The next few days are expected to bring record heat with temperatures reaching up to 100-degrees Fahrenheit. In this weather, it takes a lot of close monitoring to stay on top of watering tasks here at my farm.
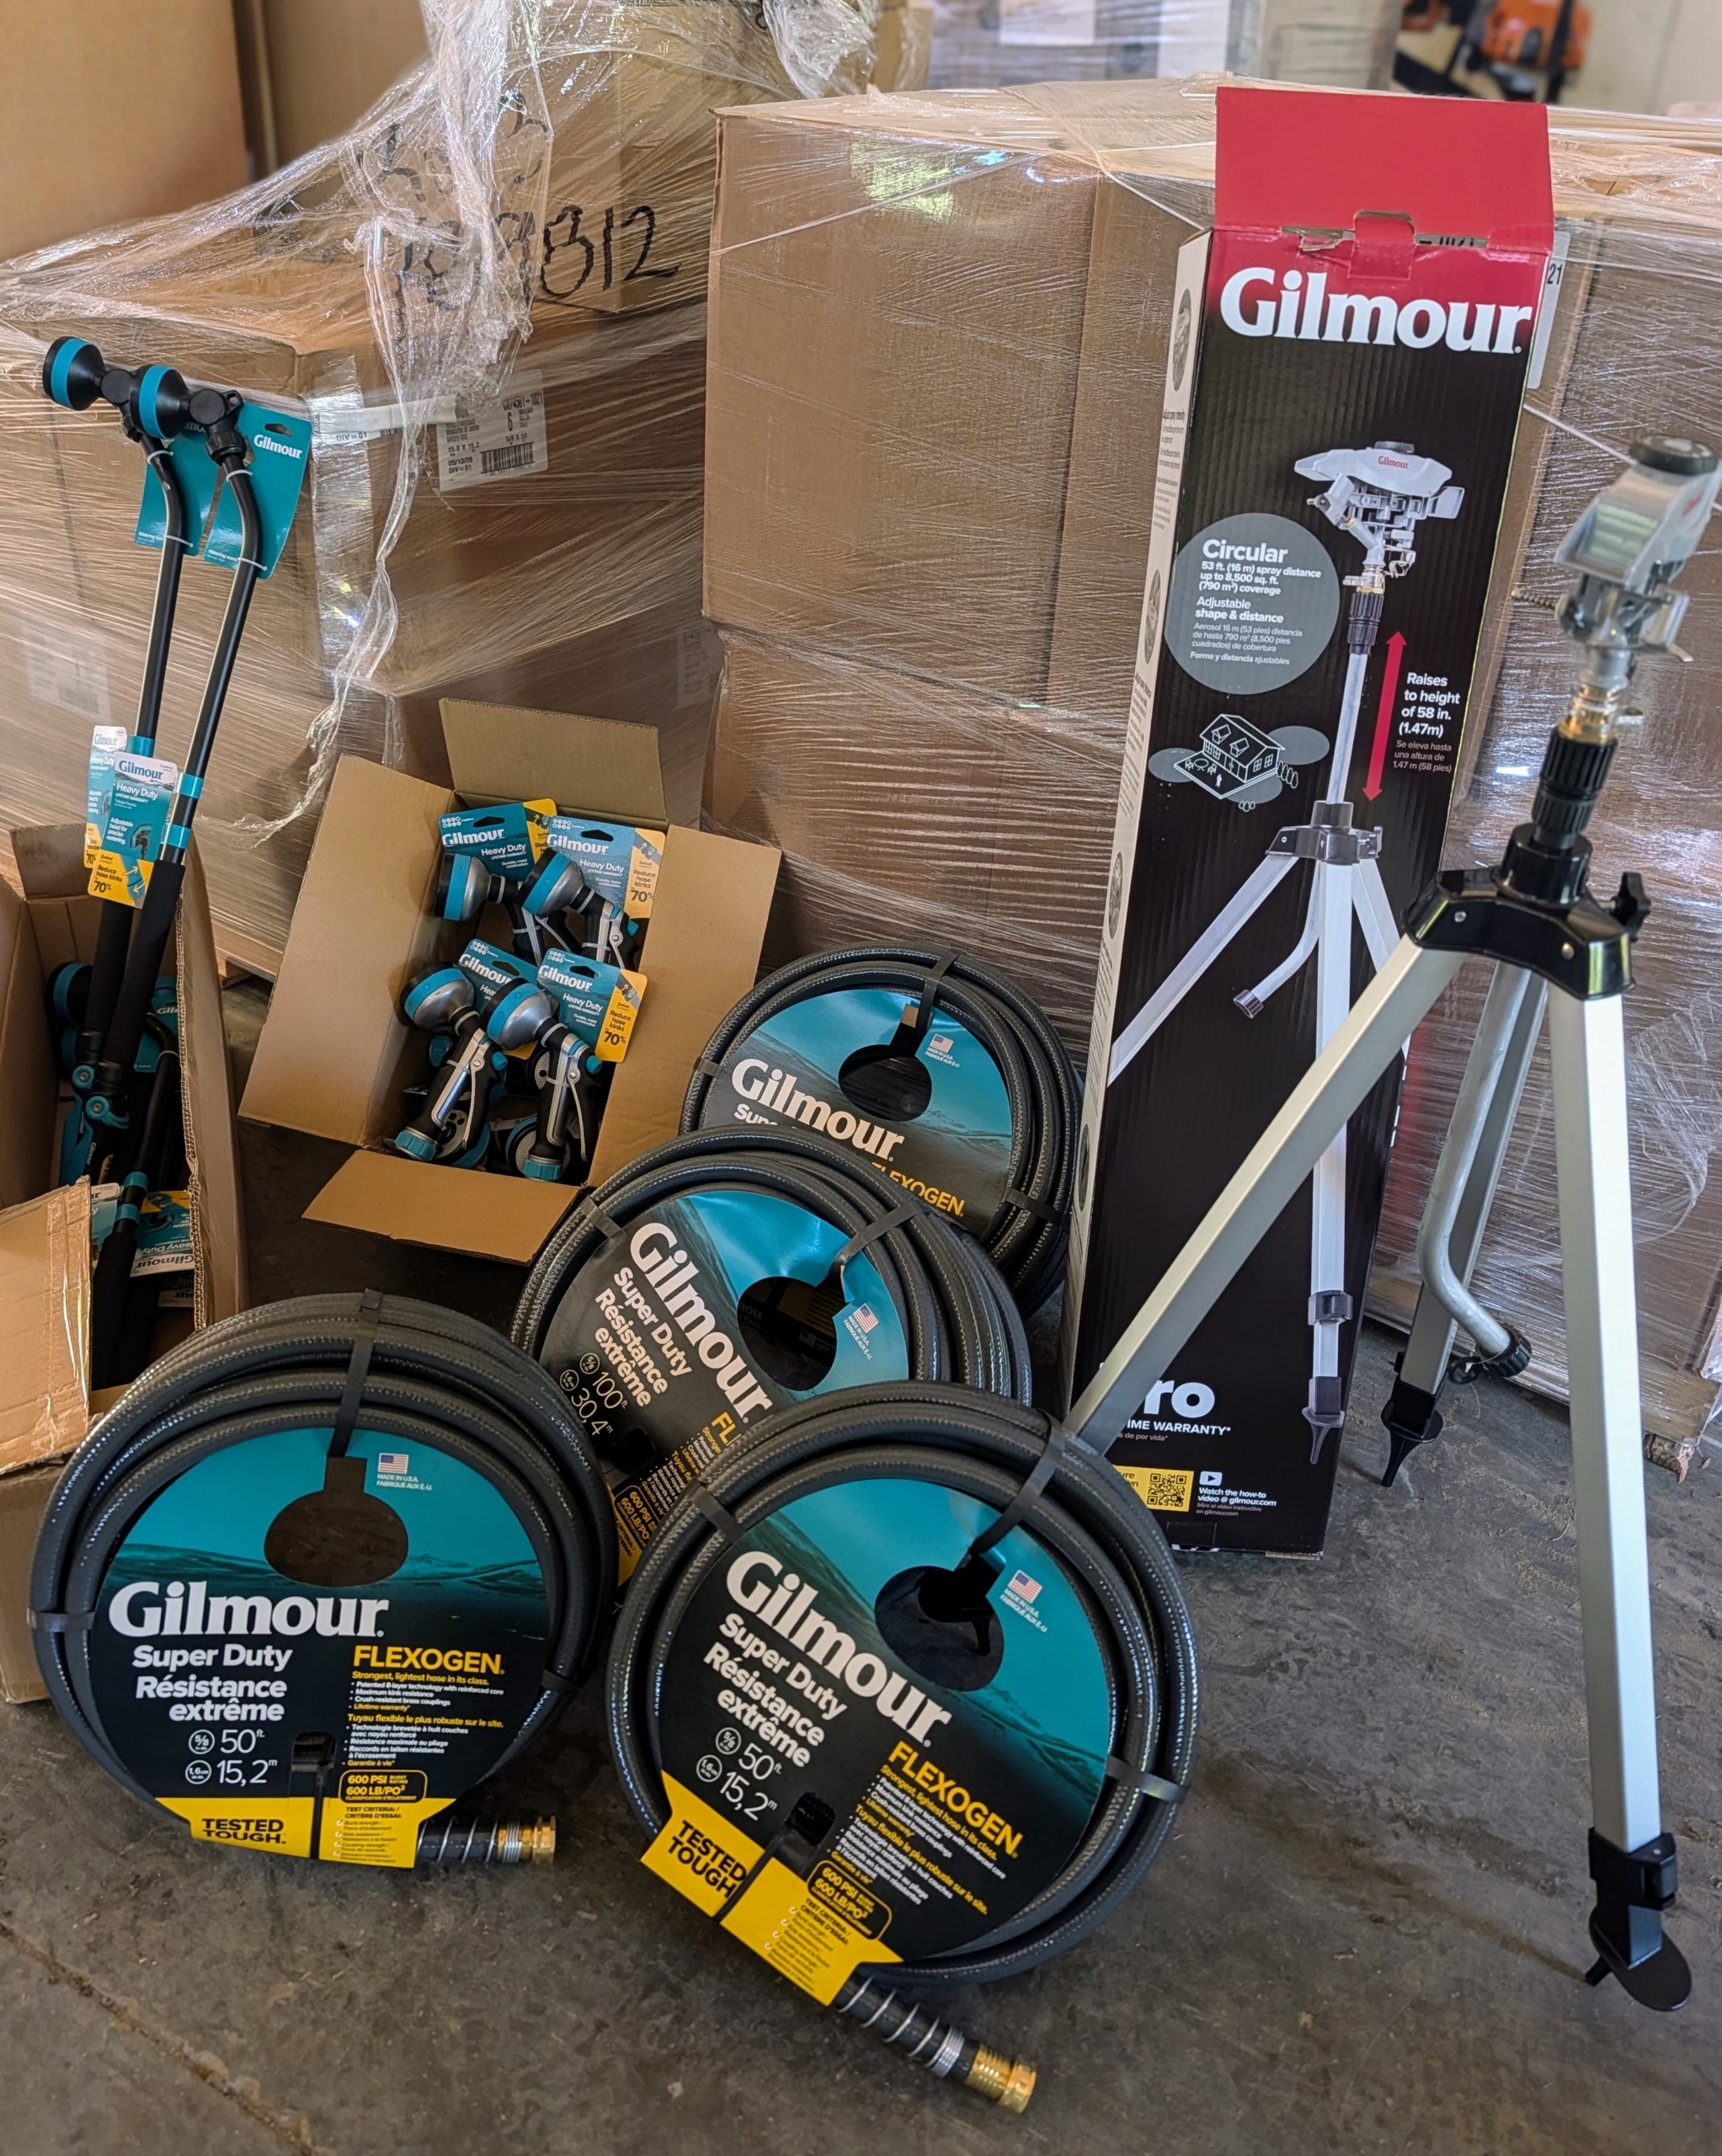
During these warm months, I use a number of hoses and sprinklers to keep the many trees, shrubs, and plants well irrigated. One of my favorite sources is Gilmour, a company that’s been manufacturing watering equipment since 1949. I use several of their products at my home in Bedford and at Skylands in Maine. They're easy to use, well-designed, and long-lasting.
Enjoy these photos and watering tips.
During the driest, warmest days of summer, we have to do lots of watering. Many ask if I use automatic irrigation systems. In general, I do not. Fortunately, I have several deep wells so many hoses can be manually placed, used, and monitored at any given time.
Gilmour has an excellent collection of gardening supplies. I have been using Gilmour products for years. The hoses are always put to great use in the gardens and wherever thorough watering is needed.
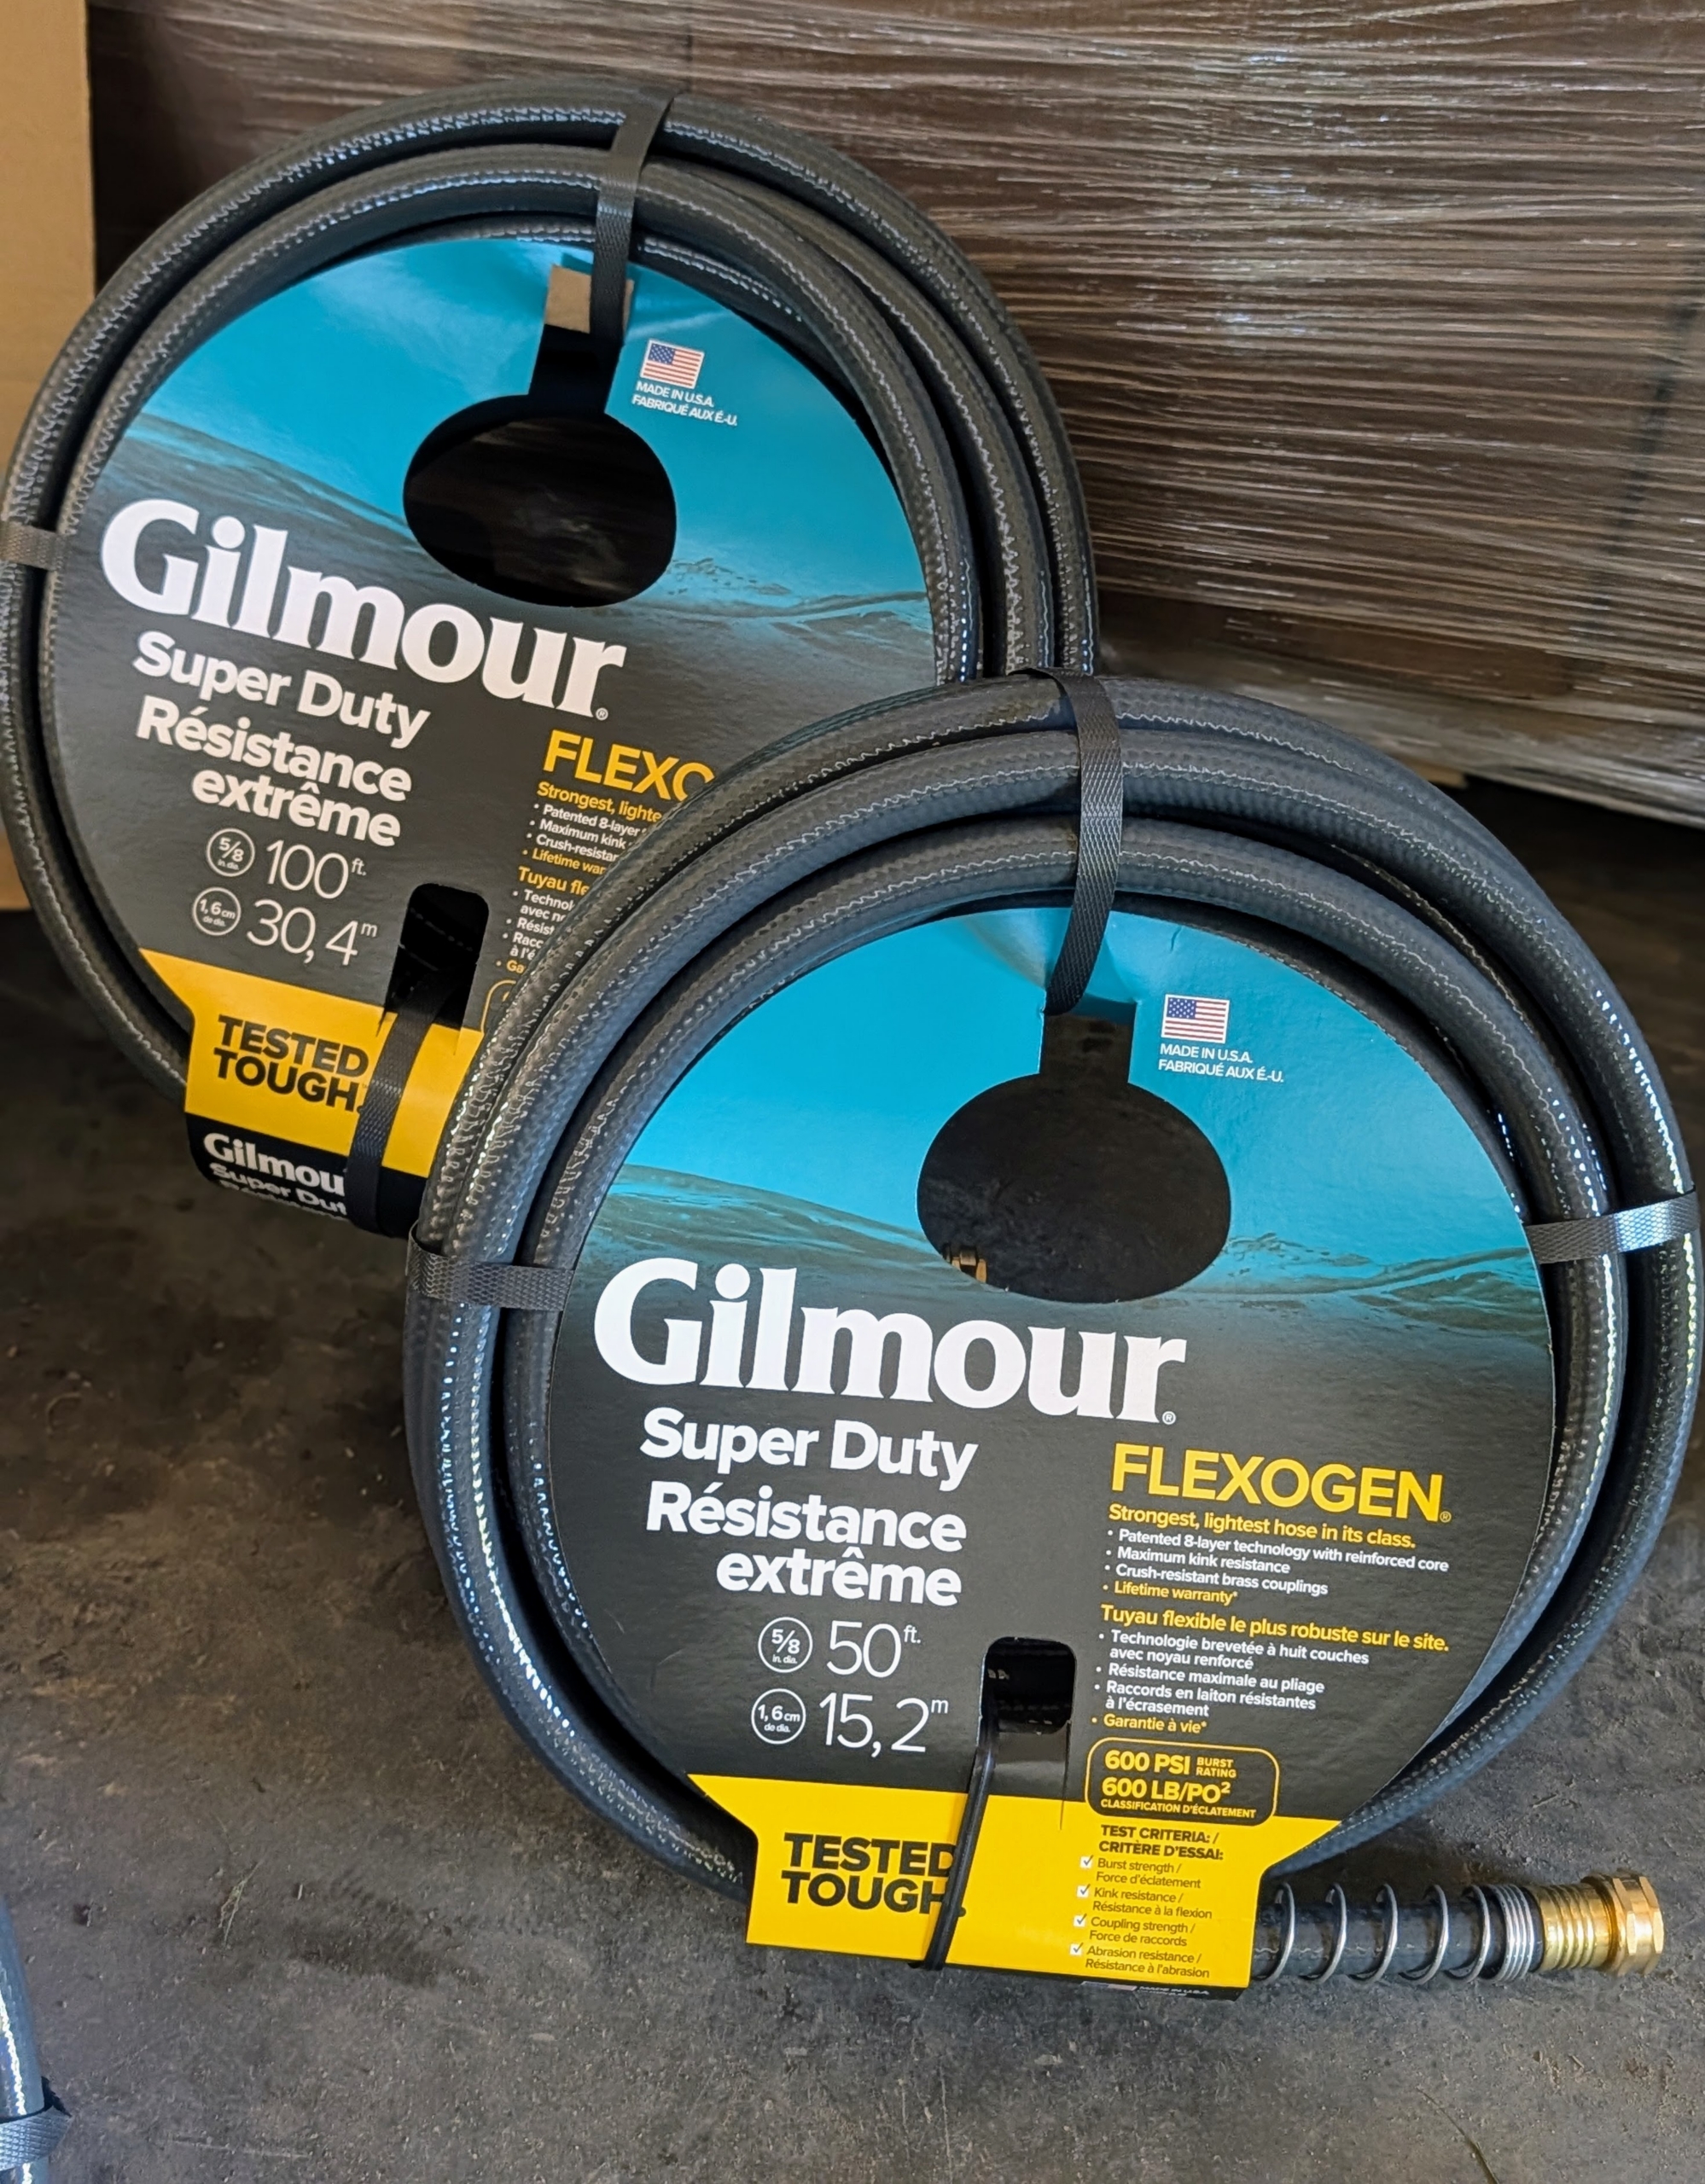
These hoses are excellent. They curve without kinking, connect without leaking, and are easy to store.
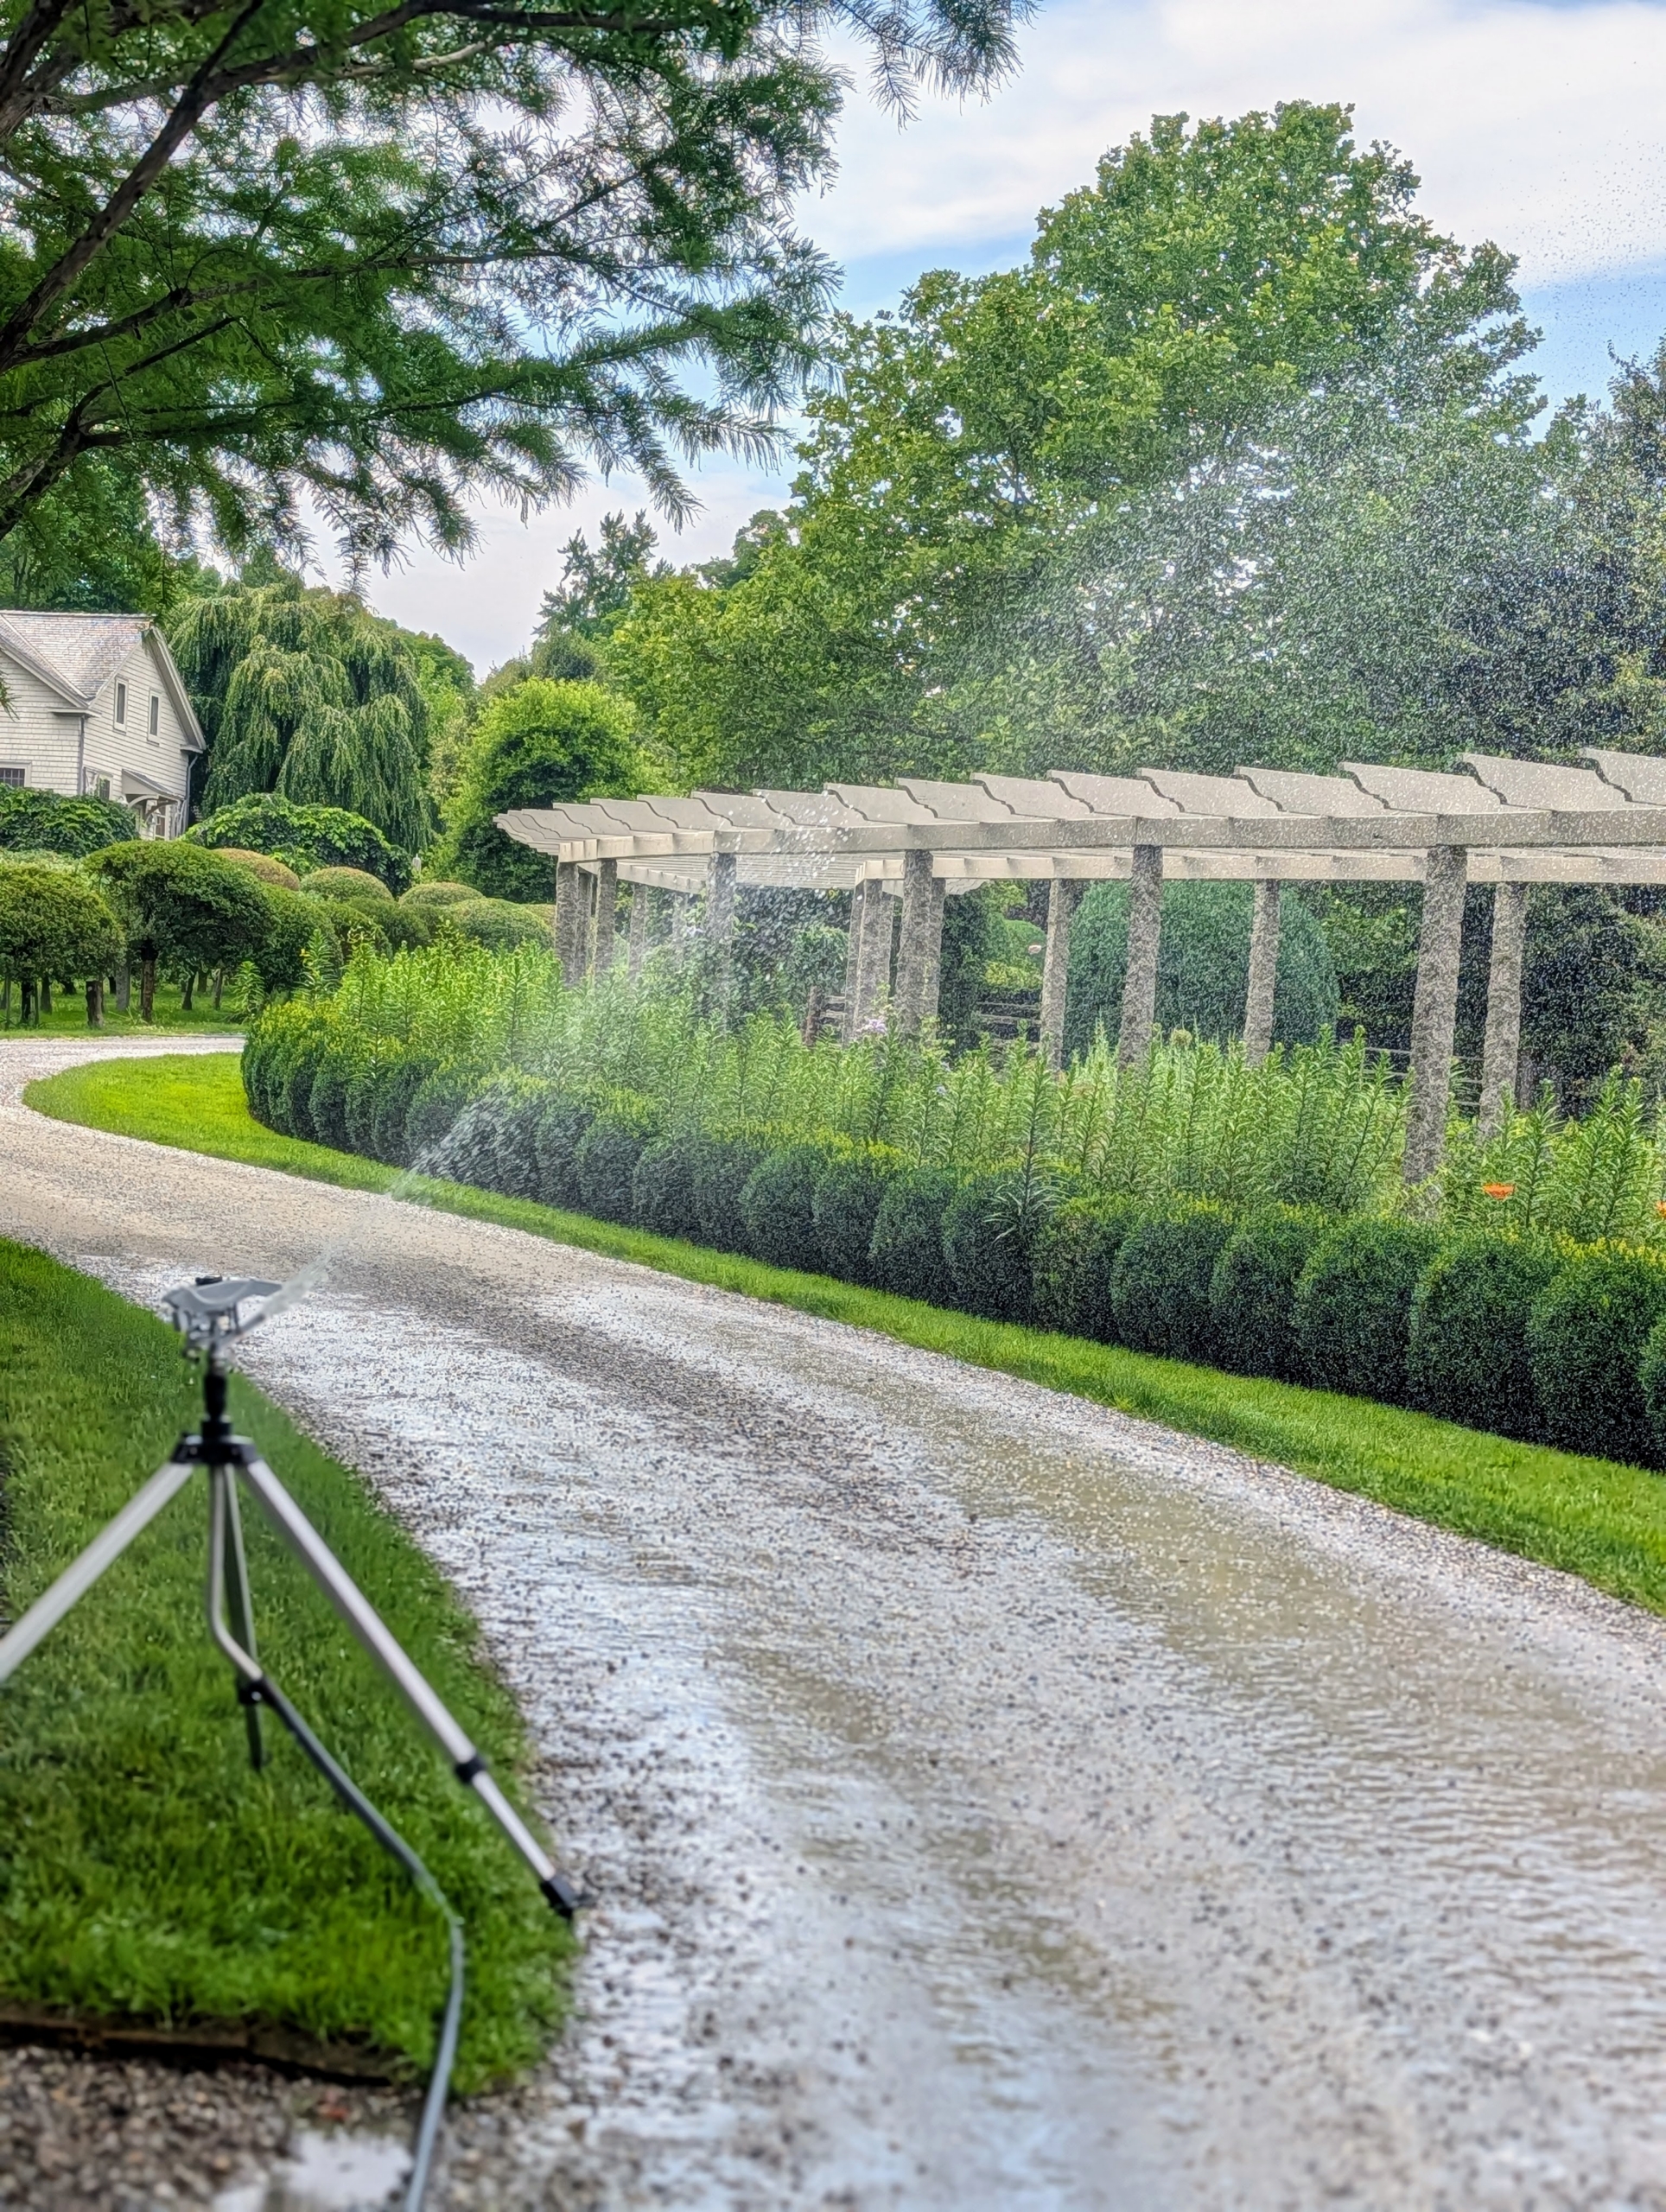
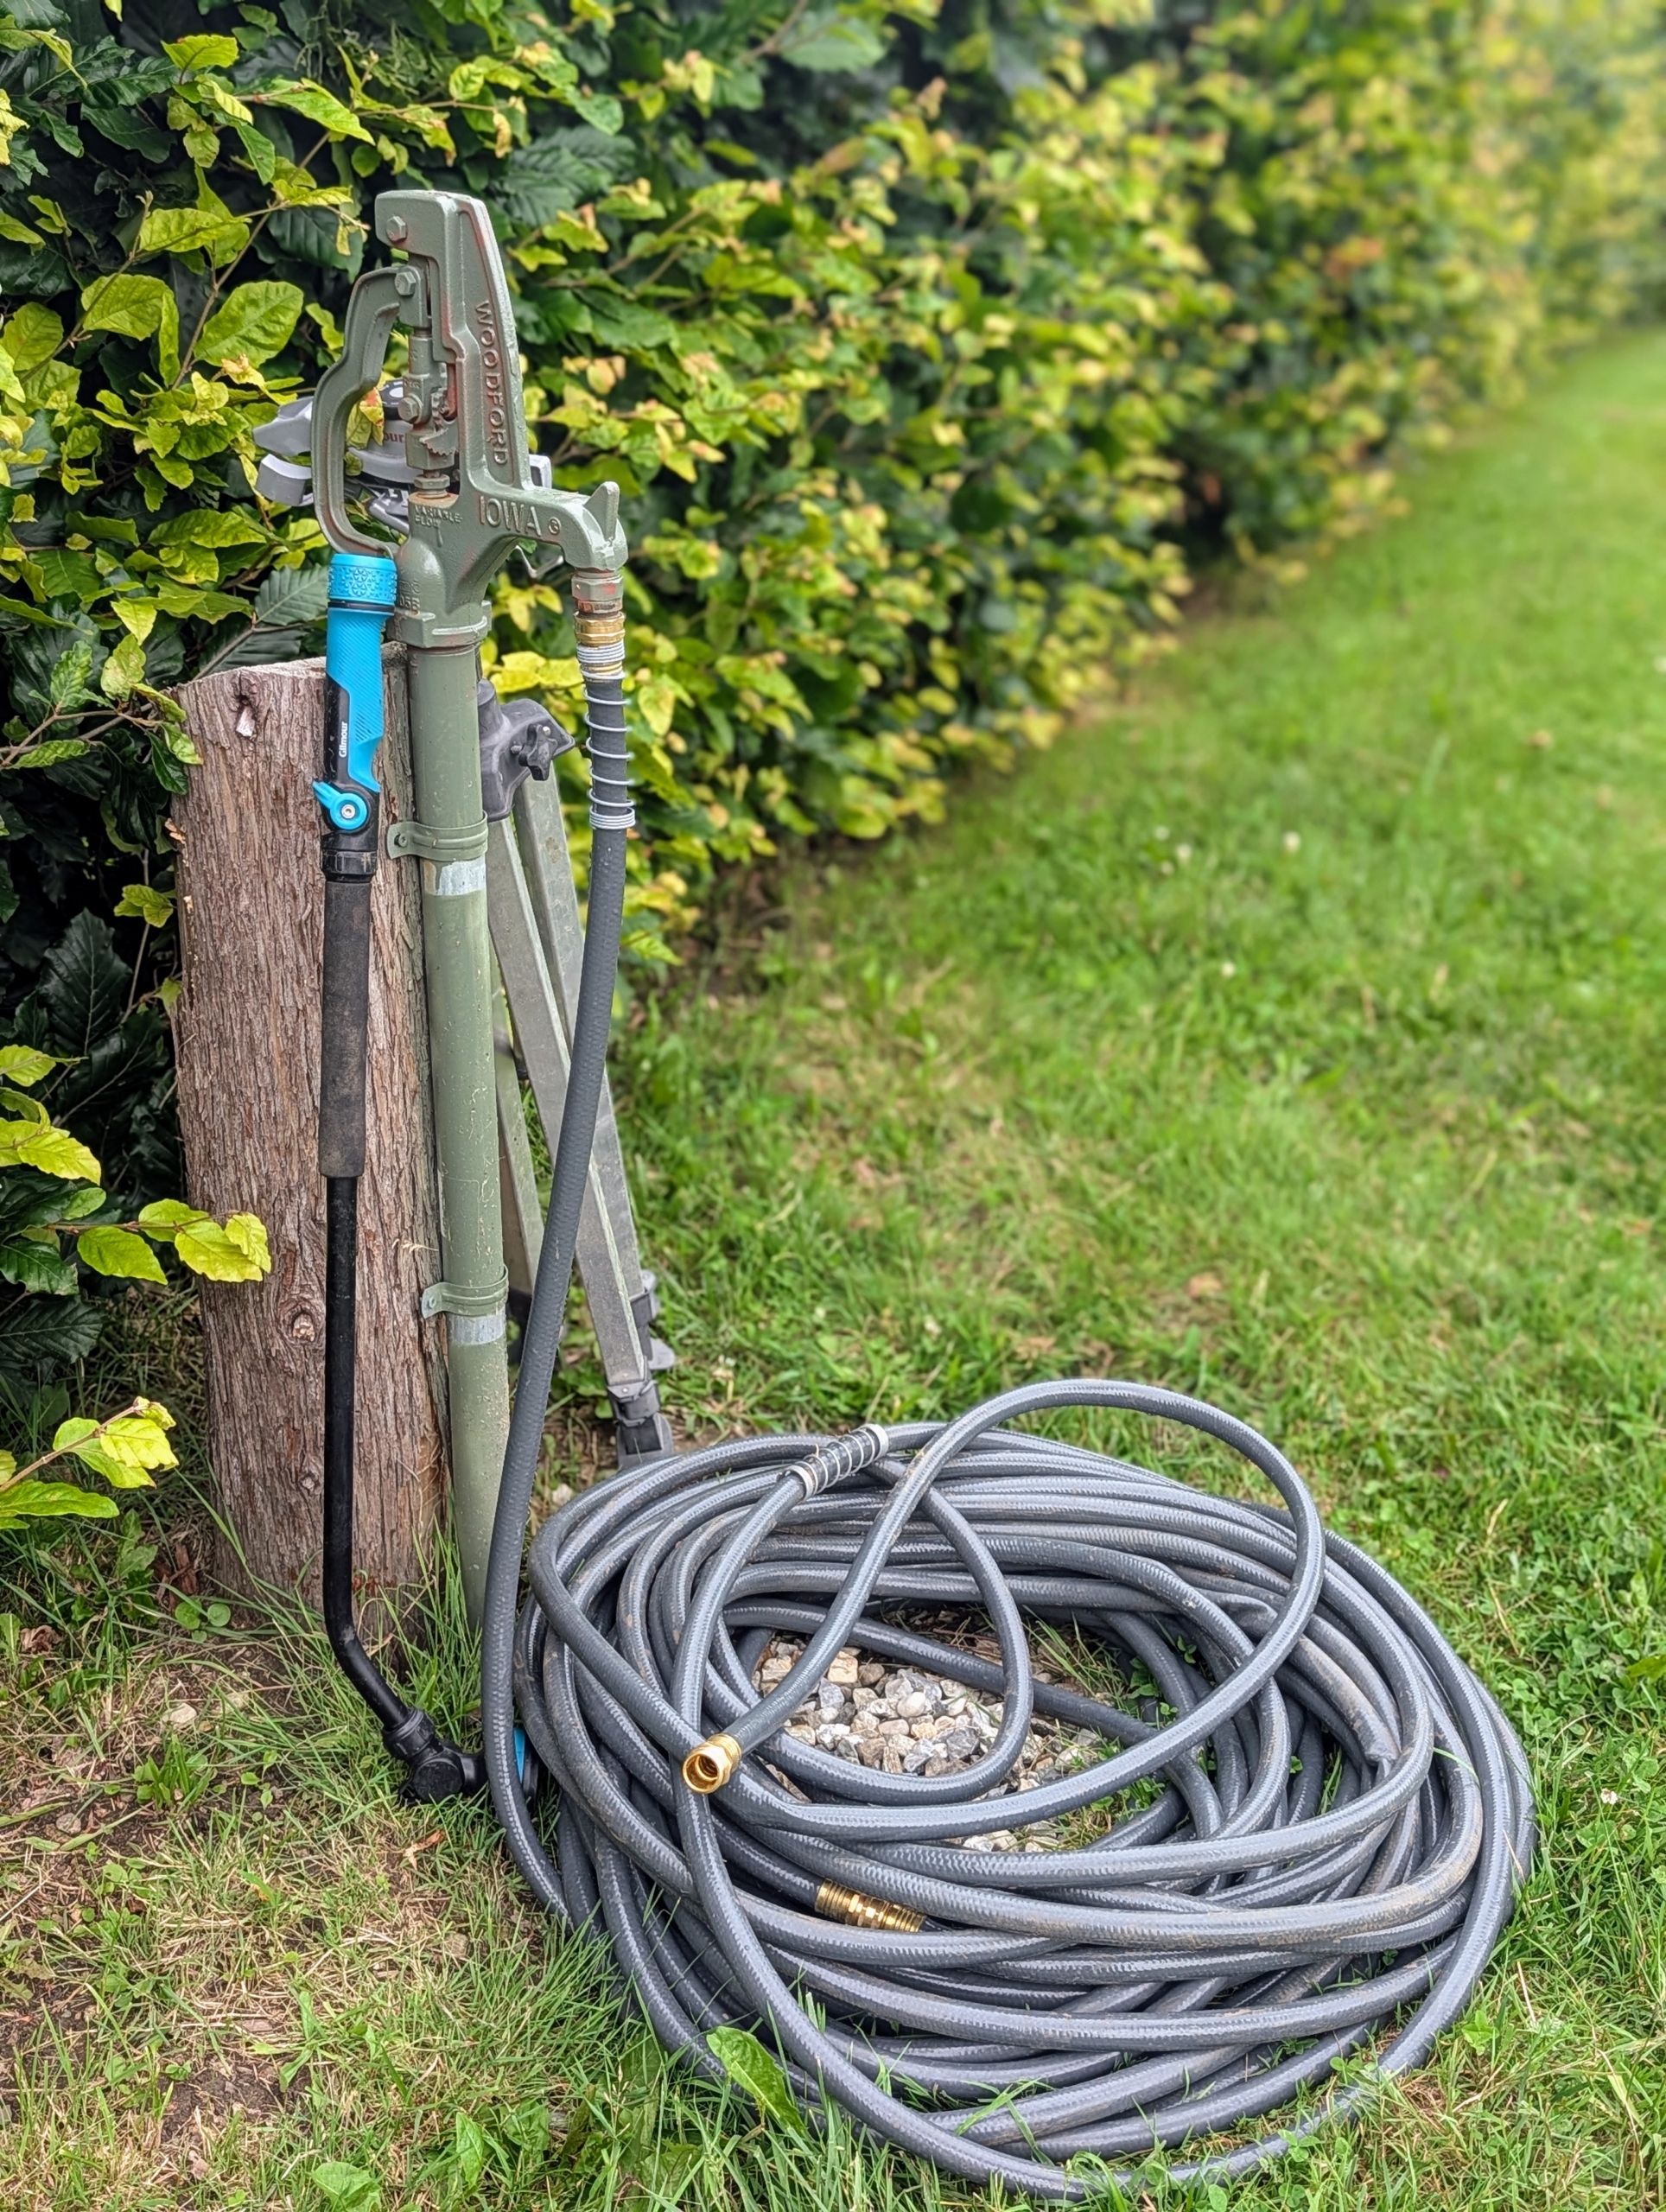
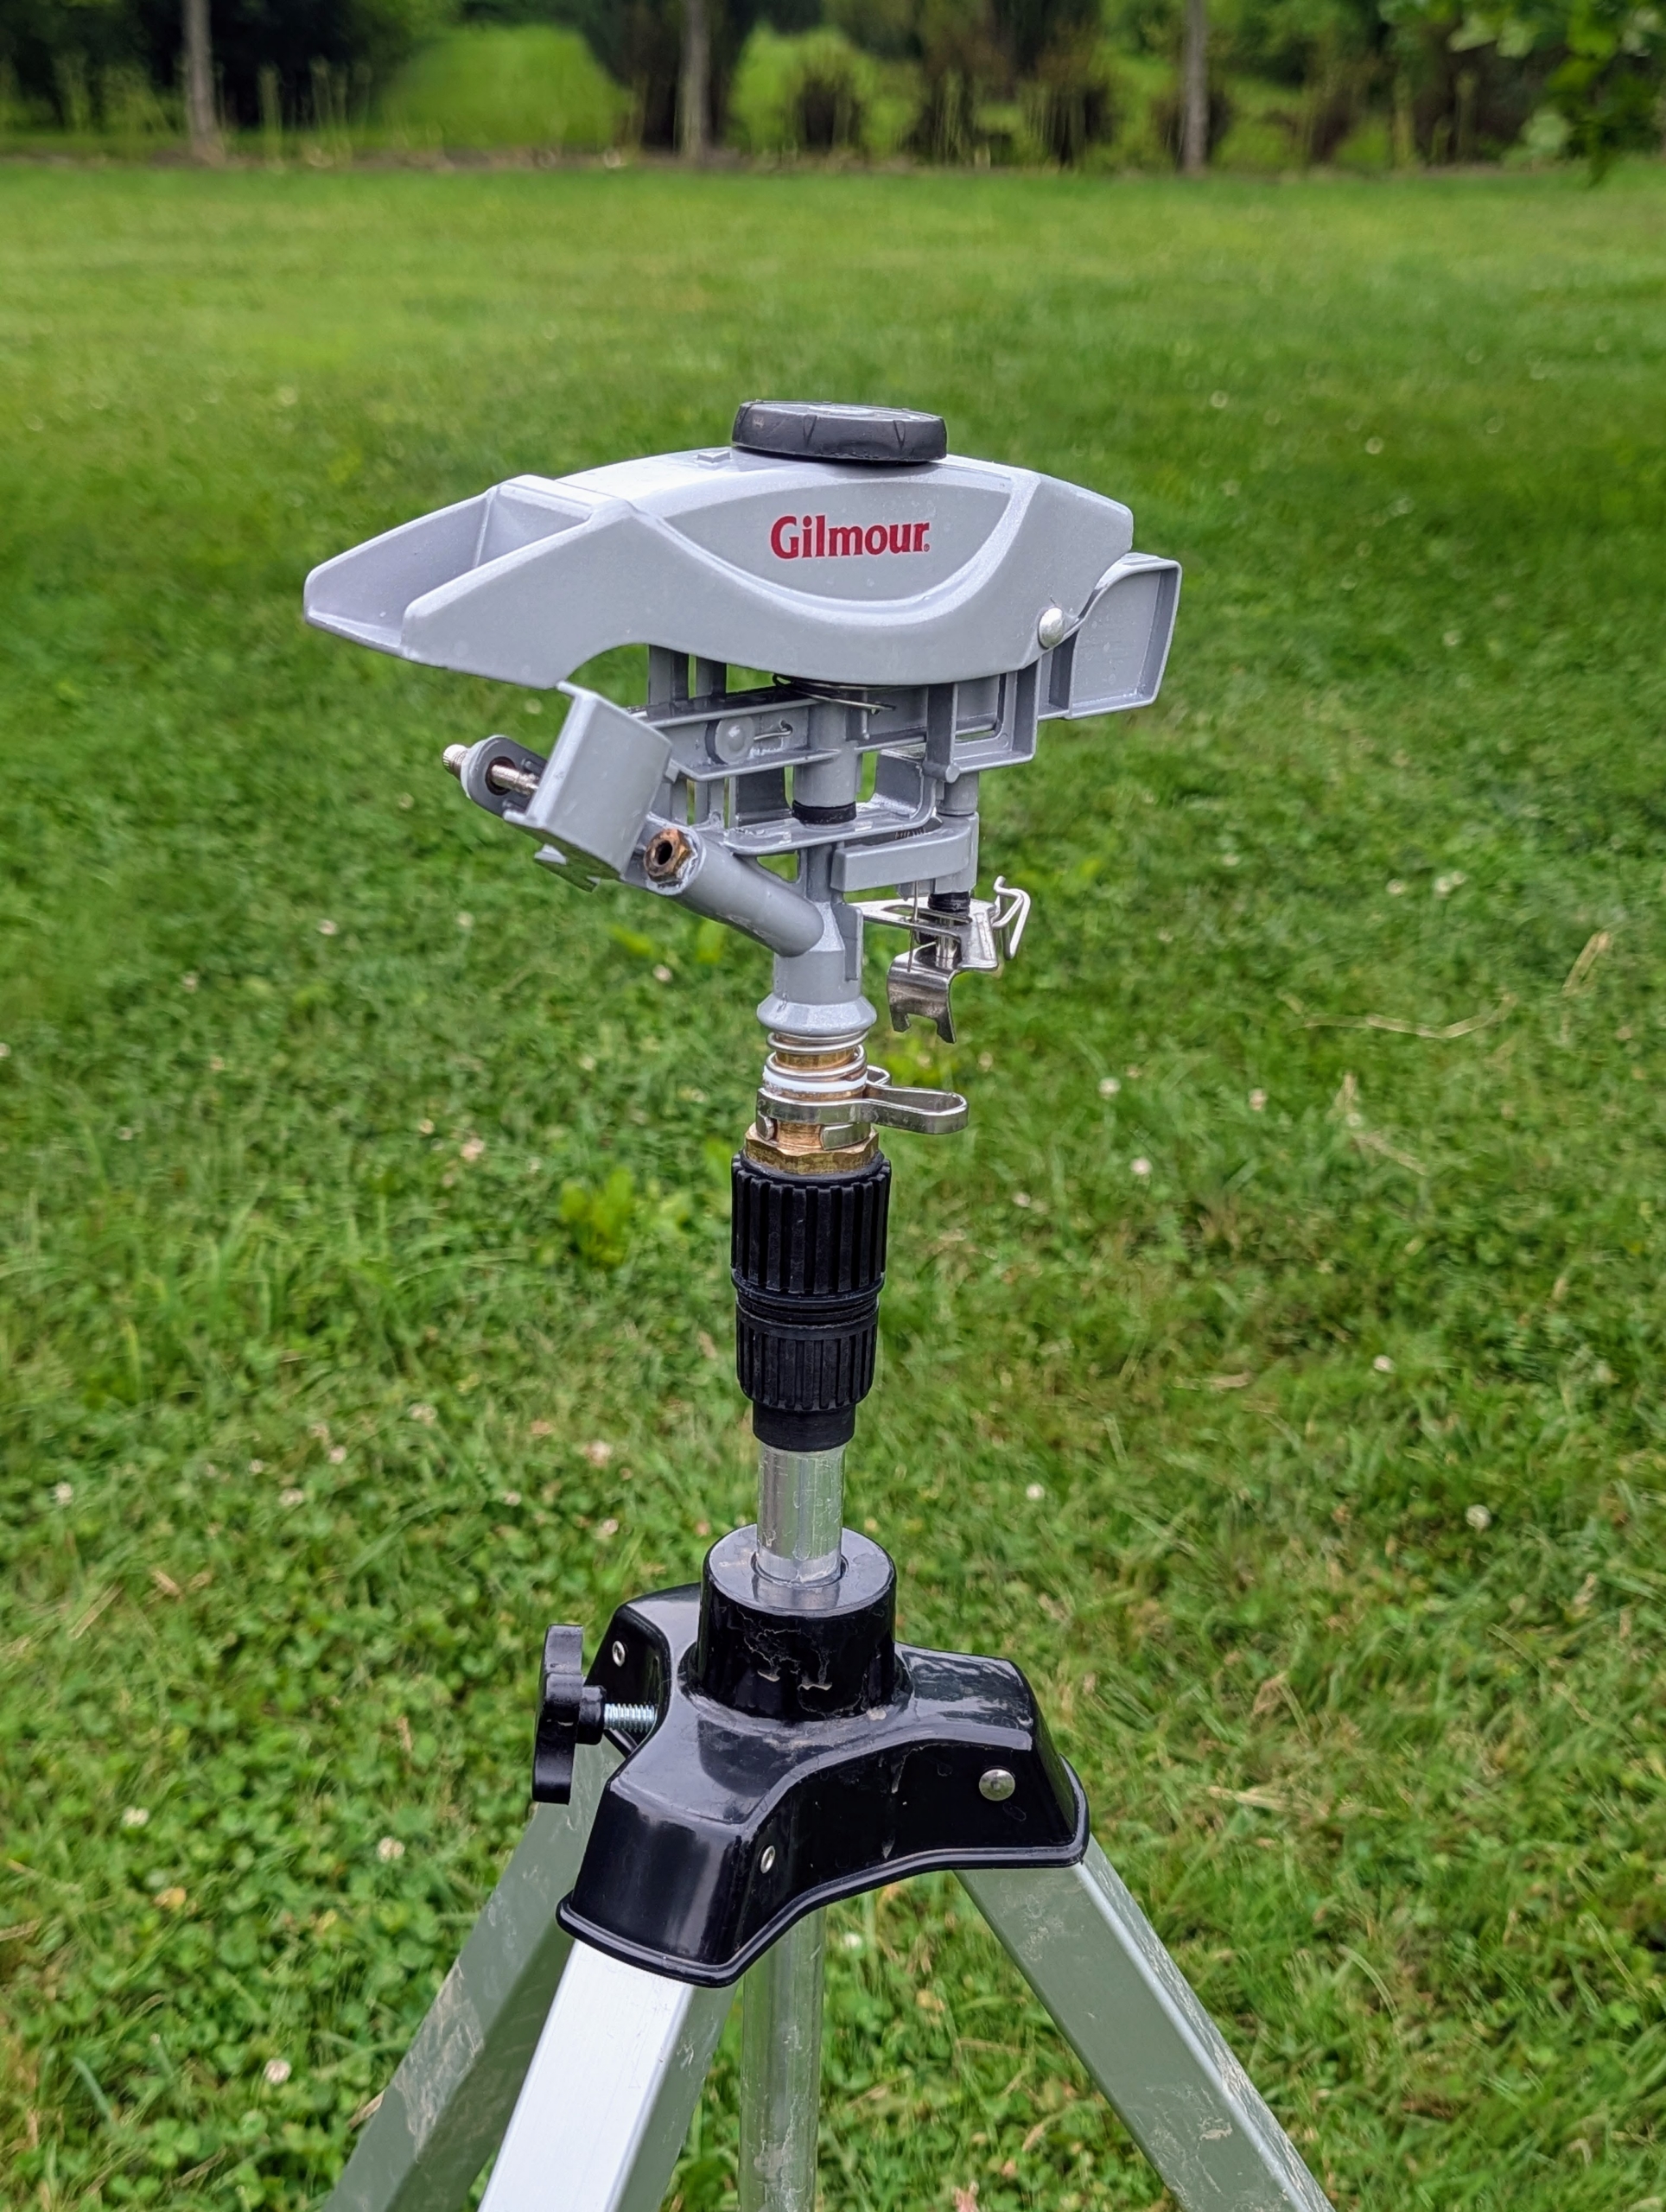
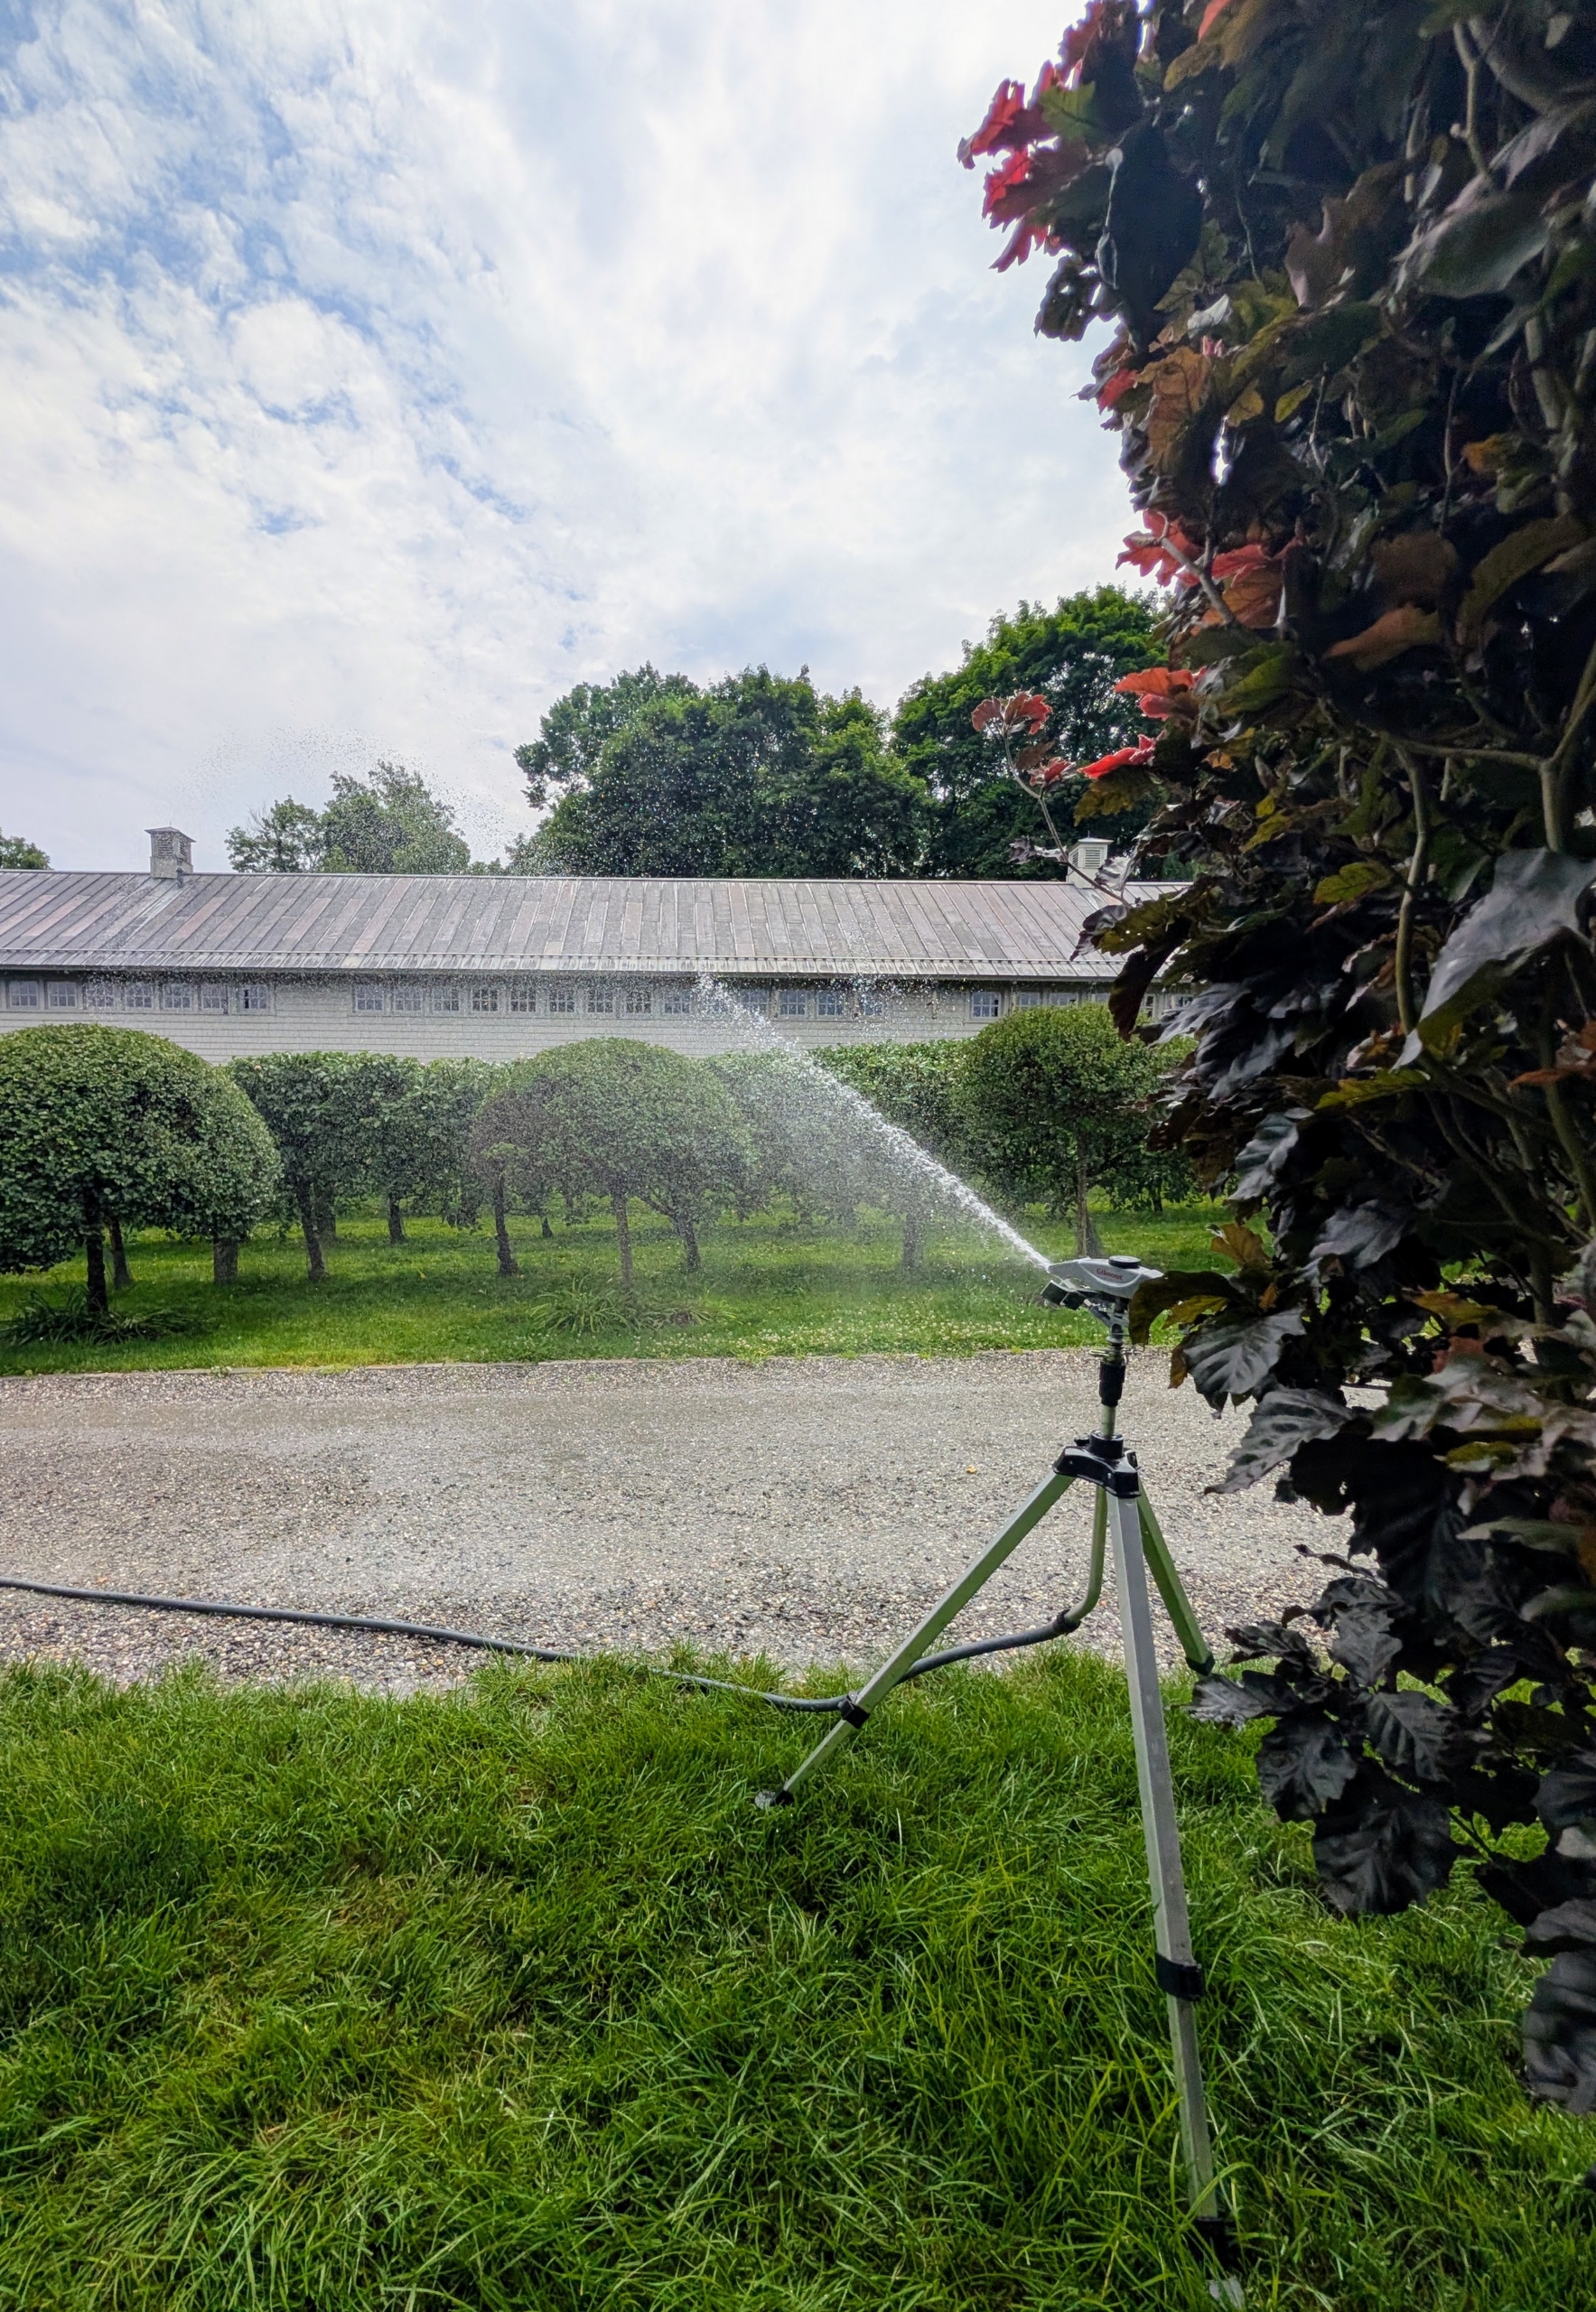
I also use these Gilmour Pro Telescoping Sprinklers. Each one is heavy duty, adjustable and offers a 53 foot range with 8500 square feet of coverage.
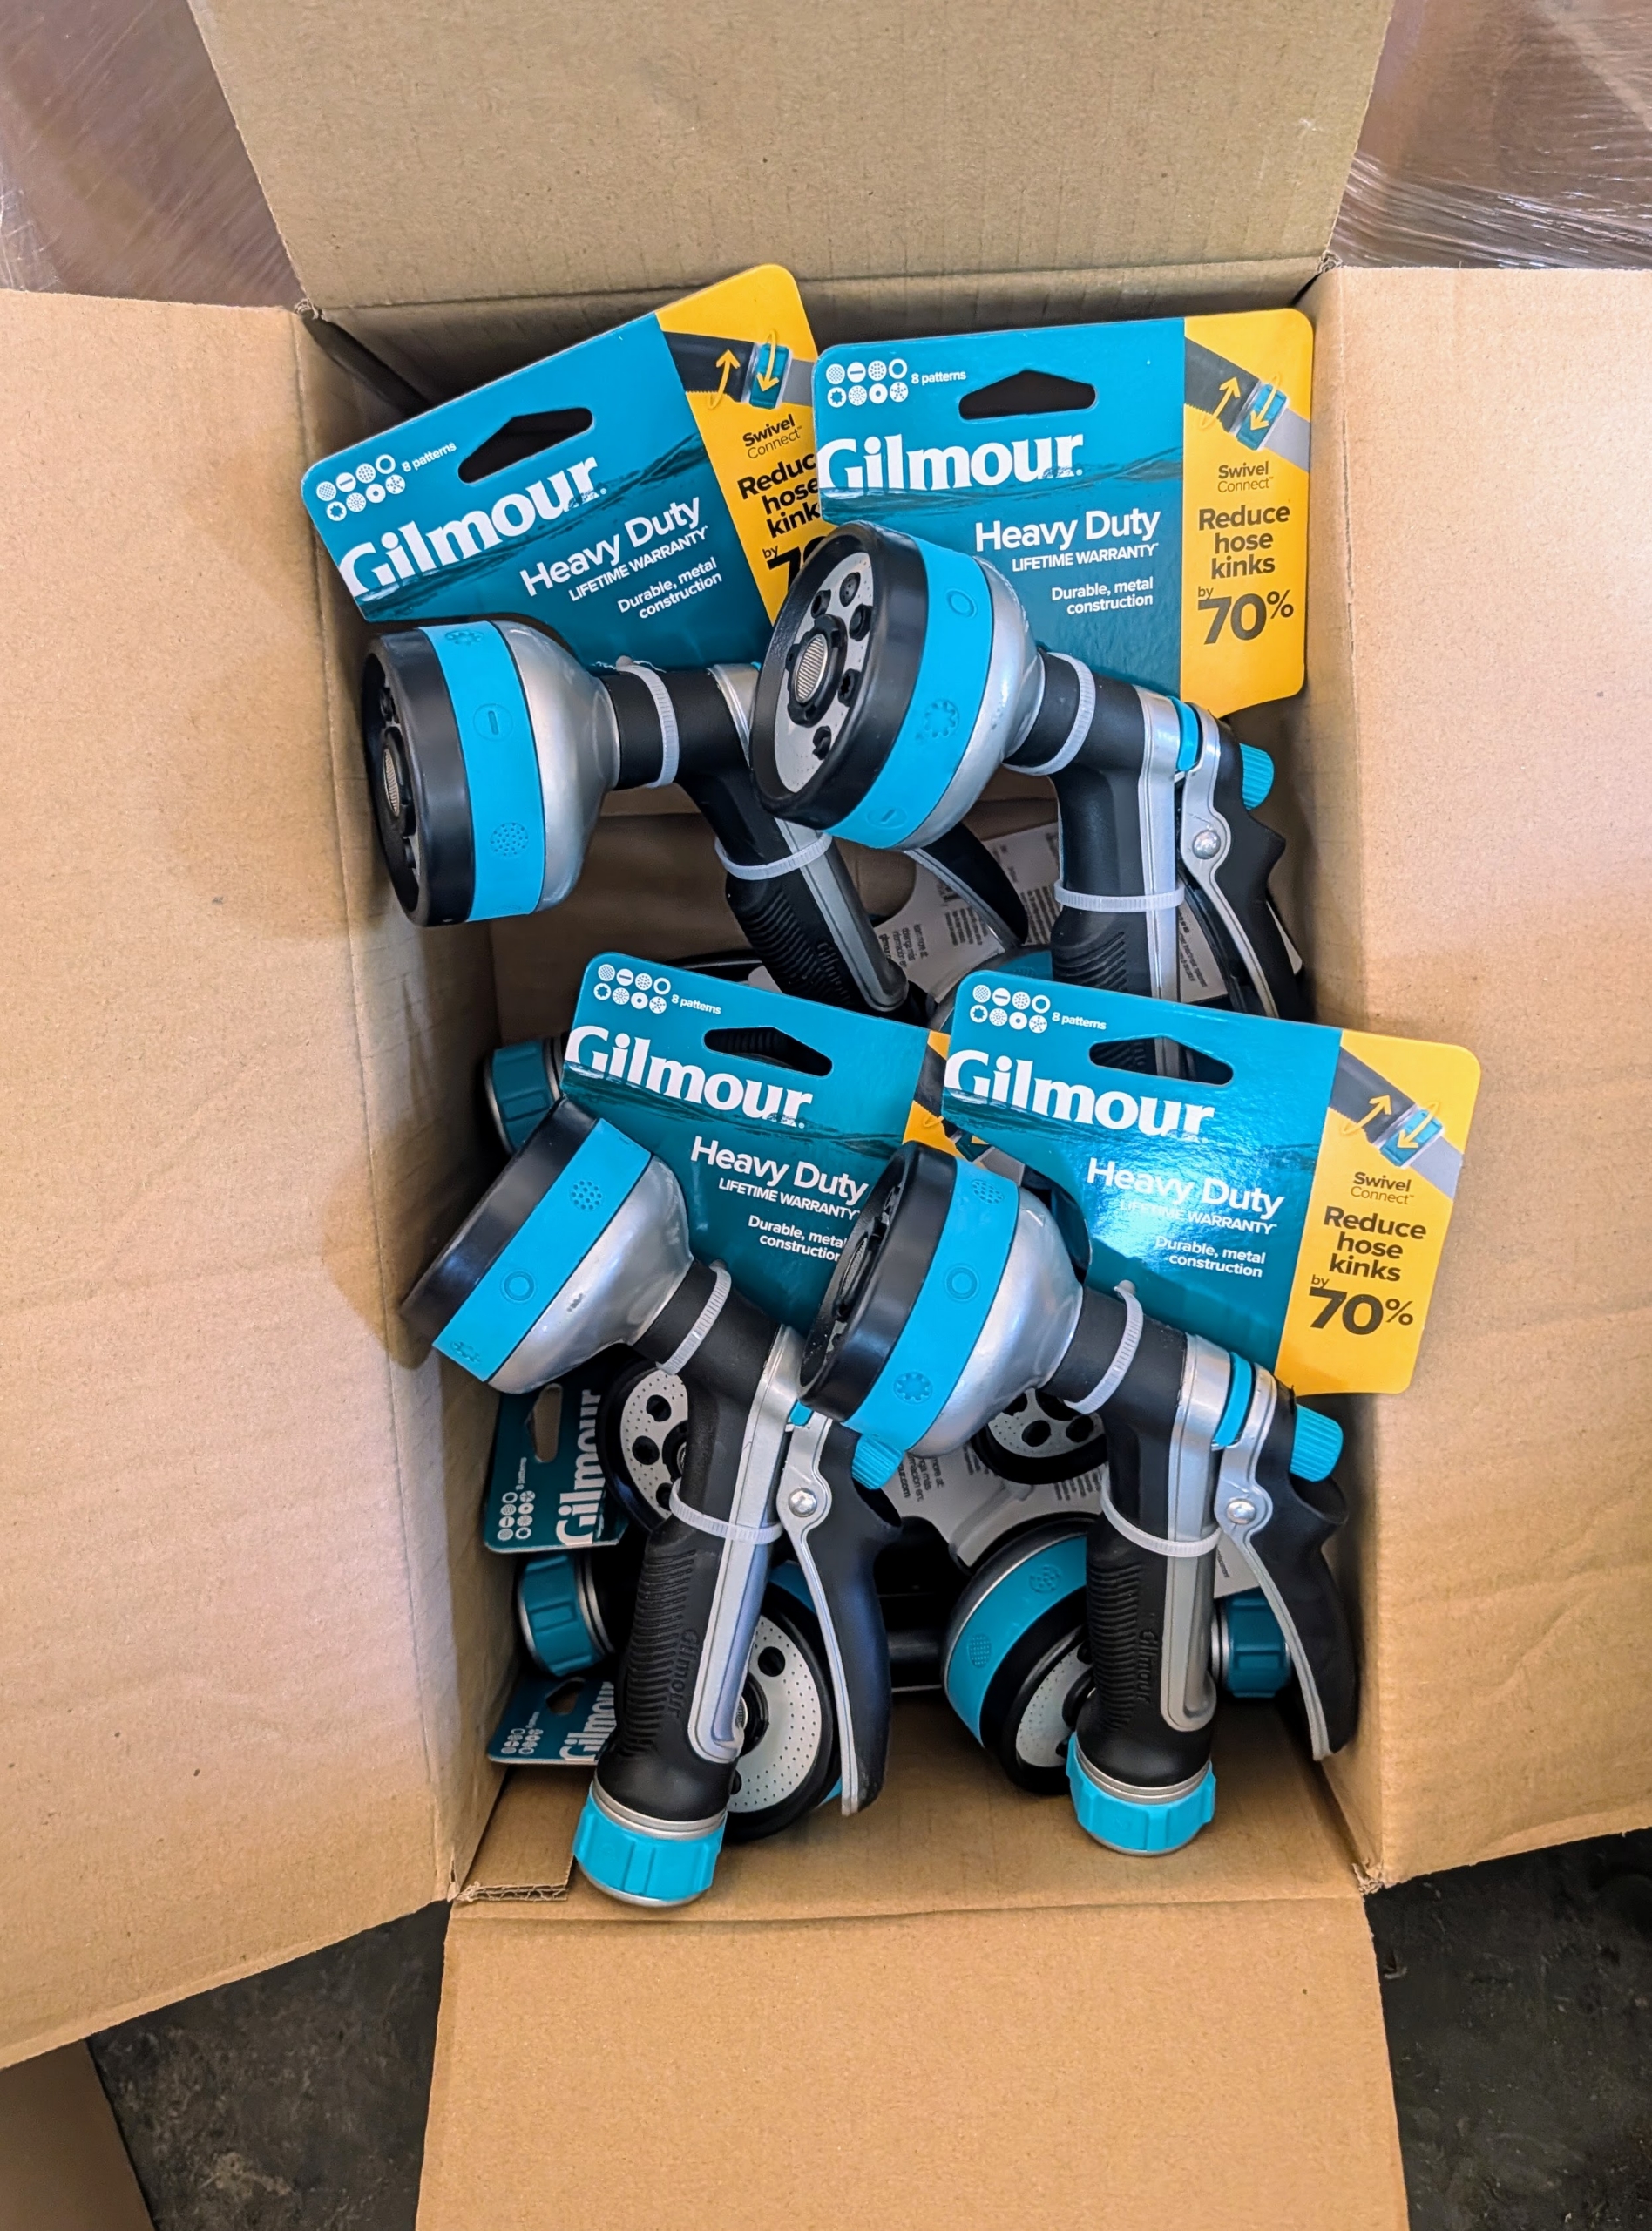
This is the Gilmour Heavy Duty Swivel Connect Watering Wand. It has an all-in-one thumb control for easy, secure handling and comes with five spray patterns.
And the Gilmour nozzles are helpful when watering smaller, individual pots or when rinsing other tools and equipment.
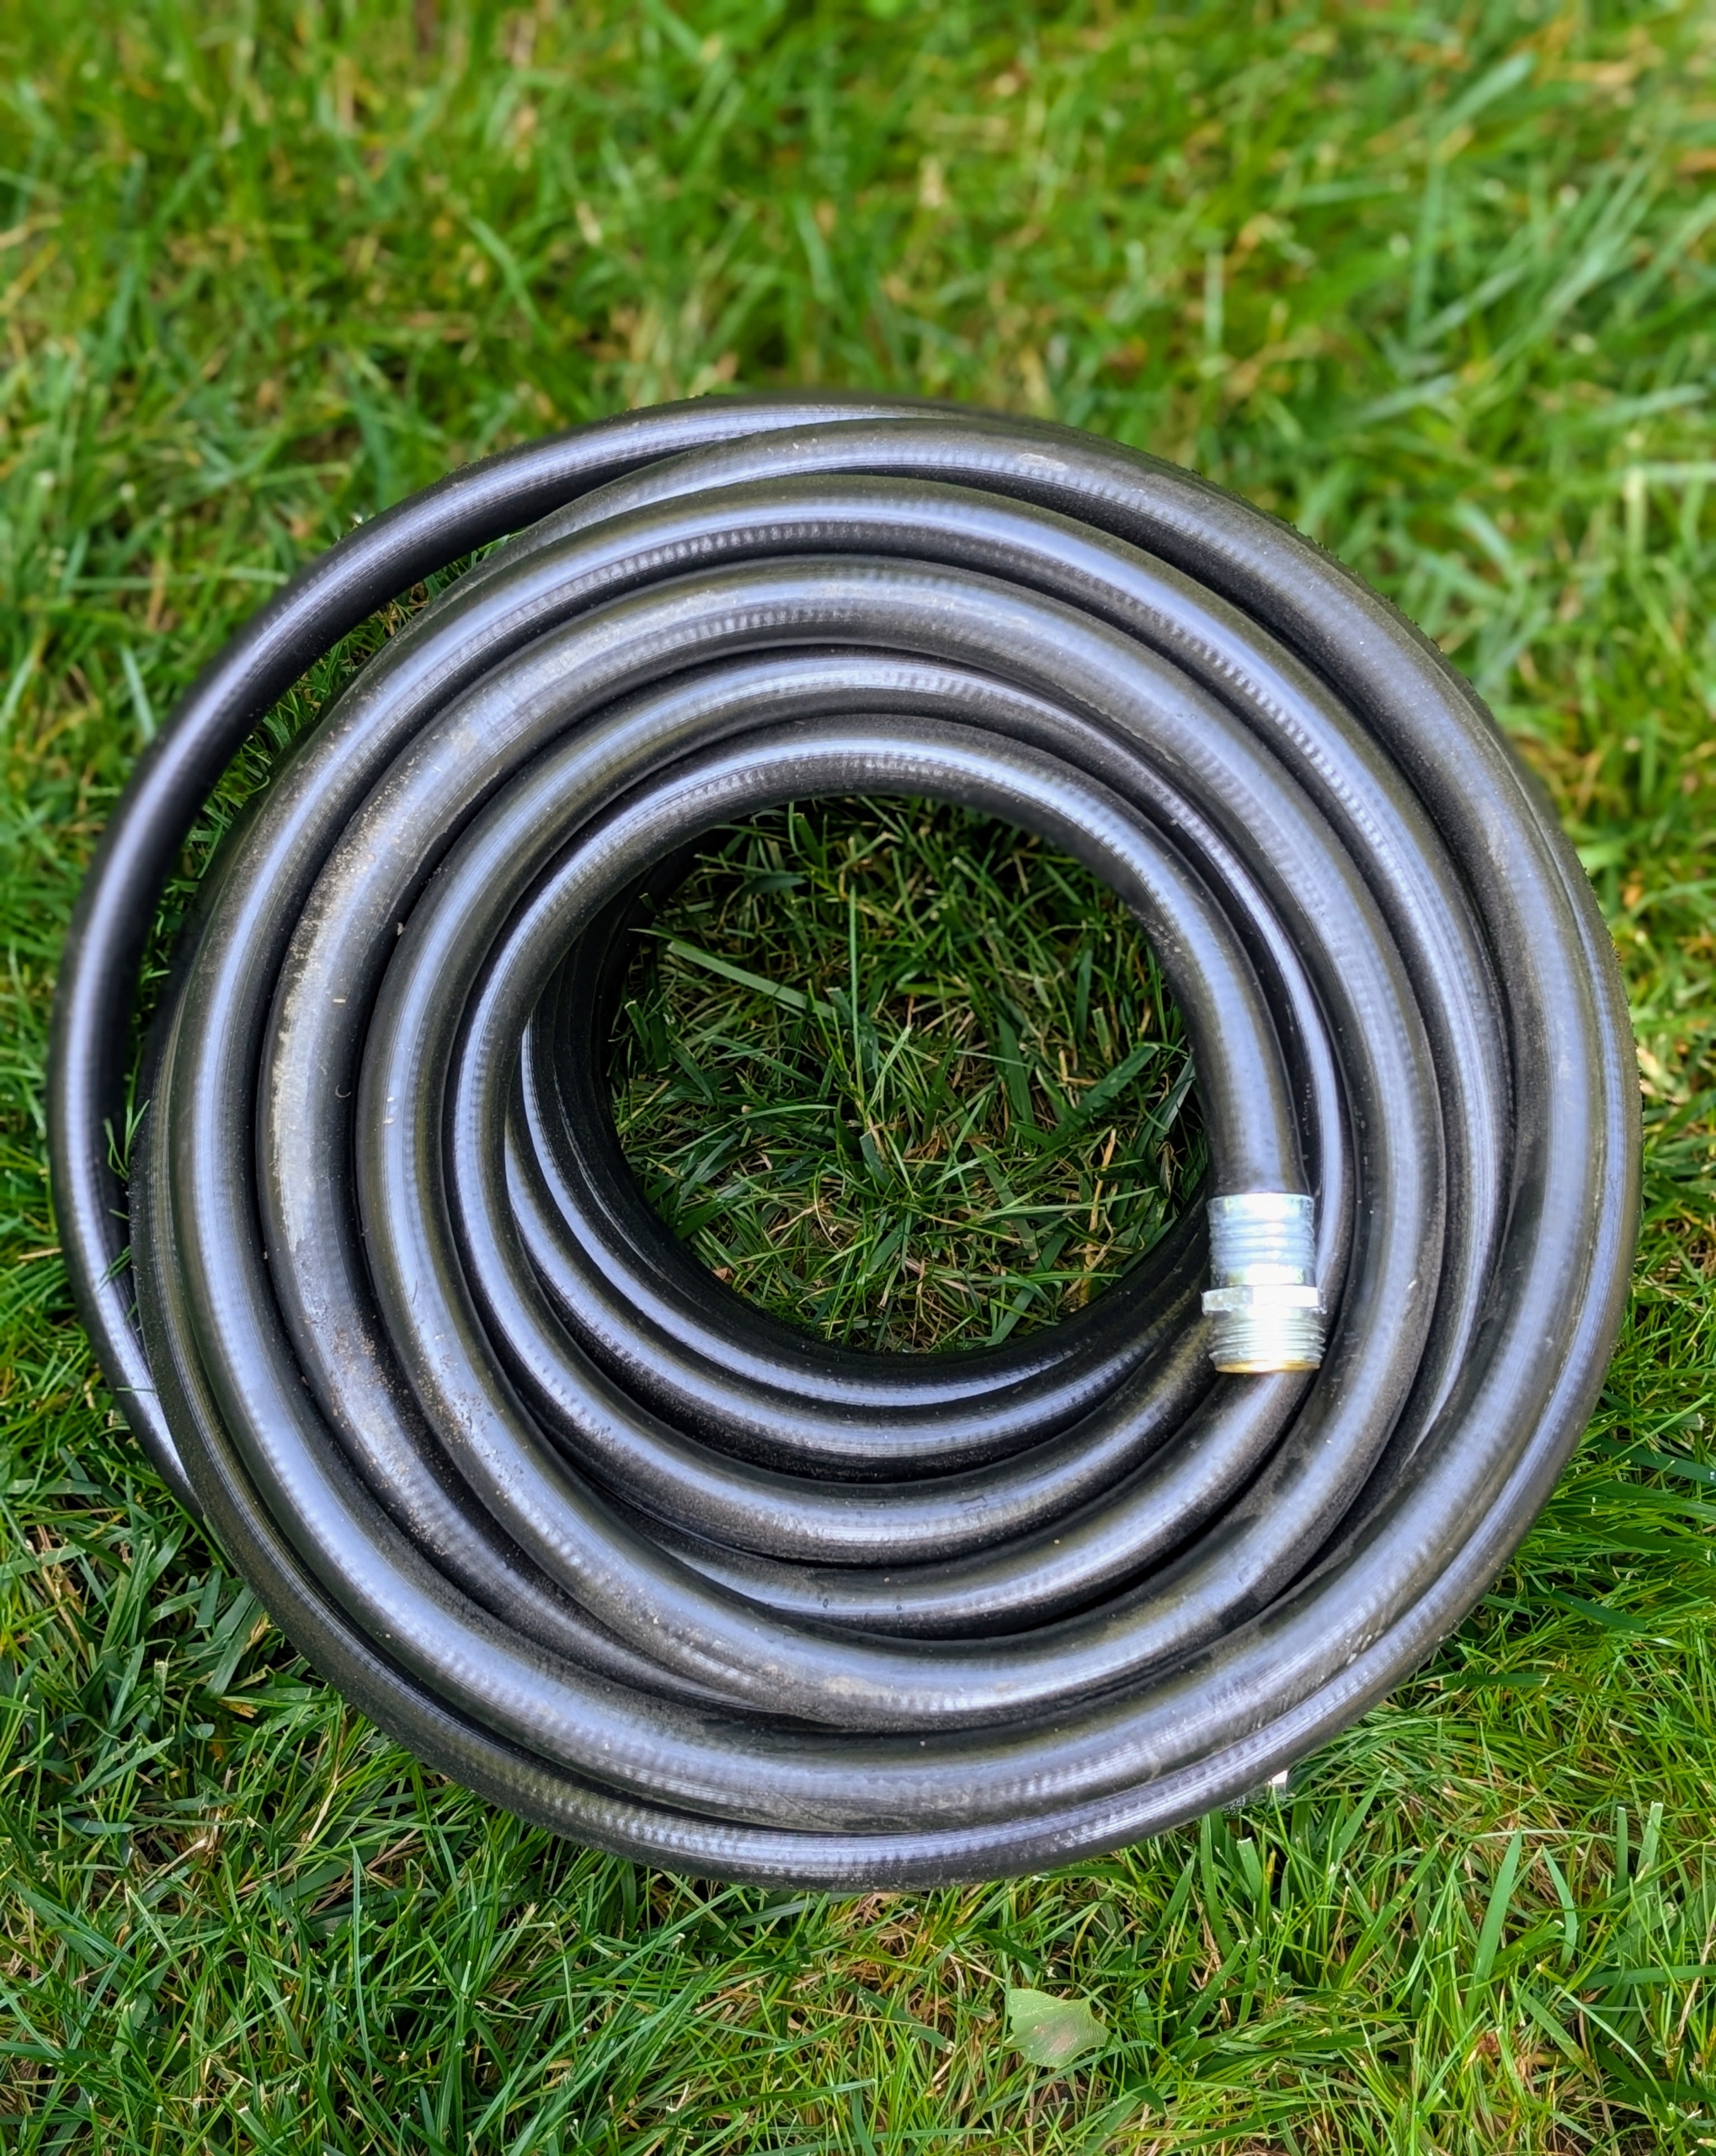
The Gilmour 50-foot and 100-foot Flexogen hoses are heavy-duty eight-ply garden hoses with a polished surface that resists abrasions, stains, and mildew. I have these hoses all over the farm. When first using, it’s helpful to unroll the entire hose first so it is straight and then let it warm slightly in the sun – this will make it easier to roll back. I like that the hoses are gray – they coordinate well with the color on all the buildings and outdoor furniture.
I keep the sprinklers near the hoses, so they’re always readily available. I also keep a wand or nozzle nearby.
Here’s one set up outside my gym building.
Here’s Phurba ready to set up a telescoping sprinkler. On hot, humid days, one or two members of the crew manage all the watering. This way, everything can be monitored and timed appropriately.
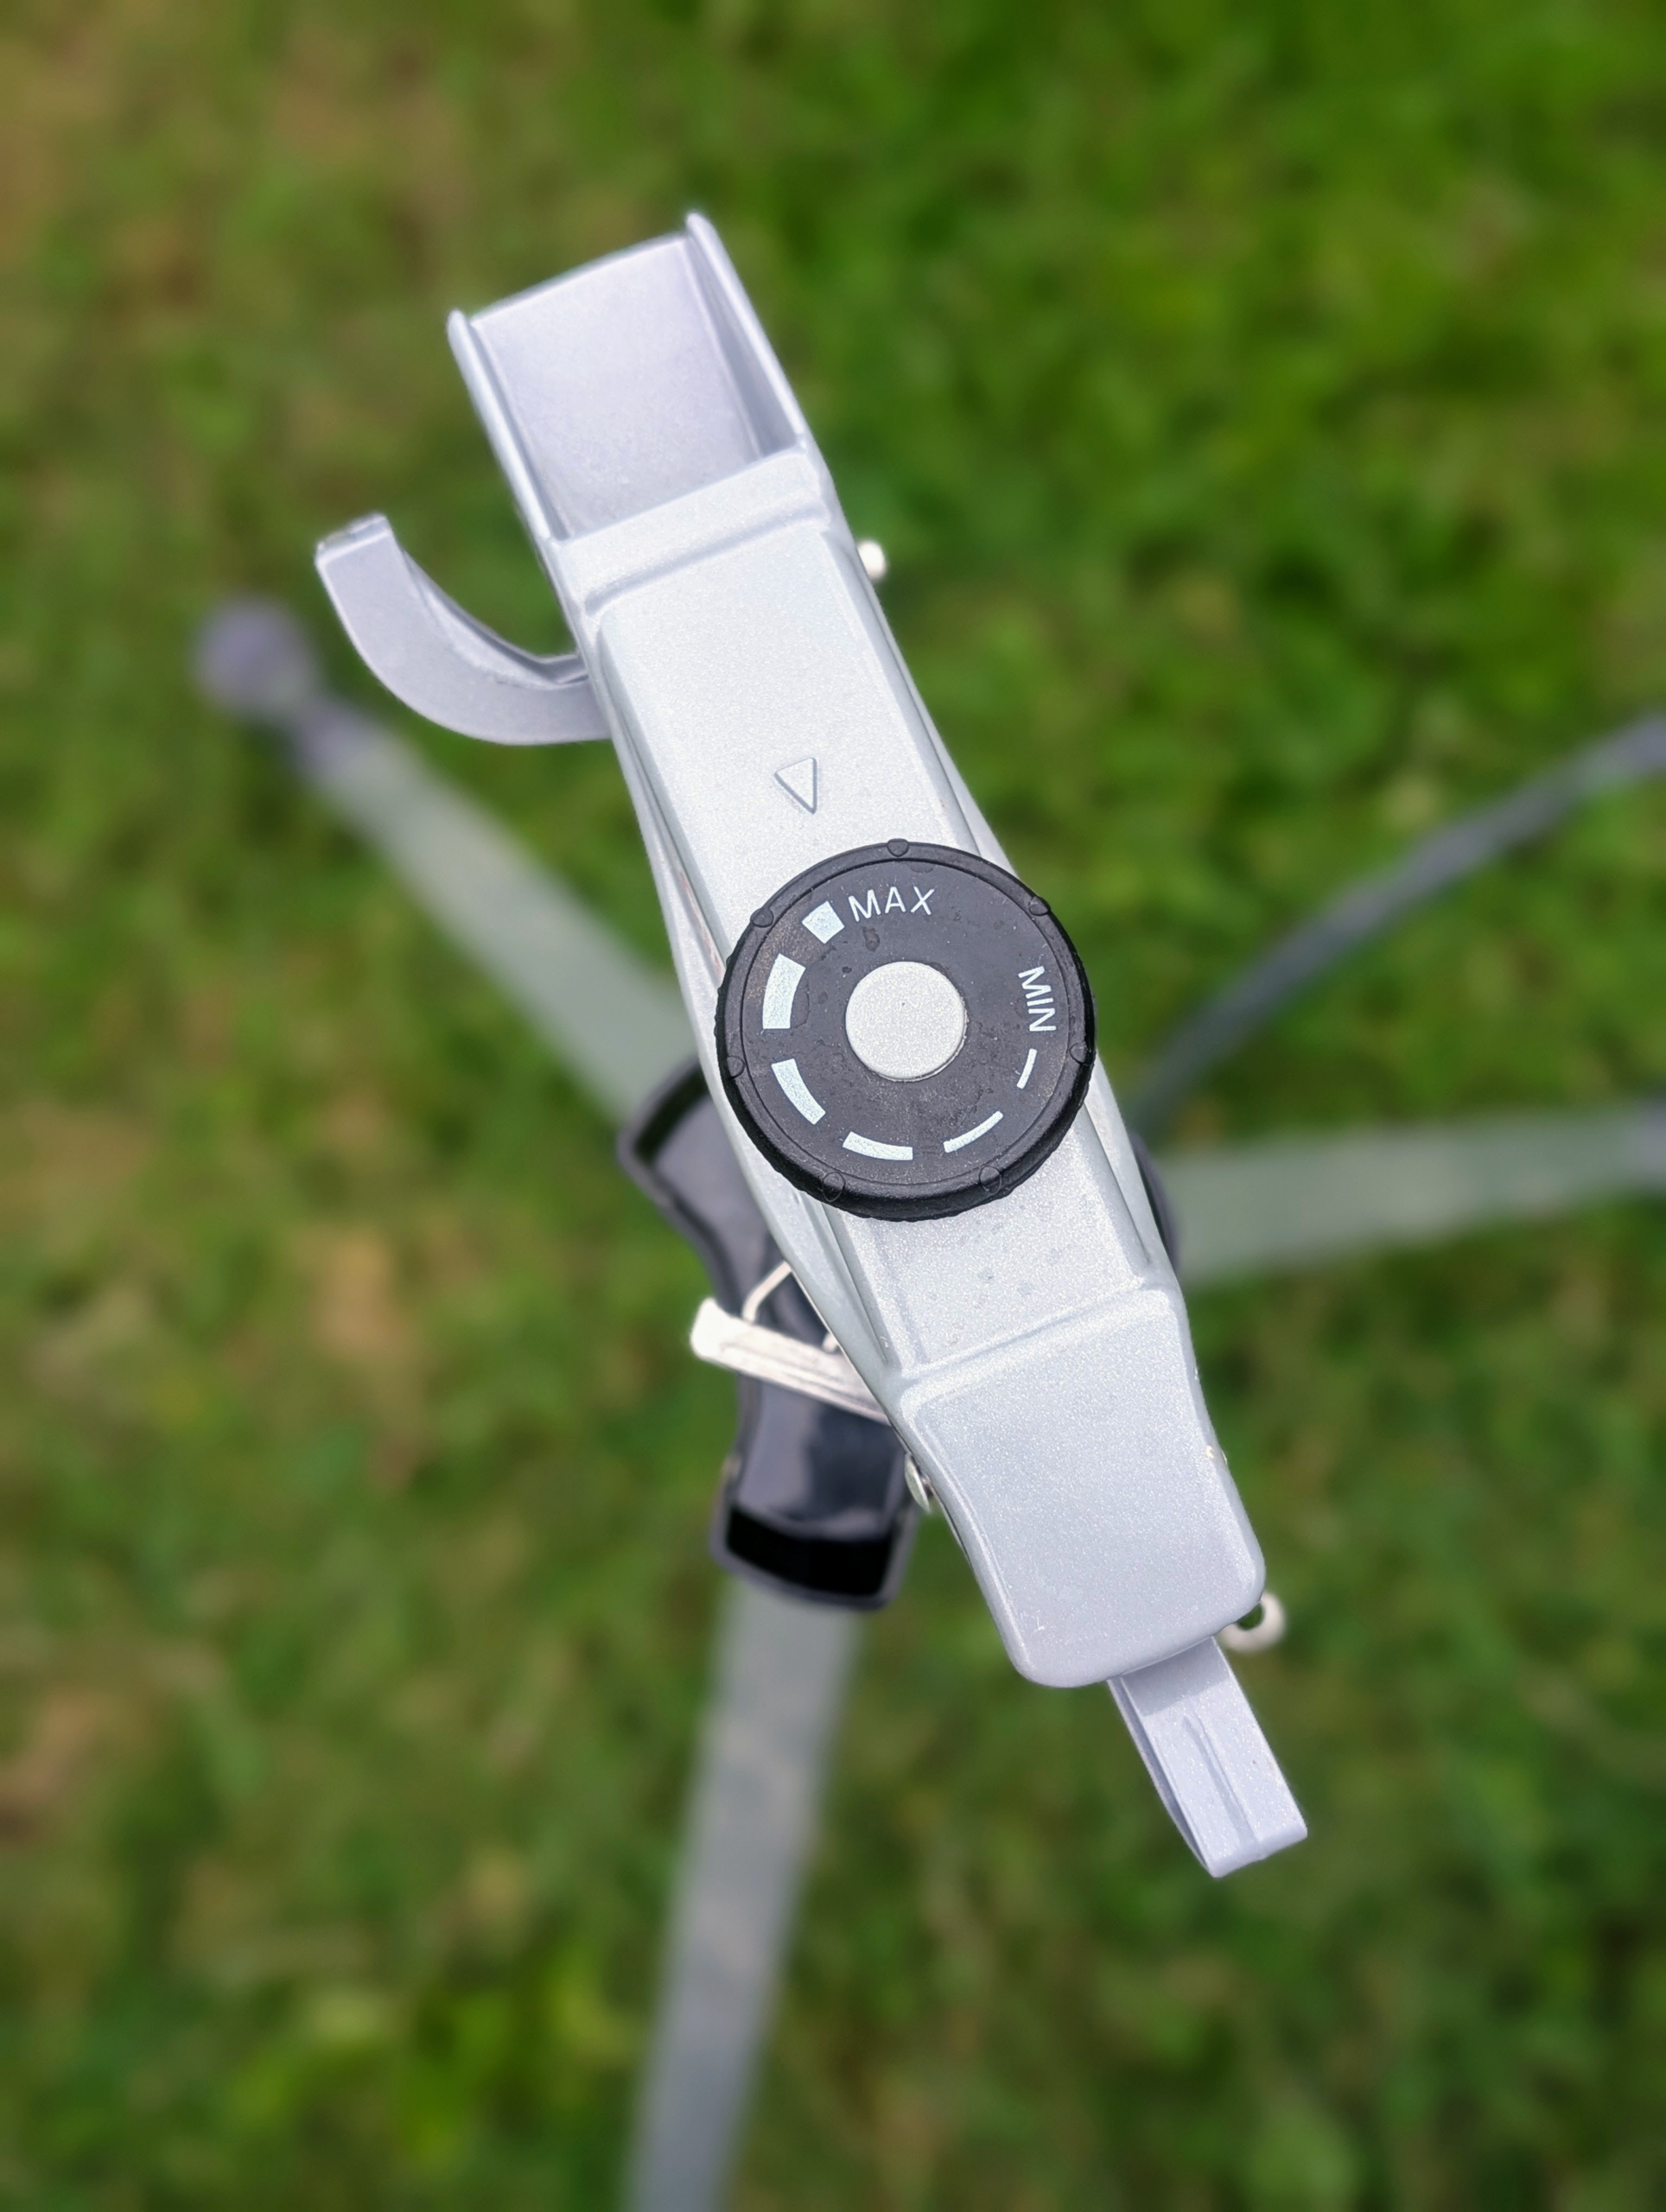
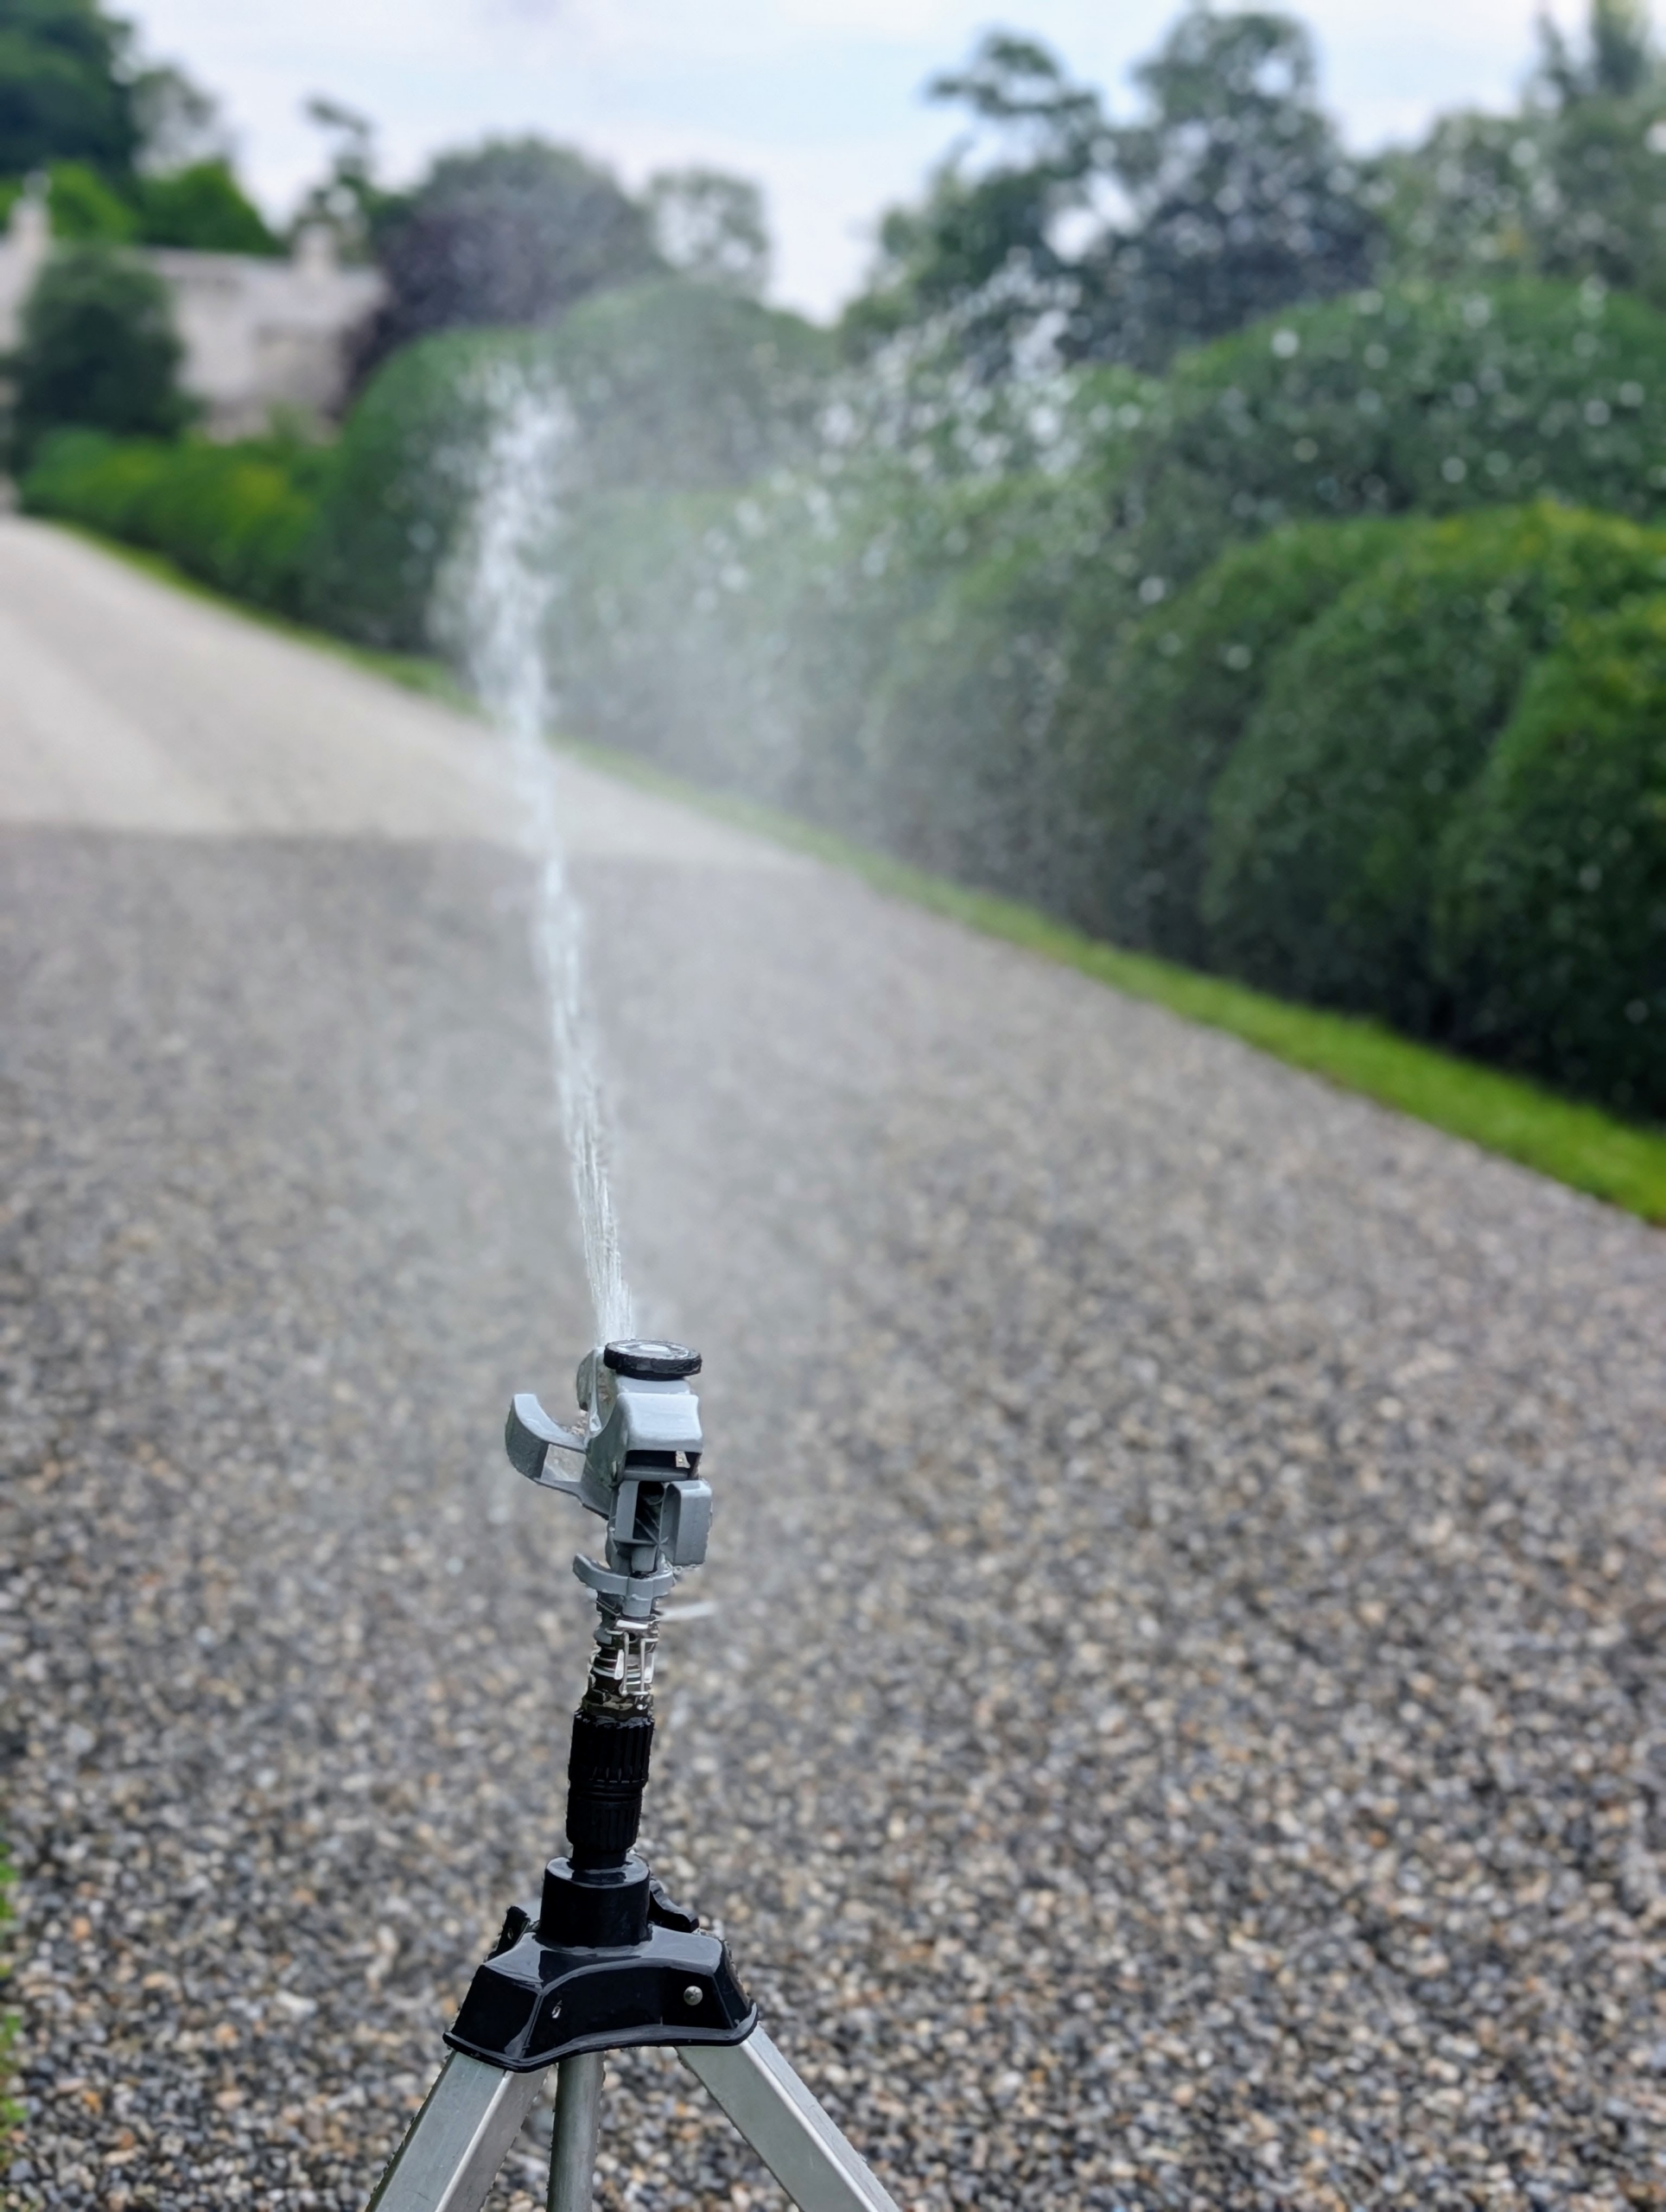
The collar of the tripod sprinklers can be adjusted for partial to full circle coverage.
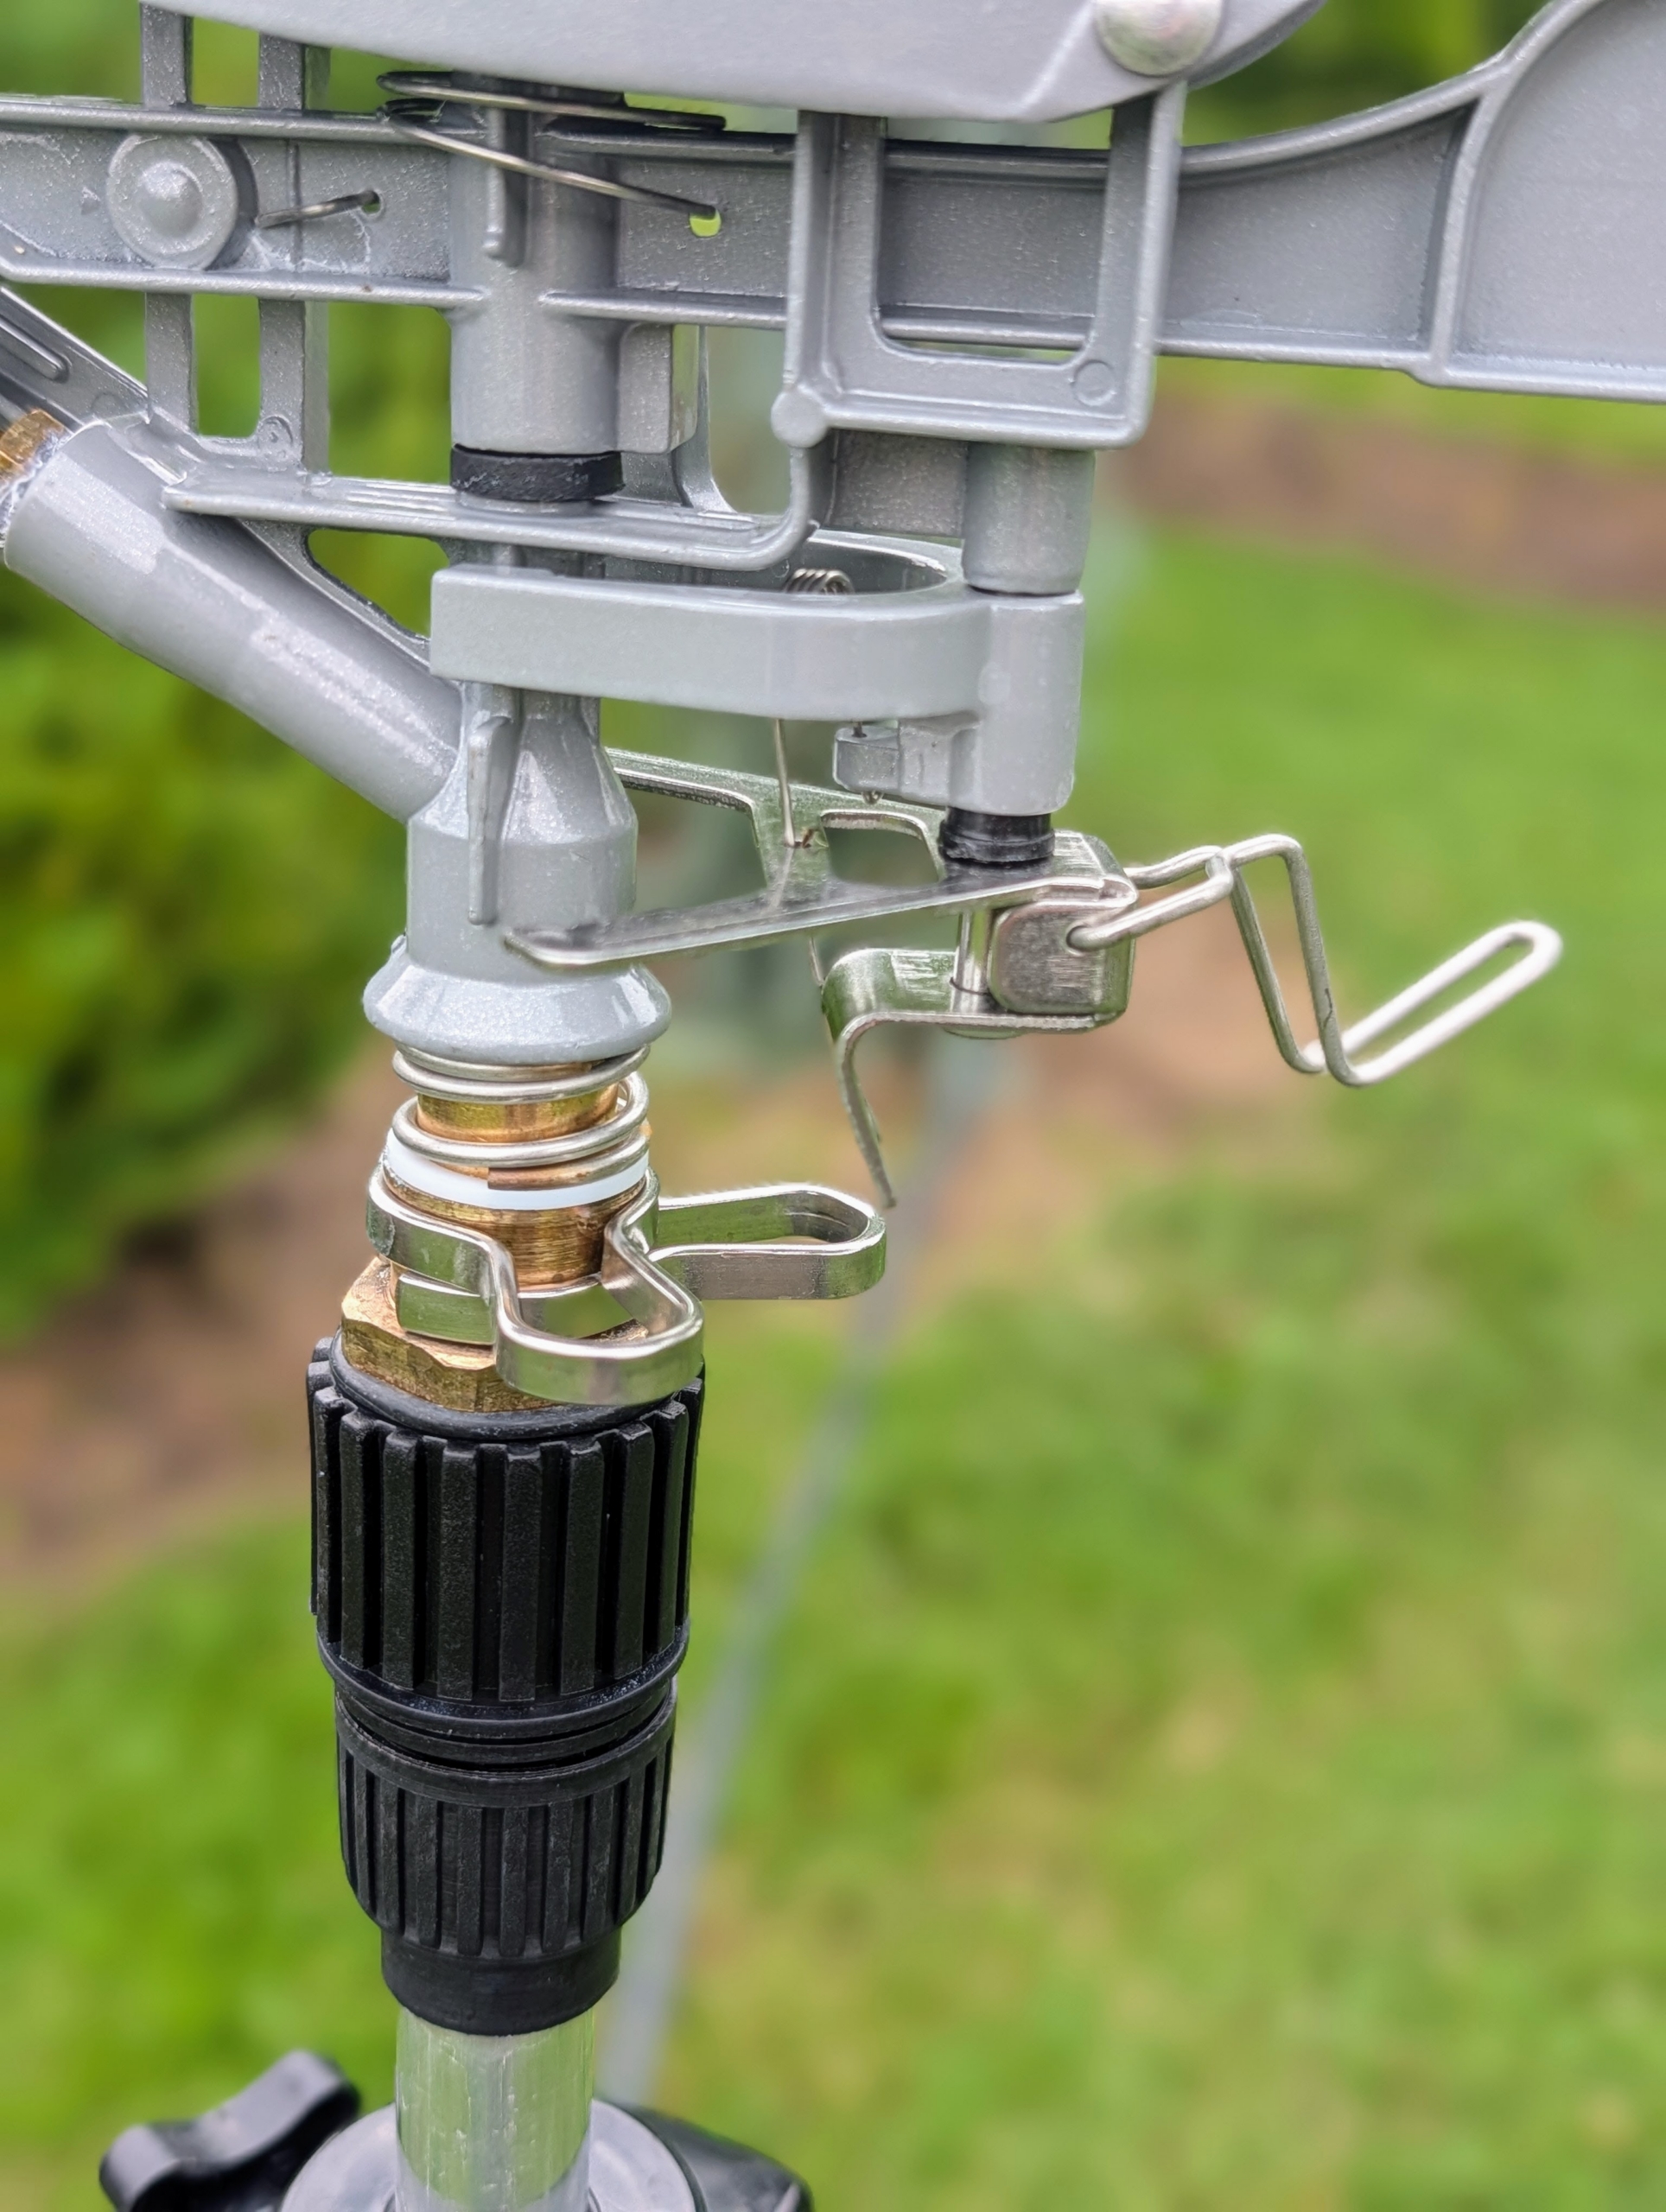
The pin diffuser allows for a customized spray from powerful jet to gentle mist. I teach every person on my crew how to properly use these sprinklers to get the best coverage for the gardens.
The round dial on top makes it easy to set the direction and length of the spray.
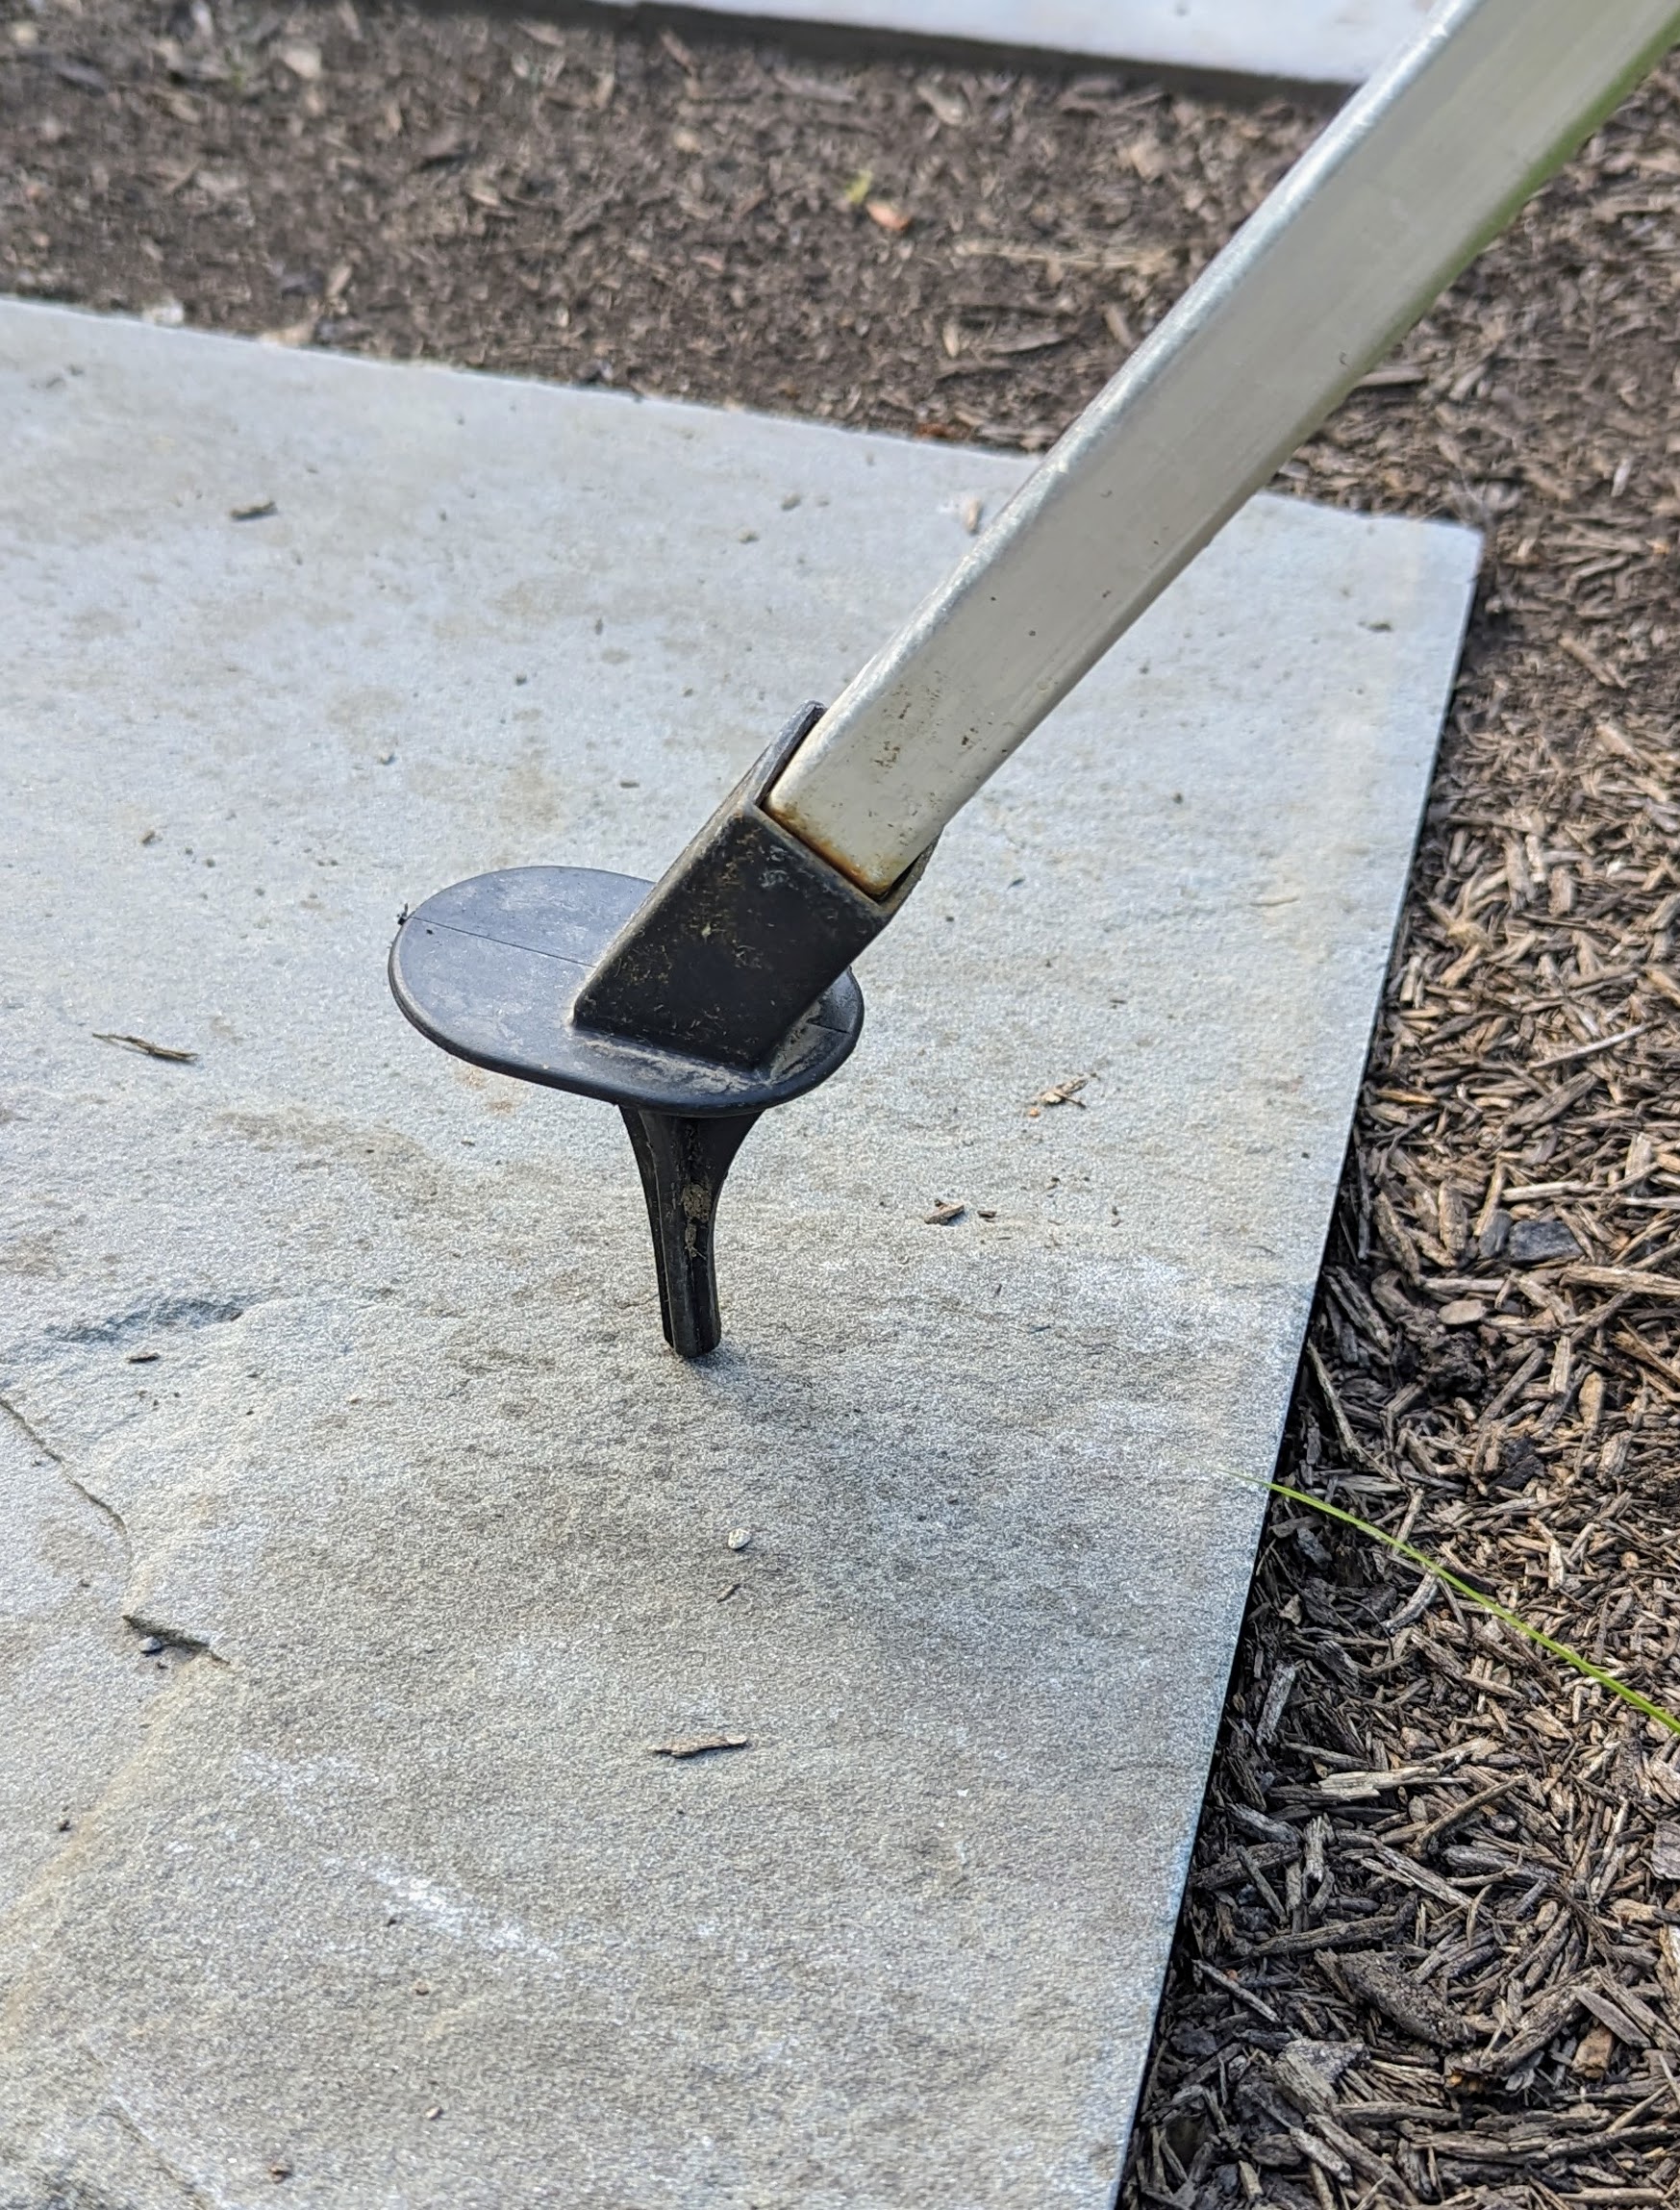
Here, one can see one of three spiked feet of the tripod sprinkler which provide lots of stability on varied surfaces.
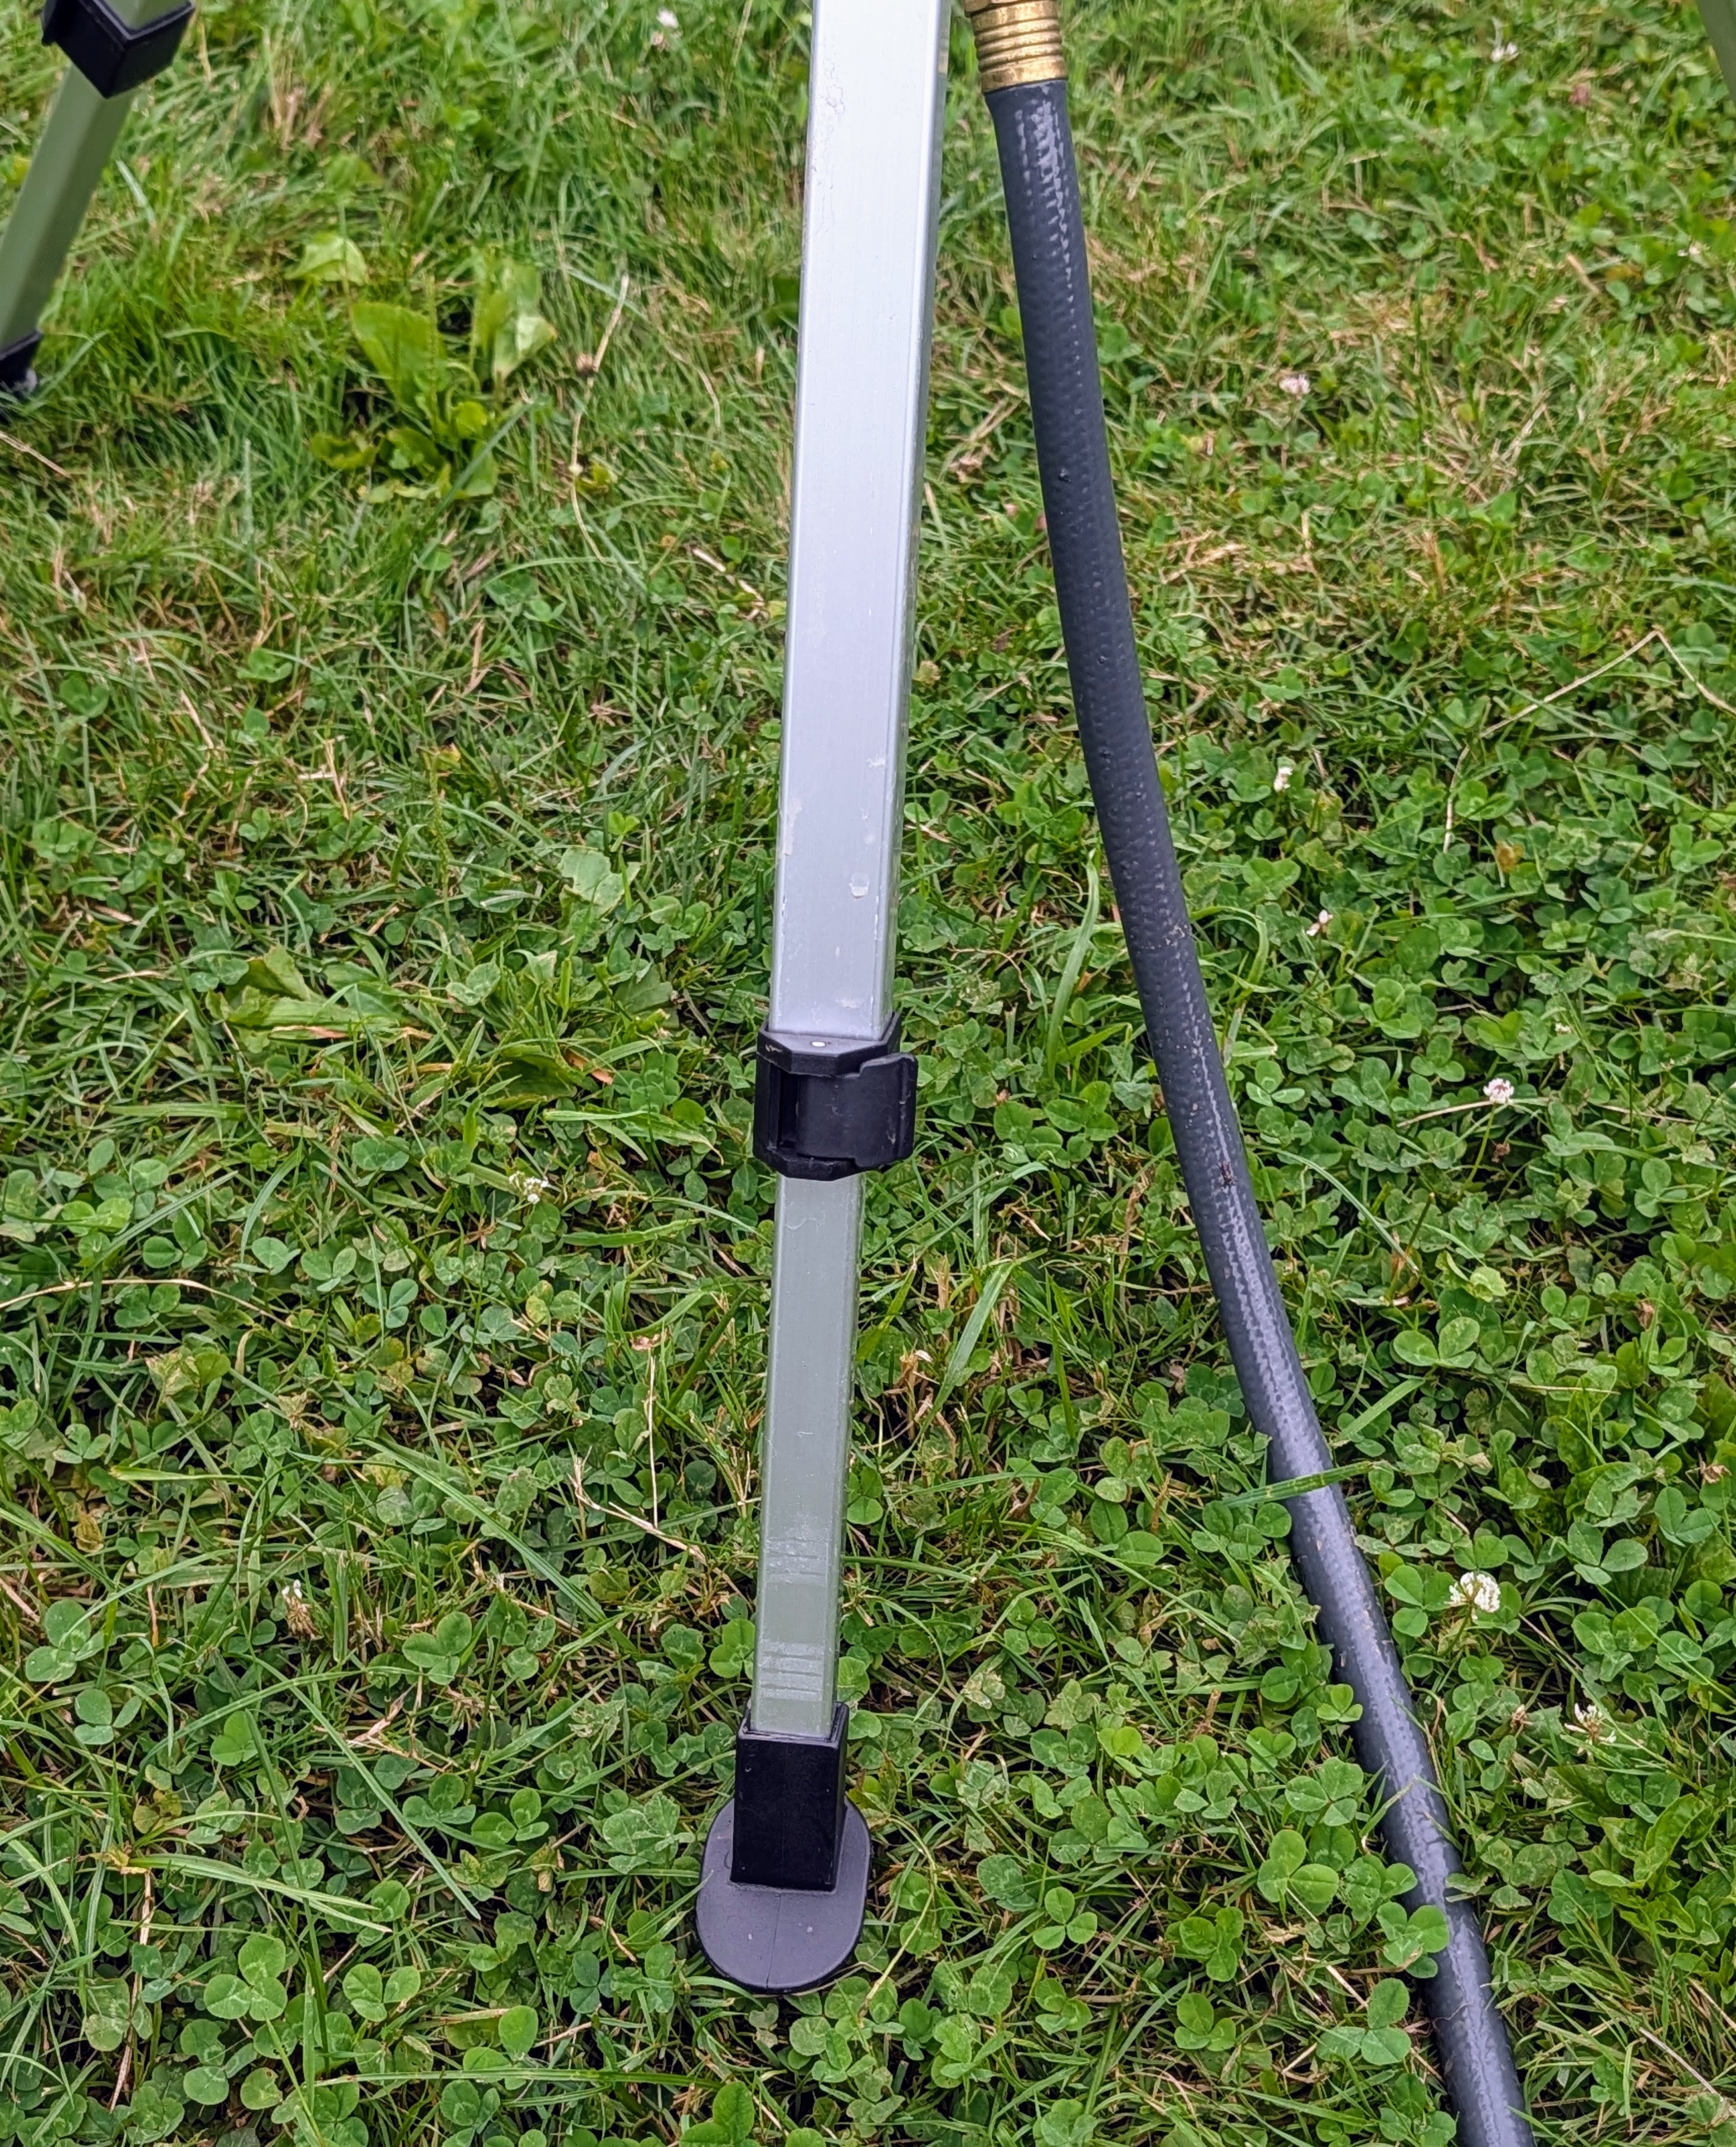
Each of the legs is also adjustable for low and high spray.
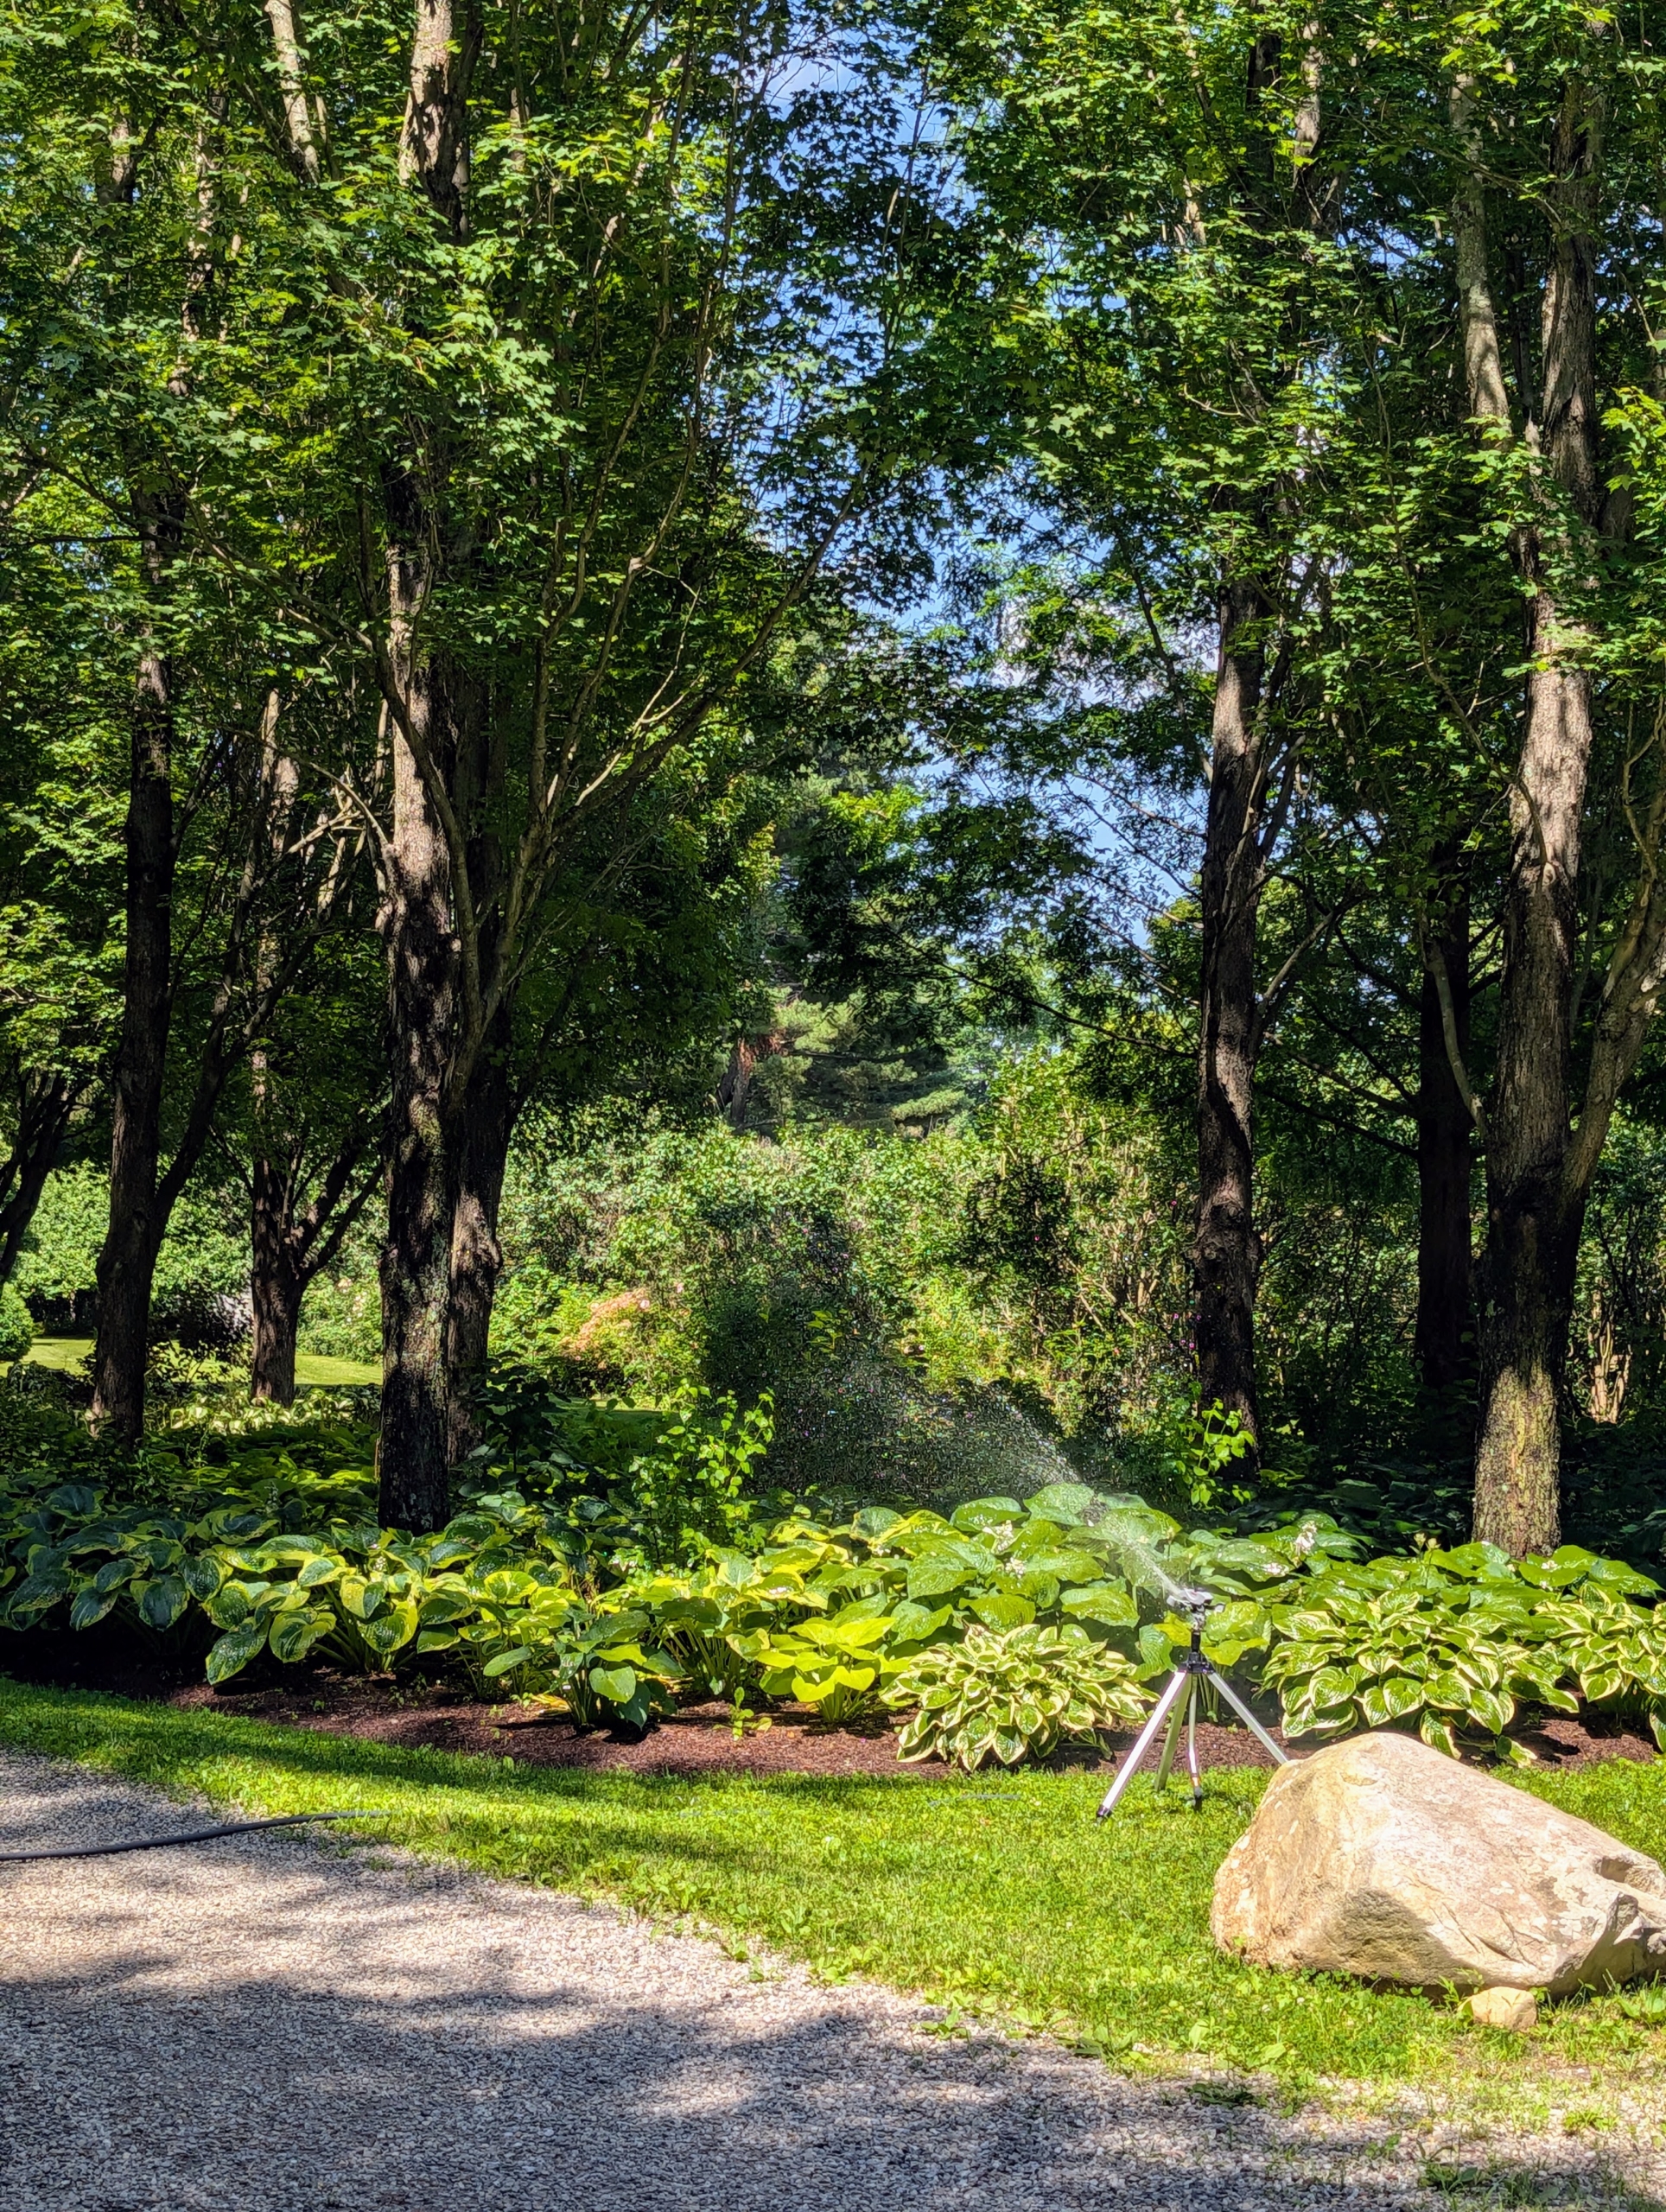
Mornings are the best times to water – when water pressure is high, evaporation is low, and the soil can absorb the water before the sun heats up the ground. This garden is behind my Tenant Guest House. It is lush, green, and thoroughly watered.
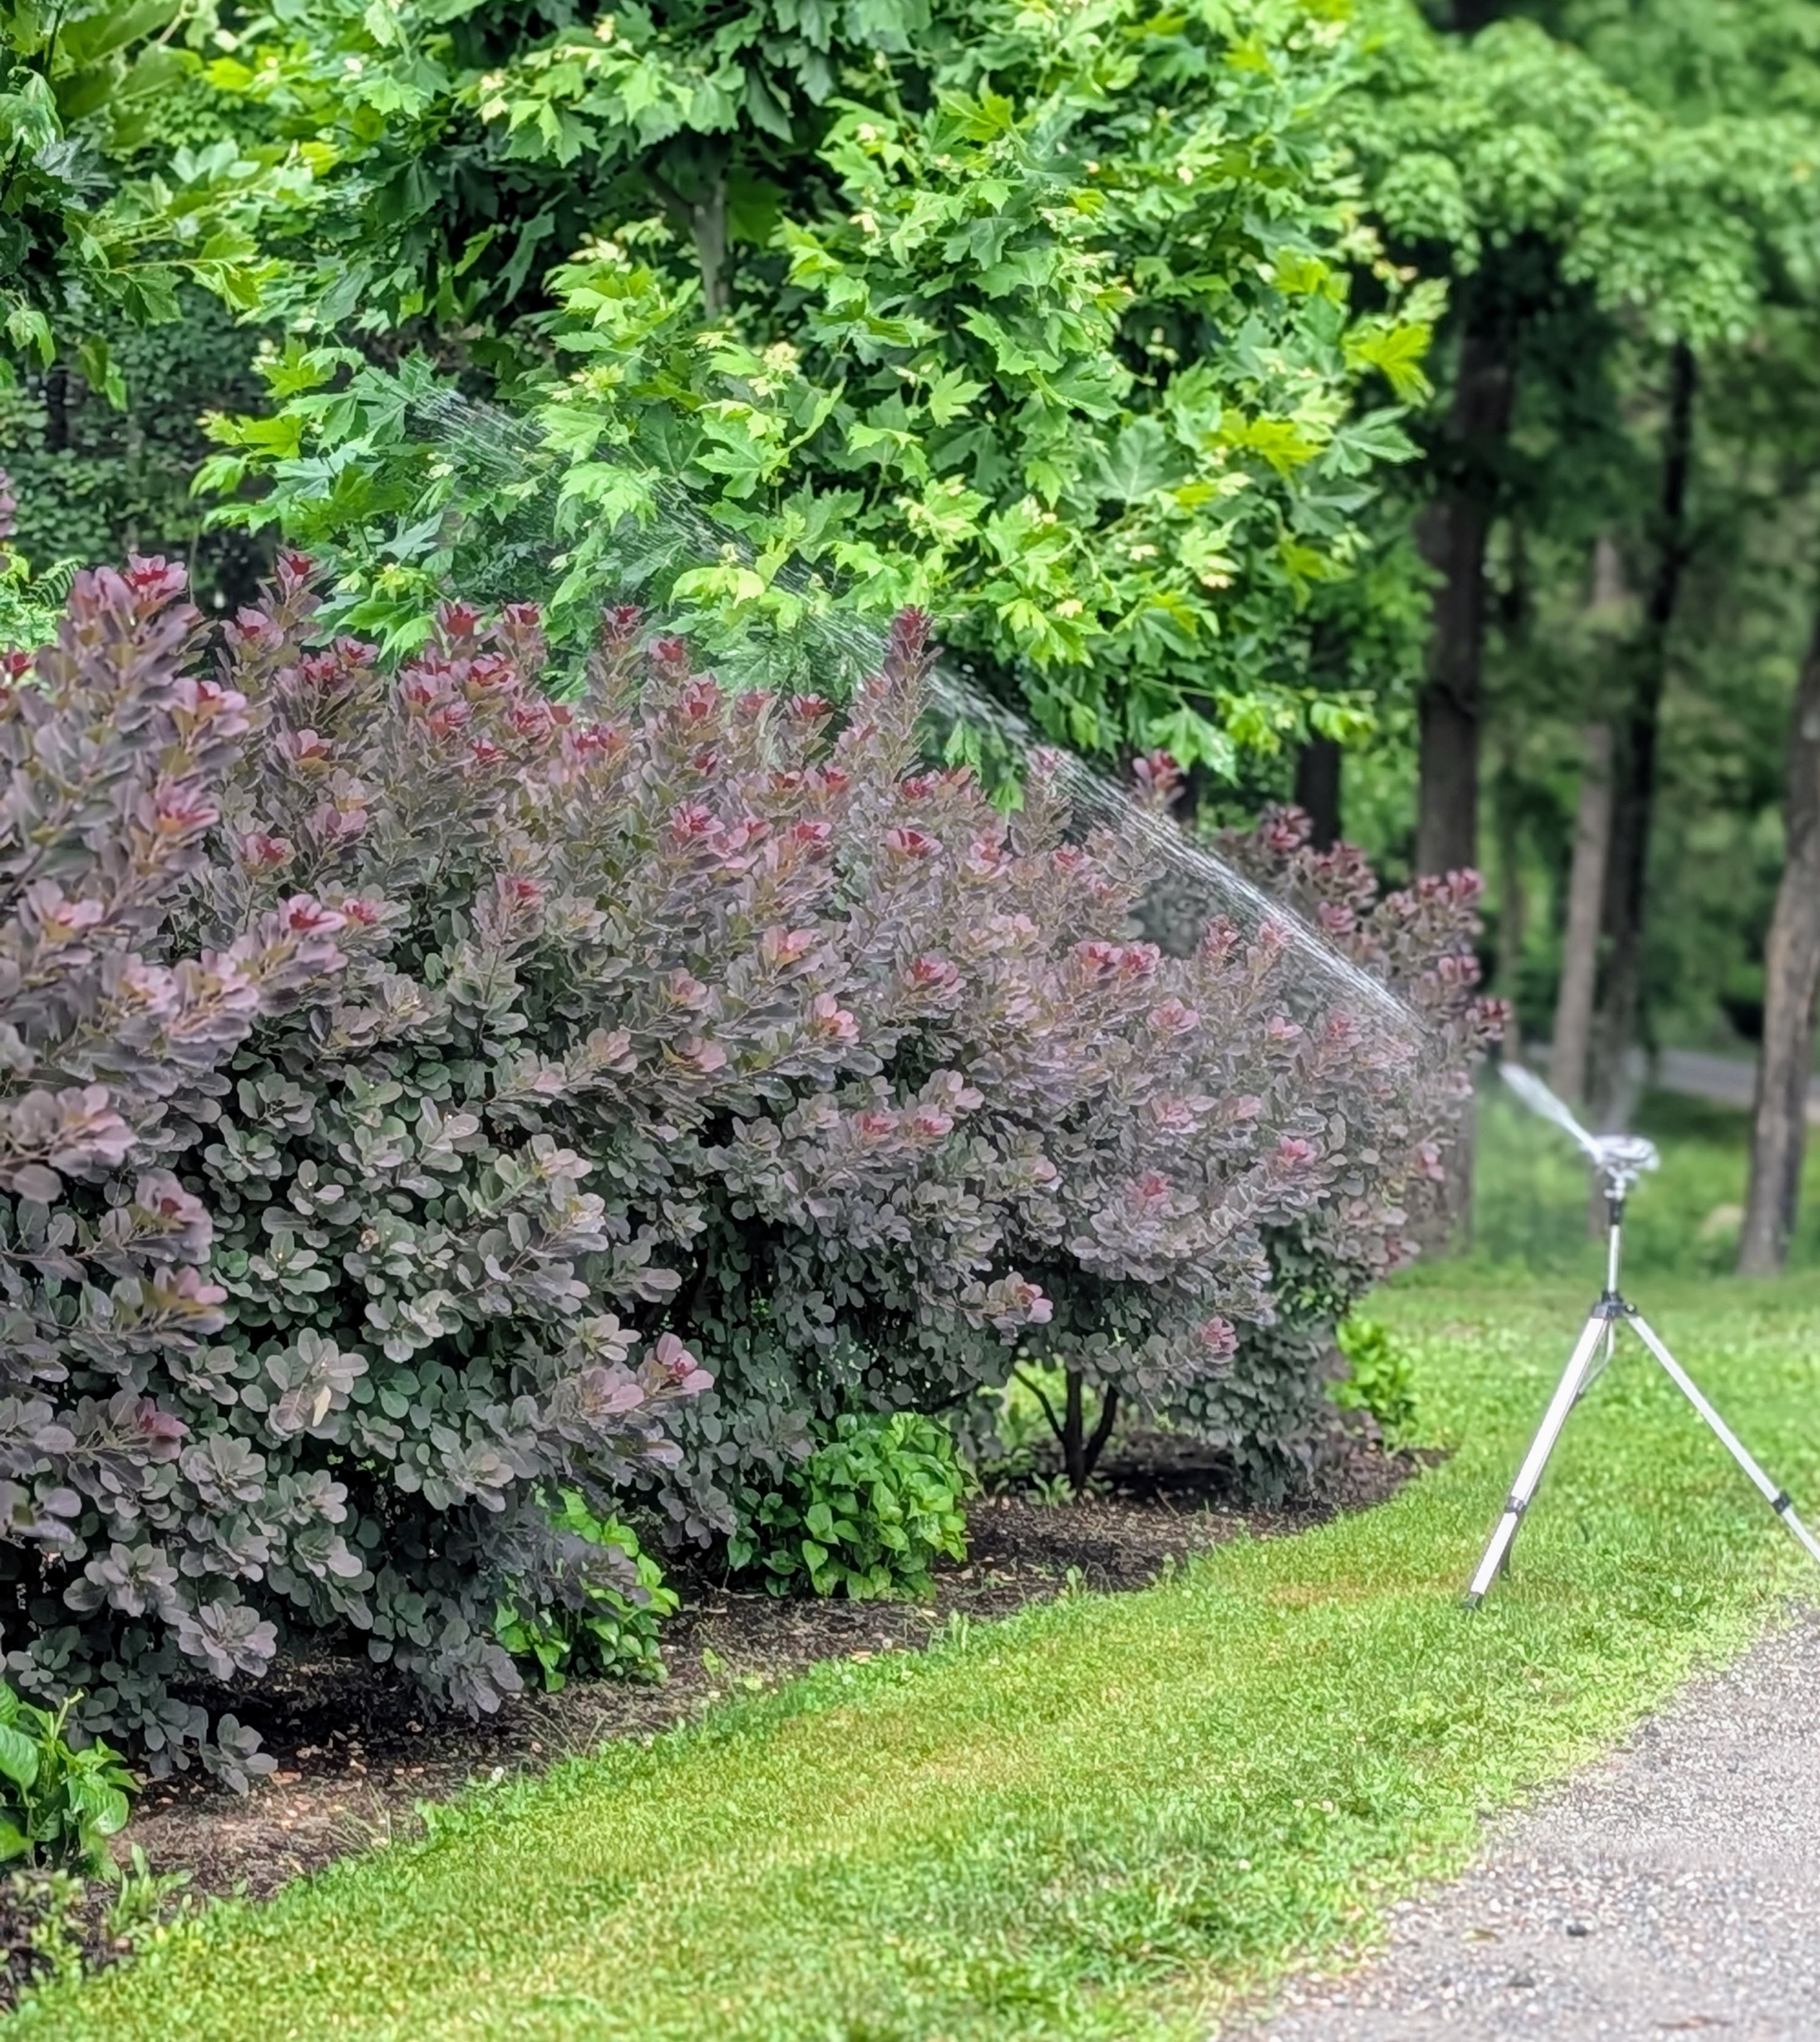
The height, distance, and spray patterns of the tripod sprinklers can be adjusted to suit so many garden needs. This one is watering my Cotinus, also known as smoke bushes, in the allée.
Well-established trees with strong, deep root systems will be more drought tolerant.
To avoid dry spots, sprinkler heads should be positioned so they overlap slightly in their coverage areas. During the summer, a good watering is done to a depth of about six to eight inches if possible. An even, intermittent sprinkling is best for thorough, deep watering.
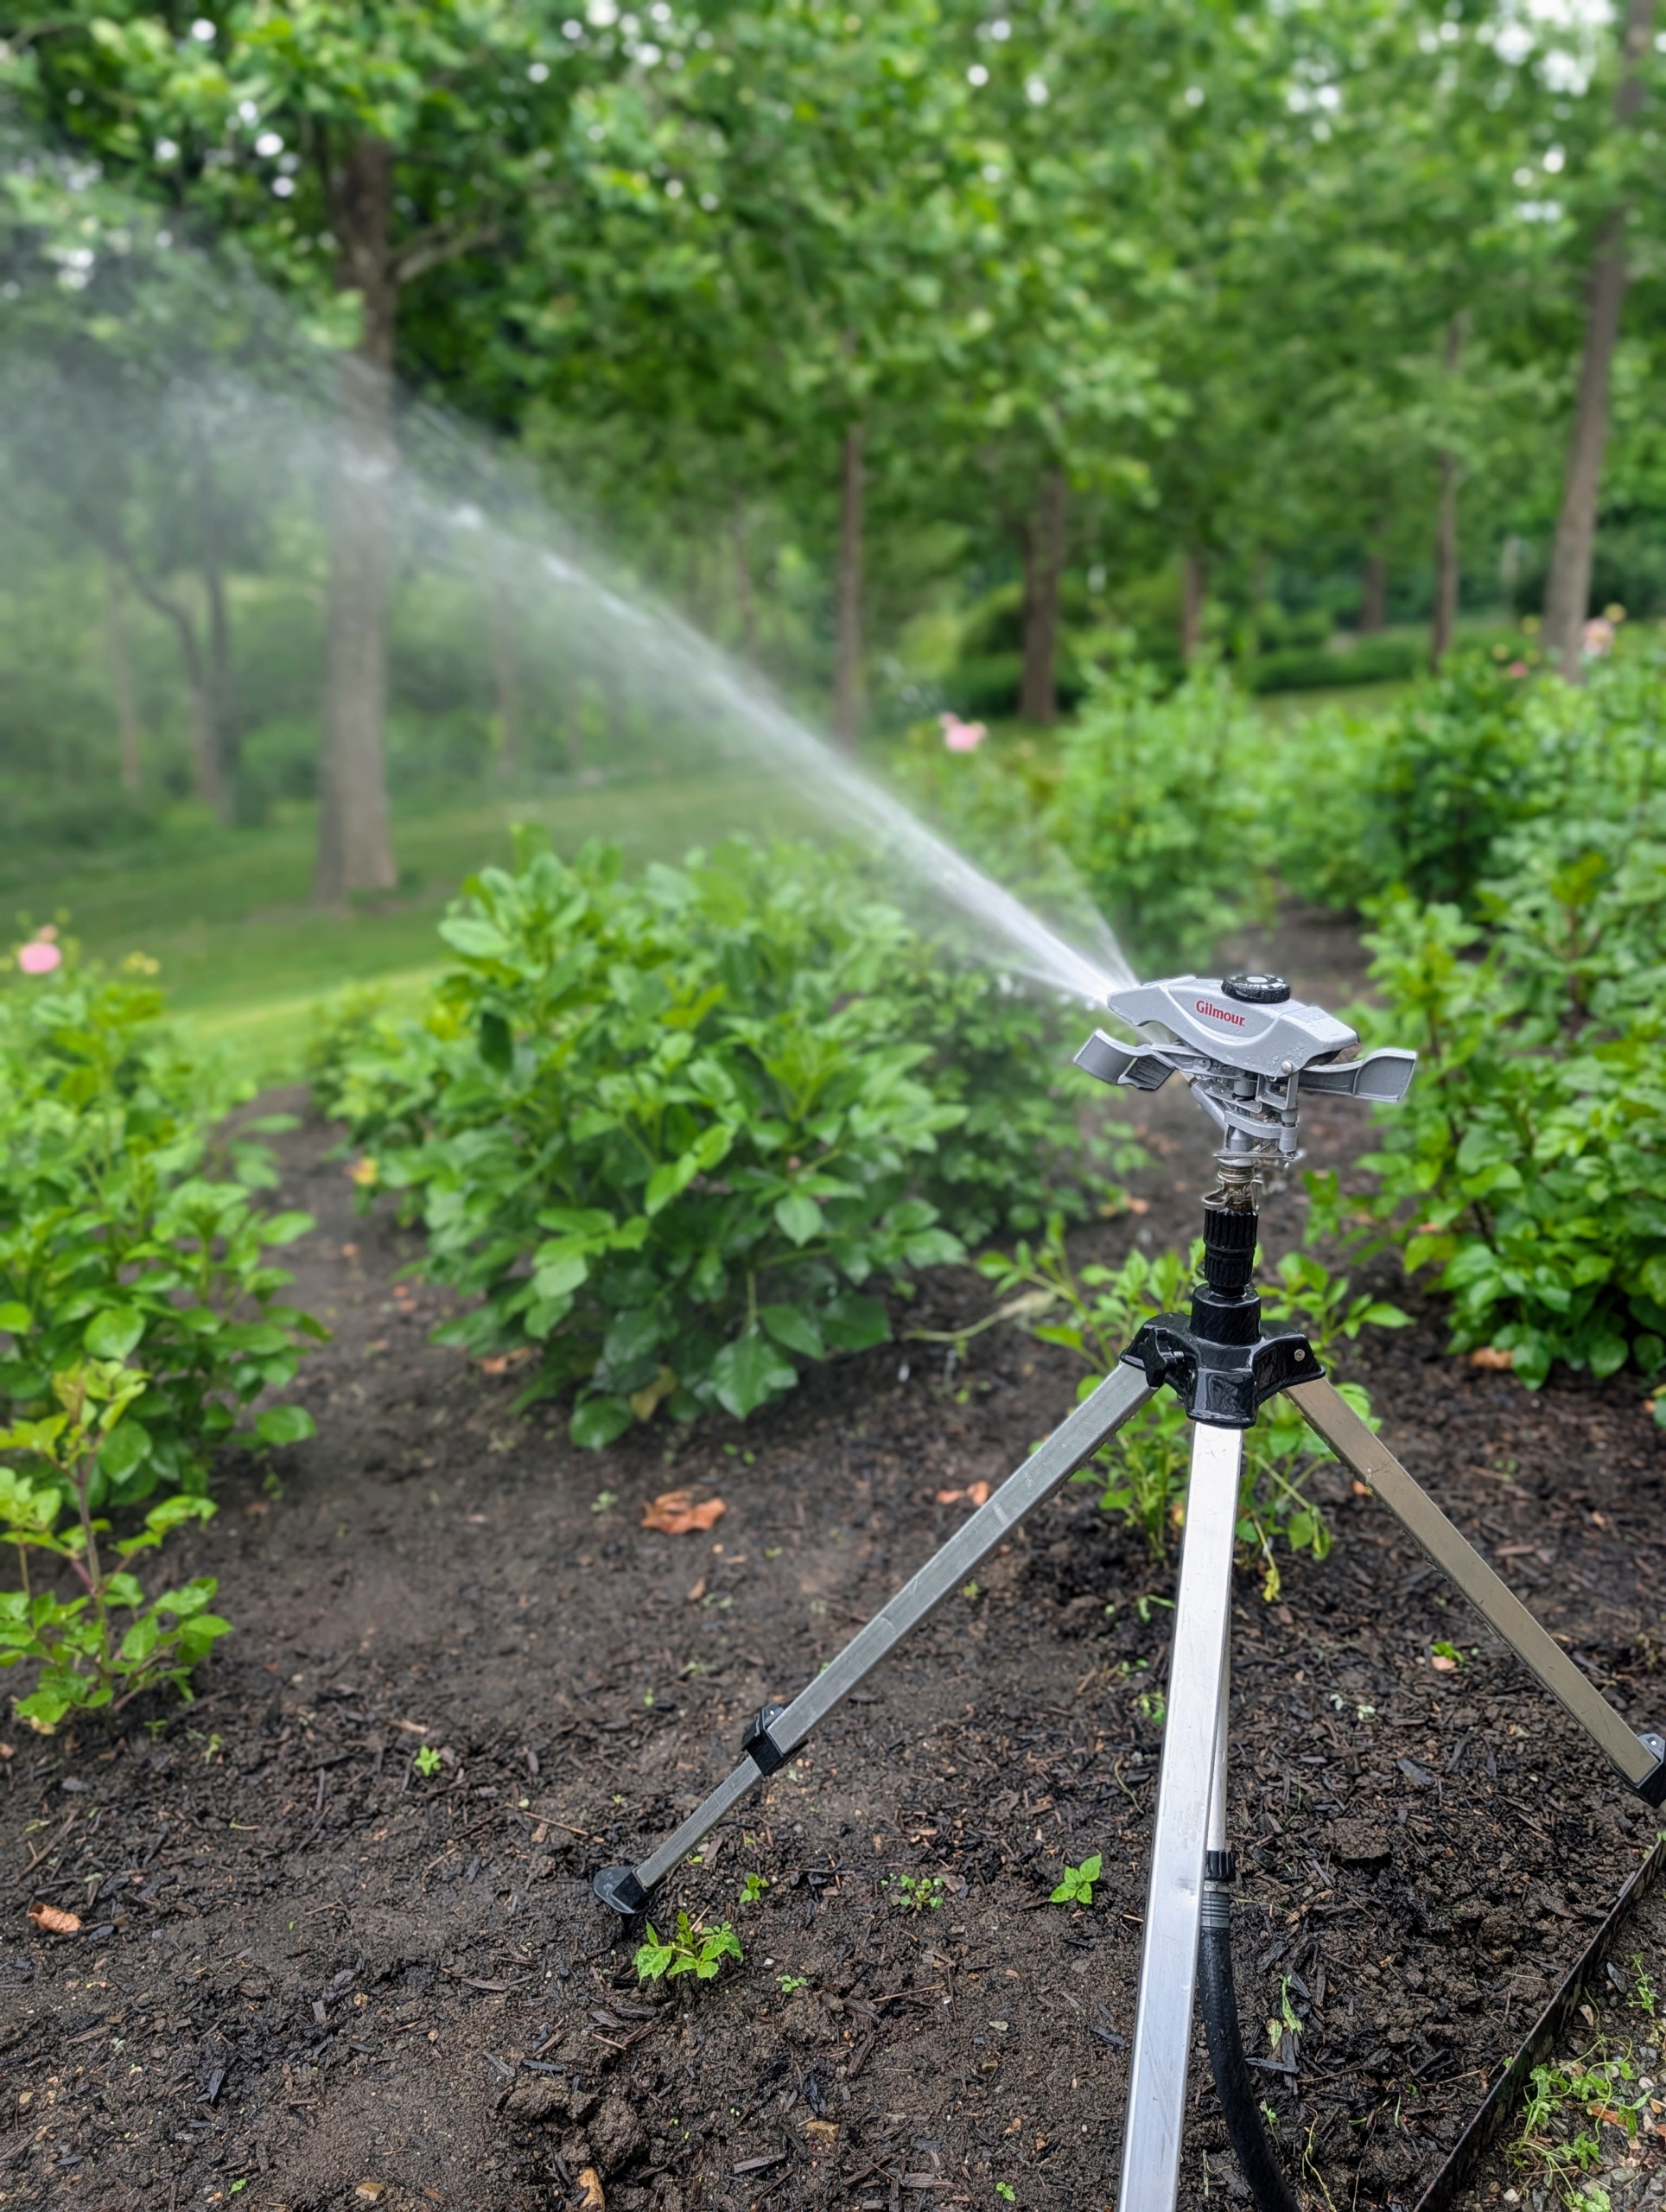
Here’s one positioned in my dahlia bed. The adjustable tripod can reach a height of 58-inches and can water everything from above. And remember, once the watering in one area is done, it’s important to turn off the water at the source. Just turning off at the sprinkler puts a lot of pressure on the hoses and pipes.
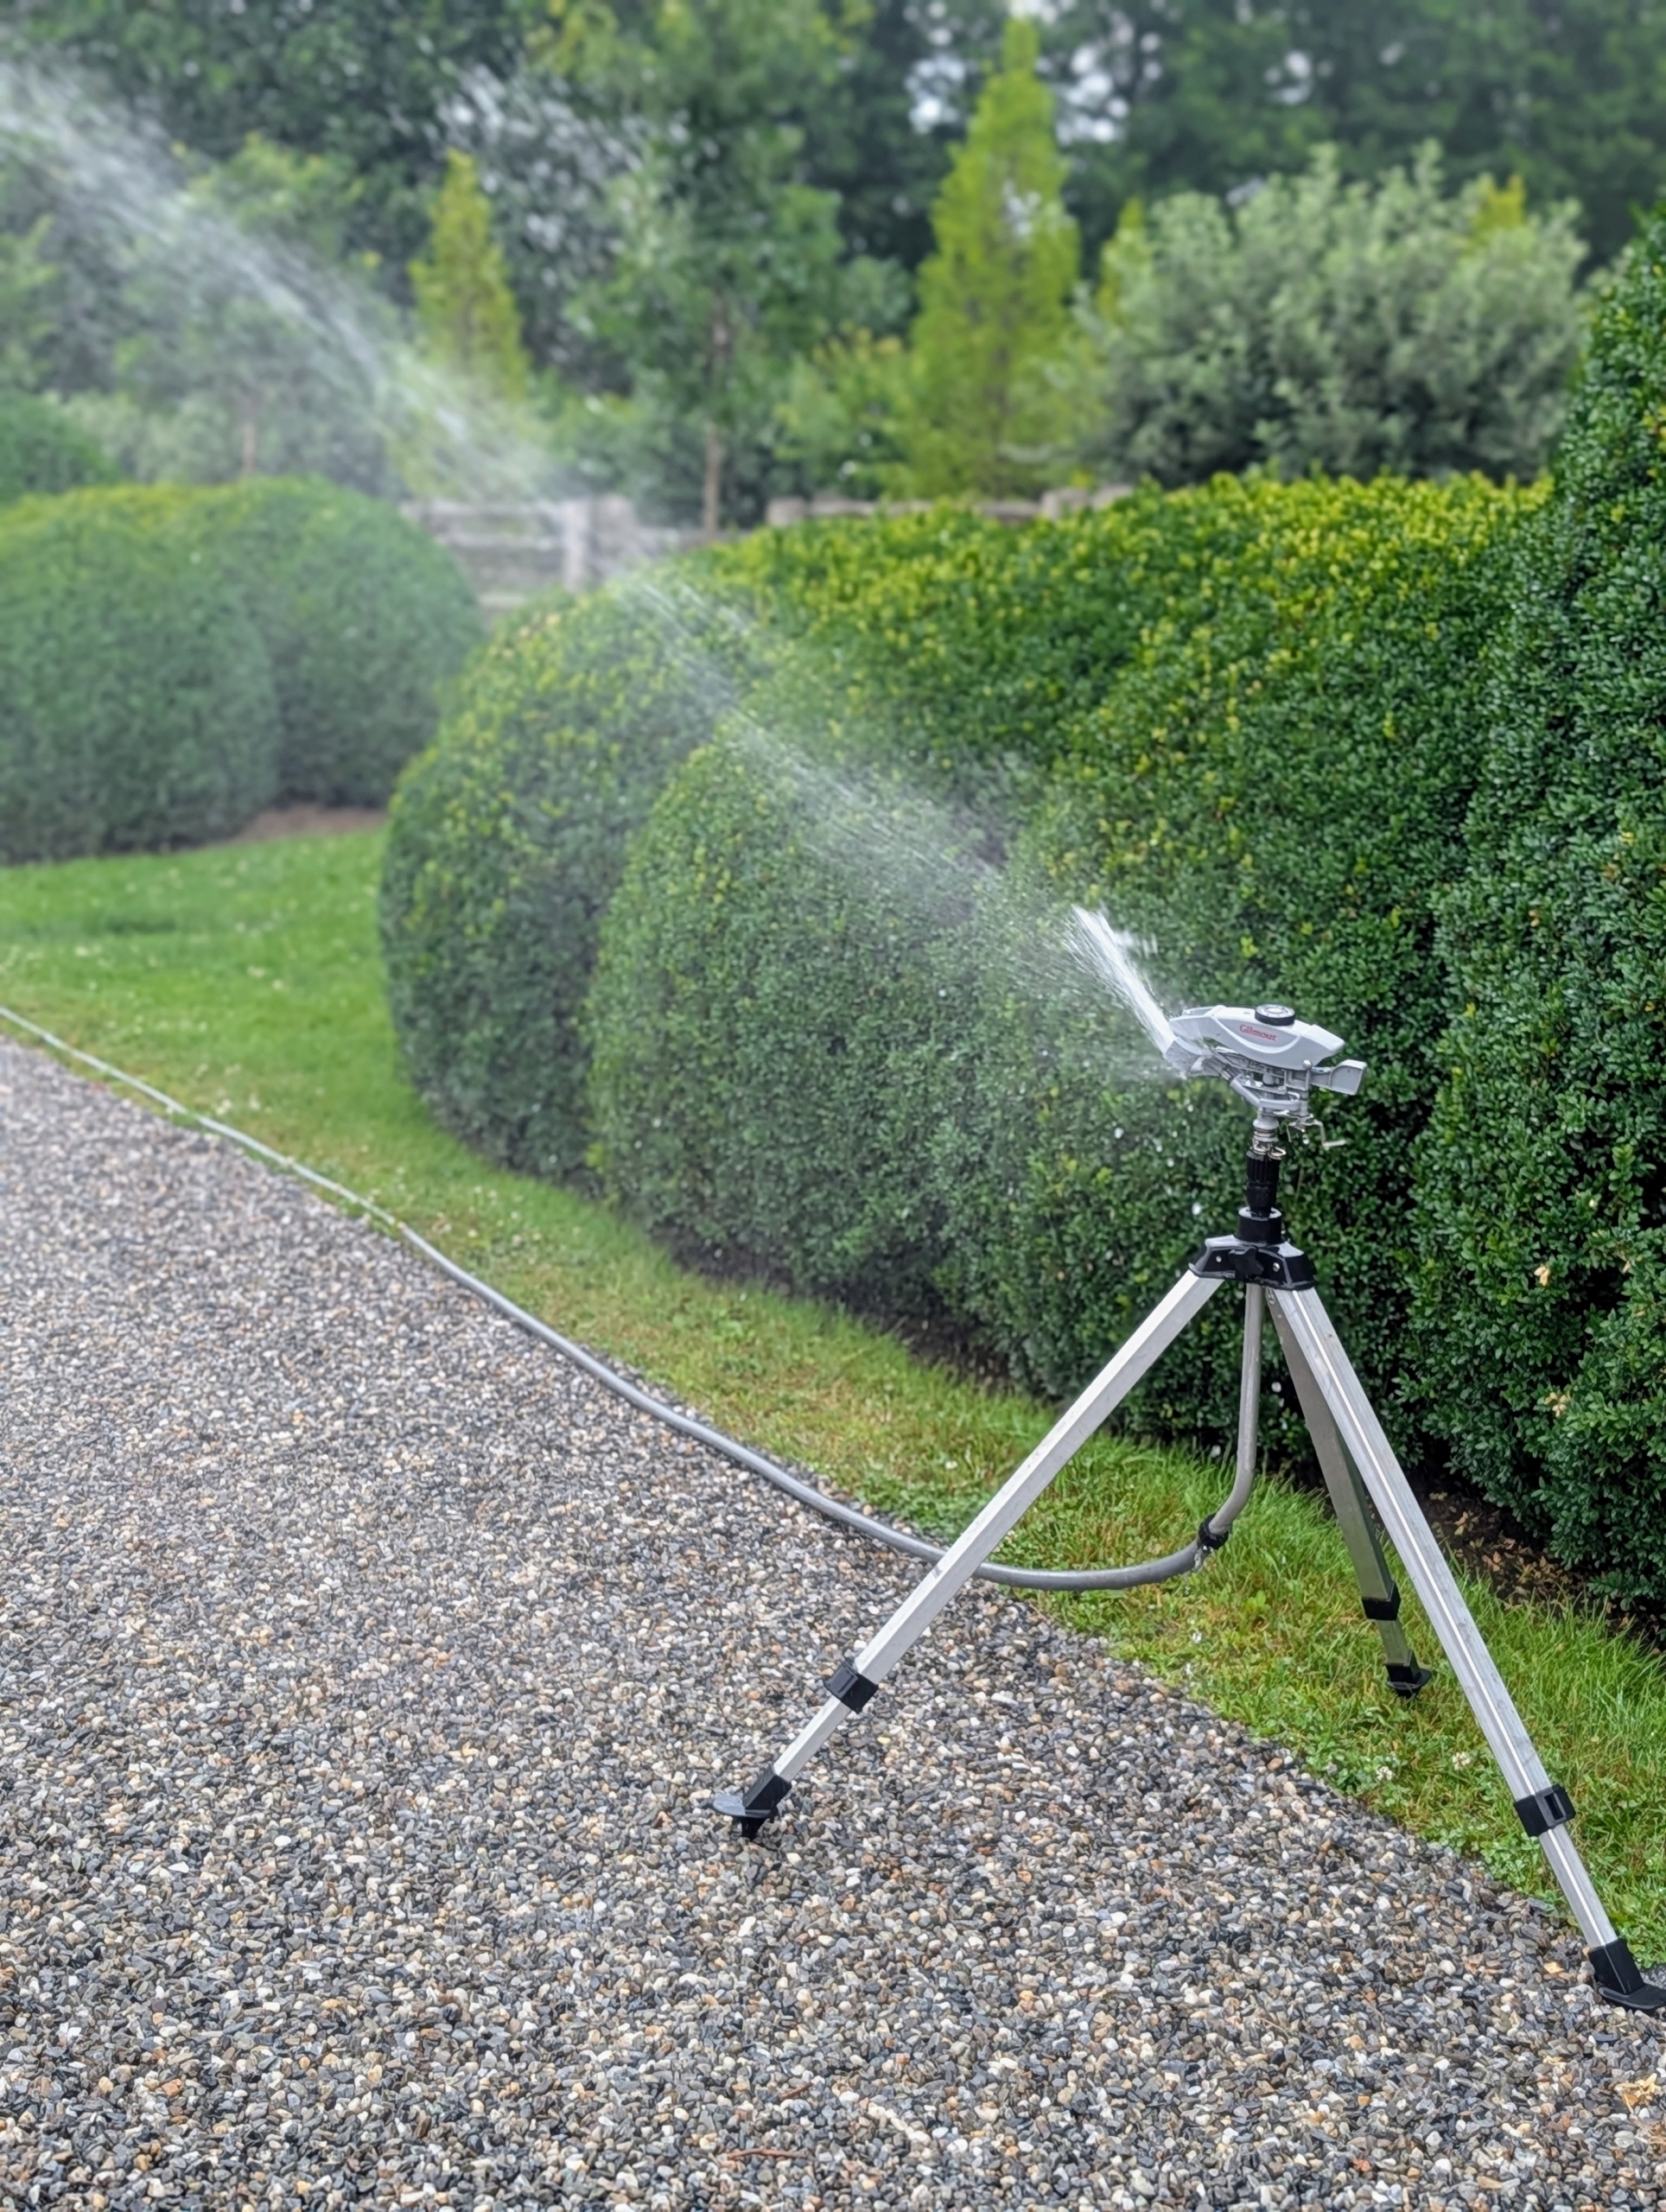
Look how far the sprinkler can reach – and the spray is very consistent. This sprinkler is in my long Boxwood Allée.
Finally, try to occasionally observe sprinklers and nozzles in action, looking for clogged or leaking heads that may need minor maintenance. Take good care through this holiday weekend – keep yourself, your pets, and your gardens hydrated.
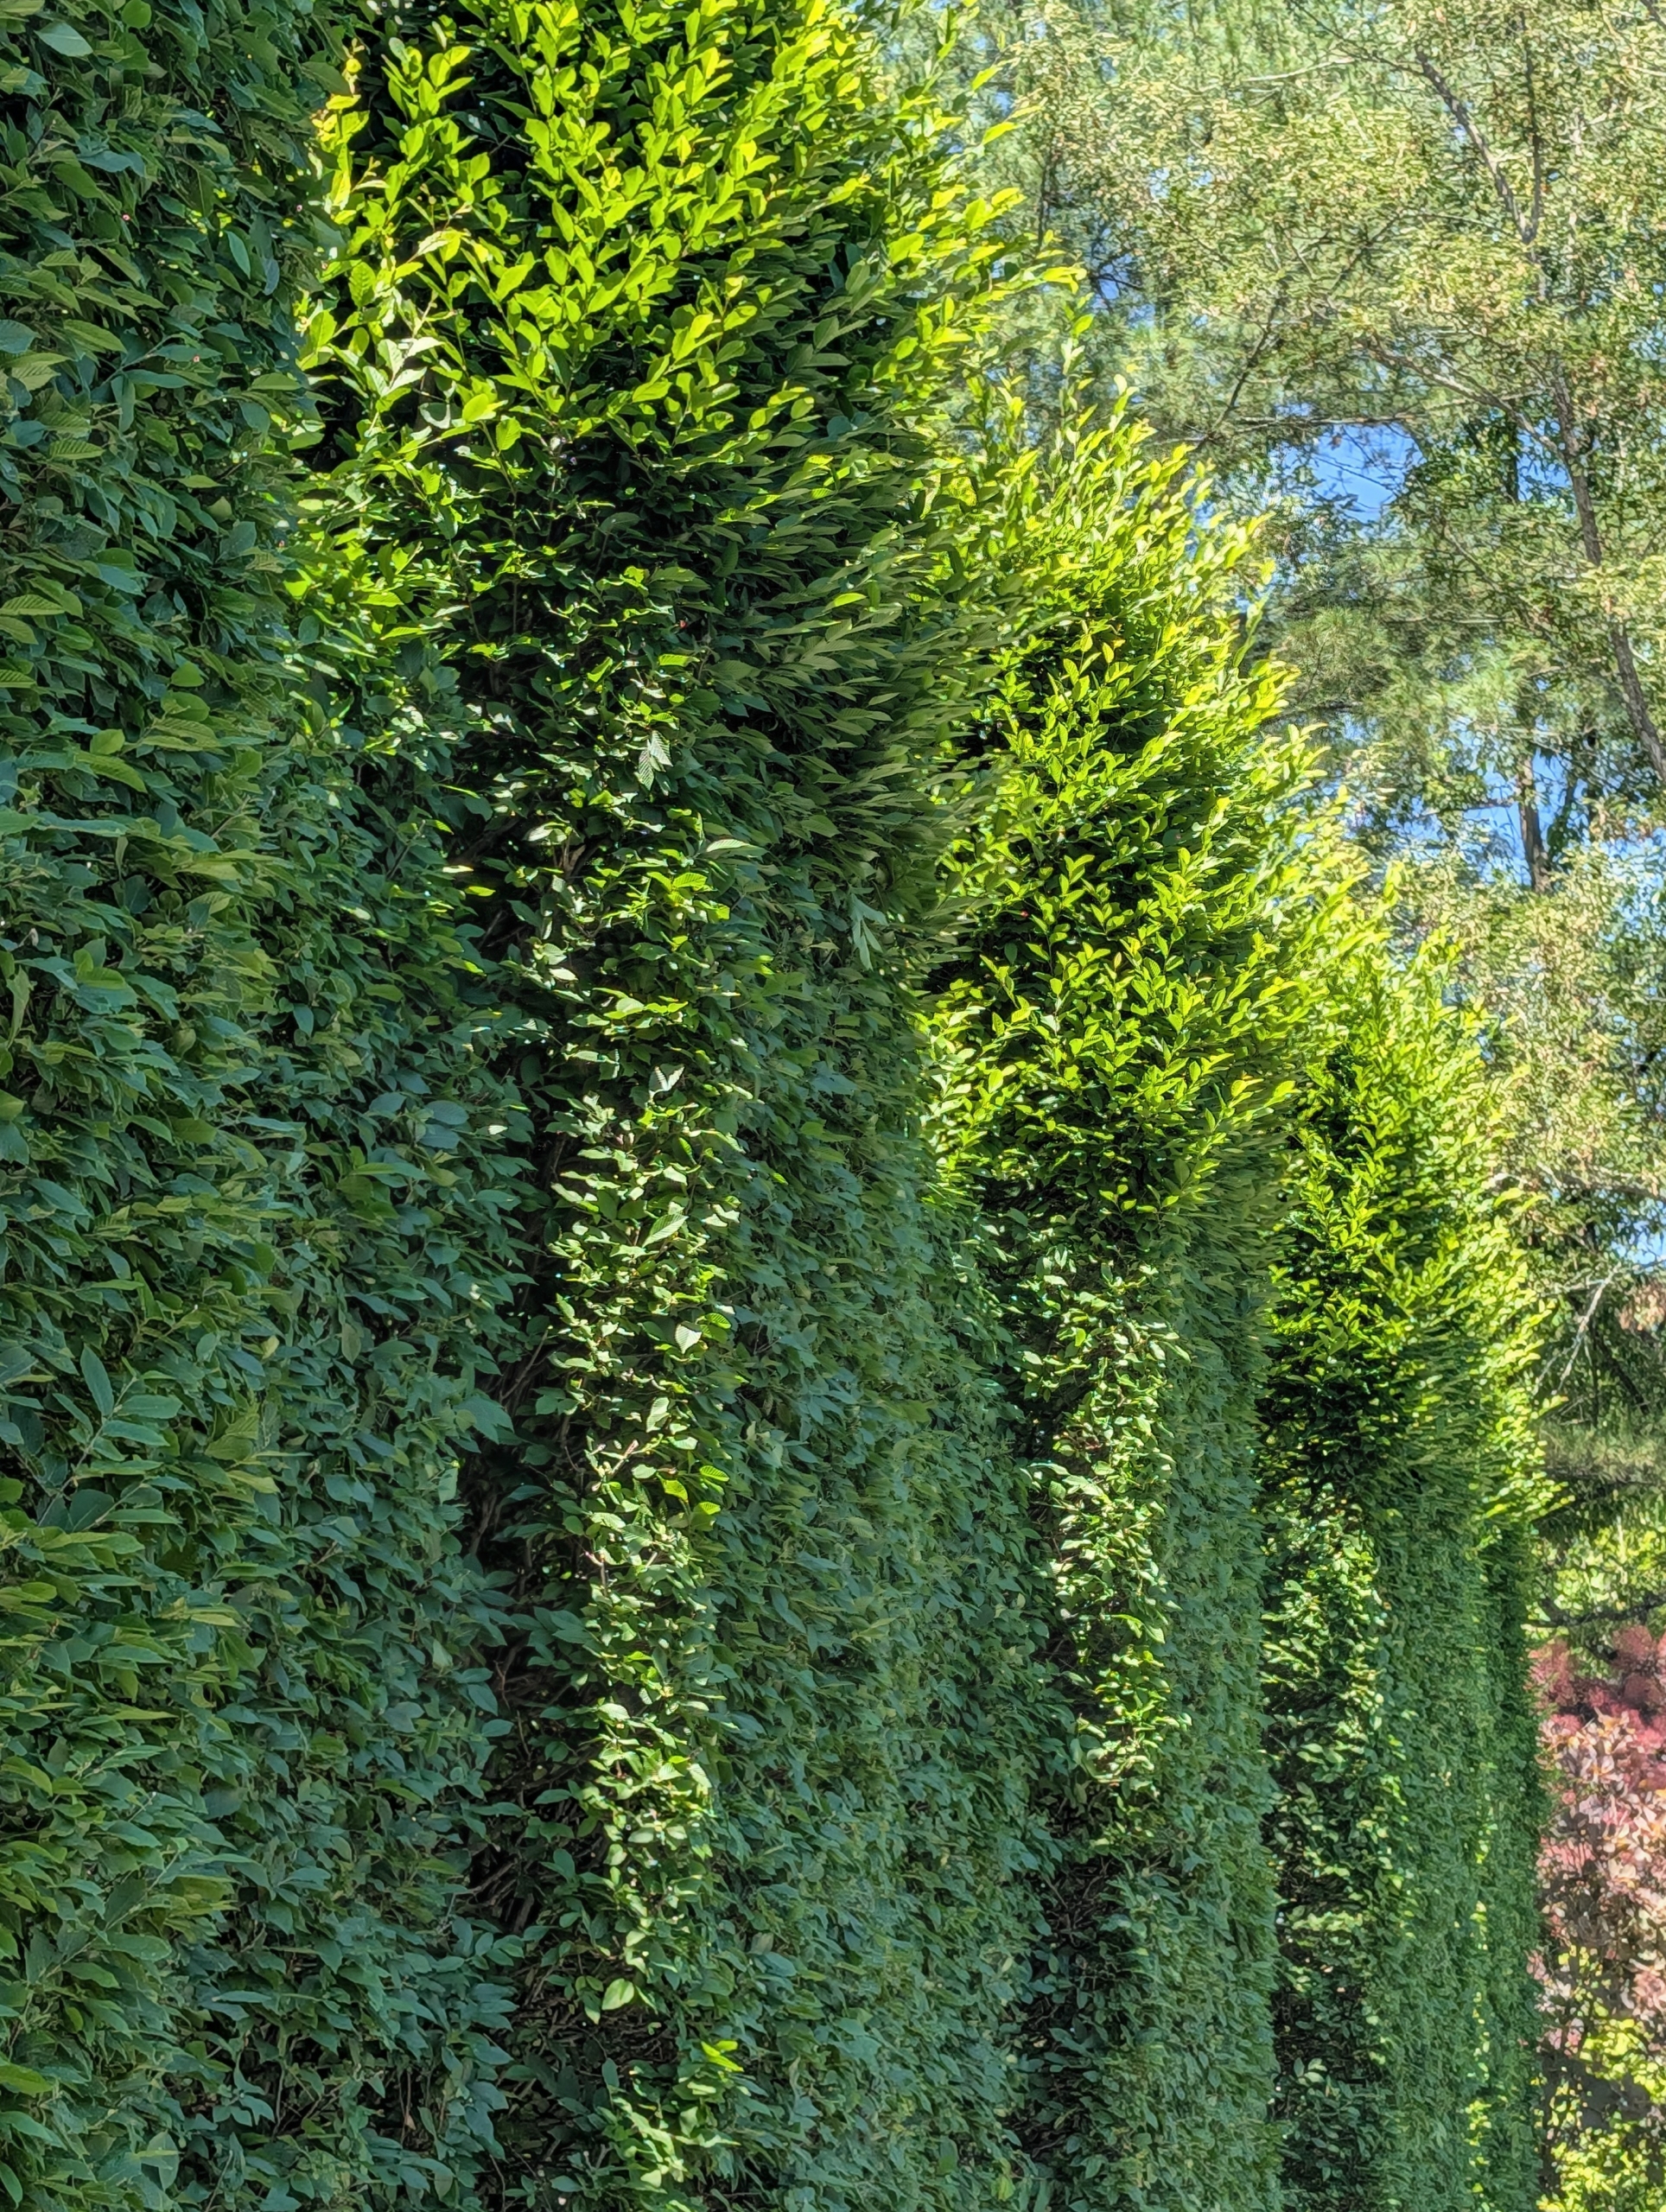
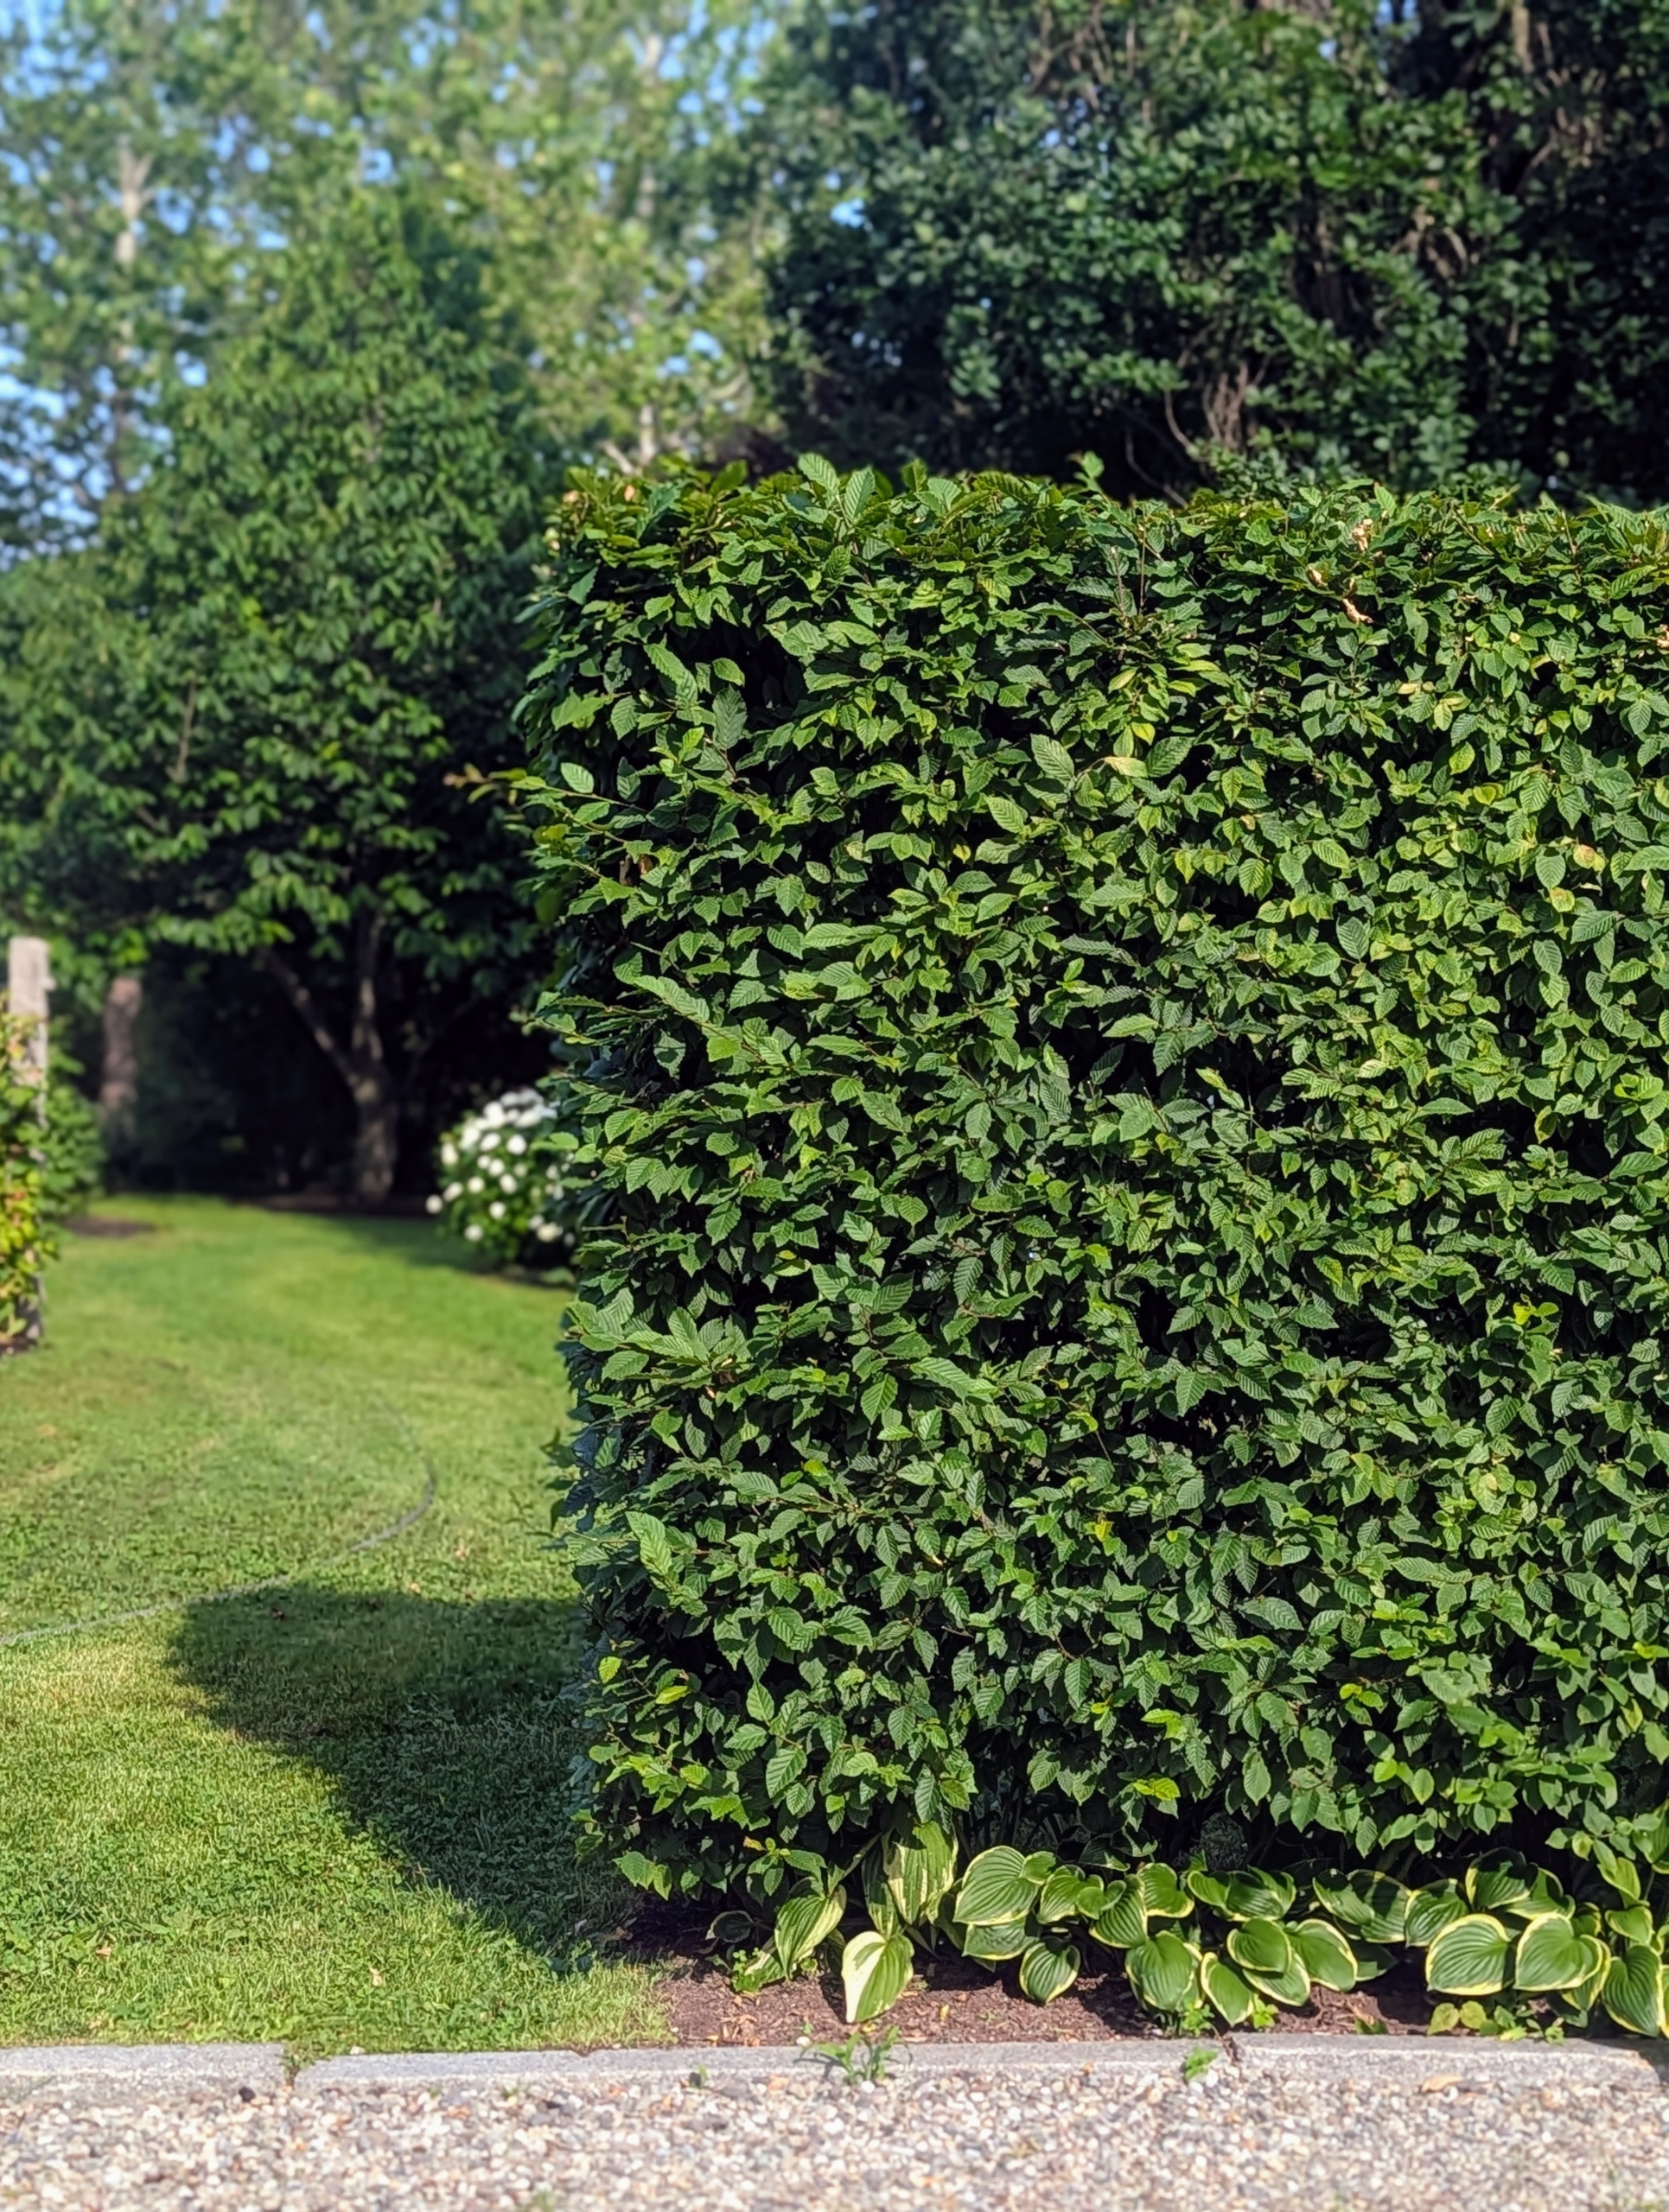
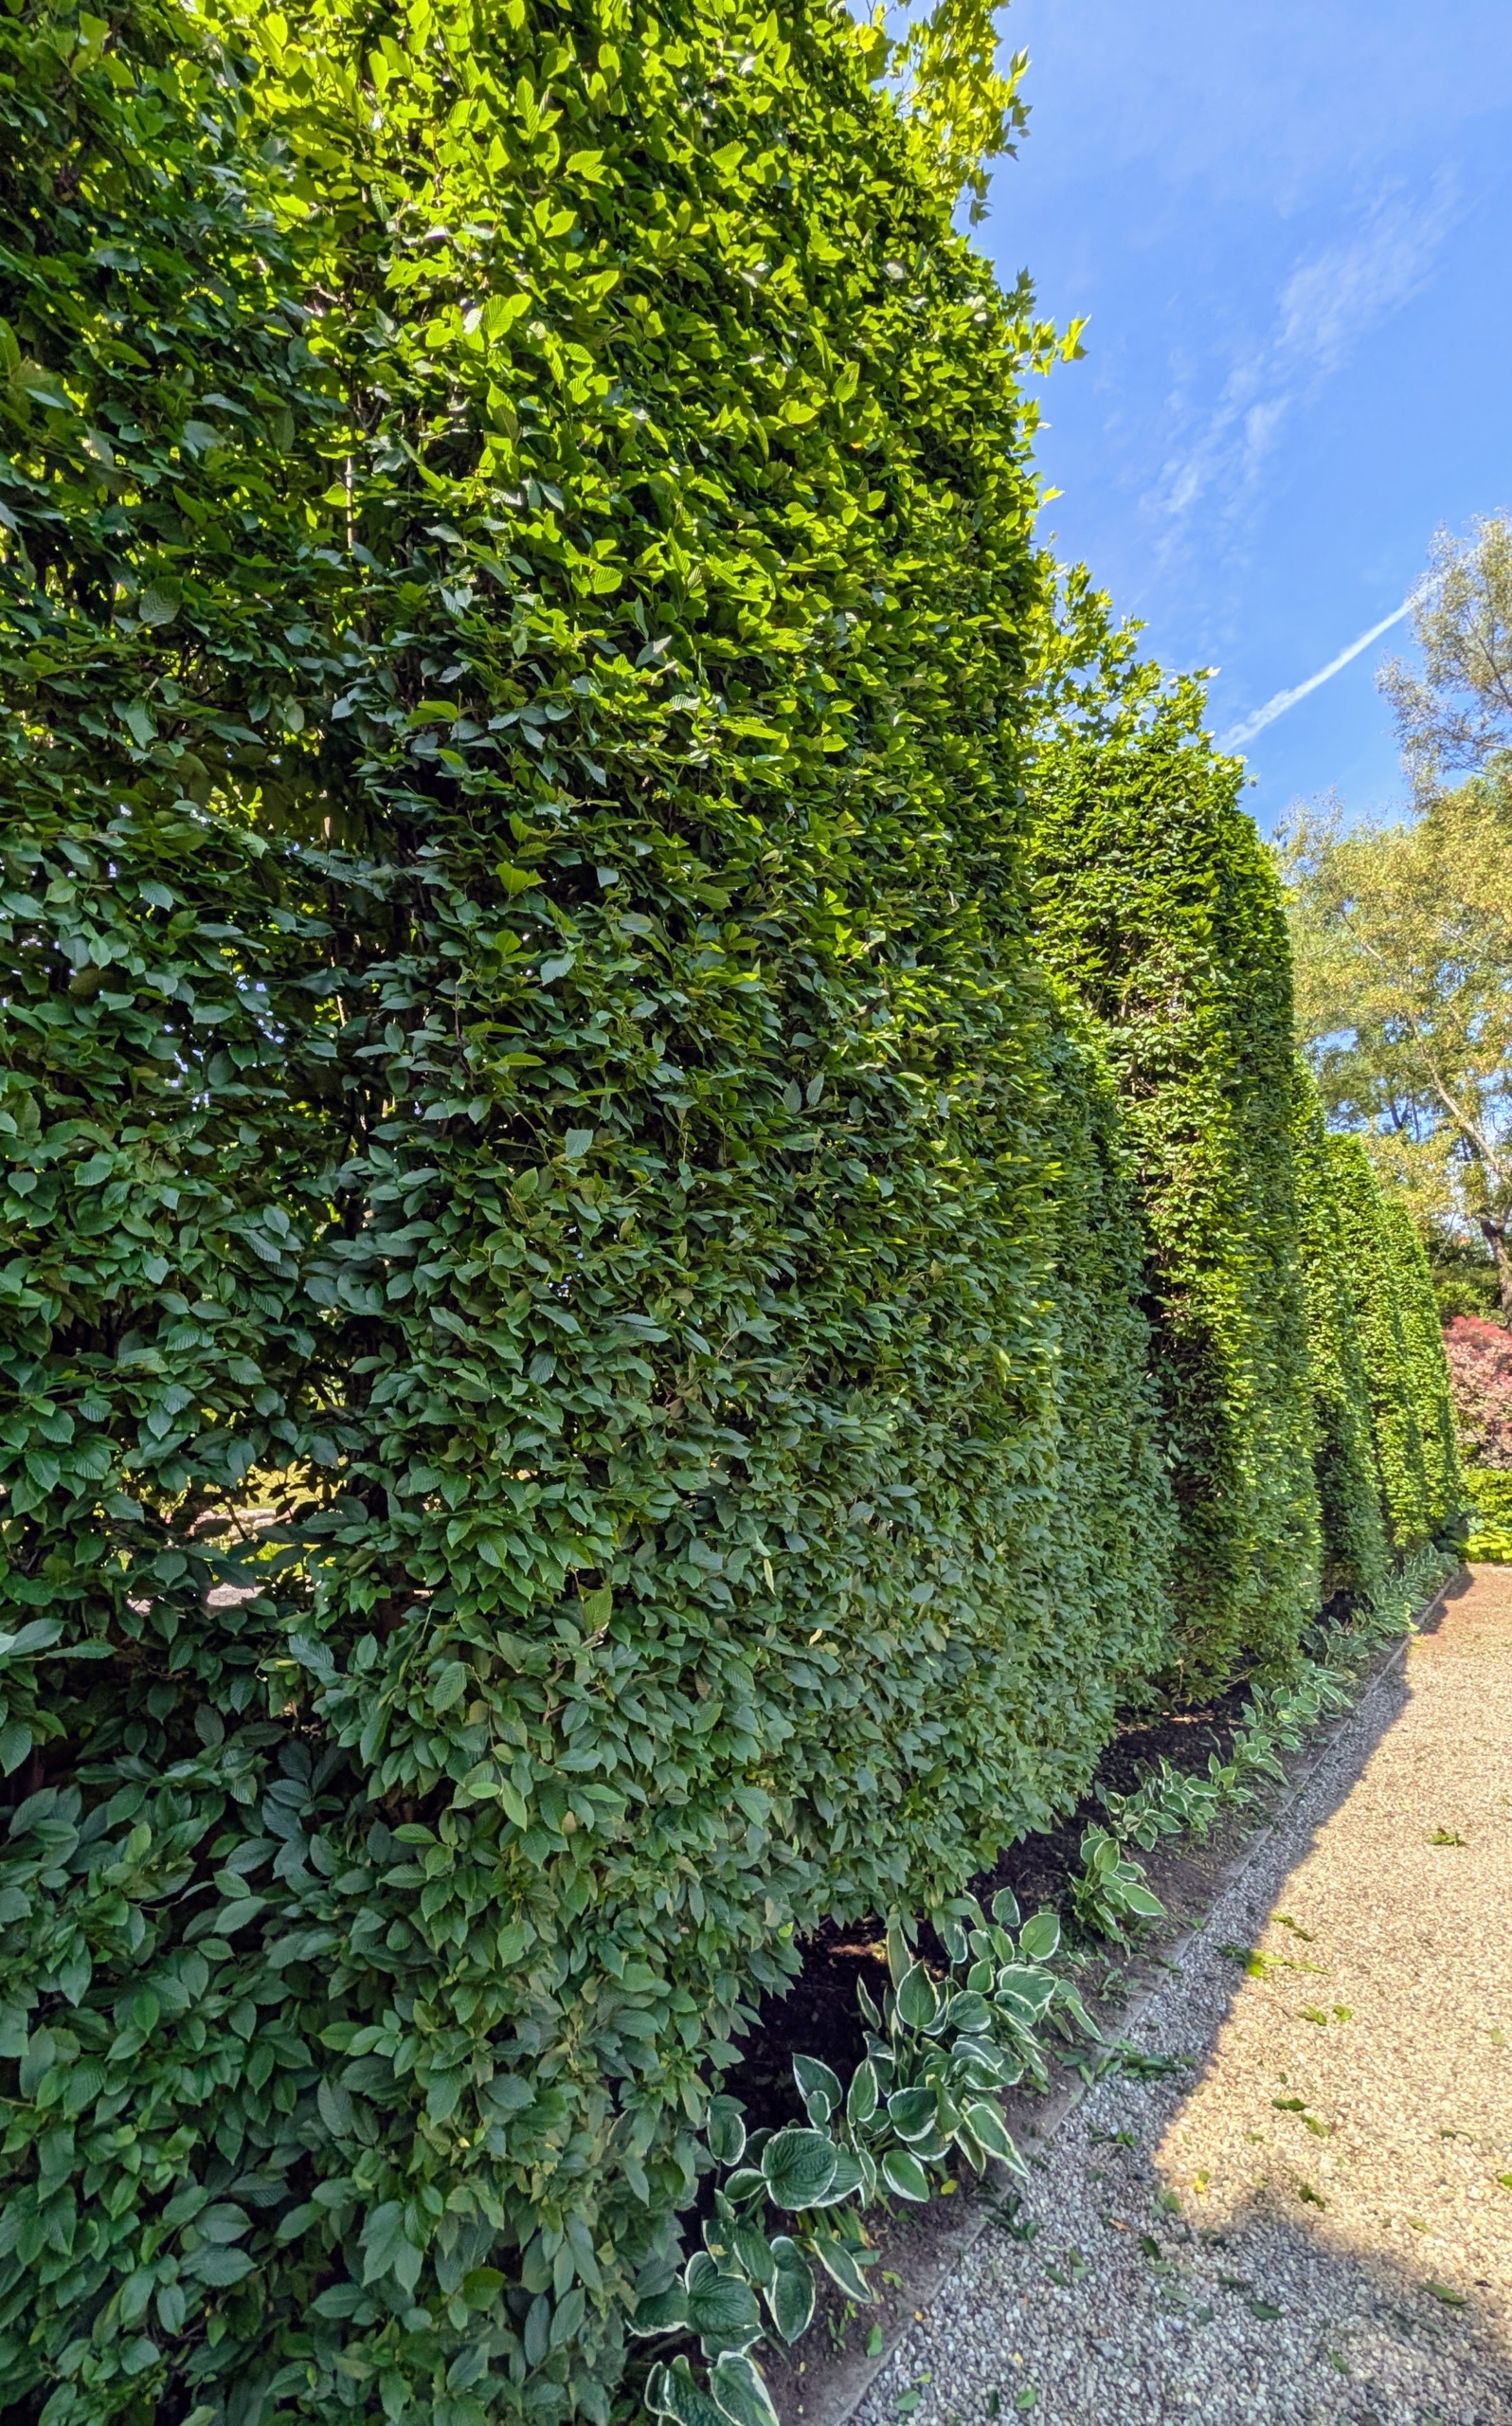
It's that time of year again when the hornbeam hedges around my farm are pruned and groomed.
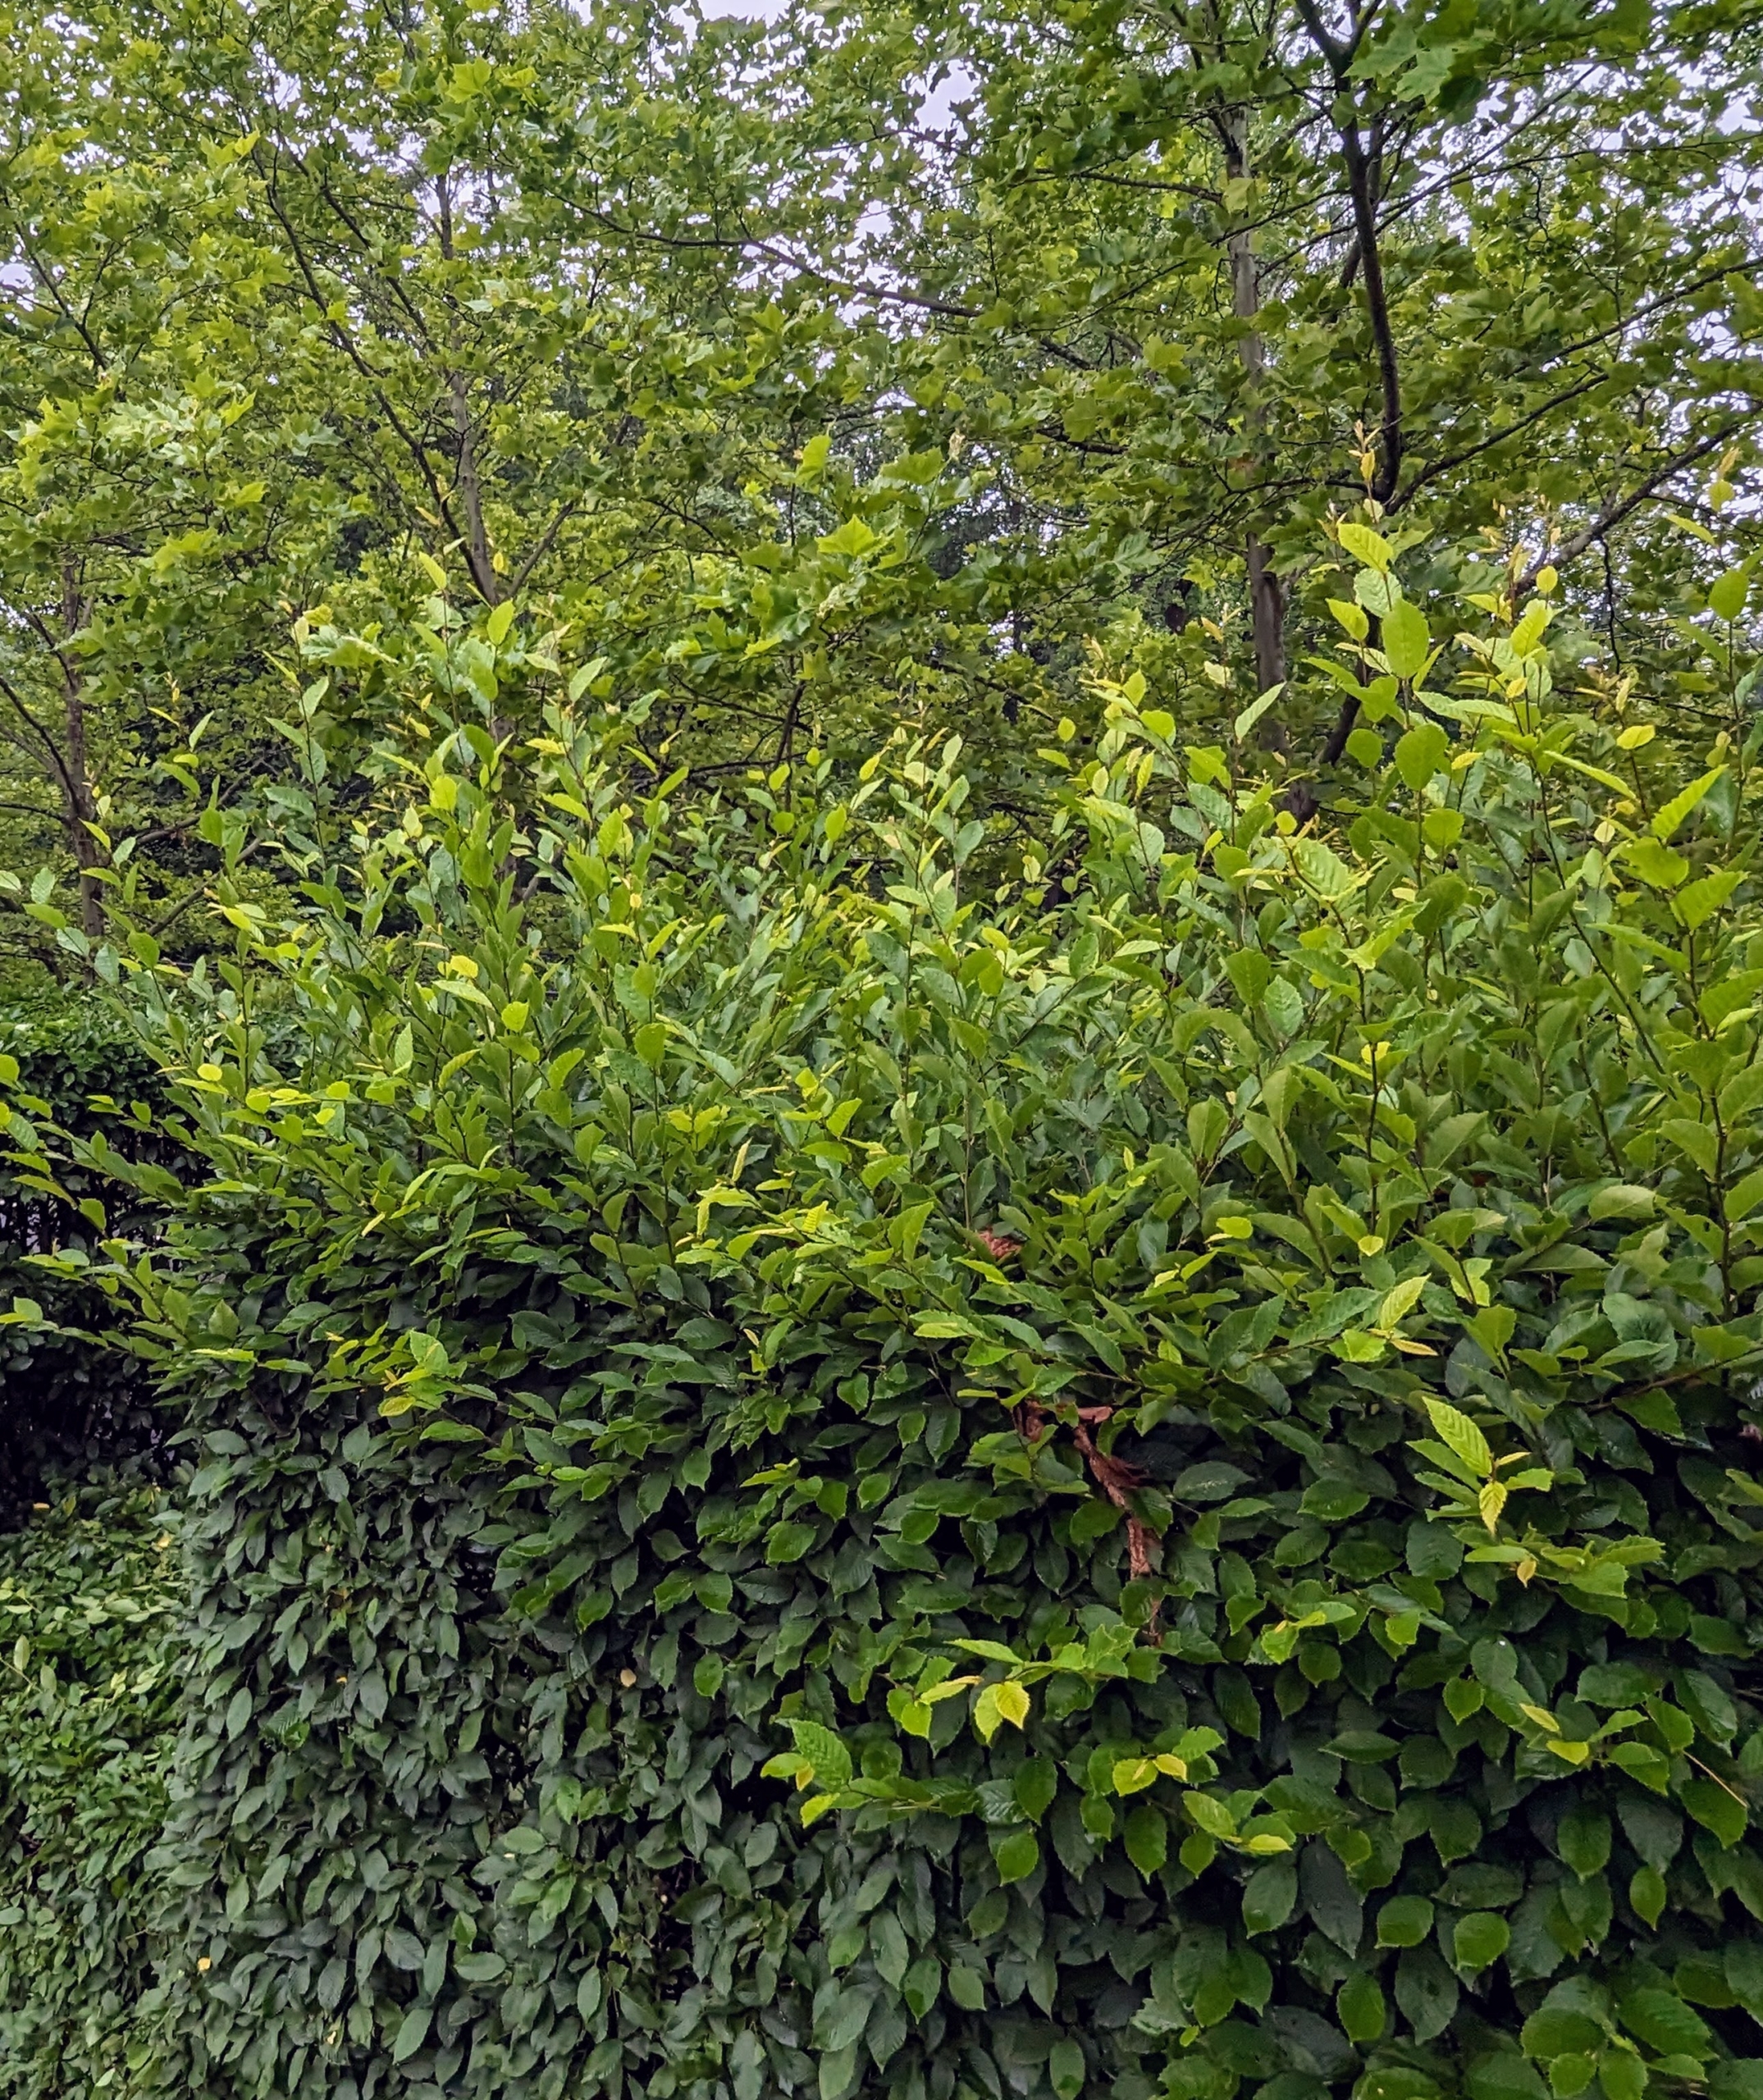
Every summer, my outdoor grounds crew trims the hornbeam hedges in front of my main greenhouse - the large sculpted hedge across the carriage road and the hornbeam hedges surrounding part of my formal Martha Stewart Rose gardens. The English hornbeam, Carpinus betulus, is a fast-growing deciduous tree. It can grow about four to five feet per year. From a distance, it appears solid, but light streams in through the leaves providing a pleasing and dappled space. I keep a close eye on all the hornbeams - it’s crucial to prune them regularly, so they never look too overgrown and unruly.
Here are some photos.
This tall hornbeam hedge is quite pretty here, but serves primarily as a privacy and noise barrier from the road. Hornbeams grow very quickly, so it is important to trim and sculpt them regularly. Here, the top is just from the one’s year’s growth. The bottom half has already been trimmed.
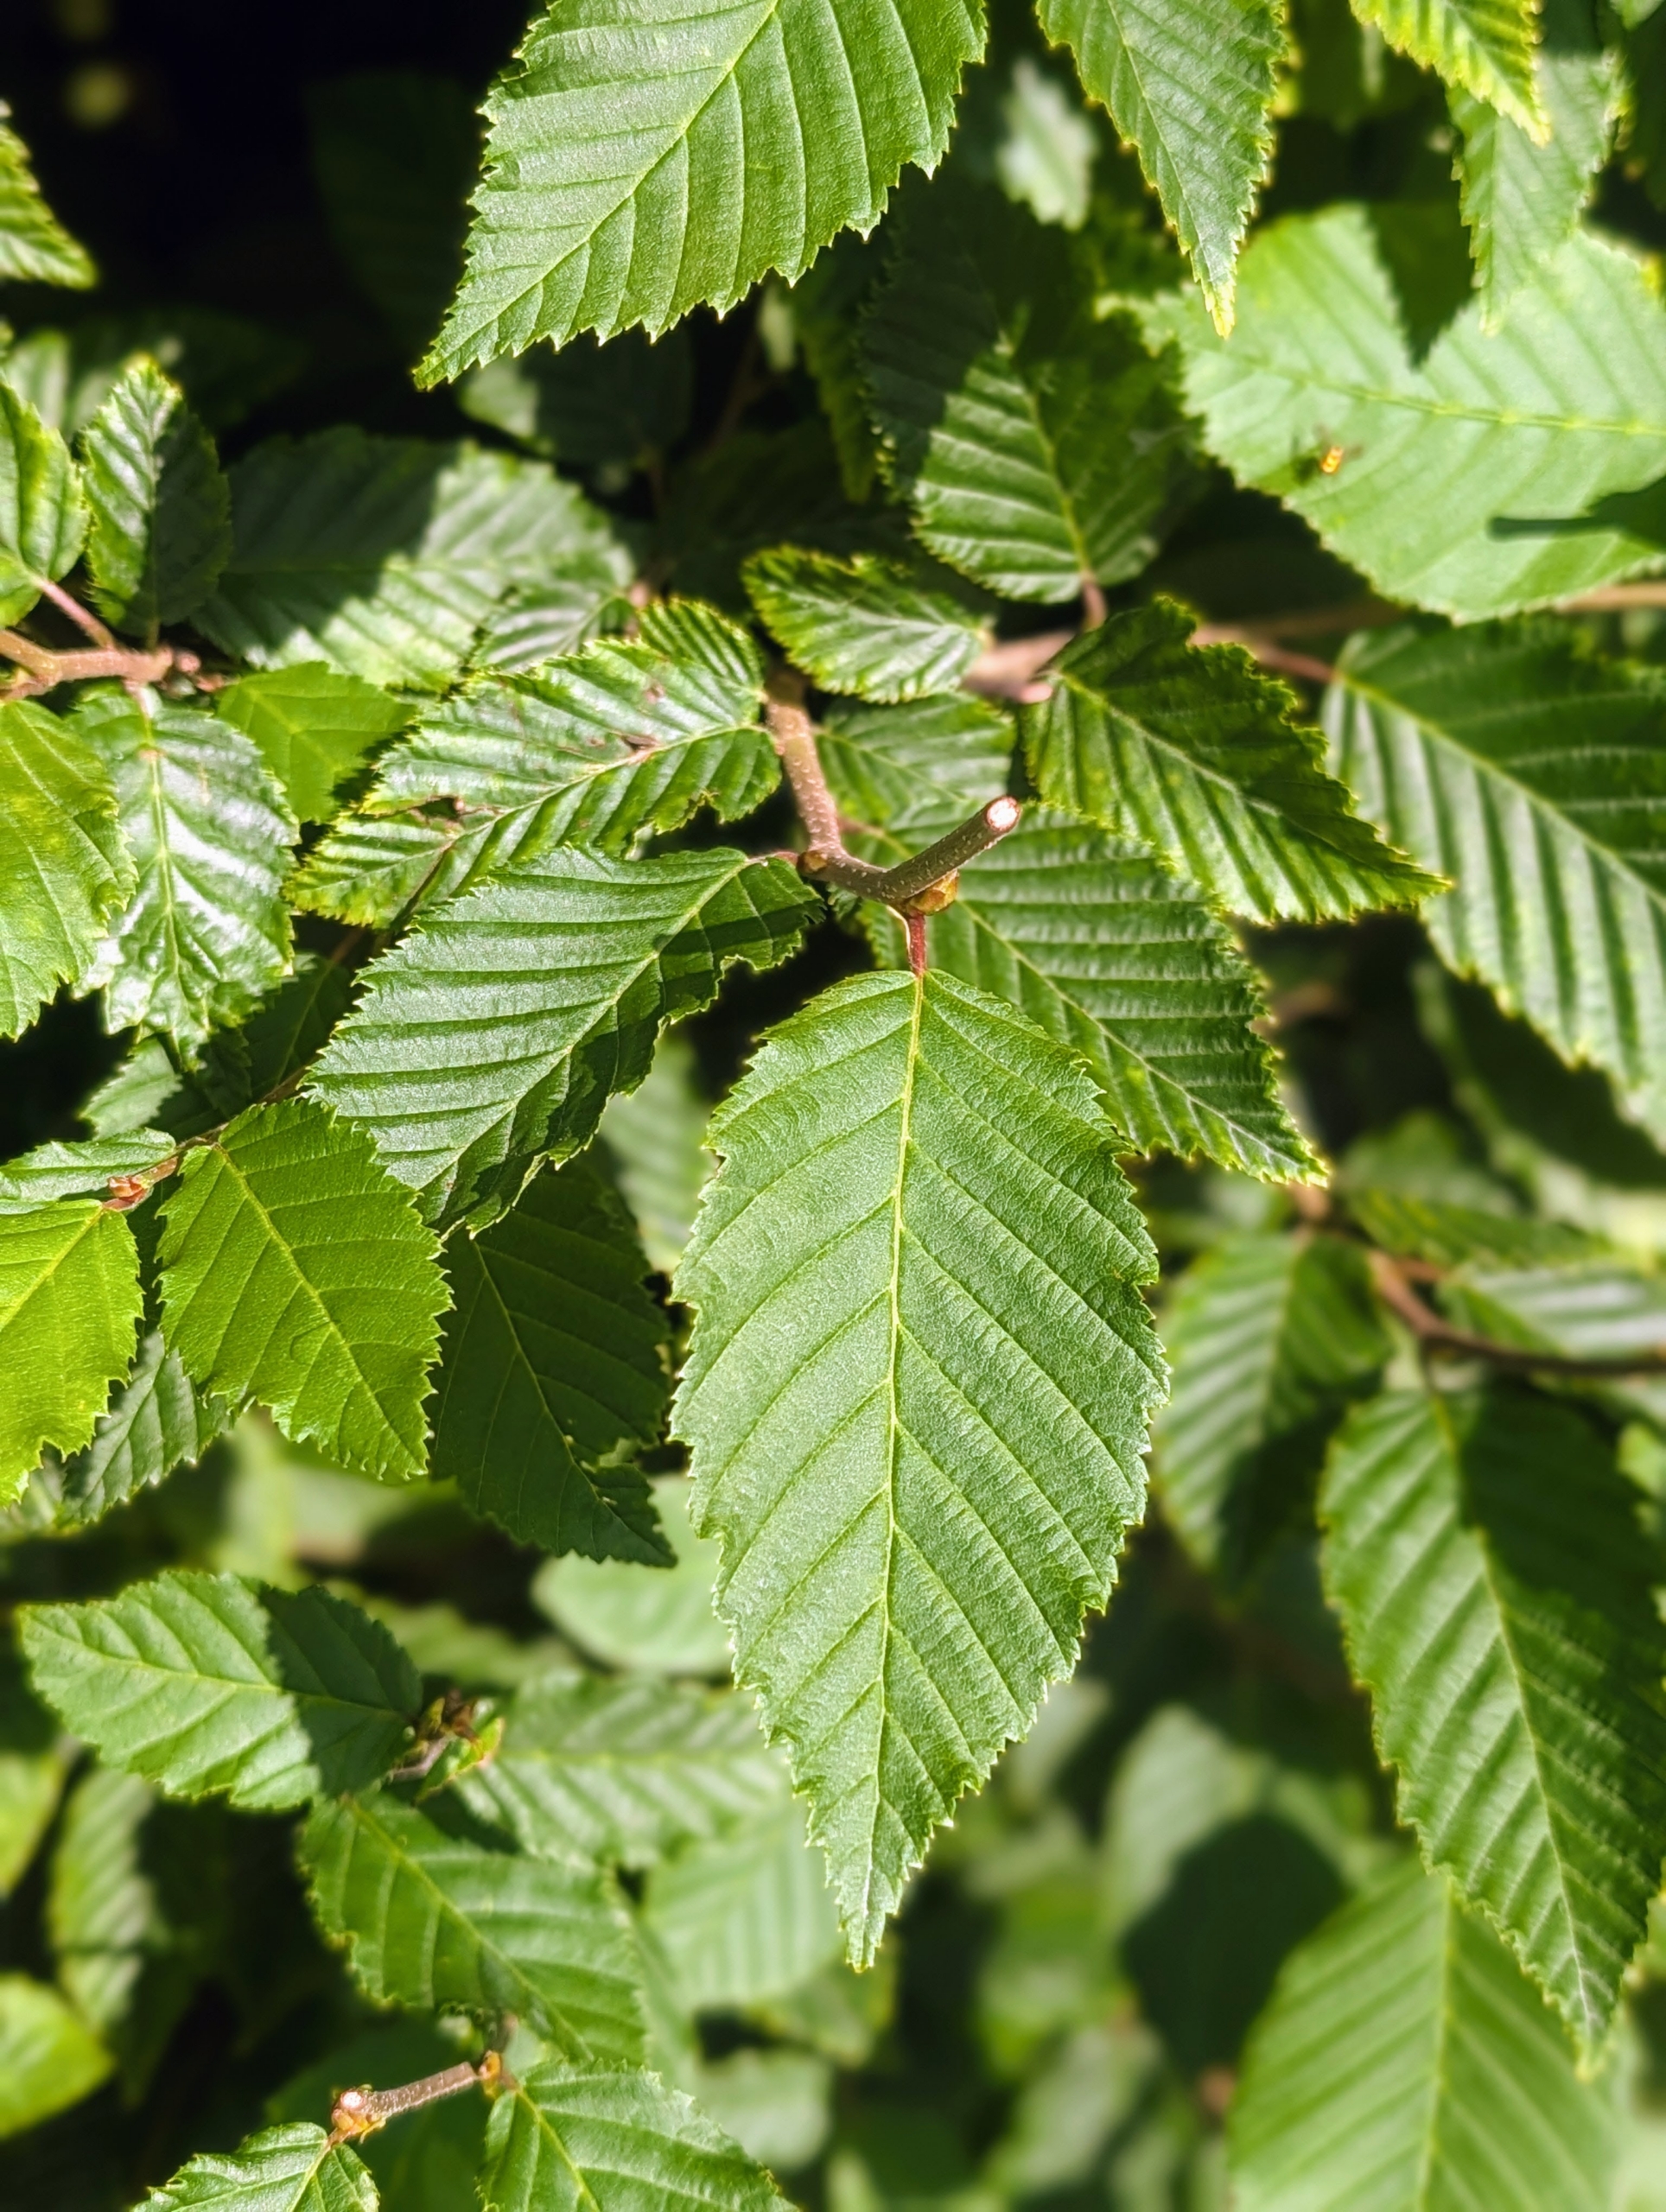
The English hornbeam is related to the beech tree, with a similar leaf shape. On the hornbeam, the leaves are actually smaller and more deeply furrowed than beech leaves. They become golden yellow to orange before falling in autumn.
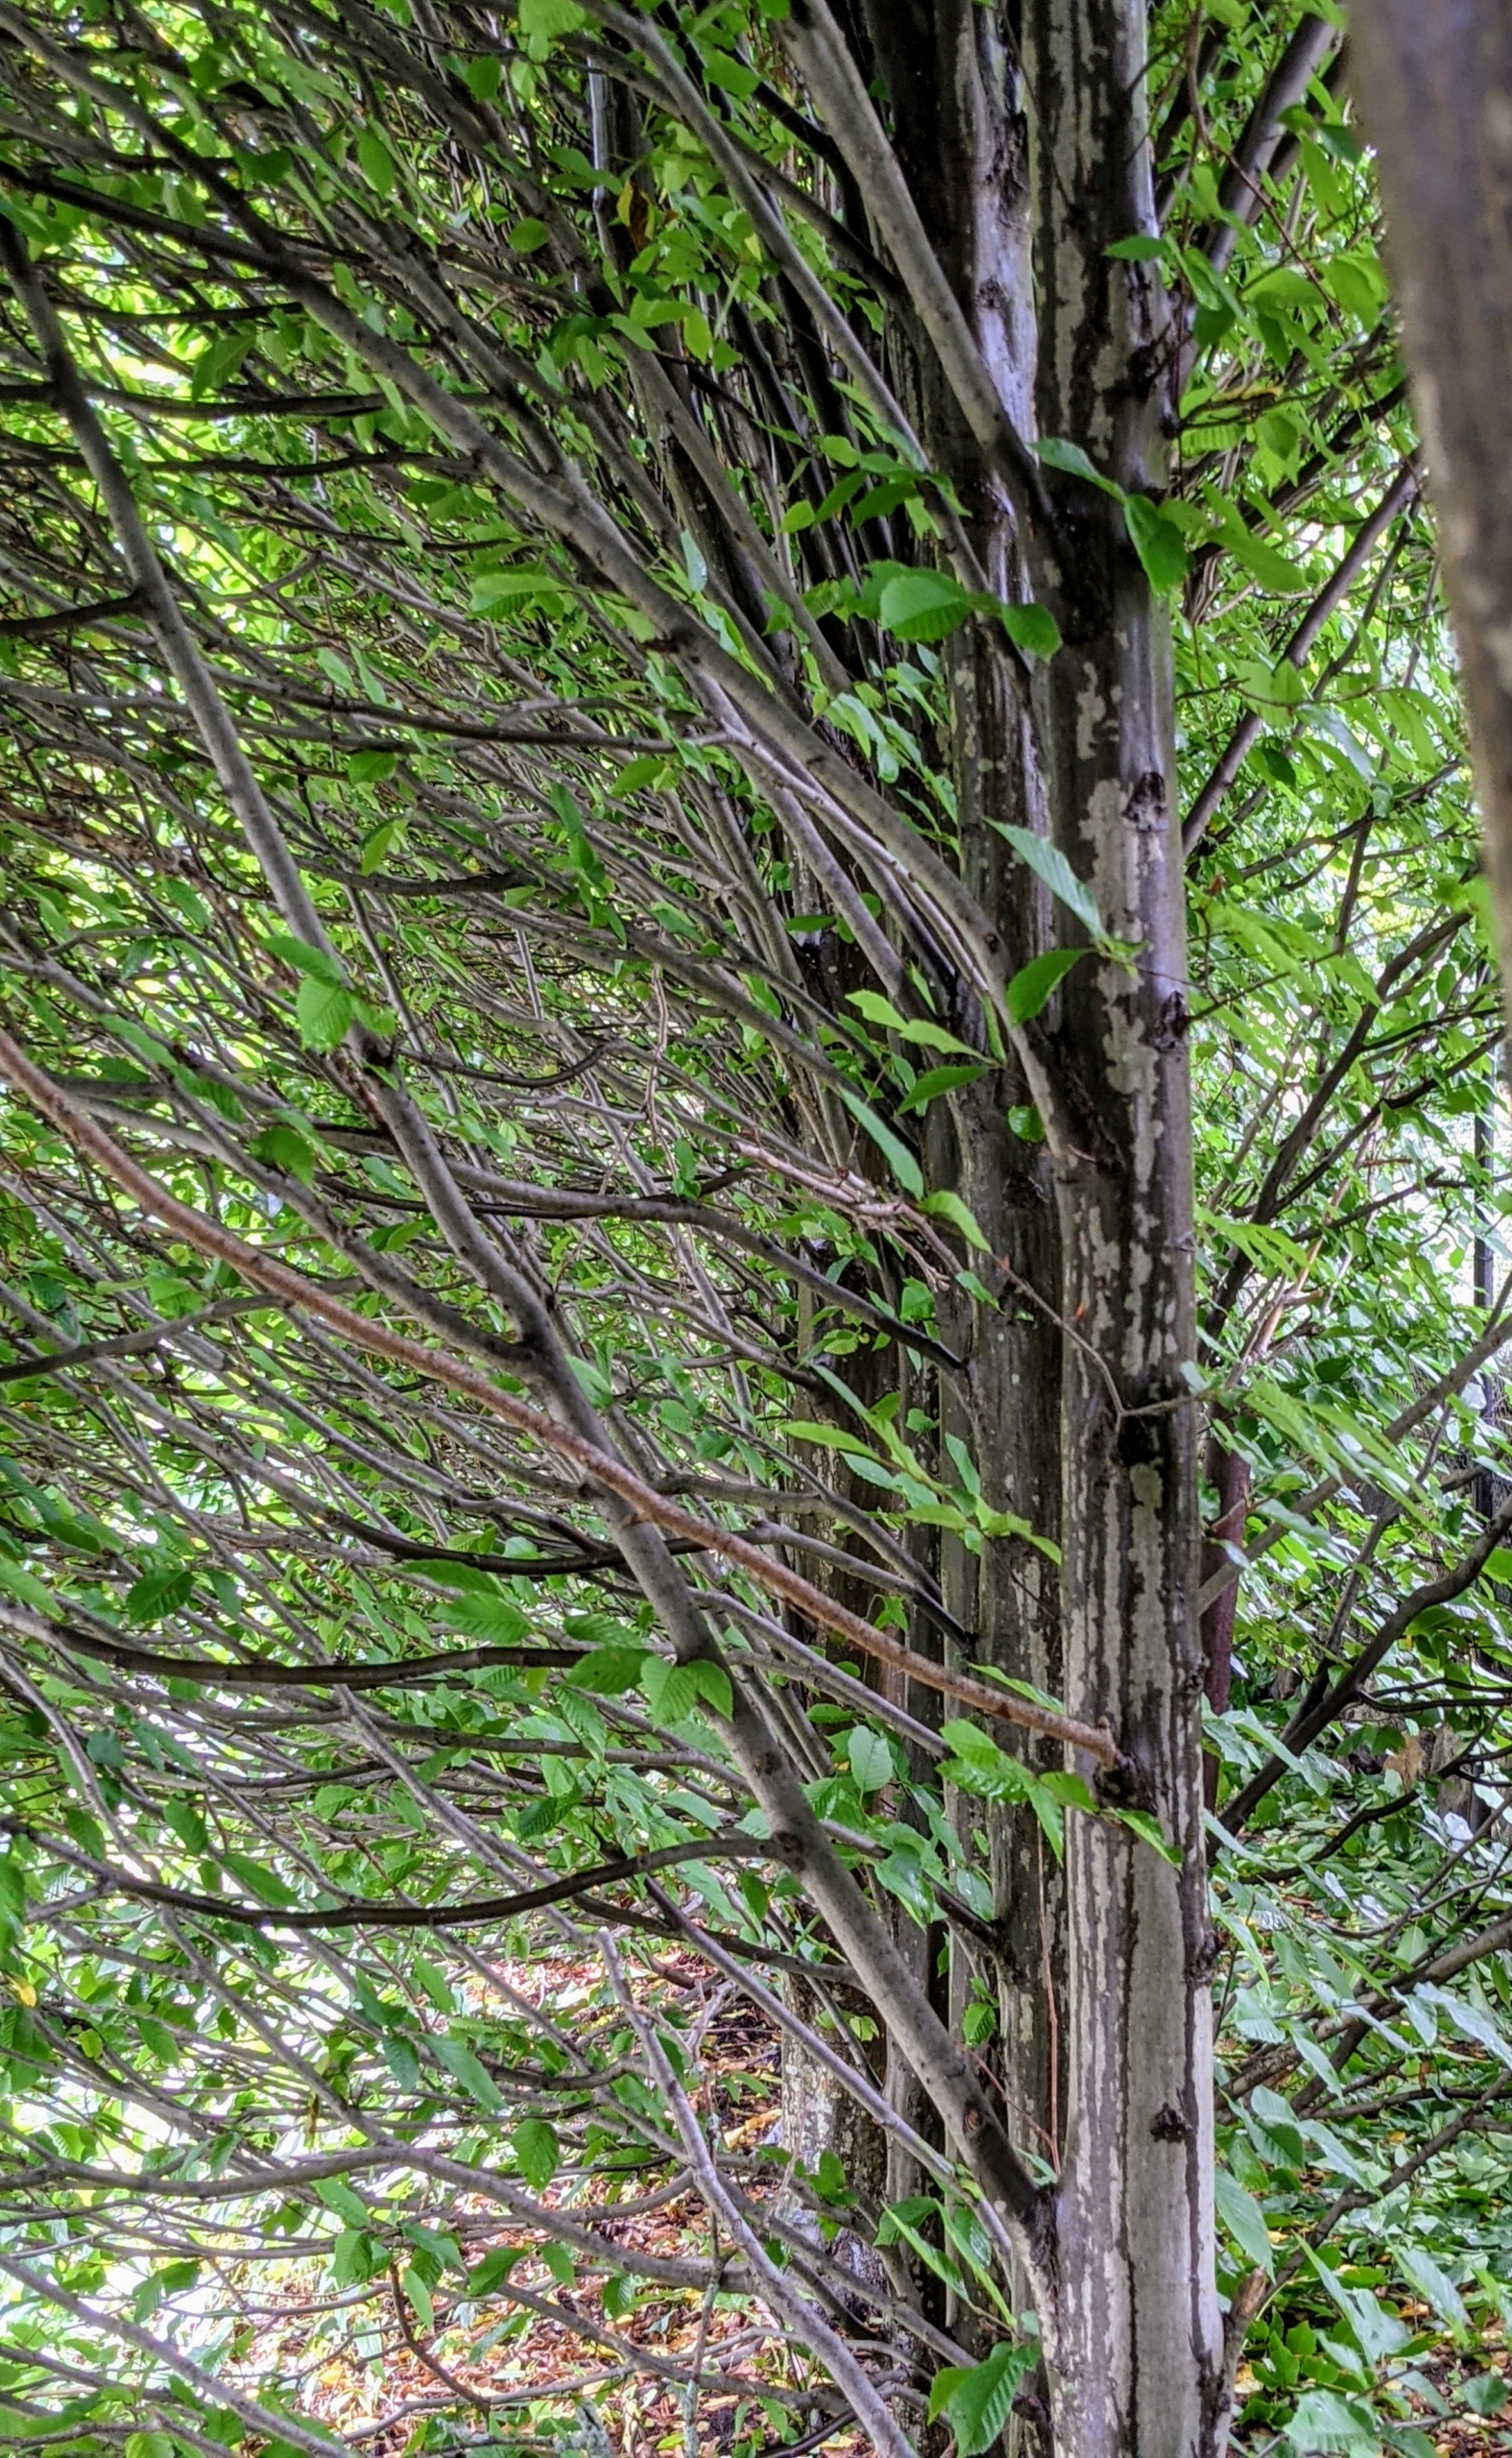
Looking inside the hedge, the hornbeam has pale grey bark with vertical markings. The sturdy branches grow outward and slightly upward.
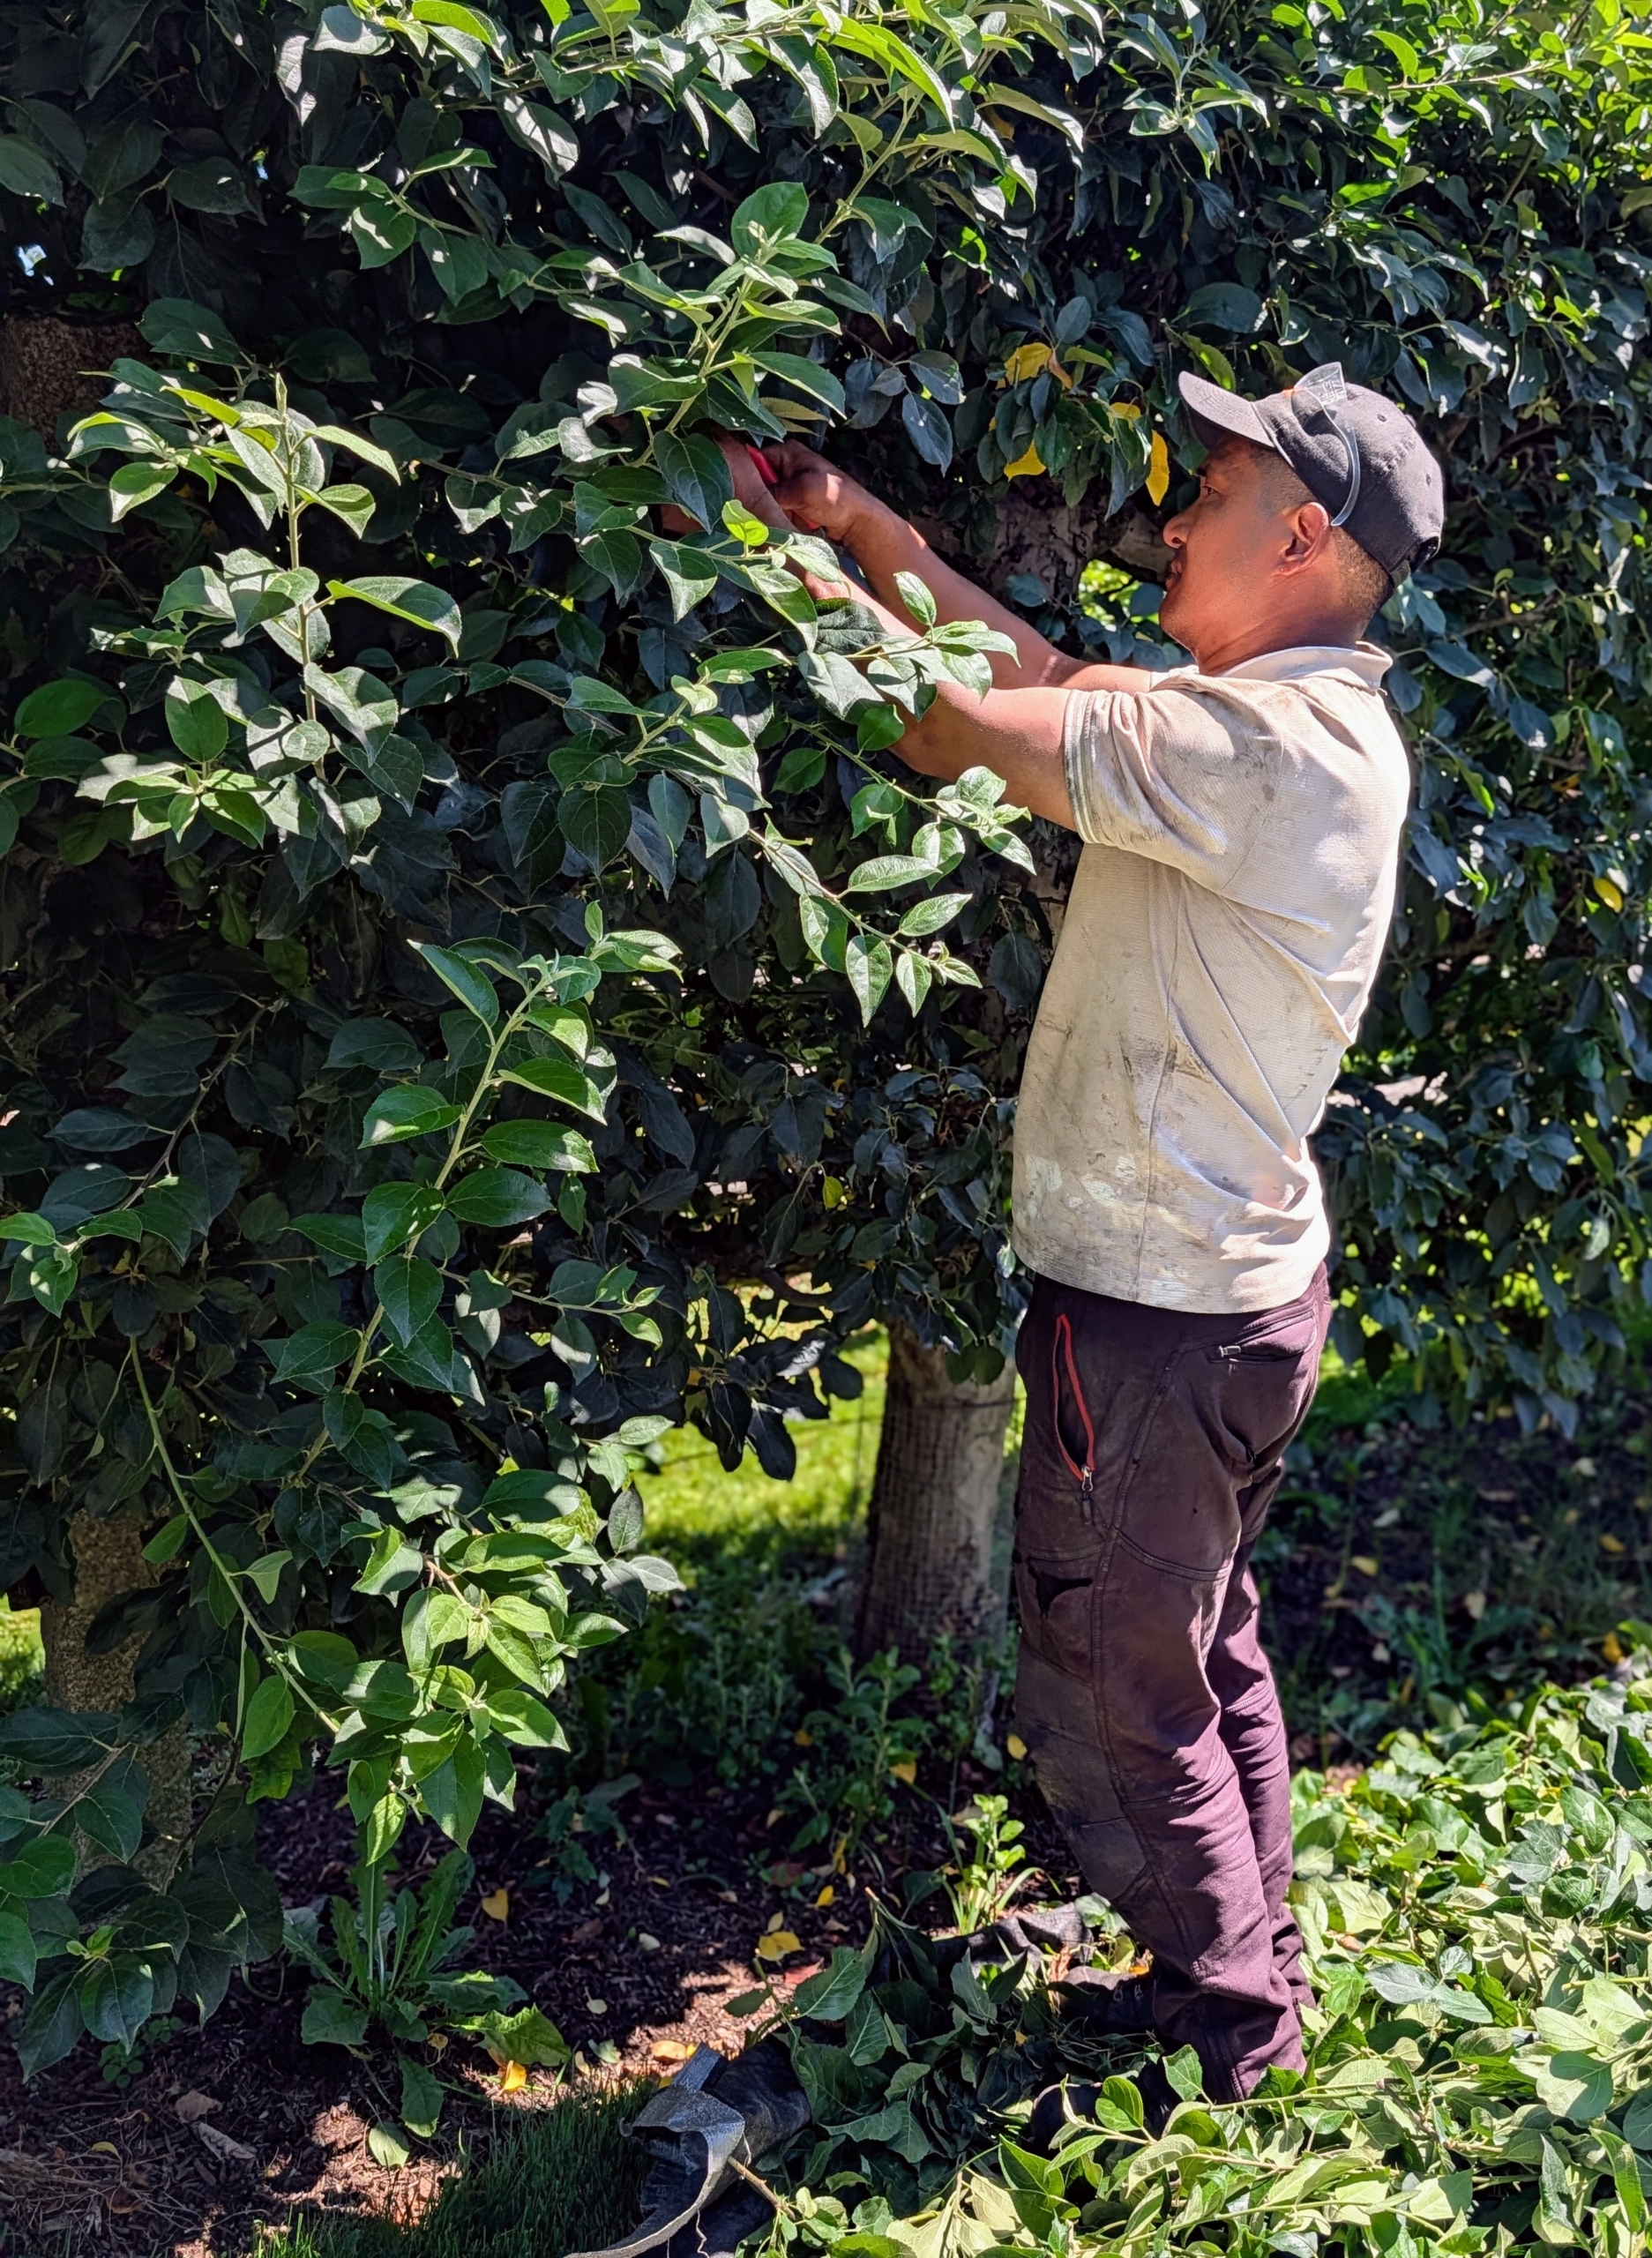
Pasang Sherpa is my resident tree arborist. He is very skilled at pruning and grooming and enjoys working with the trees.
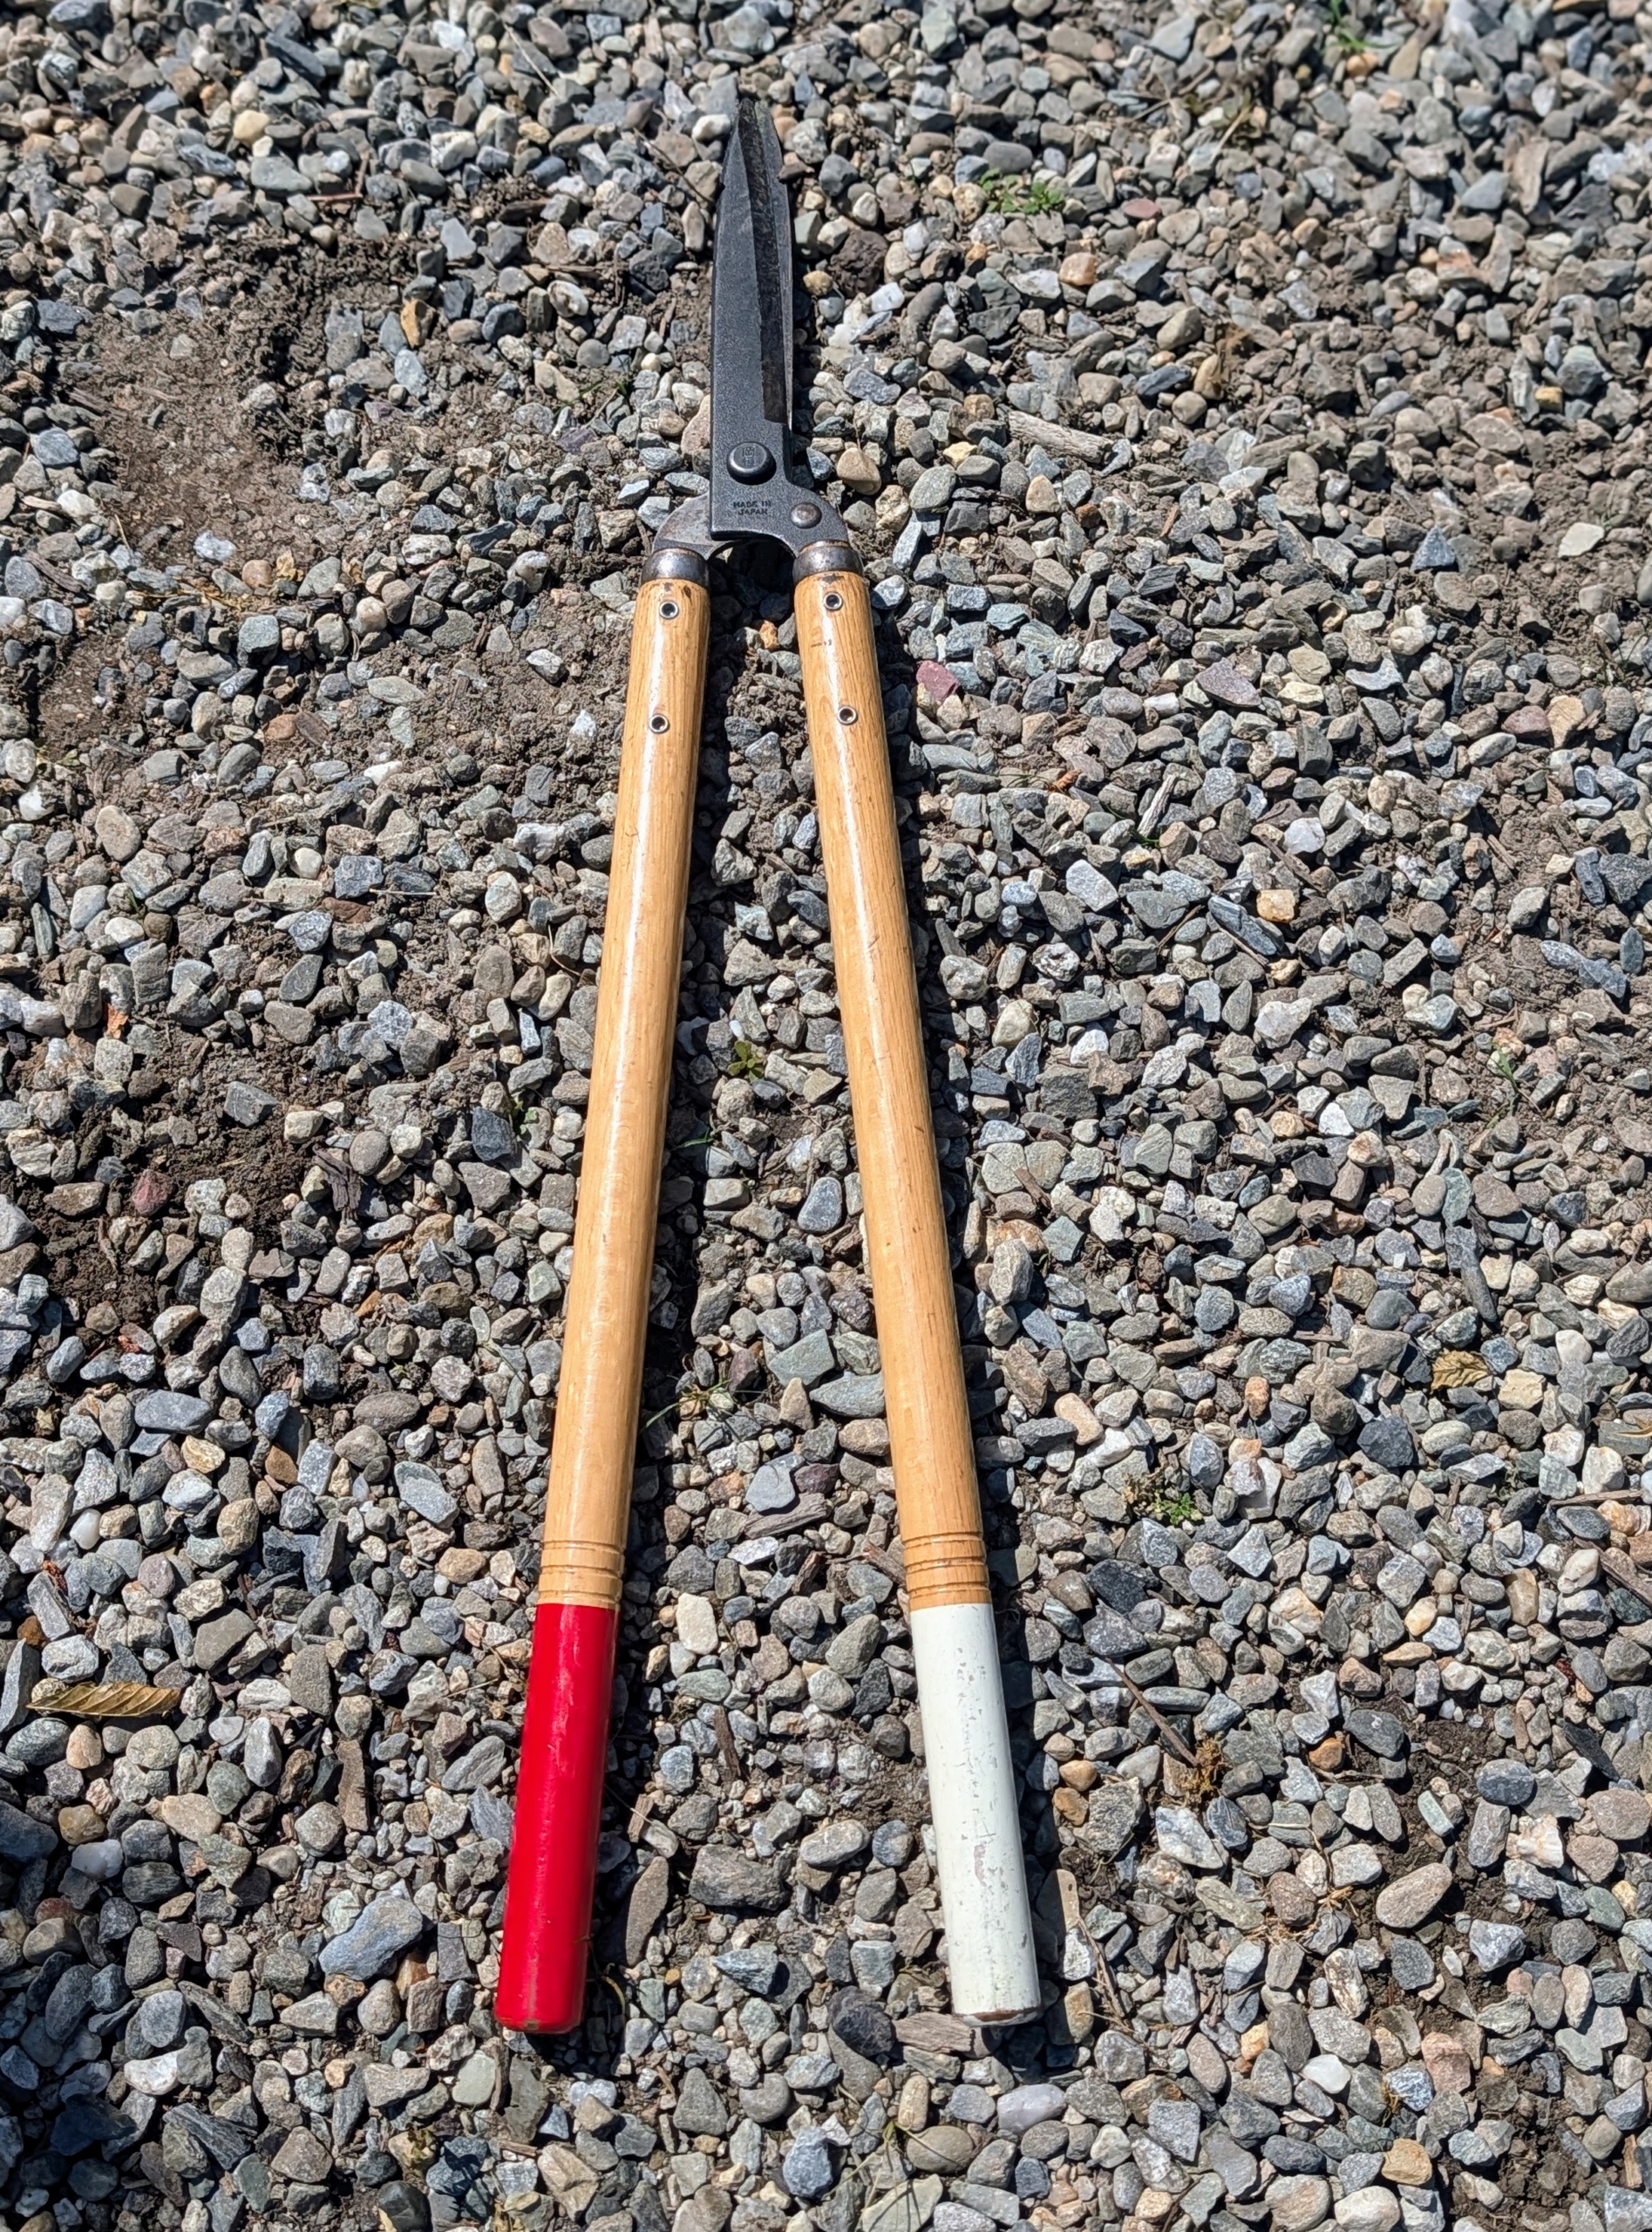
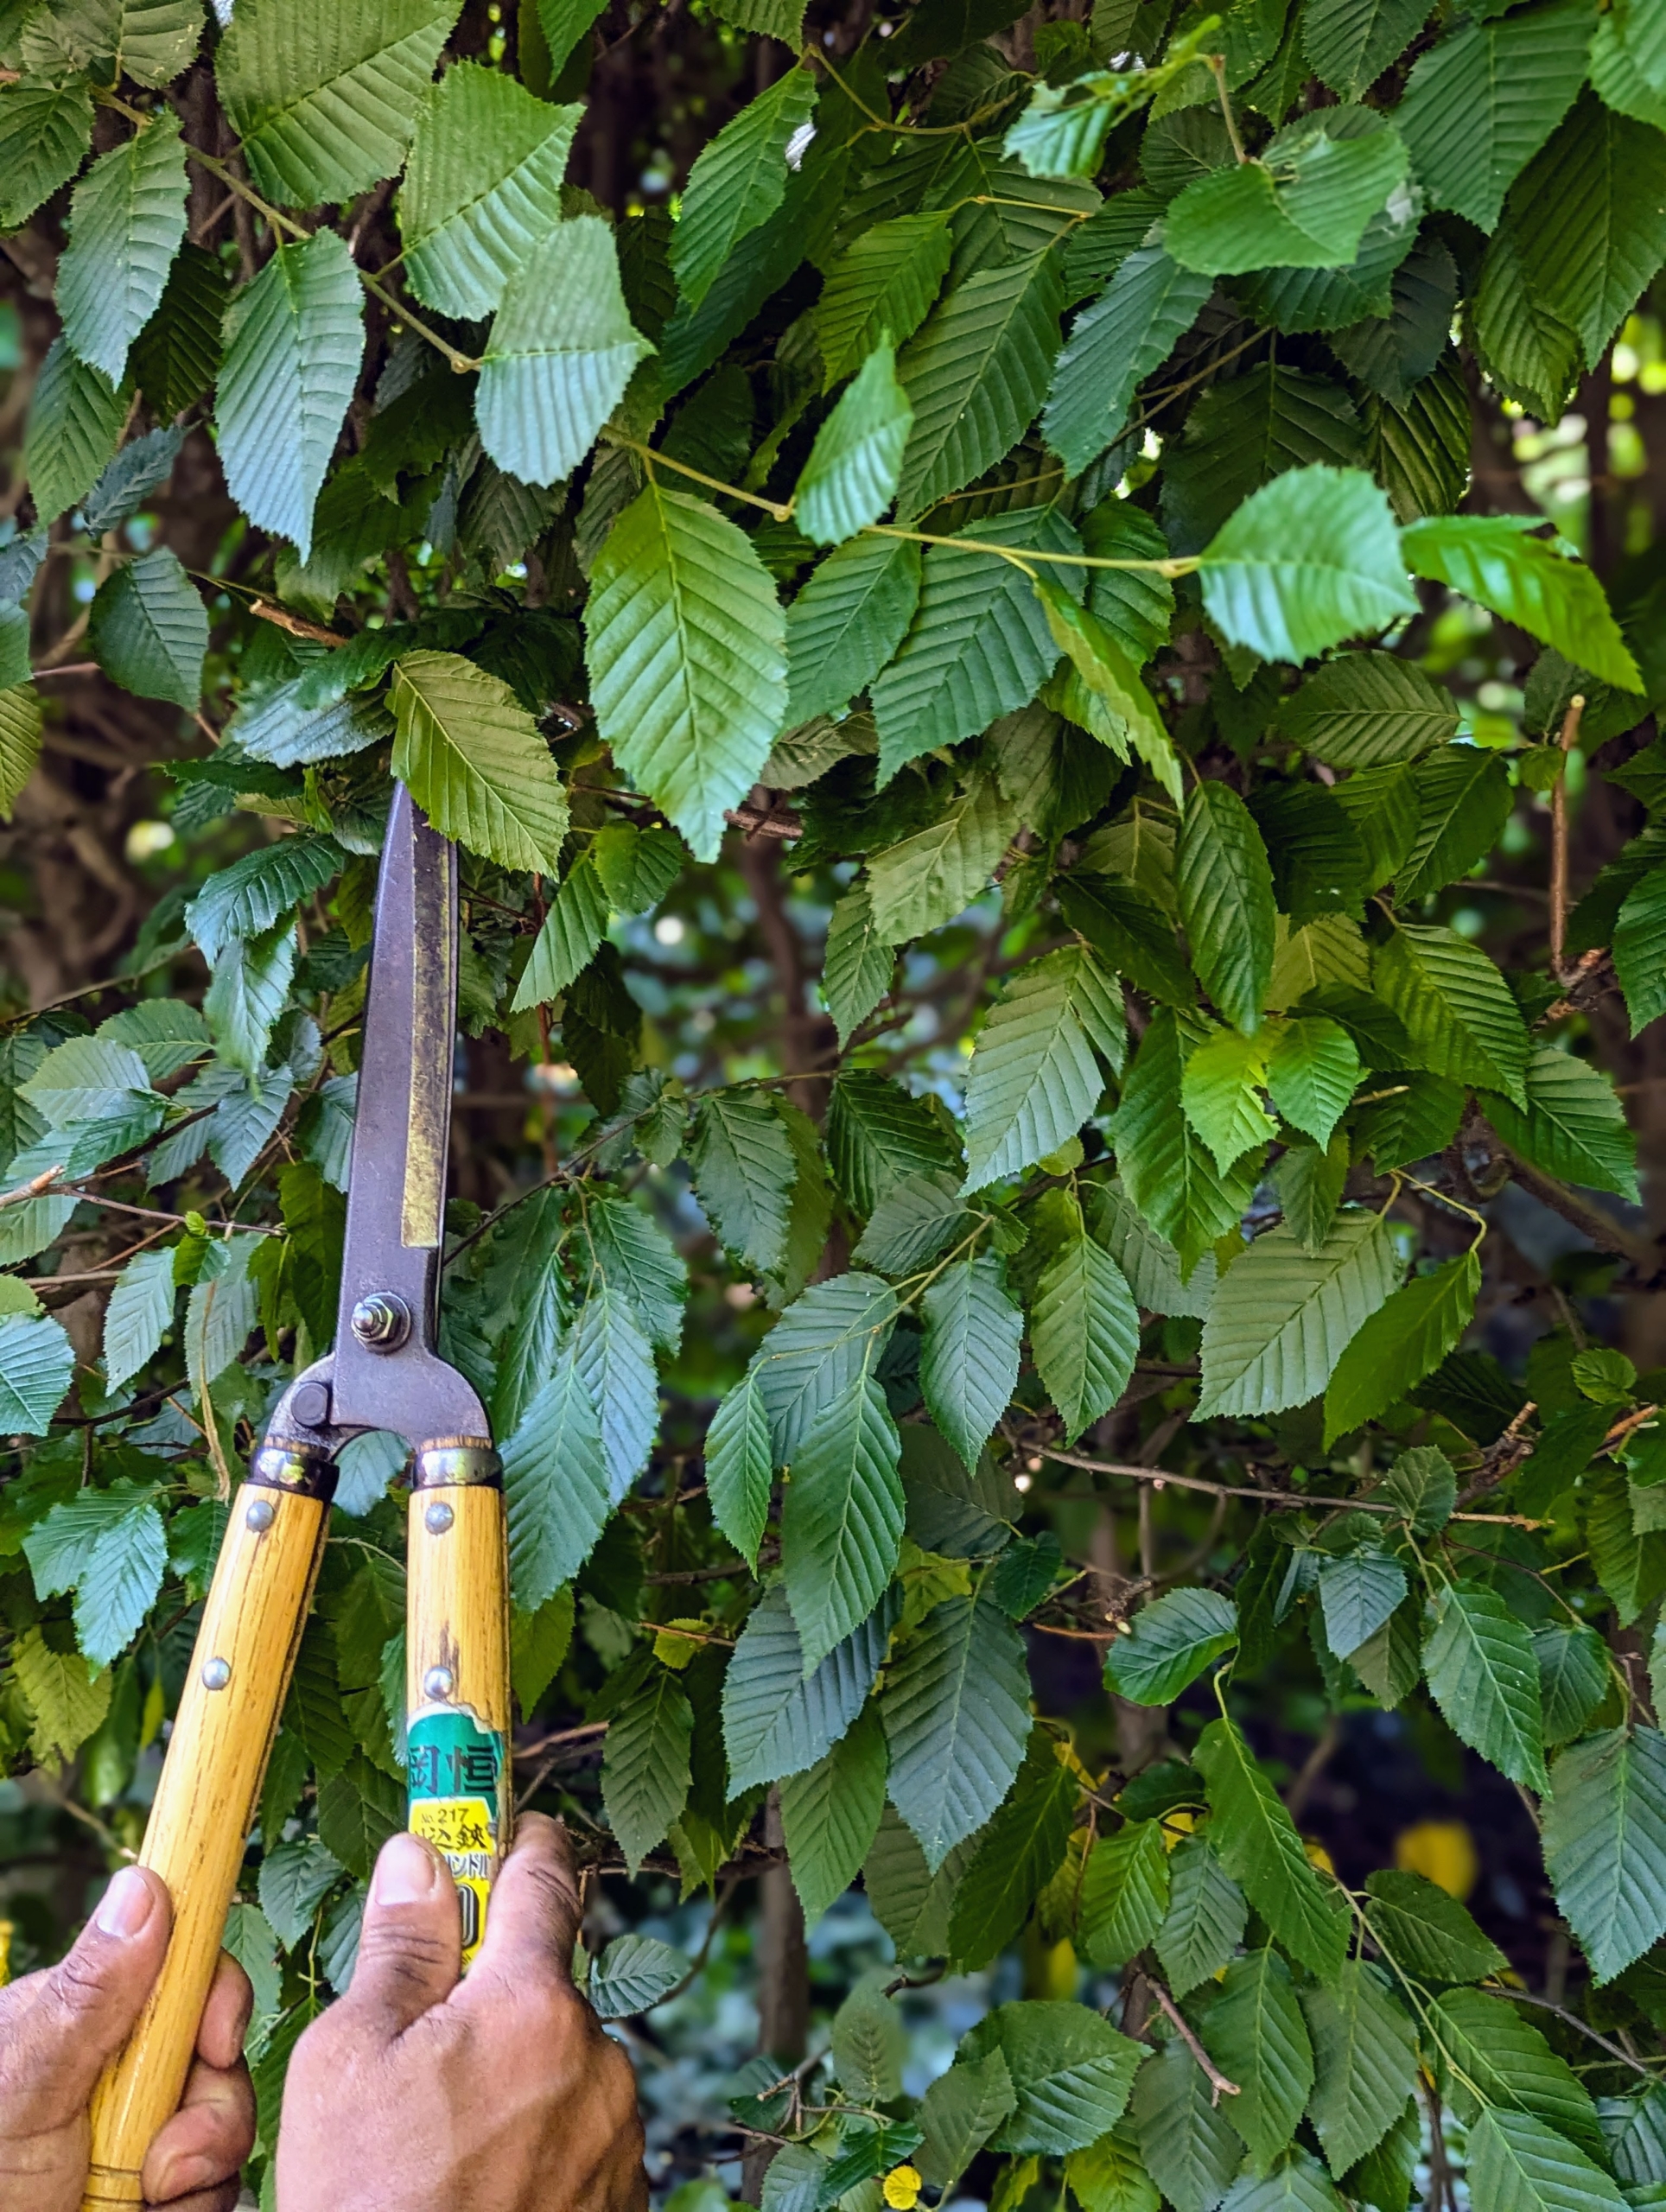
Most of the pruning is done by hand. Everyone uses Japanese Okatsune shears specially made for trimming hedges. These shears are user friendly and come in a range of sizes. It is more time consuming to trim these hedges this way, but it is also more exact.
I prefer hand trimming because the cuts are very clean and smooth.
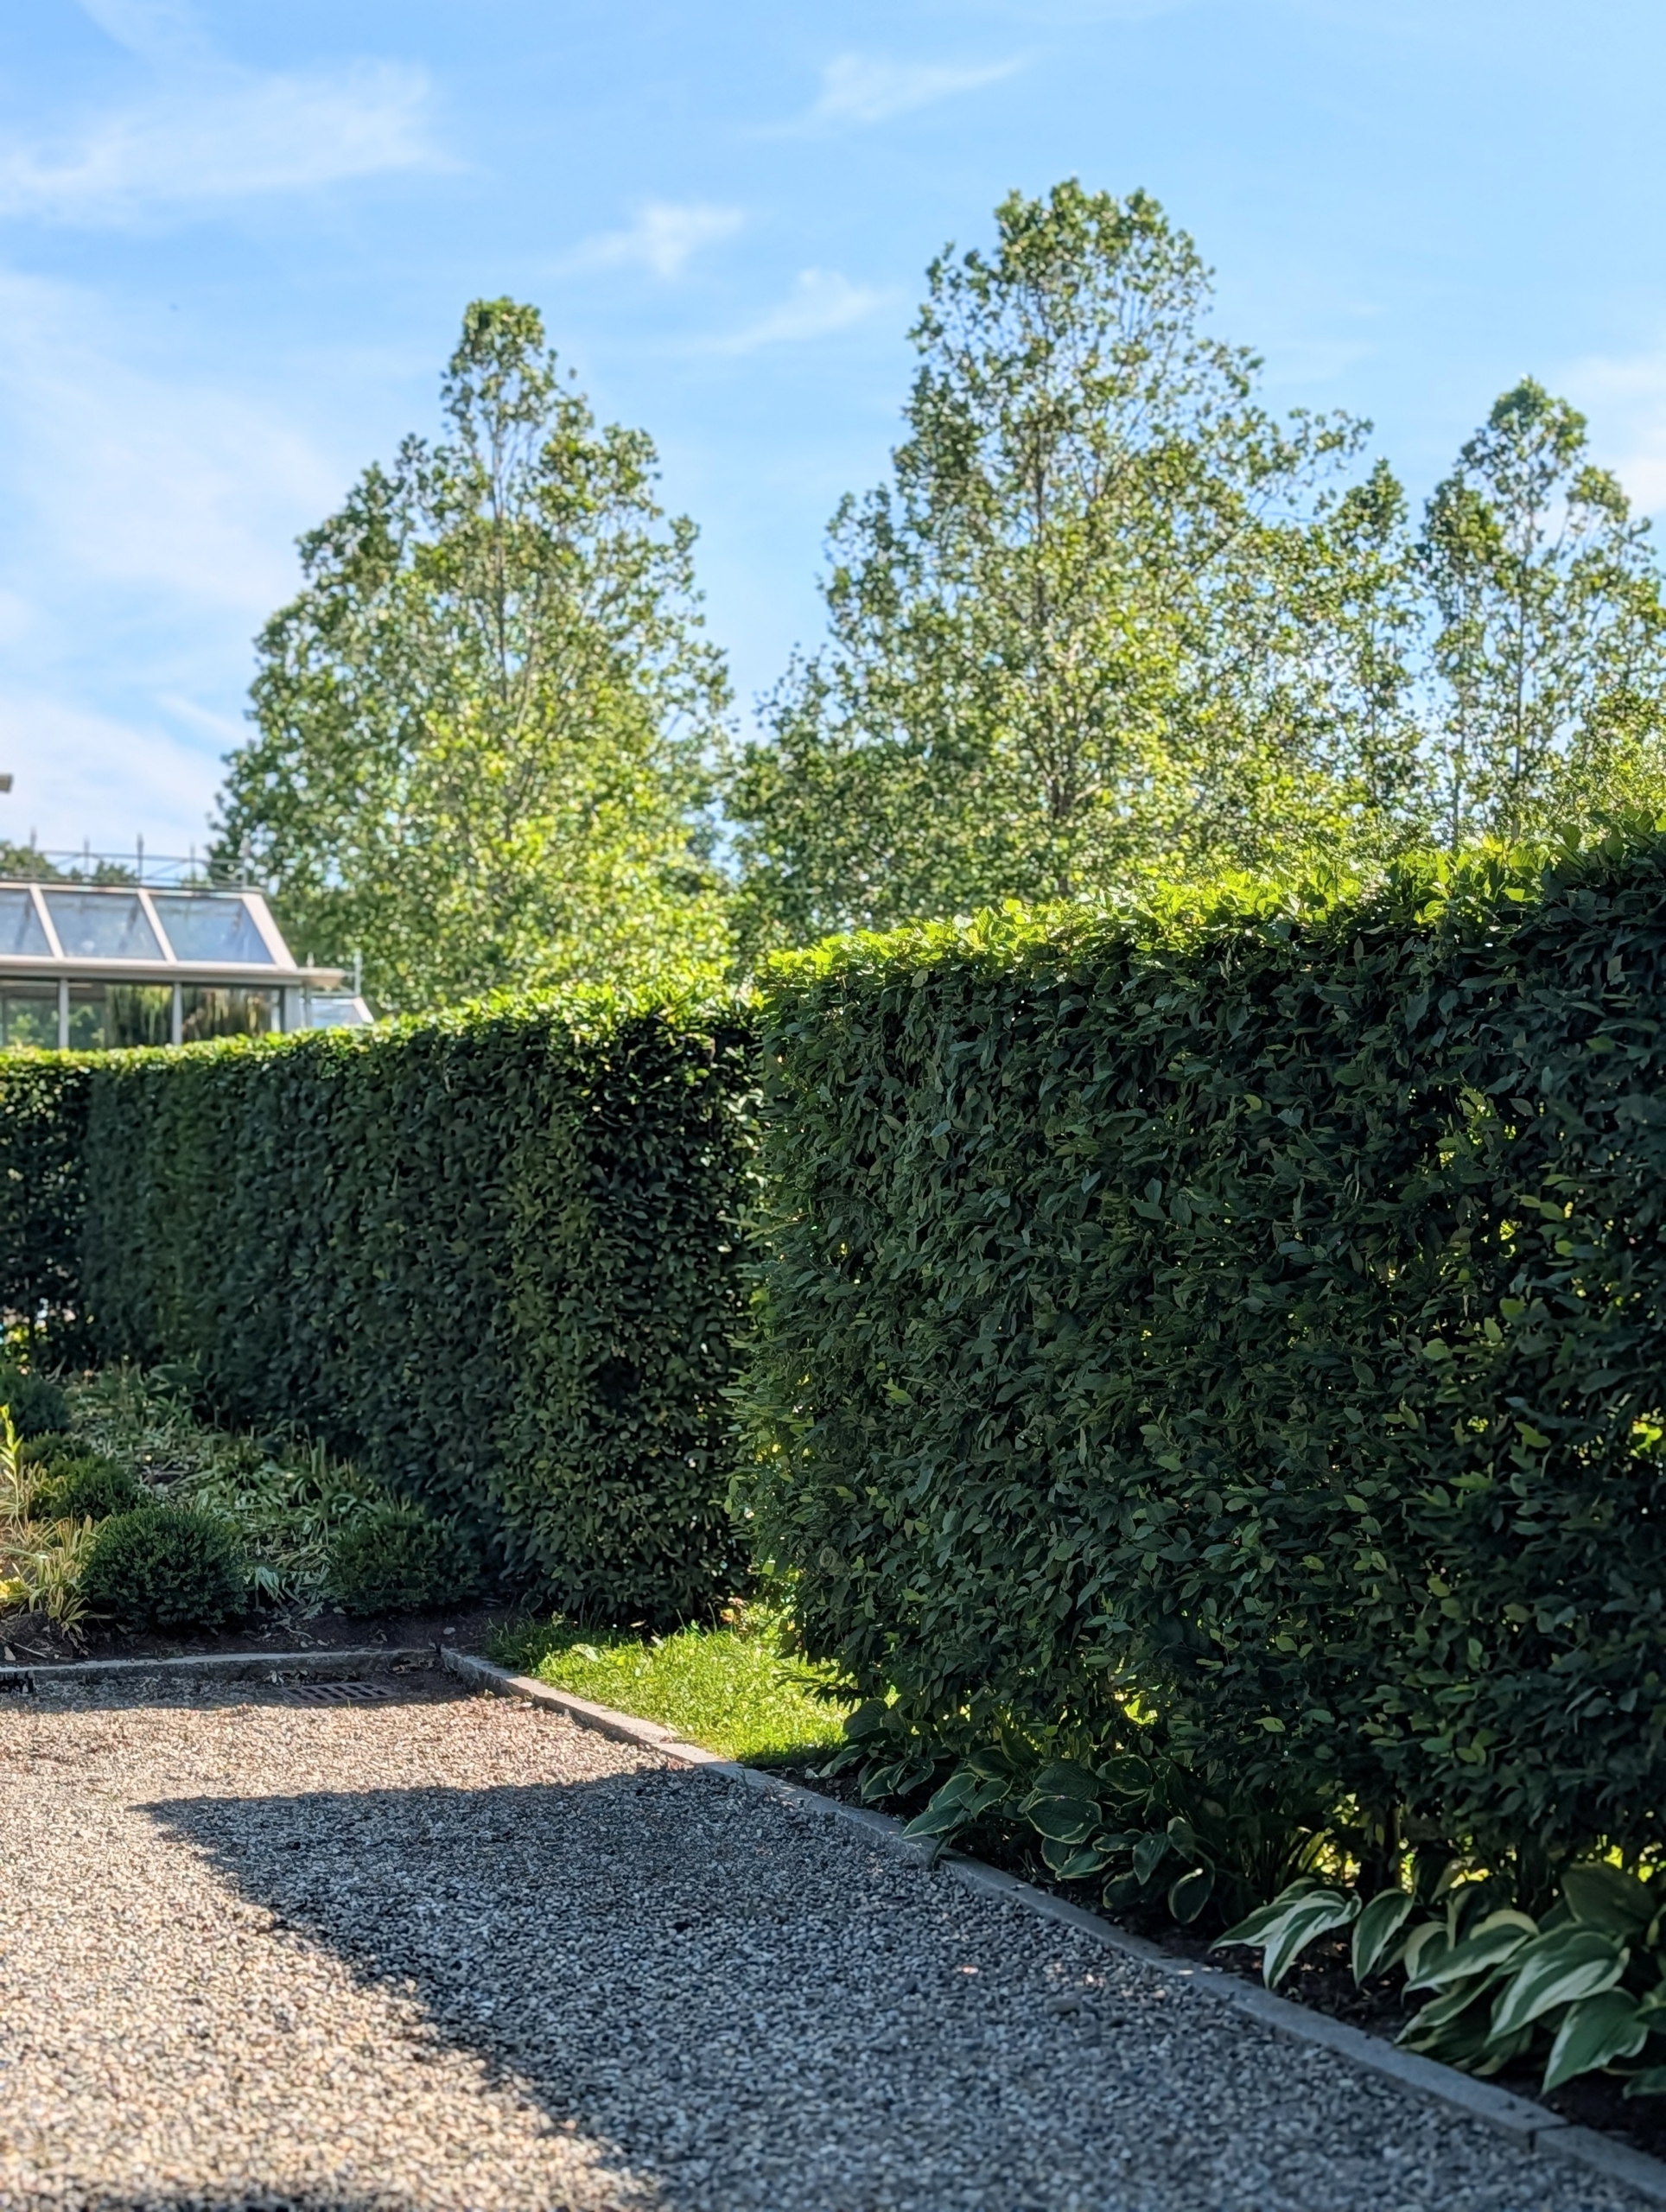
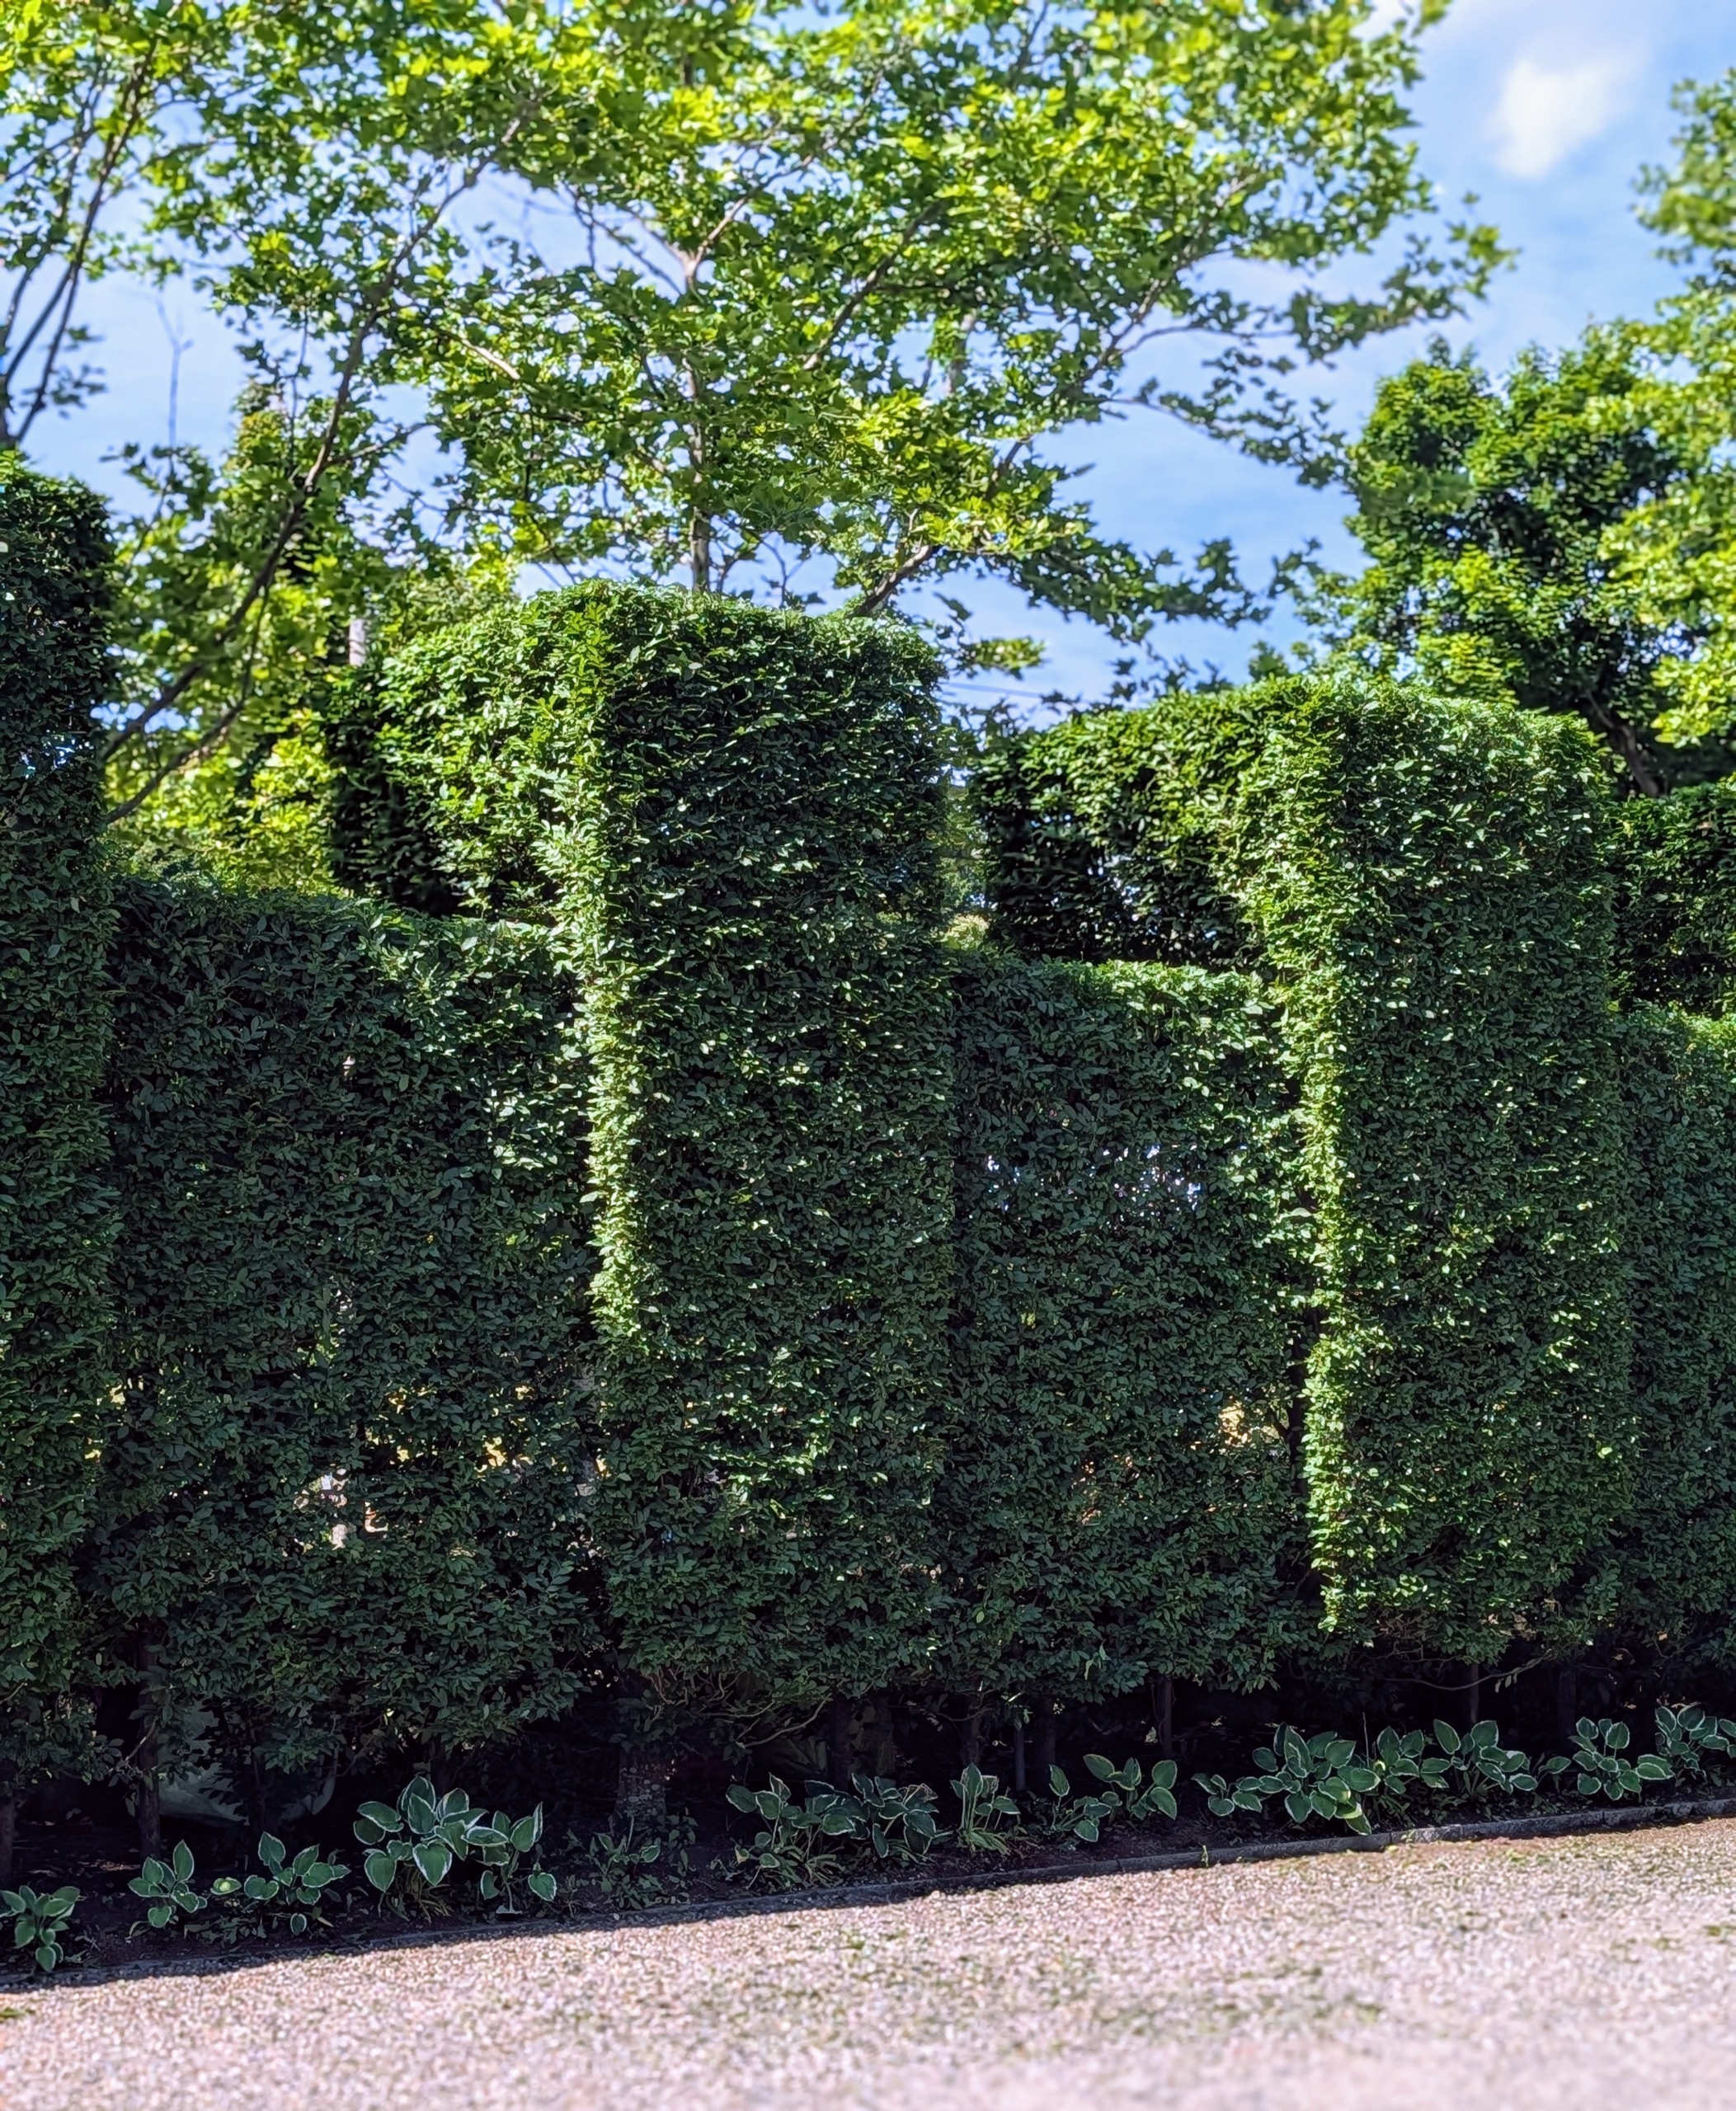
The front face sections are done first. We use a traditional English style of pruning, which includes a lot of straight, clean edges. A well-manicured hedge can be stunning in any garden but left unchecked, it could look unruly.
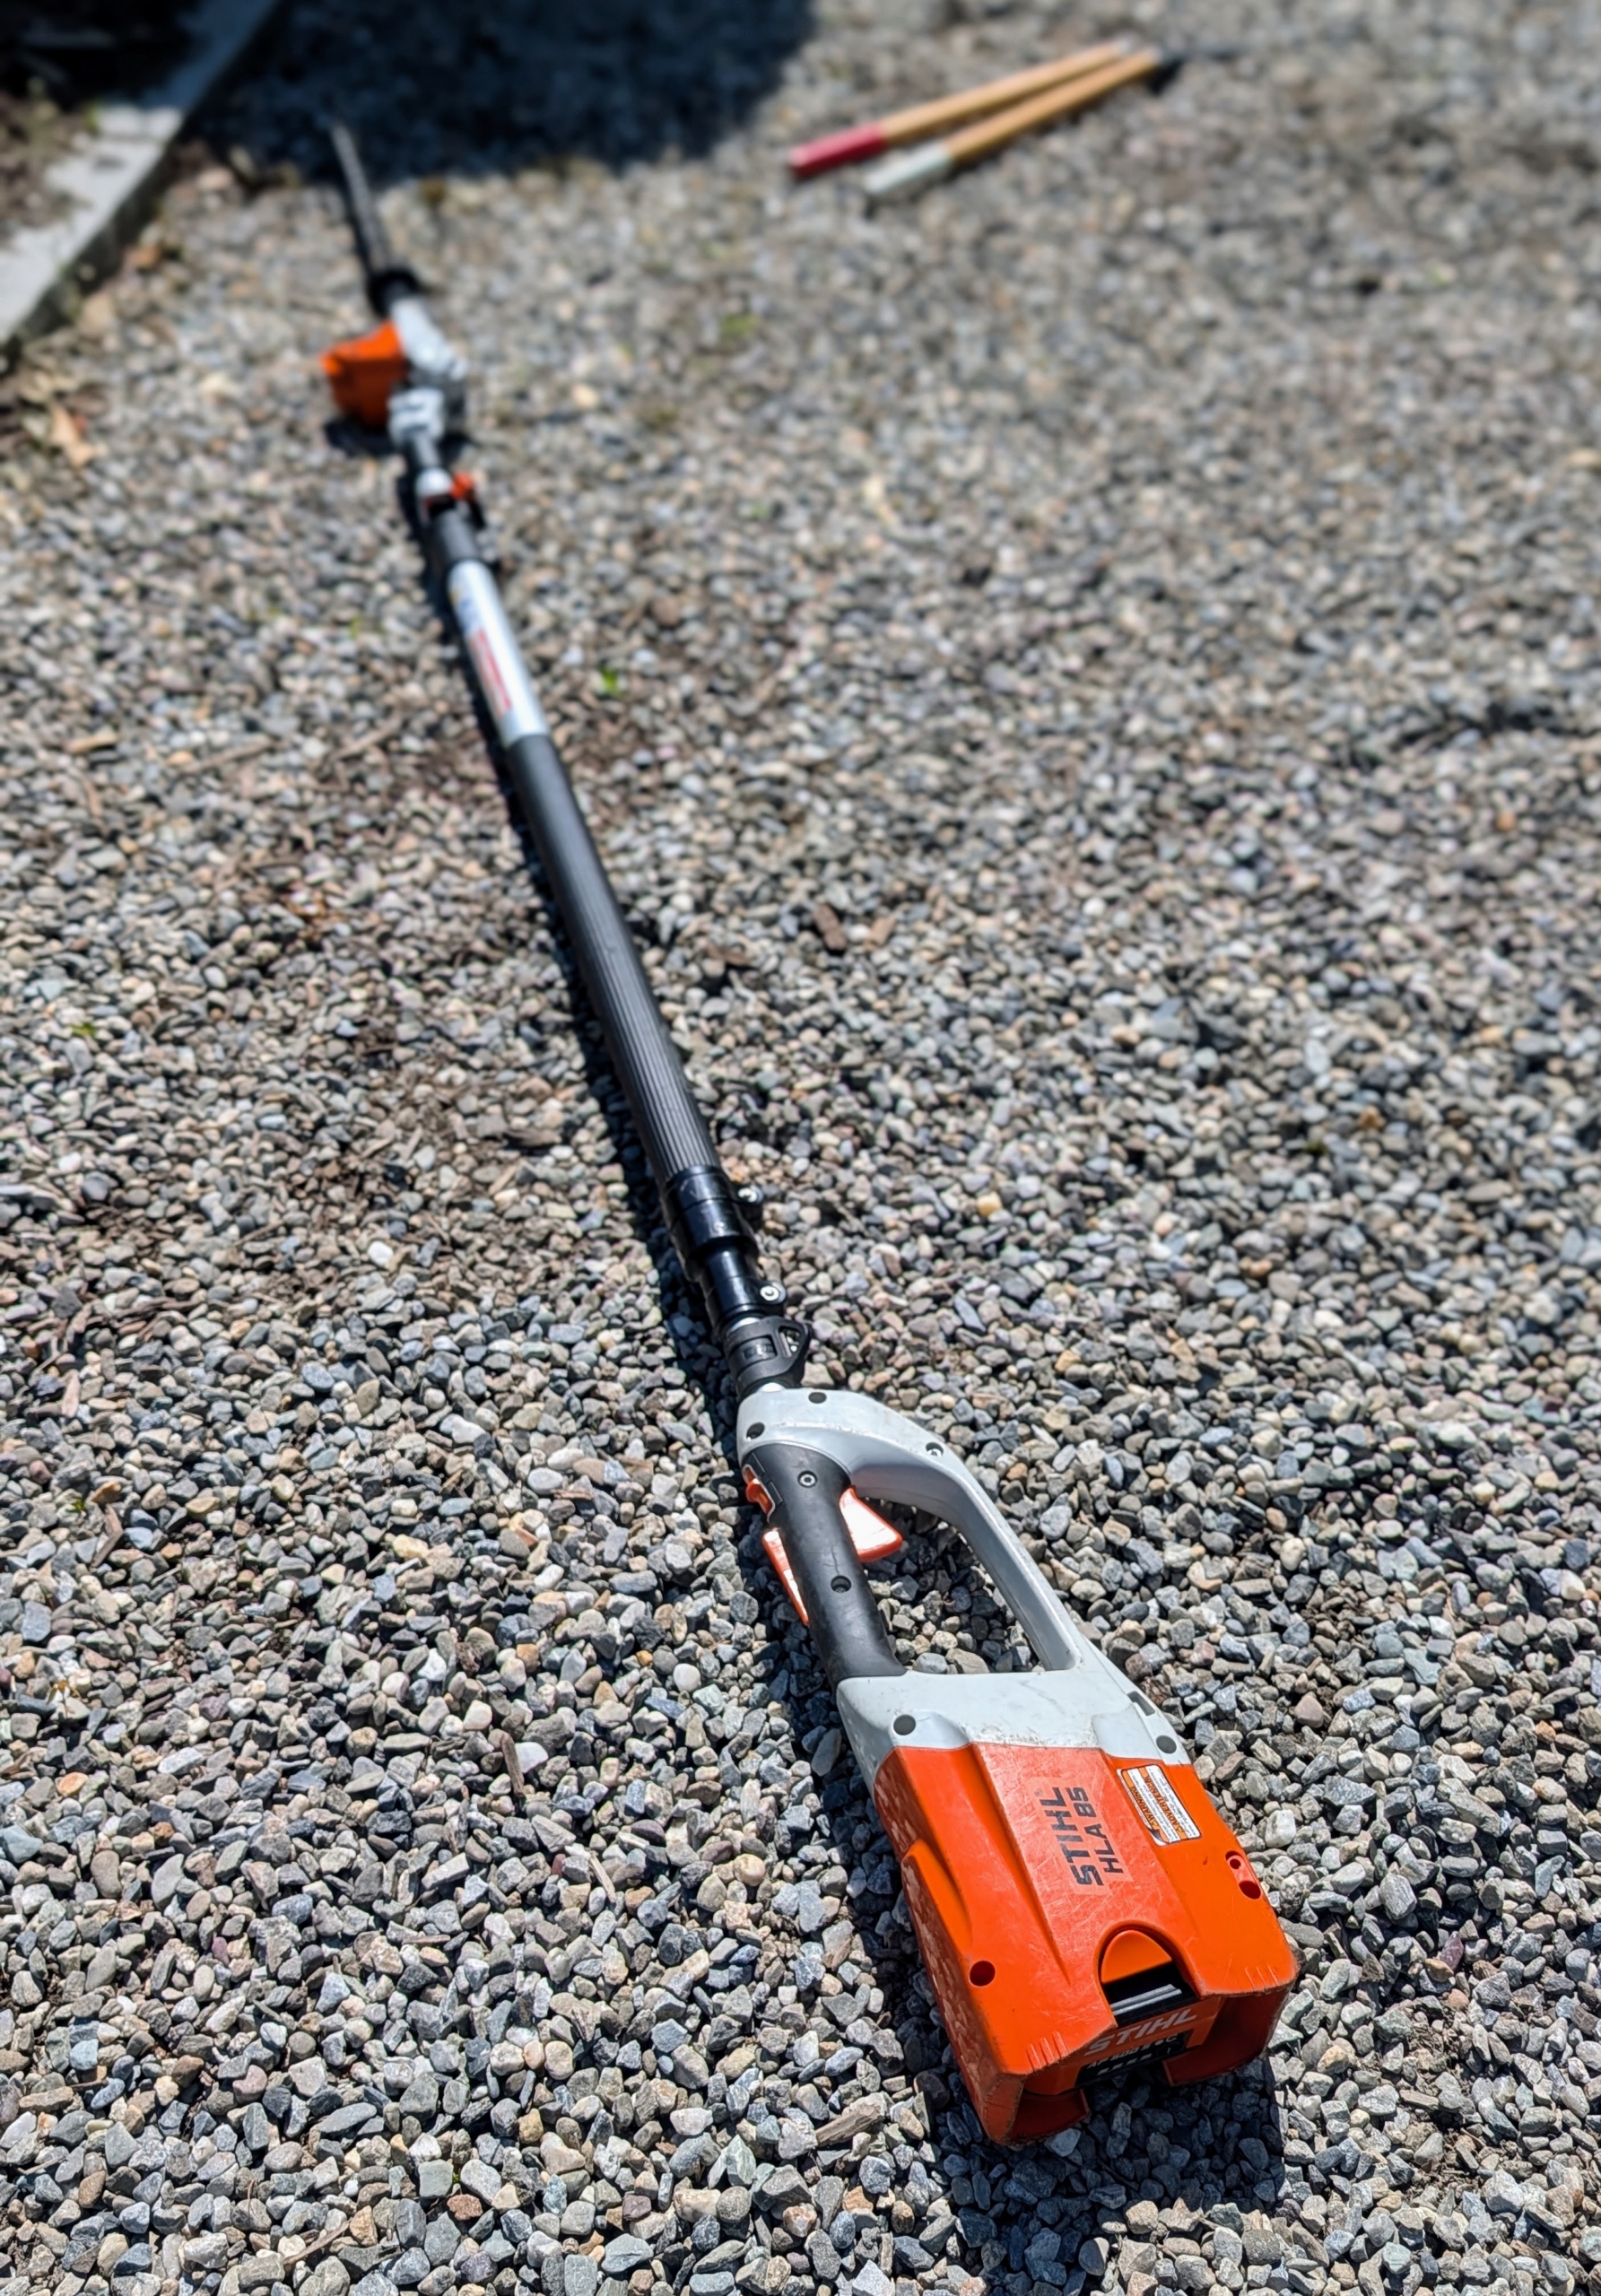
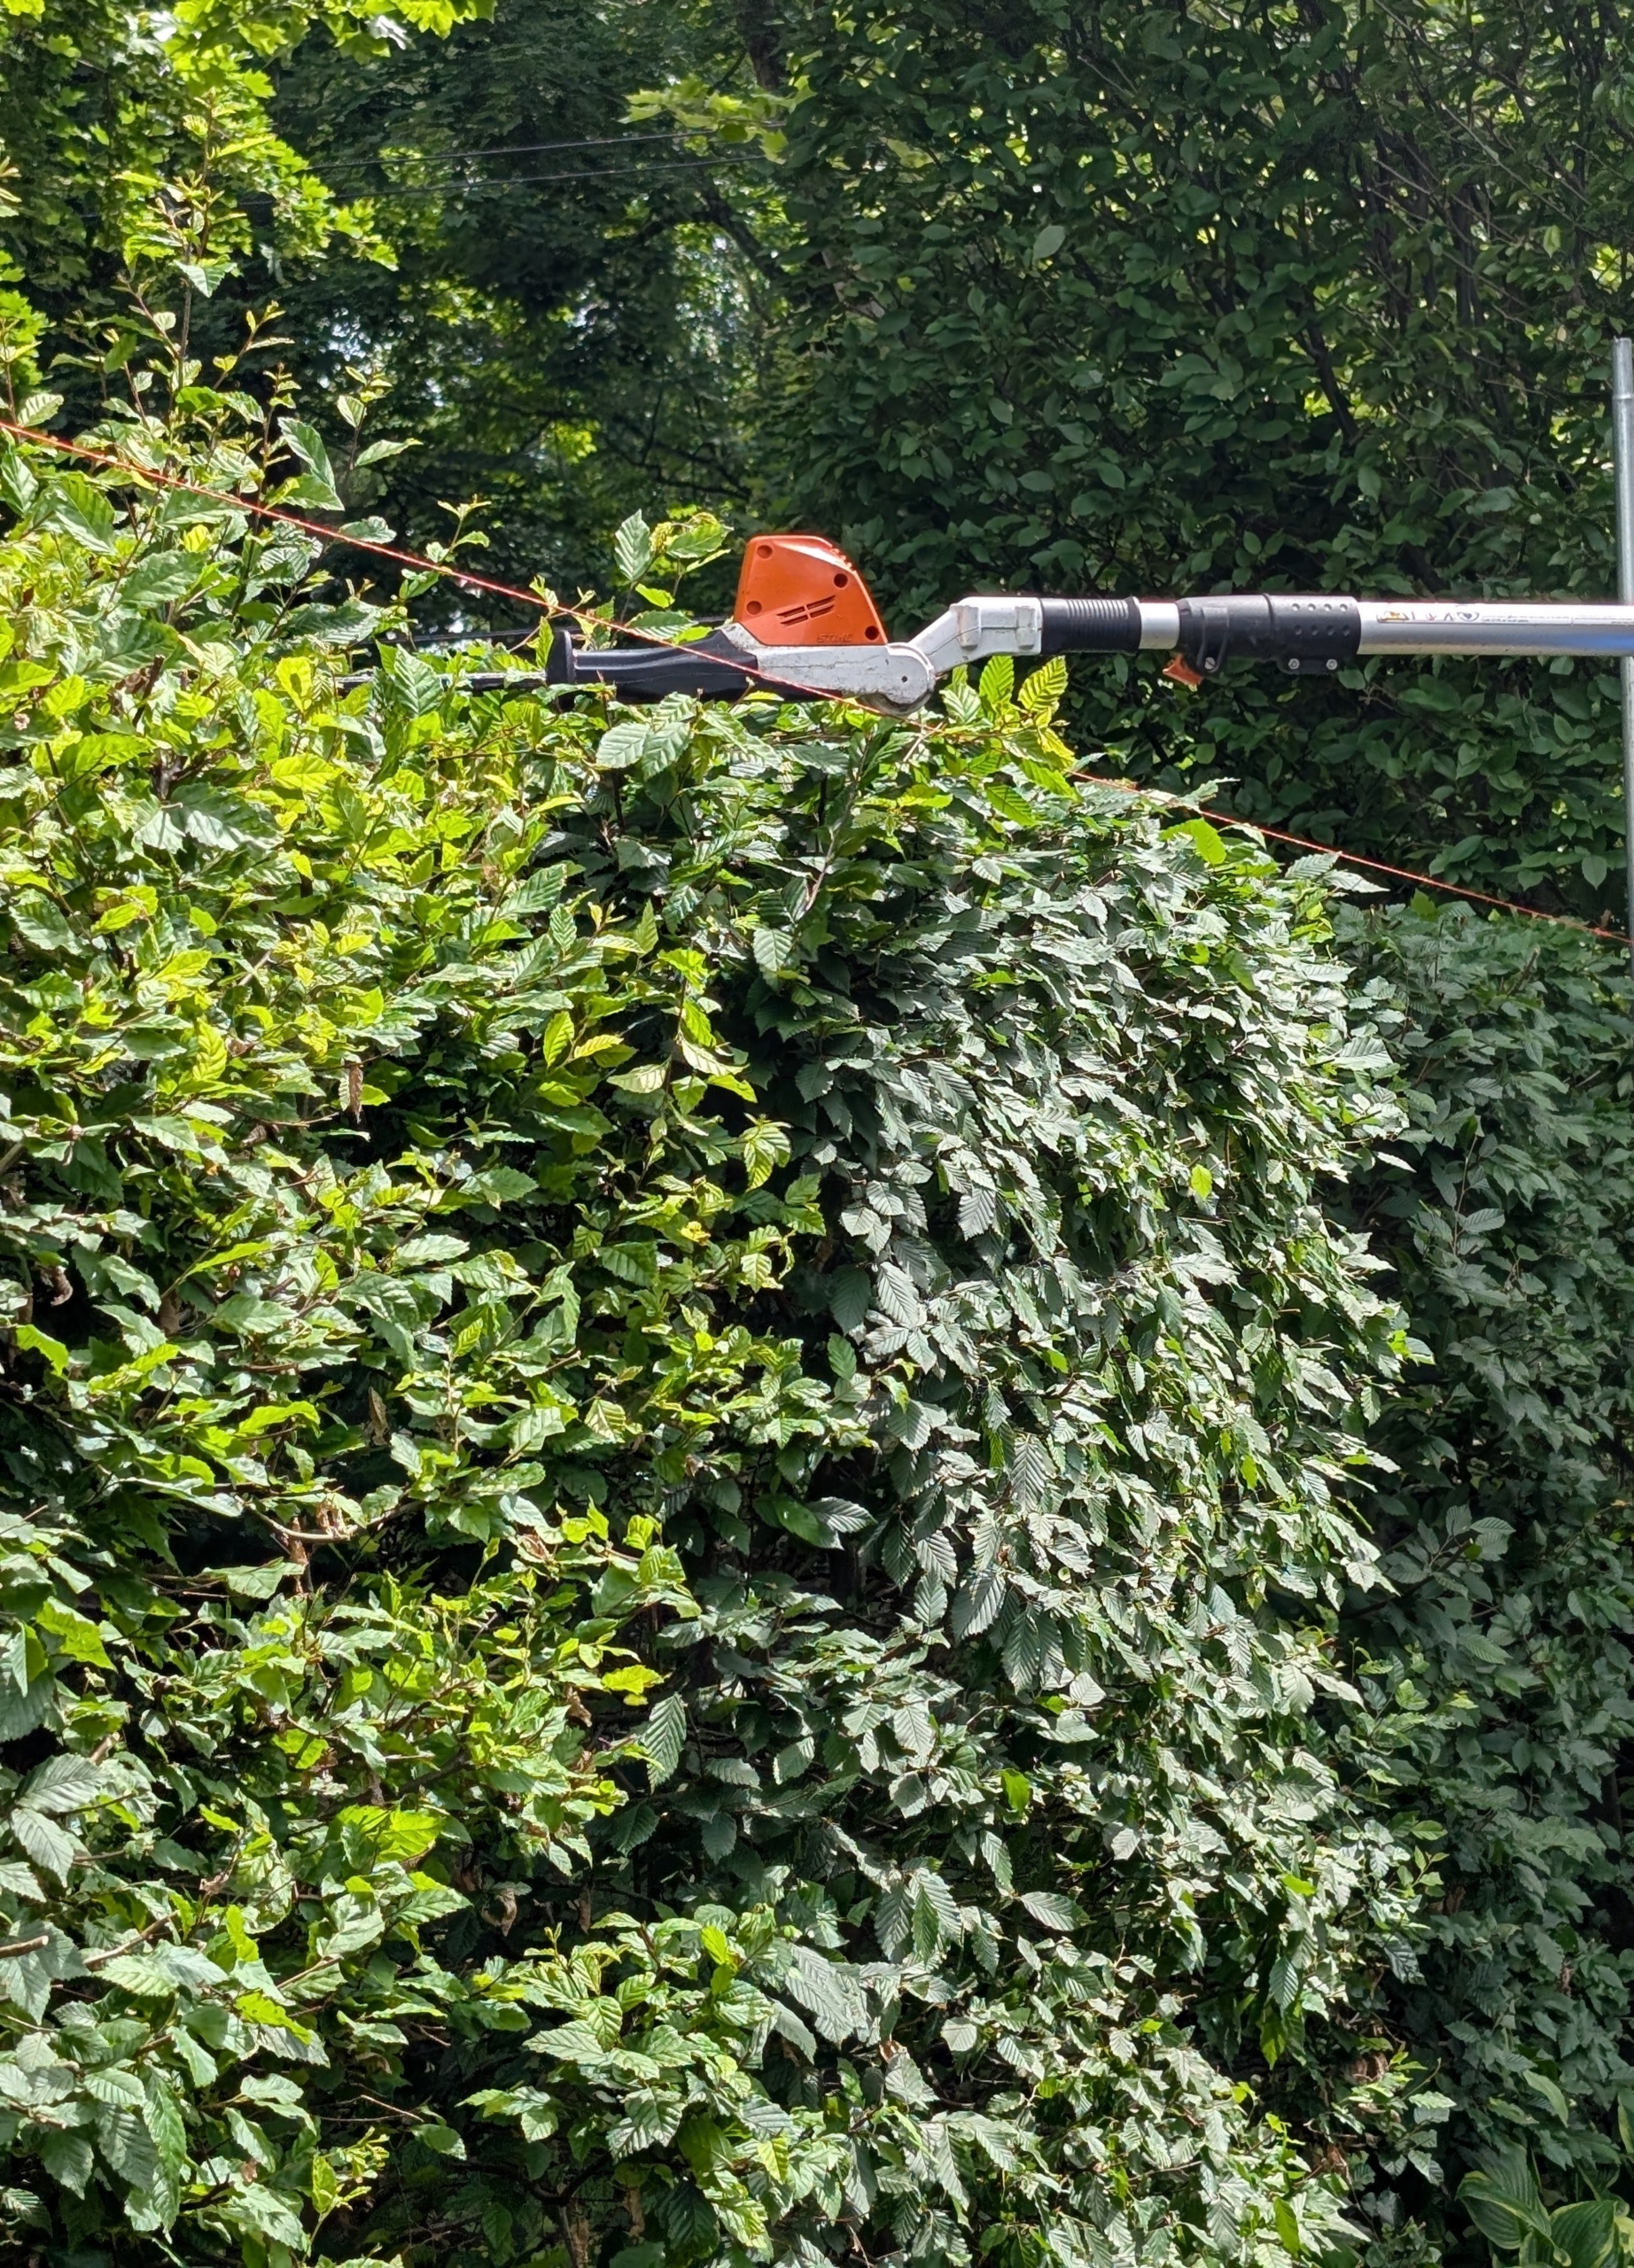
For the hedge tops, we use the STIHL HLA 85 battery powered extended hedge trimmer. It’s light, easy to maneuver and cuts extremely well.
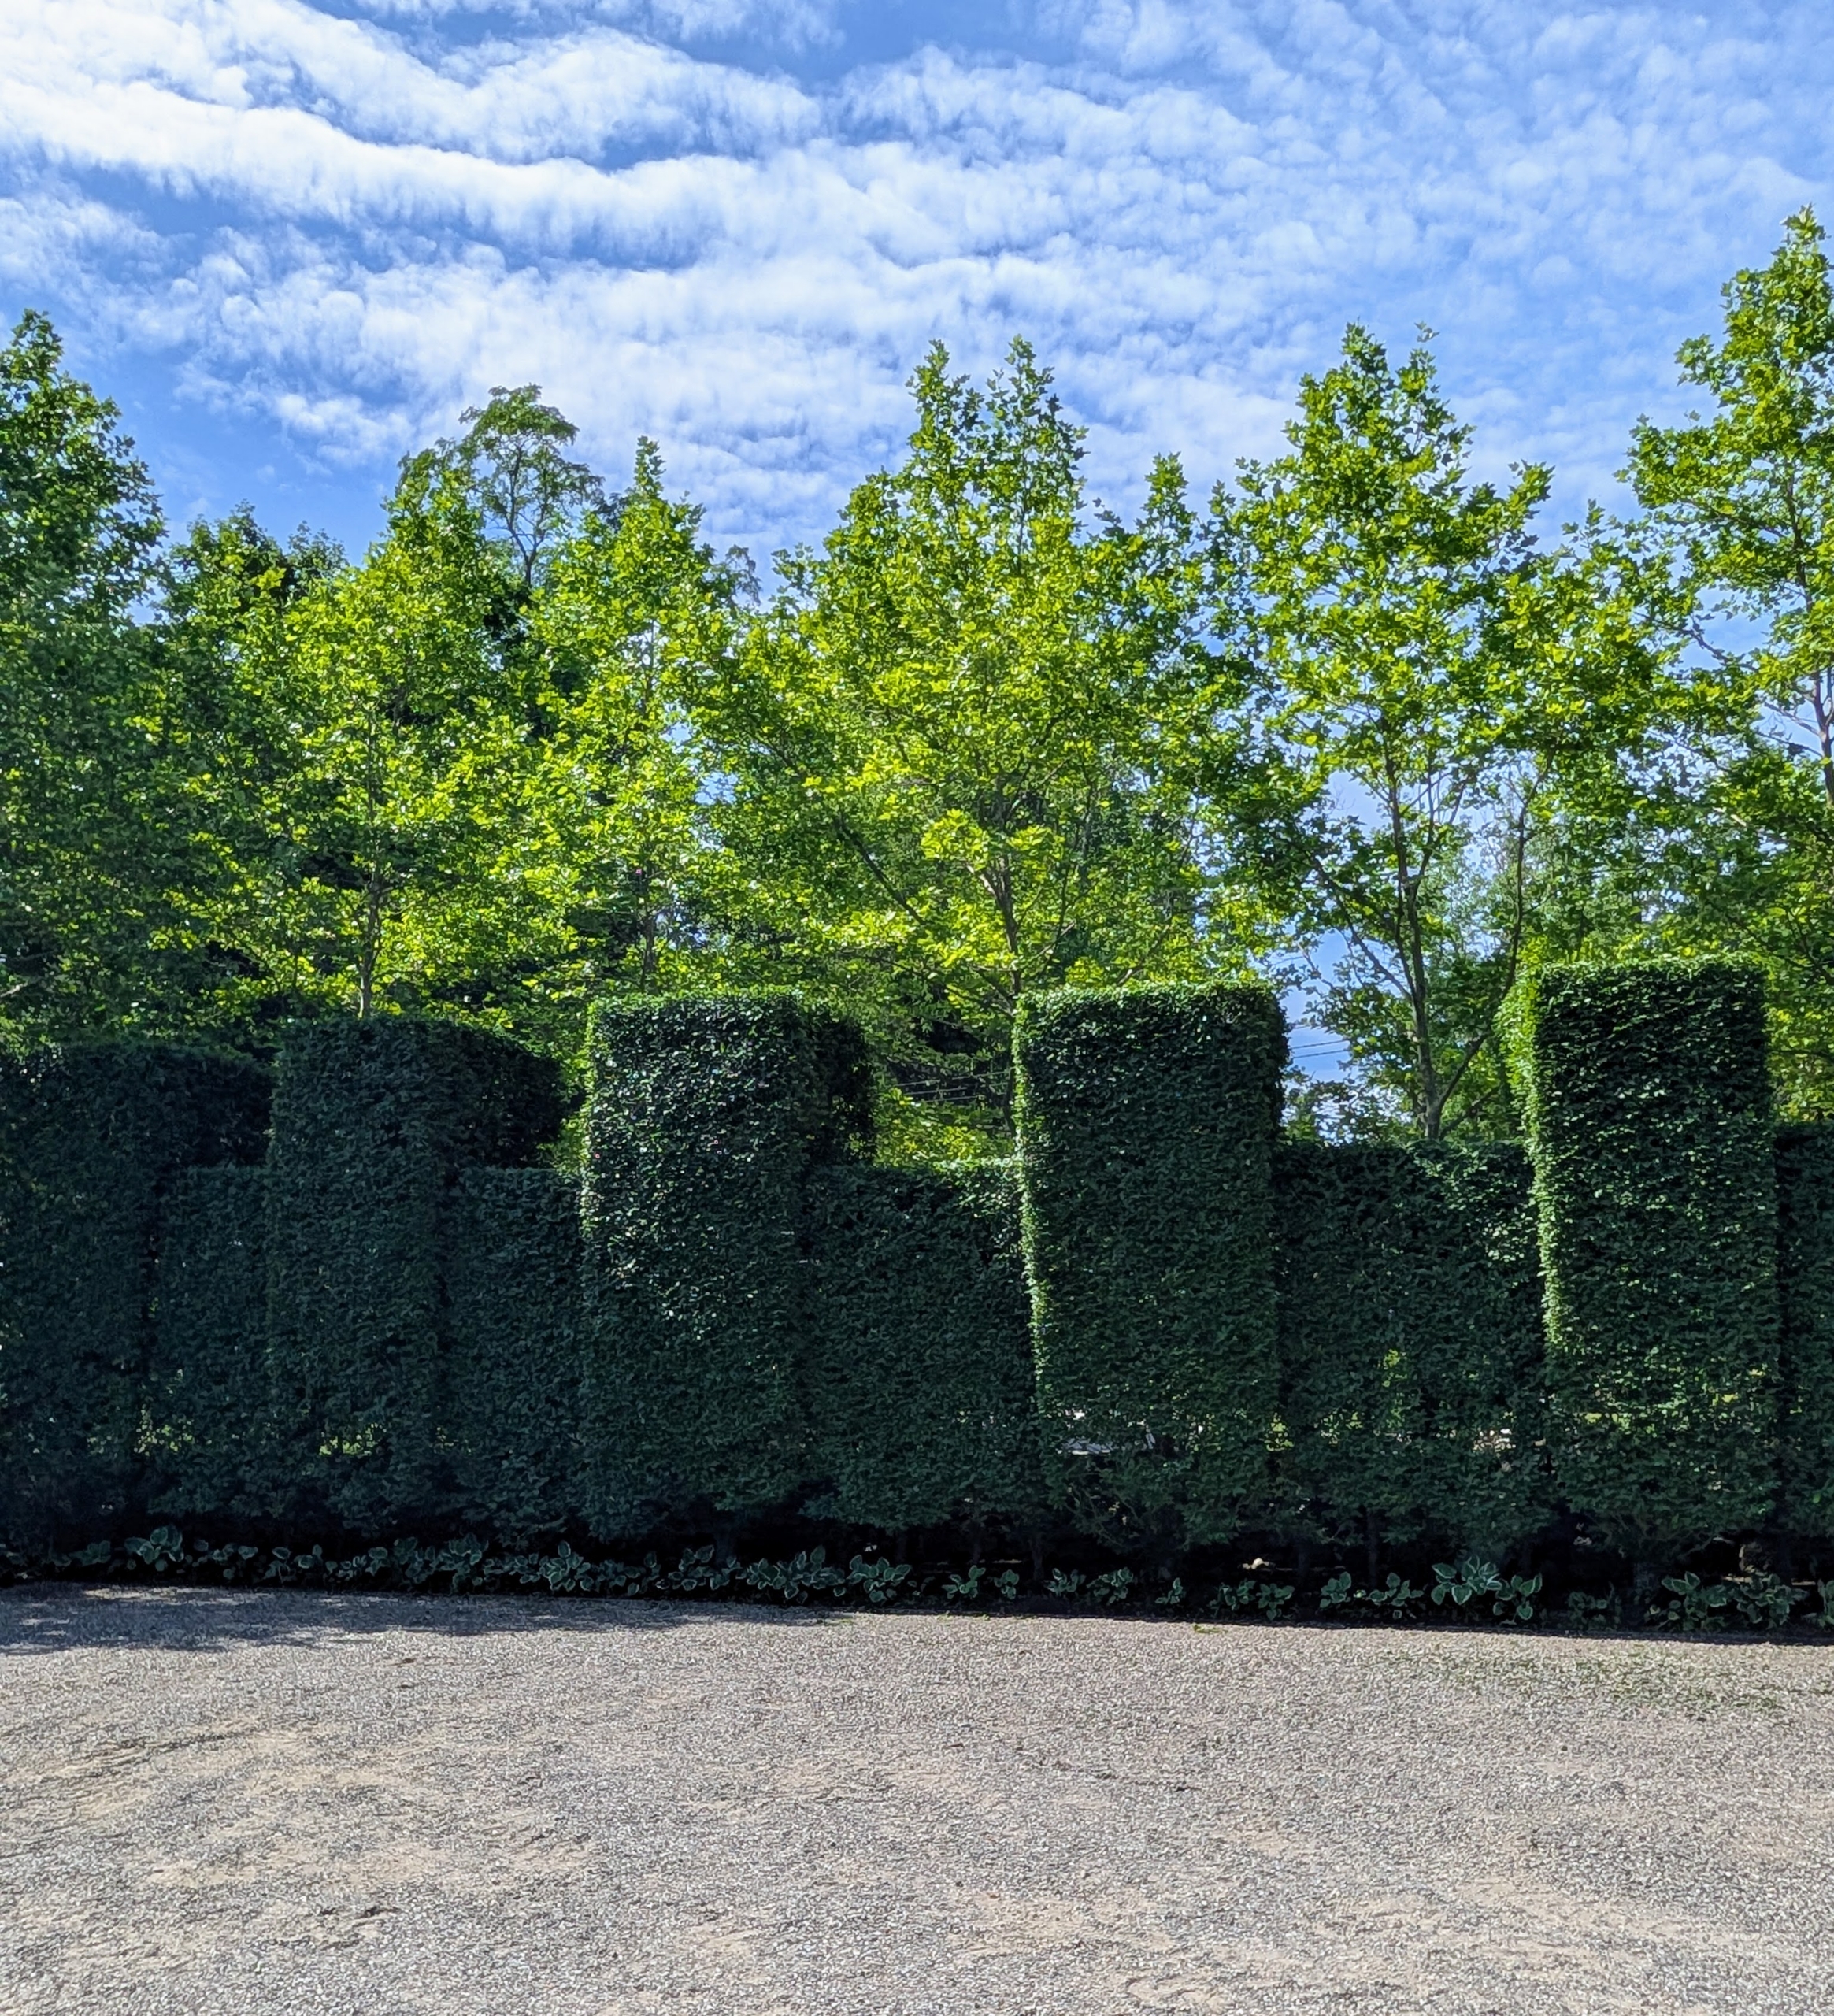
To keep the hedges straight on top, I instruct everyone to use landscaper’s twine to create a guide. It’s an easy way to make sure everything is cut properly. This nearby hedge is younger, but also growing very nicely and fast.
Here is the same section after trimming.
This entire side is straight and lush. My garden plantings do so well in part because of the excellent soil, which I feed and amend consistently through the year.
The opposite side of the garden beds is also pruned so nicely and so straight.
The tops of the taller hornbeams are accessed by our trusted Hi-Low.
And here is a side view of the big hedge showing how the front is sculpted with the taller sections protruding just a bit.
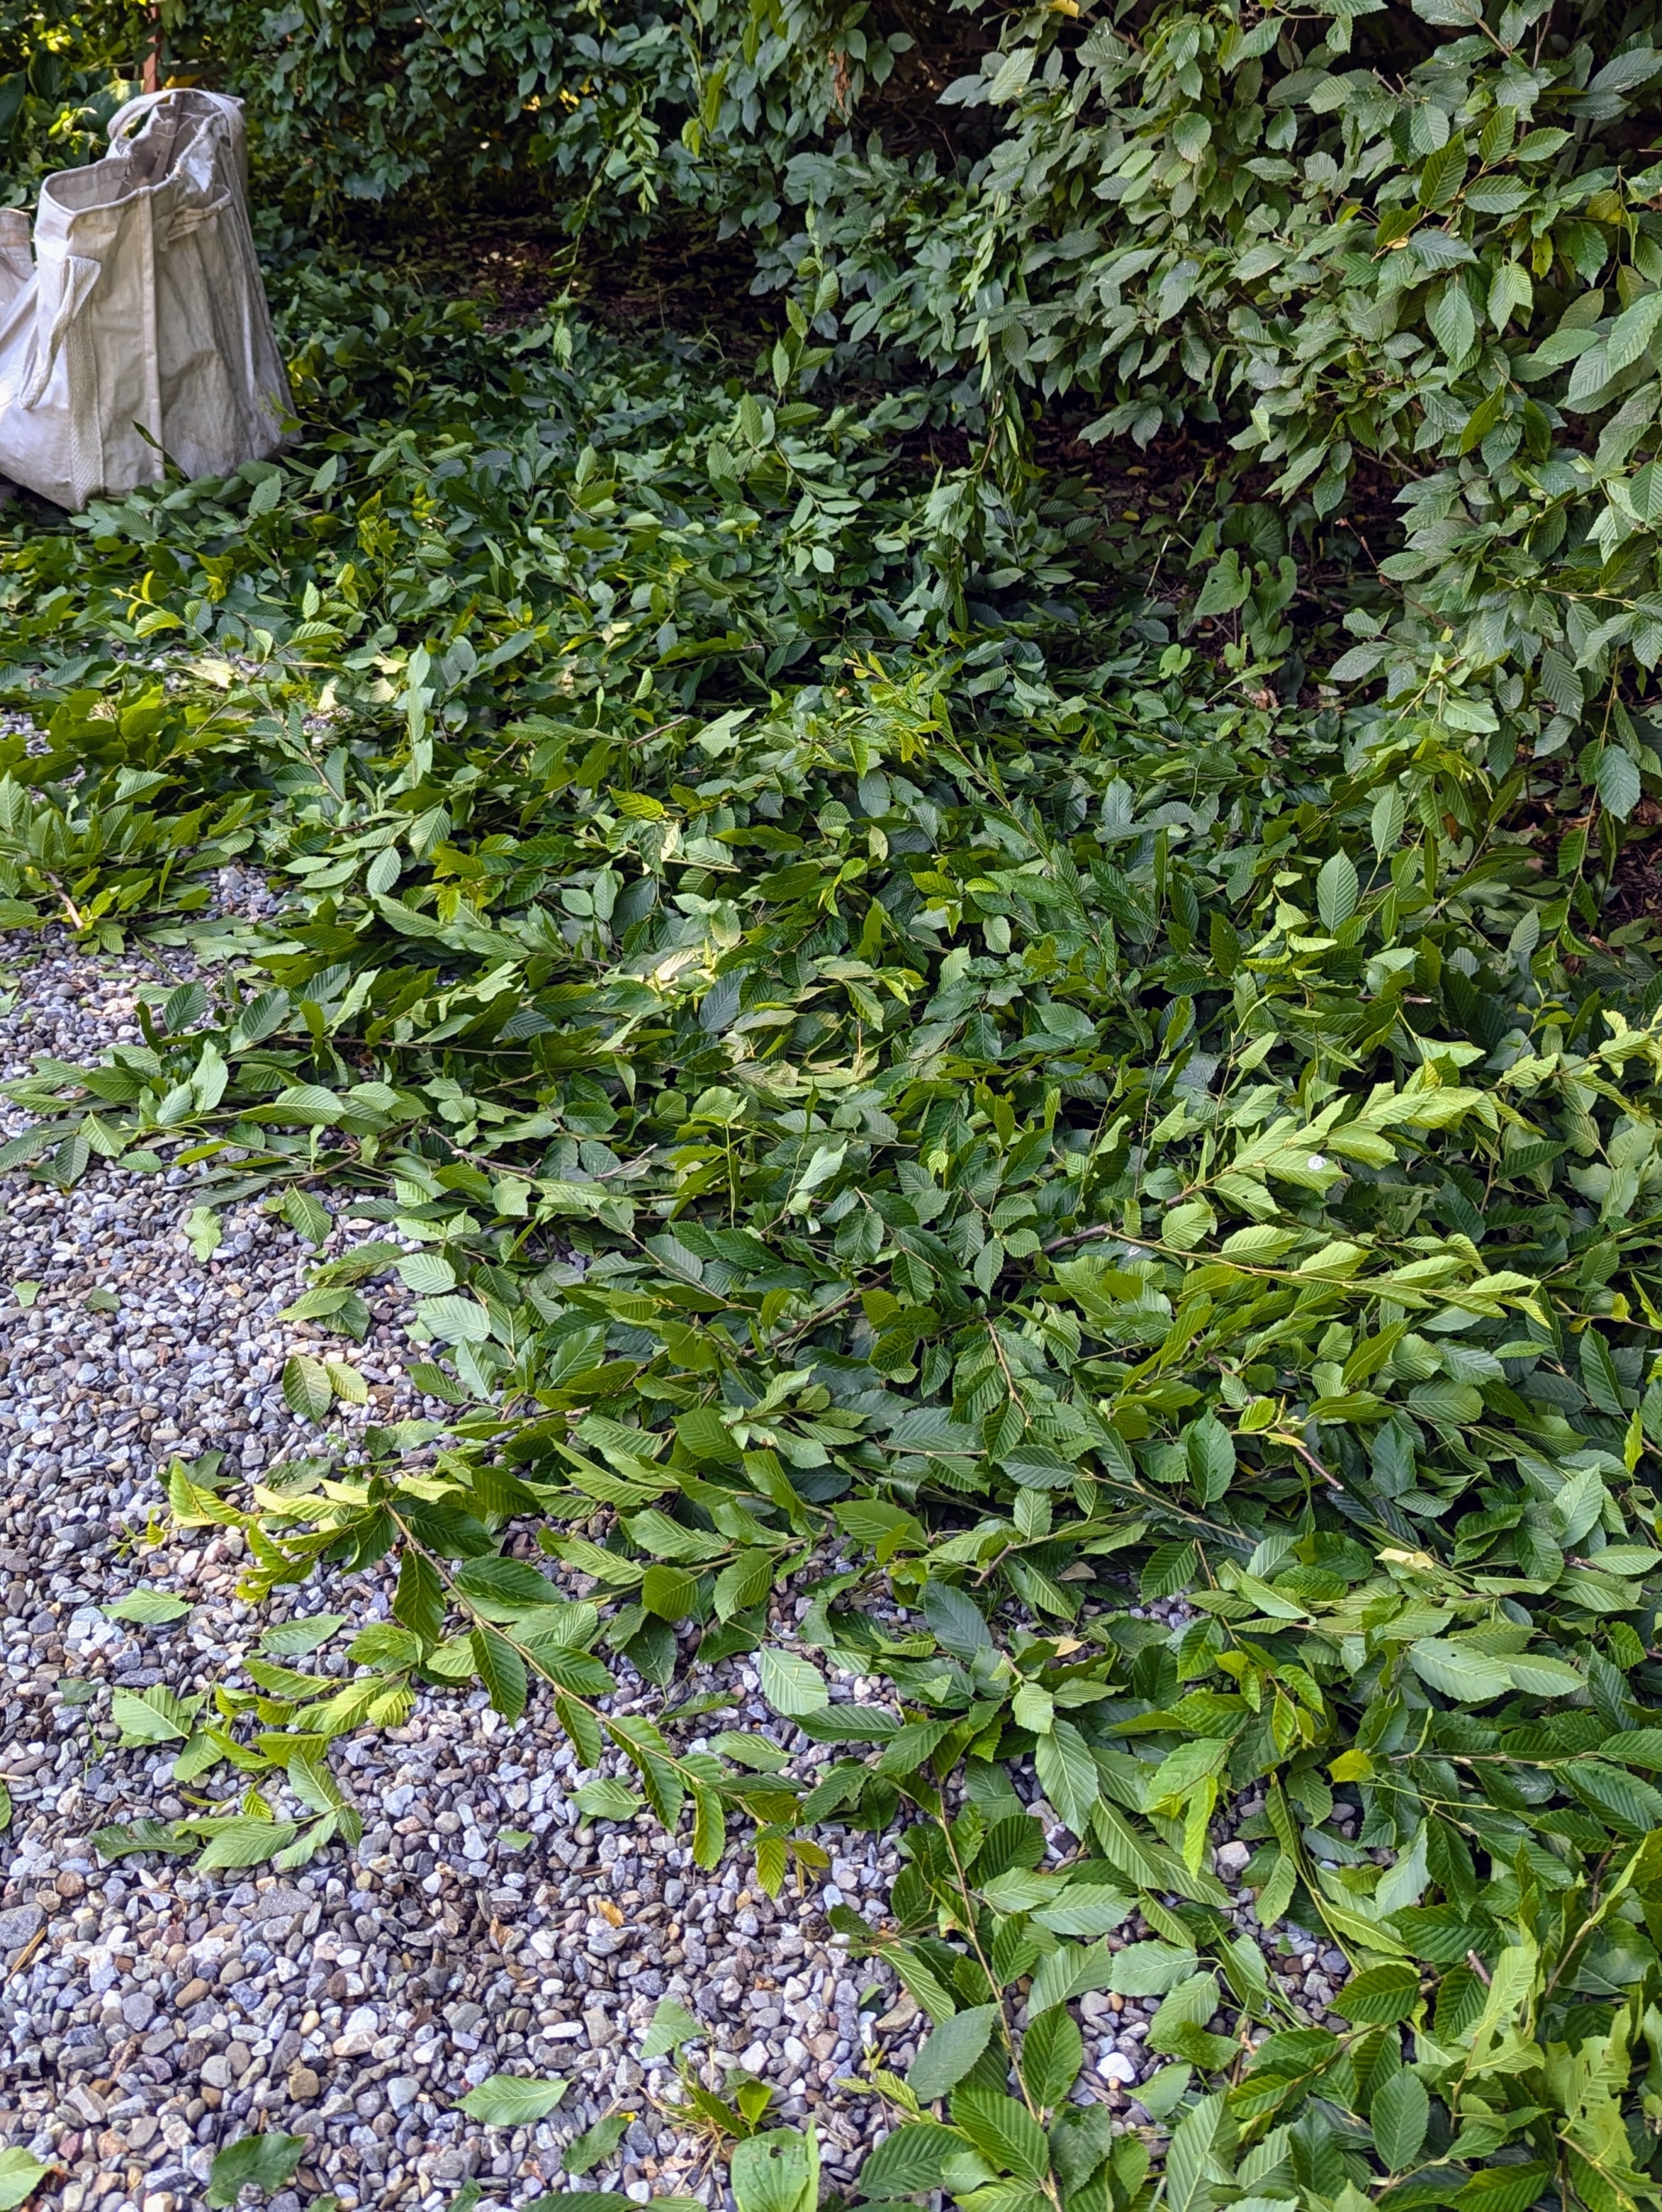
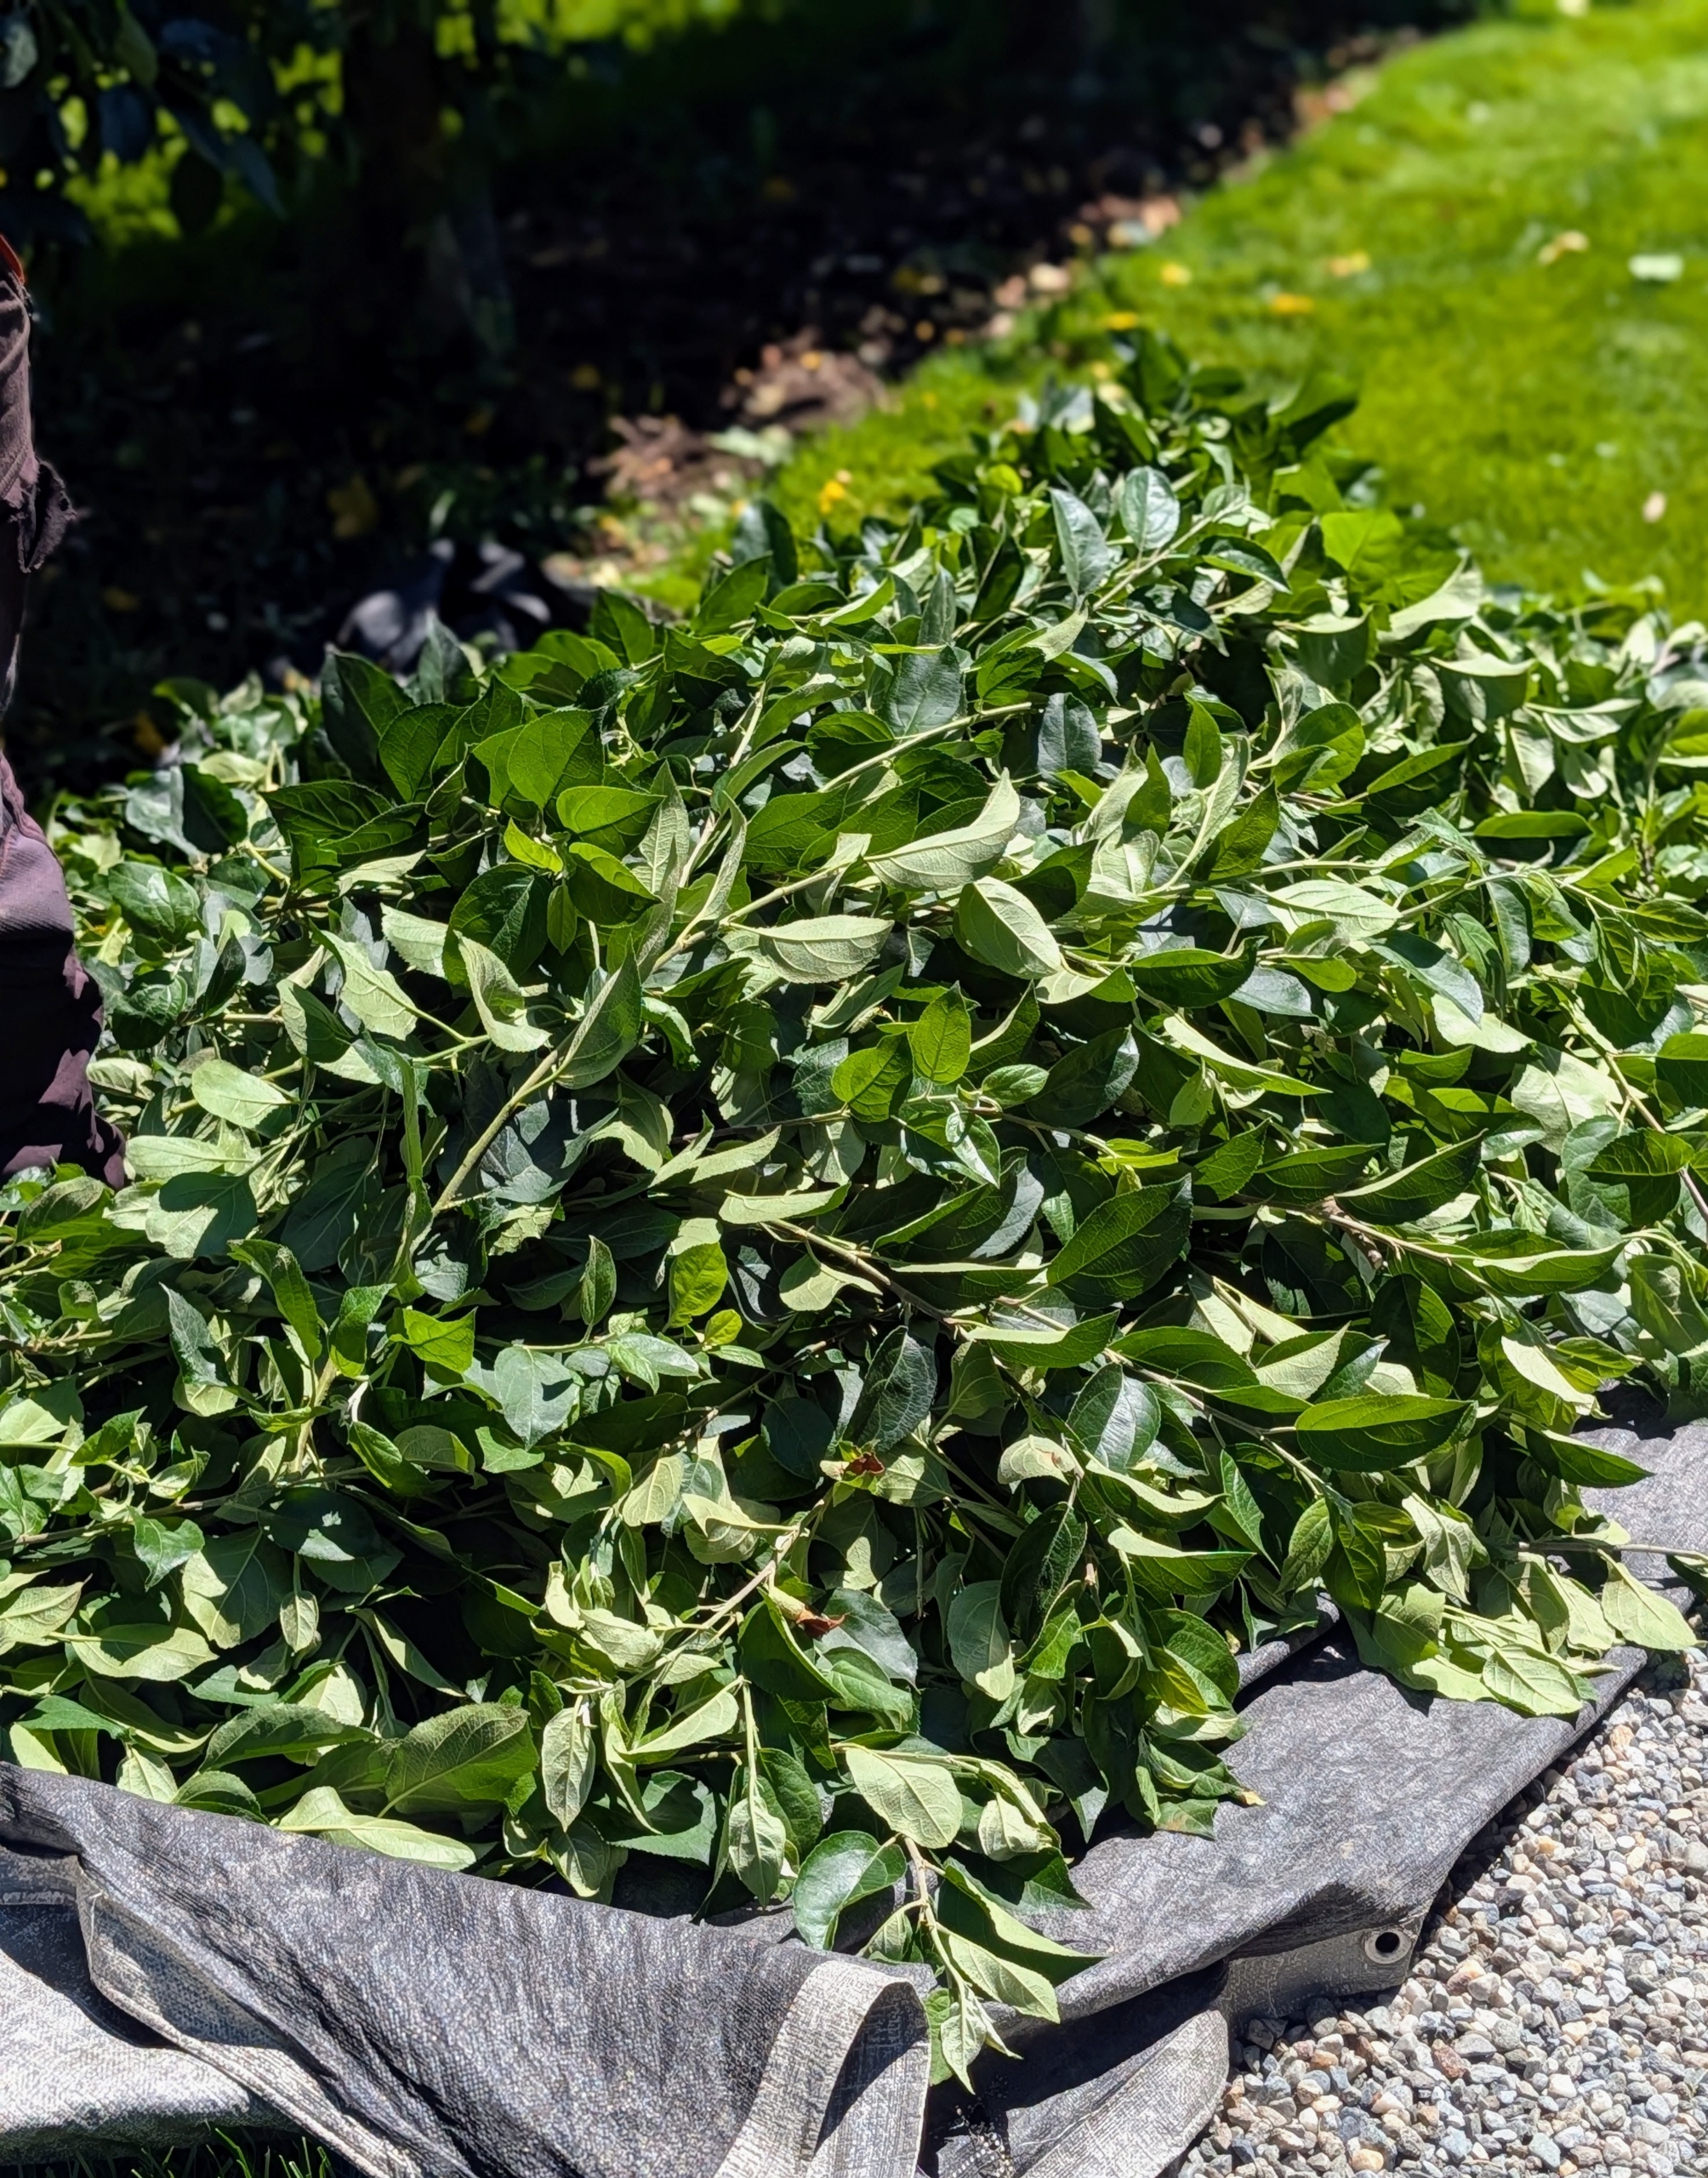
Down below – all the cut leaves. These are raked up as they work, so cleanup is easier at the very end.
Here’s Pasang keeping up with all the pruning cleanup.
Under the hedges are hostas. Hostas thrive best in partial shade and this area is perfect.
Hosta is a genus of plants commonly known as hostas, plantain lilies, and occasionally by the Japanese name, giboshi. Hostas display a rich palette of foliage colors, including green, blue, gold, yellow, white-centered, and variegated patterns, with subtle variations.
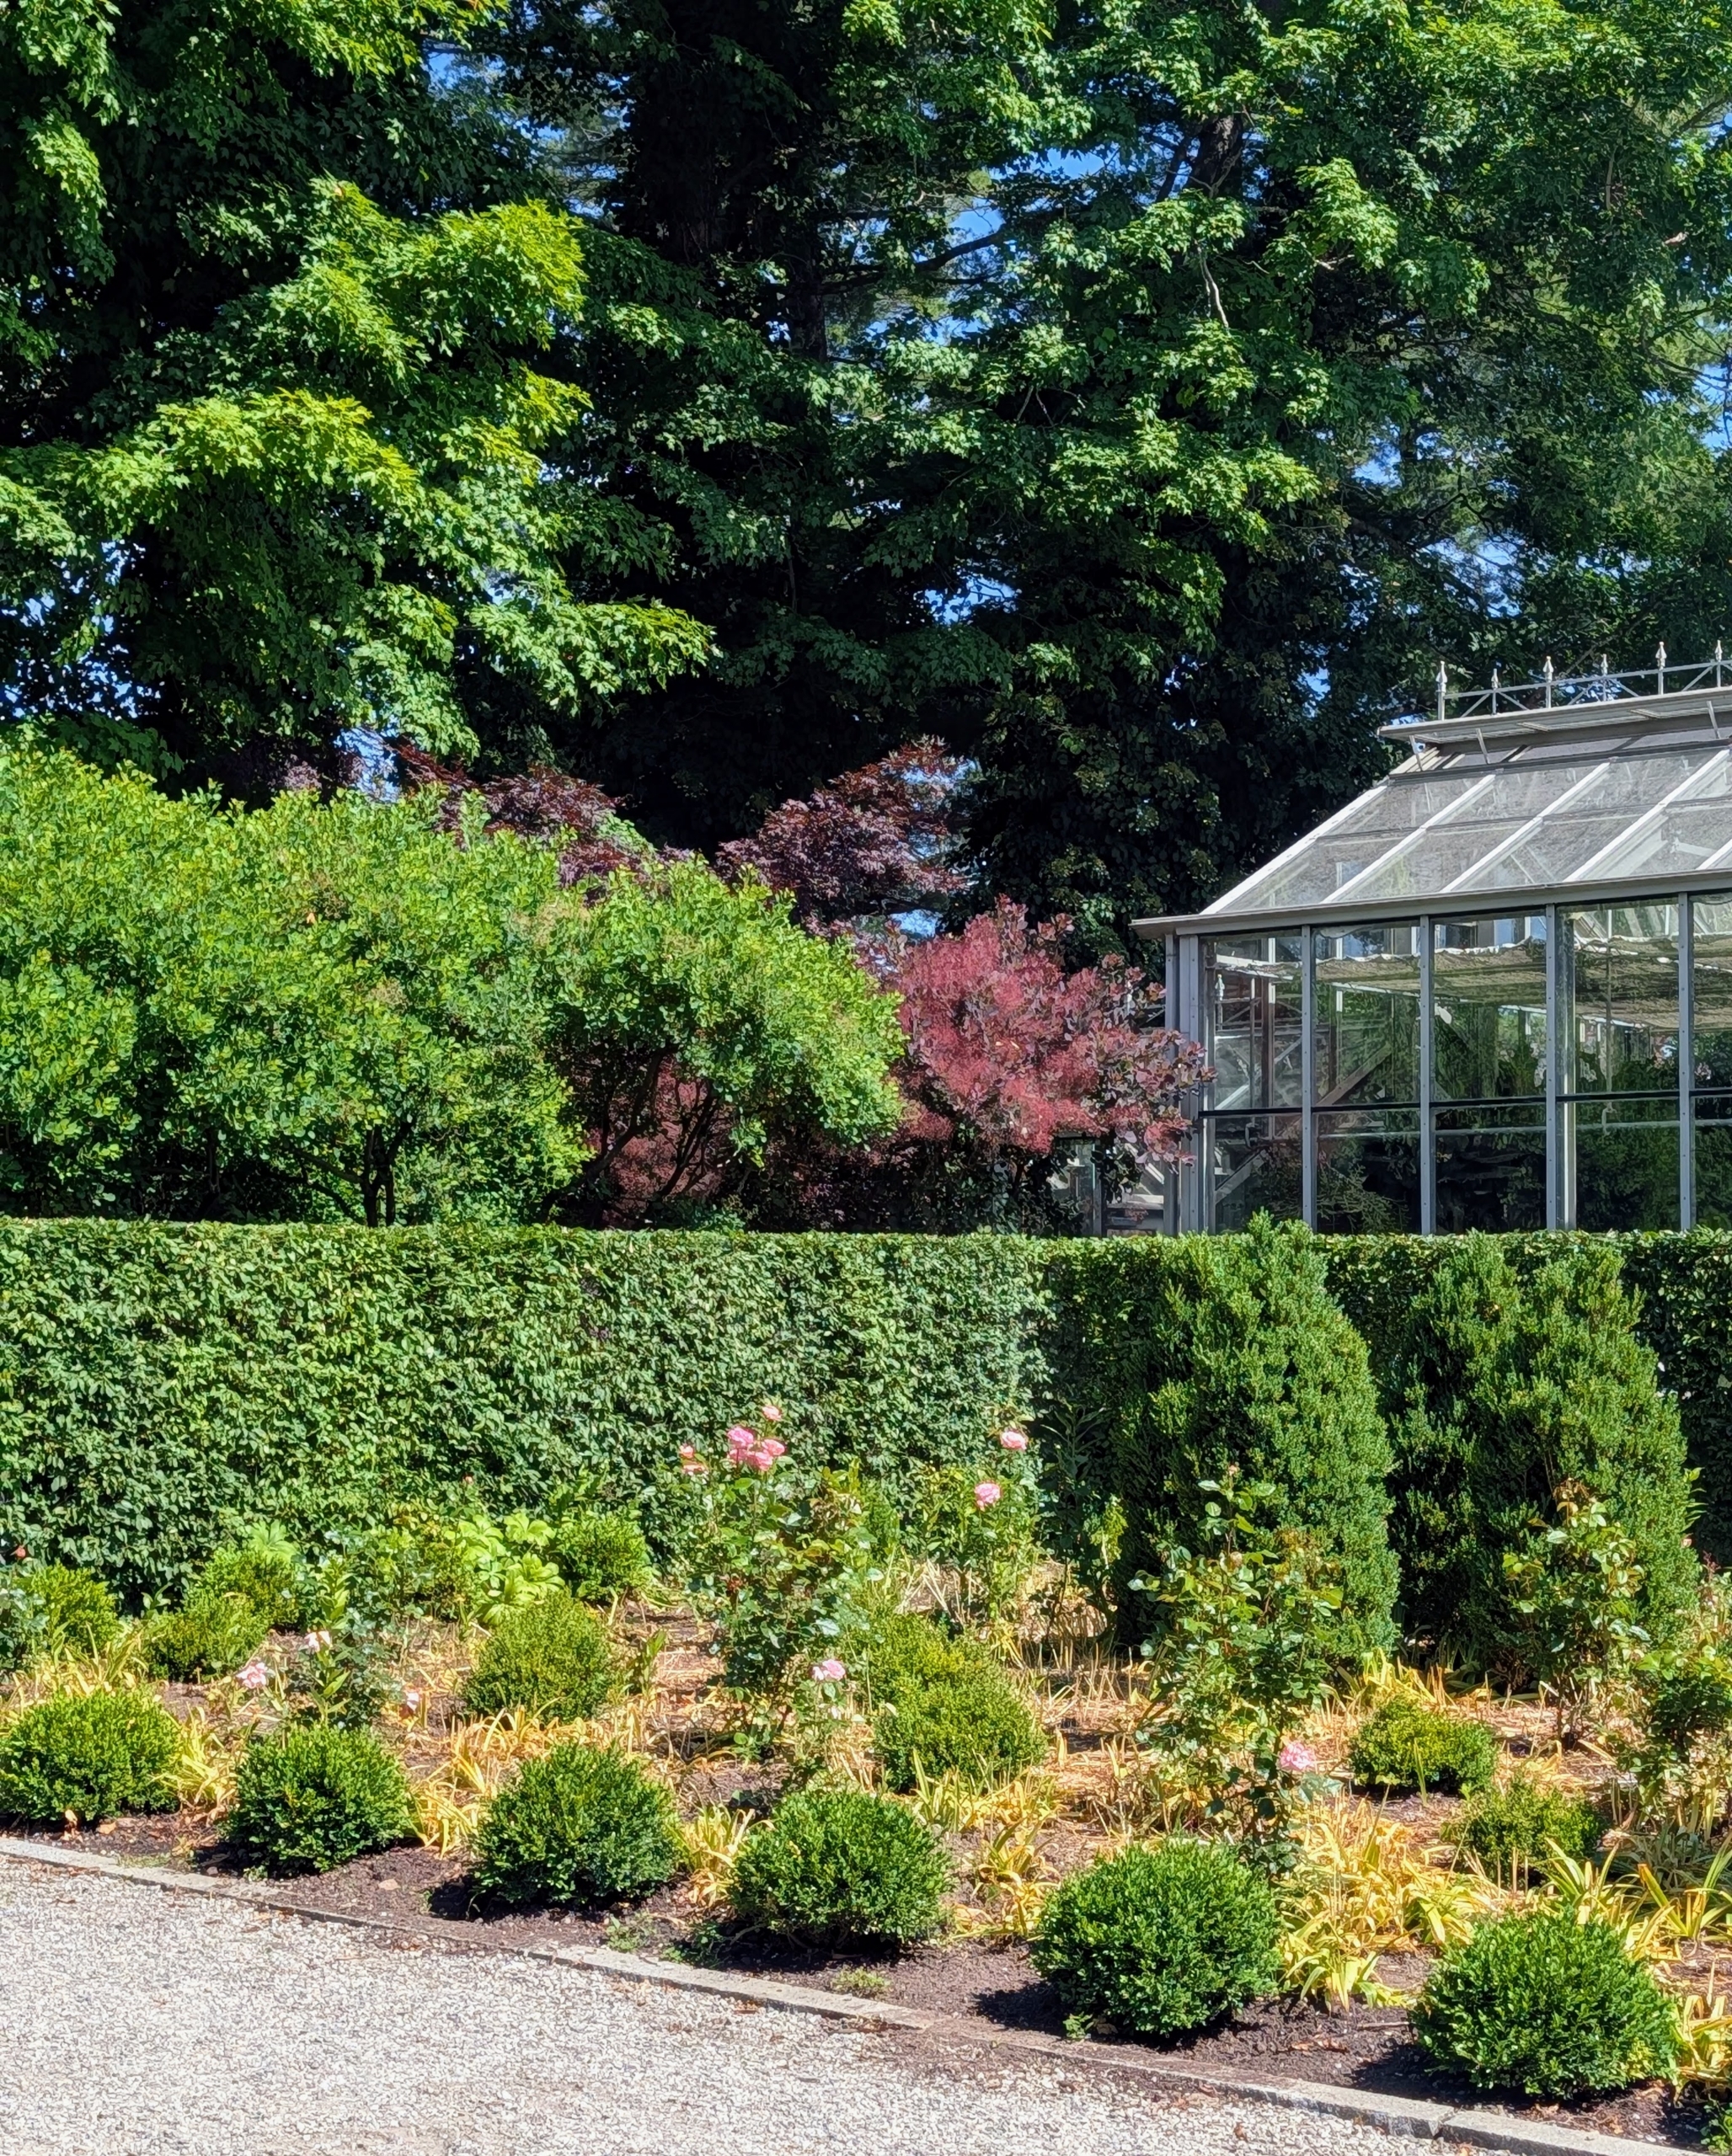
Just across the gravel covered parking area is my glass greenhouse. Flanking the doorway are Camperdown Elm trees. These Camperdown elms, Ulmus glabra ‘Camperdownii,’ are weeping cultivars of the wych elm and loved for the fountain‑like, umbrella‑shaped canopy and twisted, drooping branches.
All the green foliage is accented by formal gardens filled with rows of my Martha Stewart hybrid tea rose. My rose has large pink blooms, dark green foliage, and a most wonderful and sweet fragrance.
After just a couple of days, the hornbeams are done and this year, they look spectacular – greener and fuller than ever before.
Pruning and grooming all the hornbeams is a big task, but once they’re finished they look so terrific – thanks to my hardworking crew!
Rain or shine, chores have to be done each and every day.
Here at my farm, my gardeners, housekeepers, stable team, and outdoor grounds crew are constantly working off a running list of important tasks. During the summer season, these include pruning and grooming the many trees and shrubs, cleaning various outbuildings, edging the roads, weeding, polishing the stable walls and stall doors, and of course, tending the vegetable garden and harvesting what is ready. What's on your to-do list?
Here are some photos, enjoy.
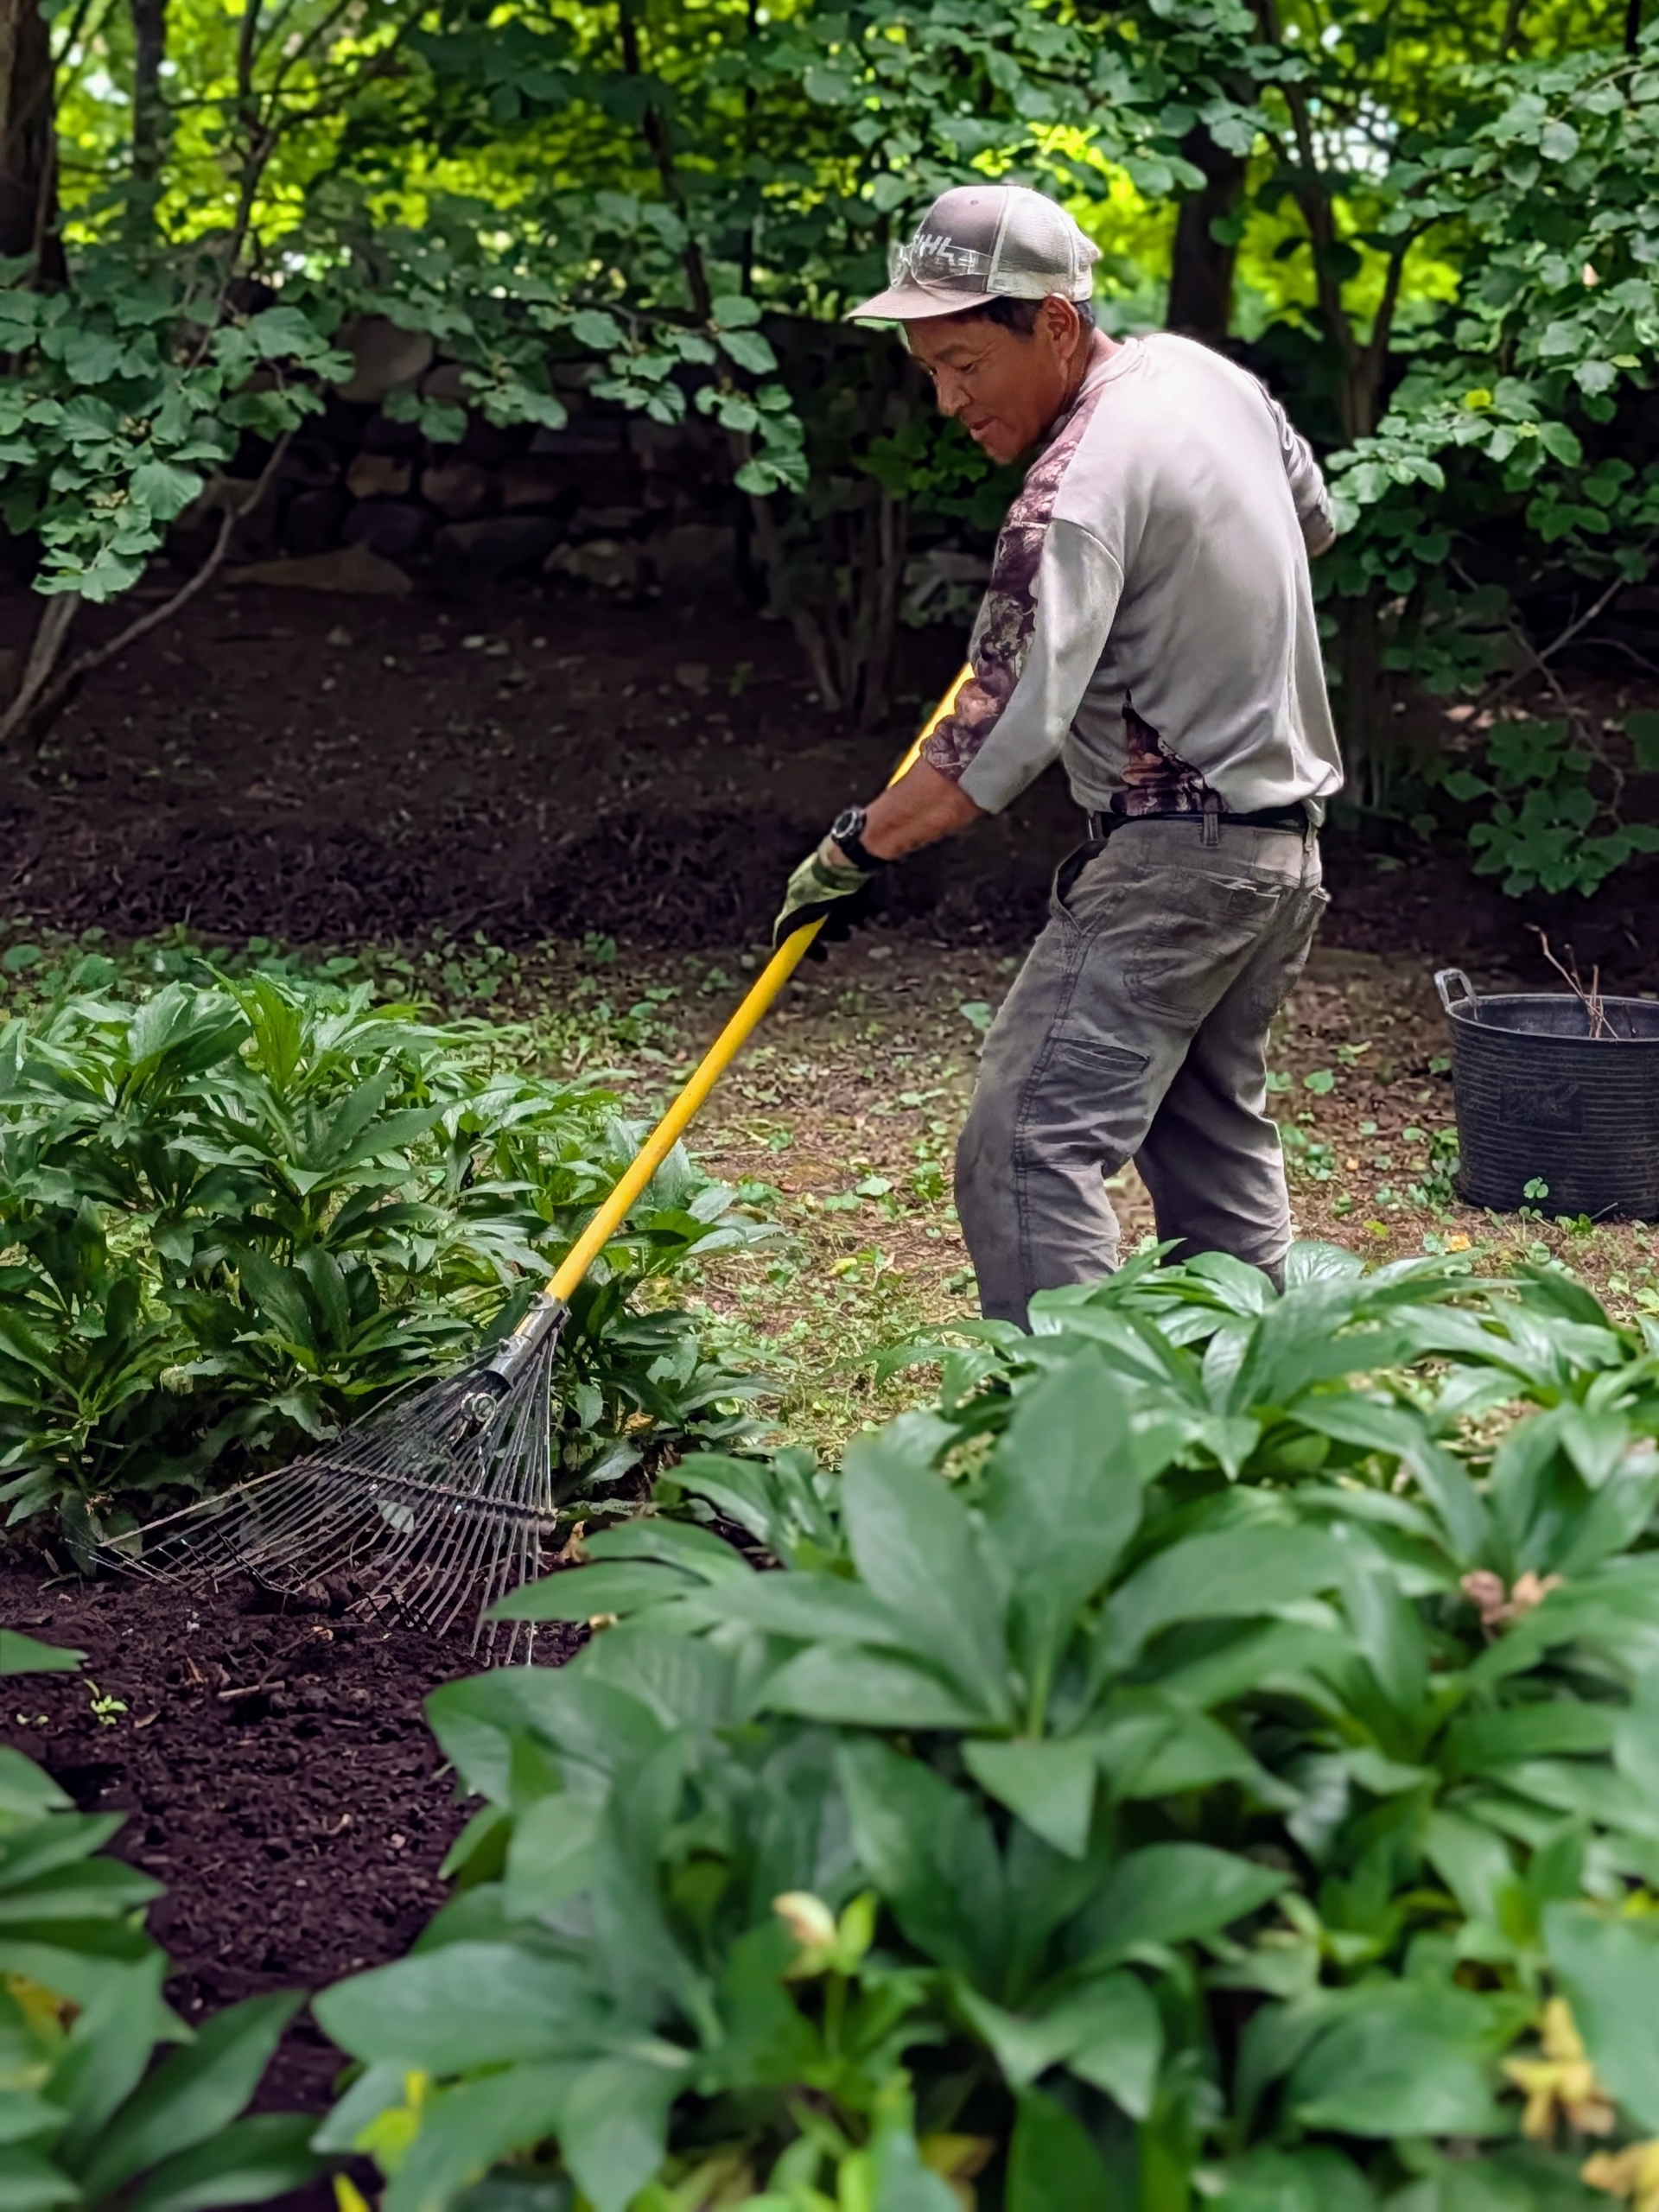
It’s late June and the gardens are lush and green, but this time of year, we’re constantly weeding and grooming the plants. Here’s Phurba in the garden behind my Tenant House.
Pasang grooms the apple espaliers outside my Winter House.
Any clippings are placed onto a tarp, so cleanup is quick and easy.
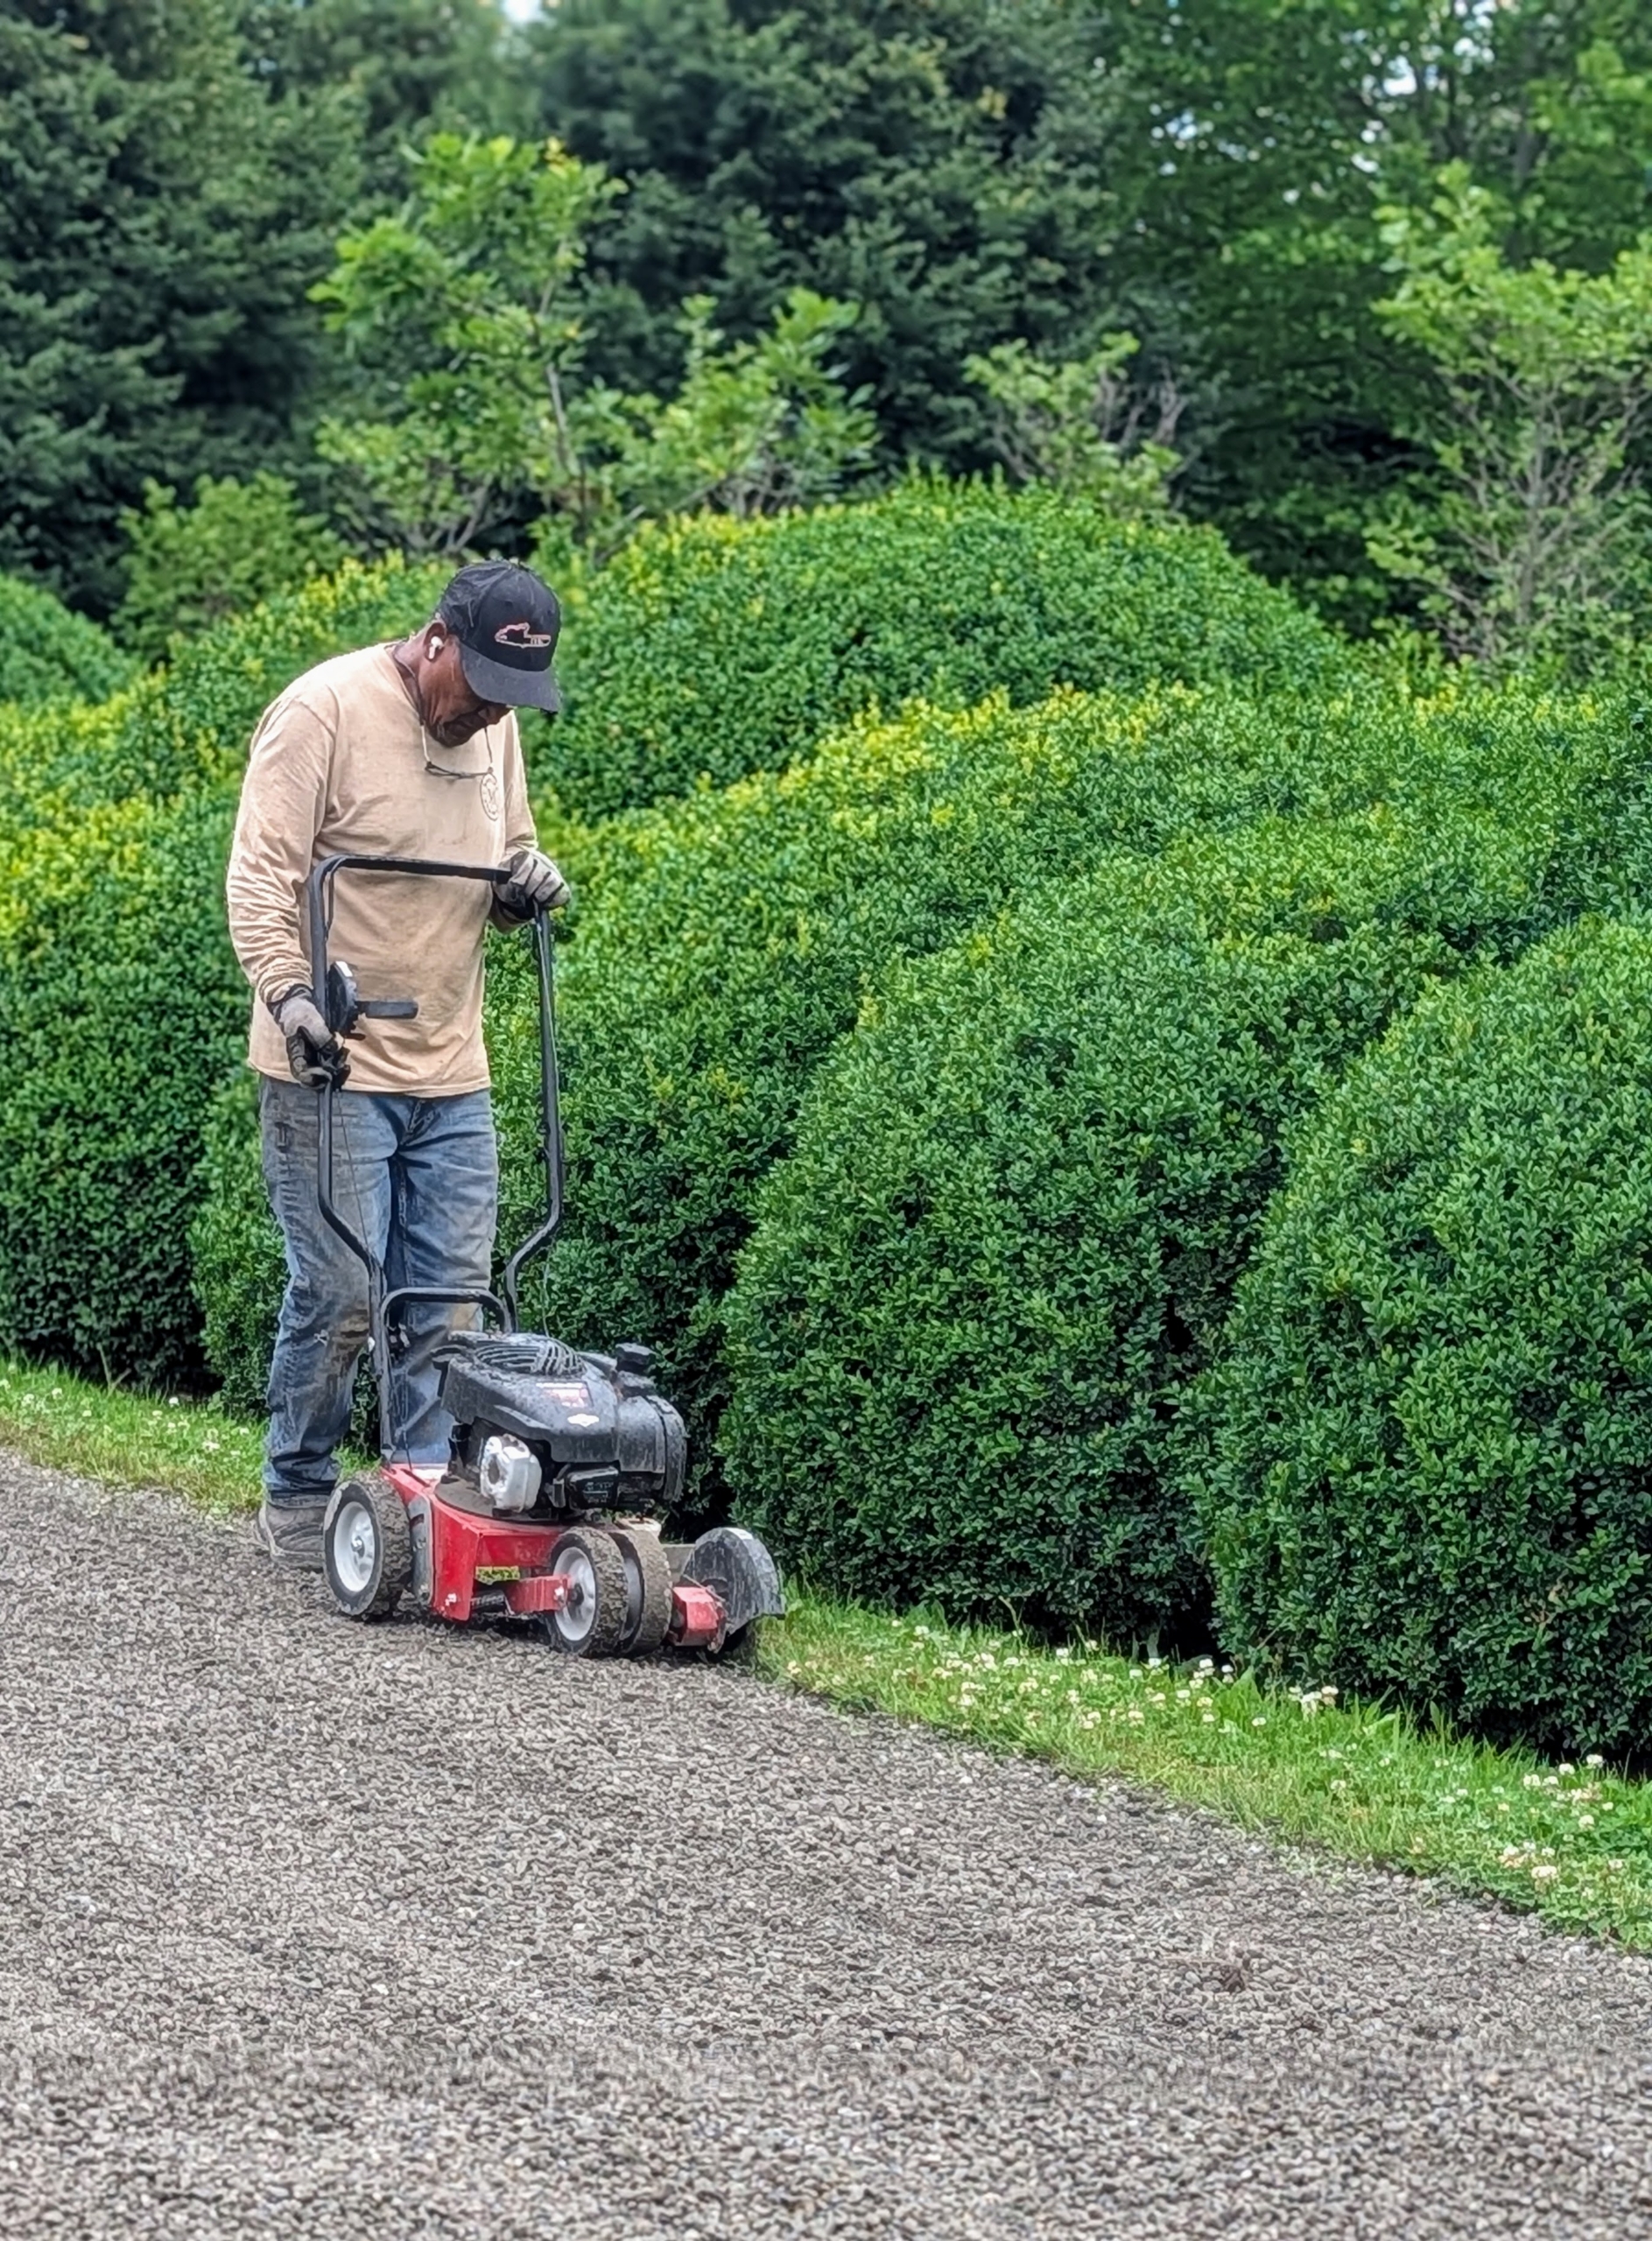
Here’s Pete edging the carriage road at my long Boxwood Allée. Edging roads, lawns, and around garden beds can be done manually with a variety of spades or edging type tools, but depending on the size of the space, it can also be very time-consuming. Rotary edgers, powered by gasoline, electricity, or portable battery reduce the time it takes to complete this job. These machines feature a spinning blade that cuts through the turf as the edger is pushed along the road where it meets the grass border.
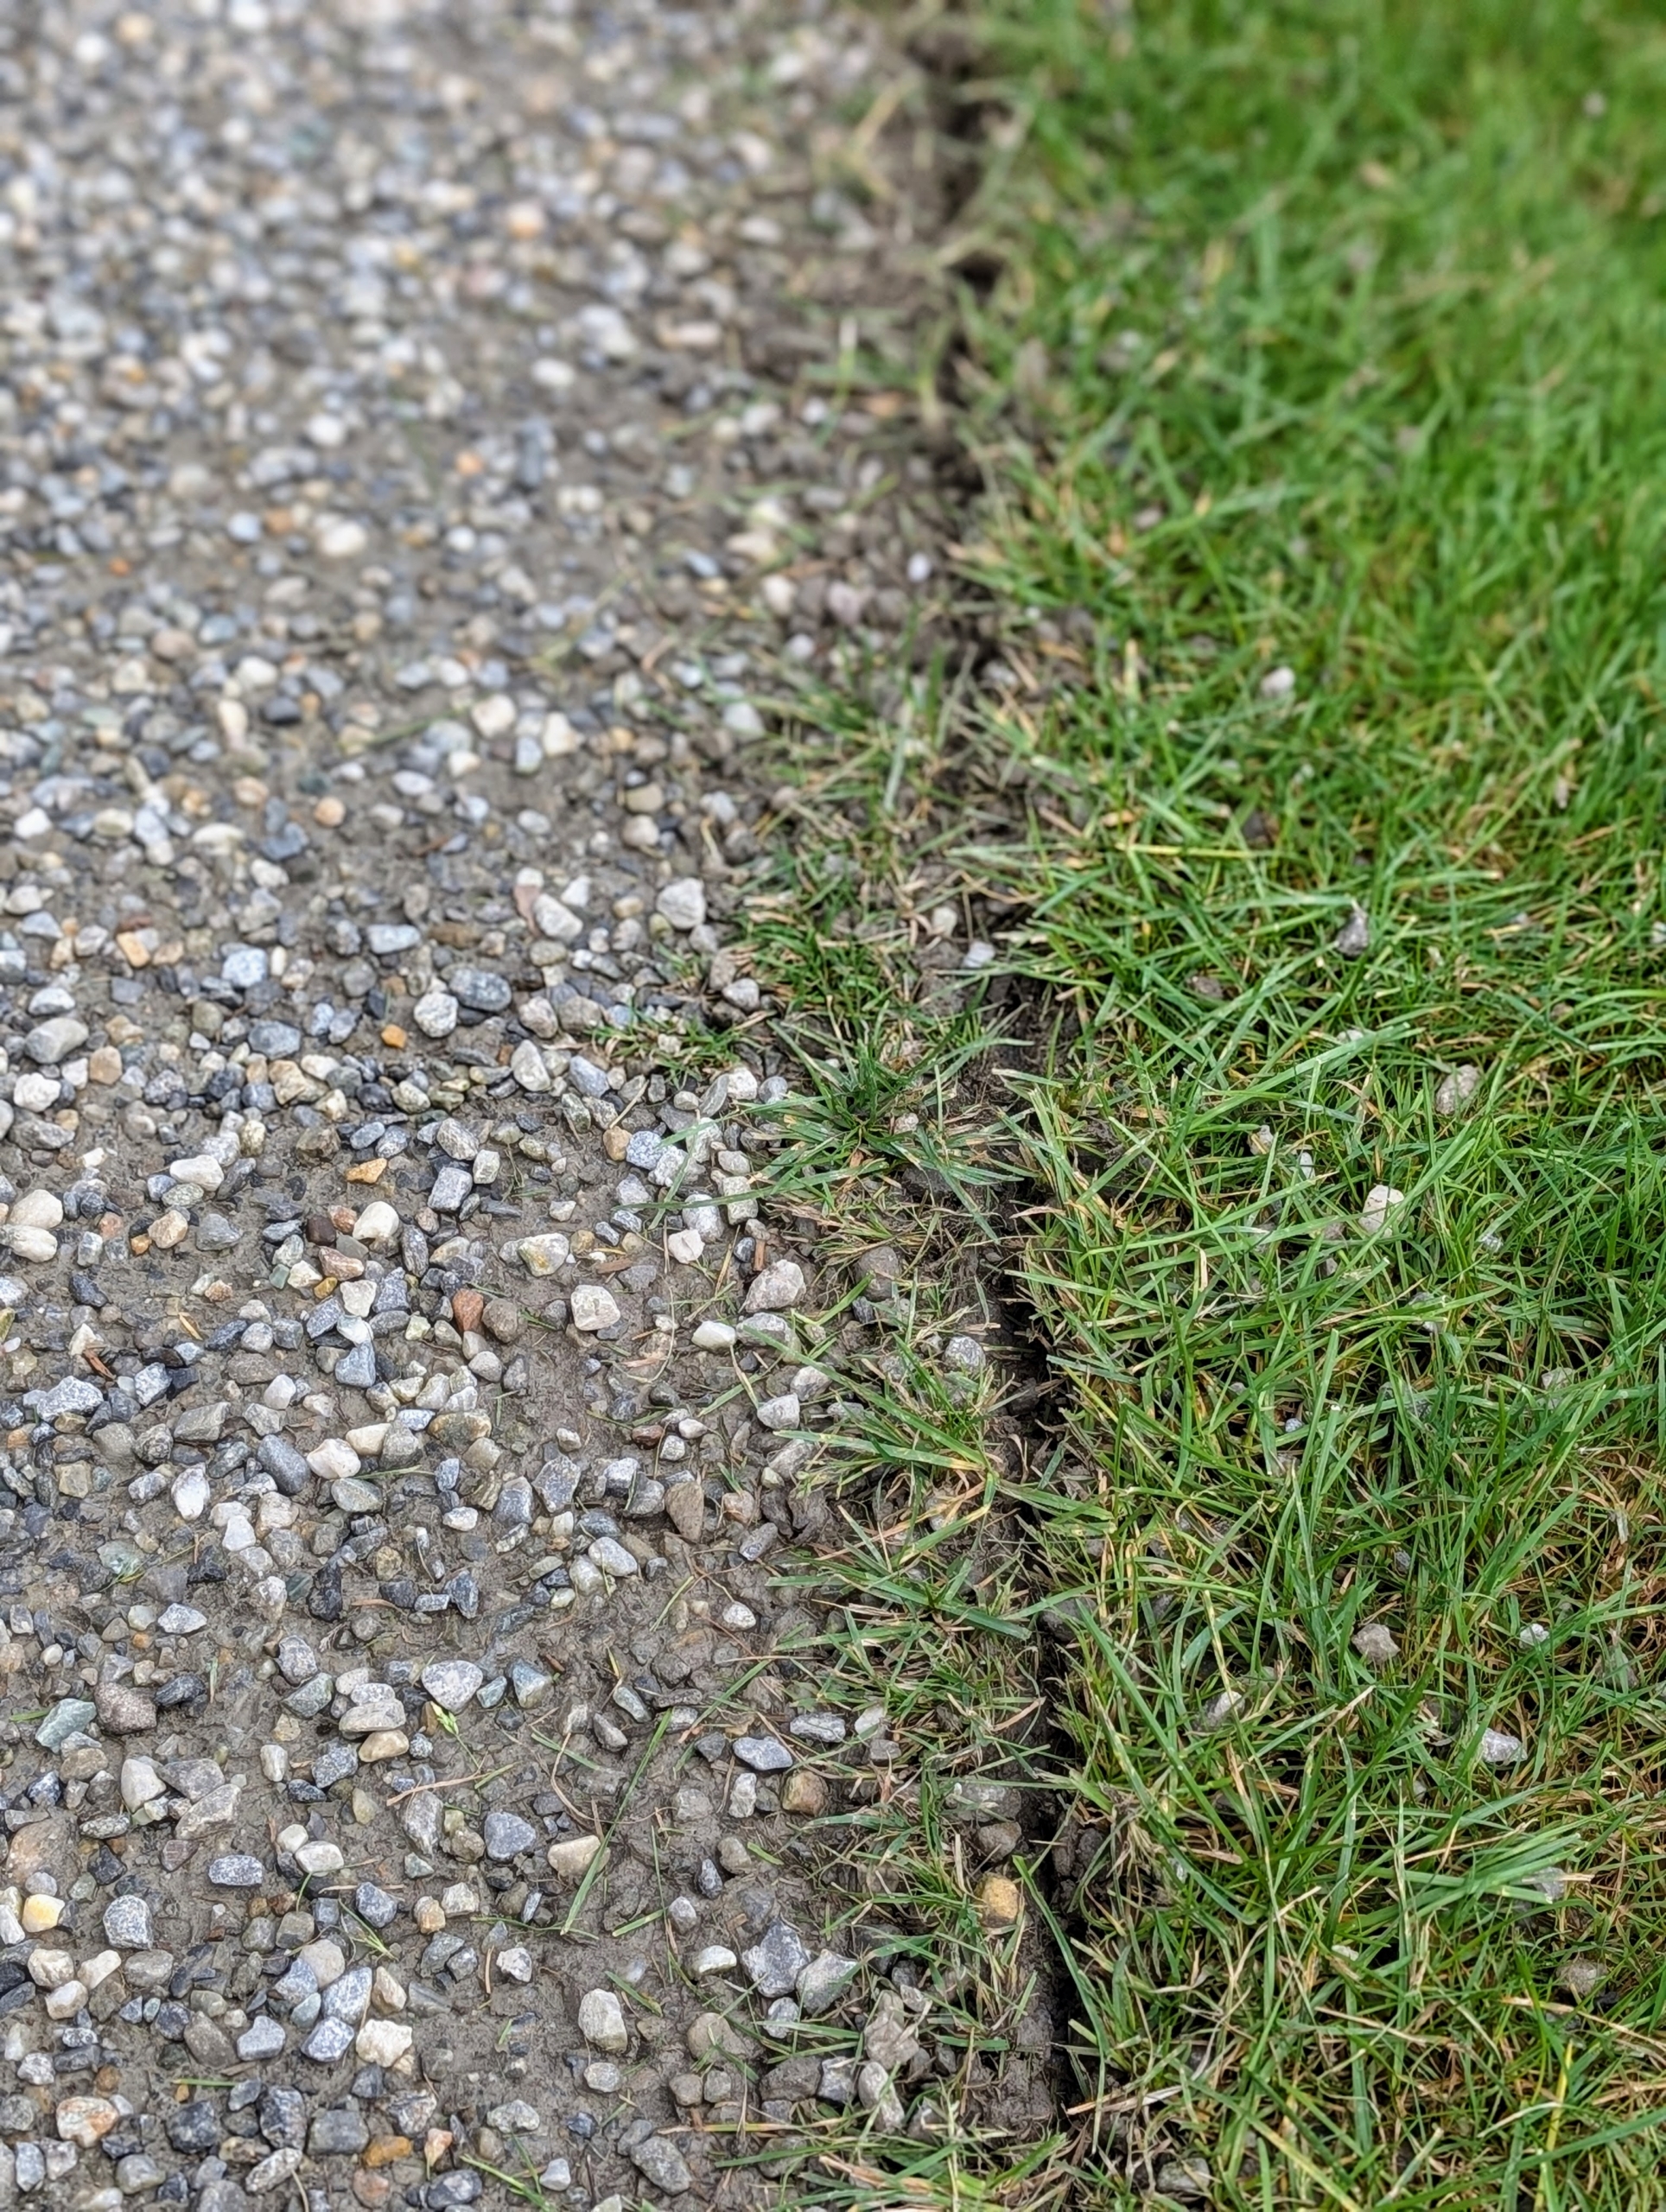
Here is the finished line made by the edger – so clean and crisp. In this section, one can see where the edger has passed and made a clean line through the turf.
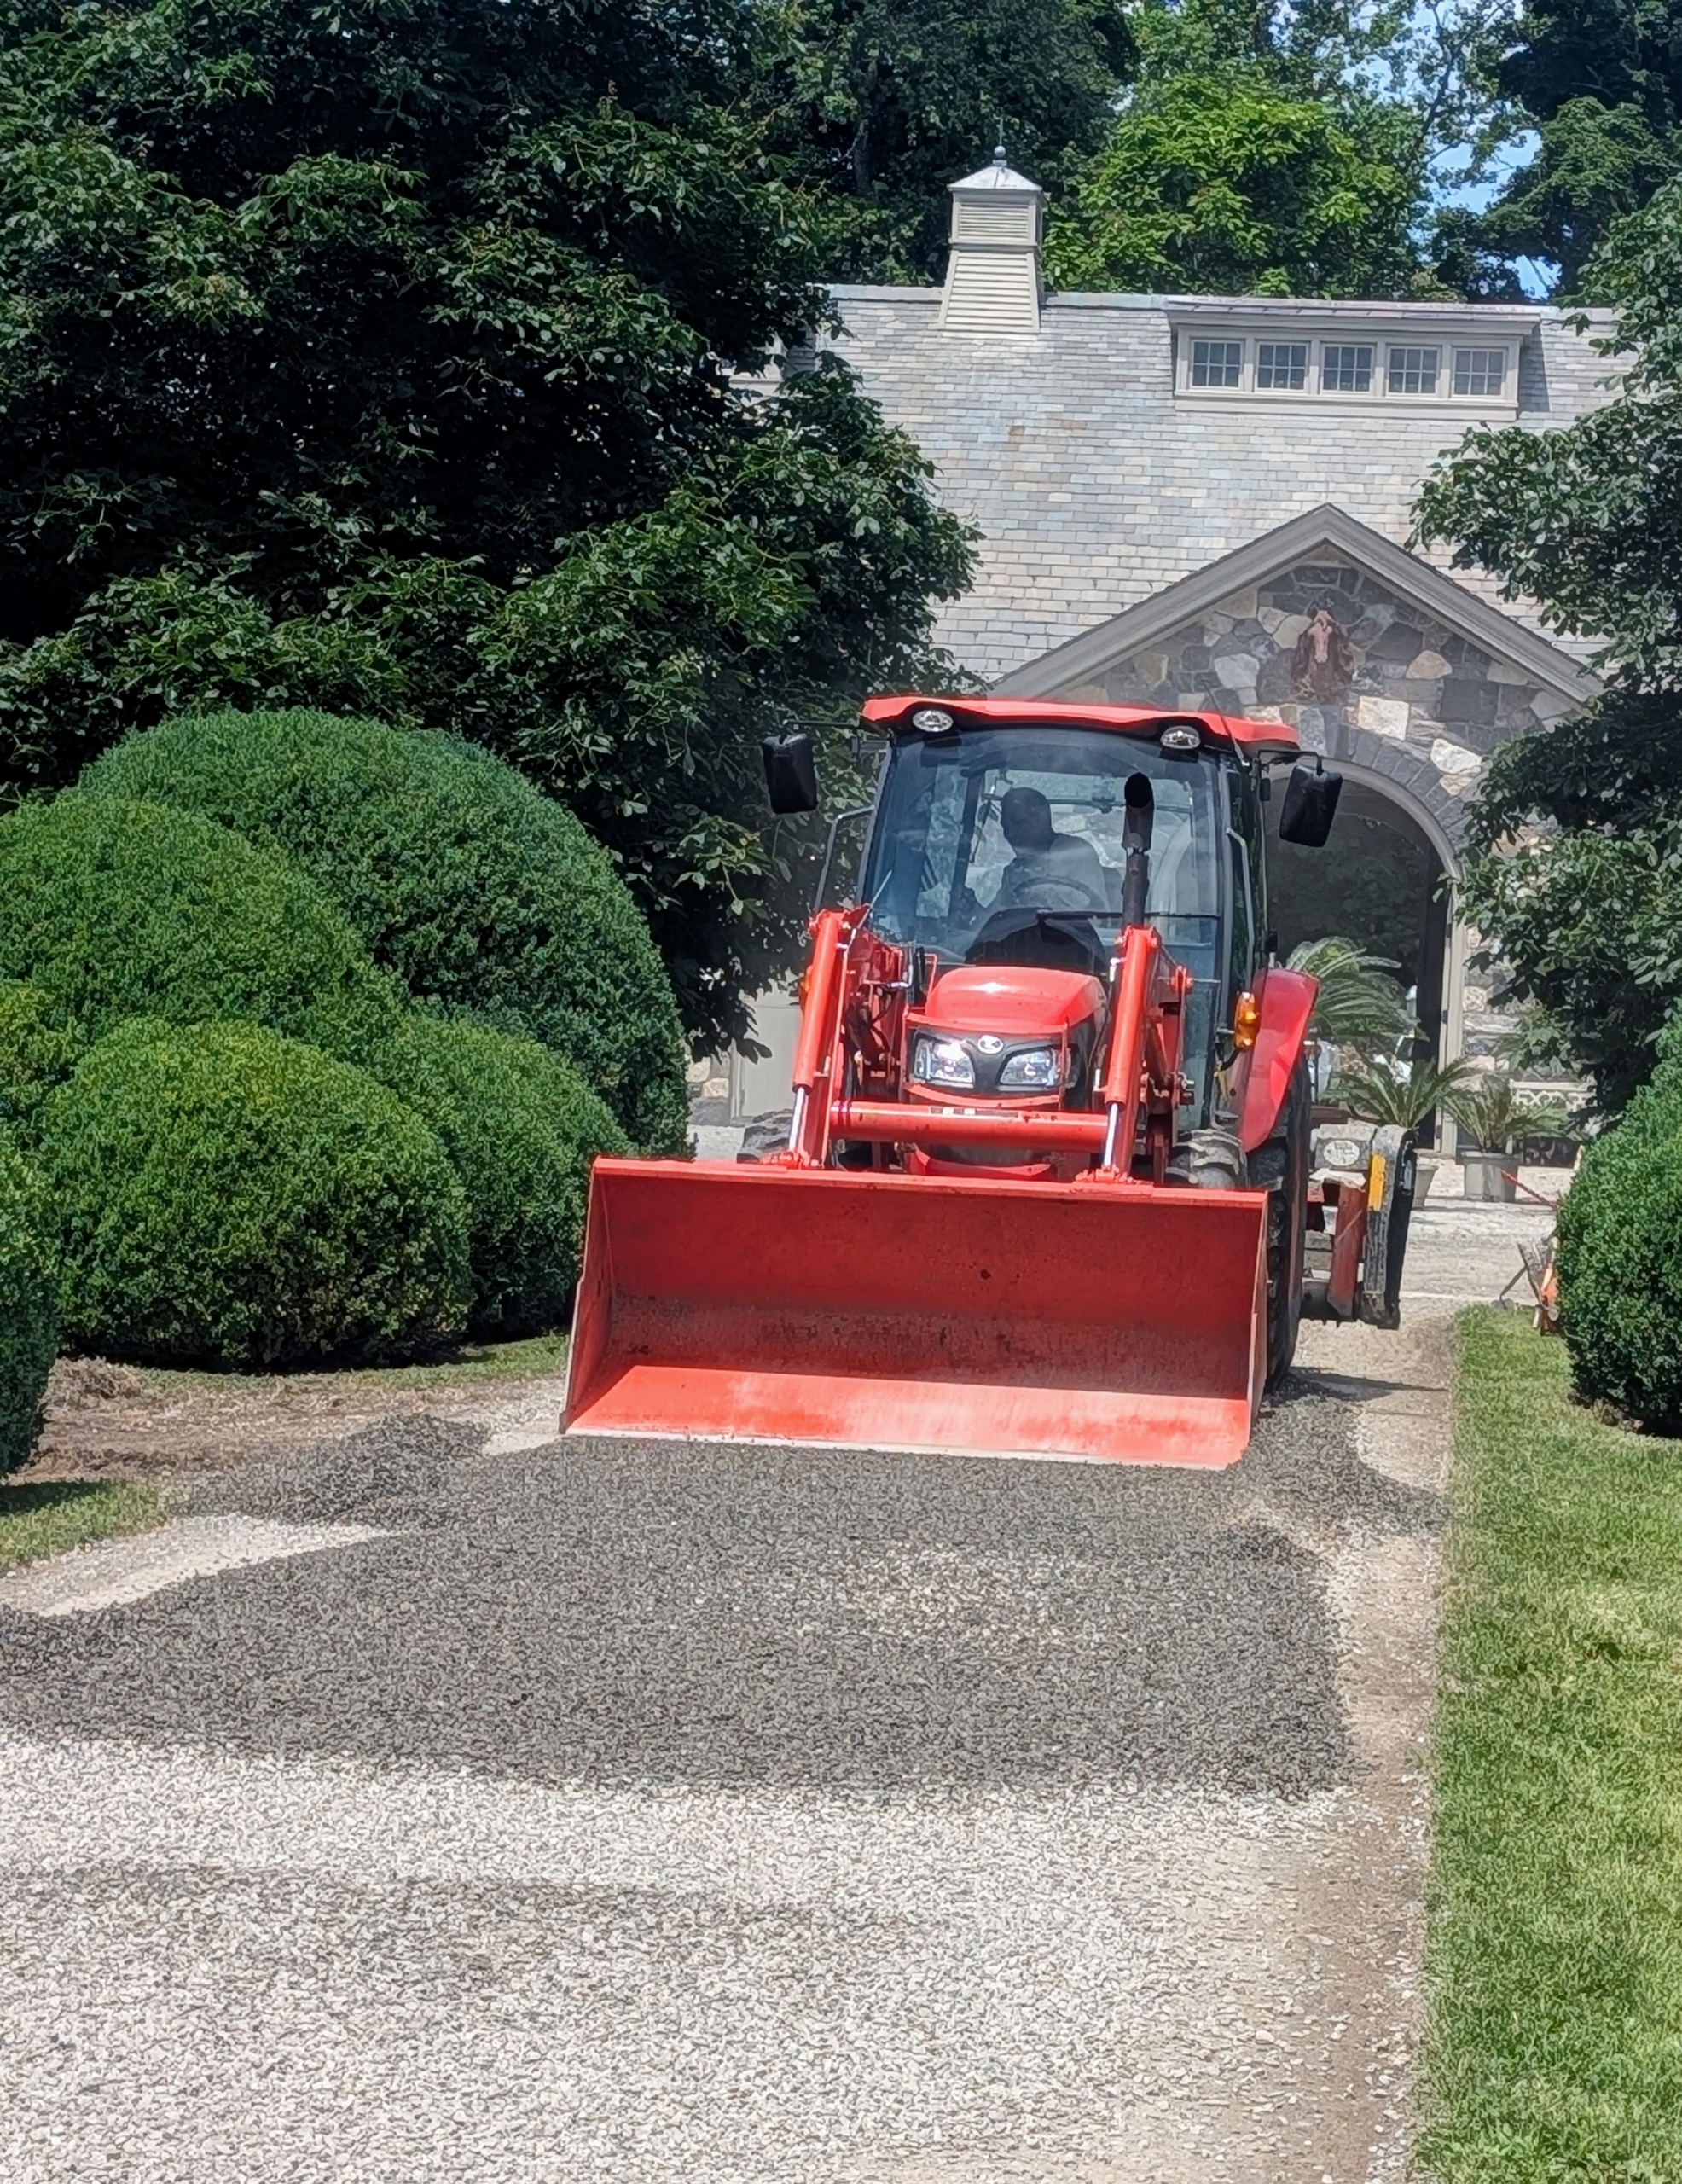
Next, our friends from Lawton Adams Materials, Supplies & Recycling – a company in Somers, New York drops loads of 3/8-inch native stone gravel. A fresh coating of gravel always looks so pretty.
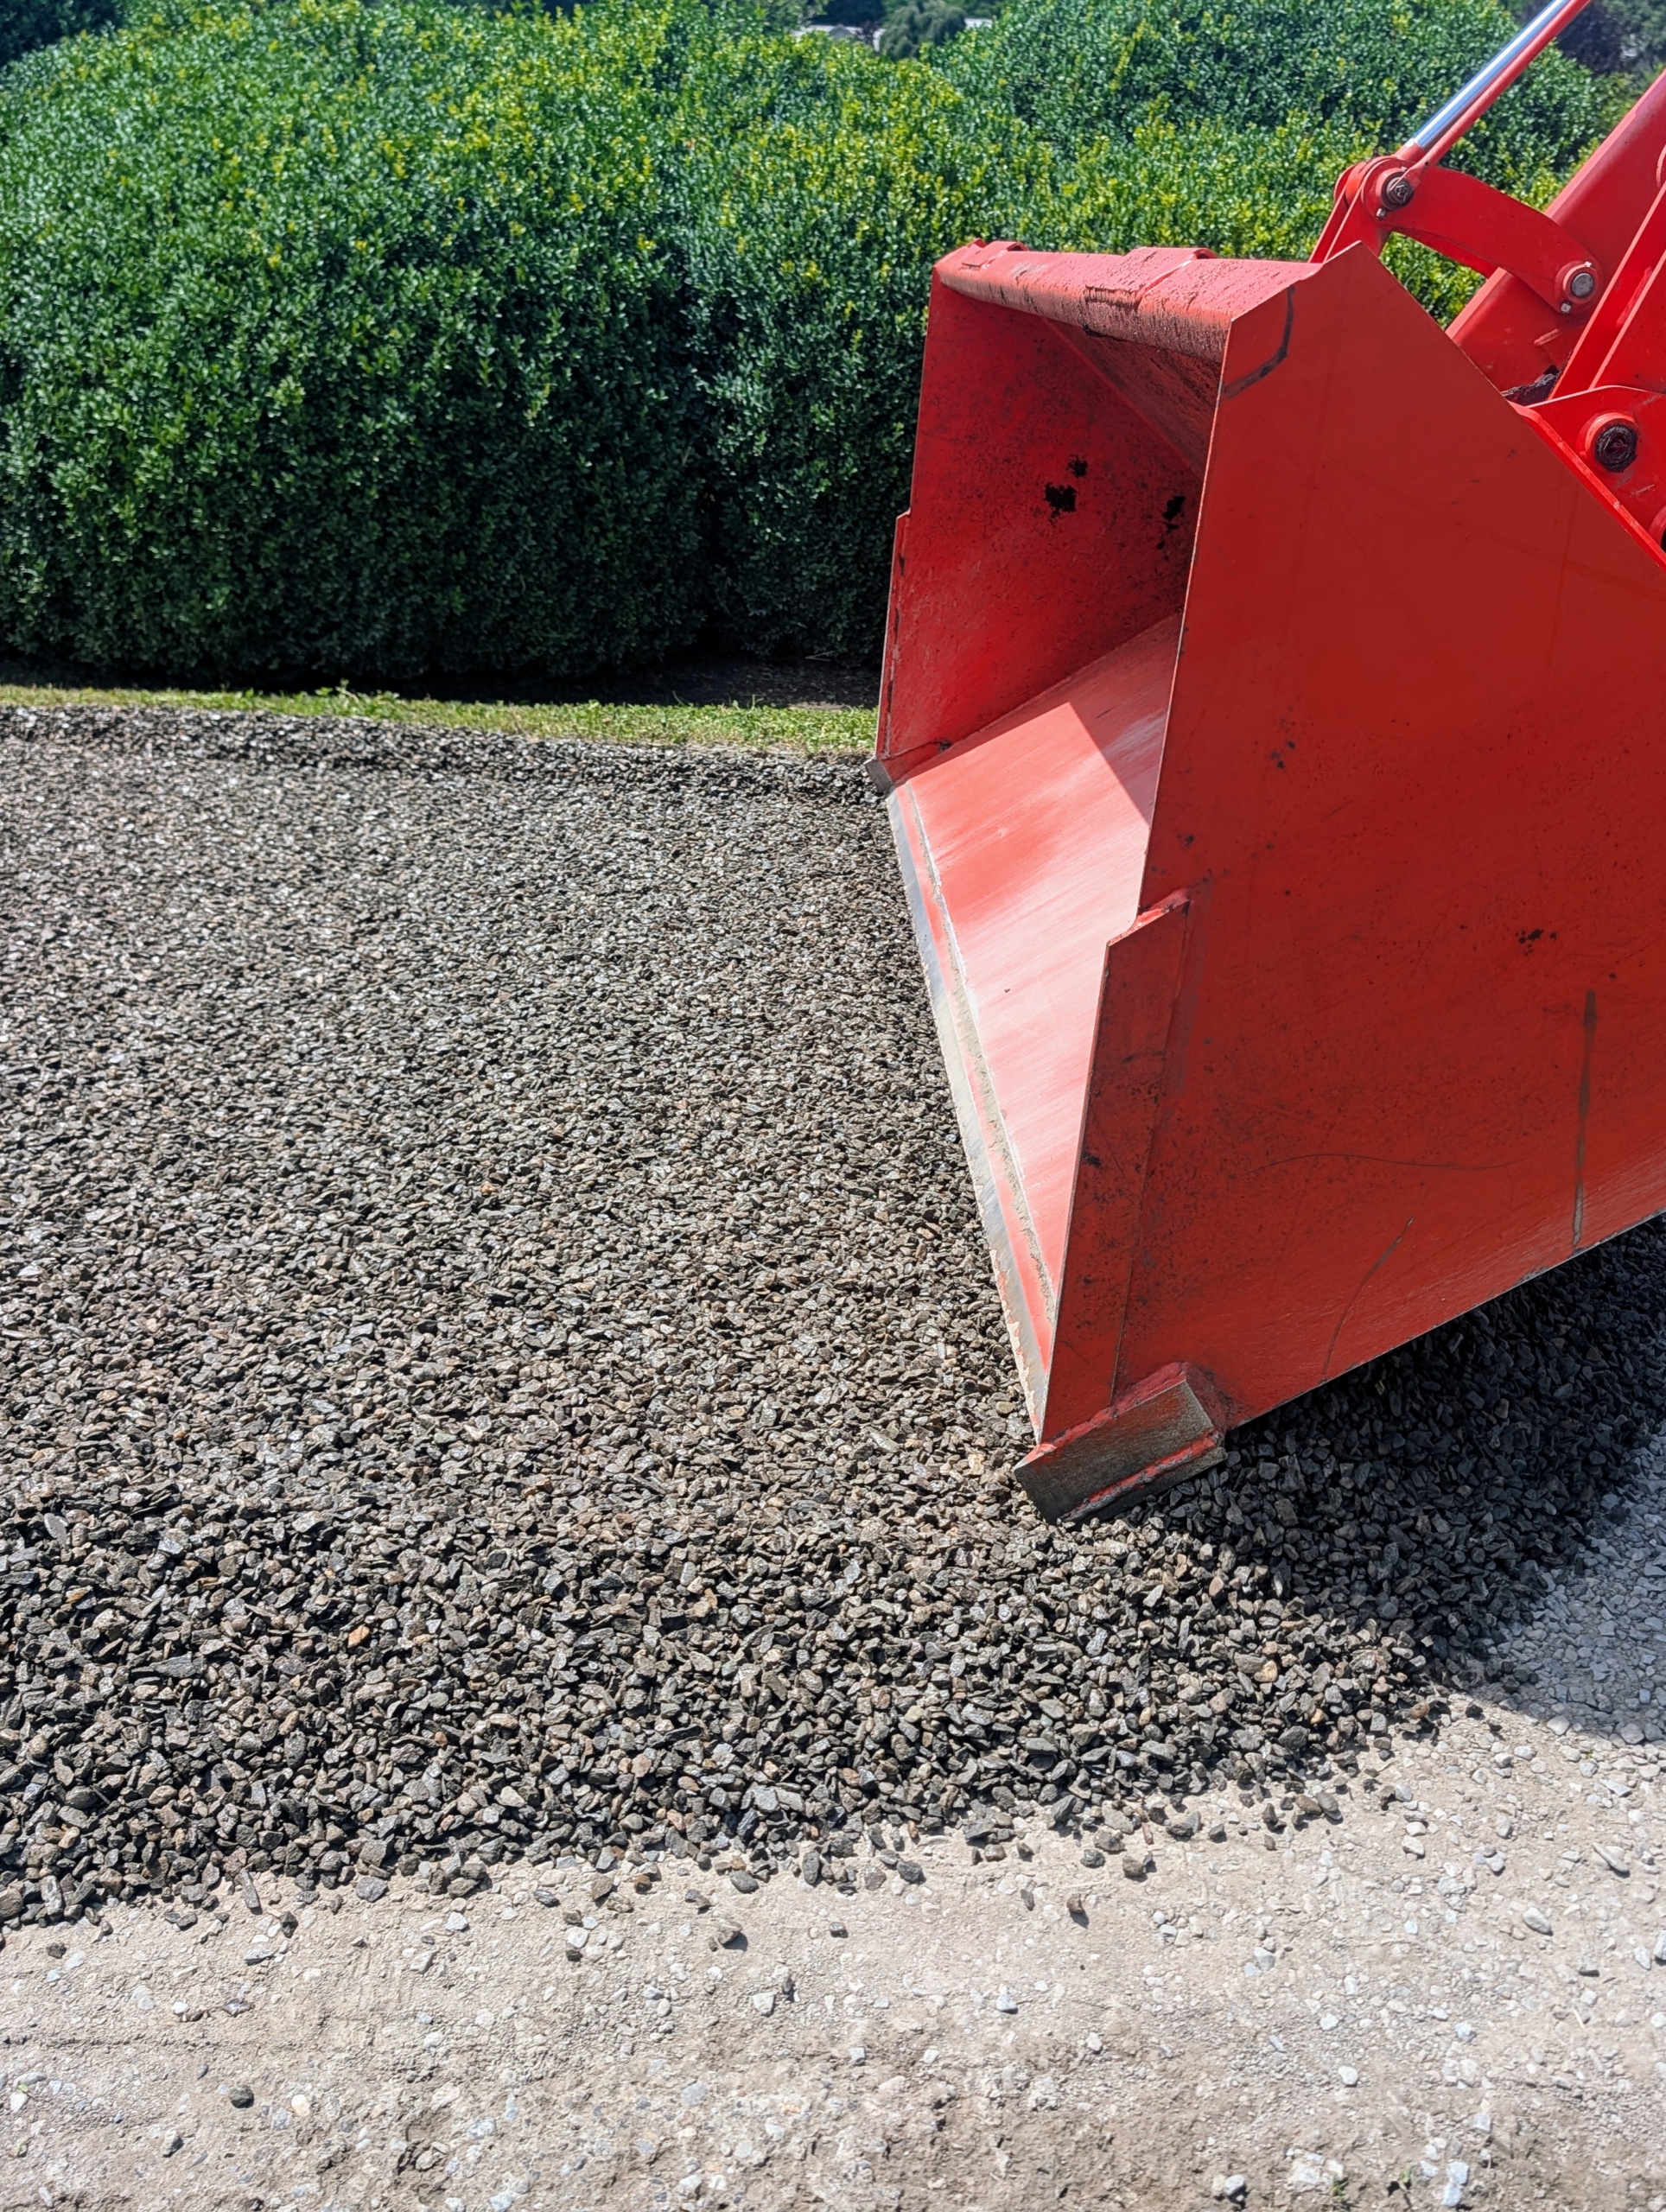
Pete uses the bottom of the tractor bucket to spread the gravel along the road.
The gravel needs to be spread evenly across the 12-foot wide surface. During this time, we block the road, so no other vehicles can come through.
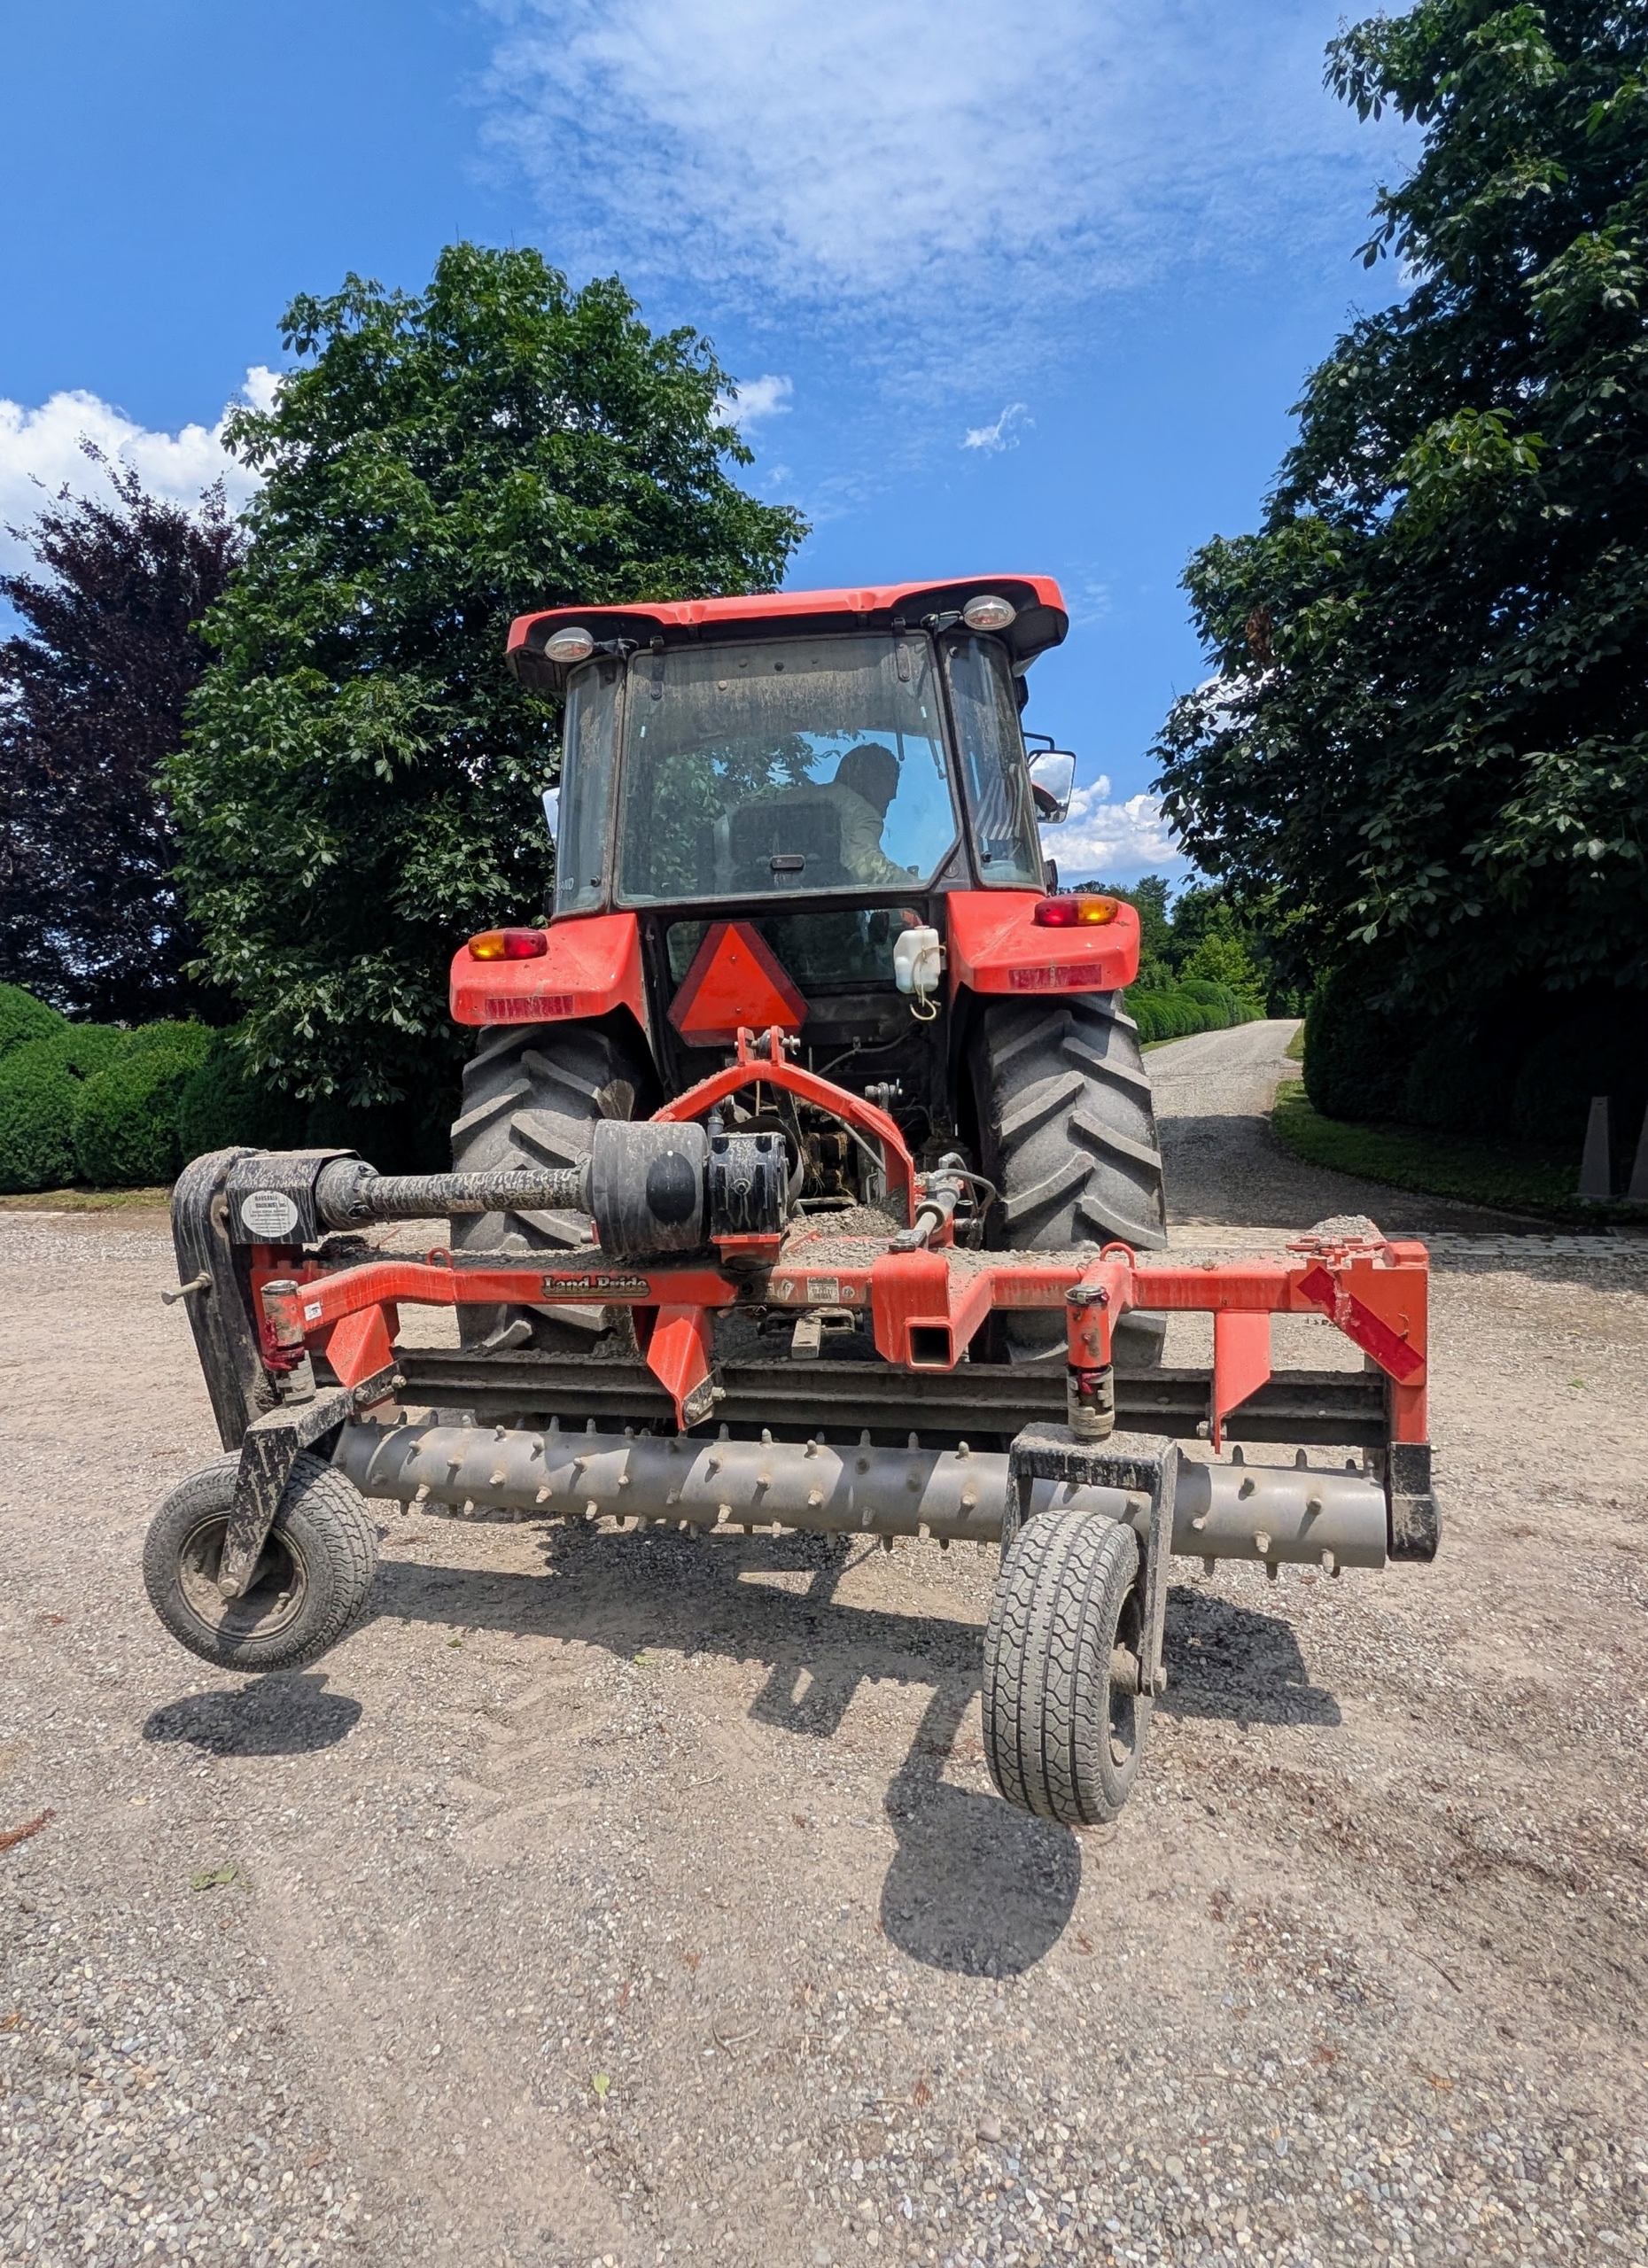
On the other end of the tractor is our Land Pride PR1690 Power Rake. This piece of equipment has a 90-inch rake to work on large properties. We use it to rake and grade the carriage roads. When it is lowered onto the road surface and tilted to the proper angle, this attachment moves the gravel to the center, creating the proper crown. There should be about a three-percent slope from the shoulder to the center of the road.
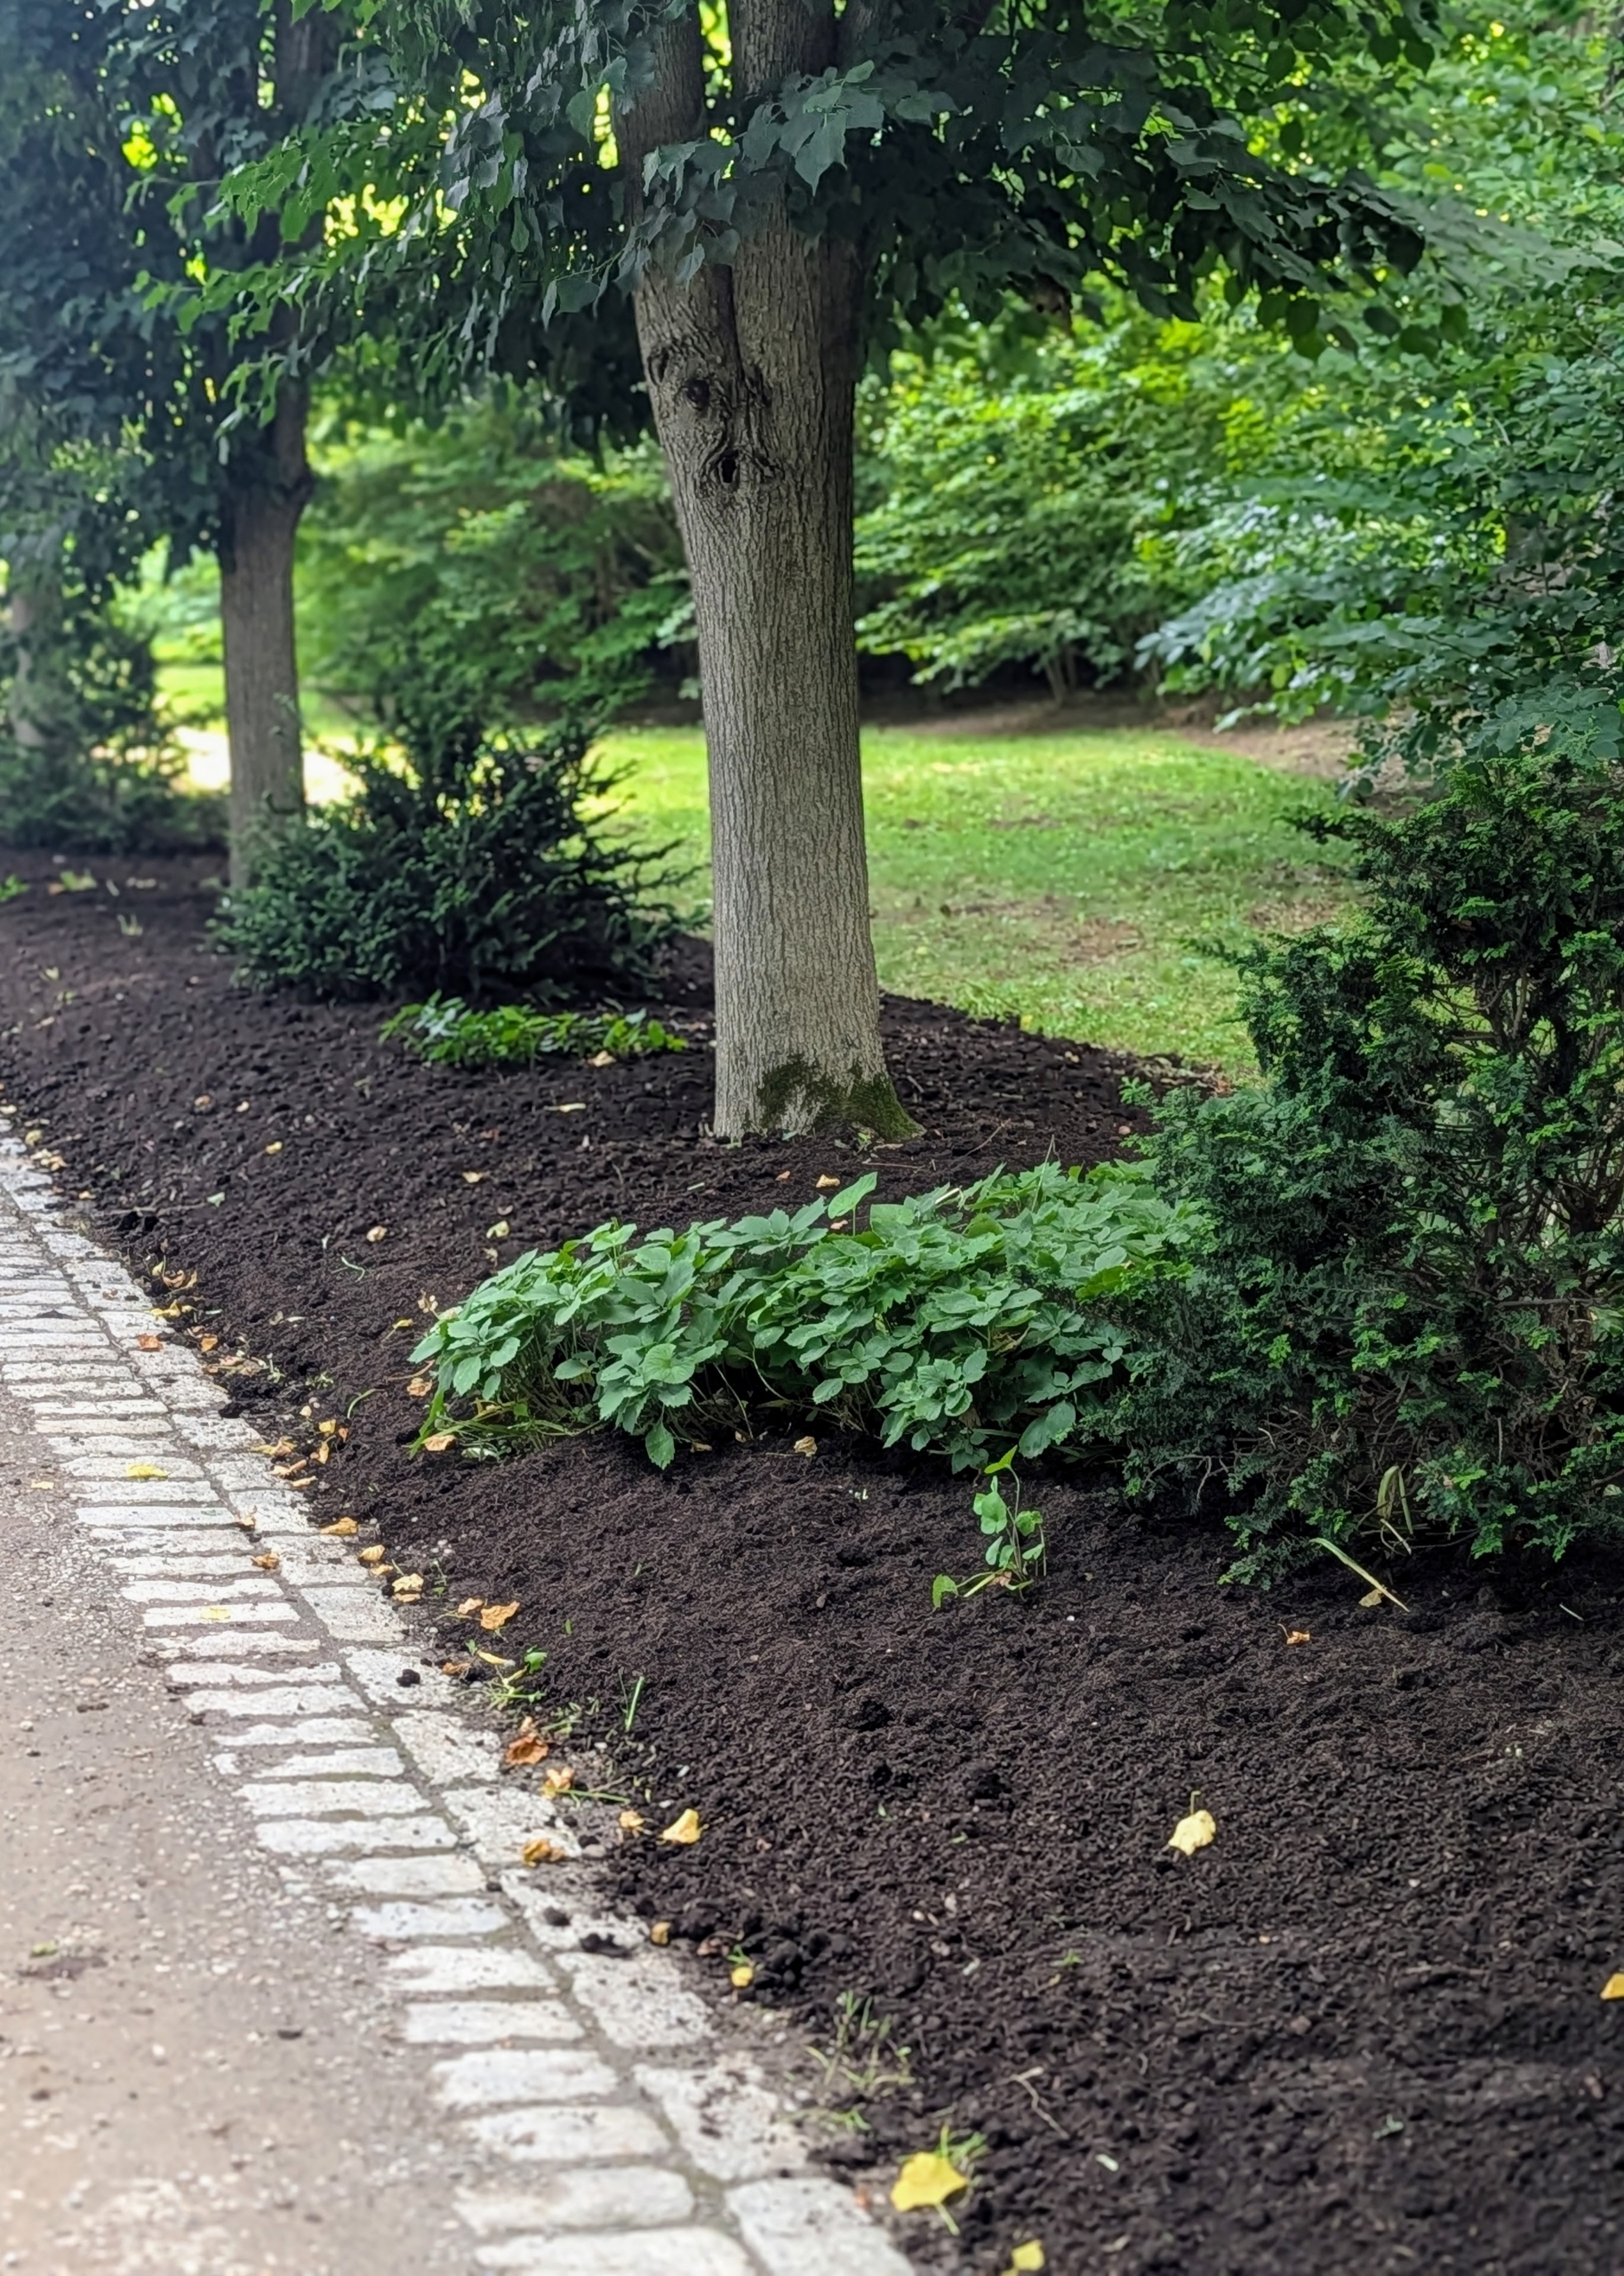
Mulch is put down and spread in the beds of my Linden Allée.
Mulch as well as compost are essential for healthy garden soils and thriving plants.
Carlos cleans the windows of the stable buildings, which also my Carriage House and my business offices.
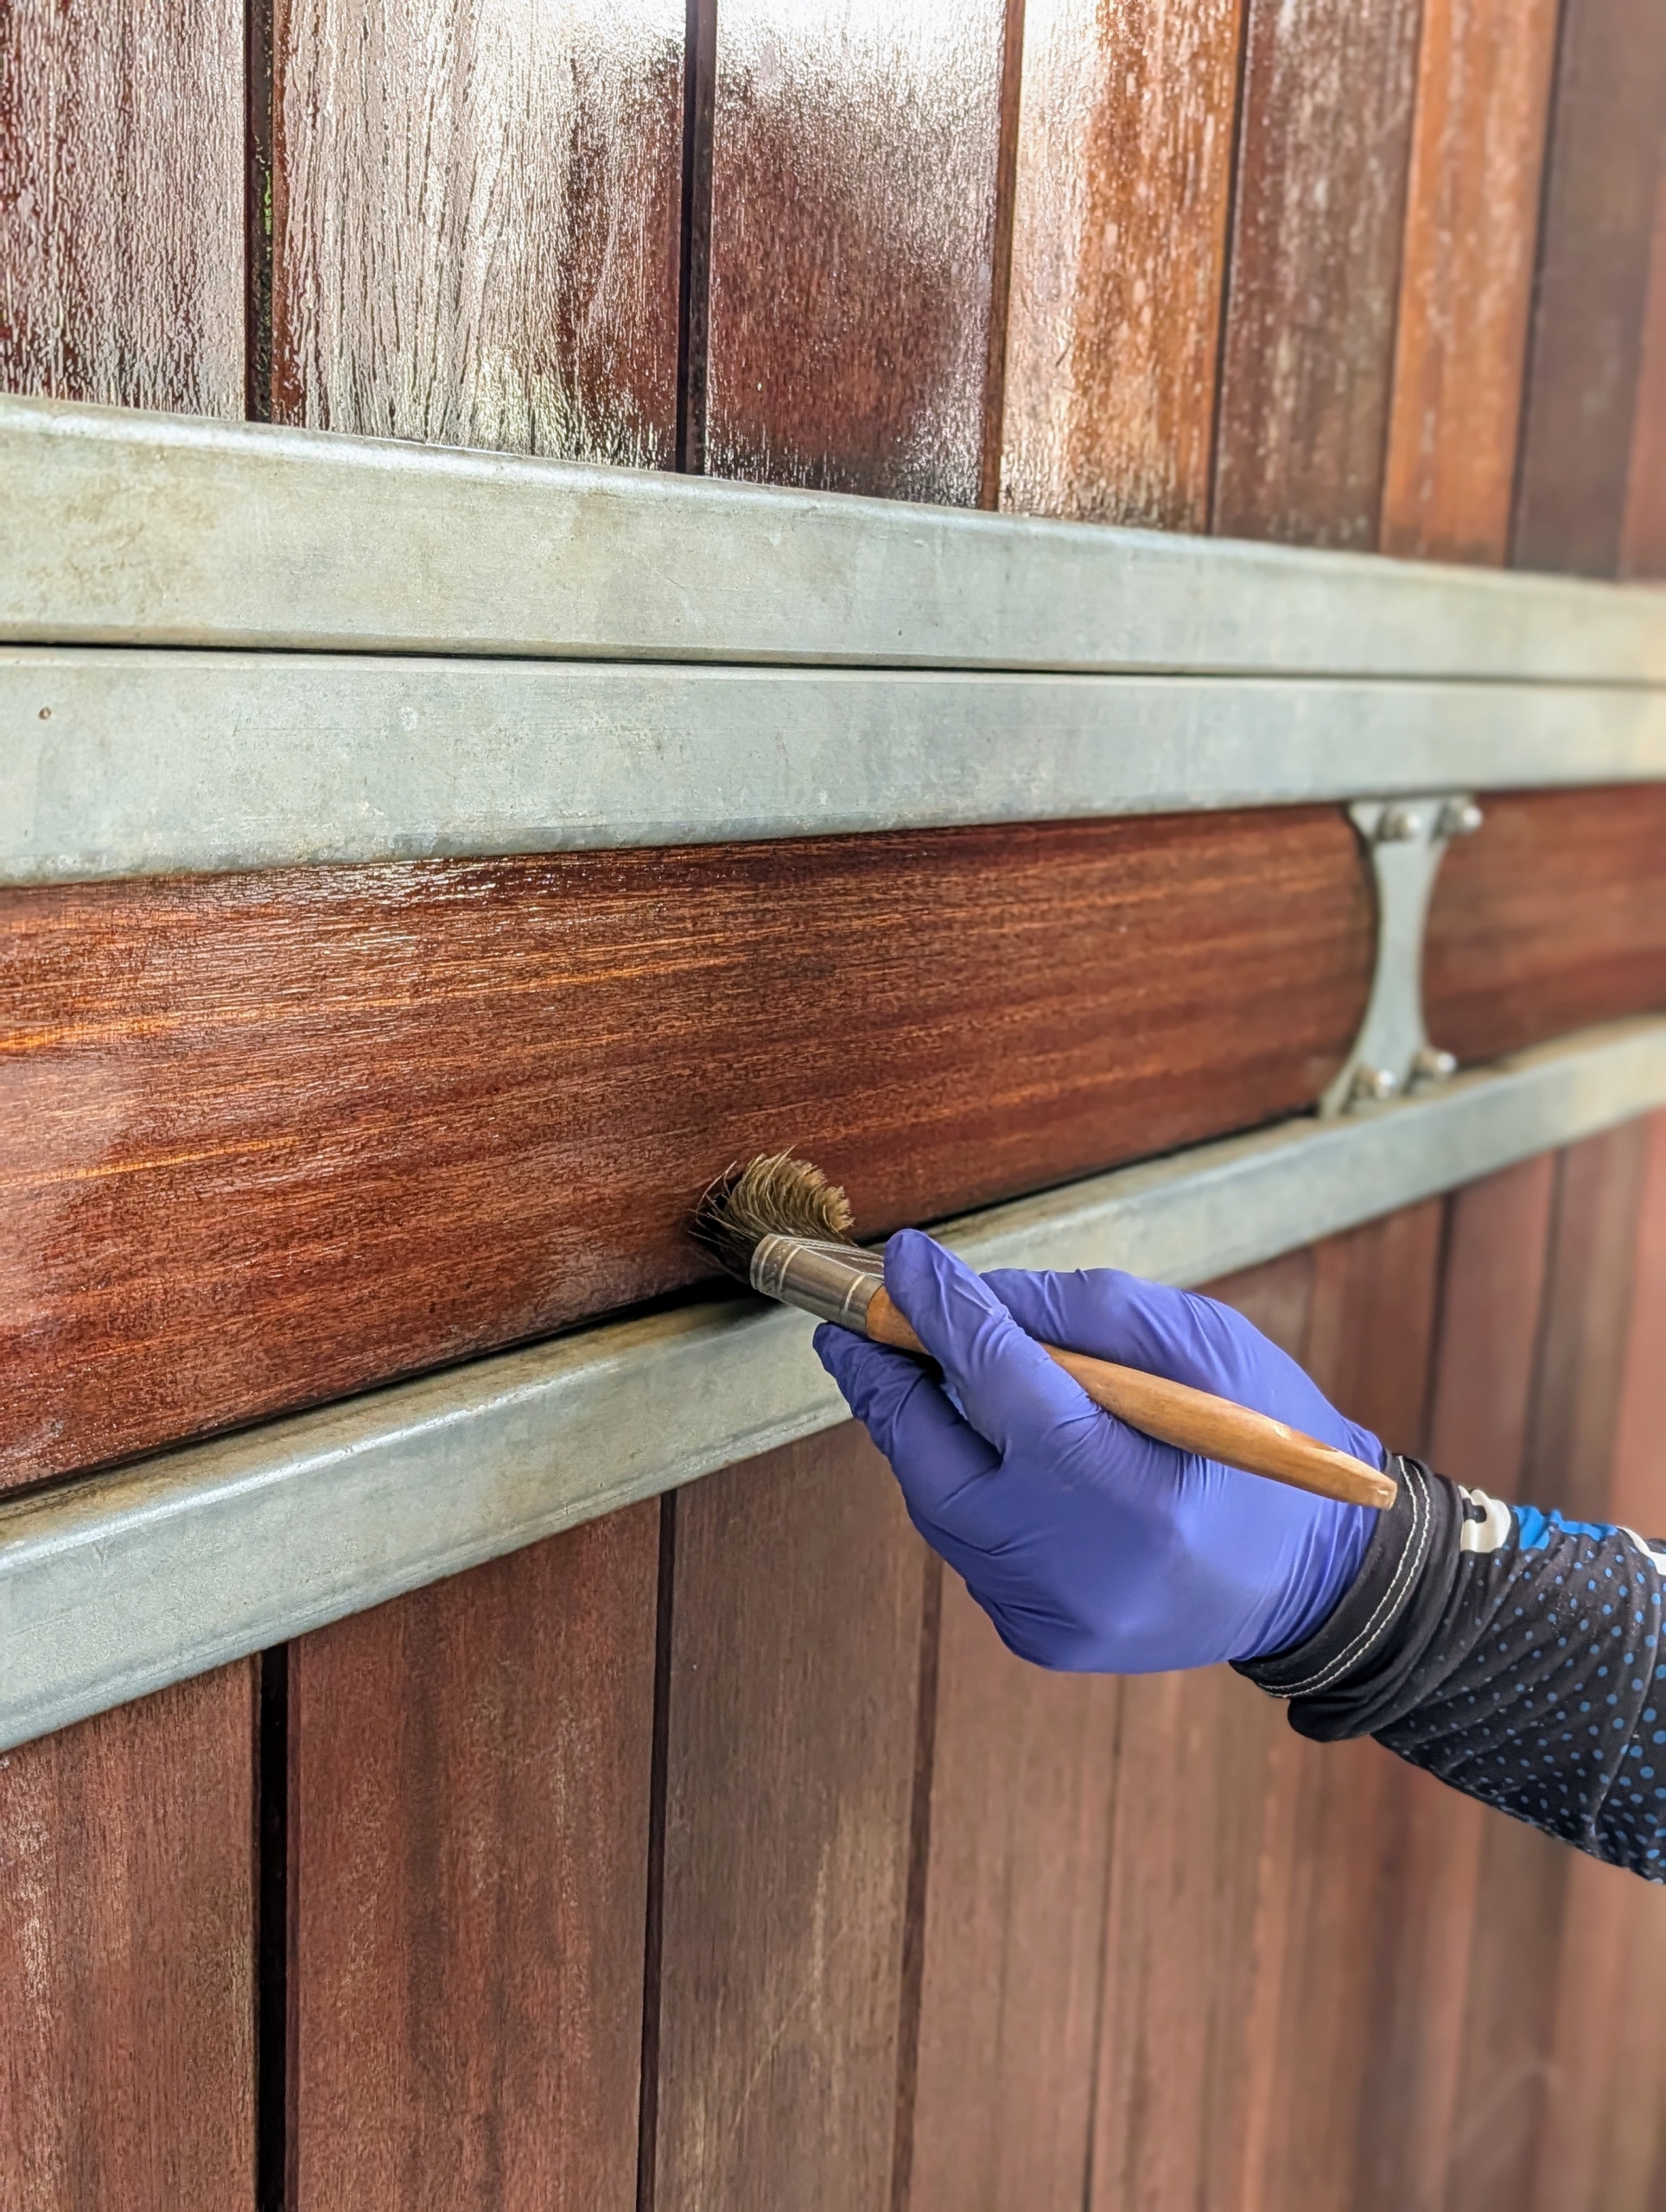
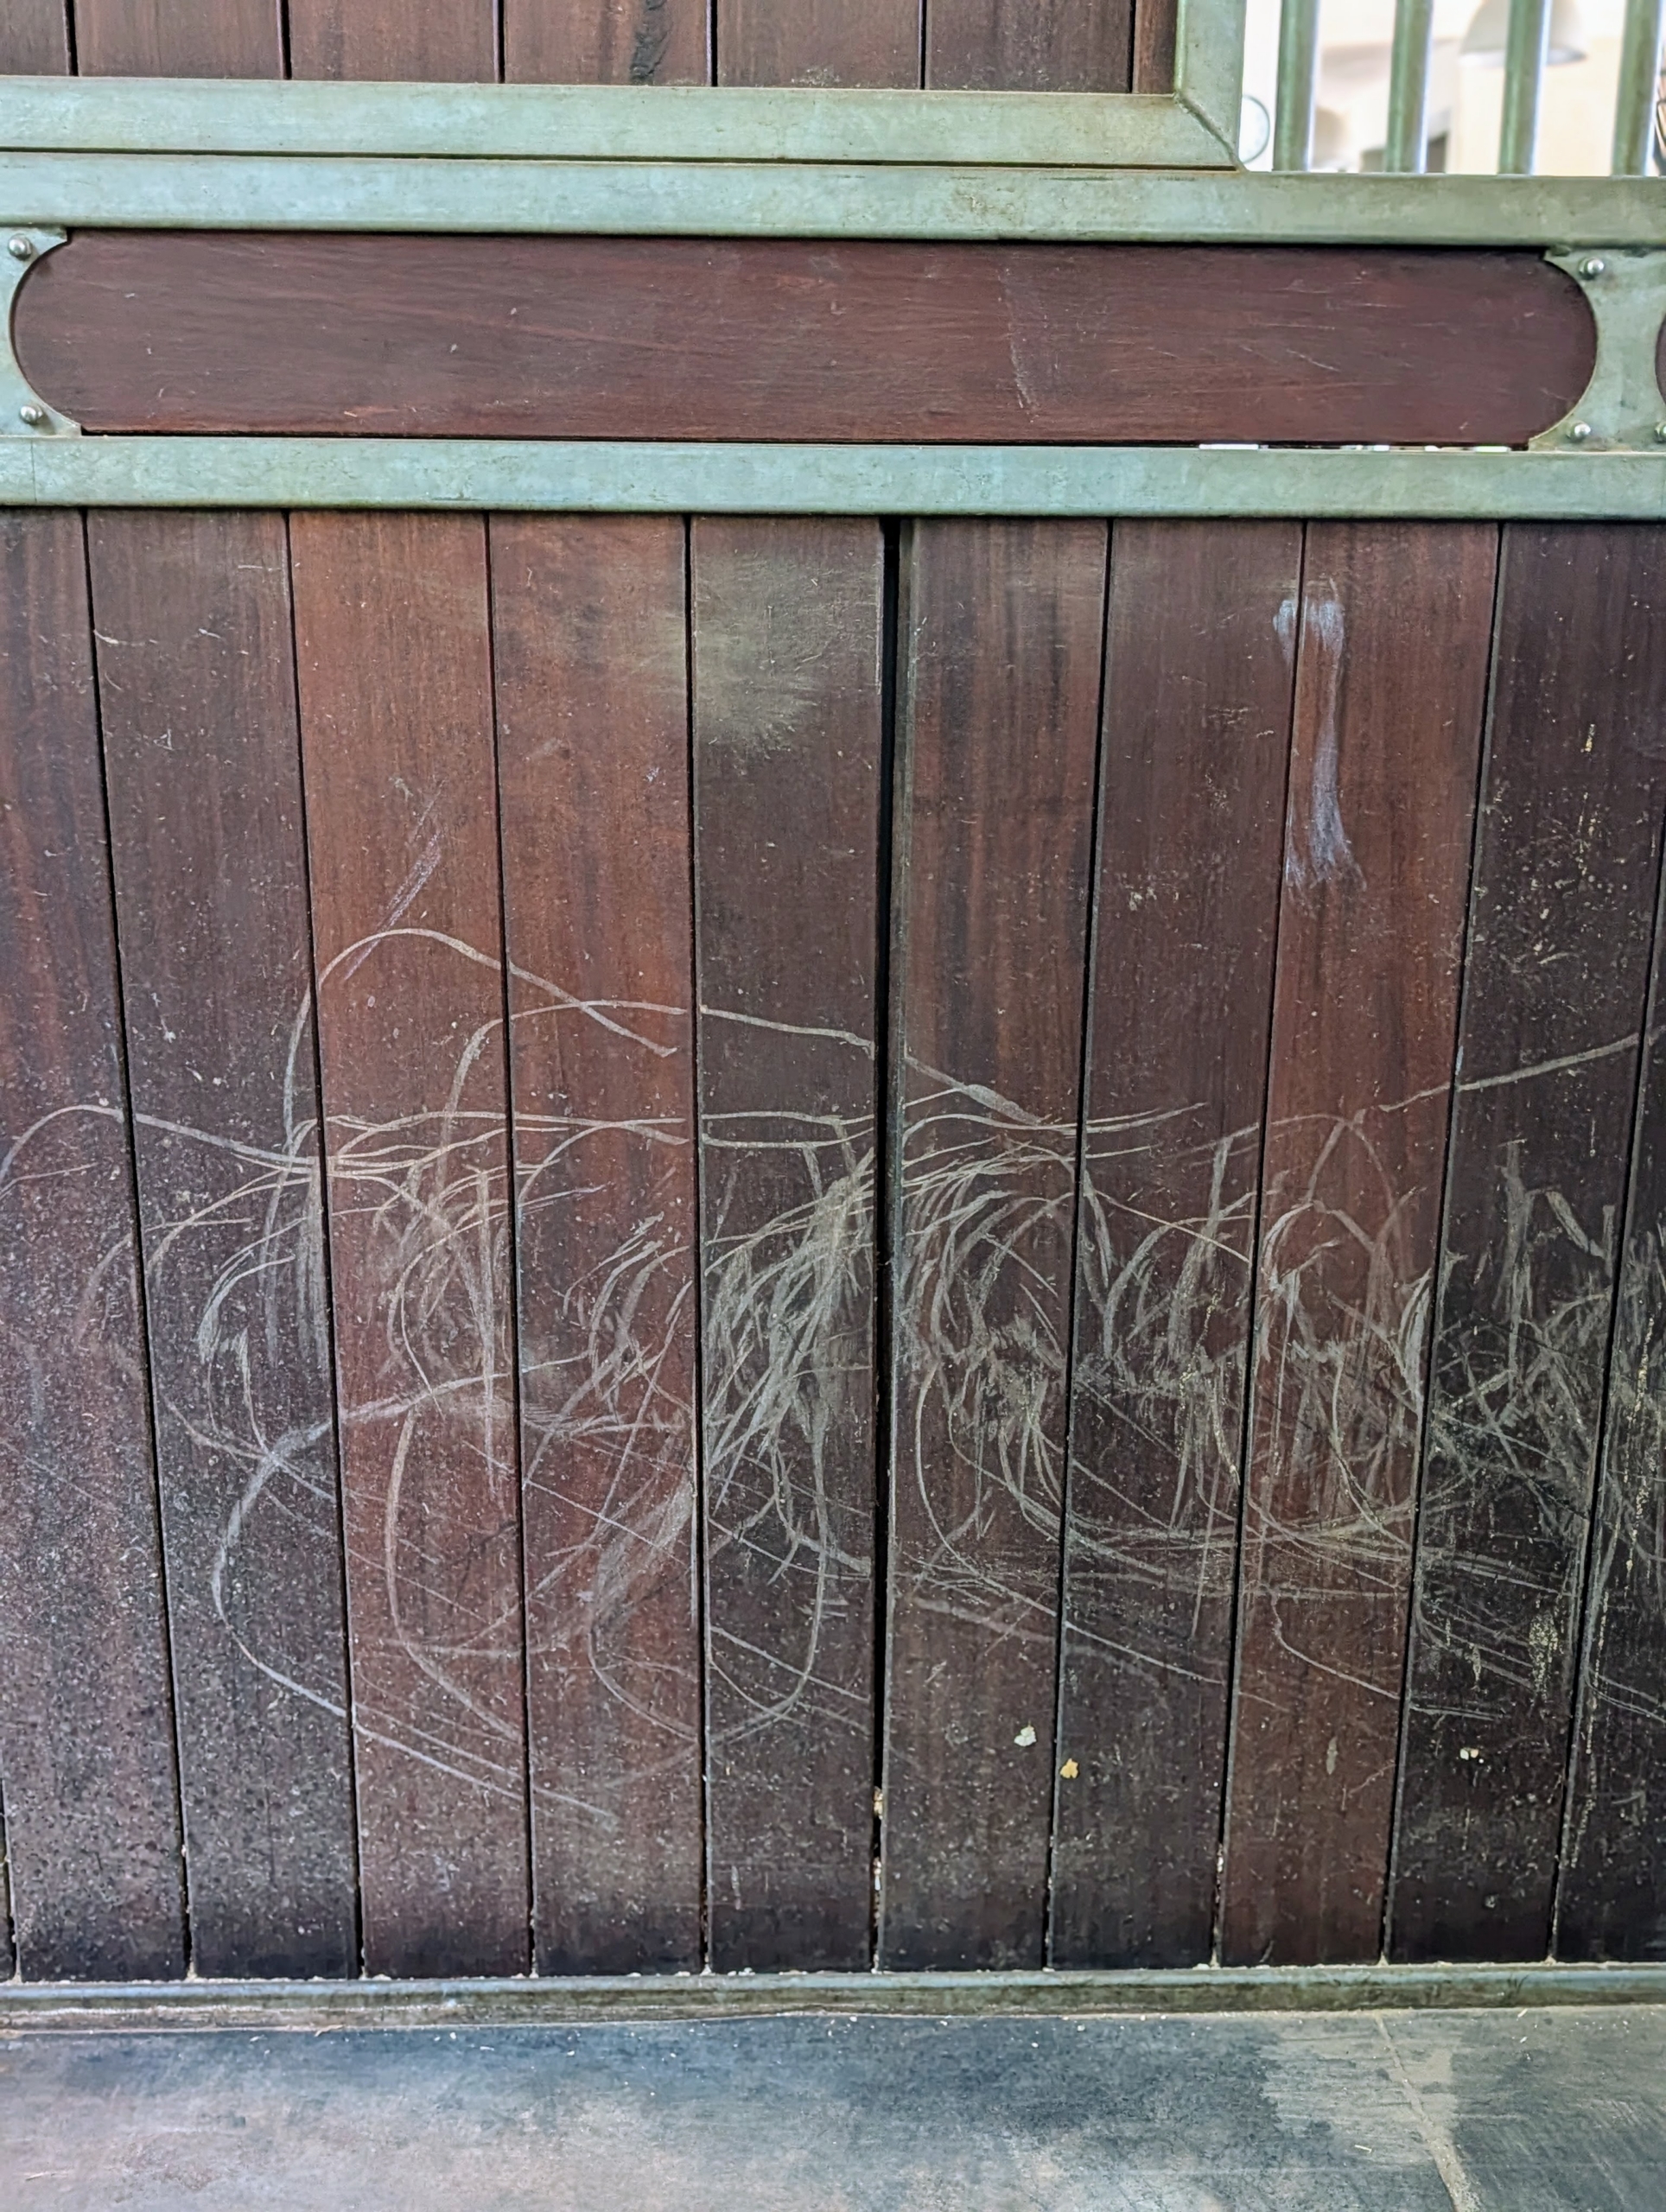
Inside the stable, maintenance work is done on the stalls.
These beautiful wooden stable stall walls and gates often get kicked and marred by hooves. They need to be scrubbed down and treated regularly.
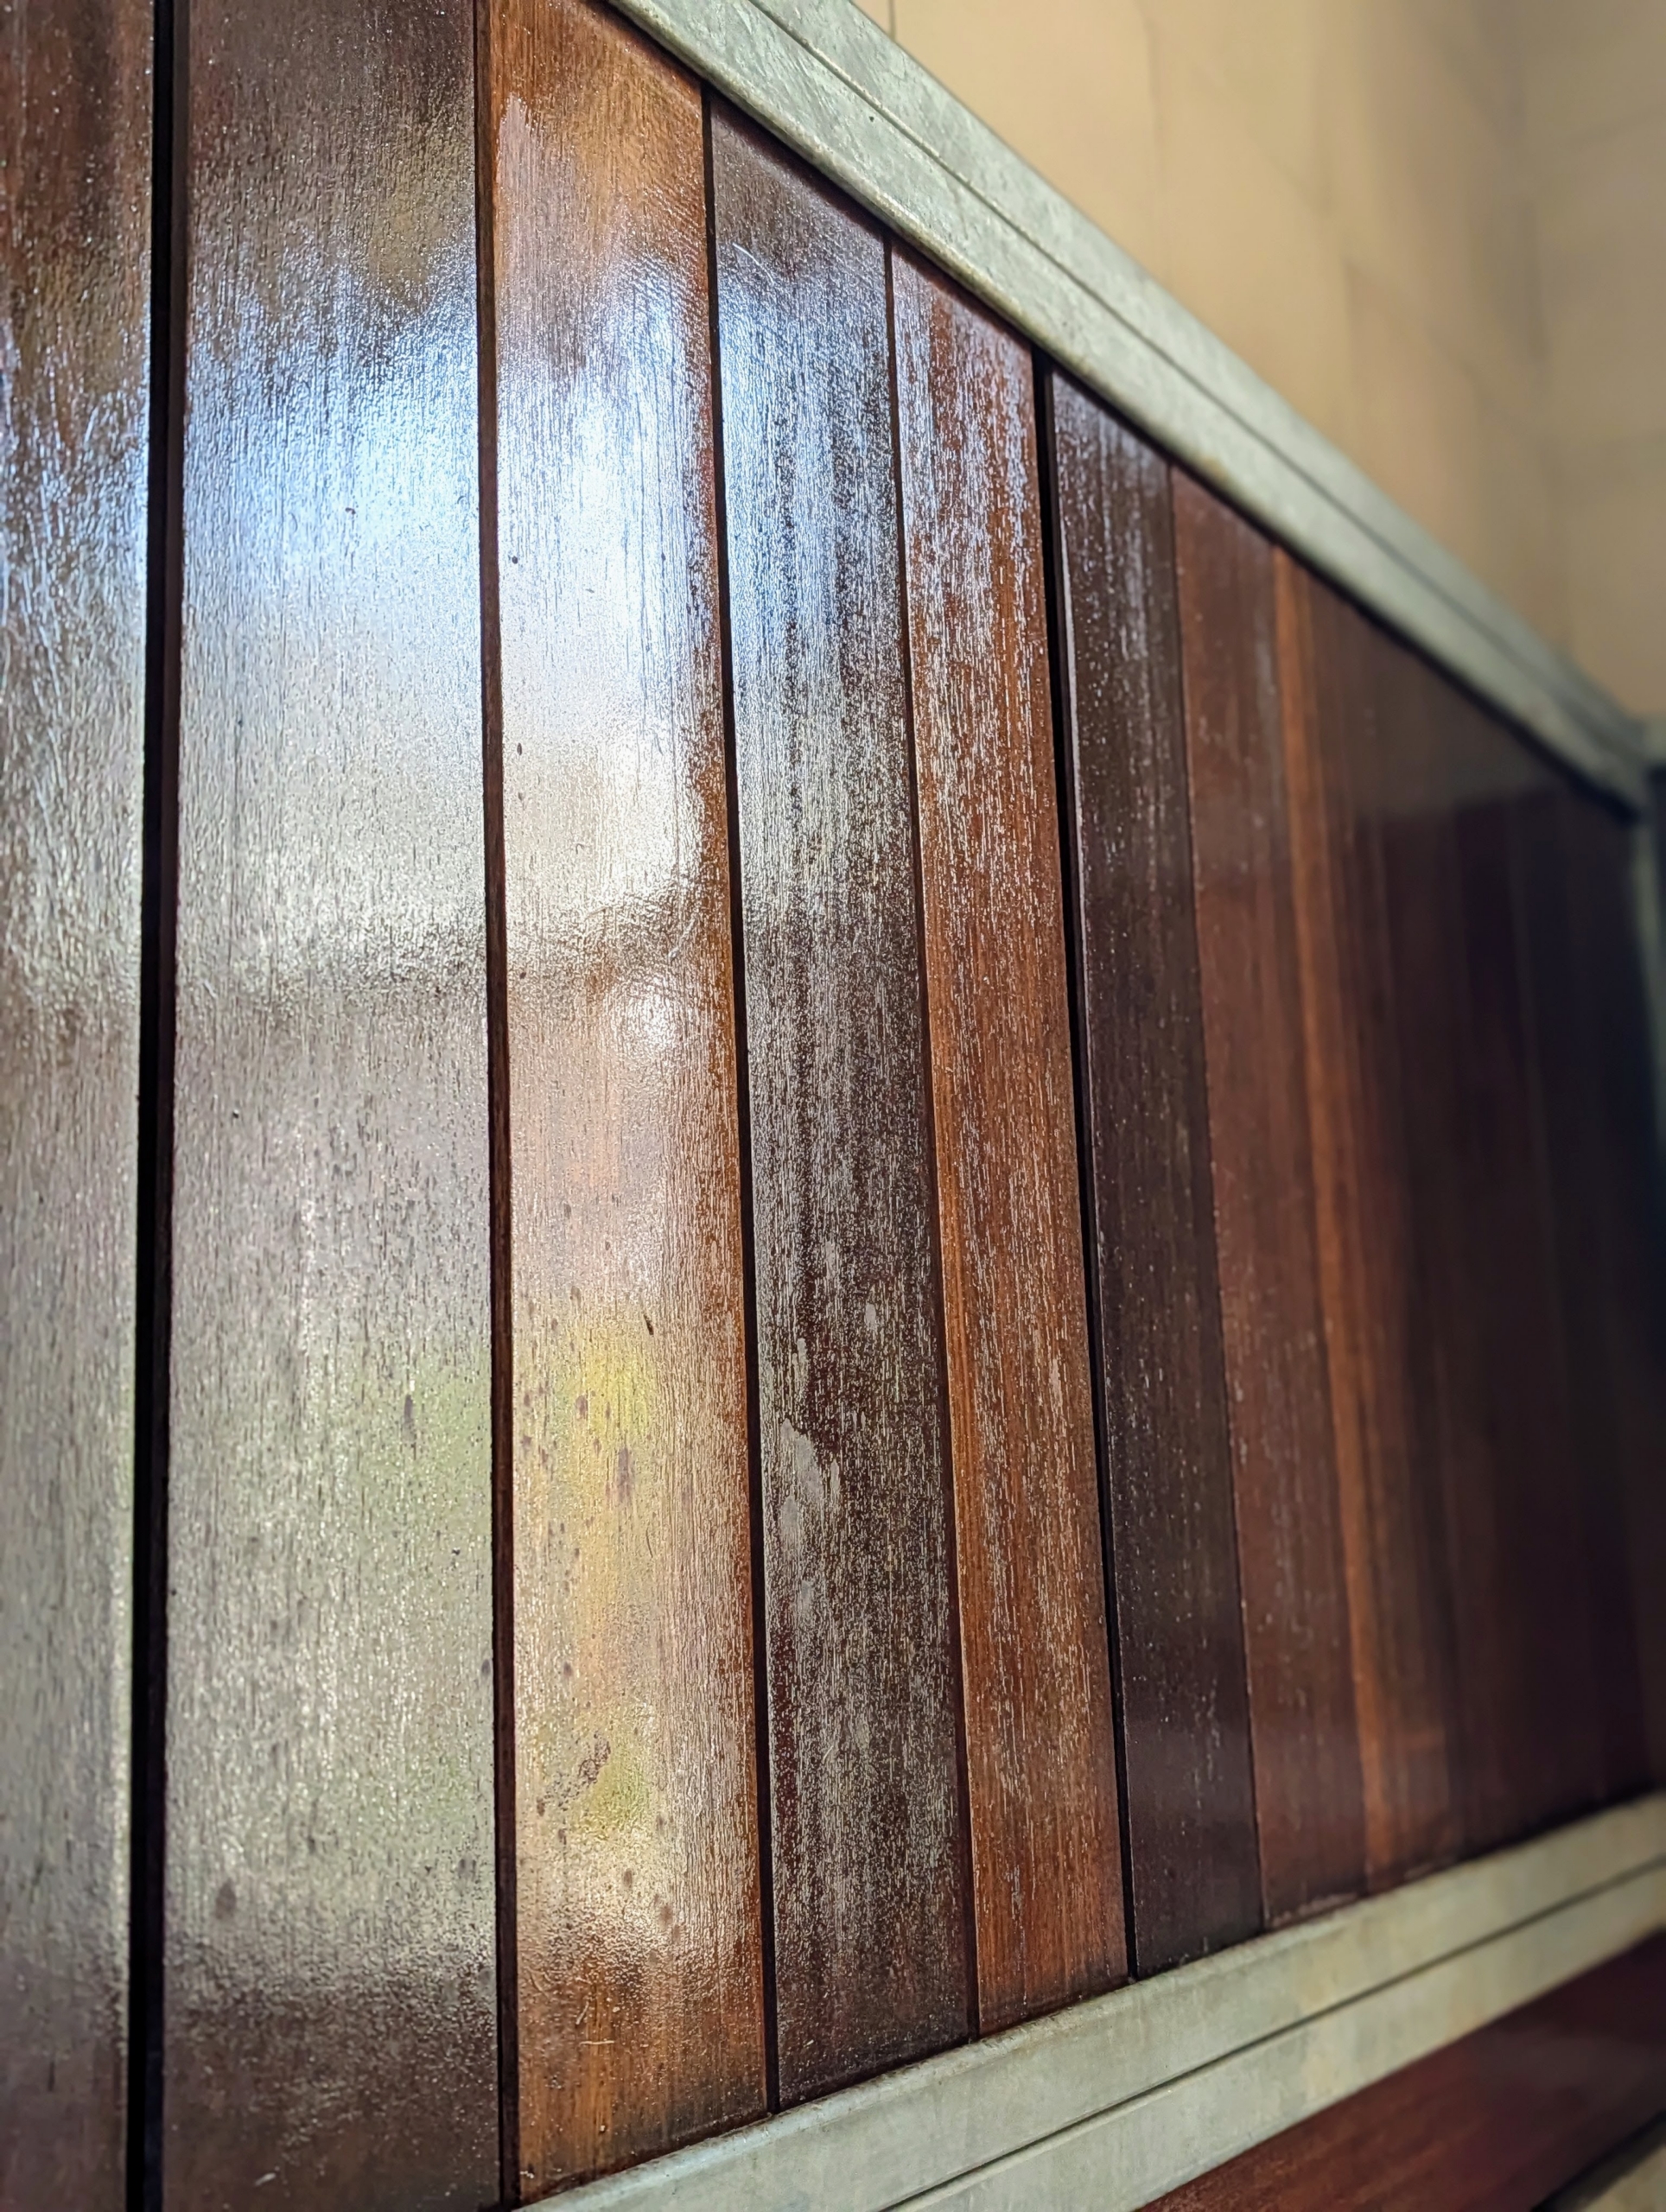
Color Reviver Tonic by my friend Christophe Pourny adds a boost to the wood finish and helps hide any nicks and scratches. Once a year, my stable team cleans and coats the stalls. Whether you use Christophe’s light or dark Furniture Tonic, I know you’ll love the results. And please look at his web site to see all his other furniture care products, including wood and leather cleaners, conditioners, waxes, serums, and soaps.
This stable has eight stalls, so the entire project takes a full day, but the results speak for themselves.
Treating the wood not only returns it to its original lustre, but it also creates a protective layer that adds to the wood’s durability – regular maintenance is time consuming, but key.
Ryan places more evergreens in various areas around the farm. All of my trees and shrubs from Monrovia are in such excellent condition. This arborvitae is one of several being planted as part of a privacy screen.
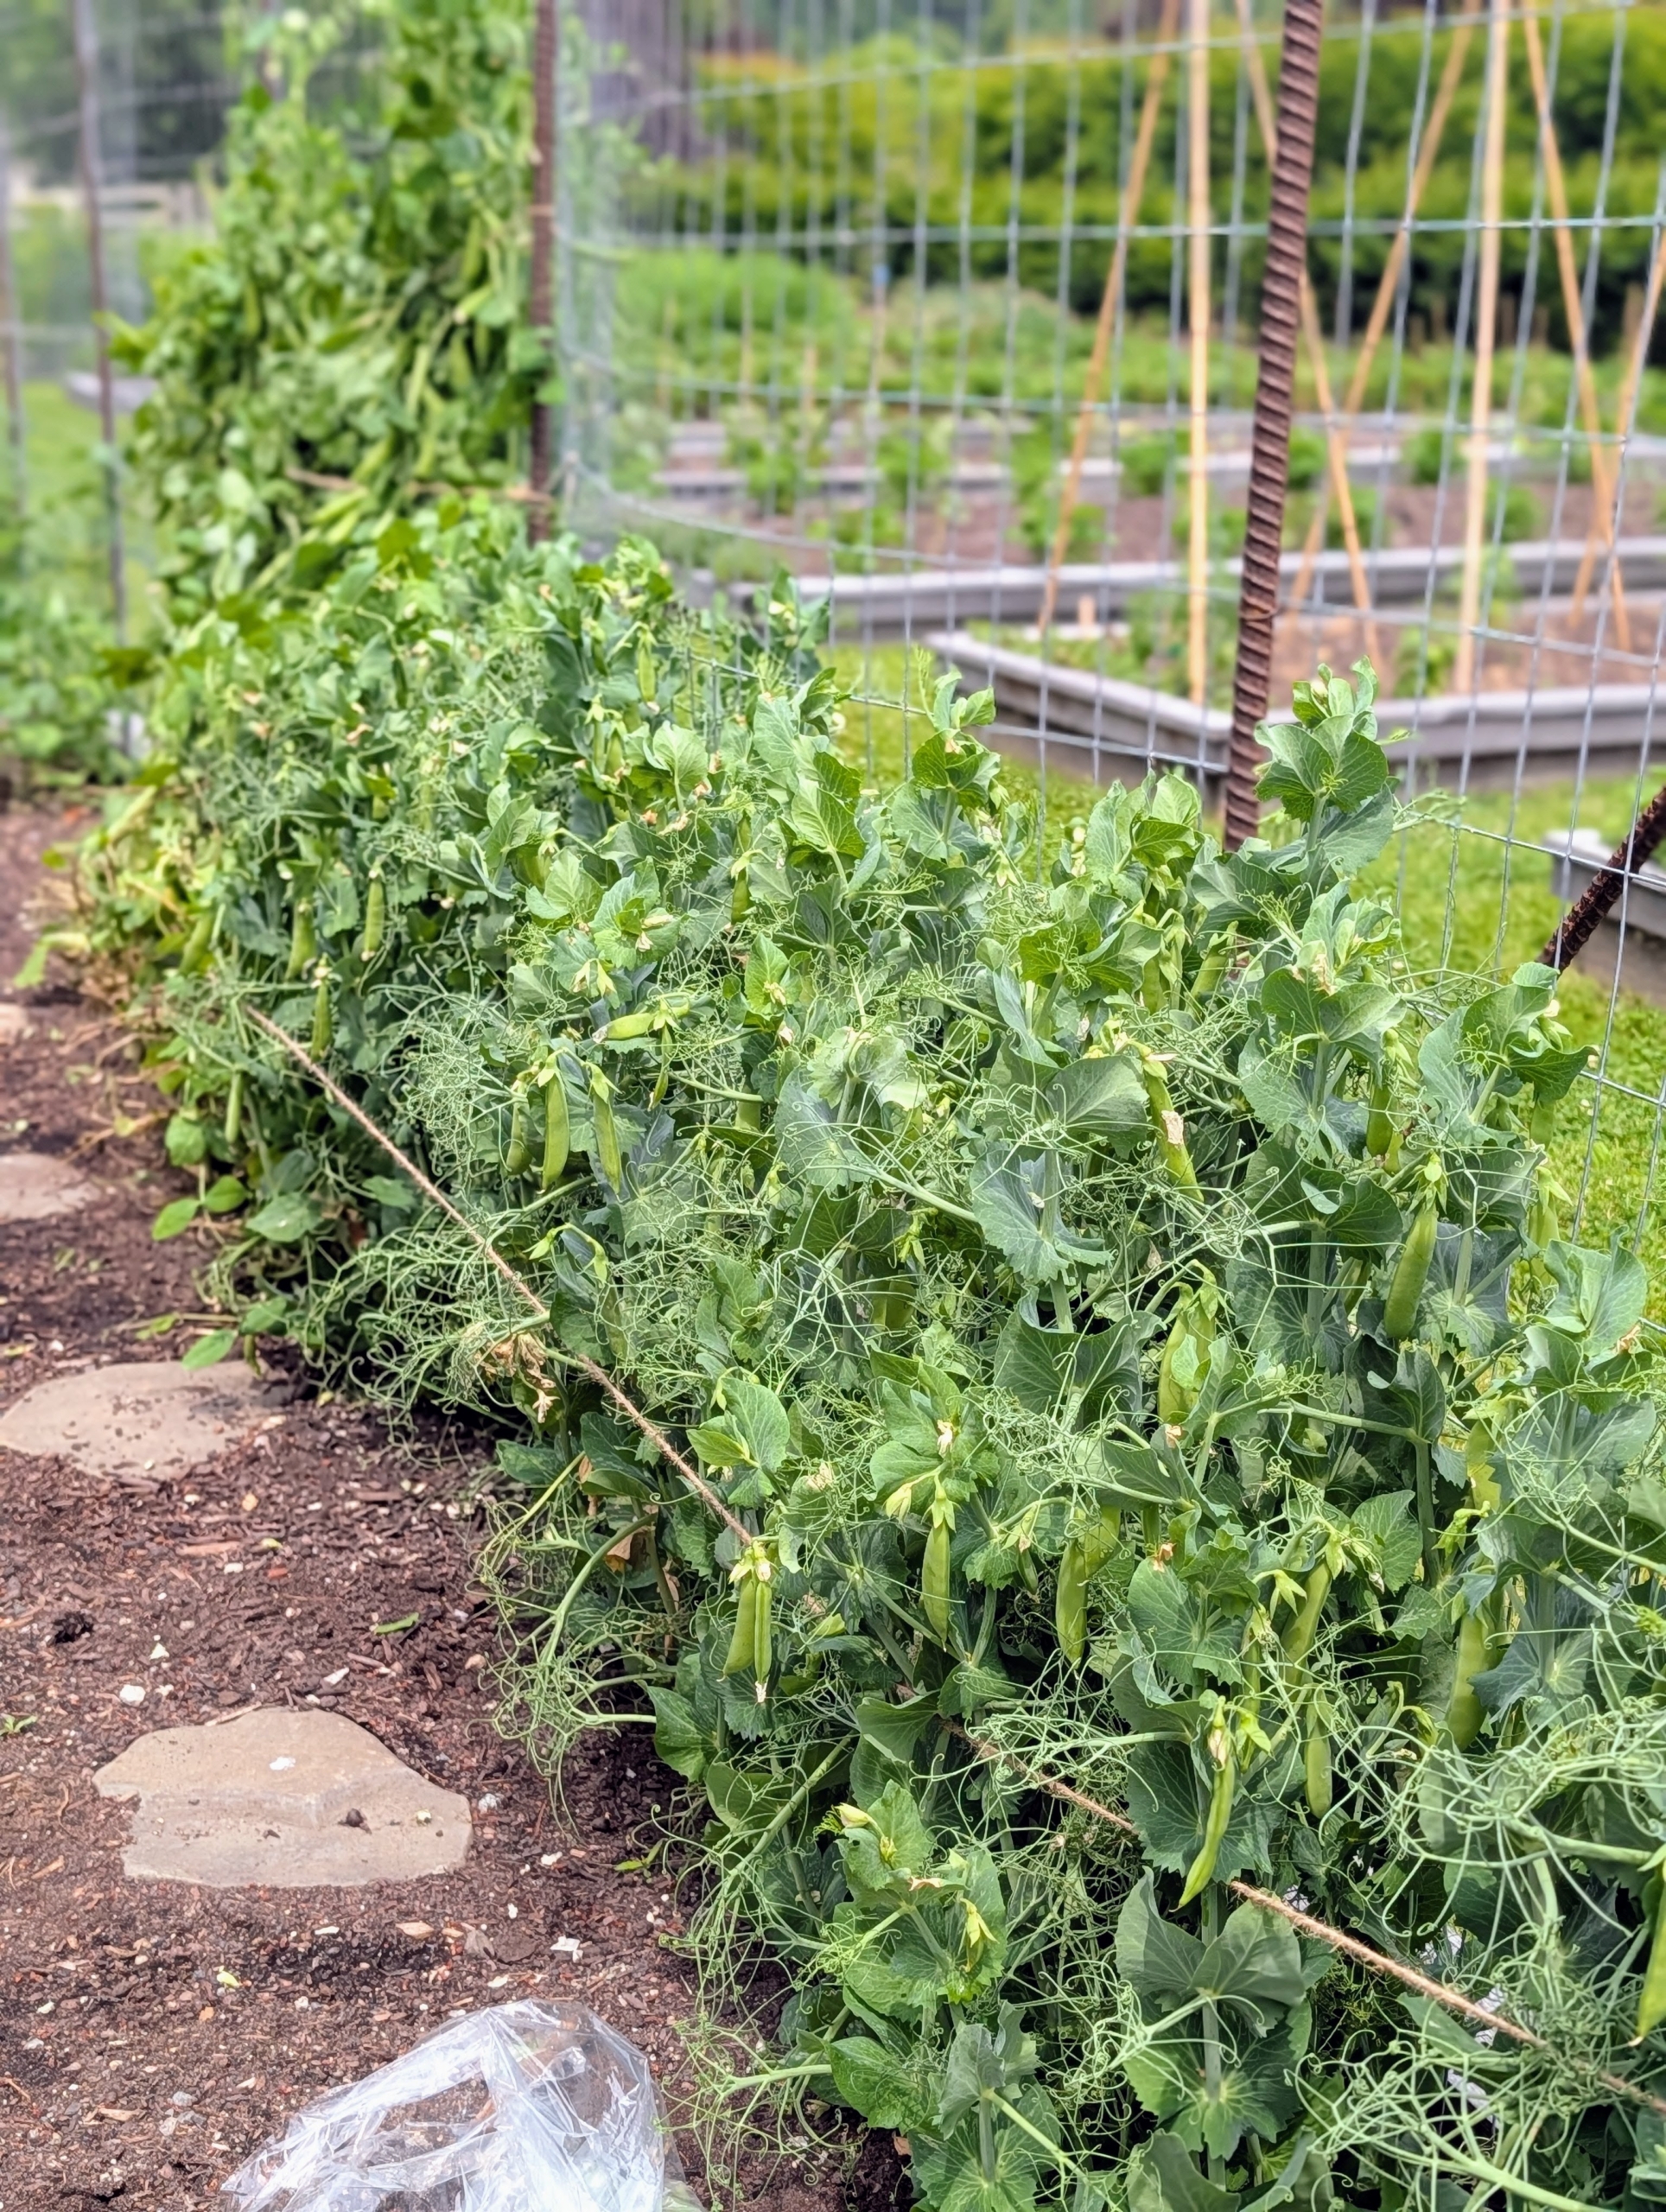
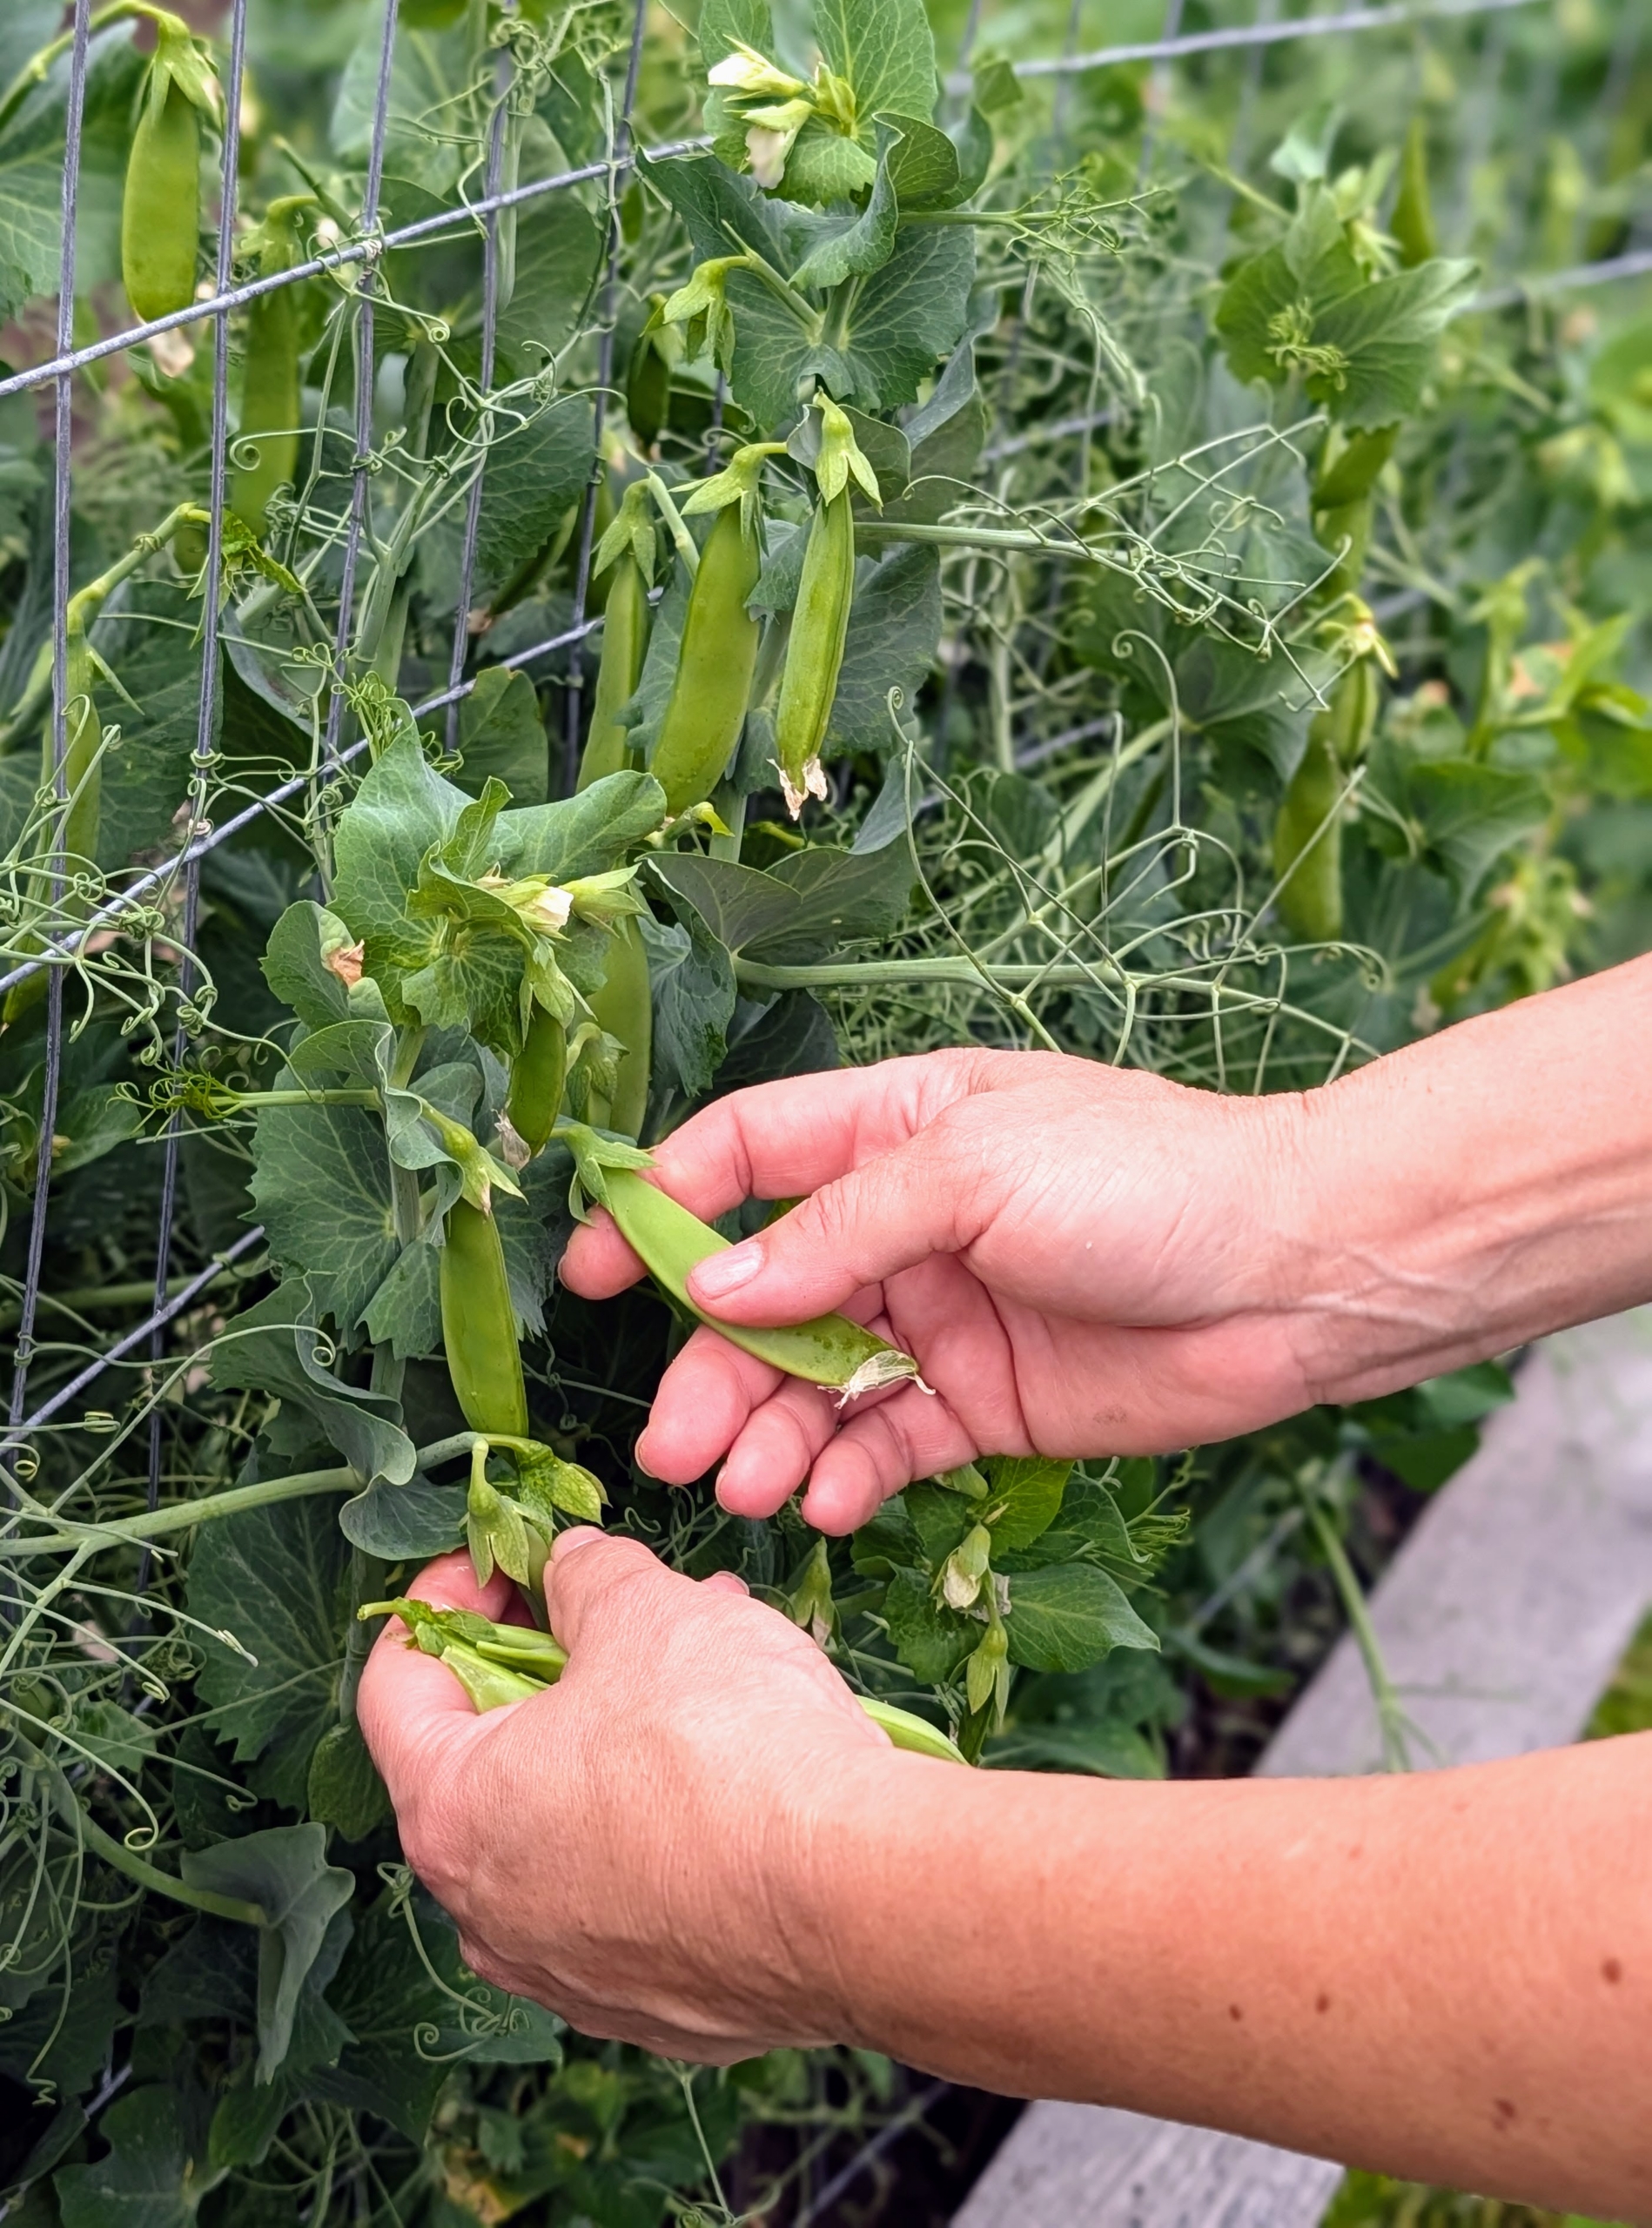
In the vegetable garden, peas are ready for harvest. Every year I plant one side for shelling peas, which need to be removed from their pods before eating, and the other side for edible pods, which can be eaten whole.
It’s important to plant peas as soon as possible in spring in order to get a bountiful harvest come summer. I always have large bounties of delicious fresh peas.
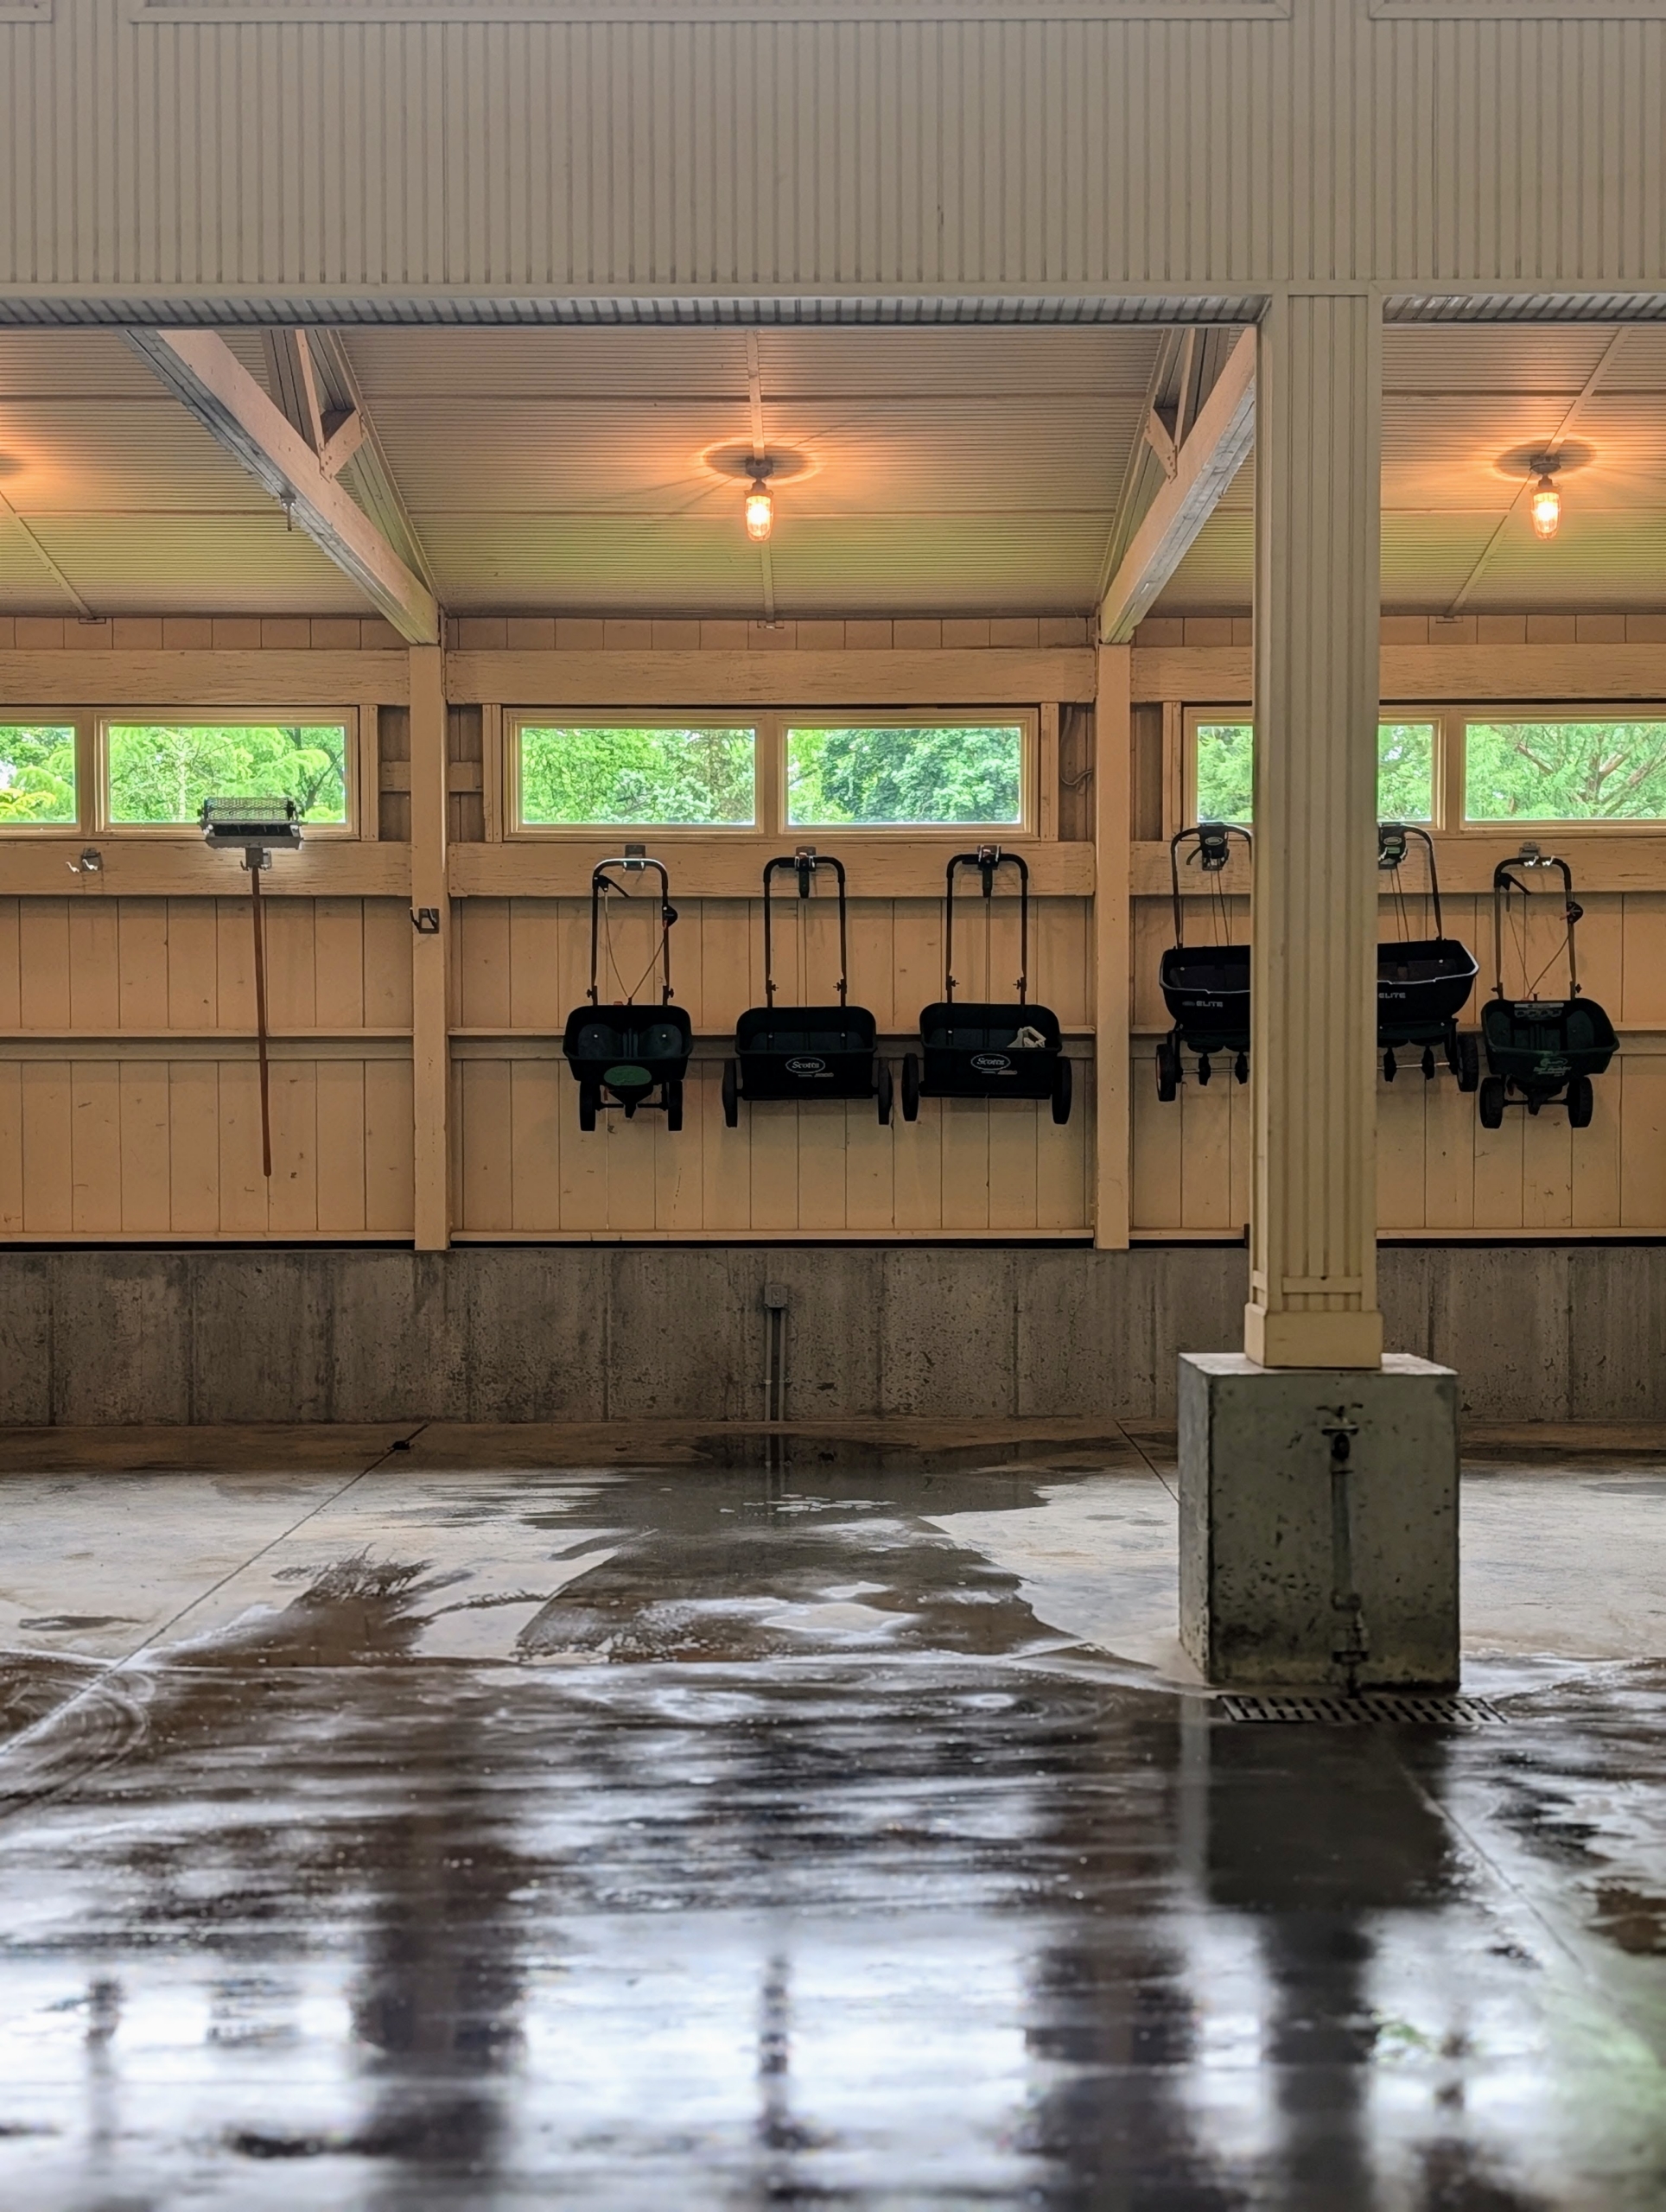
And here’s my Equipment Barn. It’s about 40 by 120 feet, with a substantial amount of height. It is where we keep our mowers, blowers, tractors, tools, and other pieces of important machinery. At least once a year, my crew clears the entire space, power washes the floors, and then inspects and organizes every item before returning it neatly to its place, so everything is in good order and ready to use.
Keeping things well maintained and properly stored will always save time in the long run. This week is expected to be a hot one here in the Northeast with temperatures soaring into the 90s. My farm crew works hard rain or shine, in hot weather and cold, to ensure everything functions at its best.