Summer weather here at my farm continues to be very hot and humid with temperatures in the high 80s. I've been watching all my animals very closely to make sure they're well-hydrated and comfortable.
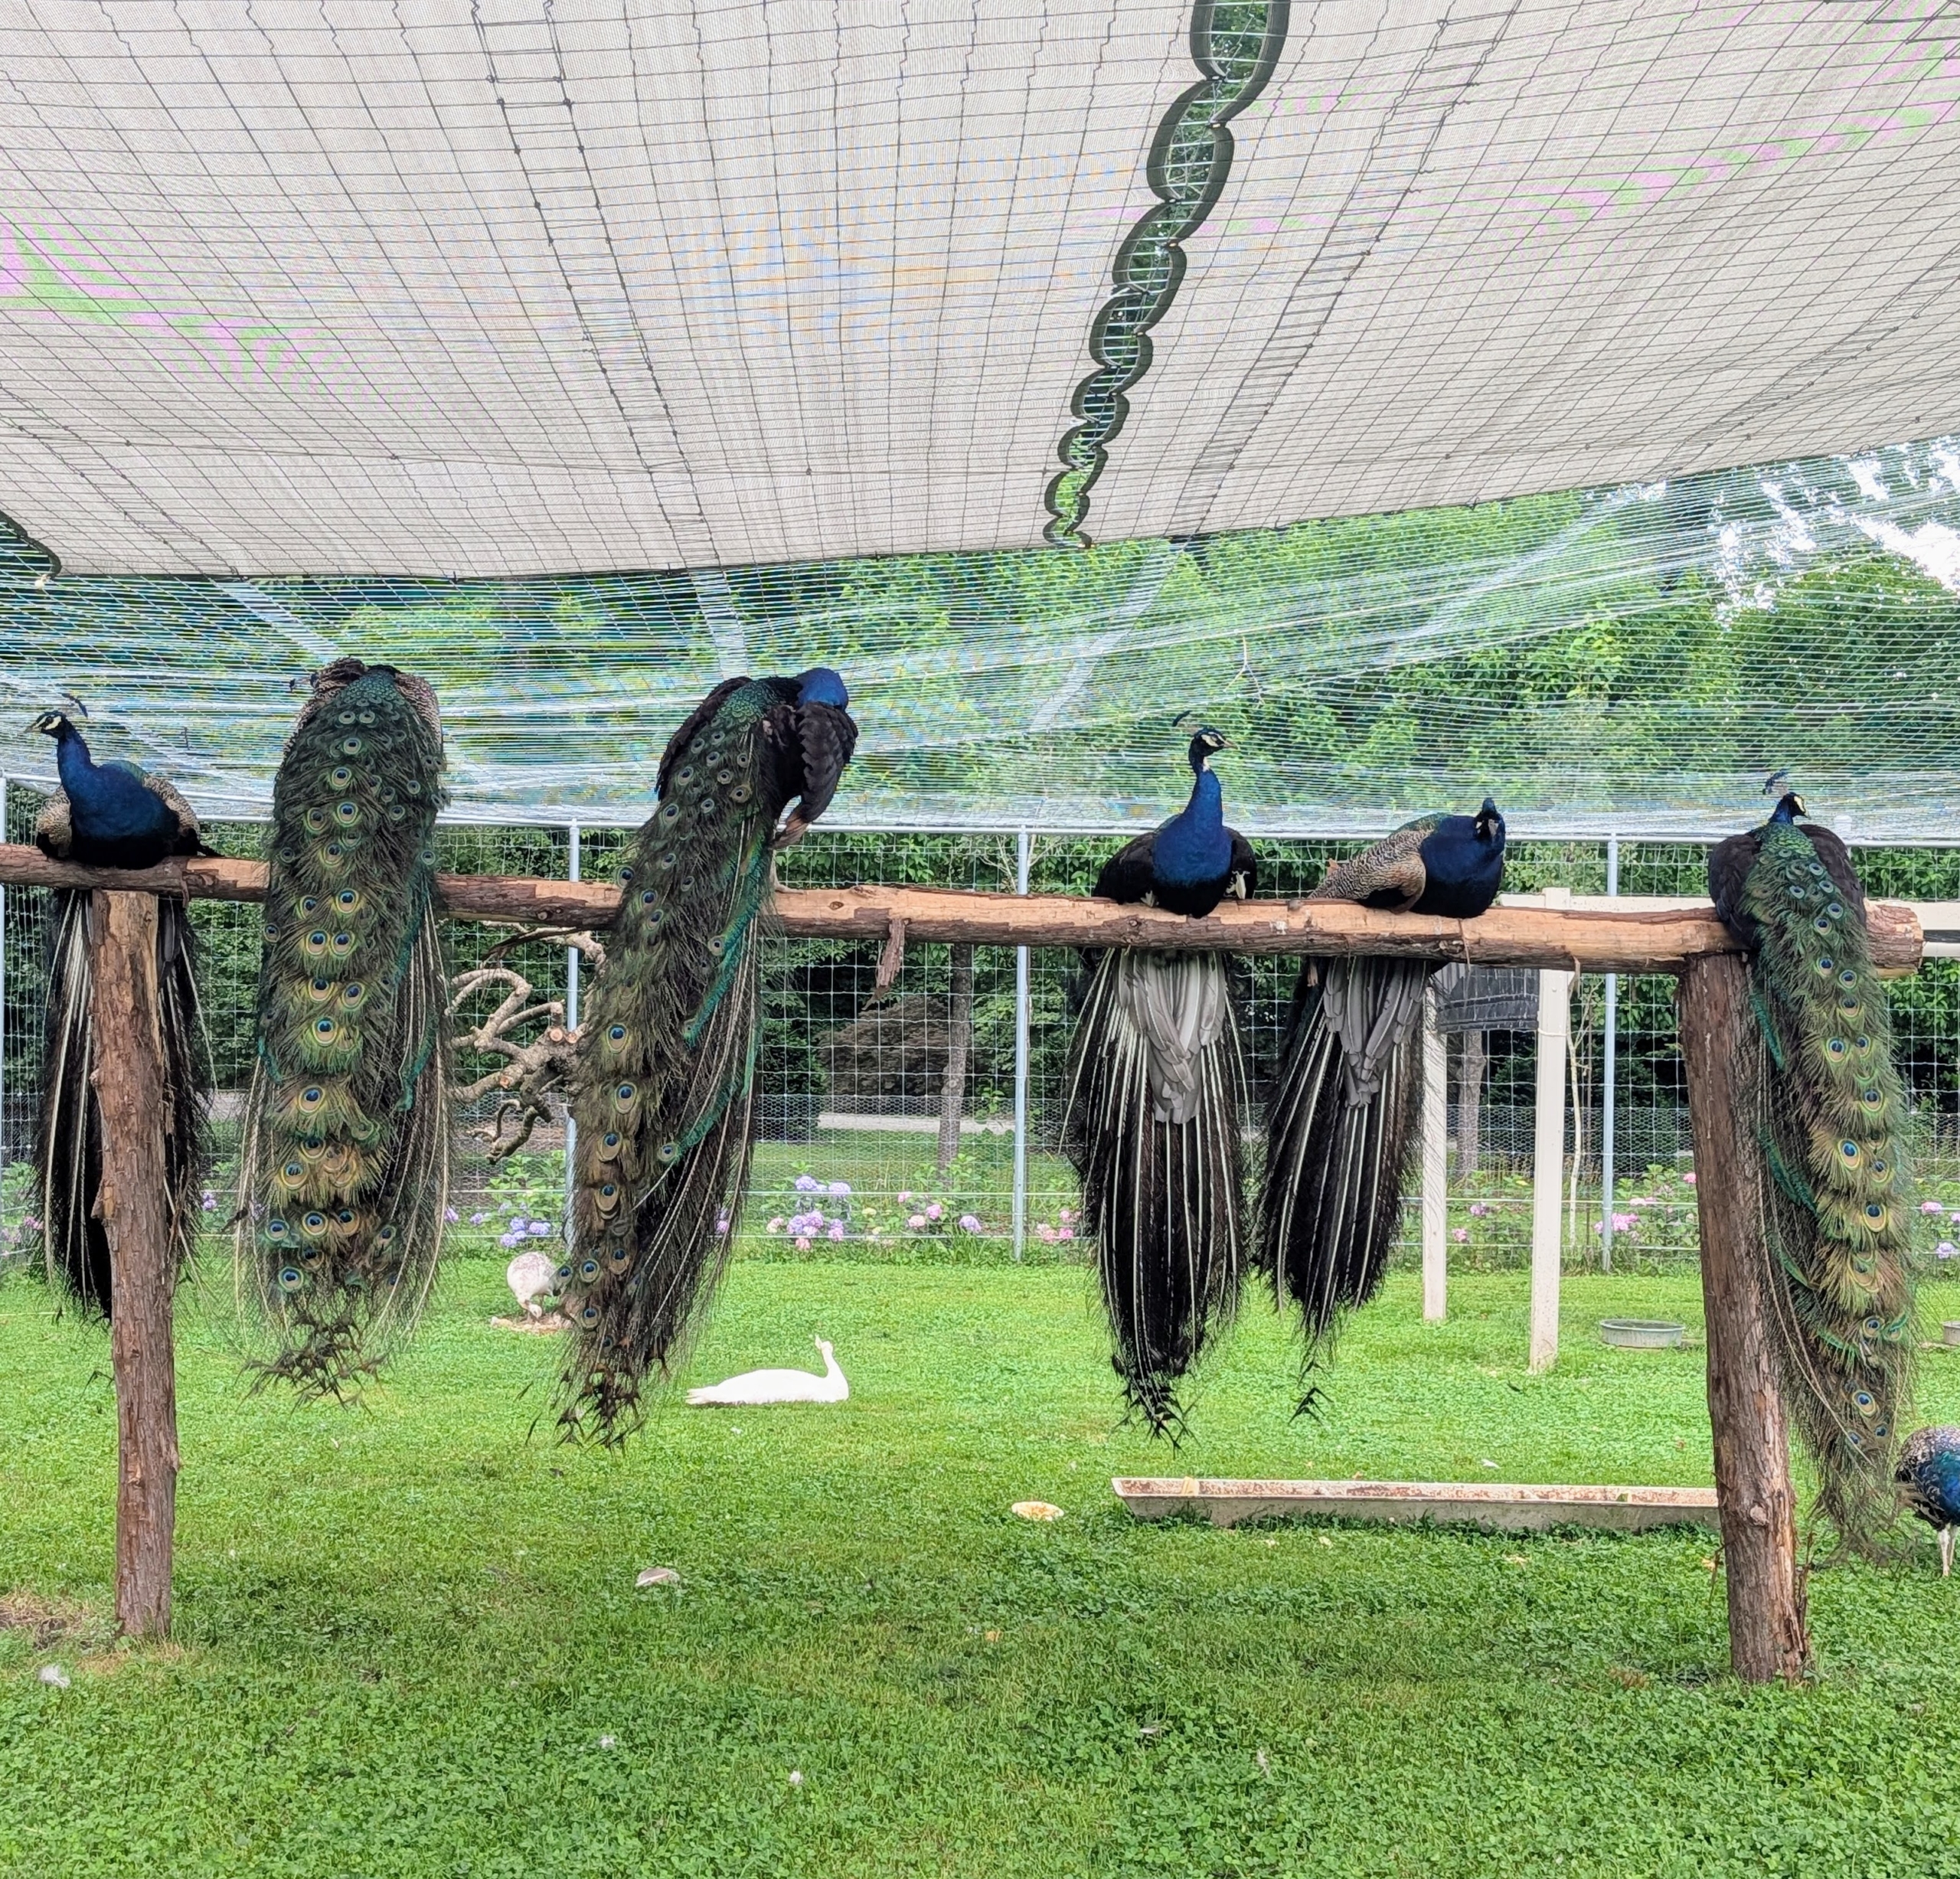
My peacocks and peahens live in a large, fully-enclosed yard located just outside my stable and near my Linden Allée. I visit these beautiful birds every day. I love calling out to them and waiting for their energetic responses. During the day, many of them can be found perched in the shade watching all the activity around them.
Here are some of the latest photos, enjoy.
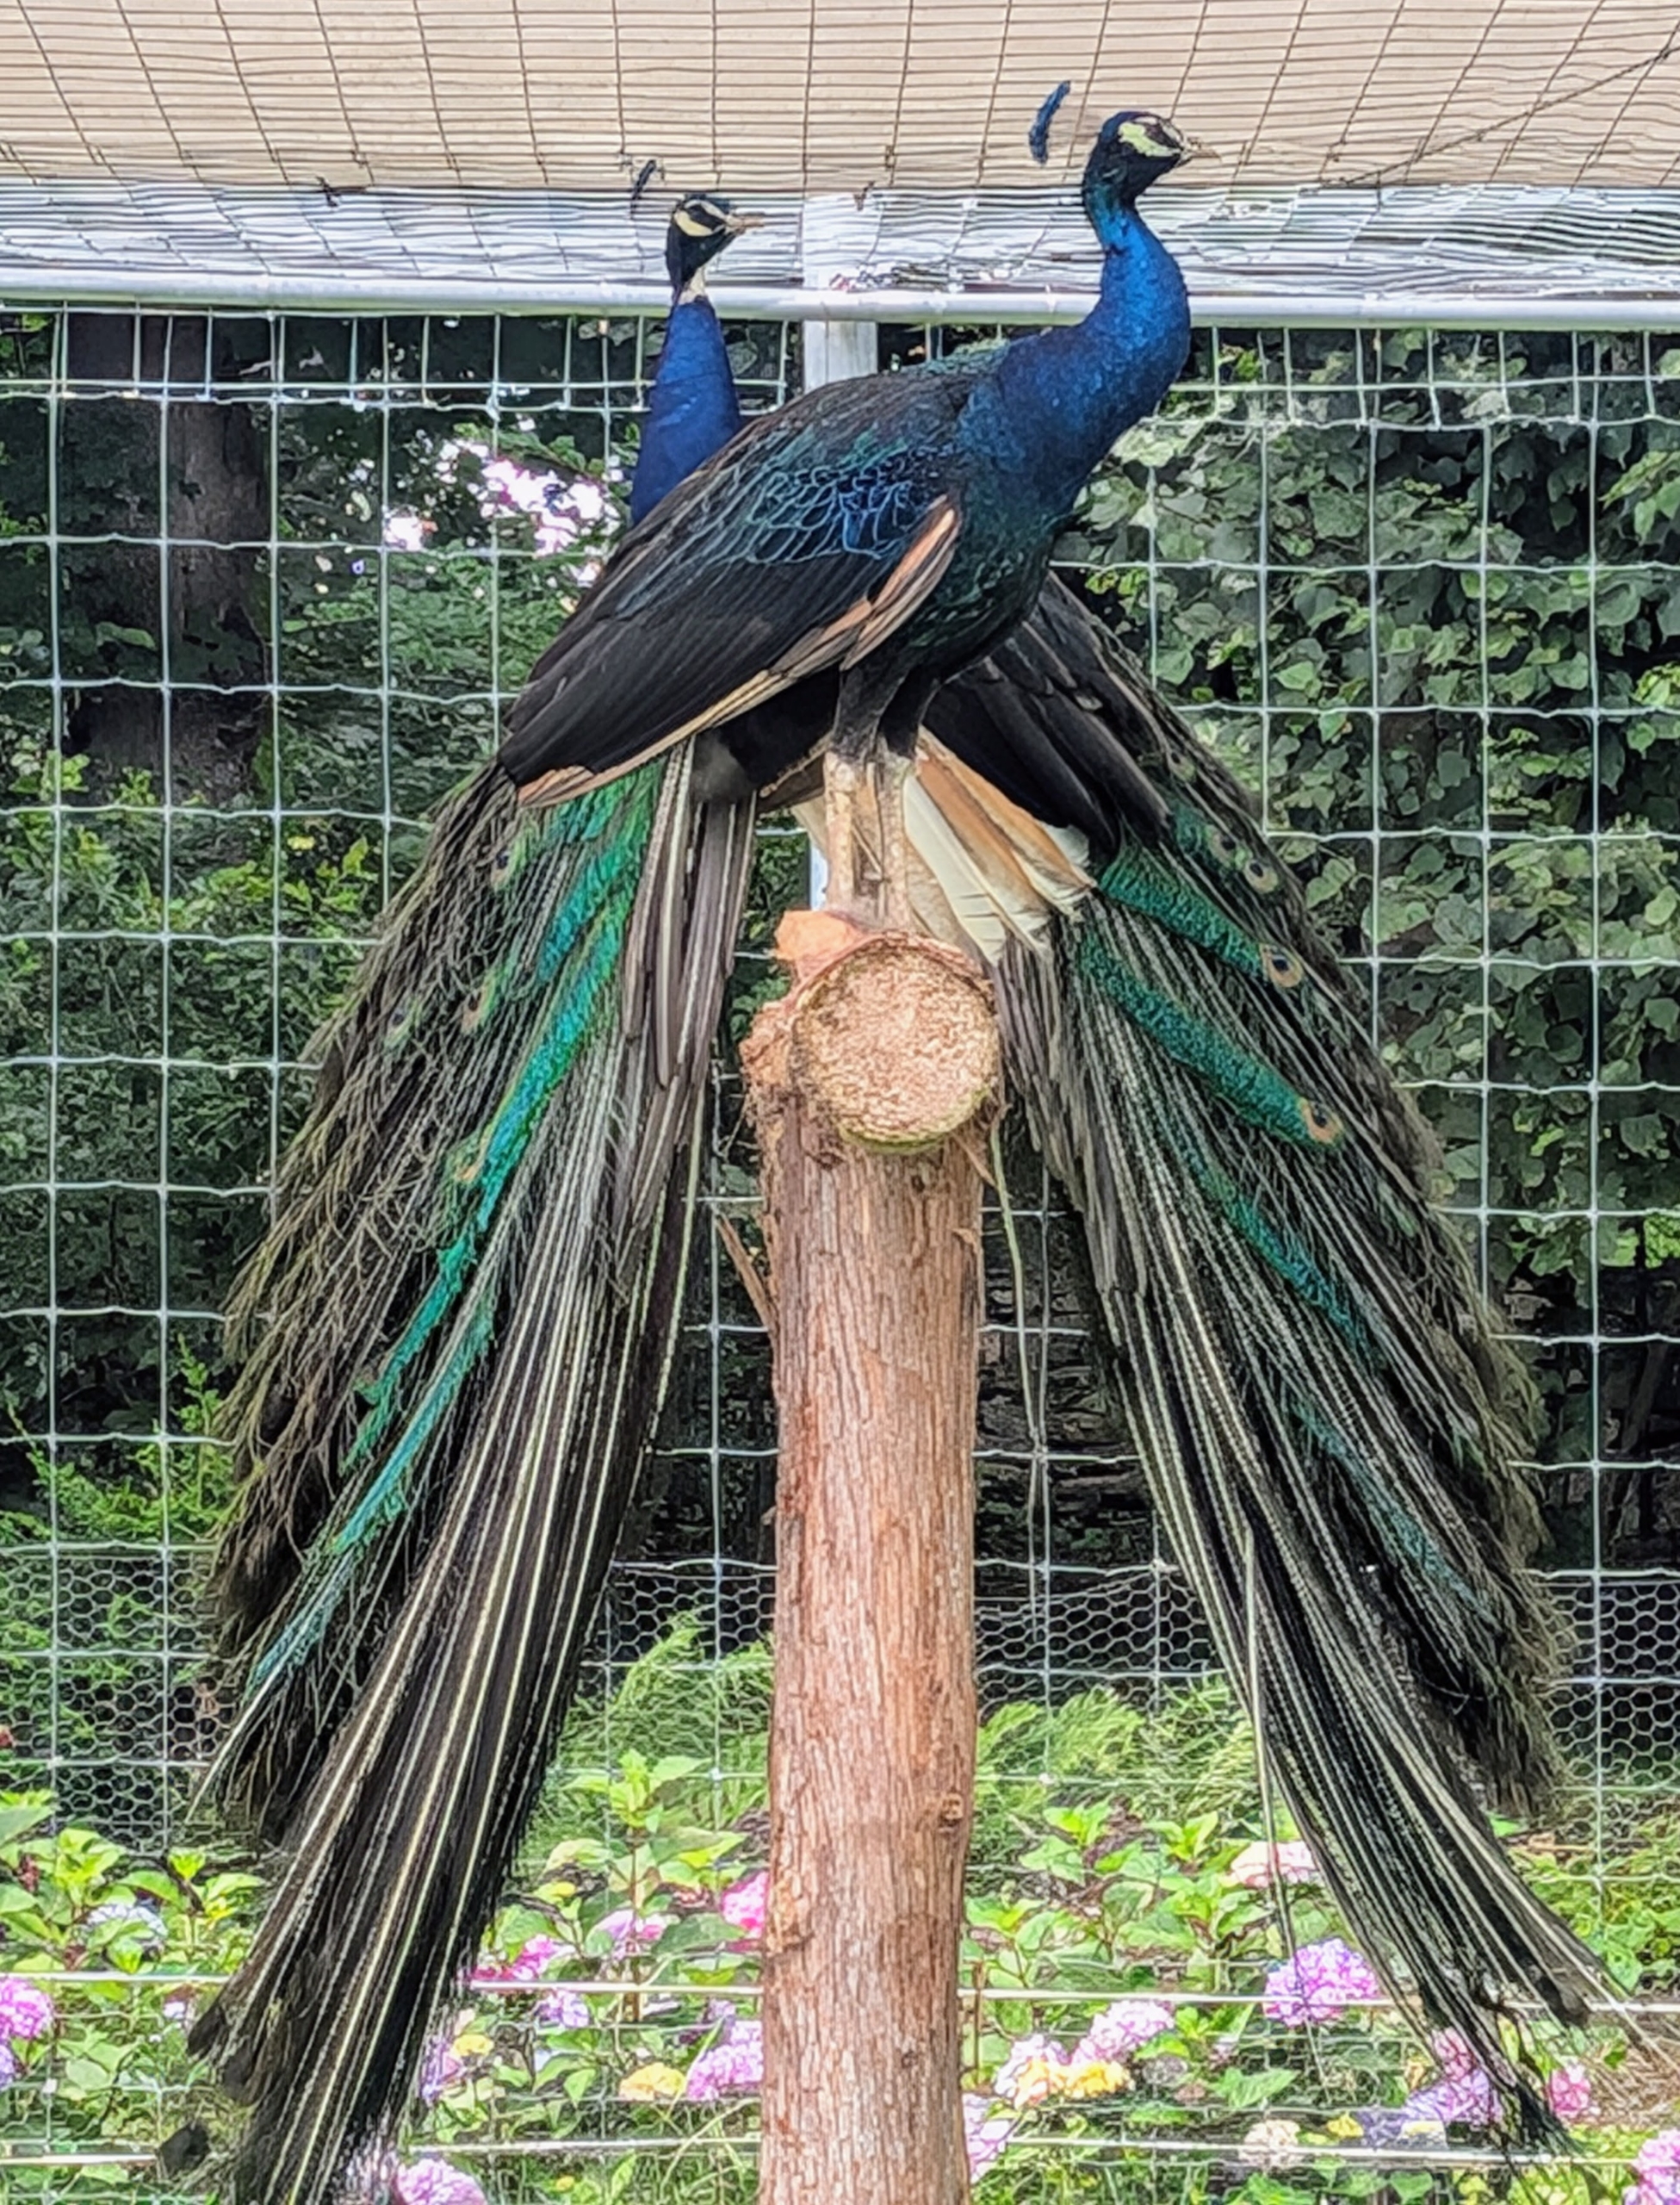
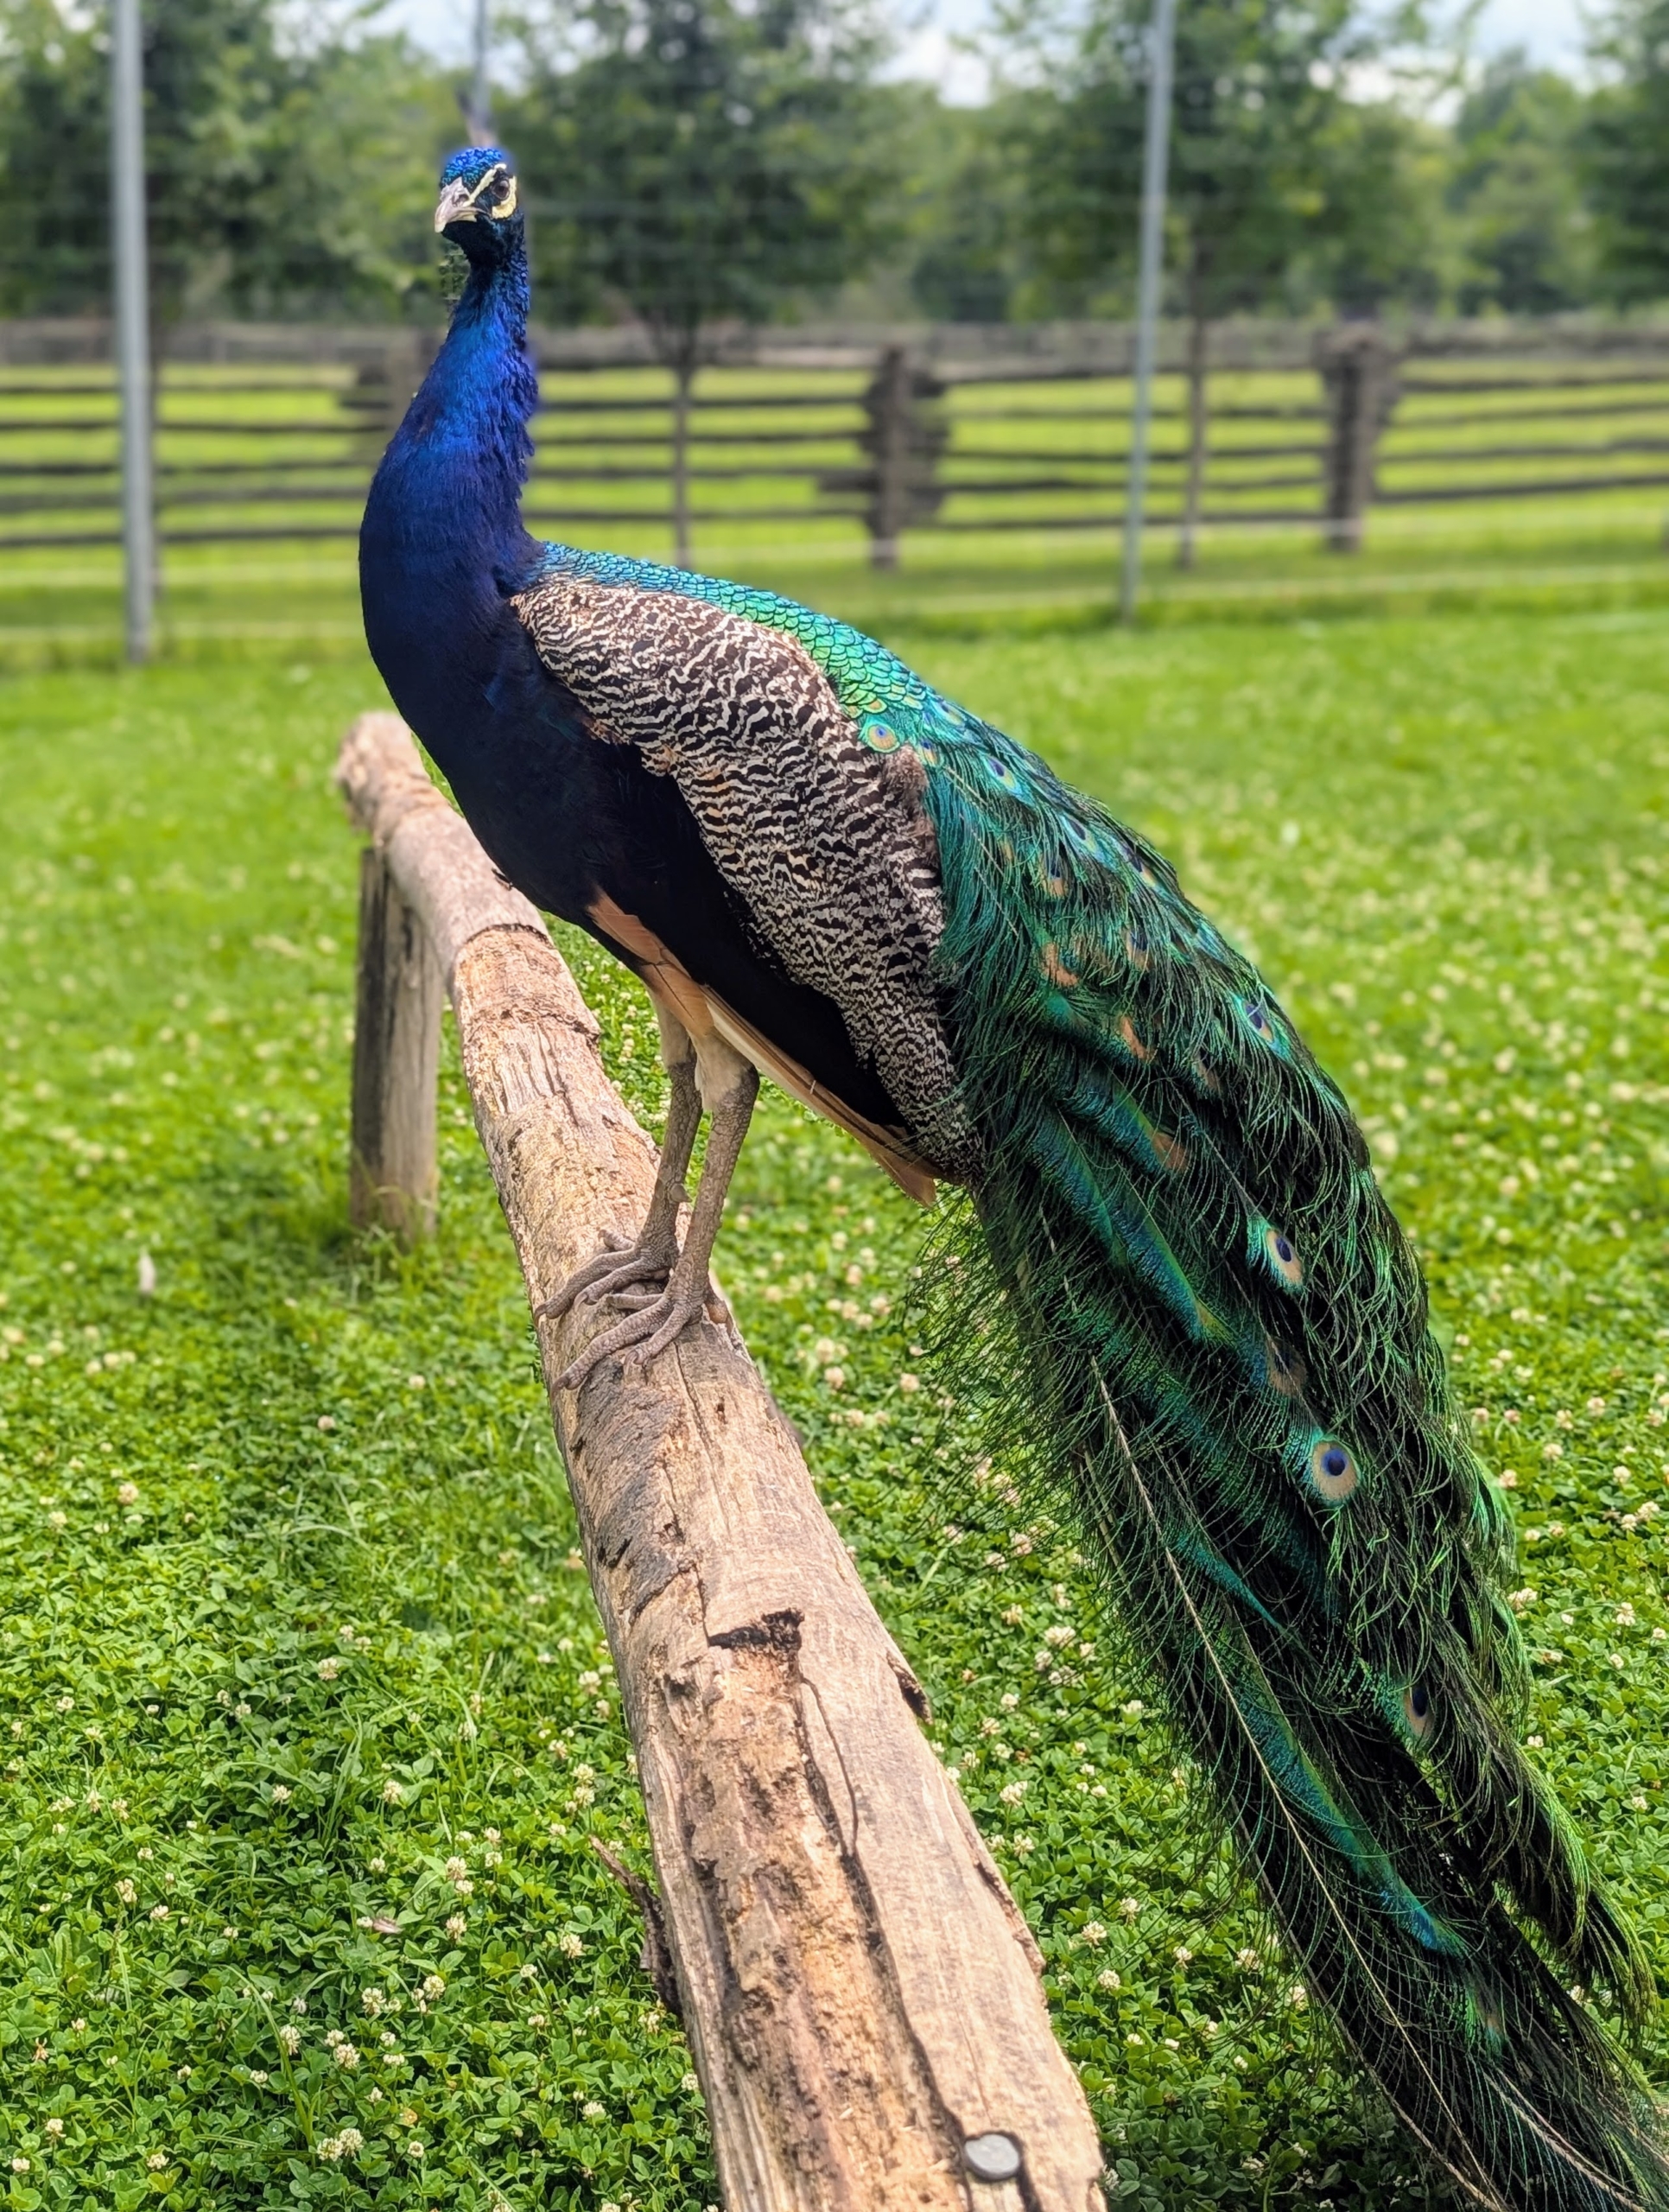
Peafowl love to perch. I provide access to perches made from old felled trees here at the farm. This perch is also covered to offer ample shade during the hottest part of the day.
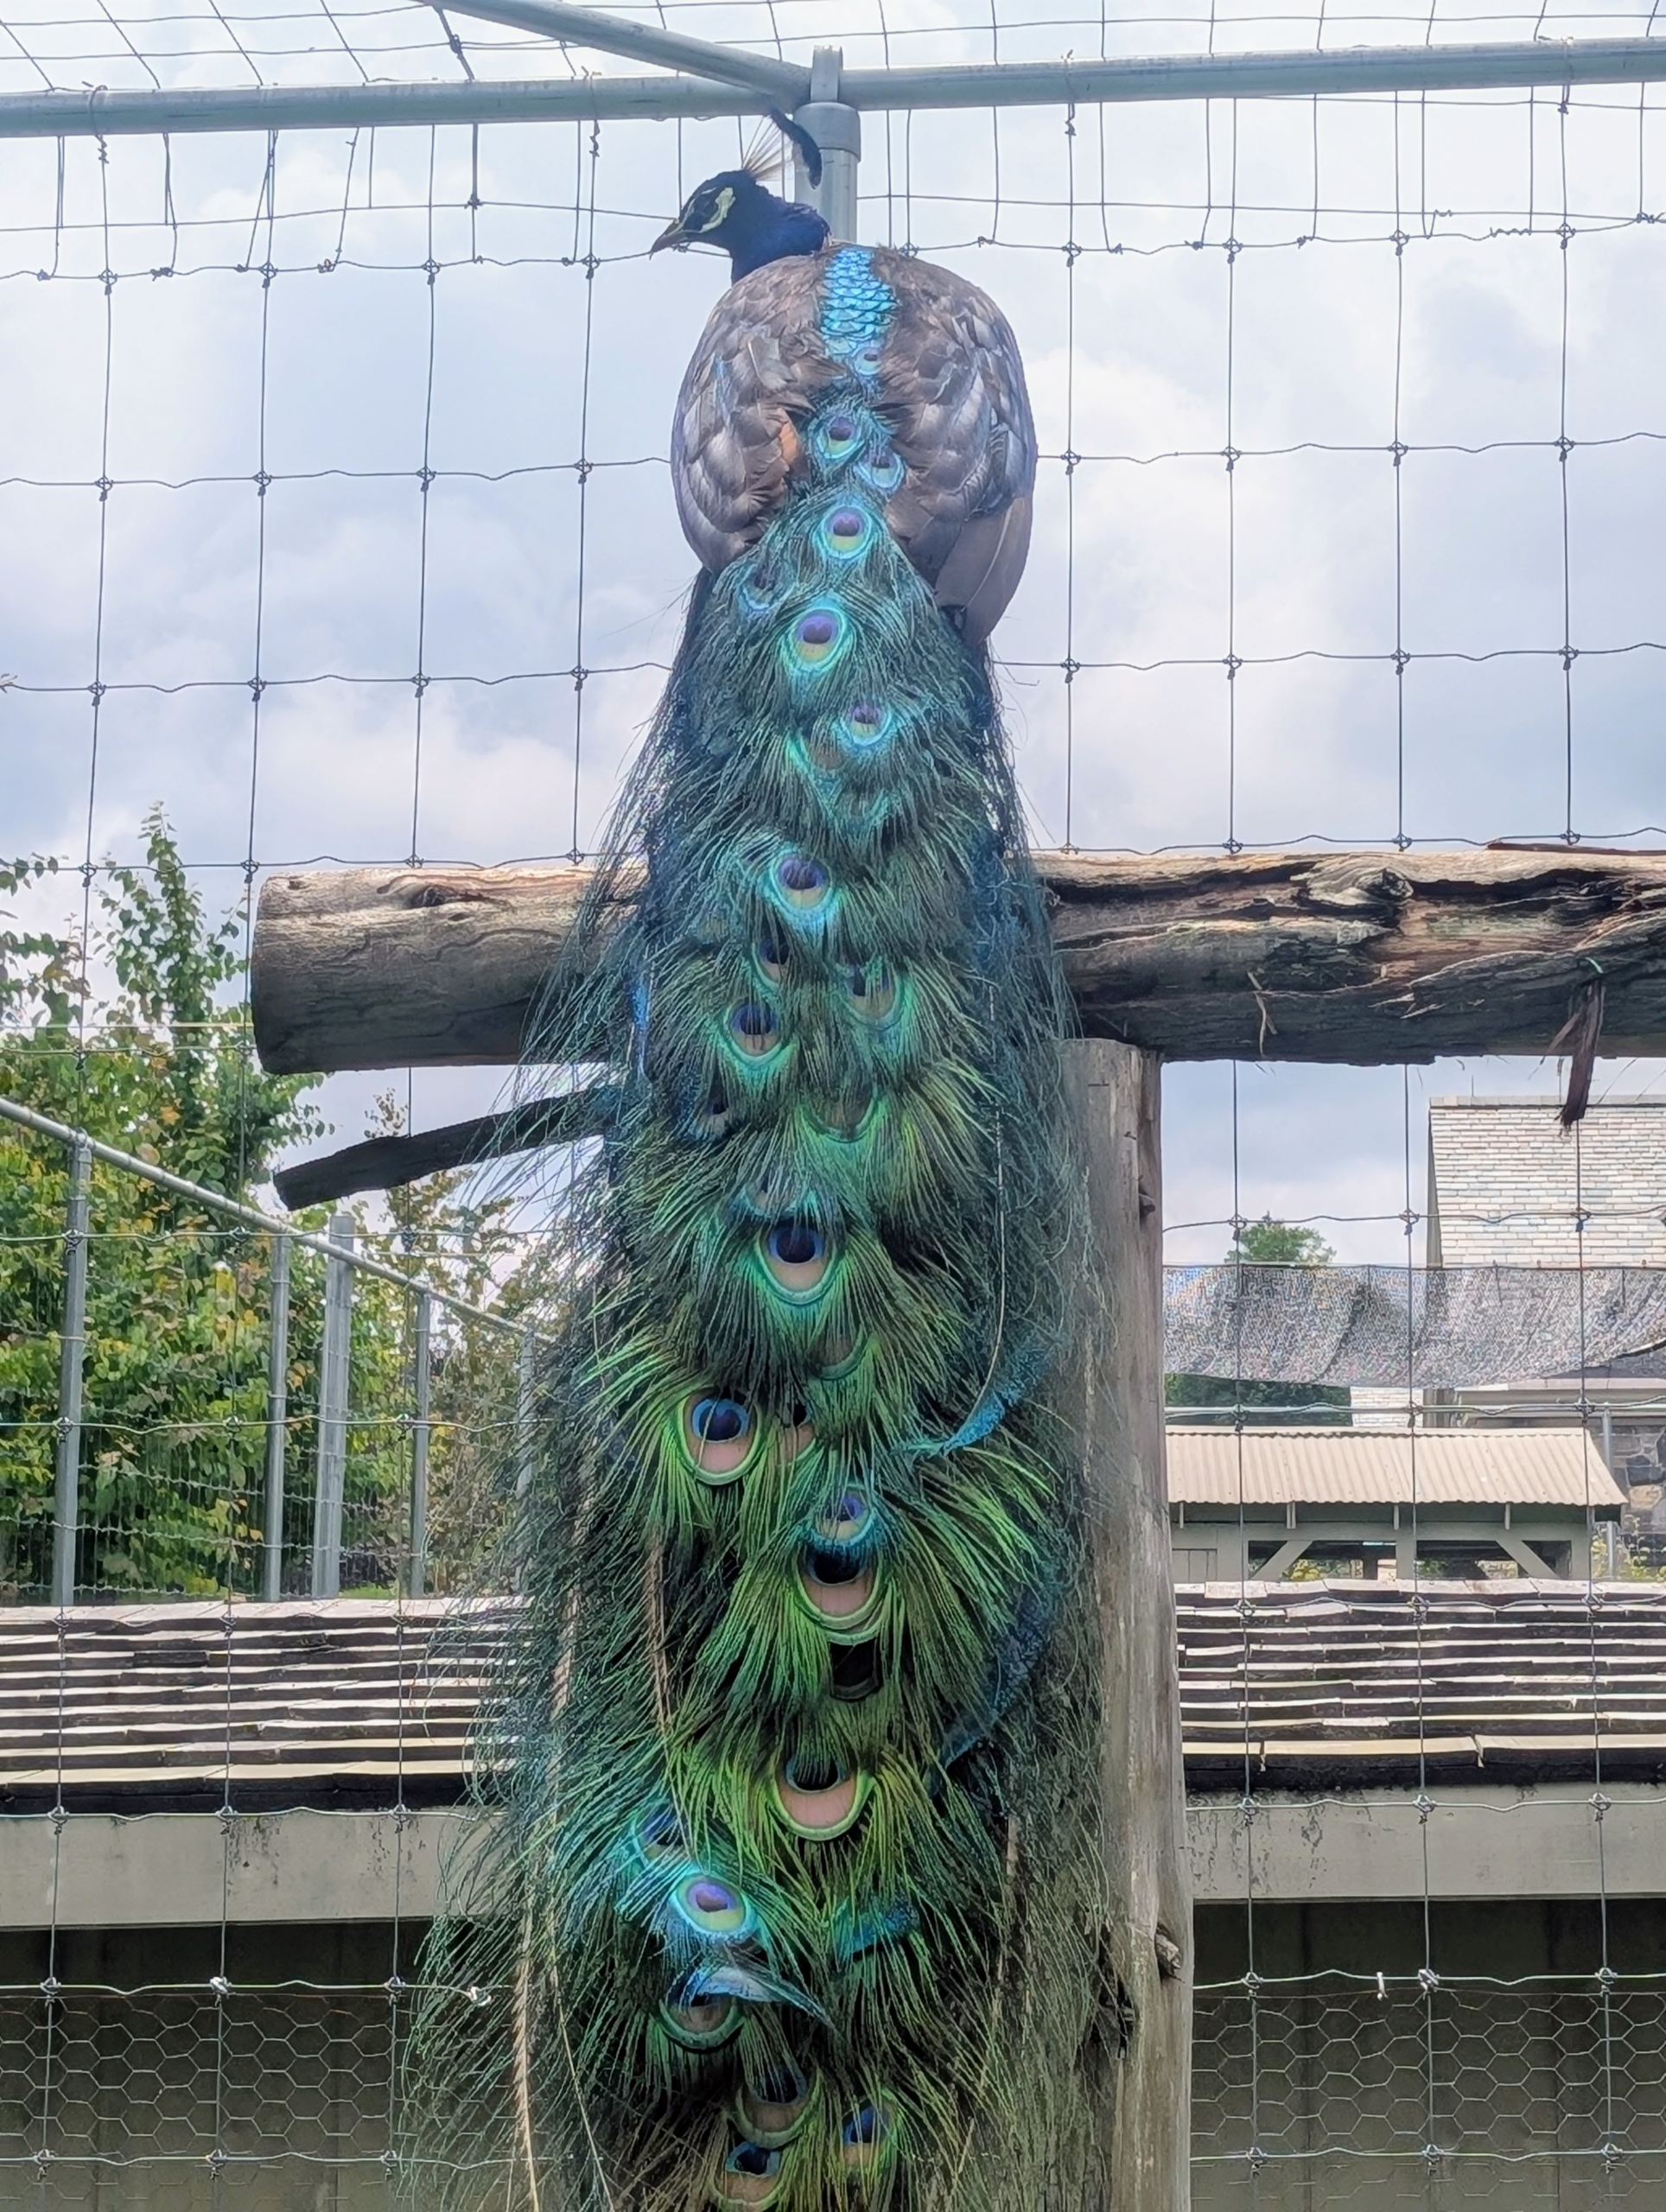
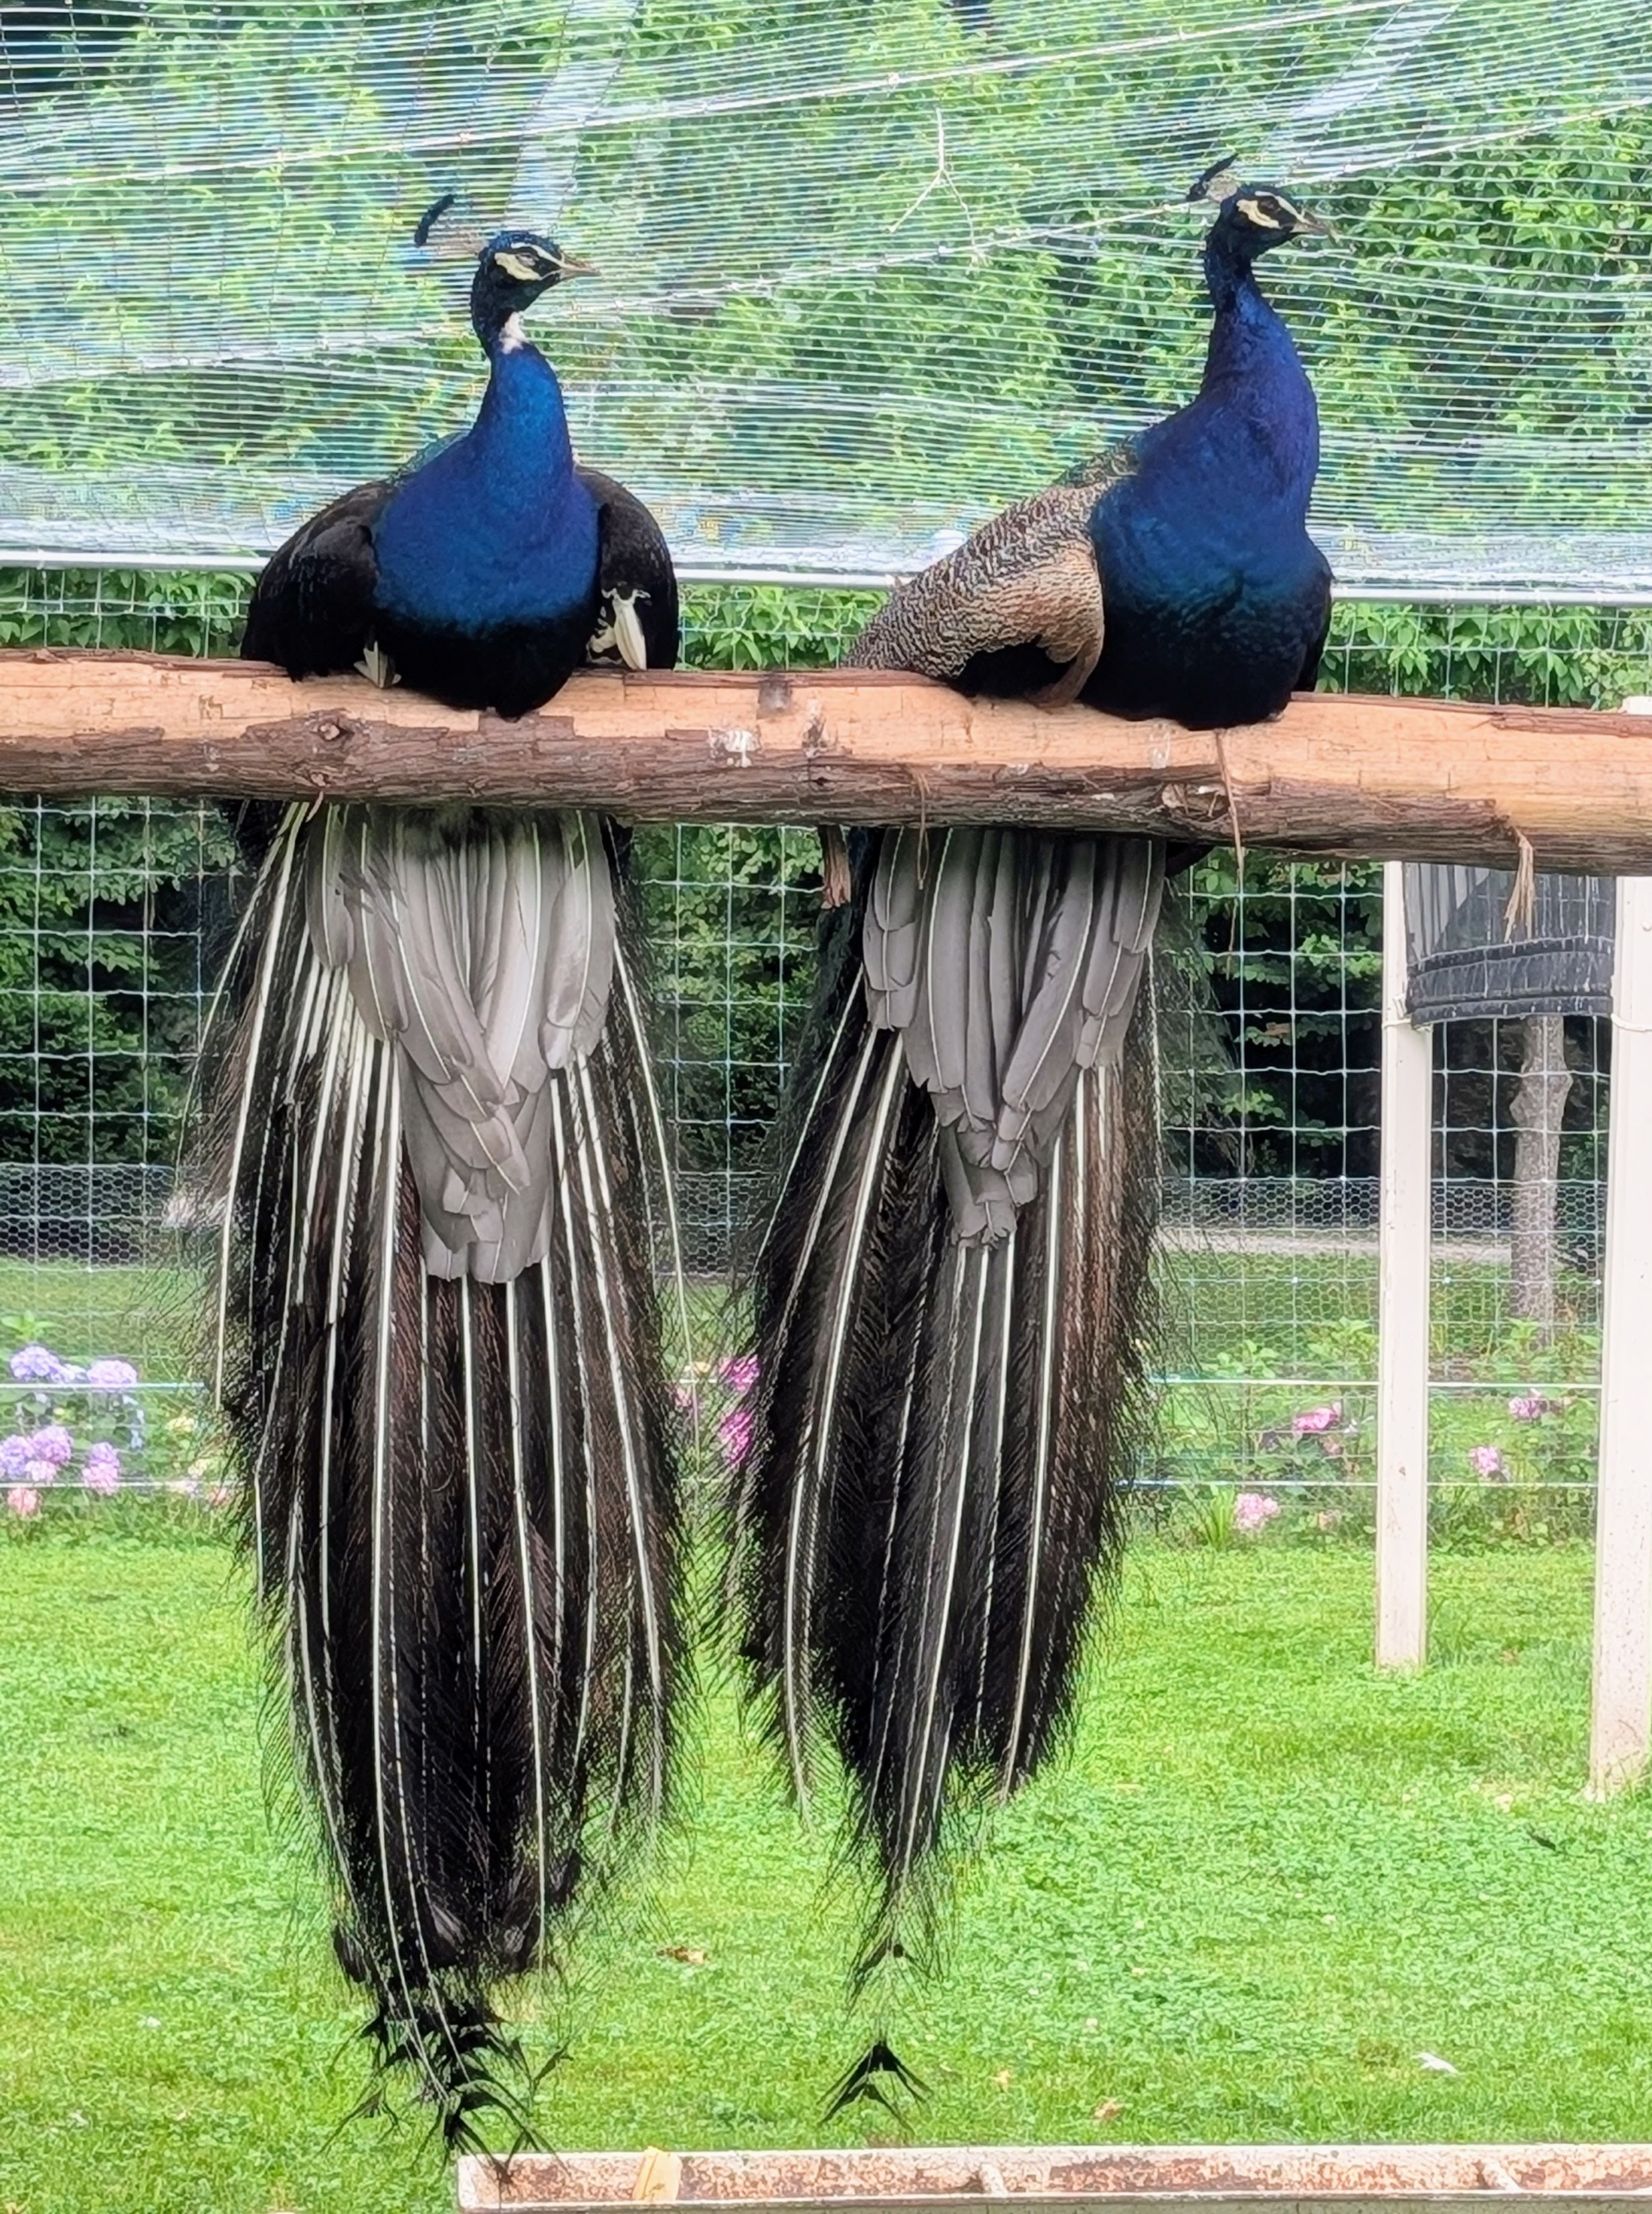
This is the tail of a mature male. A mature peacock can have up to 200 feathers in his tail, which can weigh up to half a pound. The feathers grow to five feet long – that’s longer than the bird’s body.
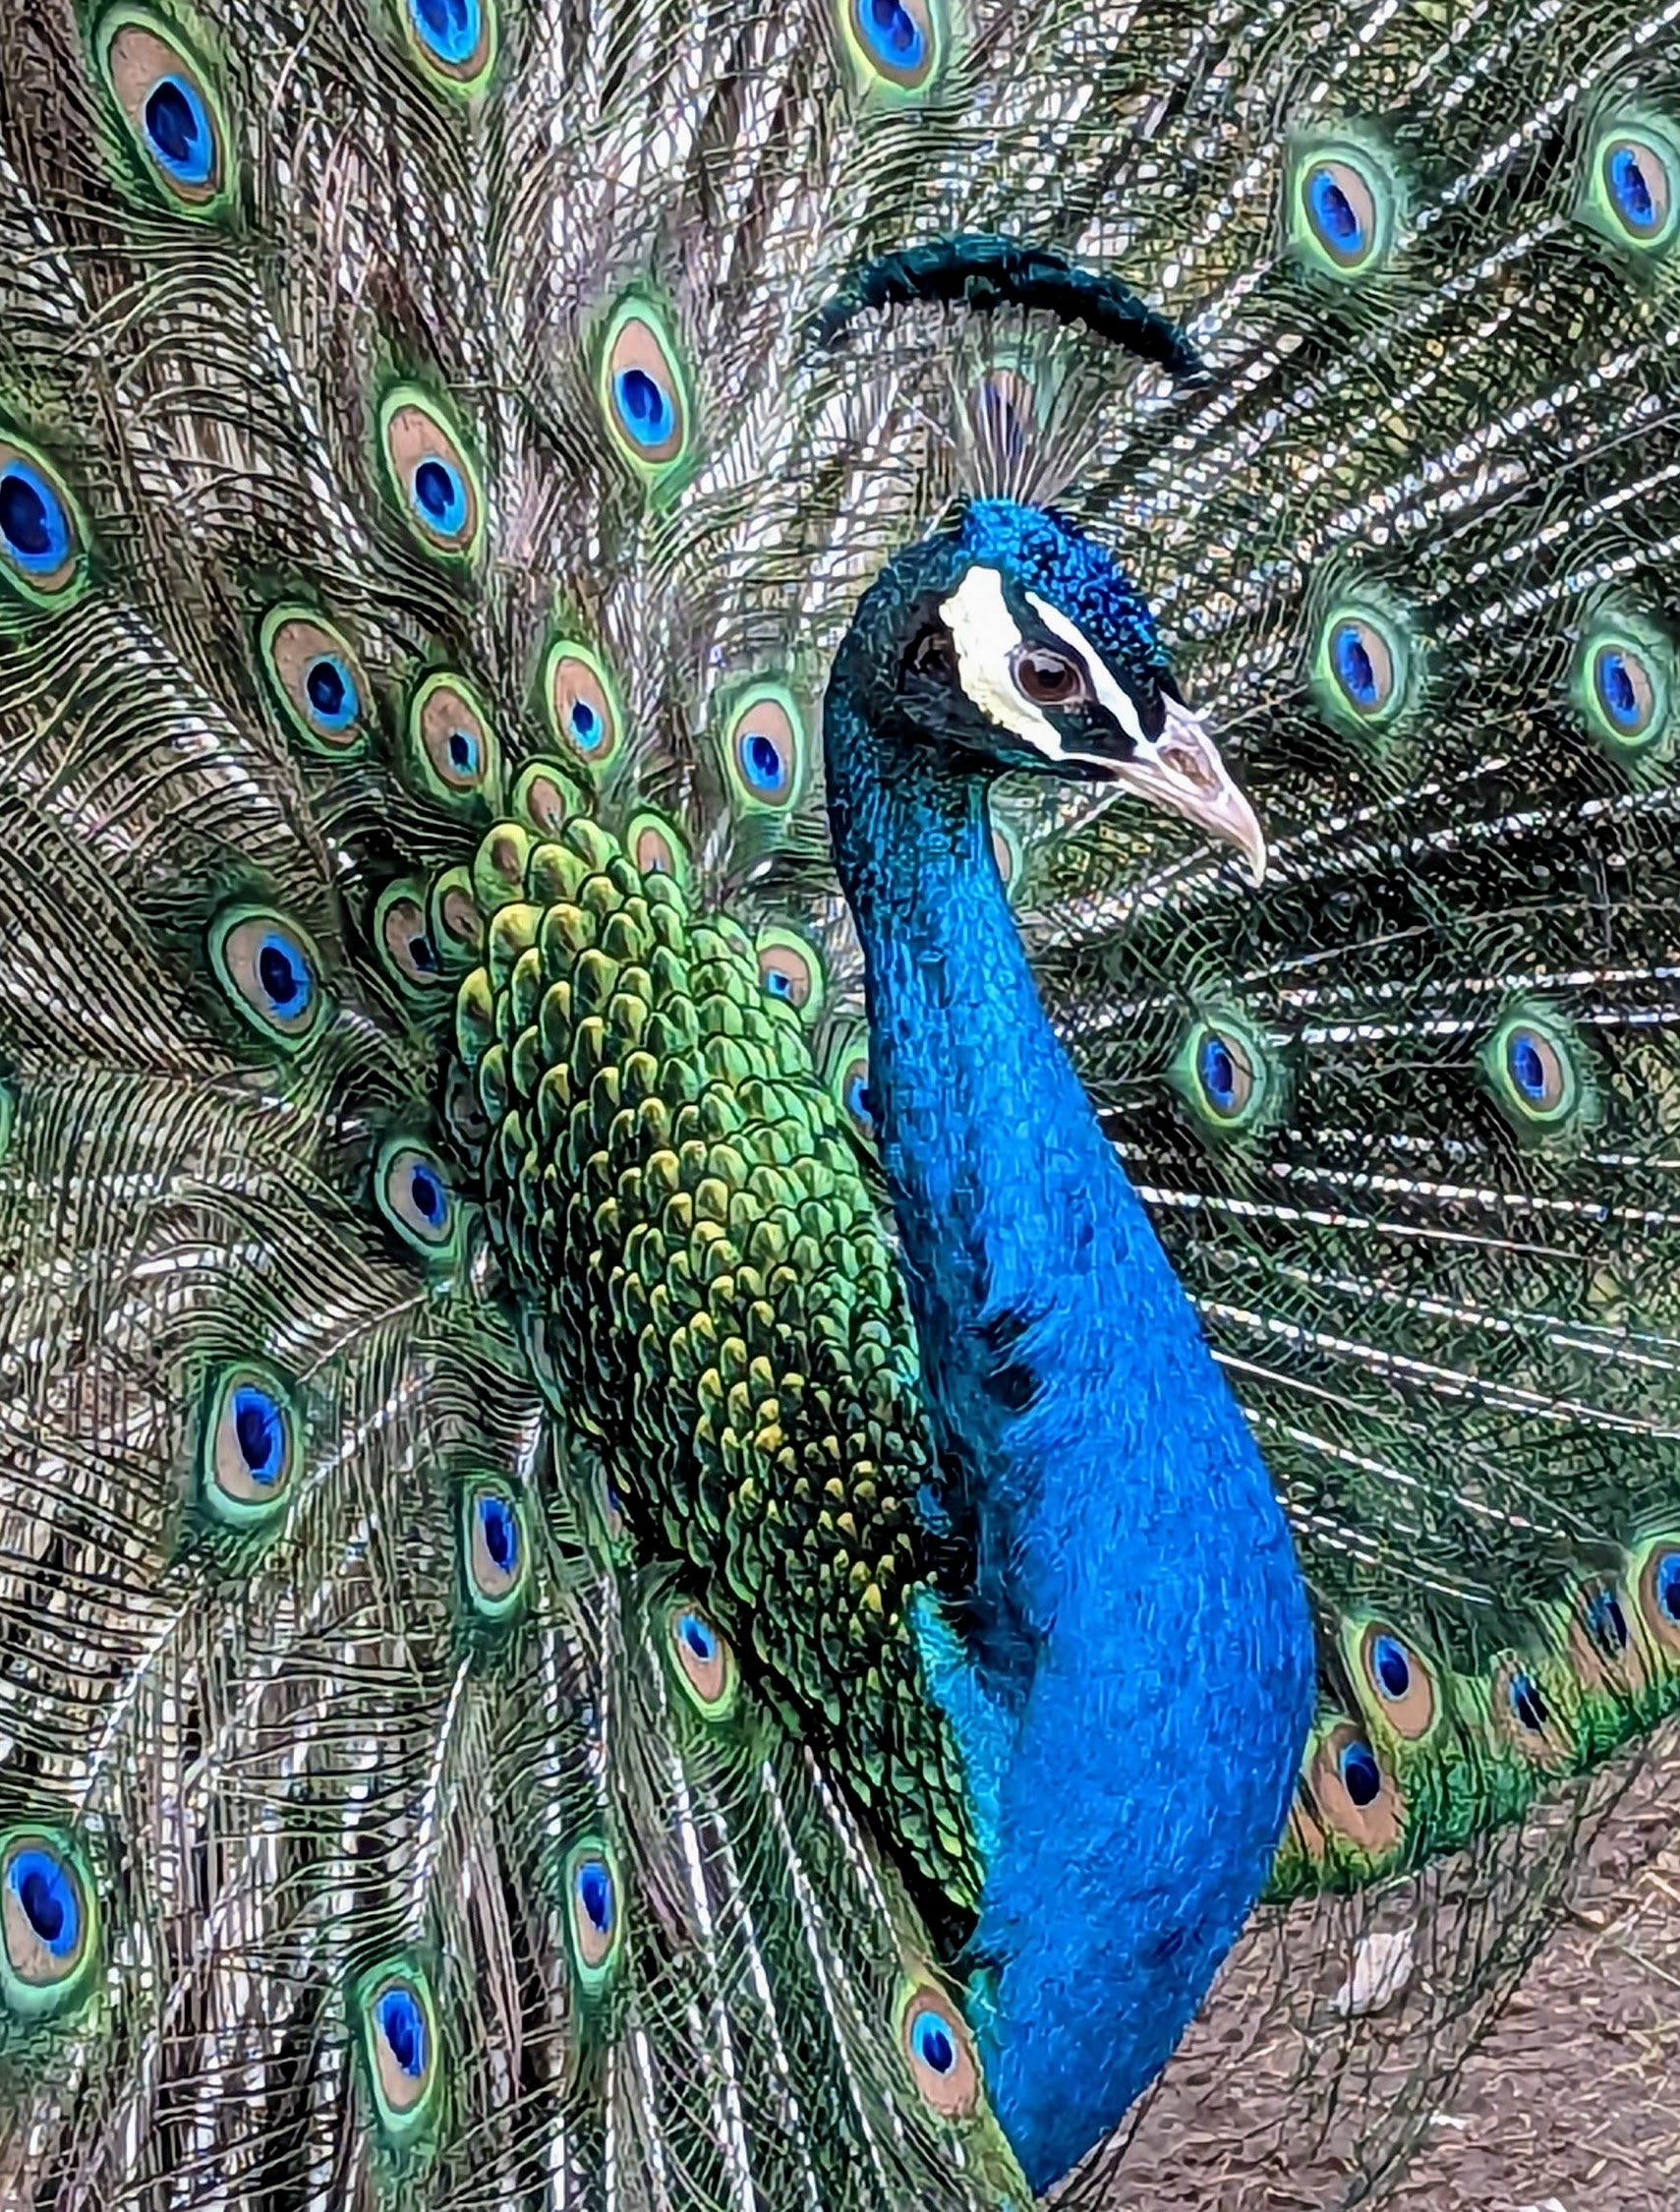
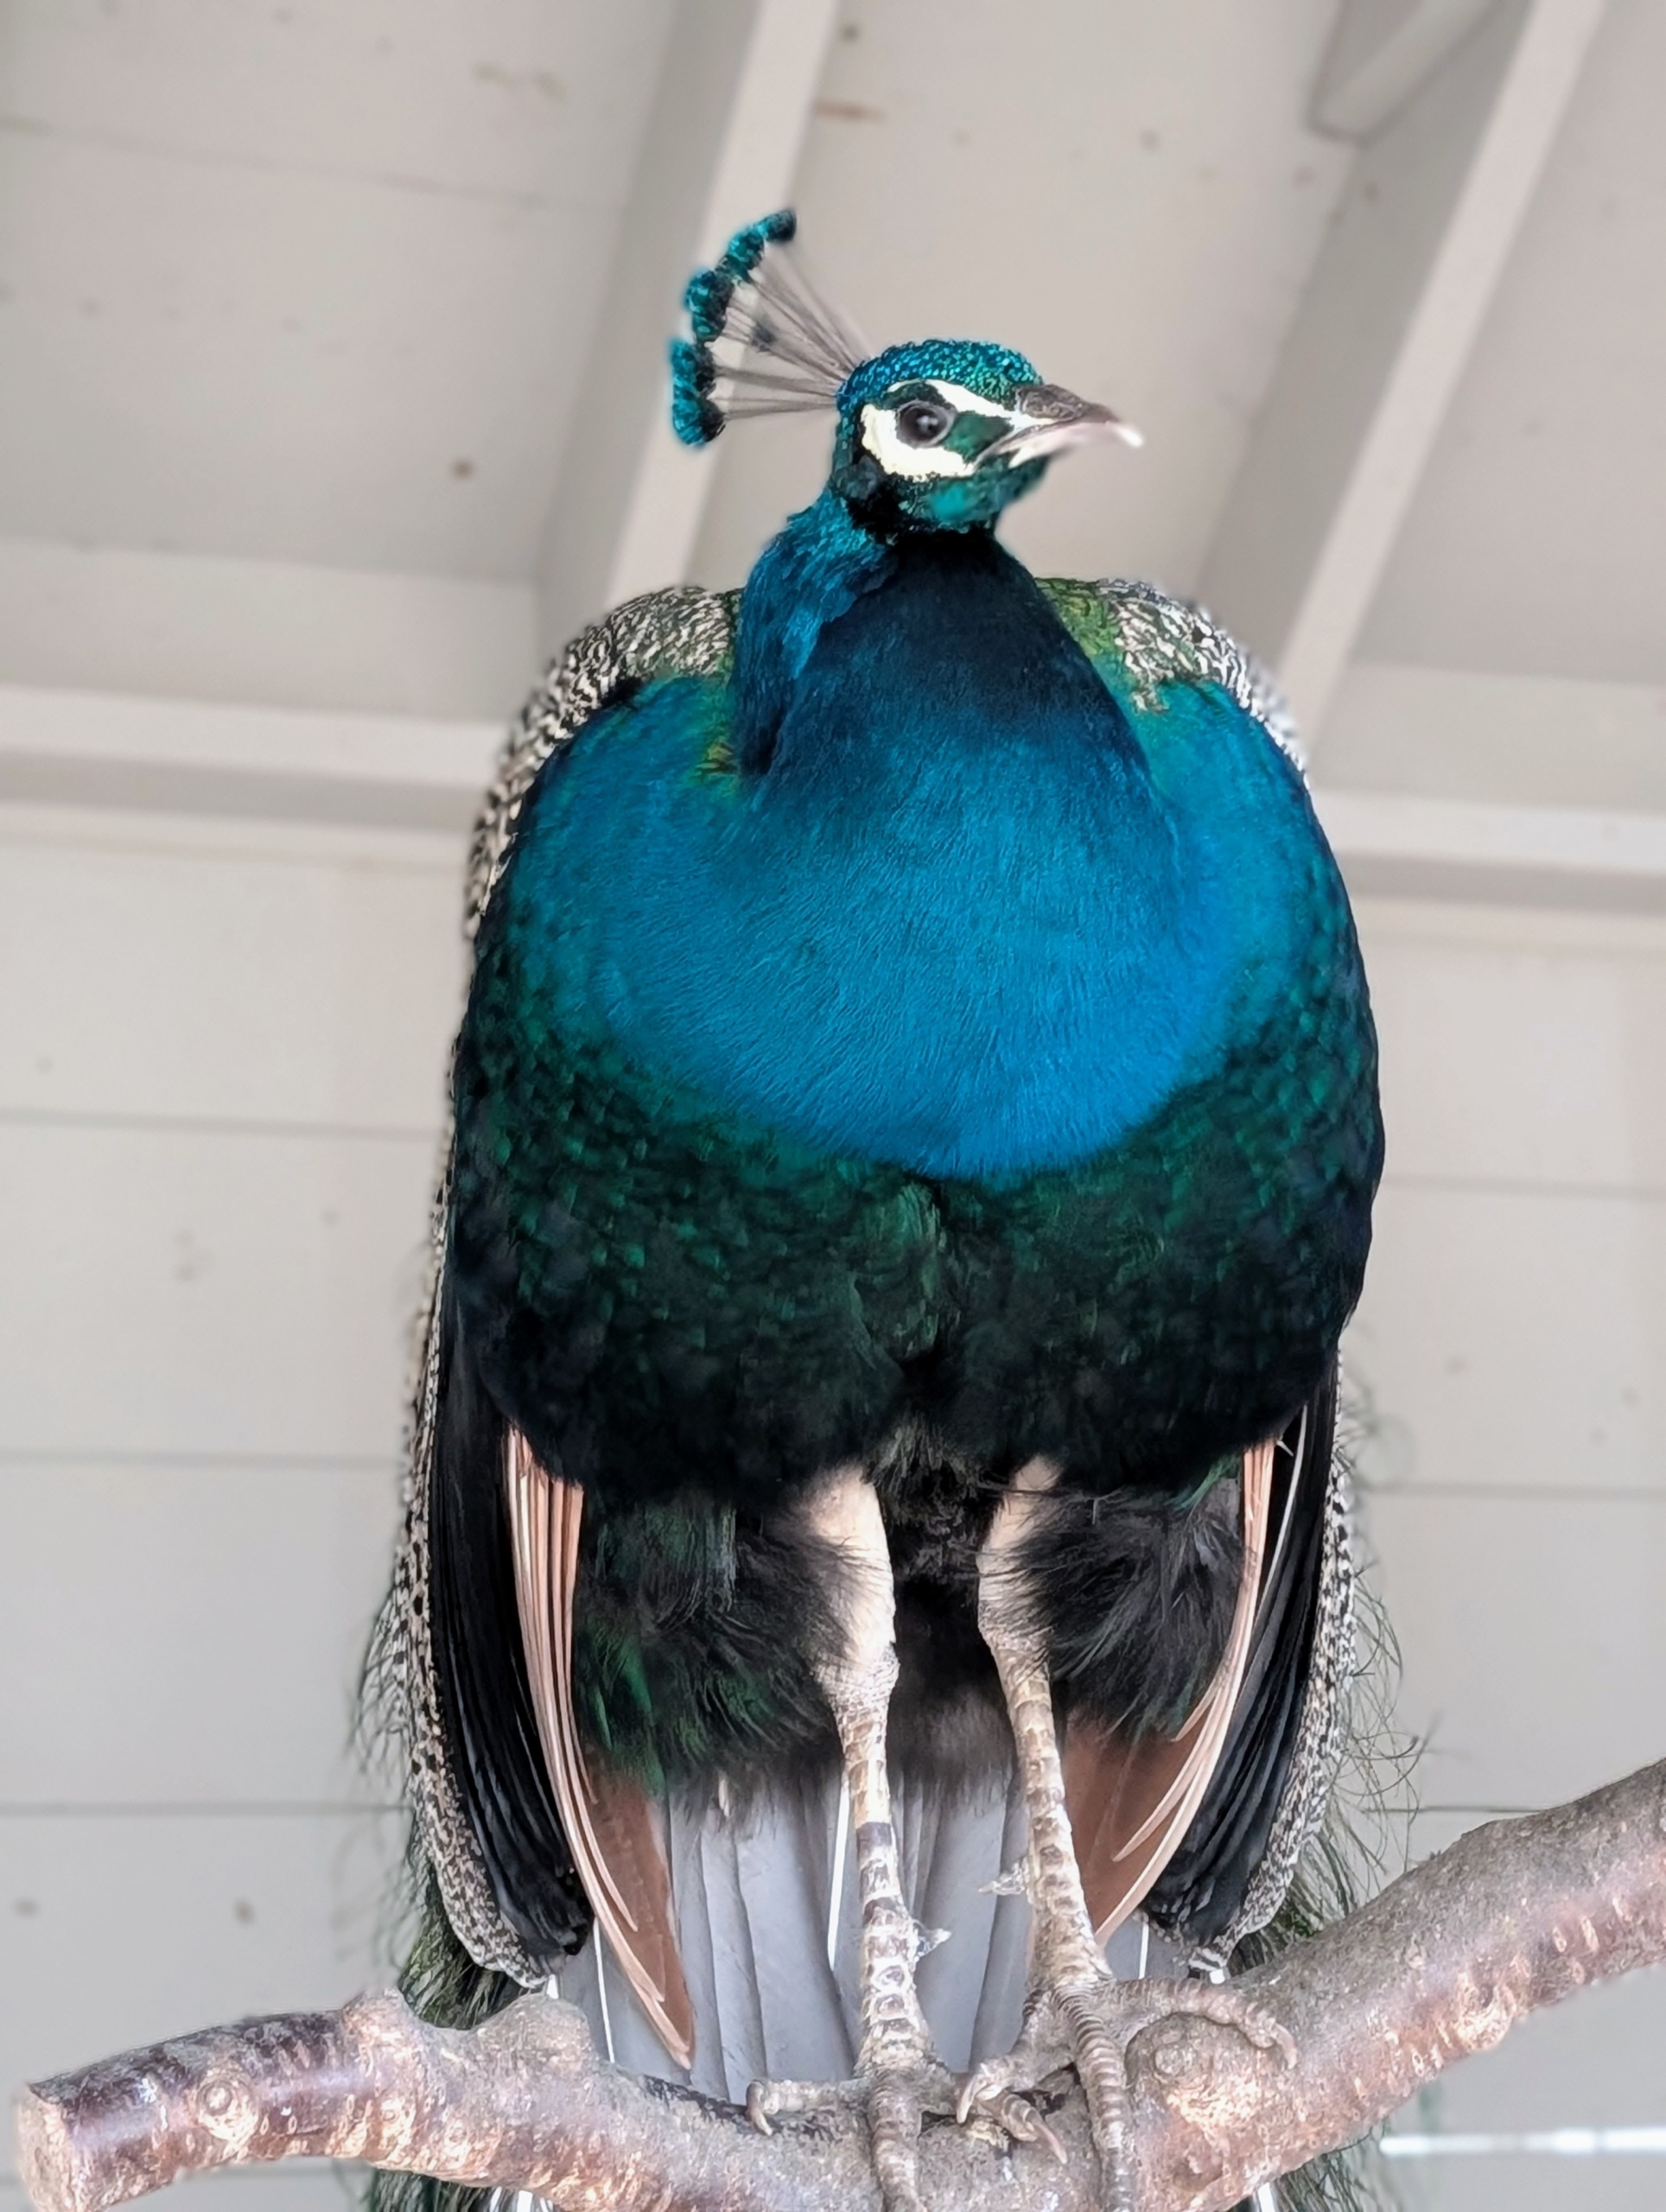
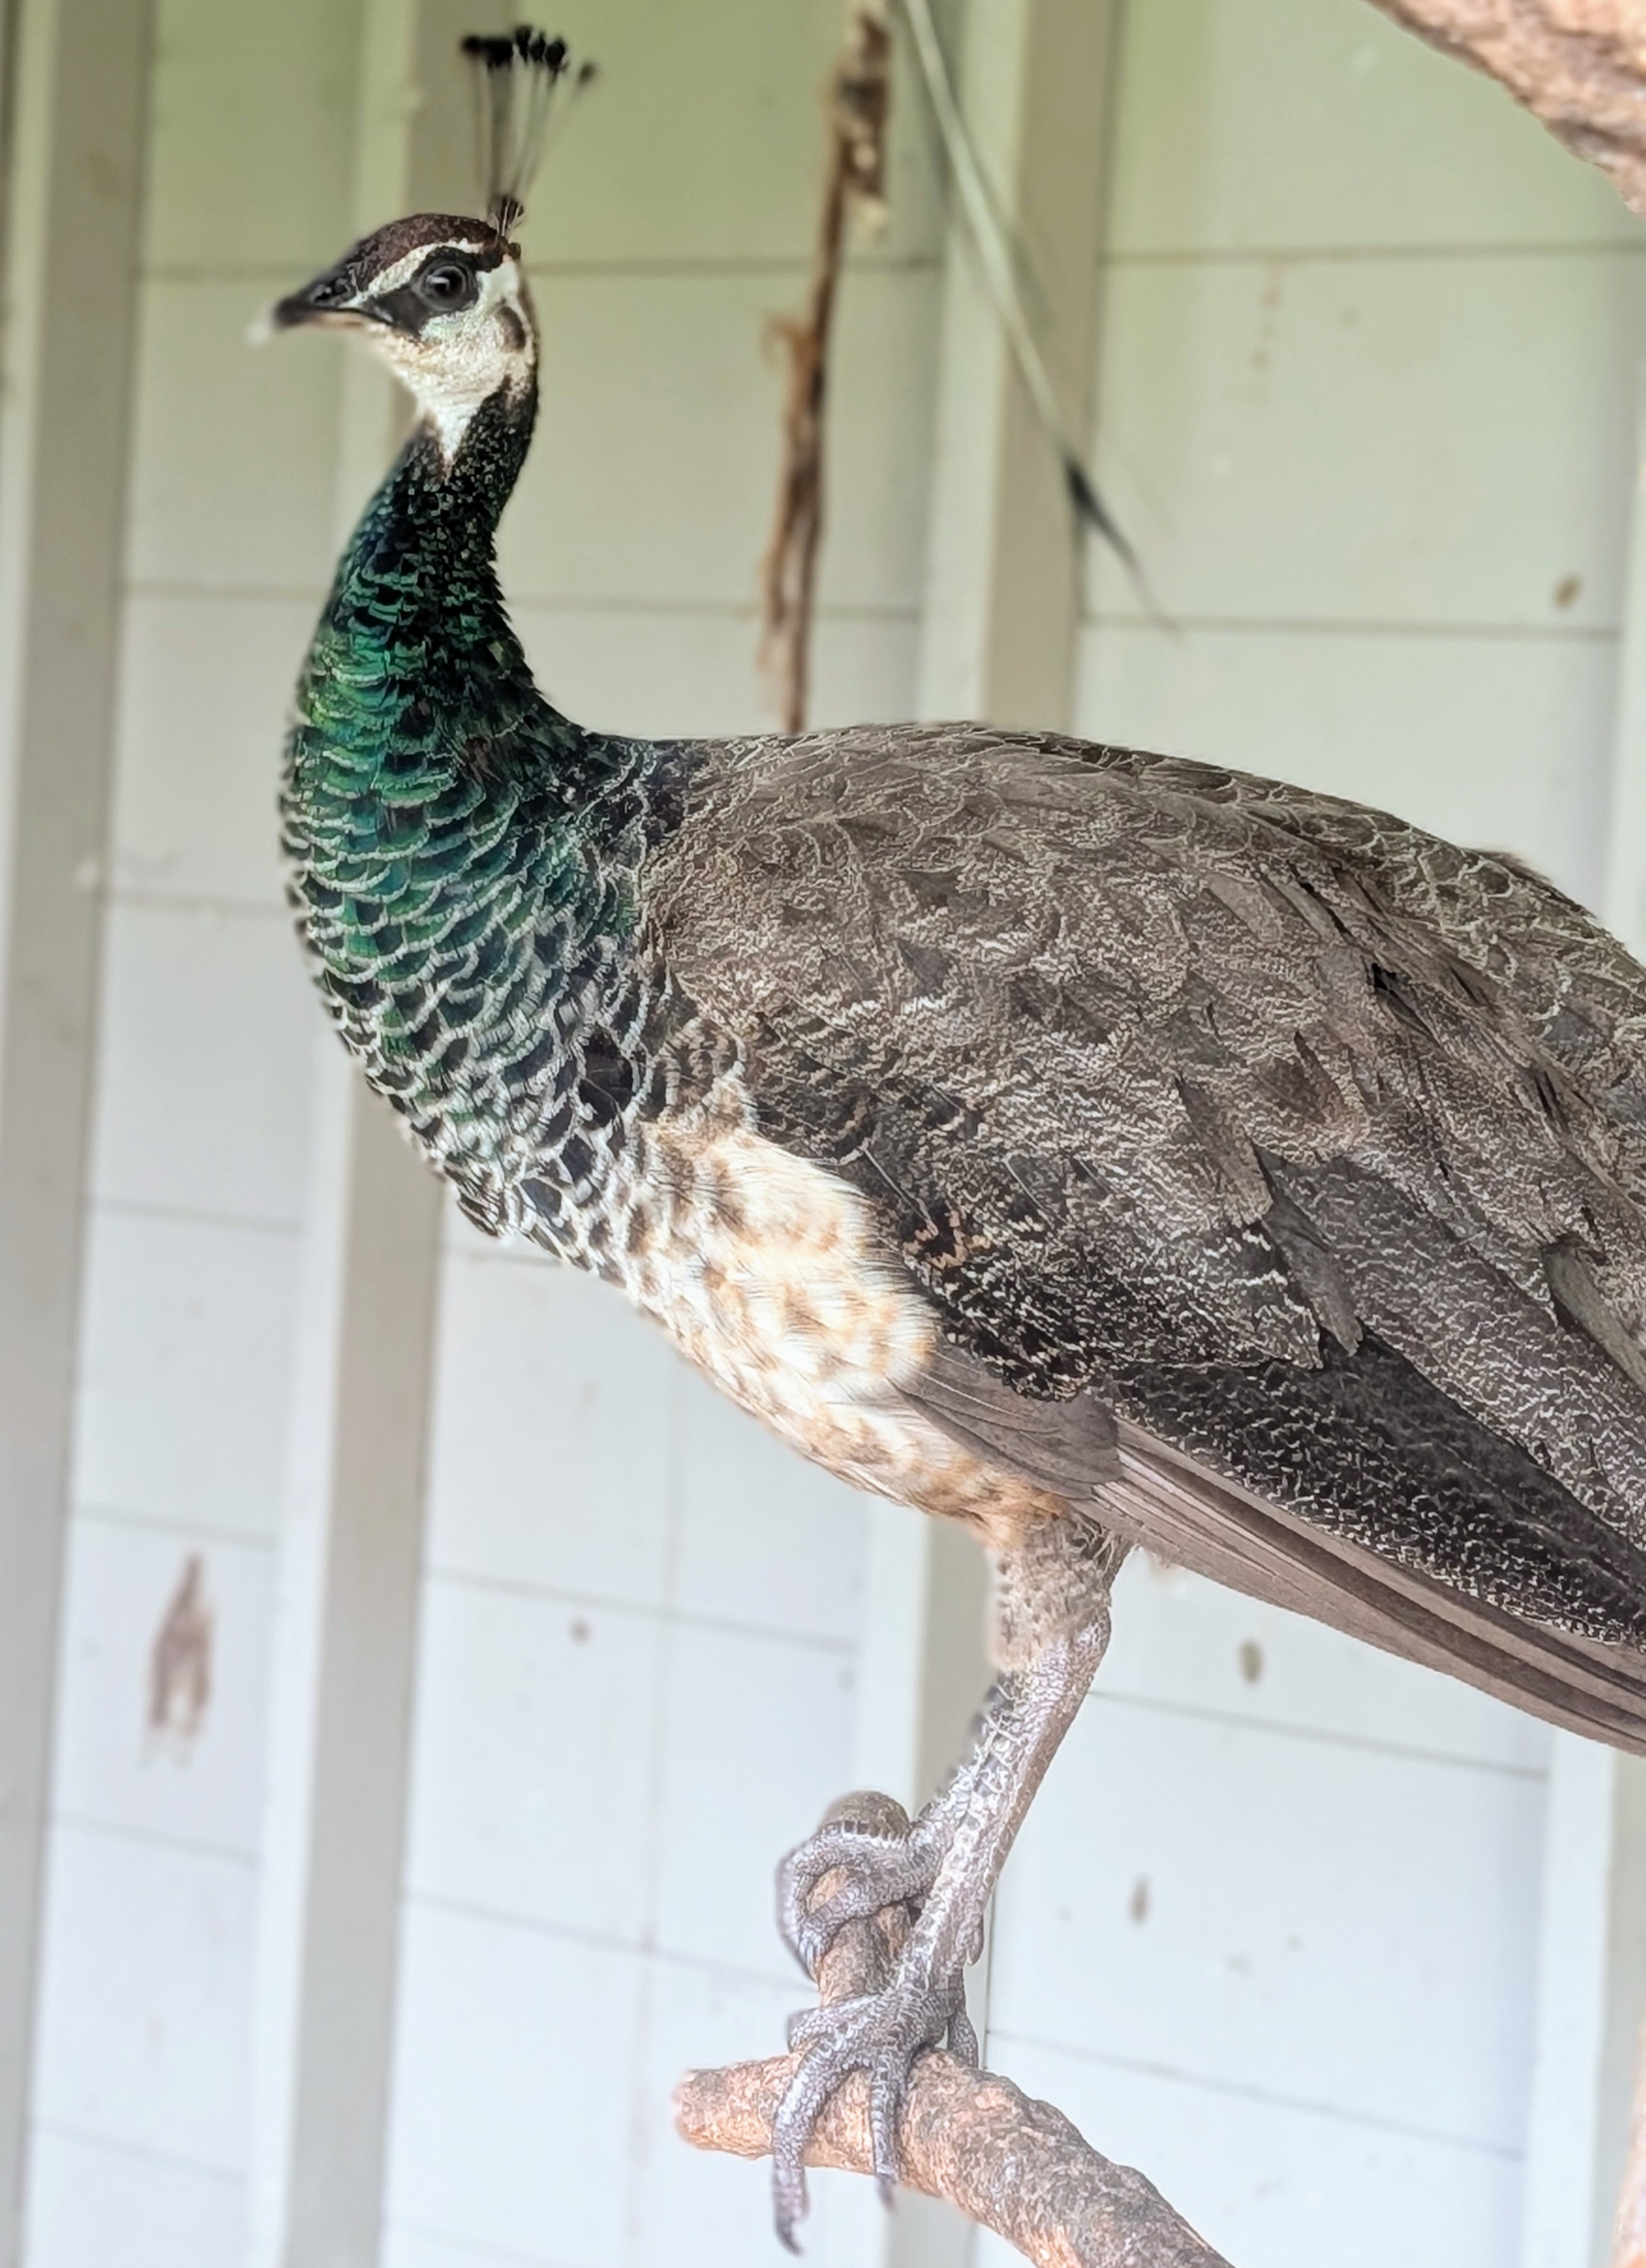
Look at the top of his head. Both male and female peafowl have a fan-shaped crest on their heads called a corona.
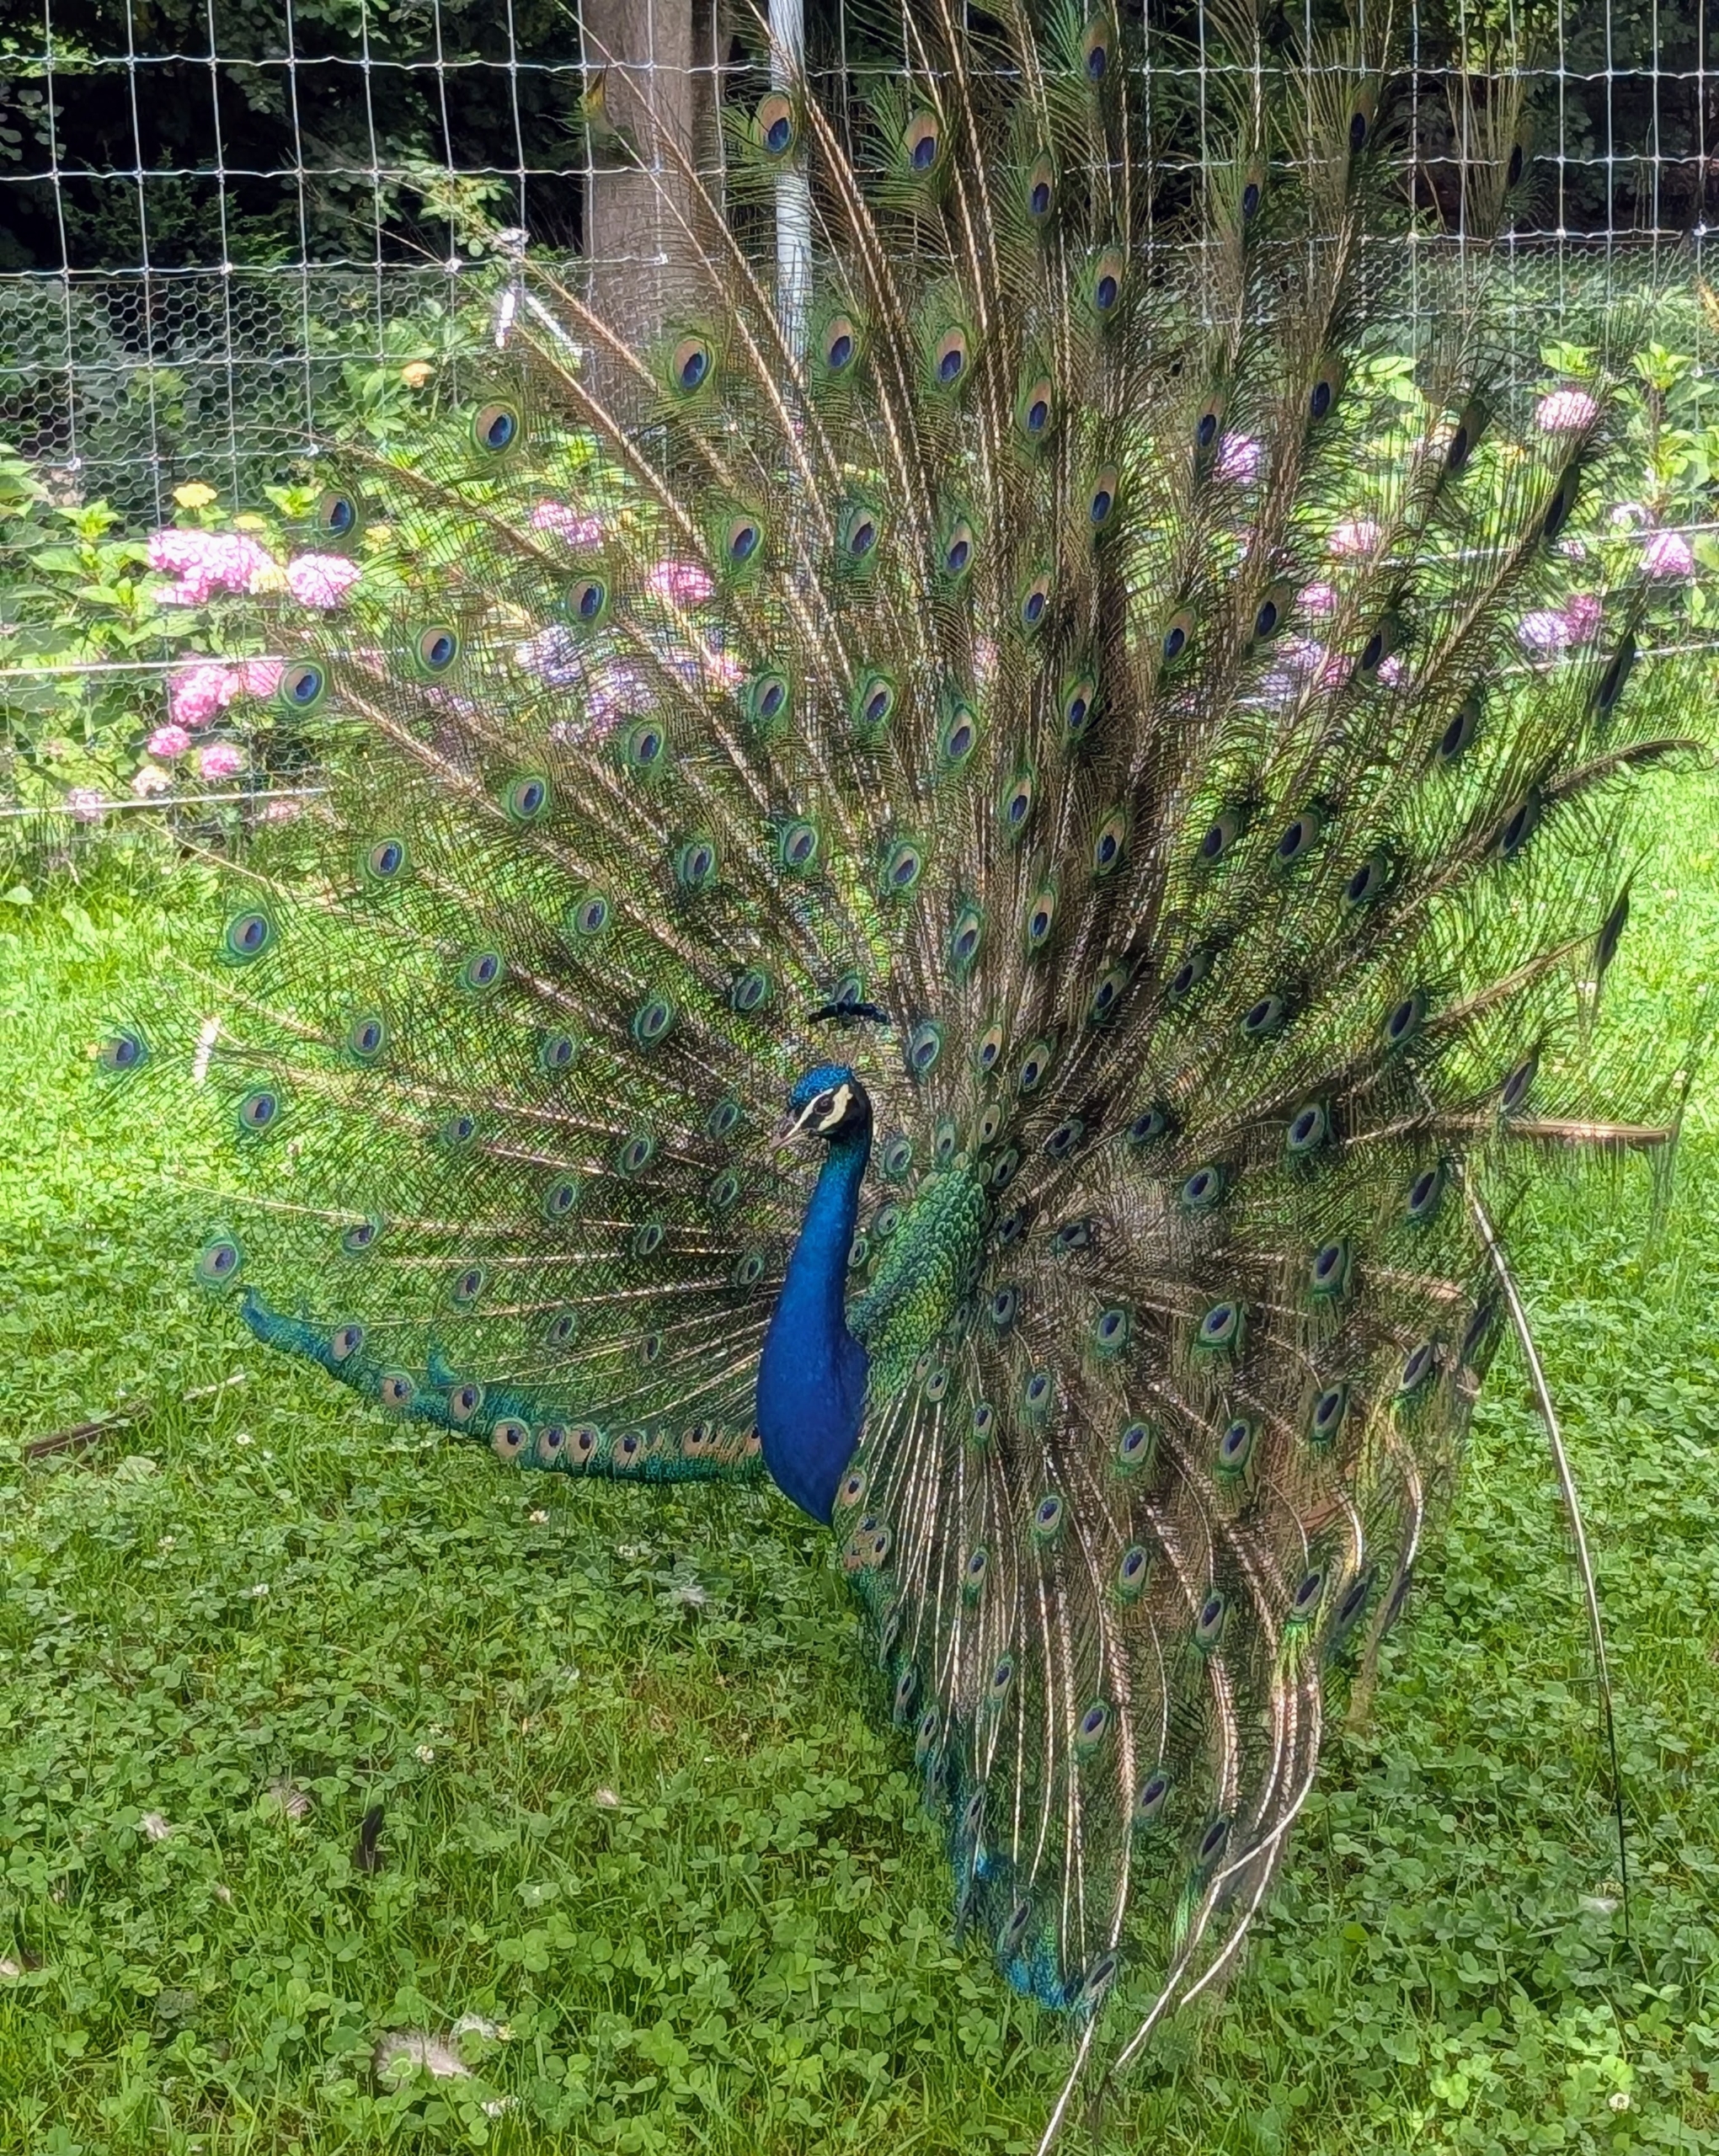
For peafowl, it’s still breeding season until early August. During this time, the peacocks display their stunning and iridescent tail feathers, strut back and forth shaking their hindquarters to produce a rattling sound, and make loud calls to the females around them. Stiff rear feathers underlie the front feathers and provide support when the whole tail is raised.
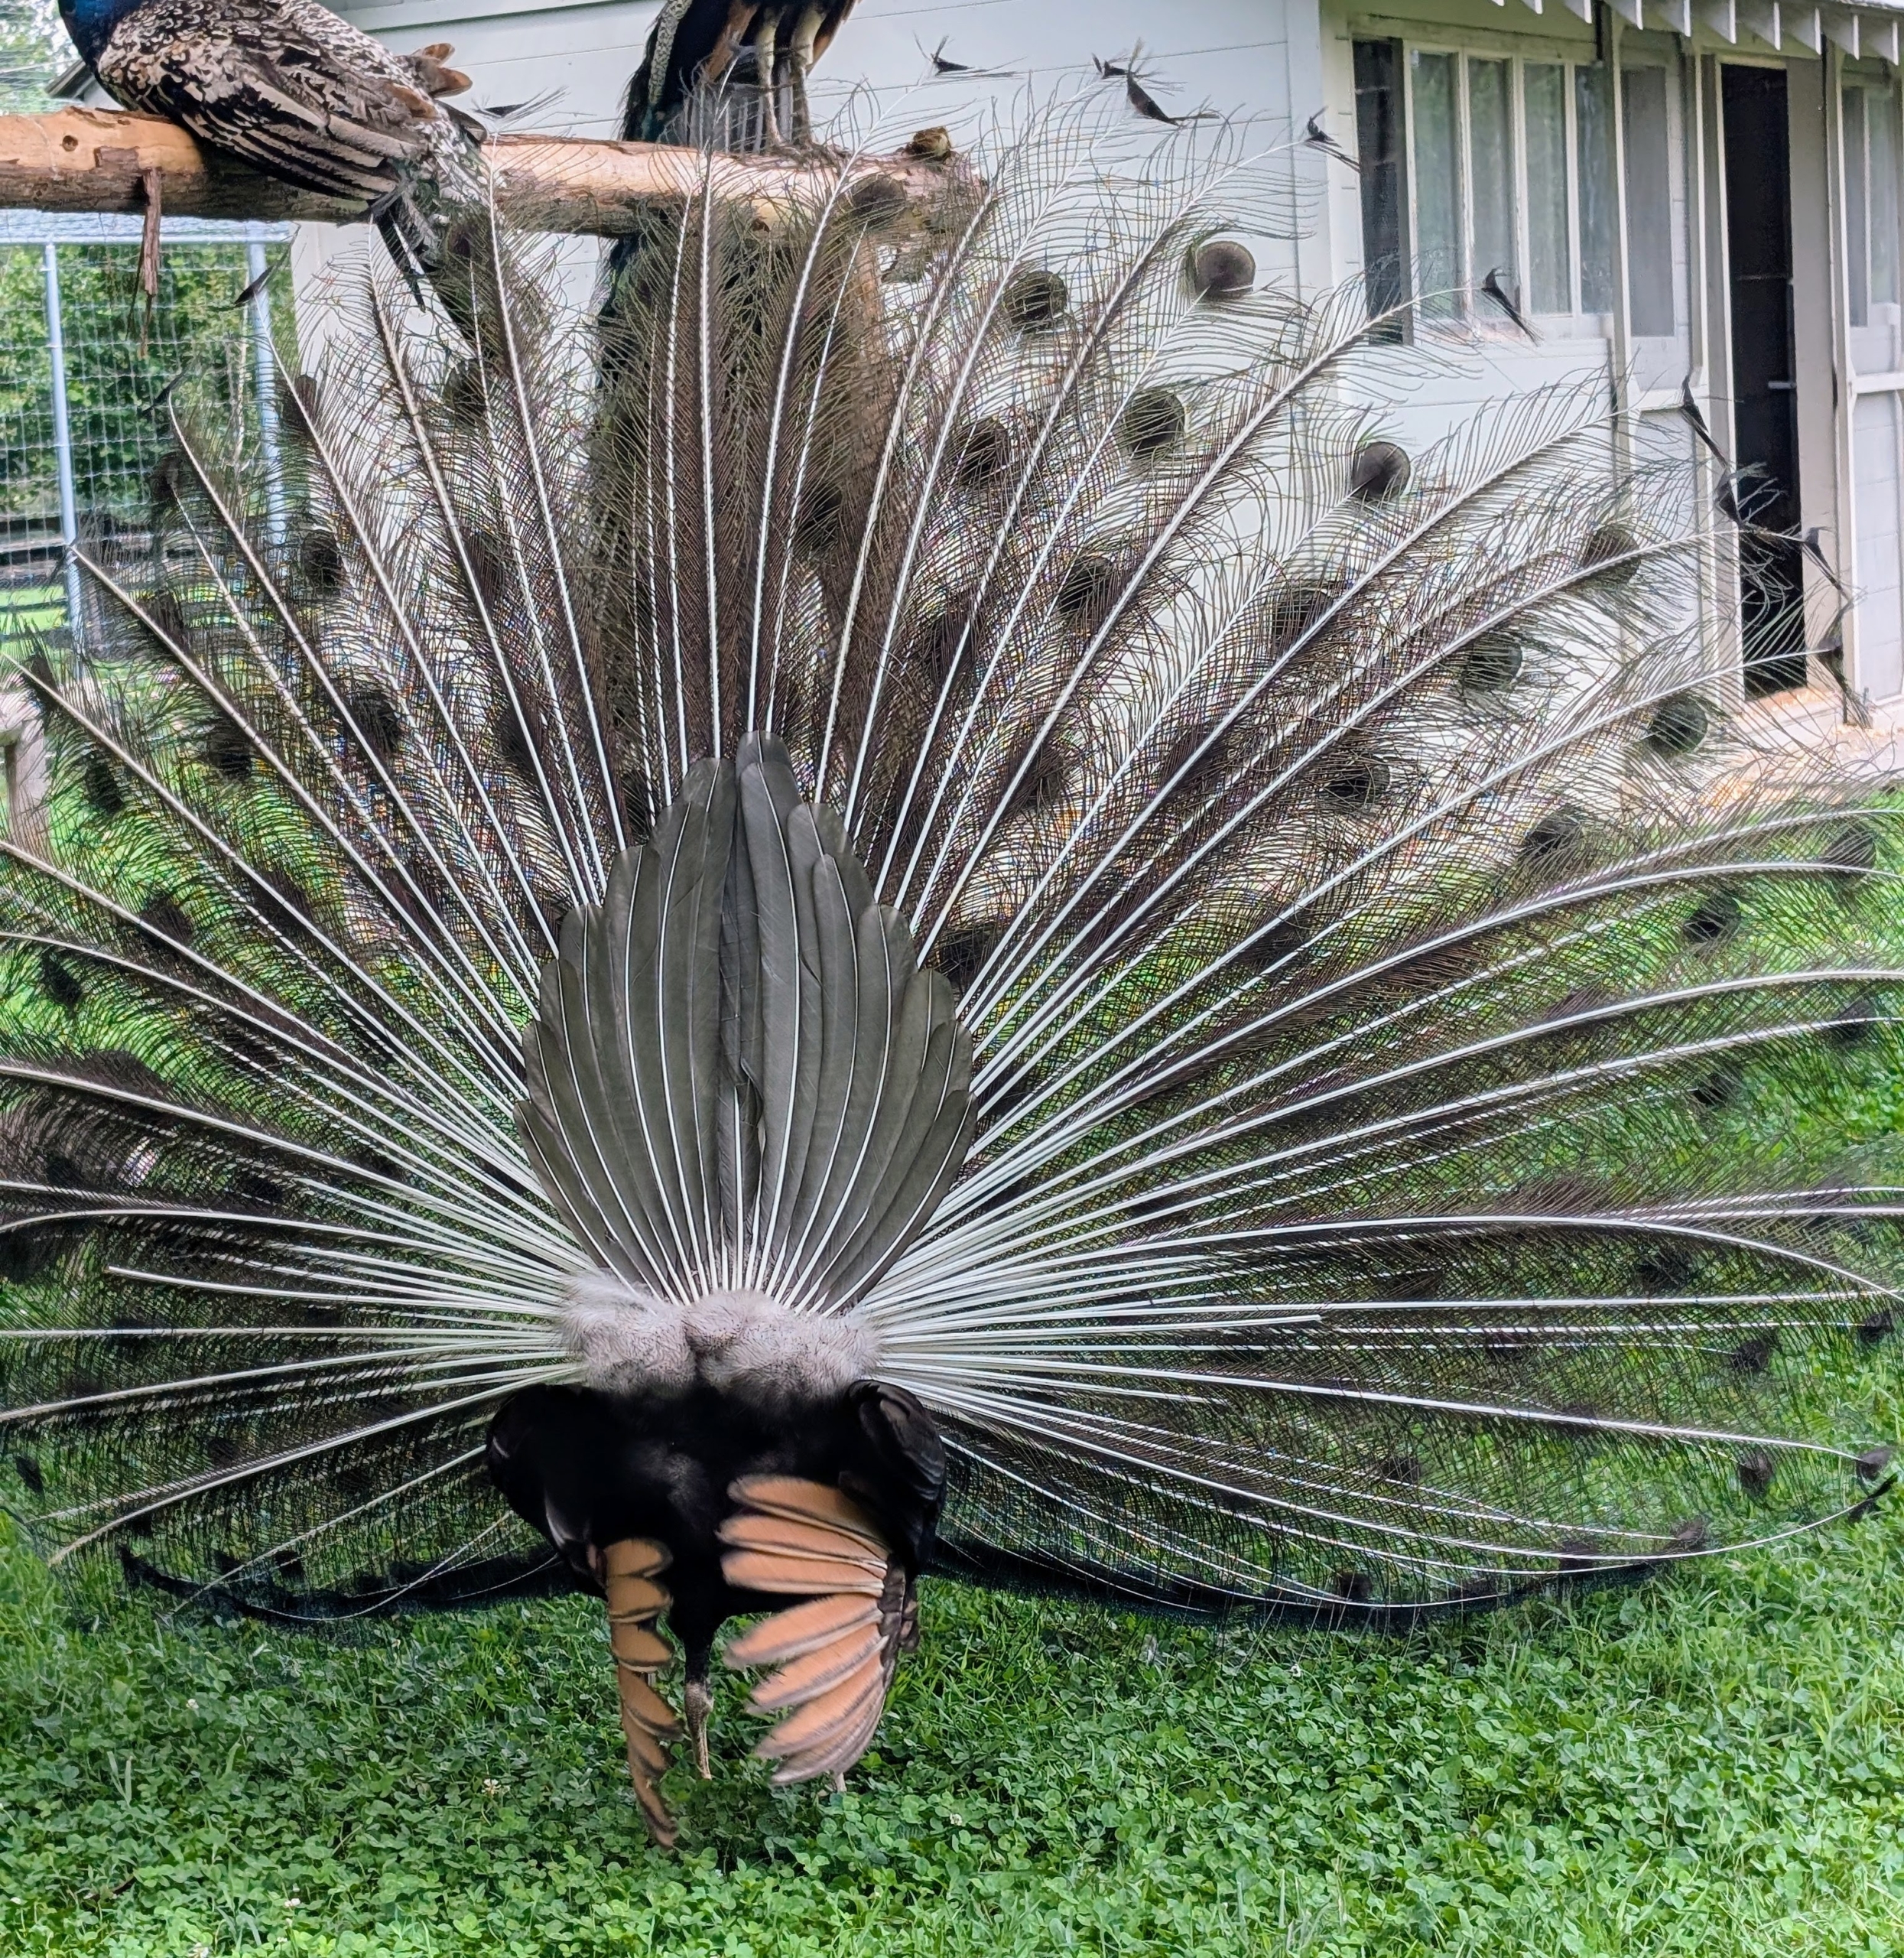
This peacock is showing off his tail feathers from the front and the rear. After the season ends, the males lose their long tail feathers and then grow them back before the next breeding season begins. The train gets longer and more elaborate until five or six years old when it reaches maximum splendor.
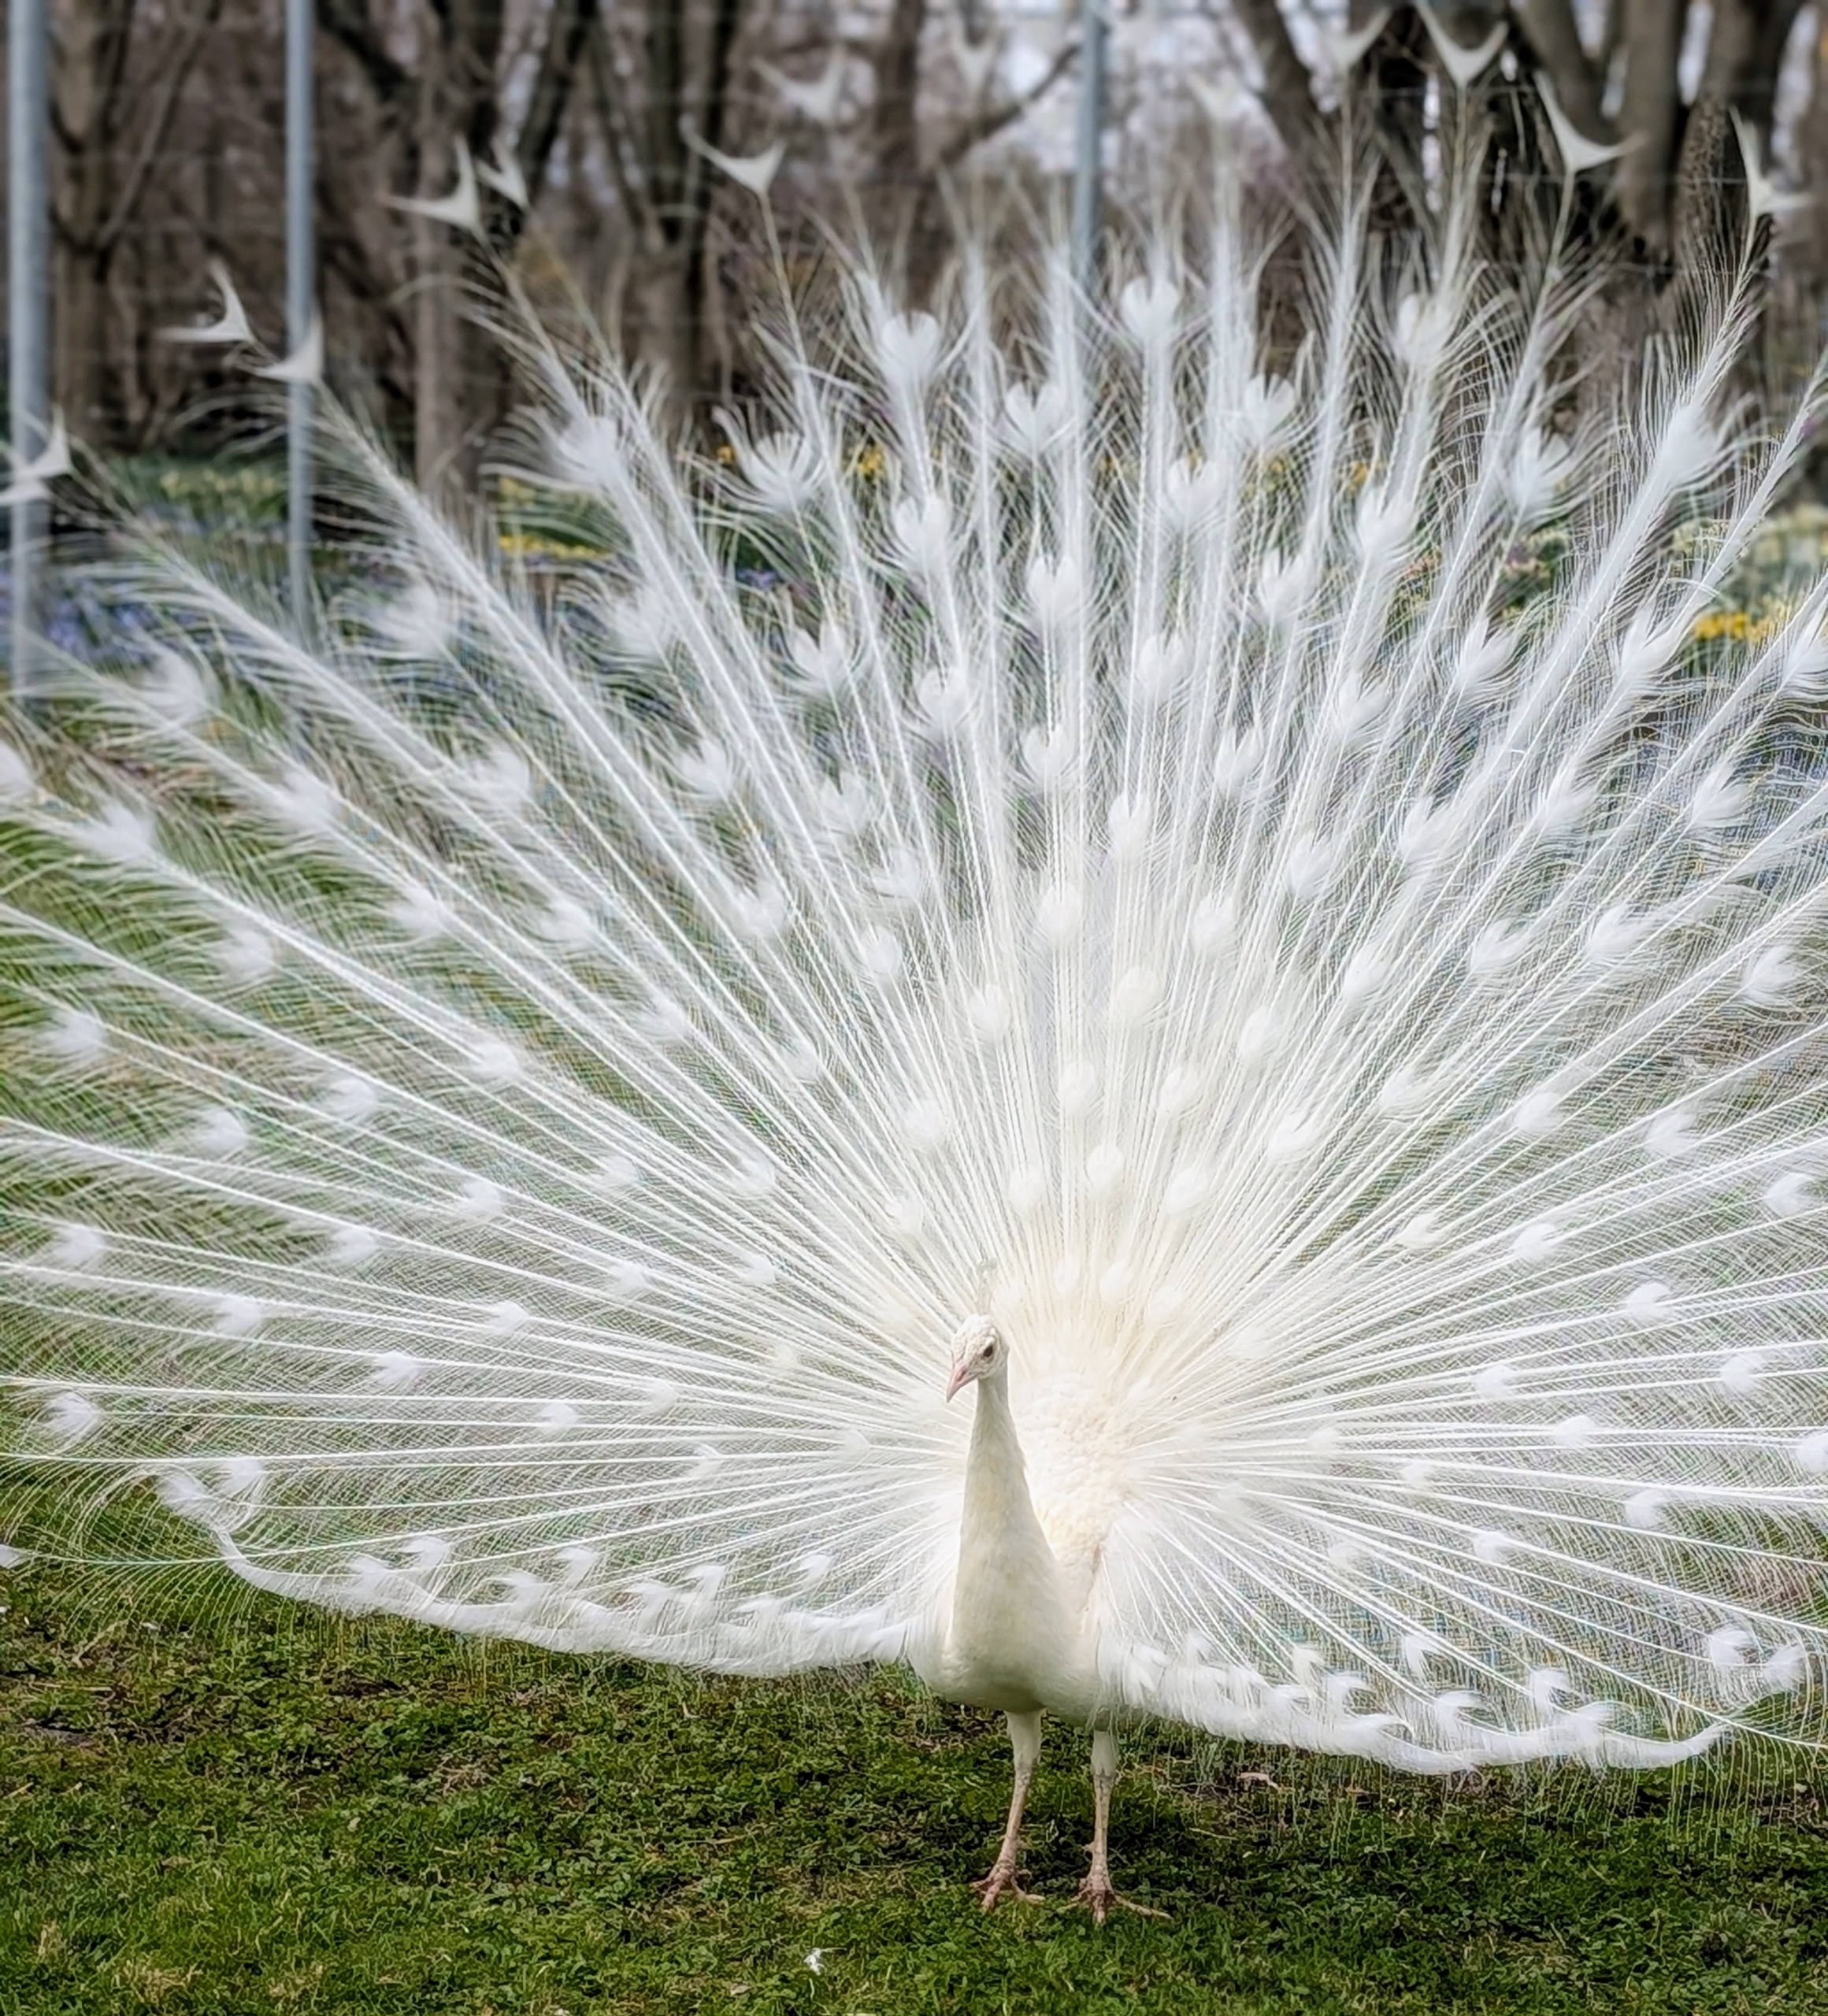
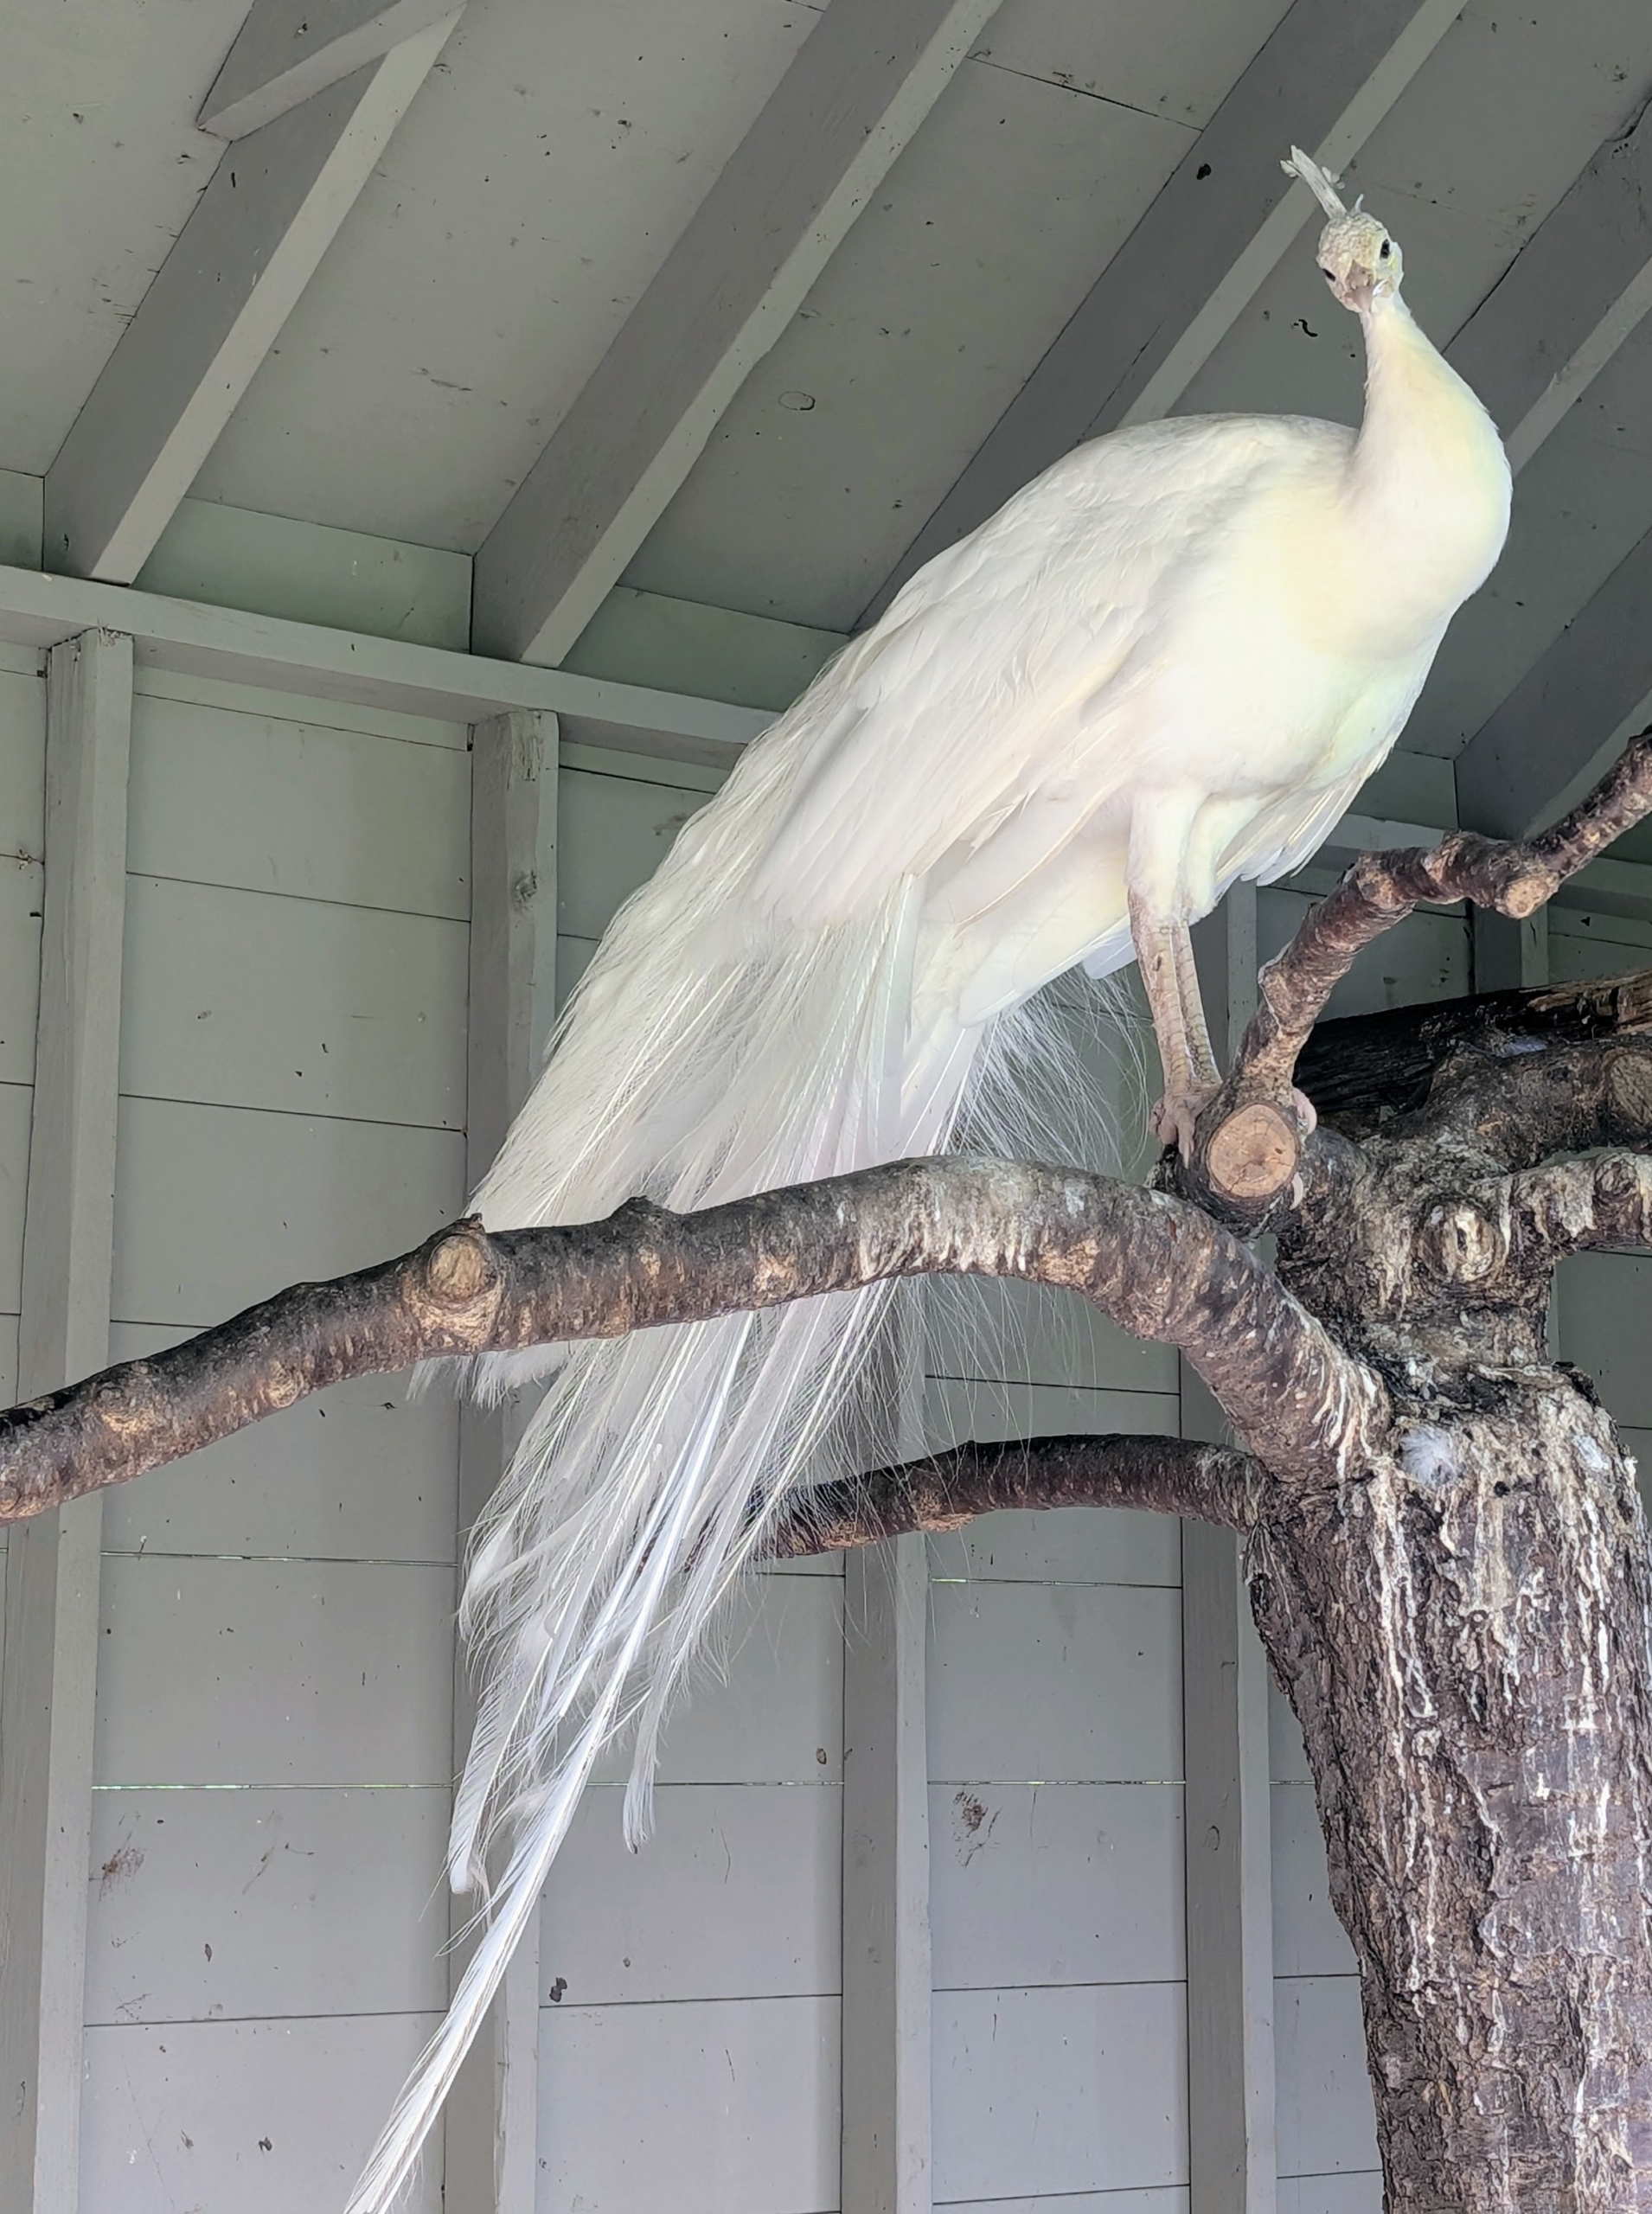
Here is a white peacock doing the same. The peahens tend to choose males with the longest, most striking tails. It’s quite a “tail show.”
Some peafowl will be more tame and more friendly than others. Mine are very friendly and are eager to greet all those who enter the enclosure. Since most of them have grown up here at the farm, they aren’t shy at all. In fact, the peafowl are all very accustomed to all the visits.
Peafowl are members of the pheasant family. There are two Asiatic species – the blue or Indian peafowl native to India and Sri Lanka, and the green peafowl originally from Java and Burma, and one African species, the Congo peafowl from African rain forests.
I have a variety of all-white, as well as colorful, and interestingly marked birds.
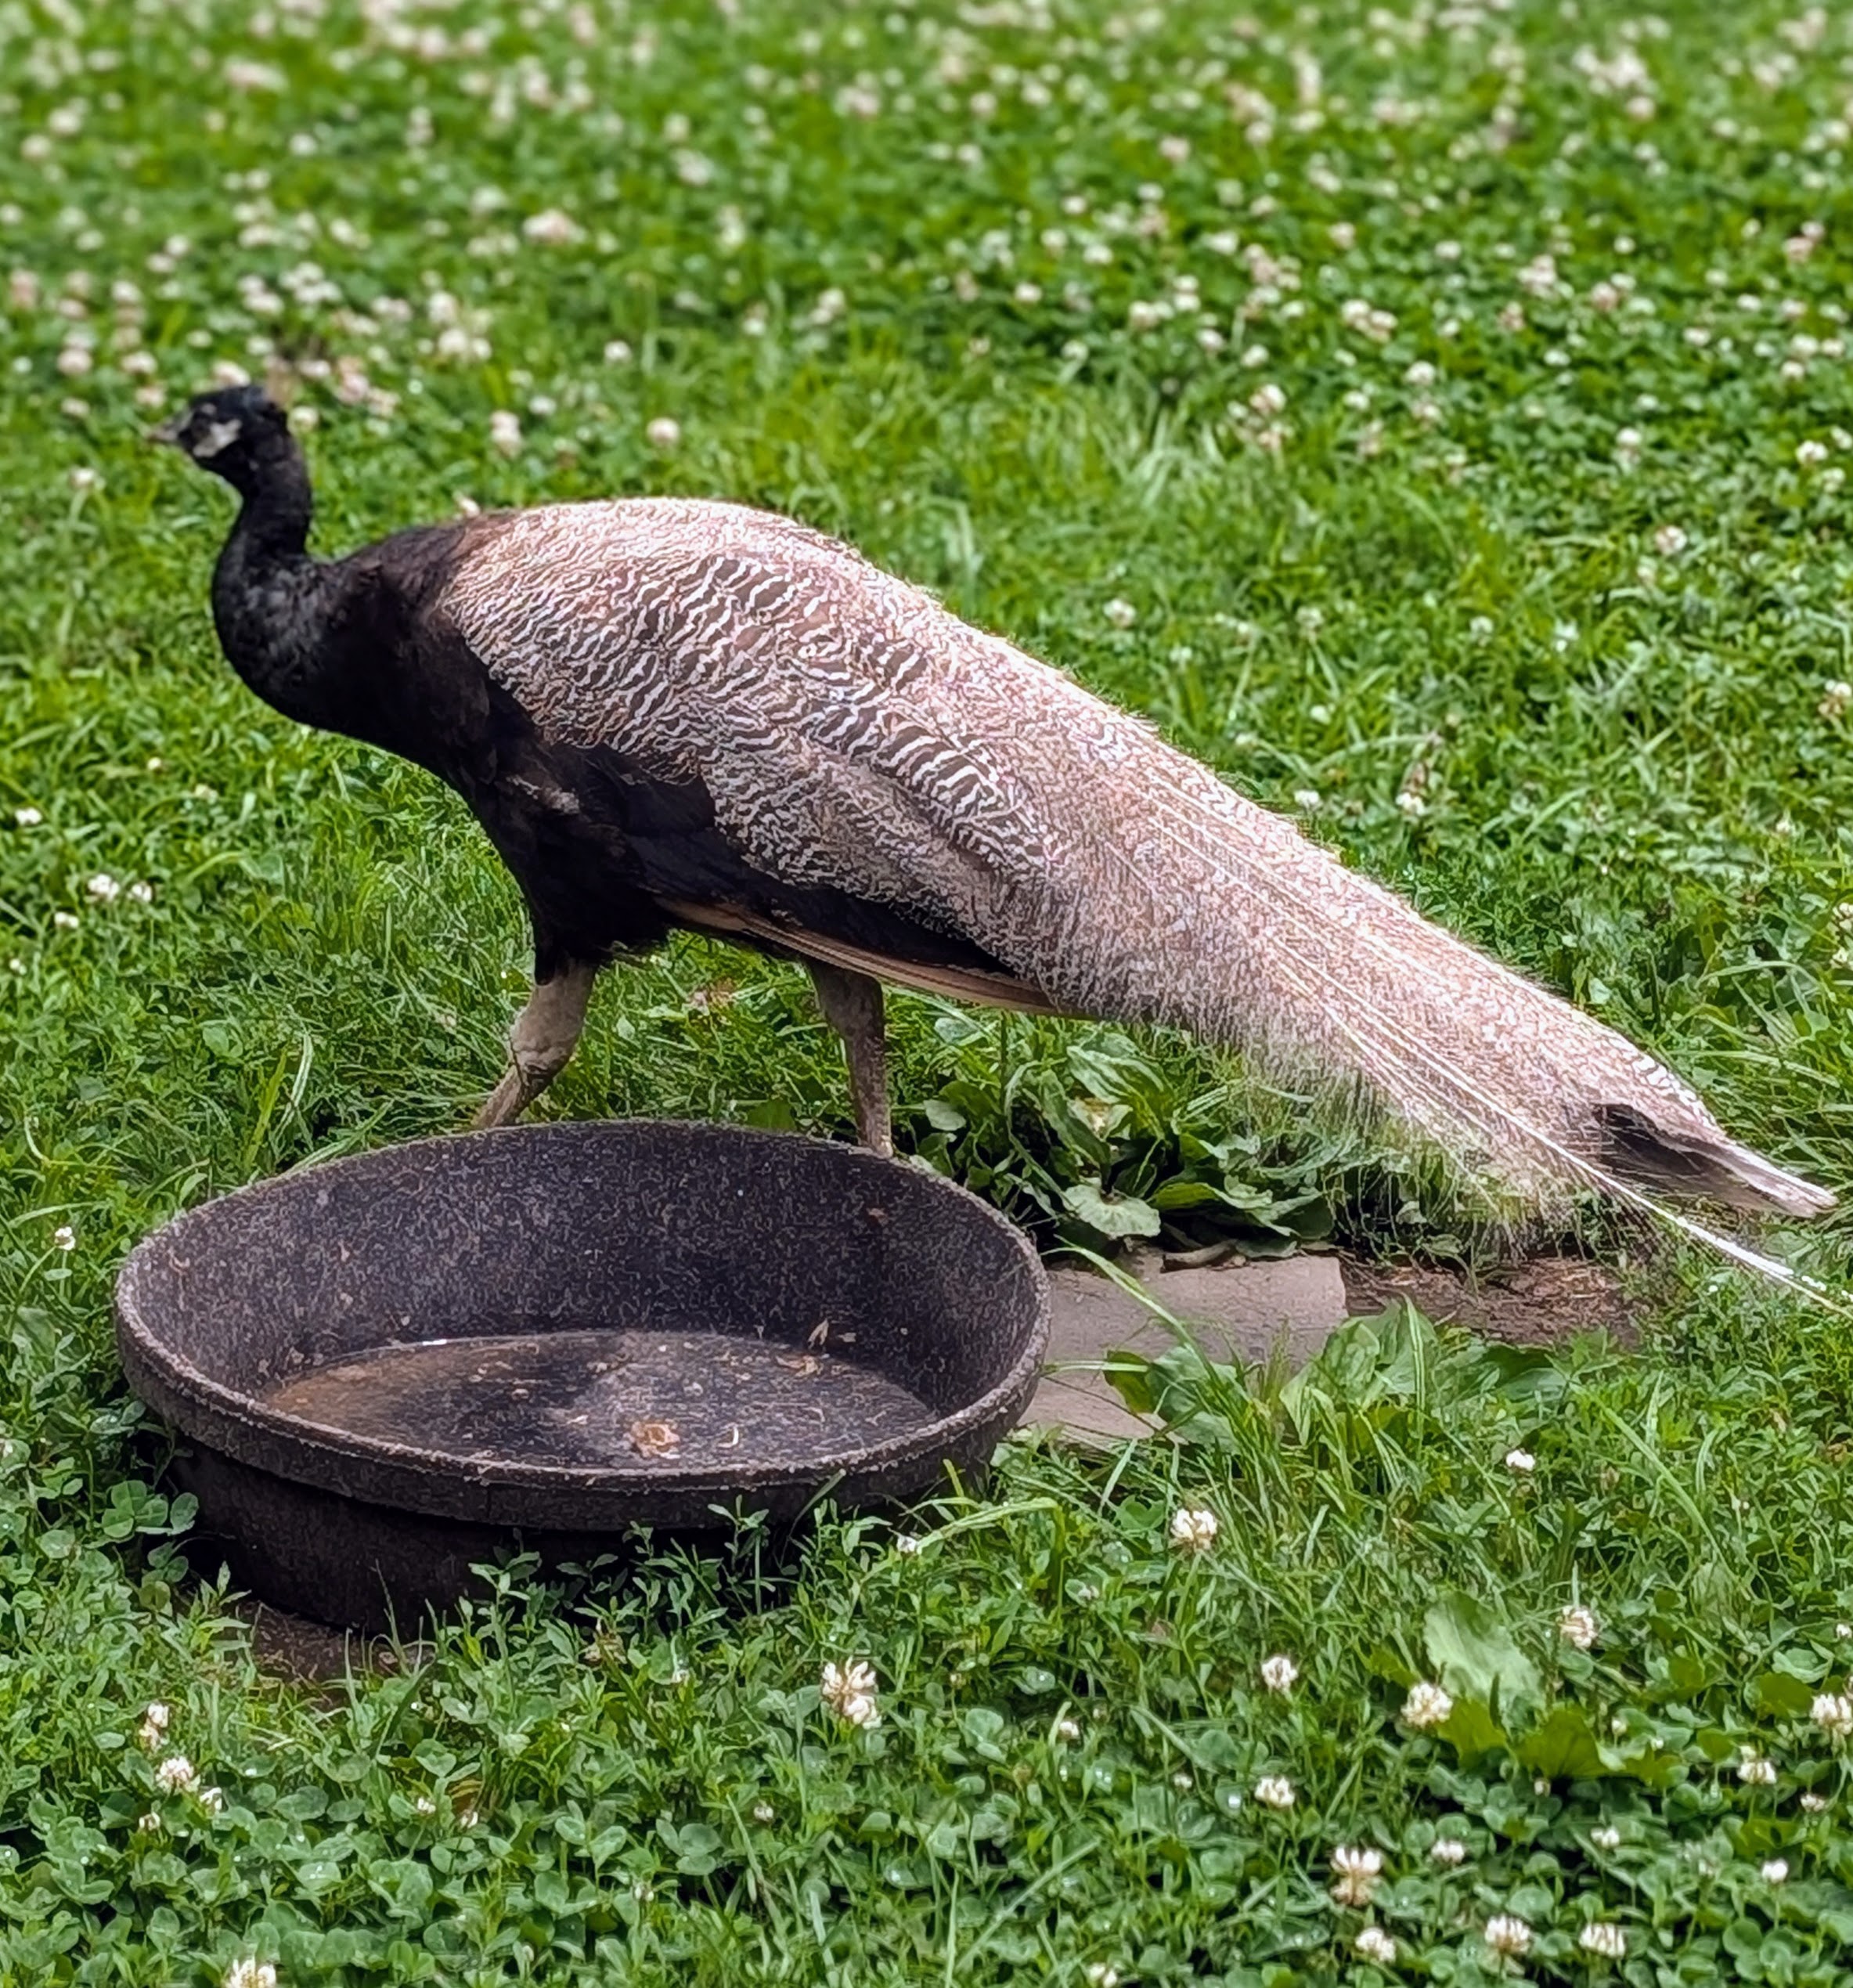
The female is less iridescent with more muted colors and markings. Peacocks have large eyes on the sides of their heads providing wide views. They possess sharp visual acuity as well as color discrimination. Peafowl also have acute hearing, but can be poor at discerning from what direction certain sounds originate.
These birds are ground feeders. They do most of their foraging in the early morning and evening. As omnivores, they eat insects, plants, grains and small creatures.
Peafowl are happiest when living in small groups. I am pleased that all of mine get along very well.
My birds have perches in their coop also, made from large, natural branches.
Peacocks are stunning to look at, but do not underestimate their power. These birds are extremely strong with very sharp spurs – just look at the legs and feet of this fellow.
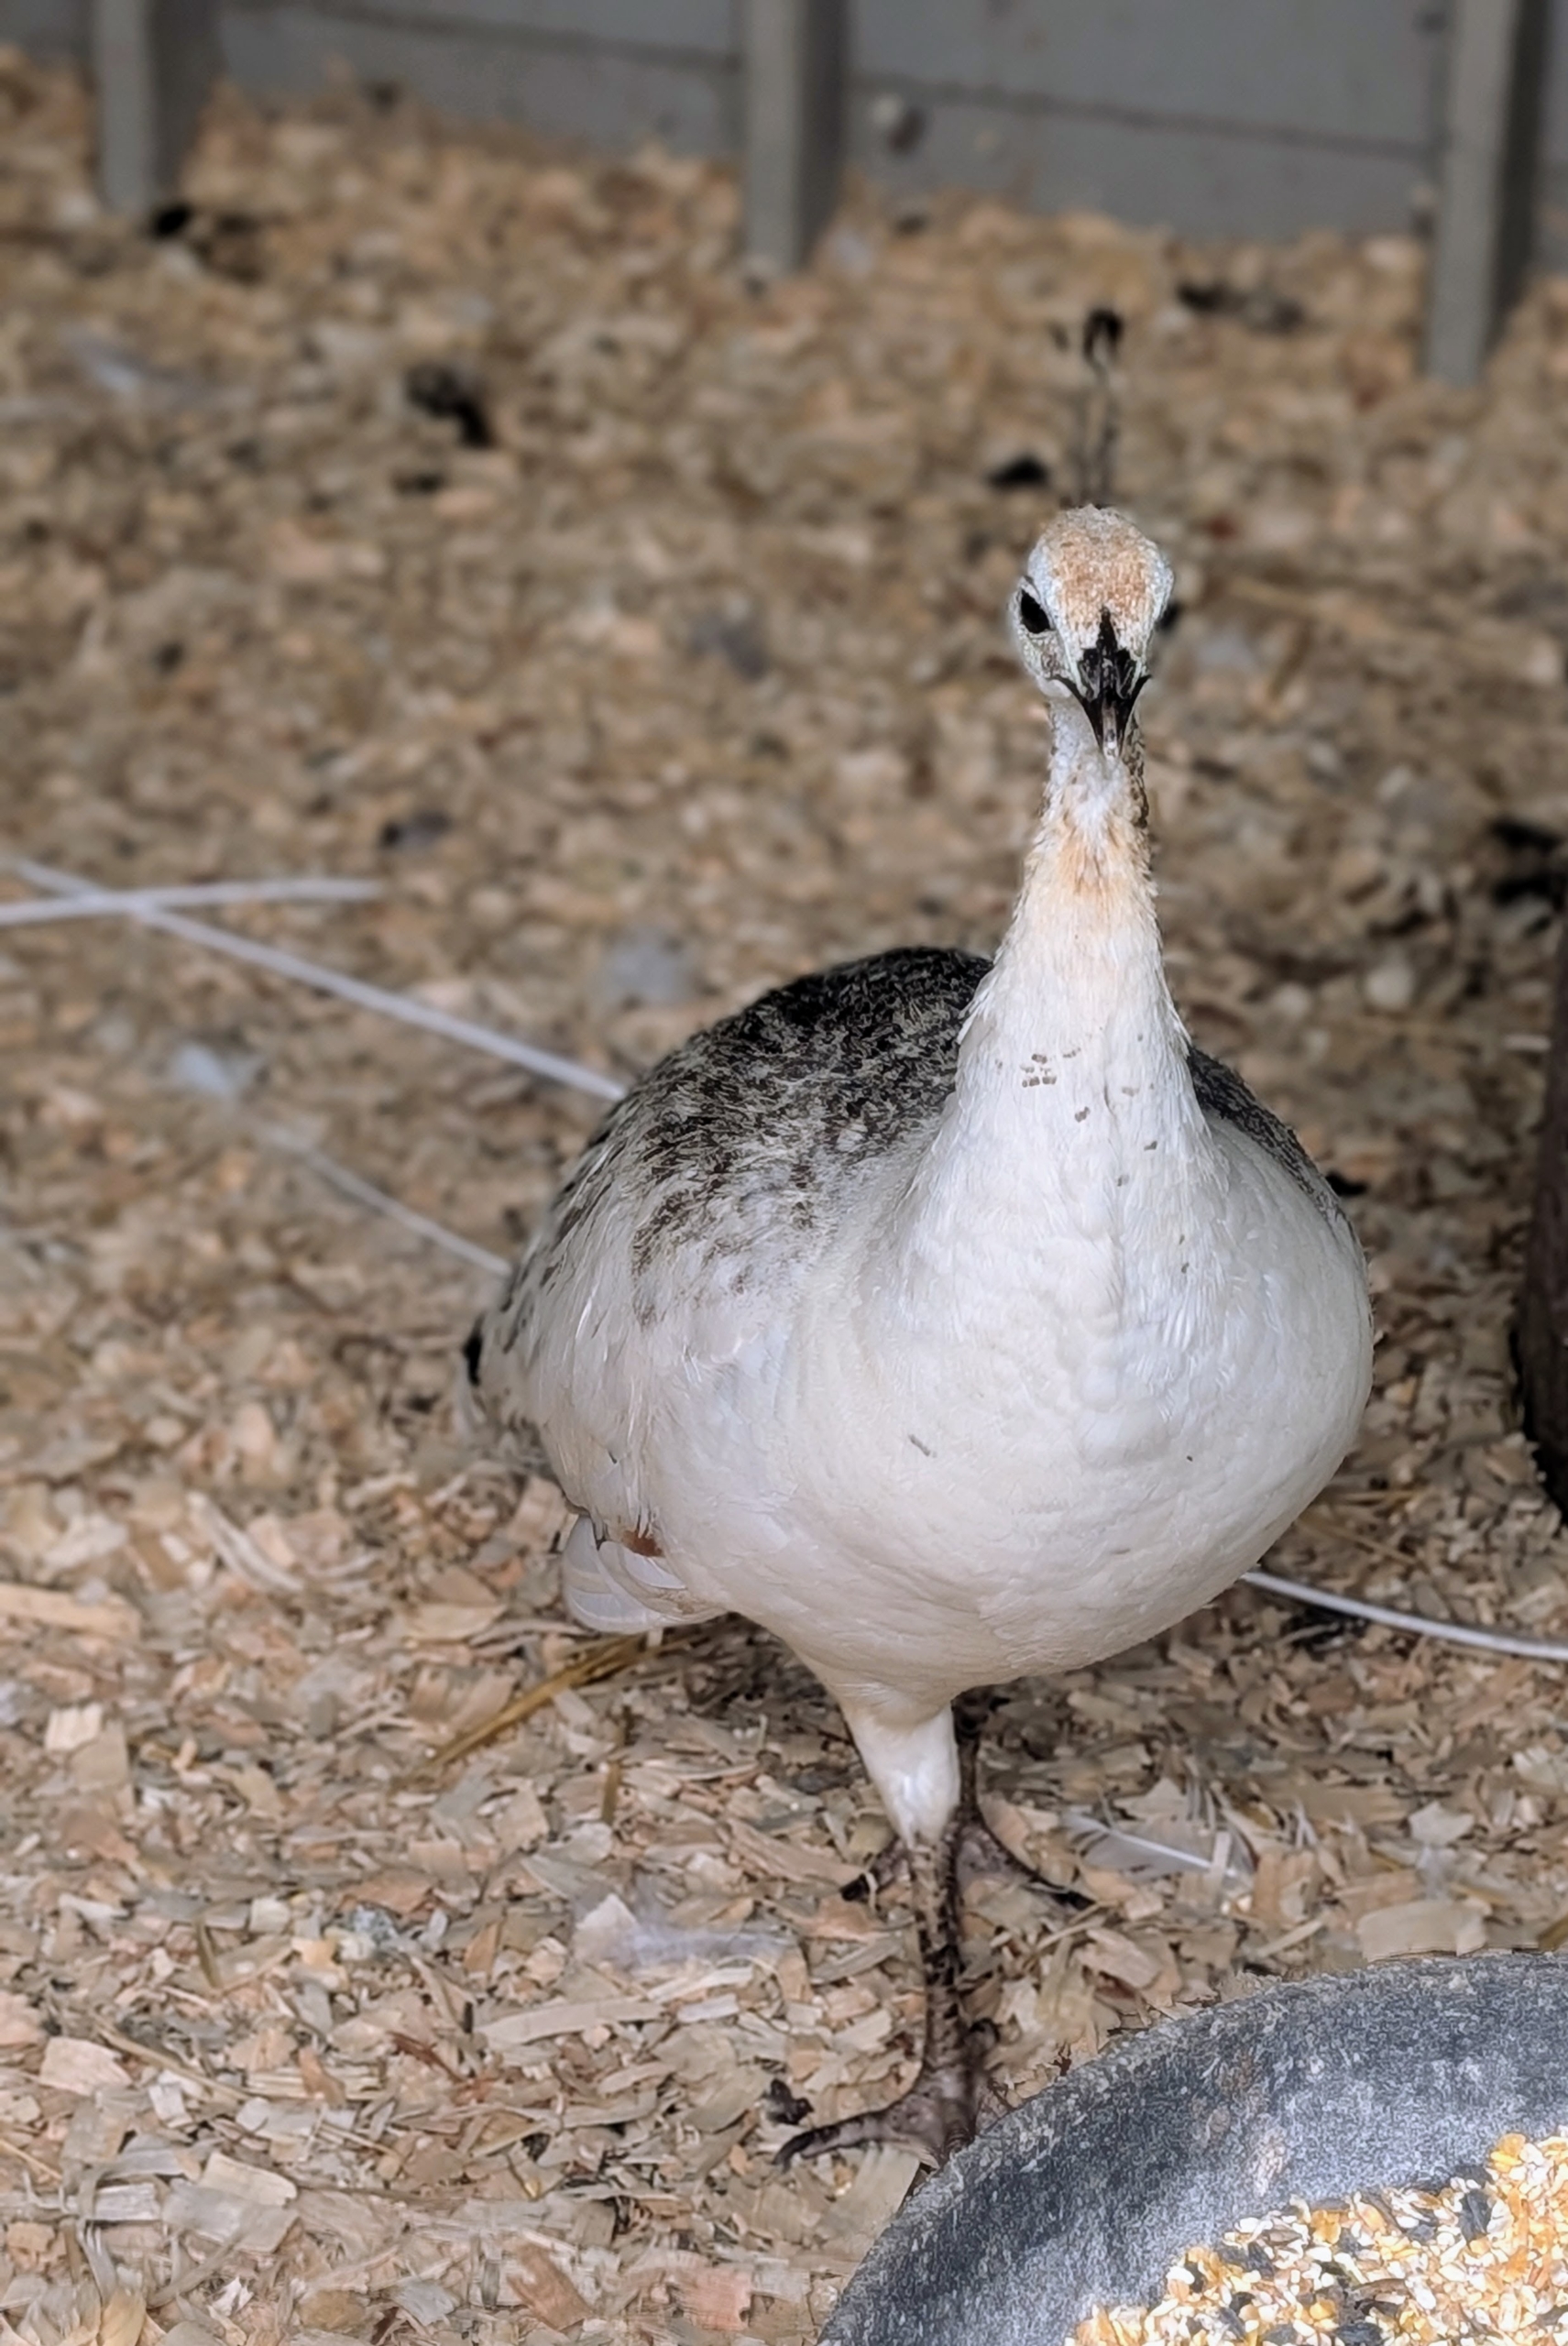
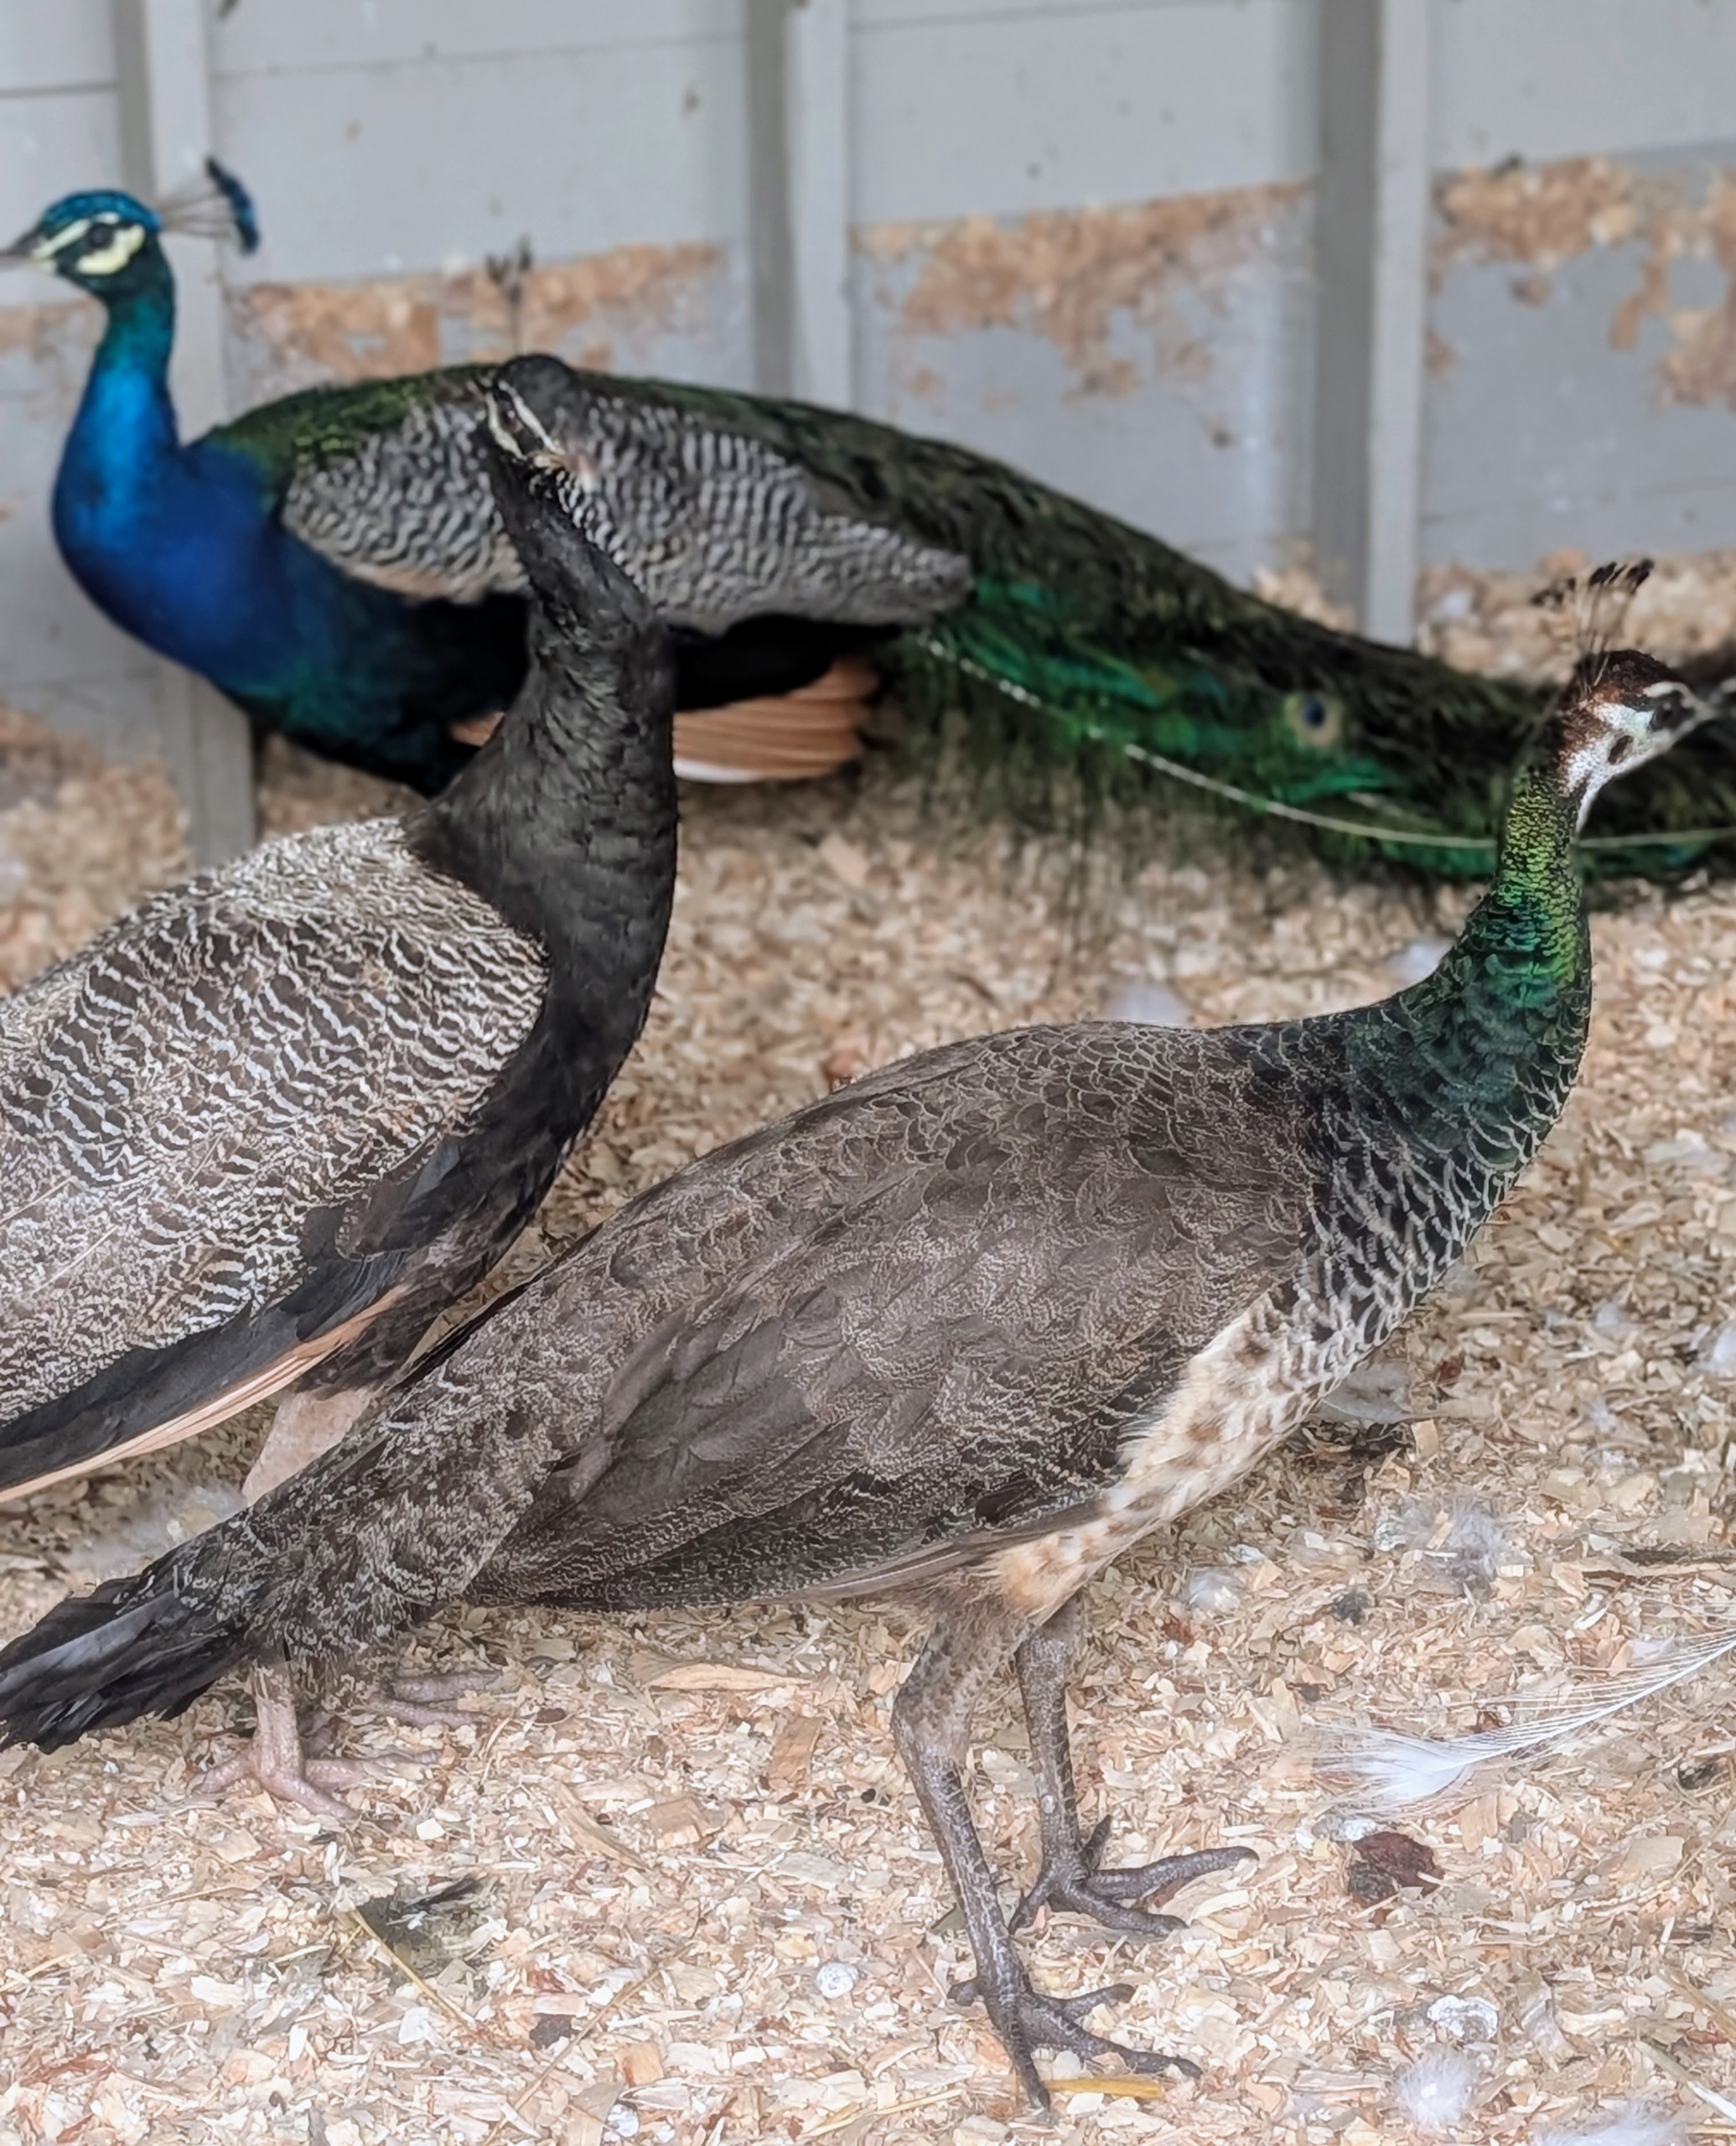
Here is another female. Remember, technically only the males are peacocks. The females are peahens, and both are peafowl. Babies are peachicks. And a family of peafowl is called a bevy.
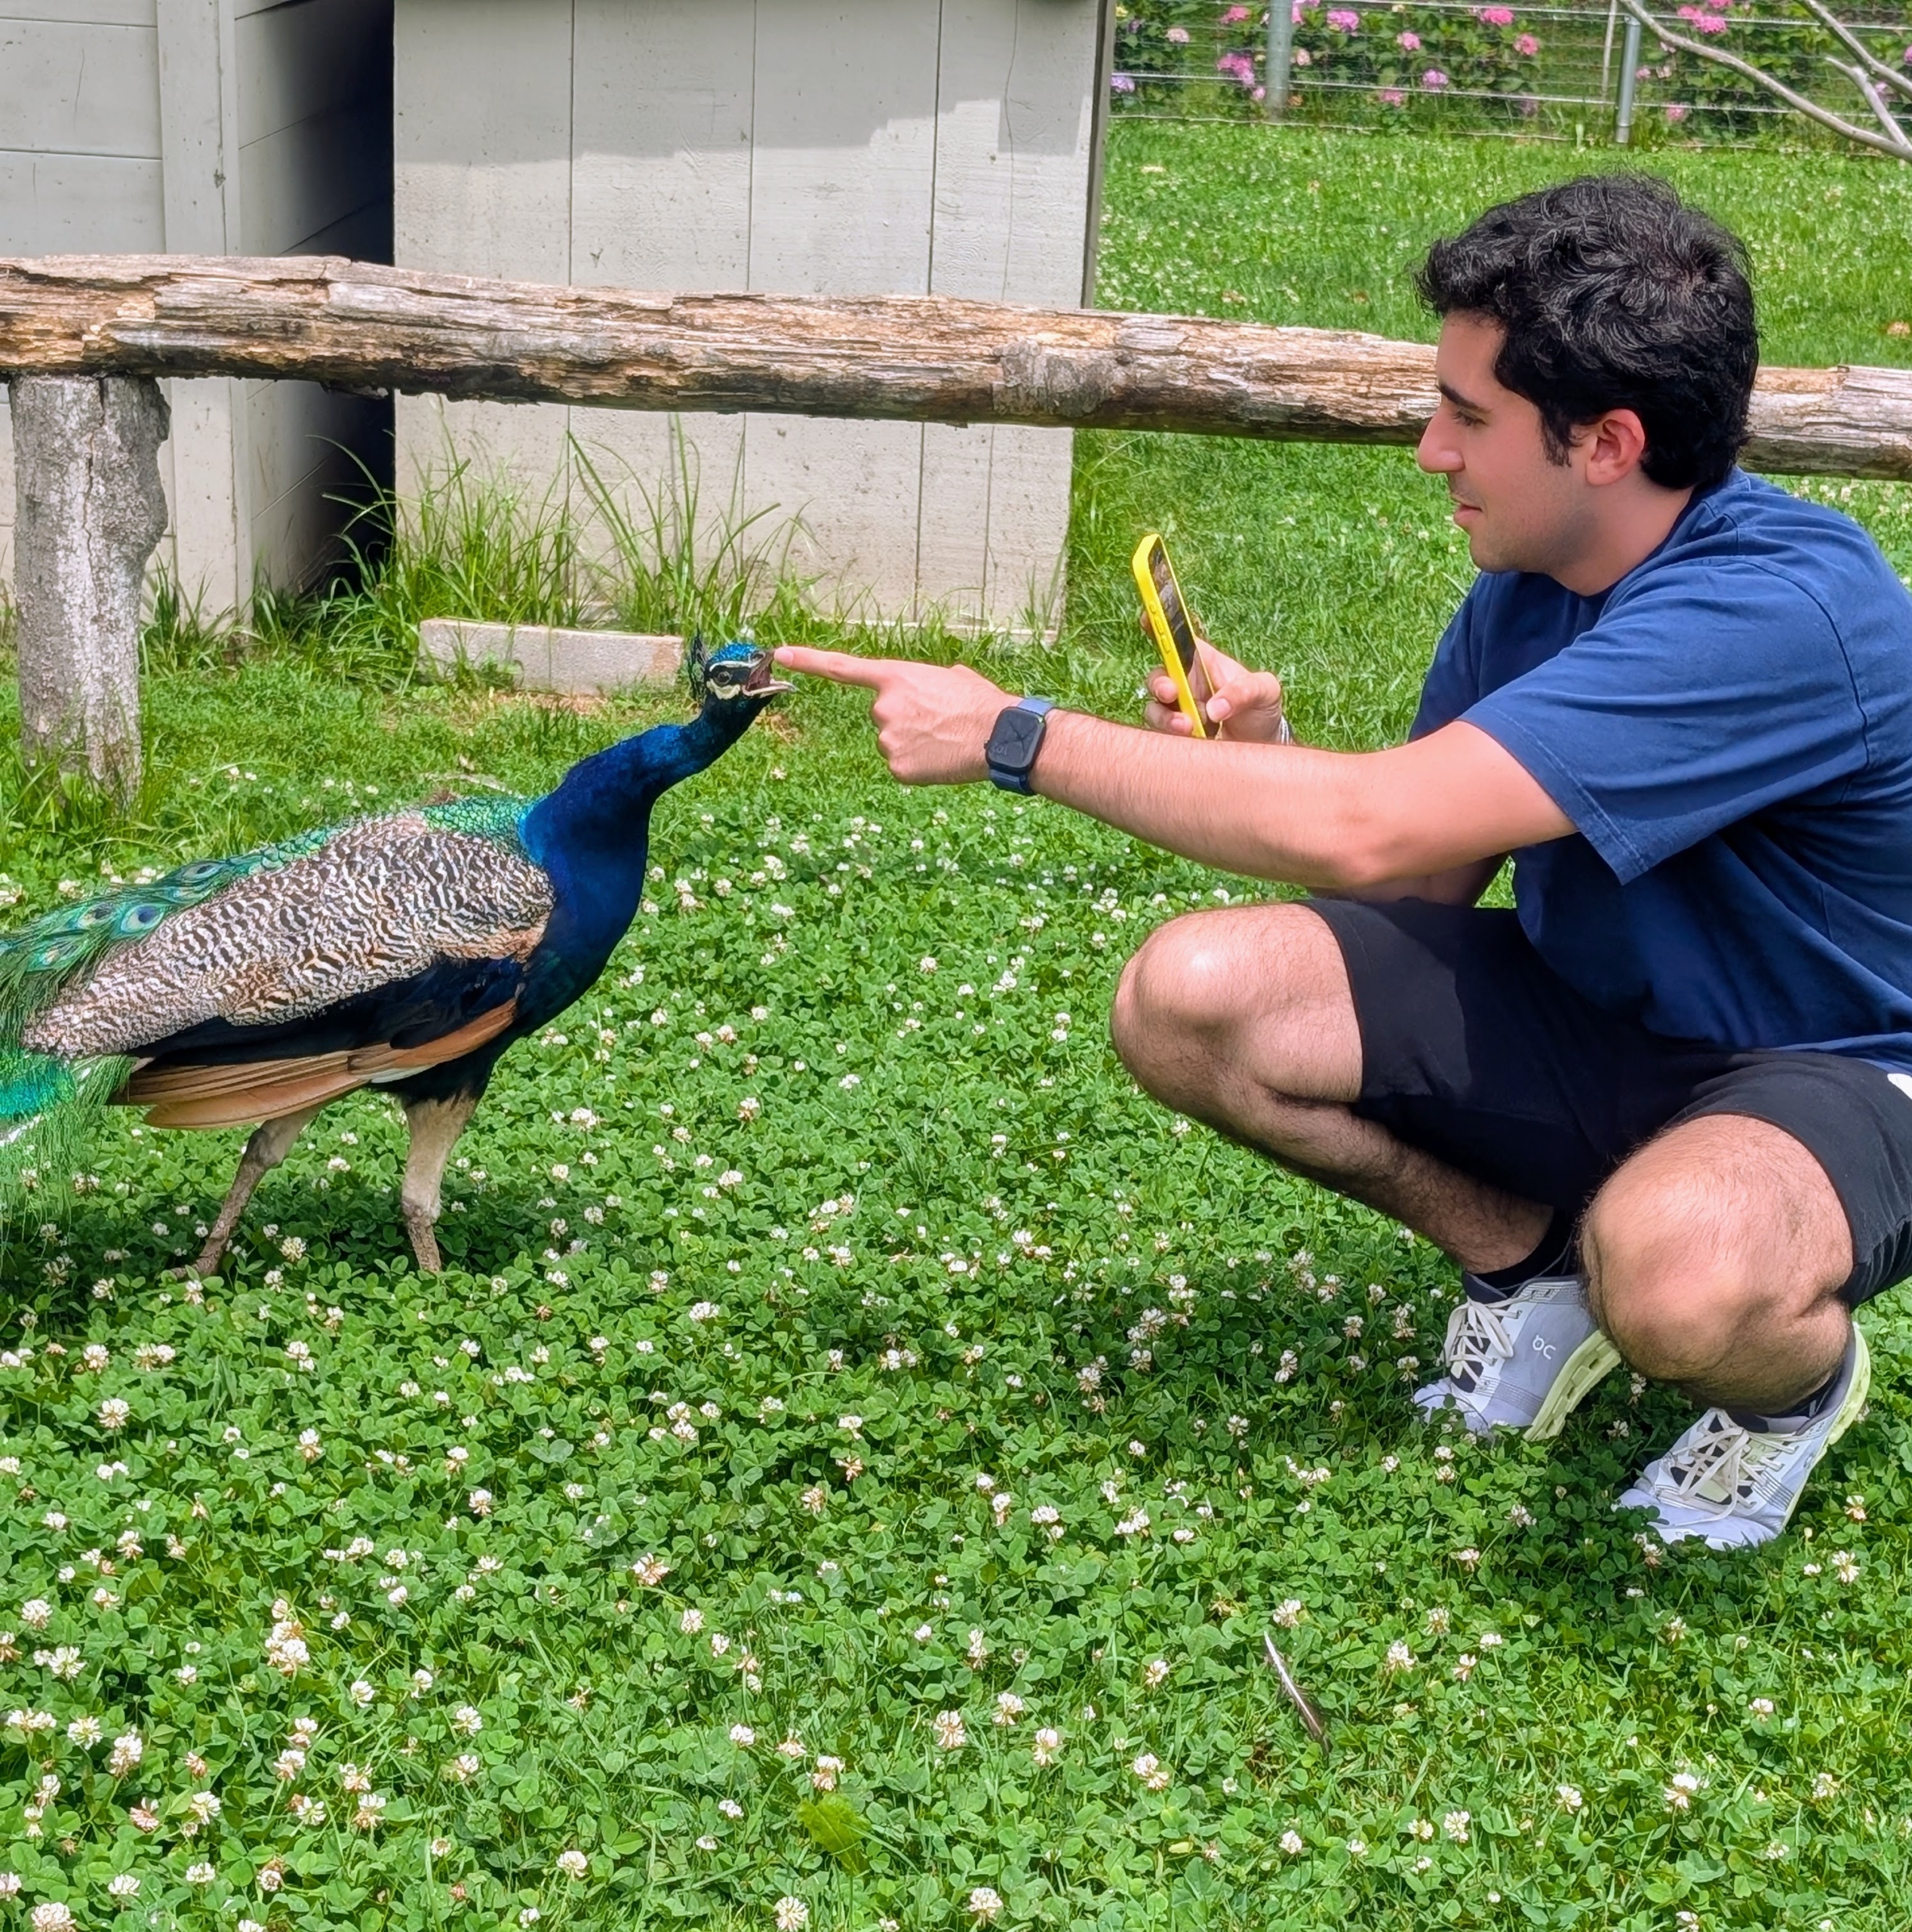
Peafowl are pretty social and curious animals. Yearling peafowl act much like teenagers. Here is one youngster with my friend Ari Katz, who runs the @raisingtheperfectpet page on Instagram – be sure to follow.
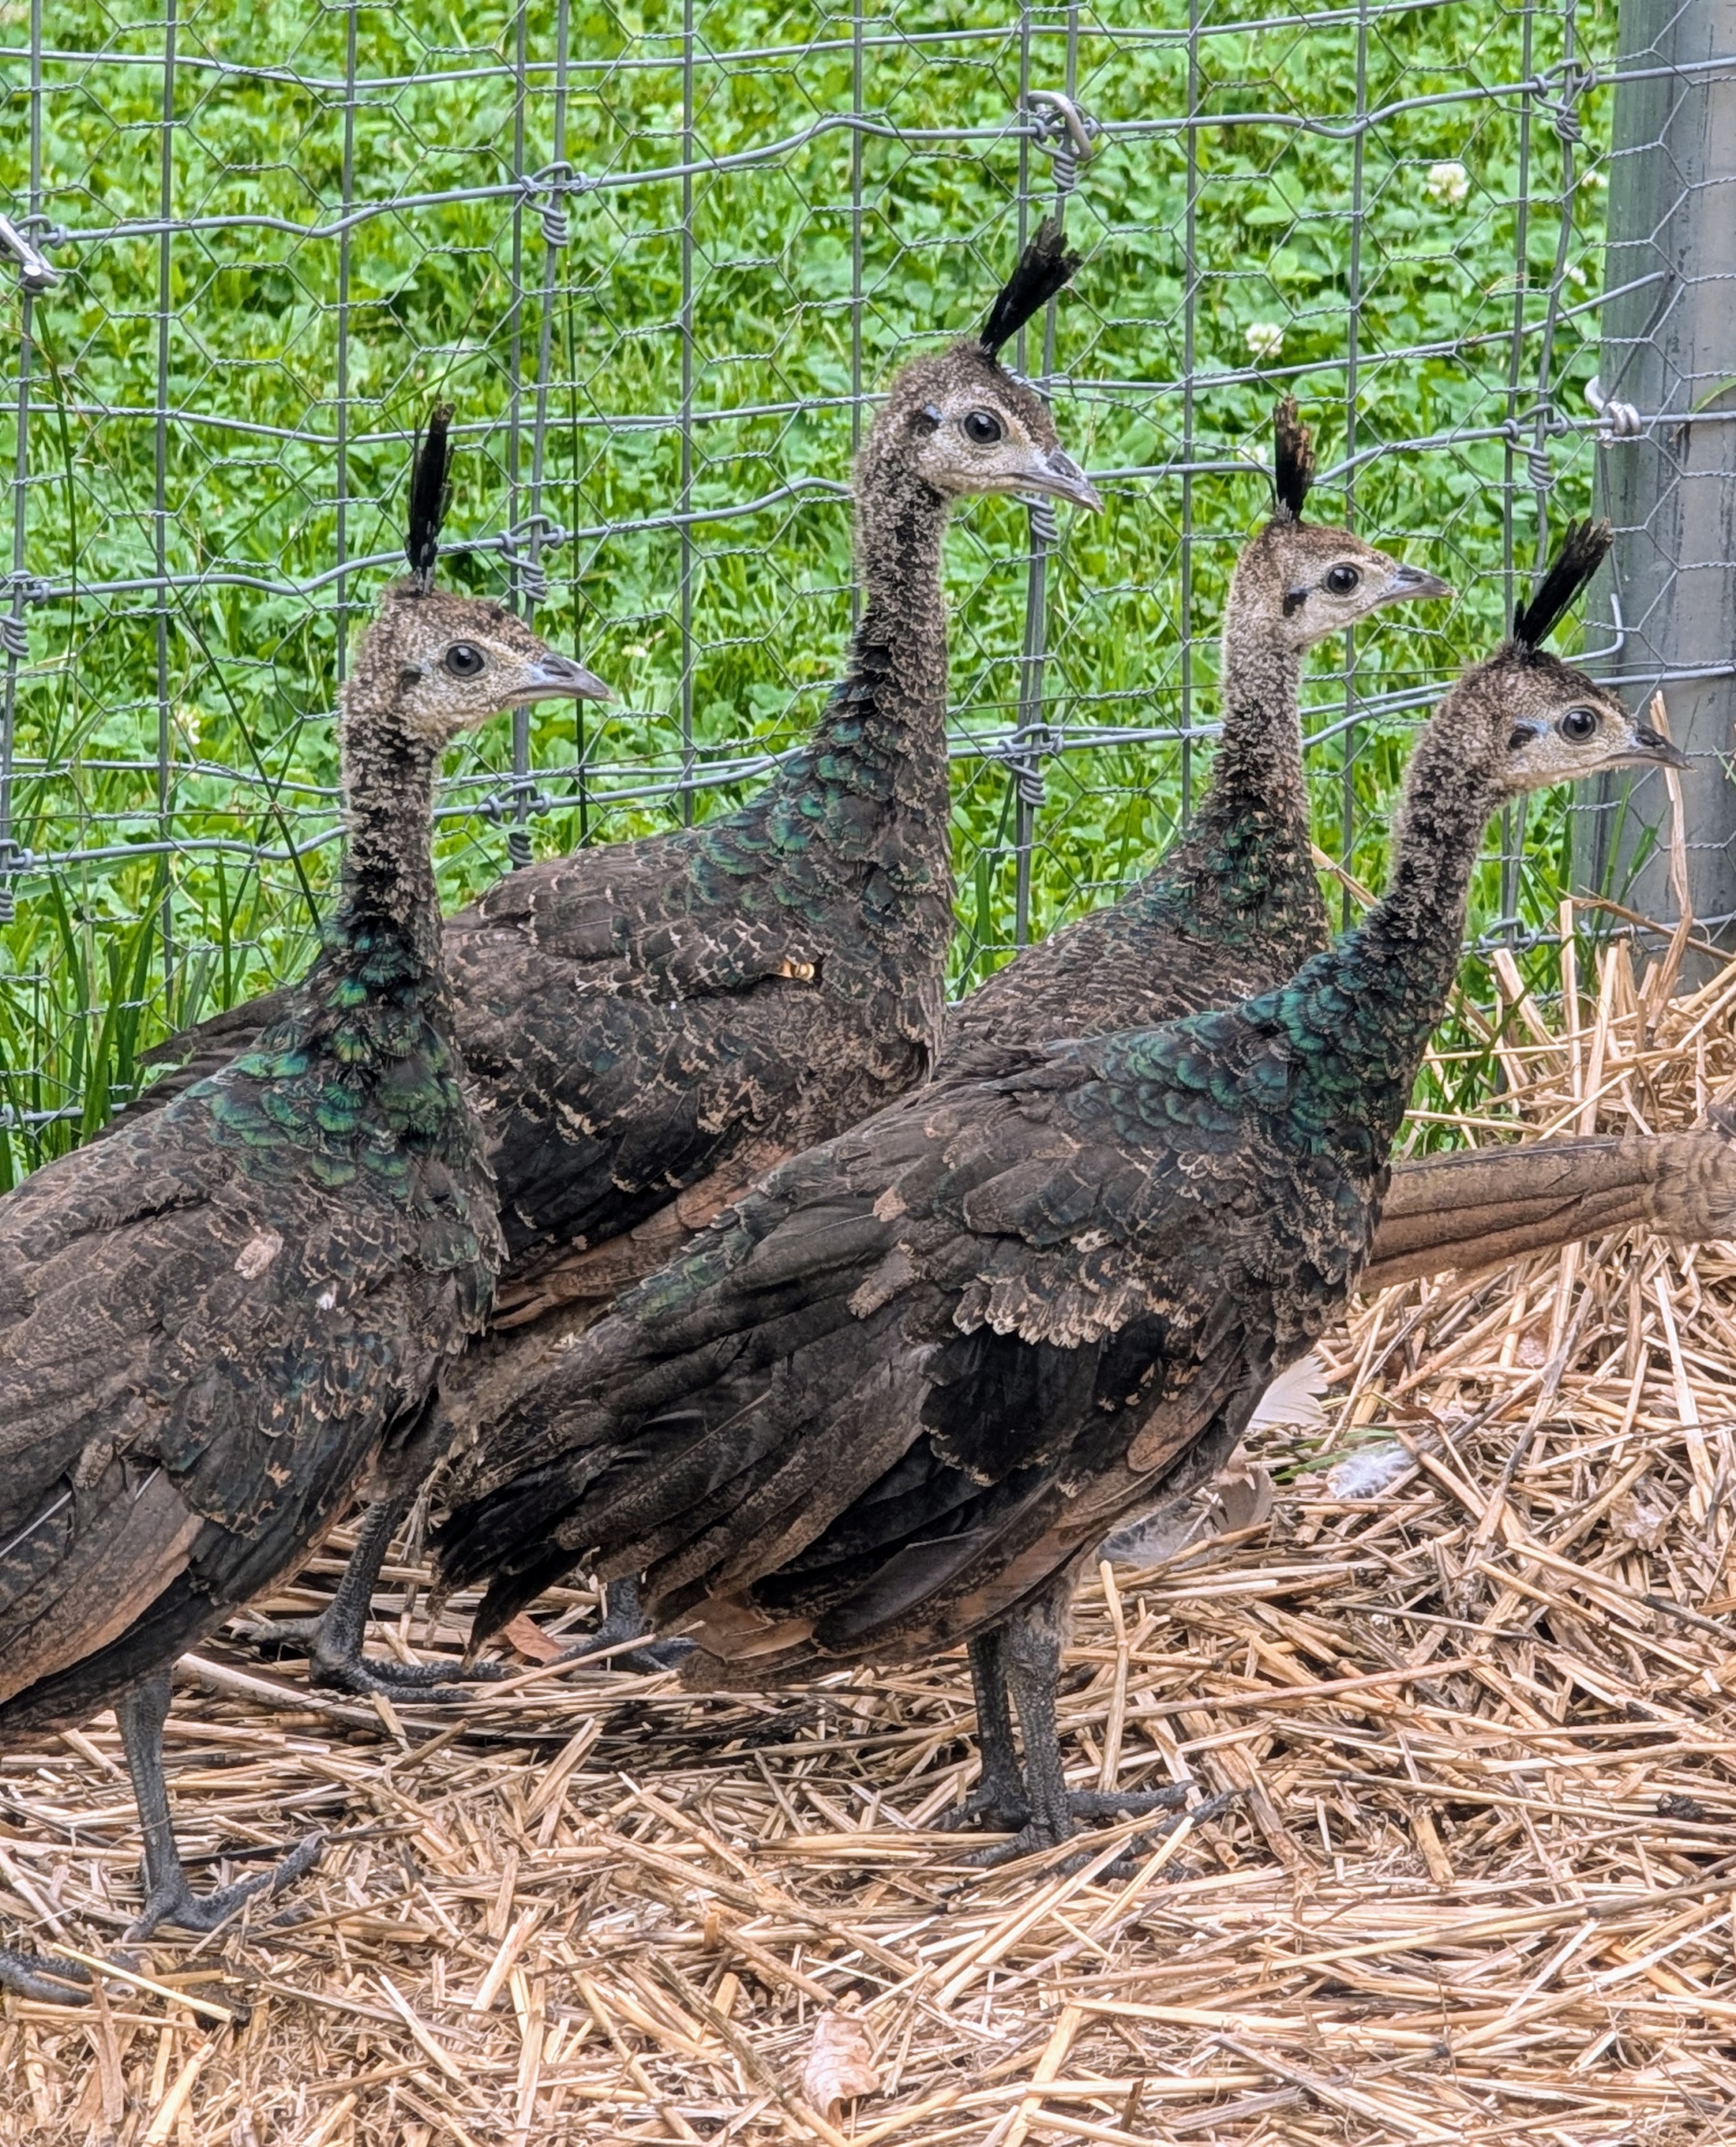
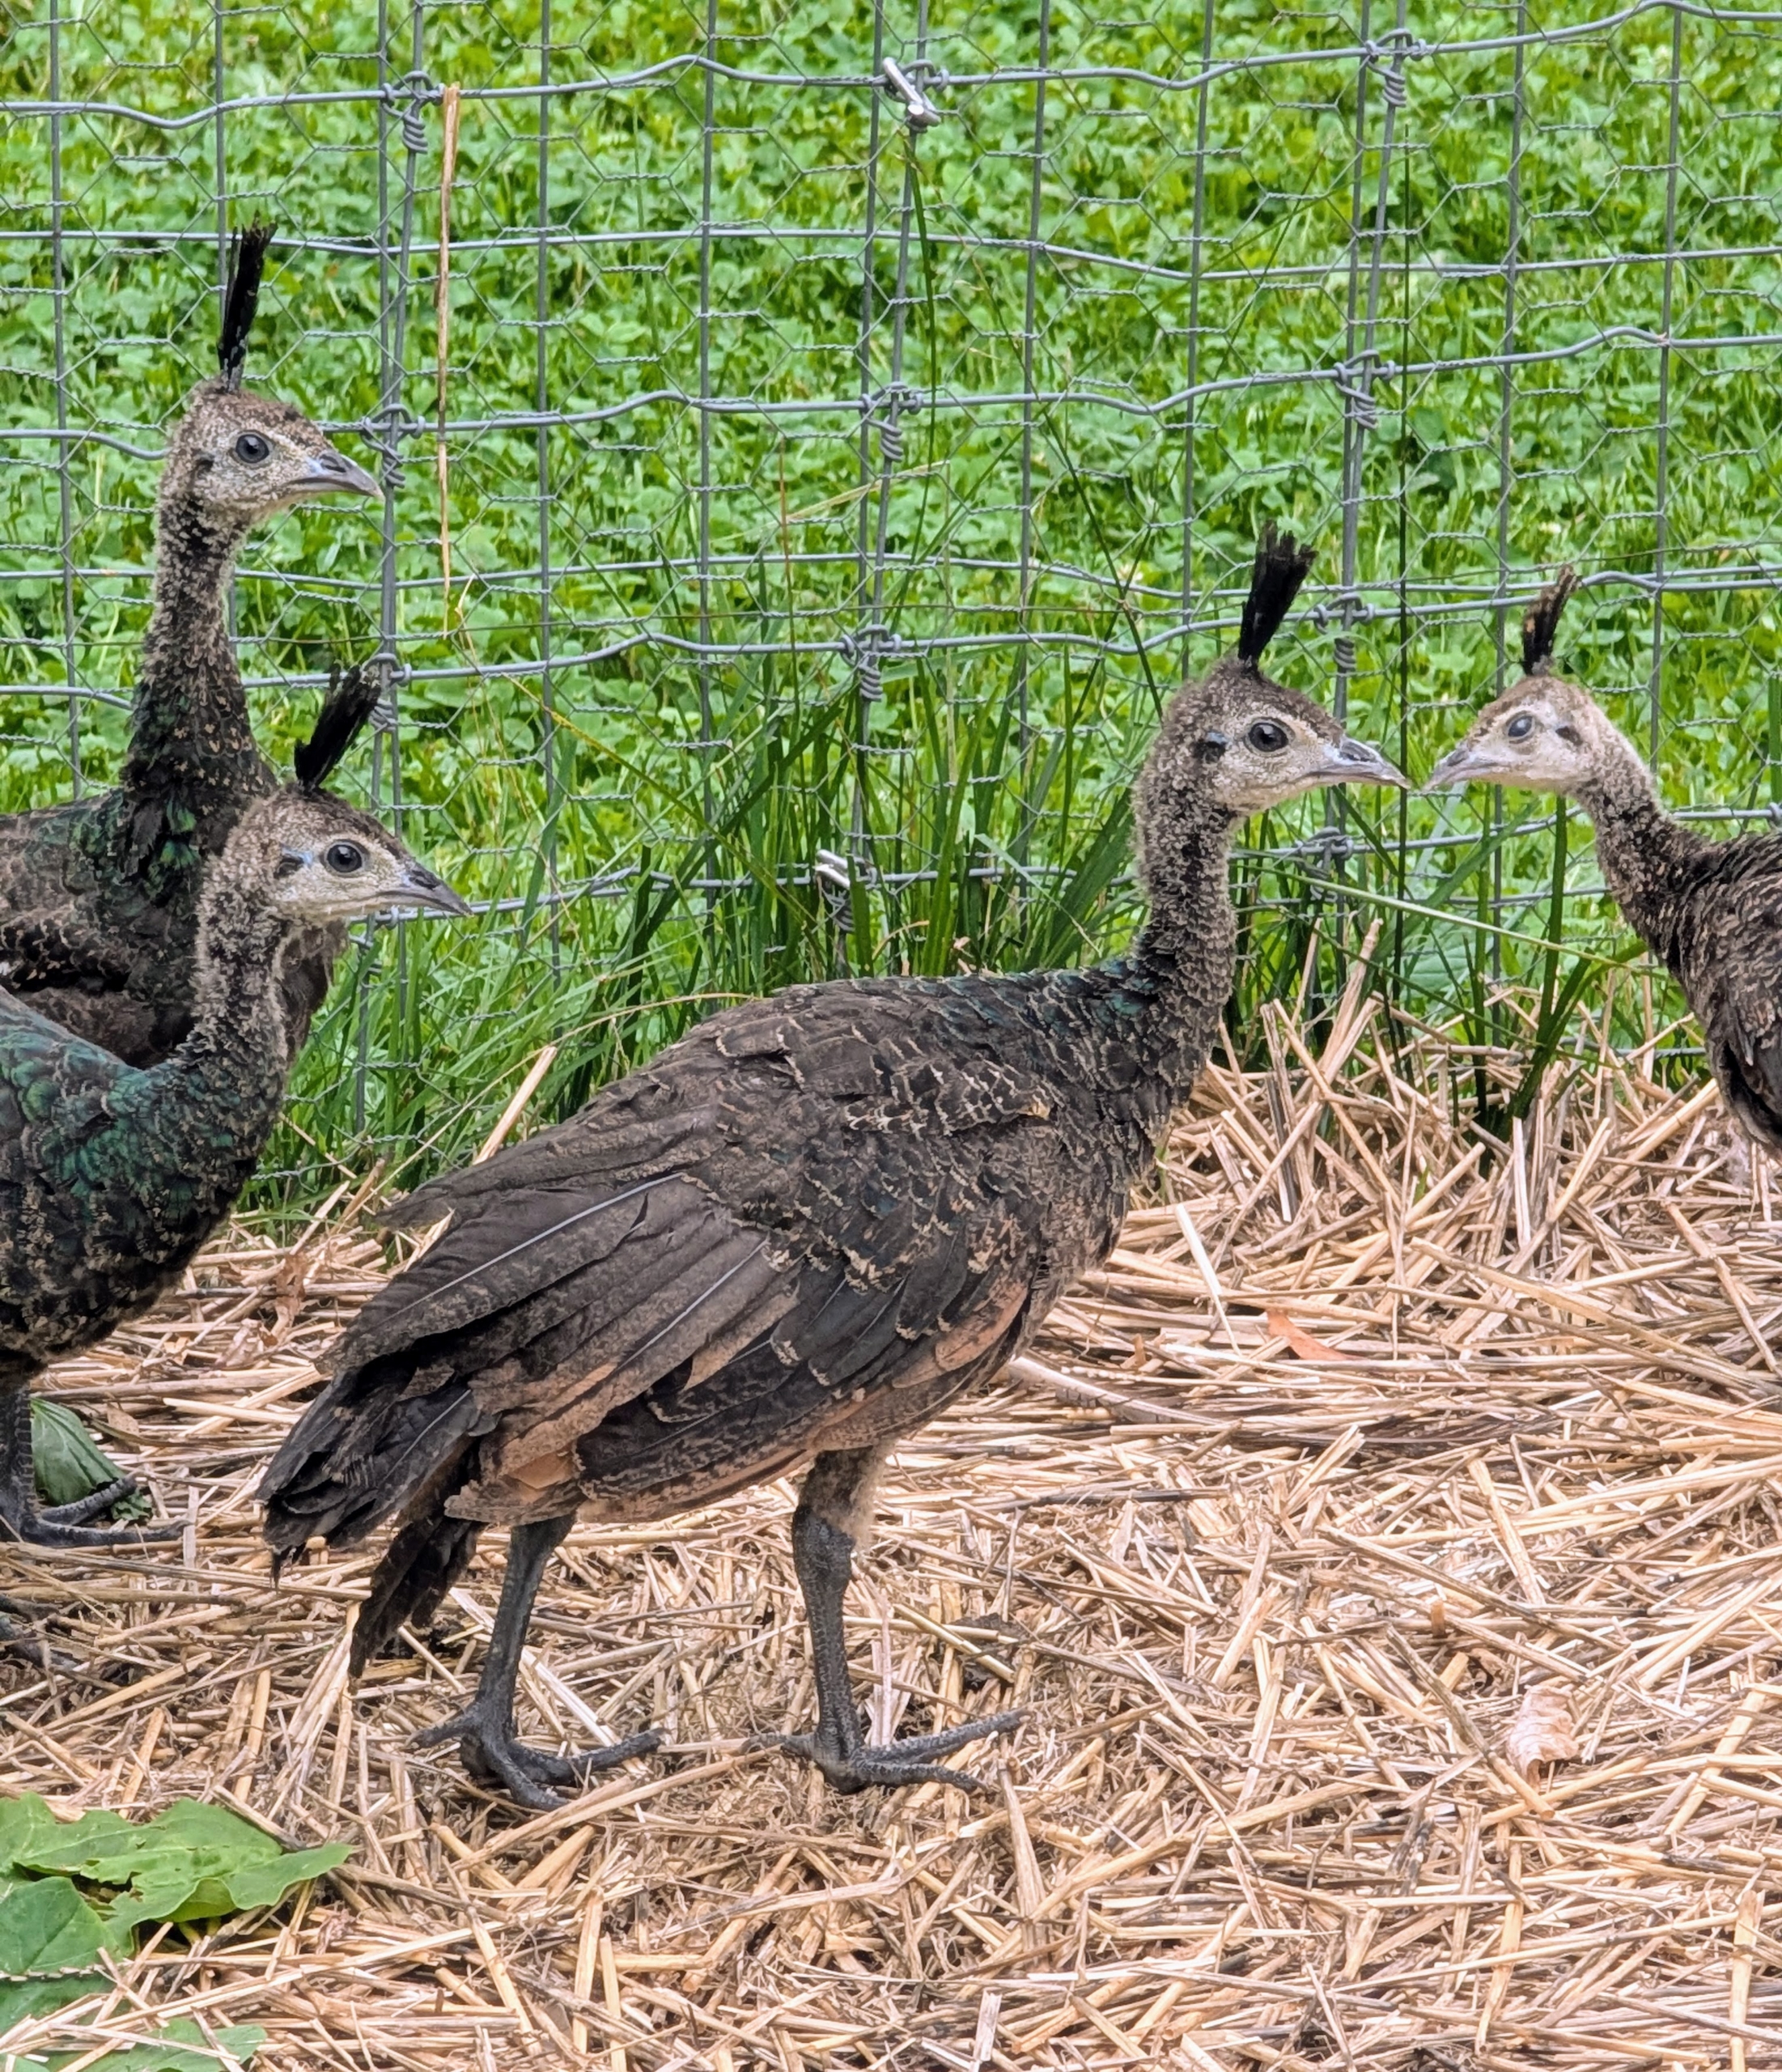
And look at this foursome – peachicks Ari gifted me. These will have dark green markings when mature.
These four are in an adjacent pen until they are bigger. They share the space with my pheasants and younger chickens.
As beautiful as peafowl are, they don’t make very melodious sounds. Peafowl have 11 different calls, with most of the vocalizing made by the peacocks. Oftentimes, I can hear them all the way from my Winter House.
Peafowls are very hardy birds, and even though they are native to warm climates, they also do well when it’s cold. I am so pleased with my ostentation – friendly, observant, and great company here at Cantitoe Corners.
So many delicious fruits are growing here at my Bedford, New York farm.
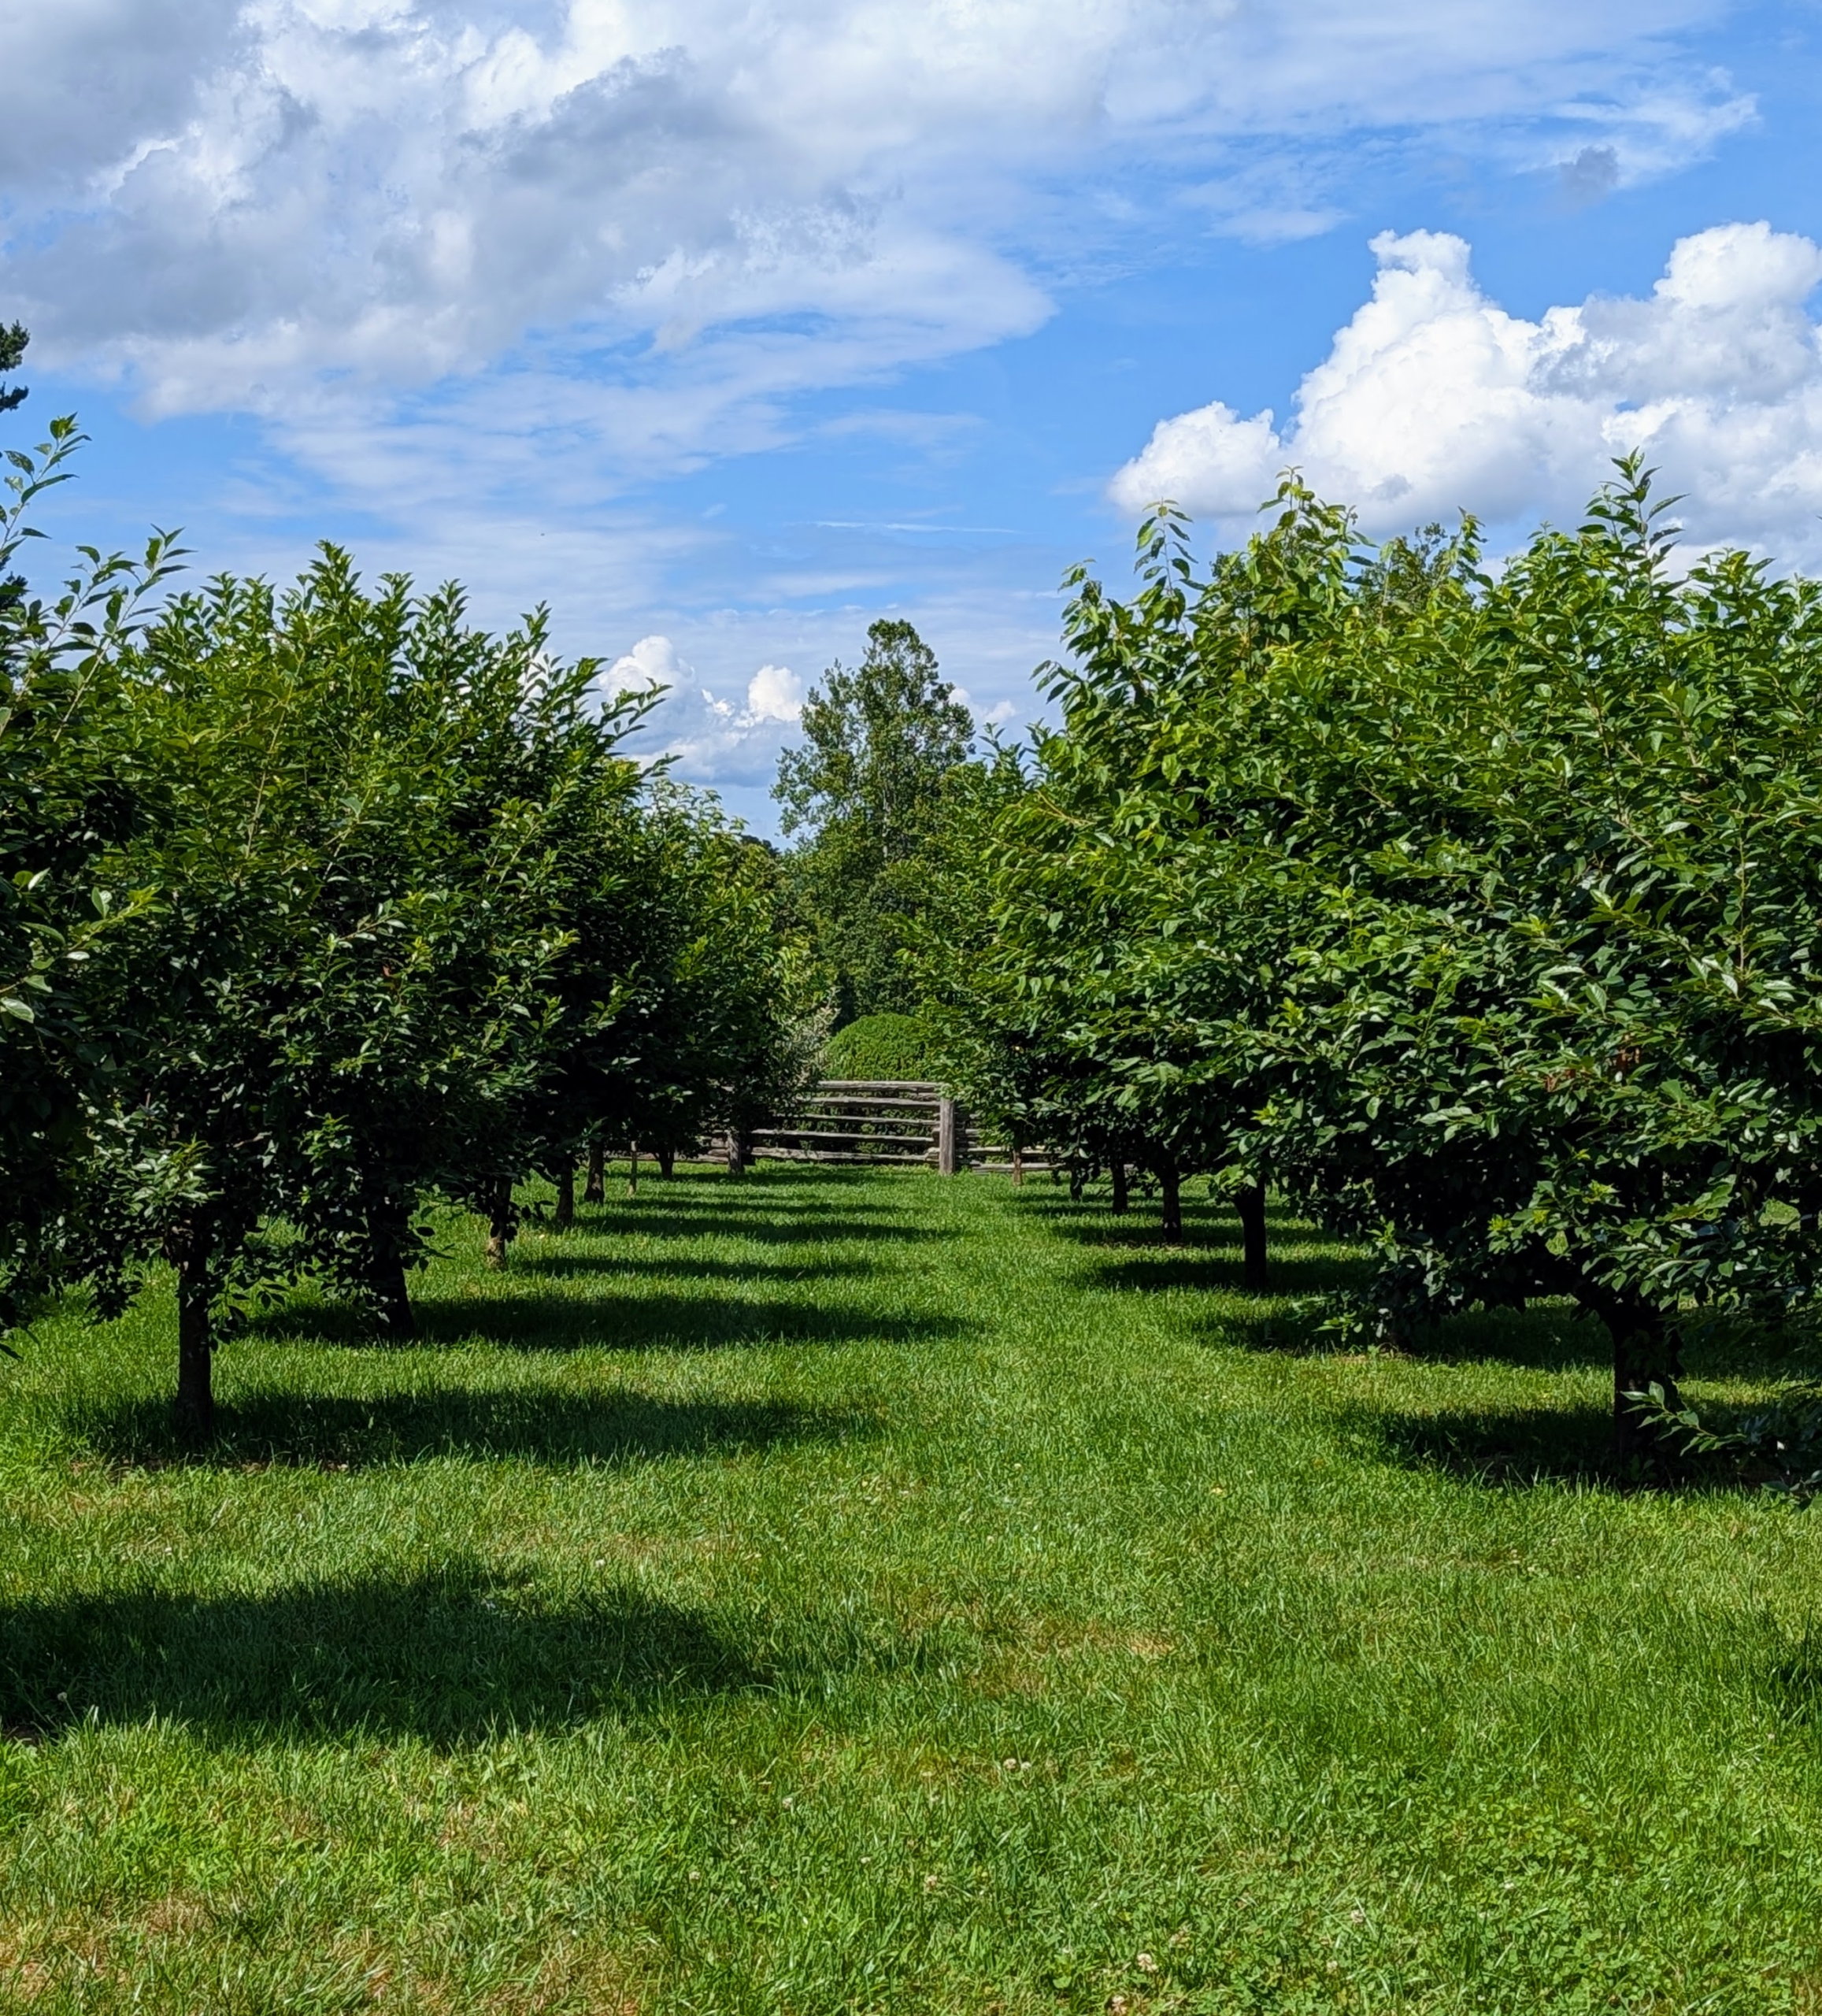
Fresh fruit is one of nature's most delicious products. This summer, I've already picked many boxes of berries, but all the others - the peaches, apples, and pears are developing so nicely. I have an orchard around my pool filled with a variety of more than 200 different fruit trees. I also have fruits growing on espaliers and in groves - those I've planted, and those that are original to the farm. It's always exciting to see how they grow and then harvest them when they're ready.
Here are some photos, enjoy.
This orchard surrounds three sides of my pool. Many of the trees here were bare-root cuttings I nurtured in pots before planting. Now, they are much taller and so lush. When choosing to grow fruit stock, it is important to select those that are best for your area’s climate and soil.
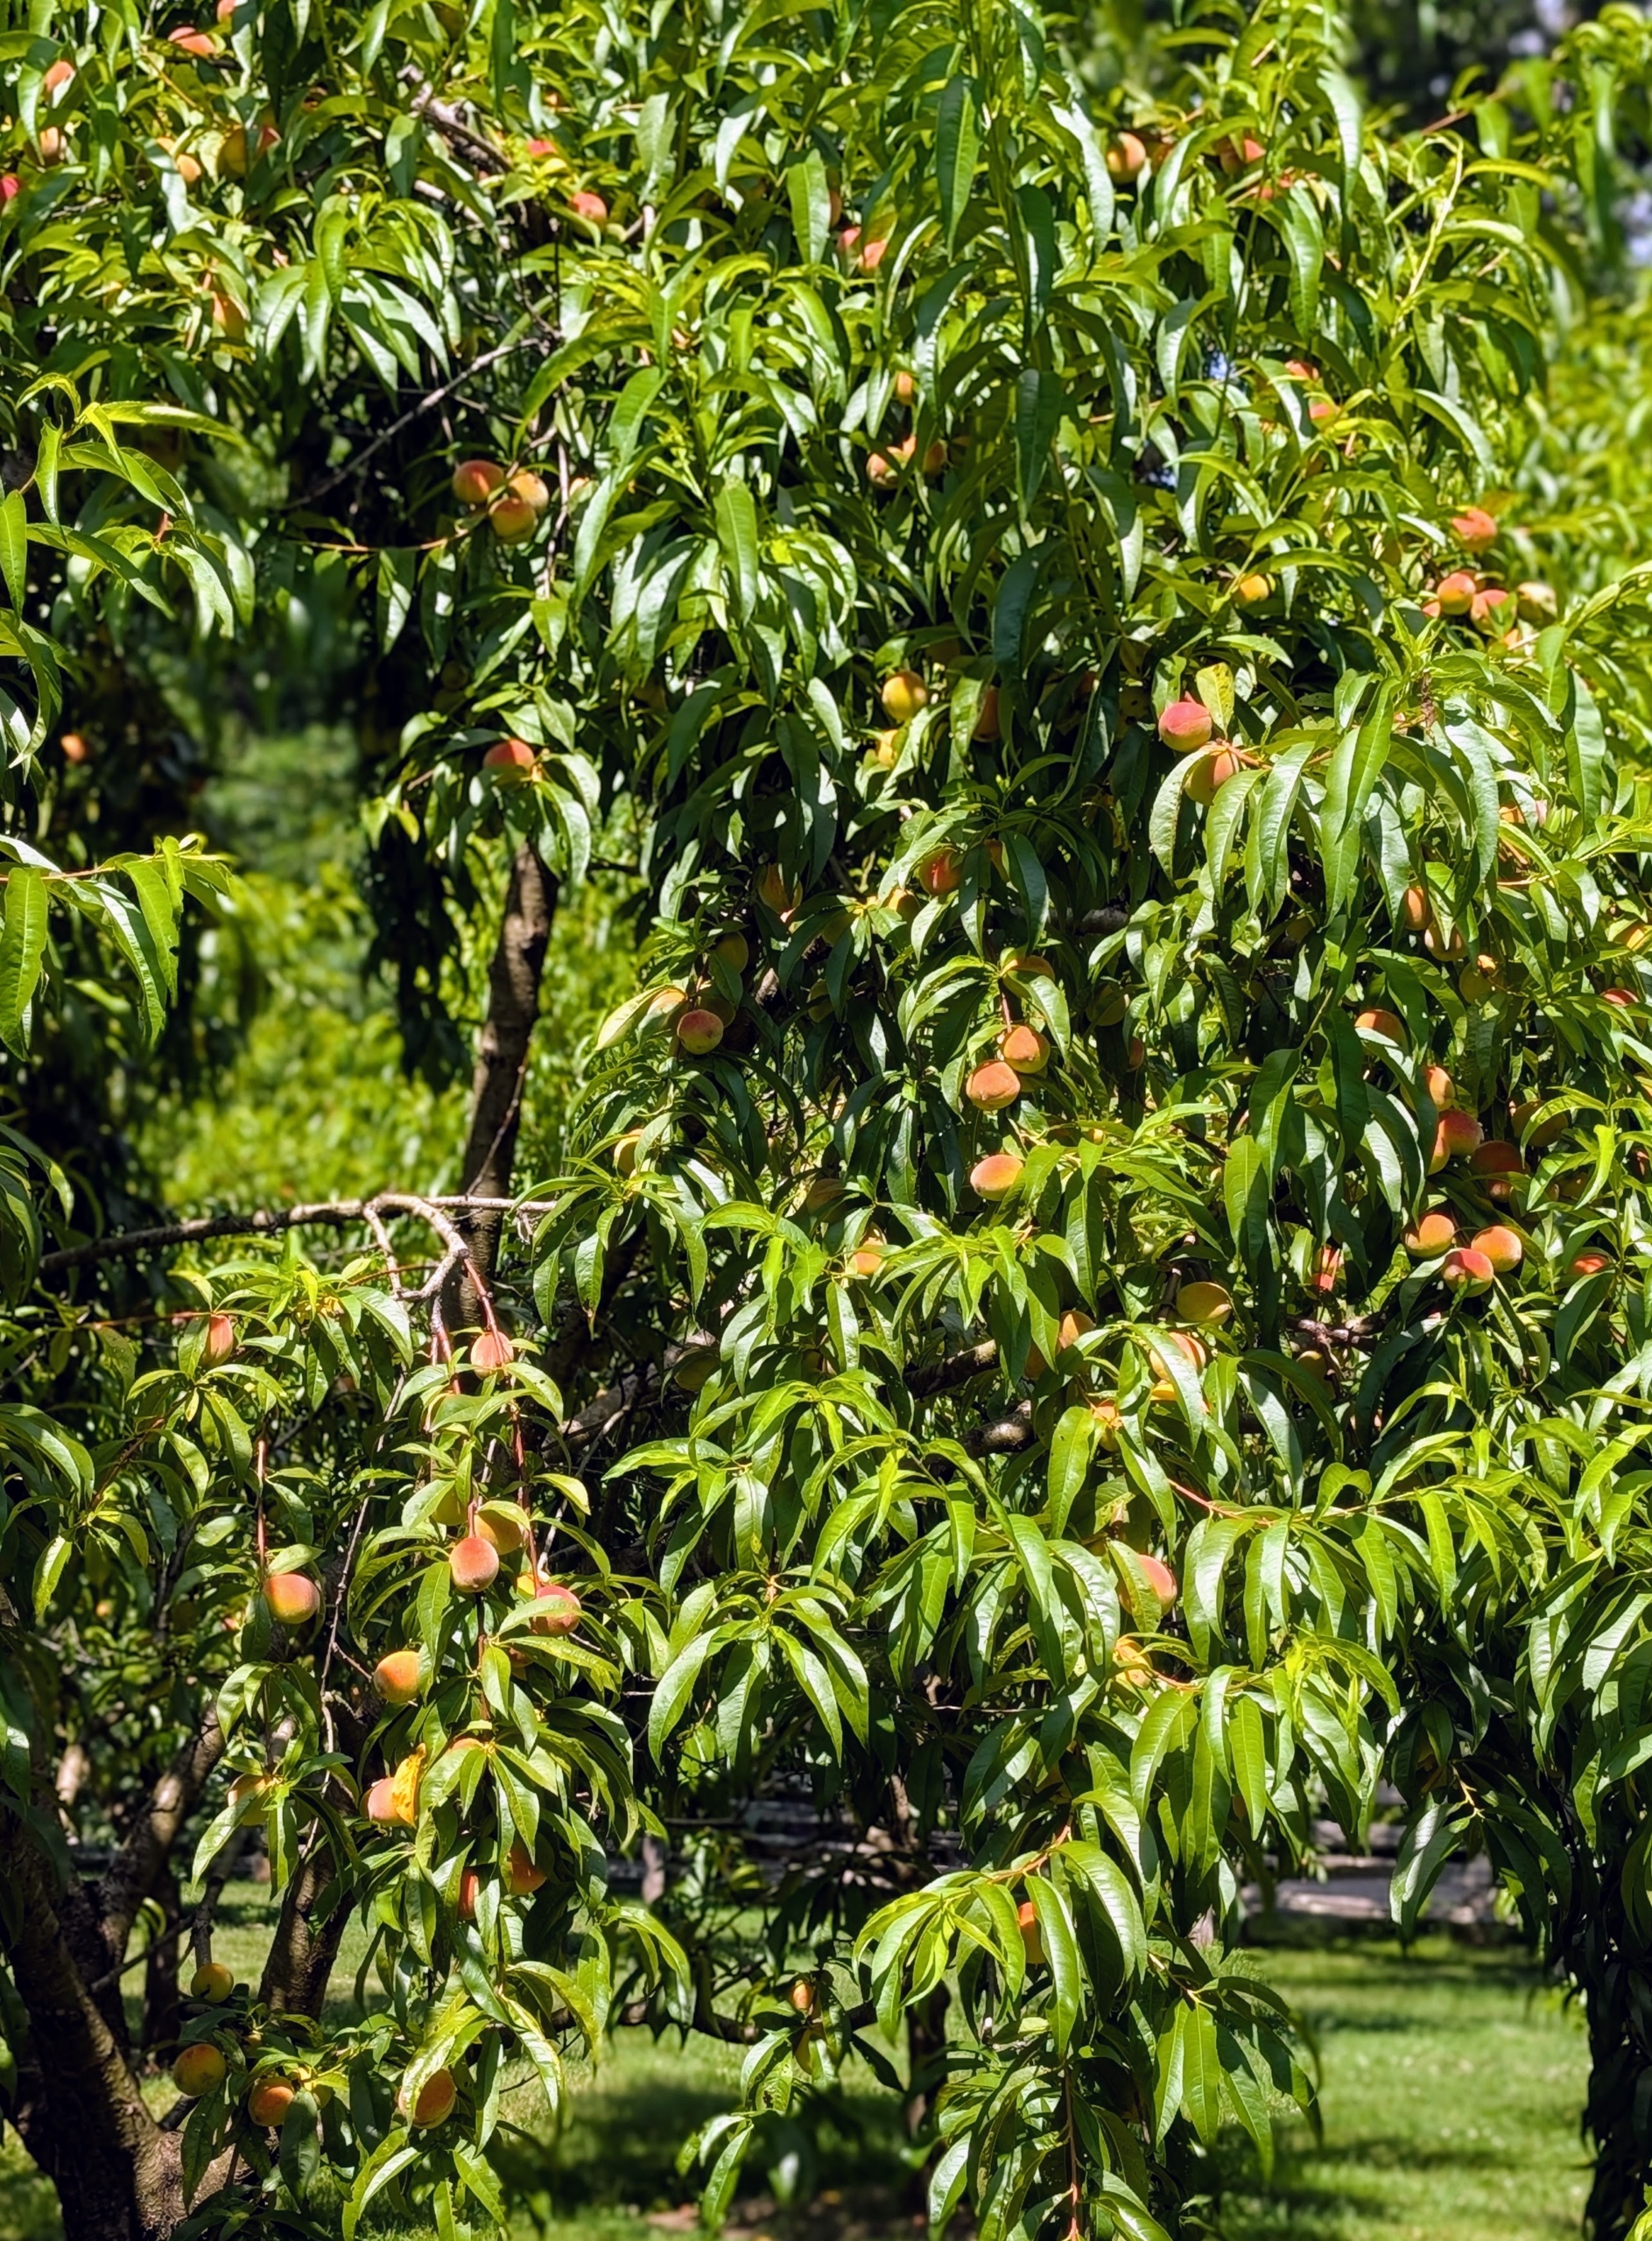
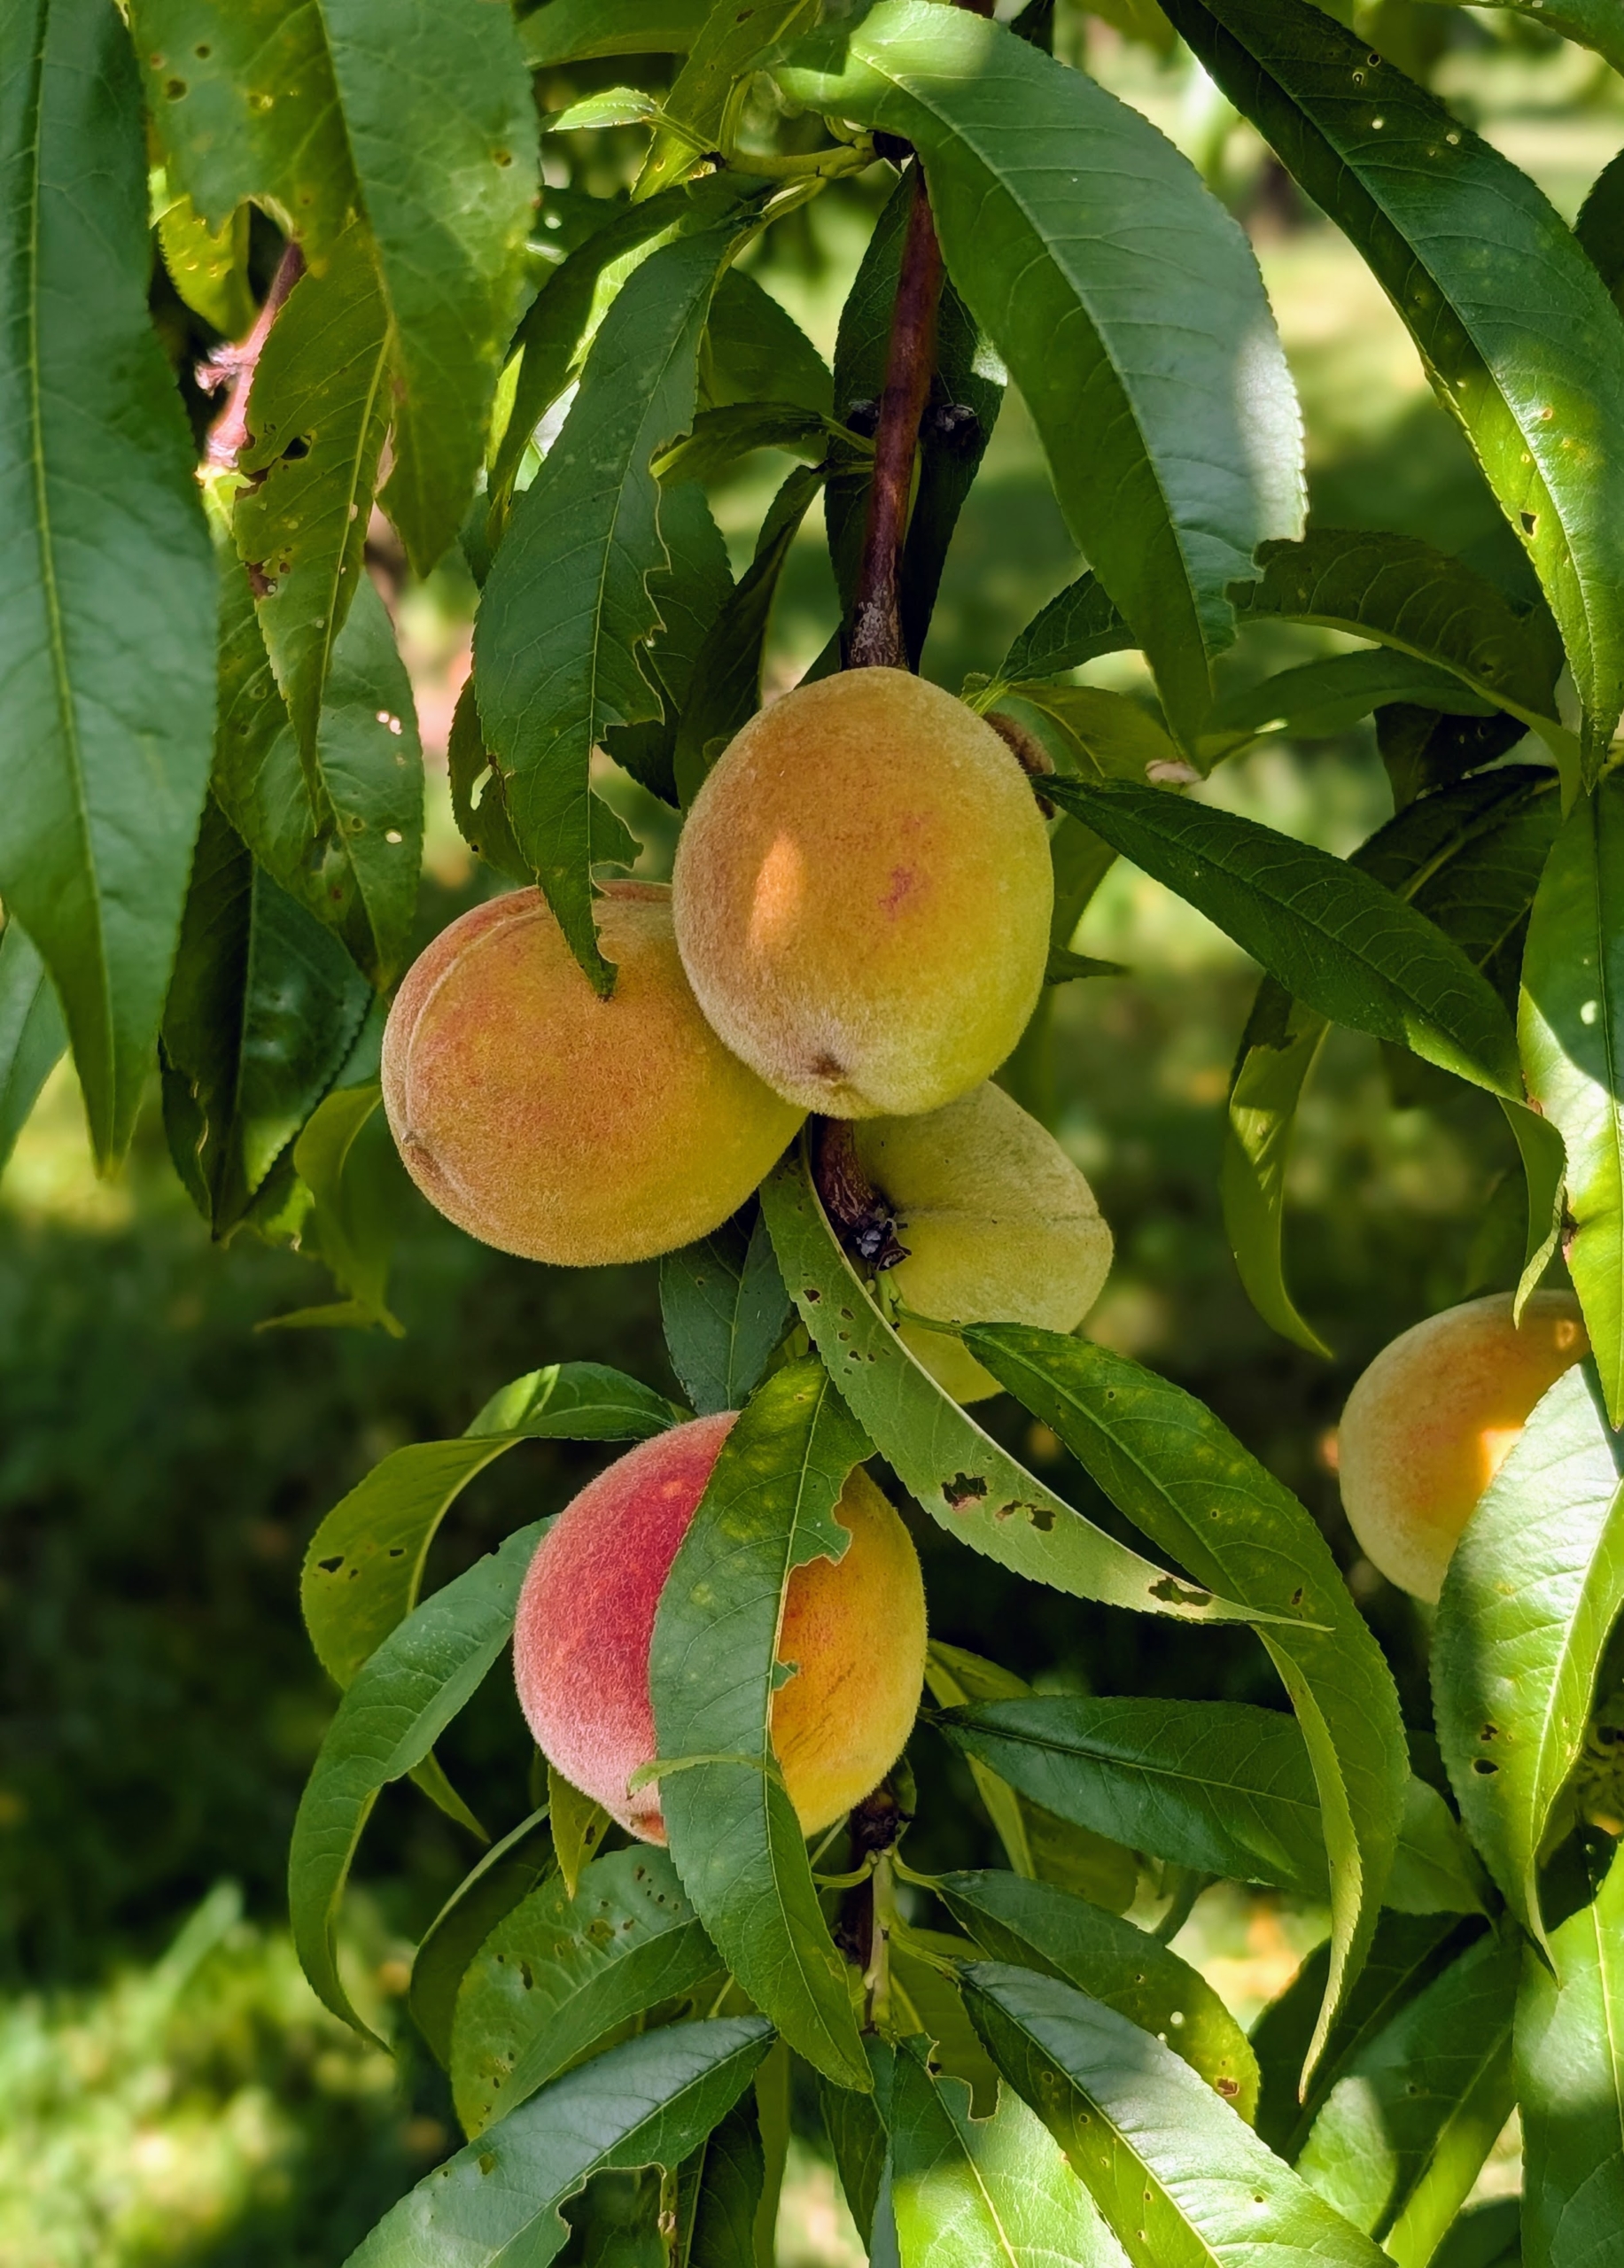
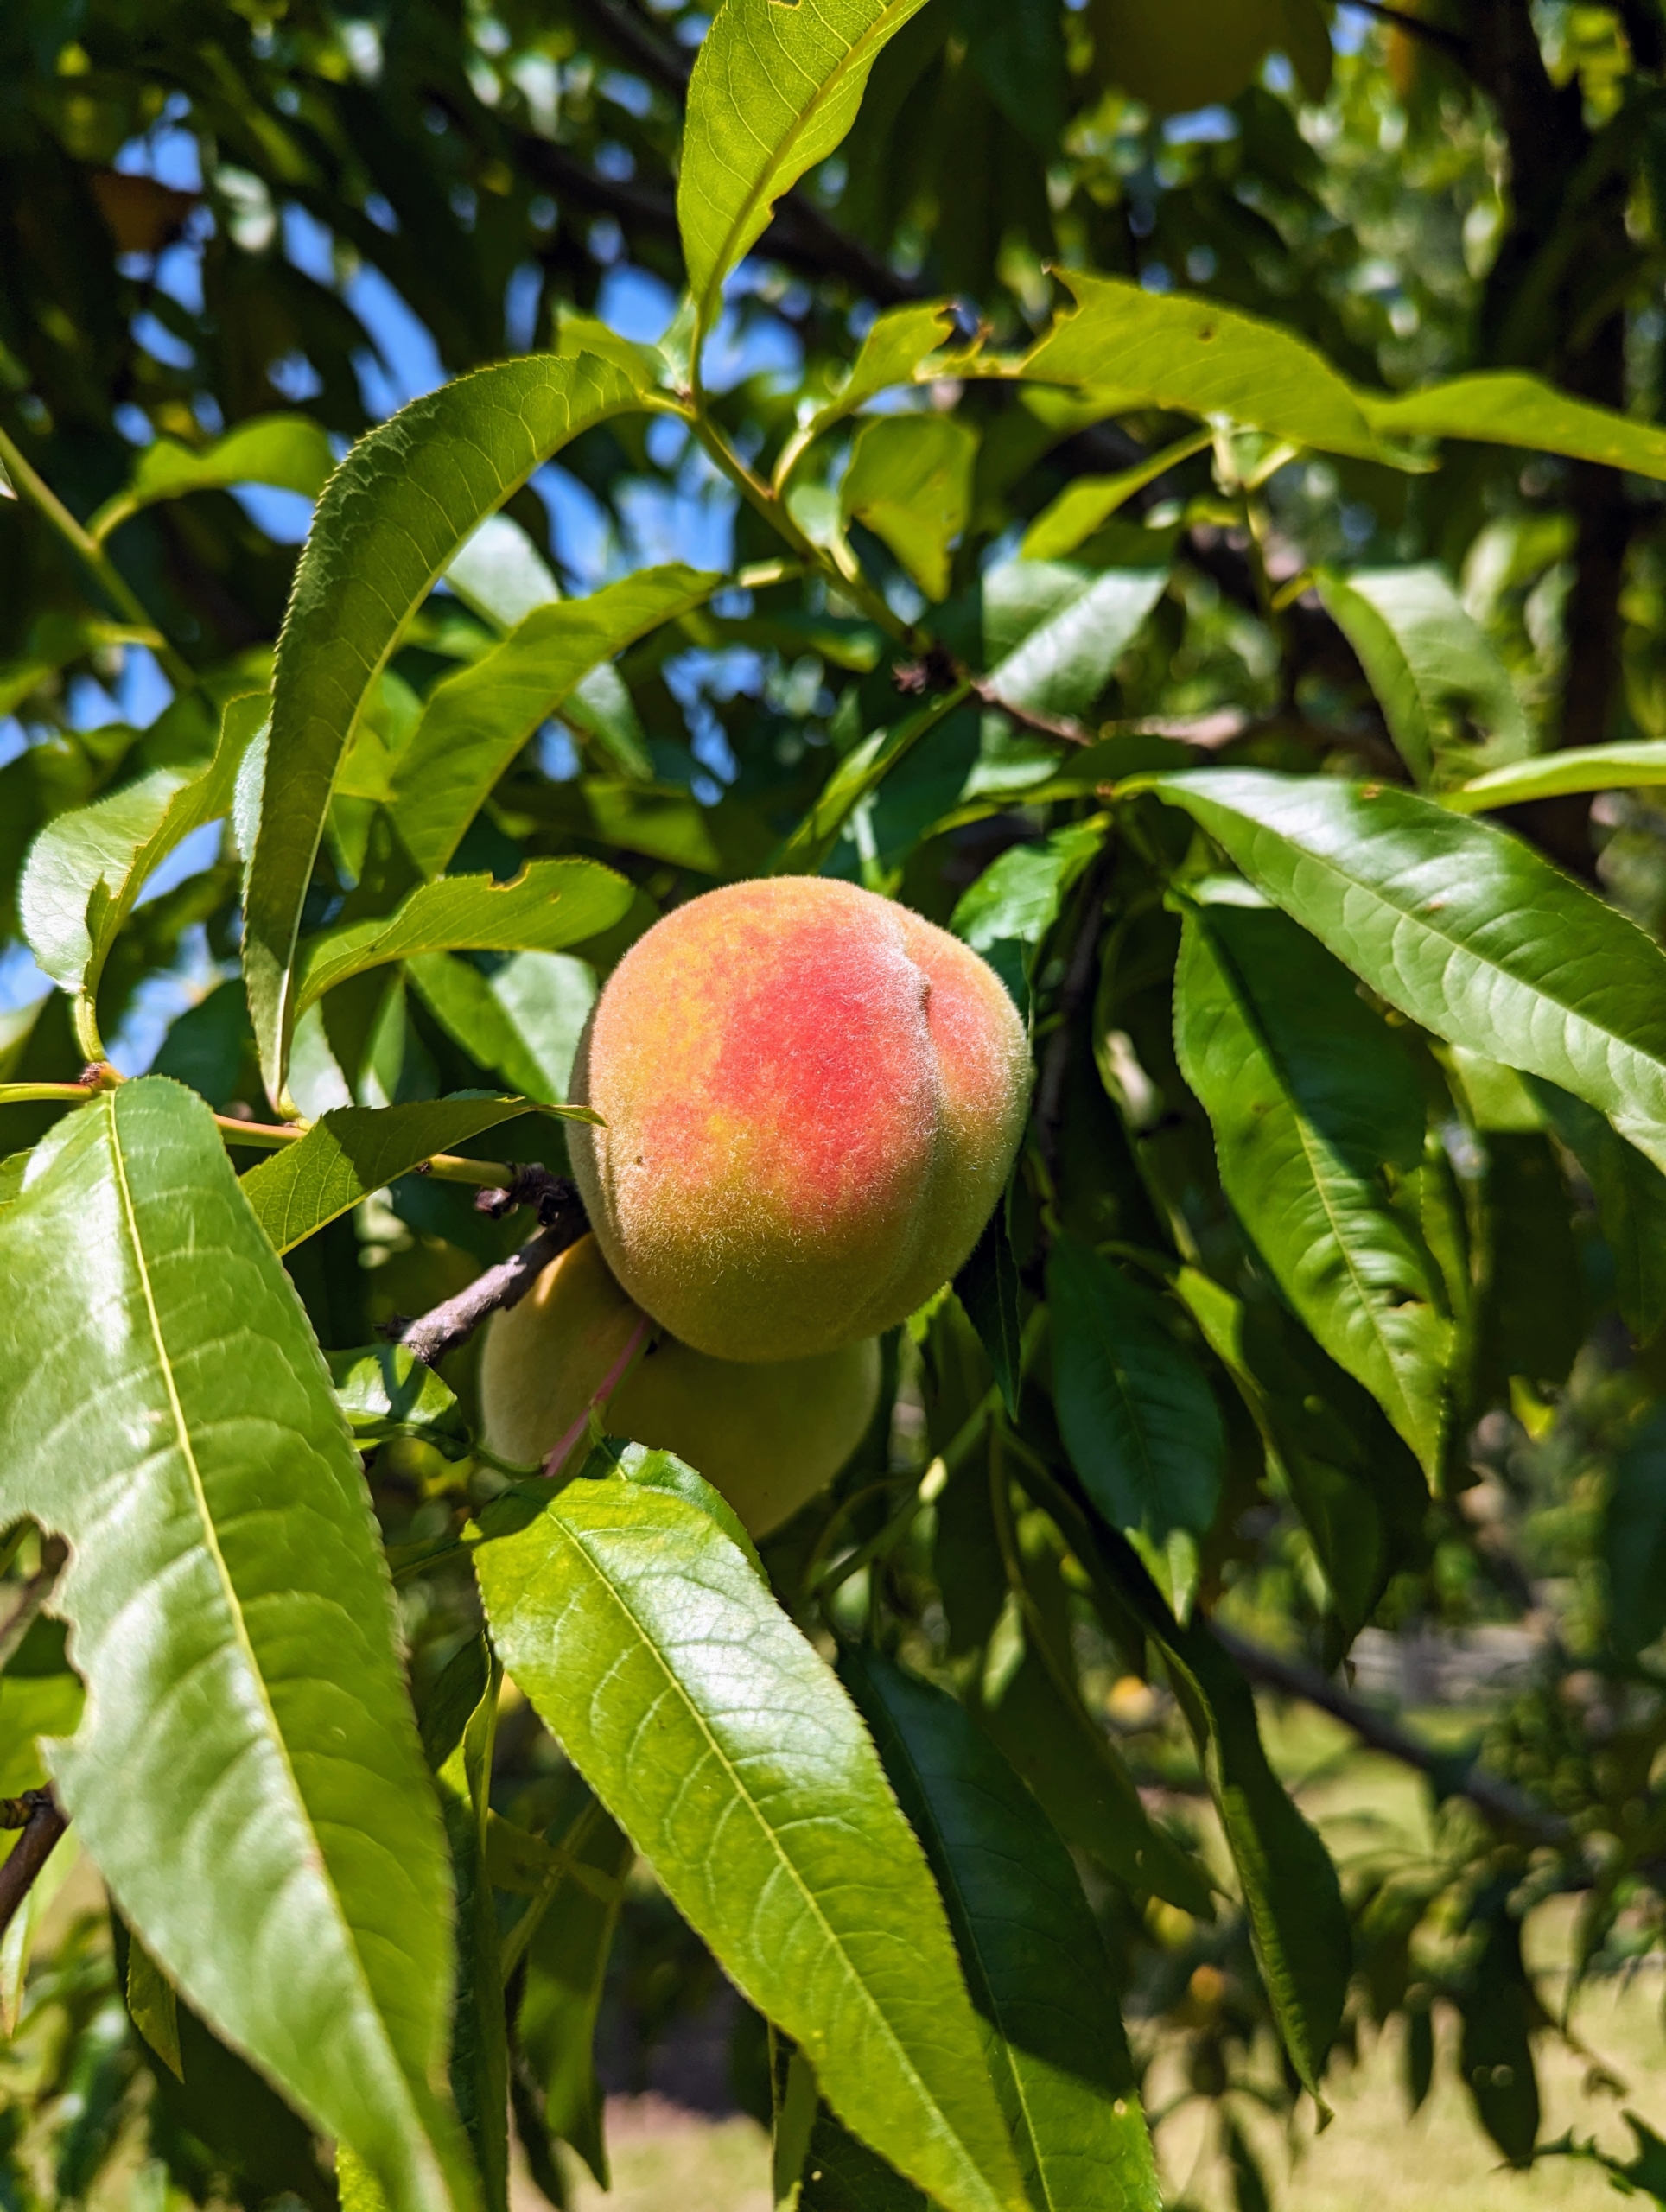
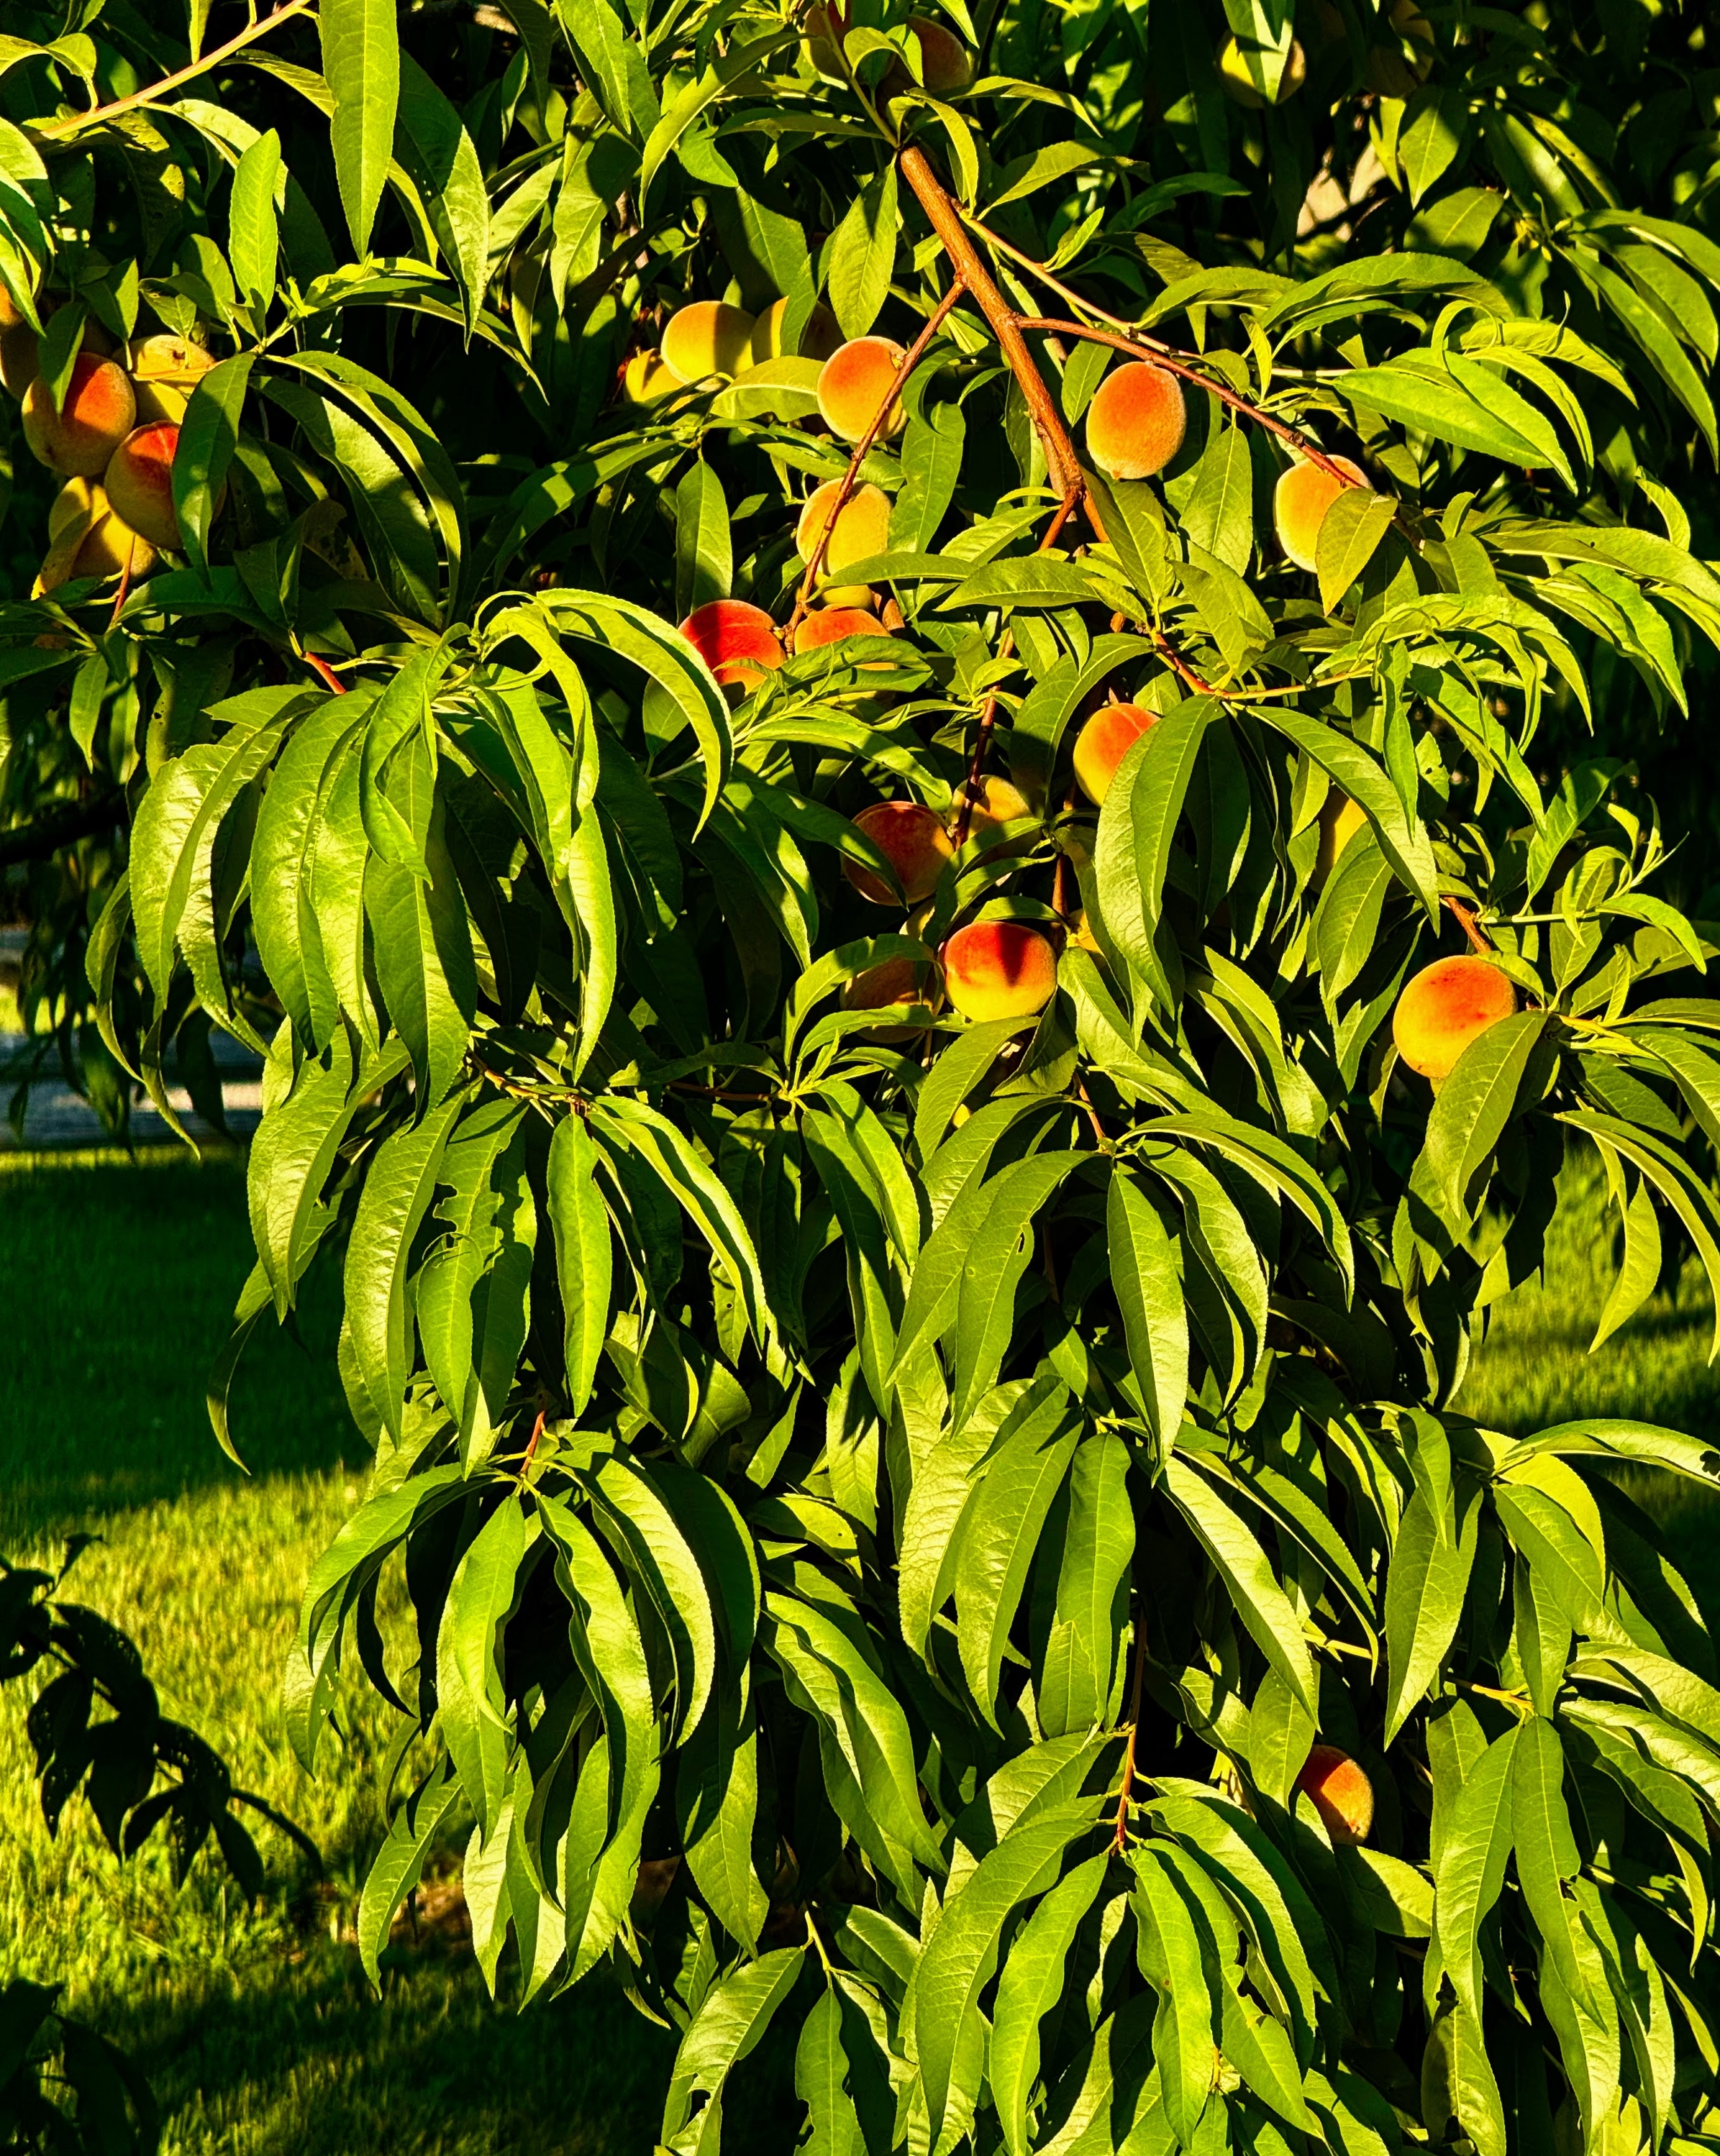
The peach trees are laden with growing fruits.
I have beautiful peaches! Some of the peach varieties include ‘Garnet Beauty’, ‘Lars Anderson’, ‘Polly’, ‘Red Haven’, and ‘Reliance’.
Peach trees thrive in an area where they can soak up the sunshine throughout the whole day. It prefers deep sandy well-drained soil that ranges from a loam to a clay loam.
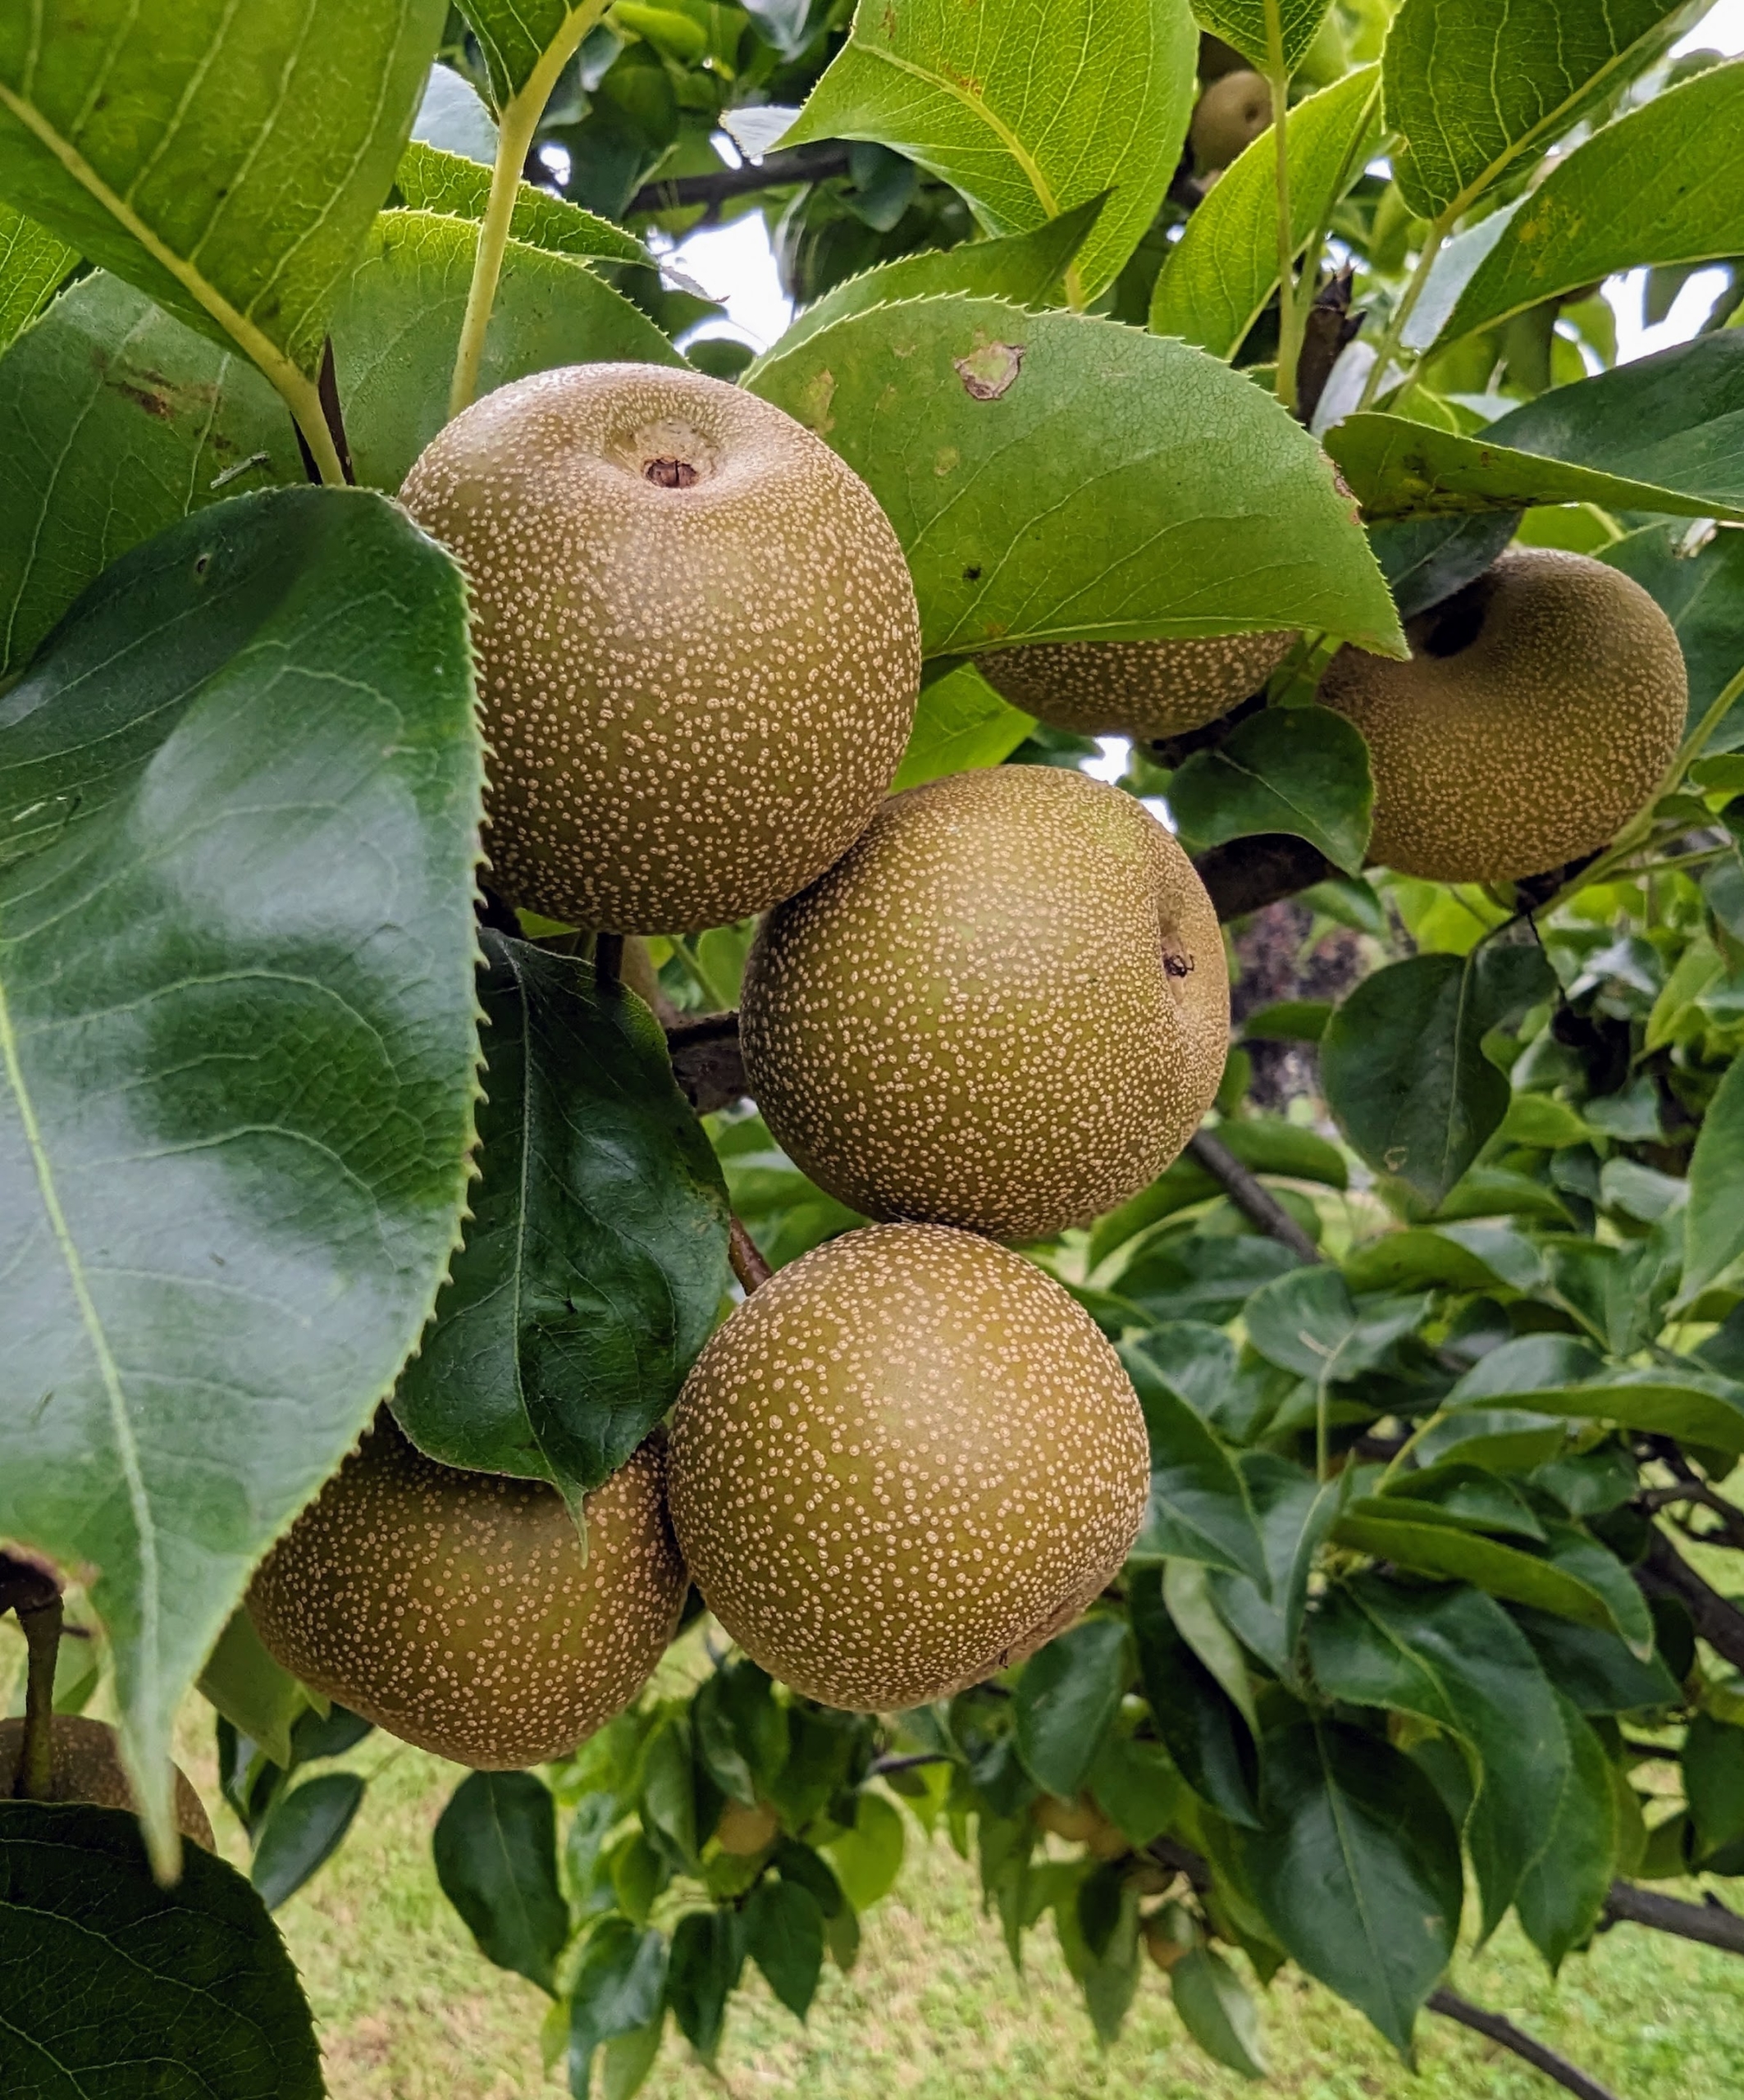
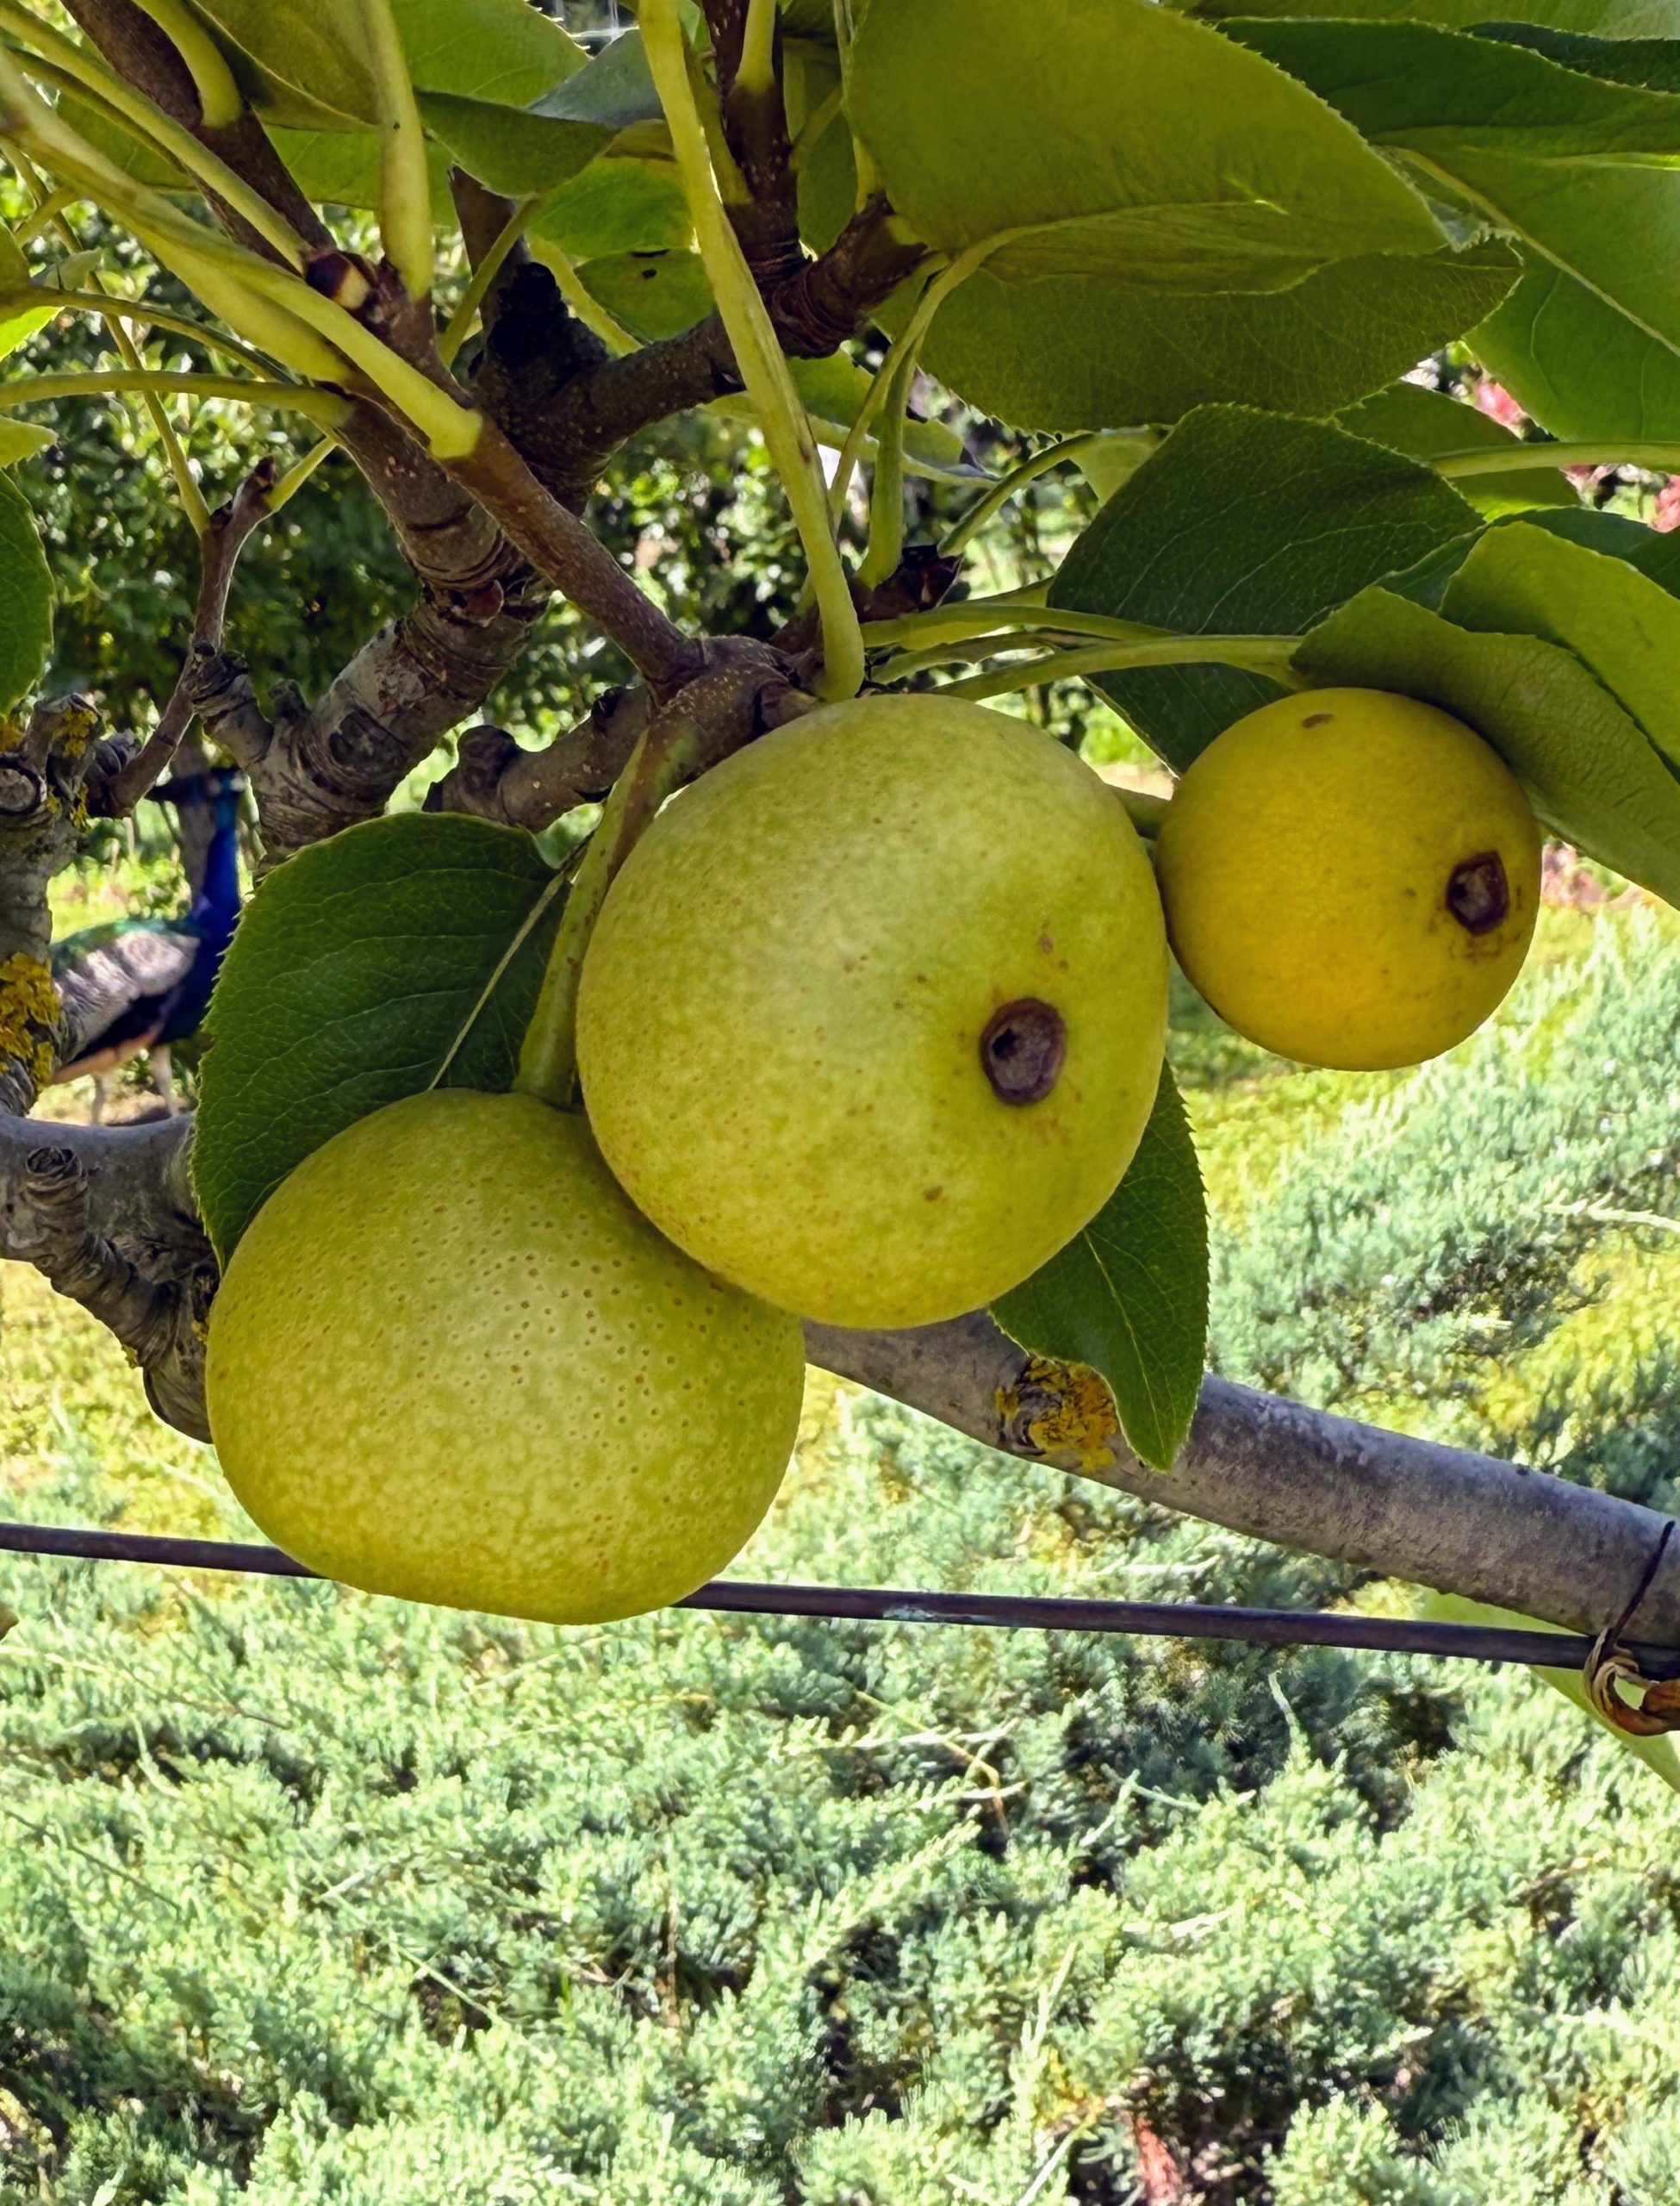
I also planted many types of Asian pear, Pyrus pyrifolia, which is native to East Asia. These trees include Hosui, Niitaka, Shinko, and Shinseiko. Asian pears have a high water content and a crisp, grainy texture, which is very different from the European varieties.
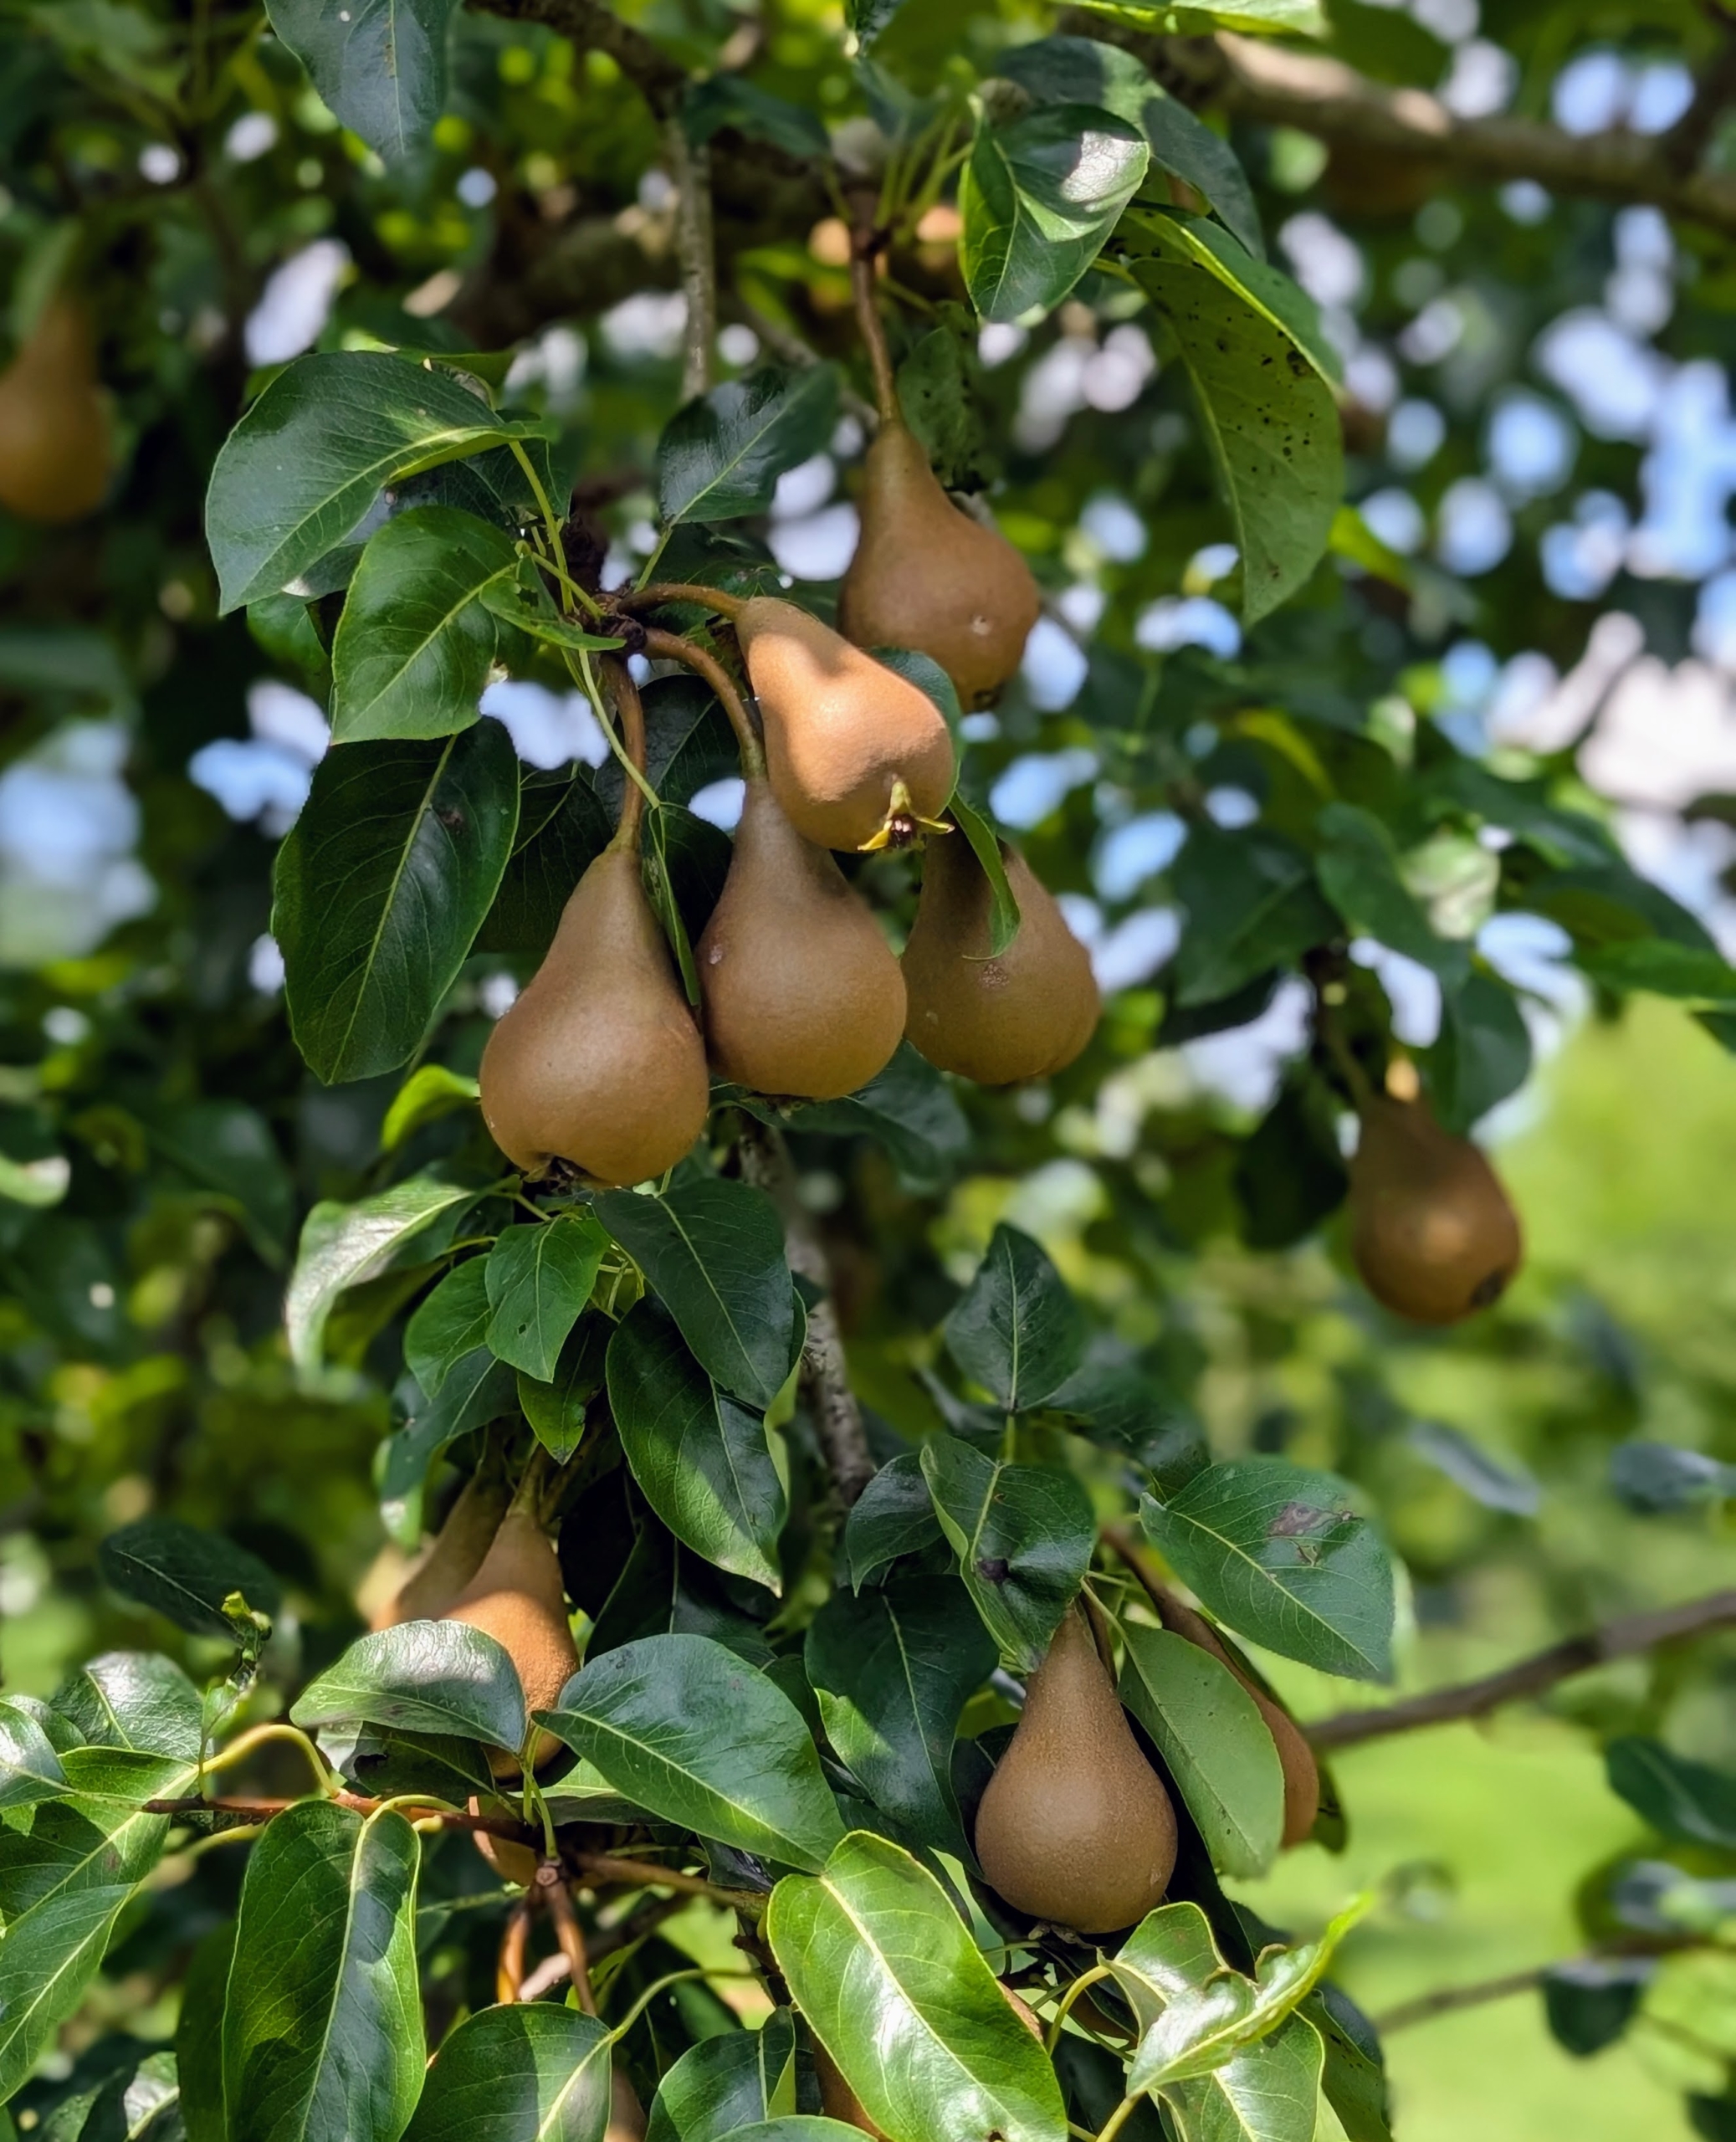
Some of the other pears in the orchard are ‘Bosc,’ ‘Bartlett’, ‘Columbia’, ‘D’Amalis’, ‘Ginnybrook’, ‘McLaughlin’, ‘Nova’, ‘Patten’, ‘Seckel’, ‘Stacyville’, and ‘Washington State’.
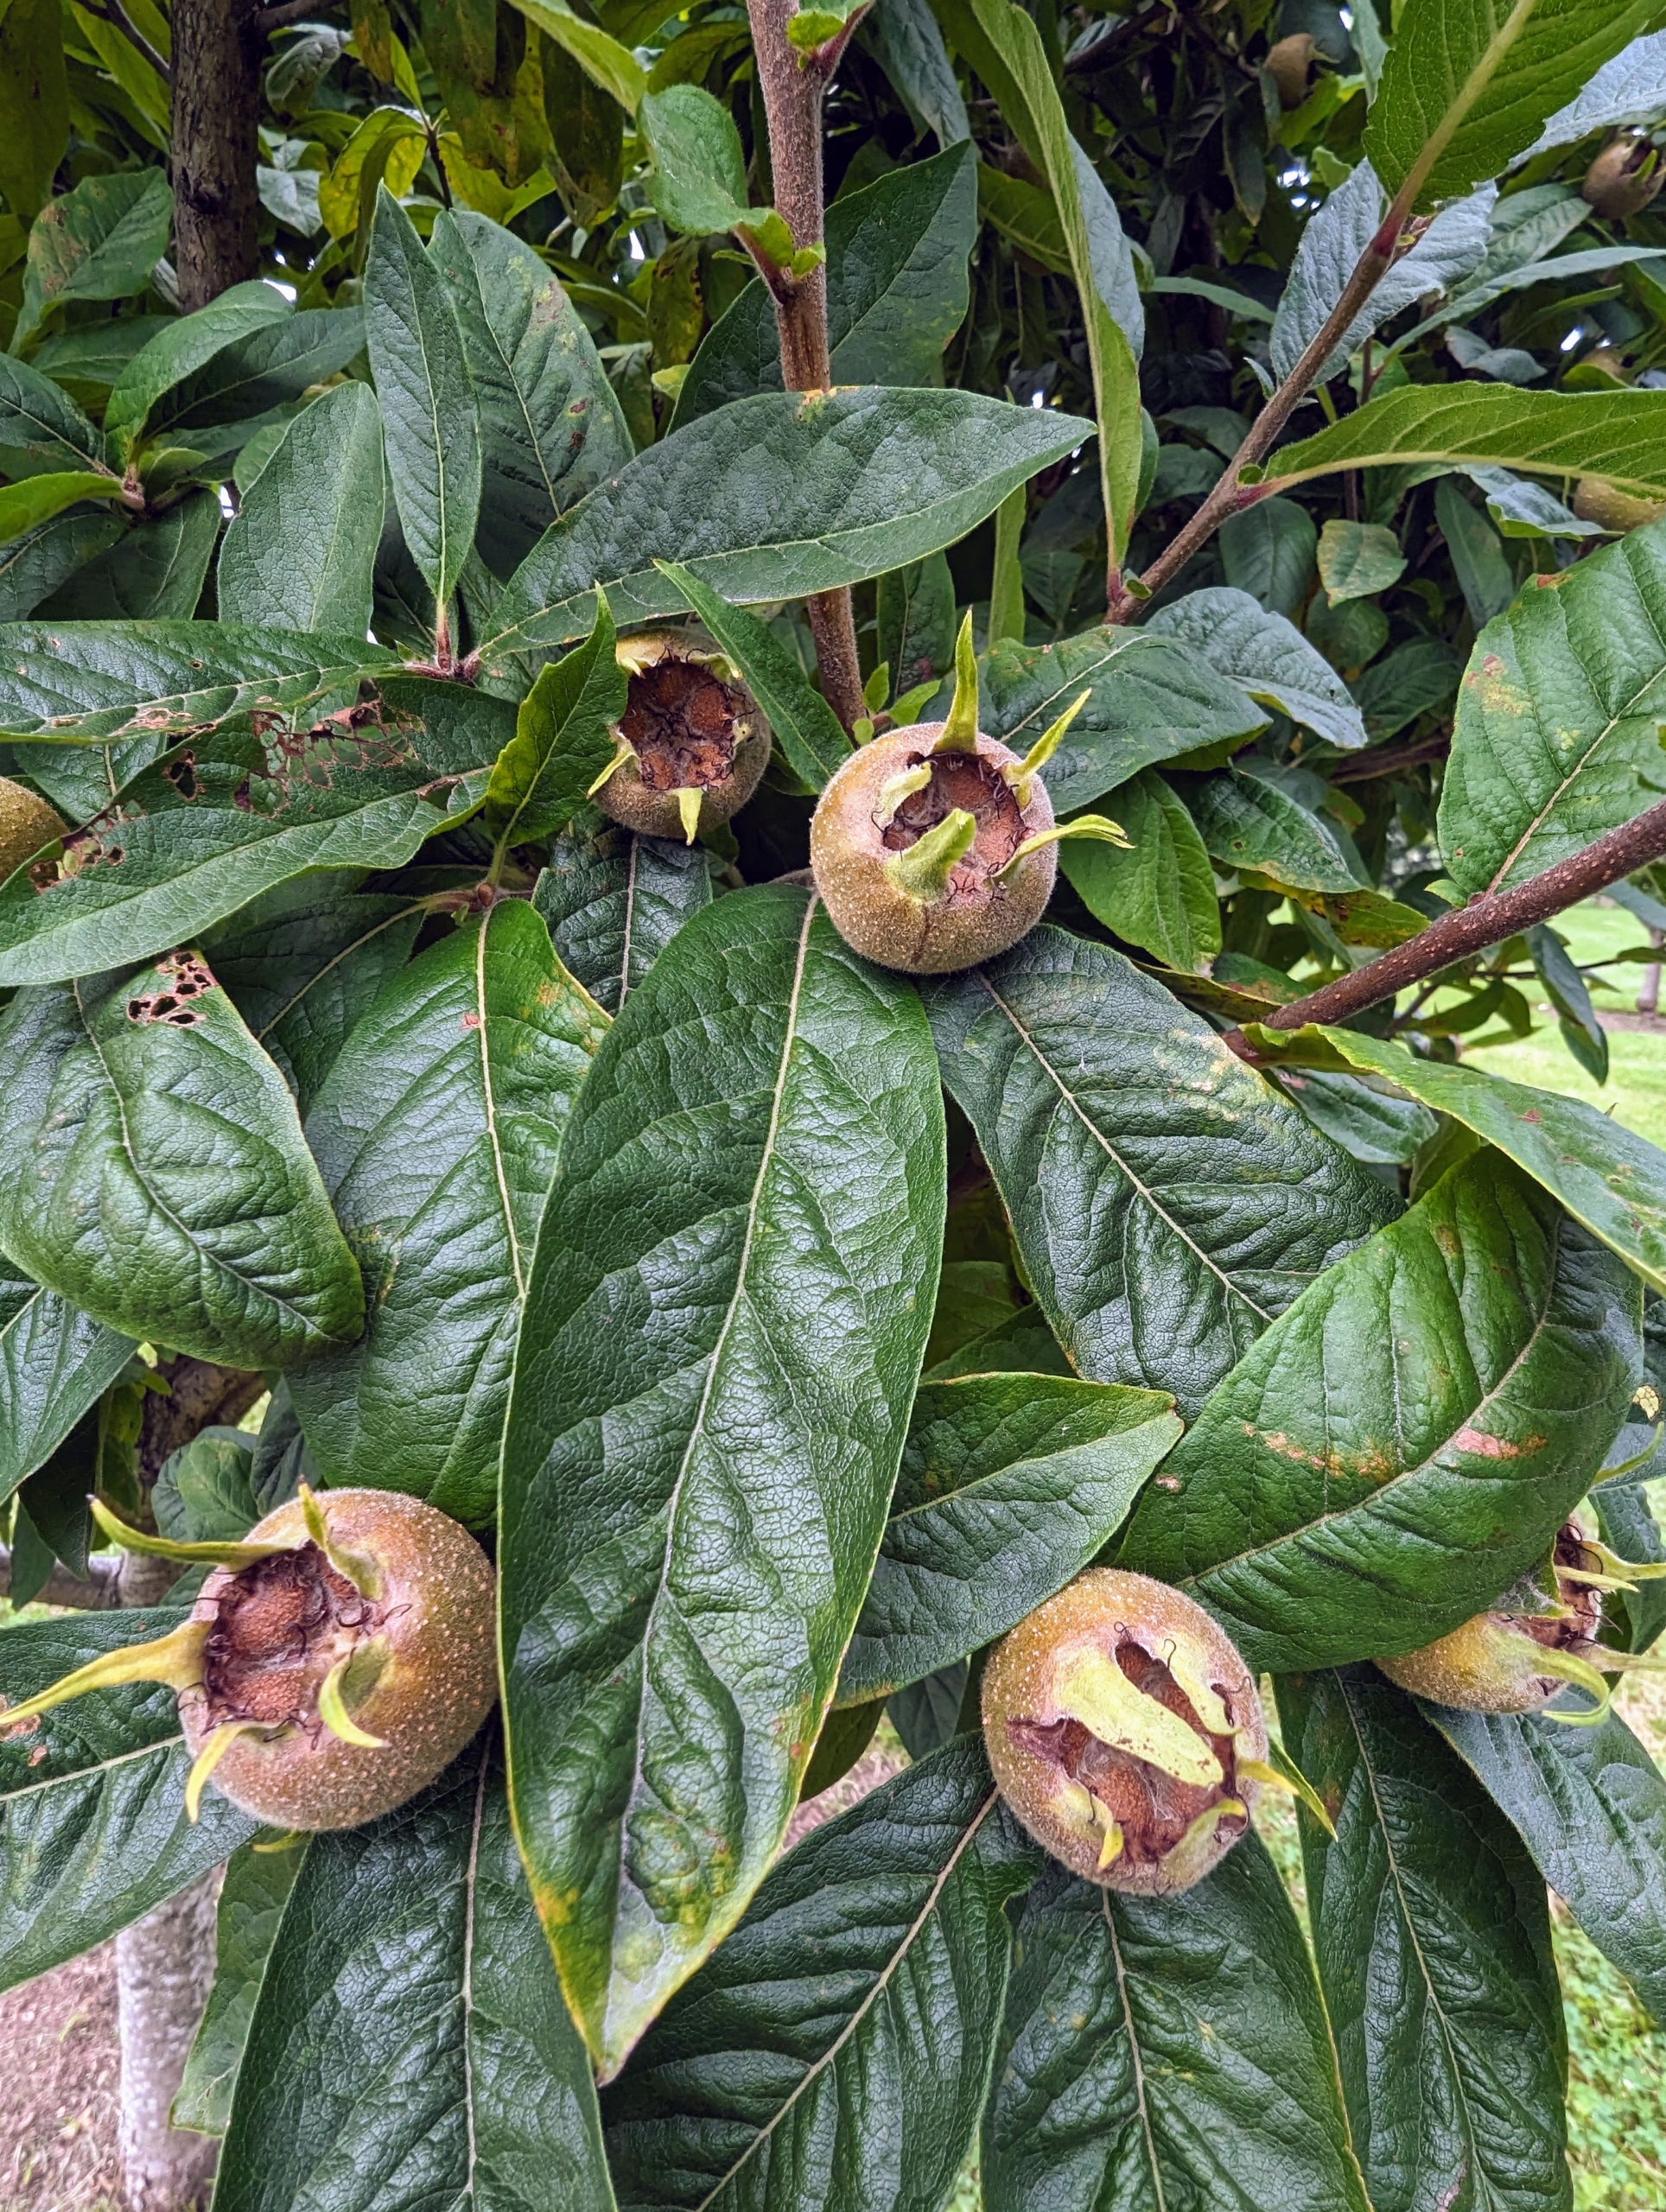
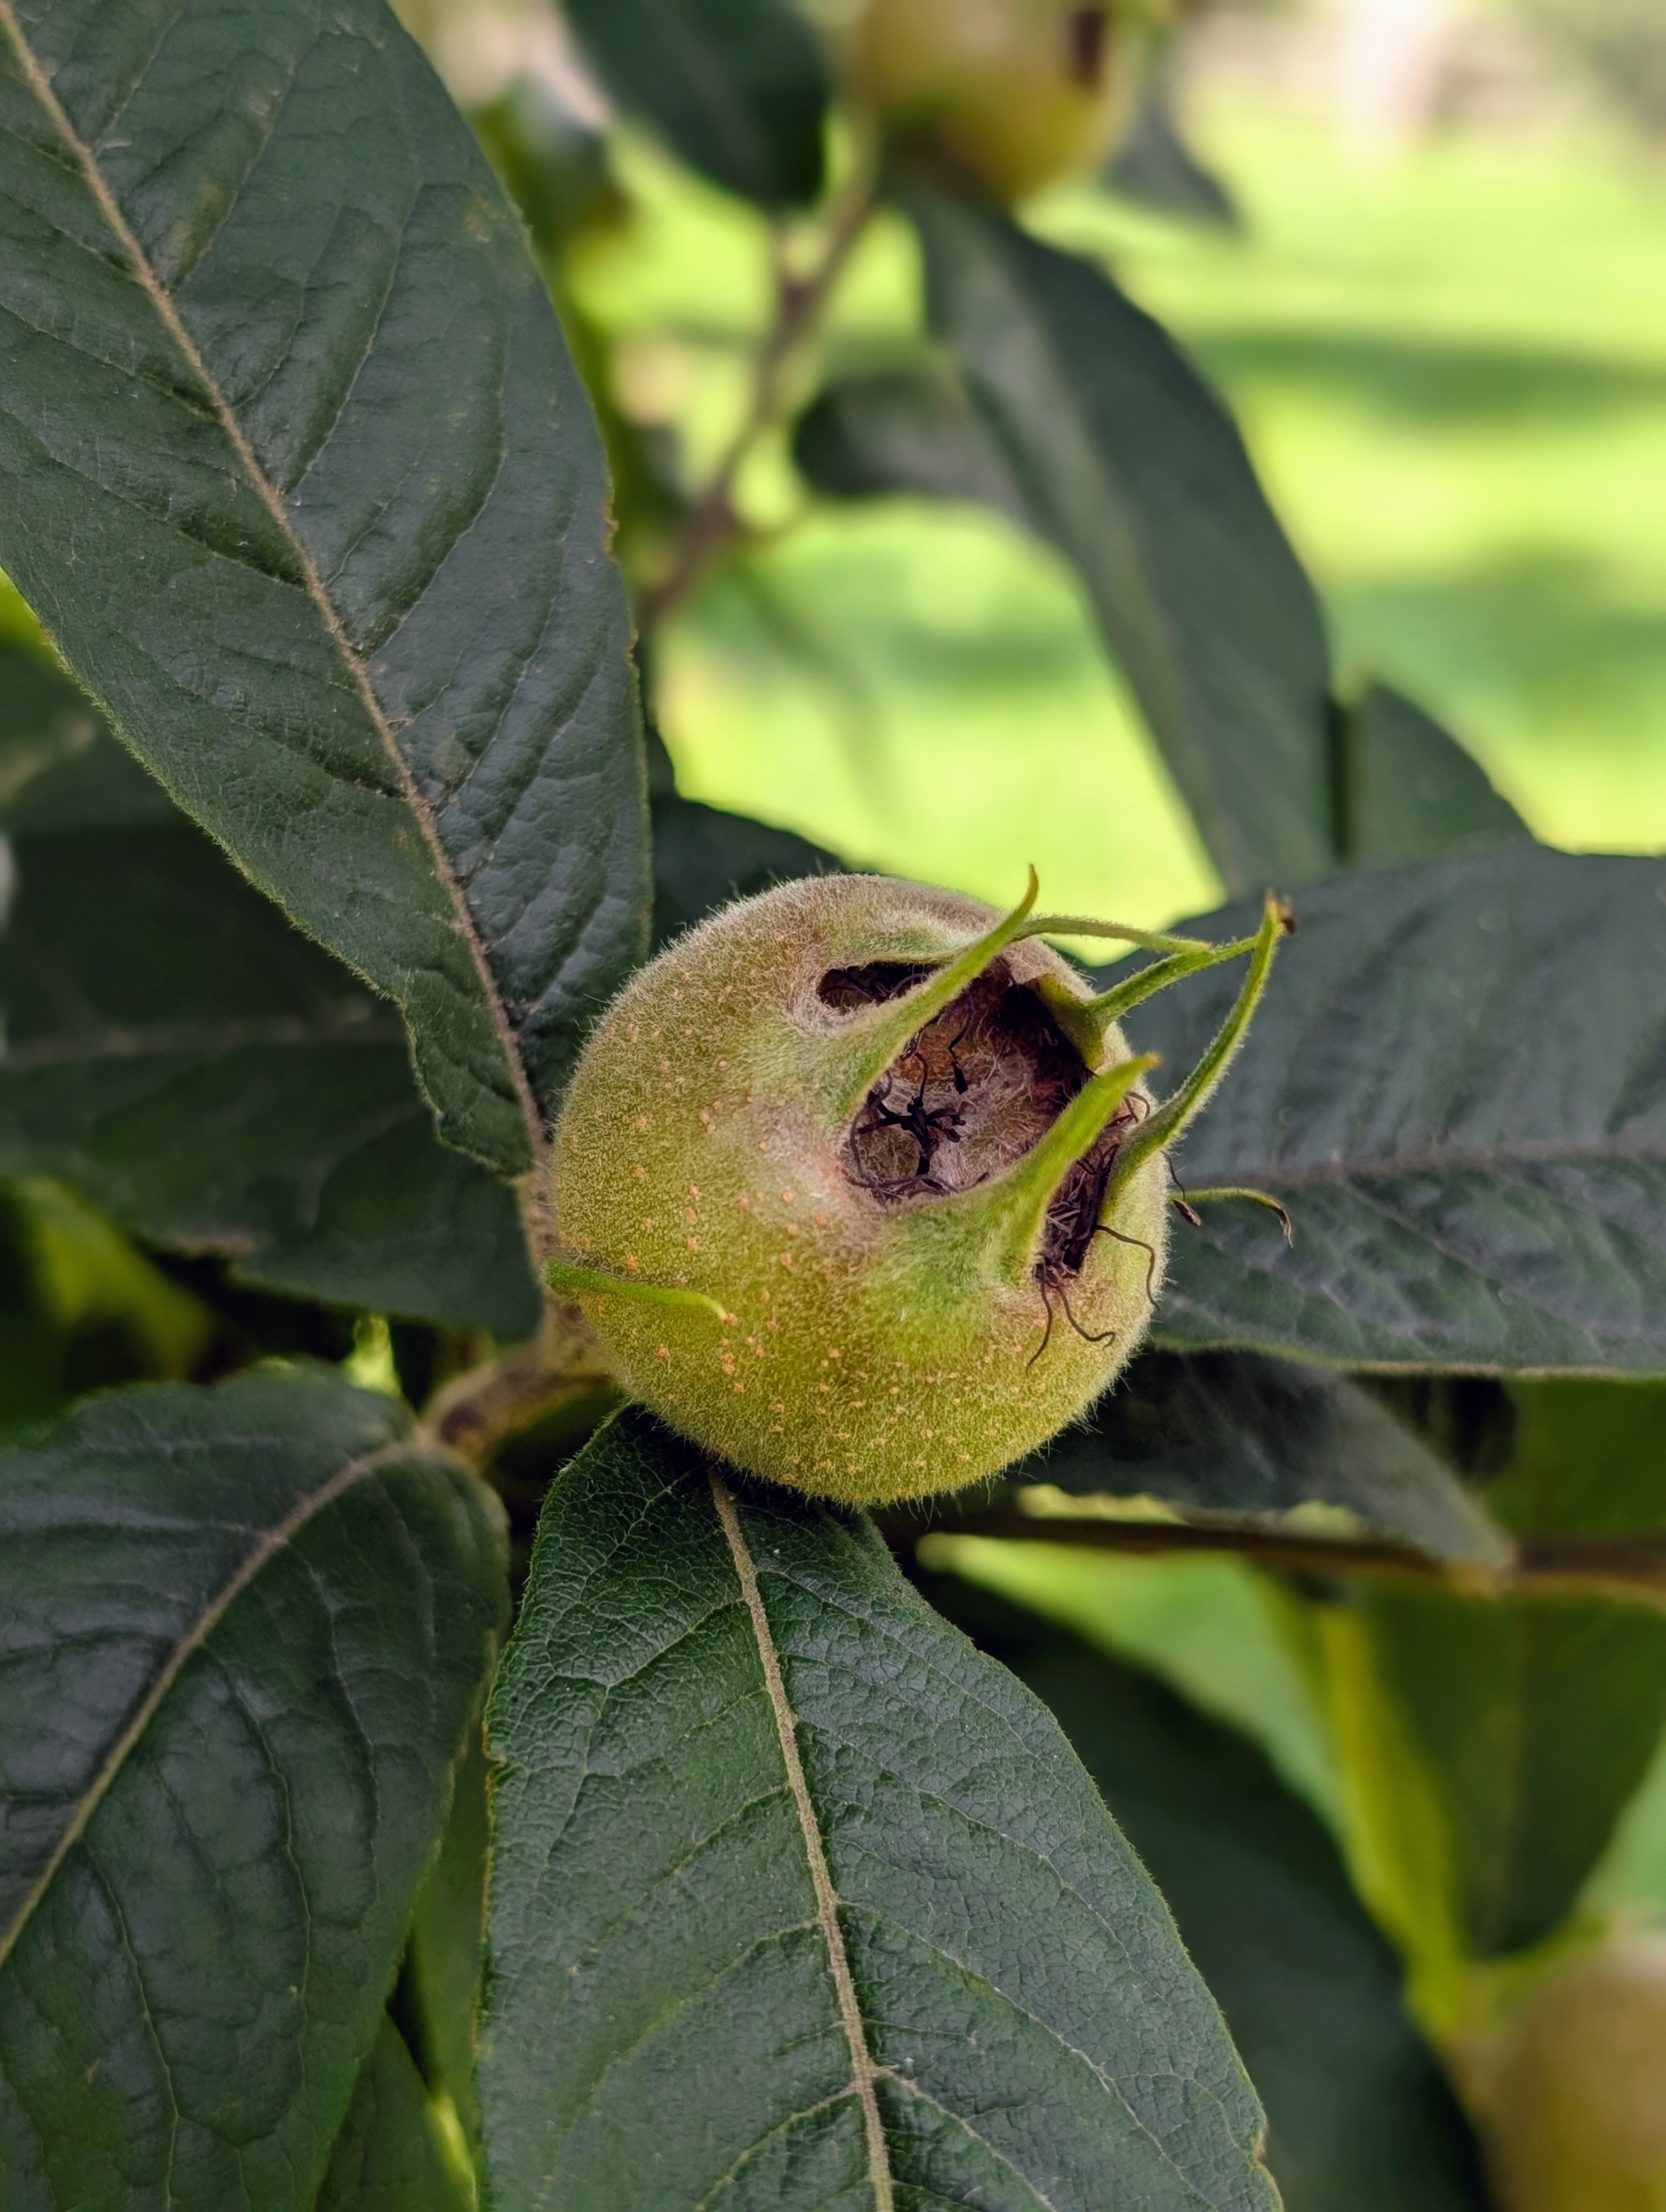
Do you know what these are? Medlars, Mespilus germanica – a small deciduous tree and member of the rose family. The fruit is small, about one to two inches in diameter, and ranging in color from rosy rust to dusty brown. Medlars are native to Southwestern Asia and Southeastern Europe.
The fruits will be the last to harvest. They have to be eaten when almost rotten in a process called “bletting”. And, because of this, they either have to be eaten right off the tree or picked early and put aside for a few weeks to blet. The medlar is very pulpy and very sweet. Its taste is similar to an overripe date with a flavor similar to toffee apples or apple butter.
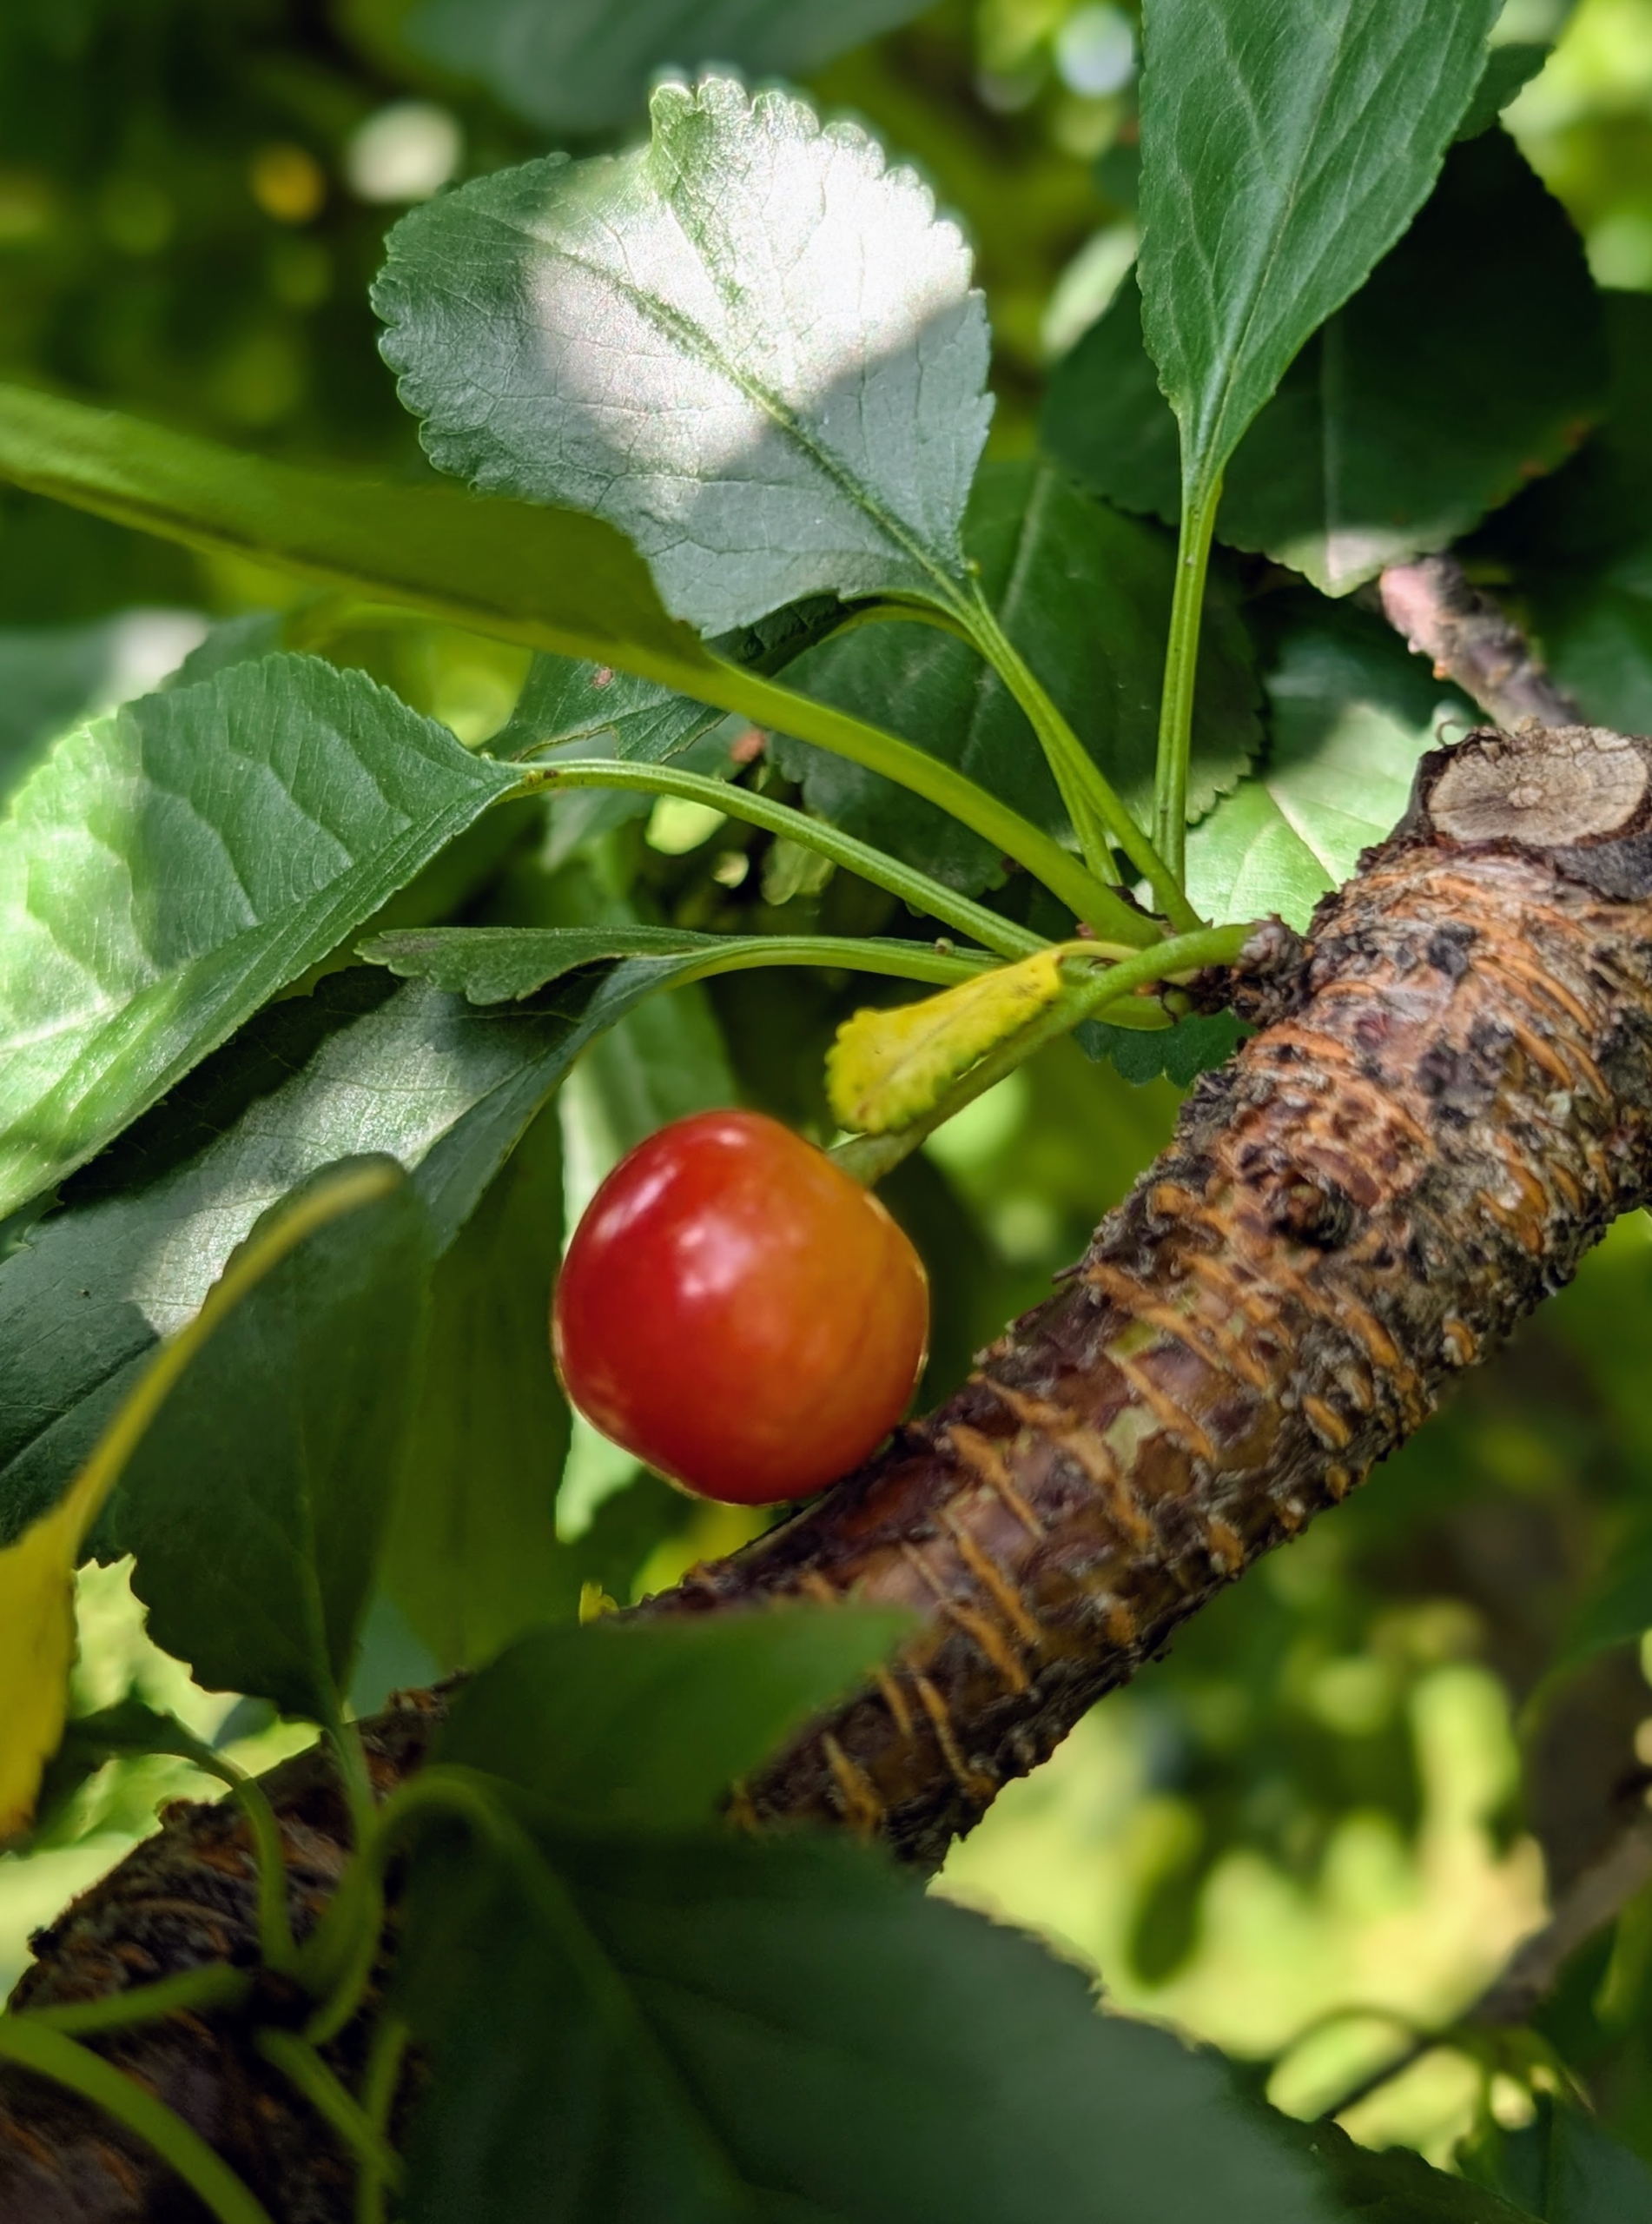
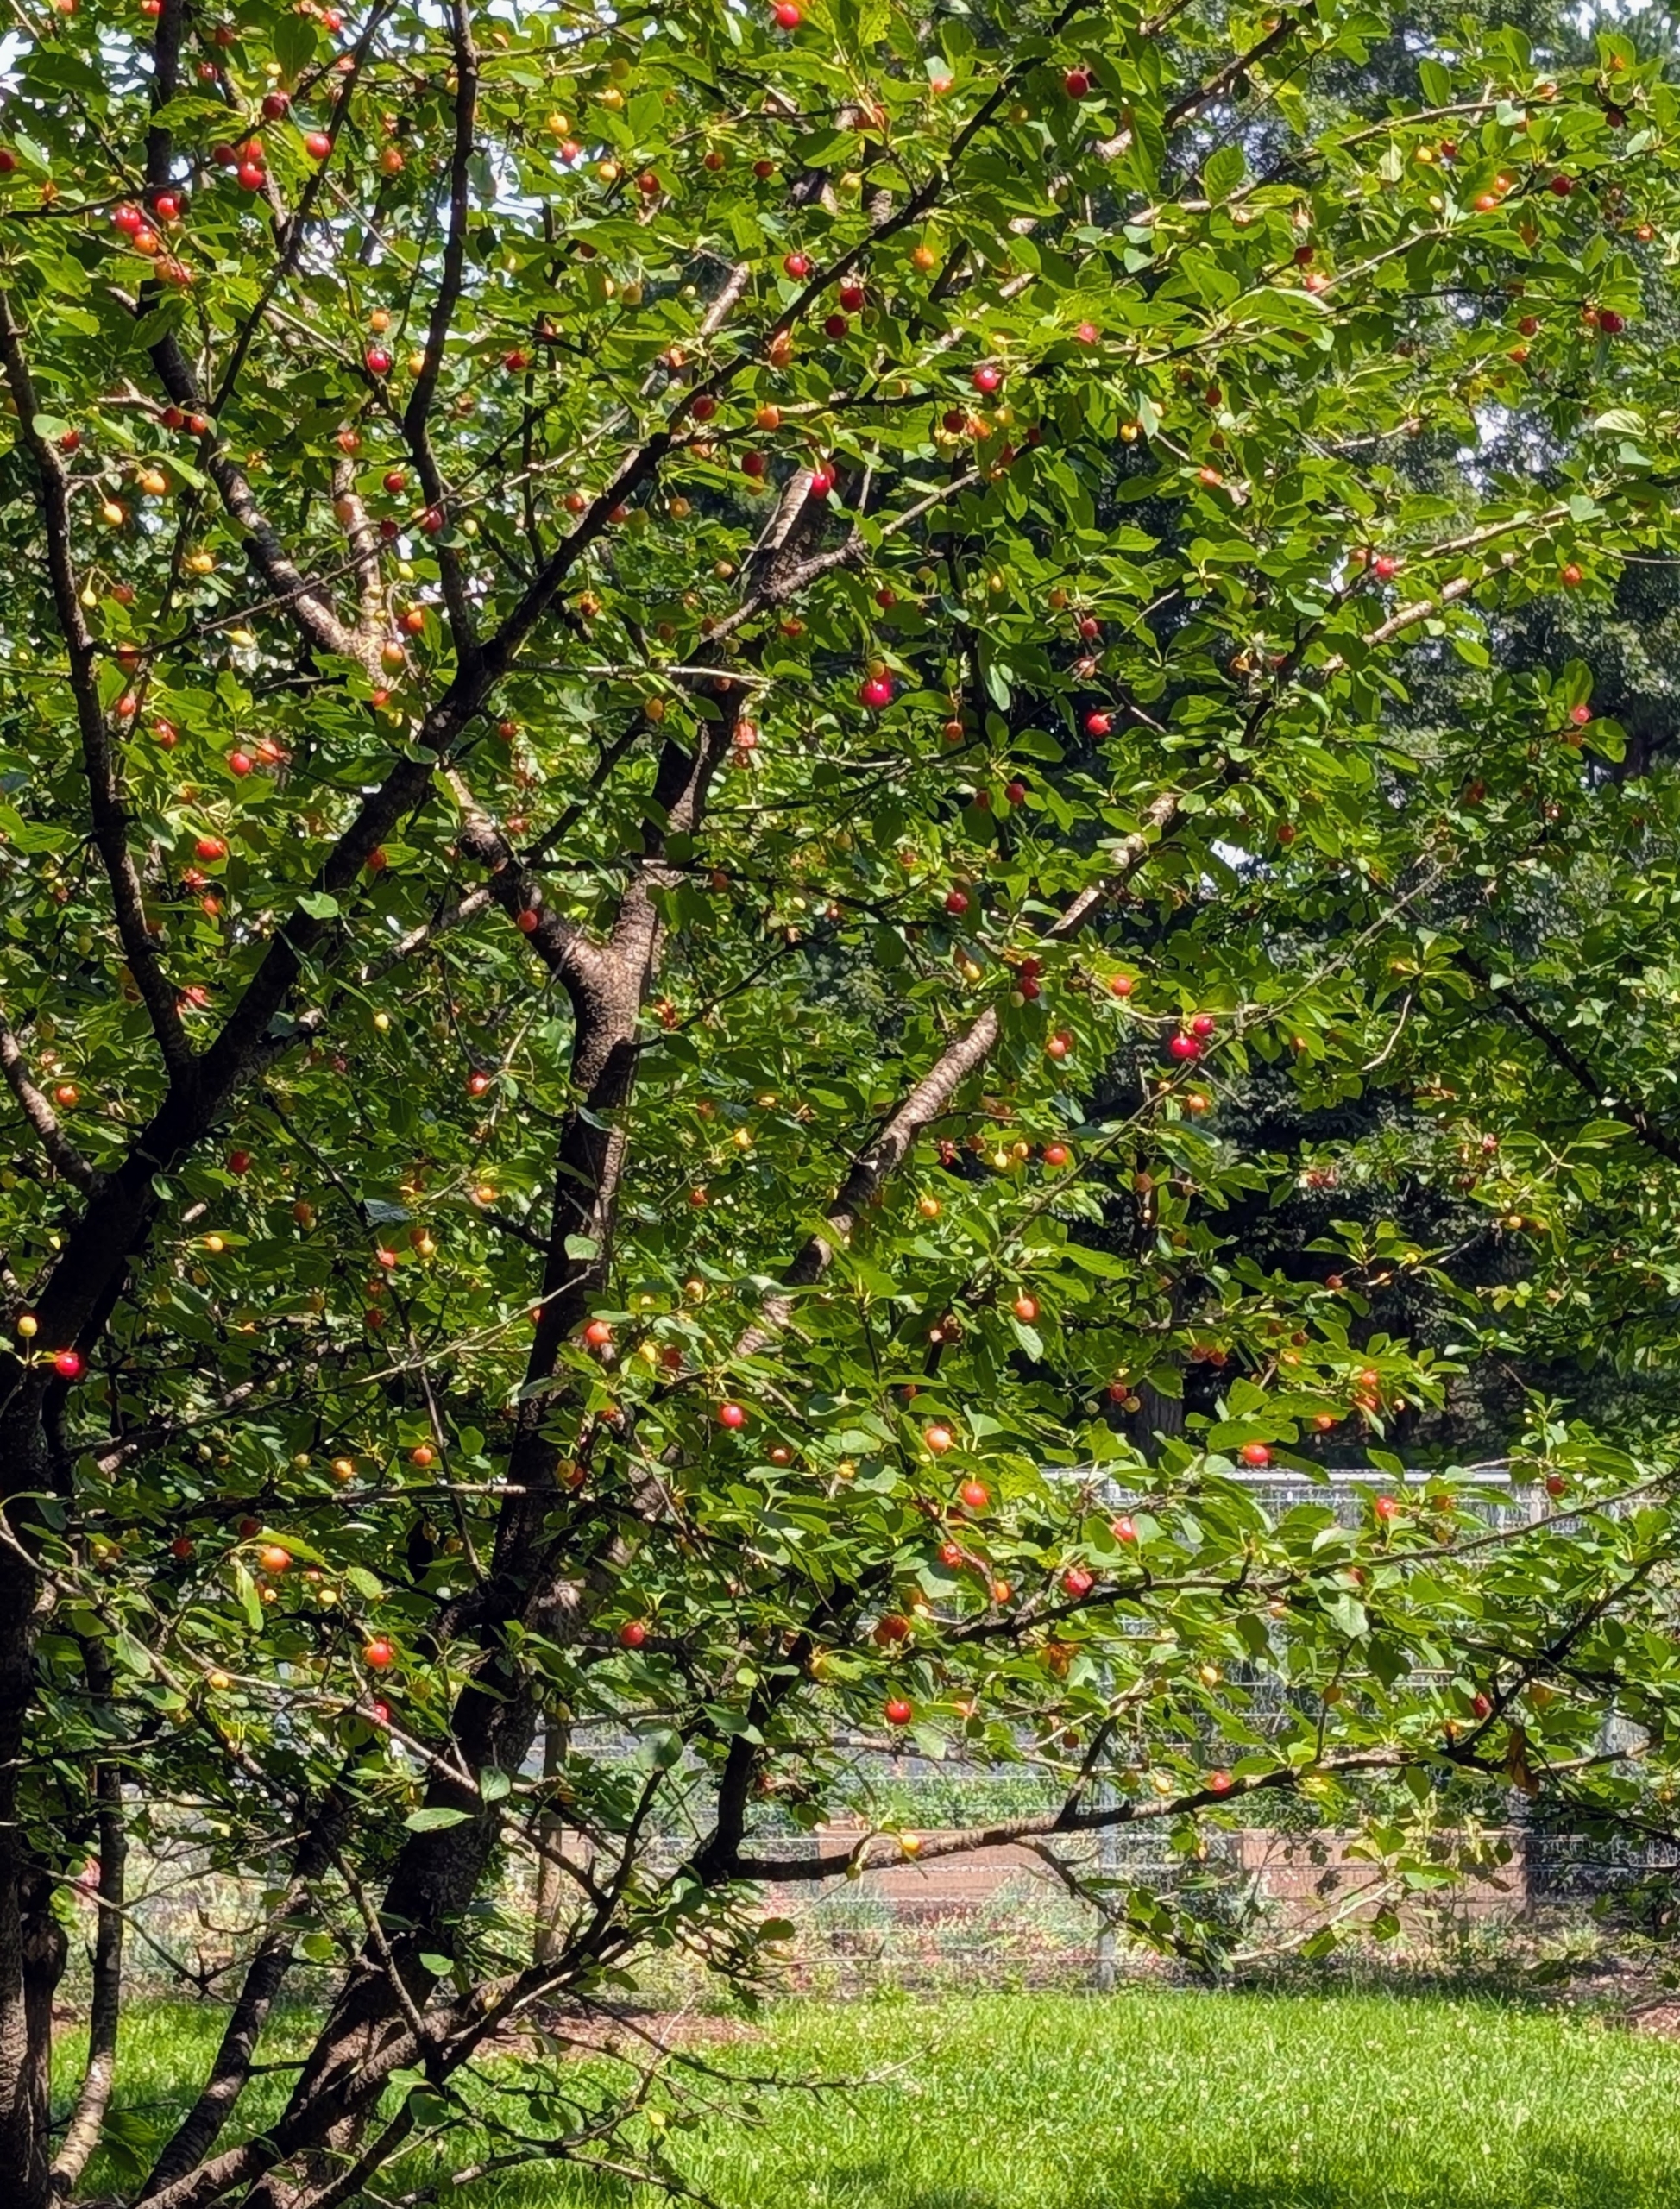
I also grow sour cherries in the orchard and elsewhere, and I’ve seen lots of them growing beautifully; however, the squirrels like them too, and often get them first.
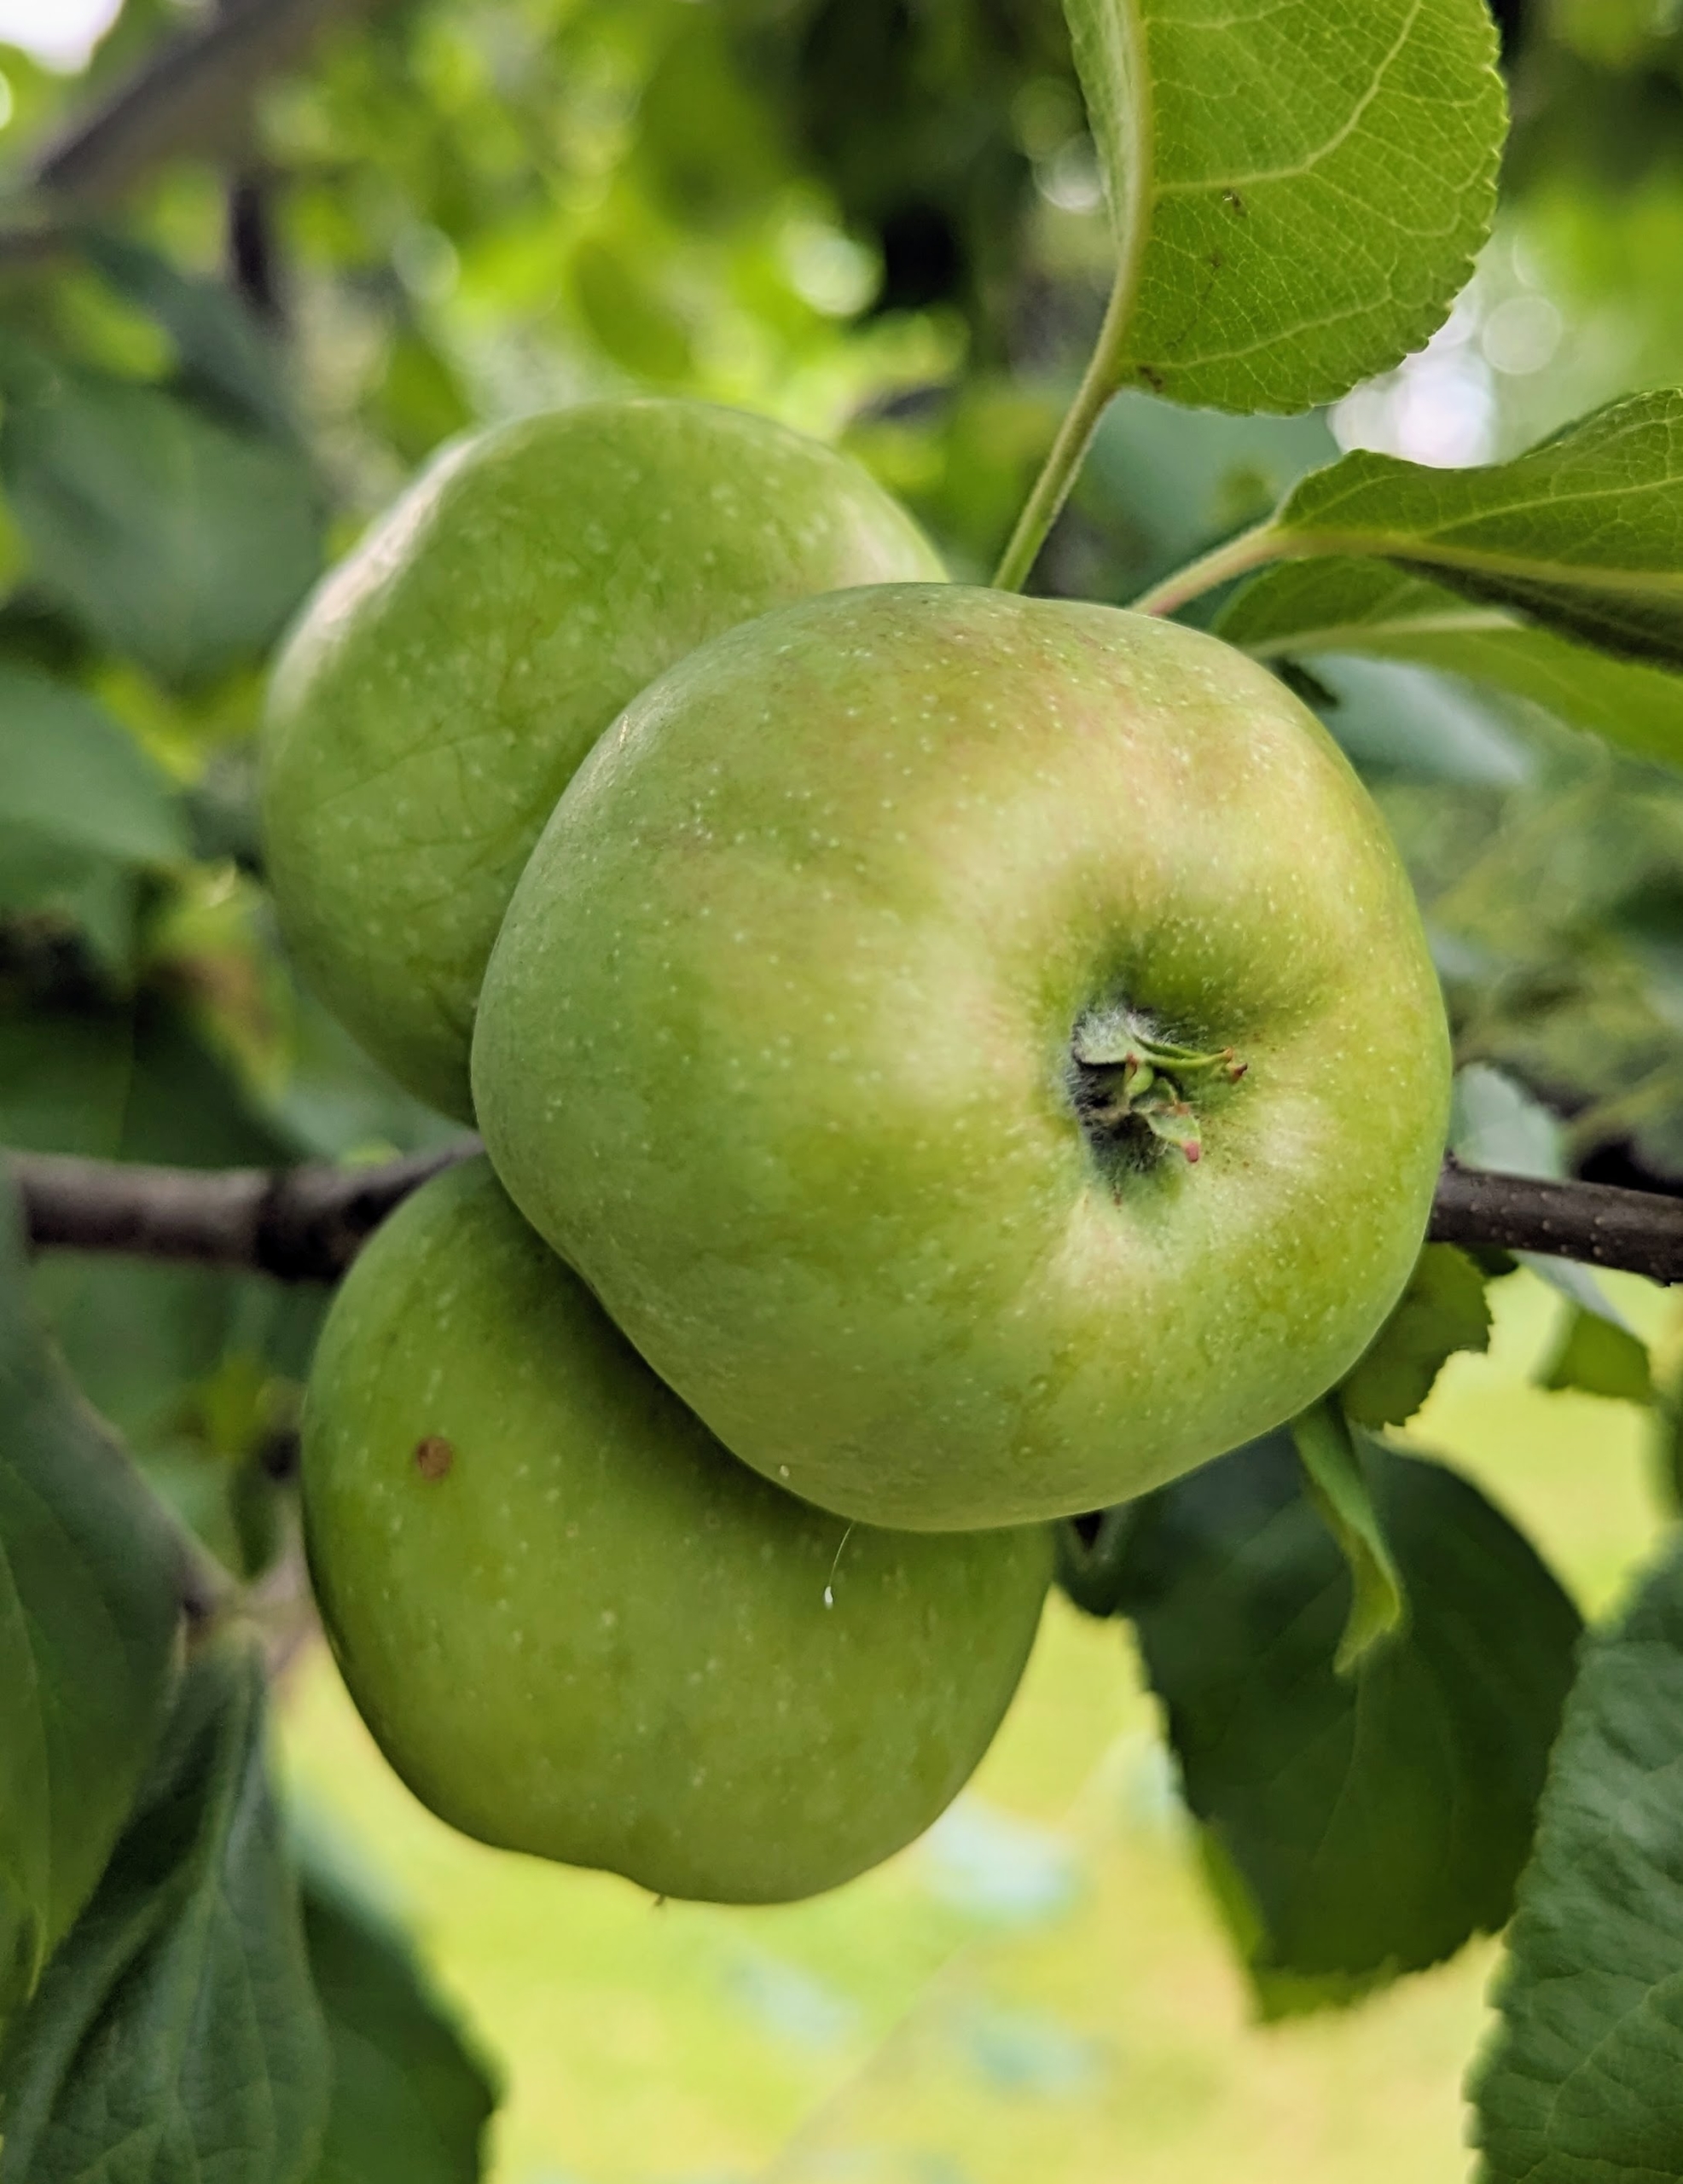
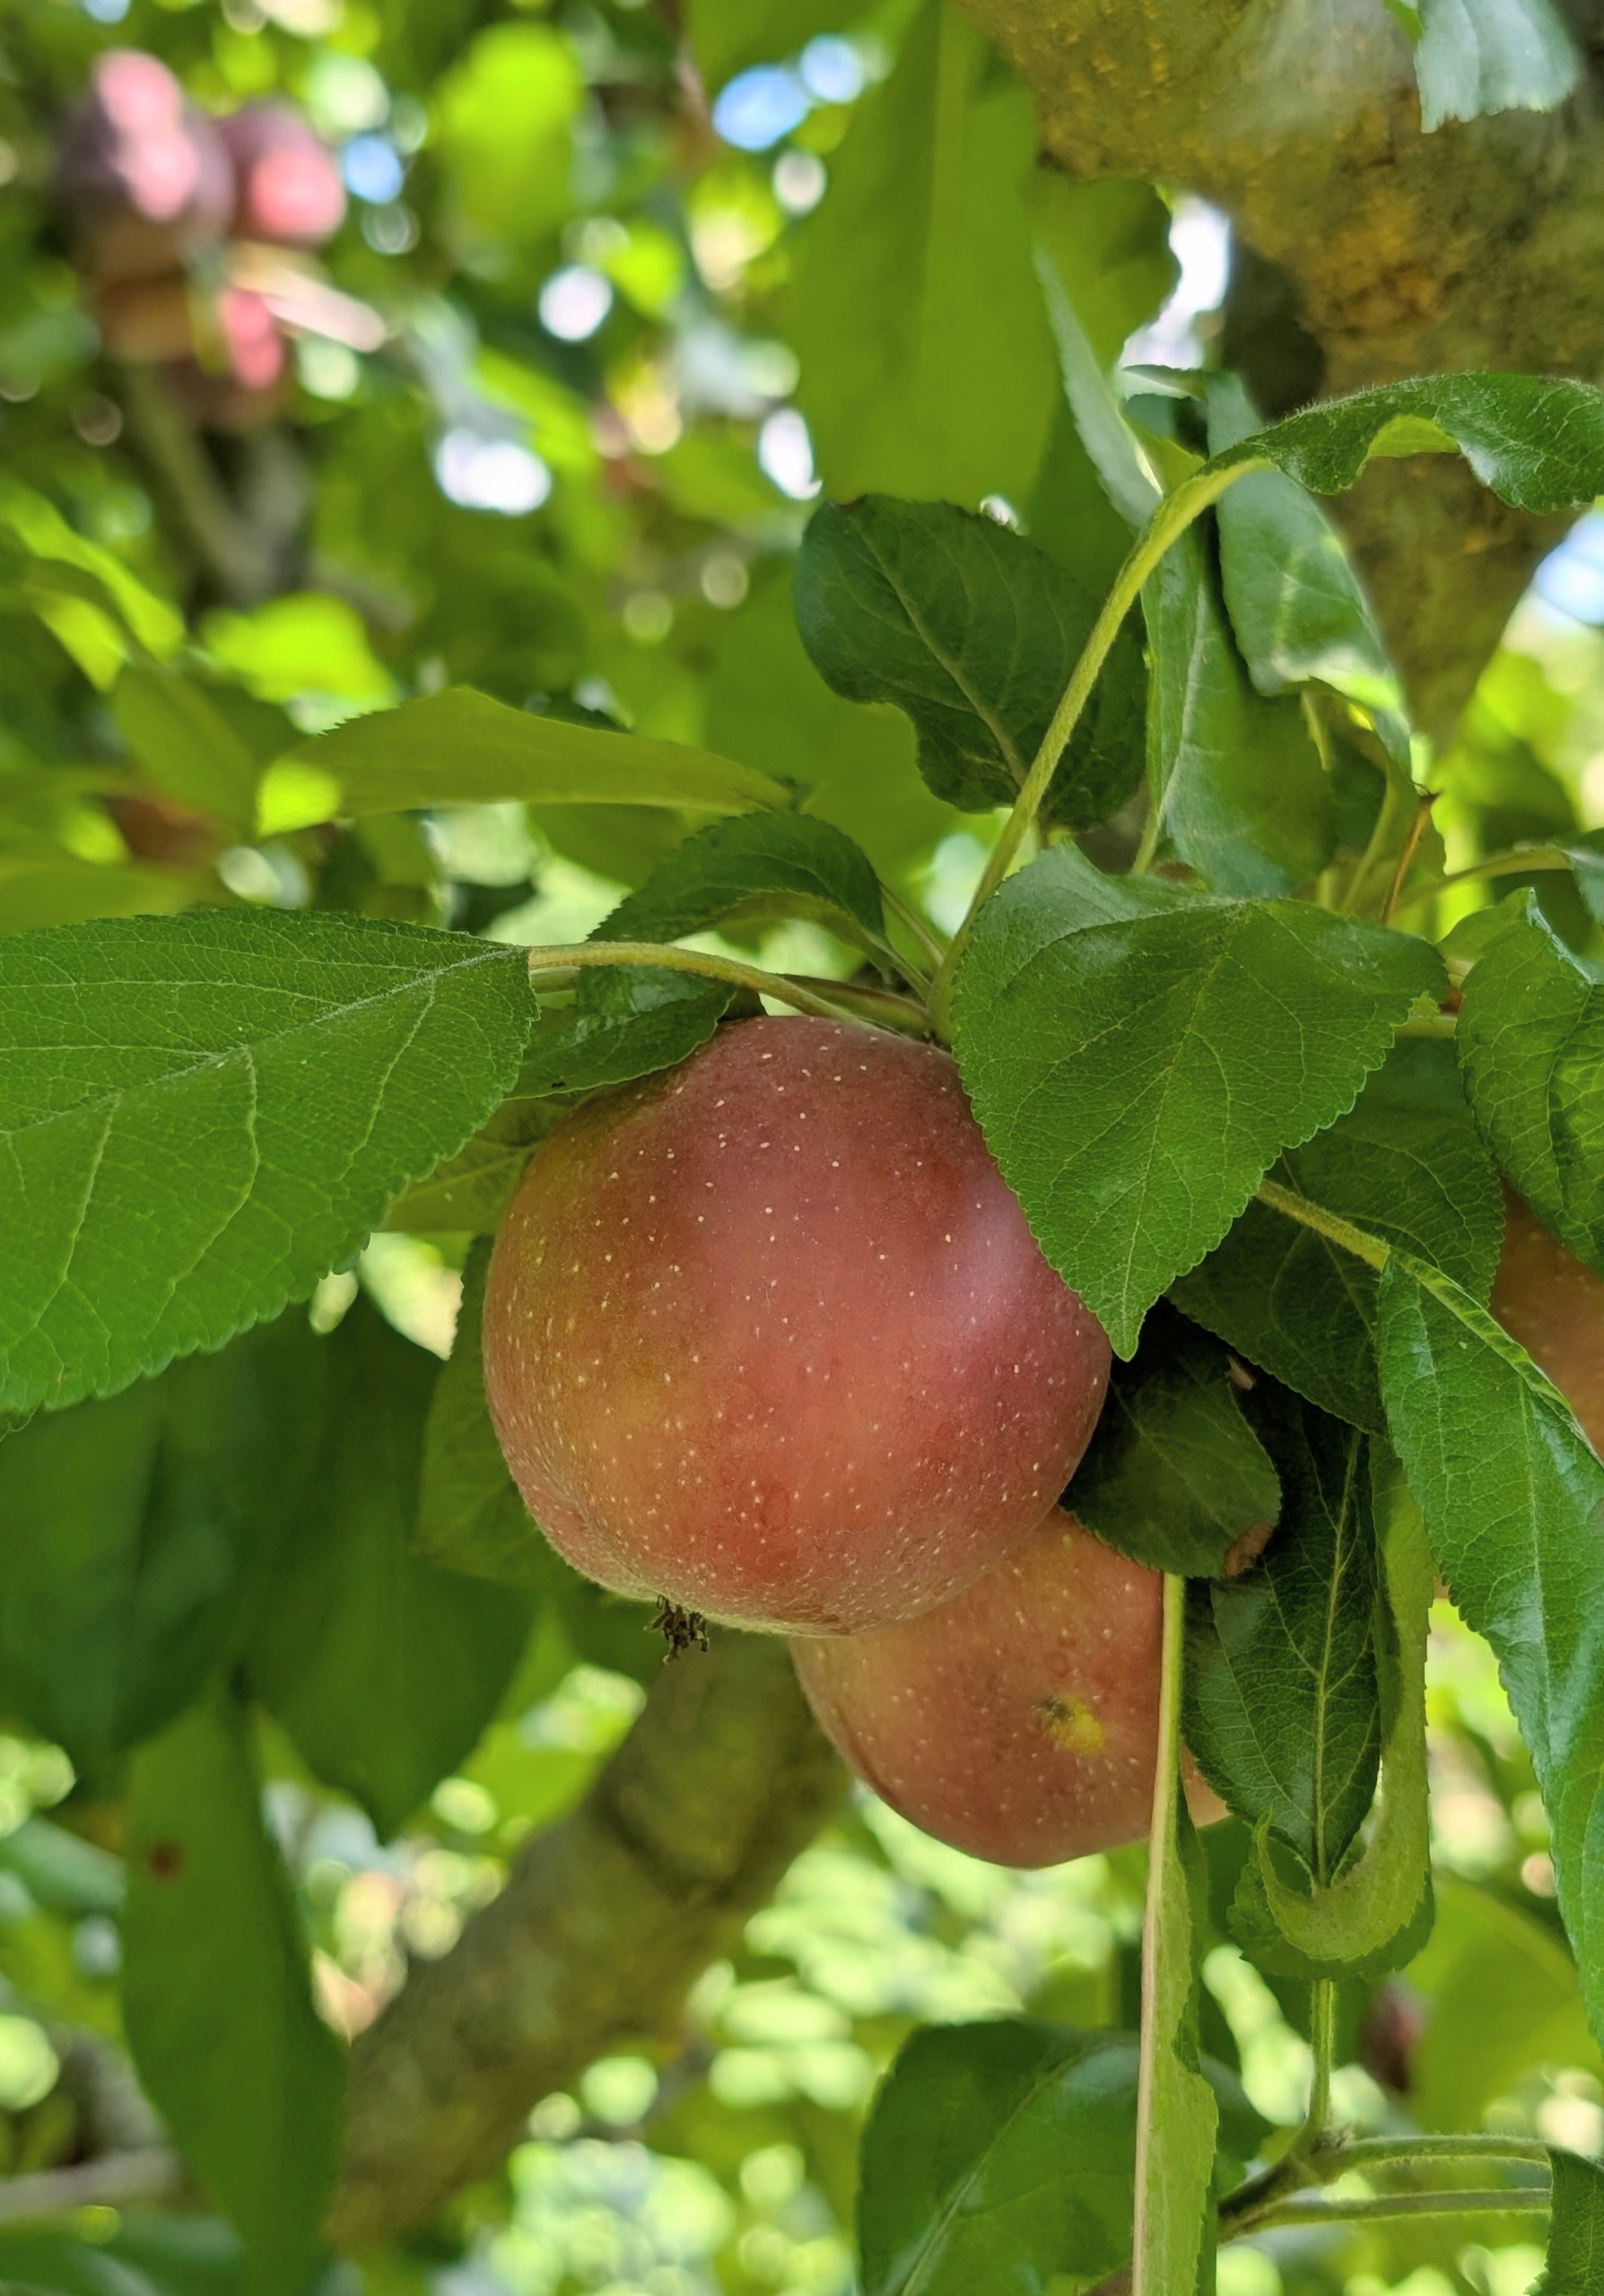
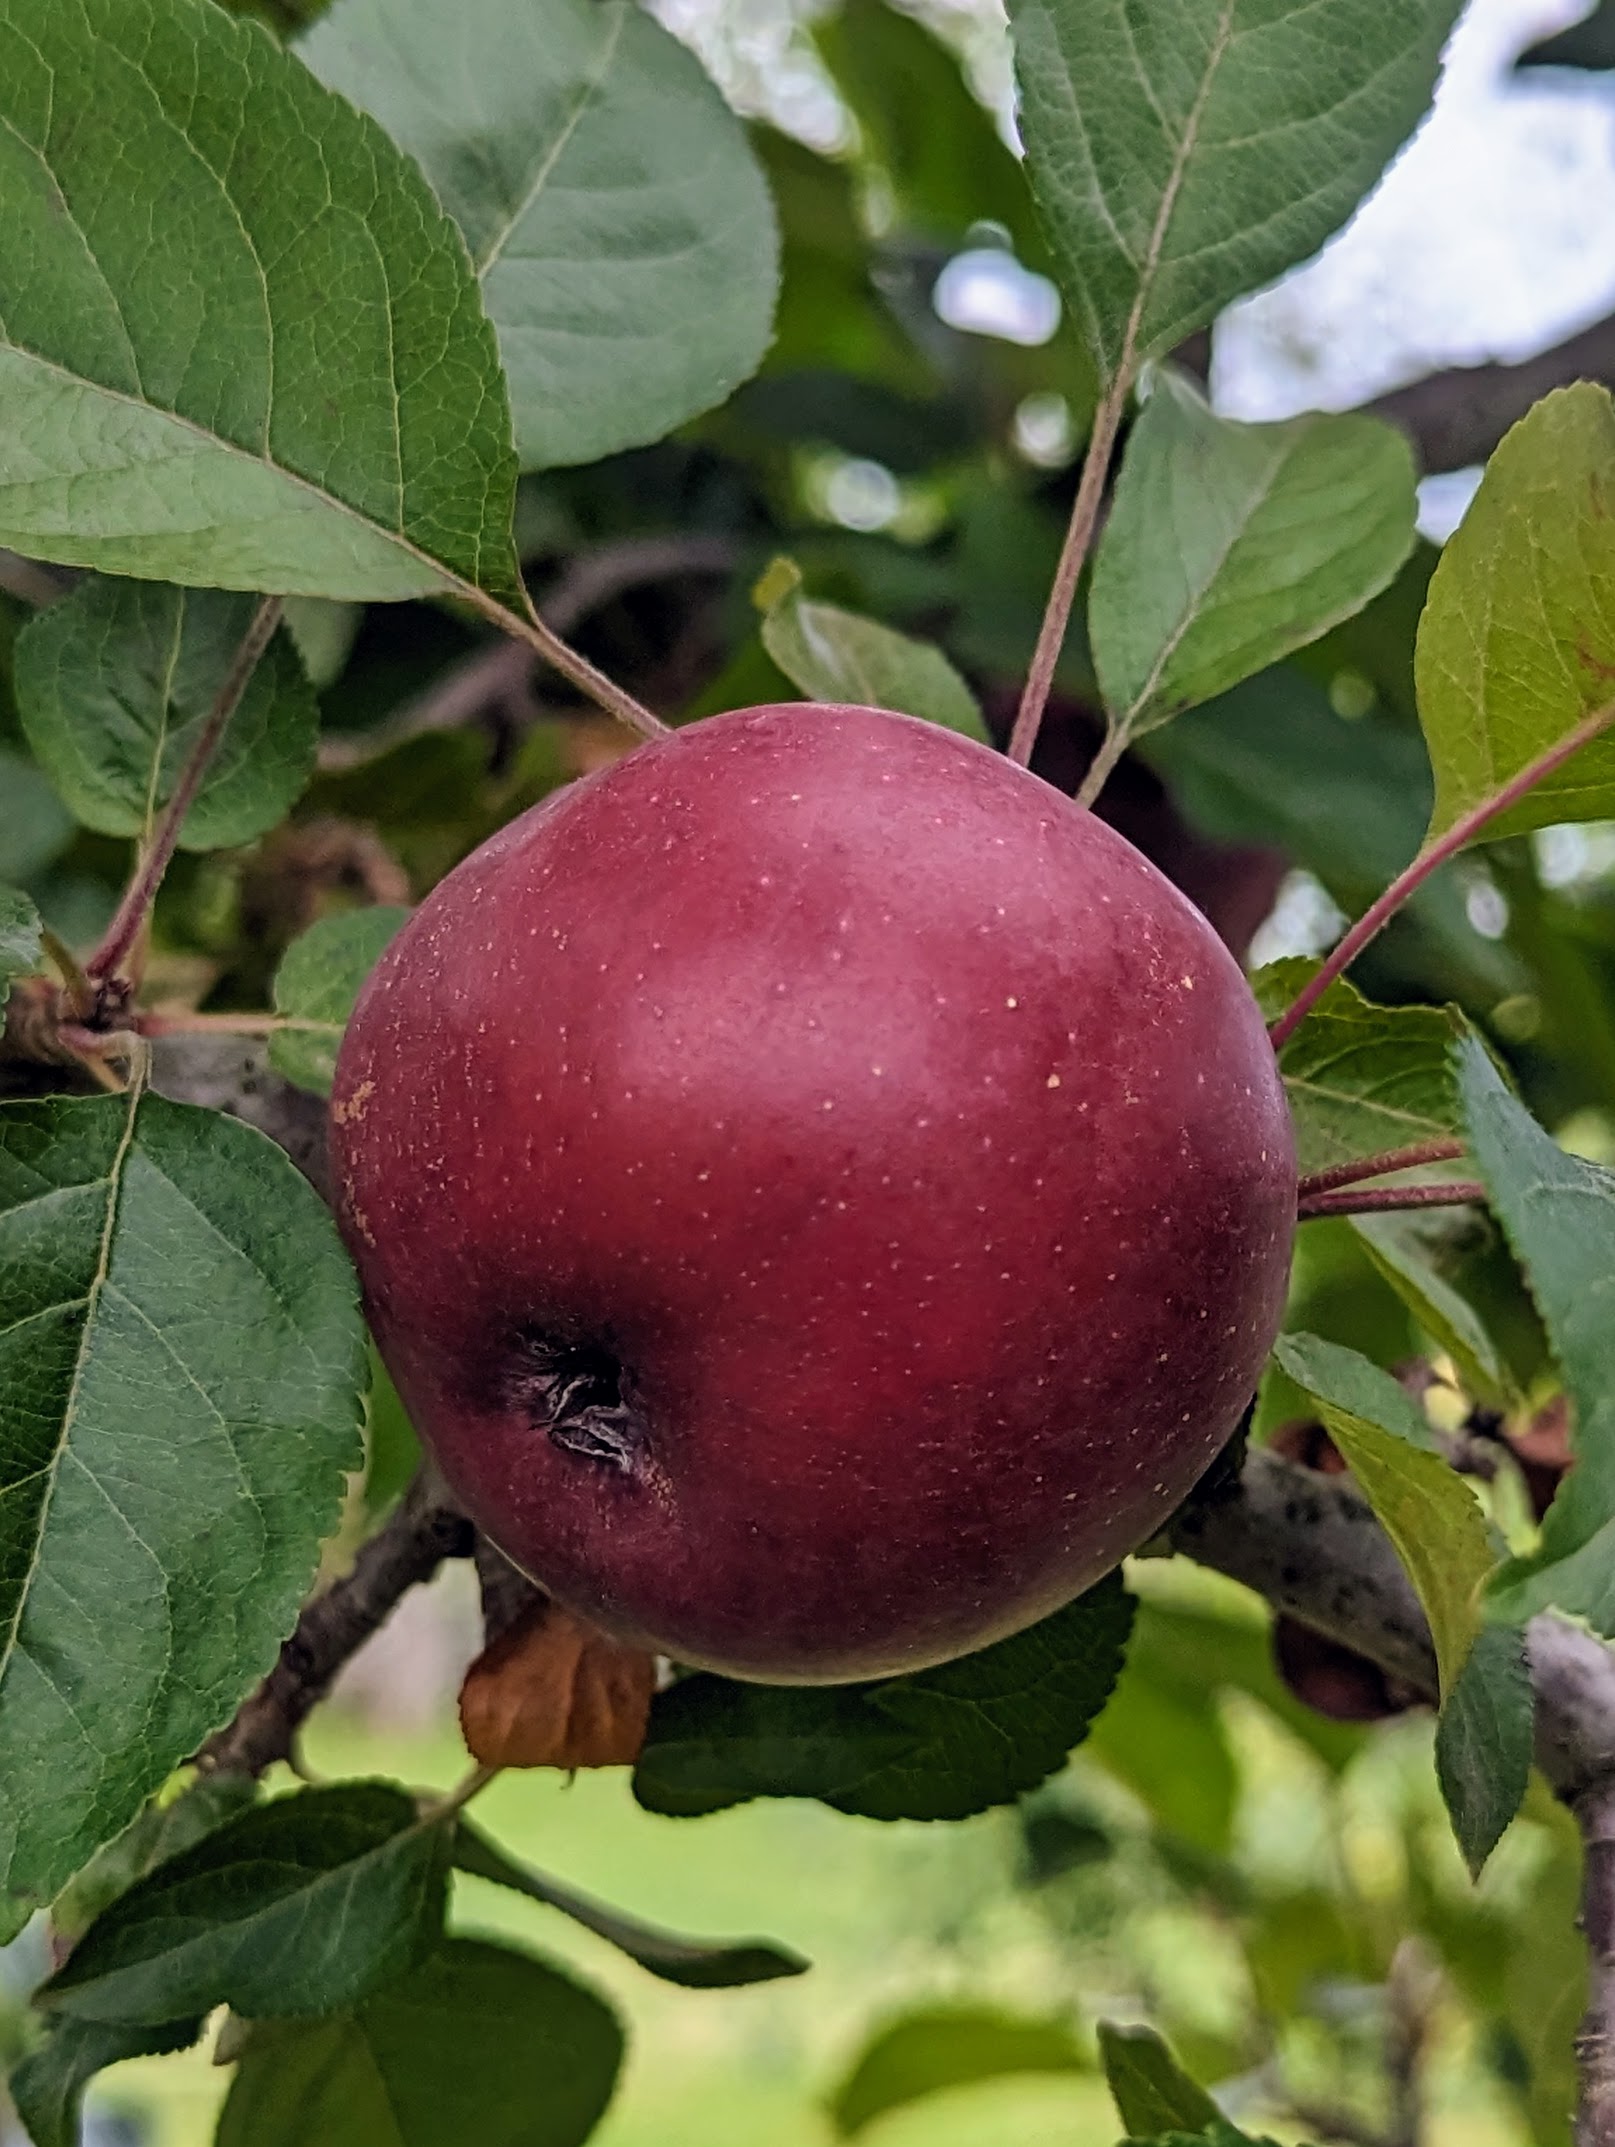
And don’t forget the apples – I have an entire section of the orchard dedicated to delicious, sweet apples.
I grow hundreds of apple trees – some that were here when I acquired the property and others I planted soon after moving here. These orchard apple trees include: ‘Baldwin’, ‘Black Oxford’, ‘Cortland’, ‘Cox’s Orange Pippin’, ‘Esopus Spitzenburg’, ‘Fuji’, ‘Golden Russet’, ‘Grimes Golden’, ‘Honeycrisp’, ‘Liberty’, ‘Redfield’, ‘Roxbury Russet’ ‘Windham Russet’, and more.
Many ask what I do with all the apples. It’s become a family tradition to have my granddaughter, Jude, come up with friends for a weekend in autumn to manually press as many apples as possible, making quarts and quarts of cider. It’s so delicious.
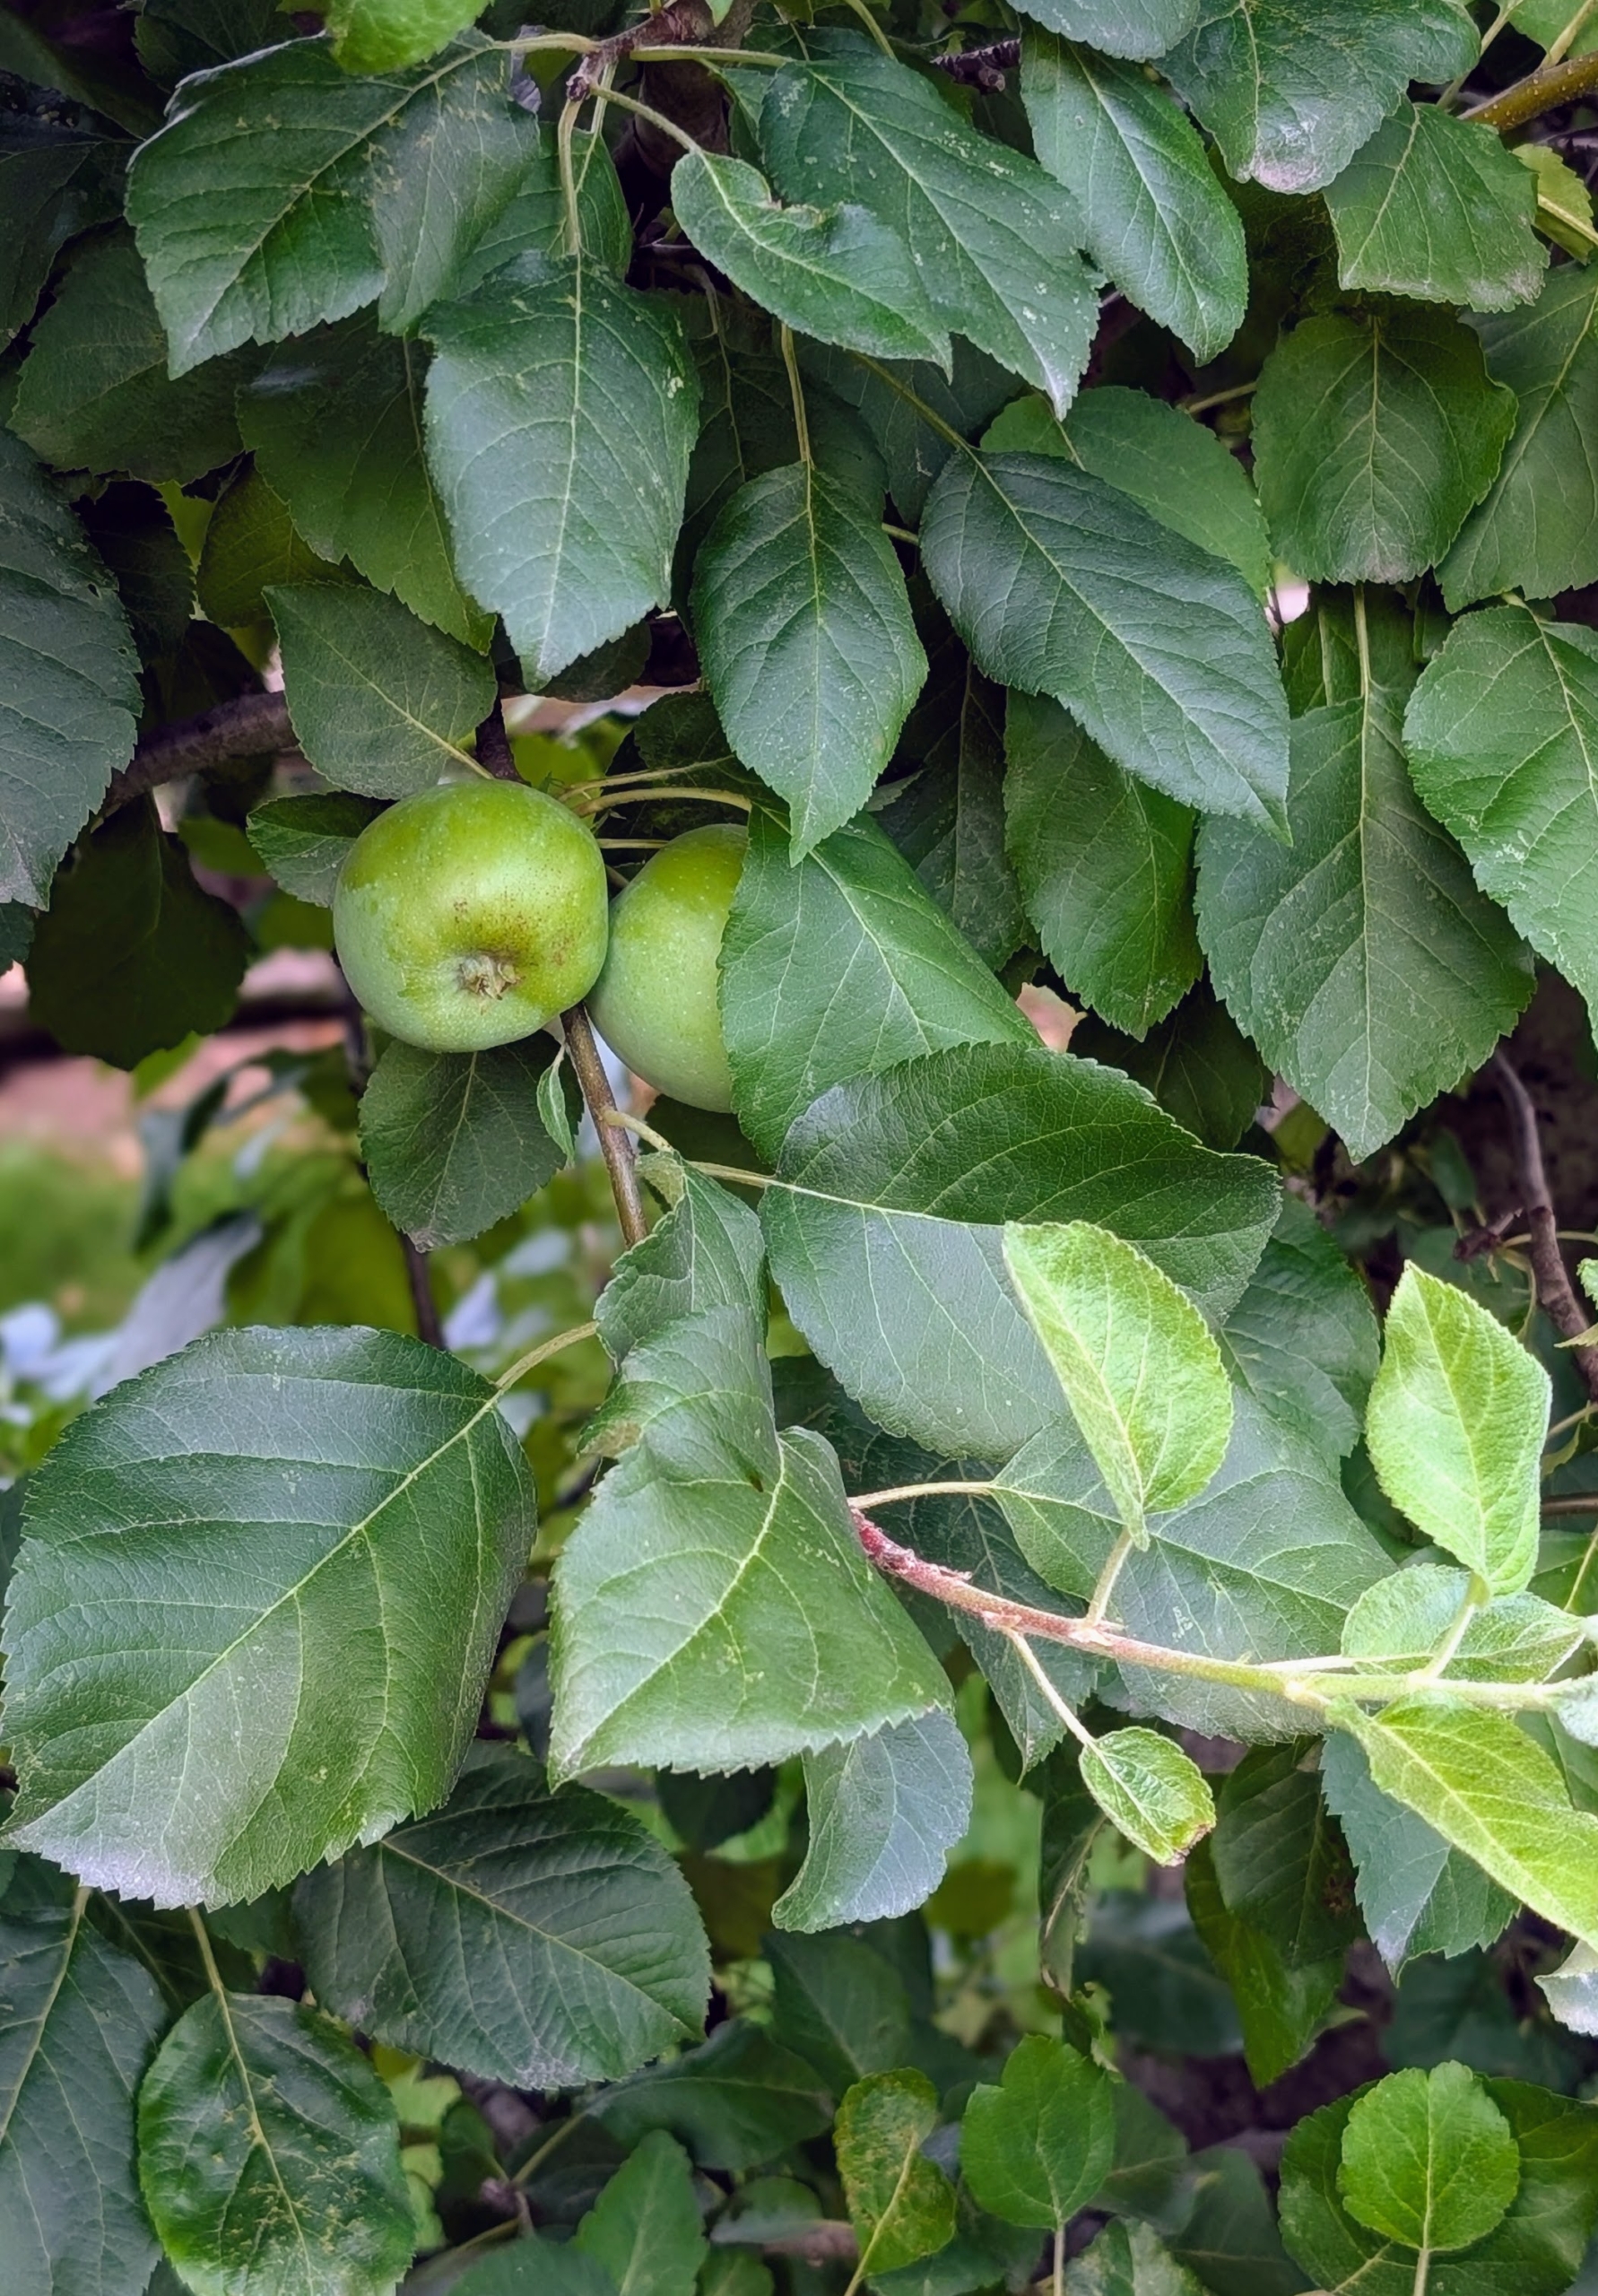
My dwarf espalier apples near my Winter House are also developing so wonderfully. It will be a great apple season.
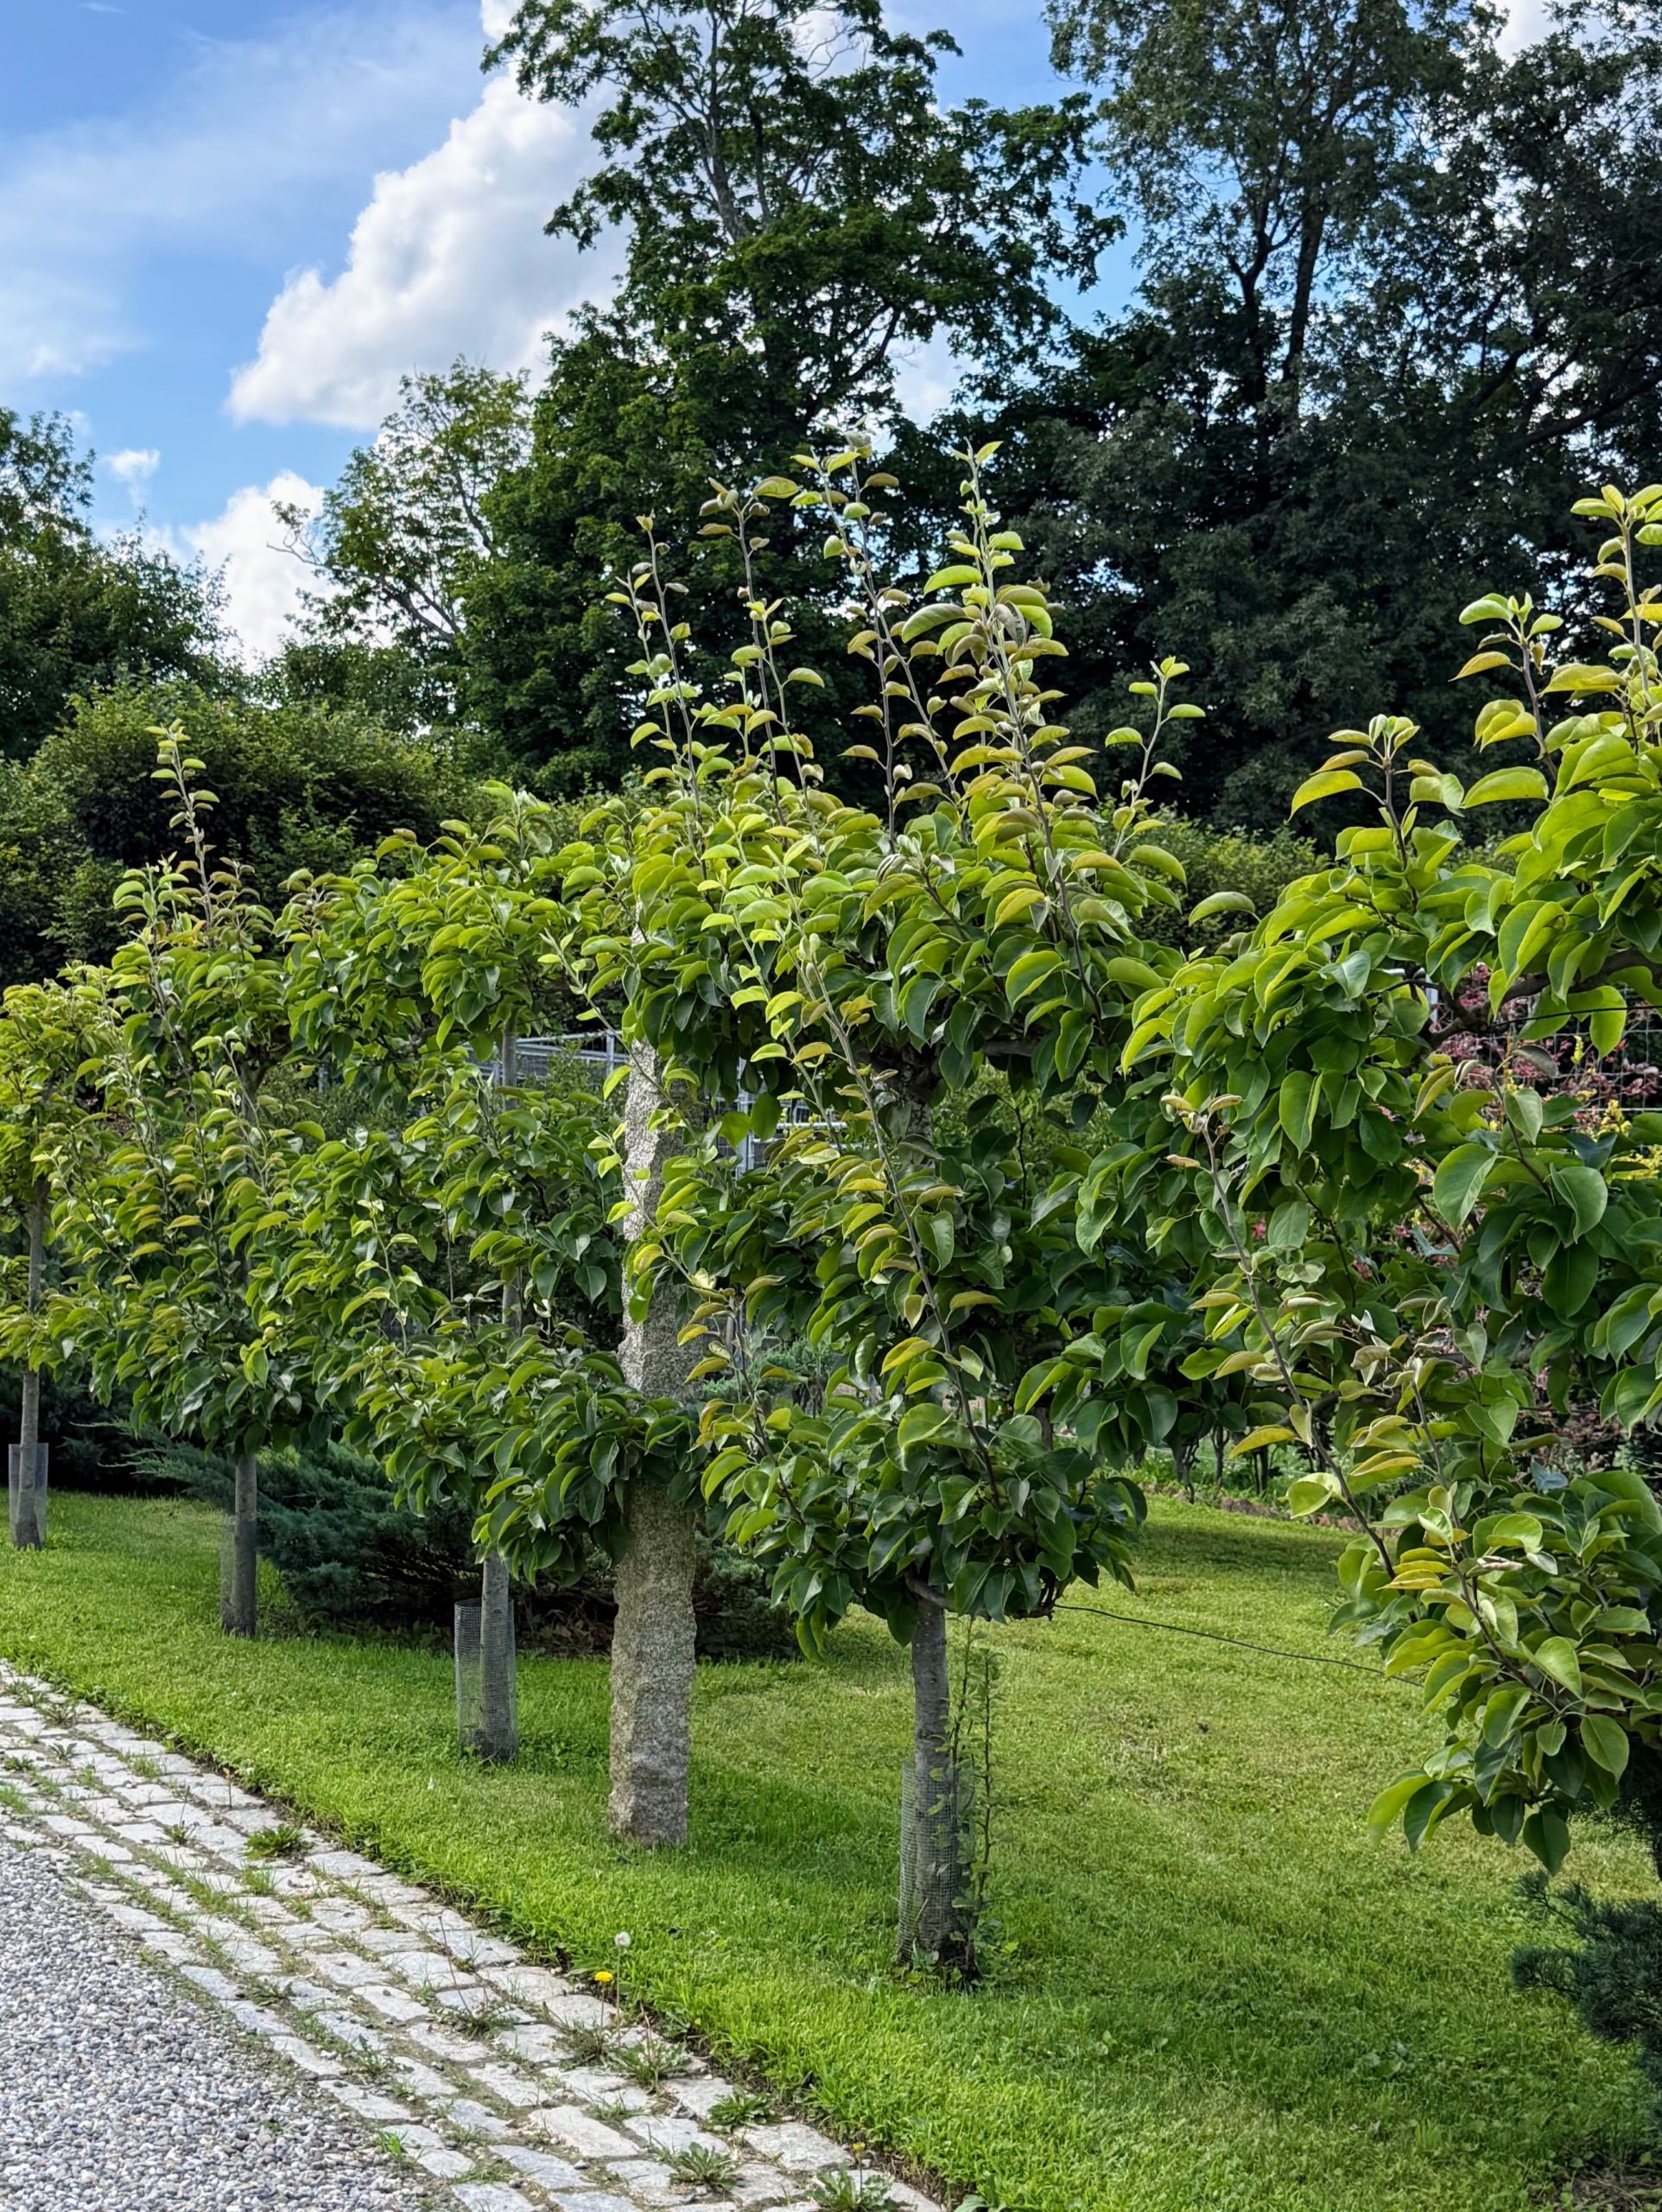
Outside my stable in front of the peafowl and goose pens, I have this espalier of pear trees. Espalier refers to an ancient technique, resulting in trees that grow flat, either against a wall, or along a wire-strung framework. Many kinds of trees respond beautifully to the espalier treatment, but fruit trees, like apple and pear, were some of the earliest examples. And, because necessary sunlight reaches every piece of fruit that these trees bear, espalier pruning remains standard procedure at commercial orchards in France.
I planted six ‘Shinseiki’ and four ‘Nijisseiki’ pear trees.
This sour cherry tree is down by the chicken coops. Look closely and see how full it is with fruits.
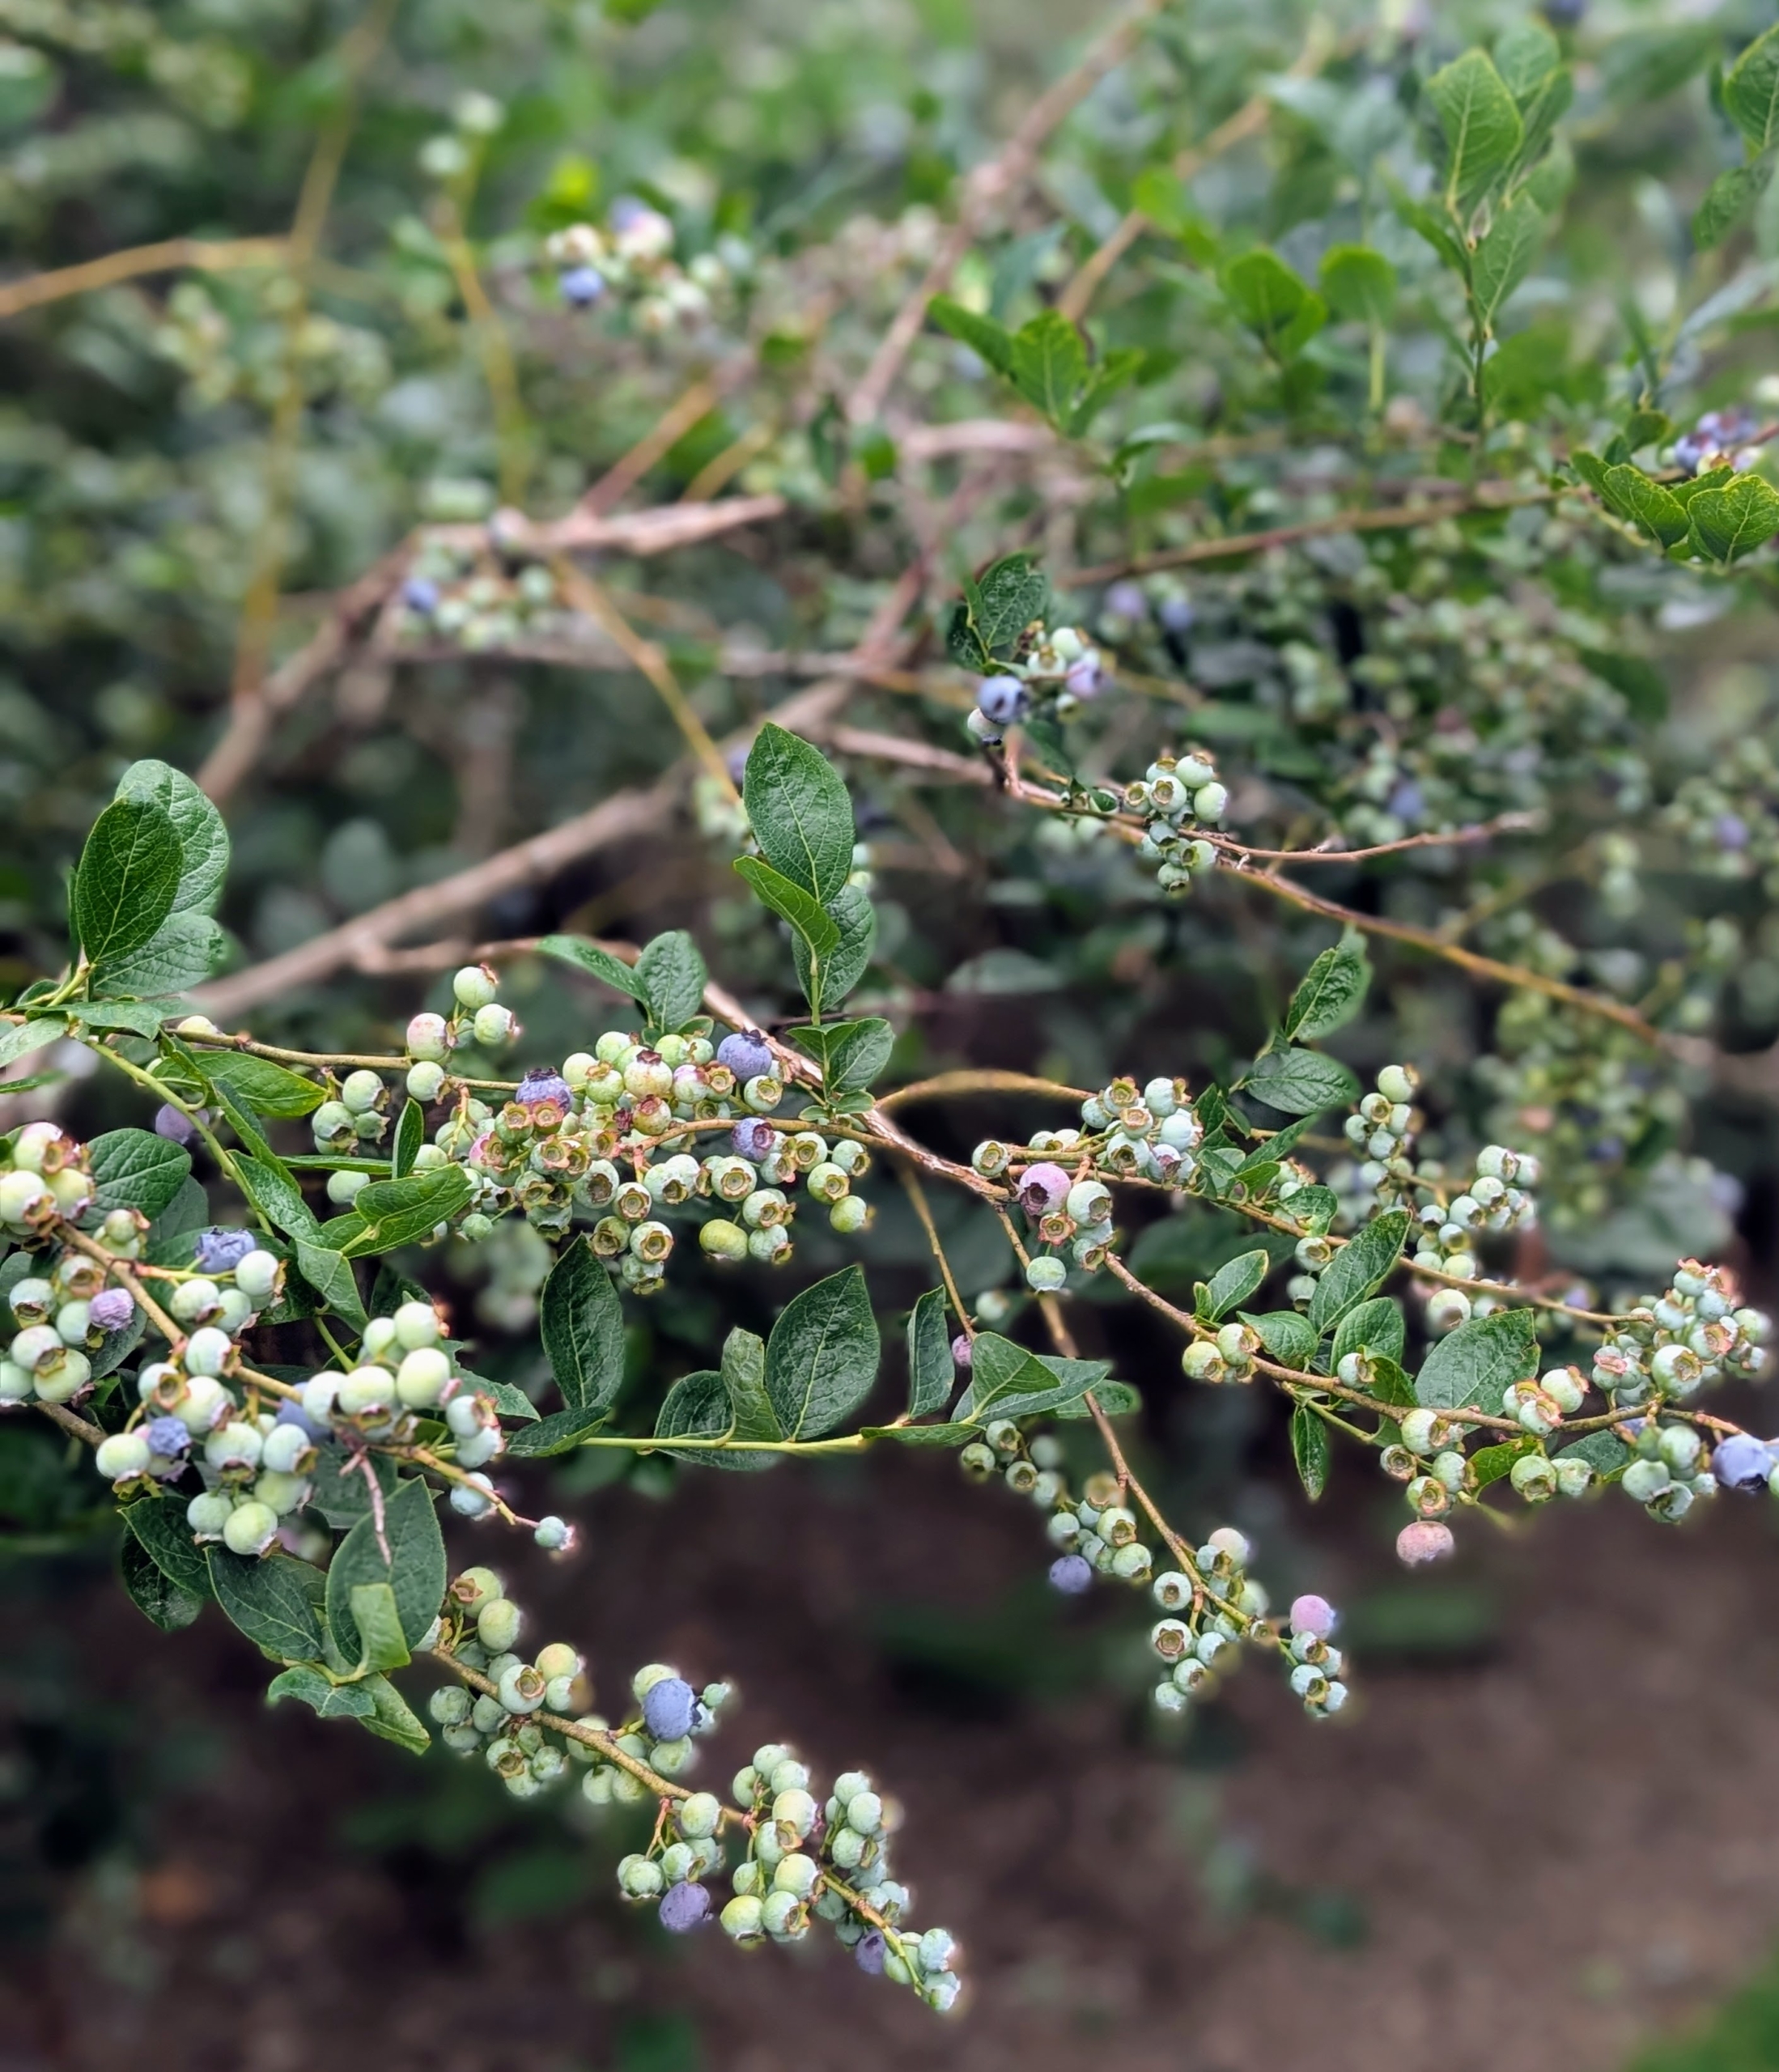
I always have many, many blueberries. I’ve picked a couple of boxes already, but I still have lots more to get as soon as they’re ready.
Plump, juicy, and sweet, with vibrant colors from red to the deepest purple-black. I love to use blueberries for jams, jellies, and pies, but they’re also wonderful with cereal, in pancakes and cobblers, and of course, in handfuls on their own. I grow many blueberry varieties, including ‘Bluegold’, ‘Chandler’, ‘Darrow’, ‘Jersey’, and ‘Patriot’.
In my berry patch behind the main greenhouse, I have lots of raspberry bushes. We start picking the black raspberries in early July.
Nearby, I have gooseberries…
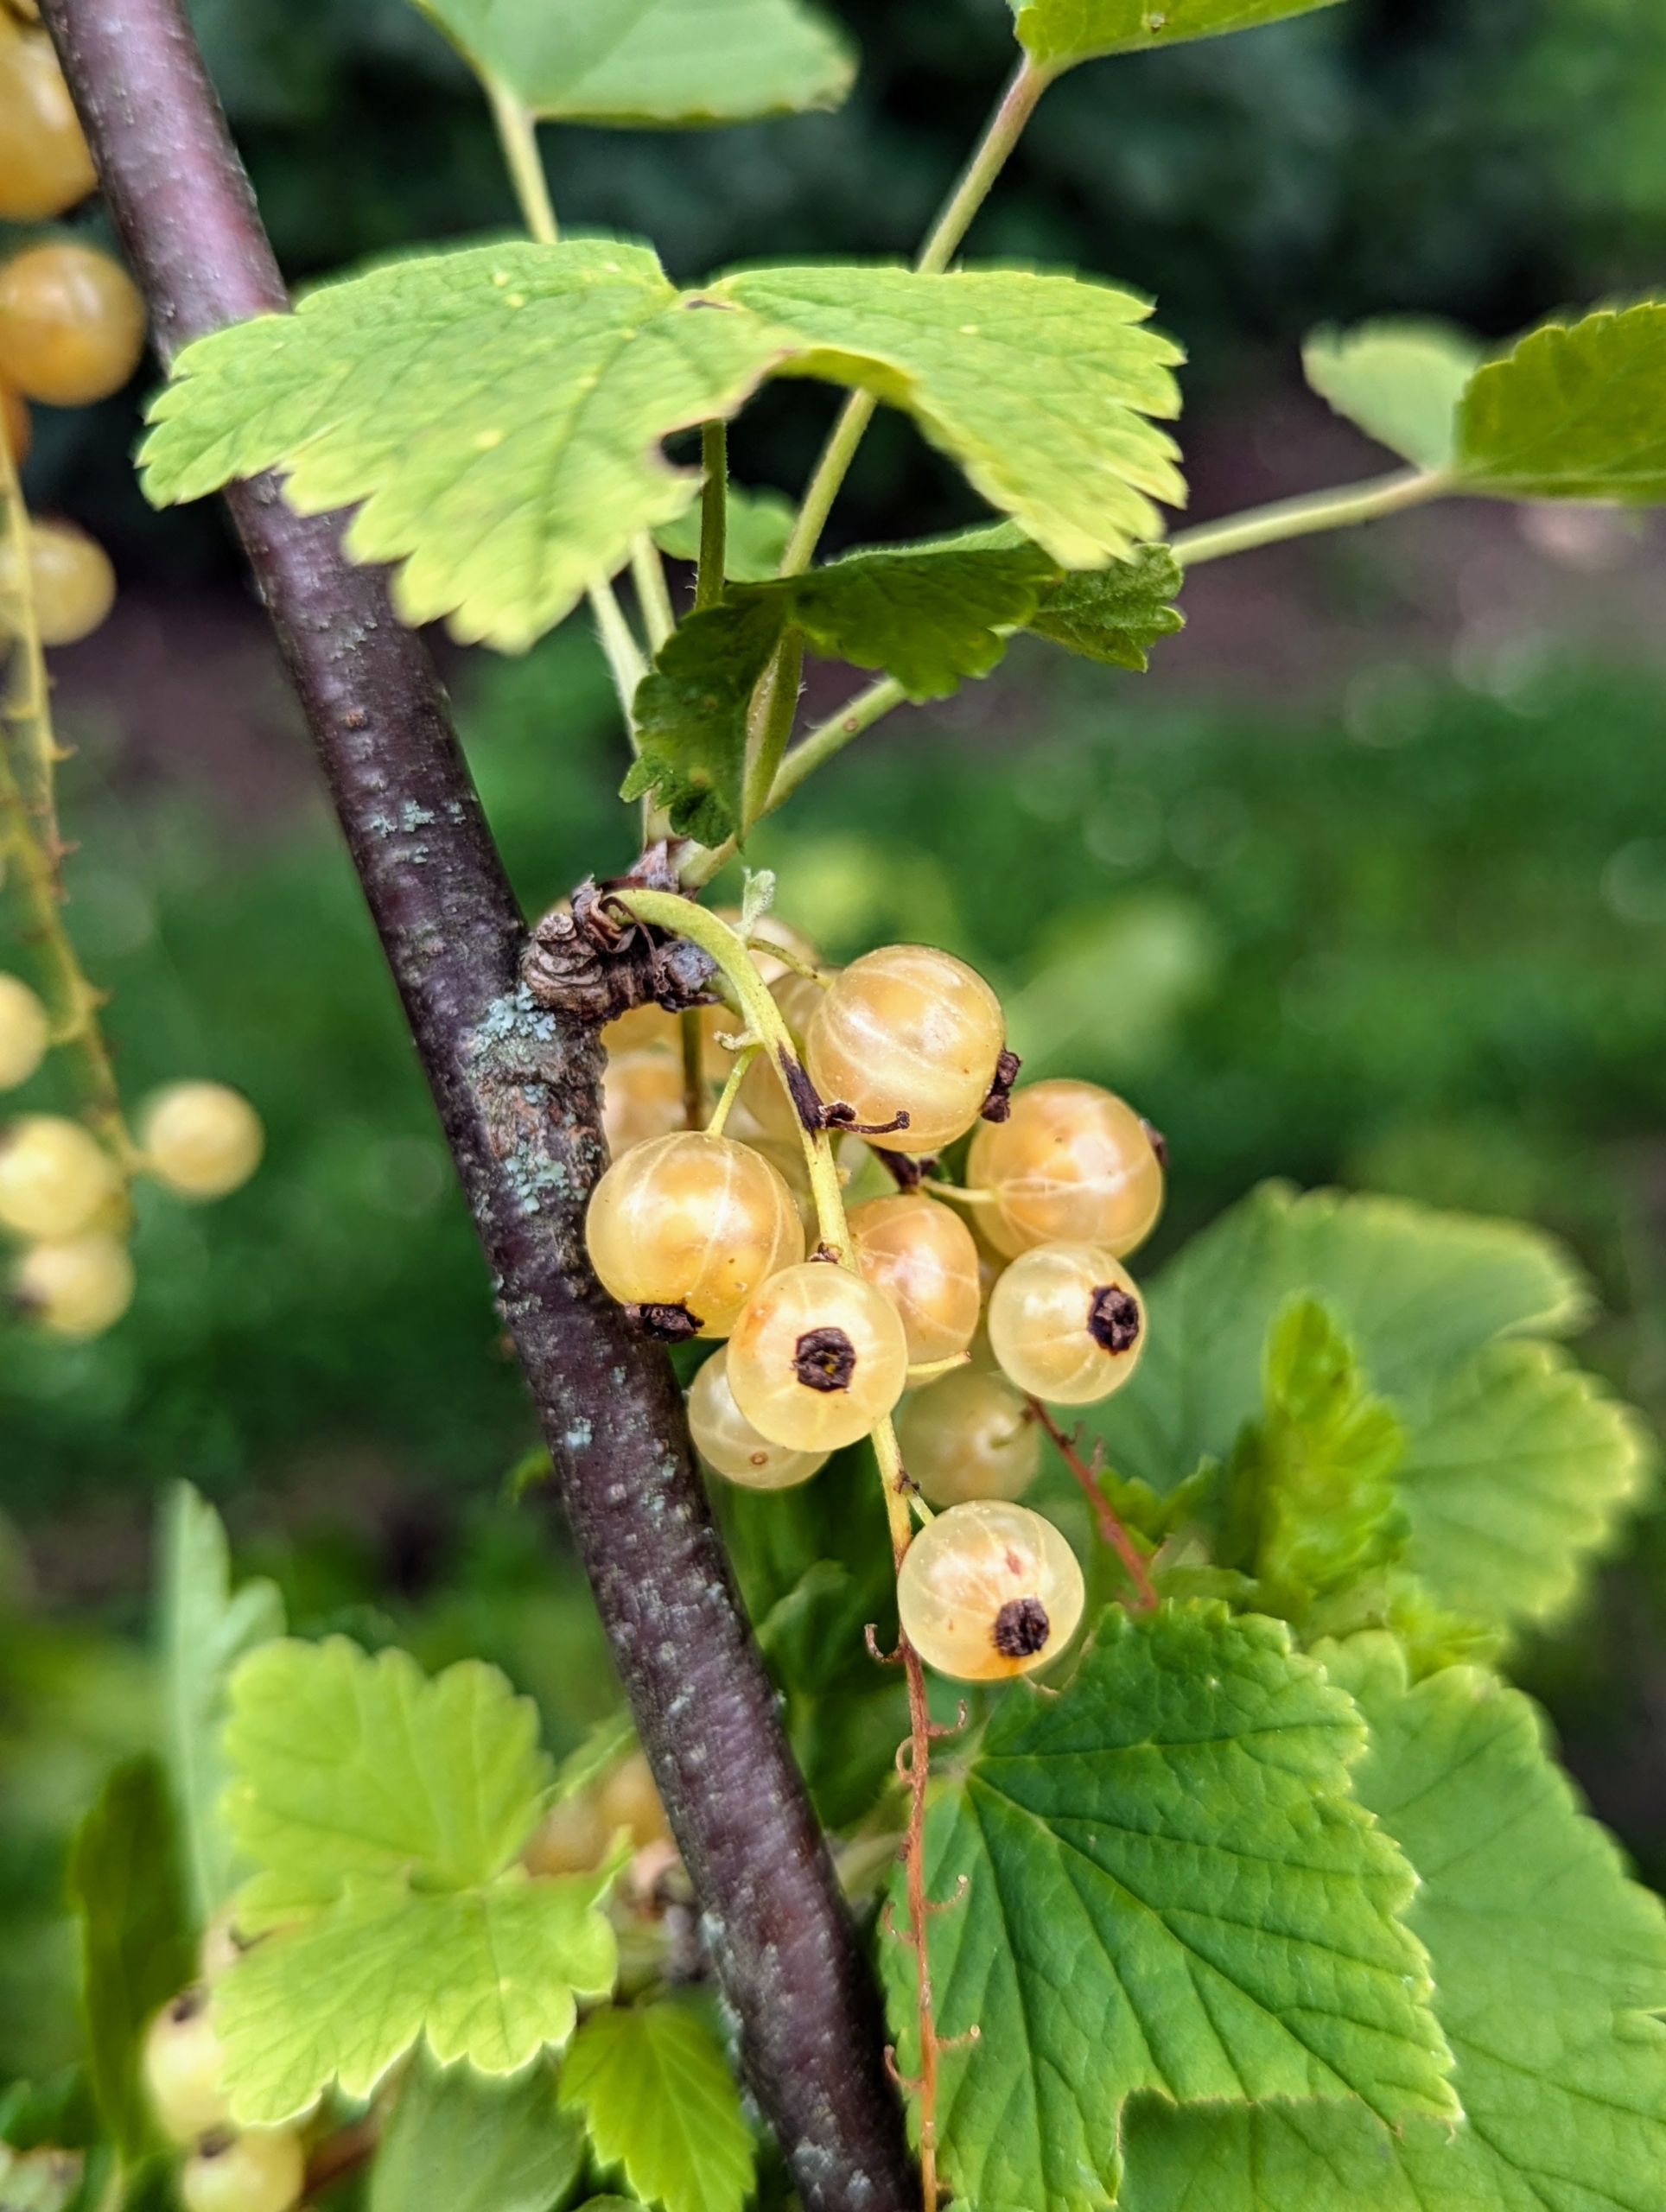
… and currants, in translucent white, dark purple, and bright ruby red.
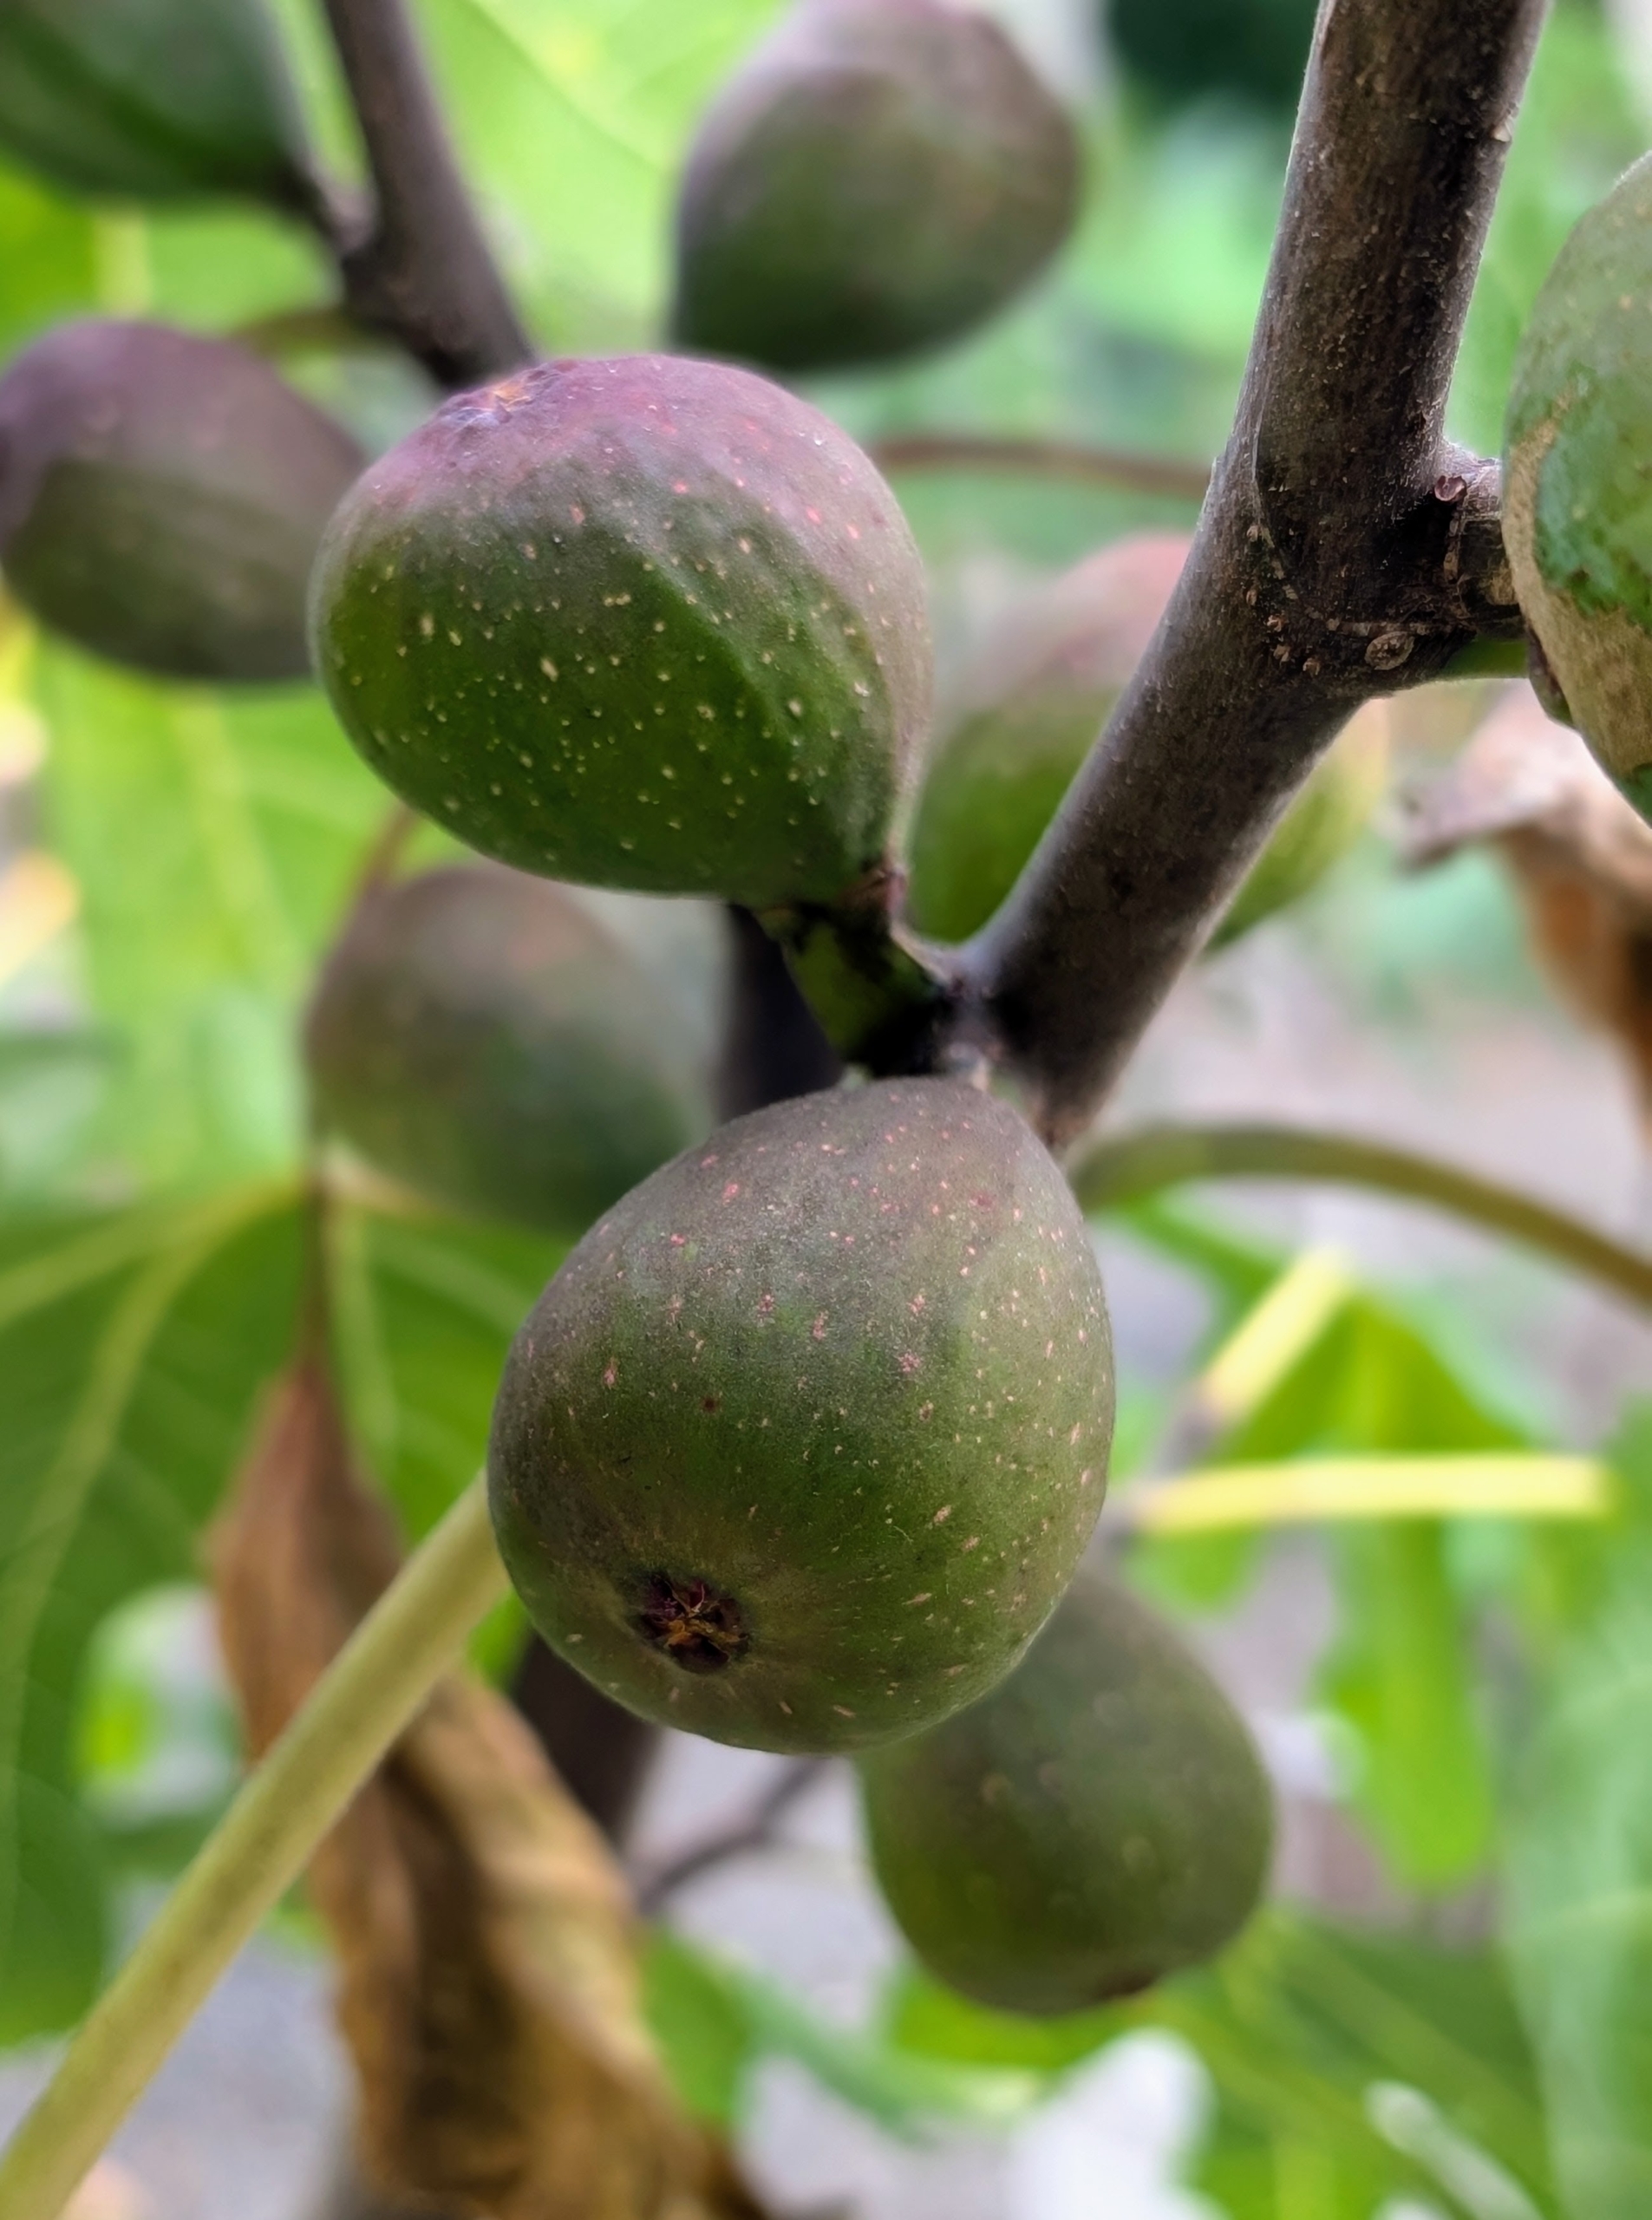
And just outside my main greenhouse, a collection of potted fig trees that are growing an abundance of fruits. Figs, Ficus carica, are actually clusters of flowers growing inside a pod, known as a syconium. They’re bulb-shaped, about the size of a thumb, and can have a purple or green skin with a sweet, pink flesh filled with tiny seeds. No plants give sweeter returns than fruiting trees and shrubs. Aside from all the vegetables I grow, I’m so pleased with all the fruits here at my farm.
It’s always interesting and fun to view the familiar through someone else’s lens.
My longtime driver, Carlos "Uno" Villamil, is an avid photographer. In the evening just before the sun begins to set, he often takes my four dogs out for a walk around the farm, snapping pictures along the way - of the gardens, the trees and flowers, the colorful sky, the beautiful landscape, etc. Many times he shares his images with me and others who work here, and we're so glad he does - great work, Carlos!
You may have seen some photos on my Instagram page @marthastewart48. Here are a few more, enjoy.
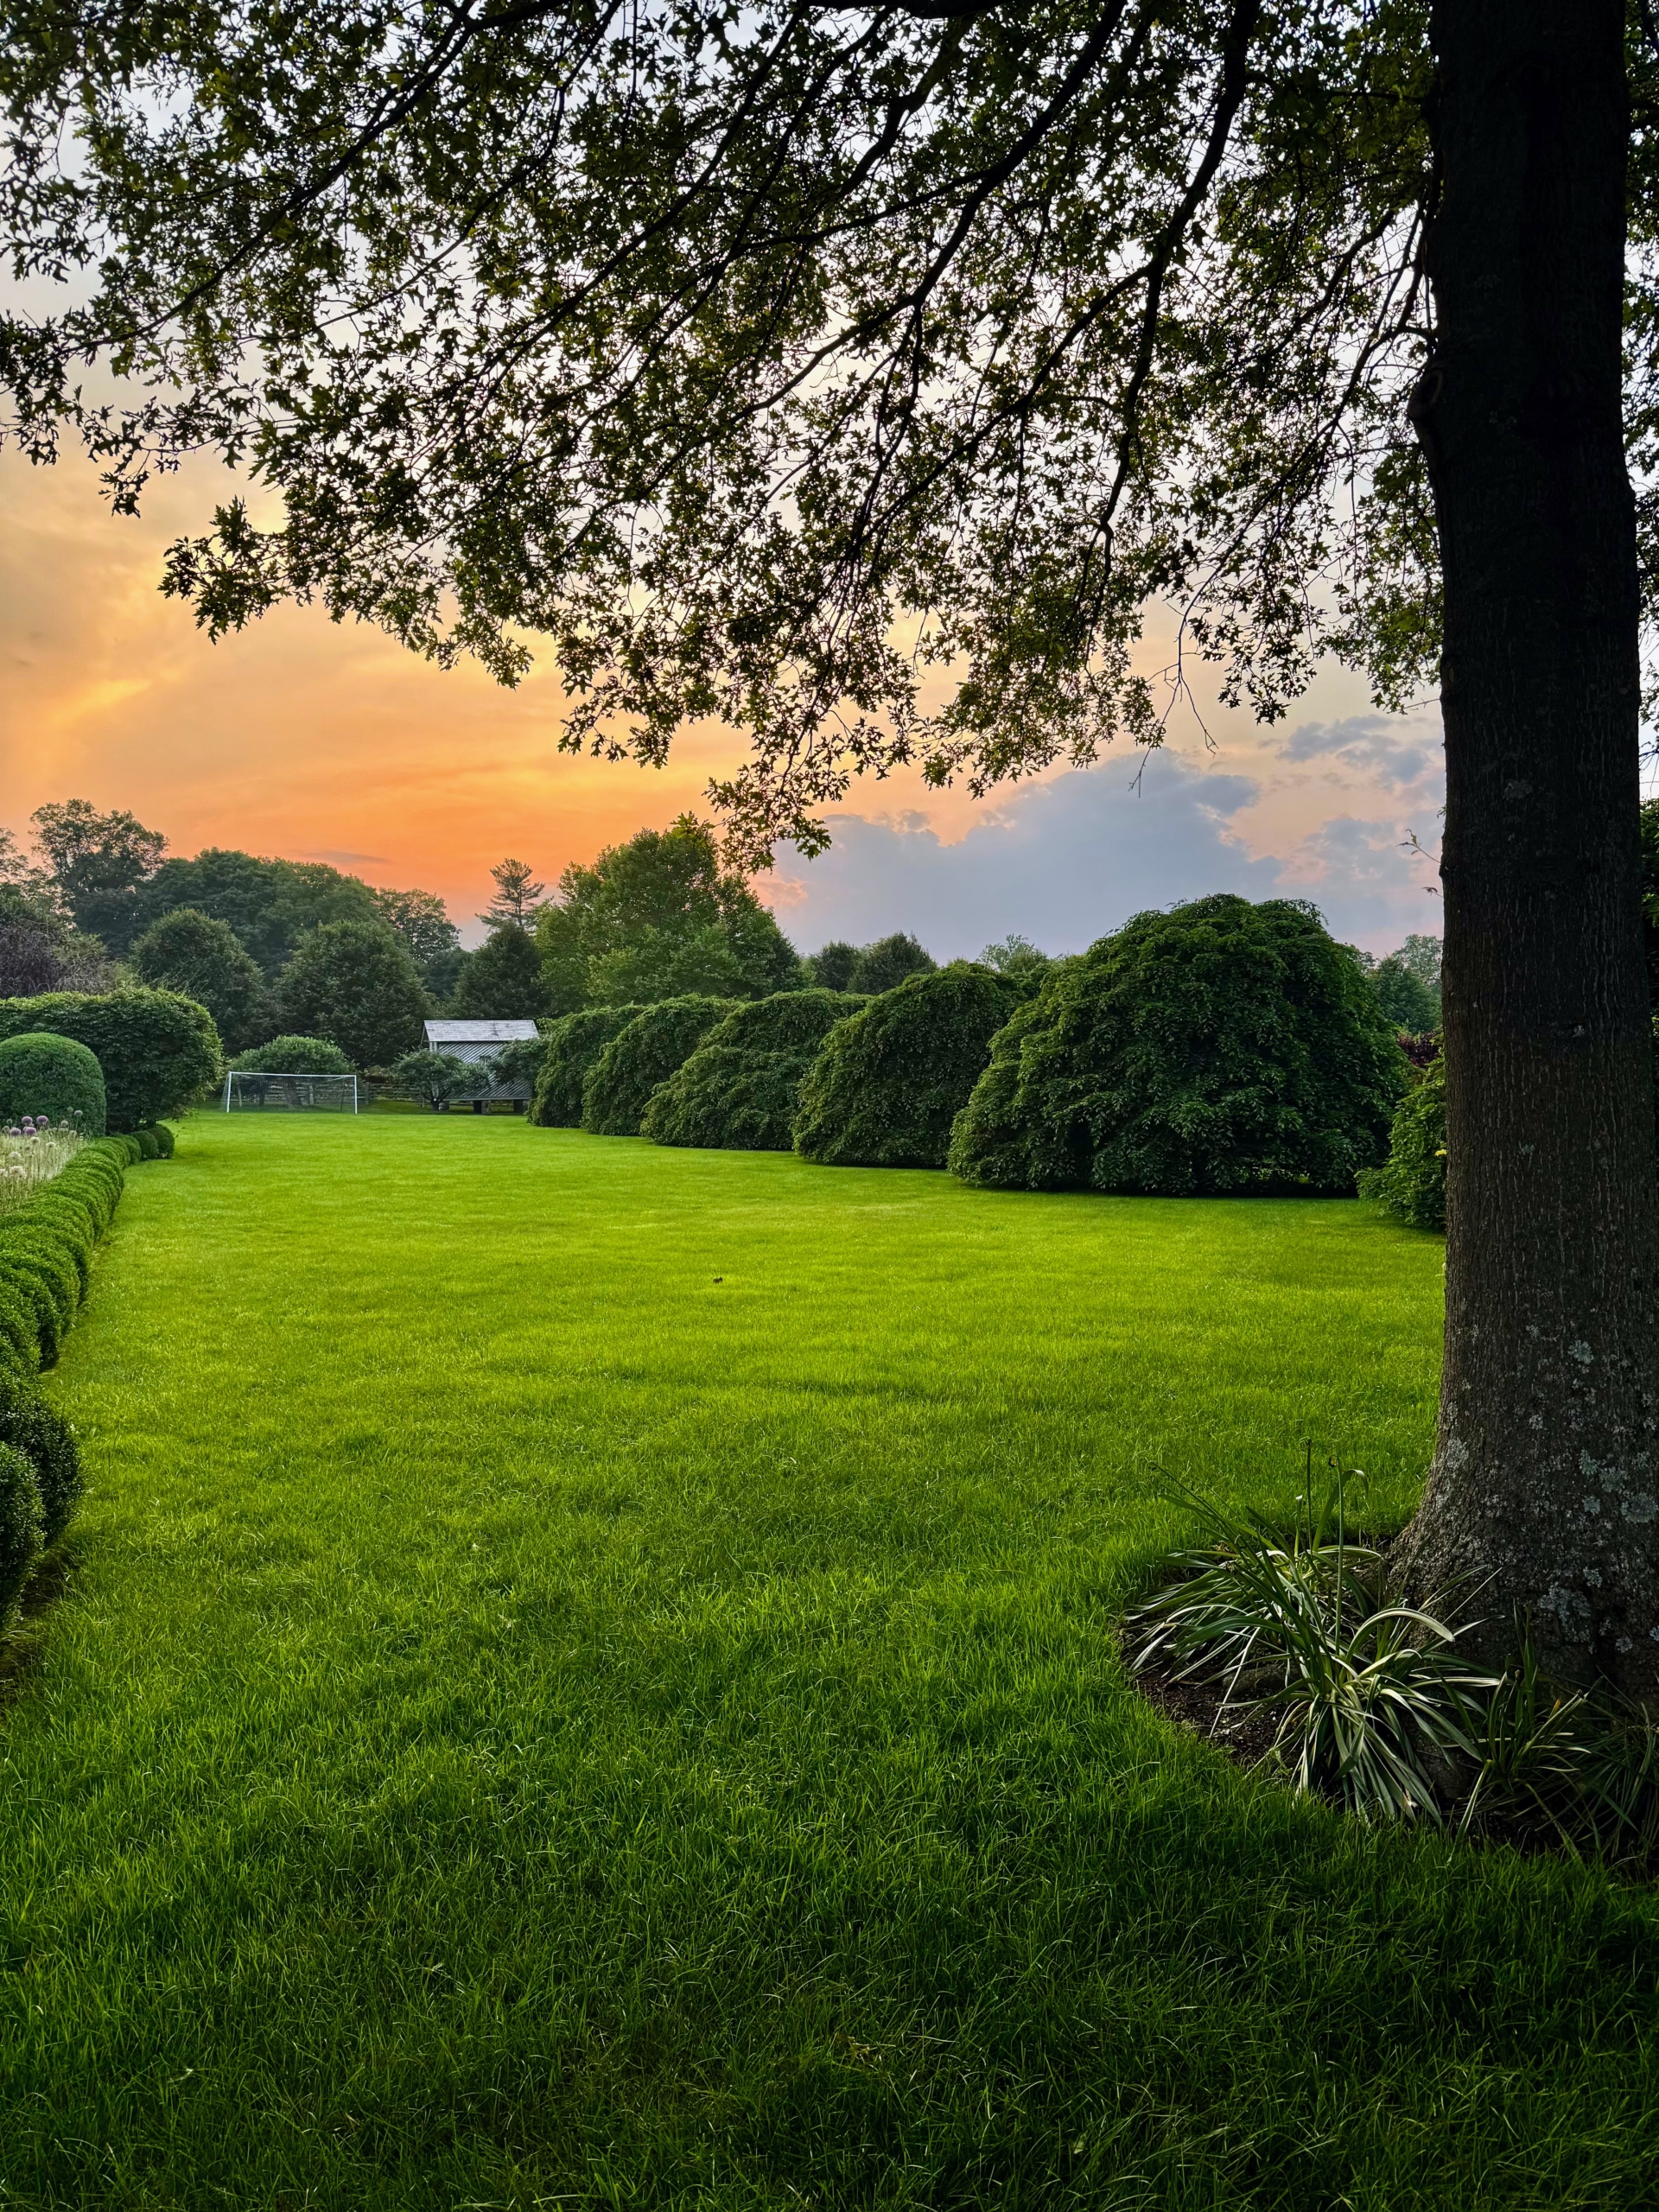
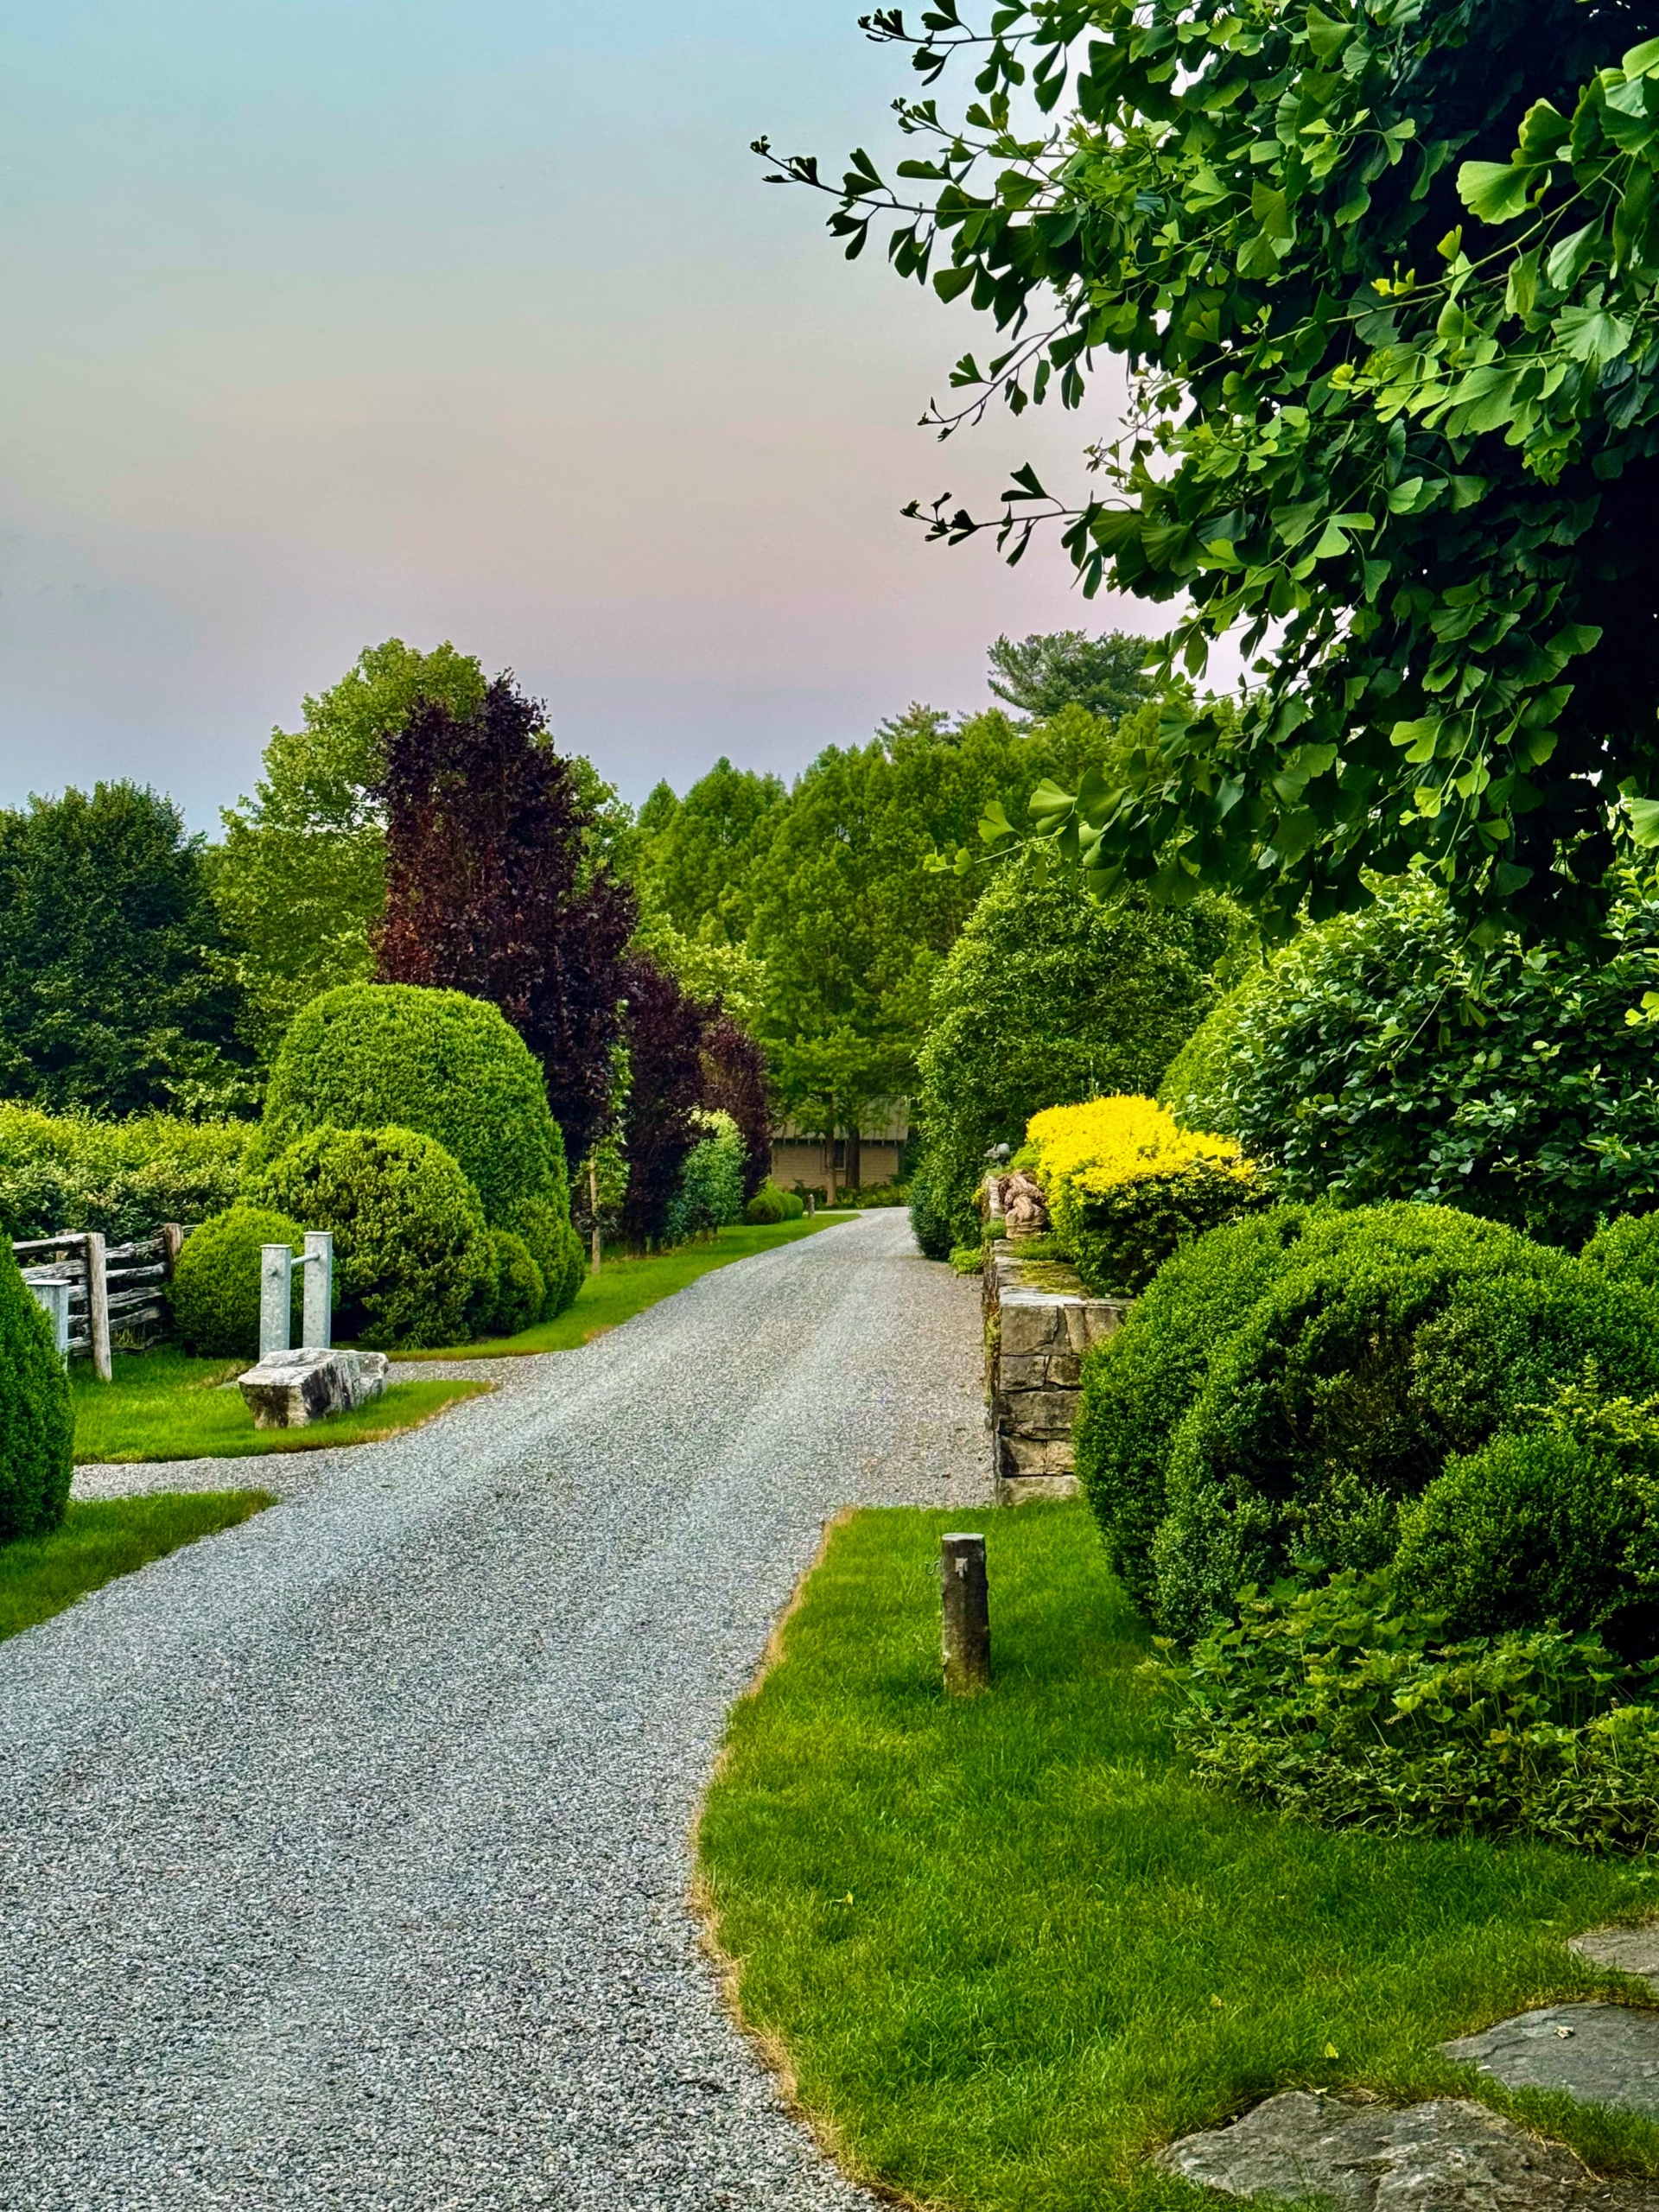
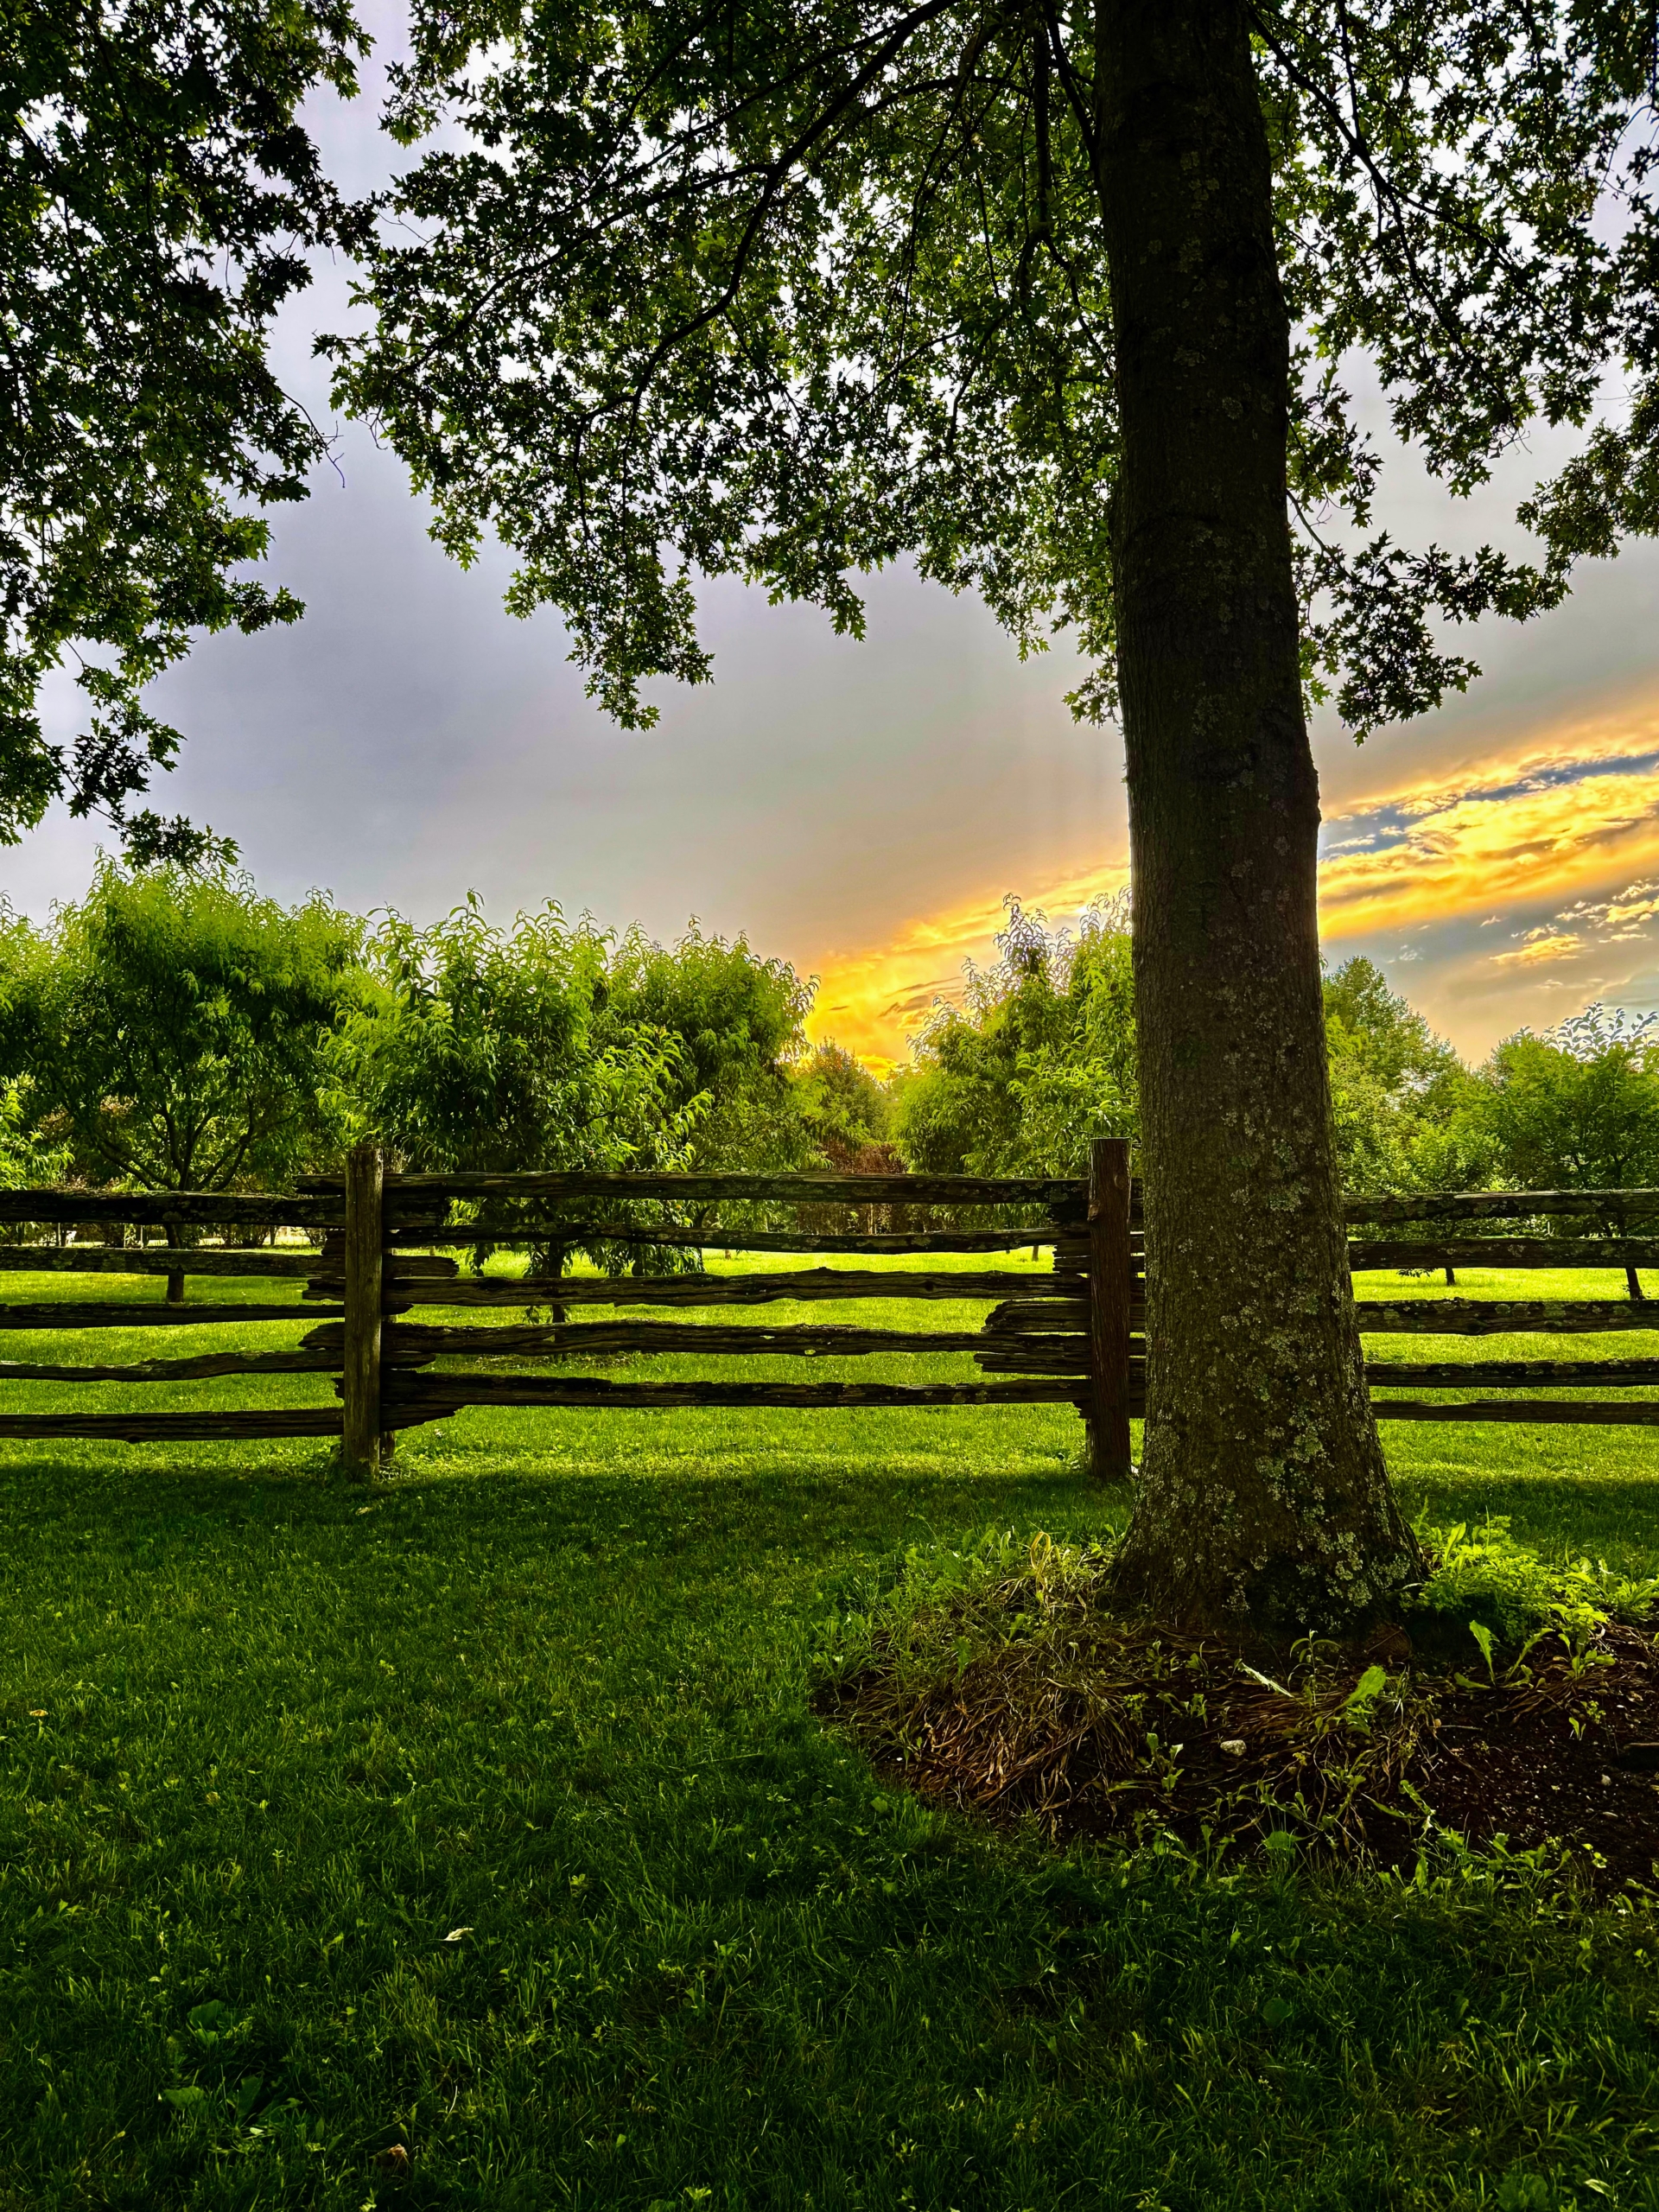
Carlos enjoys capturing photos of the setting sun. Many of the images in this gallery were taken just around 8pm in the evening. This is what I call my “soccer lawn” – the area where my grandson loves to play when he is visits.
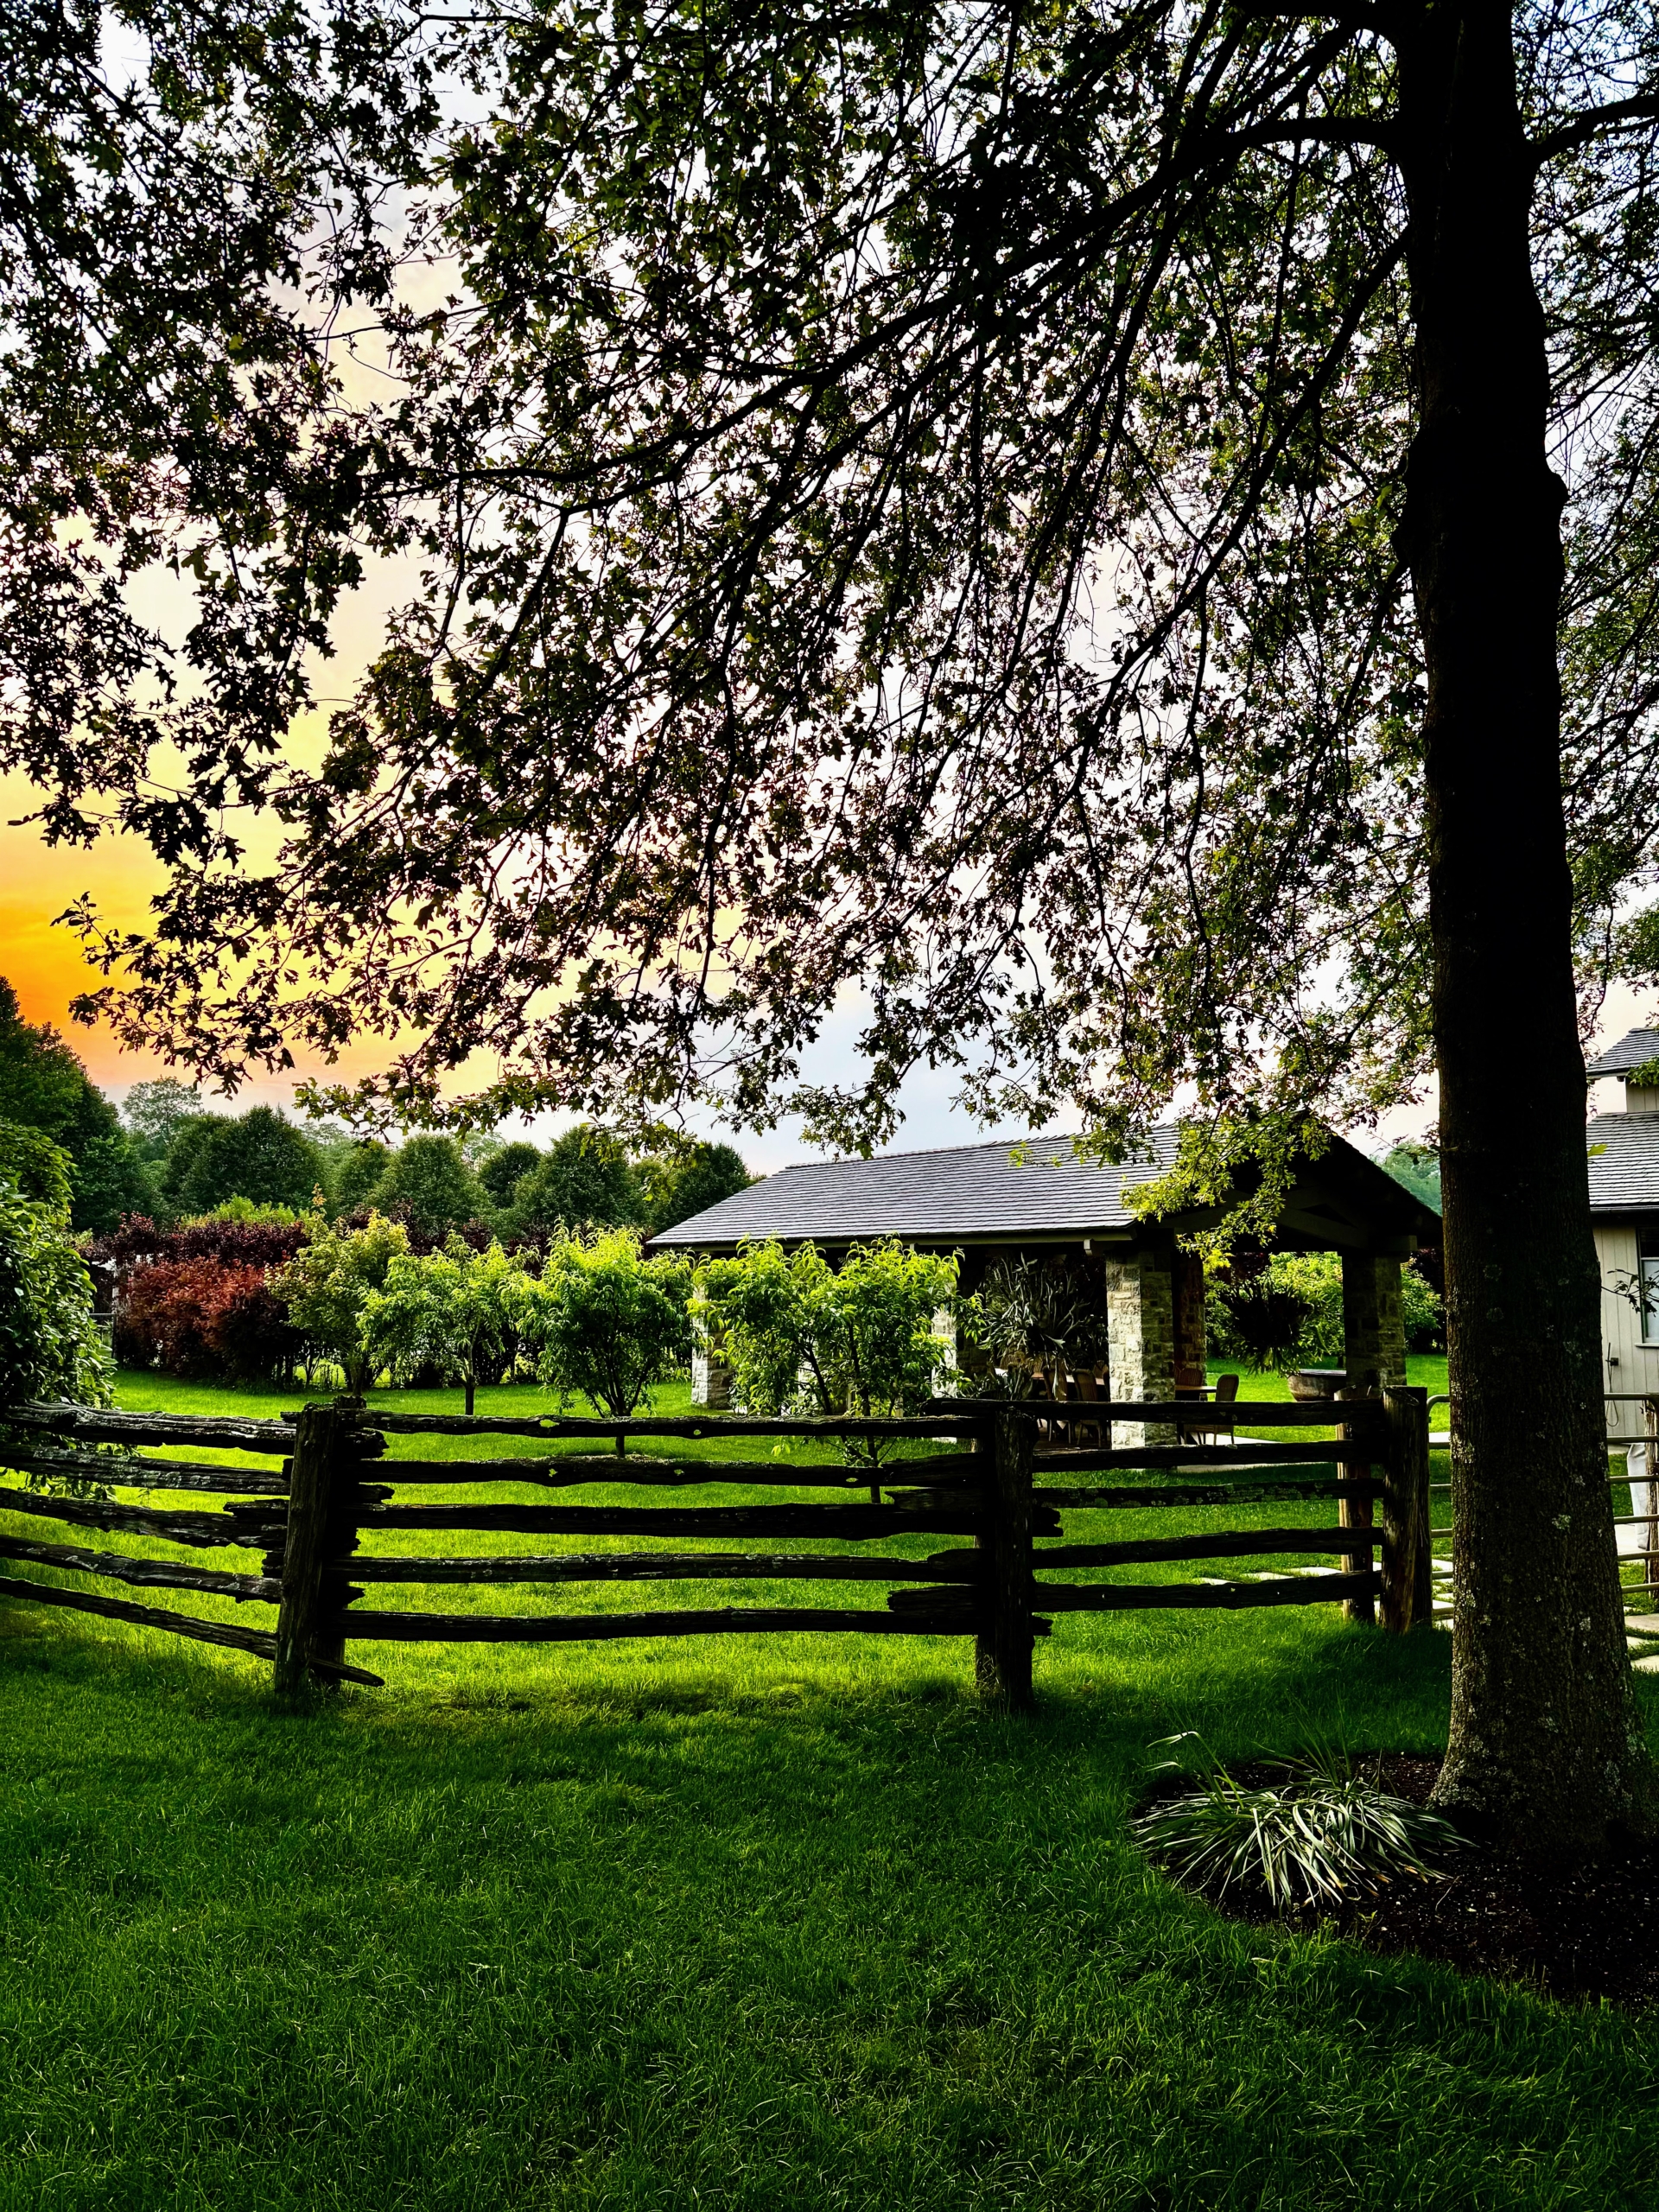
The structure on the right is my pavilion. It’s become a favorite warm weather gathering spot here at the farm.
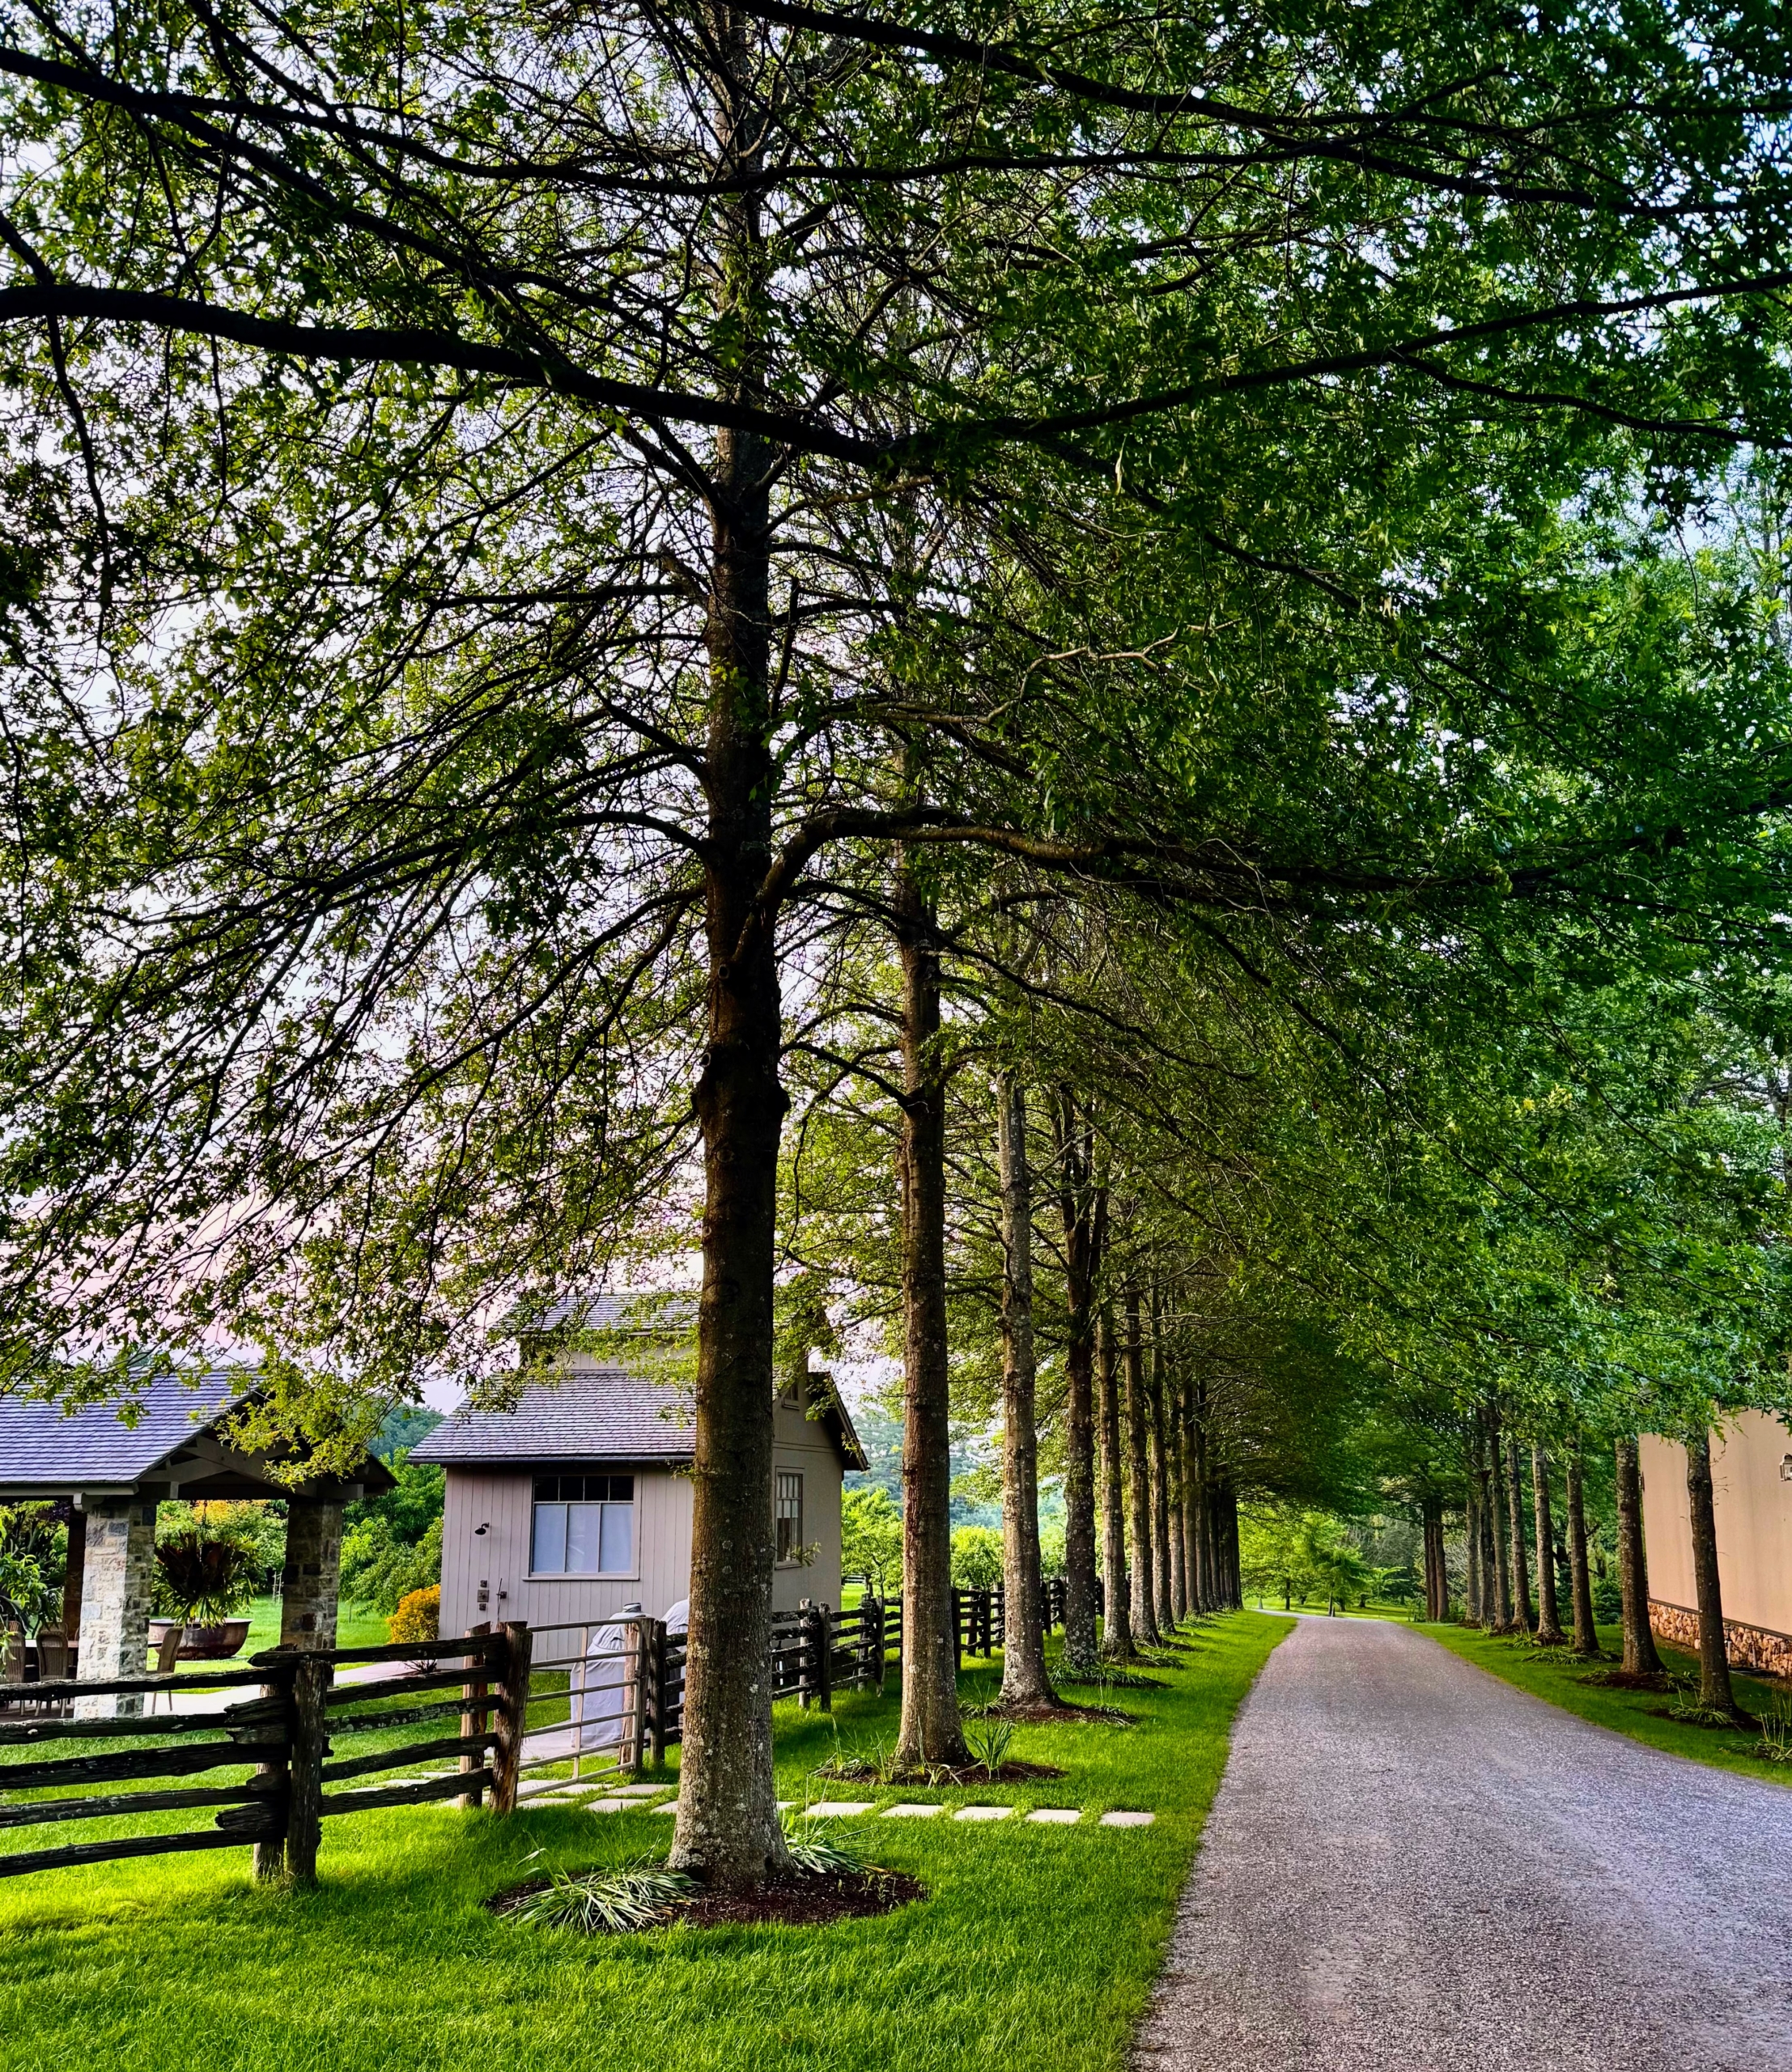
And, nearby is my Pin Oak Allée. A recognizable trait of the pin oak is that its lower branches hang down. It also has horizontal middle branches and upright upper branches forming a most interesting growth habit. My pool house is in the background.
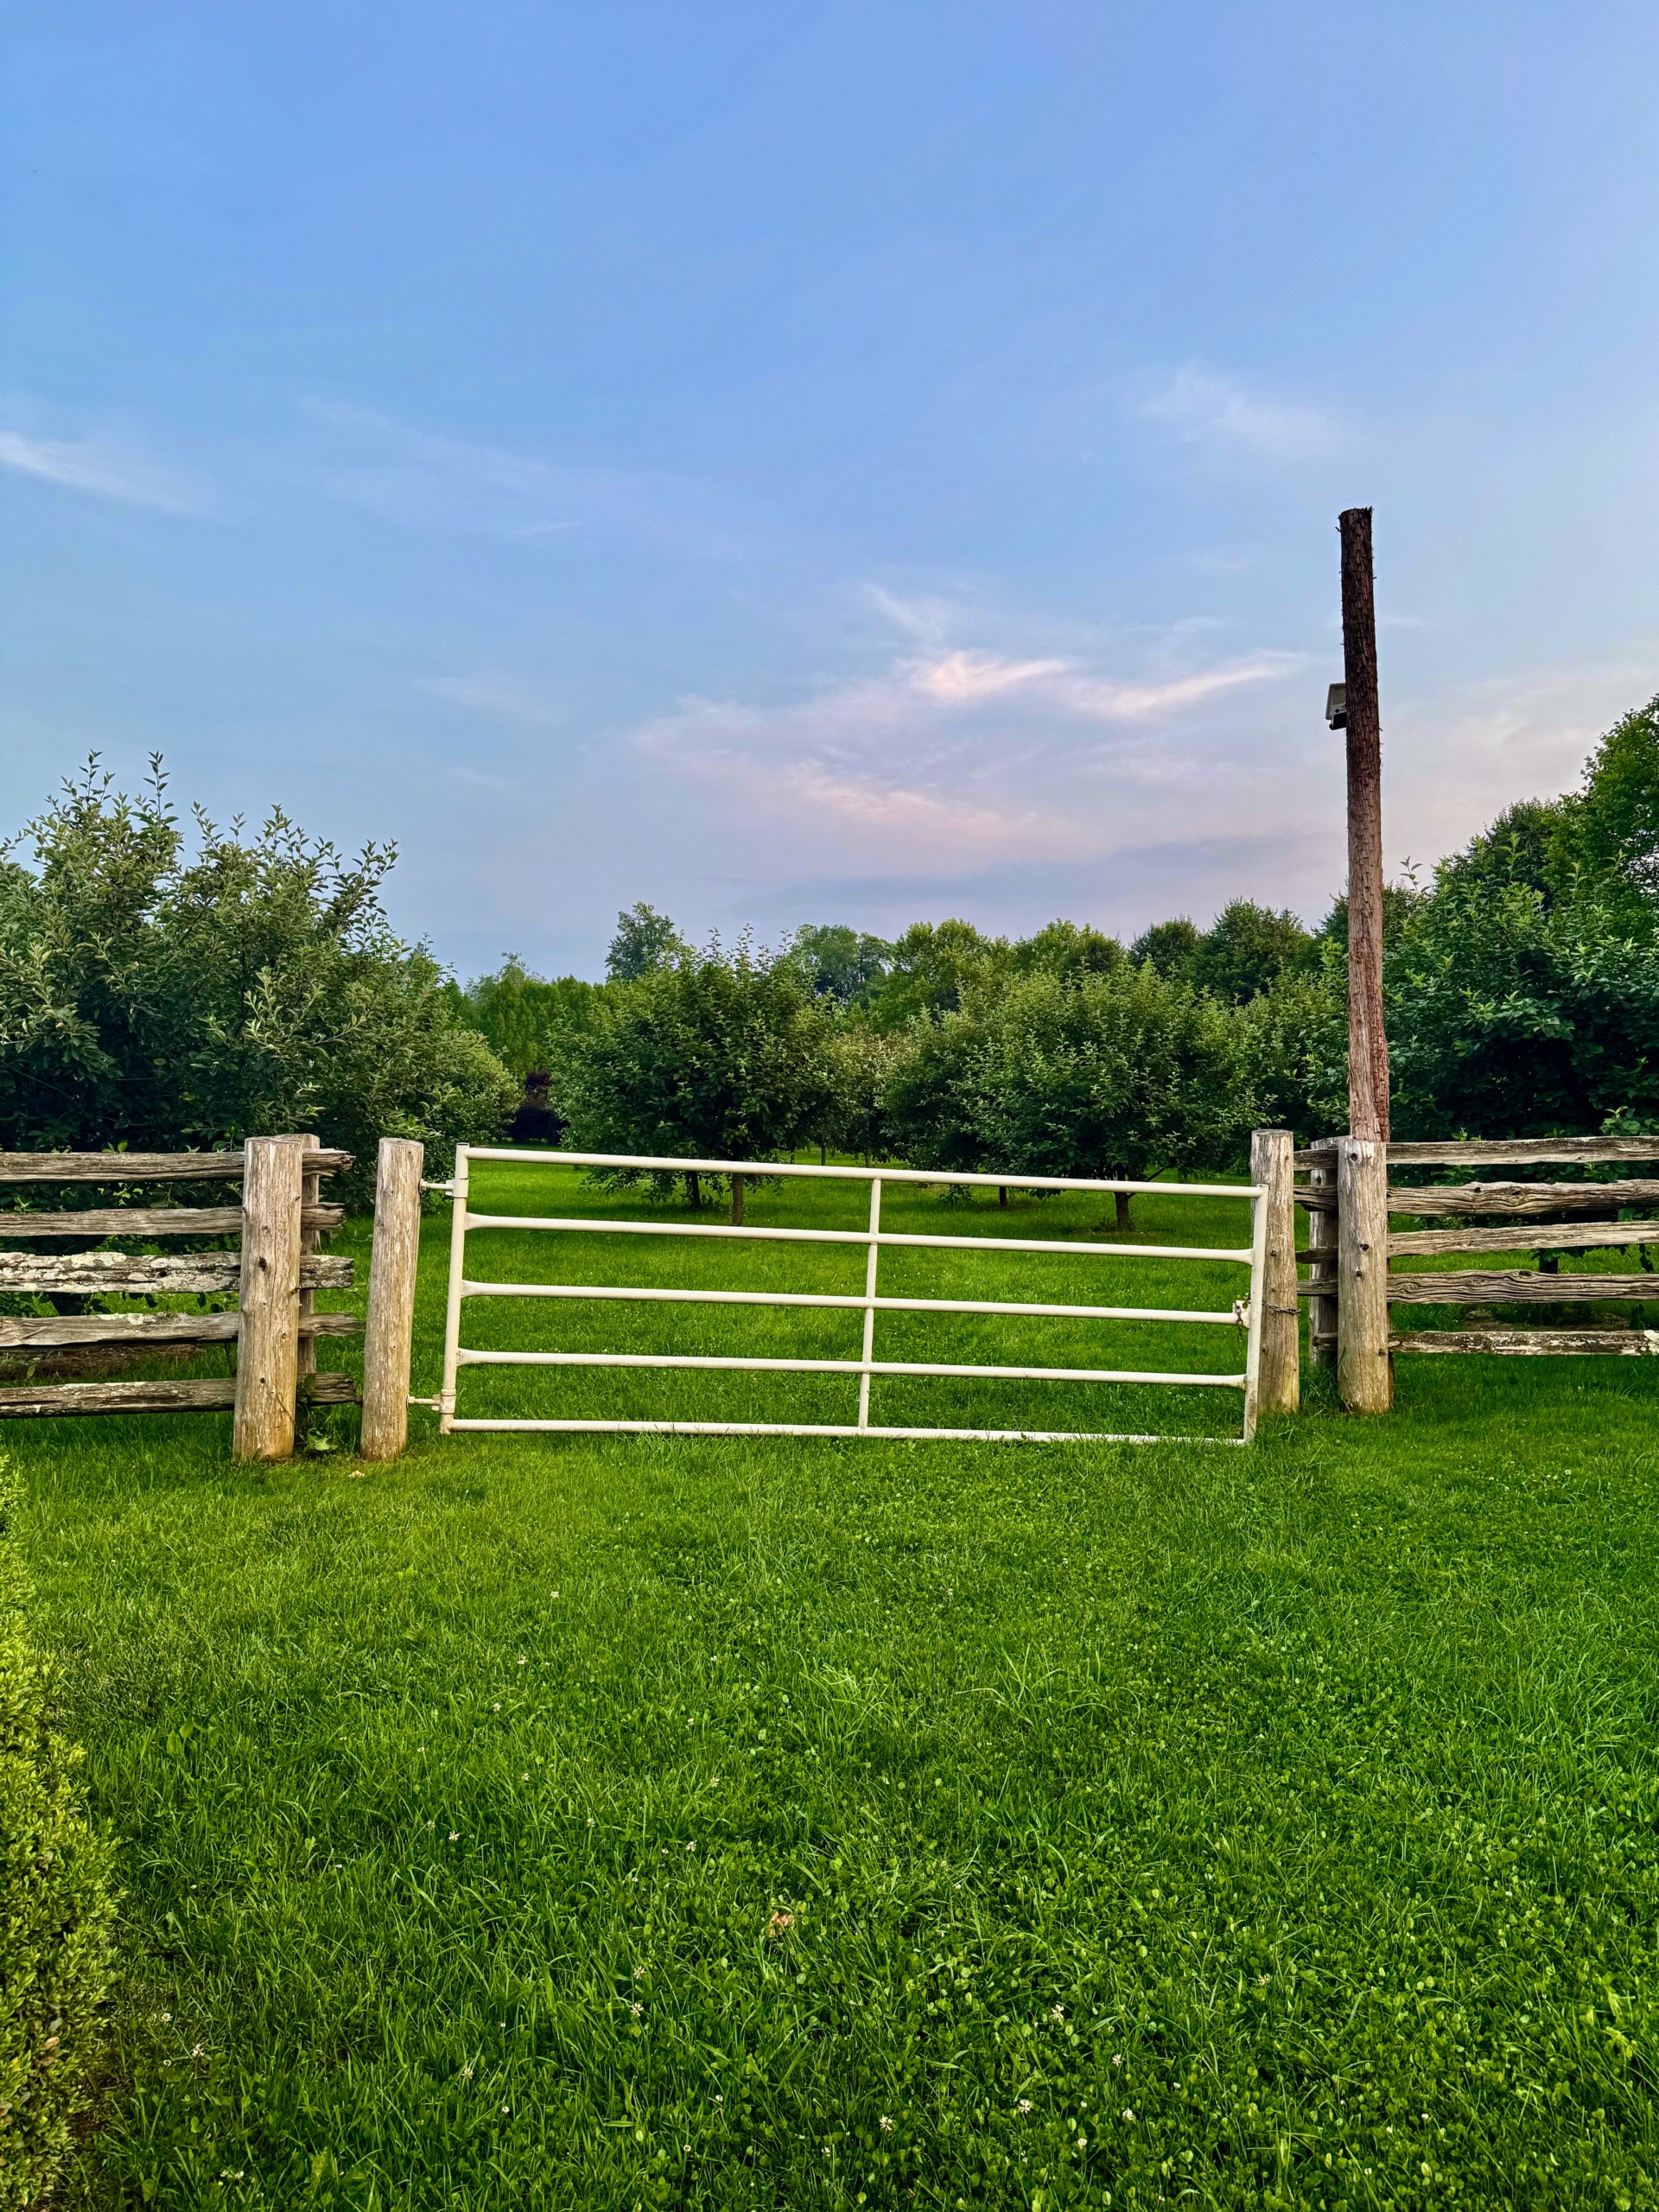
This gate leads to my orchard of more than 200 fruit trees. Since it was first planted in 2017, these trees have provided so many wonderful fruits.
Right now, the peach trees are so full. These peaches will be ready to pick soon!
Here at my farm, I have four miles of gravel-covered carriage road. Gravel roads are attractive and accumulate less pollutants over time, but most importantly they provide excellent footing for my Friesian horses, my Fell pony, and my five donkeys.
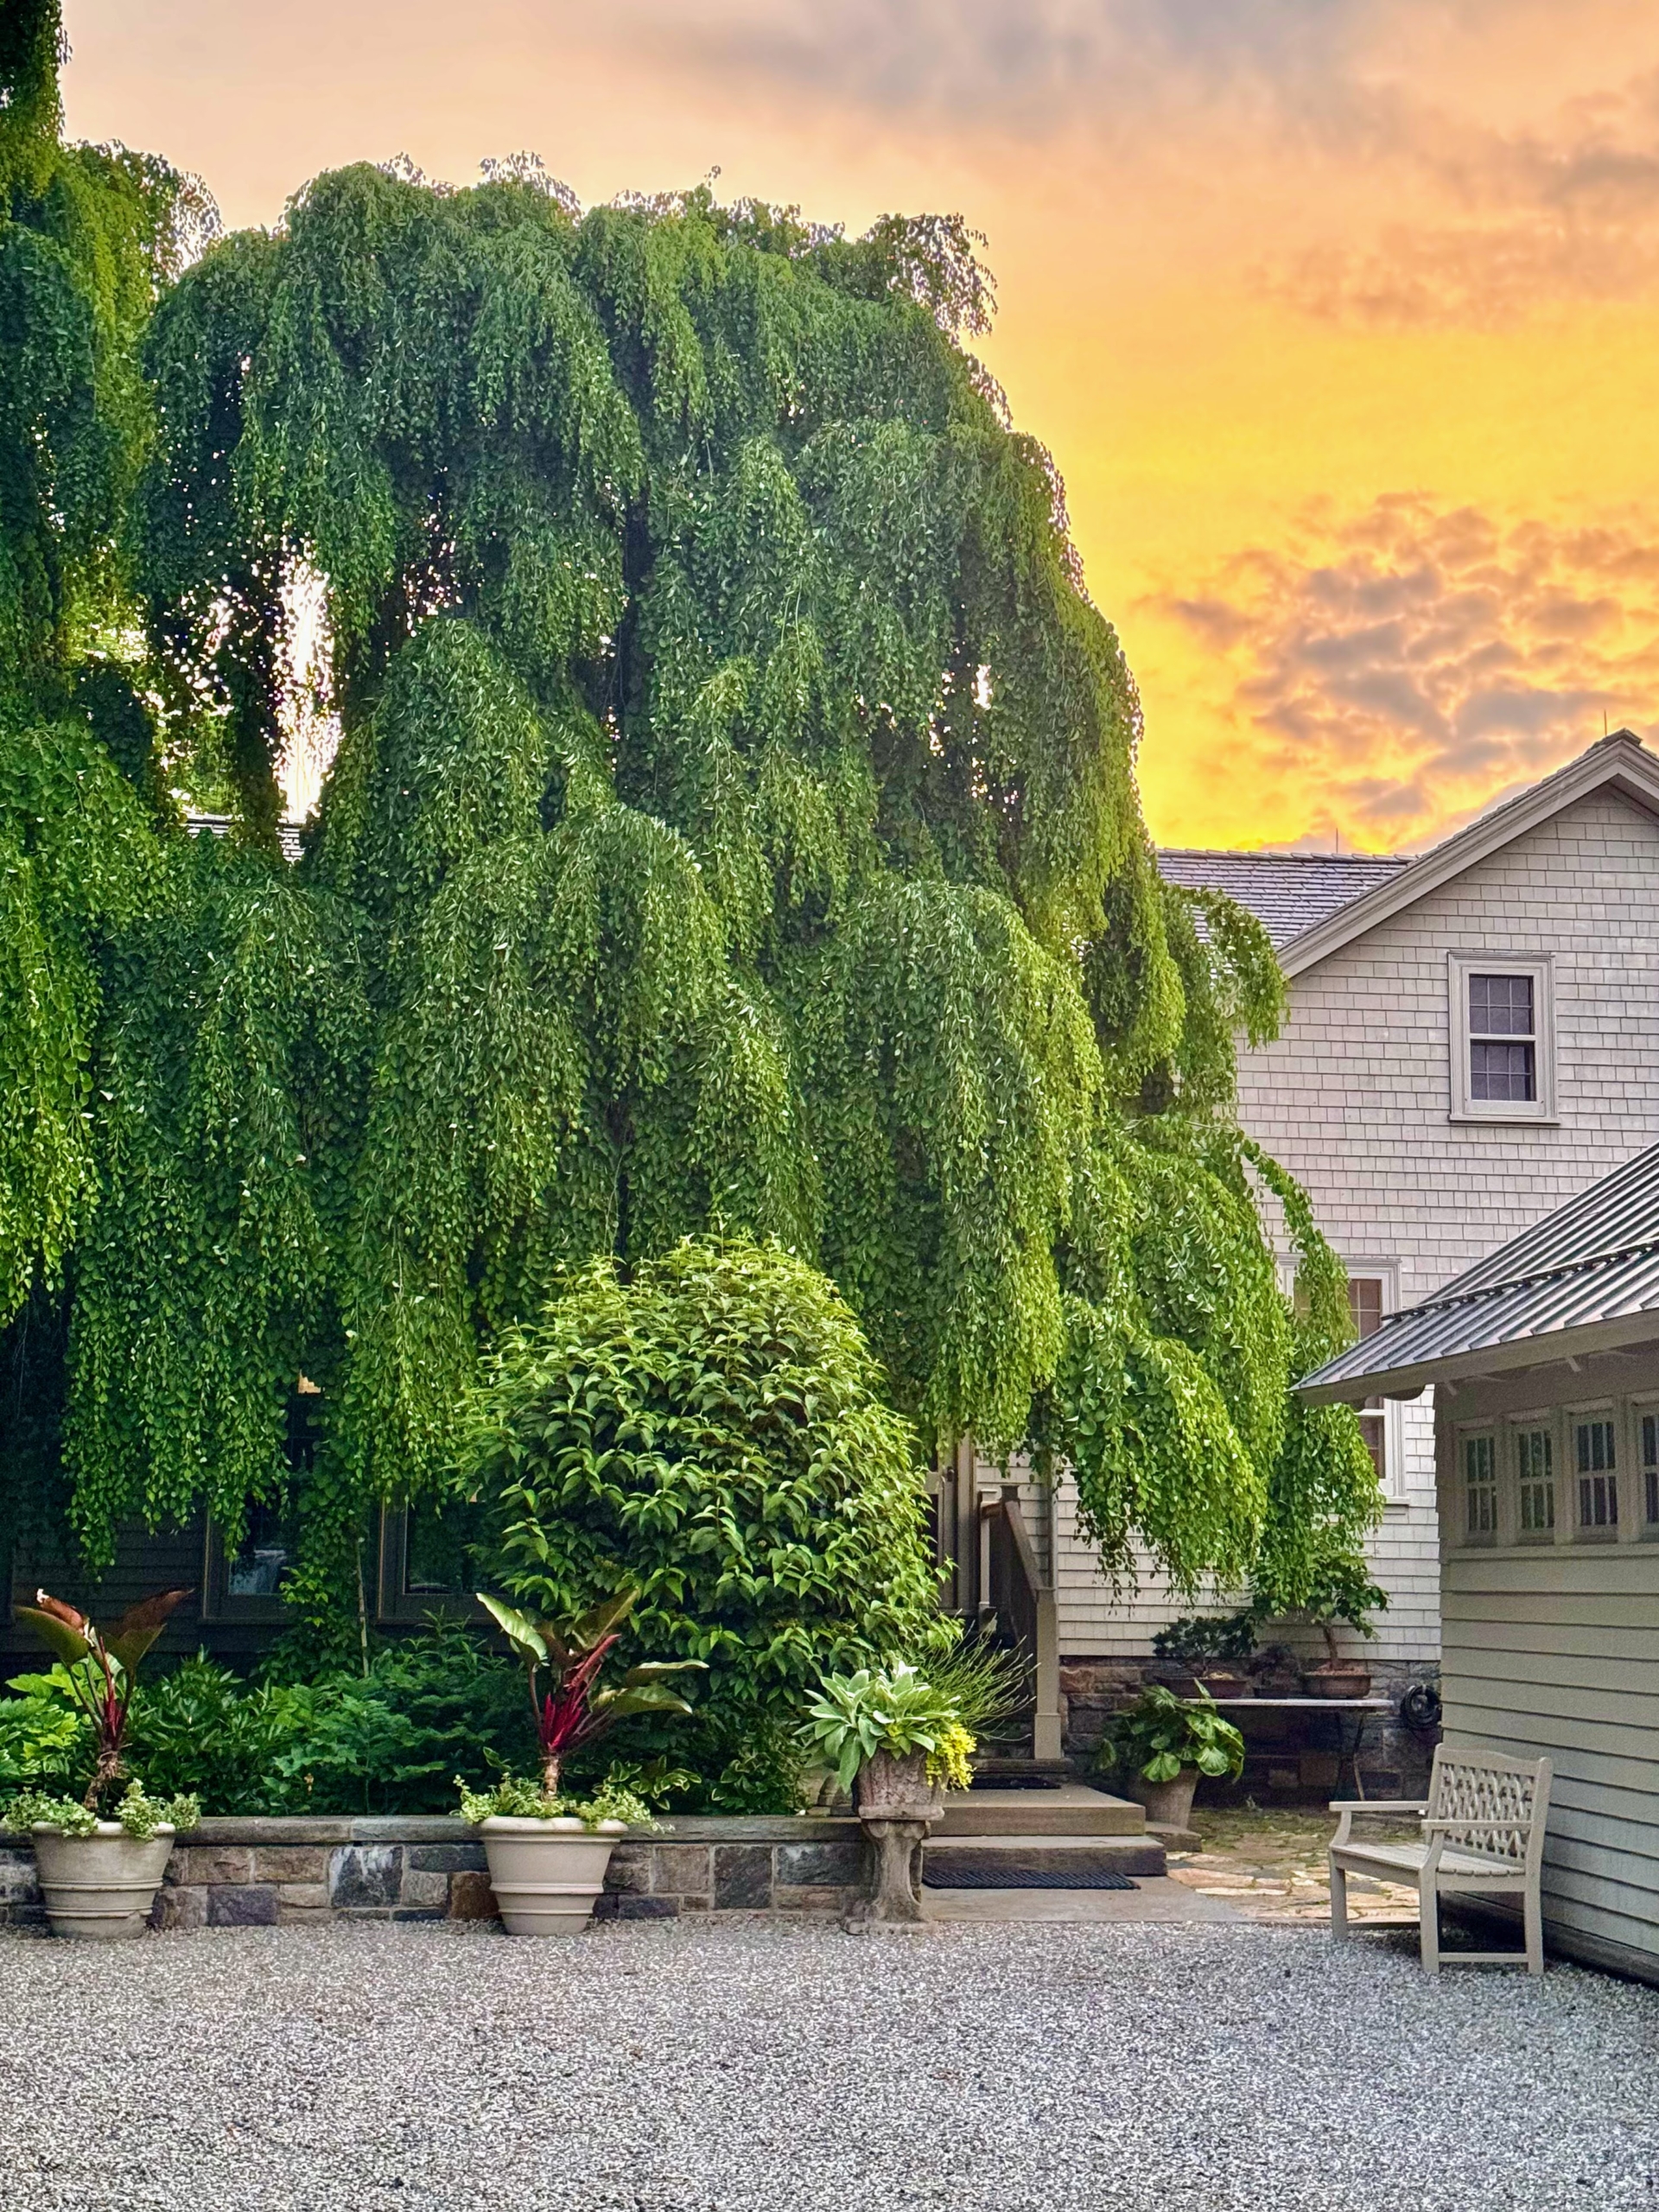
This is one of three beautiful weeping katsura trees outside my Winter House. The weeping katsura, Cercidiphyllum japonicum ‘Pendulum’ is an ornamental tree known for its cascading branches and heart-shaped leaves.
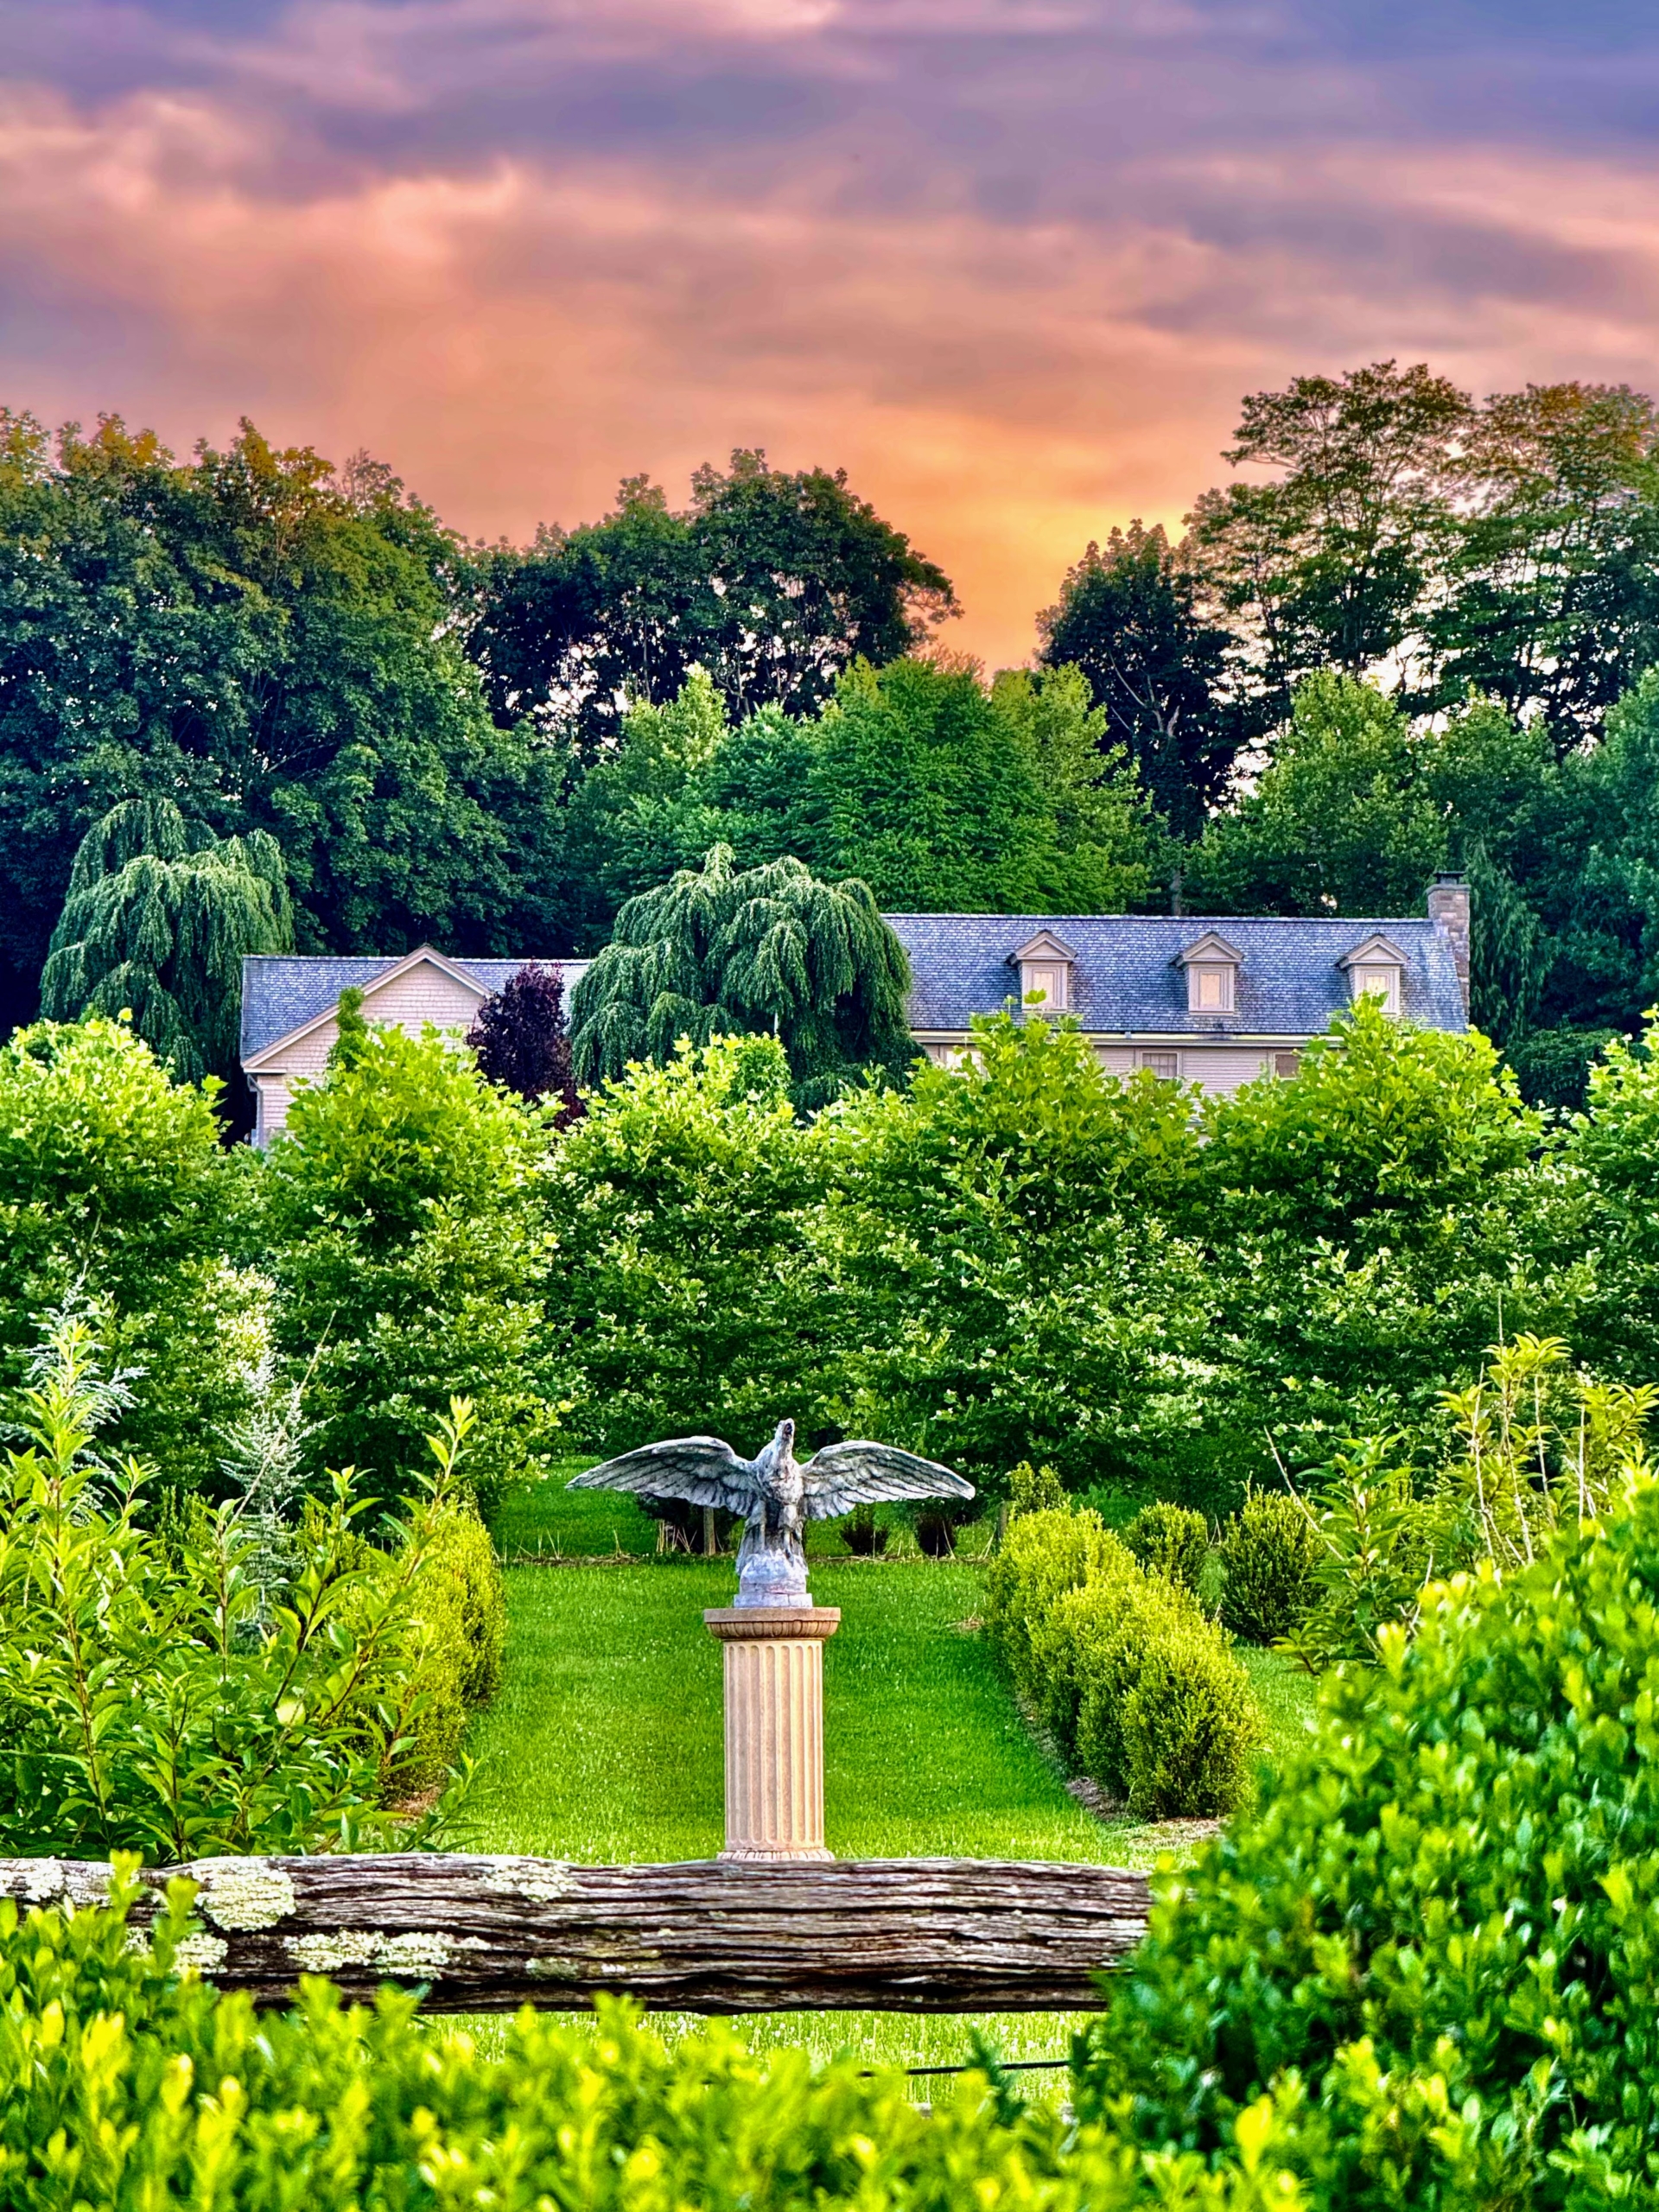
Carlos caught this beautiful sunset from the north end of my living maze looking at my home. All the maze plantings are so lush. The eagle was added here last spring.
Here’s my beautiful champion Chow Chow, Empress Qin.
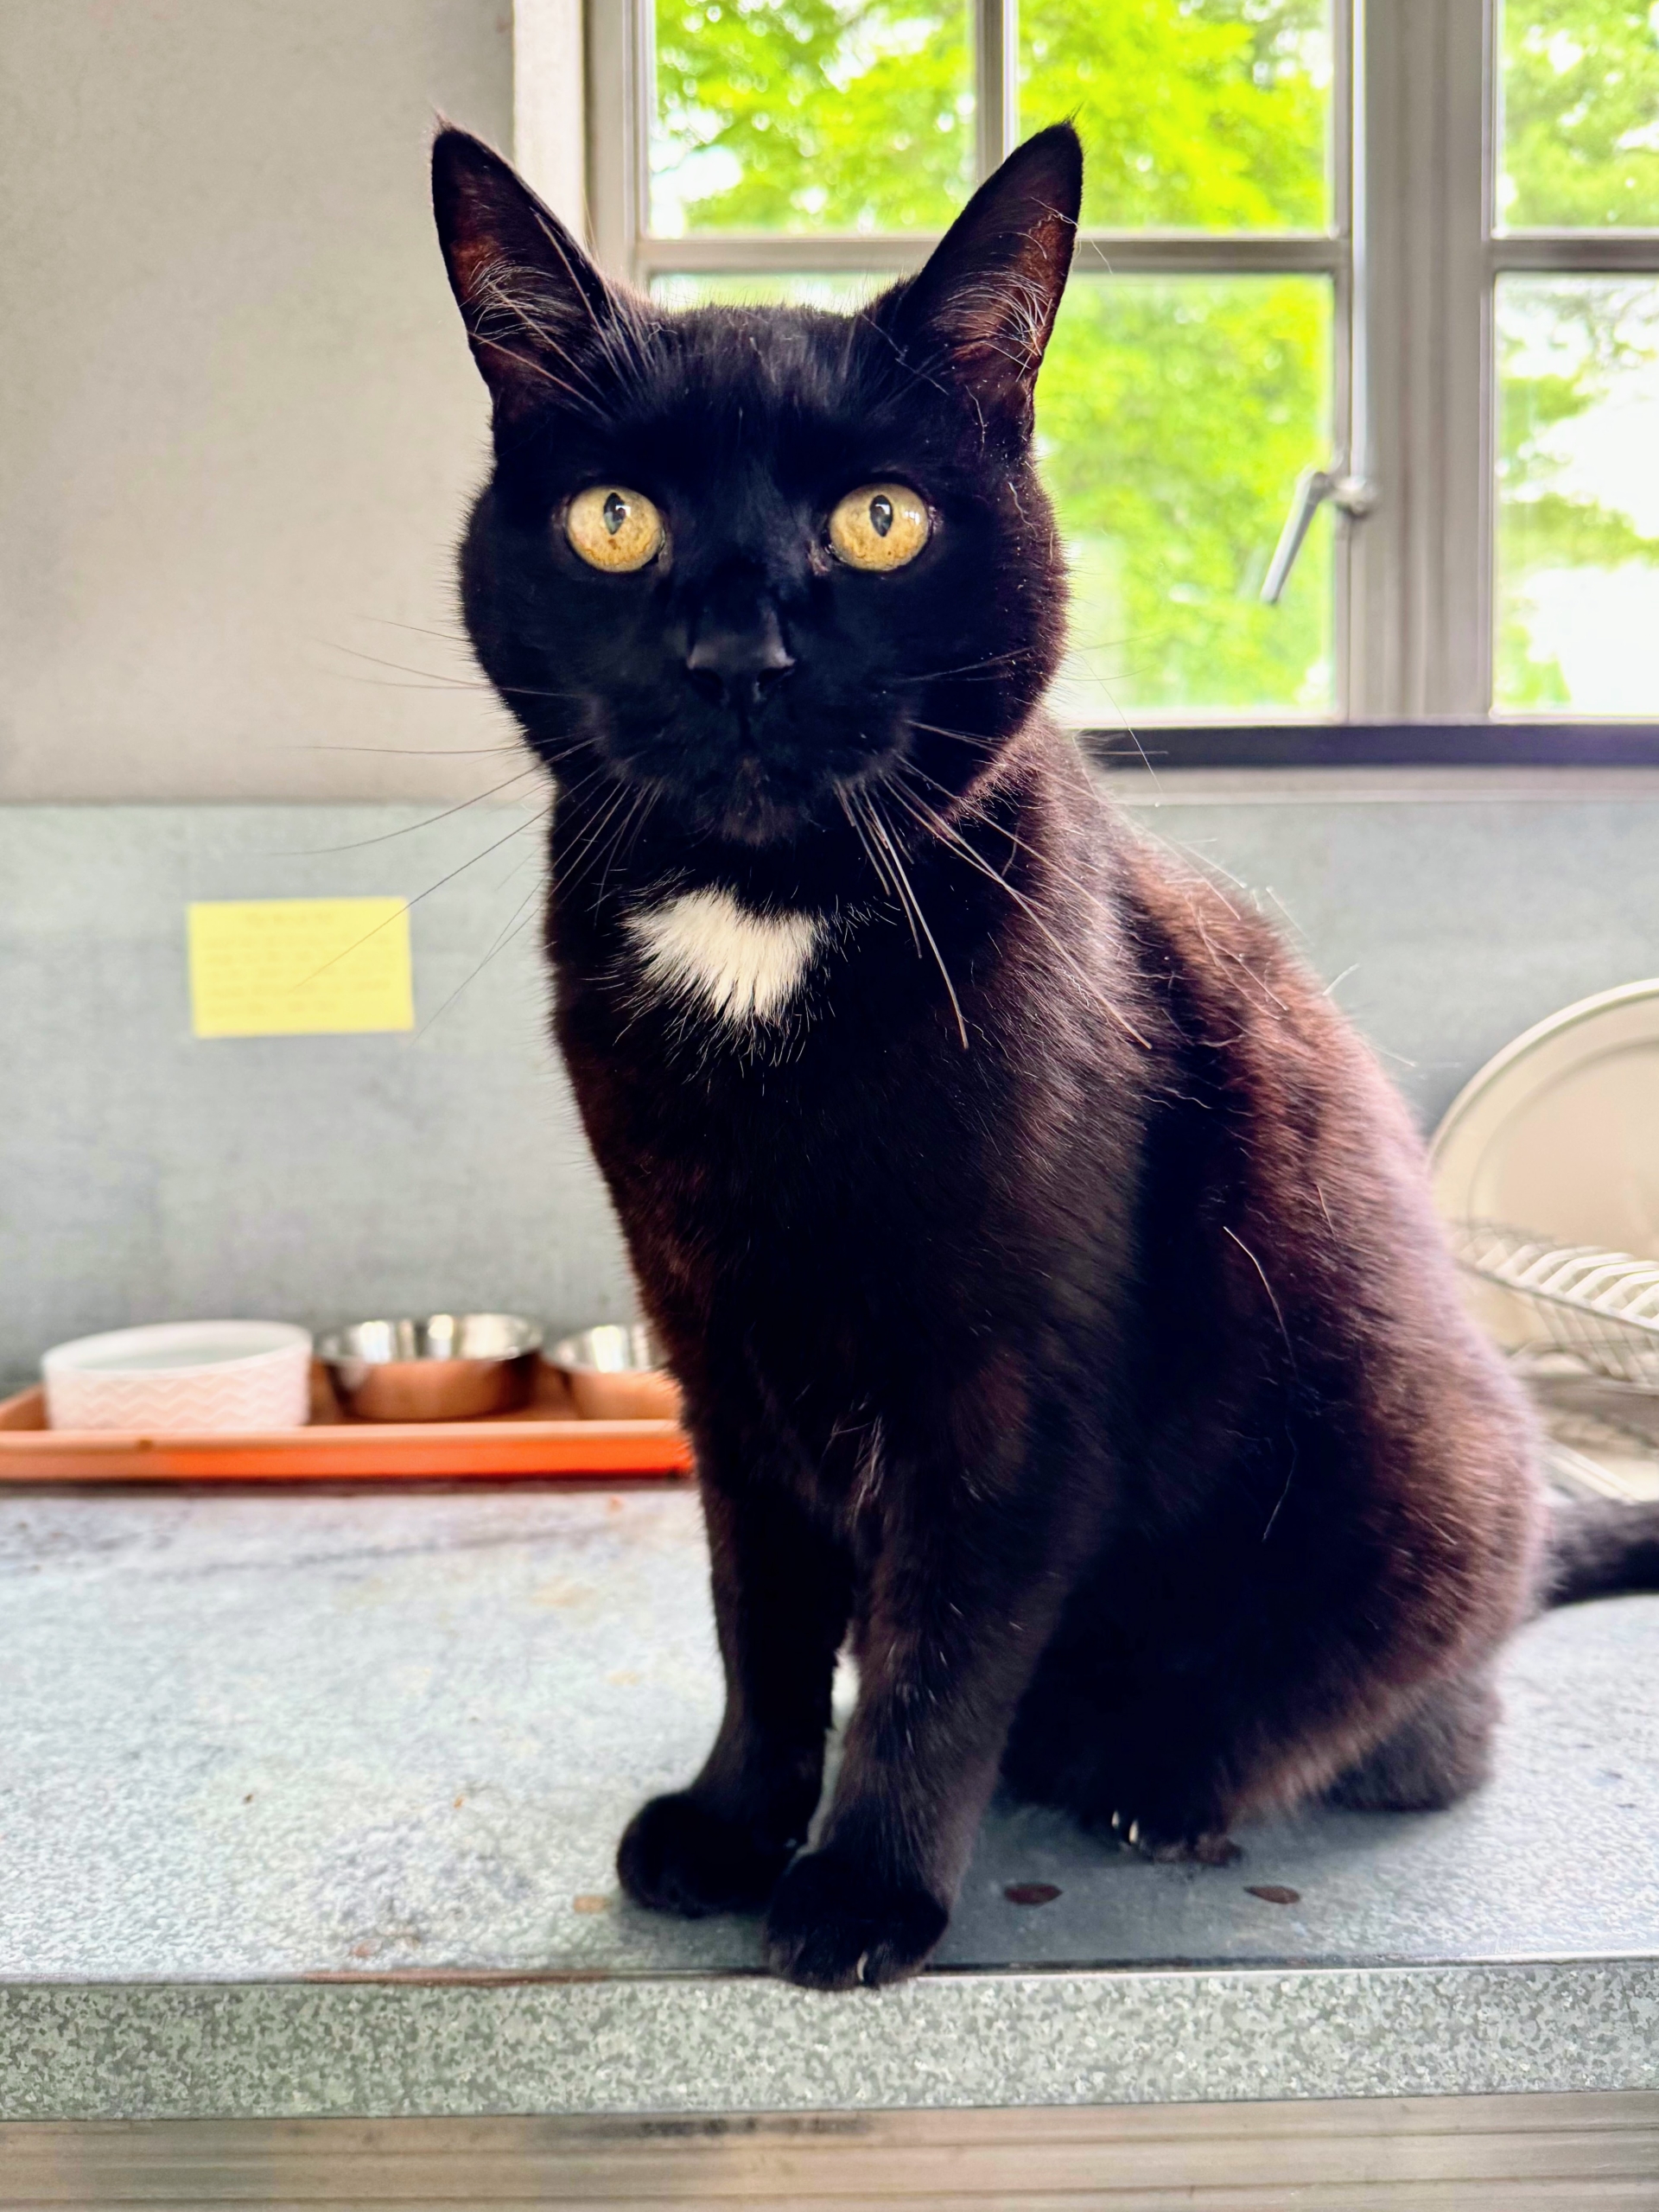
Blackie is my greenhouse cat. Blackie is very friendly and is always ready for a good rub.
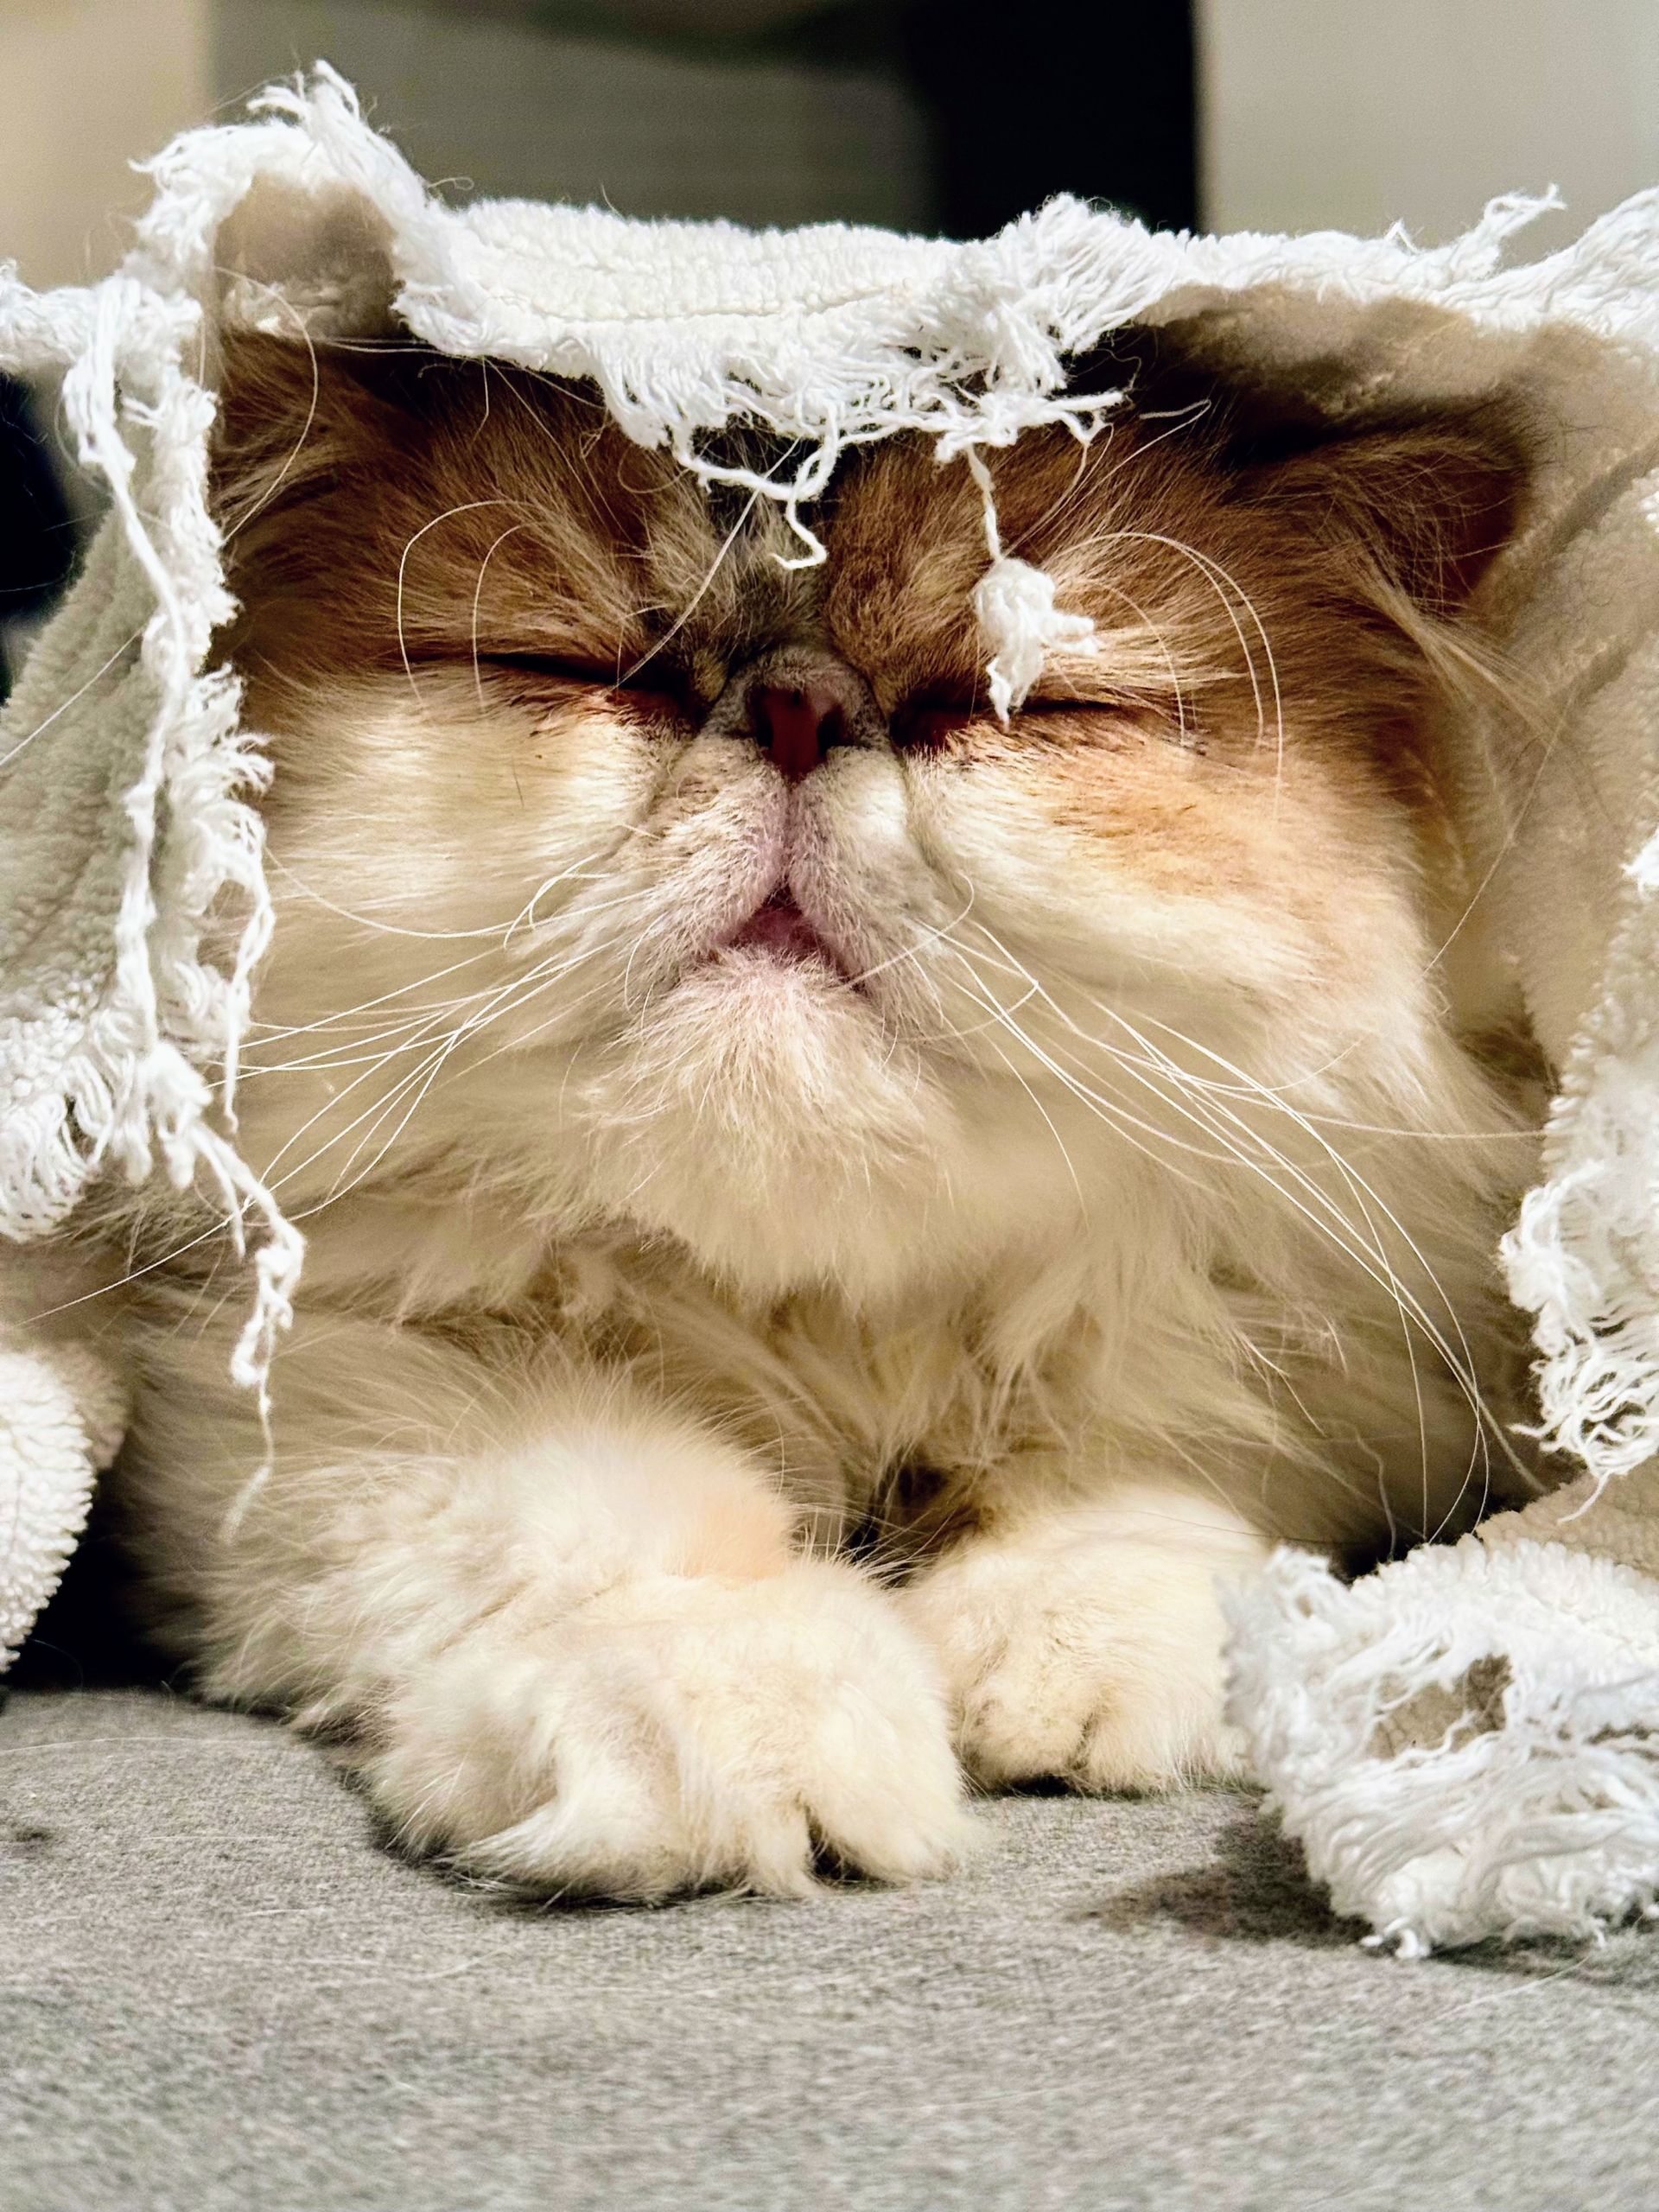
And this is Dahlia, one of my three Persians. She is a dilute calico Persian, meaning her calico coat colors are softer. She is just a year old, but so full of personality – she’s a big favorite here at my farm.
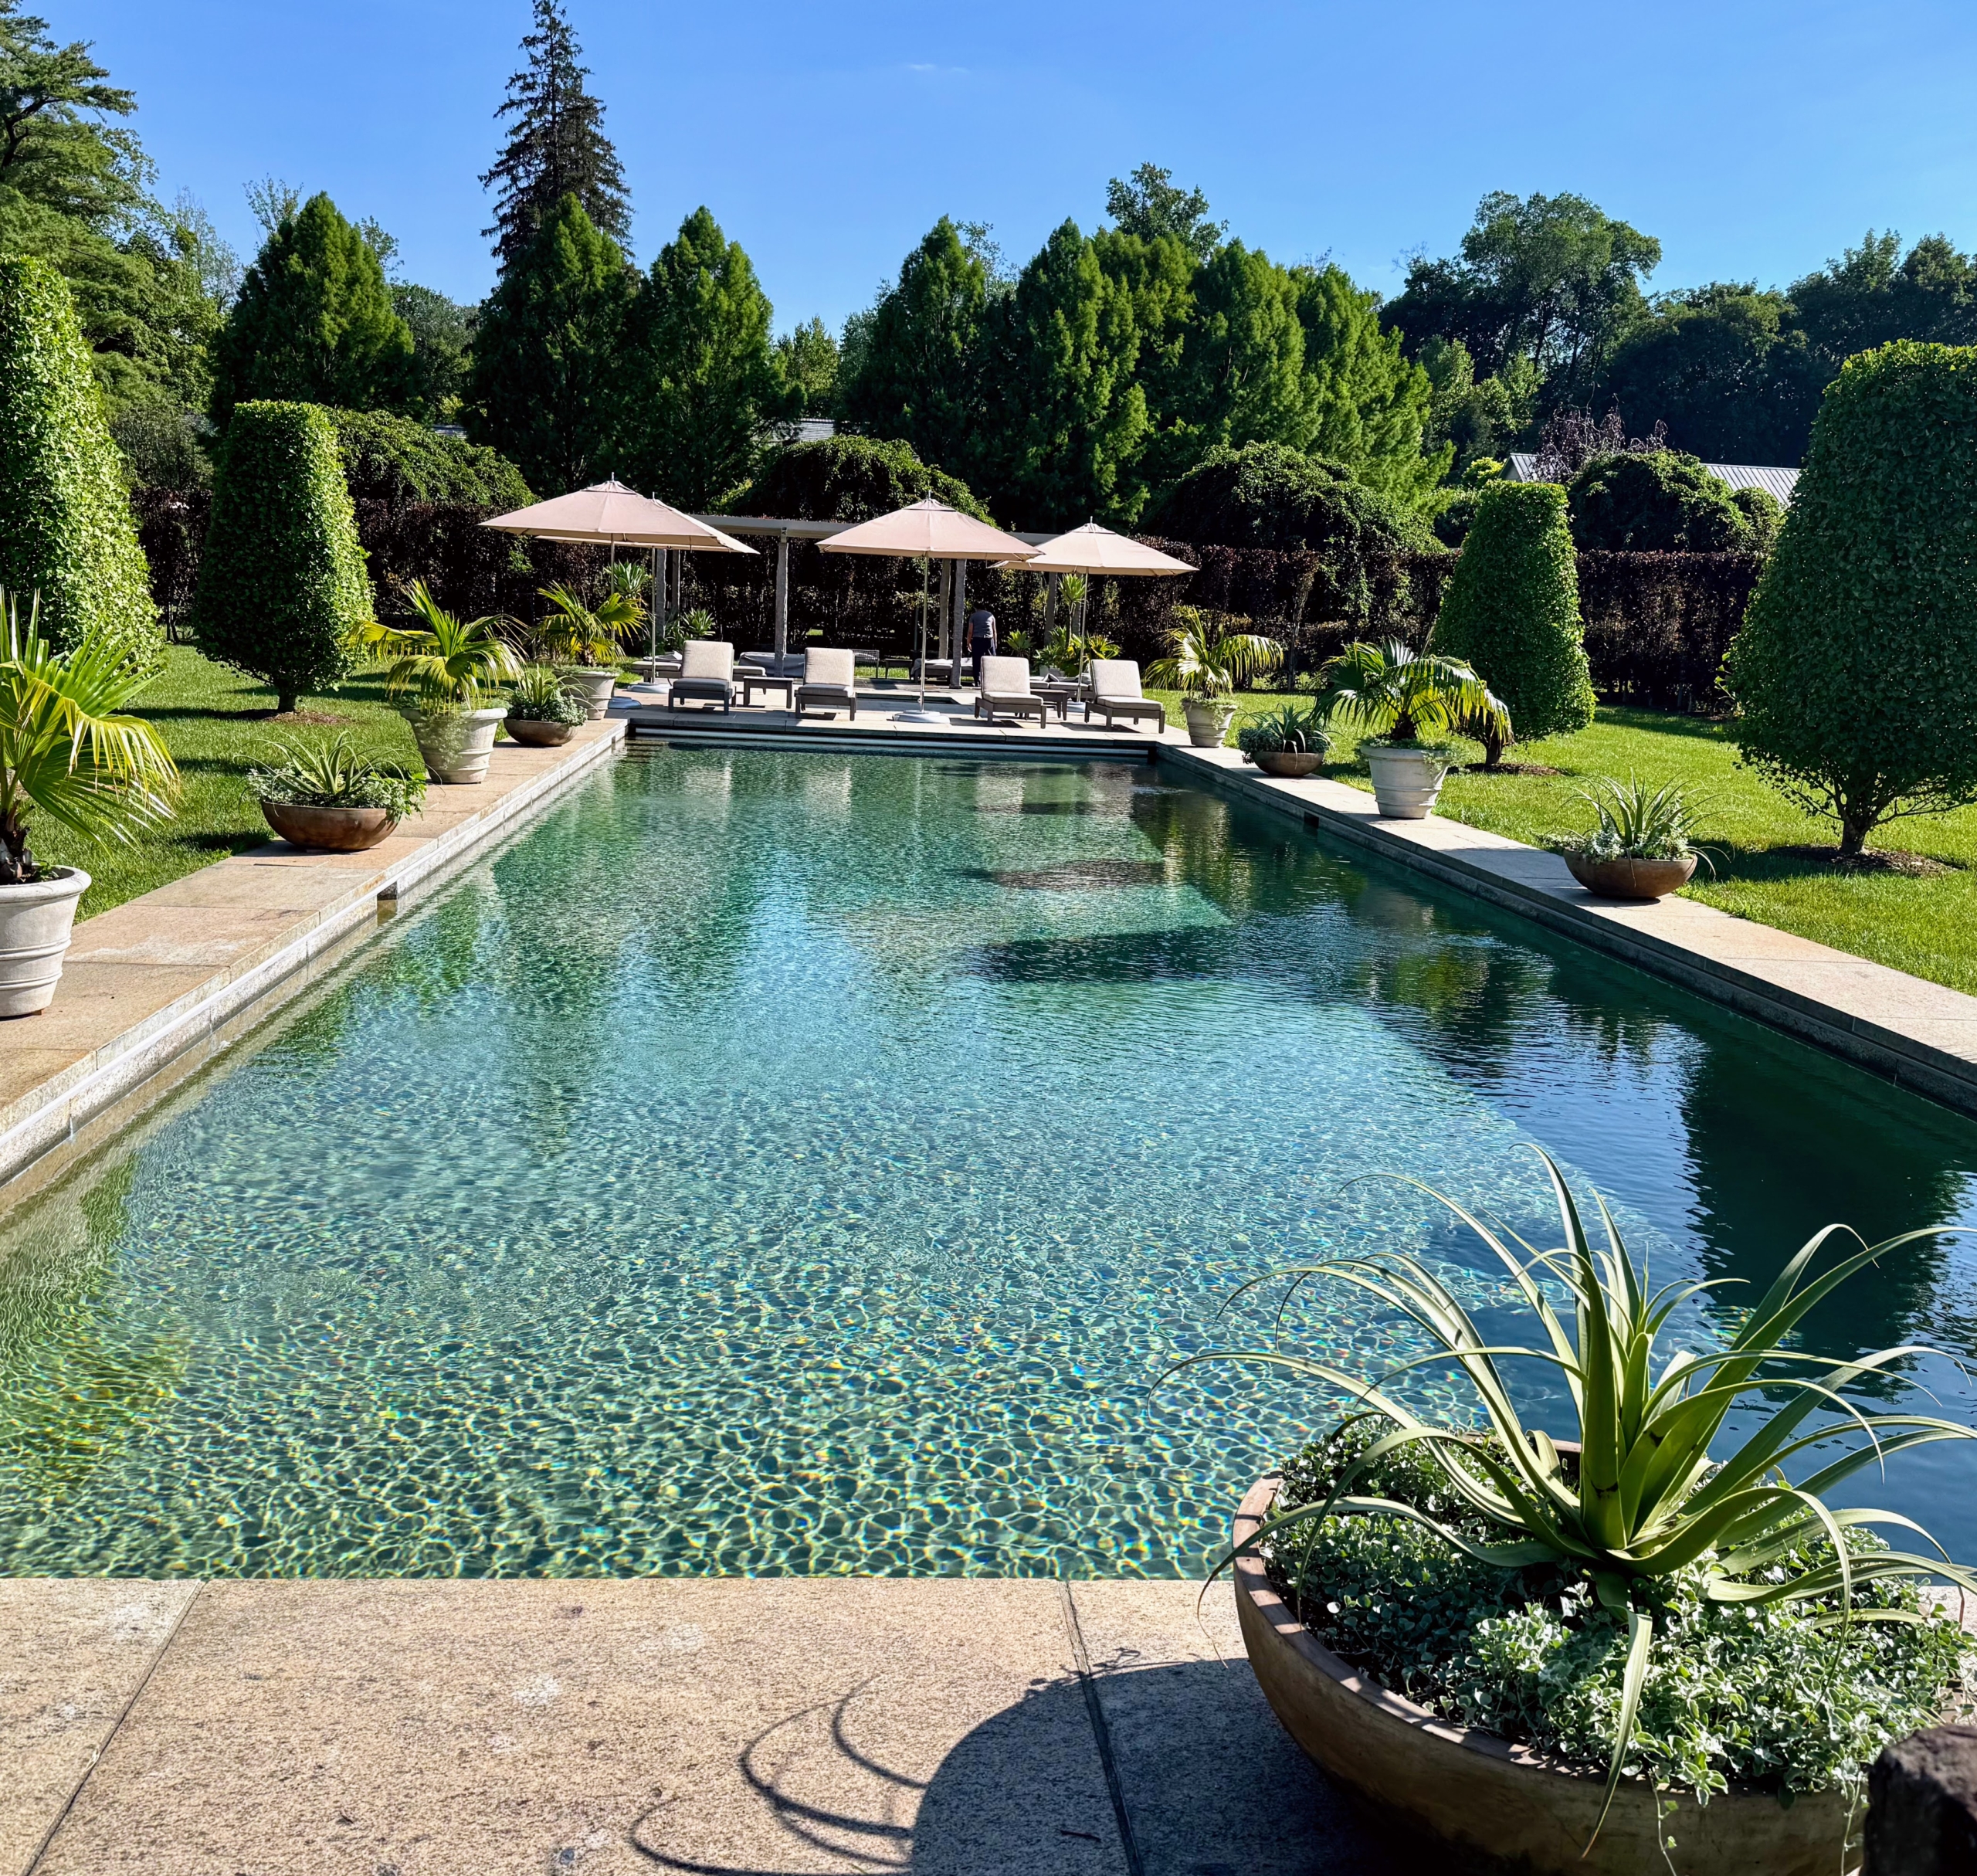
This photo makes the pool even more tempting, especially on such warm summer days. Don’t you agree?
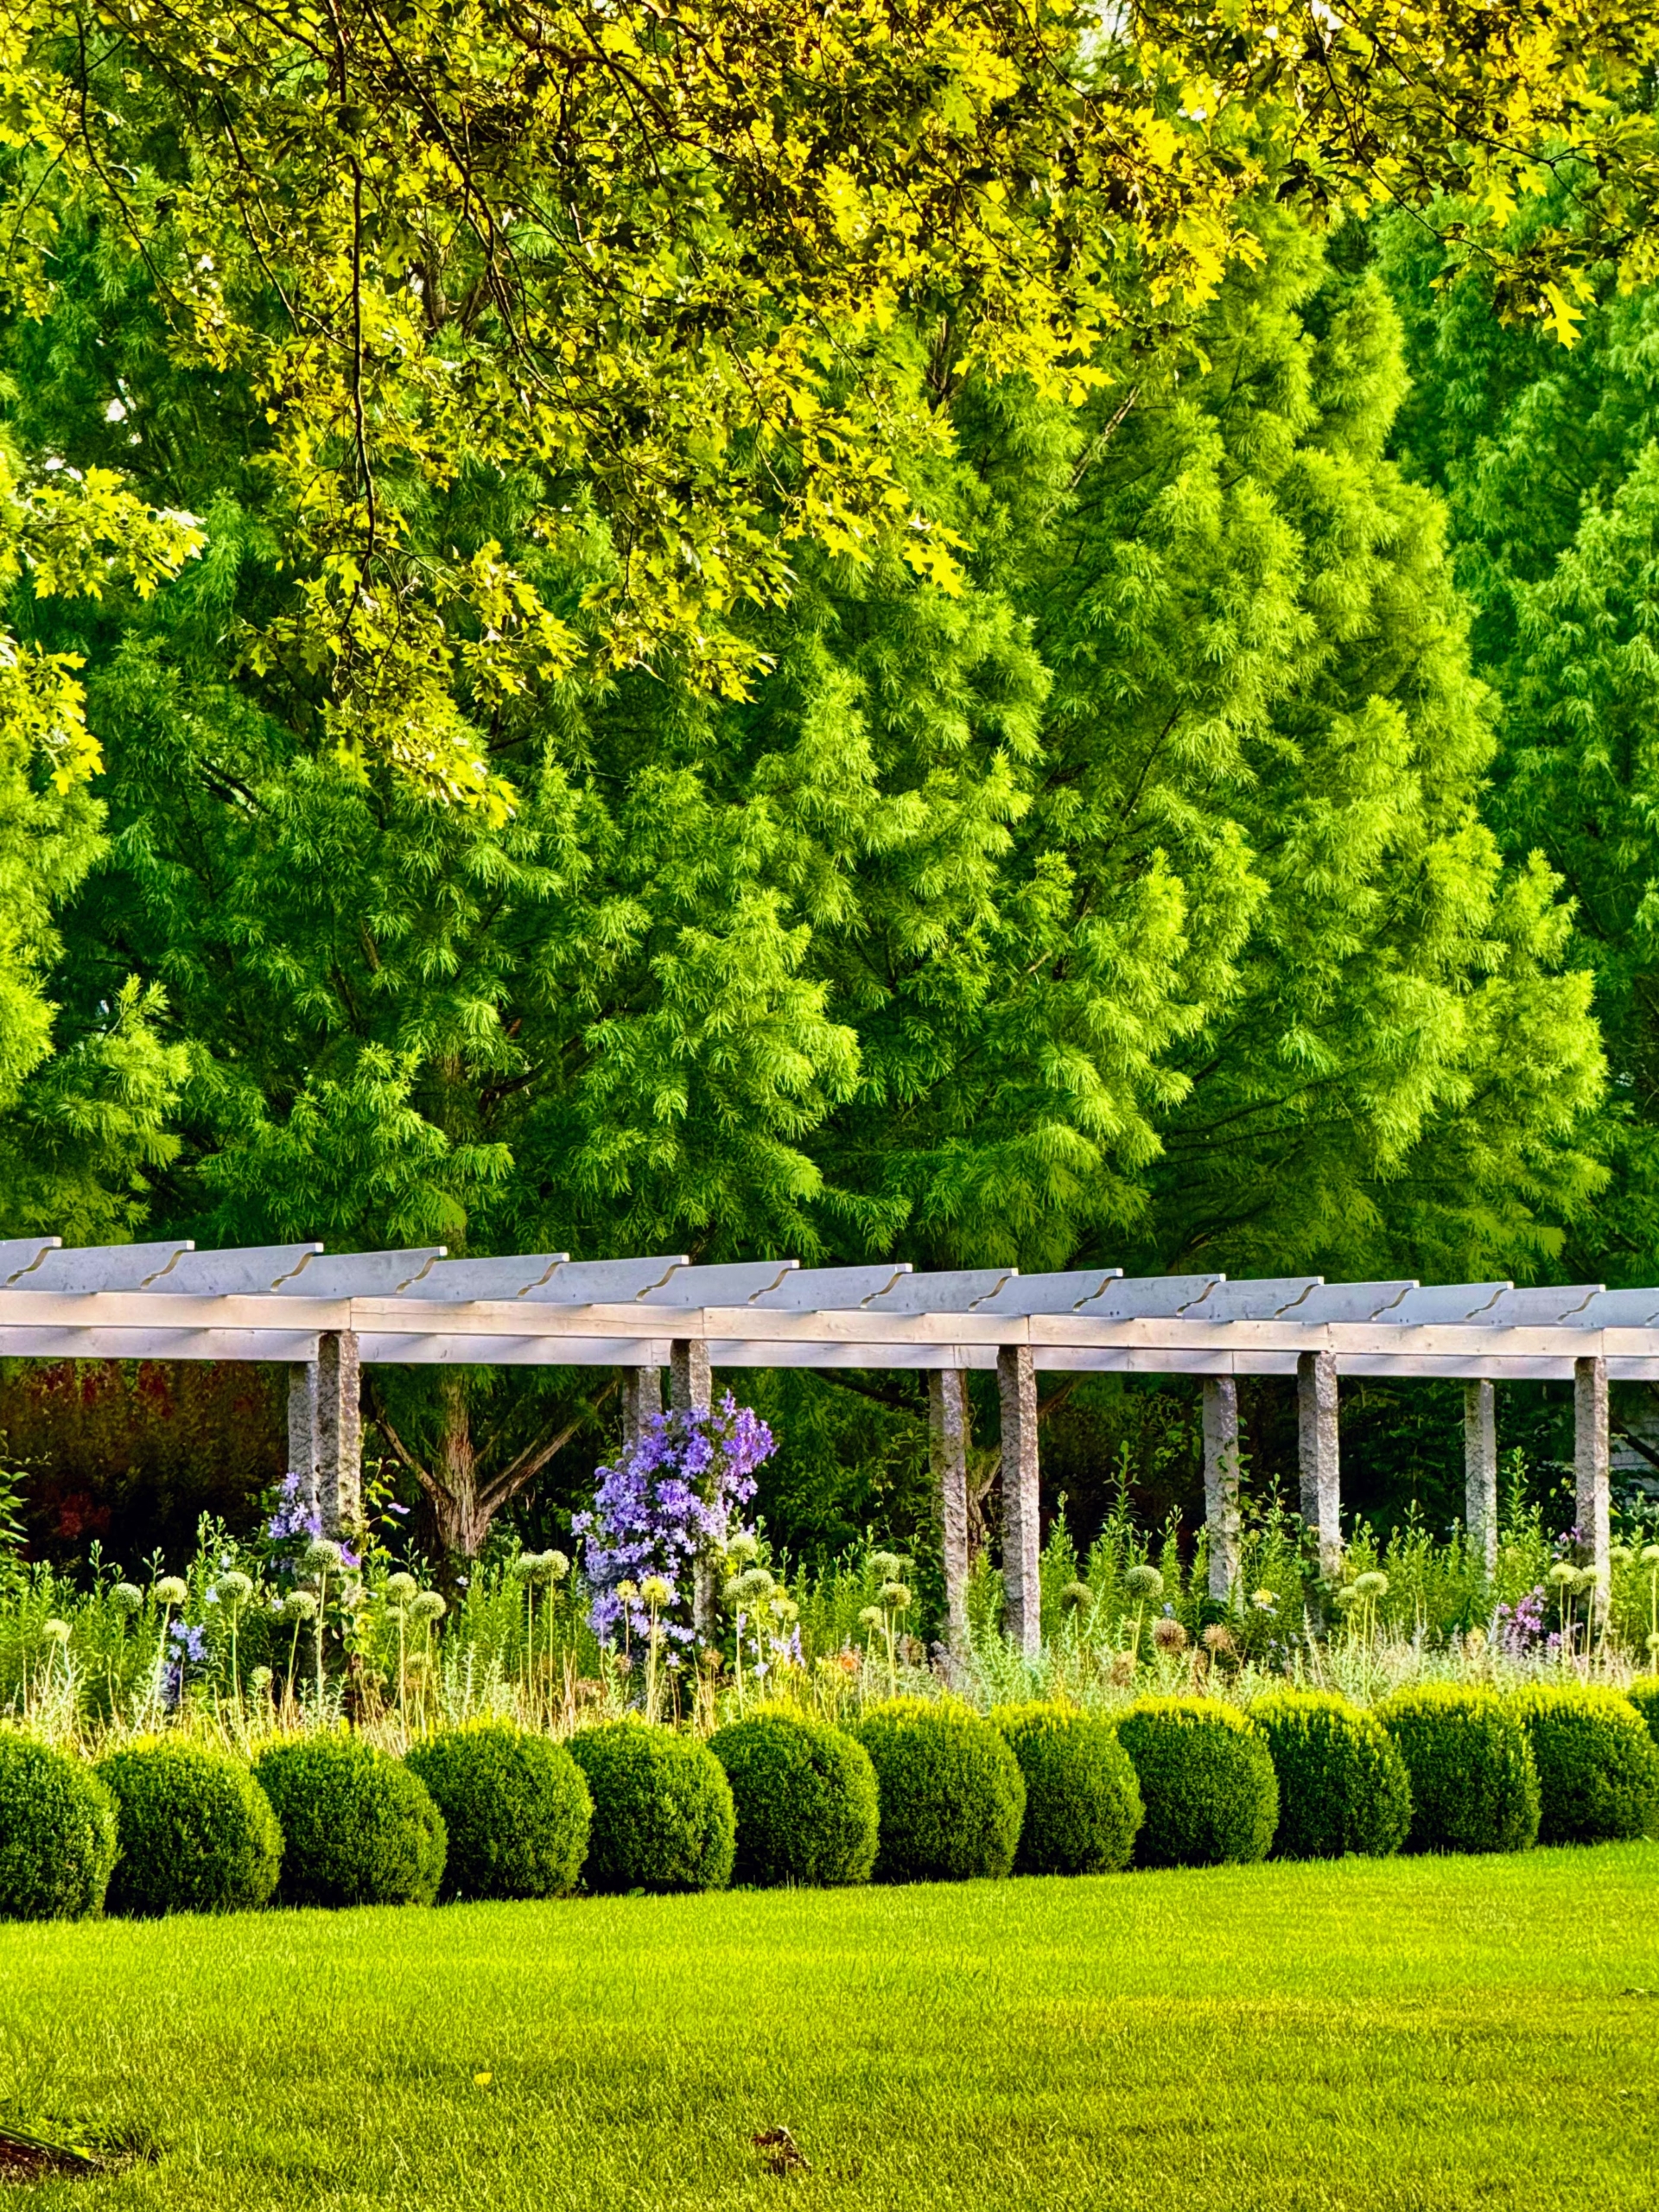
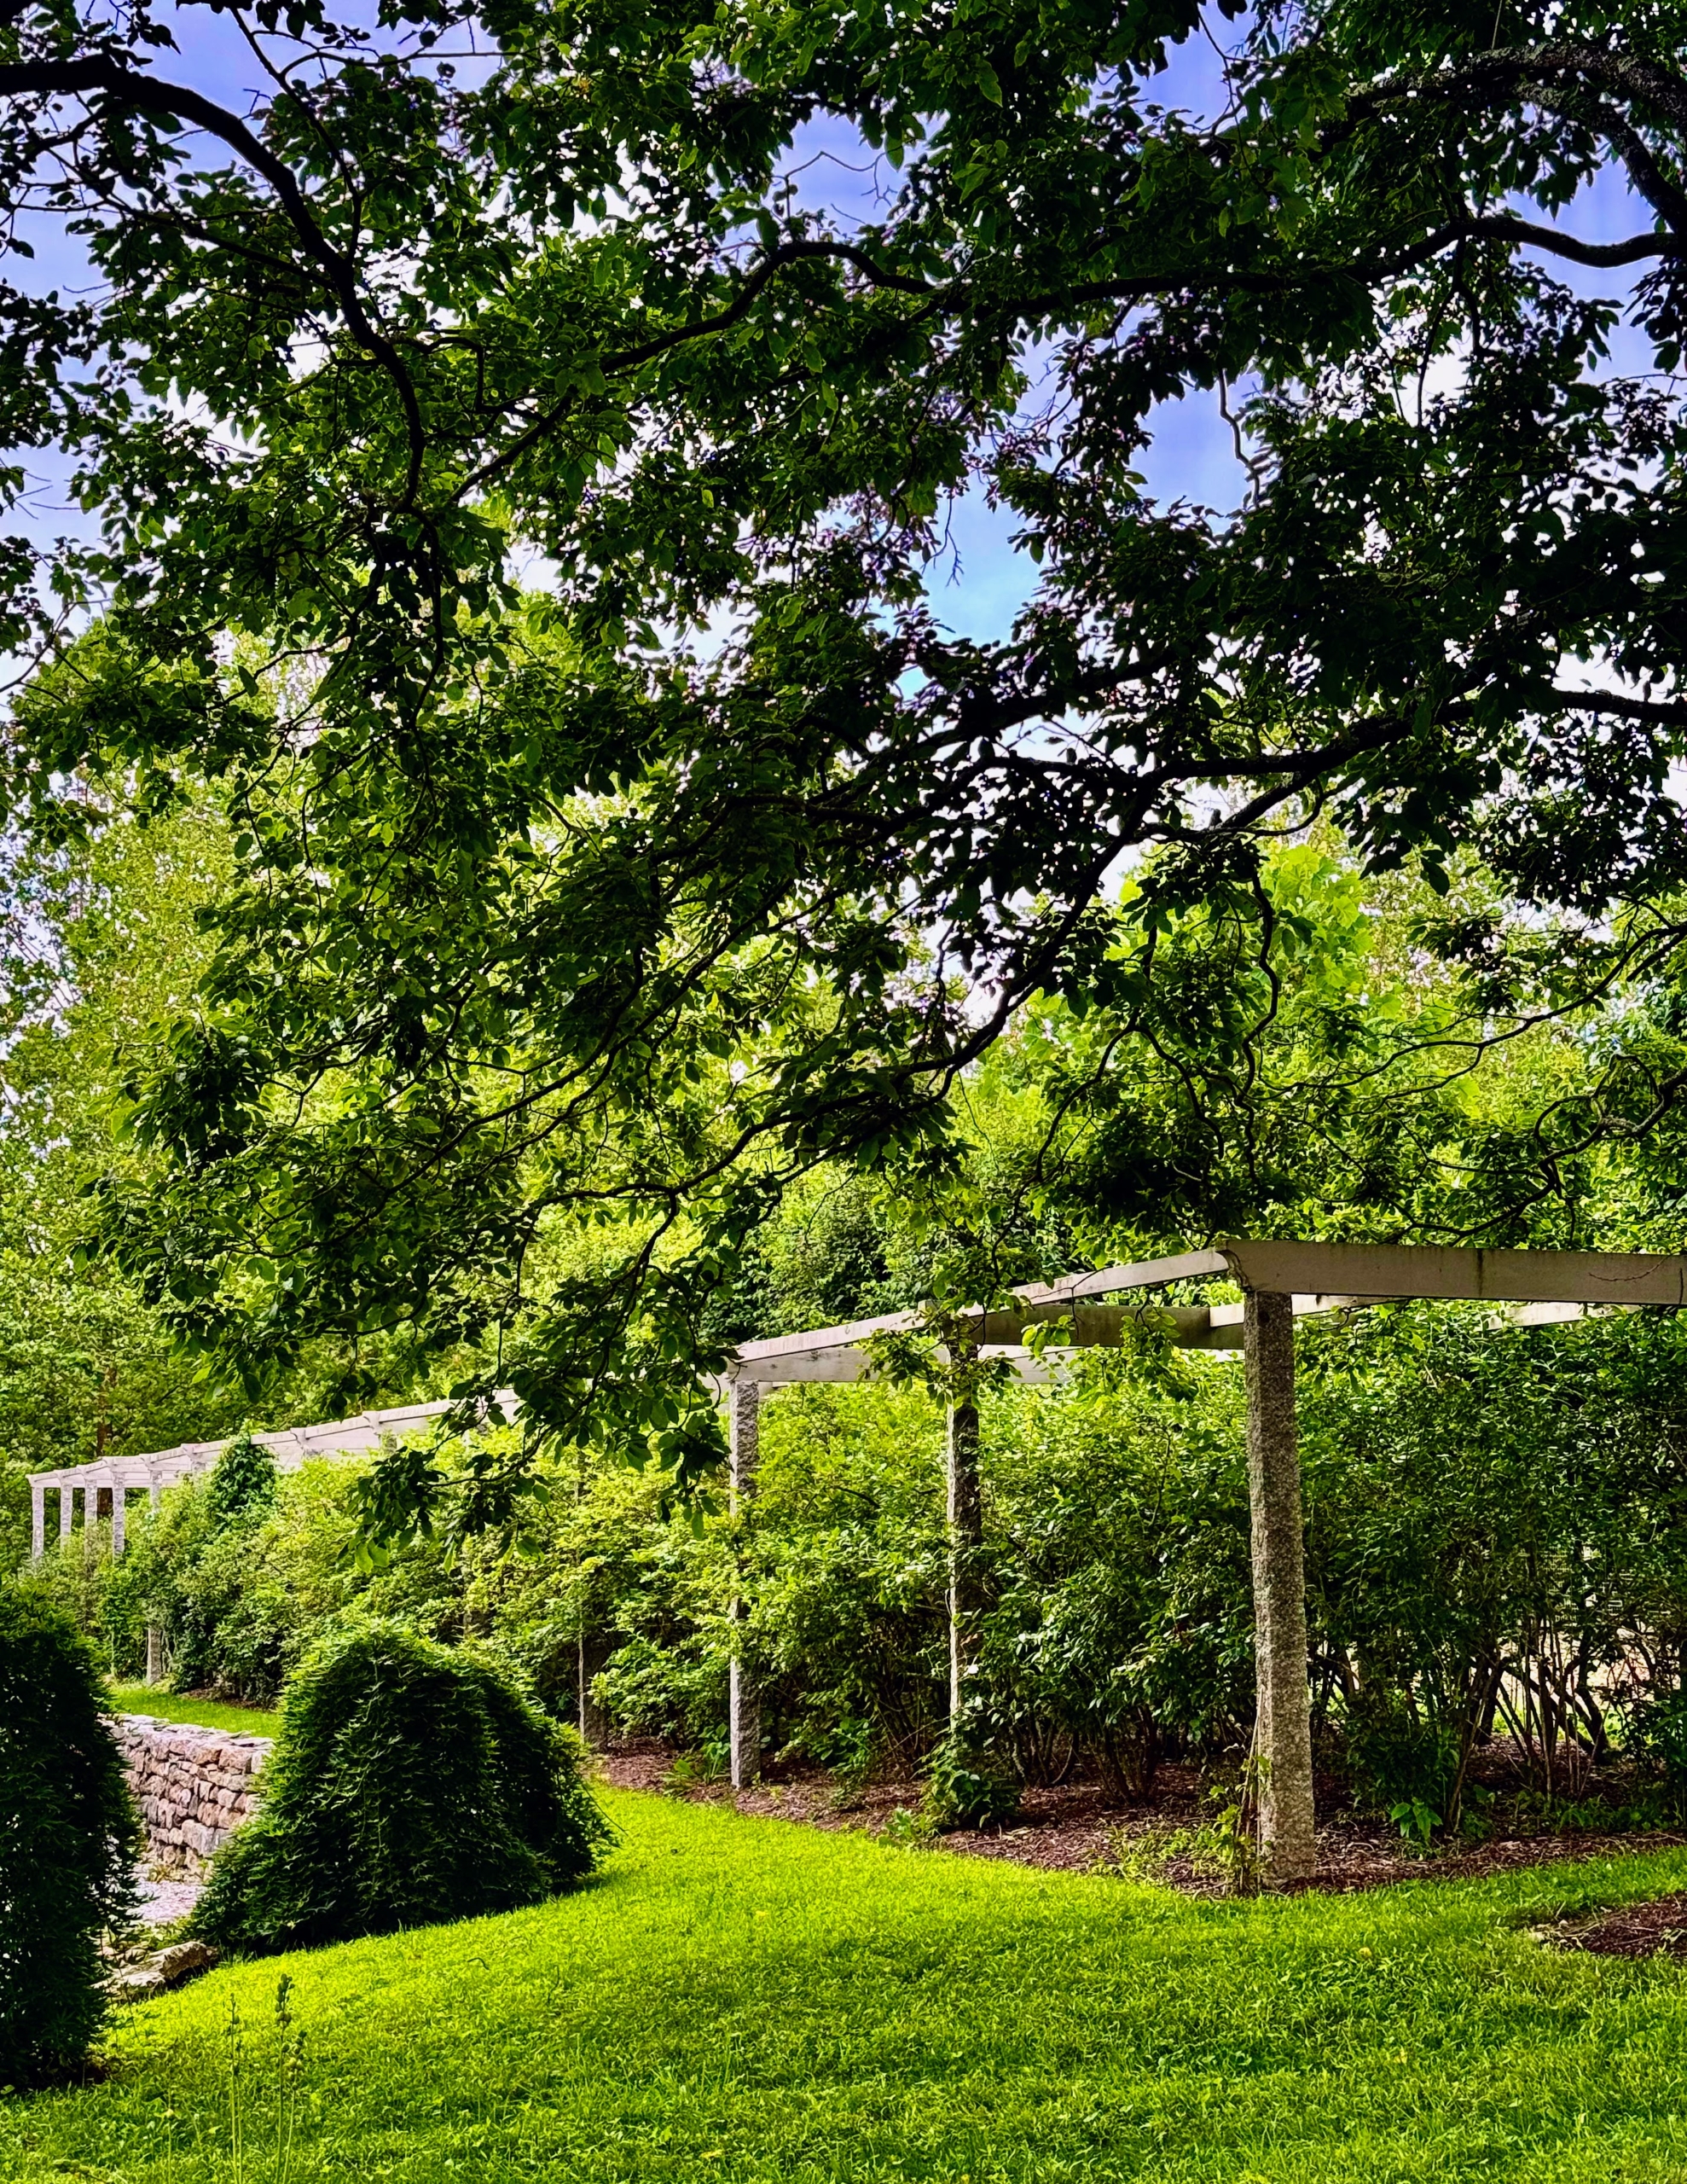
Many of you have seen my long and winding pergola now with gorgeous clematis in a palette of blue-flowering cultivars blooming on the antique upright granite posts. Every year they give a vivid floral display. Carlos also includes the towering bald cypress trees on the other side of the carriage road. When I planted them, they were just a few feet tall.
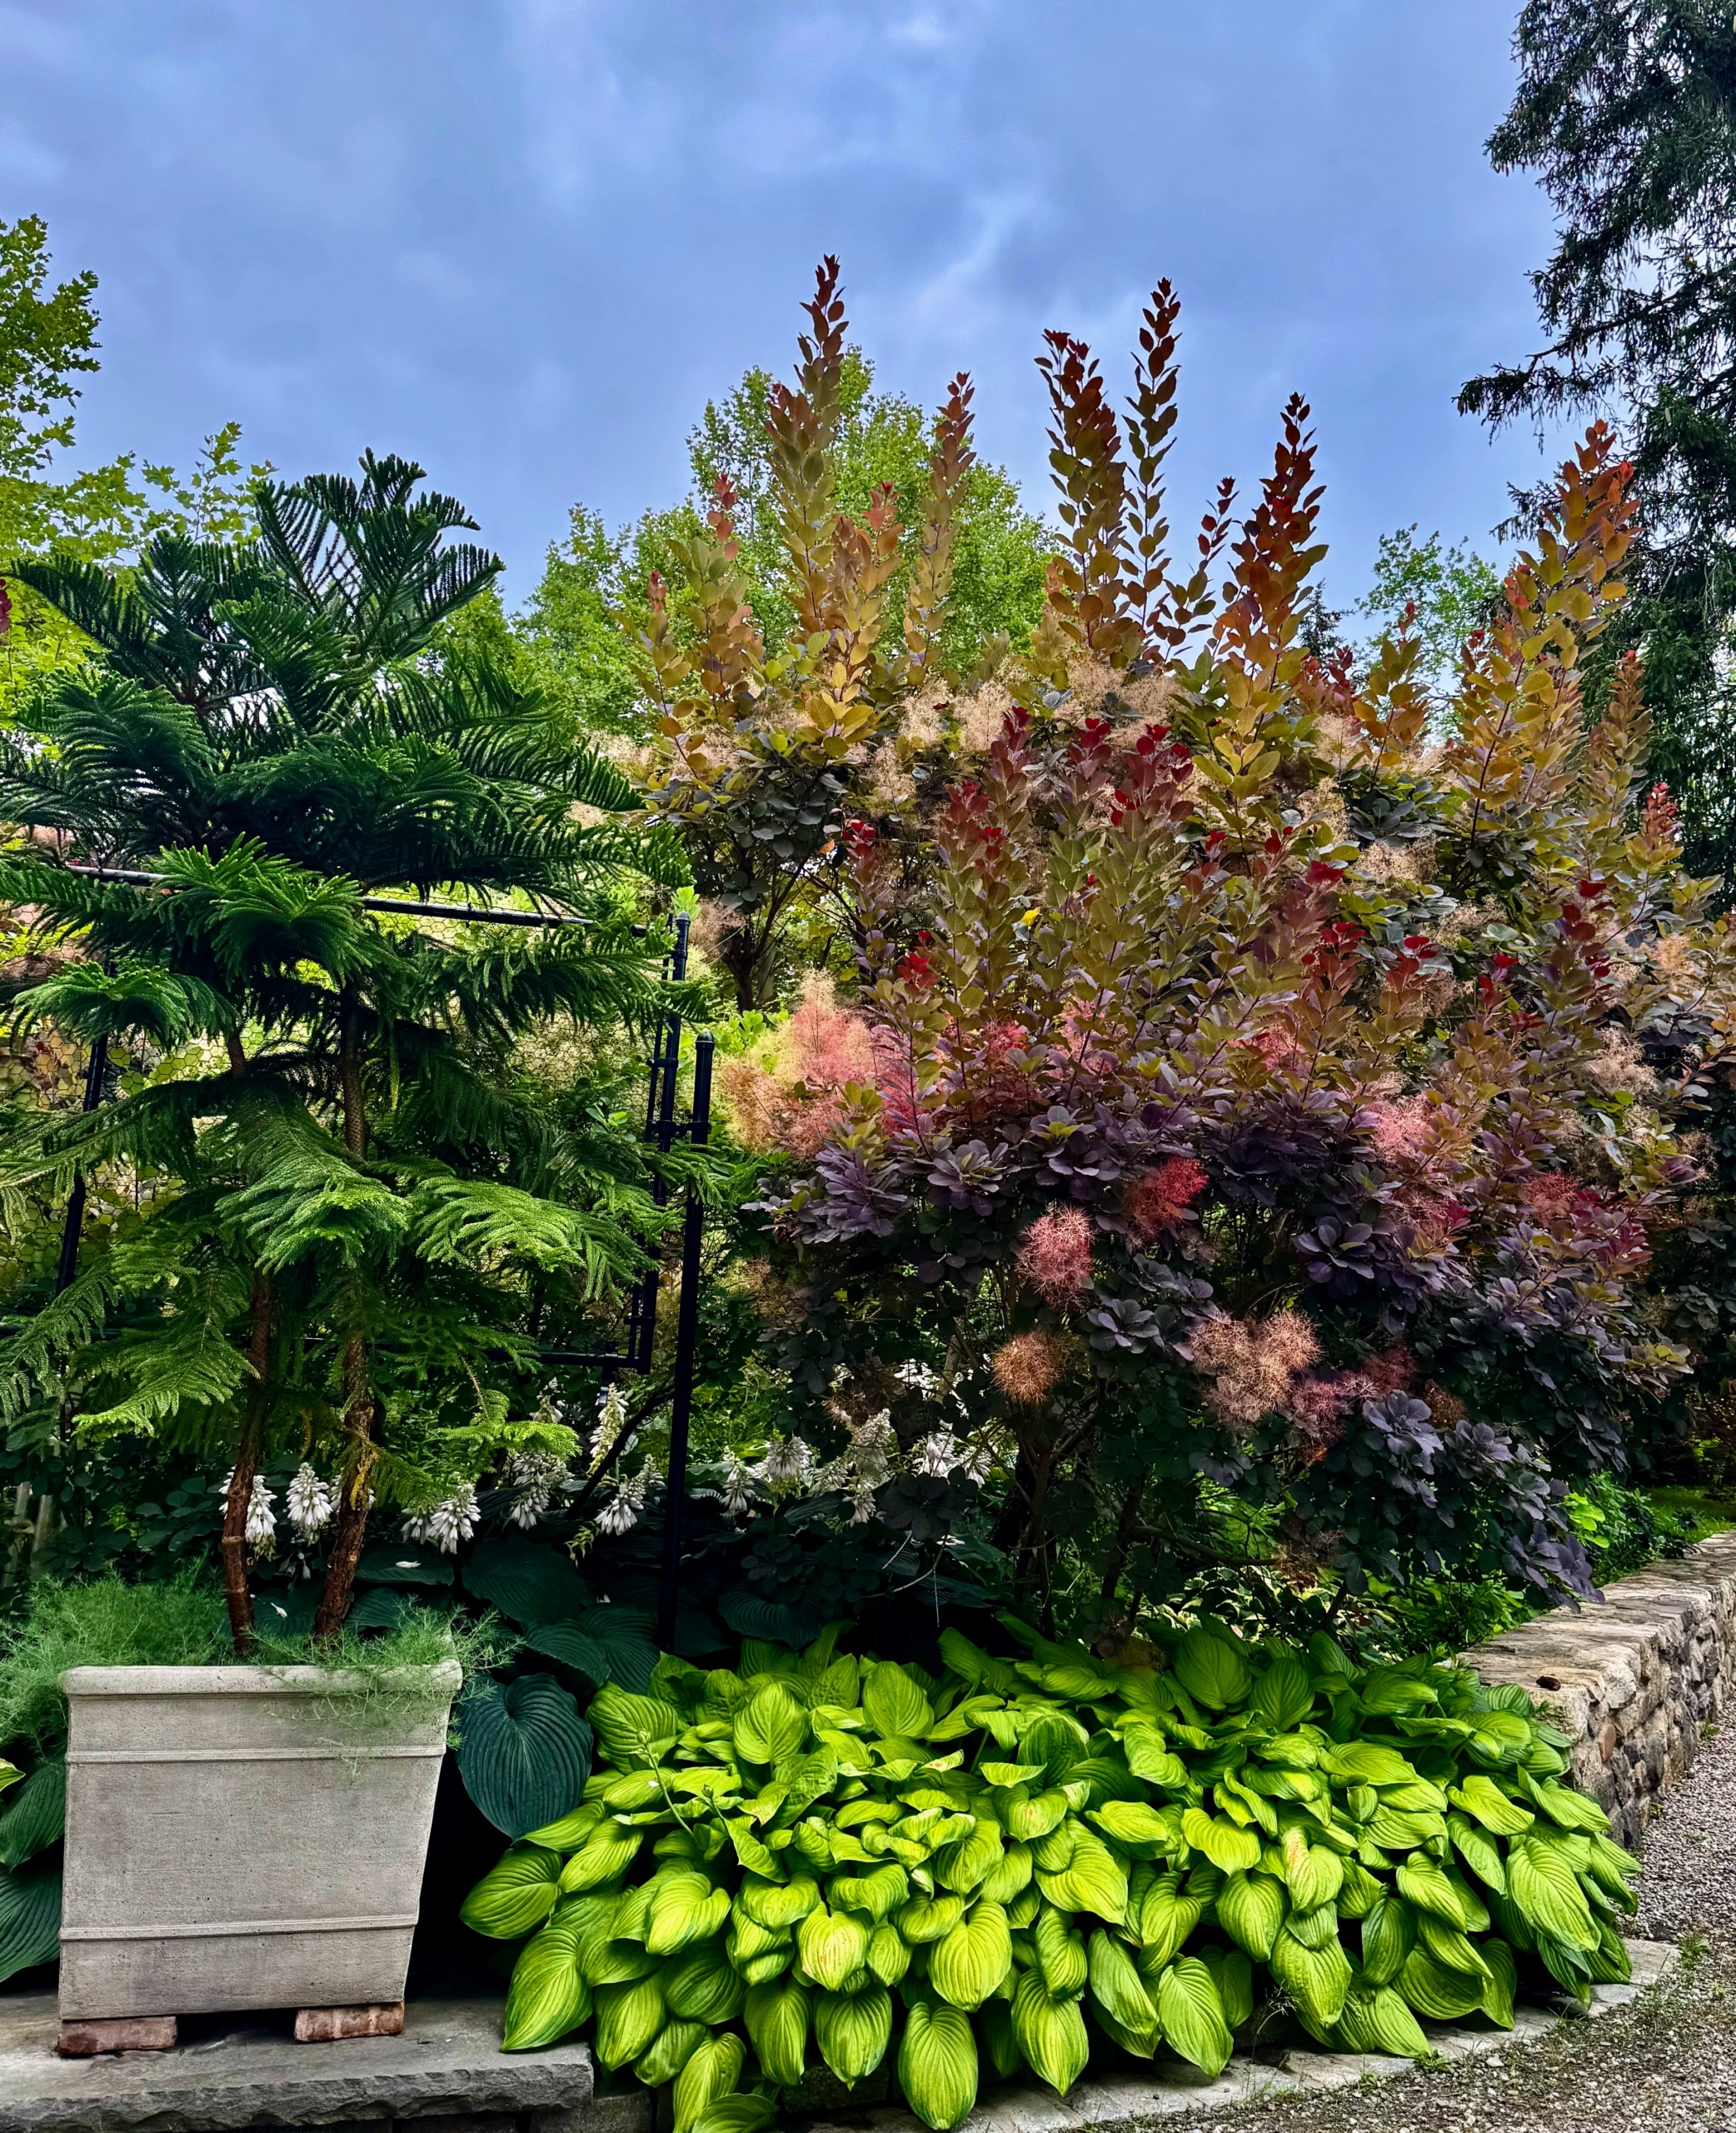
This photo shows one of my blooming Cotinus, or smoke bush. I have many smoke bushes around my farm – in the sunken garden behind my Summer House, around my pool, in the beds outside my Tenant House where my daughter and grandchildren stay when they visit, outside my main greenhouse, and lining both sides of the long carriage road that runs through one of my hayfields is a gorgeous allée of dark burgundy Cotinus.
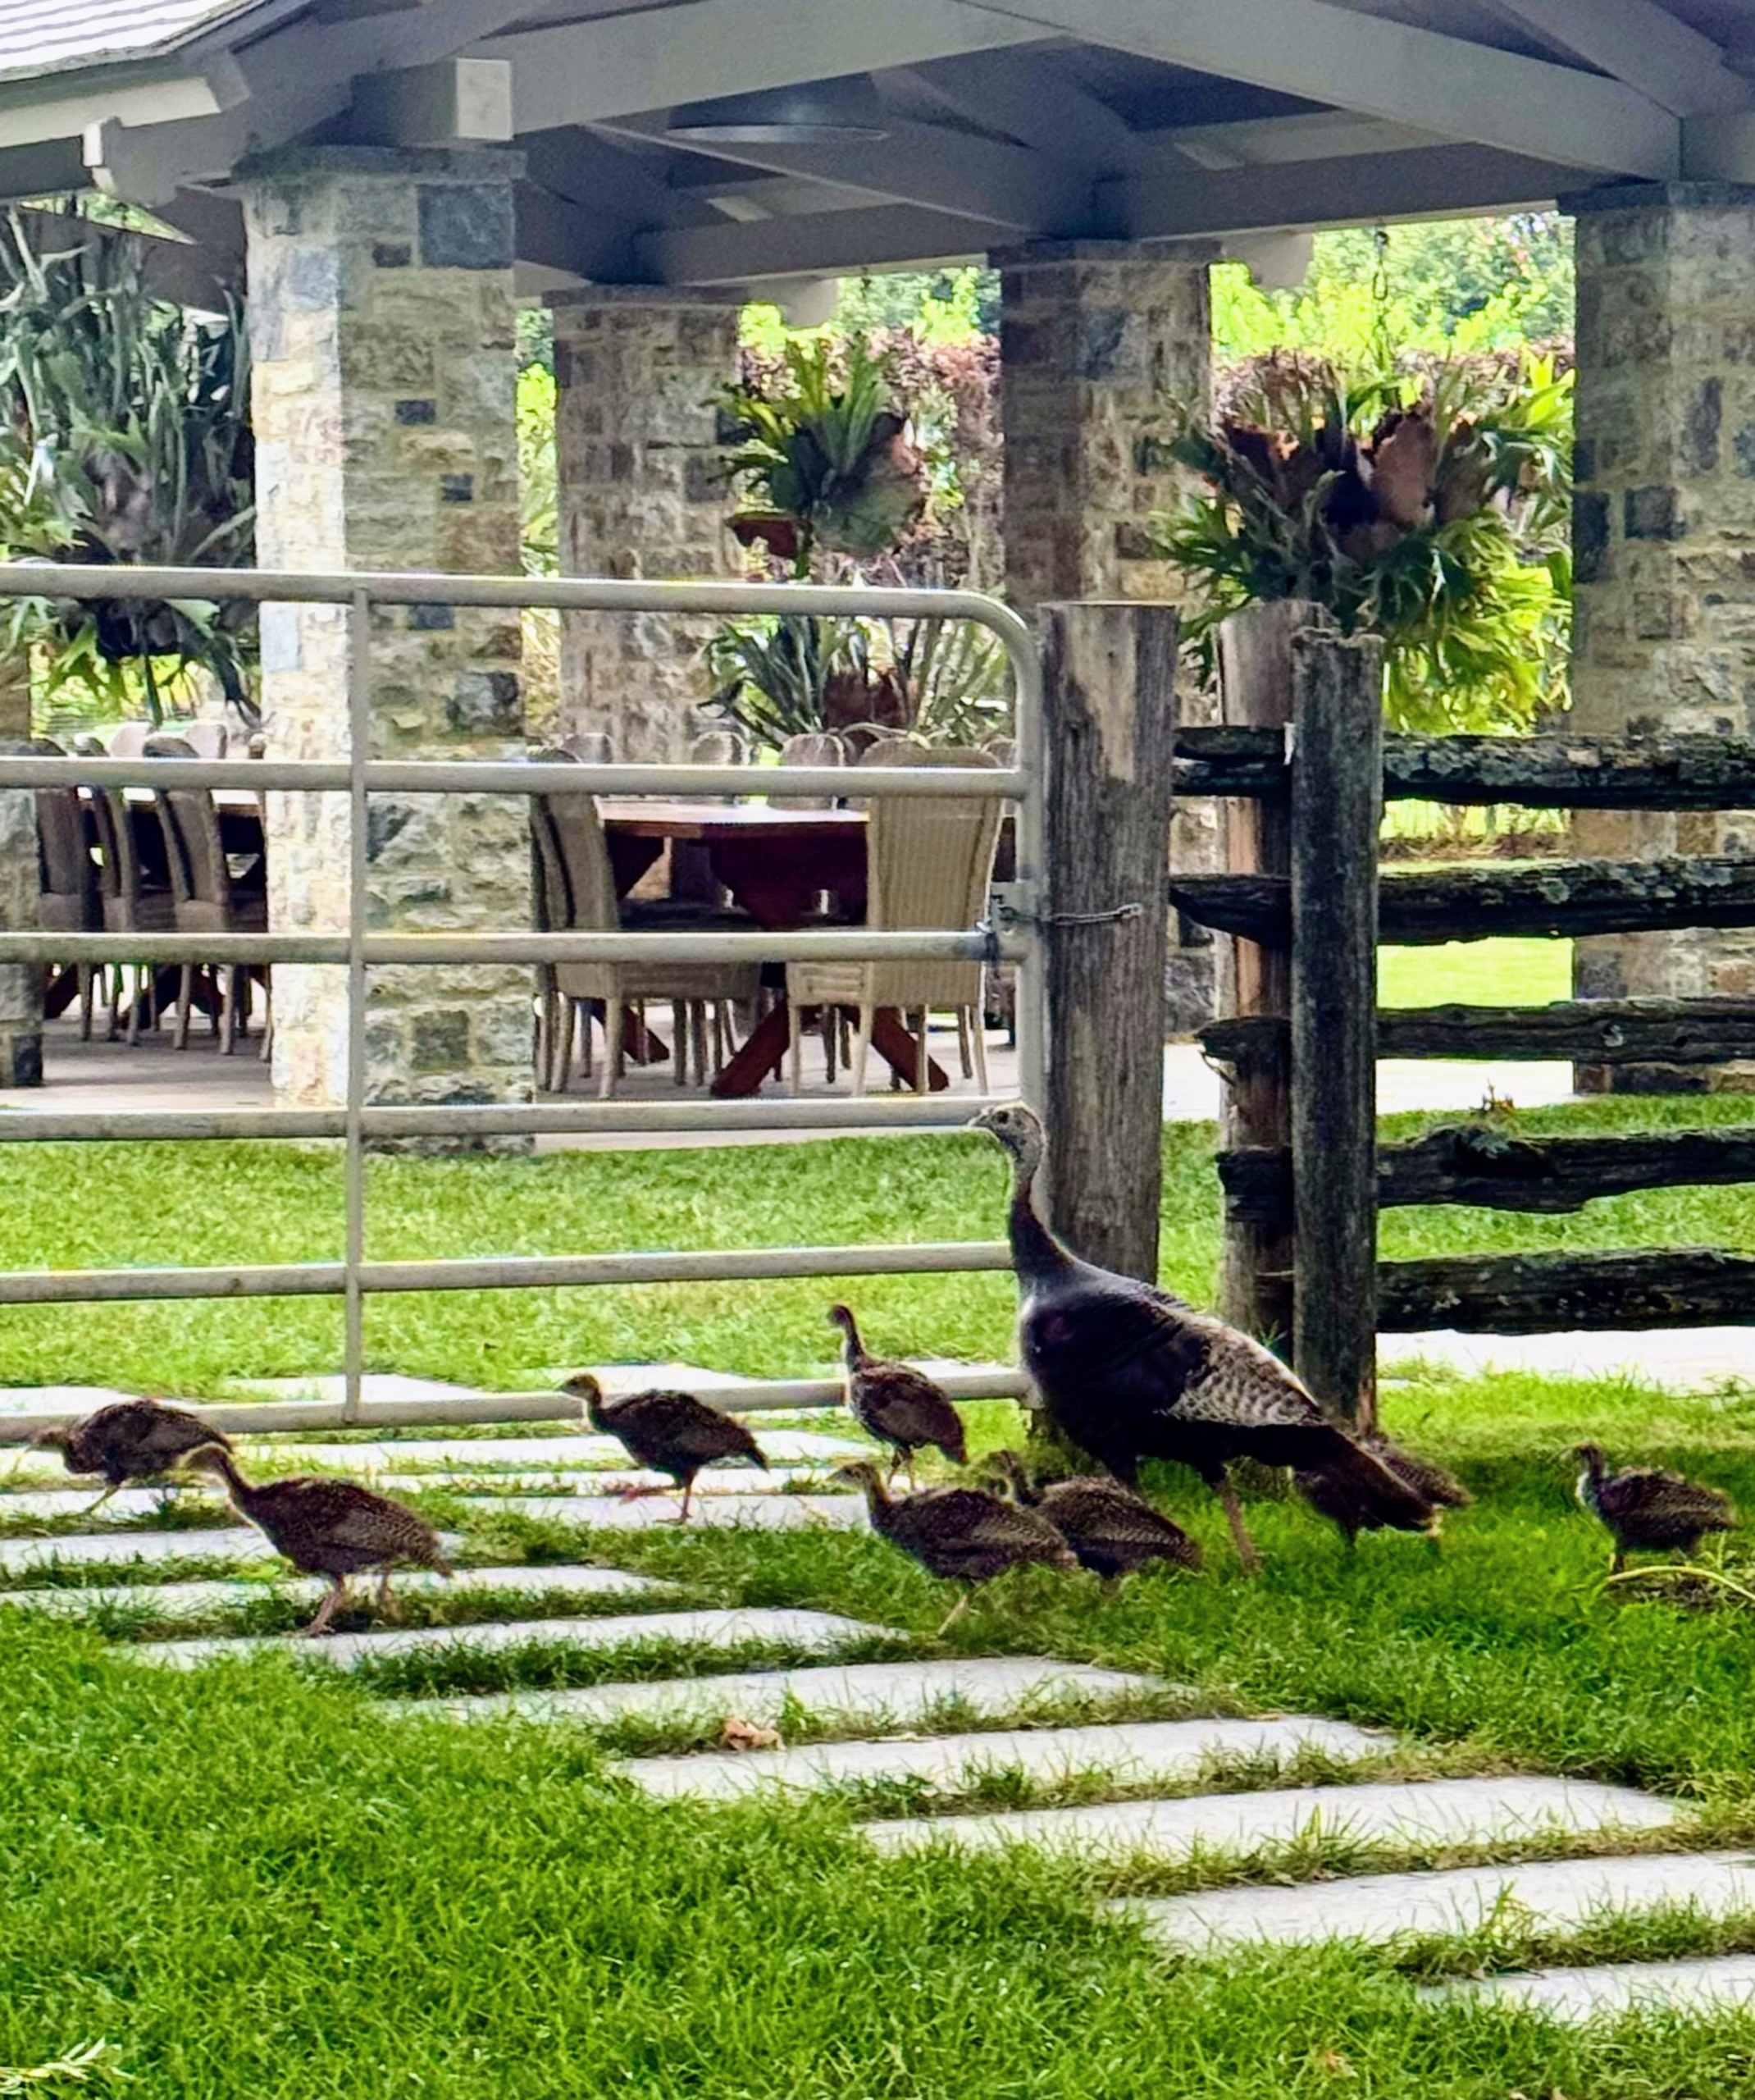
Here’s a fun photo of a wild turkey hen with her chicks walking by my pool pavilion. Good catch, Carlos “Uno.” Carlos is affectionately called “Uno” because there is also a Carlos “Dos” on my crew.
This is another photo, taken after 8pm – the skies show such beautiful colors.
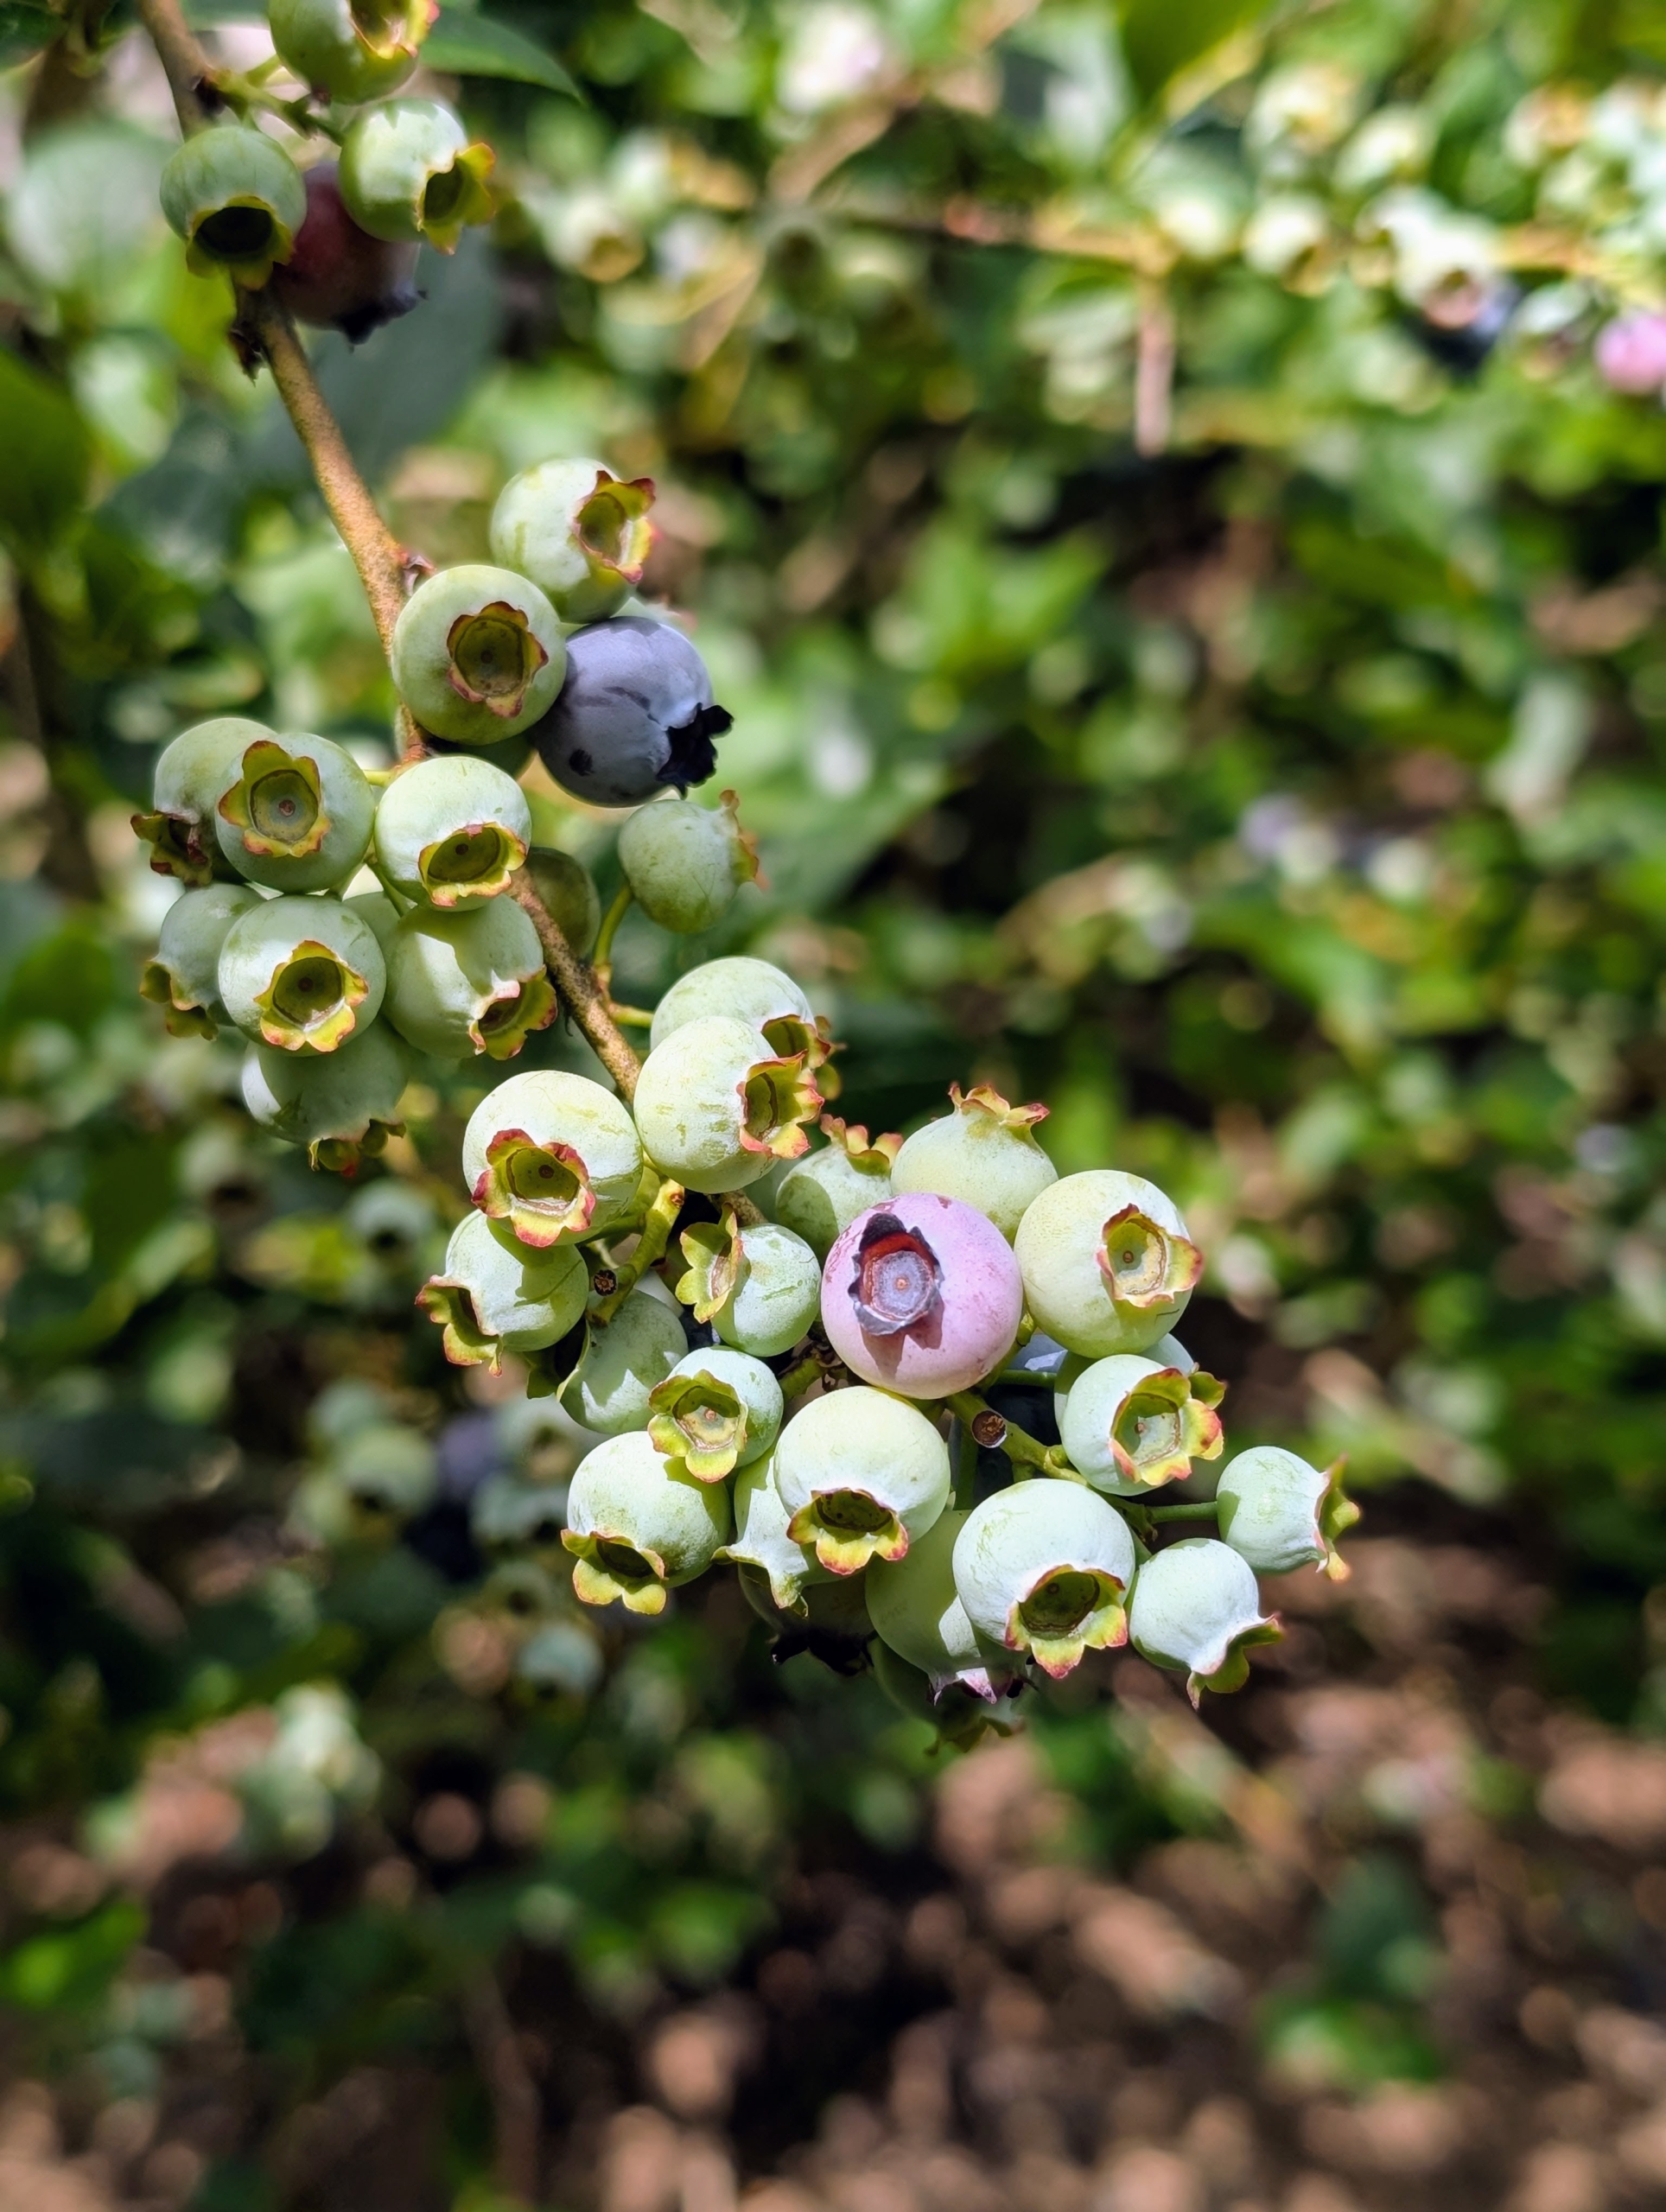
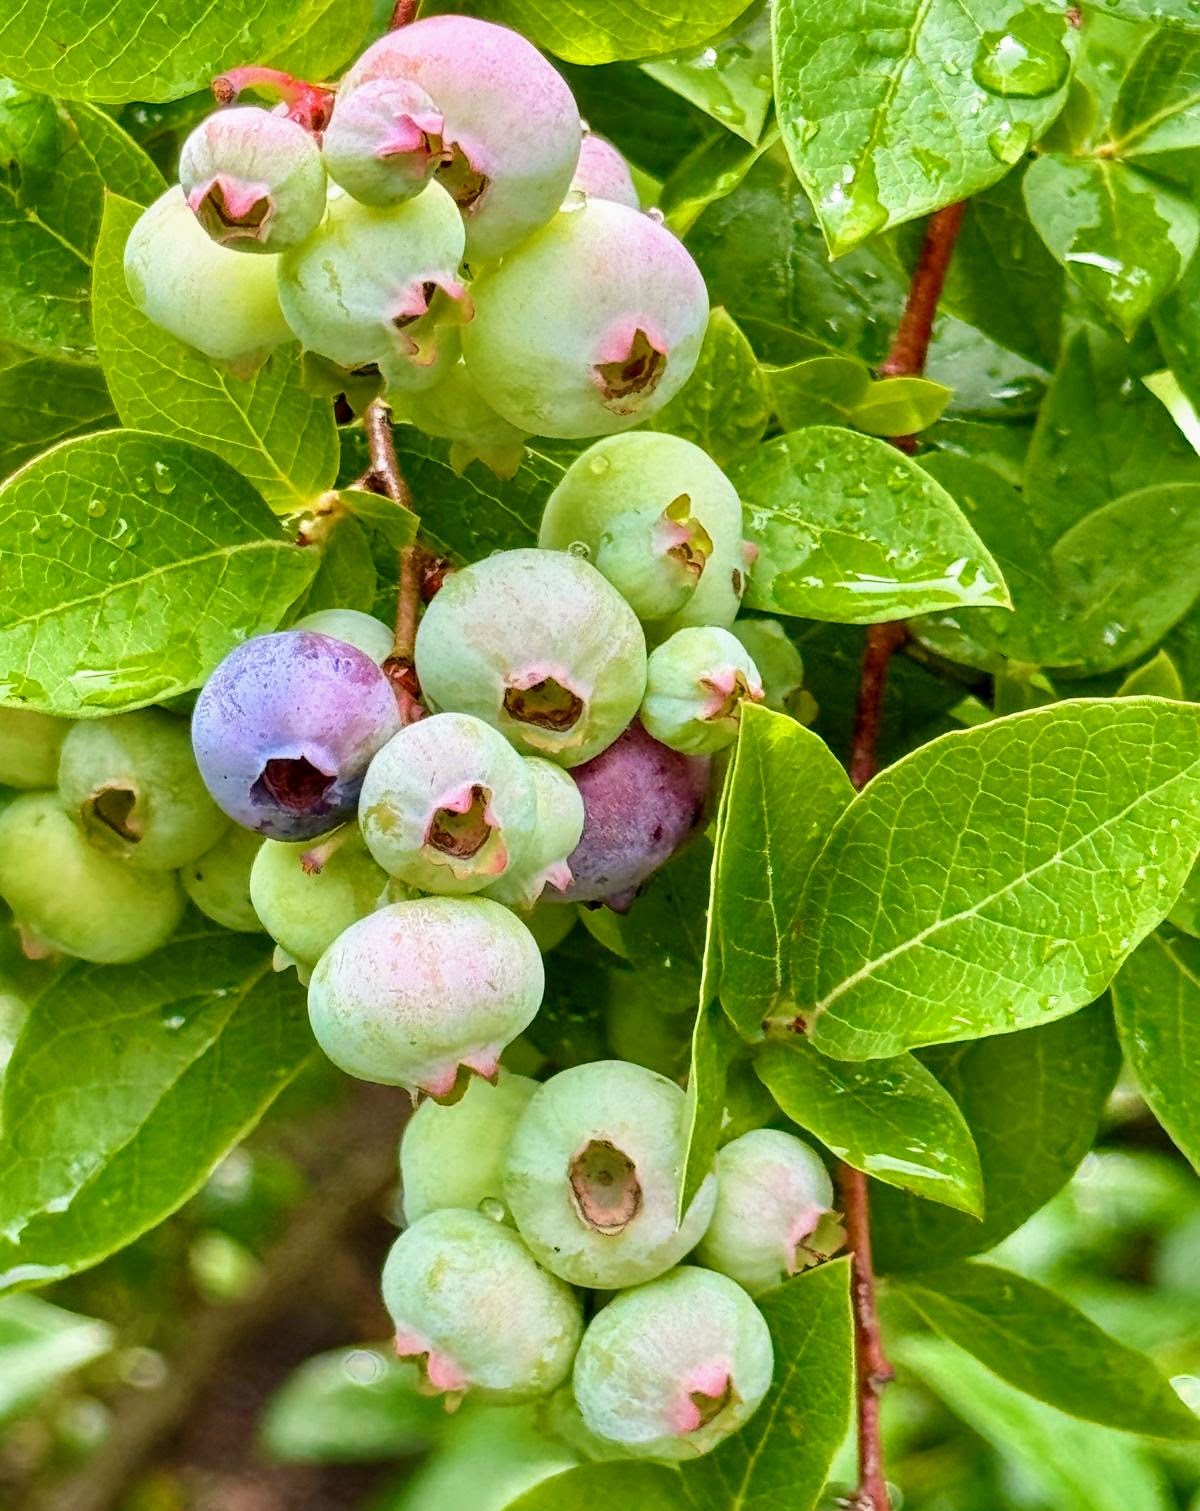
It’s the beginning of blueberry picking season here at the farm. My bushes are full of berries. I check them every day and pick the bluest of them all.
Plump, juicy, and sweet, with vibrant colors from red to the deepest purple-black, blueberries are one of nature’s finest treats. I use them for jams, jellies, and pies, but they’re also wonderful with cereal, in pancakes and cobblers, on top of waffles, and of course, in handfuls on their own.
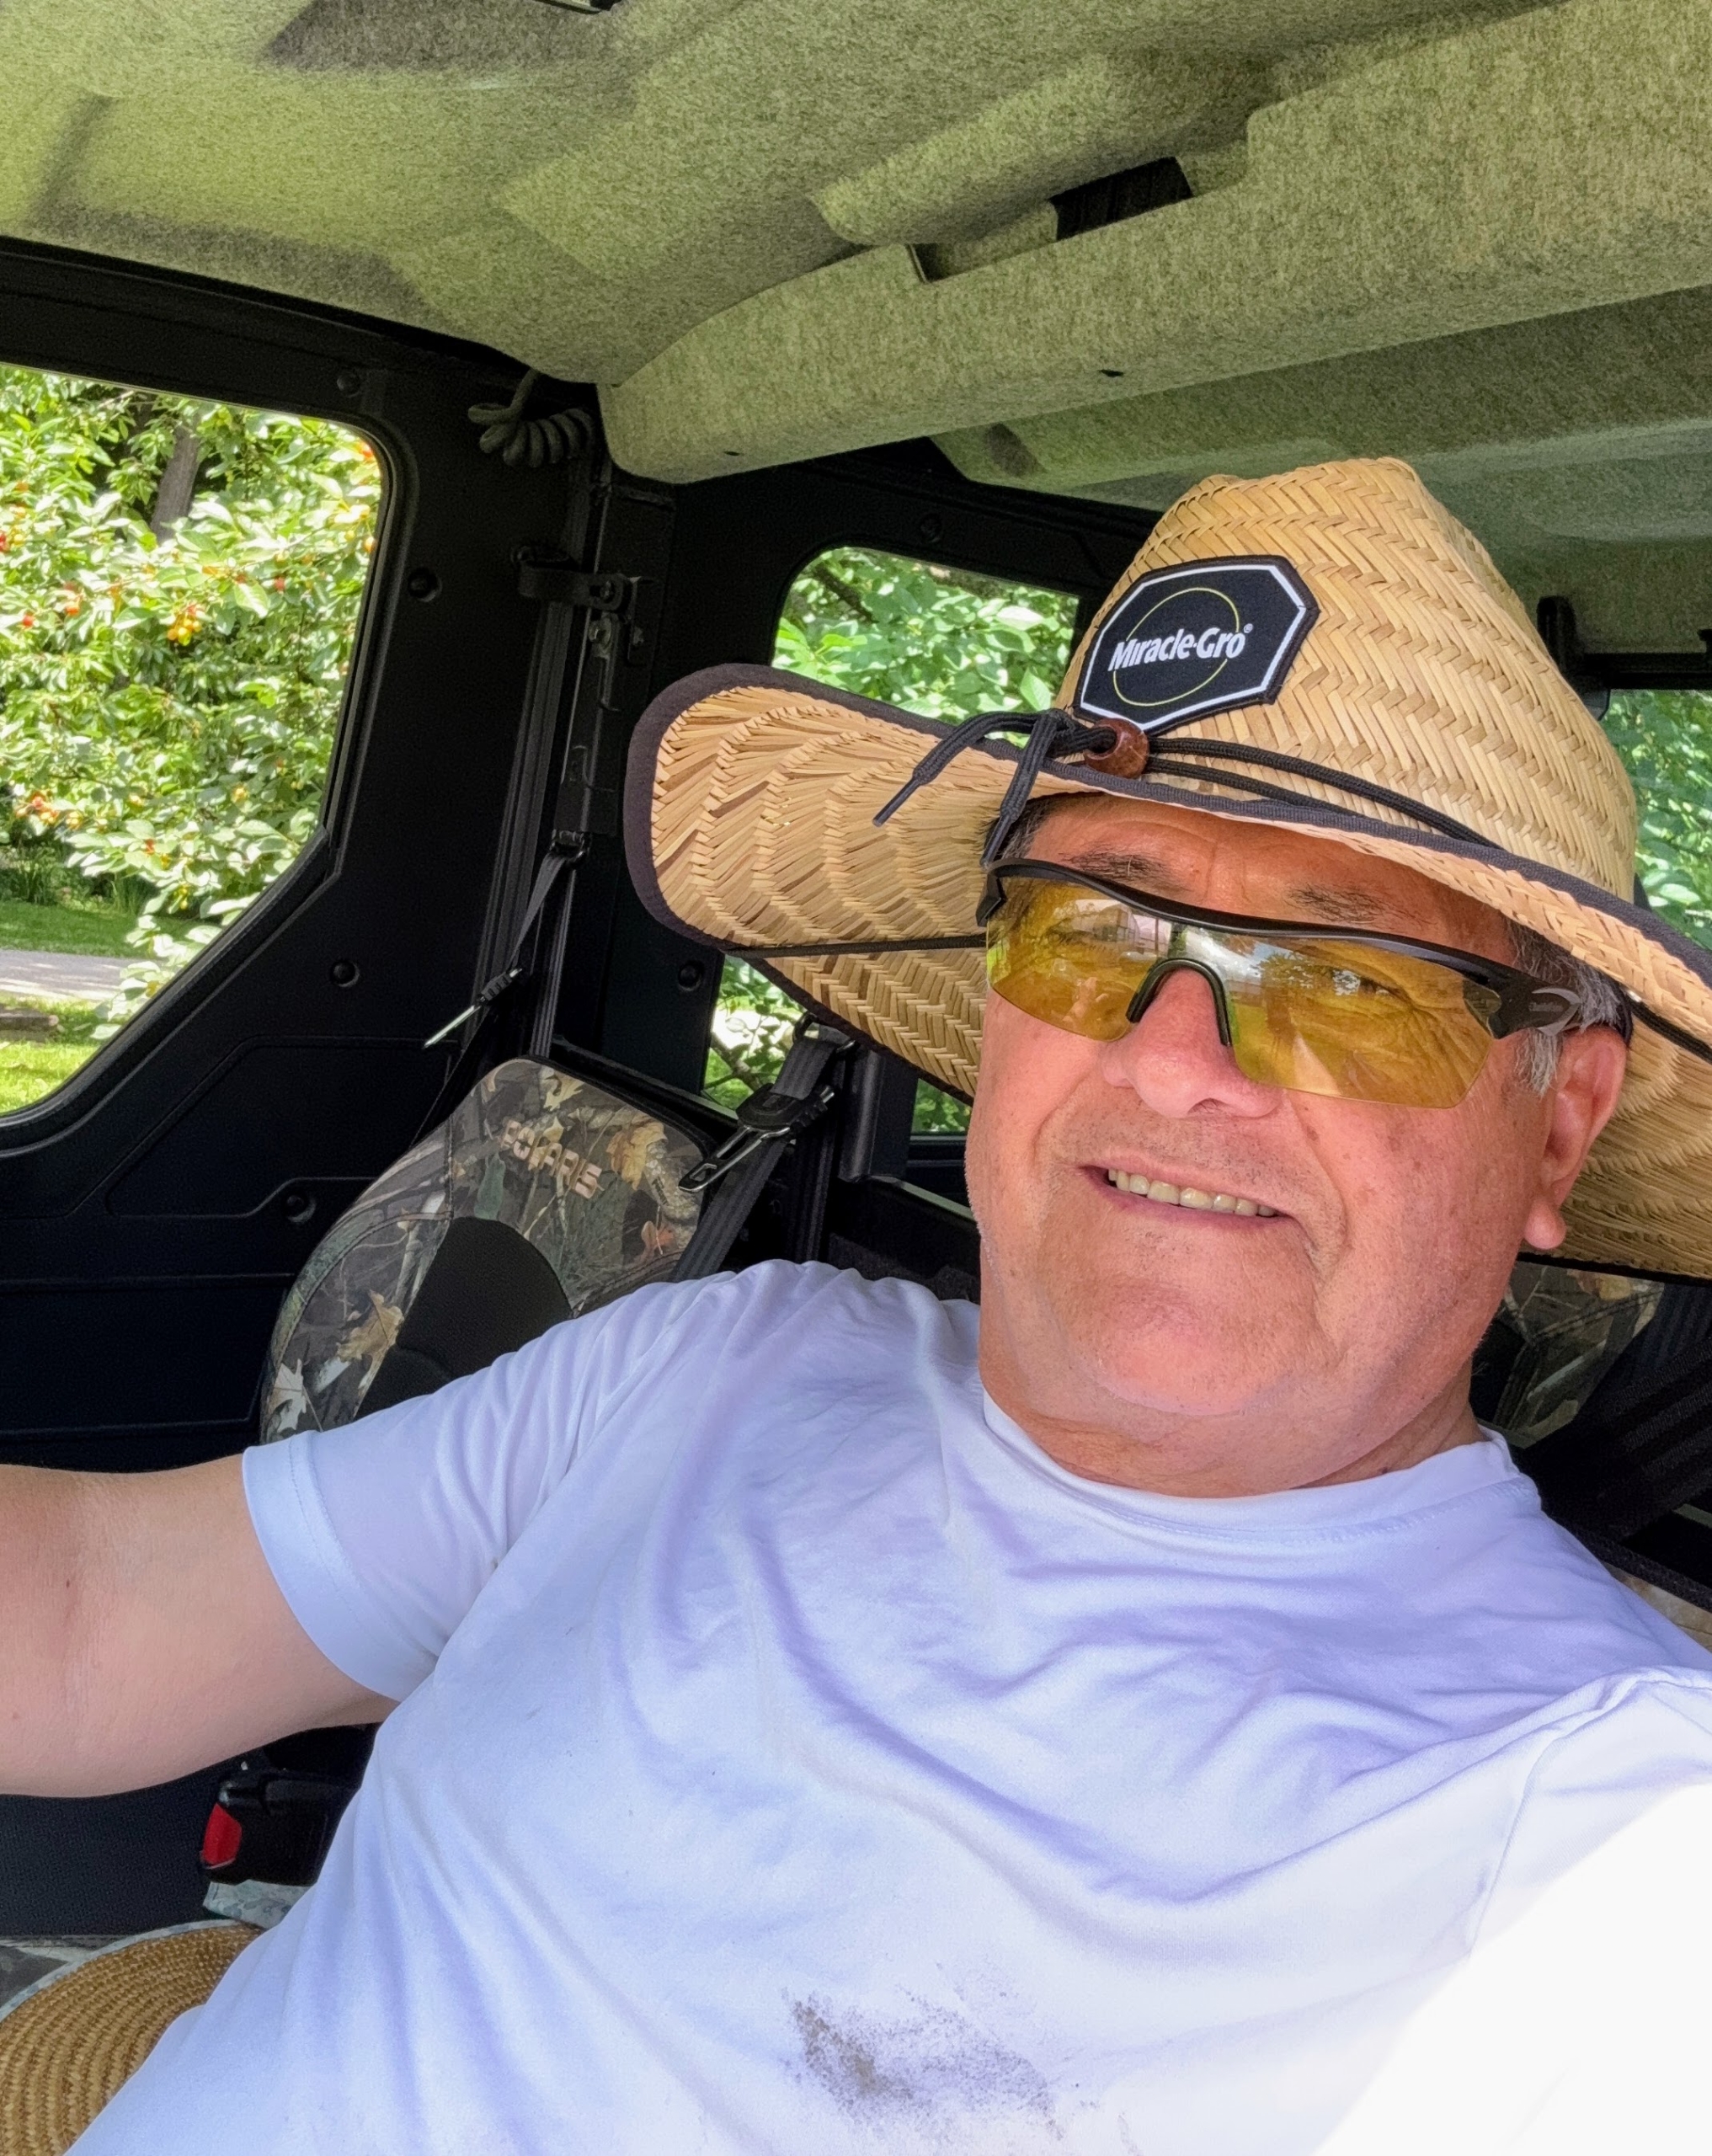
My dogs adore their “Uncle Carlito.” Aside from his love for photography, Carlos also enjoys helping me with the gardening. He feeds many of the plants for me. Have you seen our Miracle-Gro ads?
Here he is off to feed more plants. What do I always say? If you ate today, so should your plants. Right, Carlos? Thanks for sharing your pictures!