I'm always looking for ways to improve my gardens. Sometimes that means changing an entire space - removing plants and trees, selecting new specimens and designing how they will be placed. It doesn't have to be a daunting task. In fact, it can be one of the most rewarding.
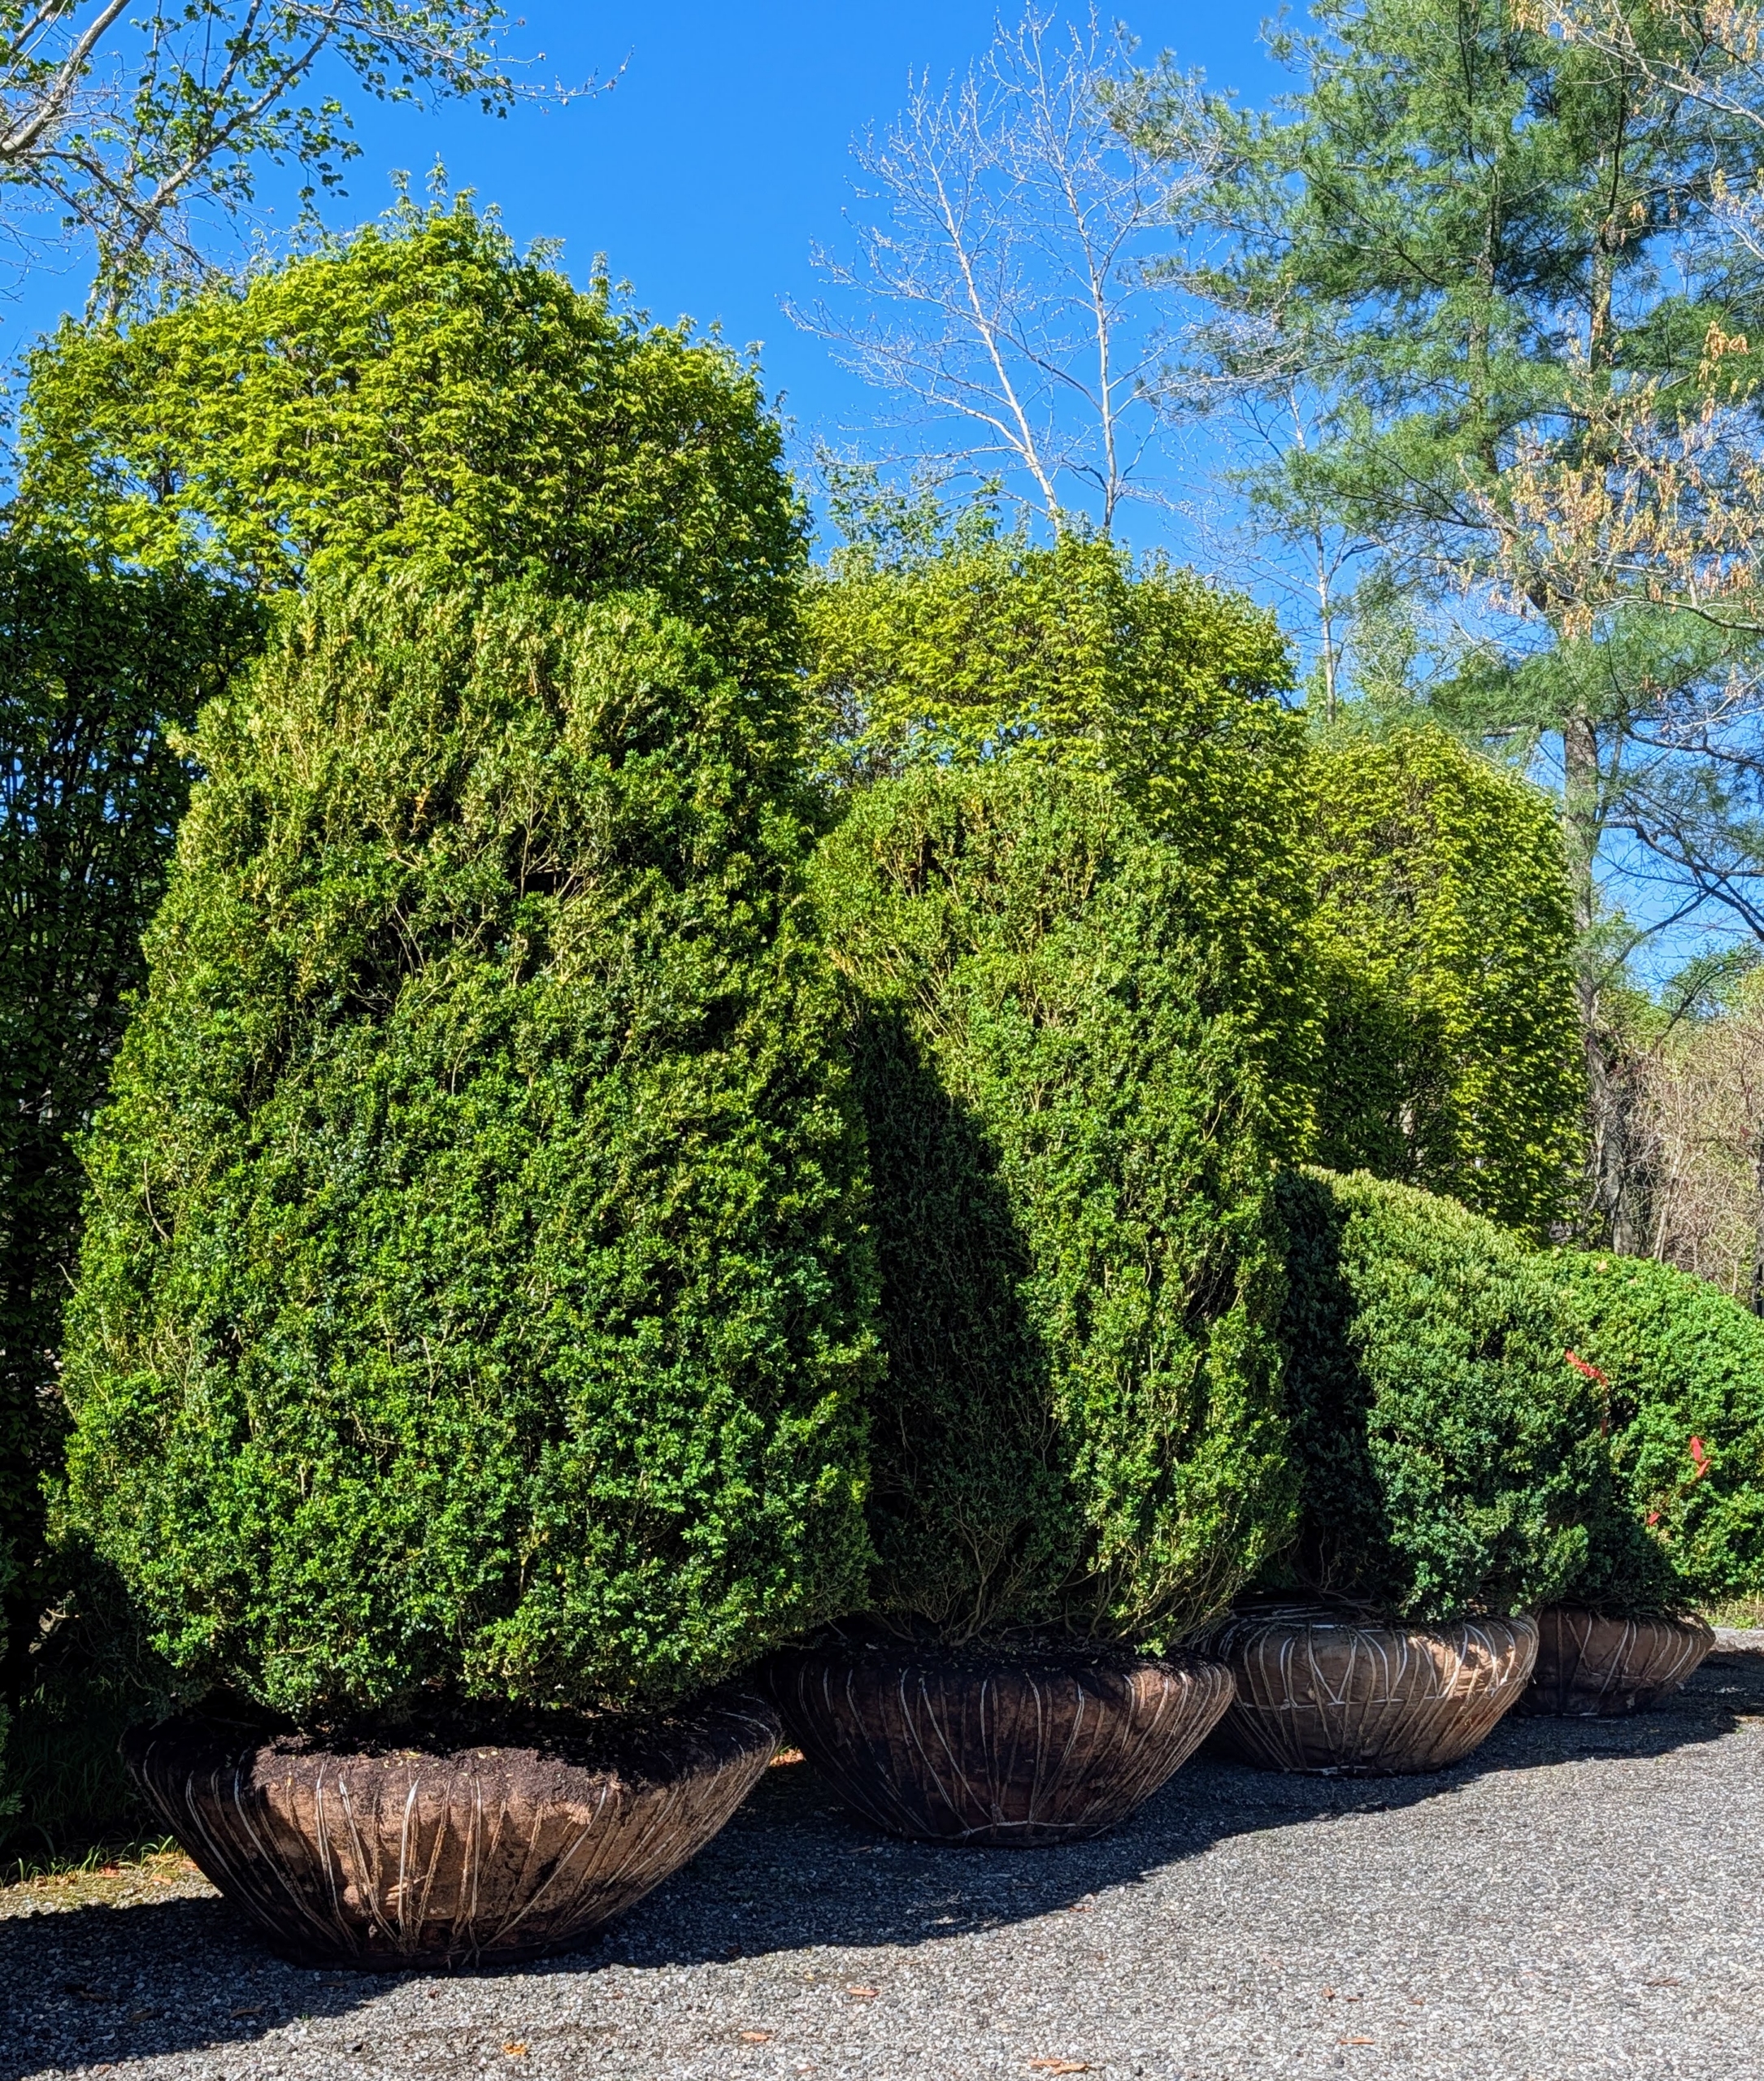
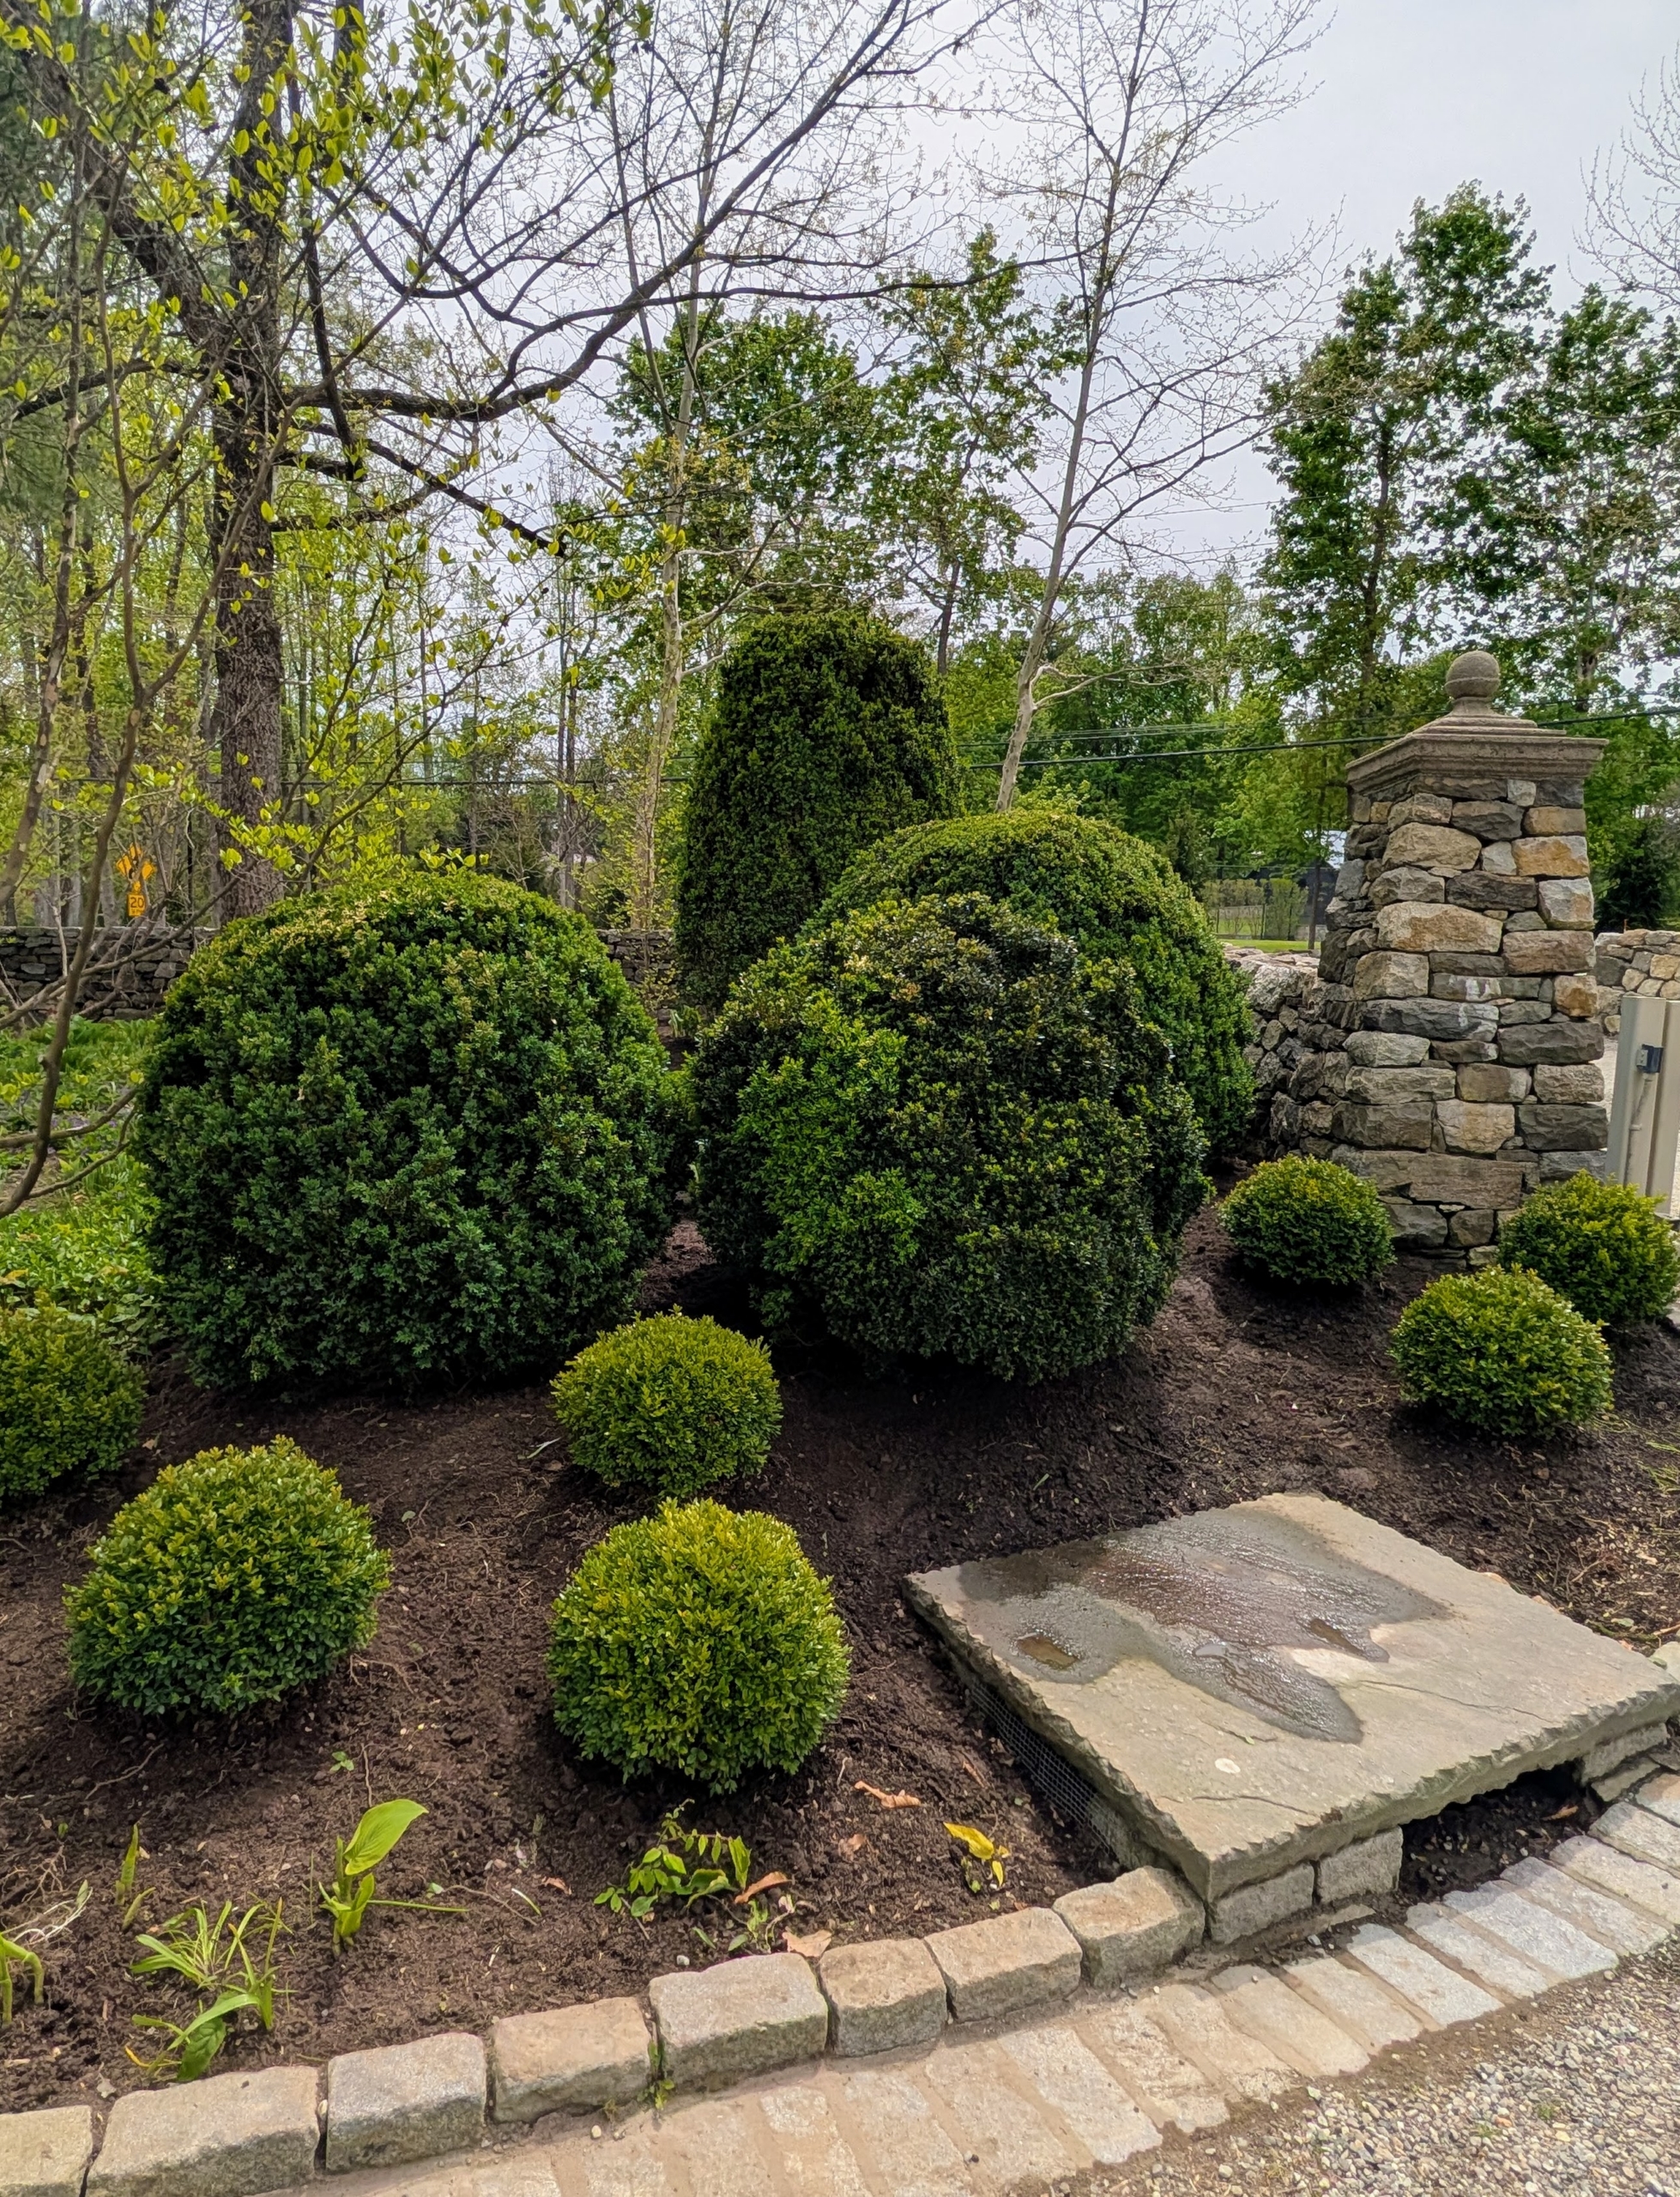
I decided to make some big changes to the gardens near my front gate. I carefully removed what was there and transplanted them in other areas of the farm. In their place, I wanted to put in a group of small, medium and large sized boxwood that would add both color and texture to the beds. I called on my friend, George Bridge, owner of George Bridge Landscape Design, Inc. George first introduced me to boxwood more than 25-years ago. George is a leading grower and supplier of one of the largest collections of unique and mature plants, trees, and boxwood in the United States. Earlier this week, he and his crew delivered 10 American boxwood shrubs and planted every single one - they all look perfect.
Enjoy these photos.
I love boxwood, Buxus sempervirens, and have hundreds of these bold green shrubs growing all over my farm.
I also enjoy designing outdoor spaces and watching my gardens evolve and flourish. Adding rich foliage is good for the landscape – it improves air quality, absorb pollutants, and helps purify the air.
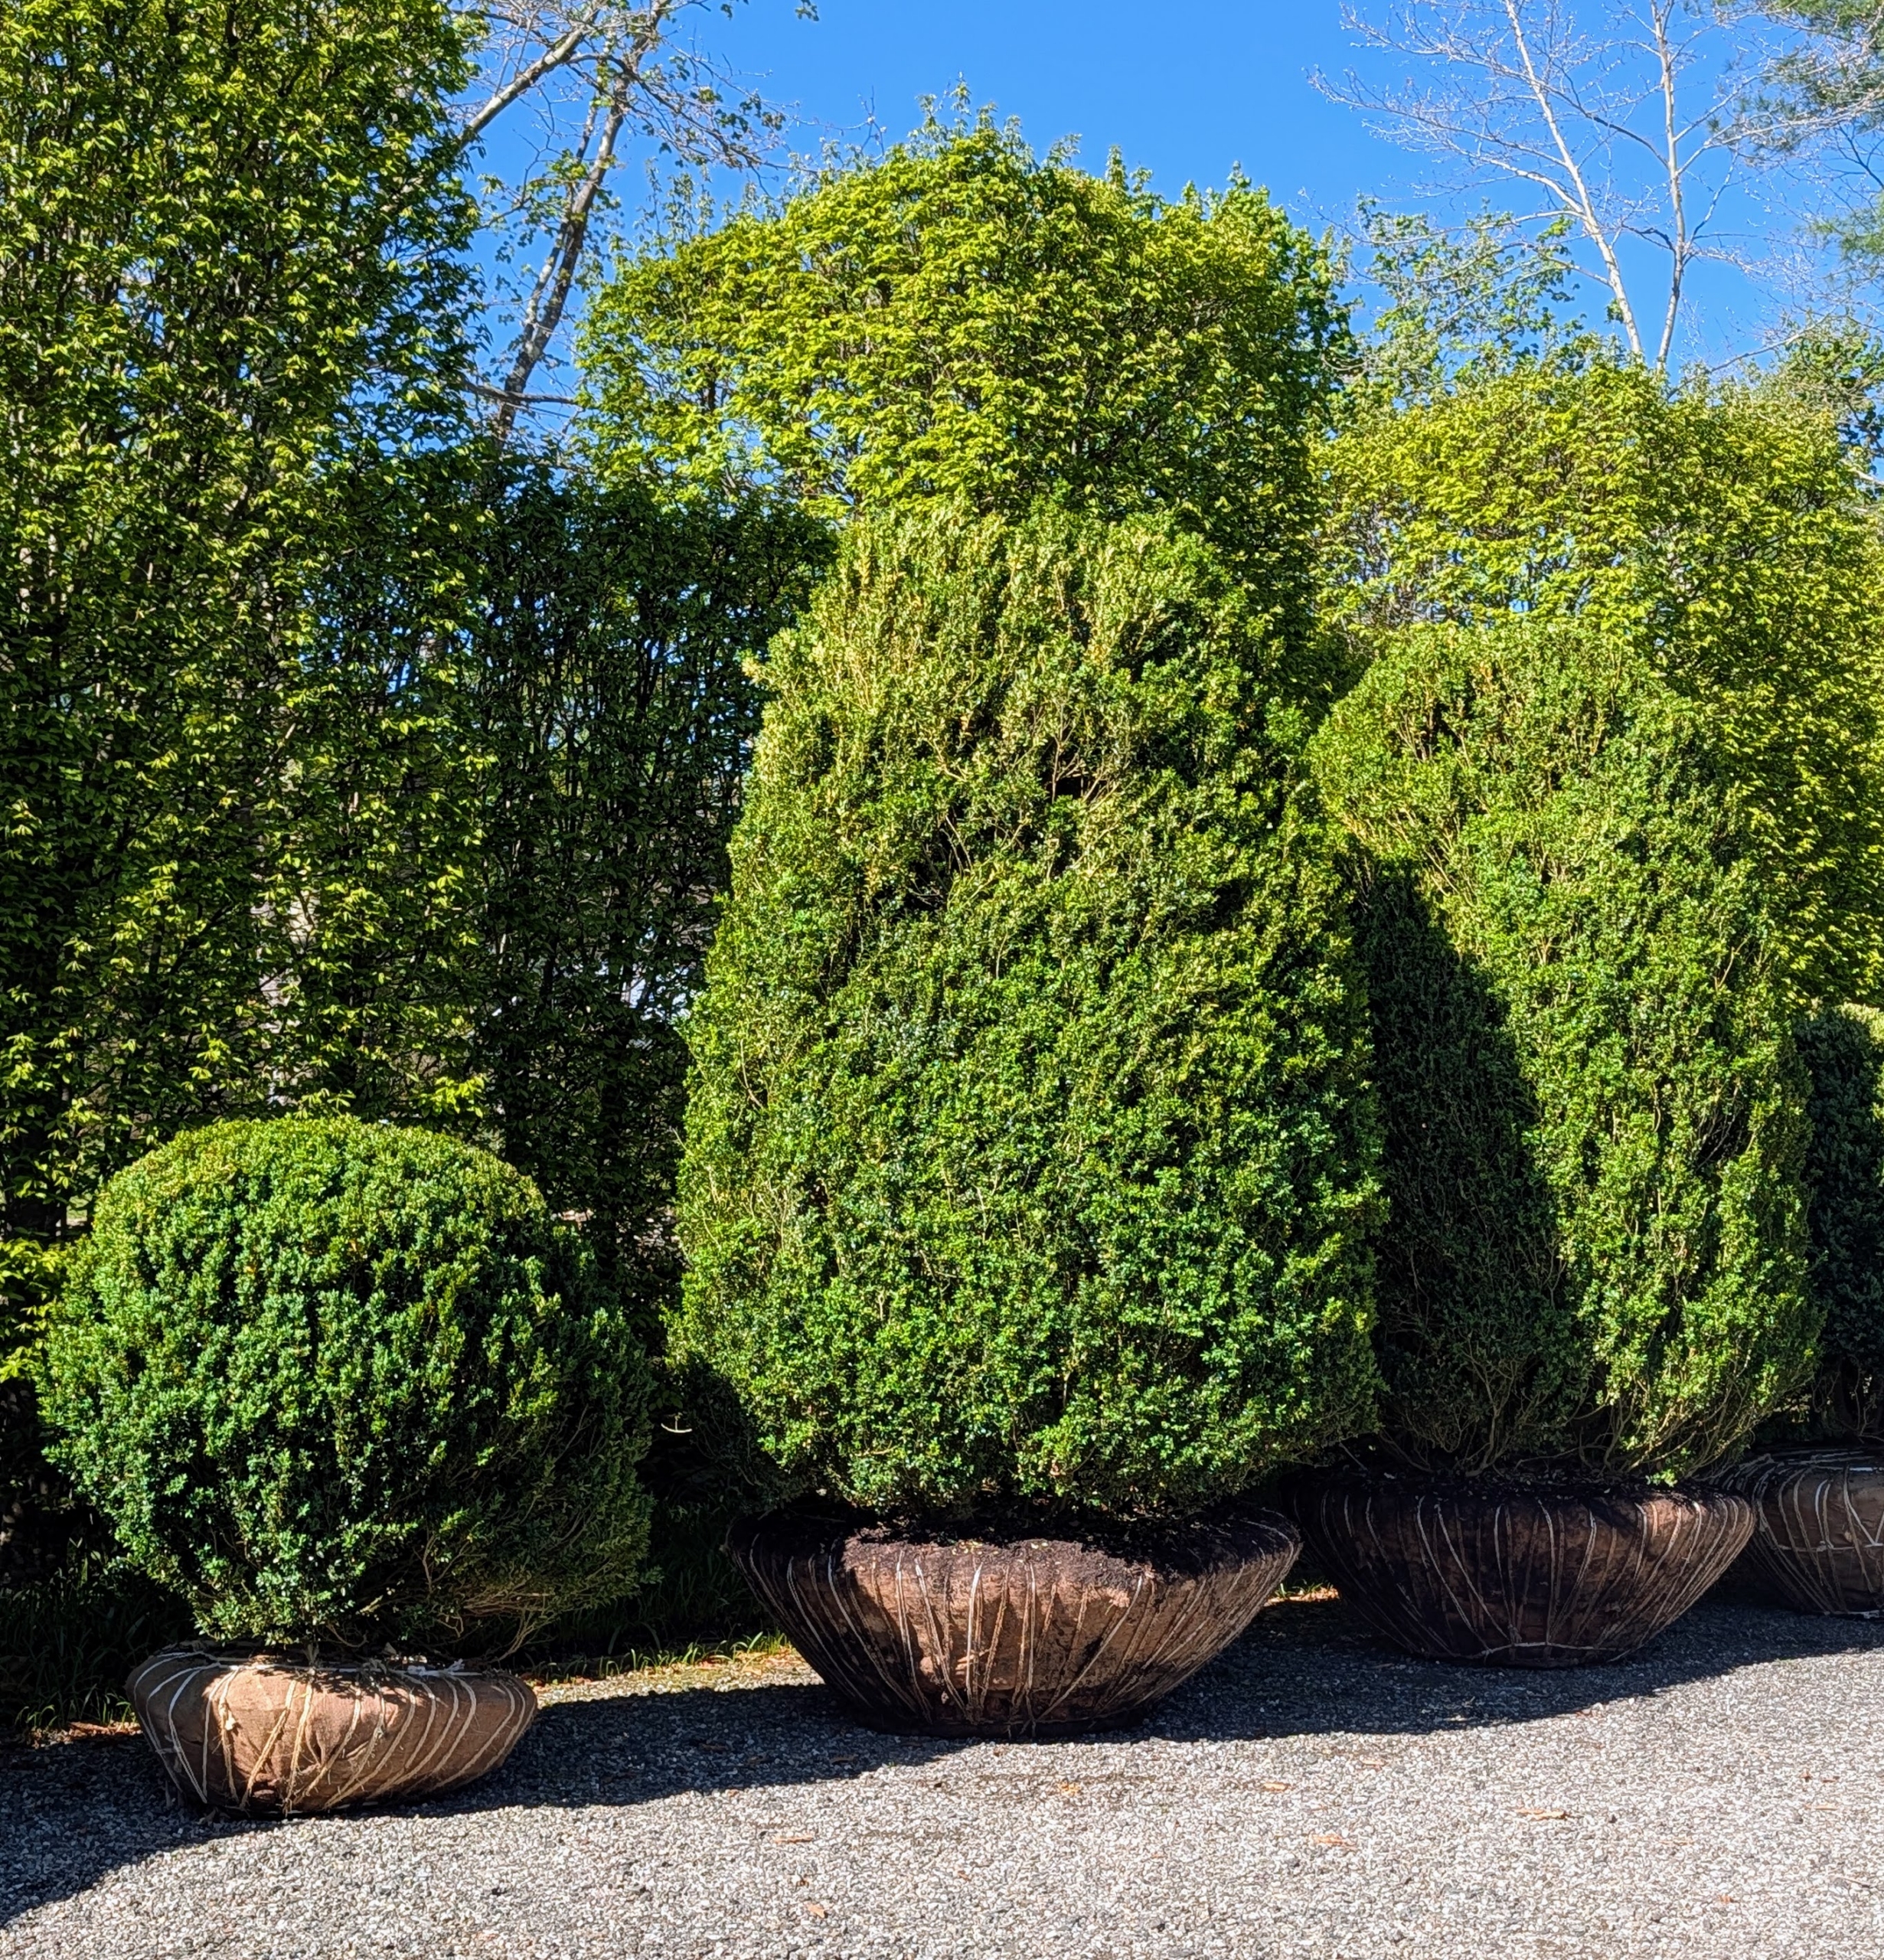
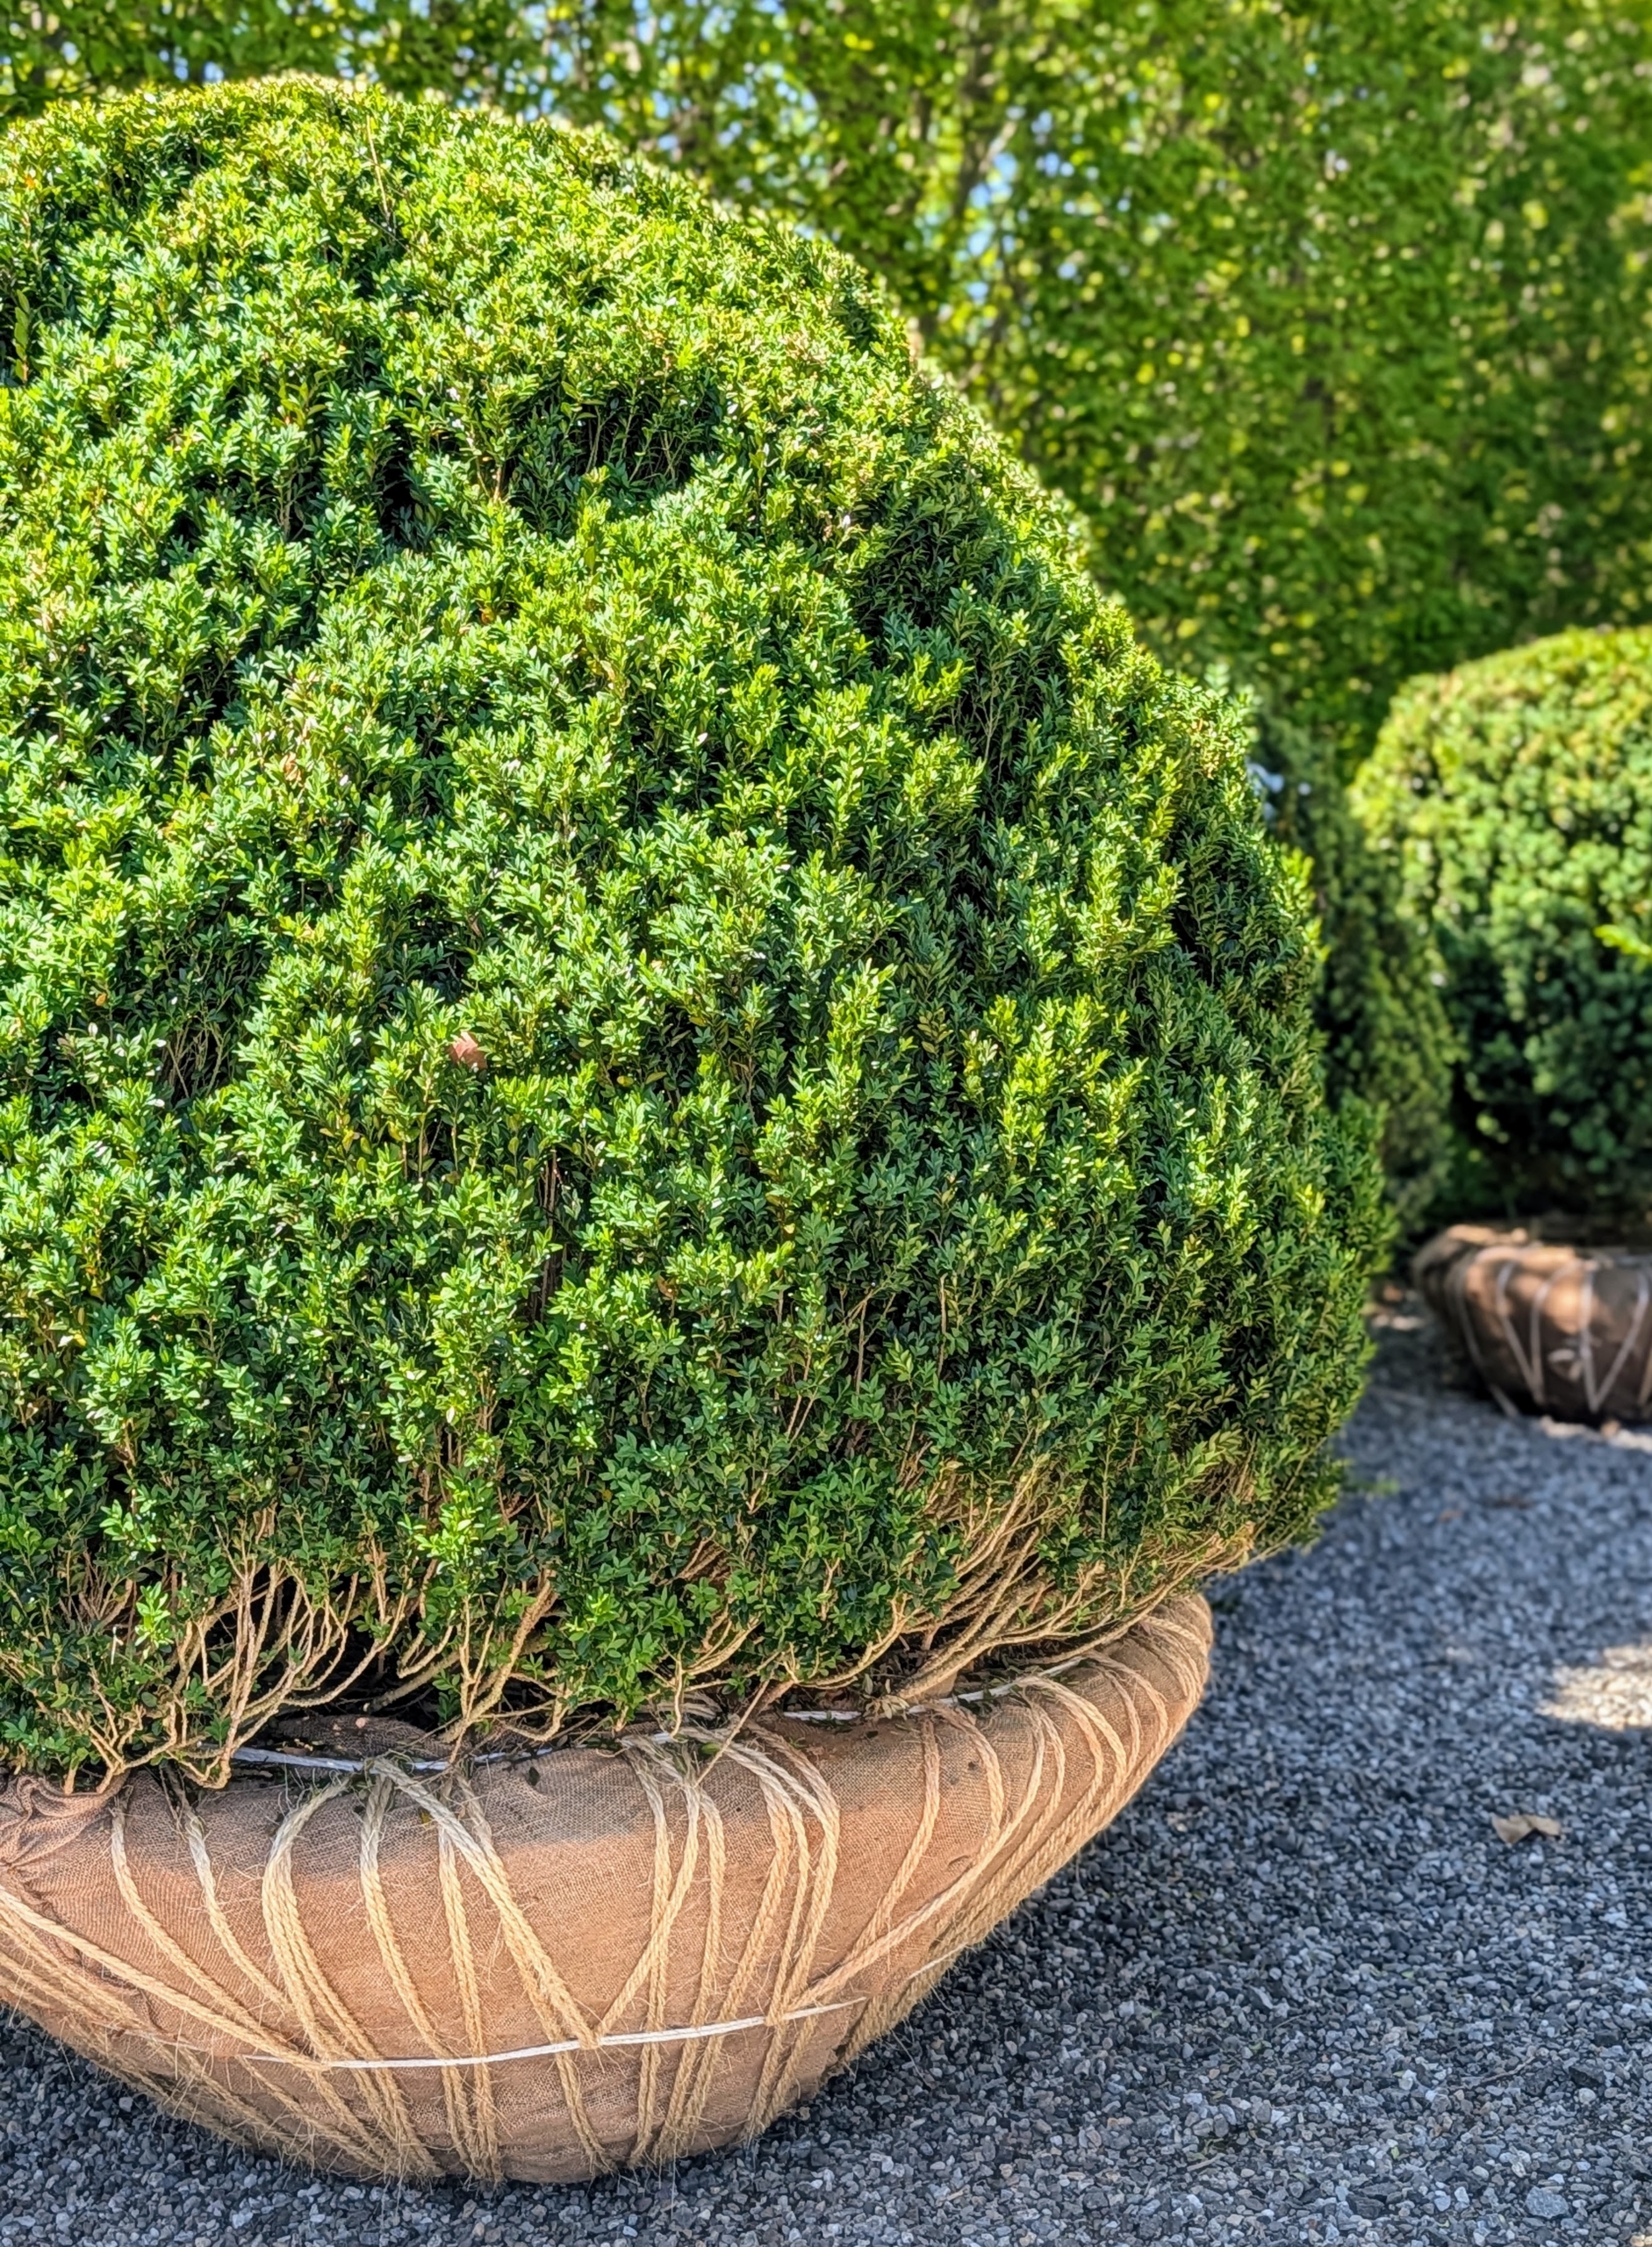
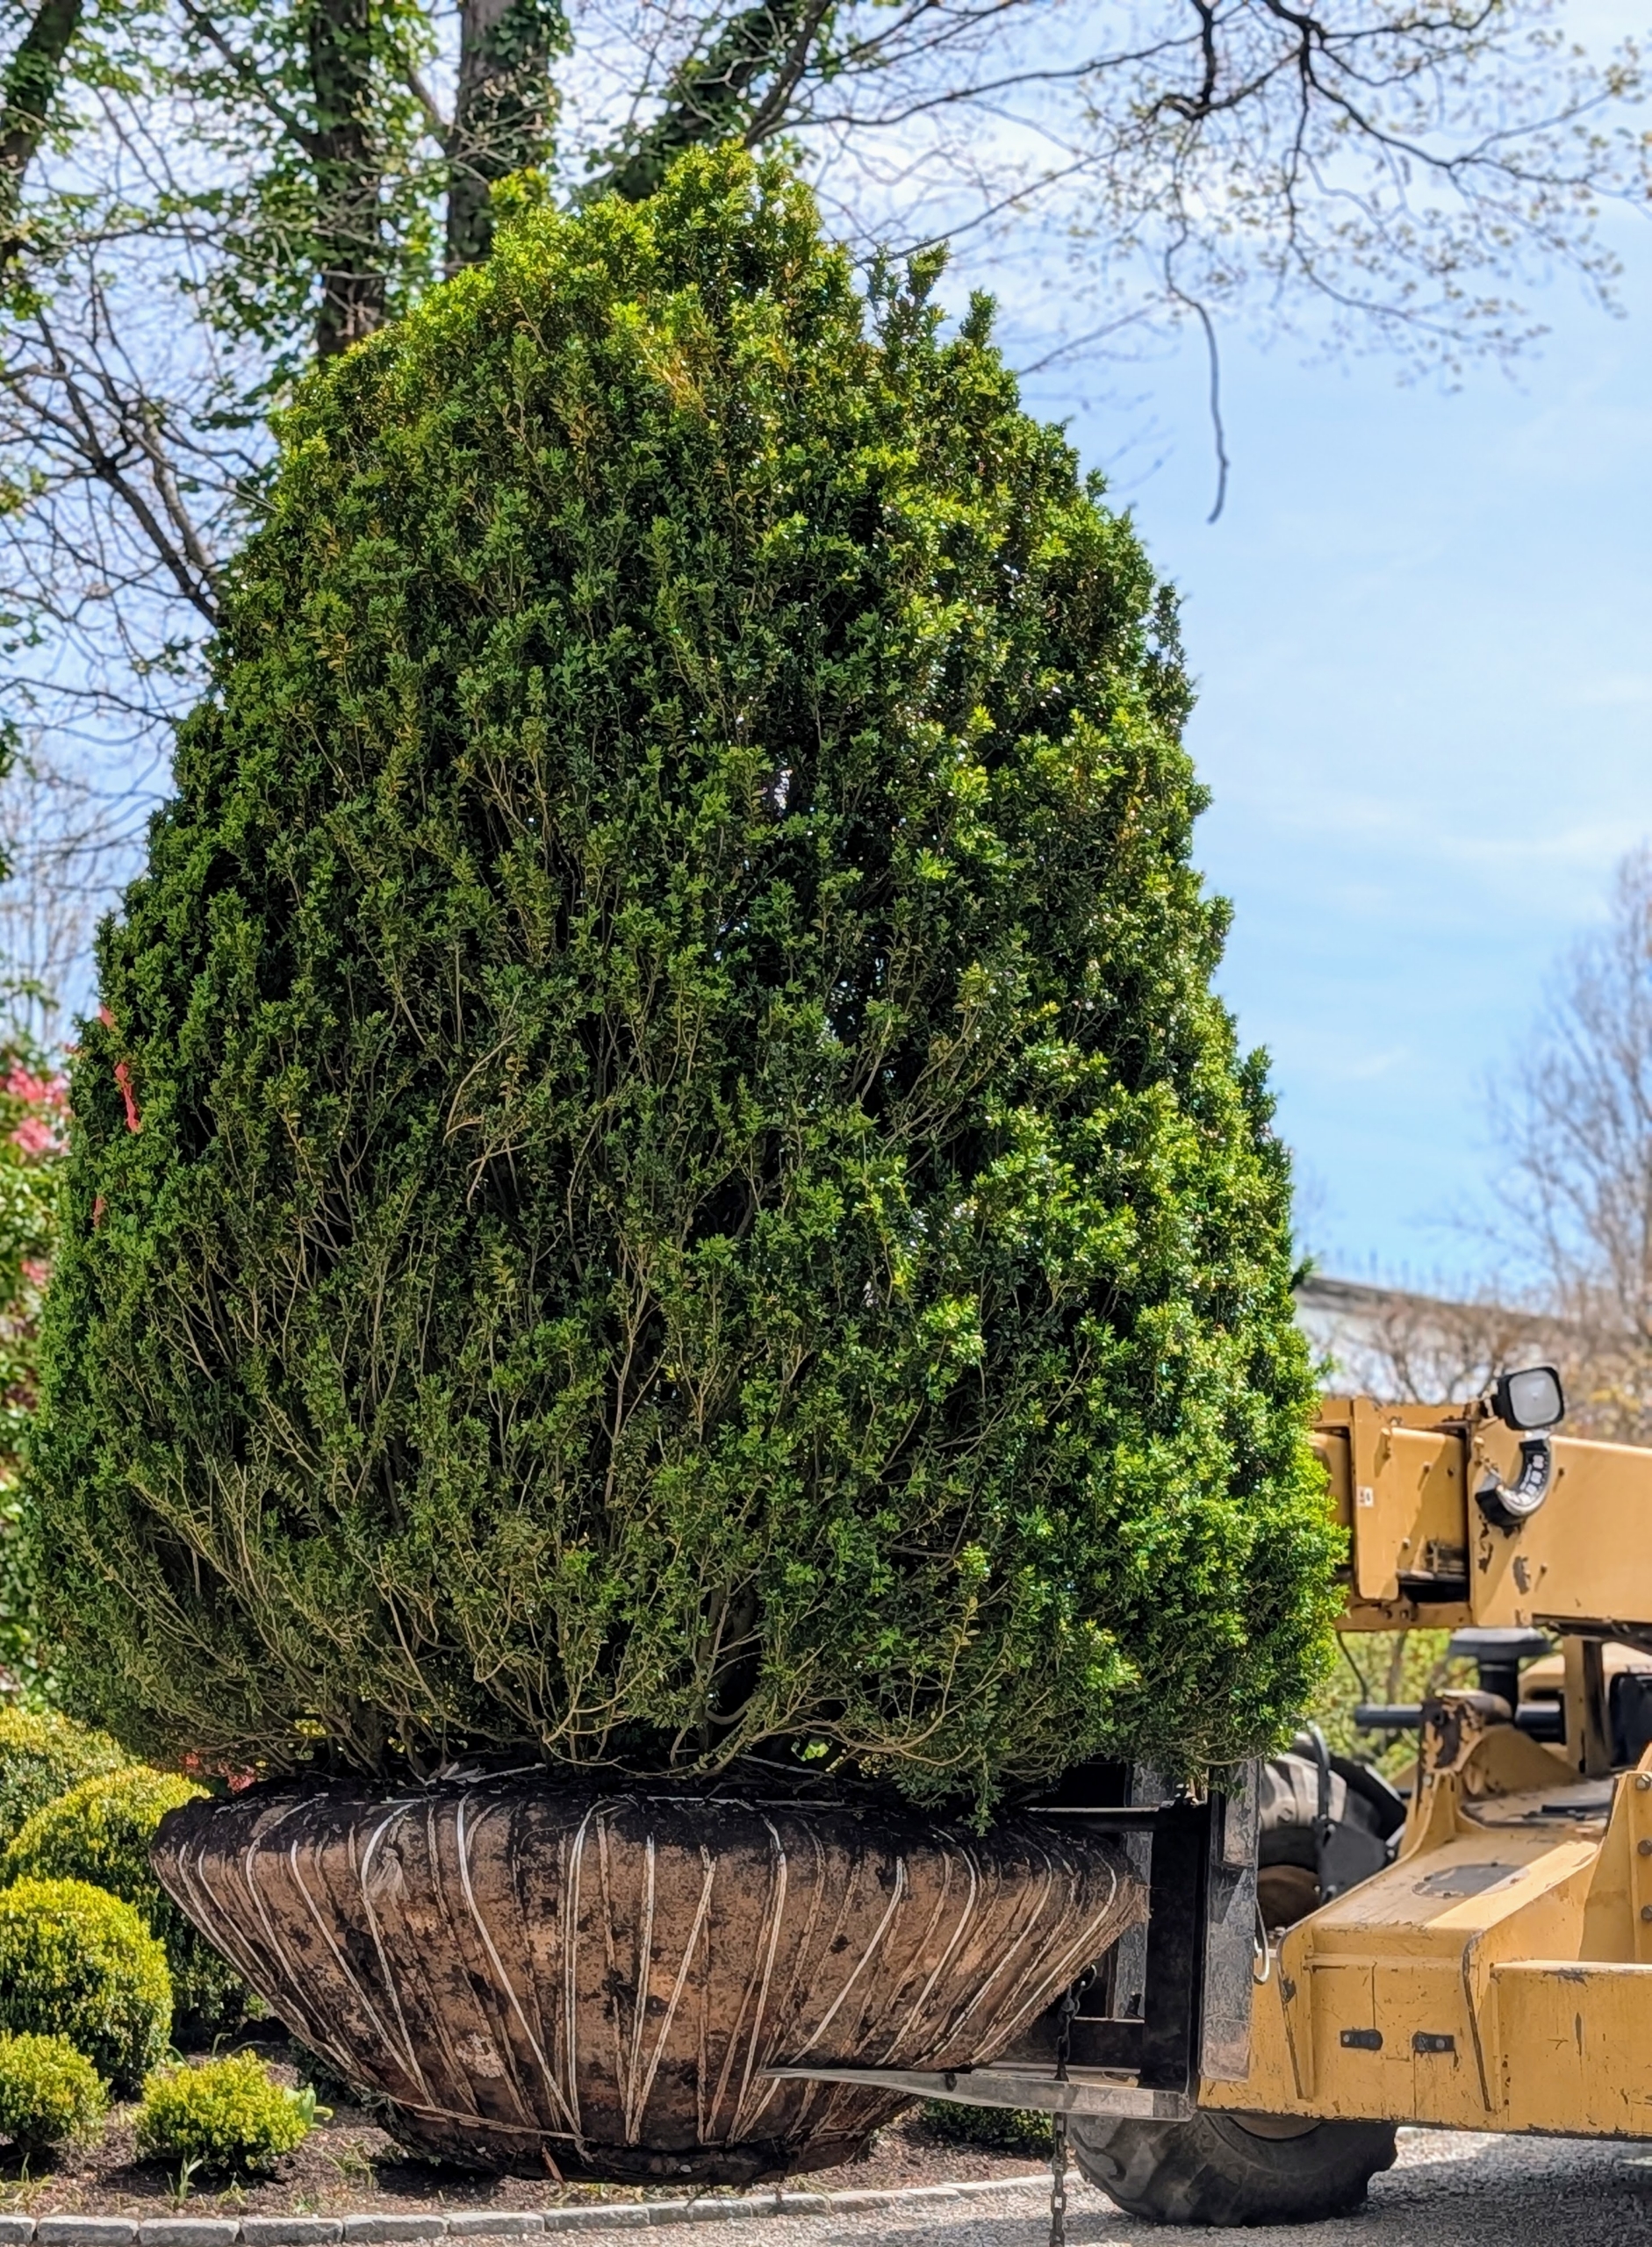
Earlier this week, George personally delivered 10 handsome boxwood shrubs. I knew they would be perfect for the space. Boxwood has upright, naturally cone-shaped habits making them excellent for planting free-form or for a sculpted hedge or border.
Buxus is a genus of about 70 species in the family Buxaceae. Common names include box or boxwood. The boxes are native to western and southern Europe, southwest, southern and eastern Asia, Africa, Madagascar, northernmost South America, Central America, Mexico, and the Caribbean. Boxwood shrubs are slow-growing with dark green glossy leaves arranged opposite from each other, making pairs. Leaf shape depends on the variety; some are round while others are elliptical.
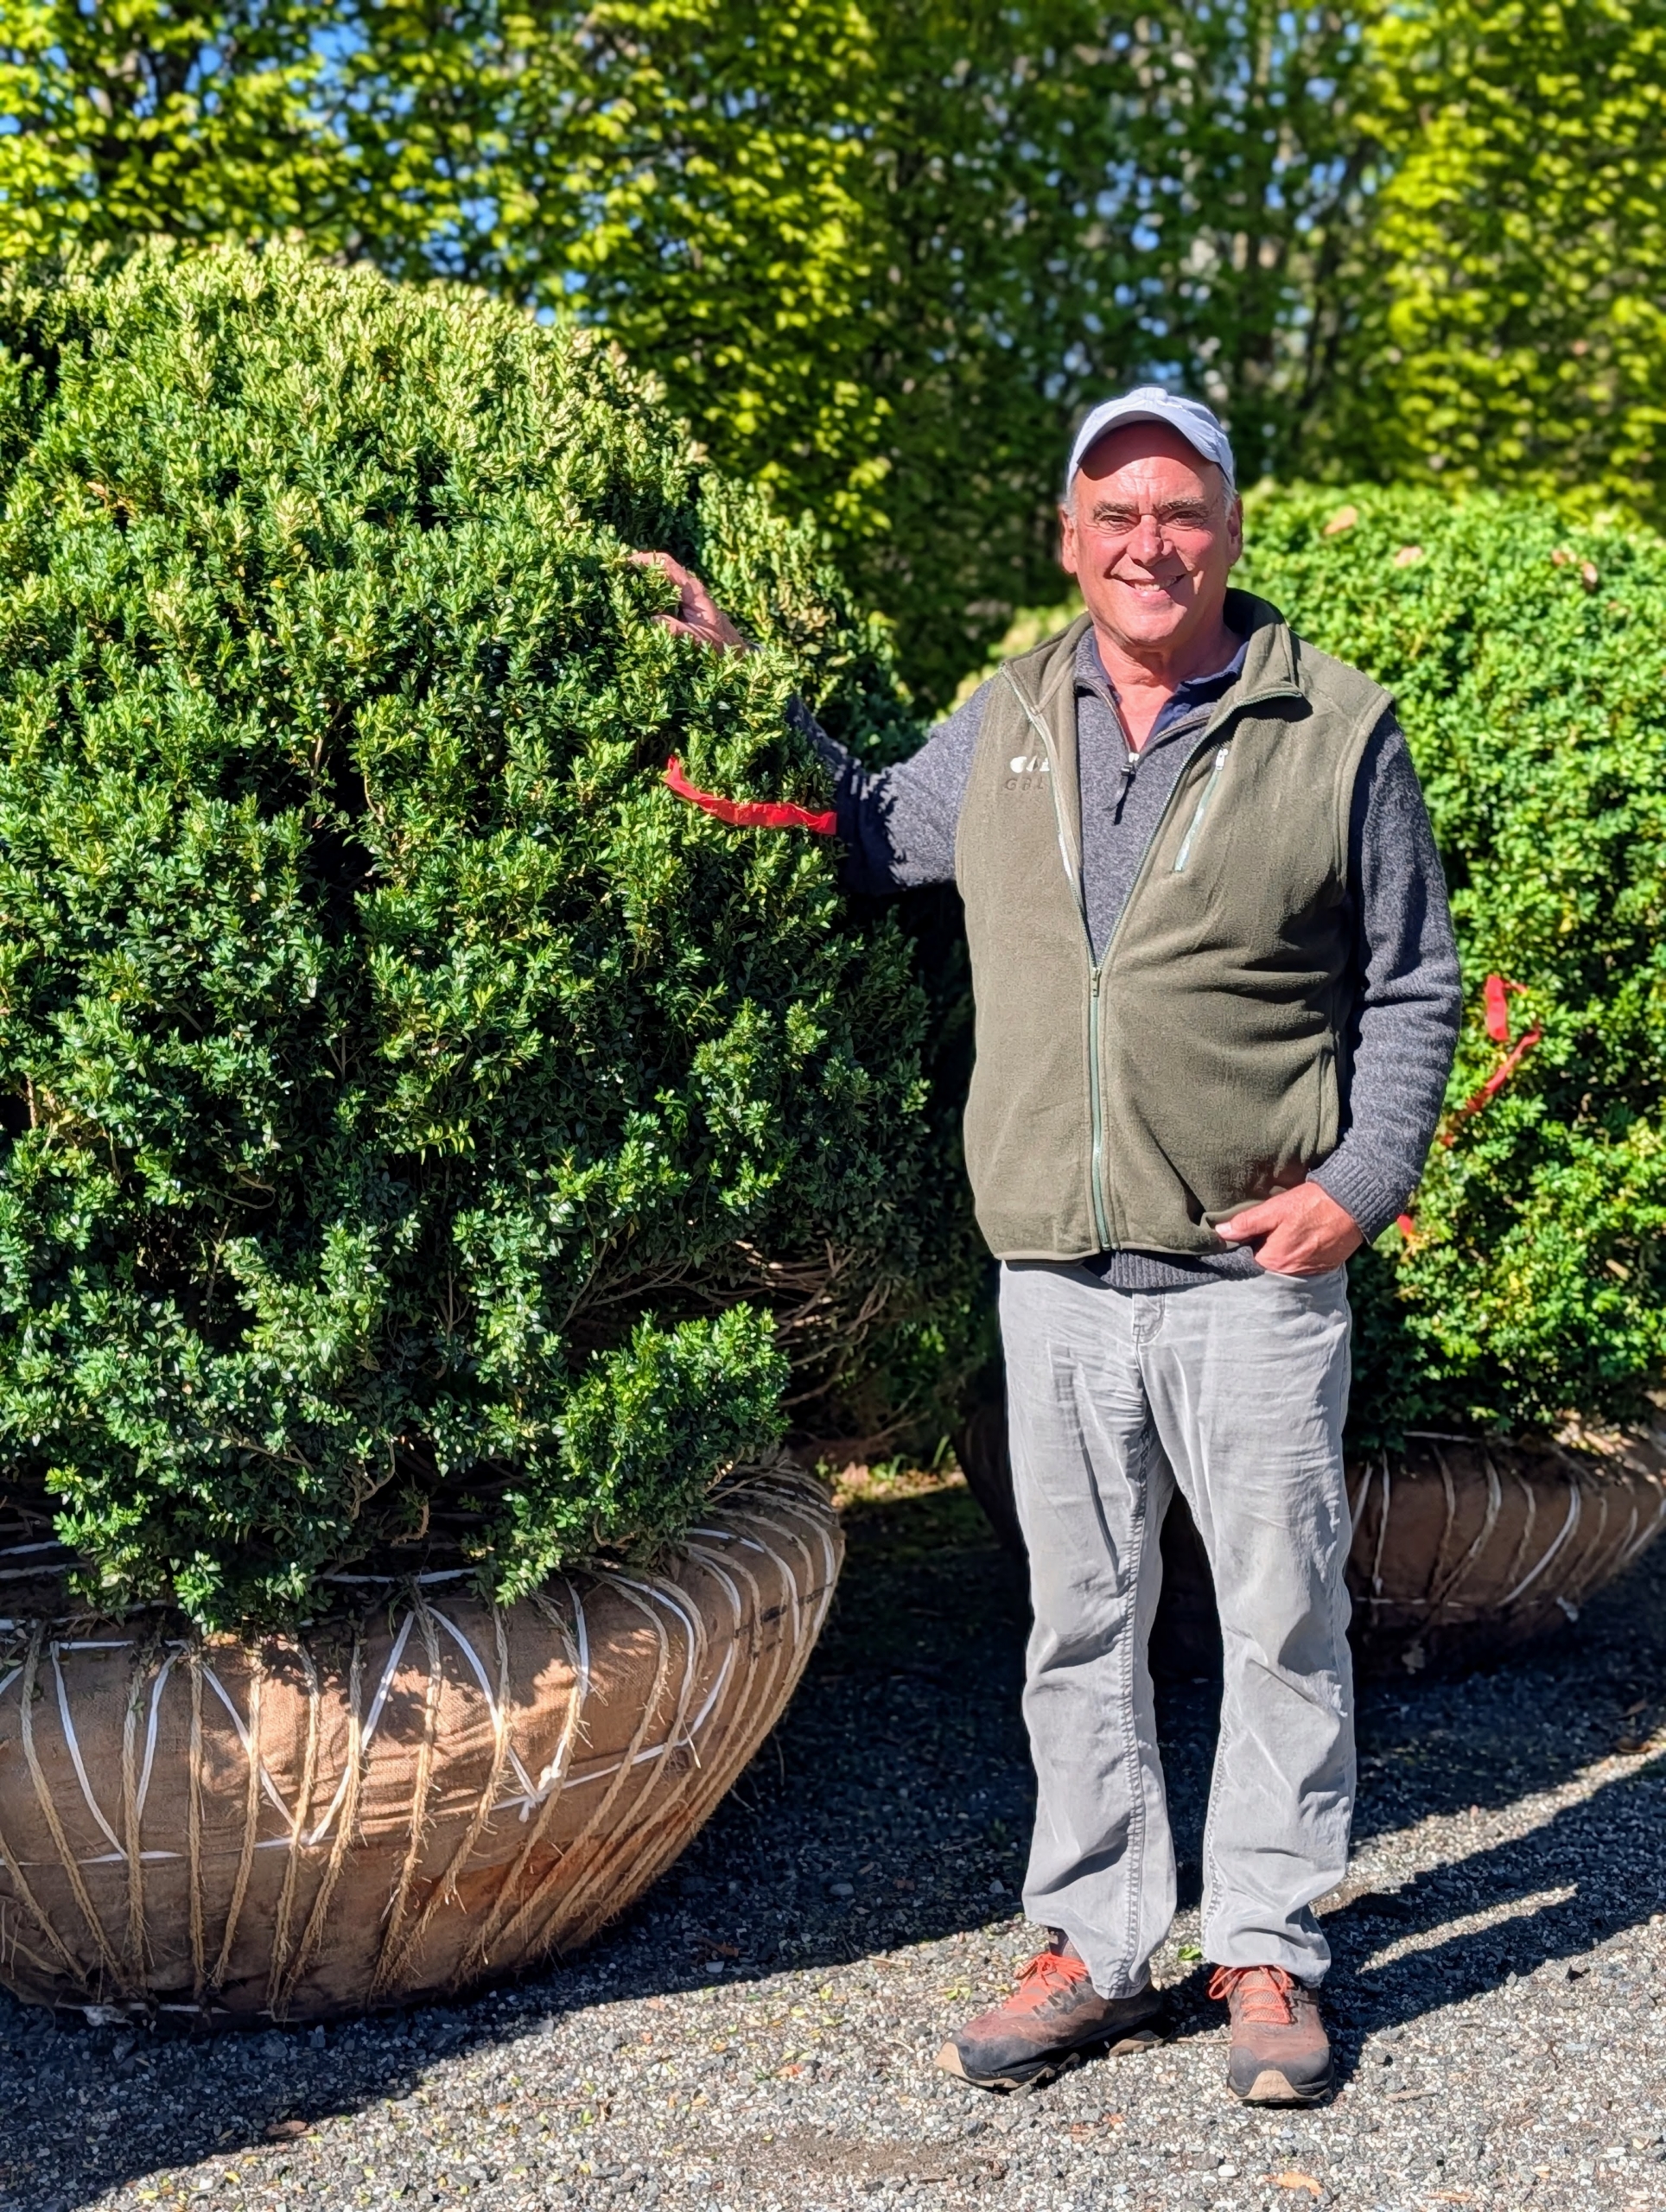
George specializes in collecting rare, vintage, and mature landscape plant material, including shrubs, hedges, fruit and ornamental trees, and even woody vines. His boxwood collection includes large, mature boxwood ranging from six to 12-feet tall and up to 95 years old. Visit his web site for more information.
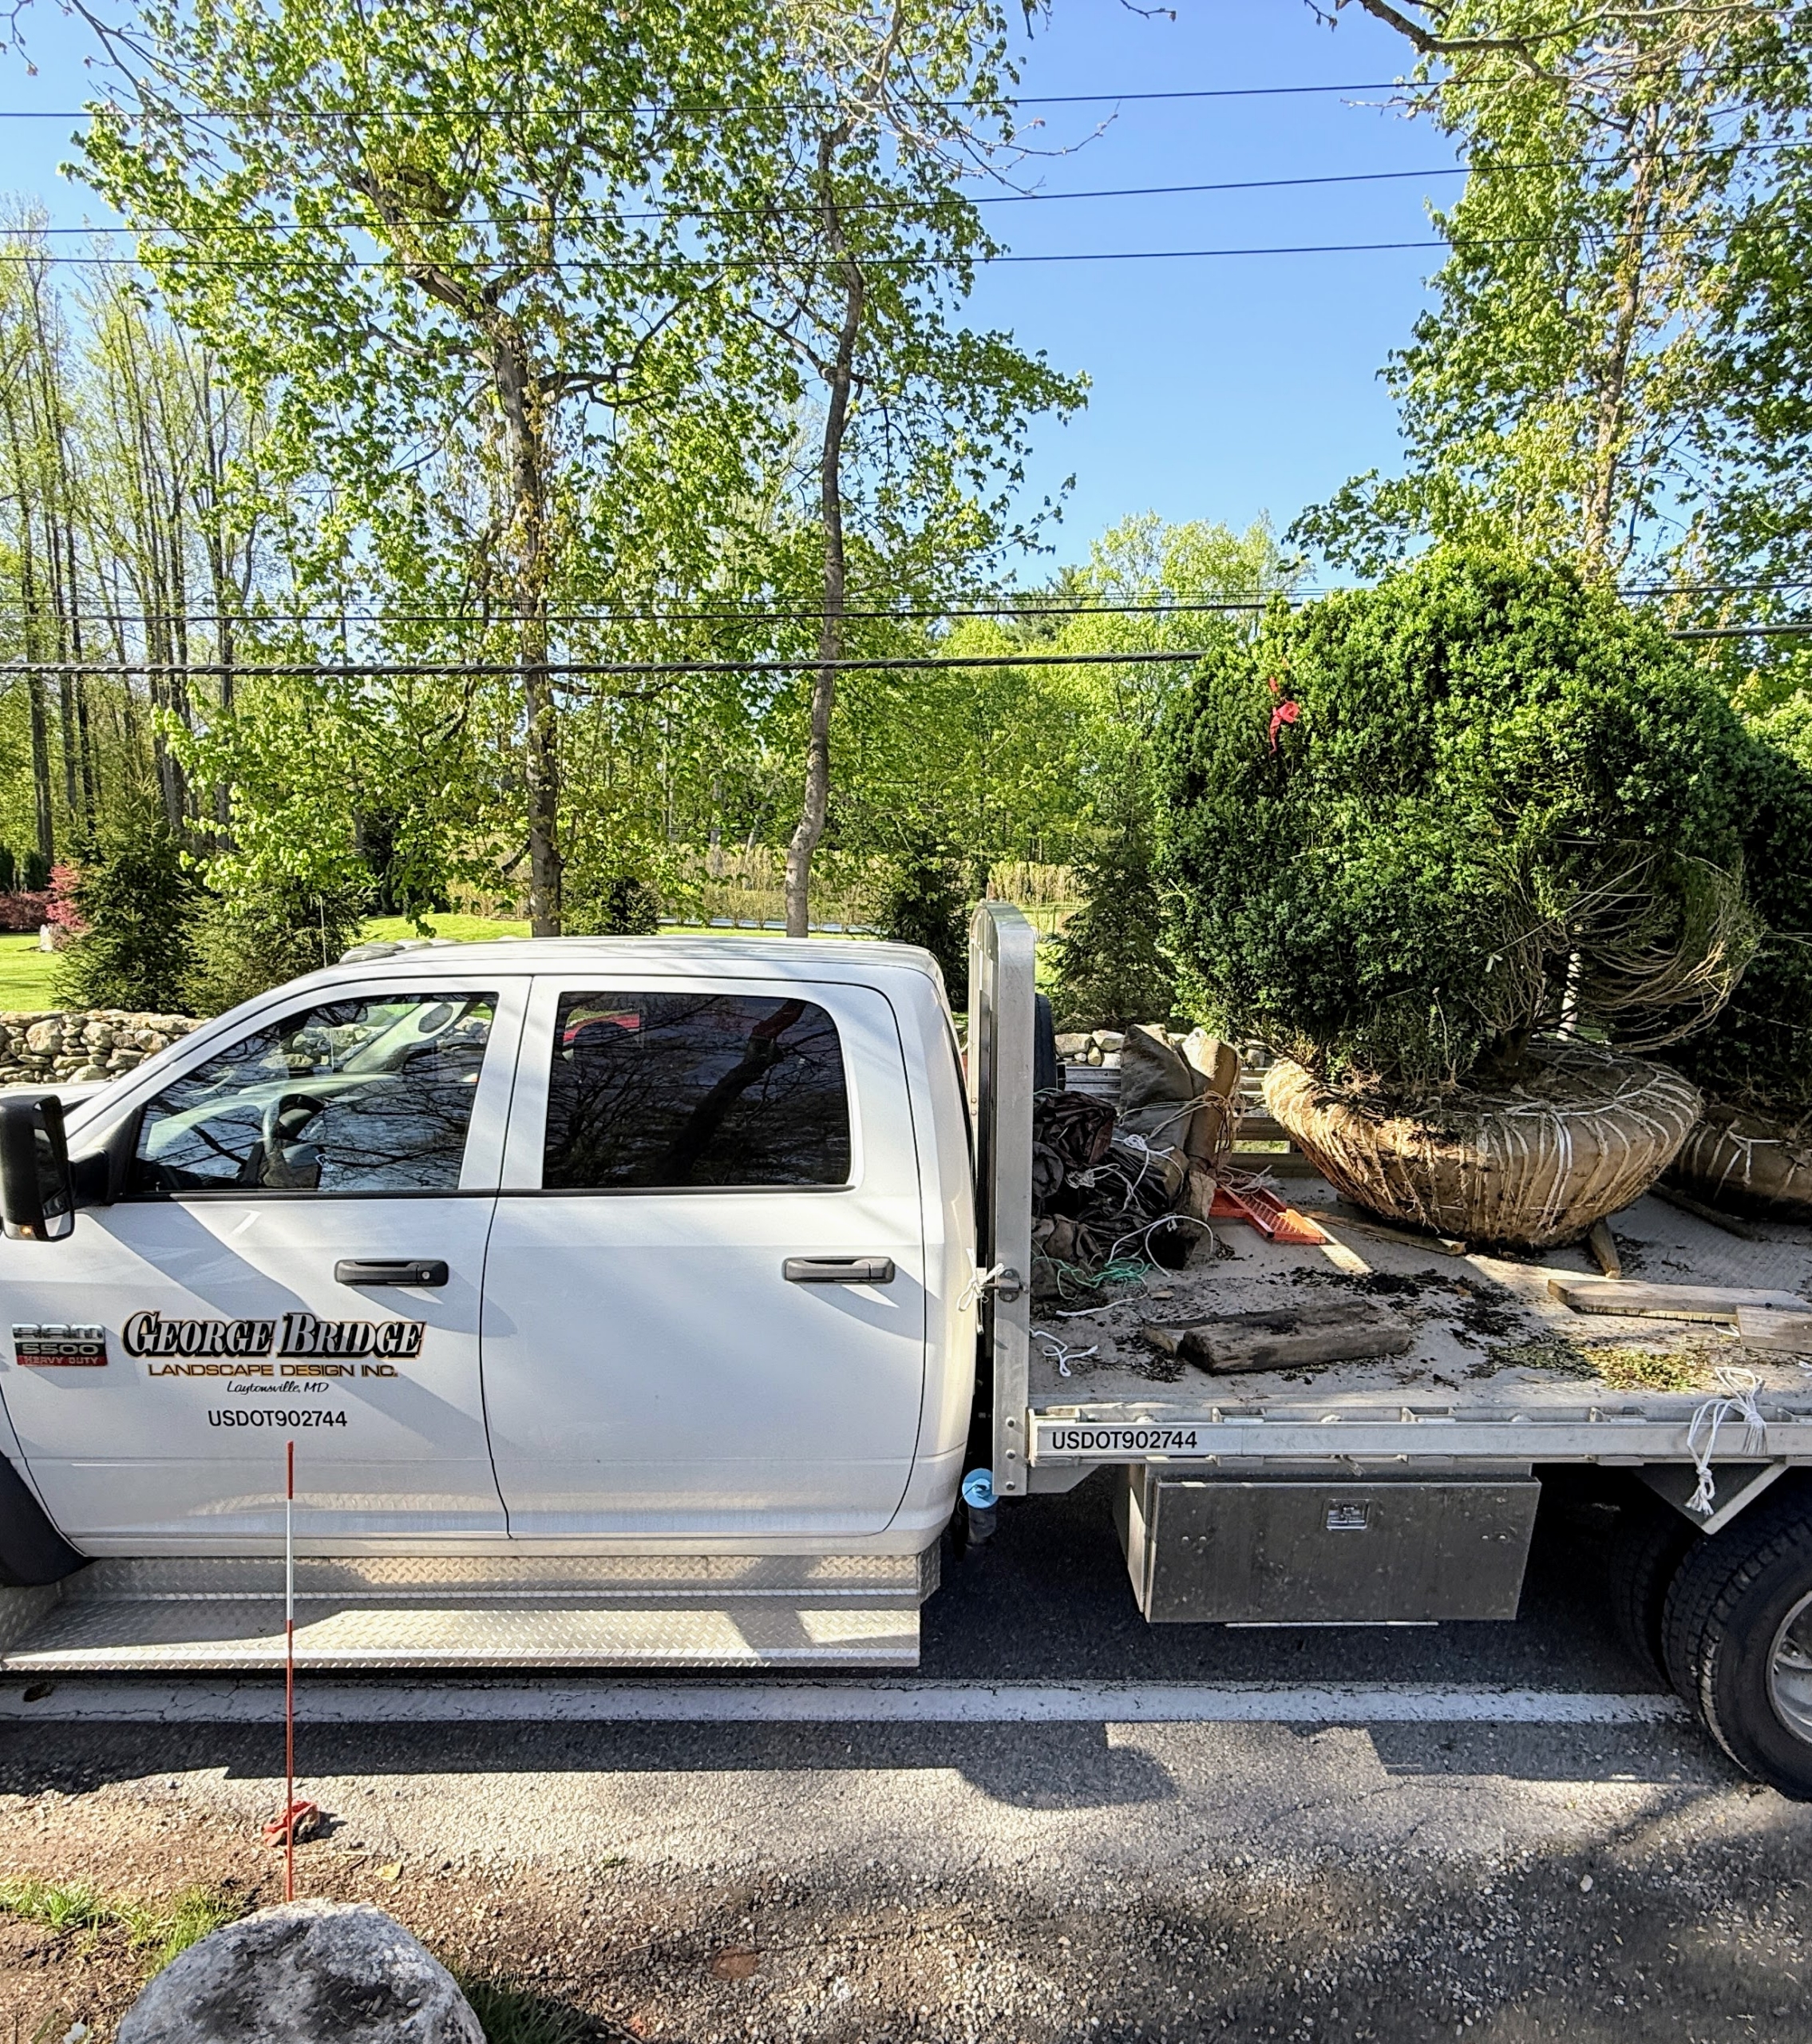
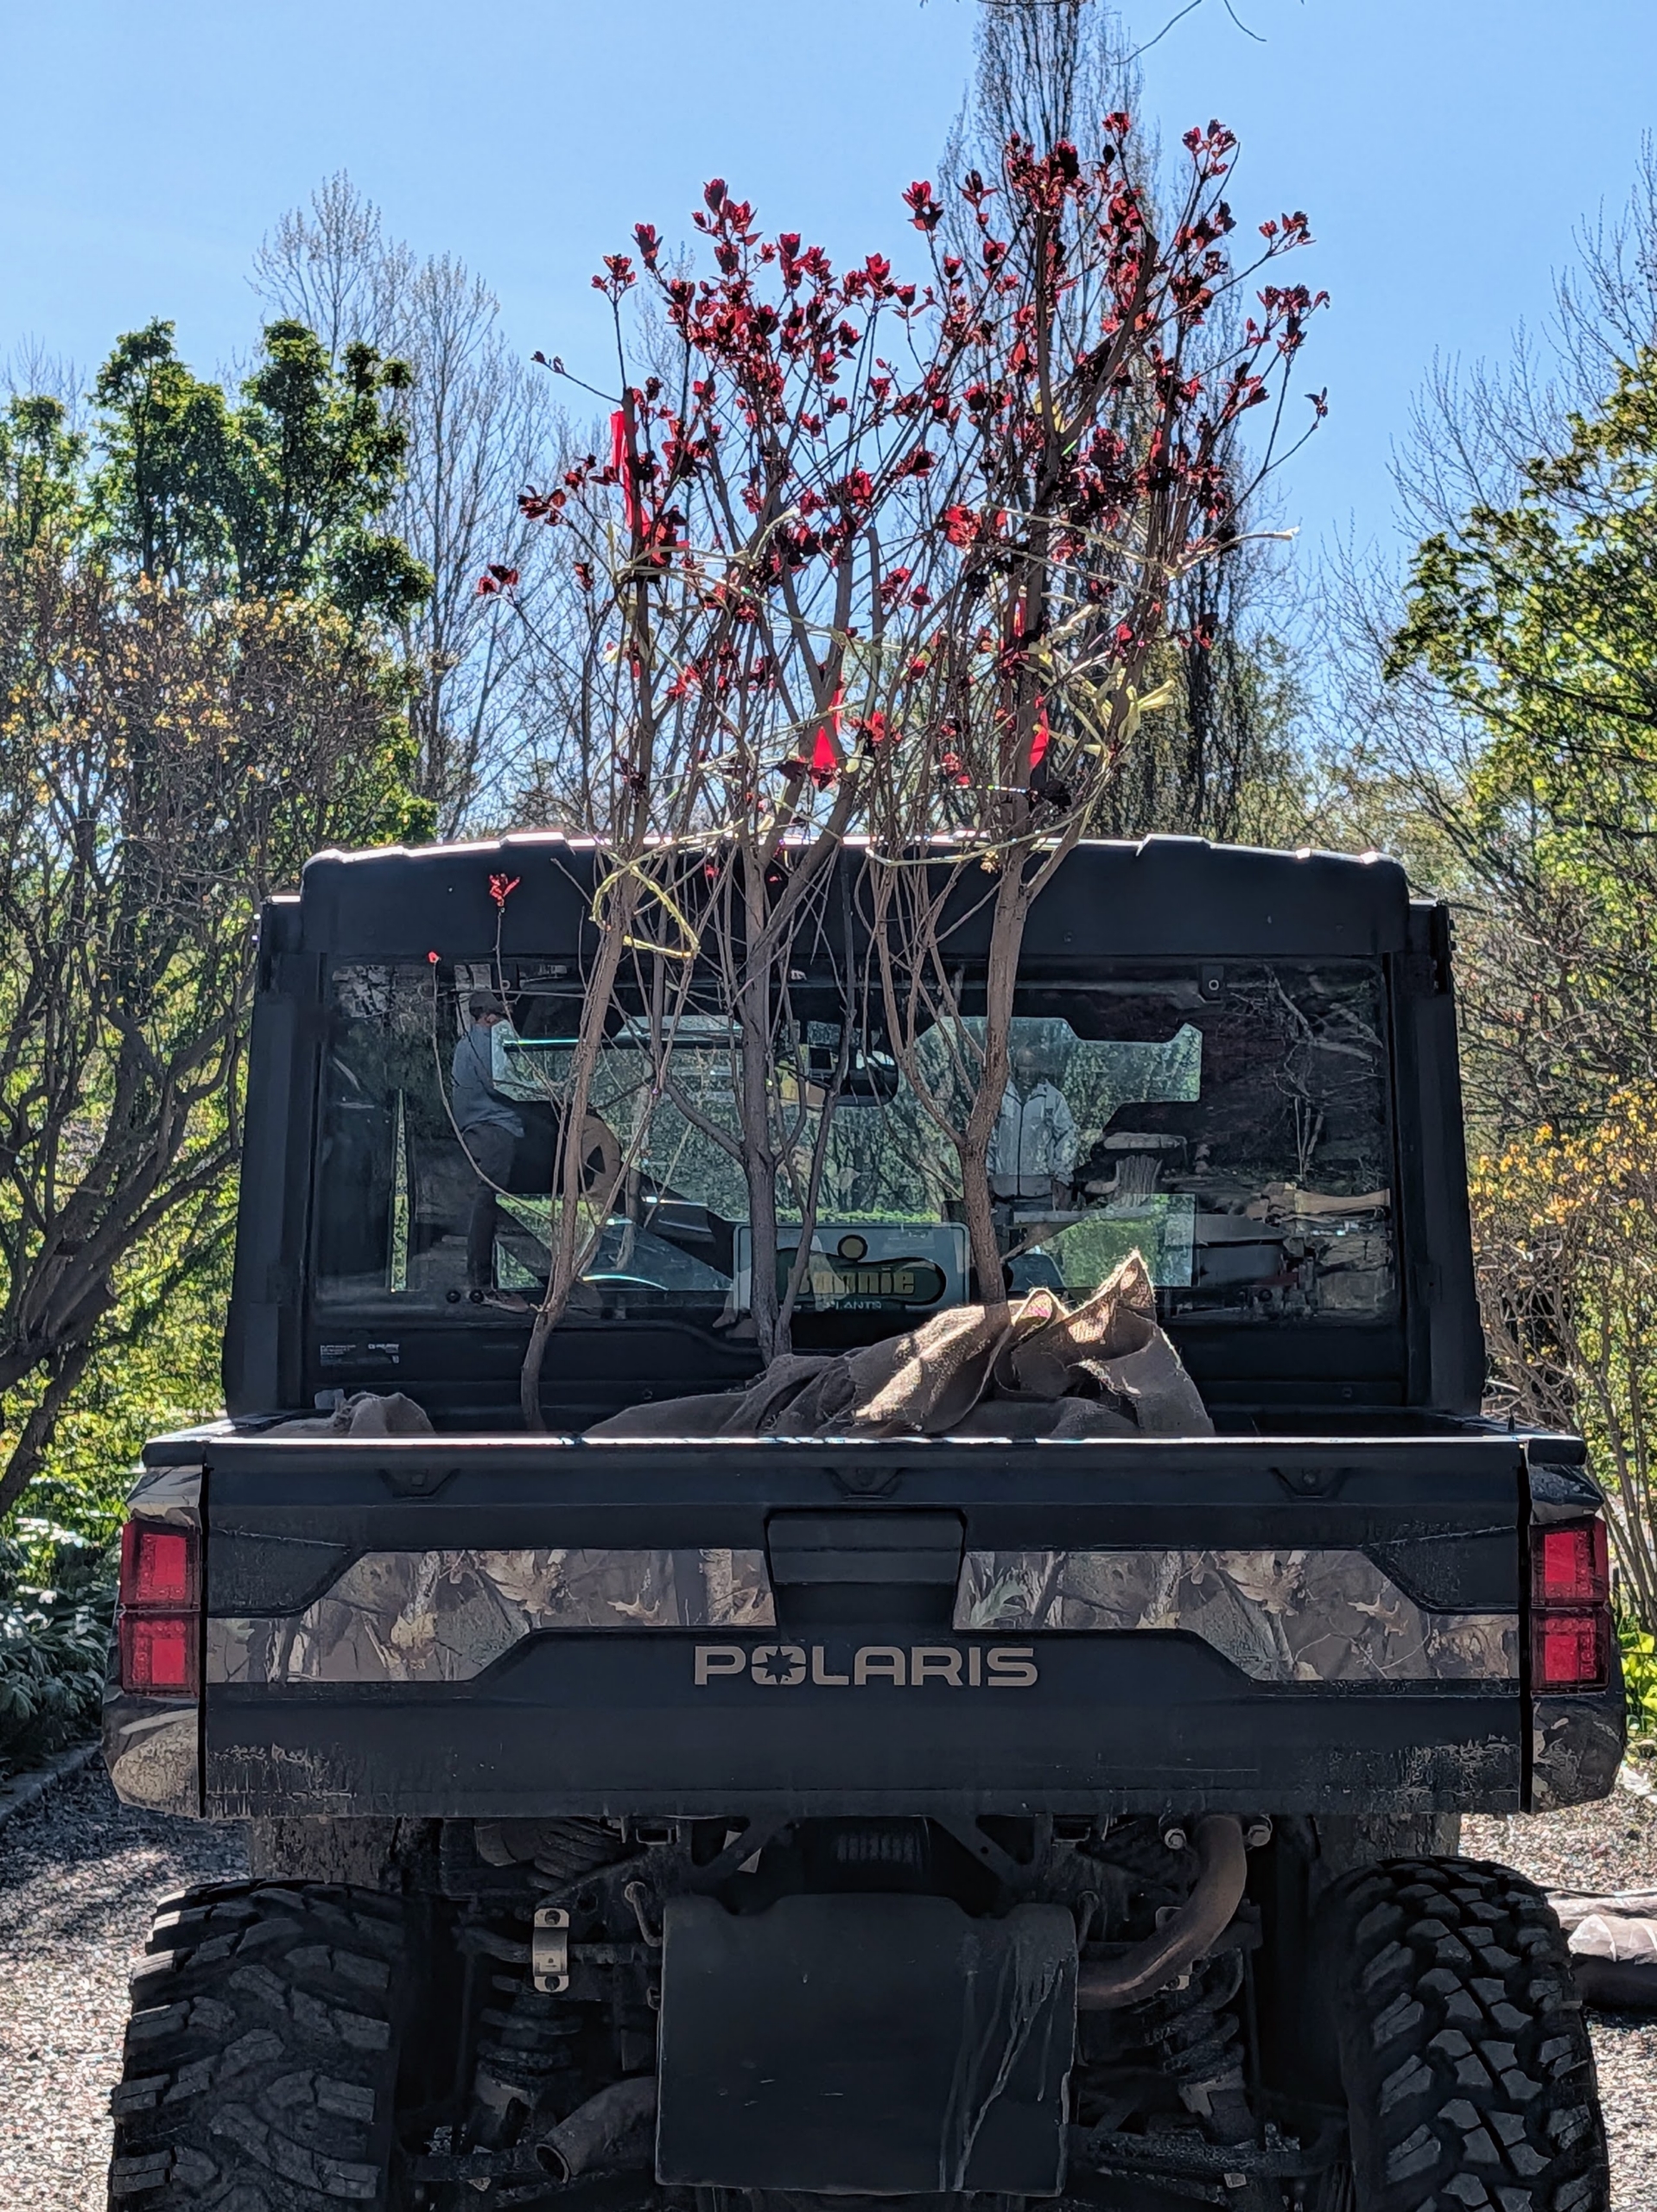
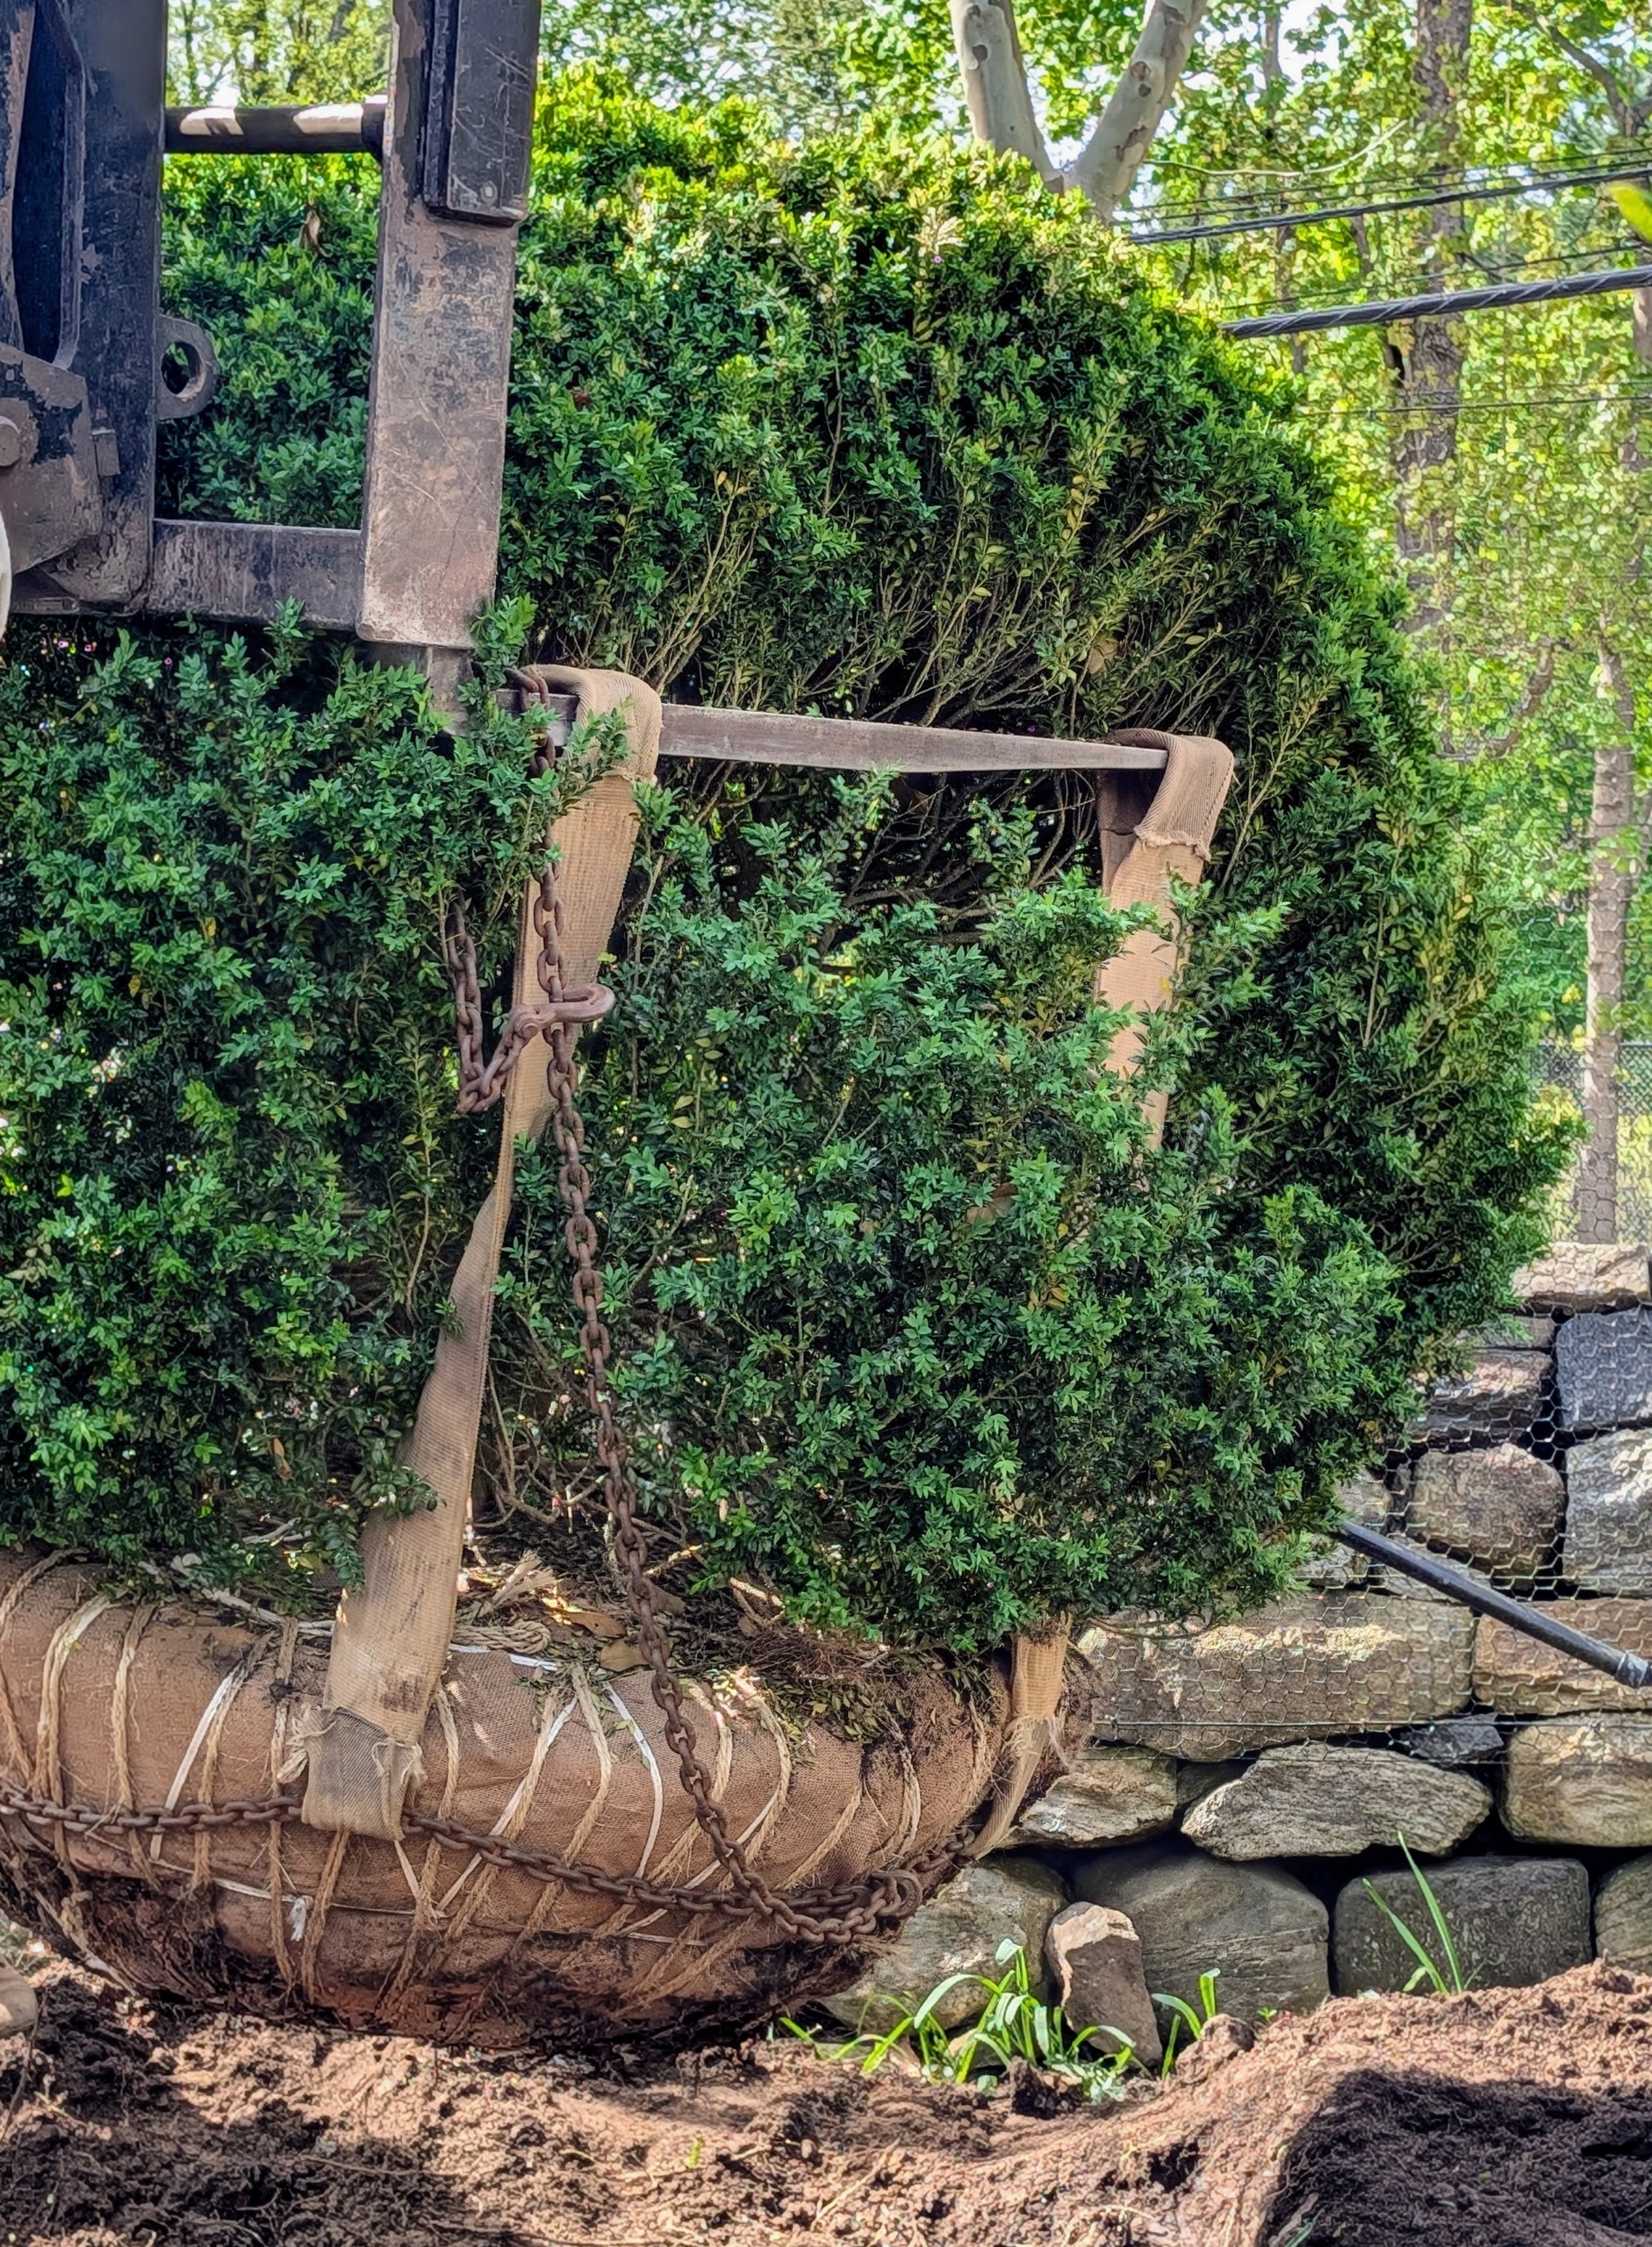
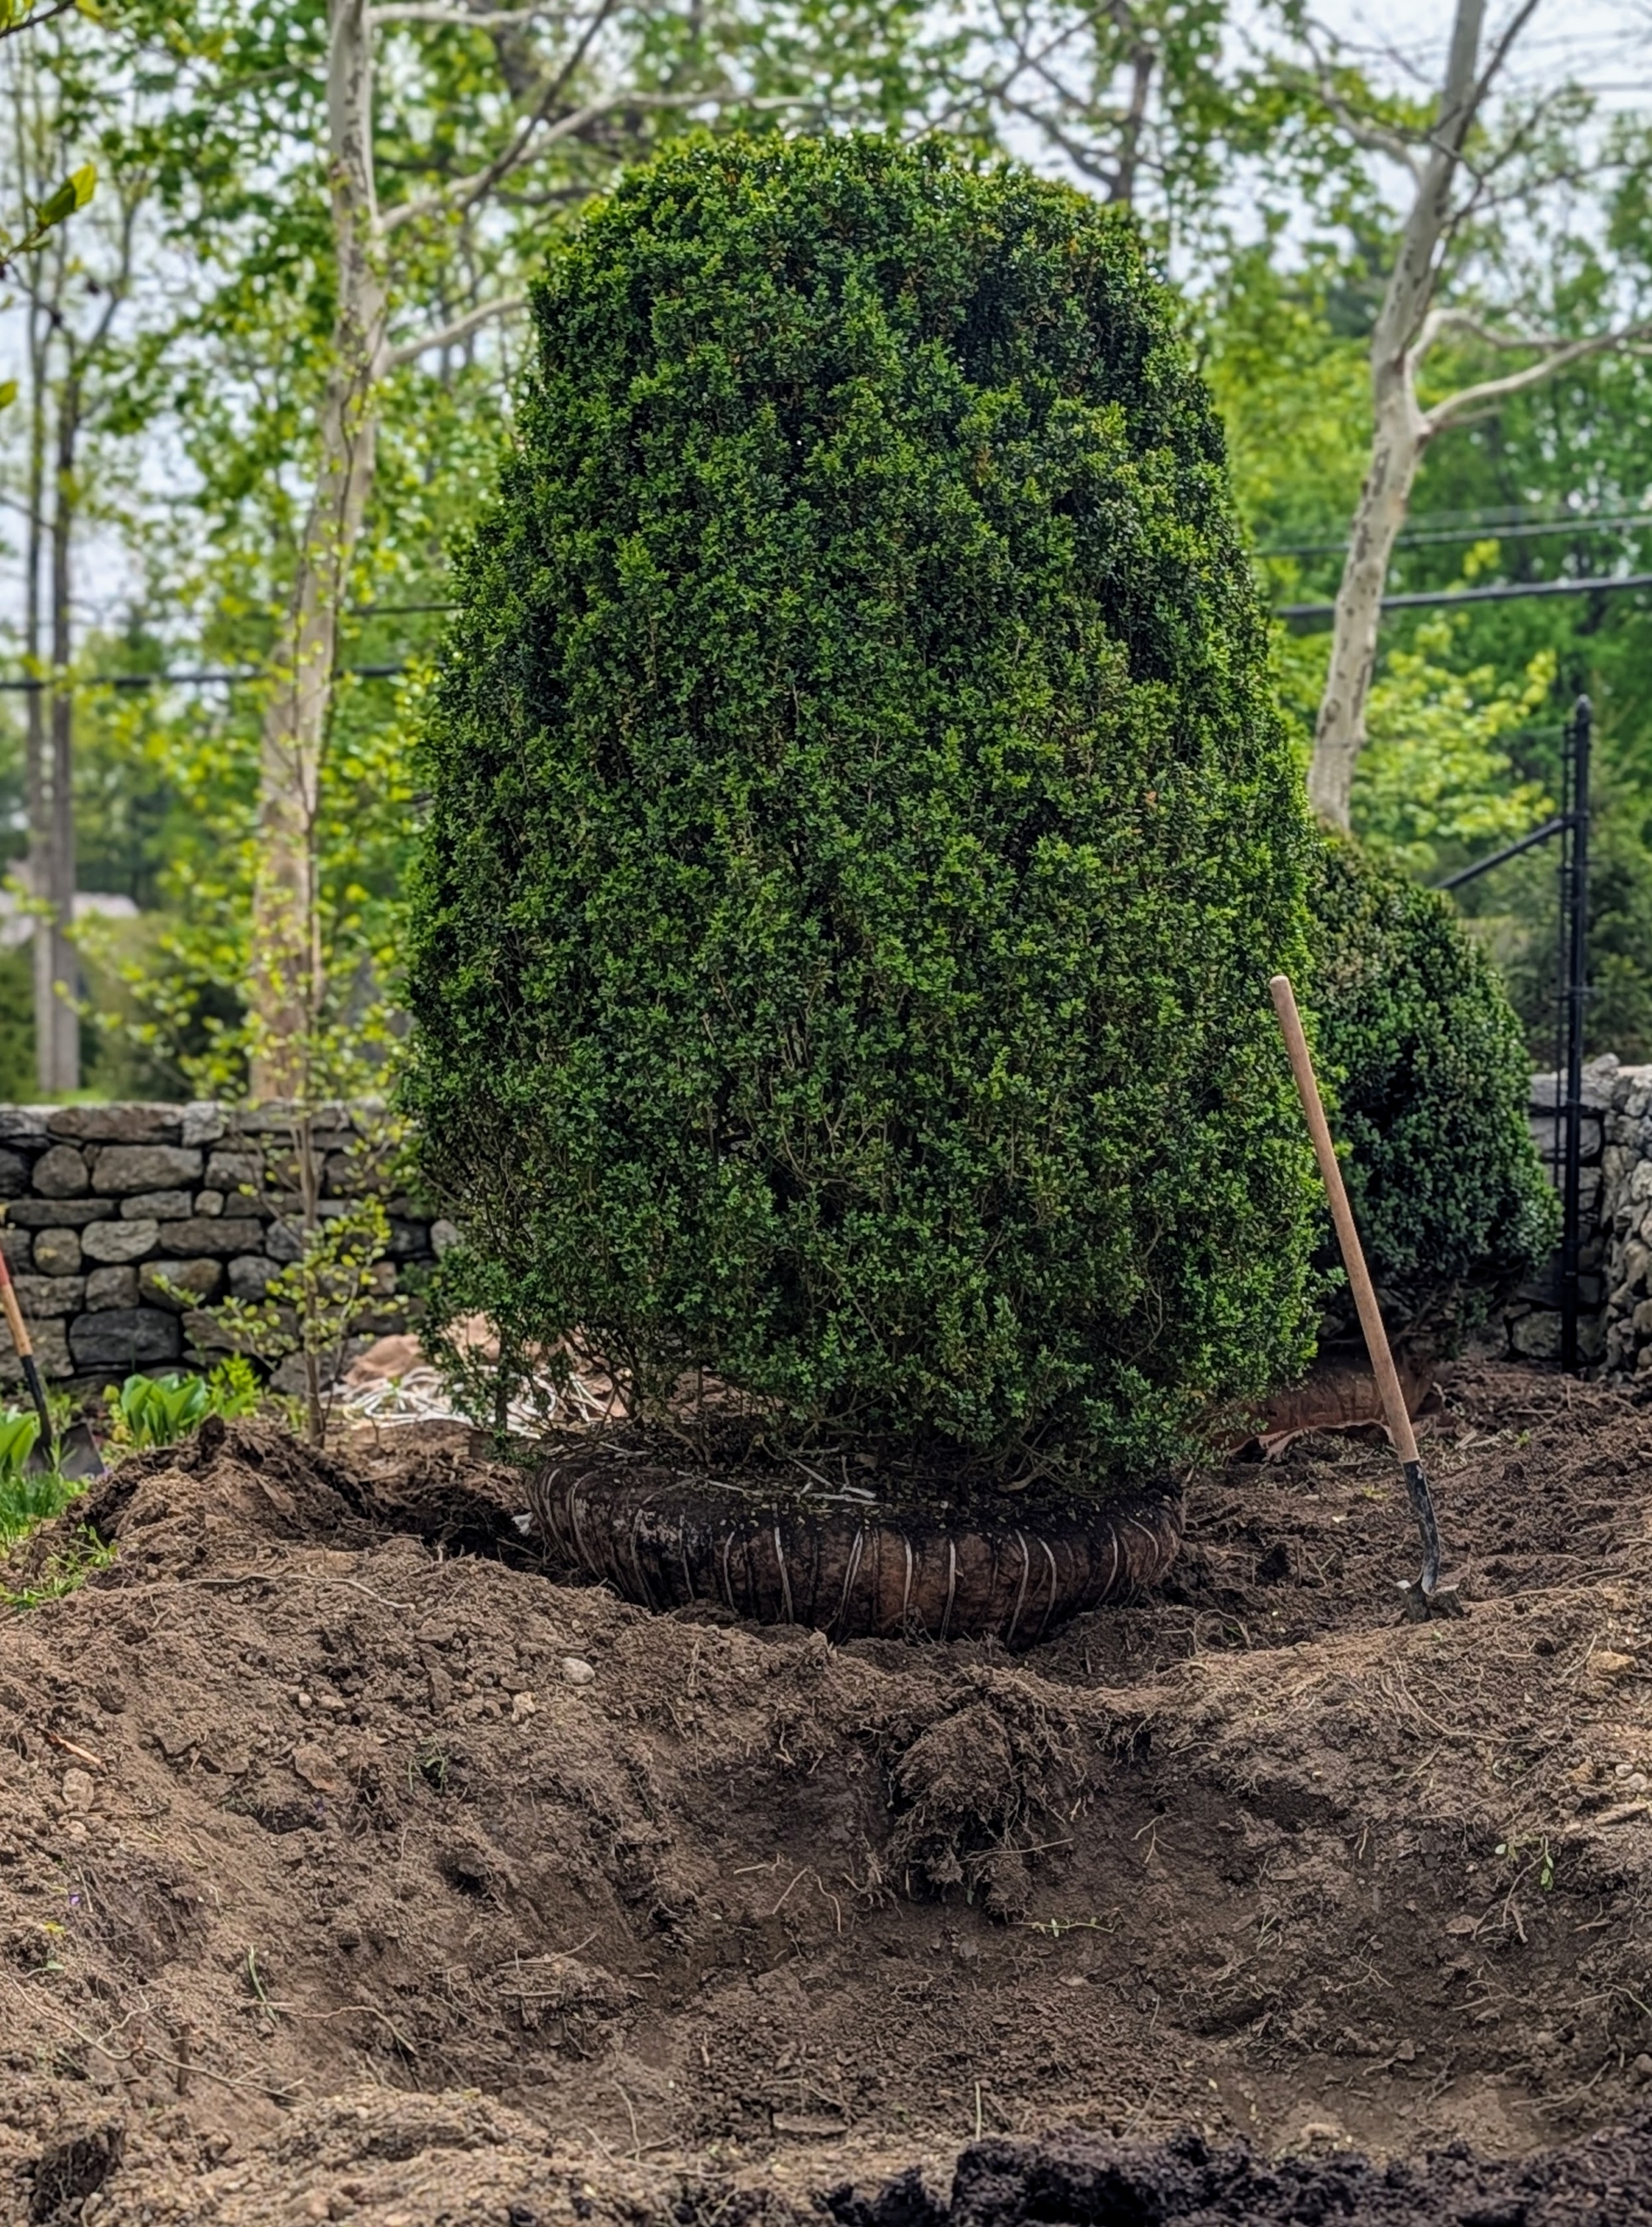
George and his team meticulously wrap and lace the root balls for transit, so they arrive in the best condition possible.
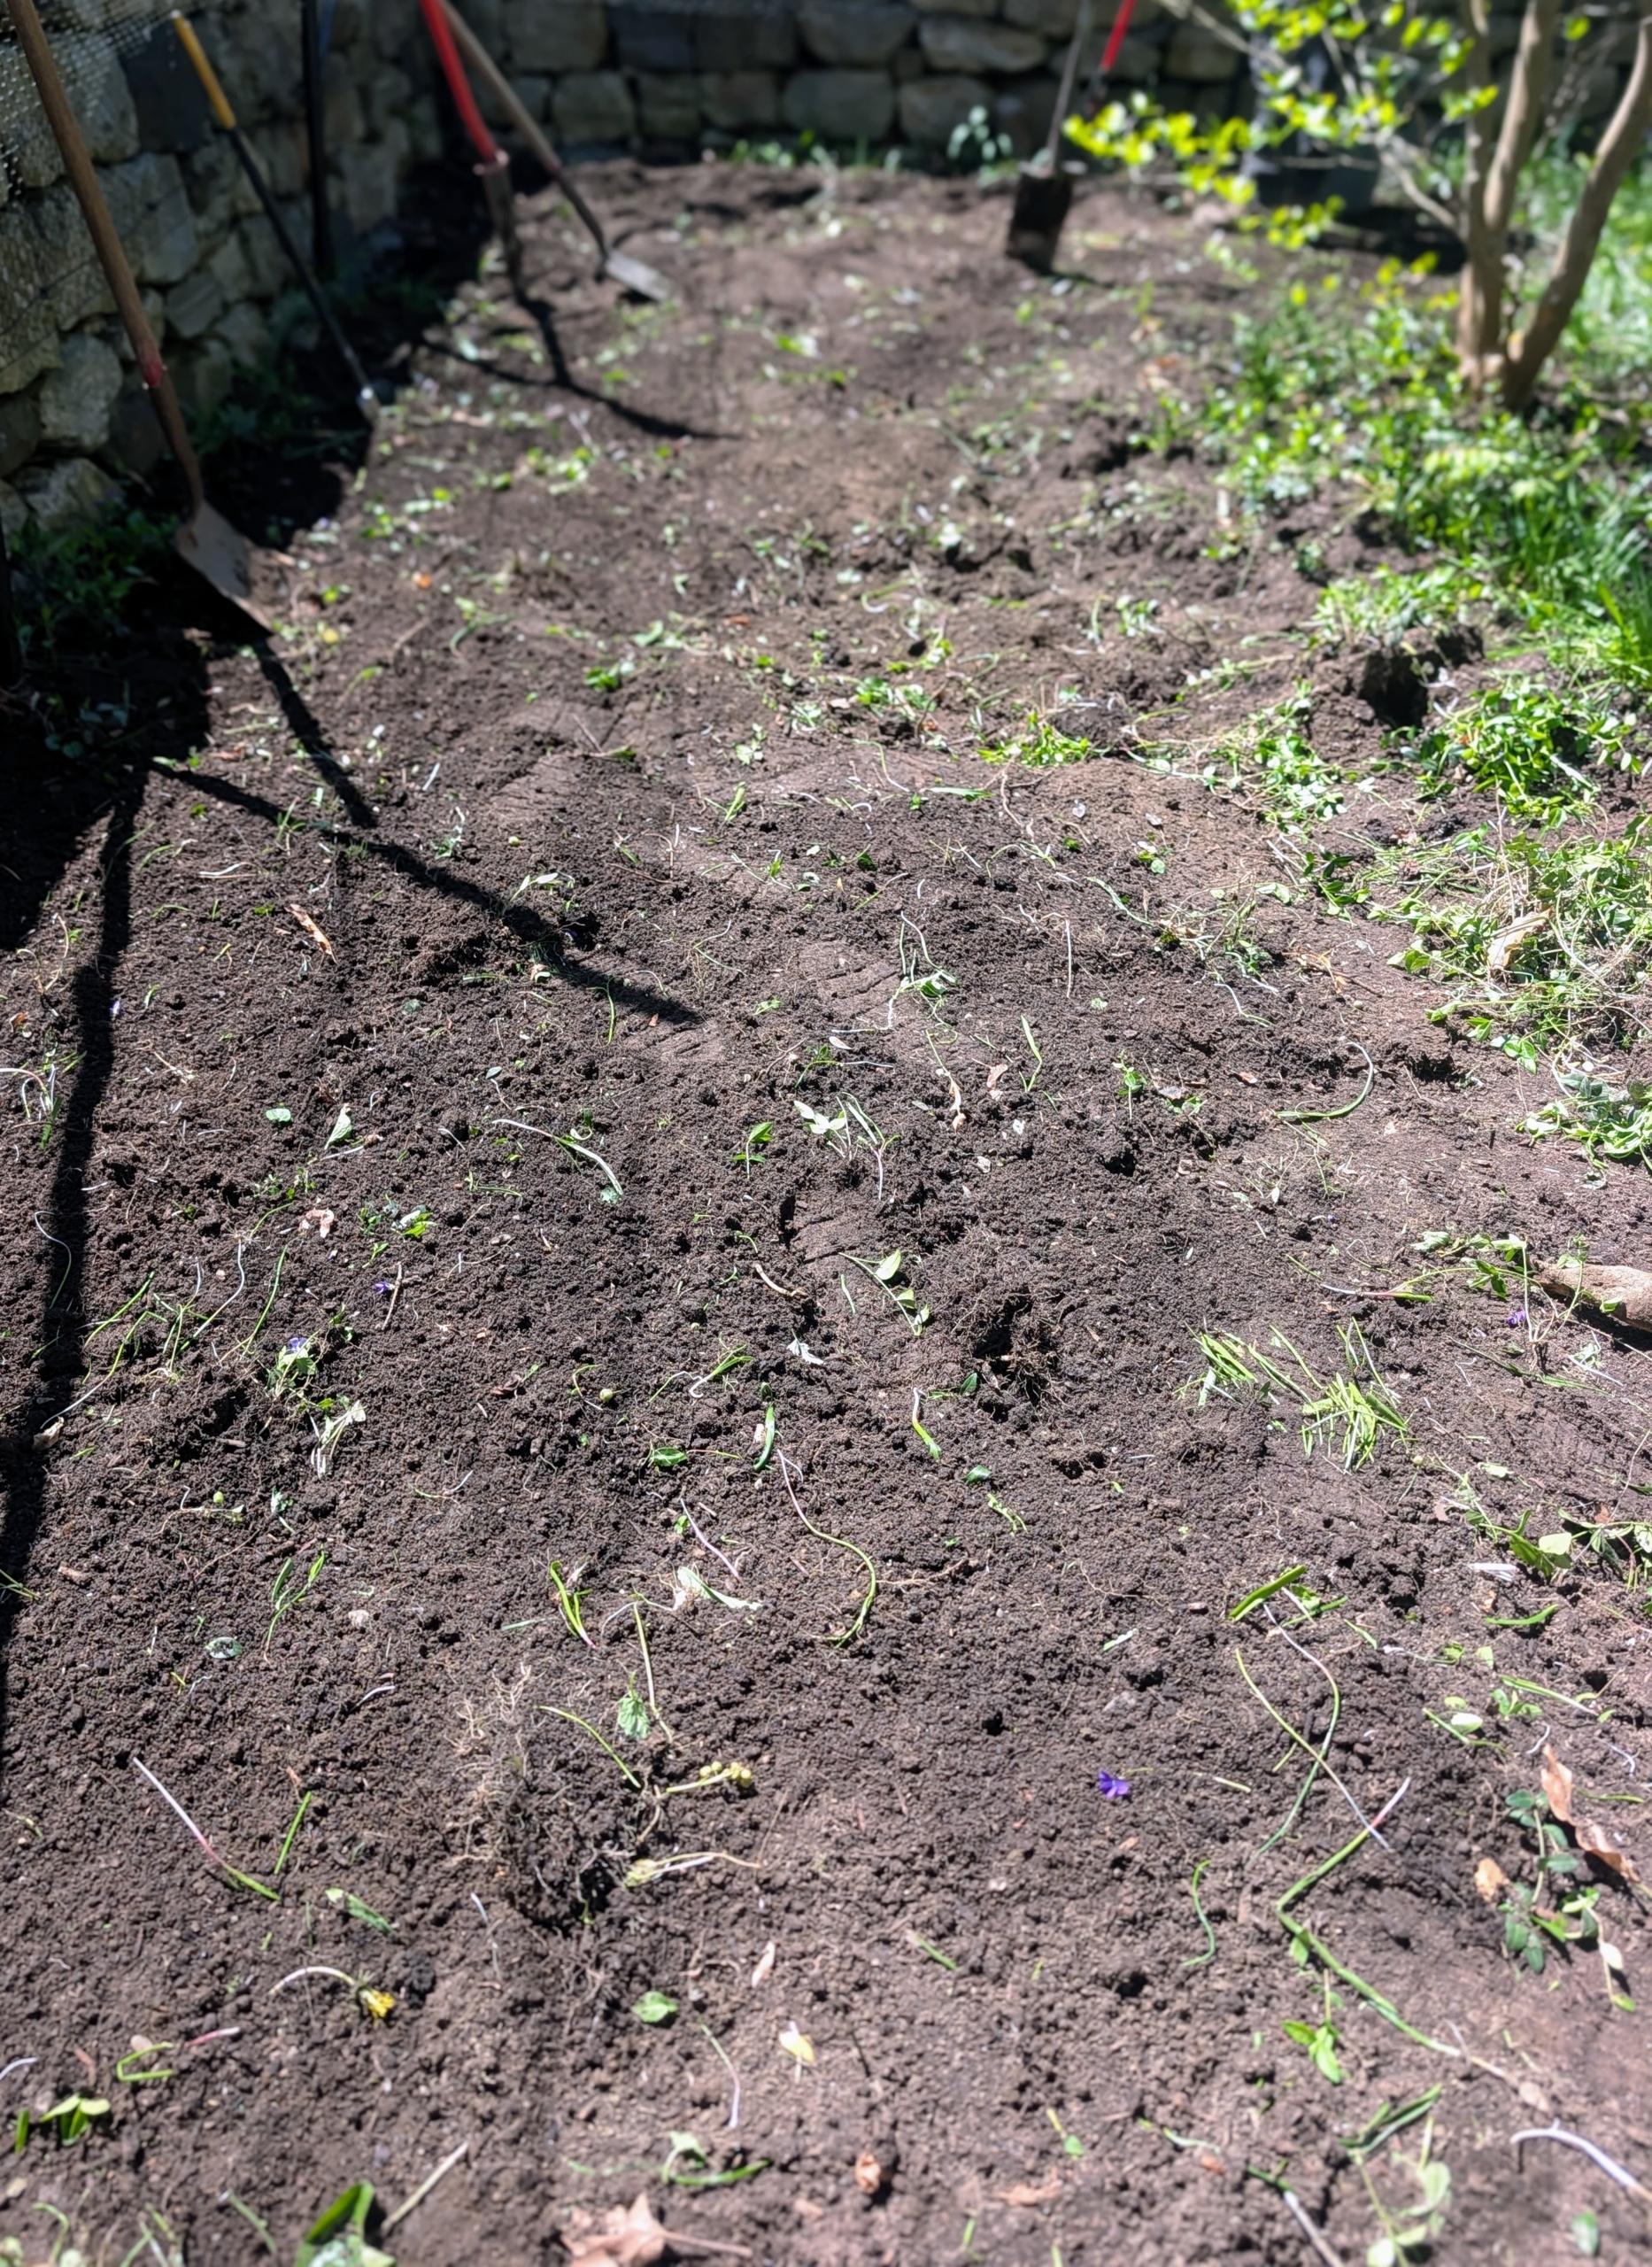
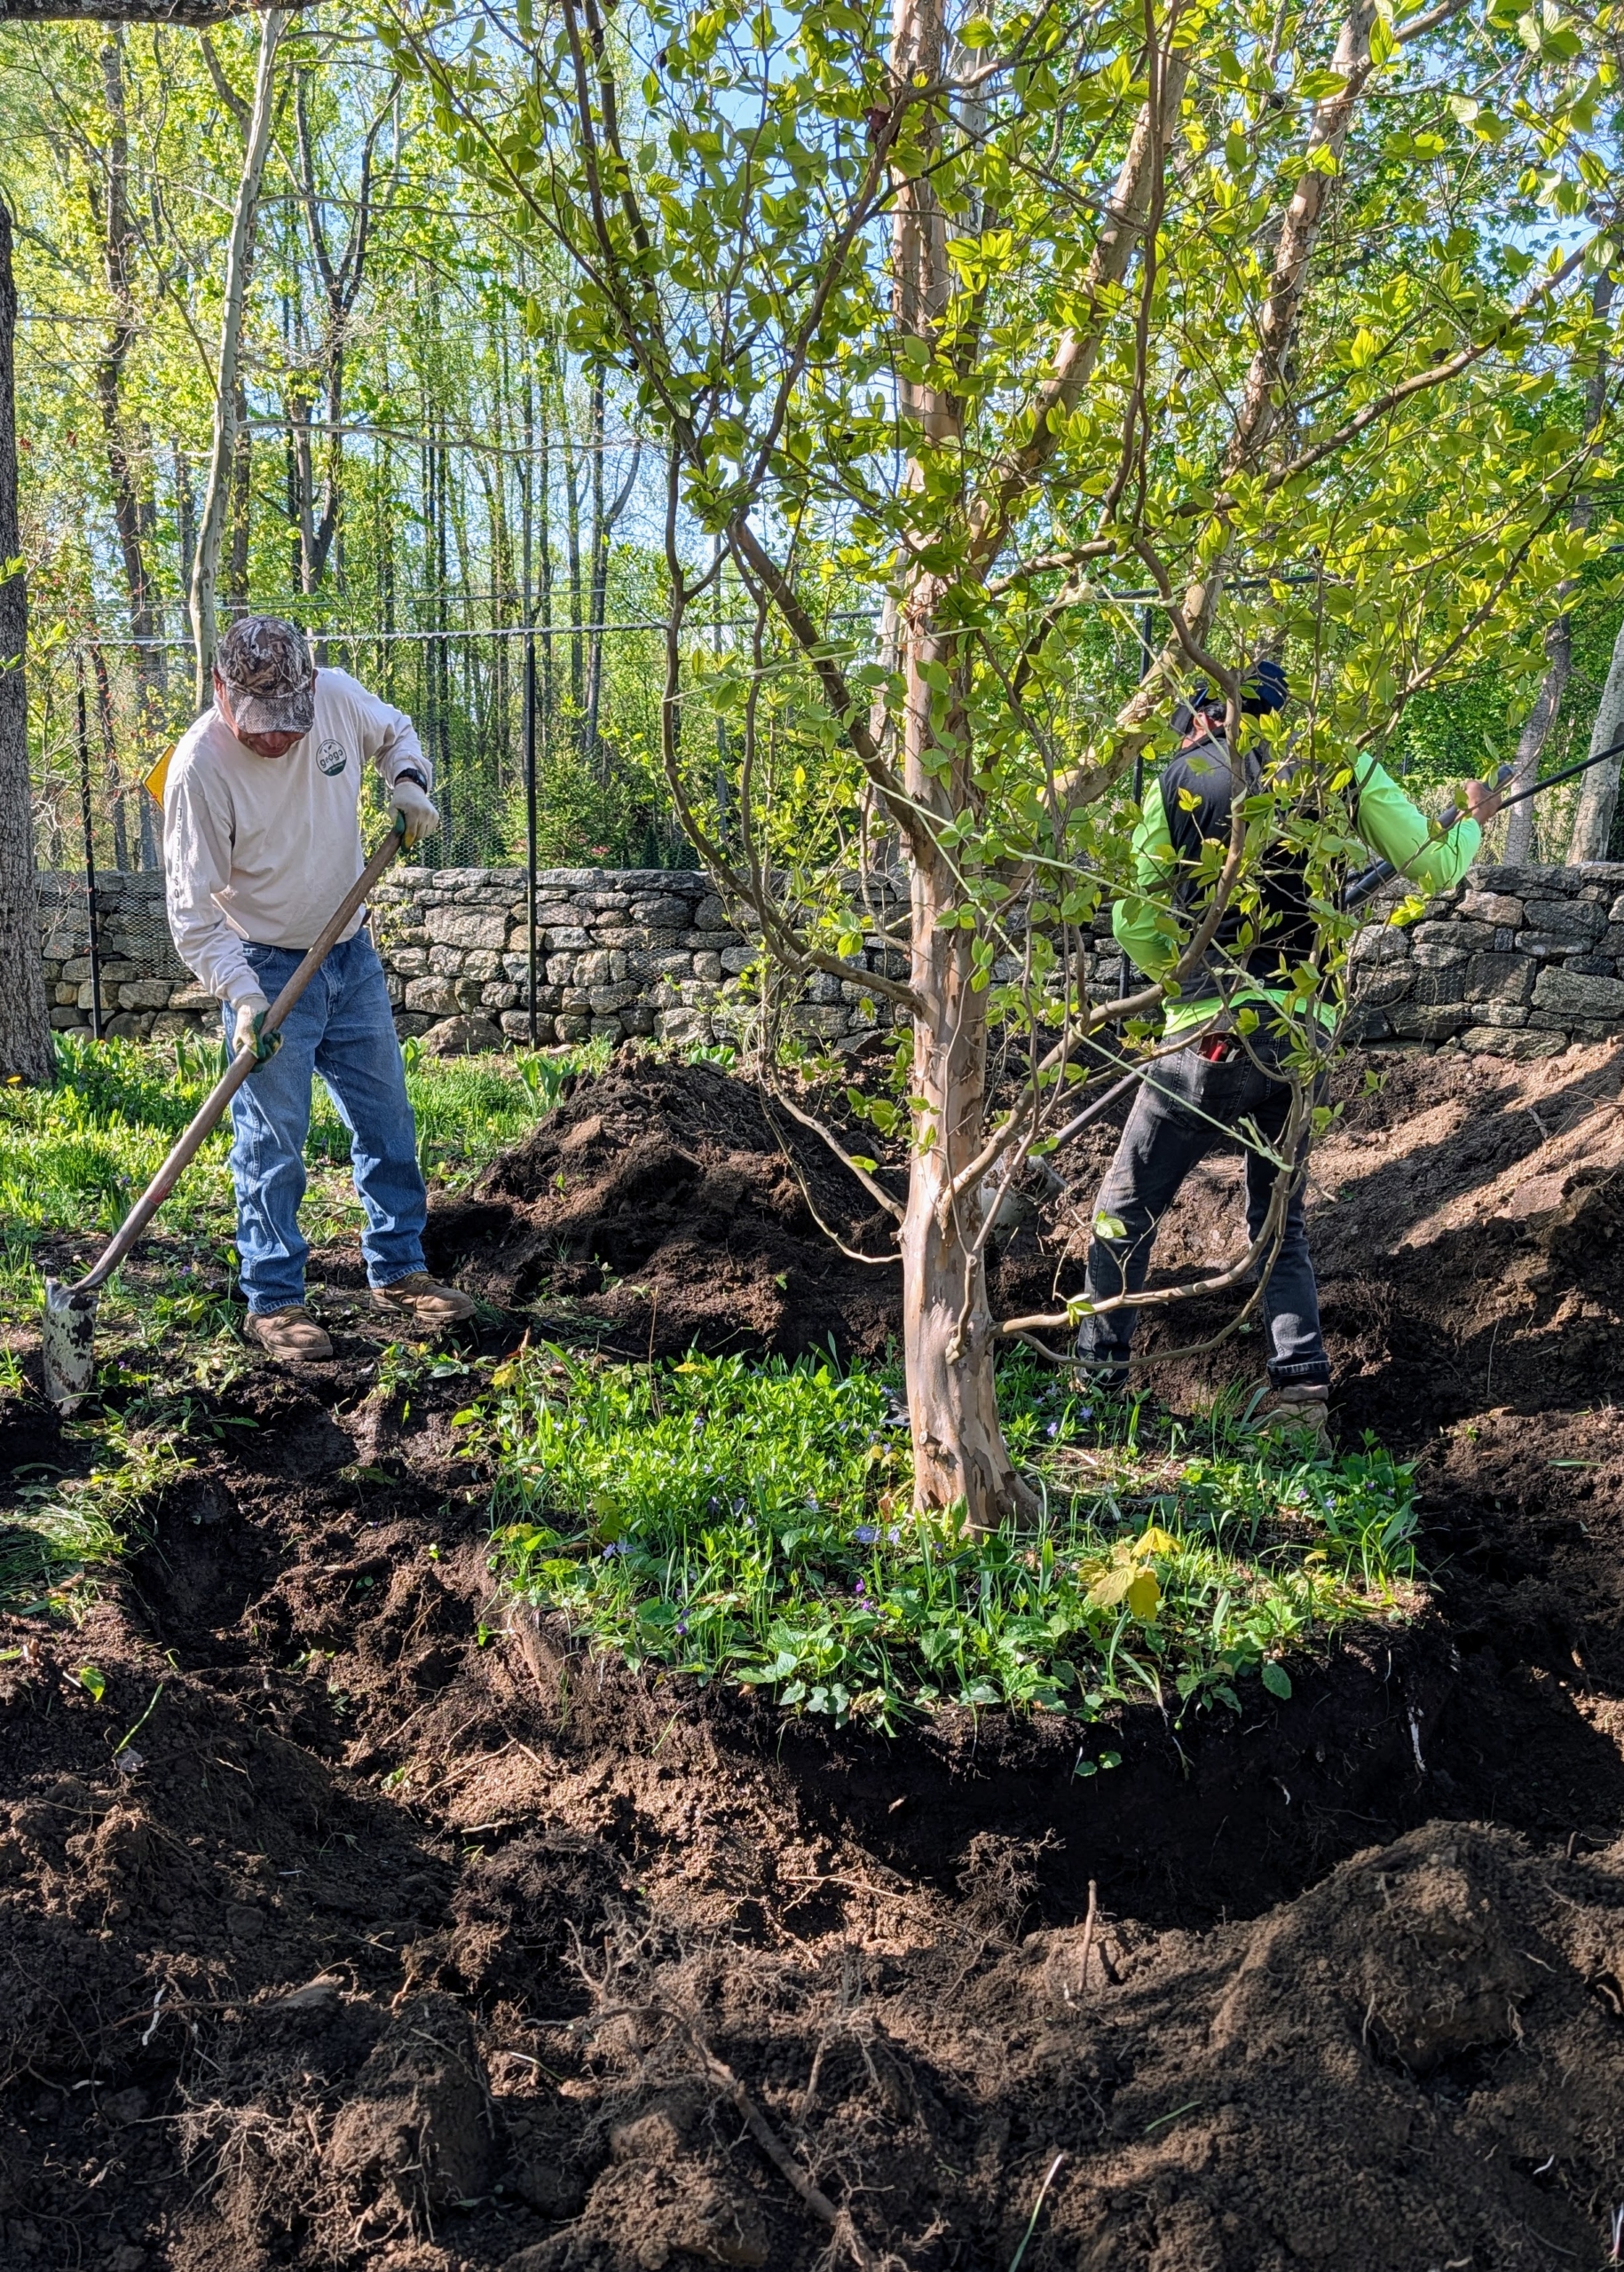
The first step was to clear the space of several trees – Cotinus and Stewartia trees, along with various spring blooming bulbs and a collection o hosta plants.
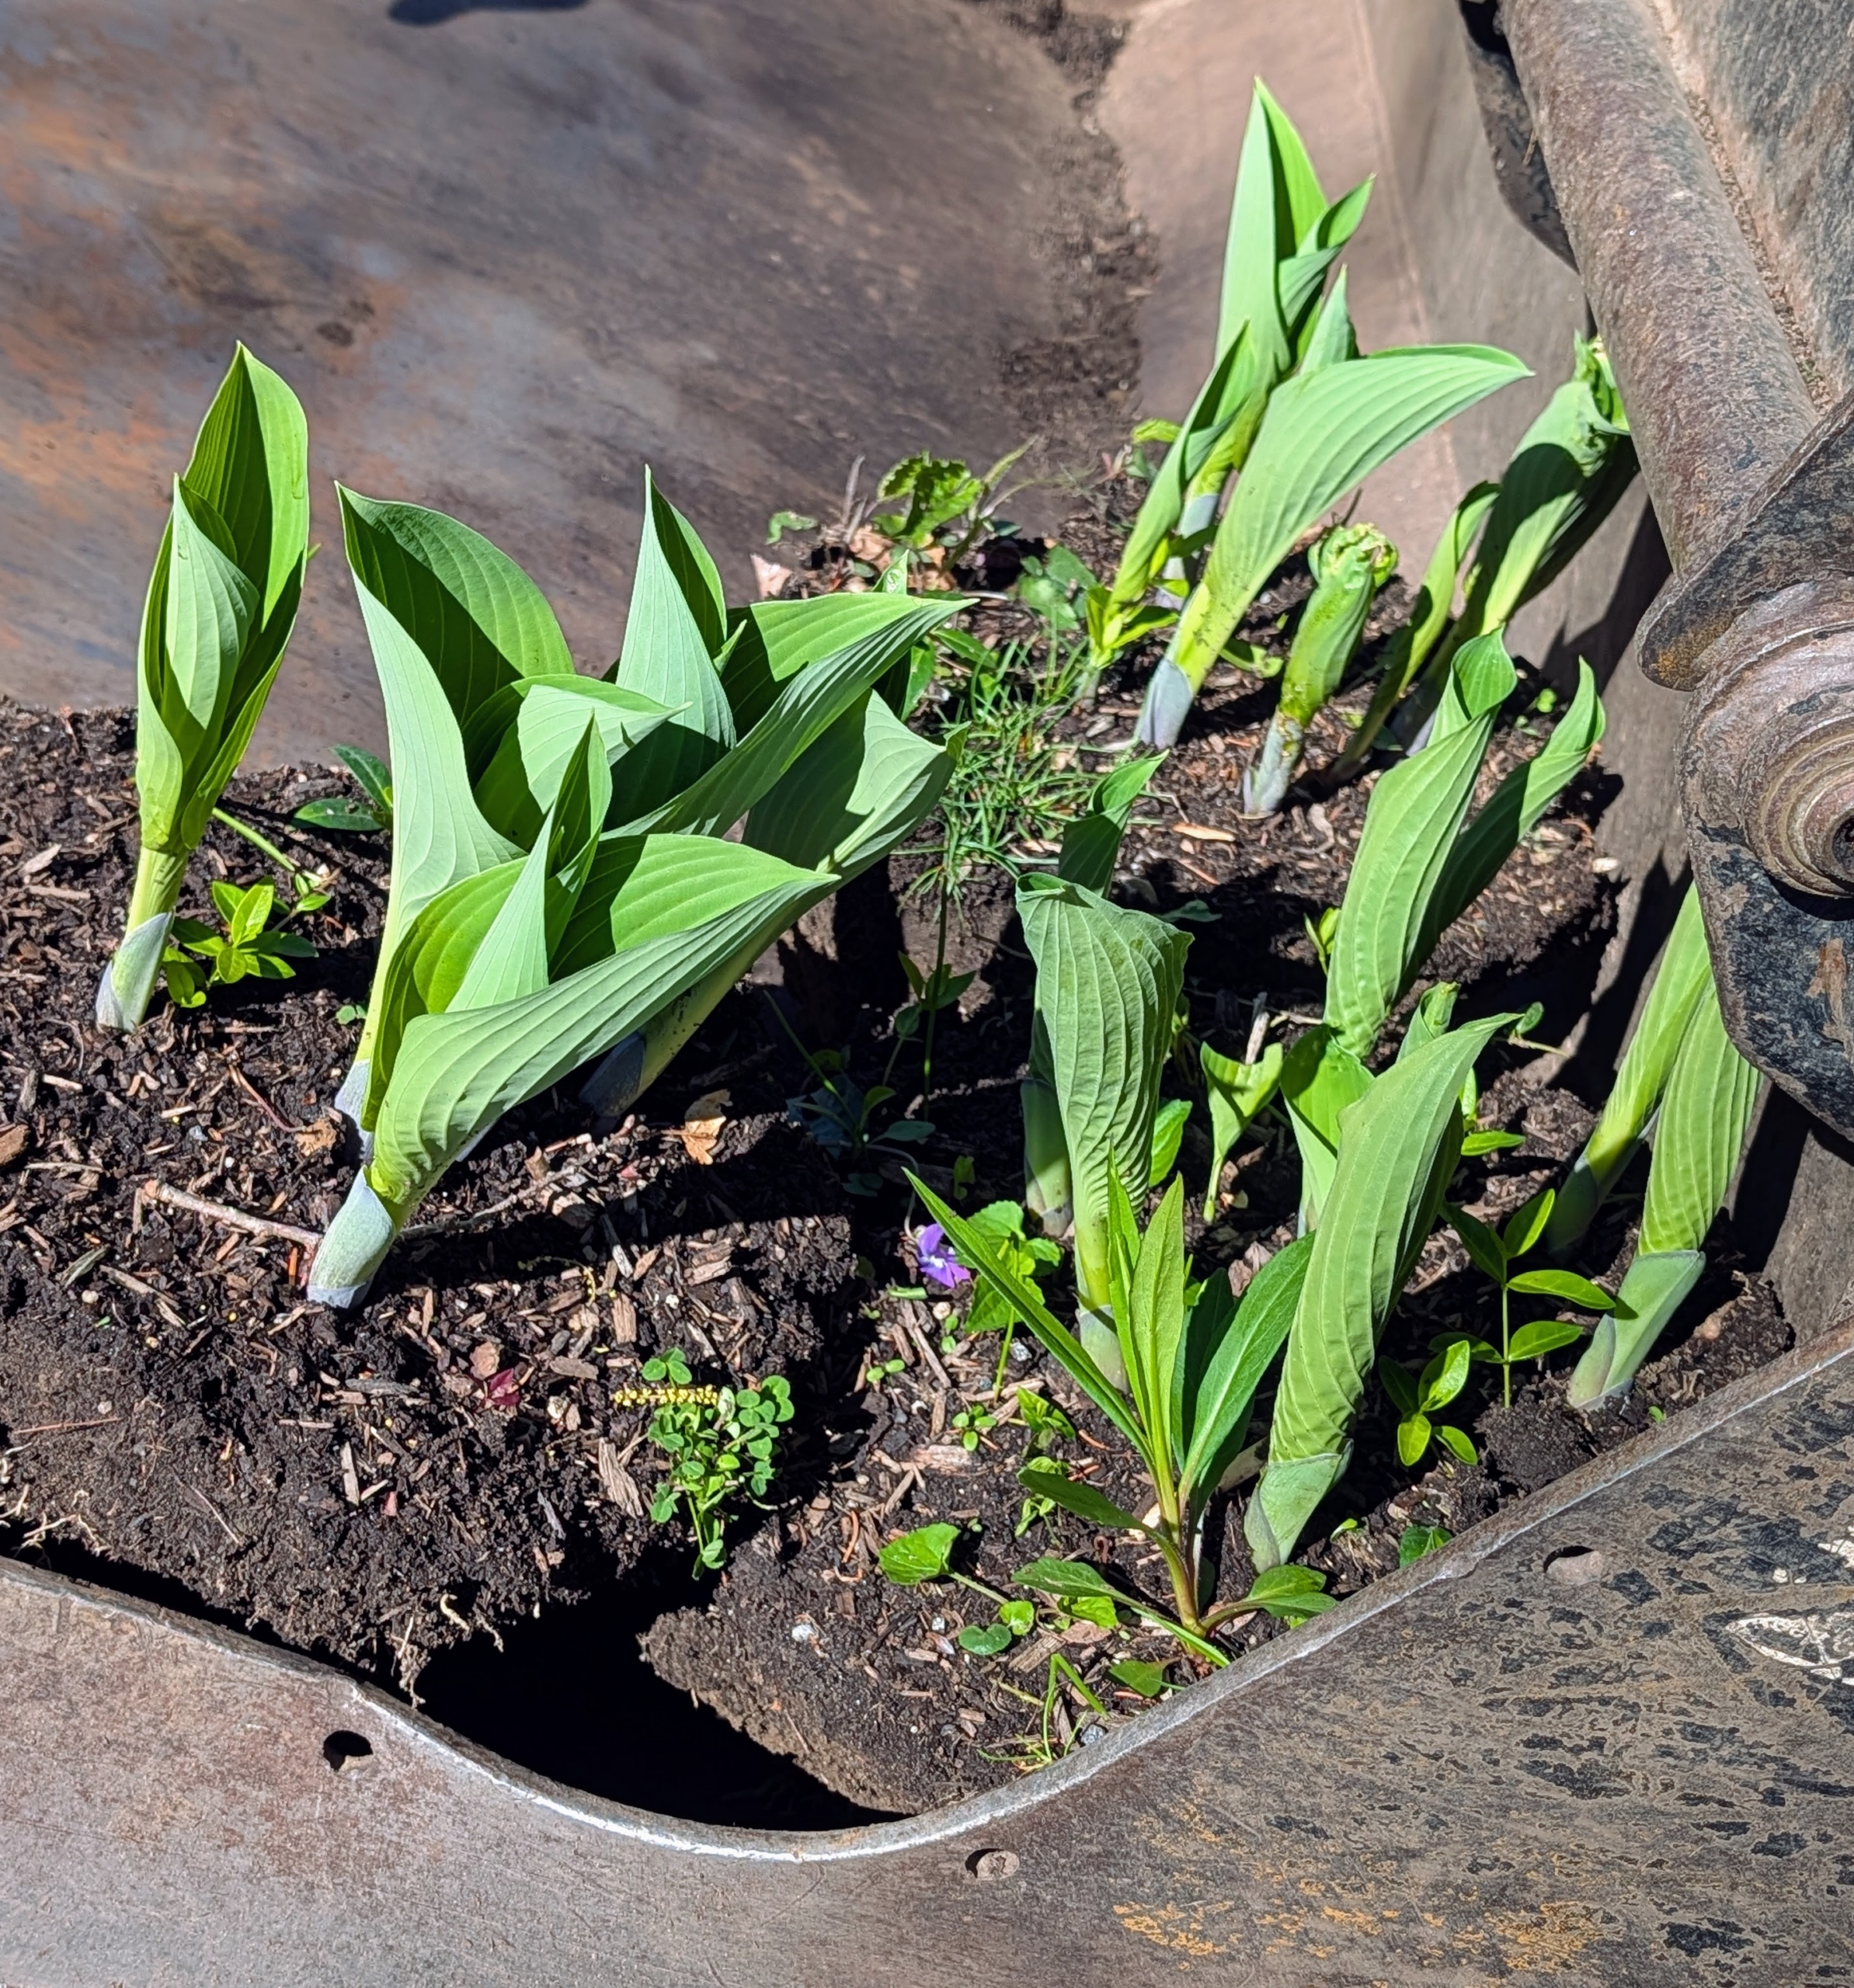
Here is a cart filling fast with hostas. Some will be replanted in different areas of their current garden and others will move down to the hosta garden near the chicken coops.
Here is a Stewartia tree getting dug out for transit.
Cotinus trees are also moved – nothing is thrown away unless it is dead or diseased.
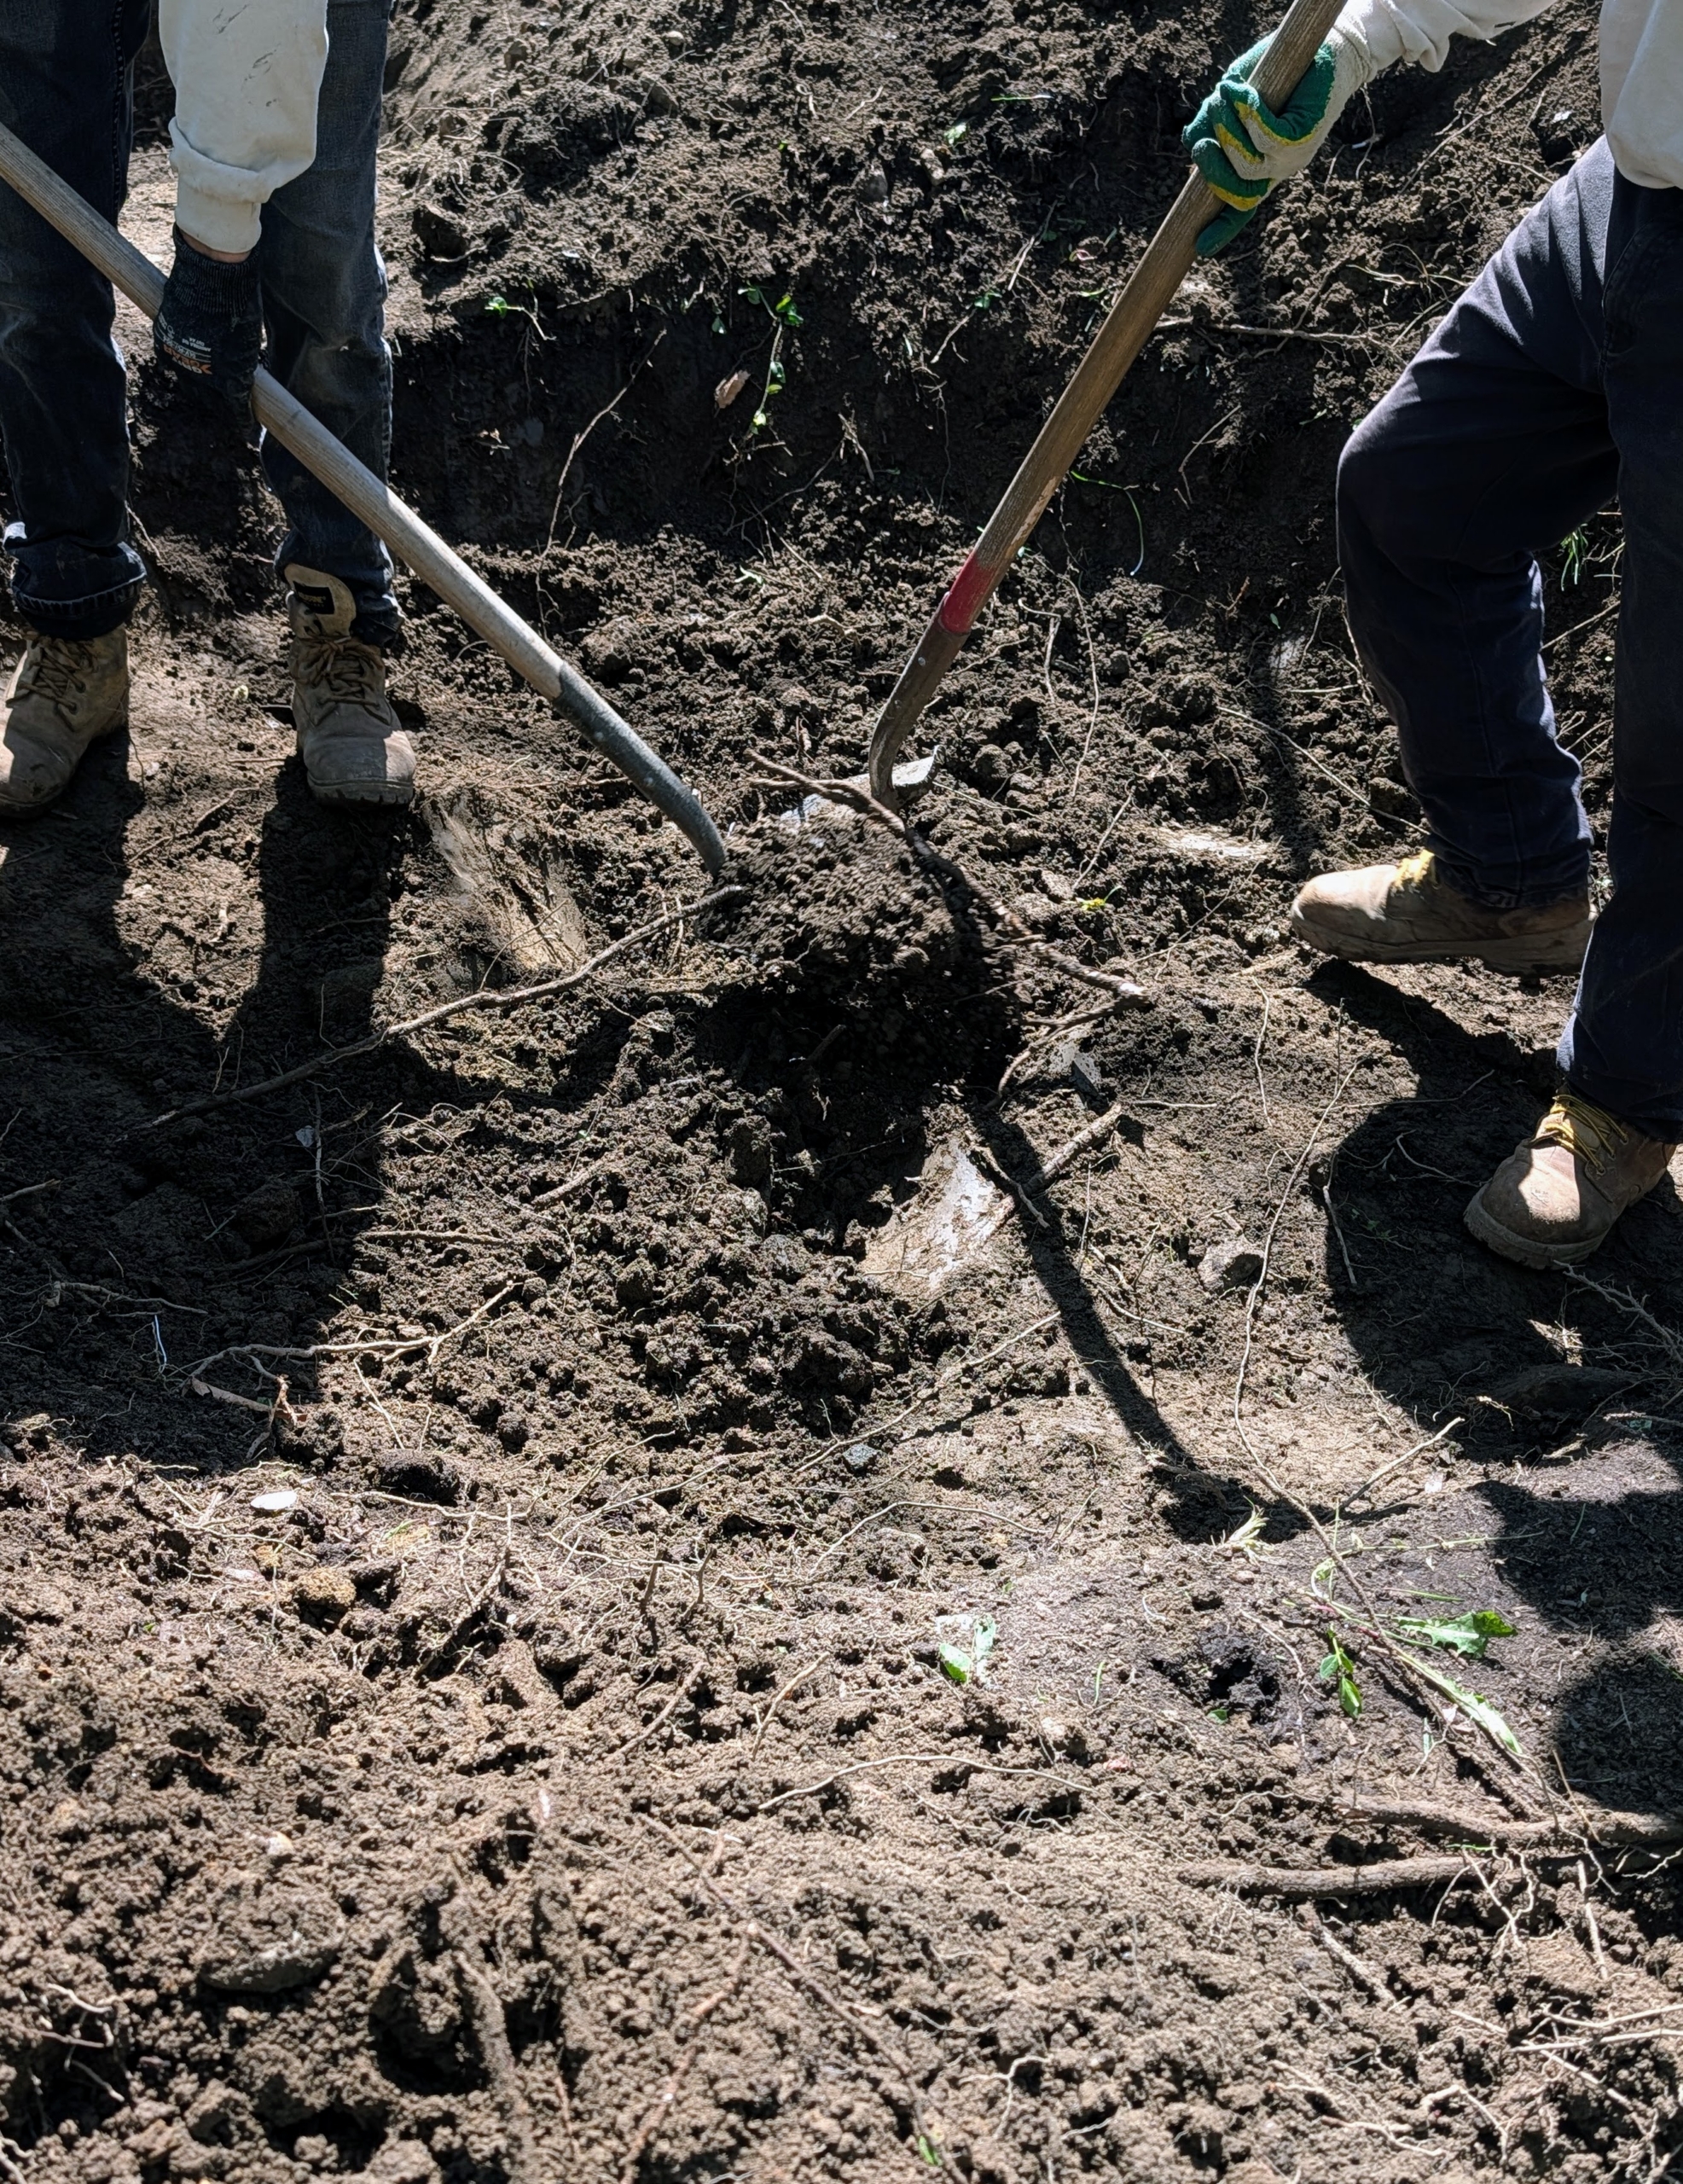
And then digging starts for the new boxwood shrubs.
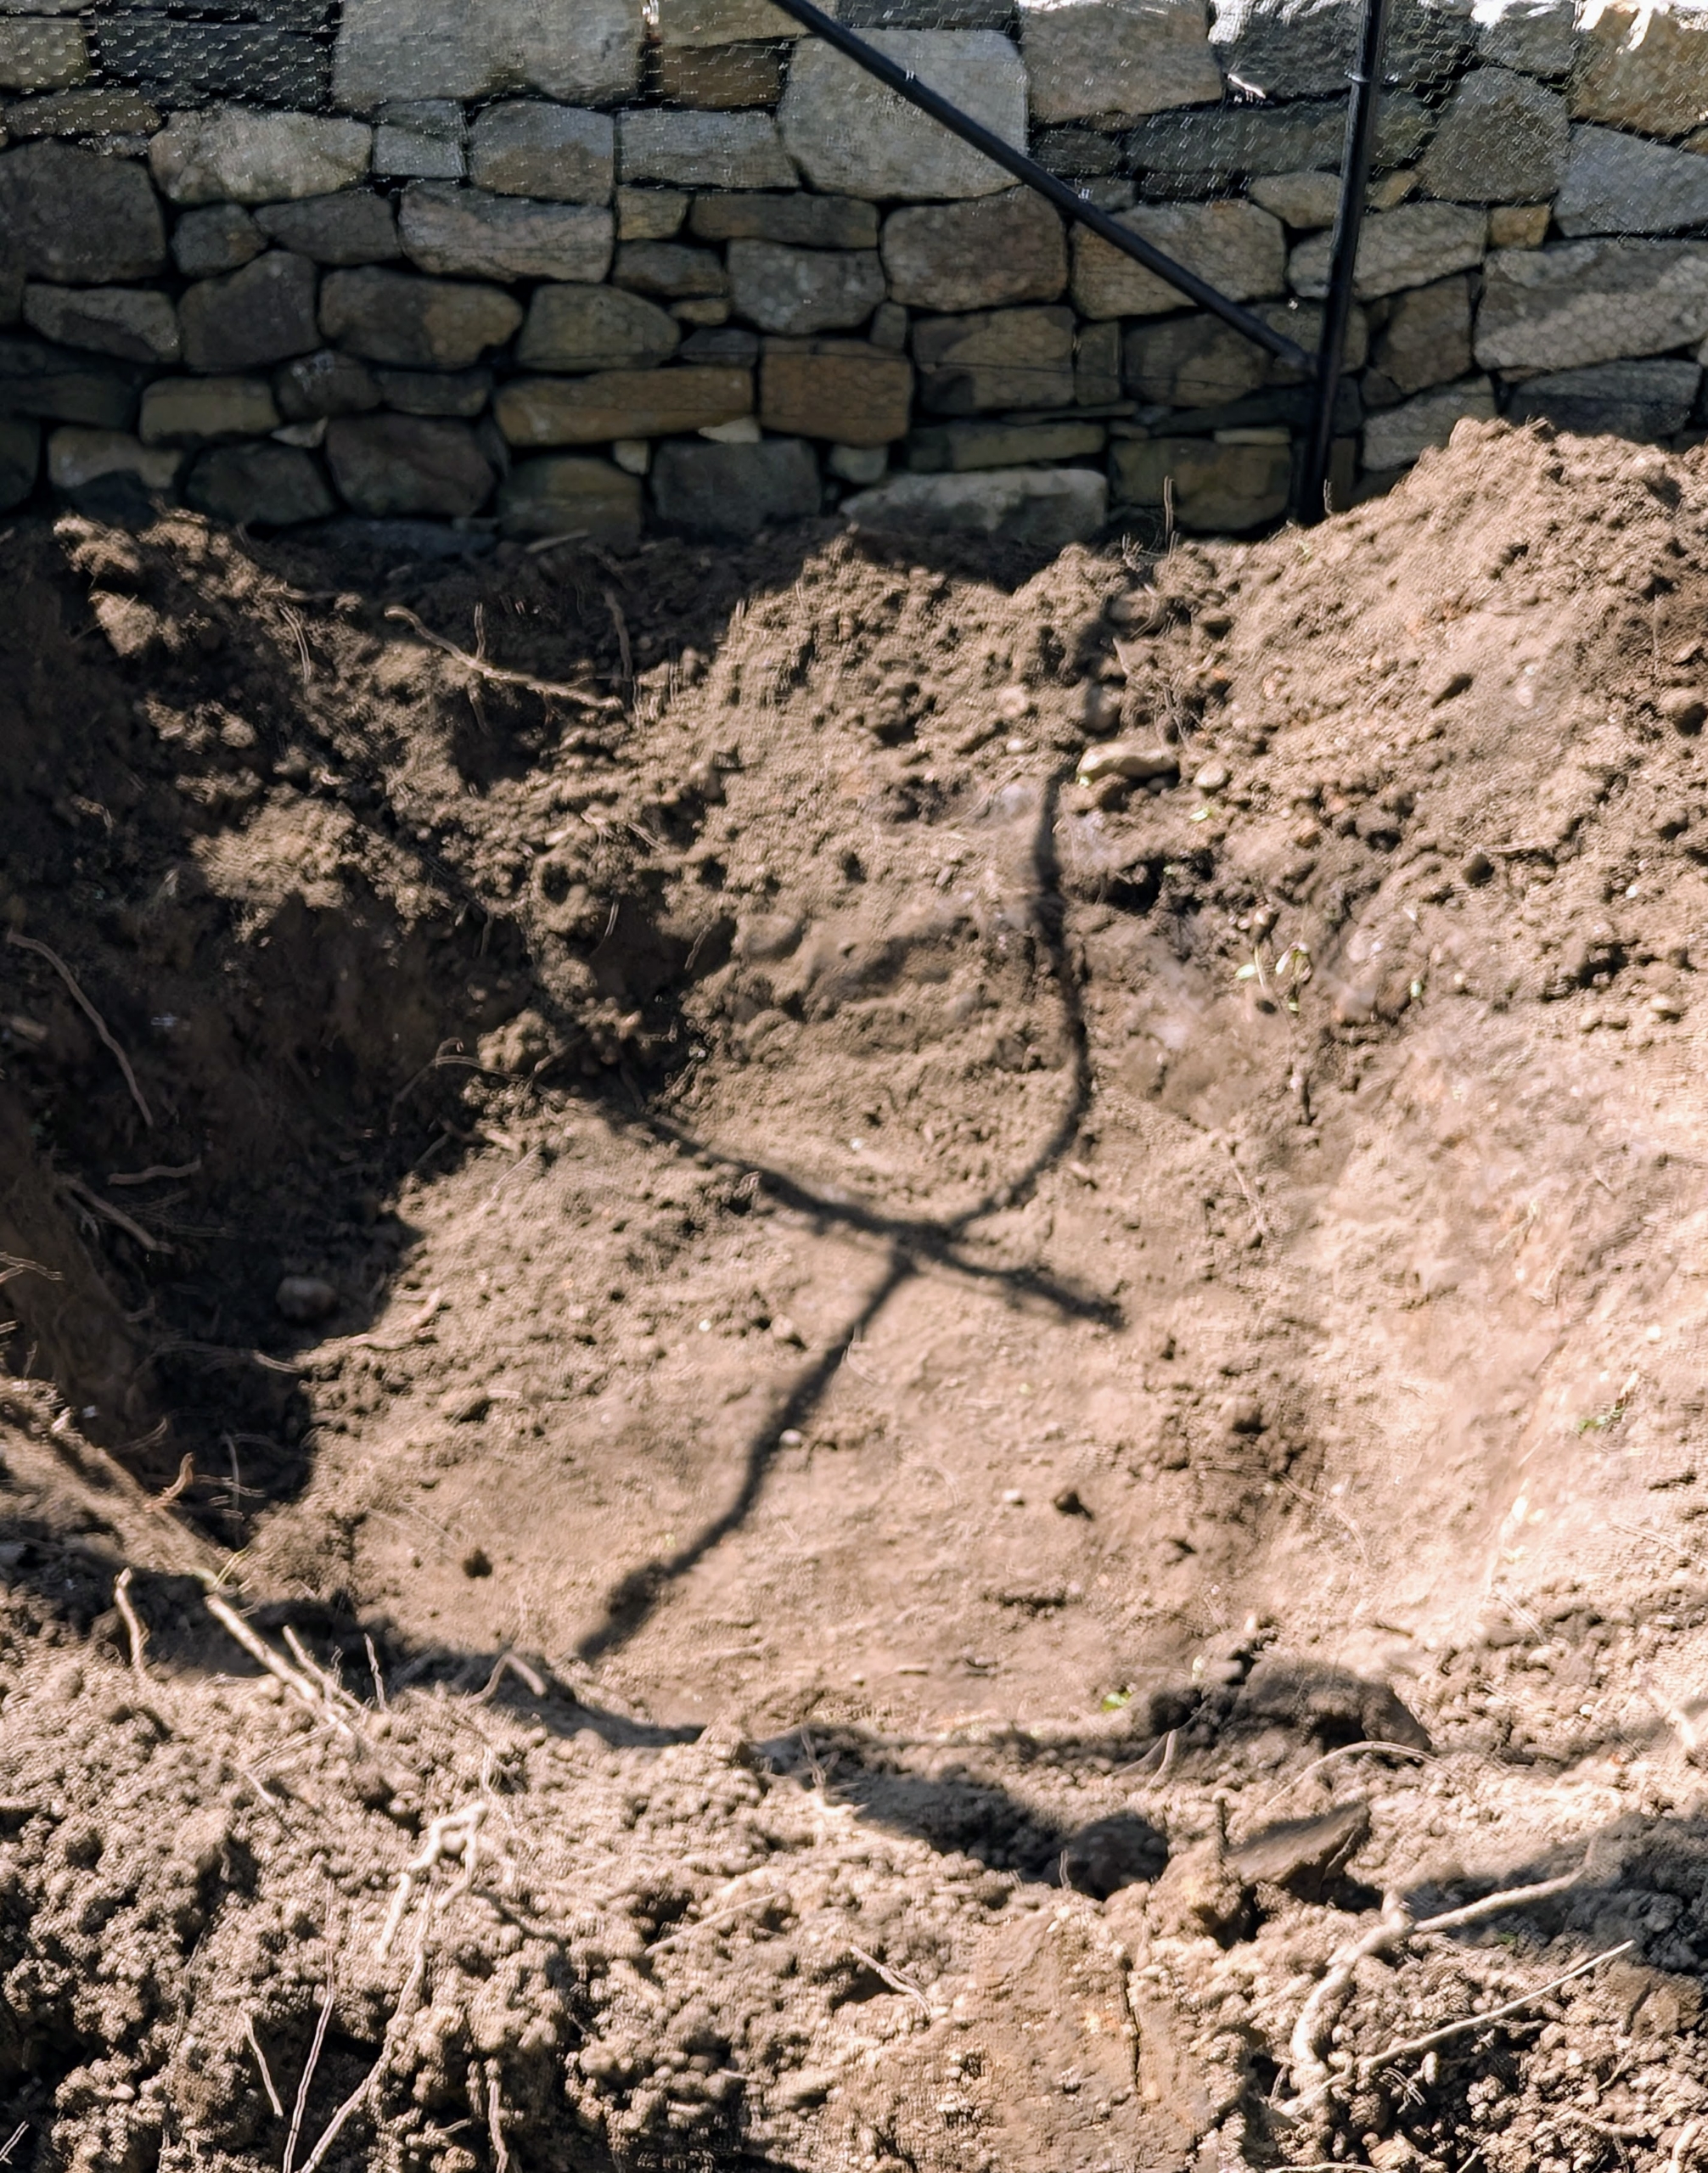
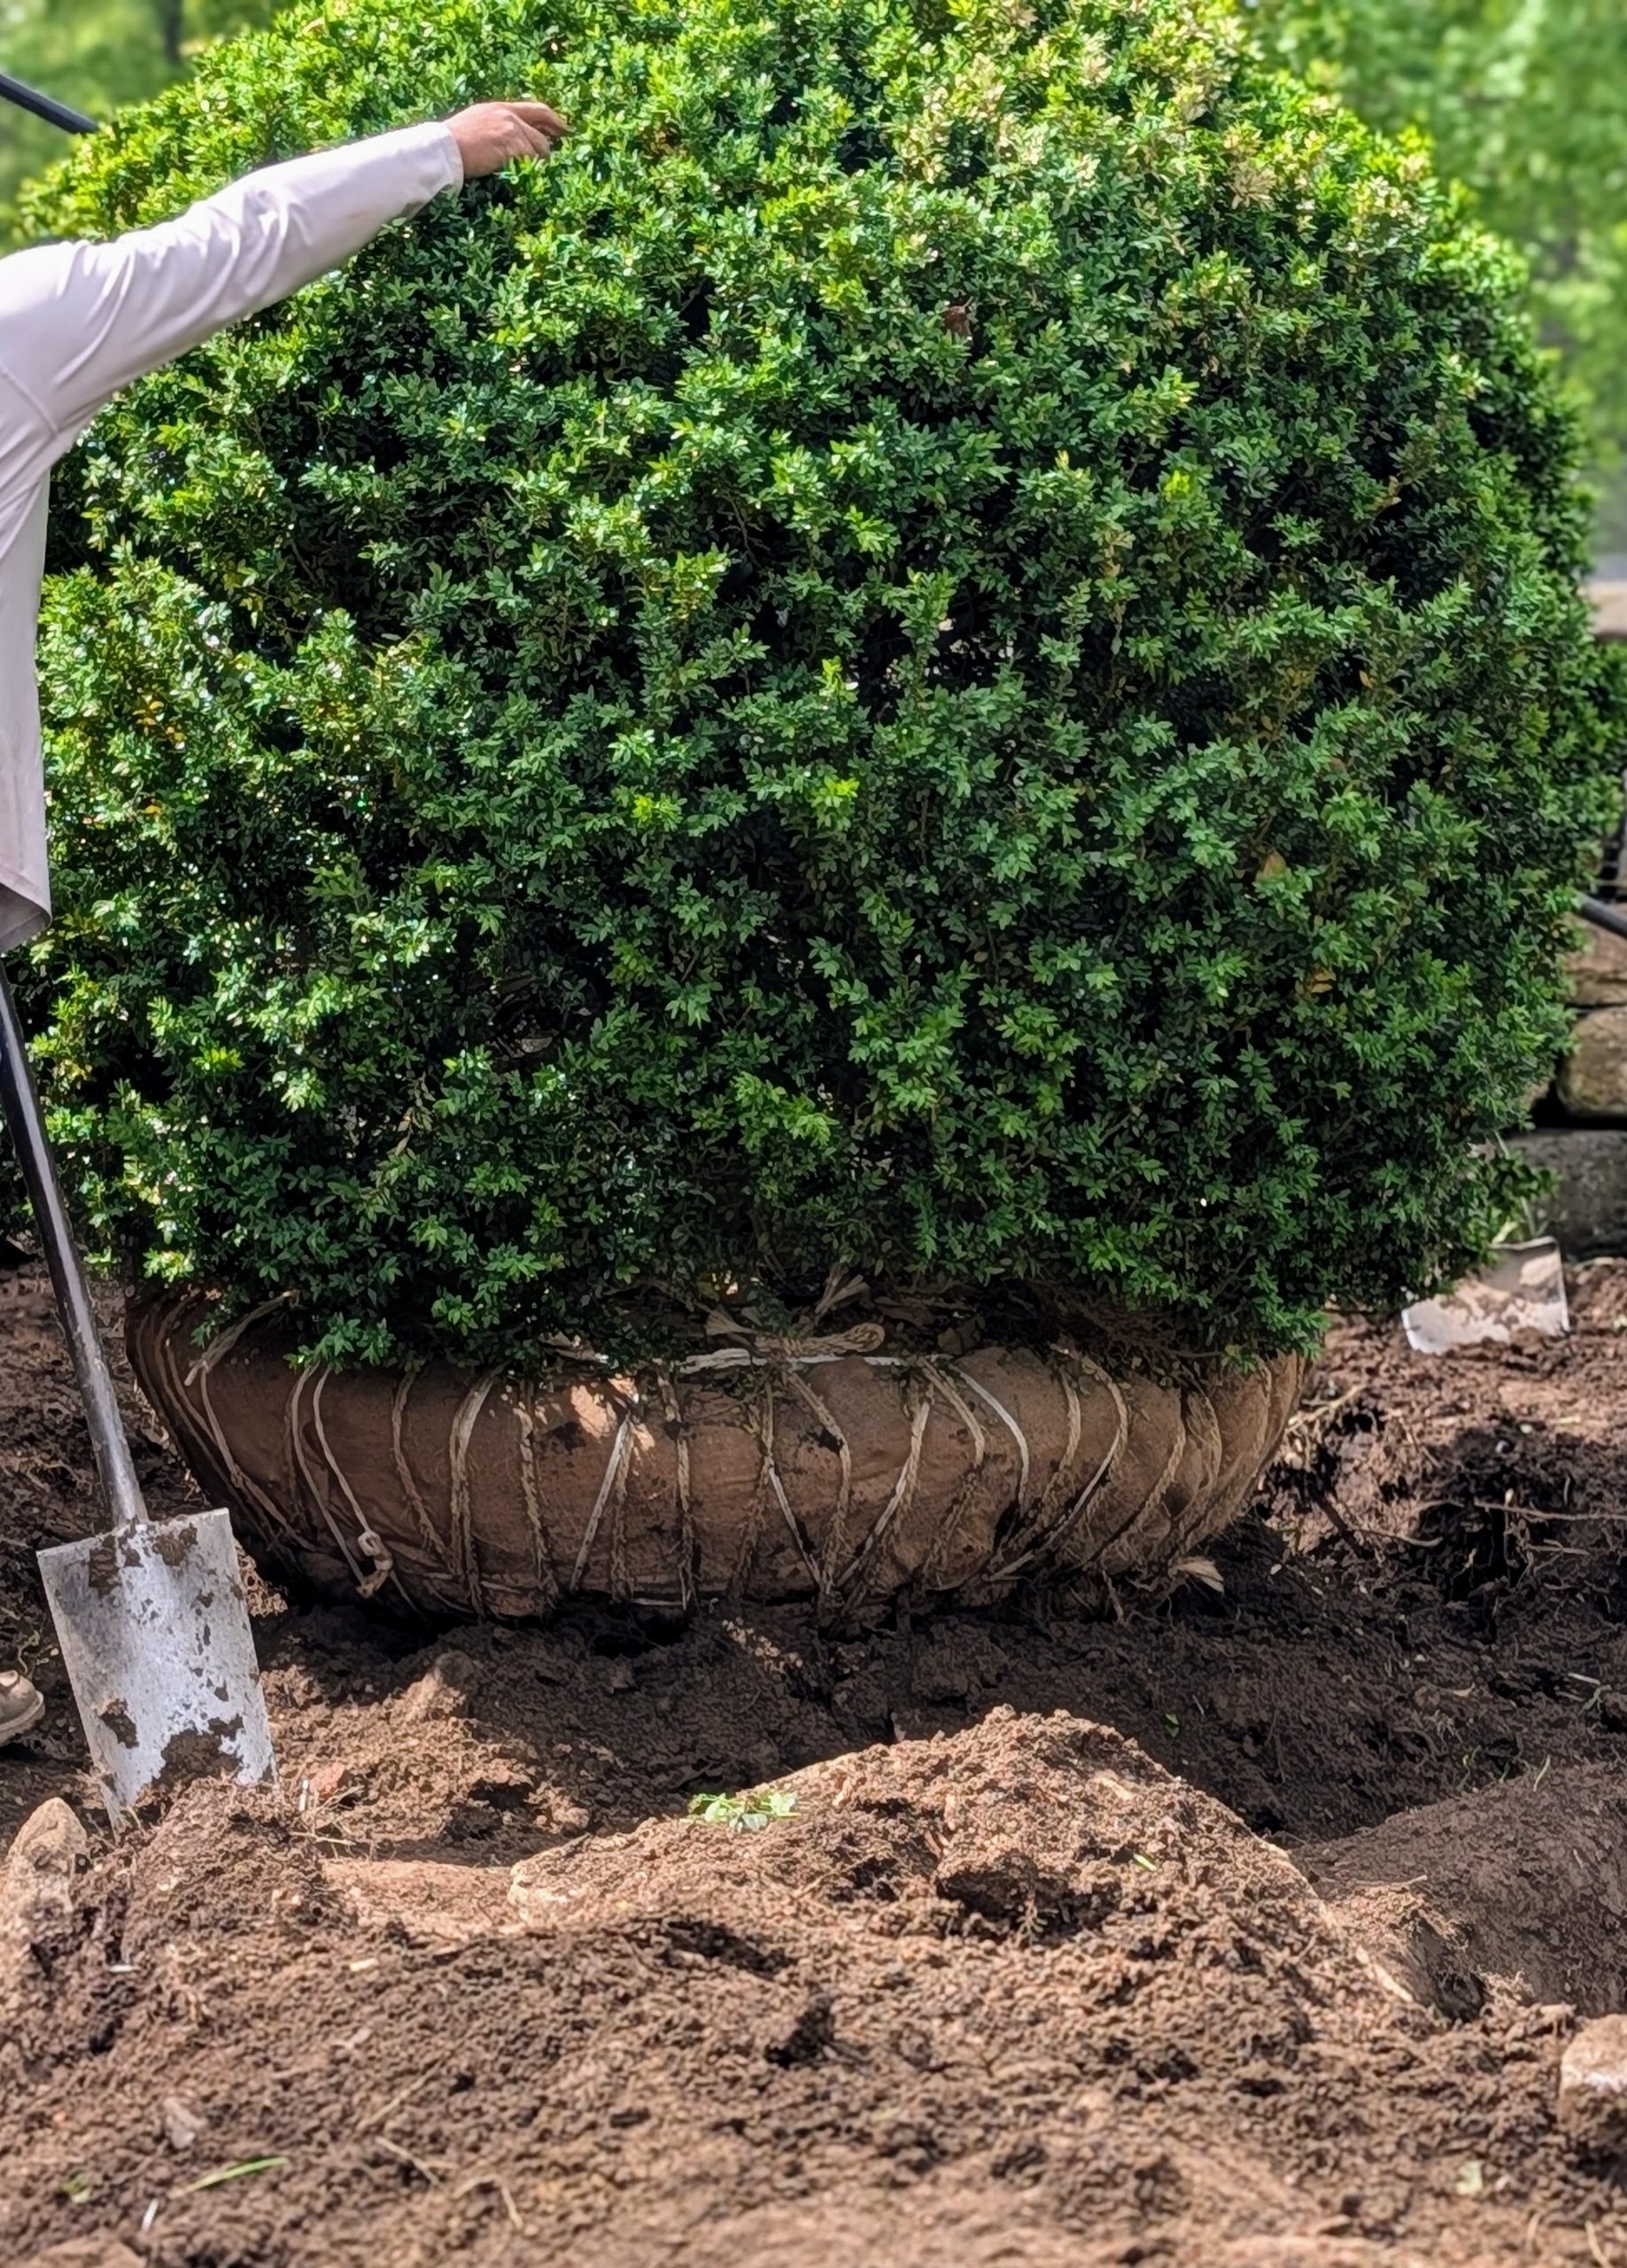
Holes are dug twice as wide as the boxwood root balls, but no deeper. Once in the hole, the top of the root ball should be a half-inch higher than the soil surface.
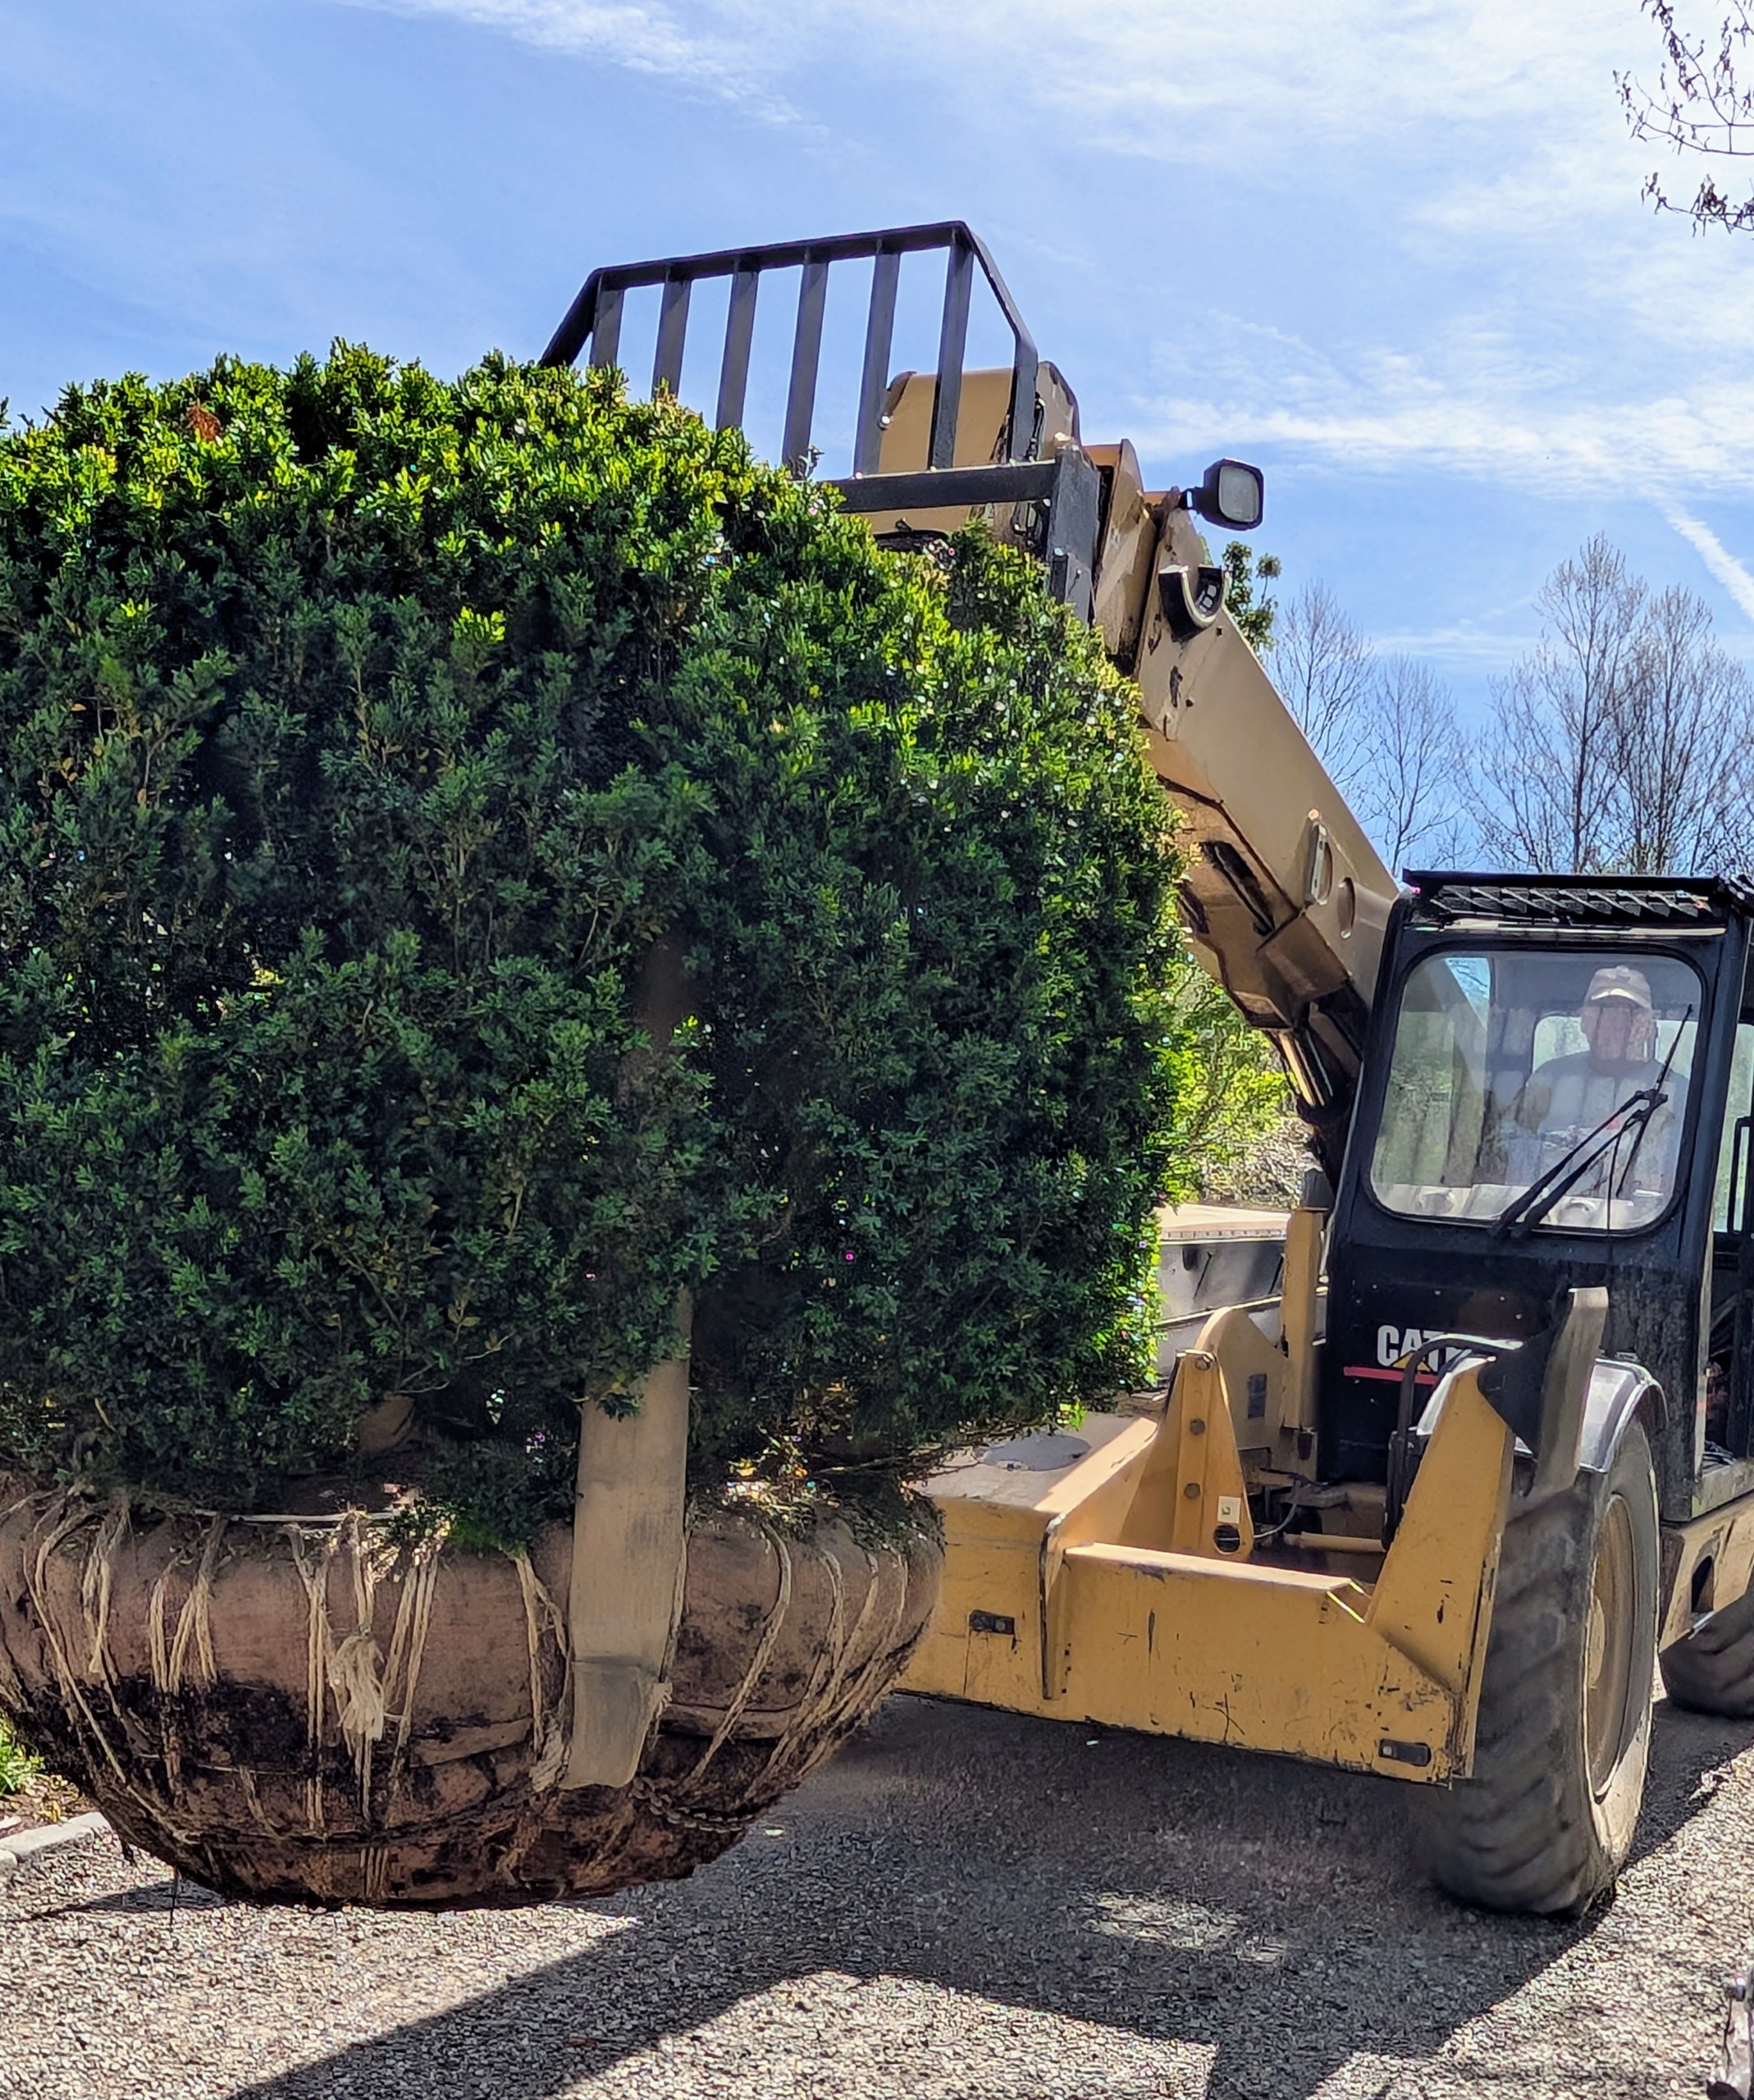
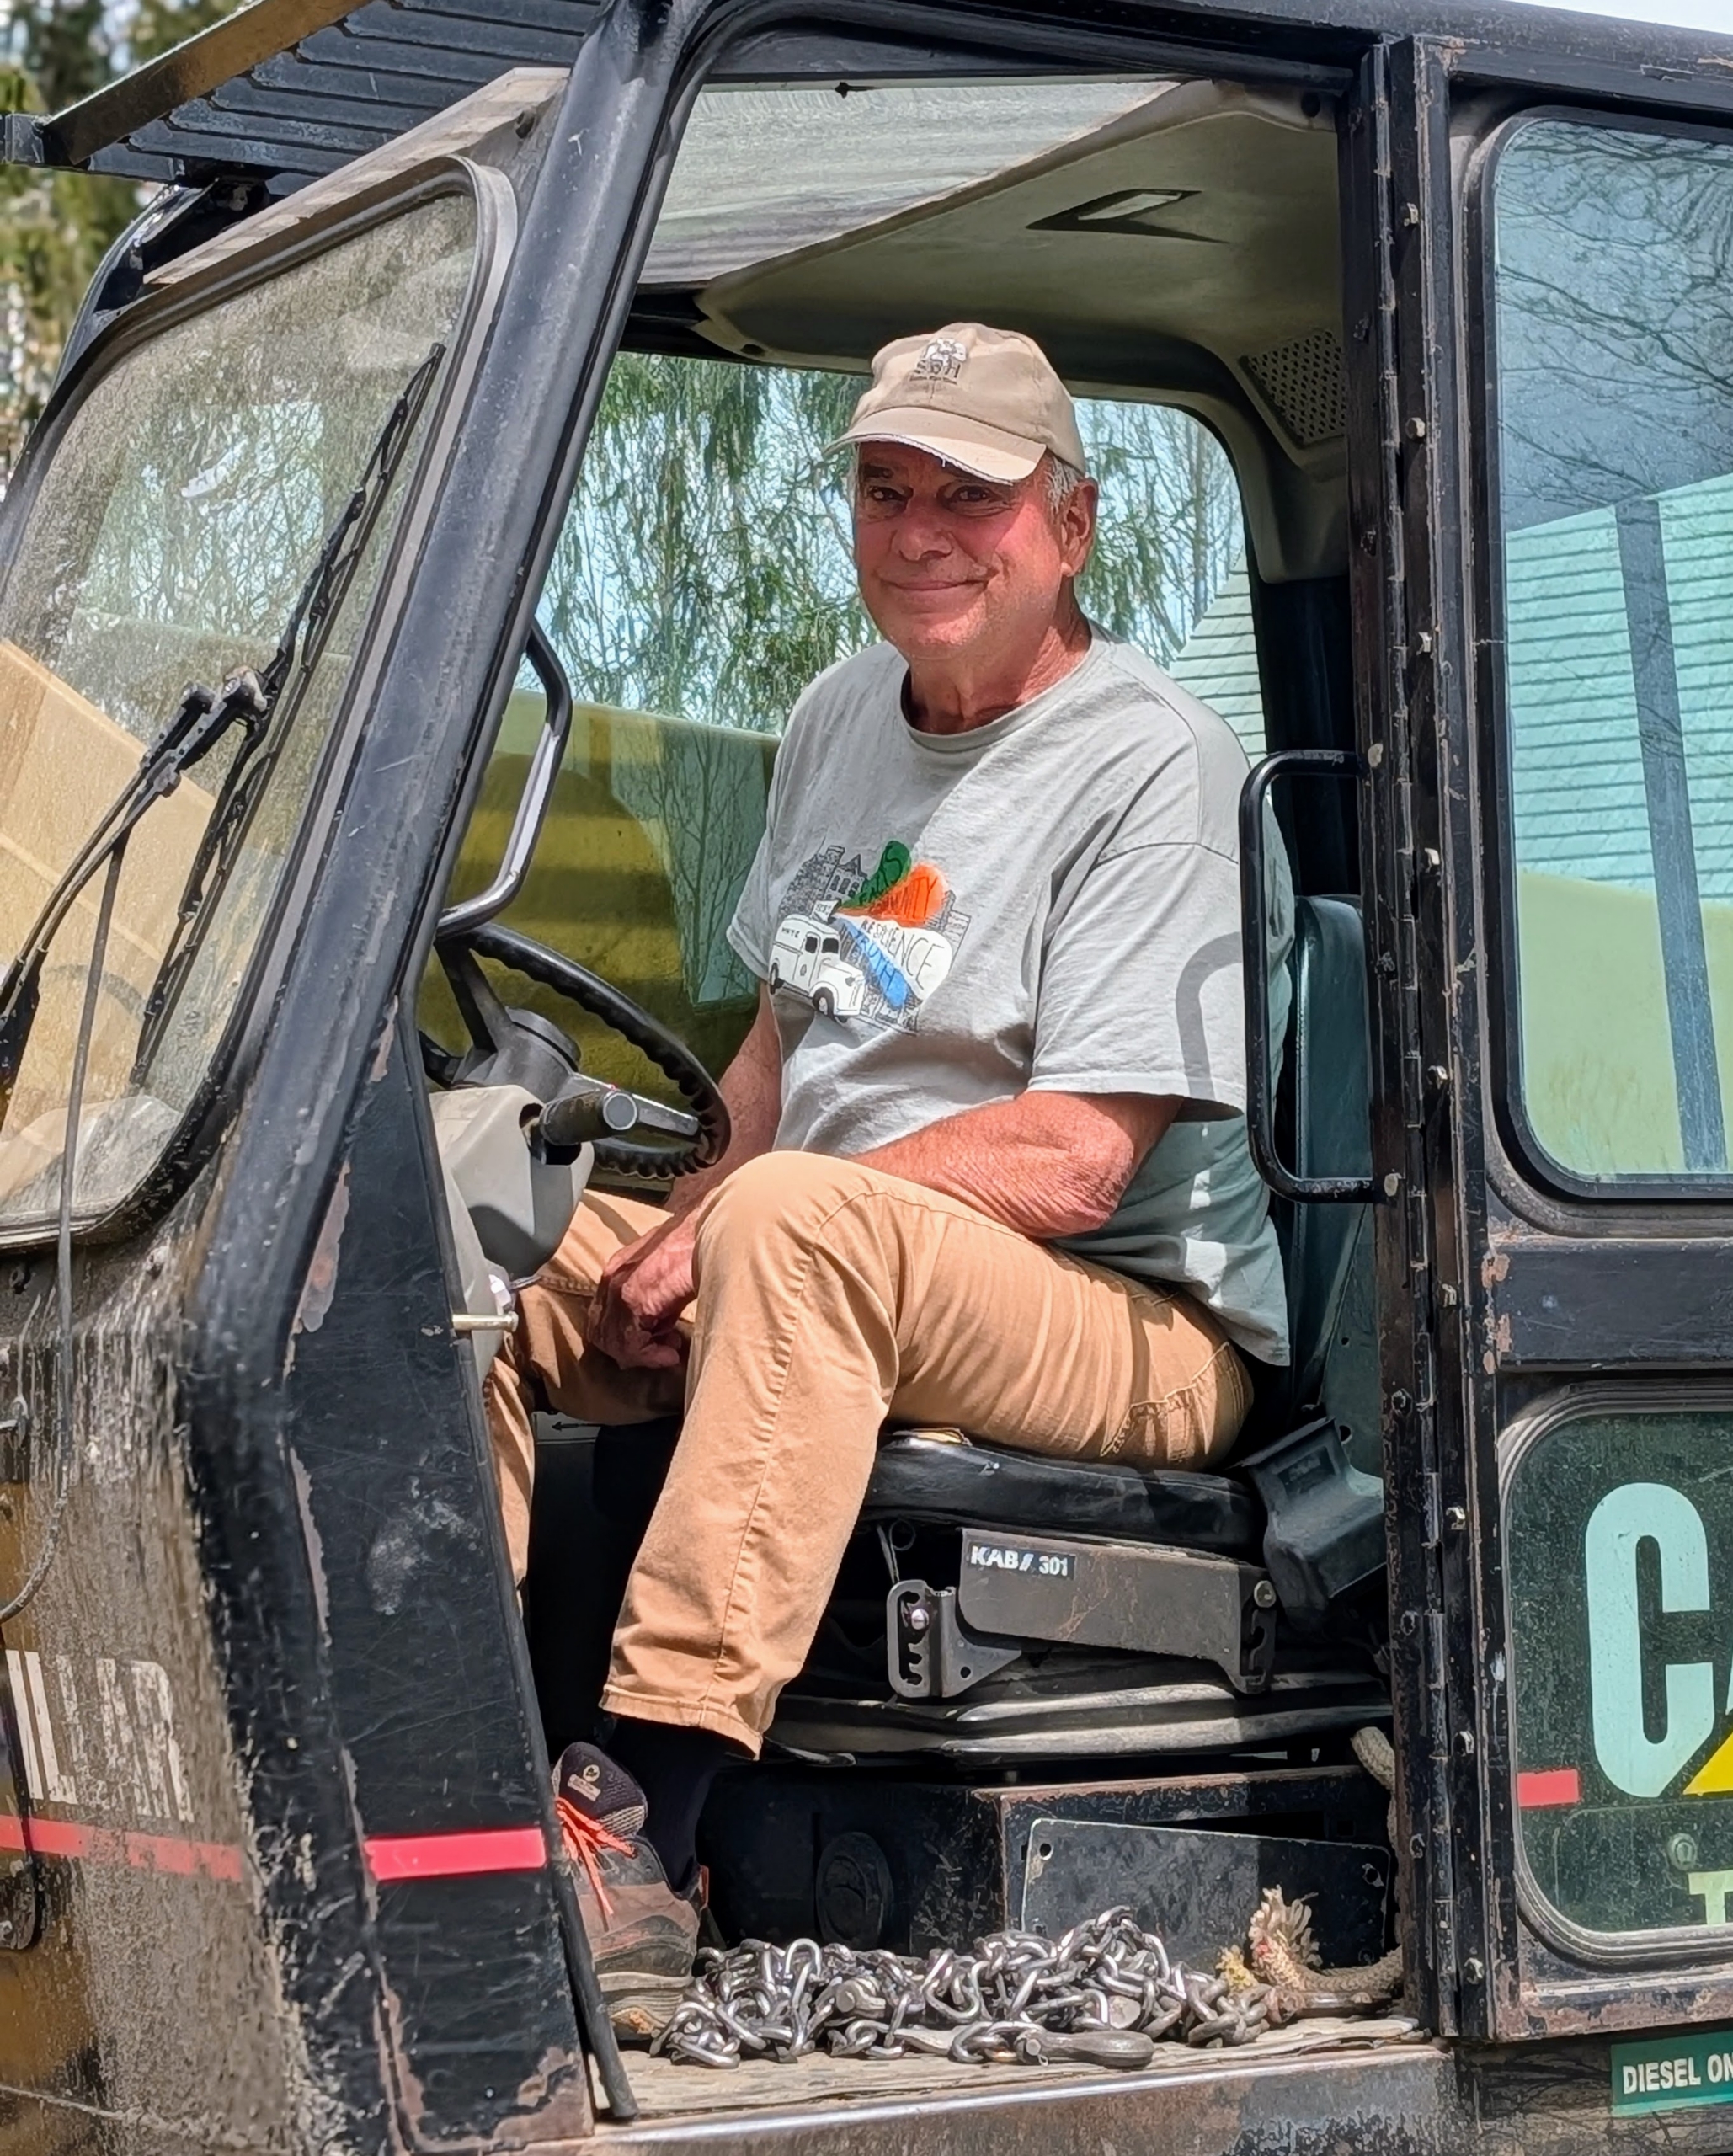
And then one by one, each boxwood shrub is brought to its designated hole. And look who is driving the Hi-Lo – it’s George Bridge himself.
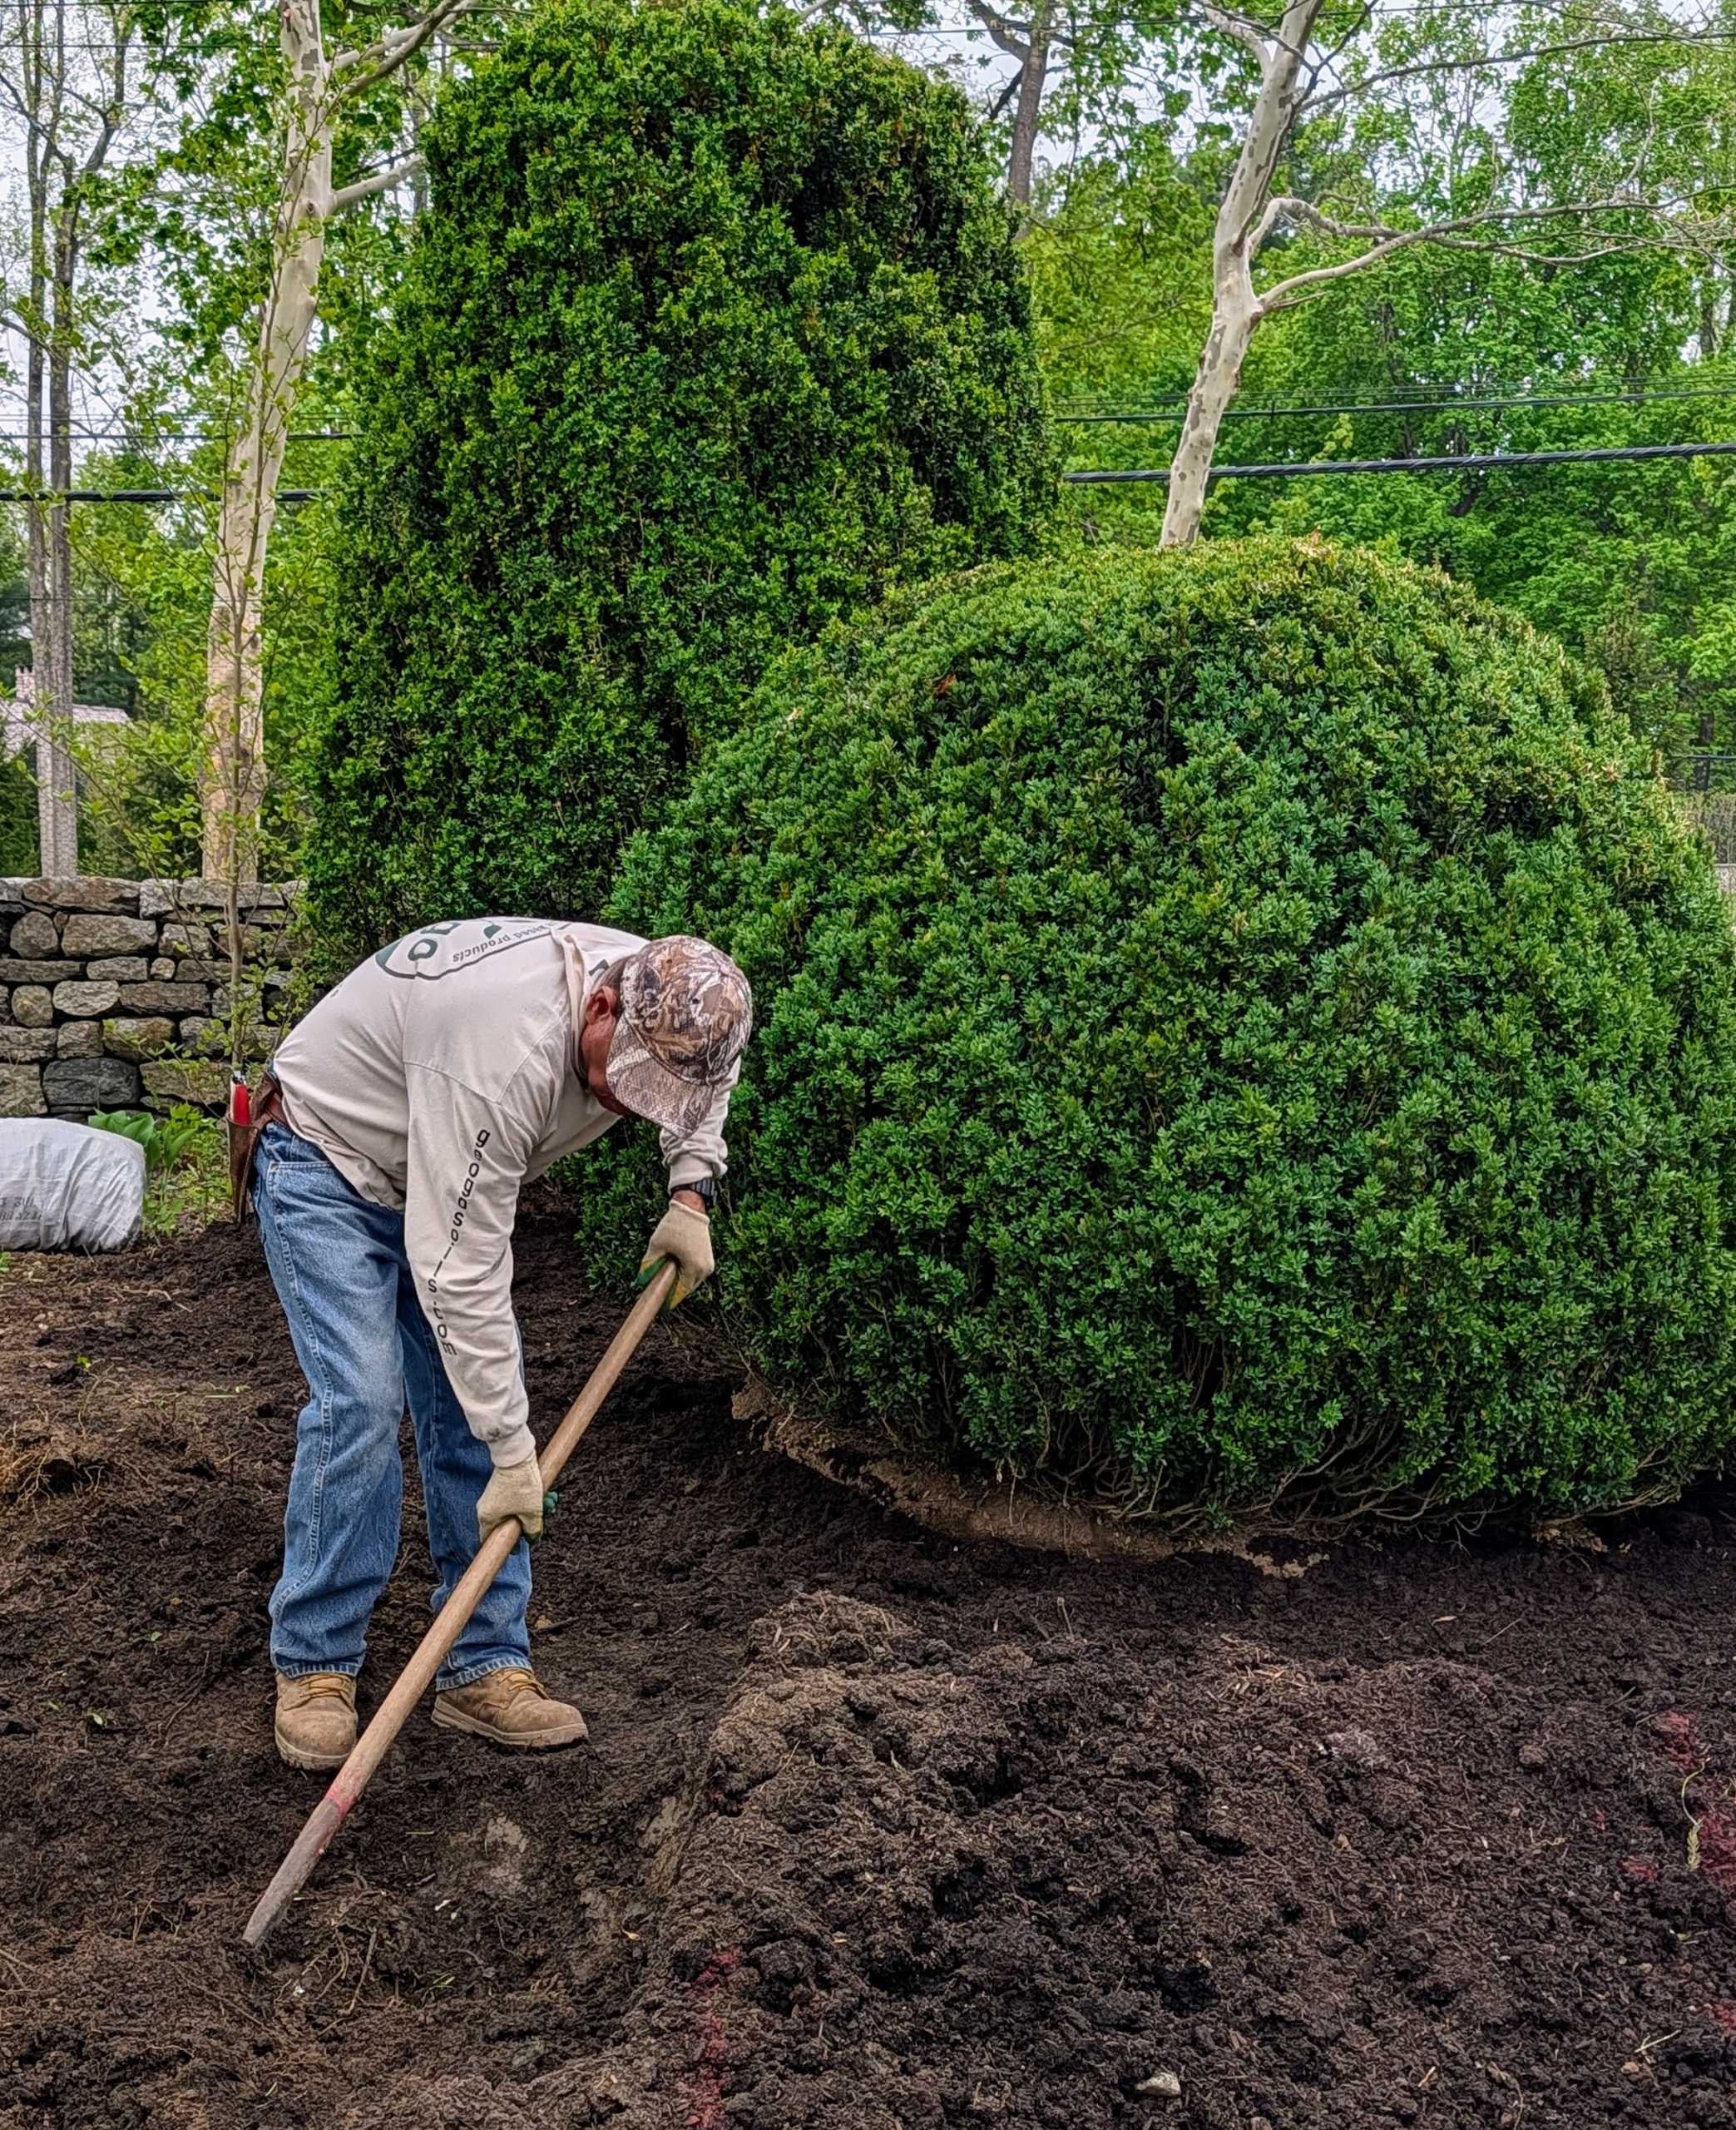
The boxwood is slowly and carefully put into place.
Its best side is turned out, since that is what guests will see when passing the garden.
Here it is a shrub just above the hole.
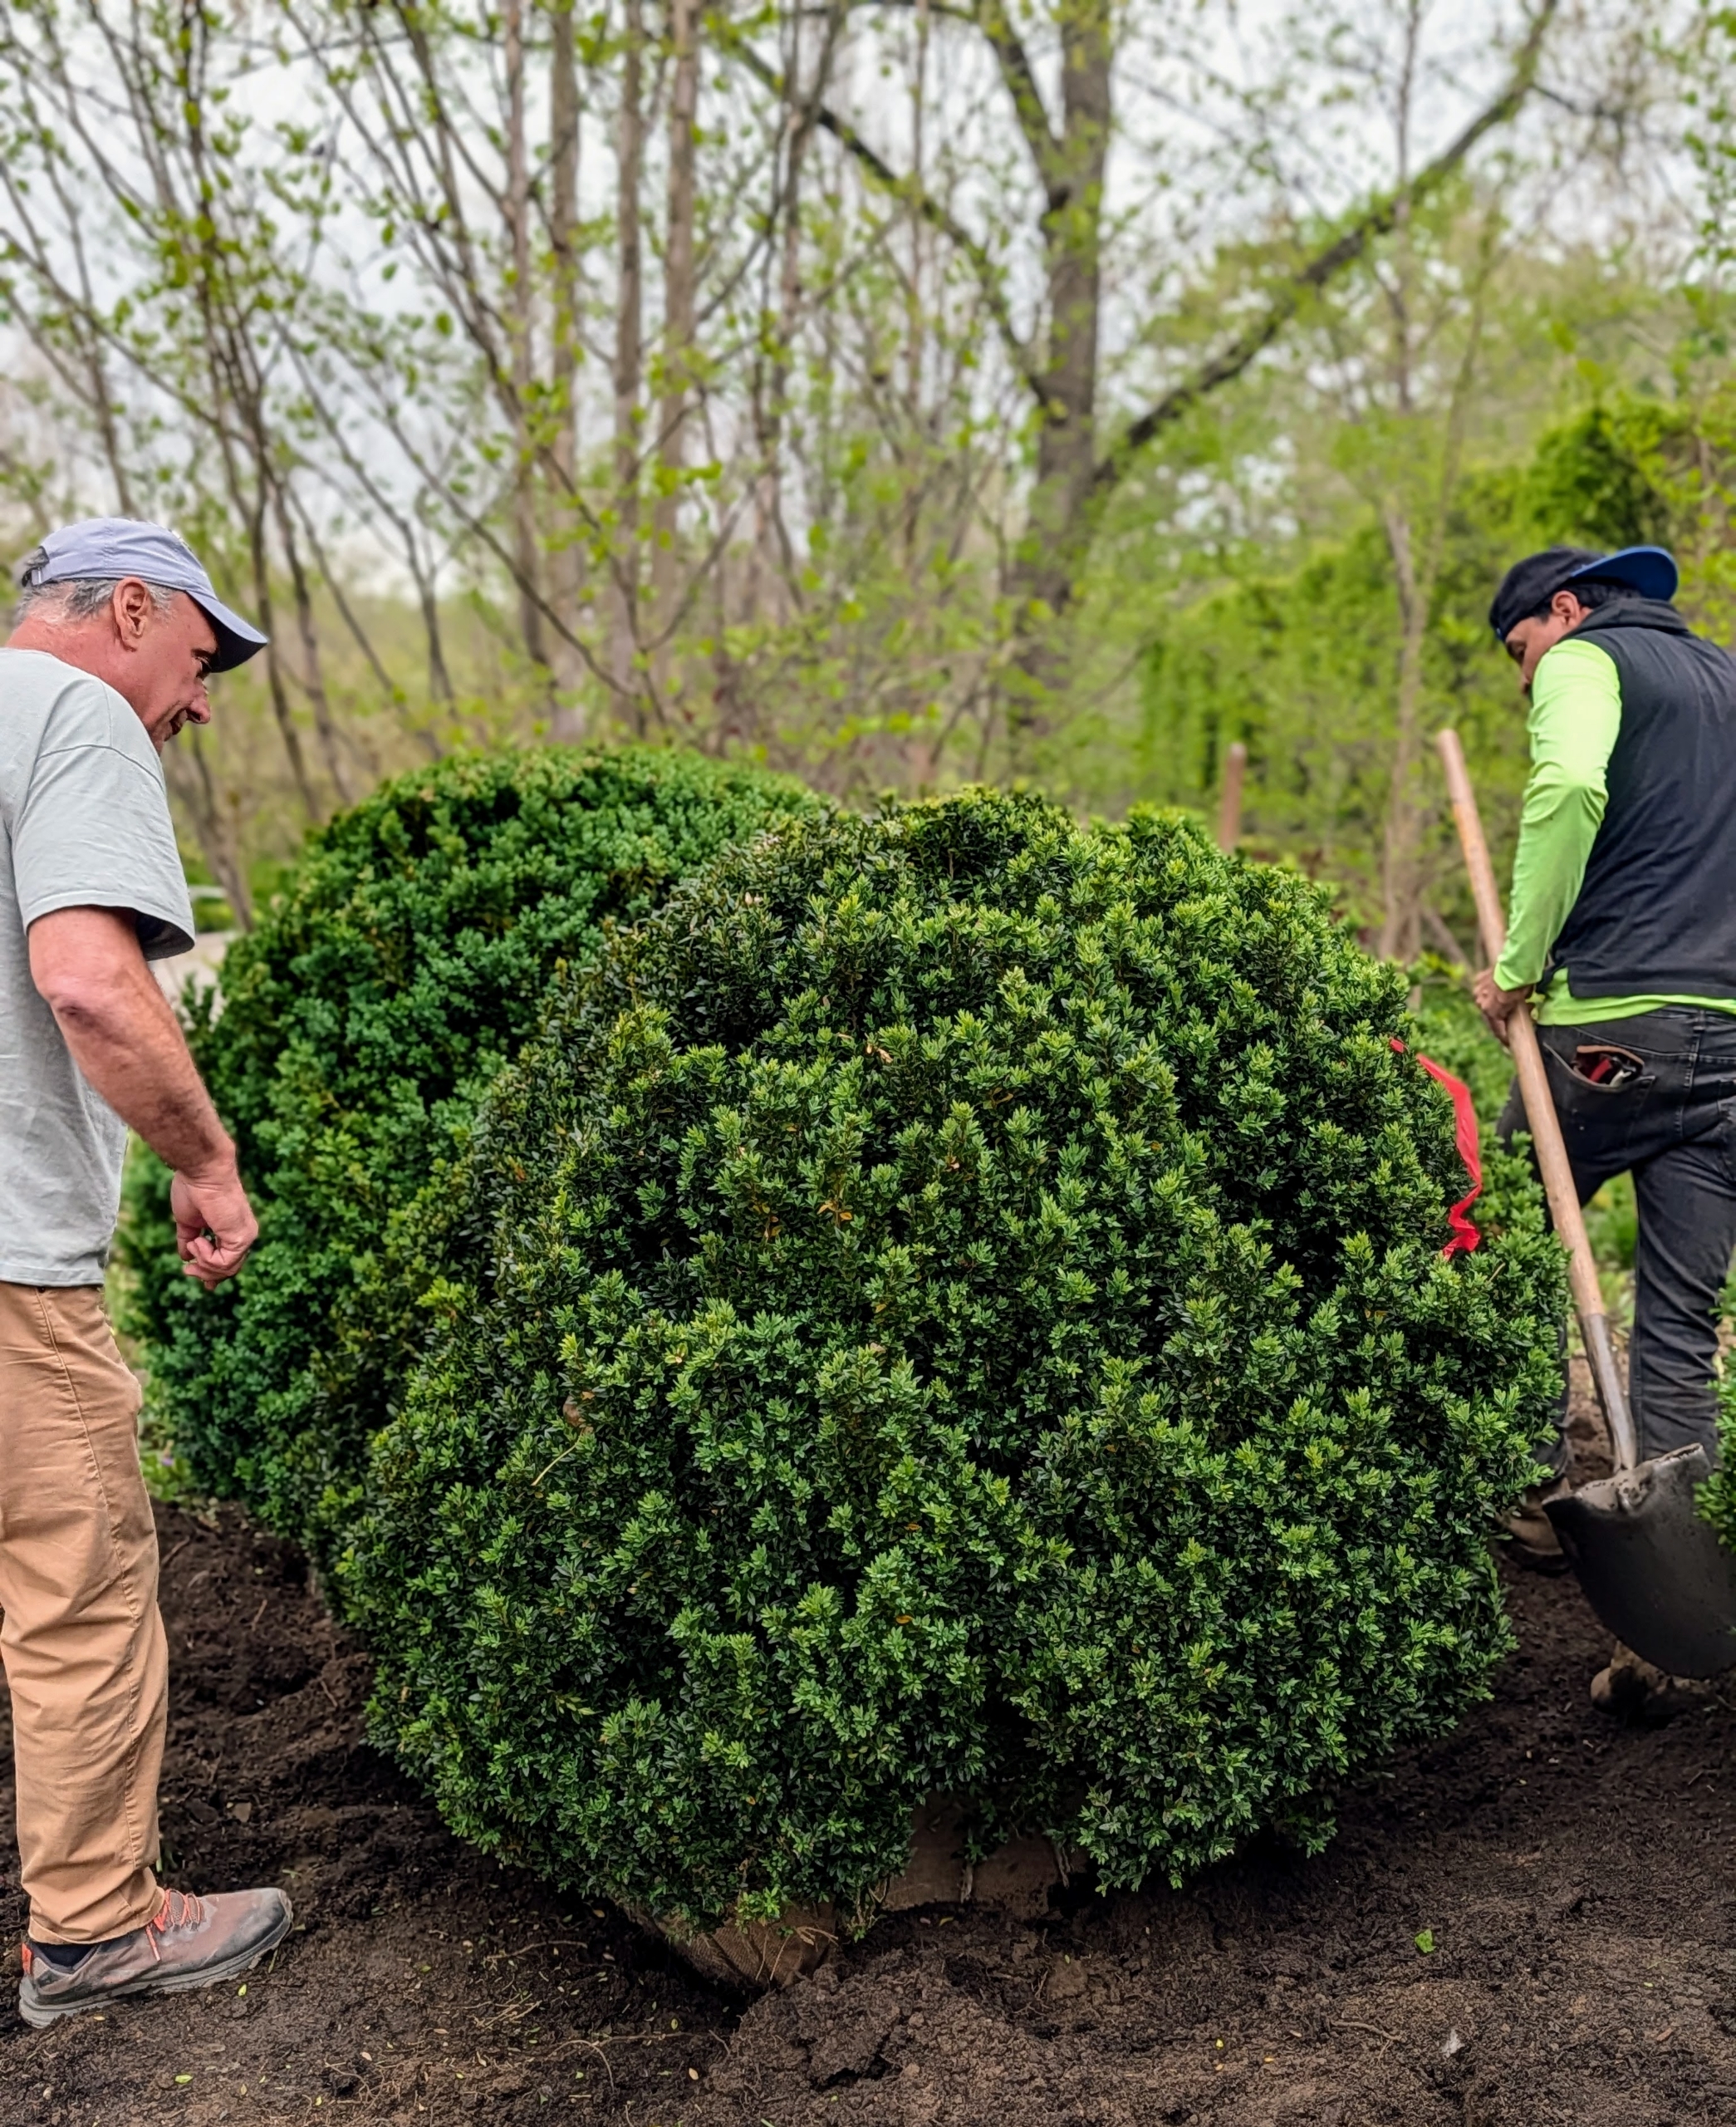
Here is a large shrub being moved to its new location. This specimen was originally planted in 1936 – it’s 90 years old.
I think George is having a good time driving the Hi-LO. This day was actually very pleasant for working outside.
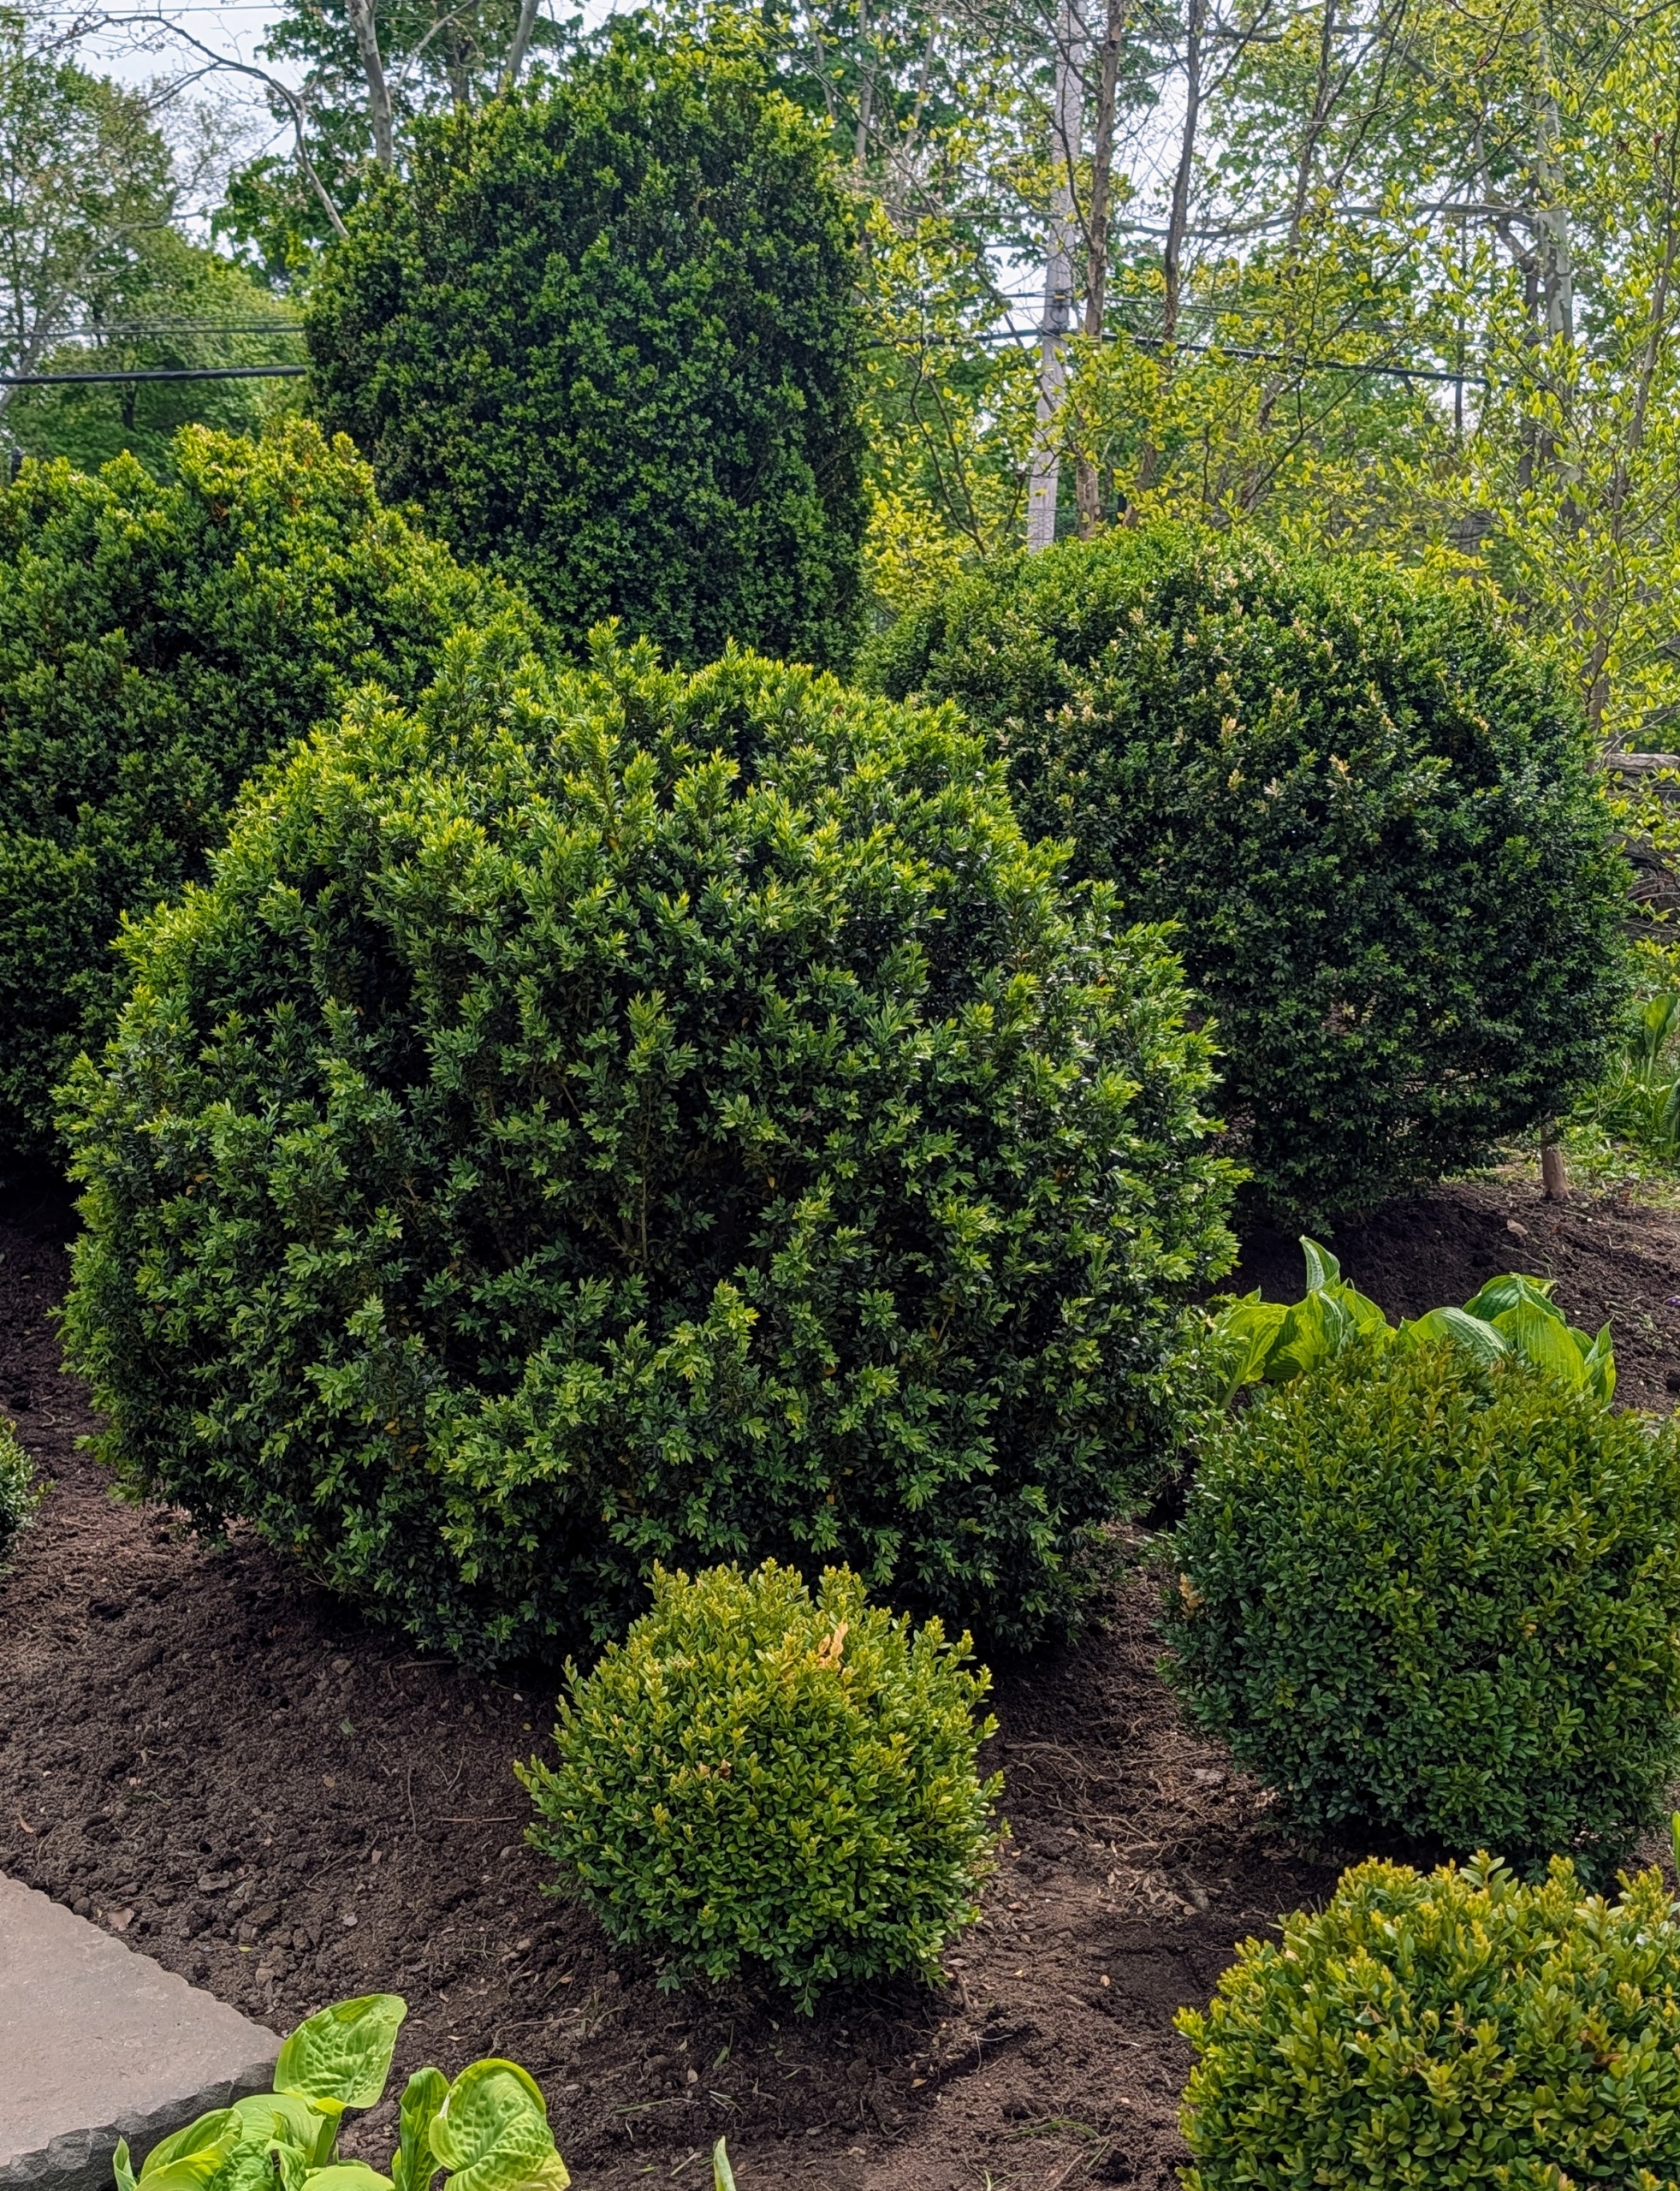
It looks so great in its place already. Boxwood shrubs have shallow root systems, so proper mulching after they are planted will help retain moisture and keep the roots cool.
Backfilling begins.
George oversees every move to ensure the shrubs are placed just right.
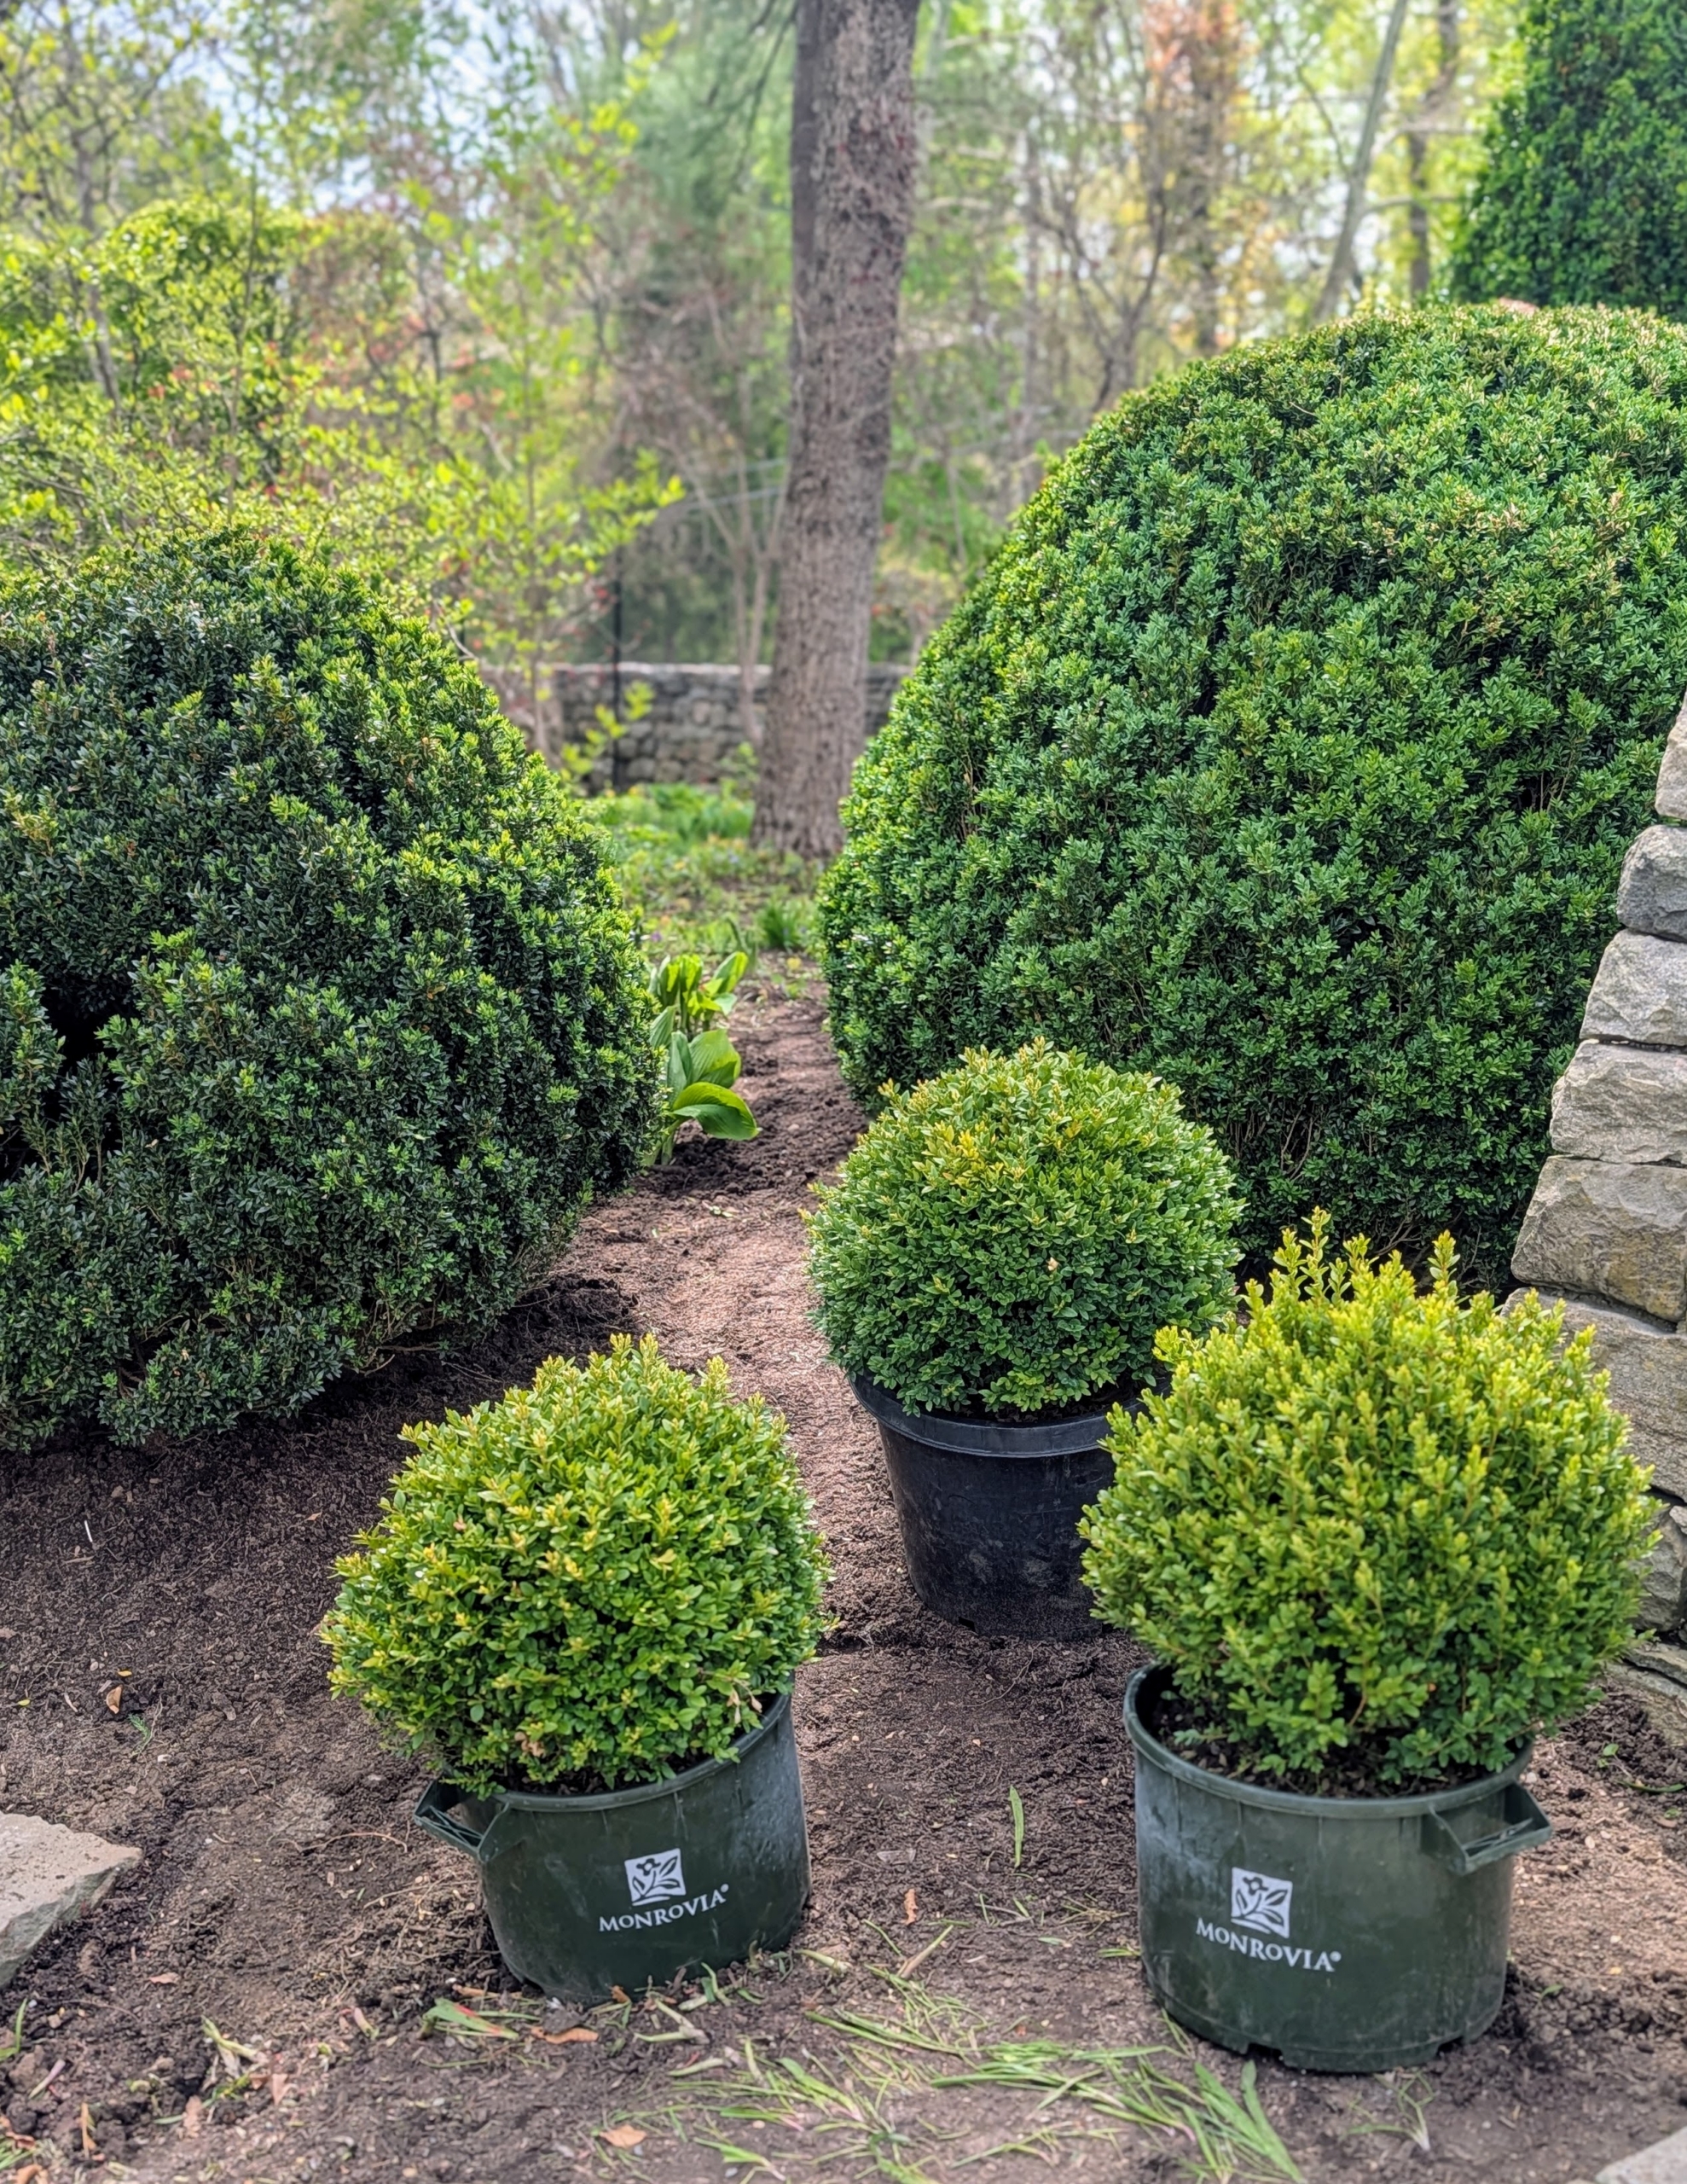
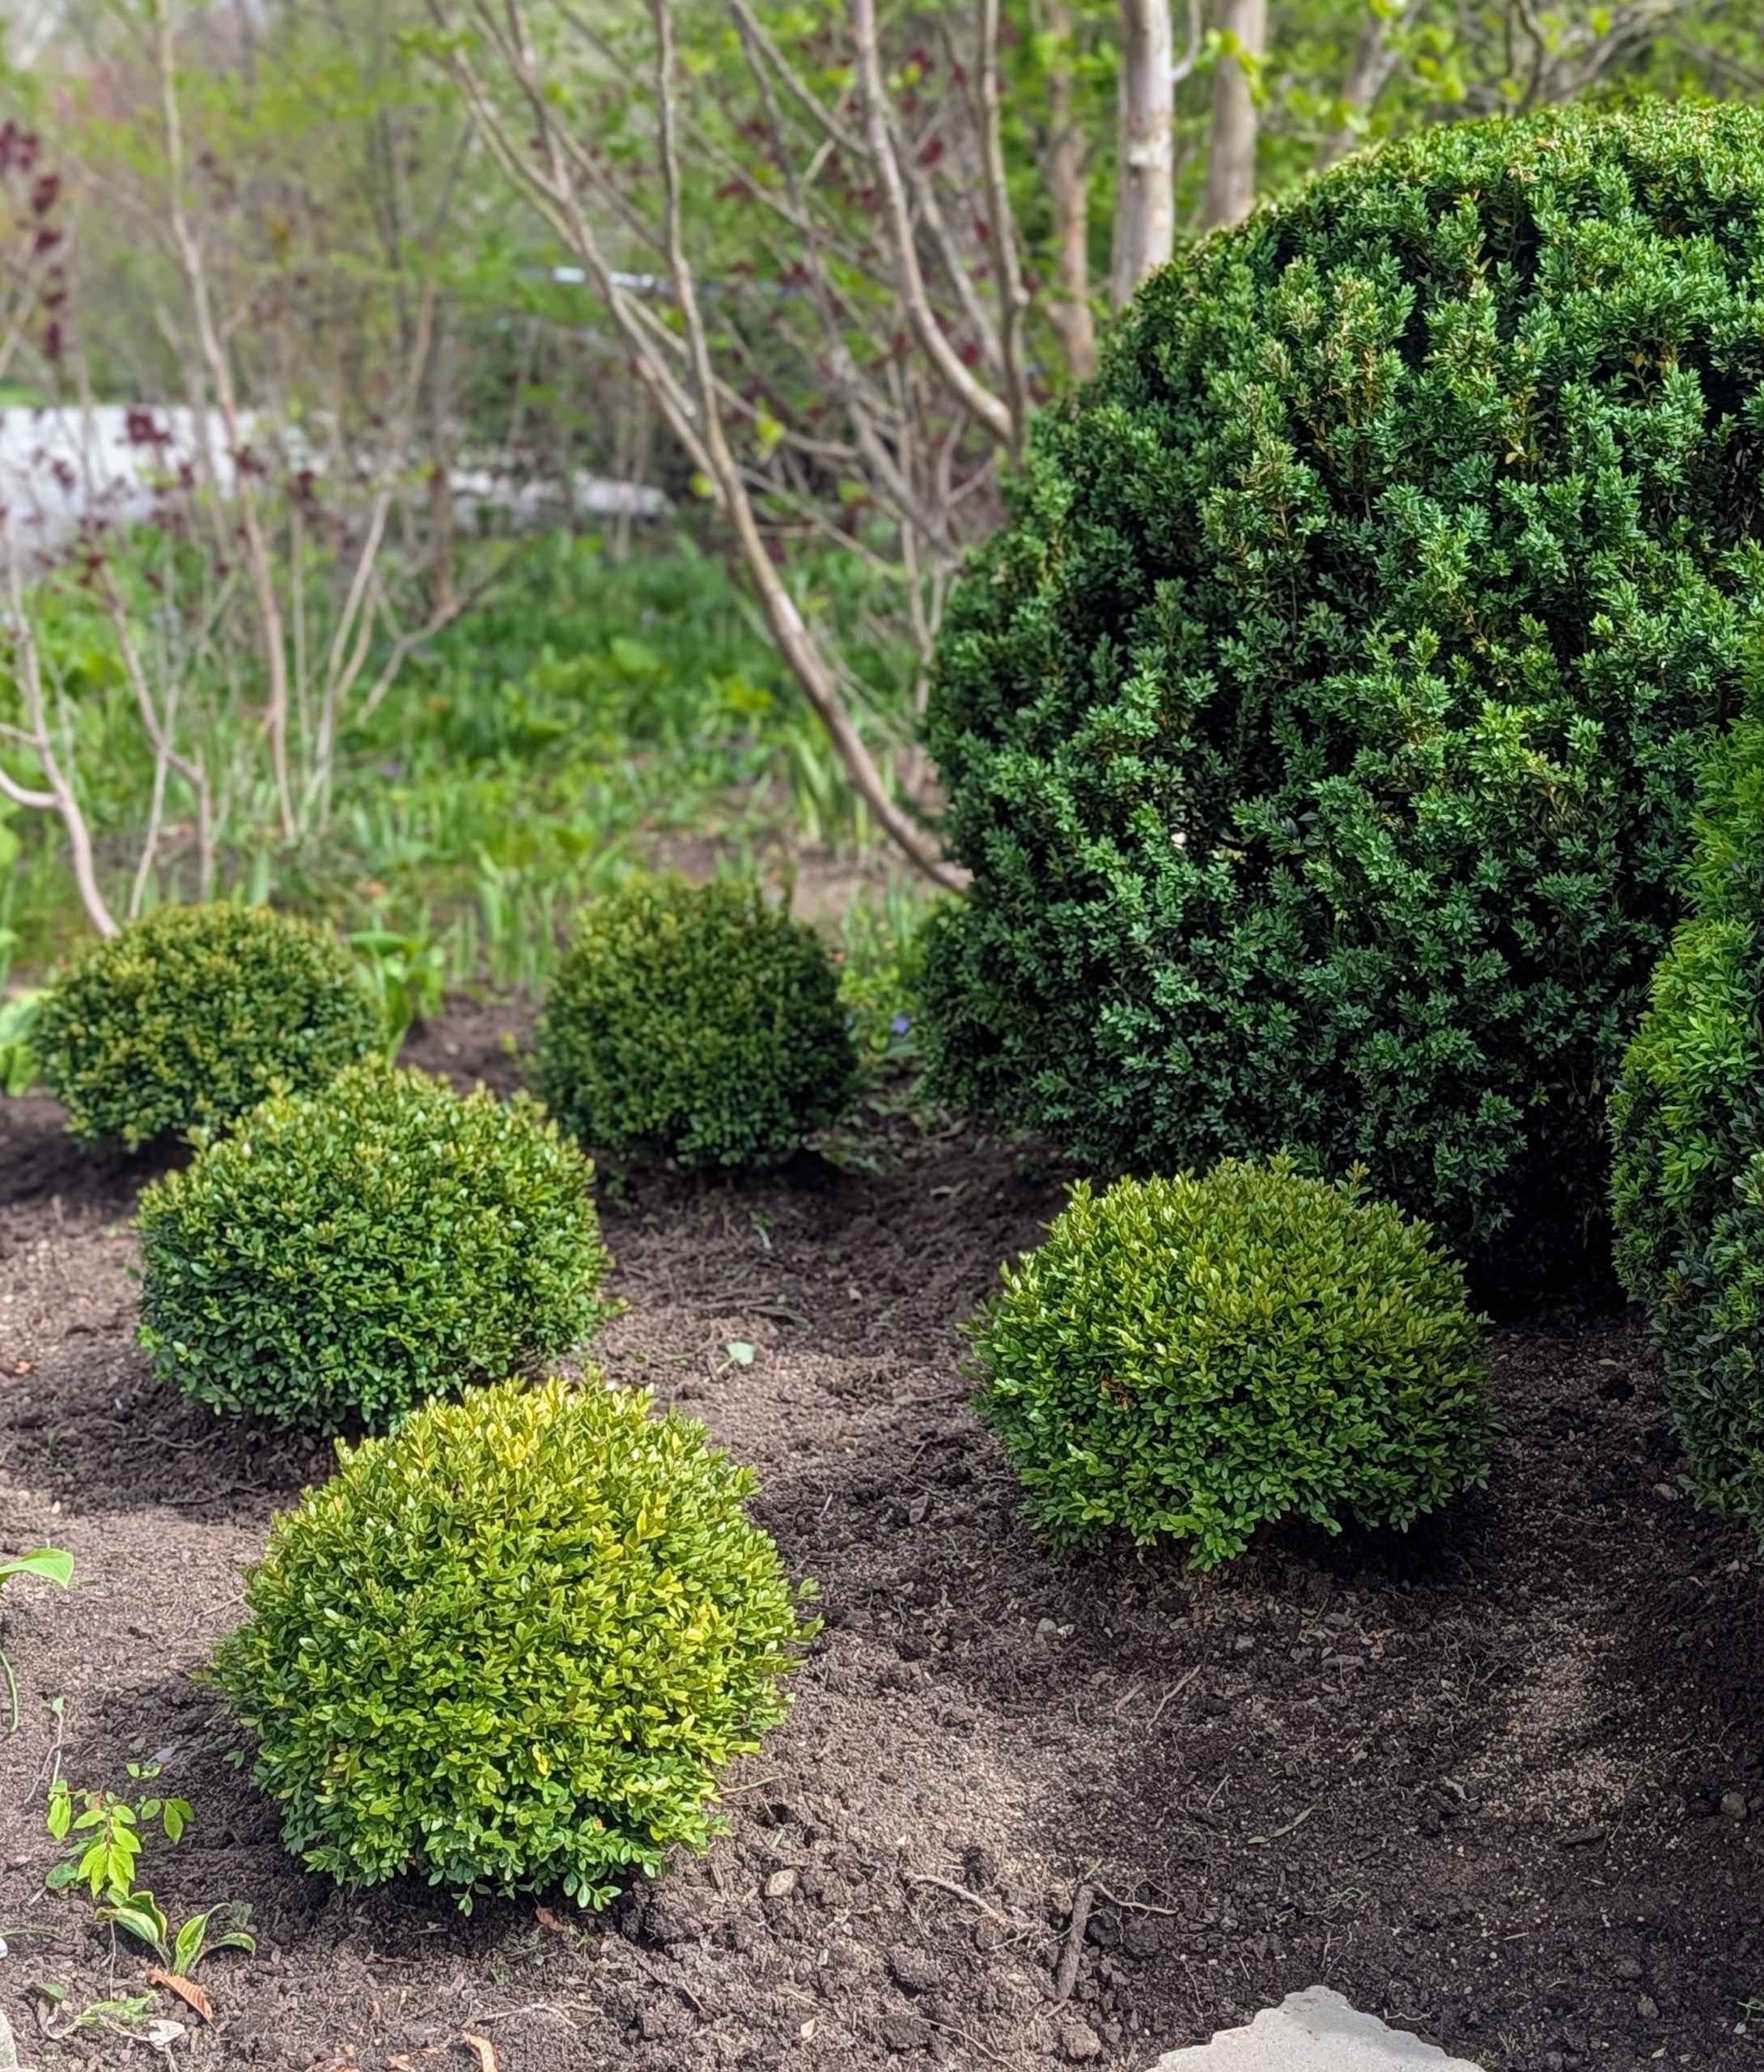
Smaller boxwood shrubs grown right here at my farm from cuttings are used to accent the larger specimens and fill the bed. Boxwood prefers well-drained soil with a lot of organic matter. Loamy soil or sandy conditions are best. Most boxwoods like some shade, but some varieties handle full sun exposure better than others.
In winter, these boxwood will also be covered in protective burlap to prevent snow and ice damage.
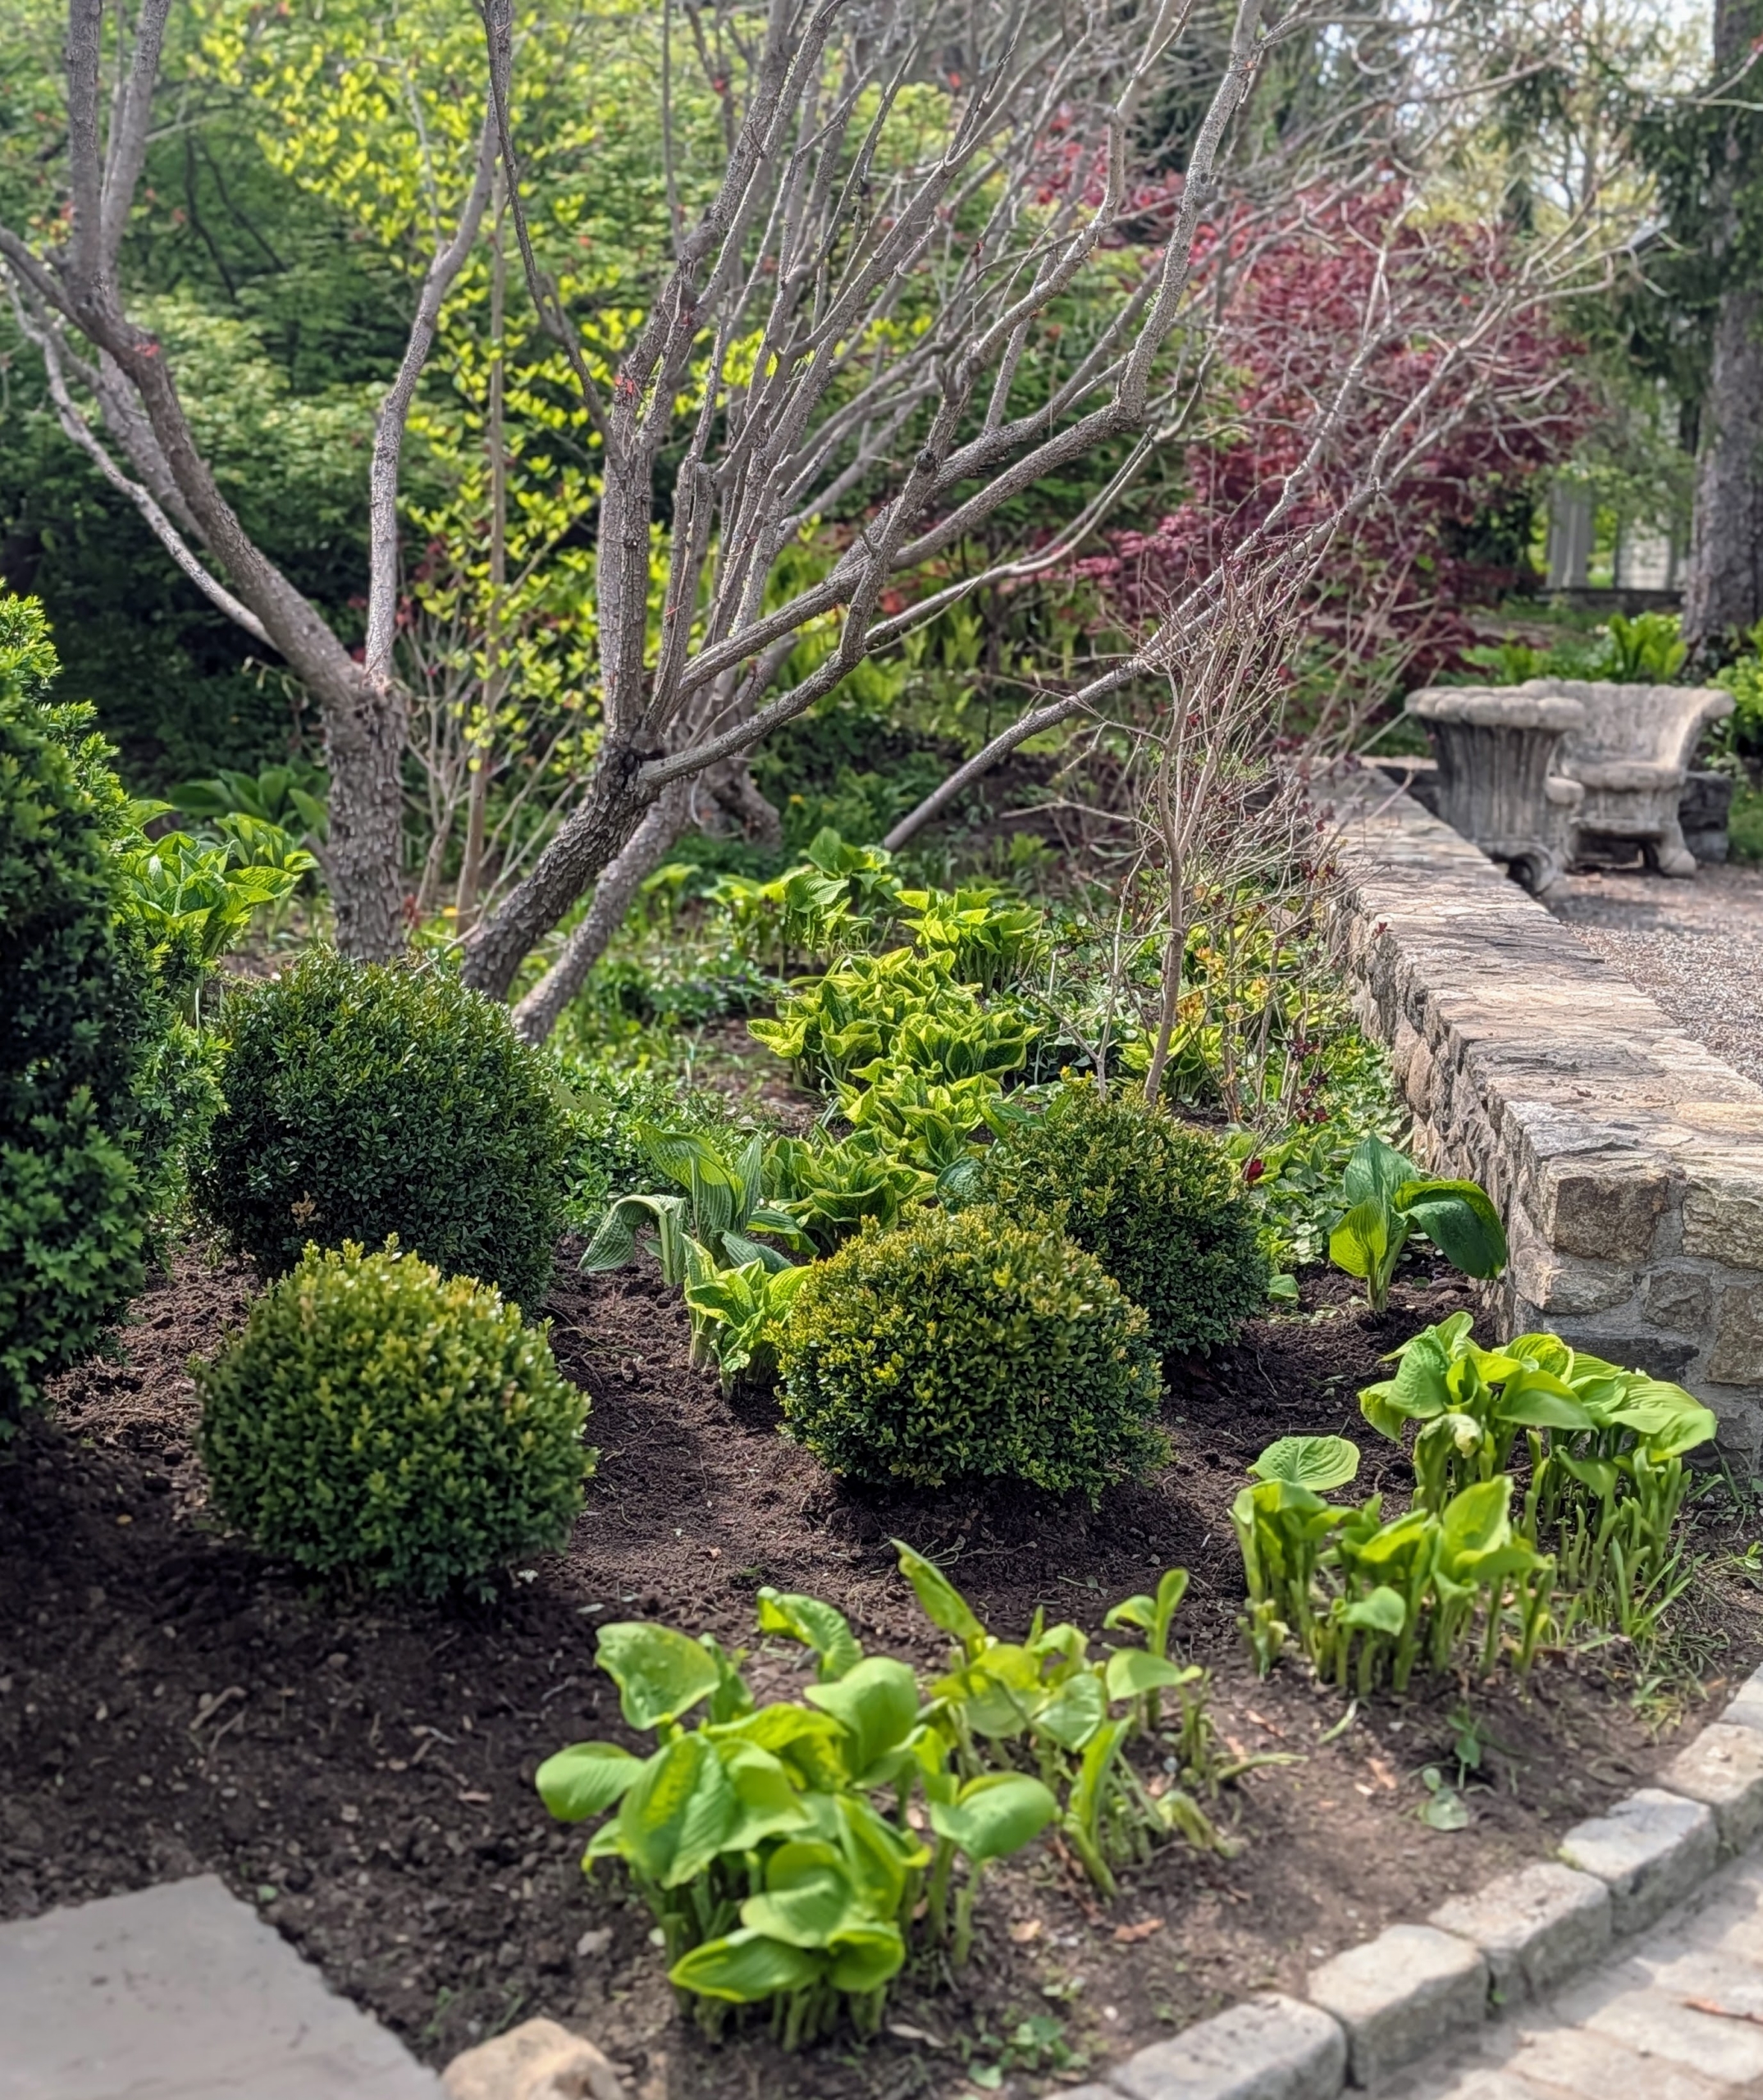
With the additional hosta plants and the smaller boxwood, I think the garden bed looks excellent. It was the right choice to make!
I am very pleased with how it cam out. These will all grow together so beautifully.
Everyone at the farm loves the transformation.
So don’t be afraid to change your garden. Gardening is an evolving practice and occasionally changing how it looks — it’s a good thing.
We’ve been pretty lucky here at the farm - we've had some rain, but for the most part the weather has been mild enough to continue our long list of outdoor chores.
And there's a lot to do. My outdoor grounds crew is busy with many projects including mulching all the garden beds, planting the vegetable crops, edging the carriage roads, reseeding, and mowing the lawns.
Here's a glimpse of some of the many jobs getting done. Enjoy these photos.
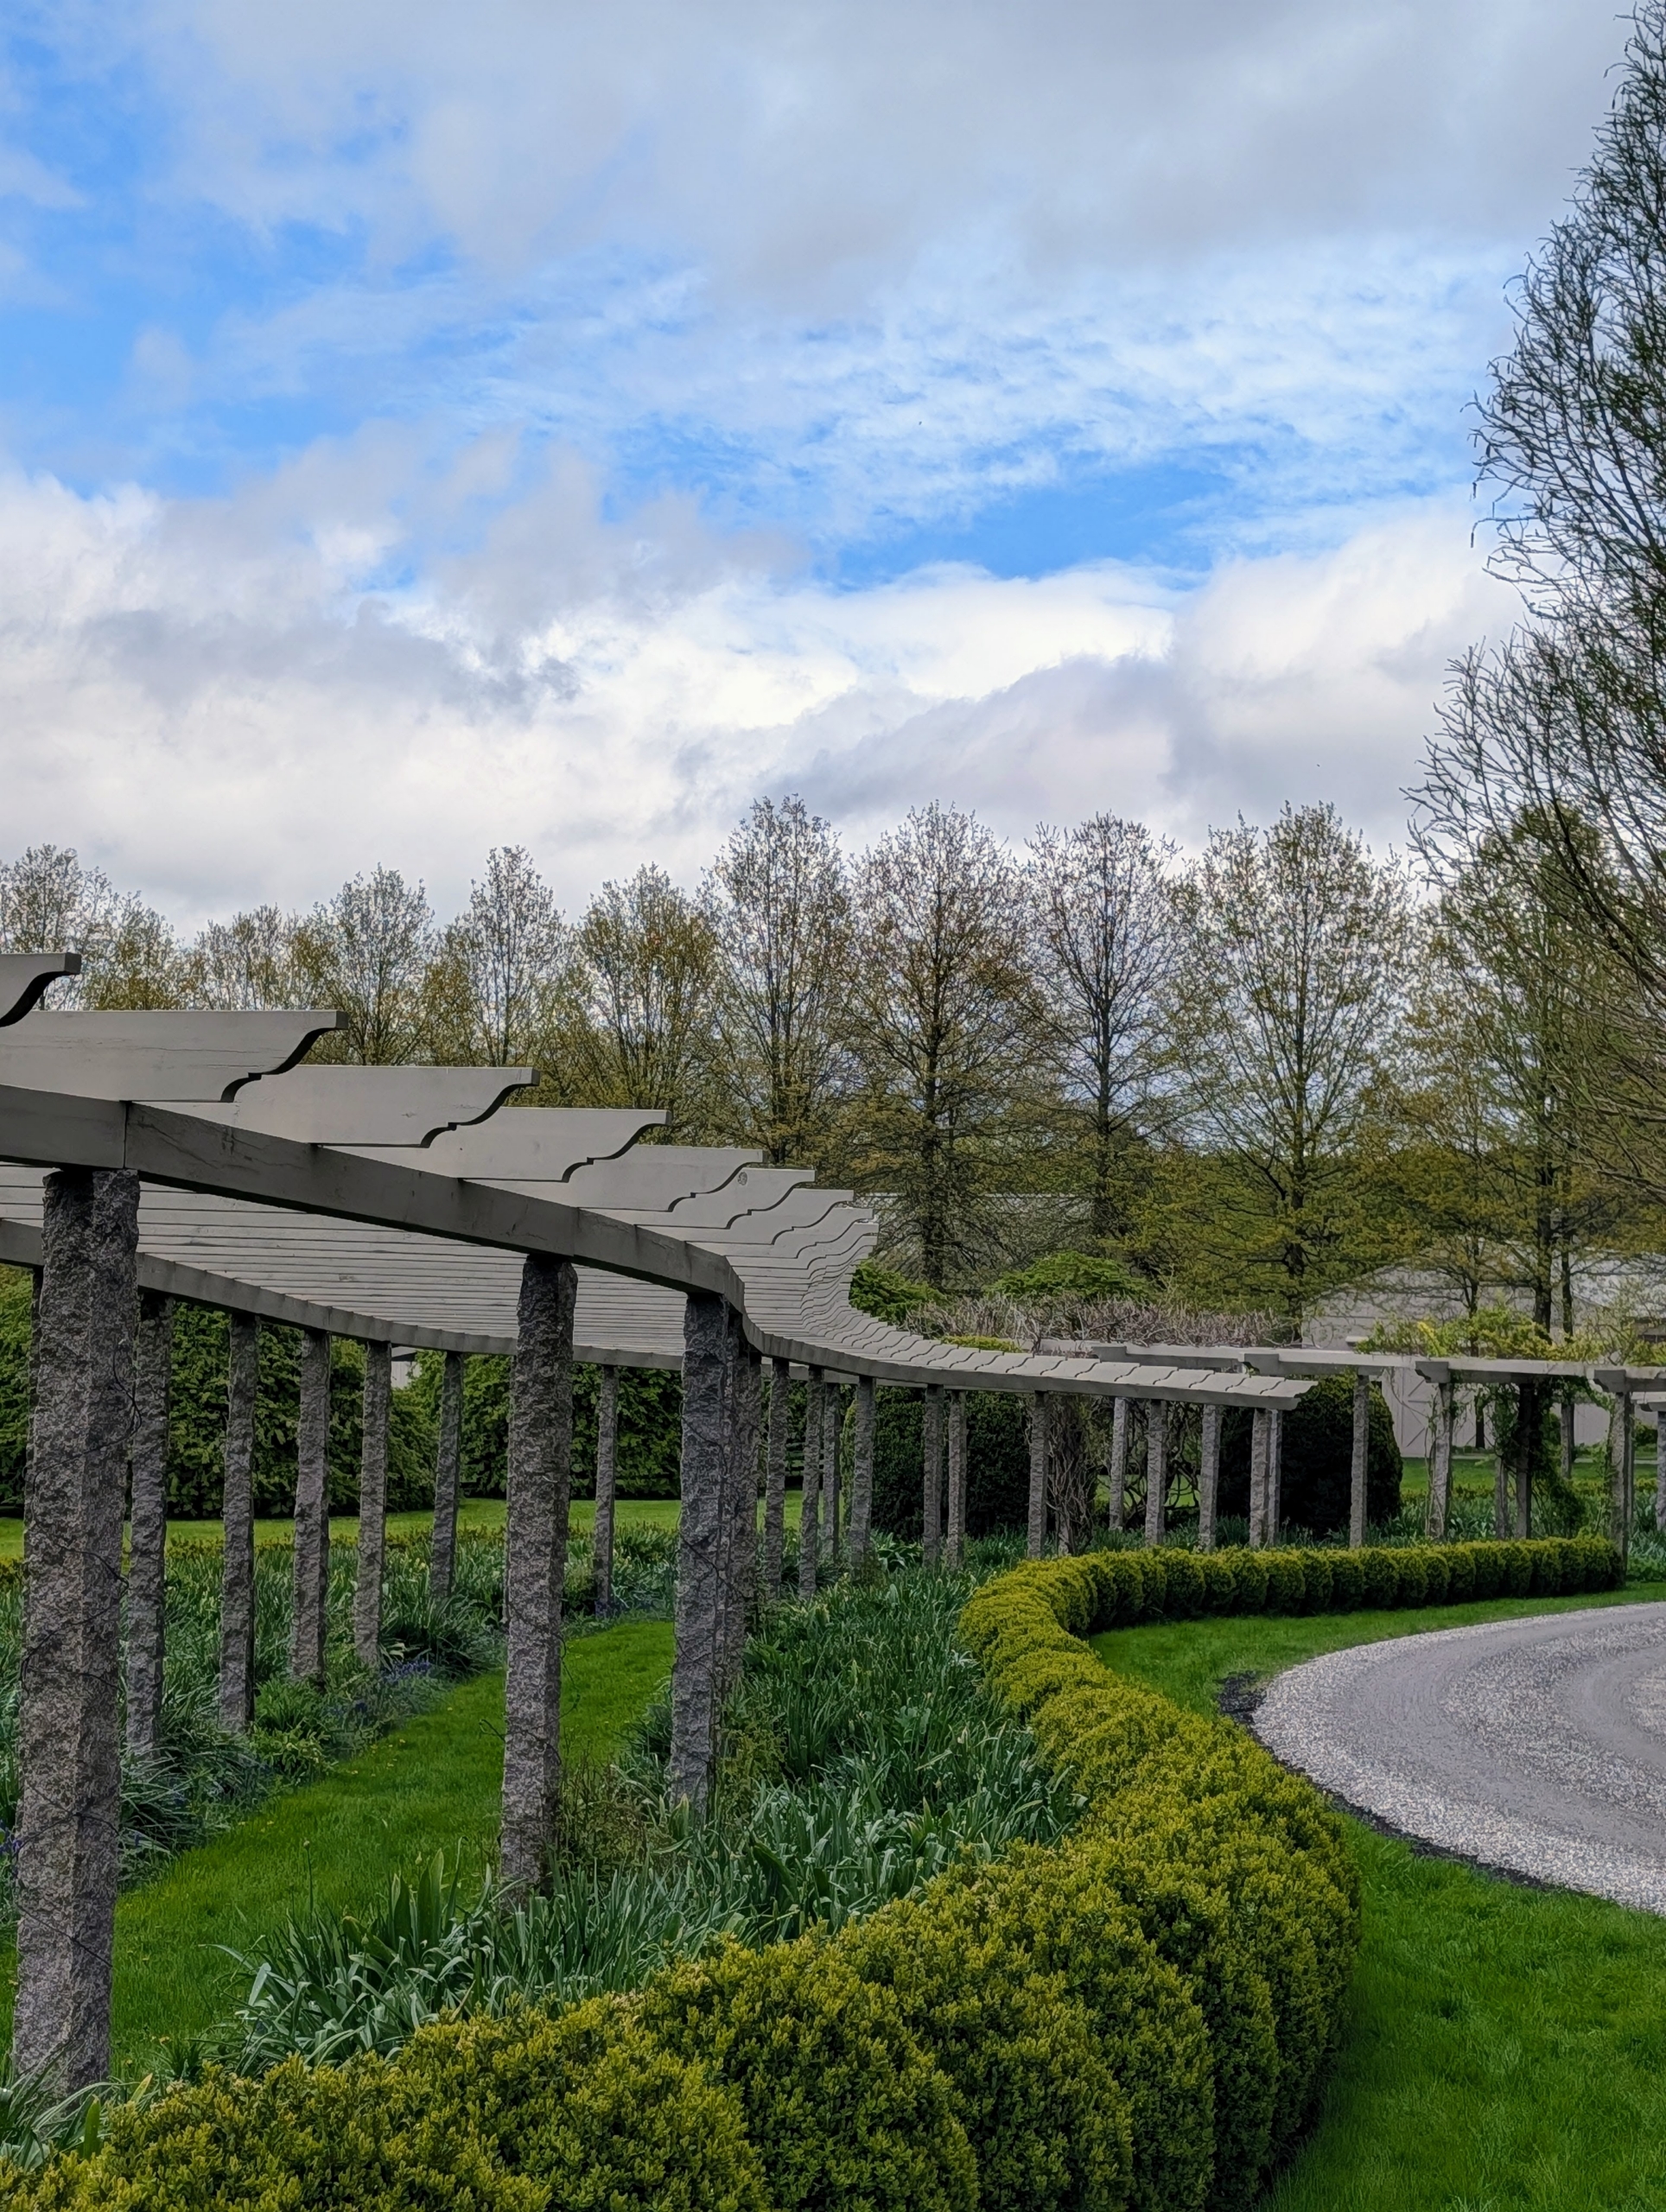
On this day, the skies cleared up just enough so my outdoor grounds crew and gardening team could continue some much needed jobs around the farm. The gardens are growing so nicely and so fast – my pergola beds will be full of gorgeous color in just a few weeks.
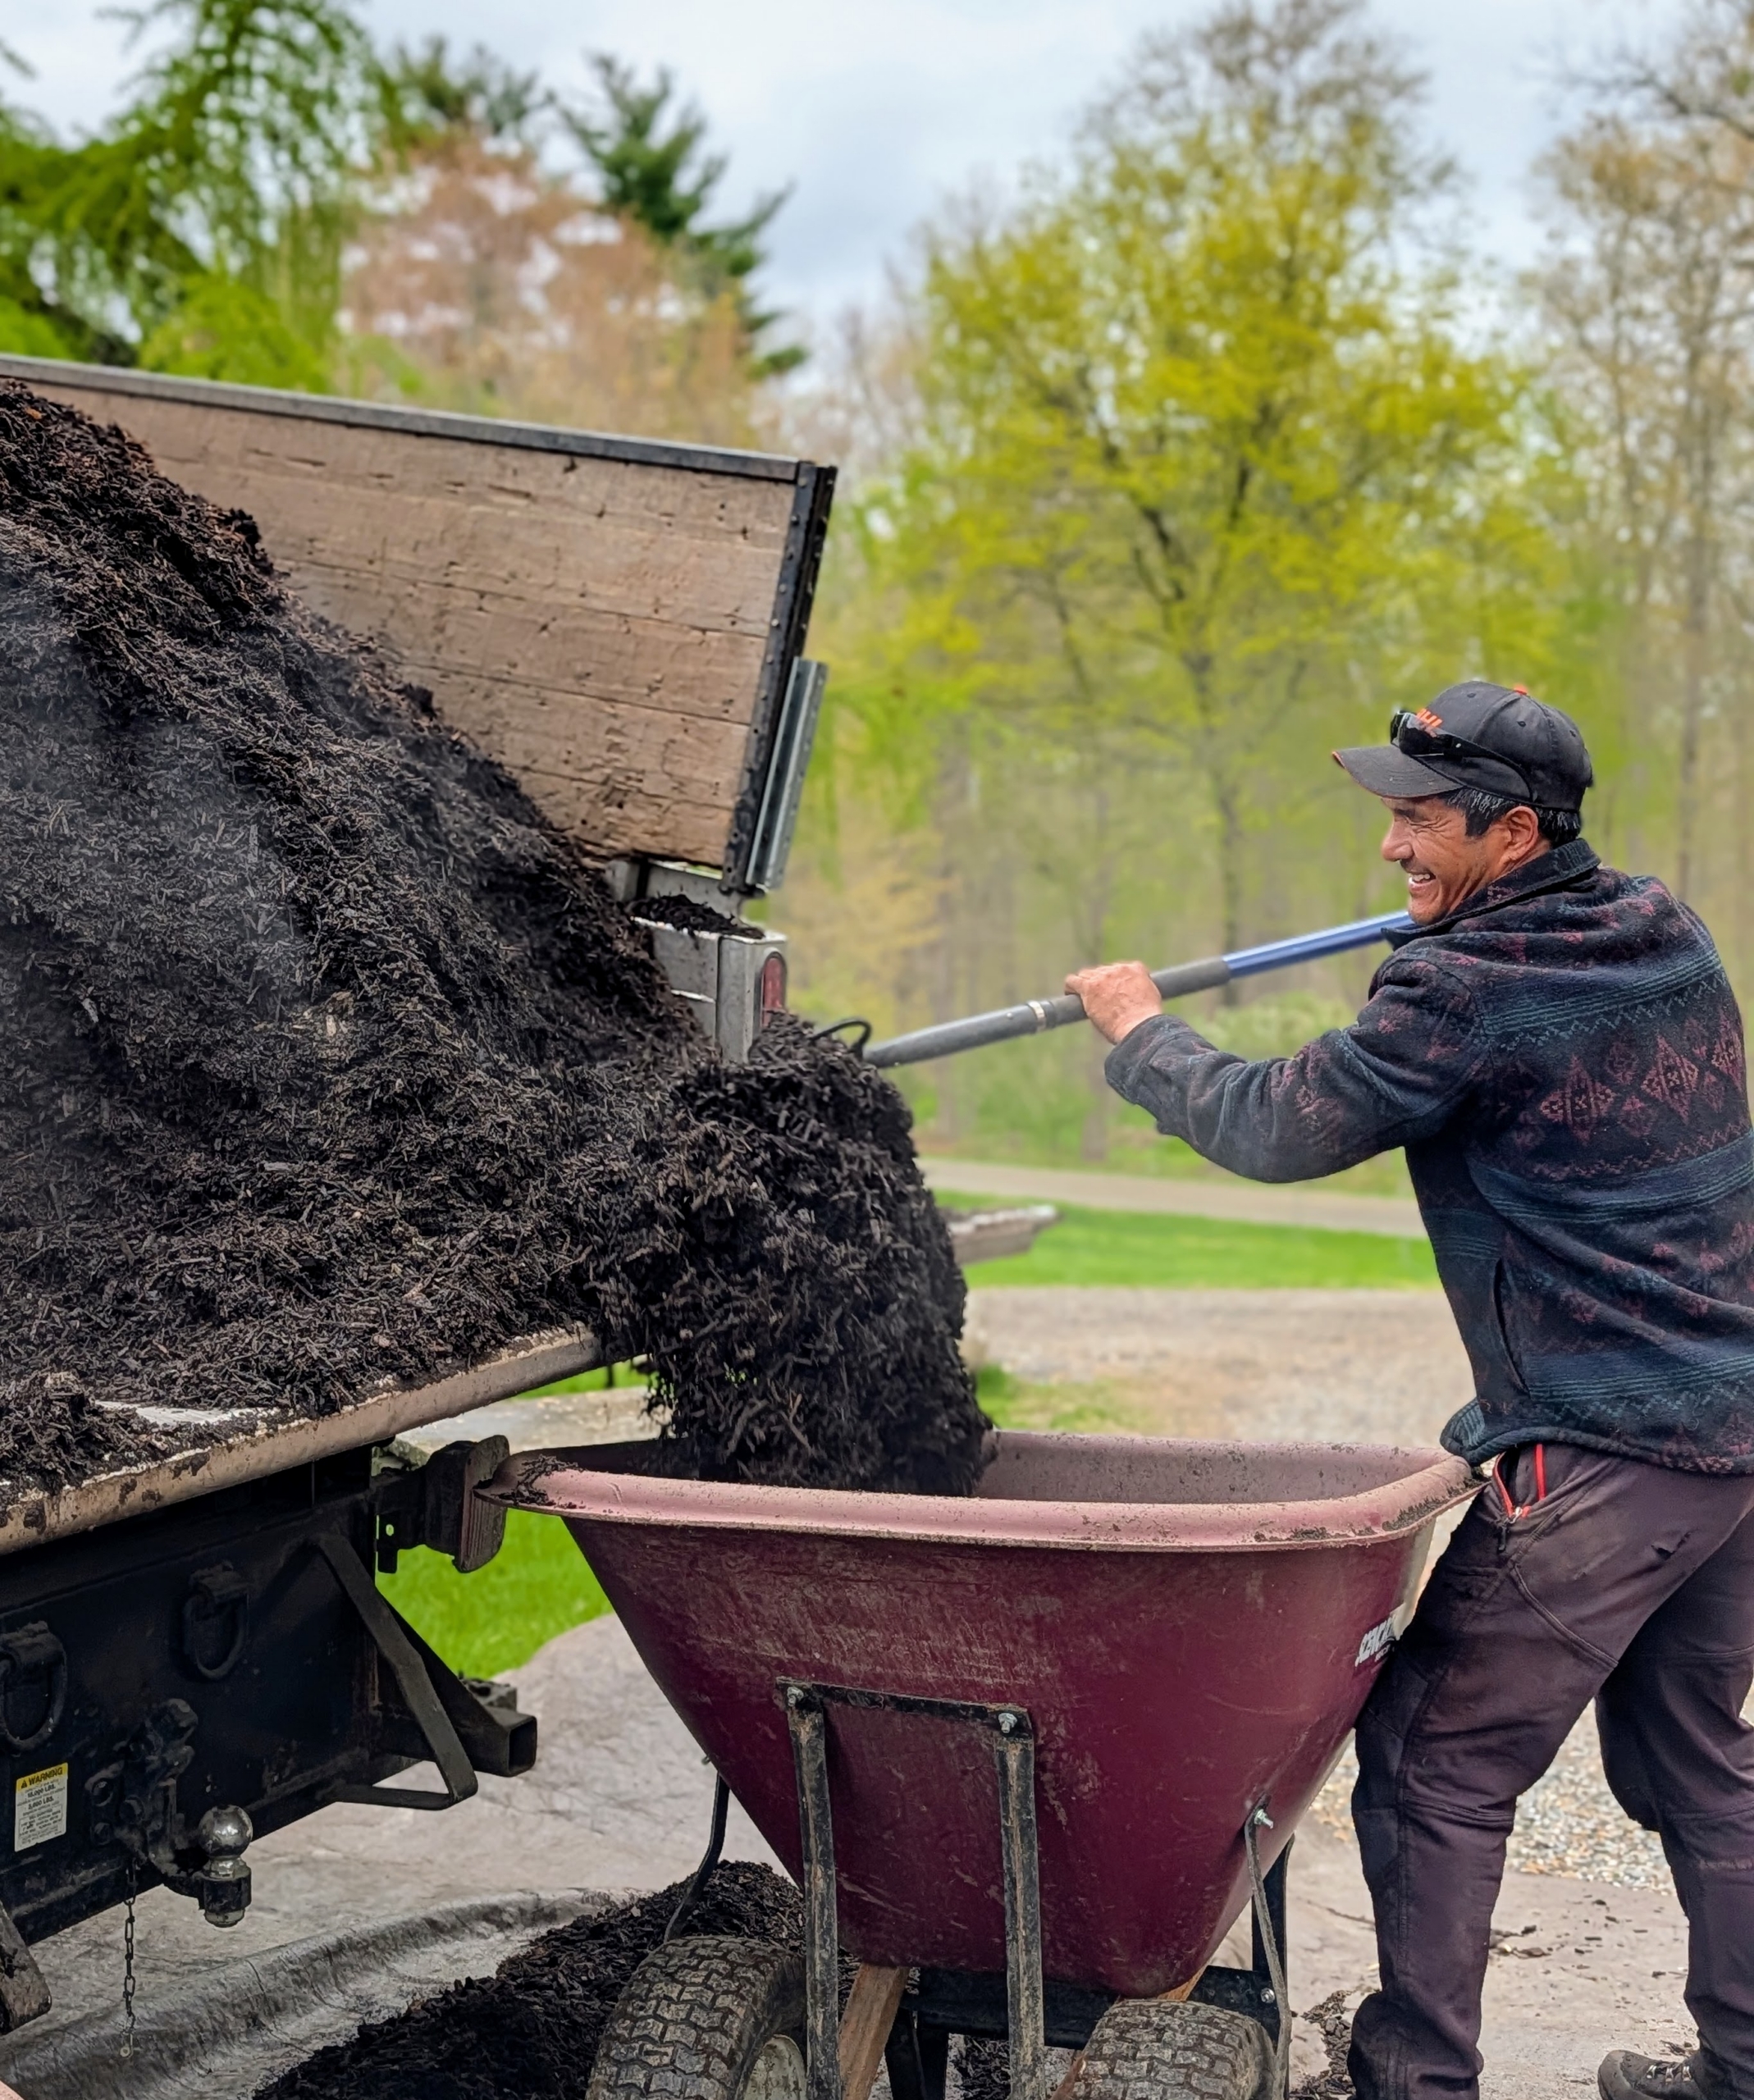
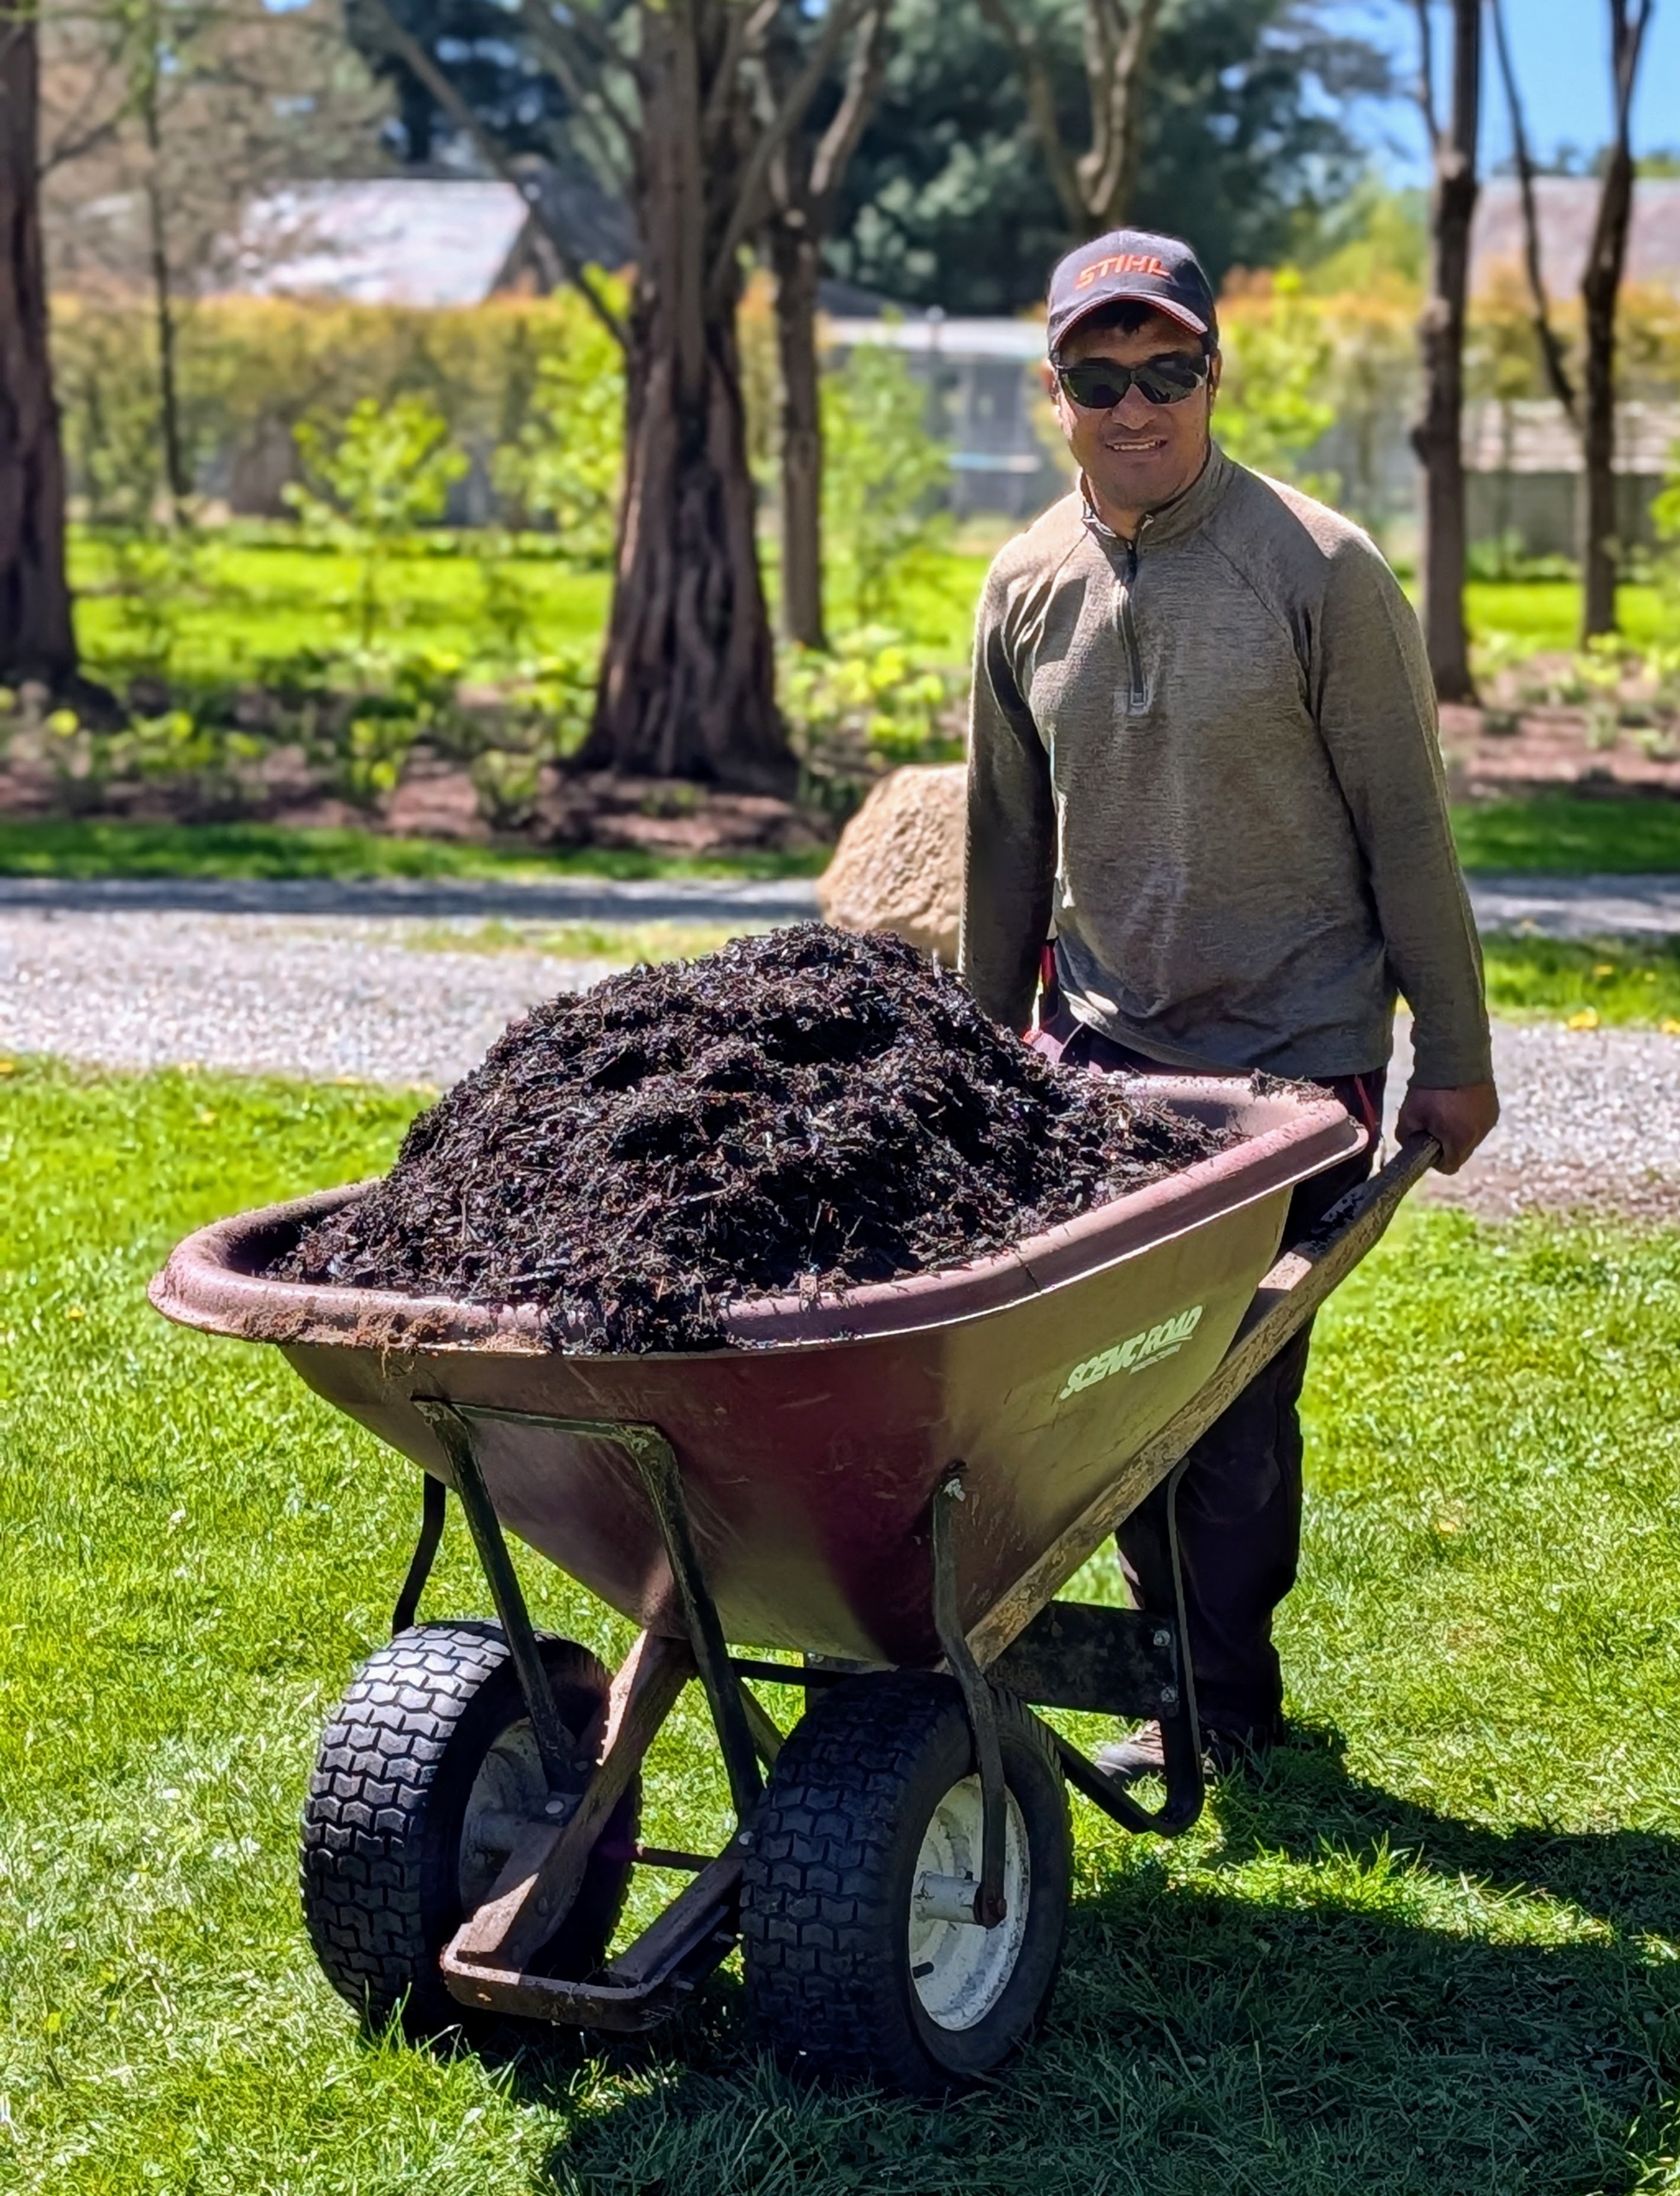
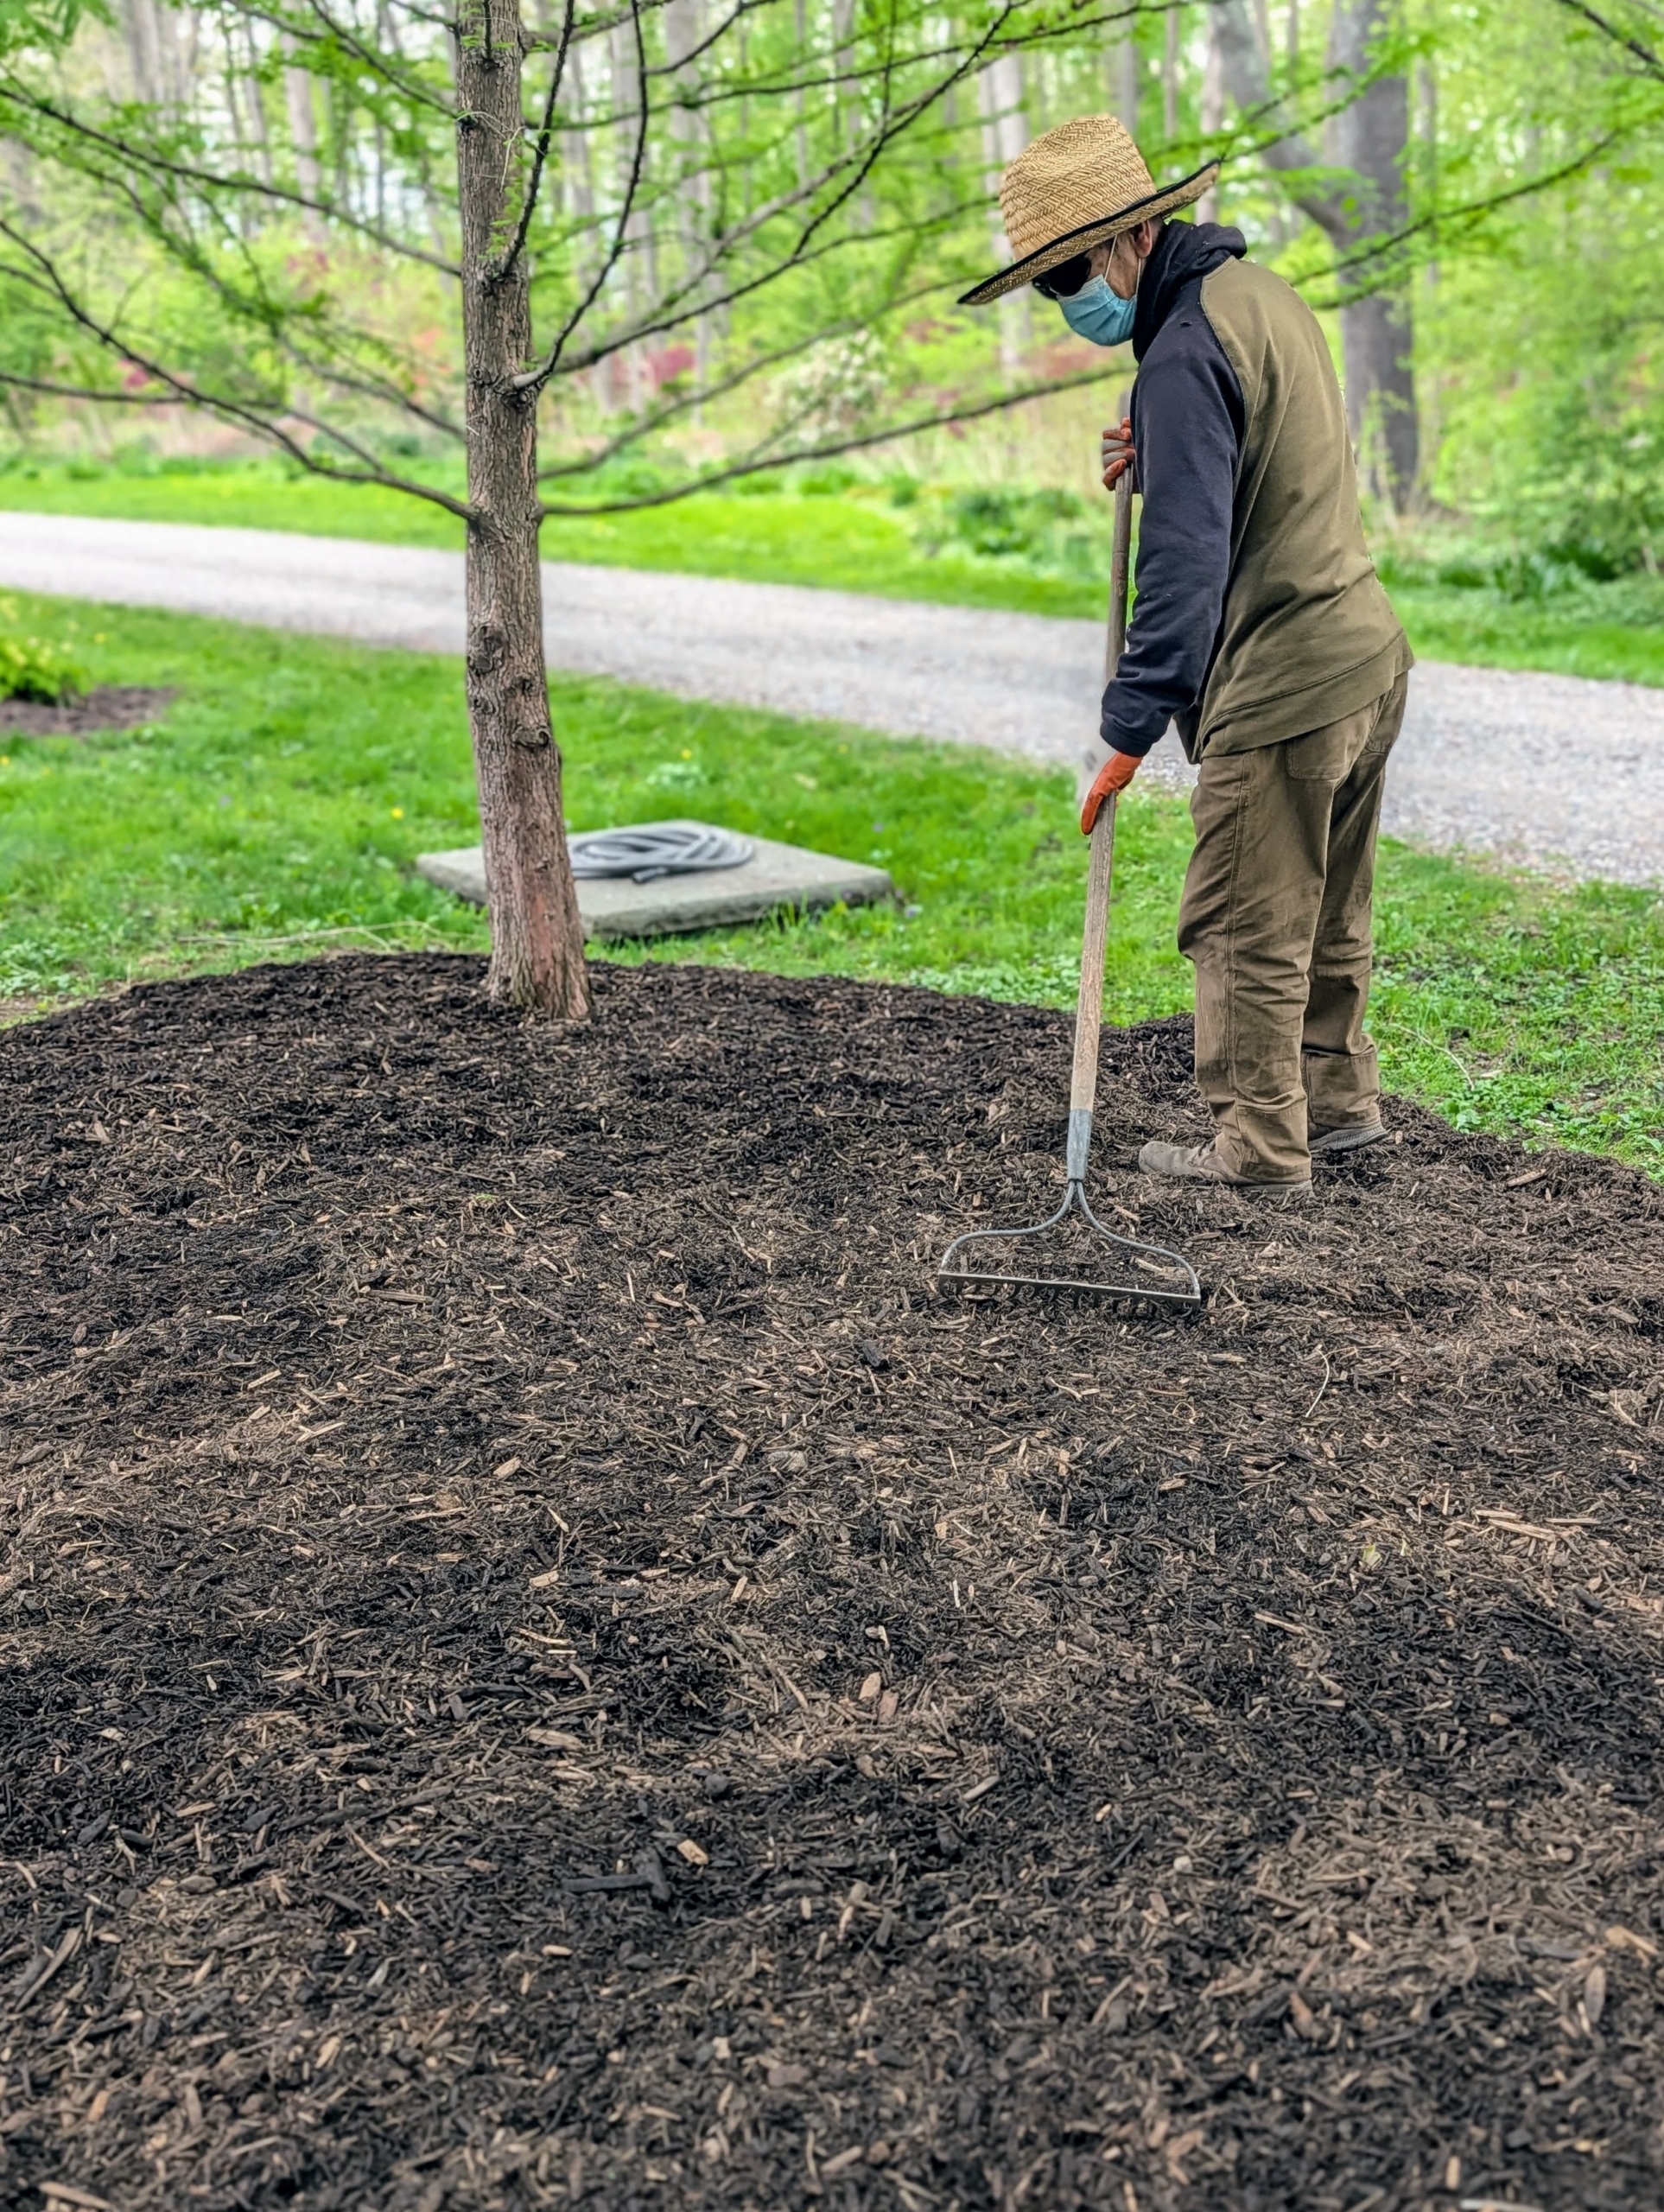
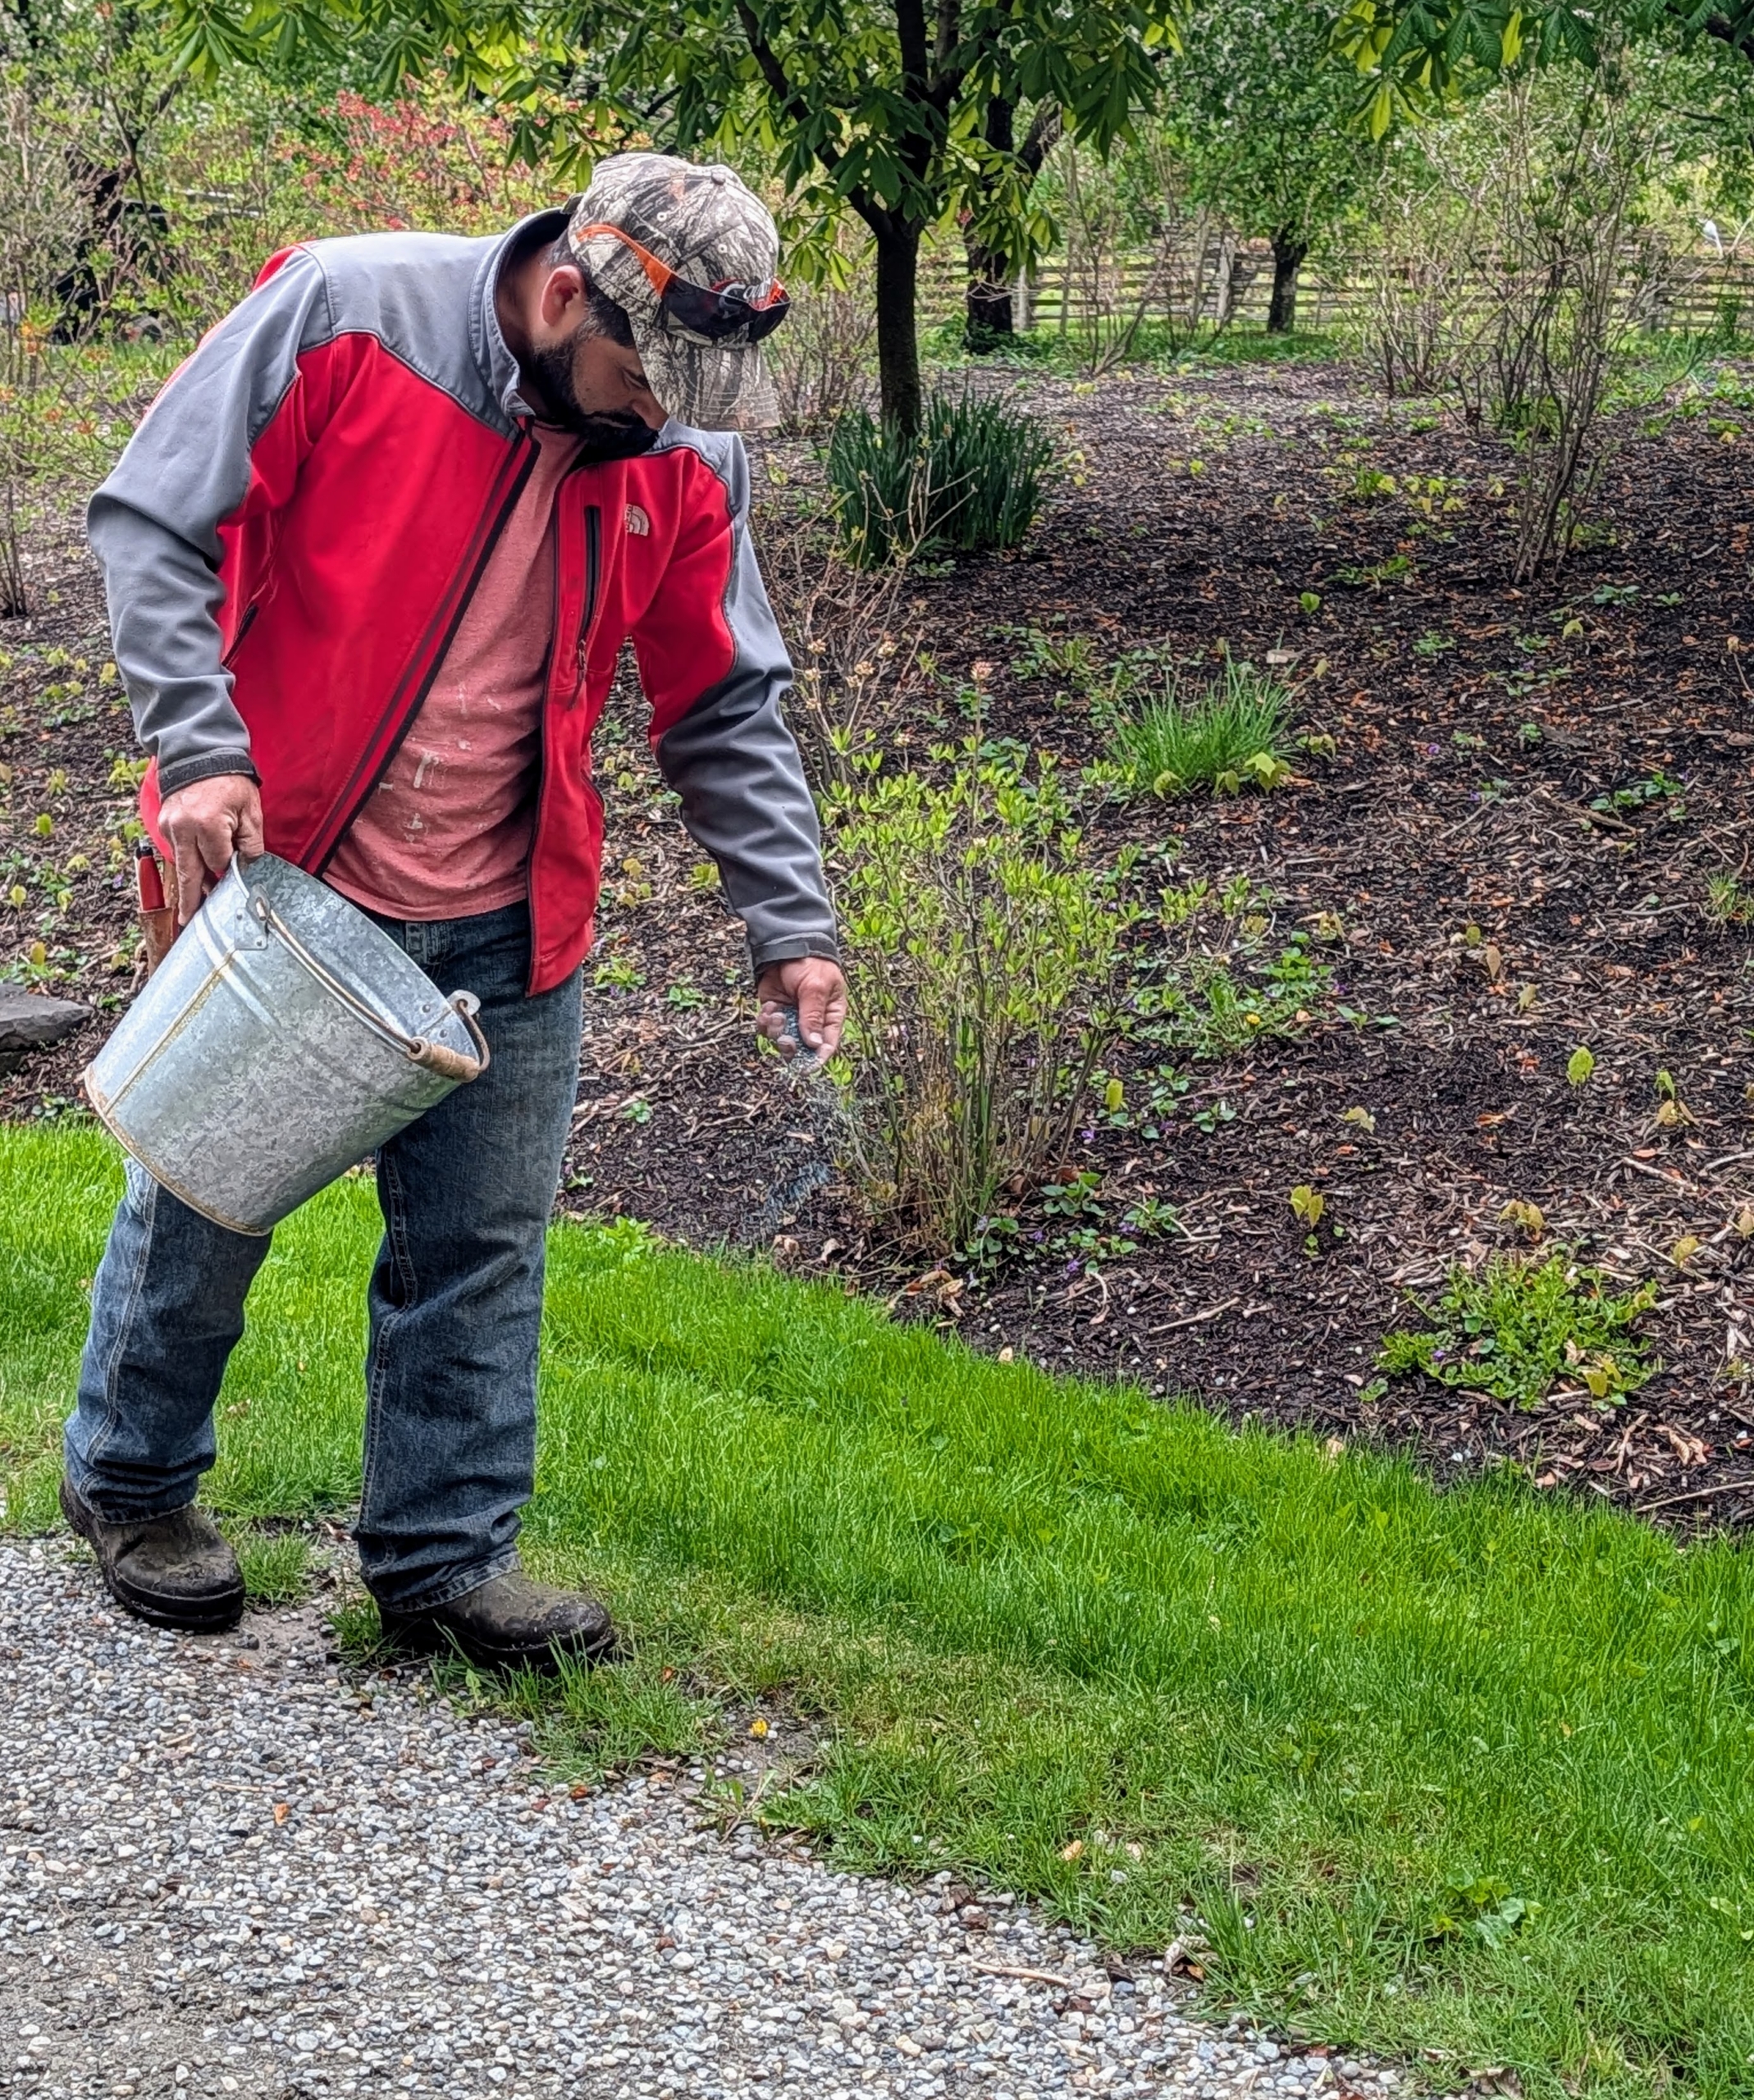
This time of year, my outdoor grounds crew is very busy mulching and composting the garden beds. Here, Pasang is filling the wheelbarrow with mulch for my pinetum.
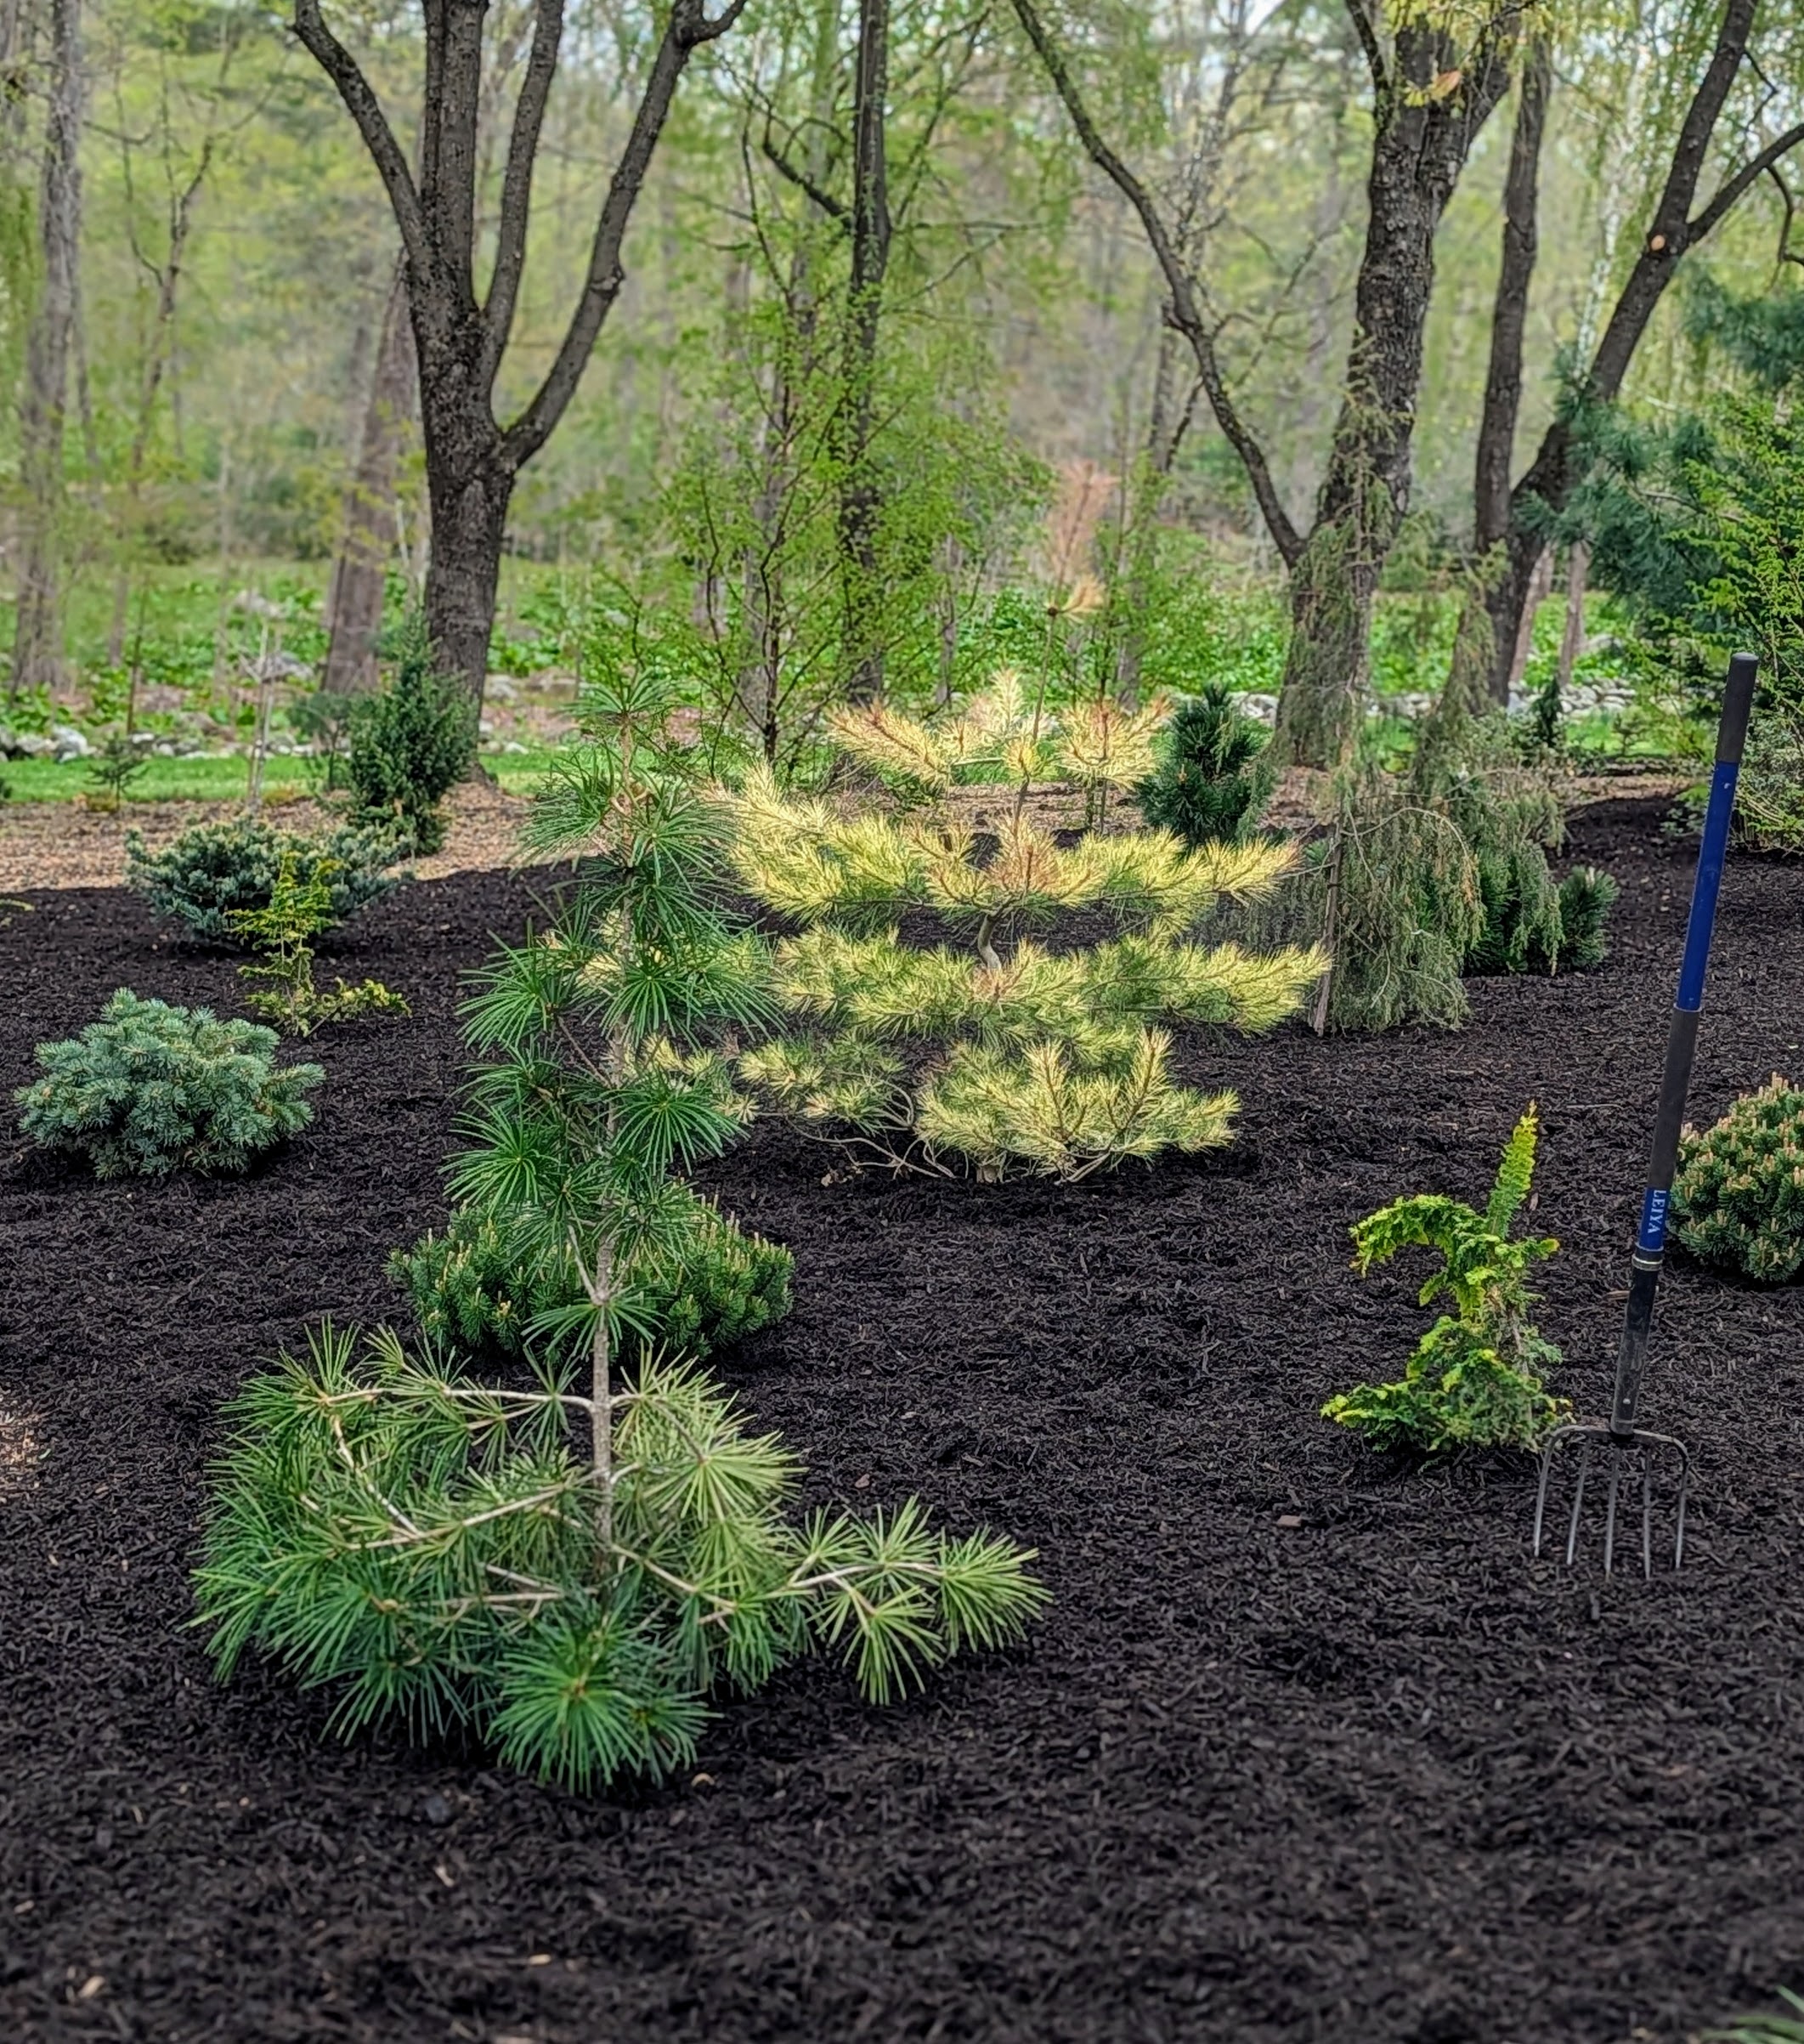
It looks so wonderful with a new layer of mulch. Mulching the garden is one of the easiest ways to improve a garden’s health, retain soil moisture, suppress weeds, and enhance plant growth.
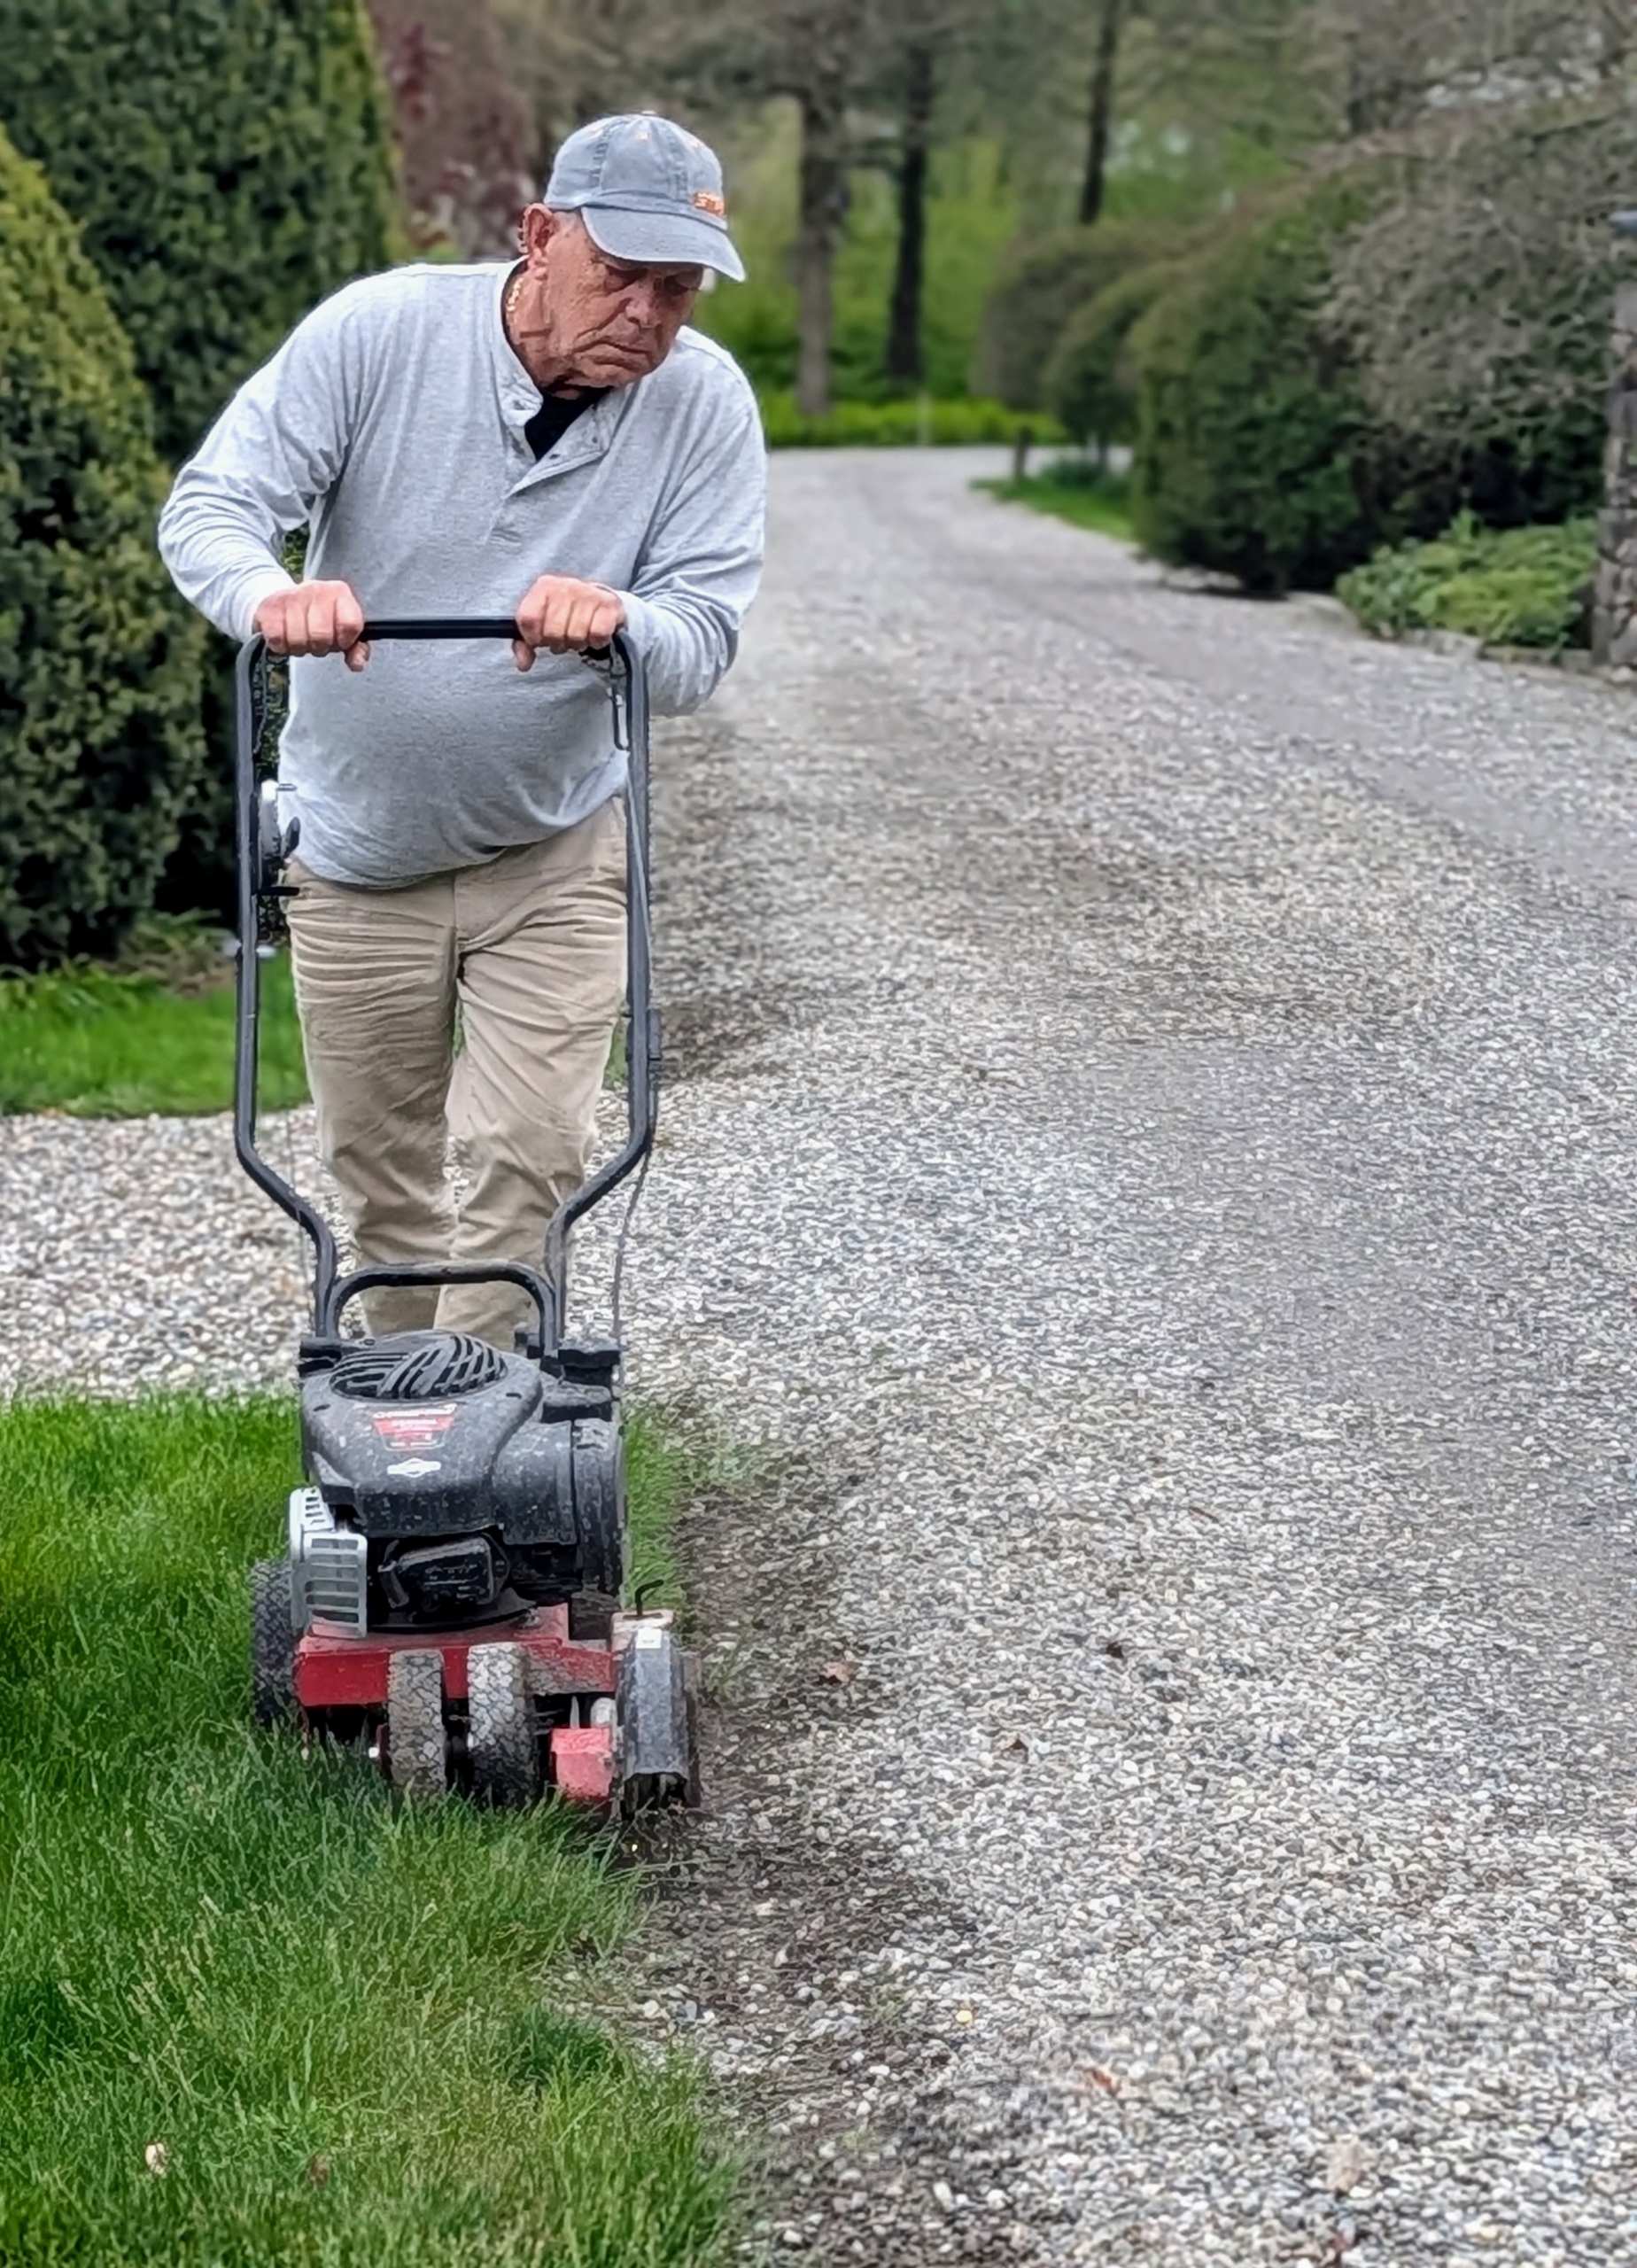
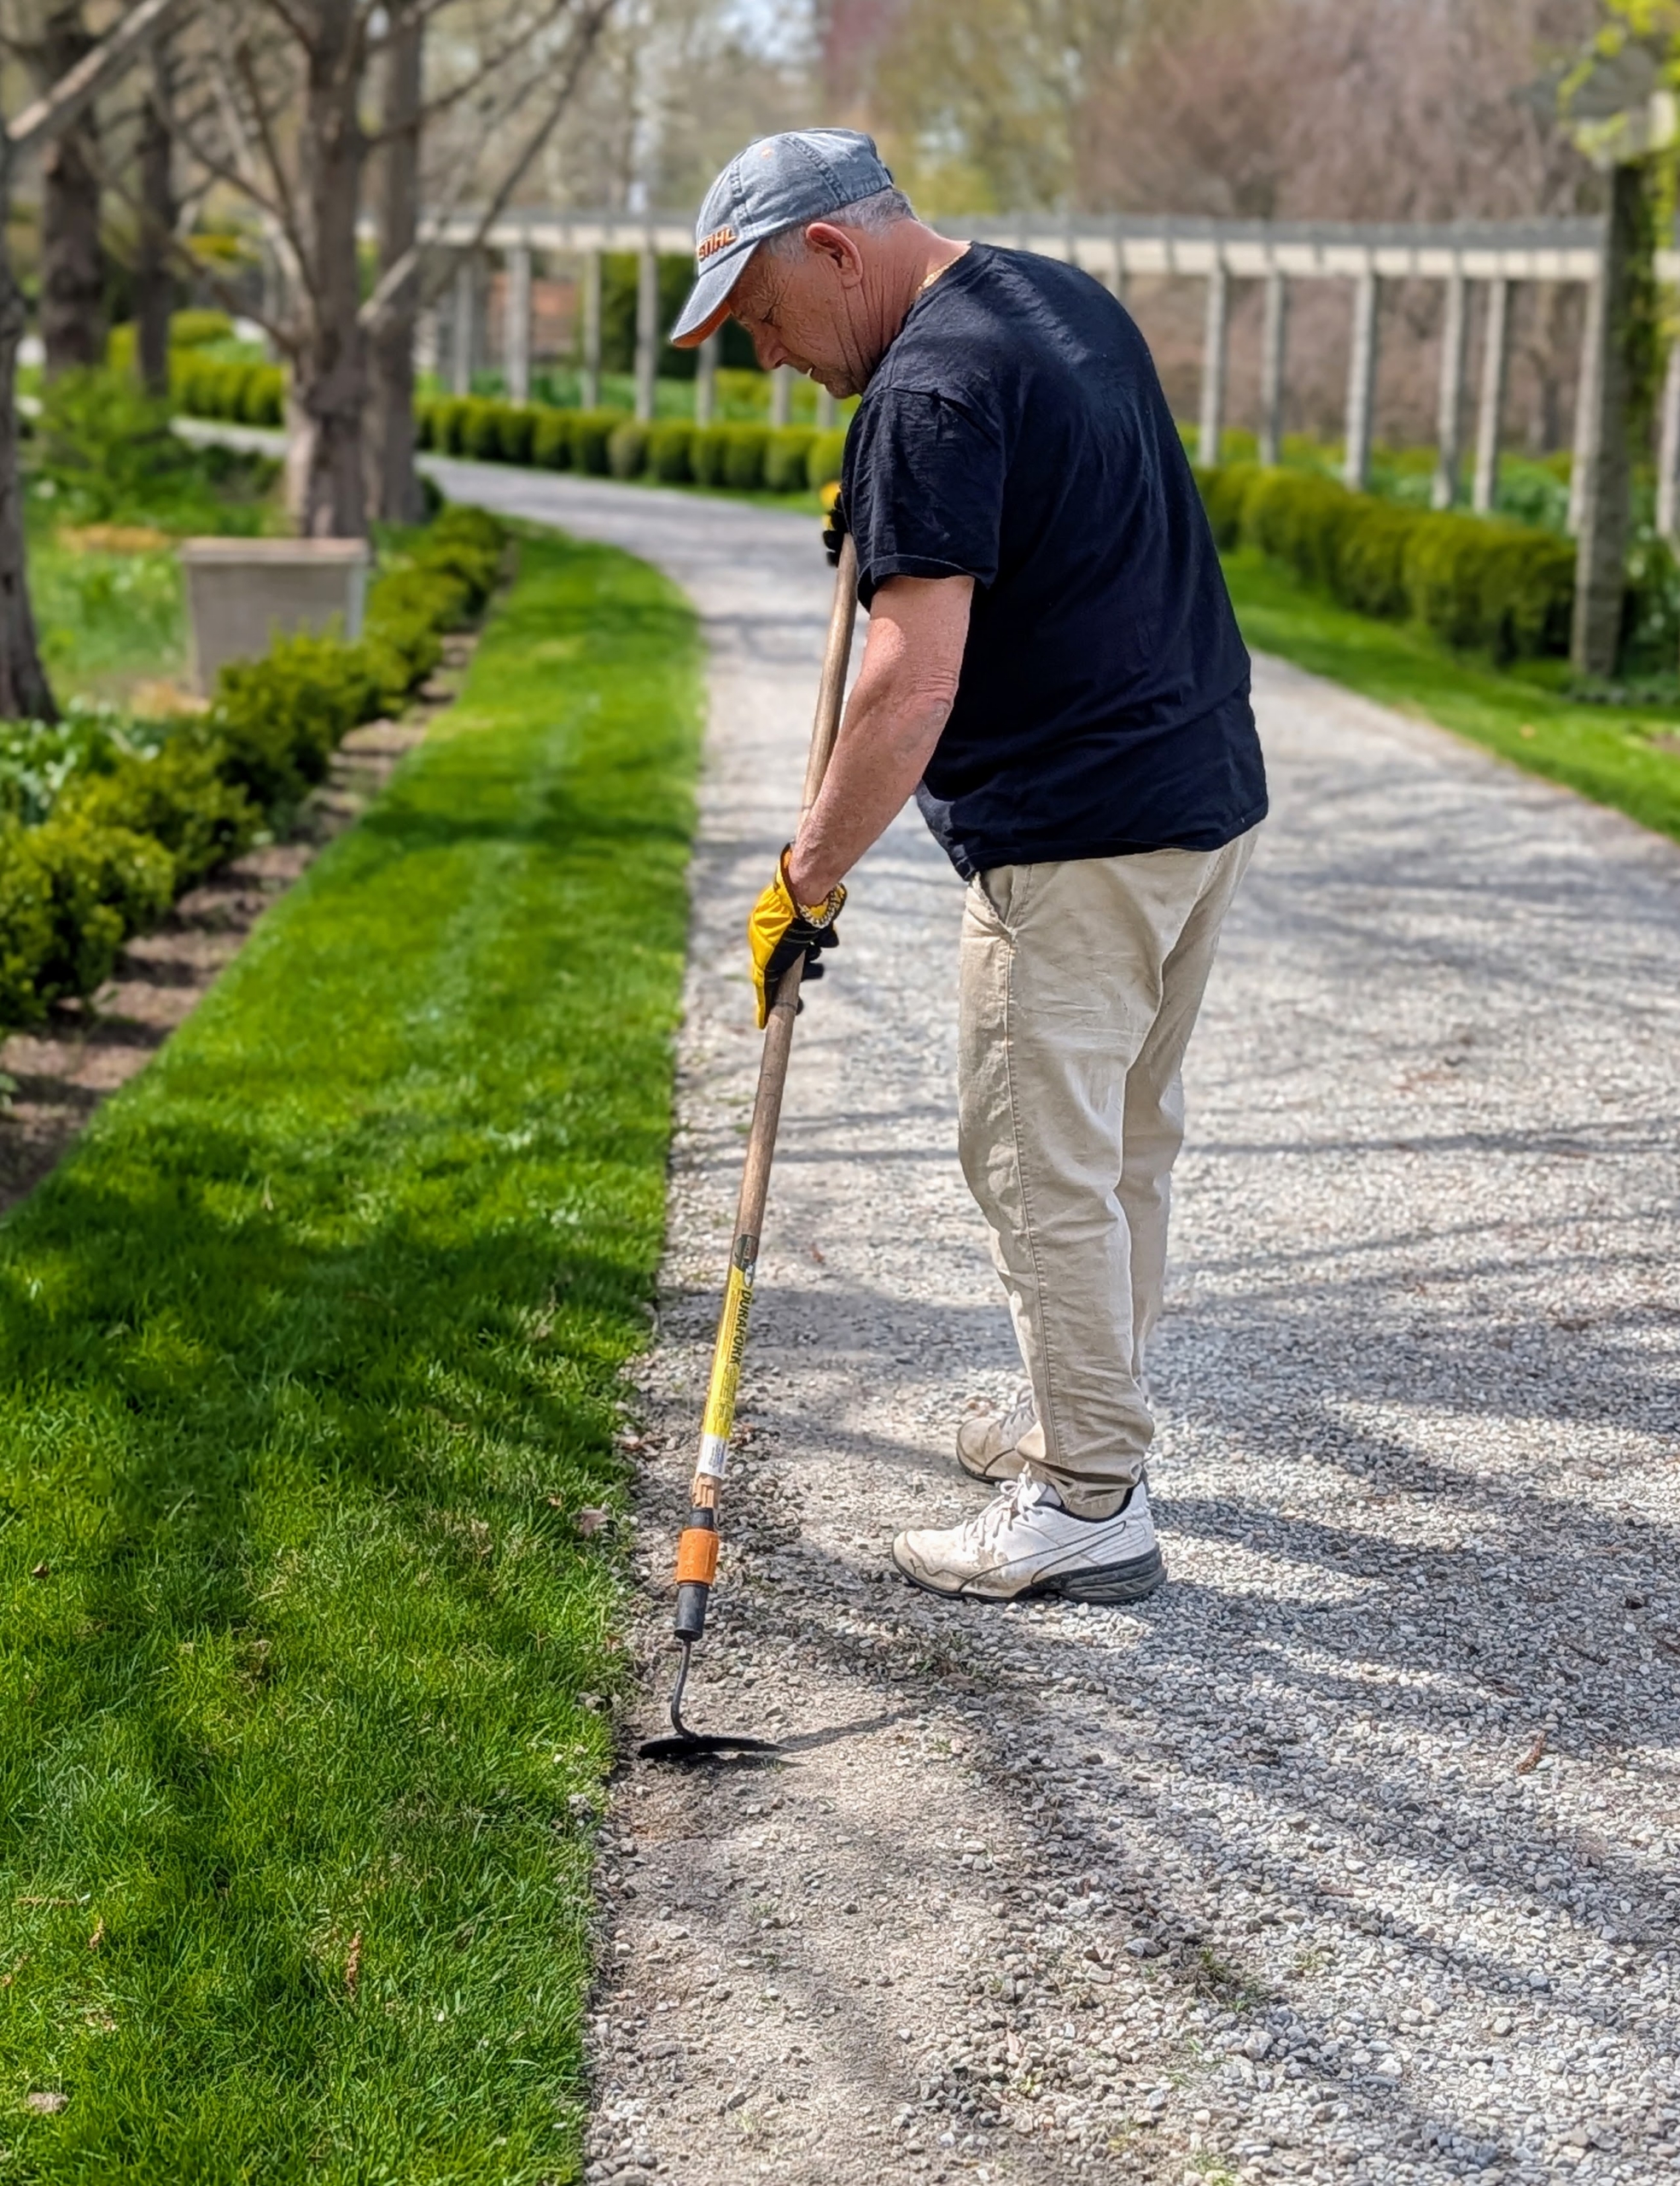
Along the carriage road near my Winter House, Fernando edges the roads – a task we do once a year. Rotary edgers, powered by gasoline, electricity, or portable battery reduce the time it takes to complete this job. These machines feature a spinning blade that cuts through the turf as the edger is pushed along the road where it meets the grass border.
After the edge is cut, Fernando uses a hoe to scrape the unwanted grass, leaving a nice straight edge.
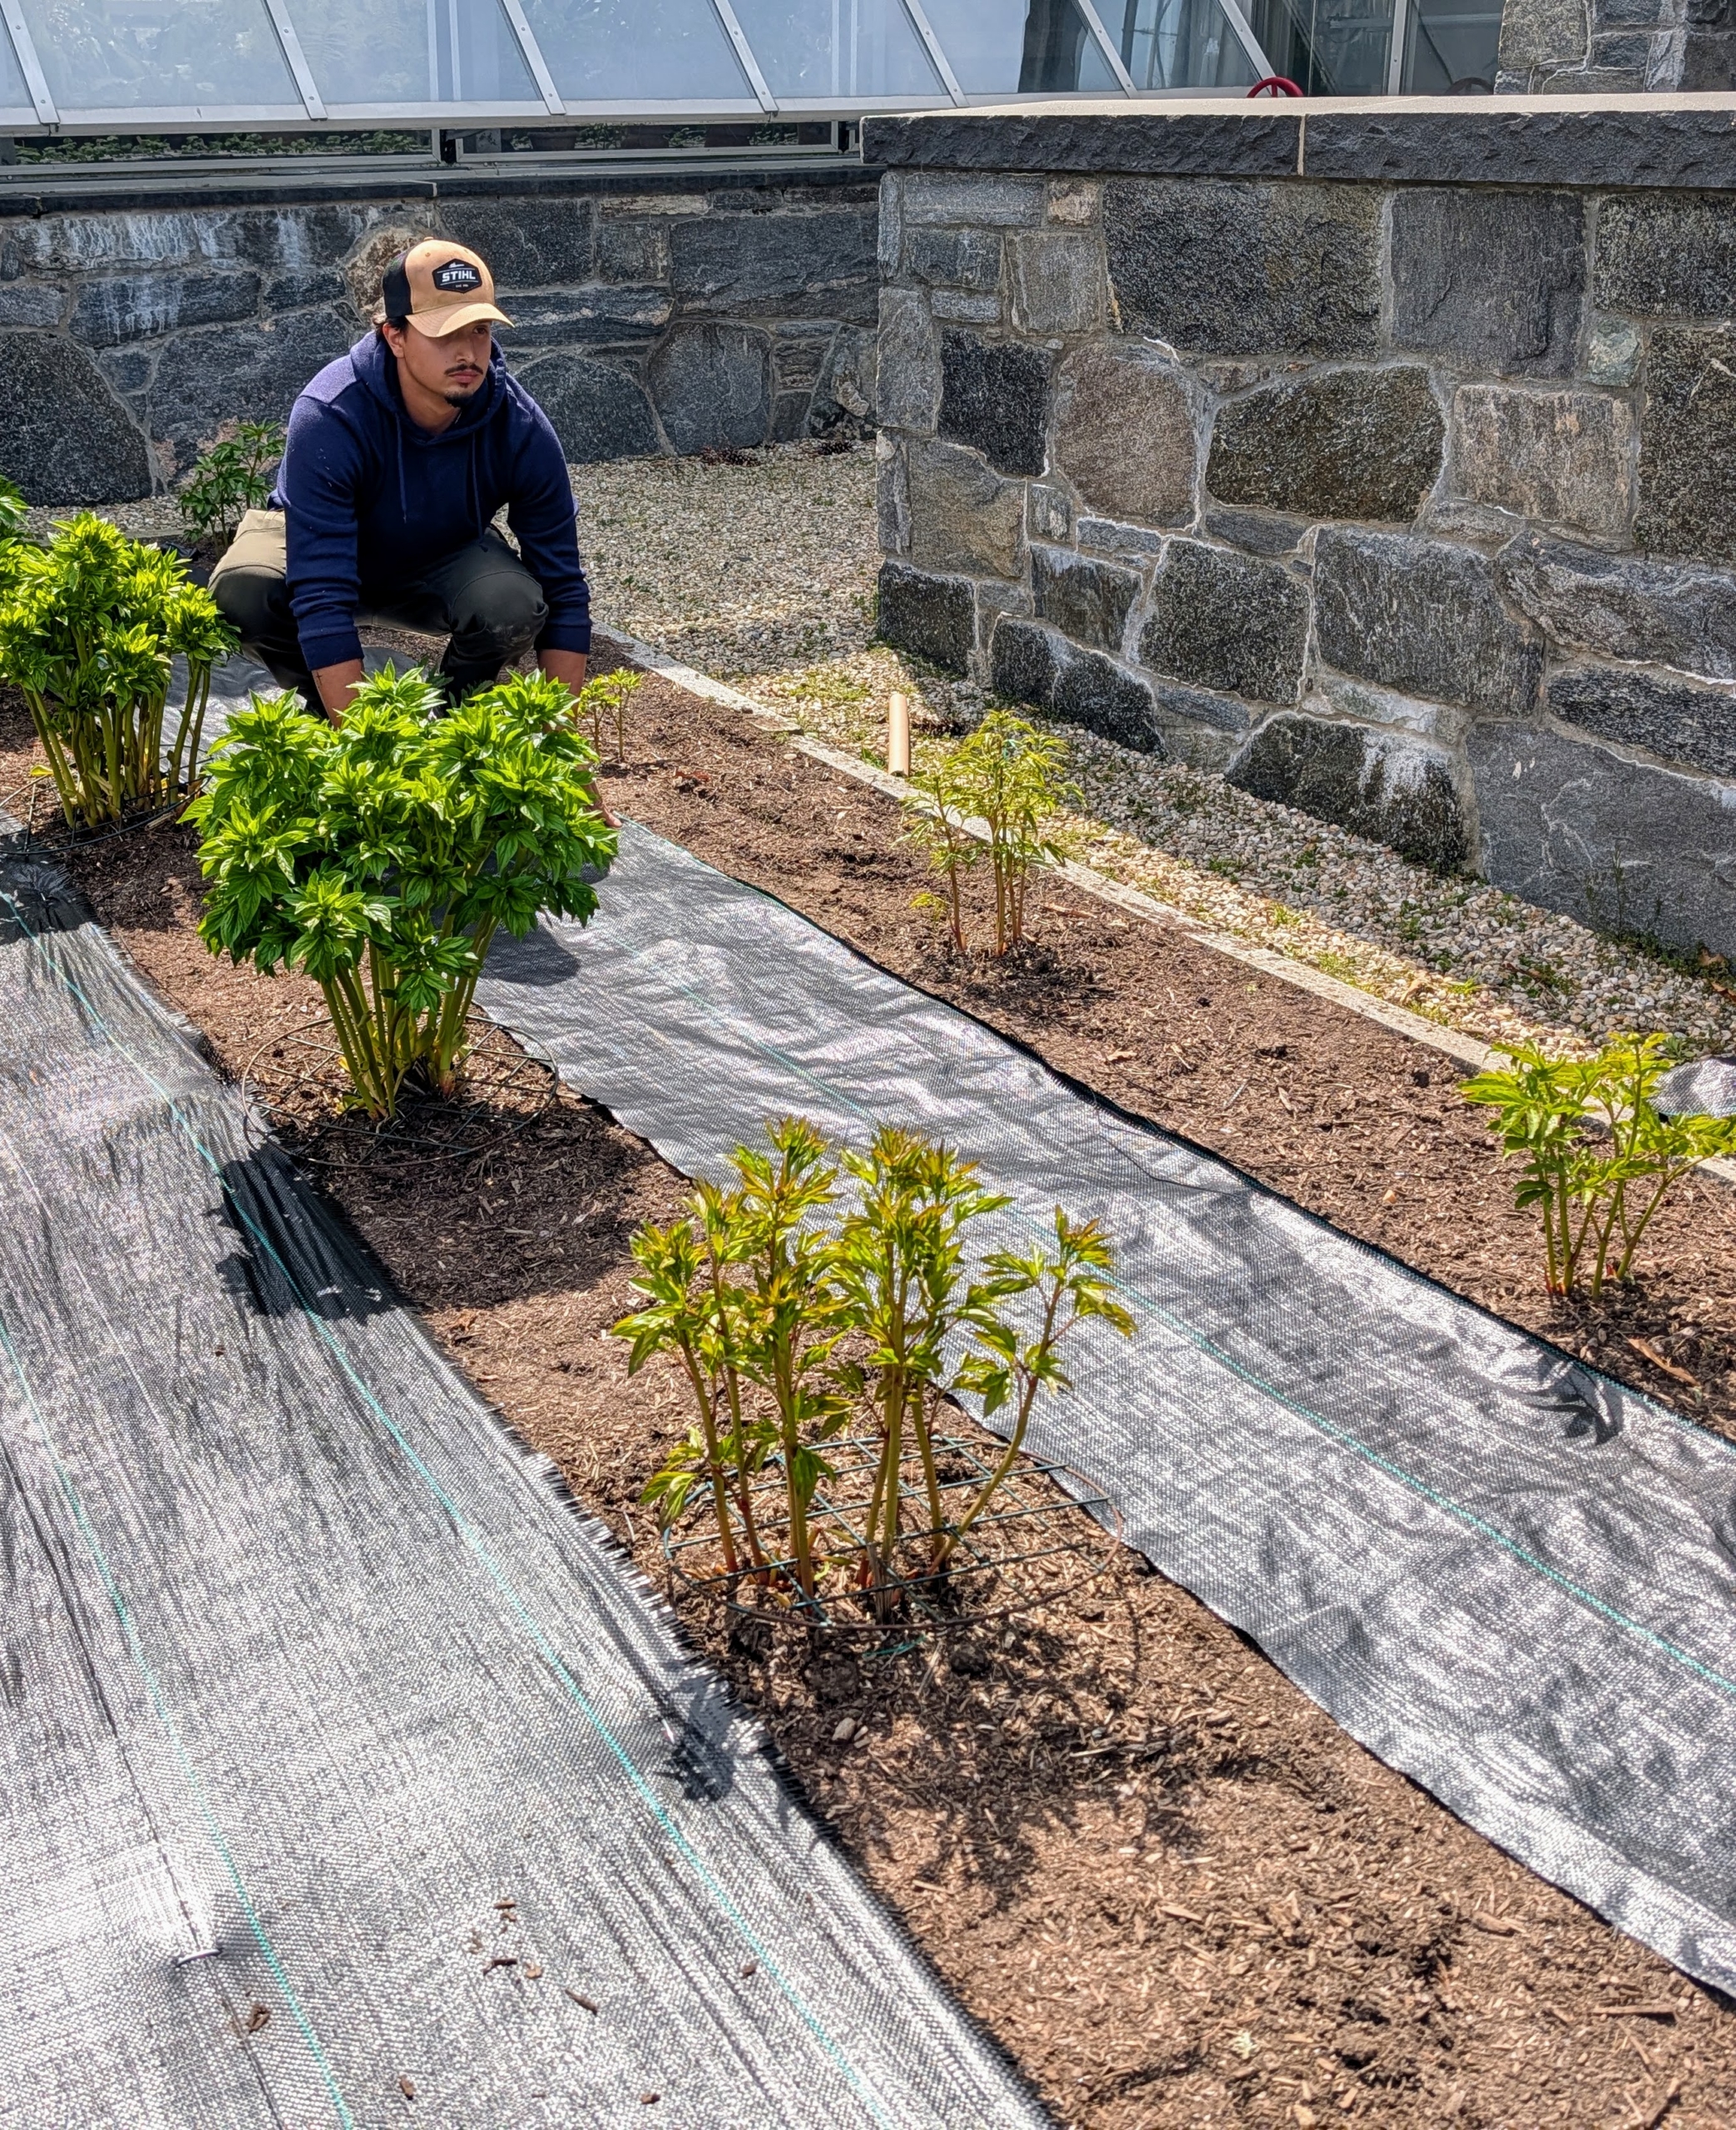
Outside my main greenhouse, Matthew puts down weed cloth in between the rows of peonies.
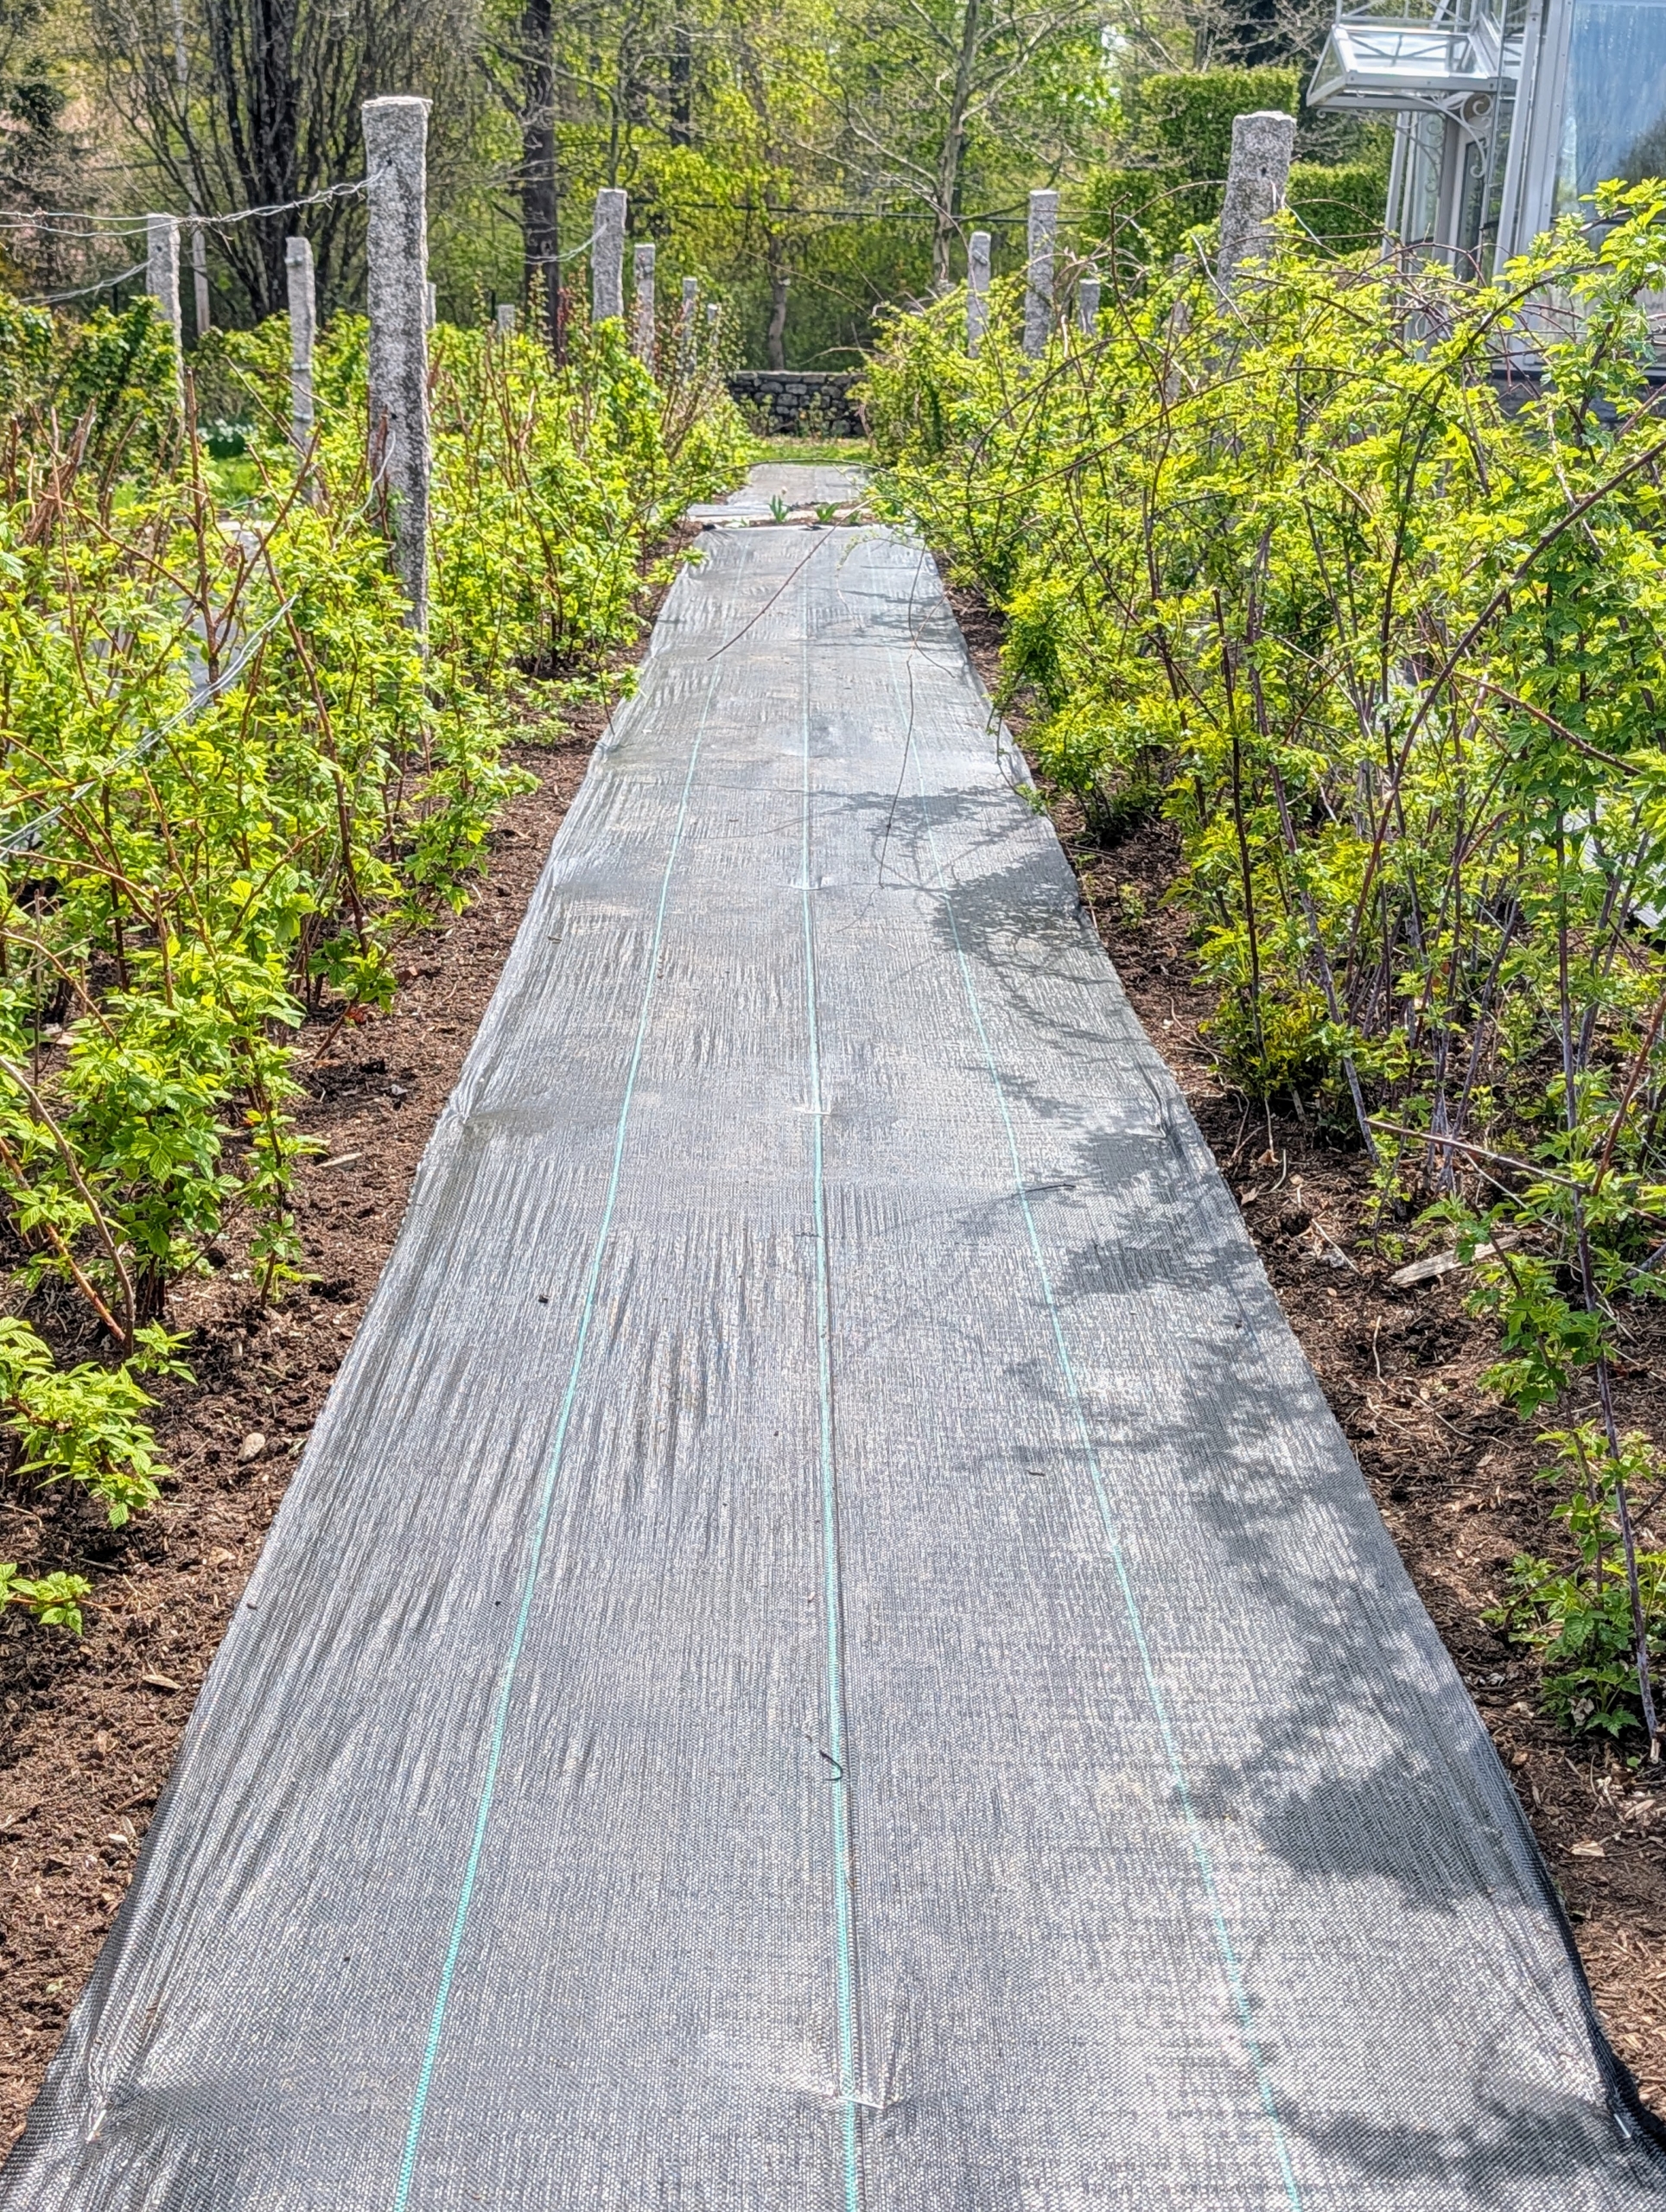
The same is done in between my rows of raspberries.
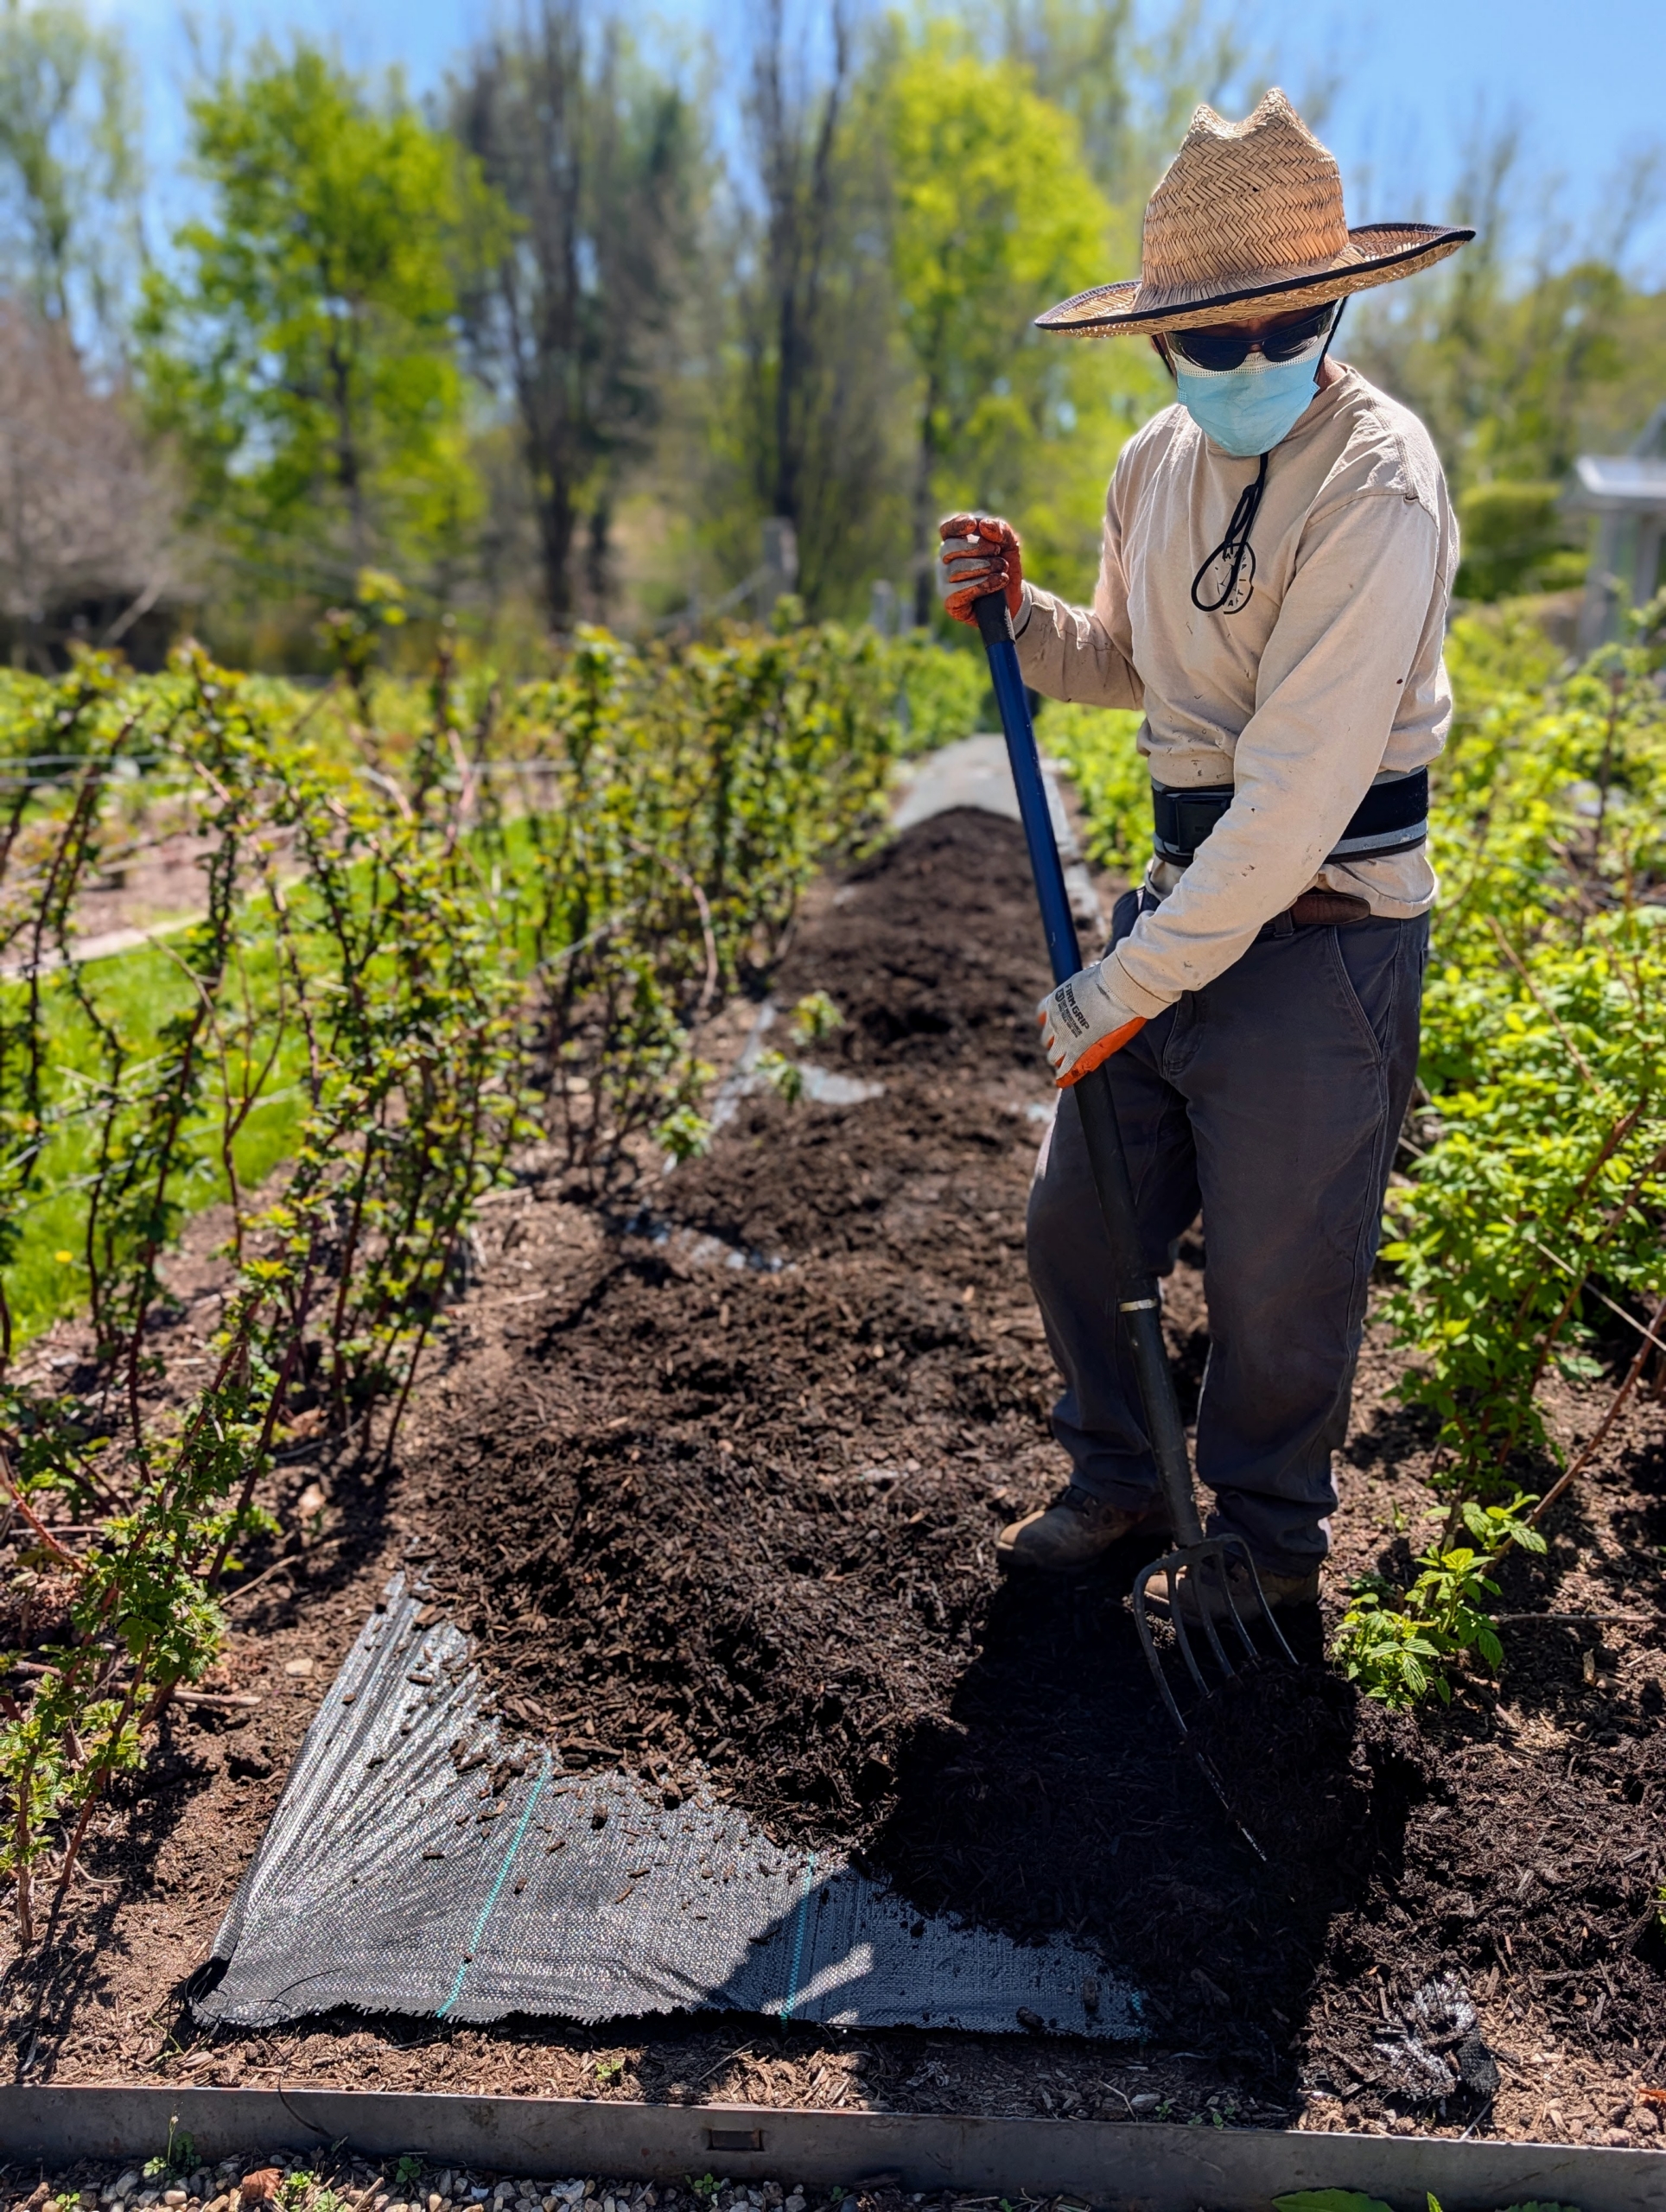
Chhiring then covers the weed cloth with a two to three inch layer of mulch.
Here’s is what it looks like after mulching. These areas should be much easier to maintain this year.
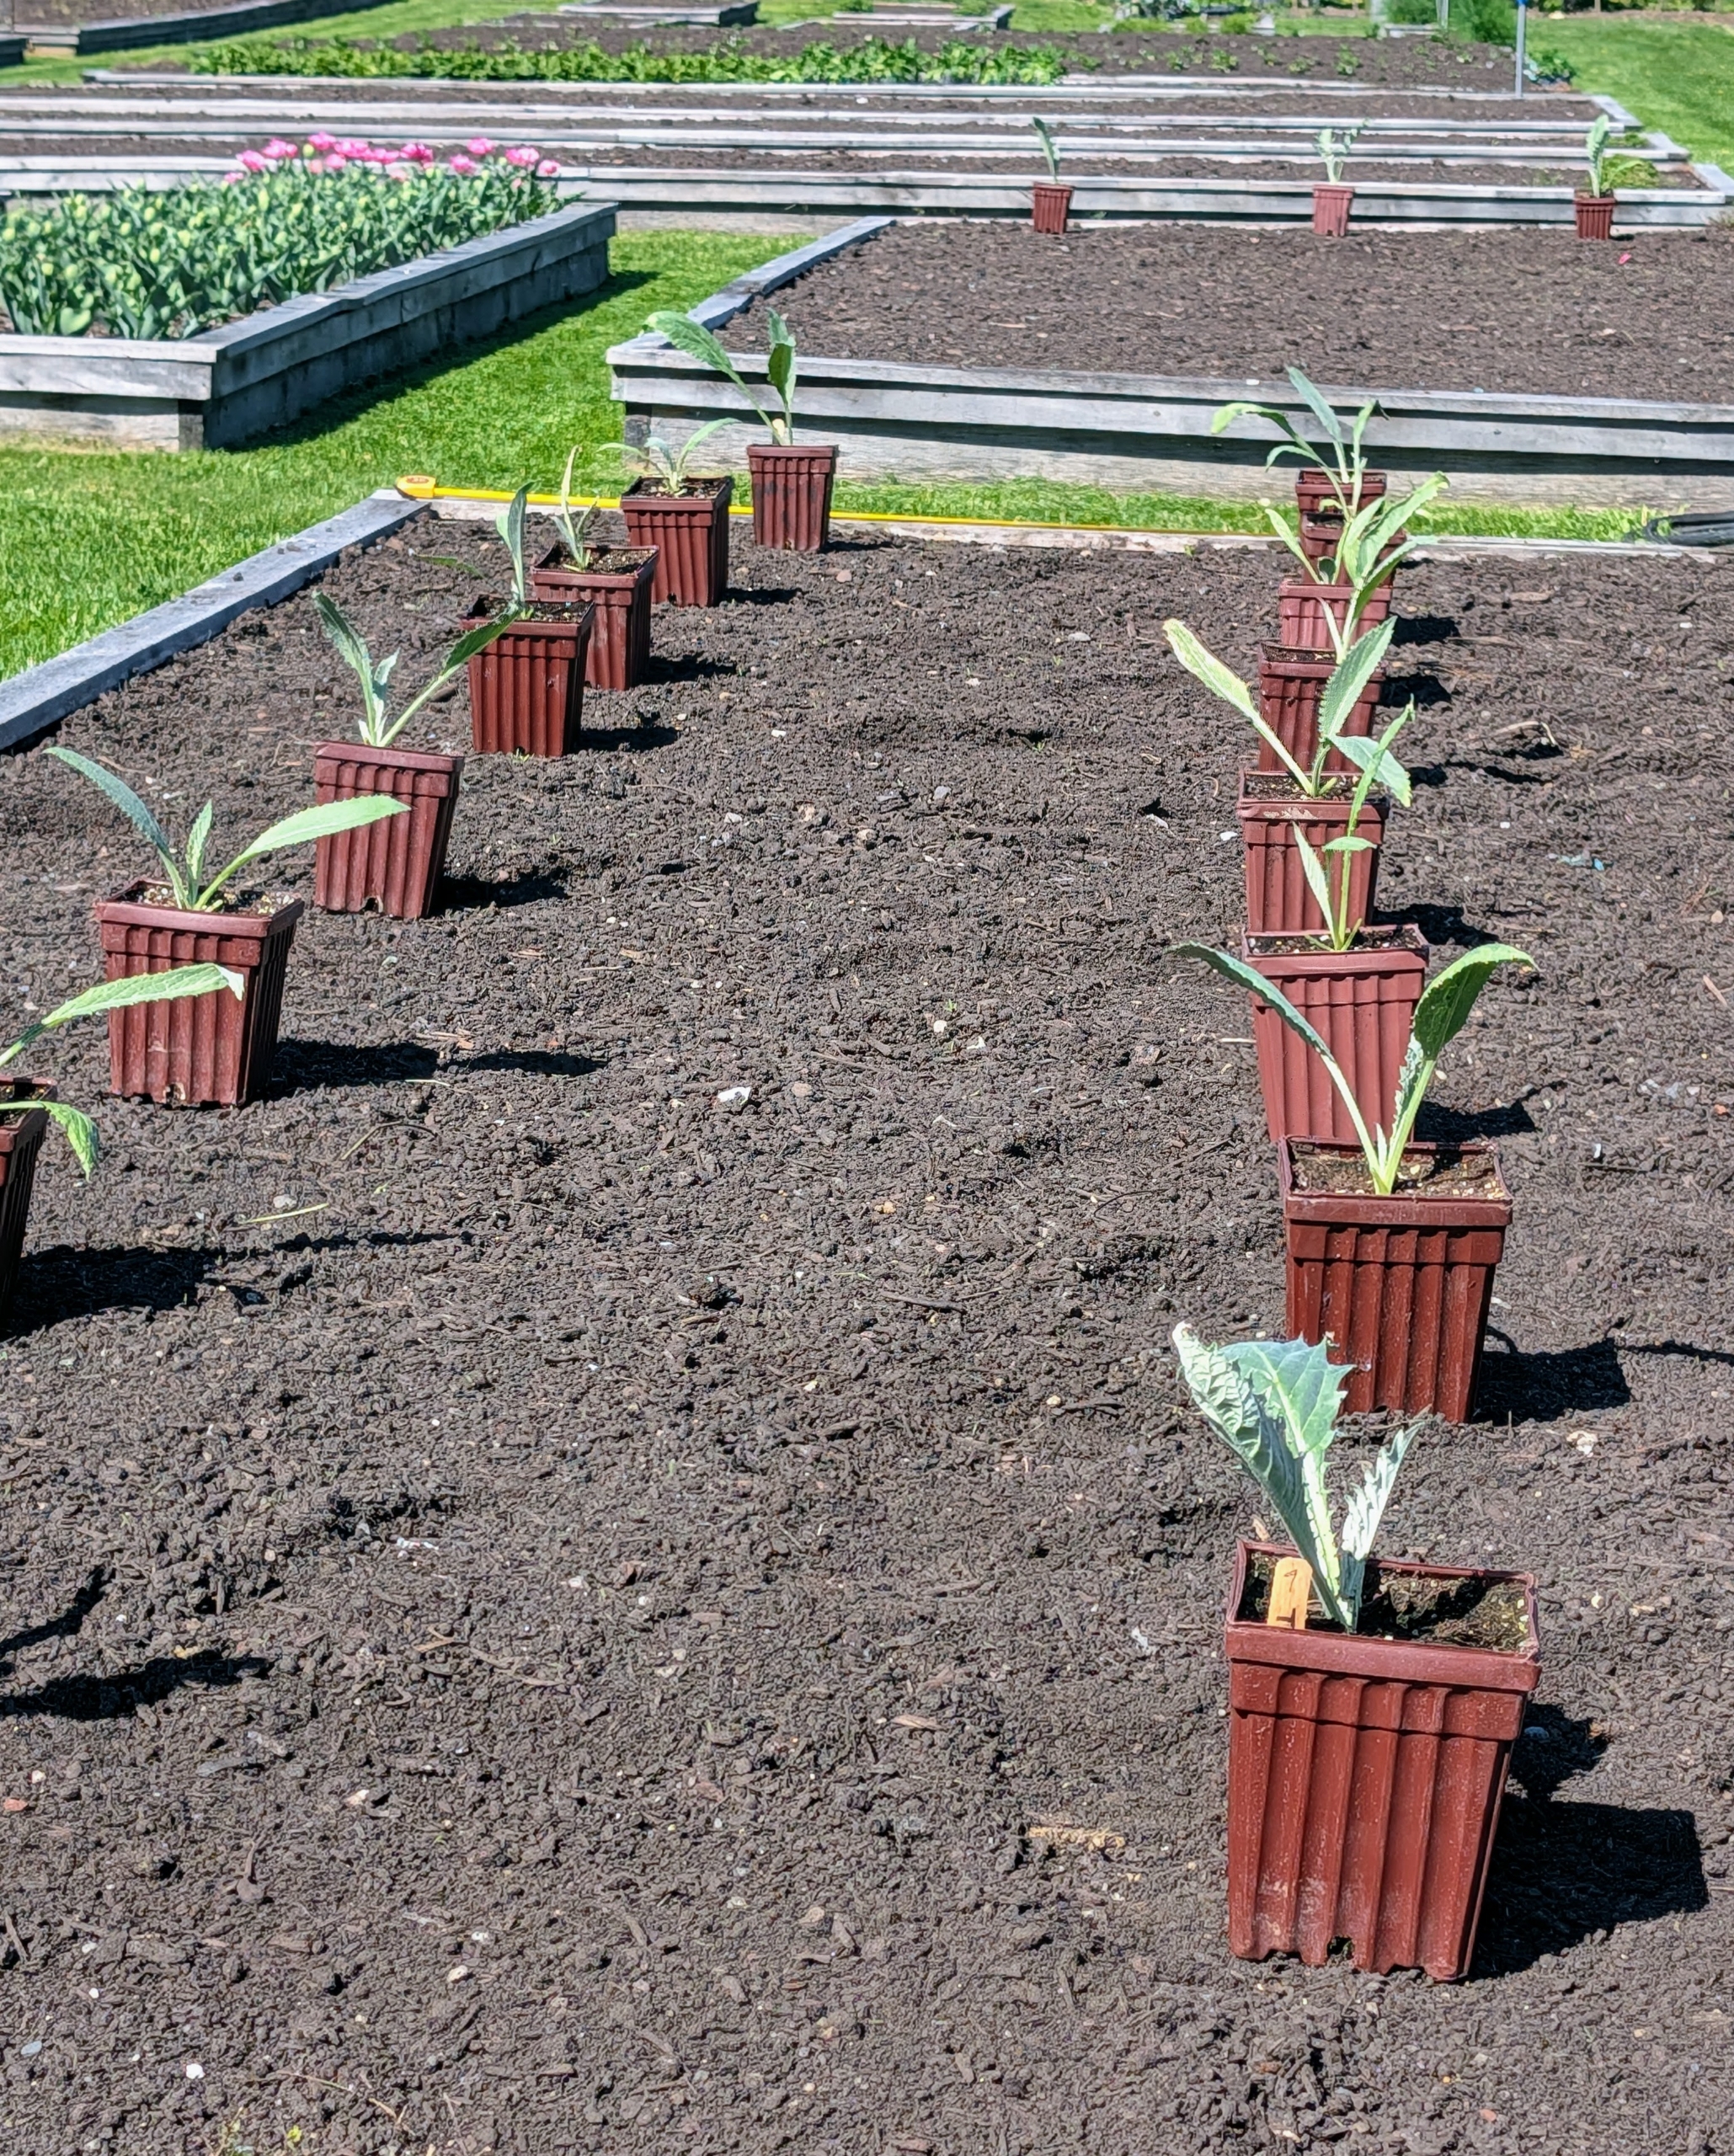
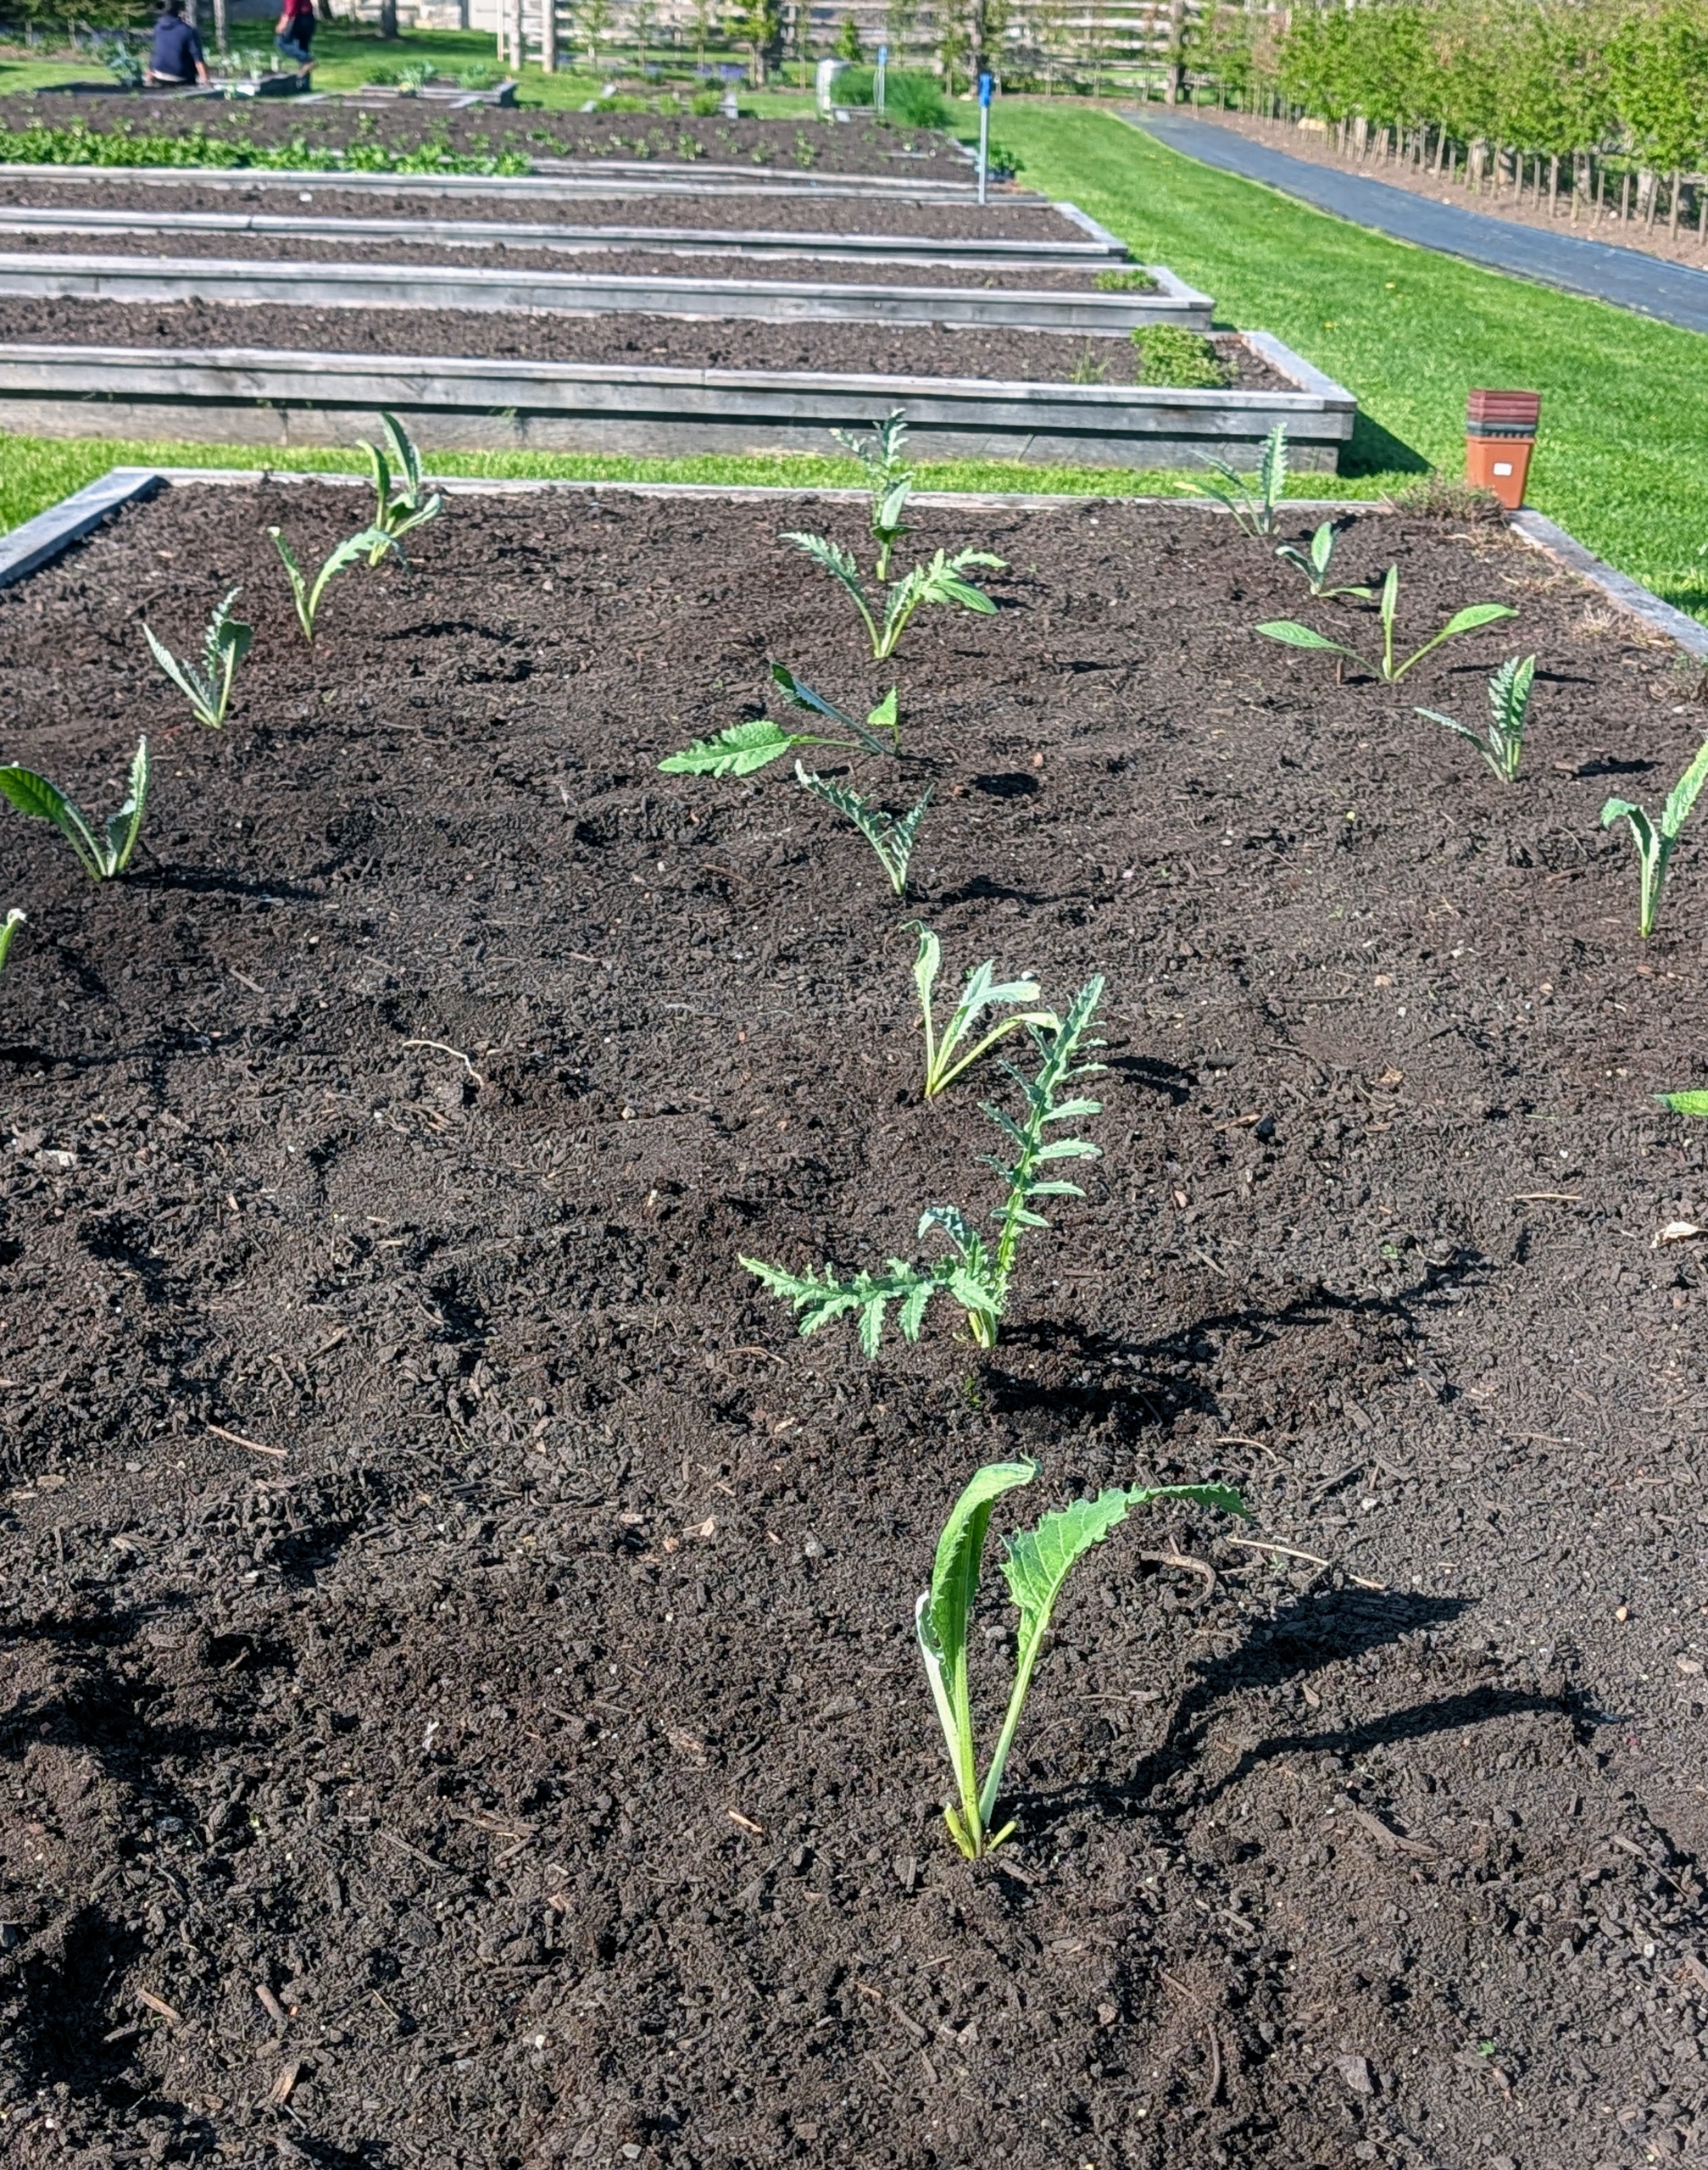
In the vegetable garden, Ryan is filling all the beds with wonderful crops started from seed in my greenhouse. This is the artichoke bed. Ryan places the potted plants where they should be planted based on specific spacing needs.
These plants are so healthy – we should have some harvestable artichokes in about 80 to 100 days.
Matthew also plants some of the cabbages in the garden. I always grow red cabbage, green cabbage, and Savoy cabbage in my garden.
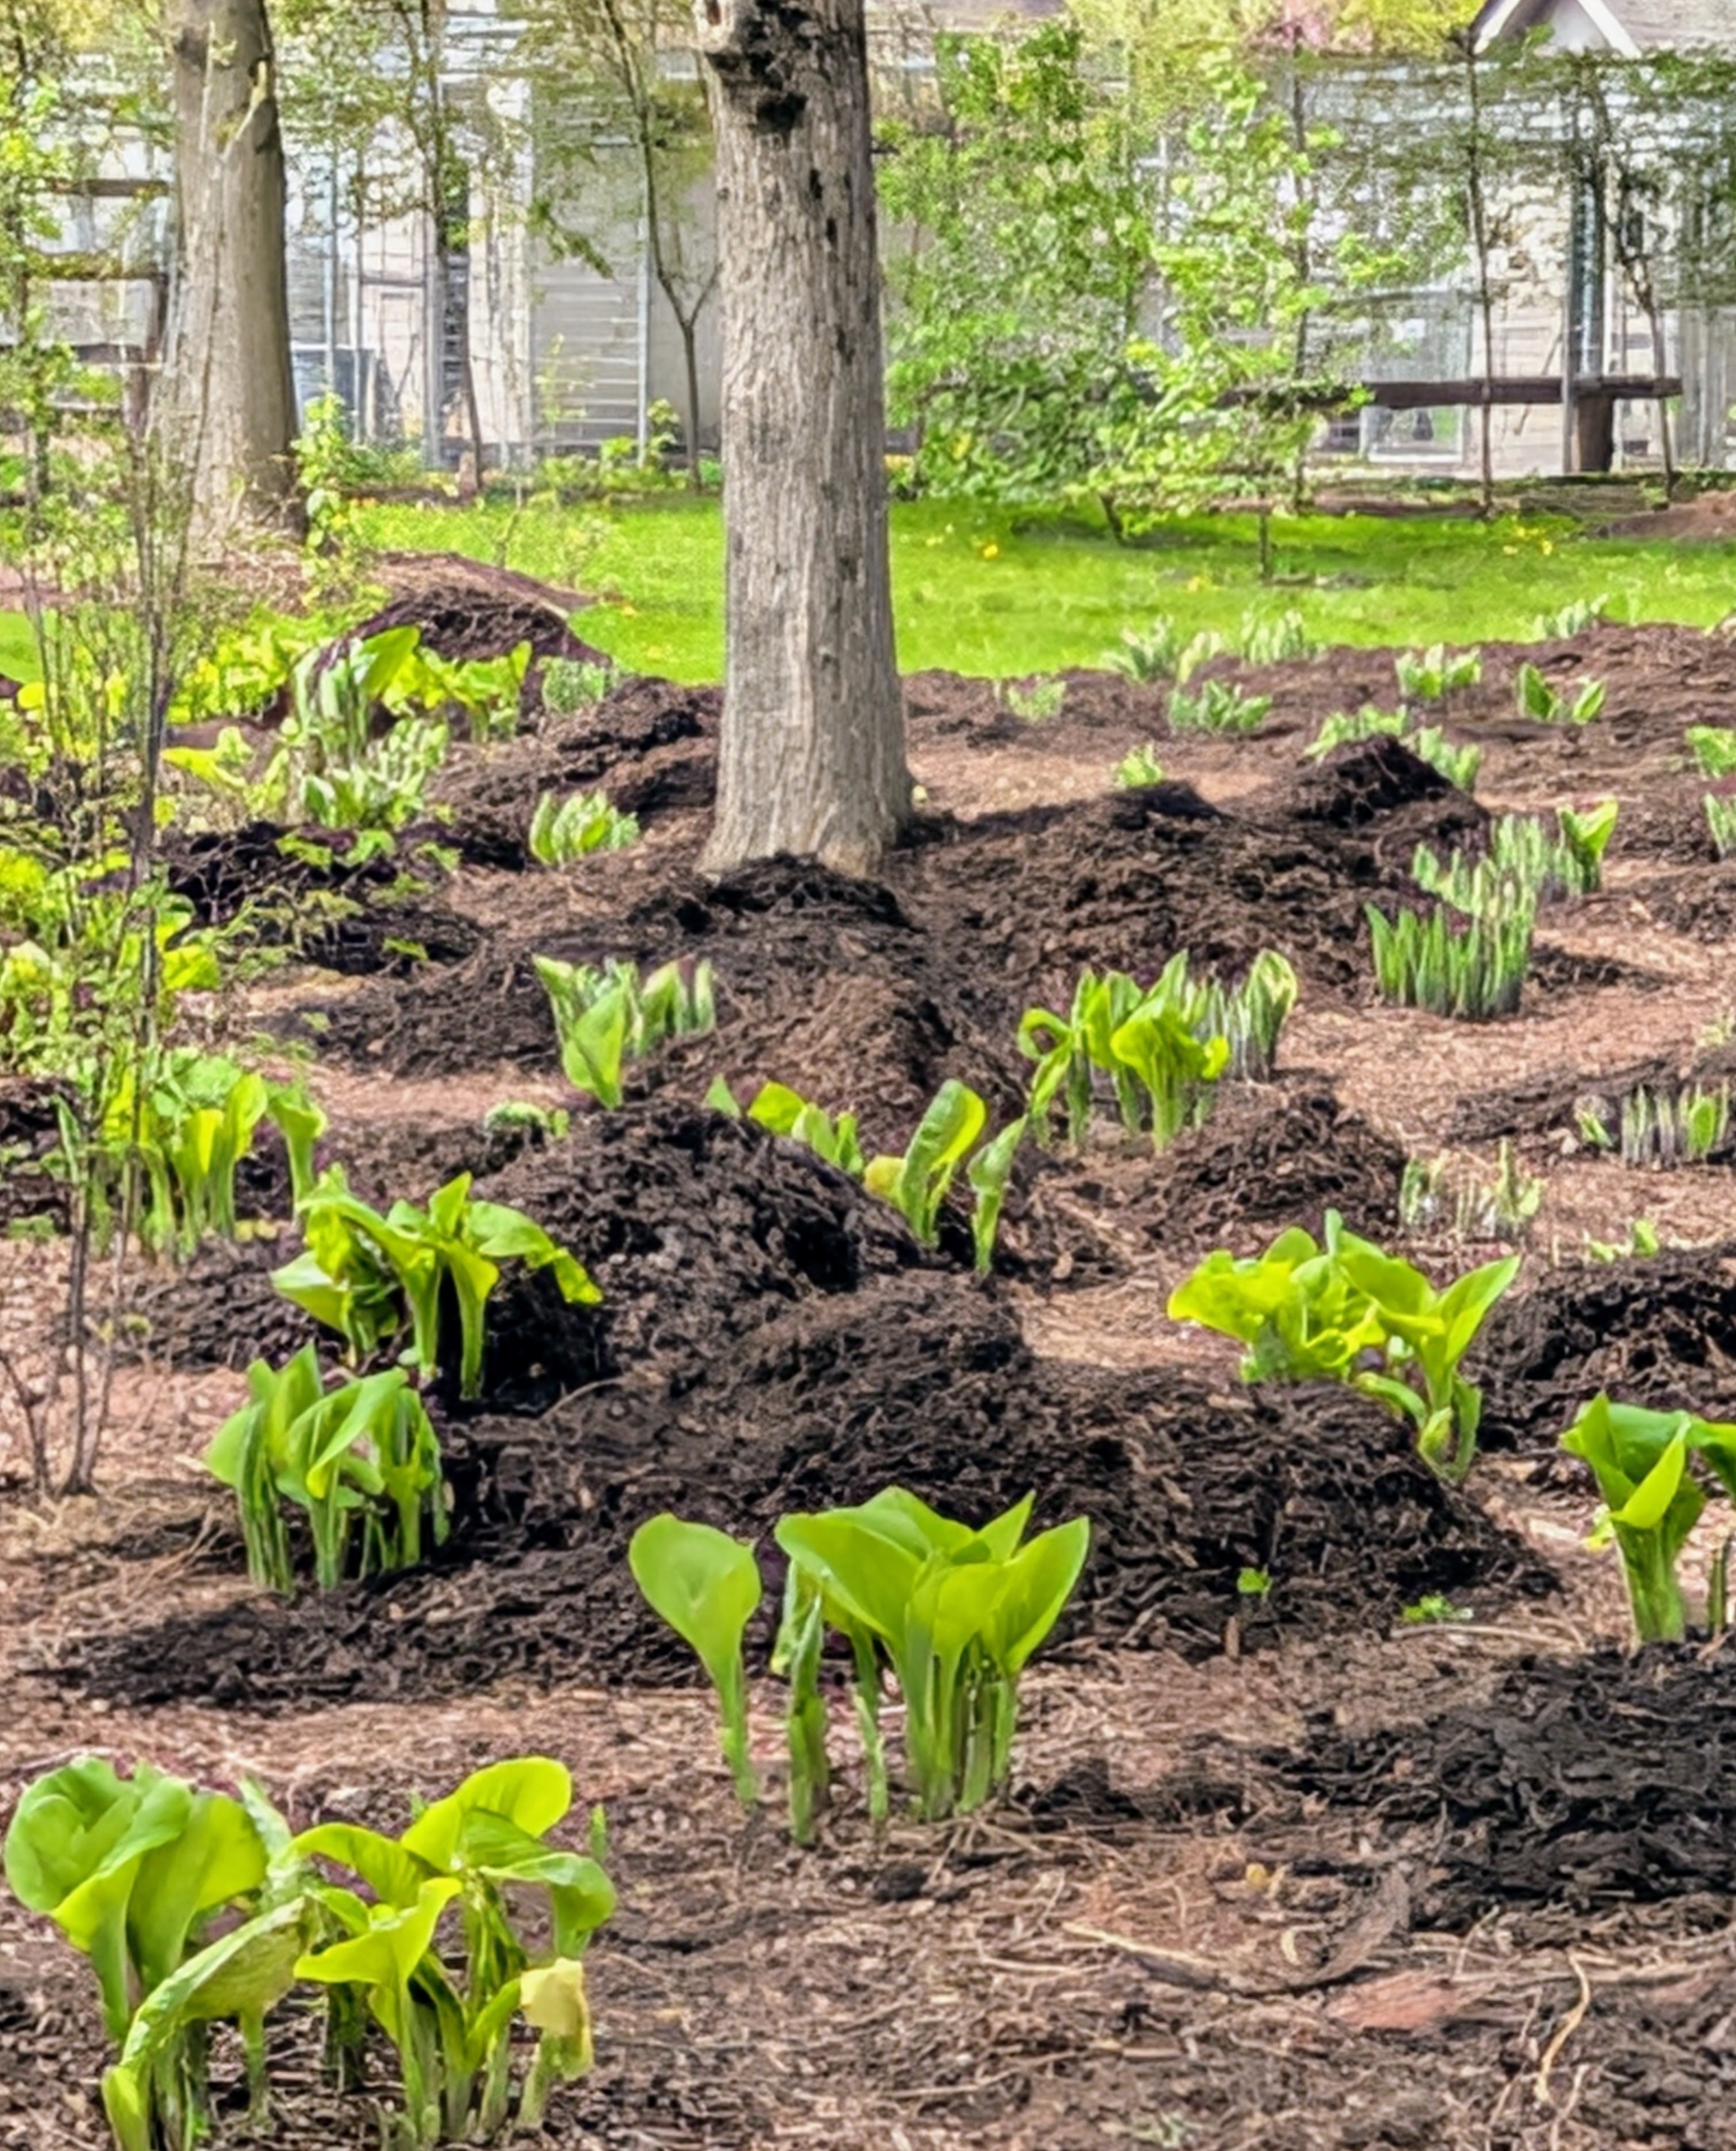
Here, Pasang is working in the hosta garden down near my chicken coops. I am so proud of all the mulch and compost I make here at the farm. There is always more than enough to use in the garden beds.
When mulching, manageable piles are dropped in the bed first.
And then each one is carefully spread out and raked around the various plants and trees.
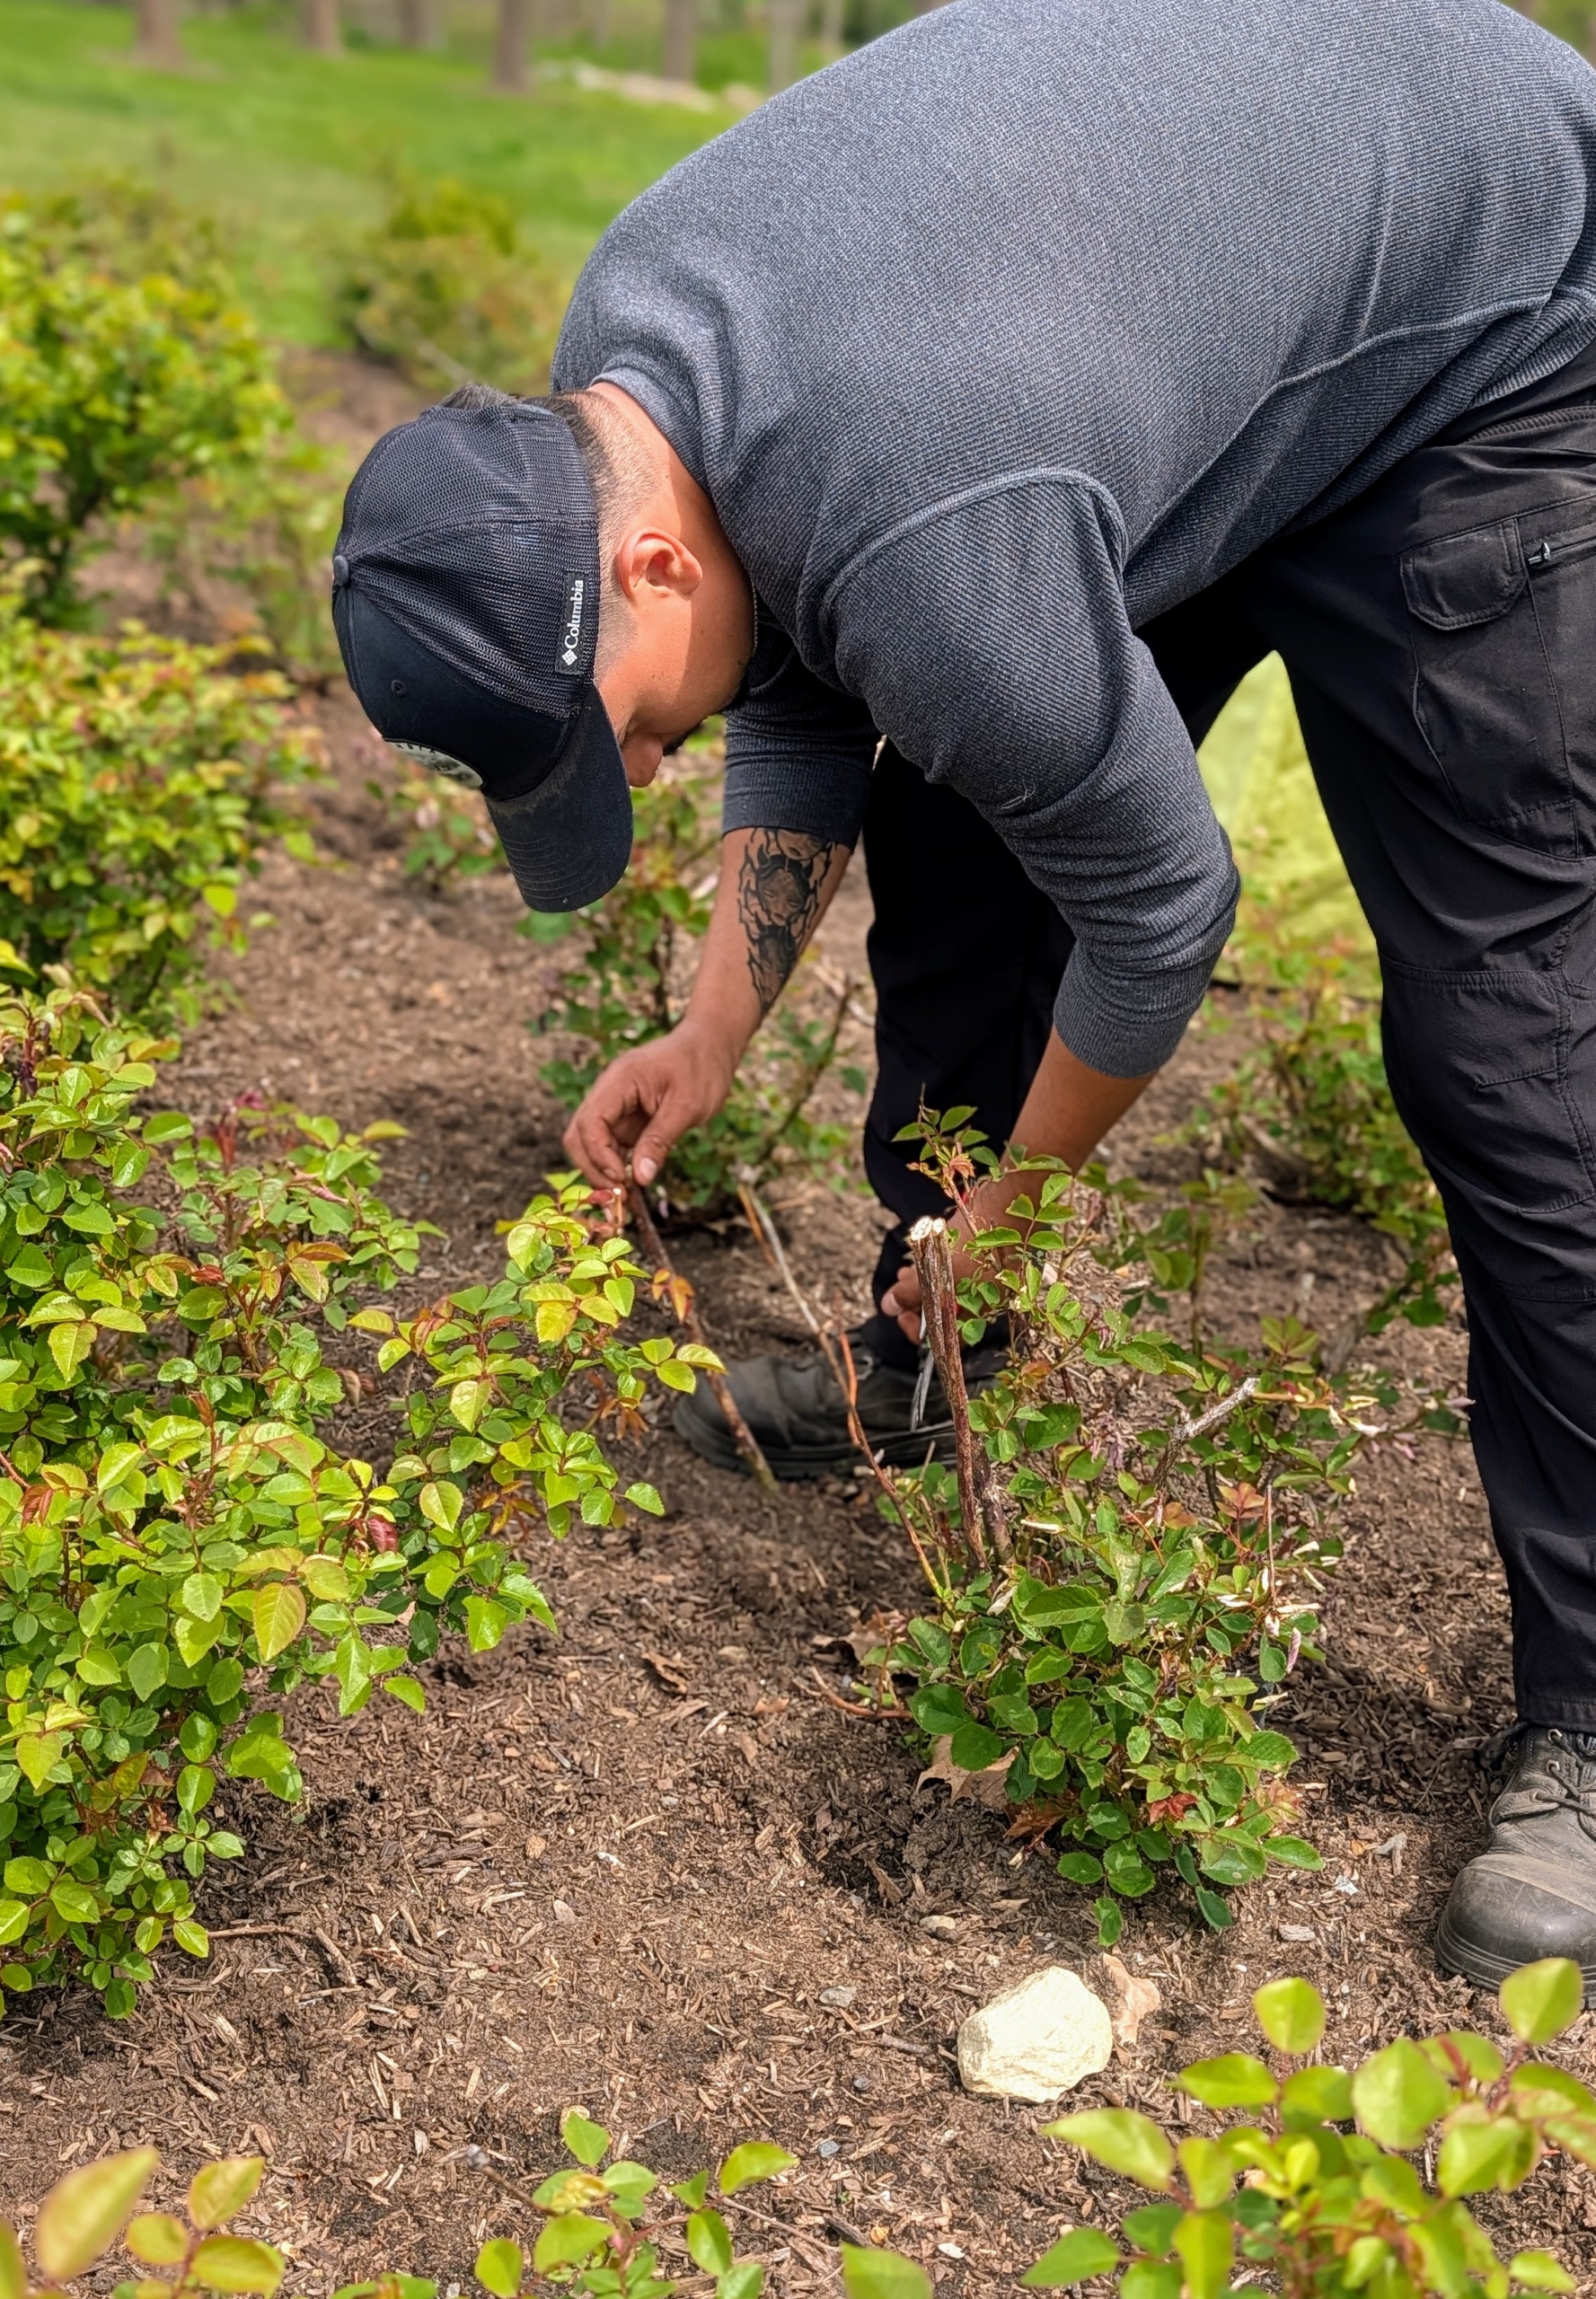
Matthew moves on to the roses – a personal favorite for him. Here he is grooming the bushes in my formal rose garden and trimming out all the dead wood.
Cesar takes care of all my birds. It’s a big job, but he loves the peafowl, pheasants, geese, chickens and turkeys. This day is cleaning day for all the coops.
Phurba is in my large flower cutting garden removing all the pesky early season weeds.
On this day, Justin is helping with the big job of replacing some of the timeworn posts supporting my antique fencing.
And here’s Adan reseeding bare areas around the farm.
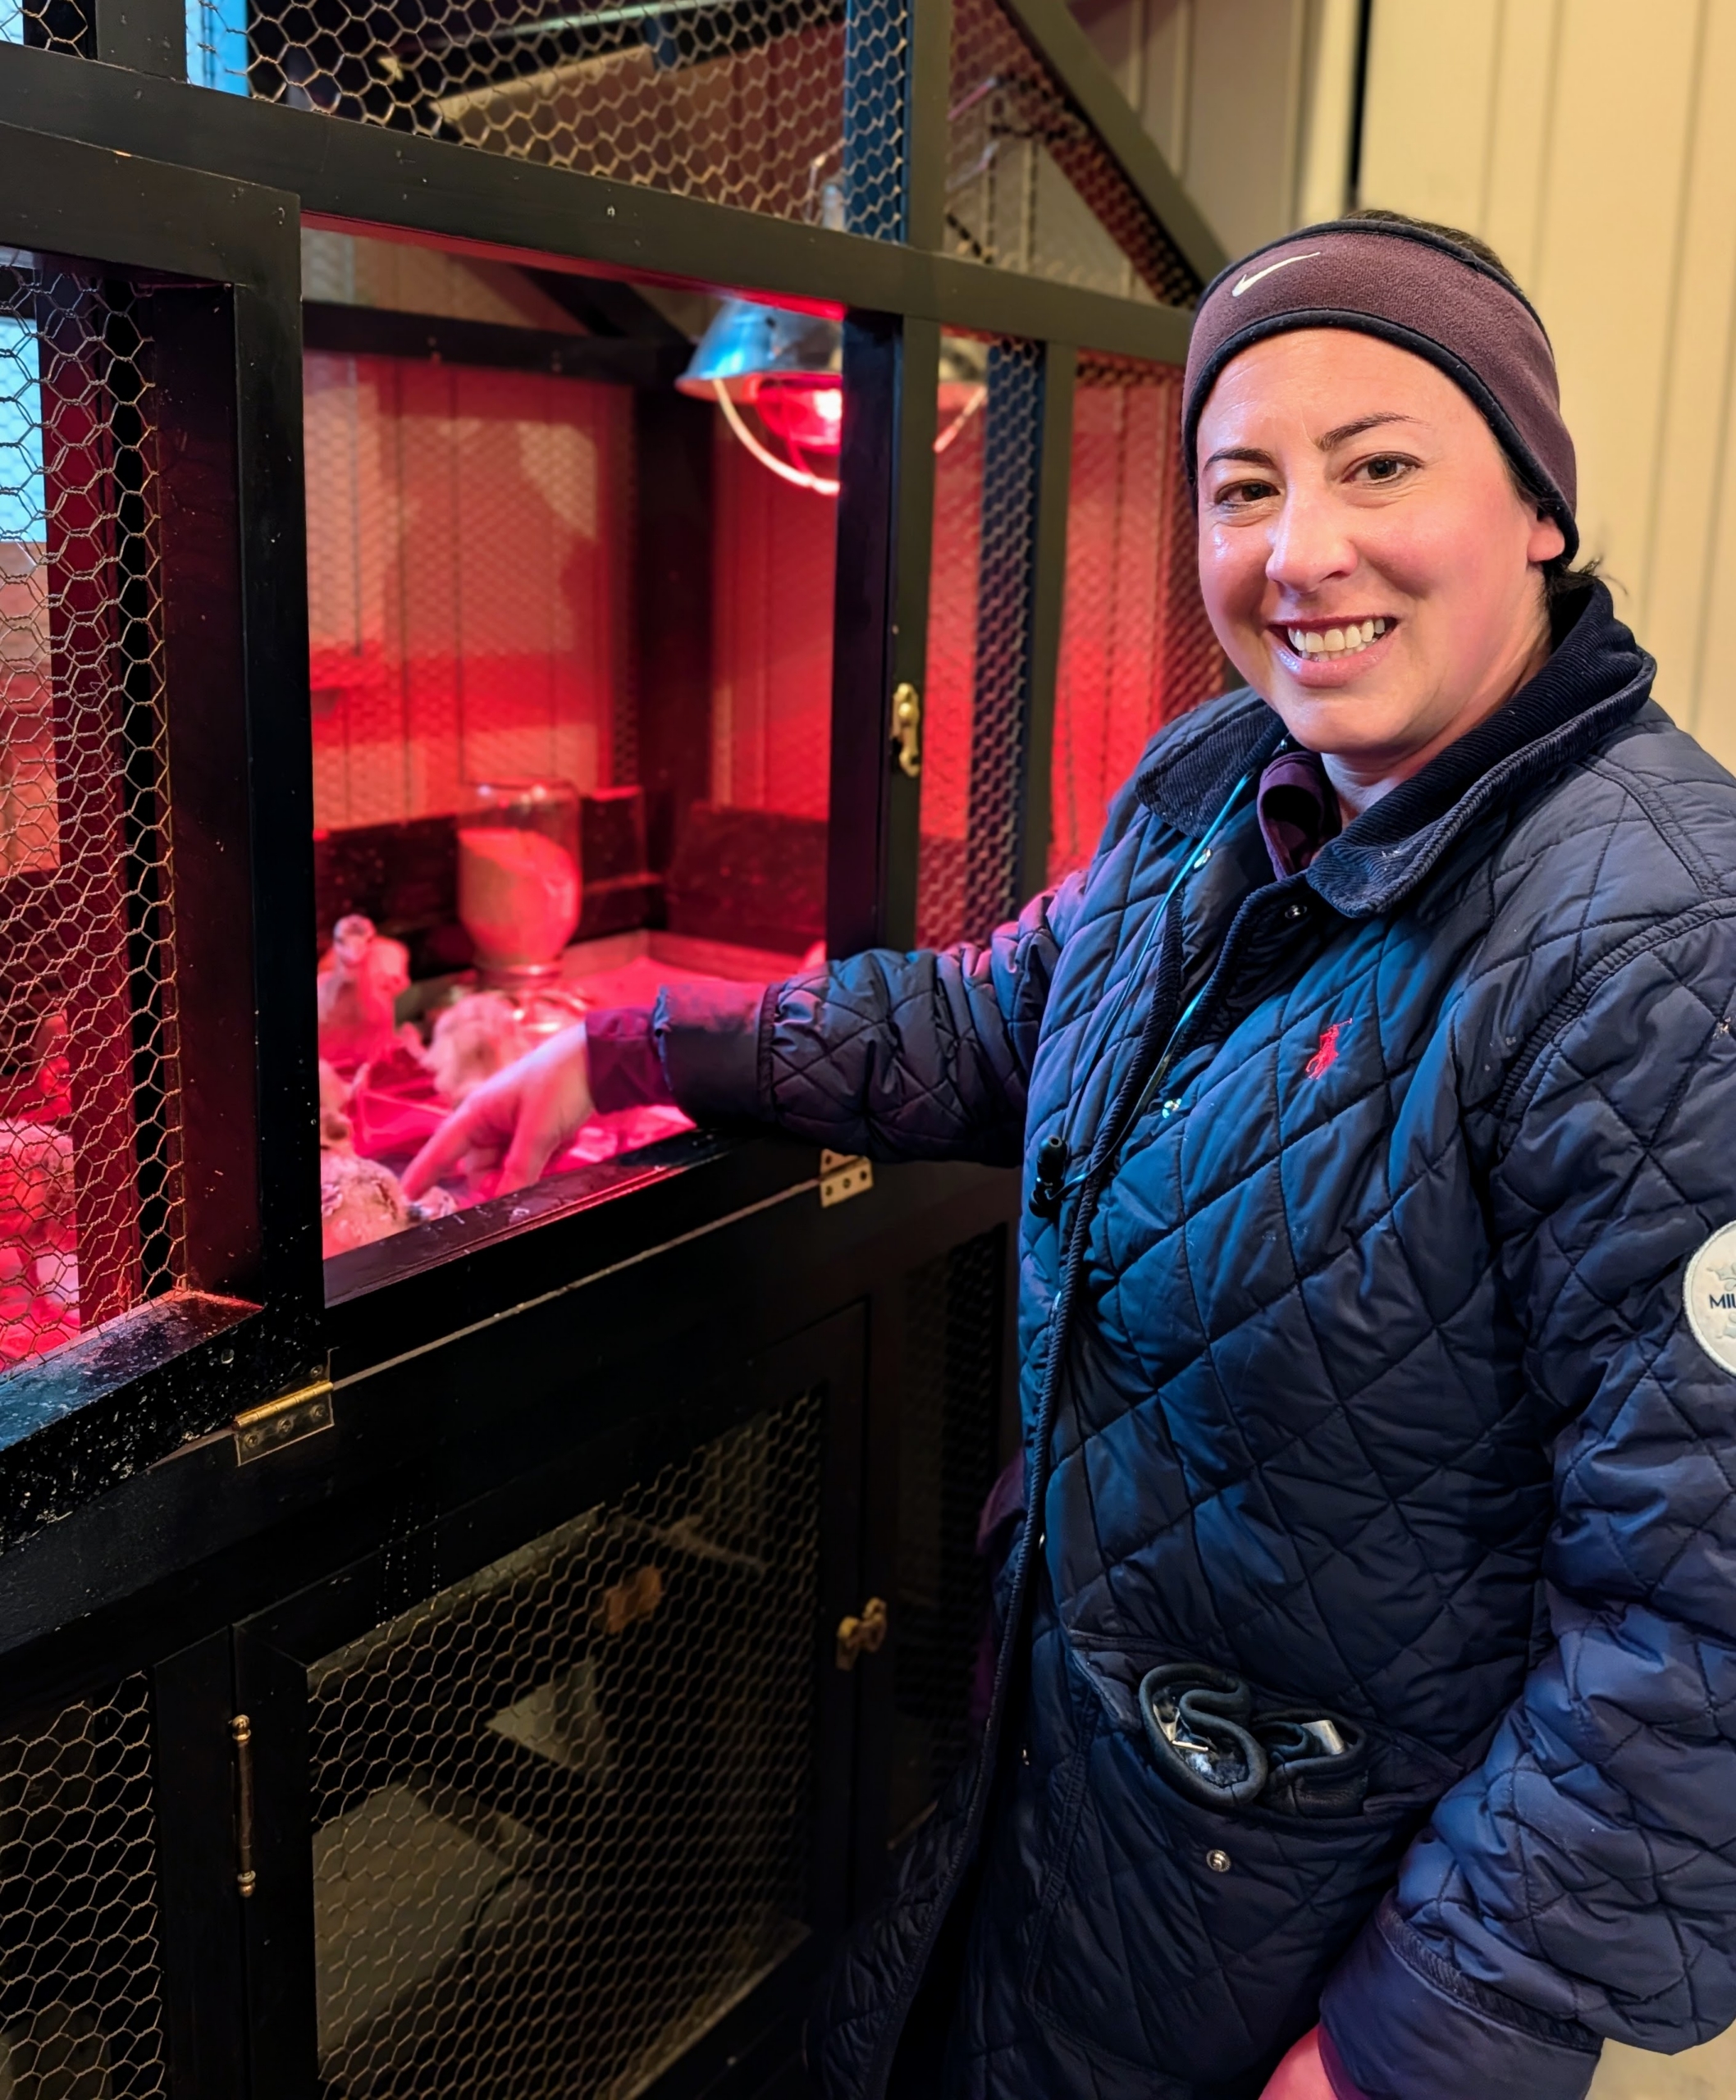
Helen is in the feed room checking on the youngest residents at my farm – all the chicks.
Here is one of my baby turkeys – getting bigger every day. It’s always busy here at my farm, but my hardworking crew is getting it all done!
It takes a lot of work to maintain the beautiful fencing at my farm.
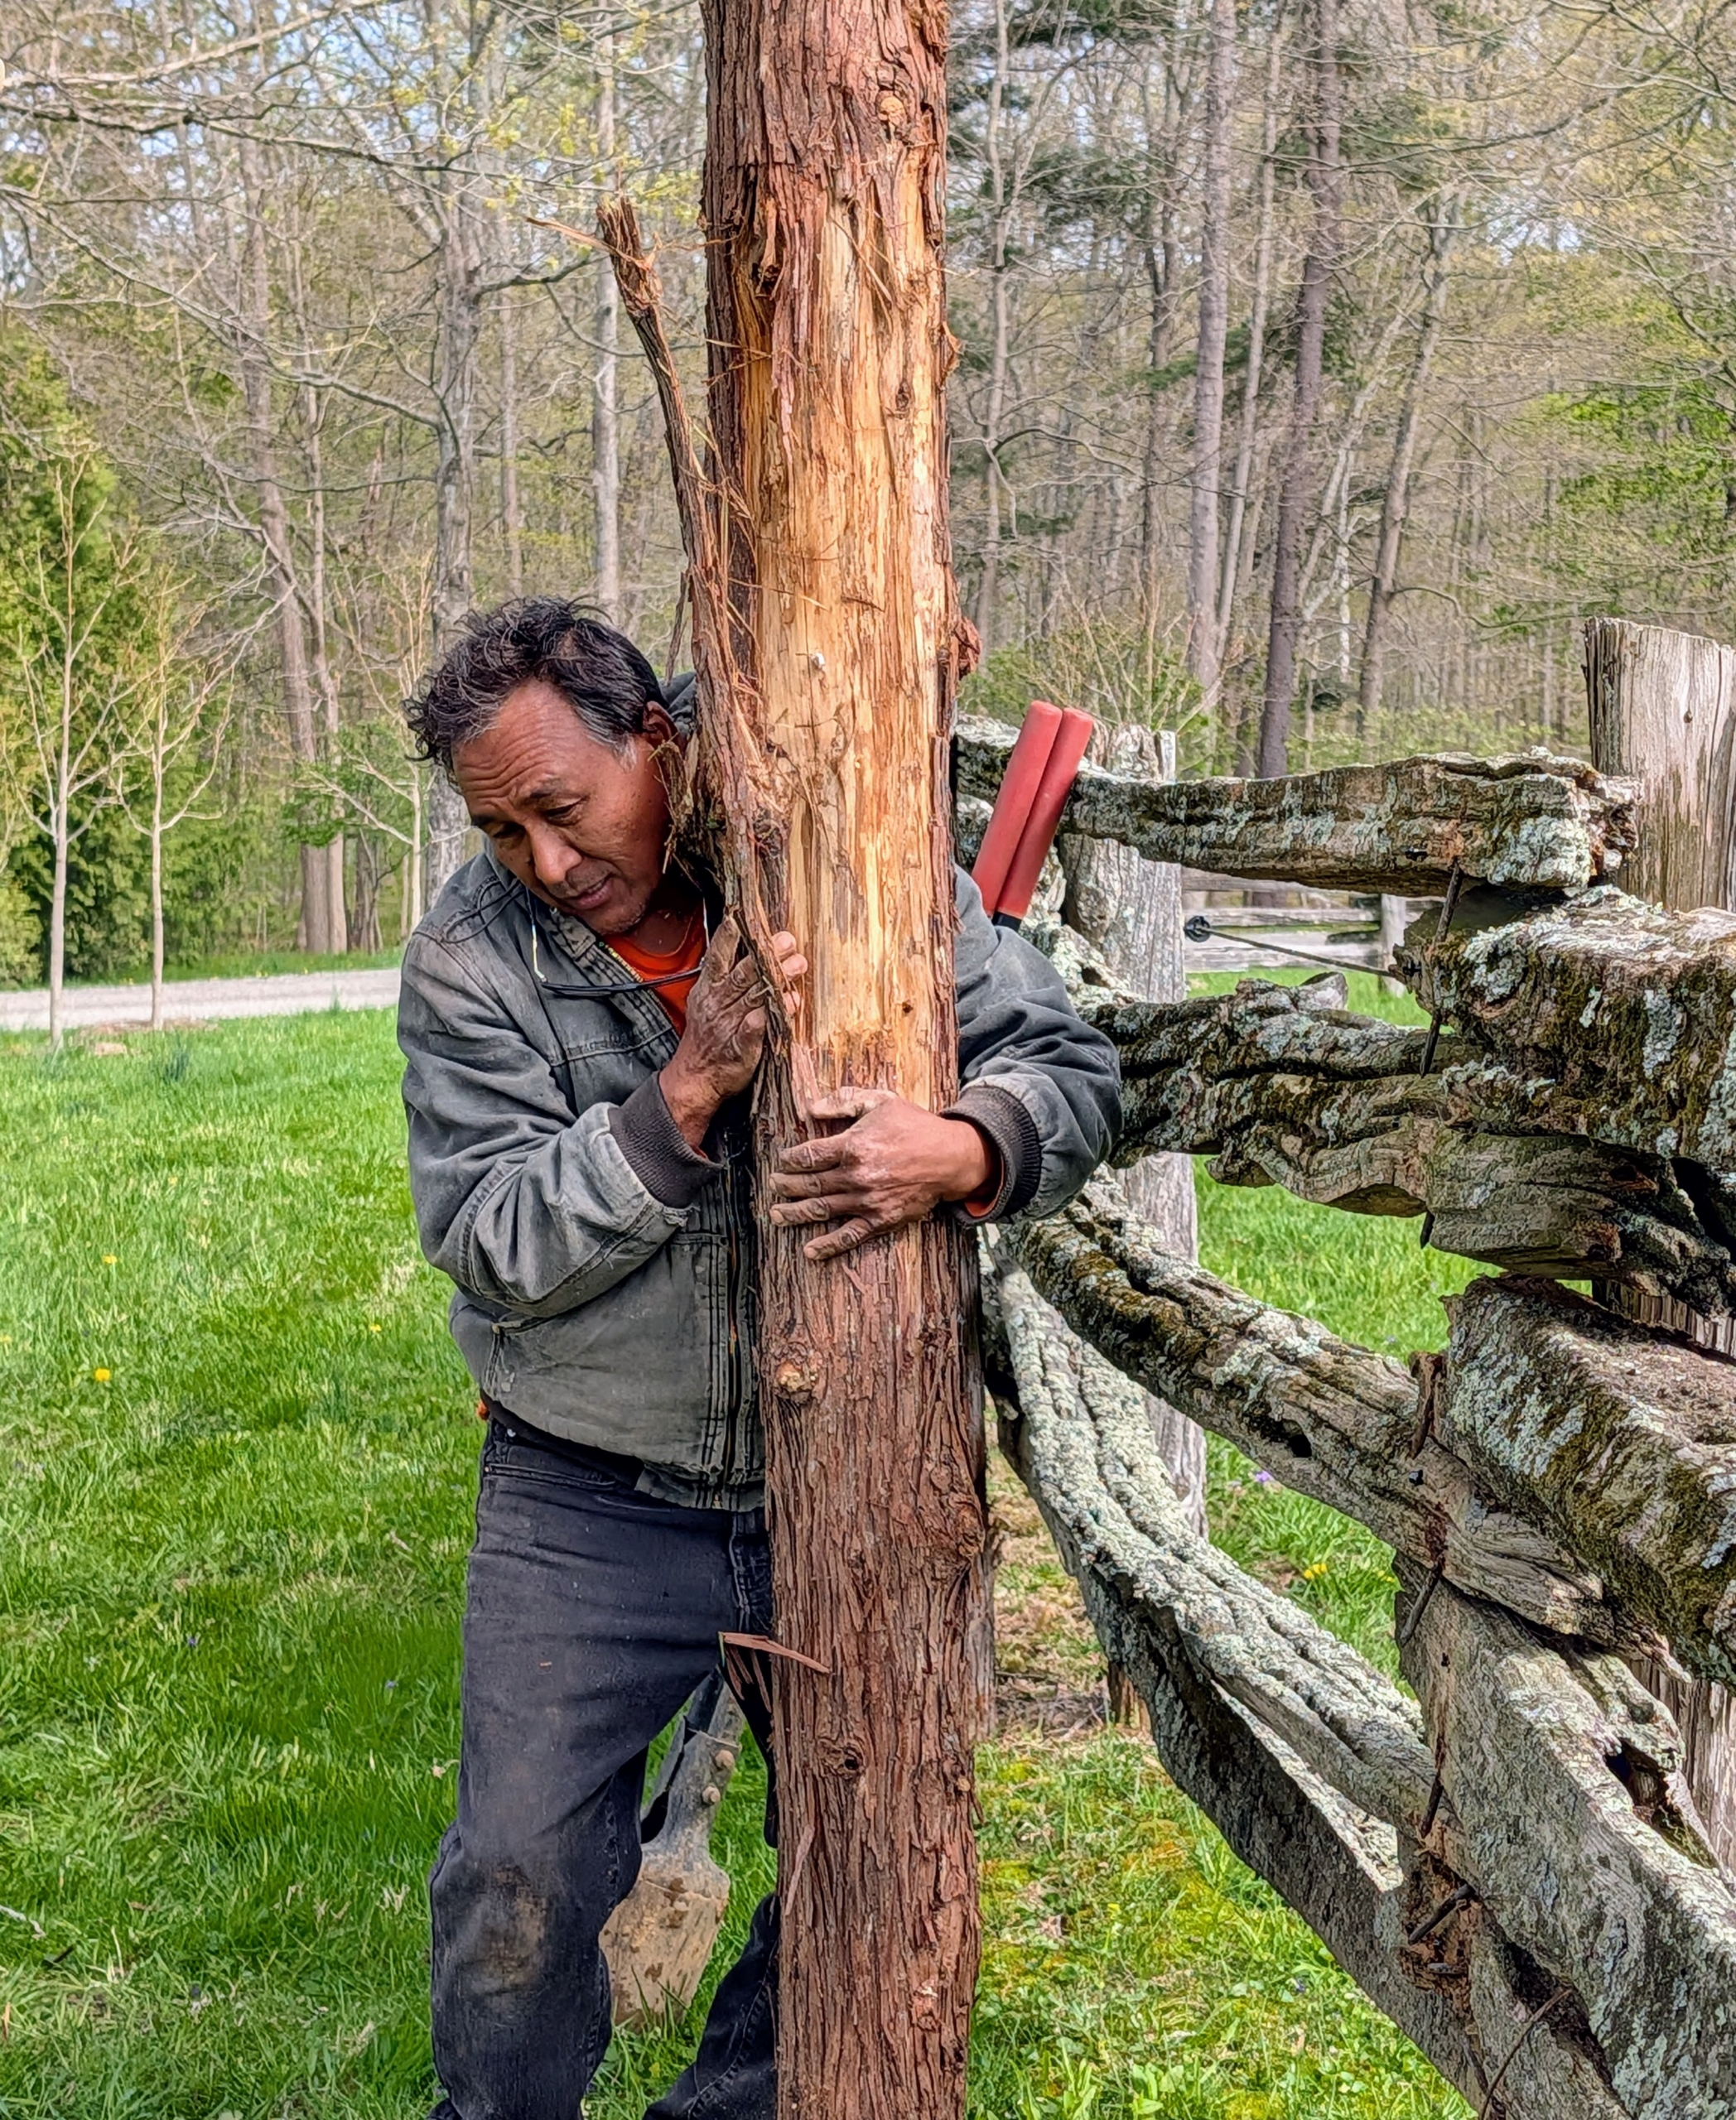
My pasture fencing is made from 125-year-old white spruce railings I purchased in Canada. When the fences were built, I used new cedar uprights to support them. They've held up very well over the years, but many are now deteriorated and need replacing. Pete Sherpa, a longtime member of my outdoor grounds crew, takes on the task whenever he can. It's a tedious process and has to be done by hand so as not to damage the antique wood.
Here are some photos, enjoy.
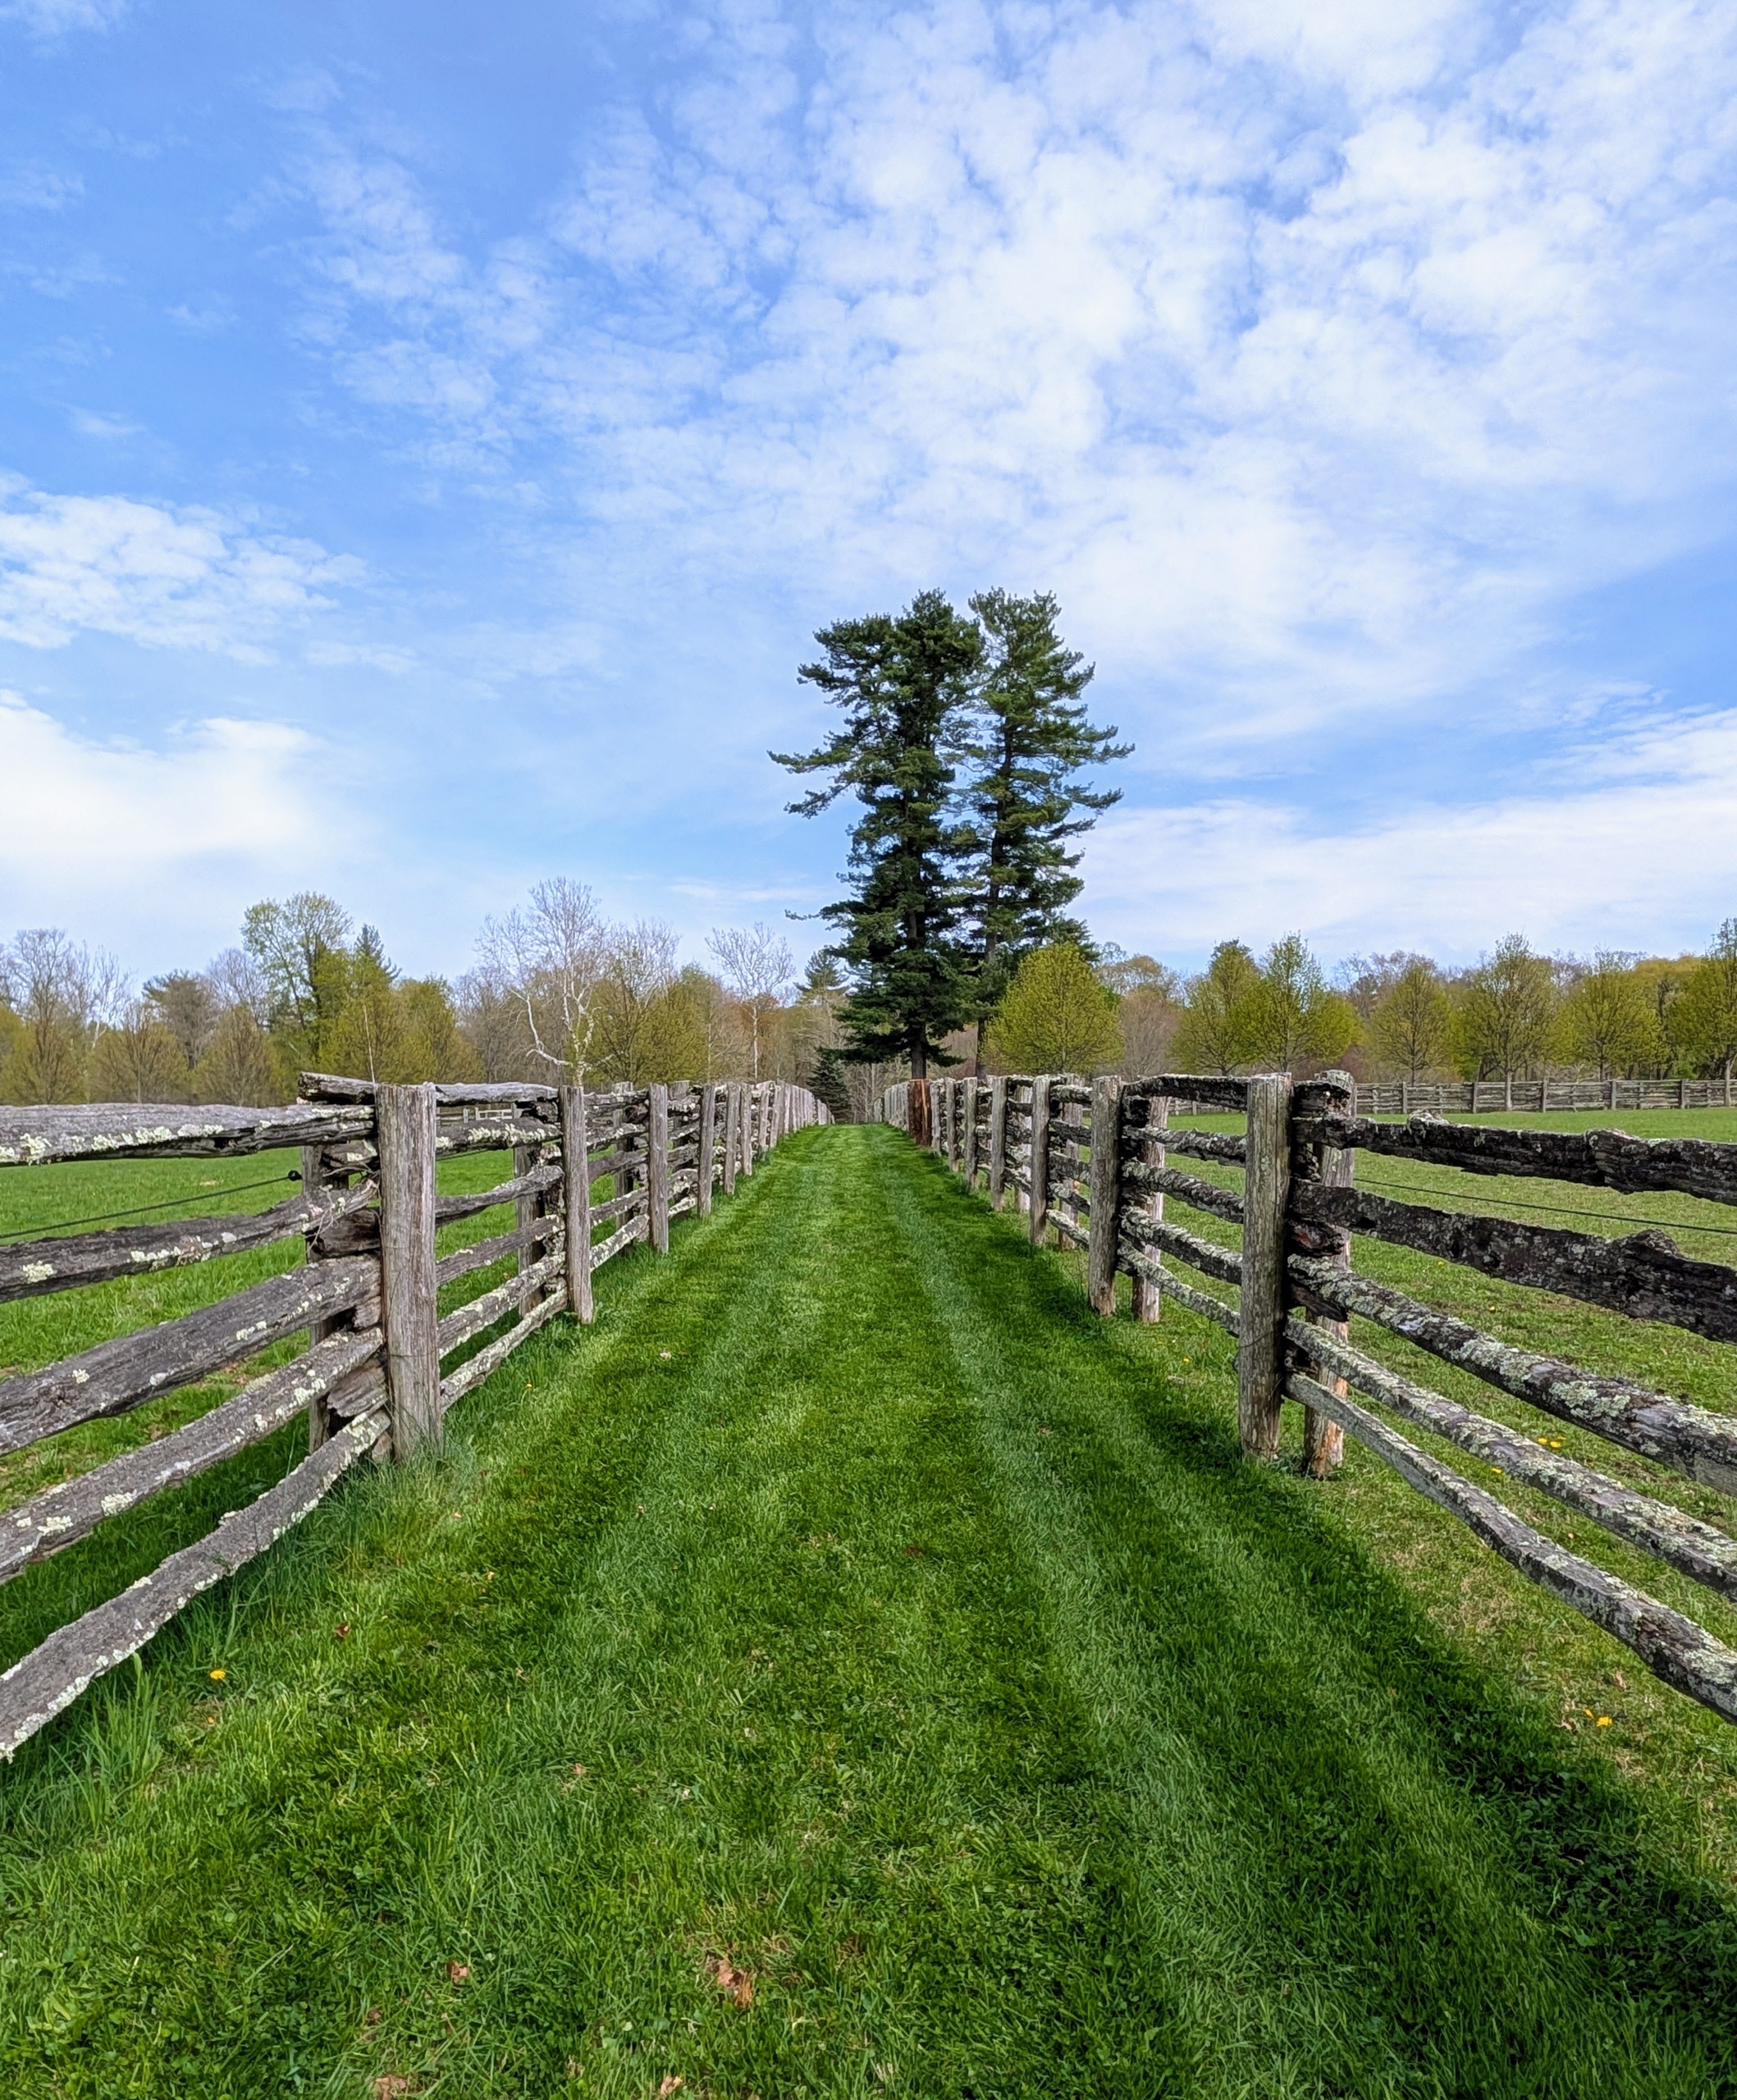
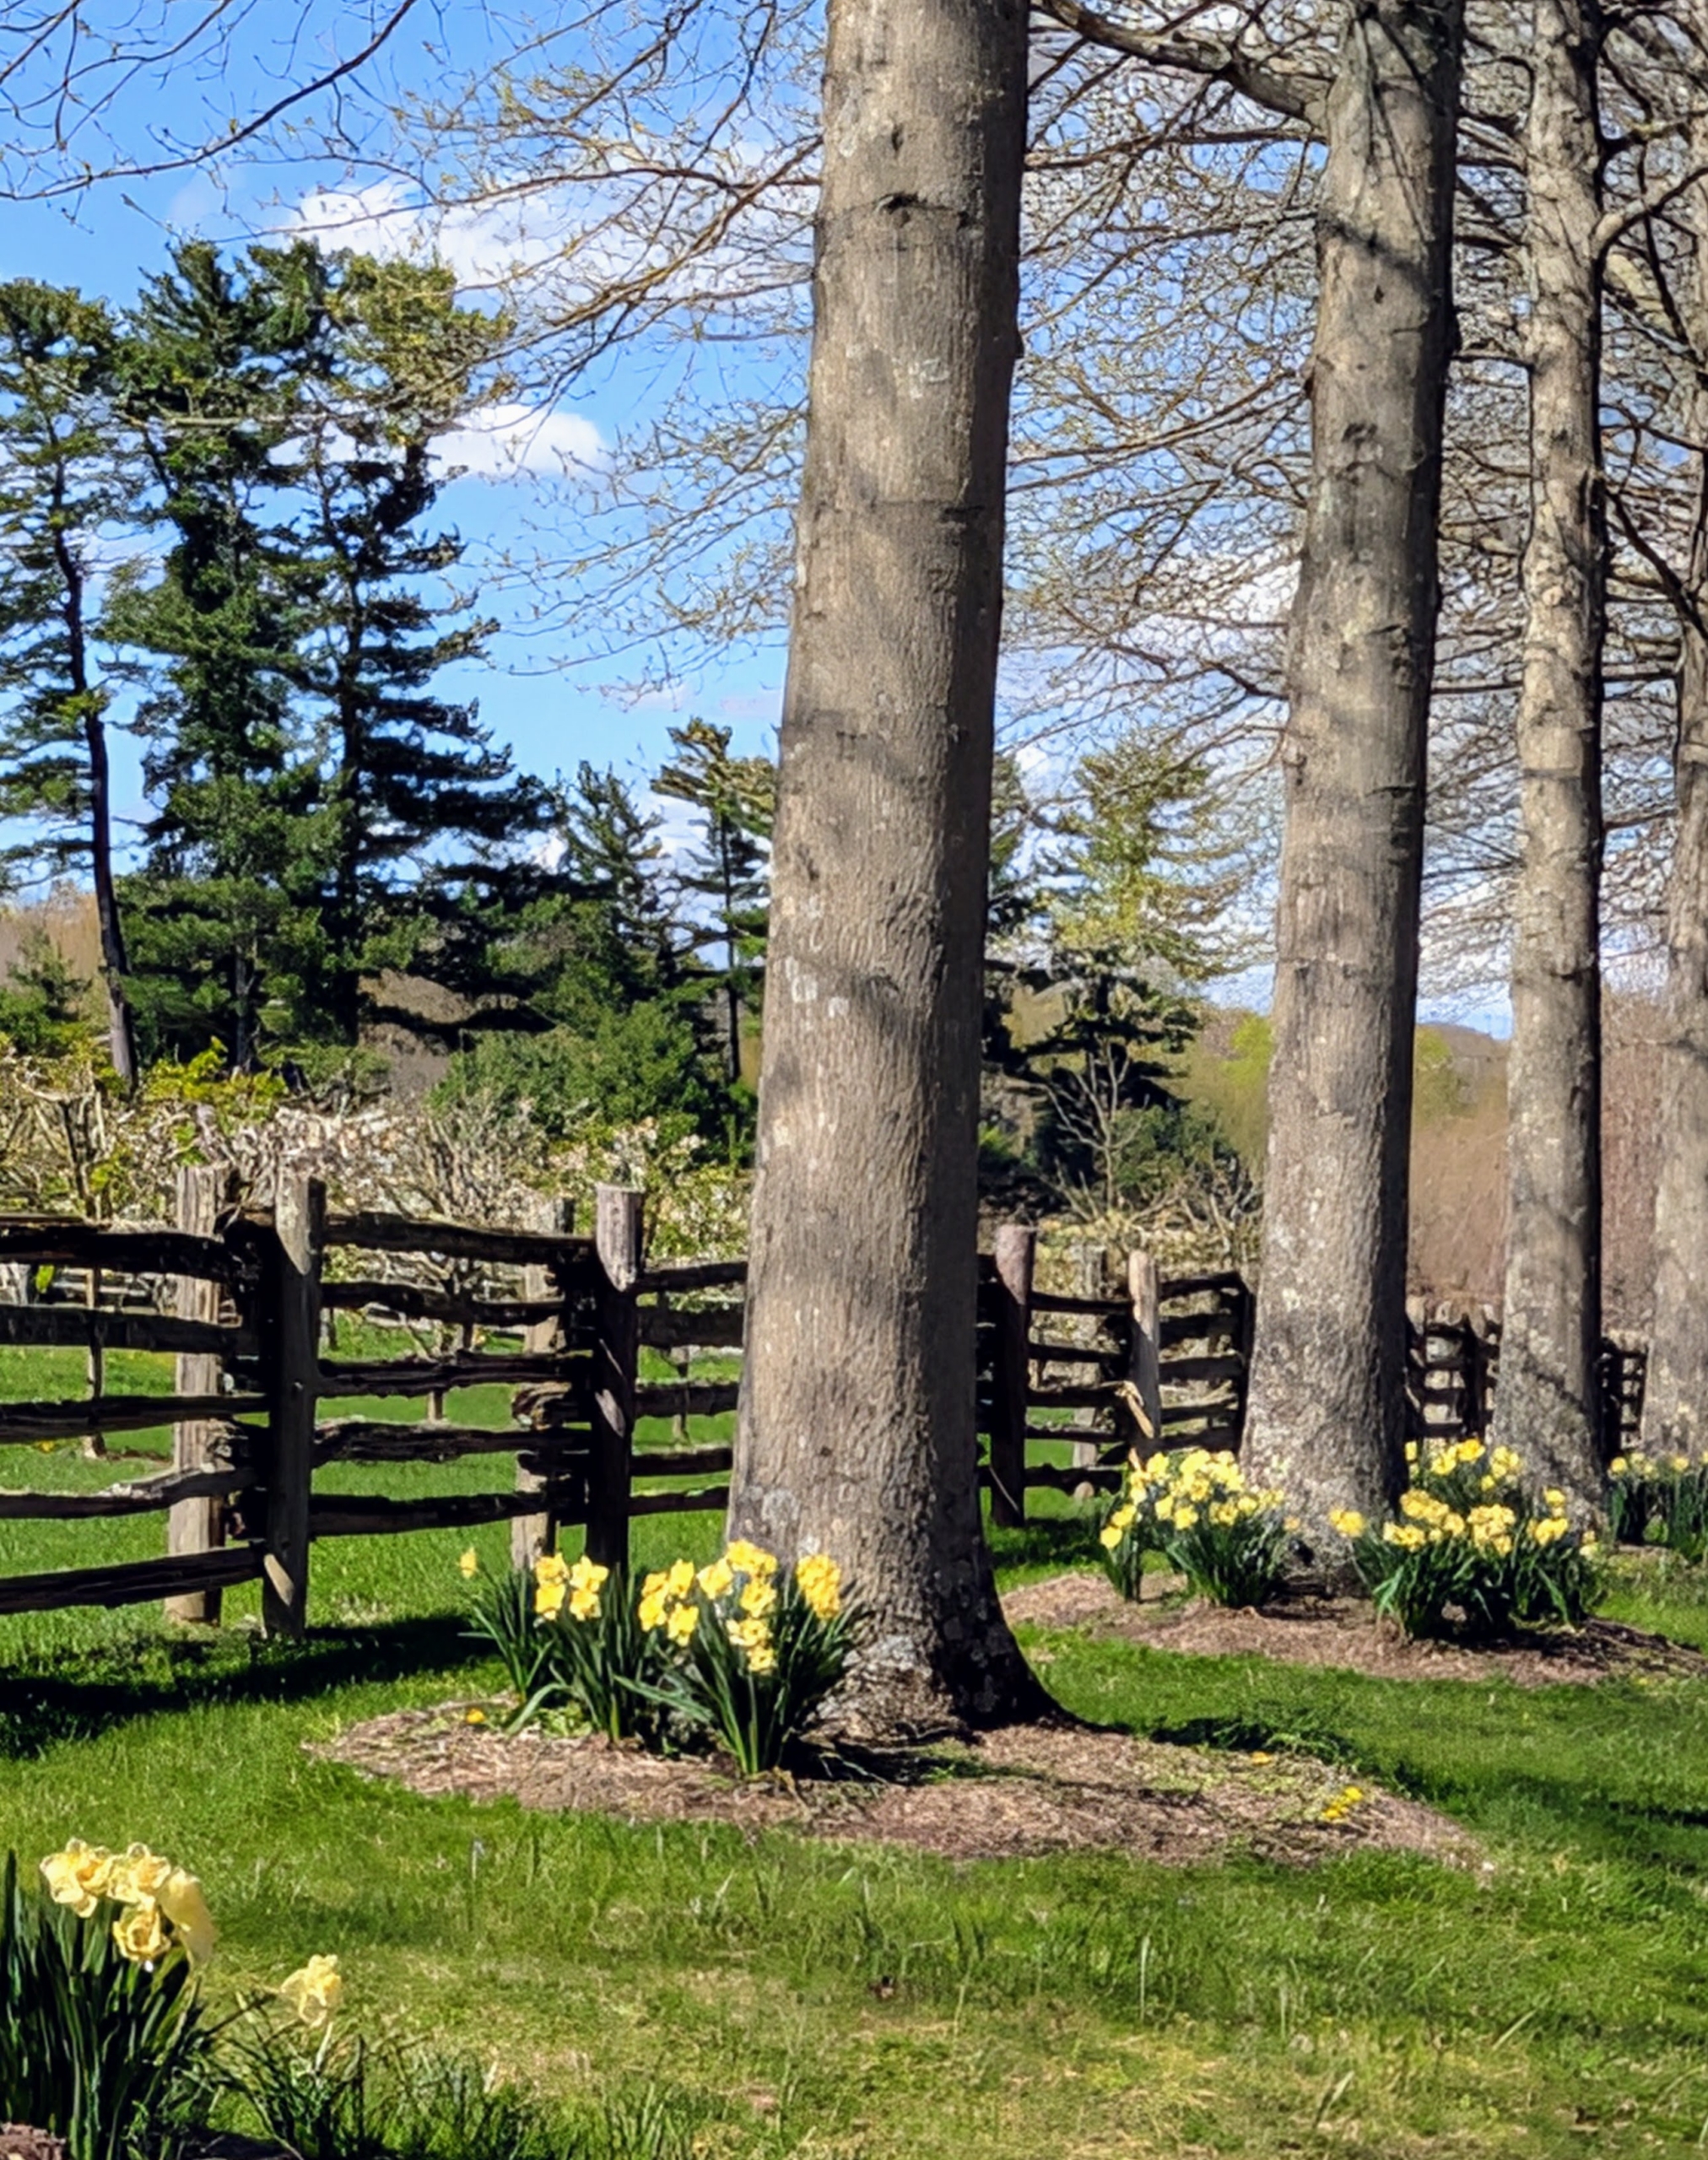
I have lots of fencing here at my farm. It surrounds my horse paddocks, my orchard, my vegetable garden, and various other trees. The antique railings were constructed into a split rail fence and are in good shape, but many of the cedar uprights are deteriorated, wobbly, and no longer support the railings as they should.
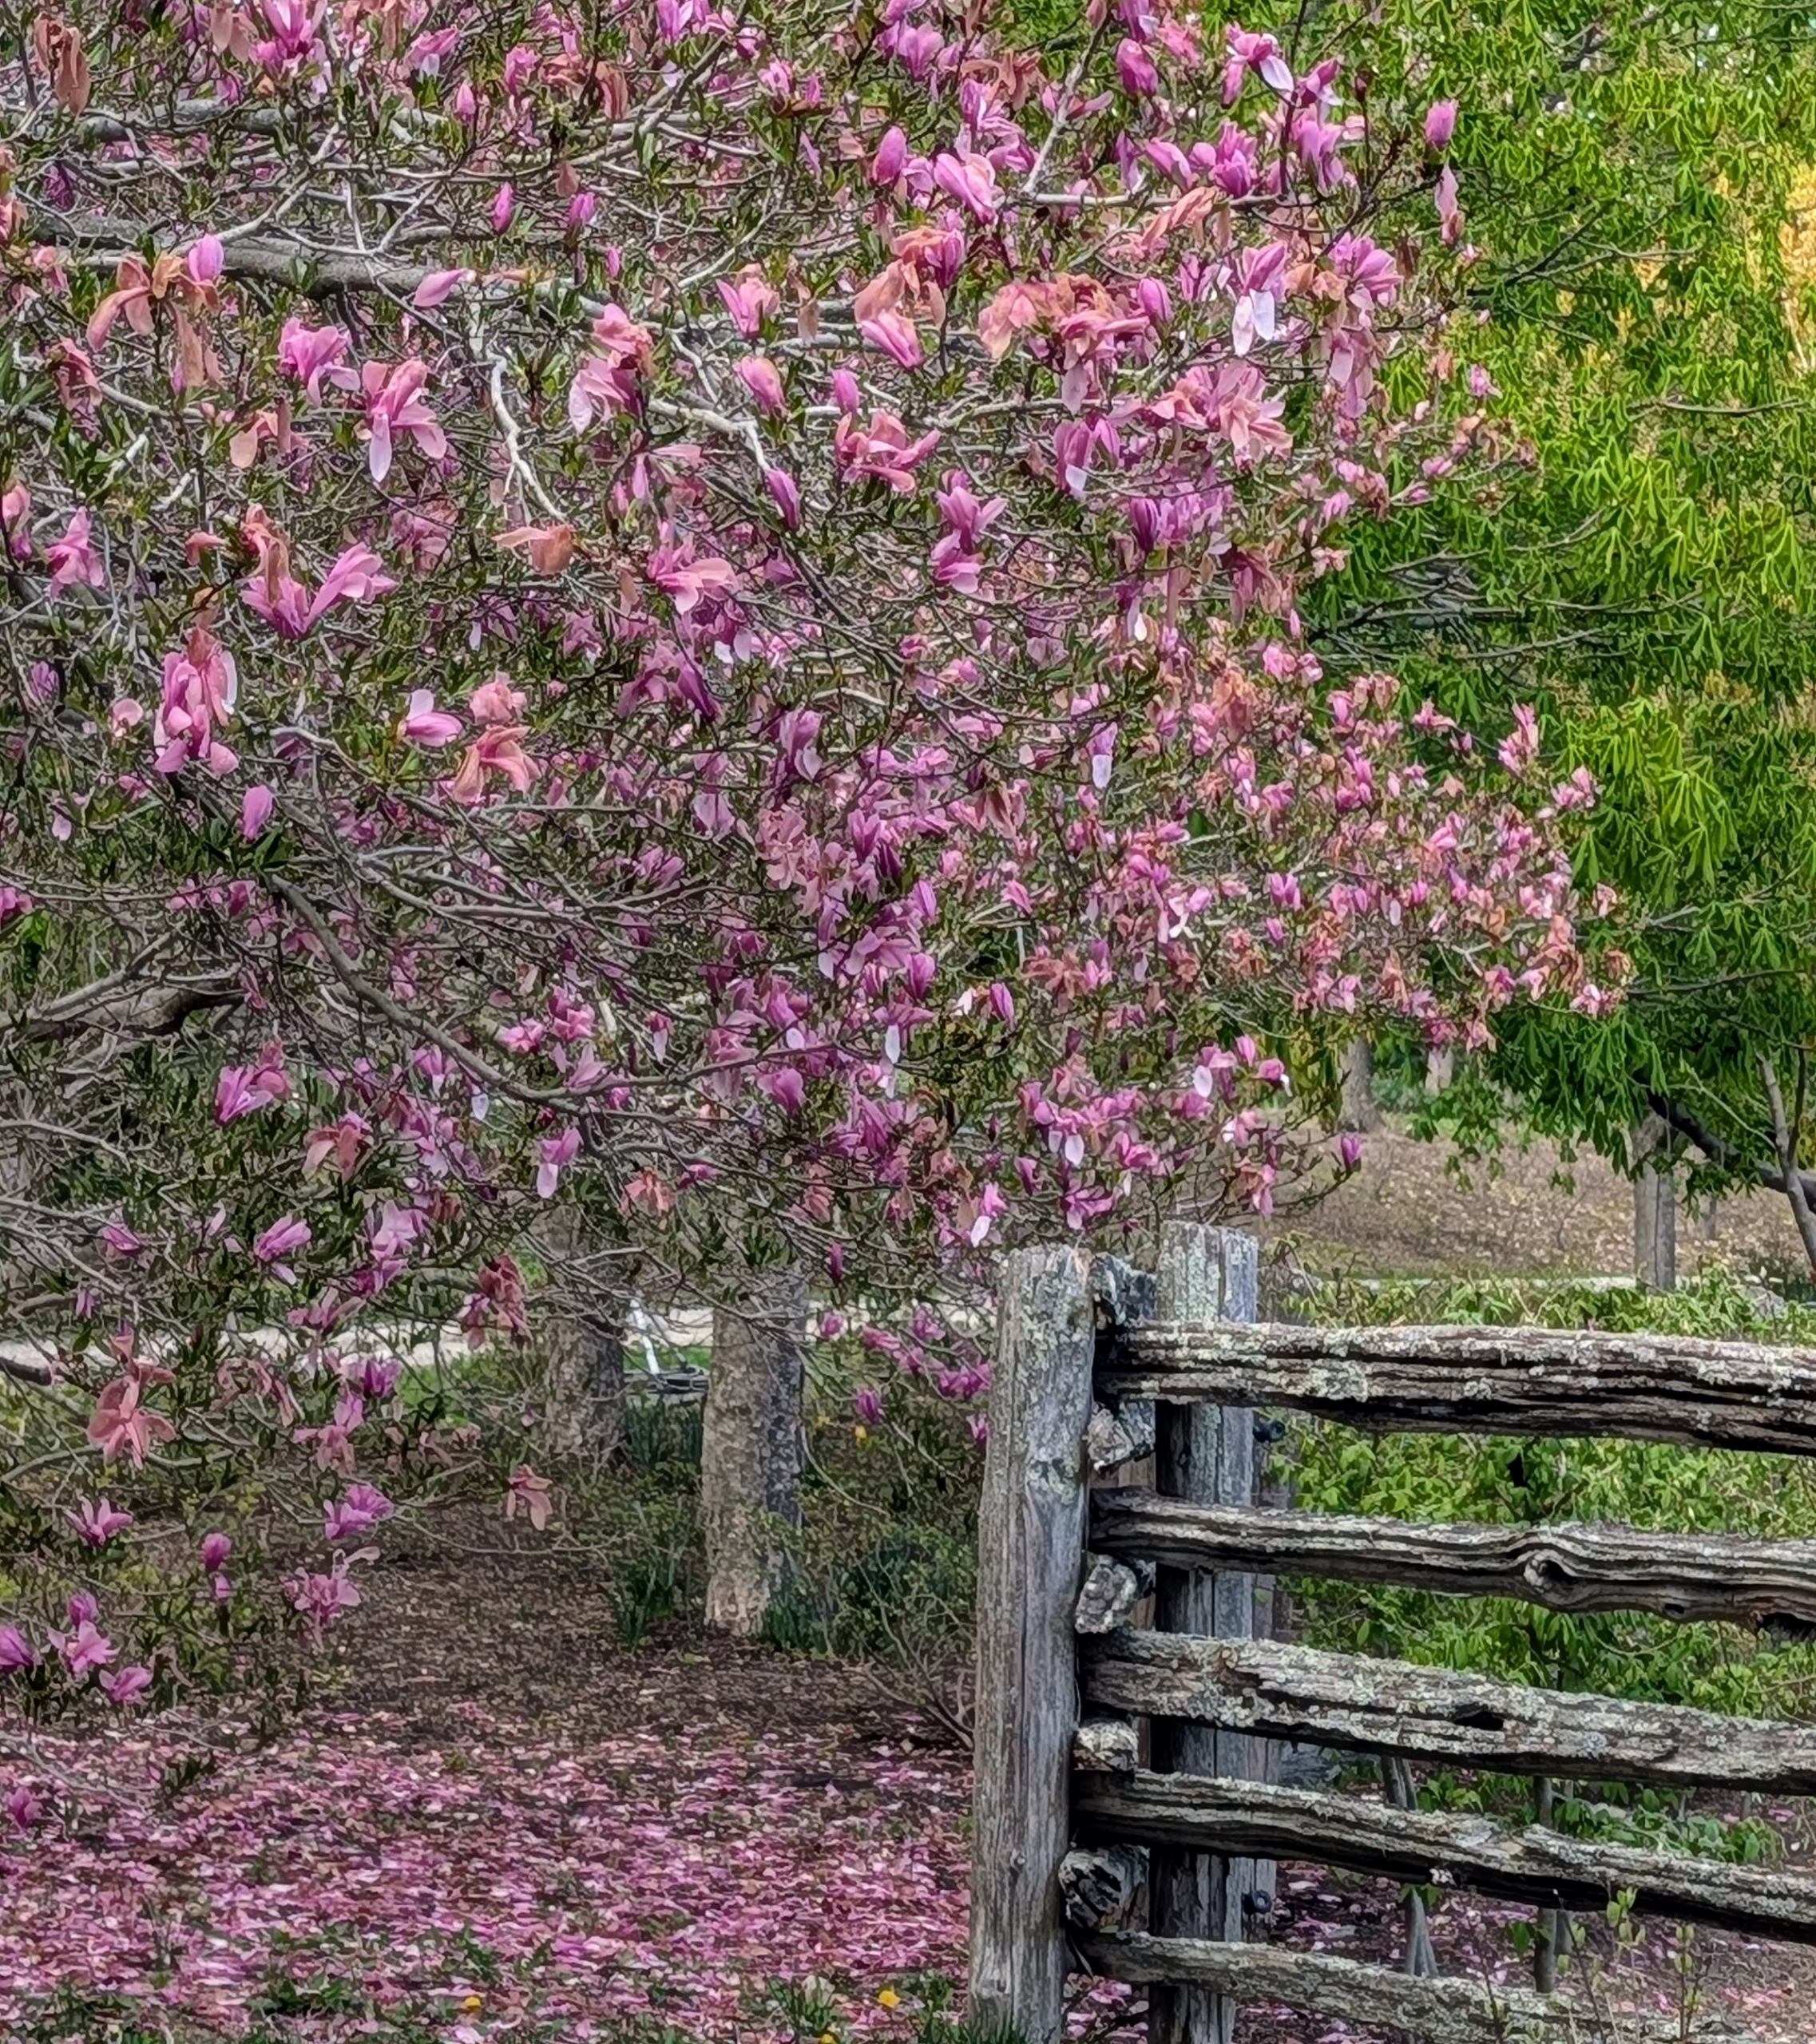
This fence surrounds my half-acre vegetable garden. This corner is located just under one of my pink magnolia trees. The railings are sandwiched between two cedar posts buried deep into the ground.
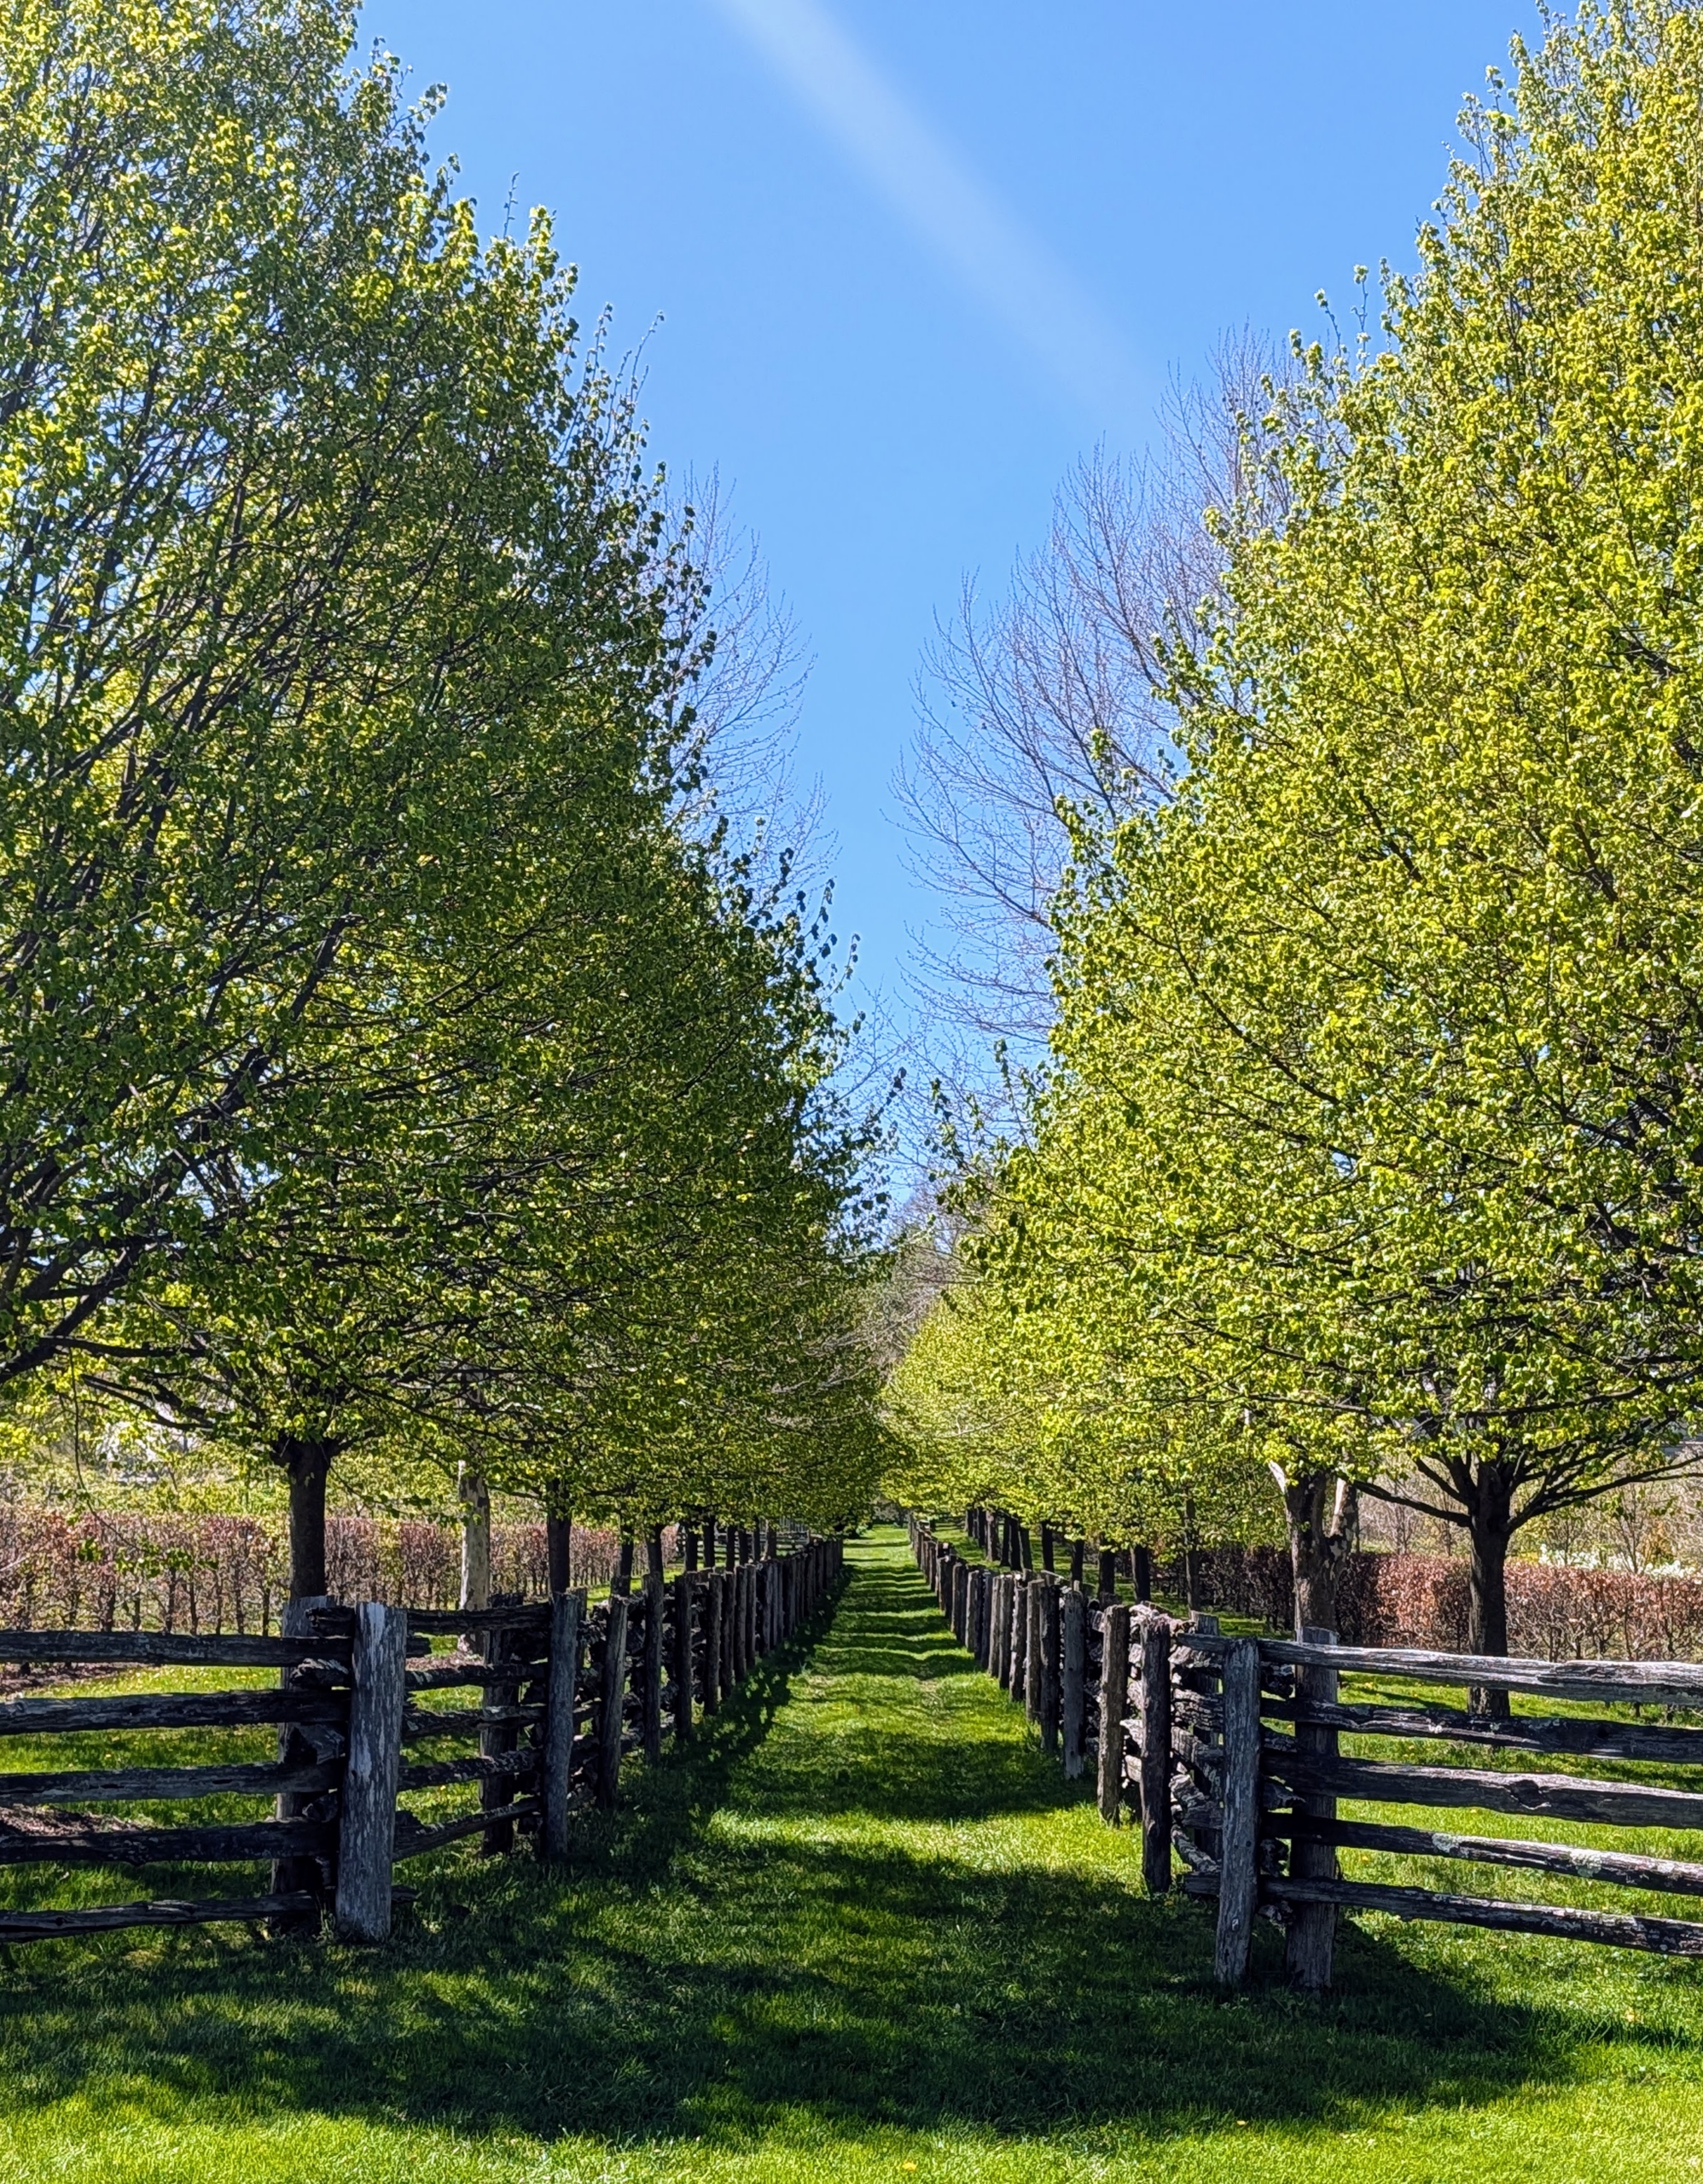
Here is the fencing on one side of my allée of pin oaks. This was once a horse pasture and now surrounds my orchard. Many of you have commented on how much you admire these fences – I love them too!
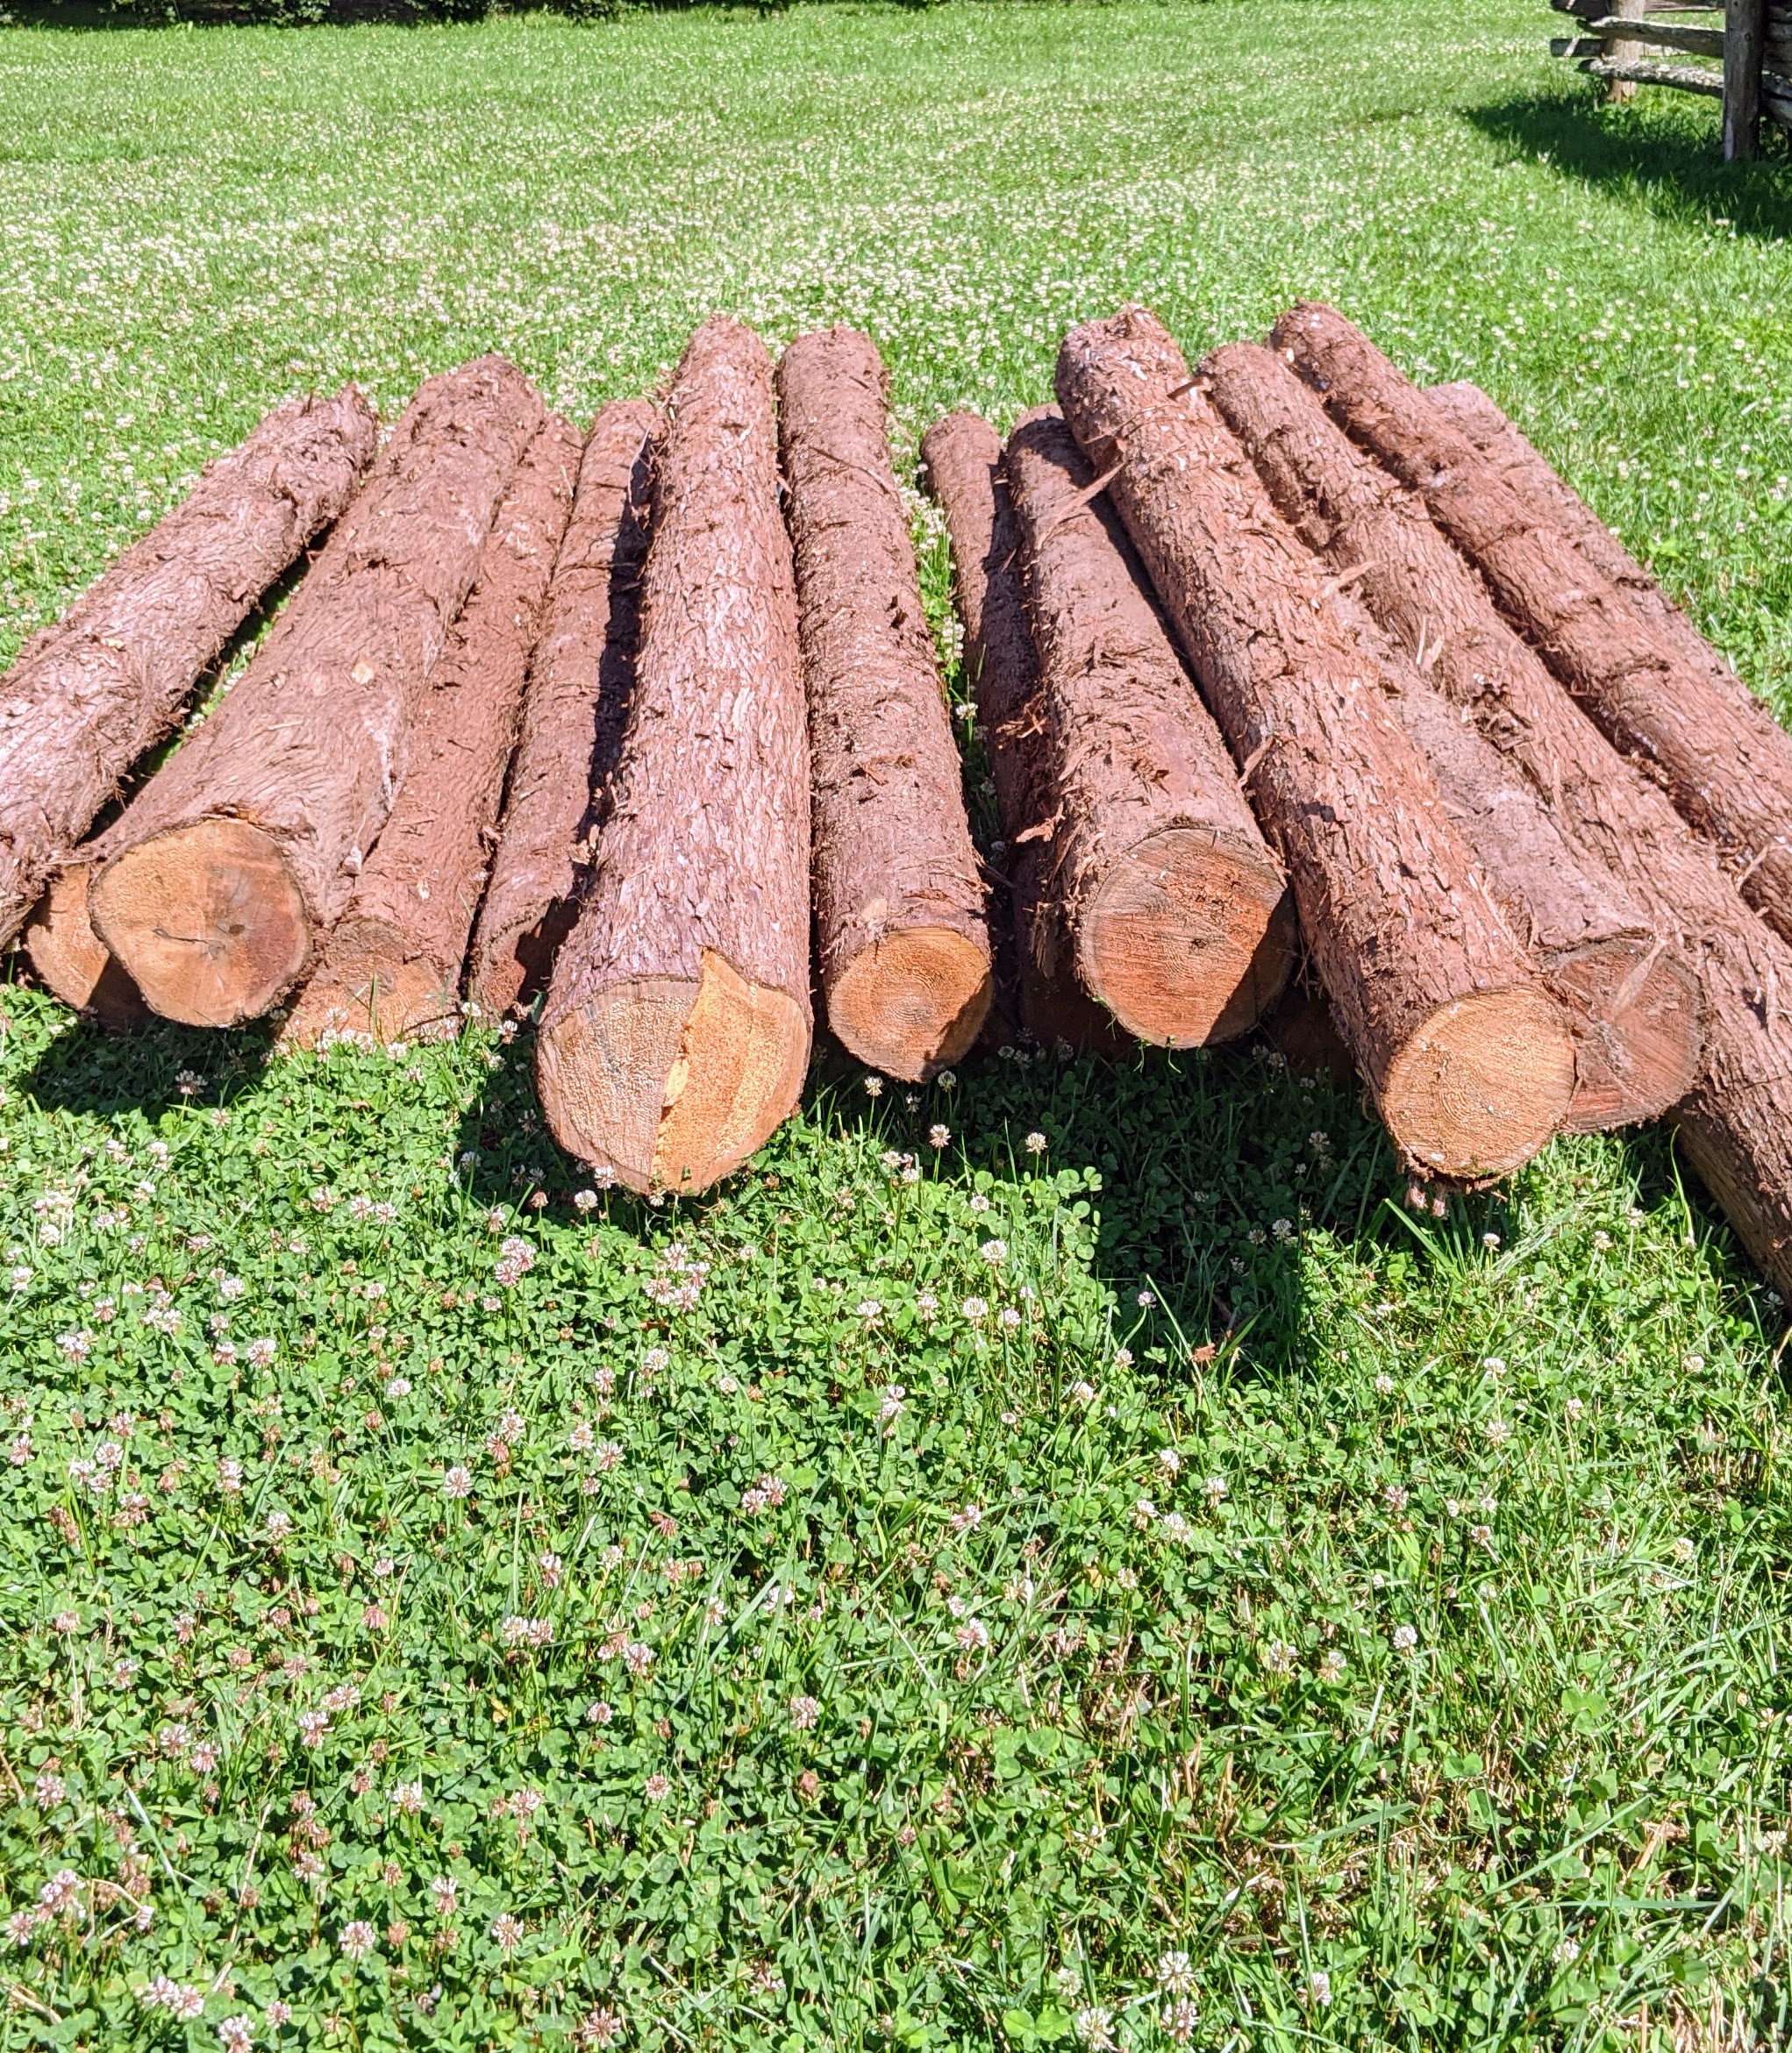
Cedar logs are available at lumber yards. Here are new cedar logs piled nearby for easy access.
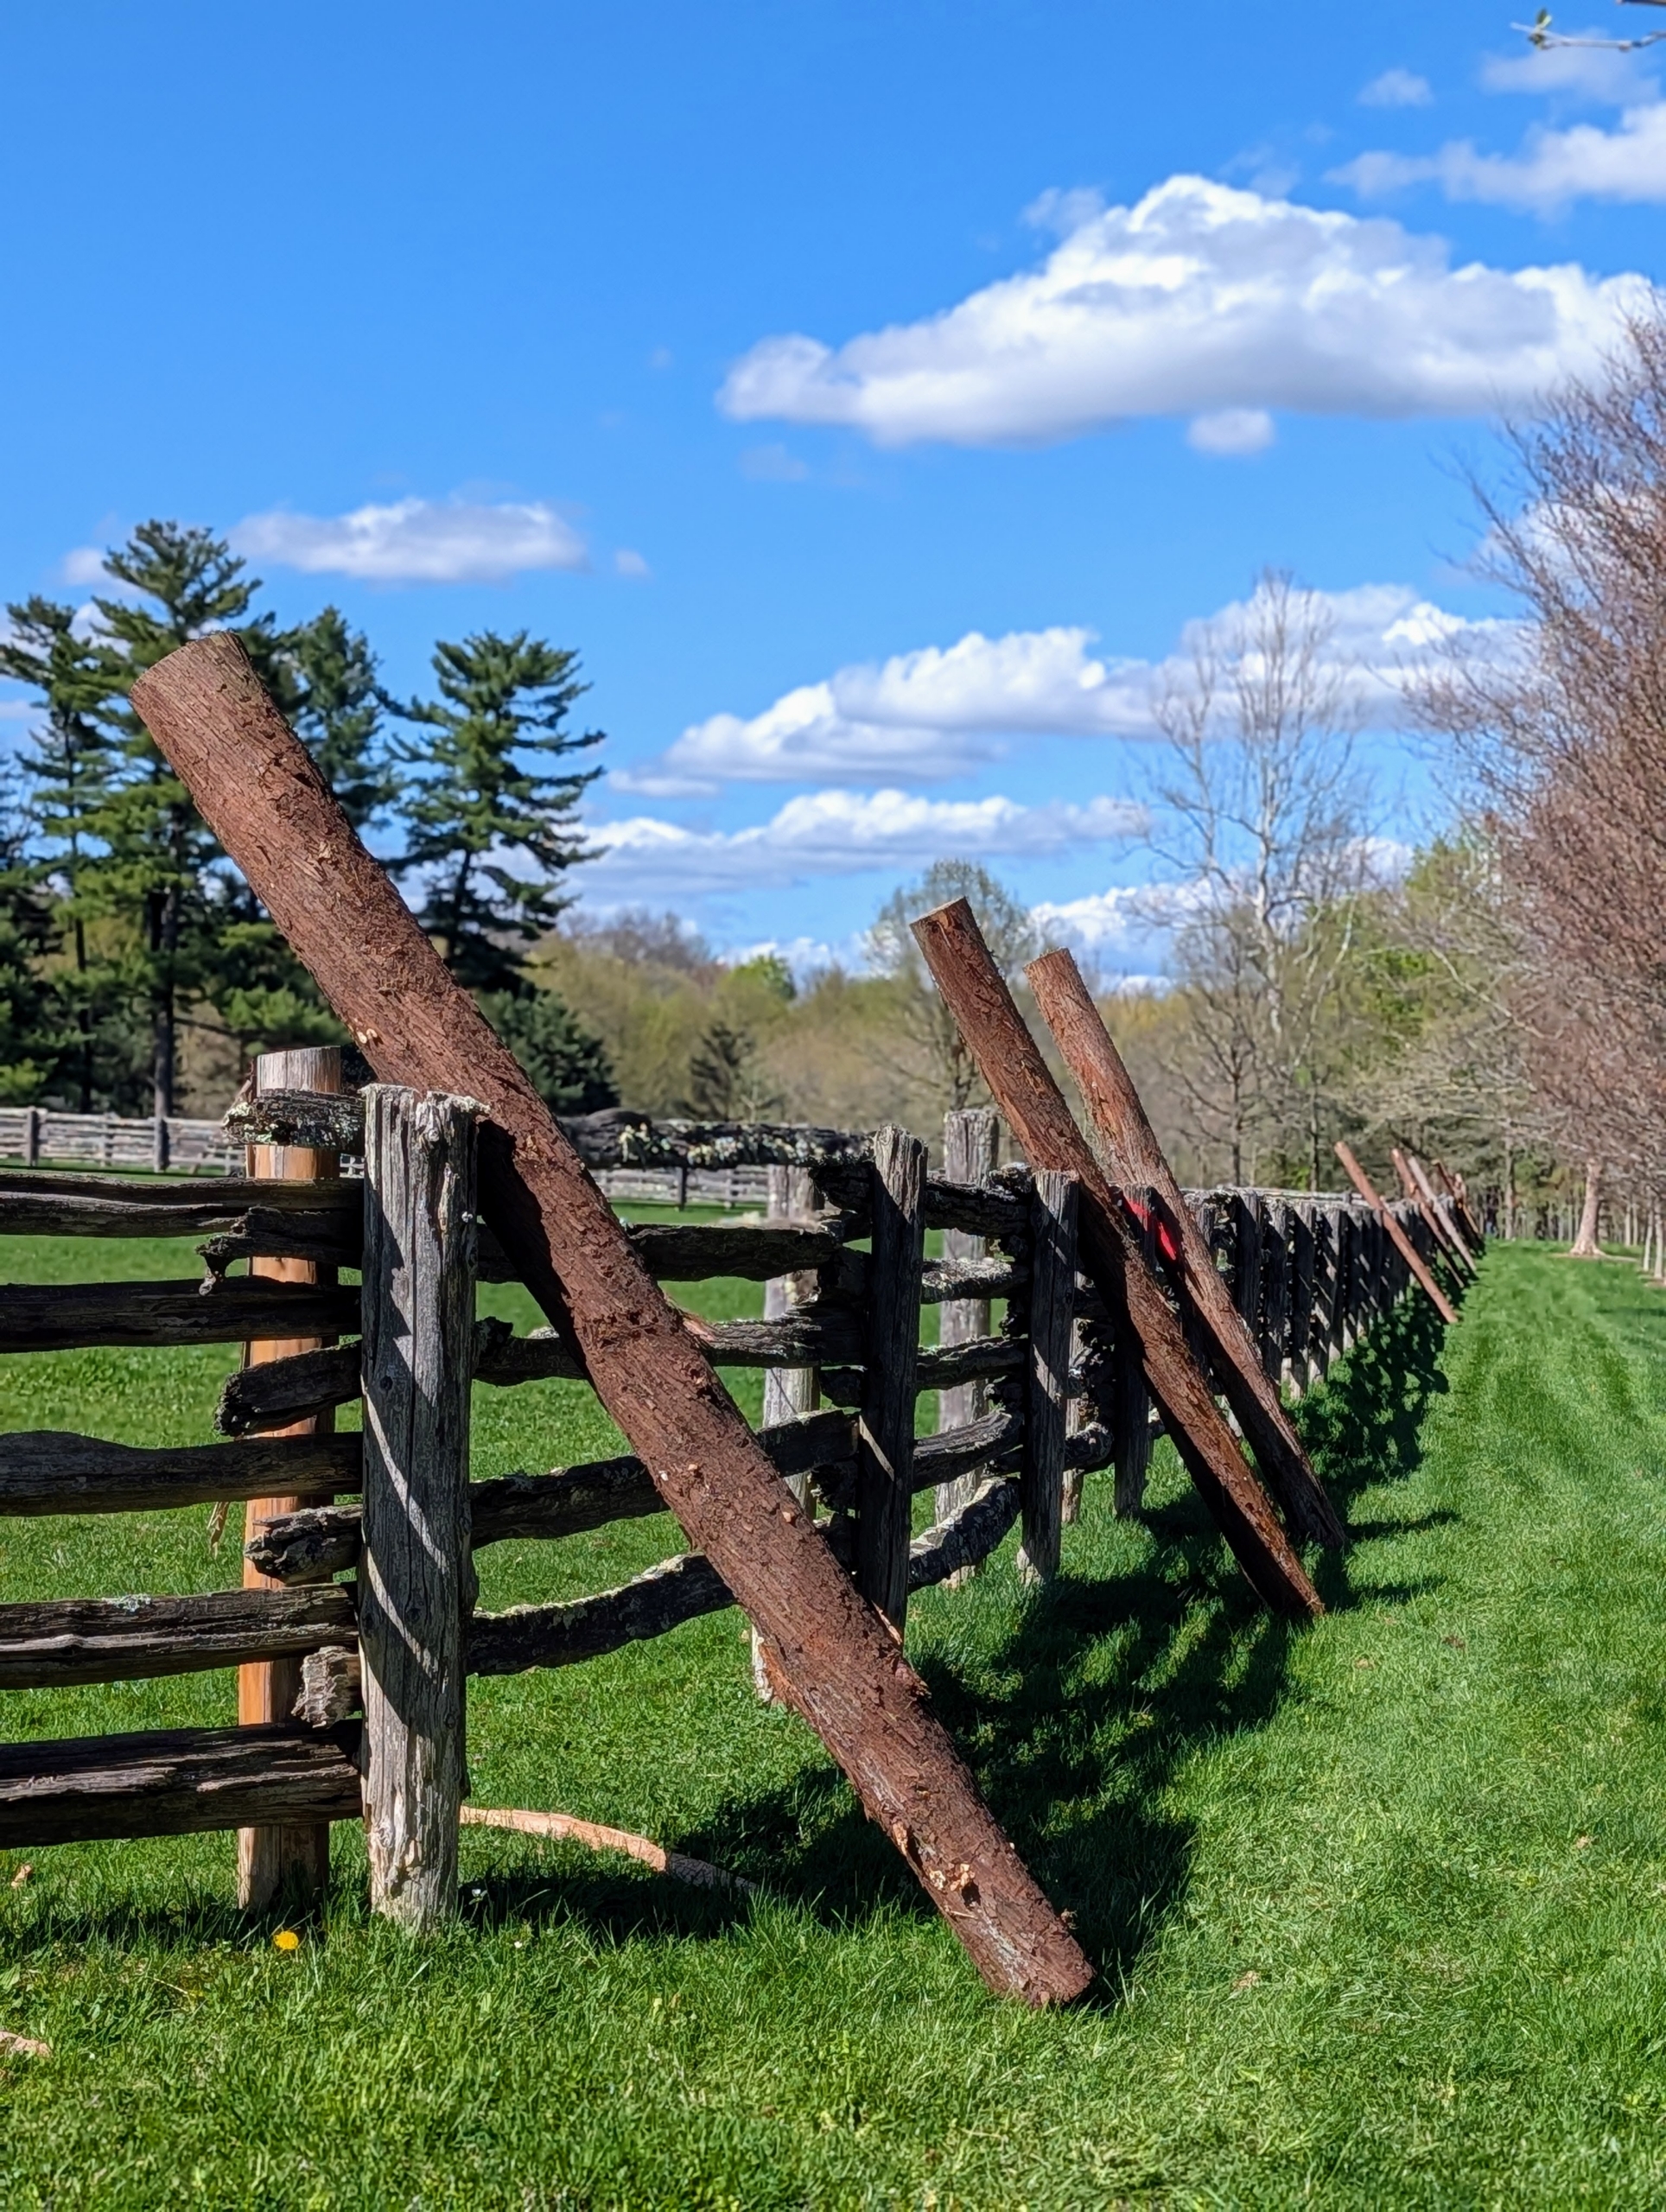
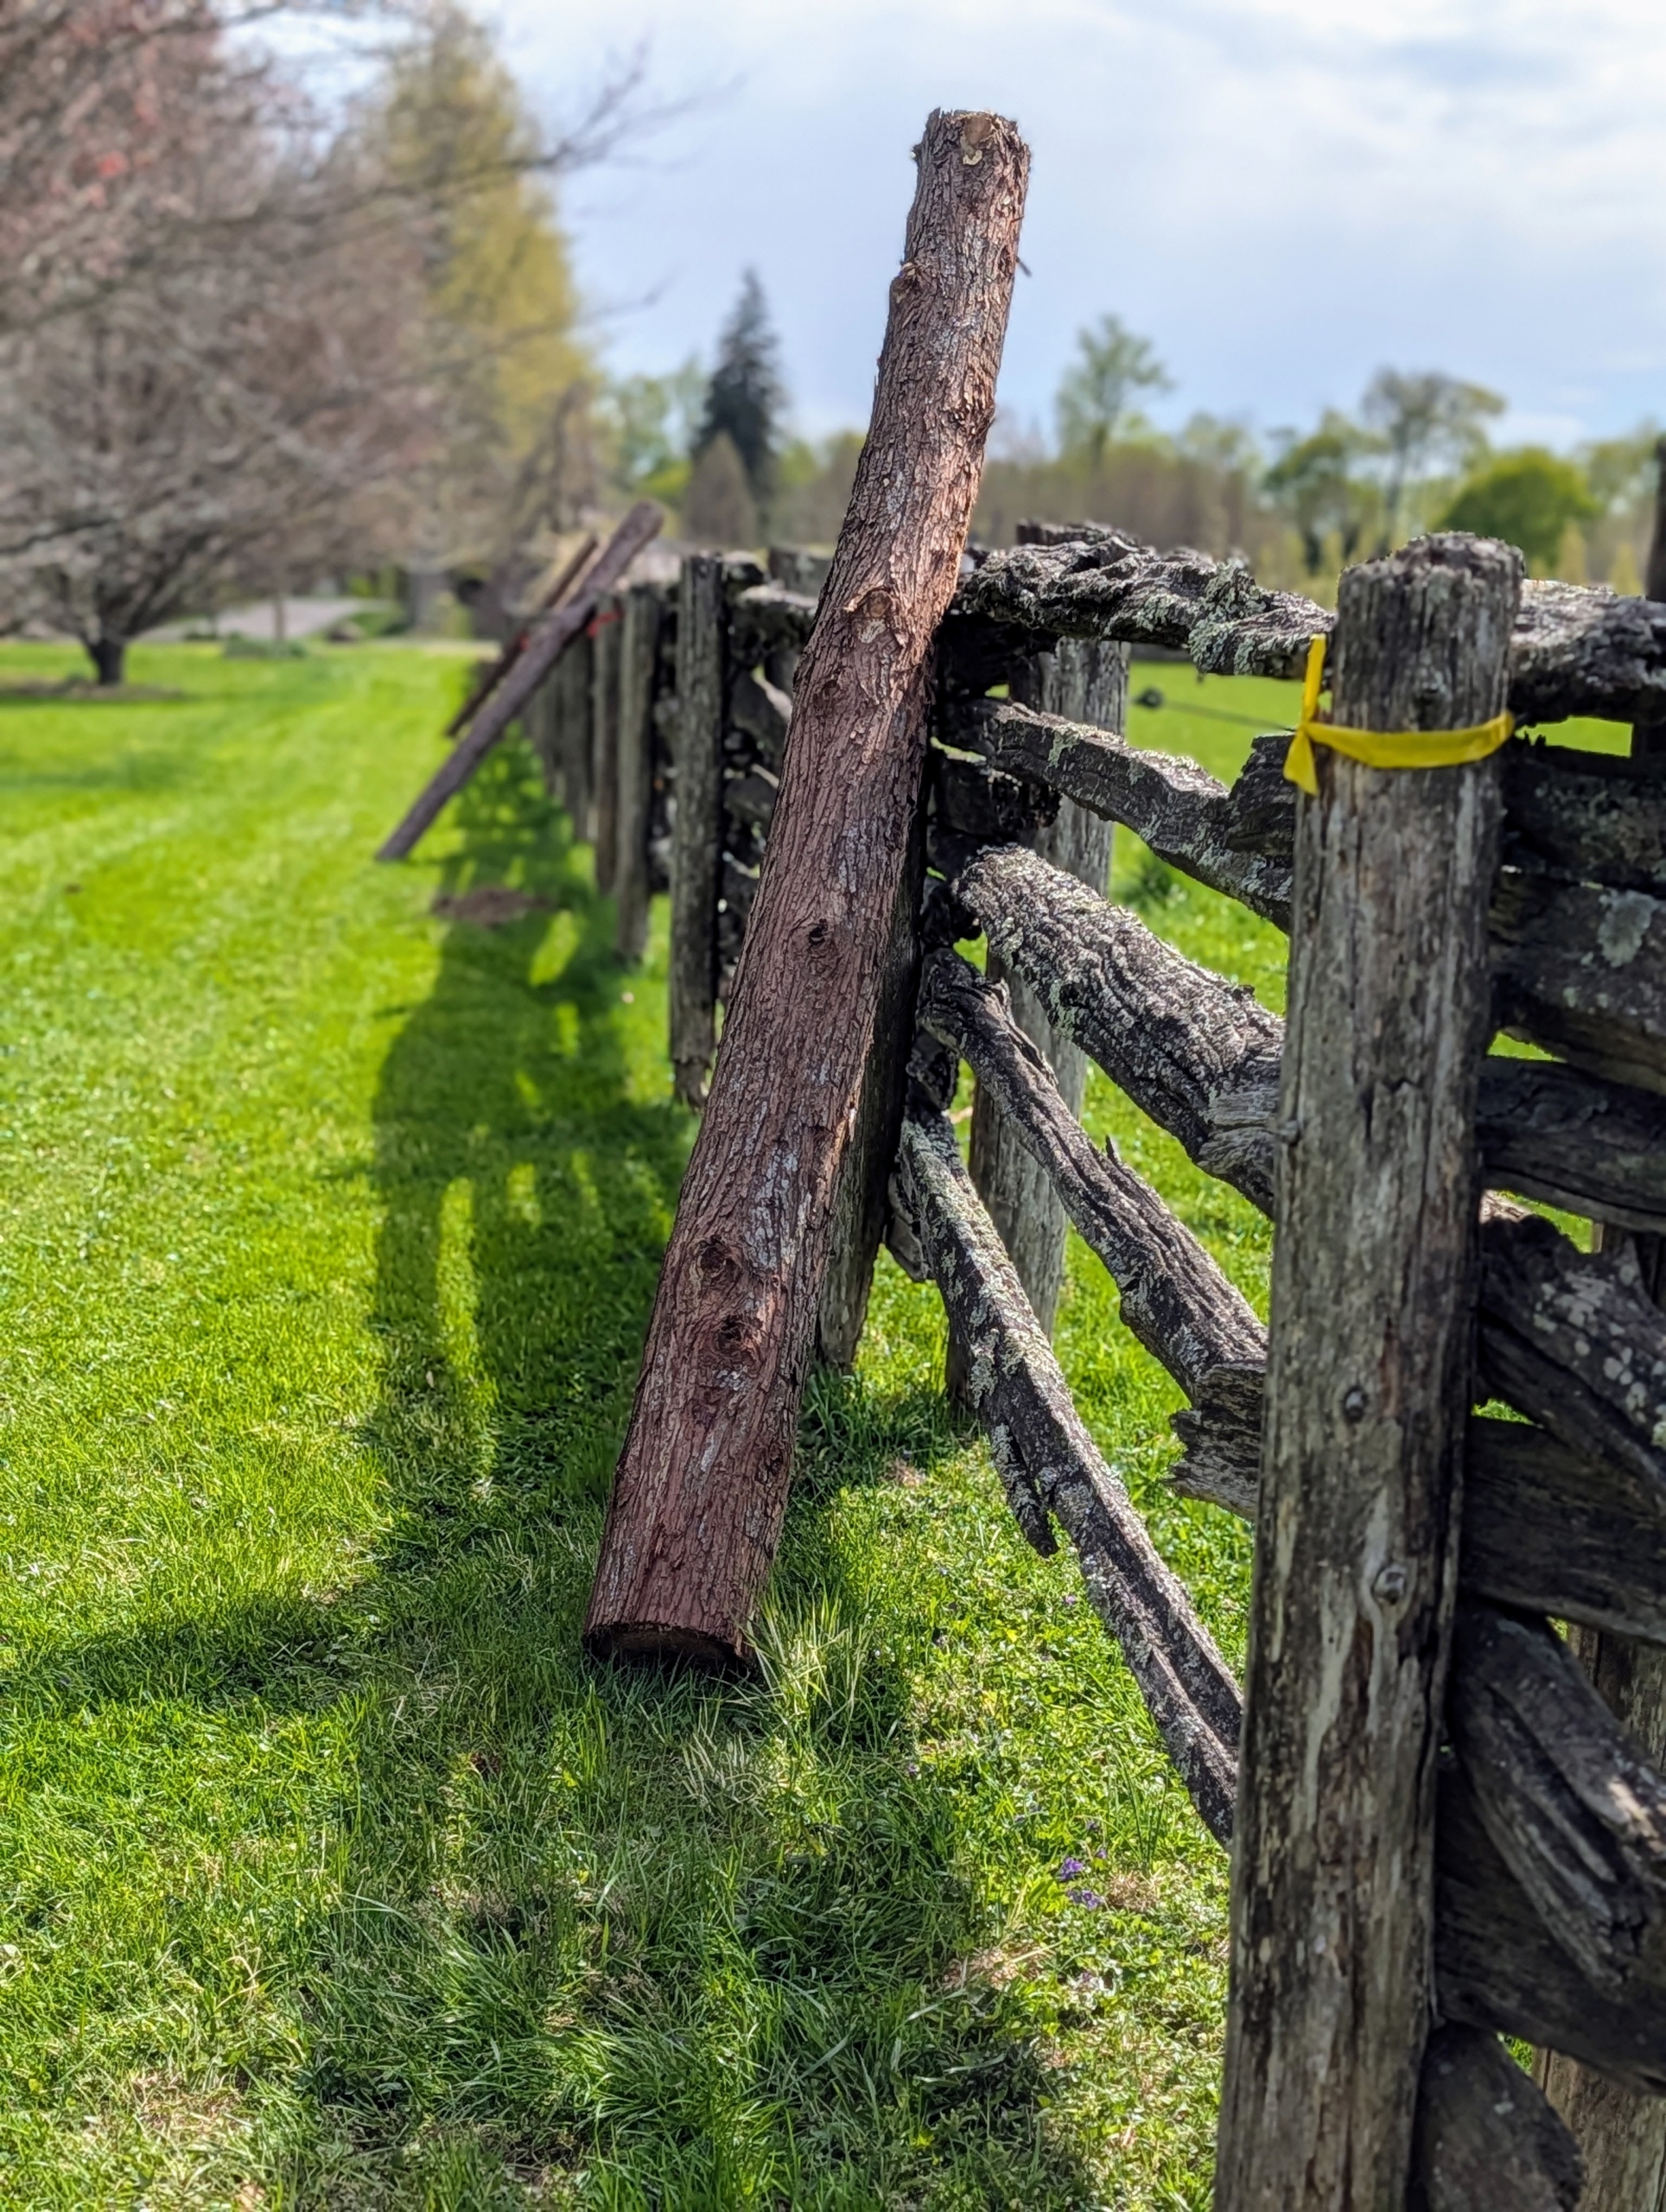
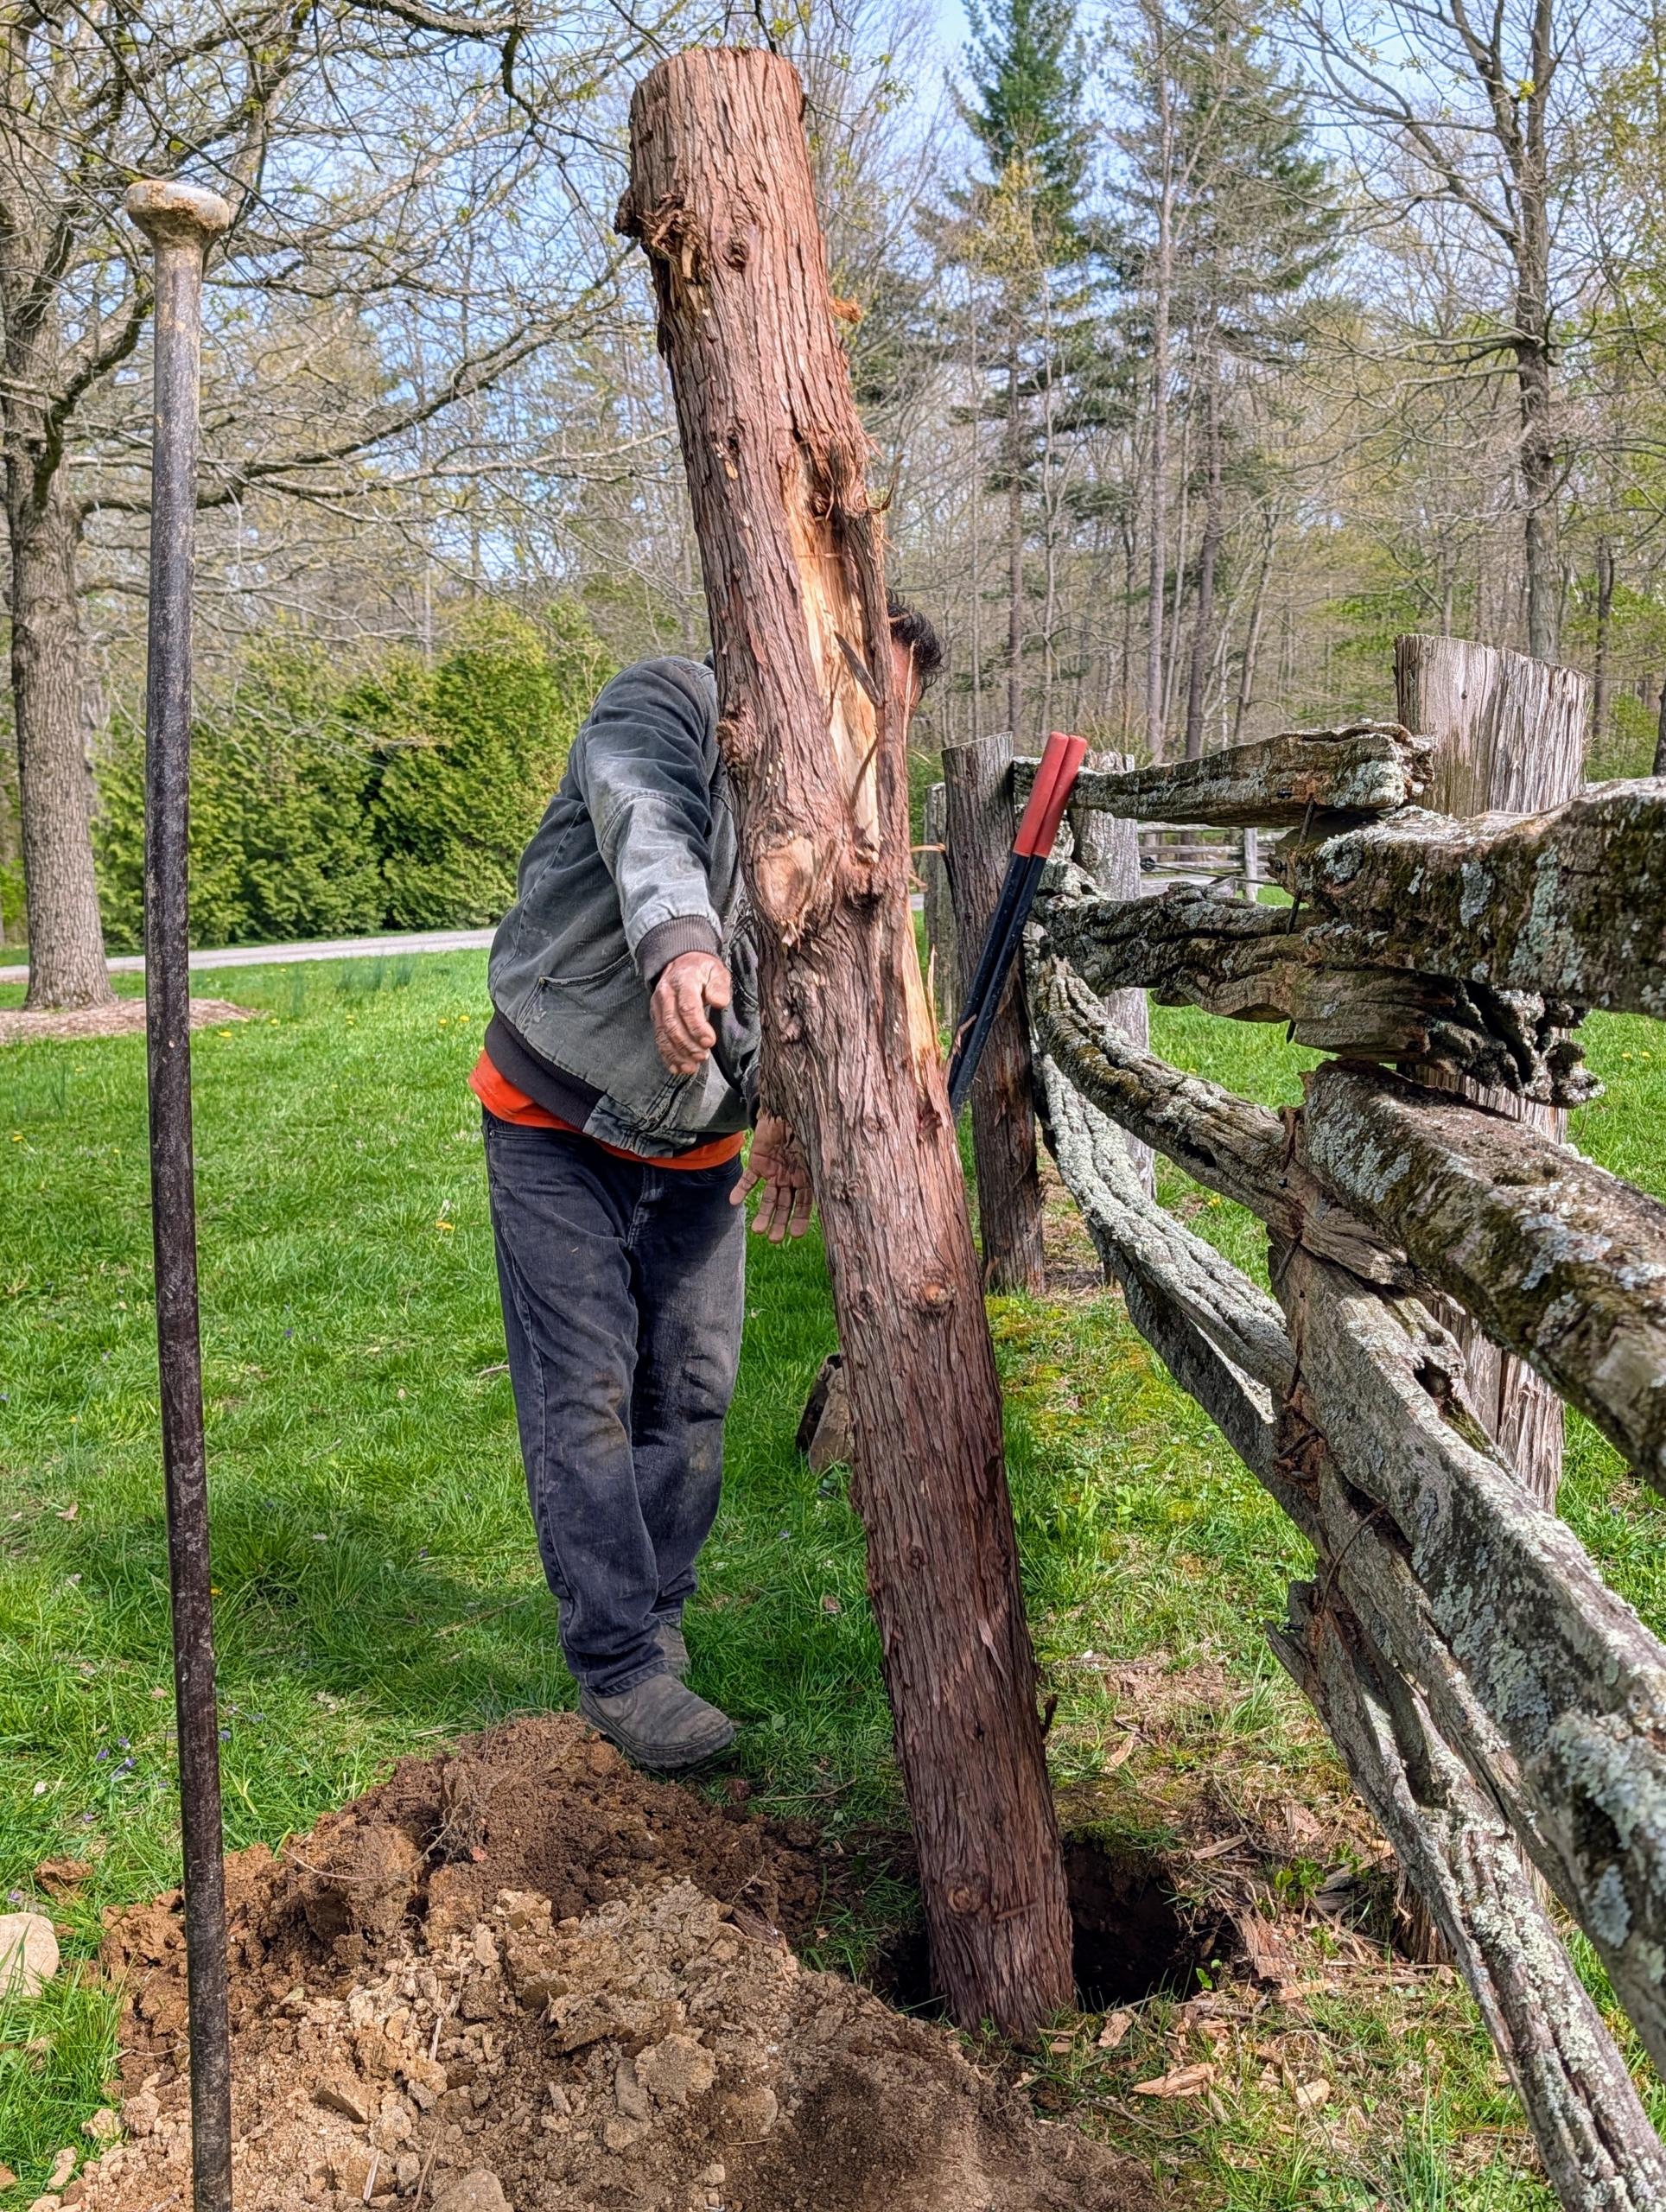
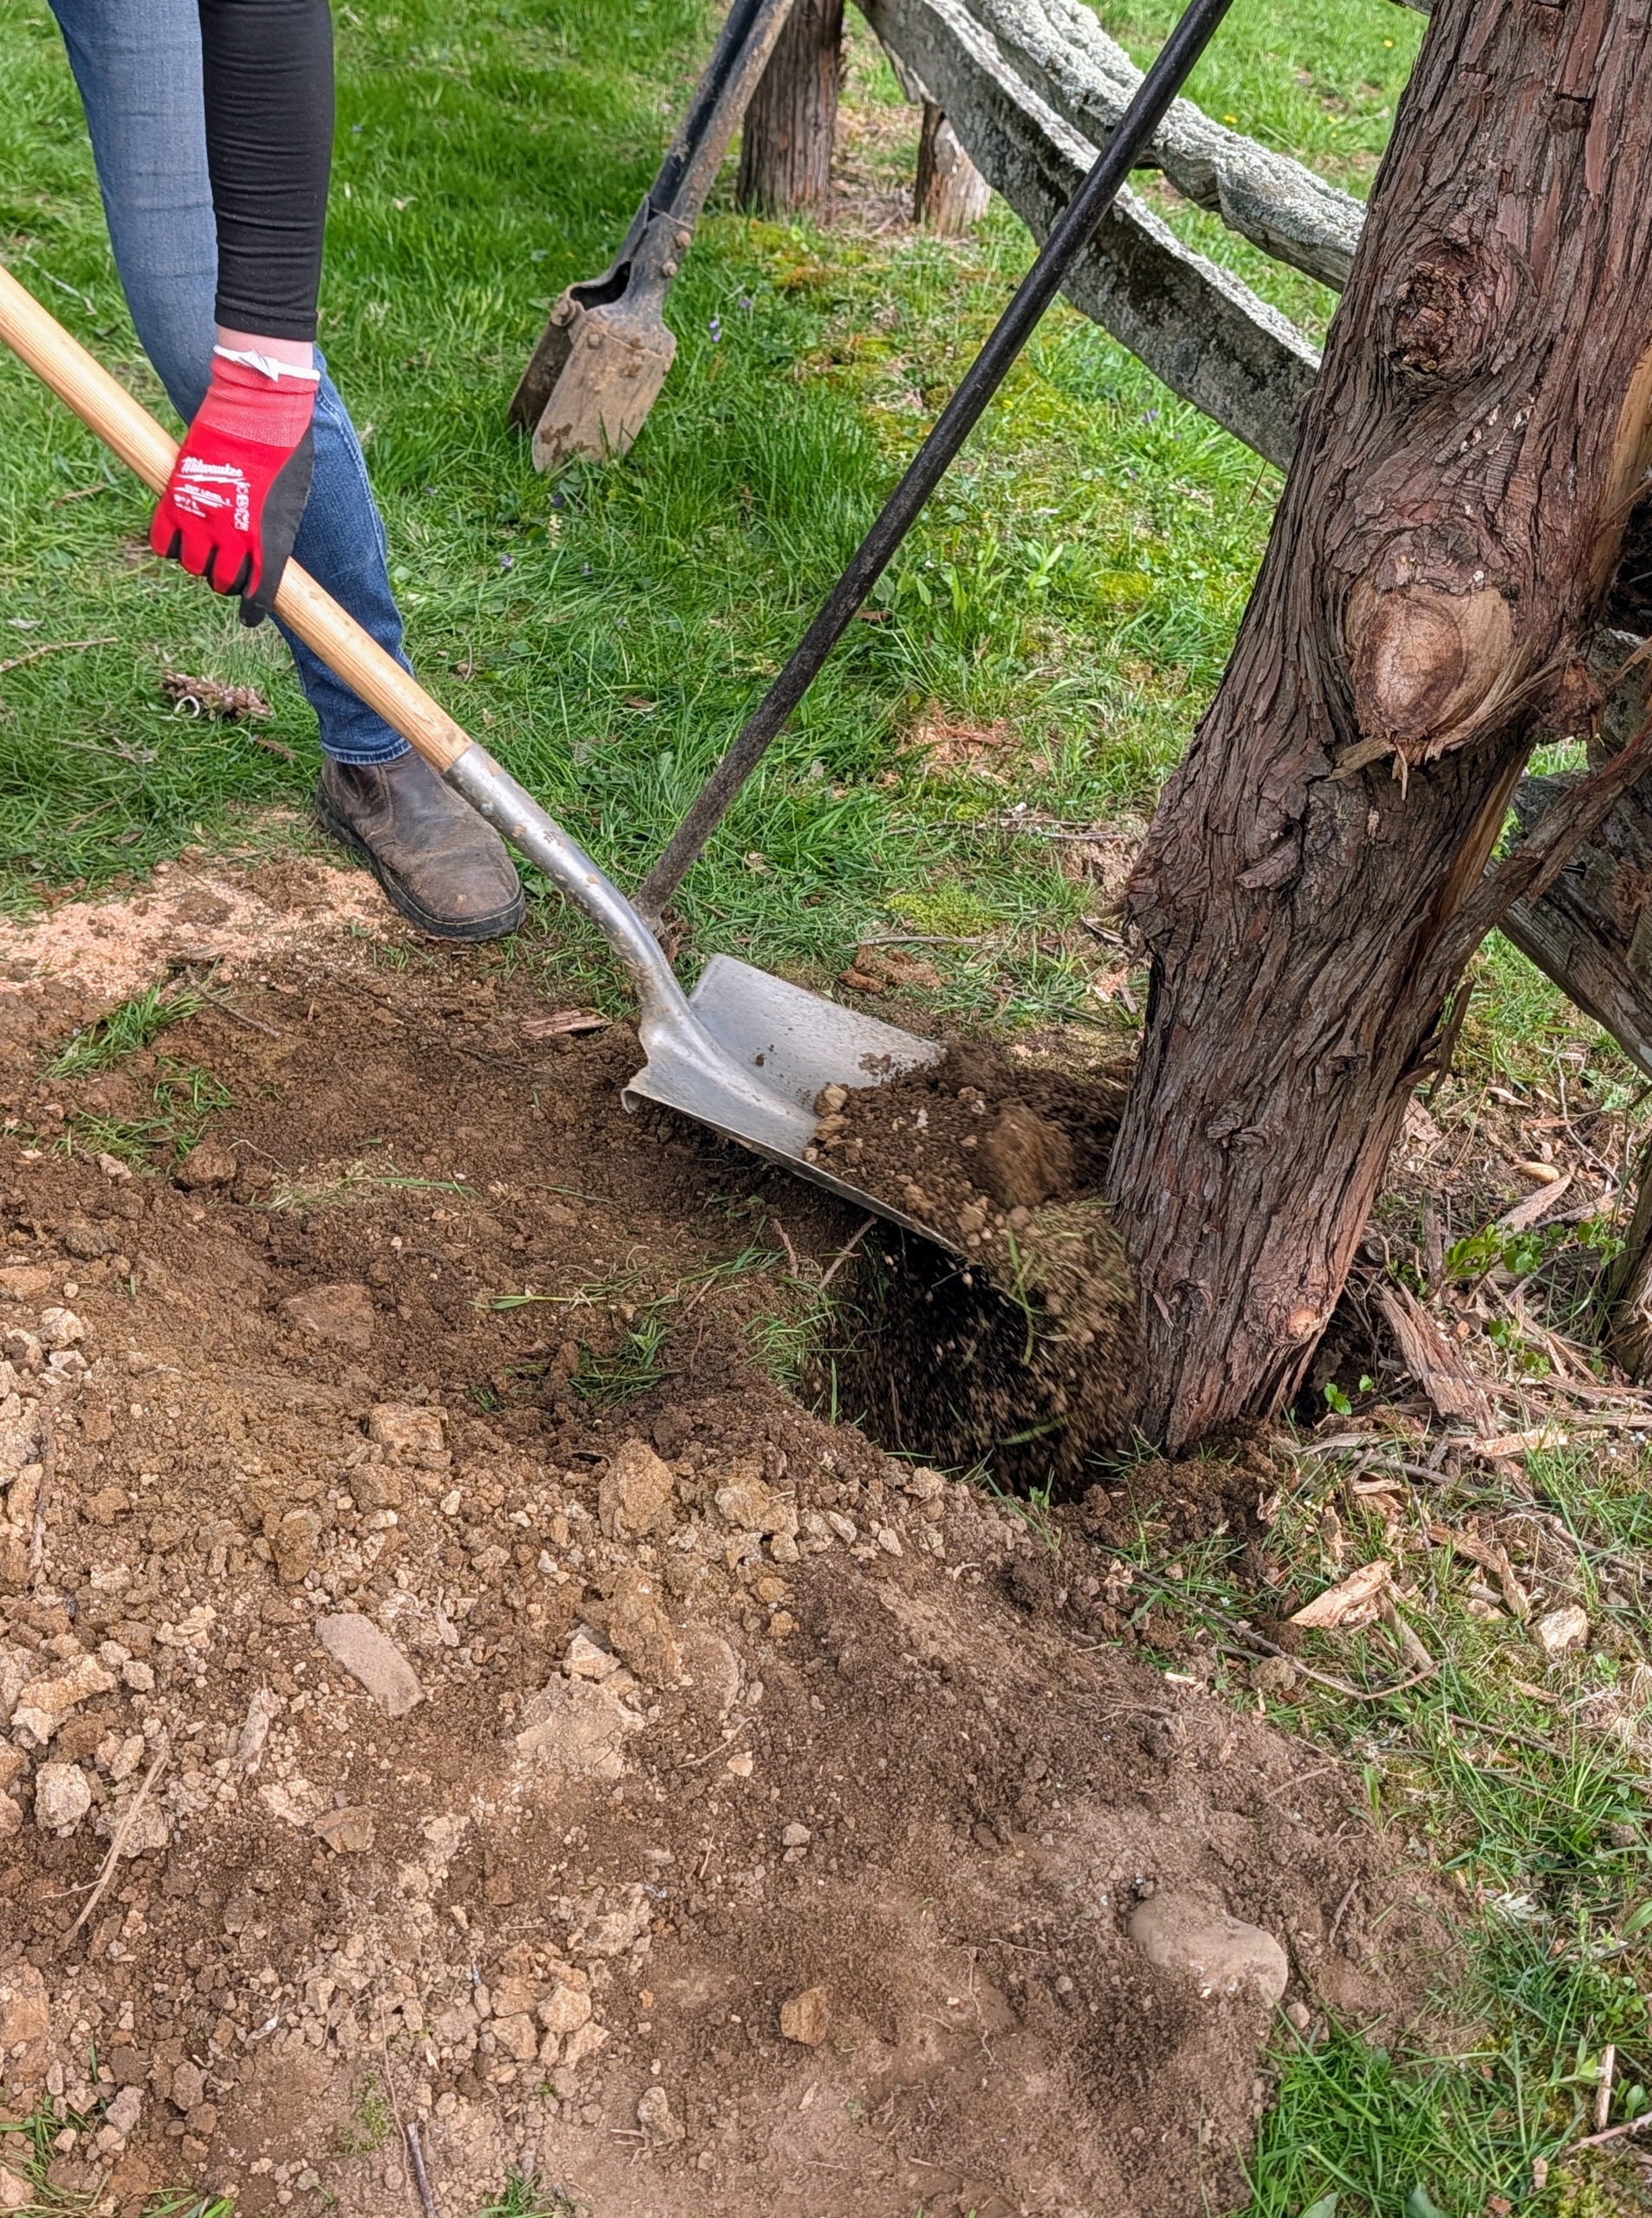
One by one they are placed next to the old posts being removed.
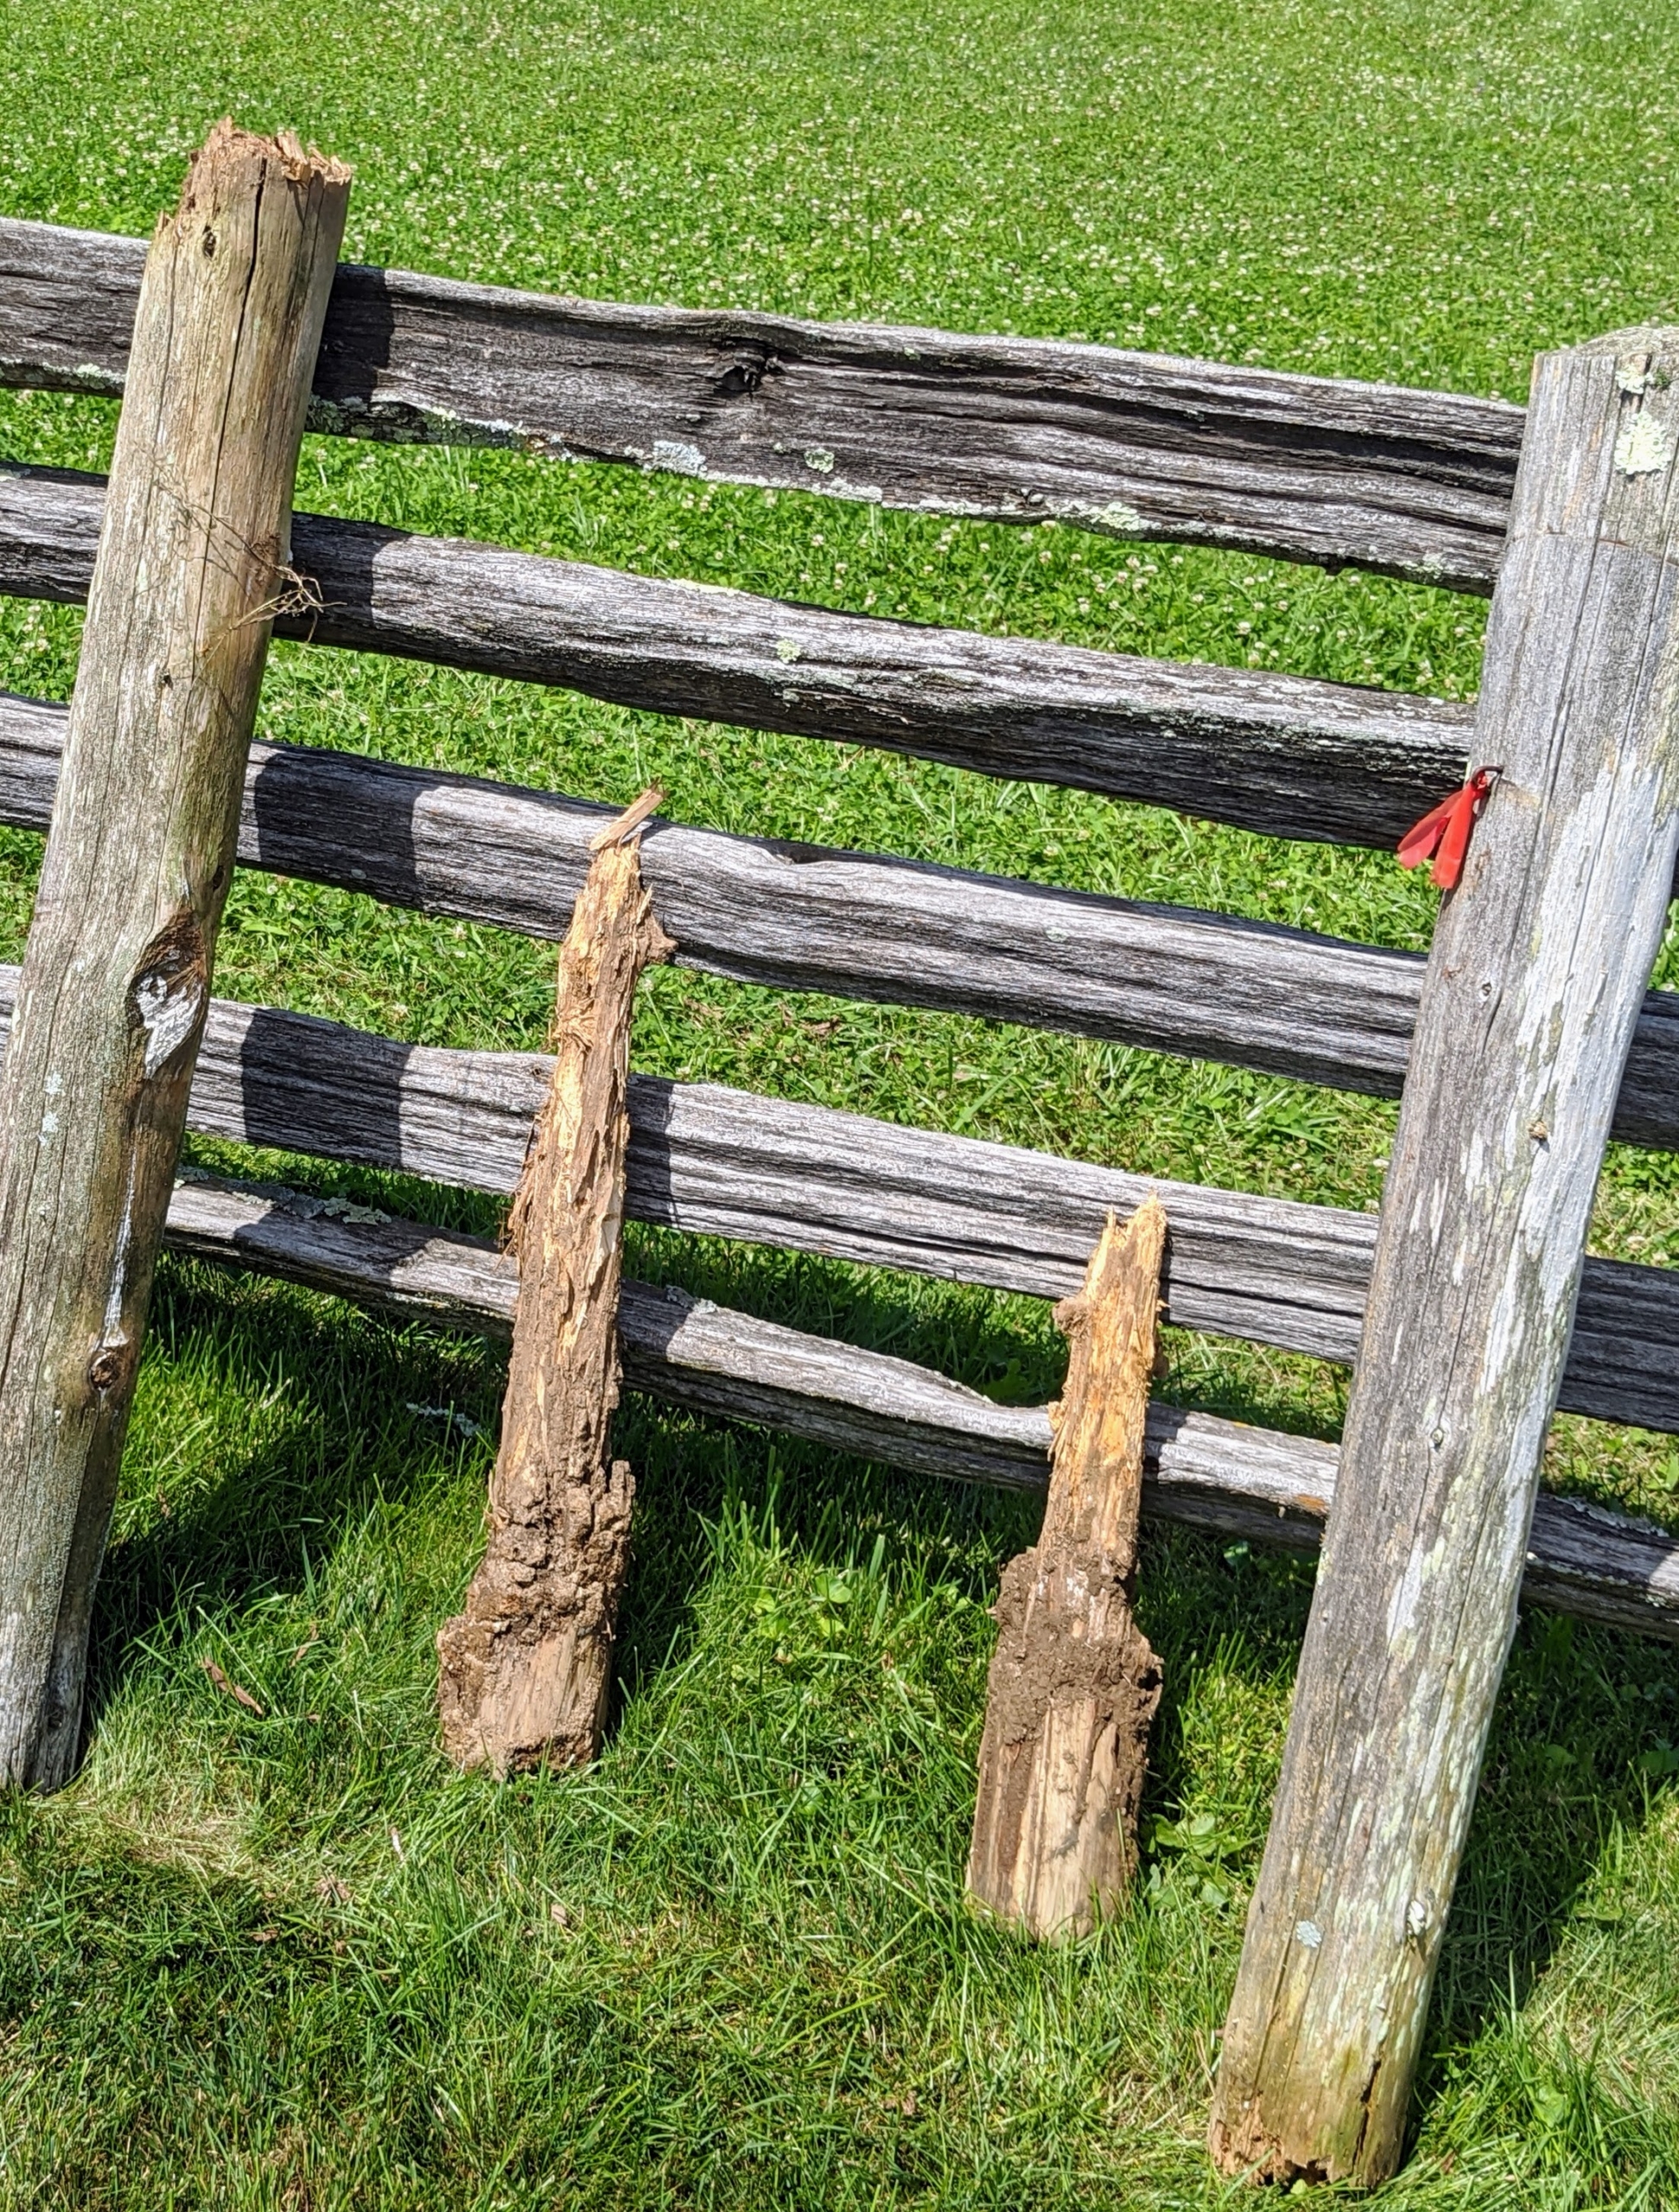
Posts are periodically checked for sturdiness. Those posts that need replacing are marked with brightly colored tree tape.
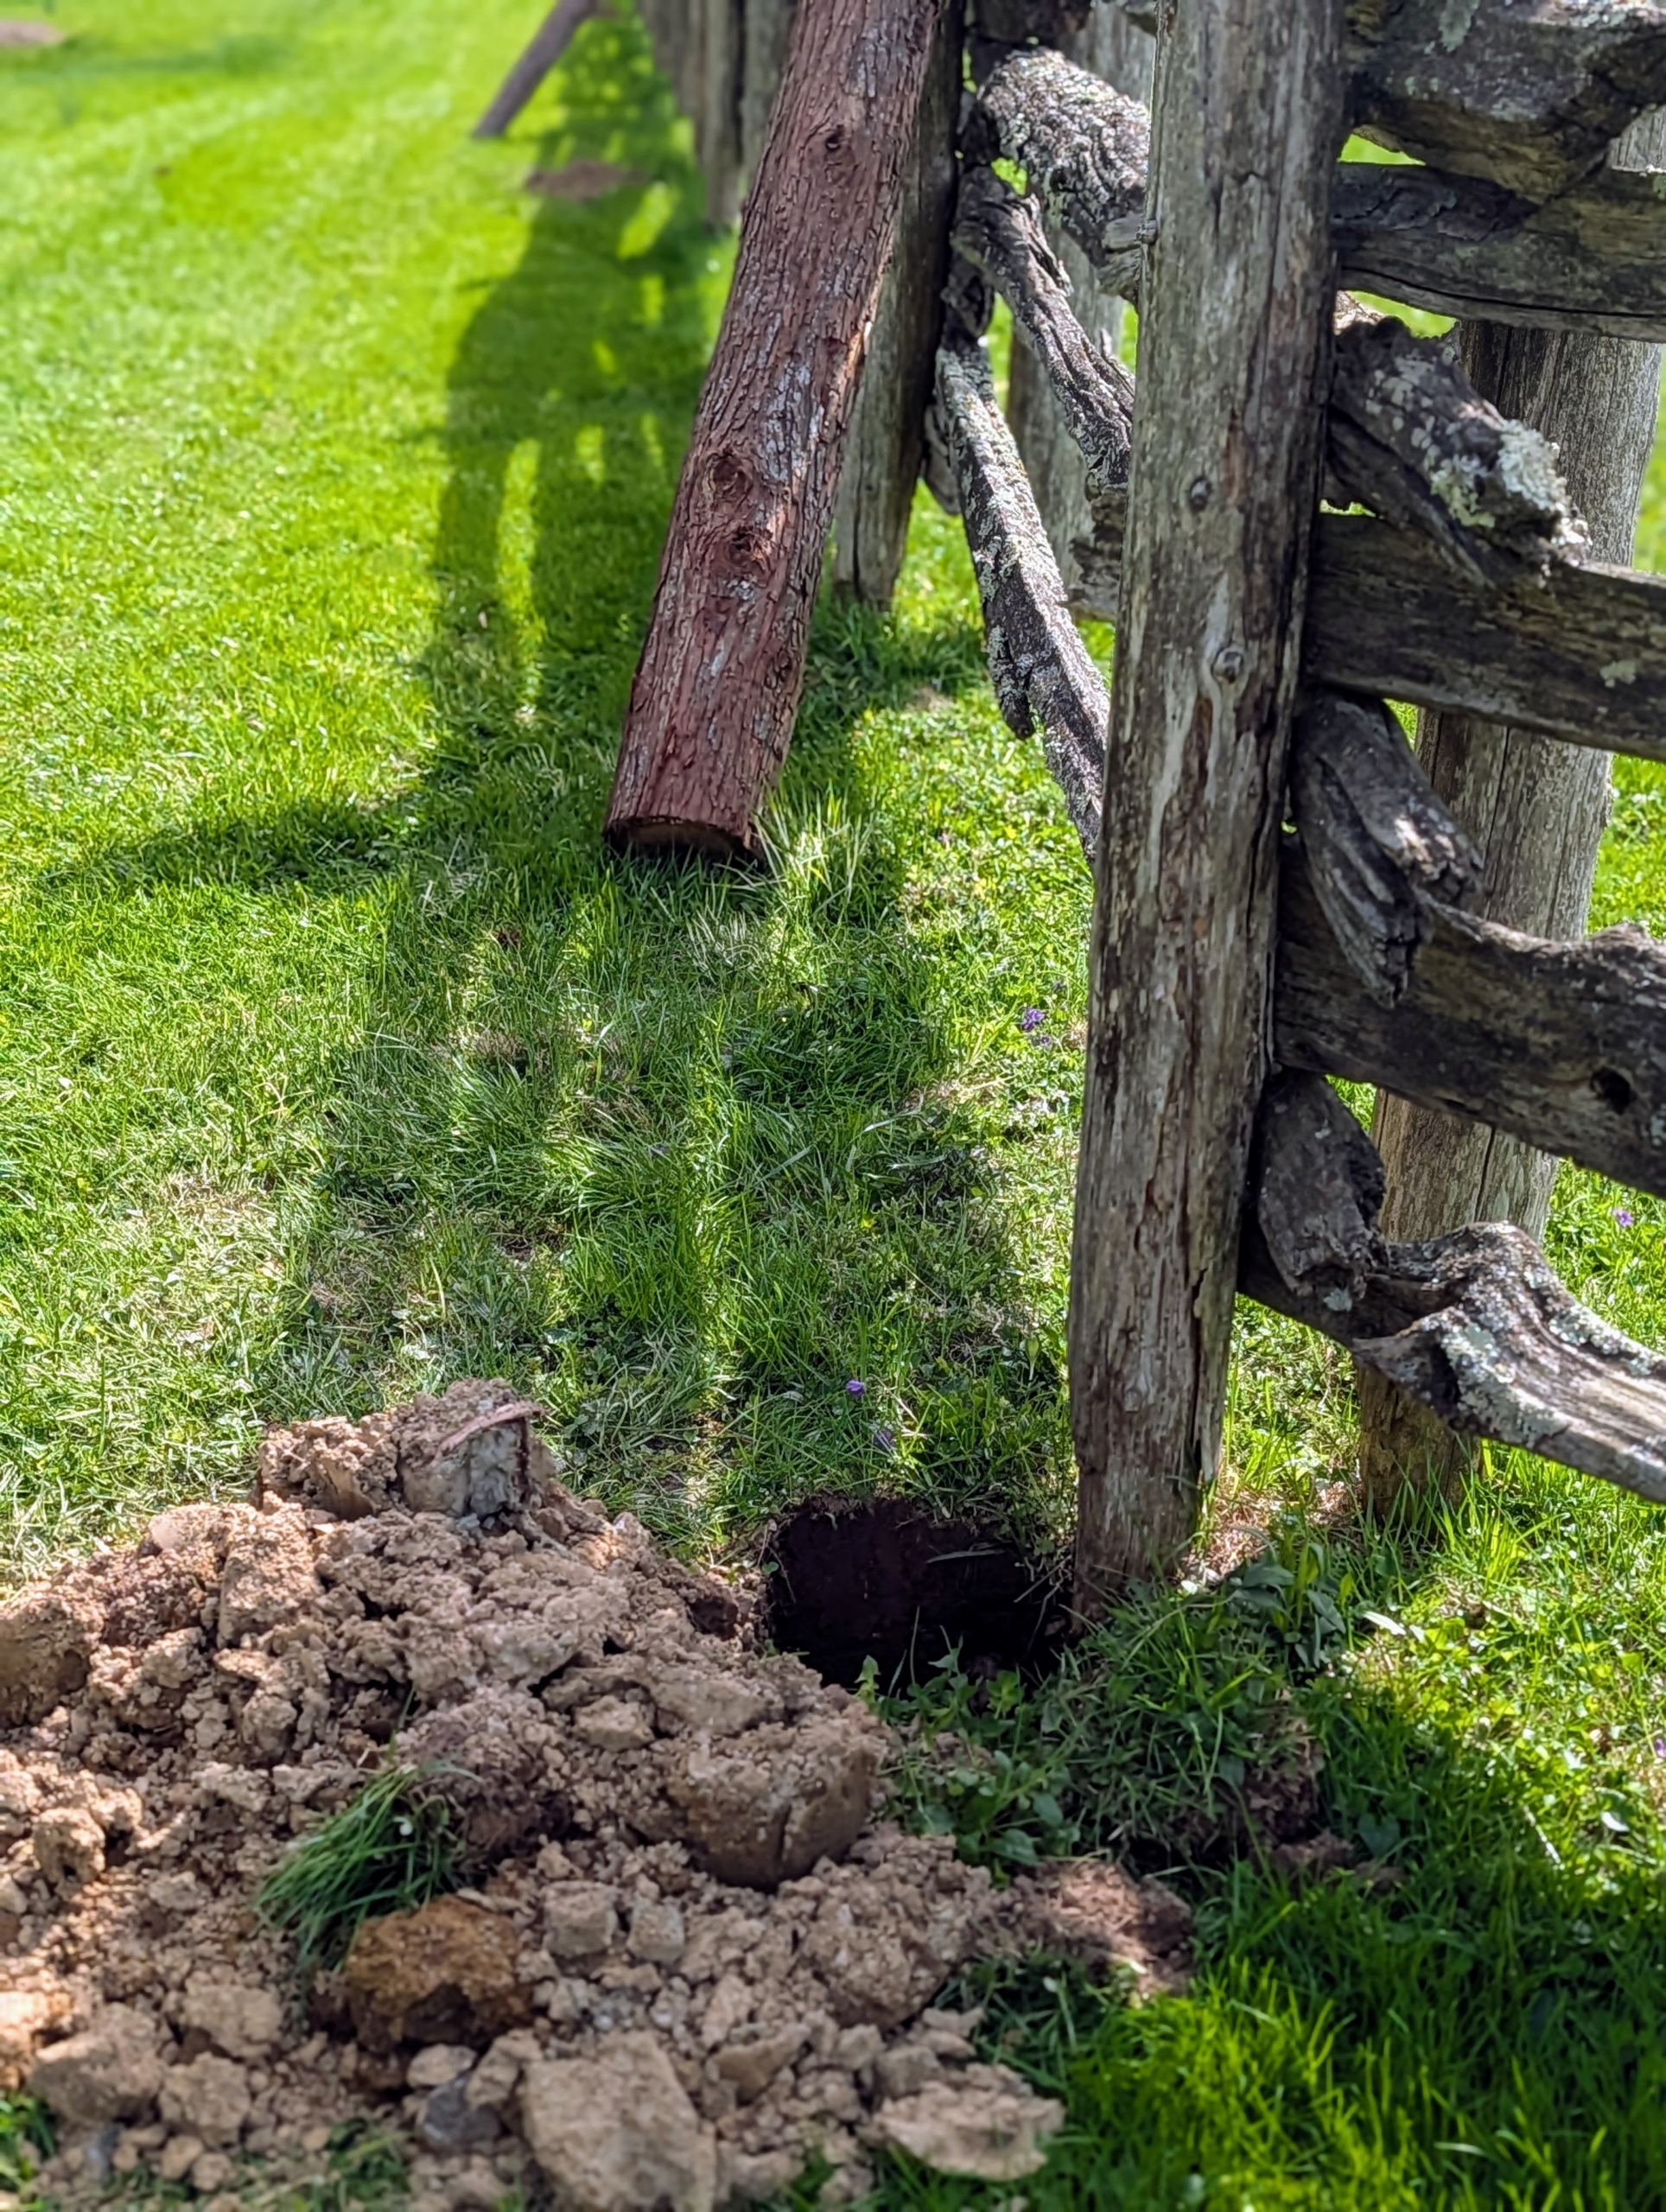
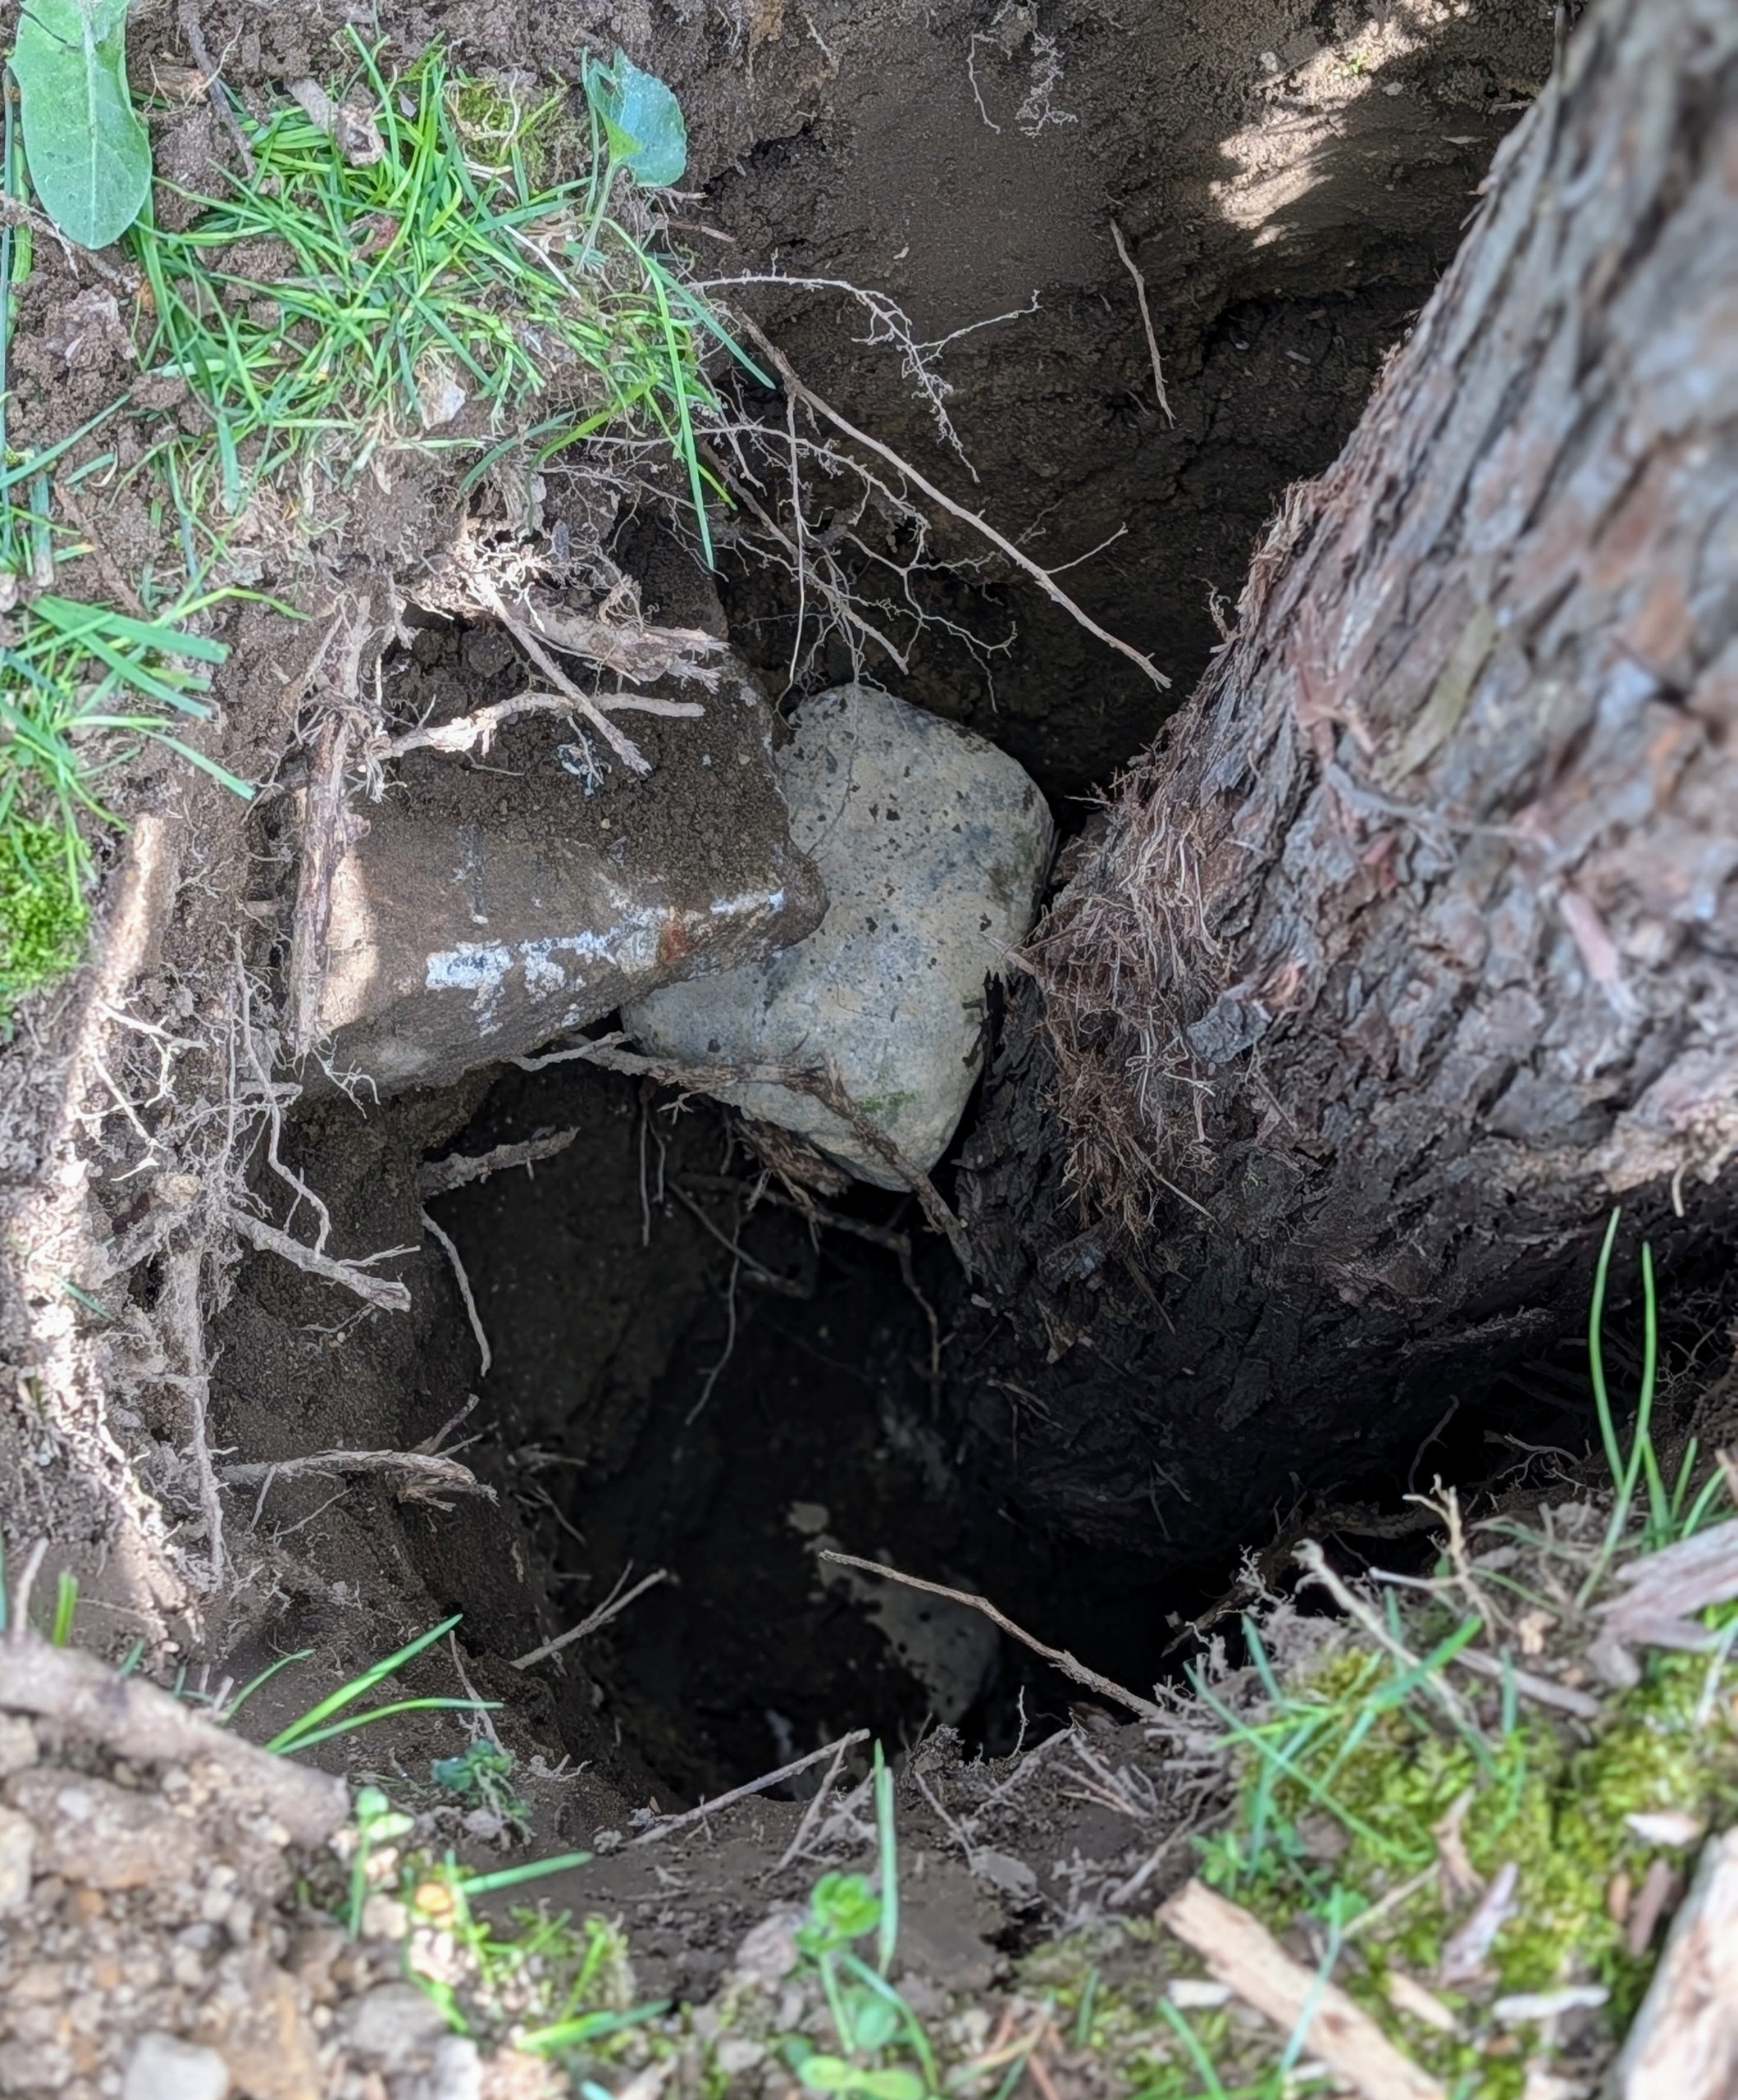
Here is an old post just removed from its hole. Notice how the bottom has deteriorated.
Some of the uprights were so worn, they broke during the removal process. These old posts will be chipped and repurposed as top dressing in the woodlands at a later time.
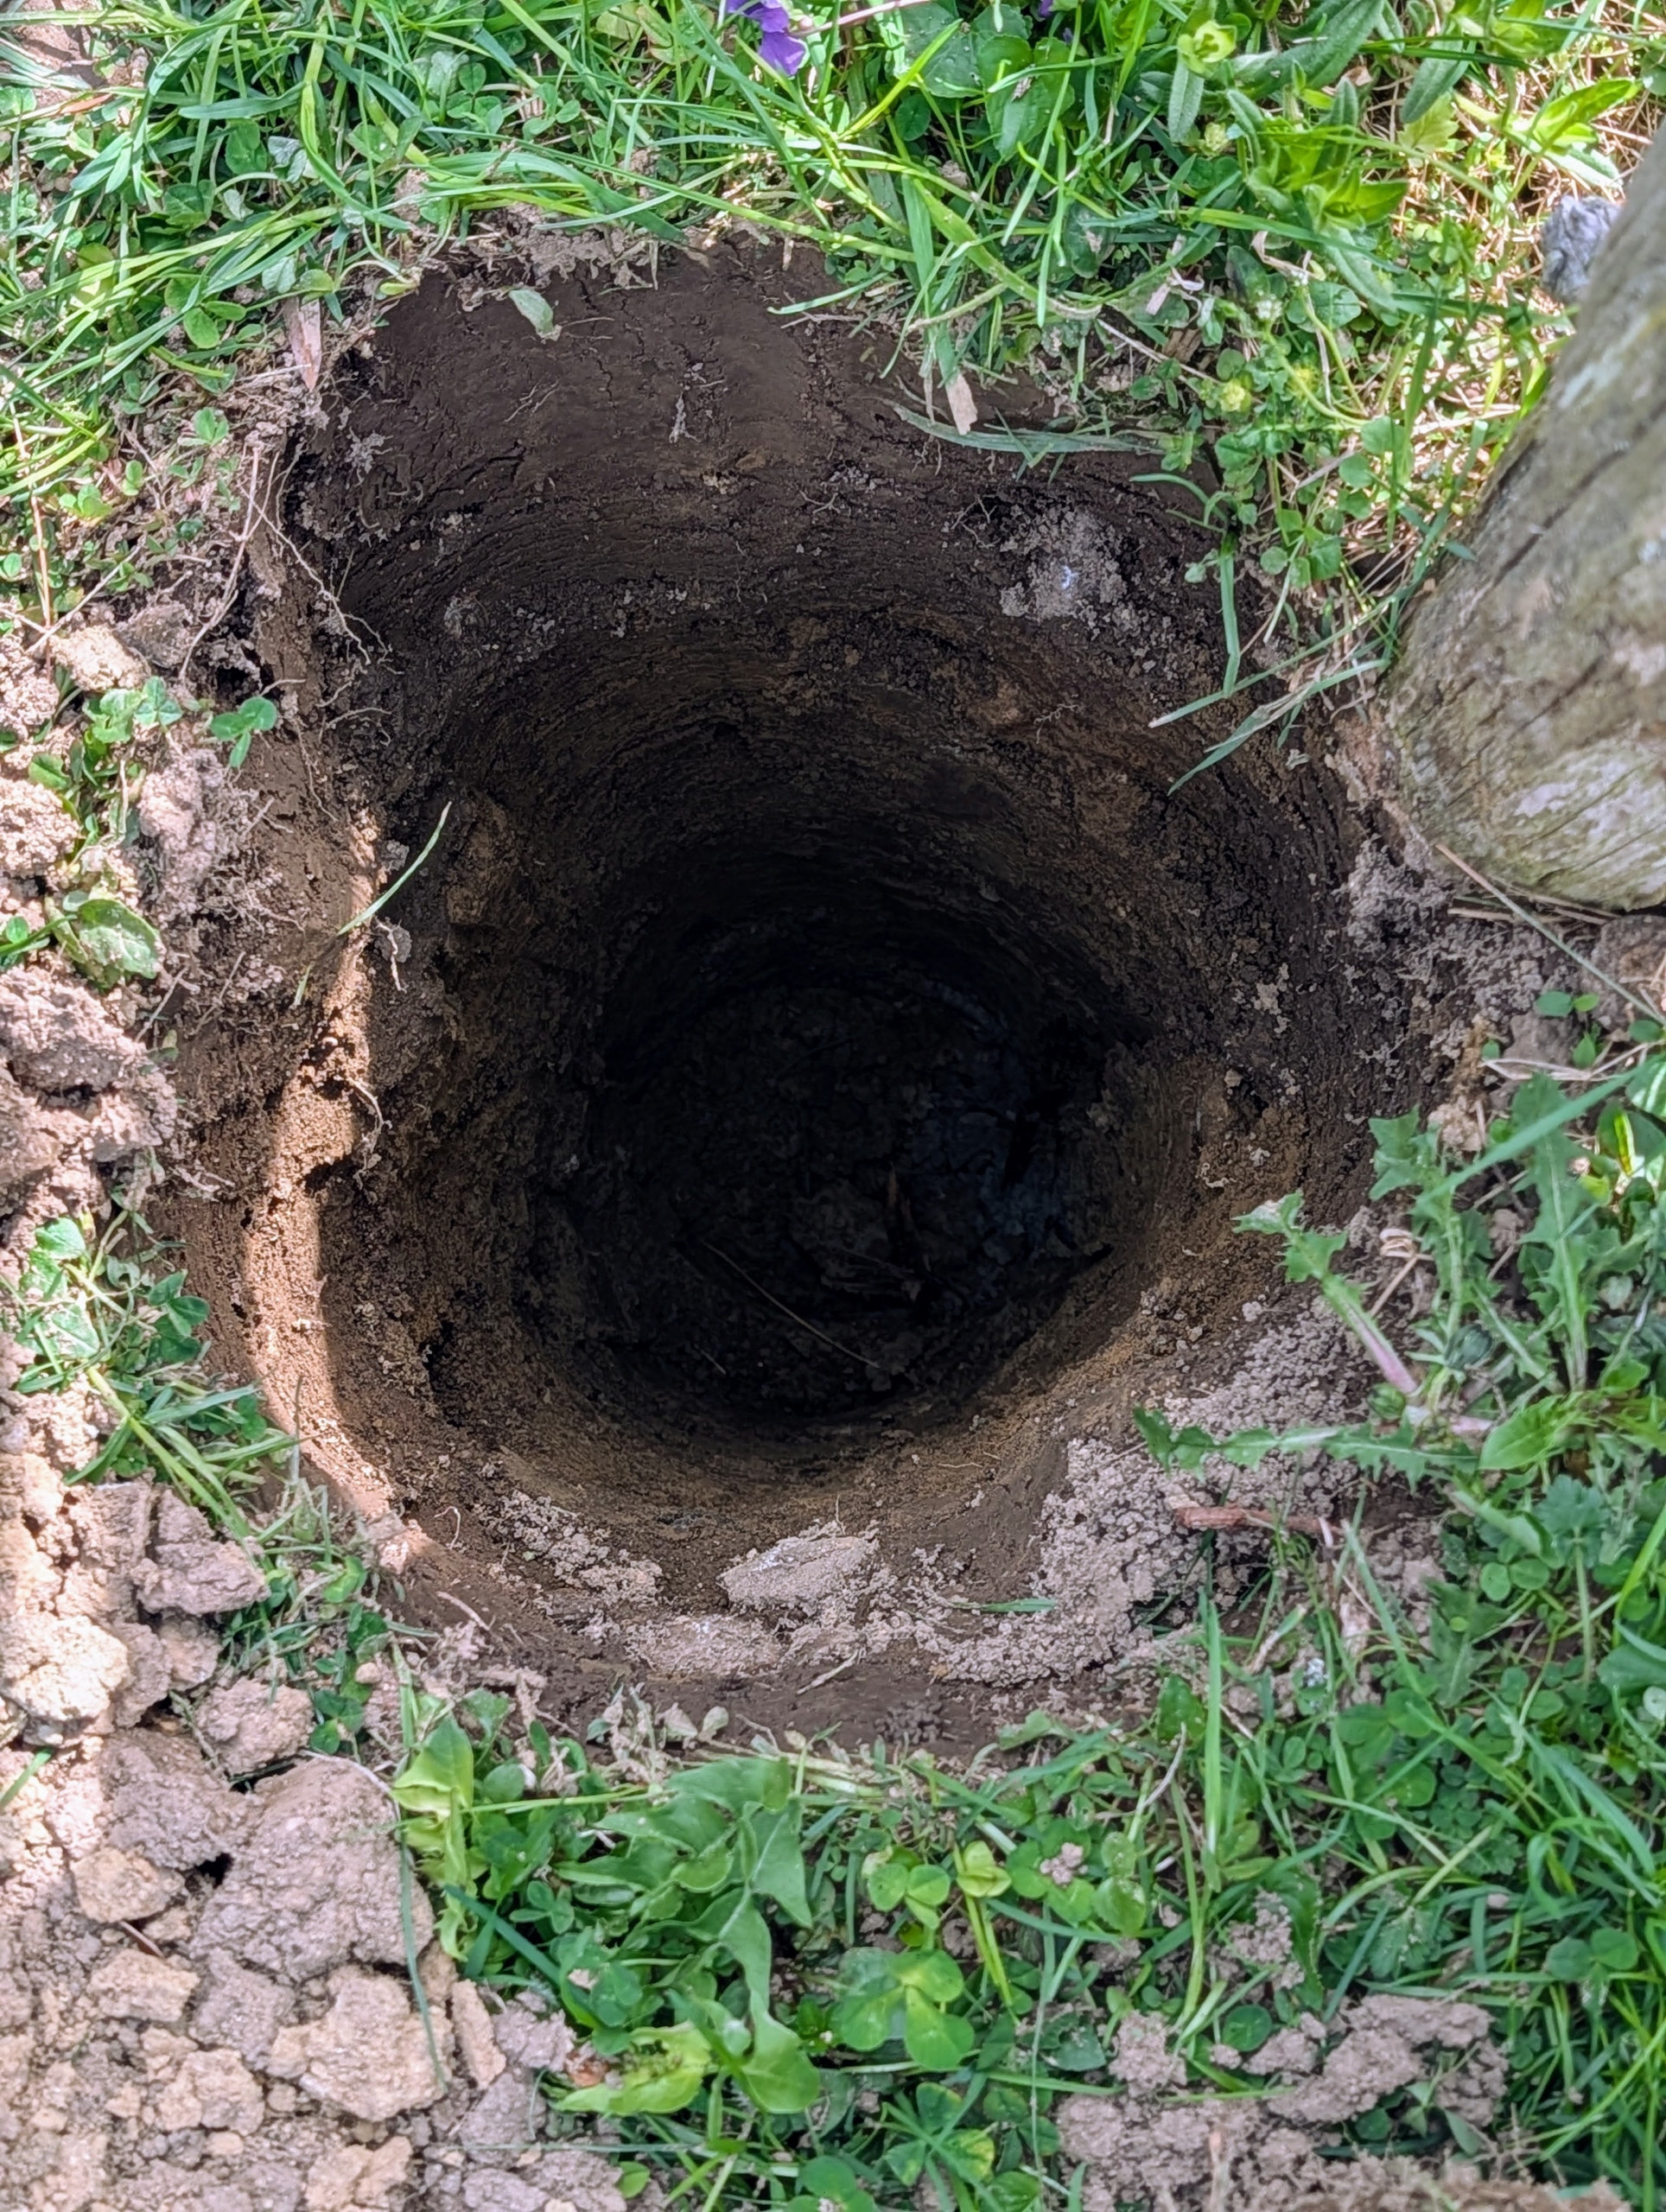
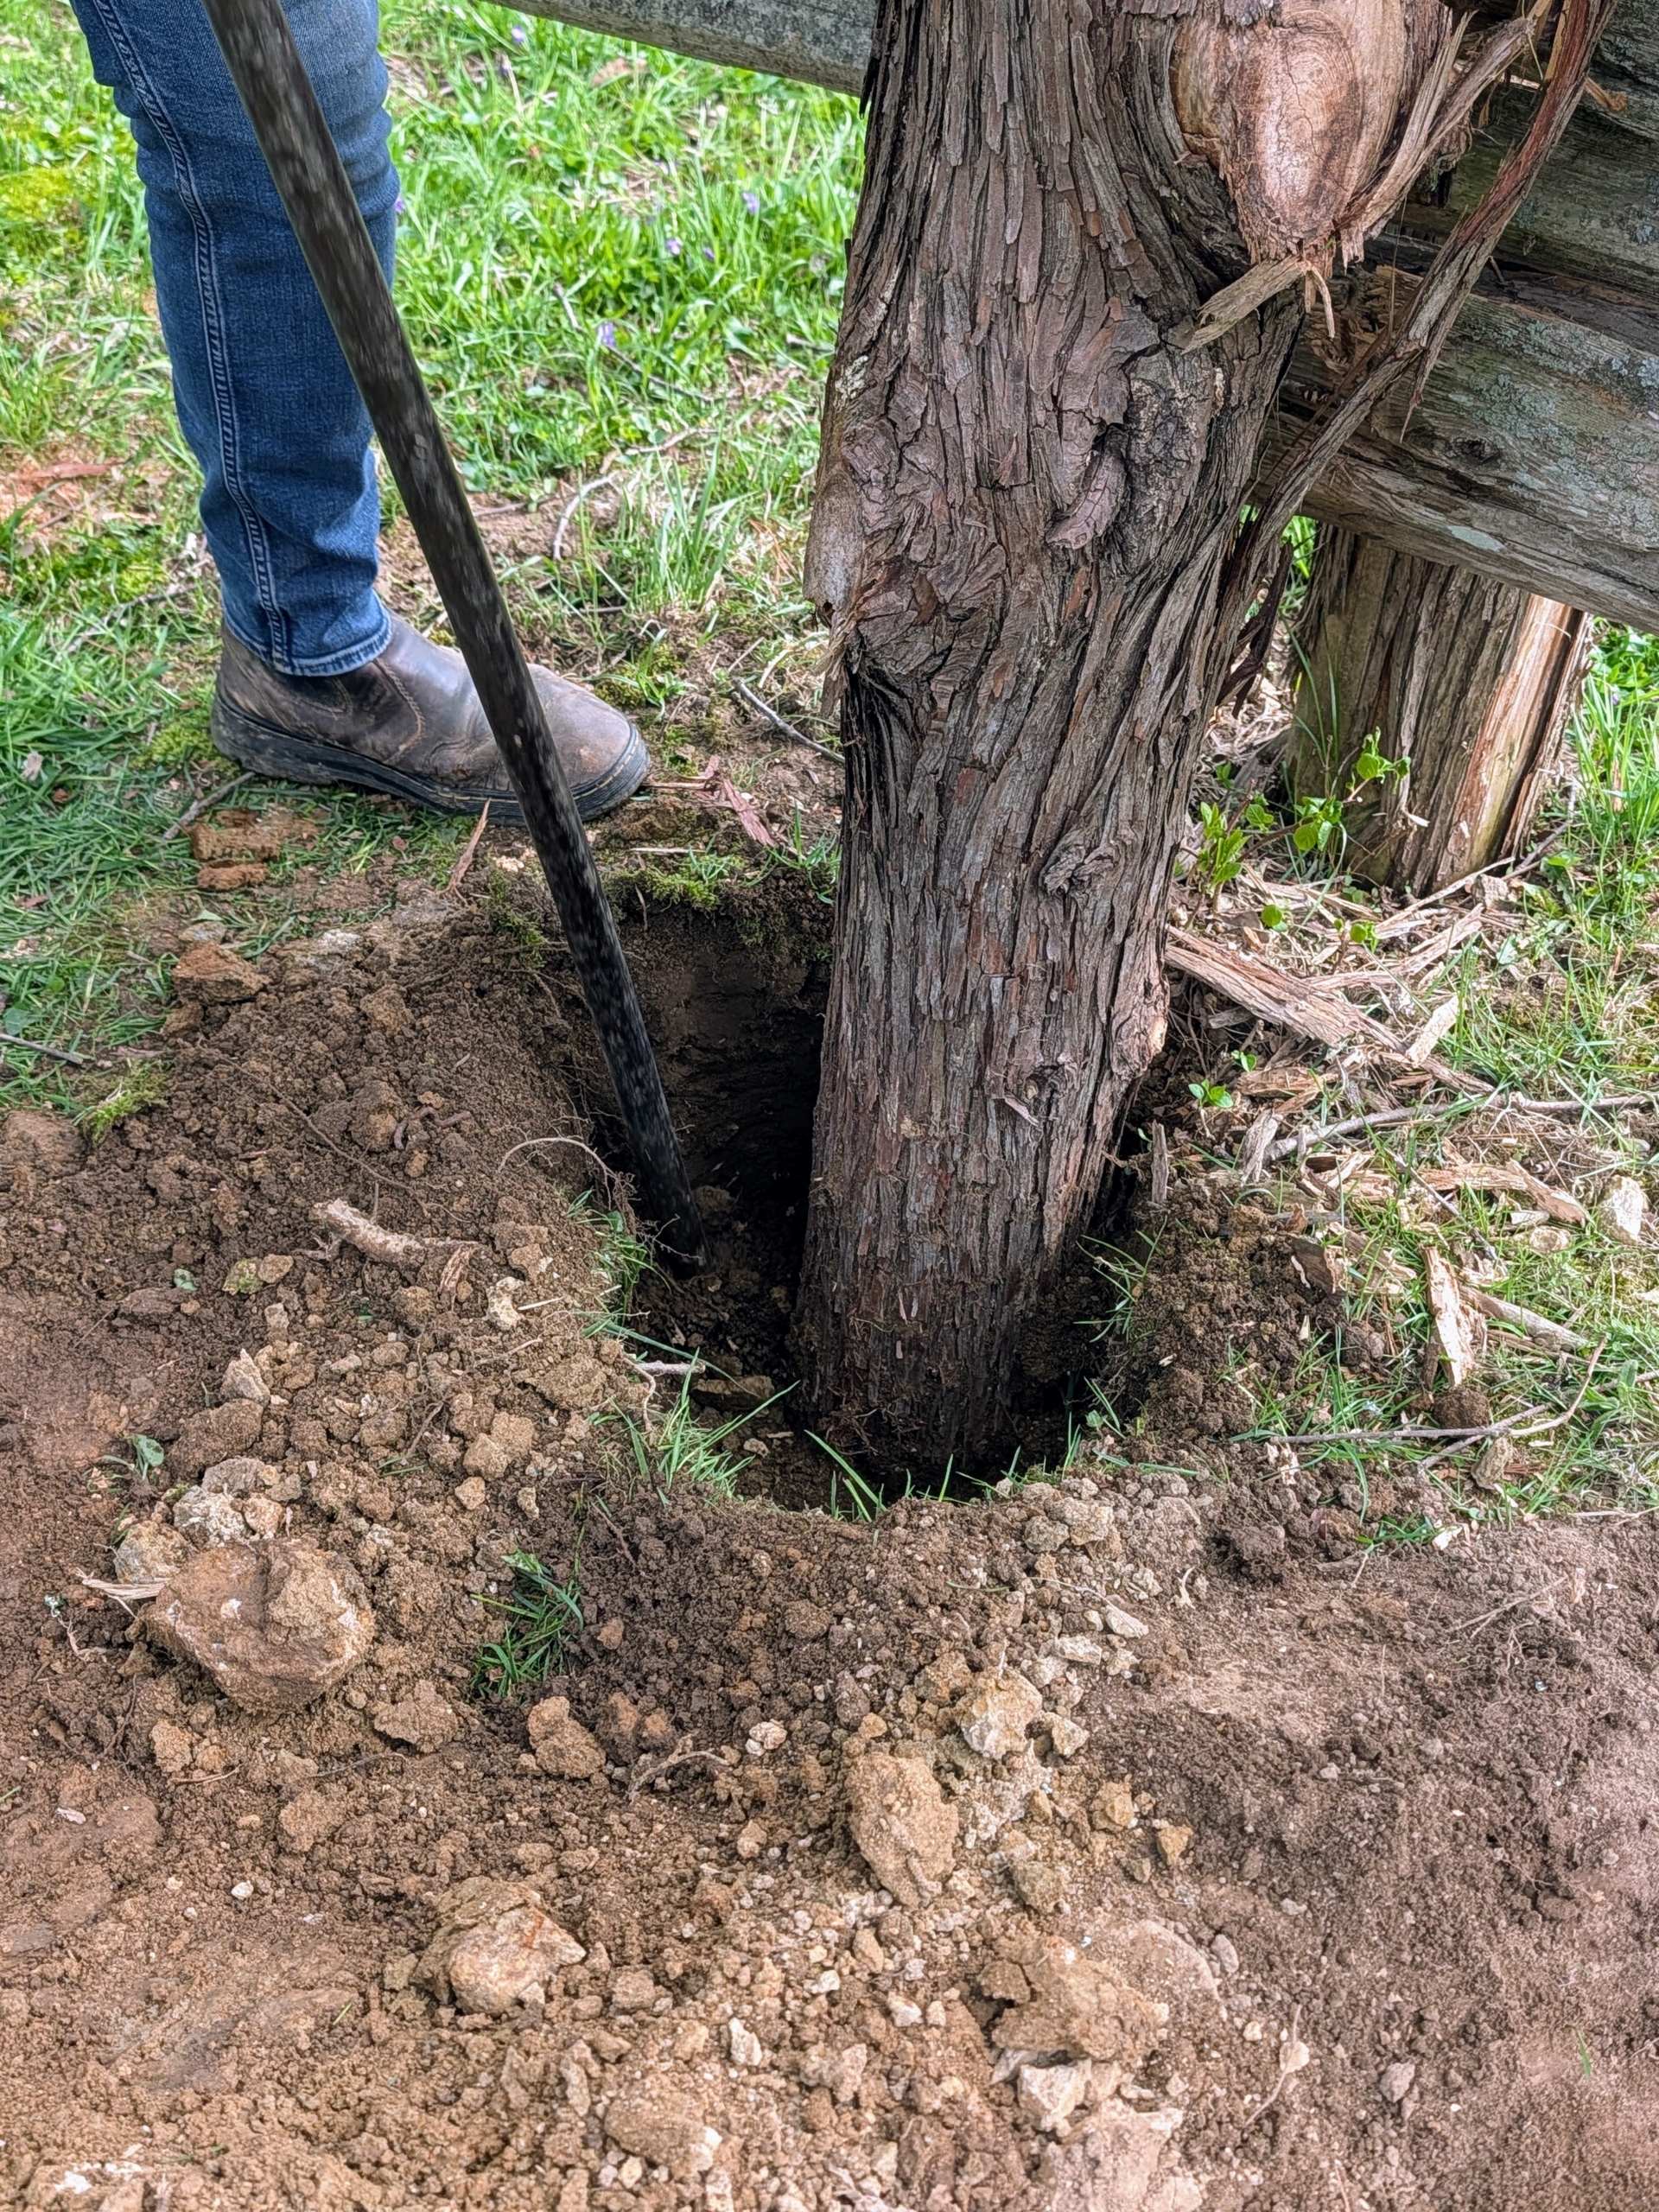
The existing holes are checked for proper depth and adjusted as needed. They need to be deep and narrow in order to accommodate the fence posts.
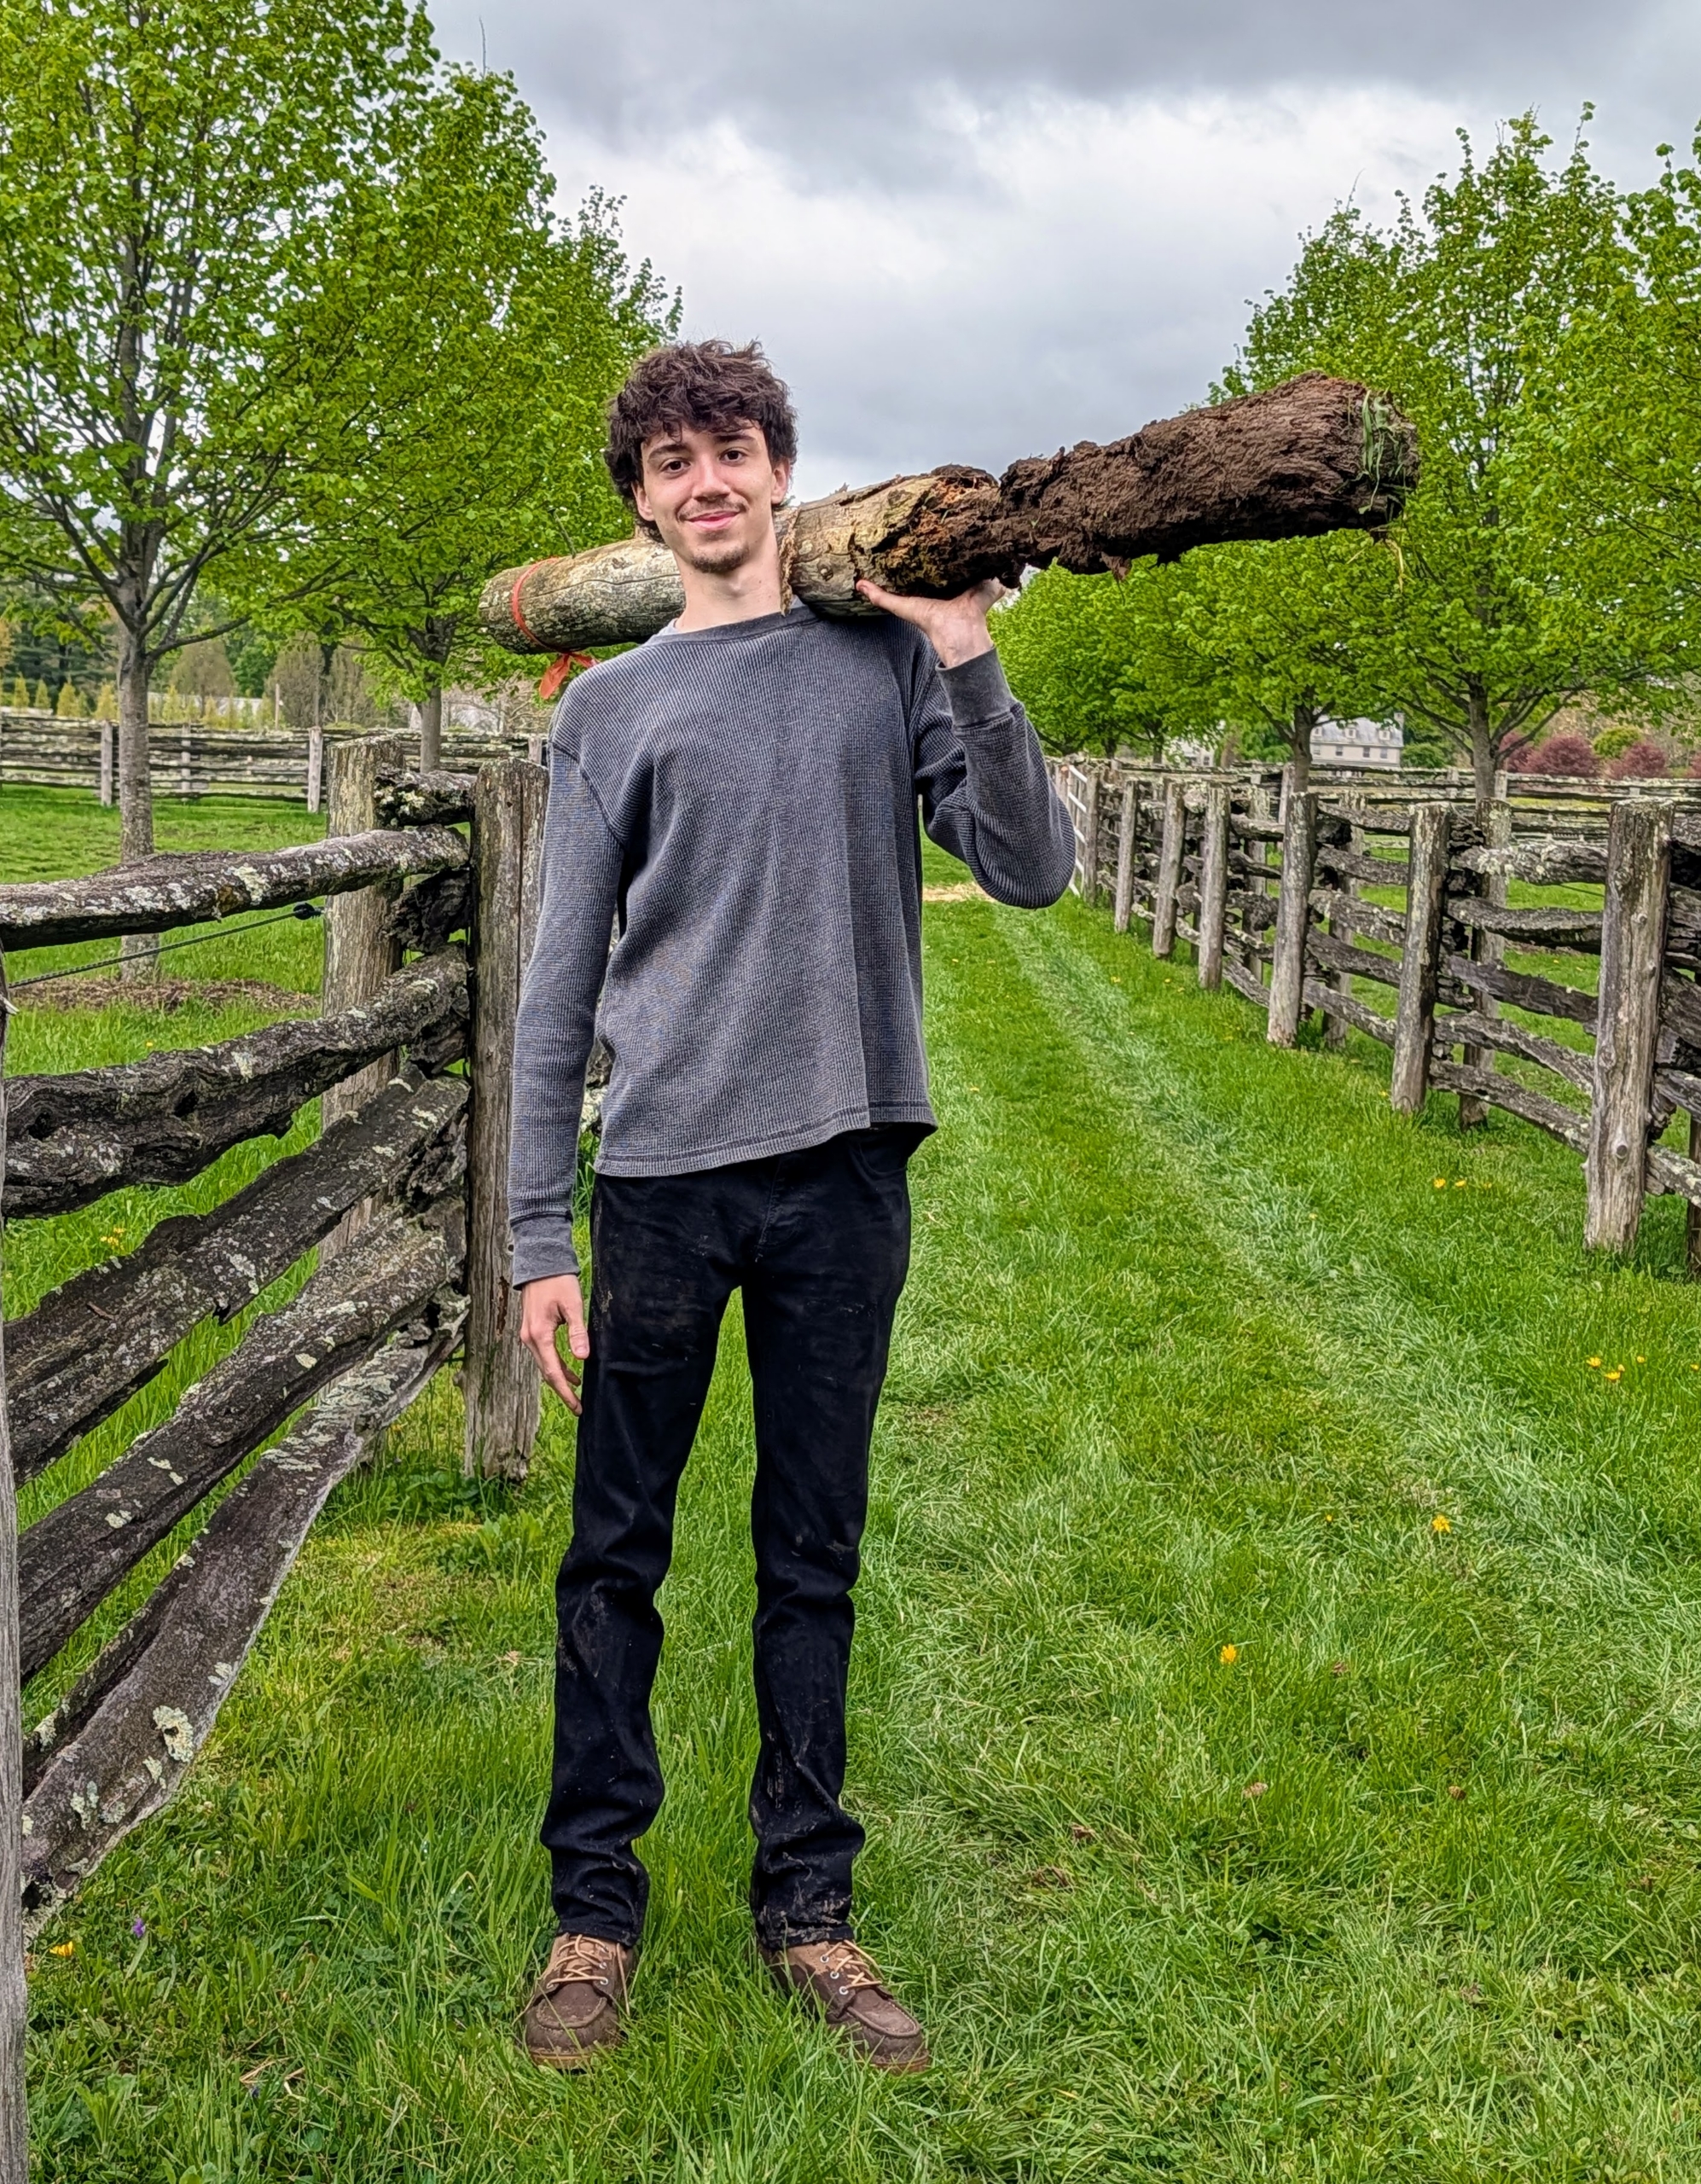
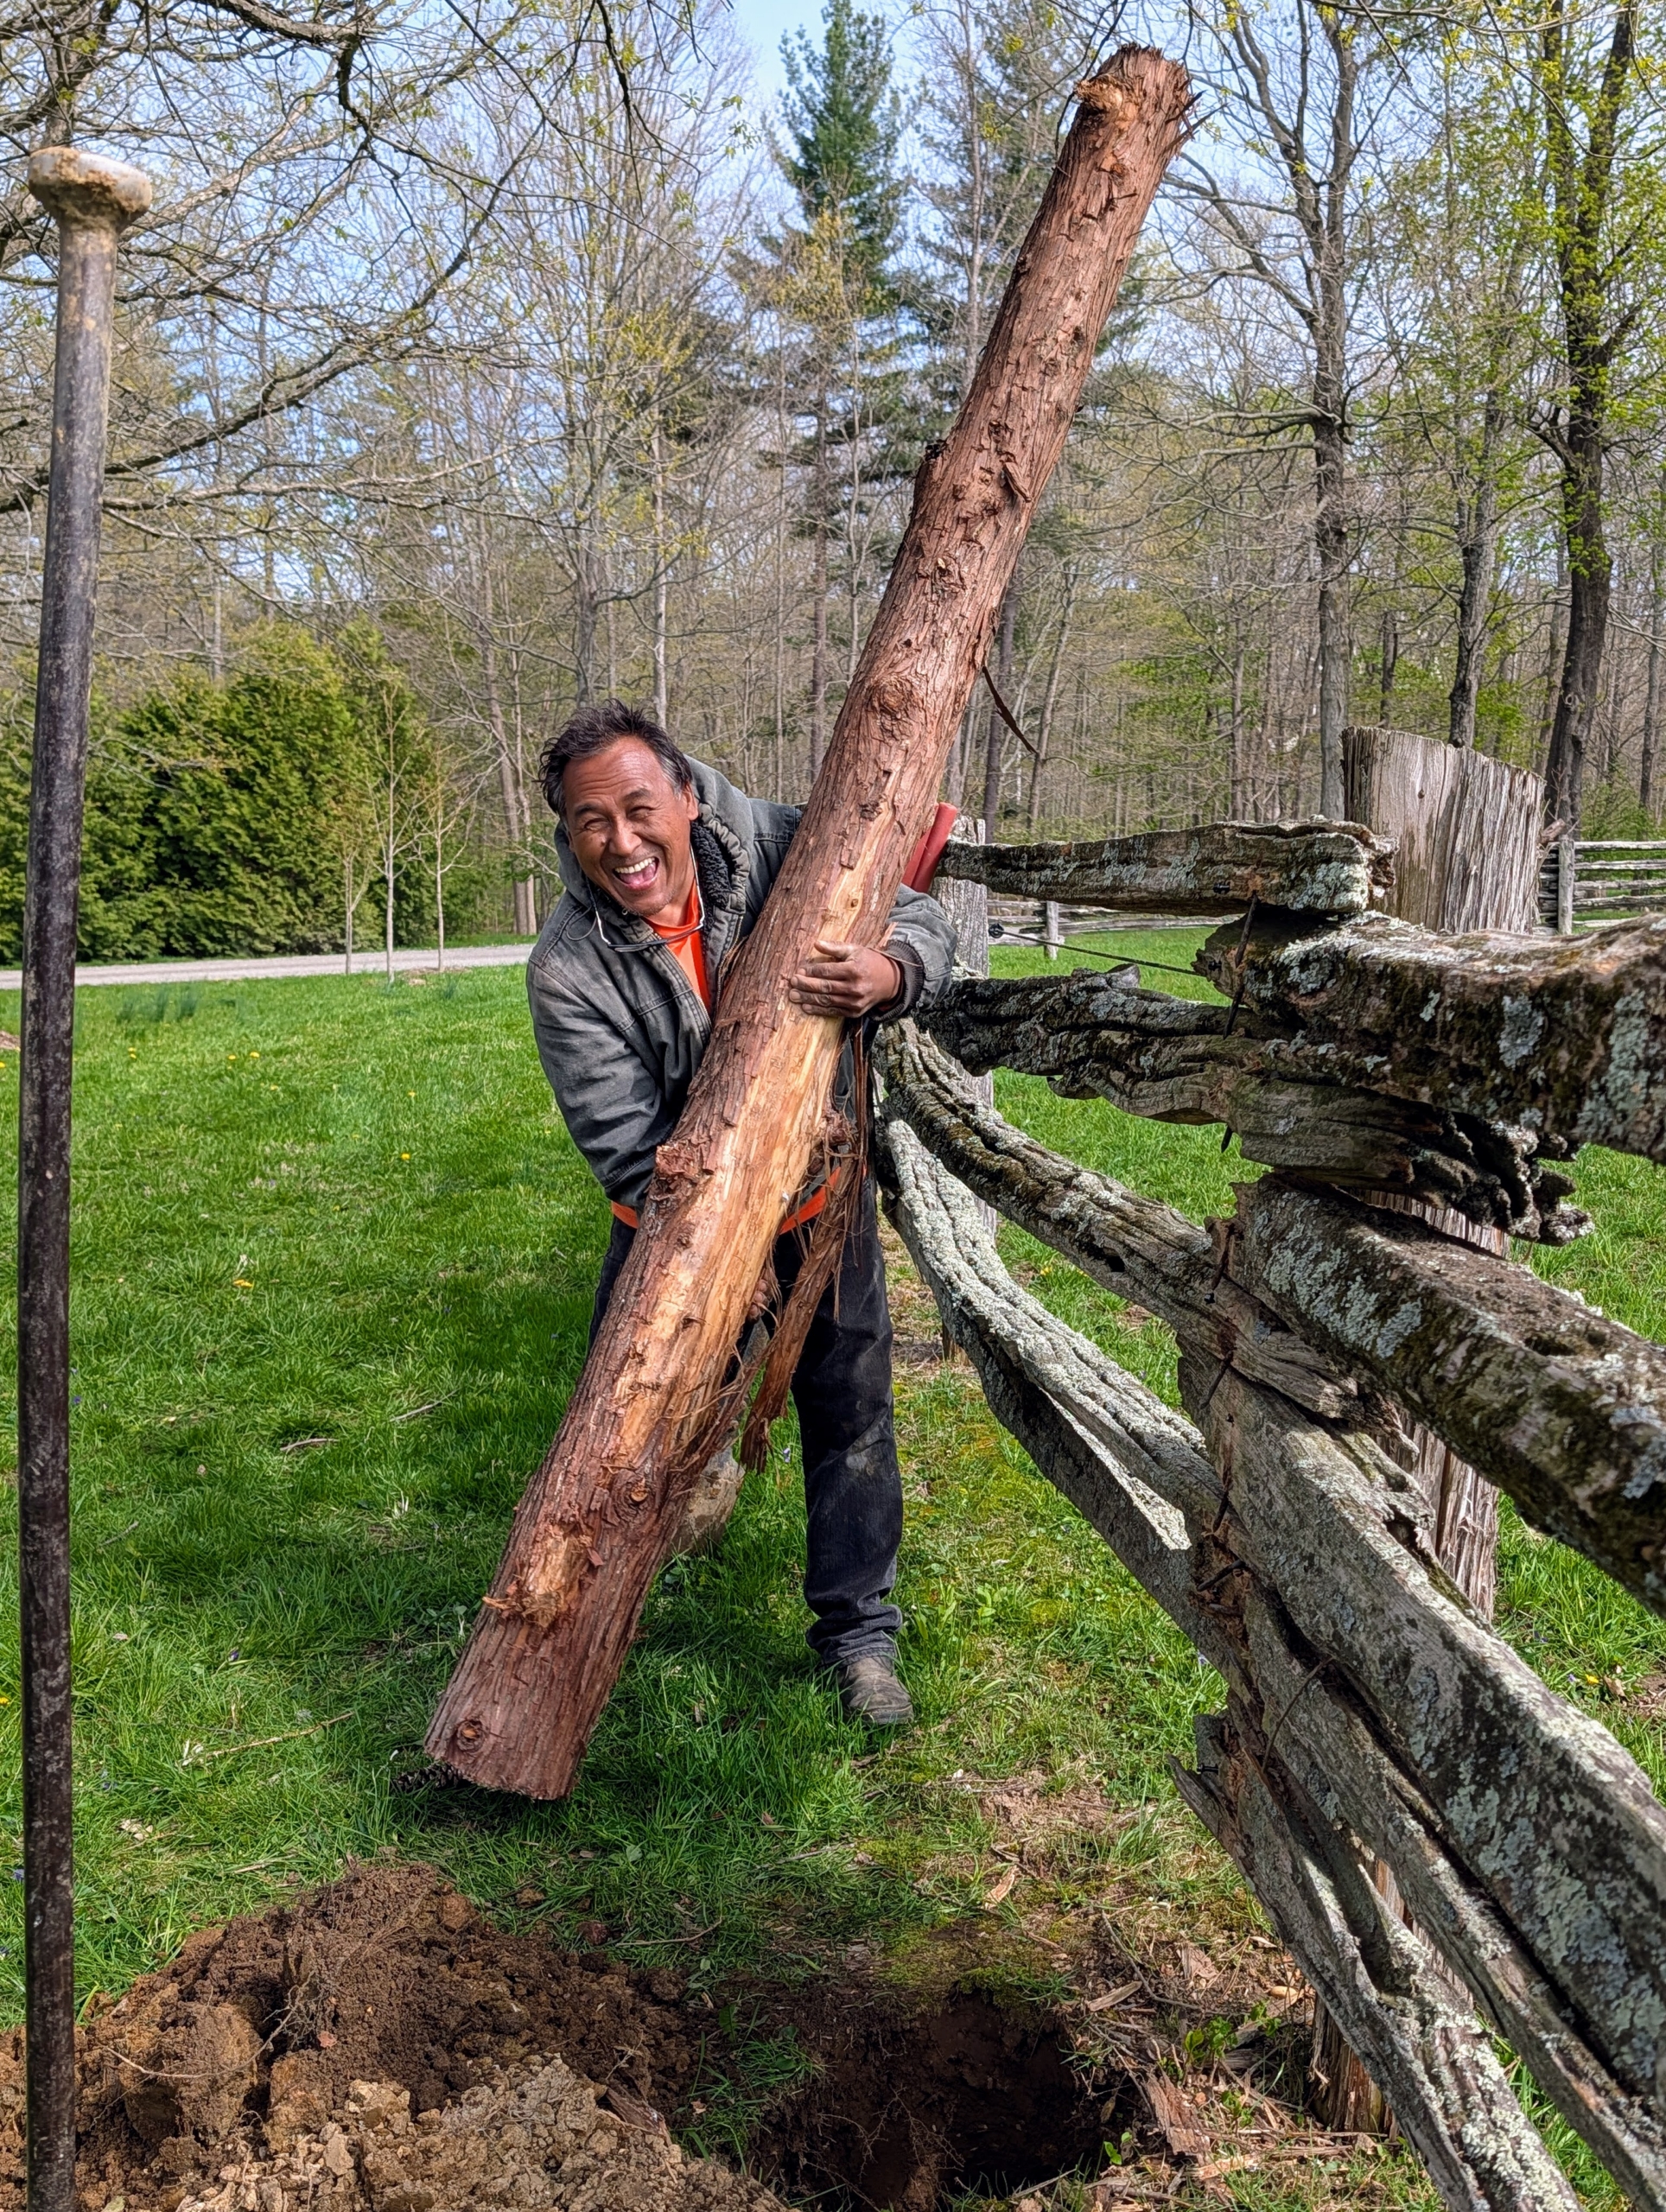
Here’s Pete carrying the new log to the hole. For Pete, it doesn’t even seem heavy, does it Pete?
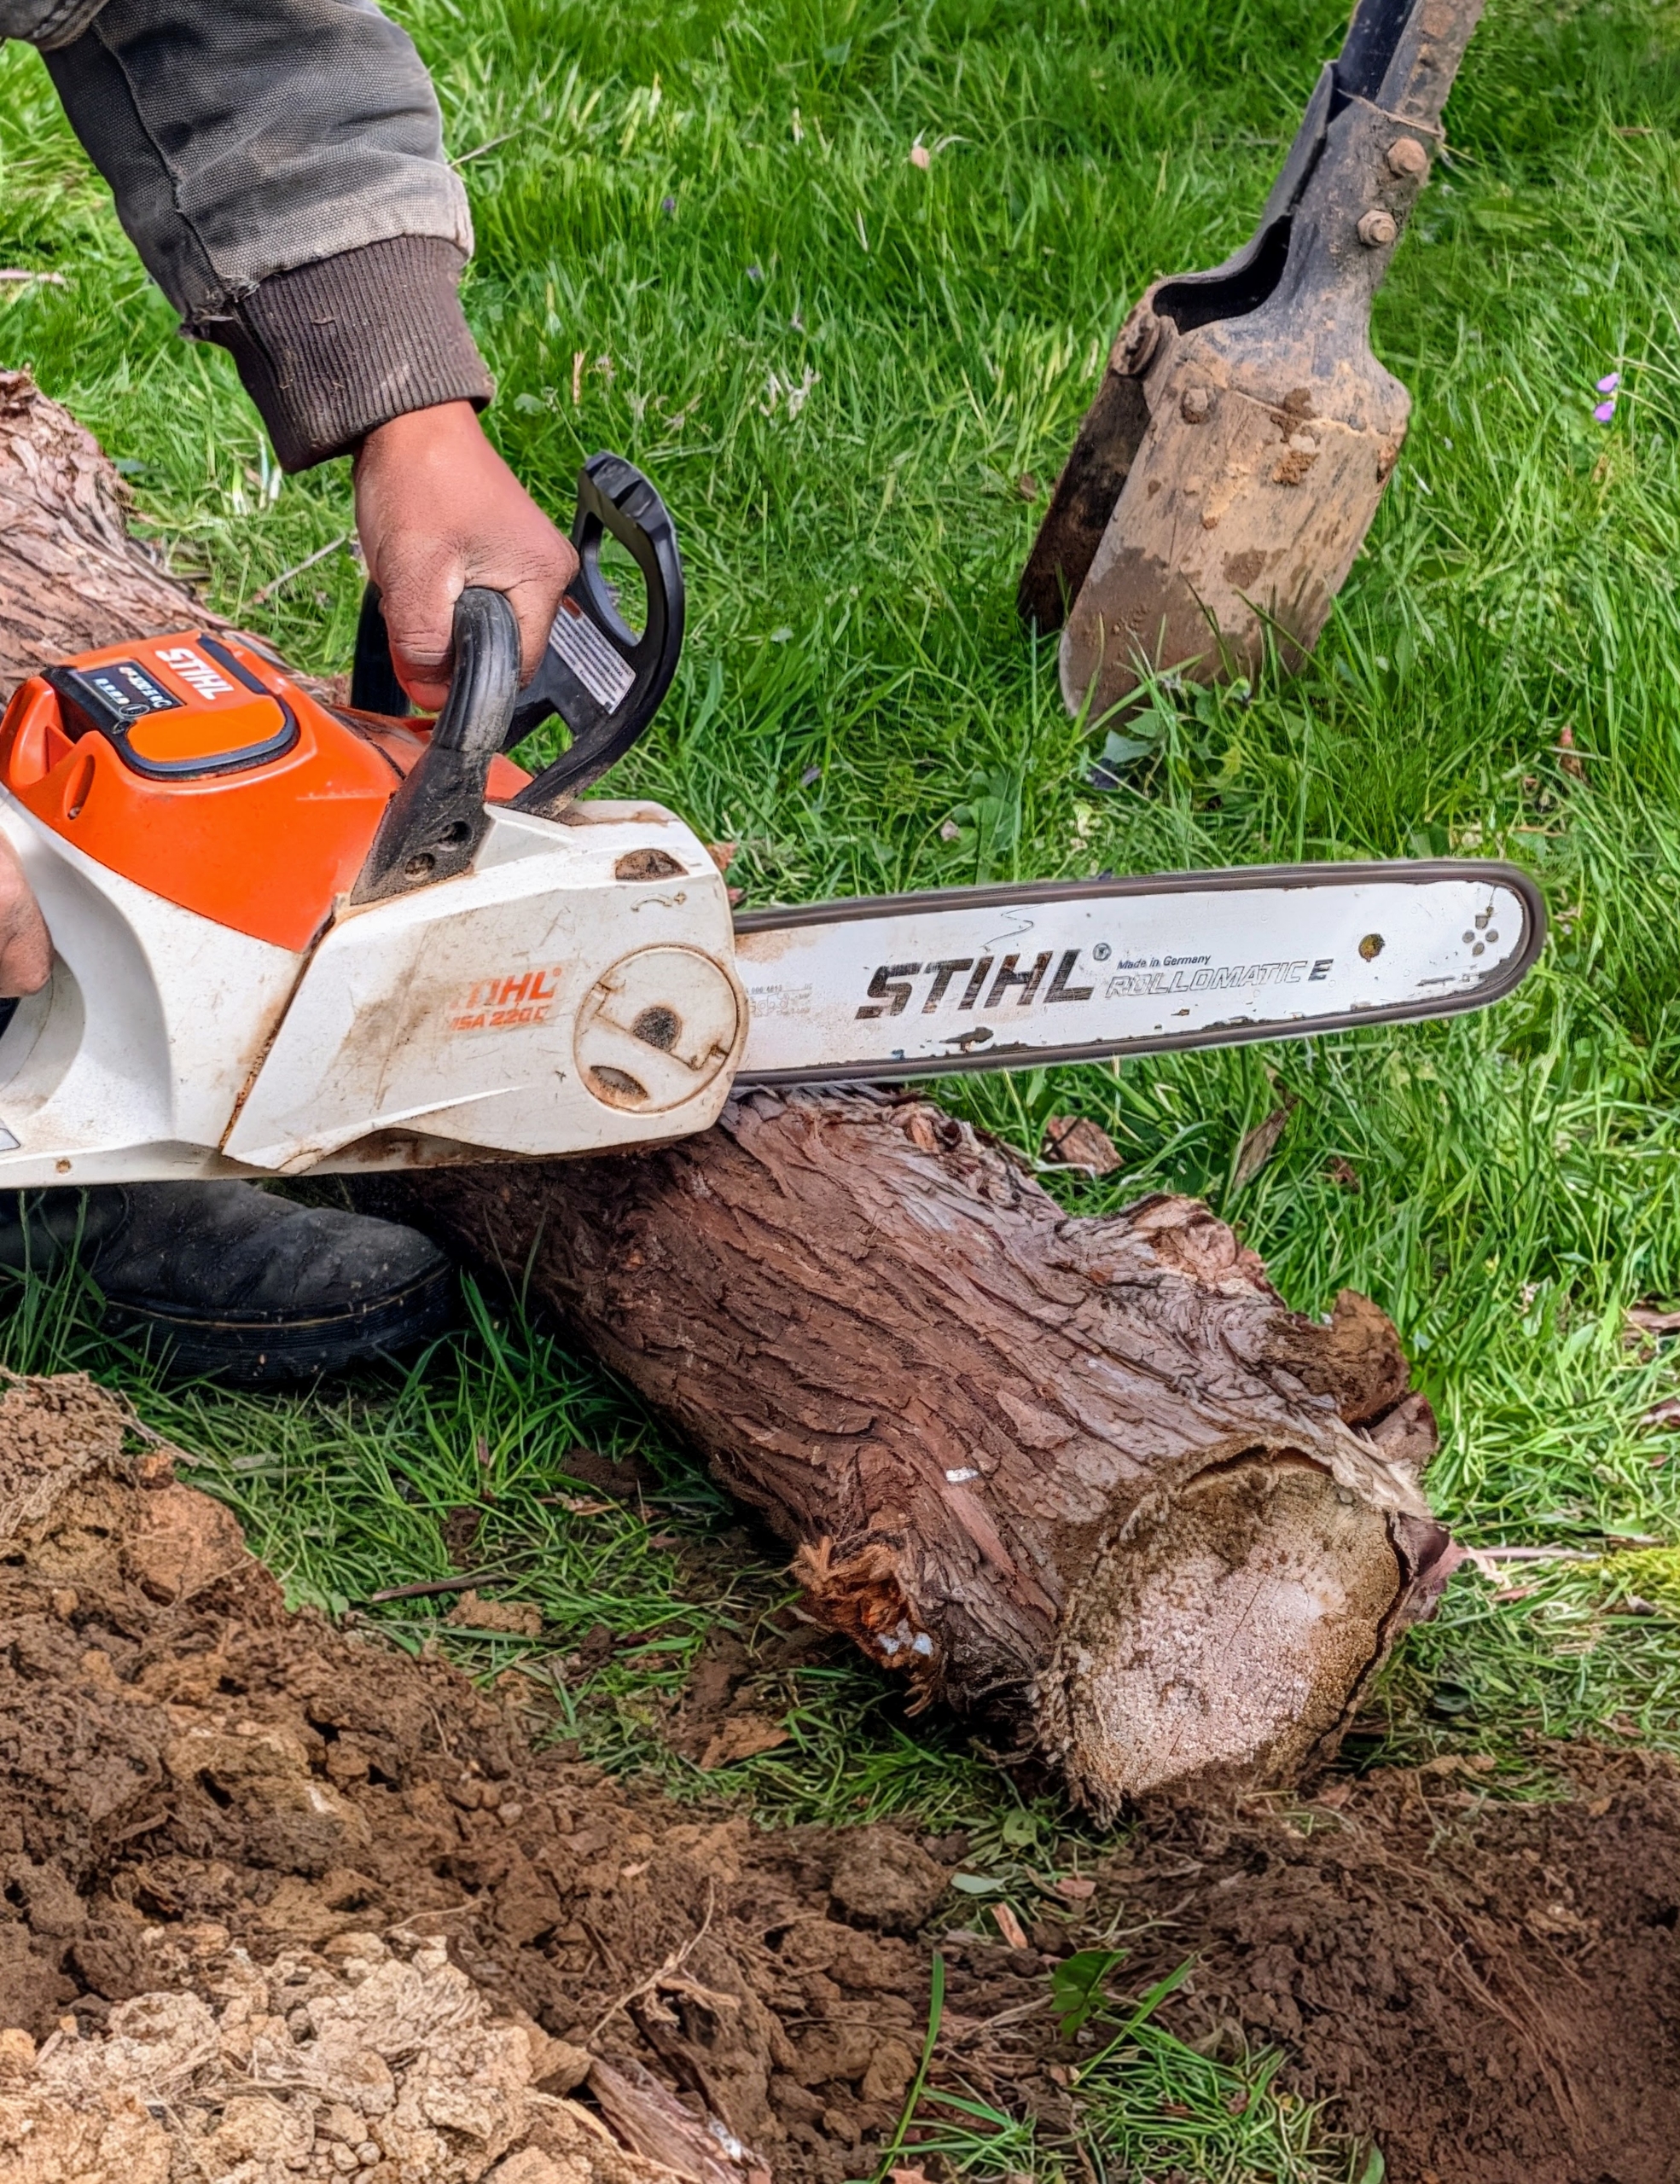
Pete places the new cedar log into the hole and checks its height above ground. It needs a little trimming to match the others.
He uses our STIHL chainsaw. STIHL designed and built its first electric chain saw in 1926 and 100 years later, it is still one of its best pieces of equipment. I’ve been using STIHL tools for a long time.
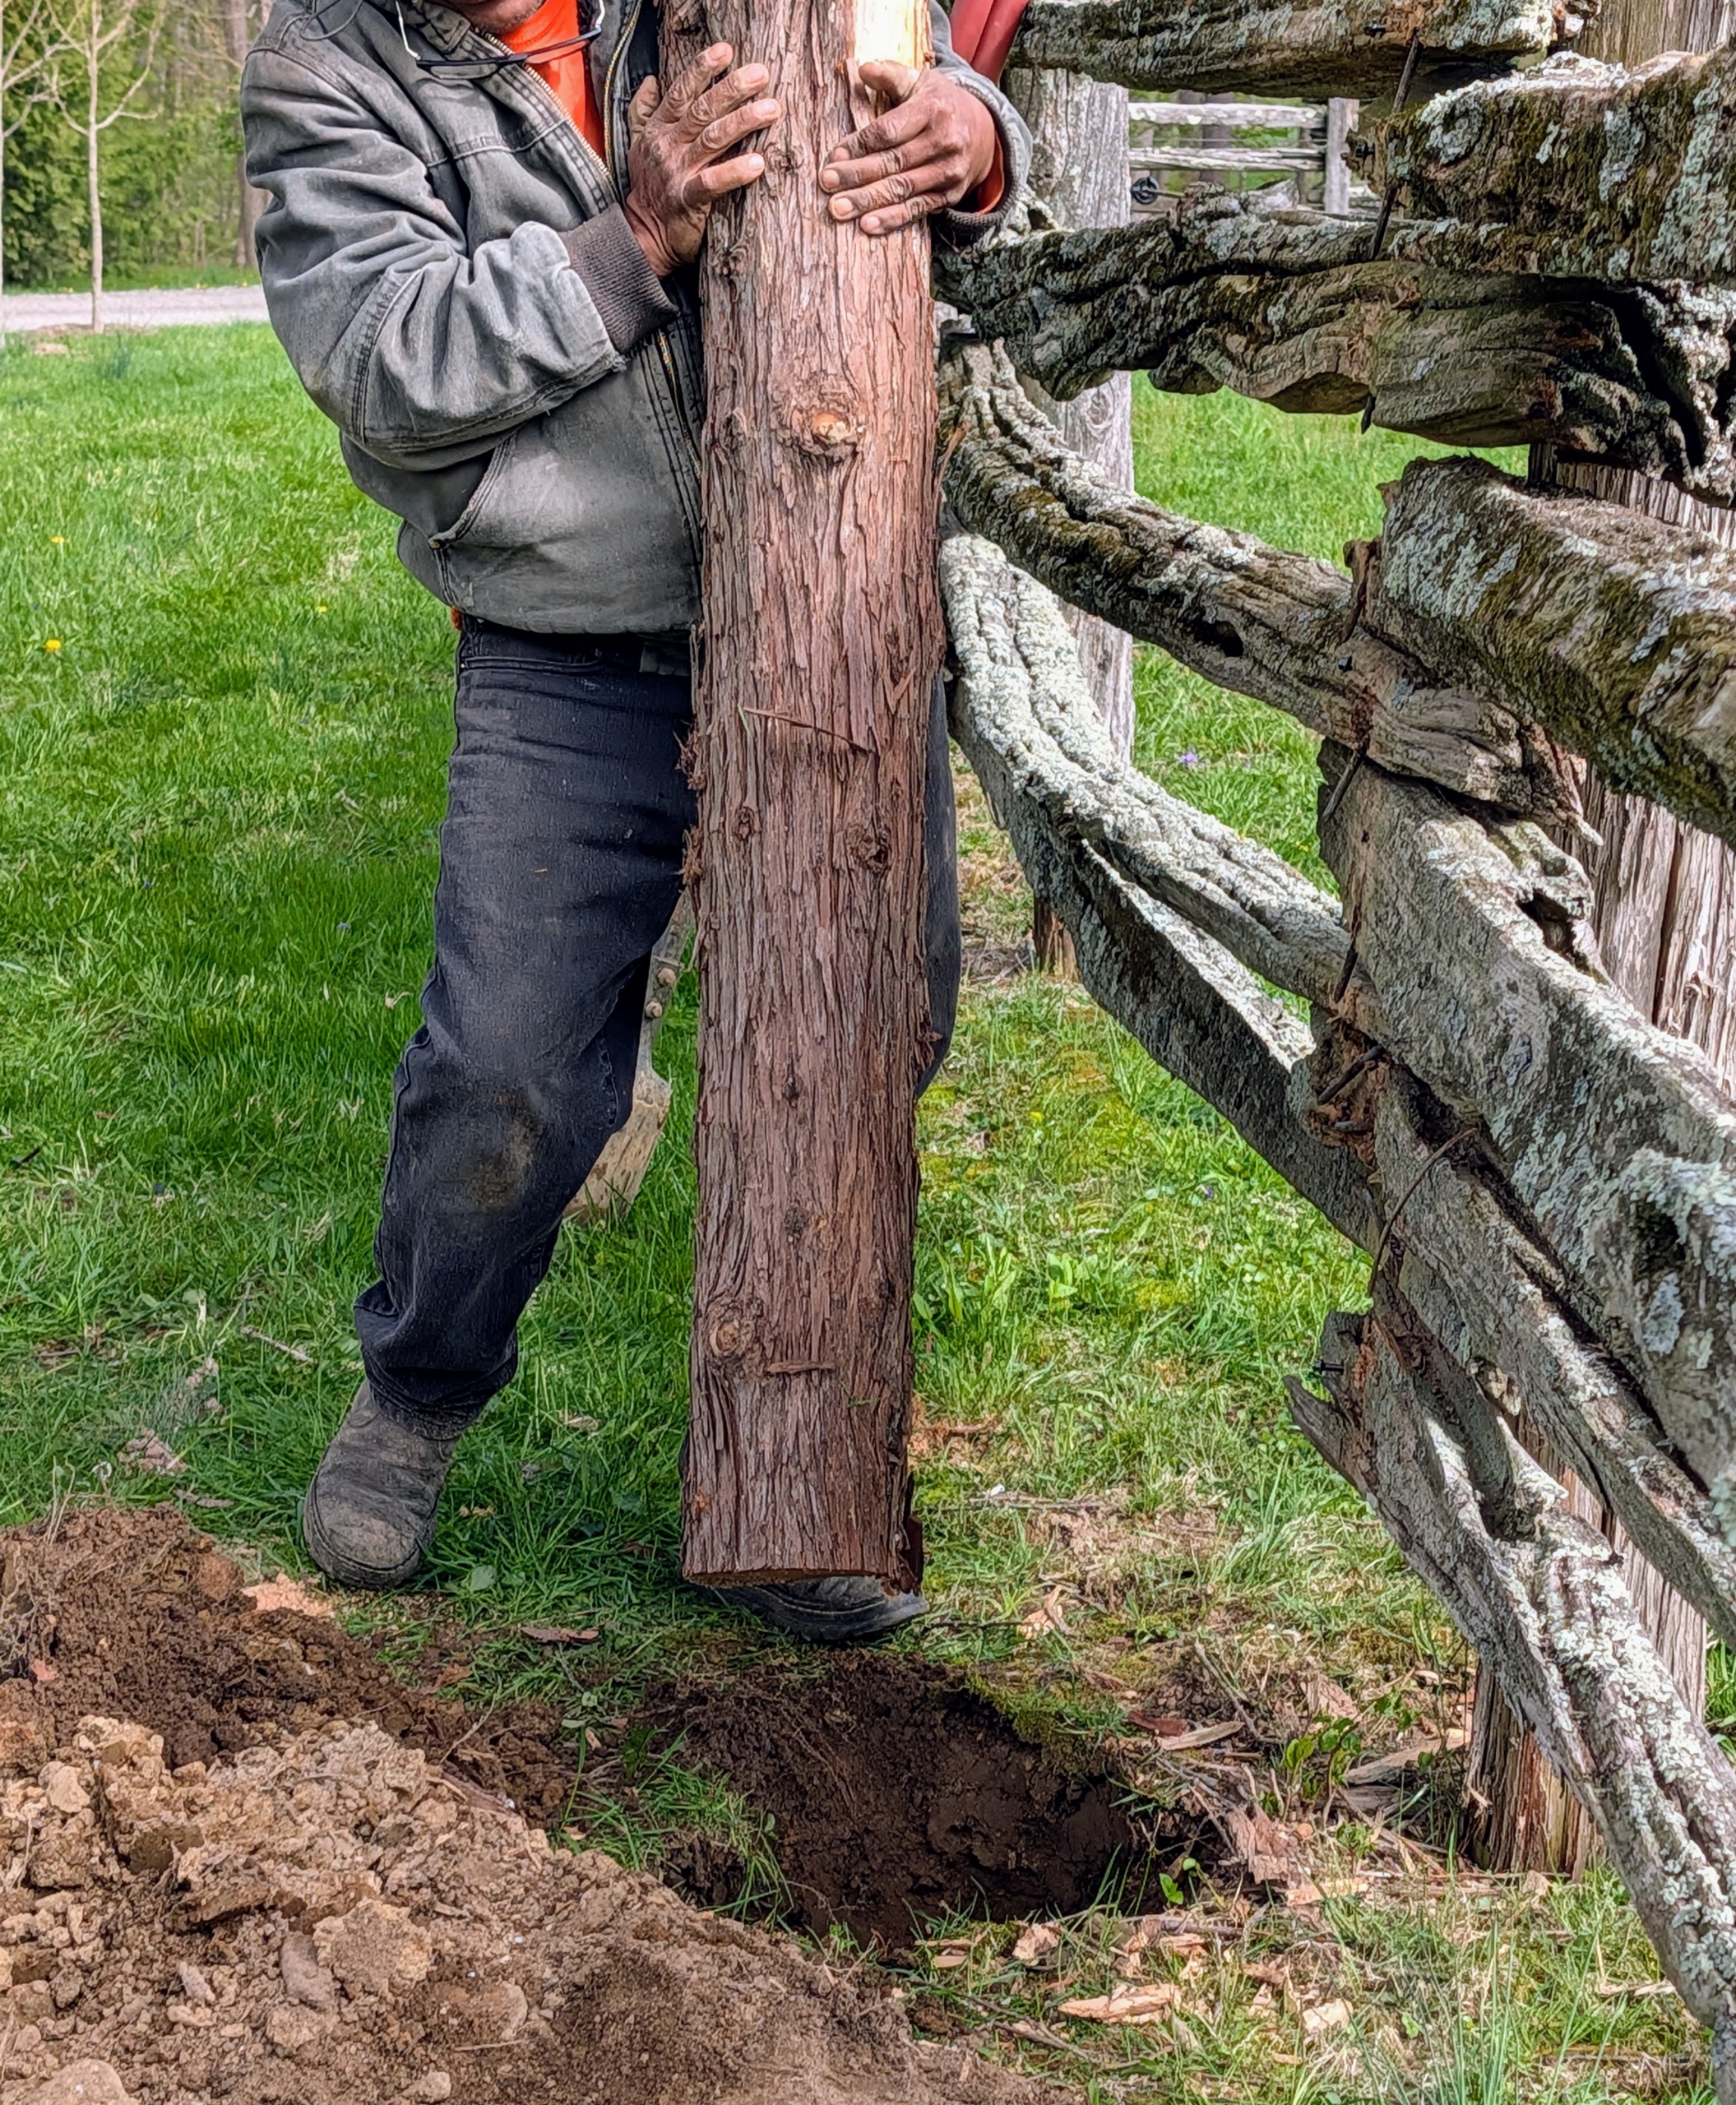
And then back it goes into the designated hole. Each hole is more than three feet deep. The new posts will be very secure here – and no cement is needed.
Once a new post is positioned, Pete and adjusts it for level and turns the post so that the nicest side faces out.
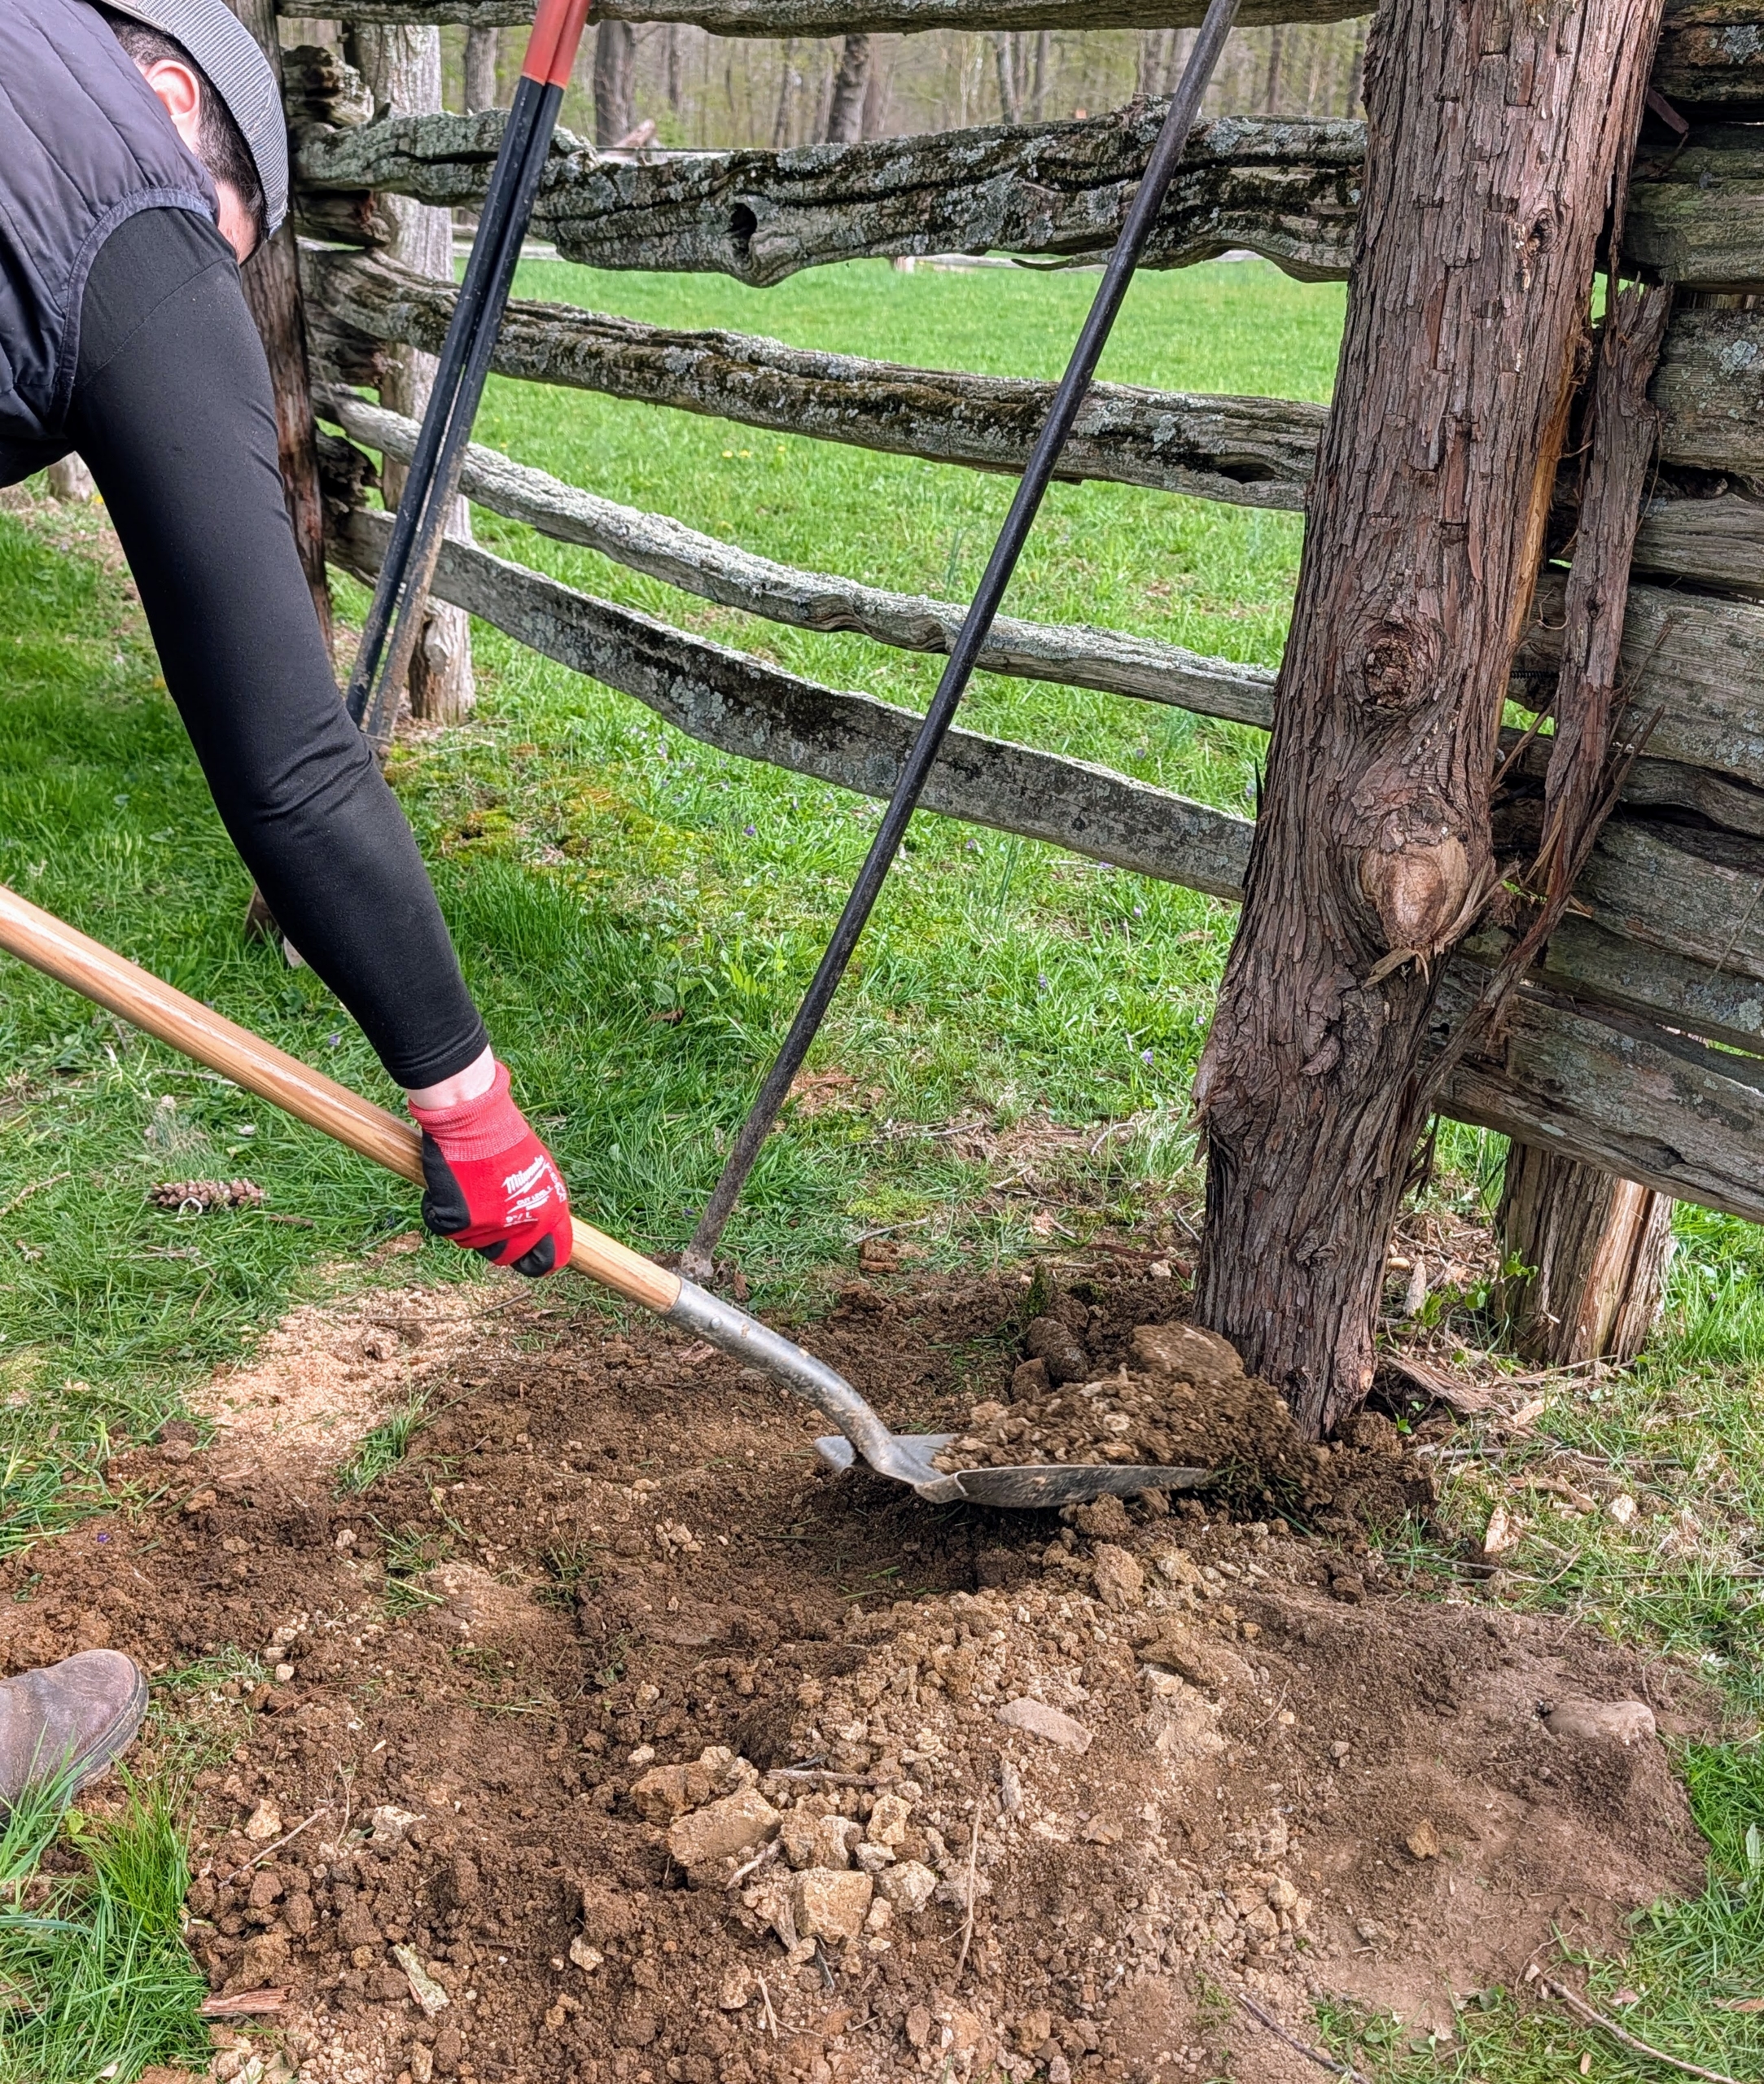
Rocks are dropped in for extra tightness and security around the post.
And here, backfilling begins.
When the hole is filled half way, Pete uses a tamping bar to pack the soil tightly.
And then it is backfilled completely.
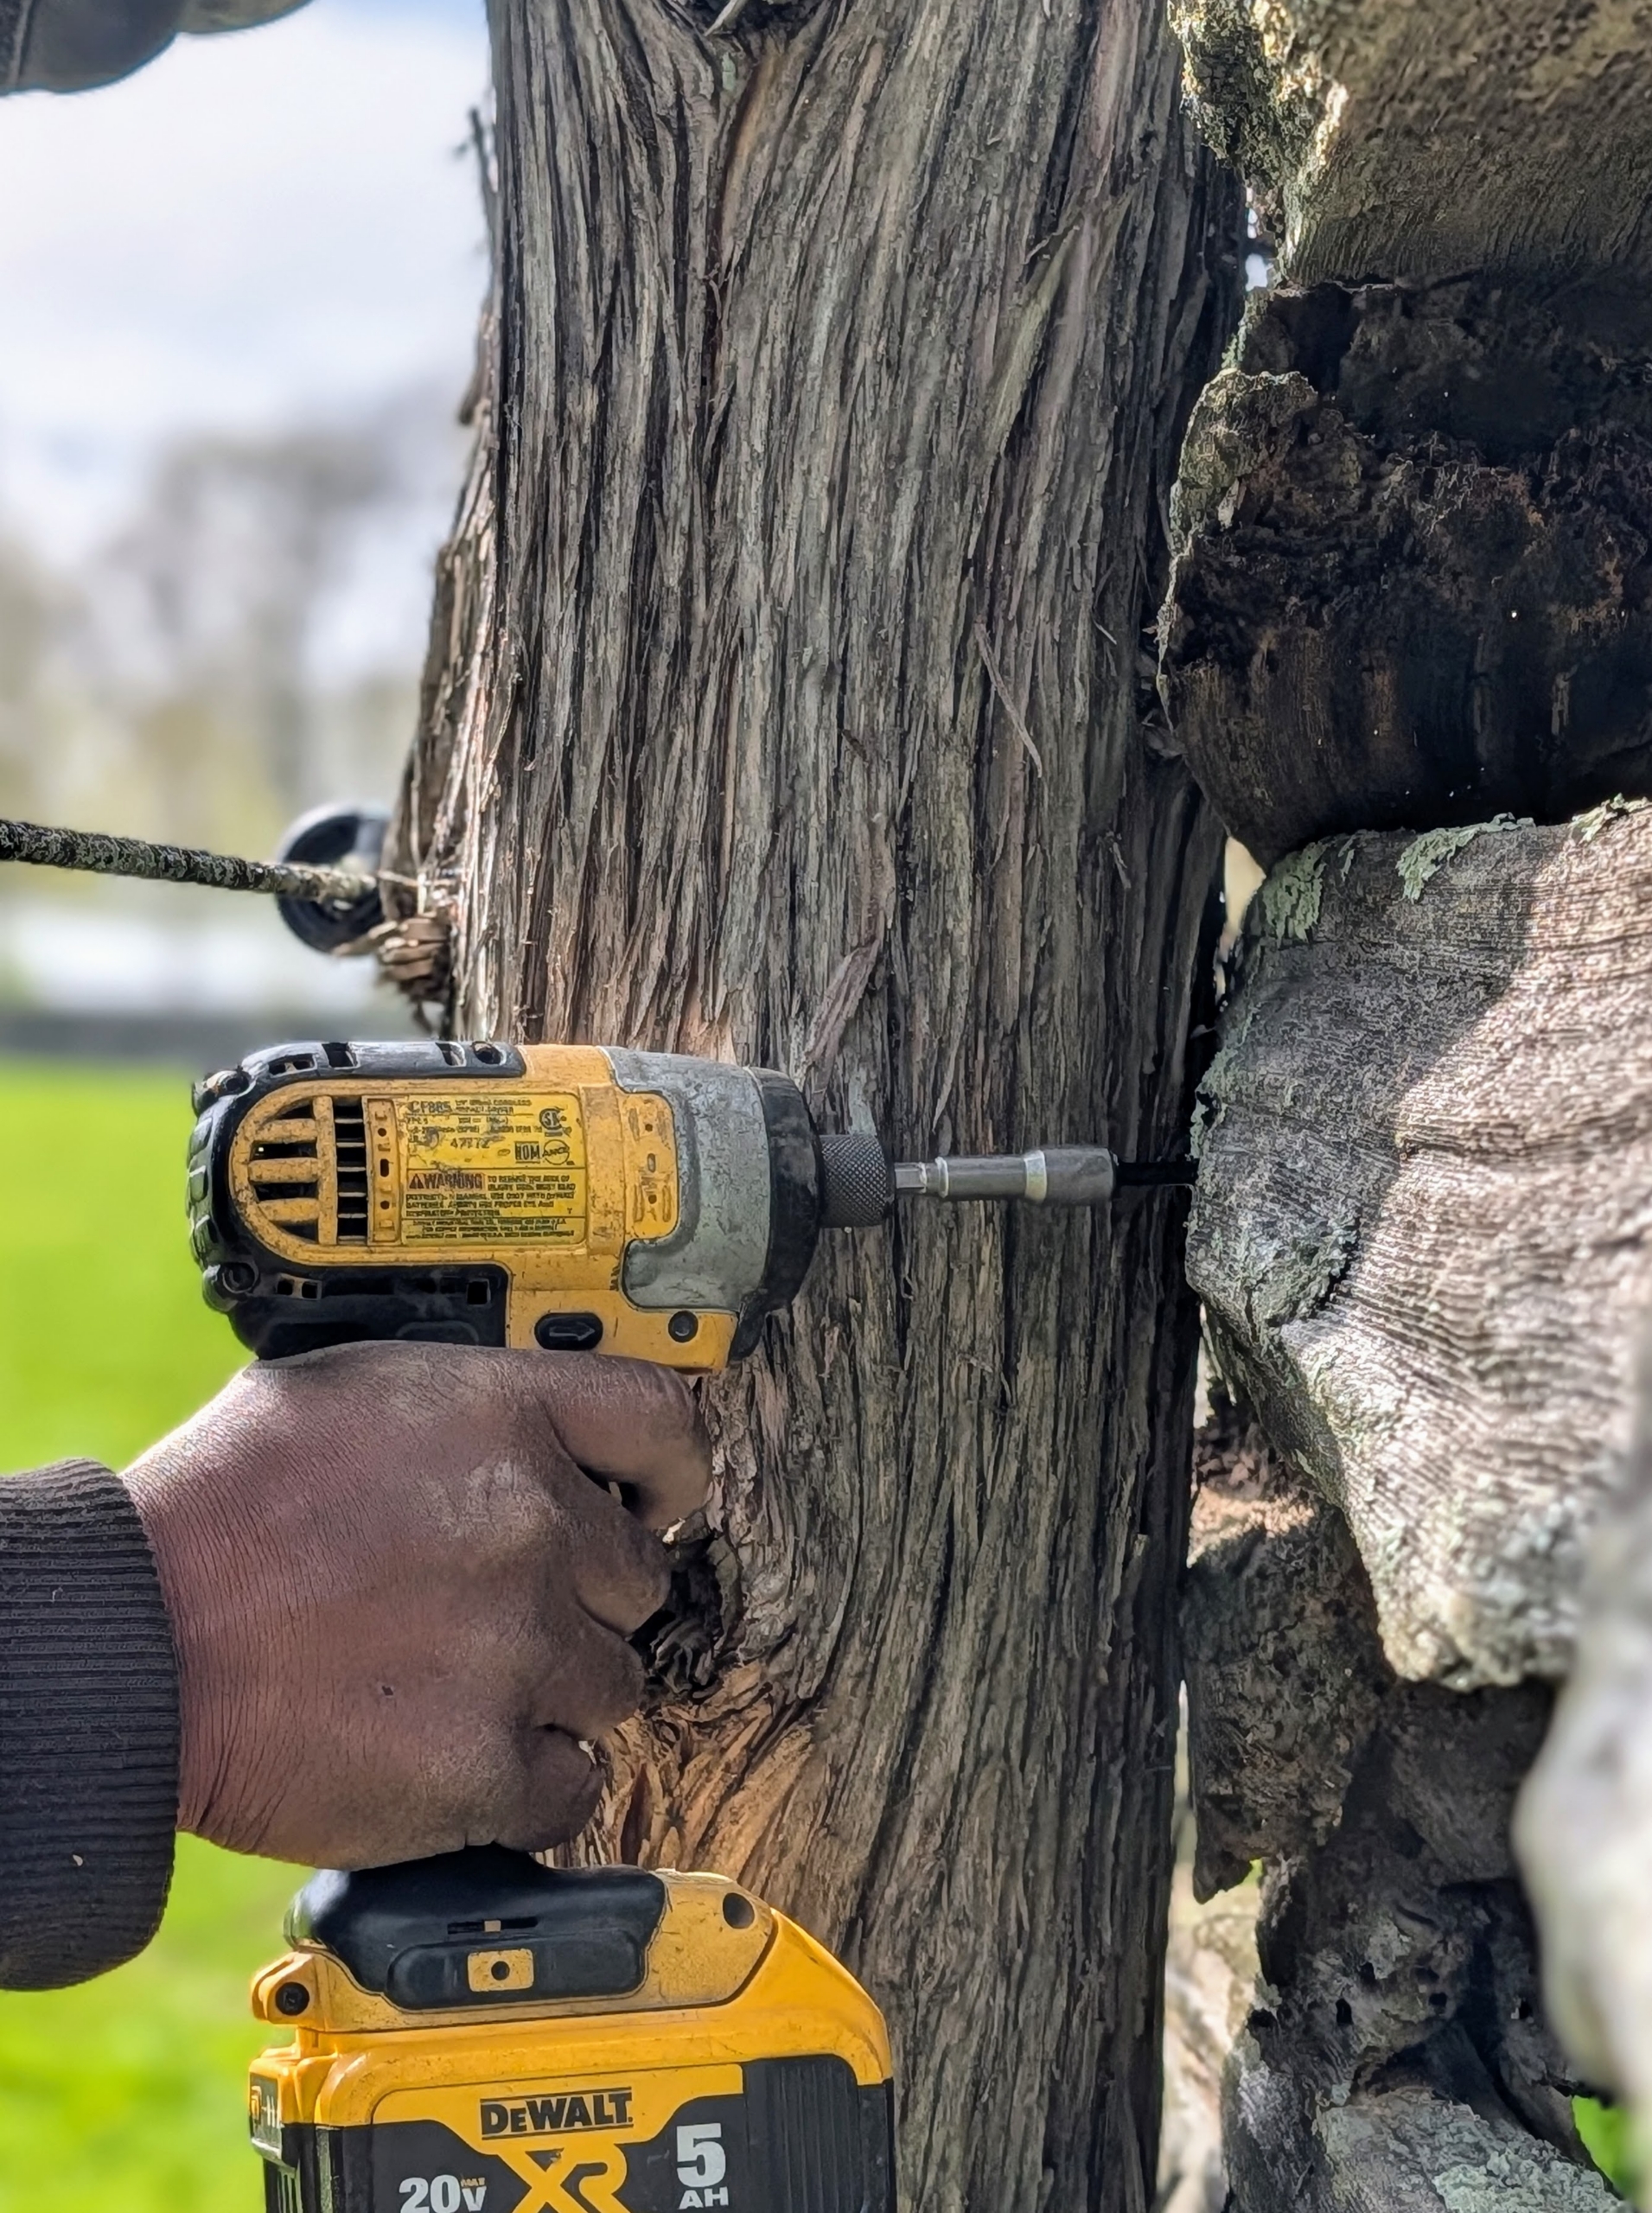
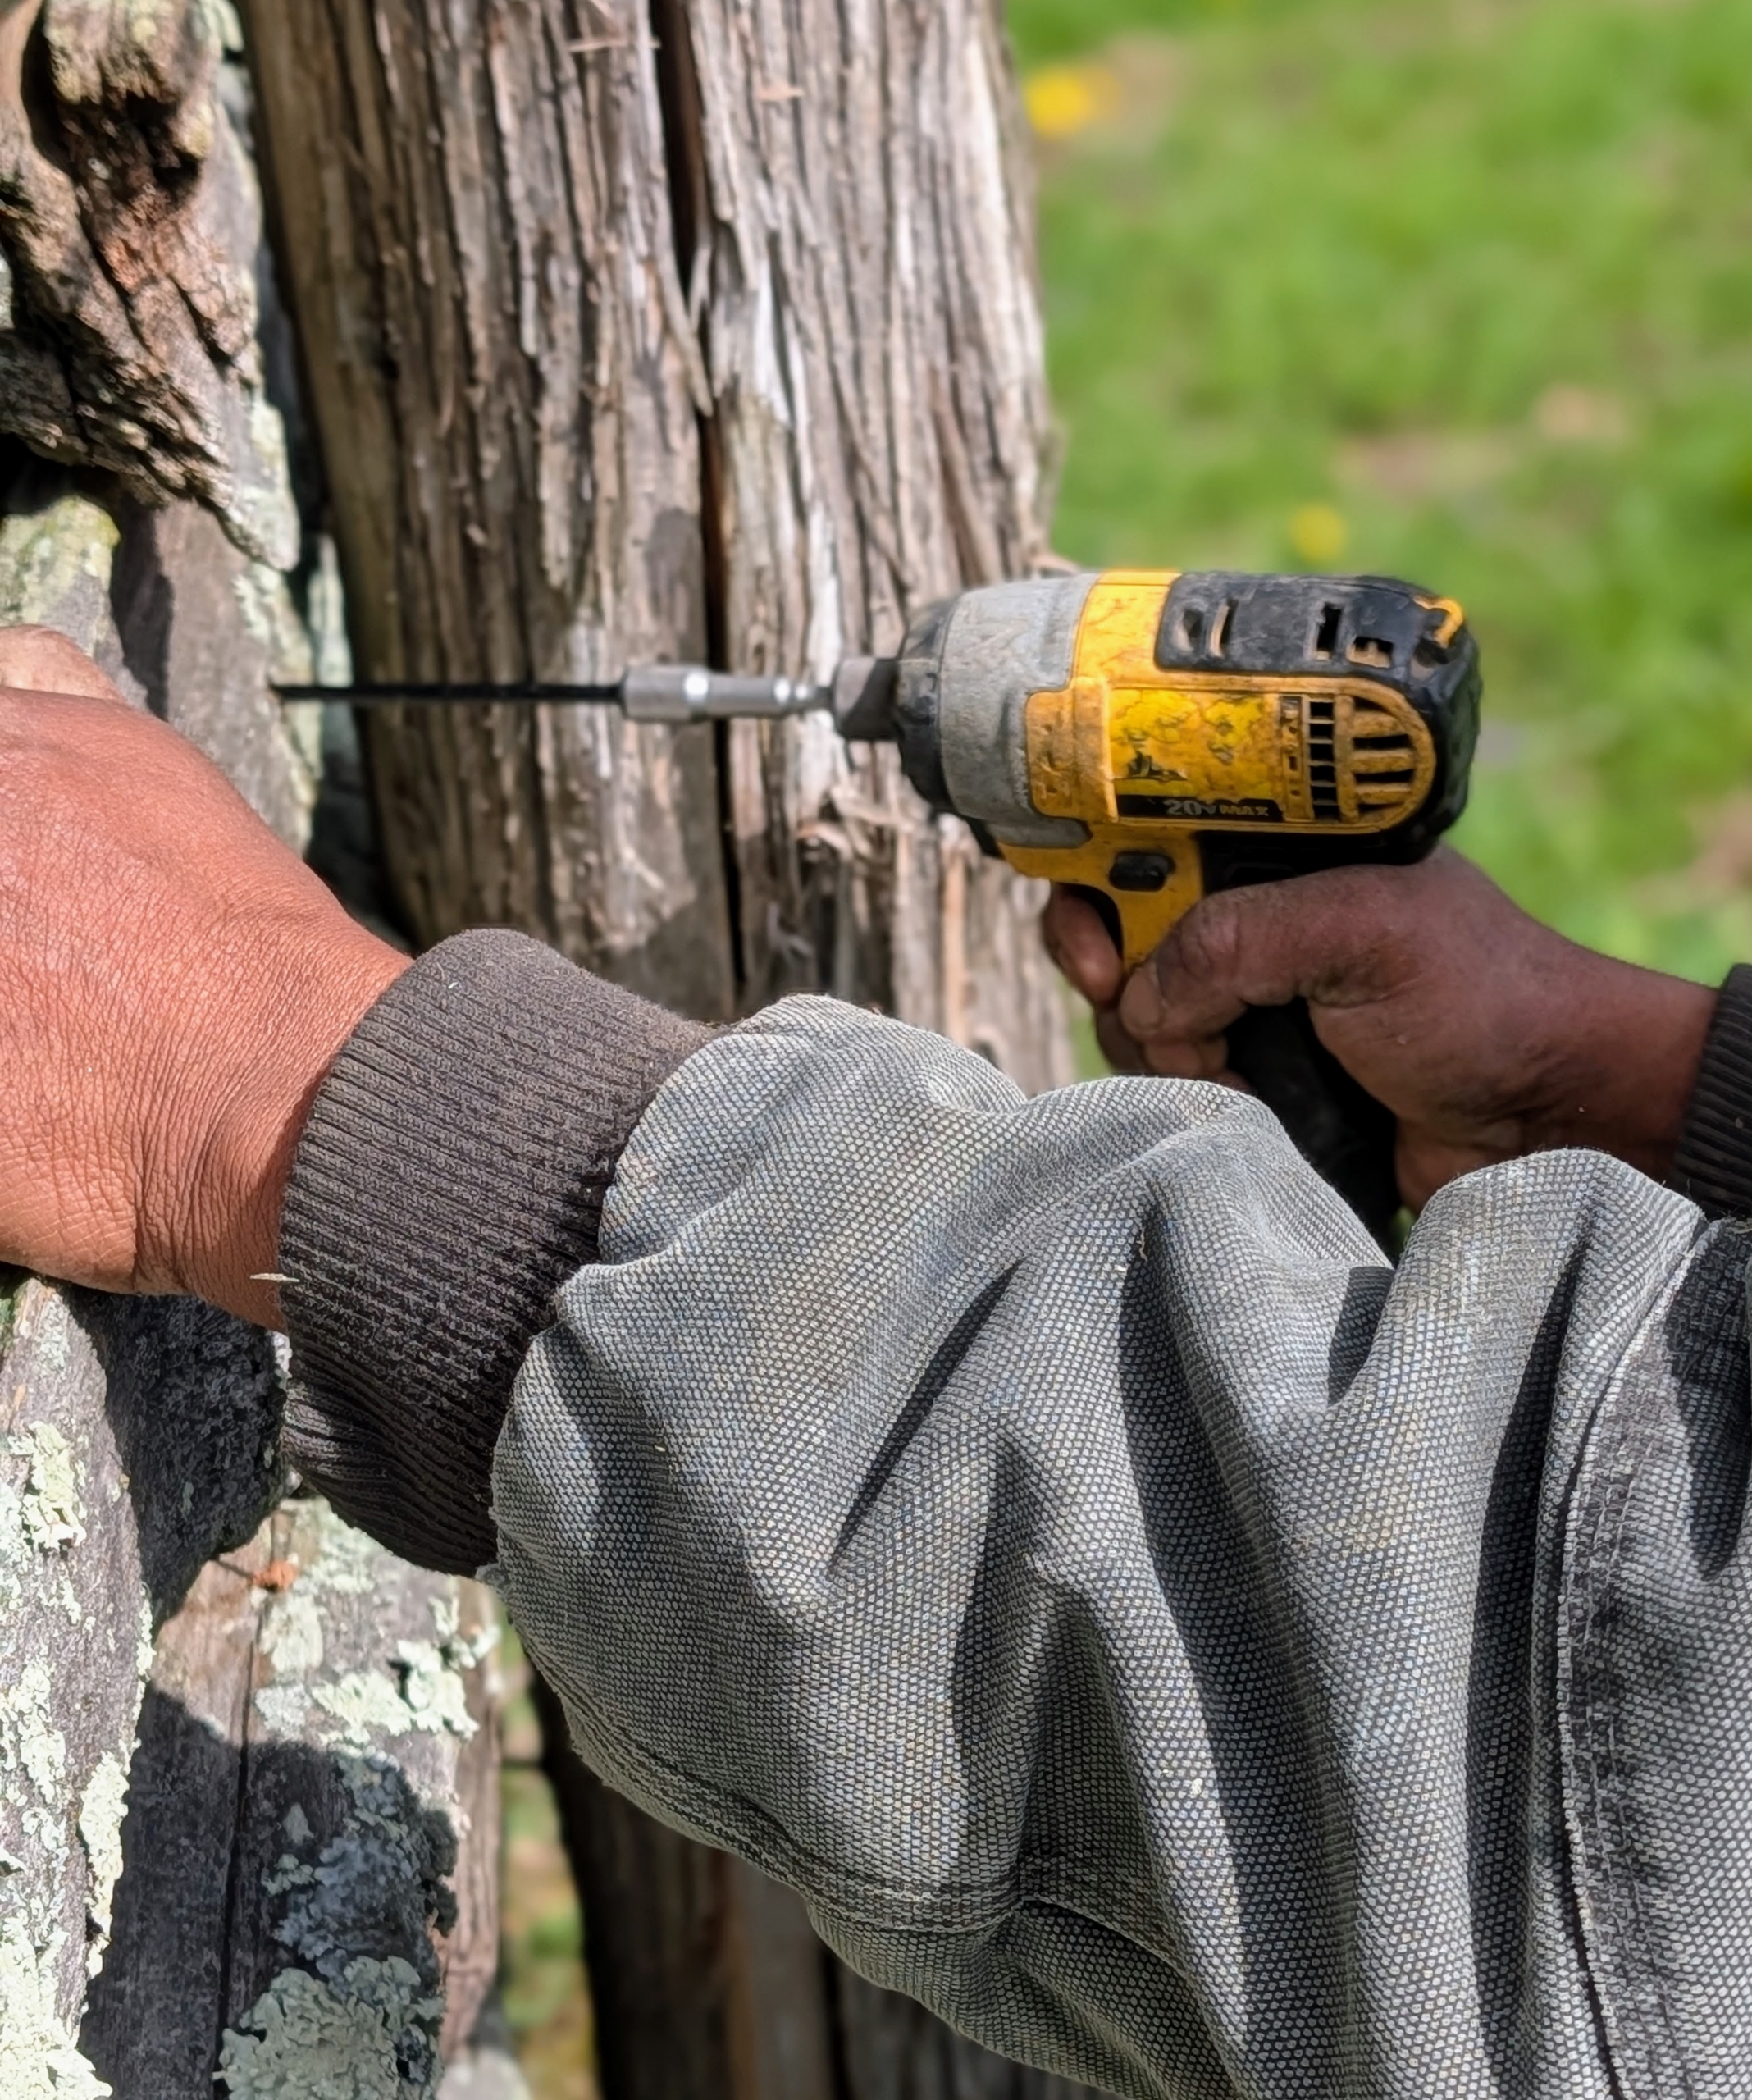
The new upright is secured with four-inch screws to keep it in line with the railings and the other posts.
Pete secures several screws to ensure it is well connected.
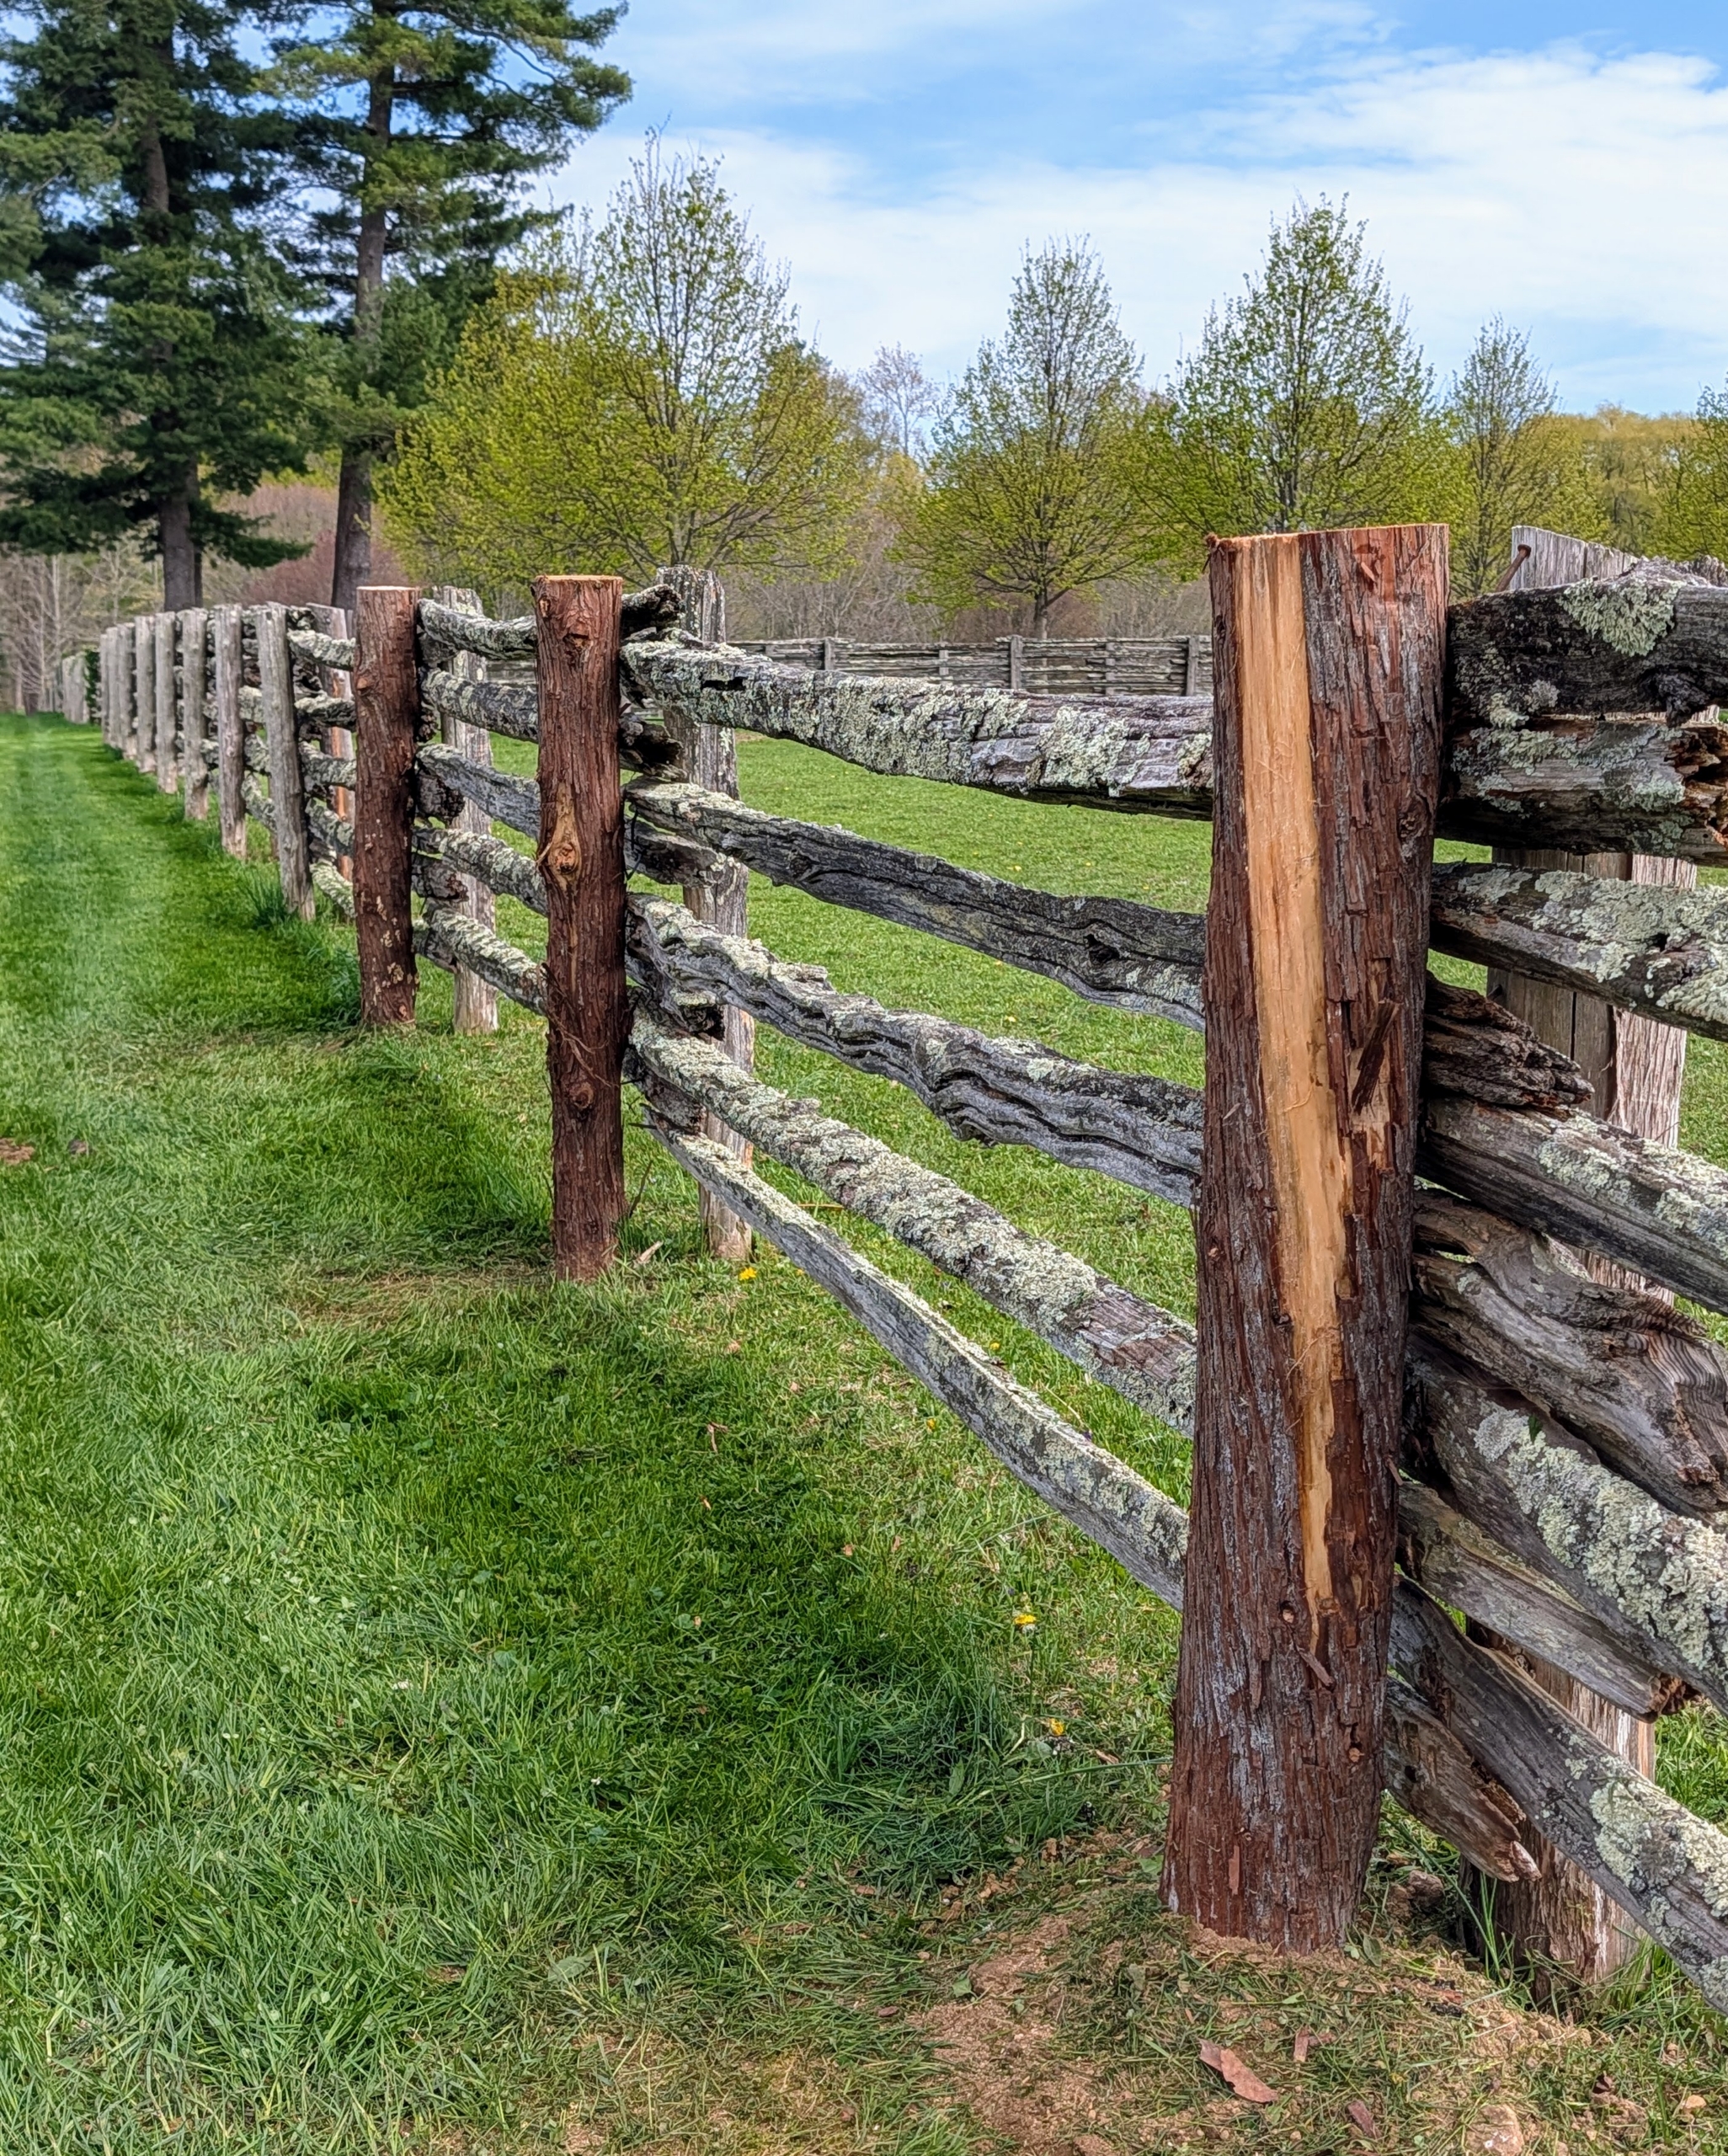
Here, one can see which posts were replaced. This project will take some time to complete with all the fencing on the property, but we’re making good progress.
Cedar is extremely durable and holds up well to outdoor weather conditions. The new posts should last about 15 years or more, keeping my horses, pony, and donkeys safe in their enclosures.