Planting Rhododendrons from Monrovia
It's always so rewarding to plant new specimens and watch them flourish.
Recently, I received a selection of rhododendrons grown by Monrovia, a wholesale plant nursery specializing in well-nurtured shrubs, perennials, annuals, ferns, grasses, and conifers with several nursery locations across the country. I'm always looking for ways to improve my gardens and I knew the plants would look excellent in my Japanese Maple Woodland. Rhododendrons are beautiful flowering shrubs with showy flowers and glossy green leaves. They're easy to maintain and thrive in areas with dappled light.
Here are some photos, enjoy.
-

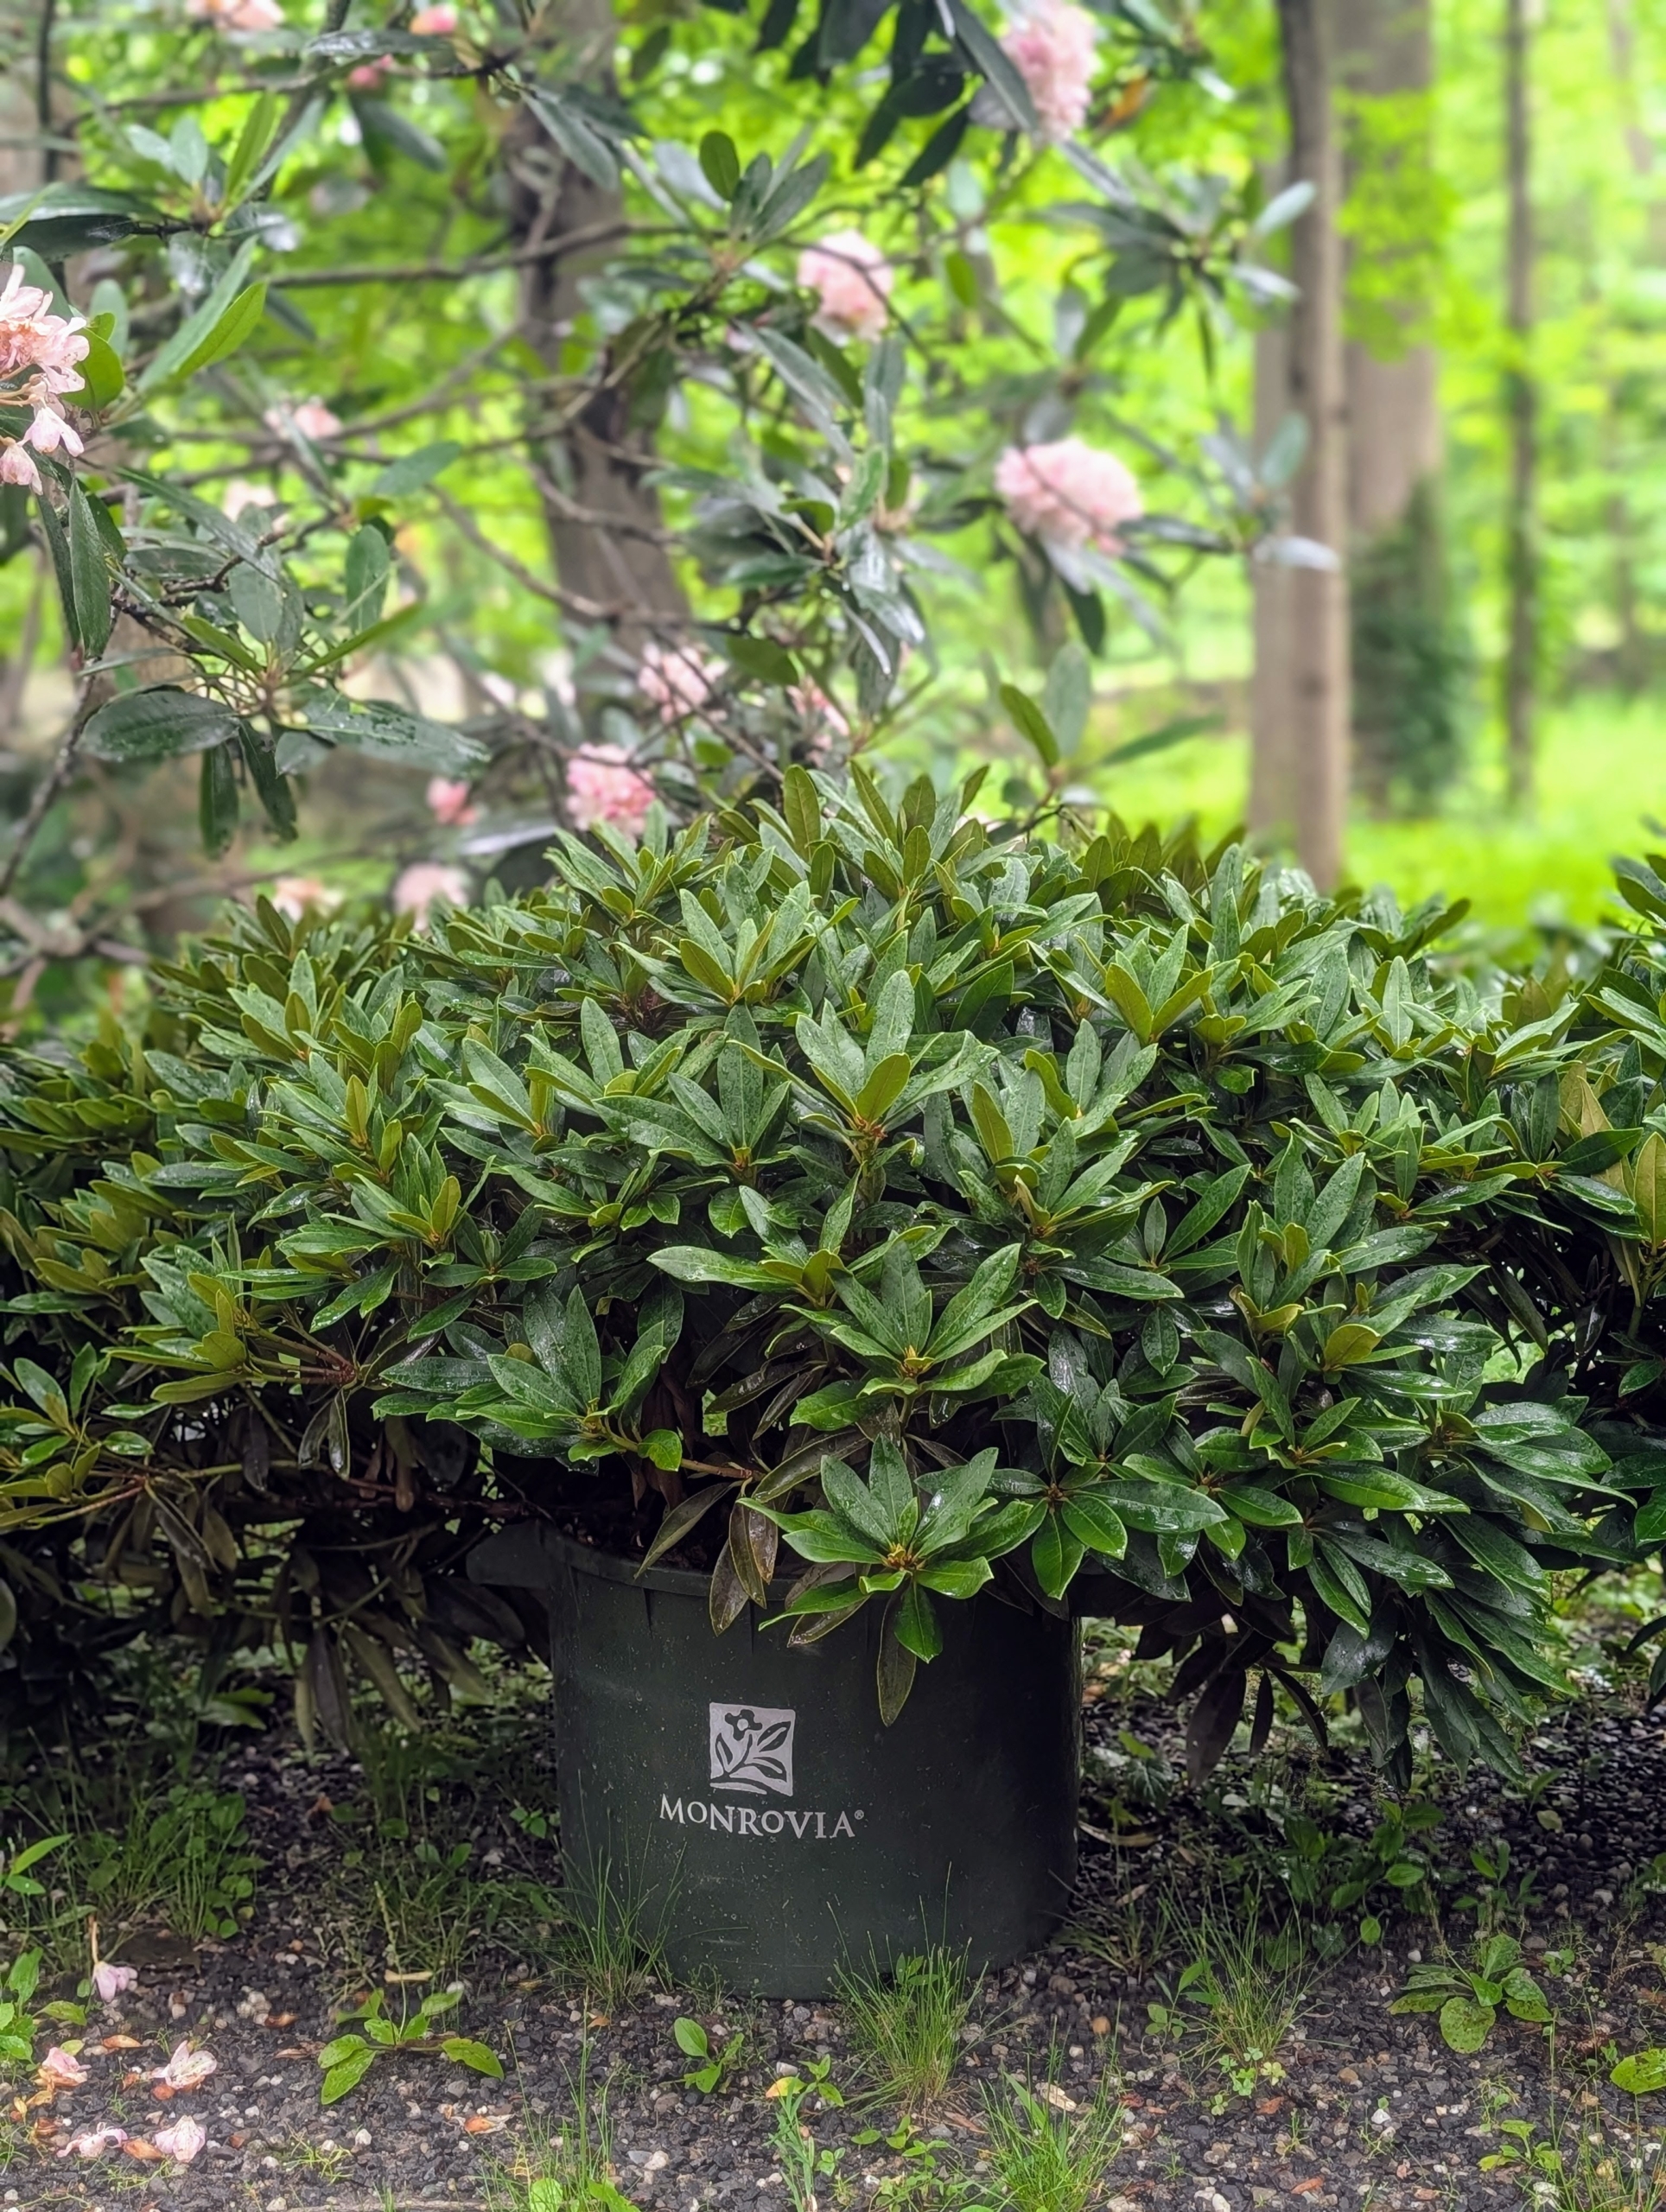
- I already grow several different rhododendrons in my Japanese Maple Woodland. Some of the last blooms of one can be seen here in a soft, light pink. When in bloom, these new Rhododendron Chionoides shrubs from Monrovia will be a beautiful white.
-
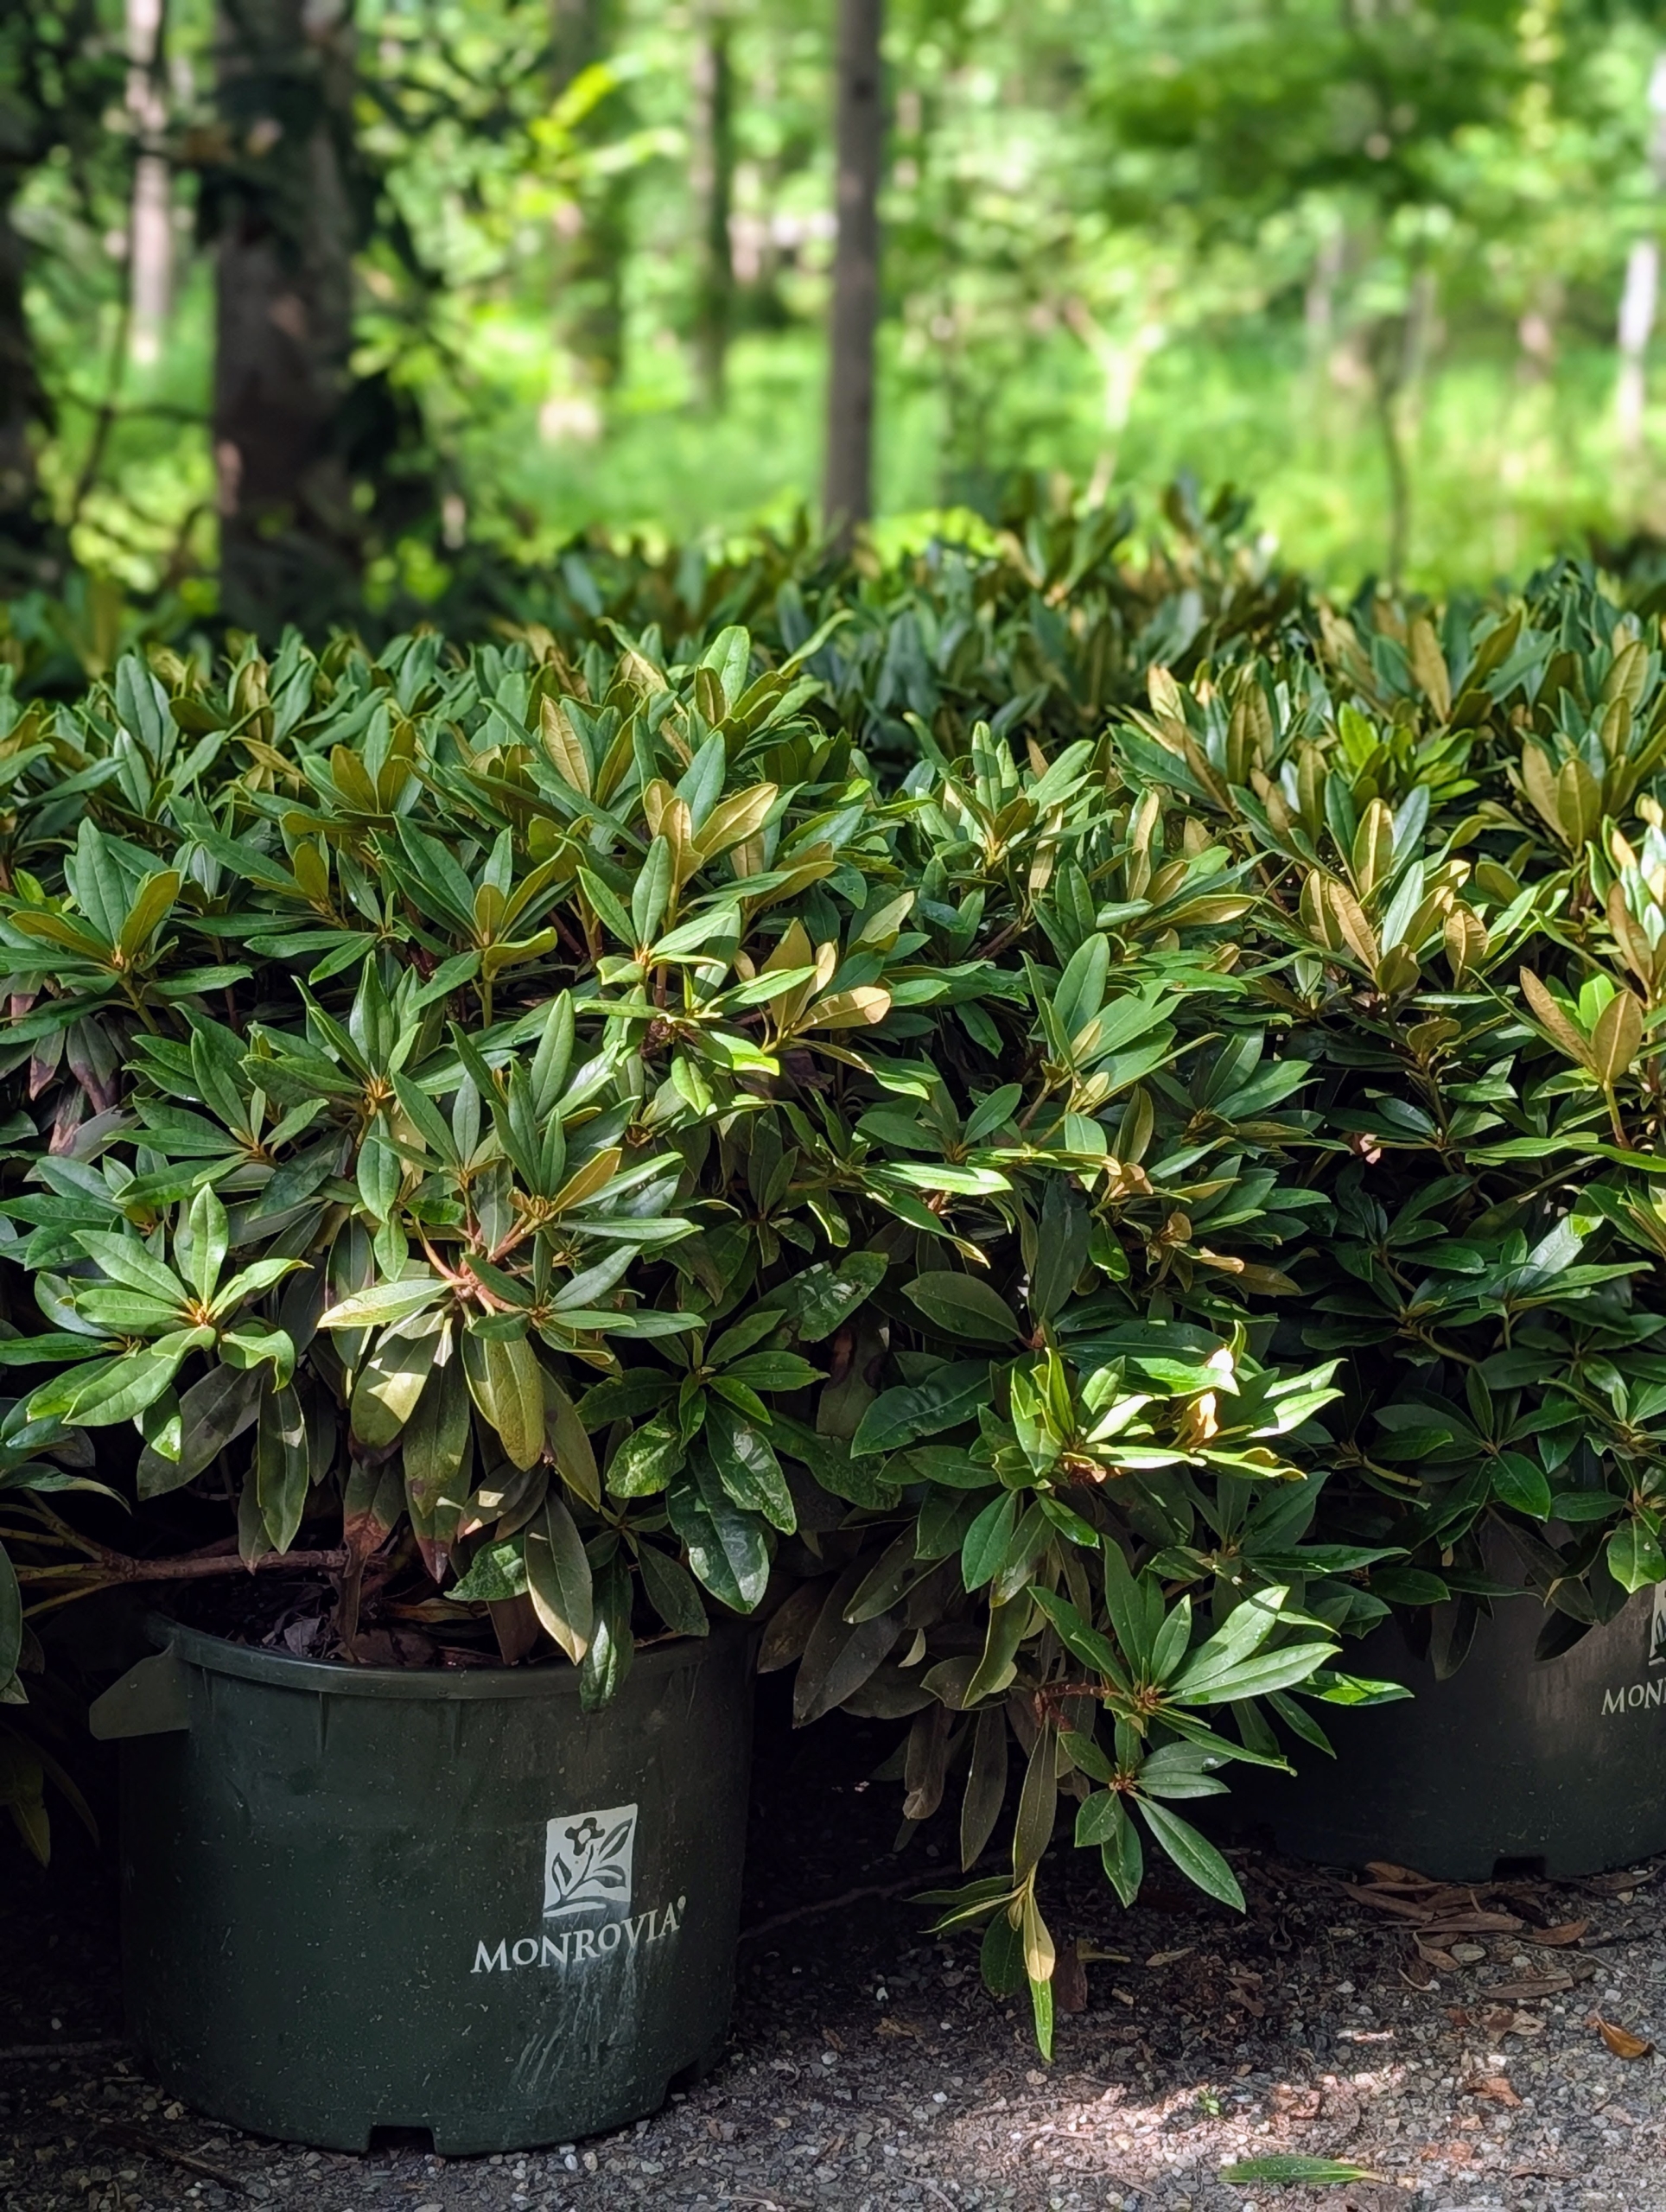
- One of the things that sets Monrovia rhododendrons apart from others is the way they hand pinch buds during the growing season to get more breaks in the plant and to develop fuller shrubs. This practice is more labor intensive, but it results in a much shapelier specimen.
-
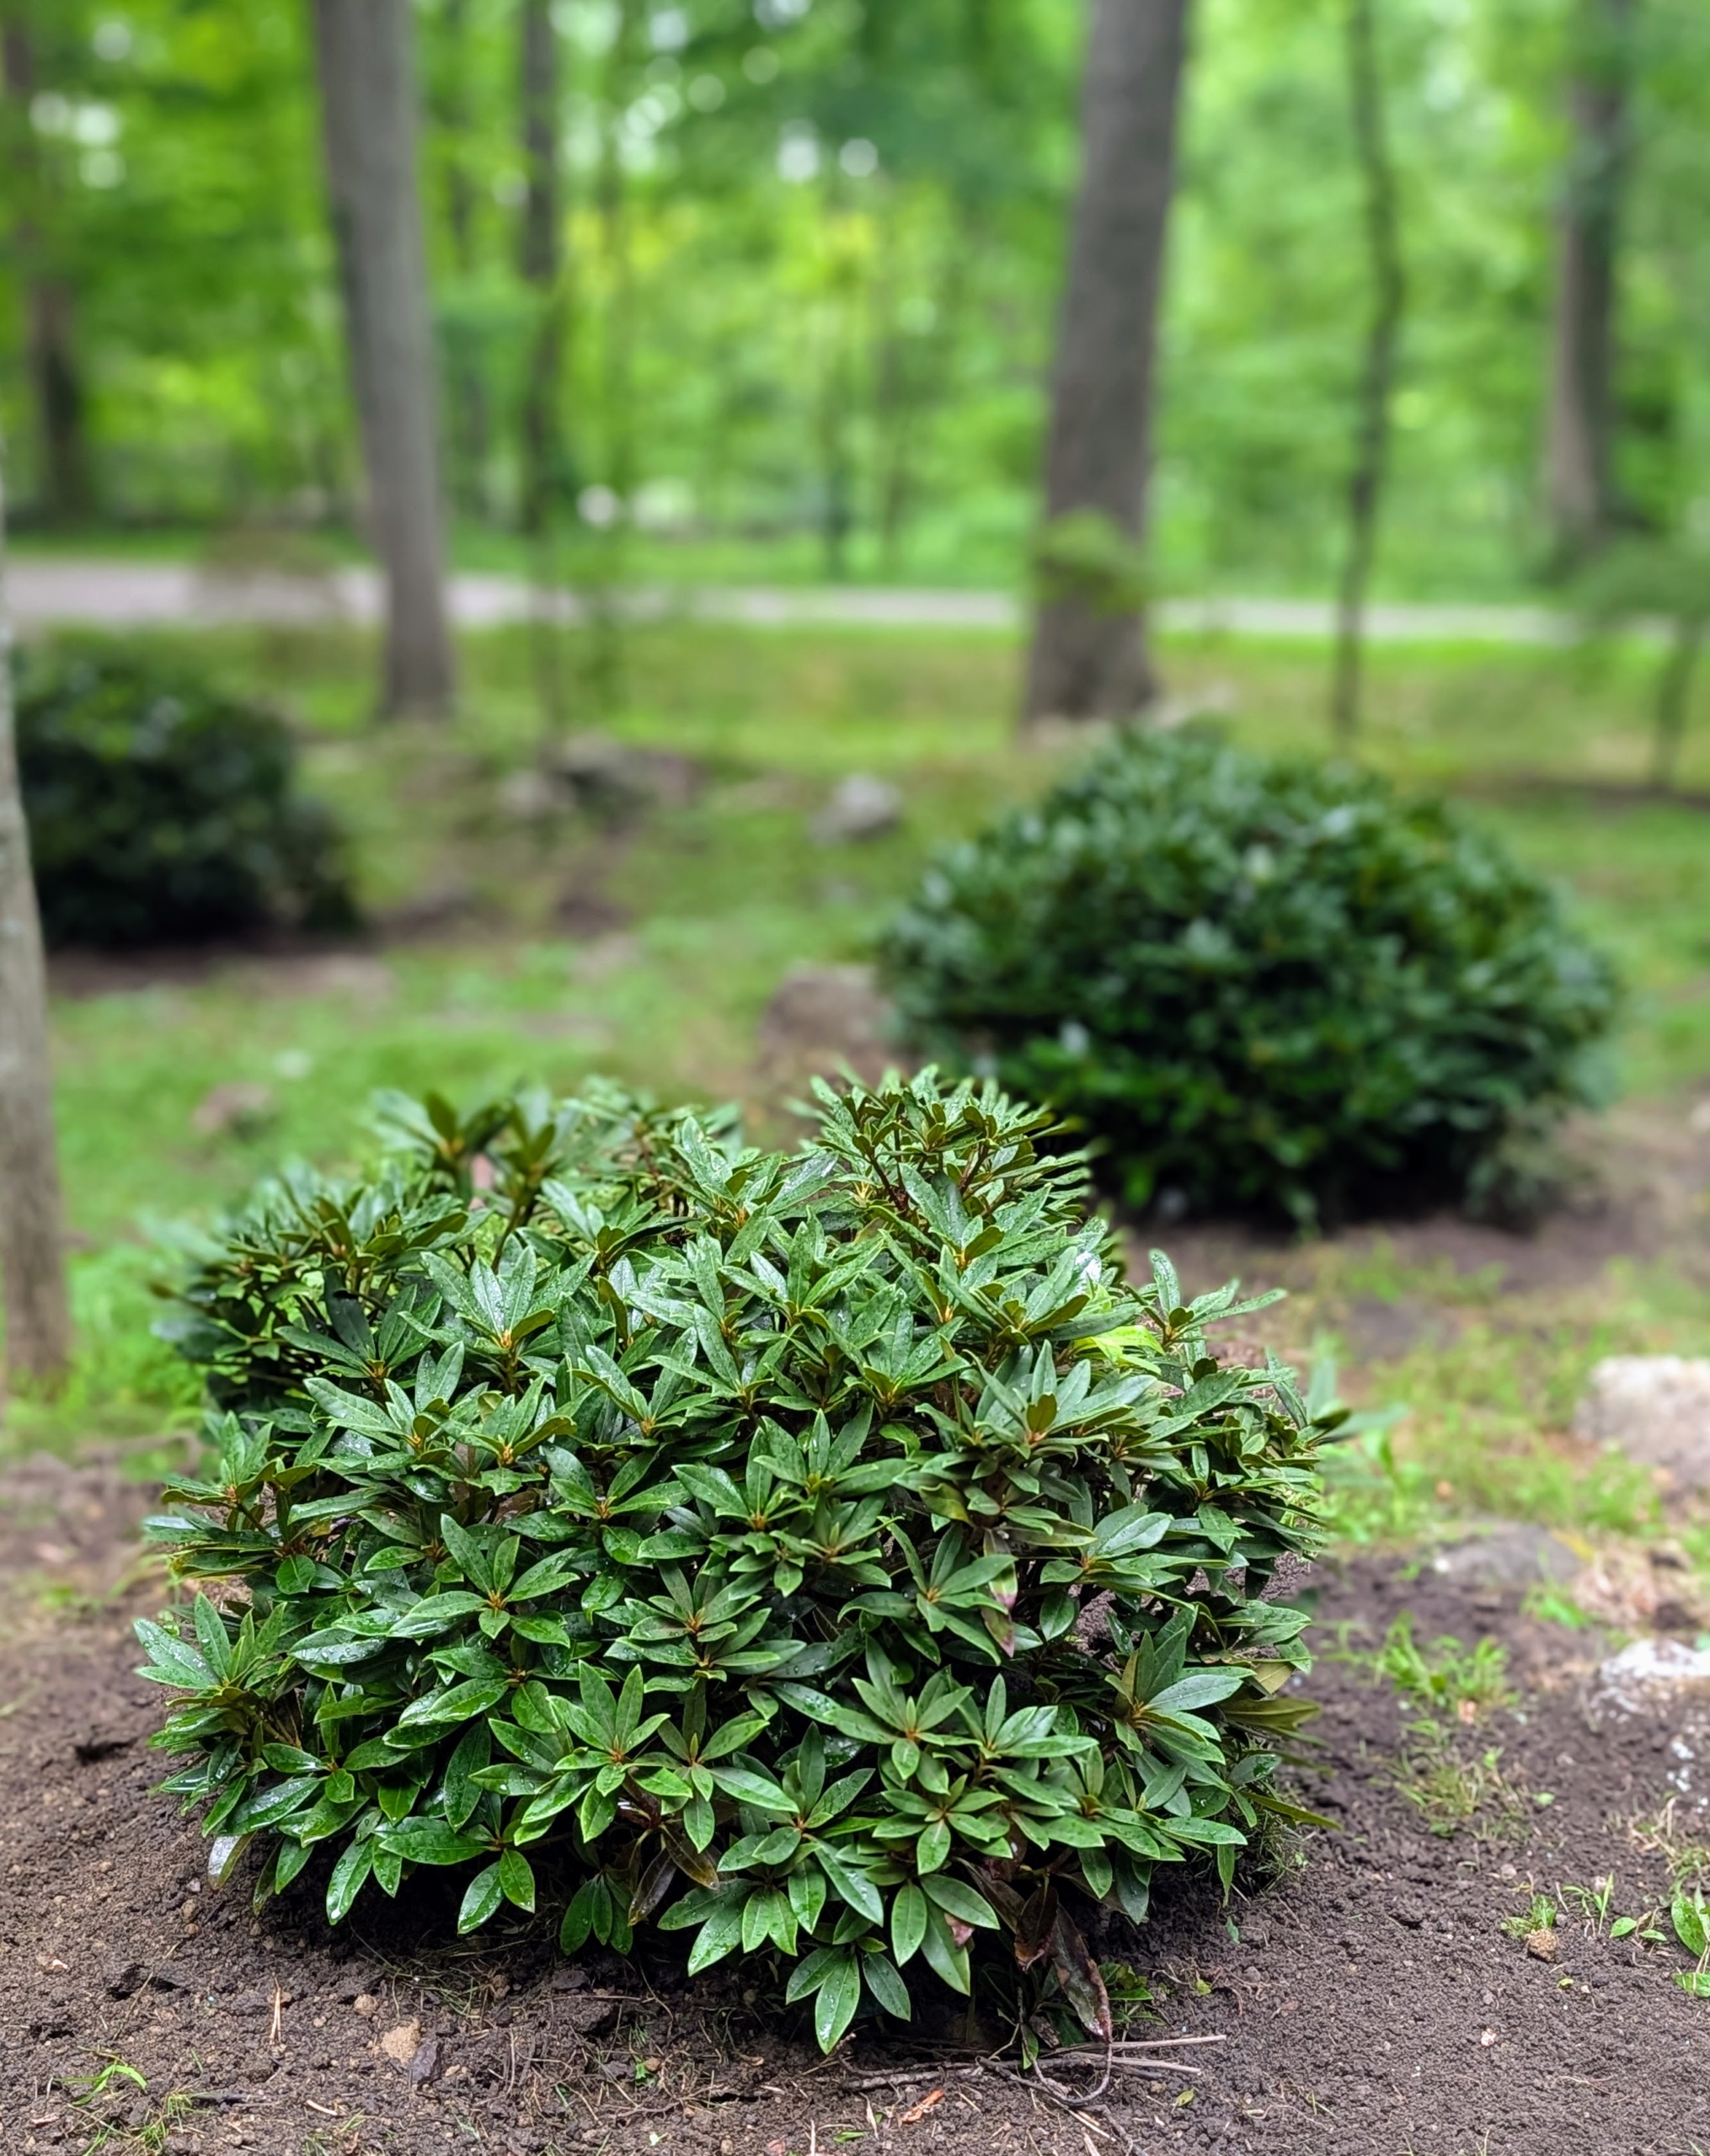
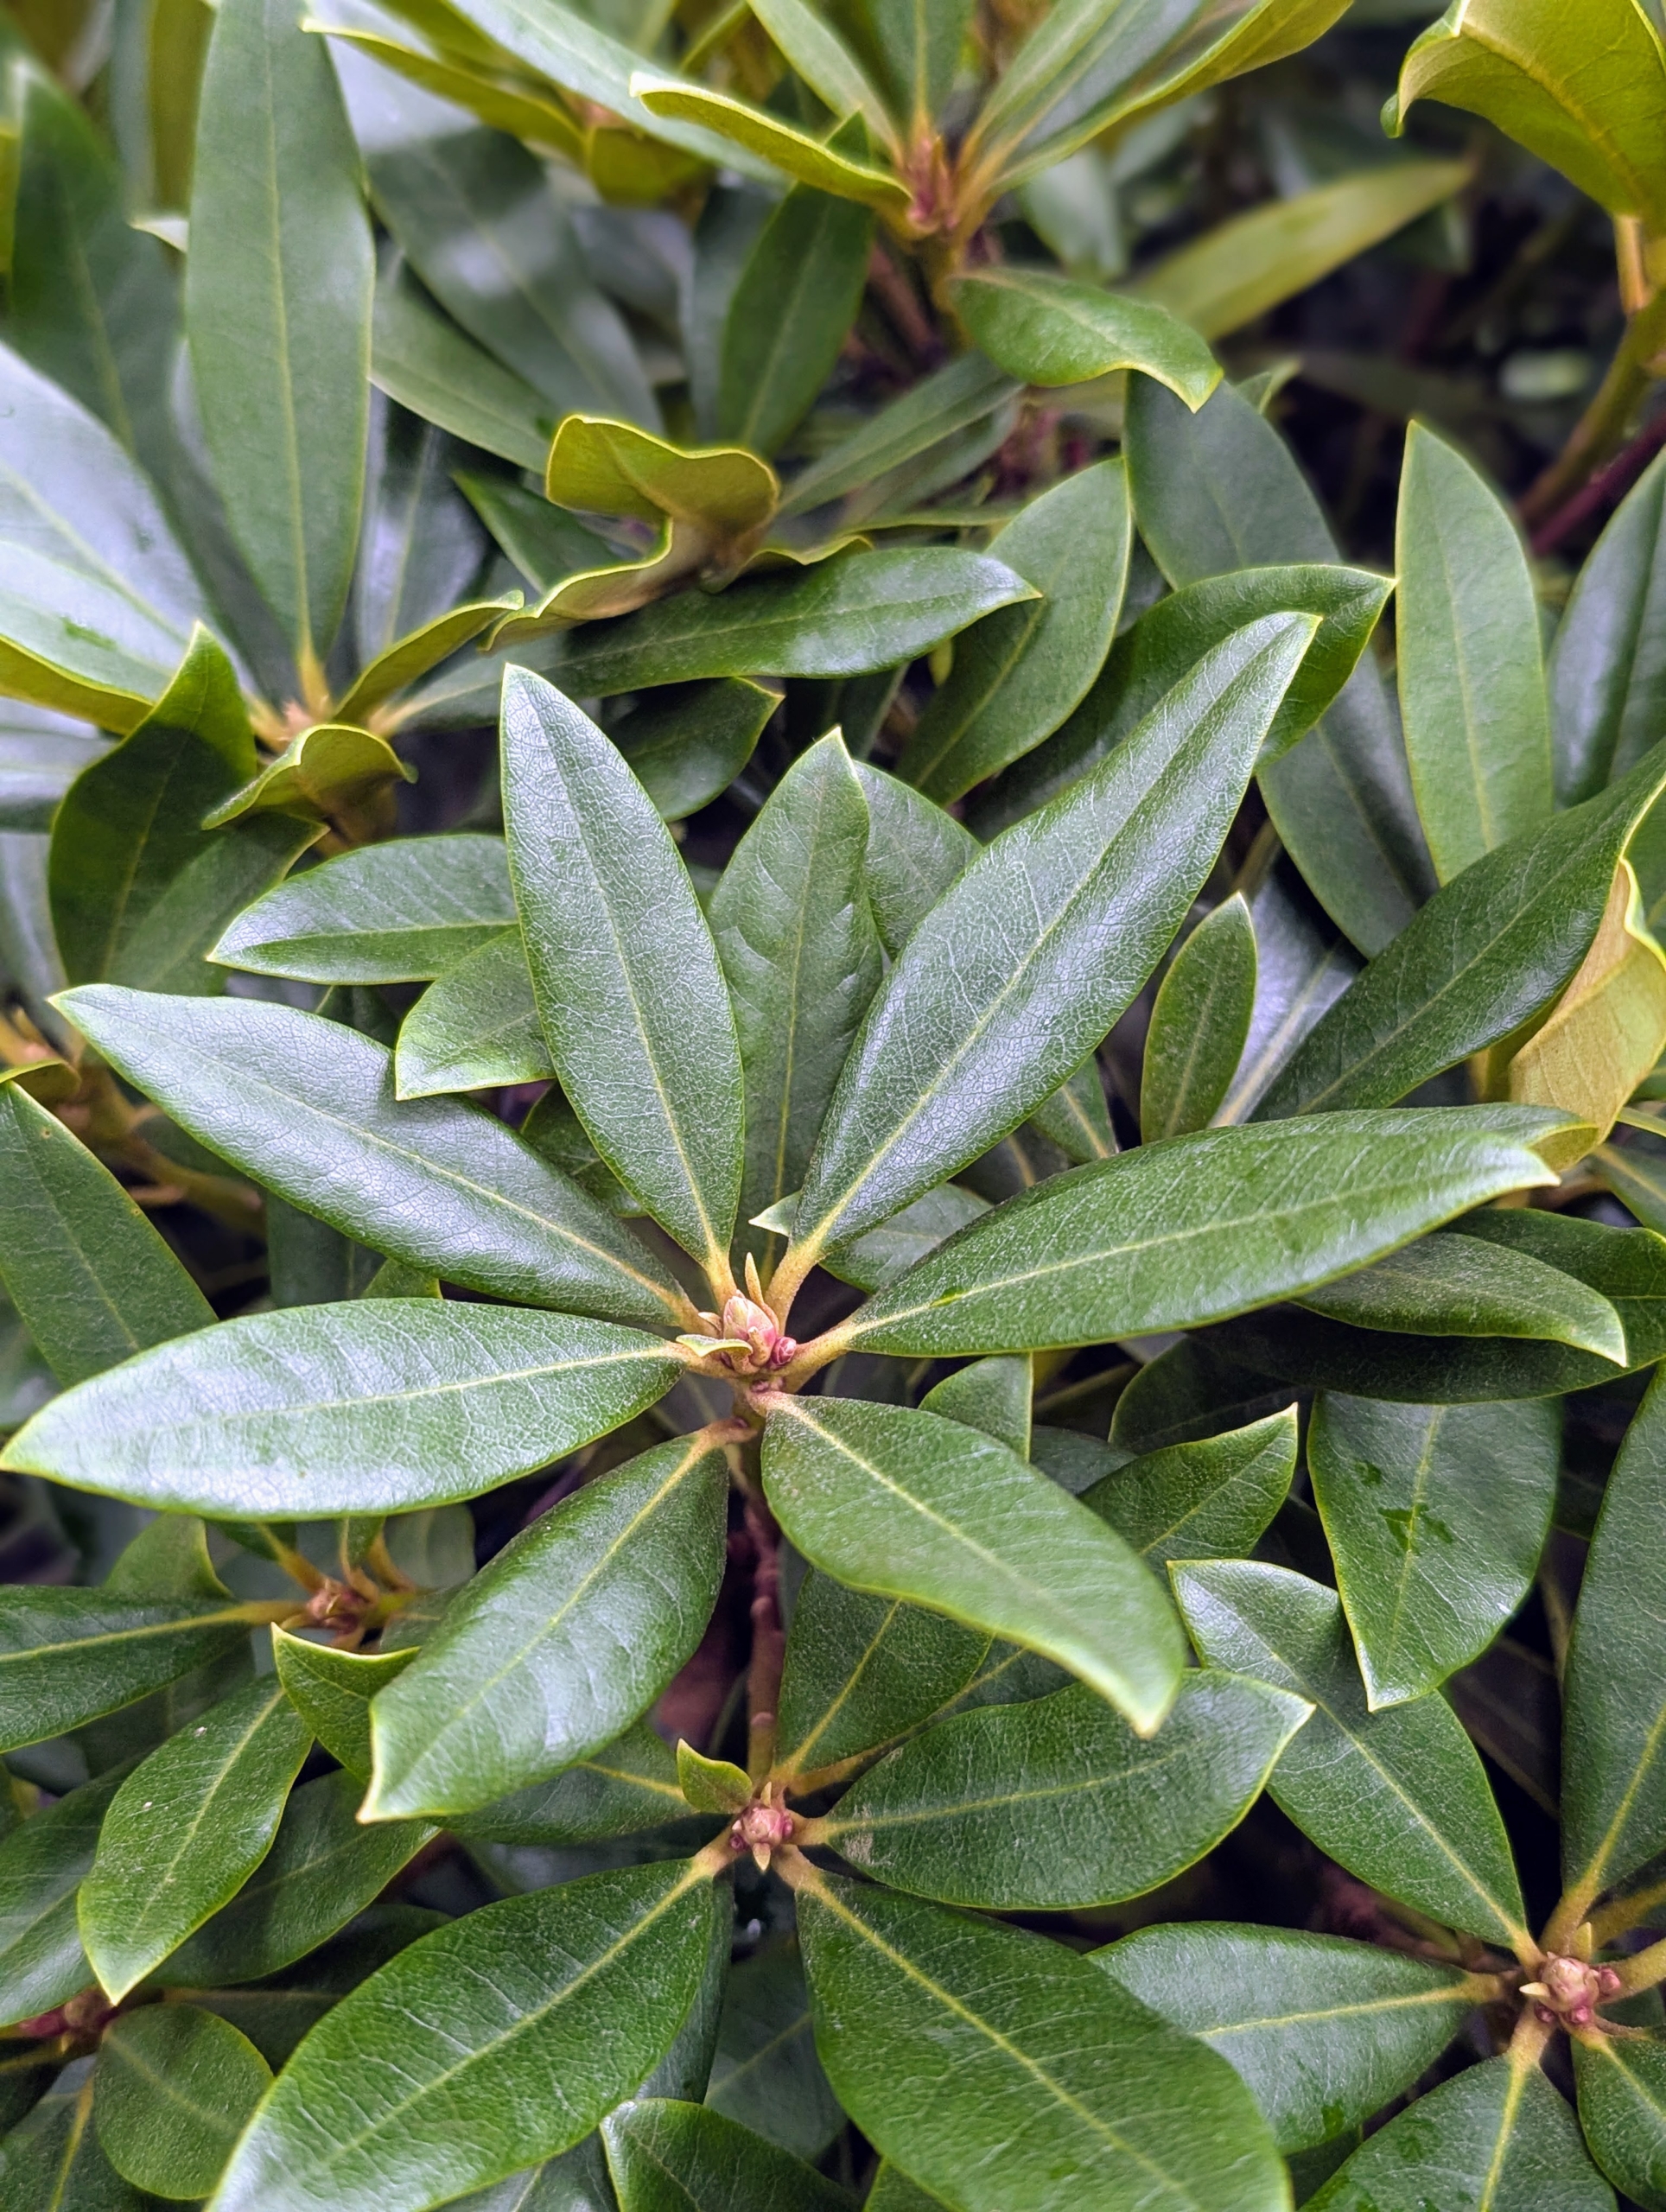
- Rhododendron leaves are characterized by their laurel-like, green elliptic shape, which is thick, leathery, and glossy. Rhododendron leaves also have scales, distinguishing them from azalea leaves, which have small hairs.
-
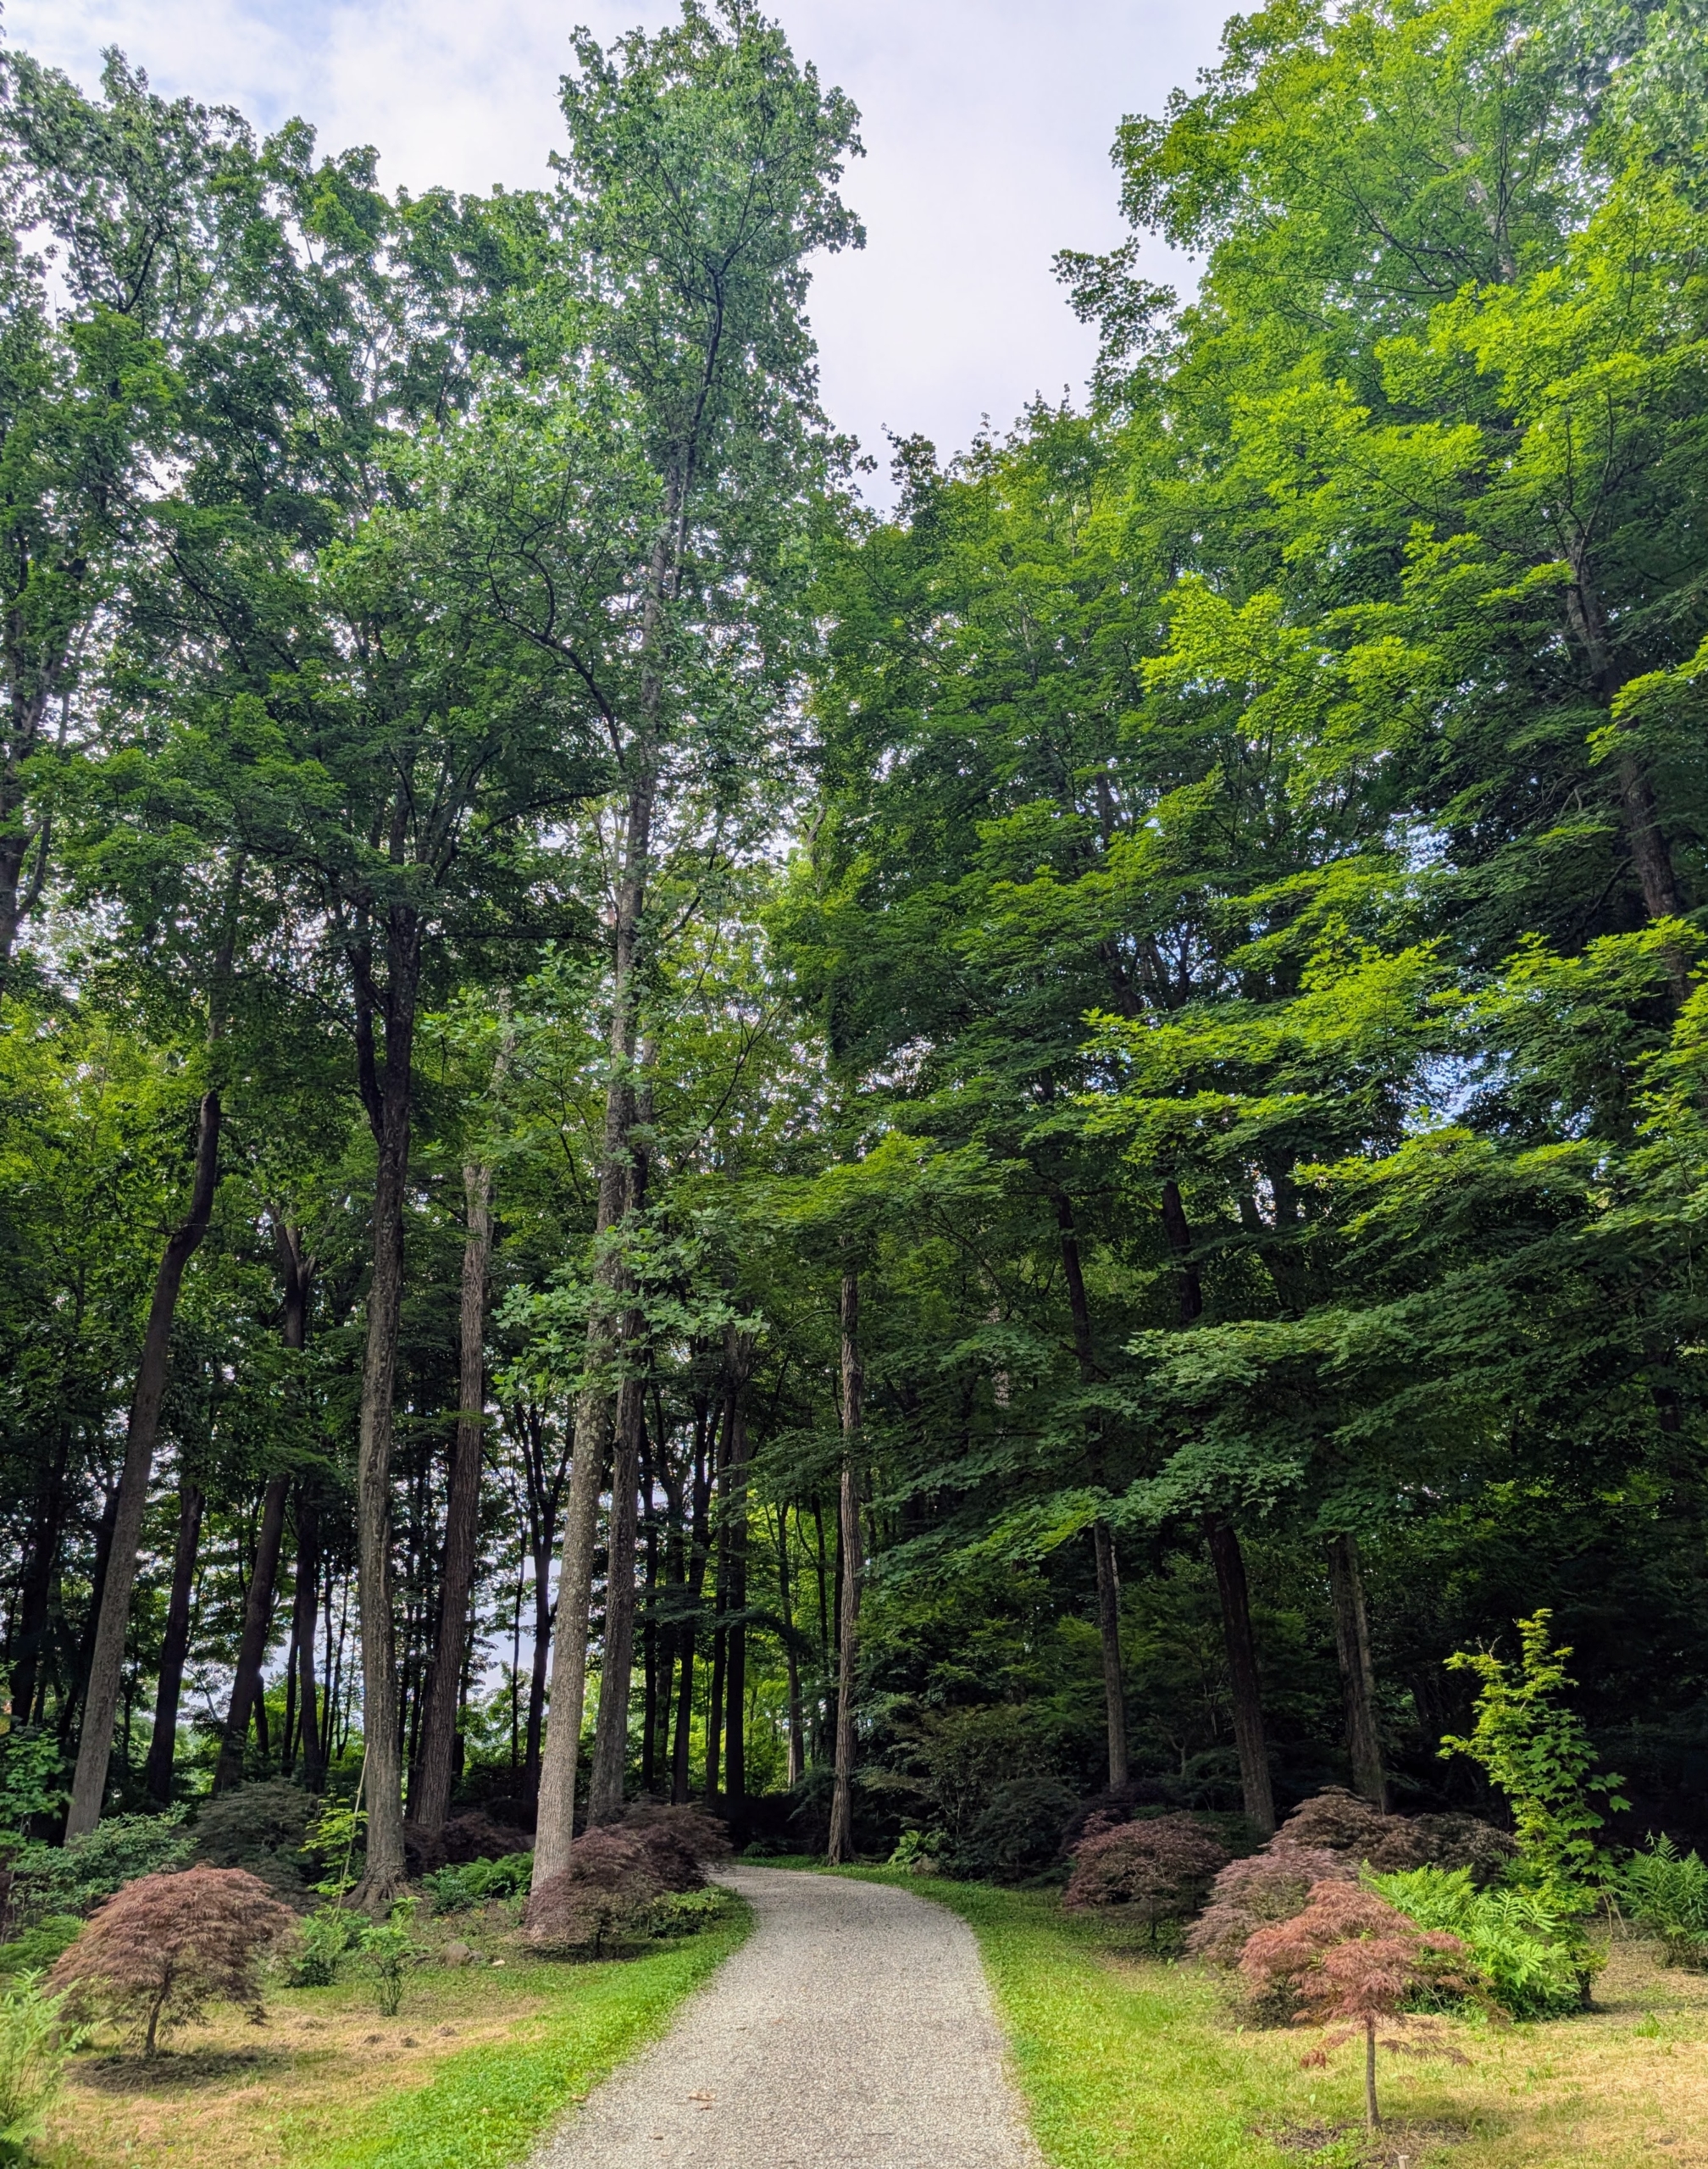
- This area is part of the northern half of the Maple Woodland. It will be wonderful for these plants.
-
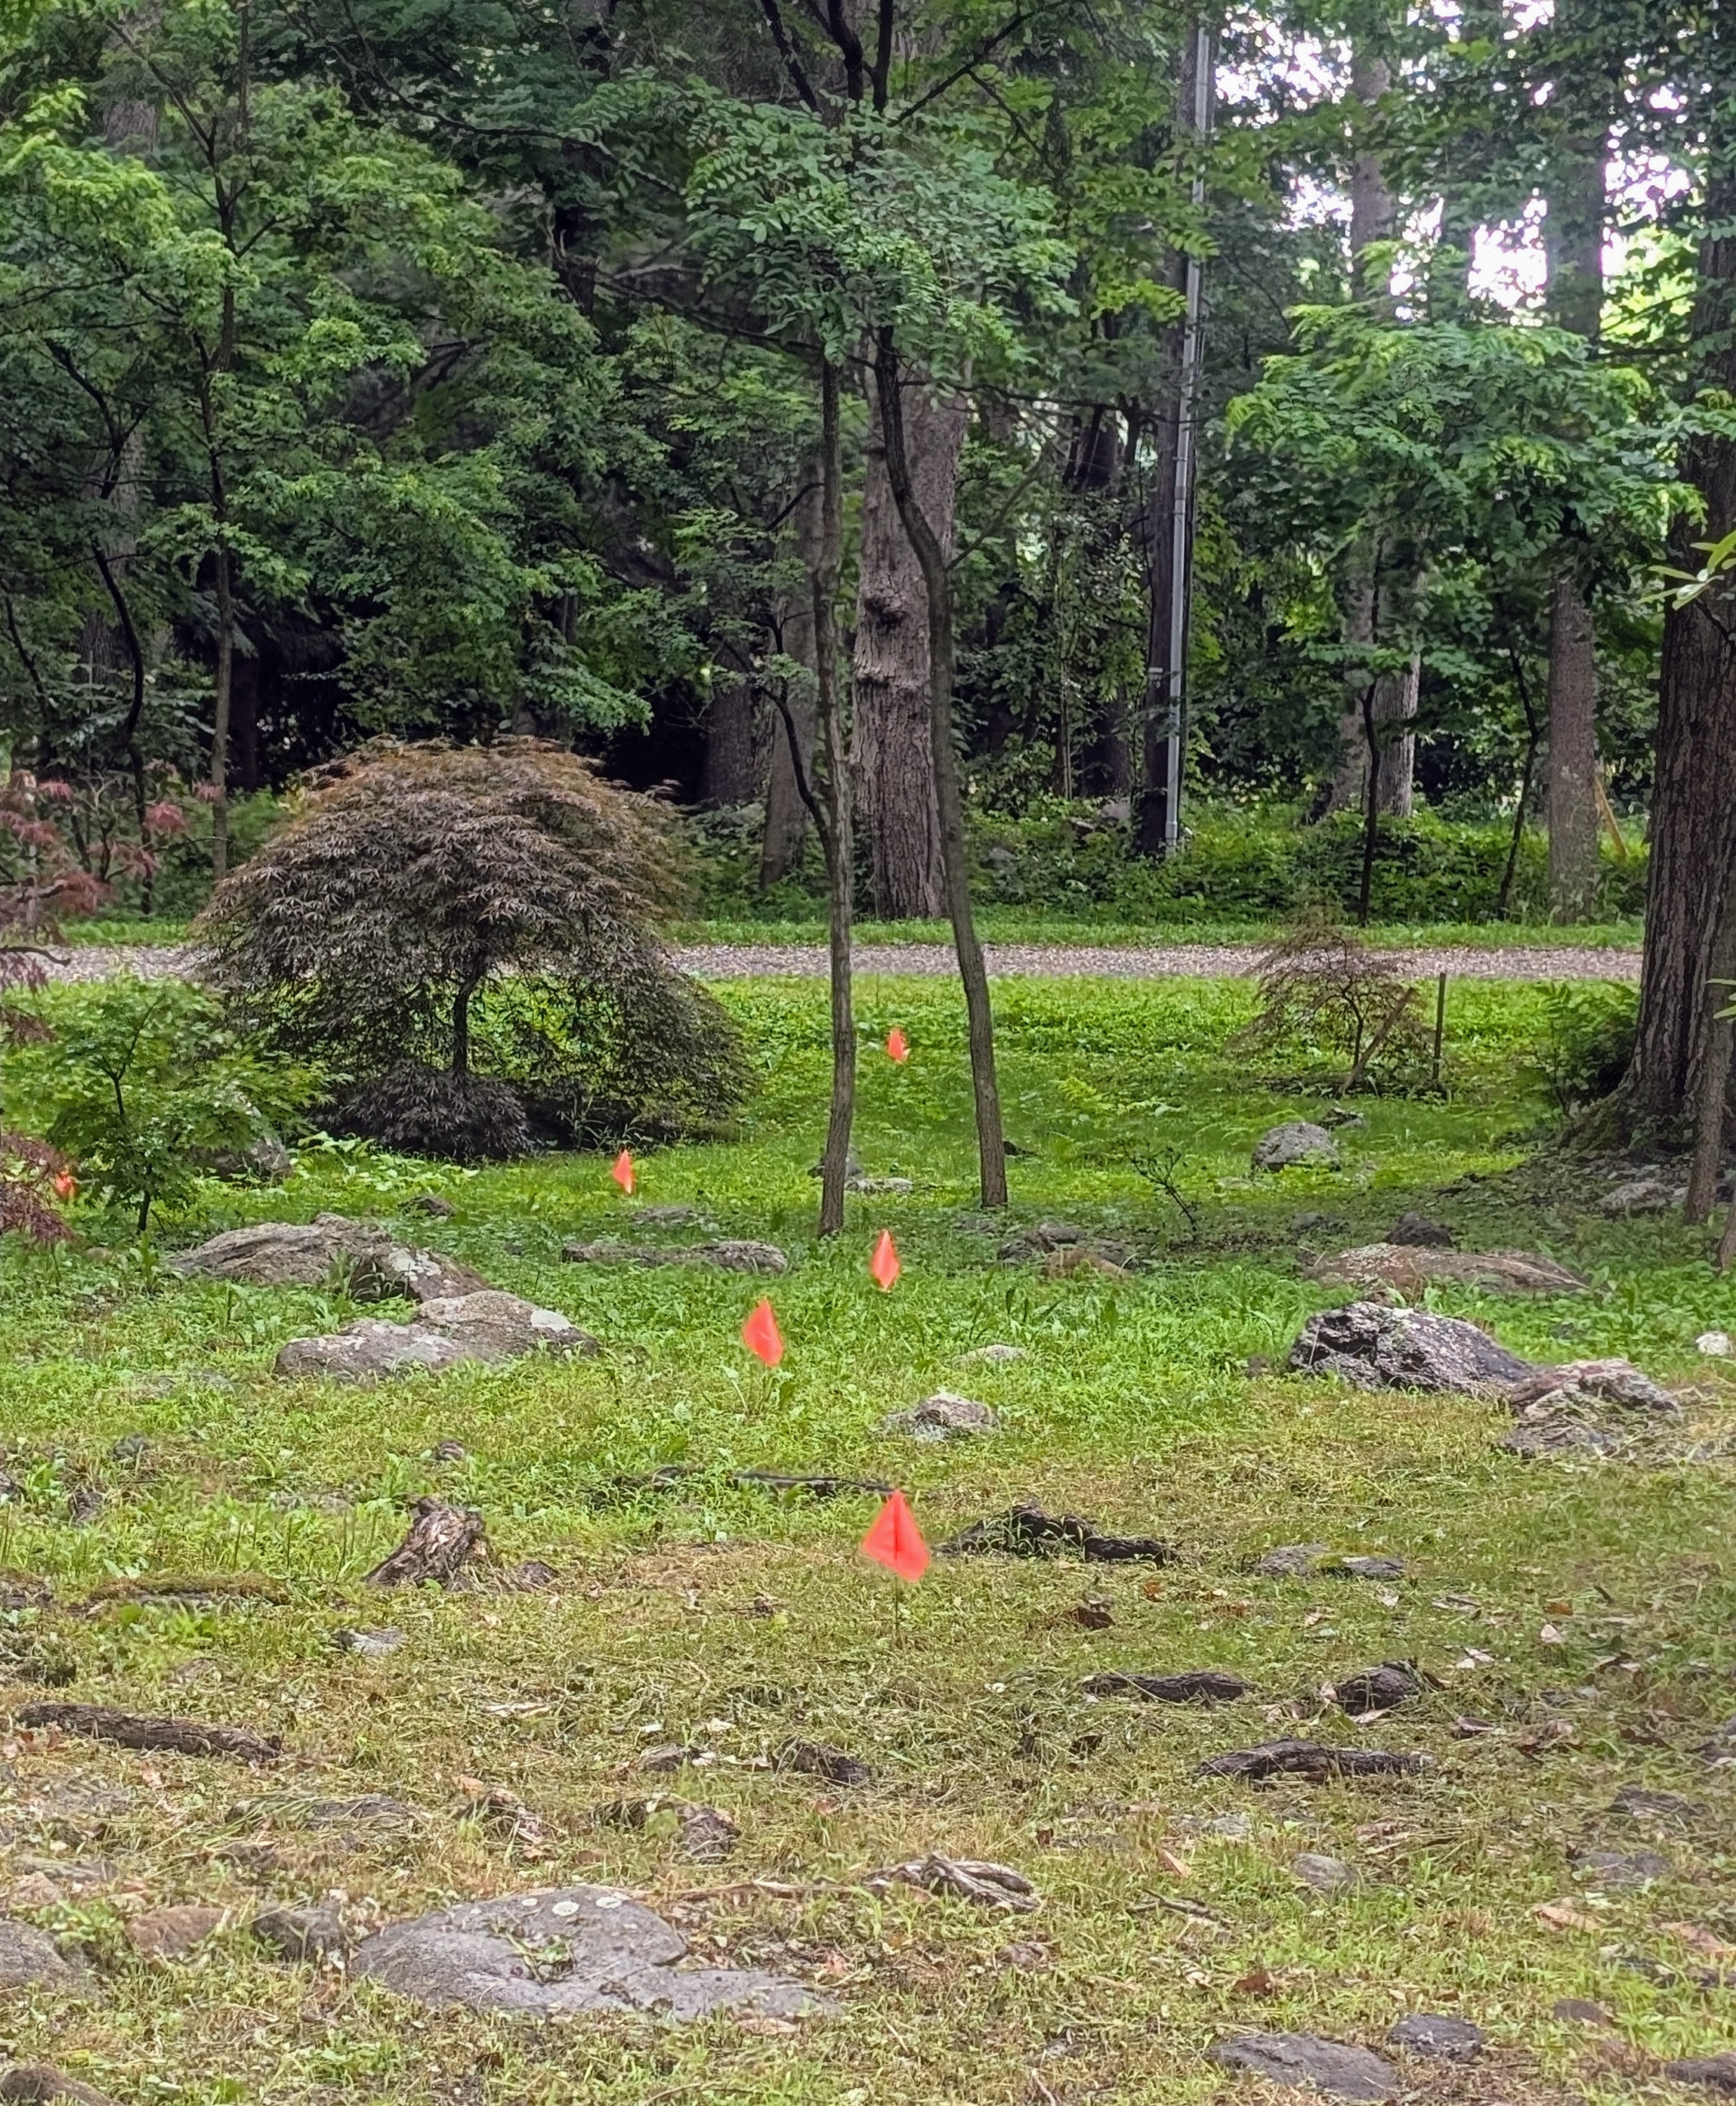
- The first step is to mark where they will go. My head gardener, Ryan McCallister, thoughtfully positions flags in various locations. When selecting a place to plant, always consider the full grown size of the shrub. Rhododendrons need at least two to six feet of space for optimal growth.
-
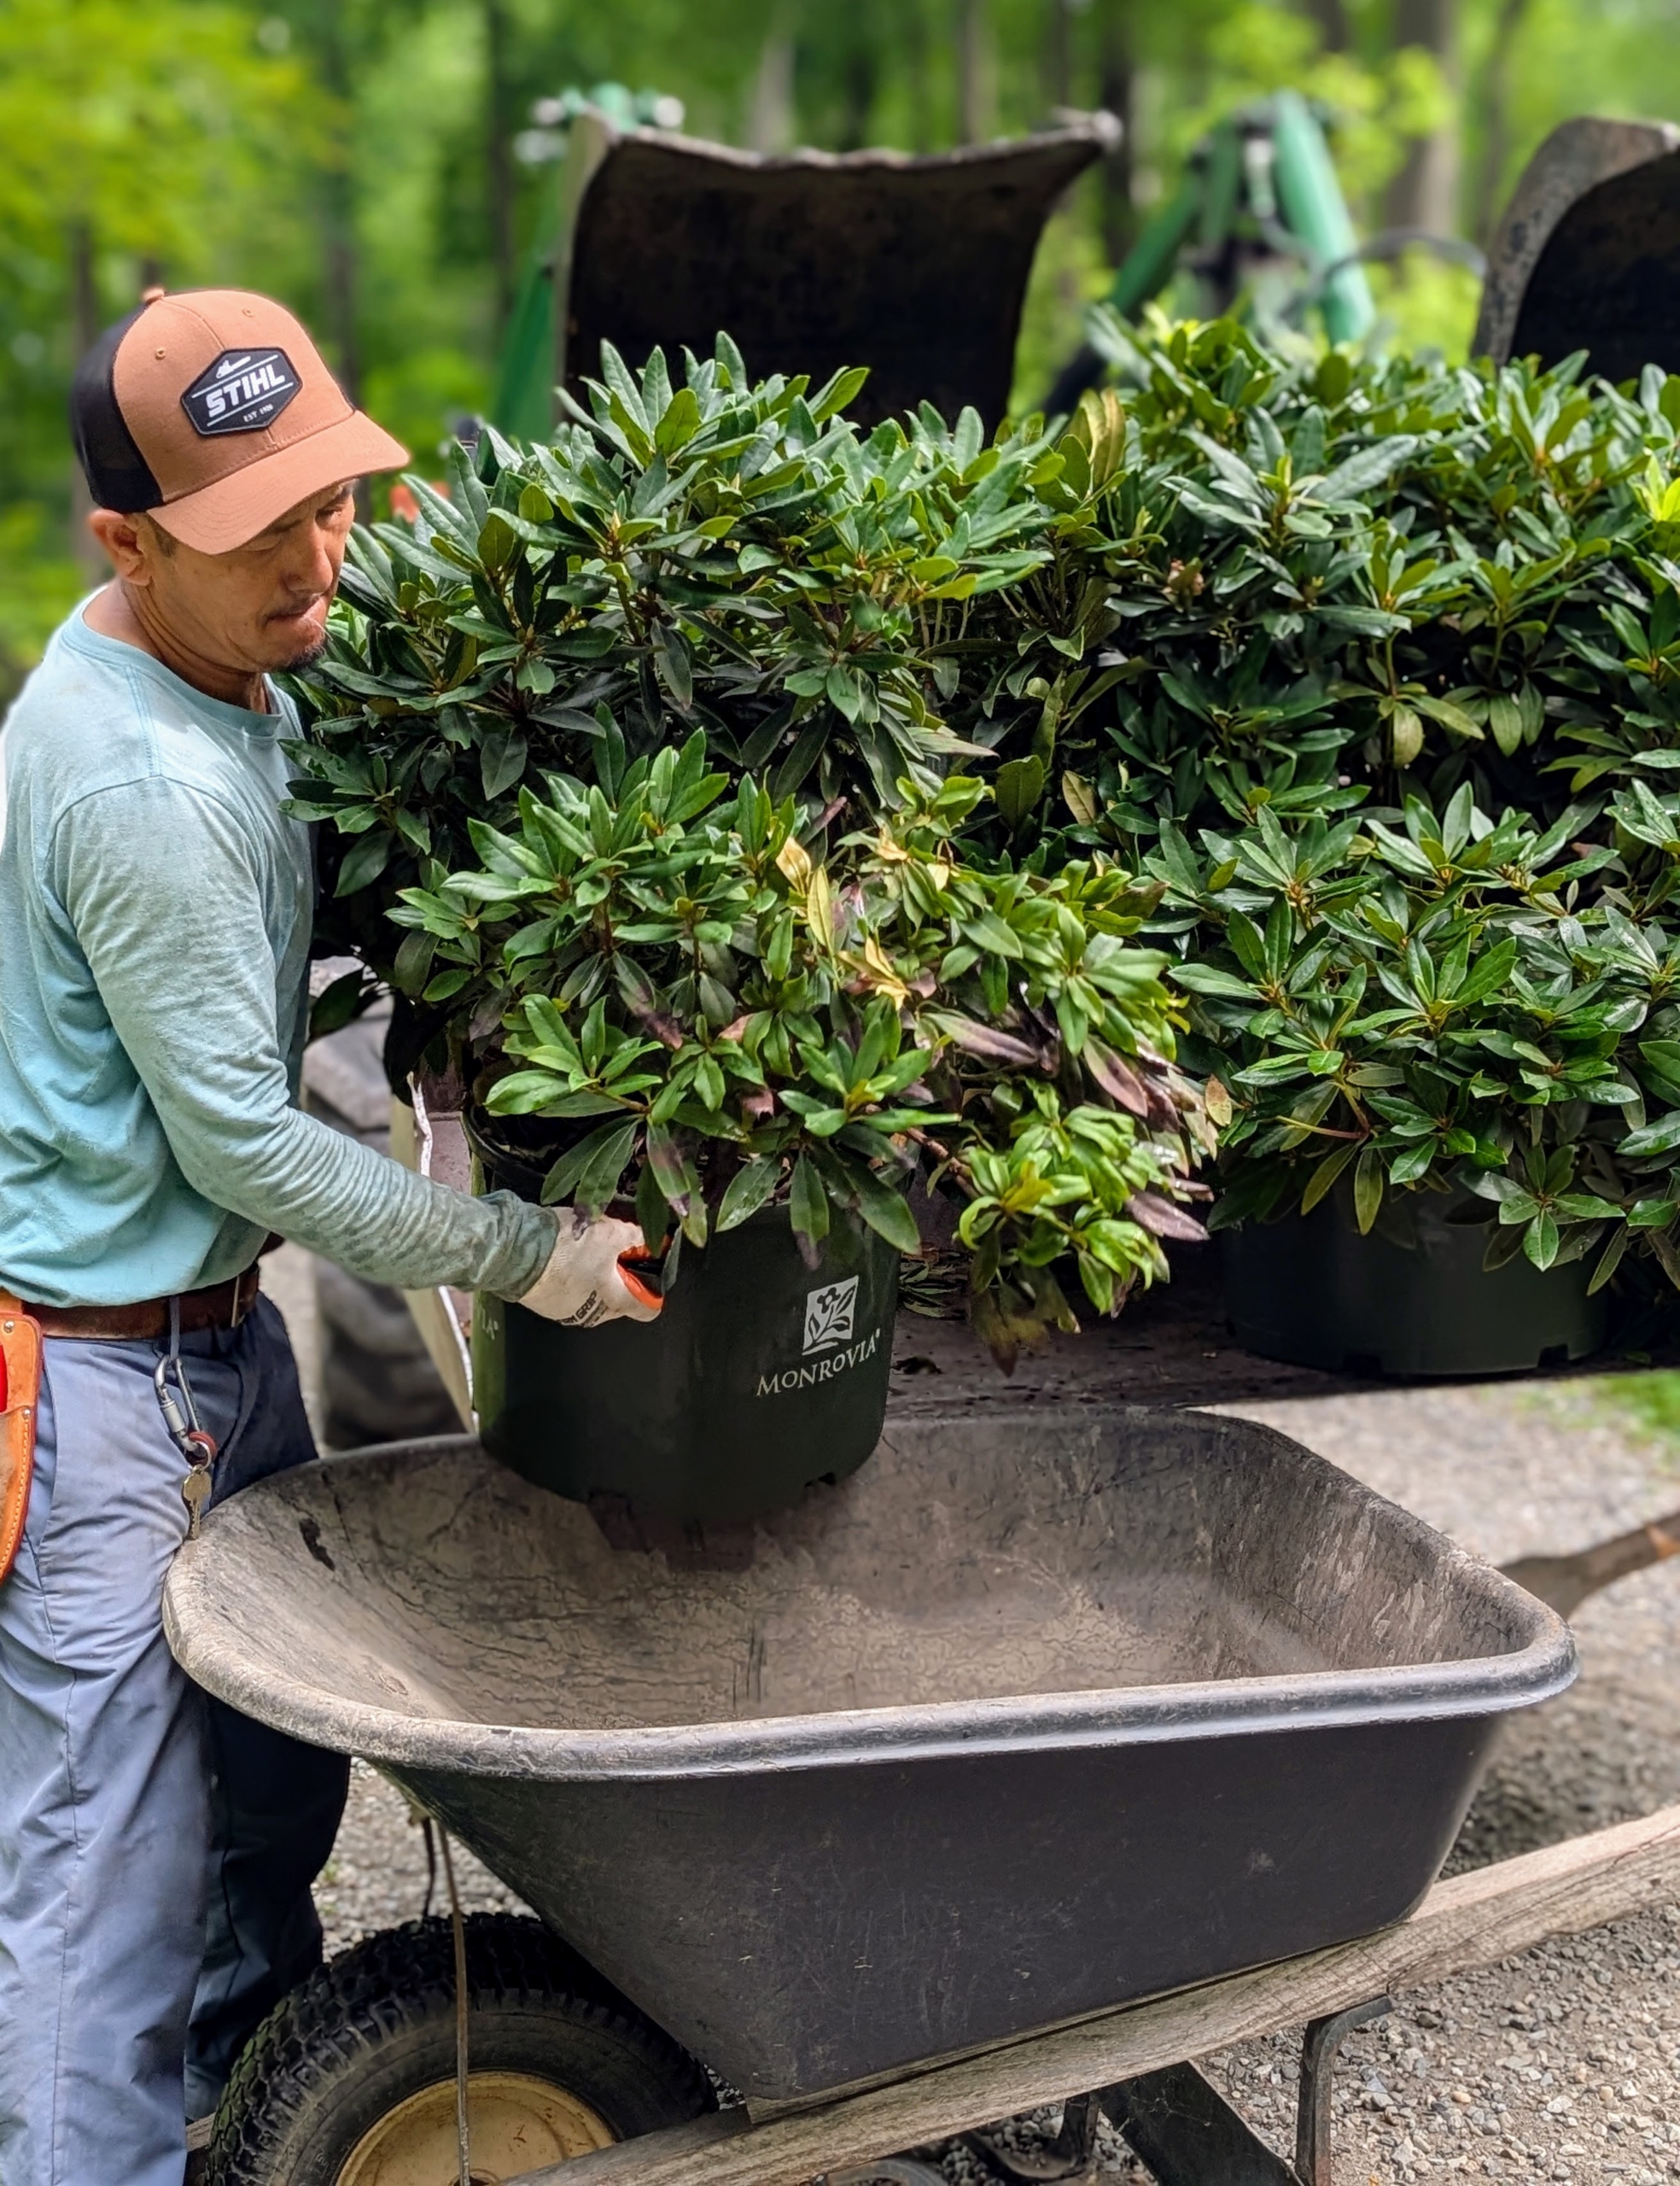
- Chhiring carefully loads each potted rhododendron onto the wheelbarrow for transport.
-
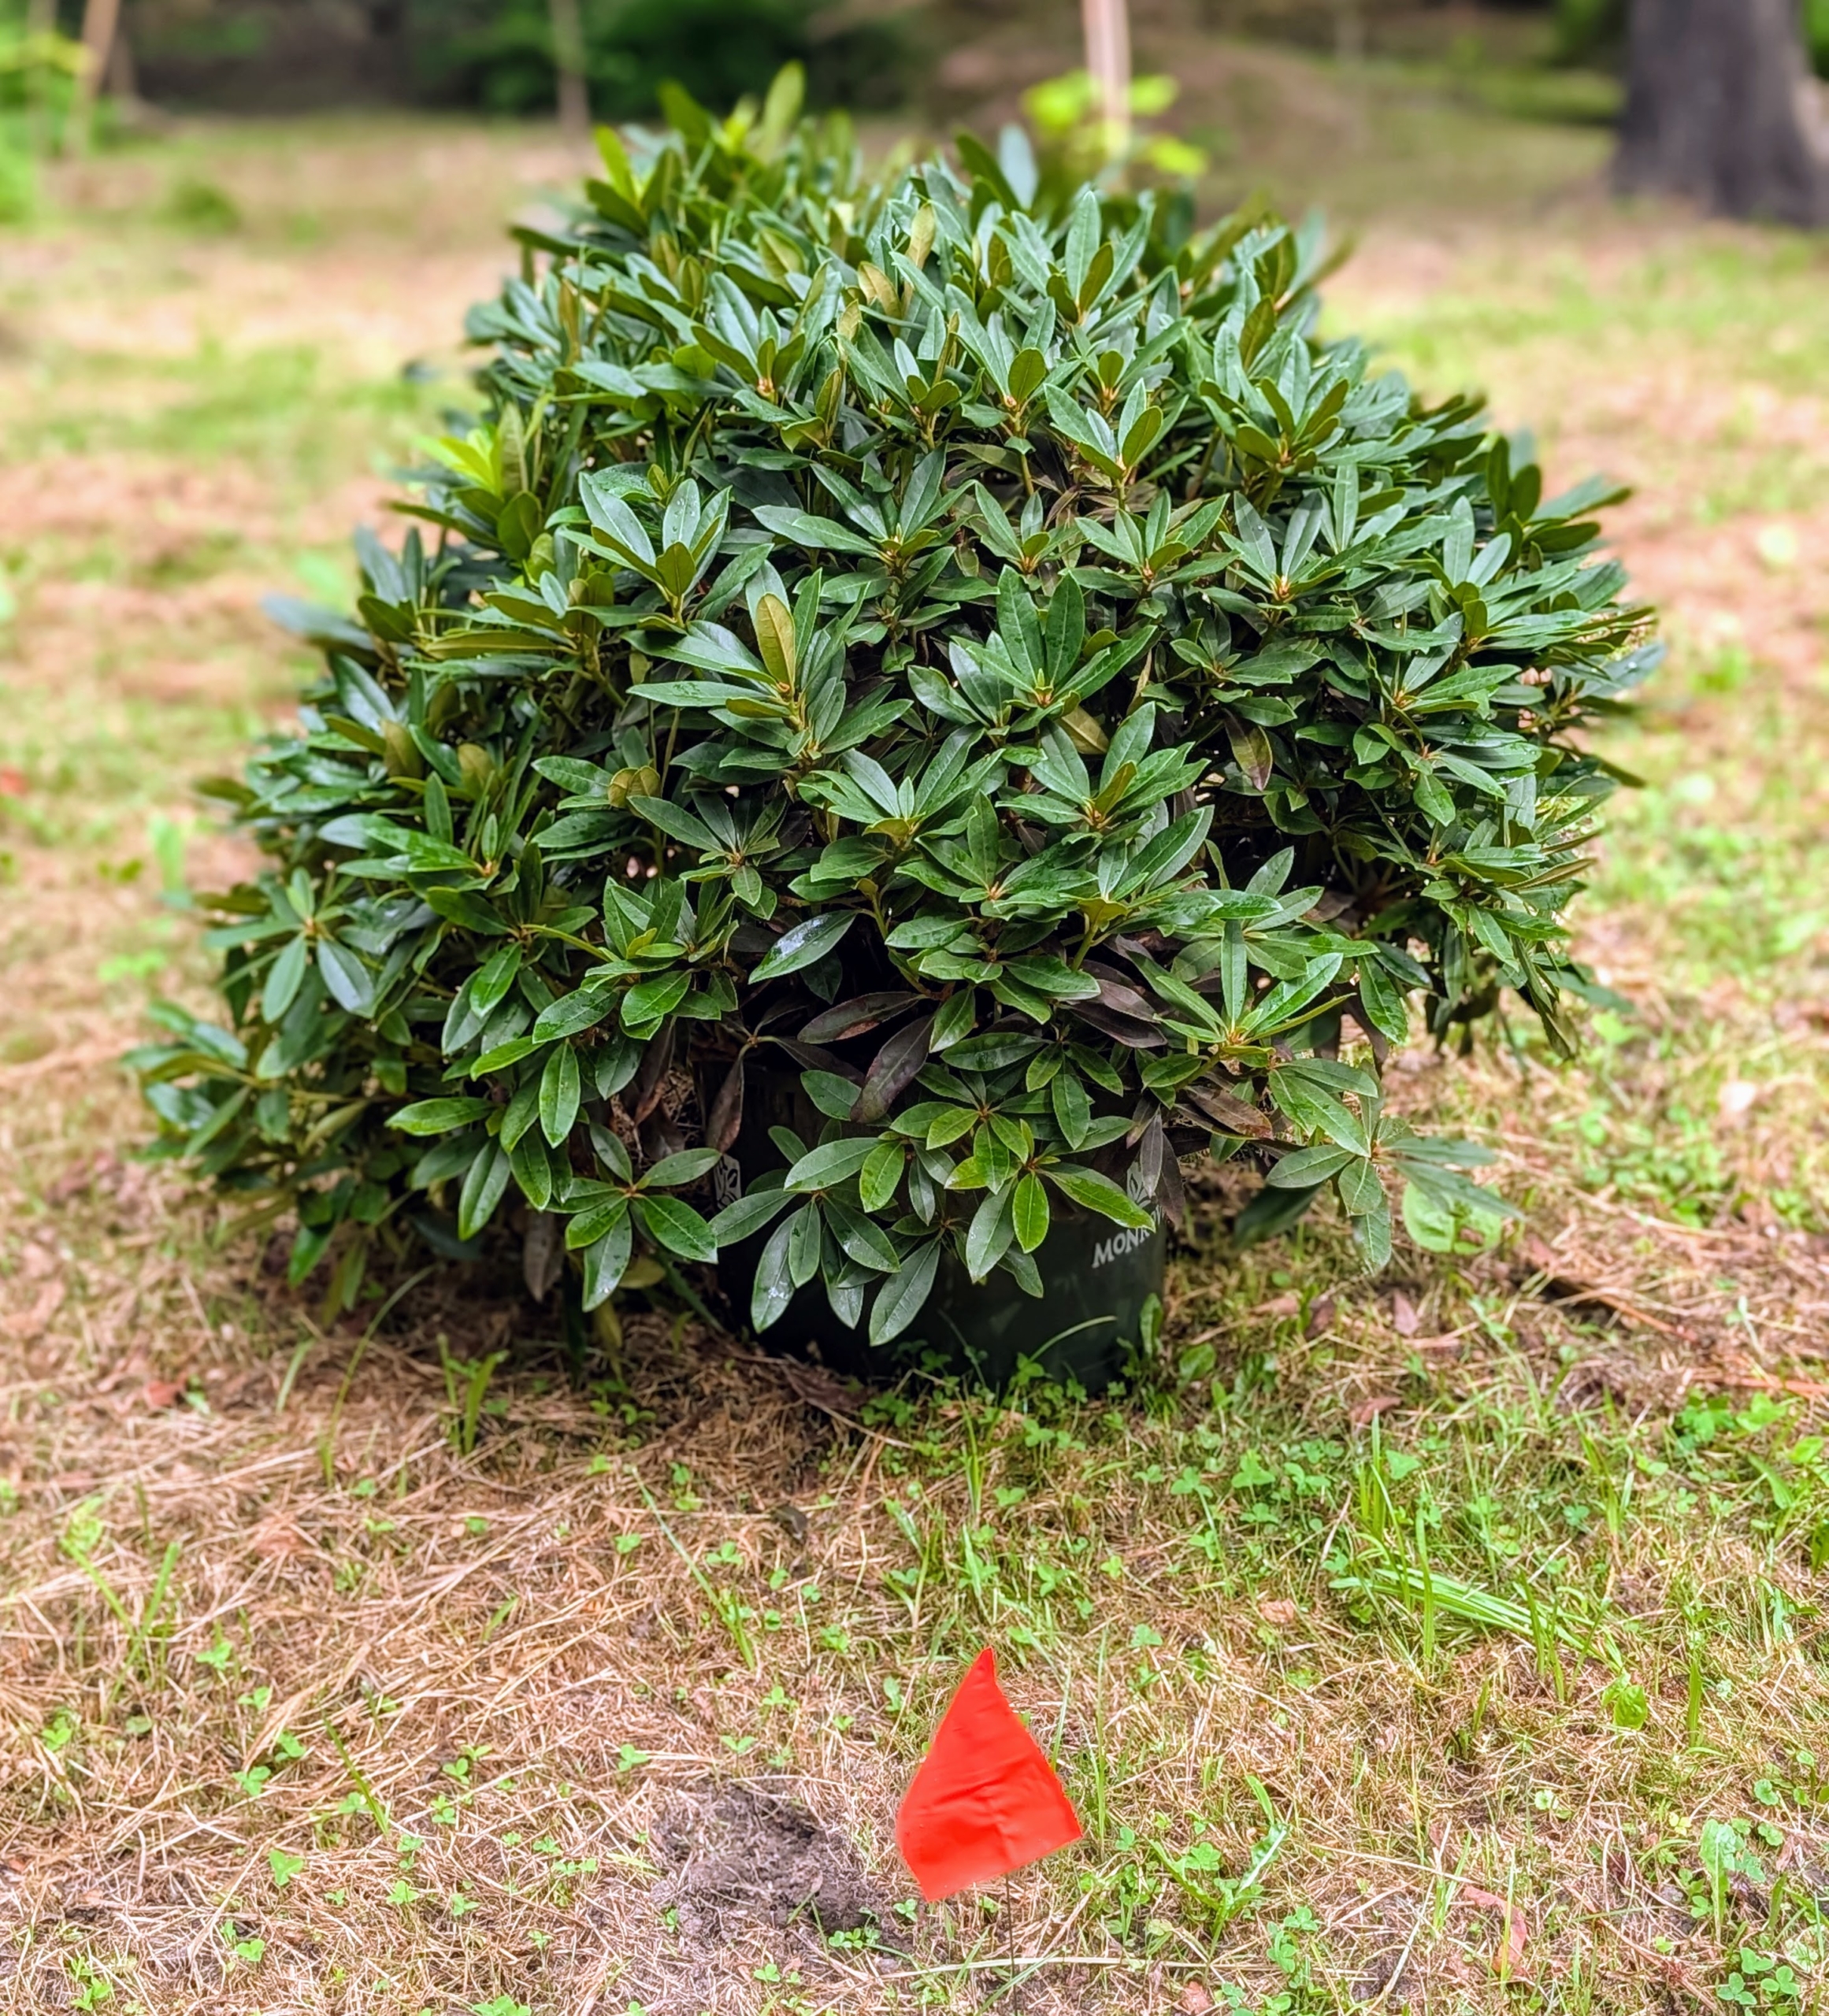
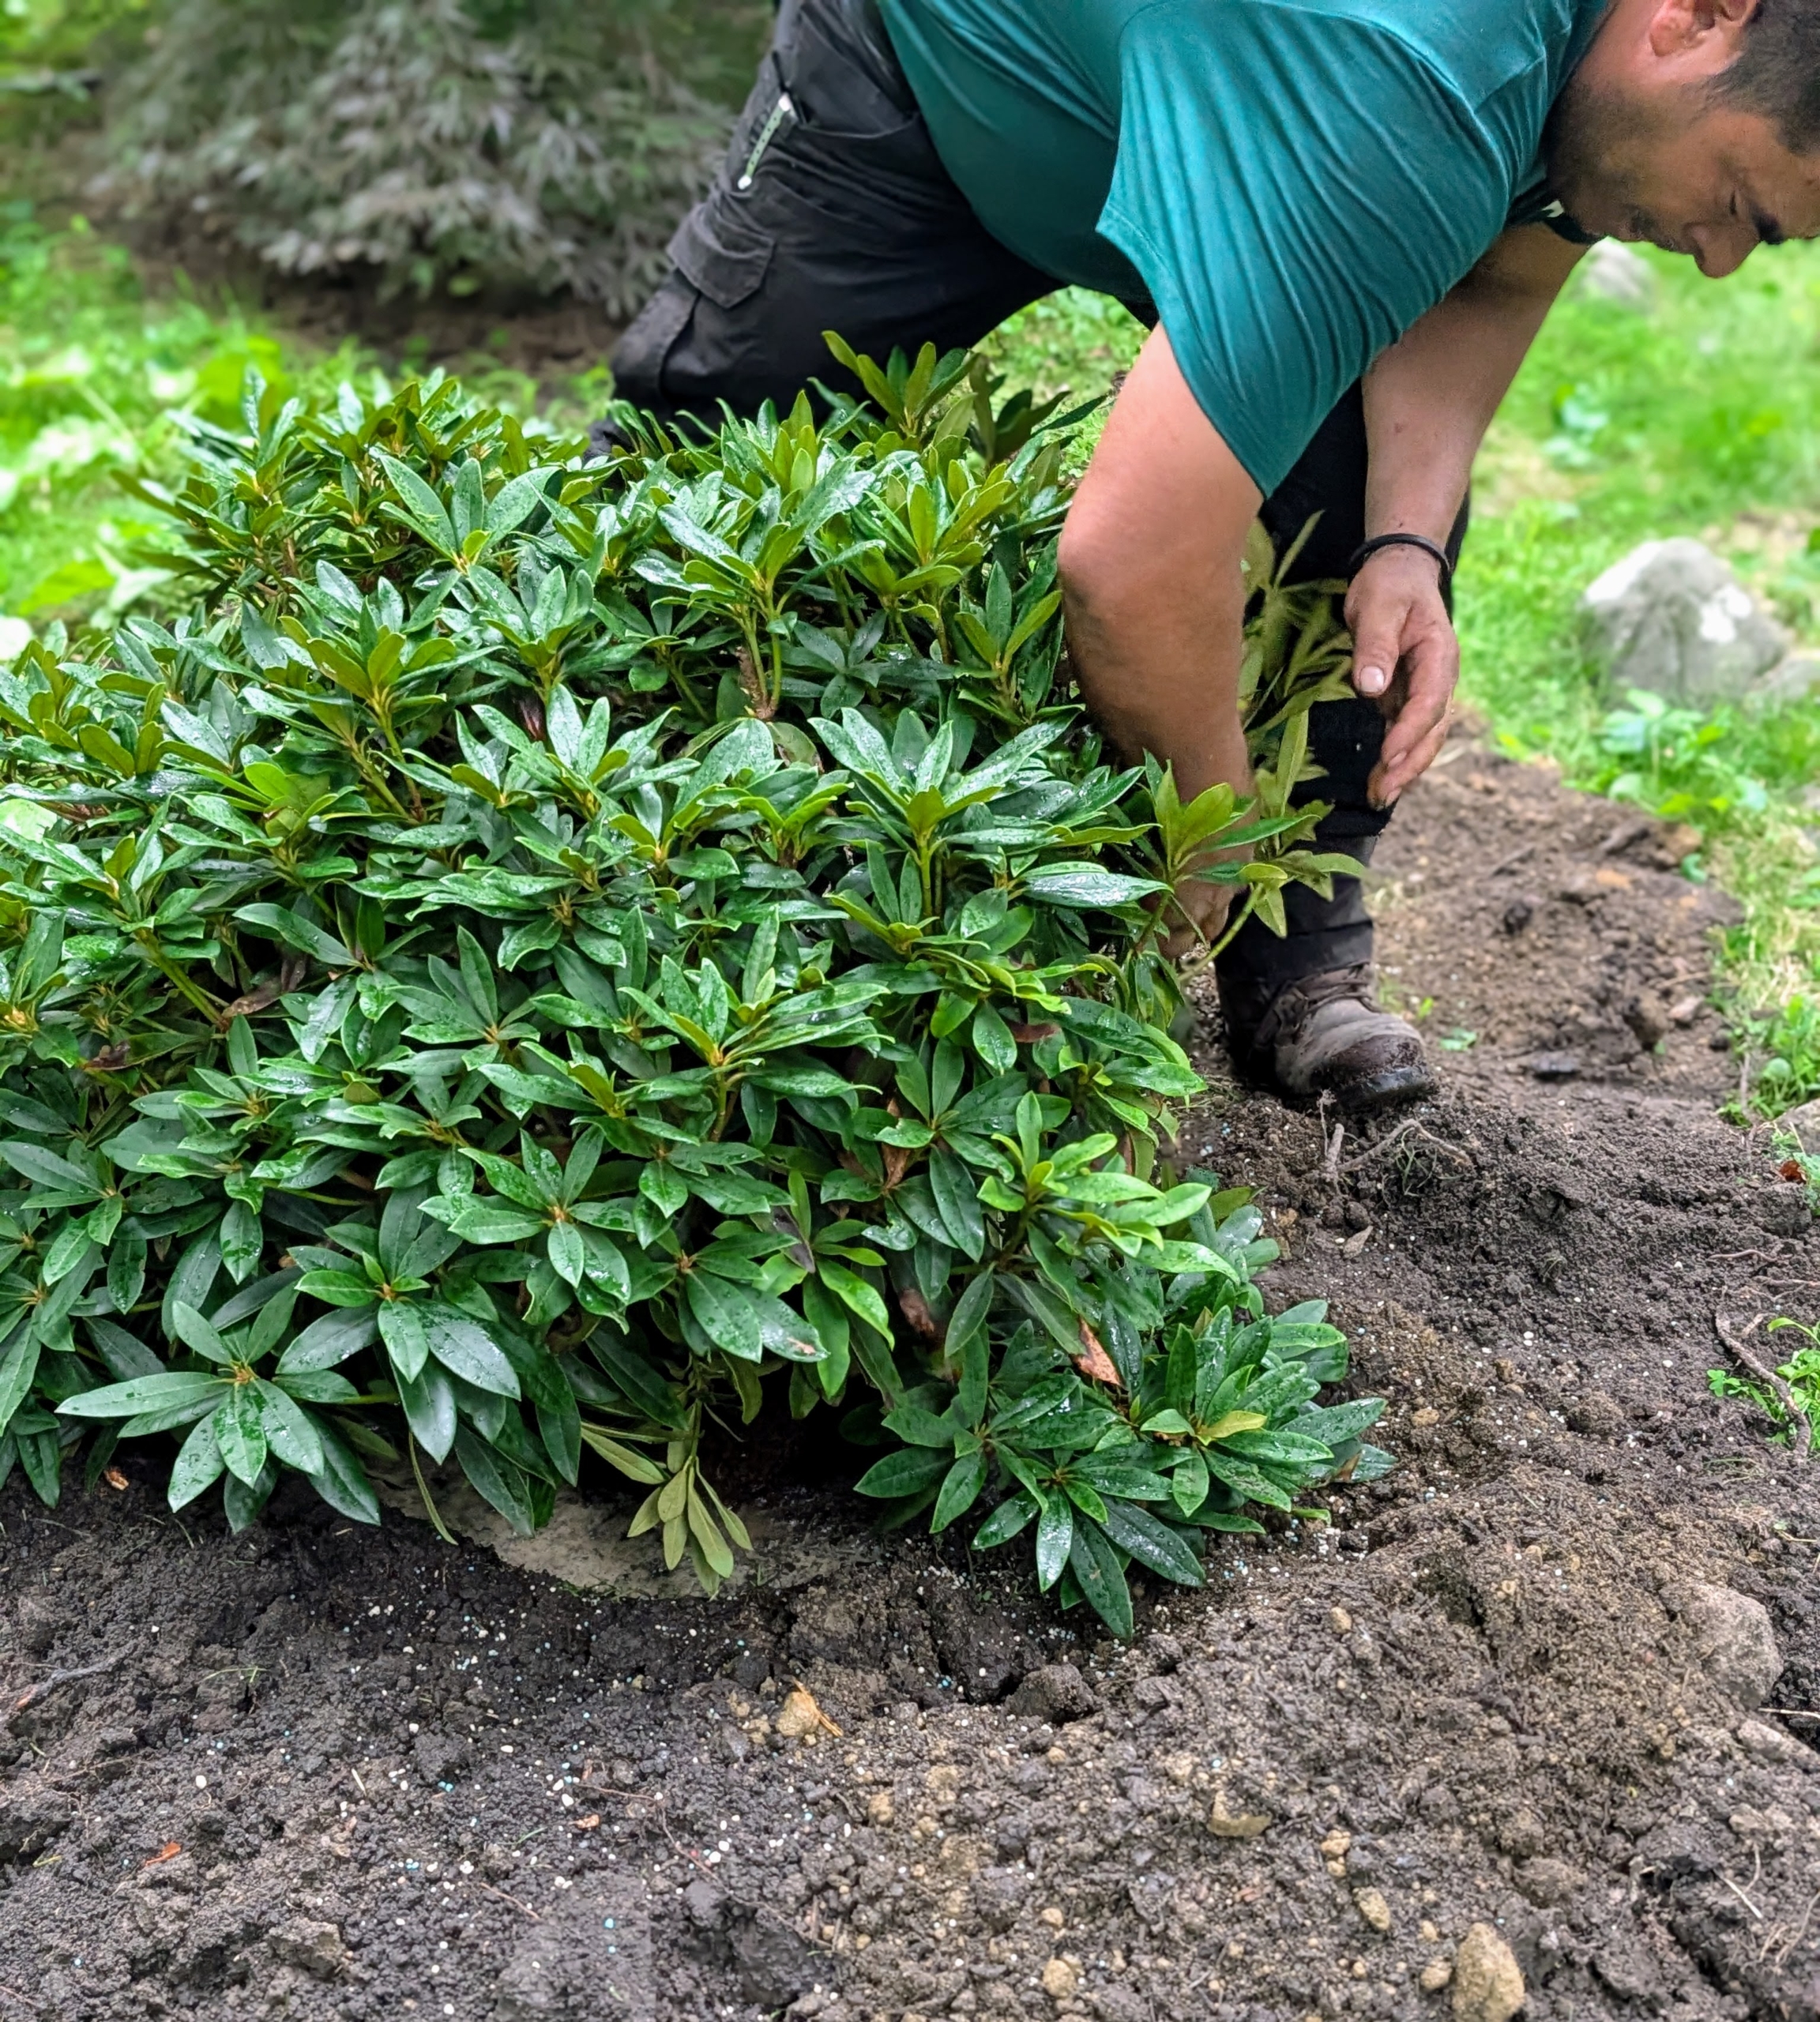
- And then places one next to each designated flag. Rhododendrons require the right balance of light. While they are shade-loving, insufficient light can decrease the ability to flower. The ideal conditions feature morning sunlight with afternoon shade.
-
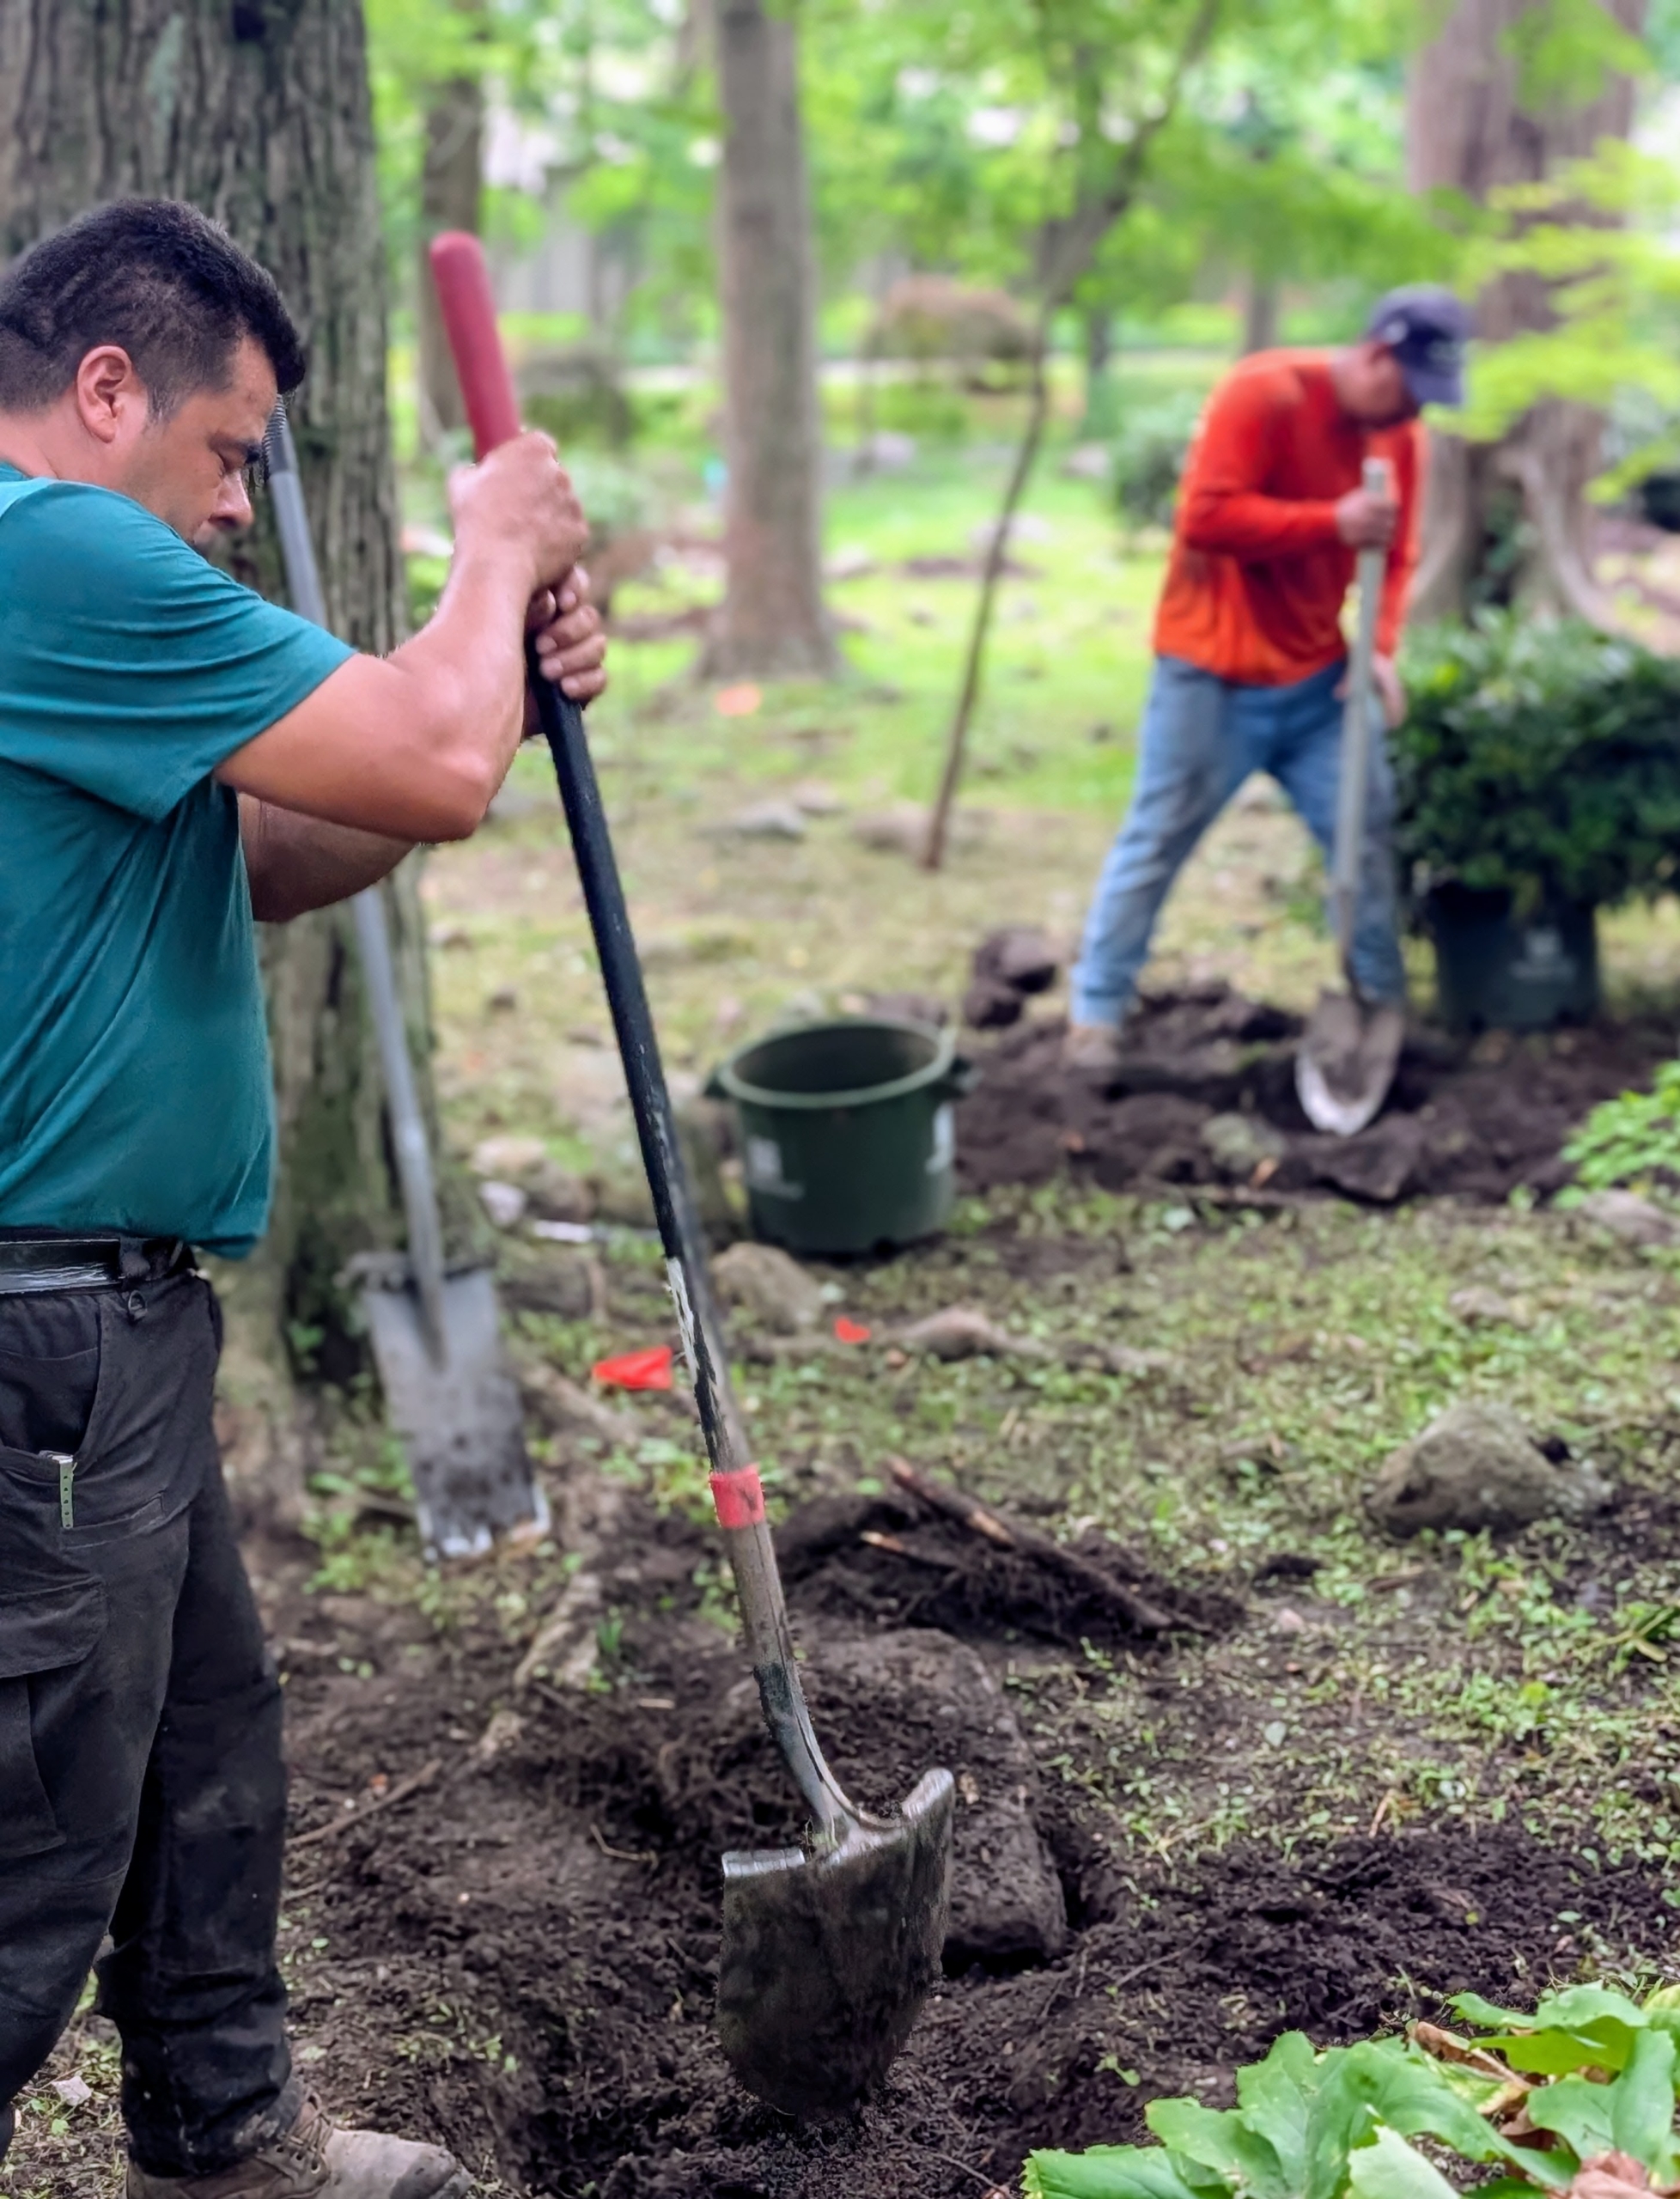
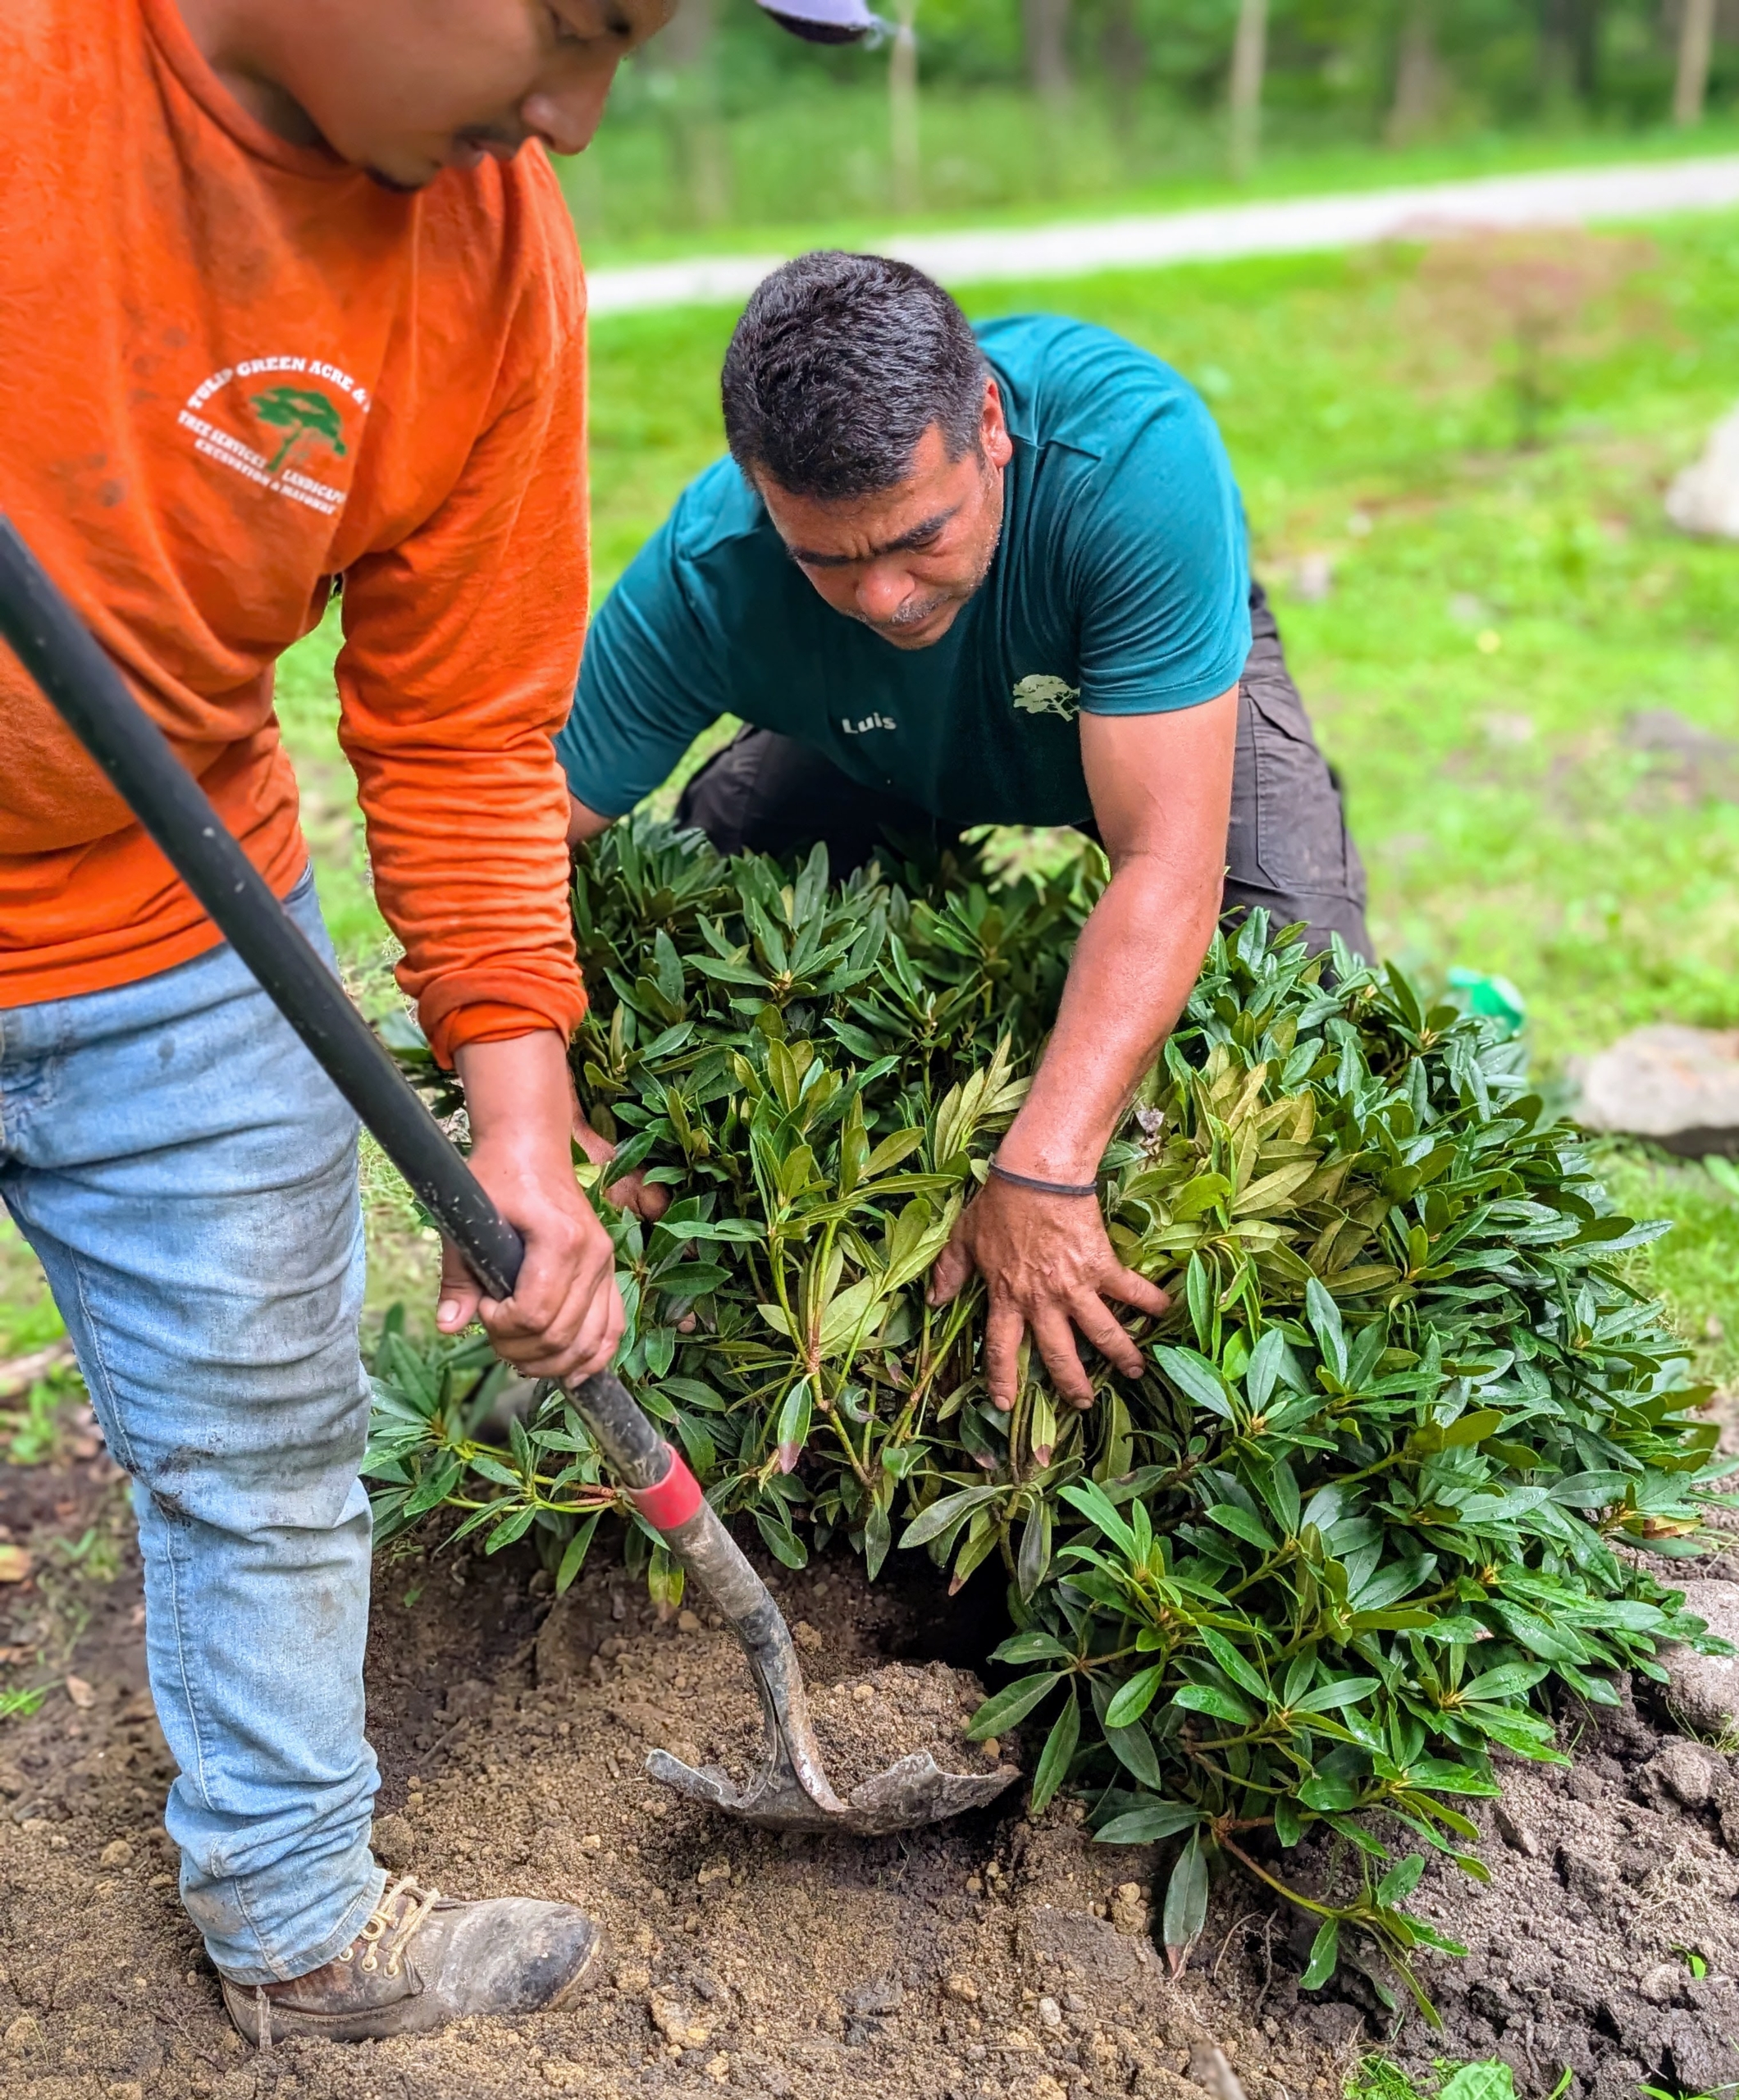
- Arnold and Alex start digging the holes for all 36 rhododendrons. When planting a large grouping, it’s often faster to do it in a production line fashion.
-
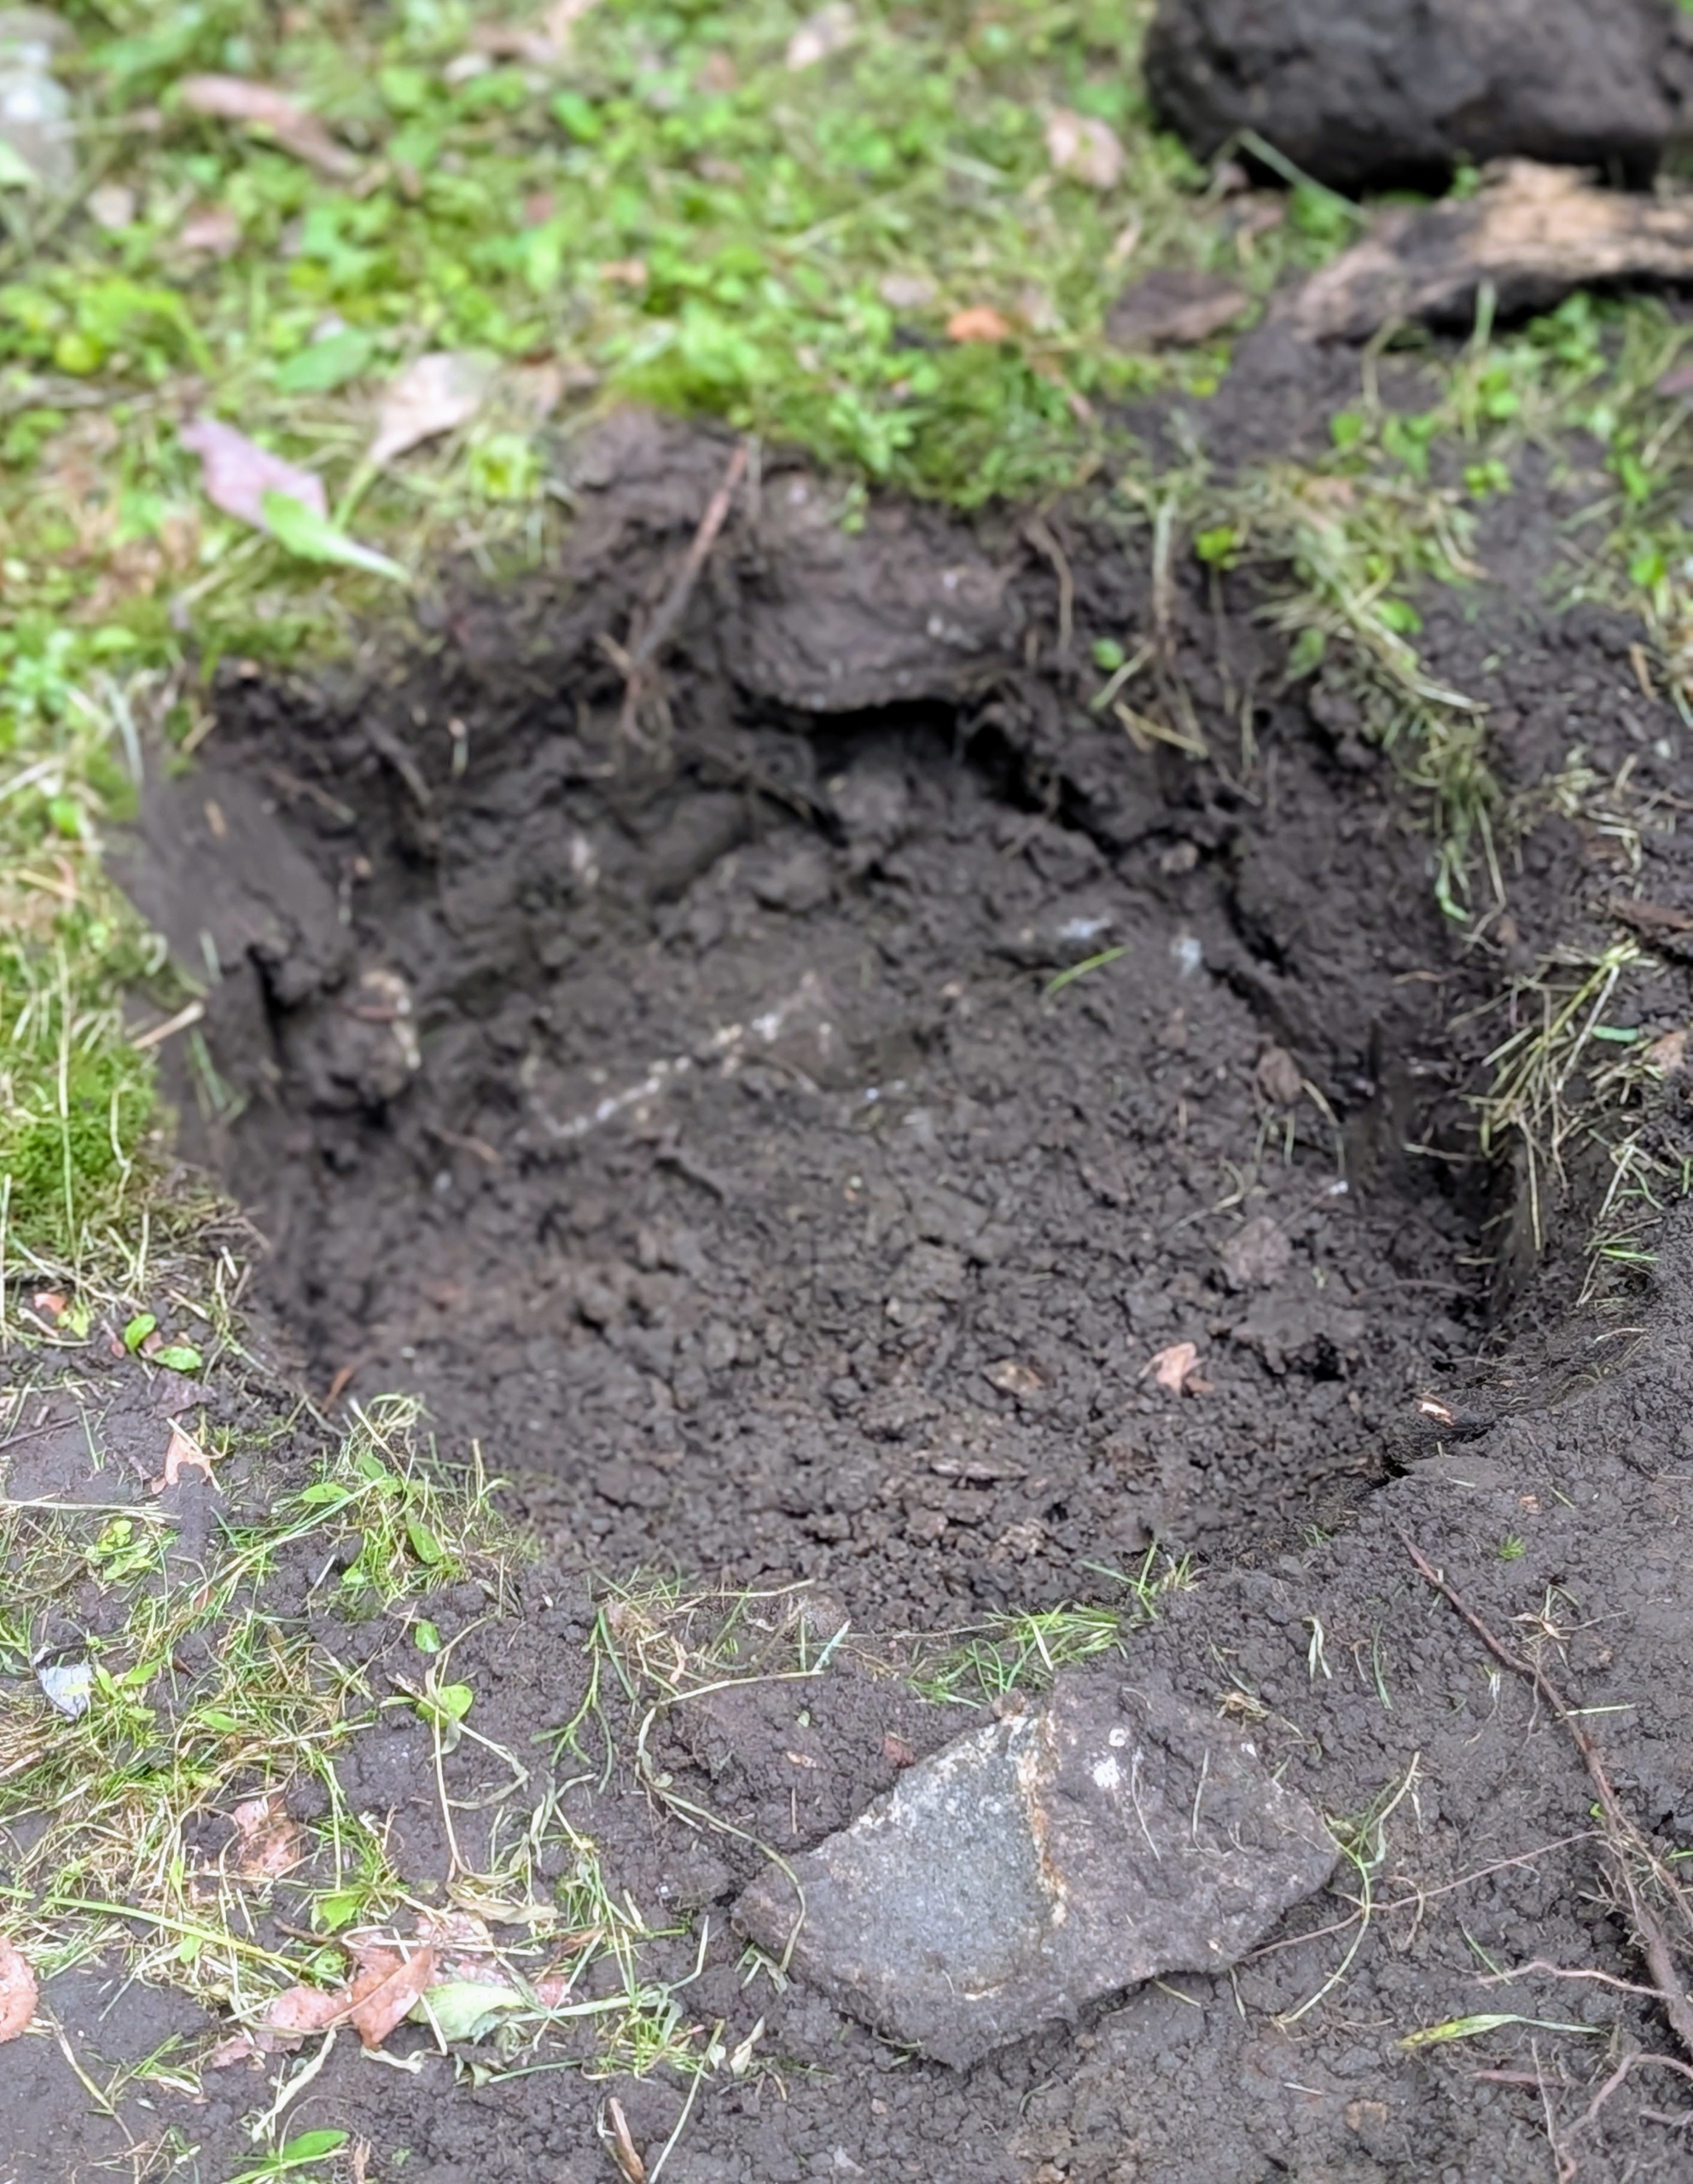
- The holes should be twice as wide and just as deep as the root ball. Also be sure the hole’s sides slope slightly.
-
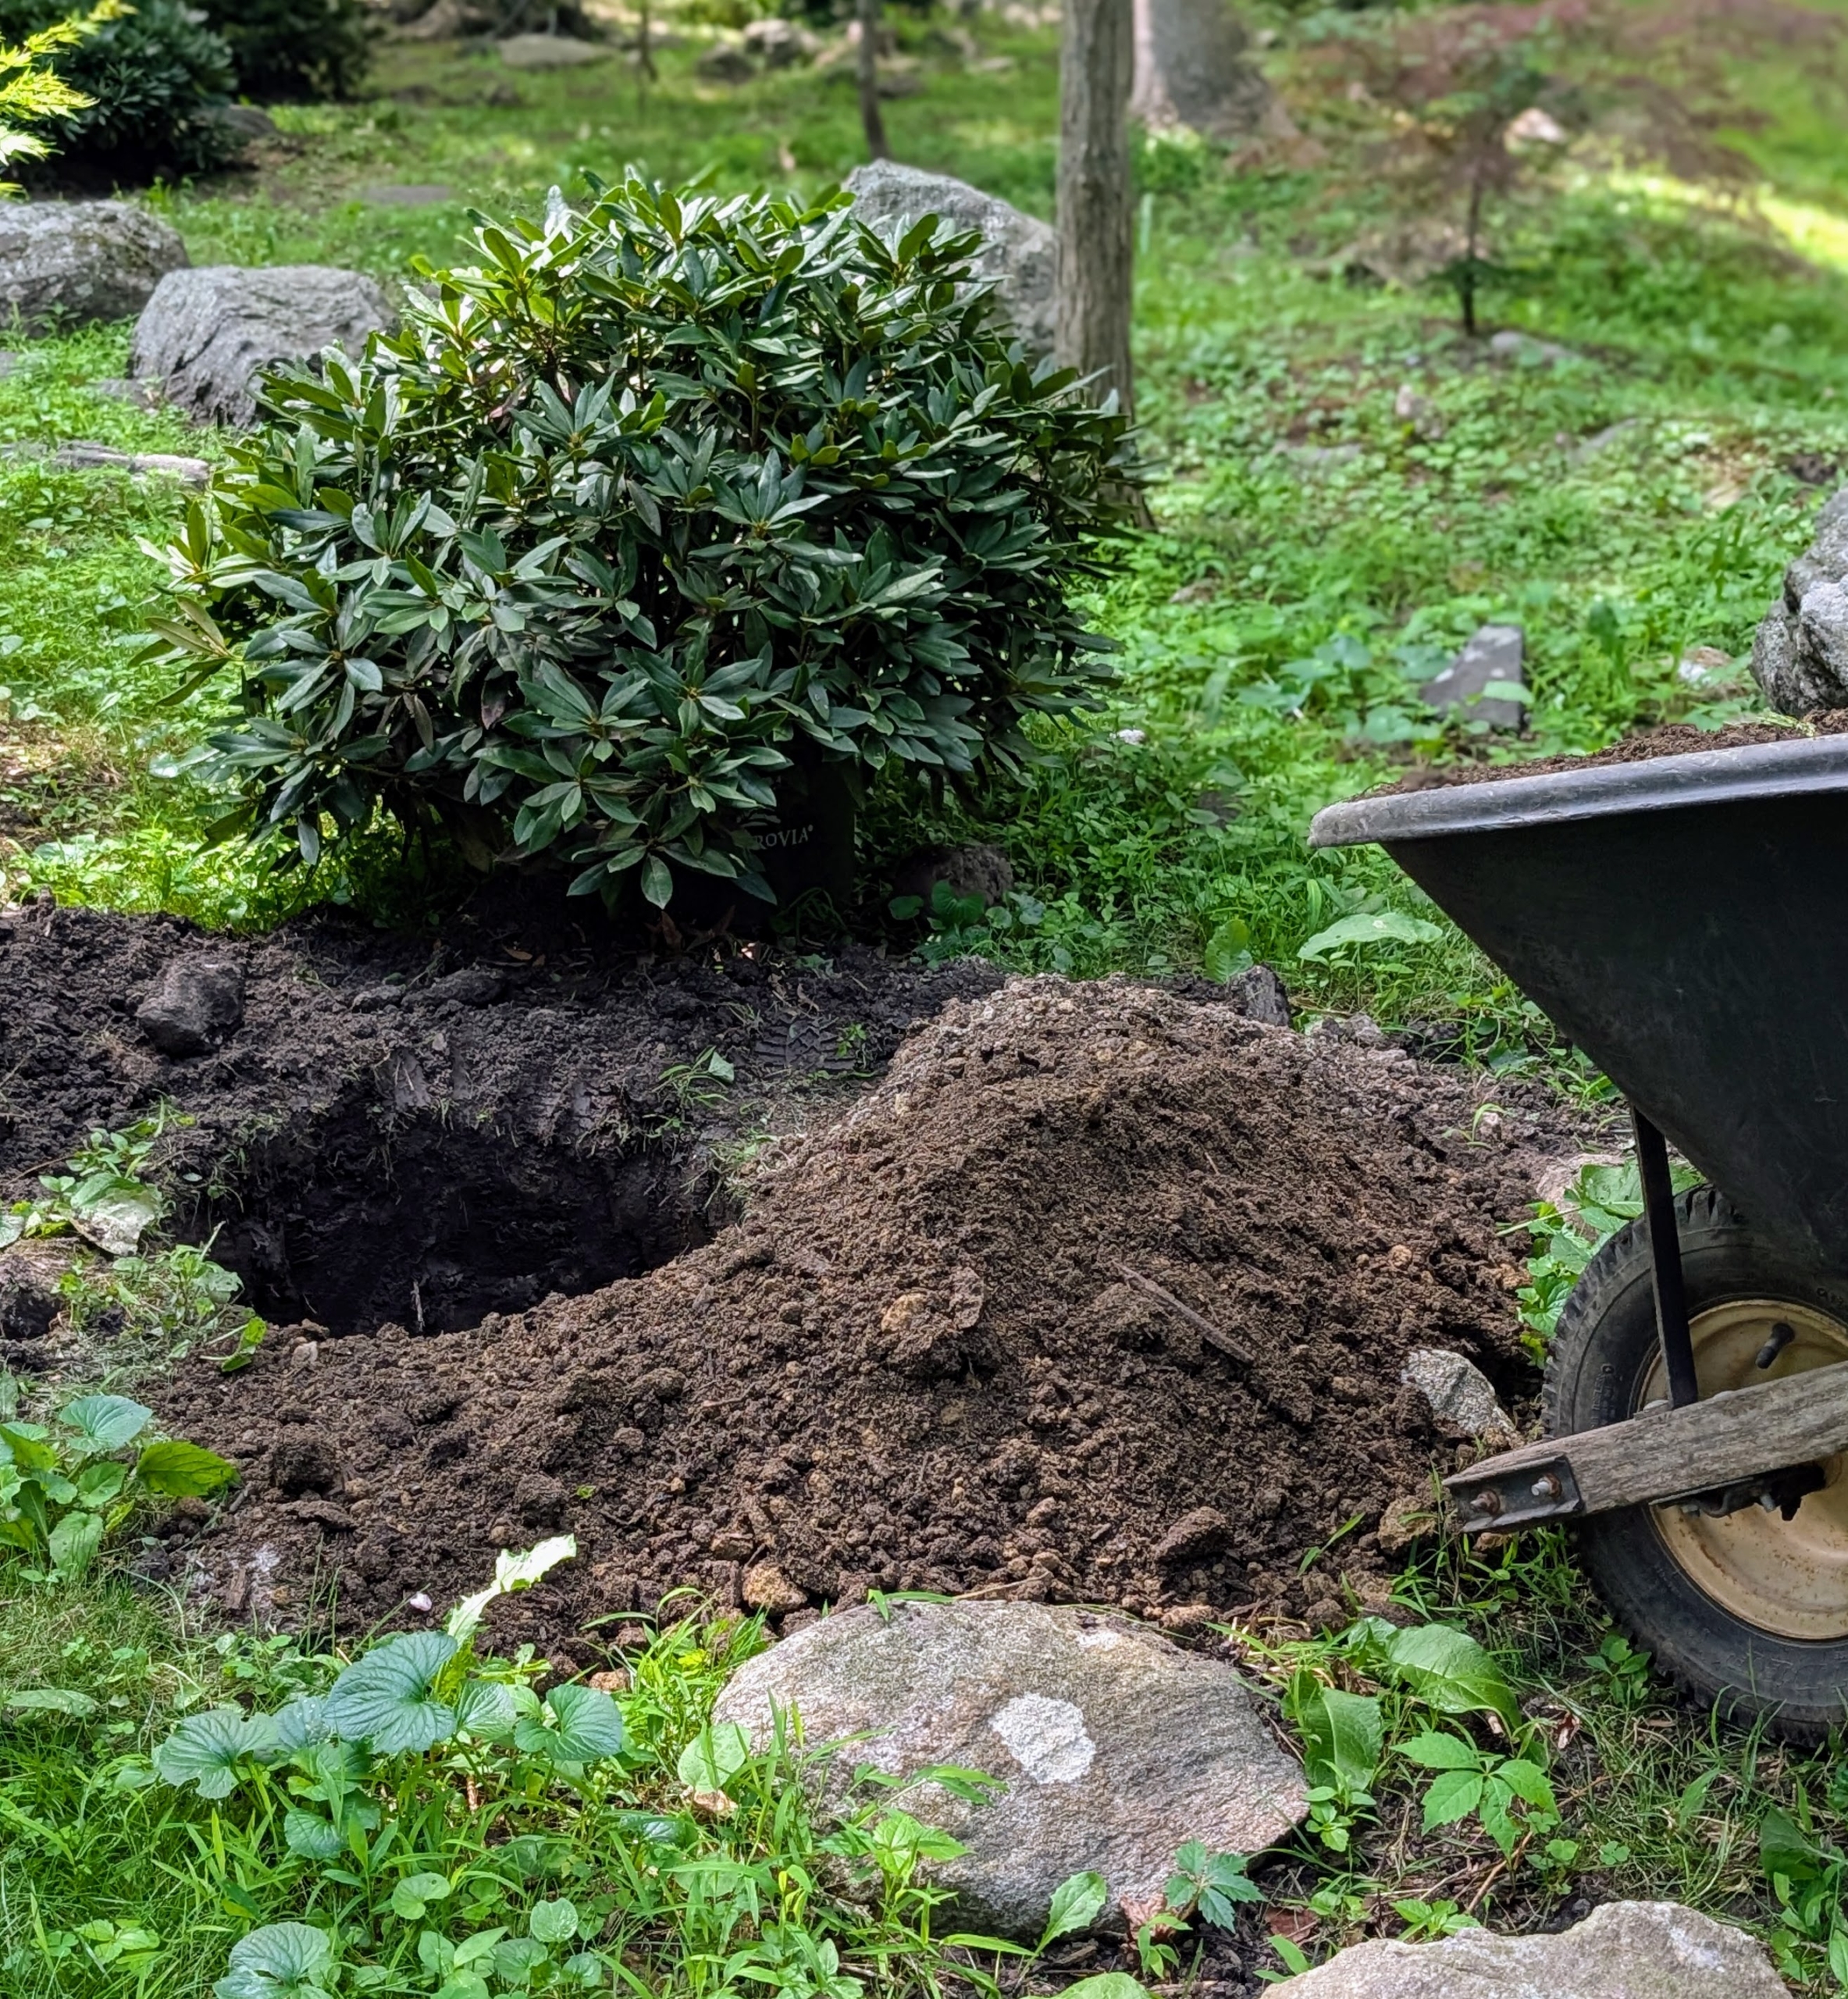
- Chhiring also brings a wheelbarrow full of composted soil from my yard to each hole.
-
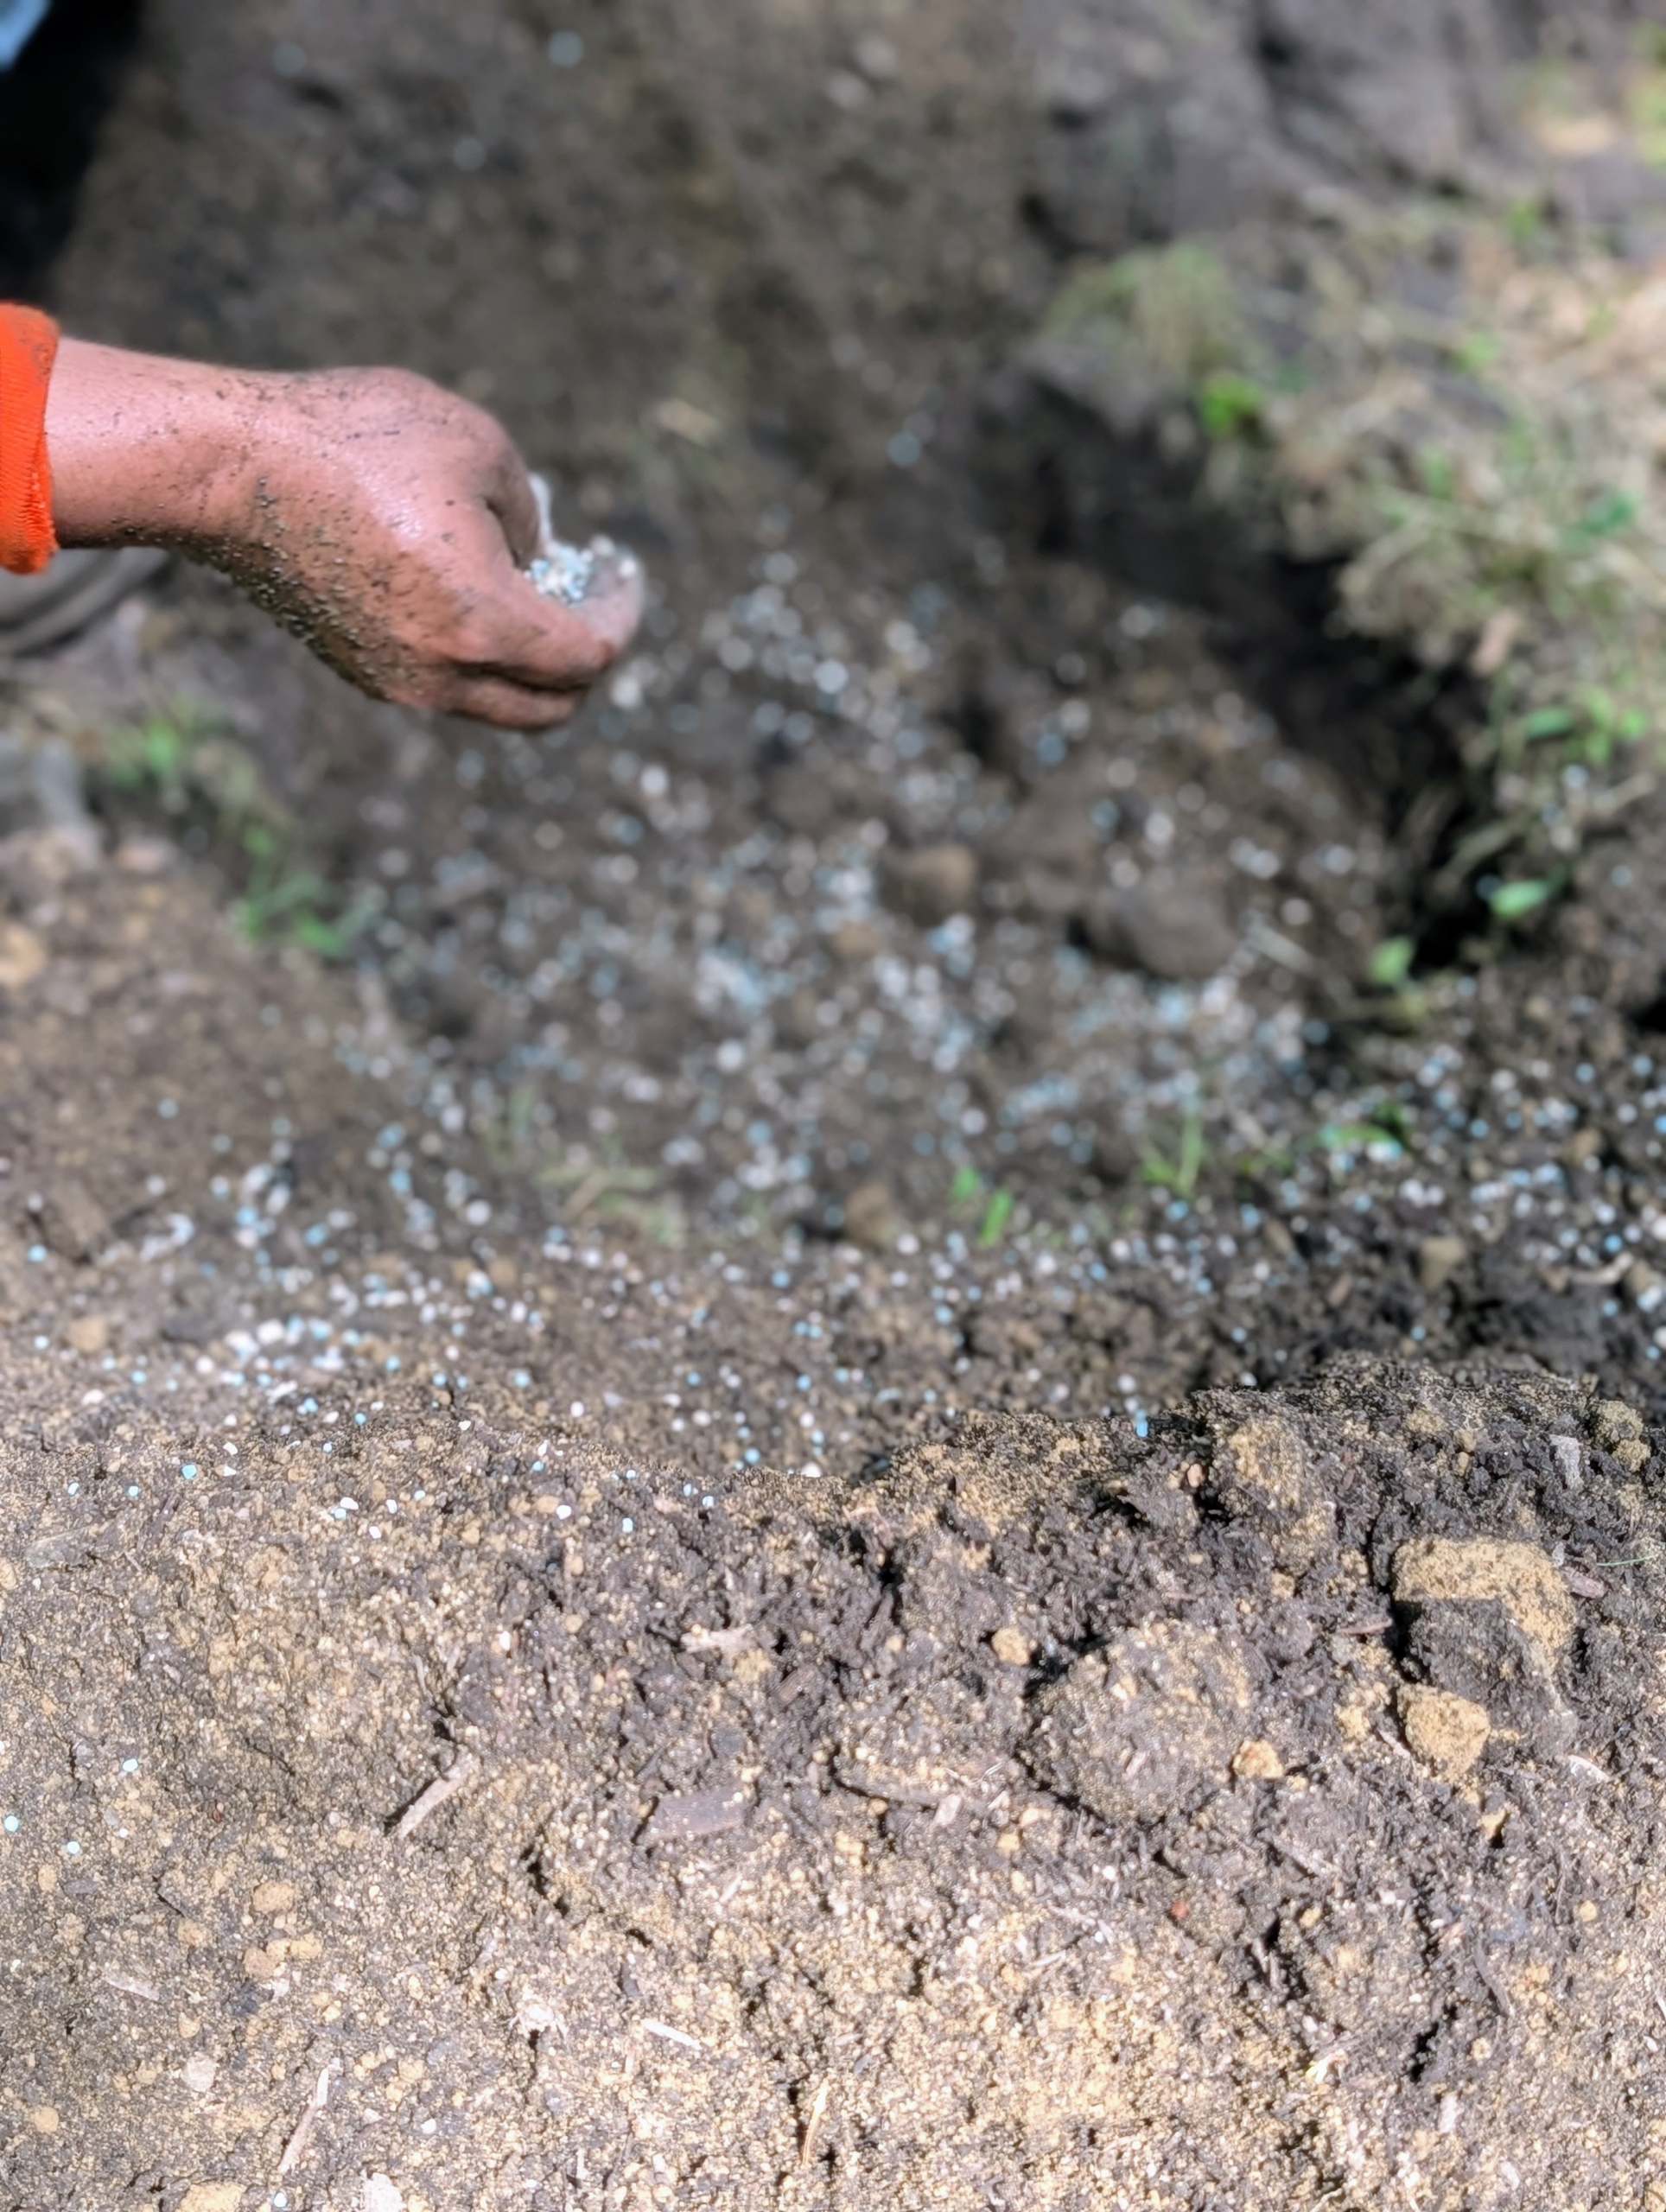
- Alex sprinkles a generous amount of appropriate fertilizer in and around the hole.
-
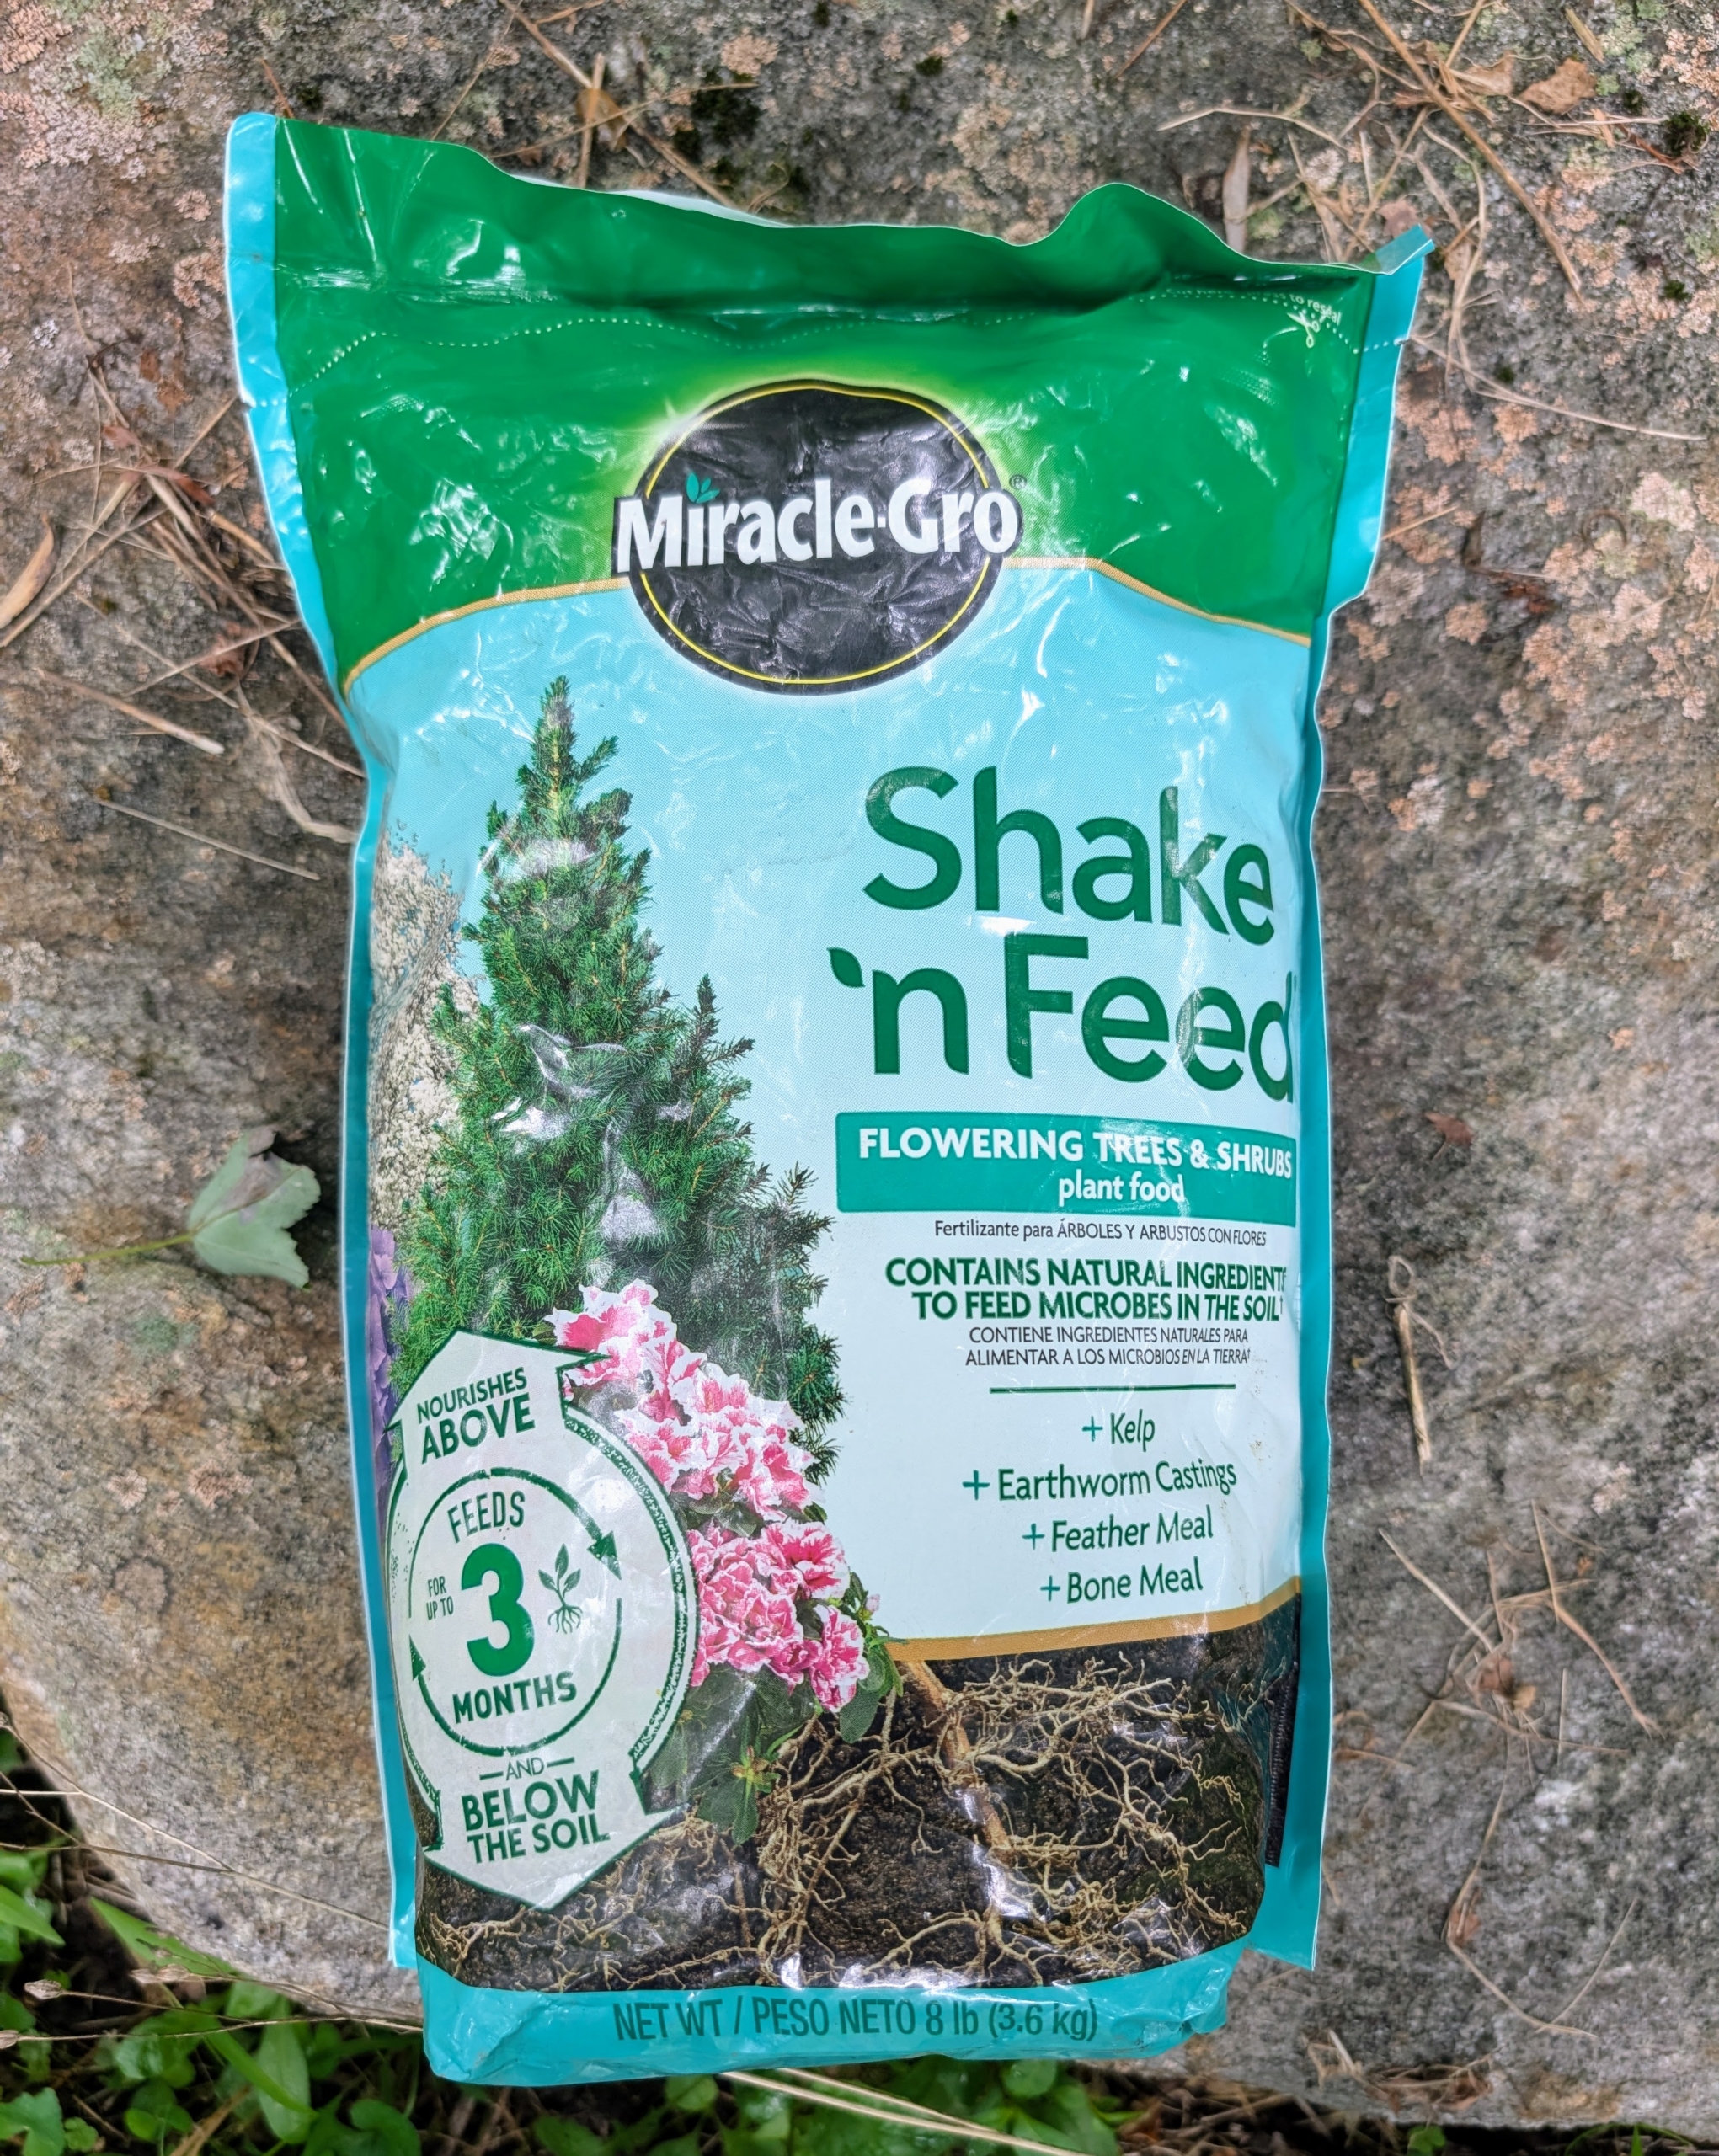
- For these plants, I use Miracle-Gro Shake ‘n Feed Flowering Trees & Shrubs plant food. It feeds the soil with kelp, earthworm castings, feather meal, bone meal and lasts for up to three months.
-
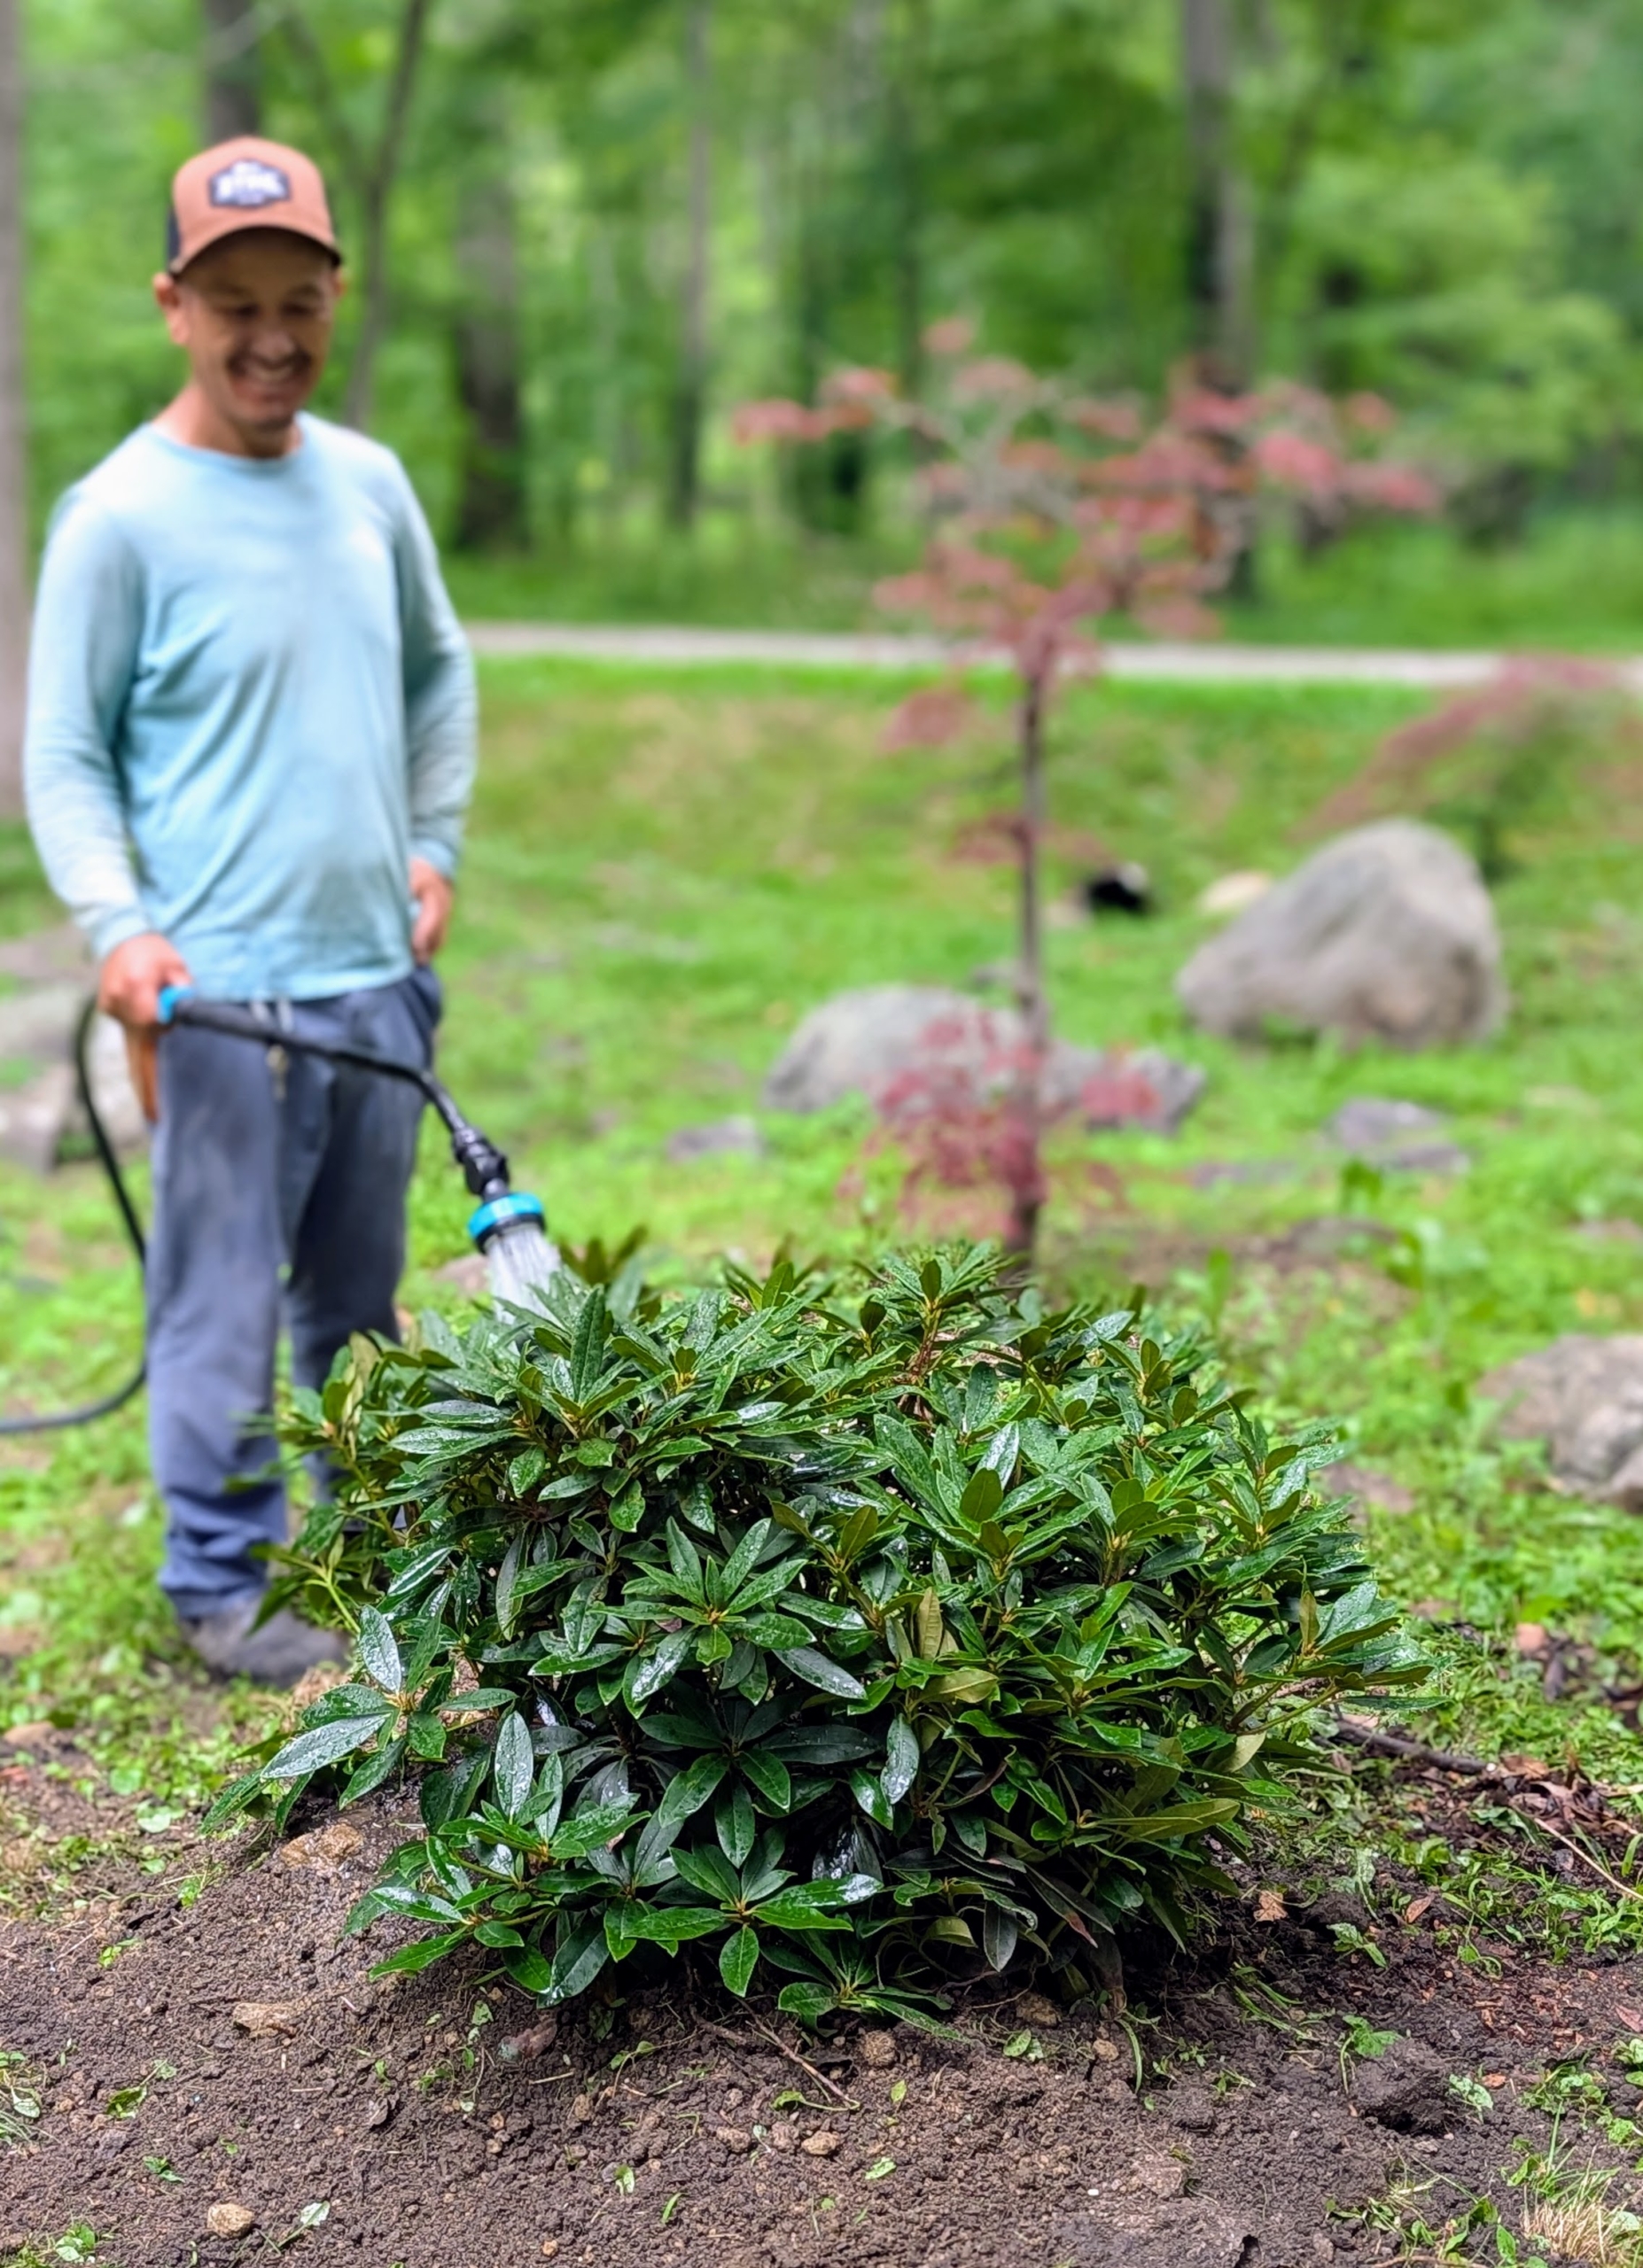
- Because it is so hot and humid, I like to give each rhododendron ample water when it is transplanted. Chhiring fills the hole first with water.
-
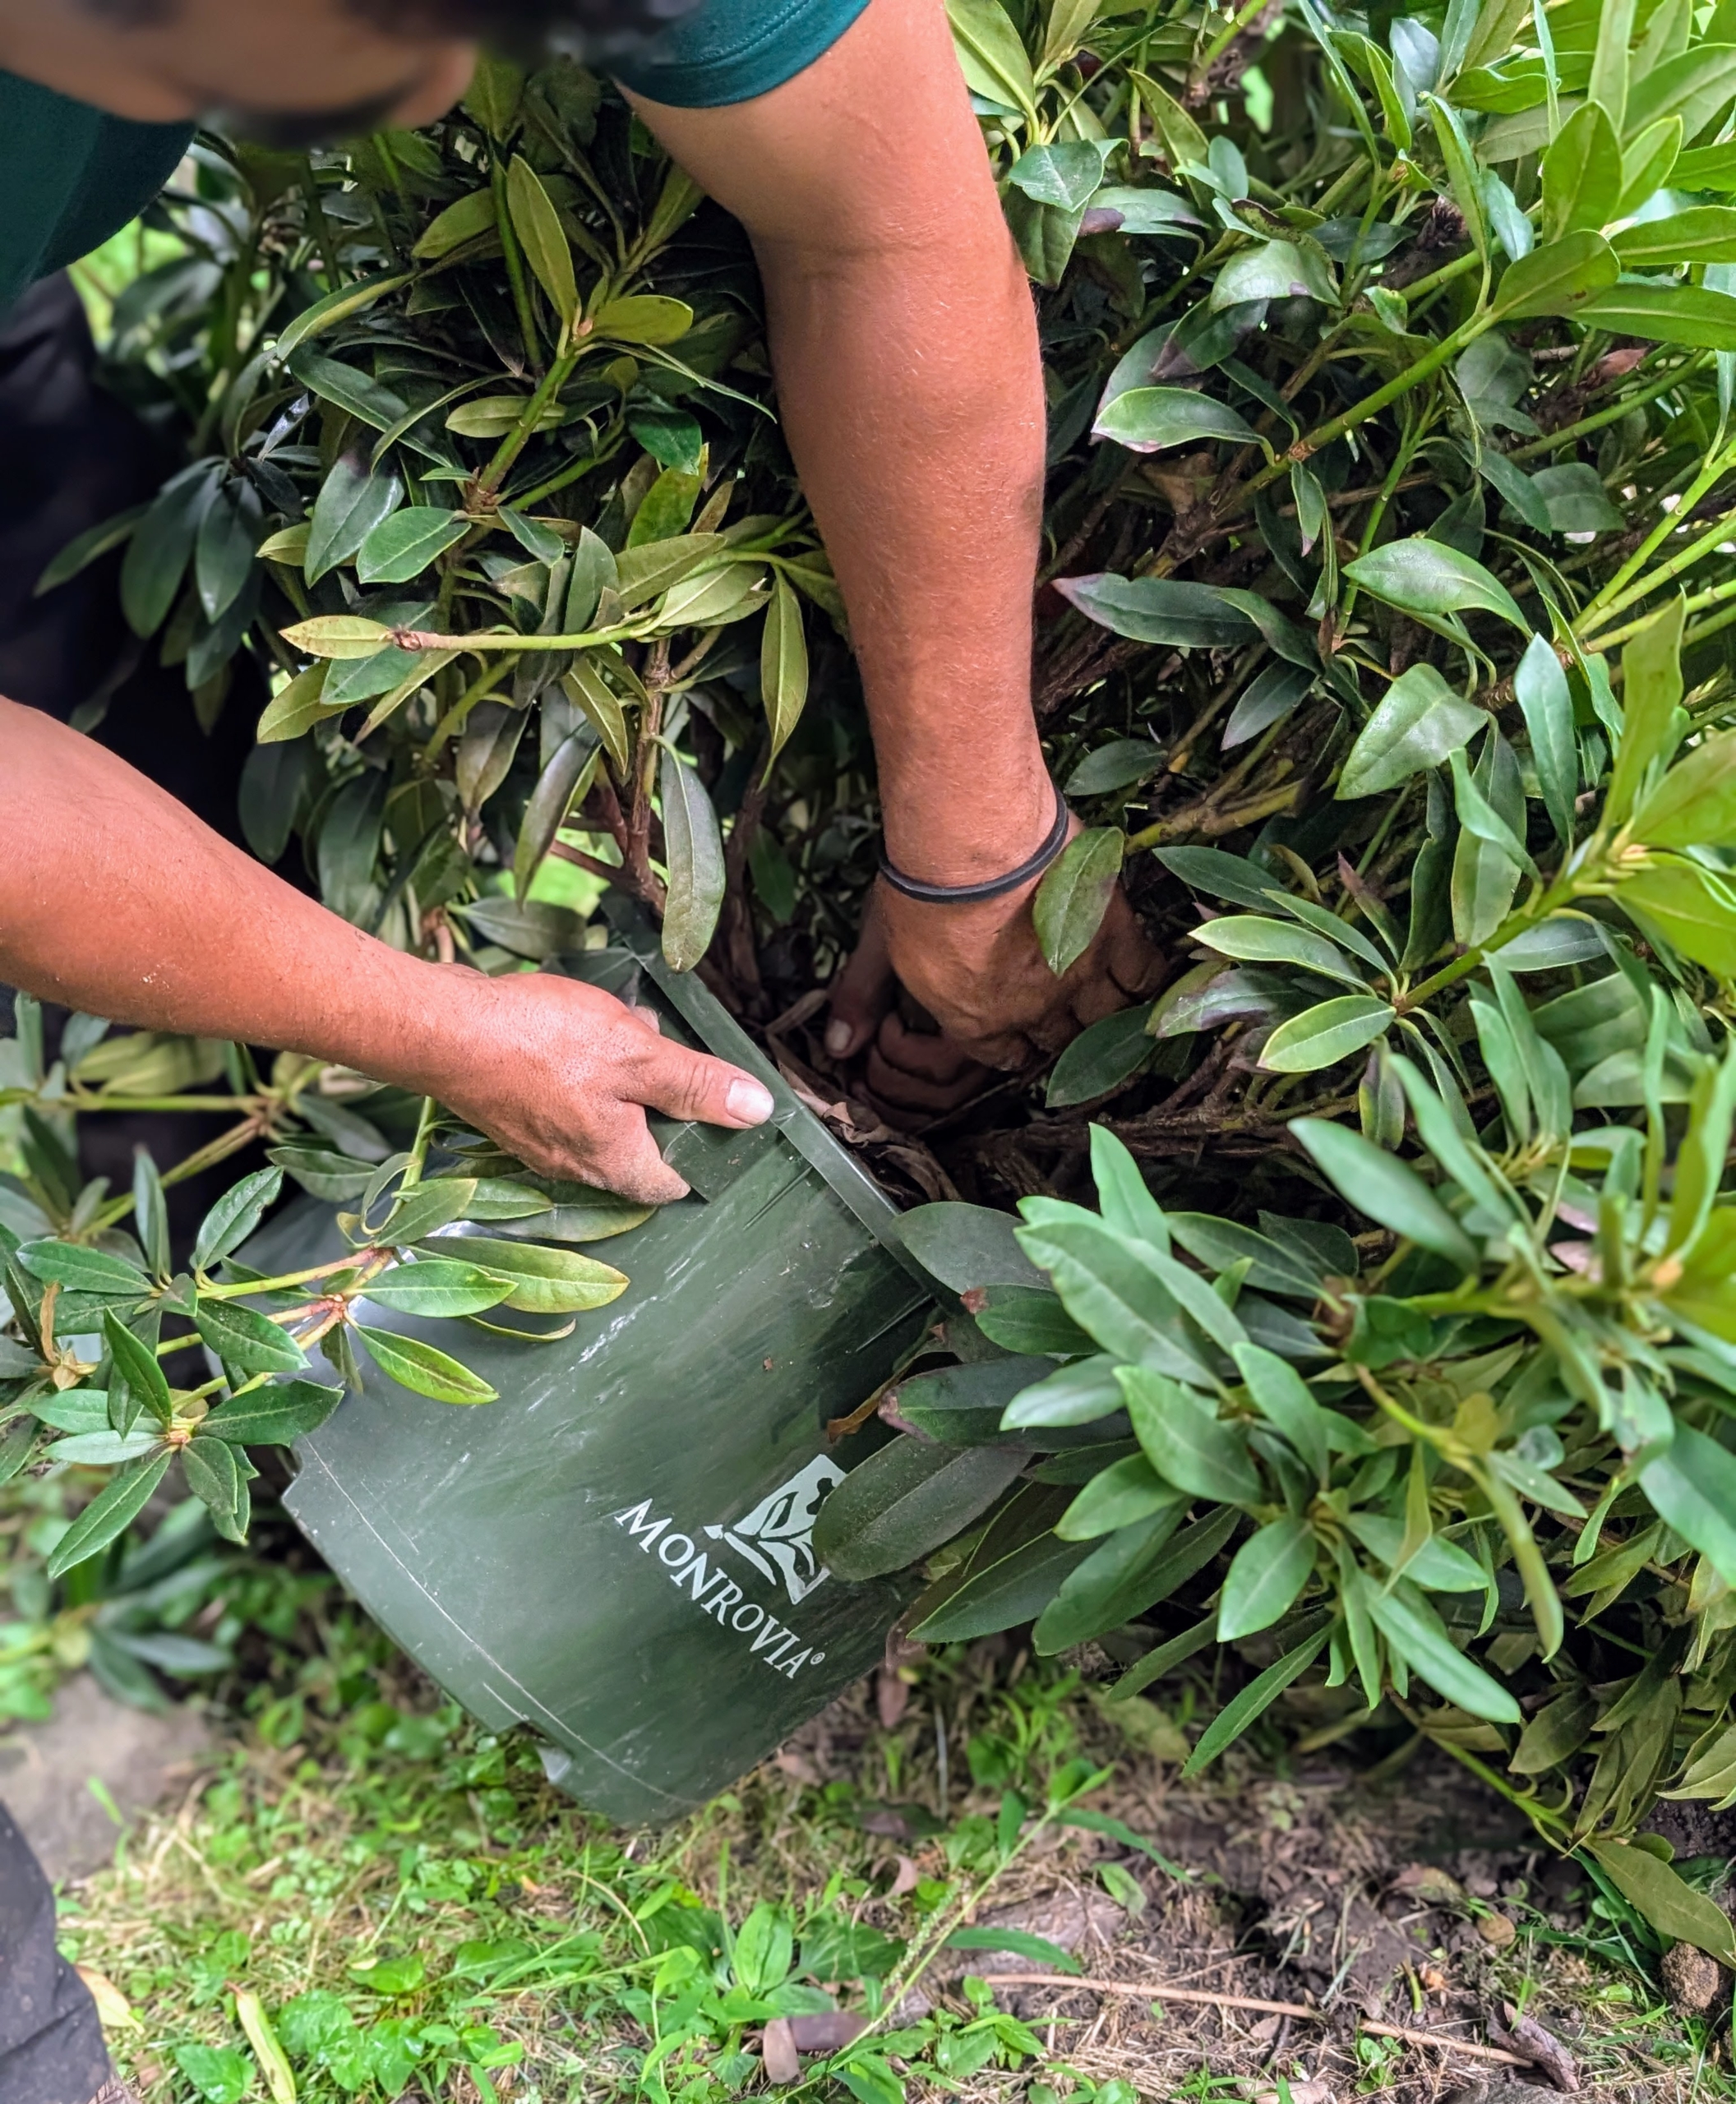
- Meanwhile, Arnold removes the plant from its original pot.
-
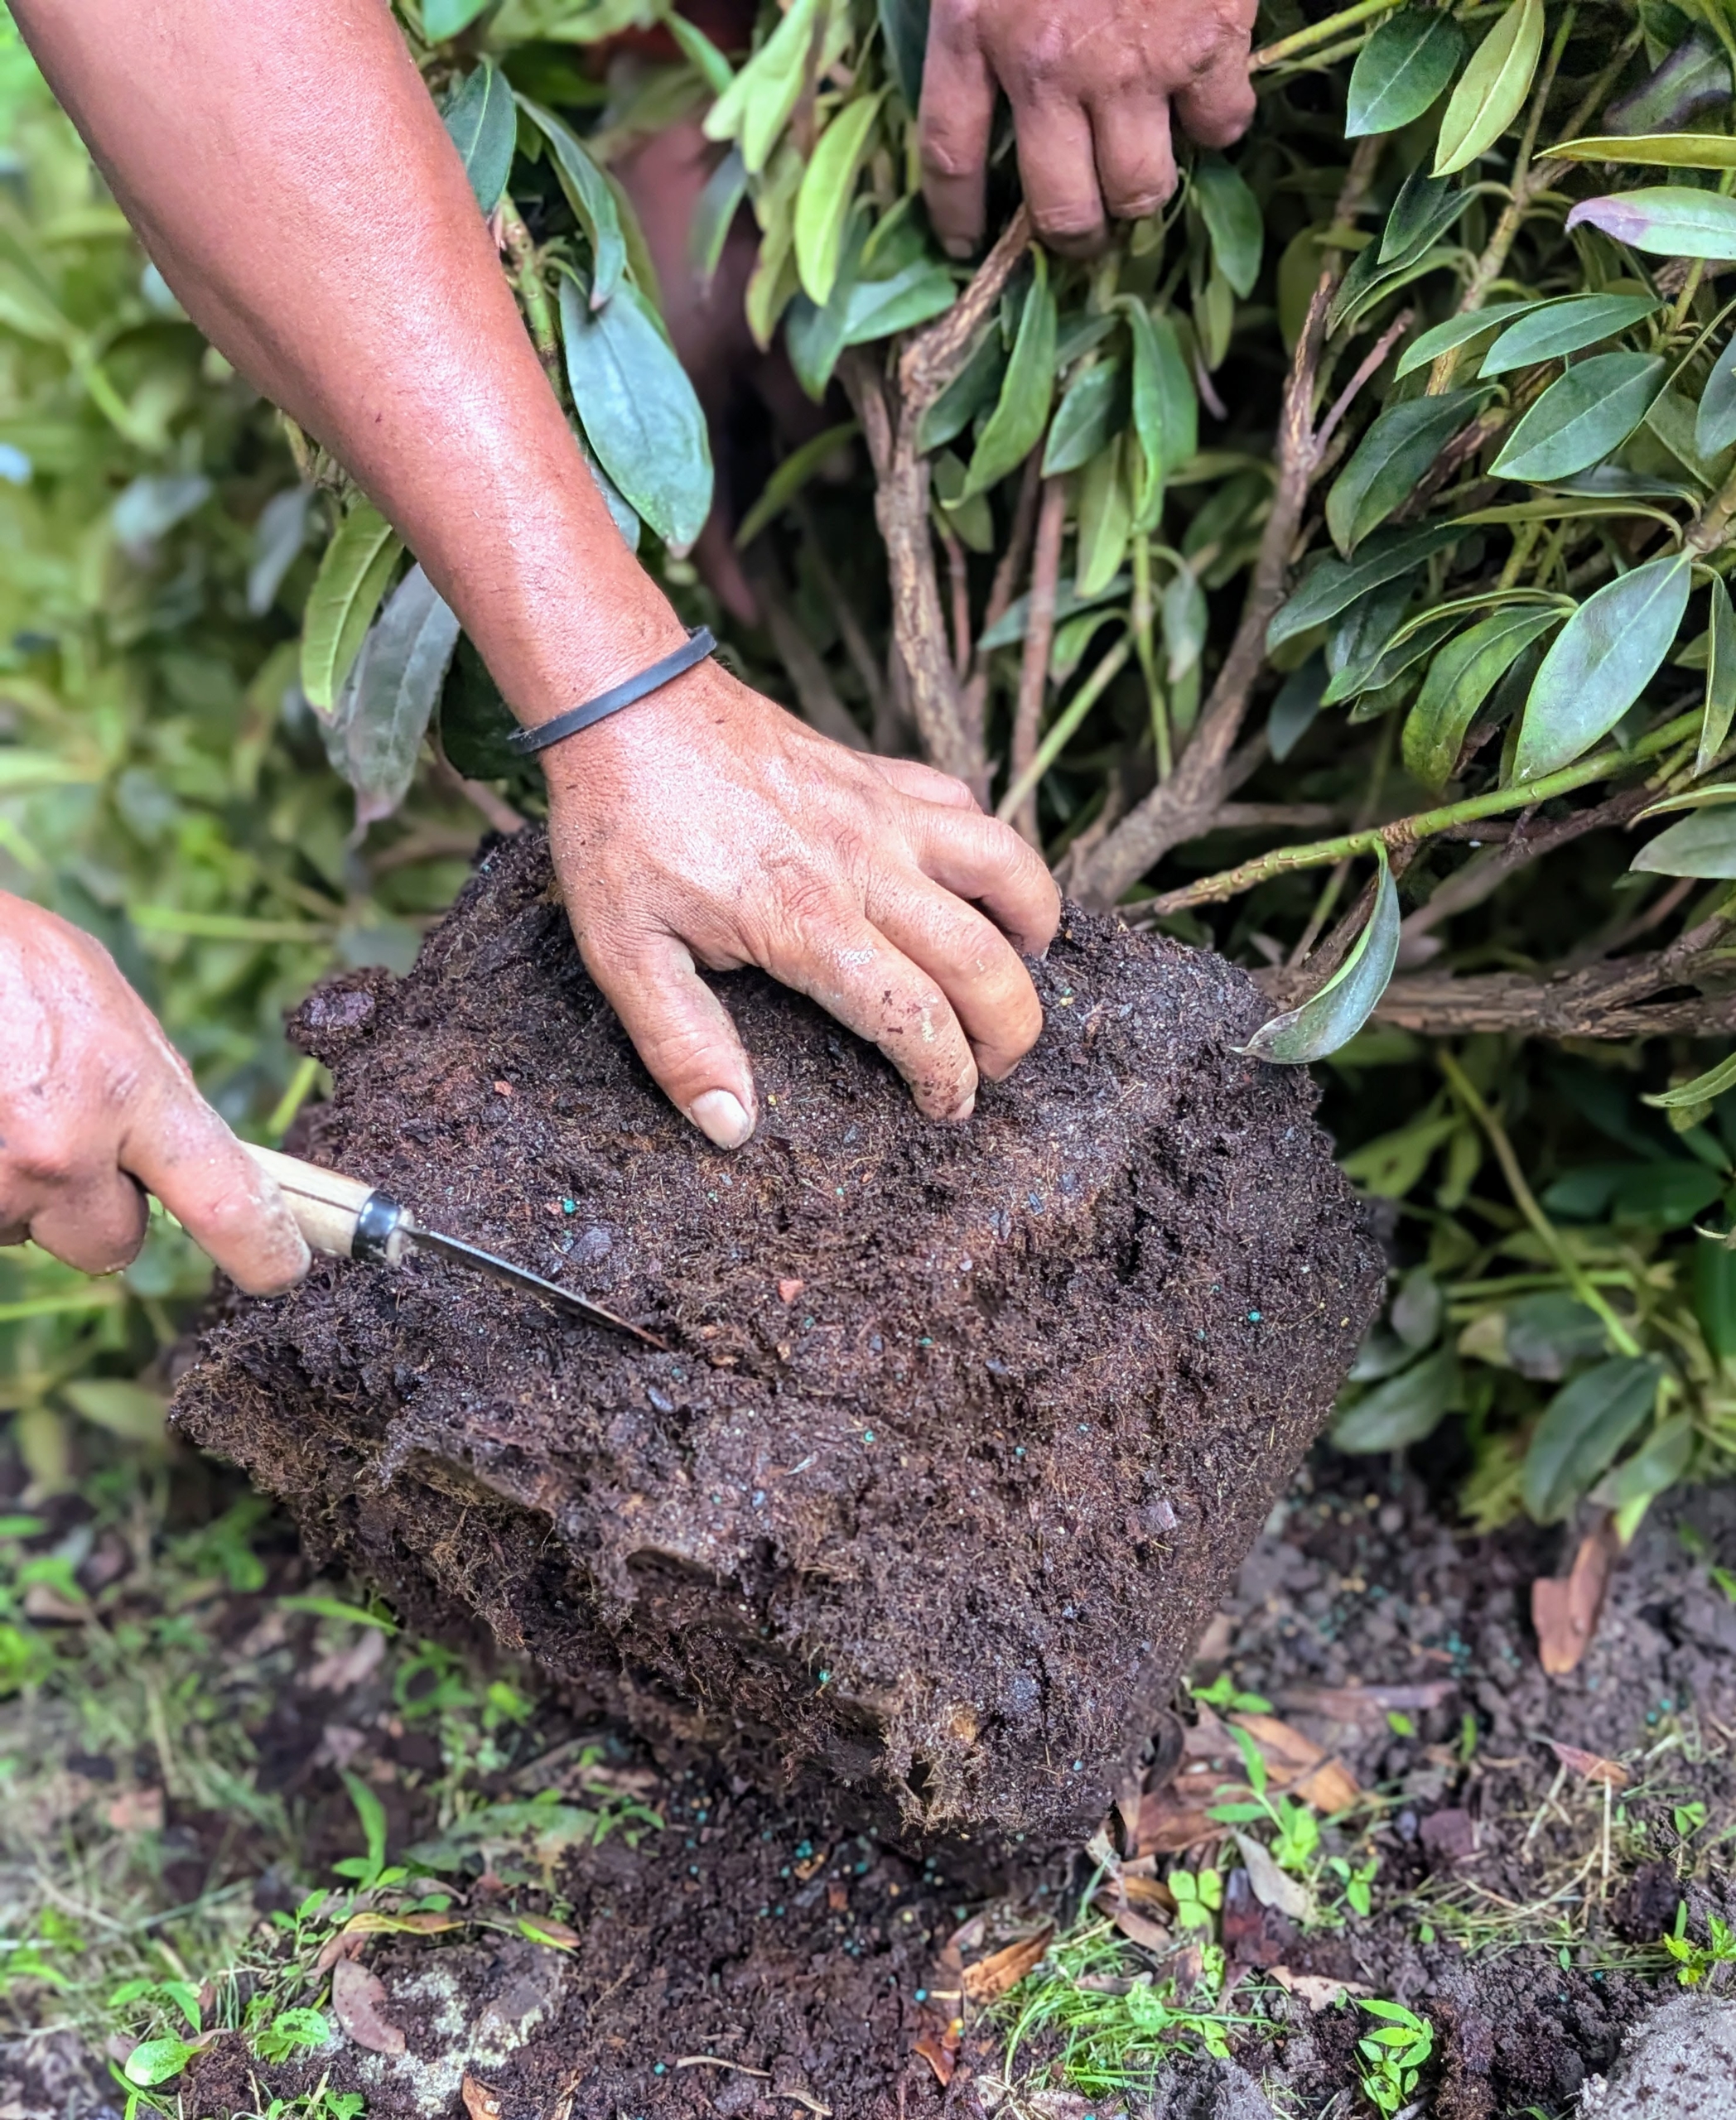
- And then he scarifies the root ball, meaning he uses a knife to make intentional cuts around the entire root ball to loosen the roots and stimulate growth.
-
- Next, Arnold places the specimen into the hole. Plant rhododendrons on a mound above the base soil to ensure well-drained and healthy roots. This also keeps the bottom most leaves from laying on the ground.
-
- Alex and Arnold work together to backfill, making sure the plant is buried as deeply as it was in its original container.
-
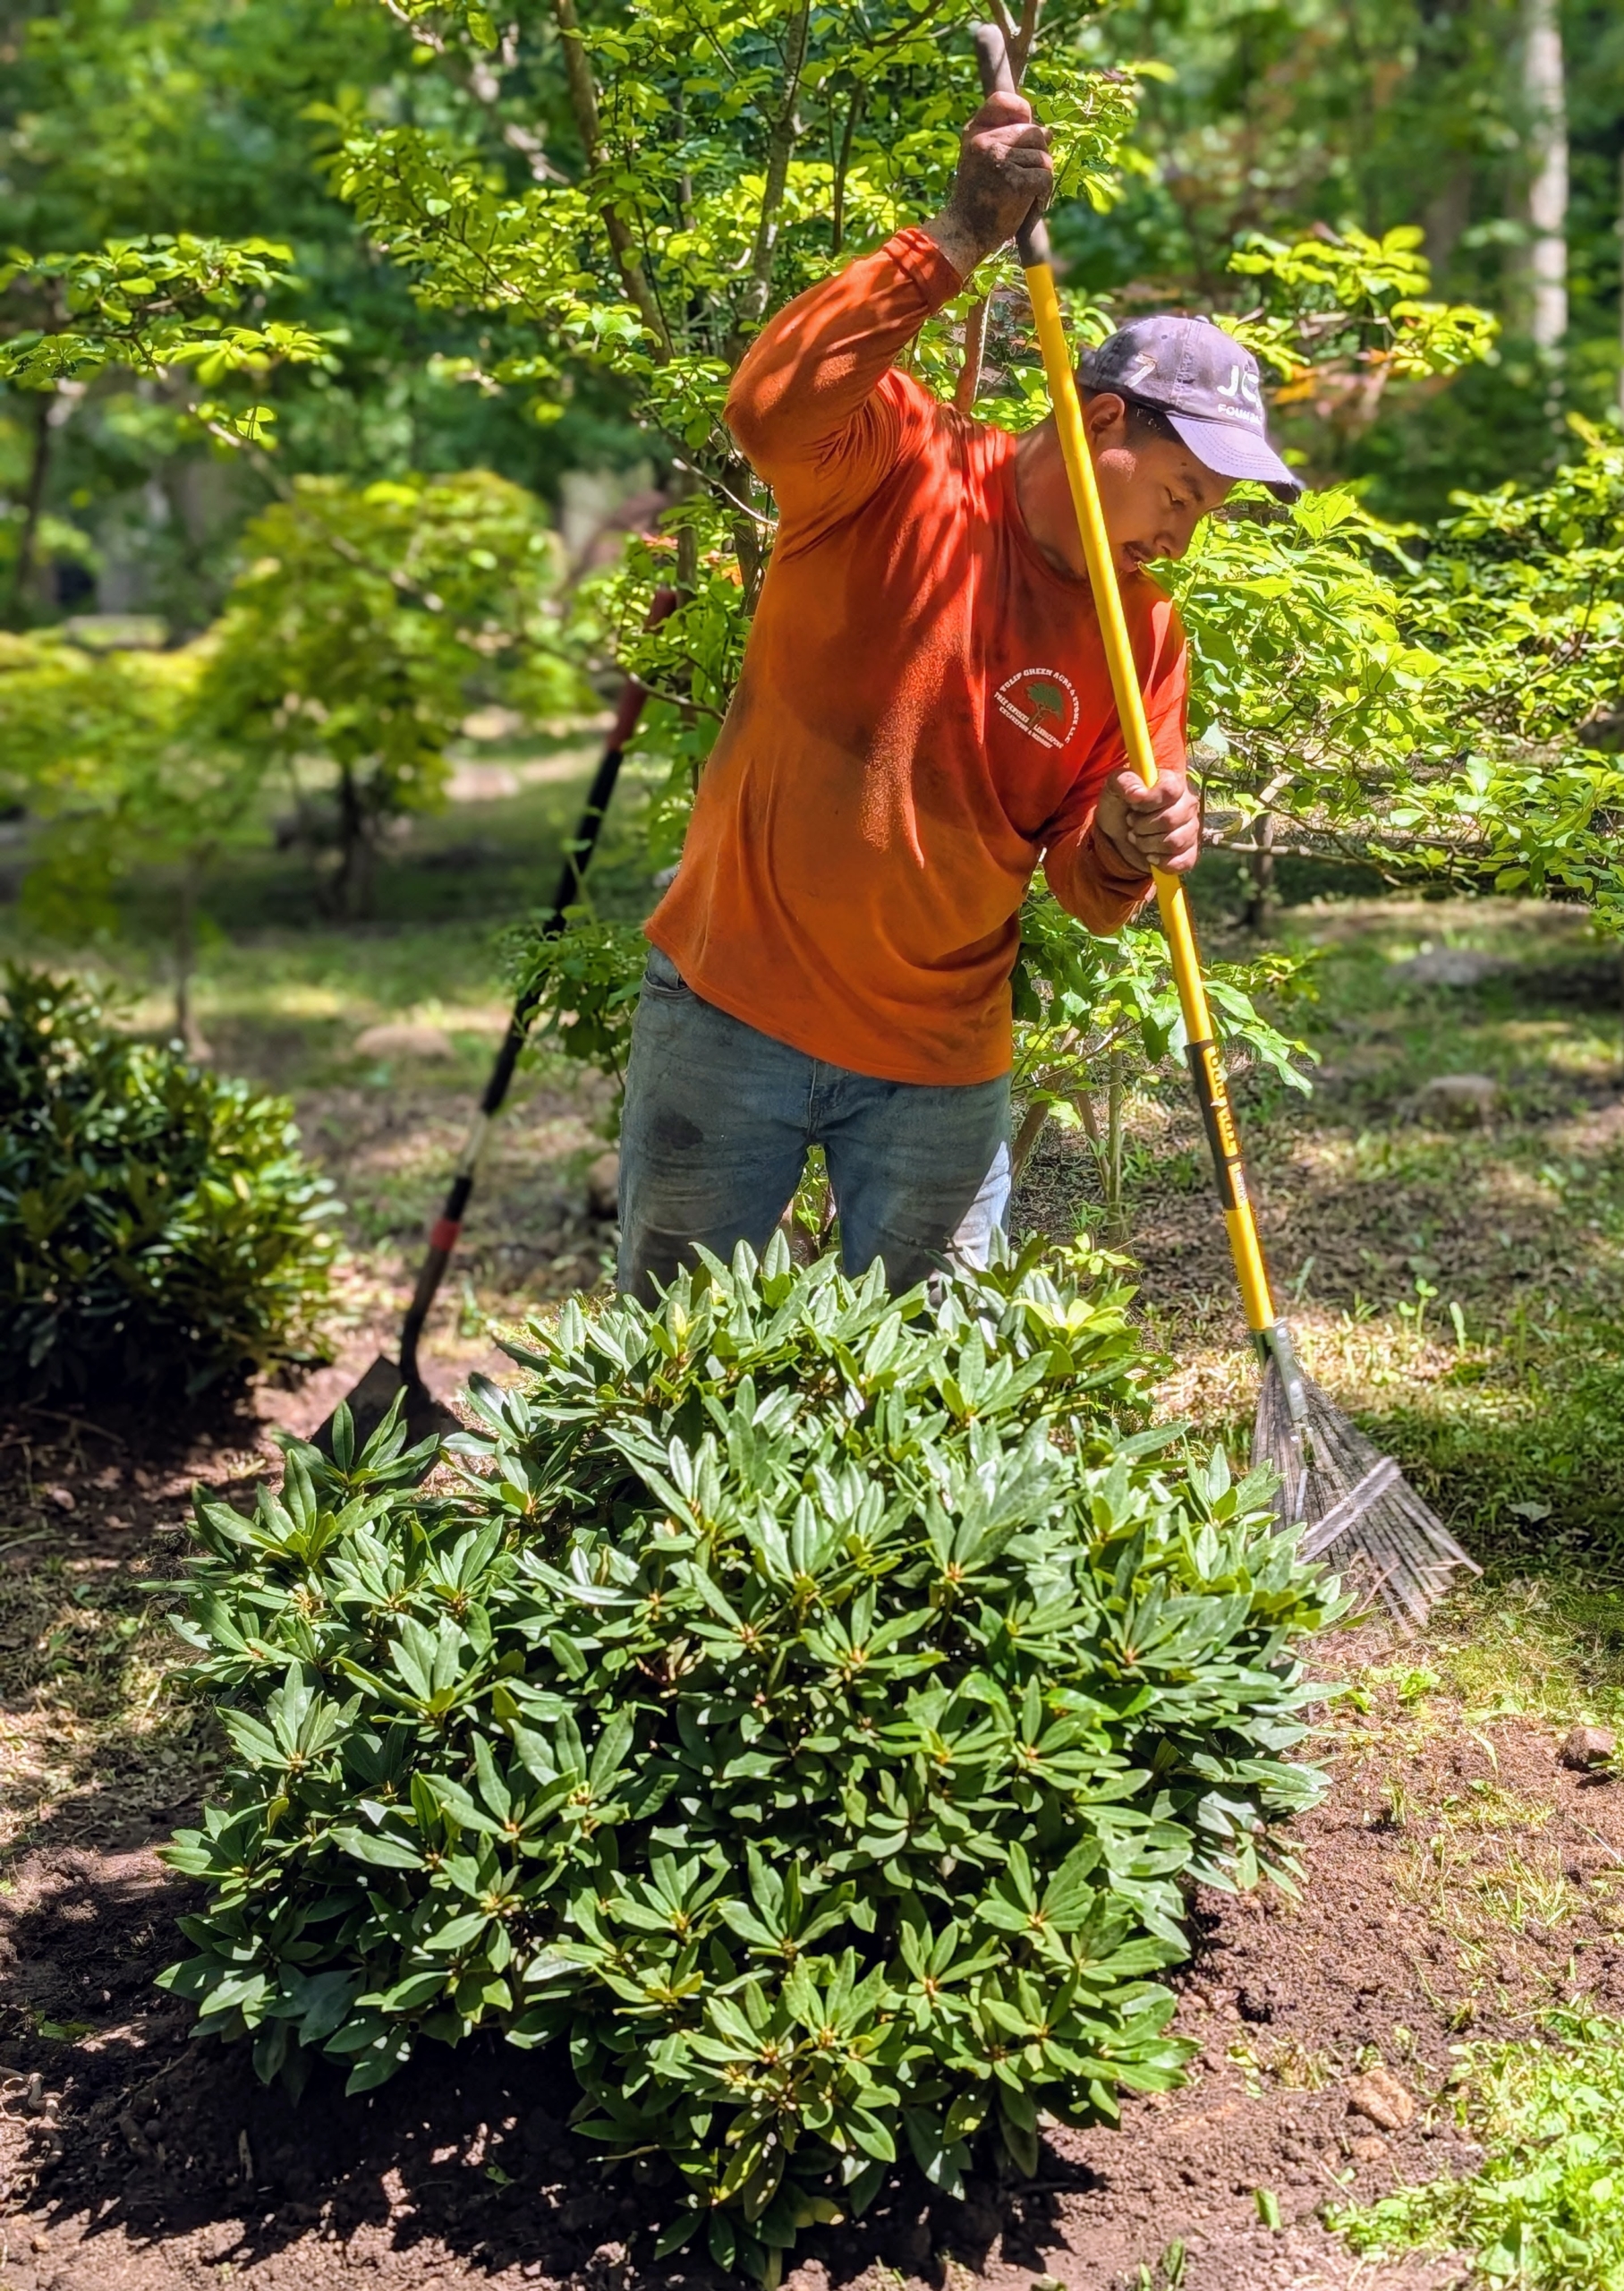
- Once planted, Alex rakes the area, so it is neat and tidy. Doing this also allows one more look to make sure everything is done properly.
-
- Chhiring follows with another watering. He is using a Gilmour hose and wand. I’ve been using Gilmour for years. Gilmour hoses and sprinklers are excellent and very durable.
-
- This Japanese Maple Woodland area is constantly evolving and I can’t wait until these white rhododendrons bloom next spring. I named this garden in memory of my late sister, Laura Plimpton. I just know she would be so pleased with how it’s doing.