Covering Planters with Burlap
You know cold winter weather is on the way when various ornamental vessels around my farm are covered in burlap.
I've been covering my boxwood shrubs and hedges with burlap for many years to protect them from splaying and breaking from the weight of snow and ice. I feel it is equally important to protect my outdoor garden containers from the harsh winter elements. A winter freeze, alternating with thaws, could crack or crumble any kind of stone or cement, especially if it is antique. During this time, all my outdoor planters, birdbaths, stanchions, etc., are covered in the same burlap used for my live specimens.
Here are some photos.
-

- The “burlapping” process has begun! I have many outdoor containers and garden ornaments that are covered and protected with burlap and kept in their respected locations for the duration of the cold season. Here is a birdbath that sits outside the stable office where my business manager, property manager, and operations manager work.
-
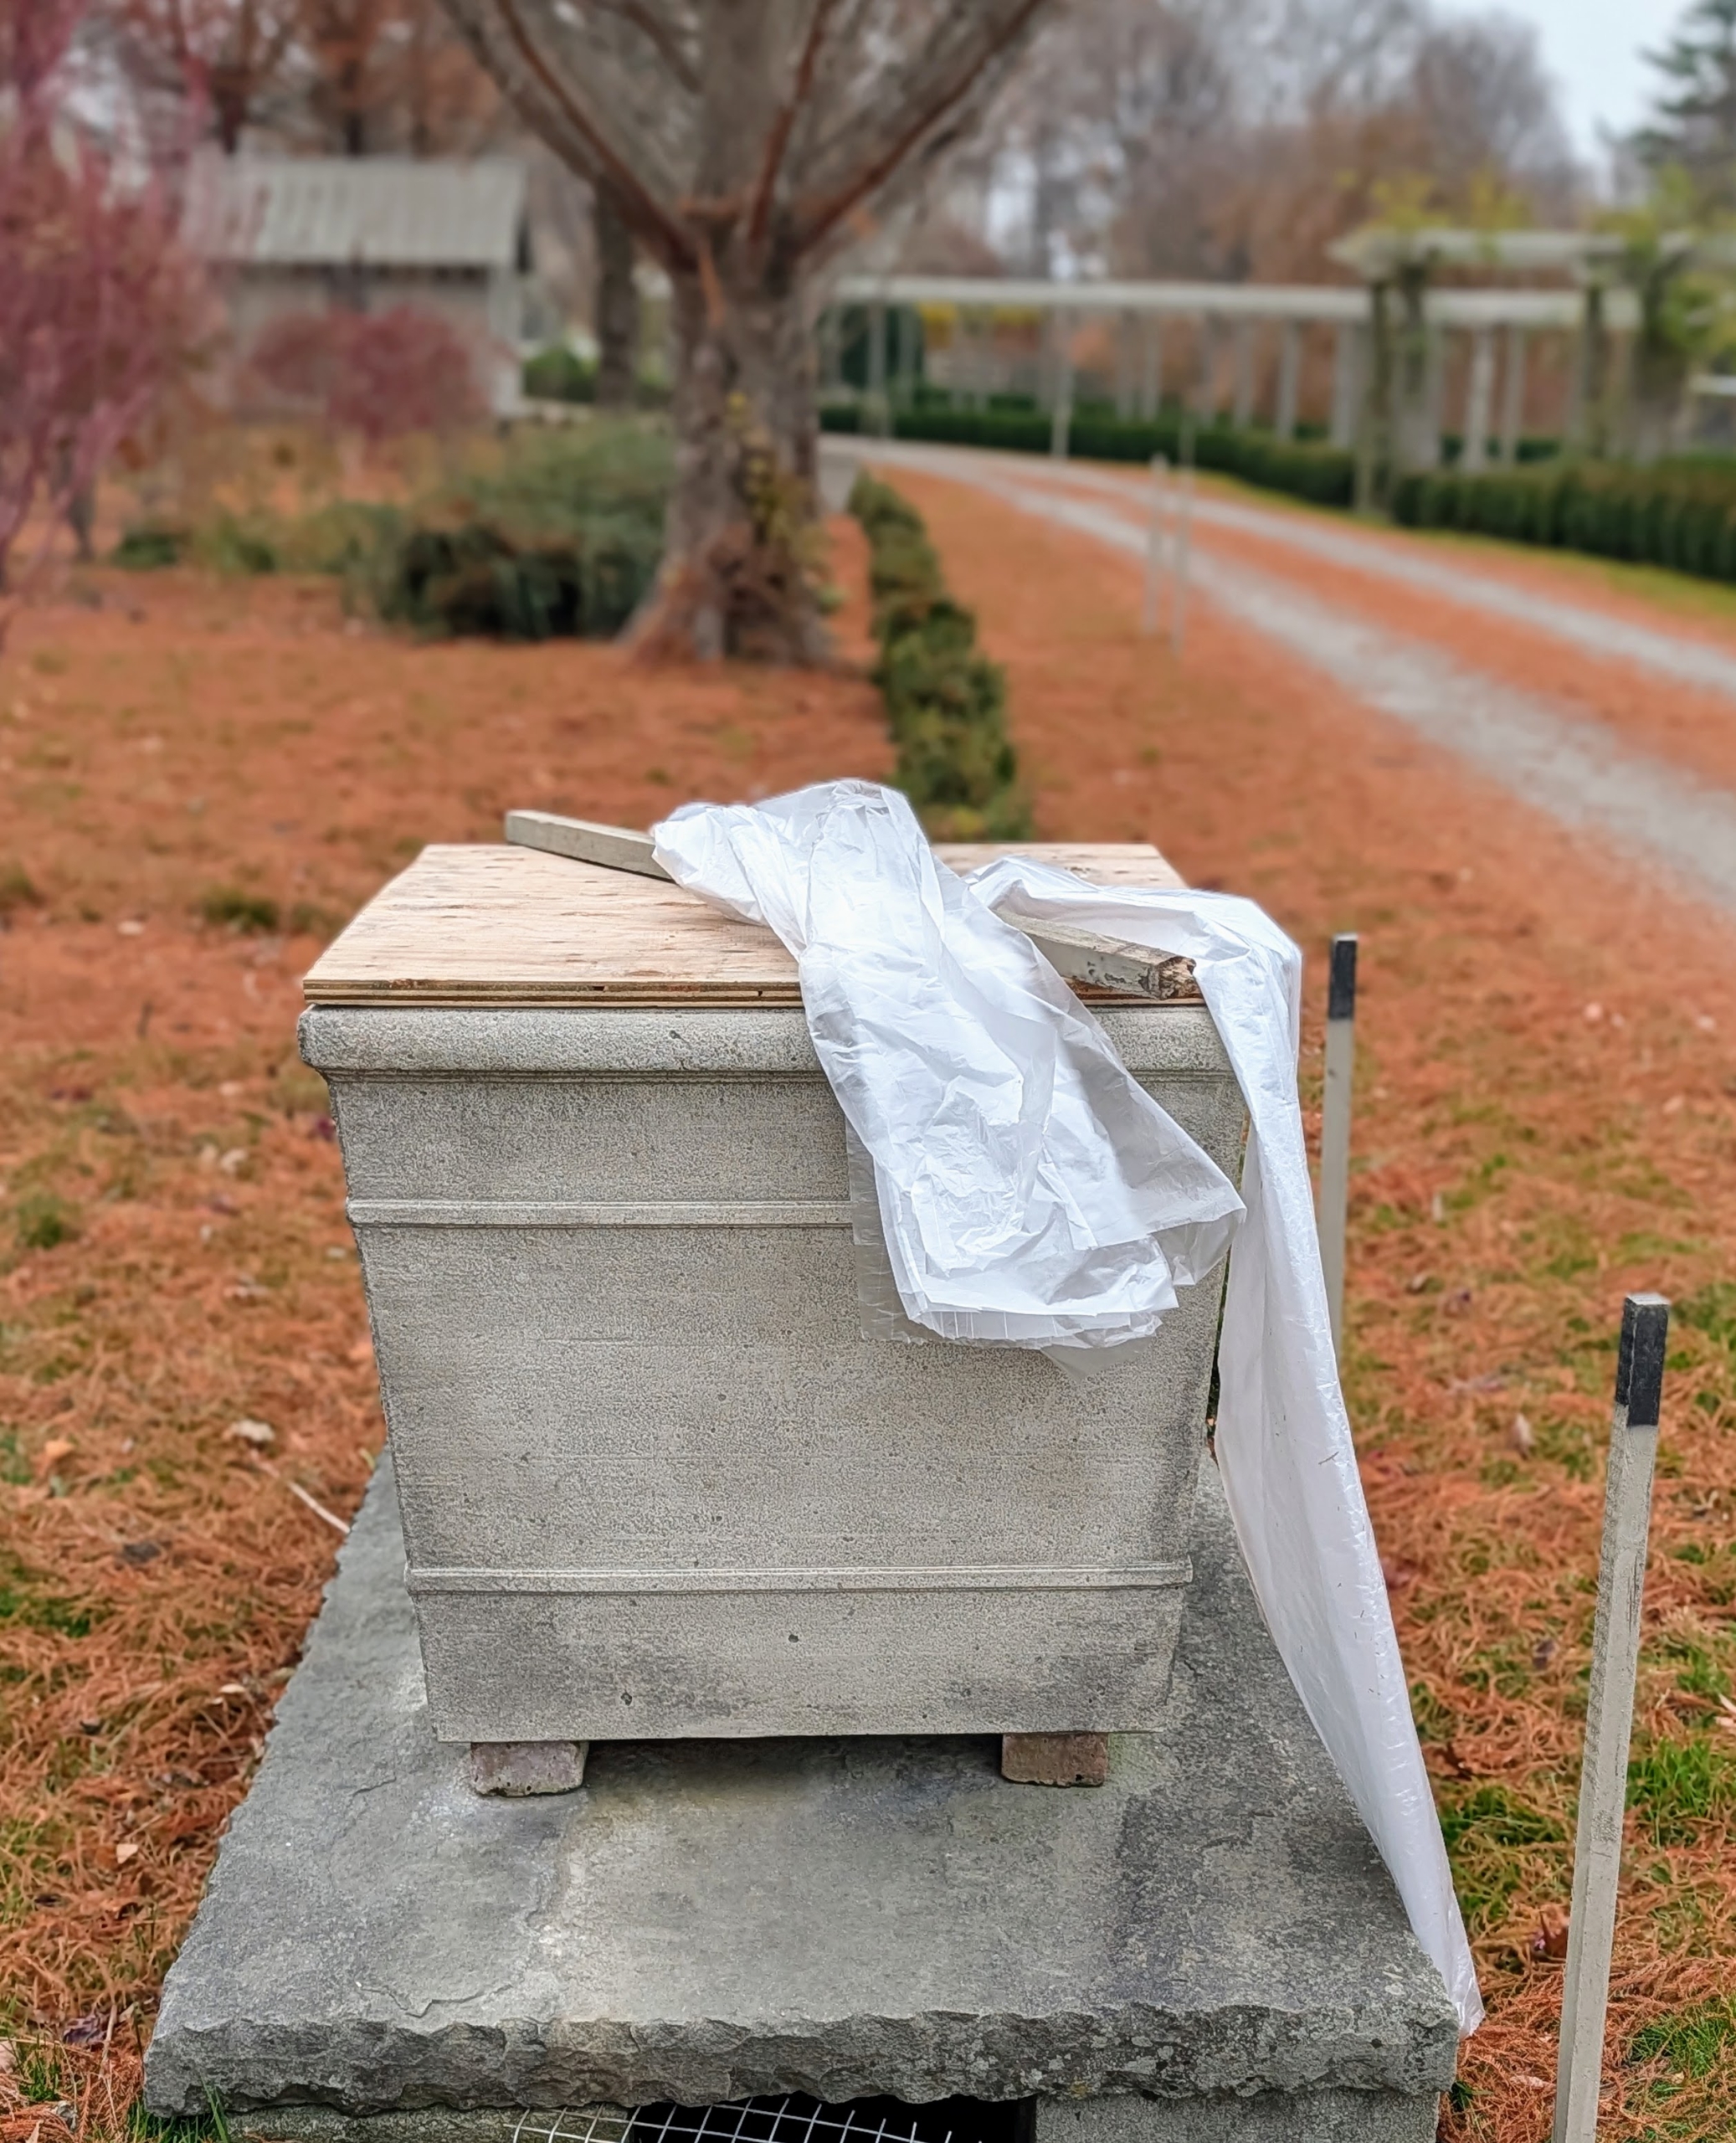
- Because stone, cement, and clay-based materials can crack from exposure to the winter elements, it’s important to protect them from all sides. The first thing I do is cover the large opening with a piece of plywood. The crew cuts any spare plywood into rounds to fit over various pieces. Then it is wrapped in a layer of plastic all the way around.
-
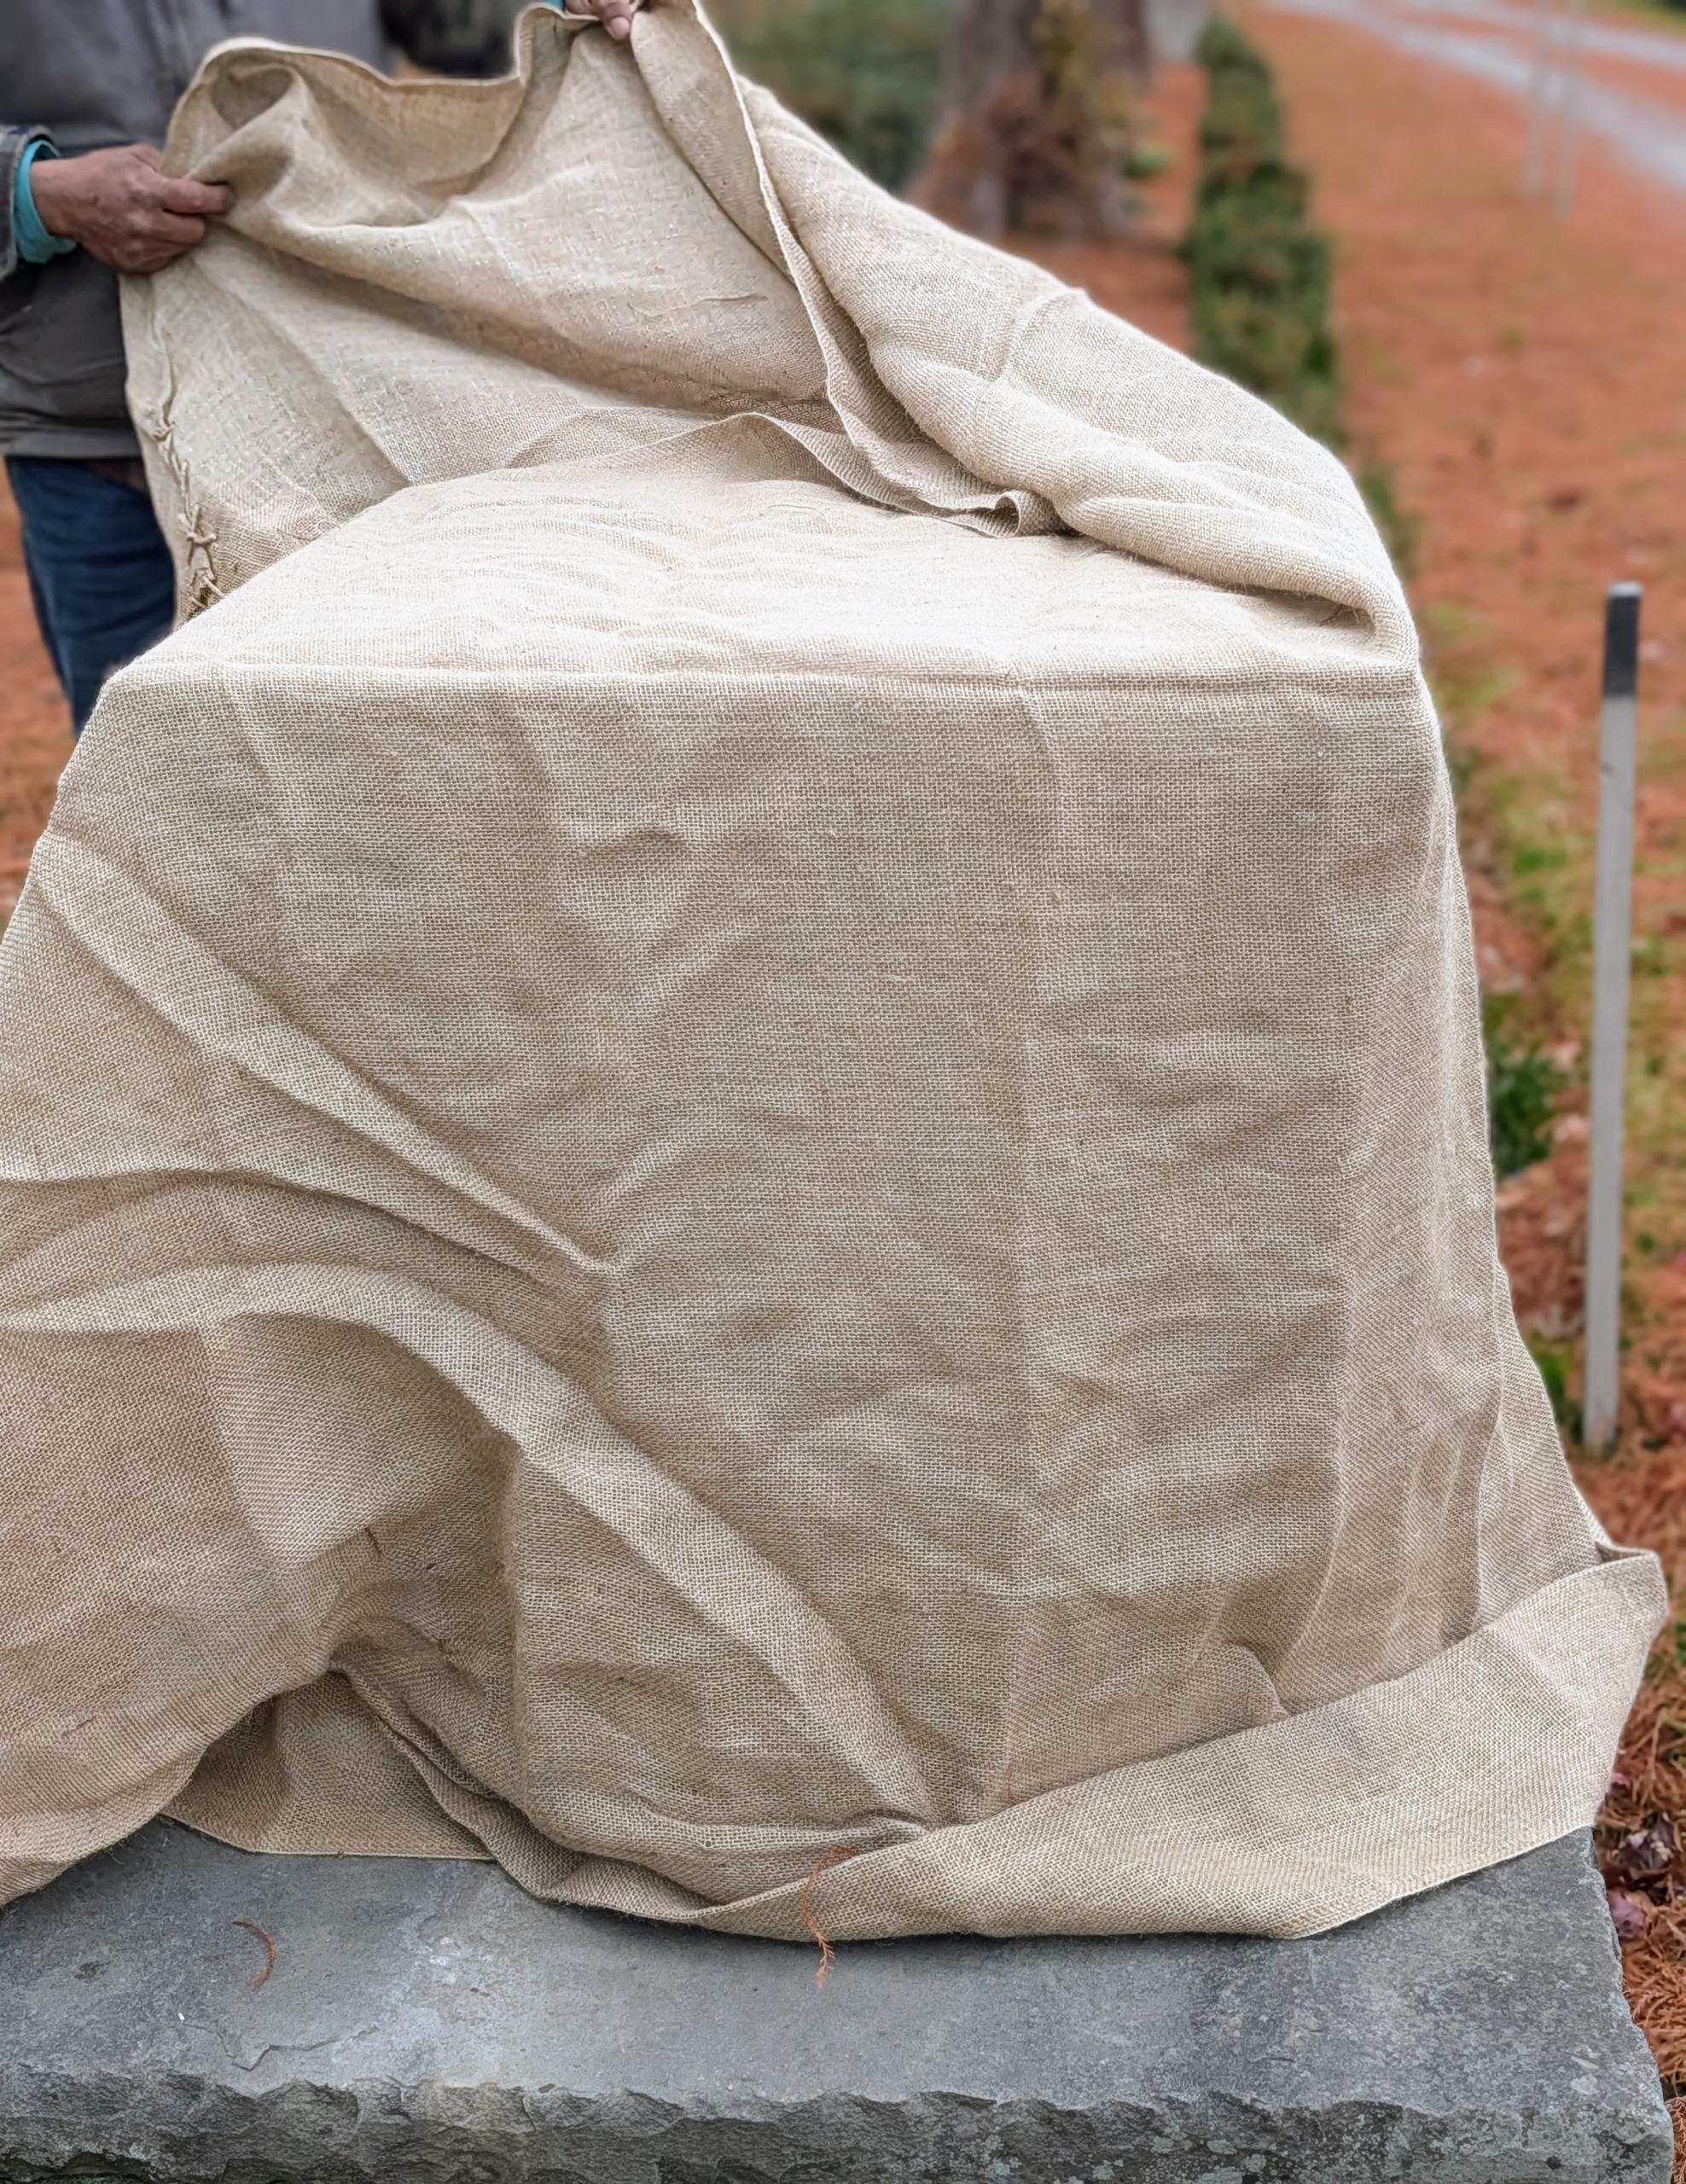
- When we can, we reuse burlap from seasons past; however, it is also available in giant rolls of 40-inches or 60-inches wide. Also called hessian, burlap is made in Pakistan, Bangladesh and India from jute, a tall, grass-like plant grown for its strong fibrous stalks. This burlap cover is from last year. If stored properly in a dry place, it can last a couple of seasons. Pete wraps this entire vessel from top to bottom with the burlap, tucking it all in underneath.
-
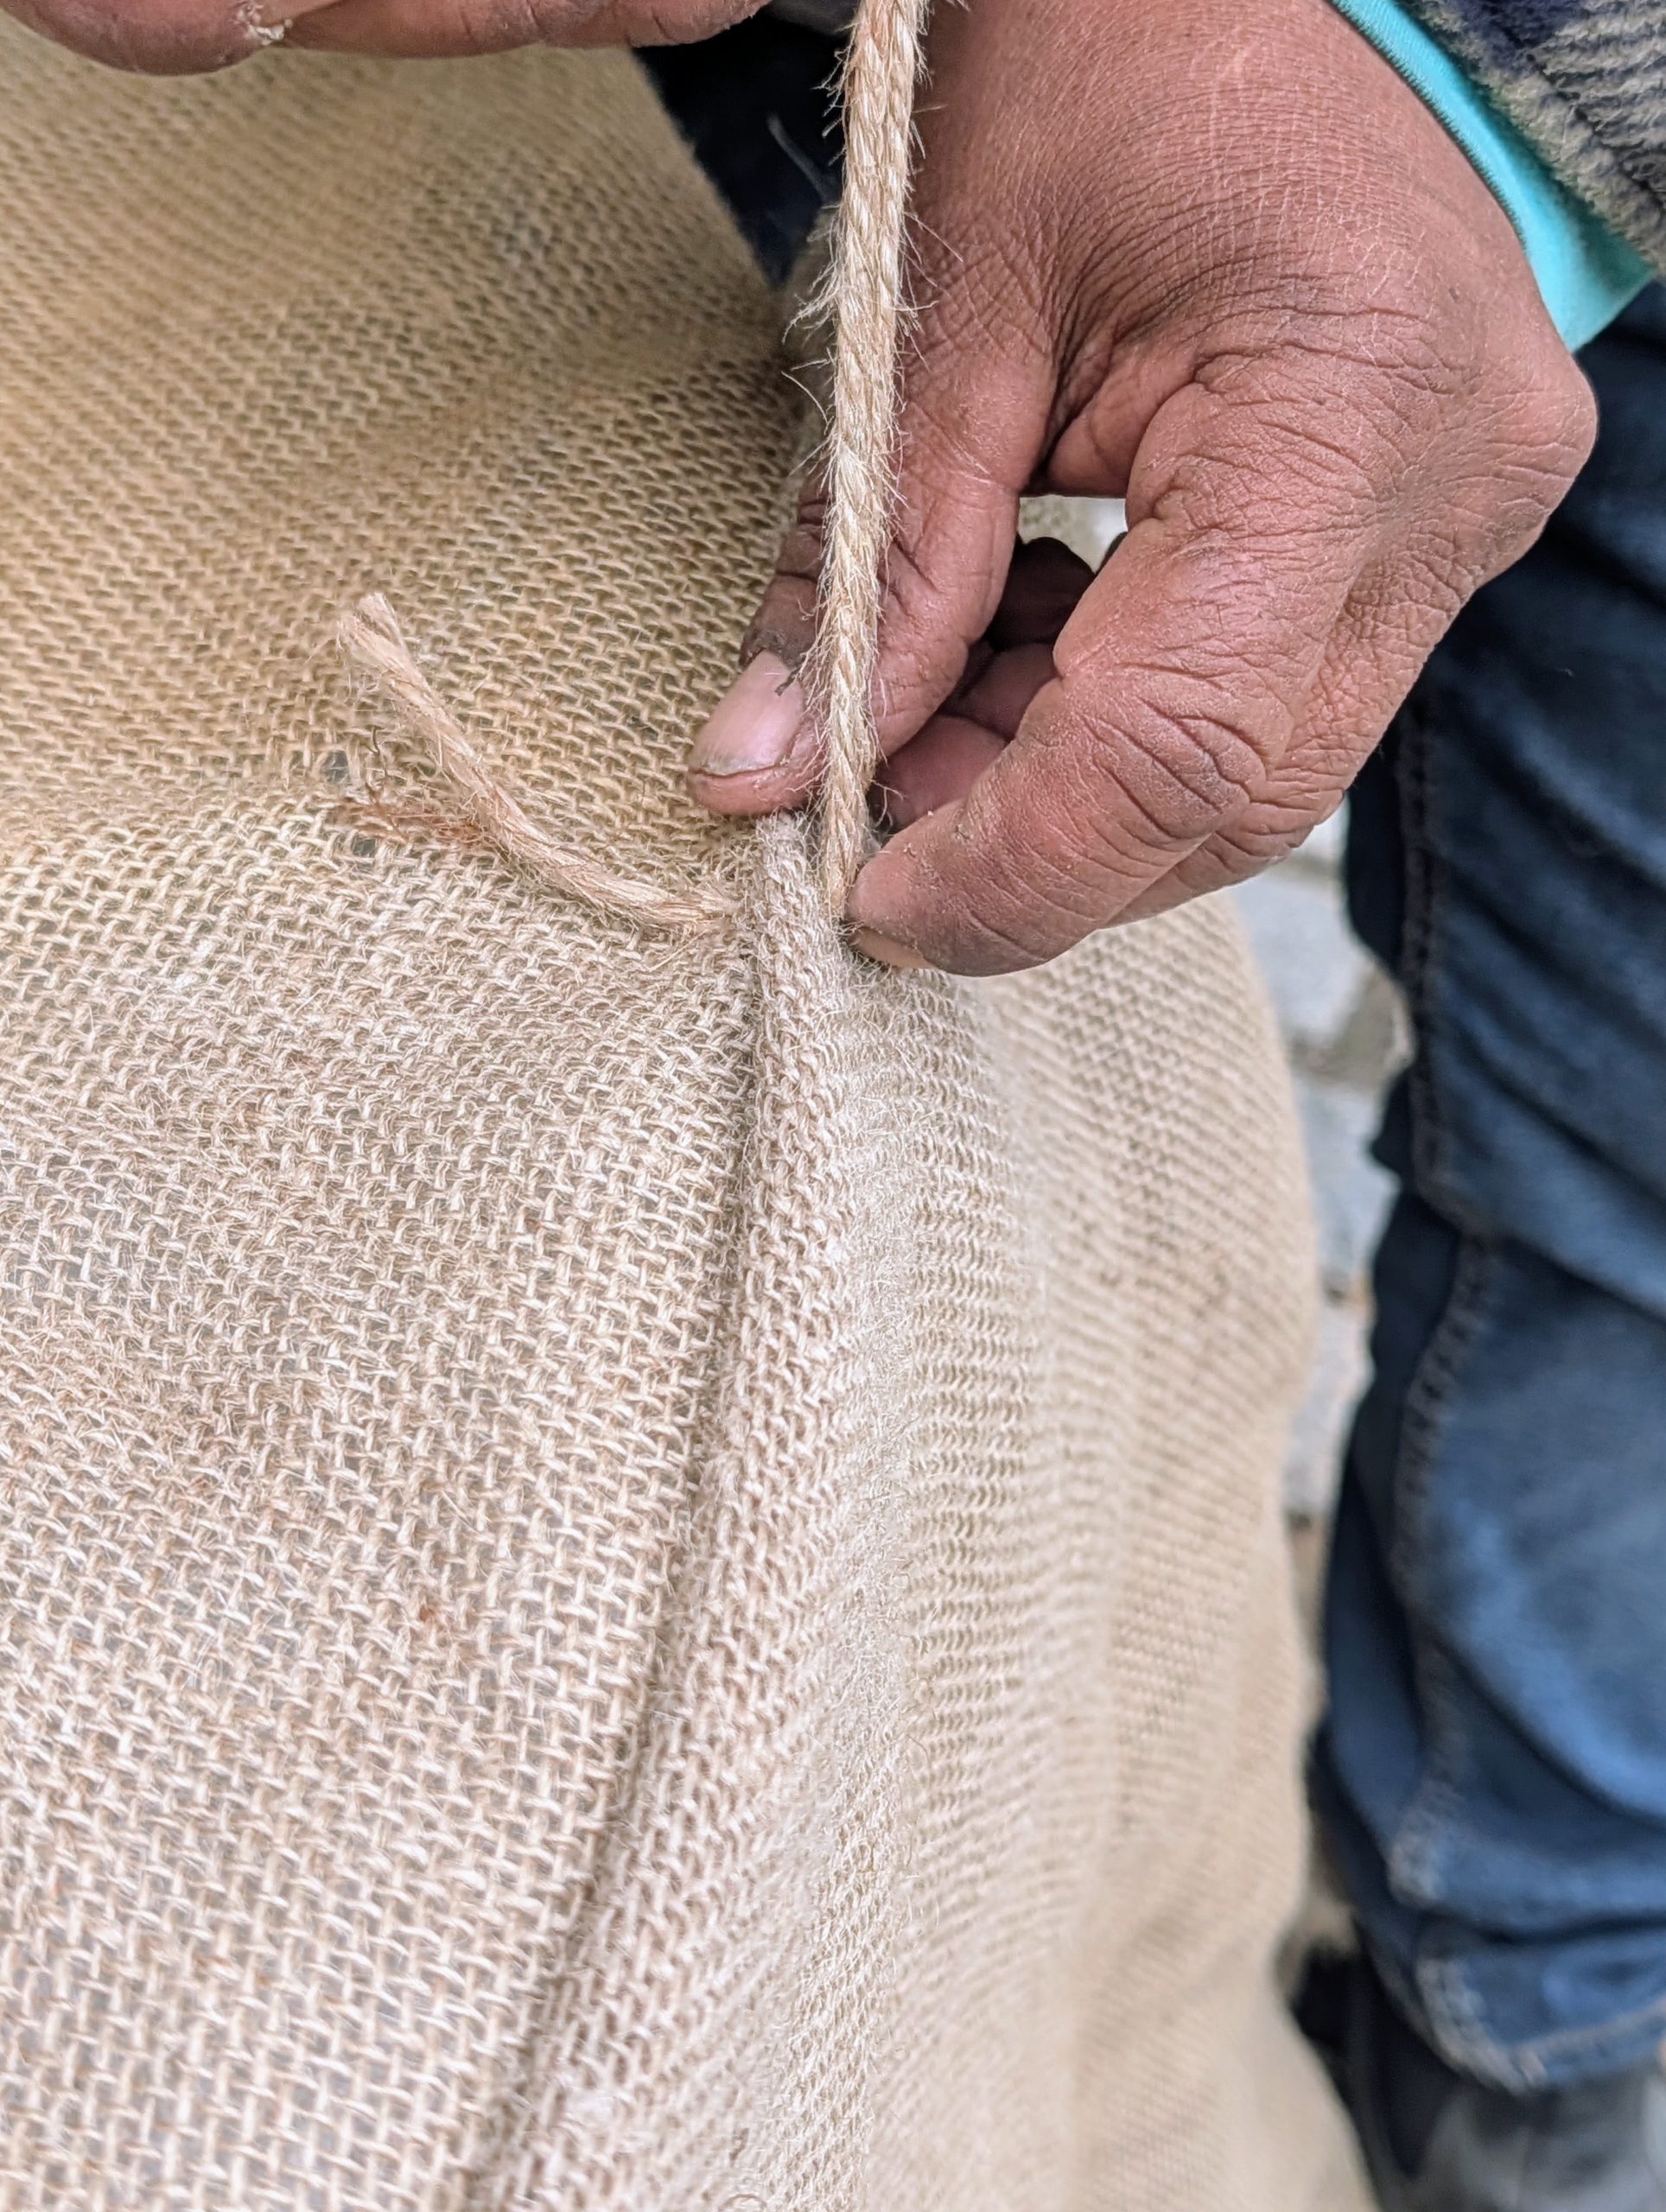
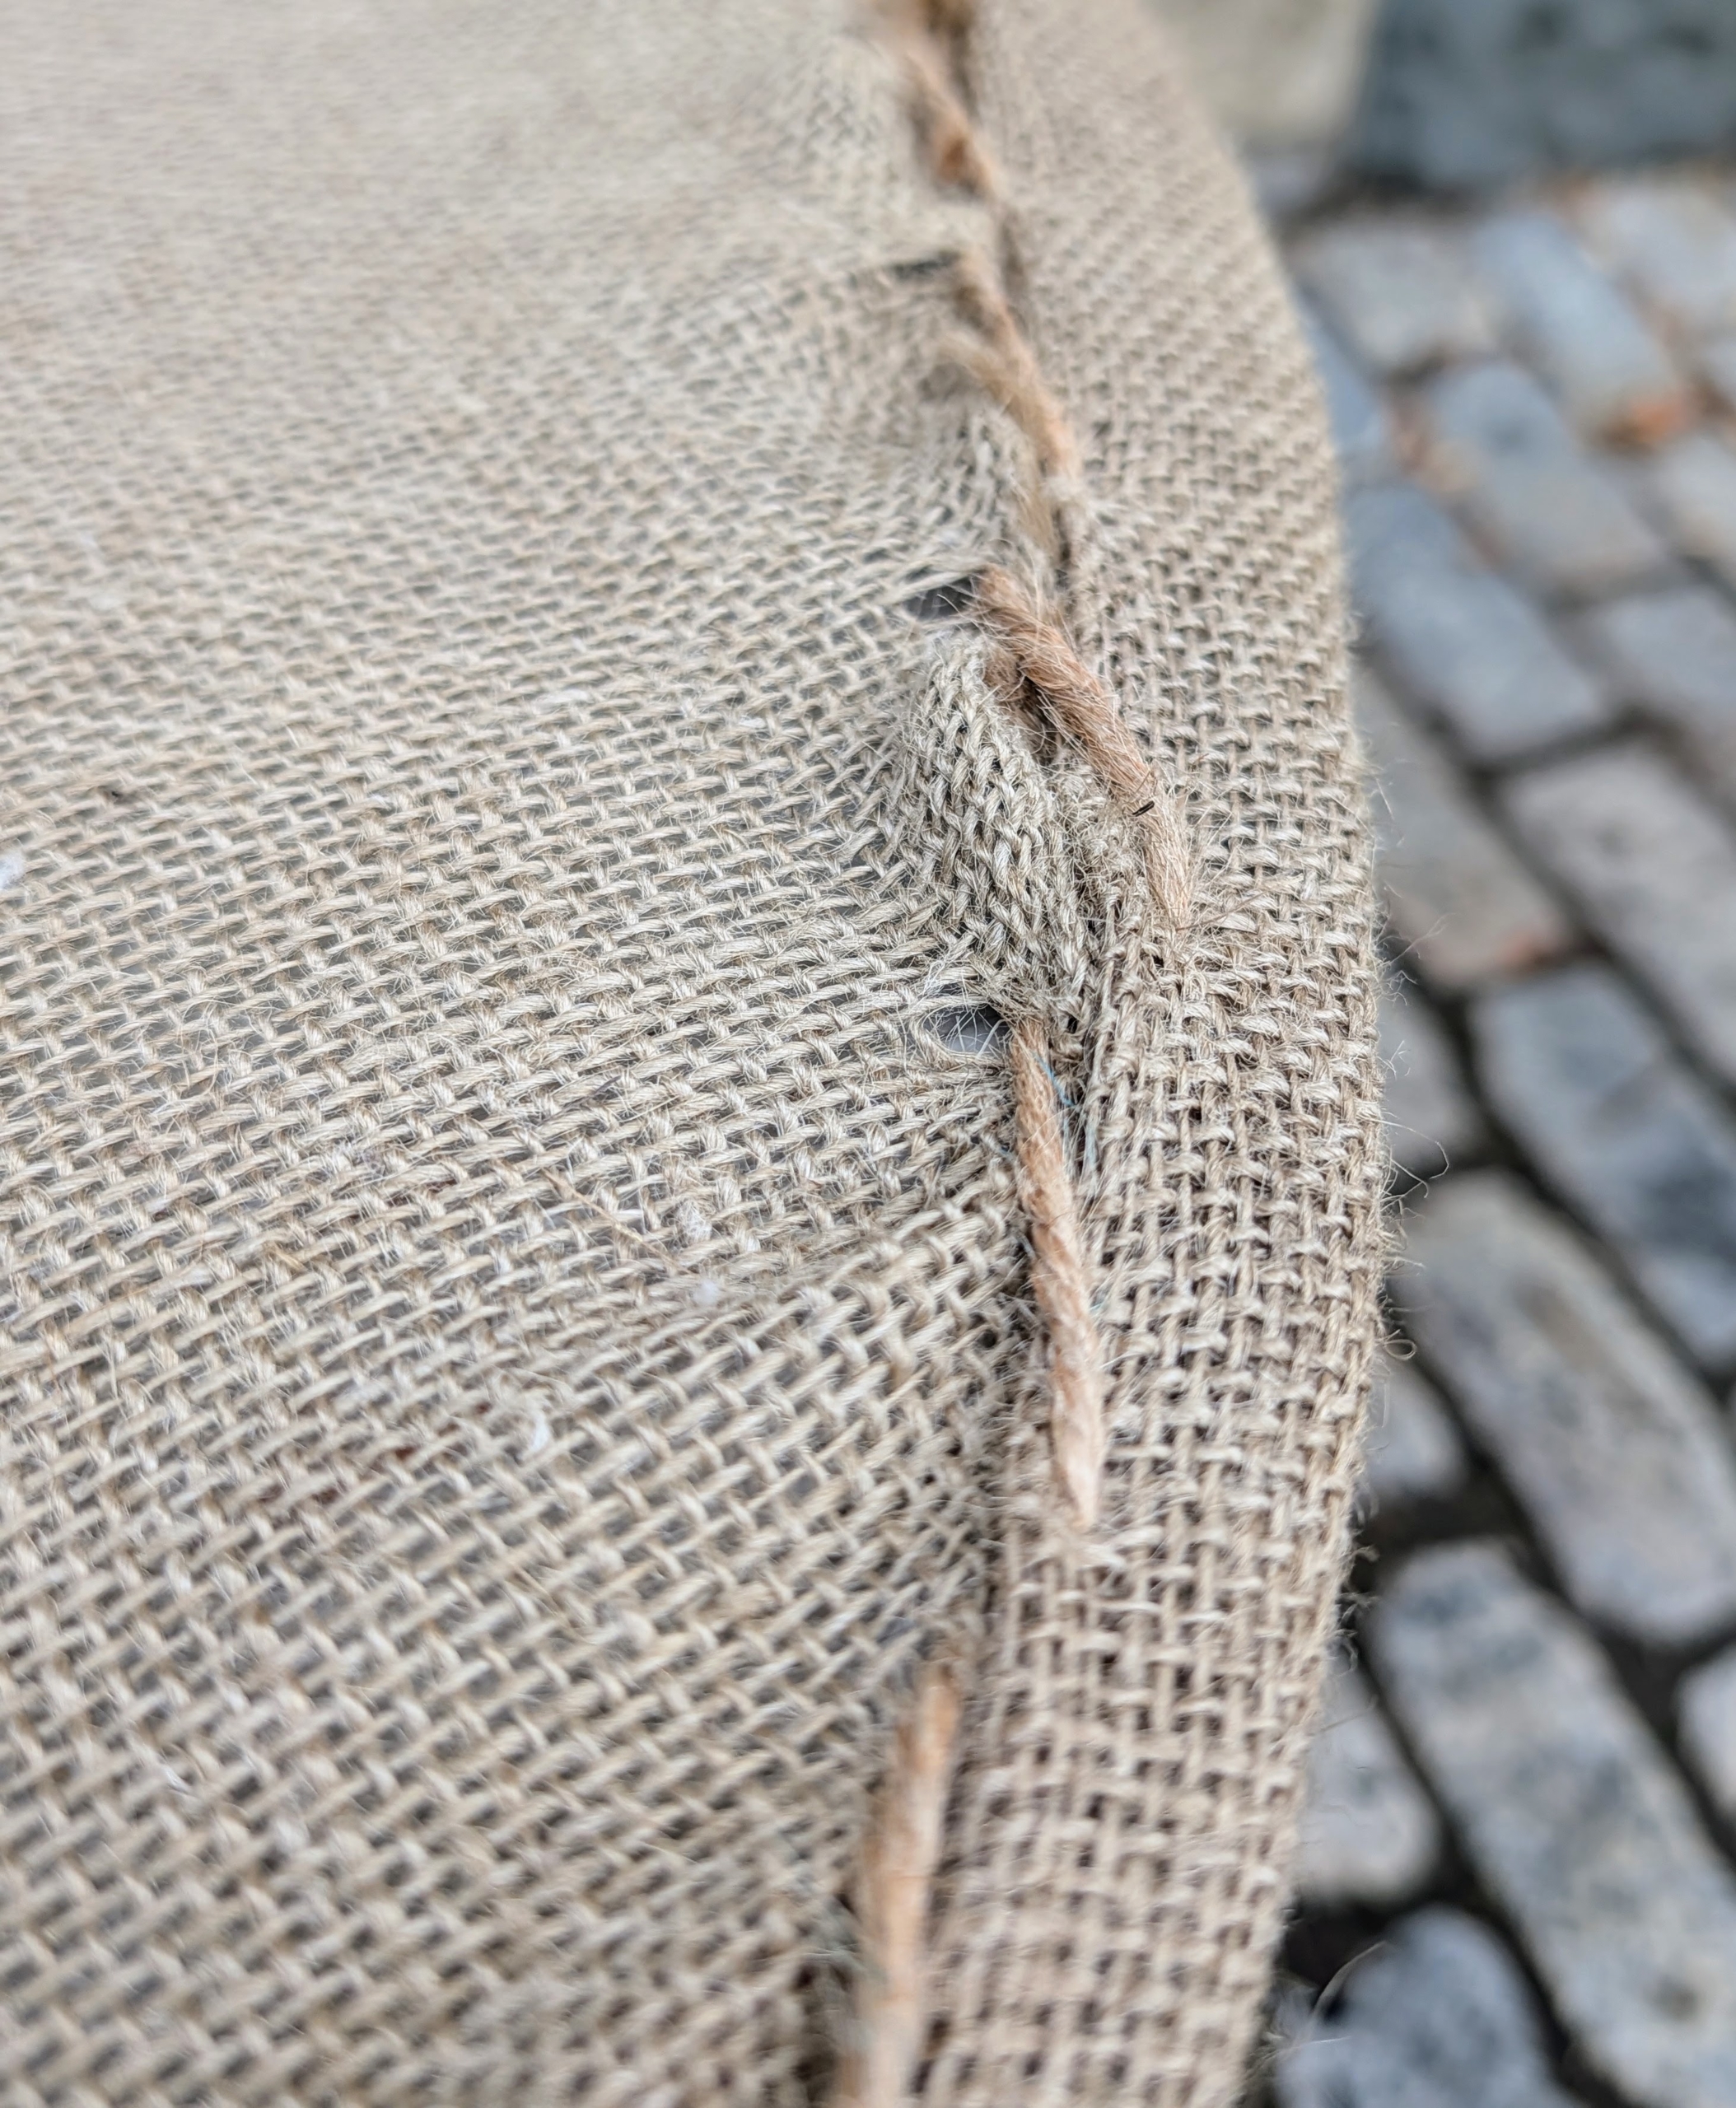
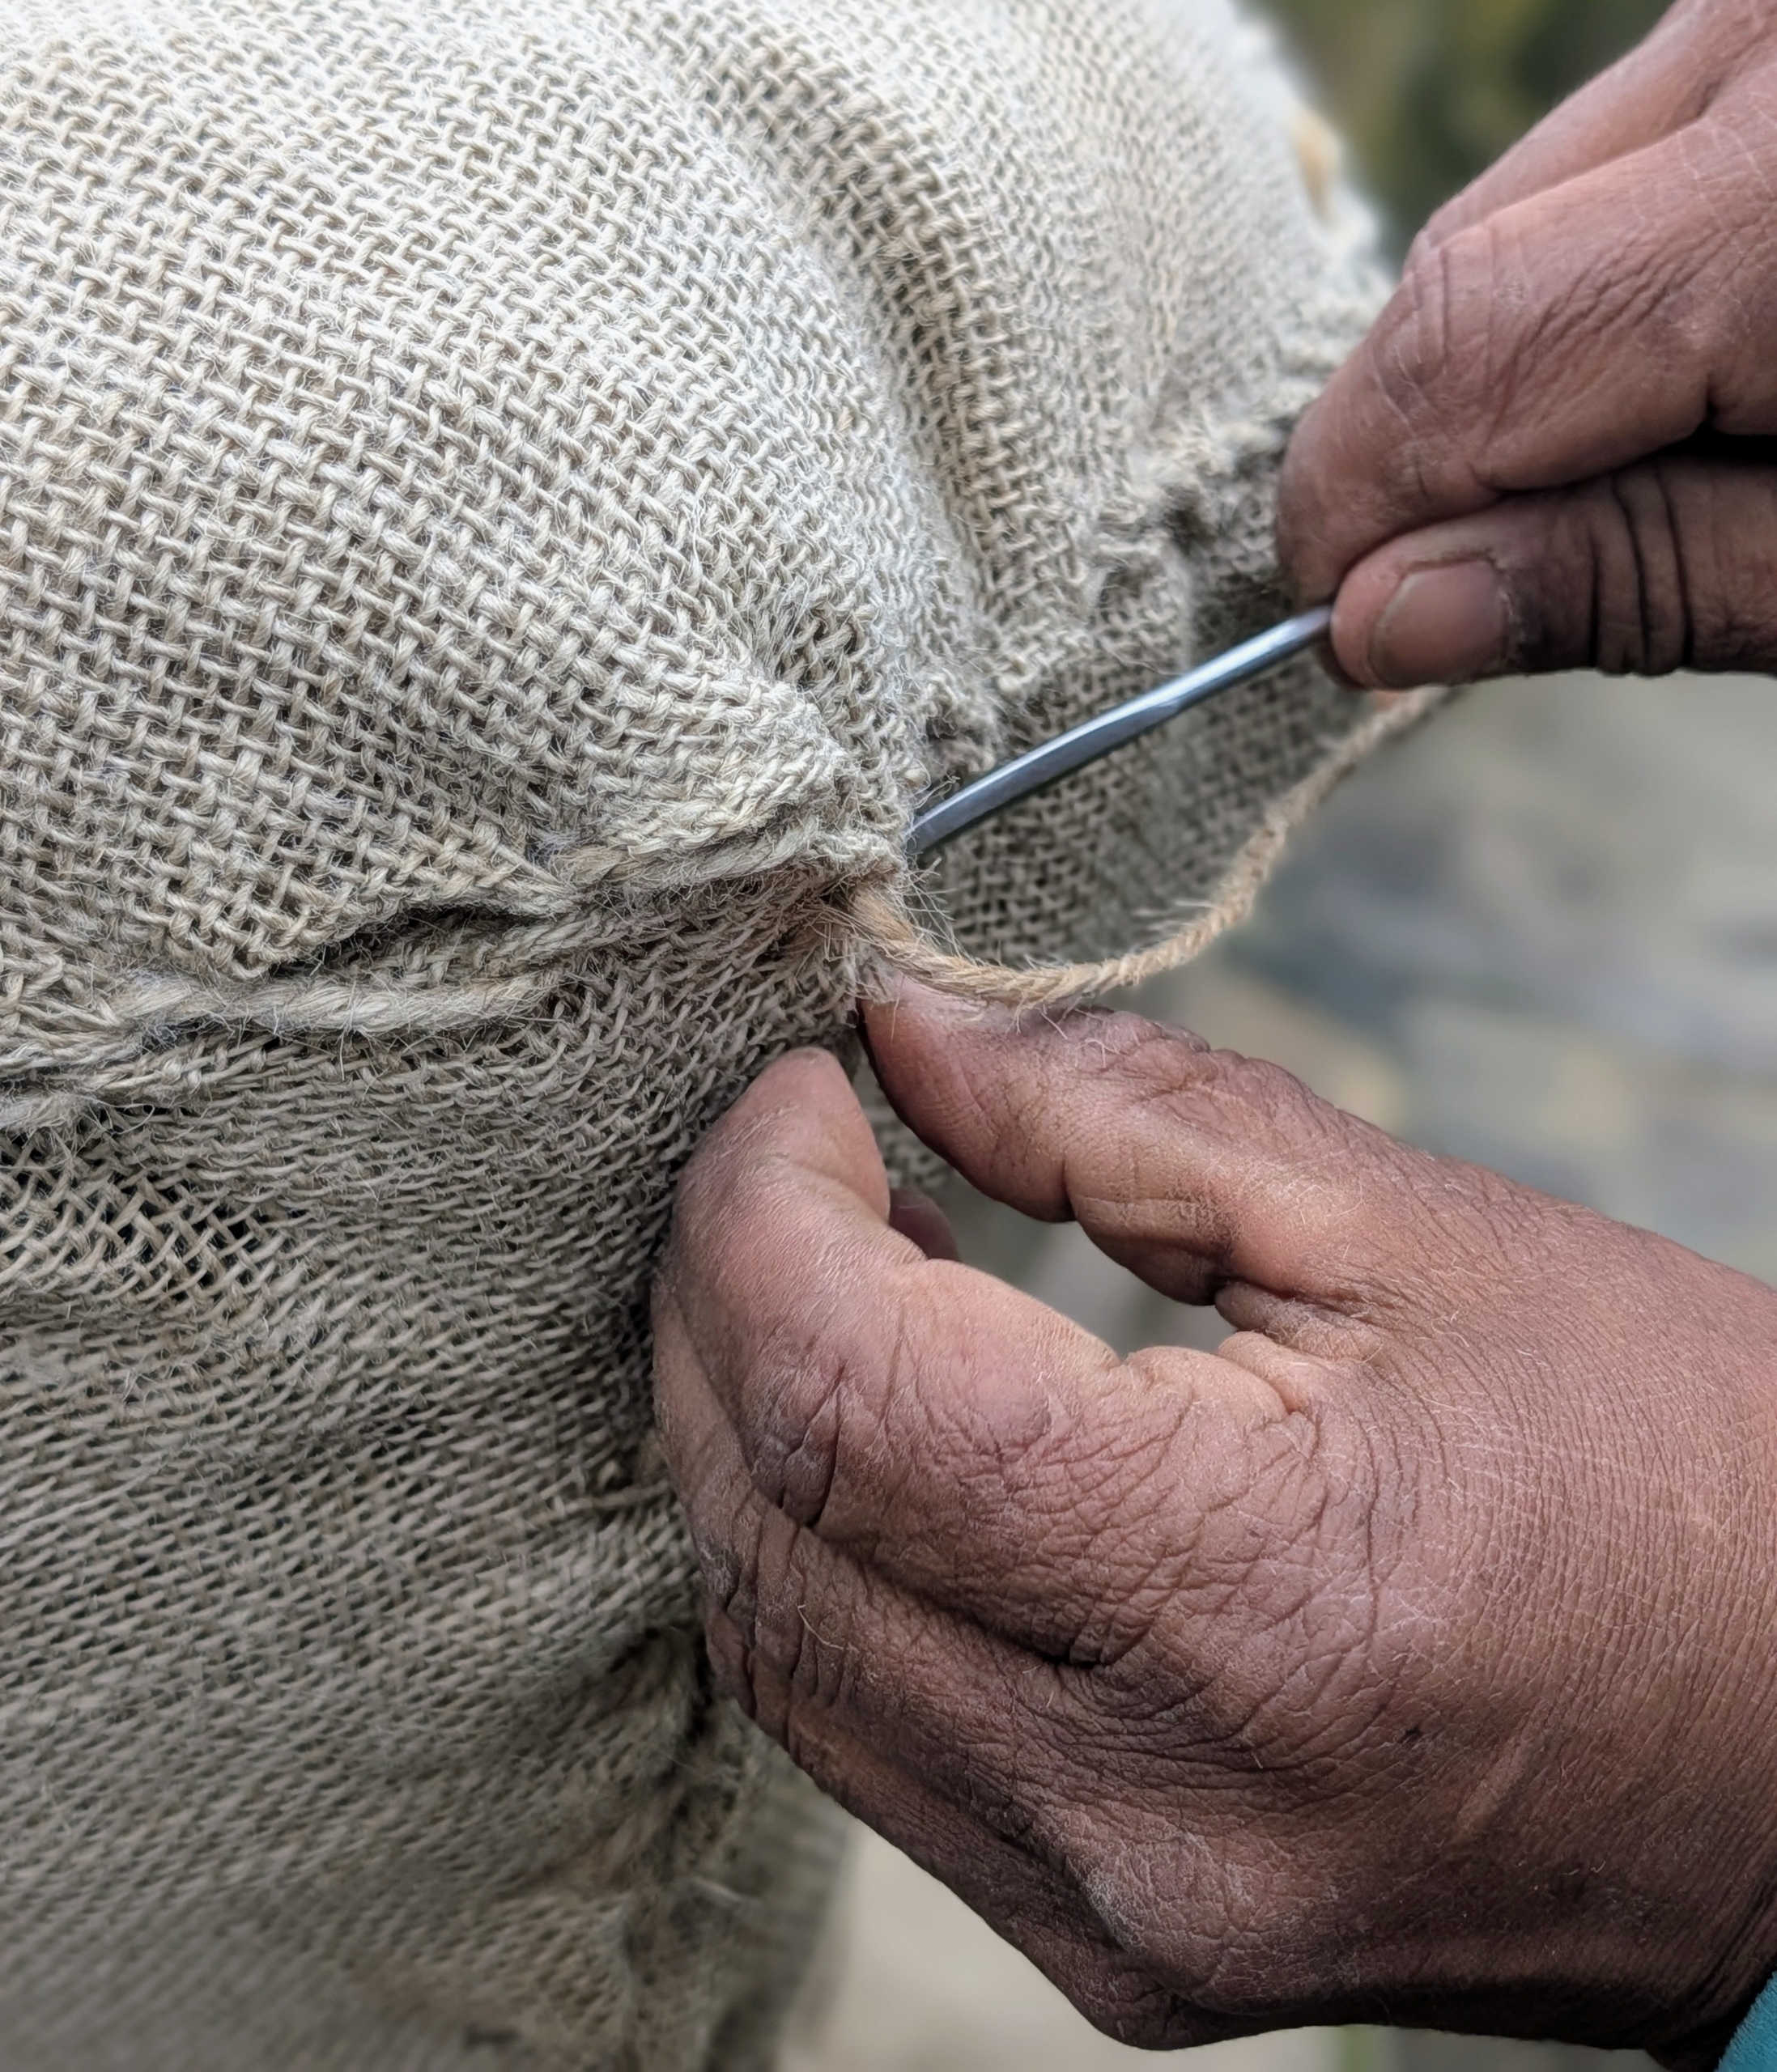
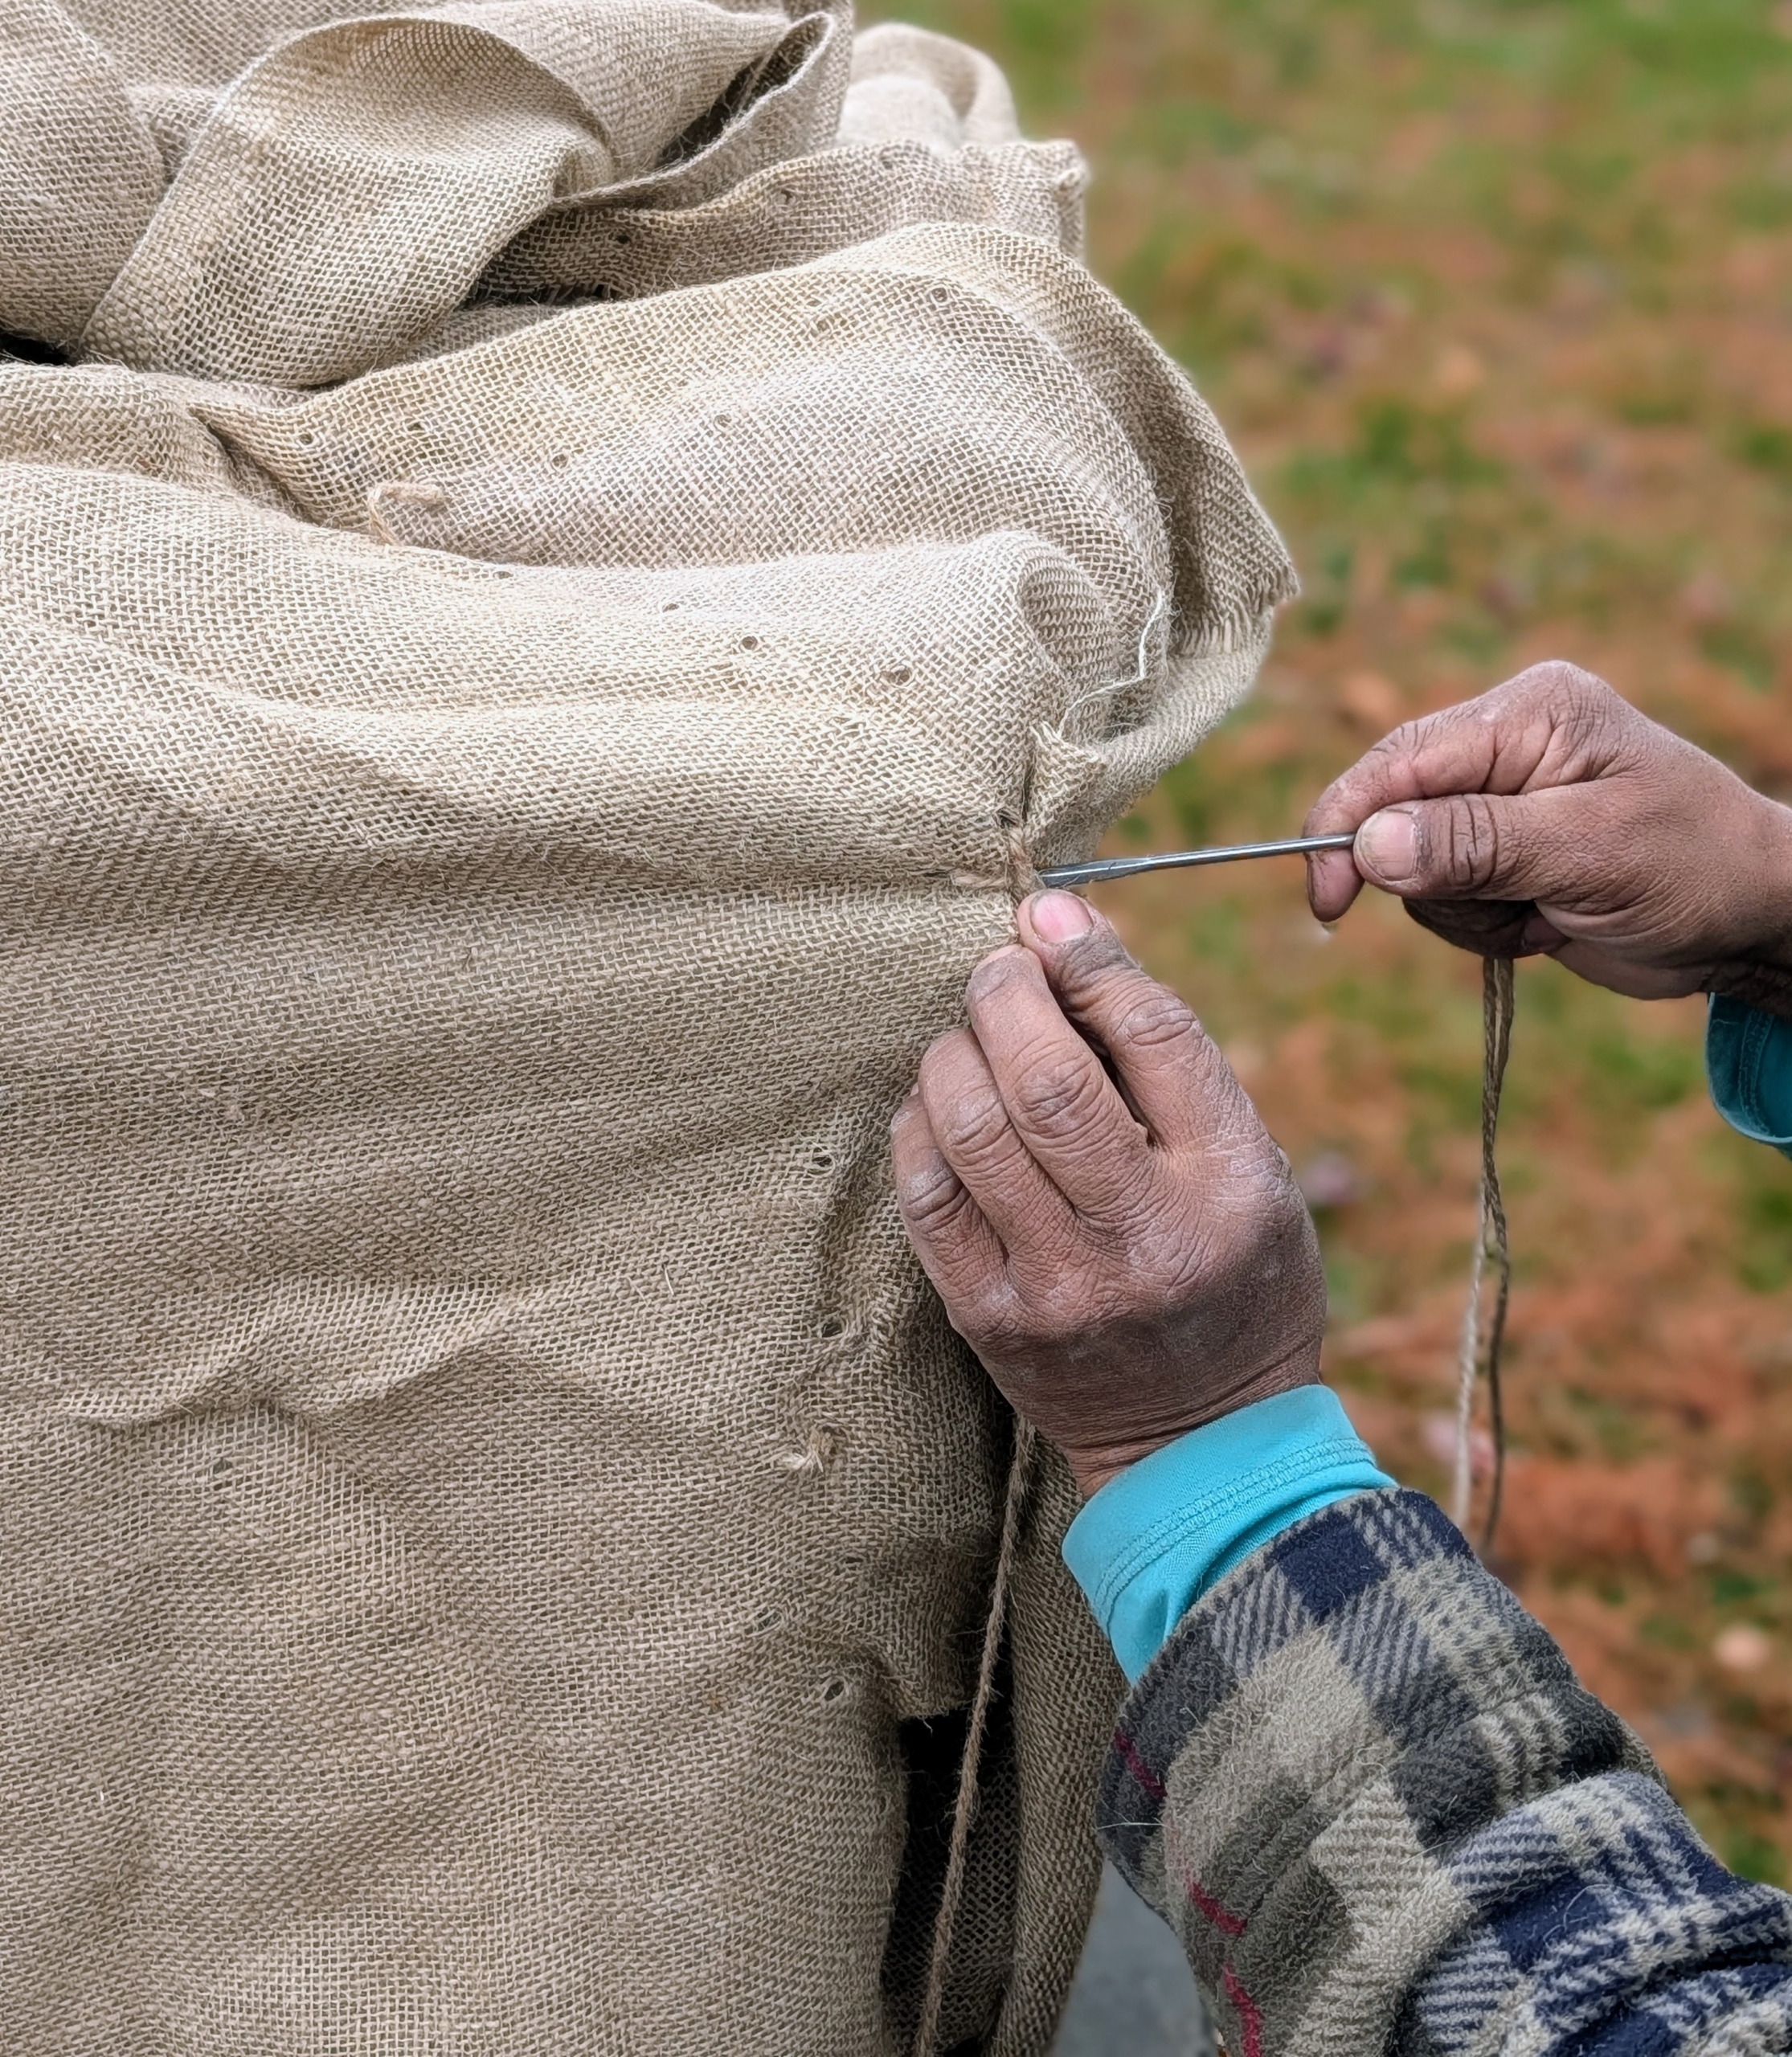
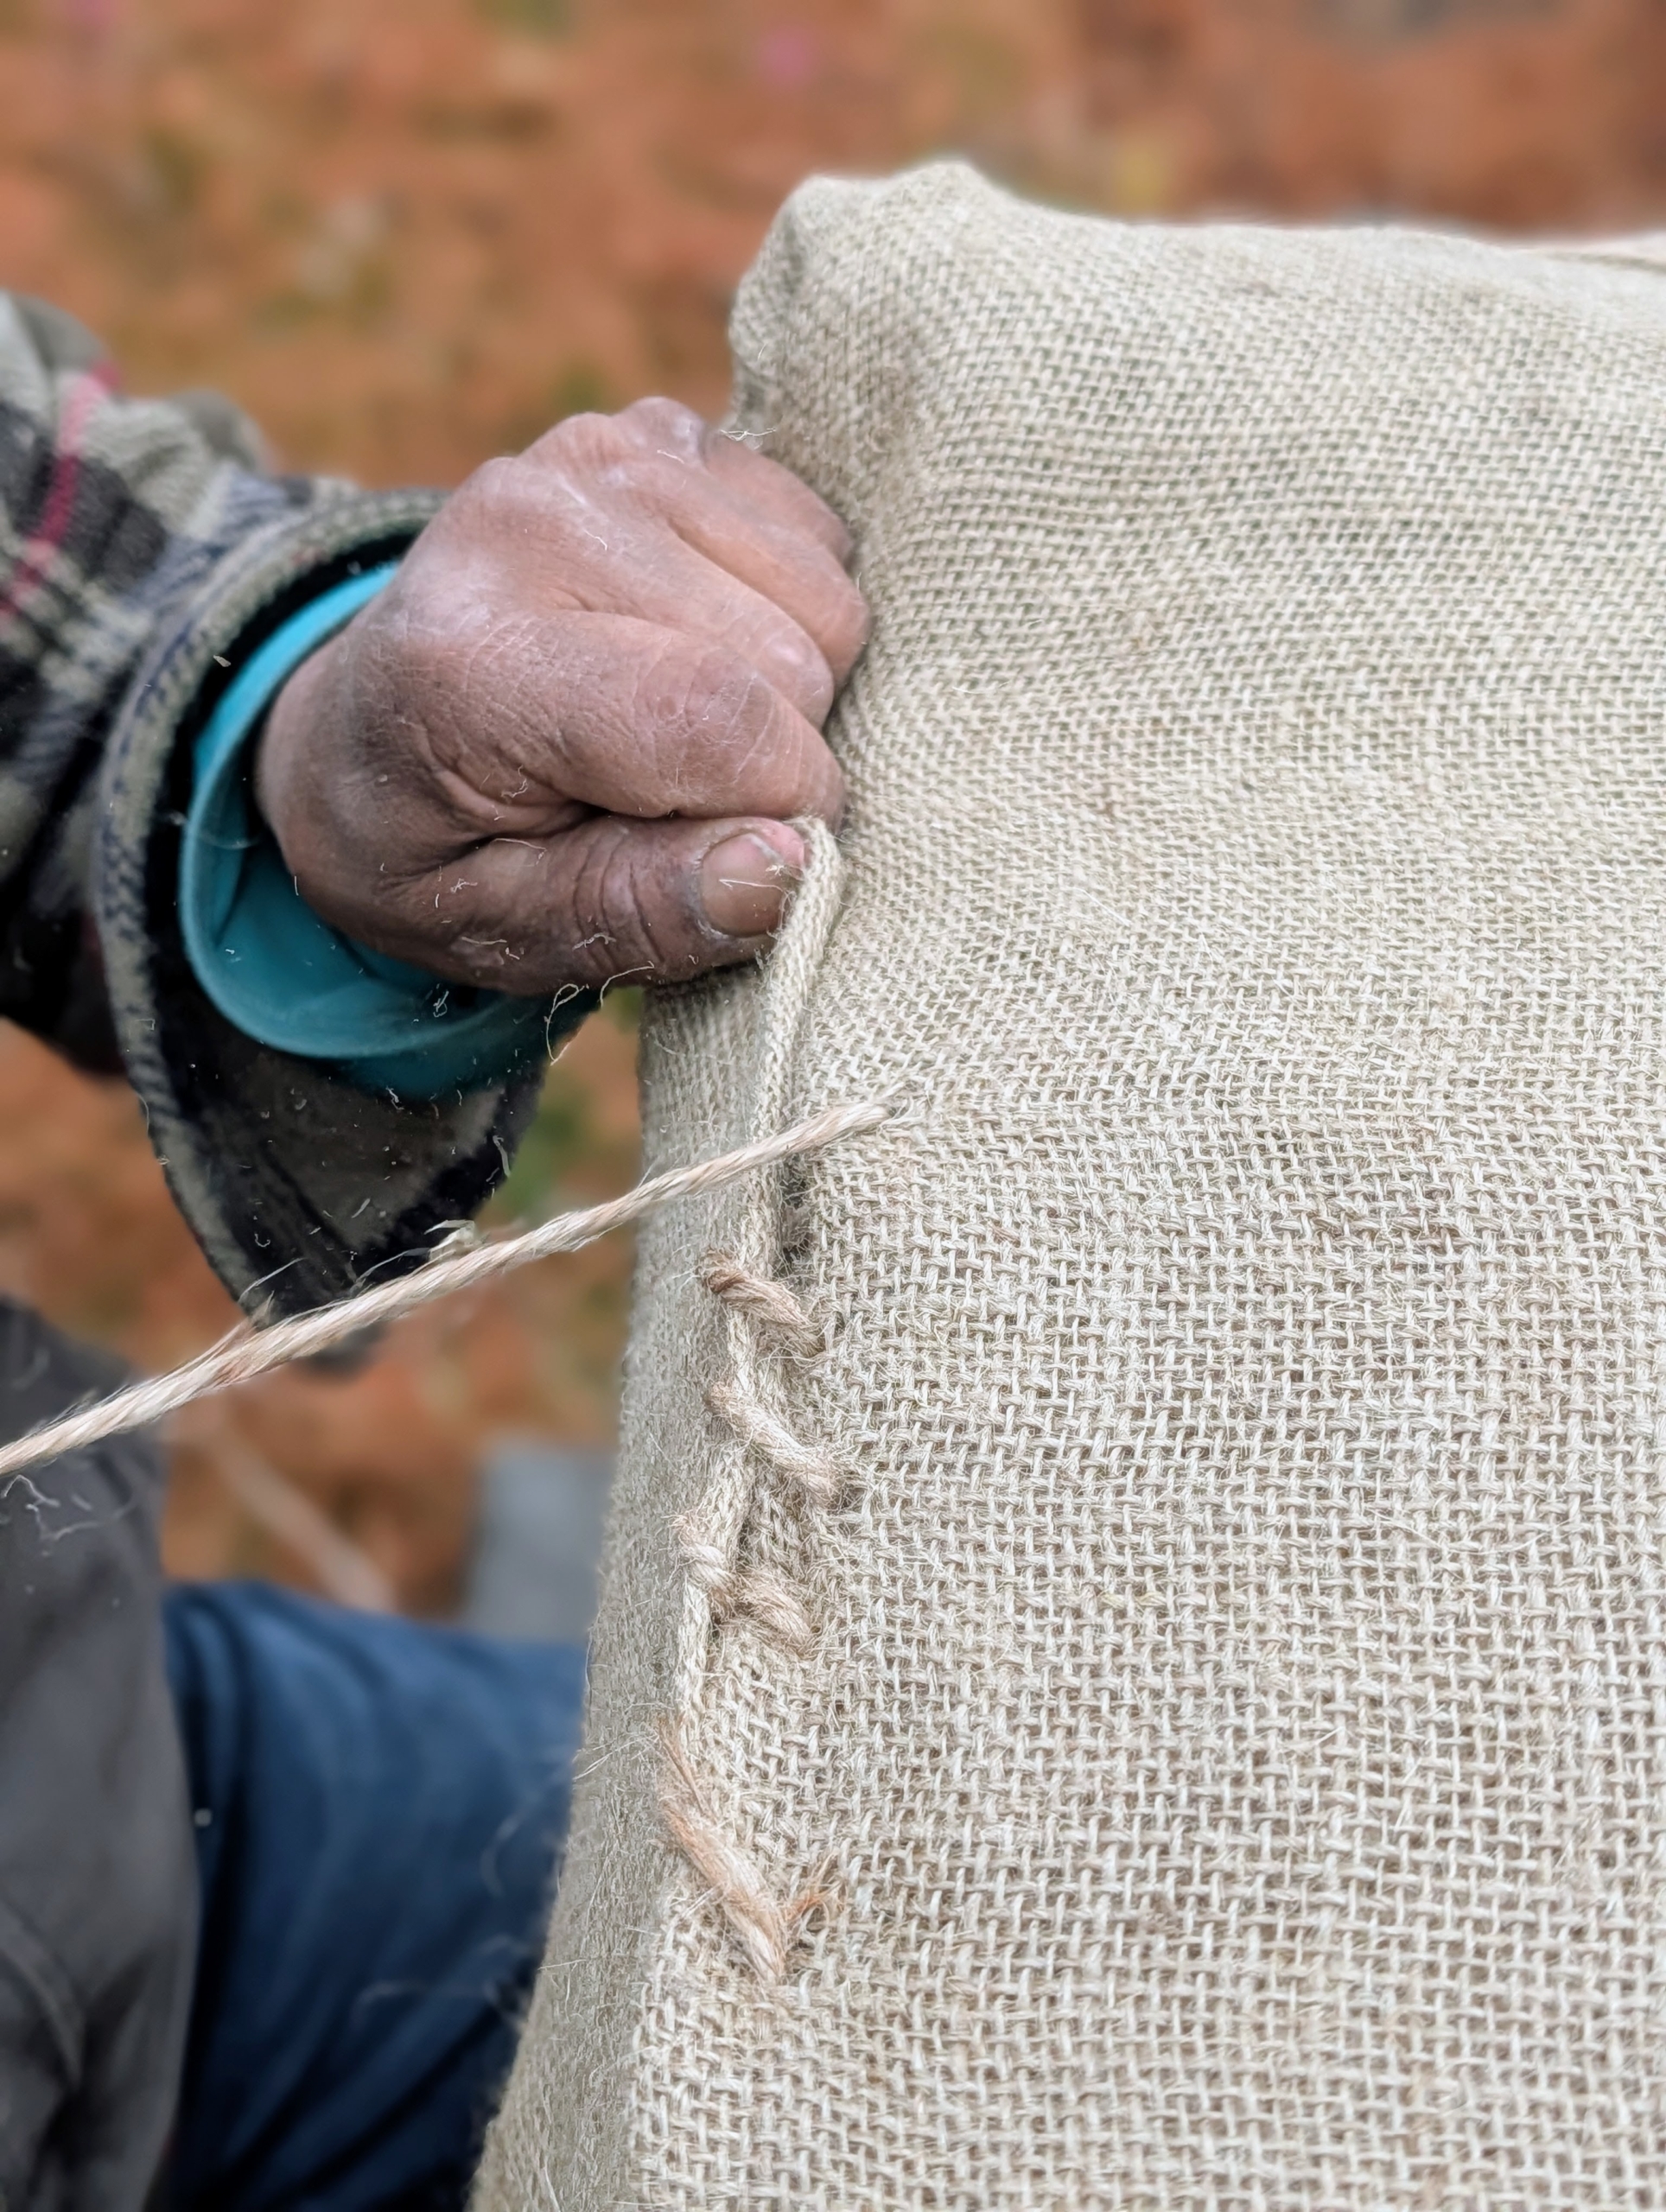
- To sew the burlap, the crew uses jute twine. It is all natural and the same color as the burlap.
-
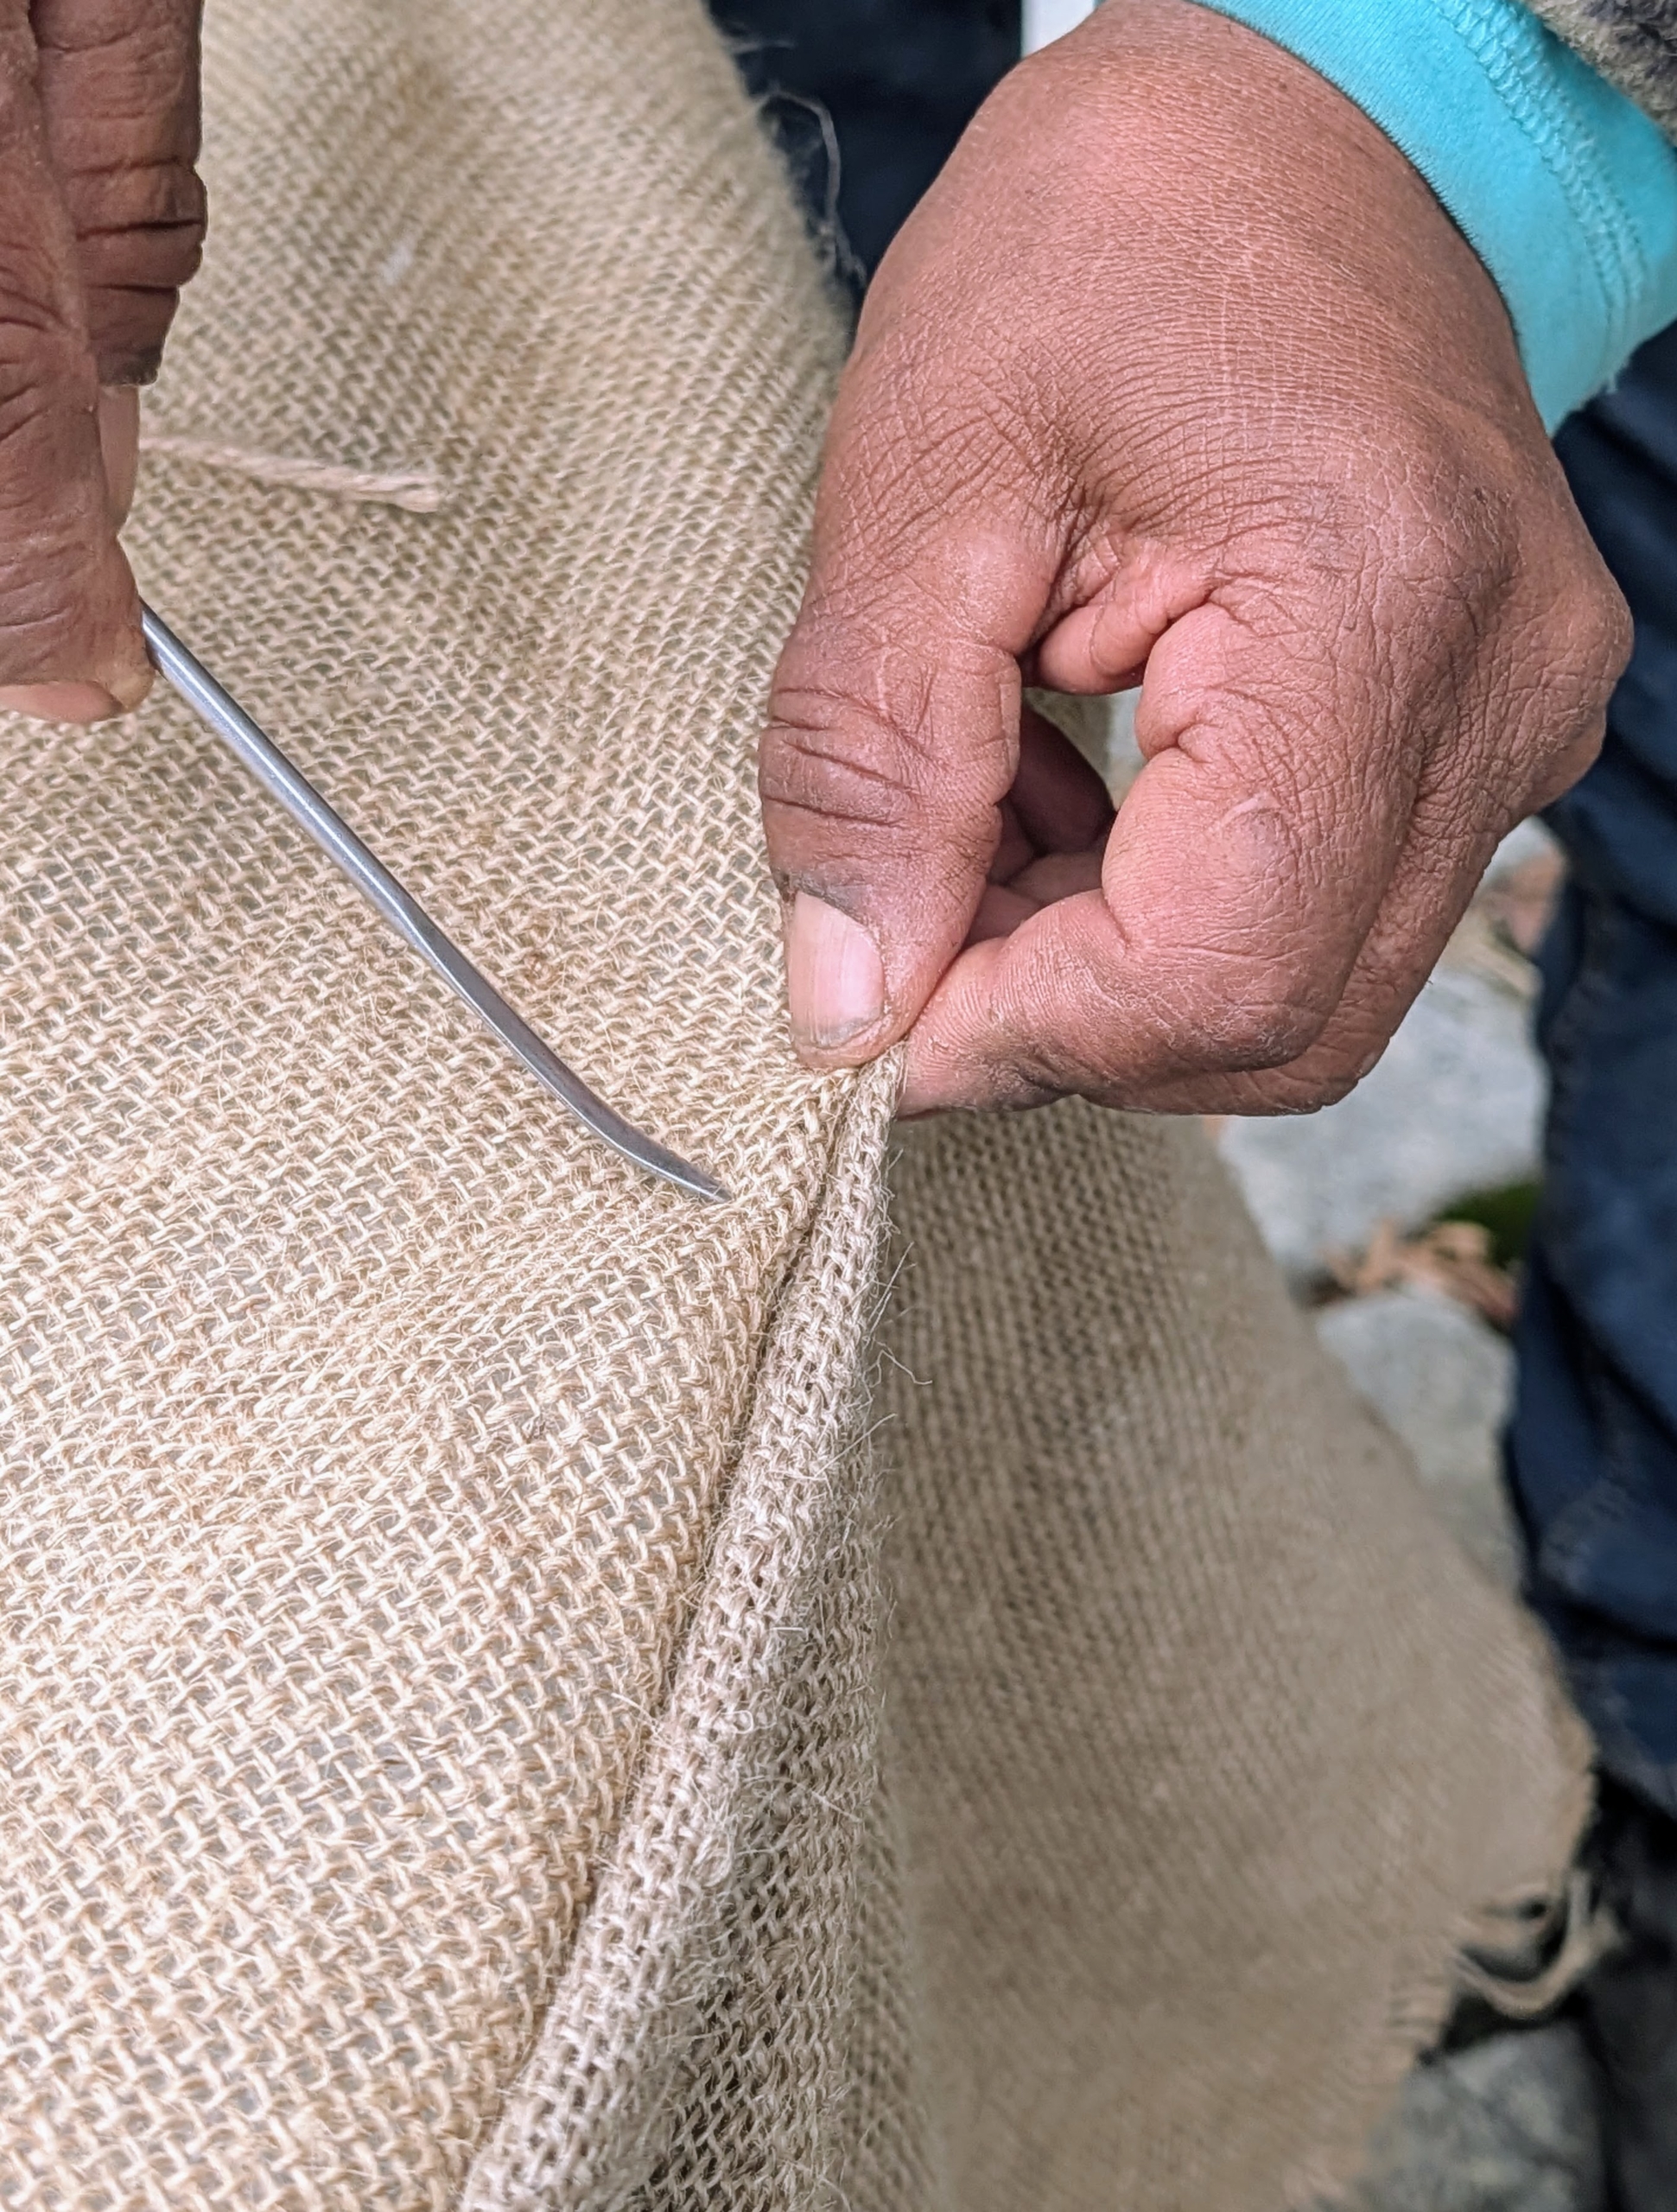
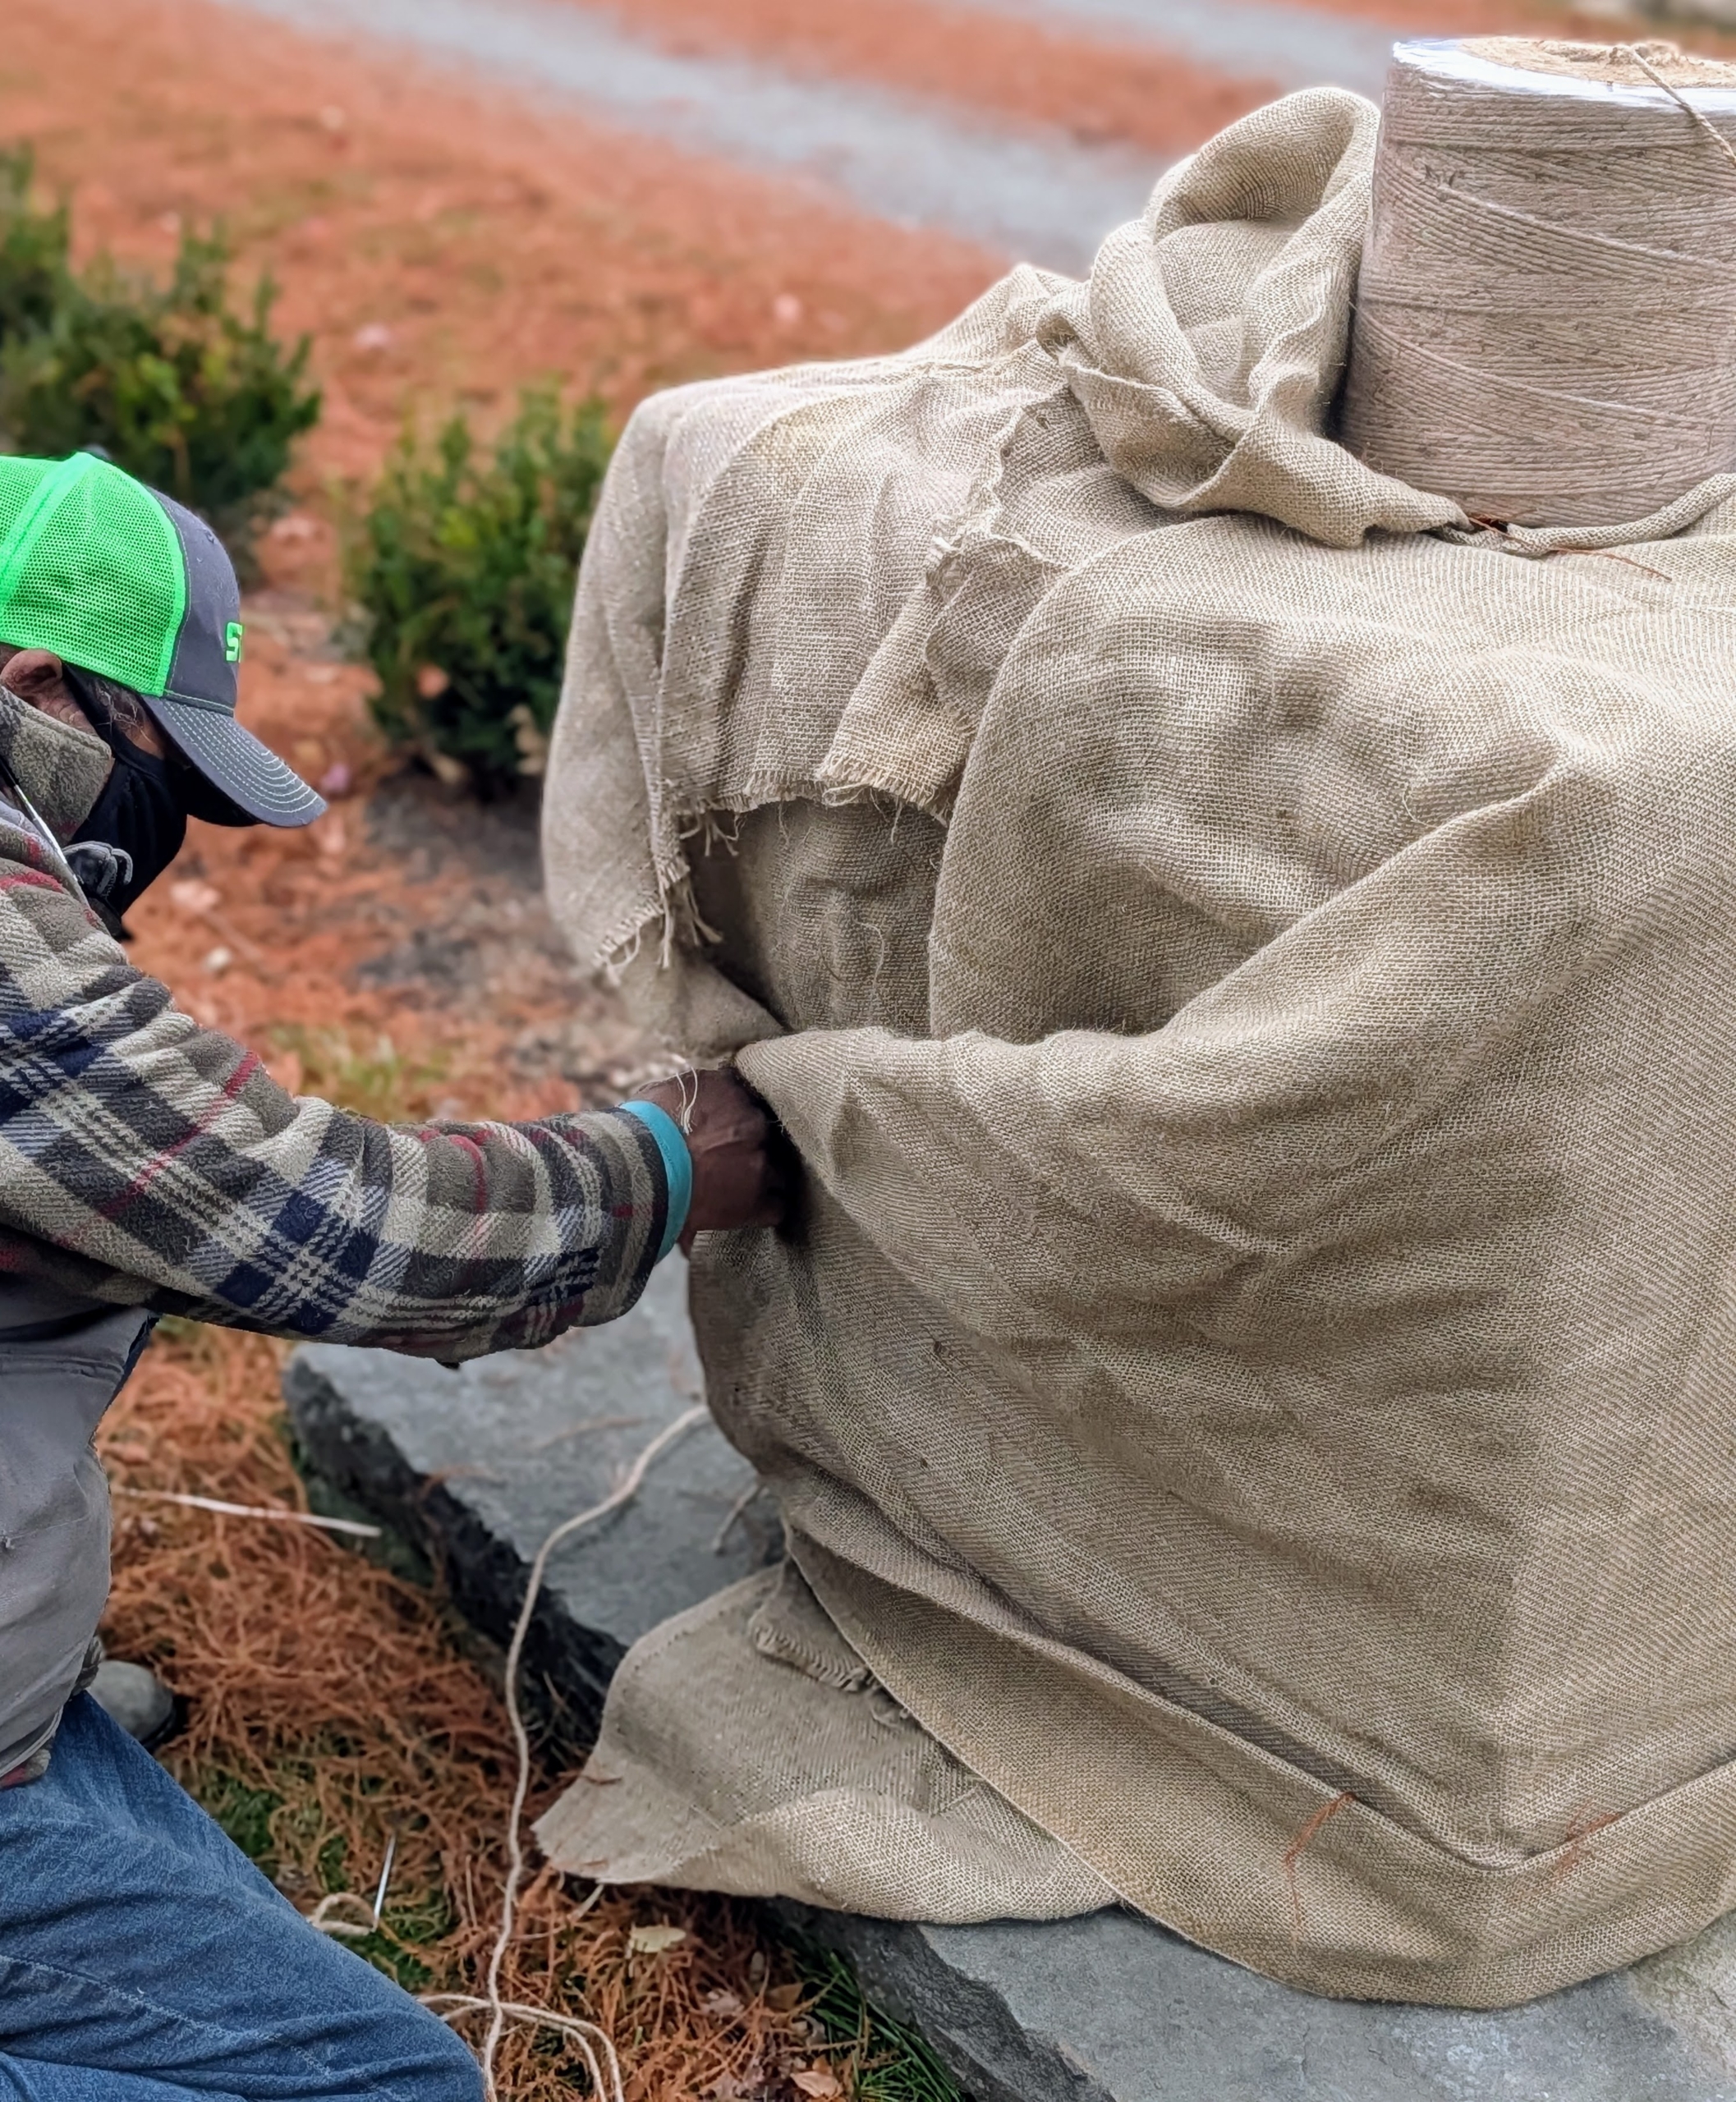
- These needles are specially designed for sewing jute. These five-inch long needles have large eyes and bent tips. Every member of my outdoor grounds crew has a needle. Pete stitches the top of the fabric together pulling the burlap snug.
-
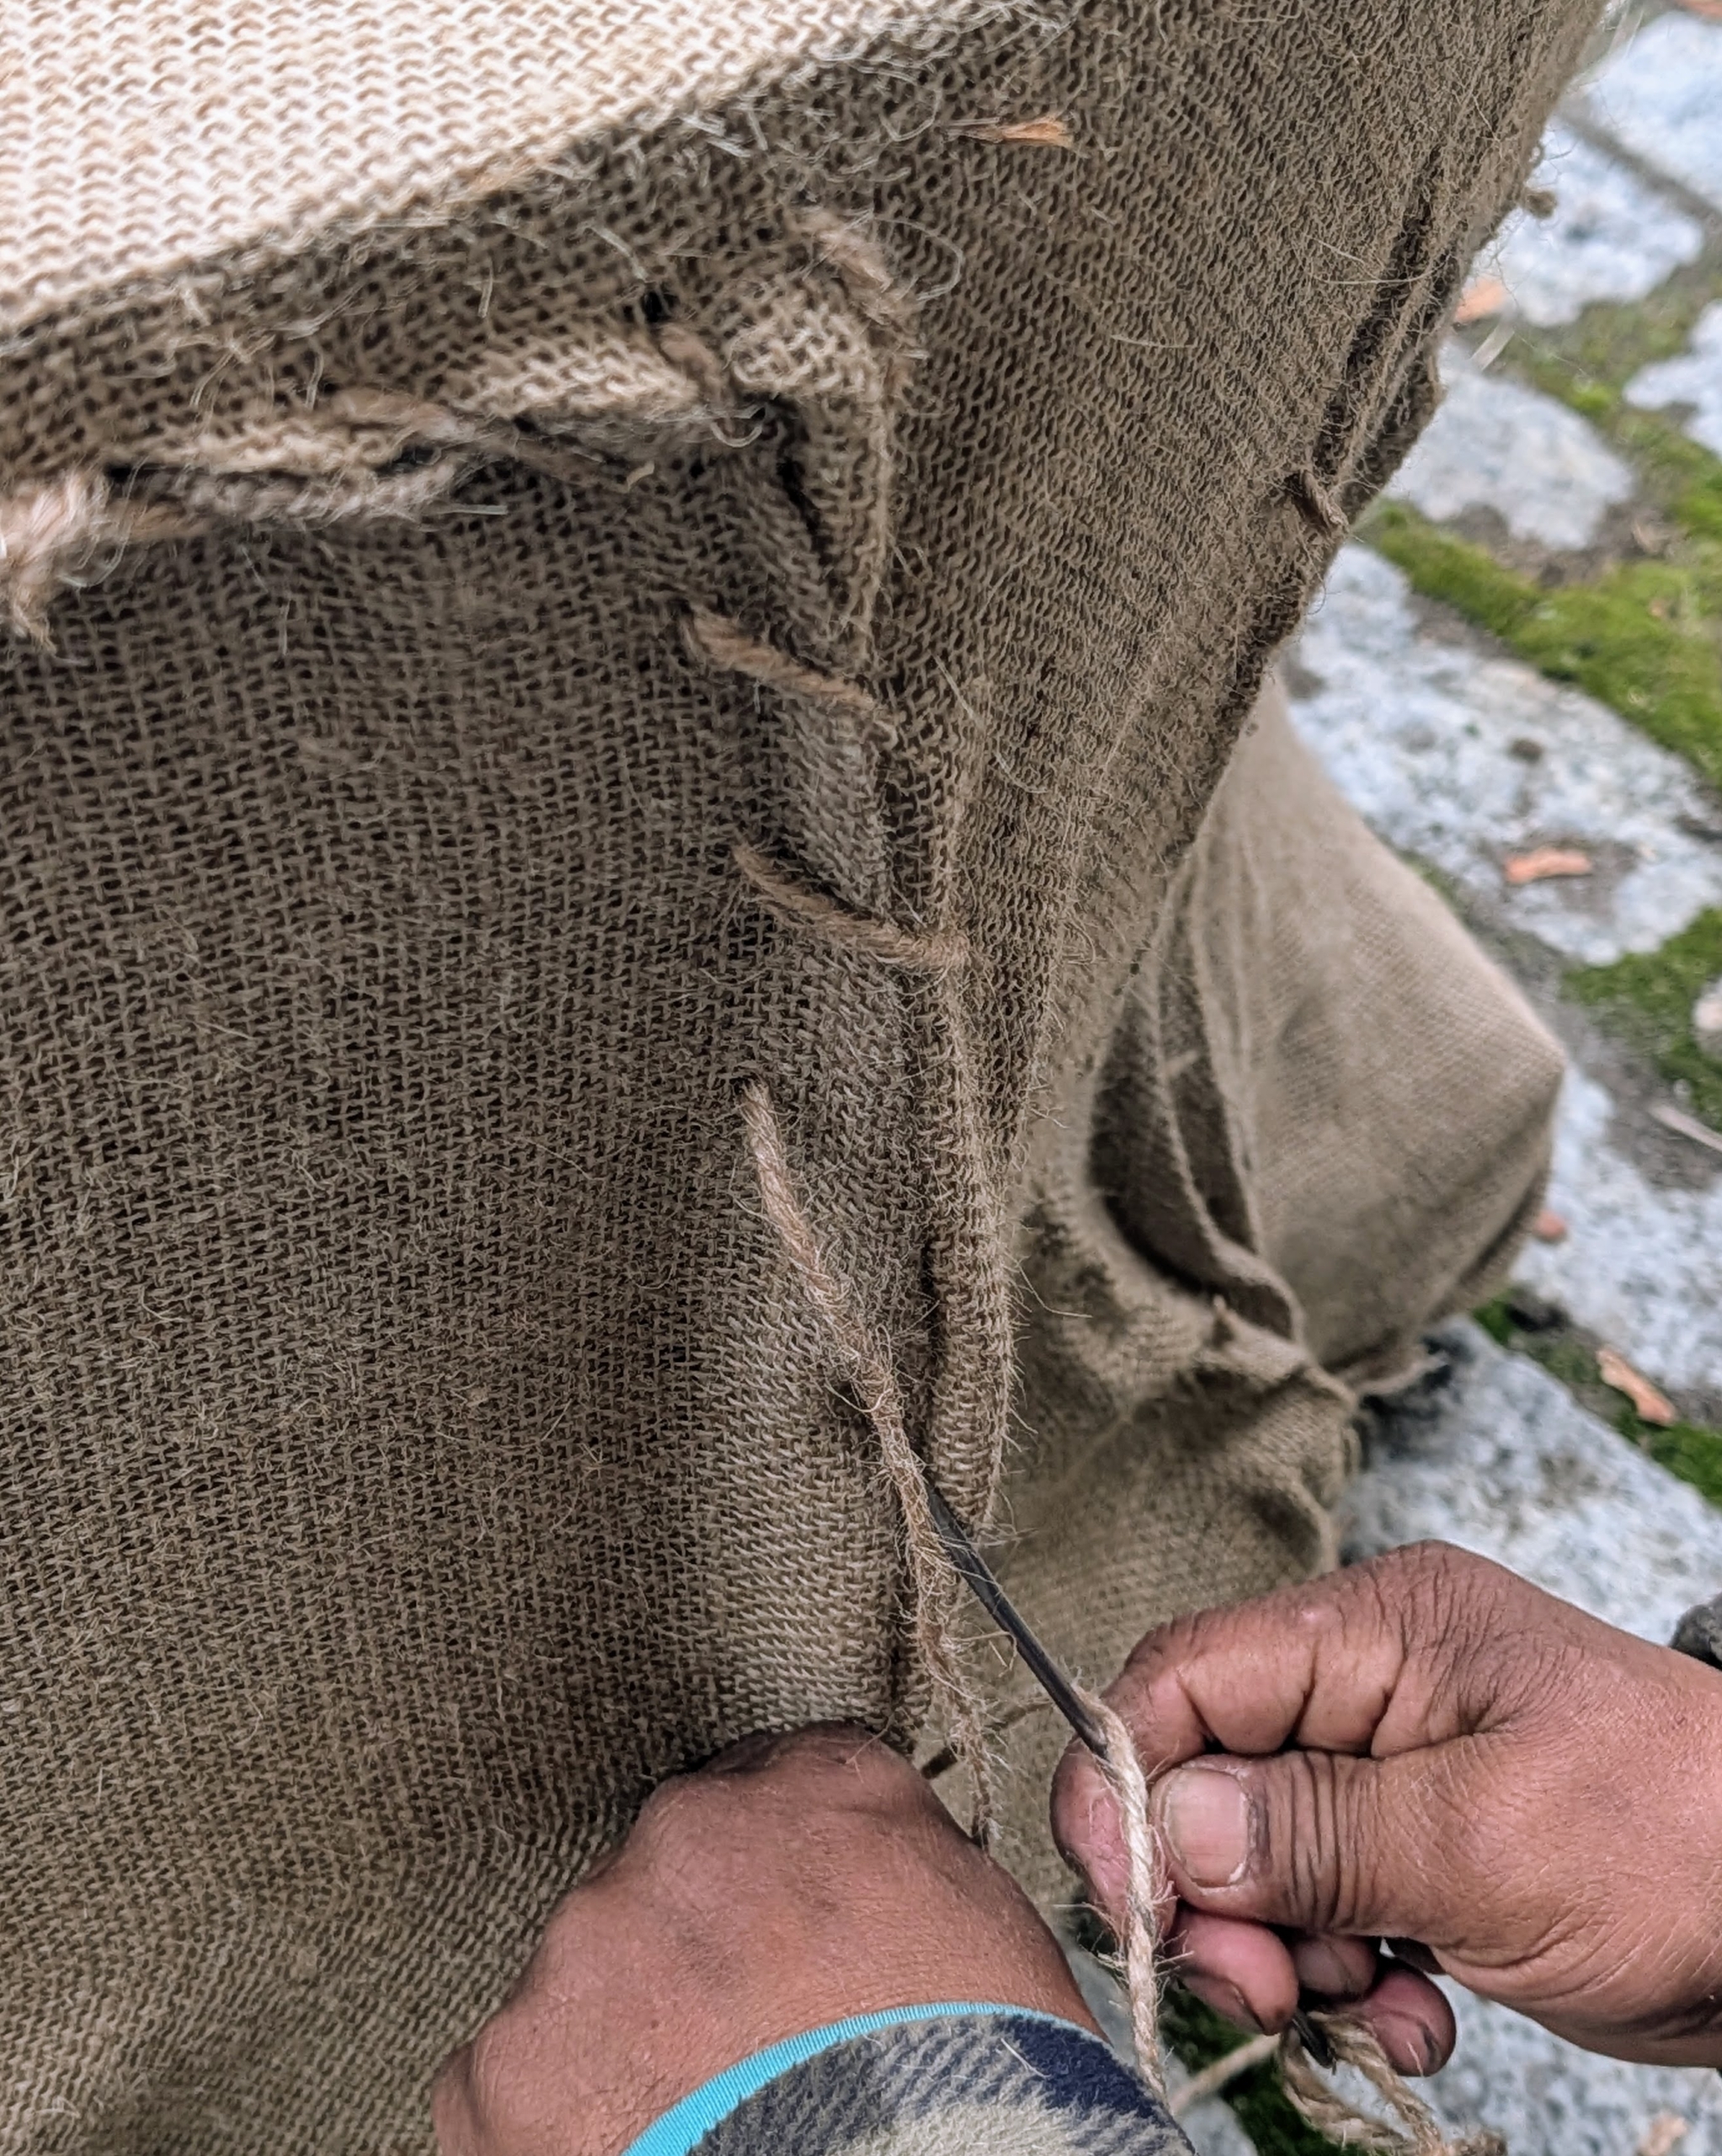
- Then he sews the opening closed. There is a lot of tucking involved to make it neat, and a lot of stitching and knotting, but my crew has been covering these pieces with burlap every year for quite some time – they are all excellent burlap sewers.
-
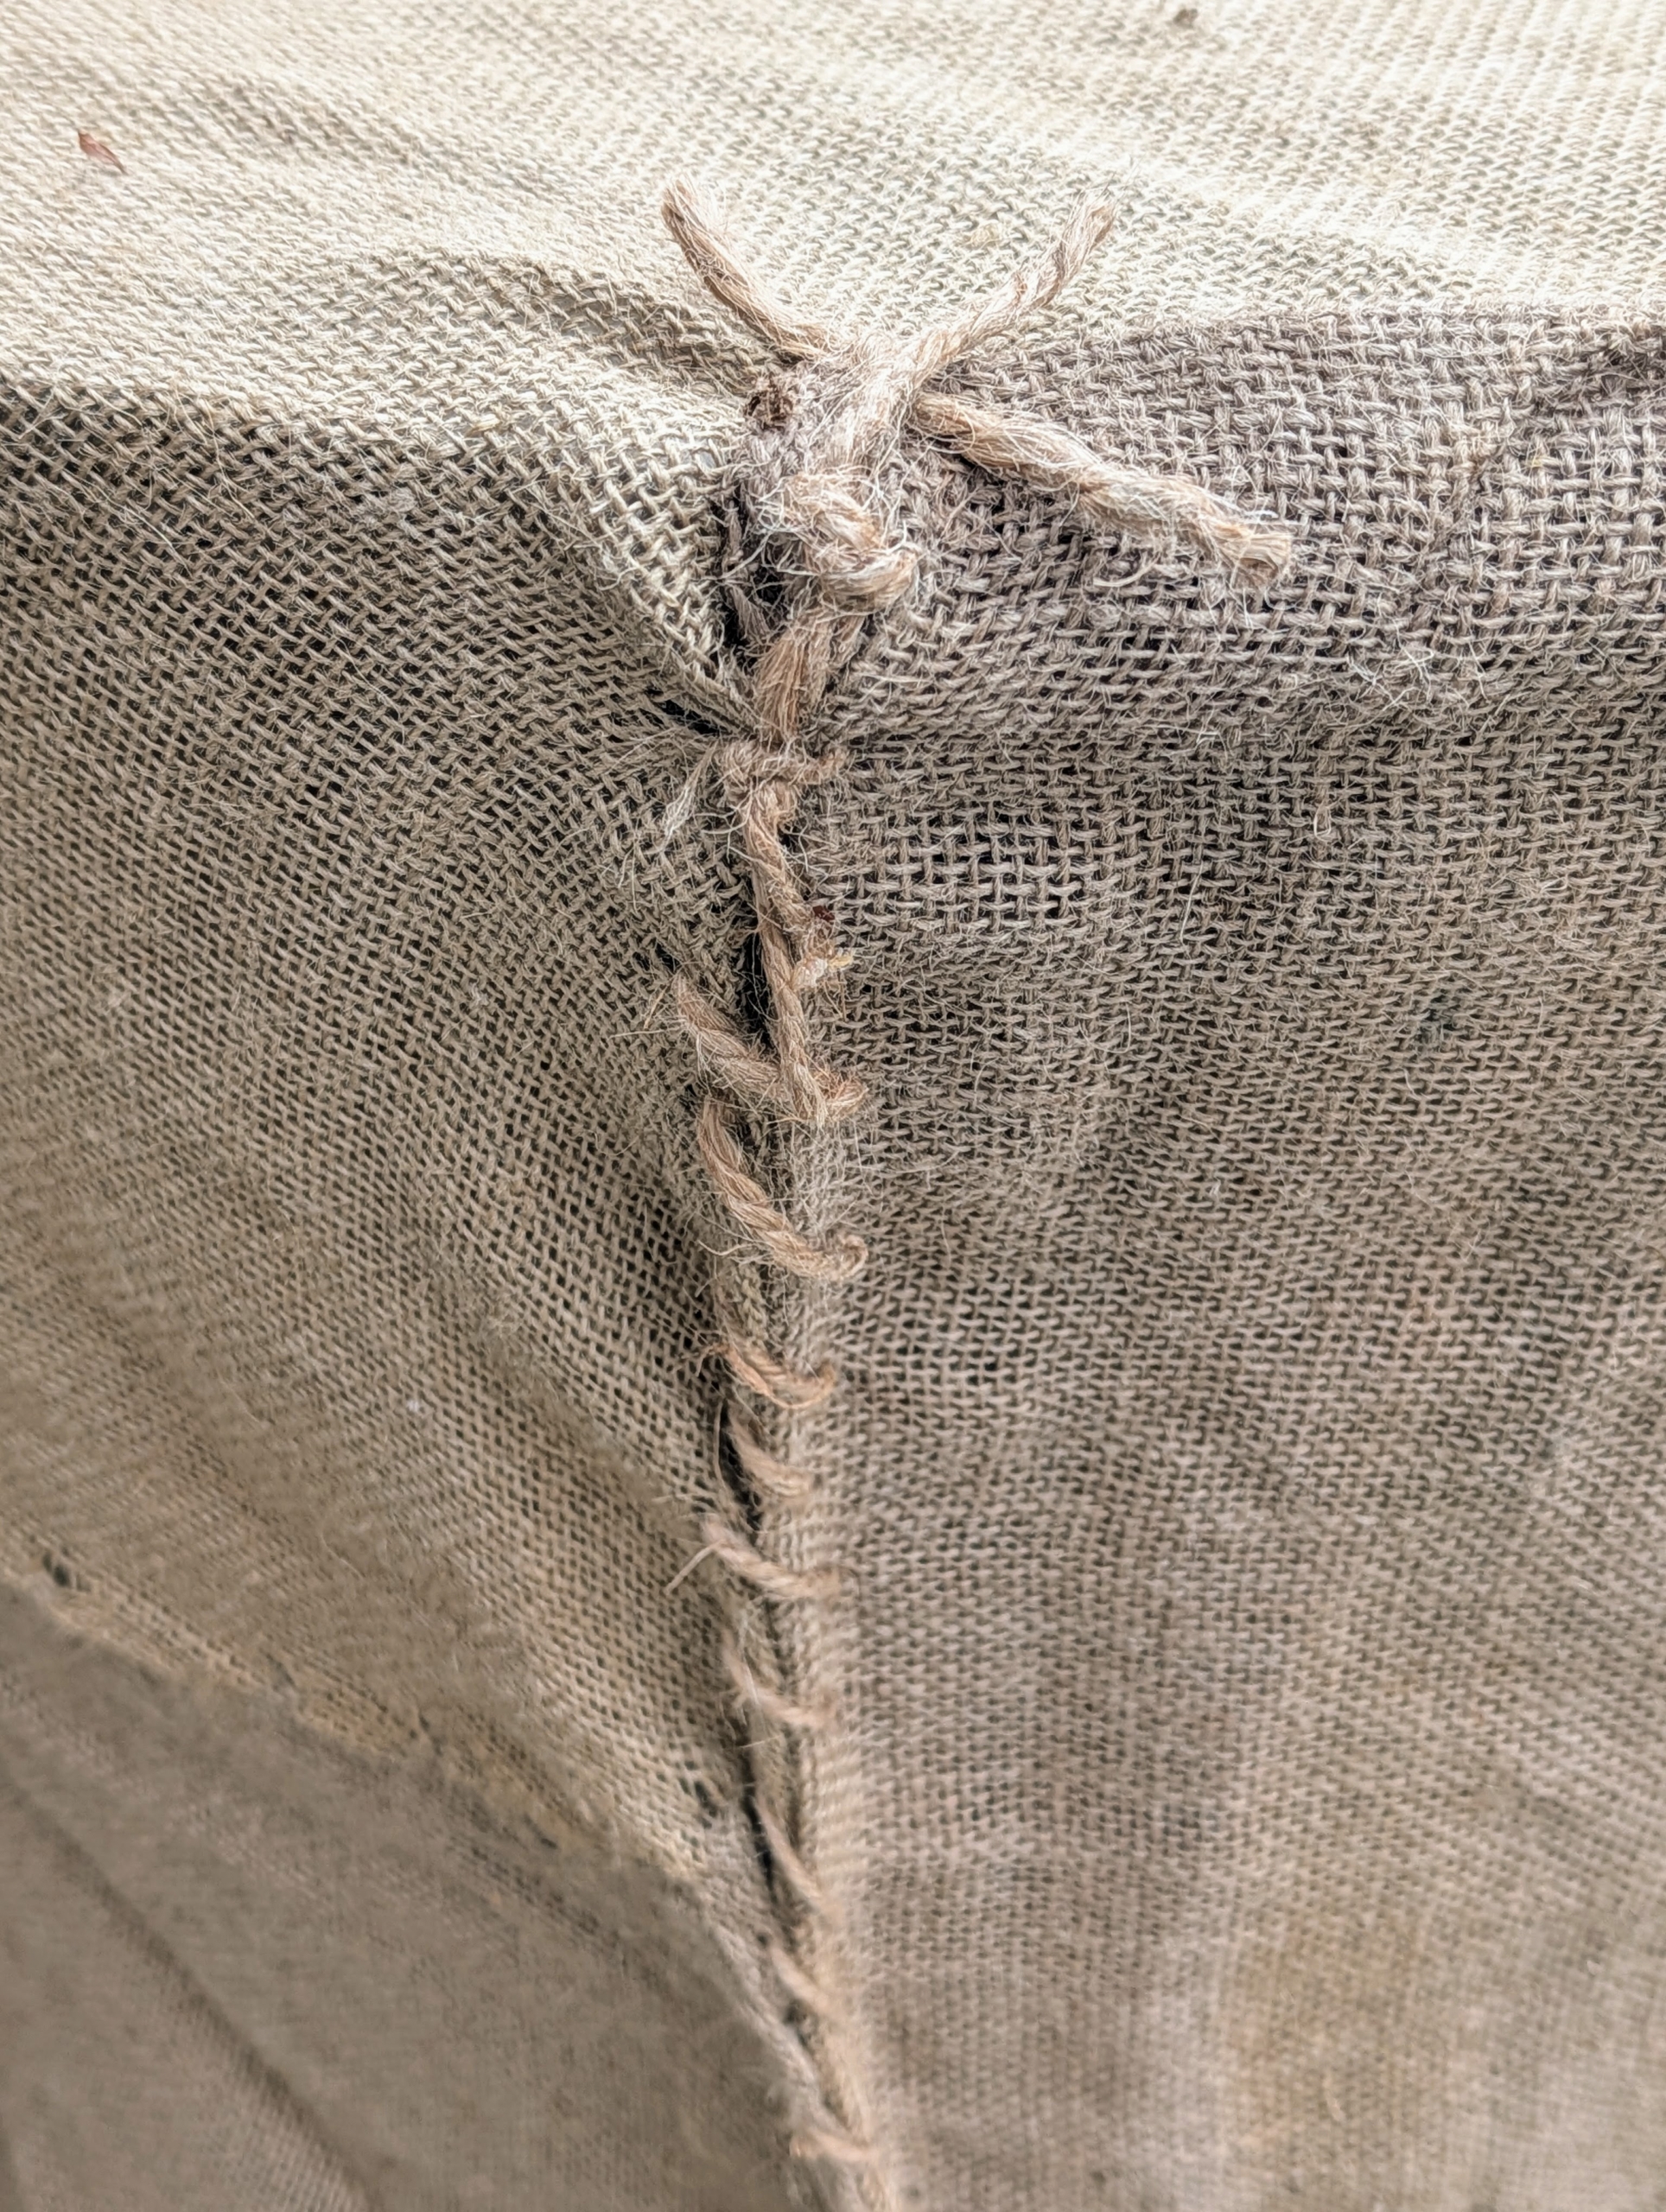
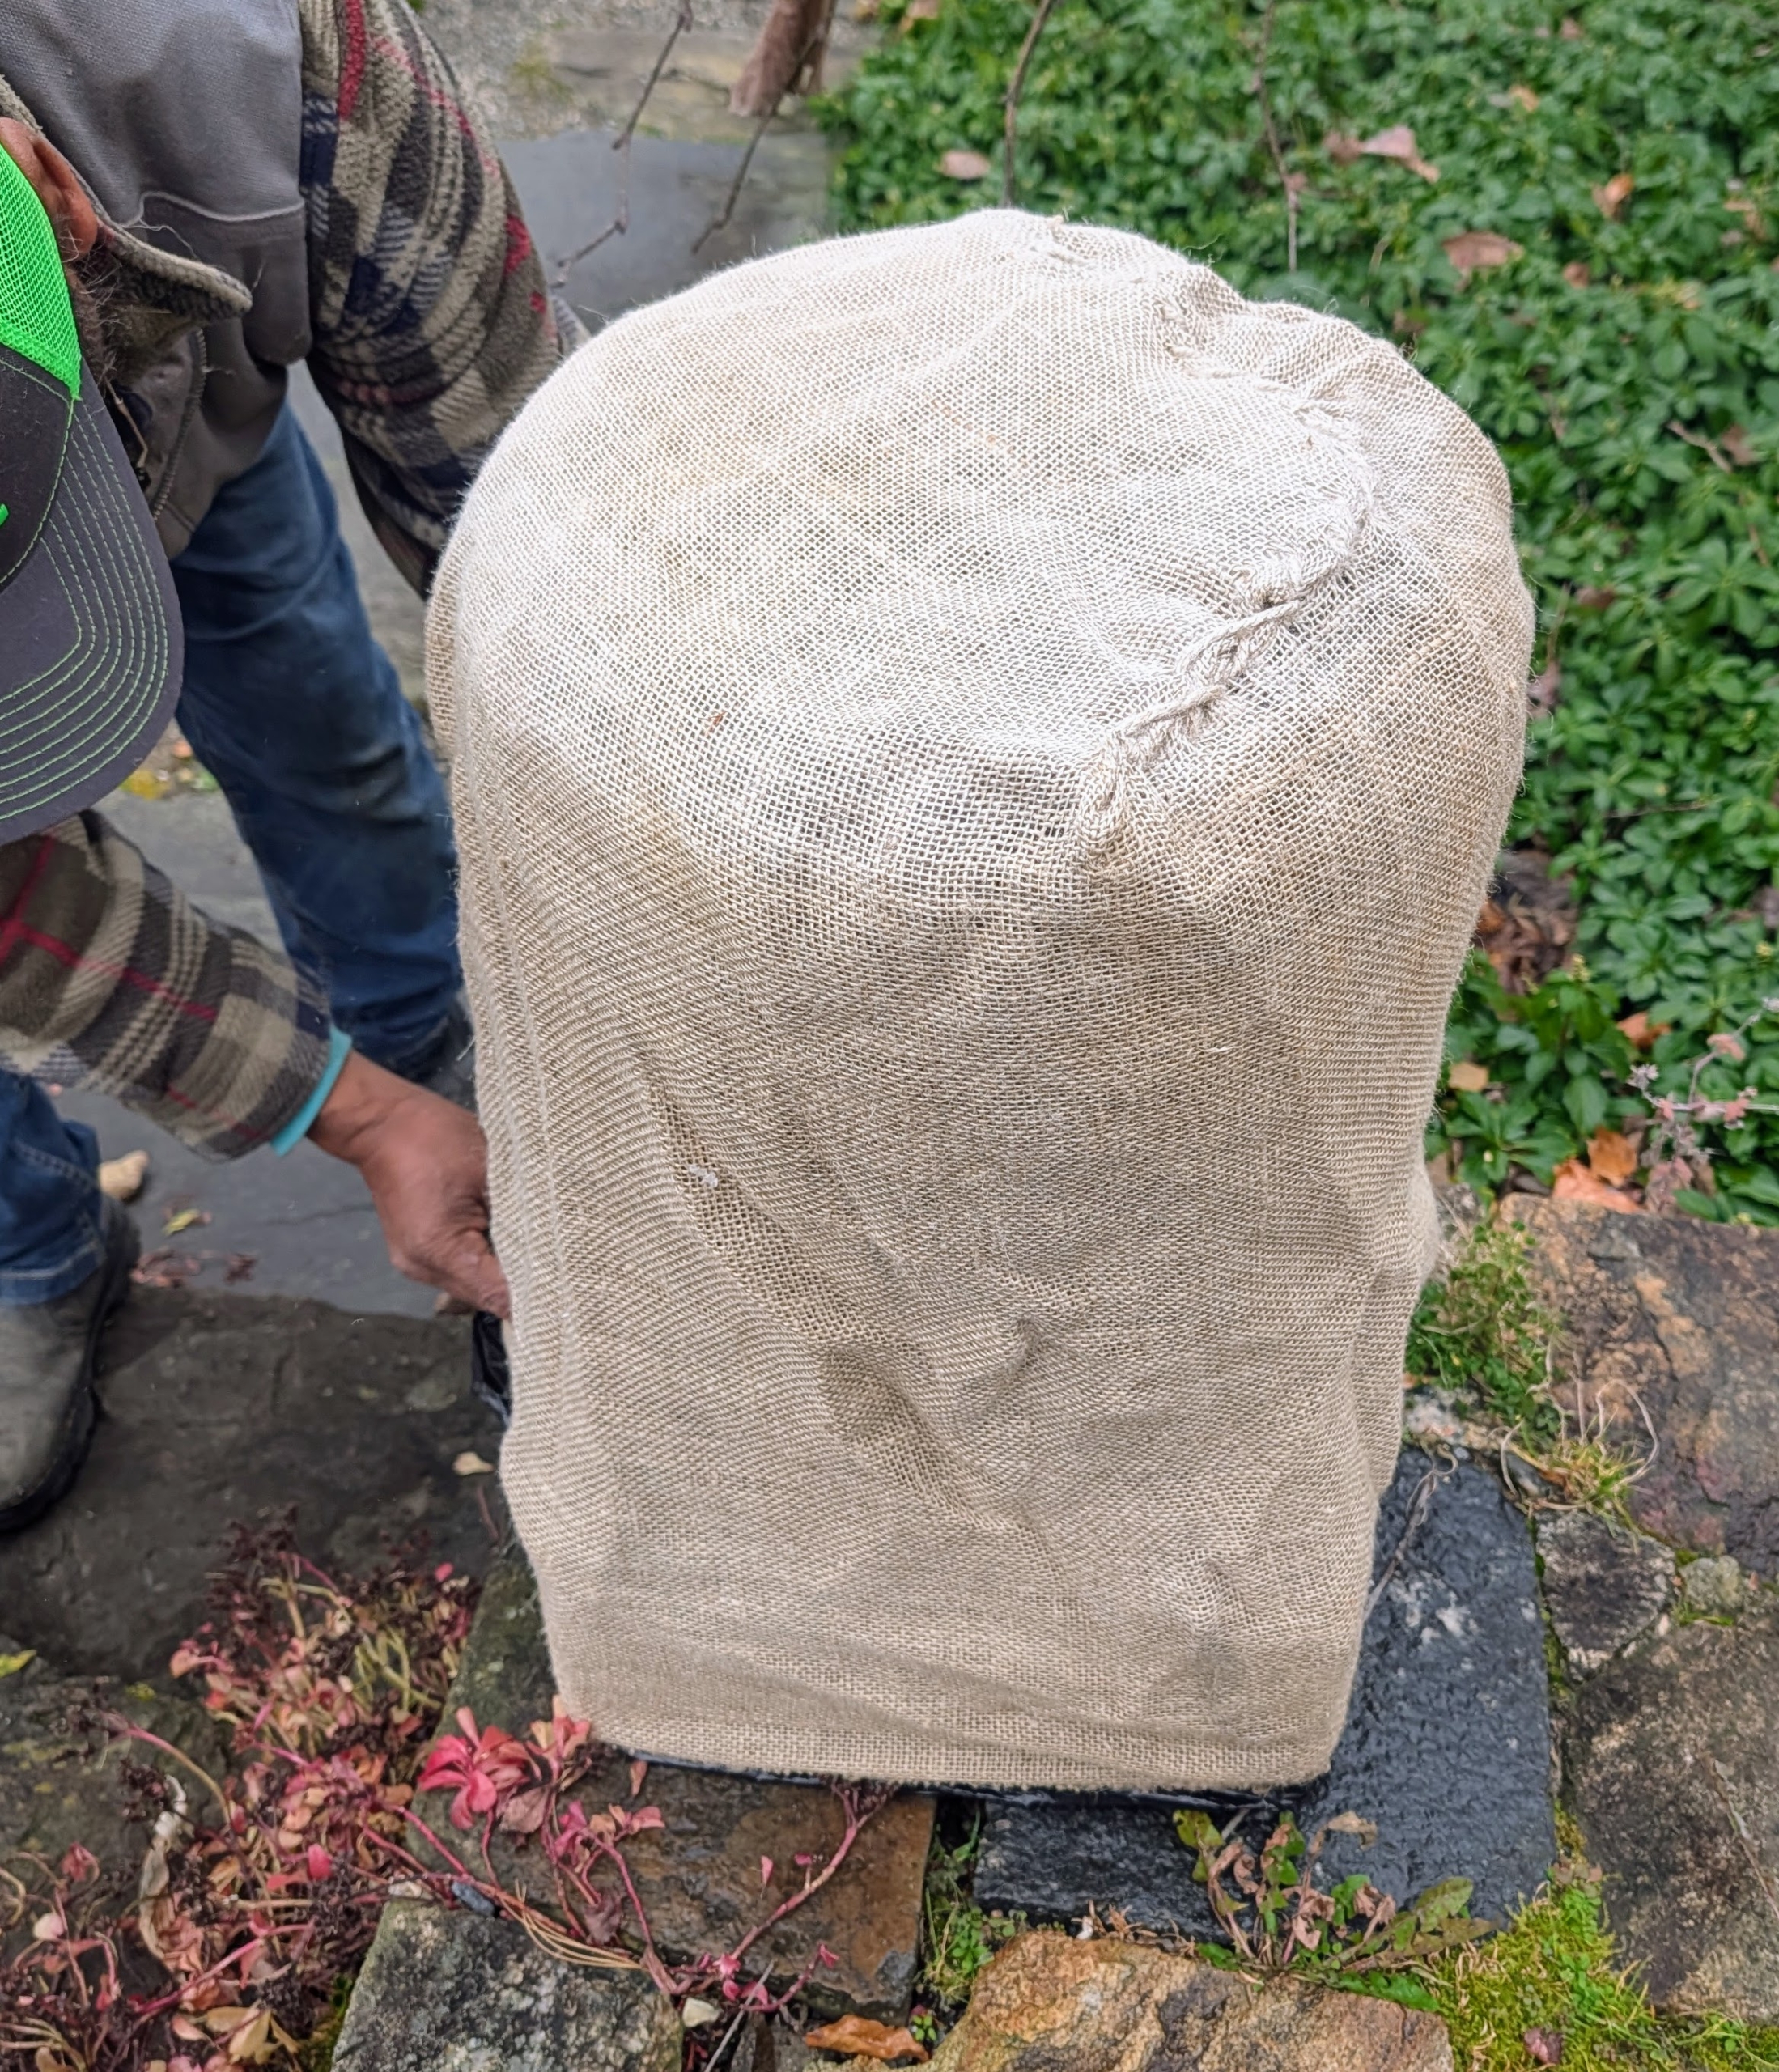
- Here is the opening stitched closed. The burlap should be sewn tightly, but with some space for air circulation.
-
- And here is the top – secured and ready for the elements. Burlap is so useful for many gardening projects – it is inexpensive, biodegradable, and the color and texture of burlap is so pretty to use.
-
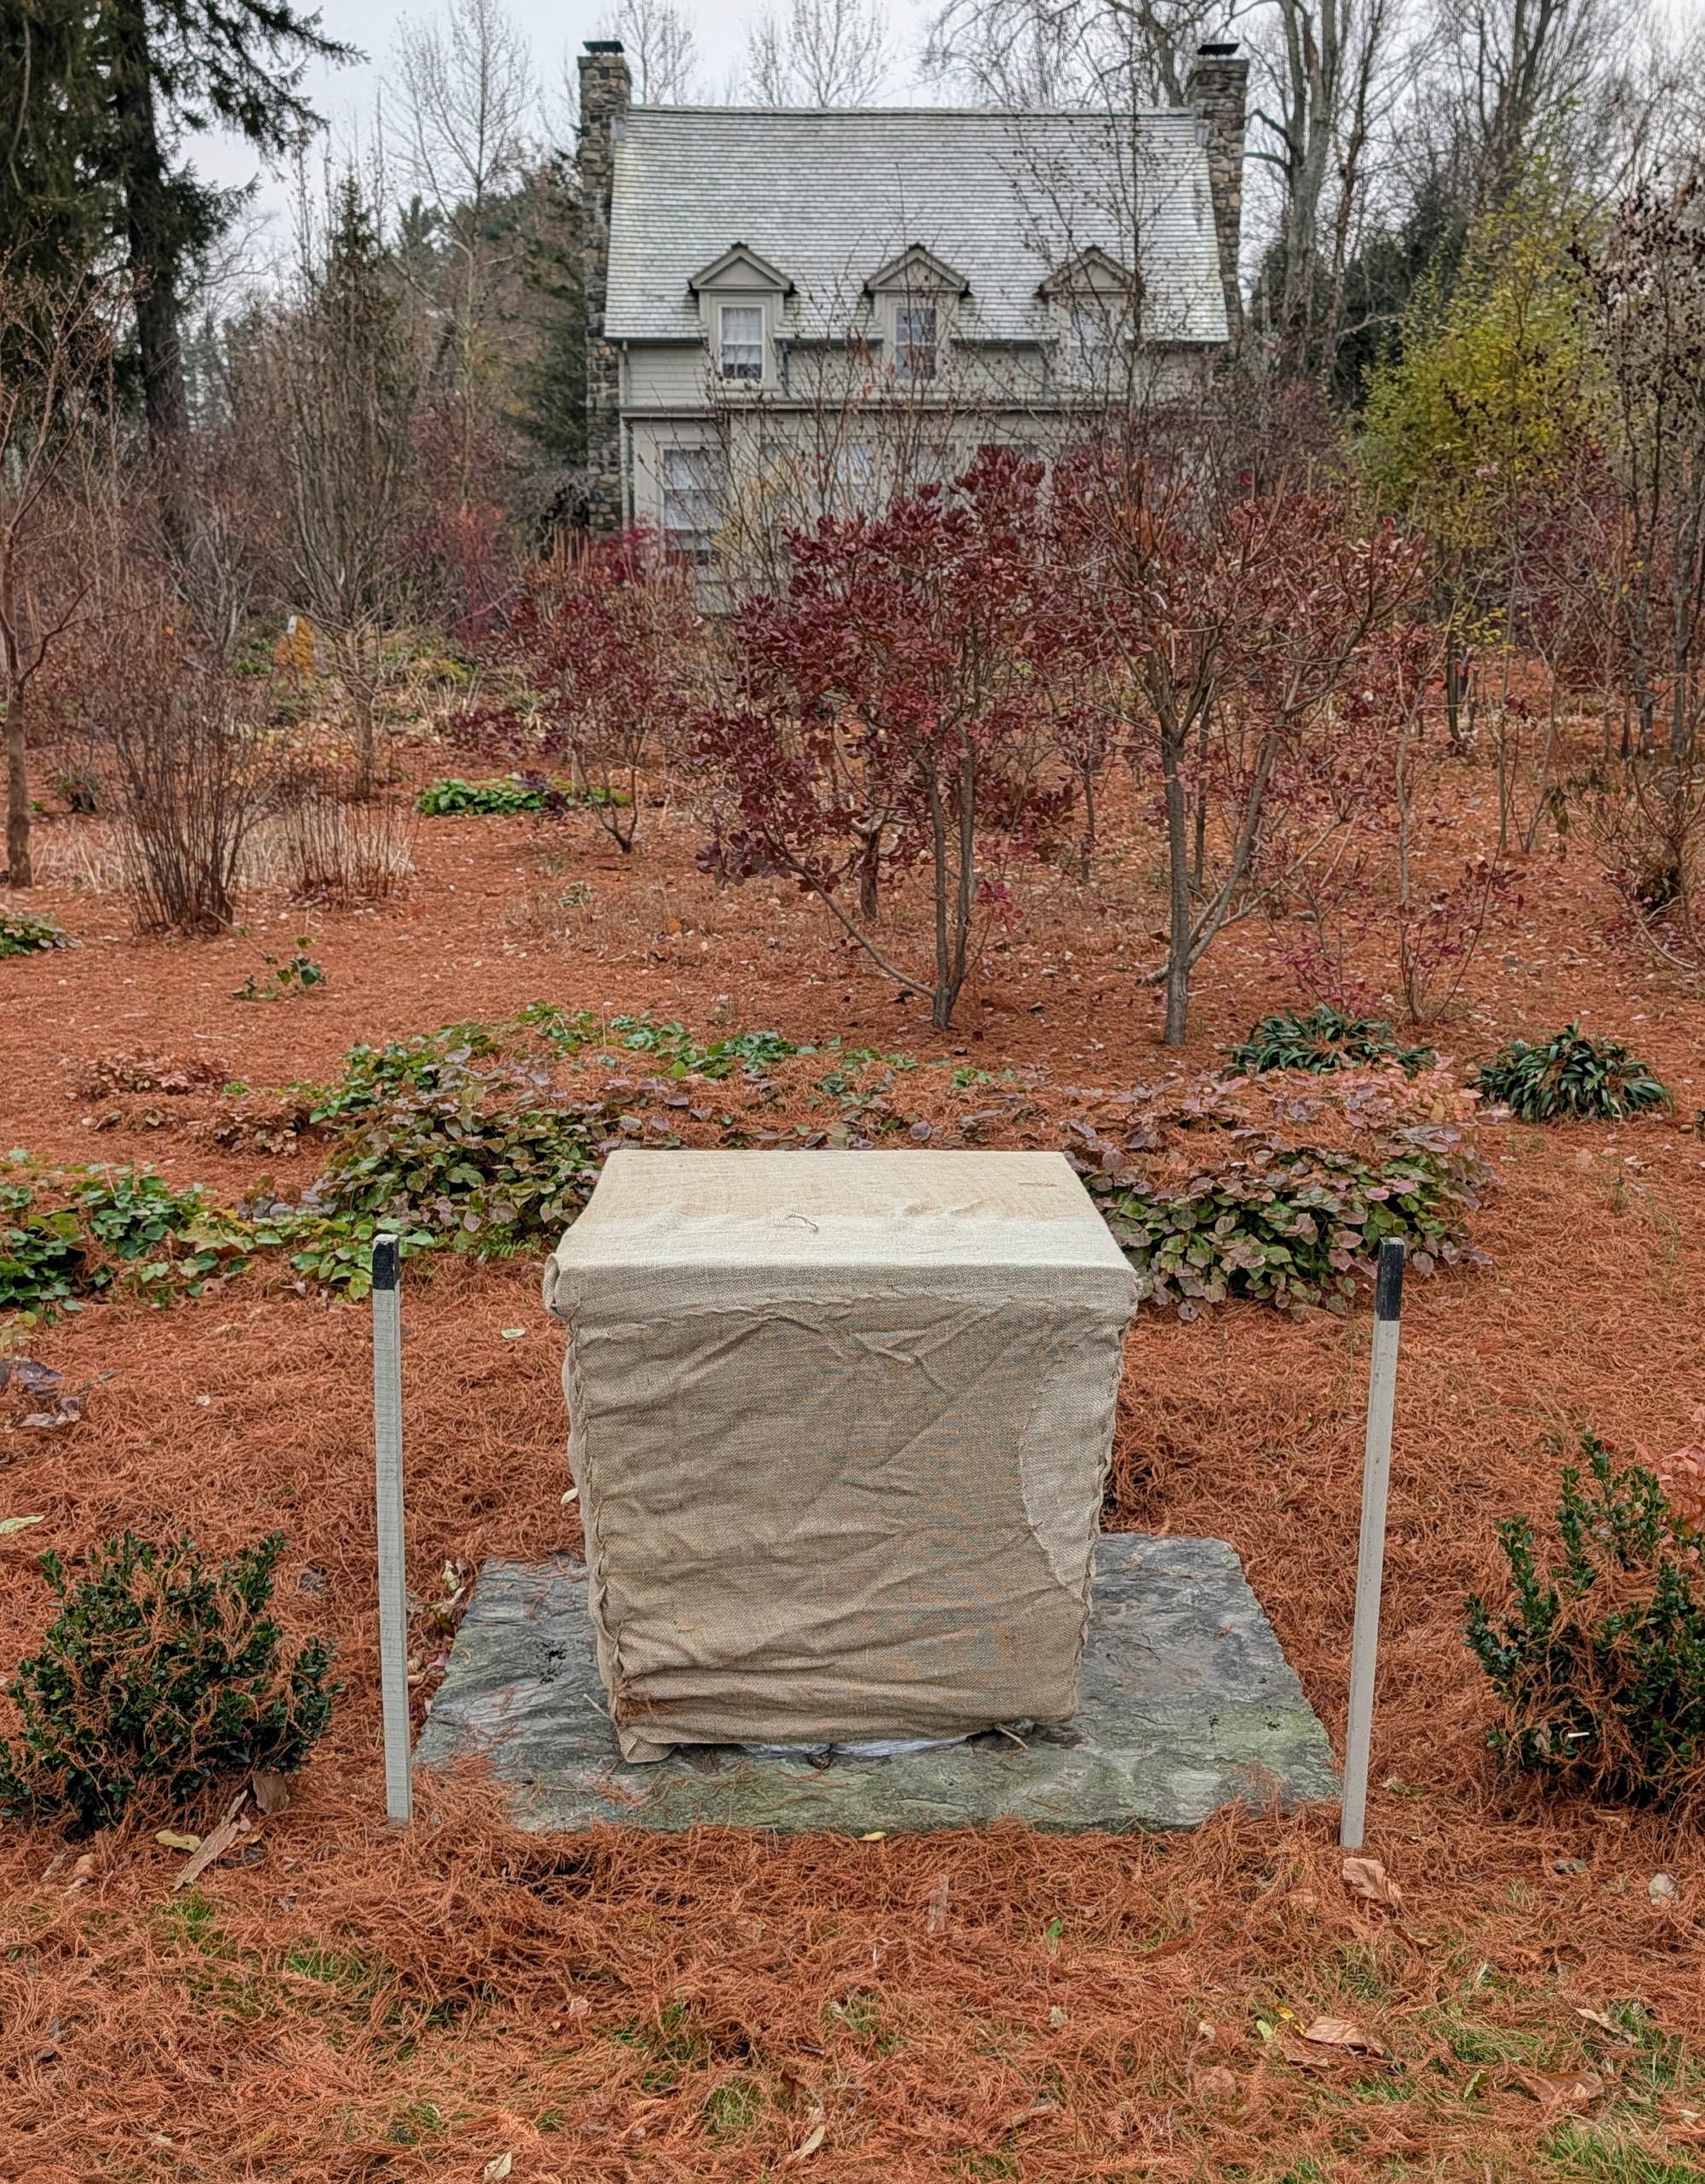
- After a group is all done, they look like pieces of burlap art. Here is the front of the stable office – the urns and birdbaths look so neat and tidy.
-
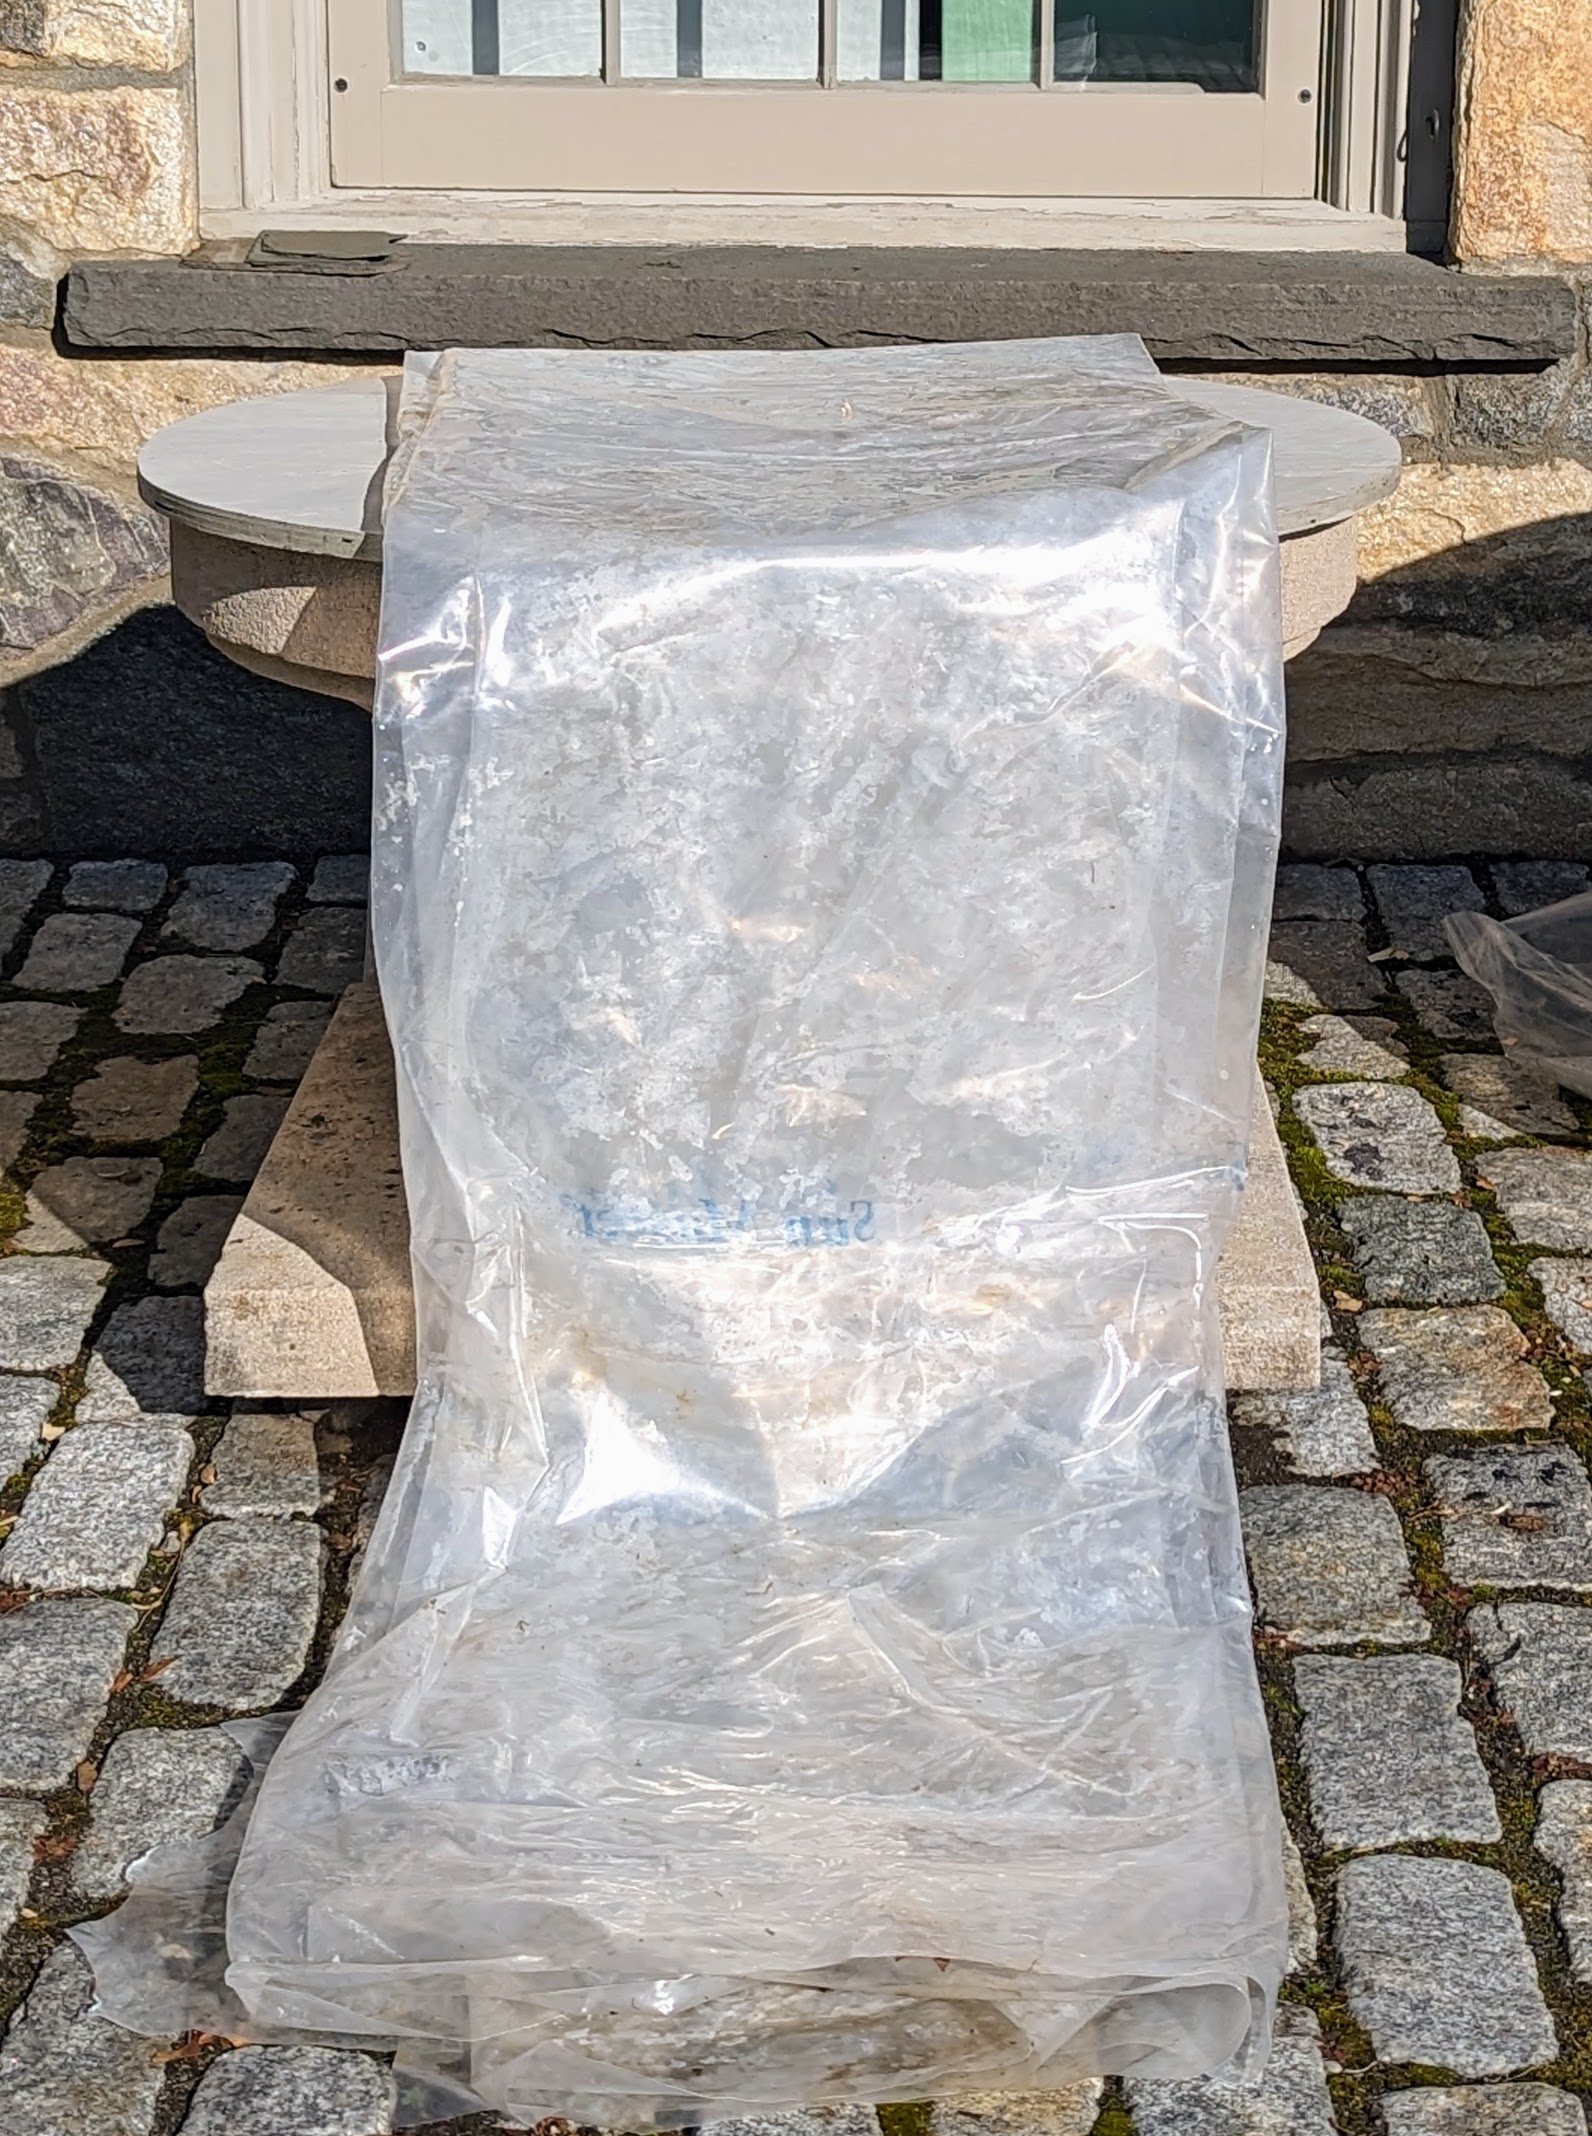
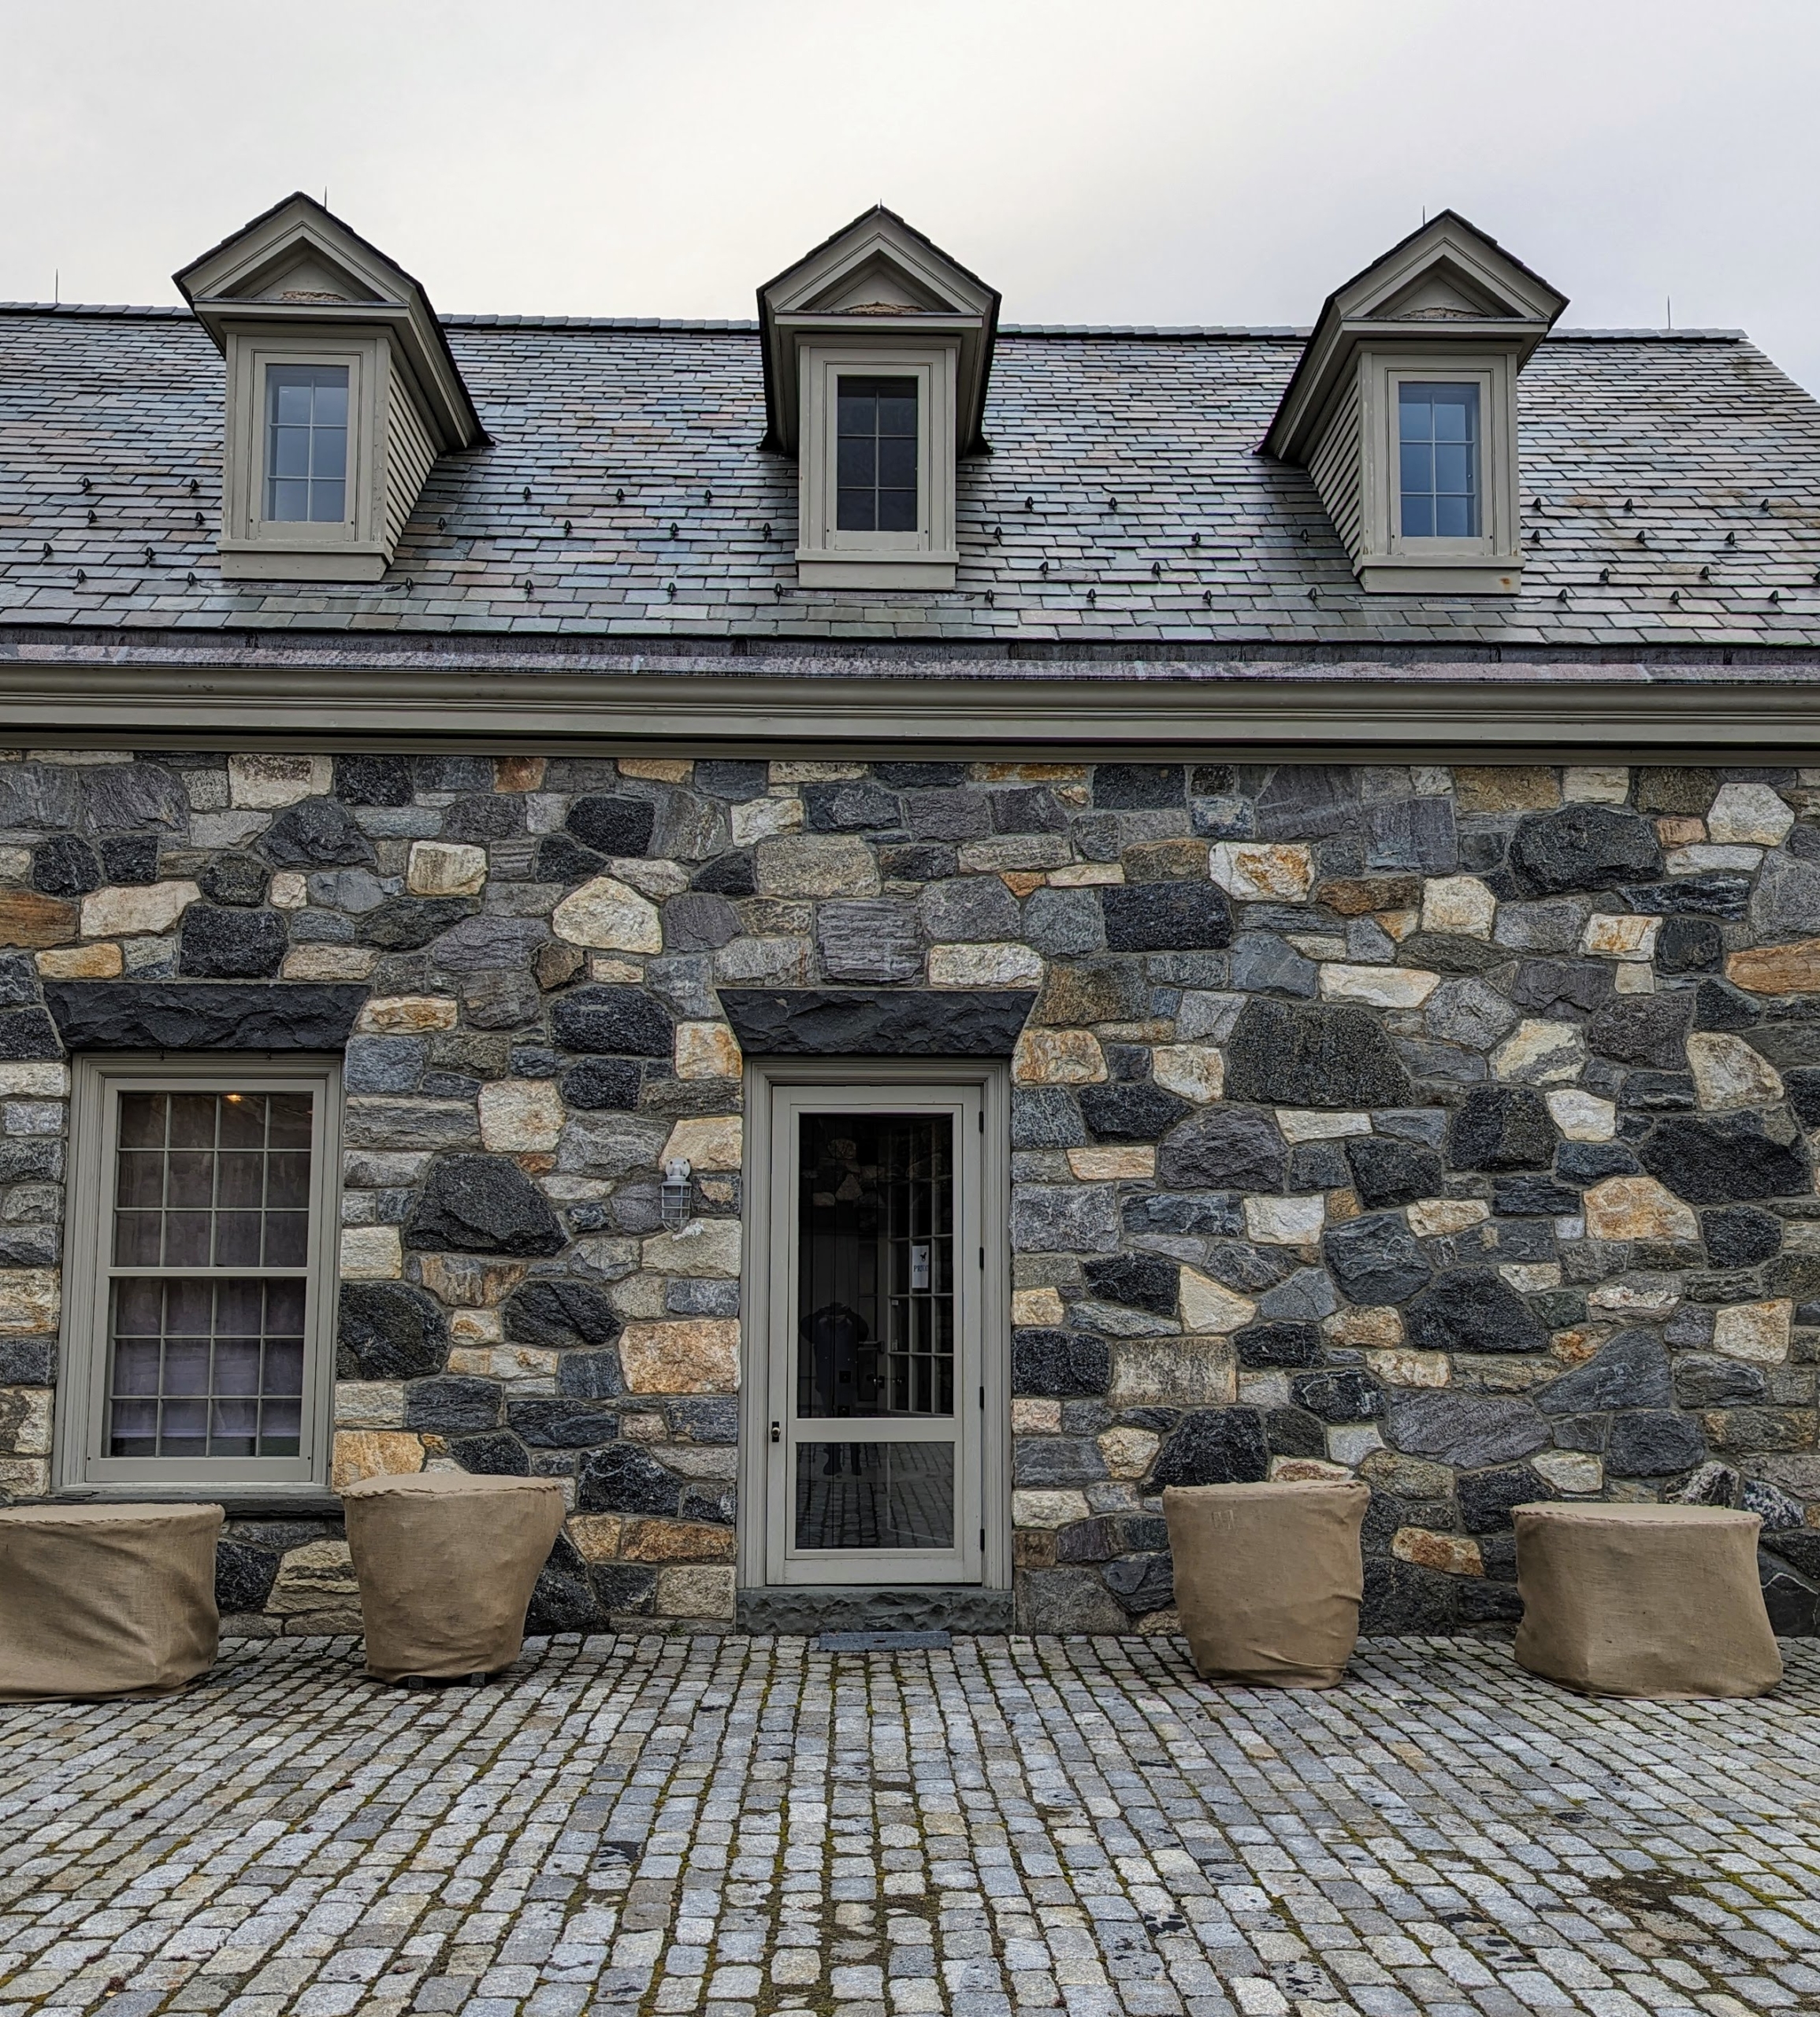
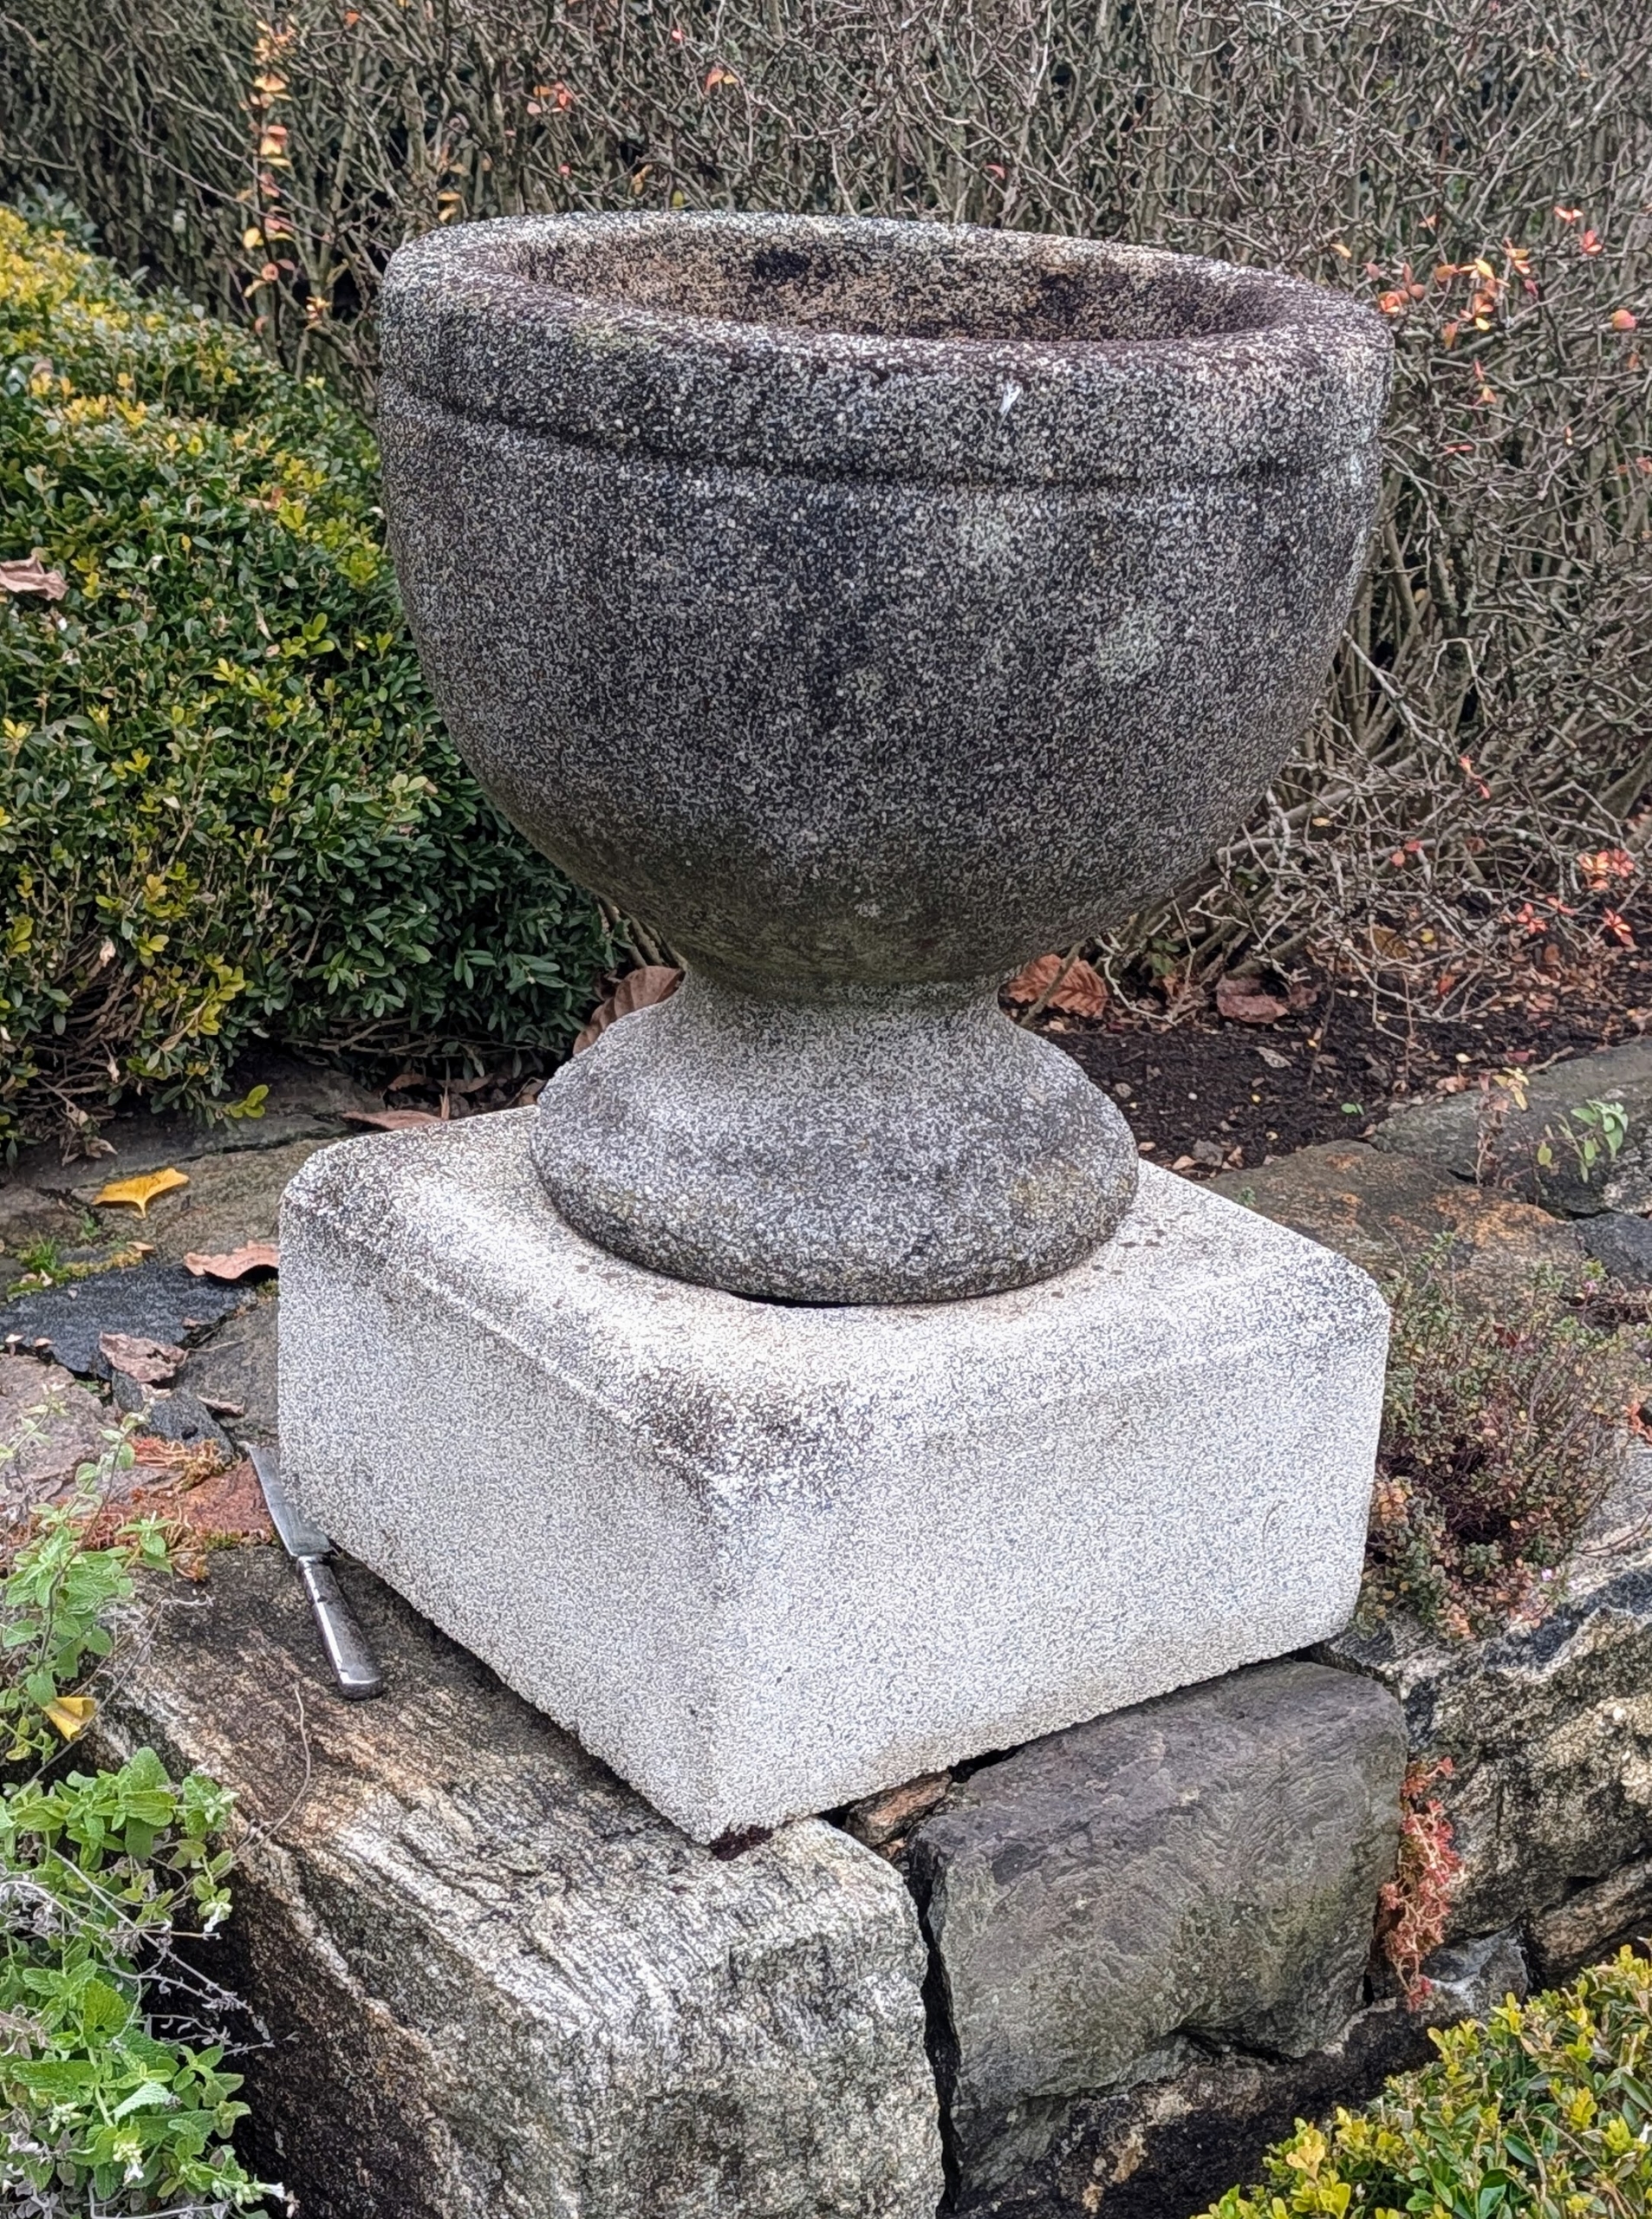
- Pete moves on to my Winter House terrace parterre. I have pairs of smaller stone urns flanking each entrance to the area.
-
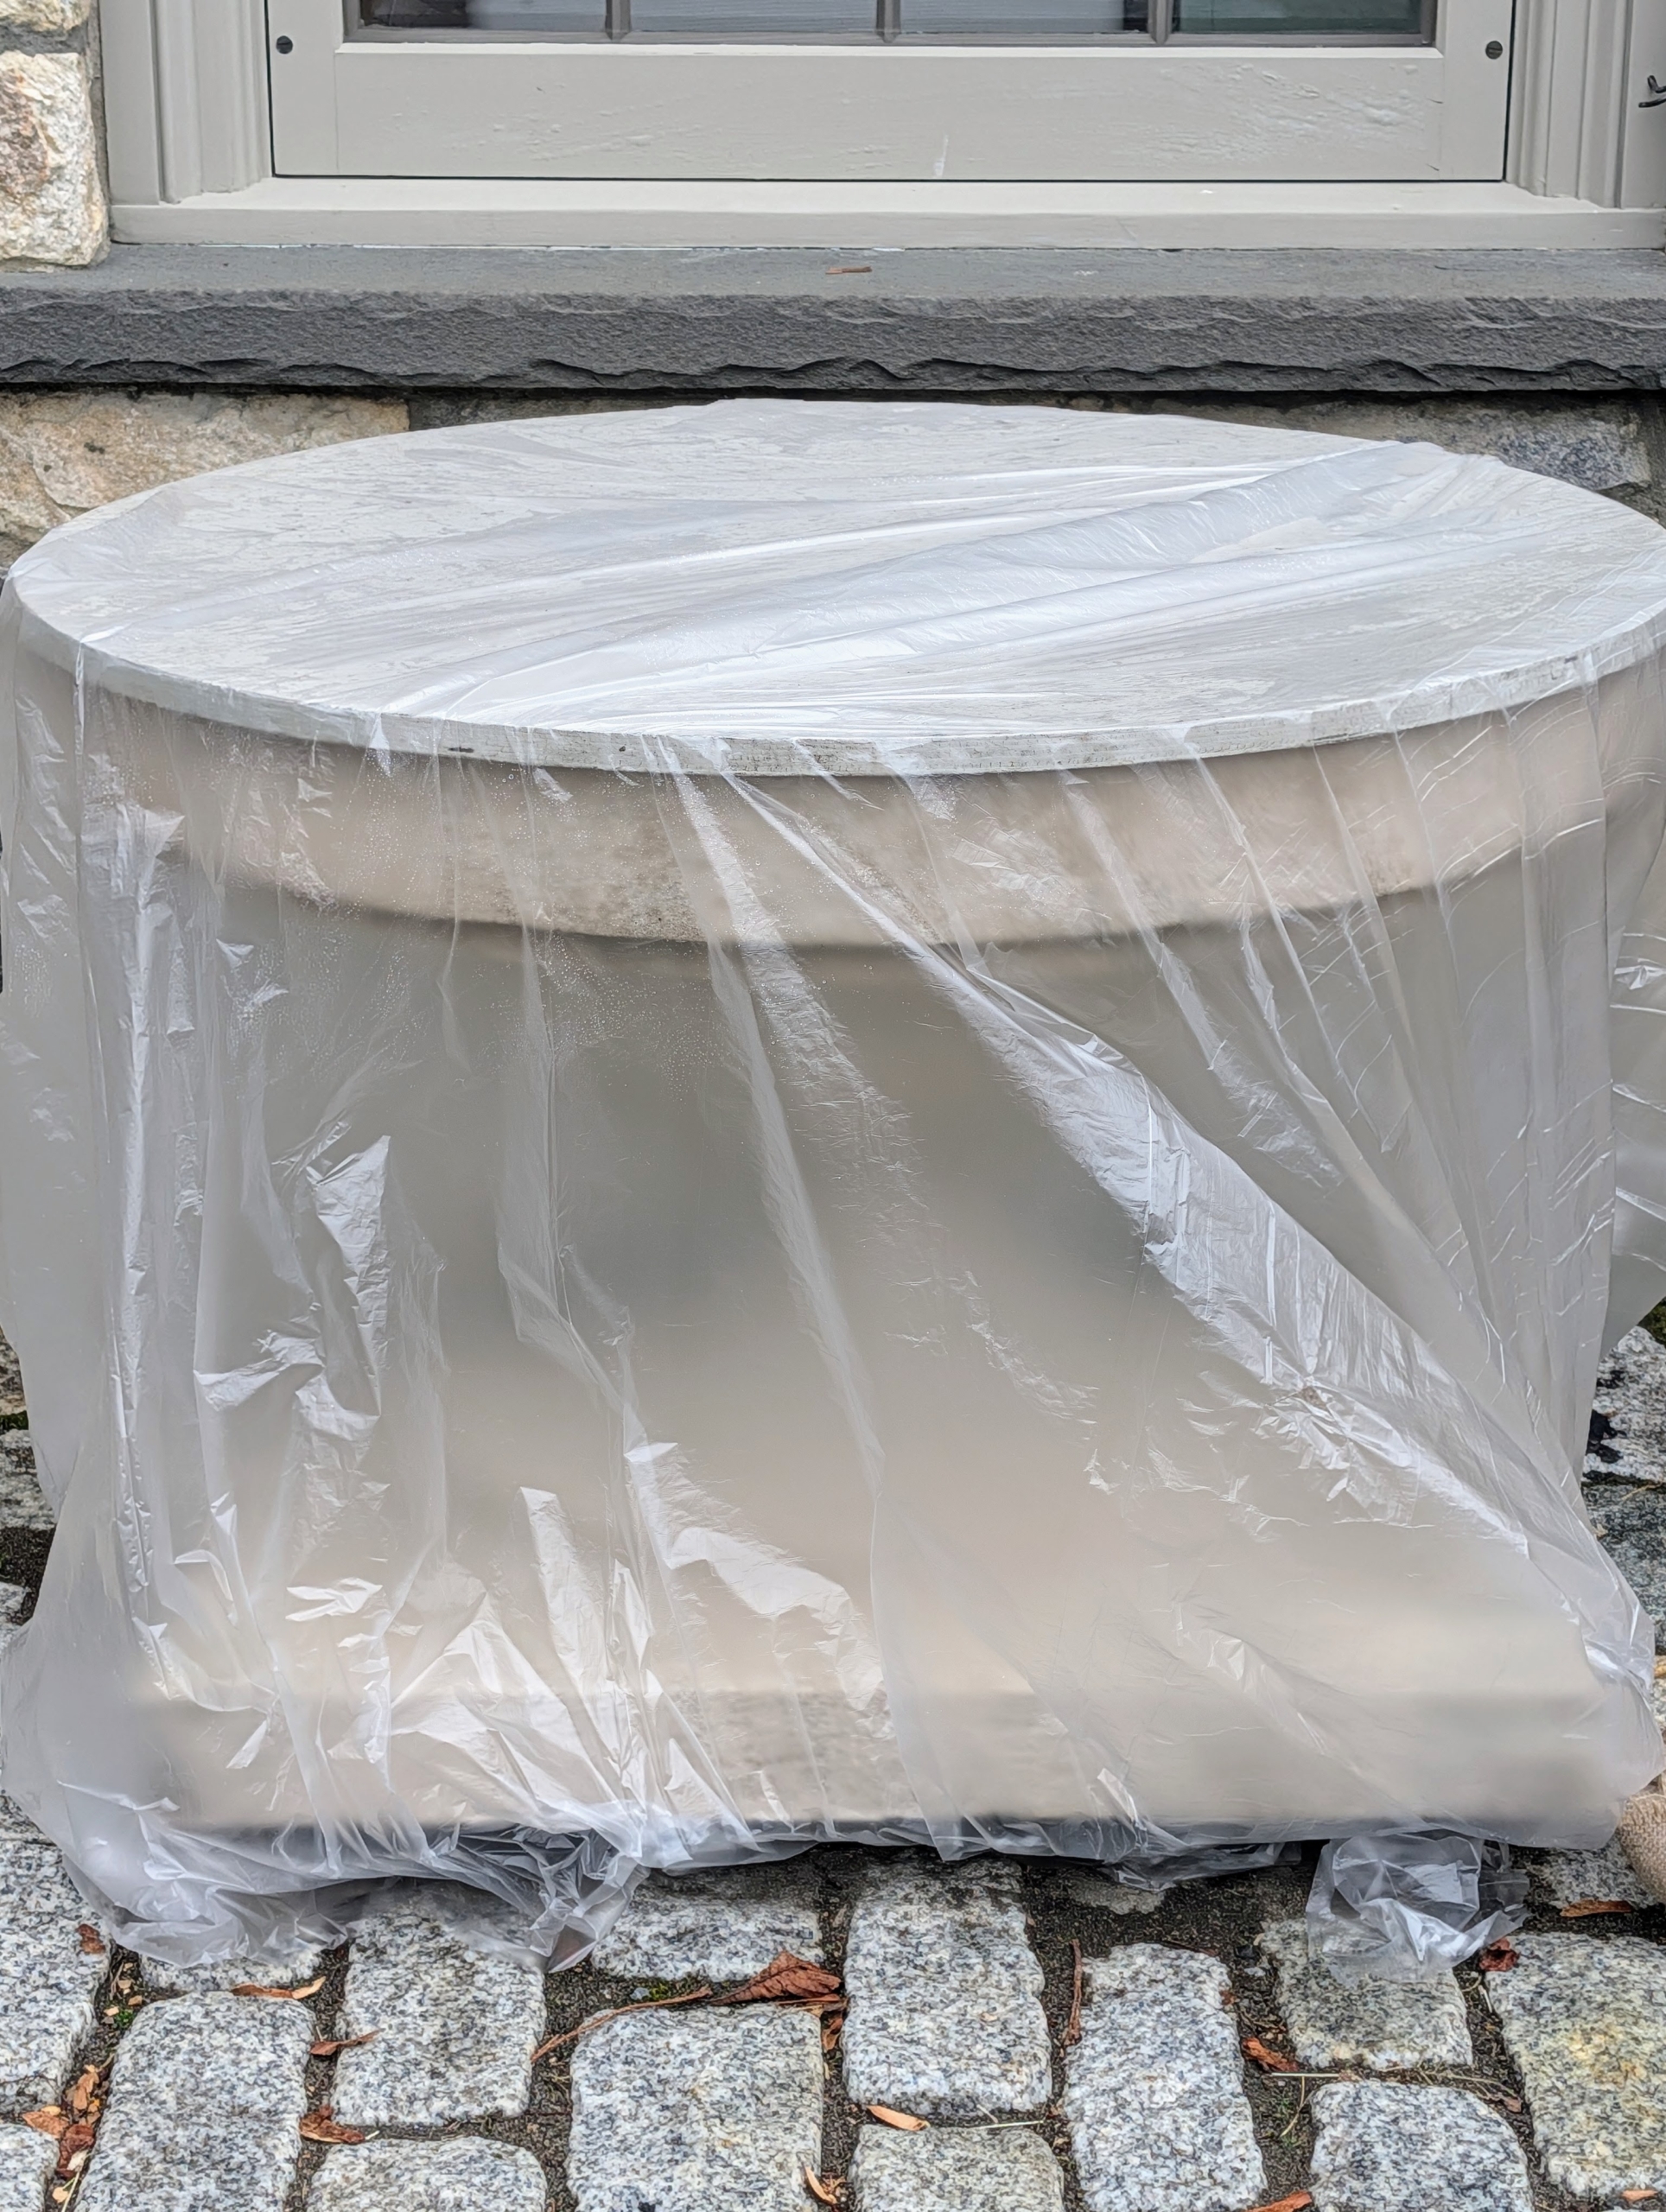
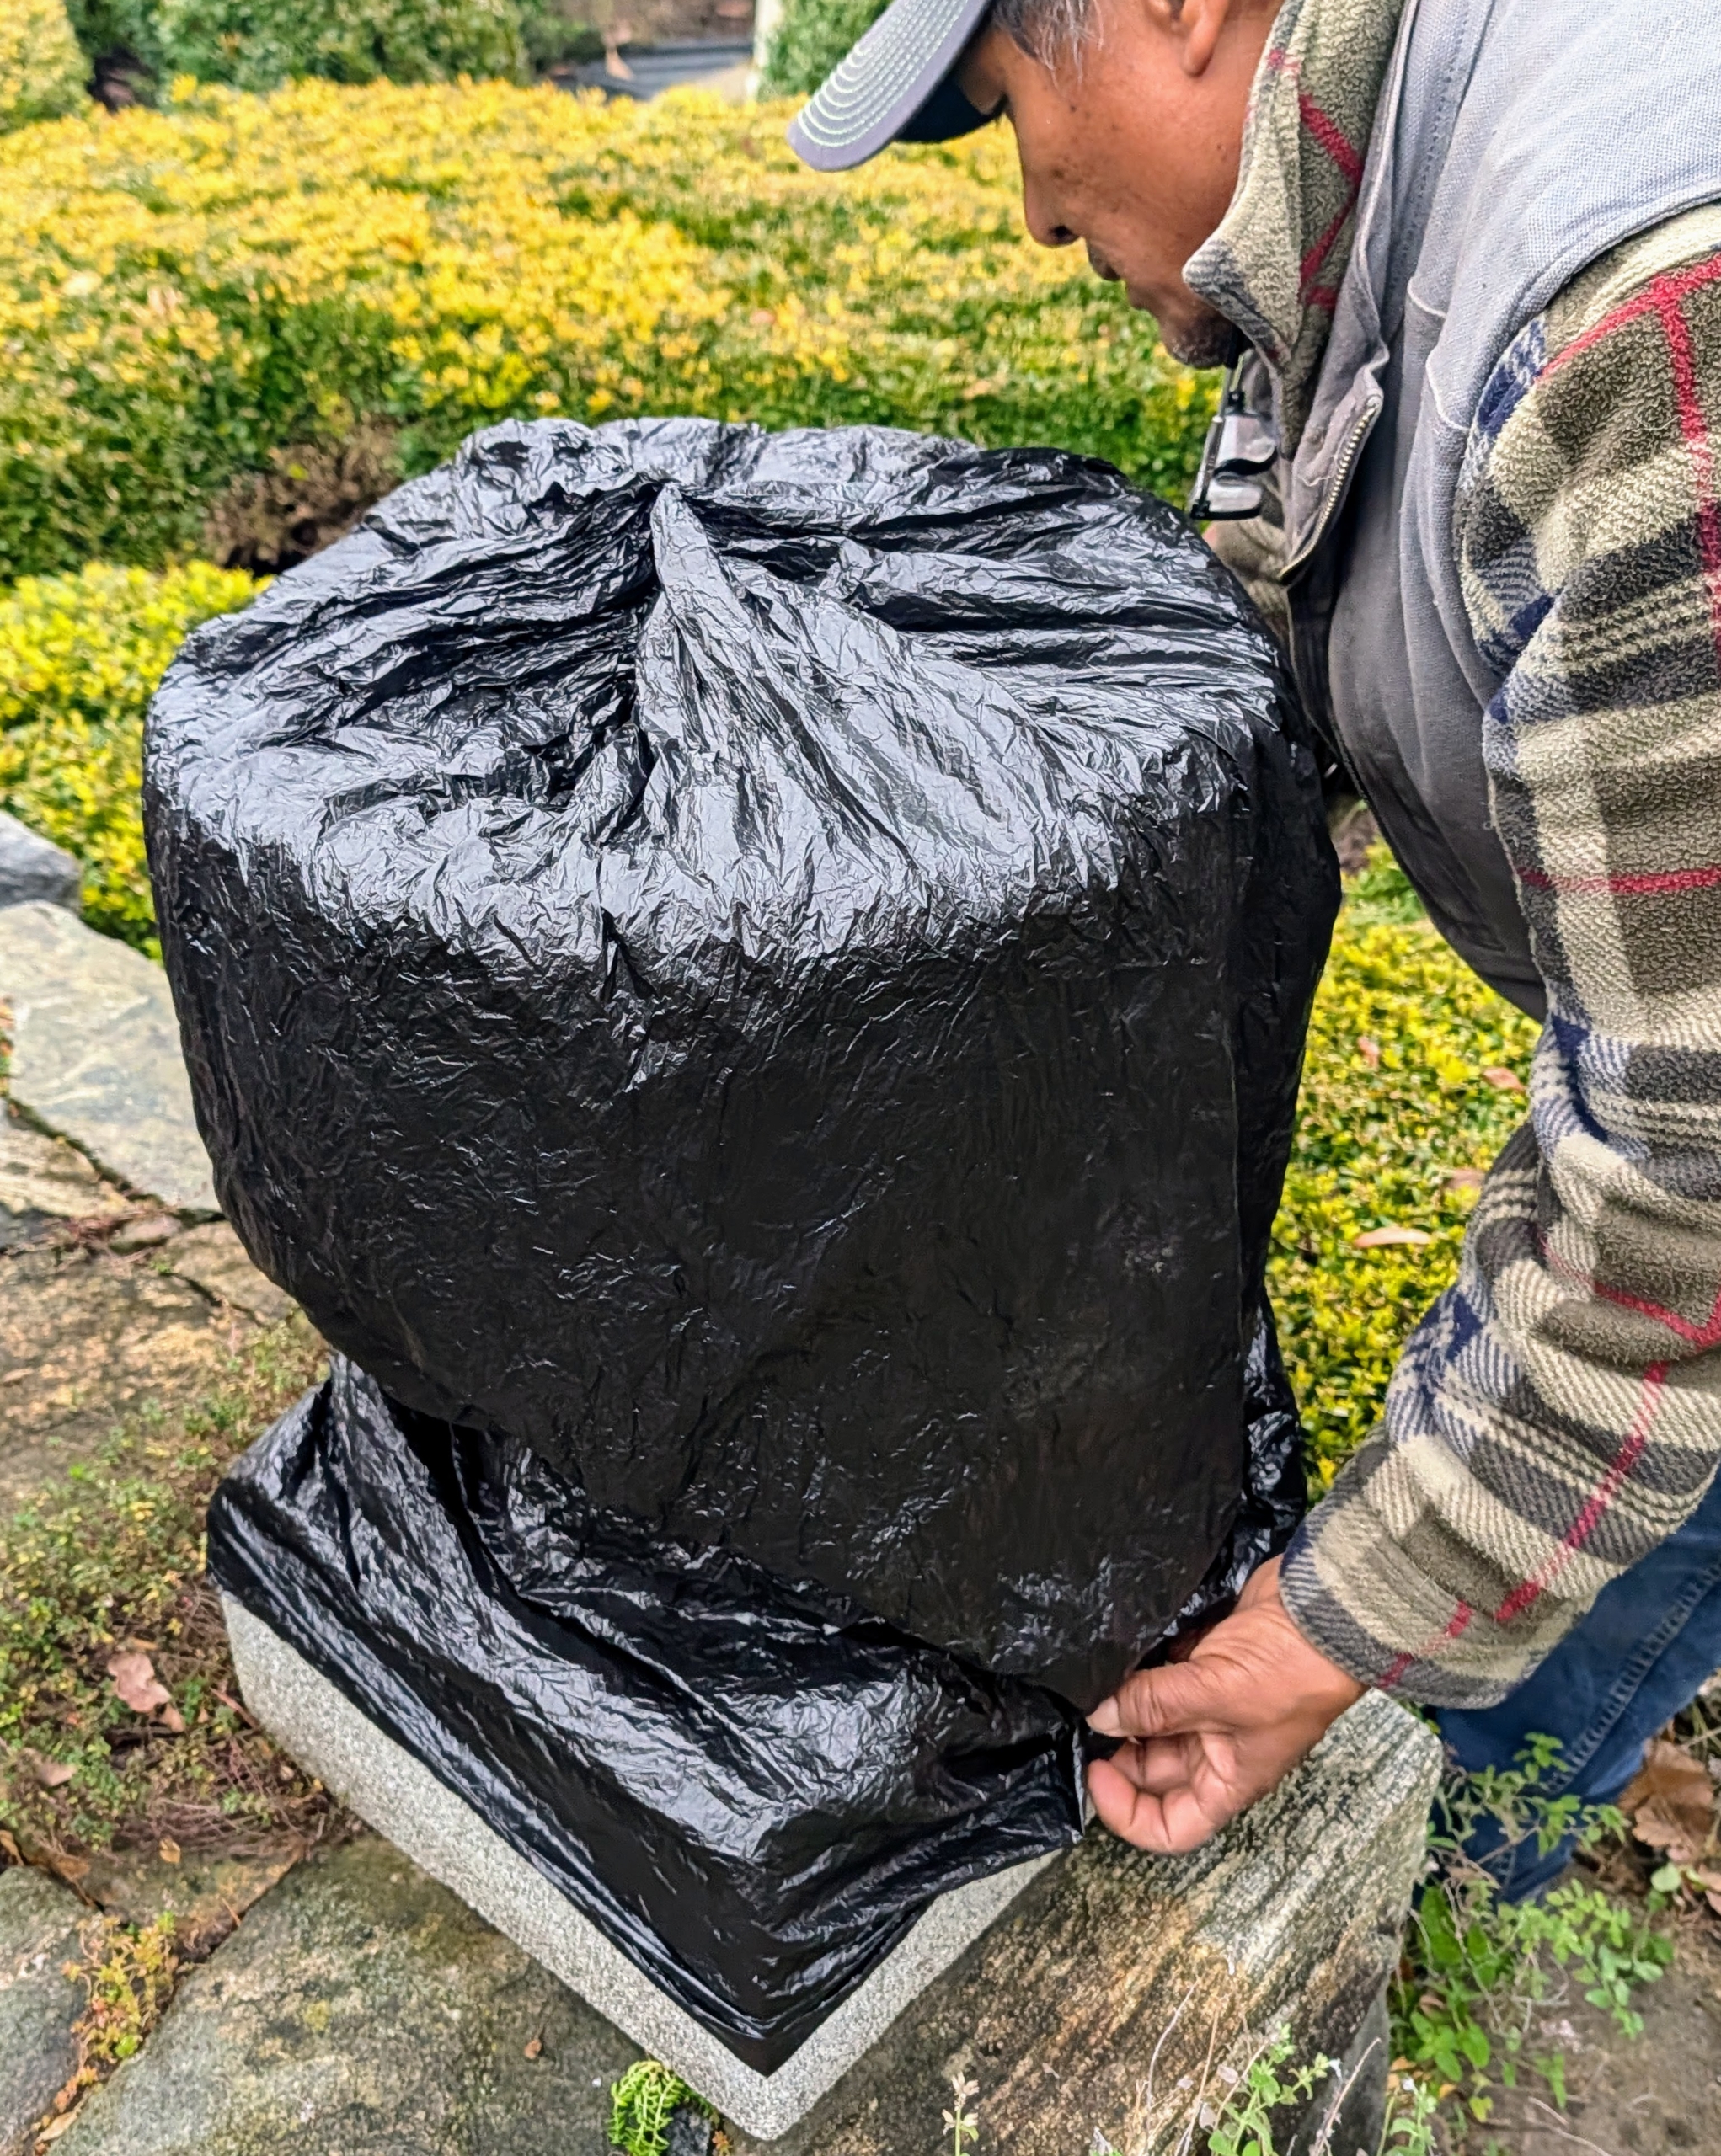
- These containers are covered first in black plastic garbage bags.
-
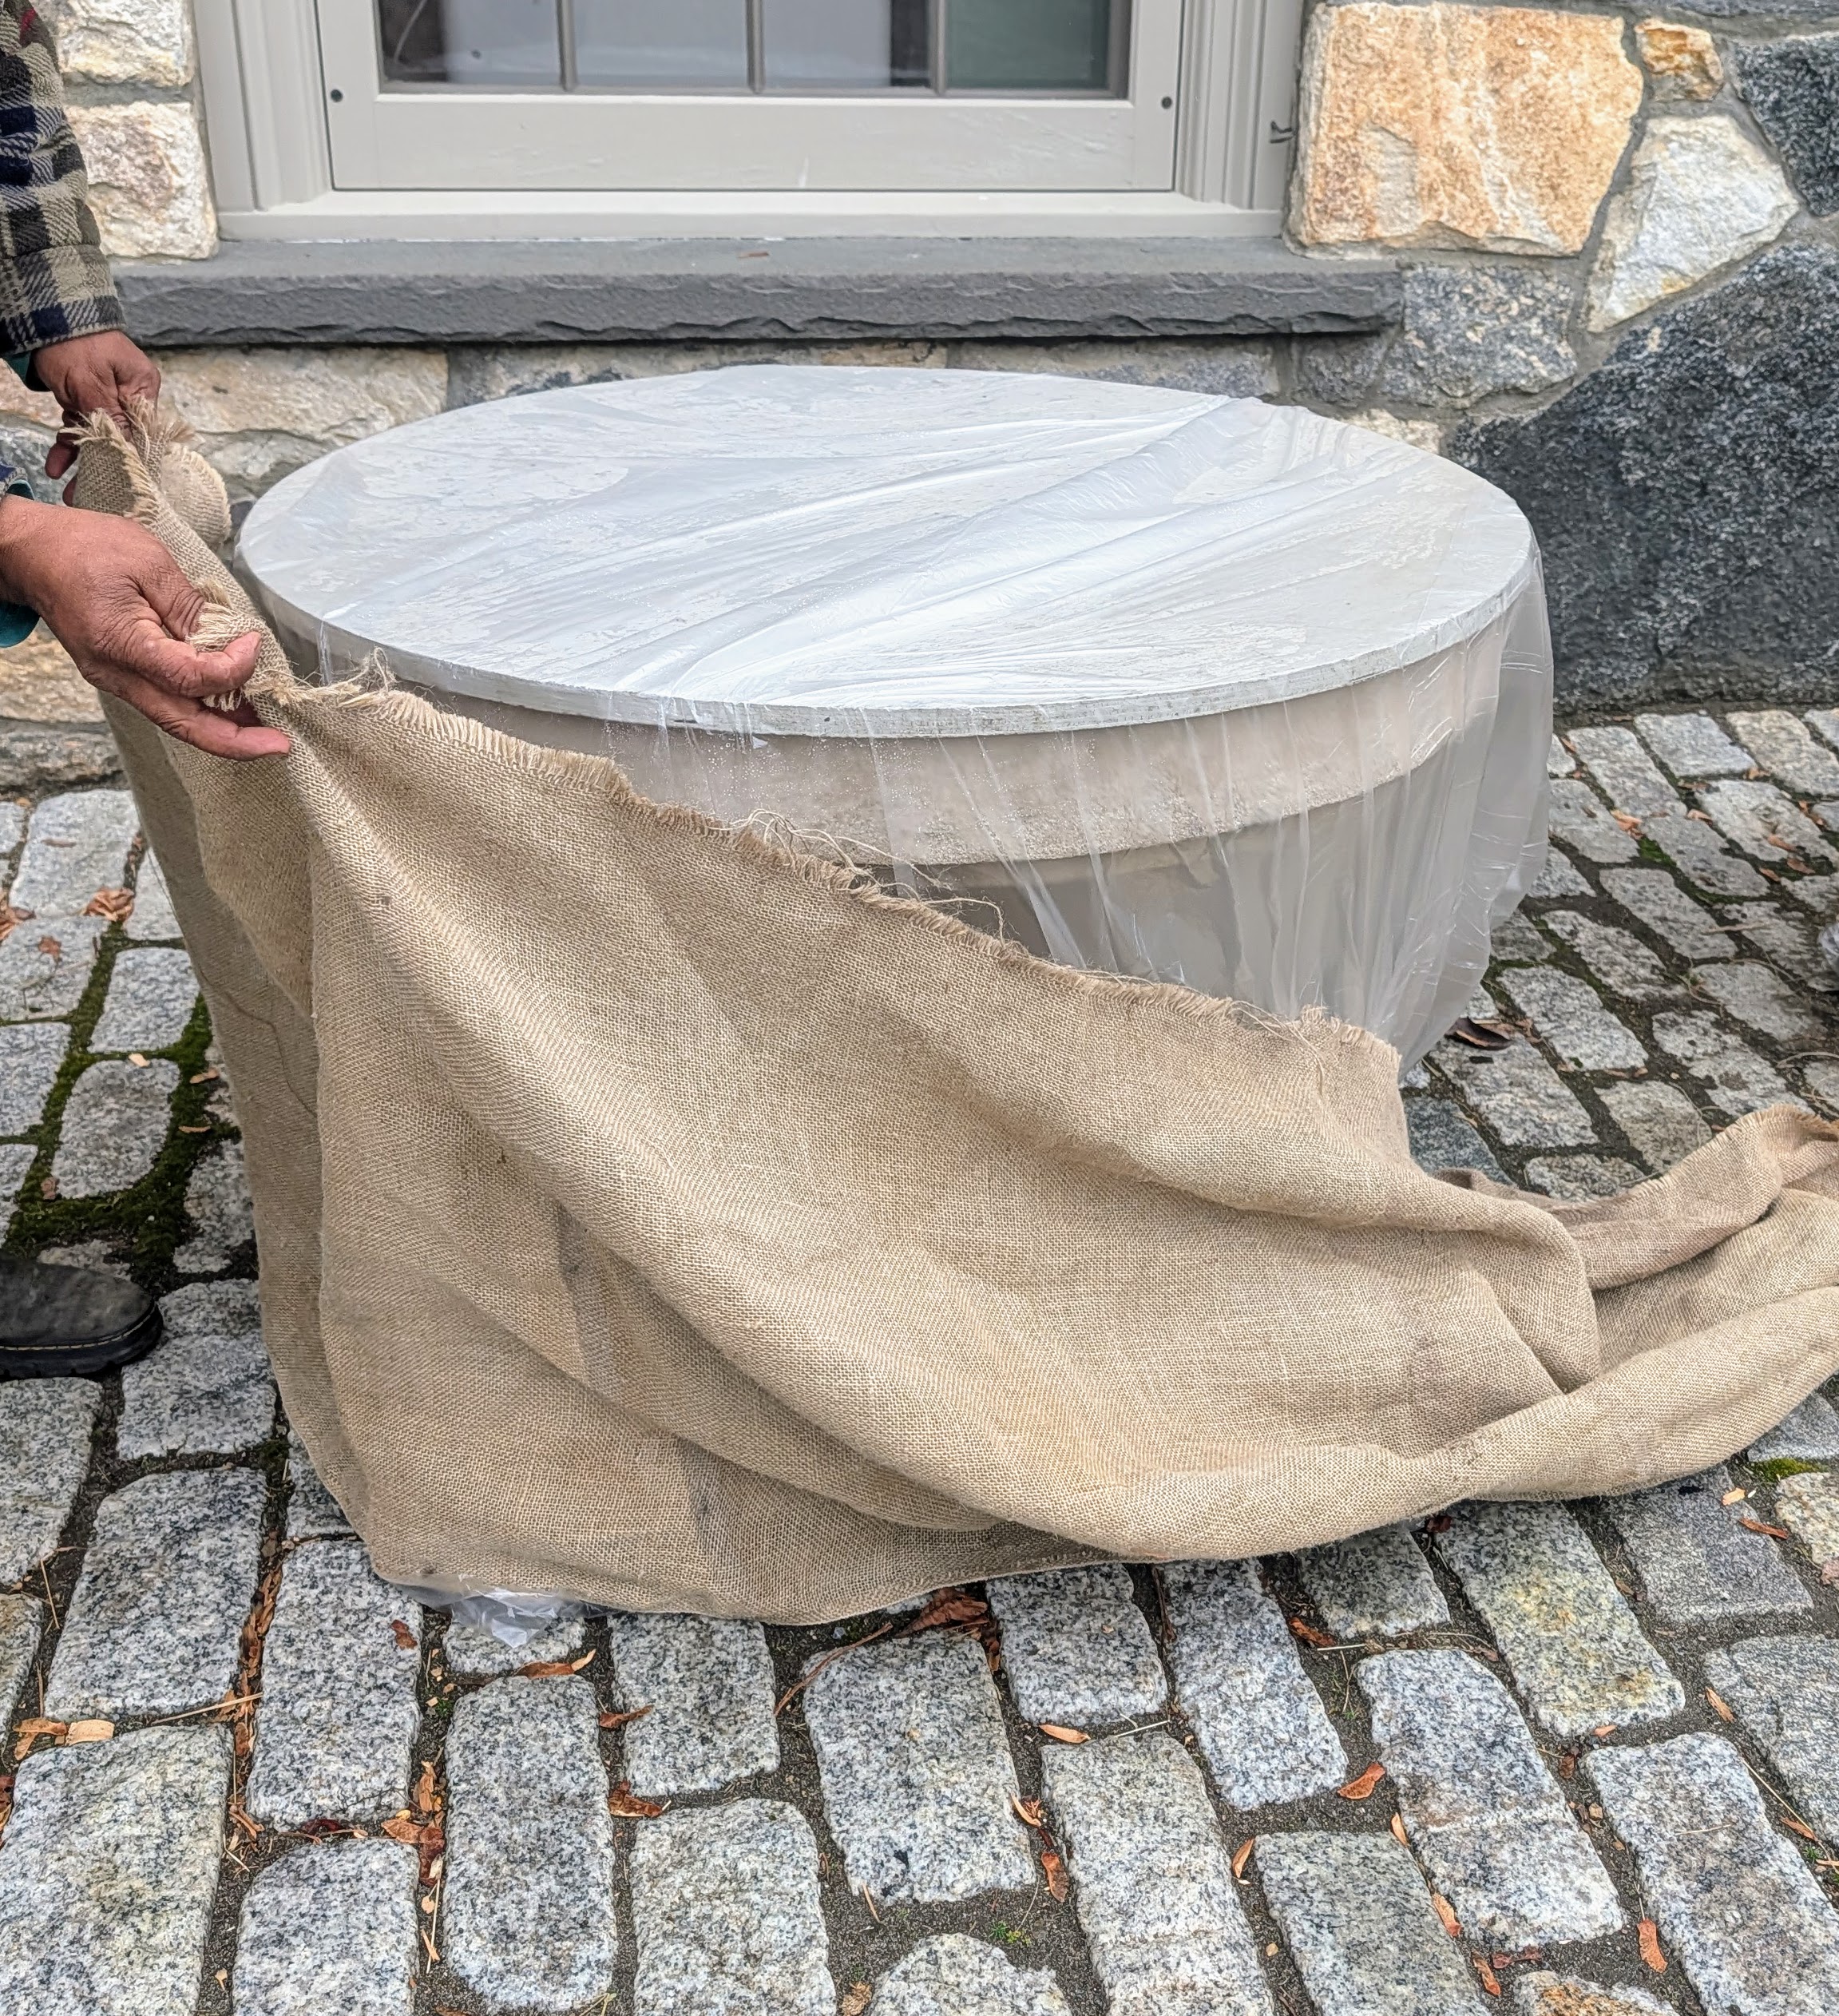
- This piece of burlap is being reused from last year also. I always encourage the crew to reuse and repurpose.
-
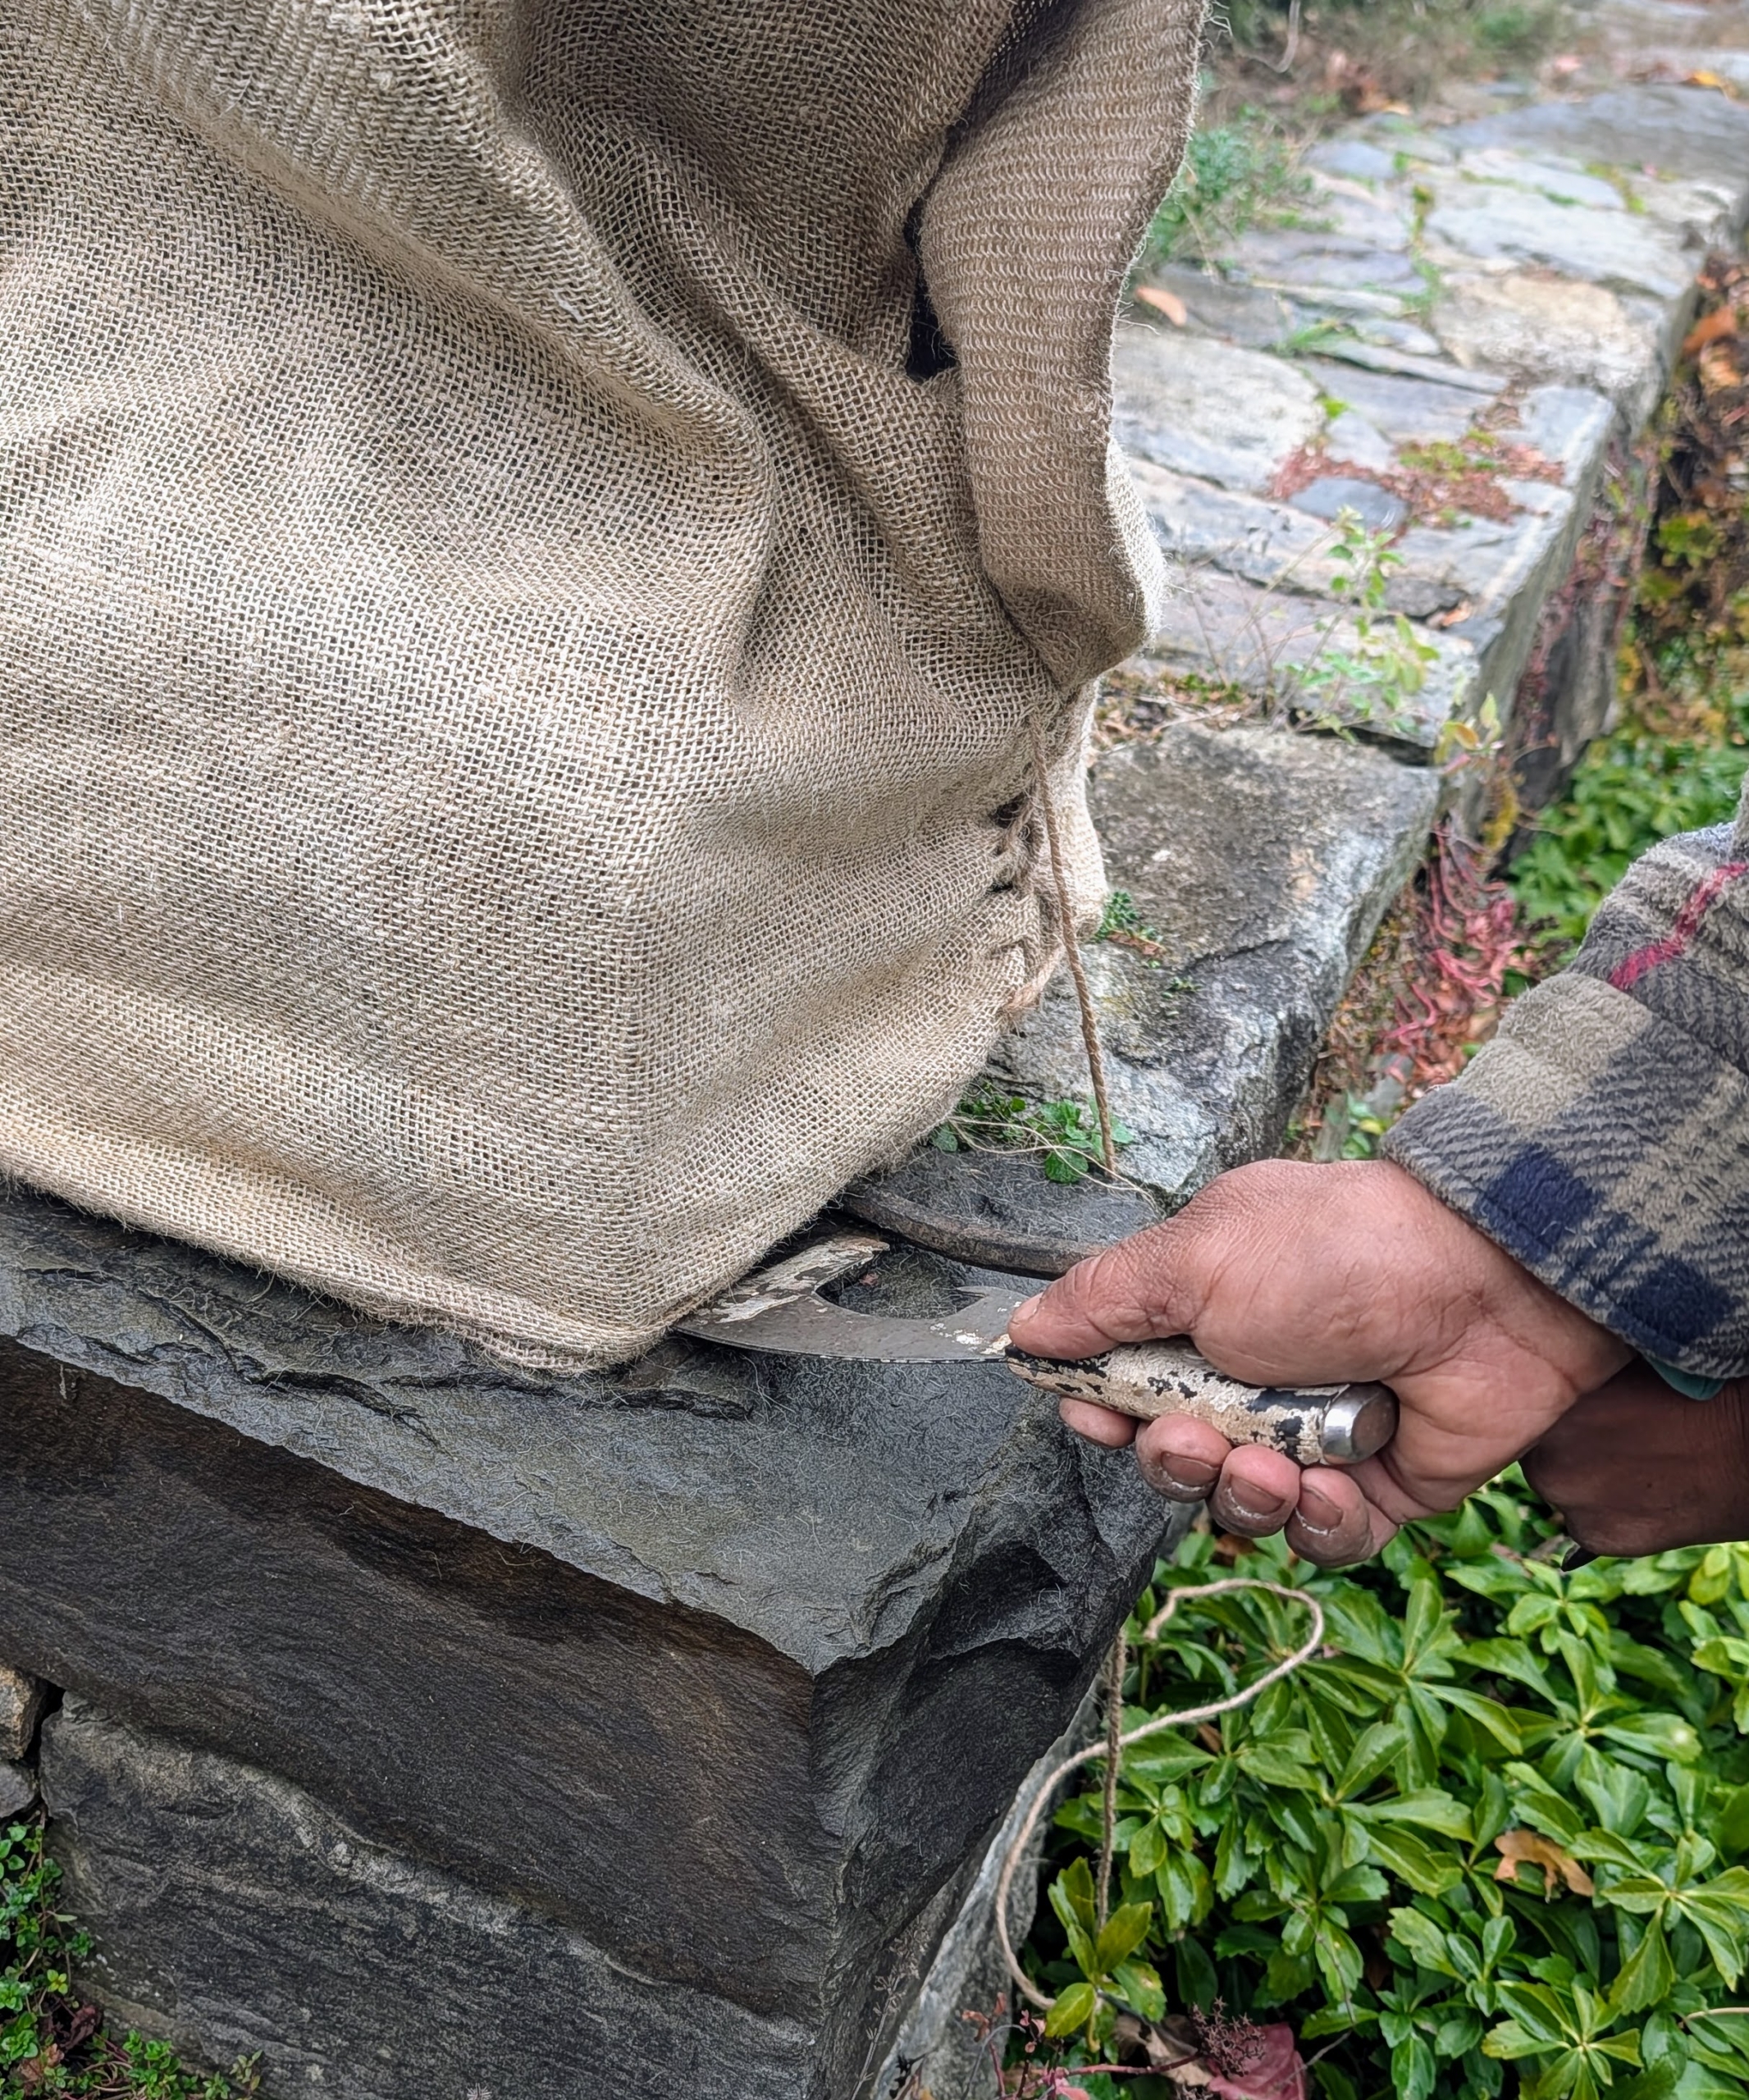
- Here Pete uses a flat scraper to tuck the burlap underneath.
-
- Then Pete pulls it taut at the opening and sews it closed. If needed, Pete starts with small stitches and knots at the top and the bottom just to keep the fabric in place.

-
- Then he sews the burlap along the open edge at the top.
-
- Here is the planter covered. It will stay here for the duration of the season until it is in uncovered and planted again in spring.
-
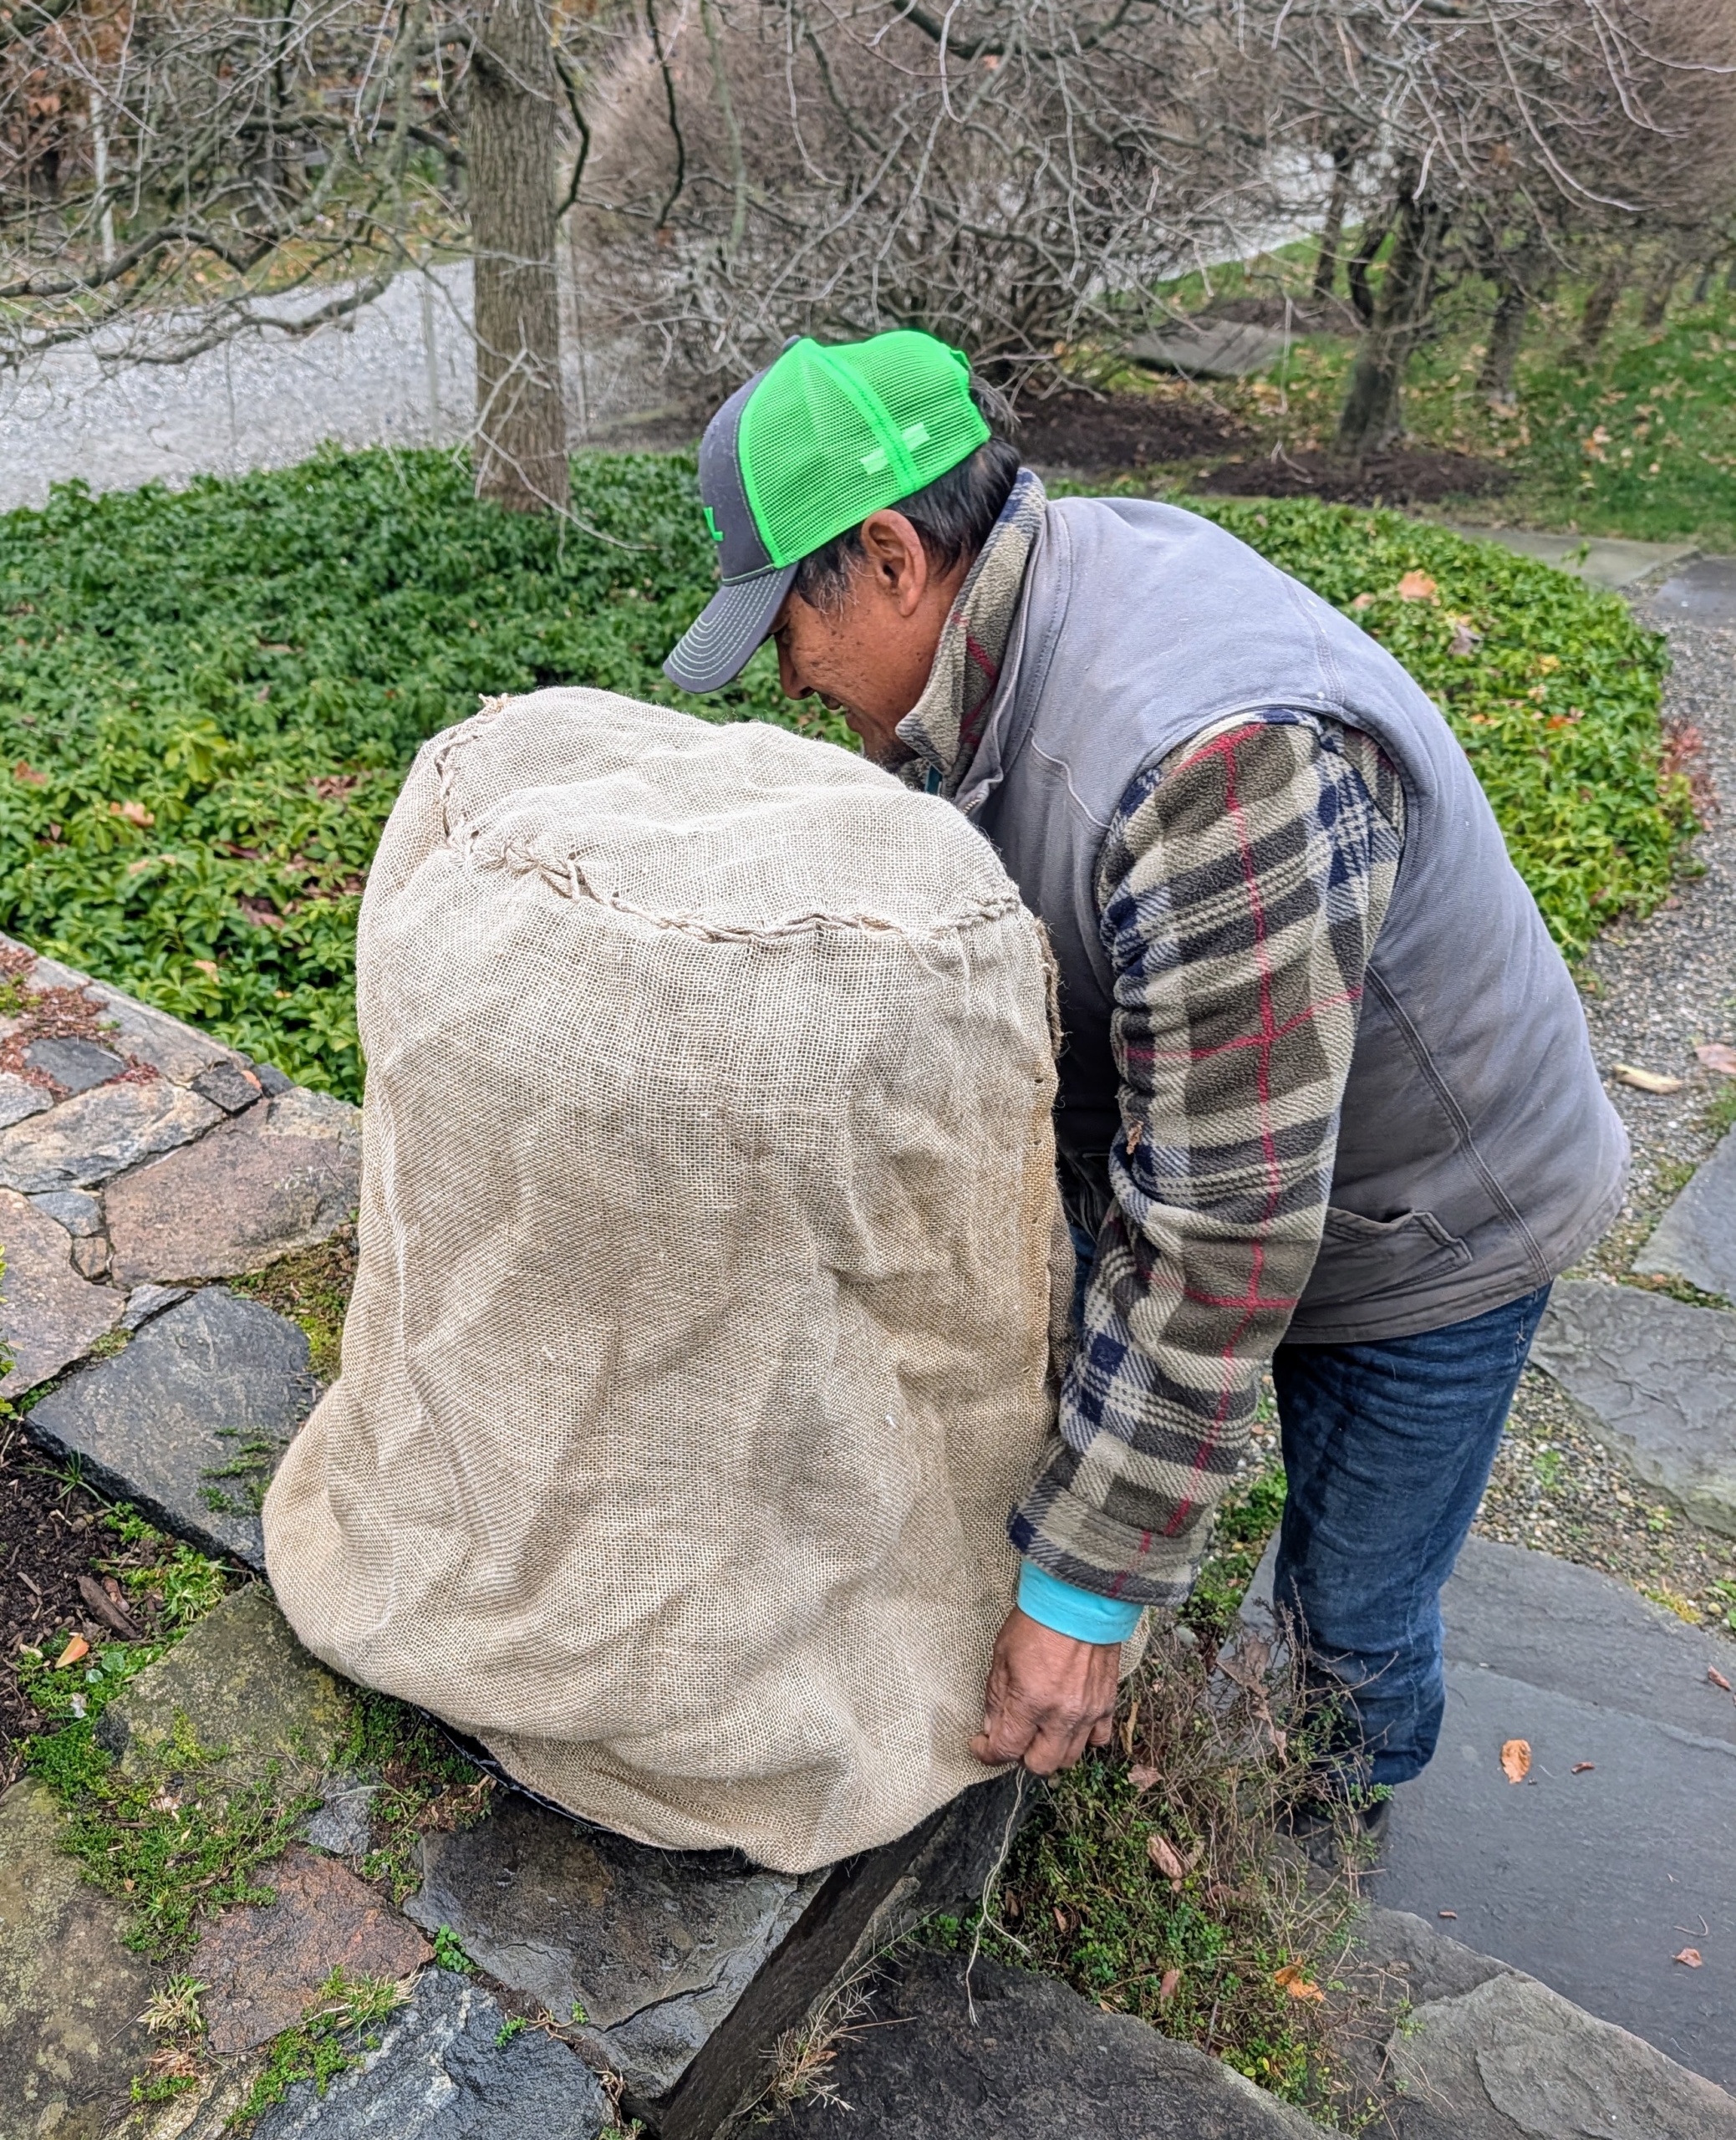
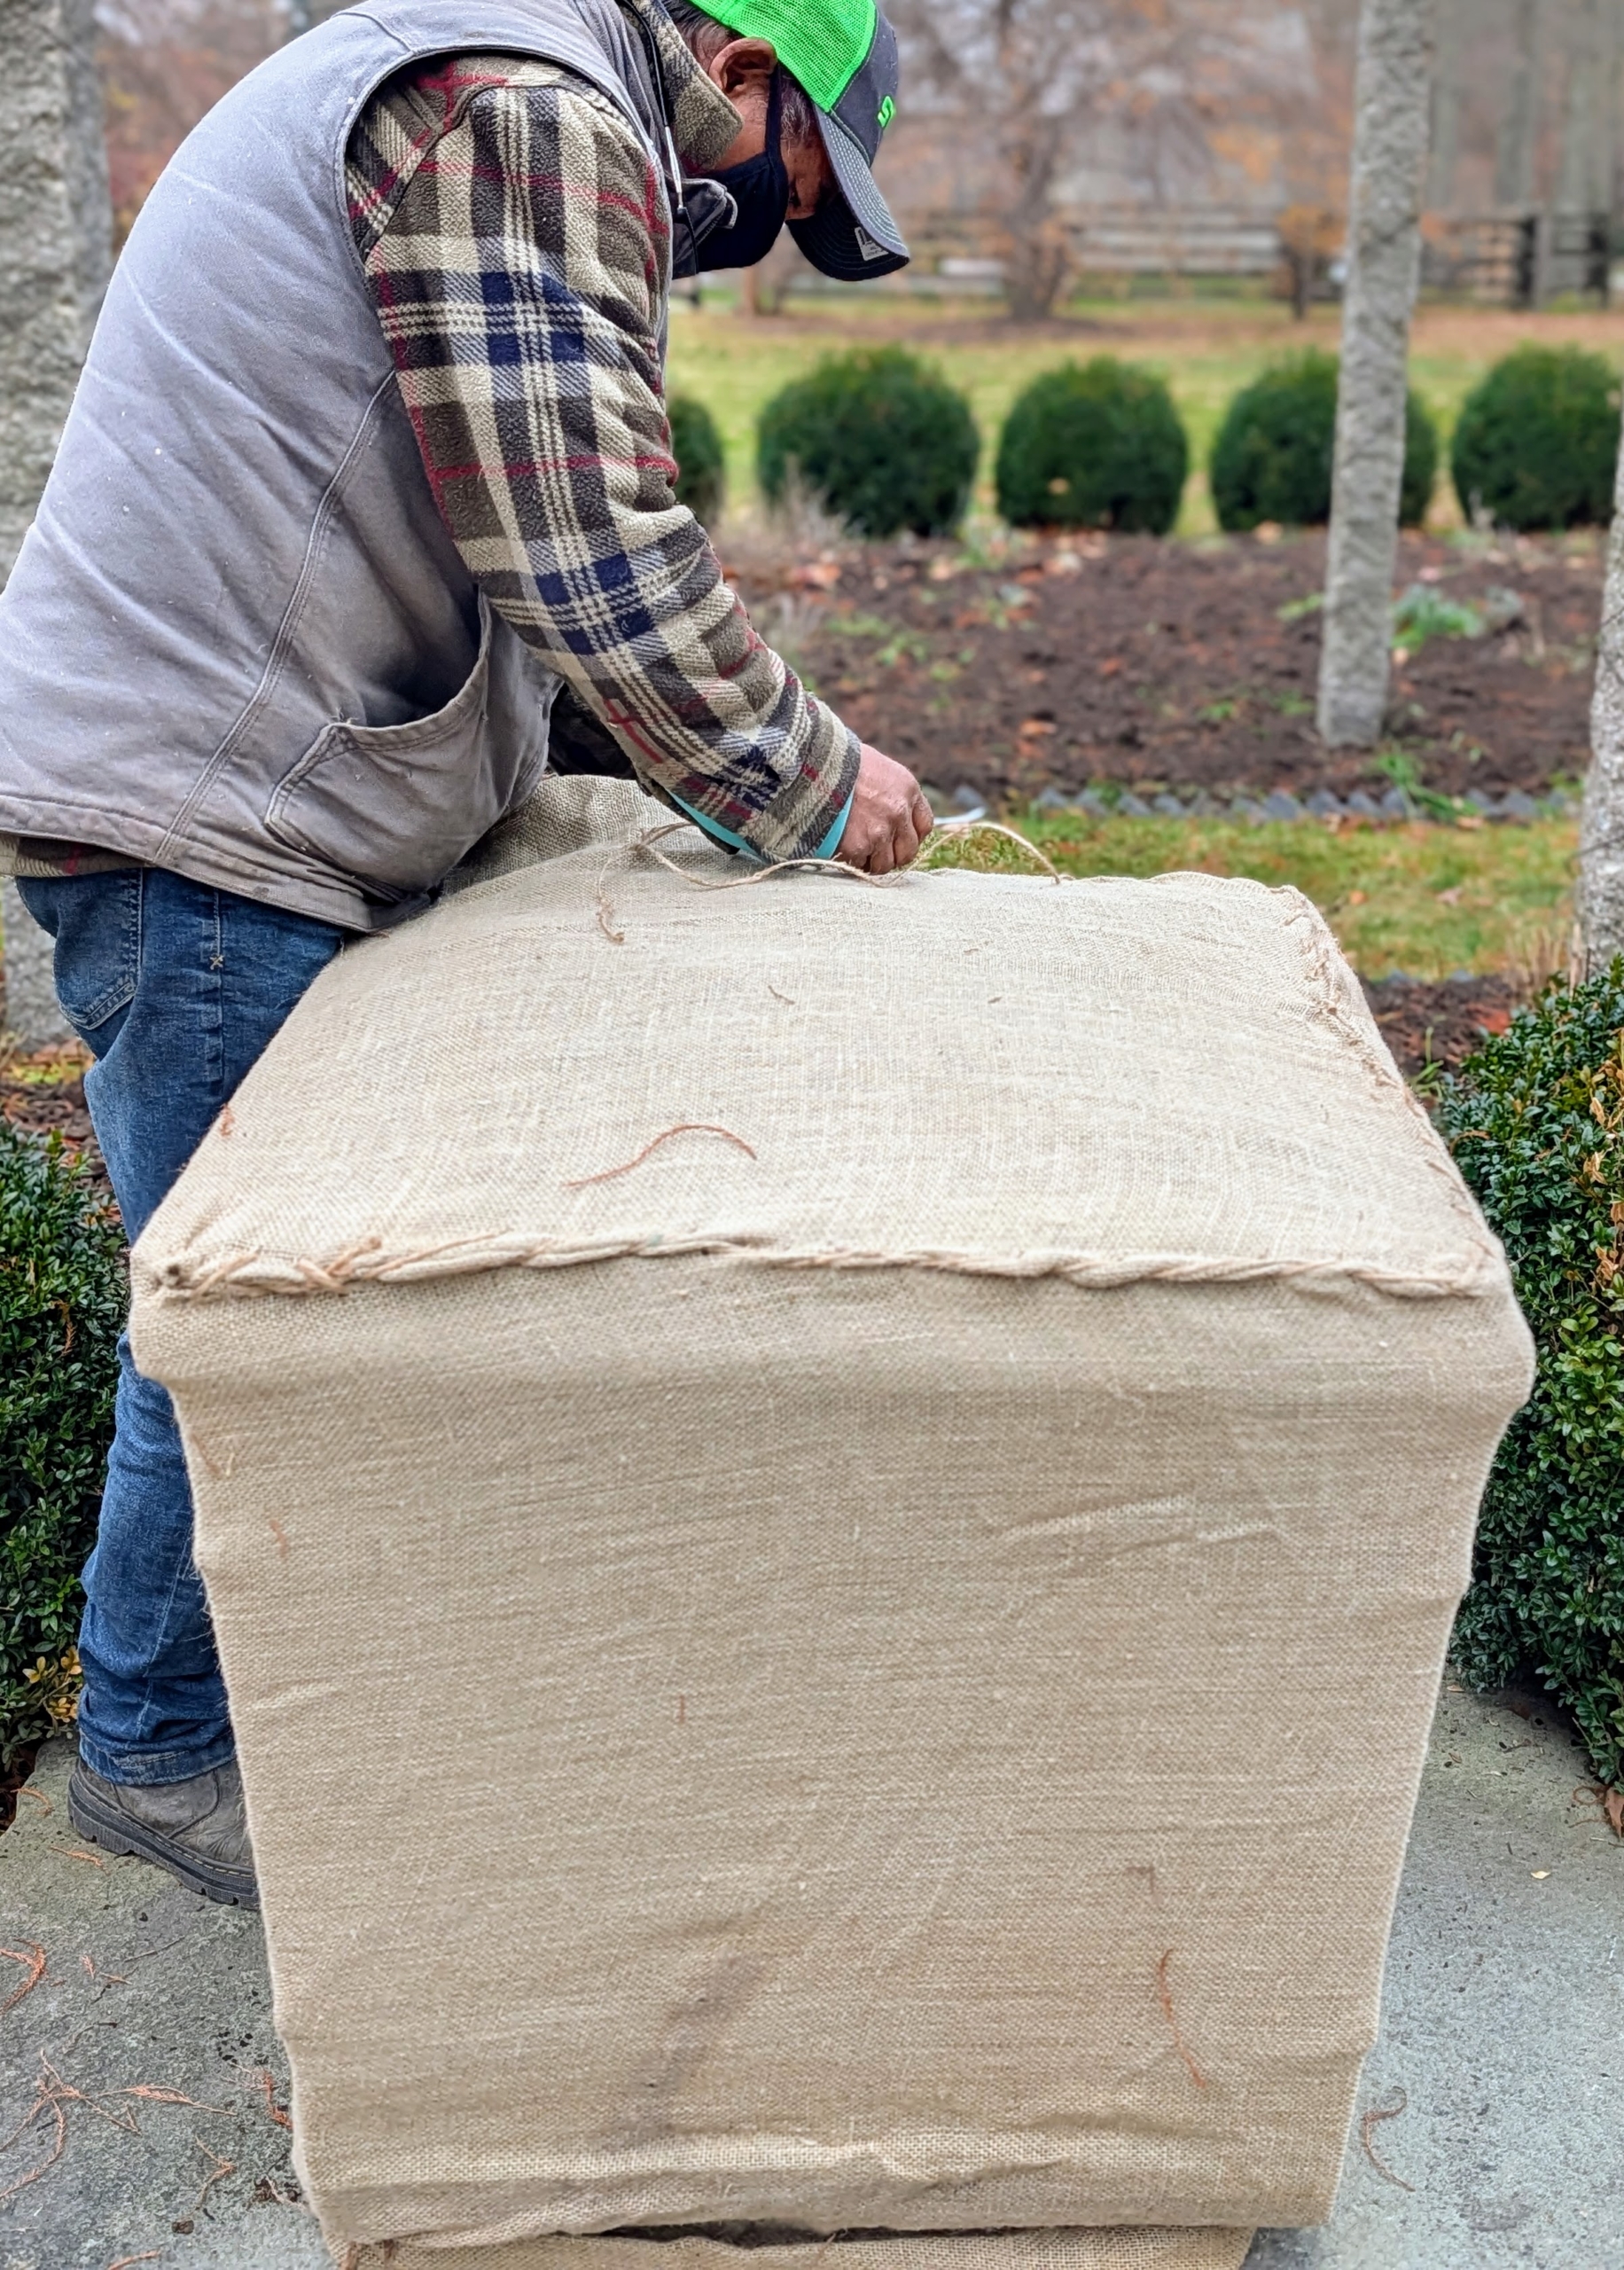
- The same process is used for the giant planters along the carriage road under my bald cypress trees. Pete covers the top with a piece of plywood and then wraps the entire planter with strong plastic.
-
- Here is Pete wrapping the entire vessel with burlap. It is always a good idea to wrap it first to estimate how much is needed and then cut off any excess. One doesn’t want to accidentally cut too much.
-
- And then like a present, Pete tucks the fabric and pulls it snug before sewing the ends together.
-
- Because these containers will be exposed to winter elements for several months, Pete makes sure to do the task very carefully.
-
- The top is also pulled tight and sewn closed.
-
- The edges are all folded neatly before sewing. After all, it will also be seen by visitors who come by.
-
- And here it is all covered. Depending on the size of the vessel, it takes about 20 to 30 minutes to cover one of these ornamental containers. On this day, Pete completed more than a dozen. There is still a lot of “burlapping” to do, but it is comforting to know that all my valuable planters will be protected for the season. Do you cover your outdoor planters?