Winter is such a good time to tackle those indoor houseplant chores.
I love container plants, and over the years I have amassed quite a collection of potted specimens. To keep them looking their best, it is important to check their condition regularly, feed and water according to their needs, and repot those that have outgrown their current vessels. My head gardener, Ryan McCallister, has been repotting a group of Chinese money plants, Pilea peperomioides - low-maintenance perennials with interesting coin-shaped foliage.
Here are some photos, enjoy.
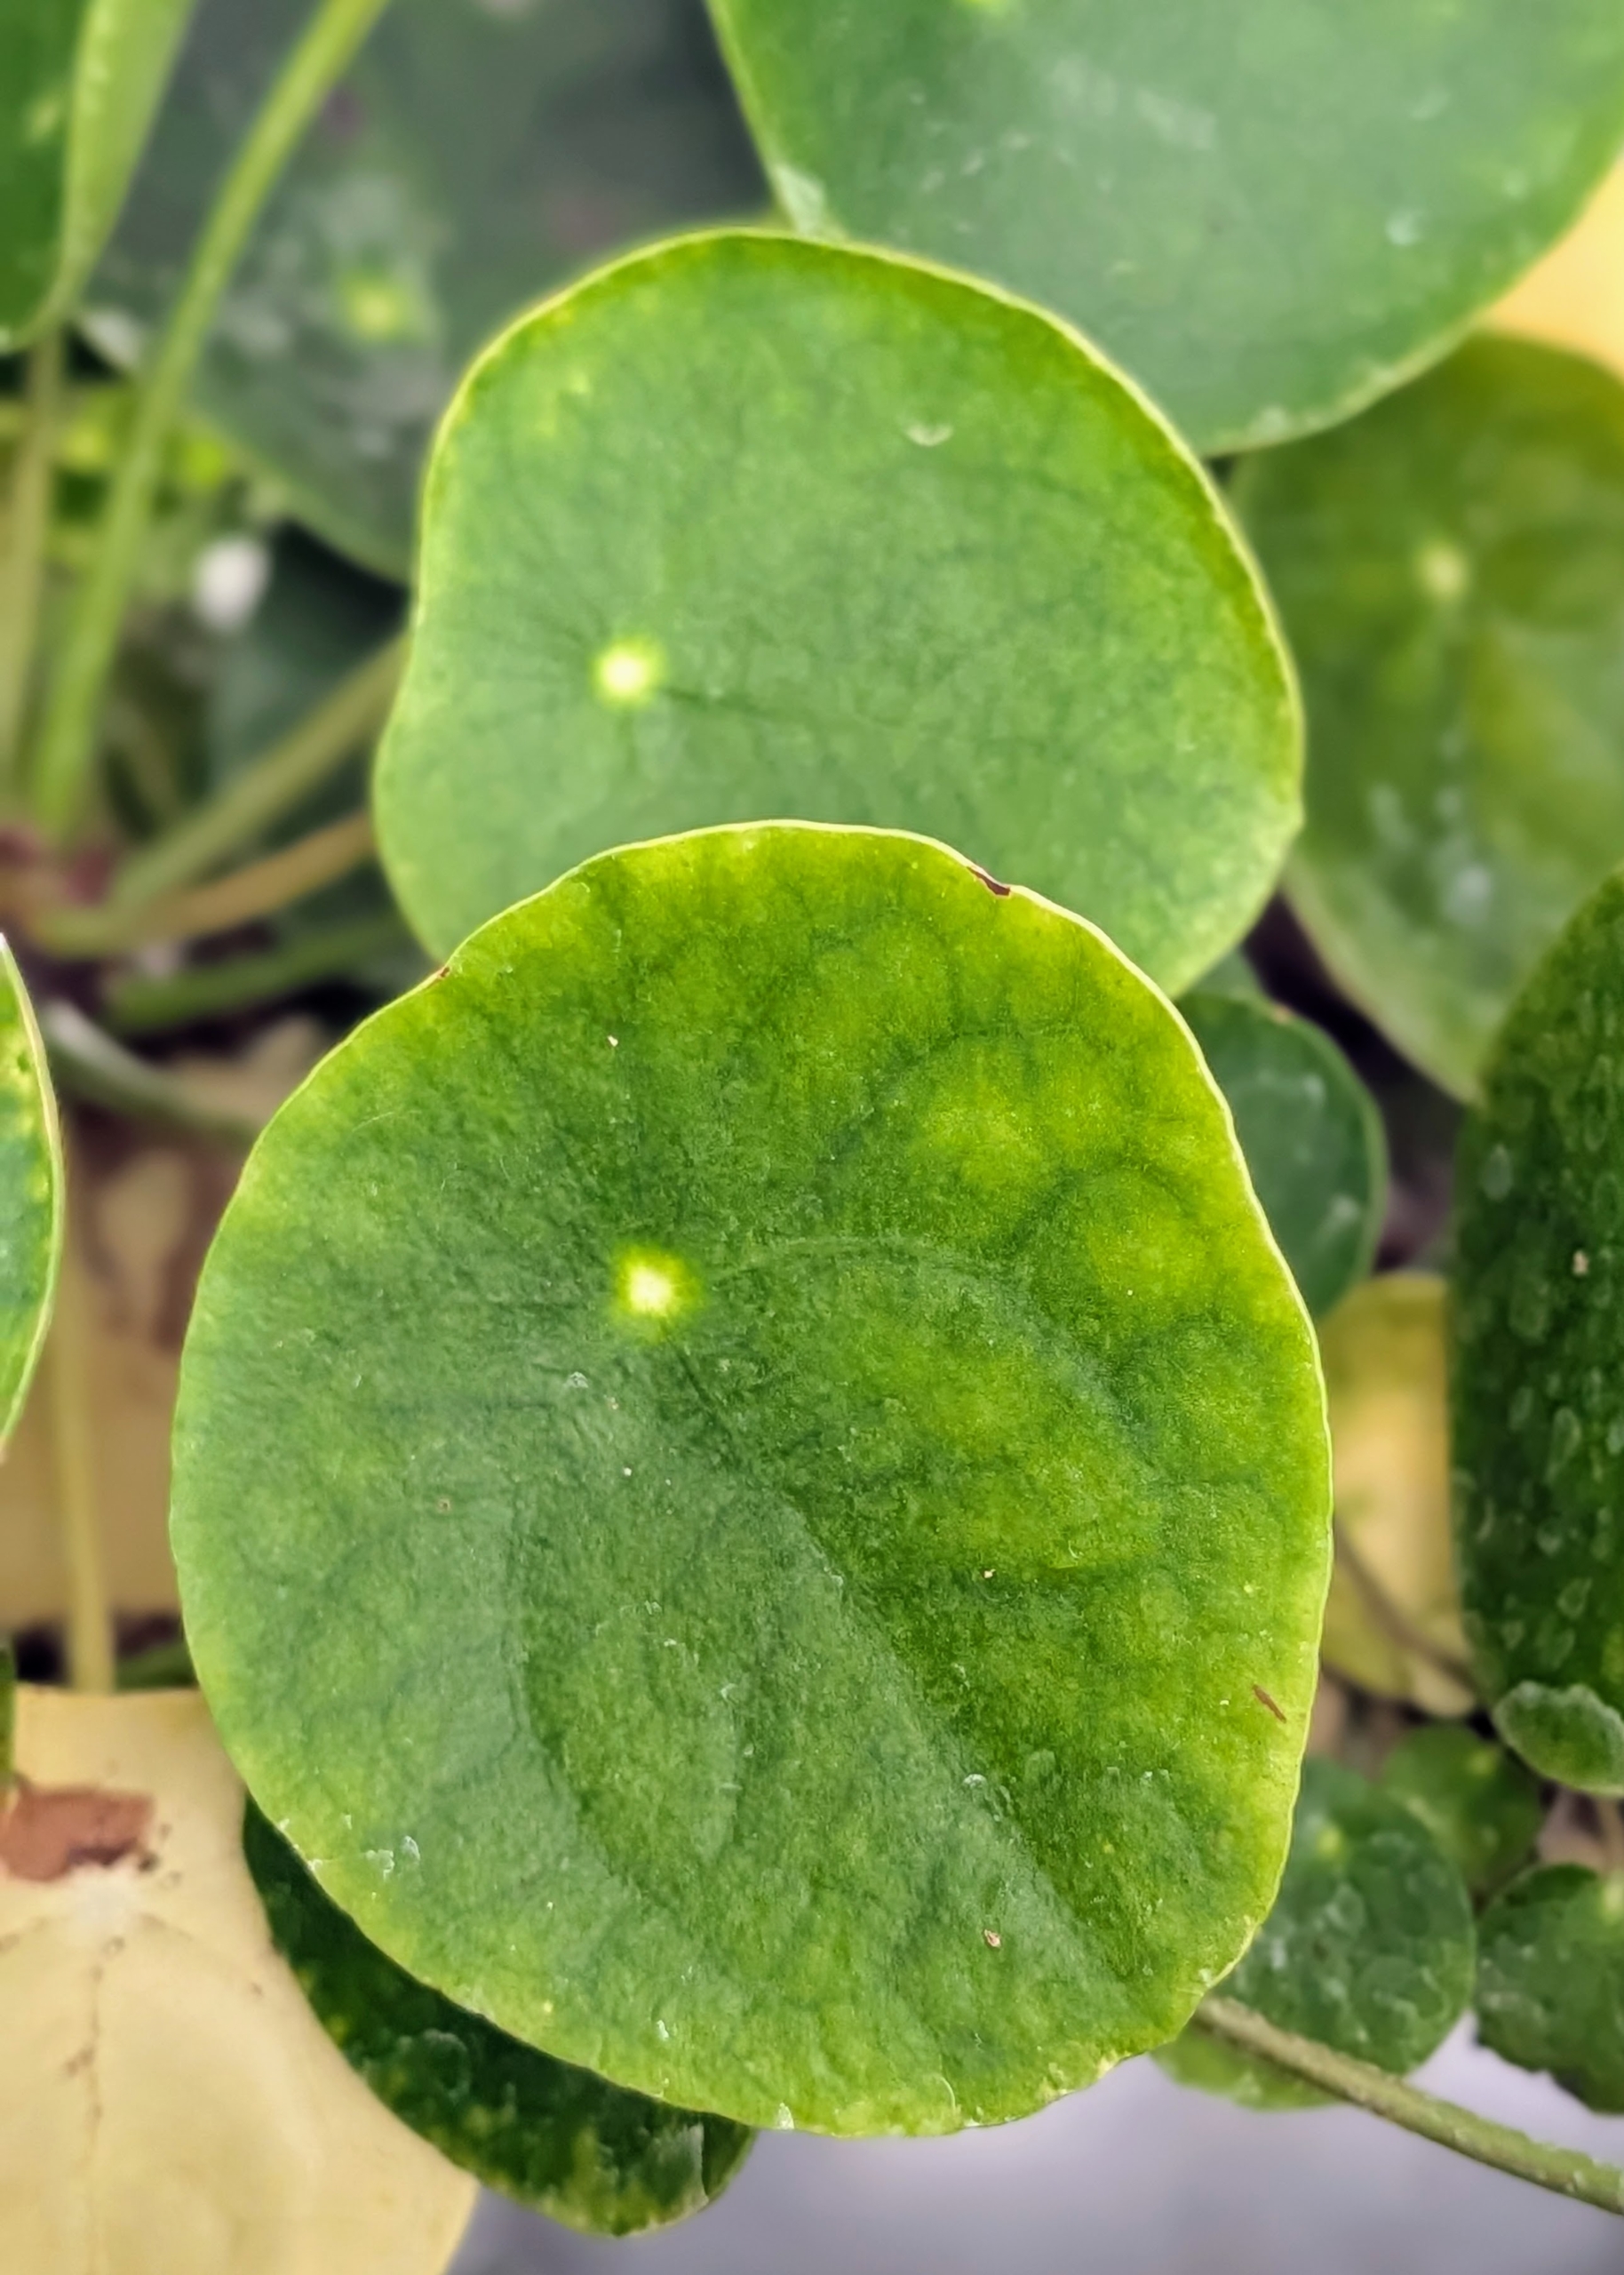
These are the interesting leaves of the Chinese money plant, Pilea peperomioides. The round leaves can grow up to four inches in diameter, with the plant itself capable of reaching up to 15 inches wide.
The main woody stems of Pilea peperomioides are thick with an upright growth habit. They show nodes where leaves, buds, and branches emerge, and internodes which are the spaces between these nodes.
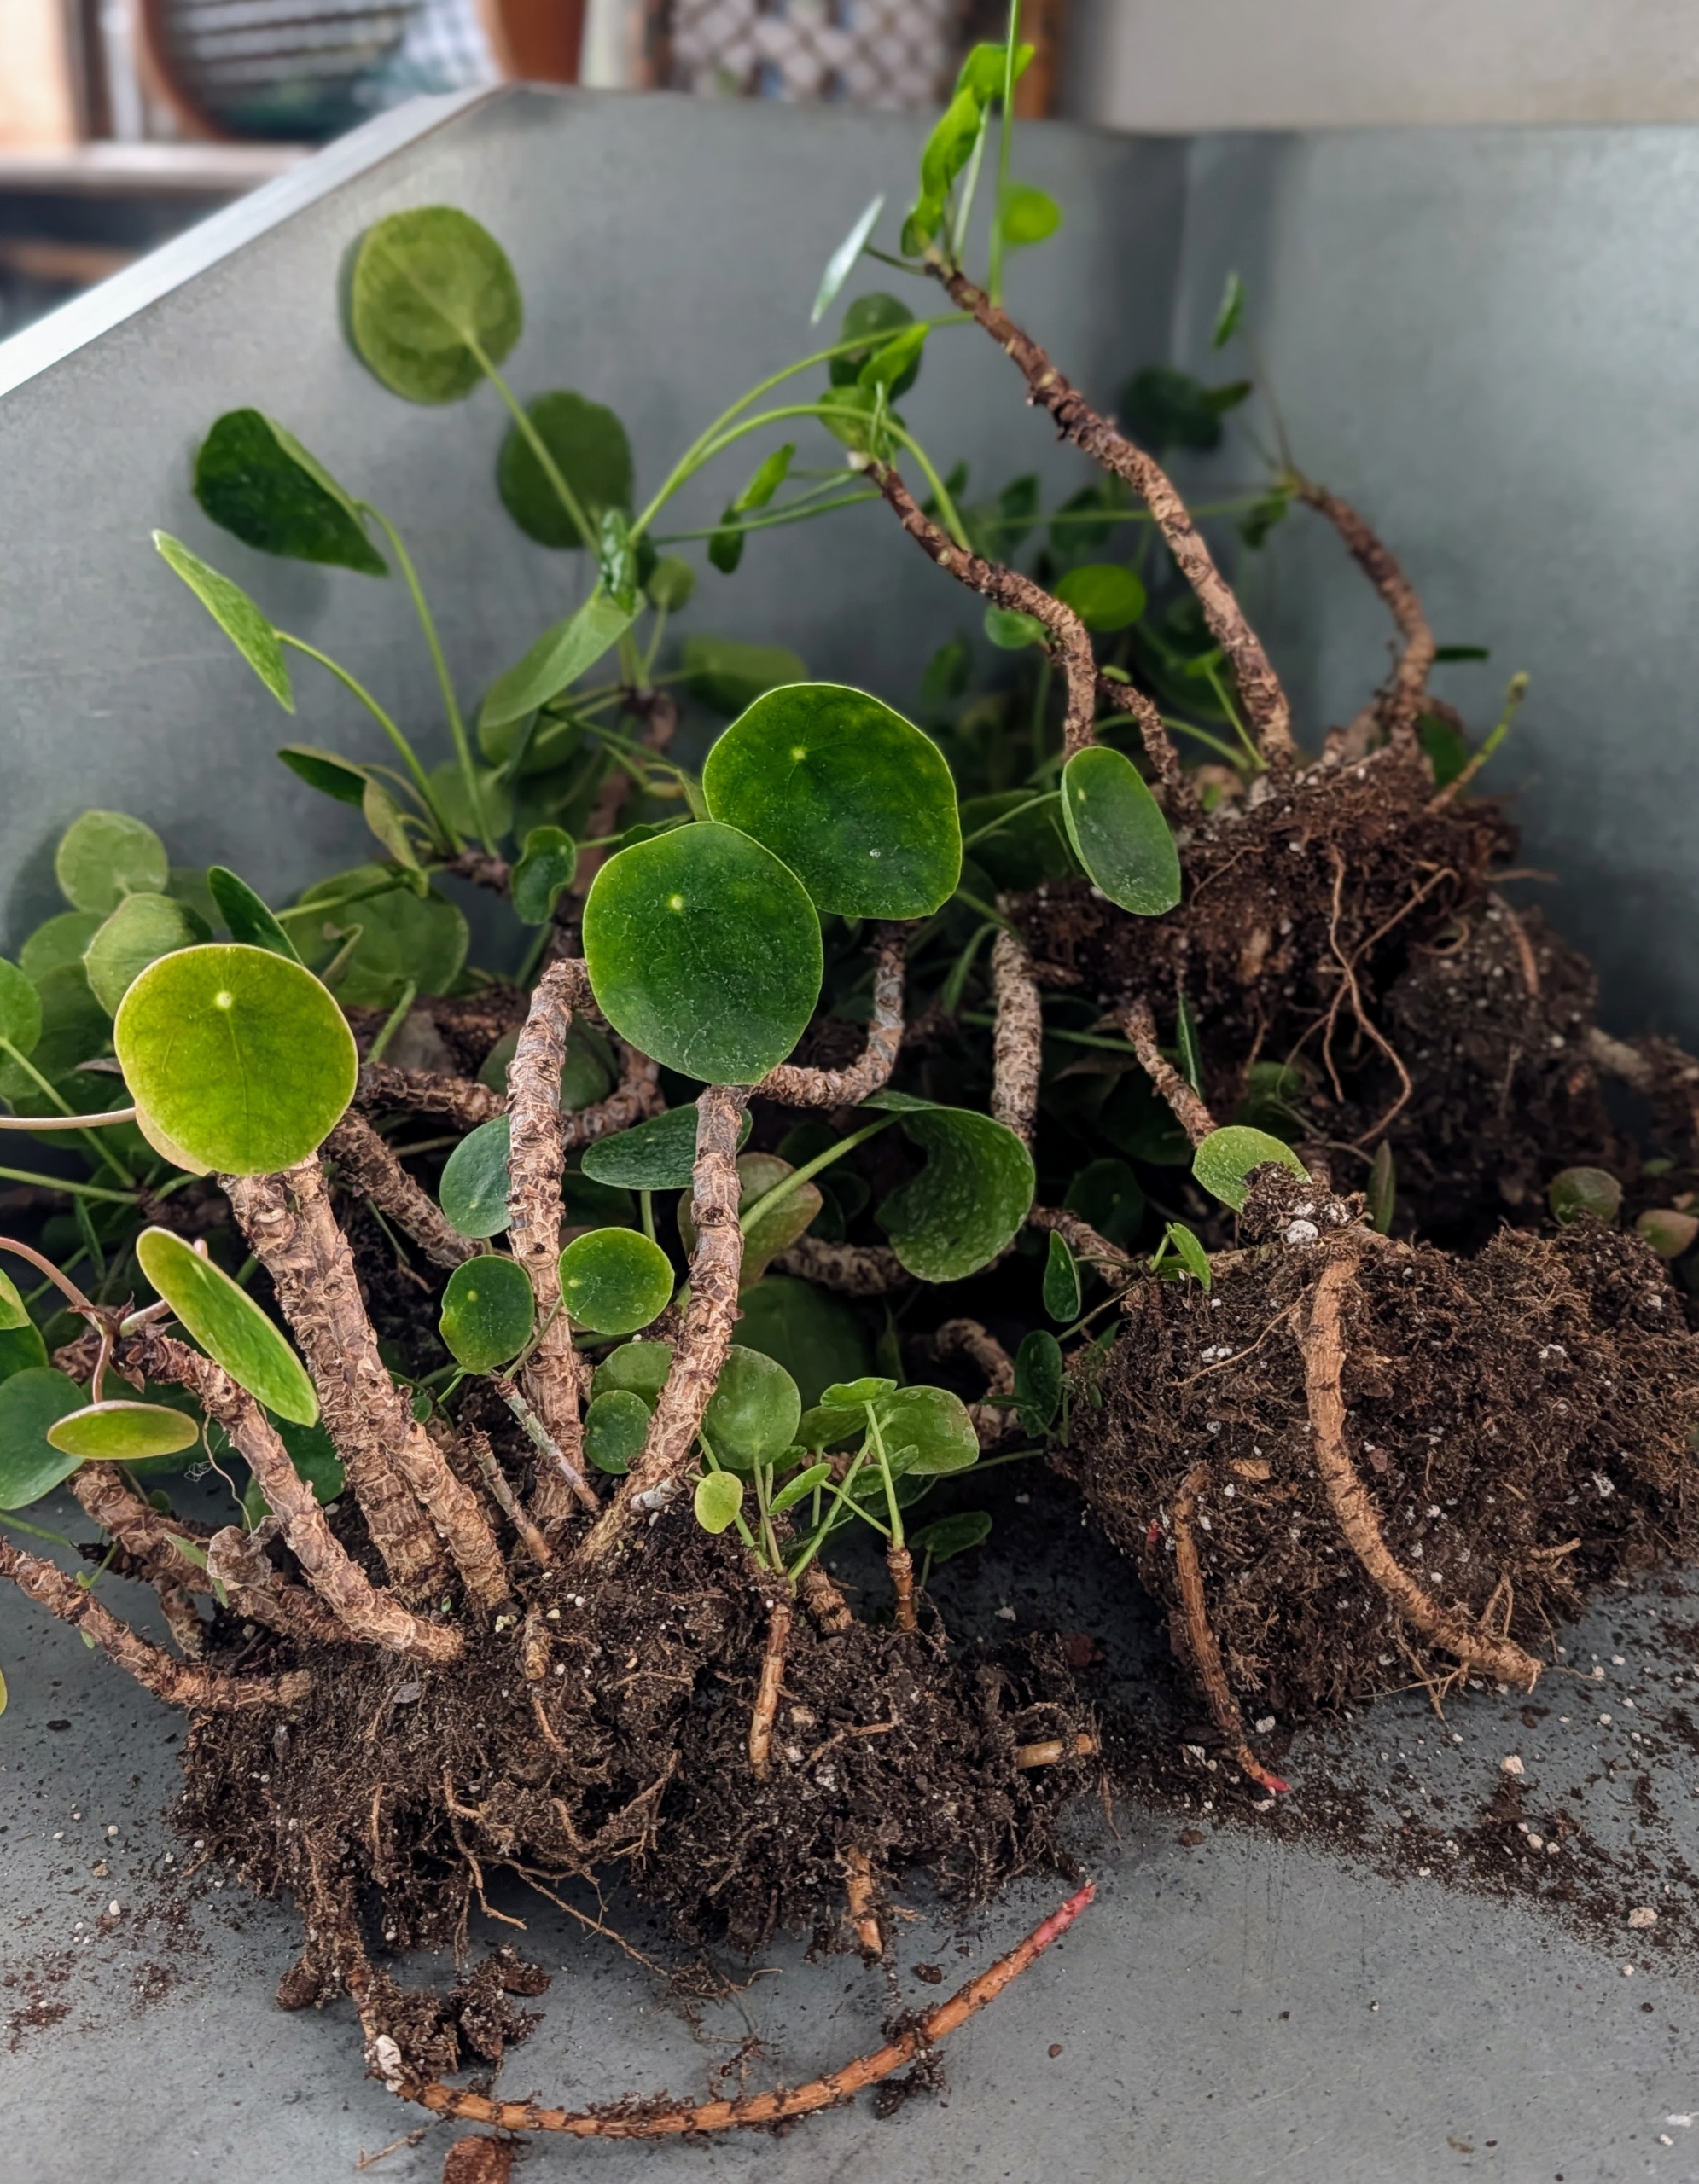
I have many Pilea peperomioides plants in my greenhouse. These plants are grown primarily for their interesting foliage and easy-to-care-for nature. With proper lighting, it can also double in size within a year. These plants were potted up a few years ago and need repotting to give the plants more room to thrive.
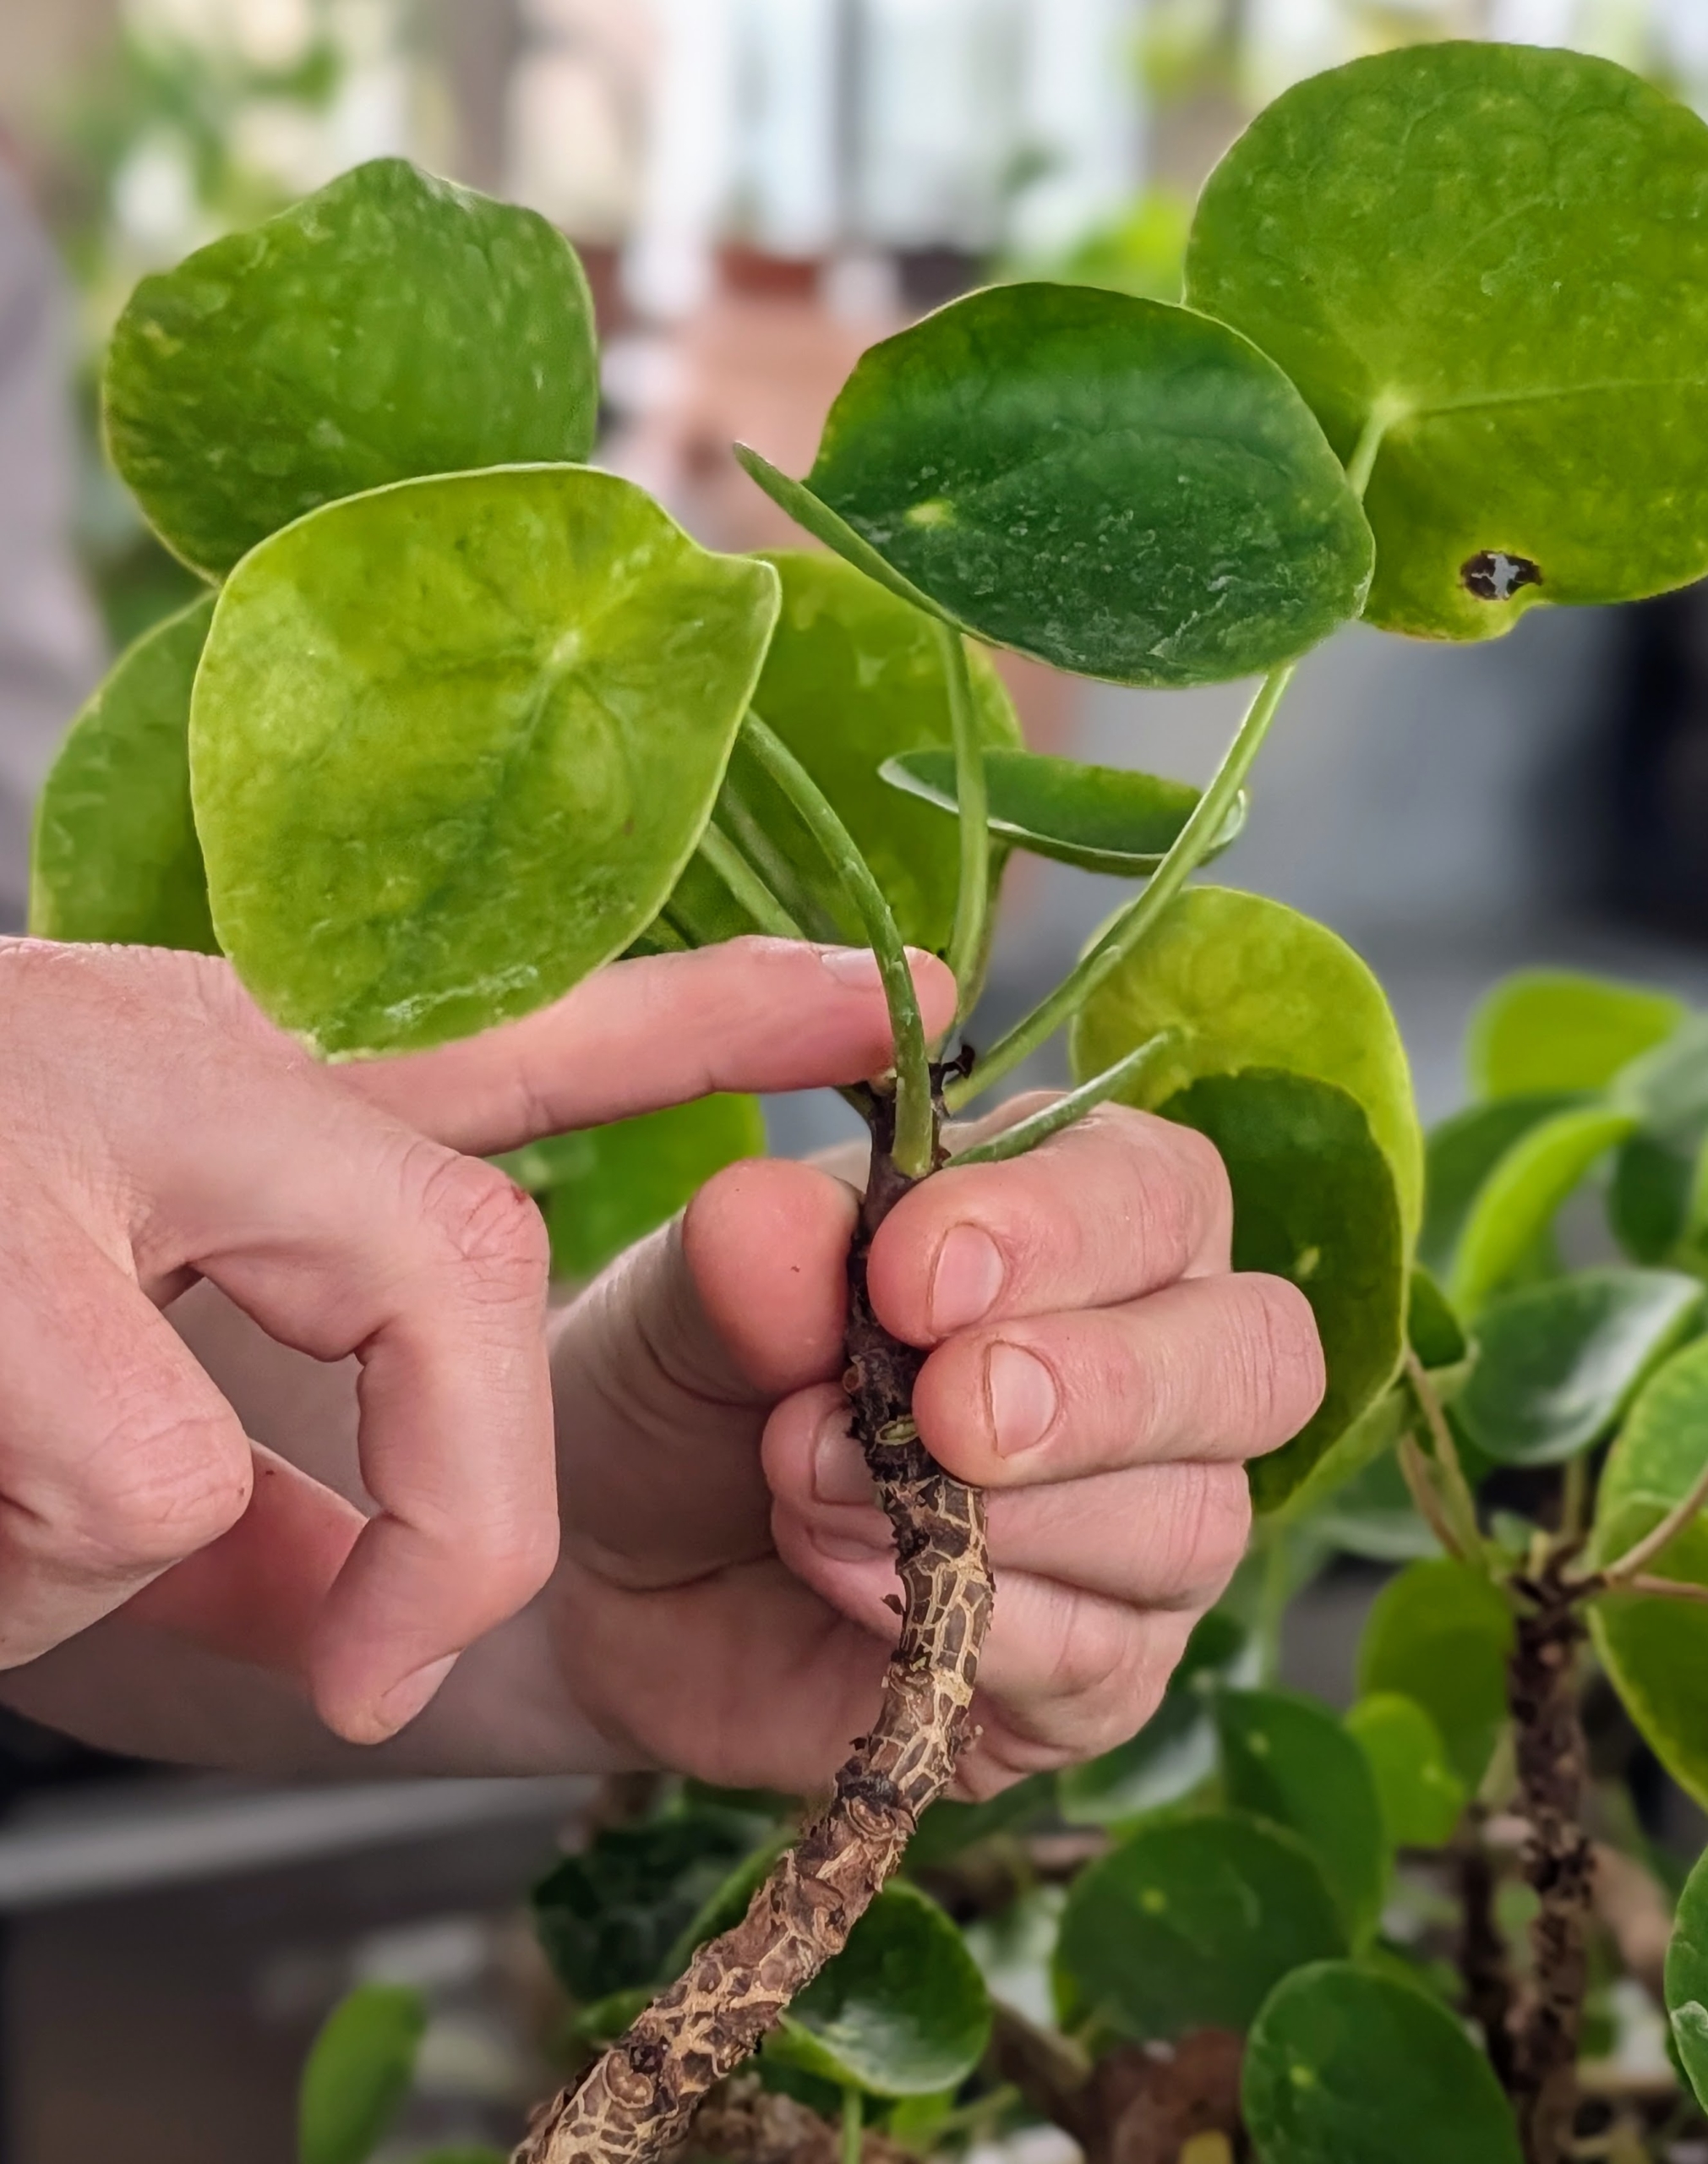
Ryan inspects the plant and removes any dead or yellowing leaves.
Removing leaves is easy – just snap off close to the main stem.
The leaf and stem will quickly disconnect from the plant.
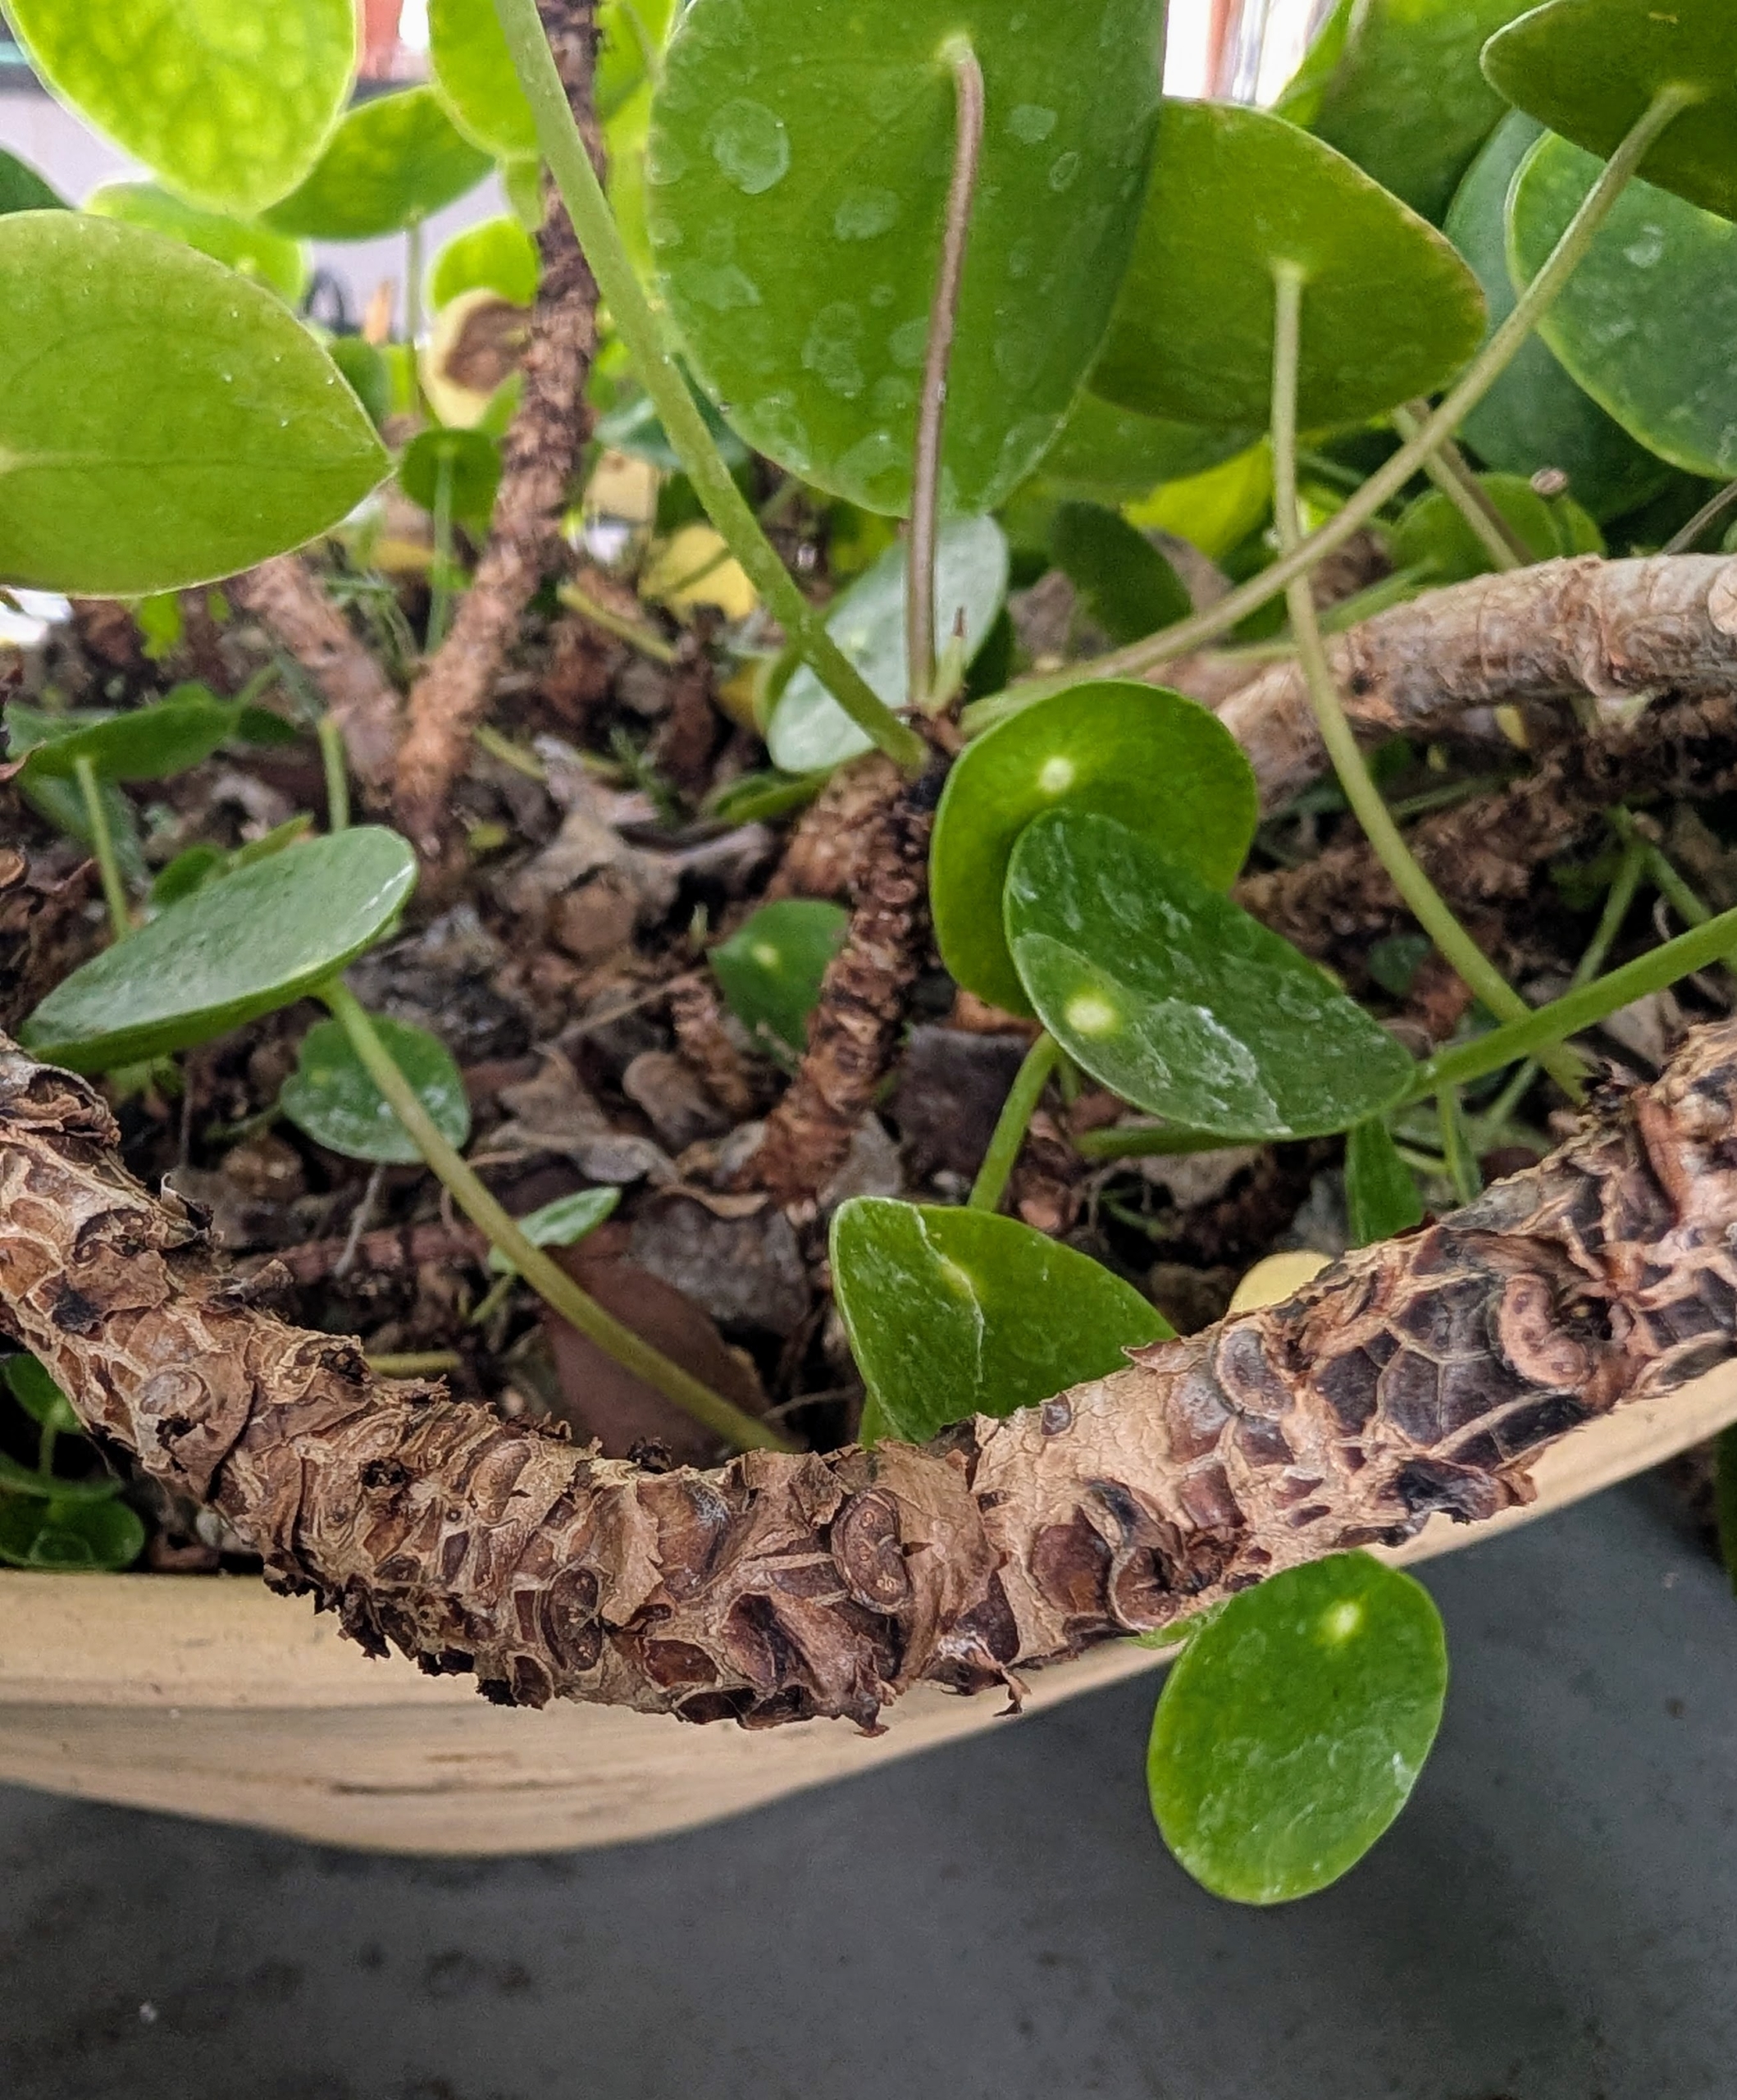
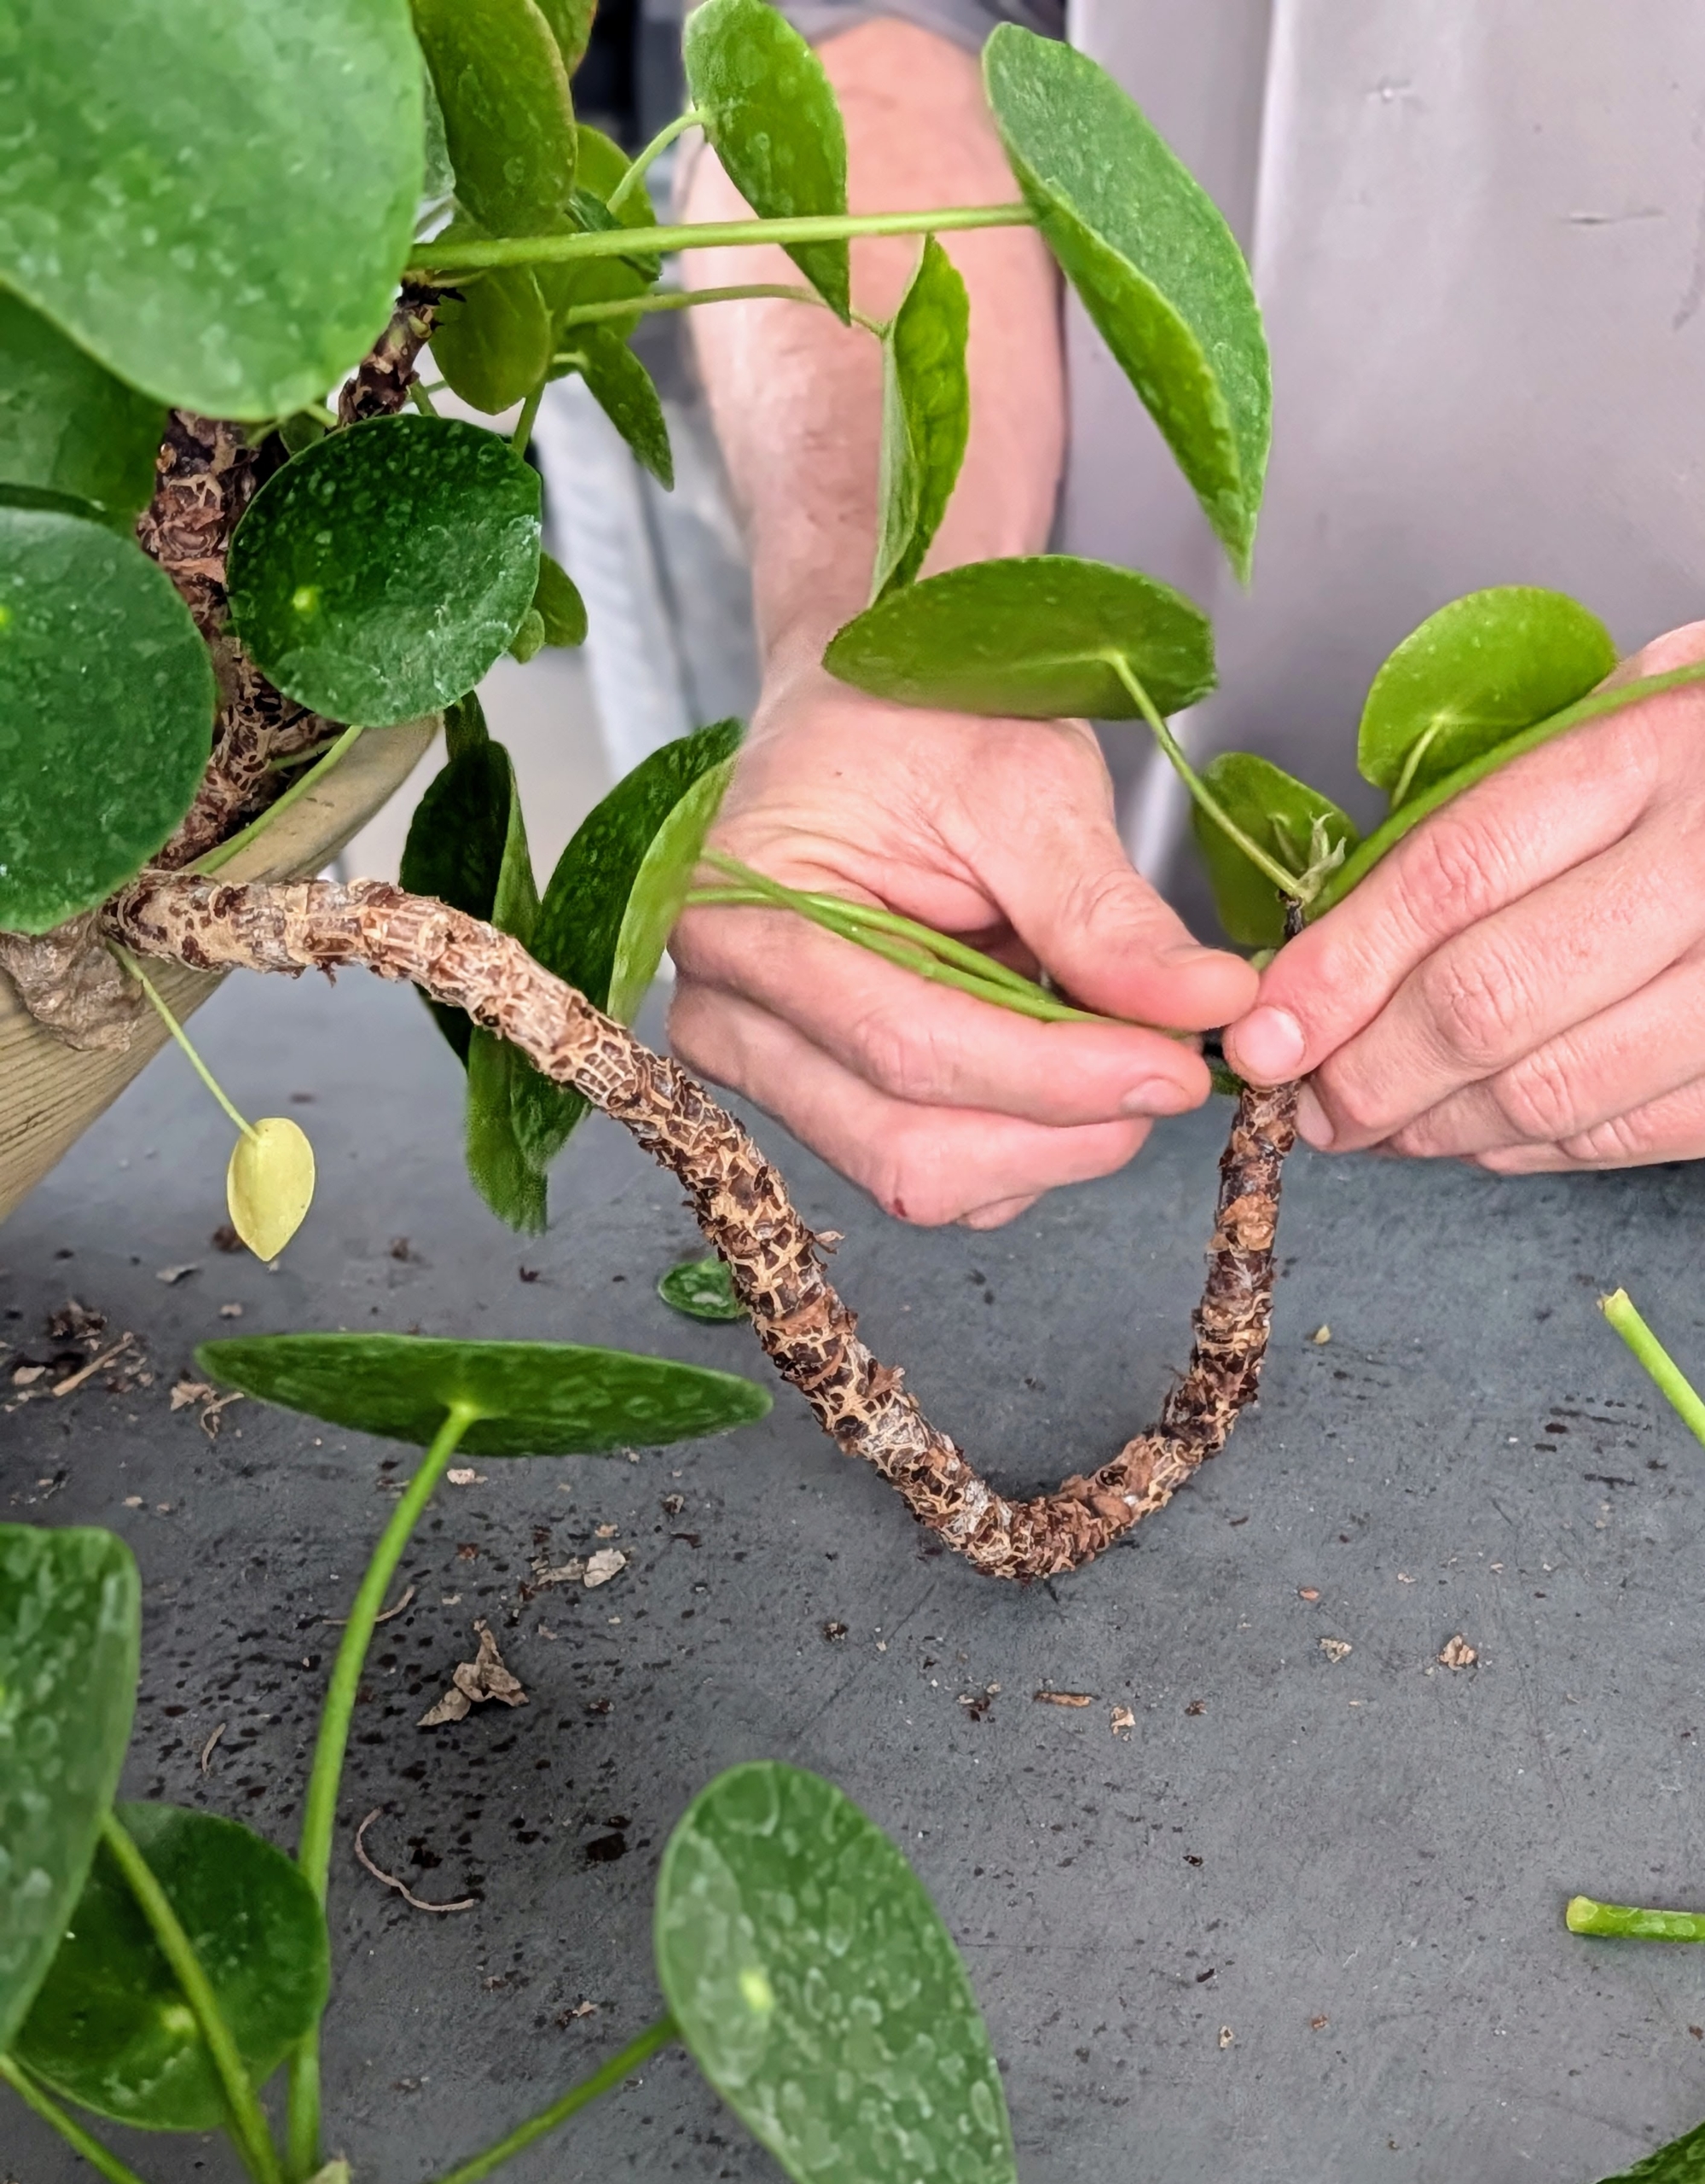
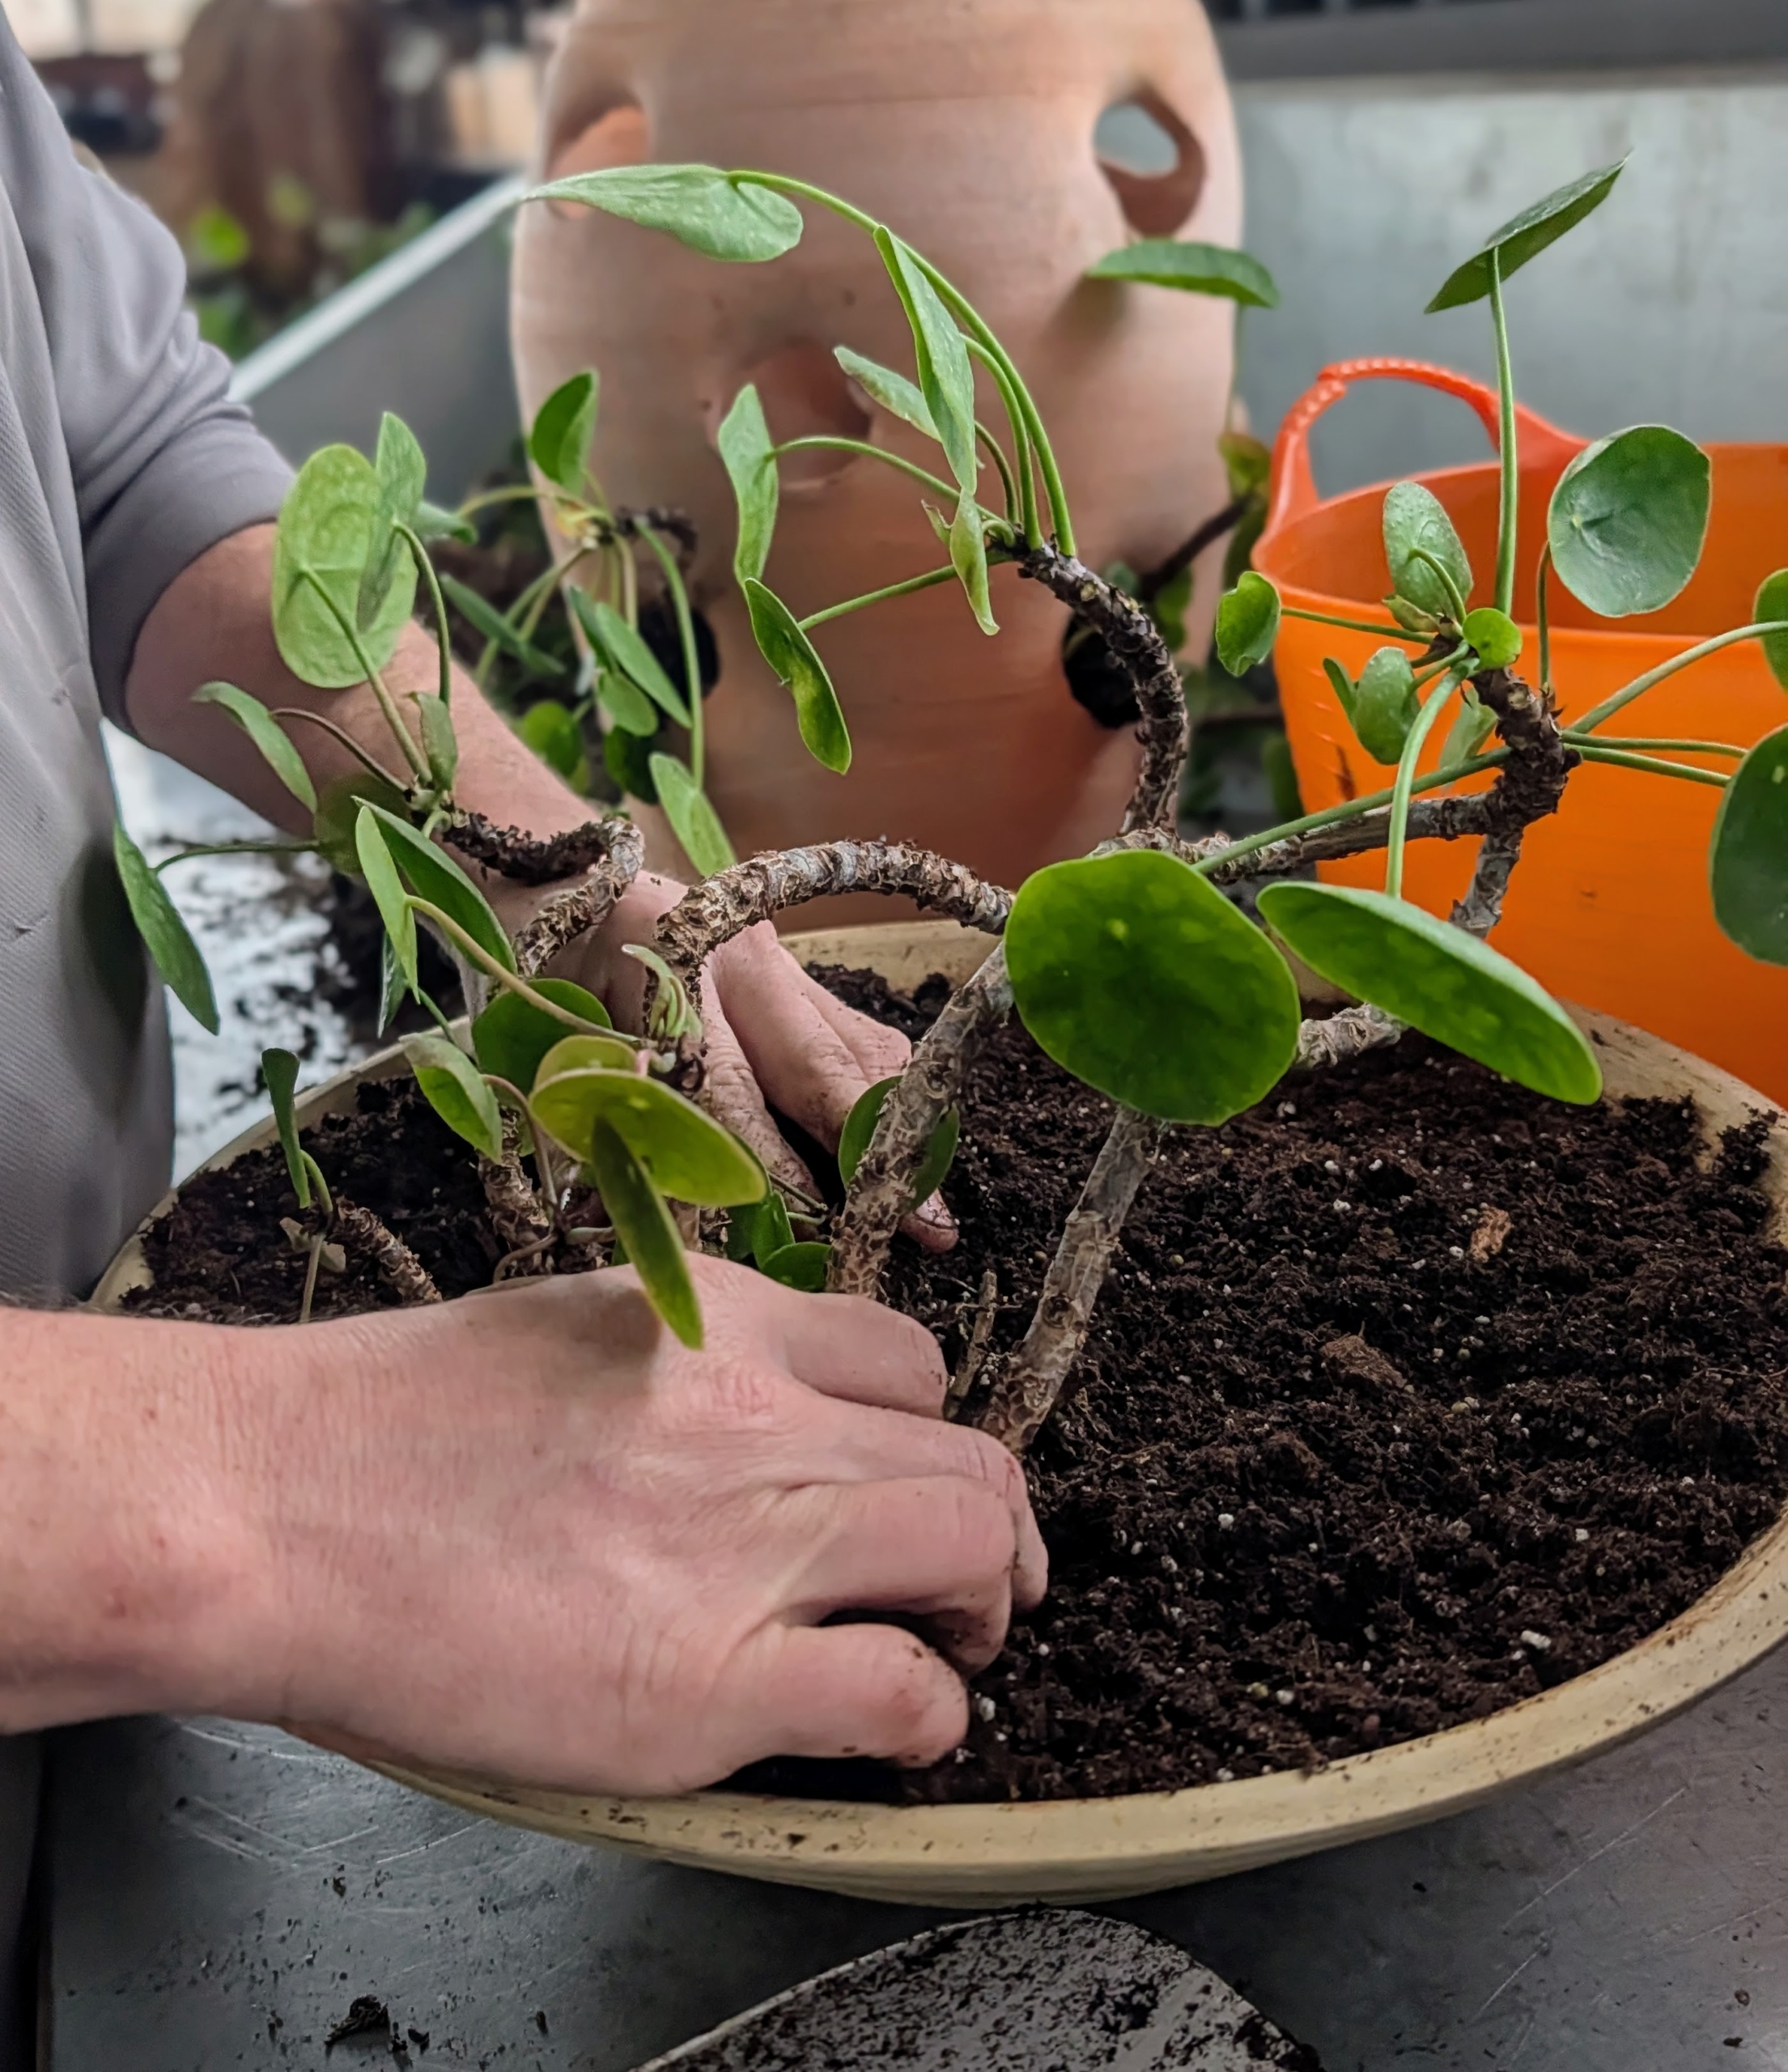
Next, Ryan carefully removes the plant from the pot.
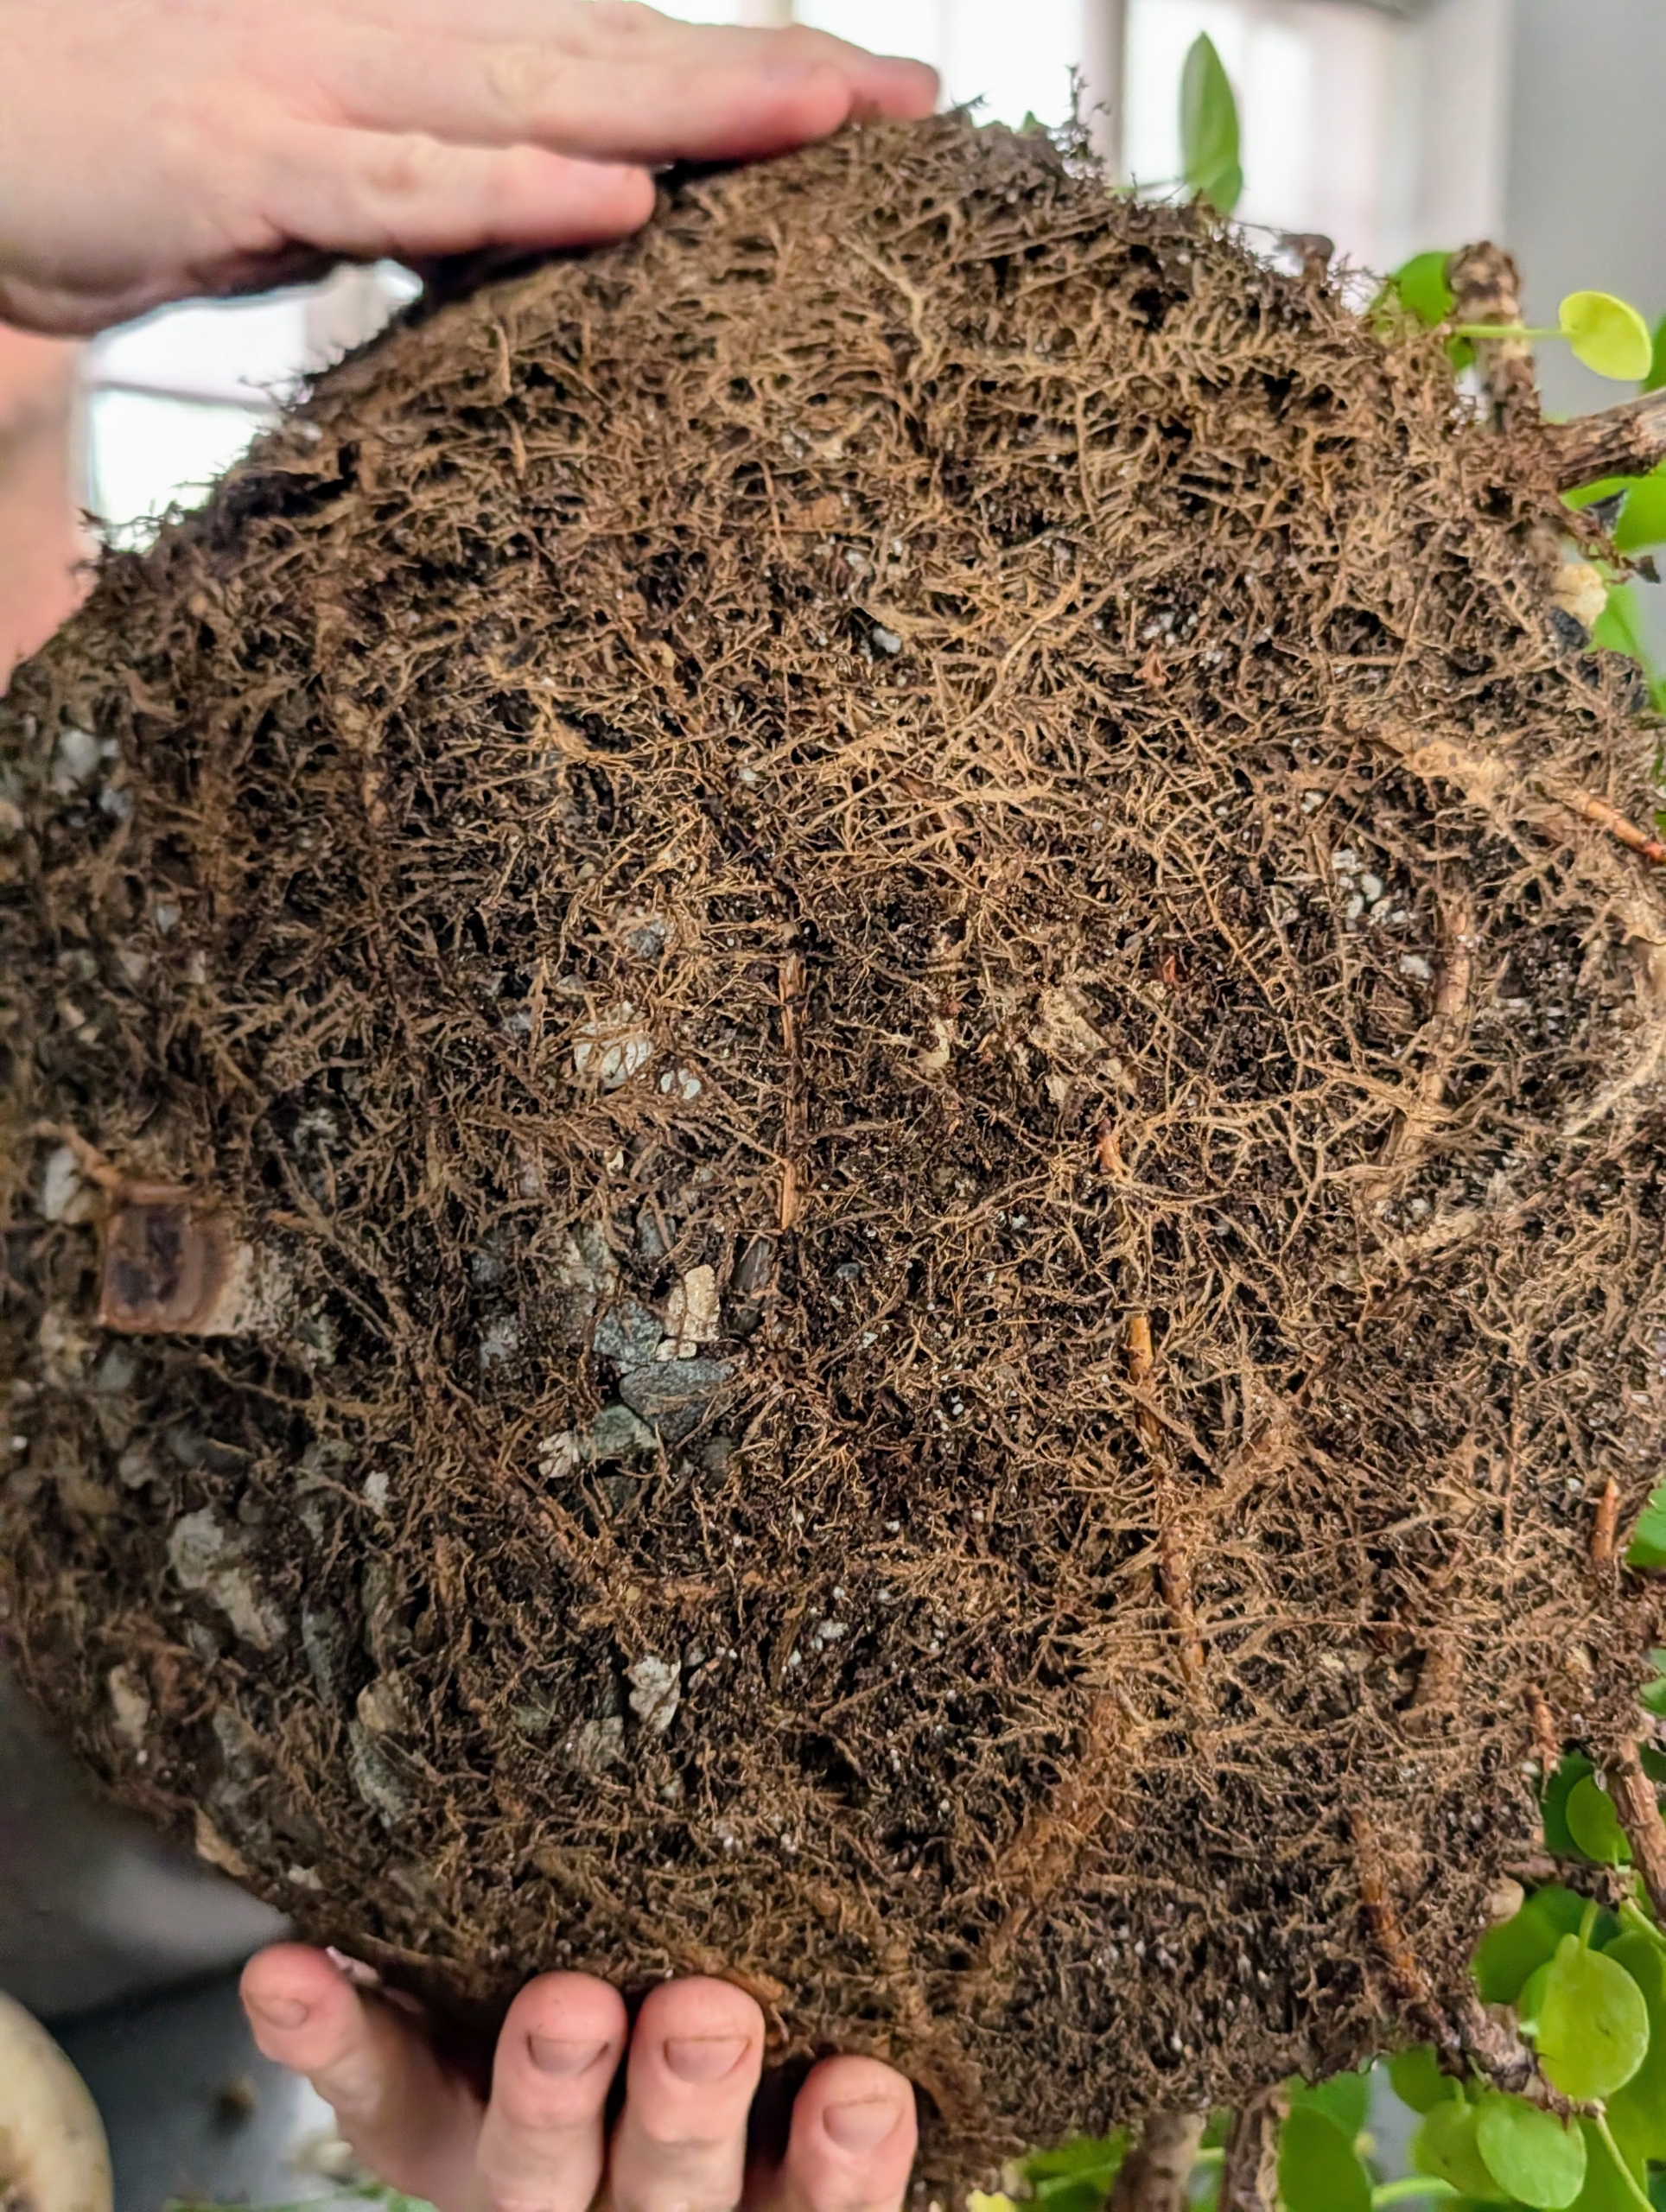
Look at all the roots surrounding the root ball. When roots become tightly packed and confined within the container, it is called root bound – a condition that hinders the plant’s ability to grow and expand.
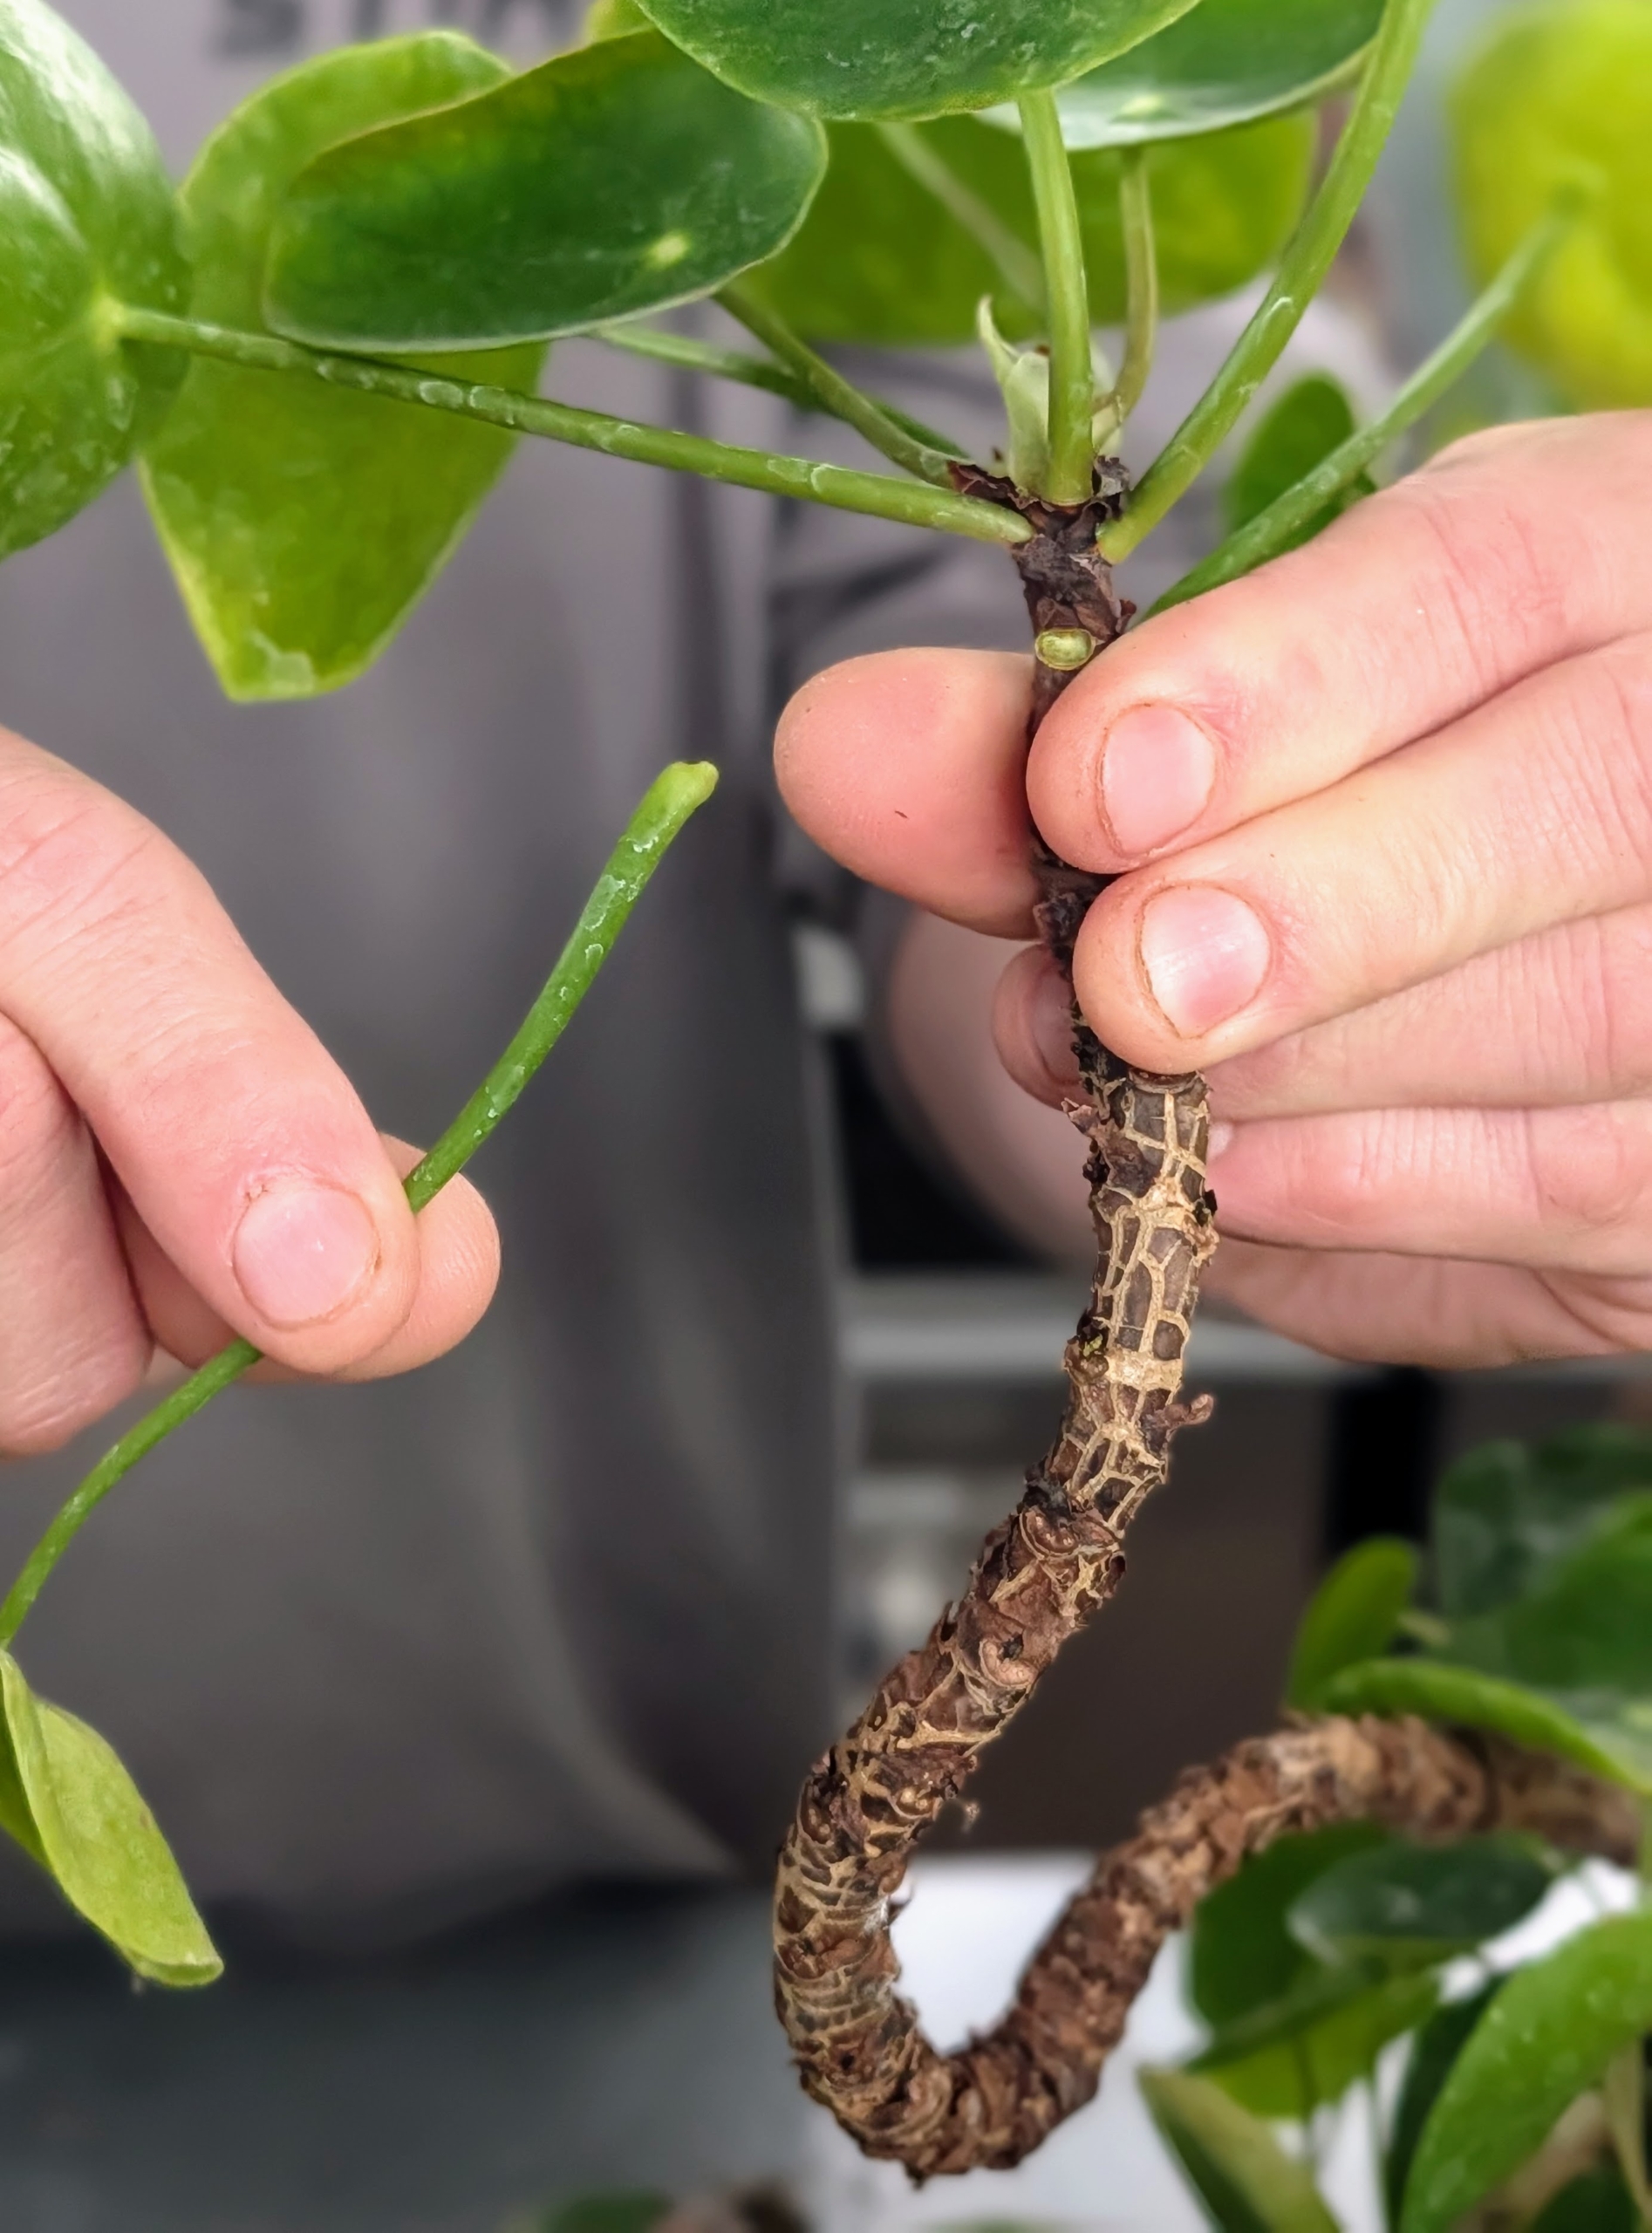
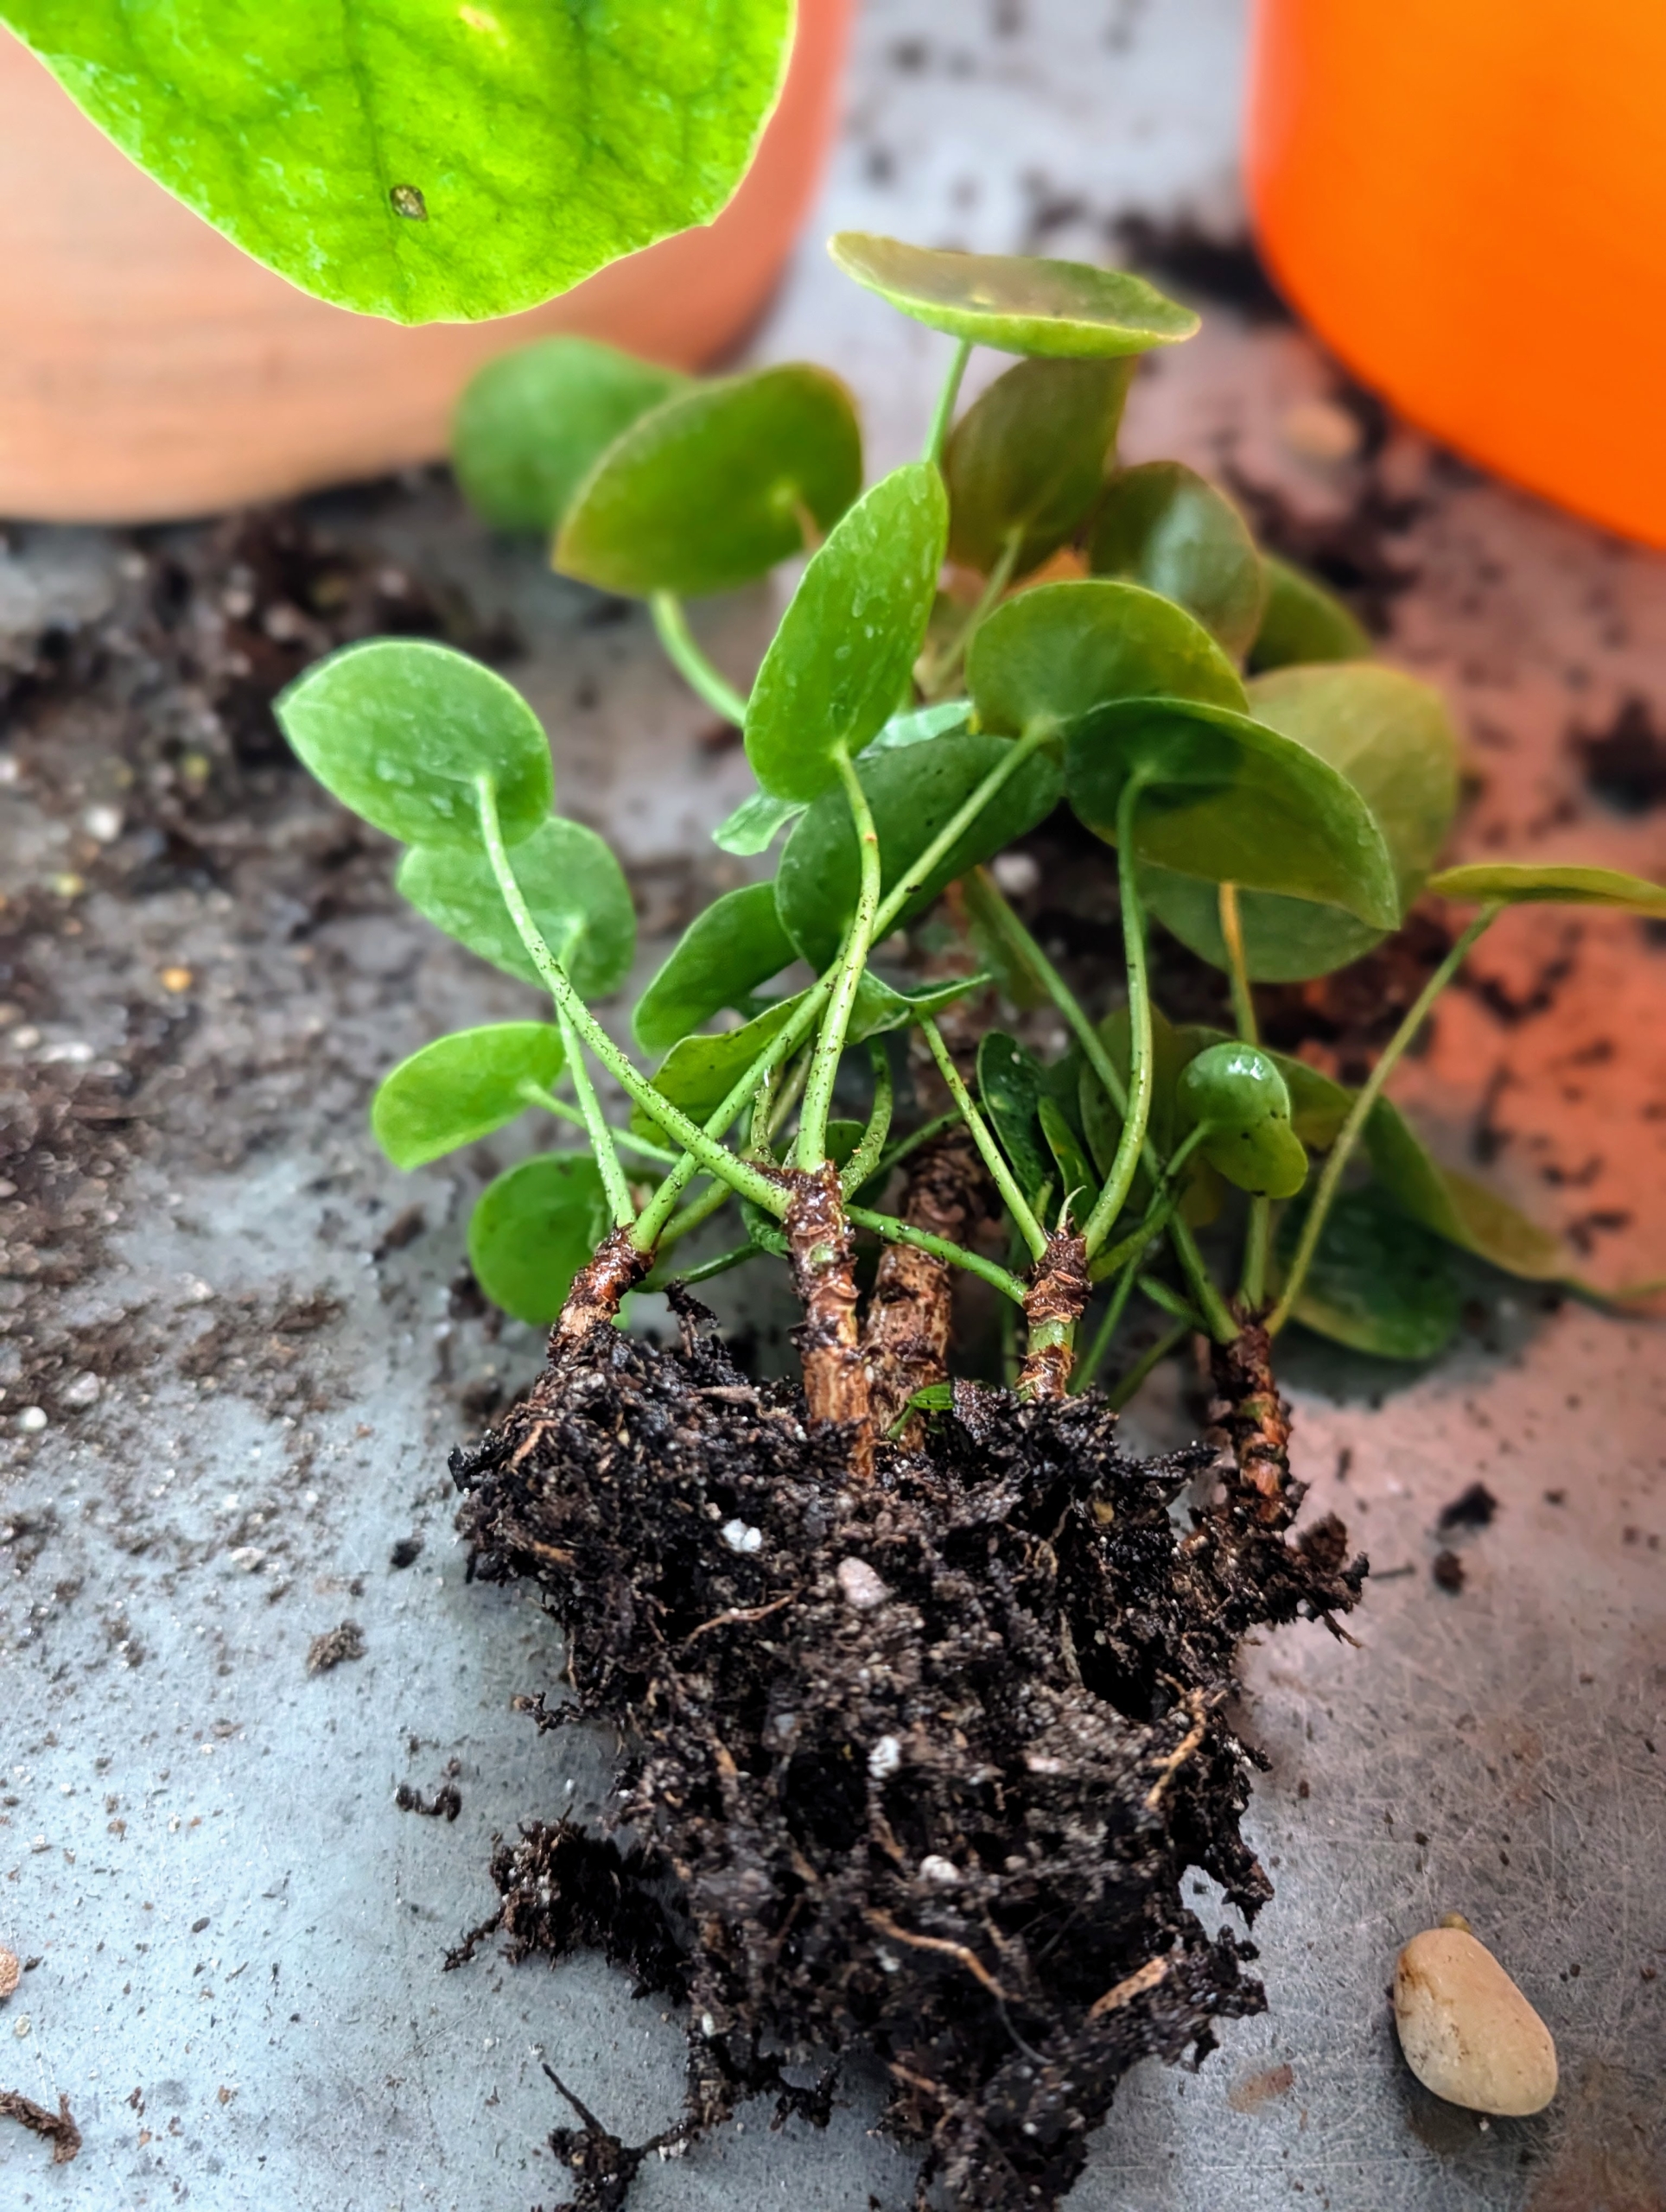
Ryan divides the plants so they could be repotted. This is a good time to check for any signs of disease, rot, or pest infestation.
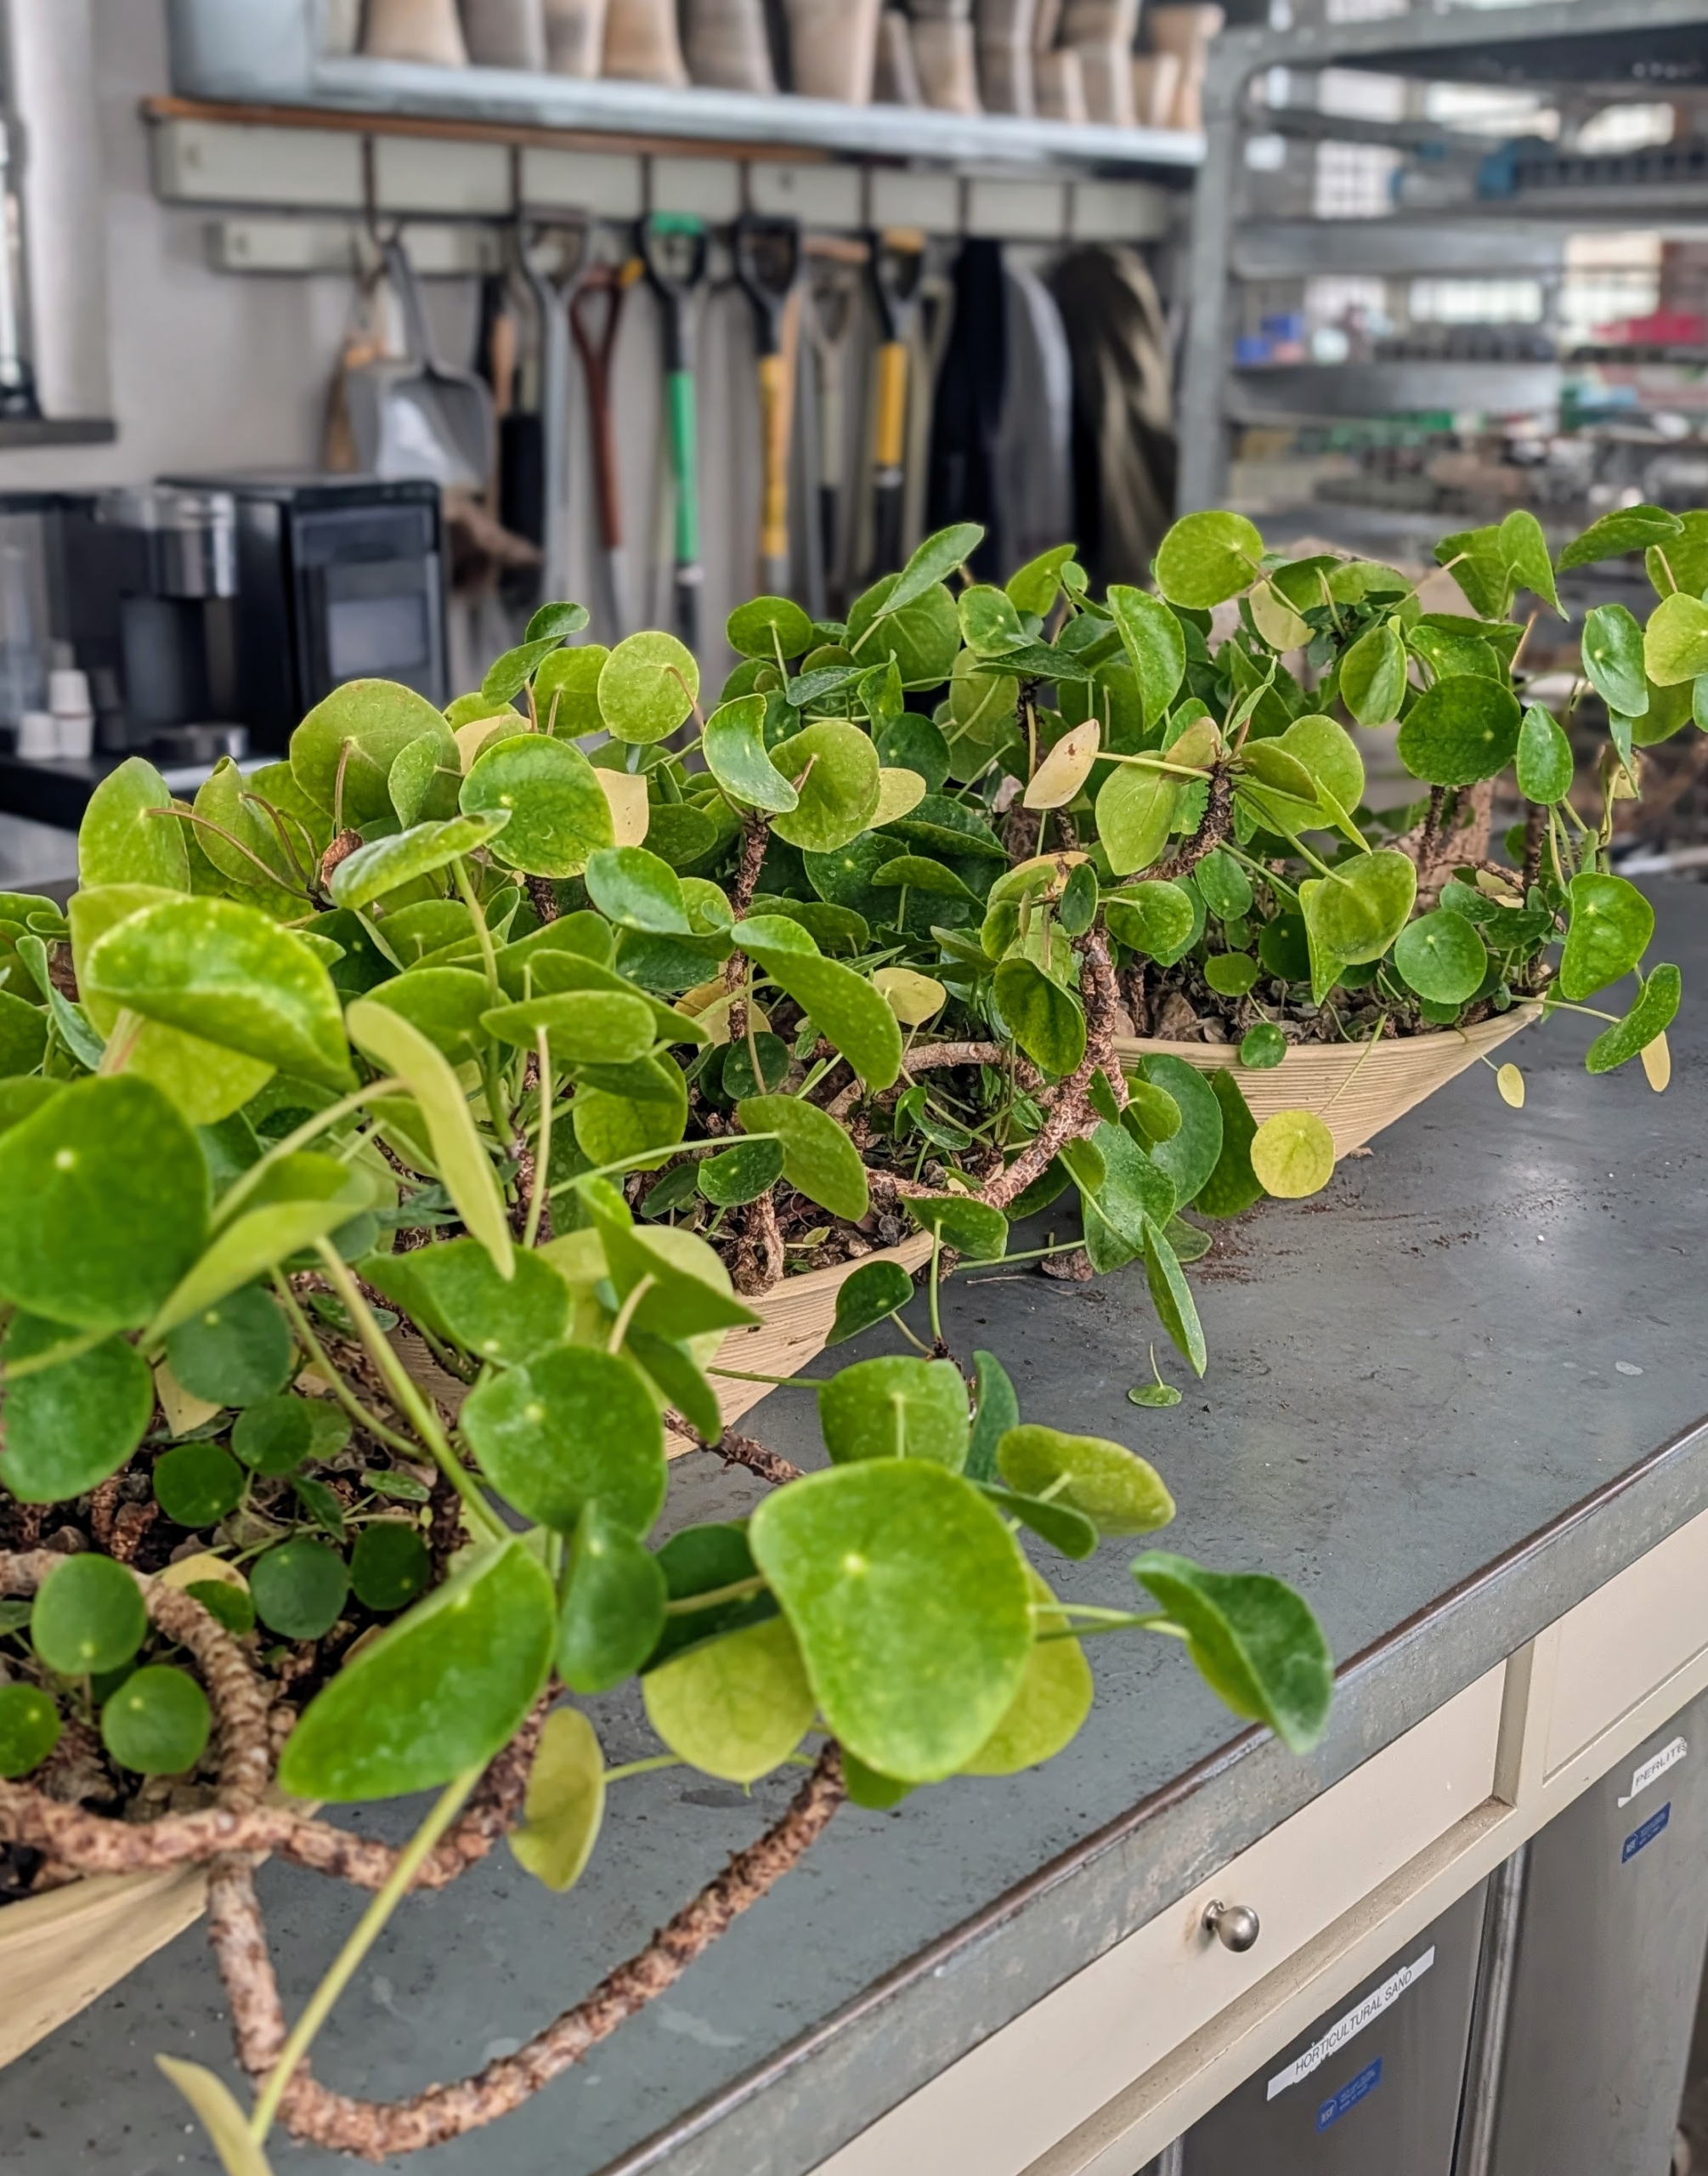
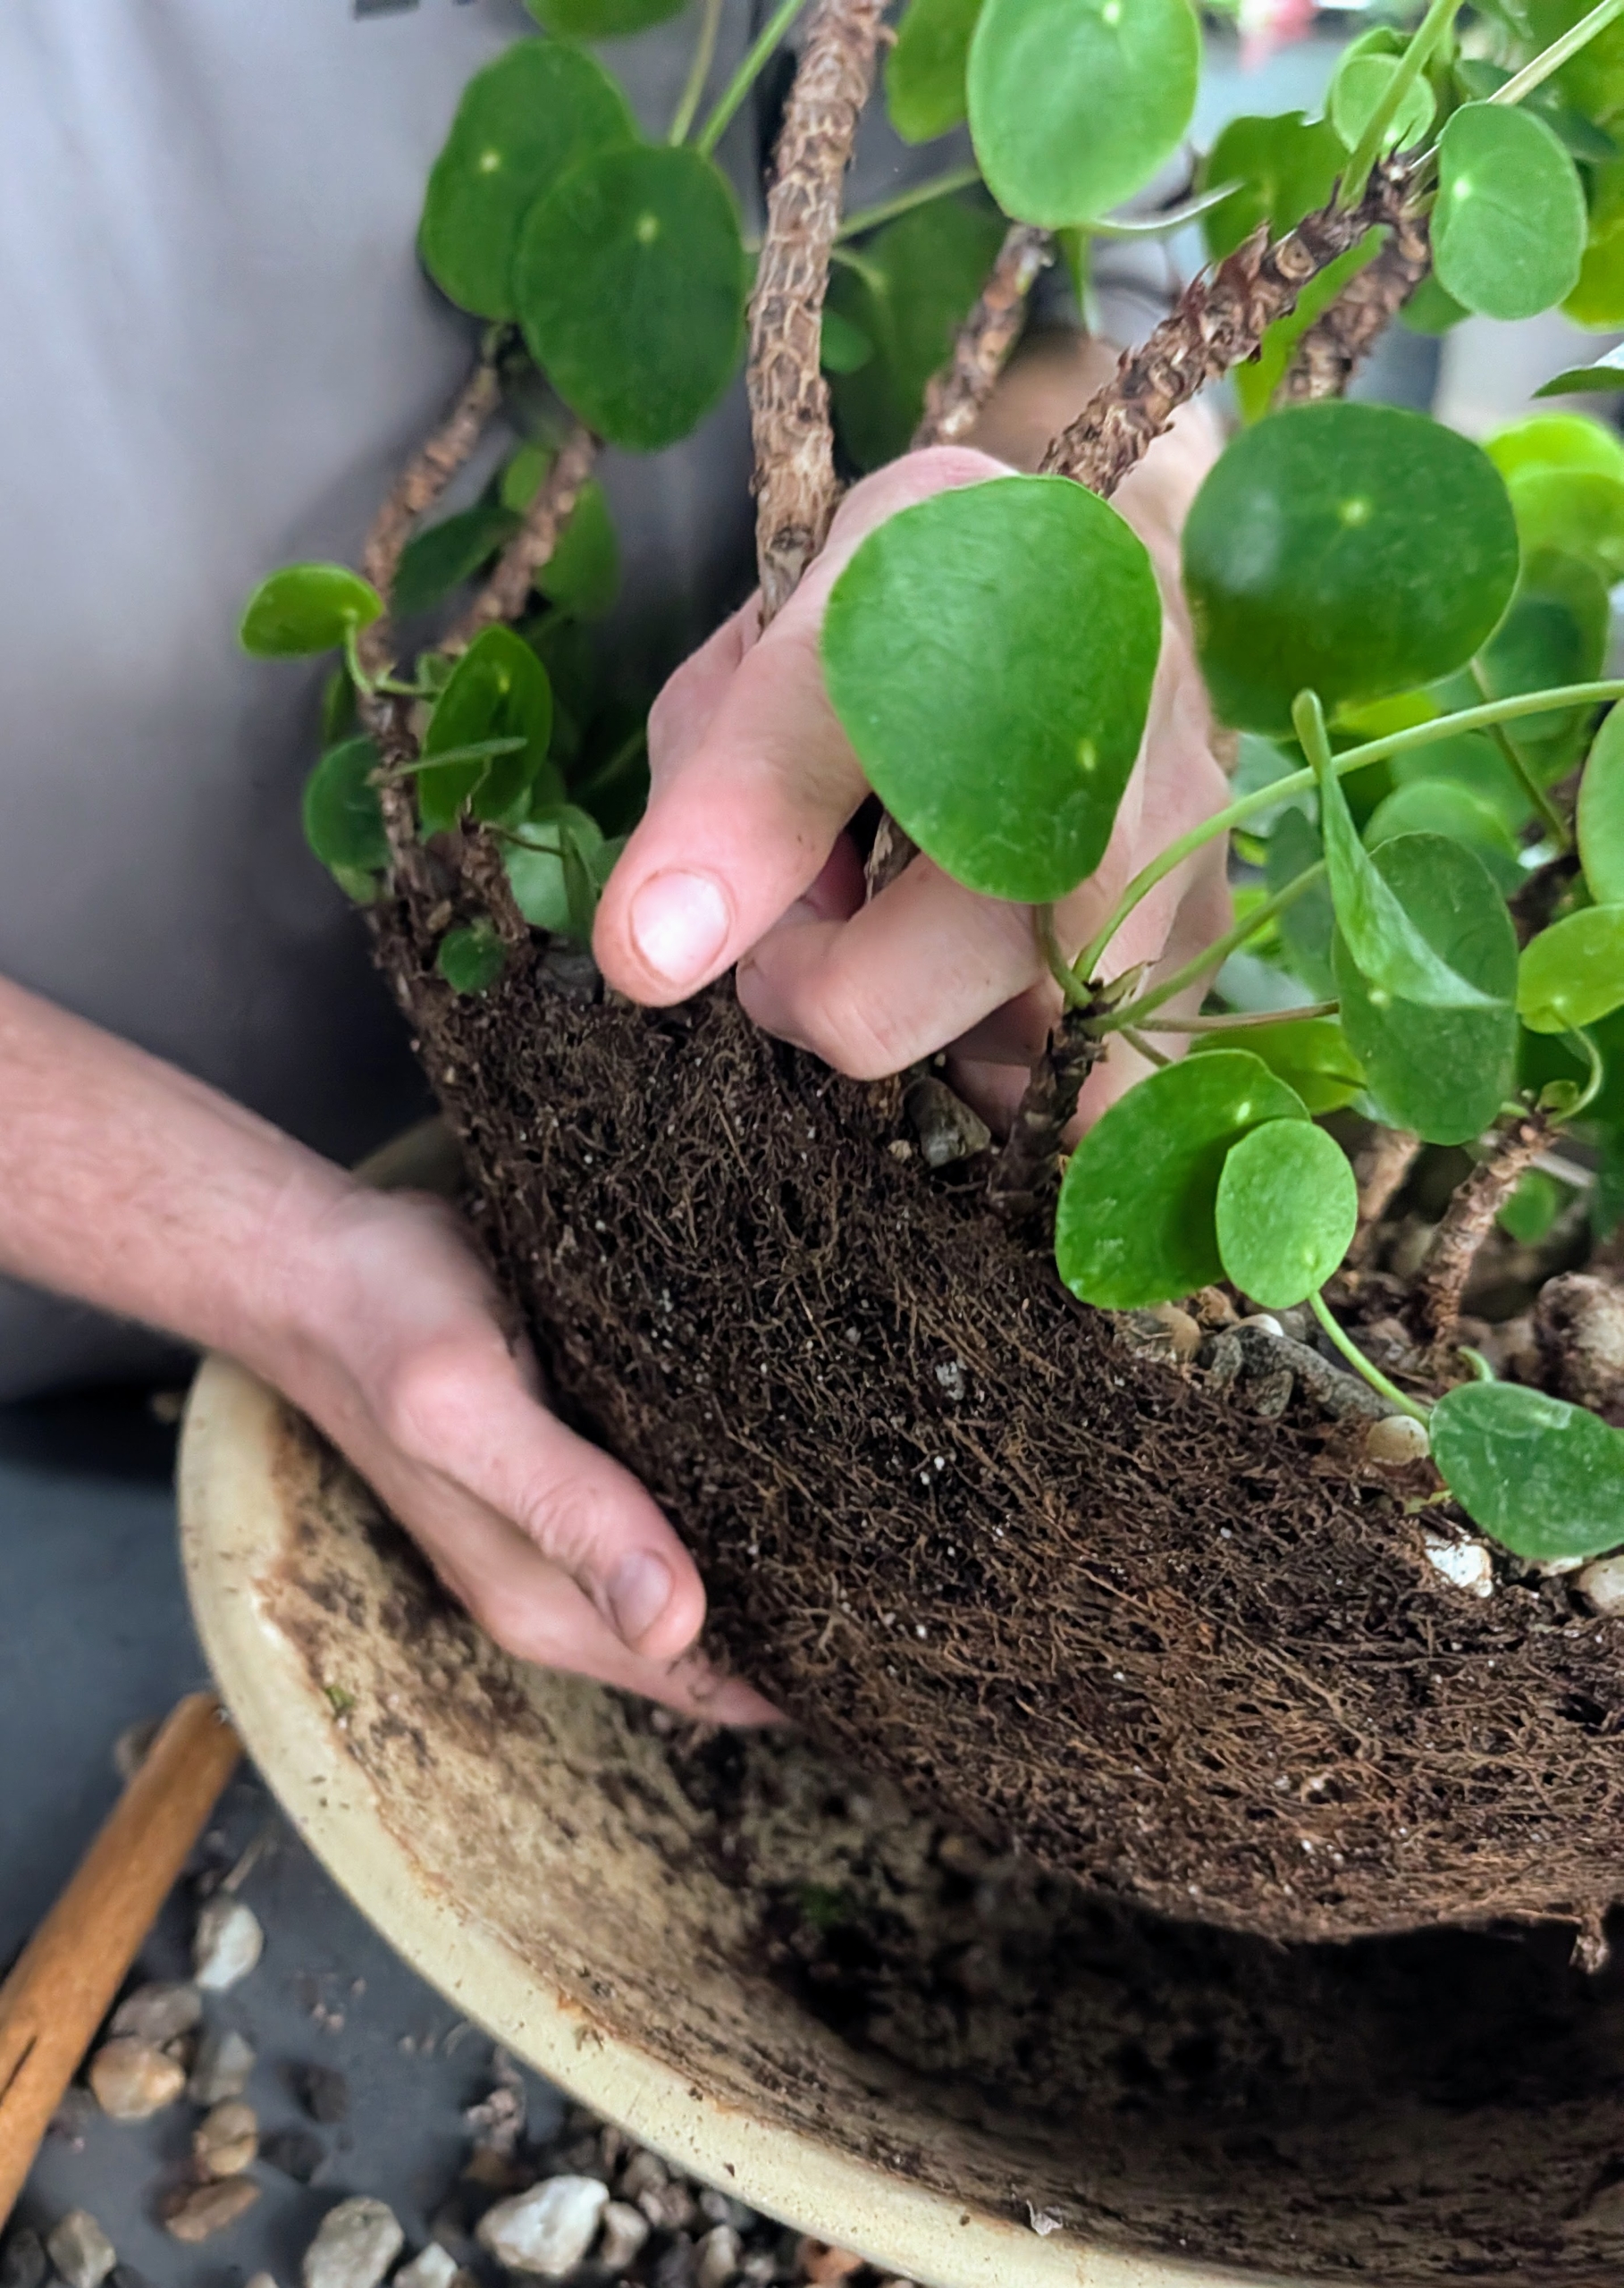
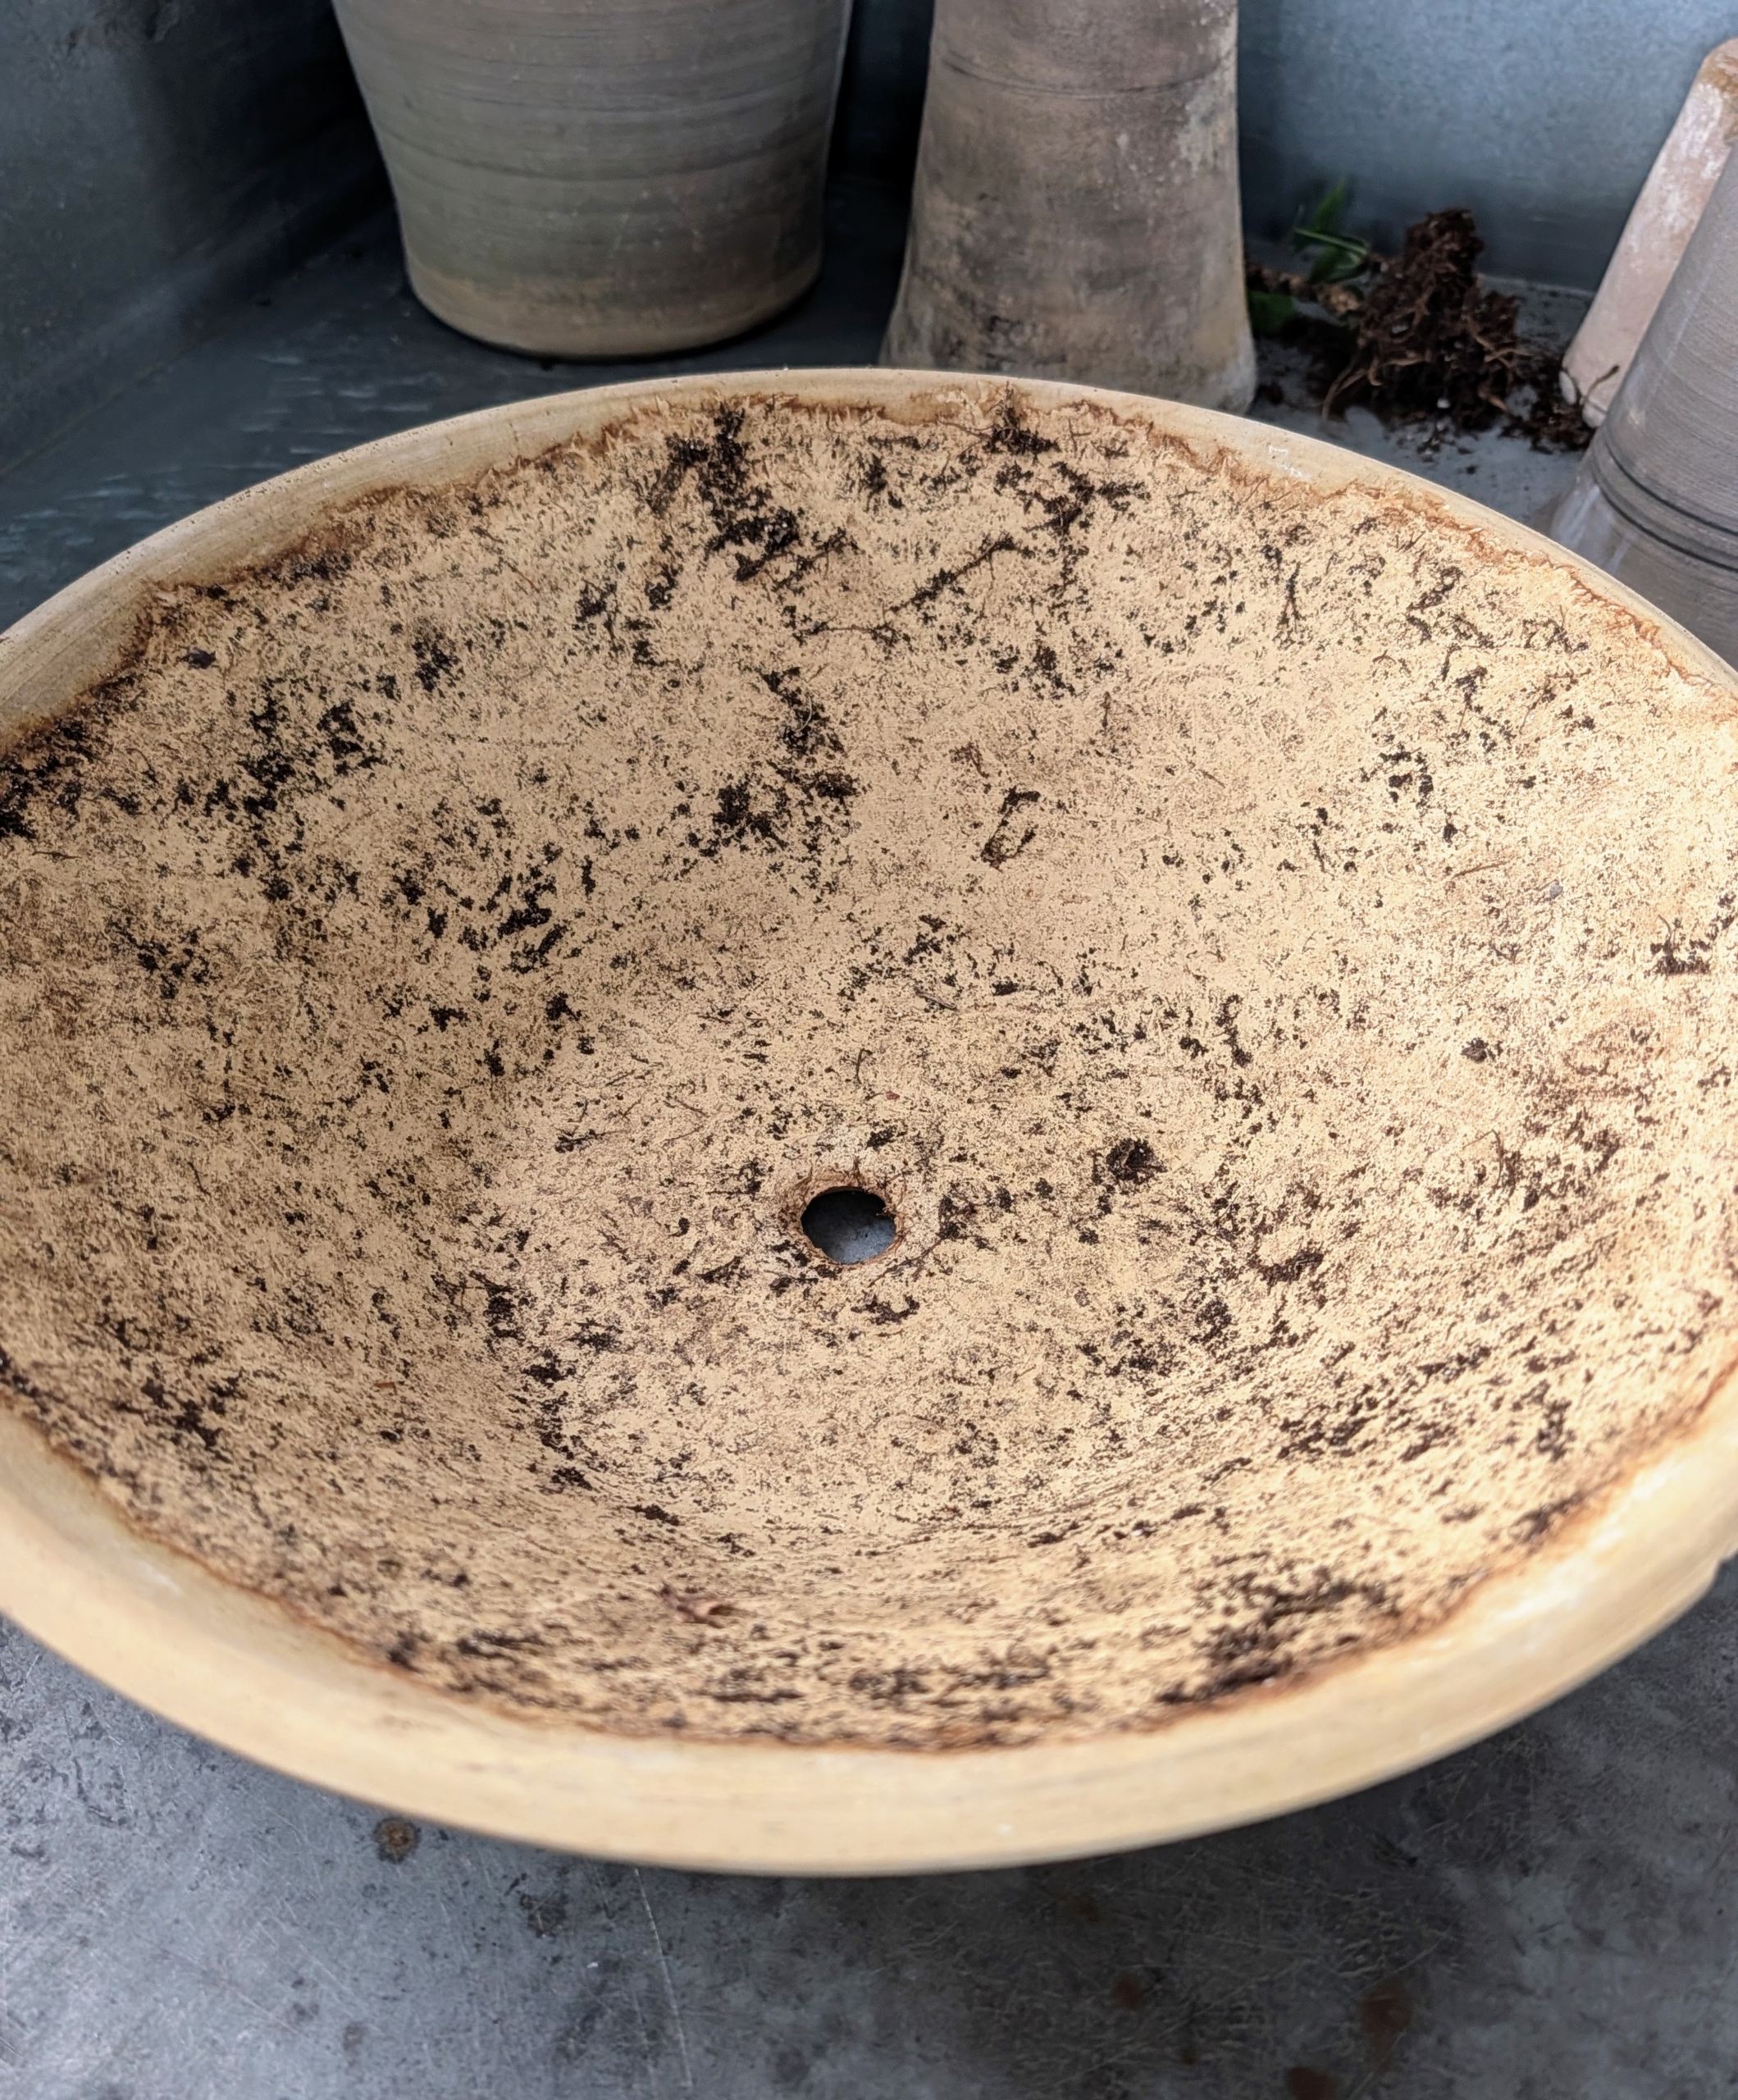
Some of the money plants will be repotted in the same vessel, but with much more room to grow.
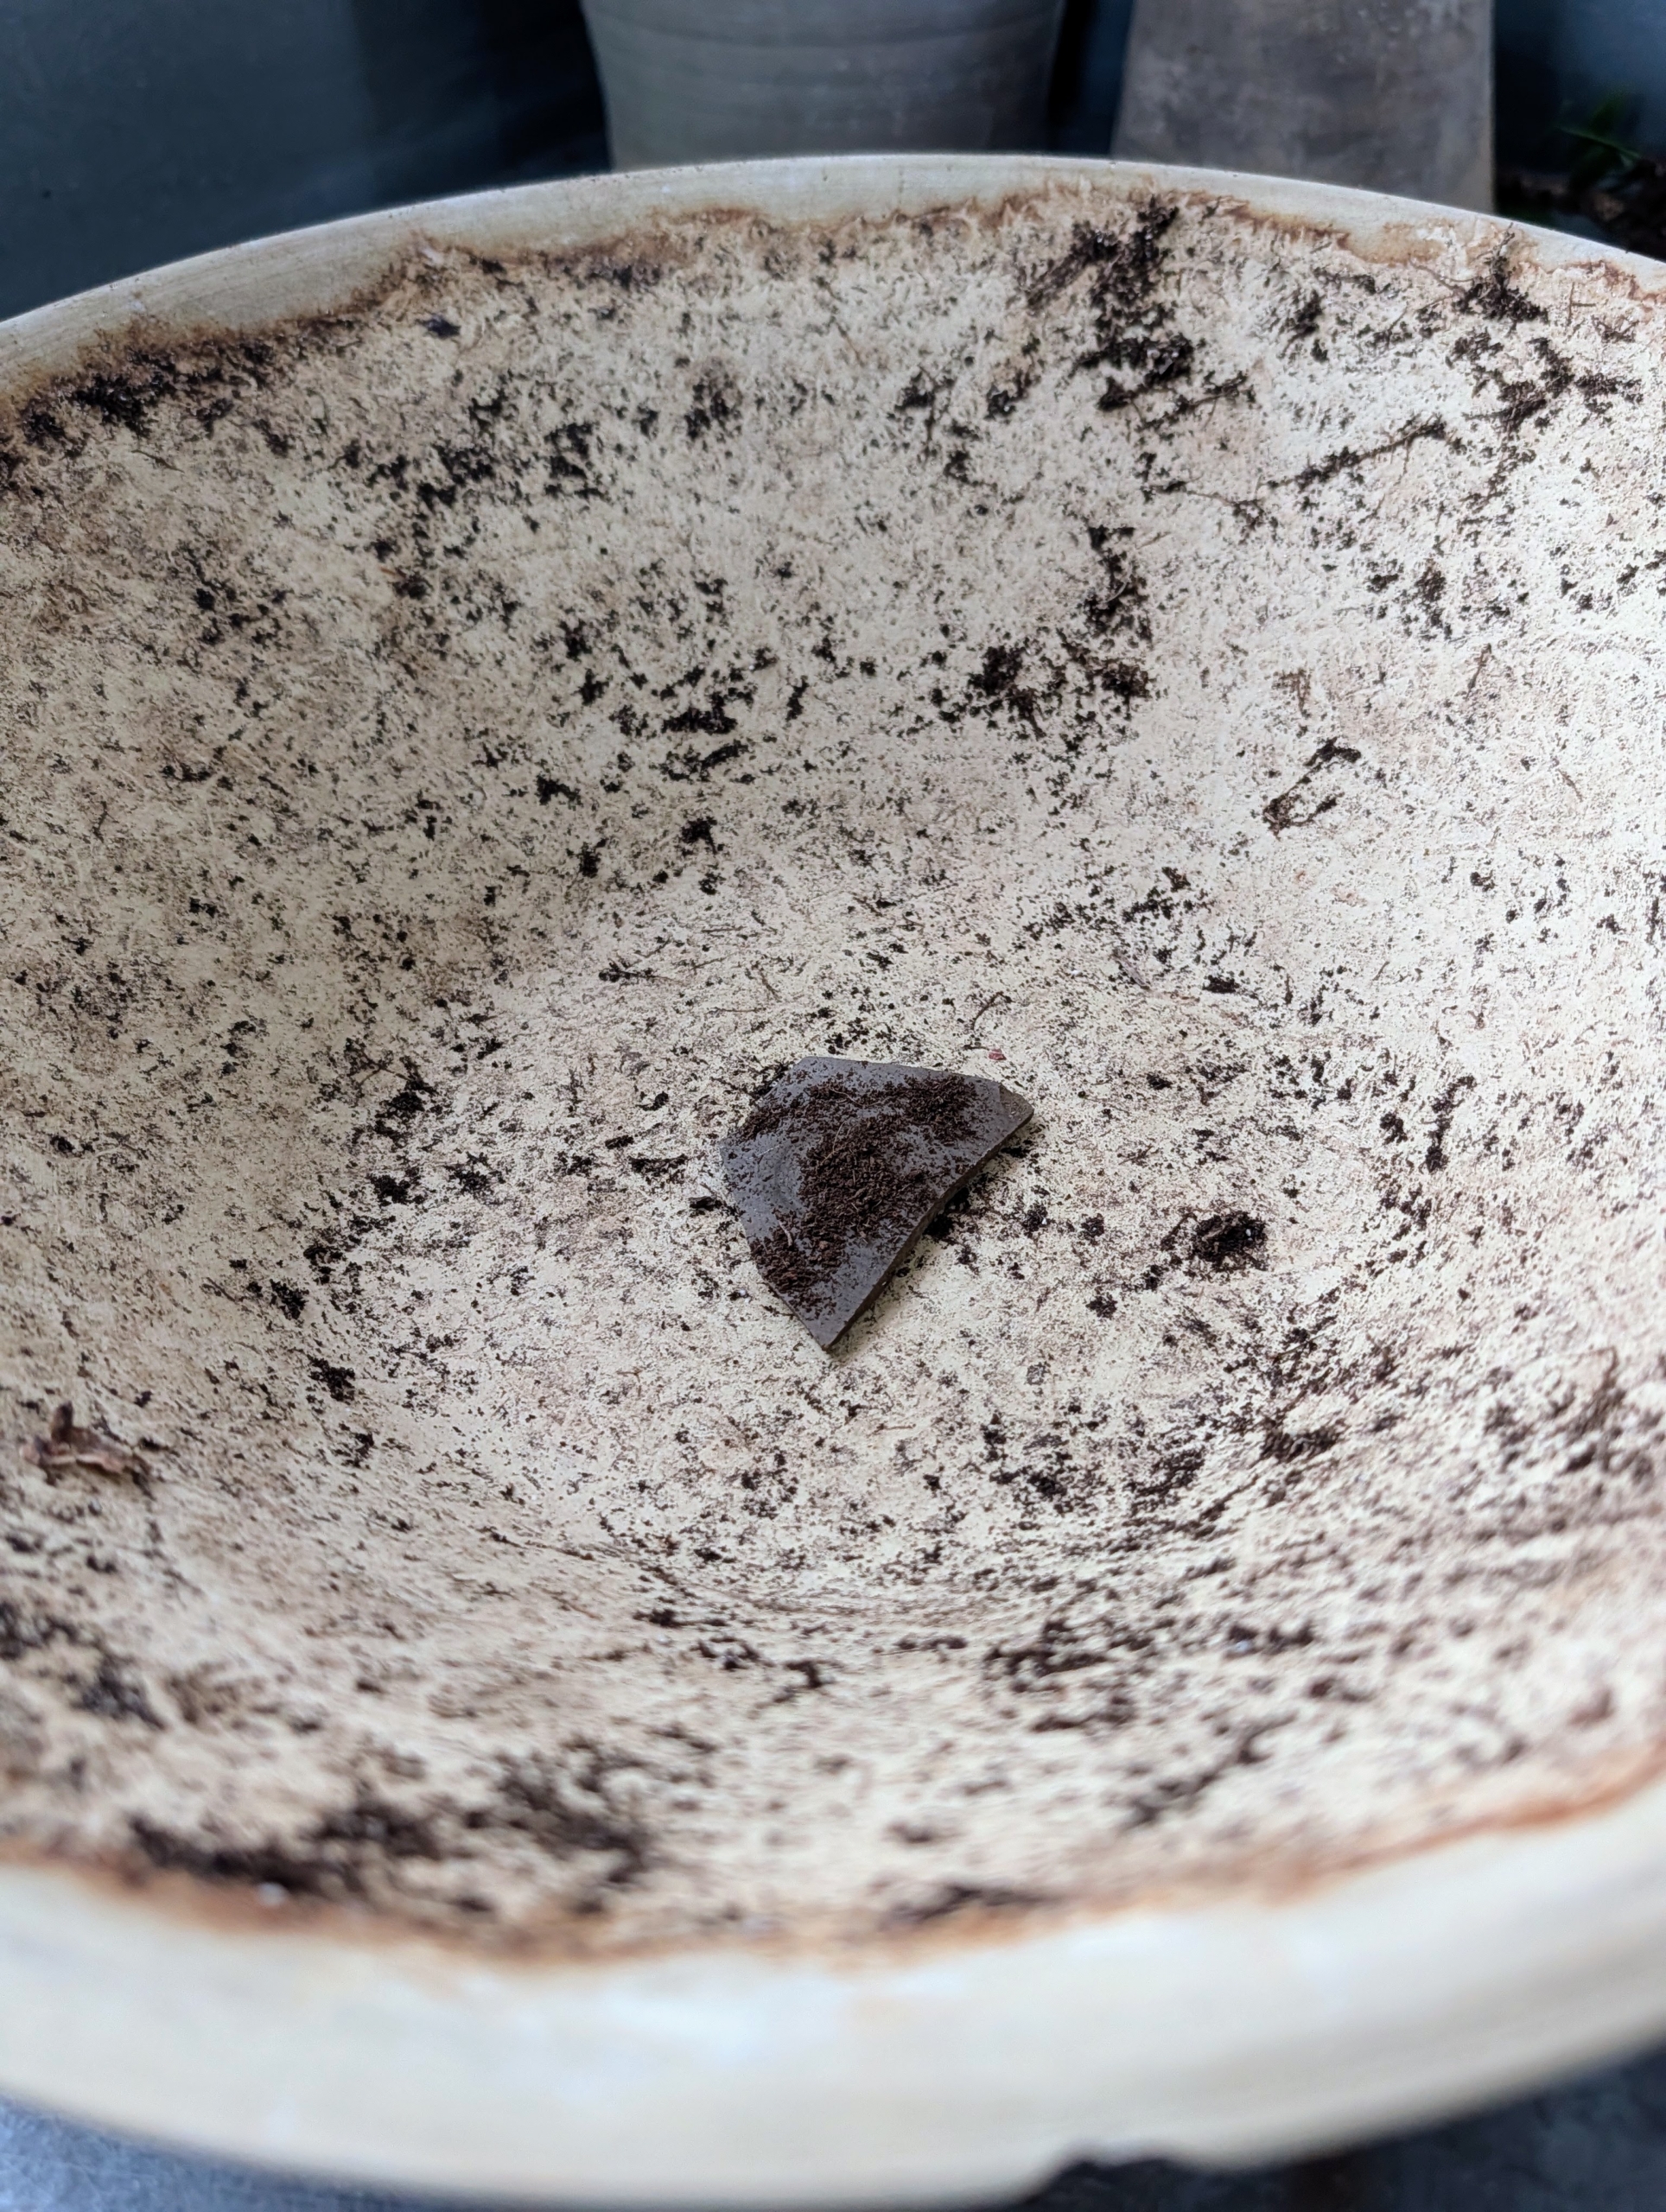
Ryan places a clay shard over the drainage hole in the bottom of the pot to help with drainage and to prevent any soil from falling out.
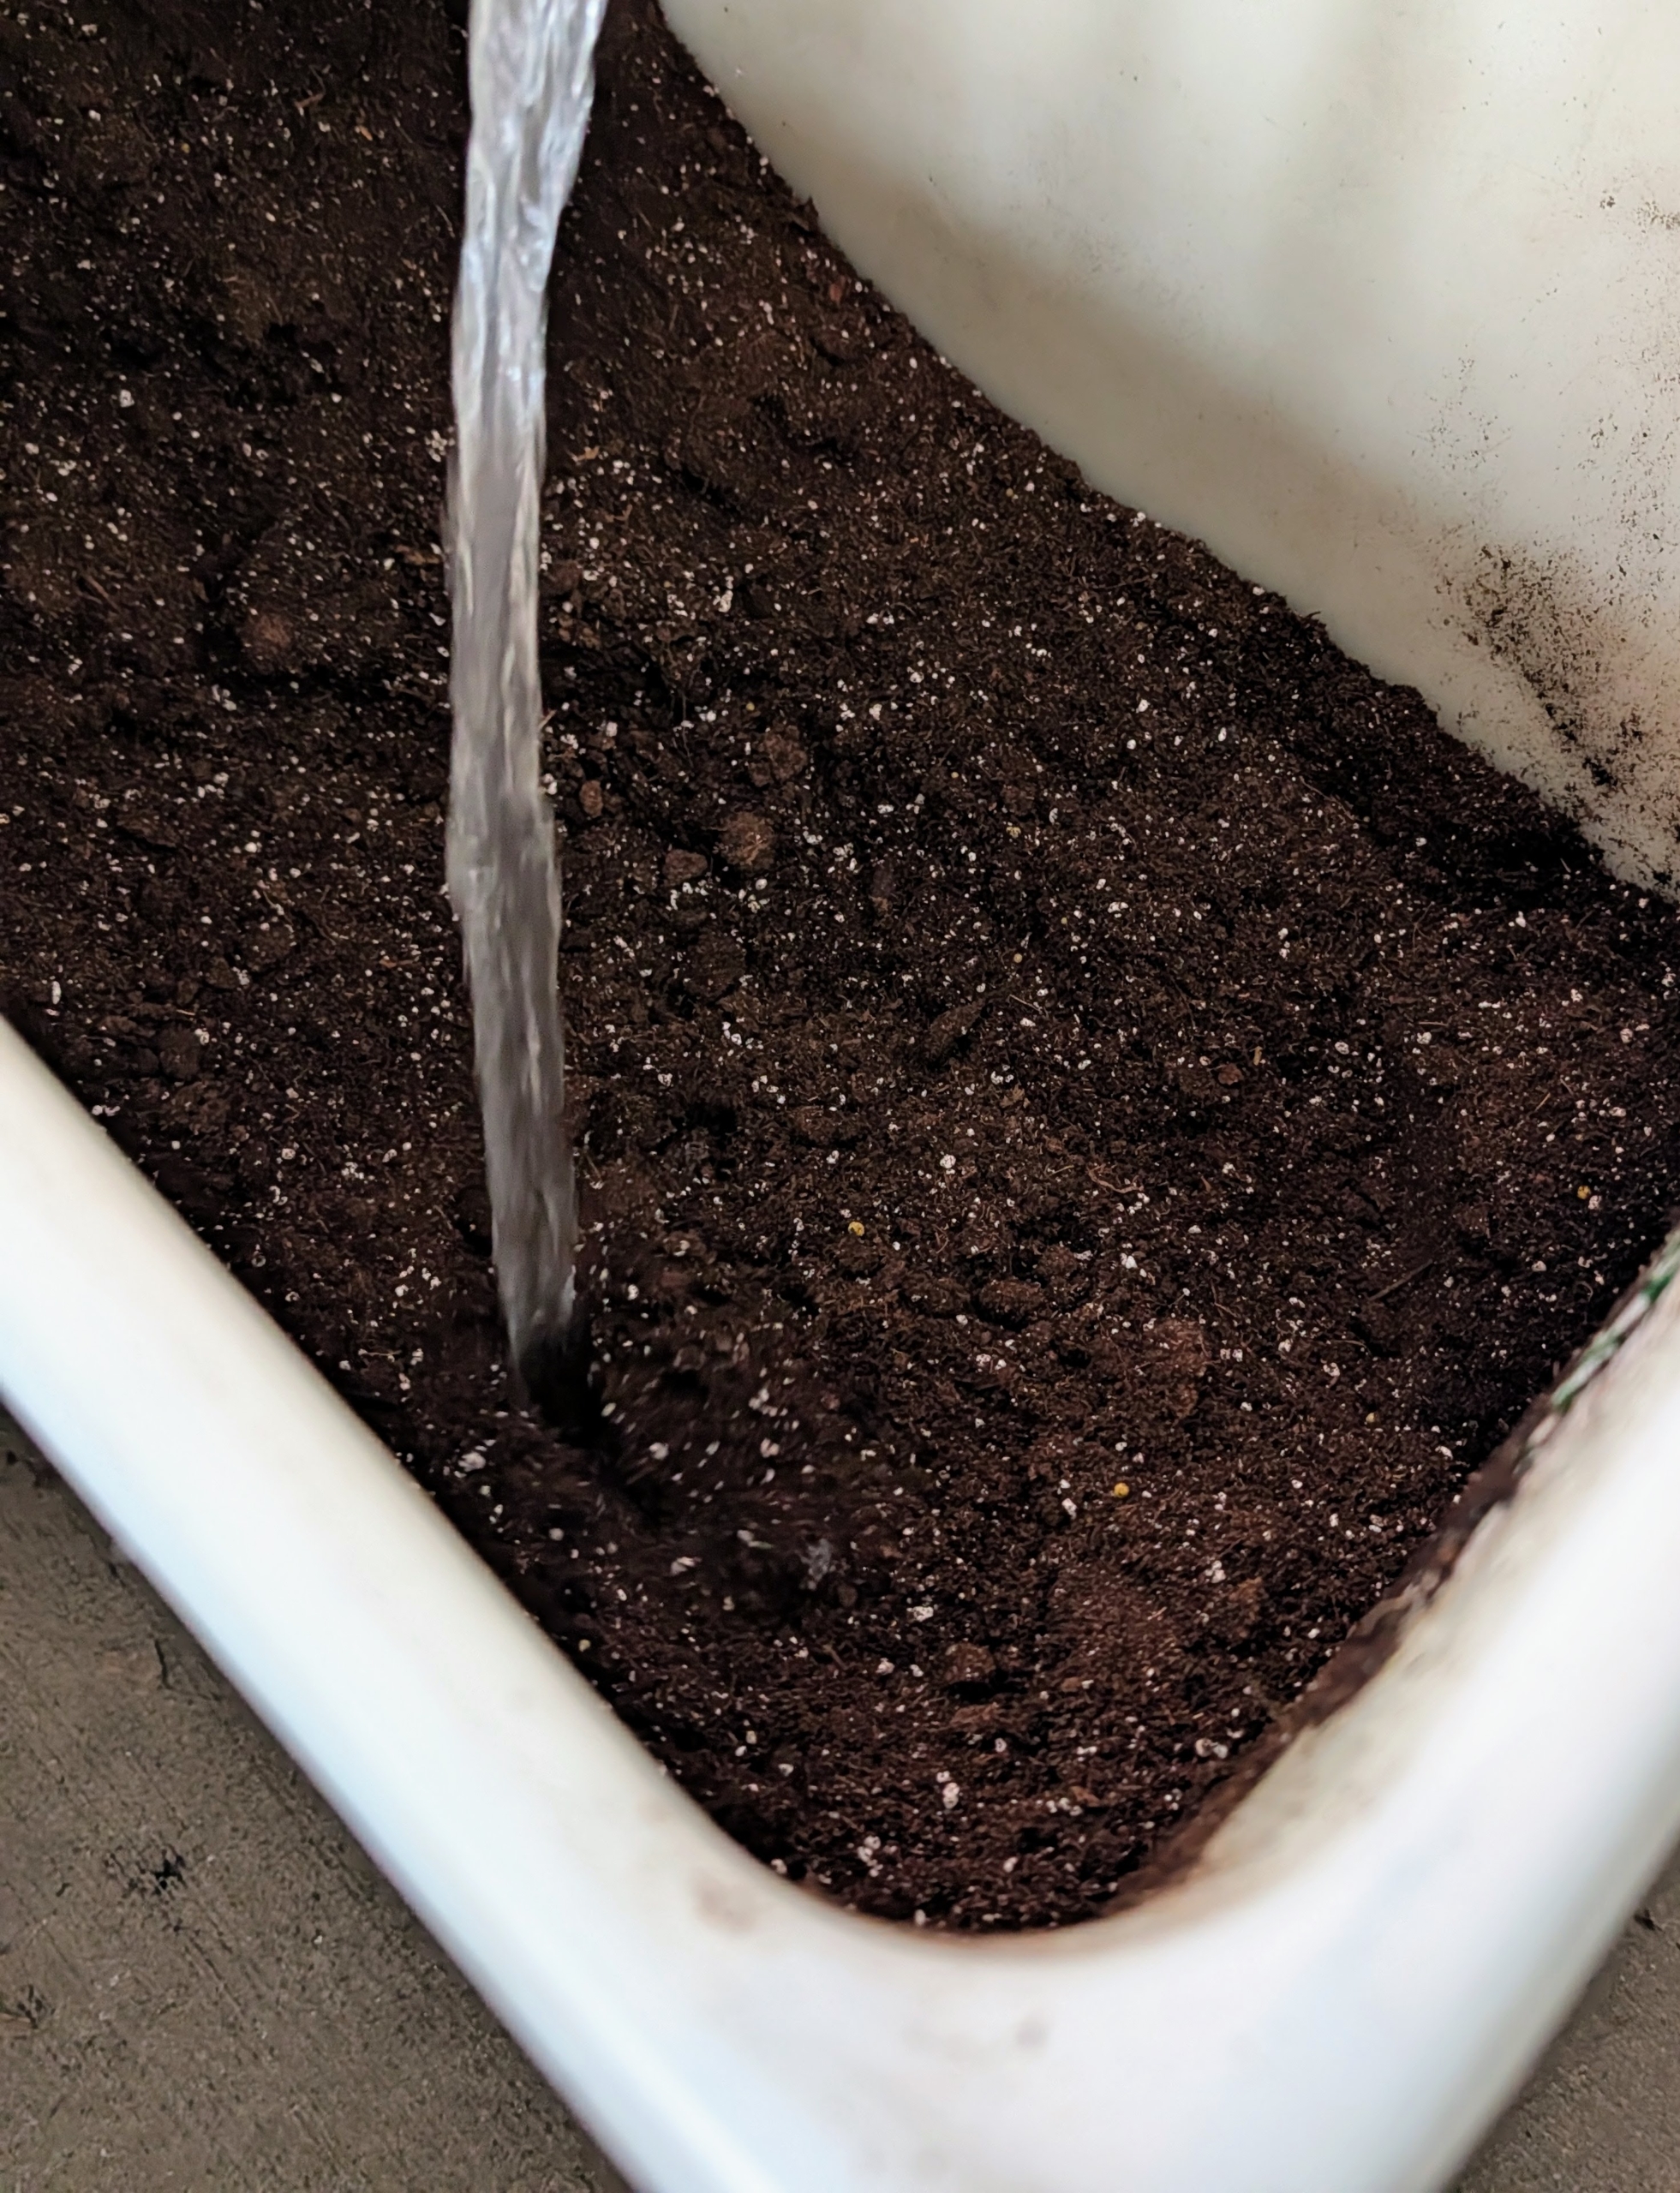
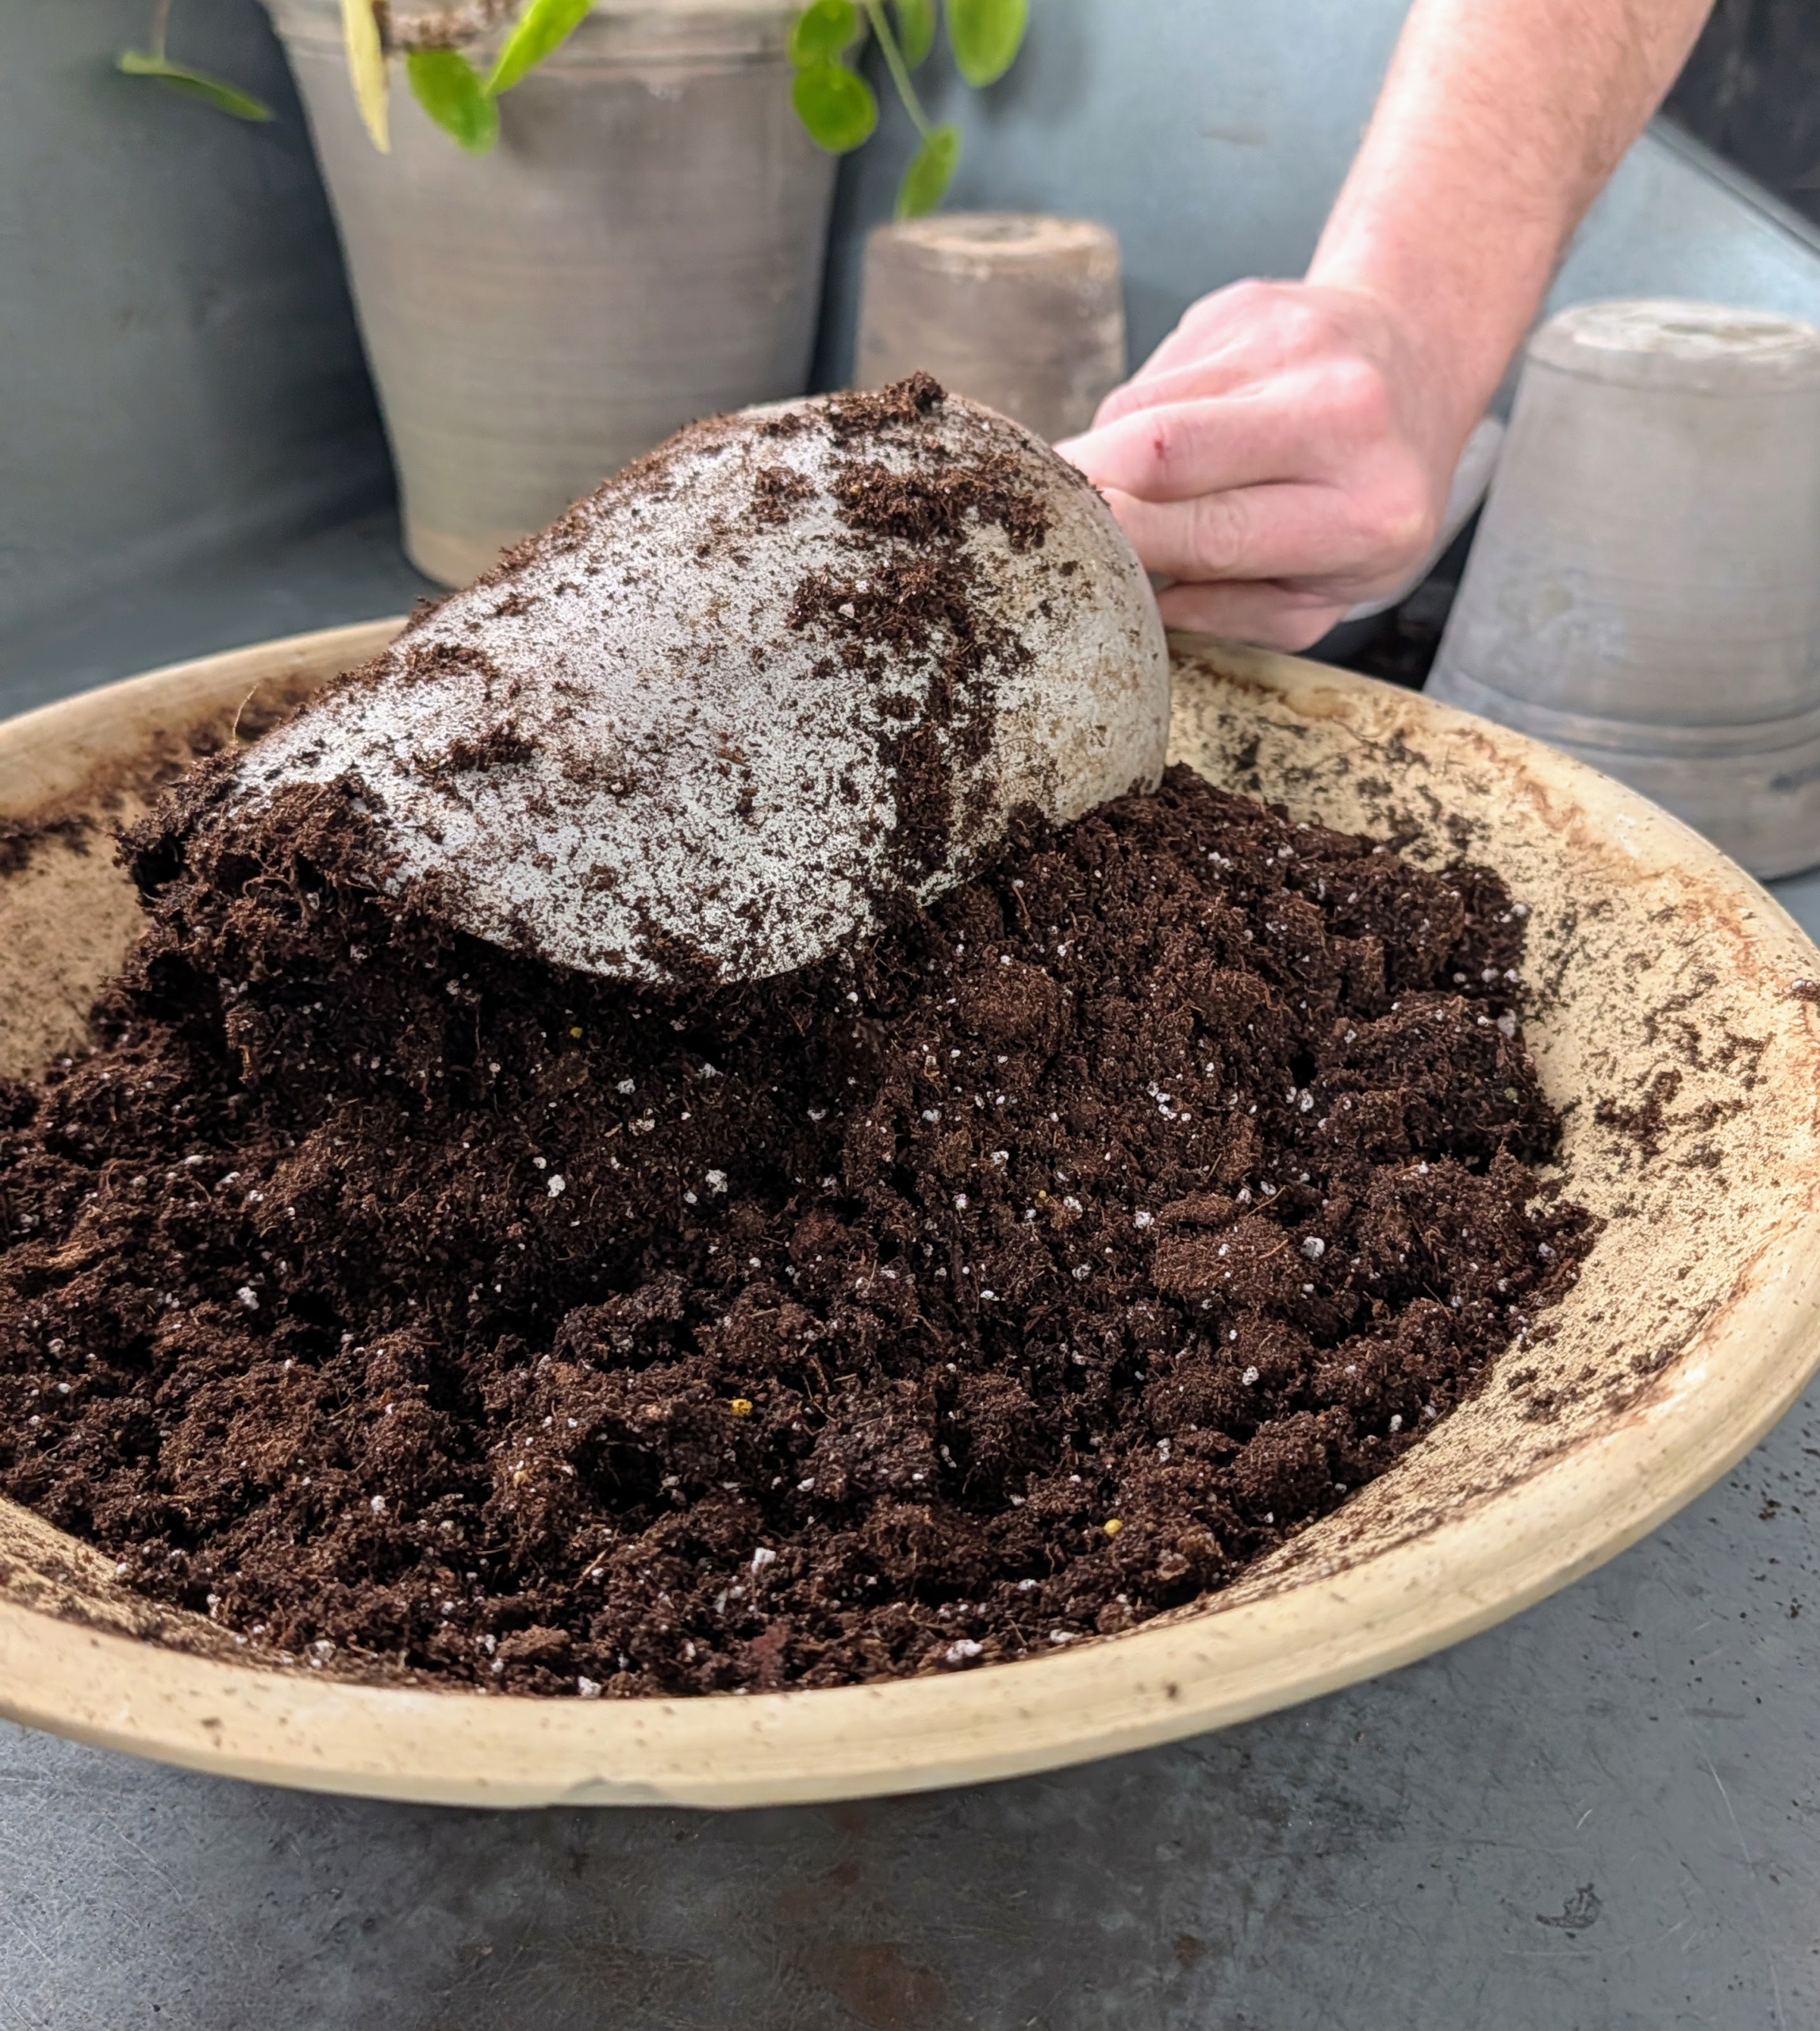
For repotting, Ryan uses Miracle-Gro Tropical Potting Mix. It is packed with nutrients that feed for up to six months and includes lava rock for added drainage that tropical plants and the Pilea peperomioides need. He wets it down first so it is more supportive for the plants.
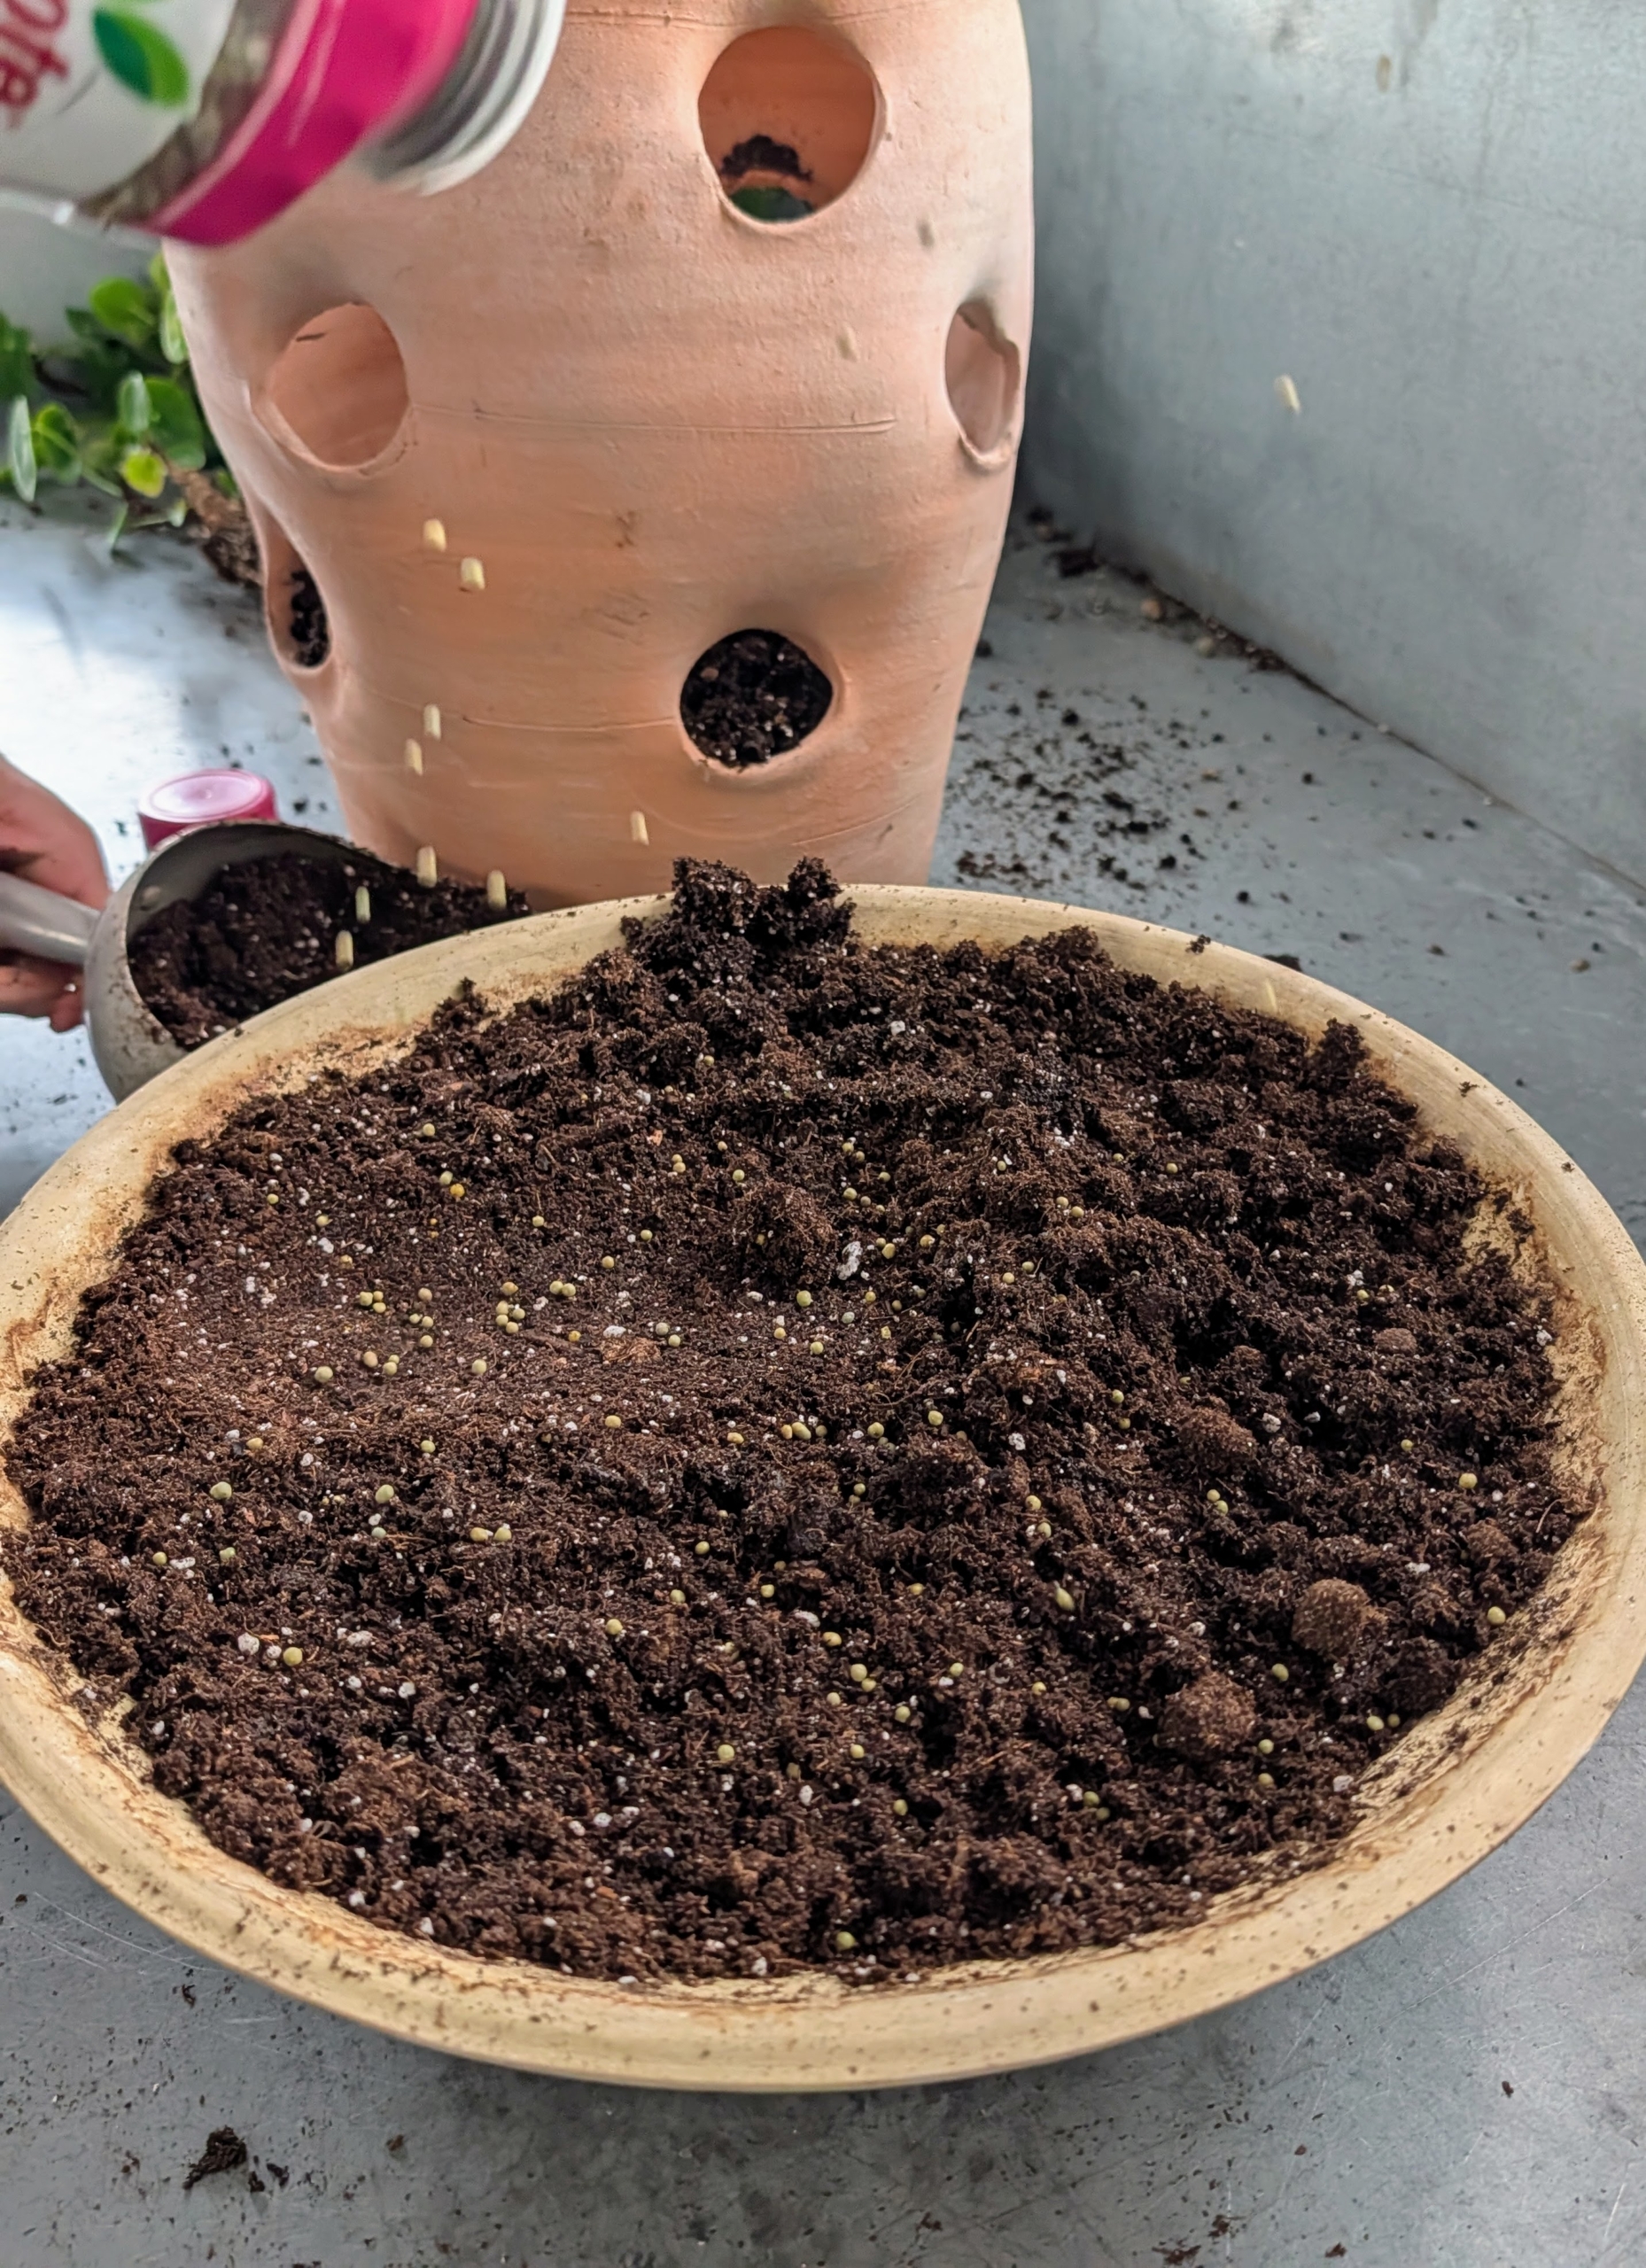
He fills the pot to just under the rim.
And then adds some fertilizer. I use Osmocote. The beige shell on each prill coats a core of nitrogen, phosphorus and potassium.
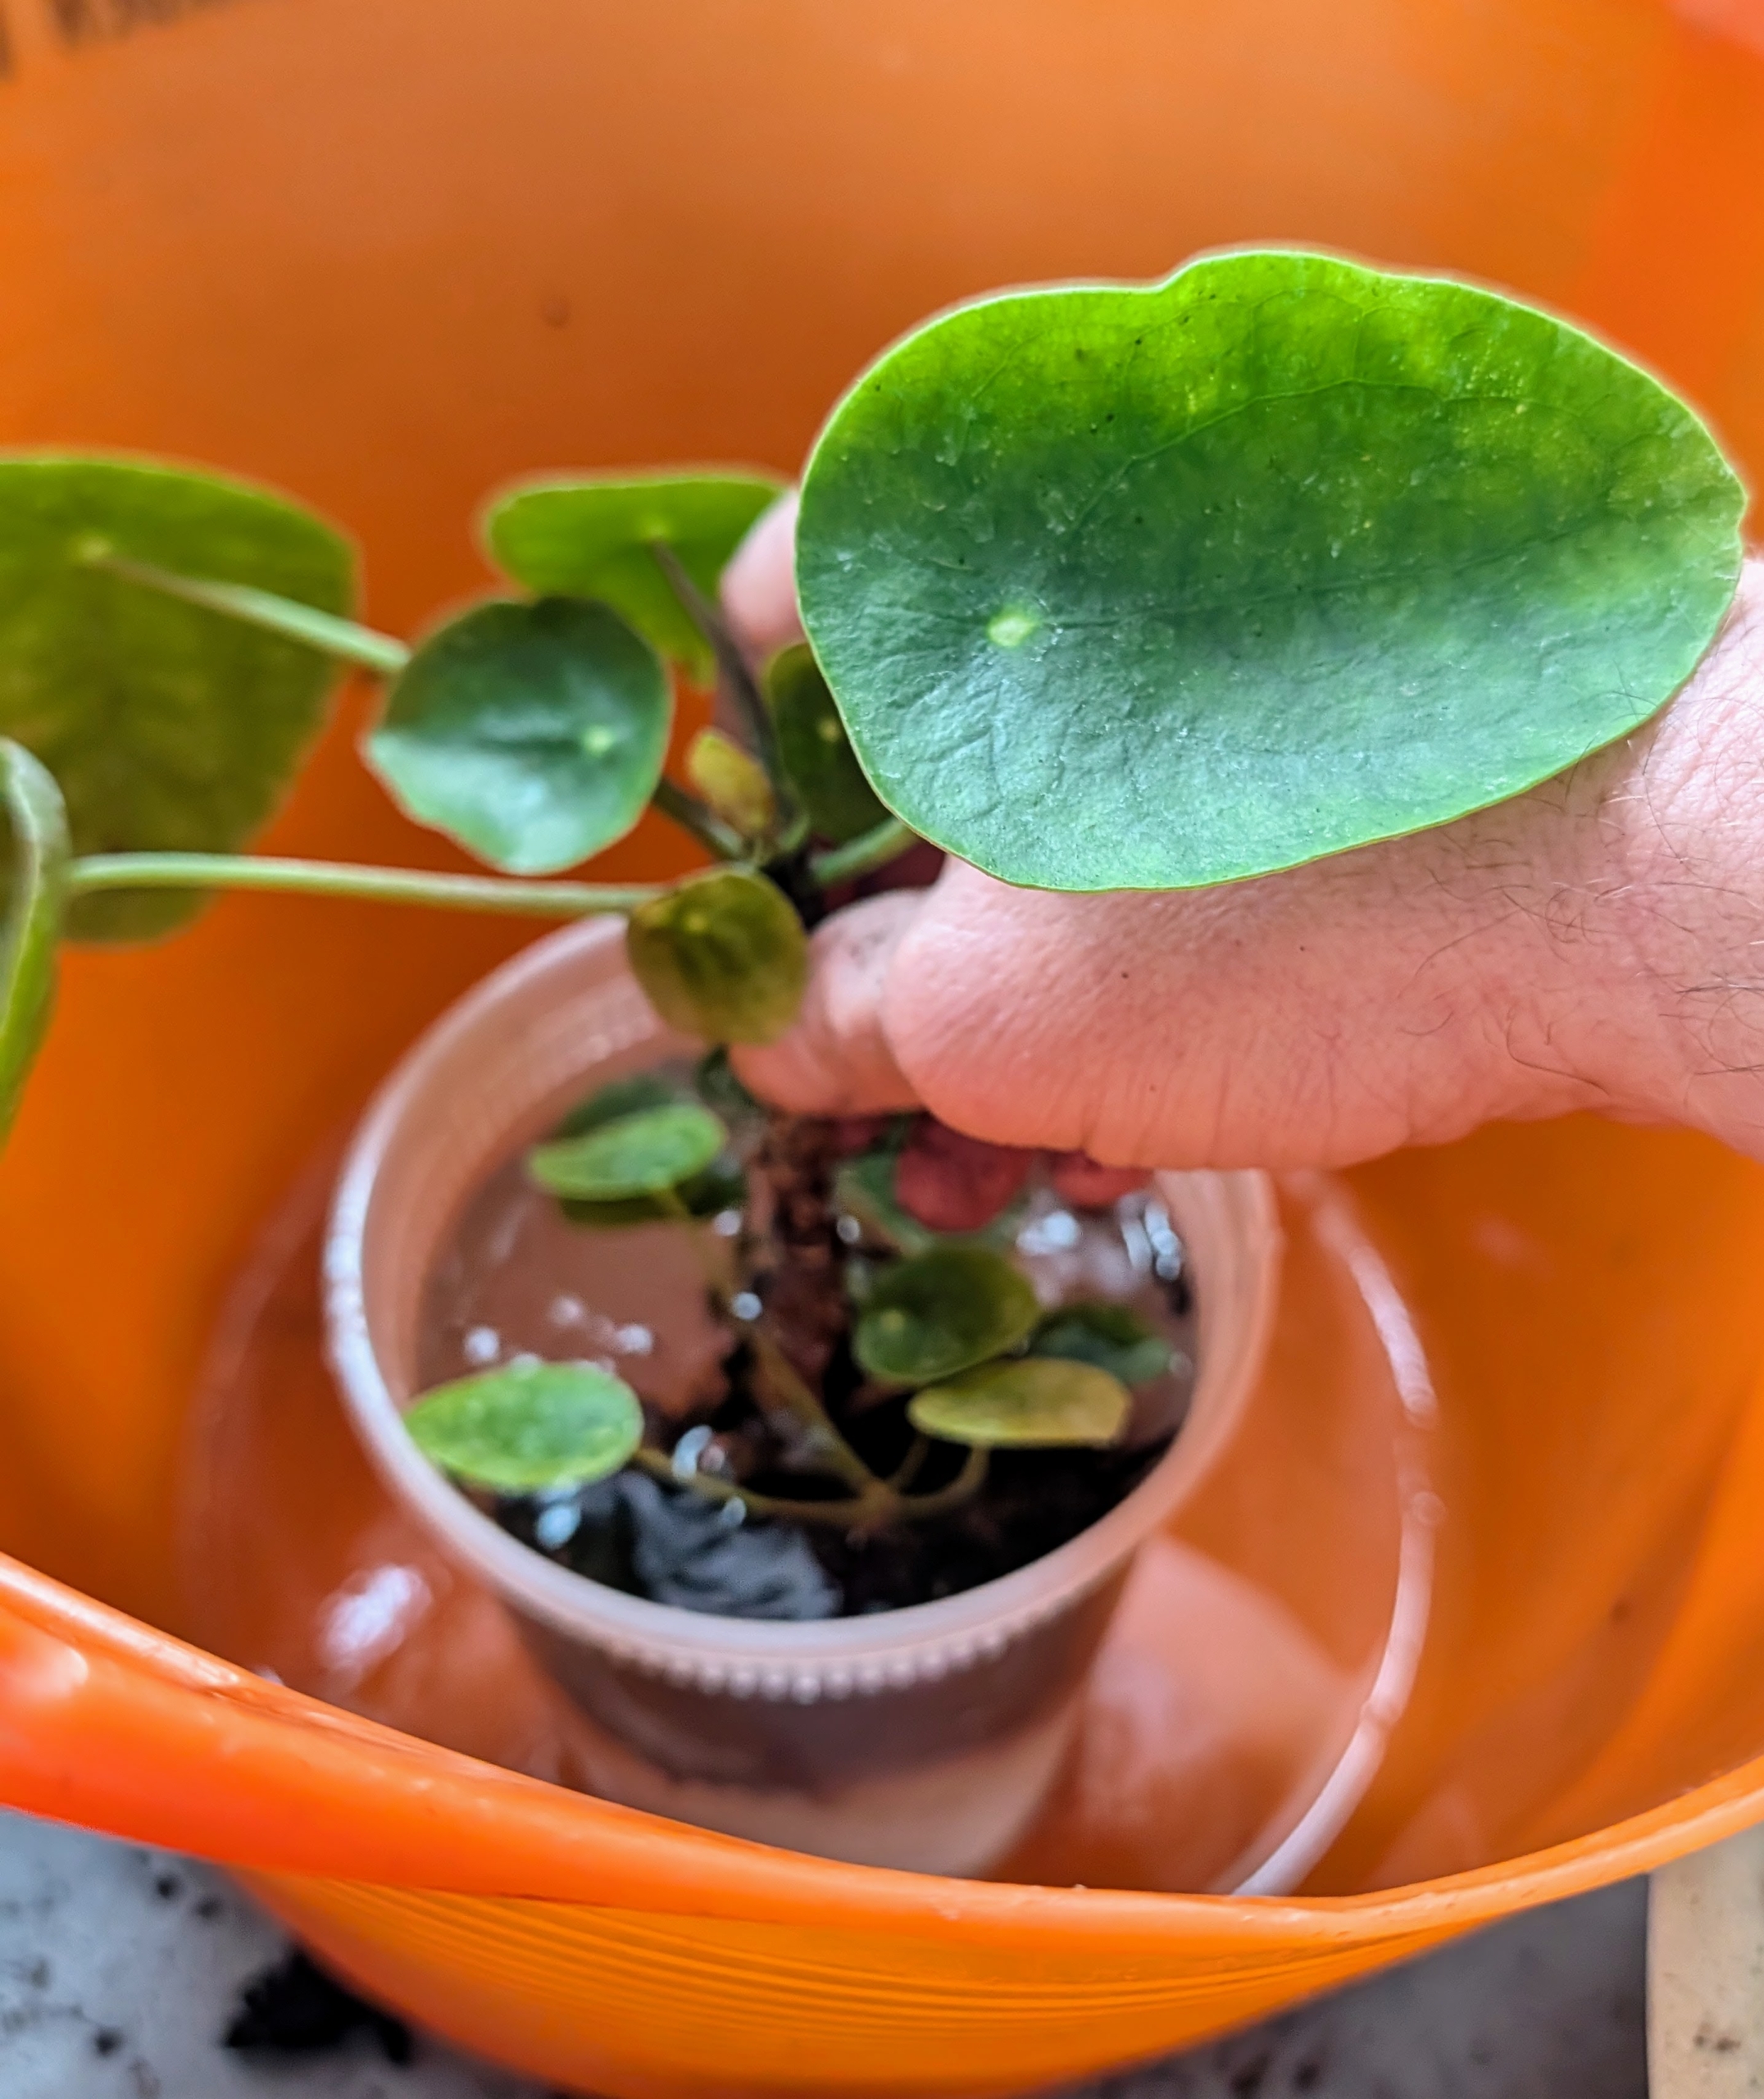
Next, Ryan dips the divided plant into some water, so it is well-hydrated.
Dipping the root ball at this stage allows the roots to absorb water and nutrients and become more resilient and better prepared for its new environment.
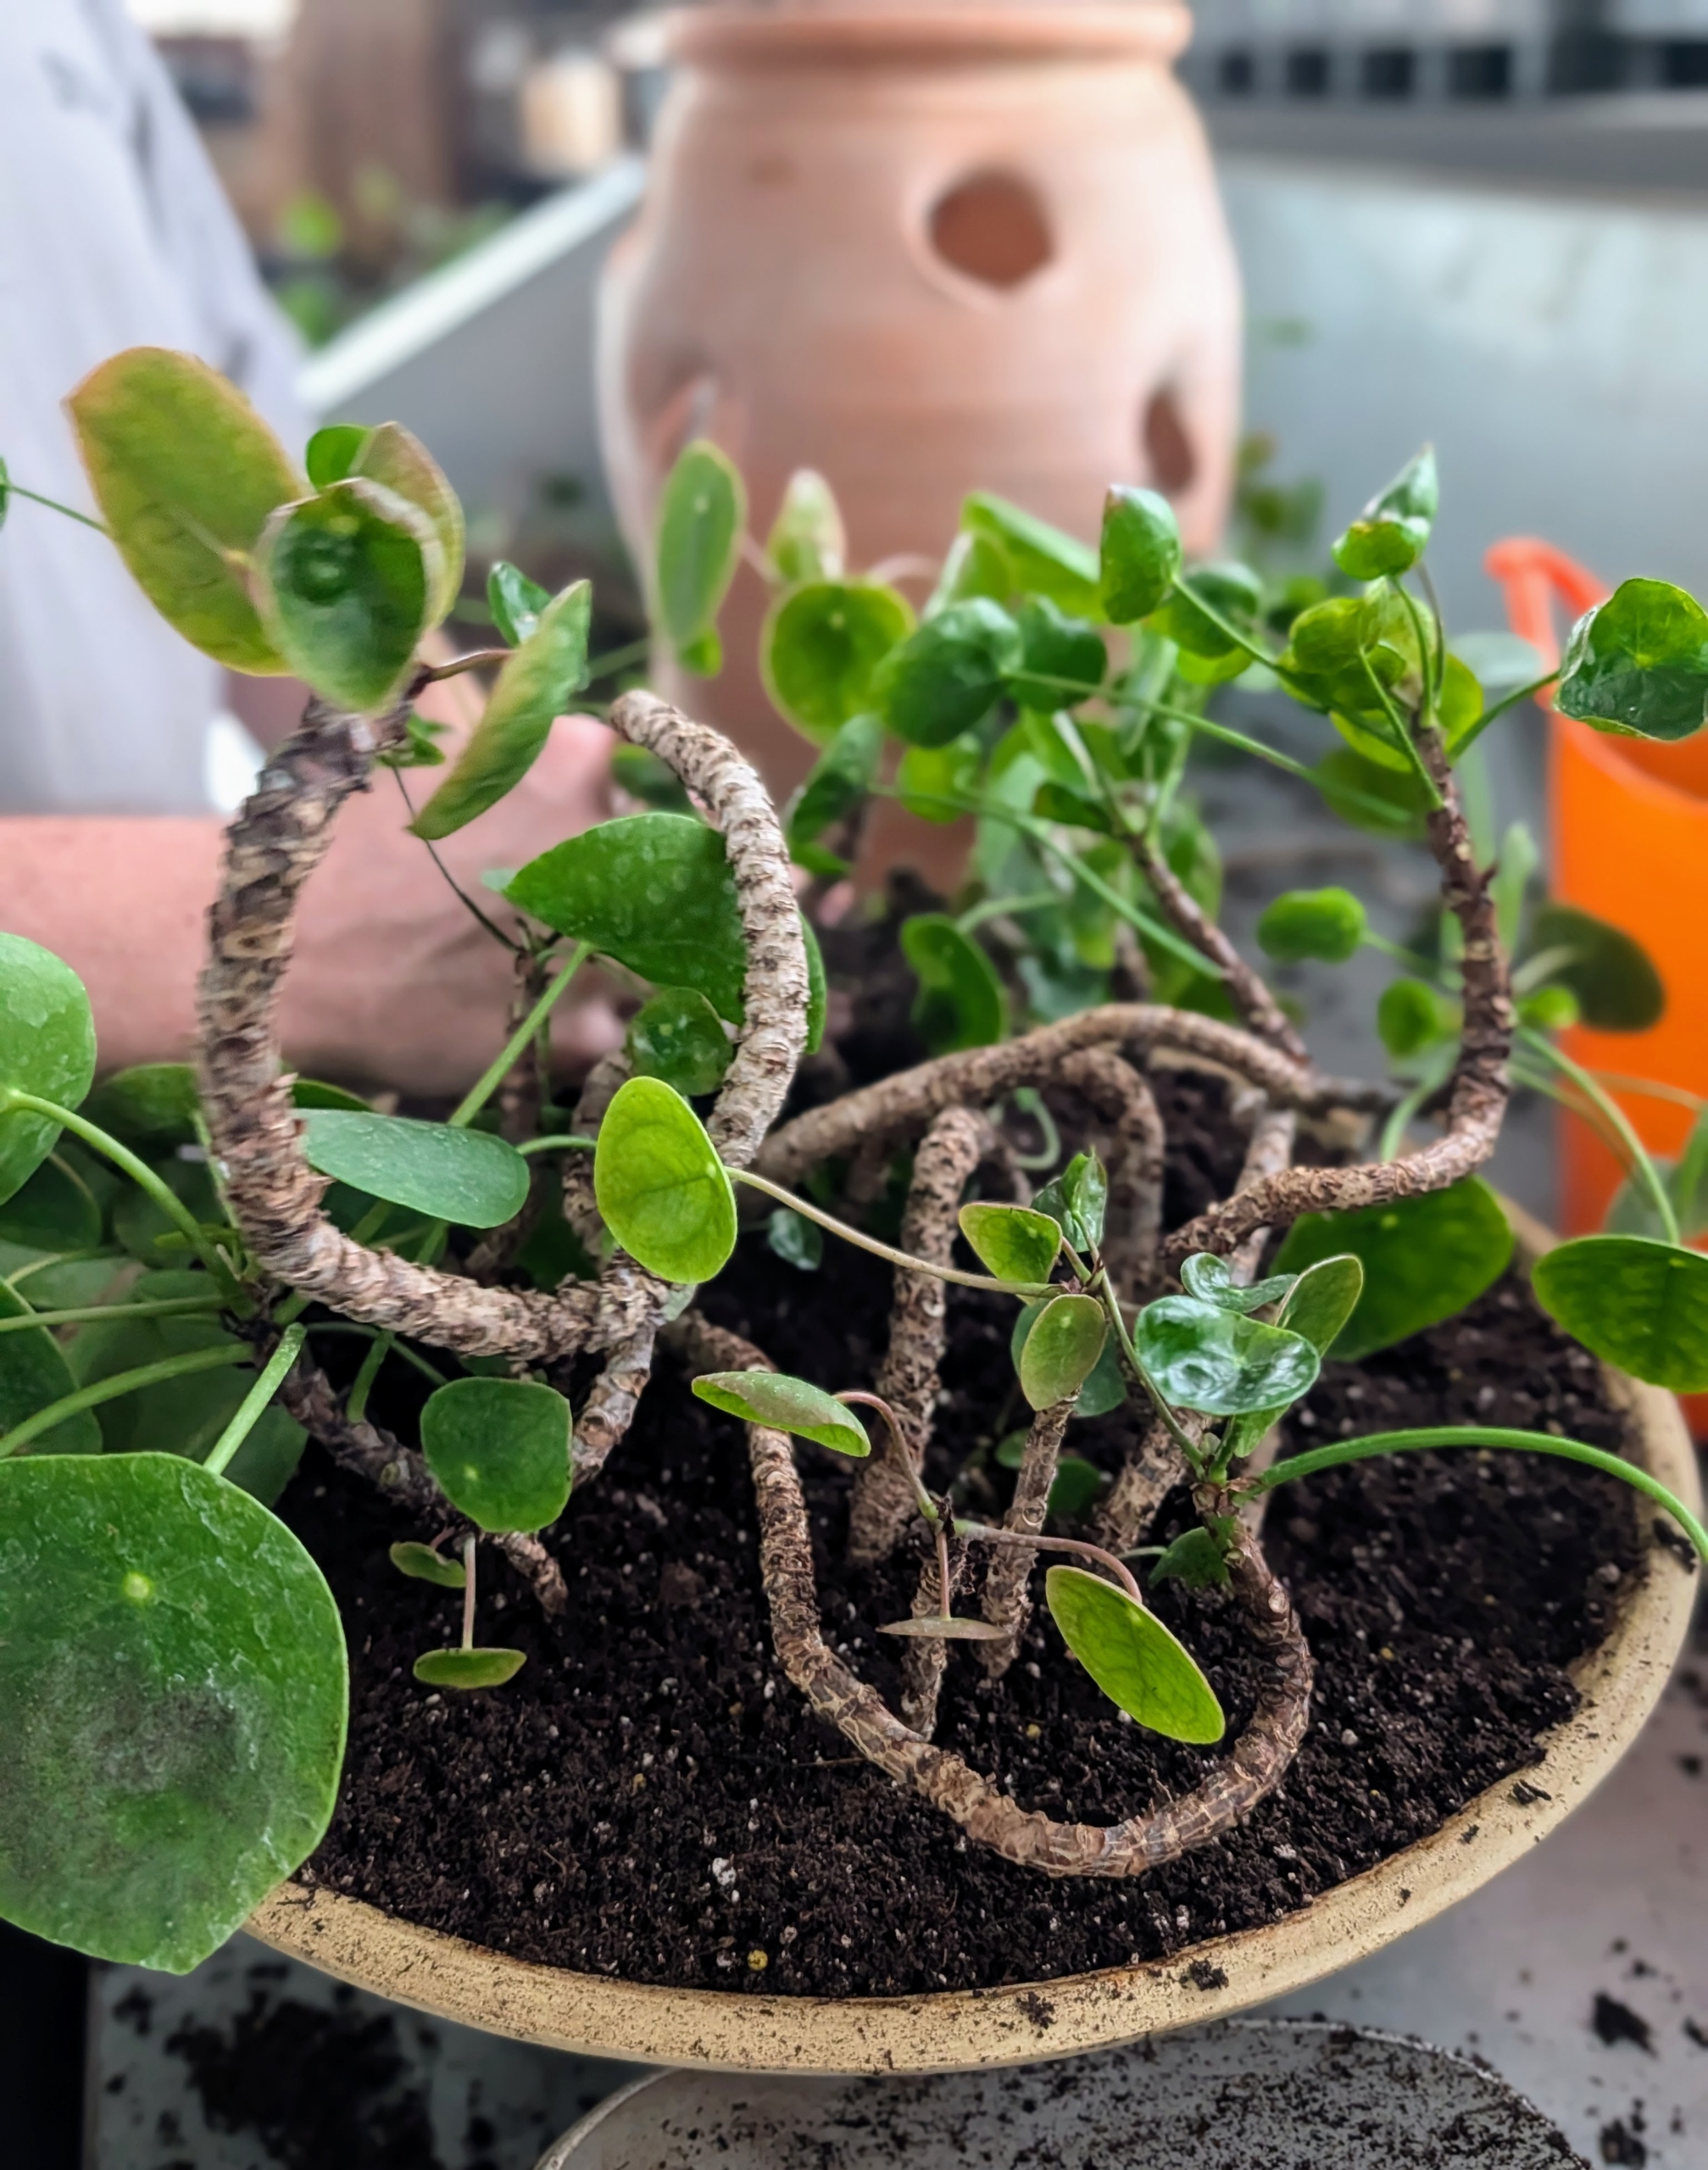
Ryan places the plant in the pot at the same height it was previously.
In this shallow container, it is easy to give the plants some needed space. Ryan makes sure the arrangement is balanced and attractive.
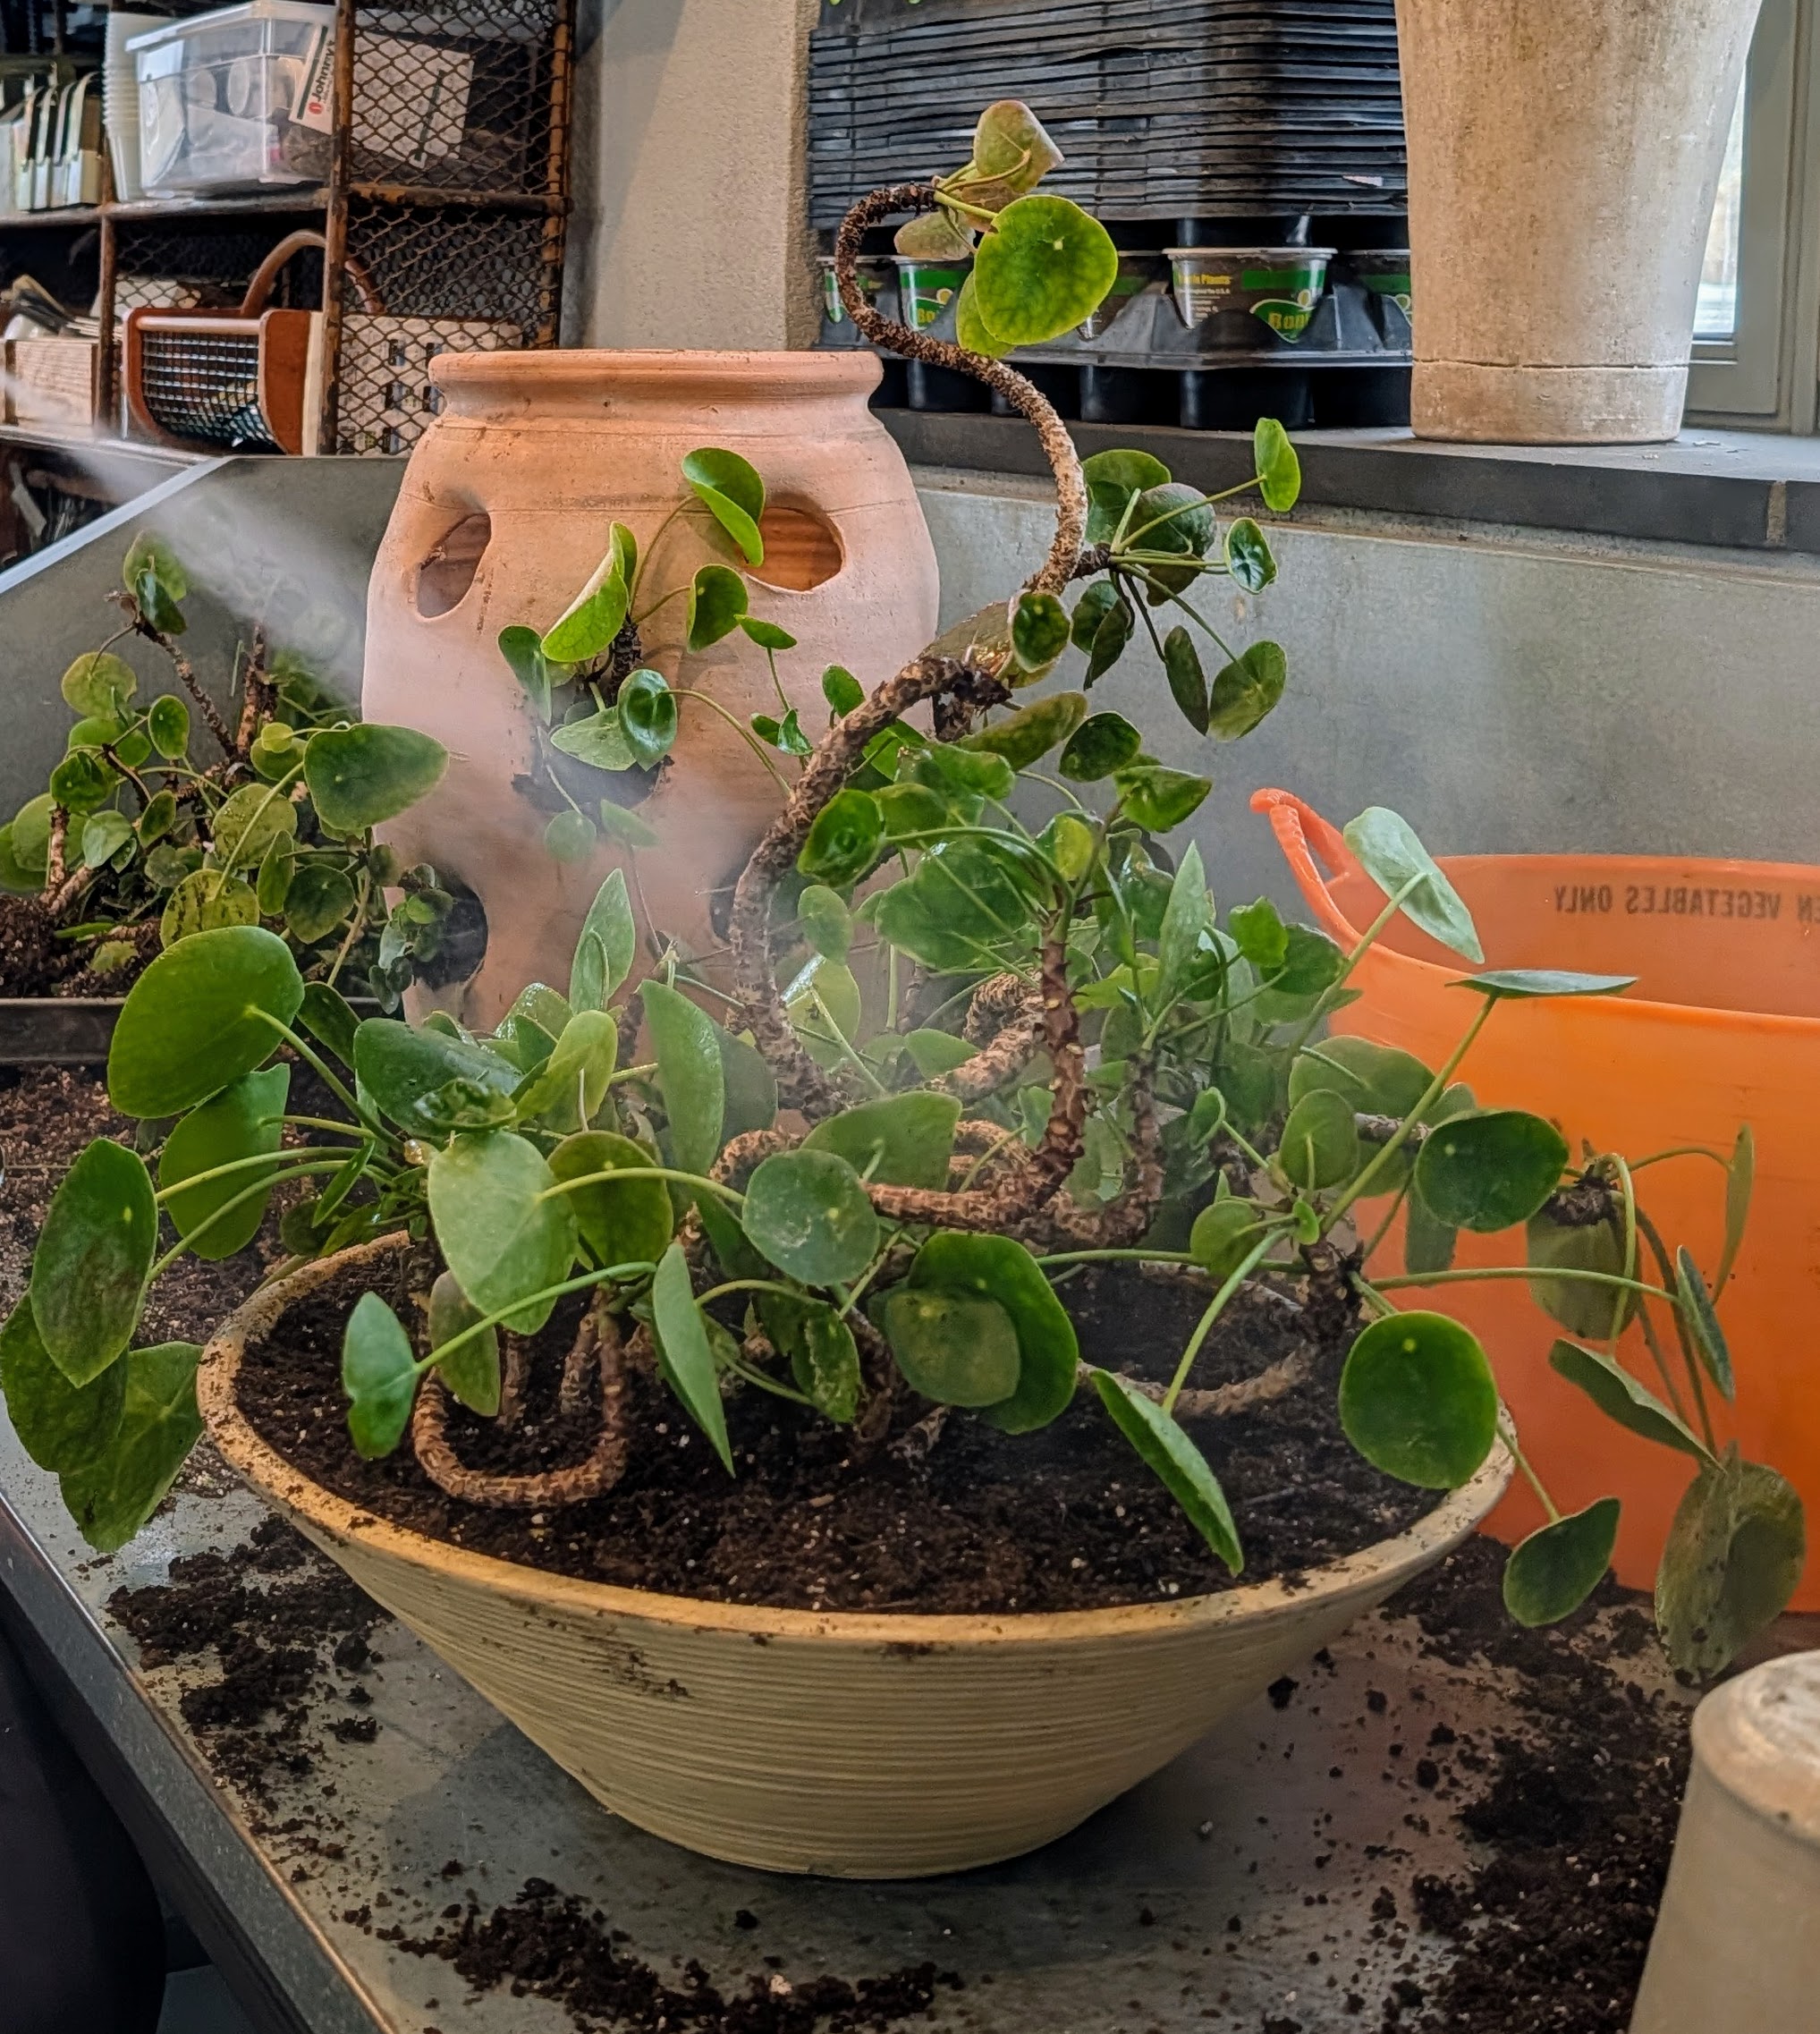
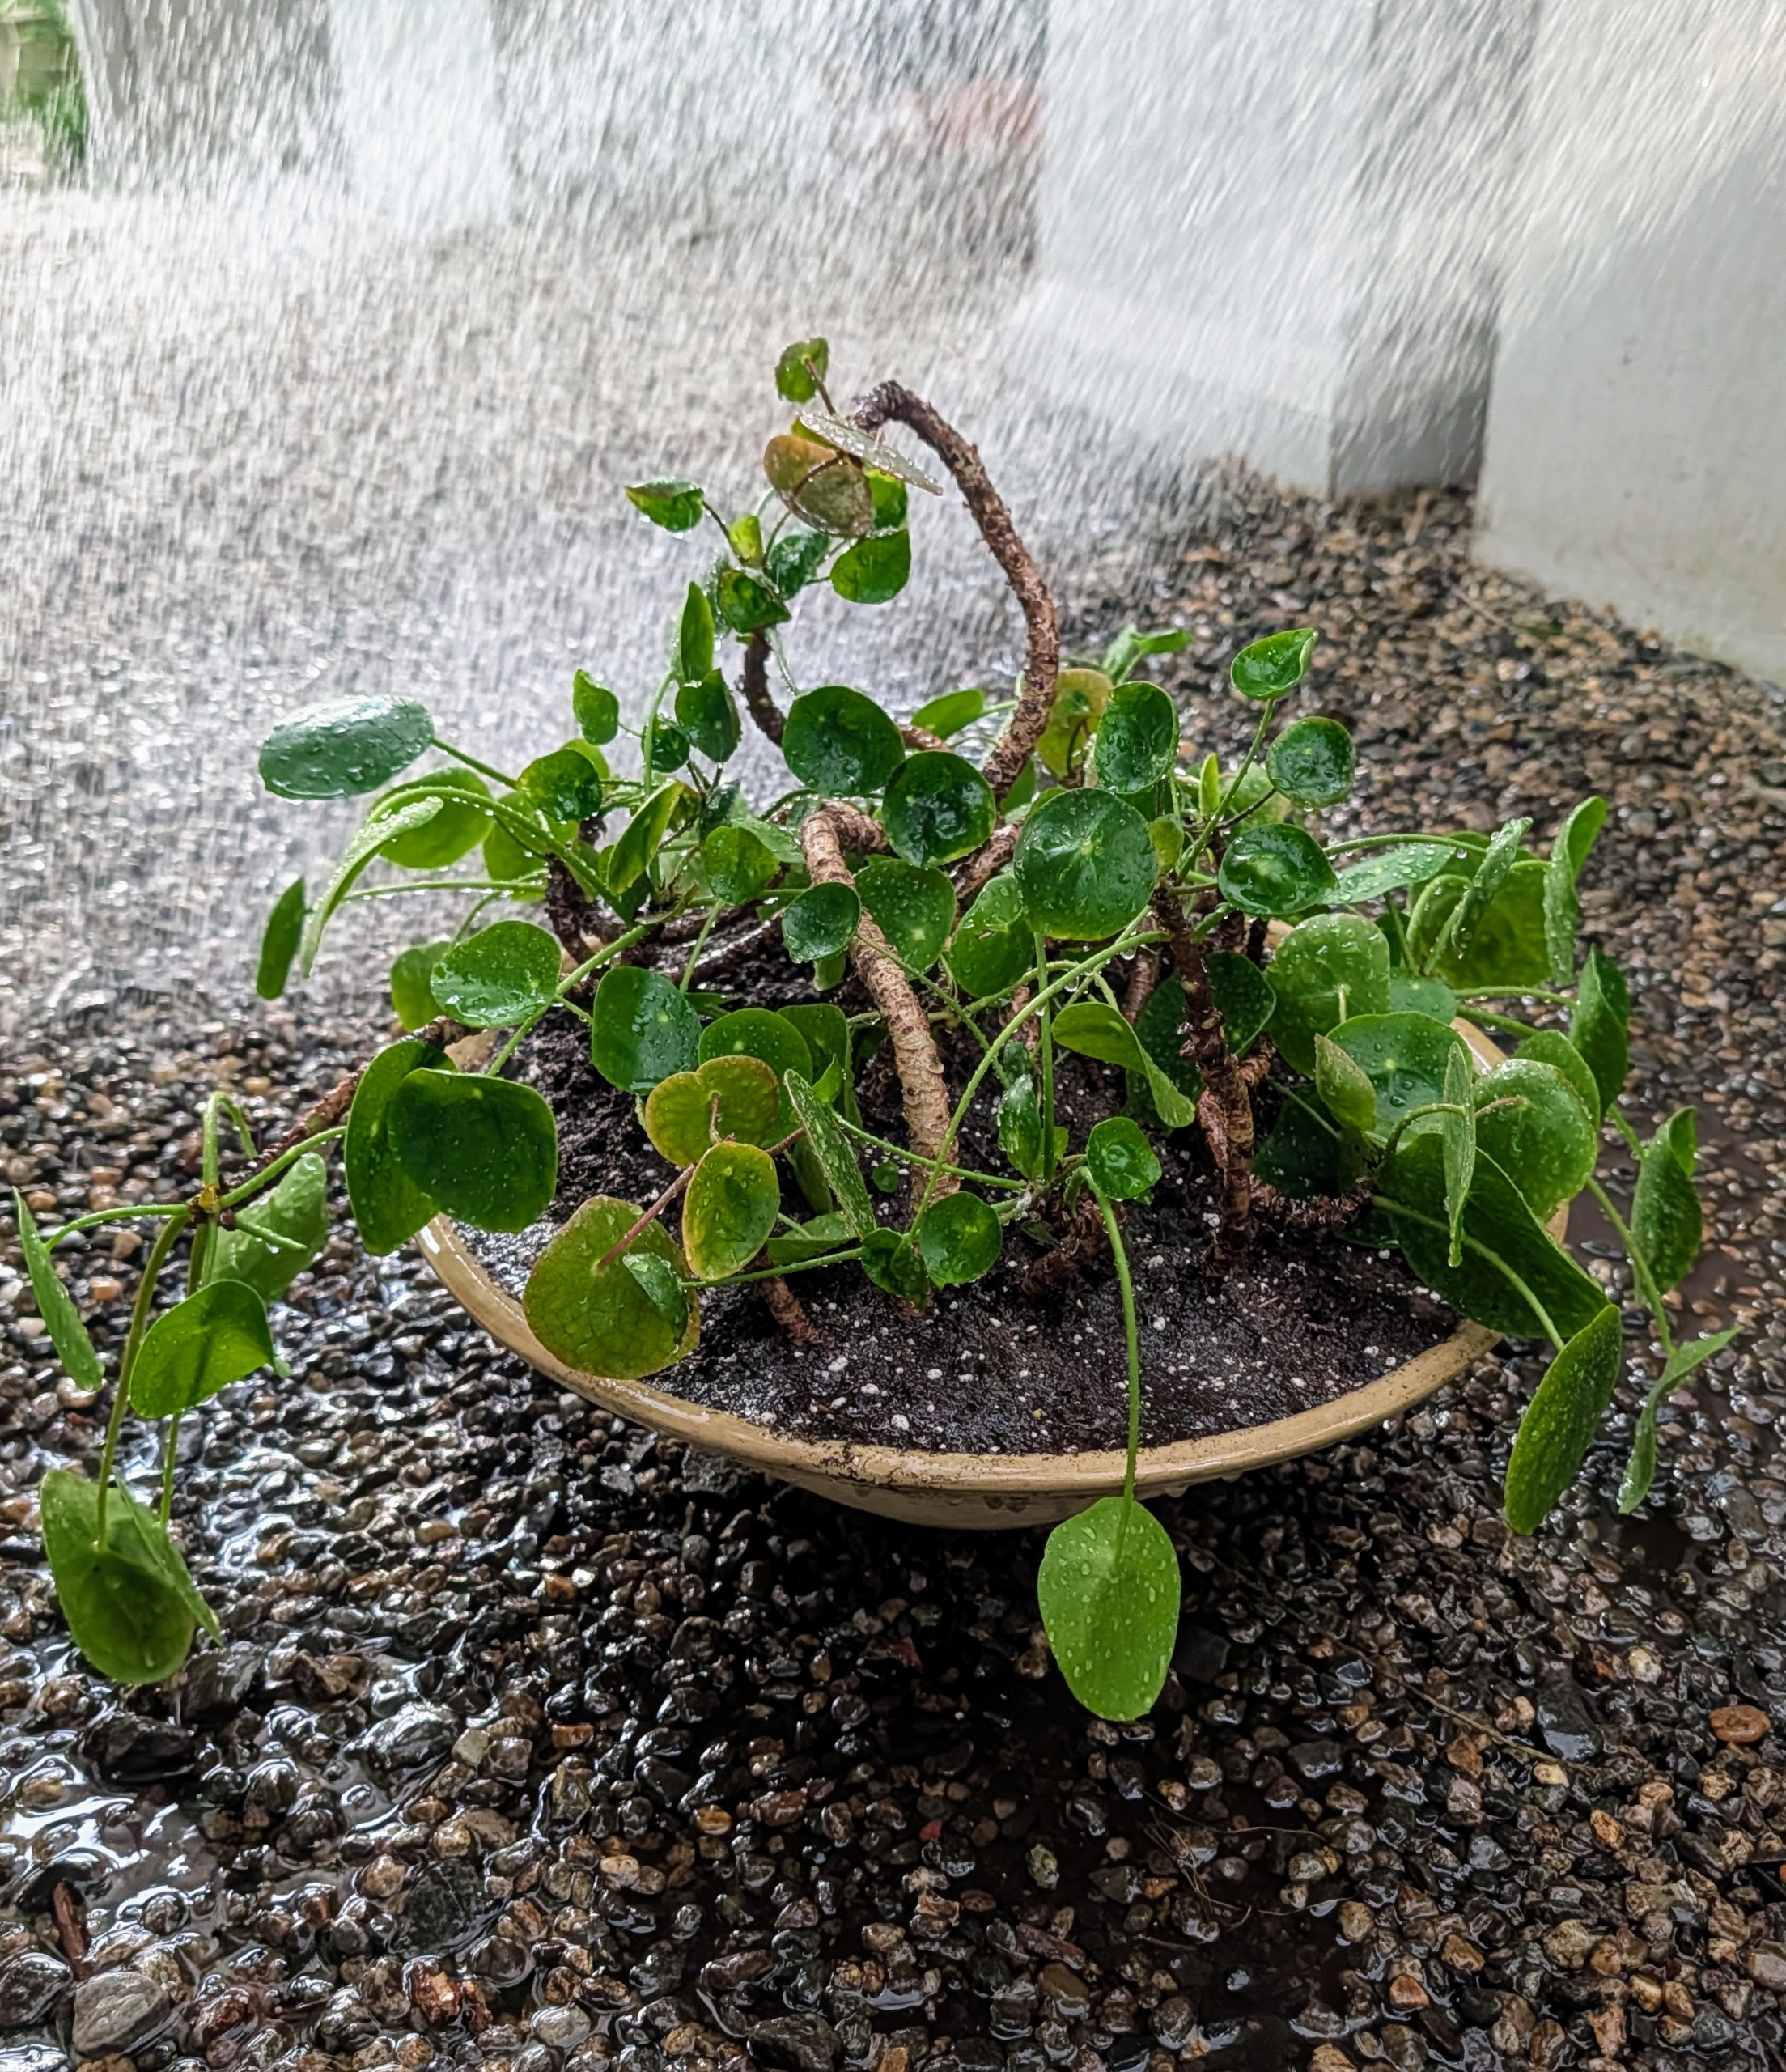
Here, Ryan sprays the leaves with some leaf shine, which livens up any dull foliage.
Finally, Ryan brings the plant into the greenhouse for a good drink of water. Allow money plants to almost dry out between waterings and then water well. The leaves will droop slightly when dry. Newly repotted, this plant will continue to flourish.
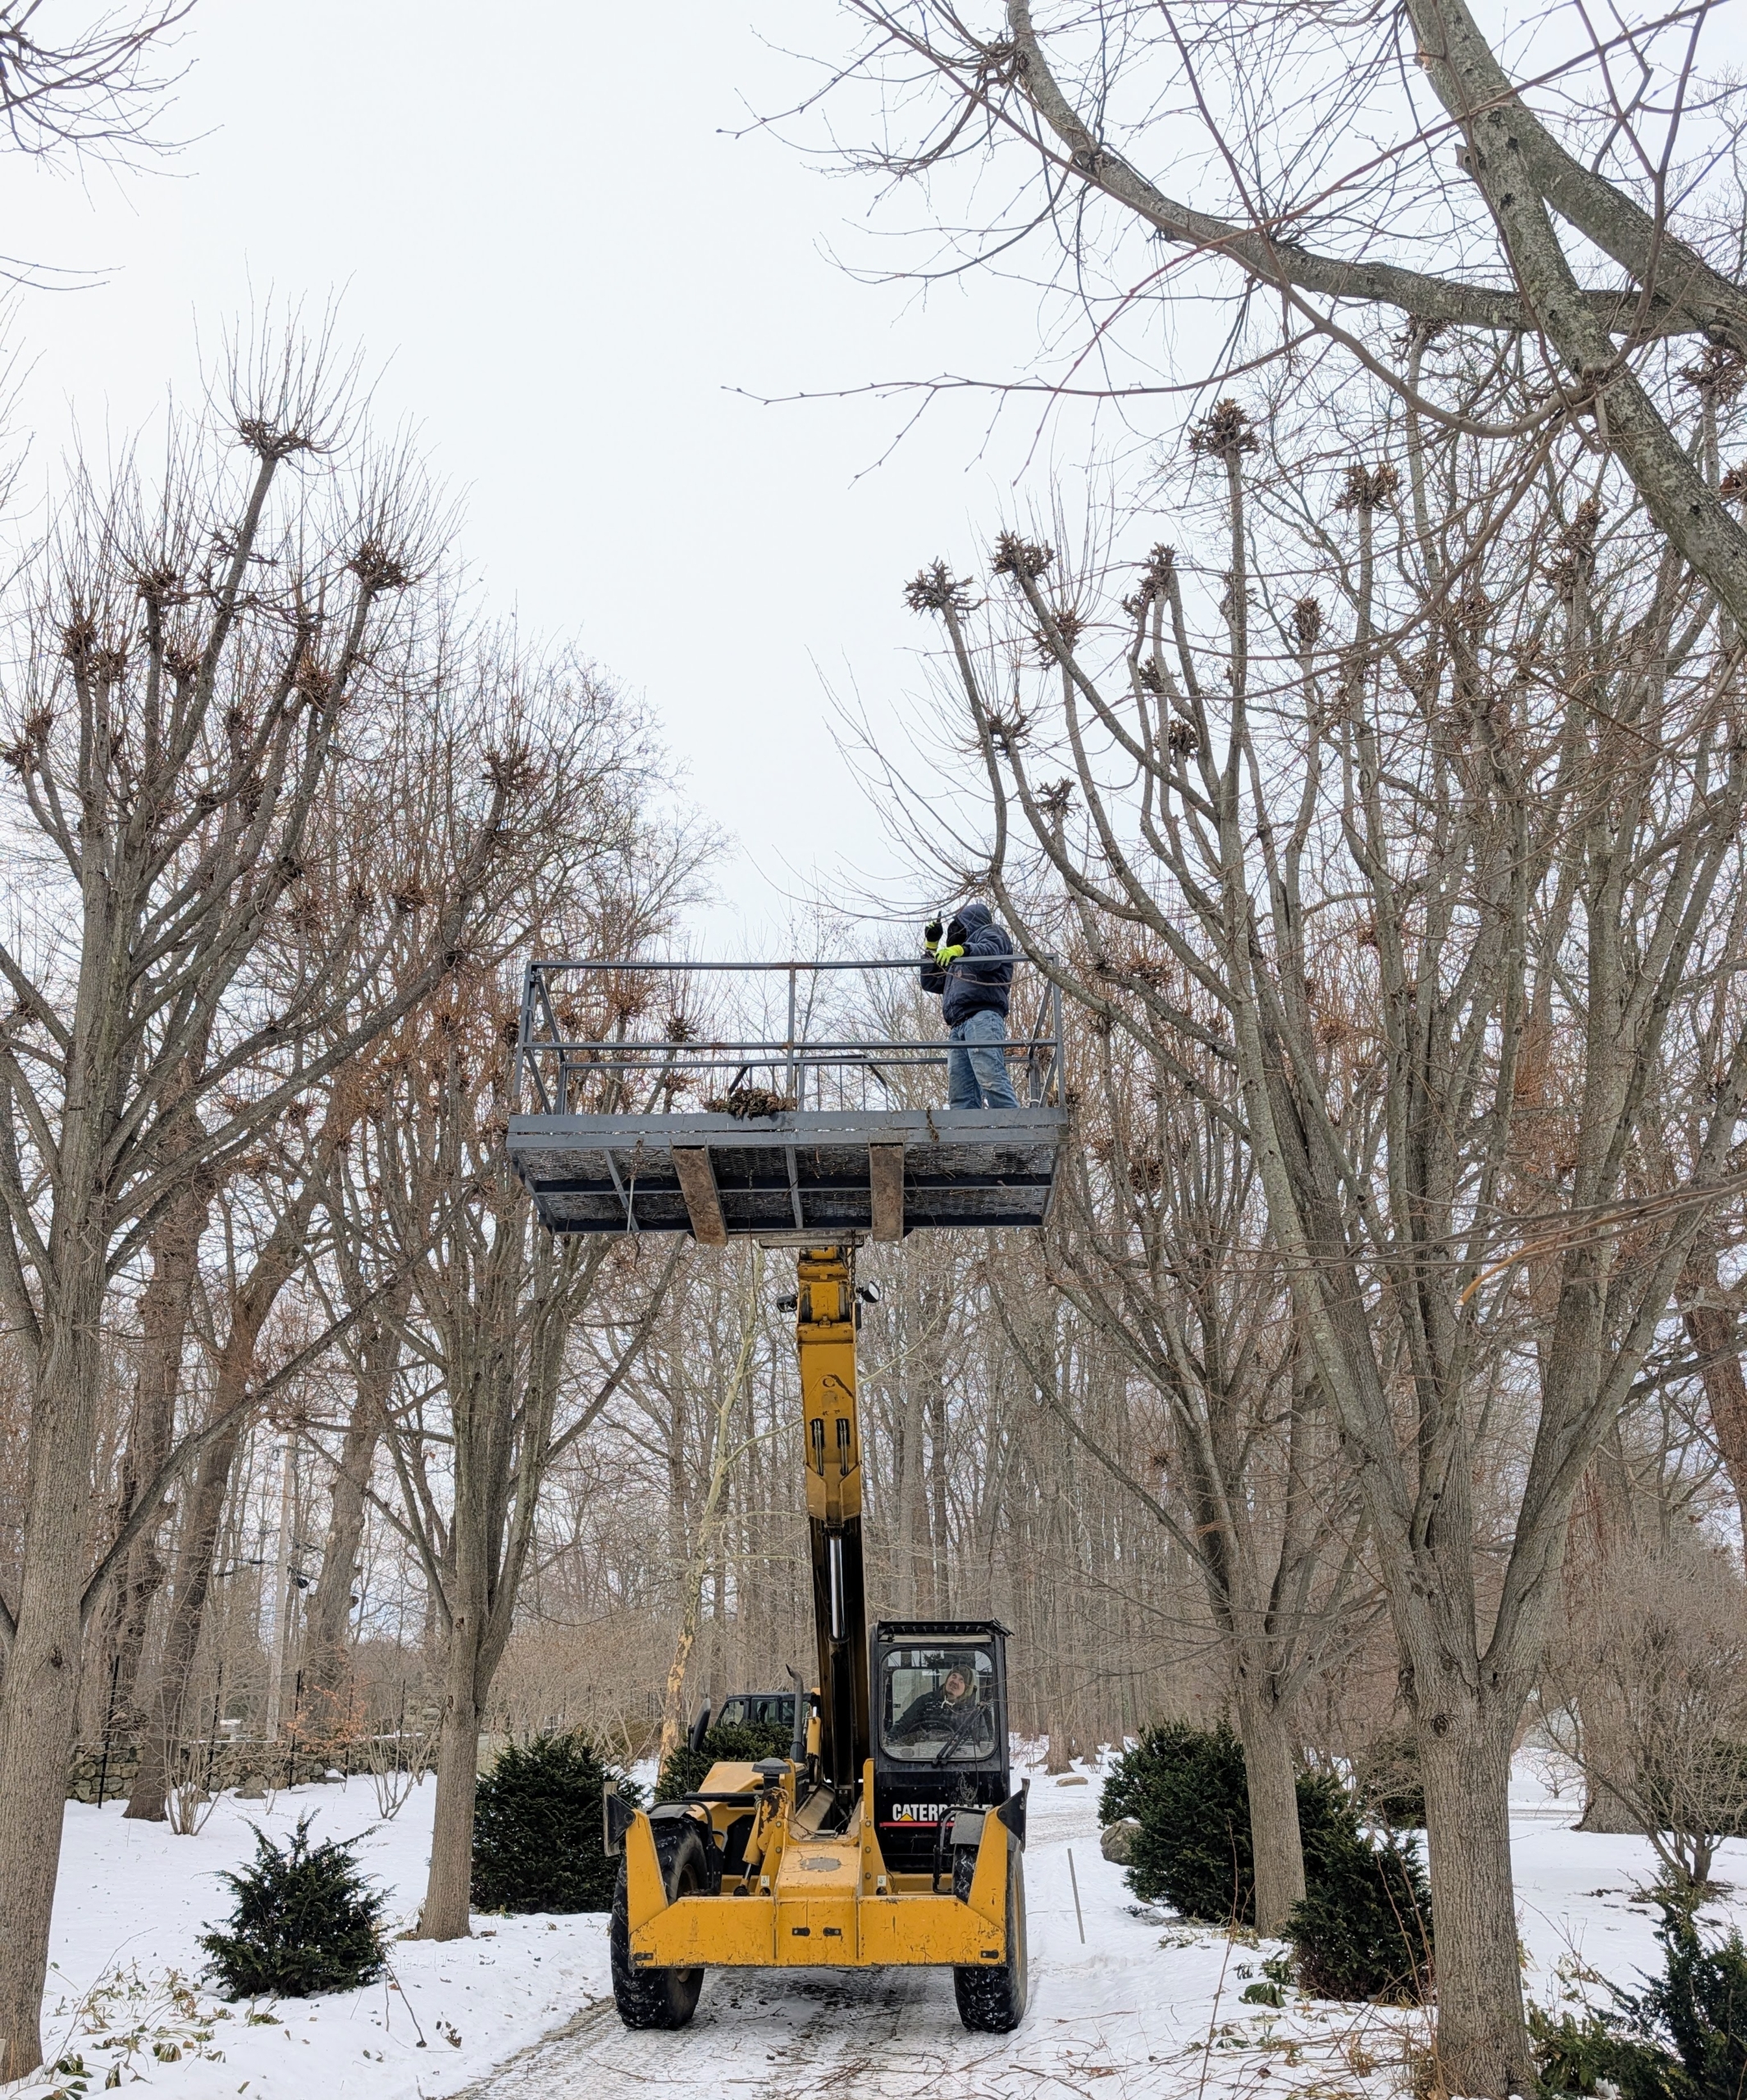
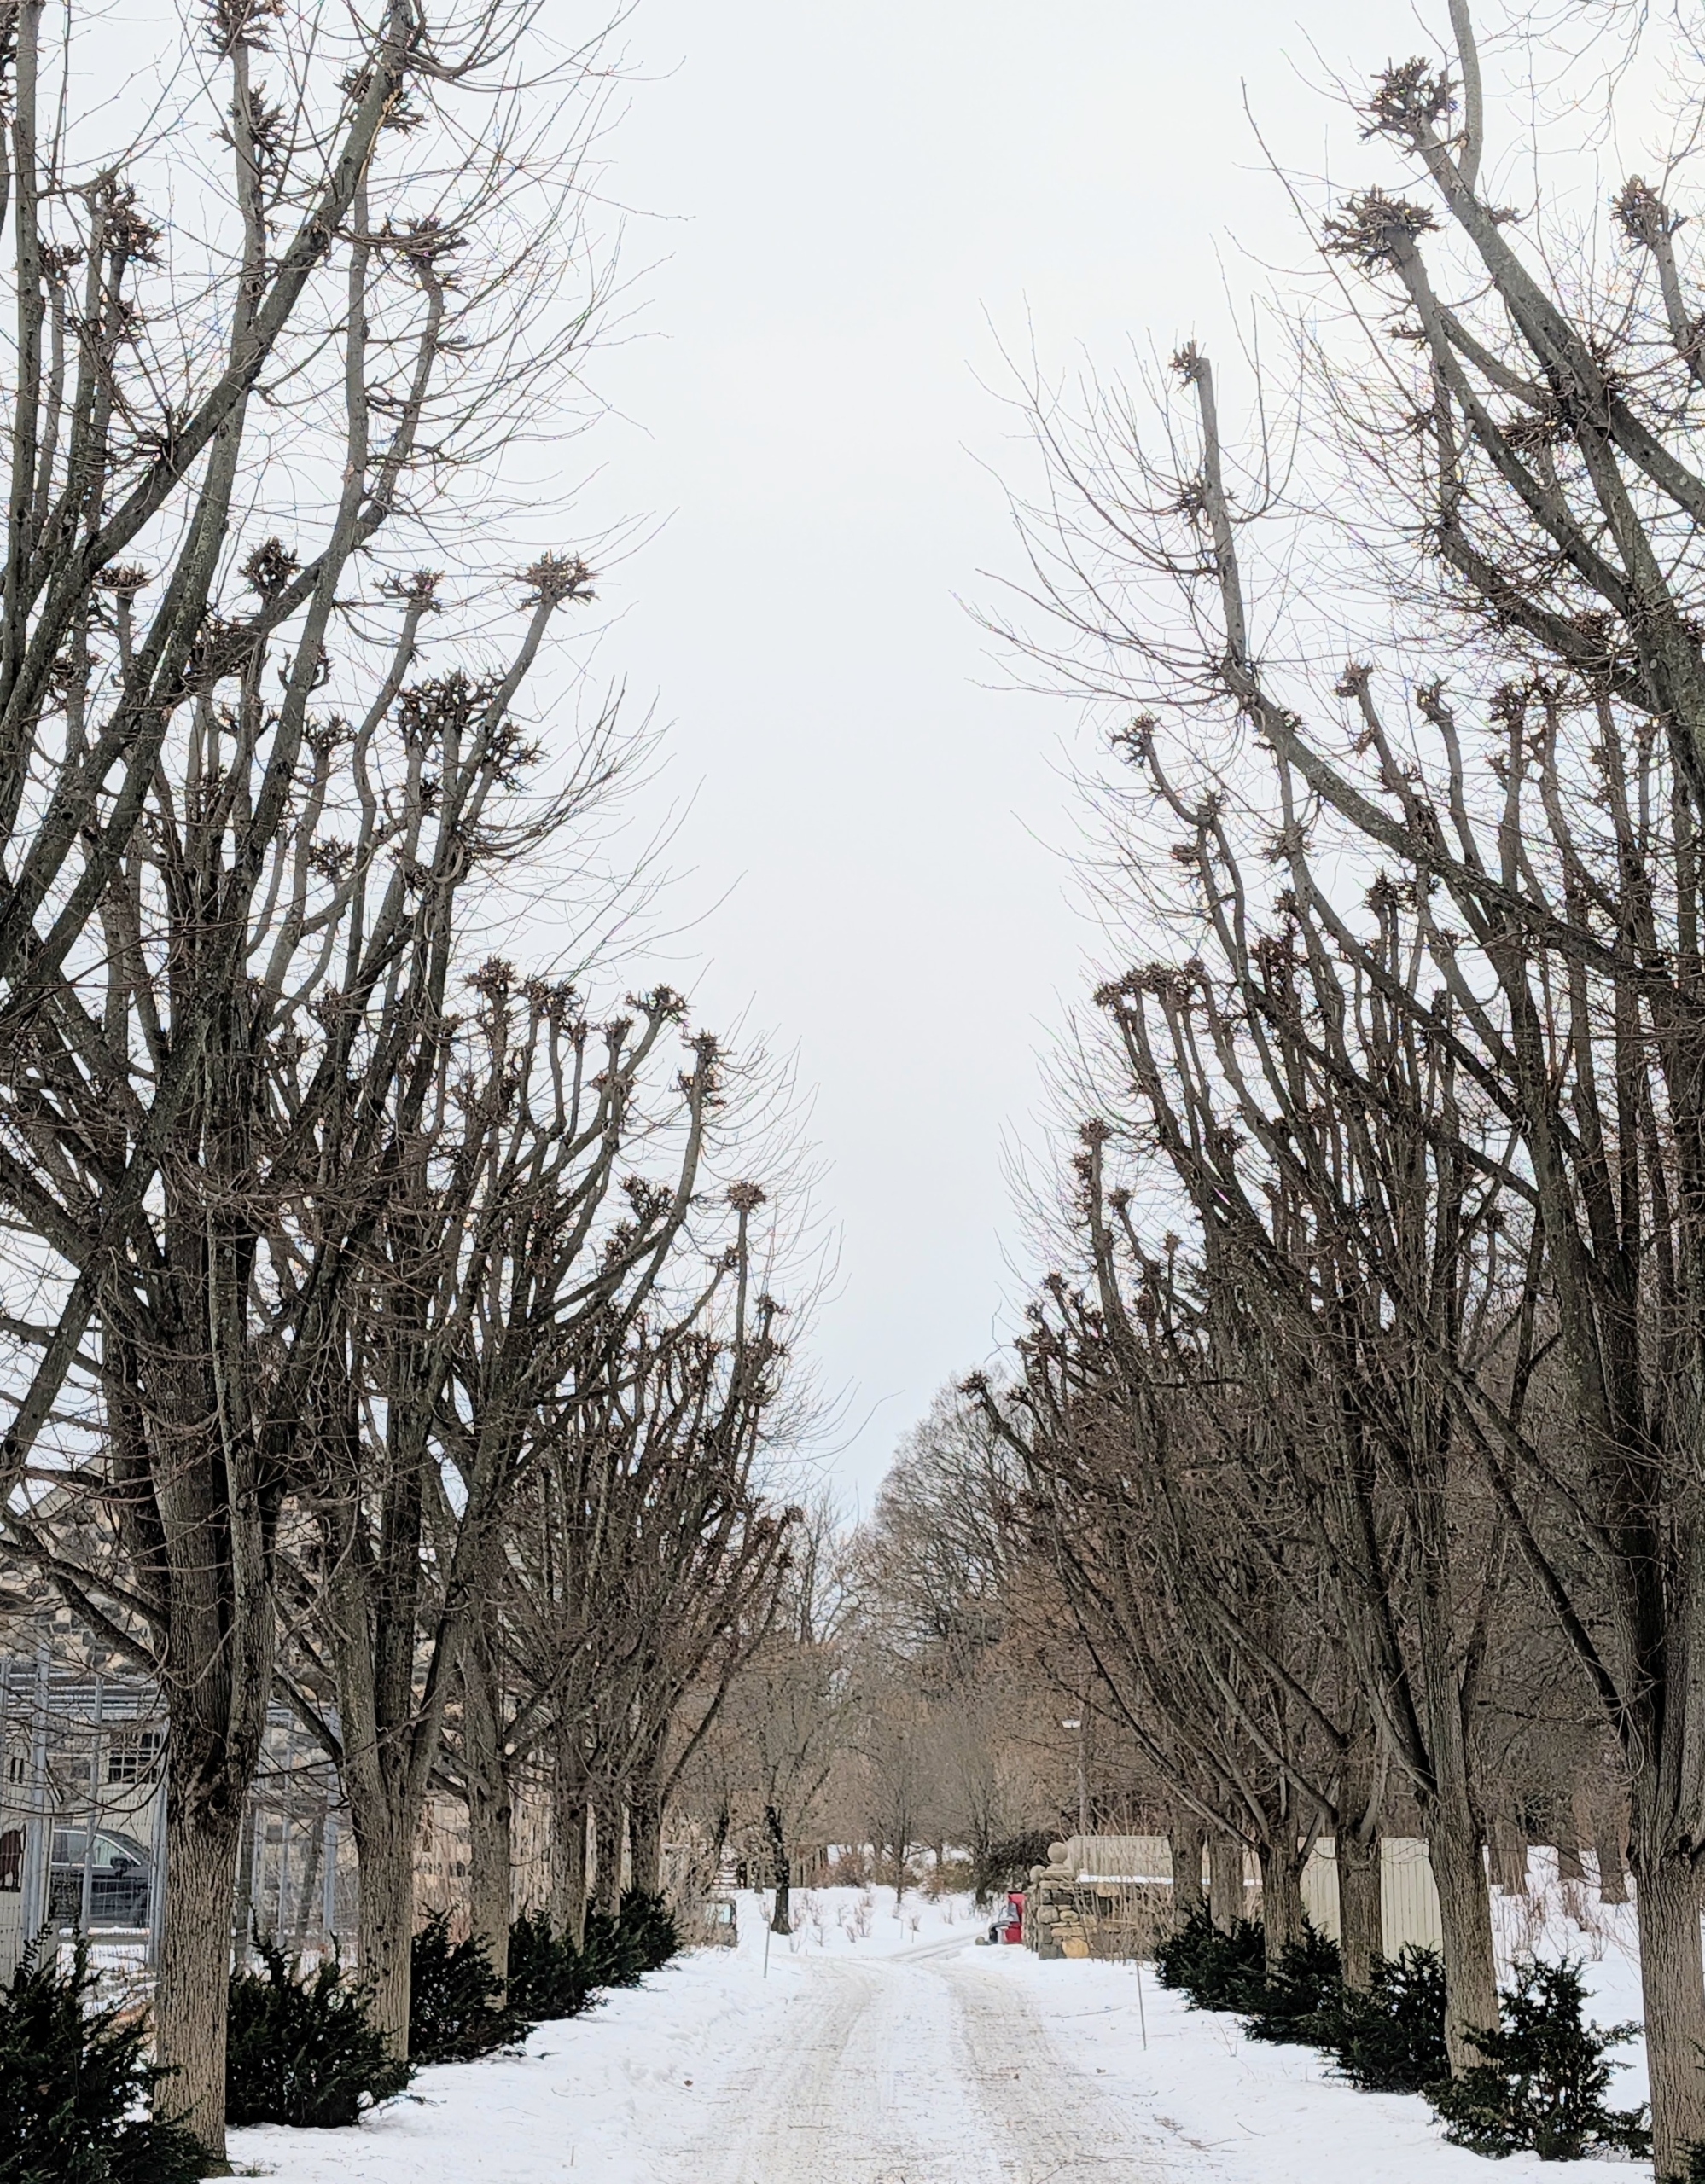
In order to keep my farm and all its gardens, allées, and groves as beautiful as possible, I pay lots of attention to the maintenance and care of all my trees. This time of year, my outdoor grounds crew is busy pruning many of the trees, including my allée of lindens.
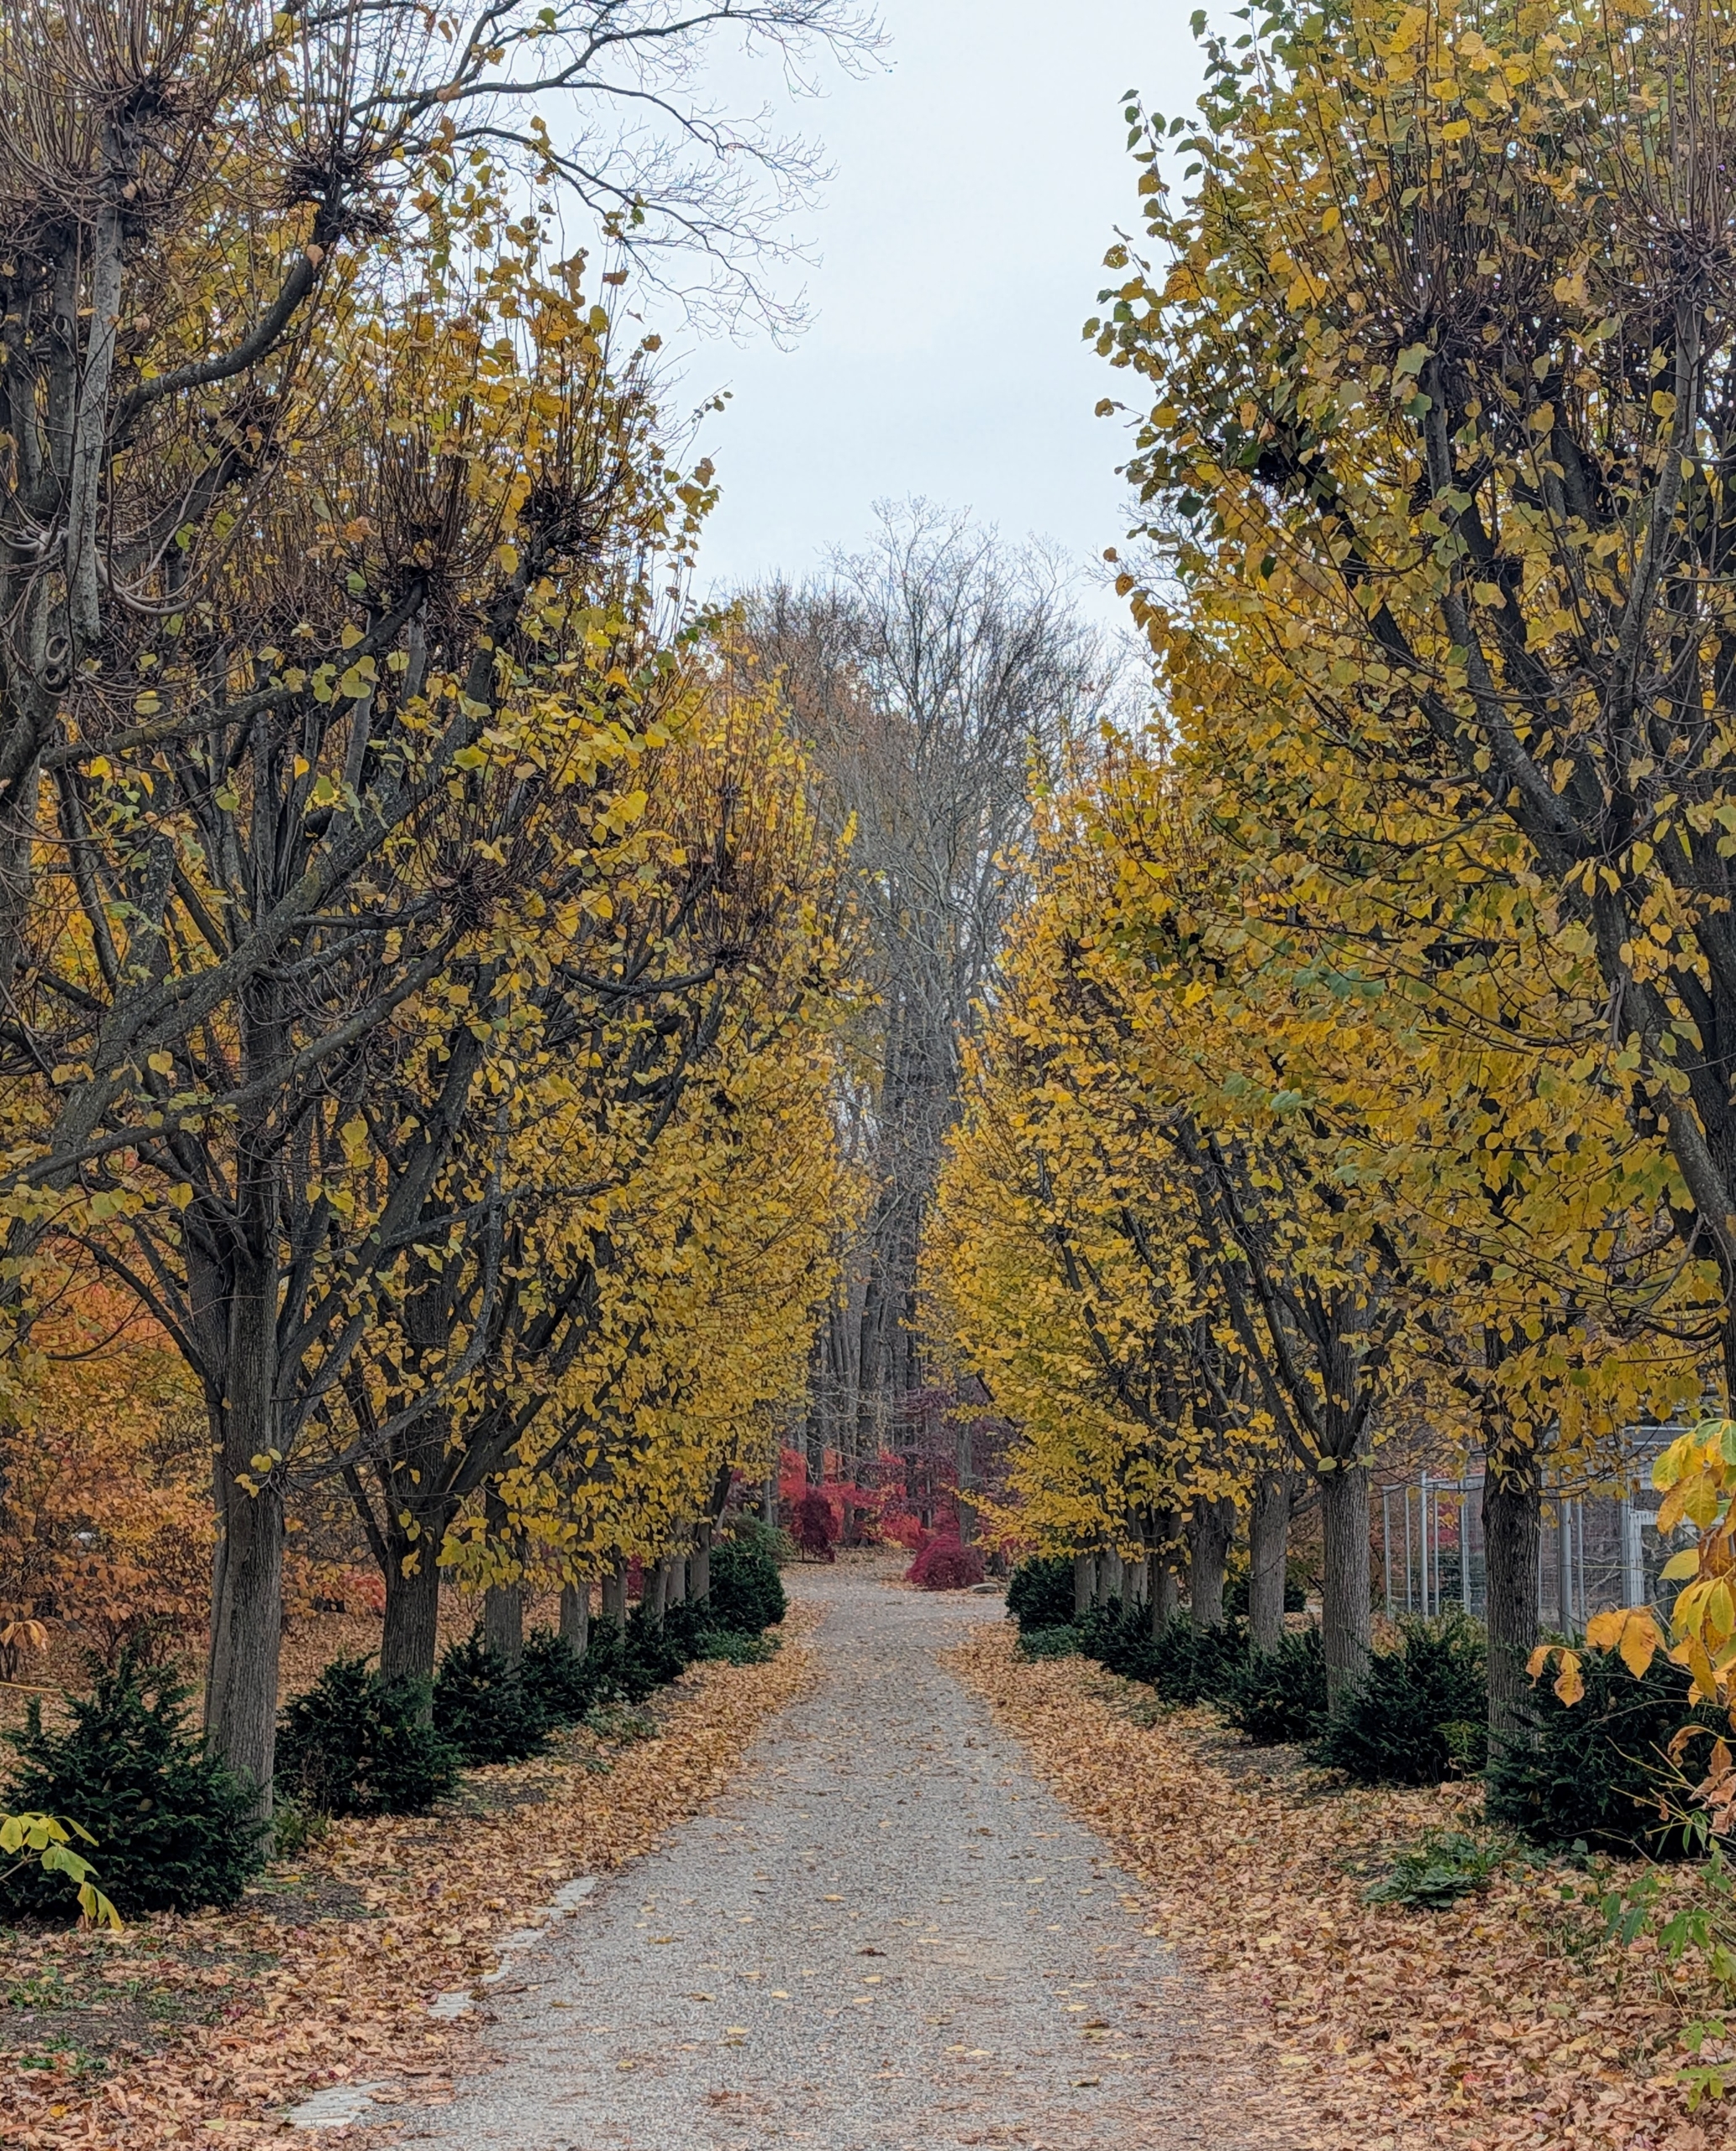
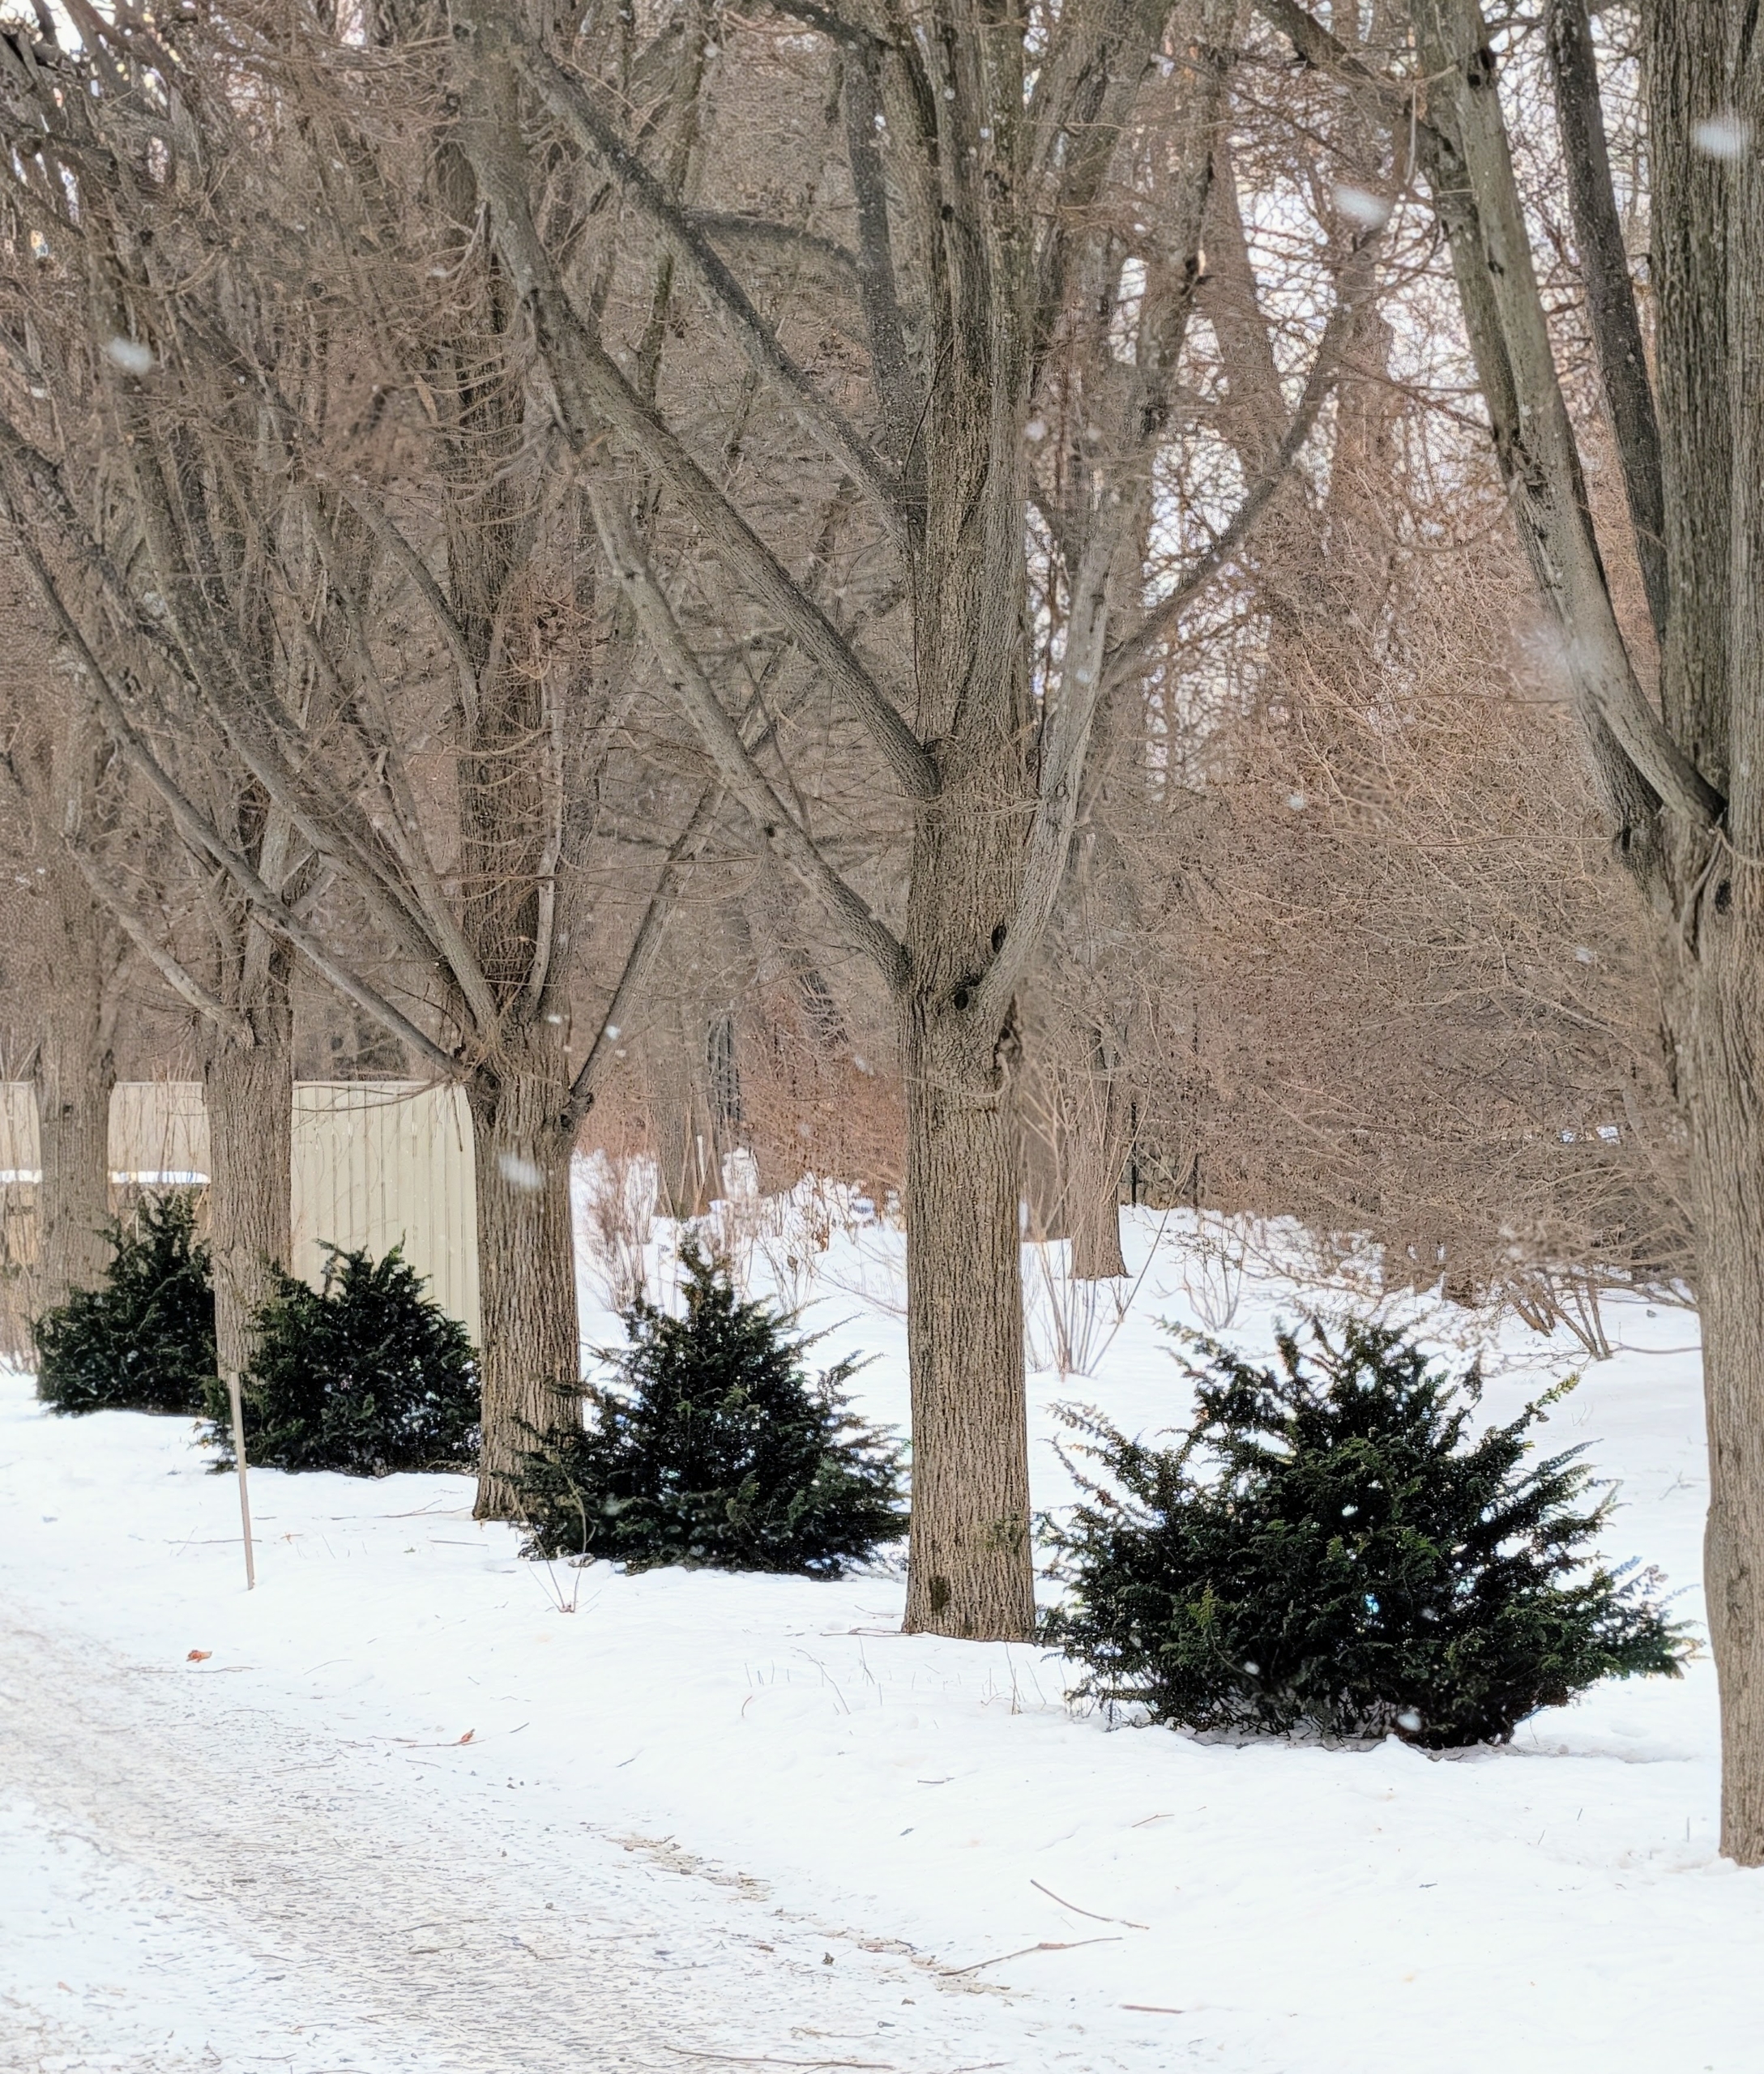
Lindens, Tilia, are medium to large sized shade trees that are easy to maintain and attractive in any landscape. I have two linden tree allées - one that runs from the old corn crib all the way down to the chicken coops and the other slightly older allée near my stable. These trees, with their pyramidal shape and slow growth, are excellent specimens for the type of pruning called pollarding, a very severe method that involves cutting the branches back either to the trunk, or even all the way down to the top of the trunk to promote the growth of club-headed stems and dense new foliage and branches. Pollarding should be done annually. We started pollarding these lindens regularly in 2021, and we've noticed good development in the years since.
Here are some photos, enjoy.
The last few days have been cold, but clear and not too windy so it’s a perfect time for some high tree work on my linden trees.
Here they are last autumn. Linden leaves are green in summer and take on a beautiful golden hue in fall before dropping. These trees are easy to care for and ideal for urban landscapes because they tolerate a wide range of adverse conditions, including pollution.
More thought and planning goes into pollarding than regular topping, and lopping. Pollarding is similar to coppicing but plants are cut back to a stump, rather than down to the ground. Pleaching involves training trees or shrubs to grow in a flat, formal shape, often used for creating hedges and topiaries. All these pruning techniques encourage new growth and can enhance the aesthetic appeal of the landscape.
Some of the other types of trees that can benefit from pollarding include beech trees, black locust trees, catalpa trees, hornbeams, horse chestnuts, London planetrees, mulberry trees, redbuds, and willows.
Below these trees, I planted Fernspray Hinoki cypress bushes.
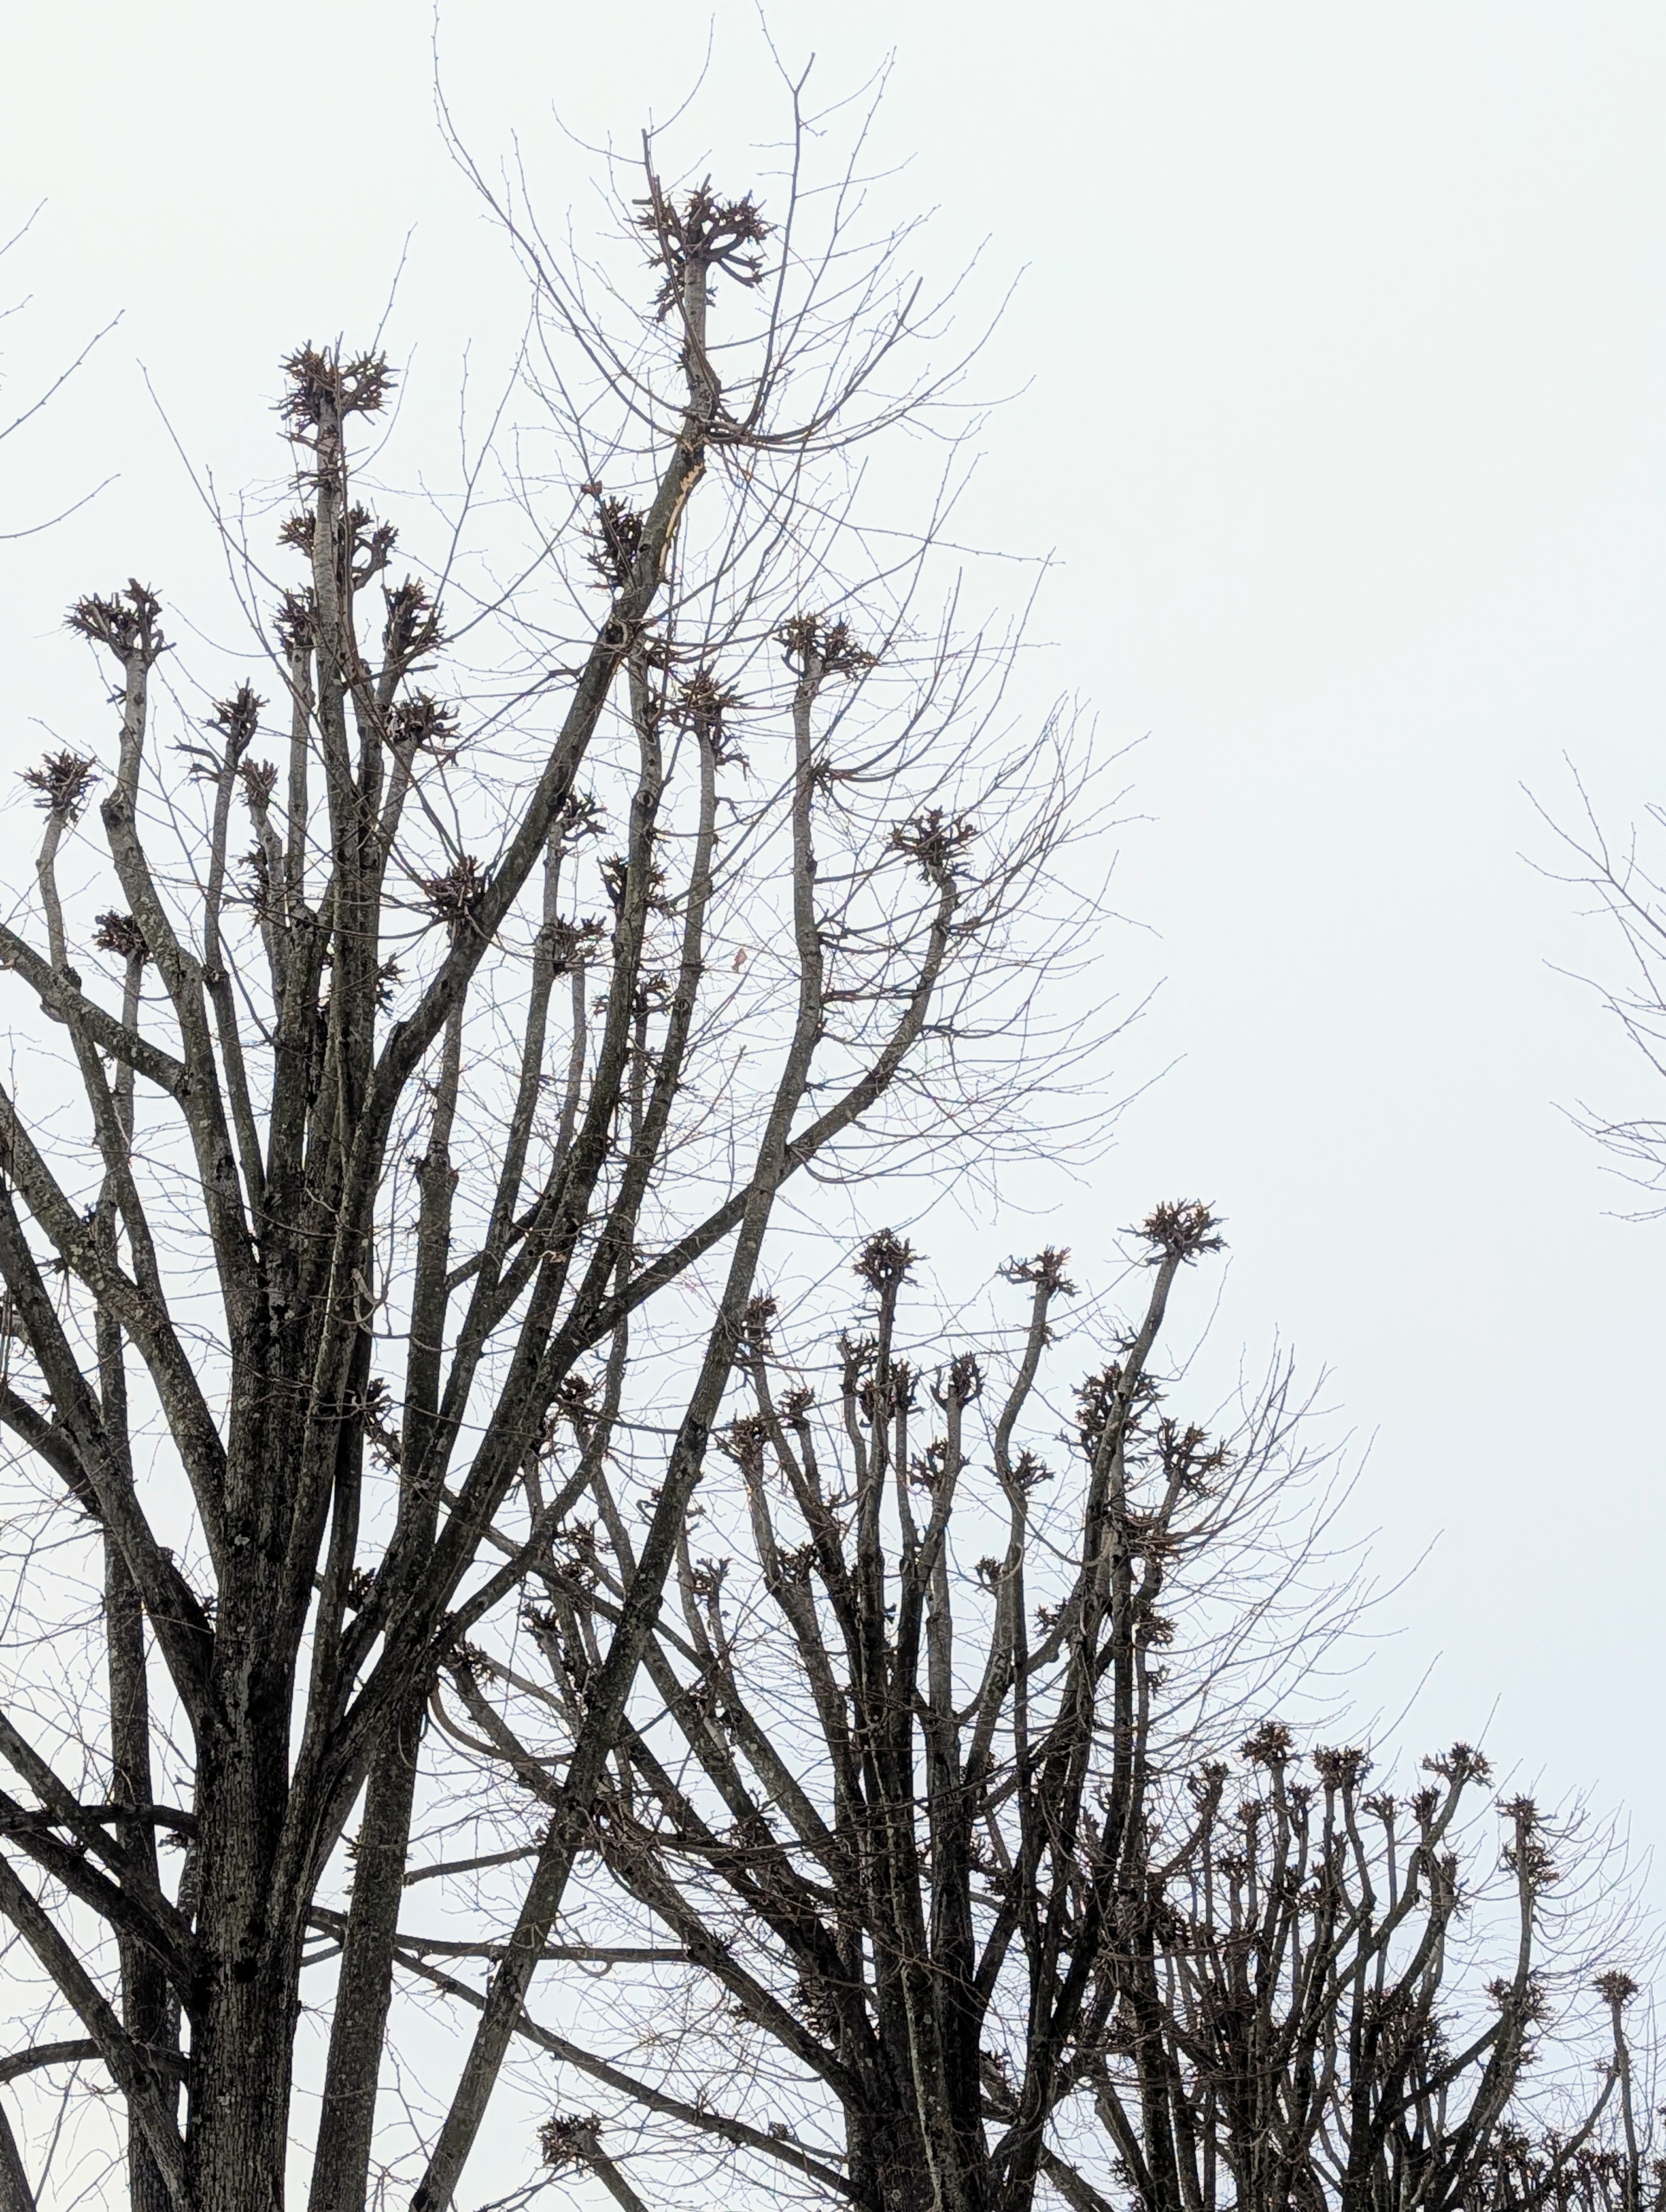
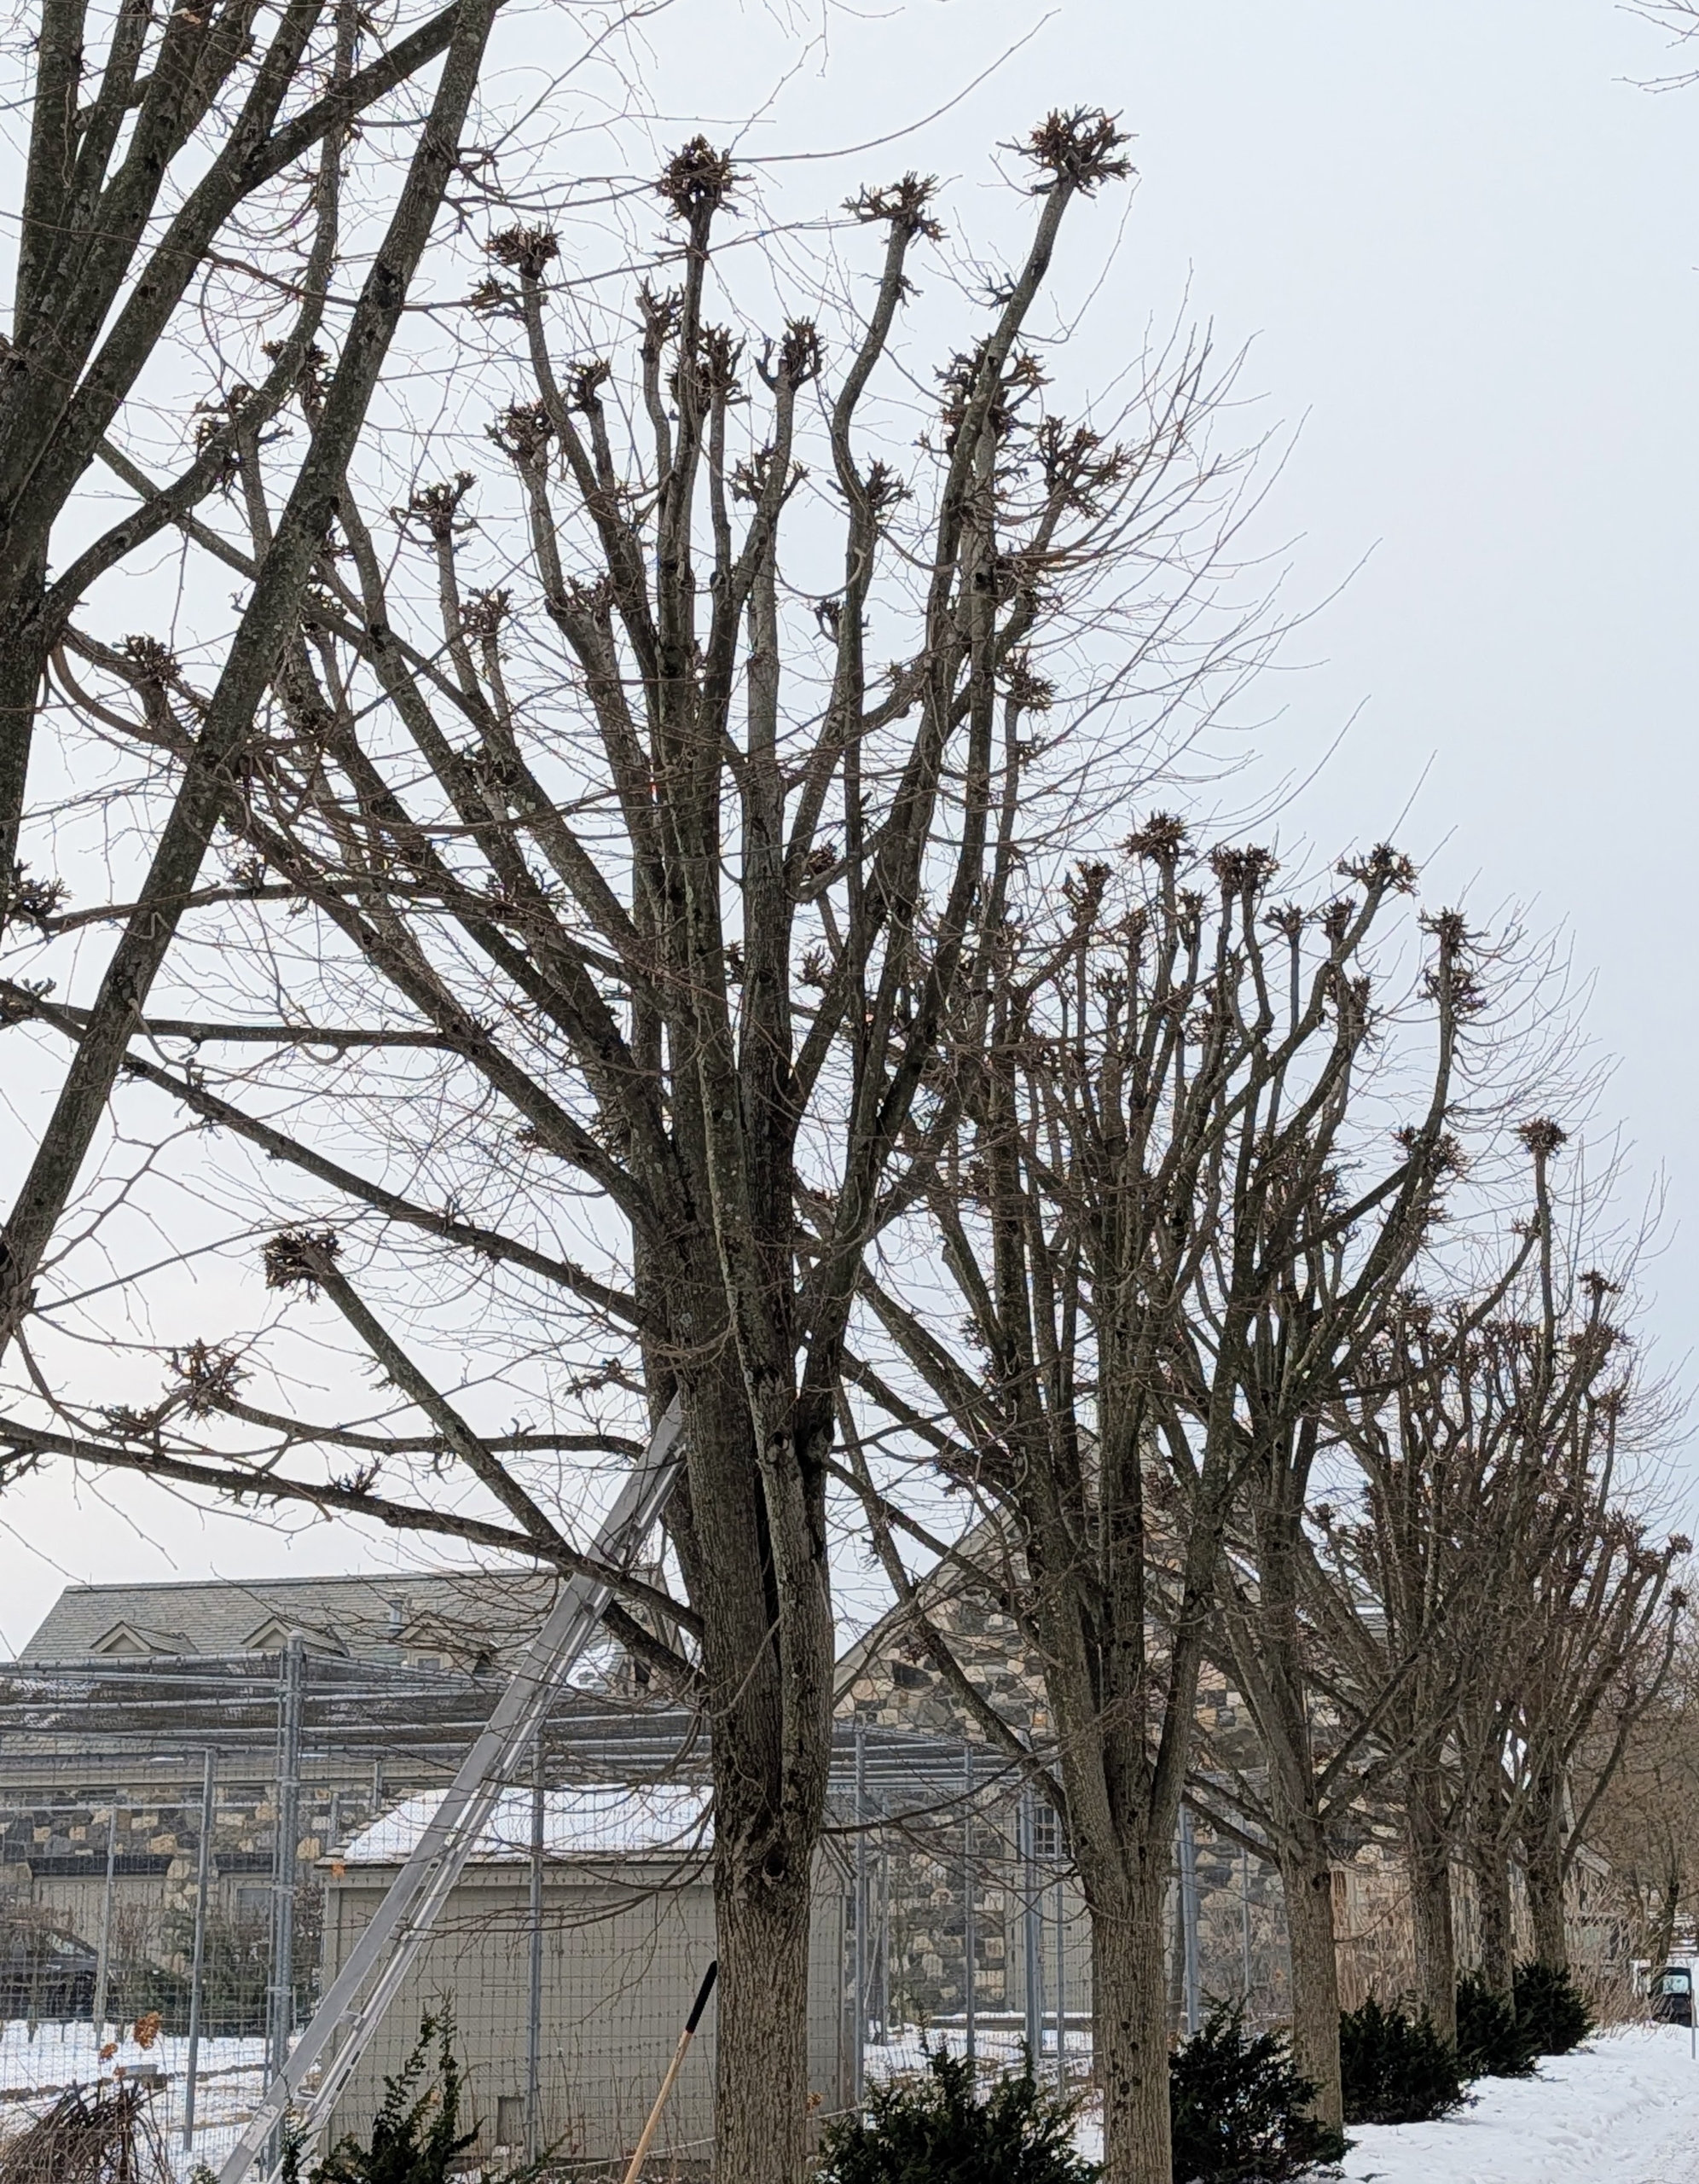
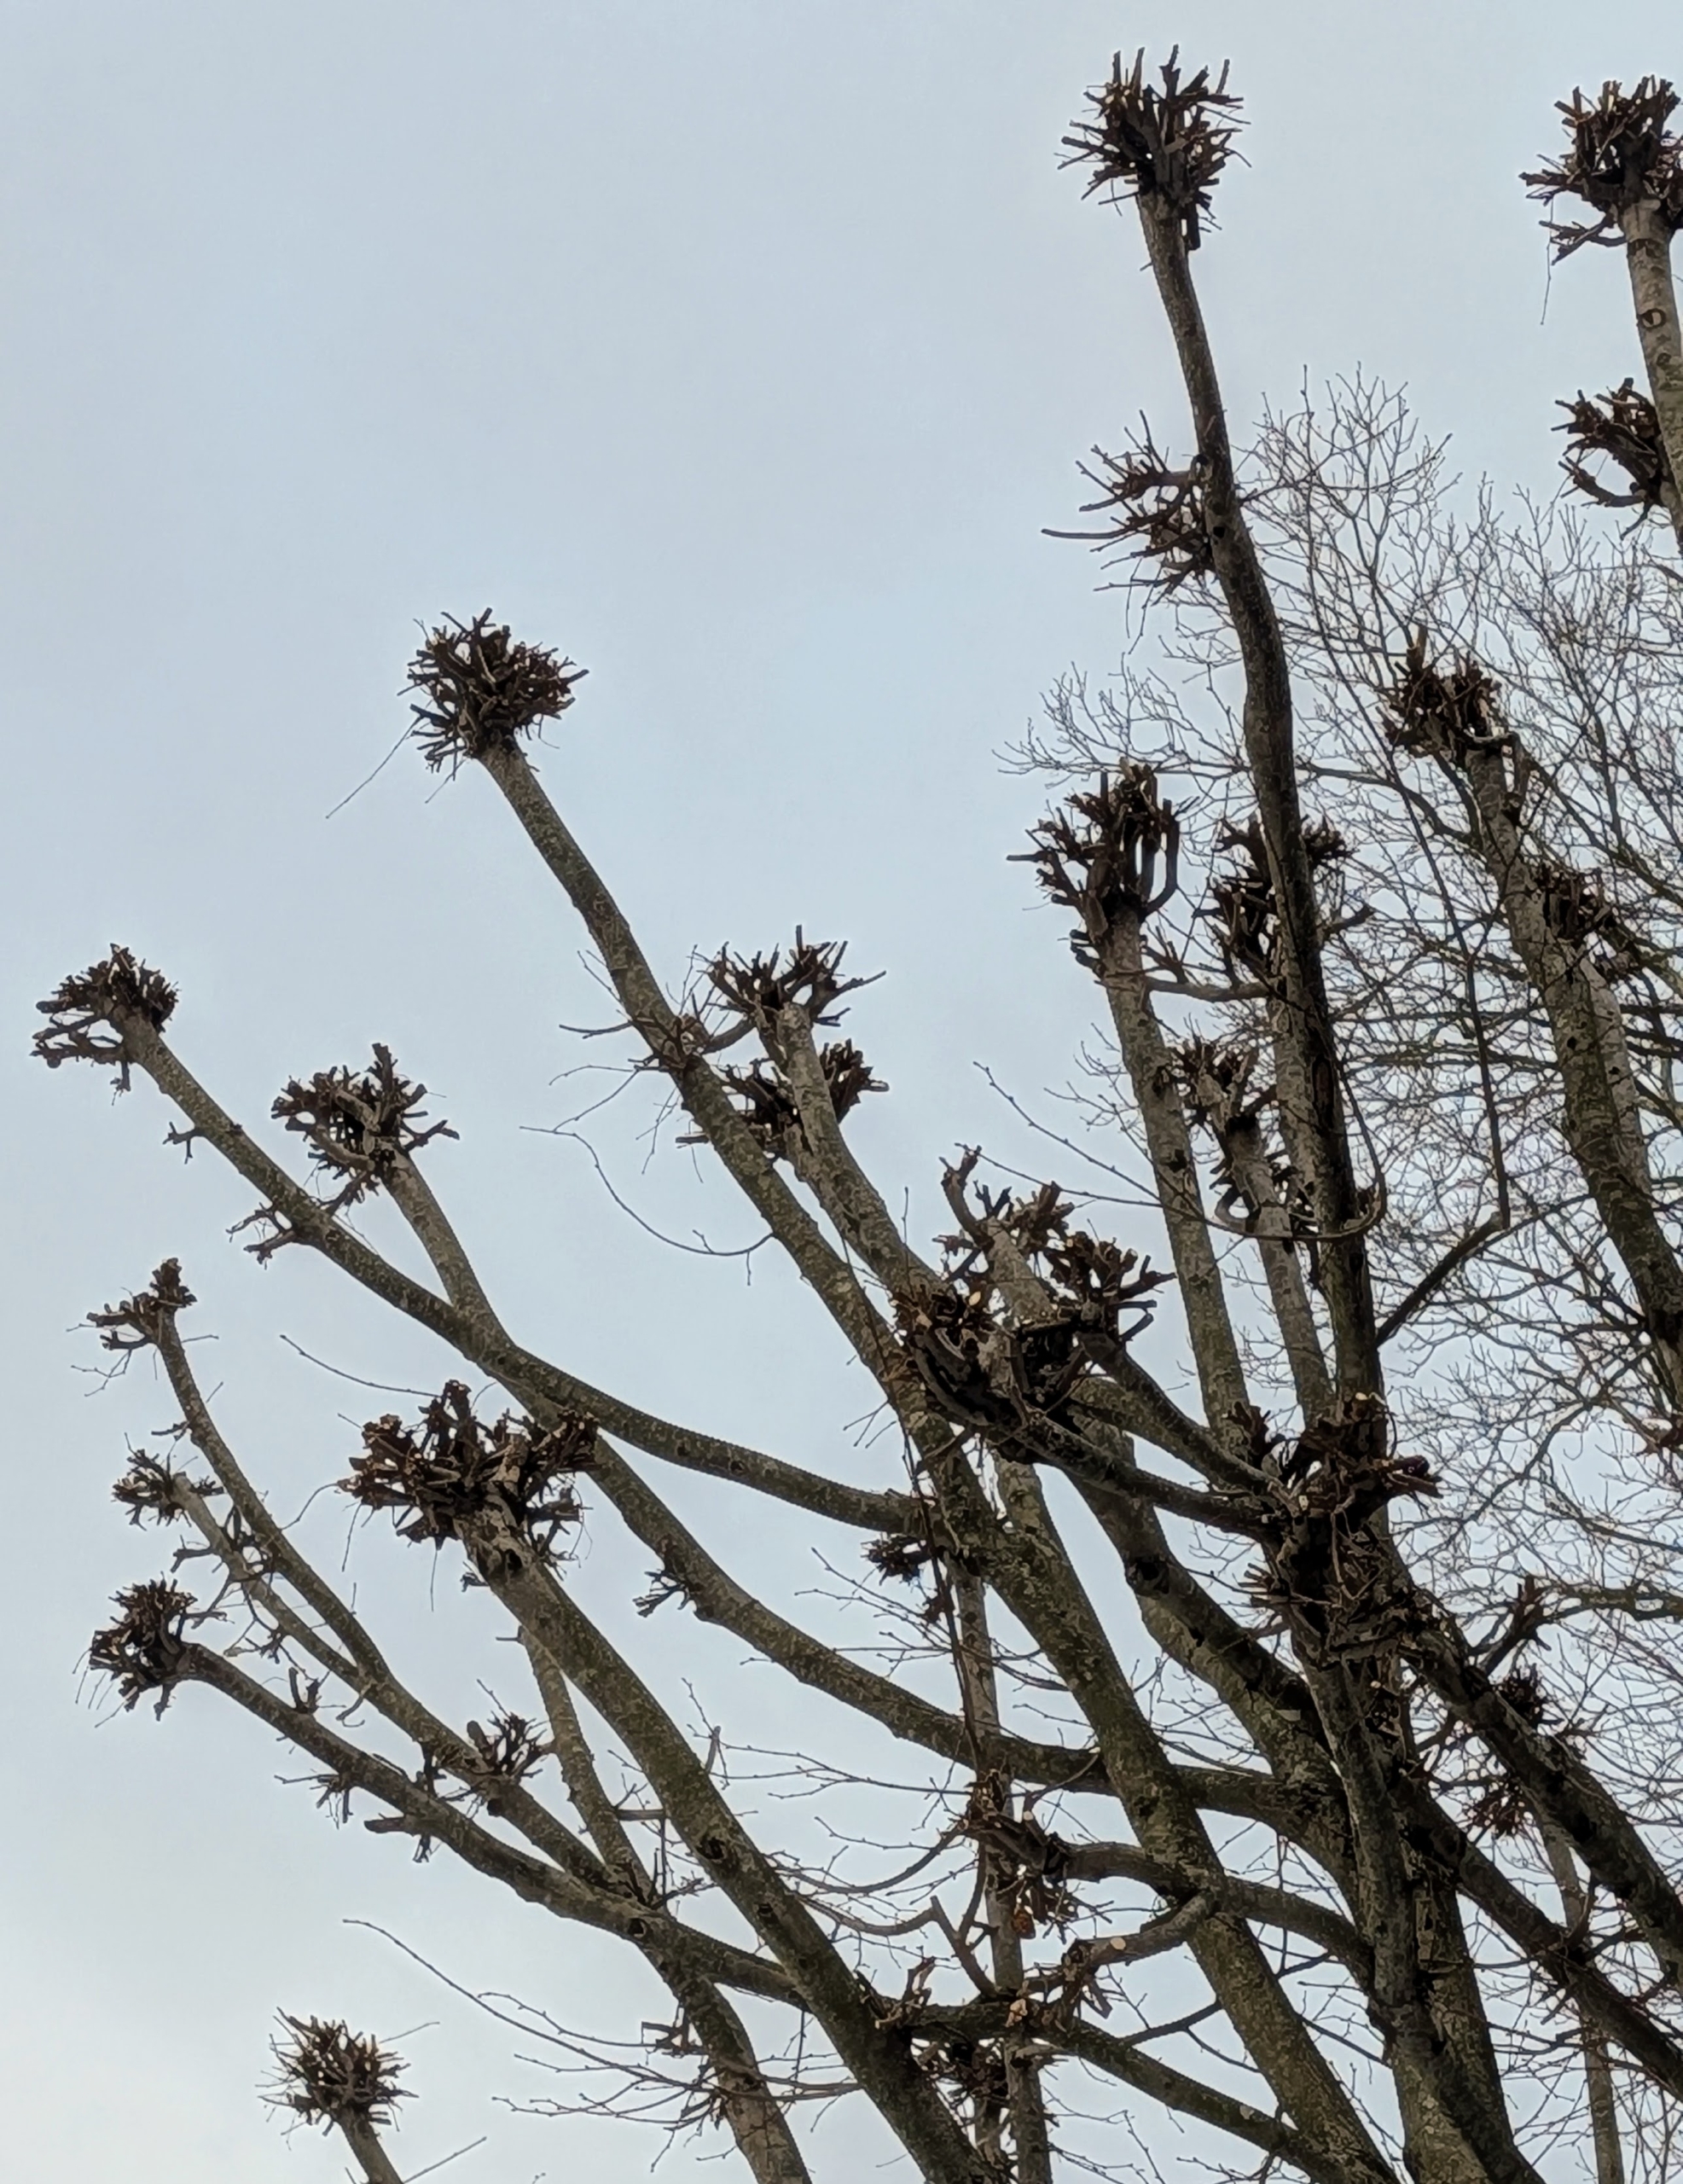
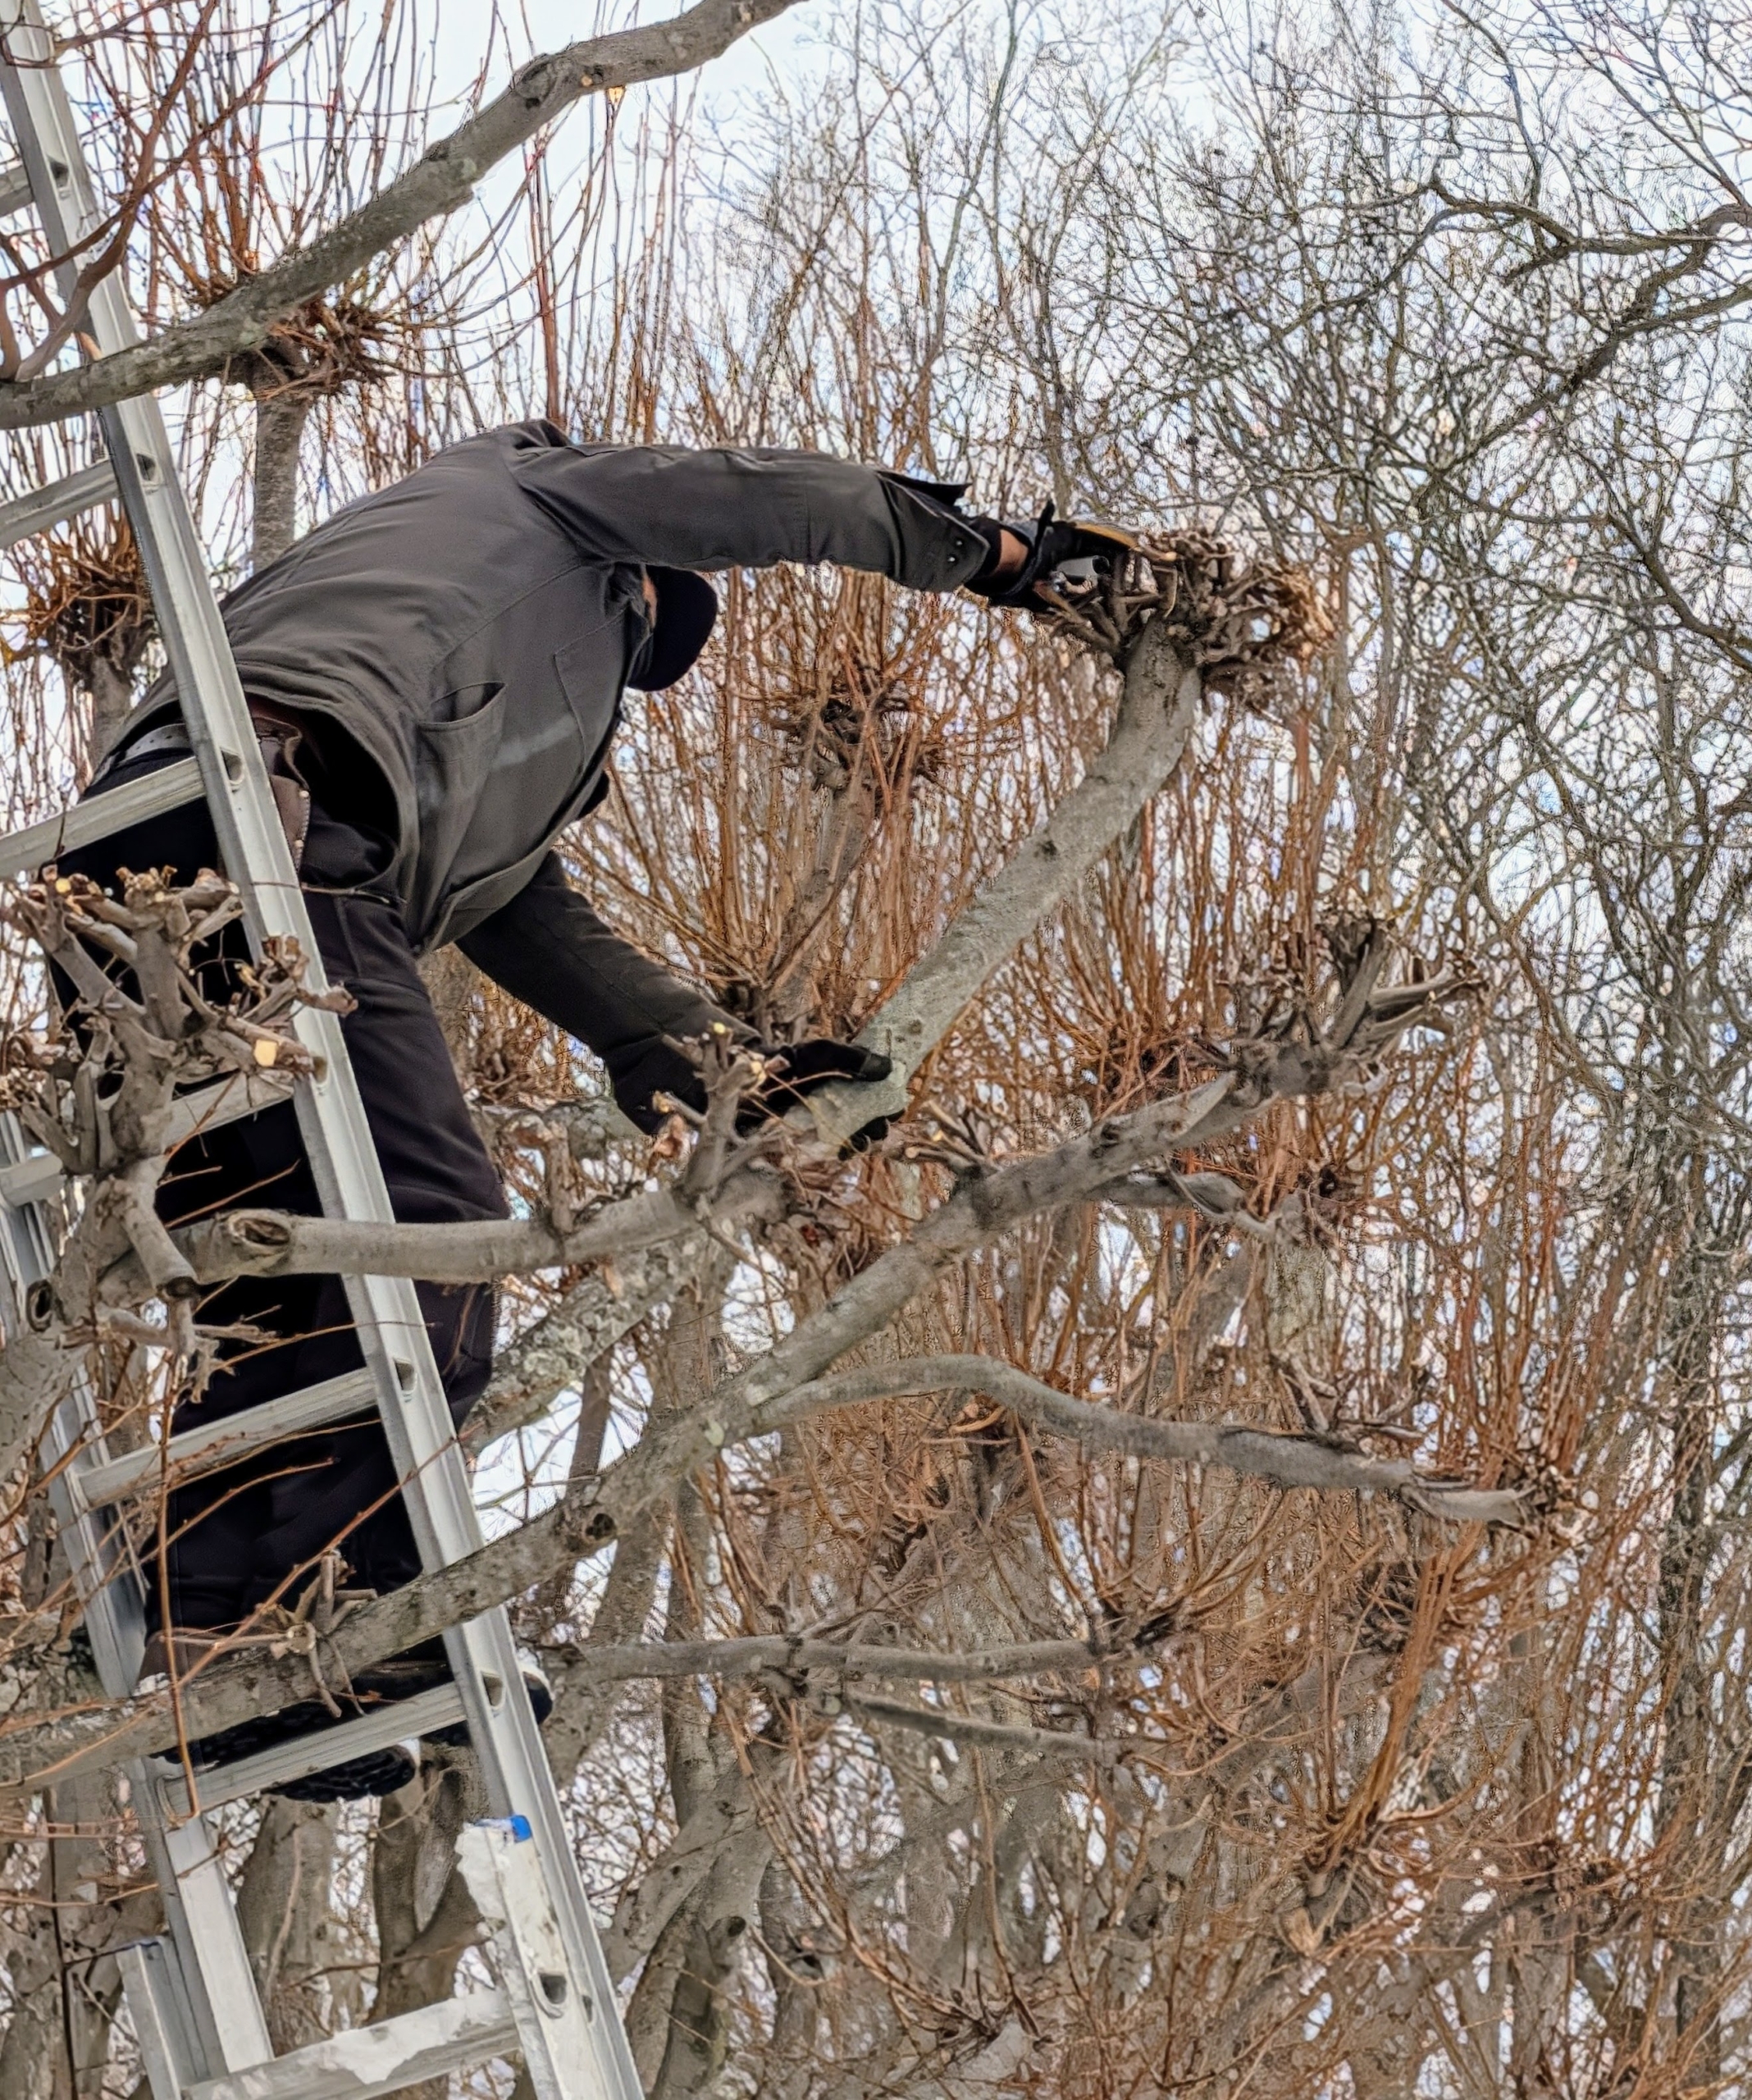
Here is a closer look at the upward growth that is being pollarded. This year, I asked the crew to focus on these branches and leave more of the insides, so the trees leaf out wide and full.
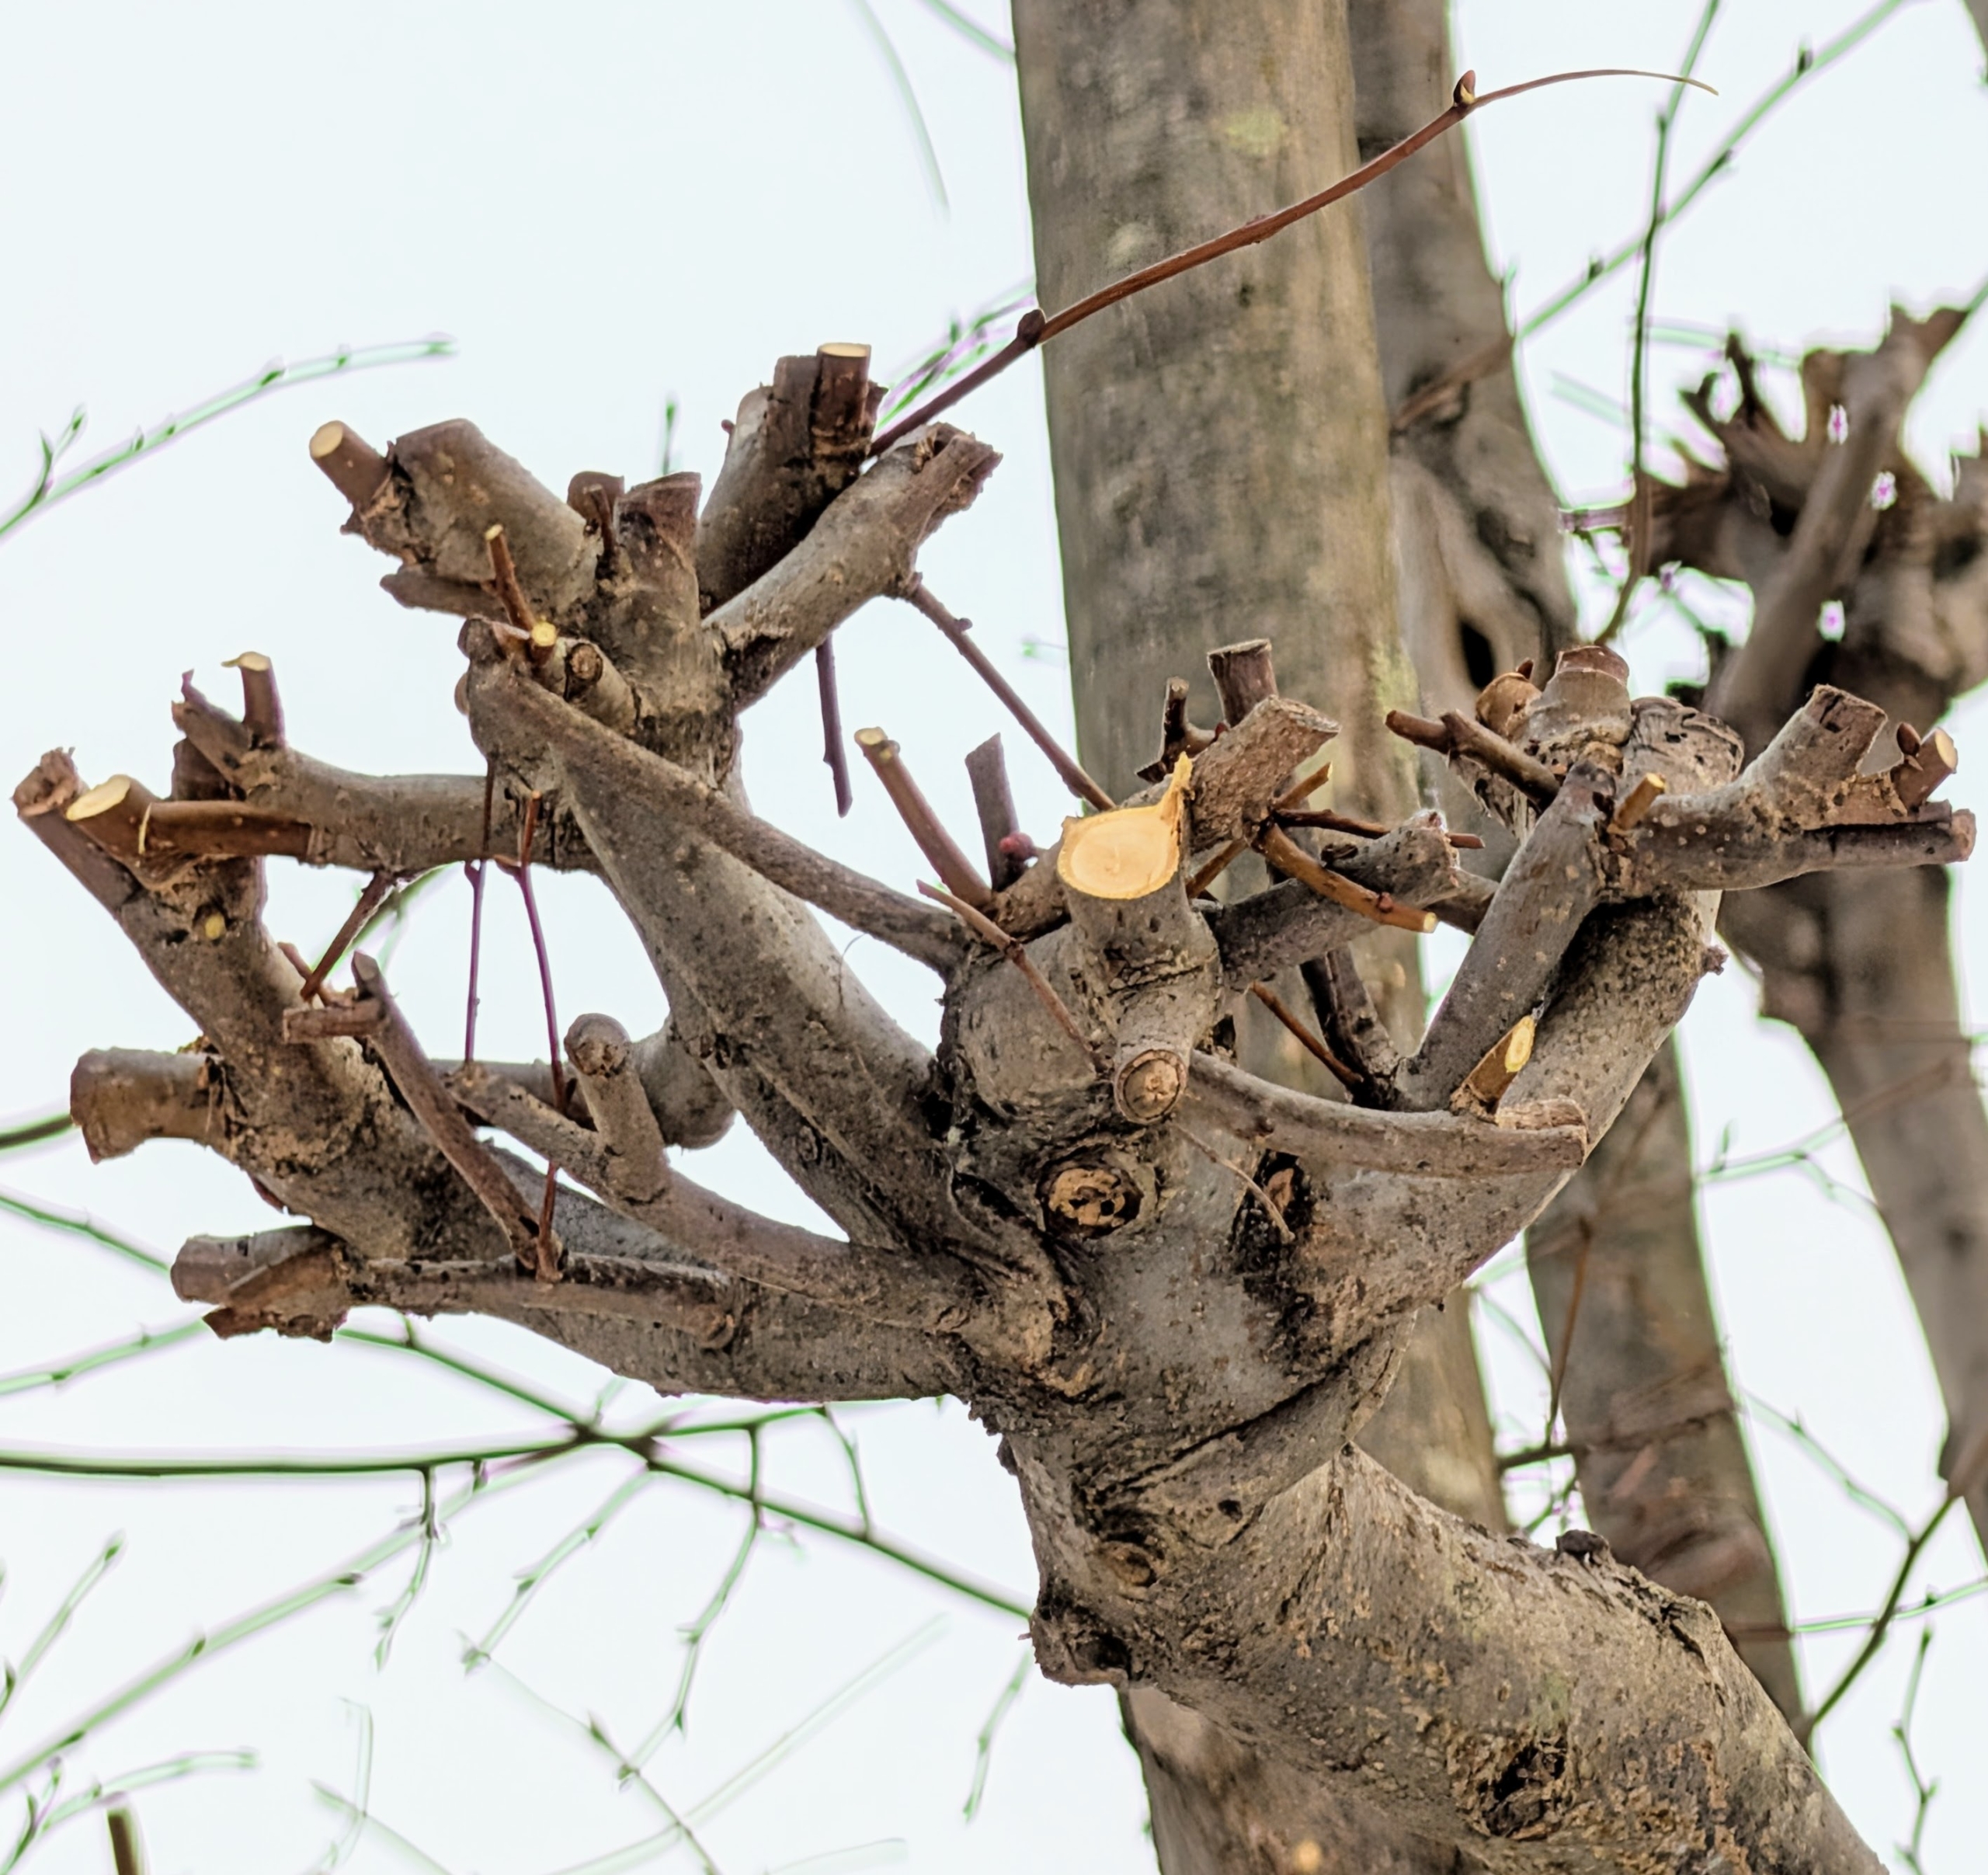
And here is one area done – notice the tops are developing “nubs” or “knuckles” – these will look even better year after year.
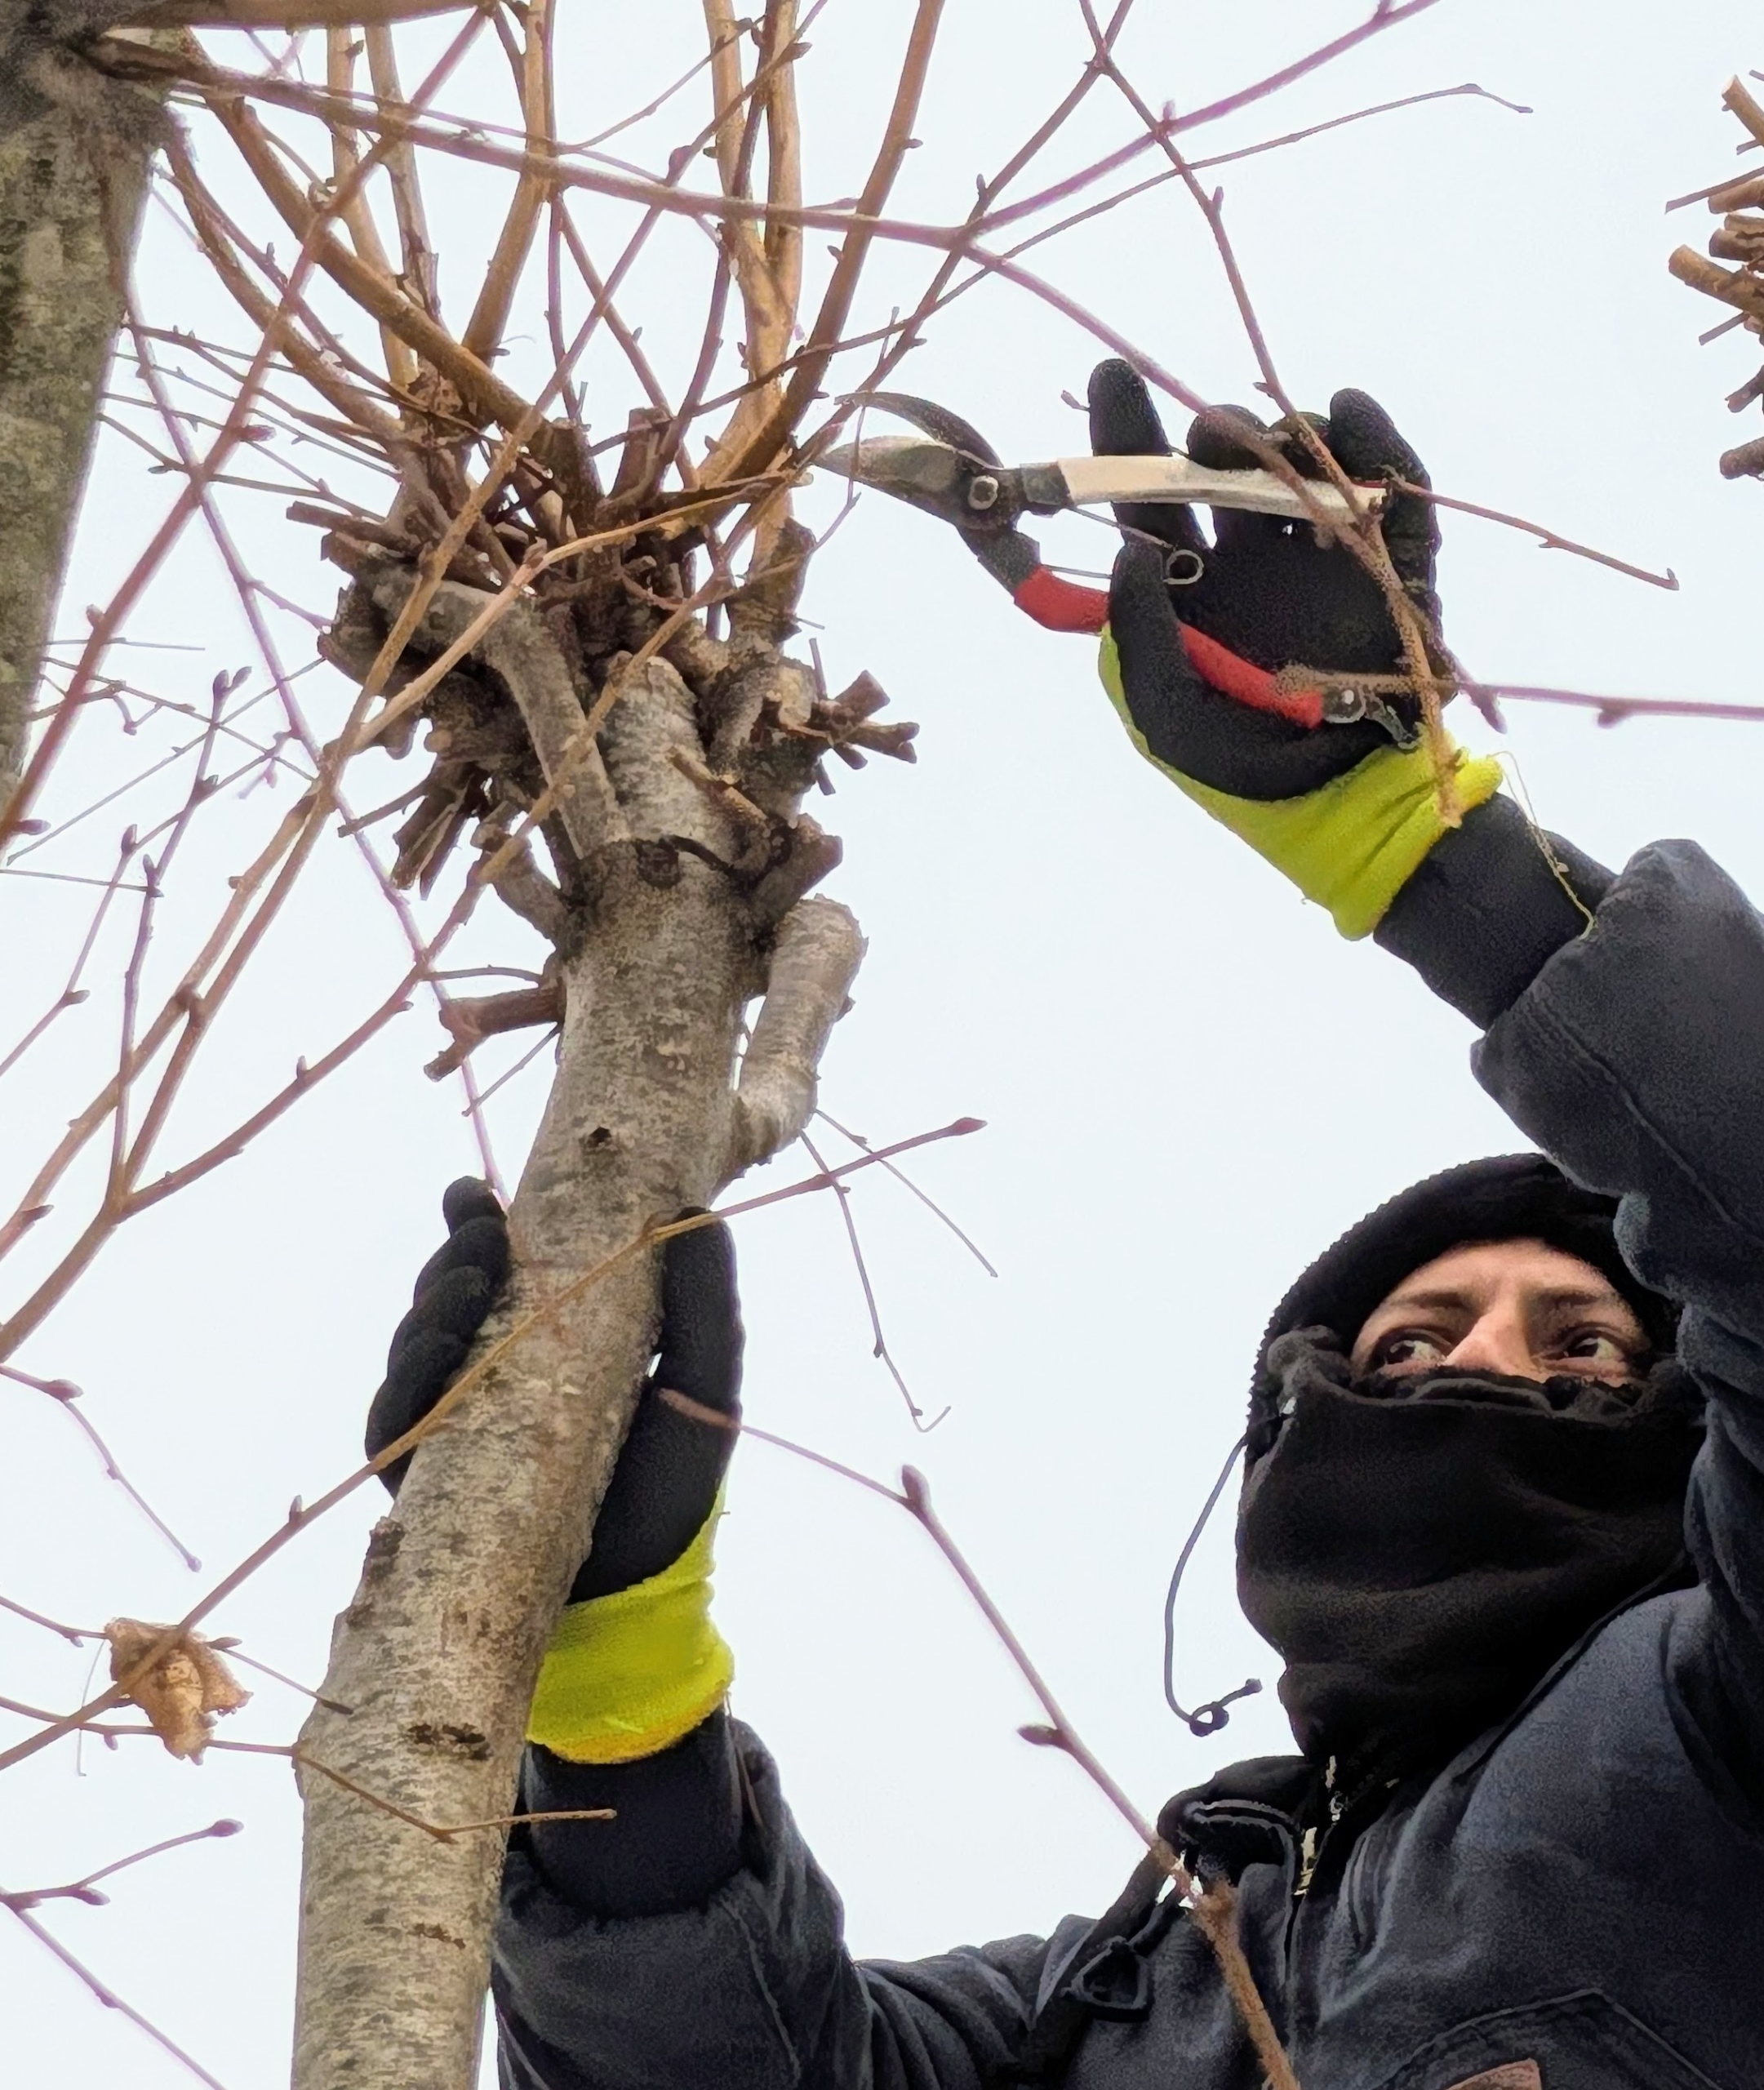
And here is a new cut – always made outside the branch collar at a 45 to 60 degree angle to the branch bark ridge.
Everyone on the crew uses sharp bypass pruners. Remember, a sharp tool always cuts clean, and helps the plant to recover better. Dull cutting tools rip and shred the plant tissue.
Pollarding can help make trees live longer by maintaining them in a partially juvenile state and by reducing the weight and windage of the top part of the tree.
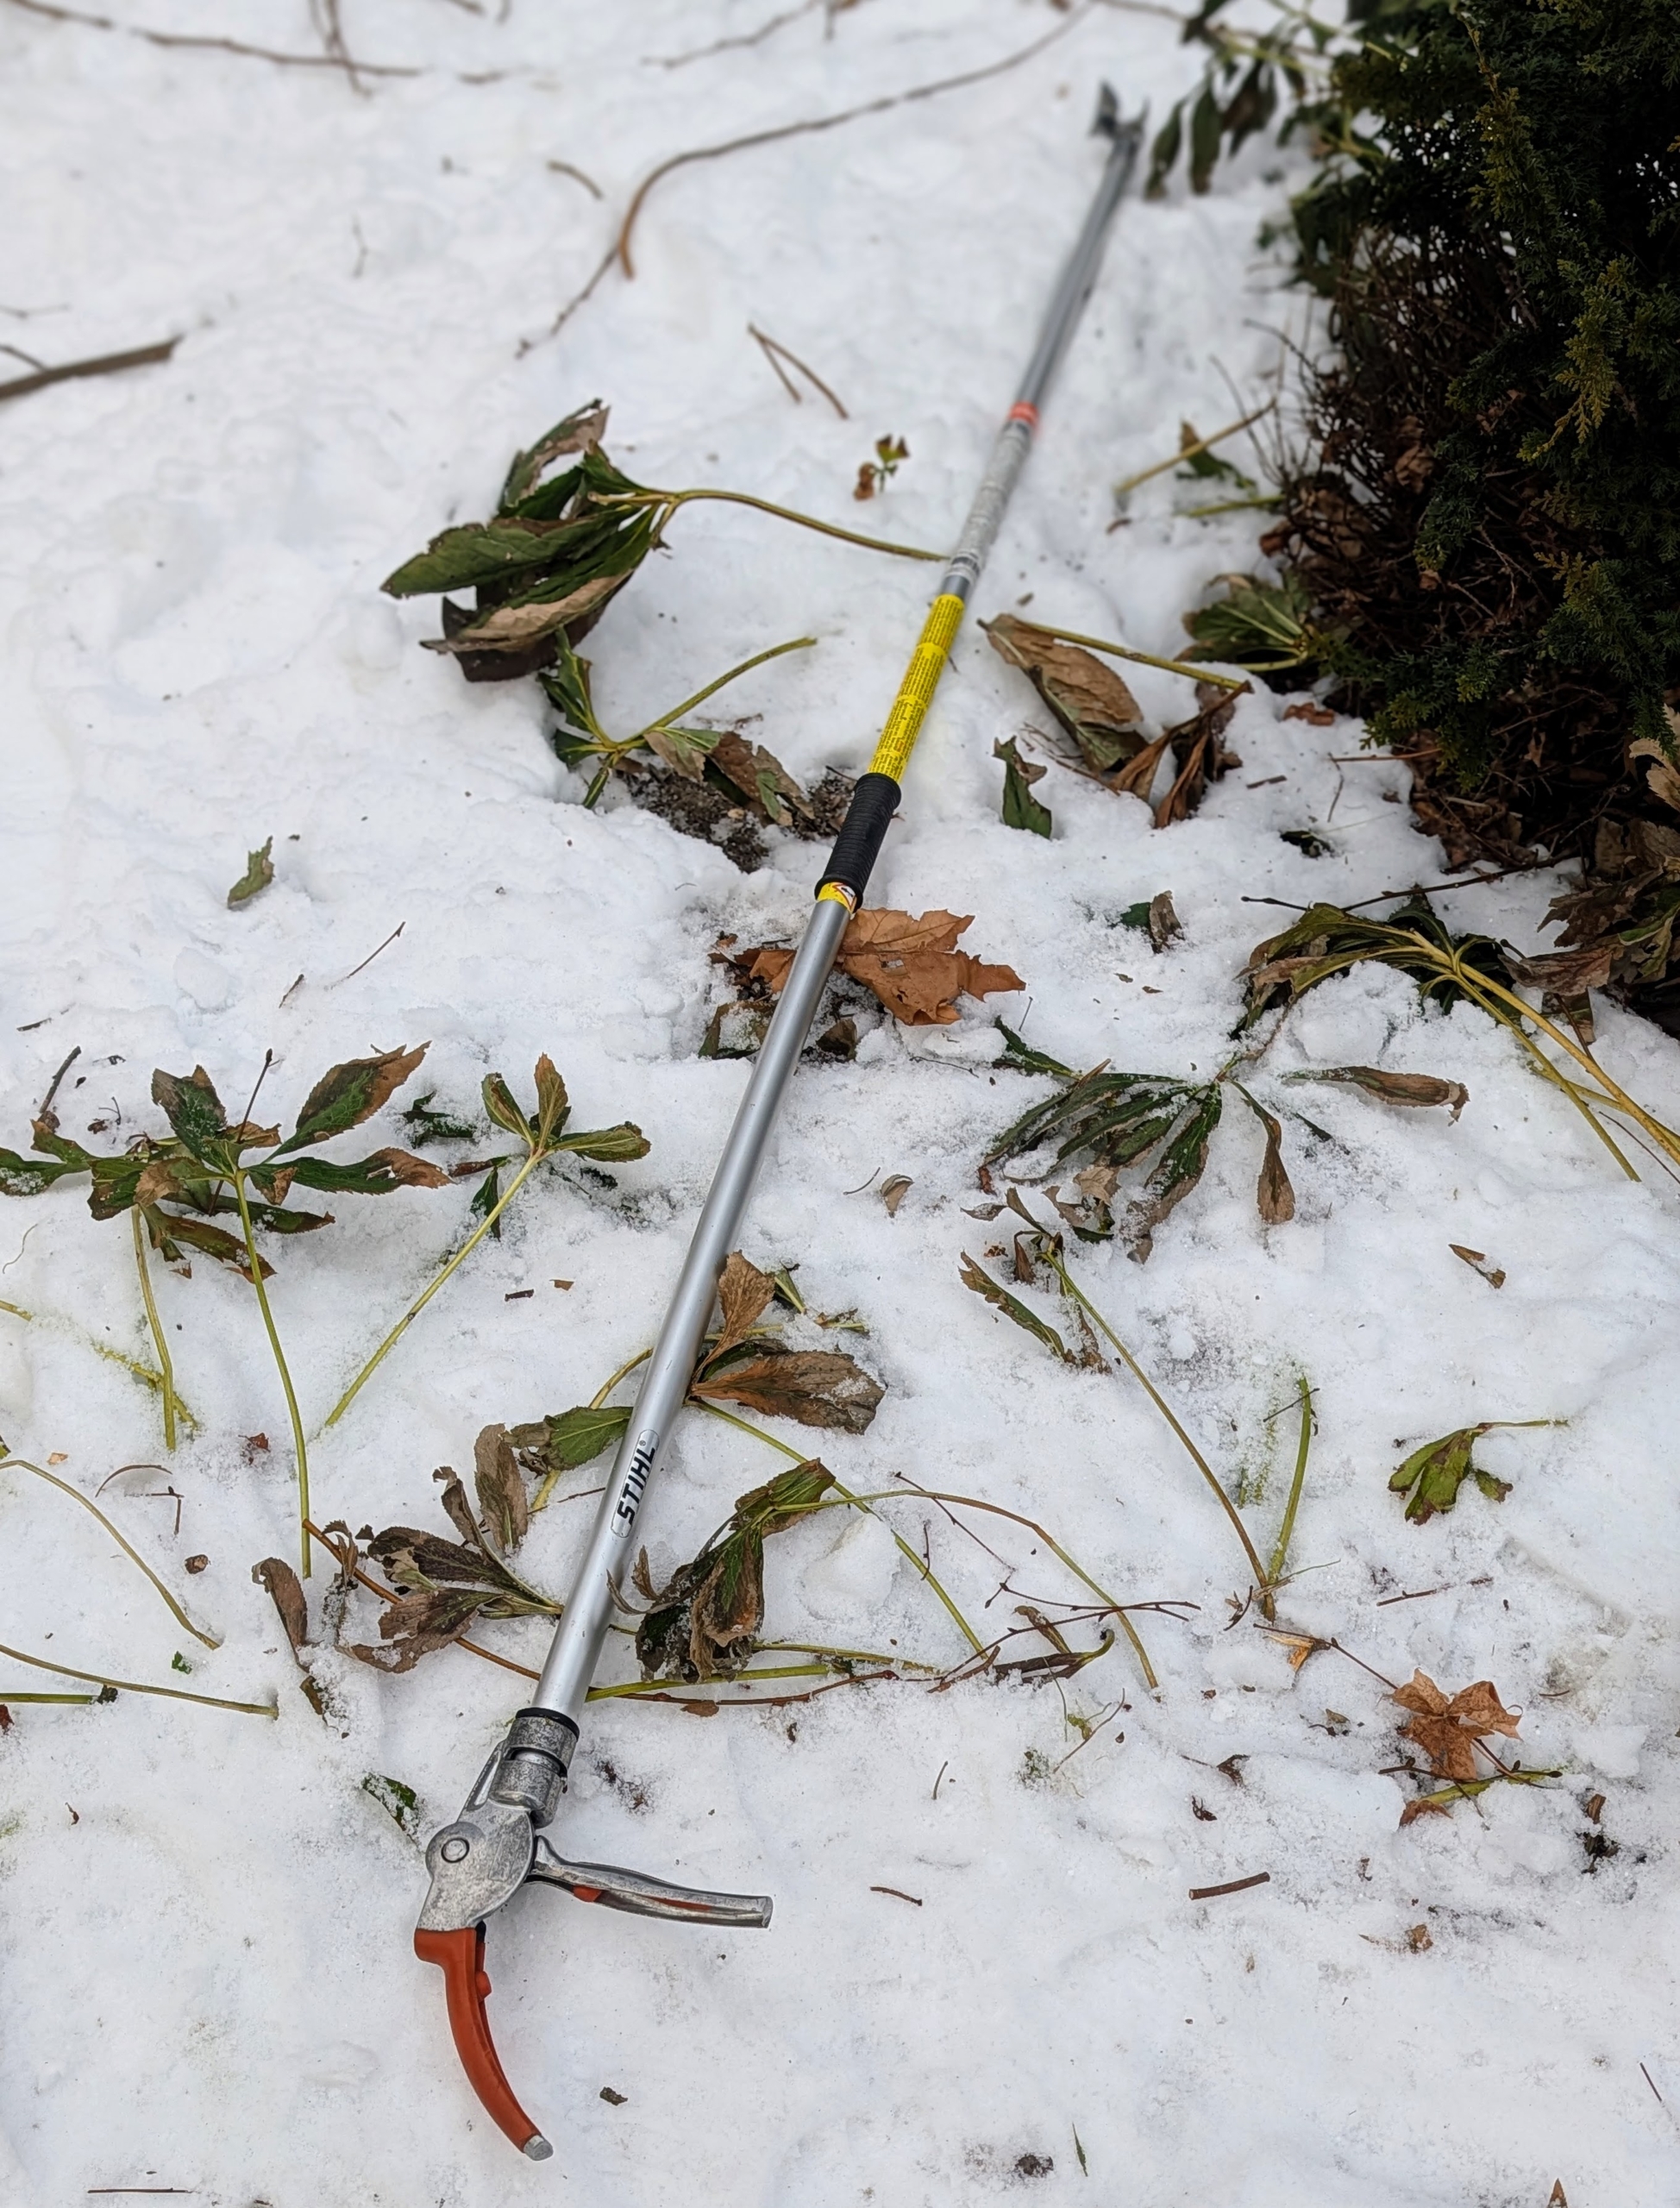
For hard to reach branches, the team uses telescoping pole pruners. This STIHL tool is lightweight and has a very sharp blade for making smooth cuts. It is ideal for pruning higher branches that are not too thick.
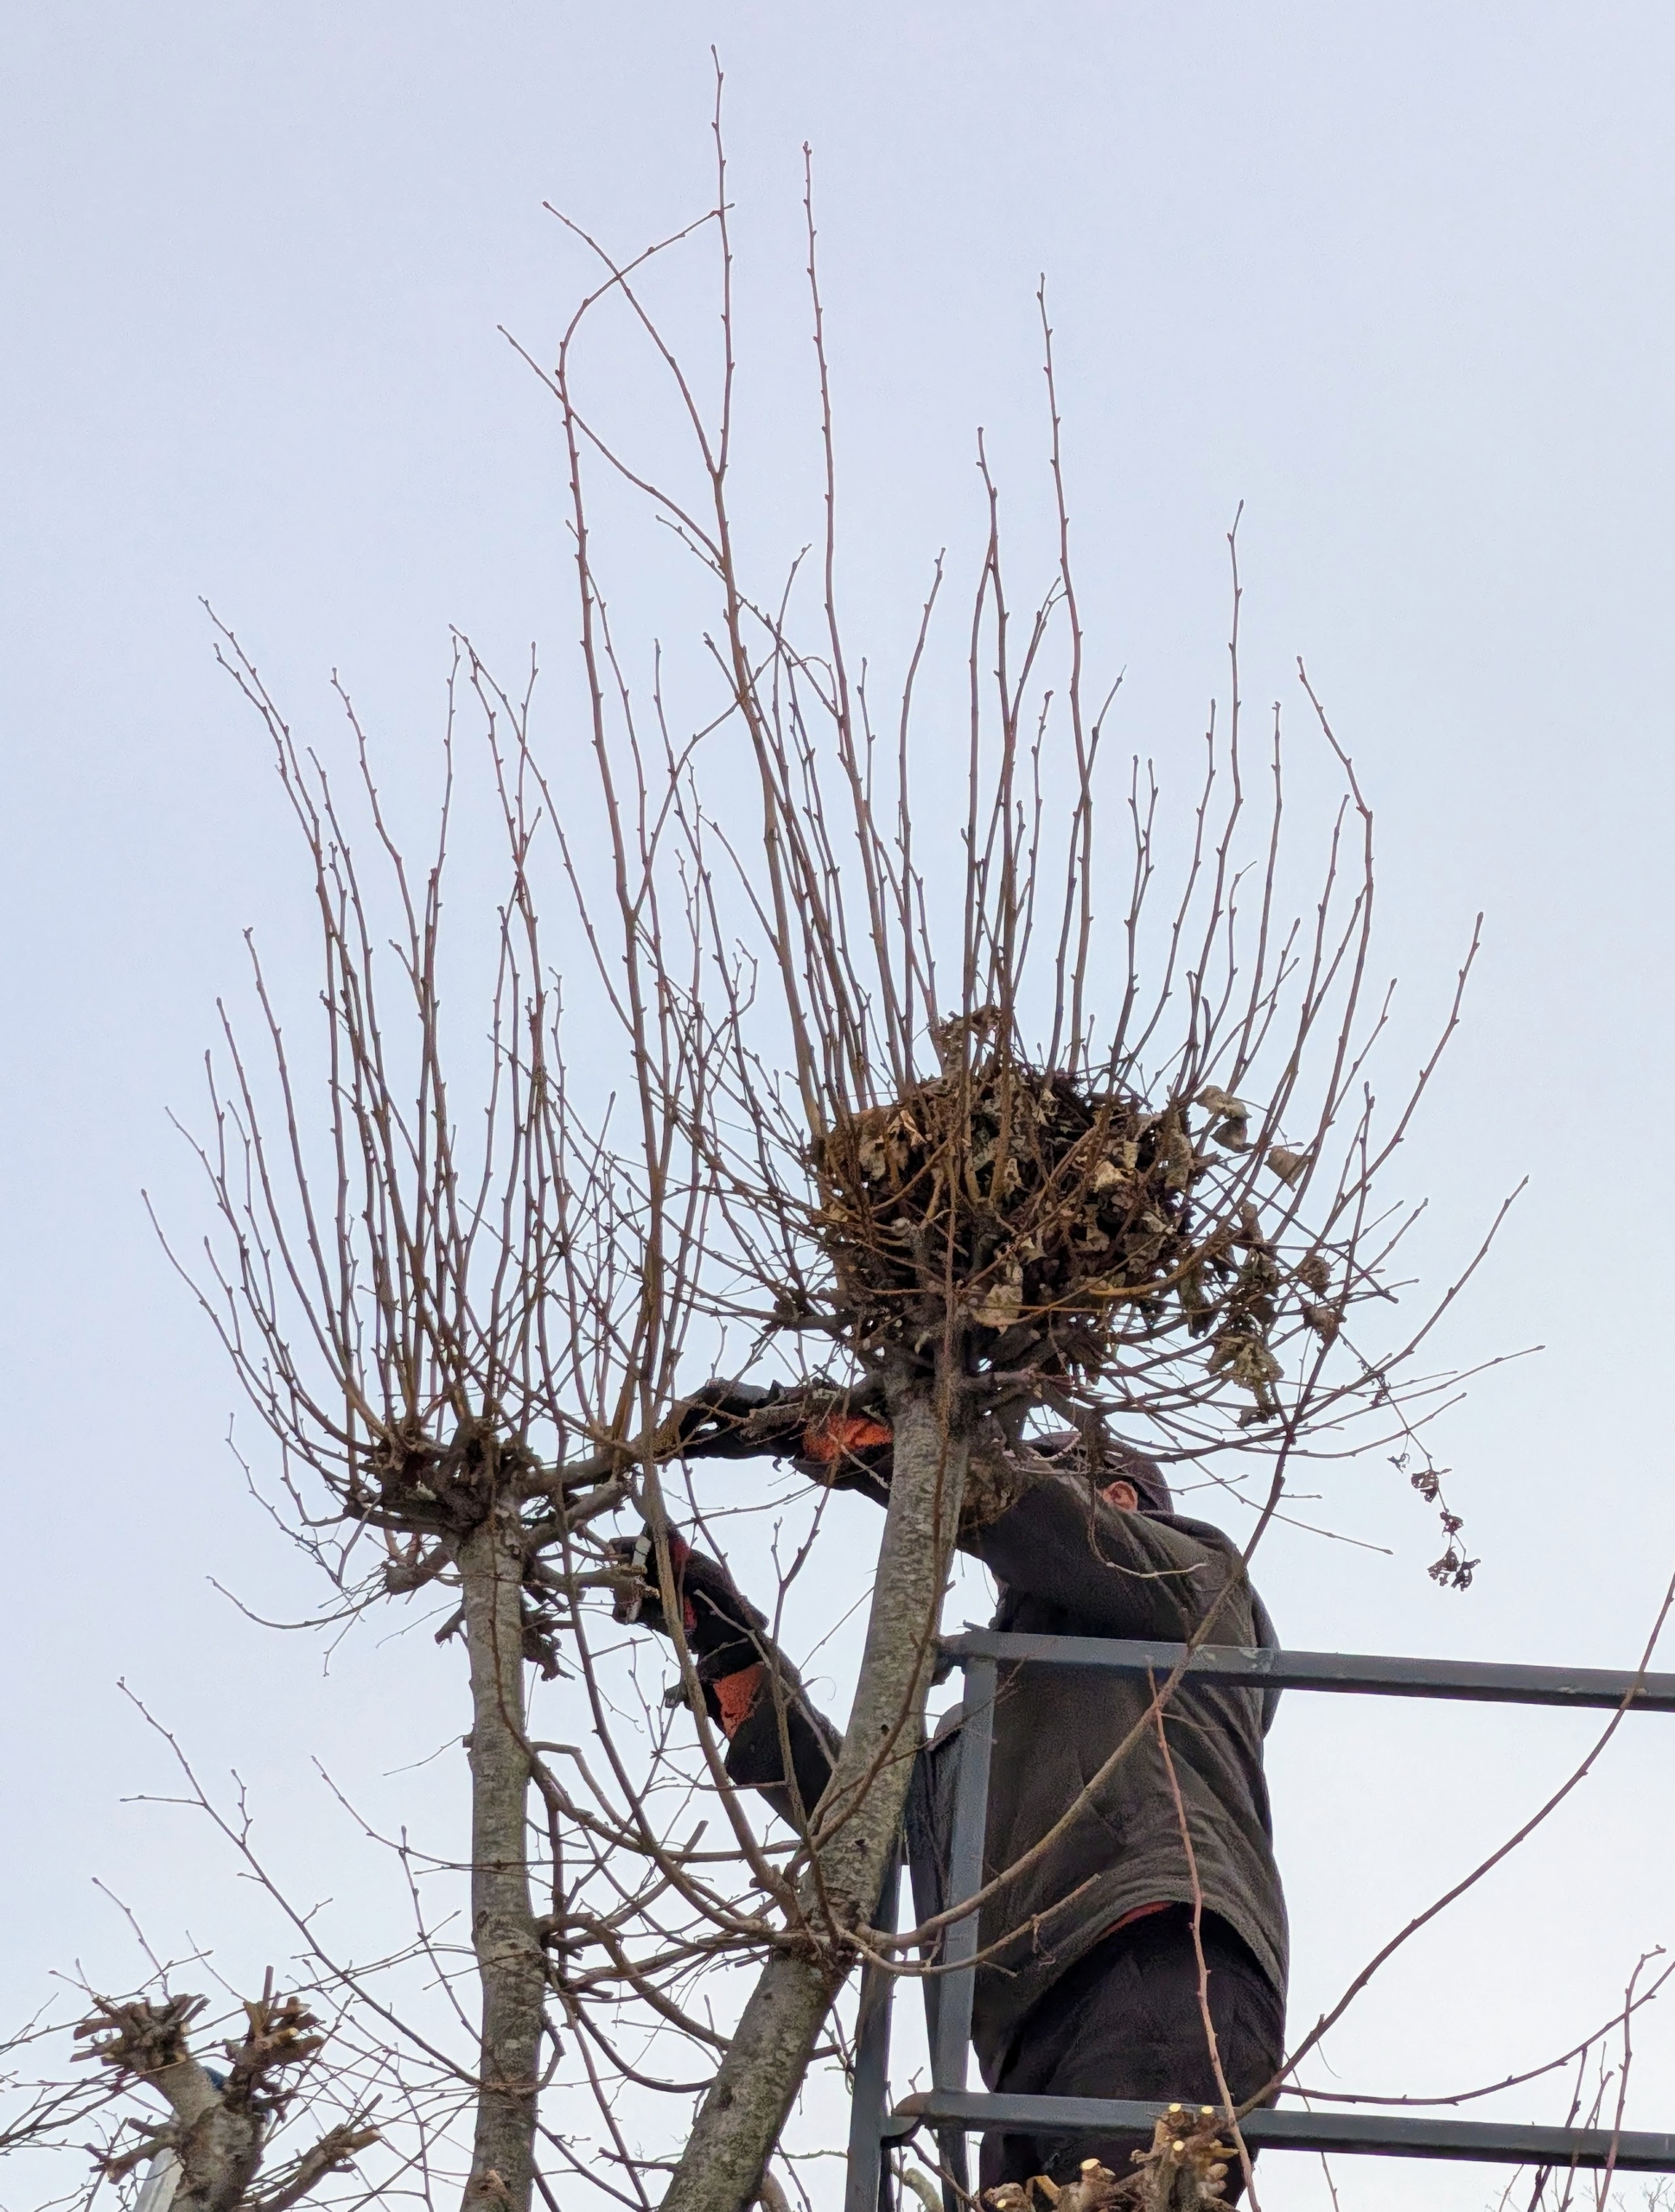
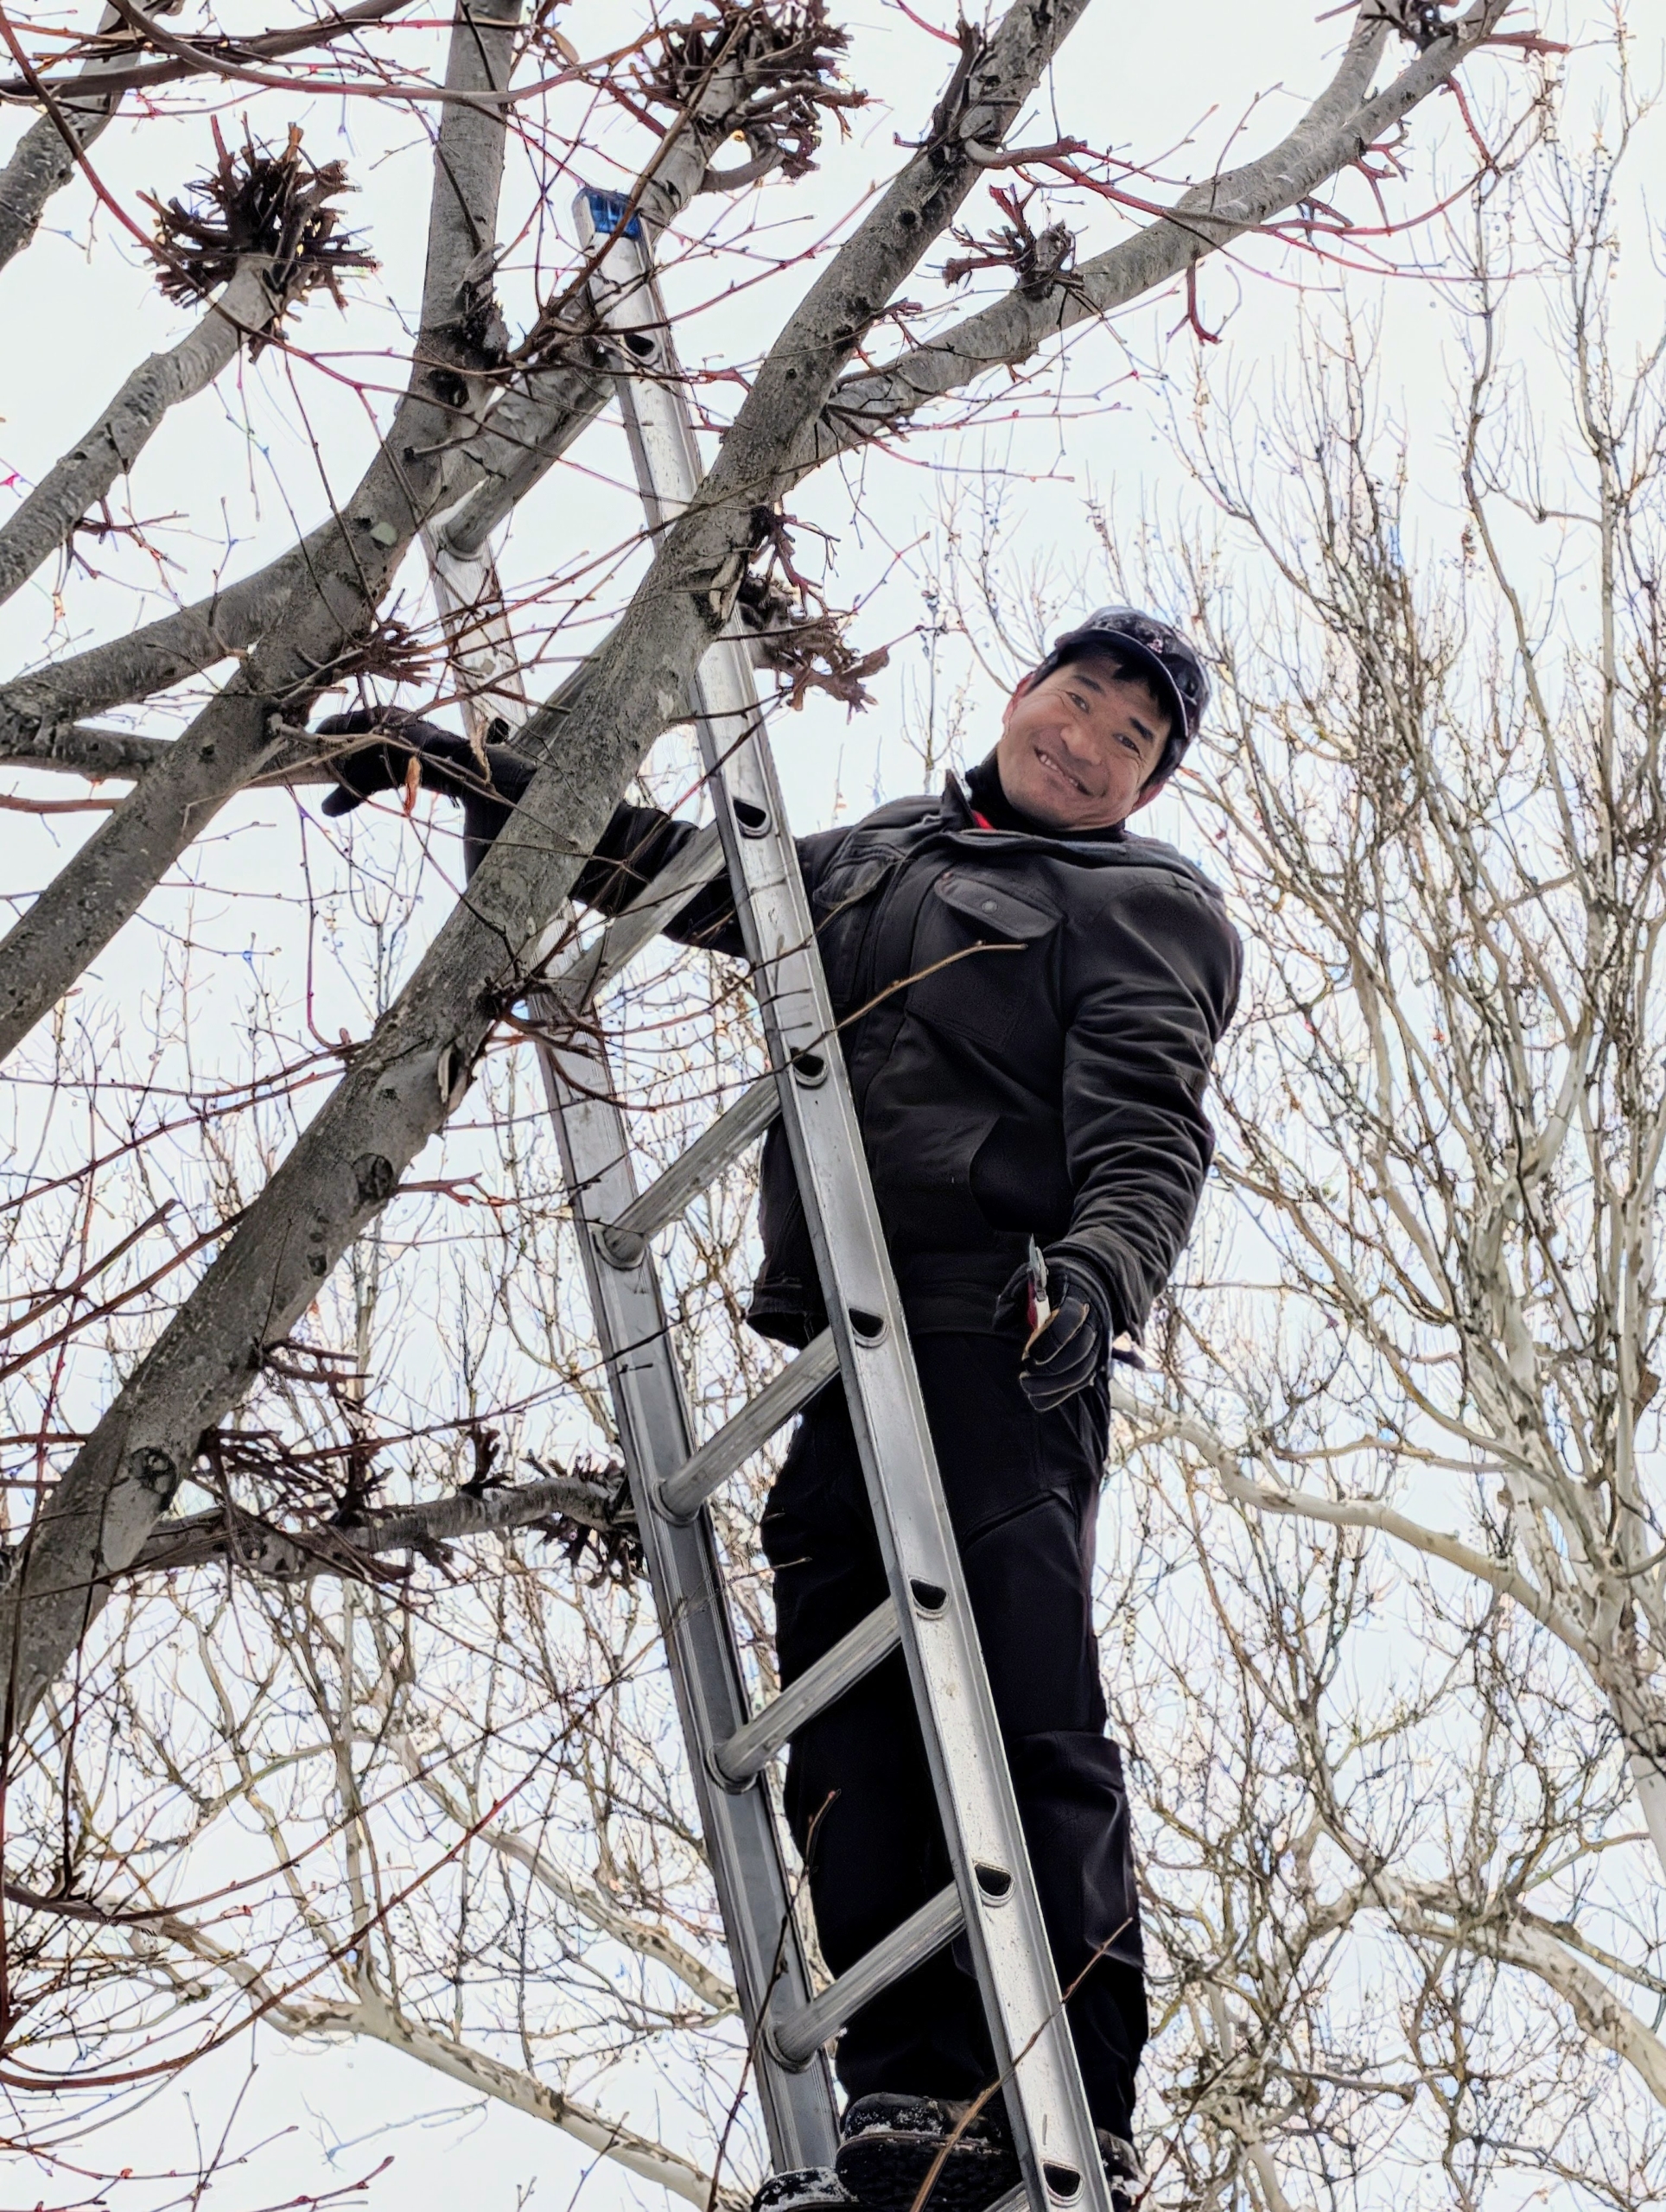
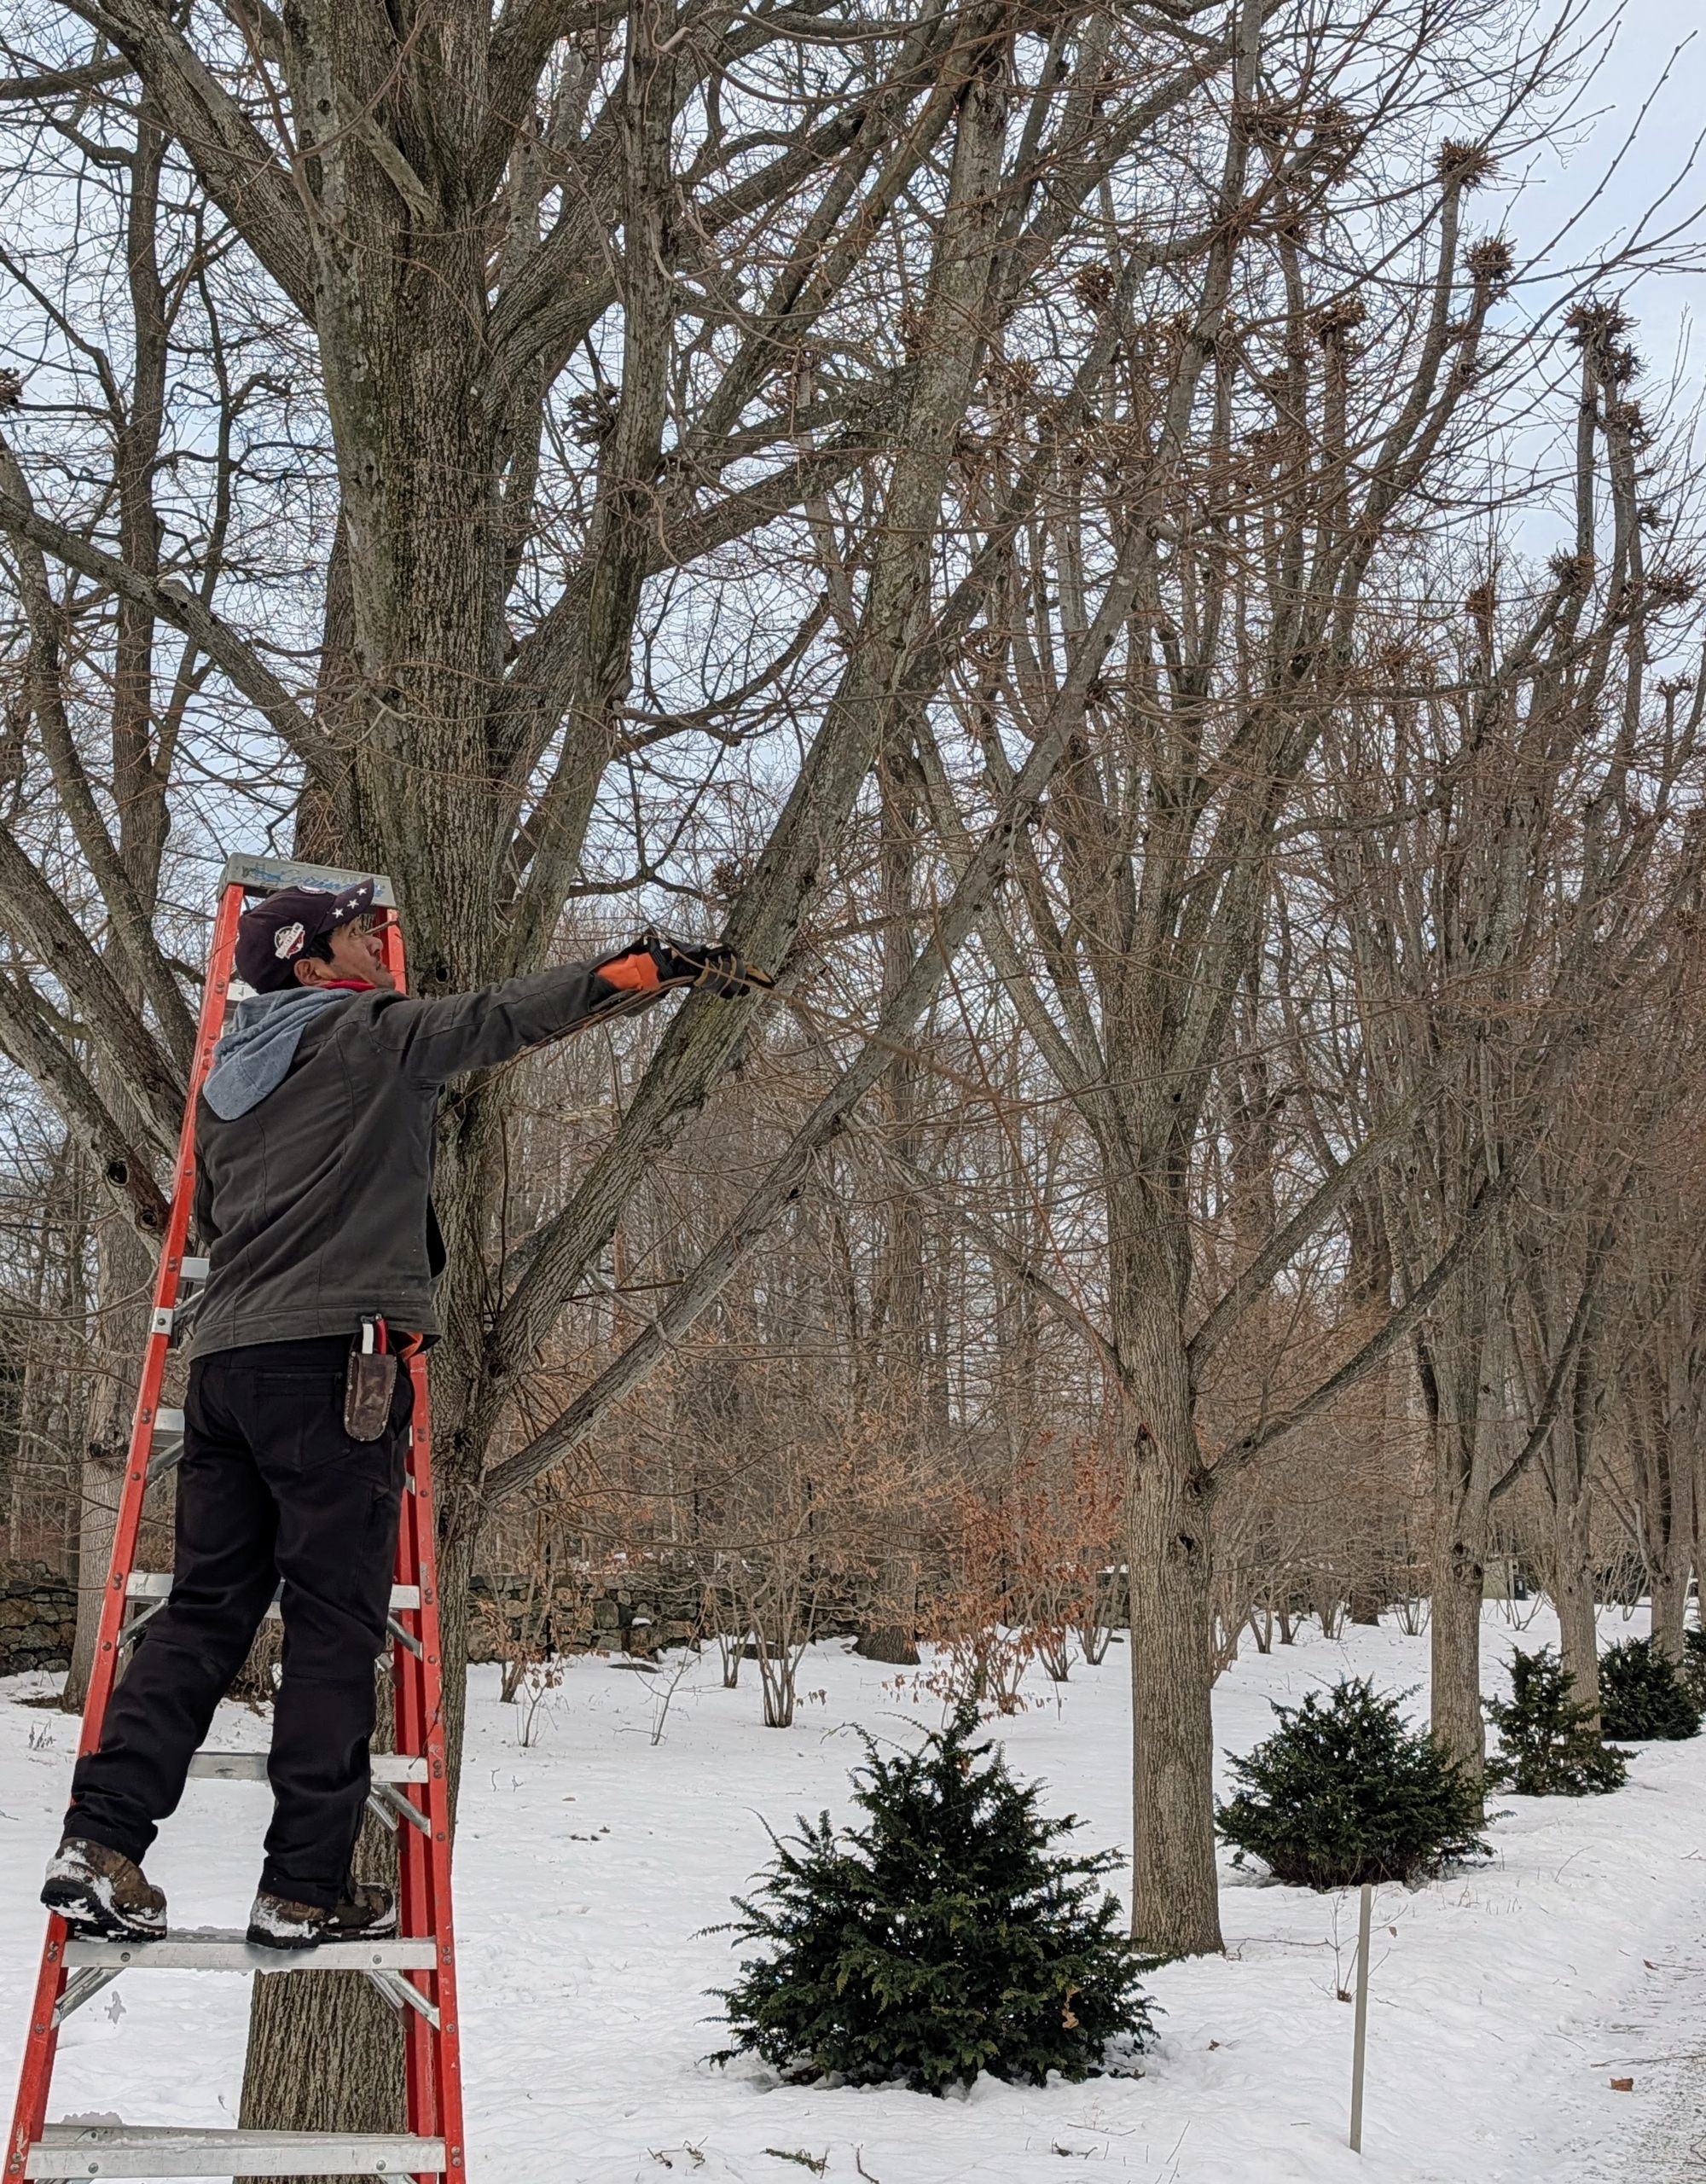
Here’s Pasang, my resident tree pruning expert. Along with pollarding for shape and strong growth, Pasang also looks out for the Ds – dead, damaged, diseased, deranged or defective – these branches are also removed.
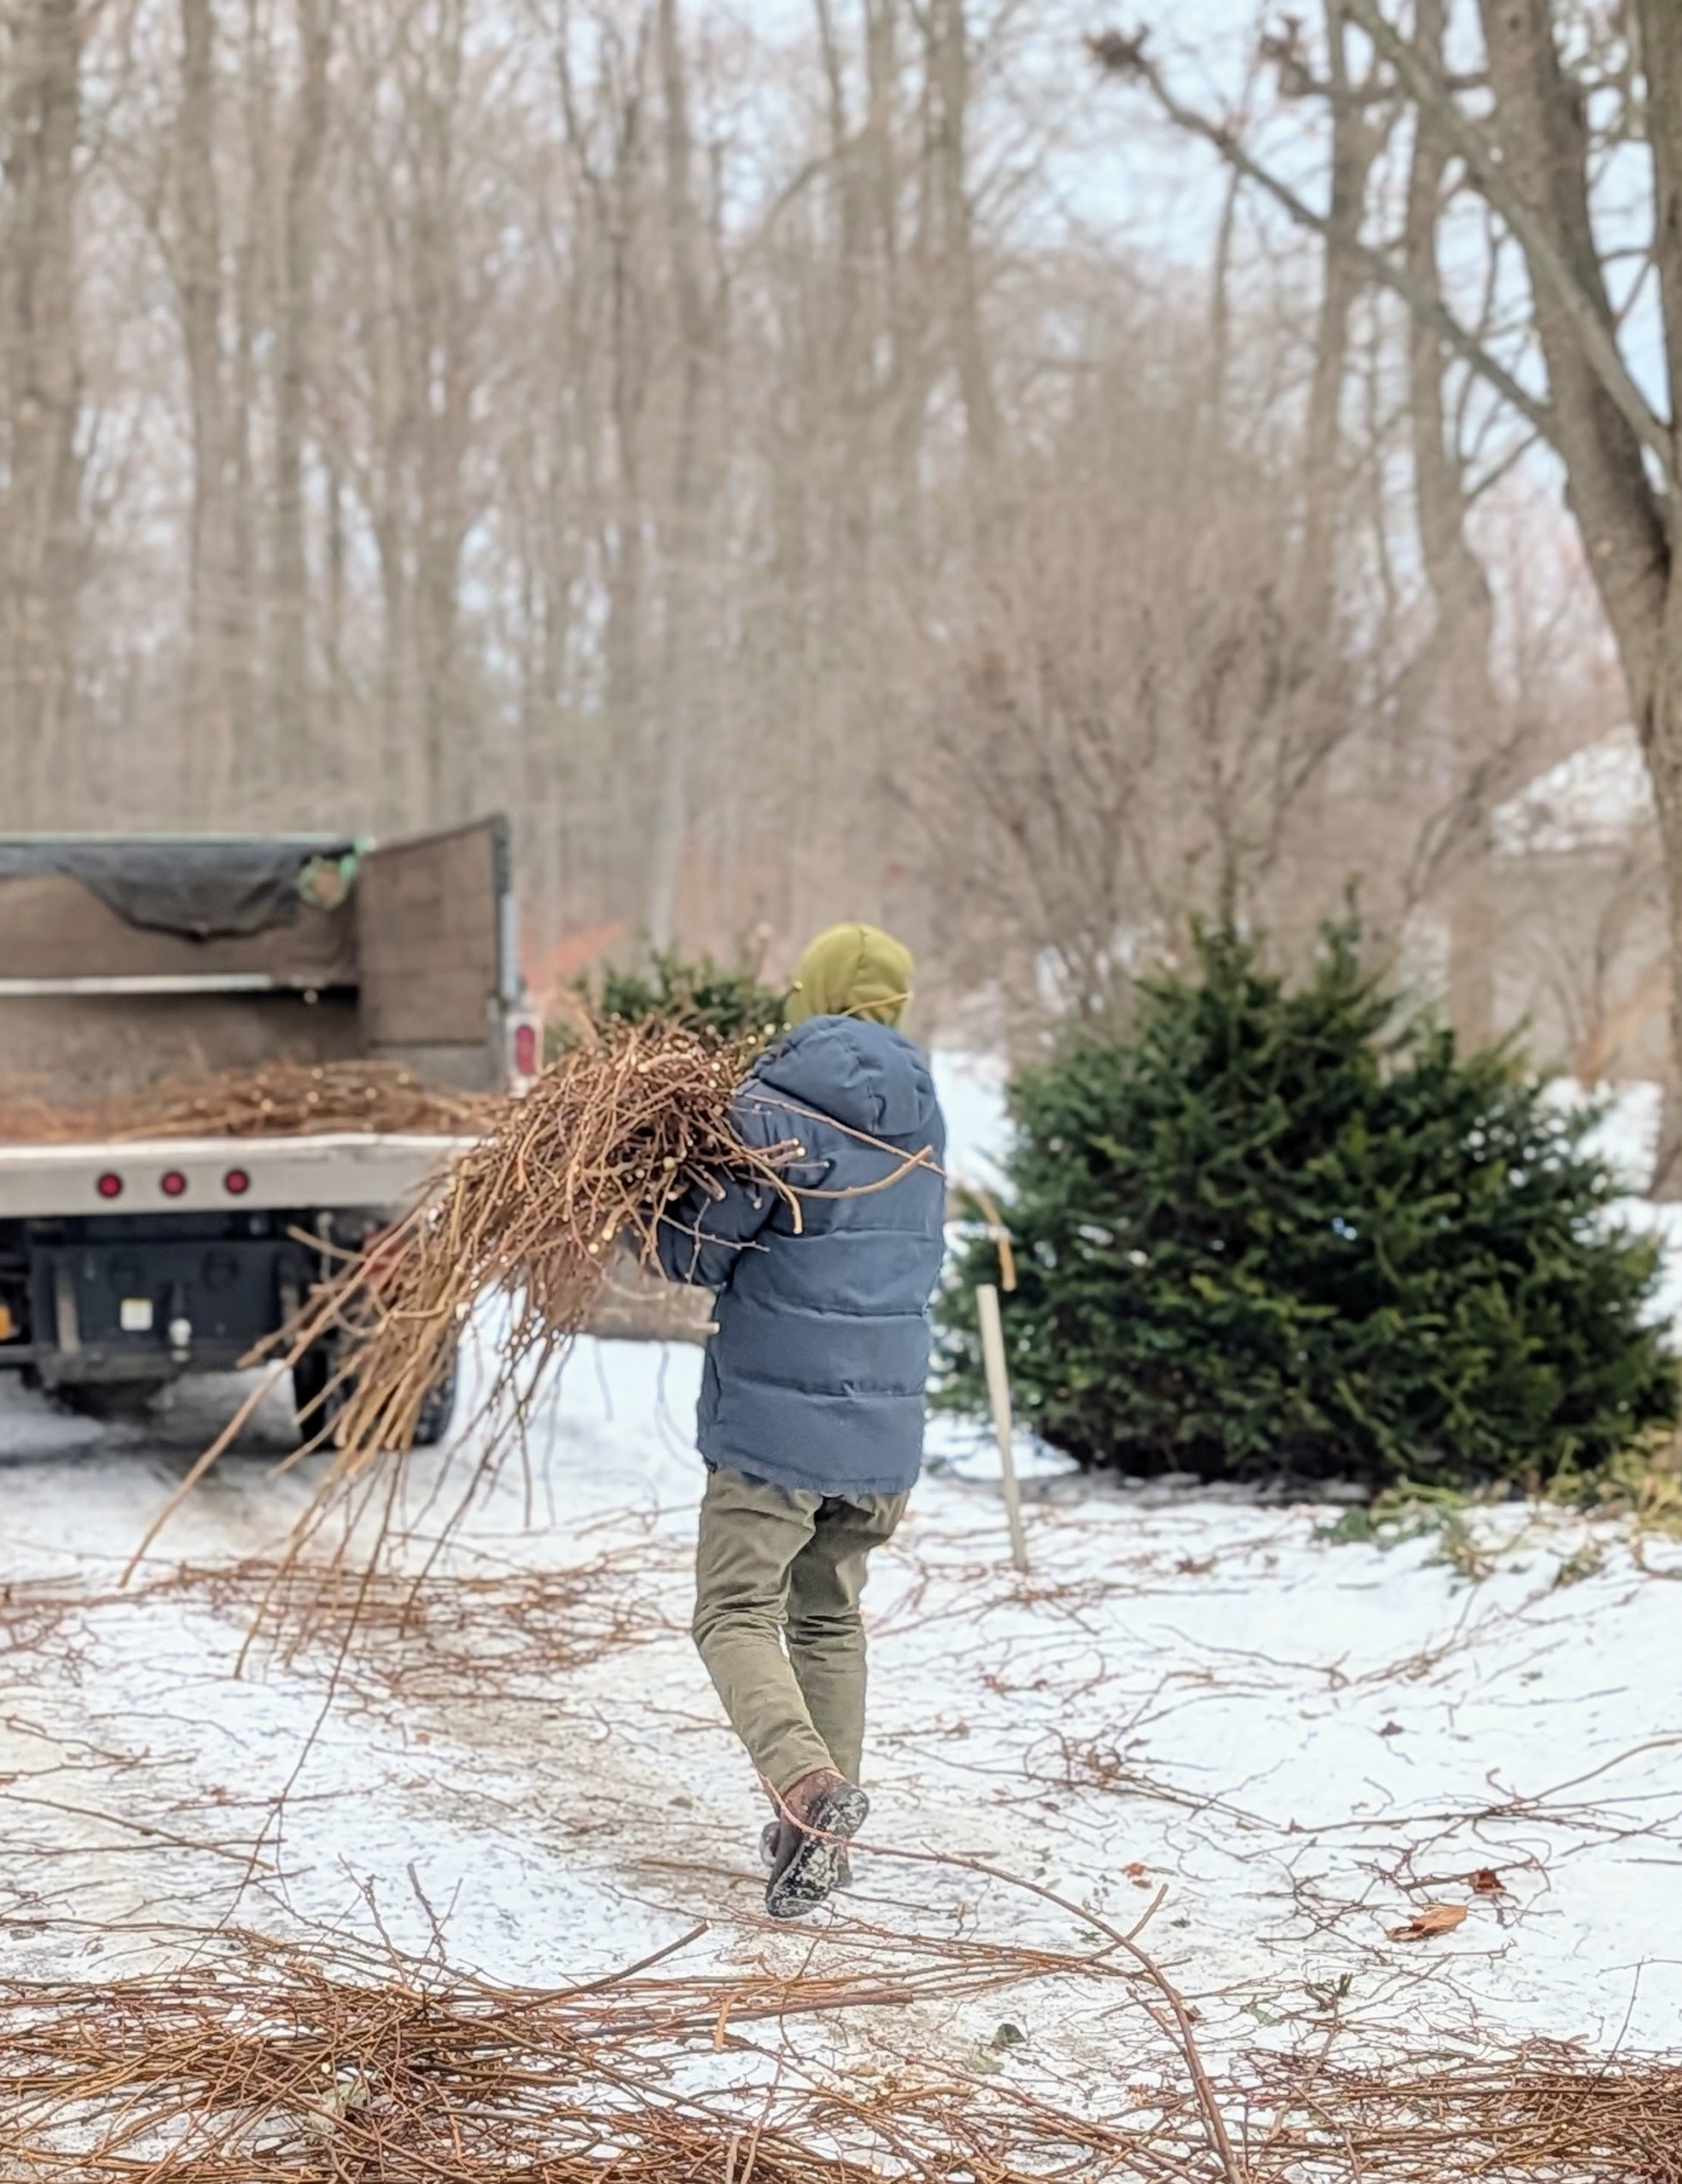
Chhiring stays on the ground raking up the fallen branches and watching everyone from below.
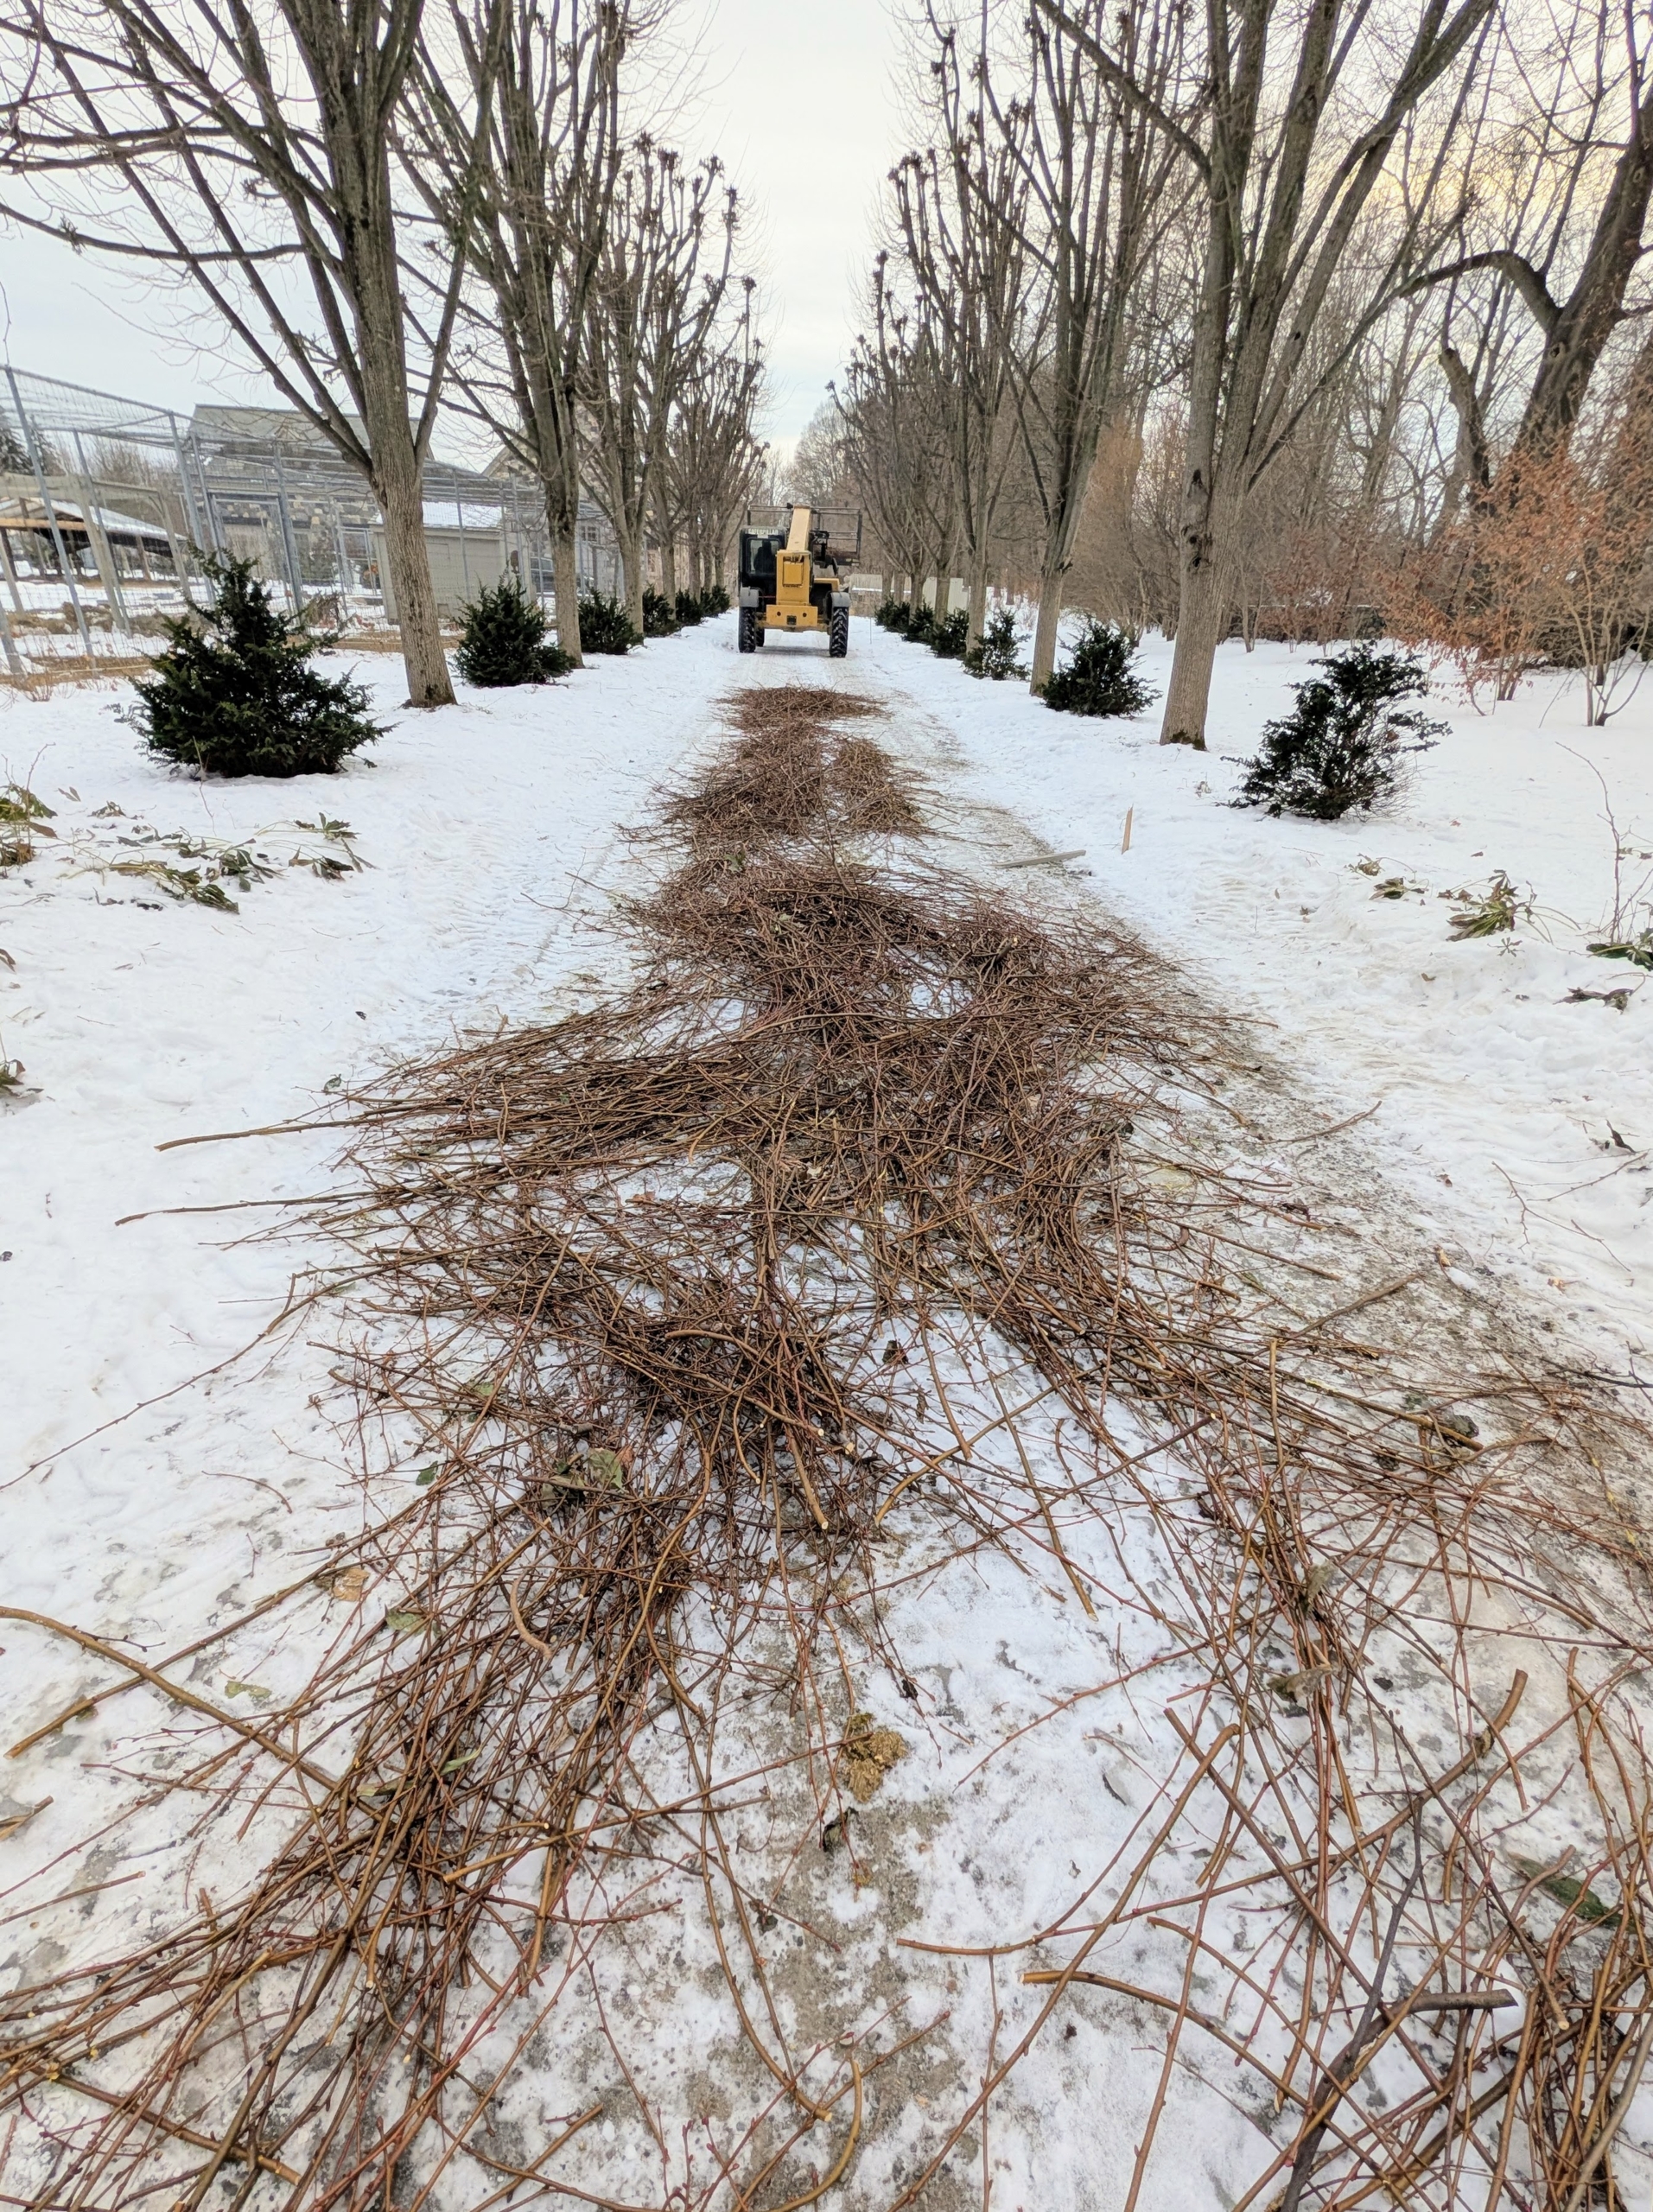
The branches are gathered and then loaded onto the dump truck and taken to a designated pile for the wood chipper.
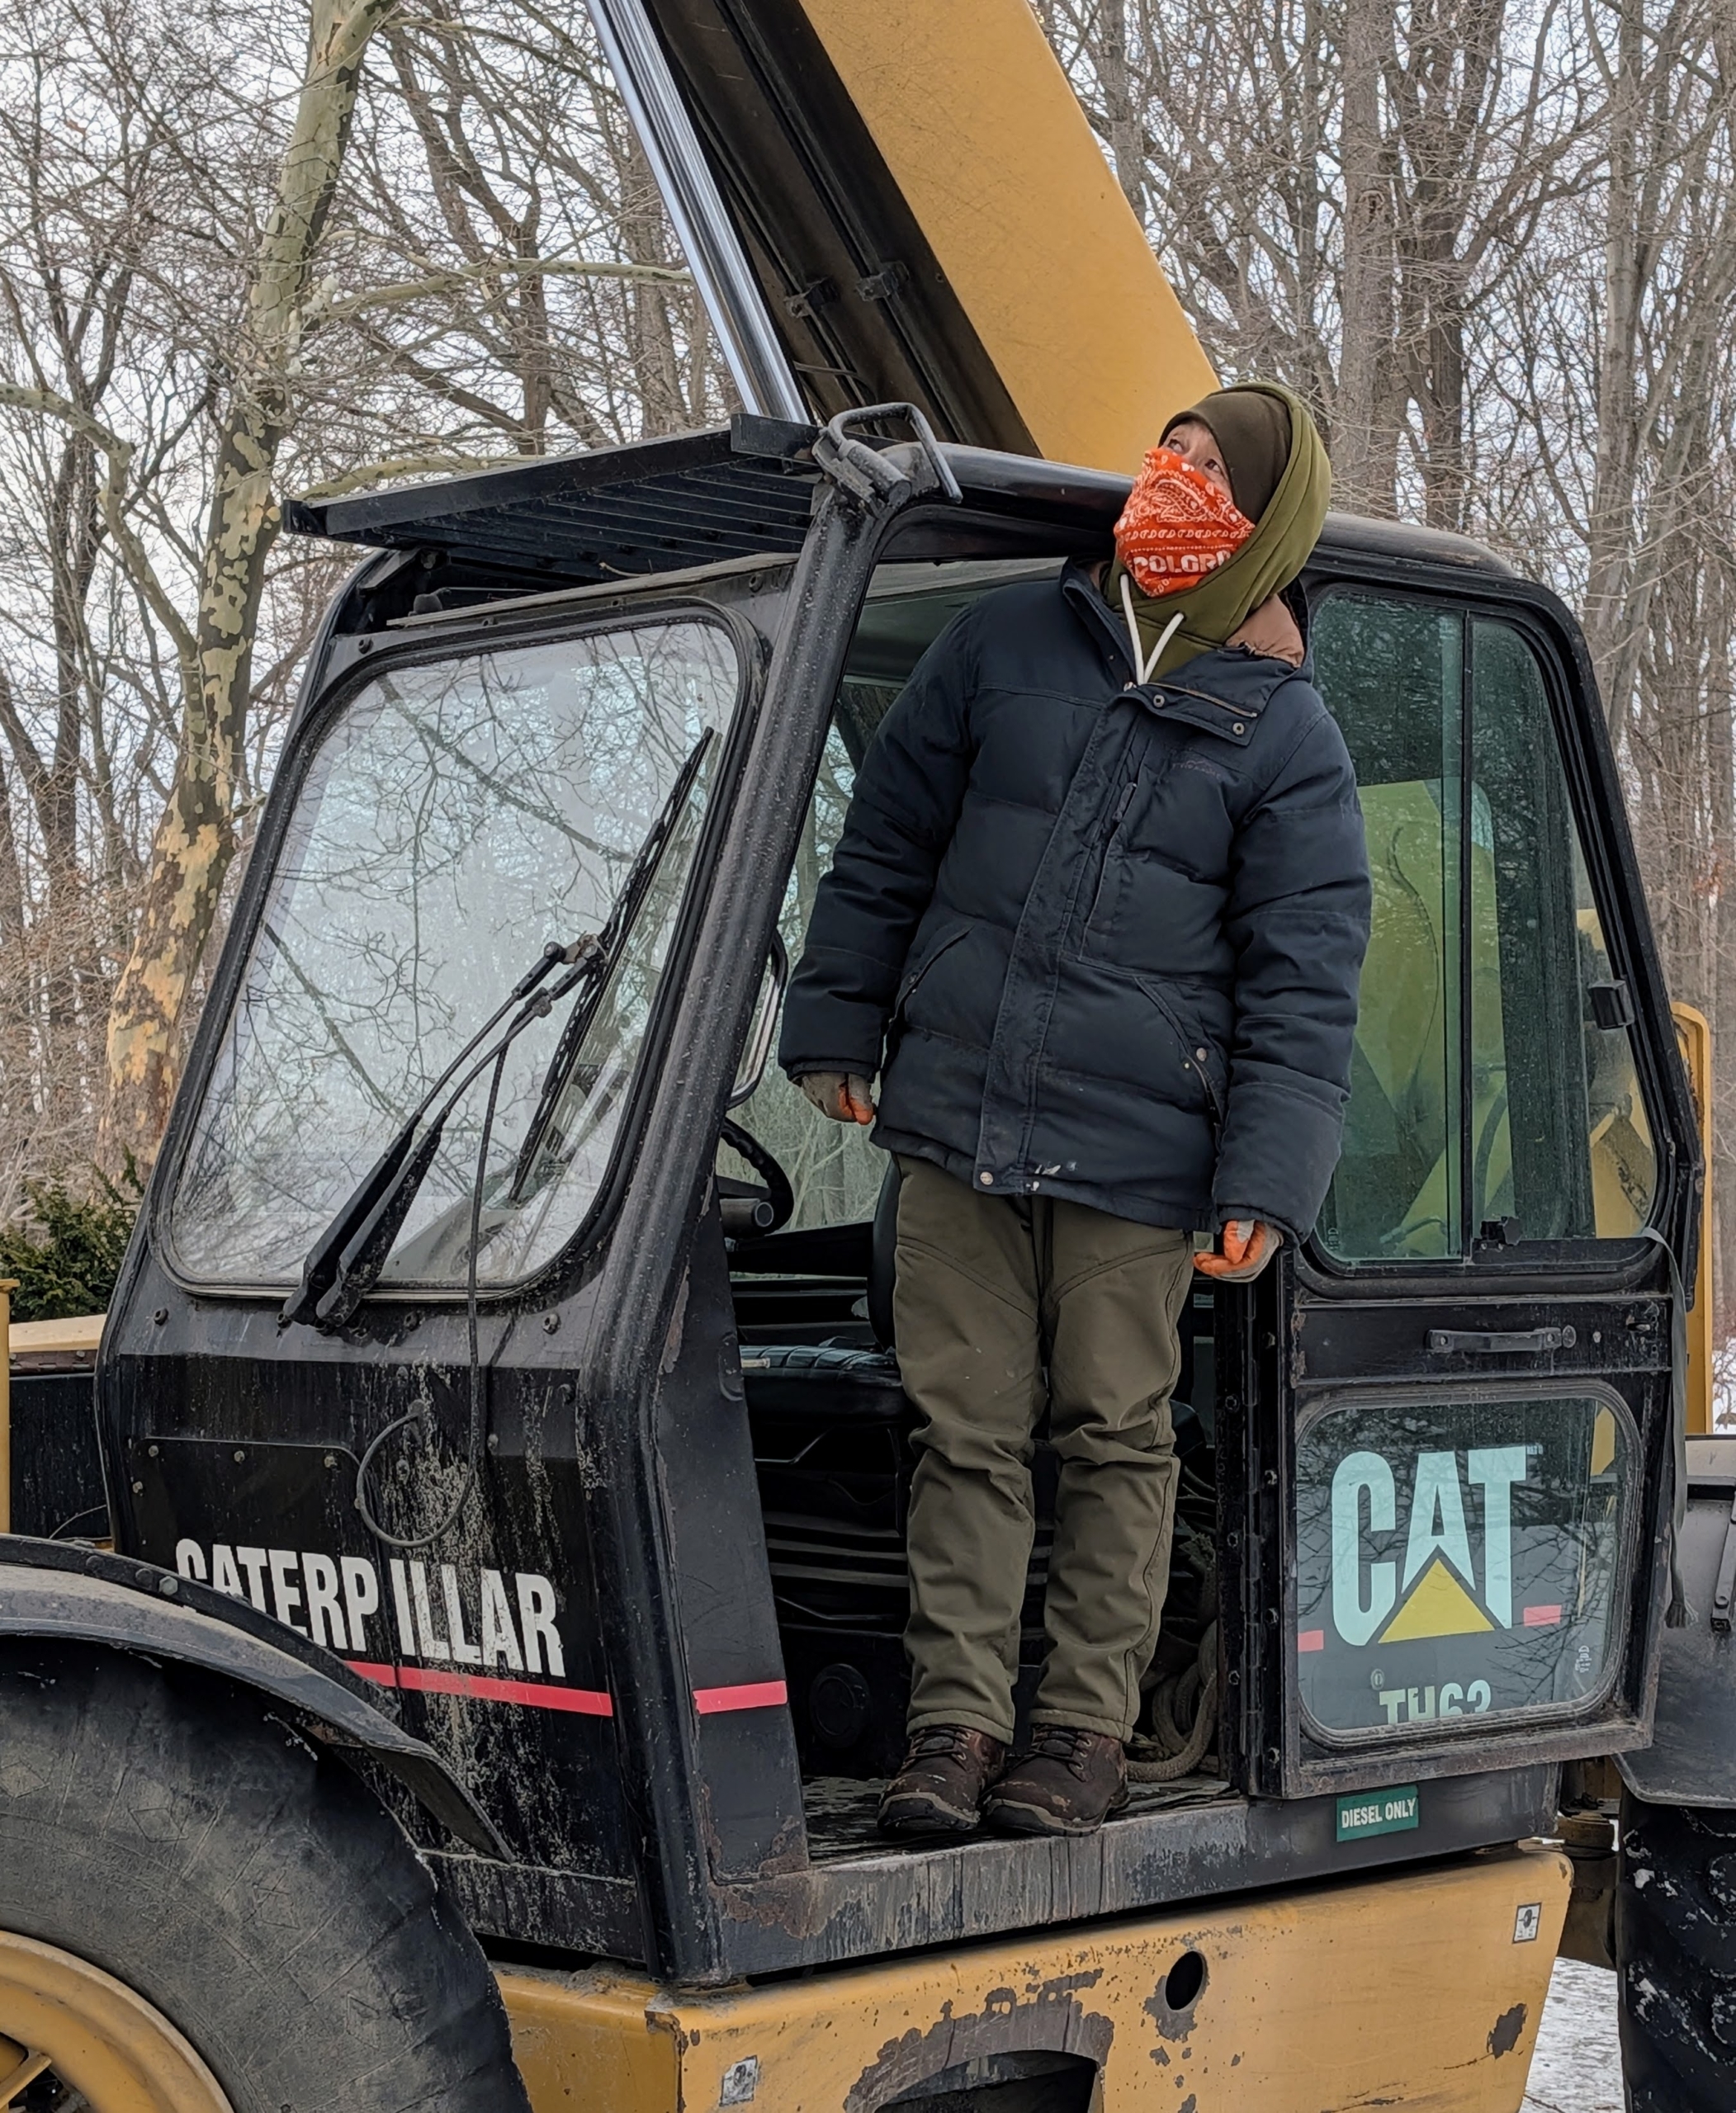
At times, the crew works from the workers’ cage of my Hi-Lo tractor.
When anyone is up in the Hi-Lo, Chhiring always has his eye on them – it’s important to have someone on the ground watching out for the safety of the crew.
Here are two of my peacocks also watching the activity. They’re in the adjacent pen. The layer of hay keeps them warm when they want to lounge outside of their coop.
Here’s Pasang pruning some lower branches to keep the tree nicely shaped.
It takes two full days to pollard this allée of lindens. The crew does the entire allée by hand.
Here’s the allée pollarded. Each year the long slender shoots that grow below the cuts will be removed, and a set of new shoots will develop creating a gnarled appearance. This linden allée is so beautiful. It’s exciting to see these trees grow and evolve over time.
Here at my Bedford, New York farm, whenever a member of my team returns from vacation, I always encourage them to share some of their photos.
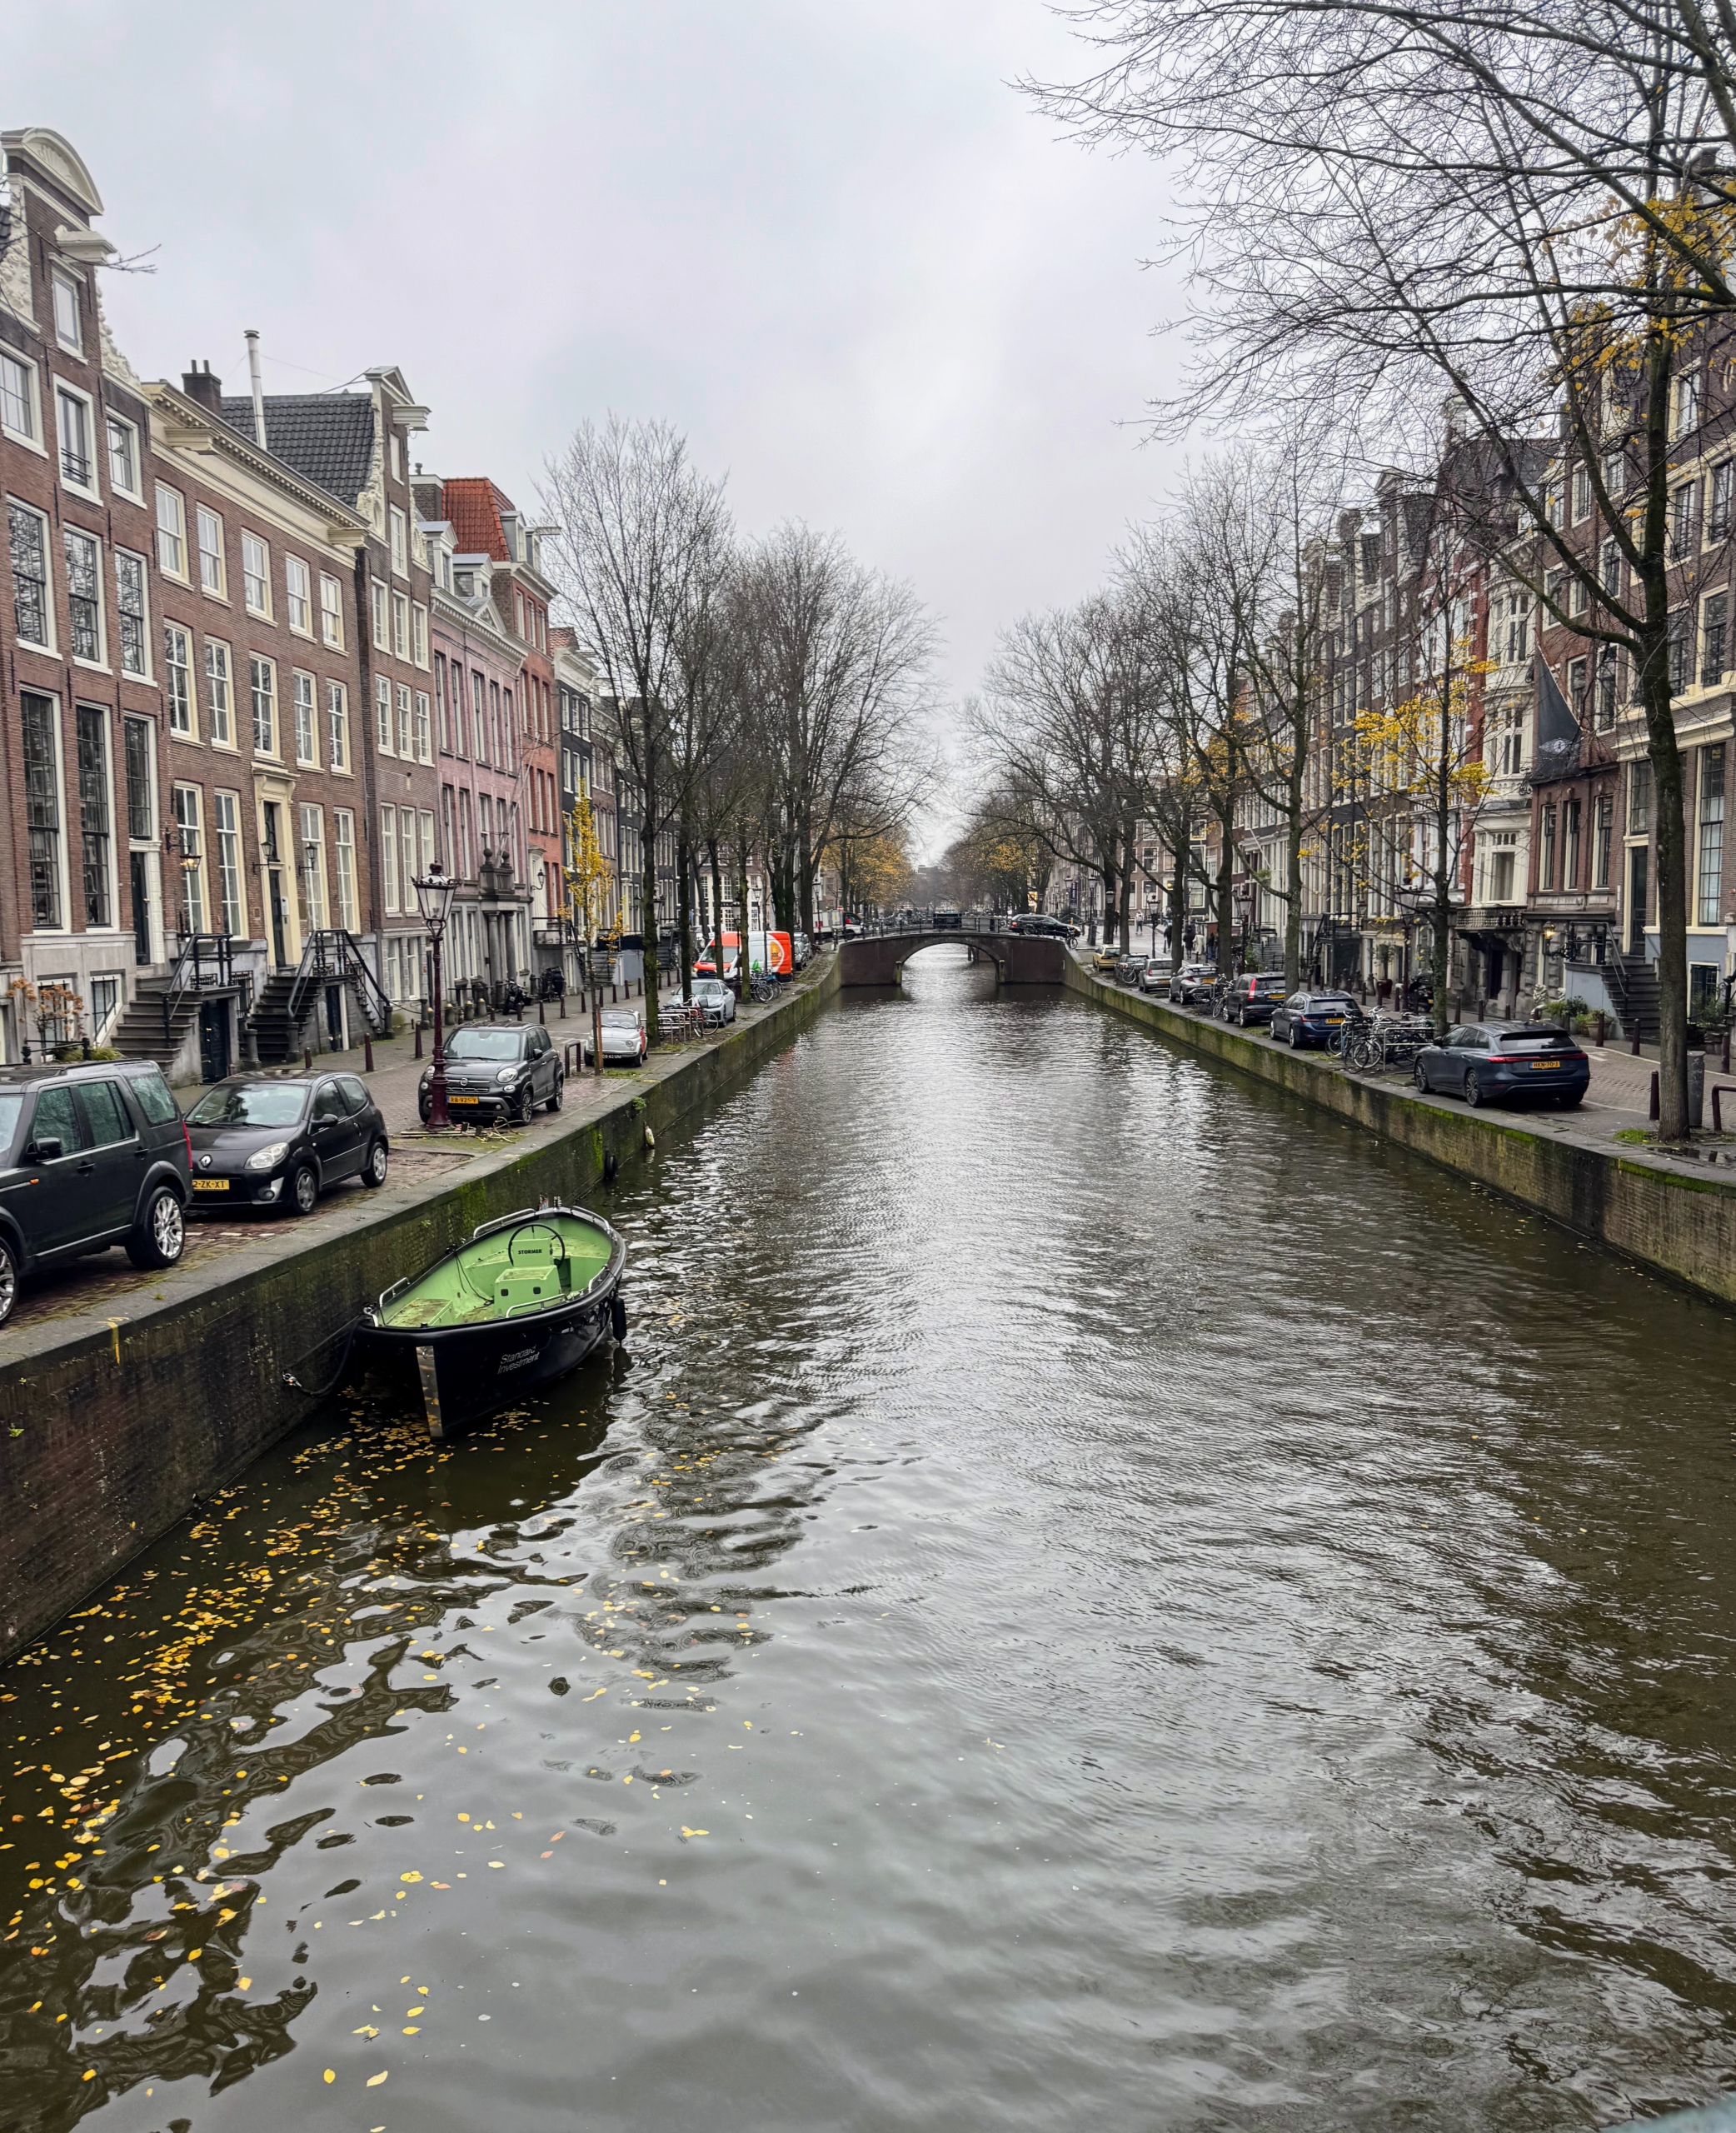
Last month, my head gardener Ryan McCallister traveled to Europe to visit two major cities. His first stop was Amsterdam, the capital city of the Netherlands, where he walked along its canals, shopped its outdoor markets, and learned about the area's vibrant culture. He also spent time in and around Berlin, the capital of Germany - well known for its rich history, notable landmarks, and modern attractions.
Here are a few of his images, enjoy.
Amsterdam’s canals are part of the city’s history and charm. They are crucial for water management, trade, and transport. They divide the area into numerous islands connected by hundreds of bridges. In all, there are 165 canals.
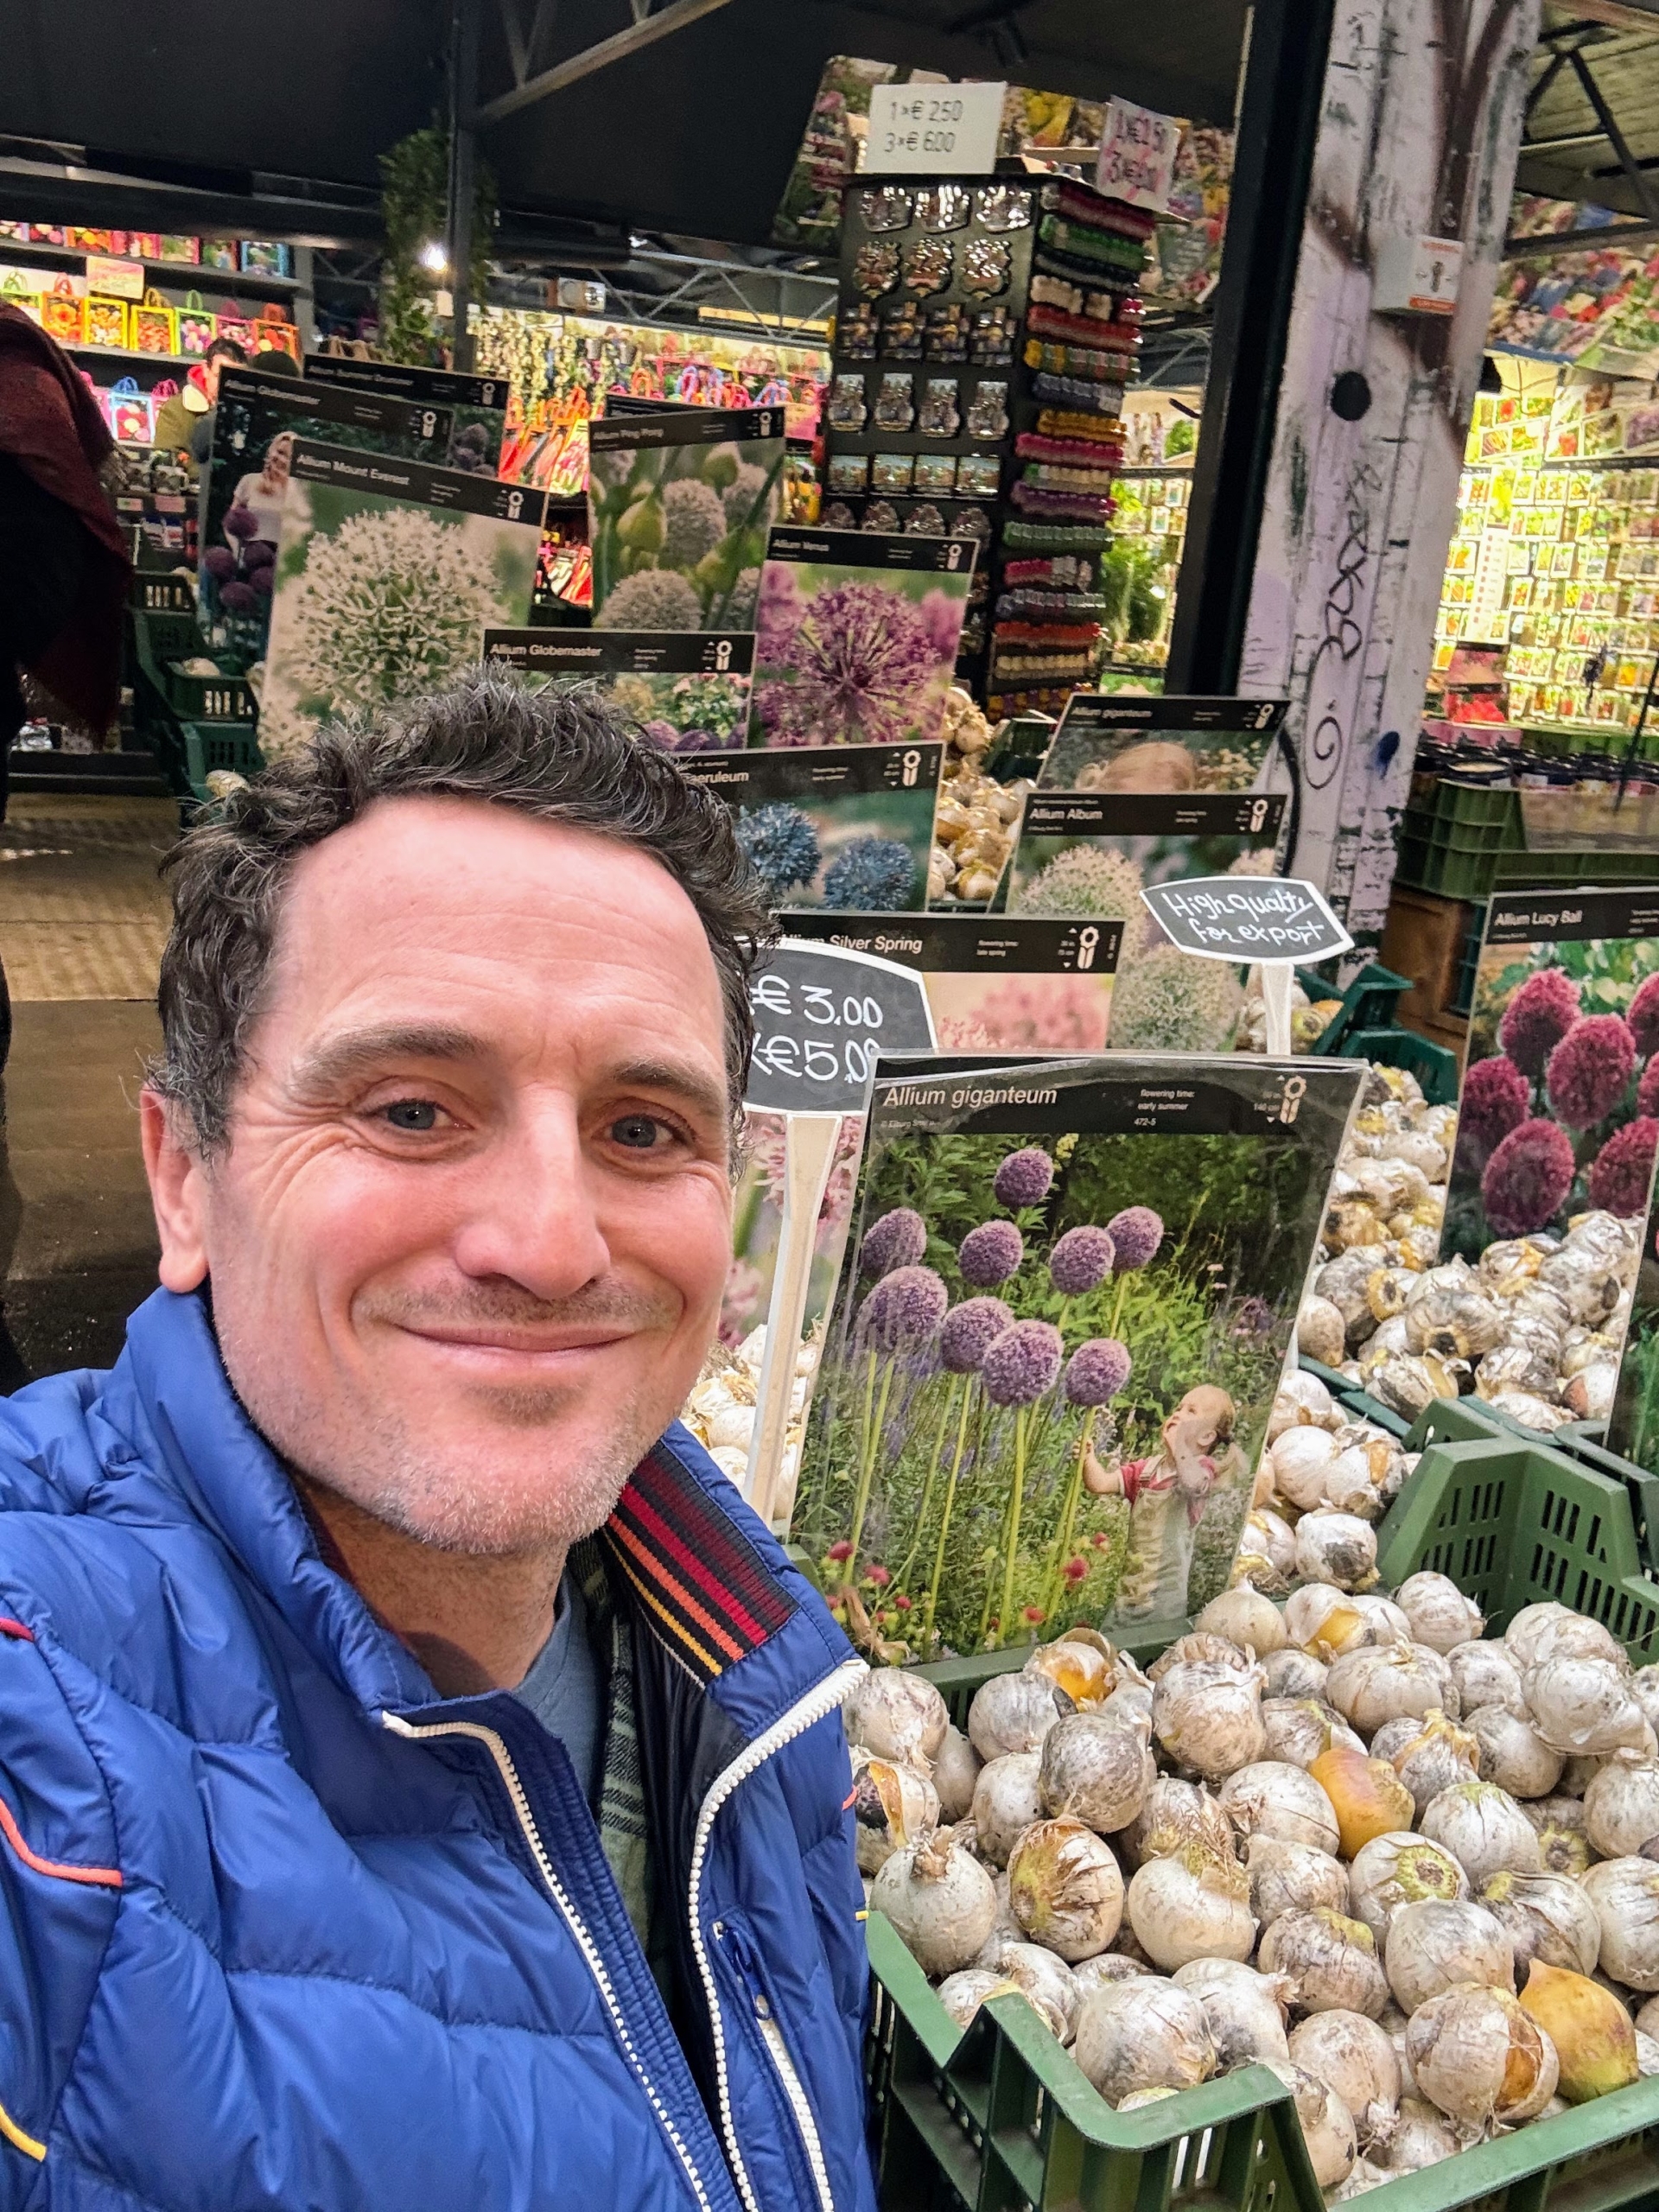
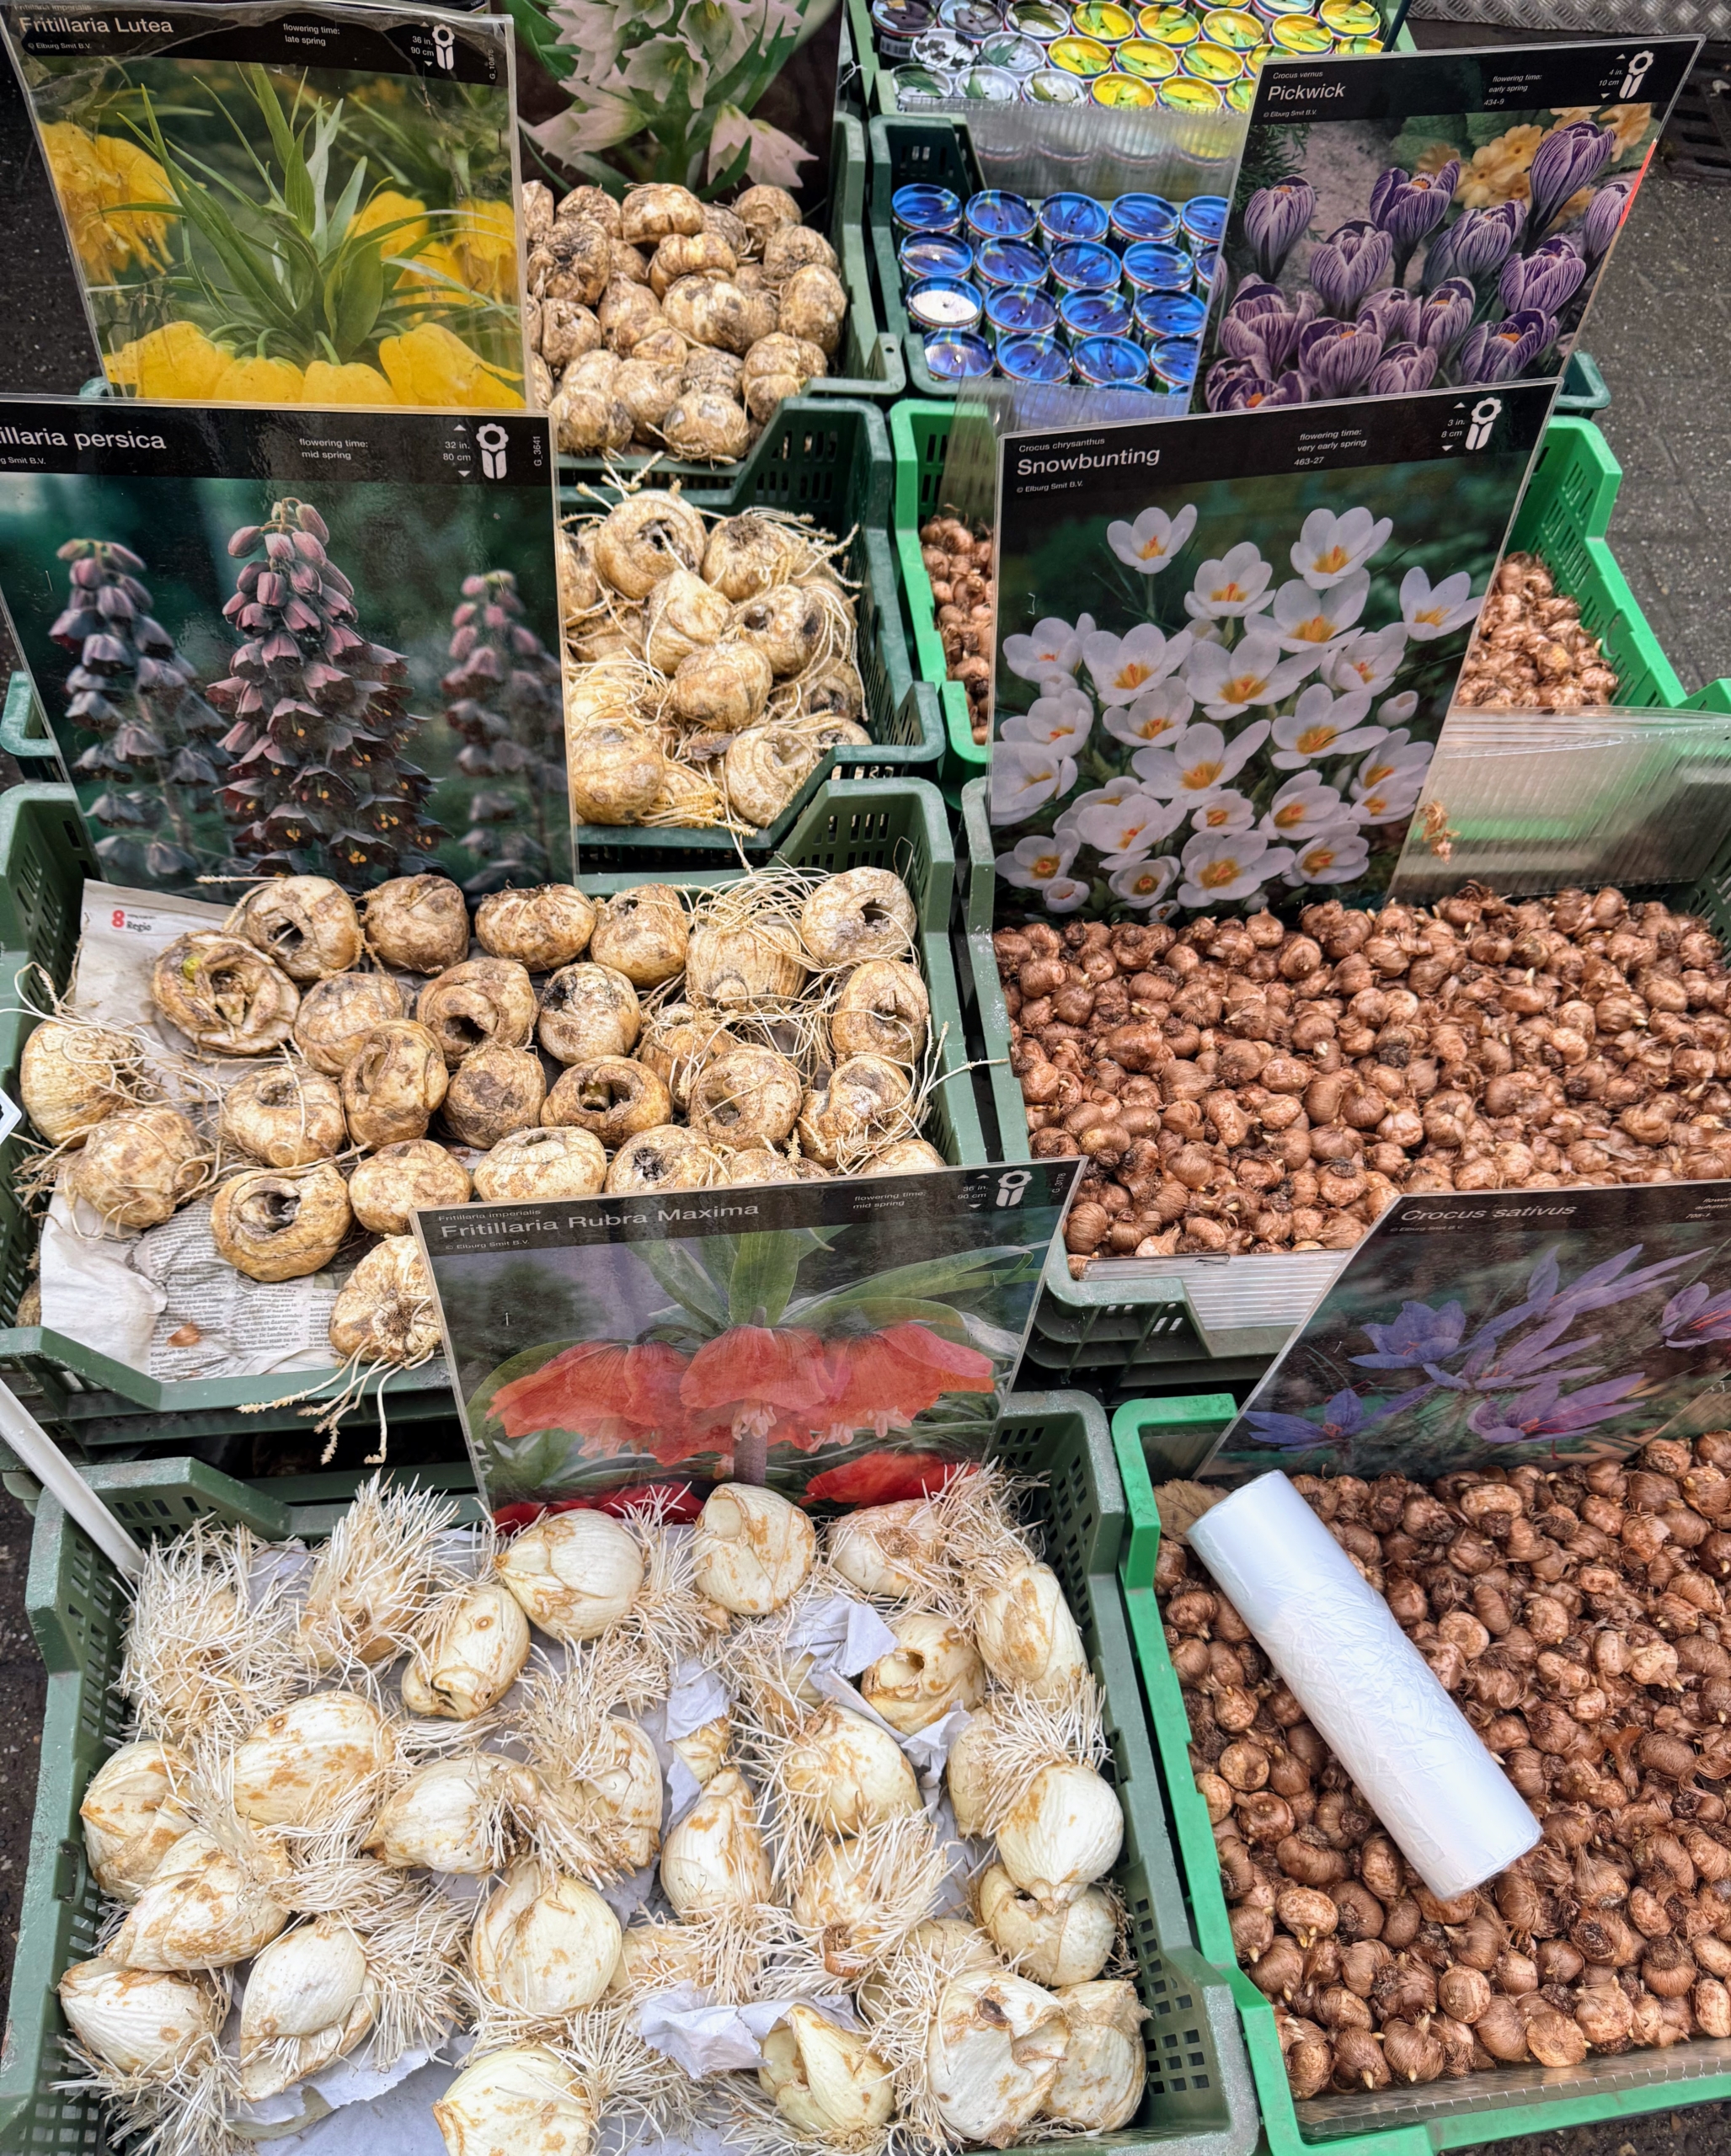
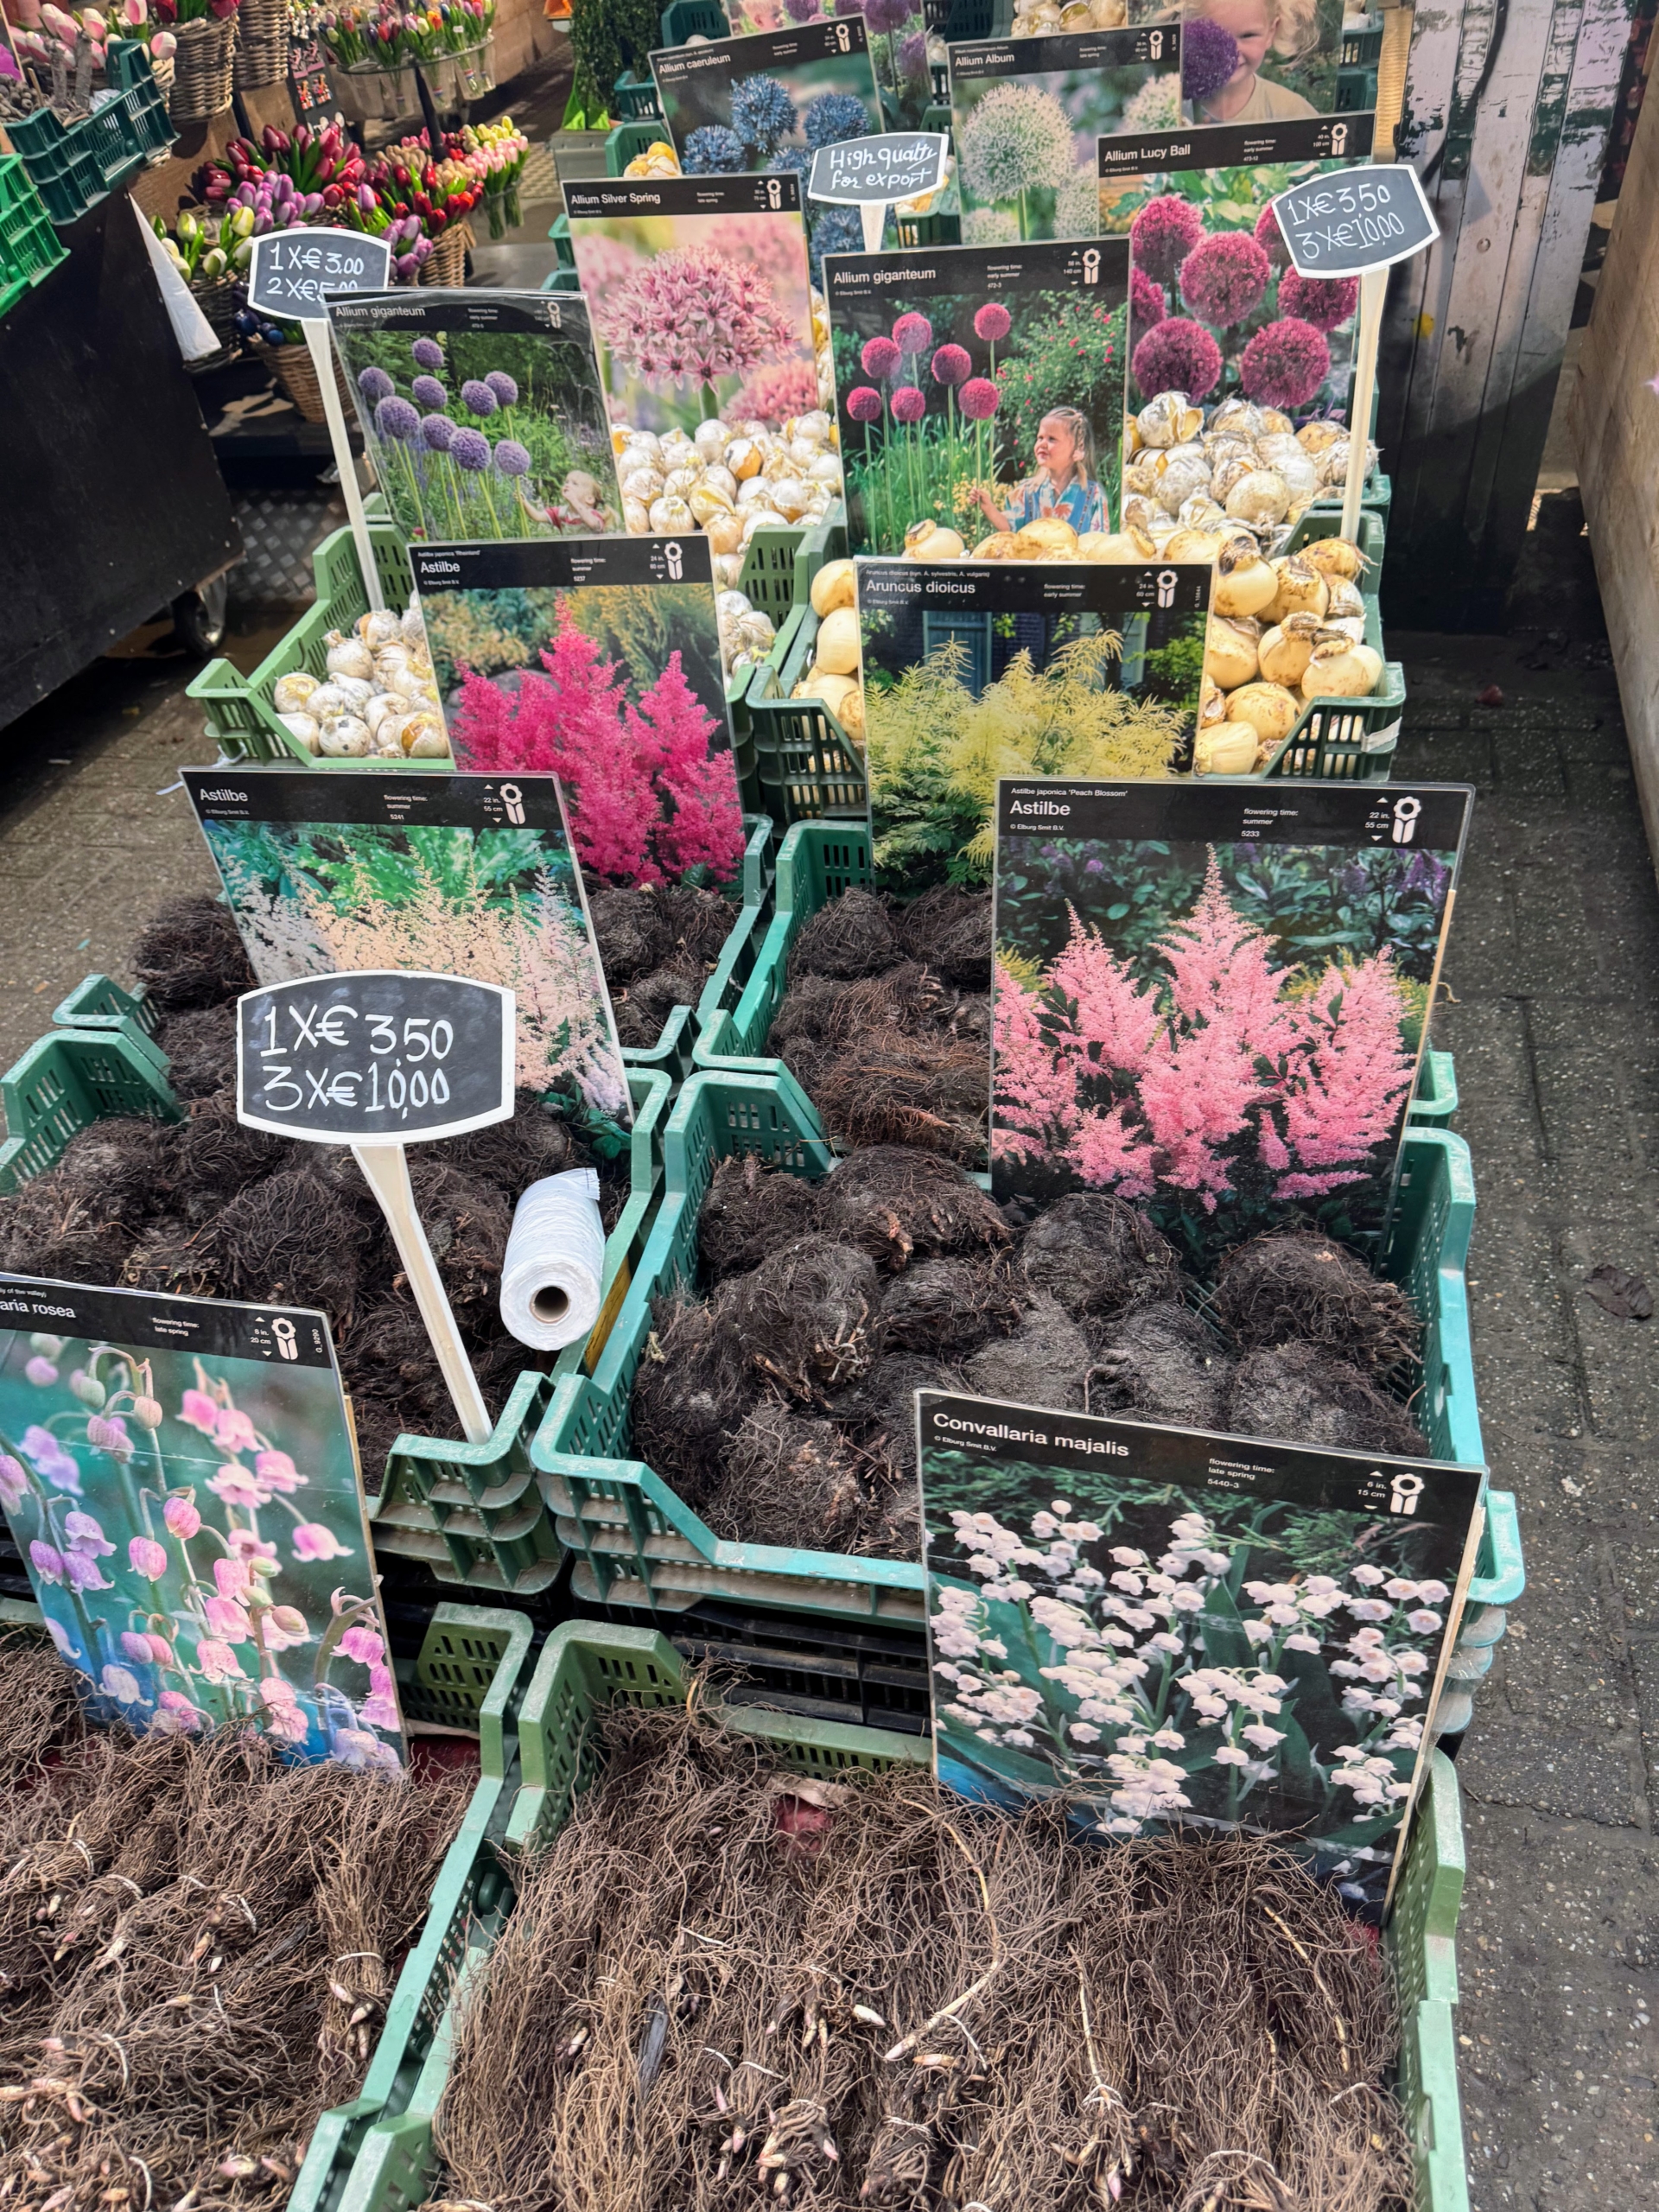
Here’s Ryan at Amsterdam’s famous Flower Market, located on the Singel between Koningsplein and Muntplein. It is the world’s only floating Flower Market and was first established in 1862.
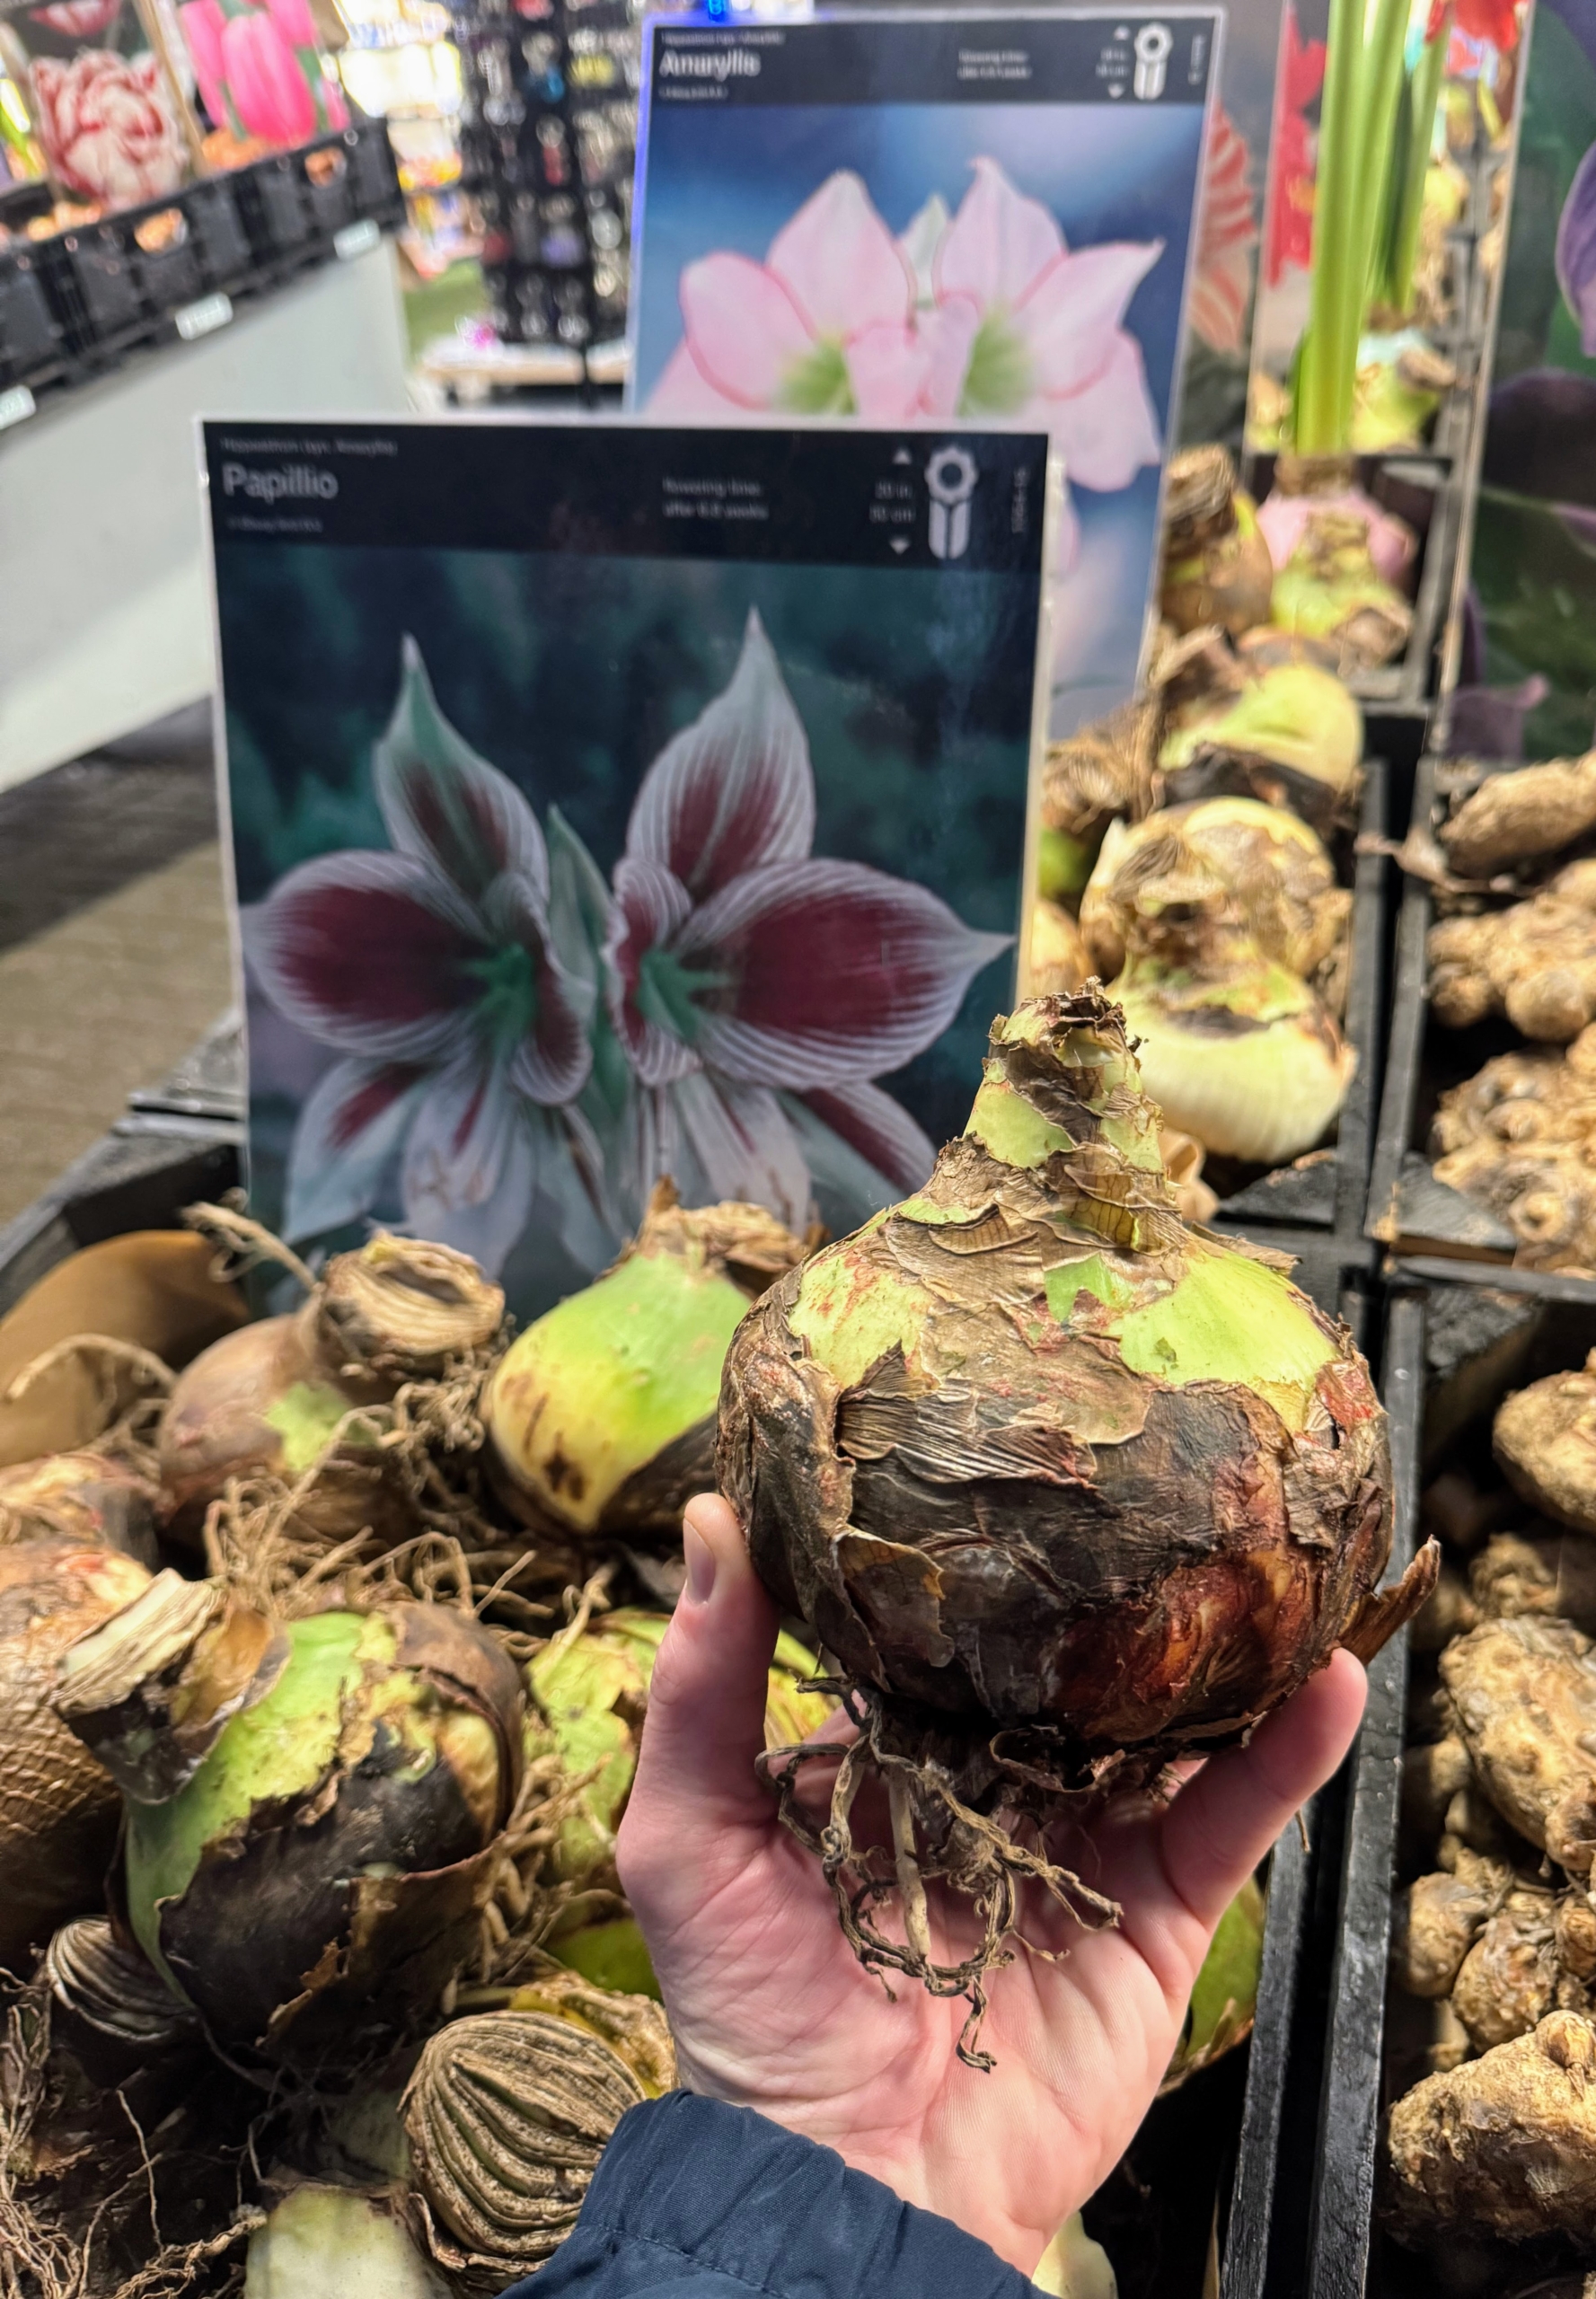
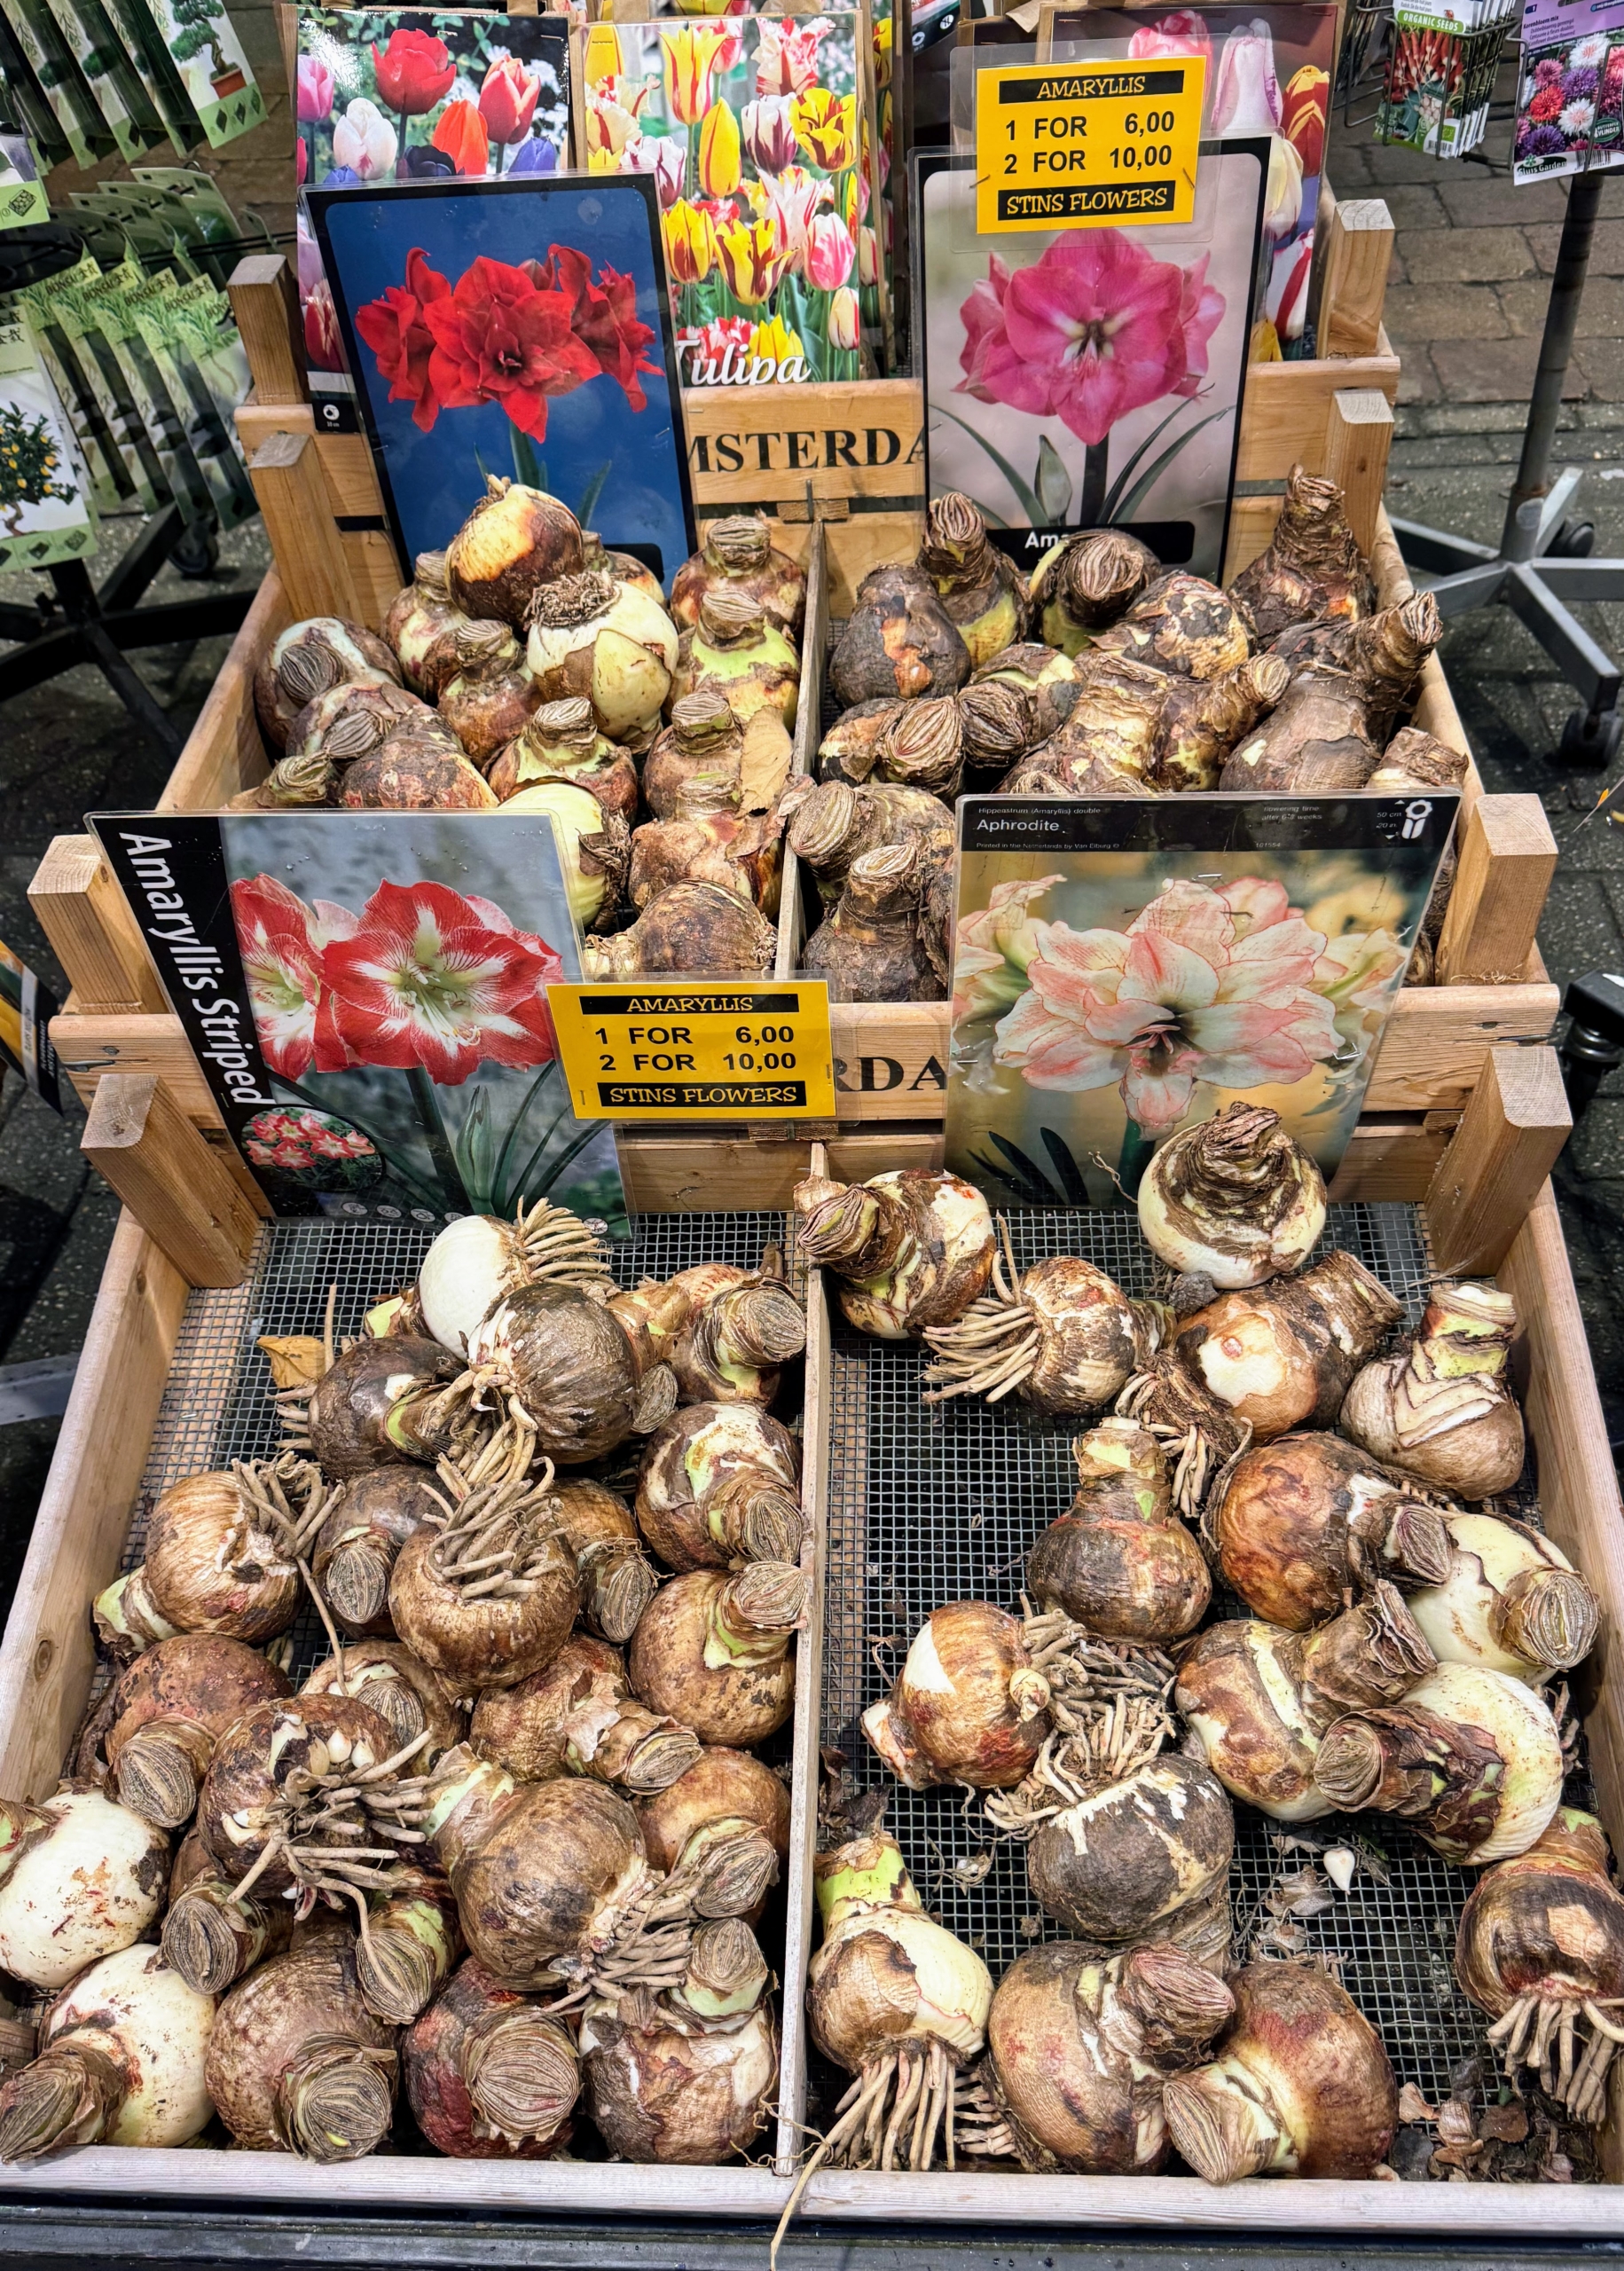
In addition to an impressive and vast selection of flowers and plants, there is also a wide variety of flower bulbs available at the market.
Look at the size of these amaryllis bulbs!
And there are so many different types from which to choose.
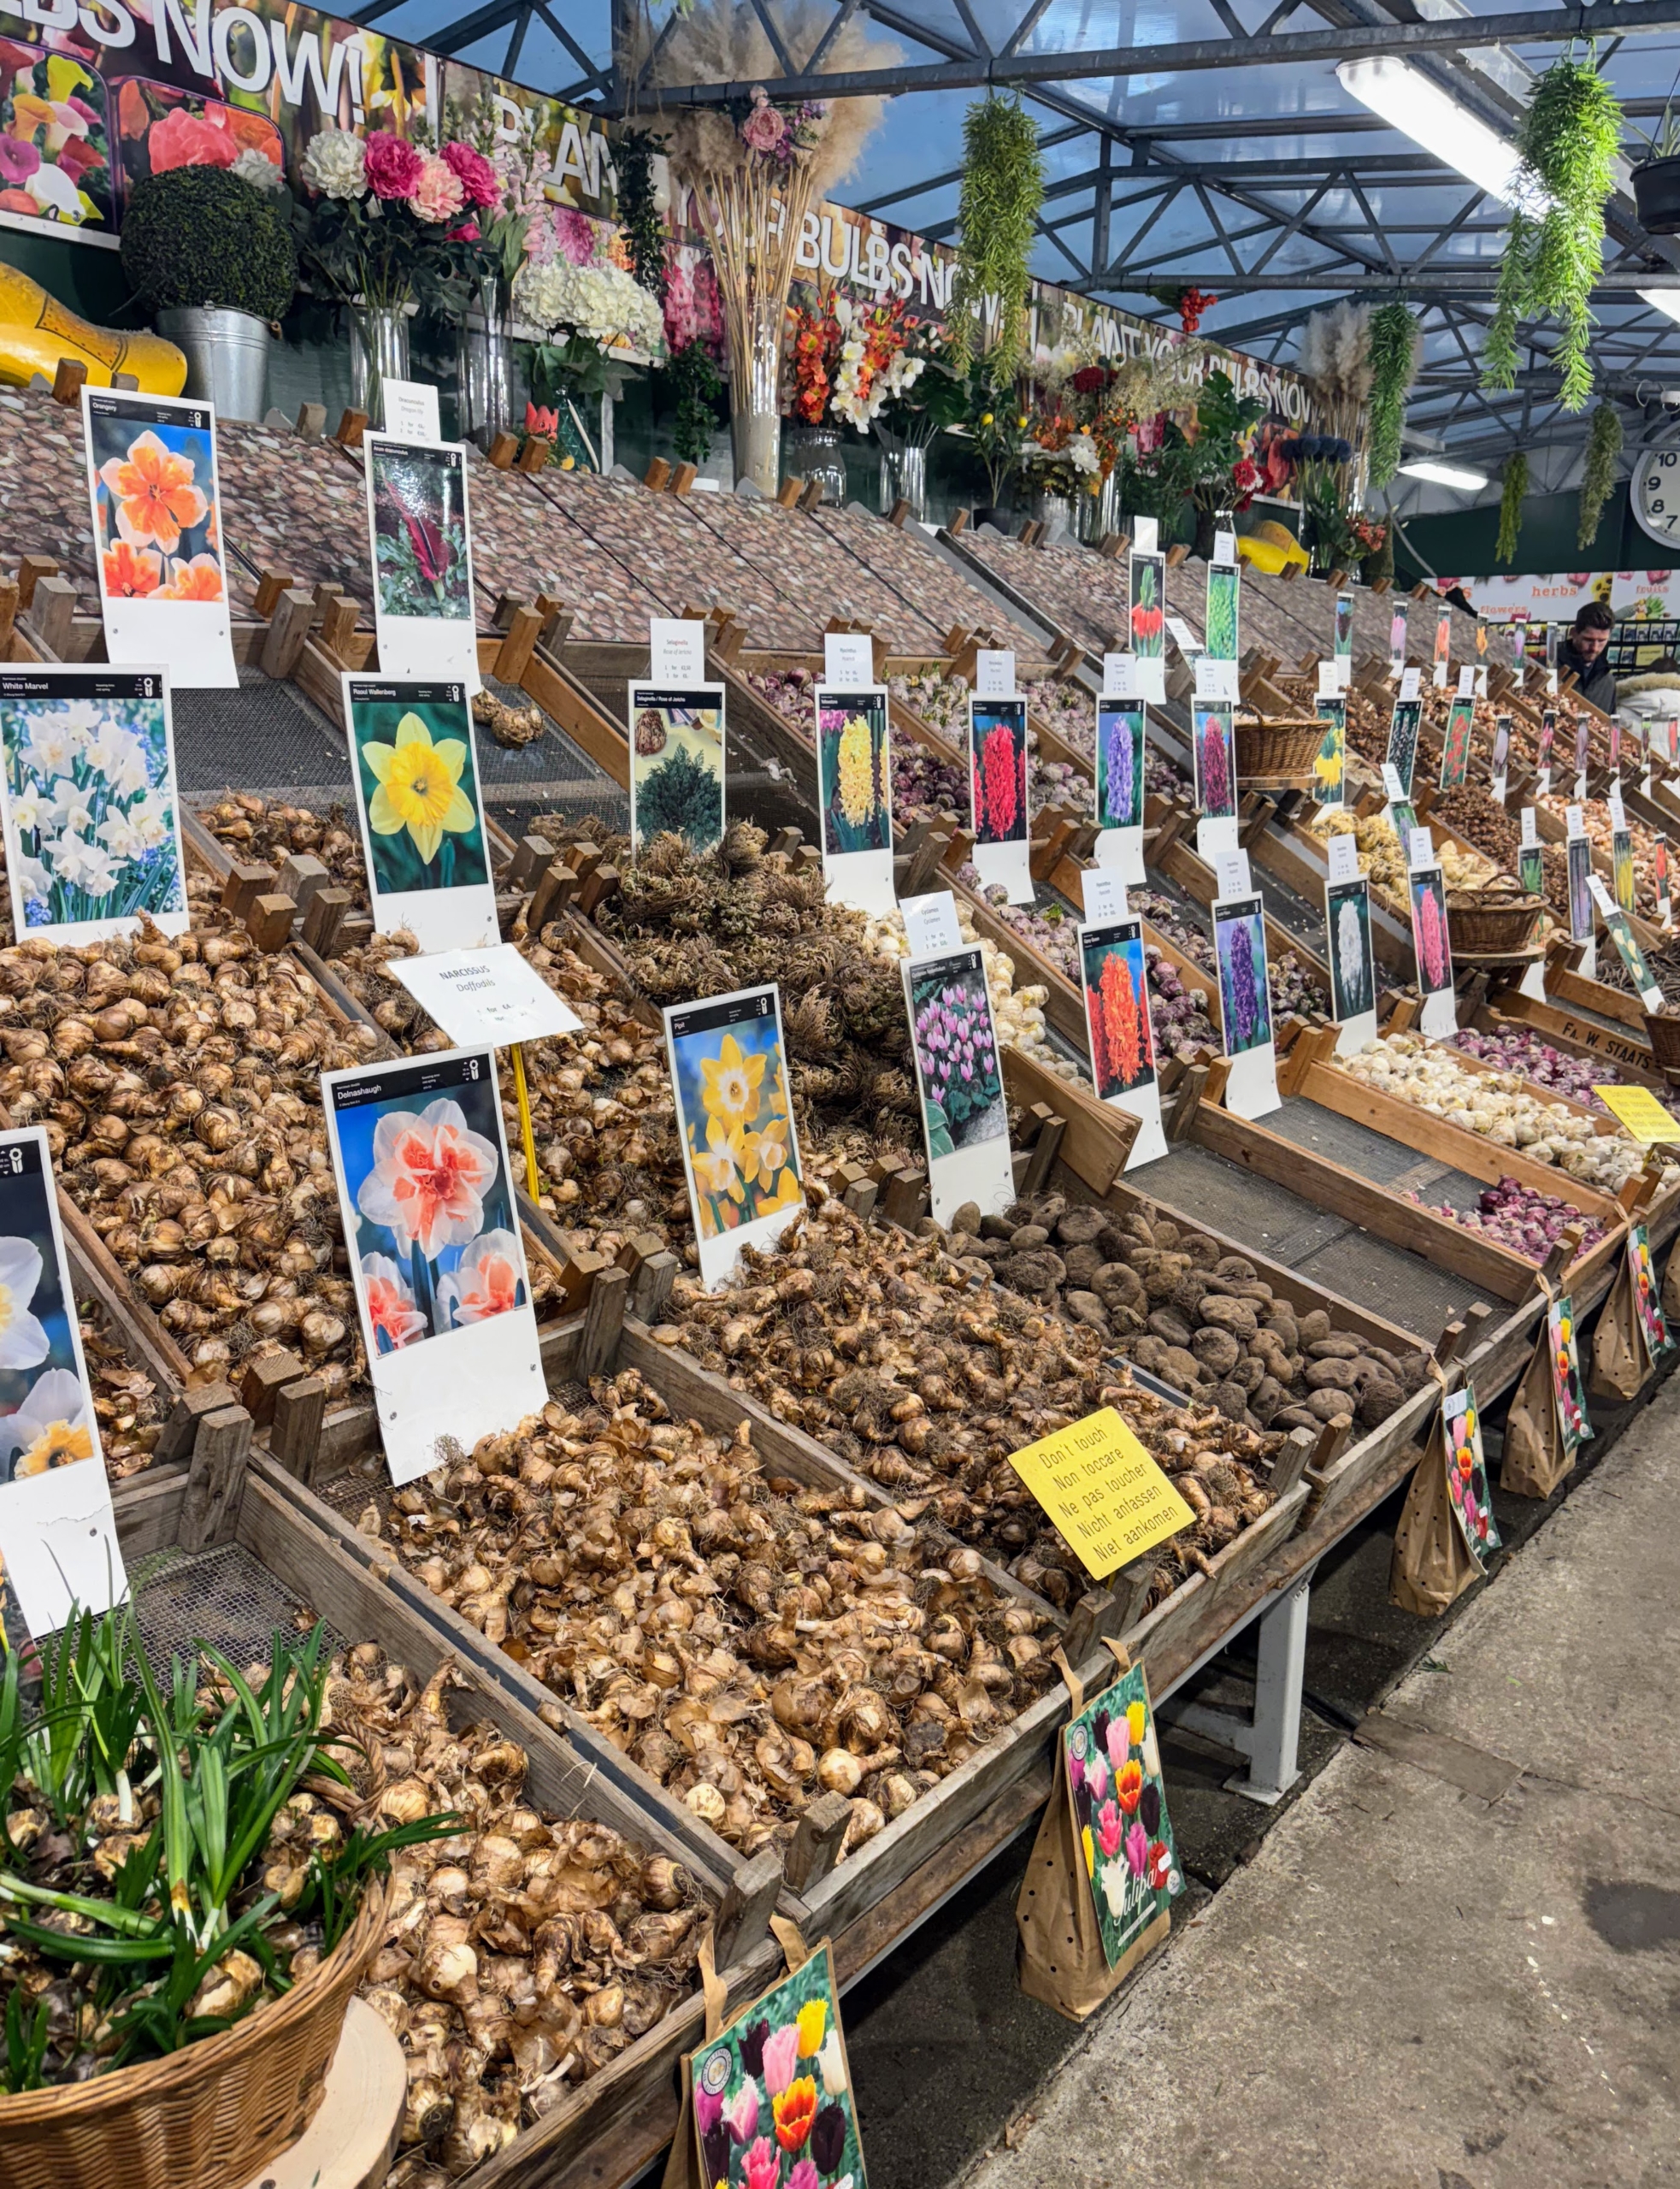
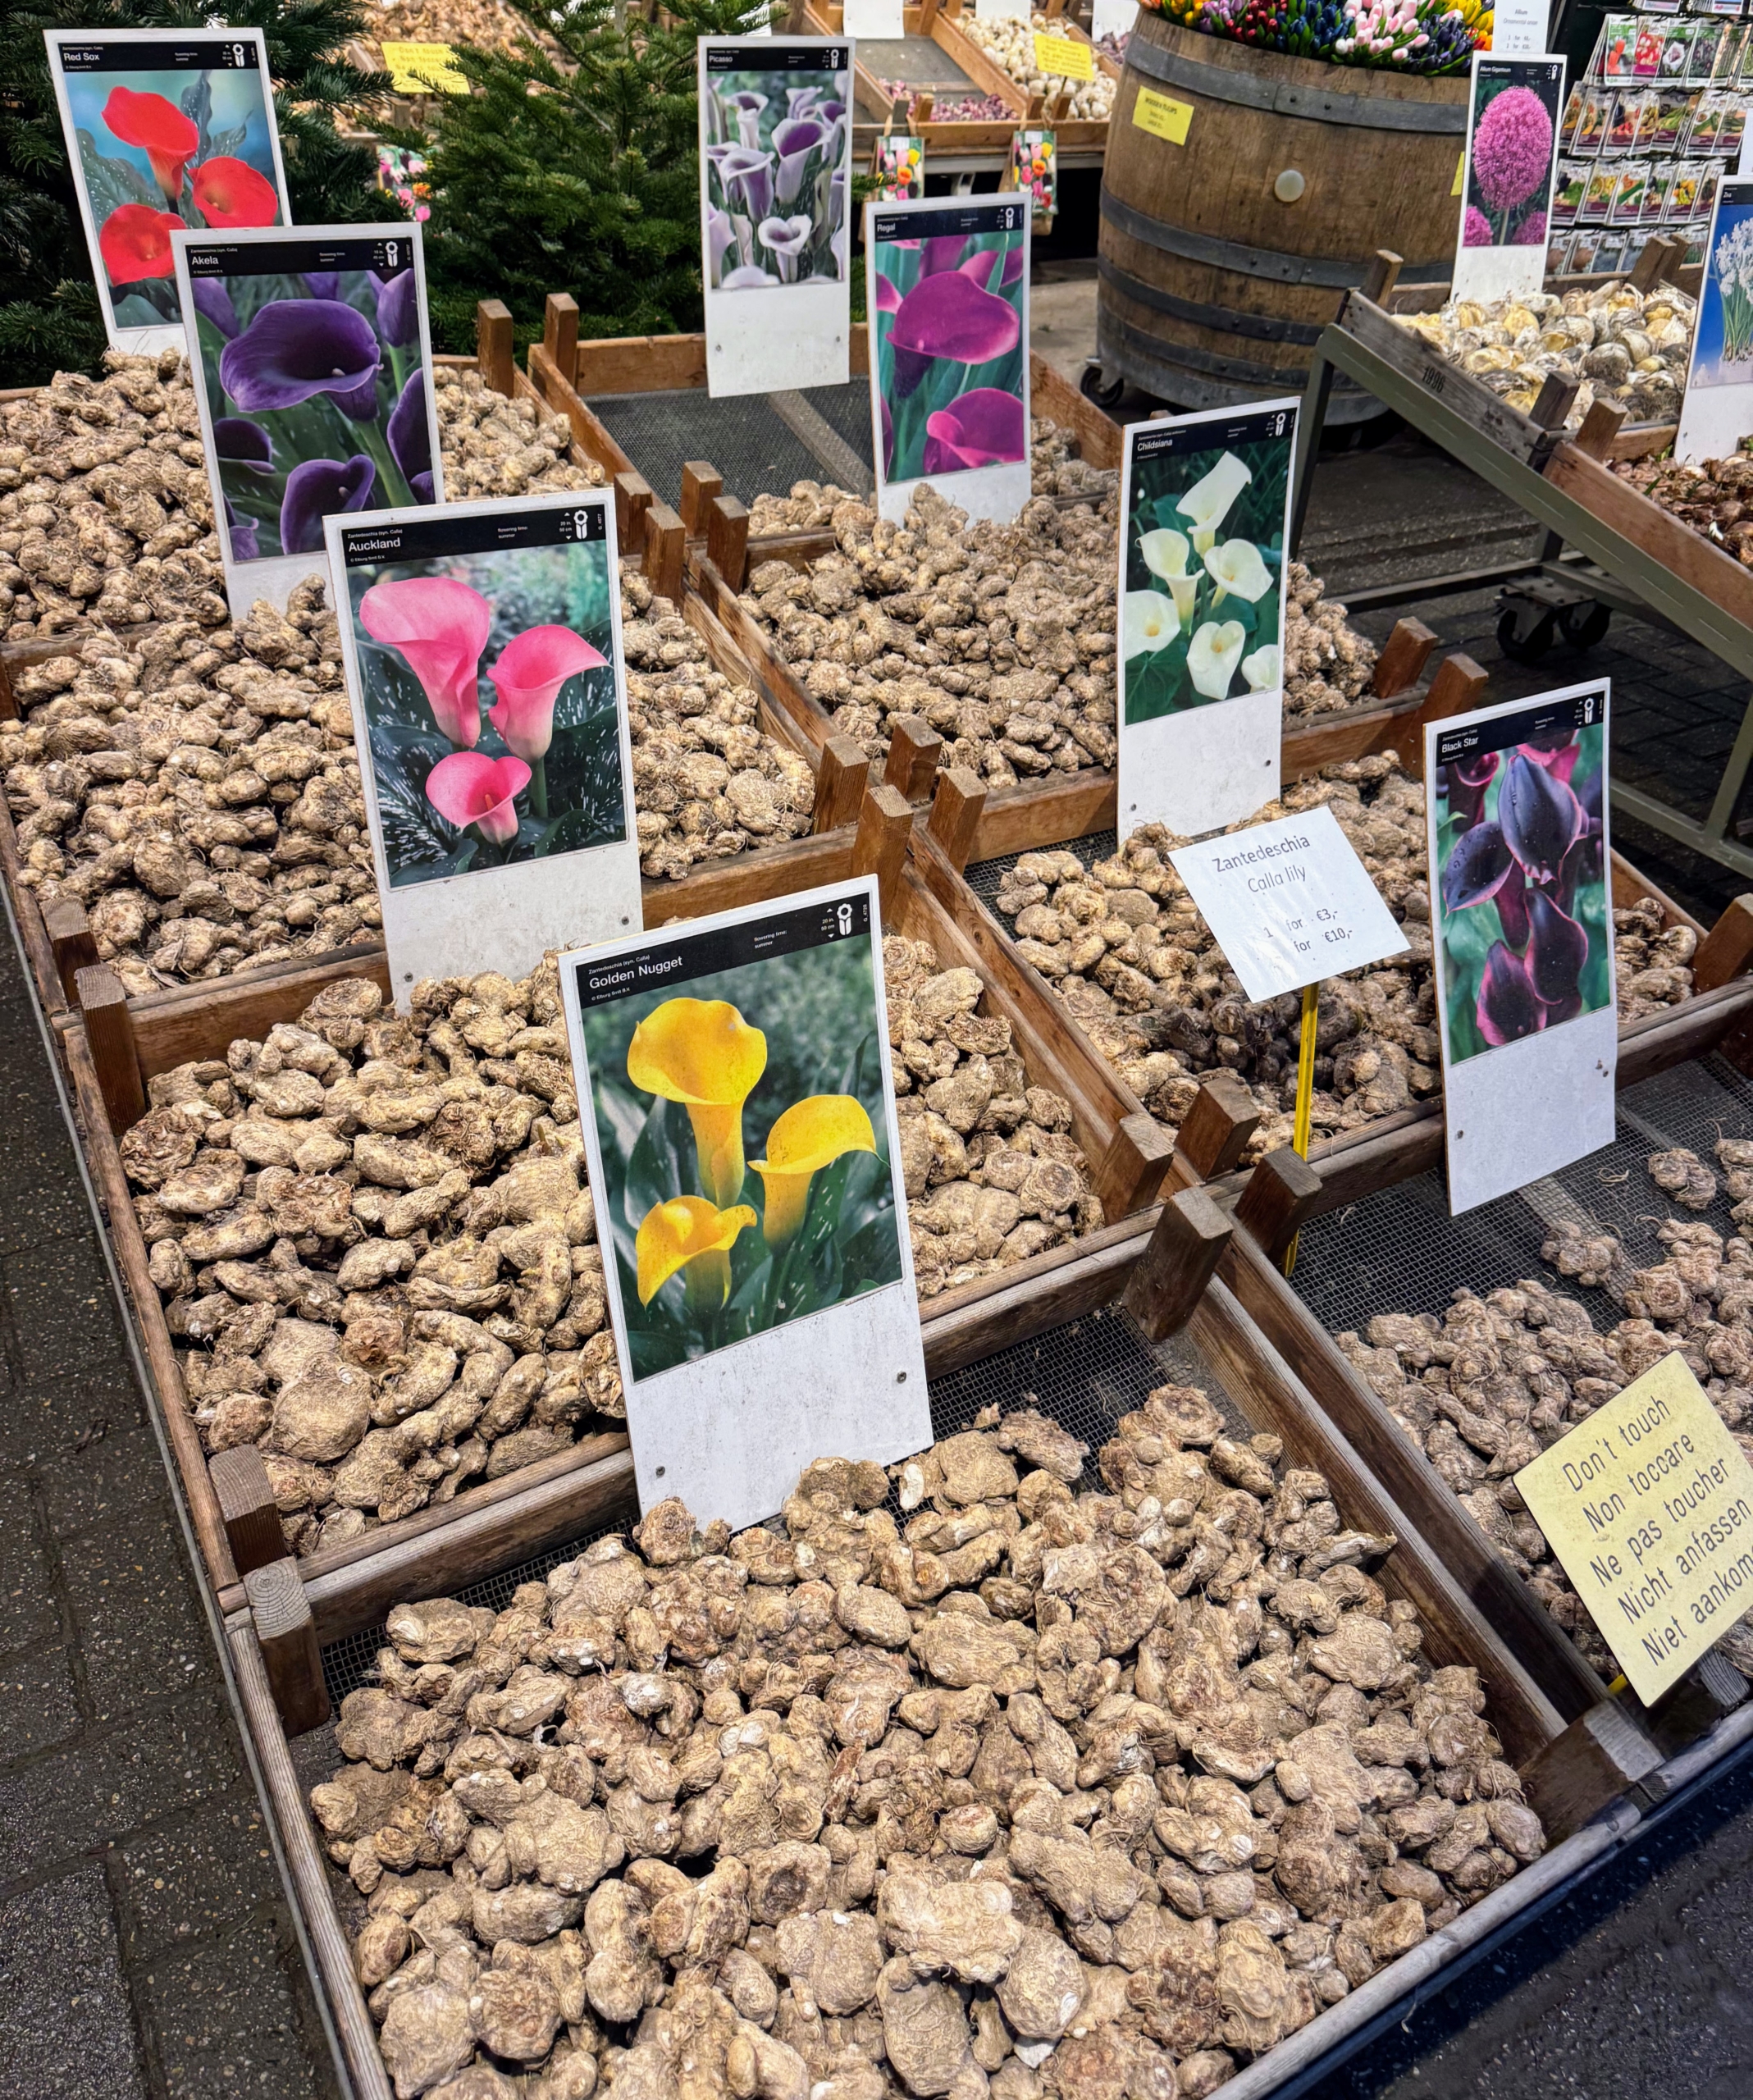
In this section – beautiful calla lilies for sale.
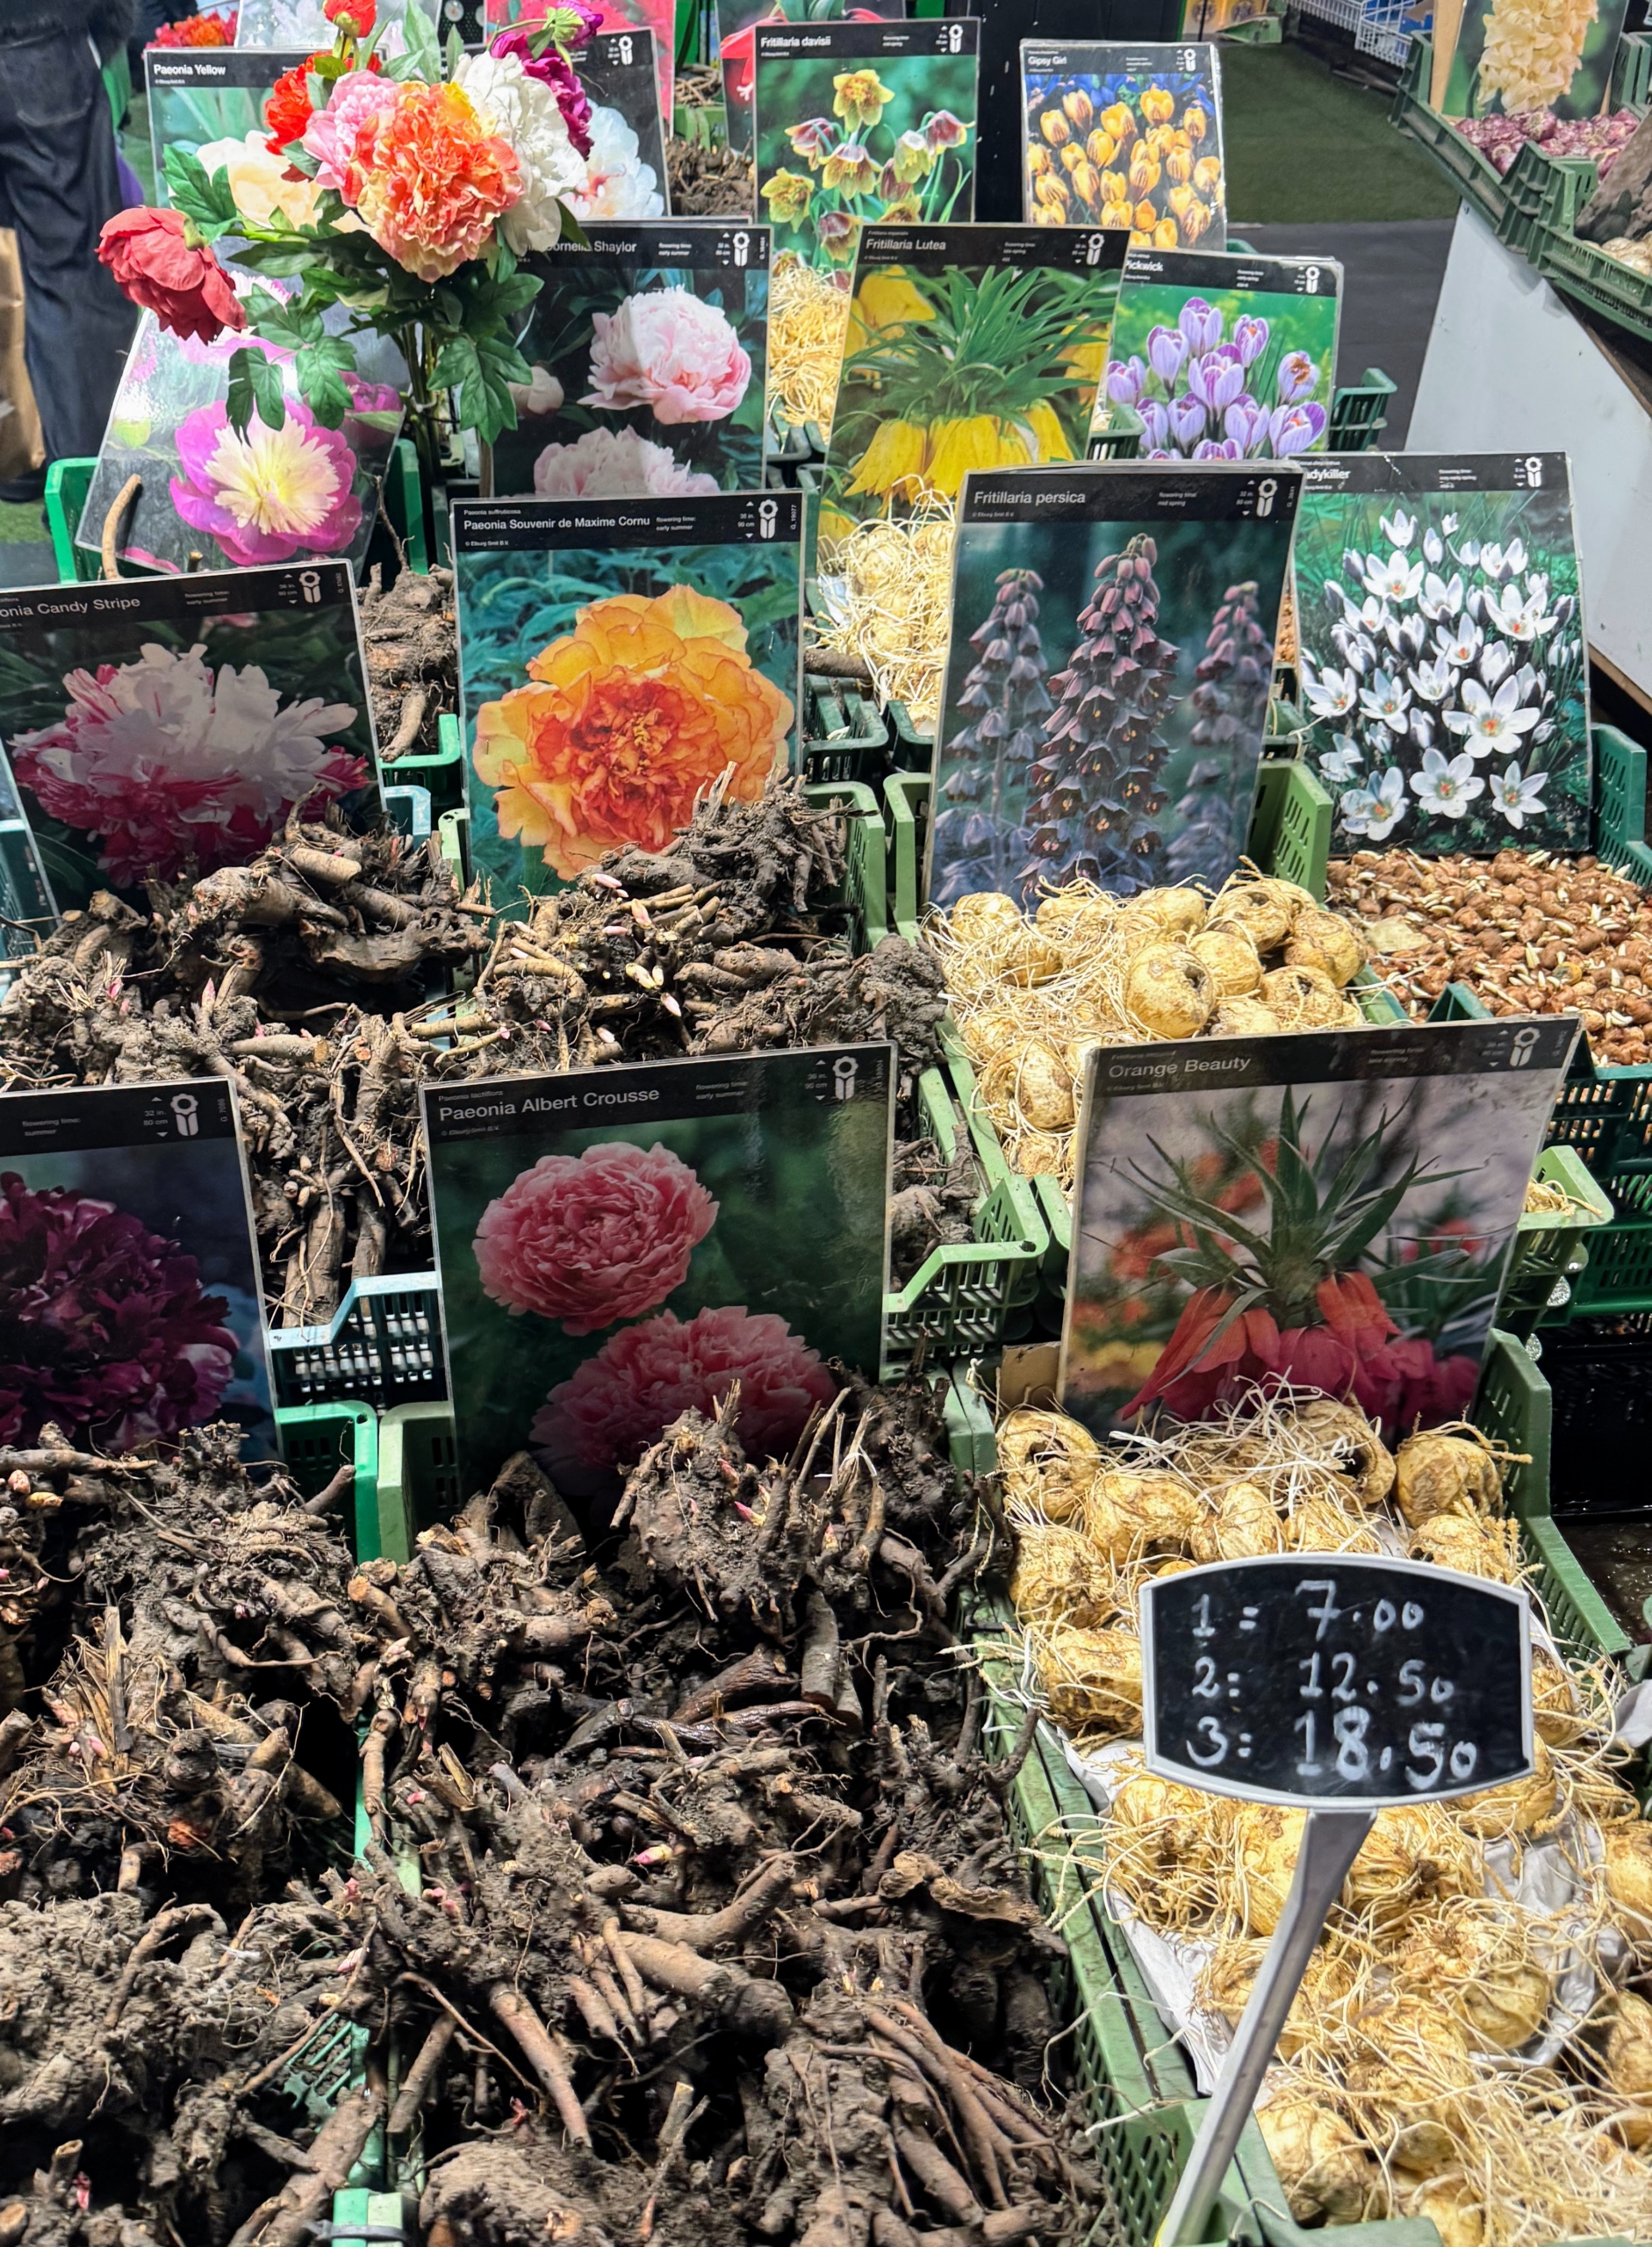
And of course, Ryan perused the large selection of peonies.
Over the years, the market has become a popular destination for garden enthusiasts and other travelers. In this section – fritillaria and crocus bulbs.
The flower market is also open throughout the year, offering visitors large and vibrant displays regardless of the season.
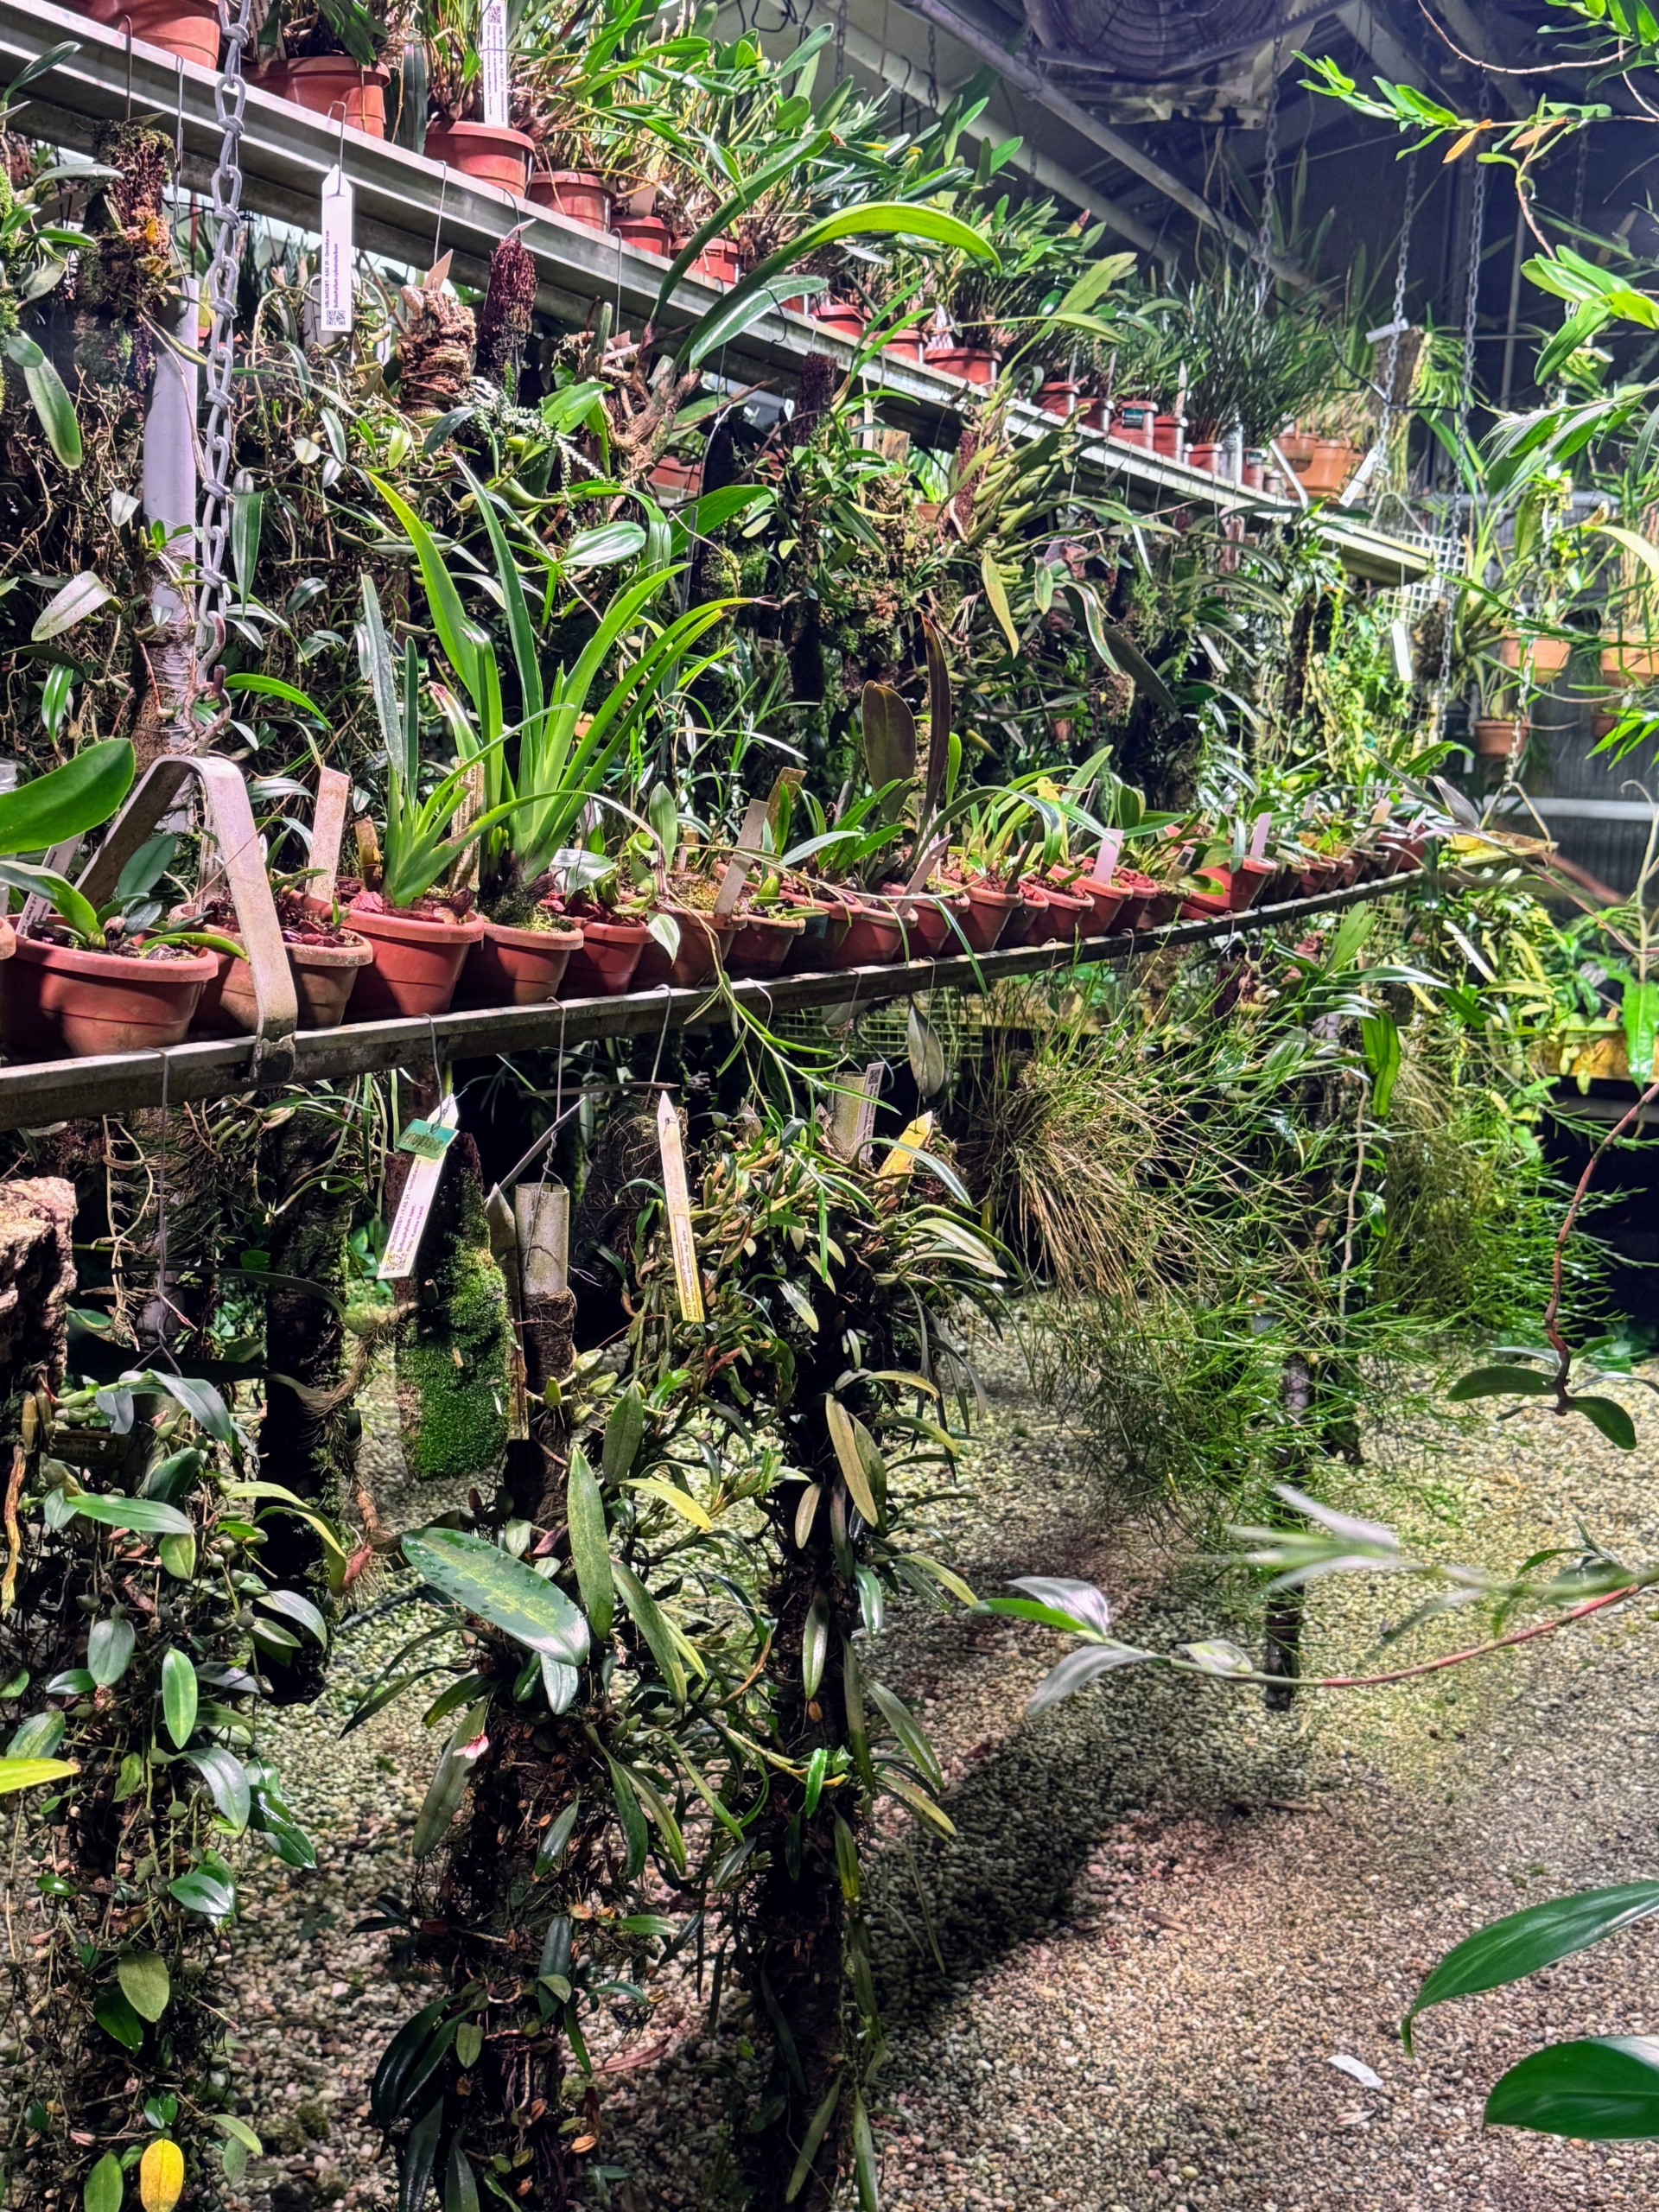
Hortus botanicus in Leiden is one of the oldest botanical gardens in the world and the oldest of the Netherlands. It was established in 1590.
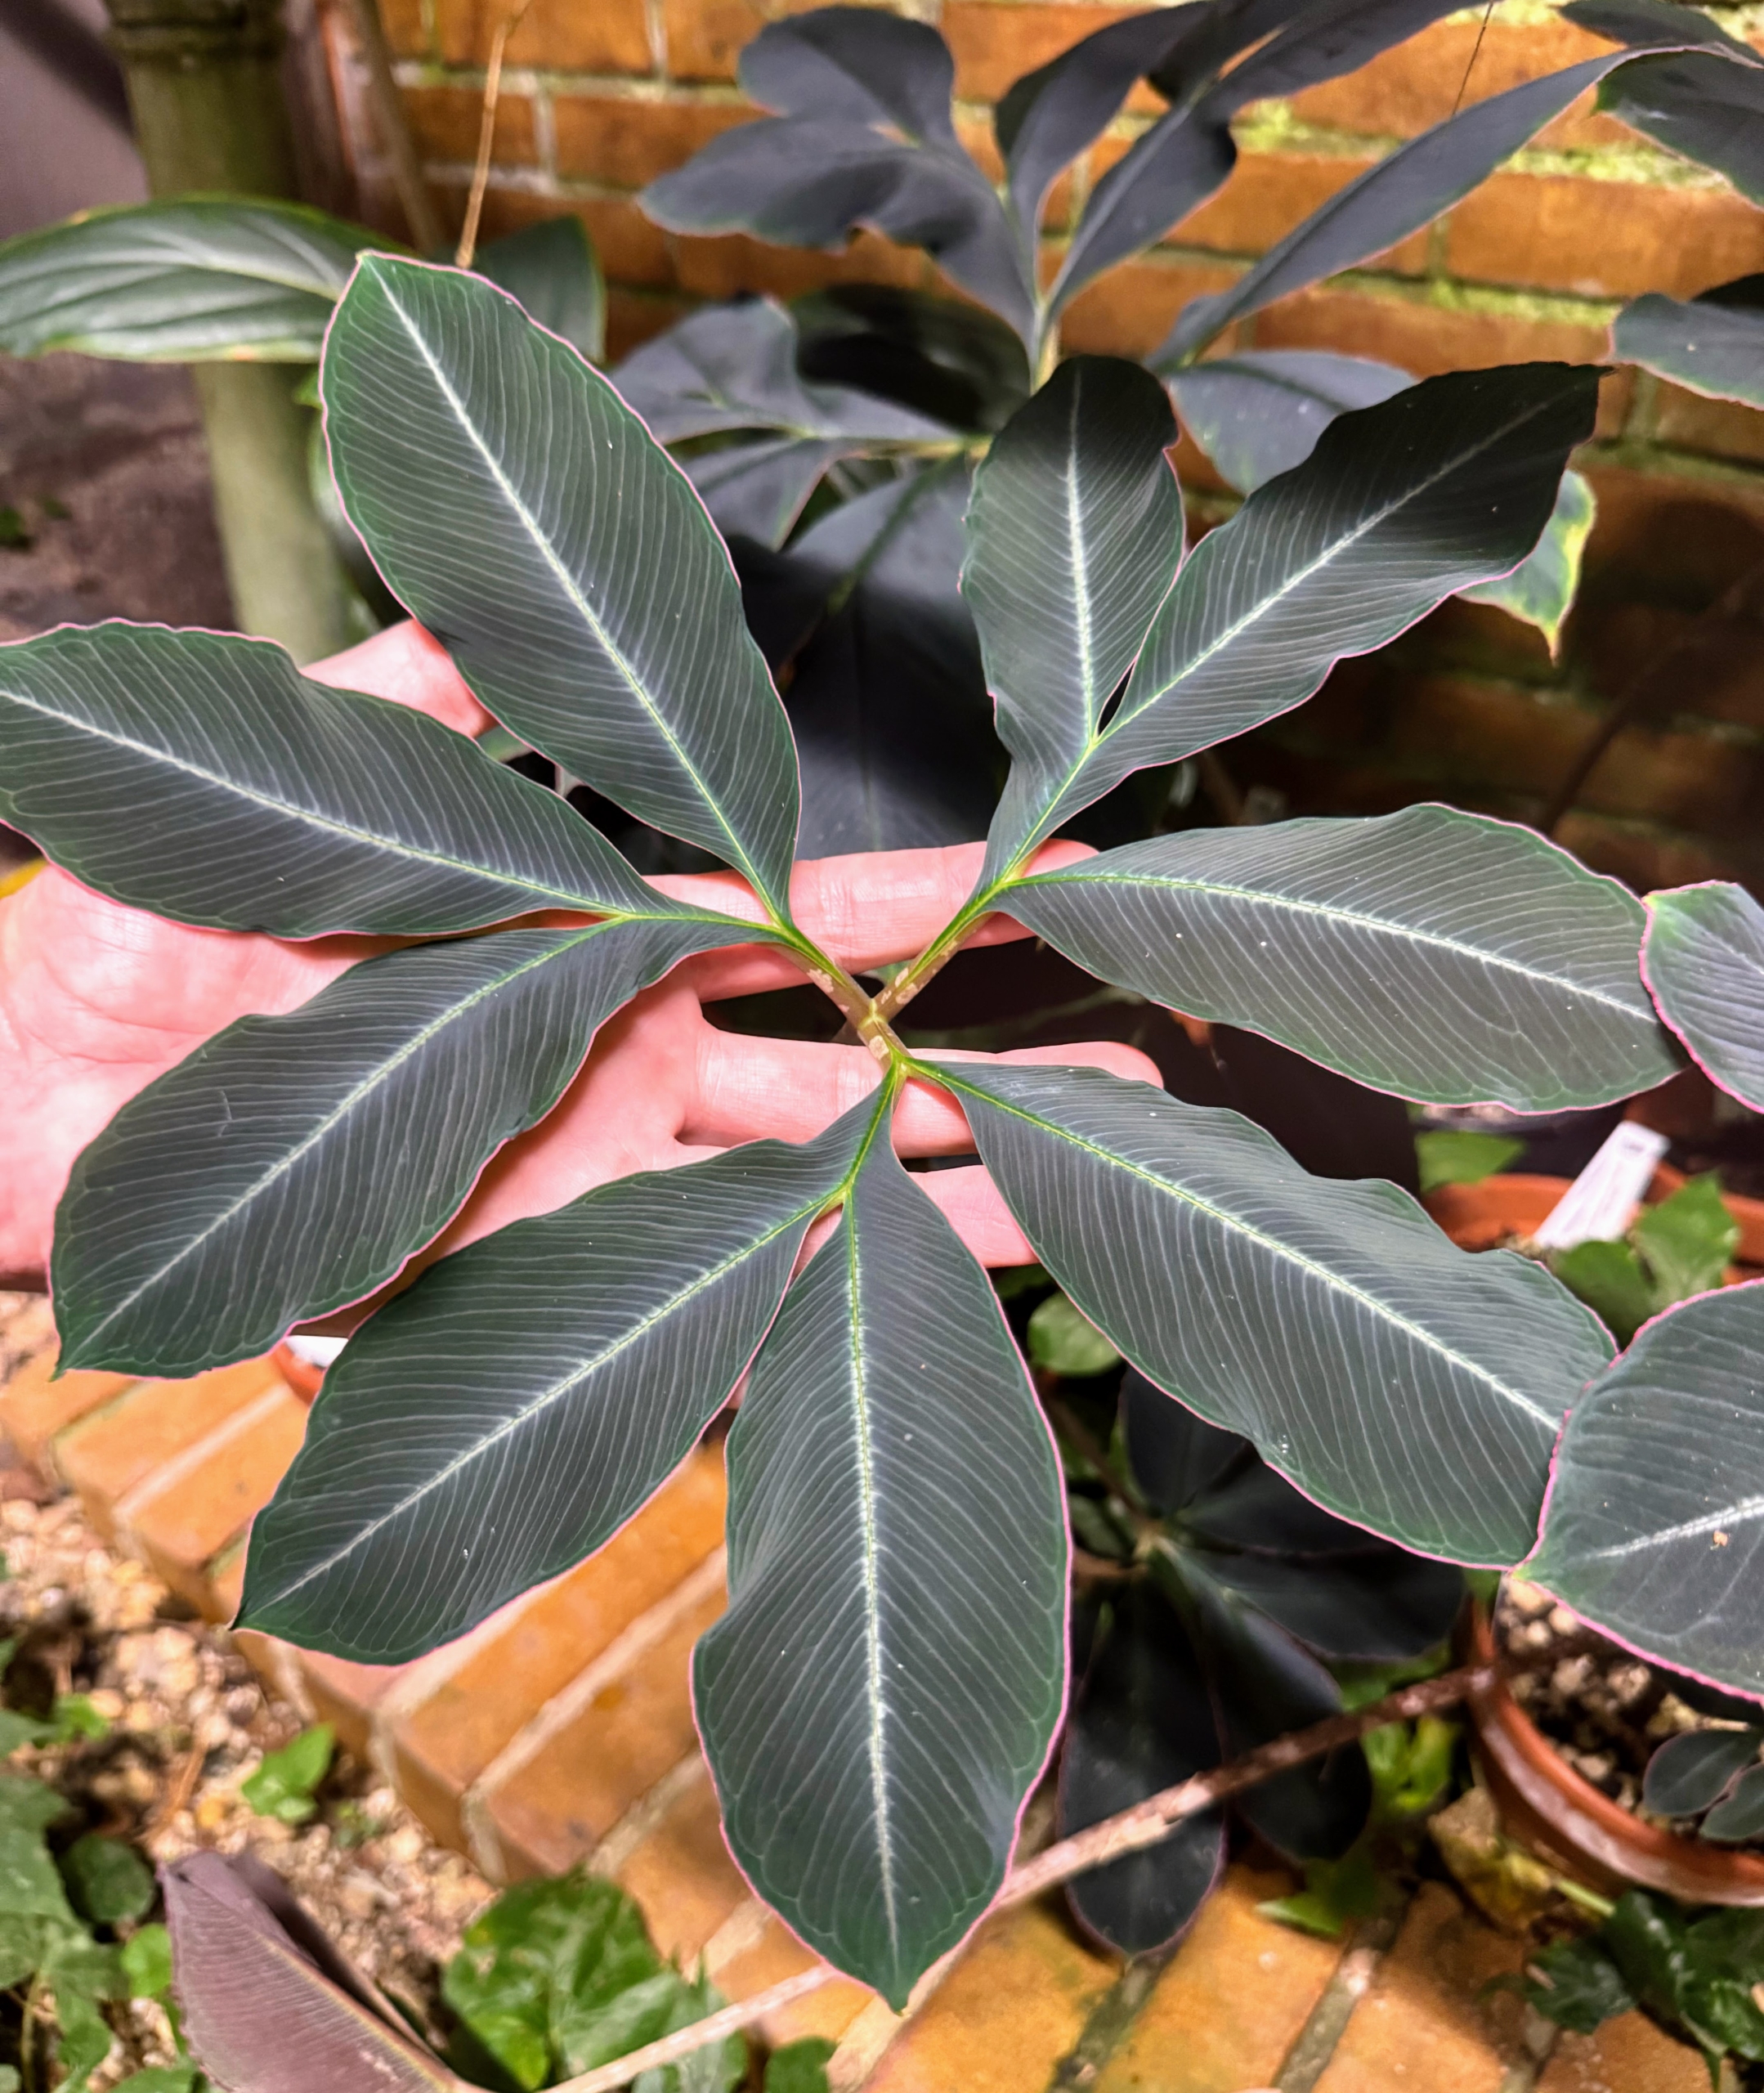
This plant is Amorpholhallus atroviridis, also known as the voodoo lily. It is known for its dark emerald-black green foliage. The plant produces cream and pink flowers that bloom in spring and summer, reaching heights up to three feet. The flowers are composed of a spadix surrounded by a spathe, resembling a large, open umbrella.
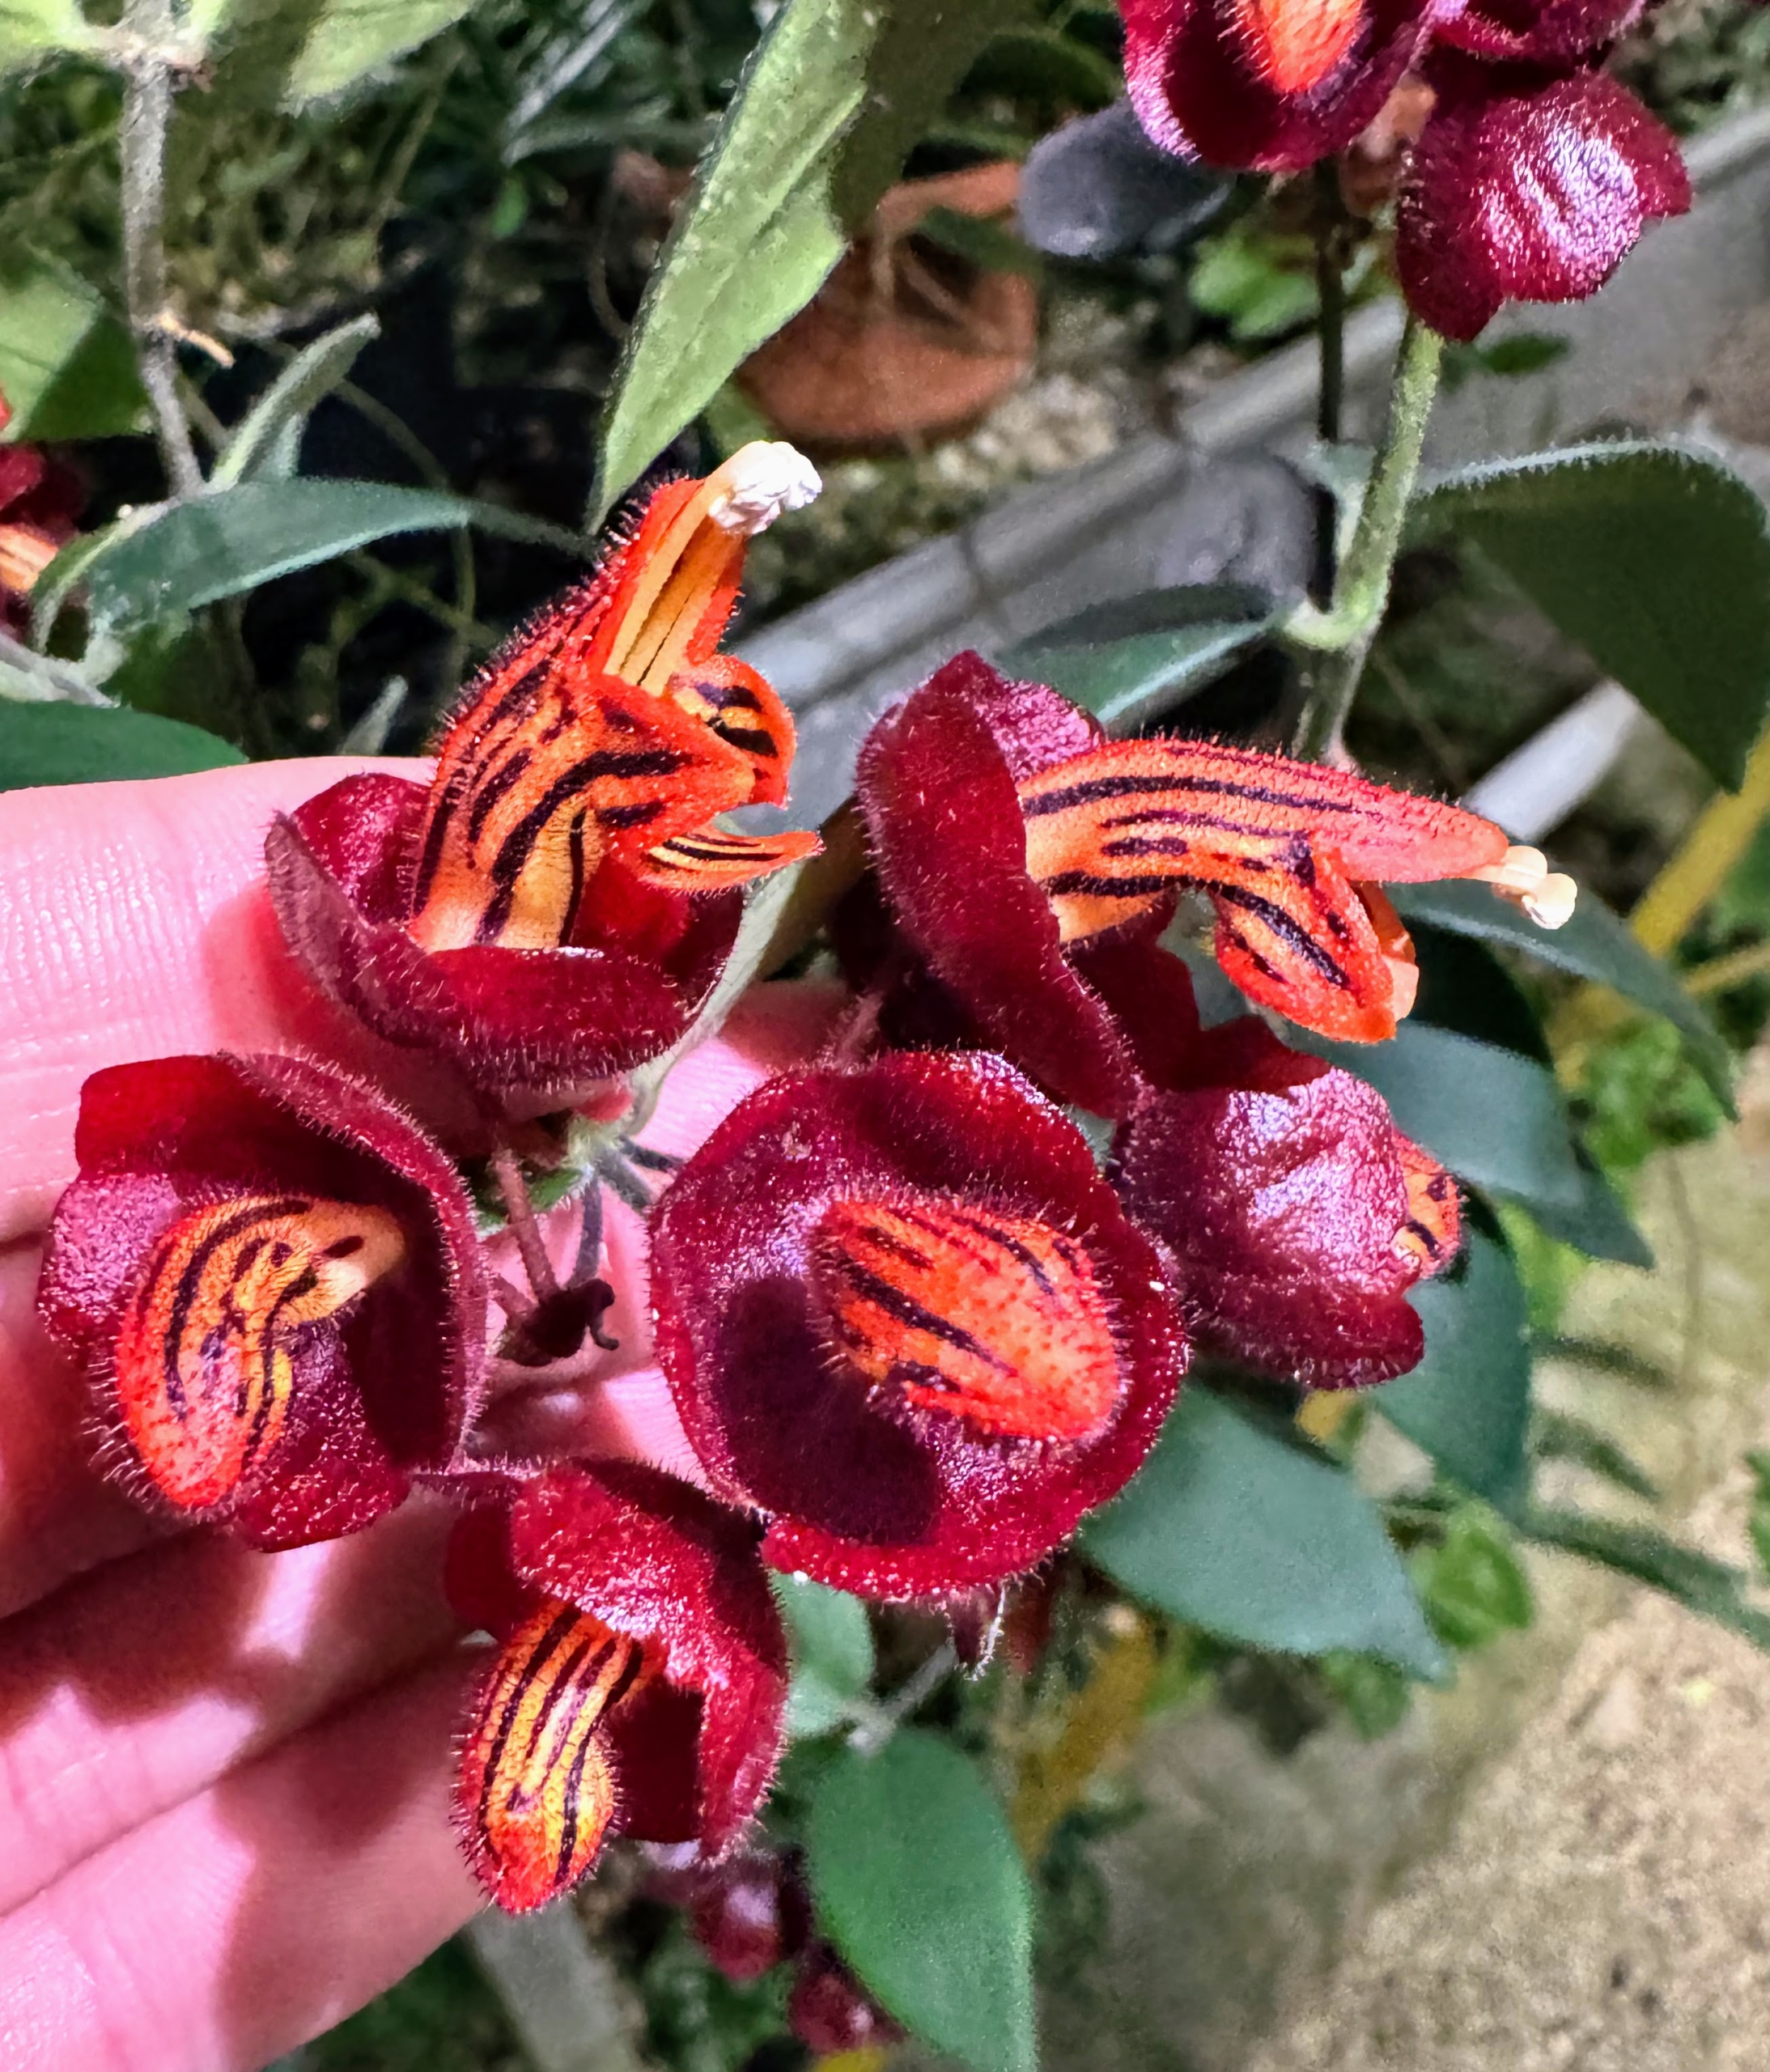
This is Aeschynanthus tricolor, commonly known as the lipstick plant. It features striking tubular flowers that are bright red with yellowish tips resembling makeup. This plant is native to regions of Southeast Asia and flowers in clusters showing off its colors for several weeks.
This is the Friedenstein Palace or Schloss Friedenstein – an early Baroque palace in the city of Gotha in Germany. This palace was built in the mid-17th century around an open courtyard. The palace now houses several museums.
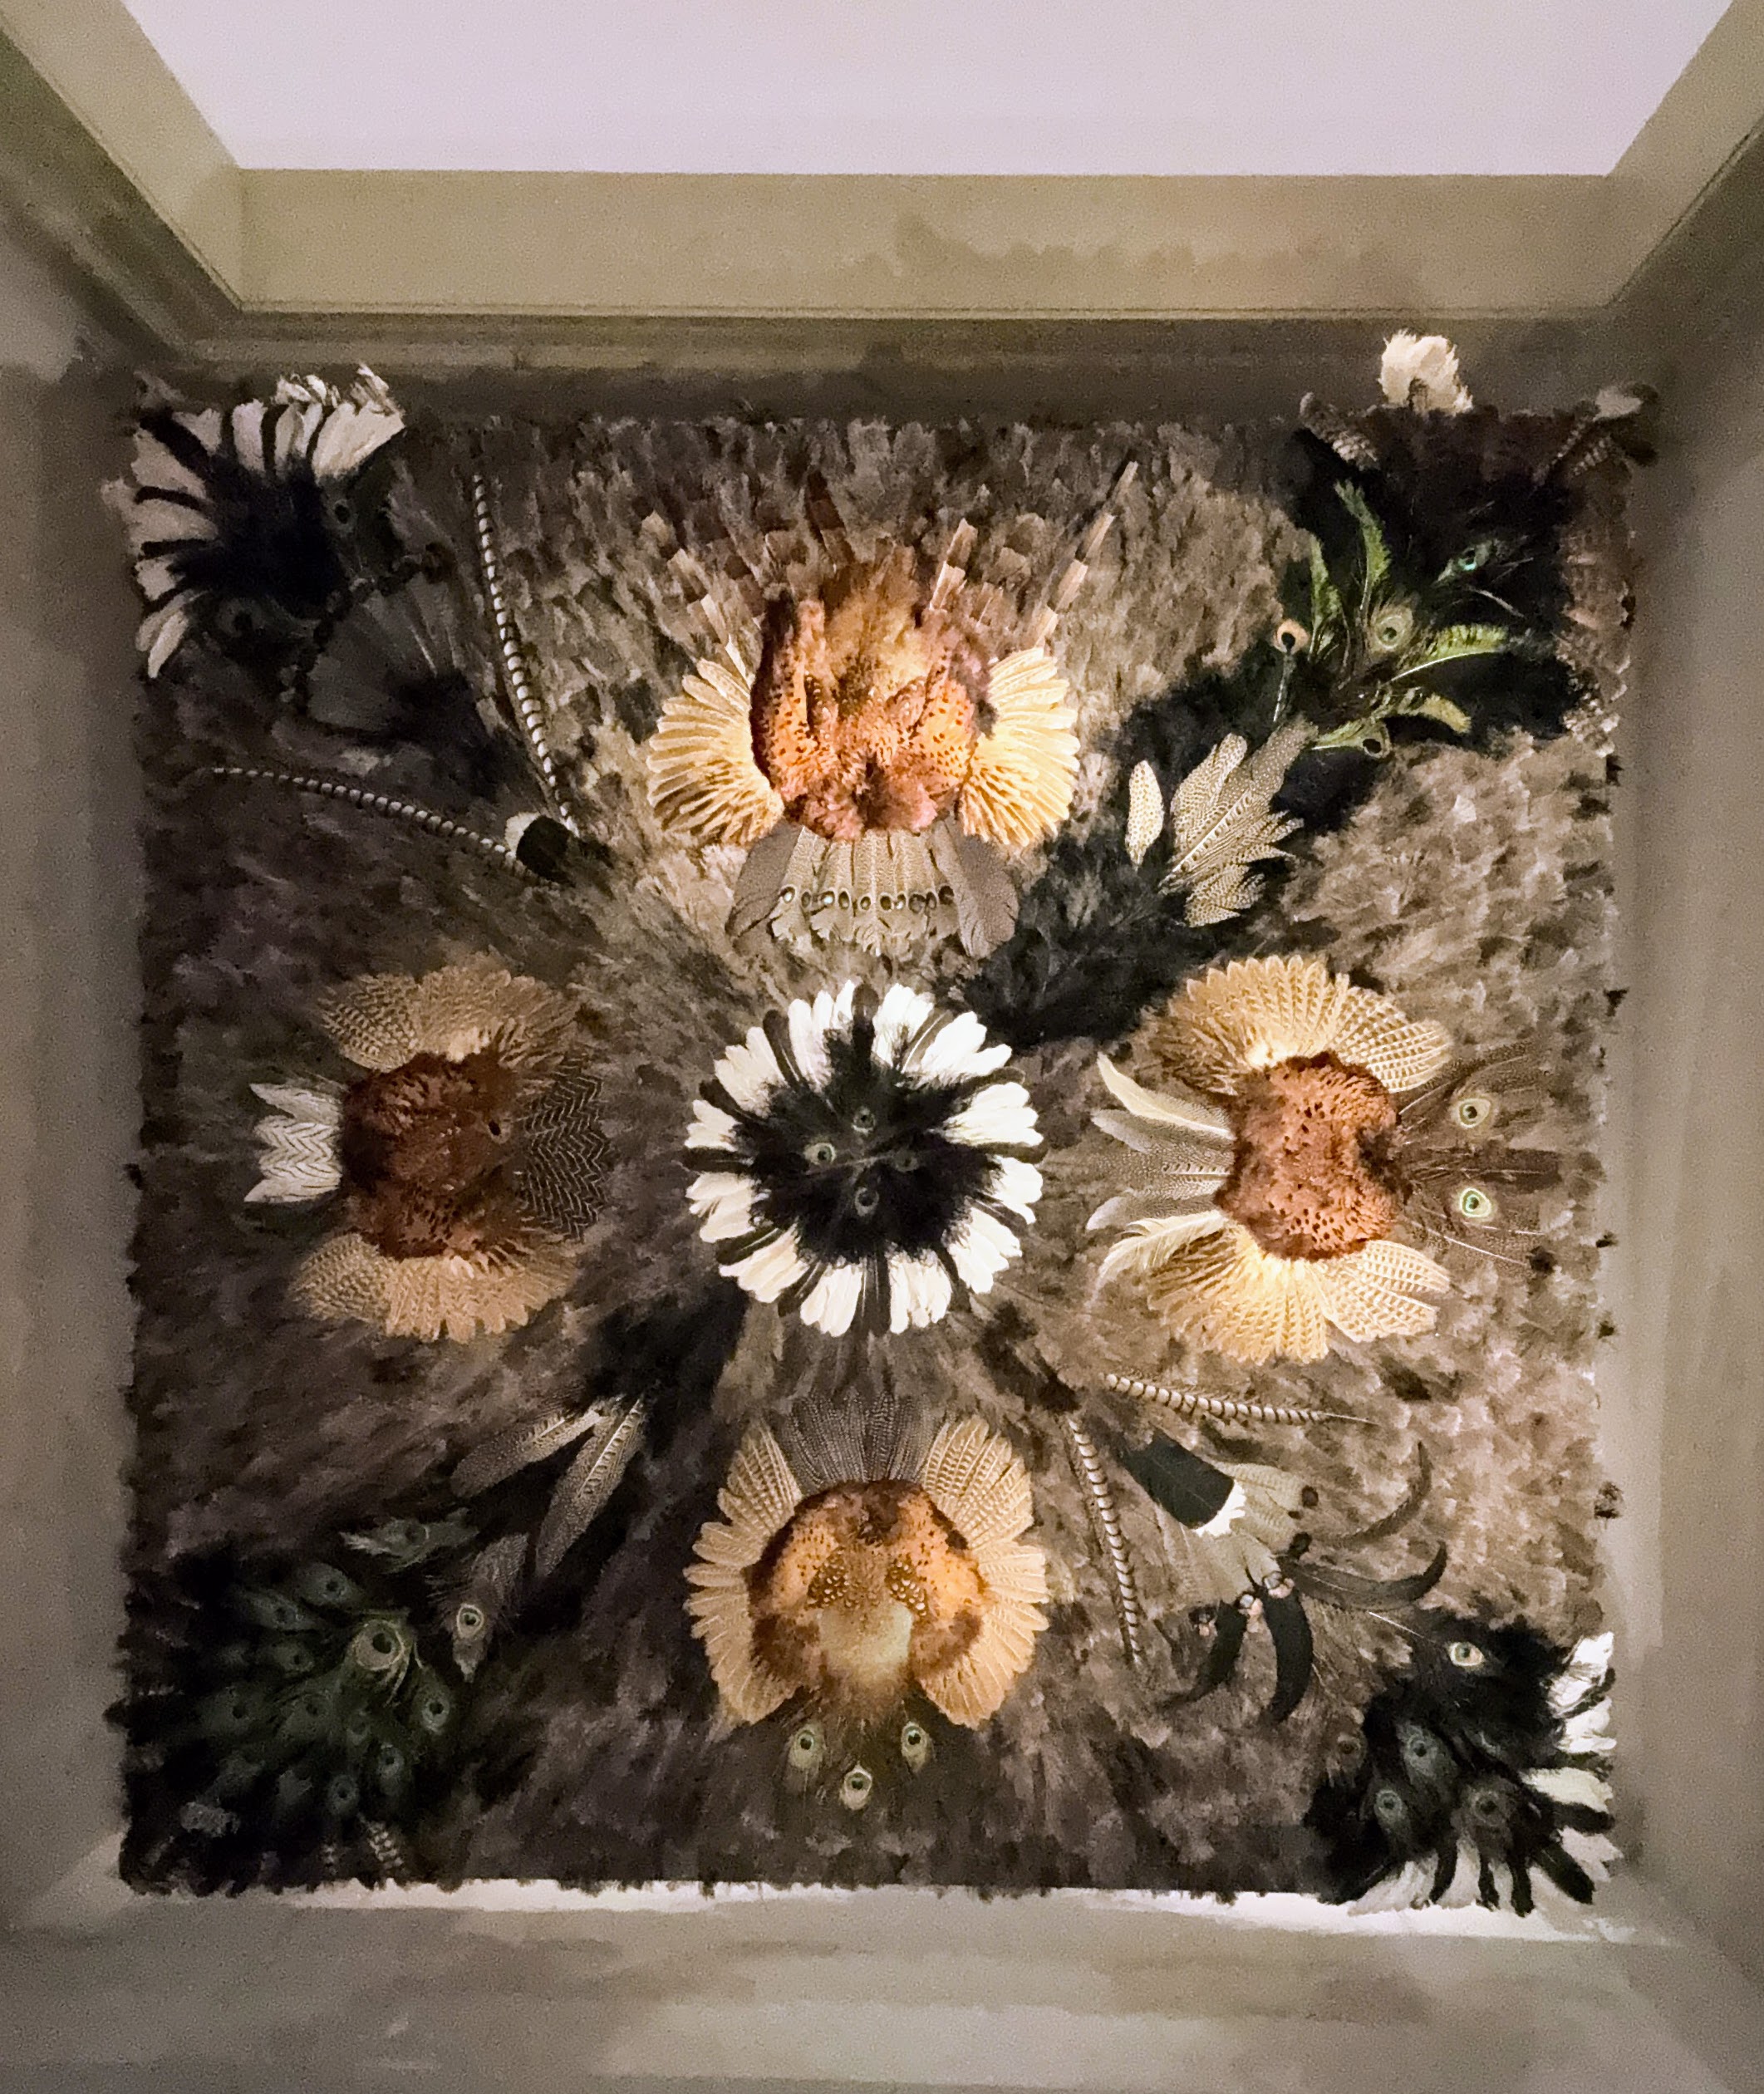
Inside, one can see its opulent stucco ceilings.
The main banquet hall had lavish ceiling sculptures framed with flowers.
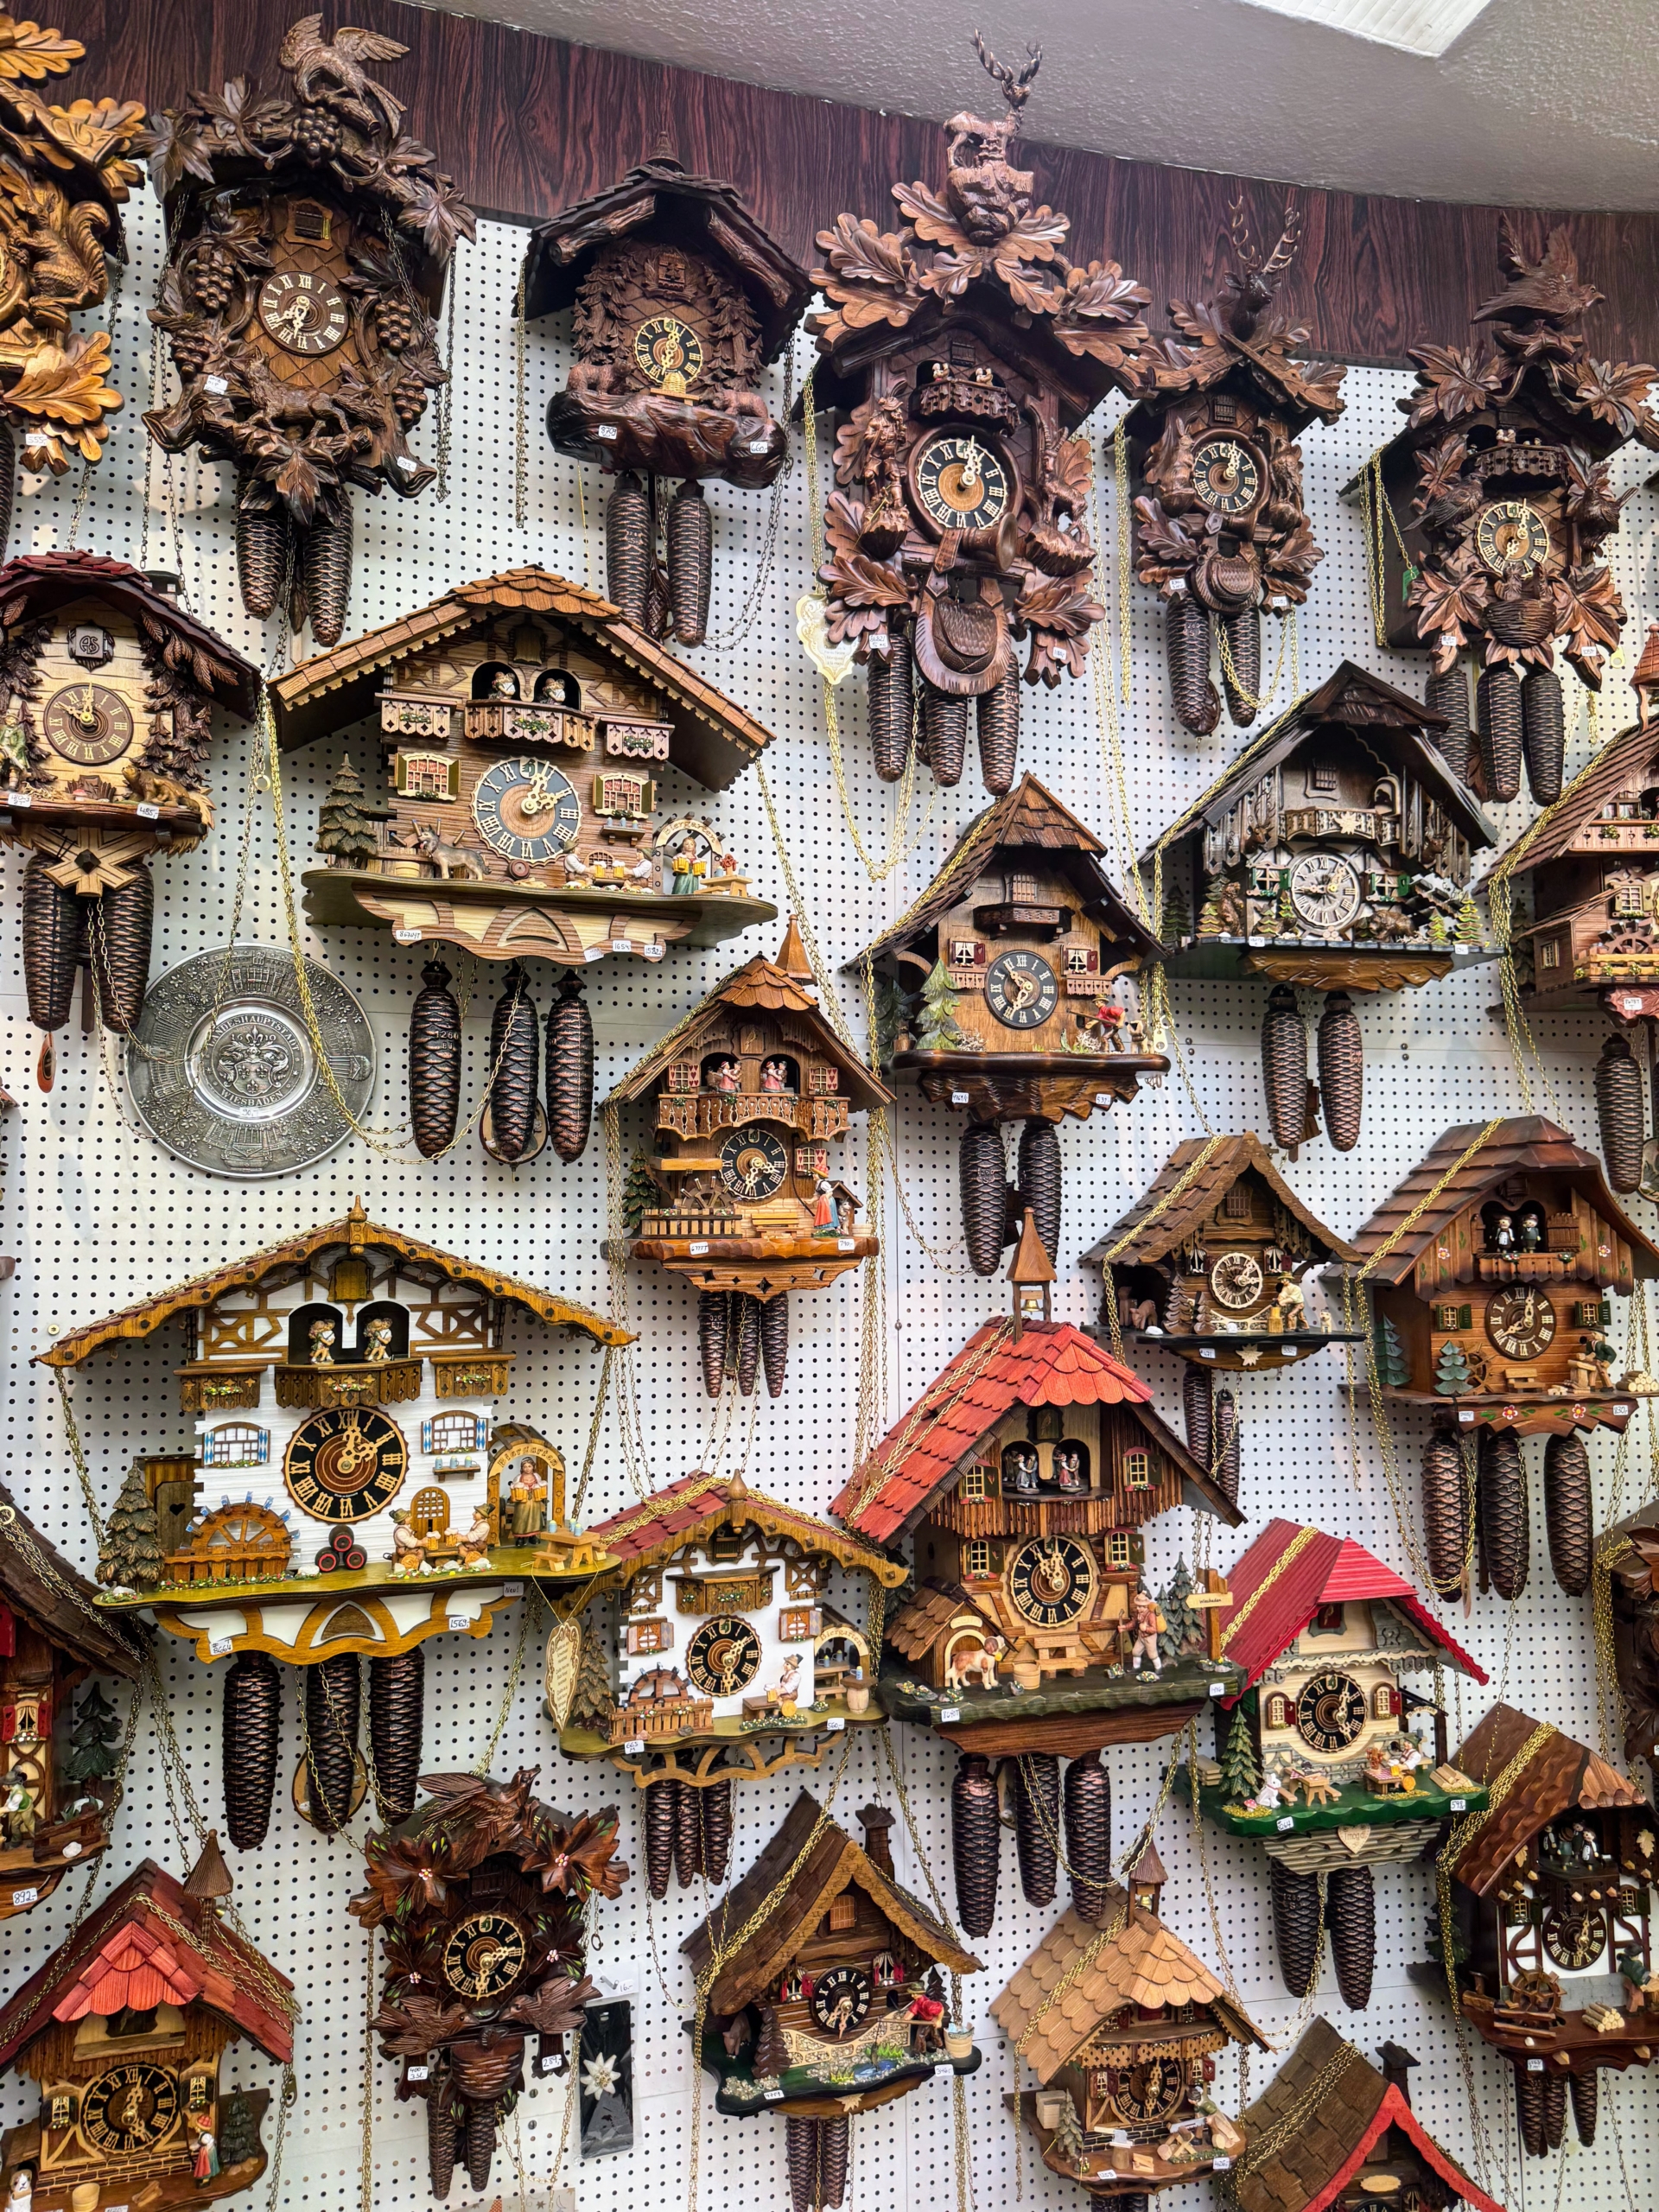
In Weisbaden, cuckoo clocks are particularly popular for their unique charm and craftsmanship. In this shop, Ryan saw both vintage and newer handmade items.
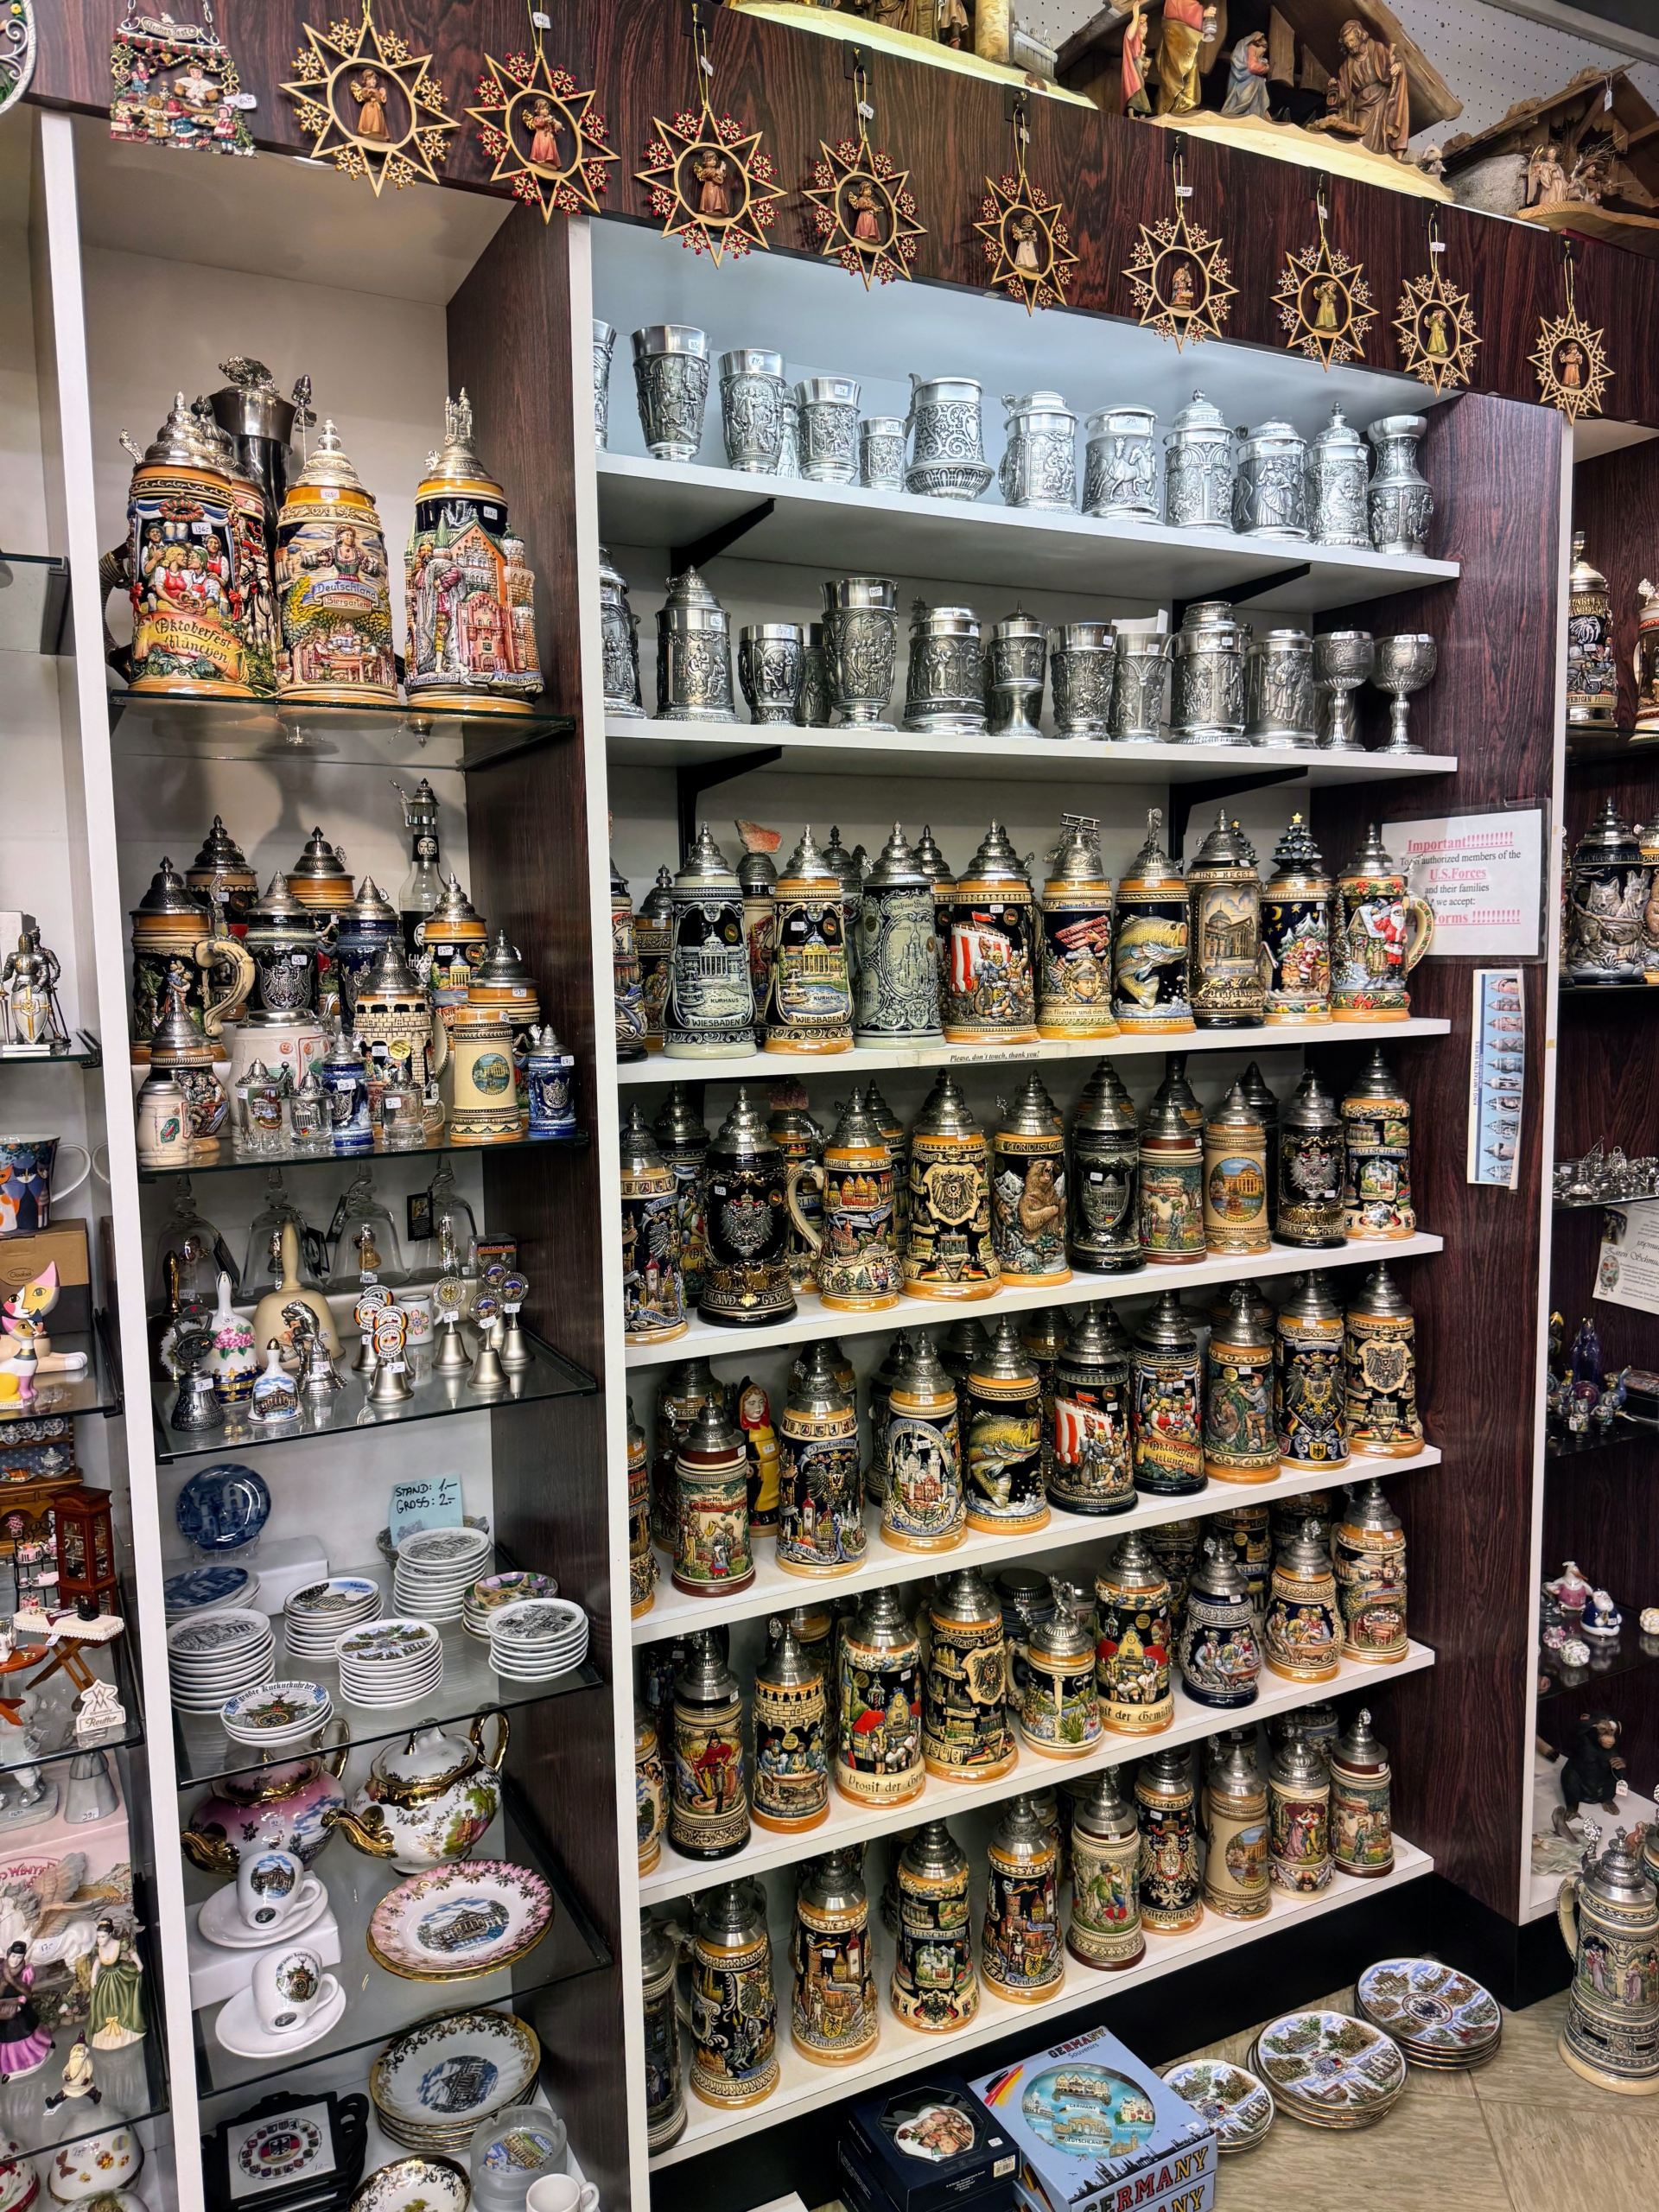
In another shop, Ryan admired the wall of beer steins – traditional beer mugs made out of stoneware, pewter, porcelain or even silver, wood, or crystal.
Here is the Erfurt Cathedral, also known as St. Mary’s Cathedral, the largest and oldest church in the city of Erfurt.
Many of the streets were decorated for the holidays.
Here is the Berlin Palace, also called Stadtschloss or “City Palace.”
And nearby is the Berlin Cathedral. This Protestant church was built from 1894 to 1905 by order of Emperor William II.
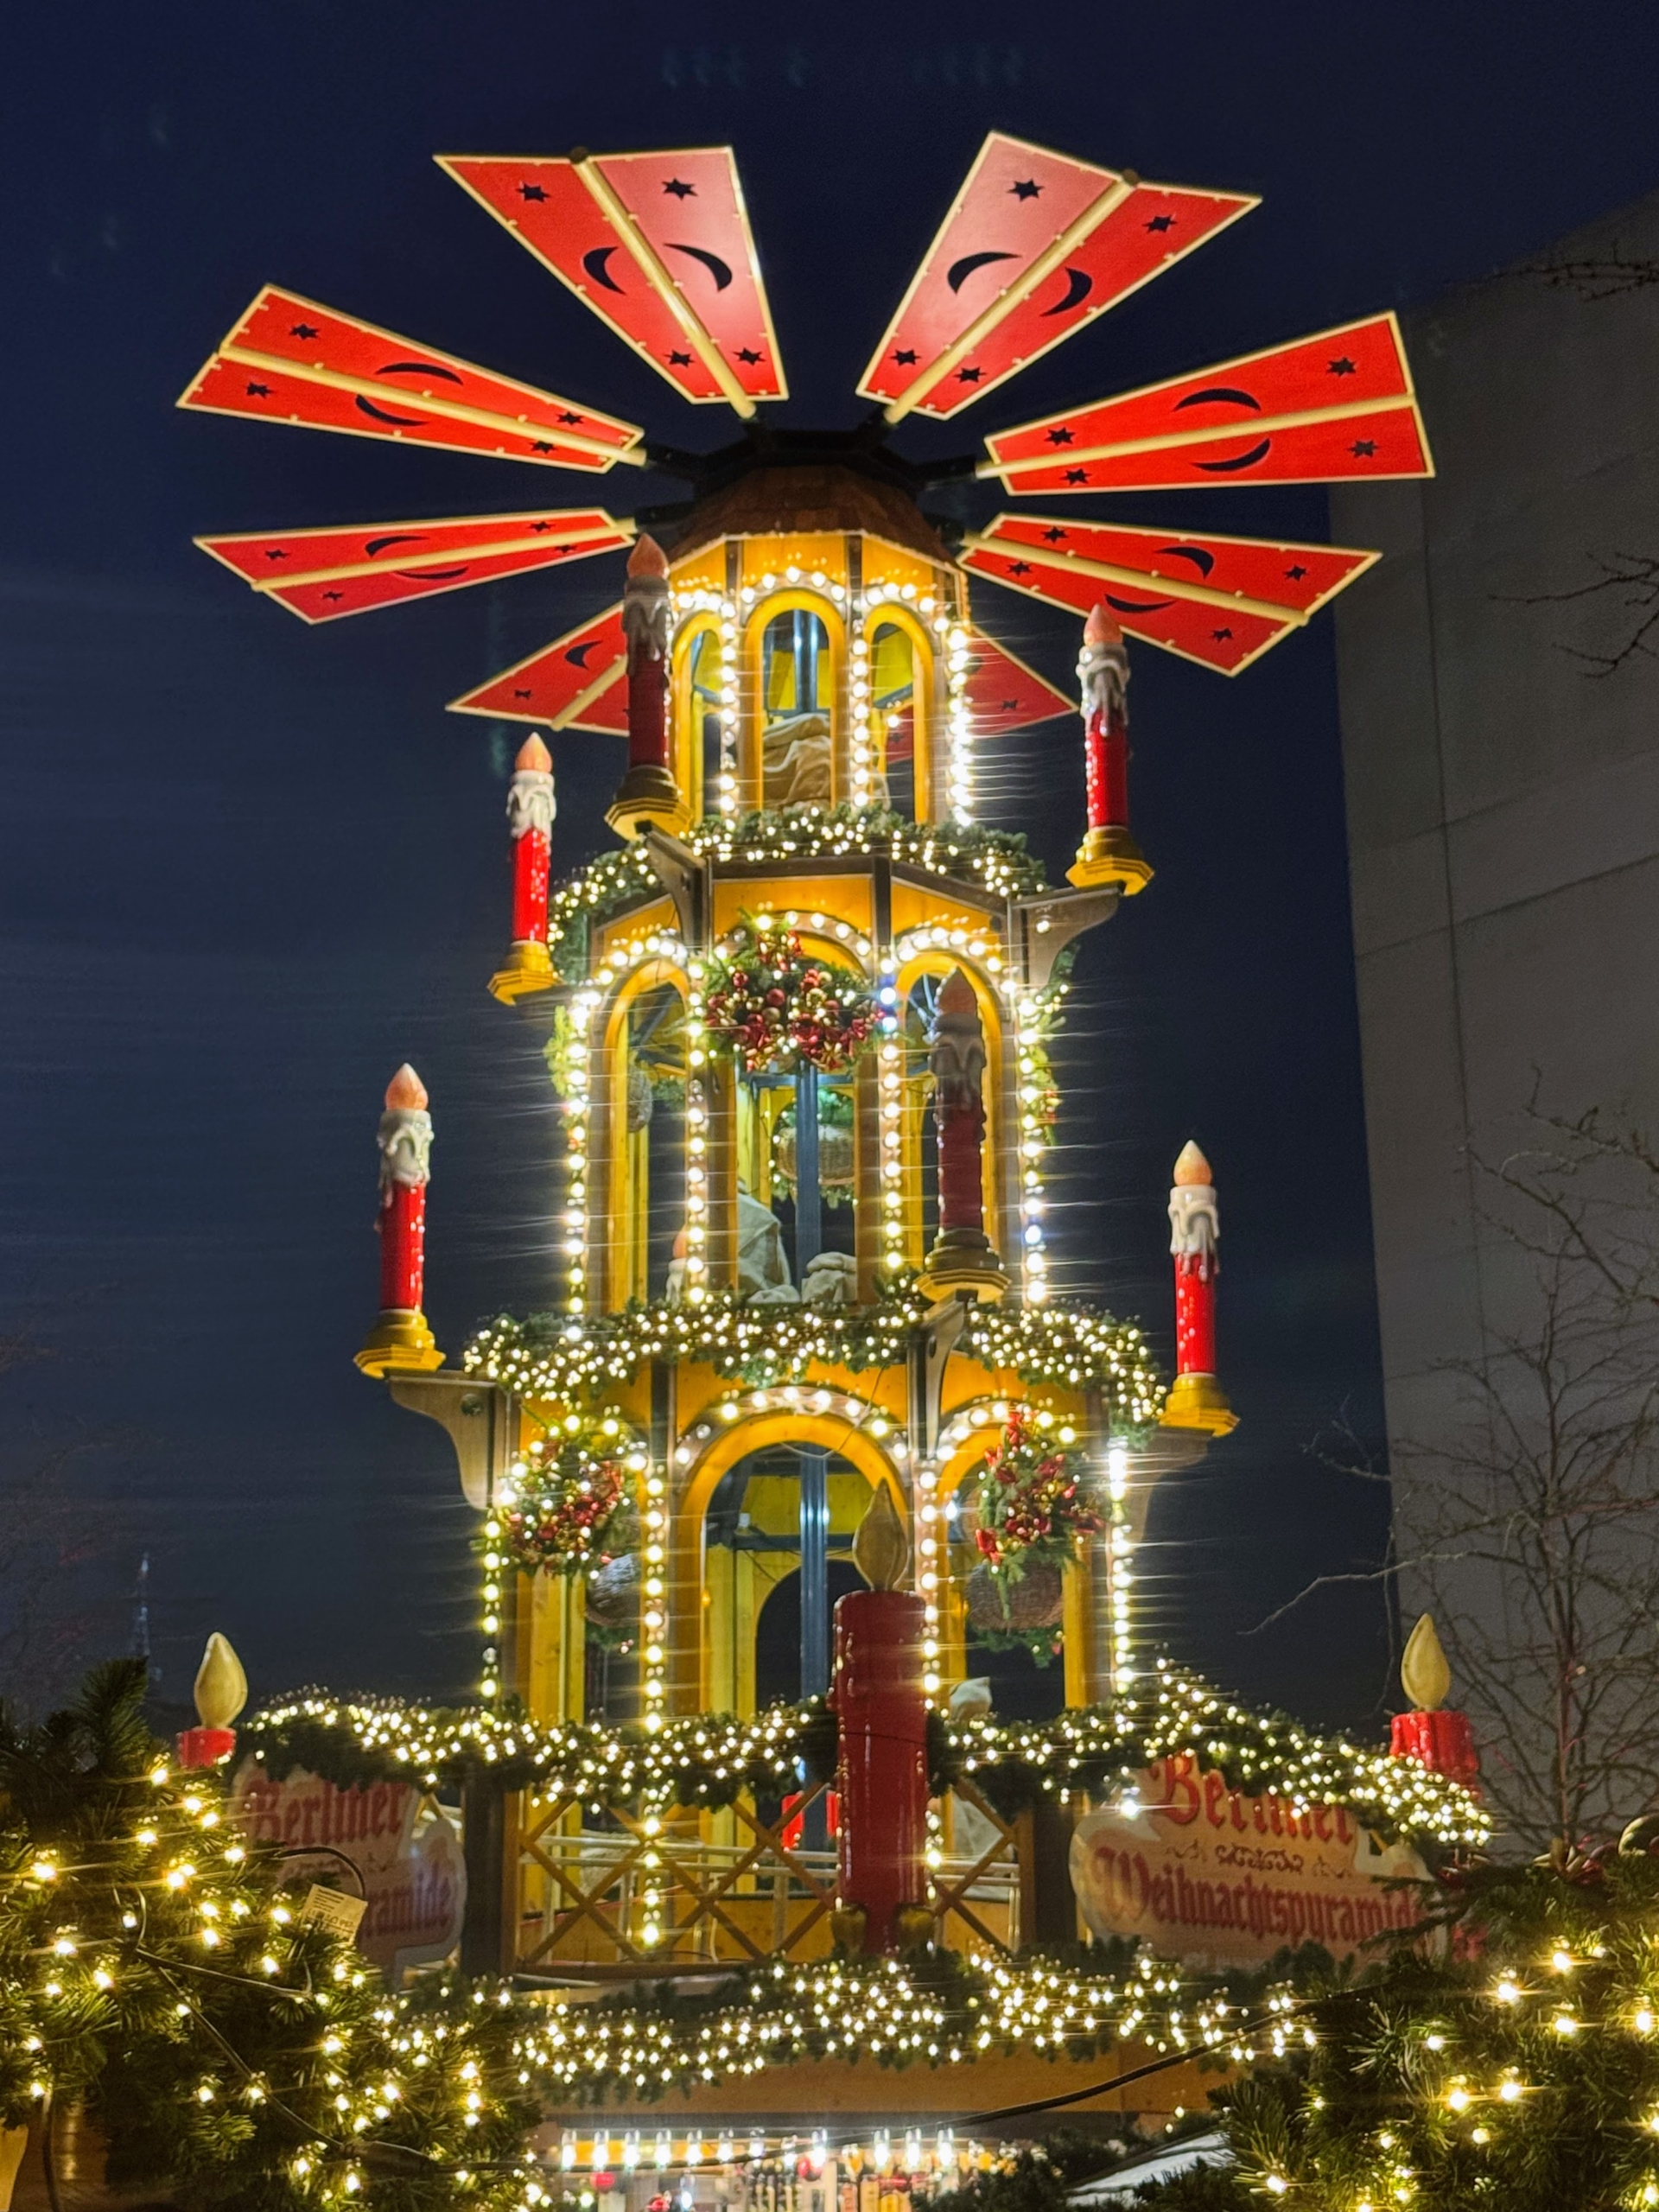
In Berlin, Ryan couldn’t miss this Christmas pyramid all lit up for the holiday season.
And here is the famous Brandenburg Gate, one of Germany’s best-known landmarks. It was built from 1788 to 1791 on the site of a former city gate that marked the road from Berlin to Brandenburg. Since German reunification in 1990, it has been considered not only historic but also as a symbol of European unity and peace. Thanks for sharing your photos, Ryan.