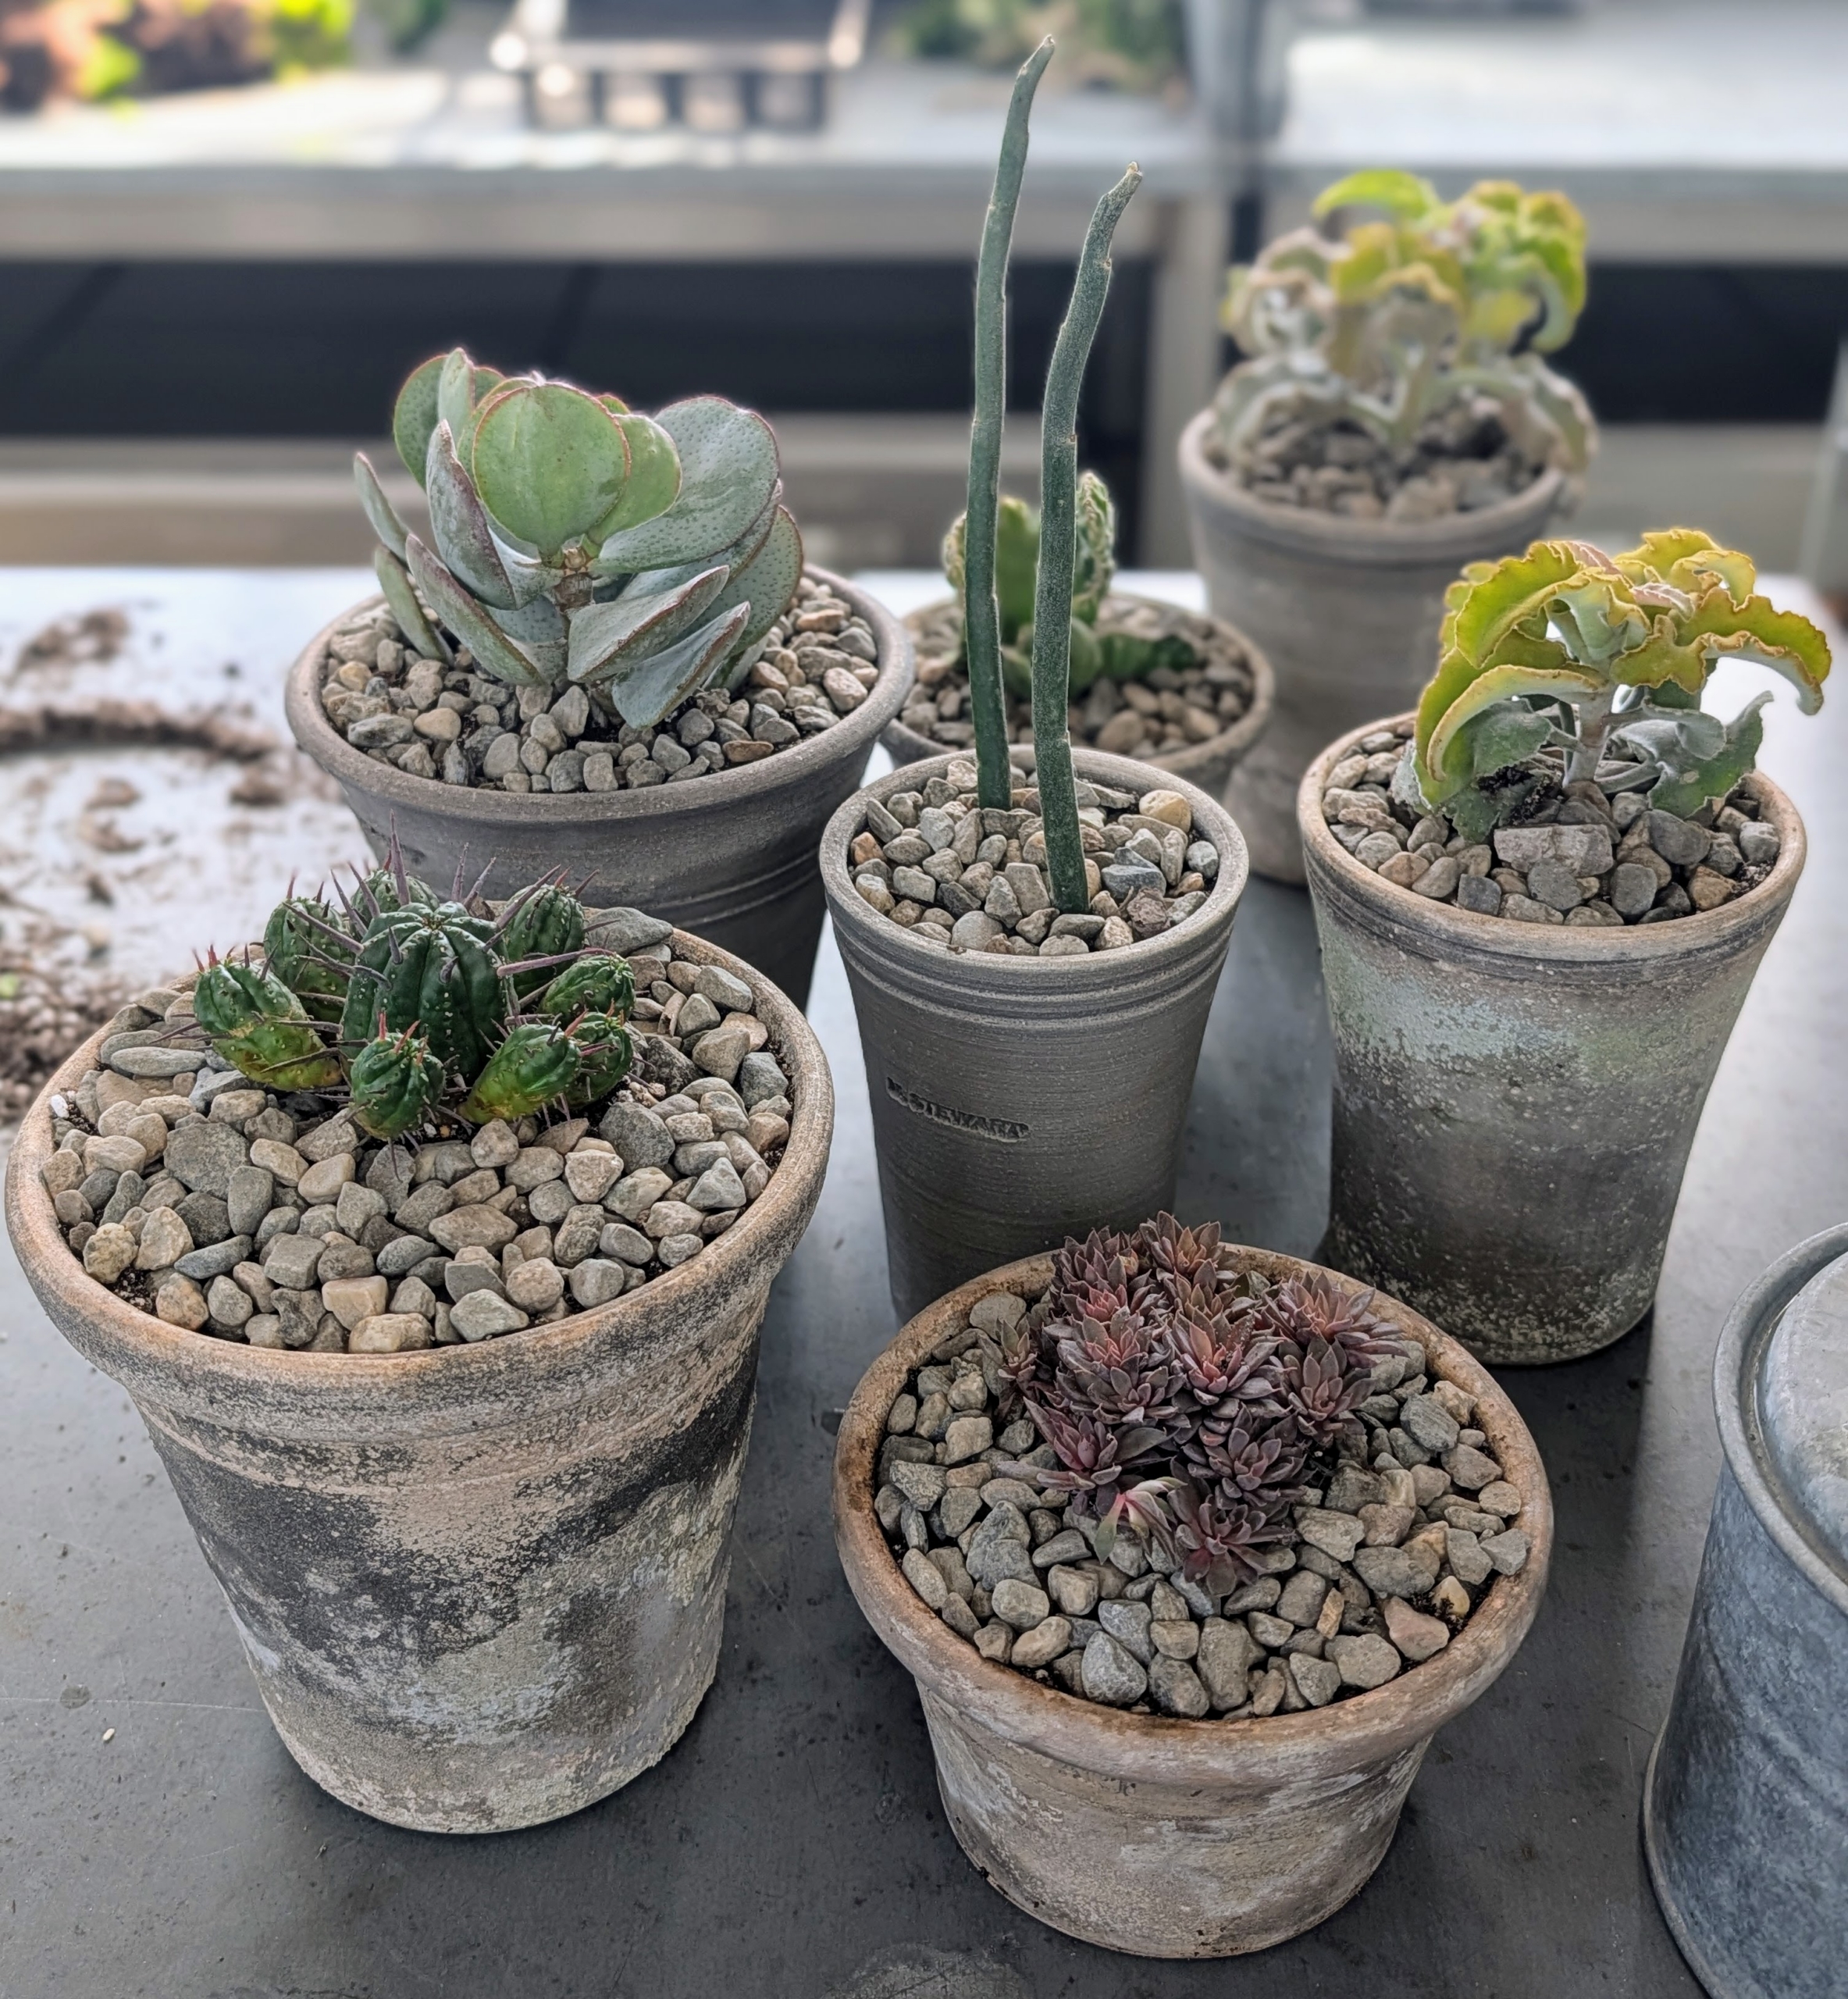
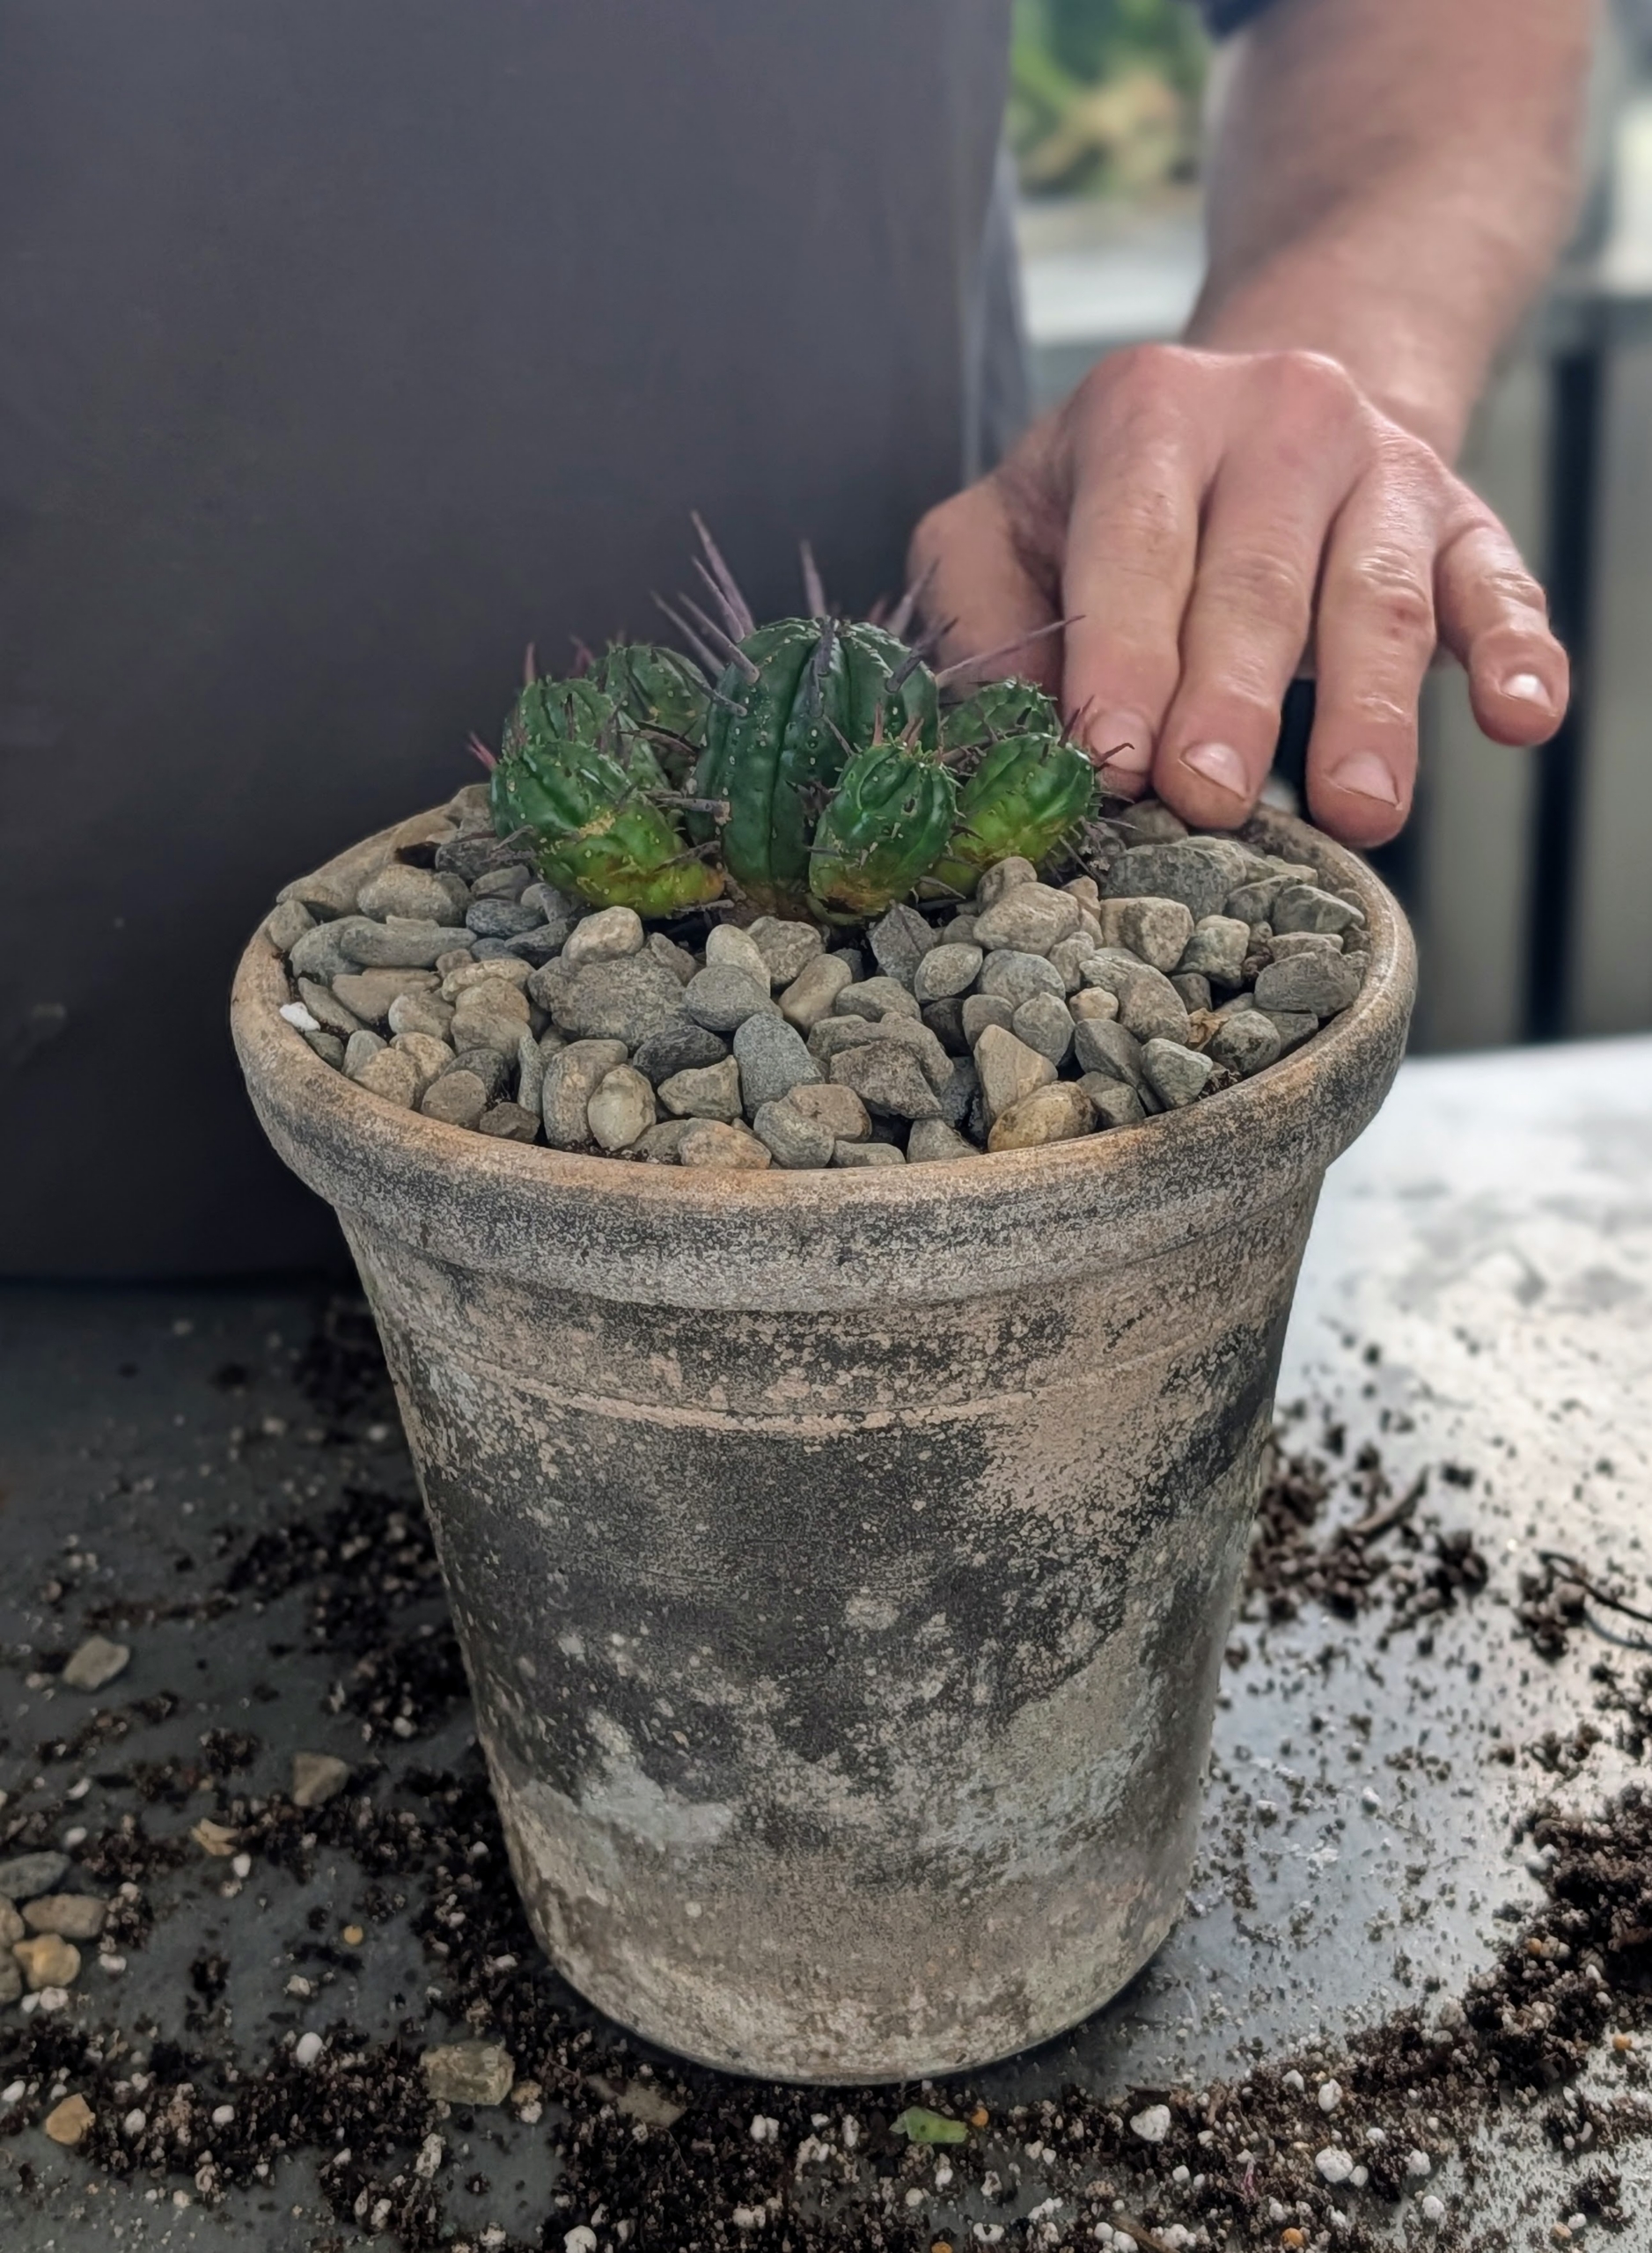
Among my favorite plants are the exotic forms of succulents - they make excellent container specimens.
If you like growing plants, but don’t really have the time to care for them properly, I encourage you to consider growing succulents. Succulents are so easy to maintain and are able to survive prolonged drought because they store moisture in their fleshy stems, roots, and leaves. Not long ago, during a business trip out west, I stopped for a brief visit to see Flora Grubb, one of our 2012 American Made Winners, and got some beautiful small succulents to add to my growing collection.
Enjoy these photos.
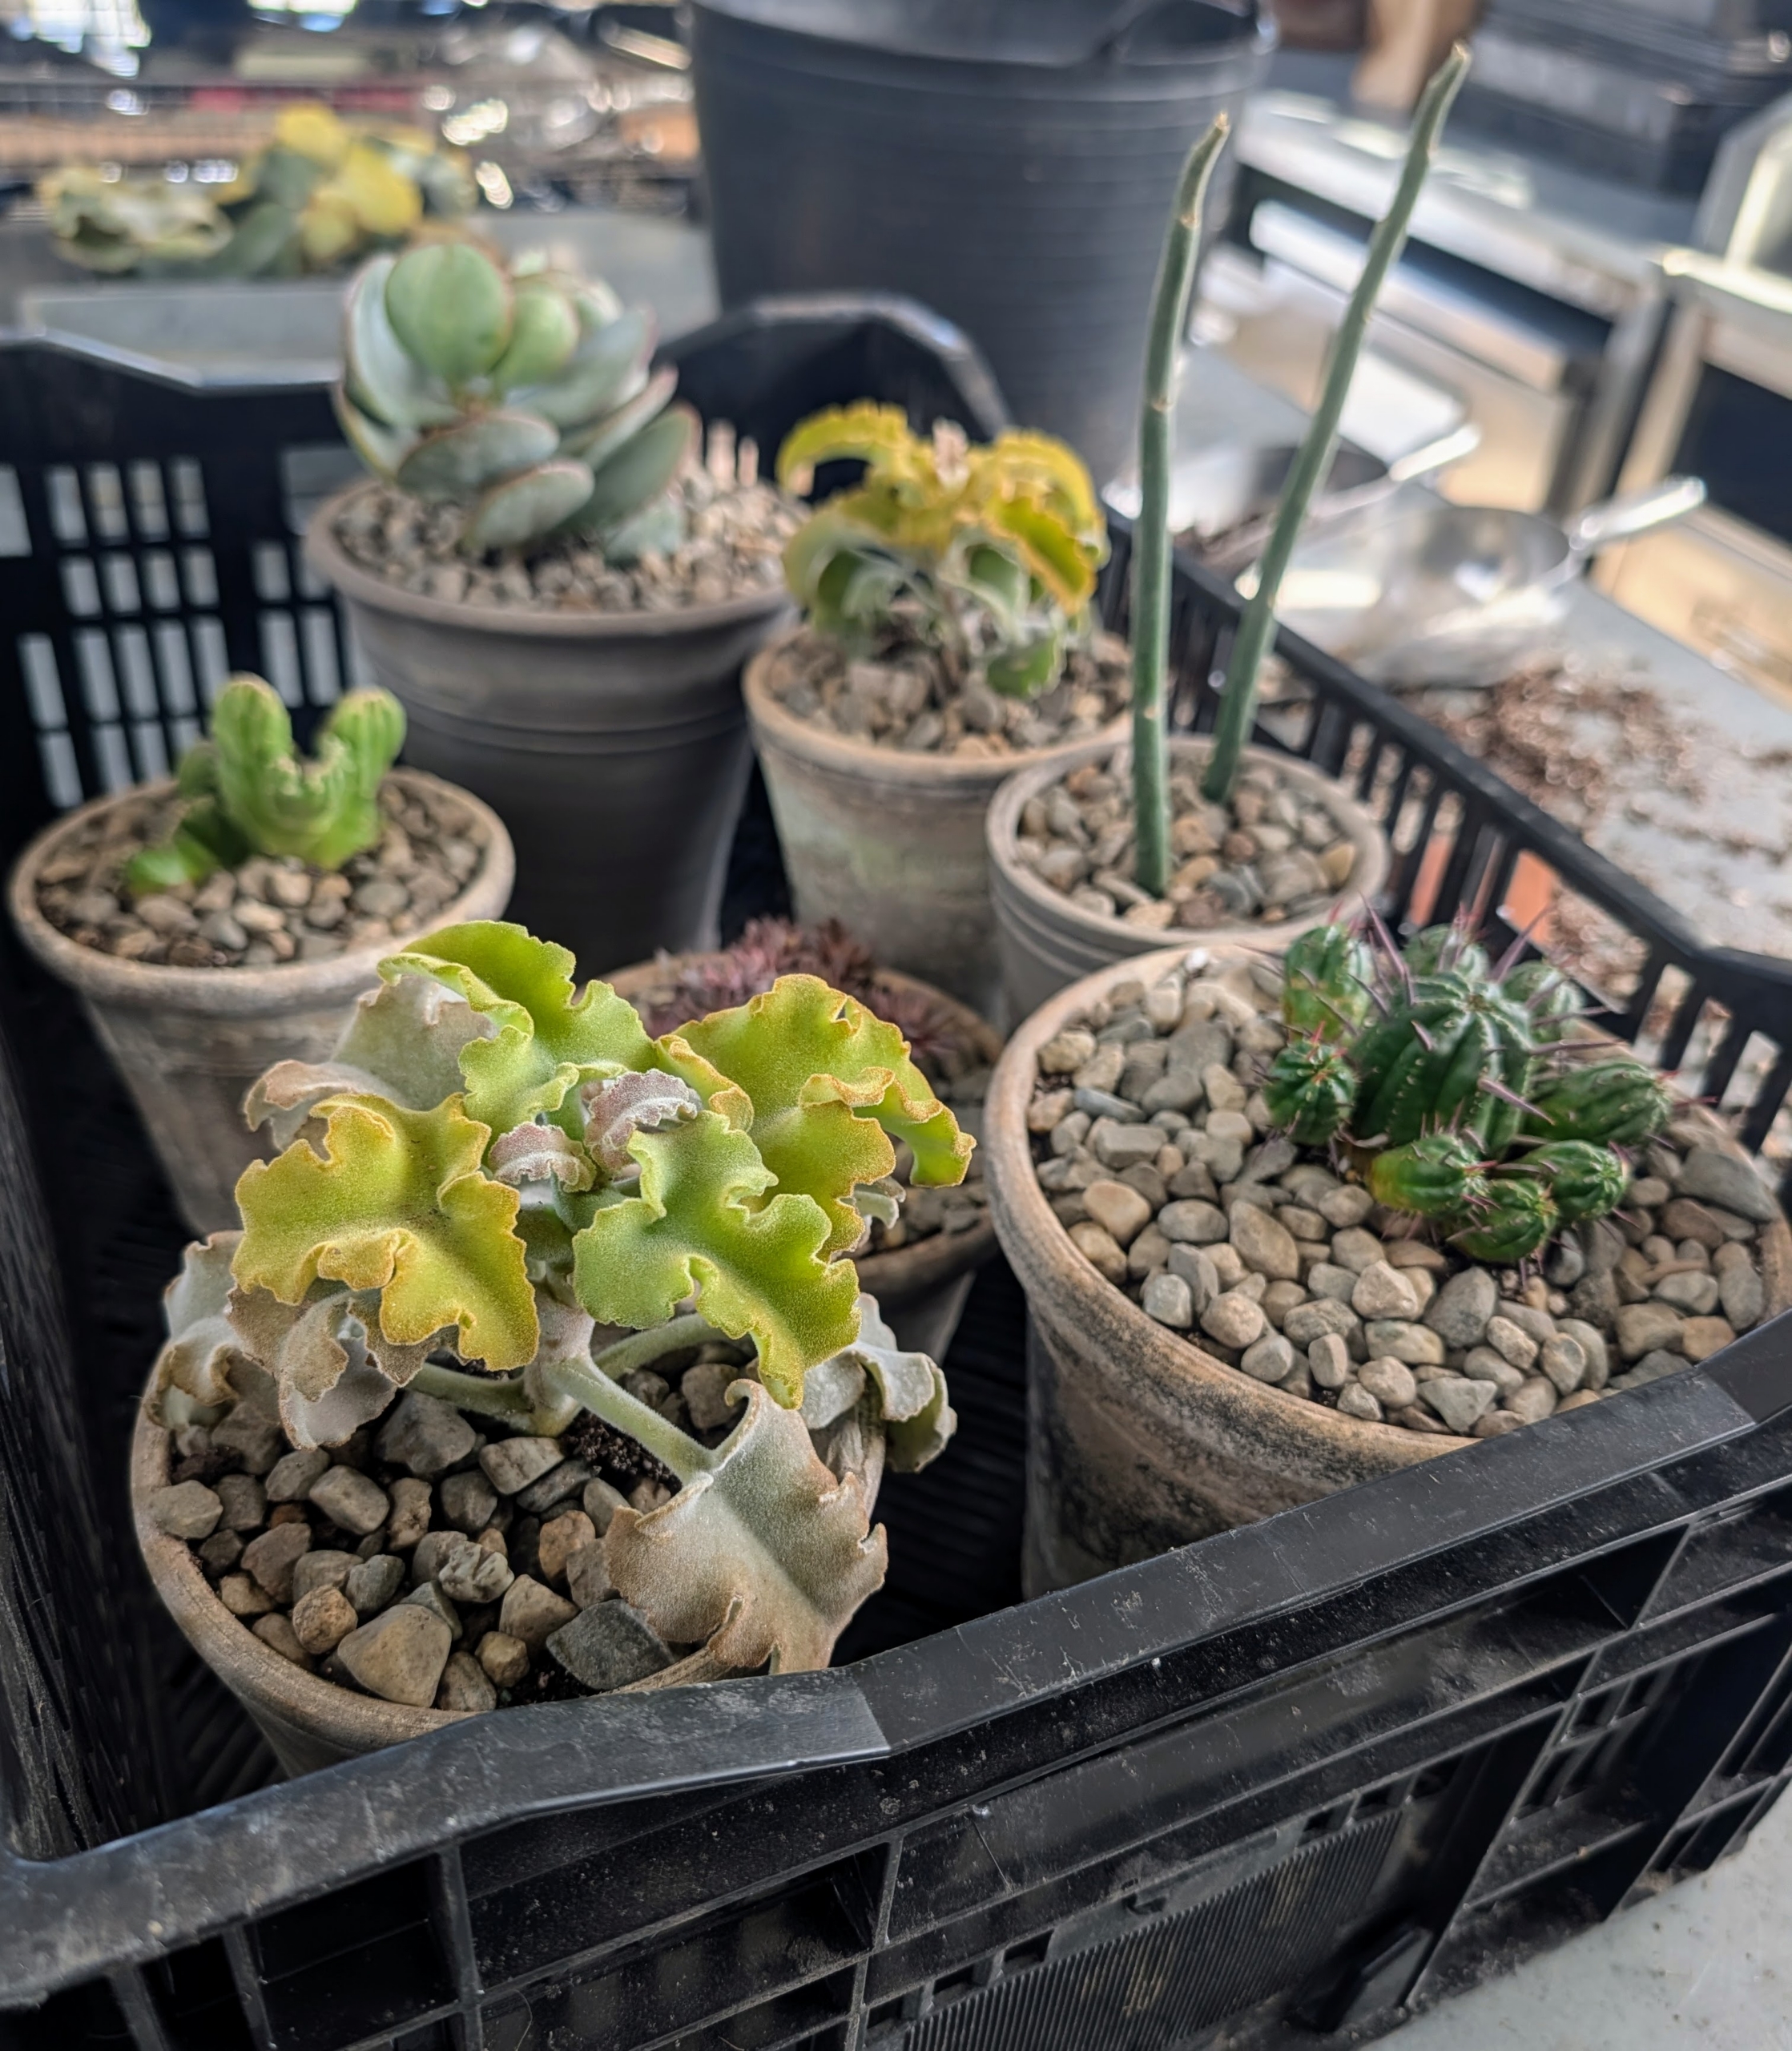
I am always looking for interesting and unique plants to bring home and add to my greenhouse. I have amassed quite a collection of specimens over the years. Most of these succulents are from Flora Grubb’s San Francisco location. Succulent comes from the Latin word “sucus,” which means juice or sap. It’s also a nod to the nourishing leaves that help these plants survive in extremely warm conditions. They are often grown as ornamental plants because of their striking shapes.
Succulents are considered slow to grow with most varieties showing growth after several months to even years.
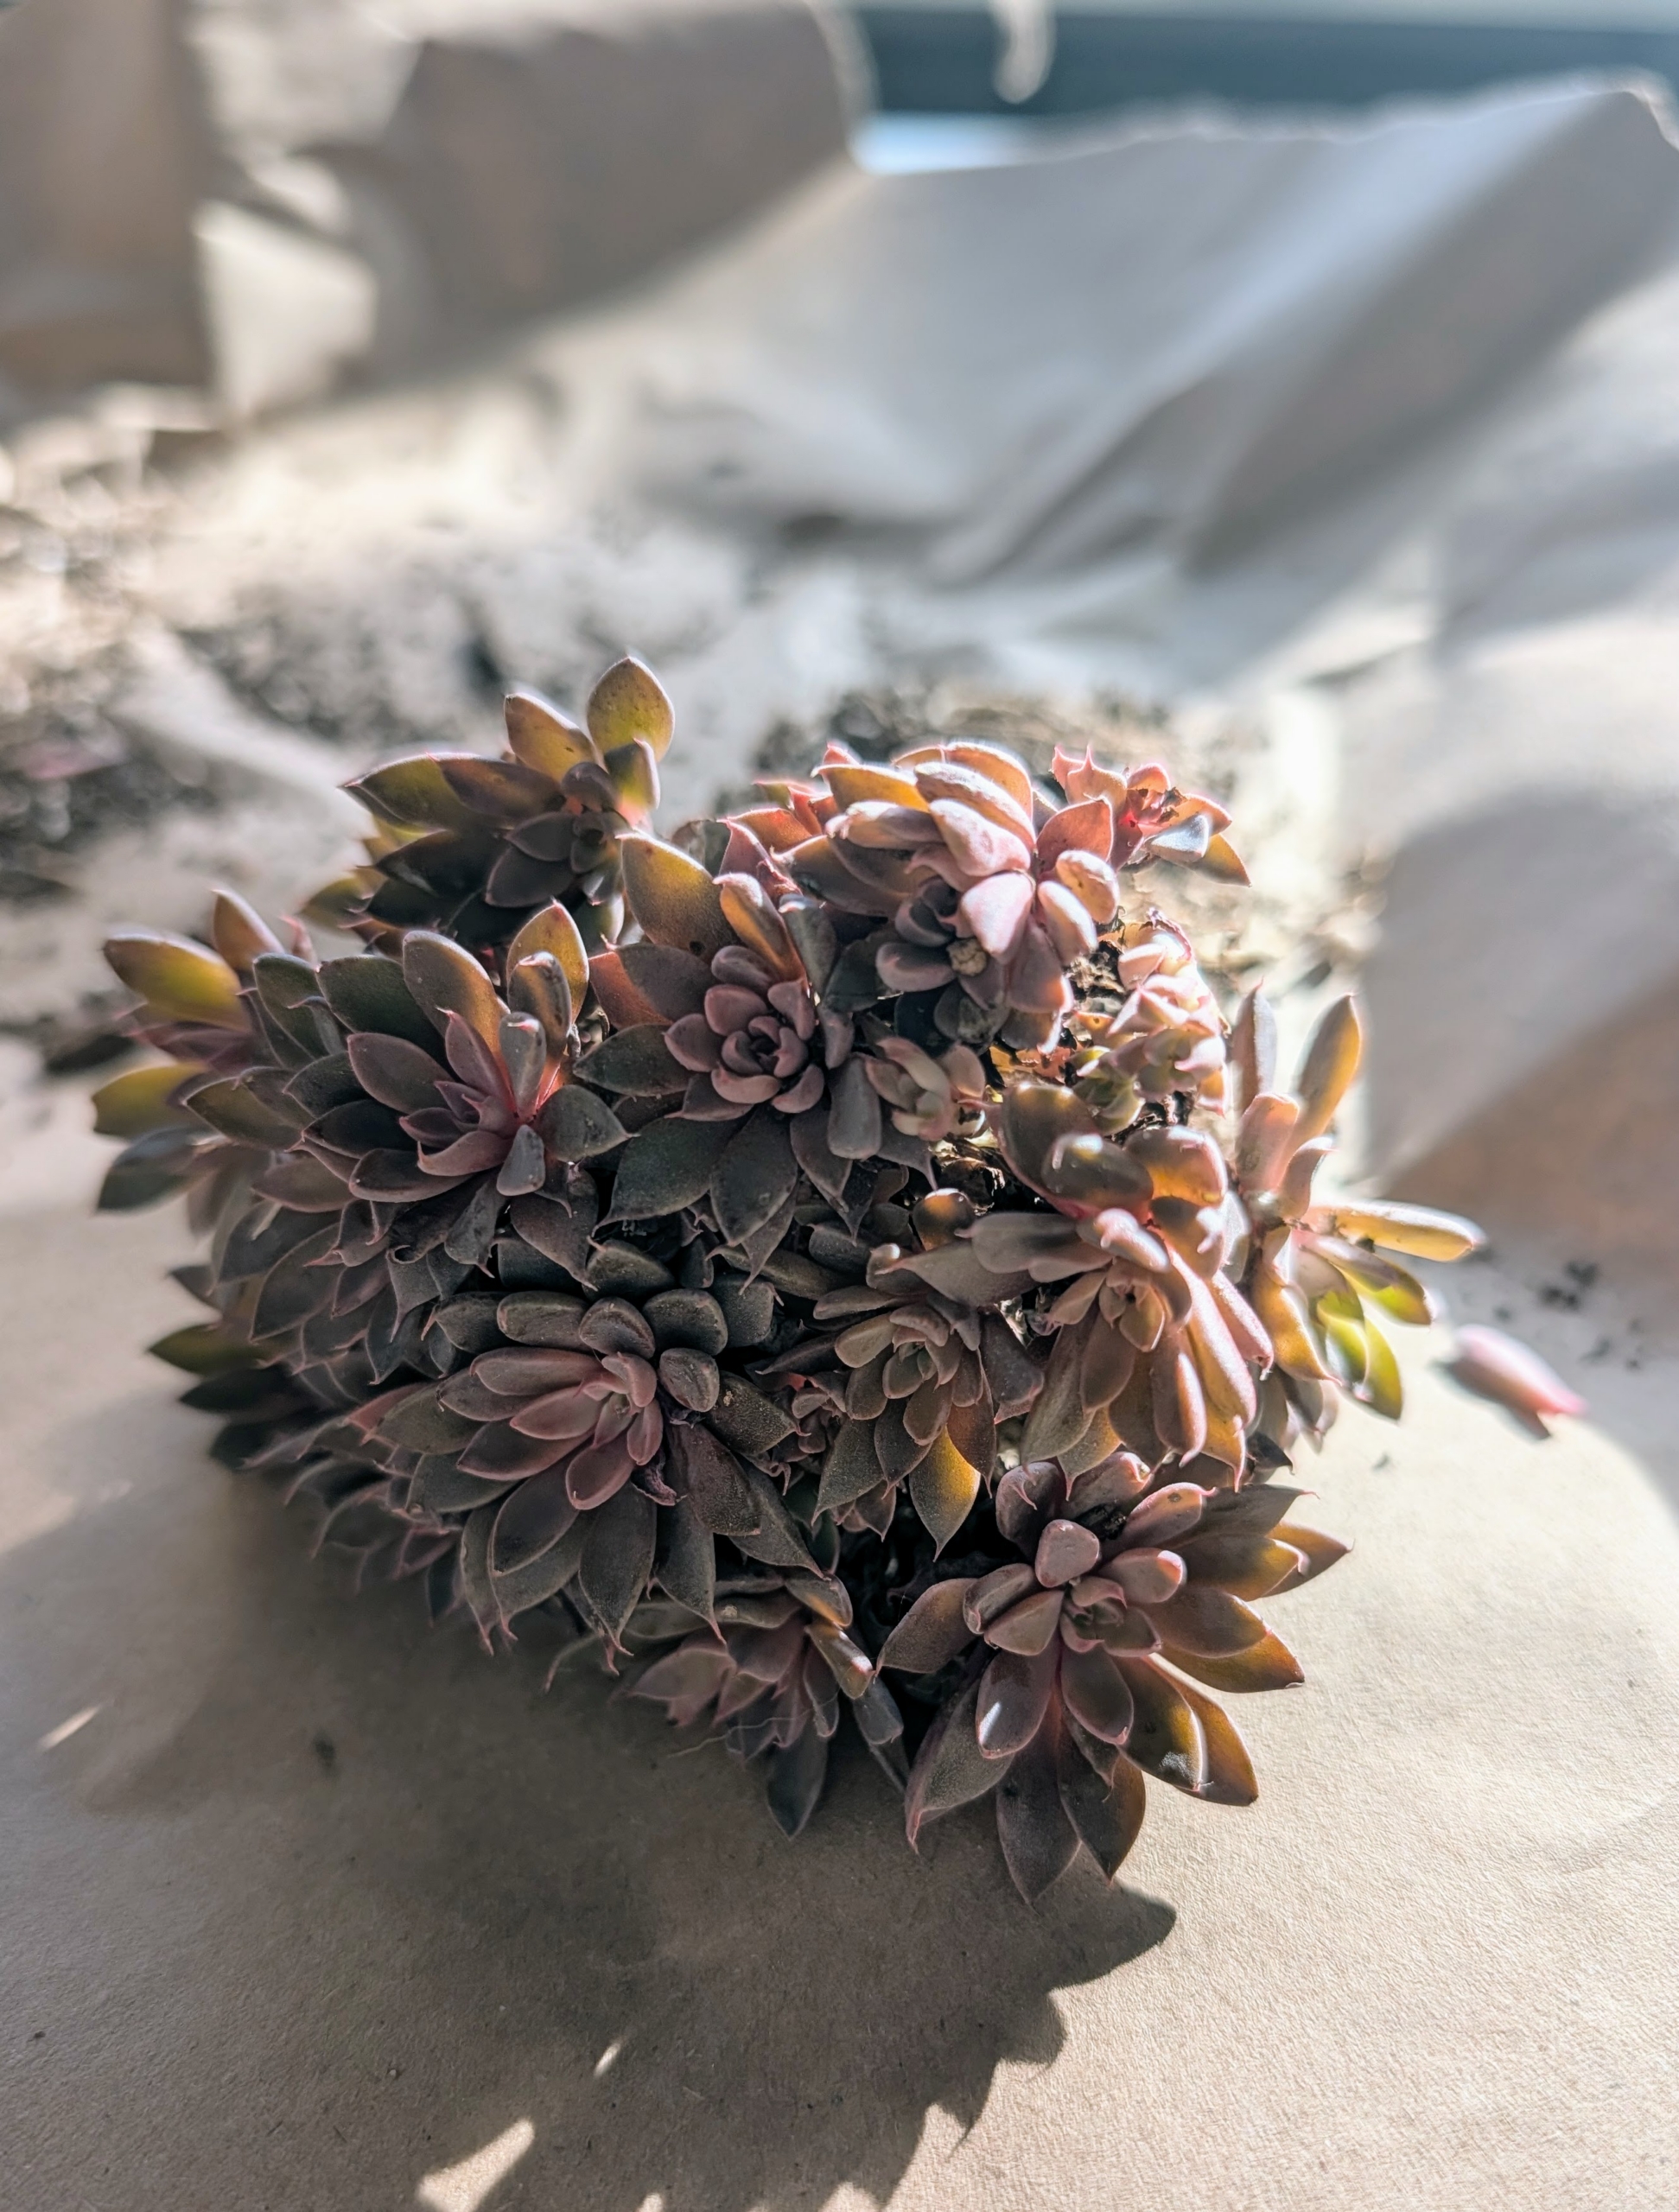
Succulents are known for their ability to store water, come in various colors and sizes, and require minimal care, making them popular among plant enthusiasts.
Succulent colors include shades of purple, green, blue, pink, and even red. Their colors can change based on environmental factors such as sunlight exposure, temperature, and water availability.
Some are smooth and some have decorative and sharp spines.
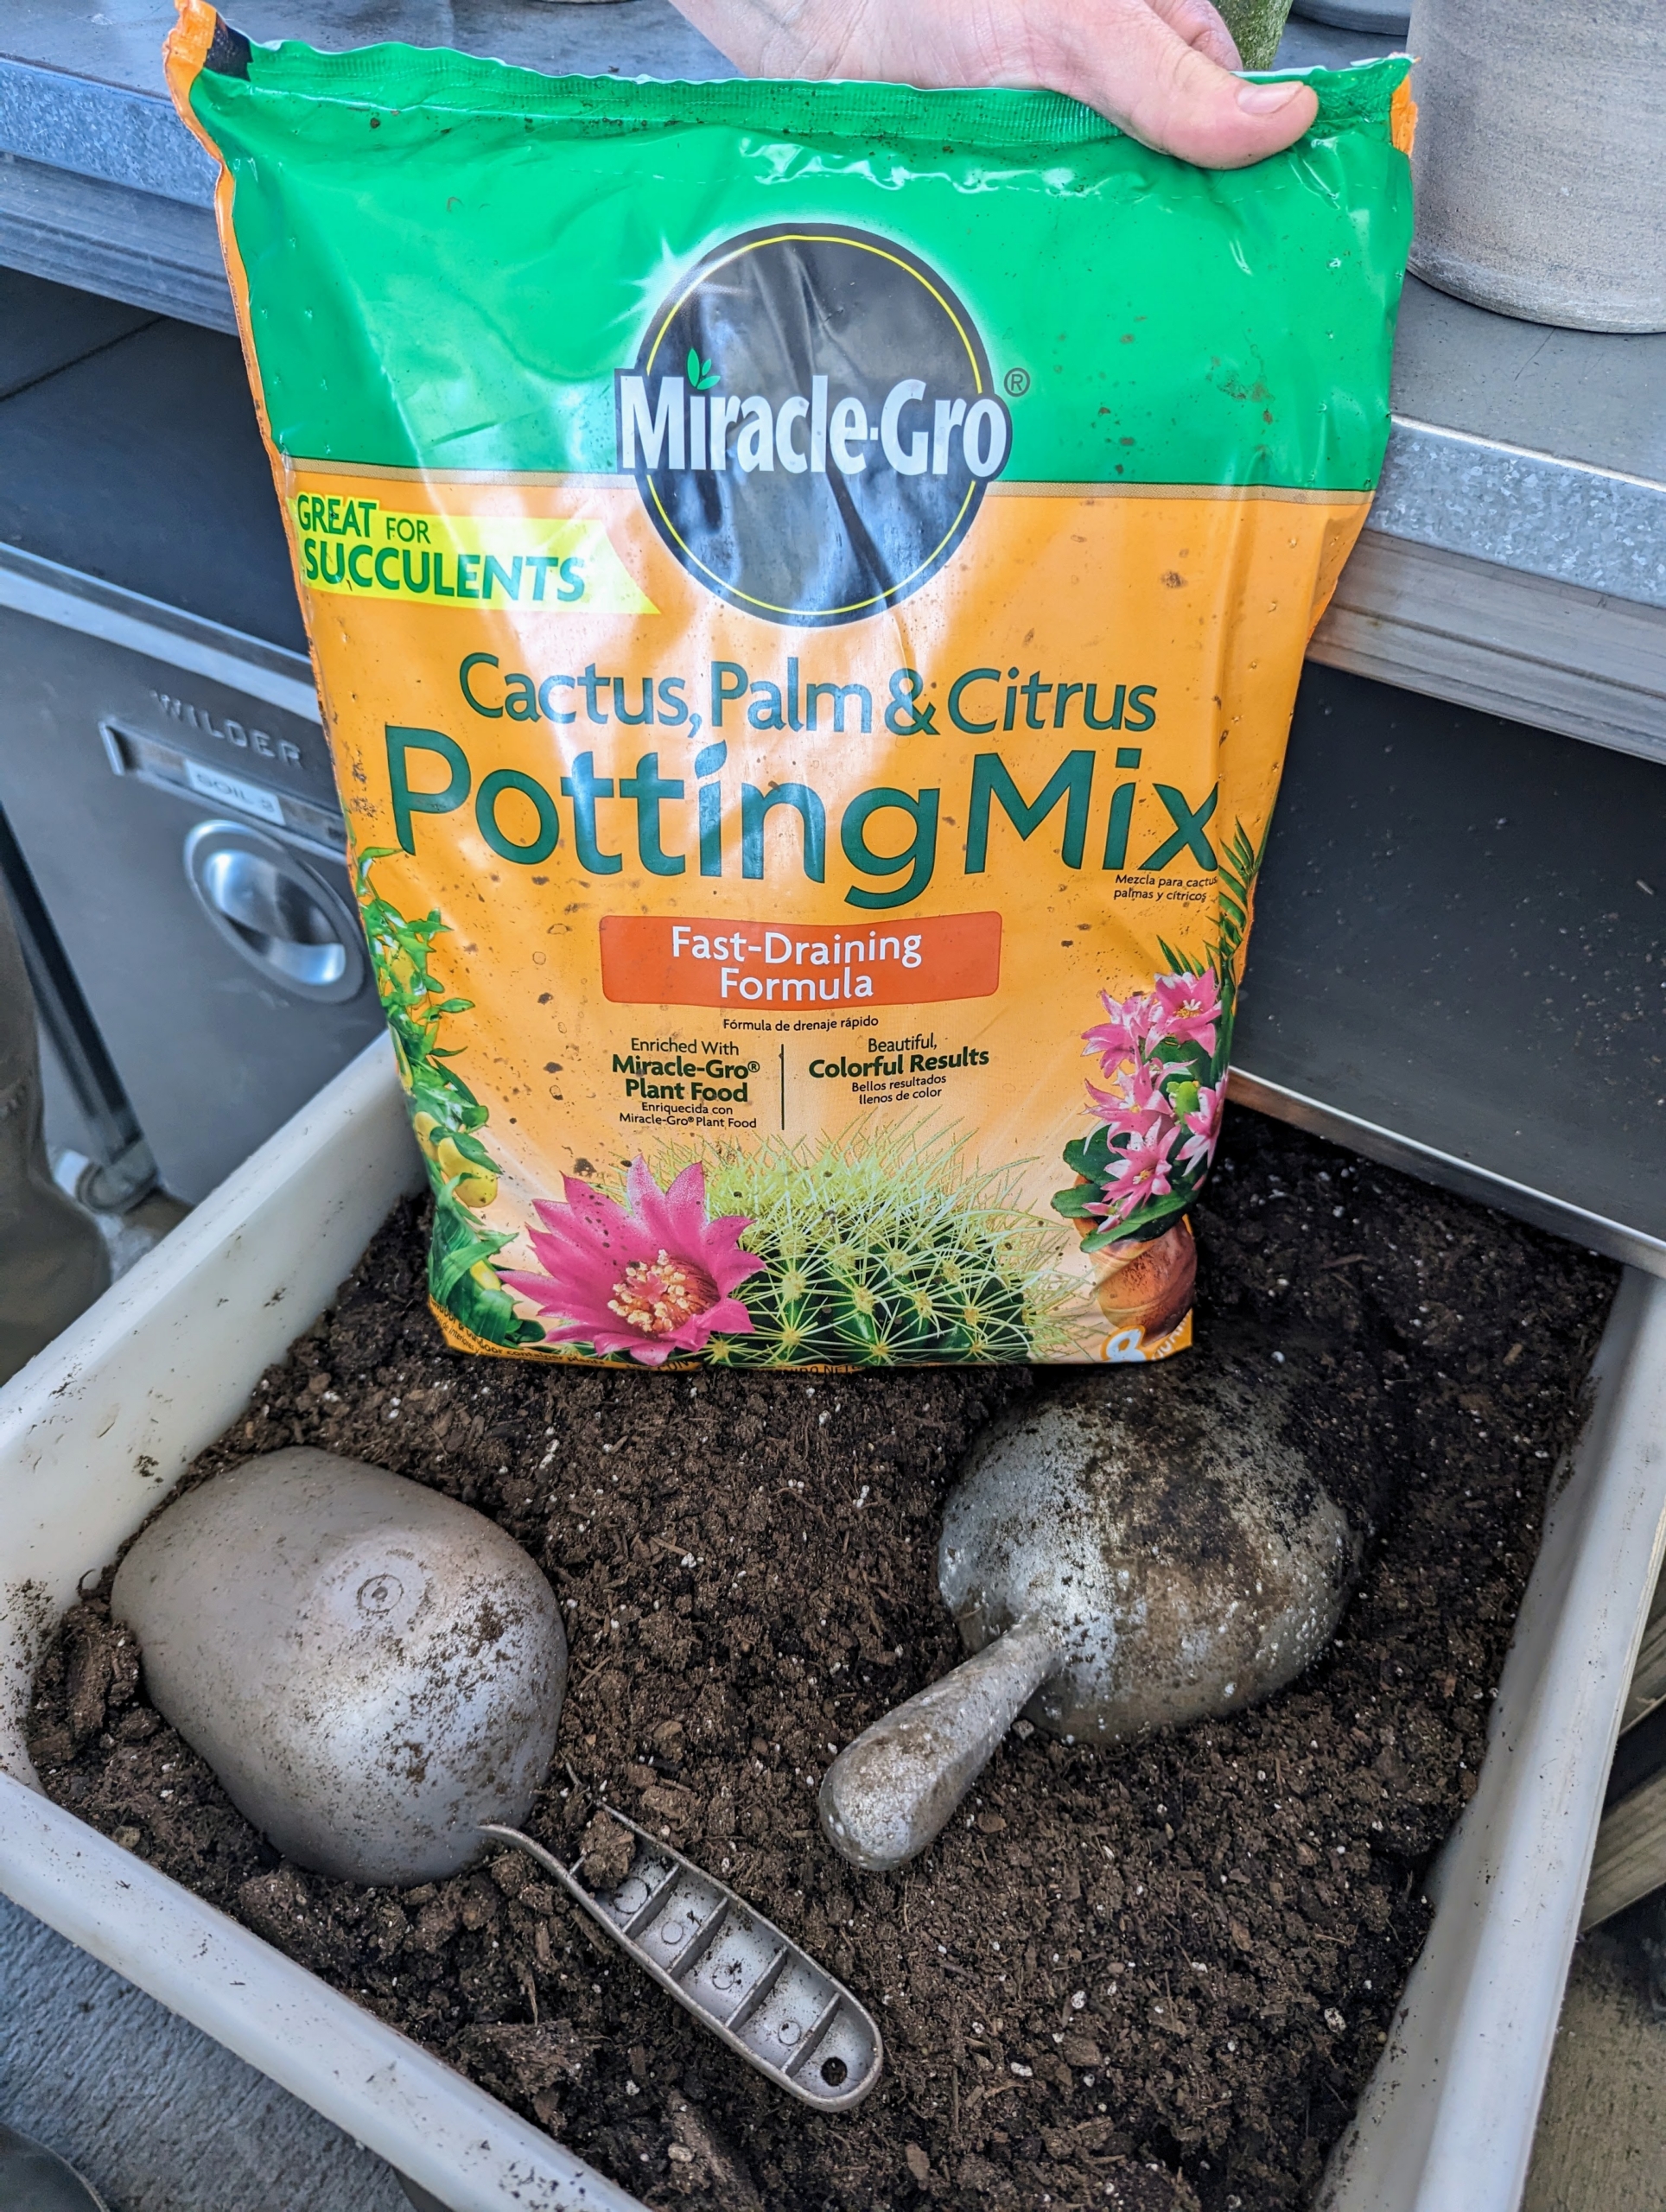
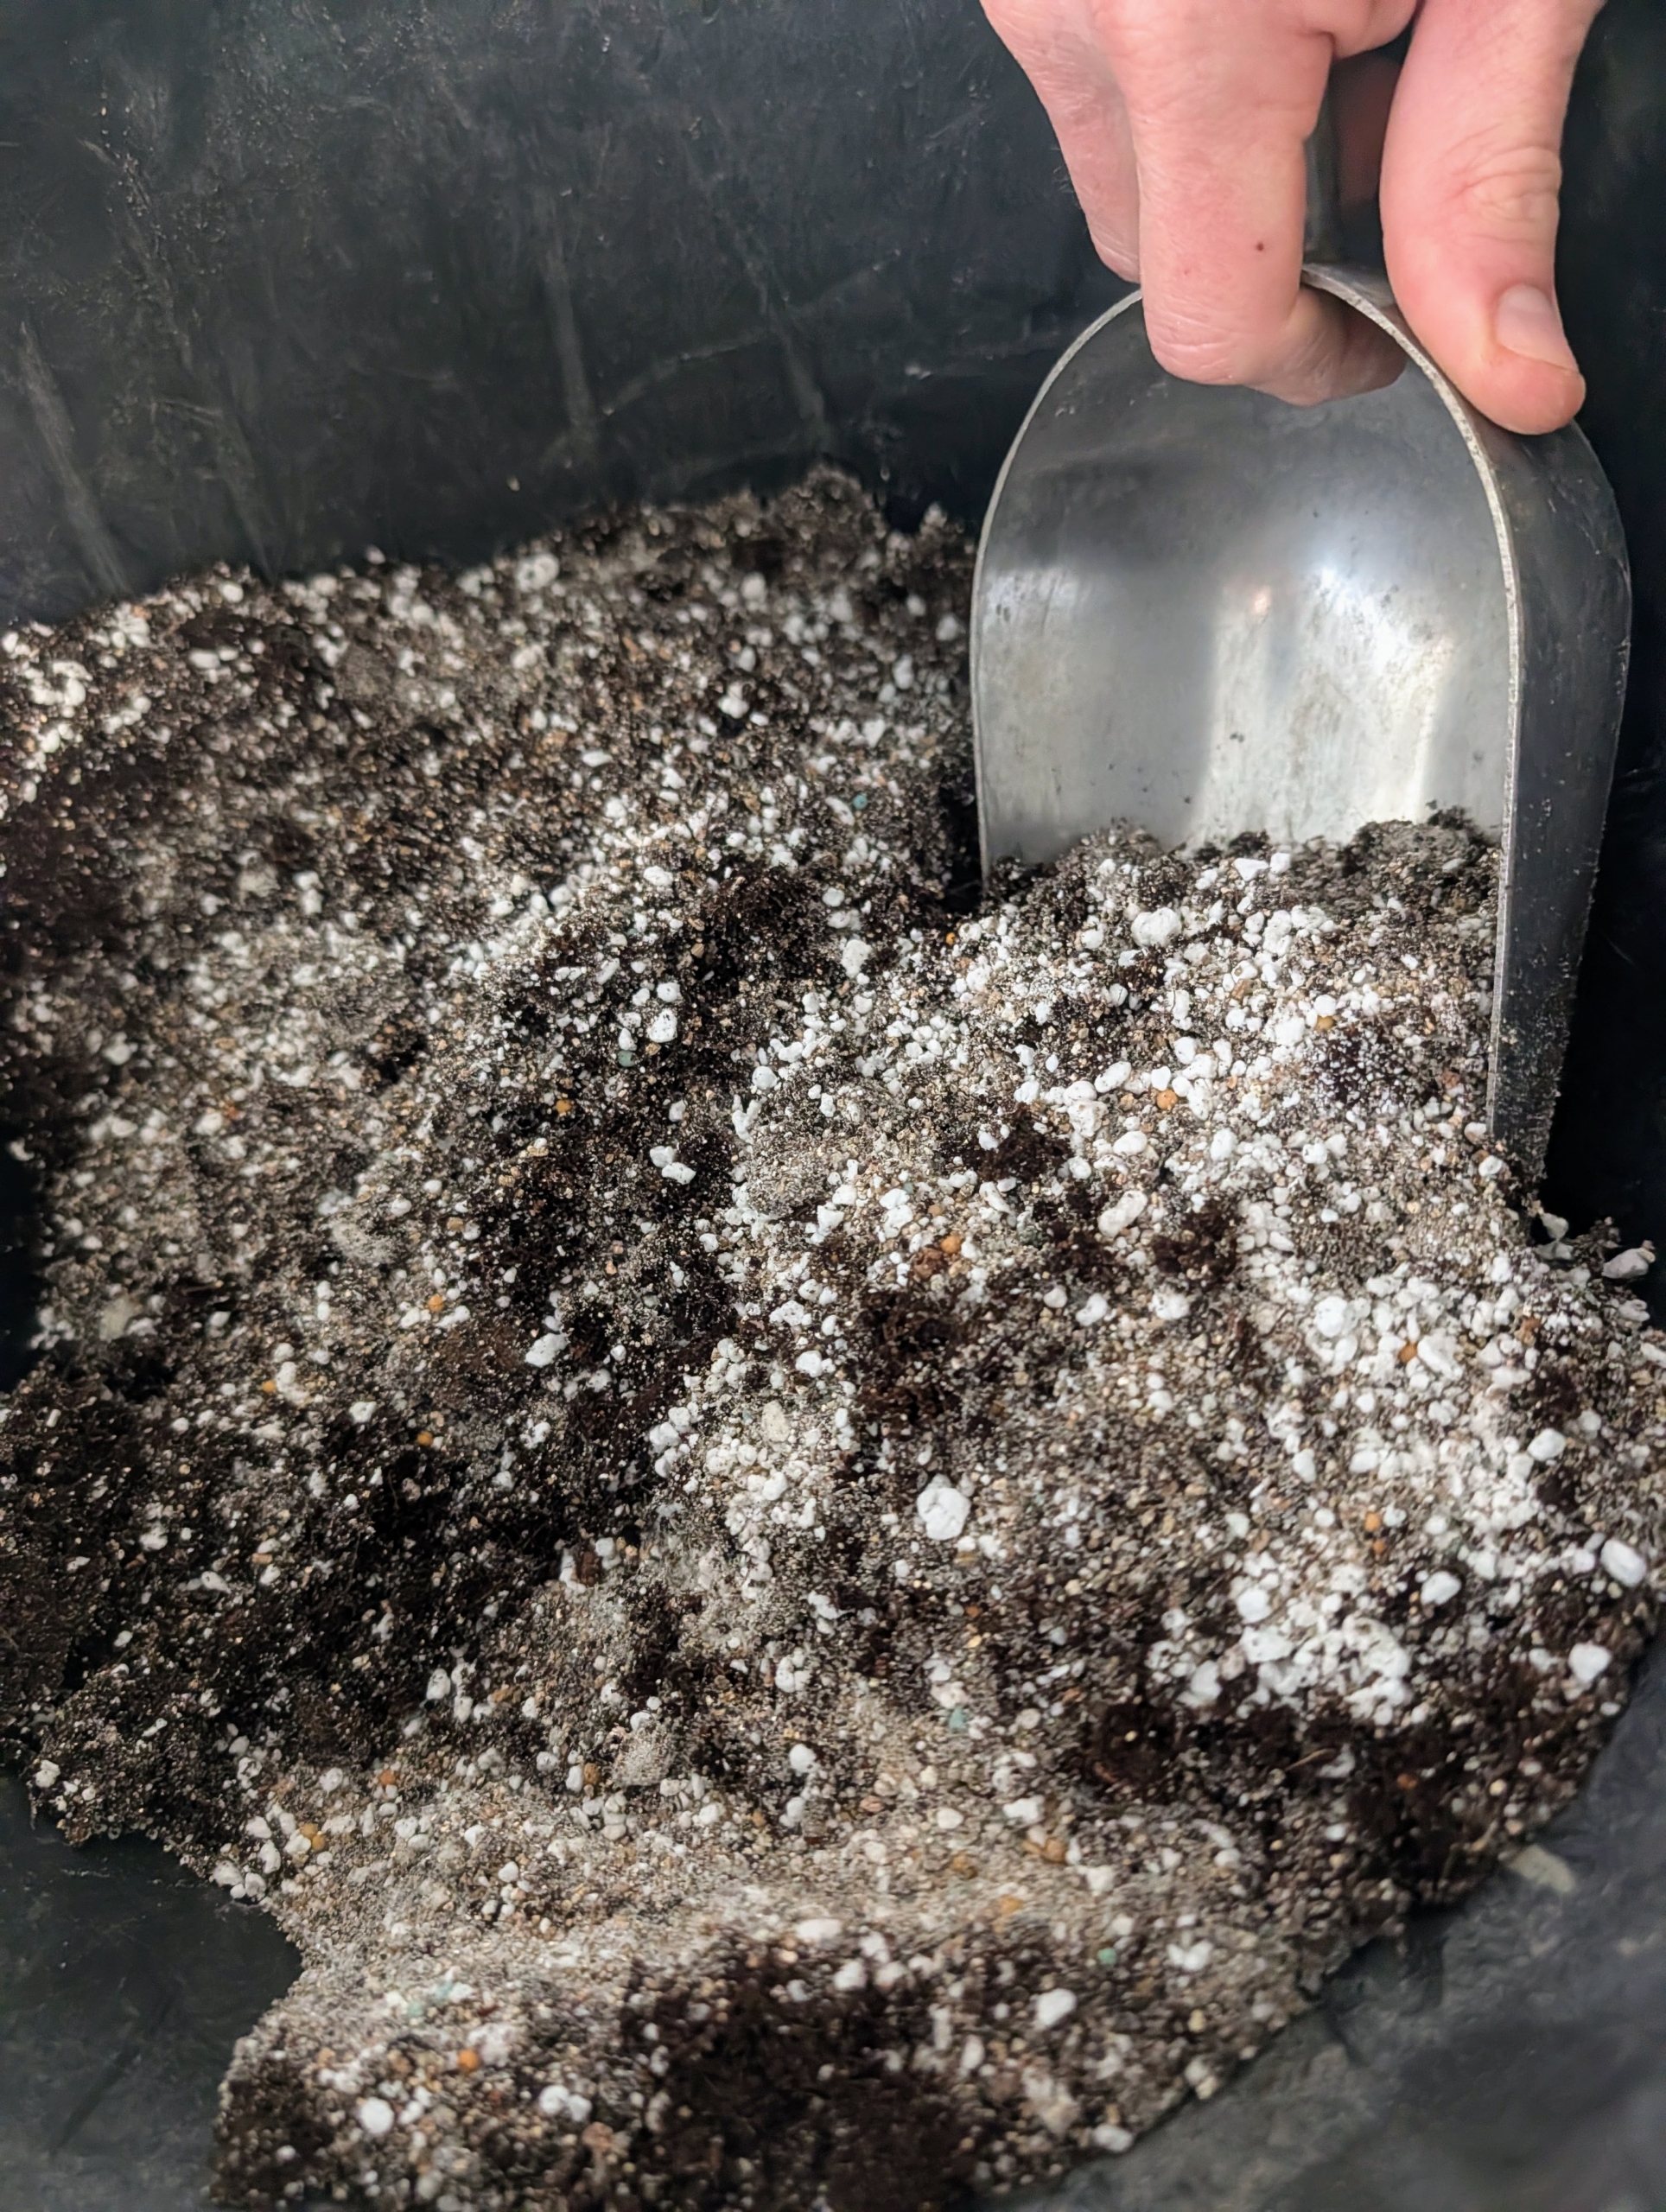
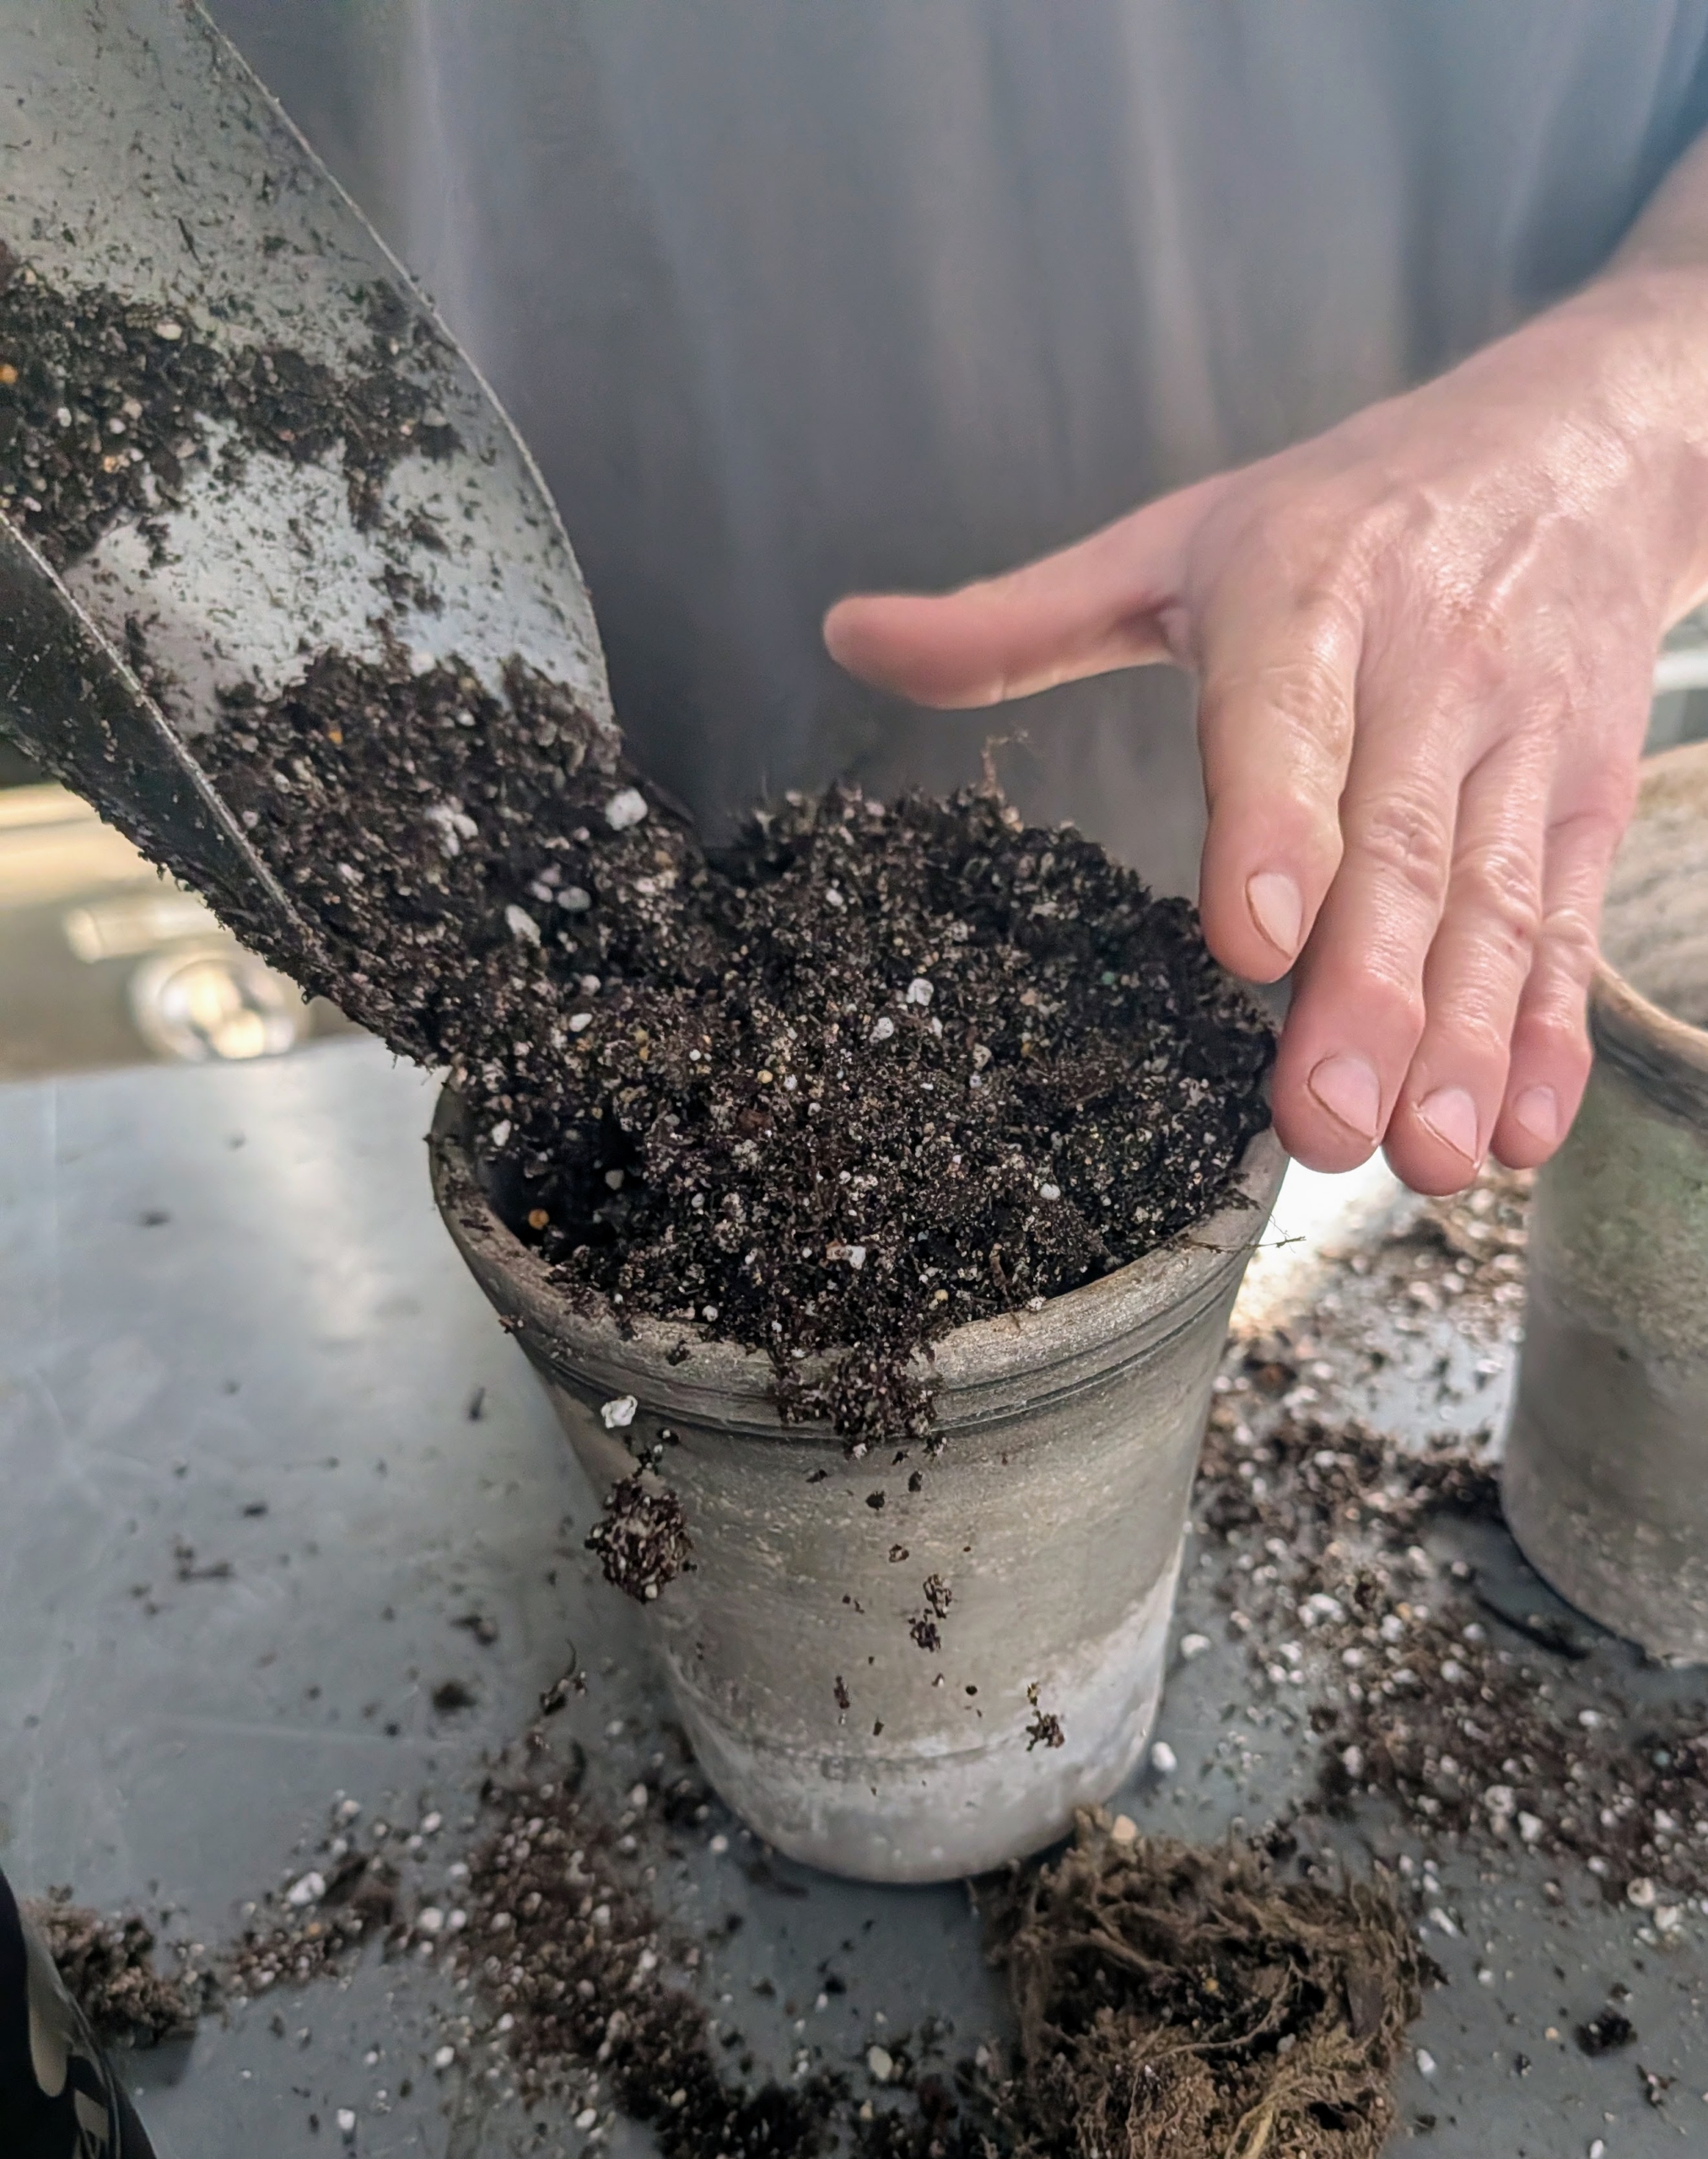
Before potting, Ryan puts together a suitable soil mix. The right soil mix will help to promote faster root growth and provide quick anchorage to young roots. I use Miracle-Gro potting mix specifically formulated for succulents. This mix contains sand and perlite to help prevent soil compaction and improve drainage.
Ryan moves several large scoops of potting mix into a bucket.
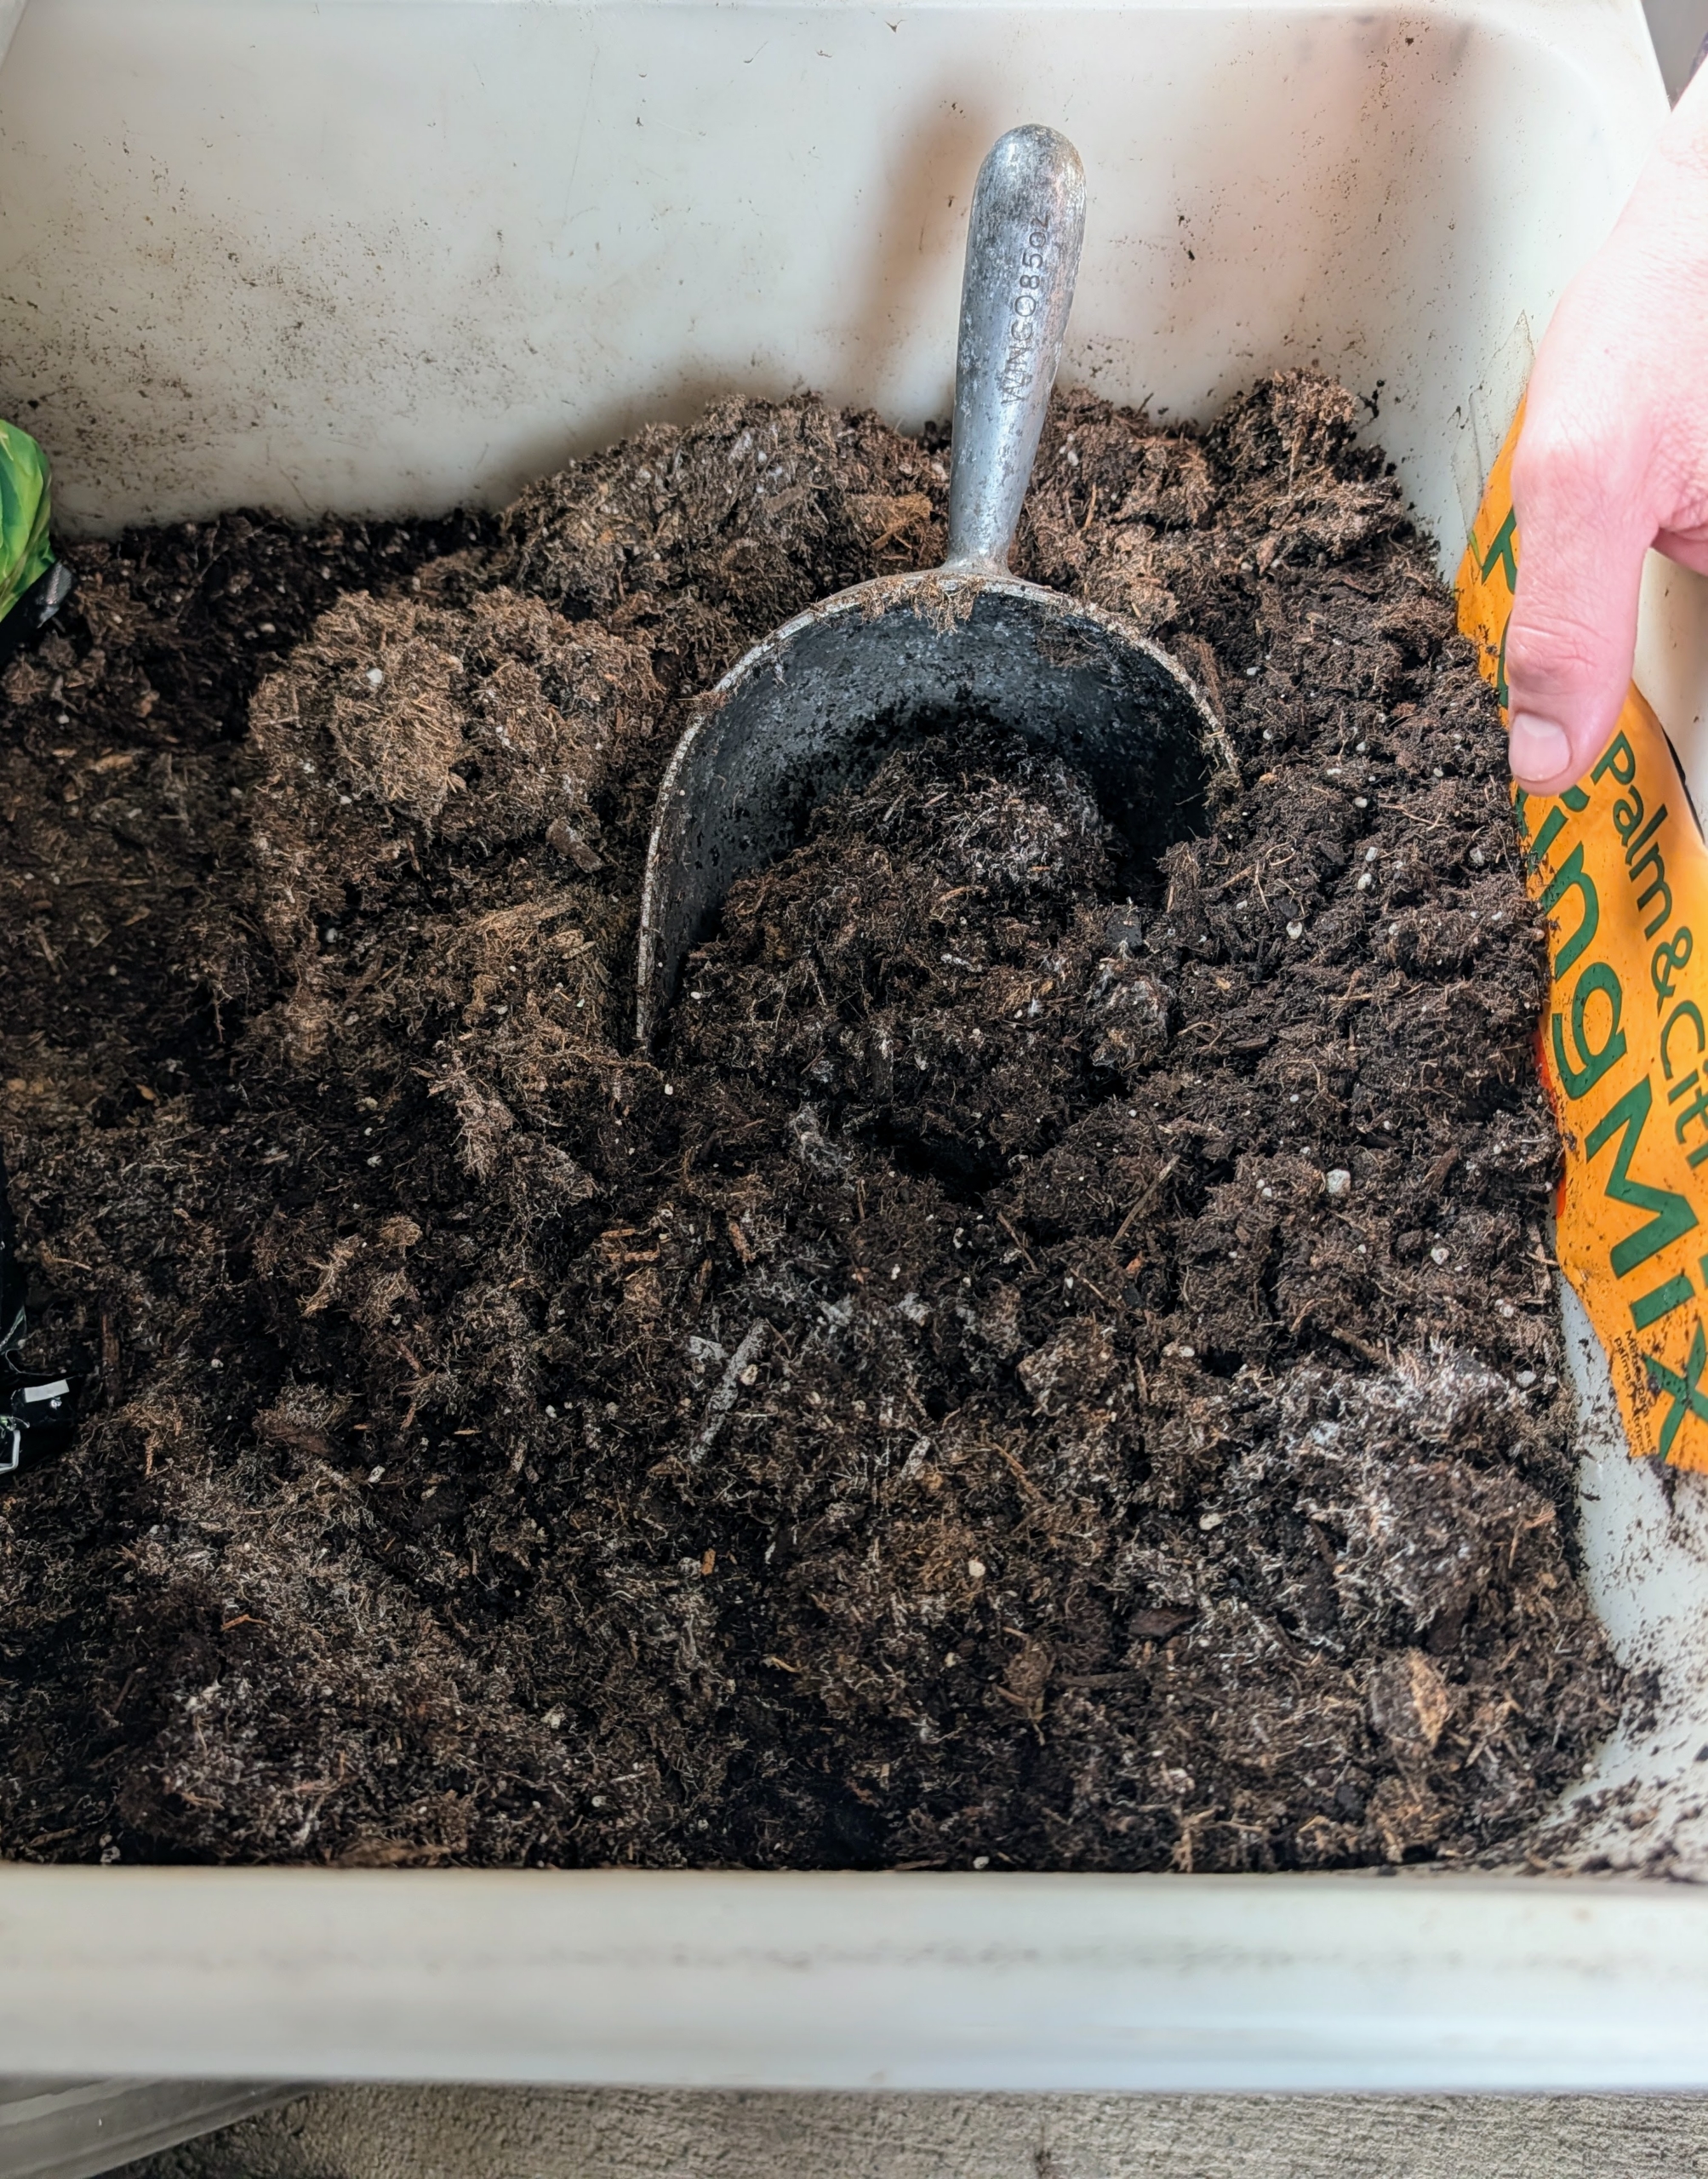
Ryan and I also like to create our own mix to add more of the elements preferred by these plants. Ryan adds more perlite, a lightweight, porous volcanic glass used to improve aeration and drainage in soil and other plant mixes.
Next, he adds some vermiculite, which is a naturally occurring mineral that expands when heated and is widely used to improve soil moisture retention and aeration.
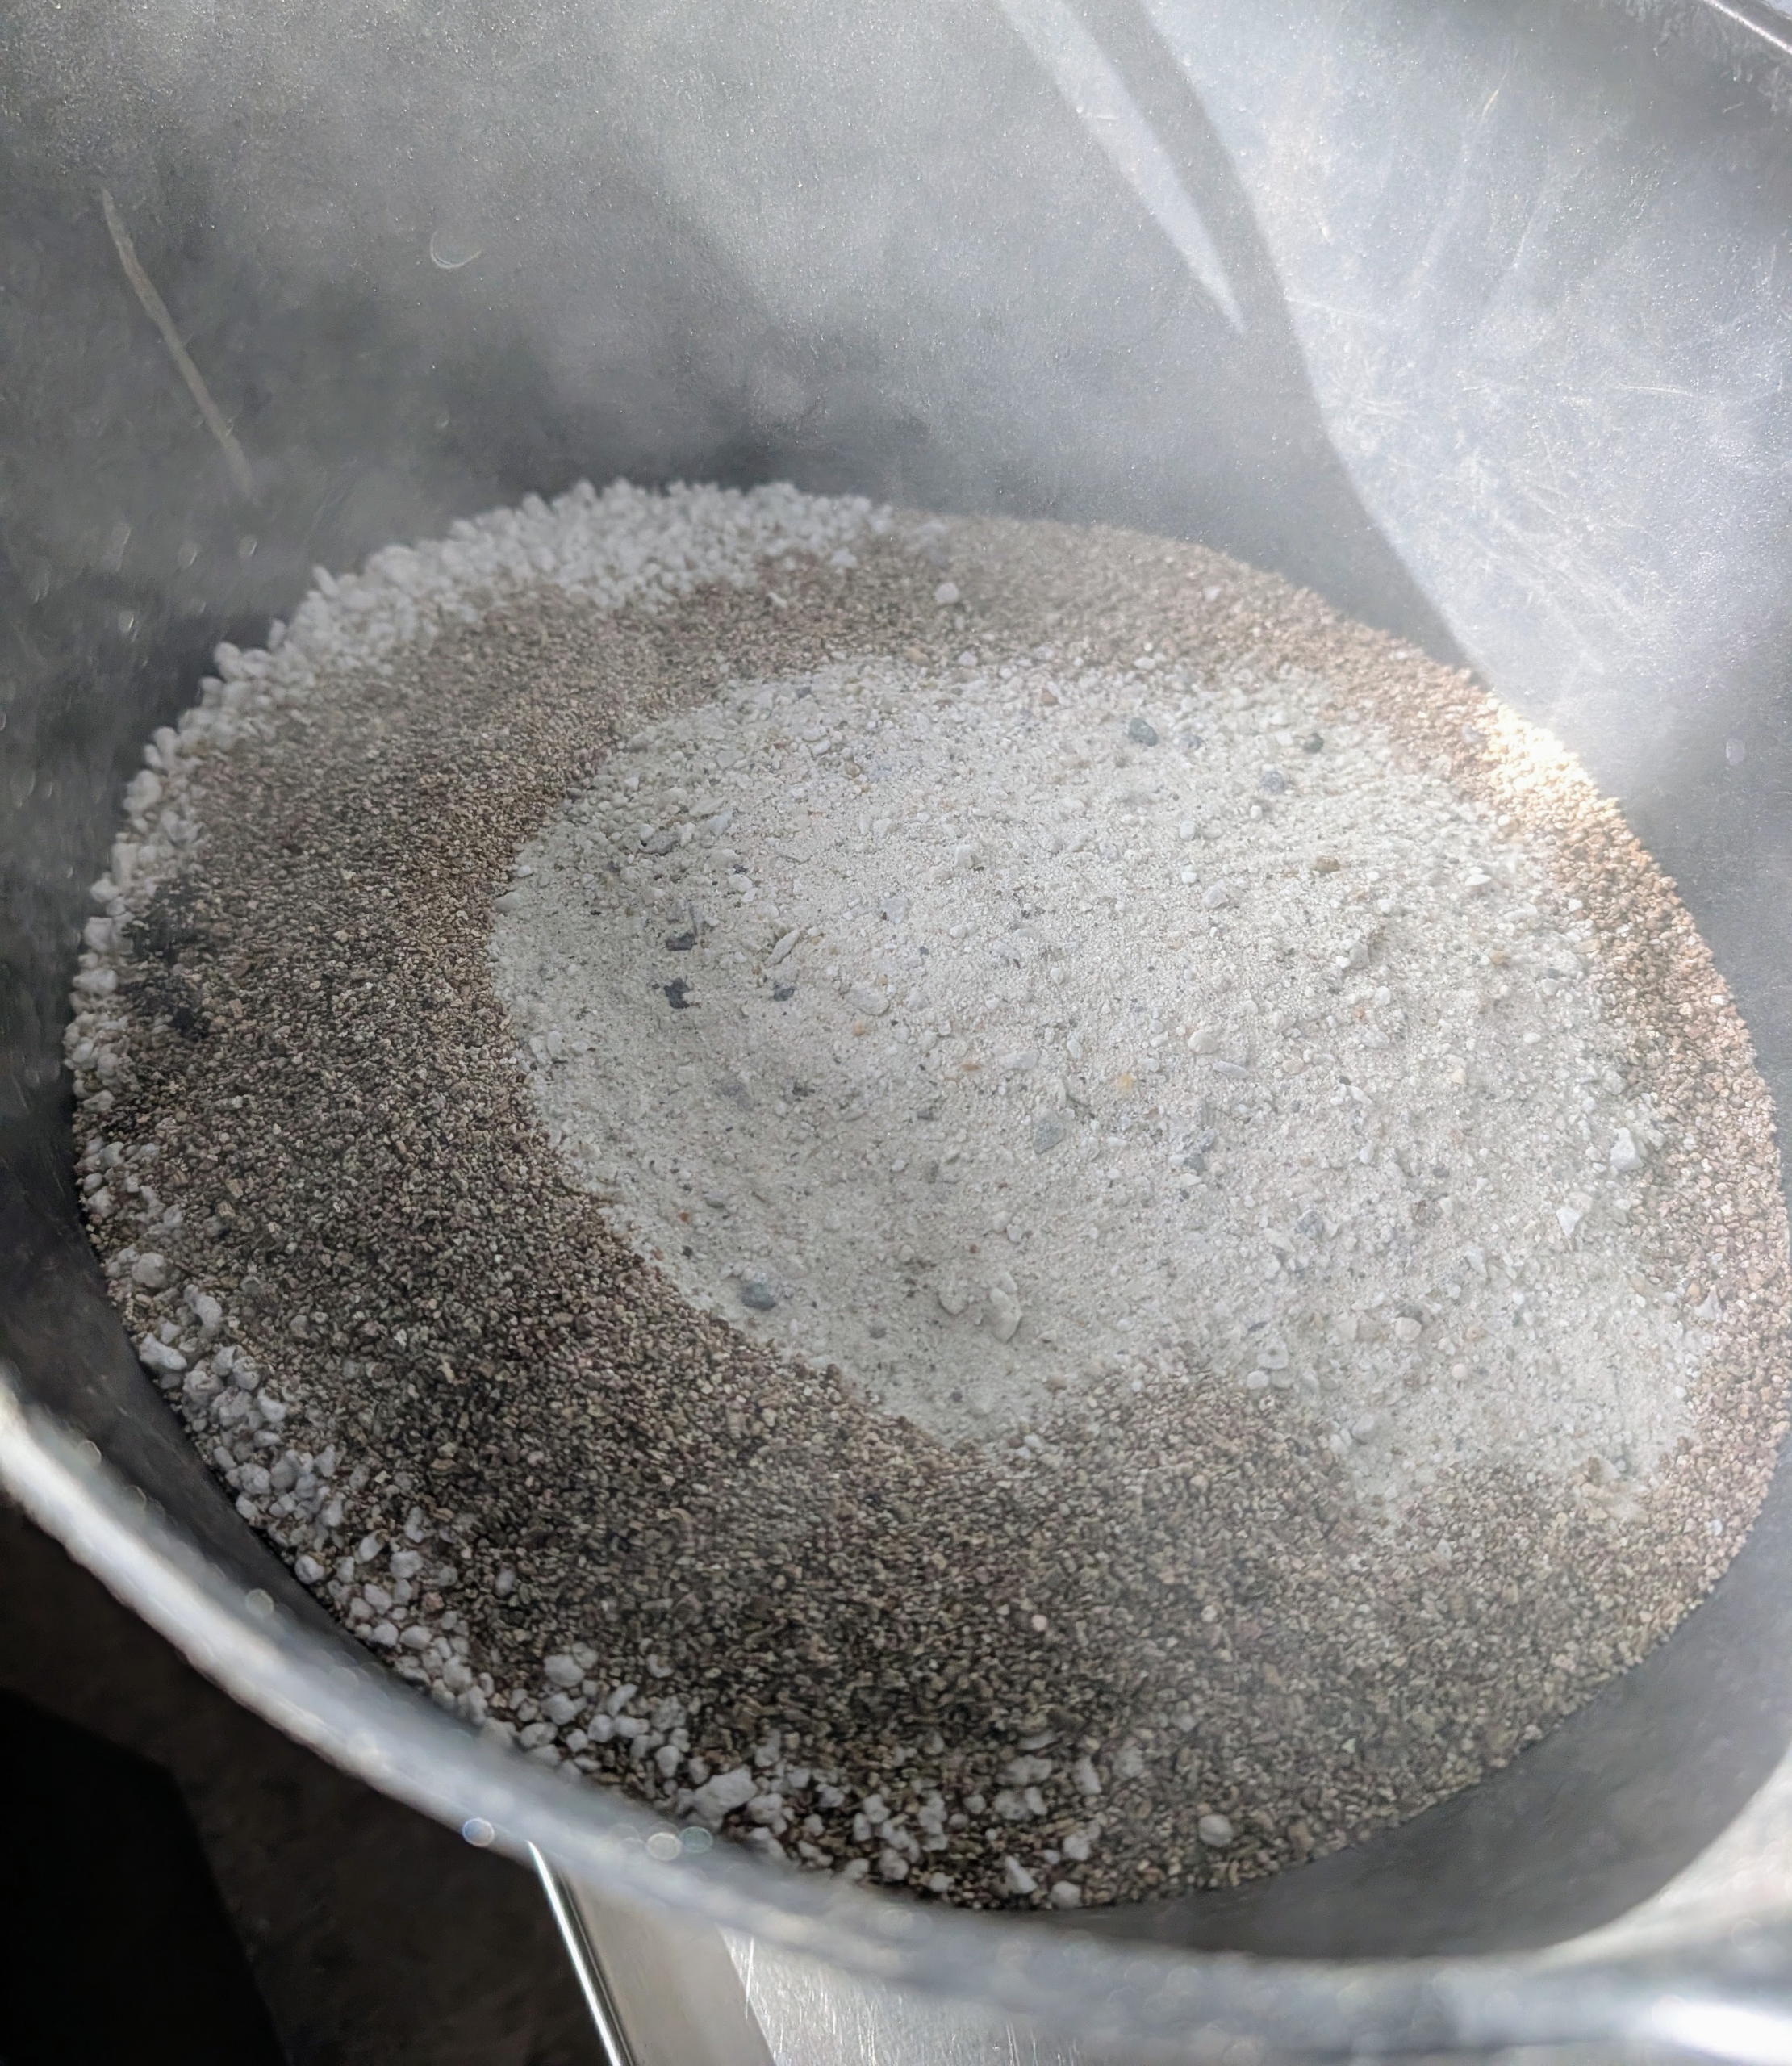
And then he adds some horticultural sand, a very gritty sand made from crushed granite, quartz, or sandstone. Horticultural sand is often known as sharp sand, coarse sand, or quartz sand.
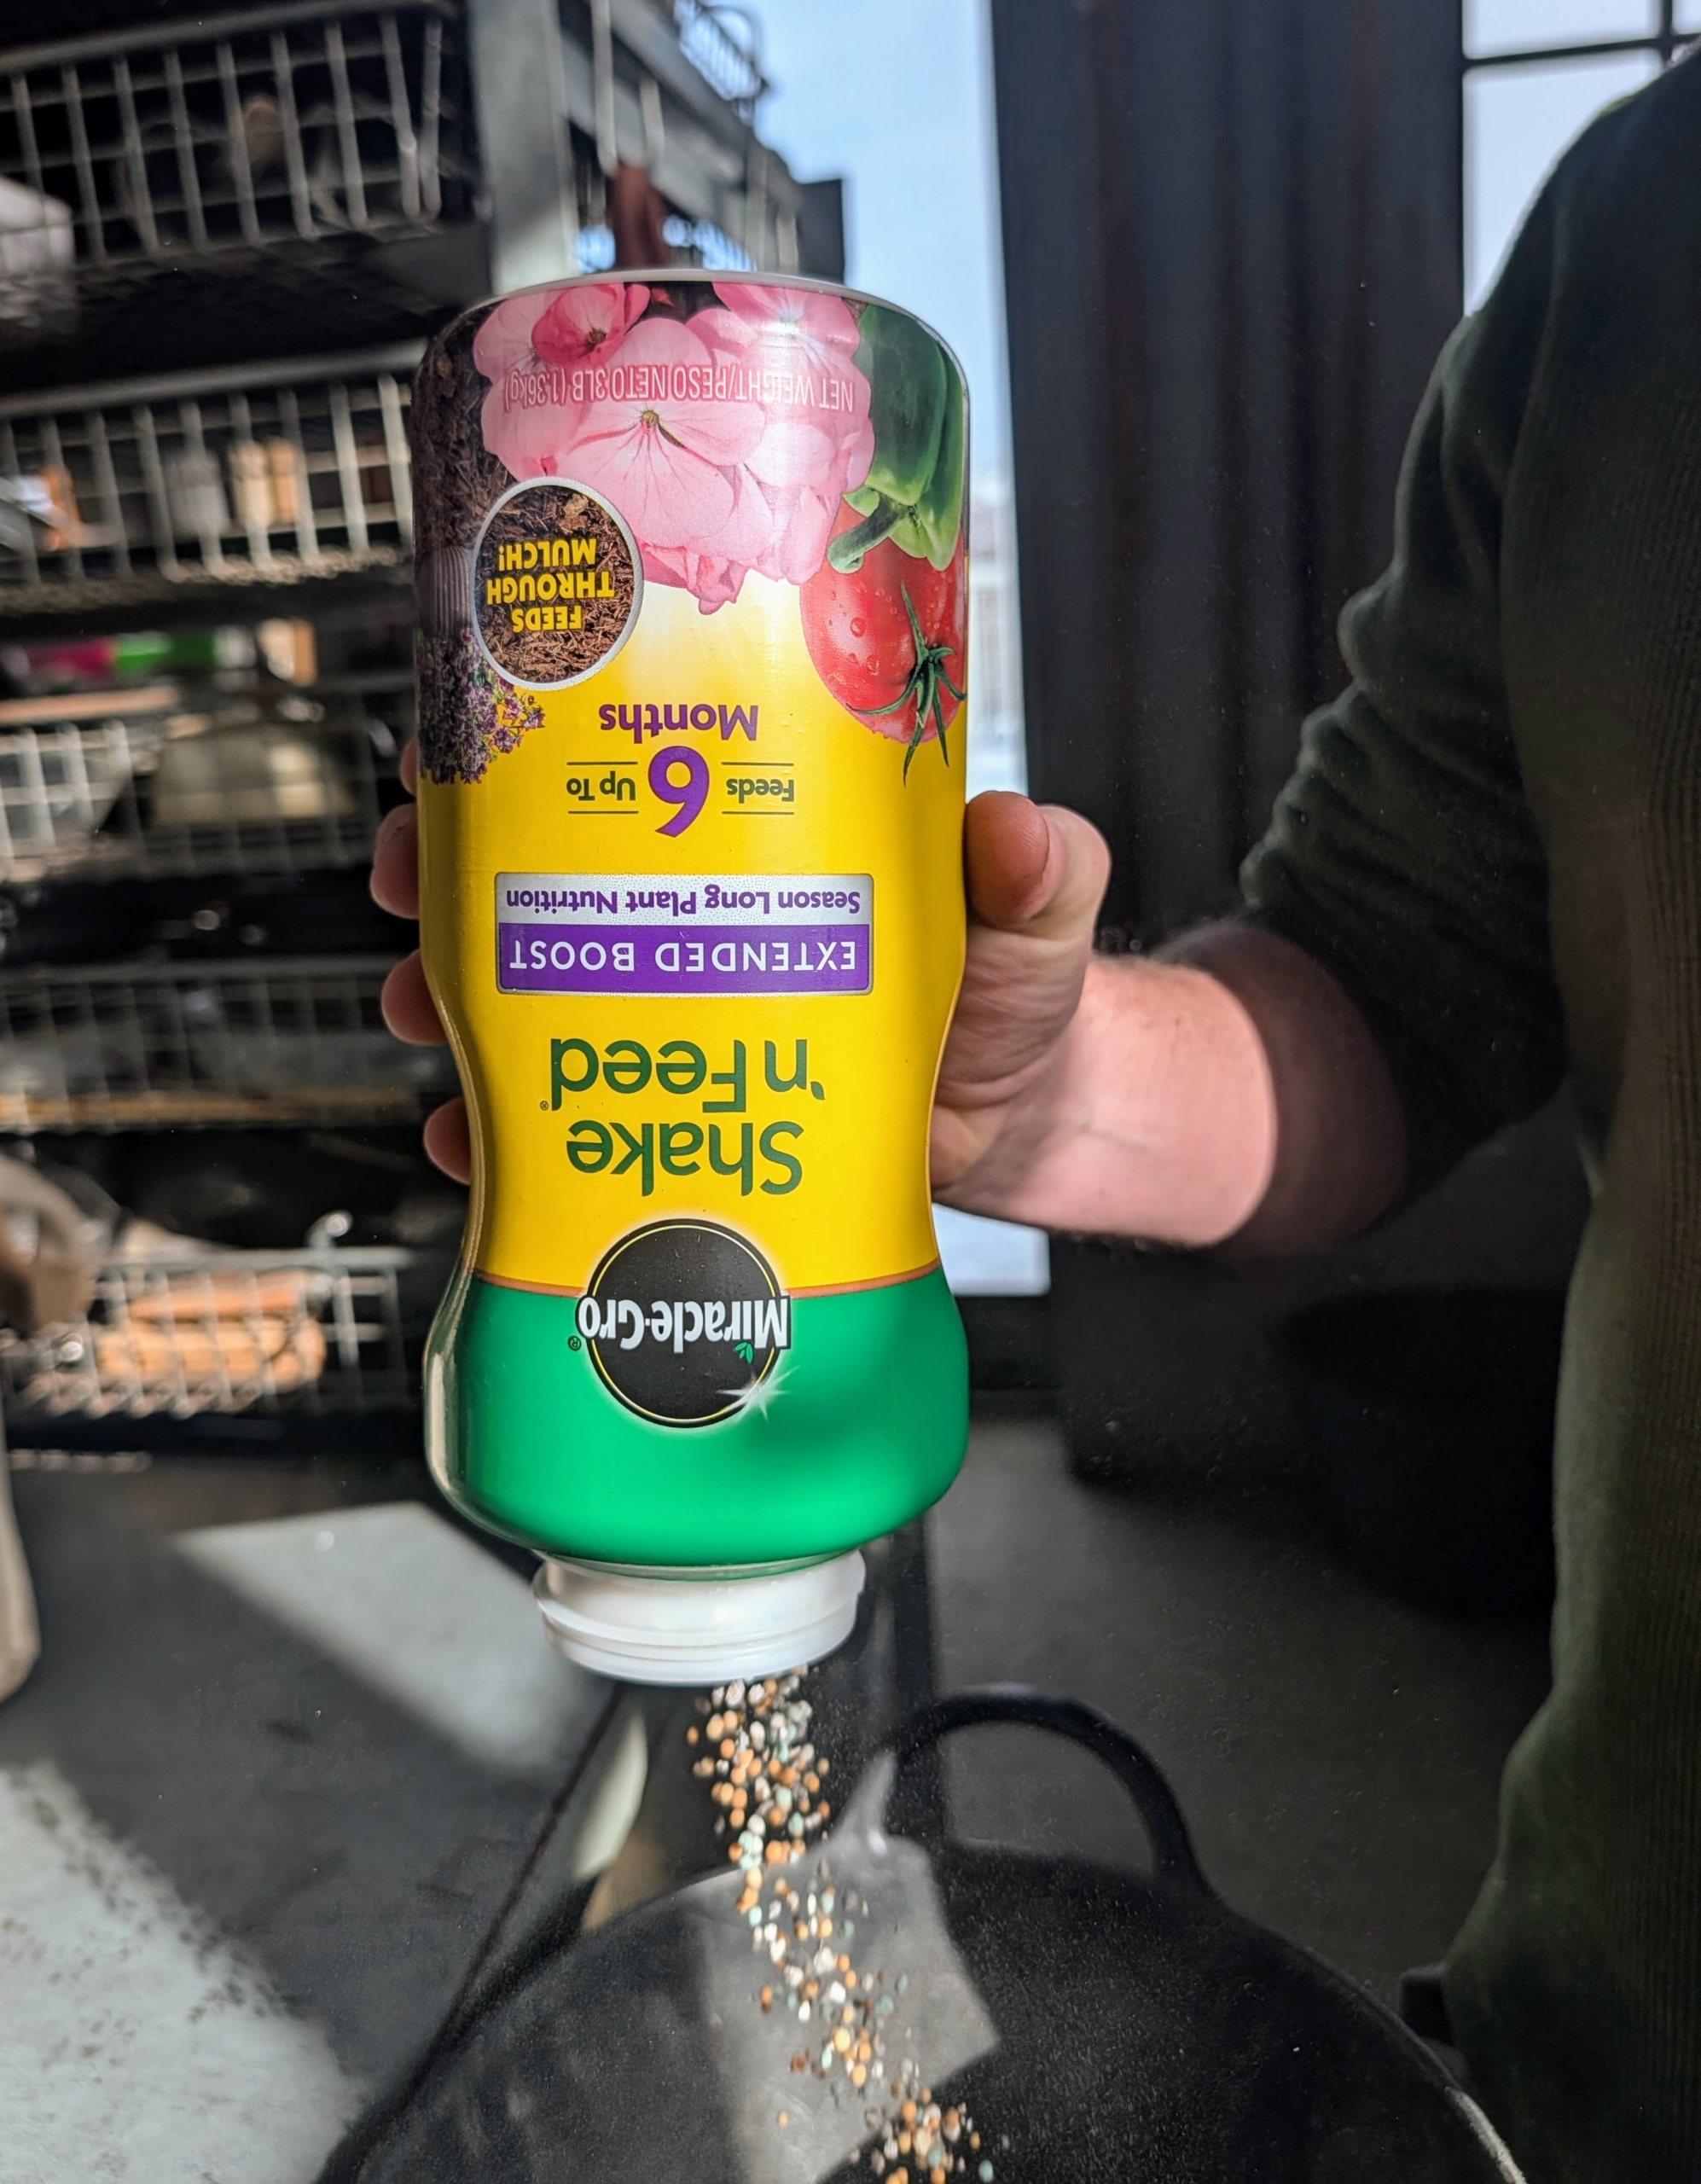
And don’t forget to feed. Ryan sprinkles a generous amount of Miracle-Gro Shake ‘n Feed Extended Boost, which feeds up to six months.
After wetting down the mix, Ryan thoroughly combines all the elements. Because succulents don’t like wet roots, it is important to use a soil mixture that is appropriate and will drain well.
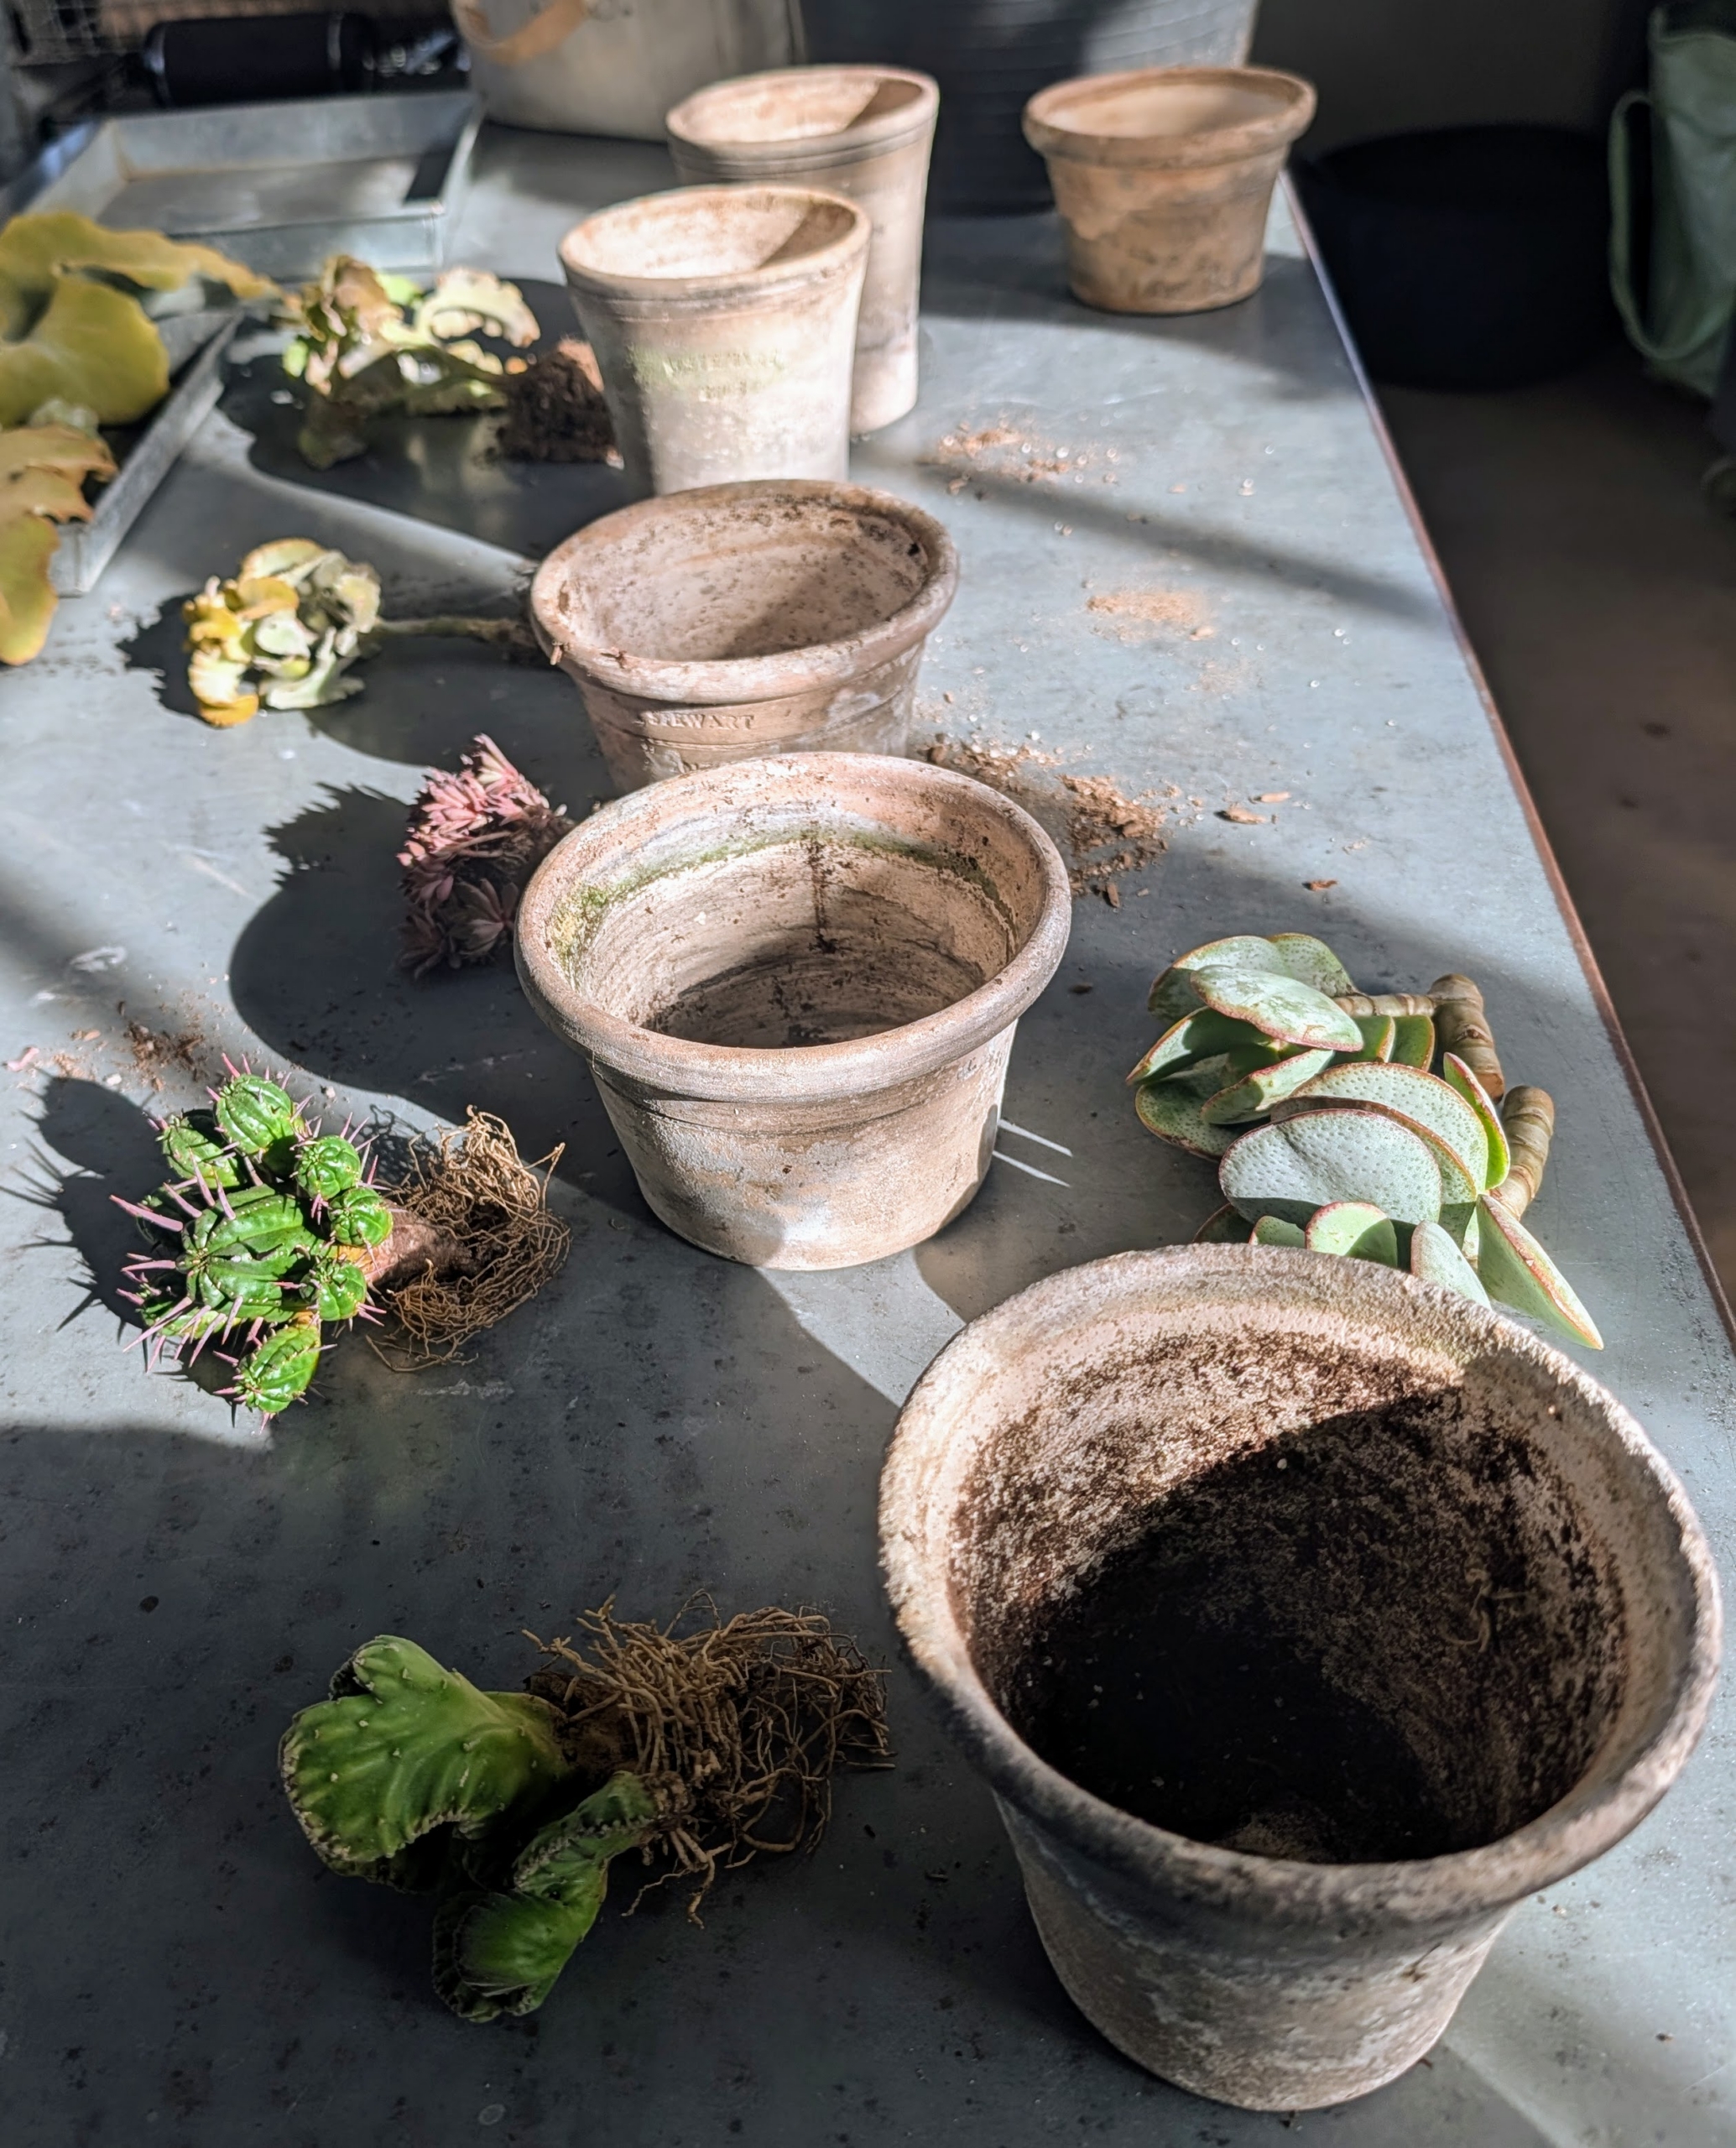
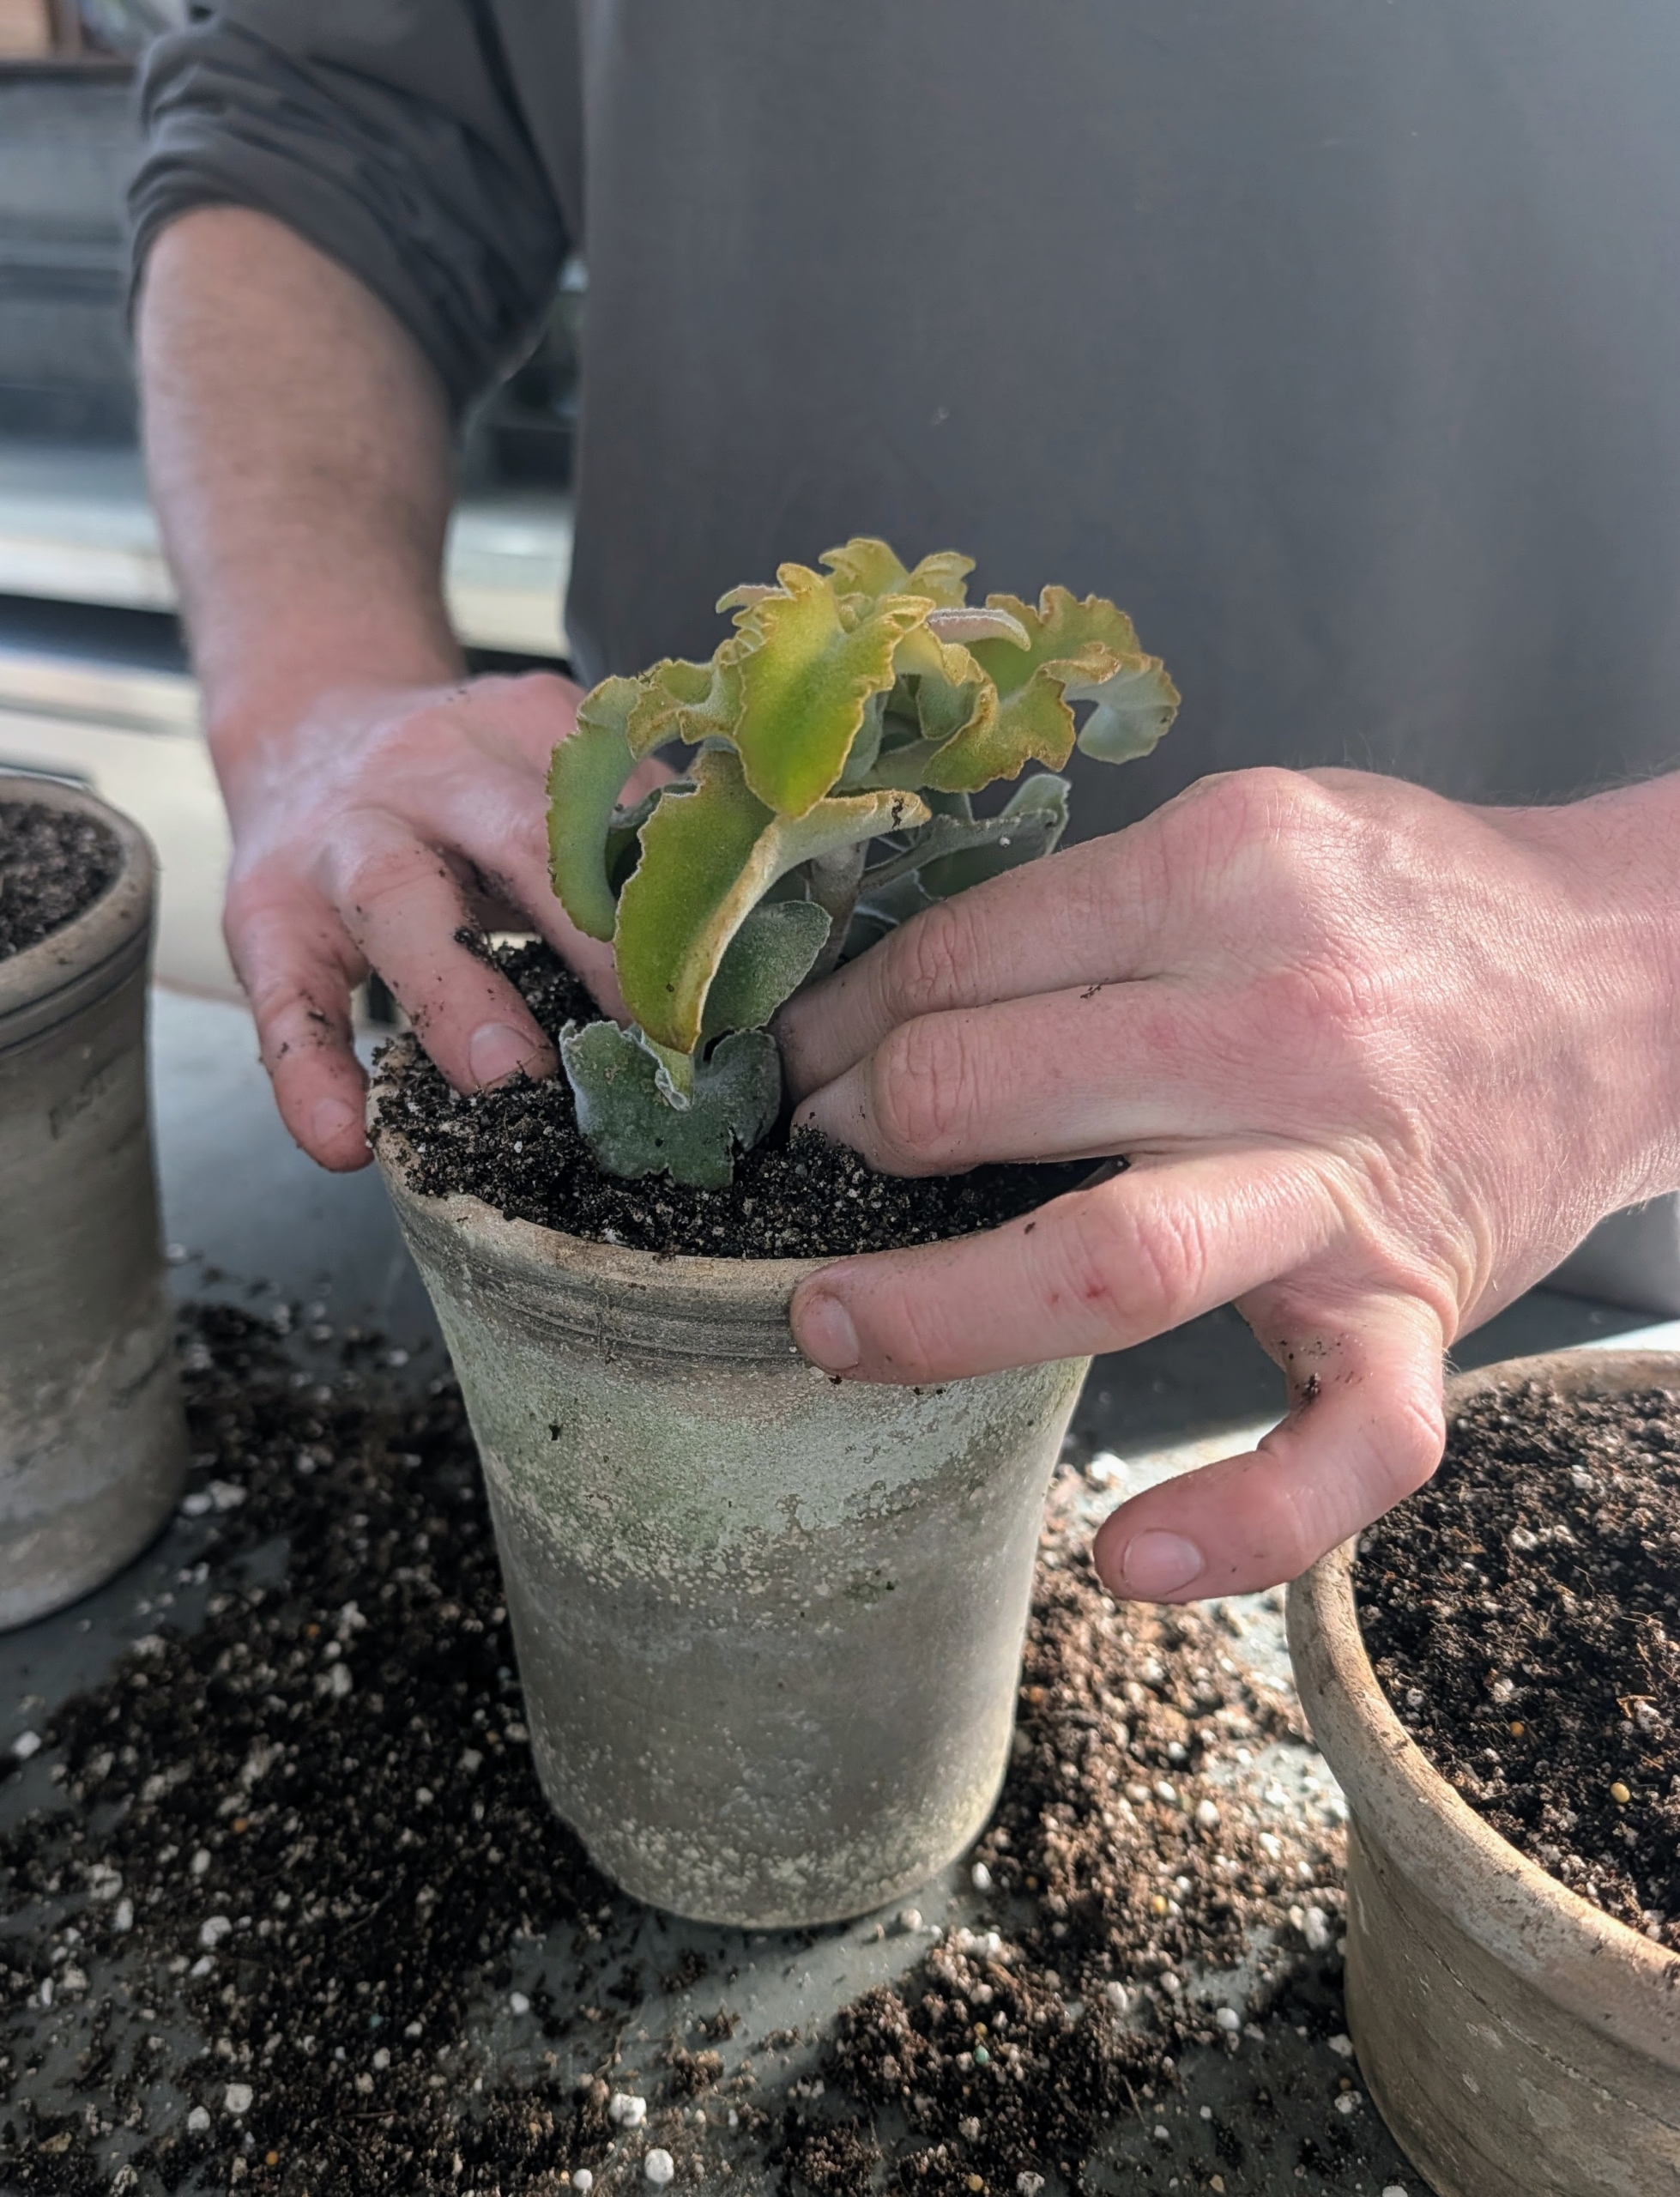
Ryan chooses the appropriate size container for each specimen. I’ve been using Guy Wolff pots for many years – he makes every one of these by hand.
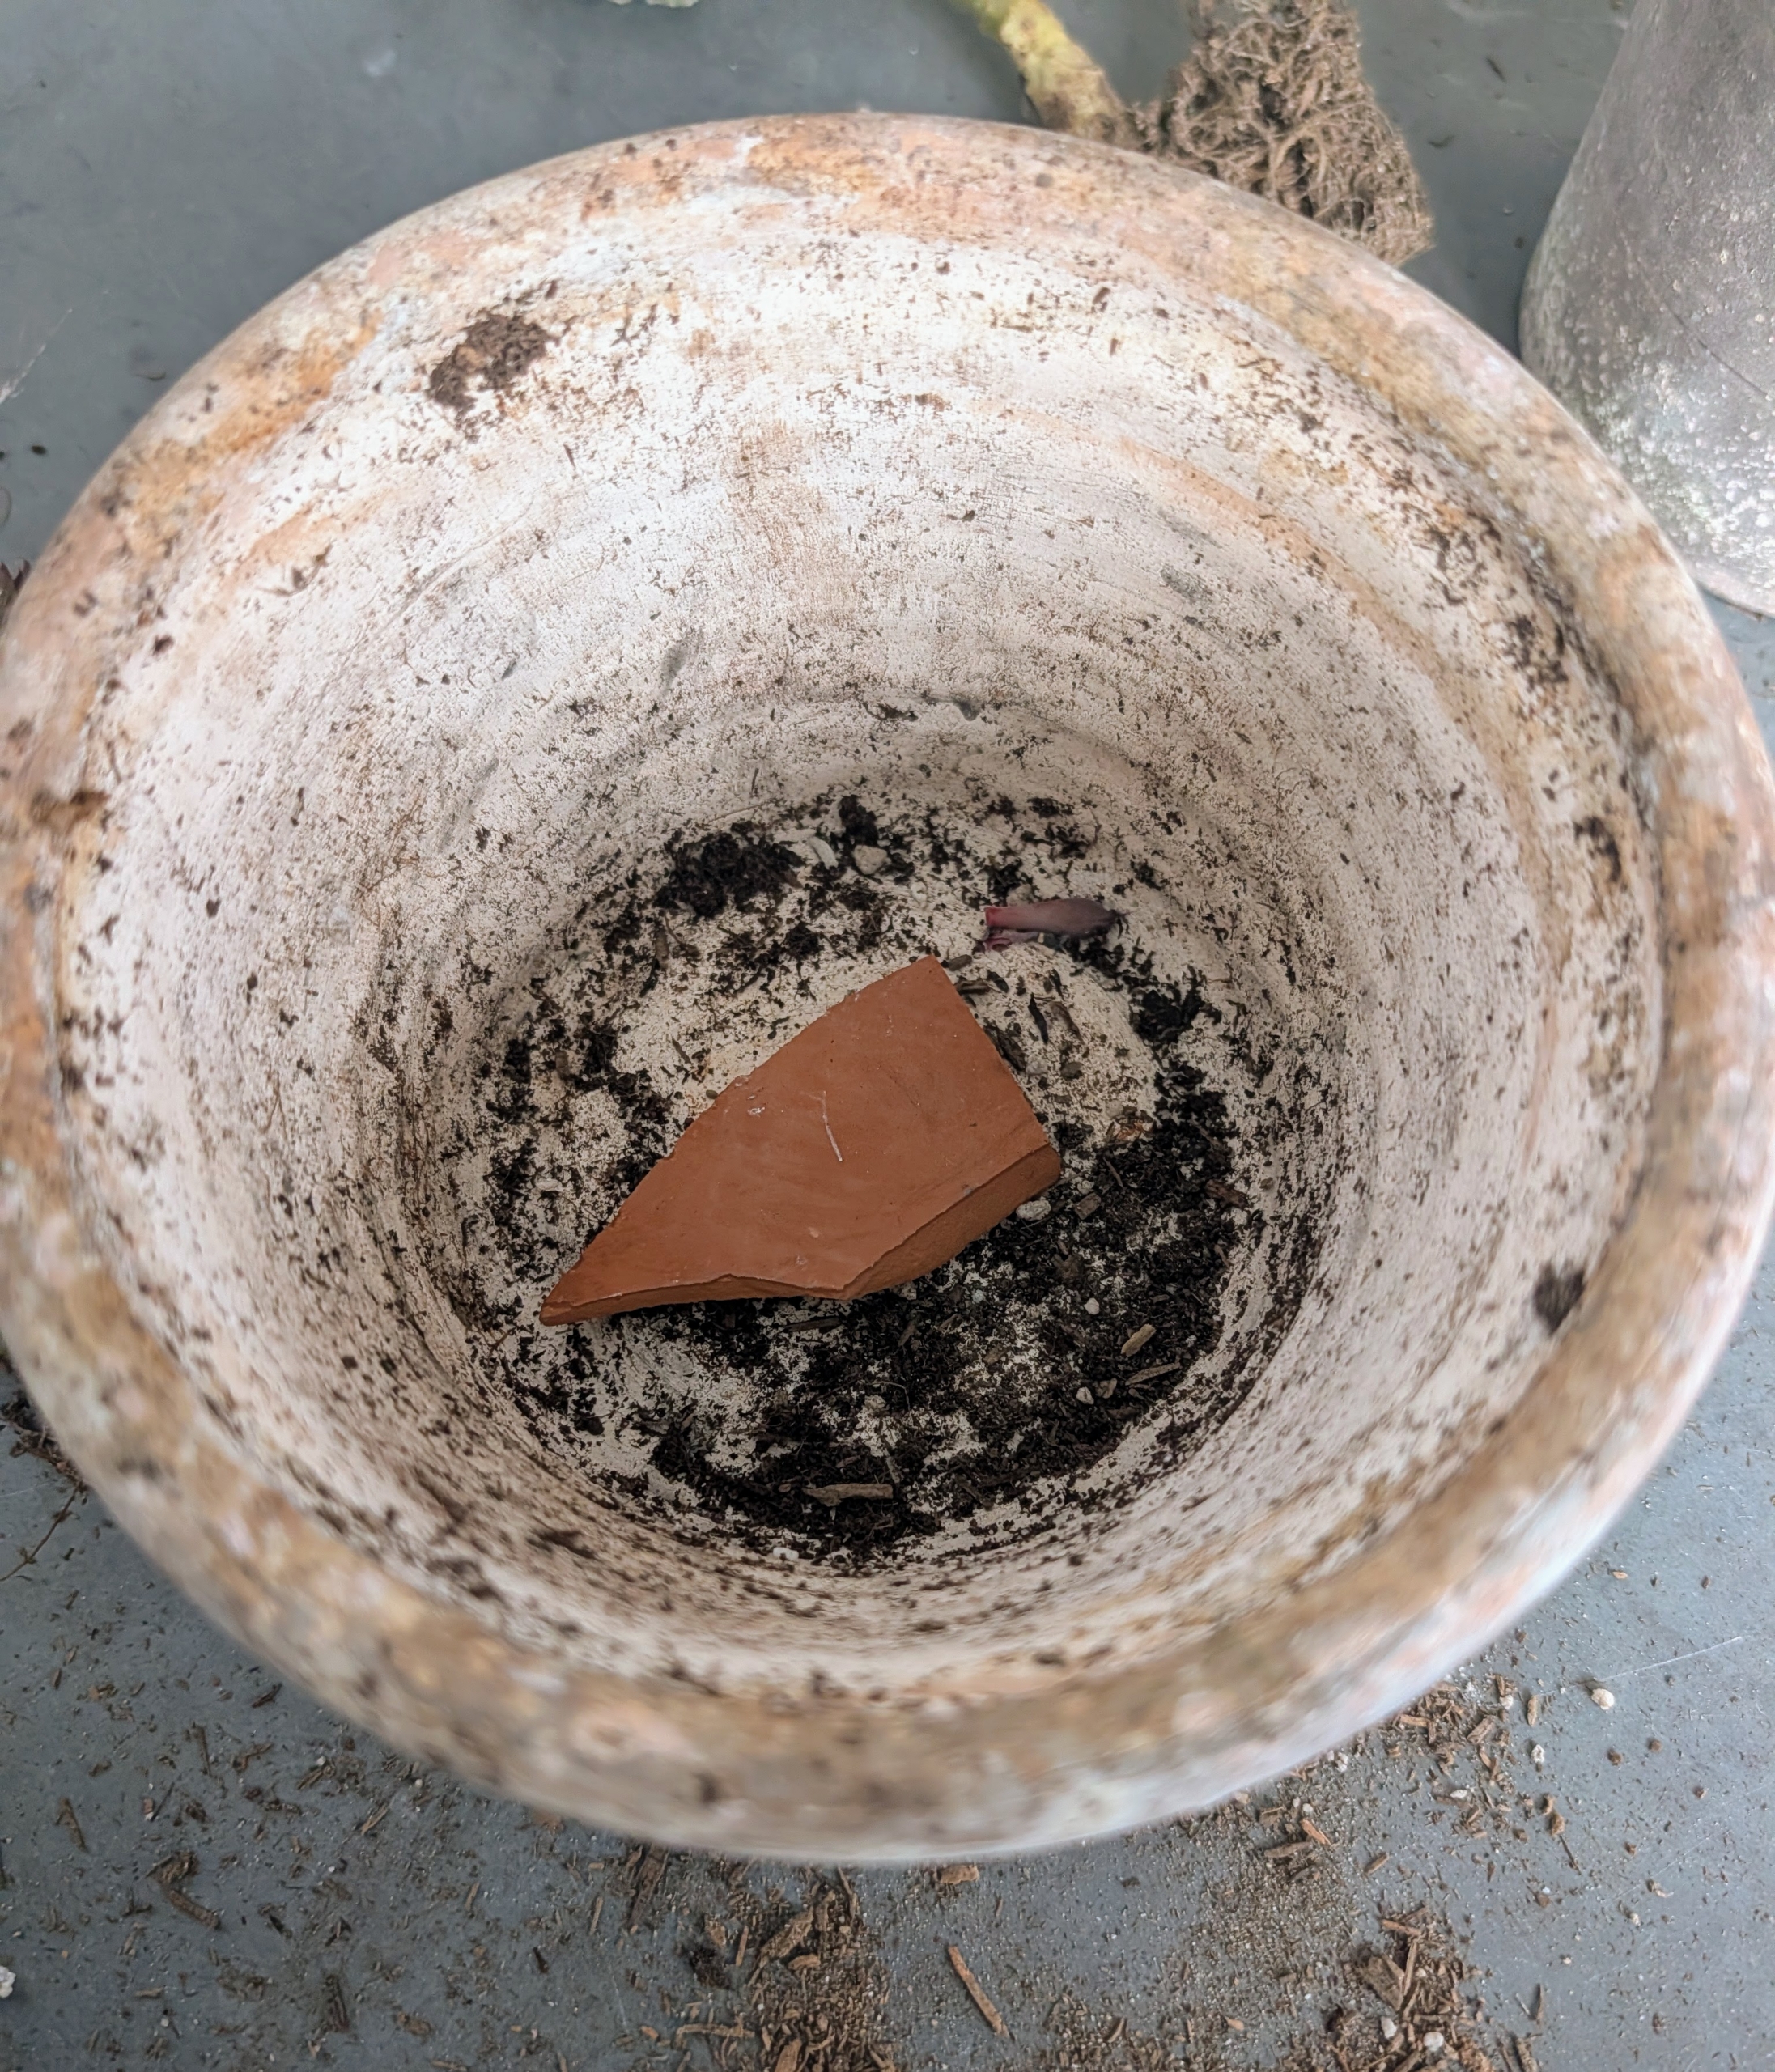
Each pot has a drainage hole. A clay shard is placed over the hole to help with drainage. I also like to use clay pots because they allow proper aeration and moisture to penetrate through the sides and to the plant.
Ryan fills the pots with the soil mix, adding just enough so it is filled just below the top rim of the pot. When potting several plants, Ryan works in an efficient production line process – filling all the pots first and then pot them up.
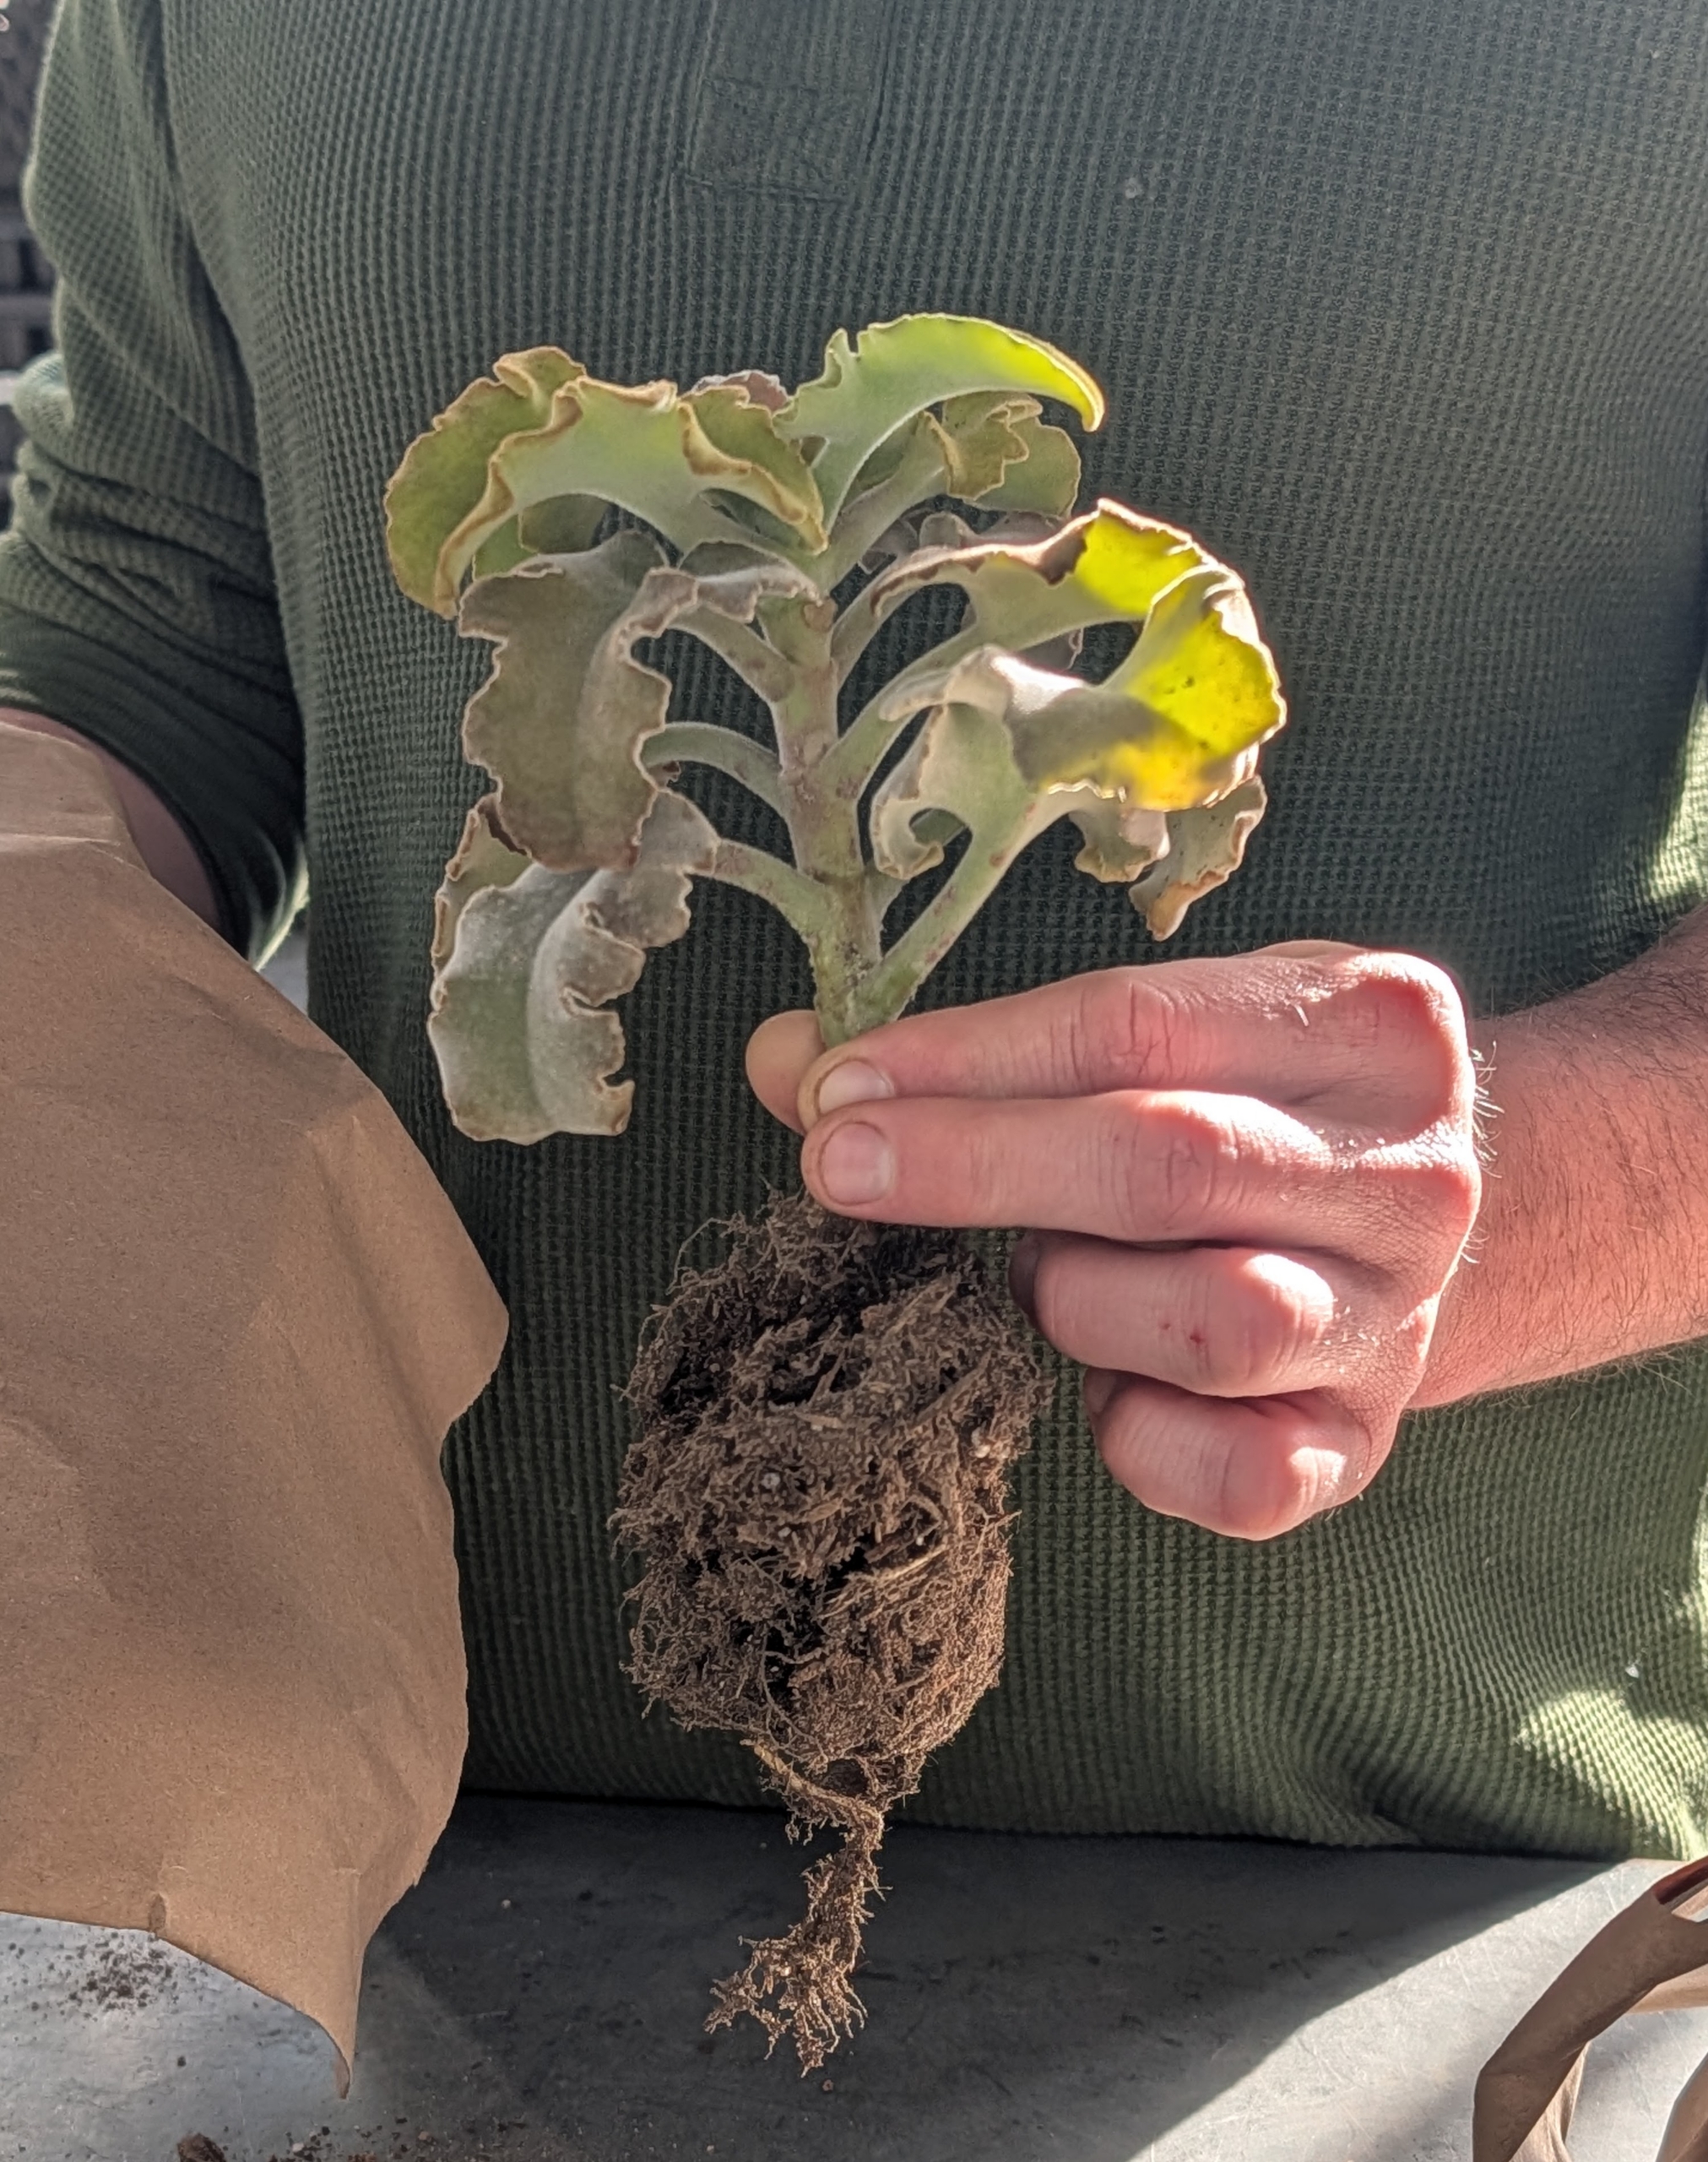
These succulent roots are light in color, long enough to hold the dirt in the pot, and veiny. Healthy roots will appear moist and will taper in thickness the further they get from the plant.
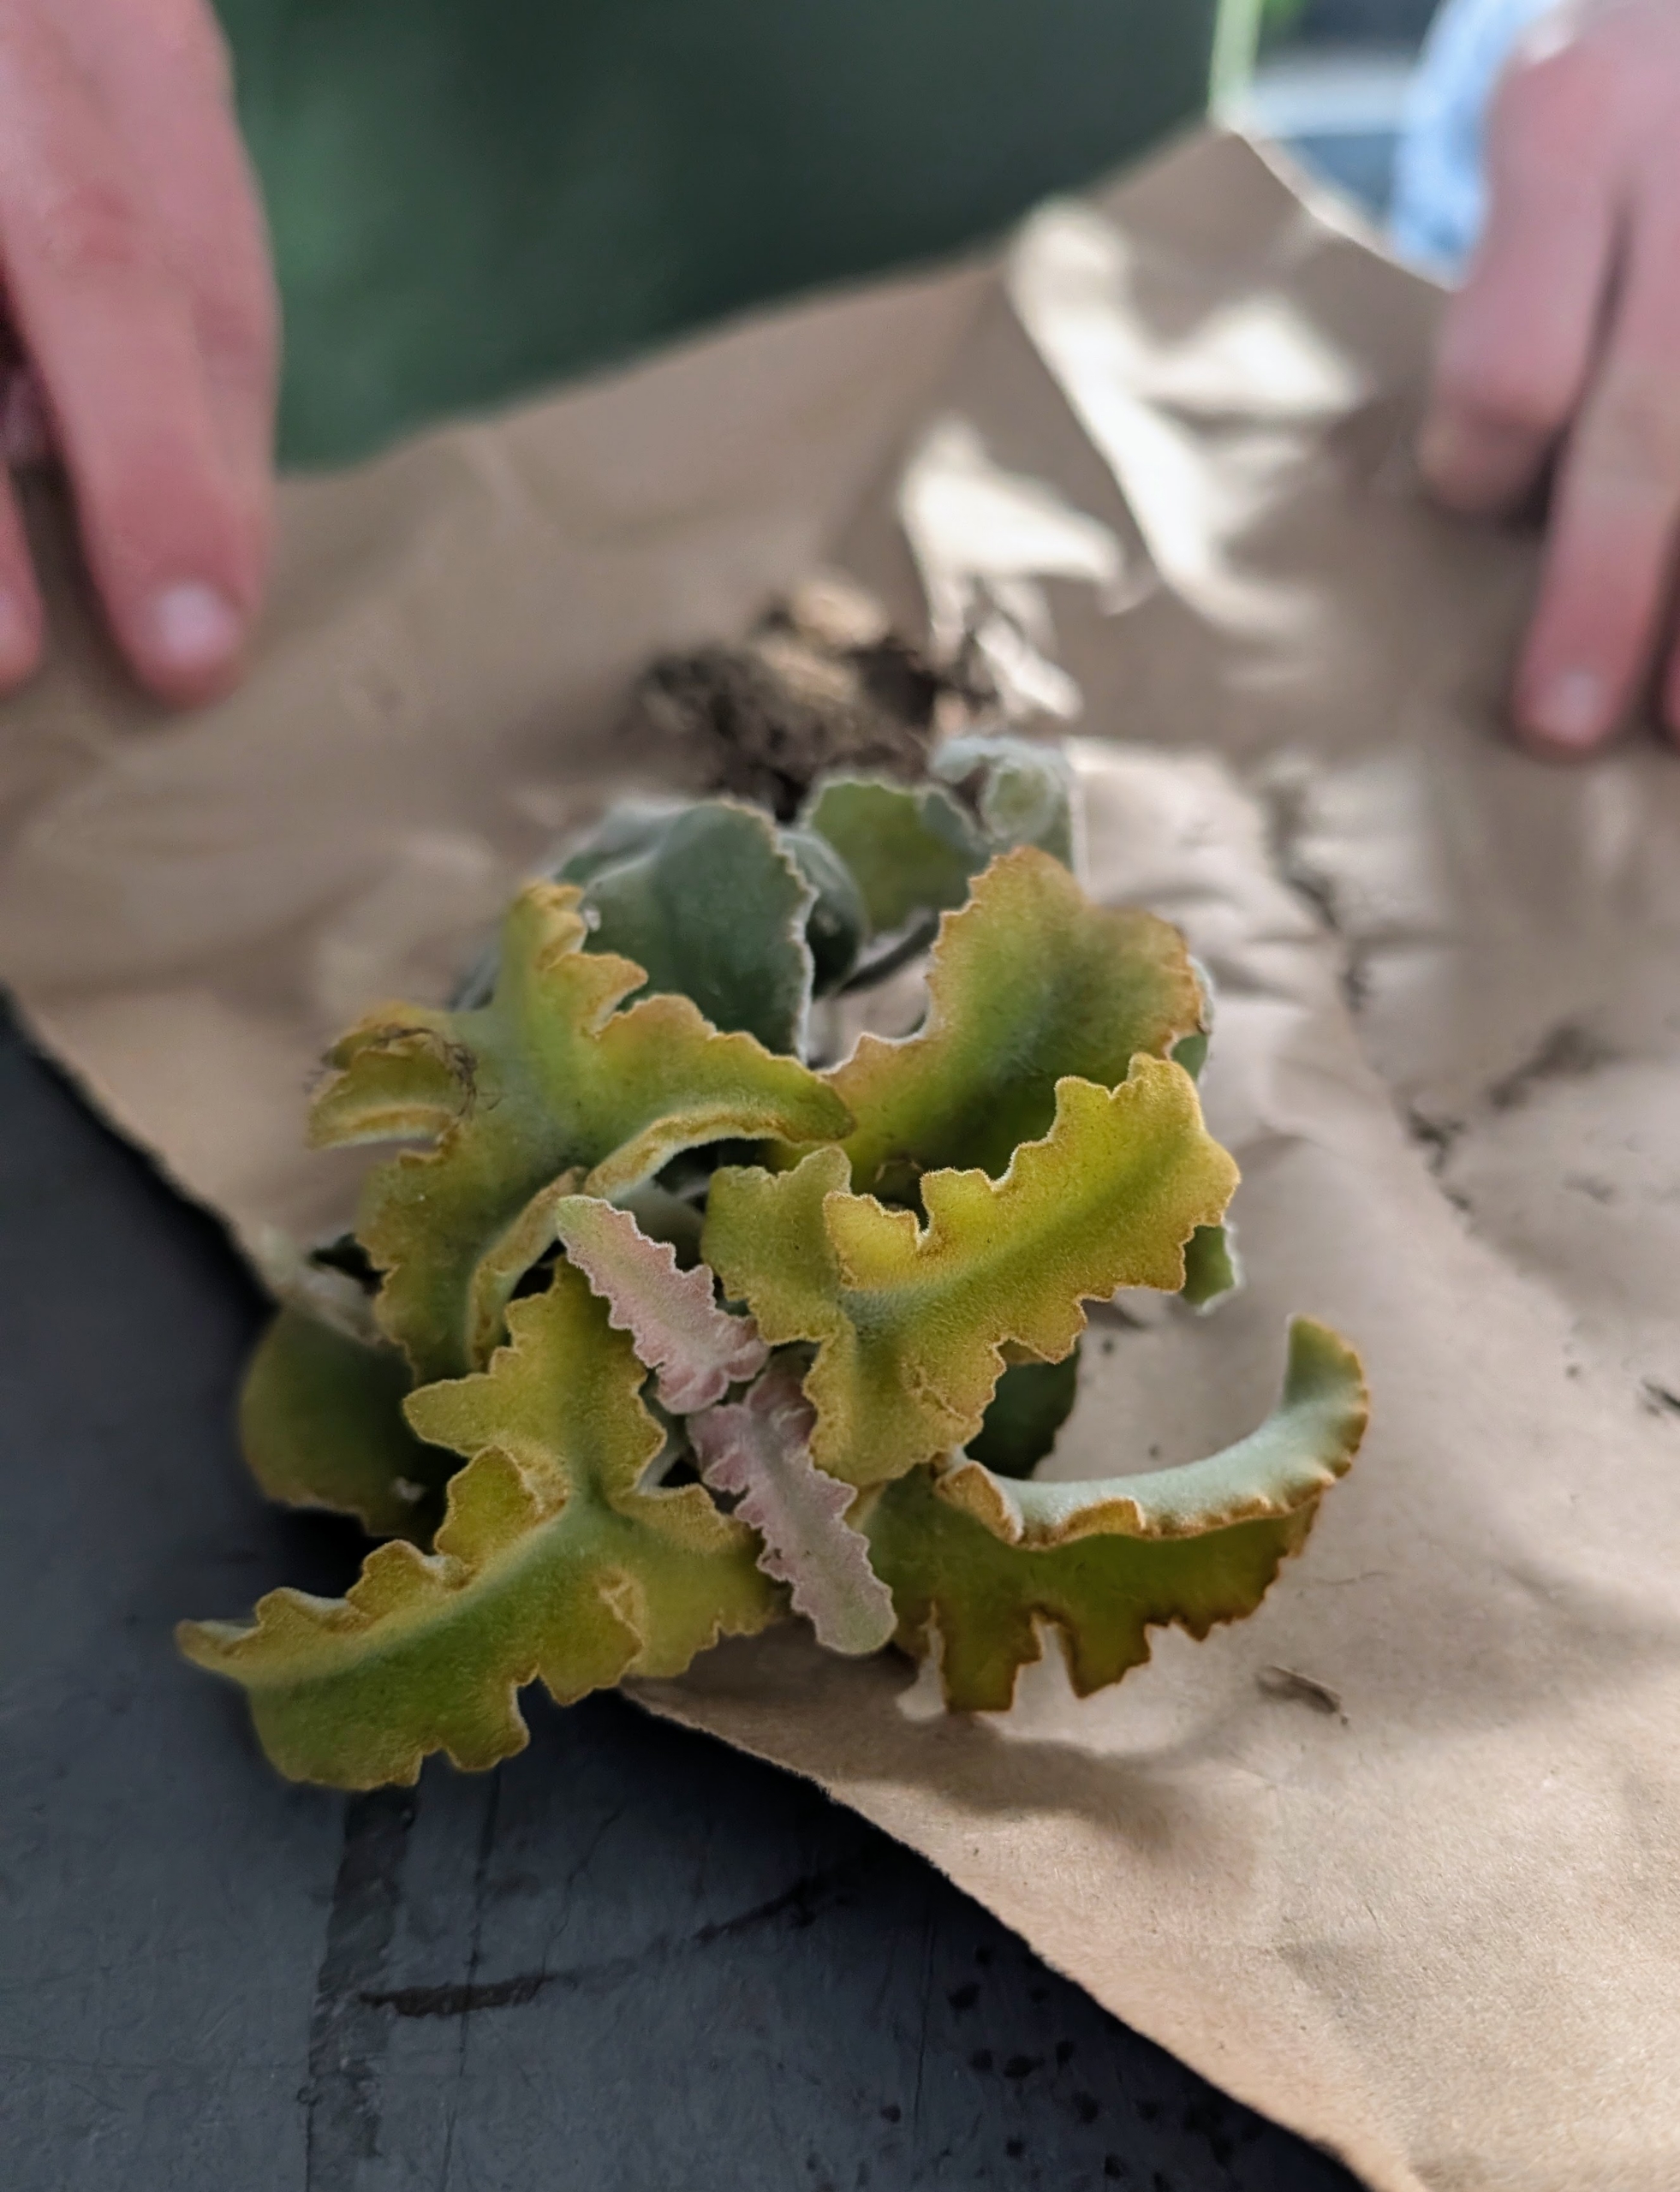
The Kalanchoe is a popular succulent plant known for its thick, fleshy leaves and vibrant, long-lasting flowers, making it an excellent choice for indoor and outdoor gardening.
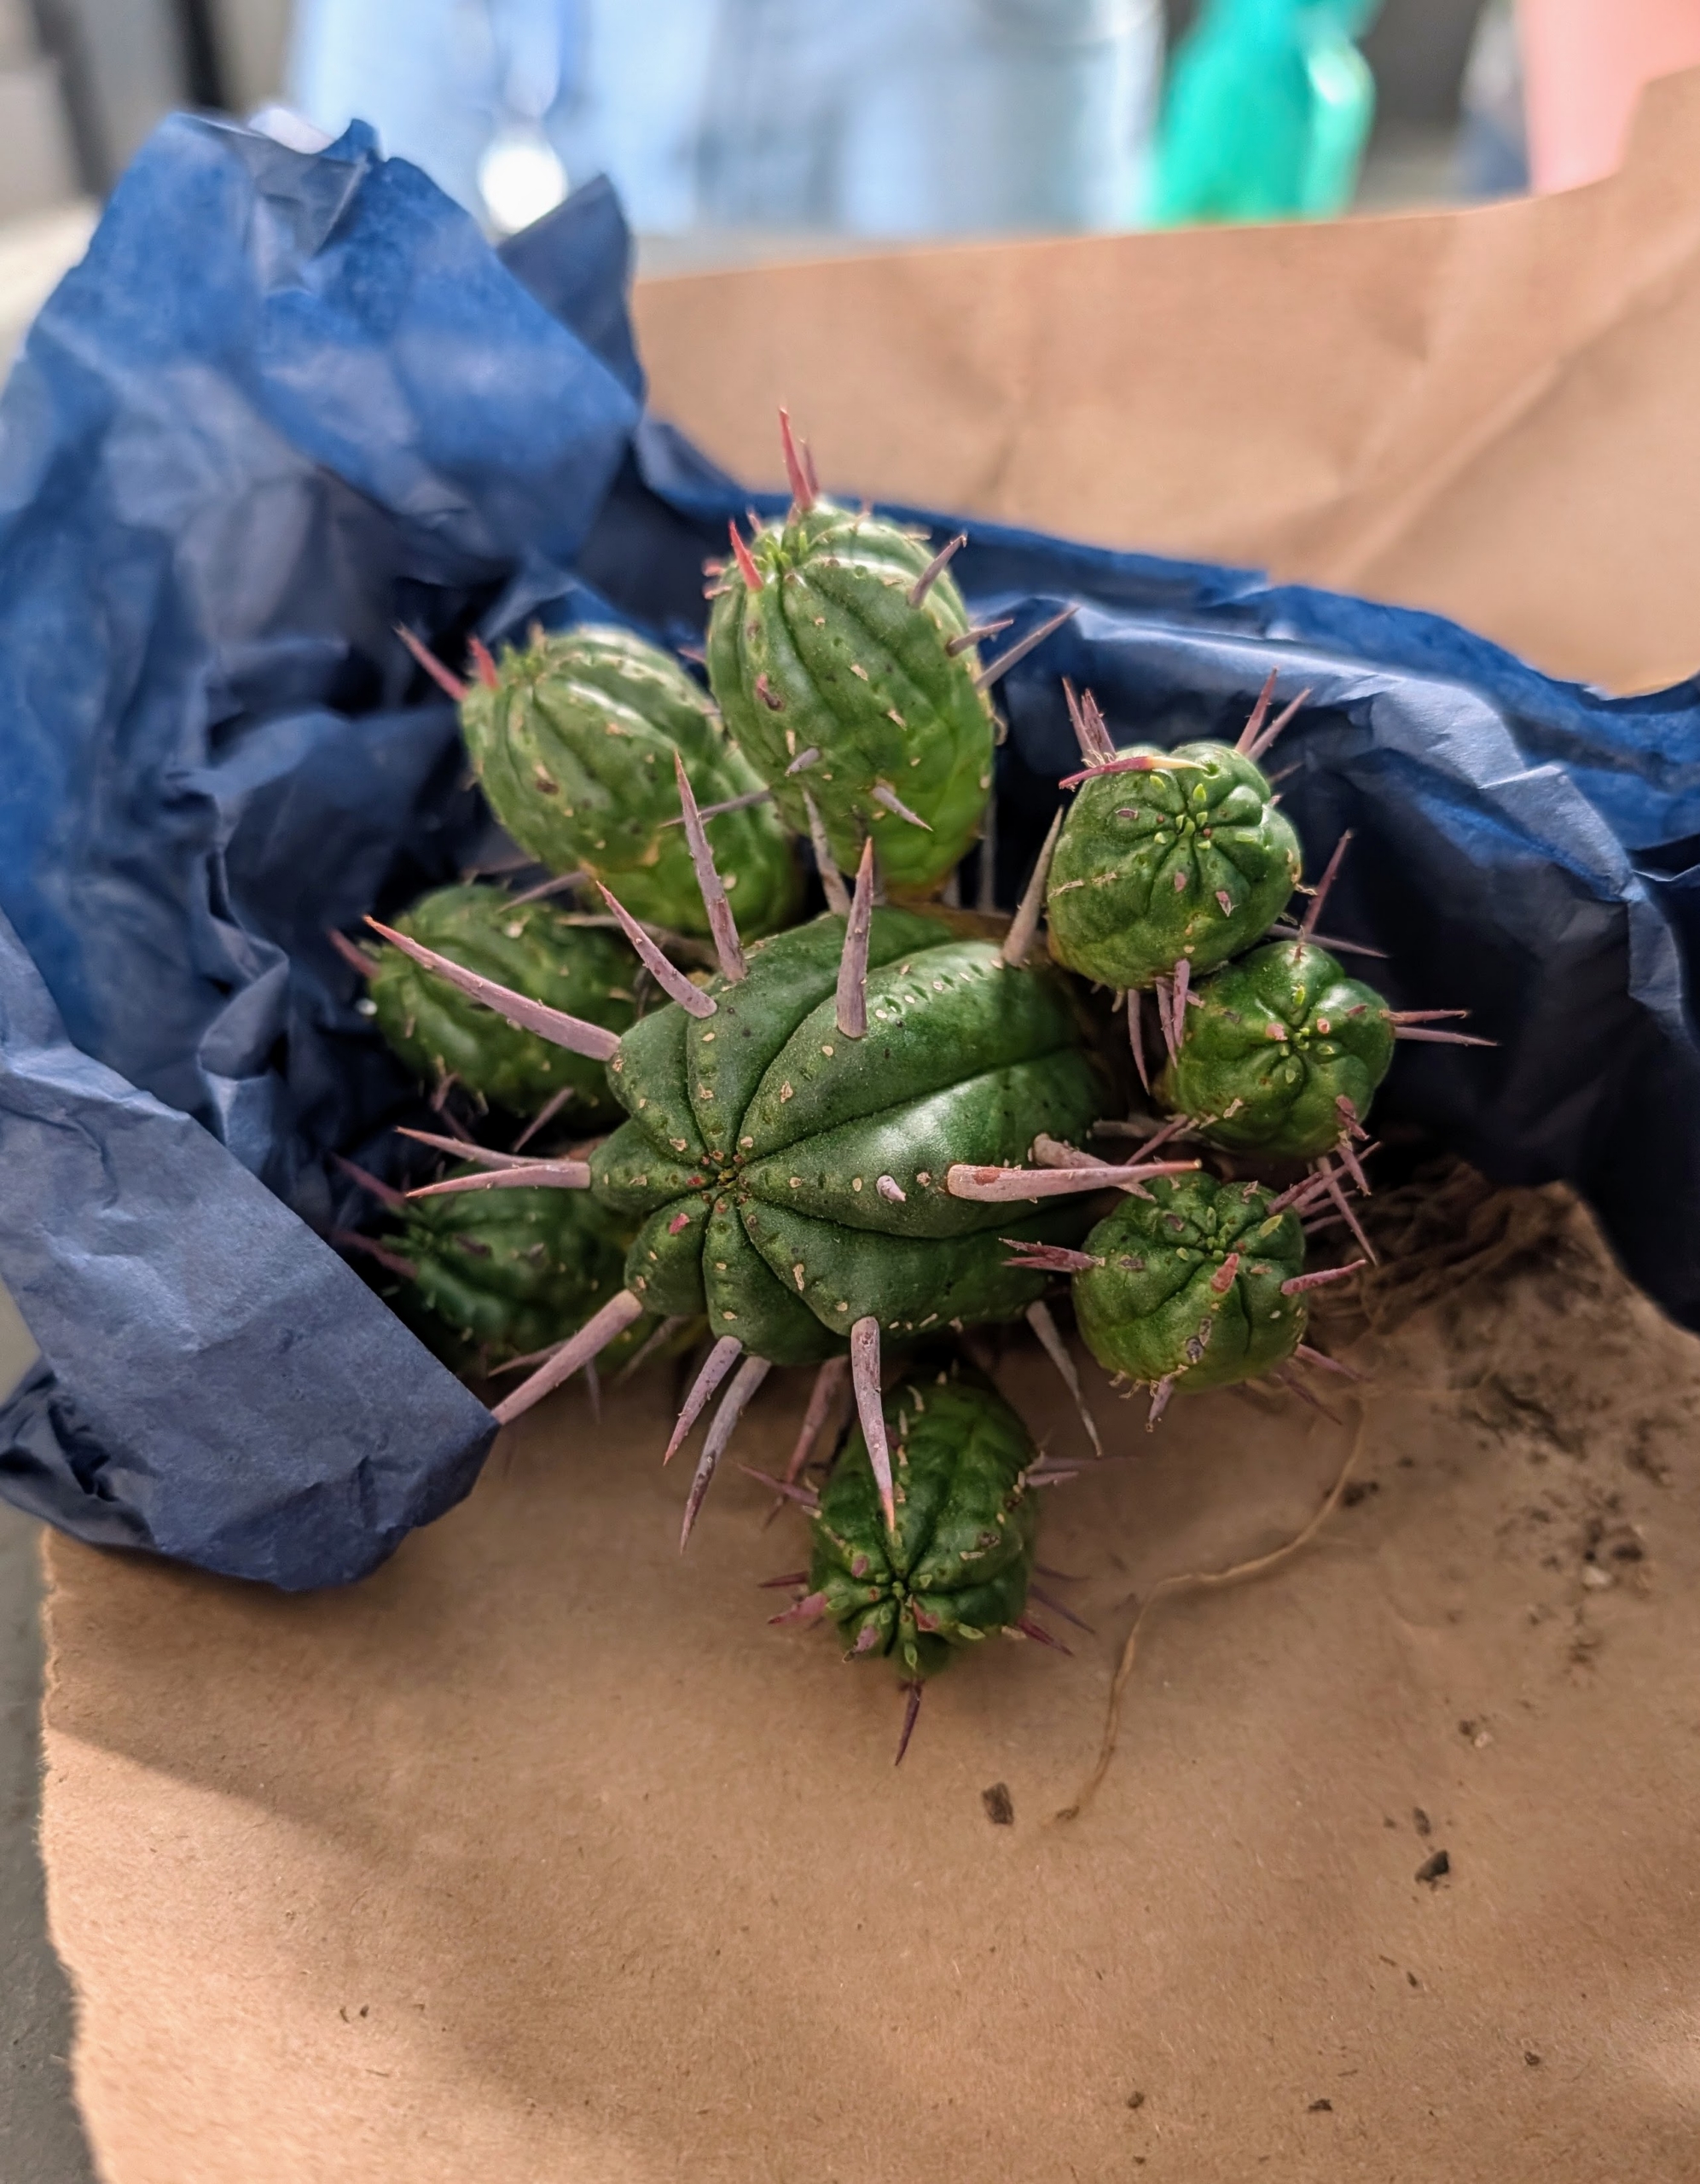
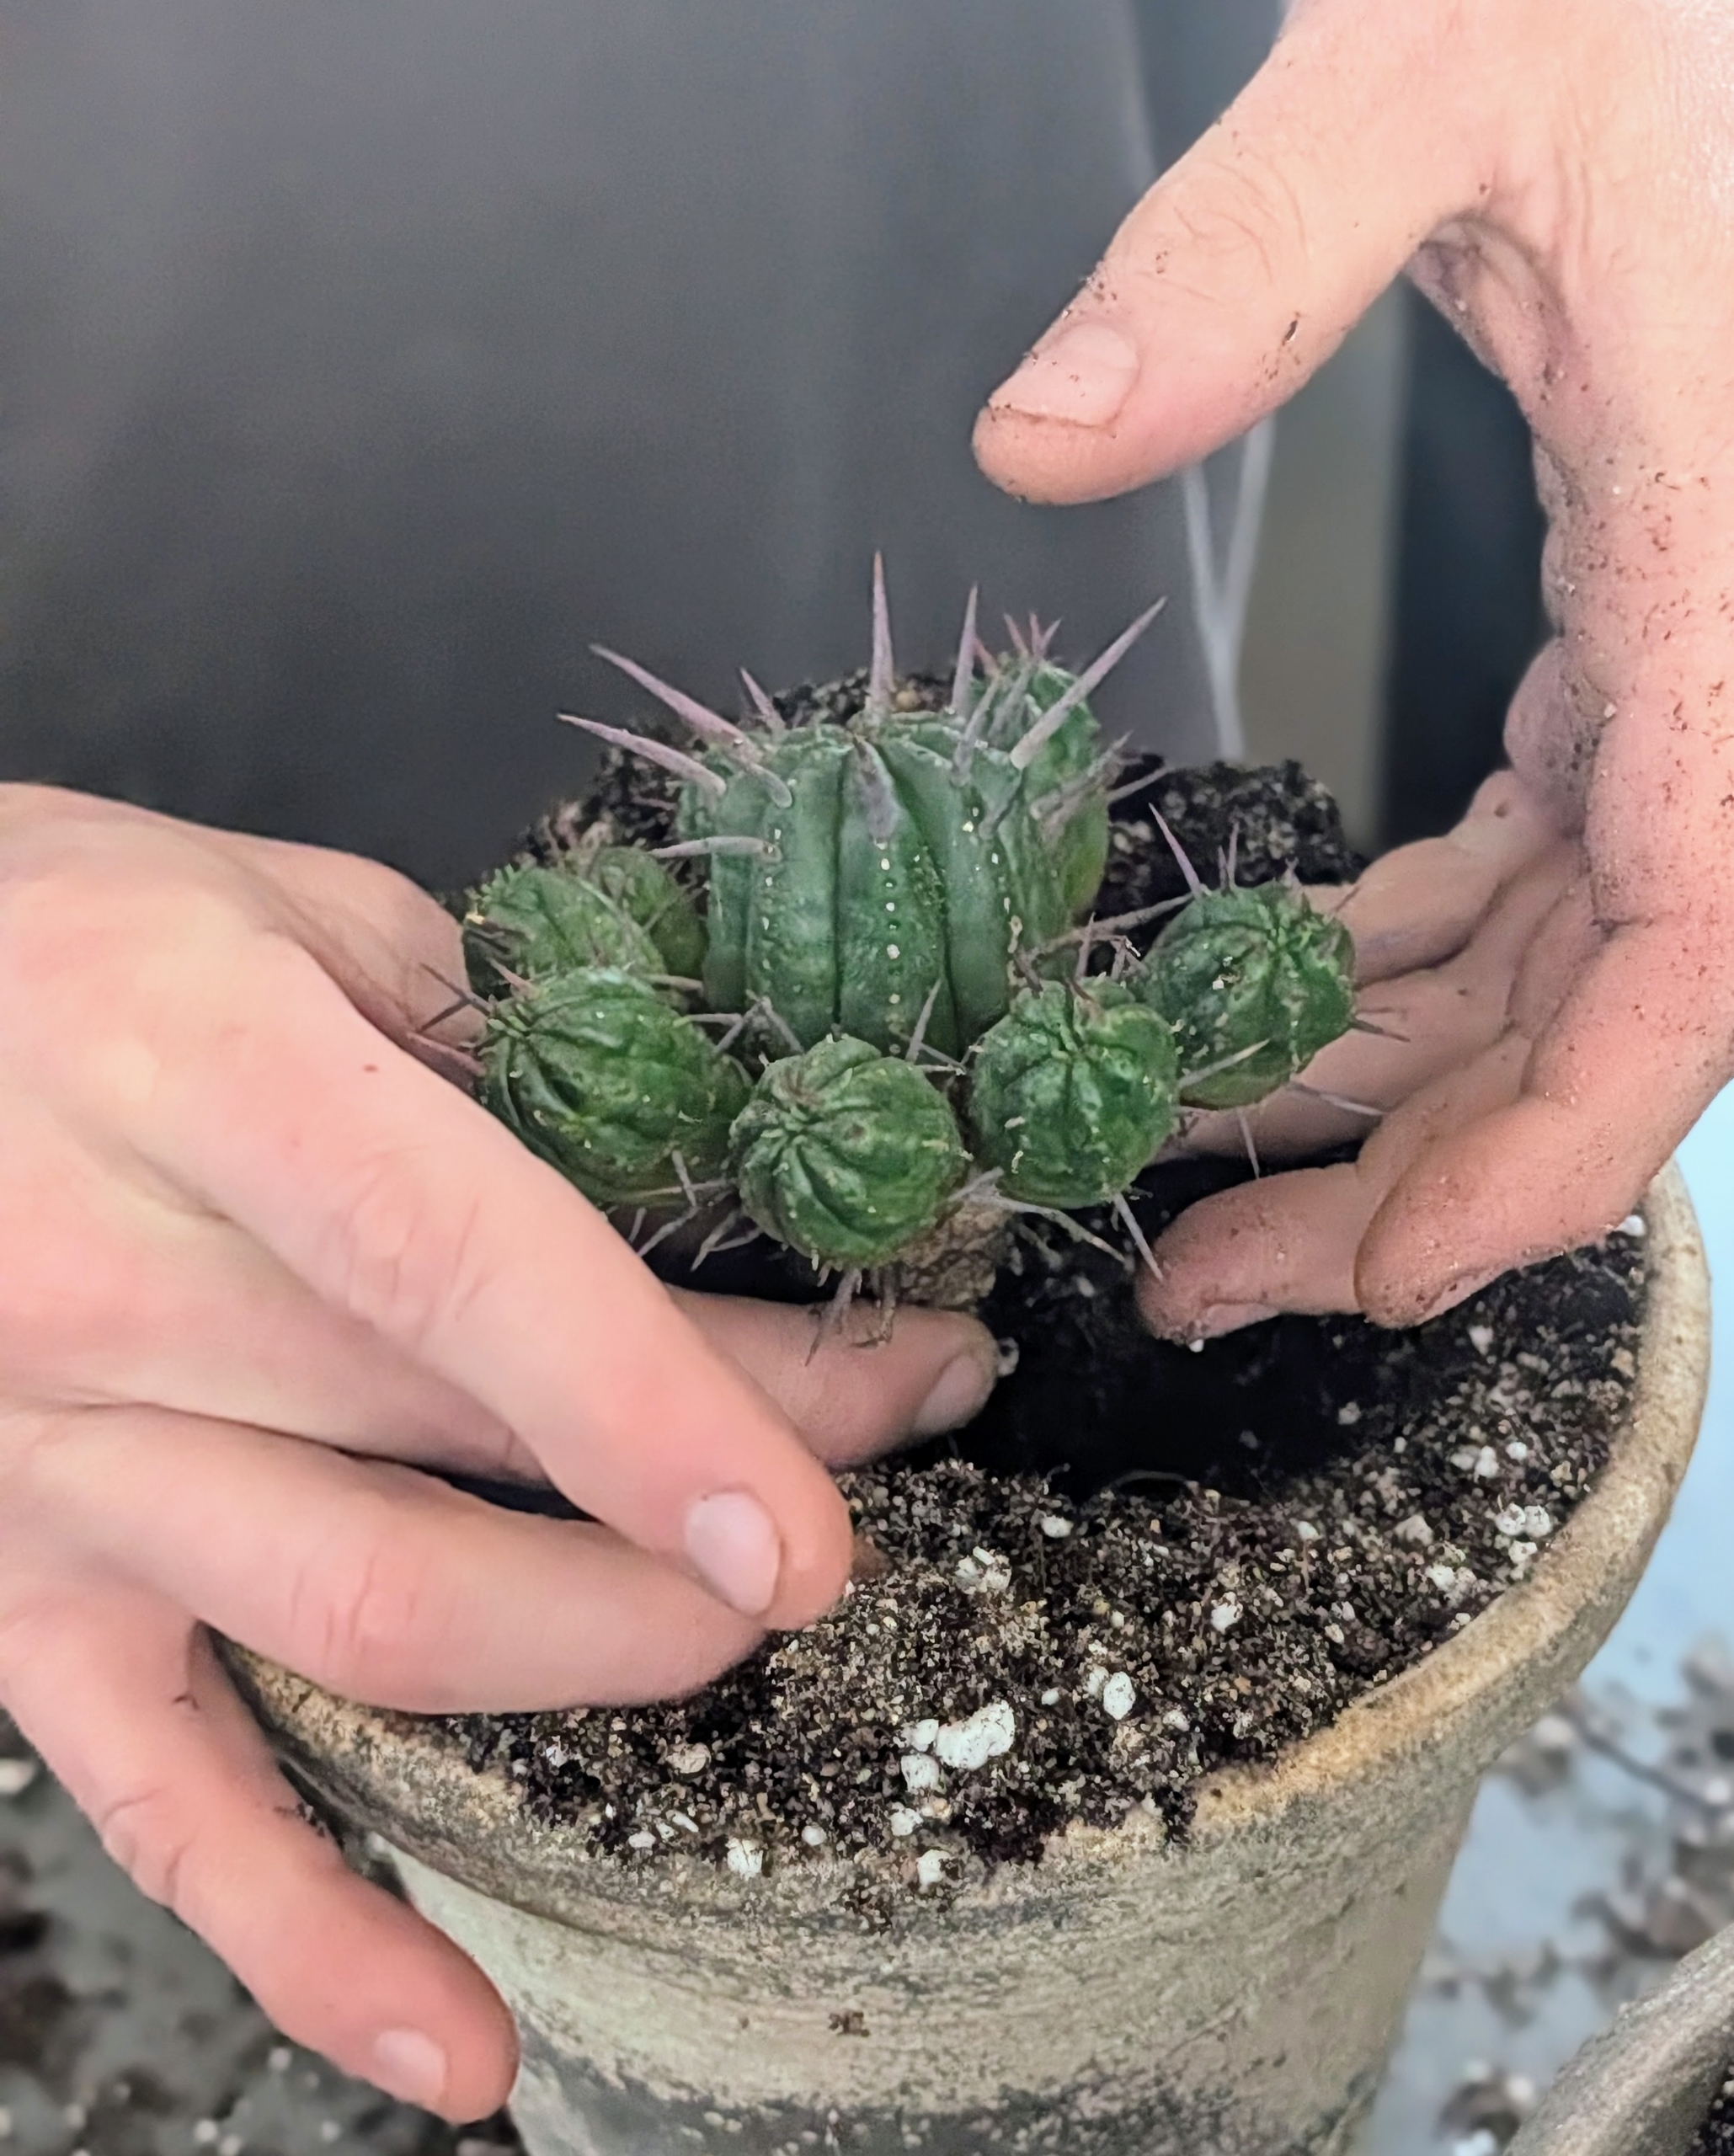
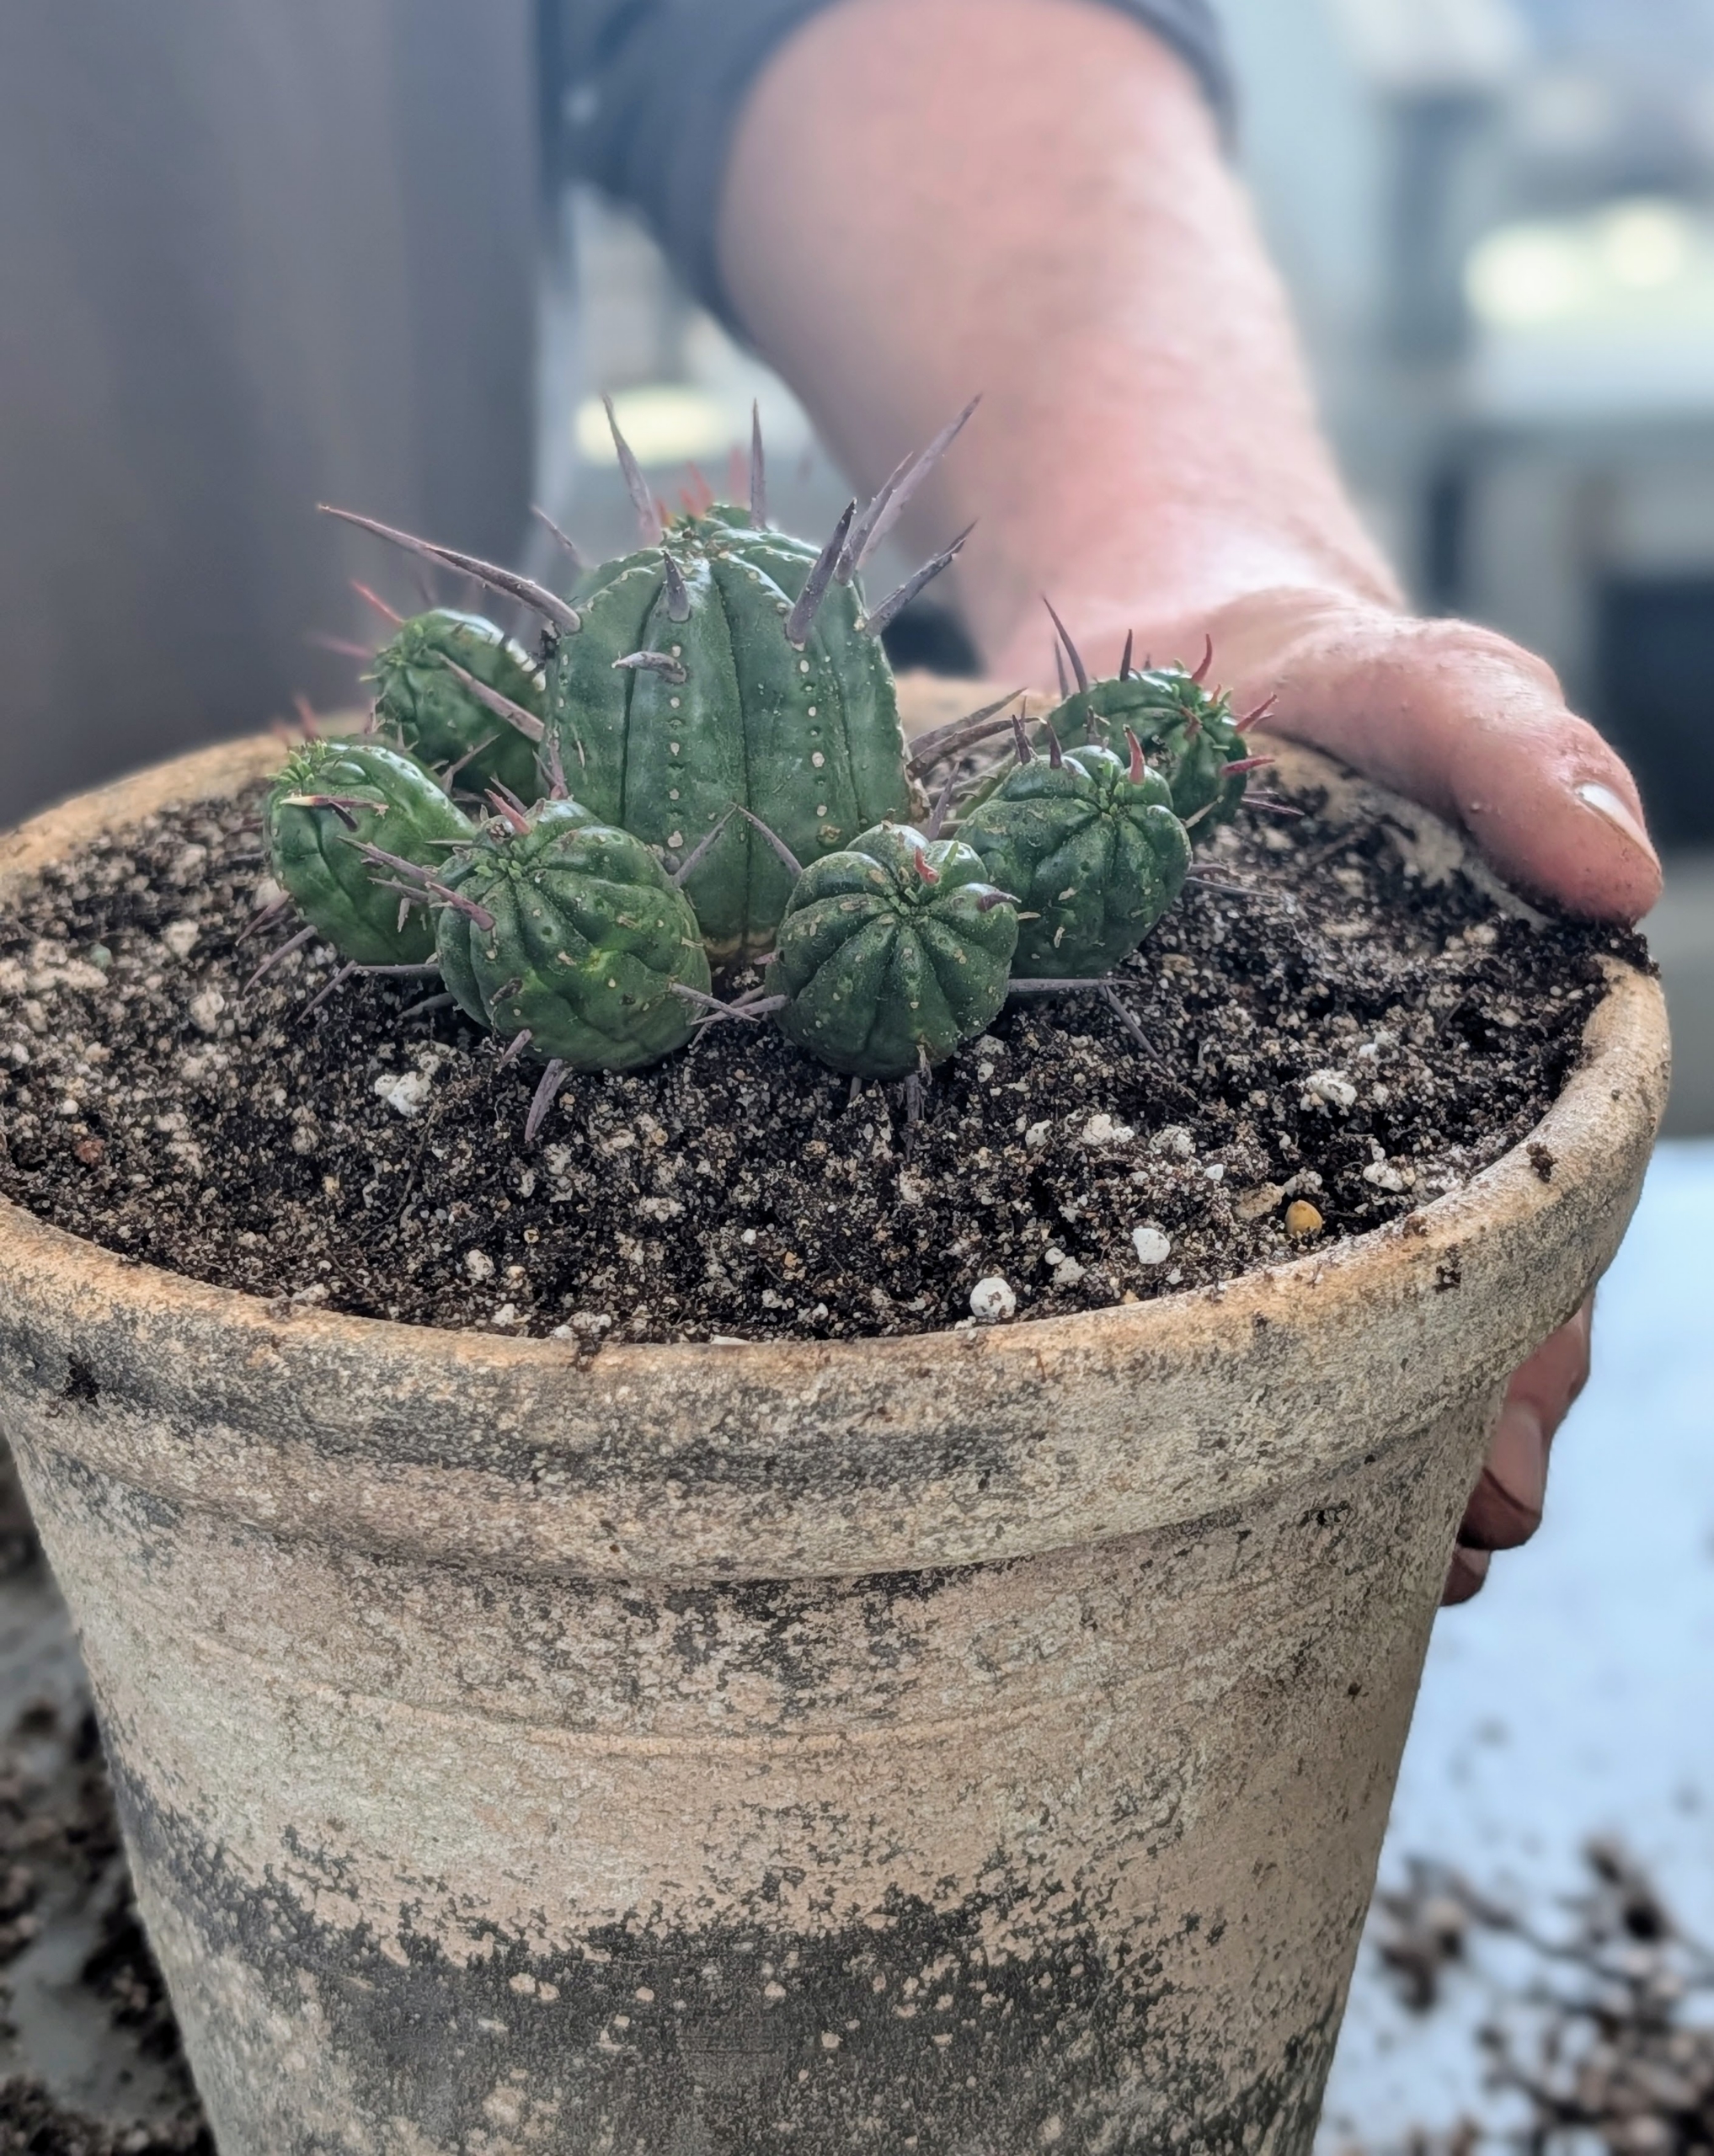
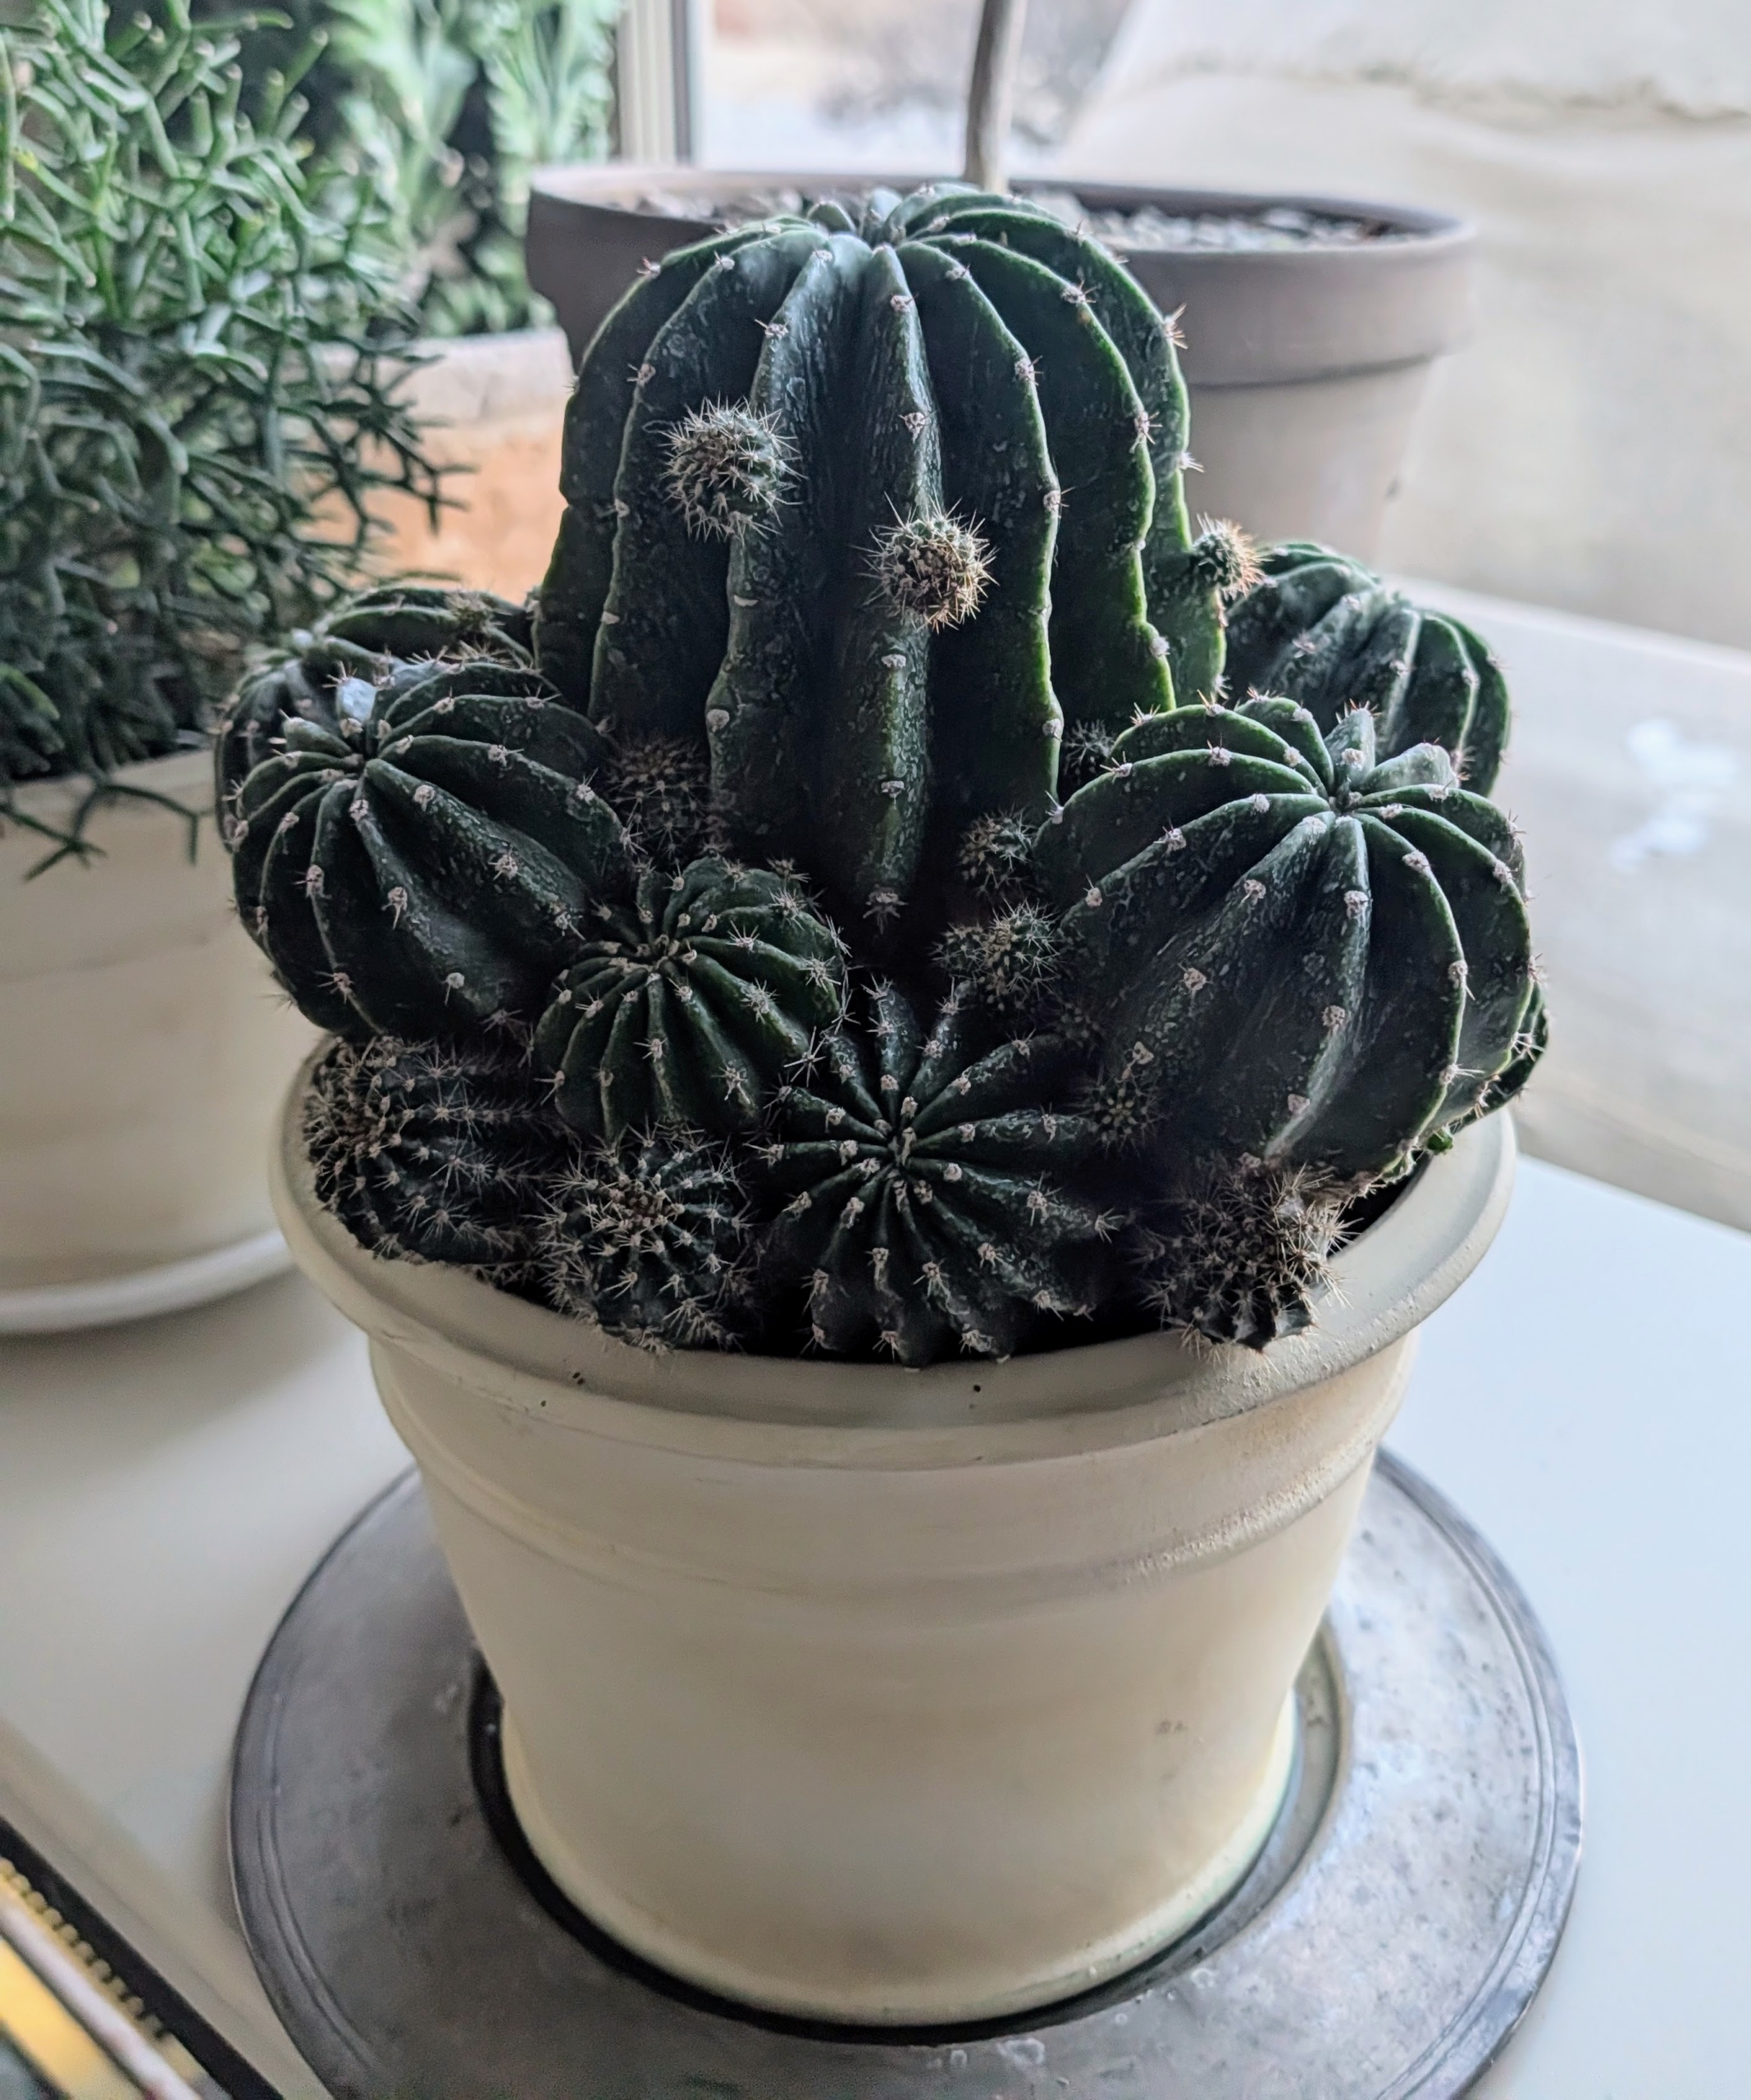
This pincushion euphorbia is a succulent with spines on ribbed stems.
This succulent will last a couple years in this pot before it will need to be transplanted again.
Ryan adds pea gravel to the top of the pots. Pea gravel, so named because the pieces are pea-sized, is available at garden centers and comes in different colors.
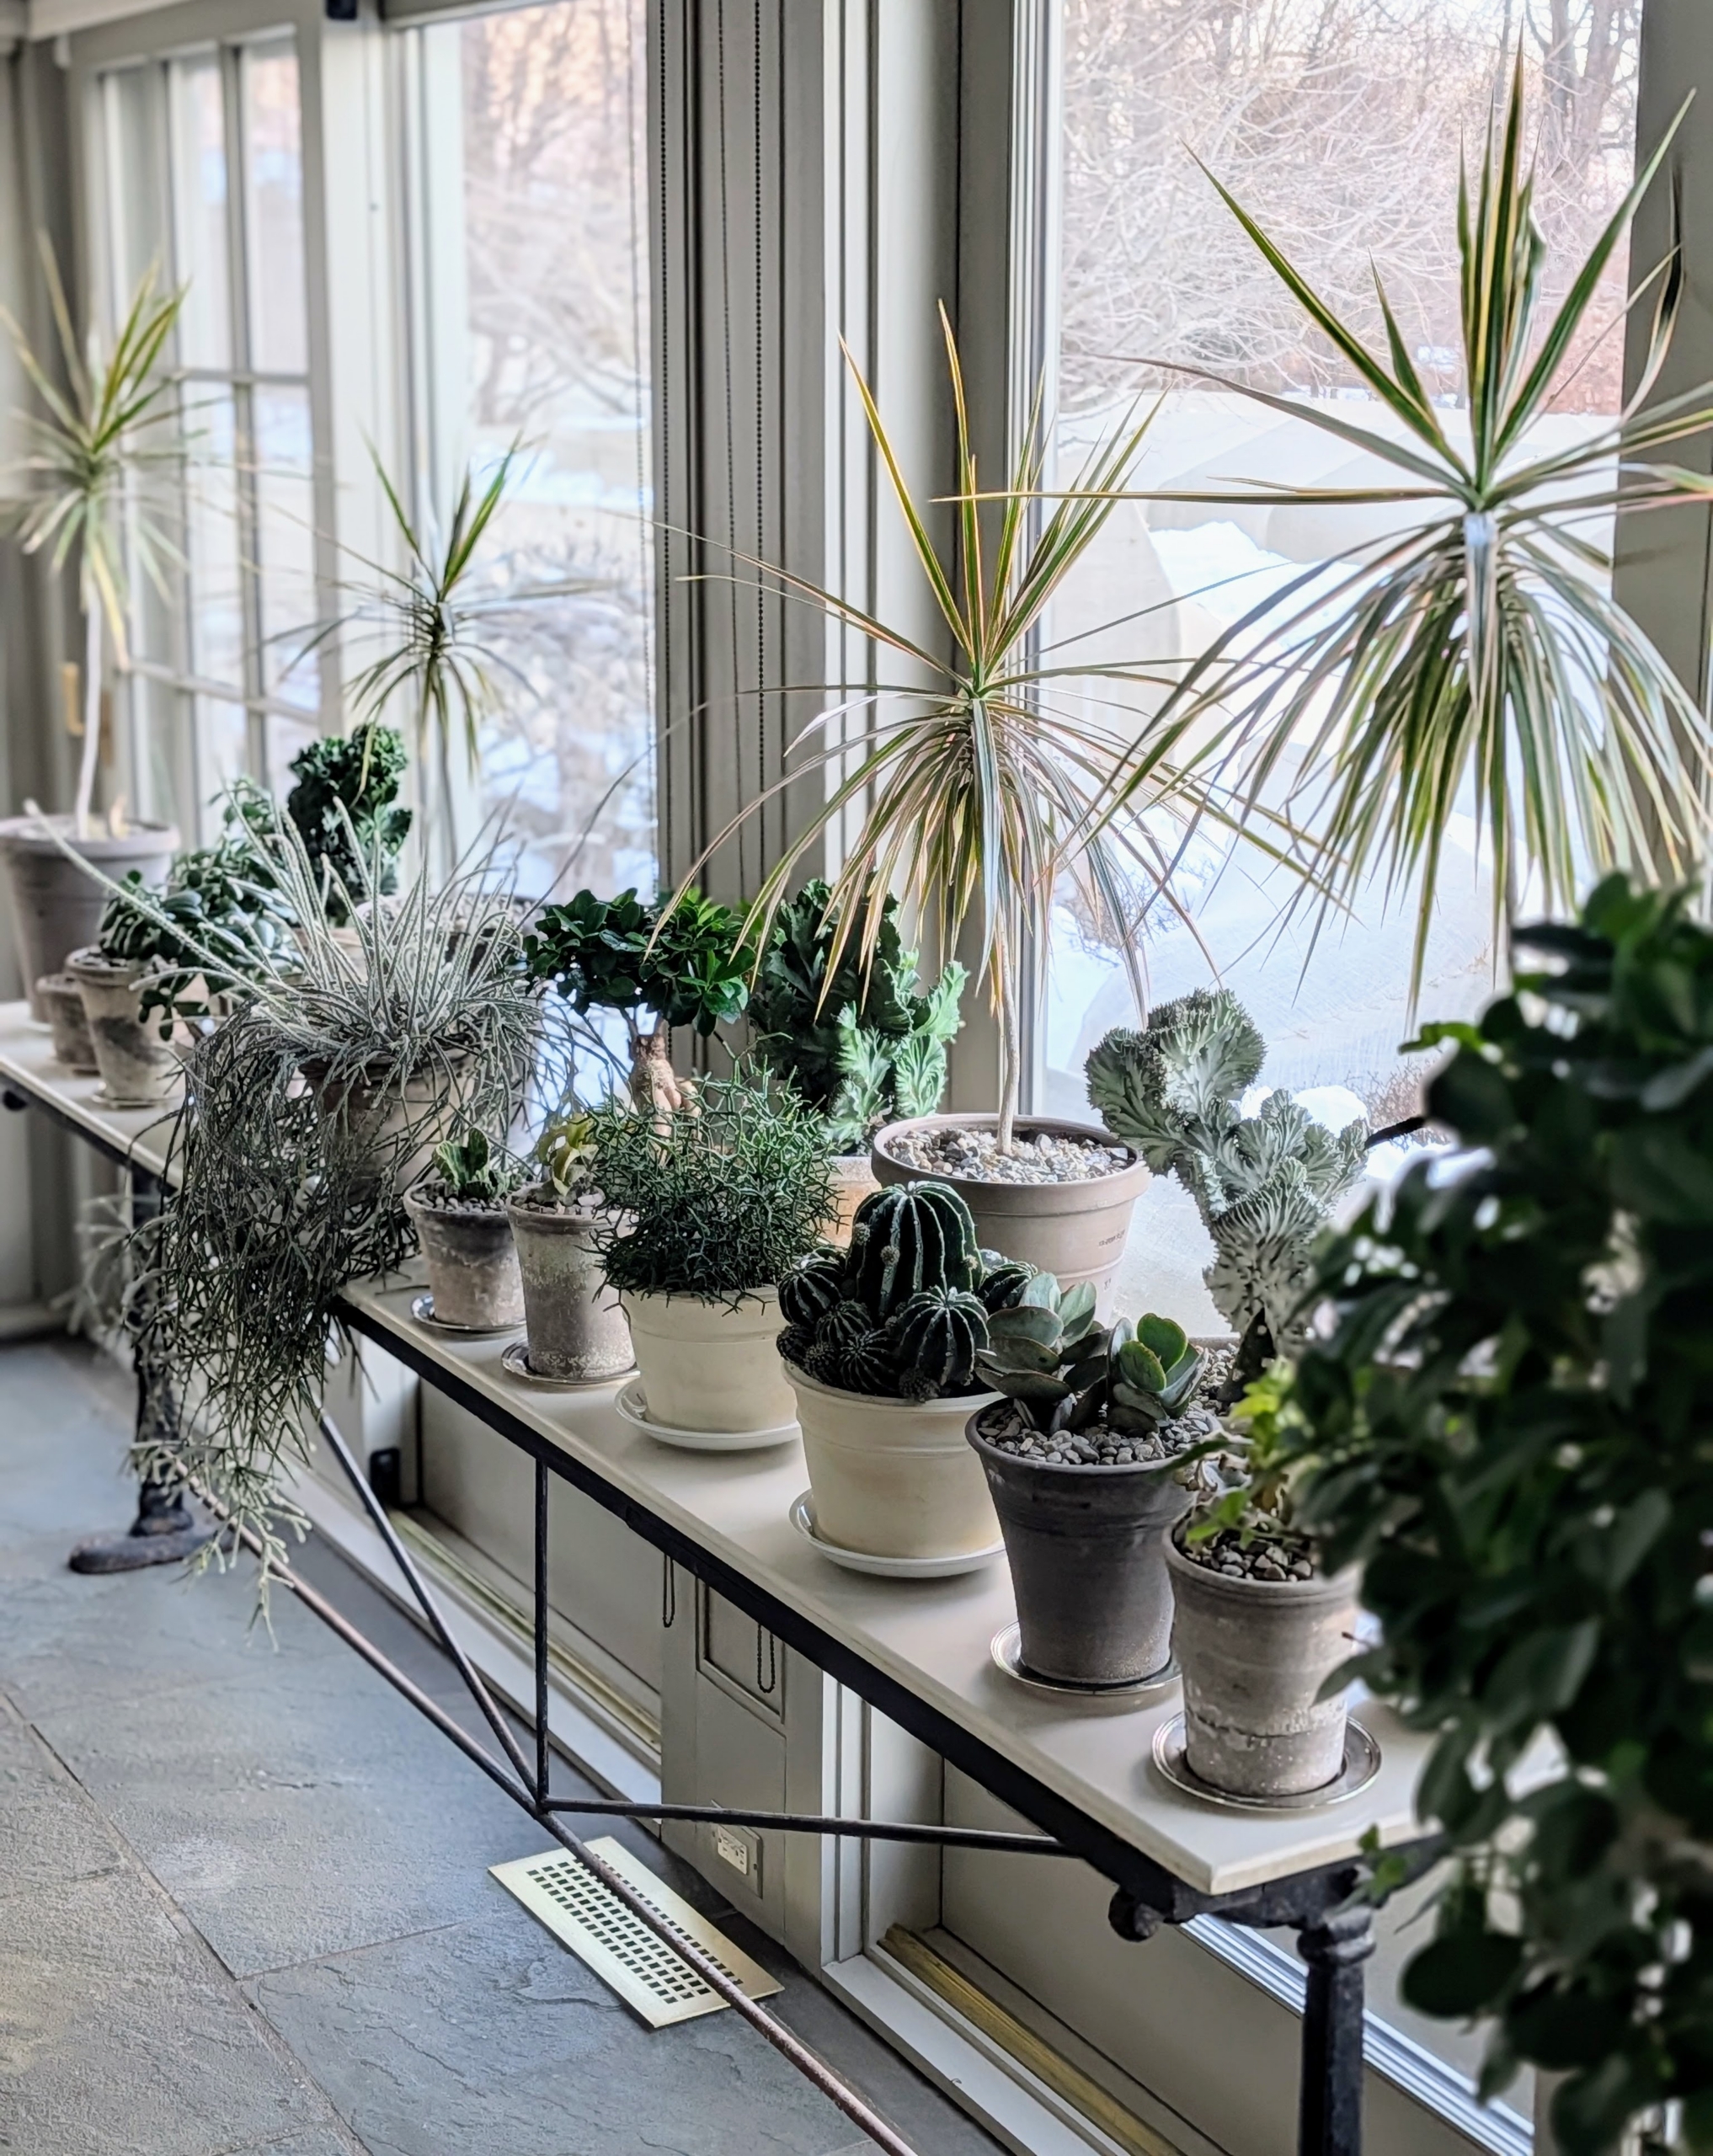
The newly potted plants are placed into a crate and brought up to my Winter House porch.
And here they are now – joined with some other well-nurtured specimens. My porch is a lovely space for displaying potted plants. The floor to ceiling windows allow lots of light. Most succulents need at least half a day to a full day of sunlight. They’ll do beautifully in this space and will be a joy to watch grow and thrive.
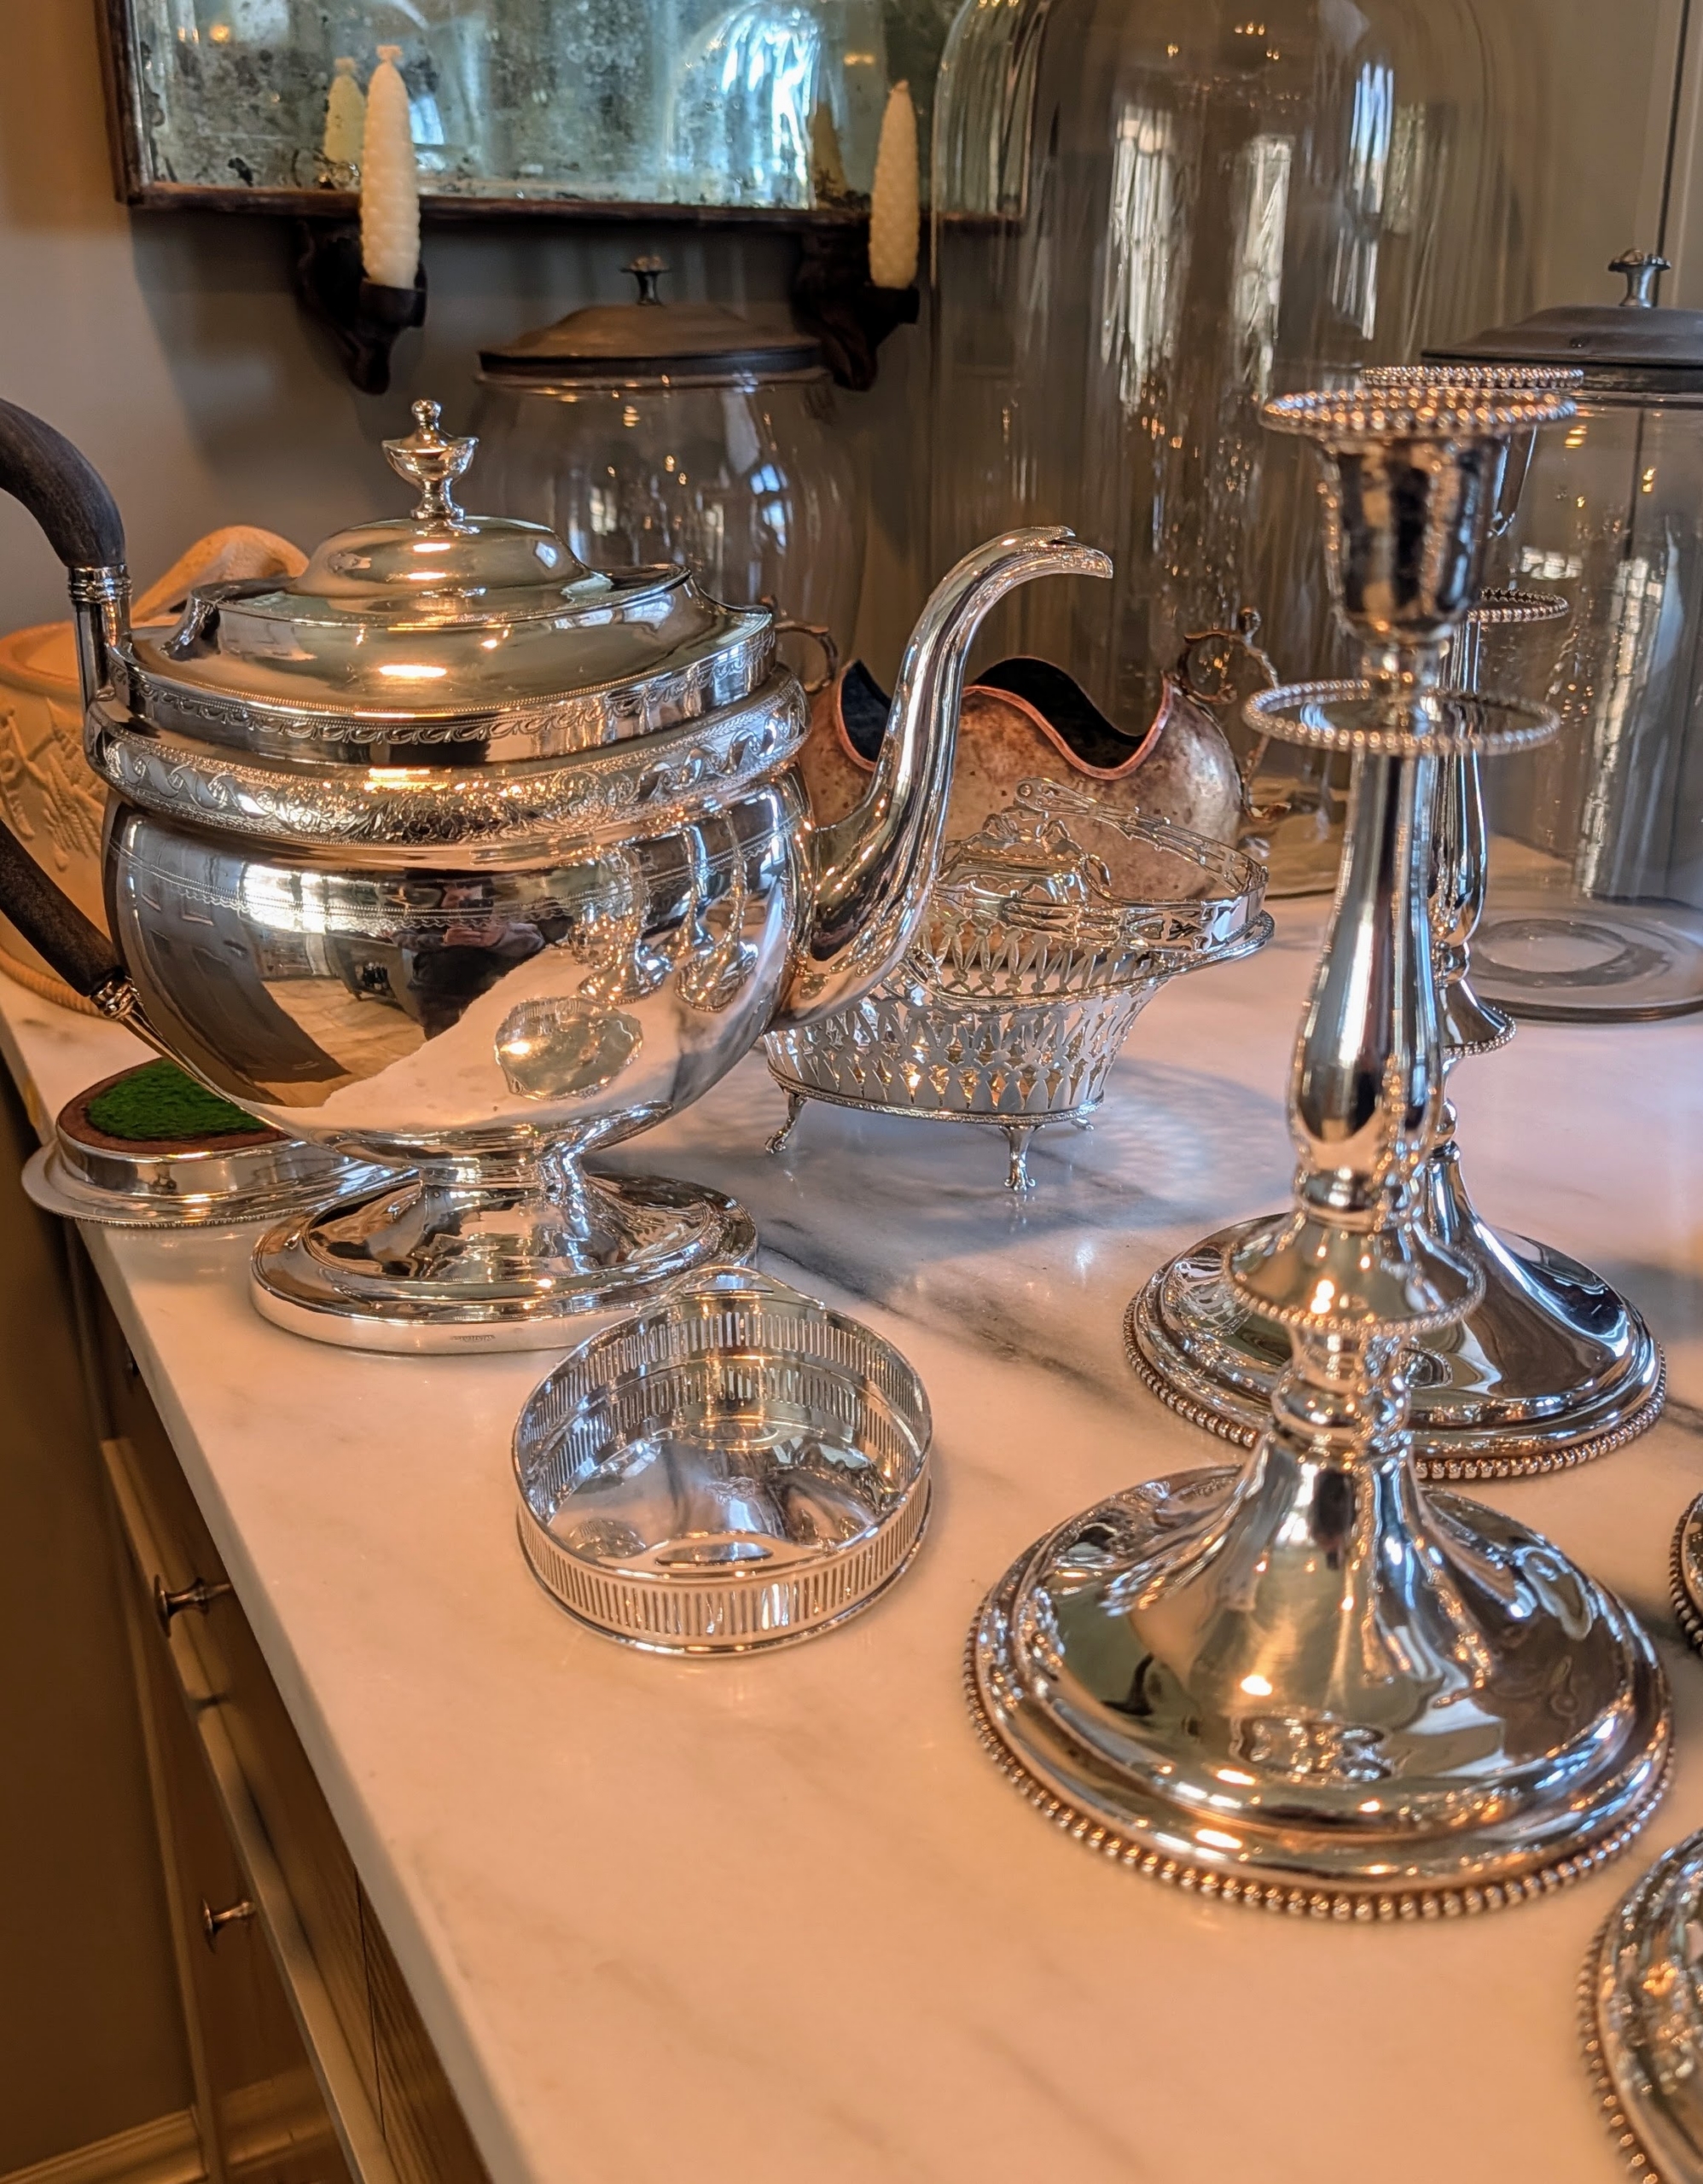
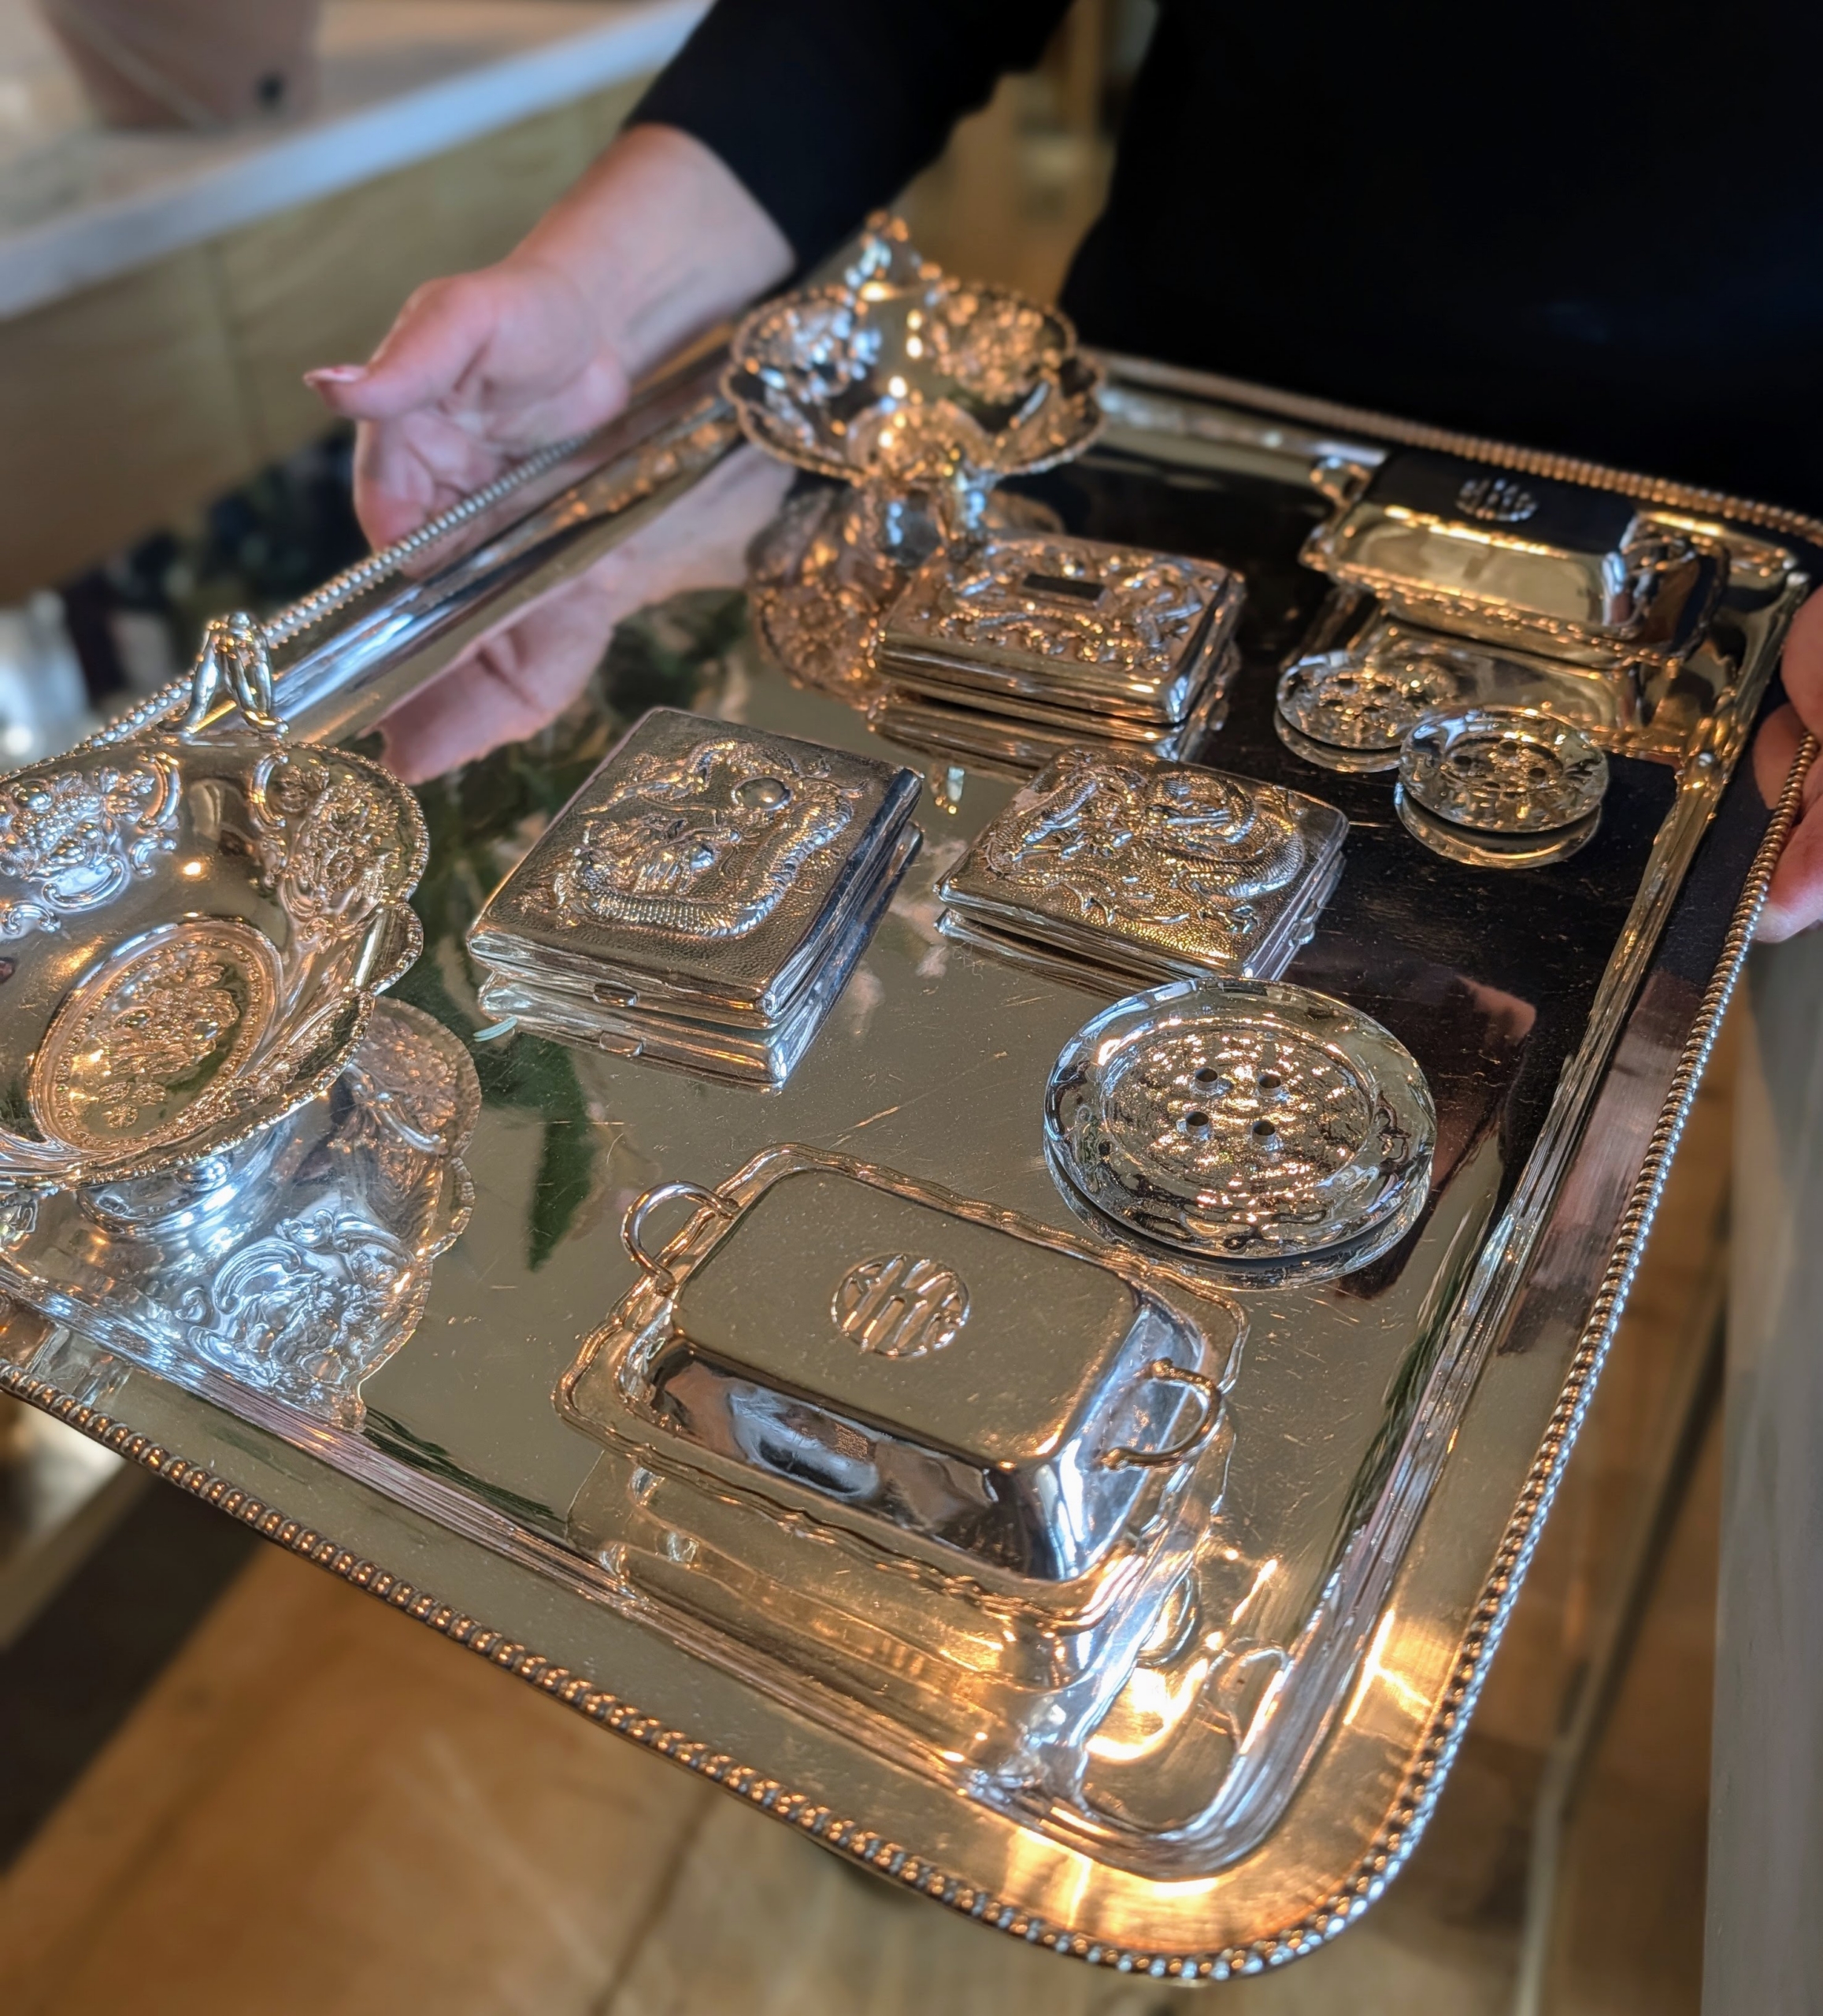
If you're entertaining at home this winter, don't forget to take time to polish the silver.
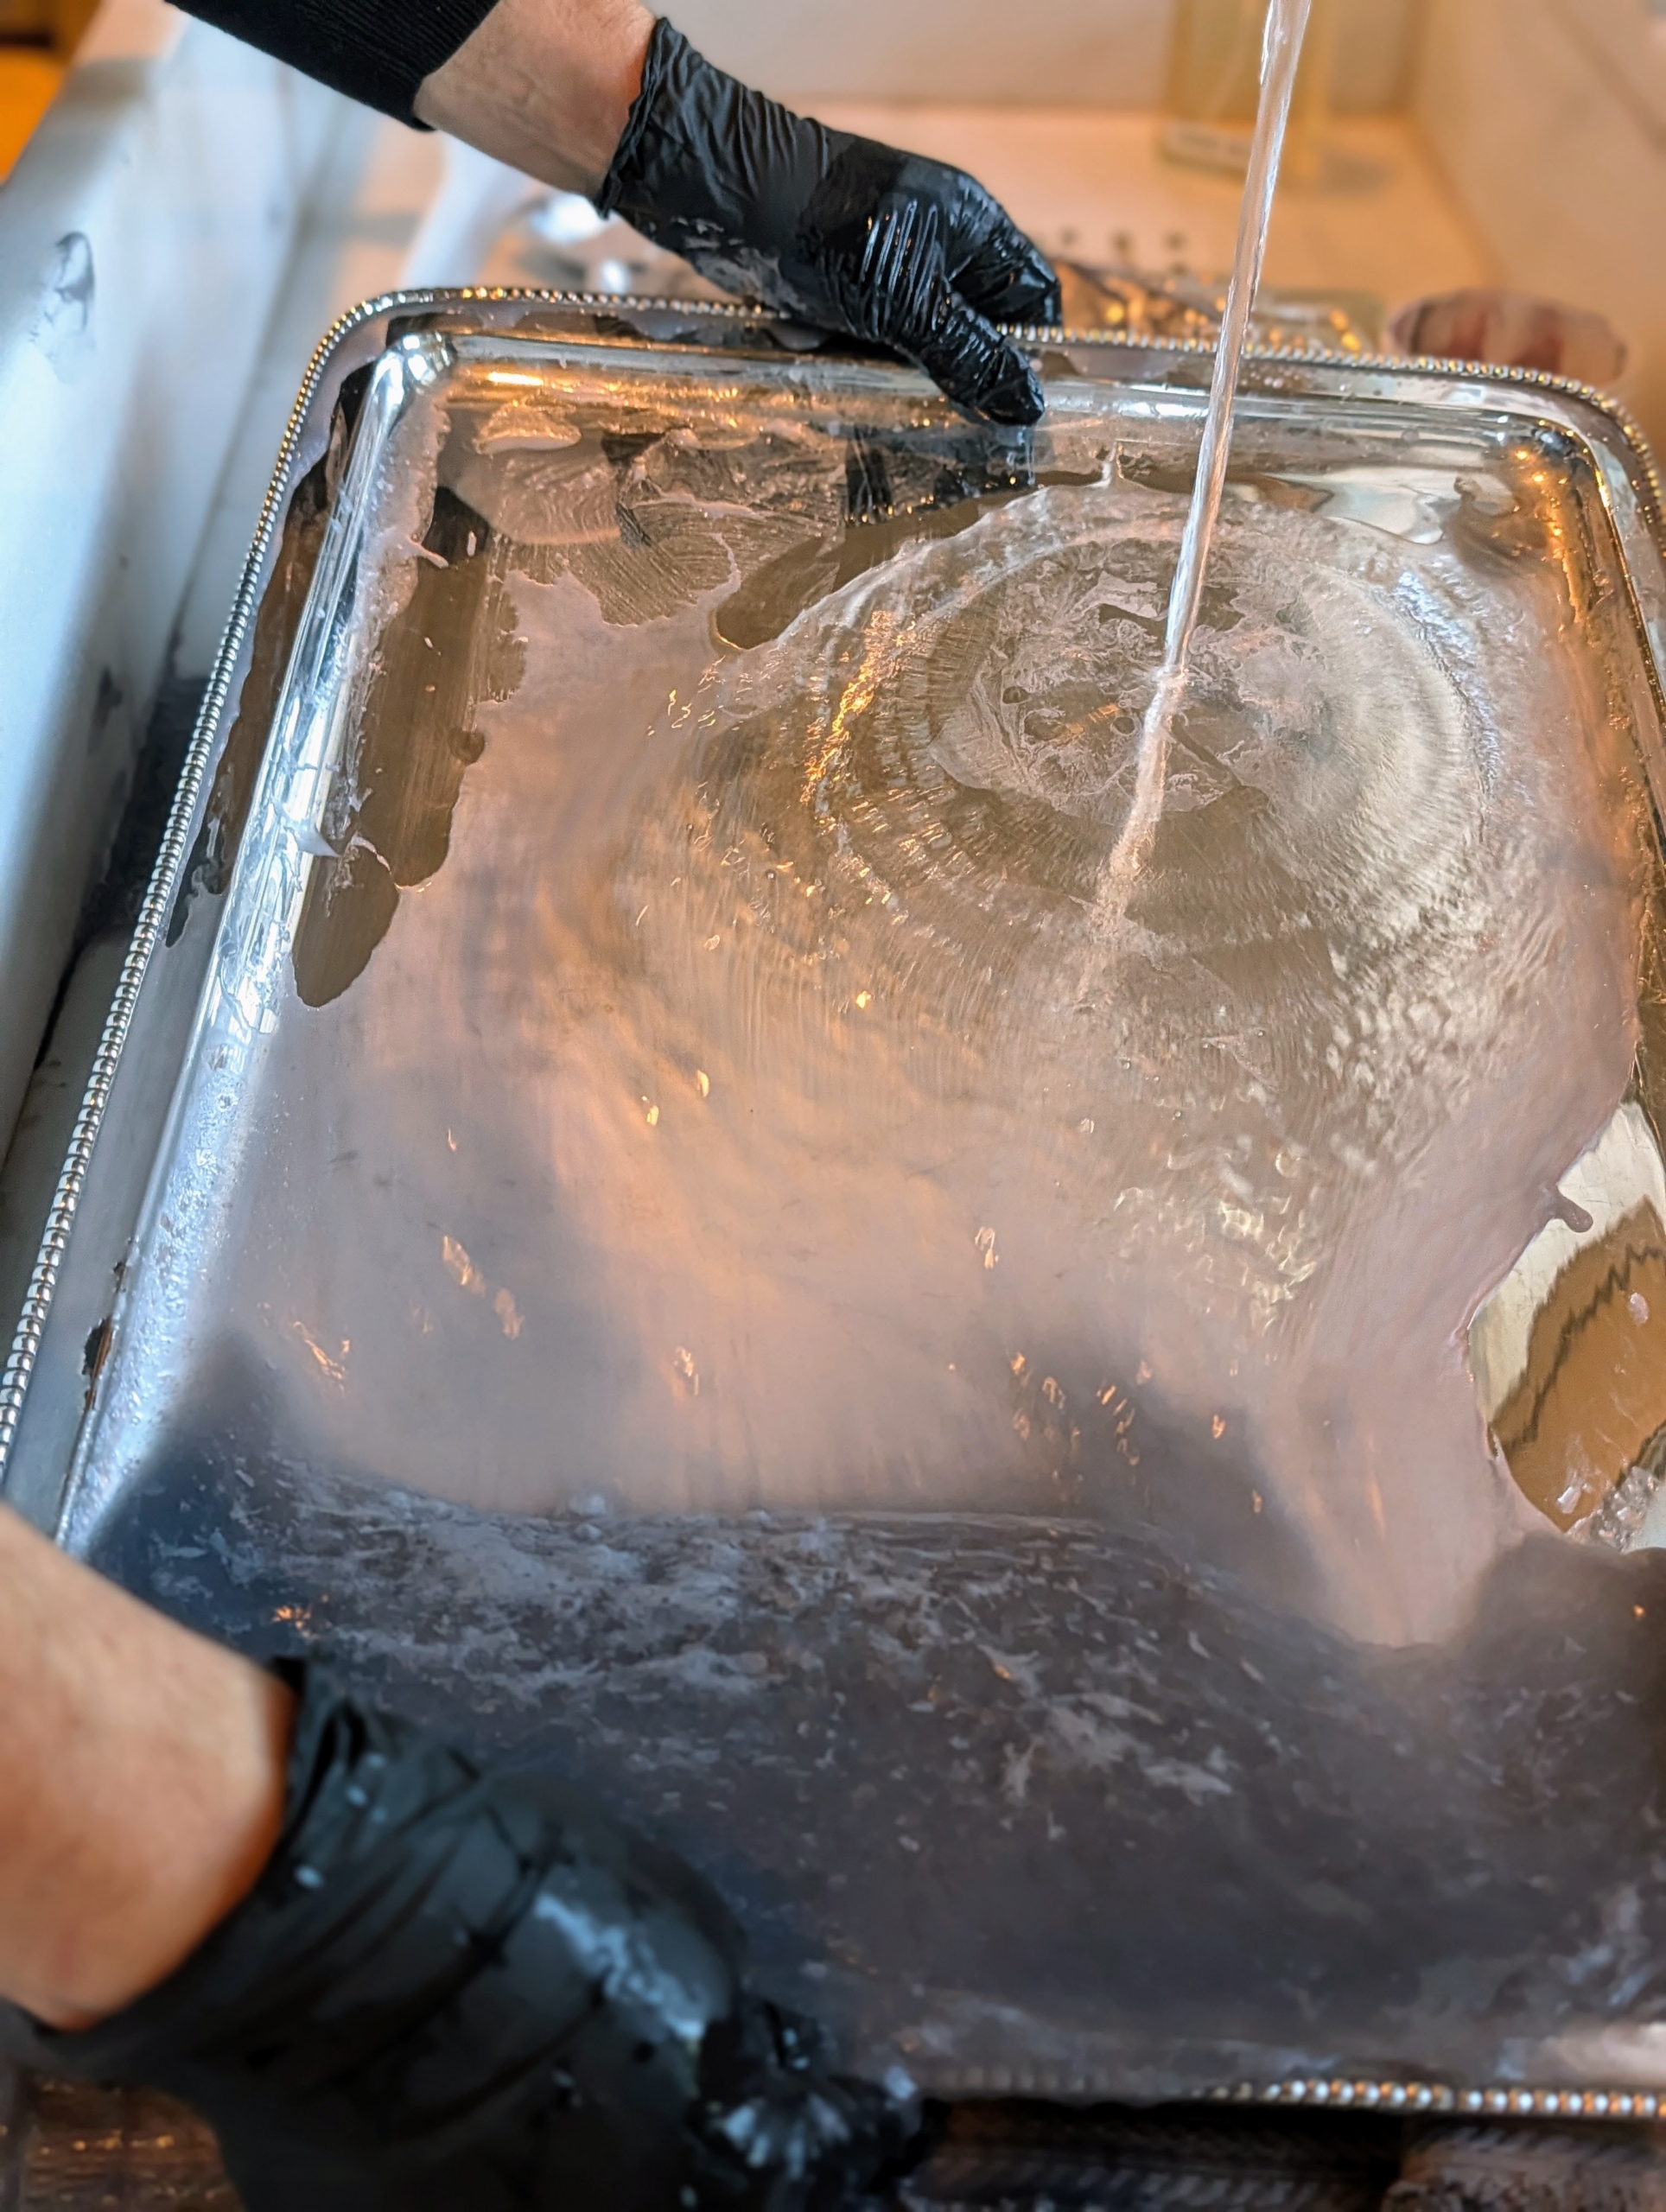
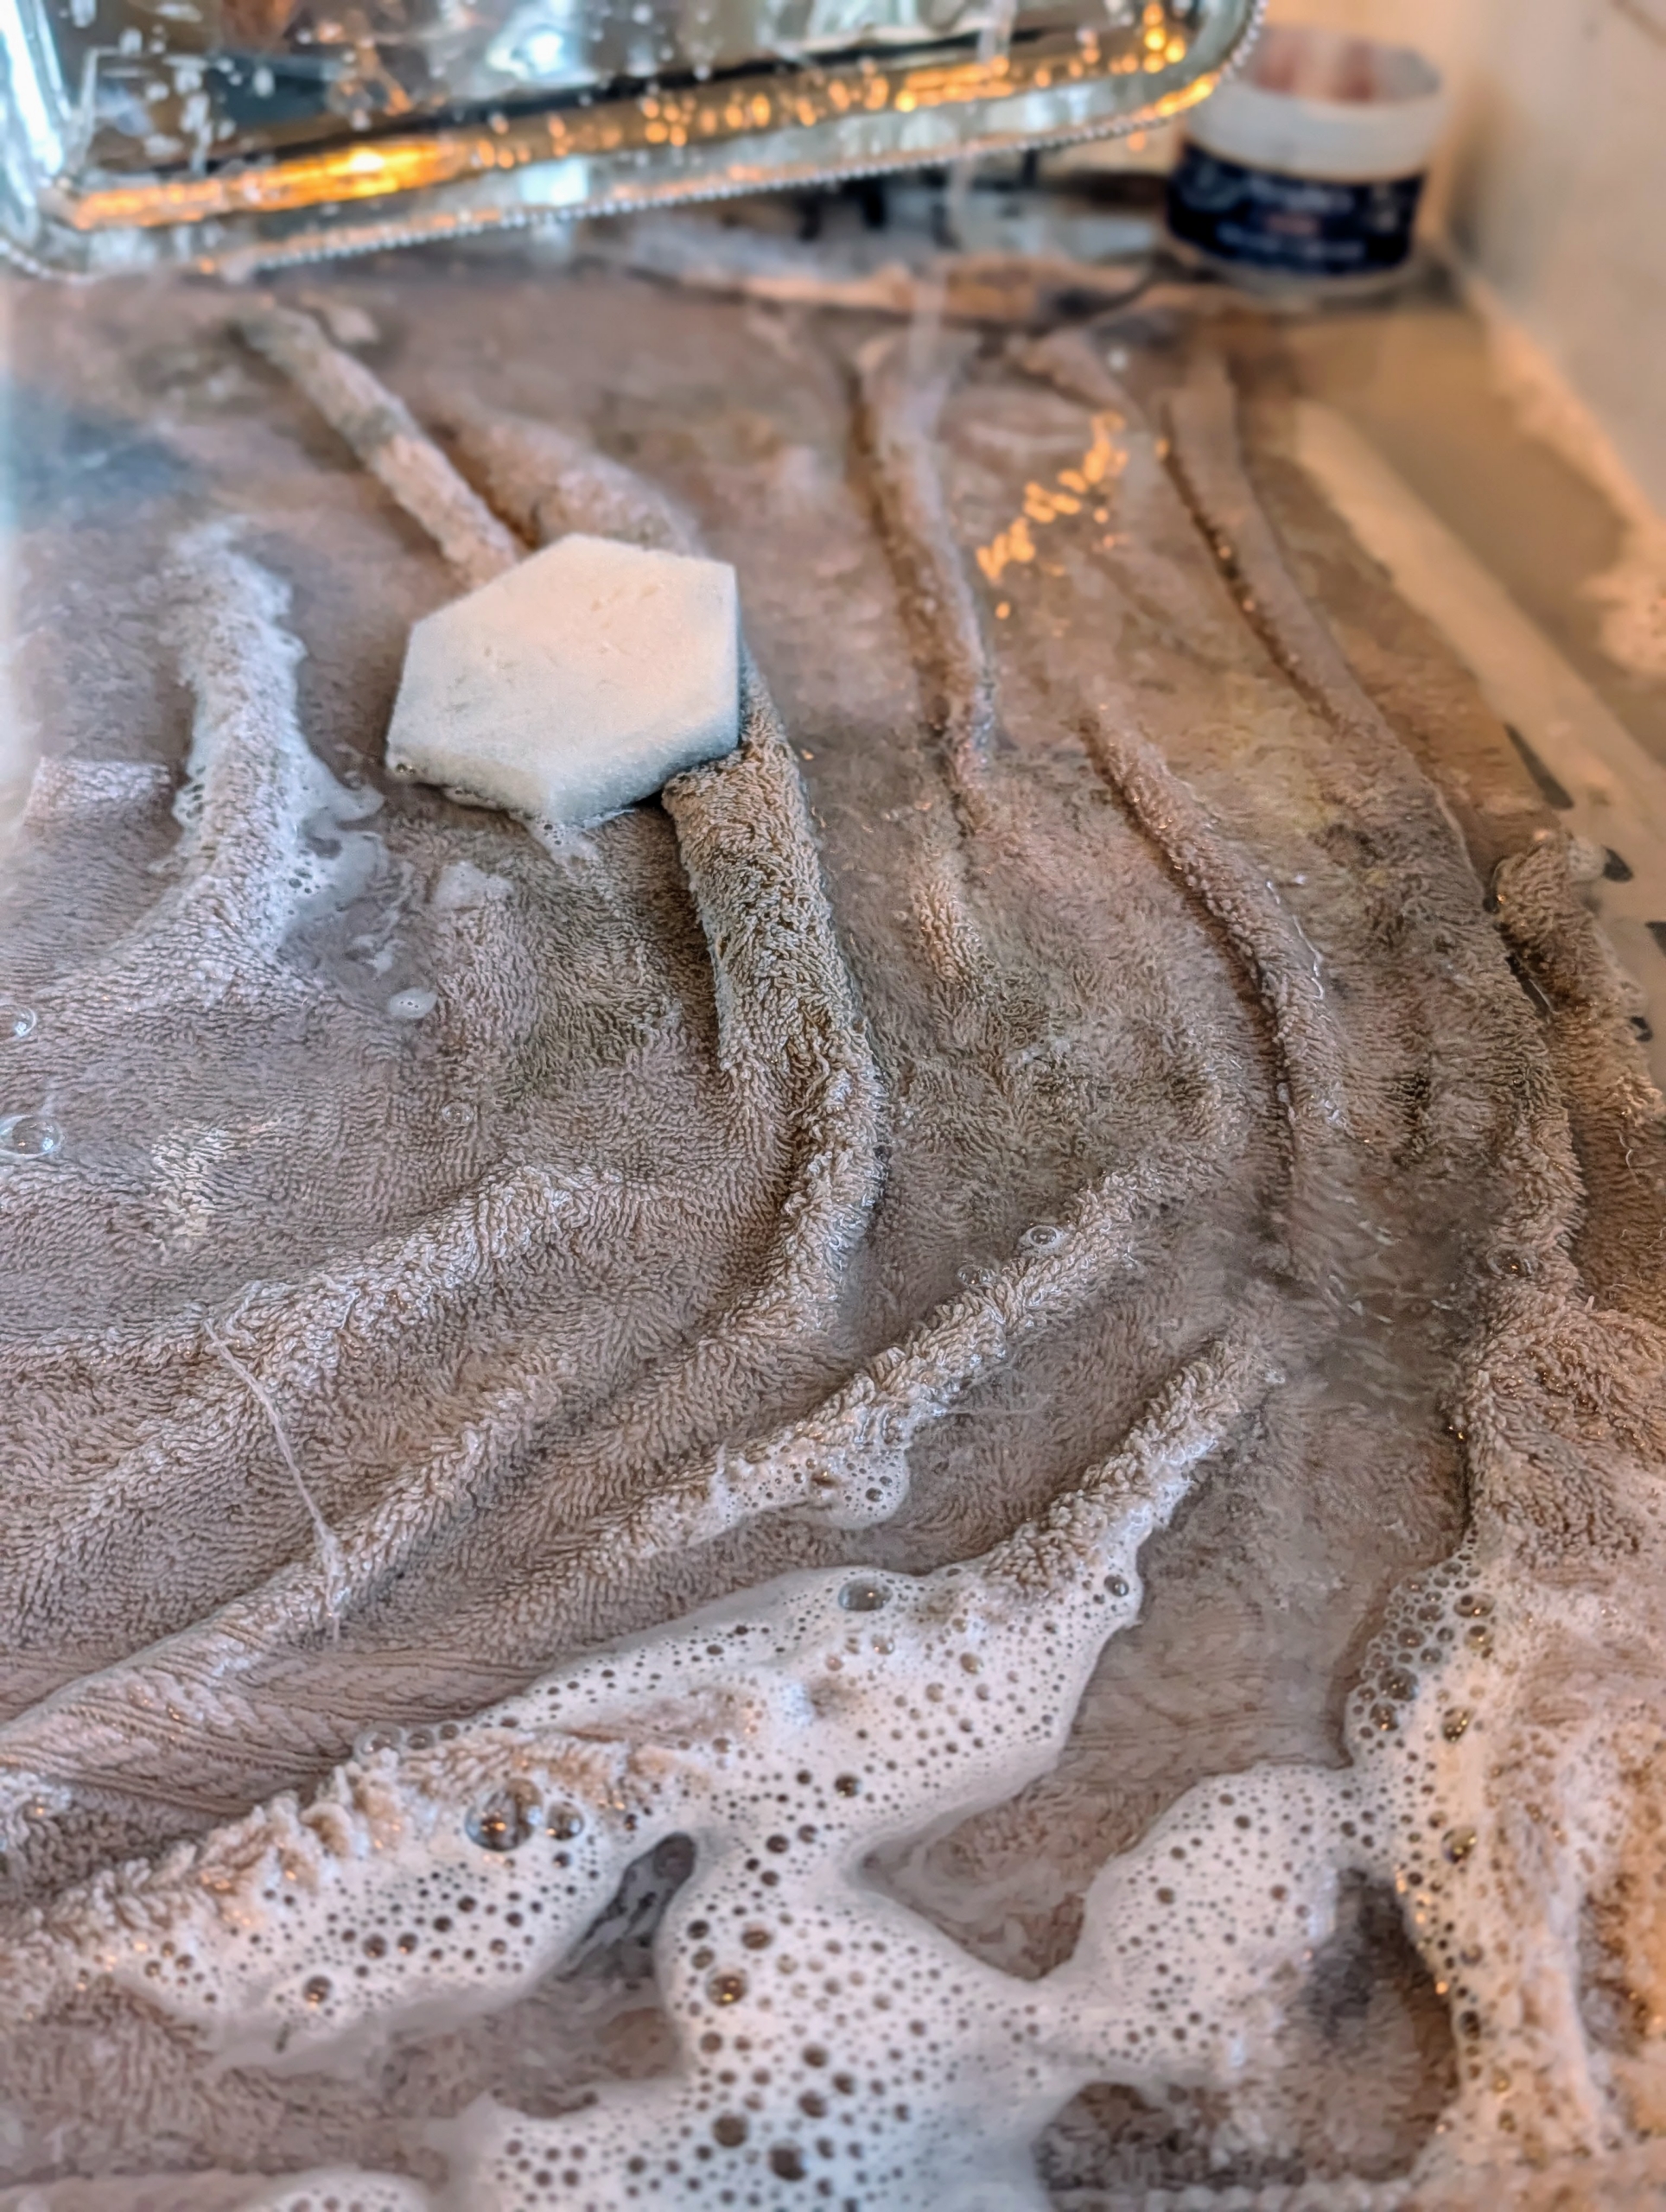
Last week, my housekeeper Enma Sandoval took on the task of cleaning and polishing some of the silver in my Winter House Brown Room - a couple days ahead of a small dinner party I hosted. There are several ways to clean silver. One nontoxic method is to fill an aluminum pan with hot water, salt and baking soda, stir until it is all dissolved, and then soak the pieces until a chemical reaction occurs that removes the tarnish. This technique is faster than hand cleaning, but may cause pitting and remove the more desirable tarnish called patina. Experts recommend using a good-quality, non-abrasive commercial silver polish. Silver cleaning cloths made especially for removing tarnish from precious metals are also available.
Enjoy these photos.
Polishing silver three or four times a year is generally sufficient to keep it in good condition, but if you’re entertaining and planning to use some pieces, give them a little extra attention before the event.
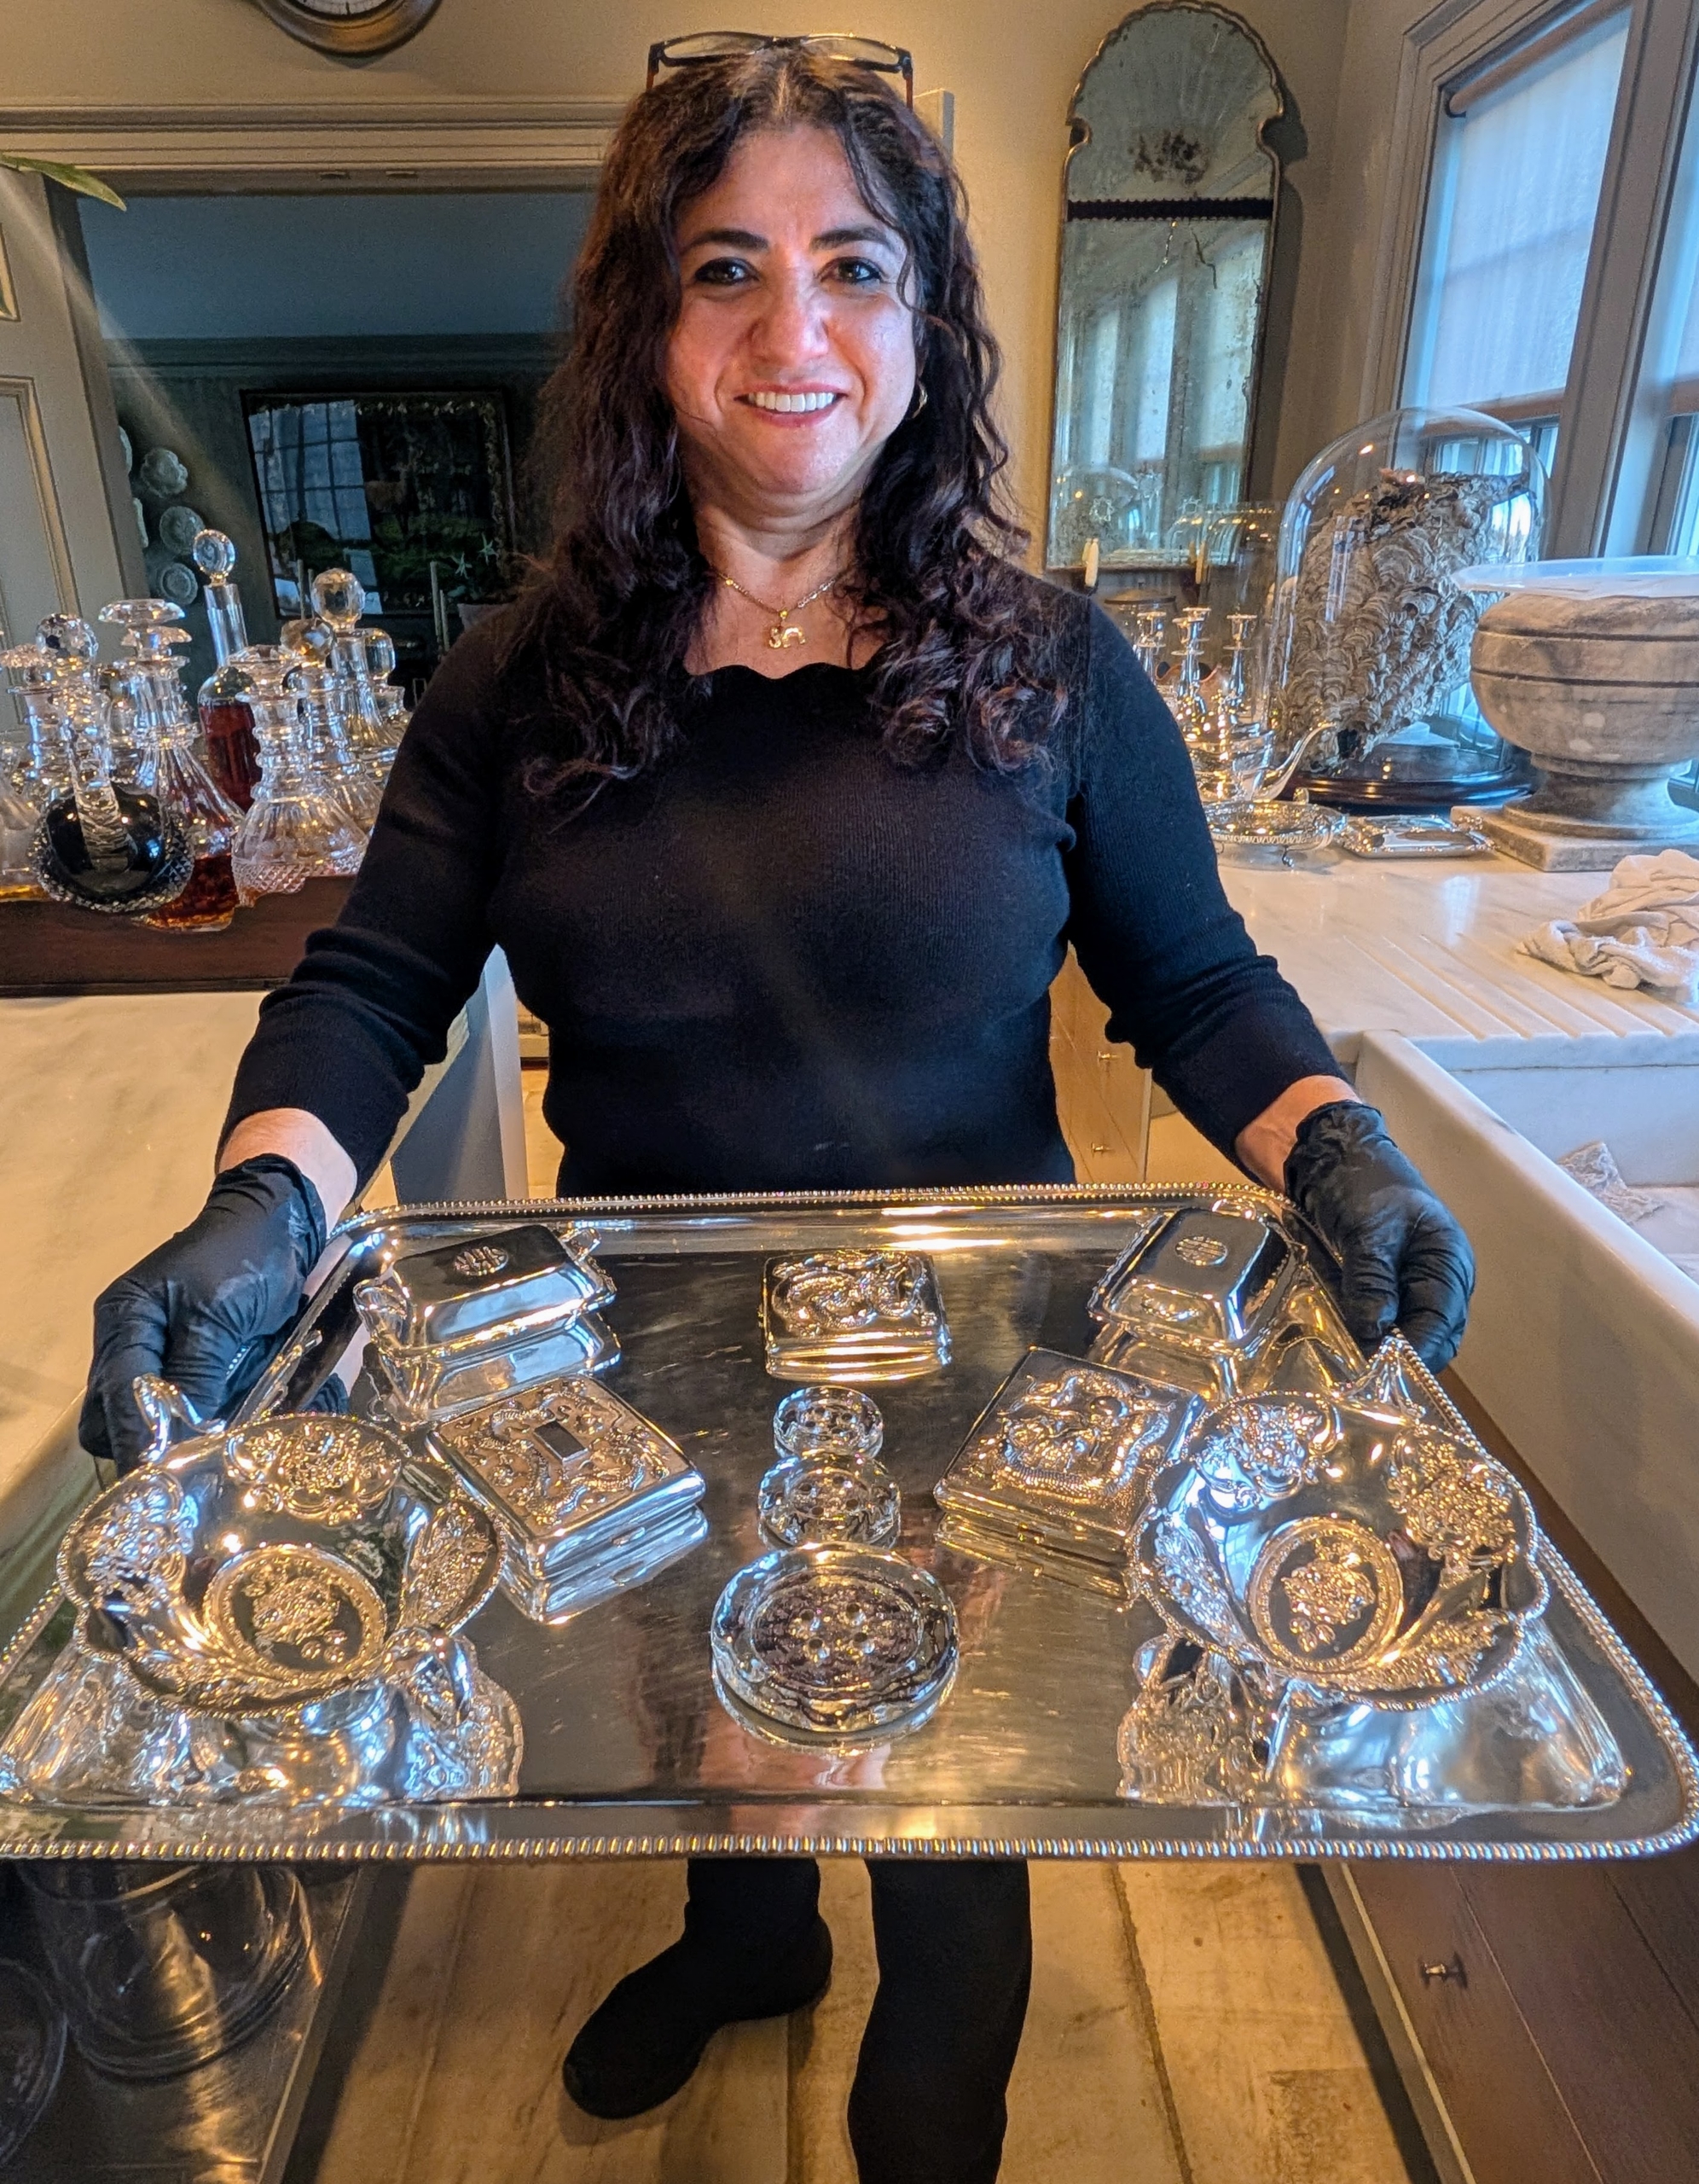
I hosted a small dinner party for 12 over the weekend and asked my housekeeper to polish some of the pieces in my Brown Room. These are already finished and look so beautiful.
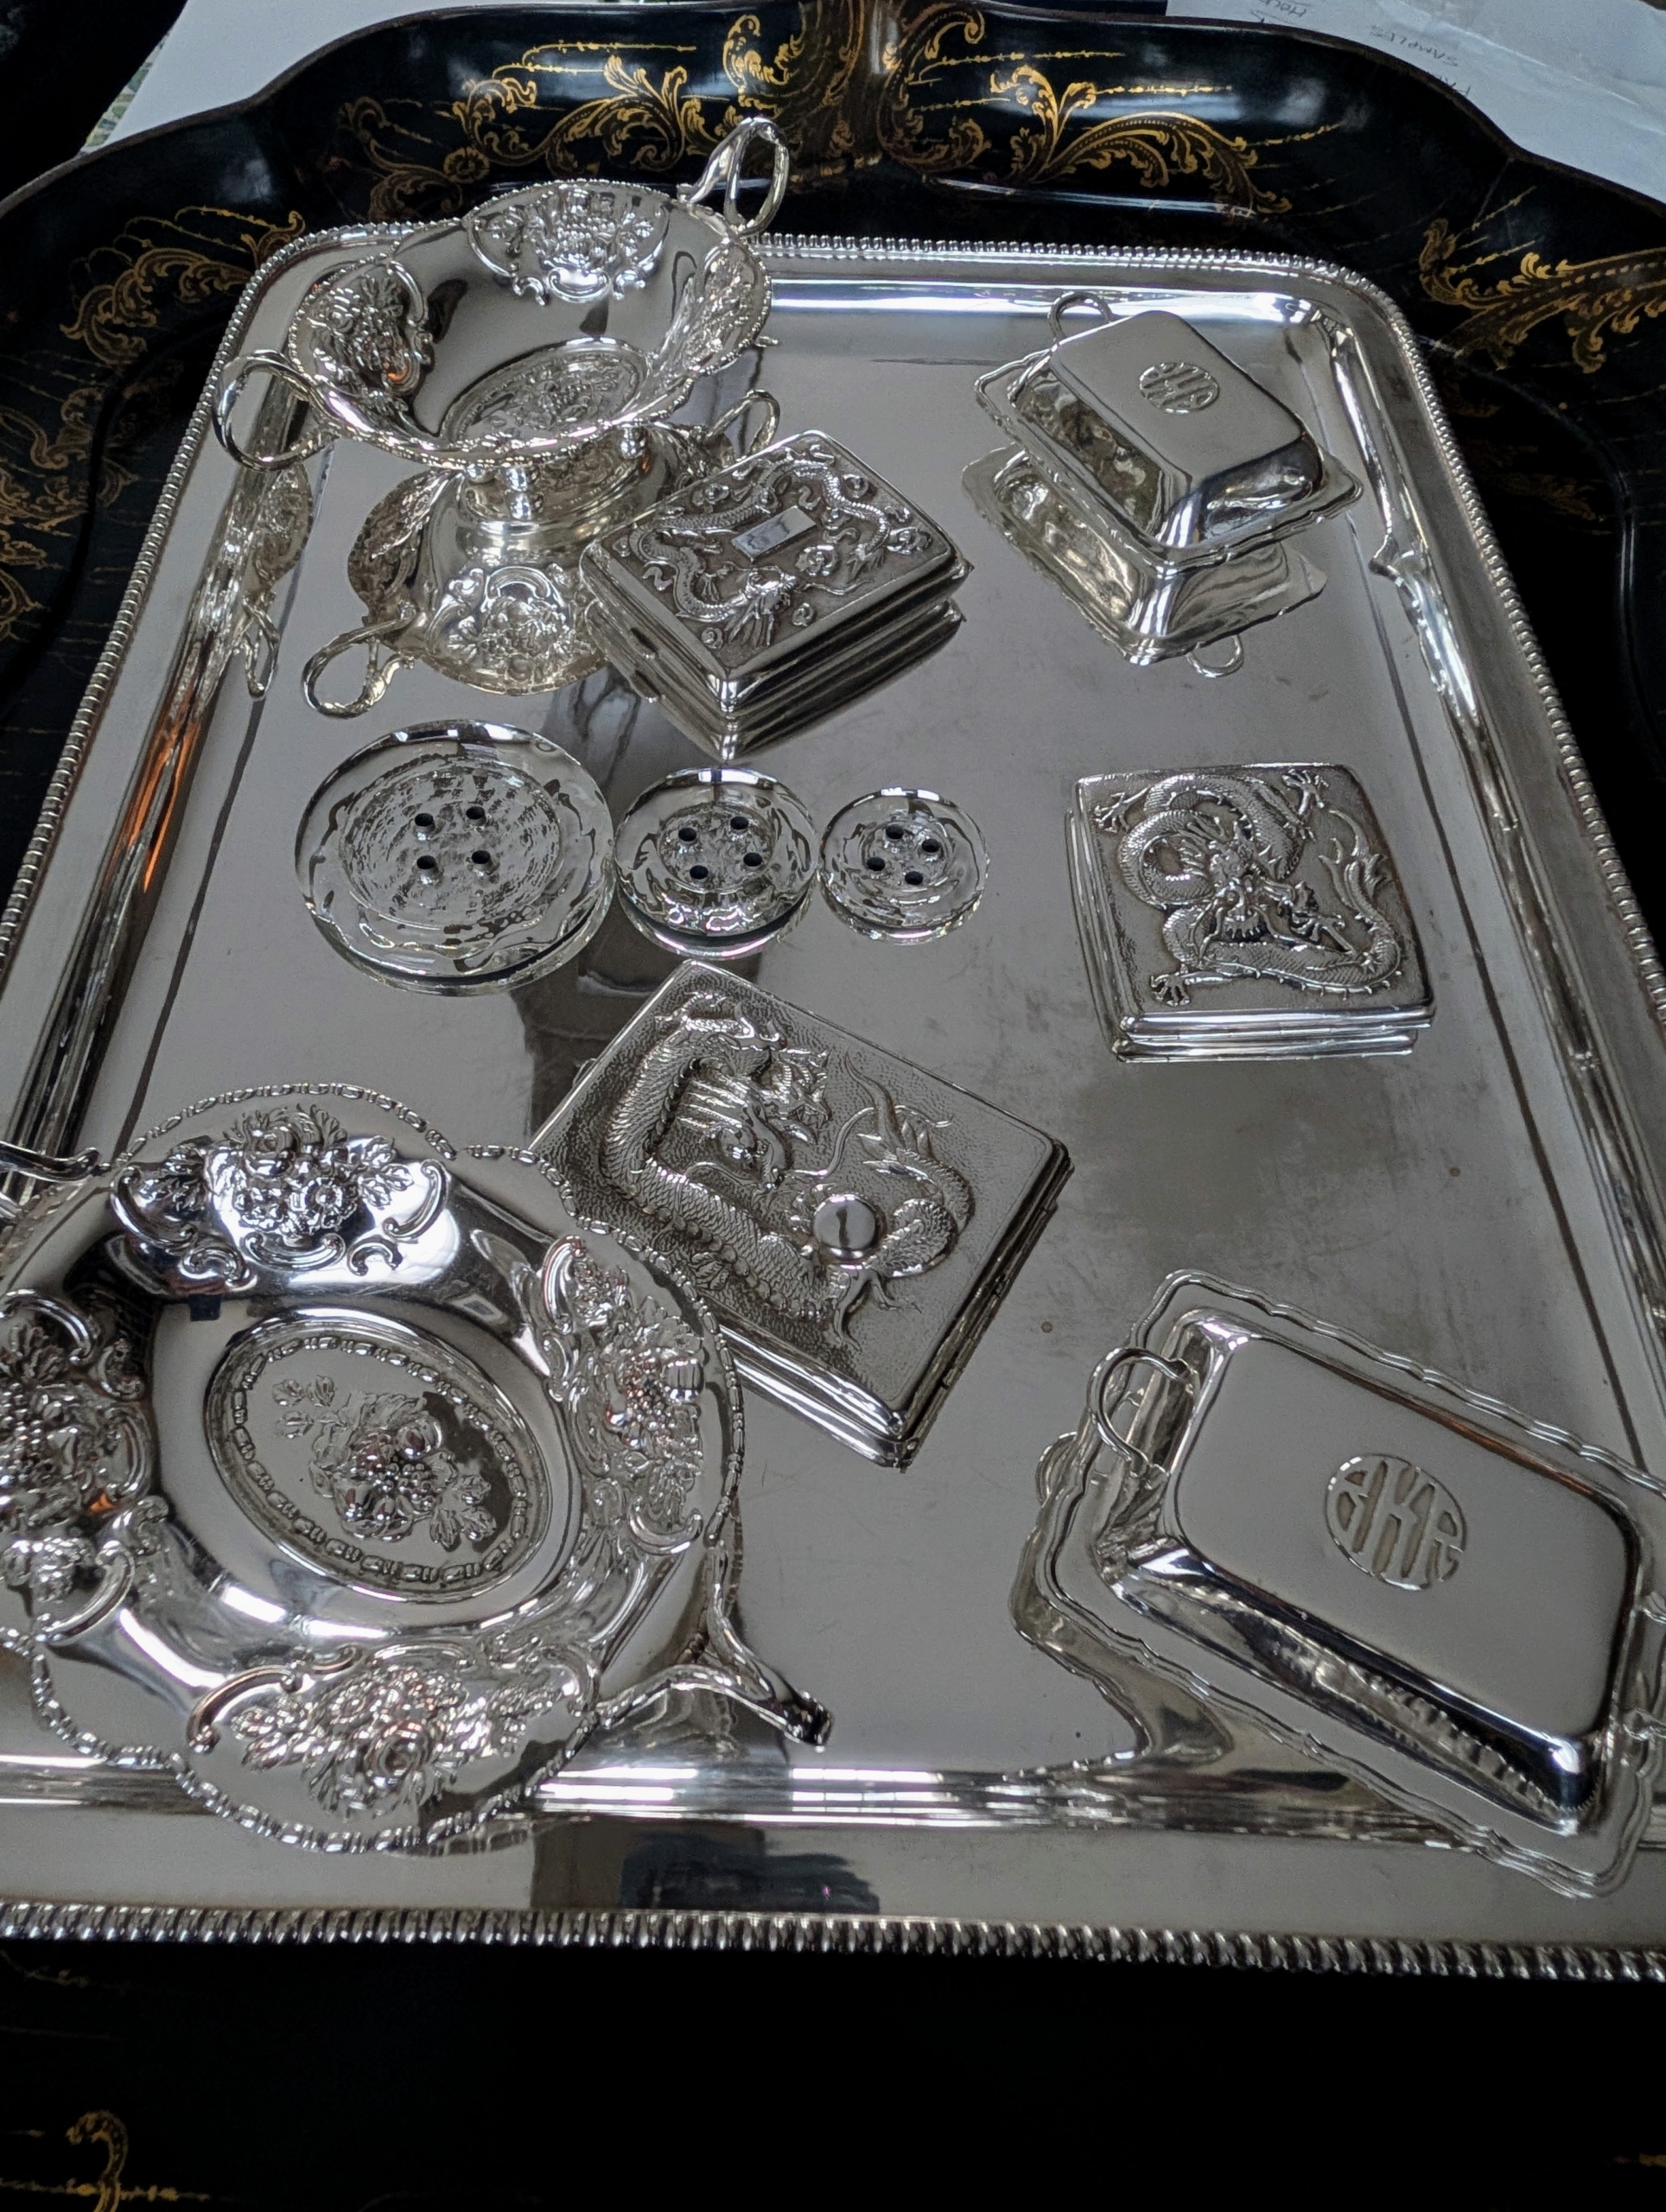
These pieces are very lightly tarnished – some pieces don’t even look tarnished at all.
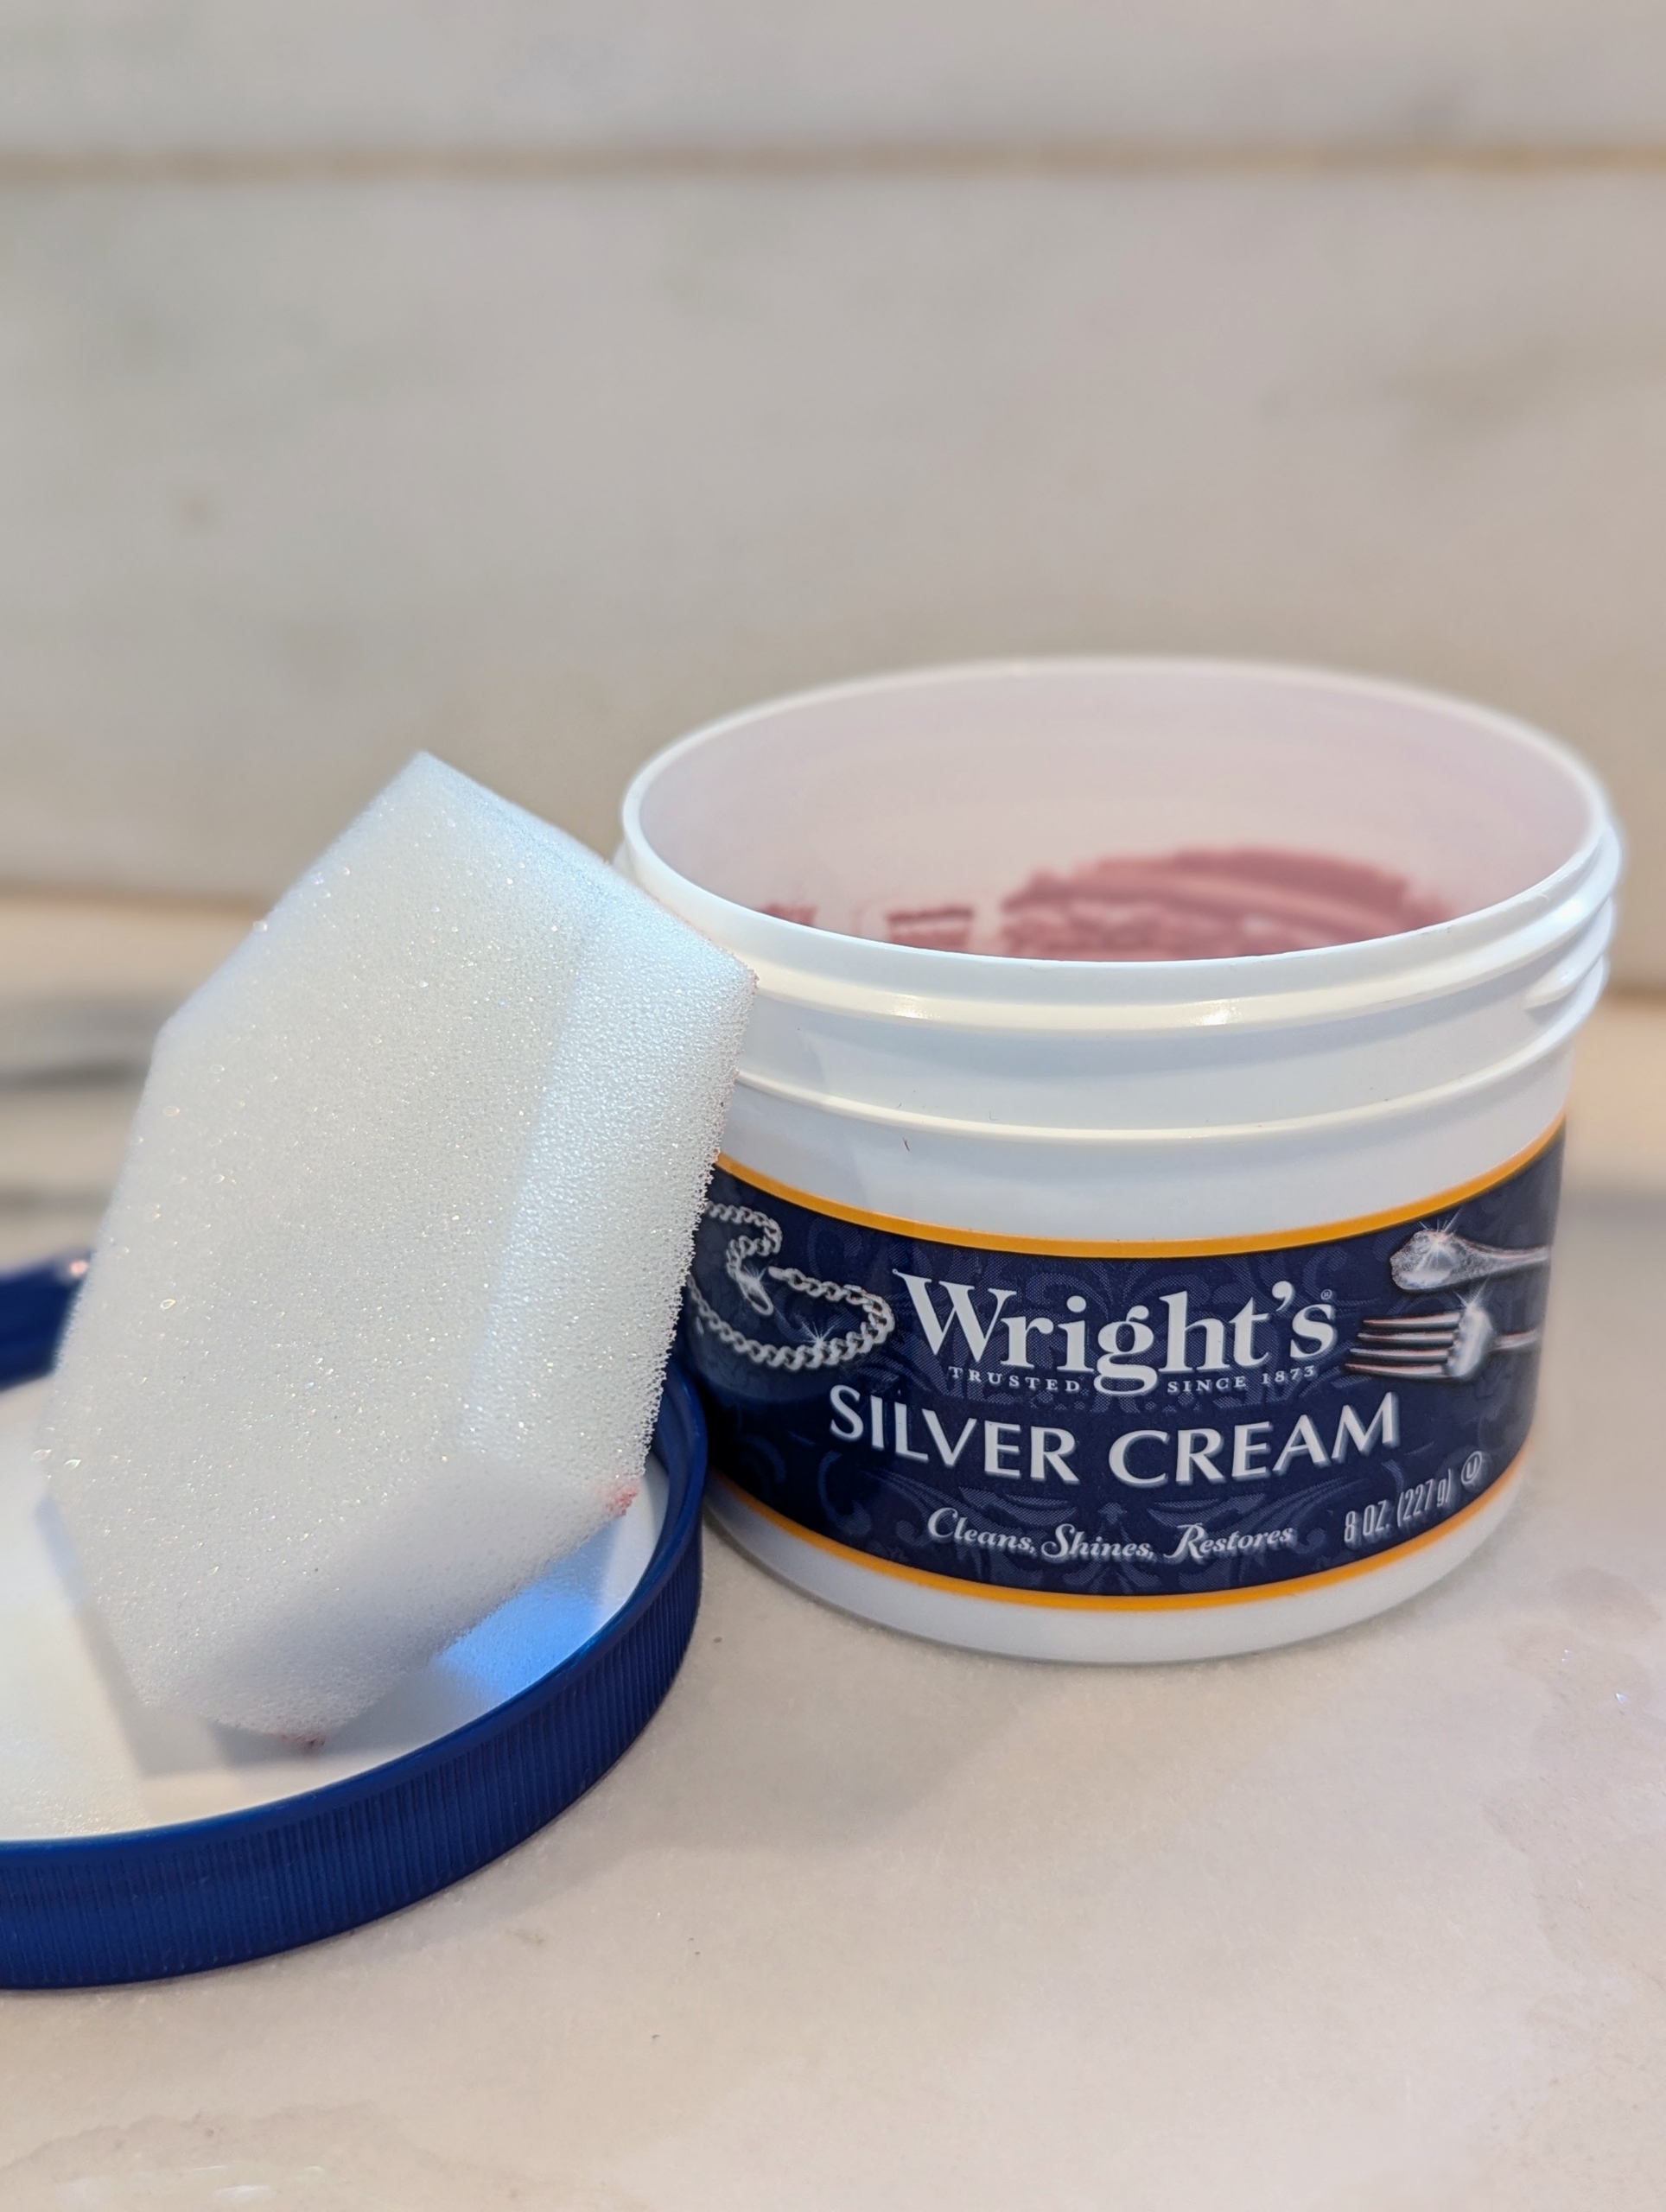
I’ve used Wright’s Silver Cream for years. Wright’s Silver Cream is a gentle all-purpose polish that works on all types of silver. It also works nicely on stainless steel and chrome.
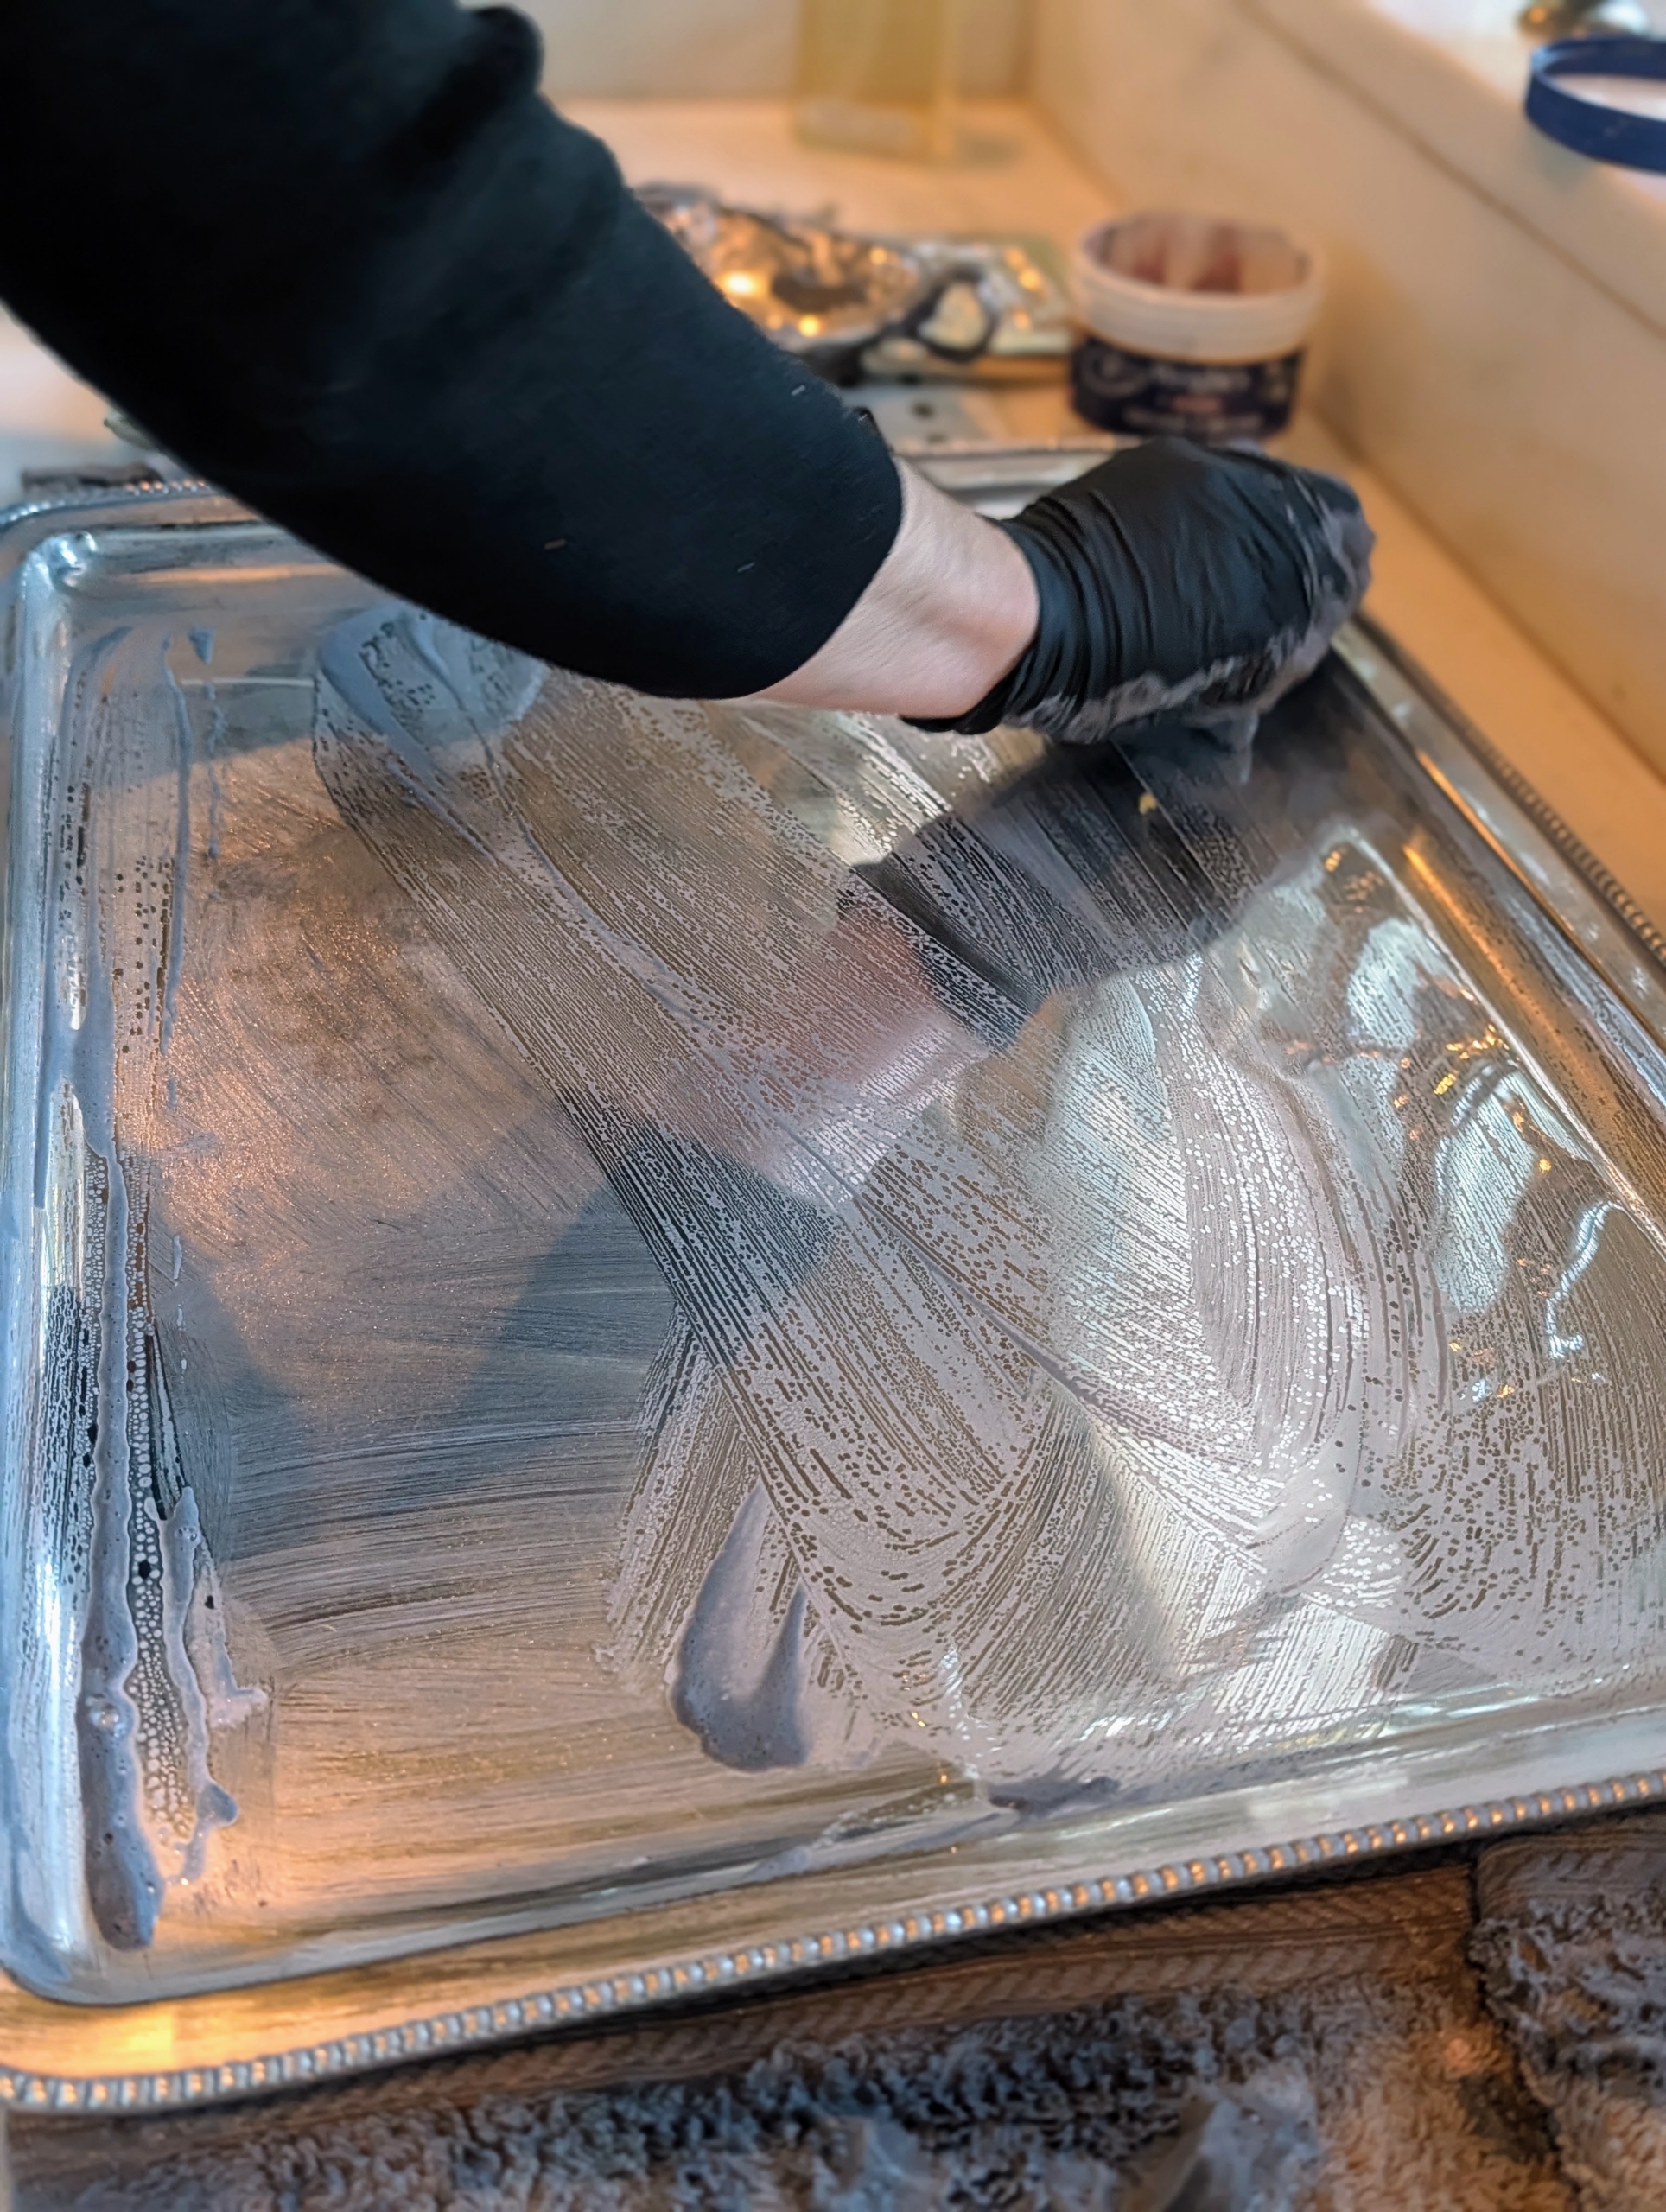
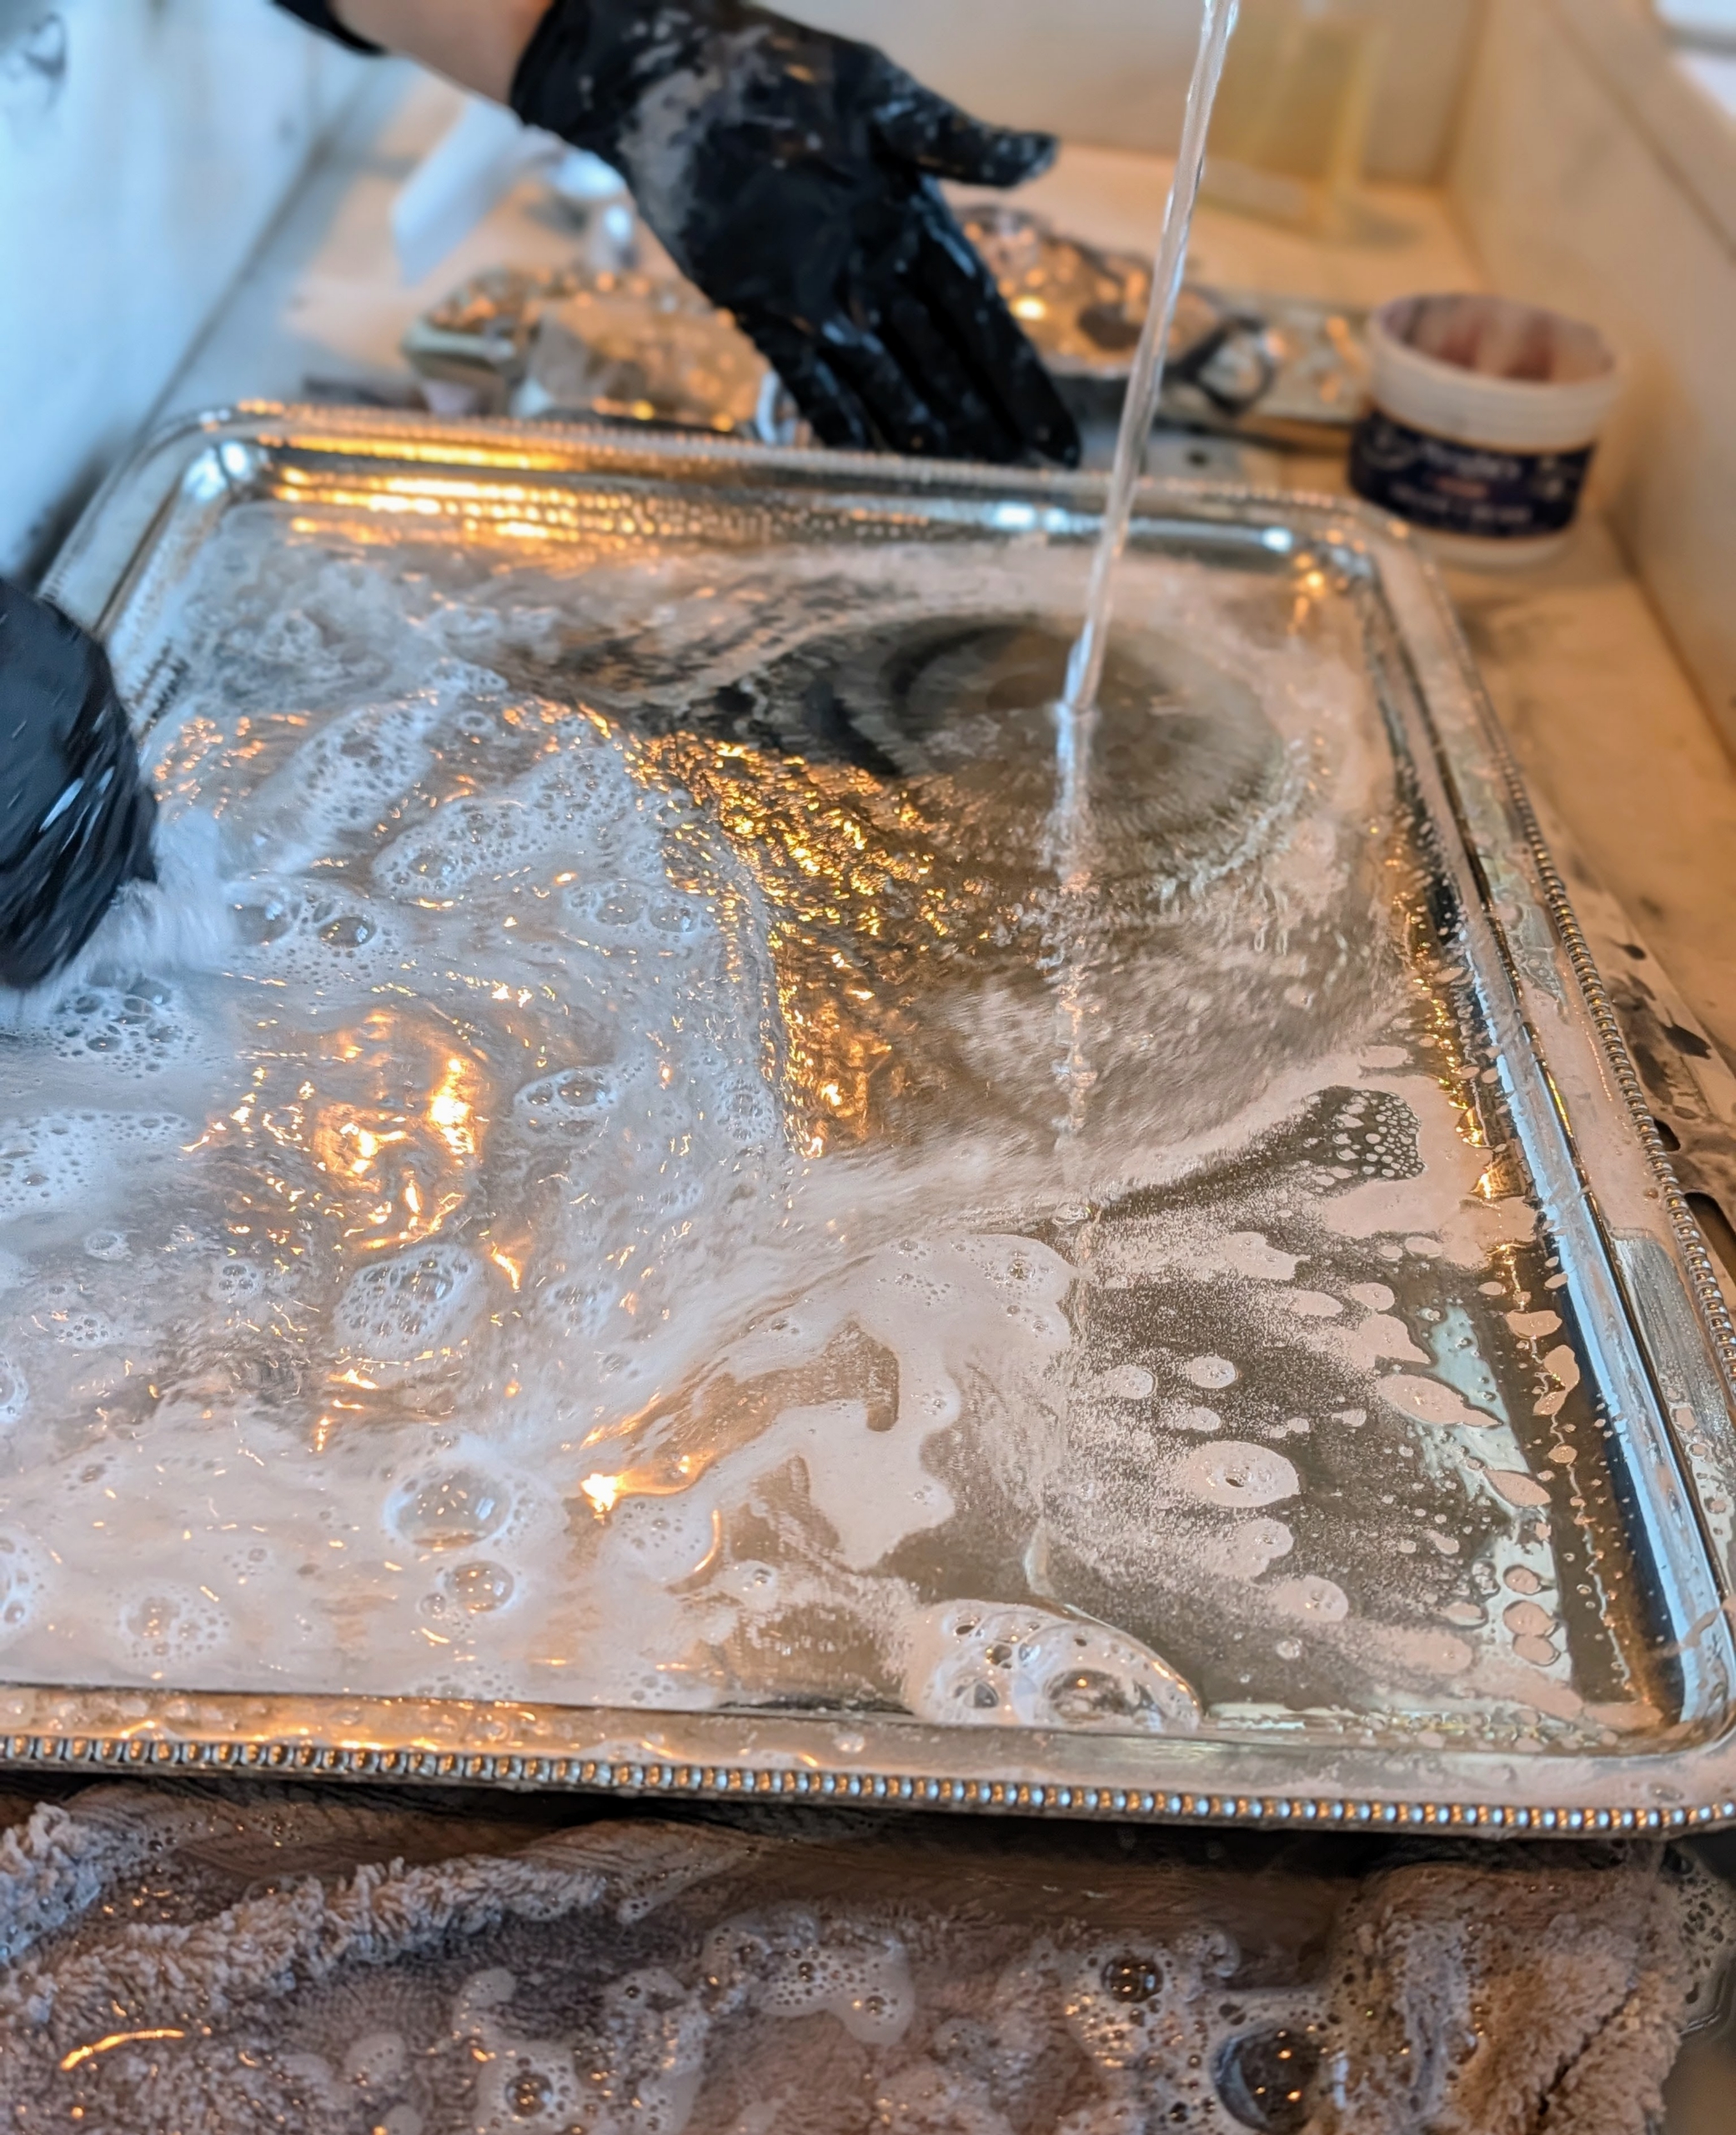
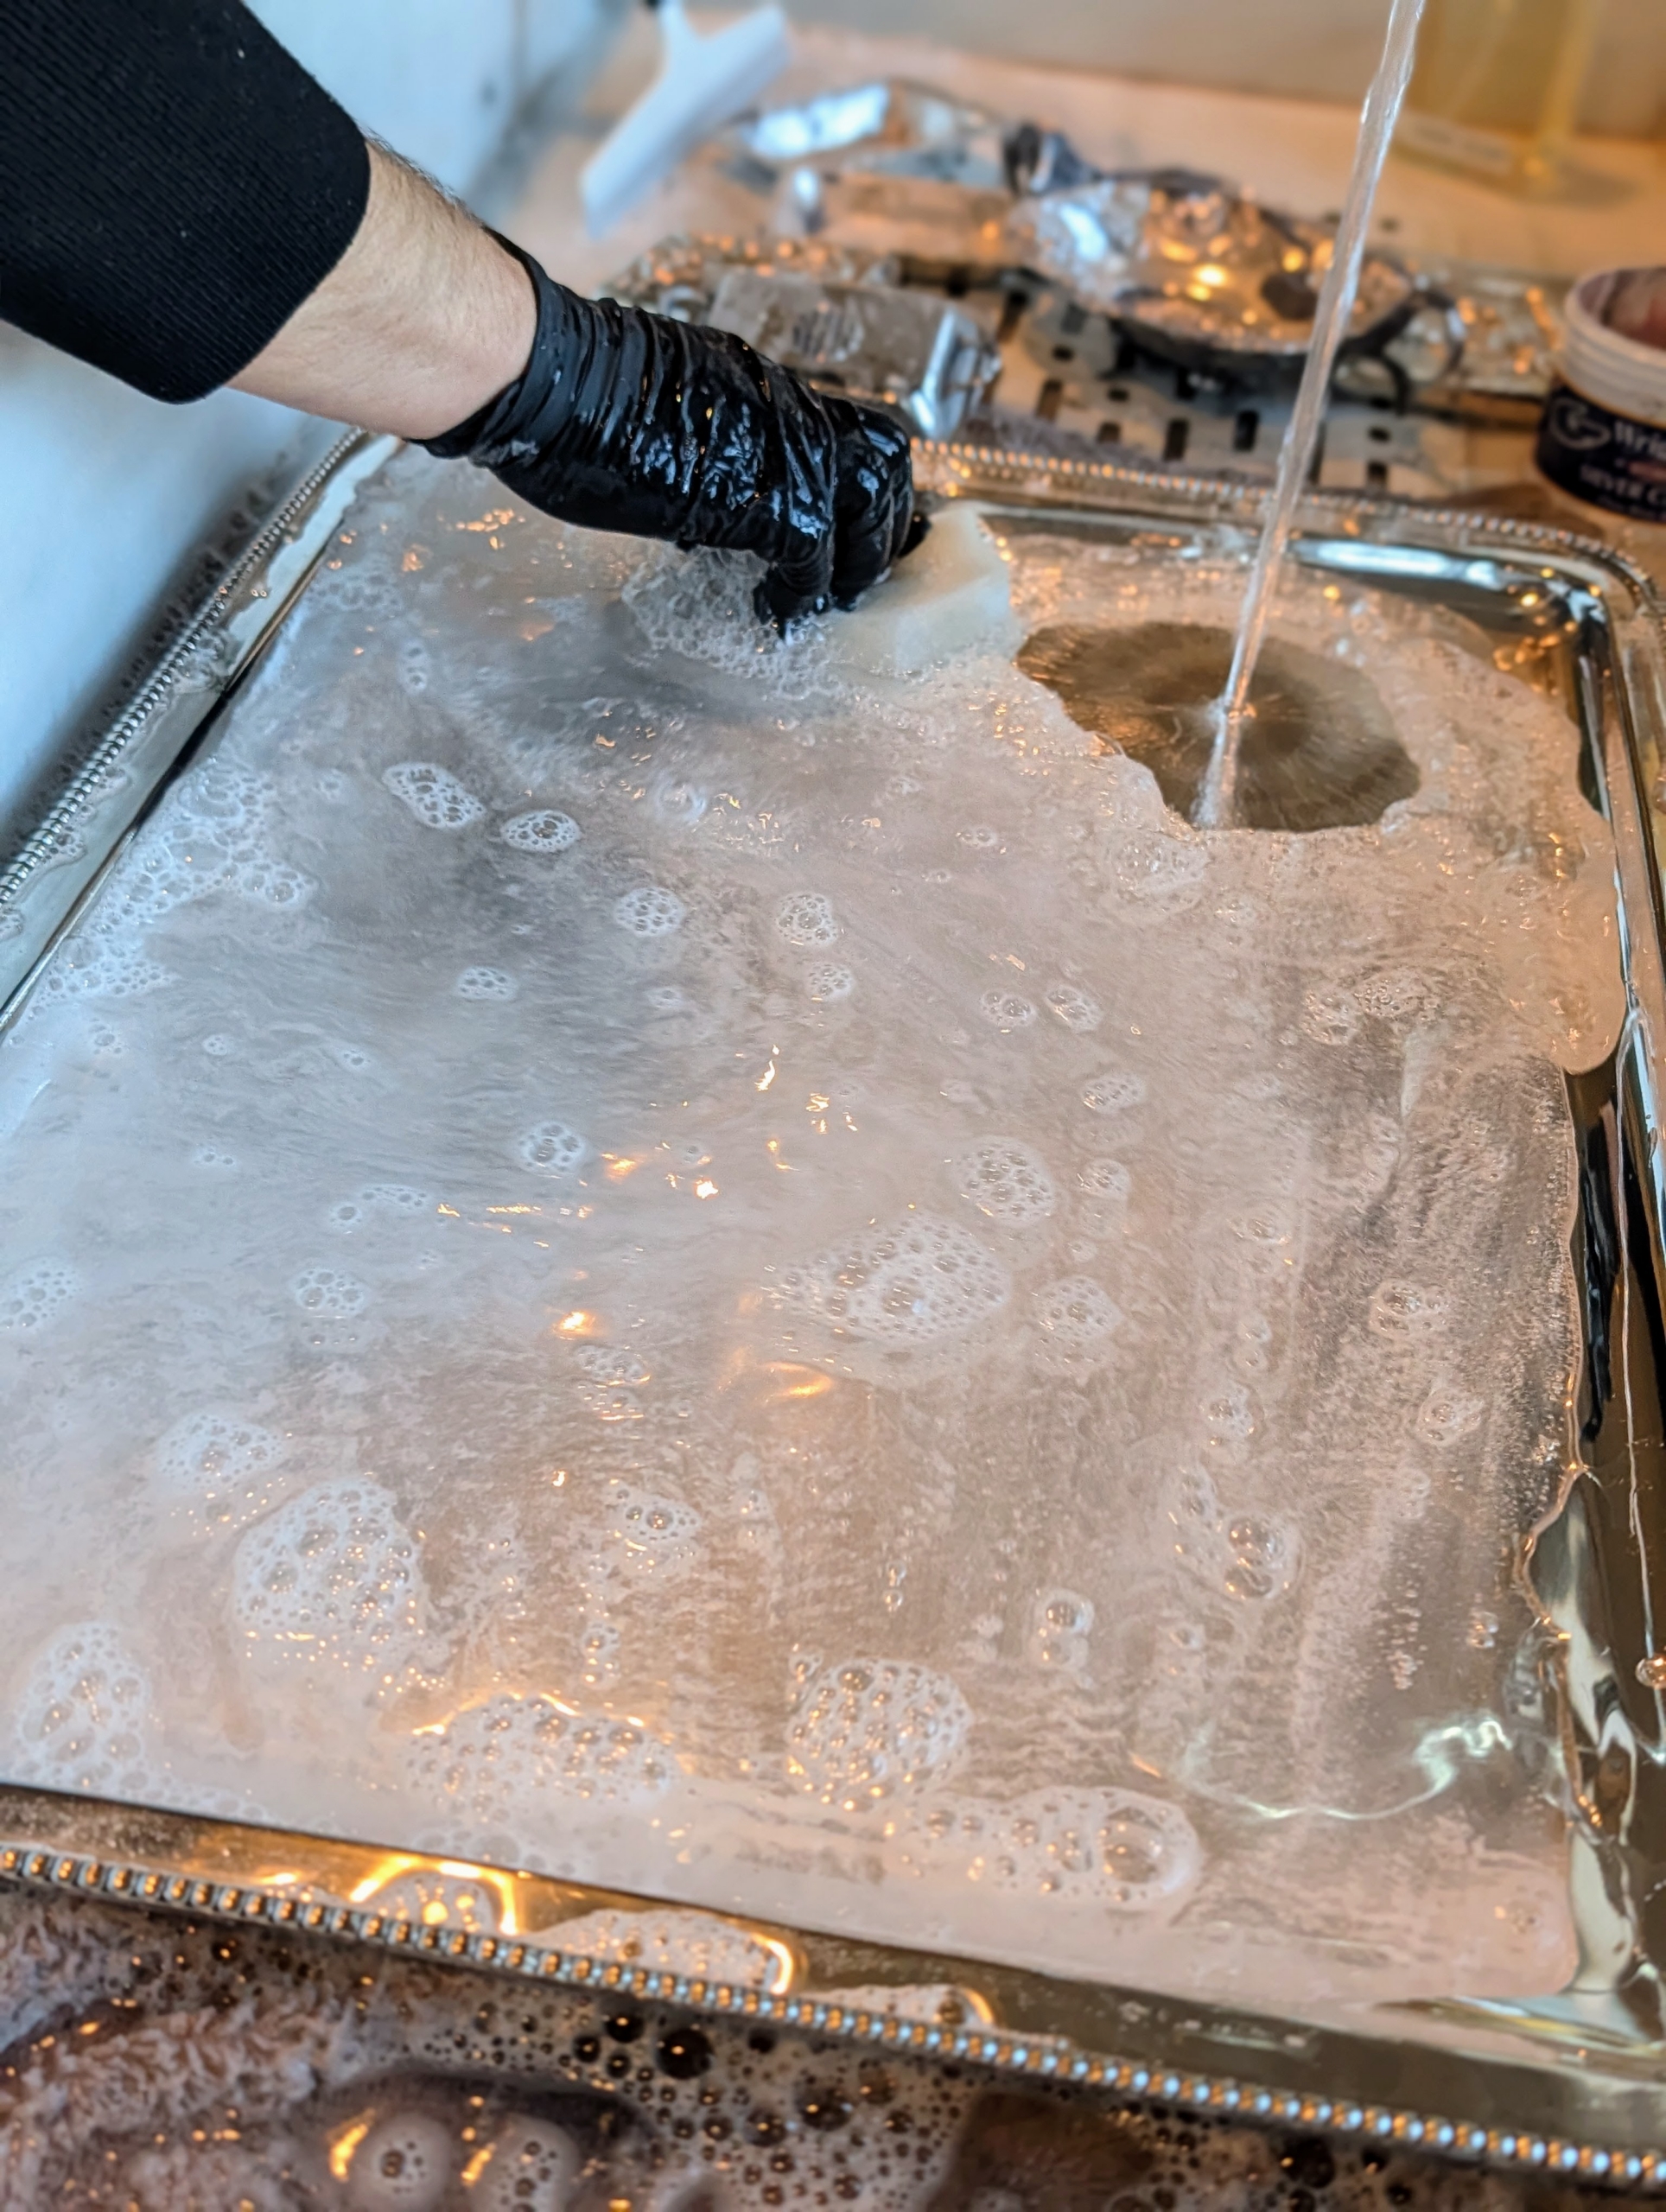
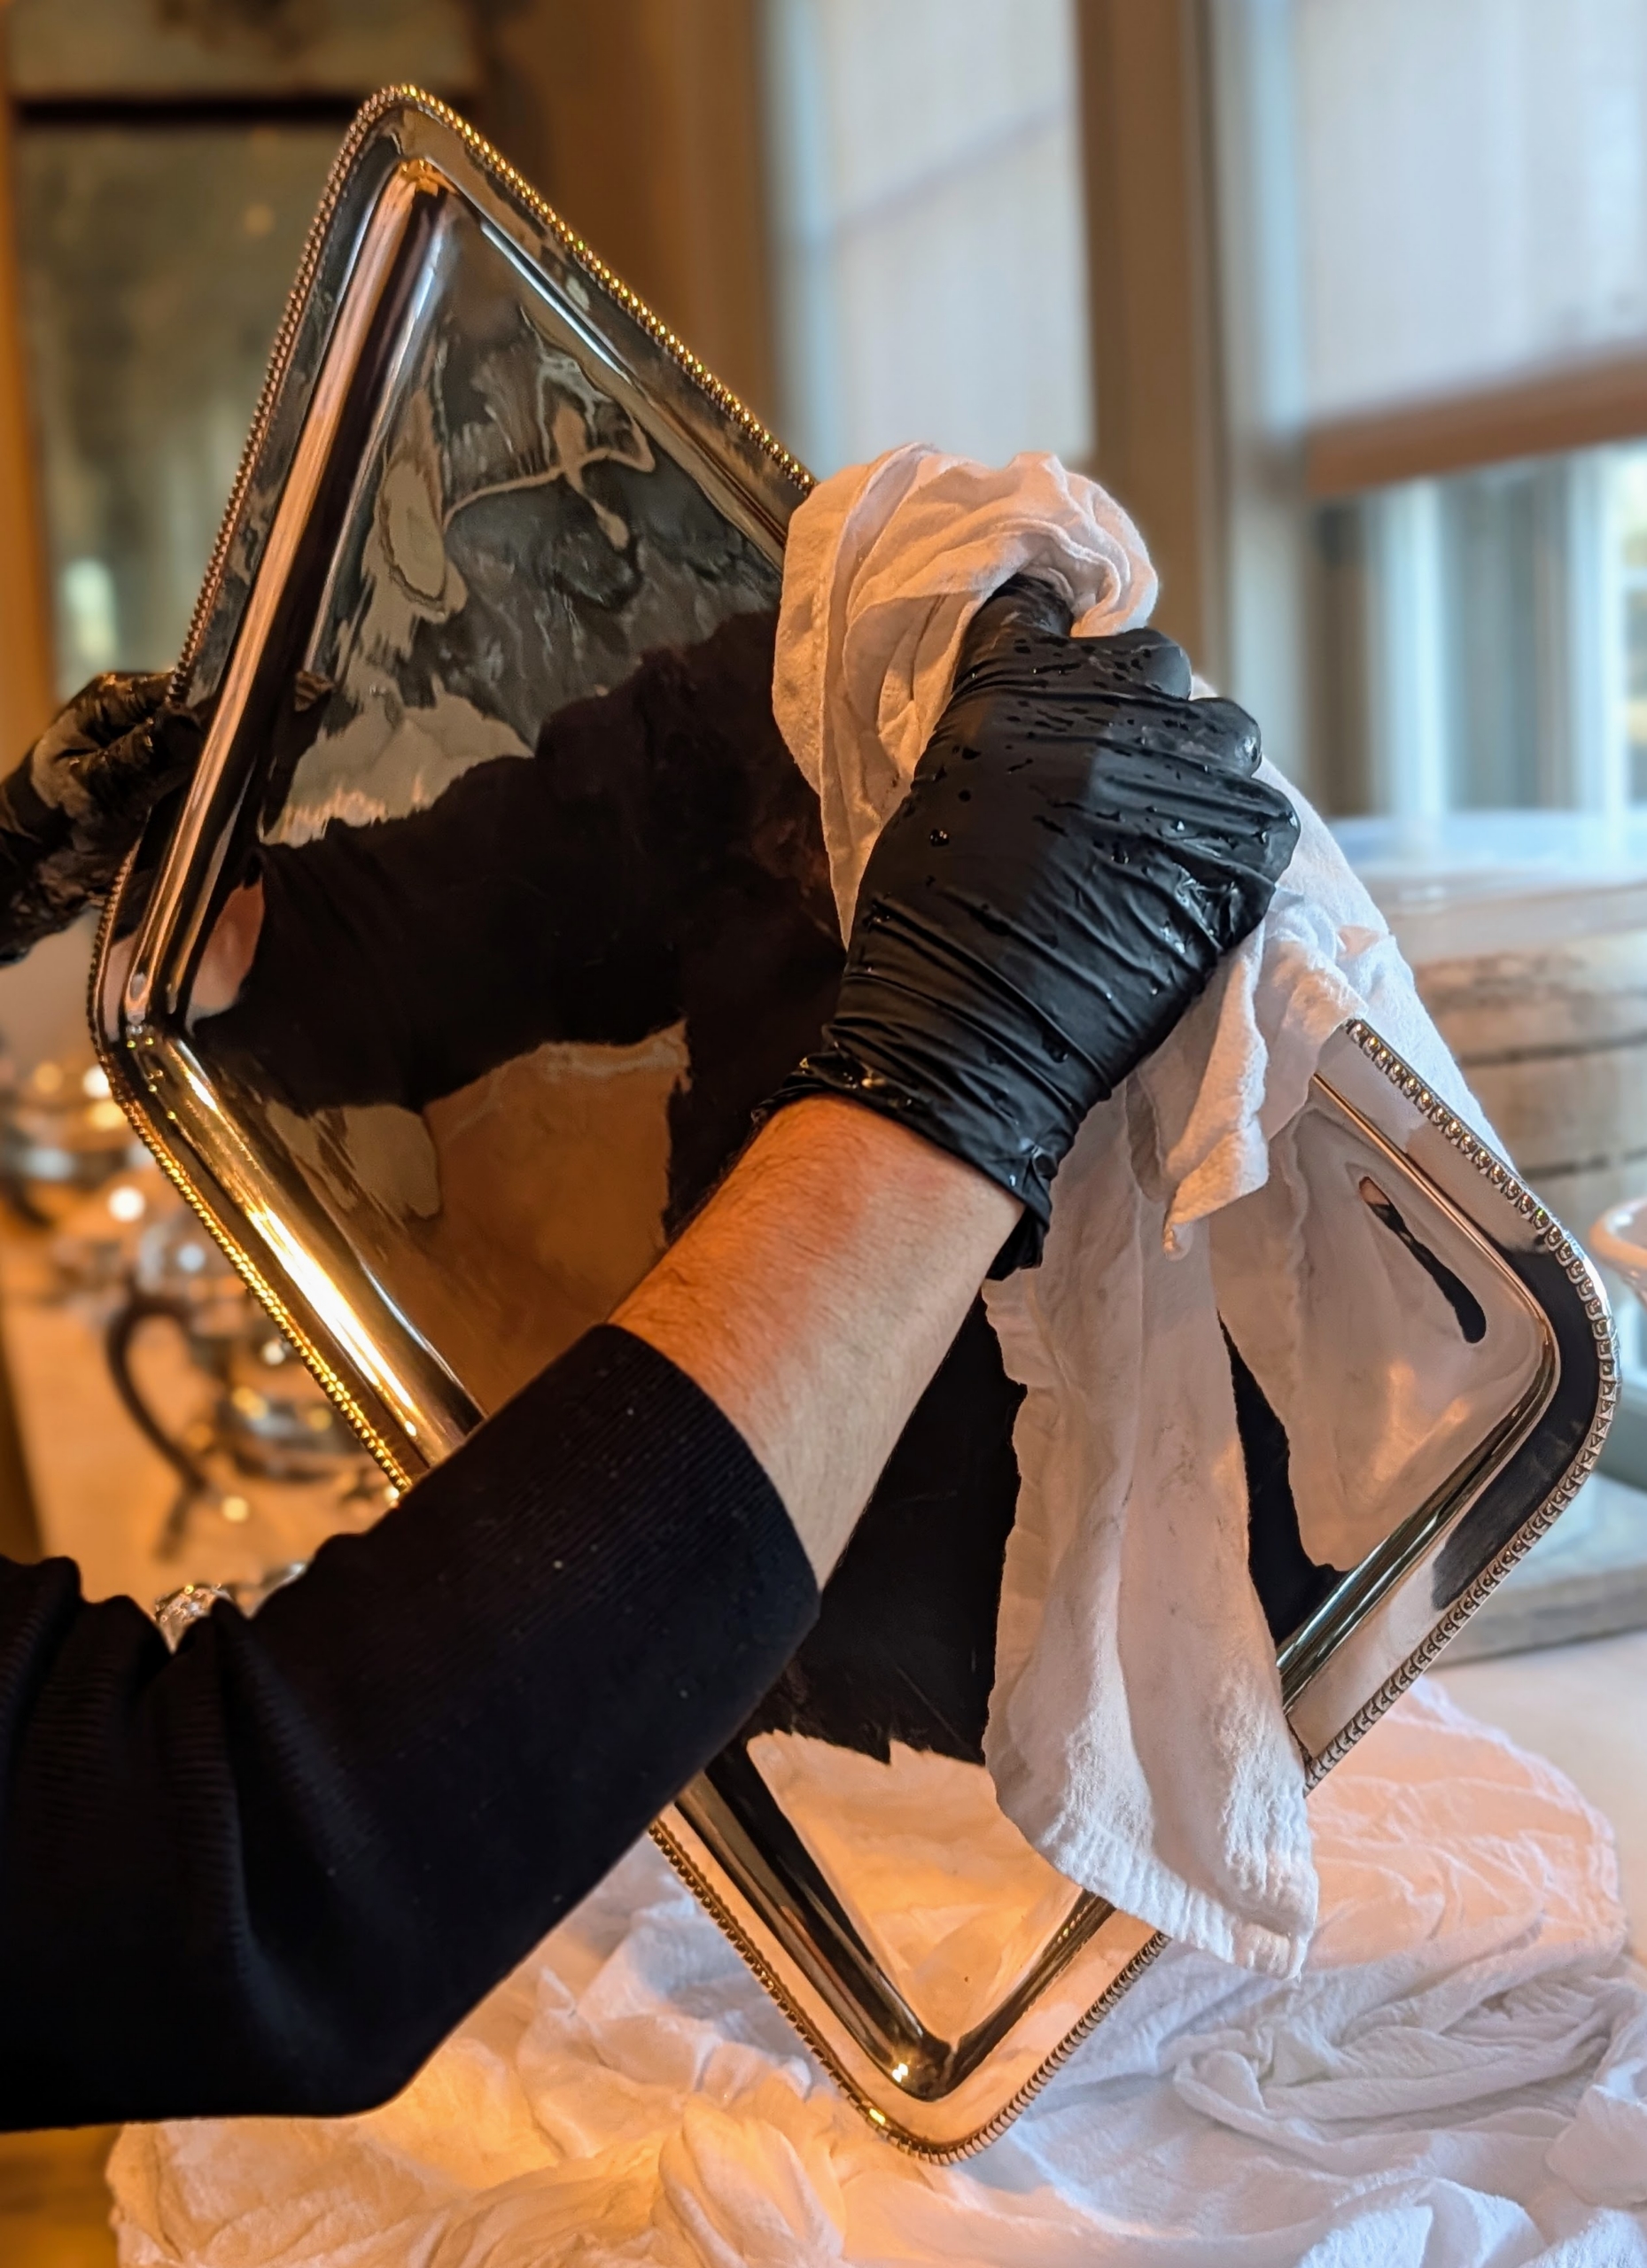
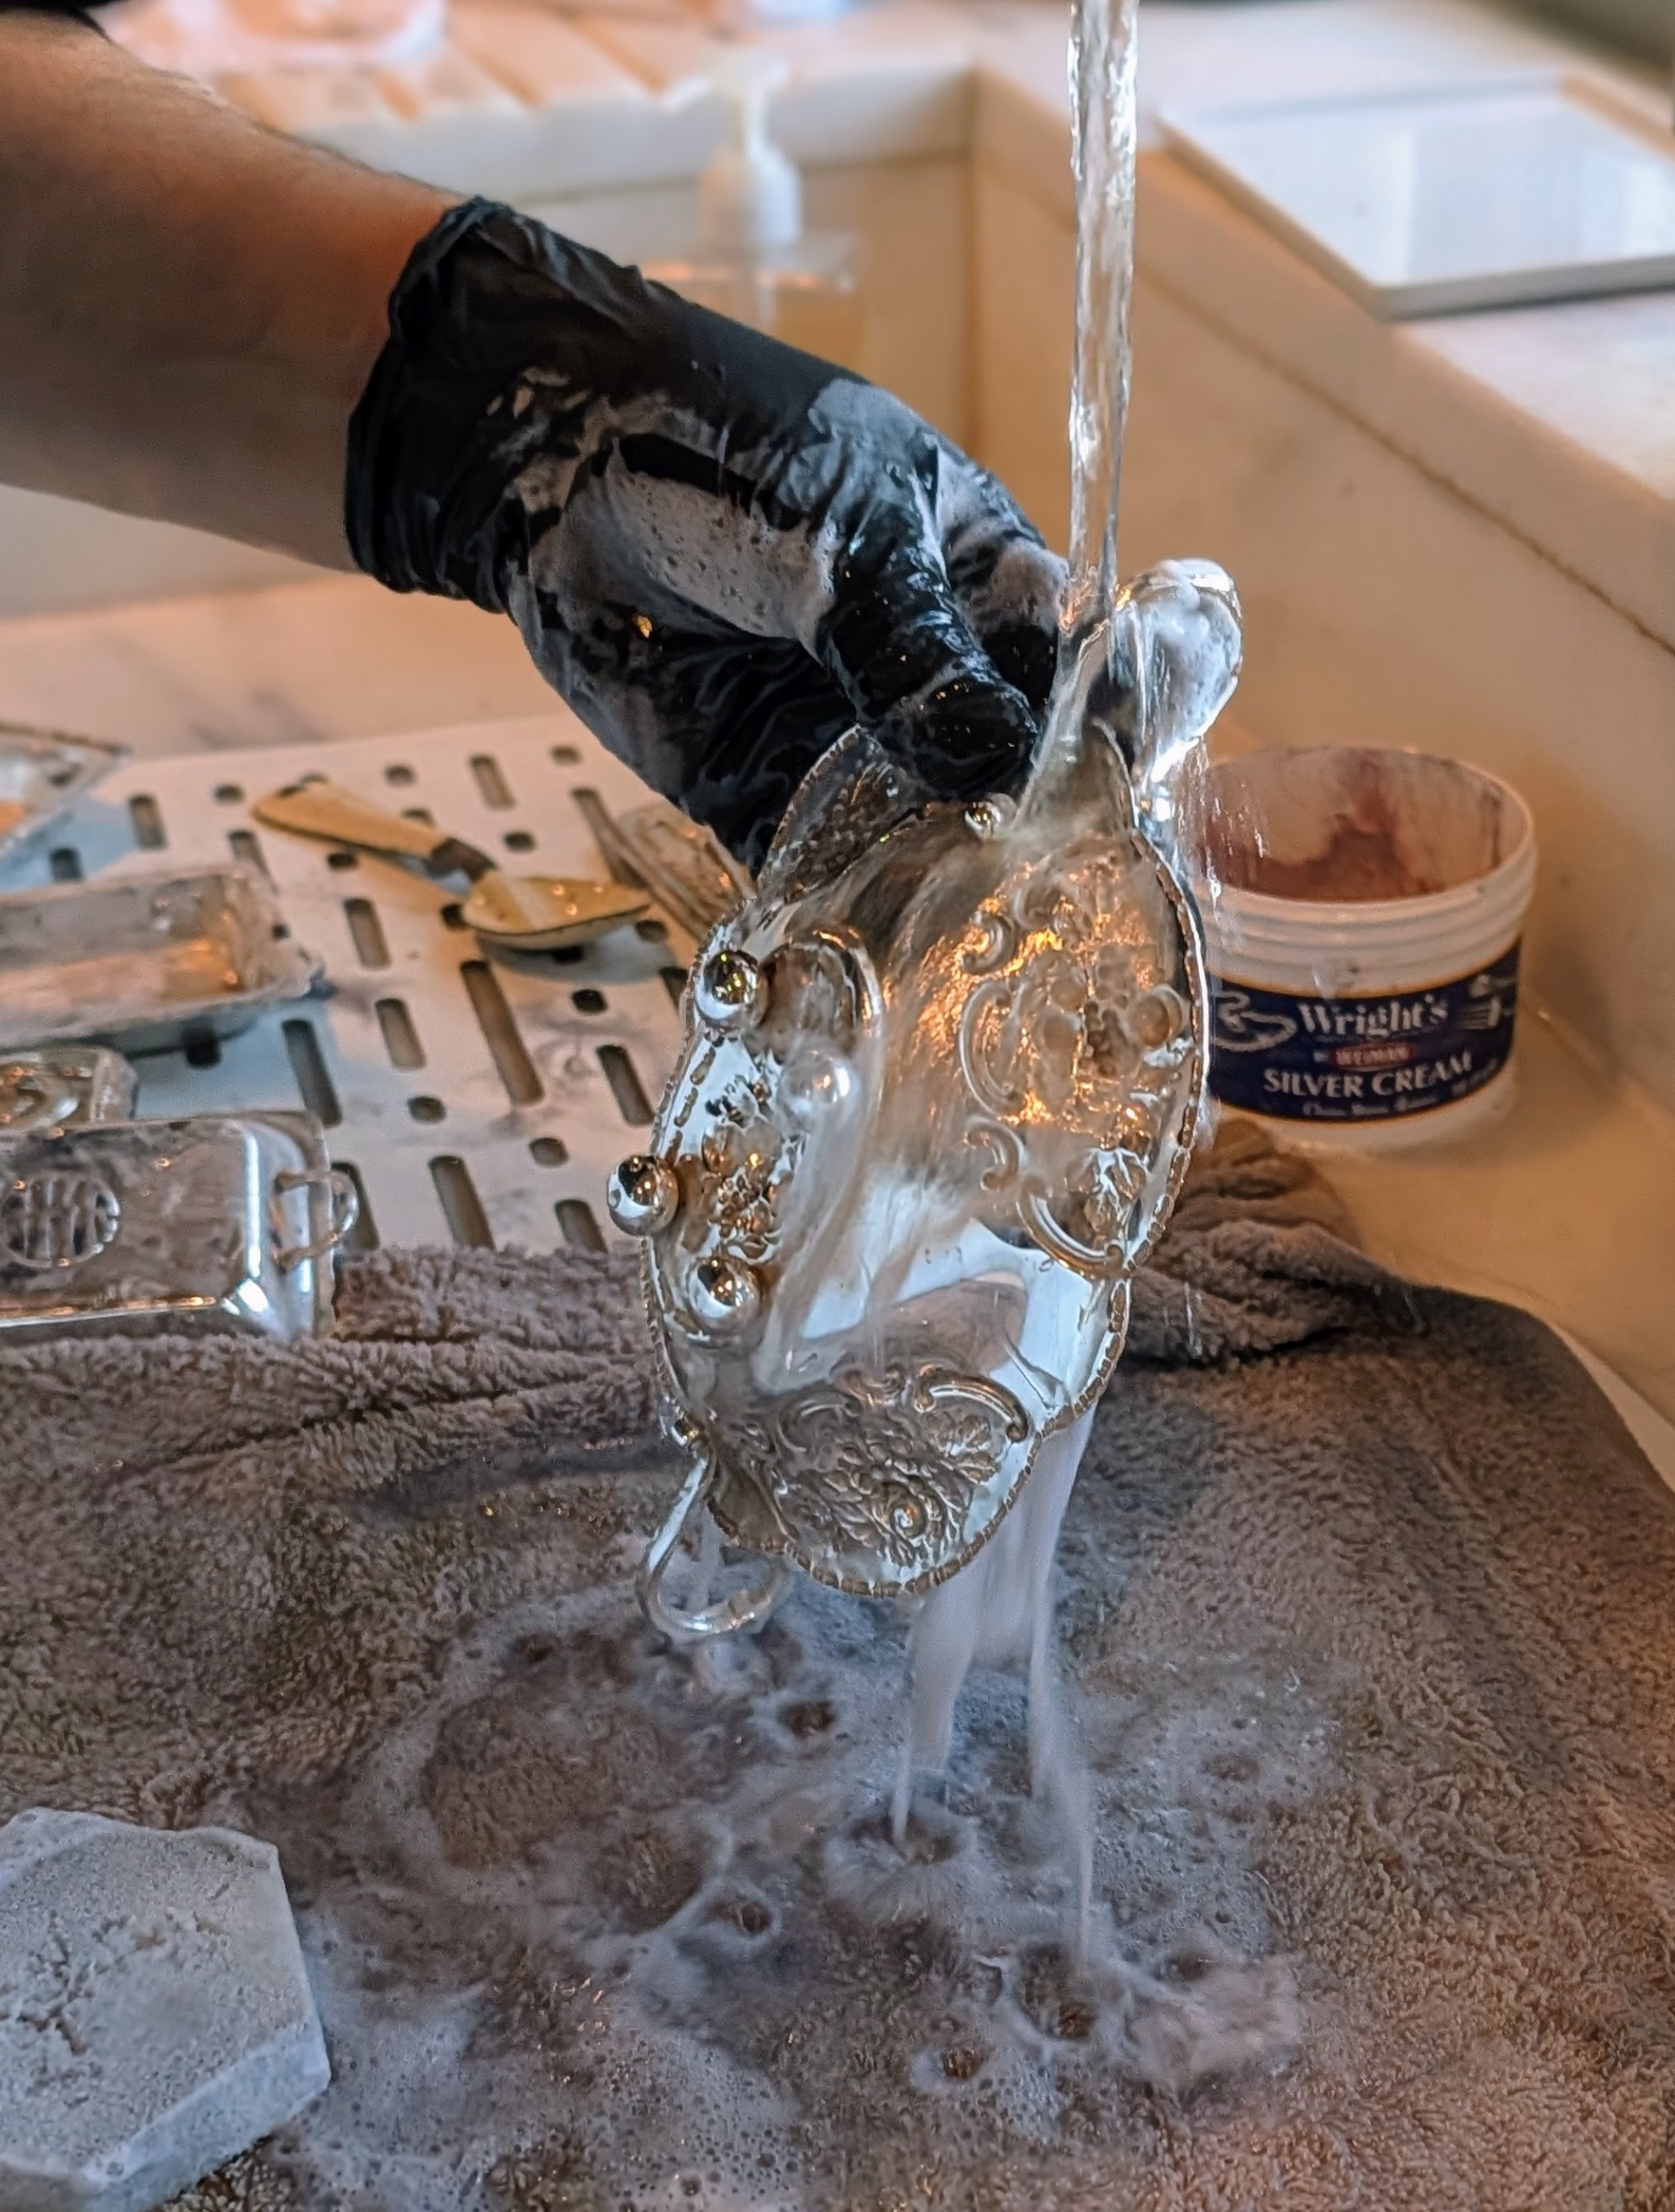
After washing this silver serving tray with dish soap and warm water to remove any dust, Enma applies a small amount of silver cream.
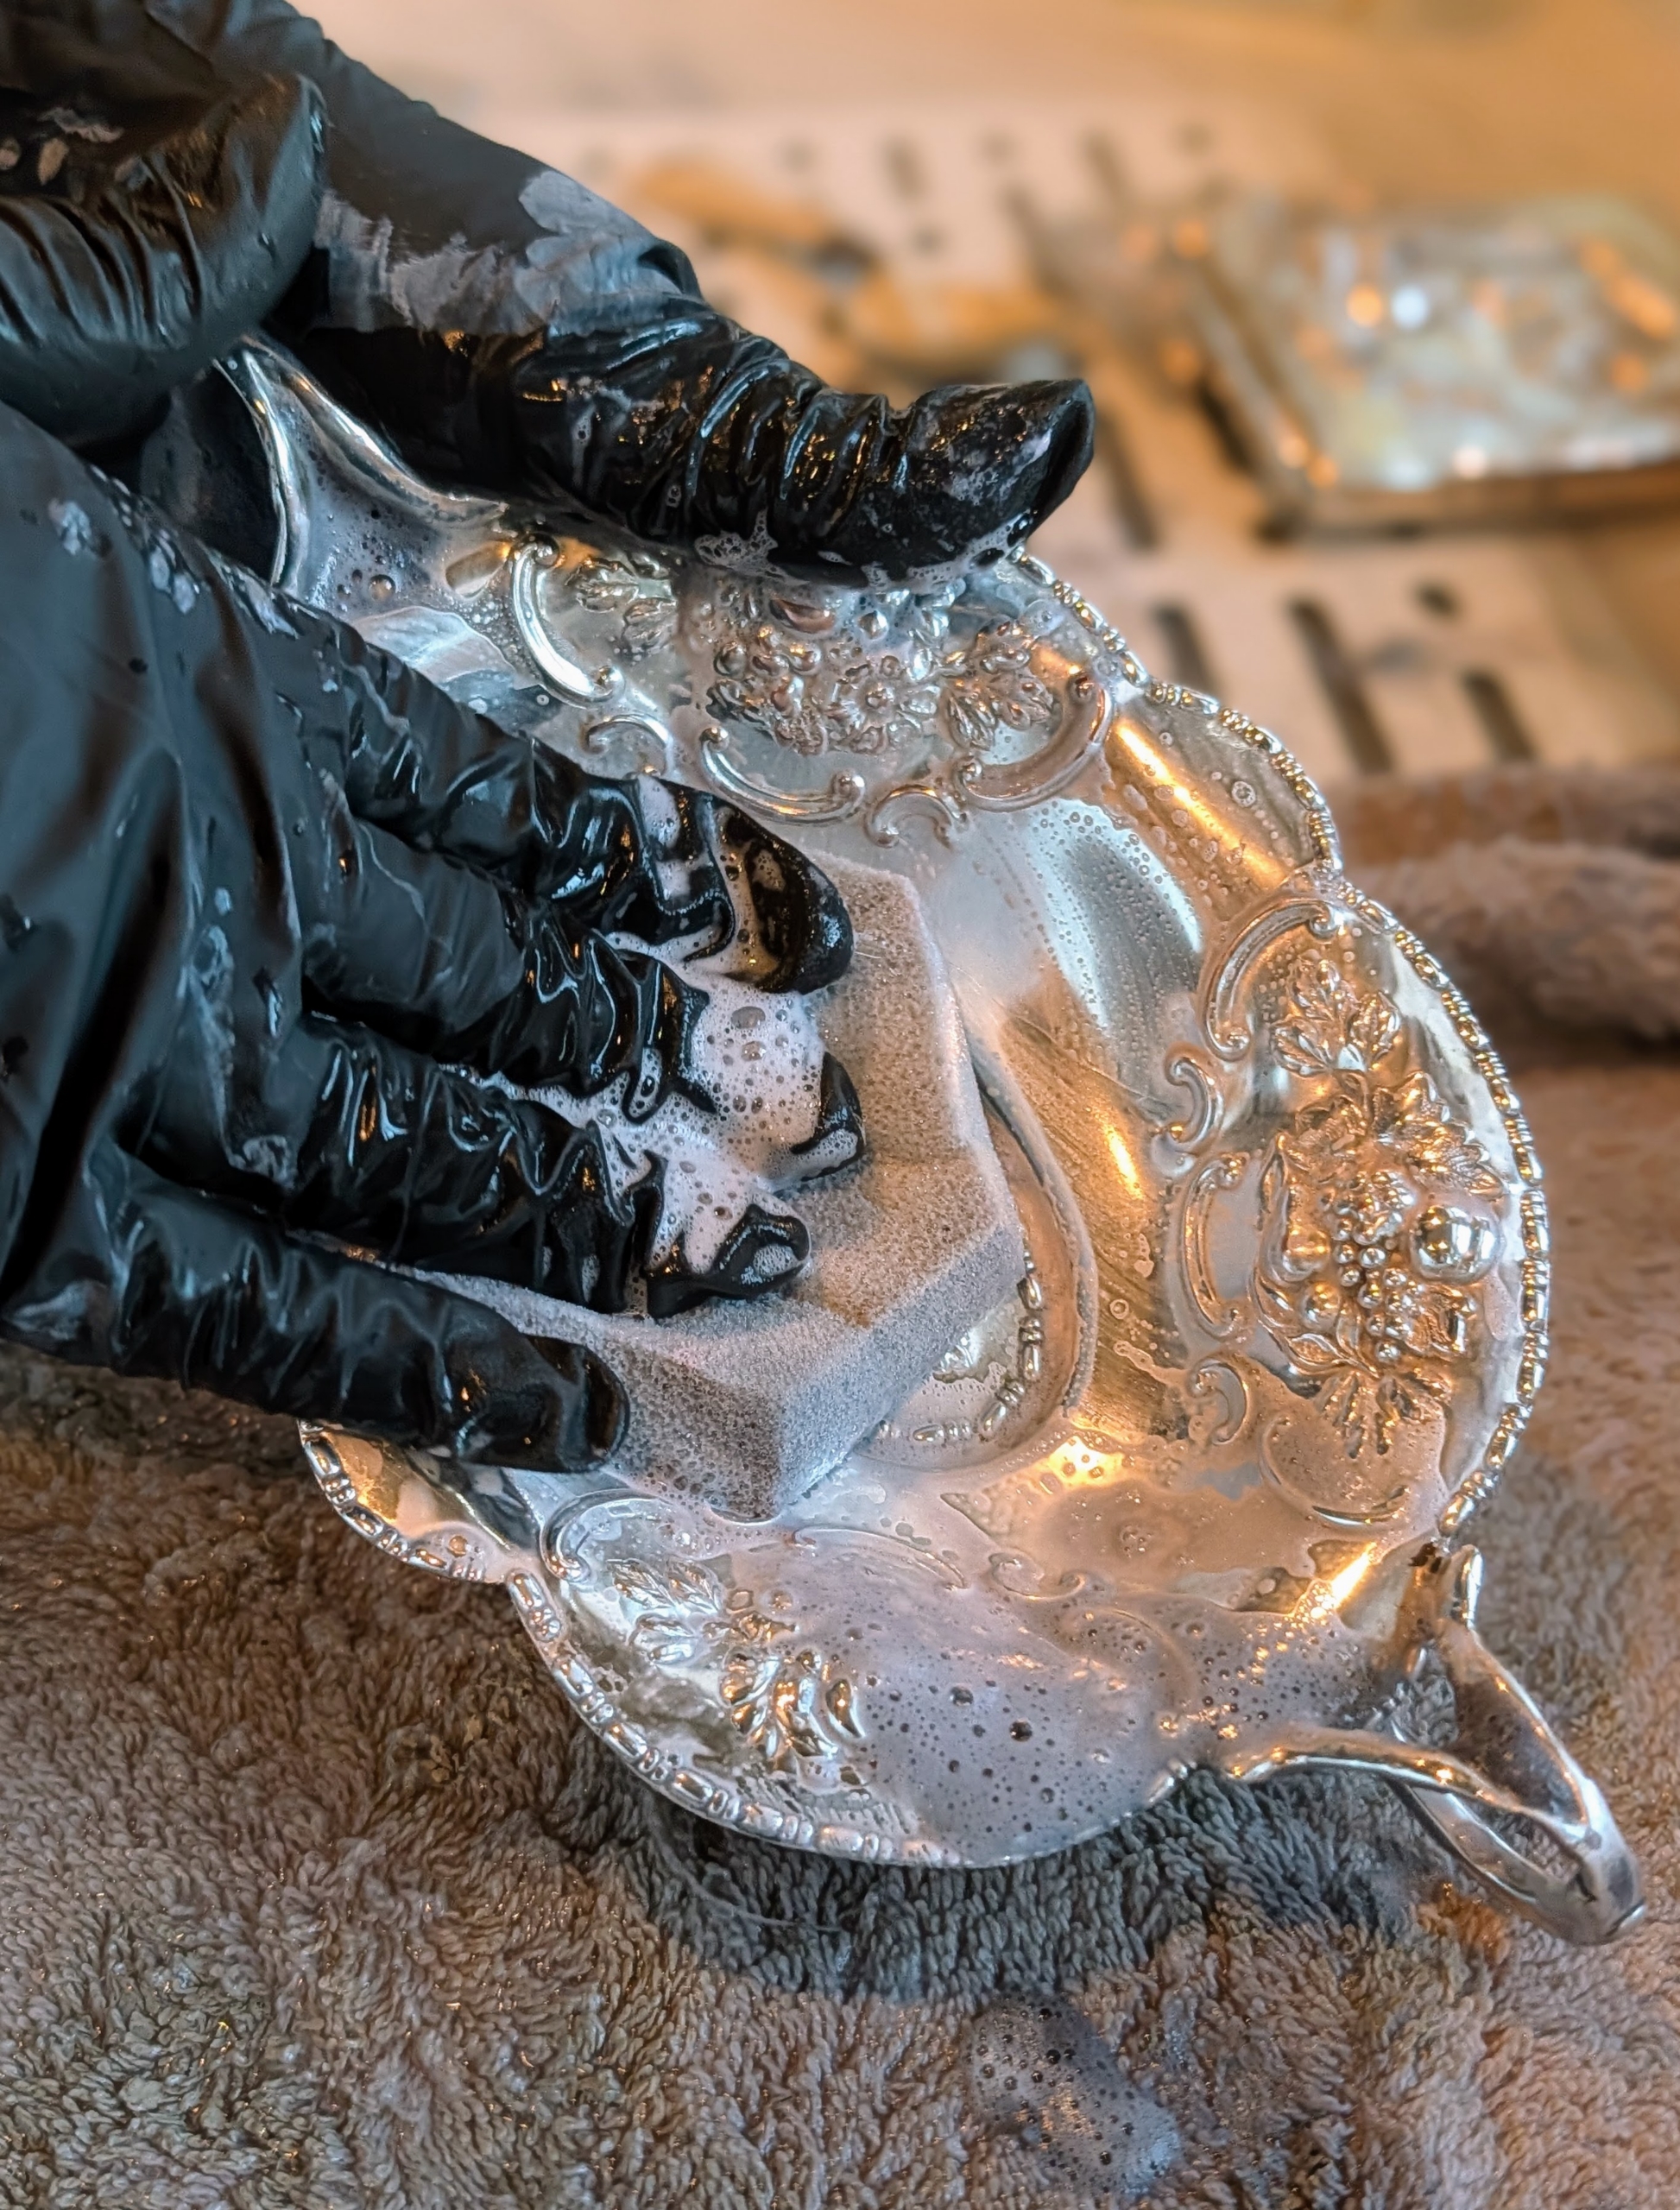
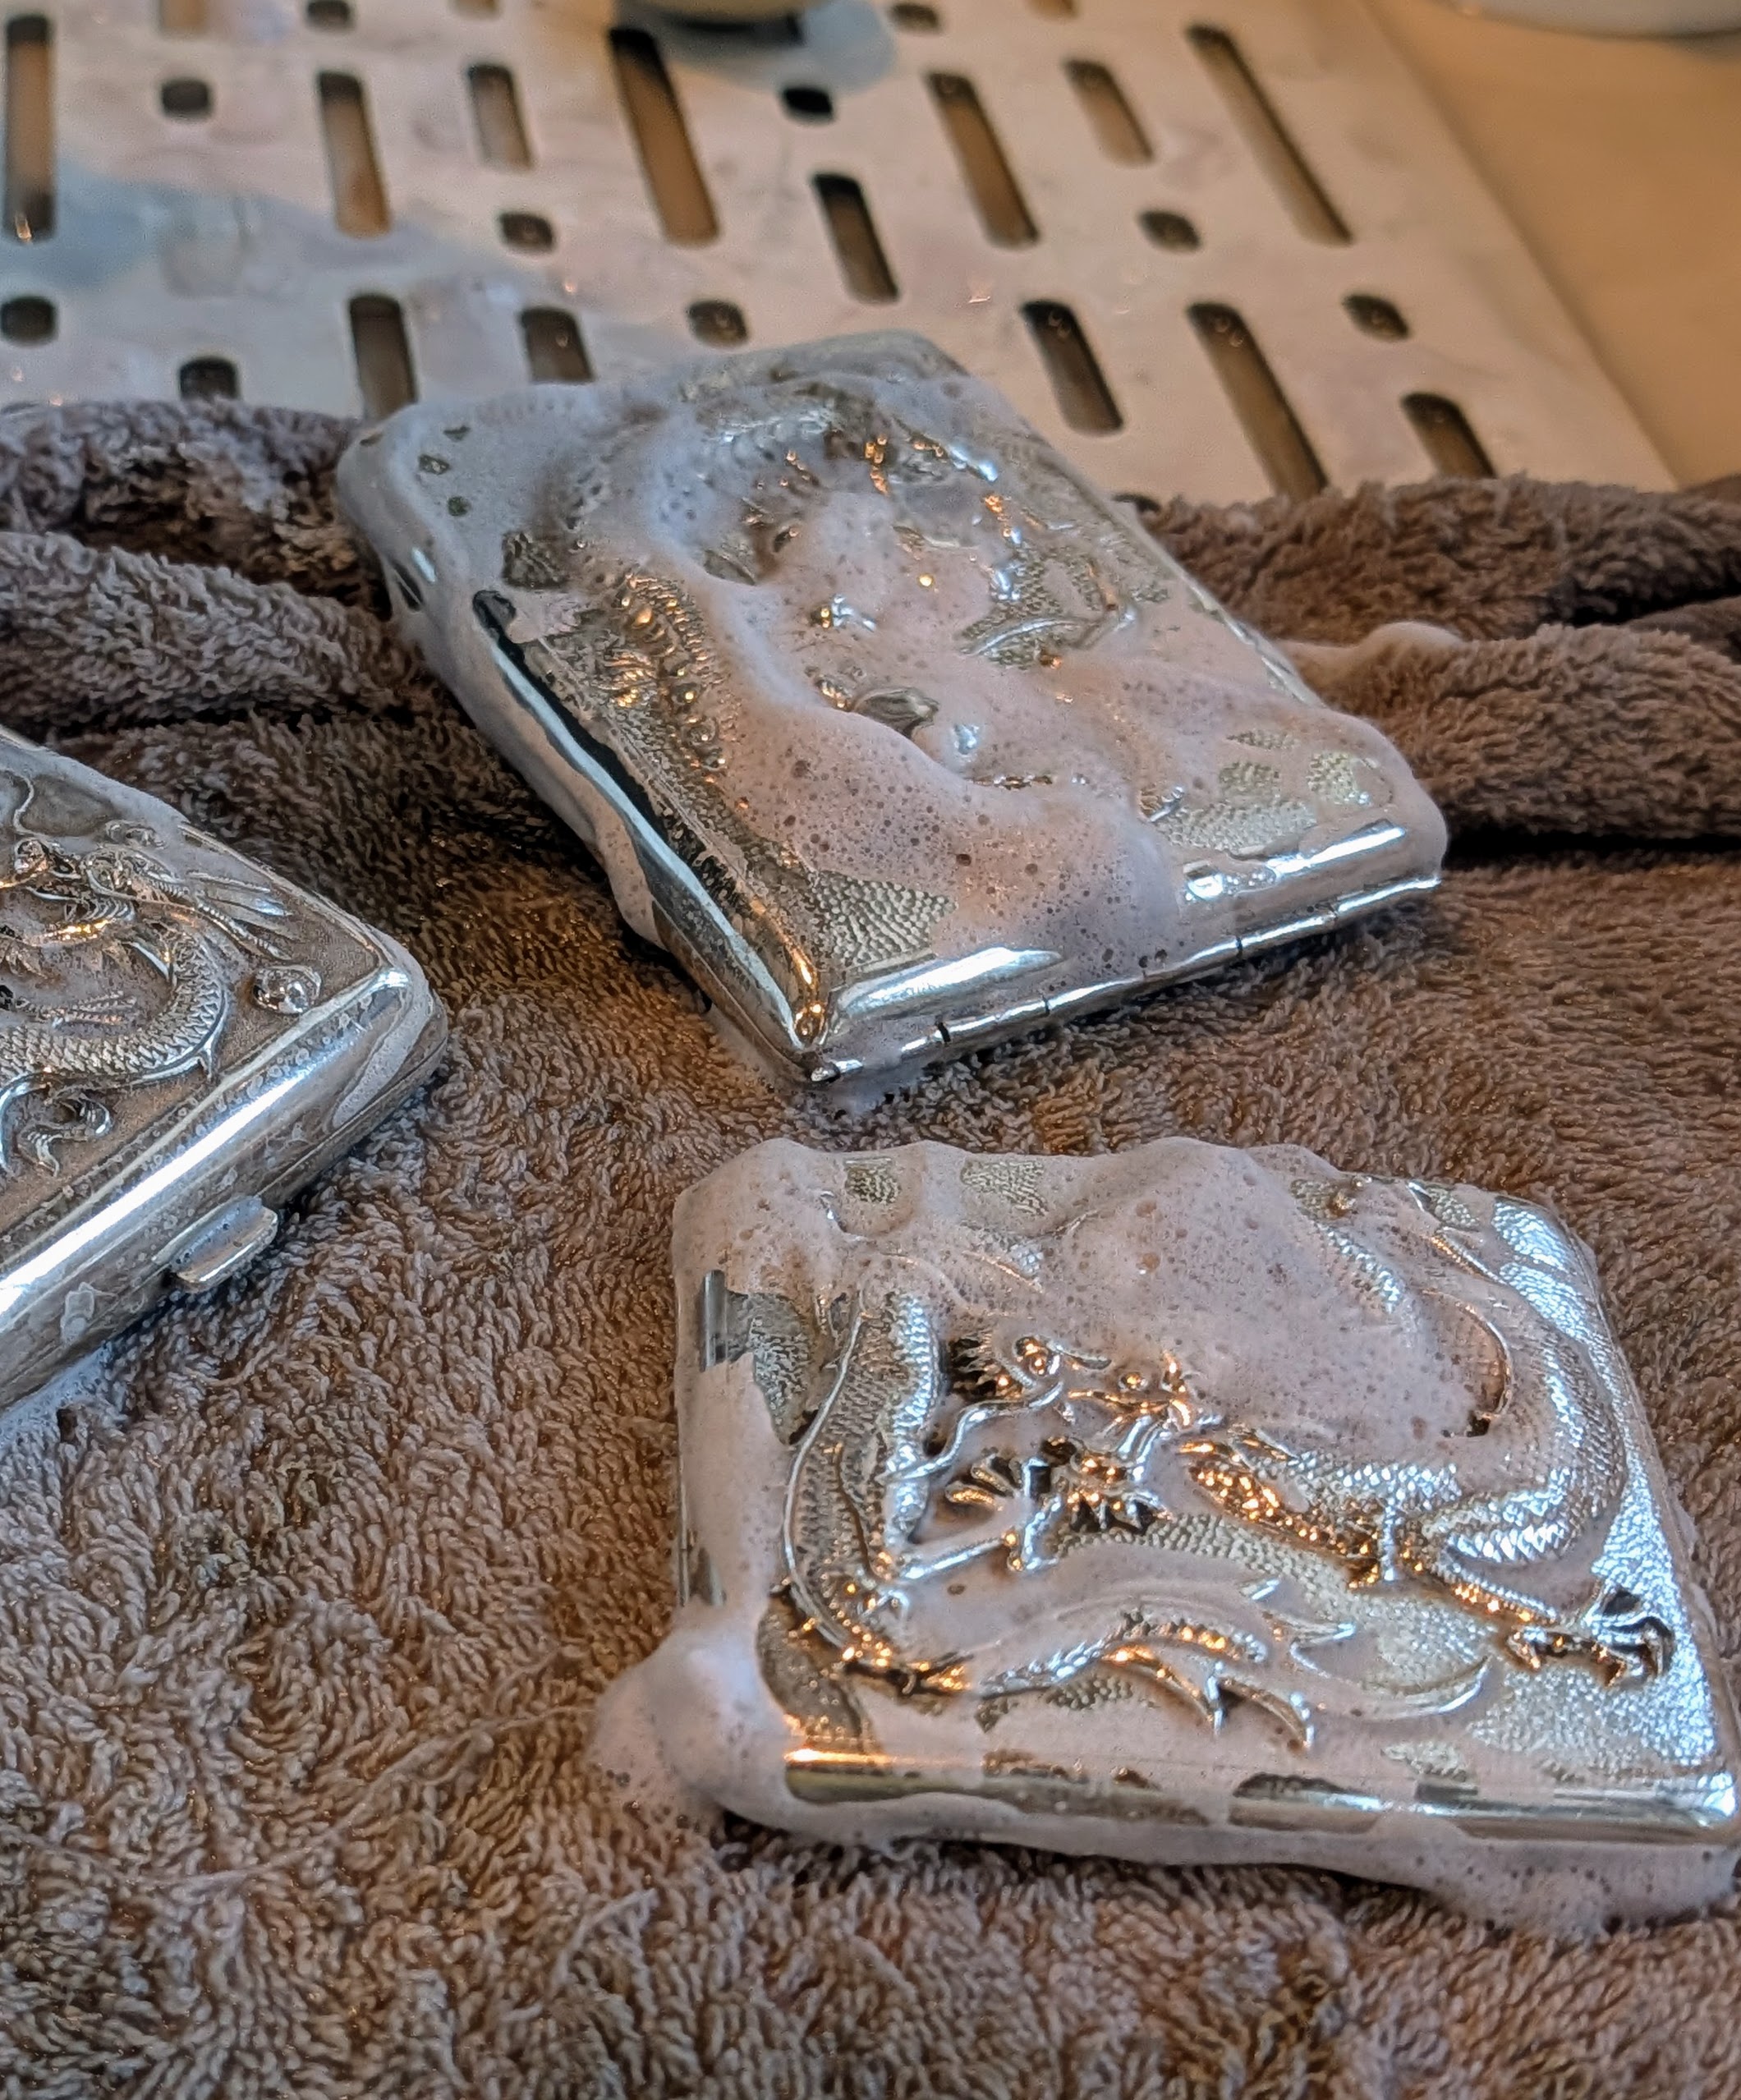
Enma rubs both sides of the tray. Tarnish ranges in color from a light yellowy gold to almost black, depending on how long it has been allowed to develop. In addition to using soft sponges and rags, use cotton swabs to apply the cream to tight spots and crevices when cleaning.
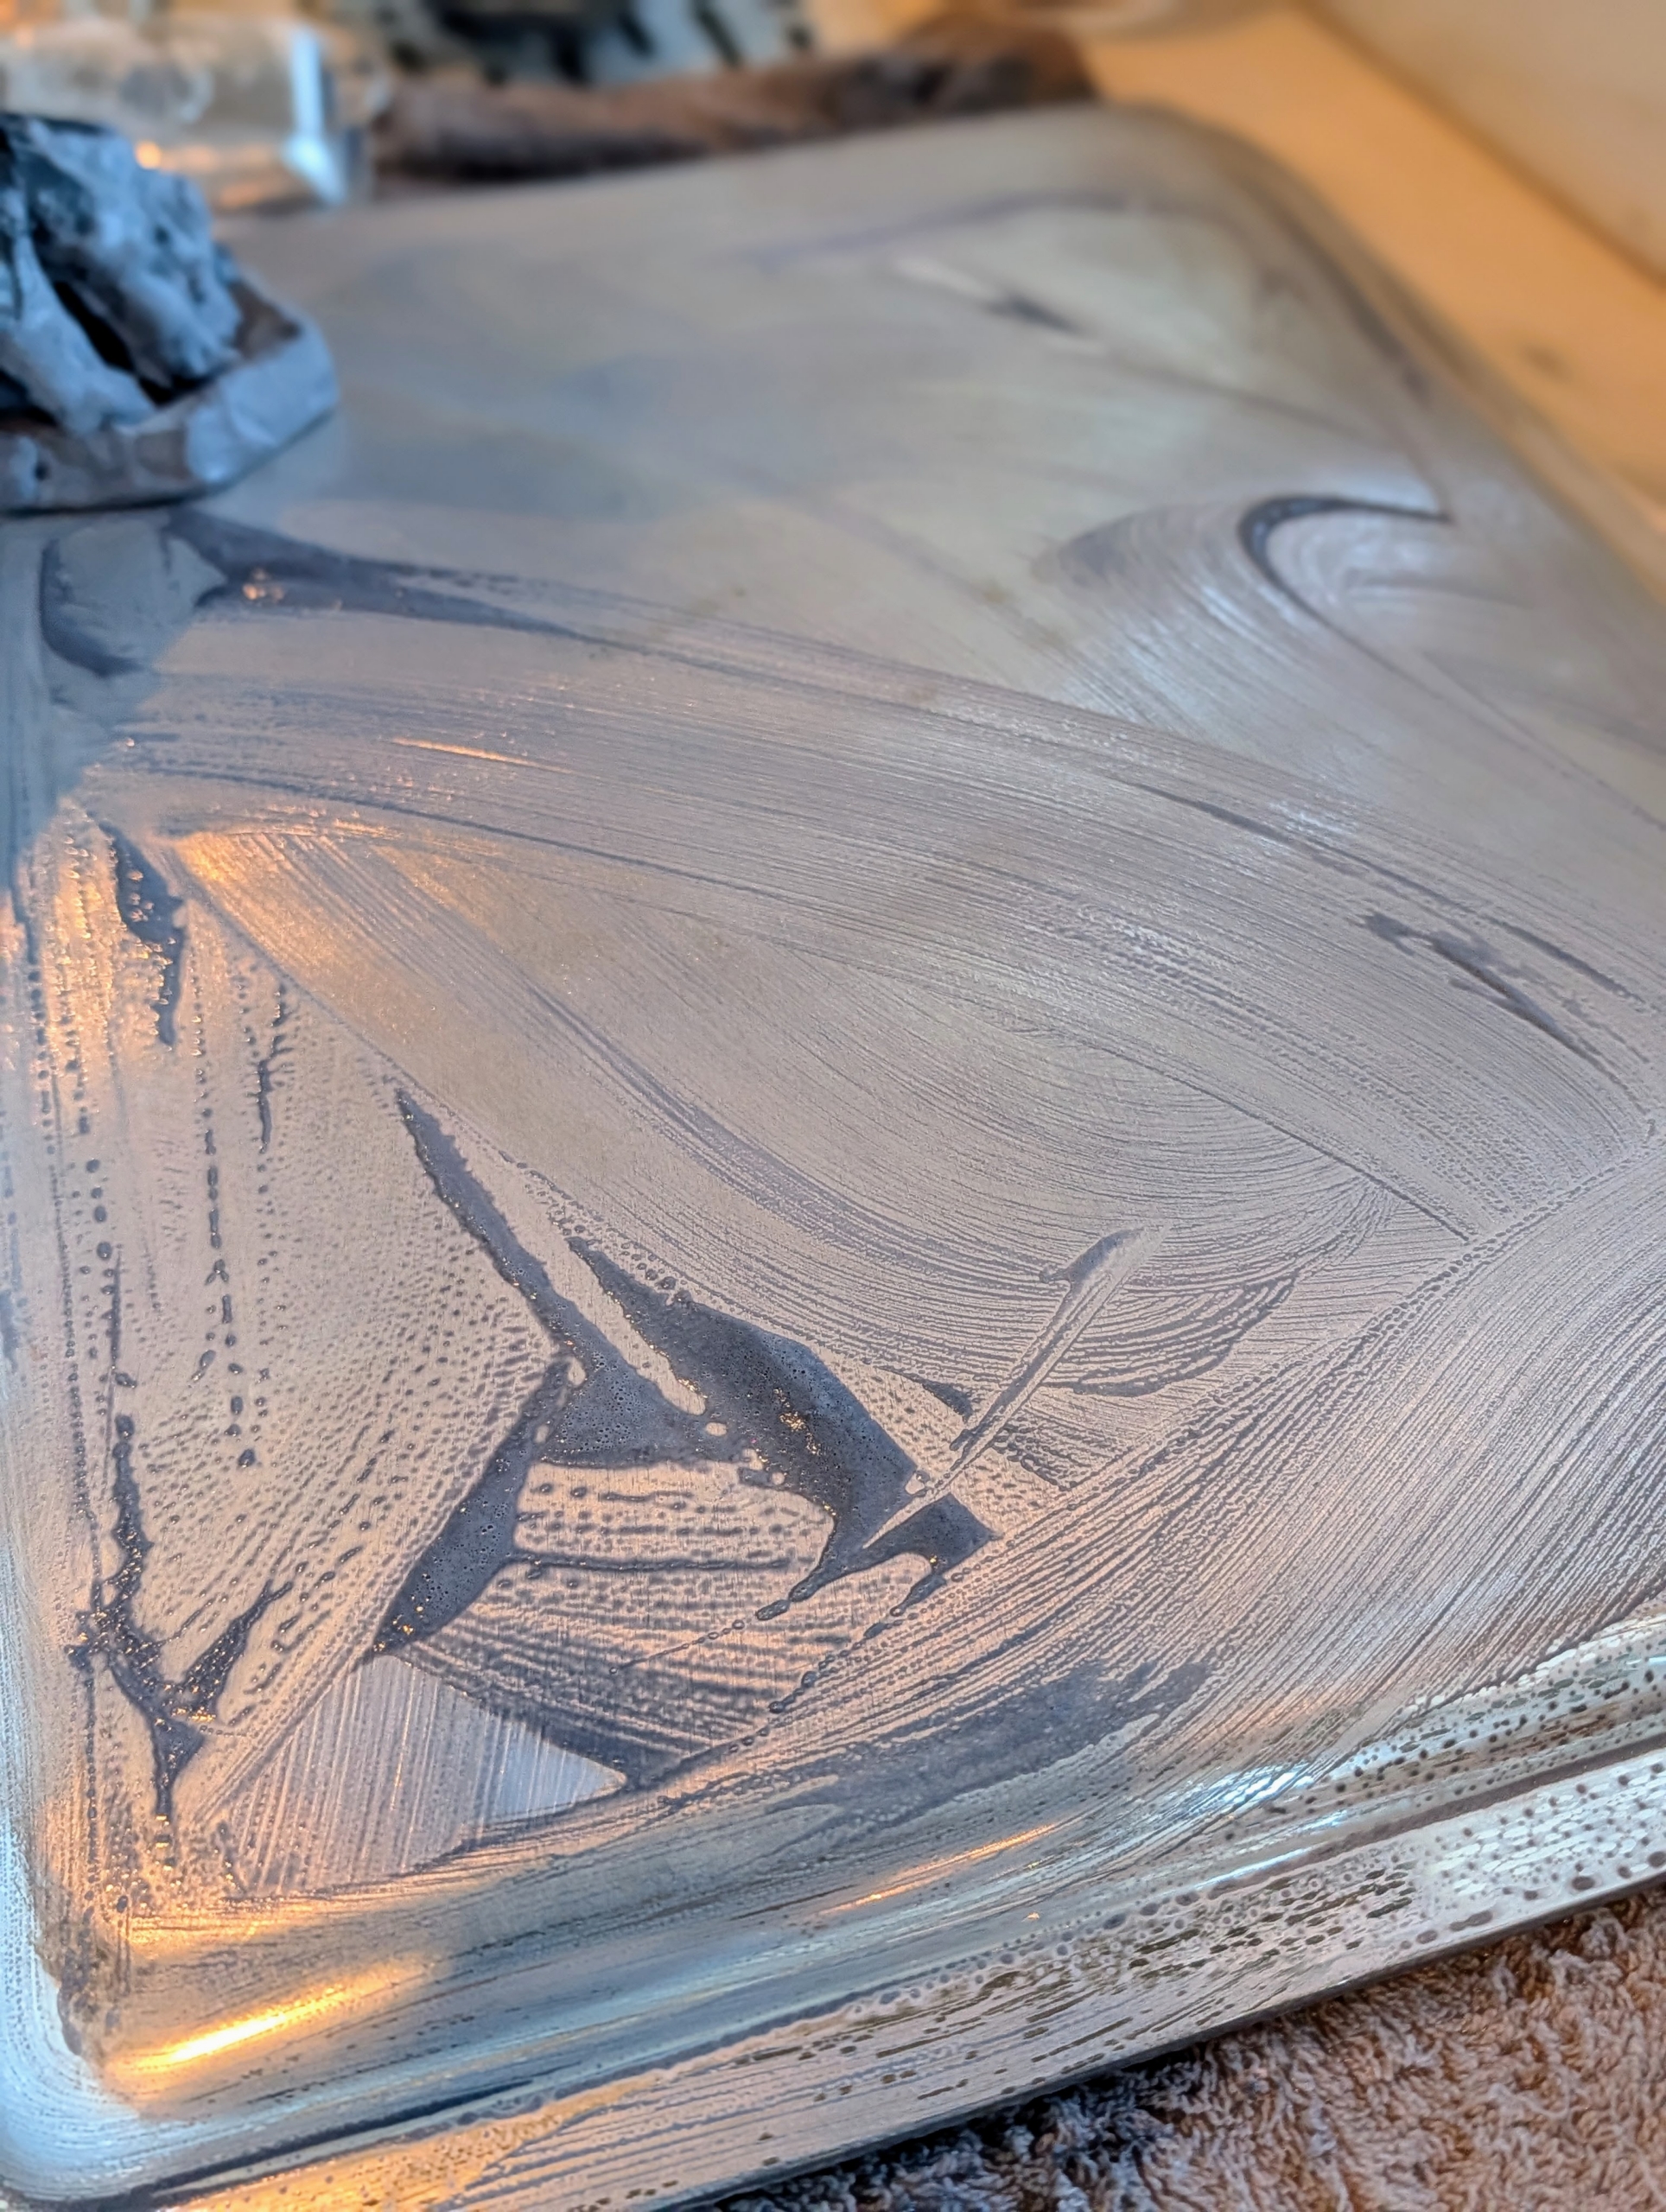
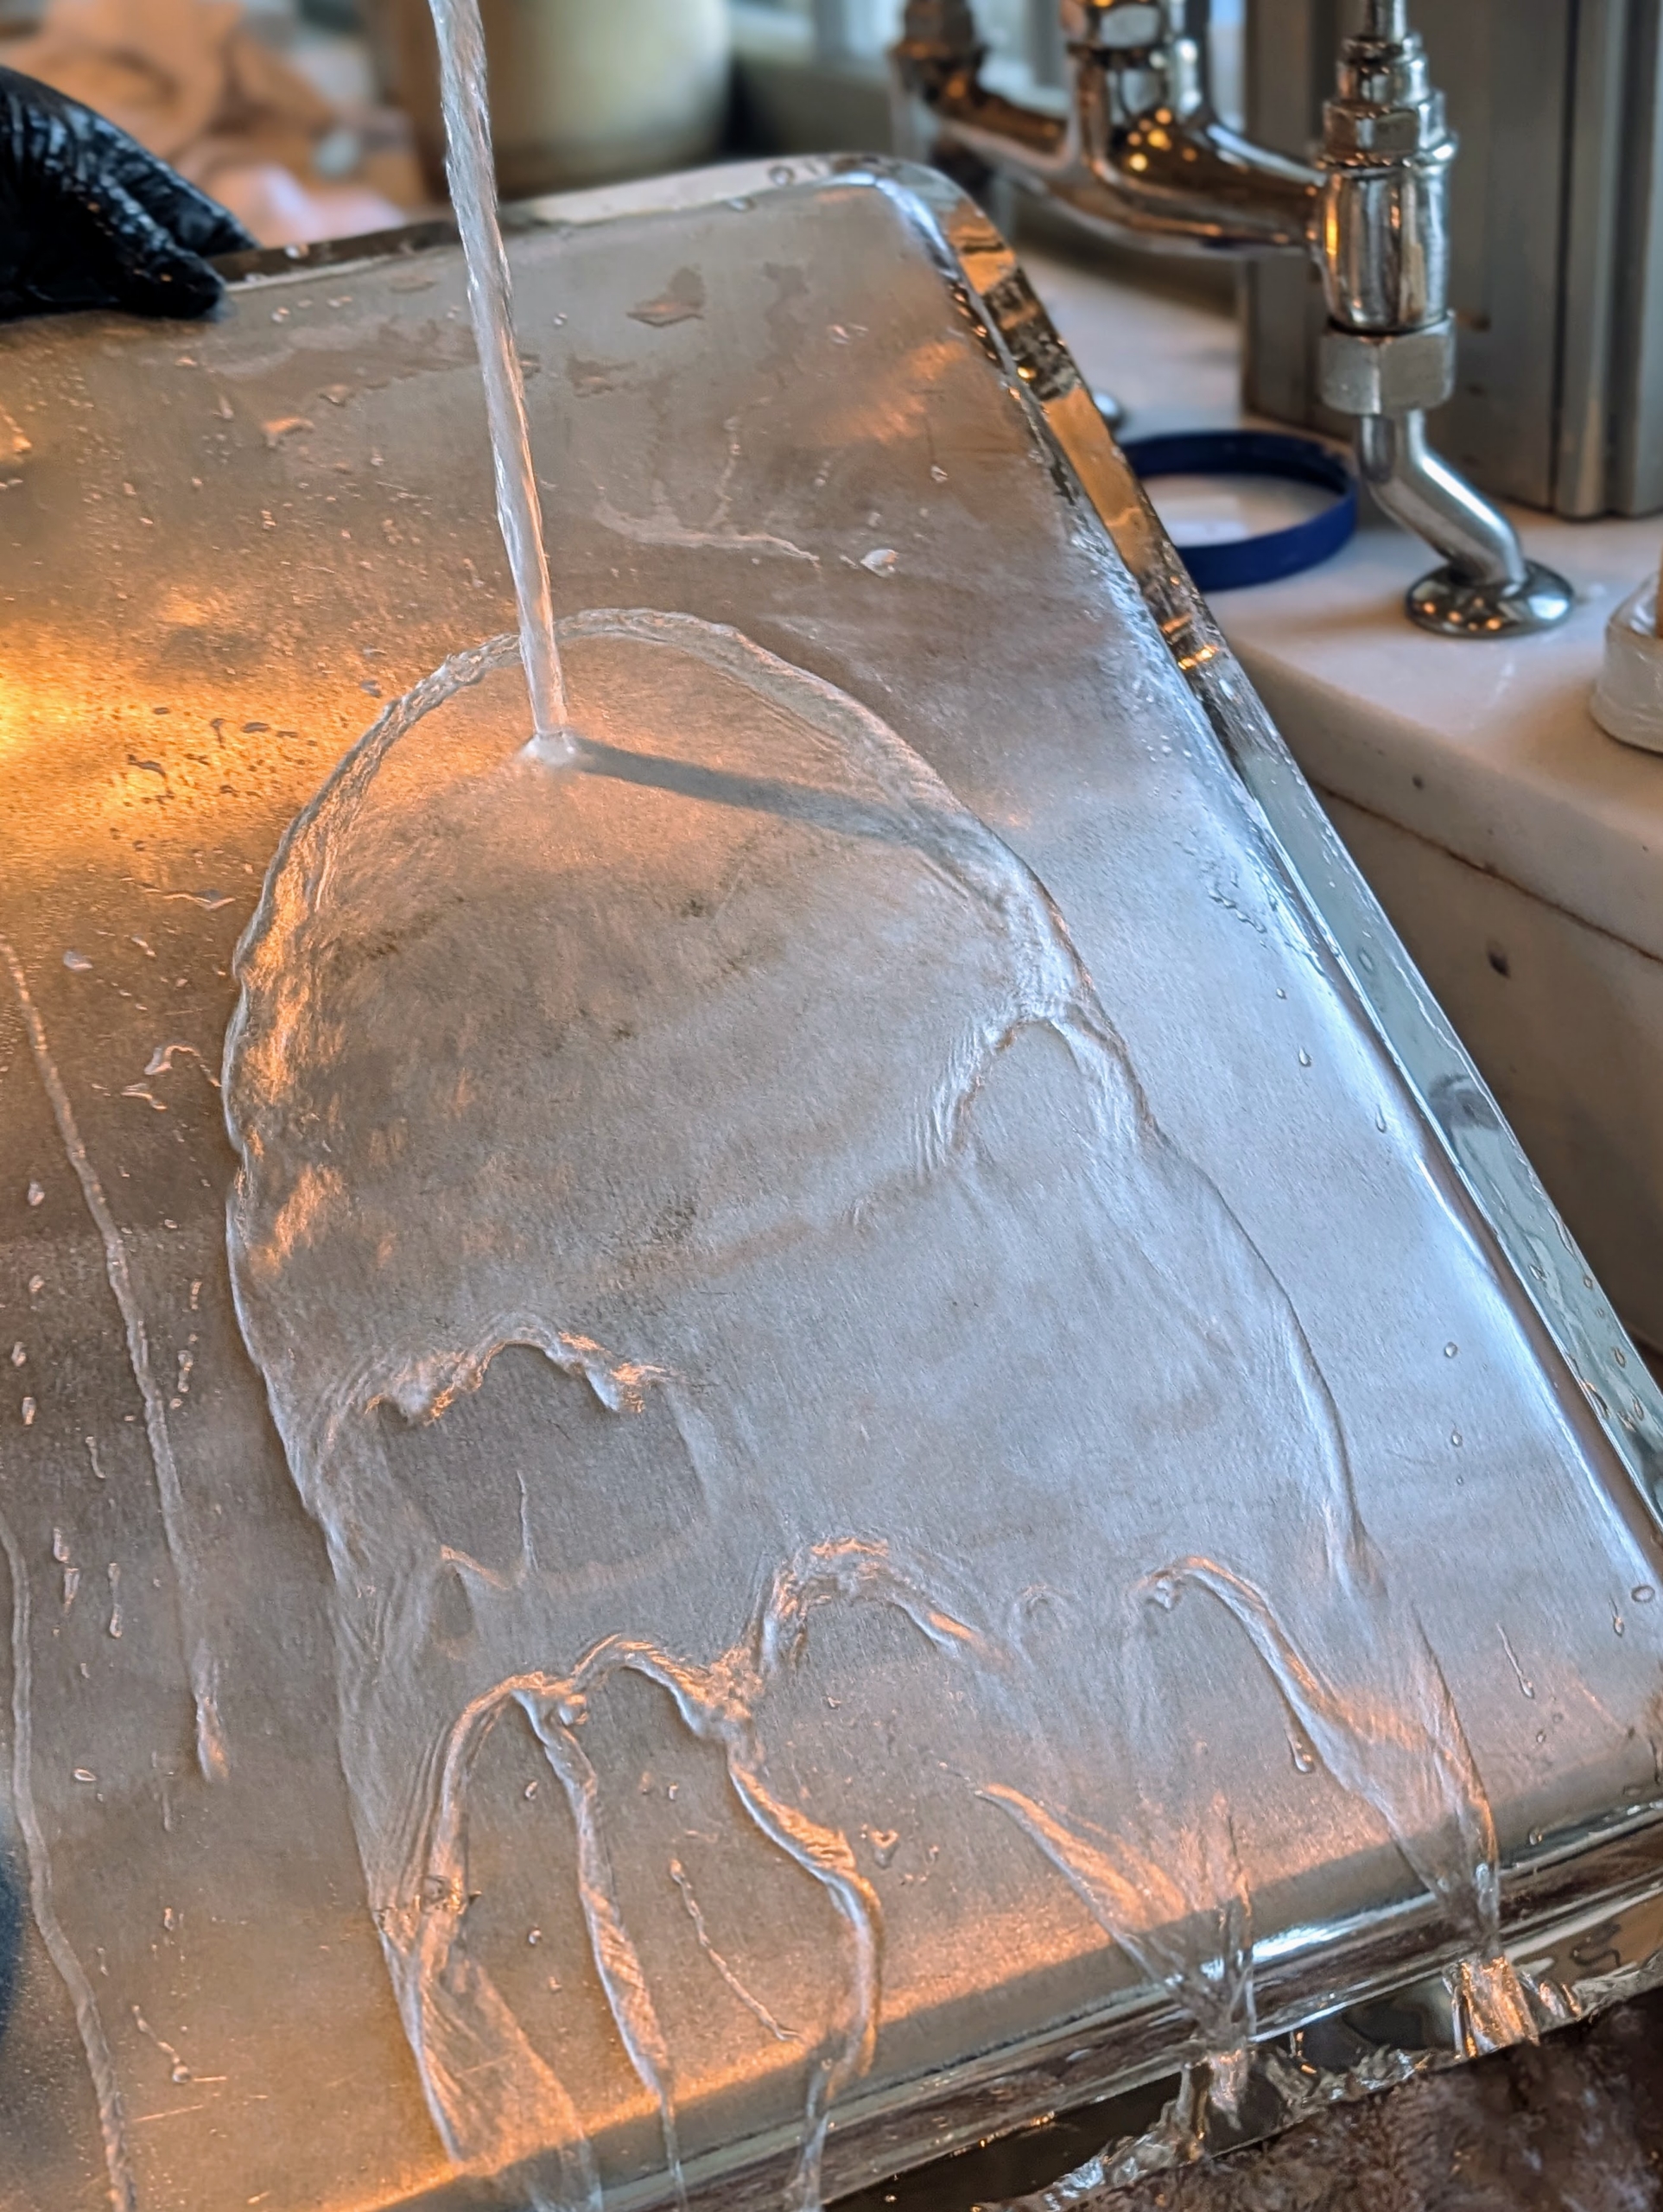
After rubbing the piece with silver cream, rinse the piece well.
And then wash it with dish soap and water again to ensure all the cream is removed.
Enma uses the sponge to remove any of the leftover cream.
And she rinses both the top and bottom of the tray thoroughly, so there is no trace of cream left.
All the cleaning is done on a terry cloth towel lining the bottom of the sink, so the metal doesn’t bang against any surfaces. The towel is also a good idea to use when washing special china… just in case anything slips through the fingers.
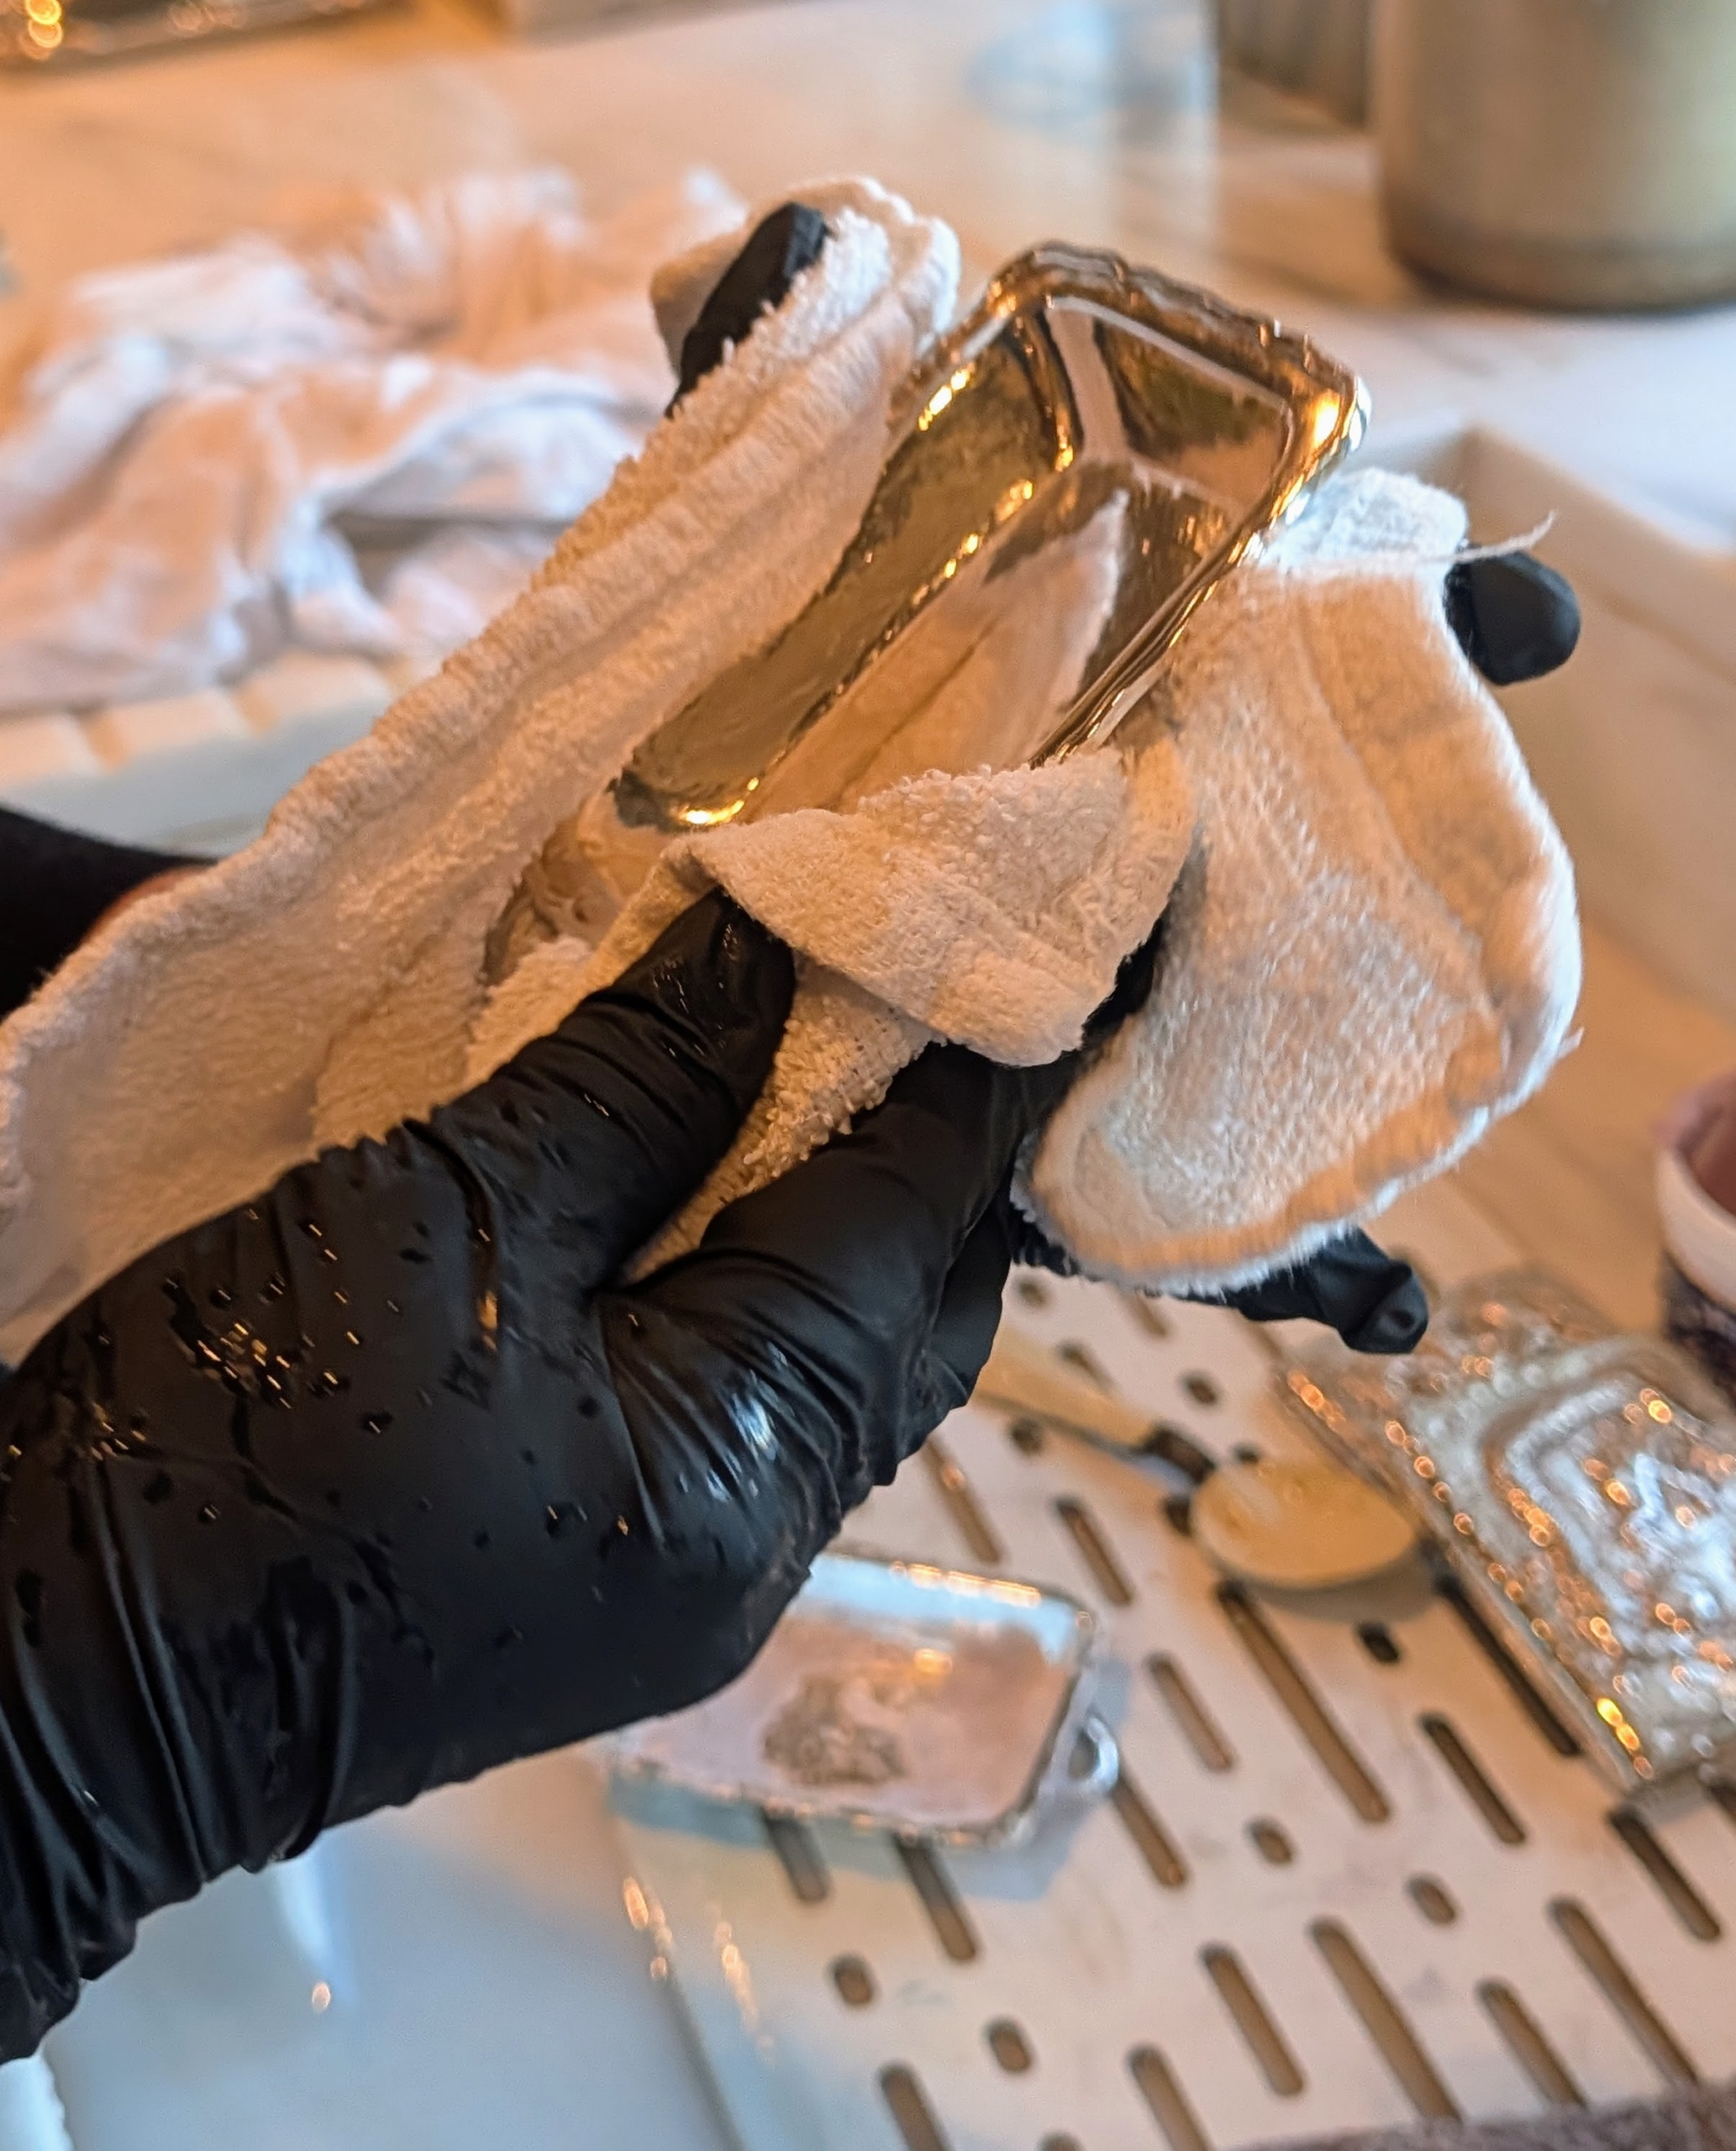
After rinsing, Enma dries the silver right away with a soft absorbent cloth to avoid any water marks.
Here she is cleaning a silver dish. It may take a little longer when cleaning a piece with more intricate designs, crevices, or indentations. Enma is sure to wipe every area, getting into the tight spaces carefully. It’s also a good idea to use gloves when taking on this task, so the cleaning cream does not come into contact with the skin.
Completely coat any pieces with the cream. The silver will start to brighten as it is rubbed. Always use silver polishes that are non-abrasive, and opt for formulas, such as creams and gels instead of sprays.
The silver dish is rinsed carefully over the towel and then dried in the same fashion as the silver tray.
Every piece cleaned is buffed to perfection. Do not let your silver air dry, because water left standing can cause spotting.
These pieces will look so lovely in my Brown Room. Another tip – never clean silver in the dishwasher. The detergents’ aggressive chemicals, combined with the washer’s high cleaning temperature, will eventually turn it grey or white, with a dull, non-reflective surface.
Because my silver is cleaned regularly, it doesn’t take too much time to get the job done.
Here’s the same tray with everything newly cleaned and polished – everything looks great.
The tray of silver is displayed in my Brown Room, near my long dining table where guests will see them.
The joy of owning beautiful silver pieces does require some work to keep everything looking beautiful, but it is all well worth the effort.
Houseplants and cut flowers bring life to any room, especially during the cold, dreary days of winter.
Whenever I entertain, I like to decorate with an assortment of potted plants and cut blooms that provide color and interesting and expressive foliage. It’s an inexpensive way to add beauty and texture to any space. My head gardener, Ryan McCallister, brought some beautiful plants to display in my Winter House for a small gathering I am hosting this weekend.
Enjoy these photos.
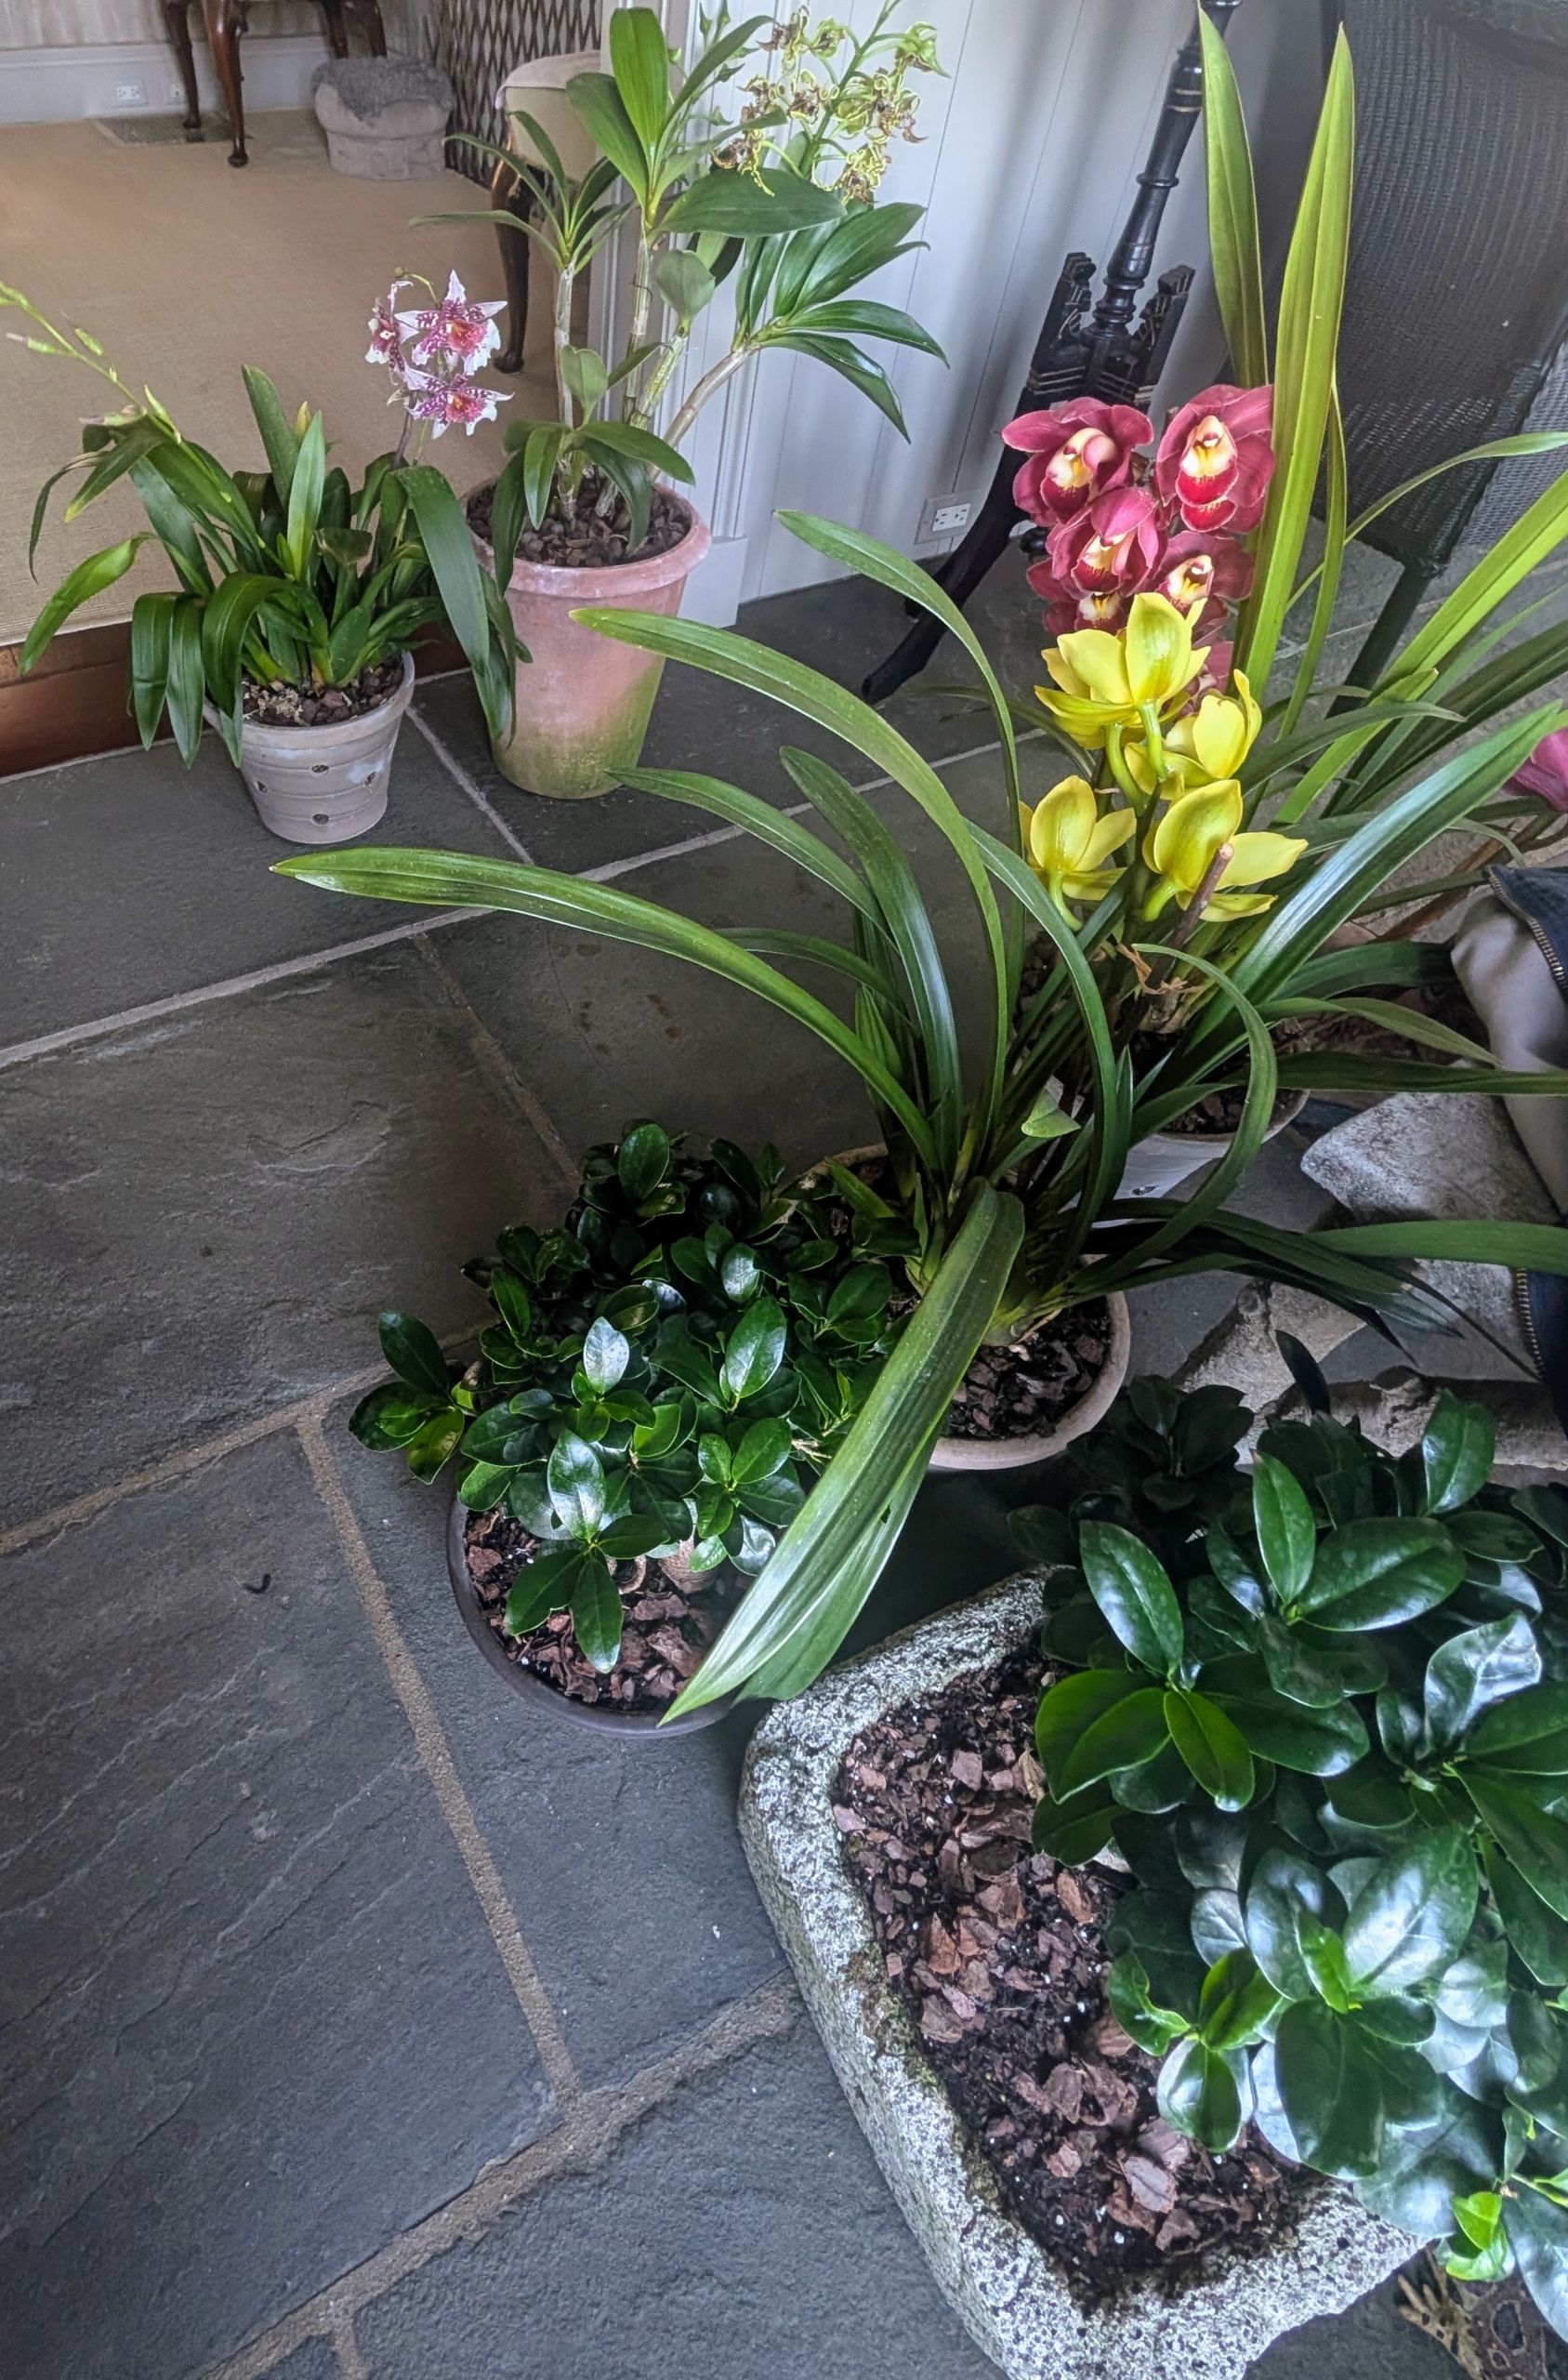
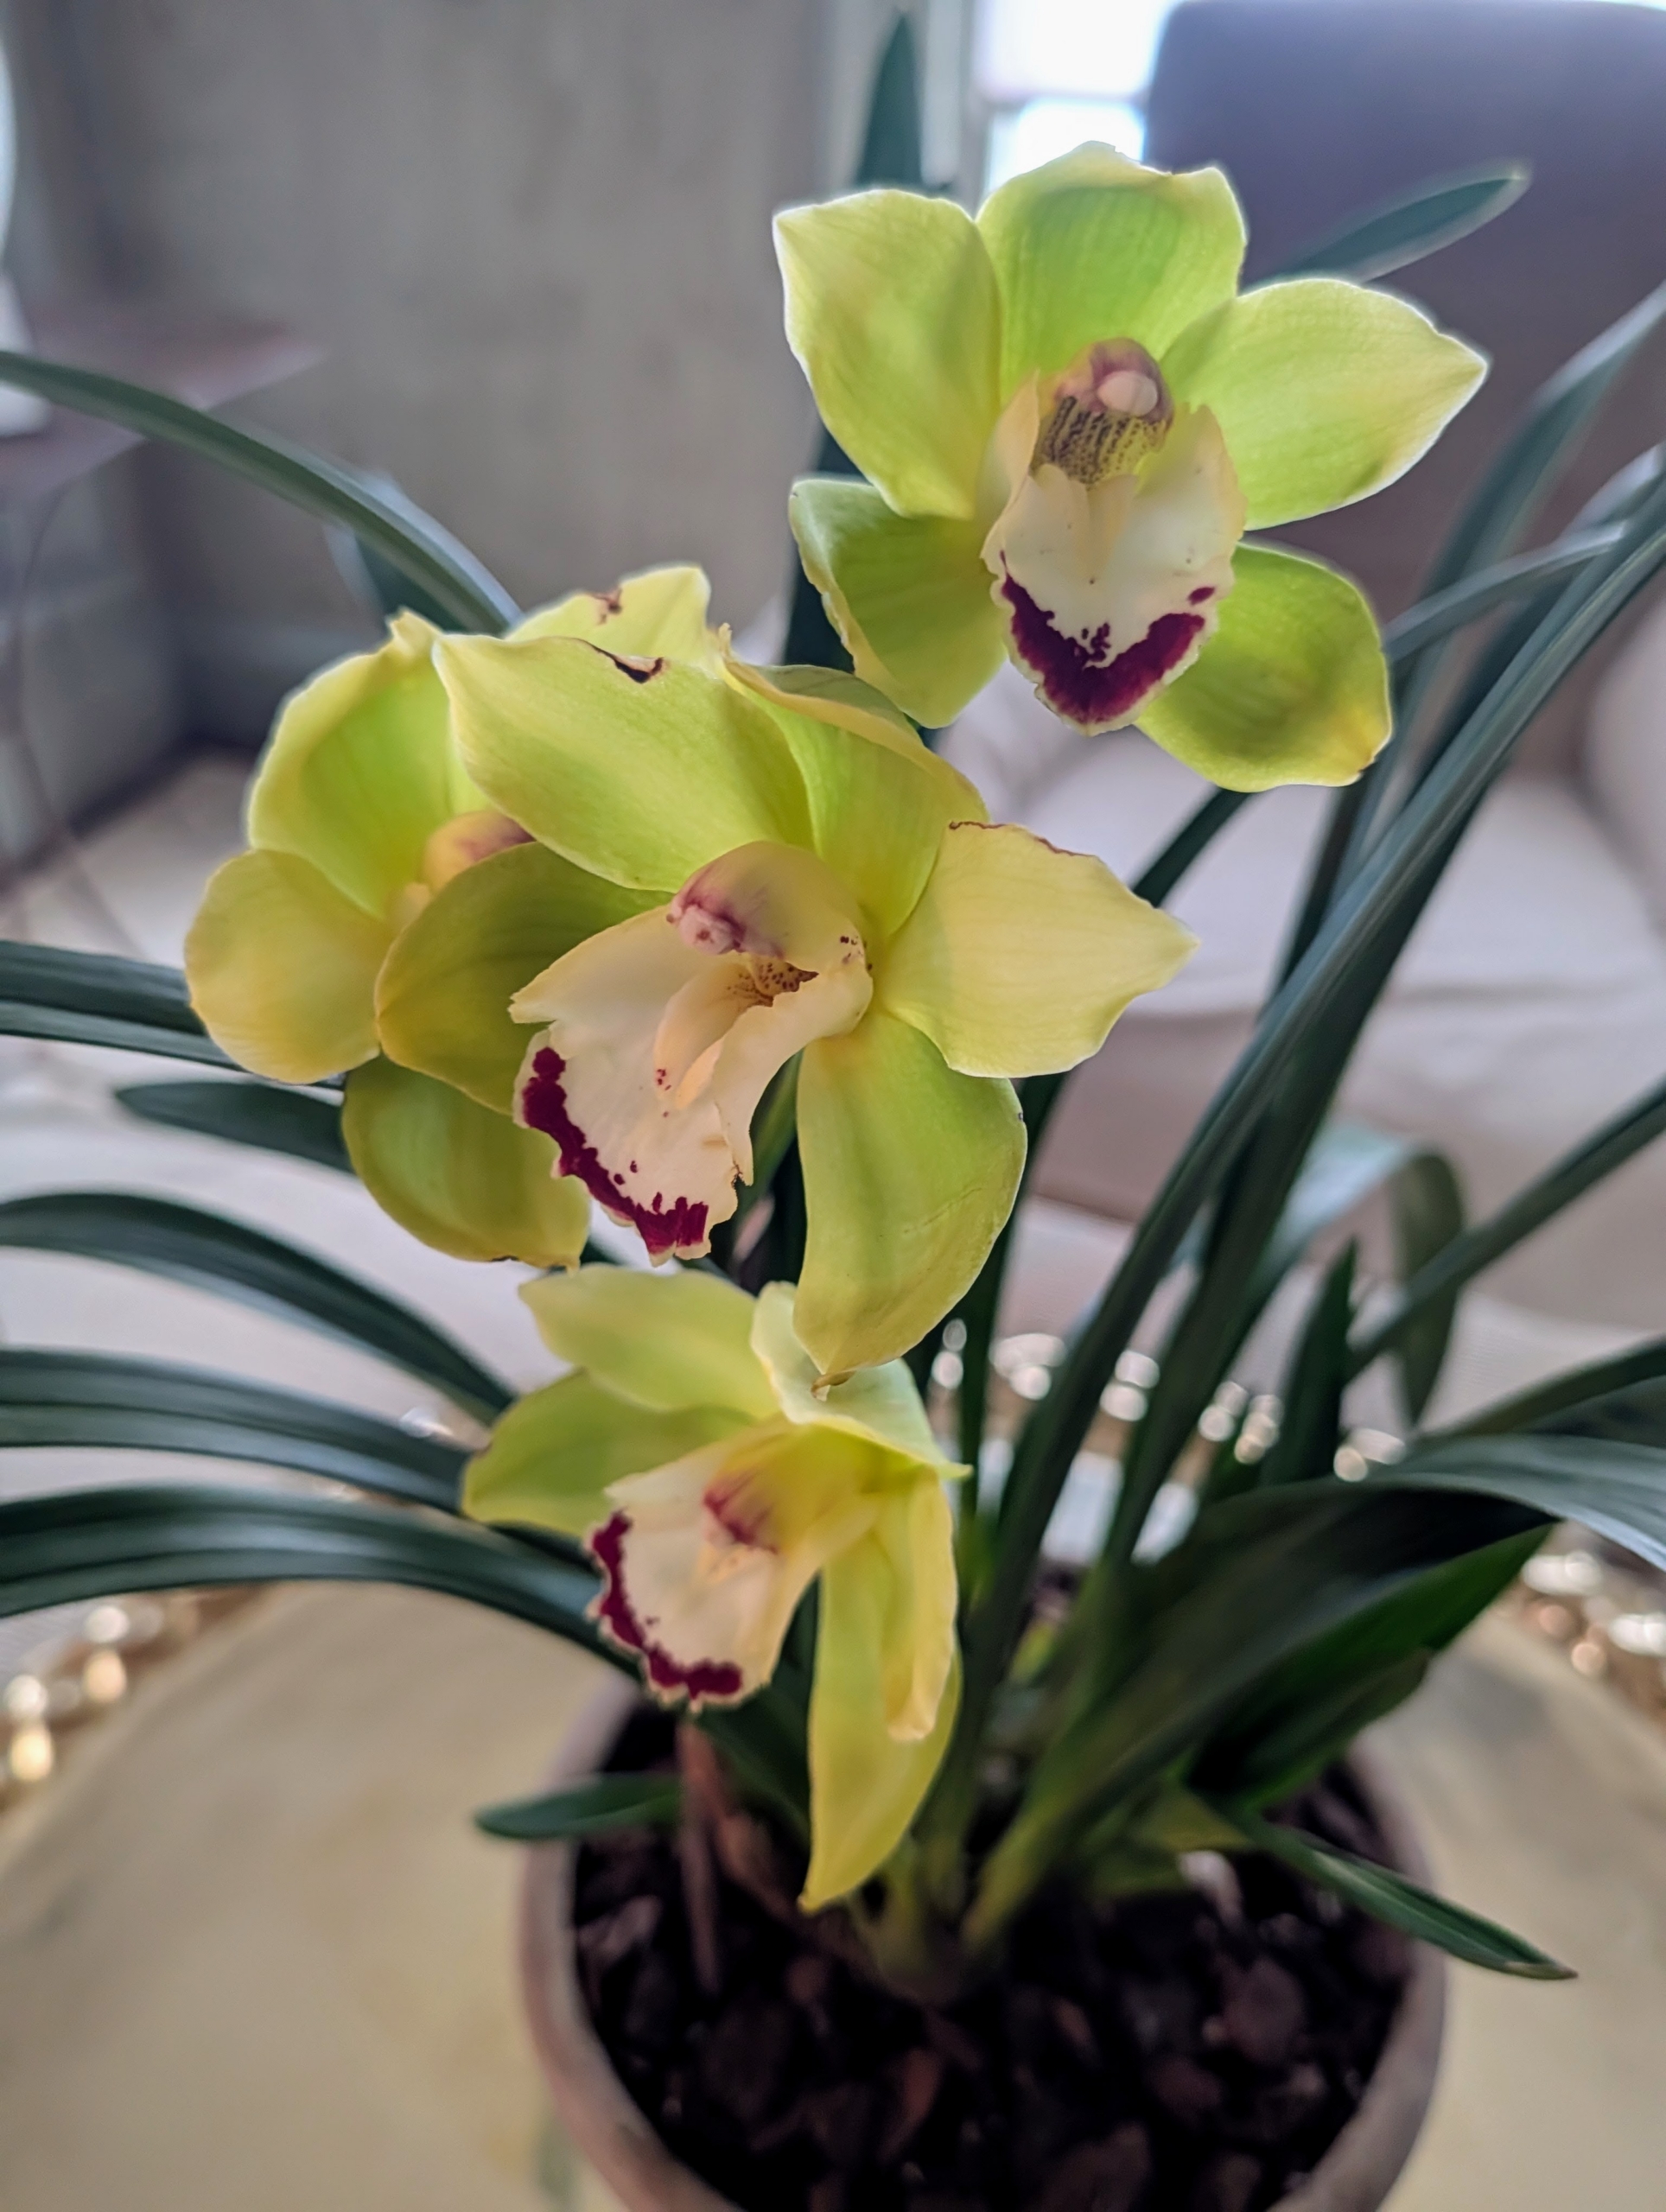
I have some of the most beautiful orchids displayed on the tables and counters of my Winter House. Orchids come in a range of colors. Cymbidium, Phalaenopsis, and Dendrobium orchids come in blue, red, pink, white, purple, yellow, orange, and green.
Ryan brings the group of selected potted specimens in through my enclosed porch. Ryan selects those specimens that are blooming or looking especially lush. He also selects where they will be placed depending on size, light needs, and how many of each variety he brings inside.
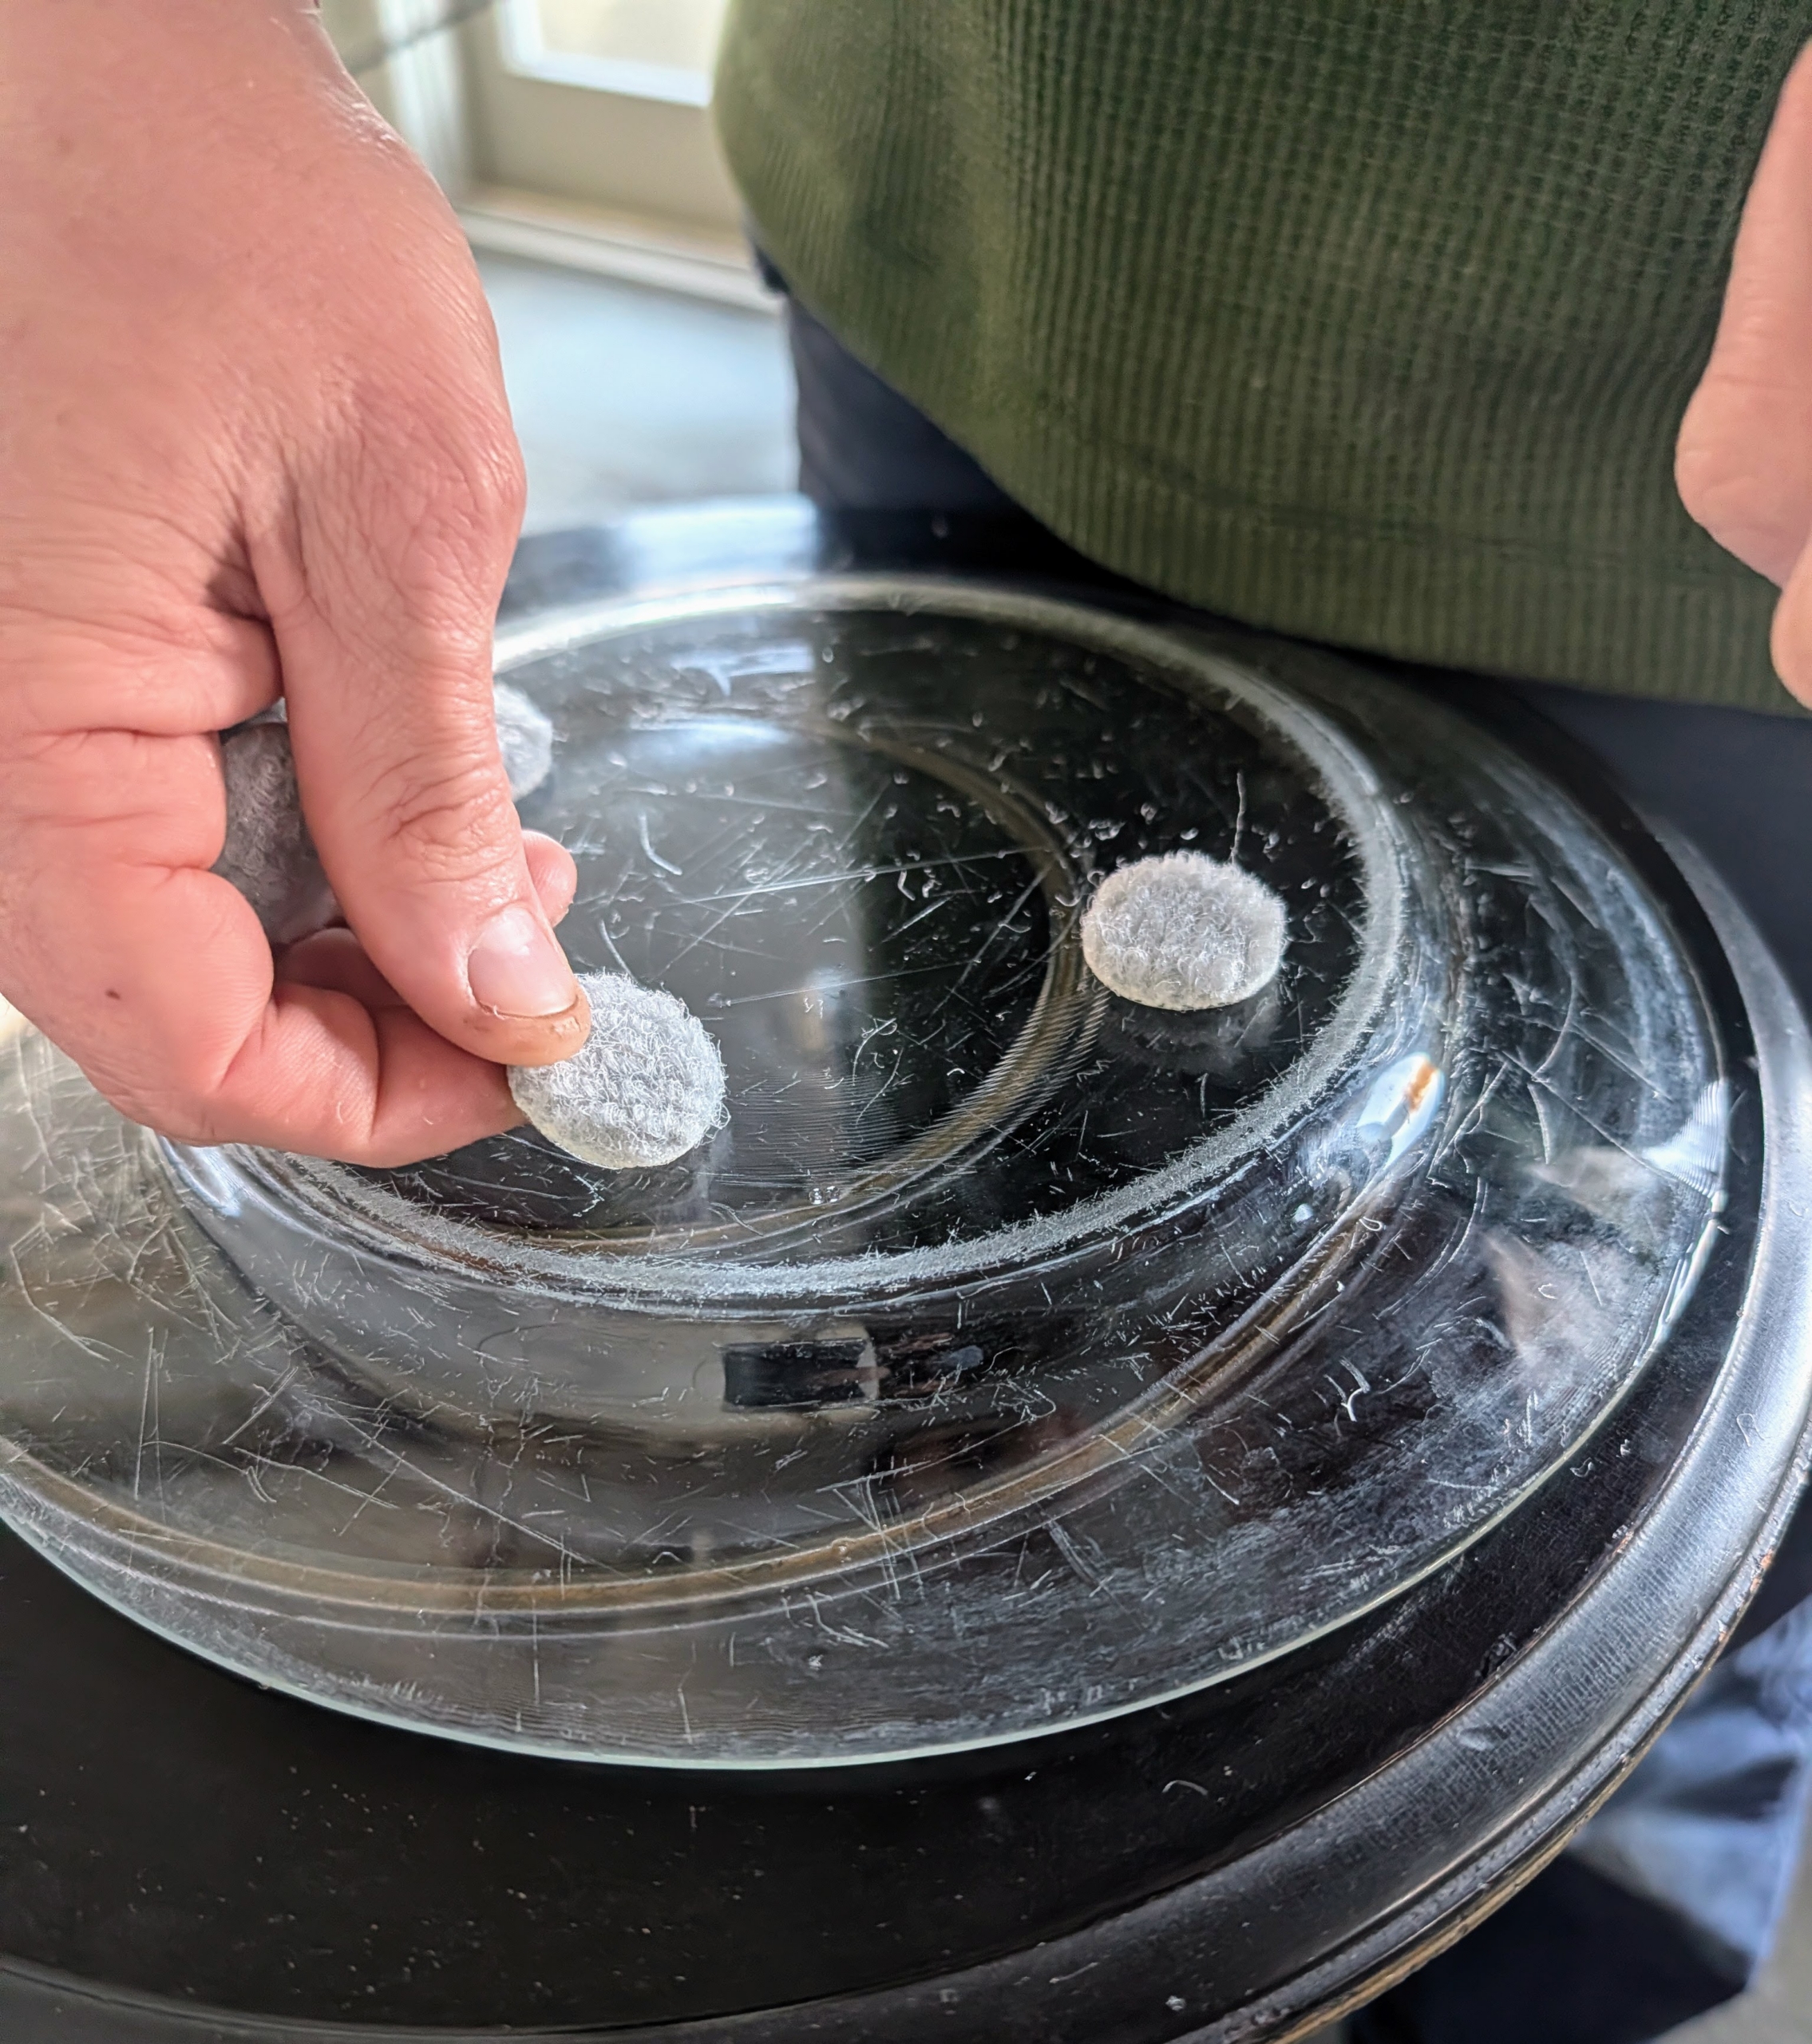
I use glass, silver, or copper plates purchased from tag sales or antiques fairs, under the pots to catch any water. I find them more decorative than the clay saucers that come with the pots. Here, Ryan also puts furniture protectors on the bottom, so the plates do not scratch any furniture.
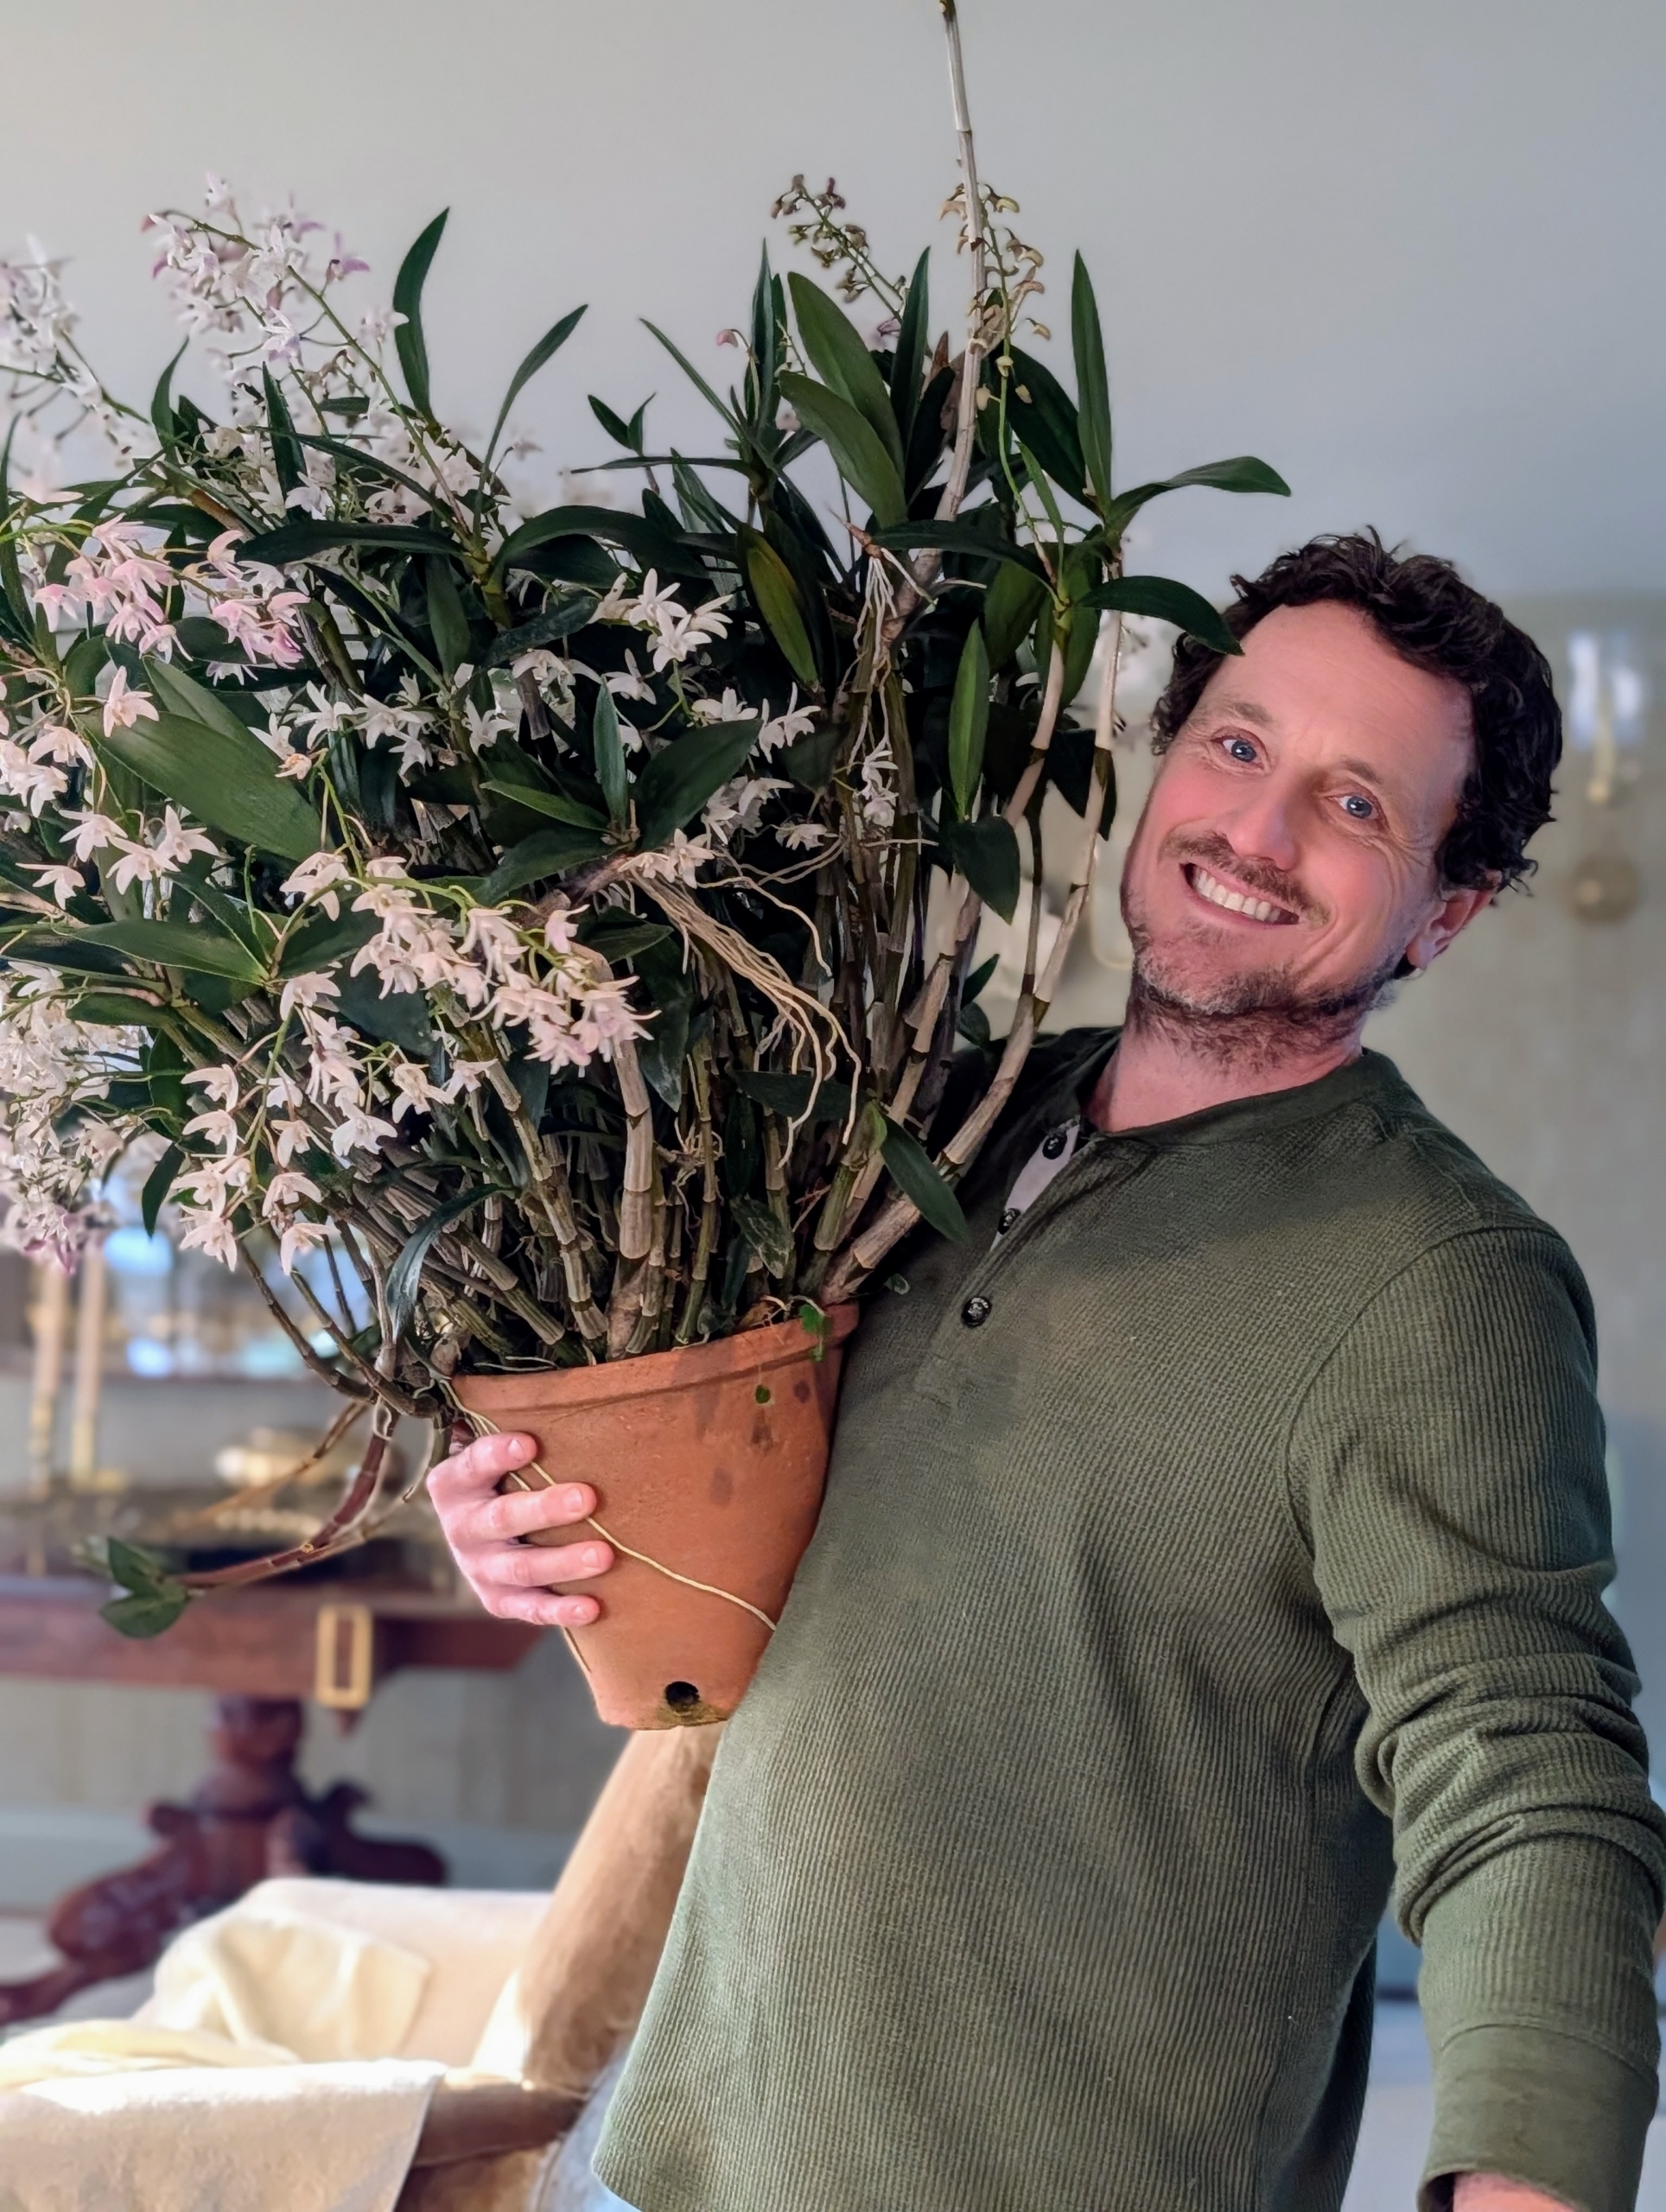
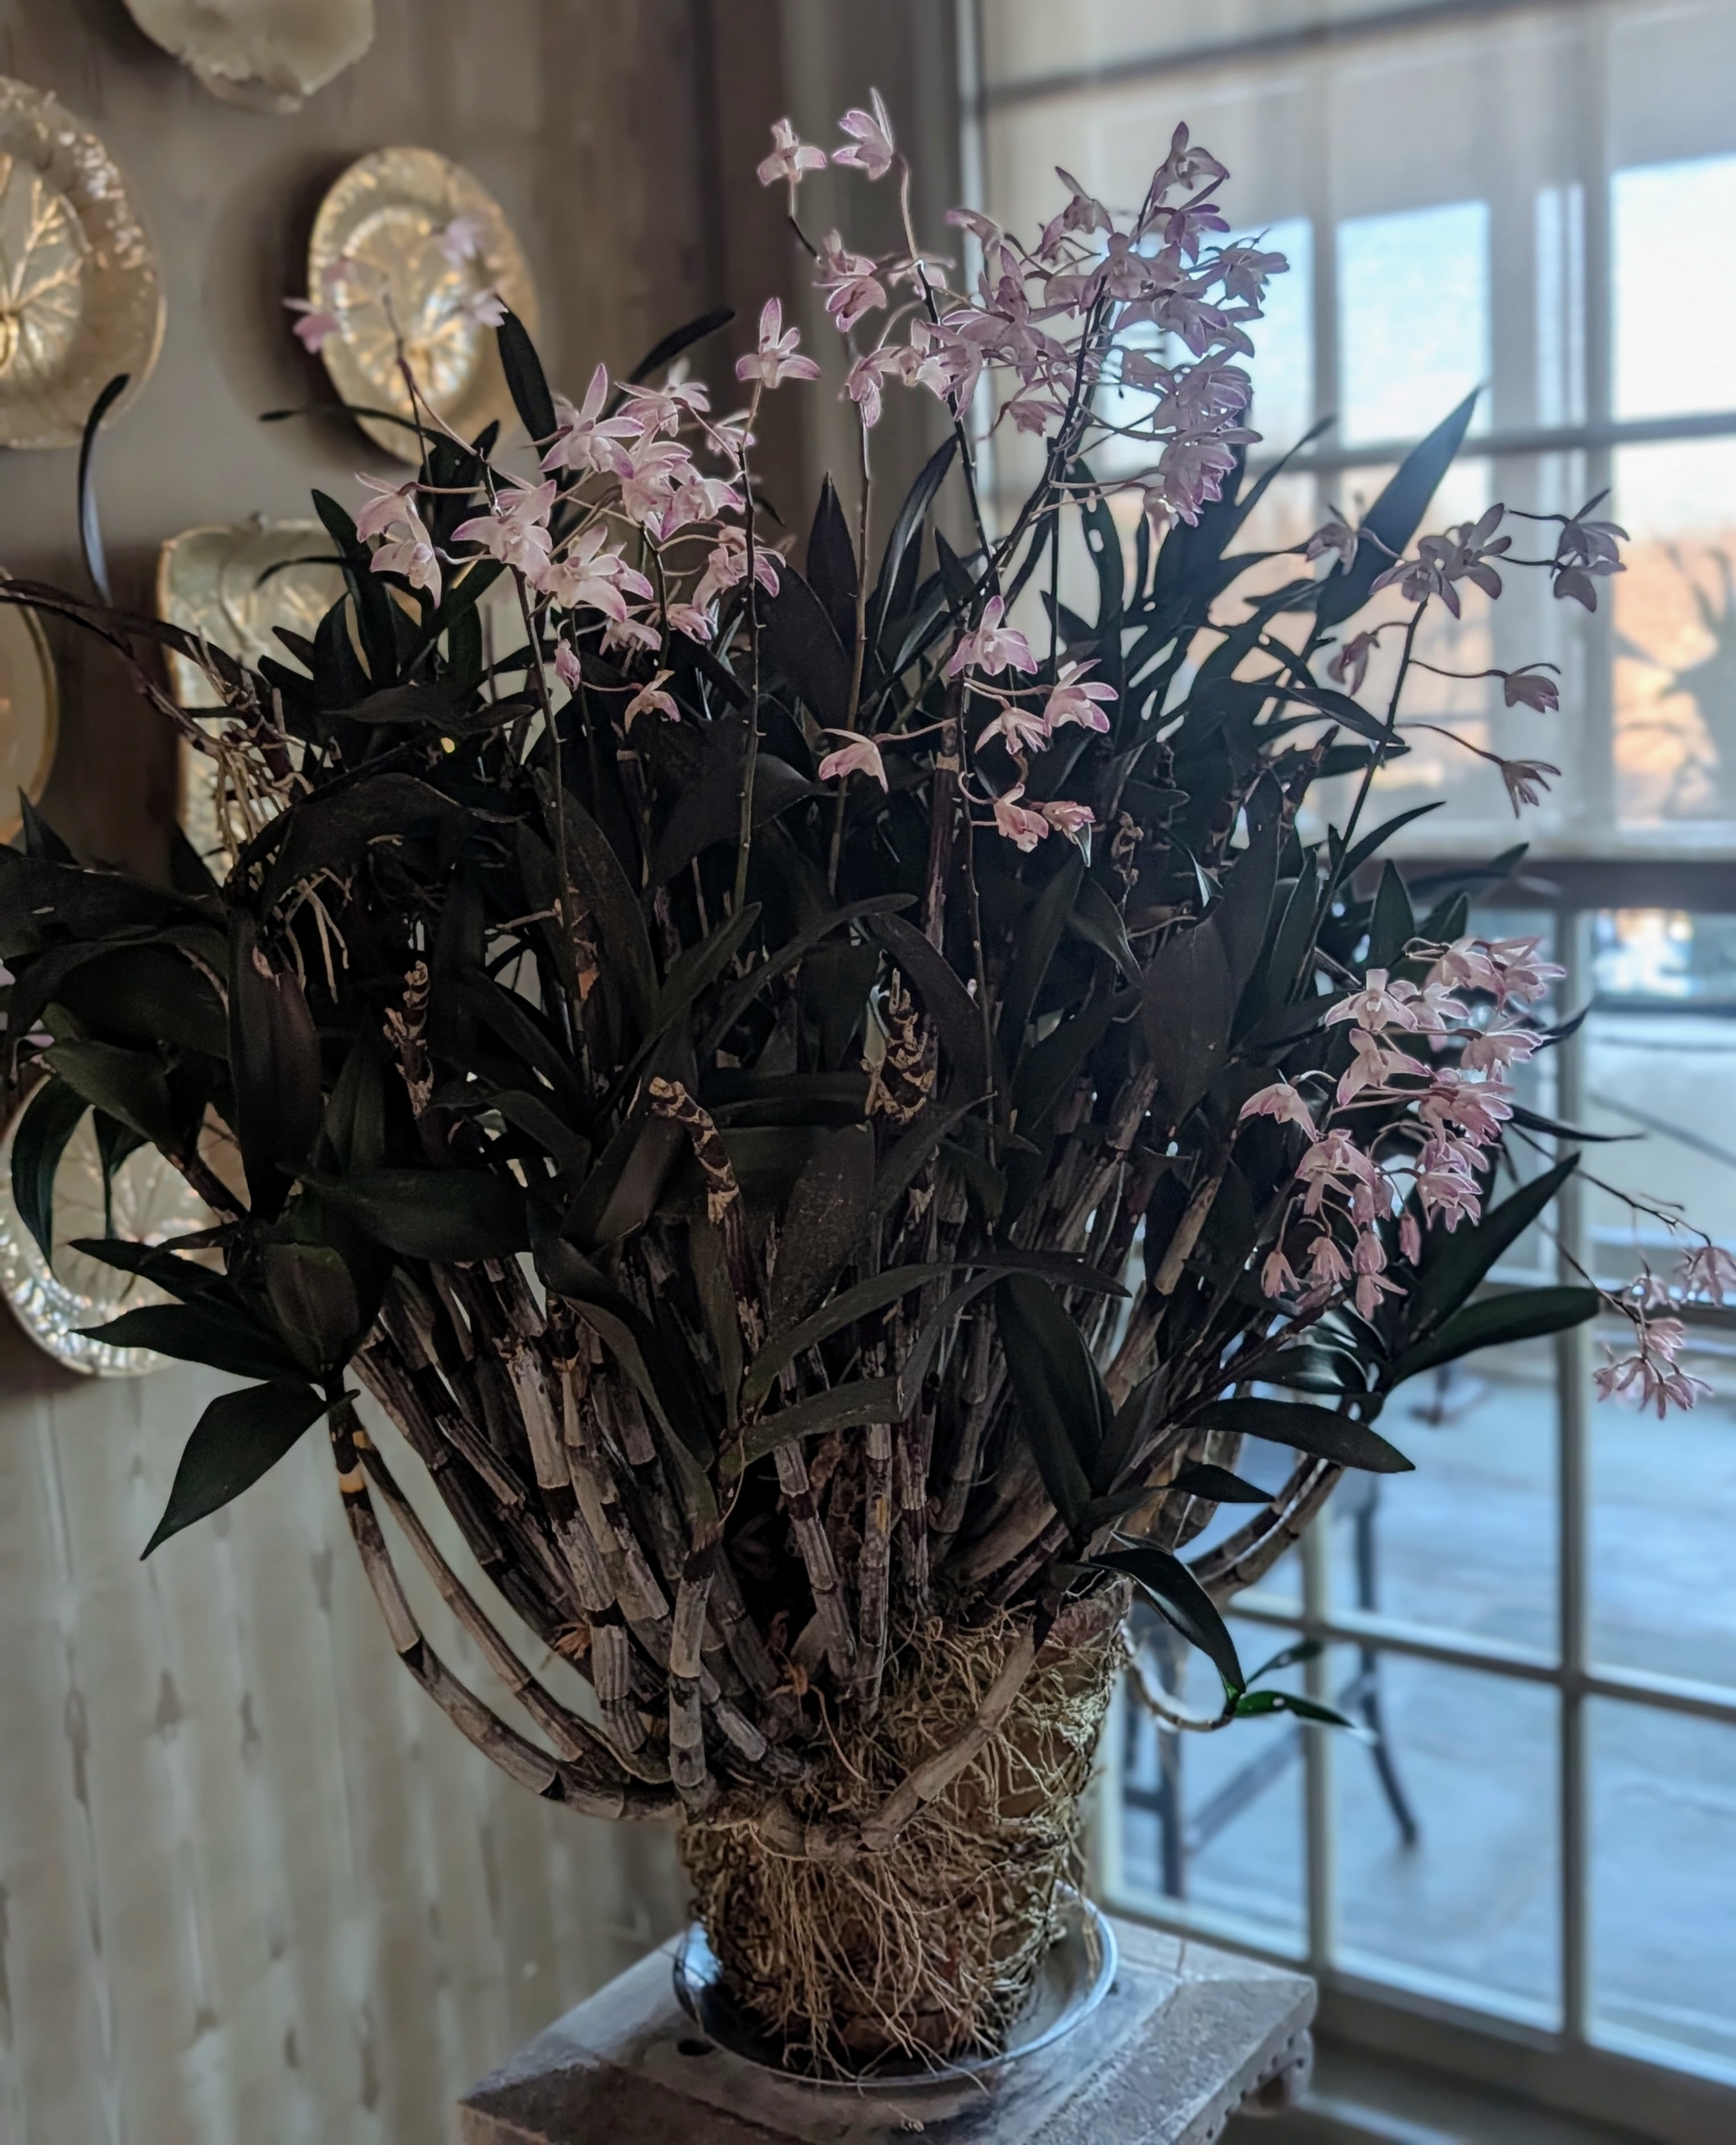
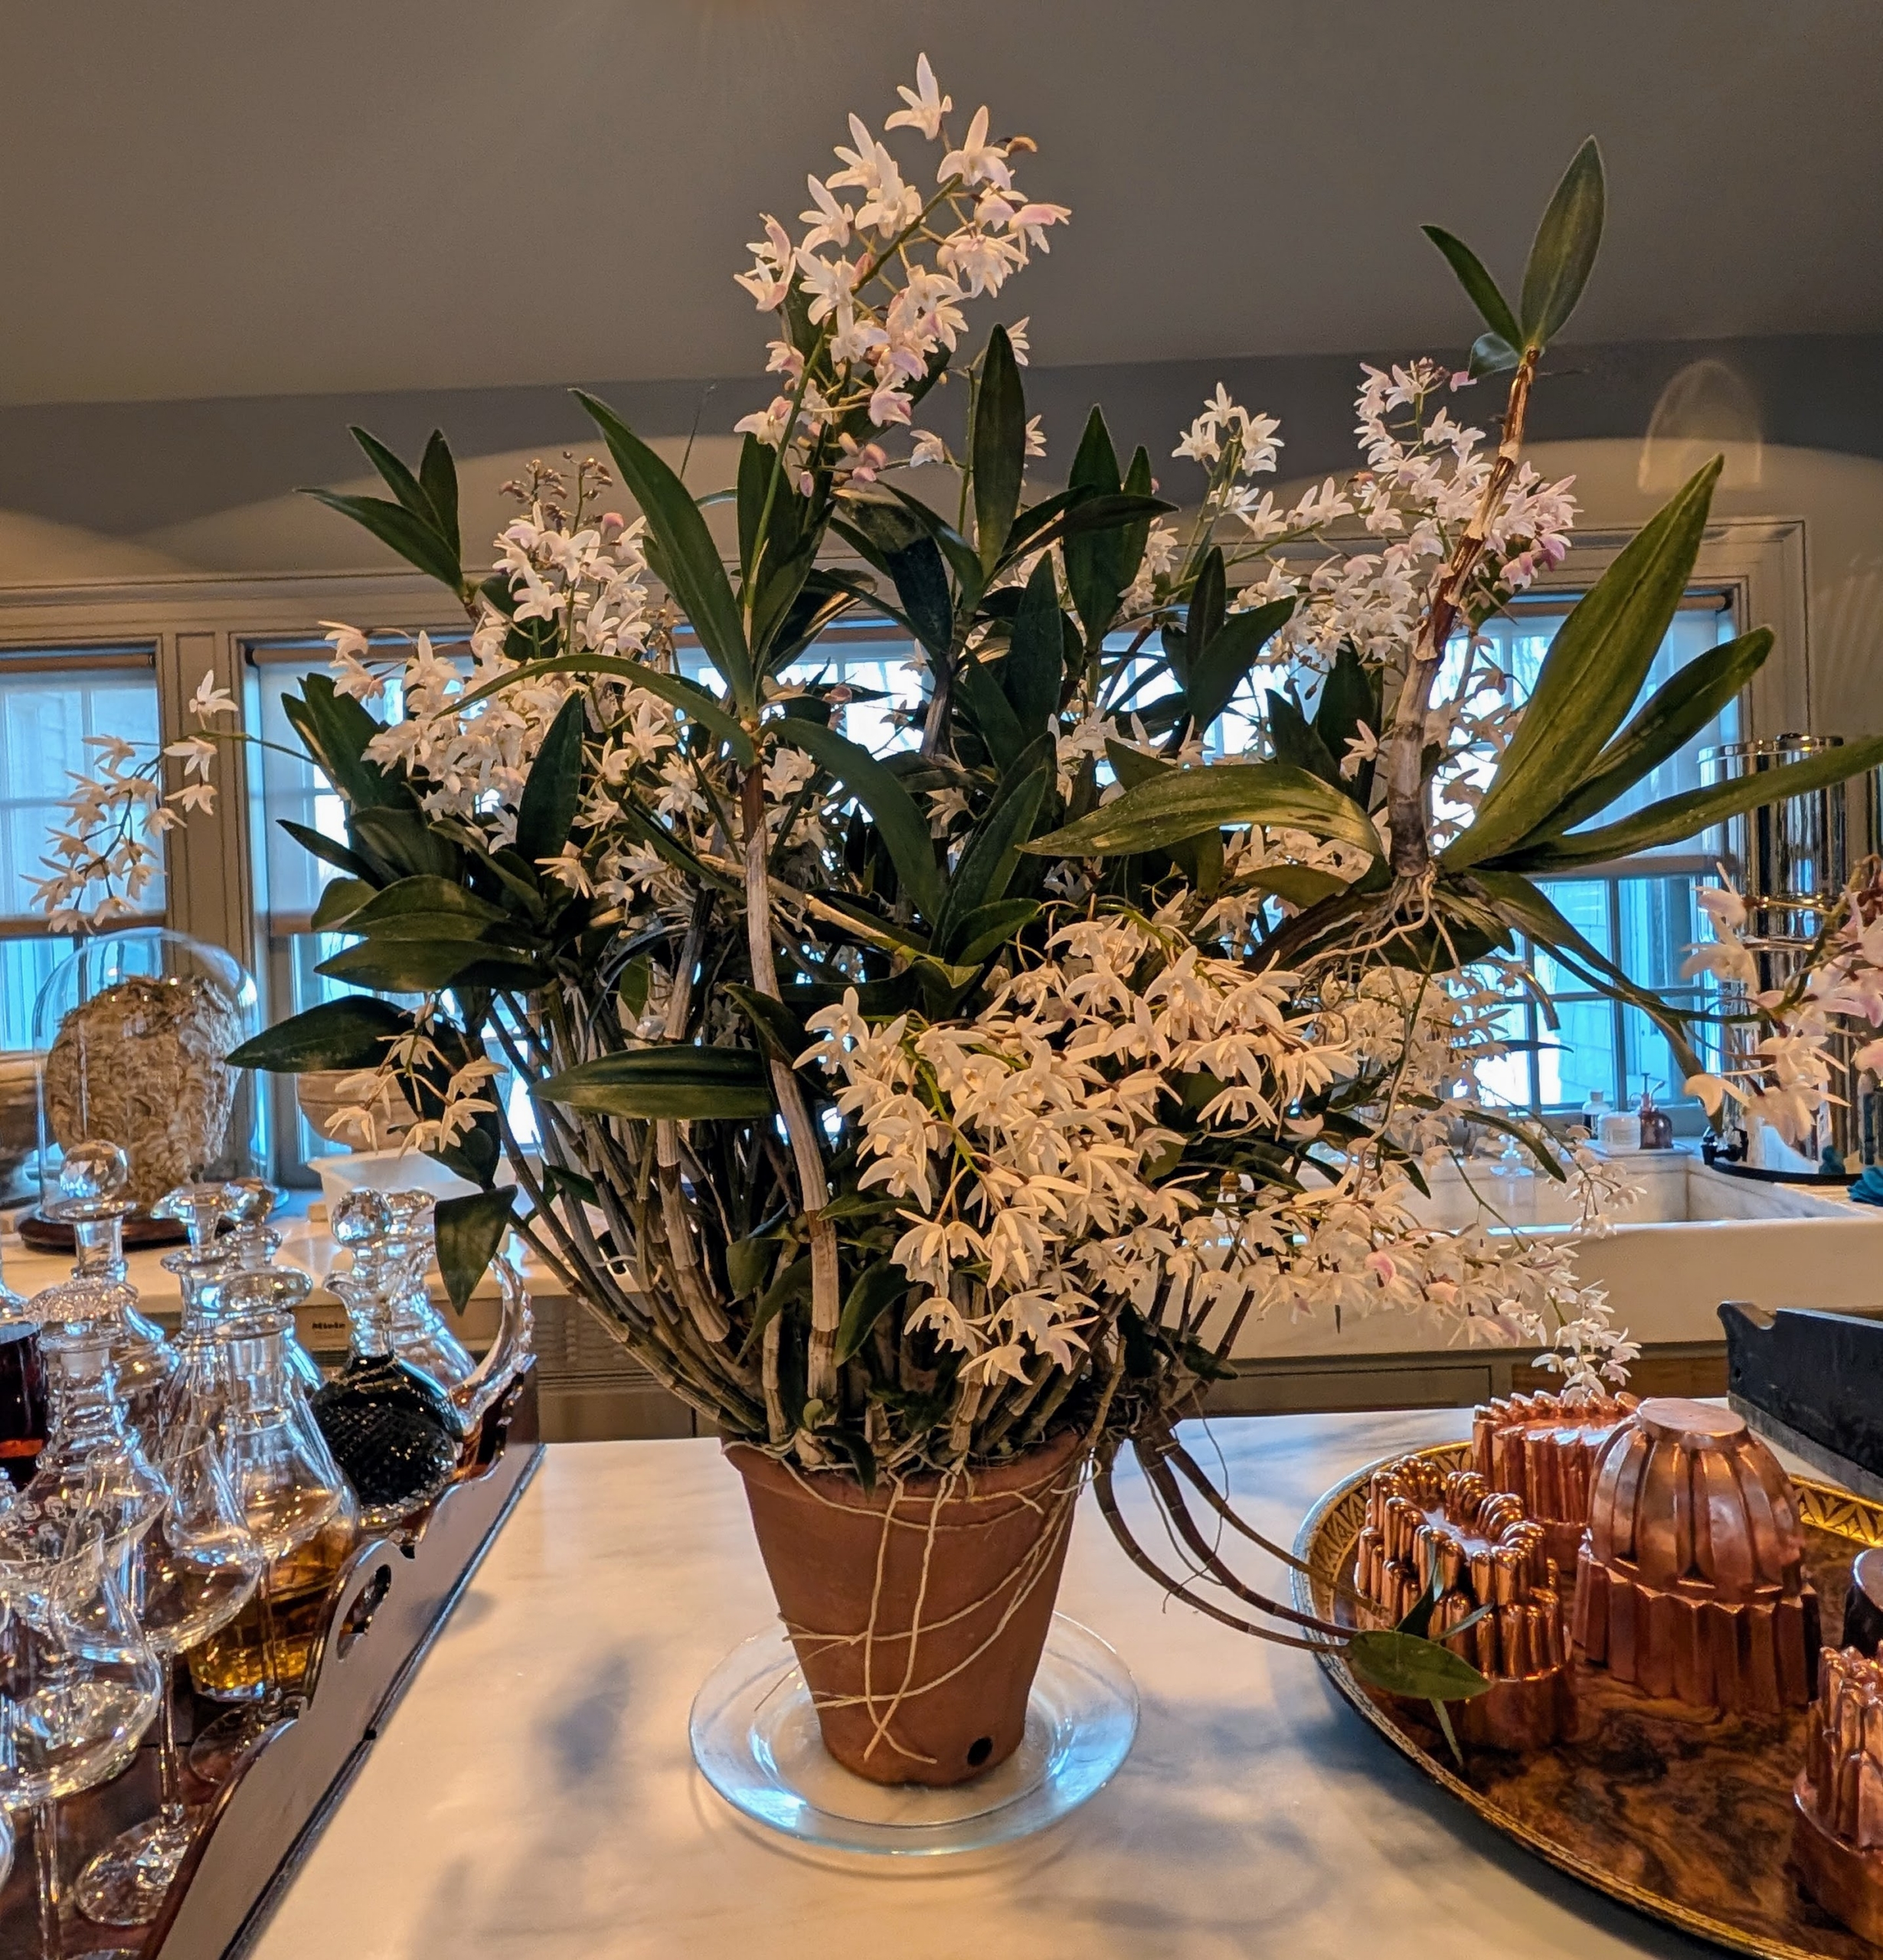
Here is Ryan with a blooming Dendrobium orchid. All Dendrobiums are epiphytes, which means they grow on other plants. In nature, they grow on the branches of trees.
Dendrobium flowers are bright, showy, and fragrant. Native to Southeast Asia, the genus Dendrobium is among the largest of all orchid groups.
This Dedrobium is positioned on a strong stone pedestal where it can be seen when I walk through my sitting room.
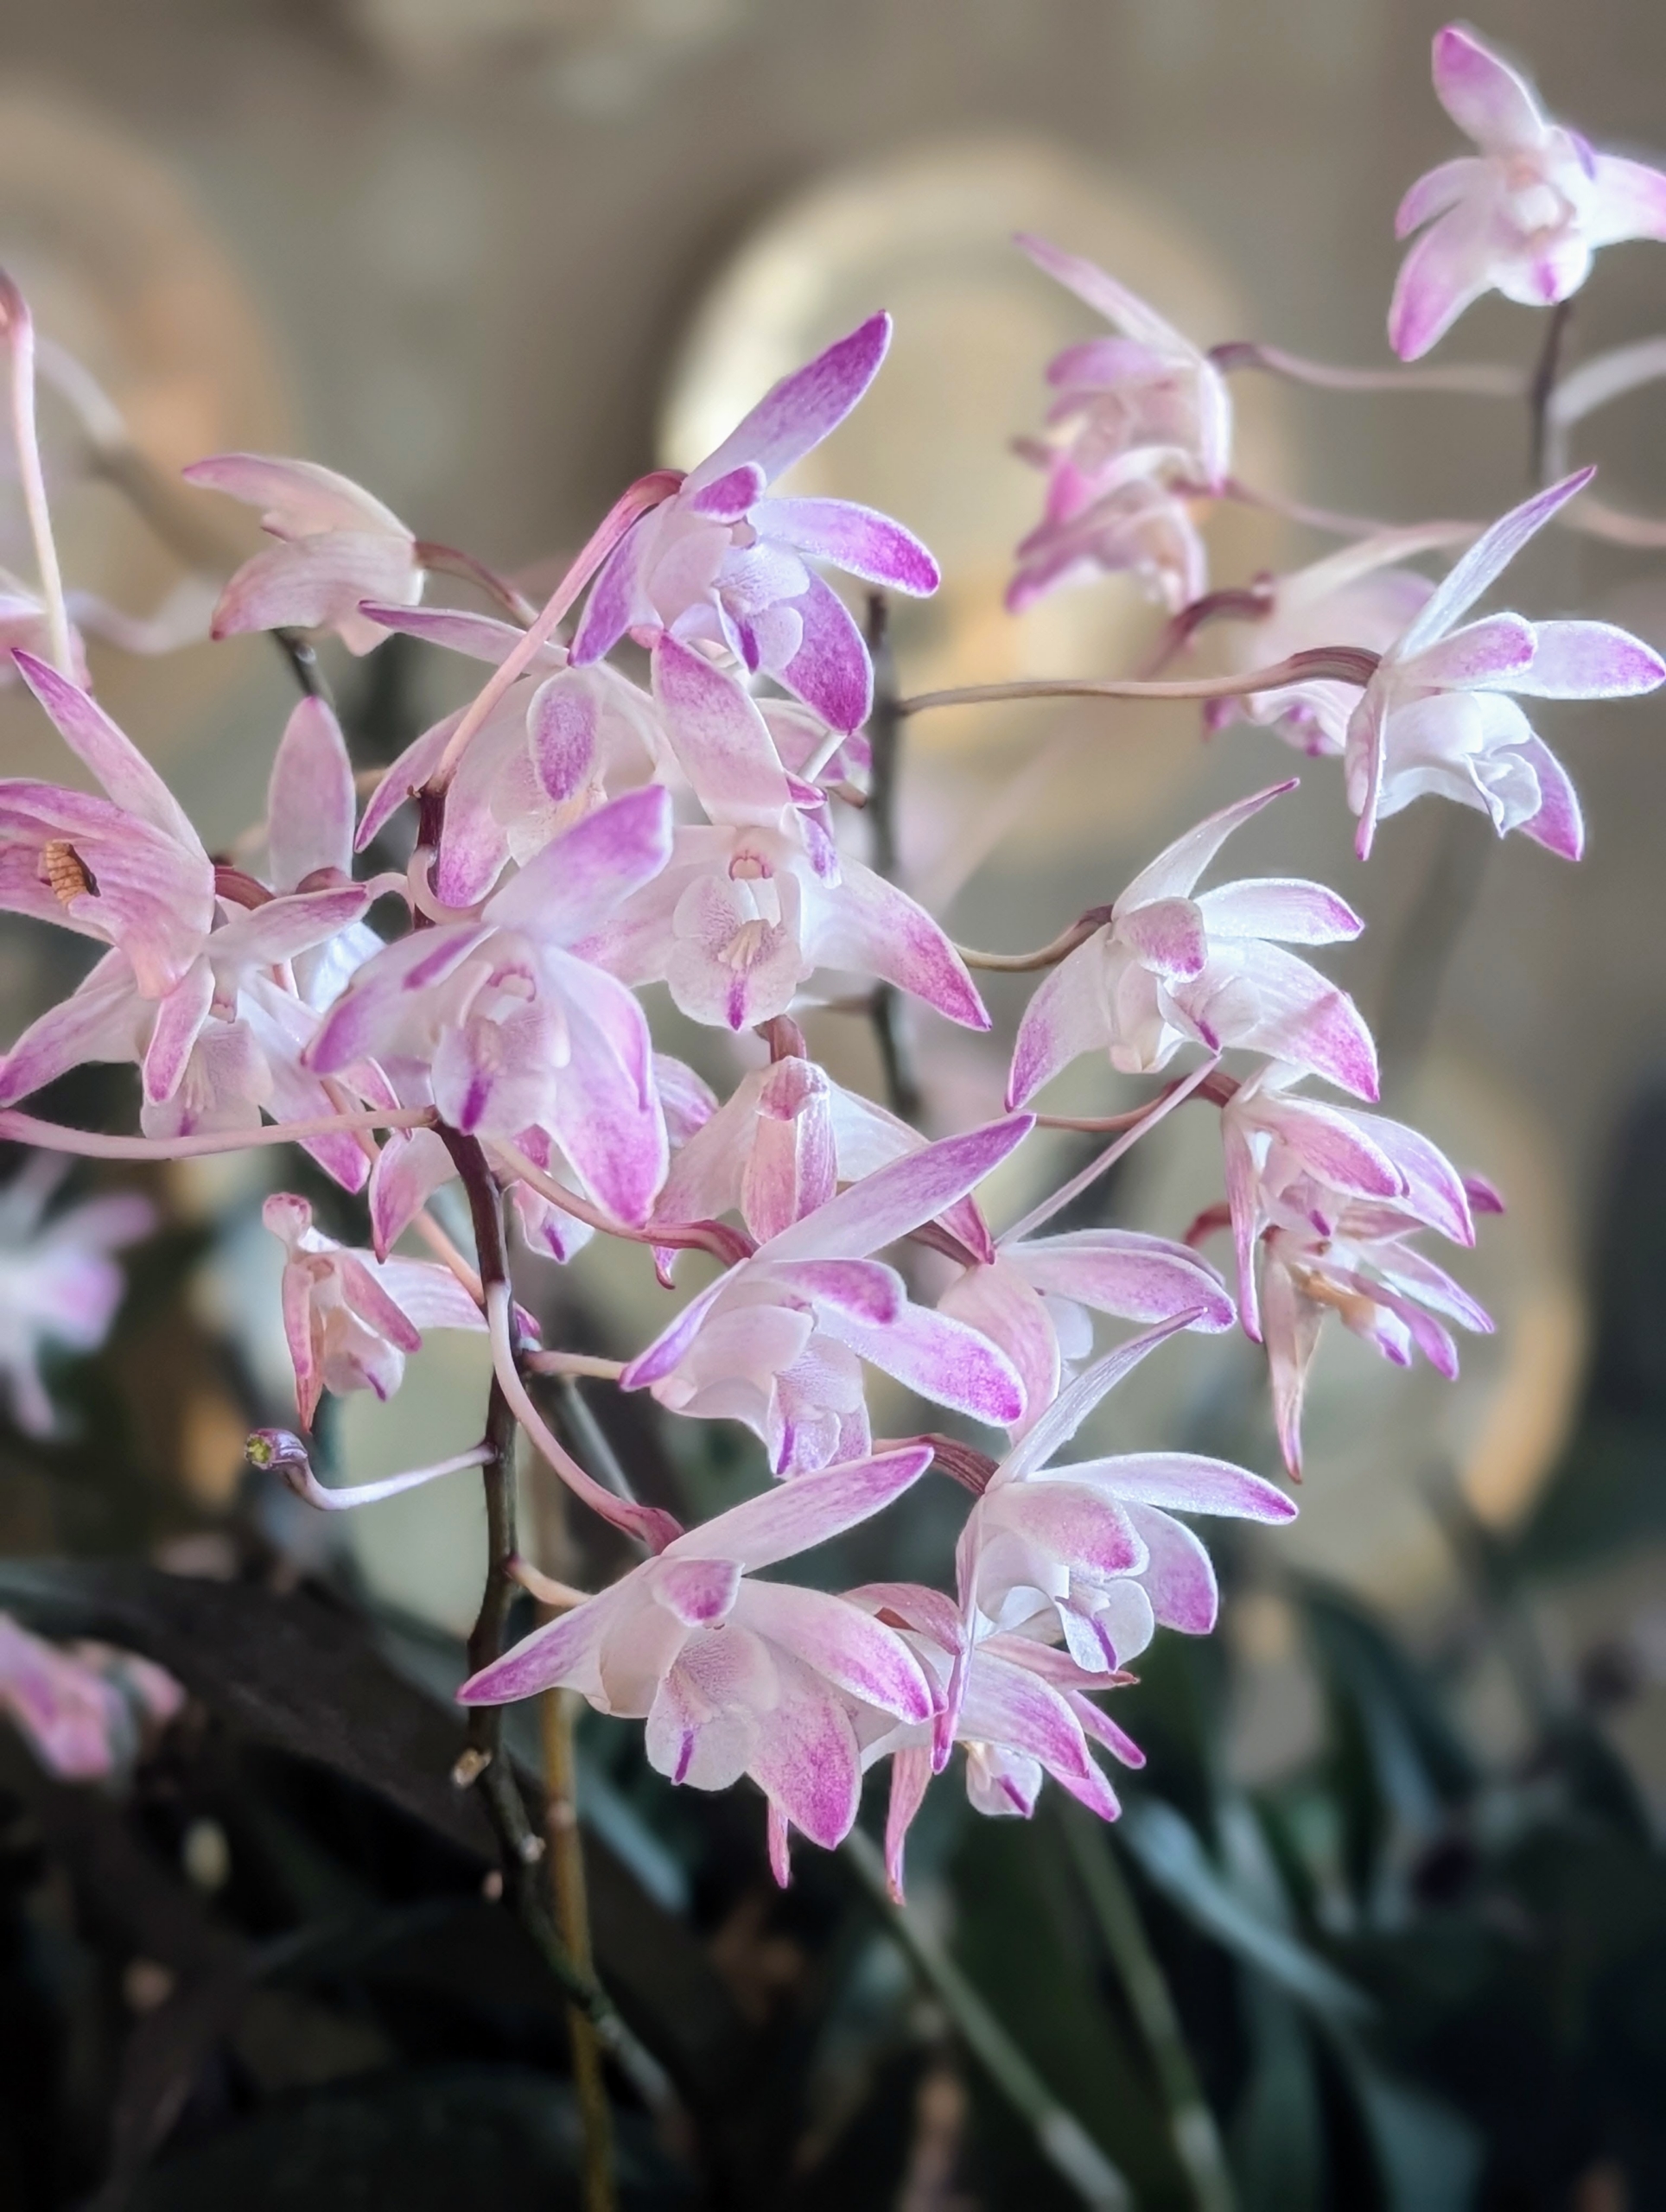
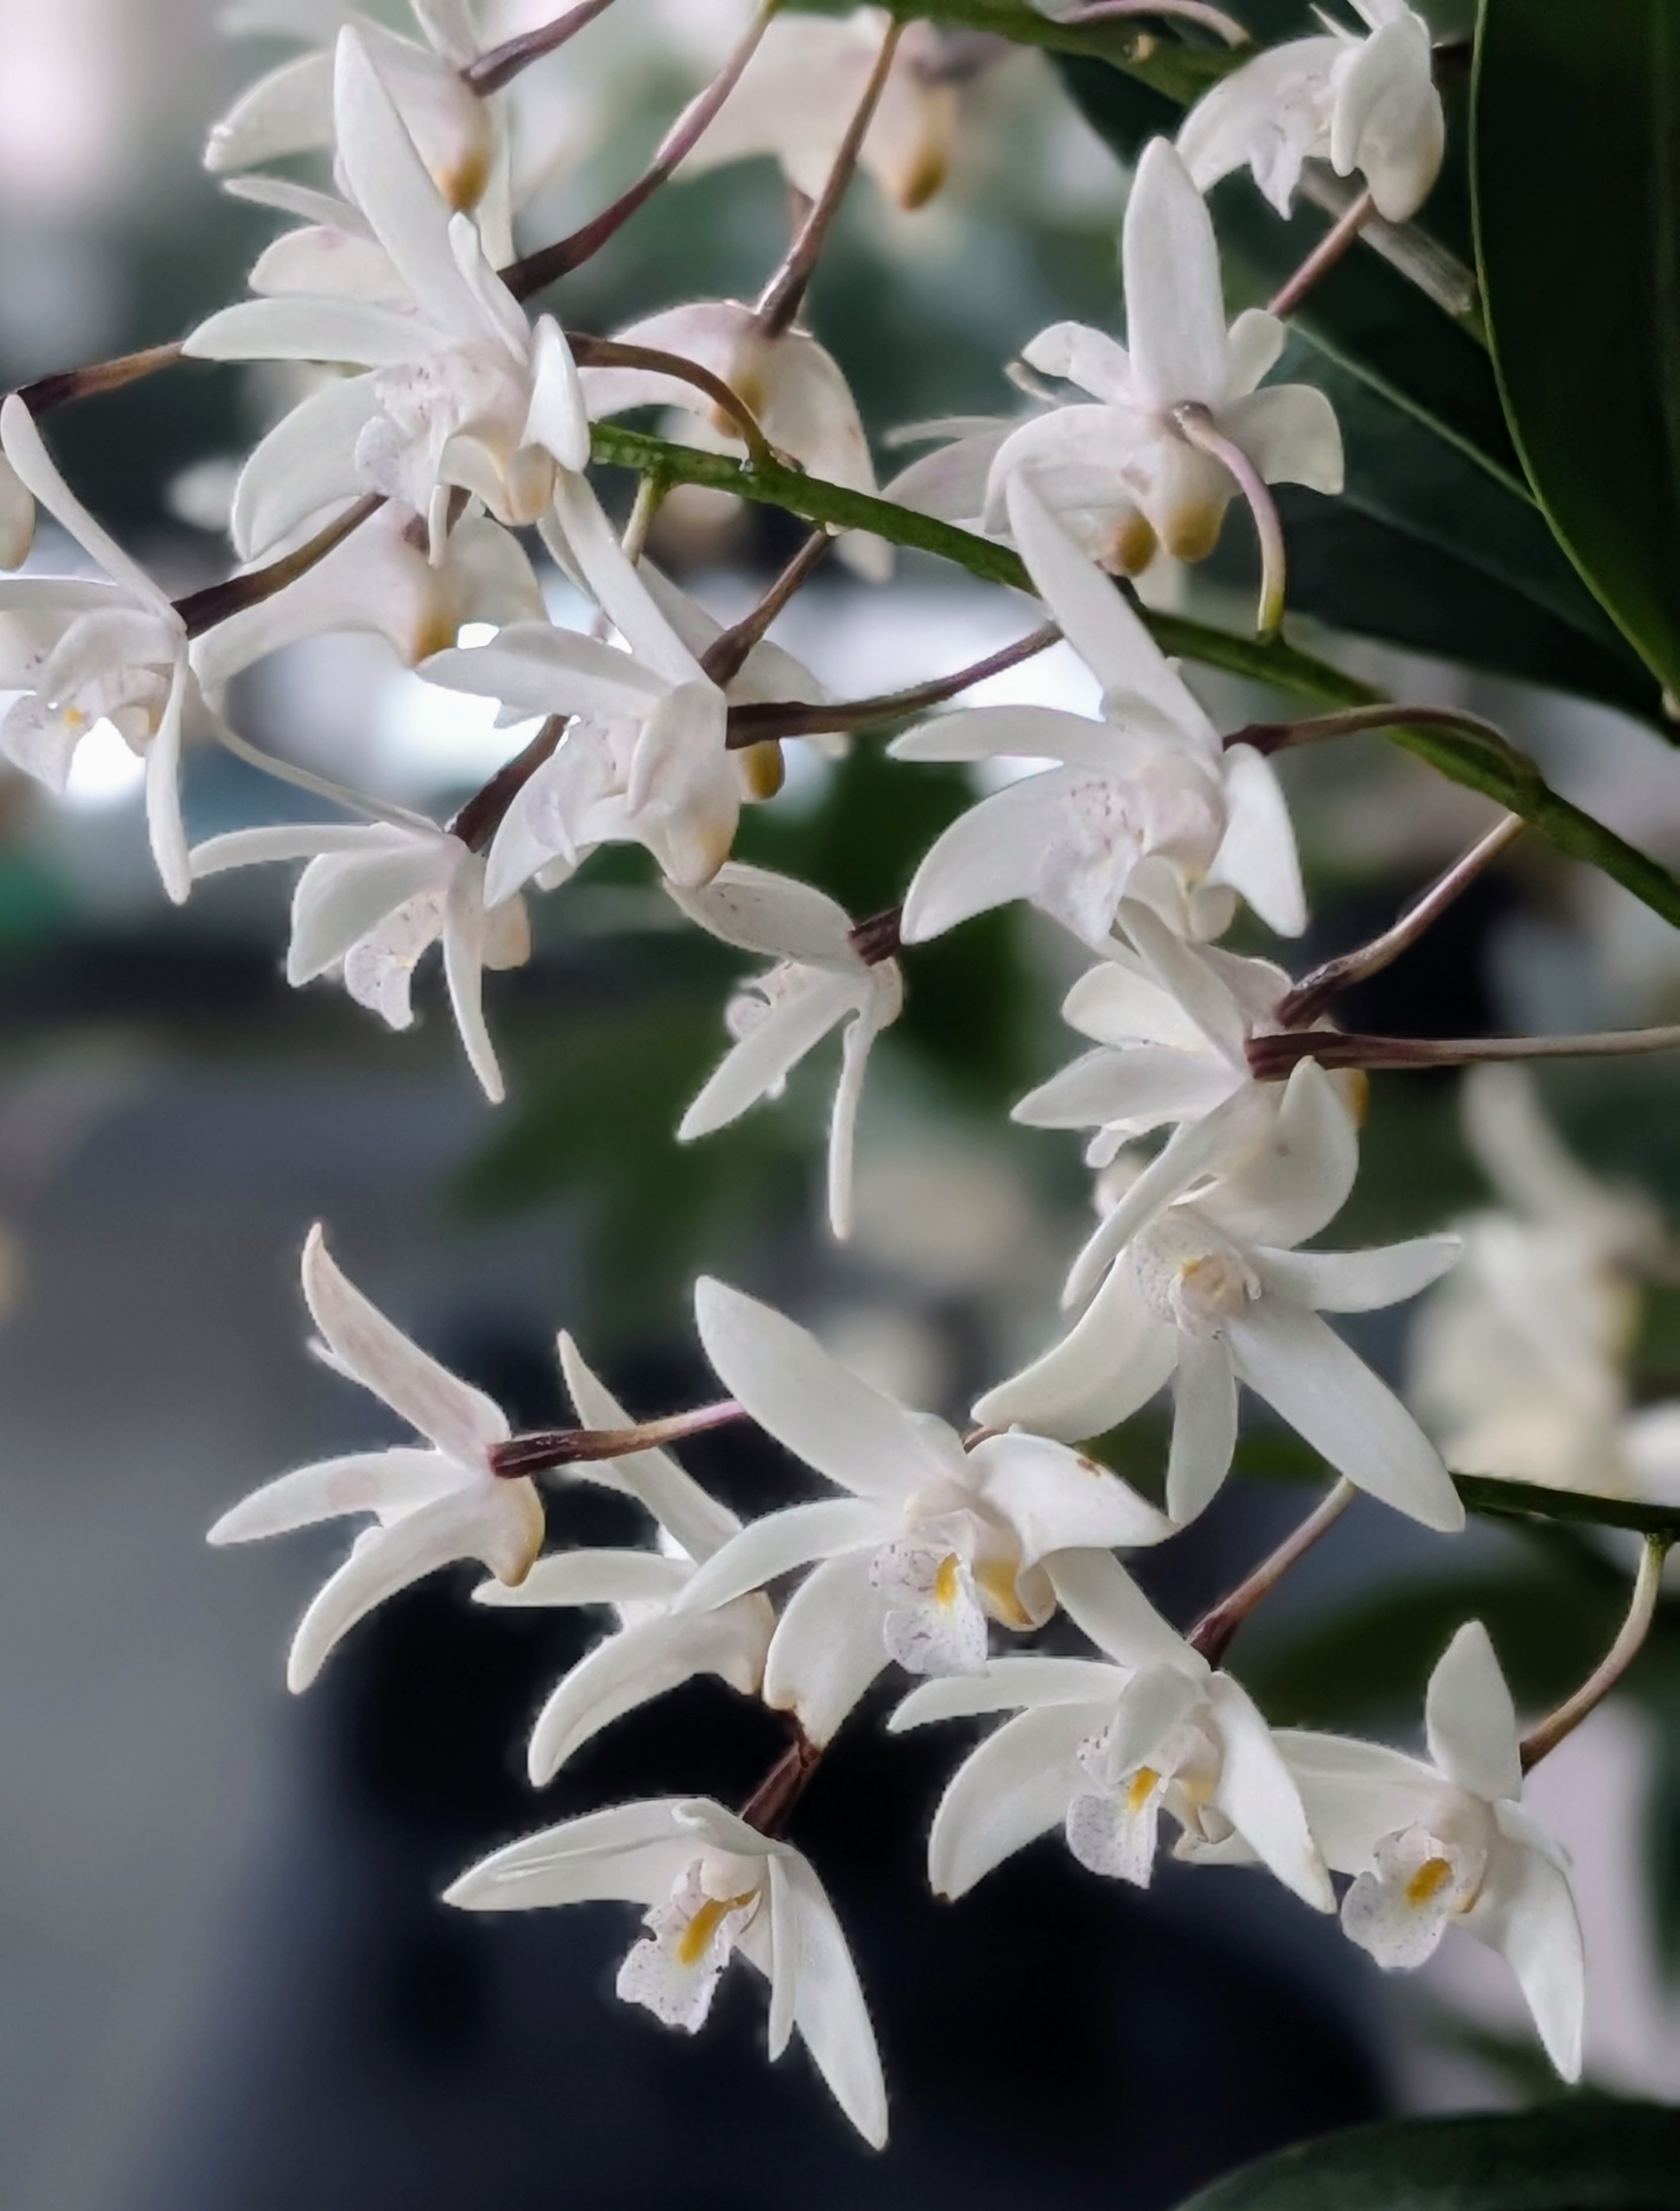
This white Dendrobium is on my servery counter. The evergreen canes are topped by five inch long inflorescence, or cluster of flowers, each one producing four to eight blooms.
Dendrobium flowers are smaller orchid blooms. They have a butterfly-like shape and are about three inches across.
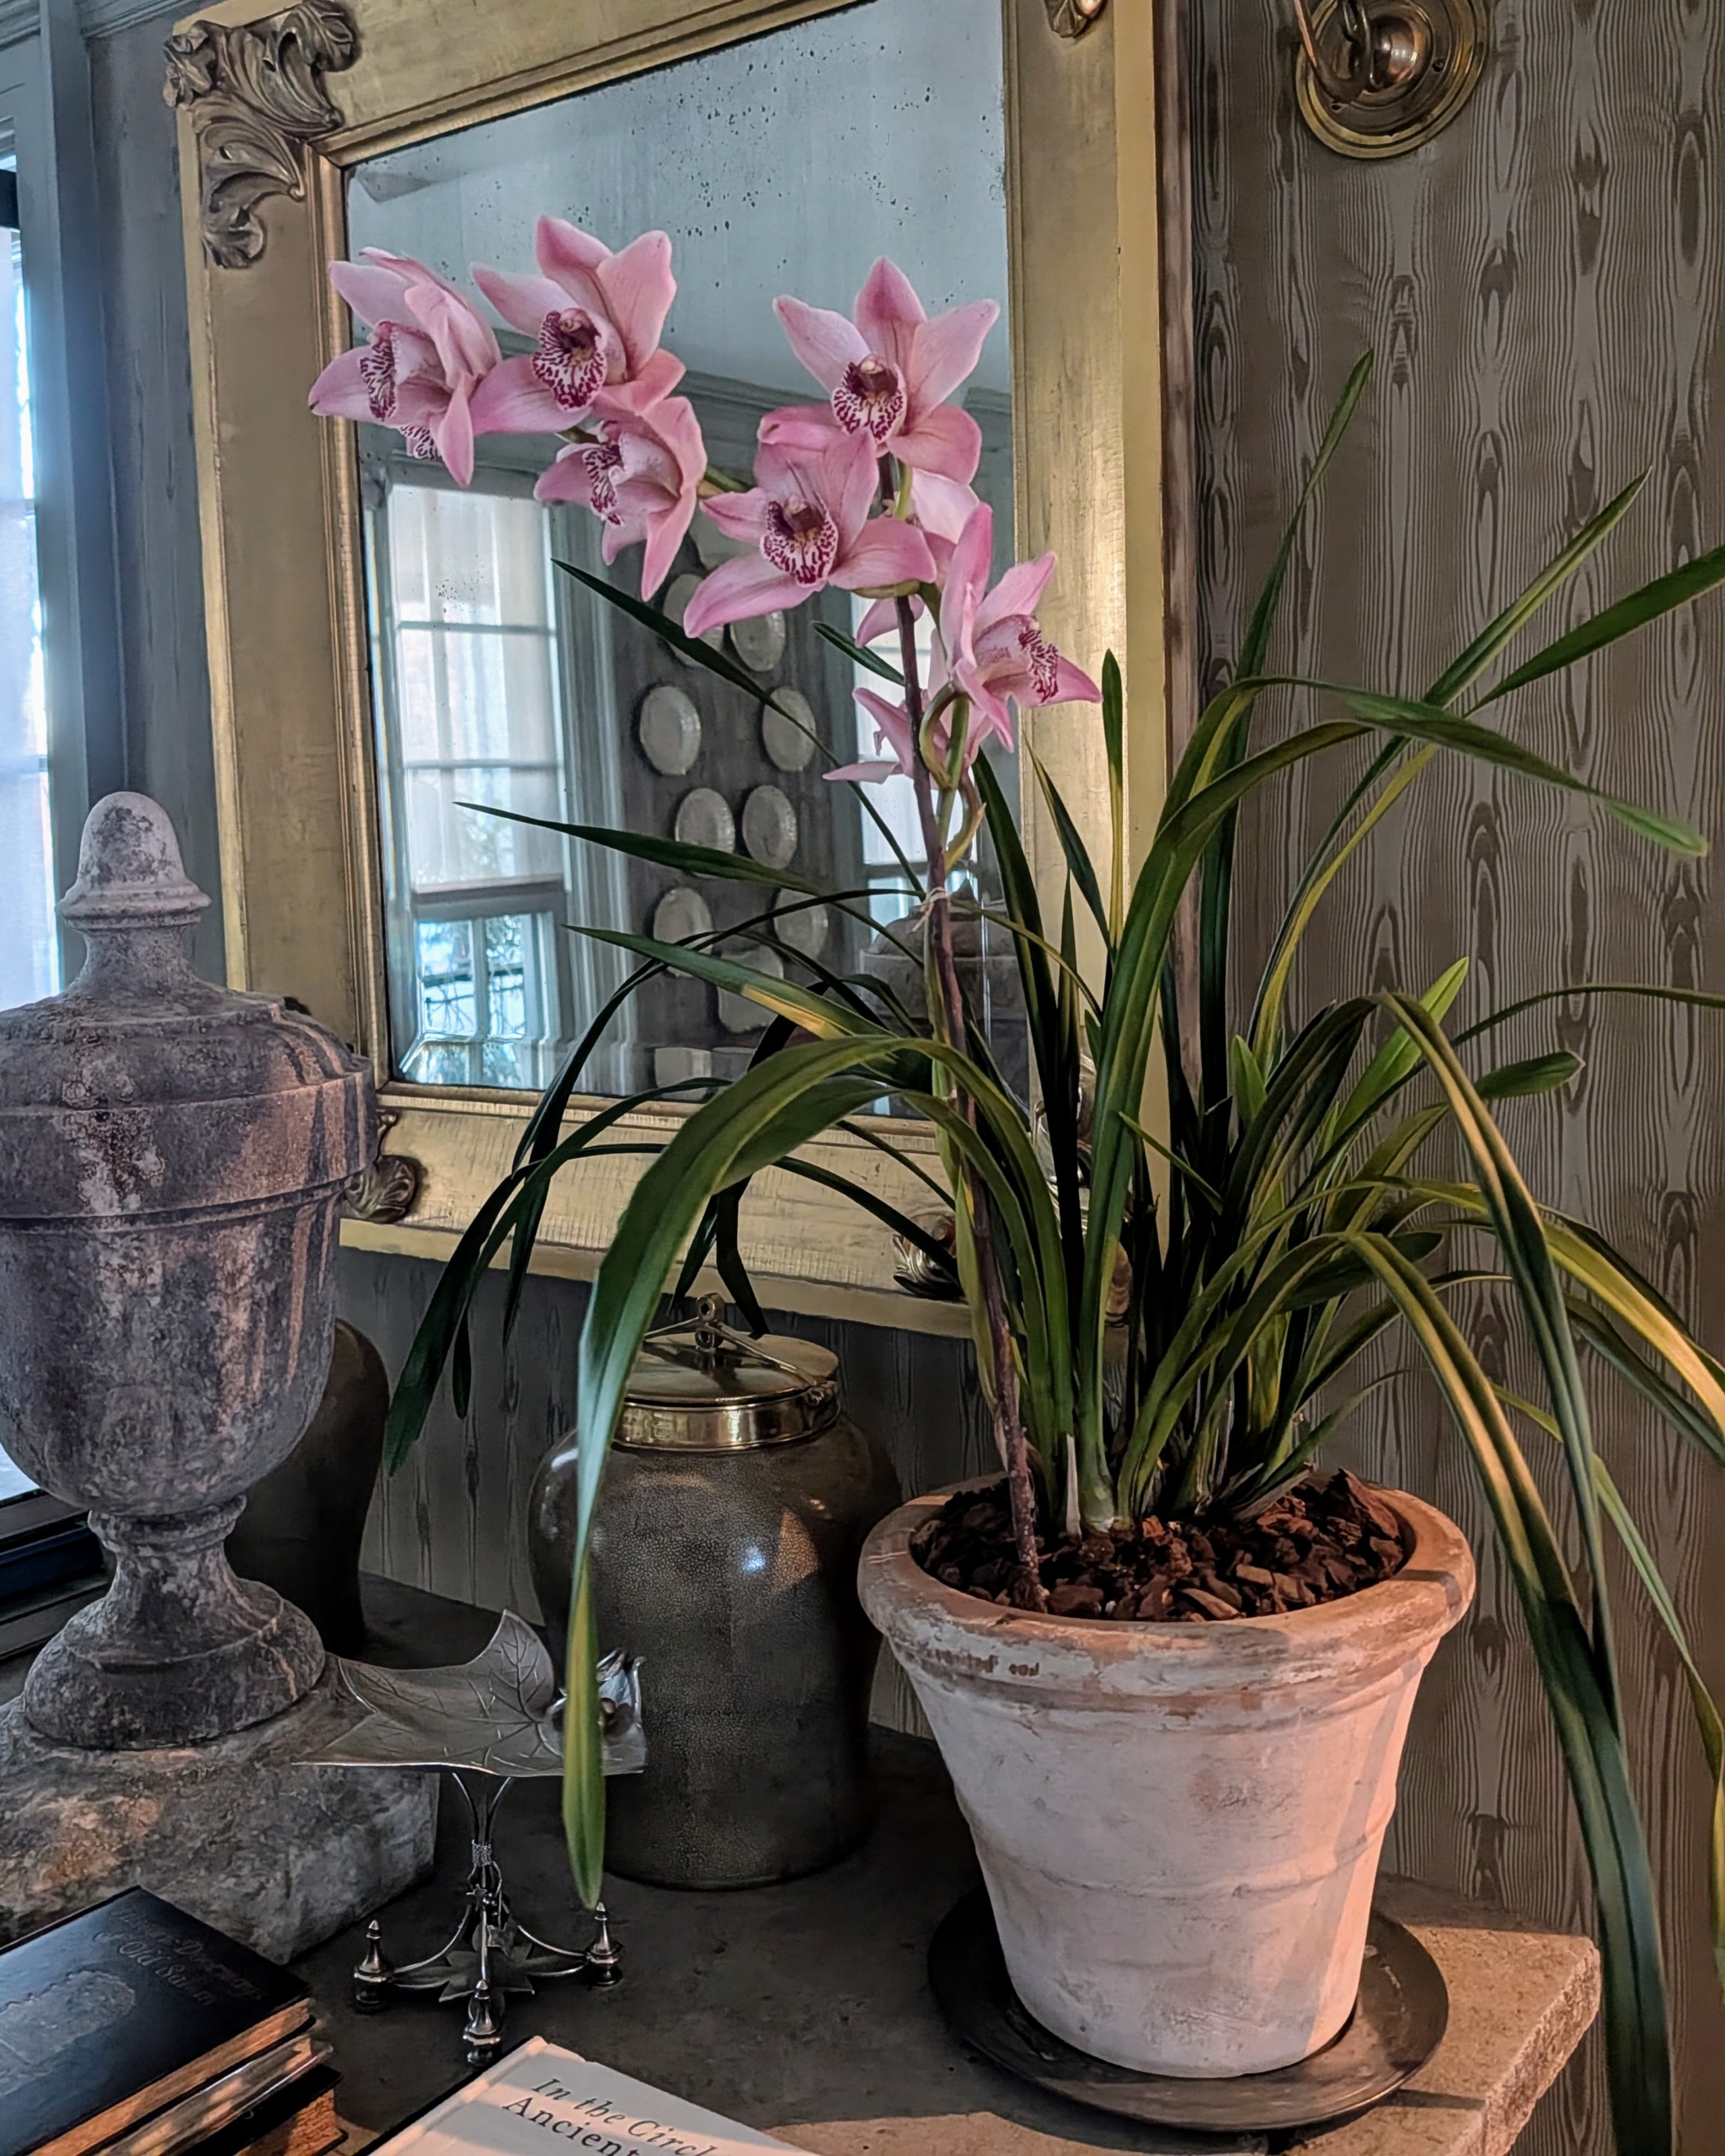
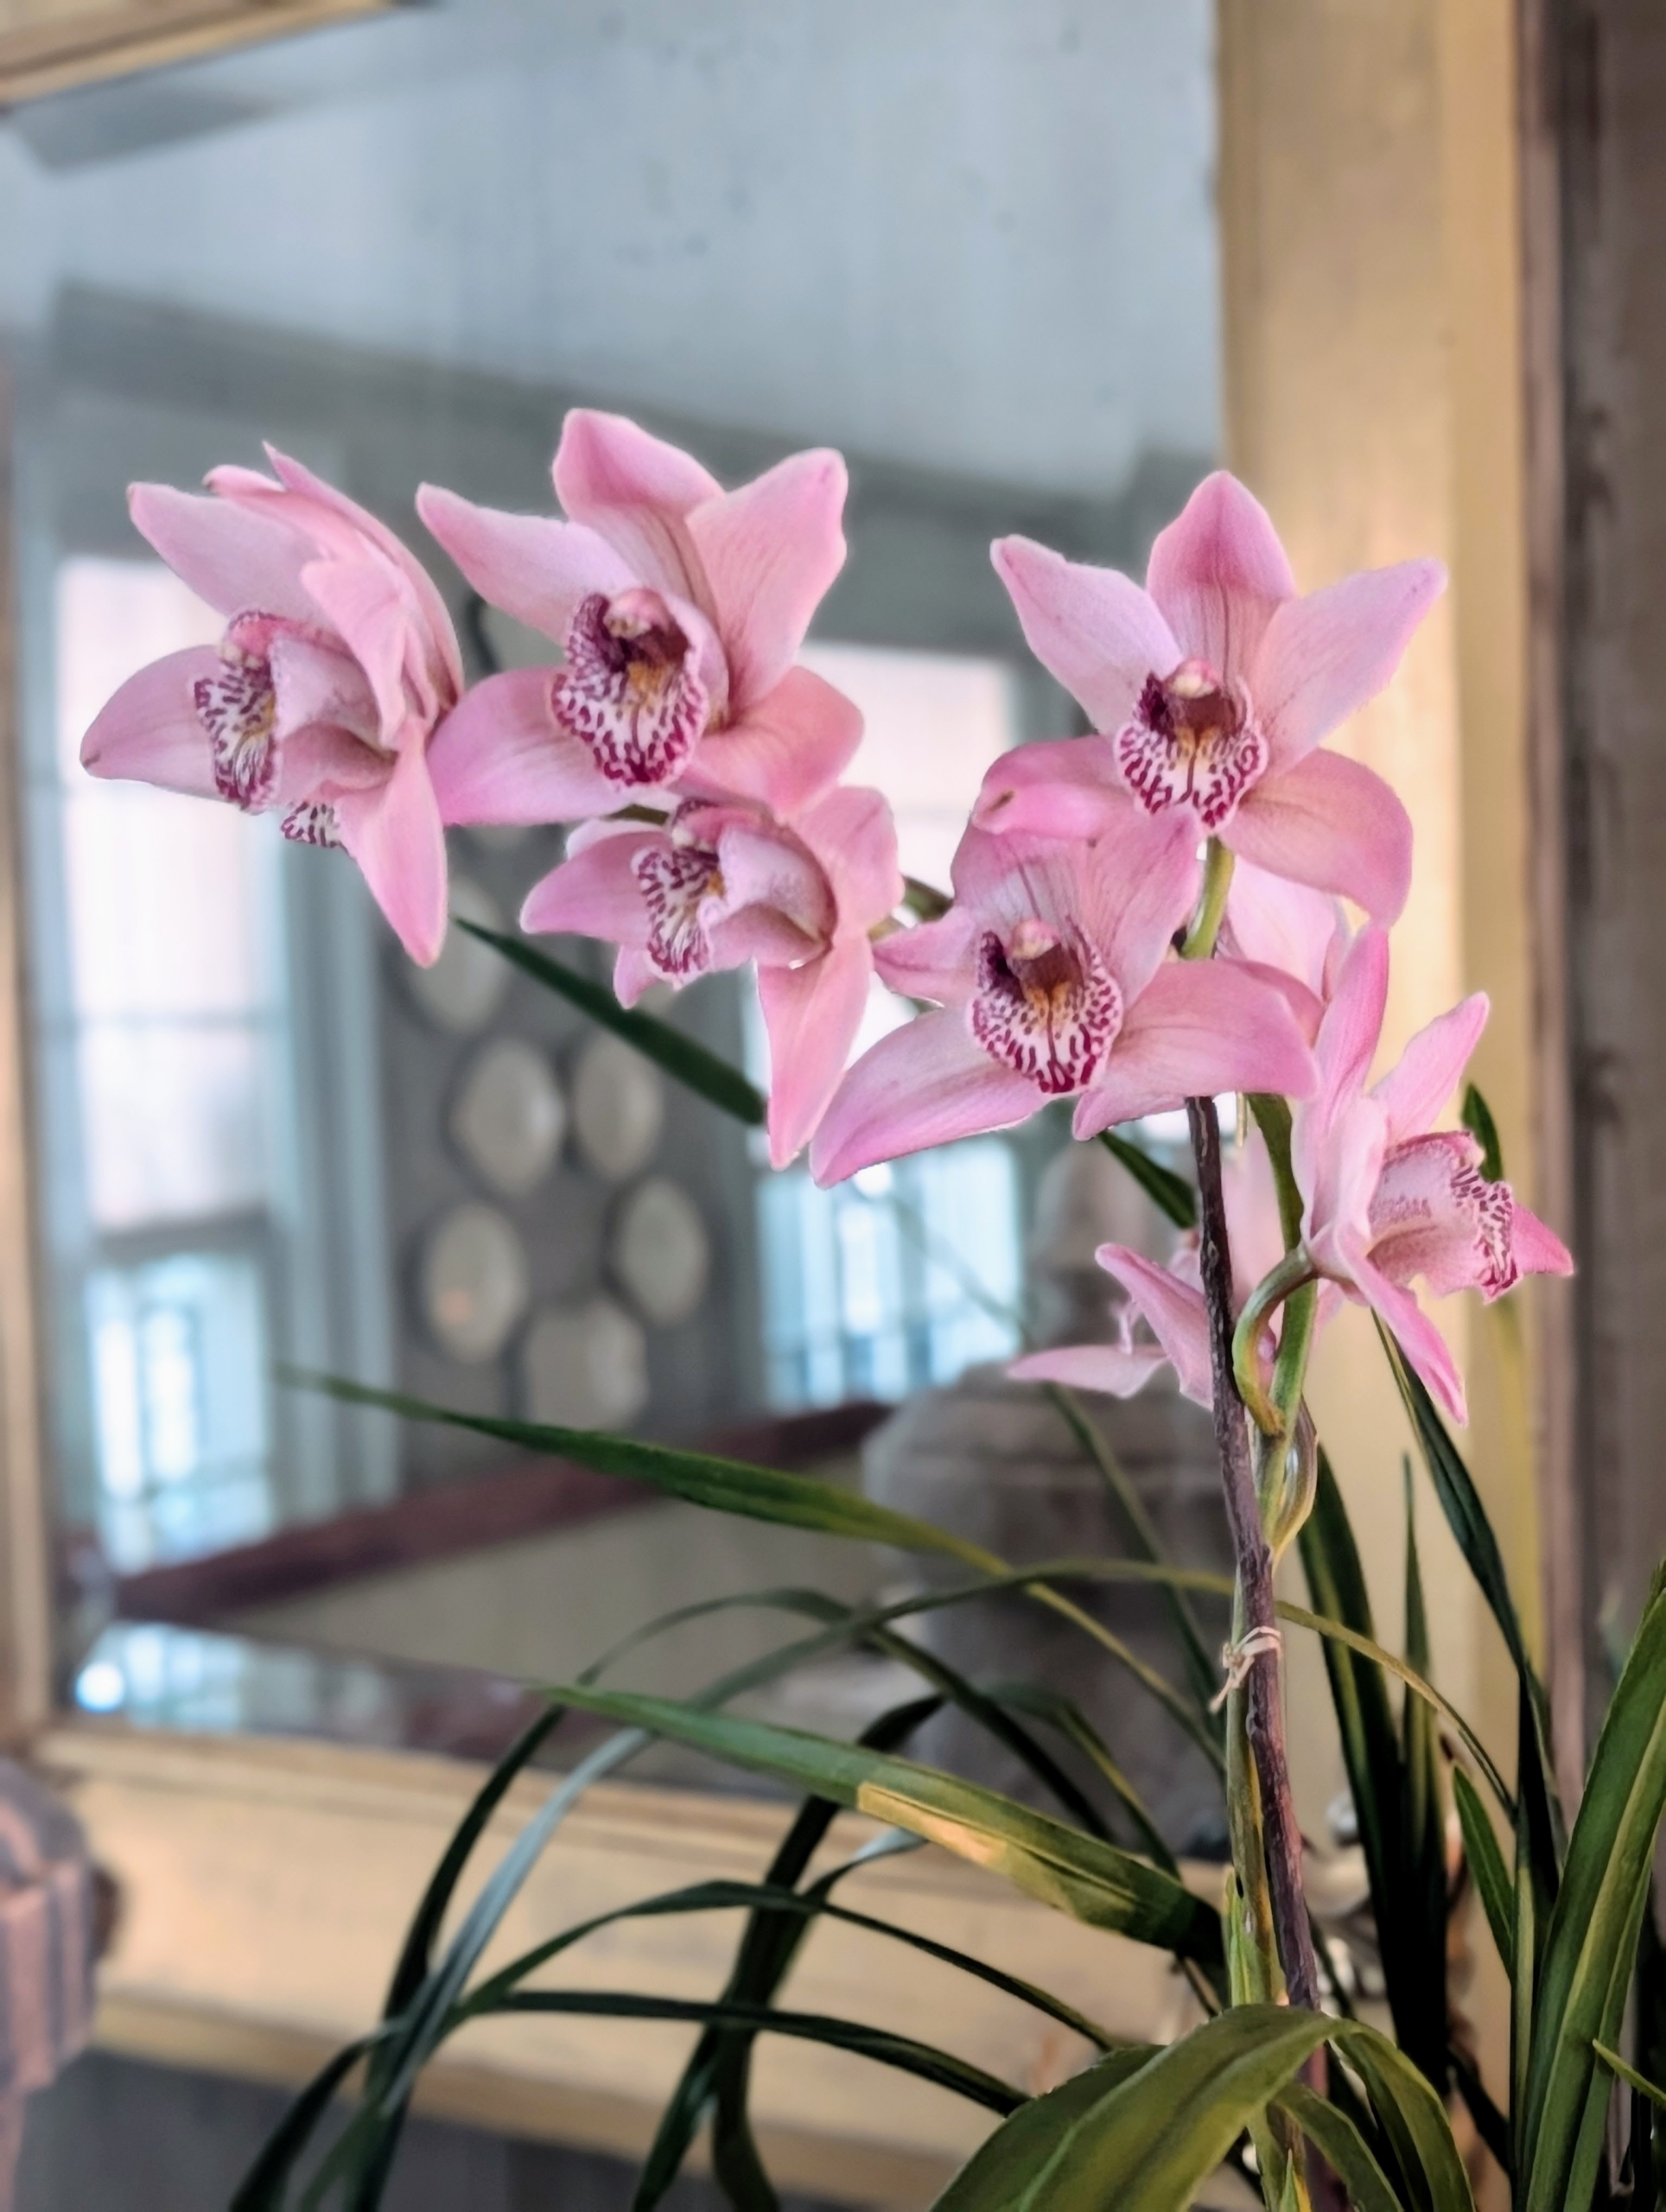
Cymbidium orchids are prized for their sprays of long-lasting flowers. This is a Cymbidium hybrid – Cymbidium ‘Solana Star,’ Cymbidium Wood Wilson ‘White Knight,’ x Cymbidium Solana Rose ‘Nancy.’
The flowers typically have three sepals and two petals each with a prominent three-lobed labellum making them appear “boat like.”
When keeping orchids in the home, south and east-facing windows work best. When provided with a proper balance of light, humidity, and temperature, these plants will have healthy bright green leaves.
I put this on a brass coffee table in my sitting room. It is Cymbidium ‘Jade.’
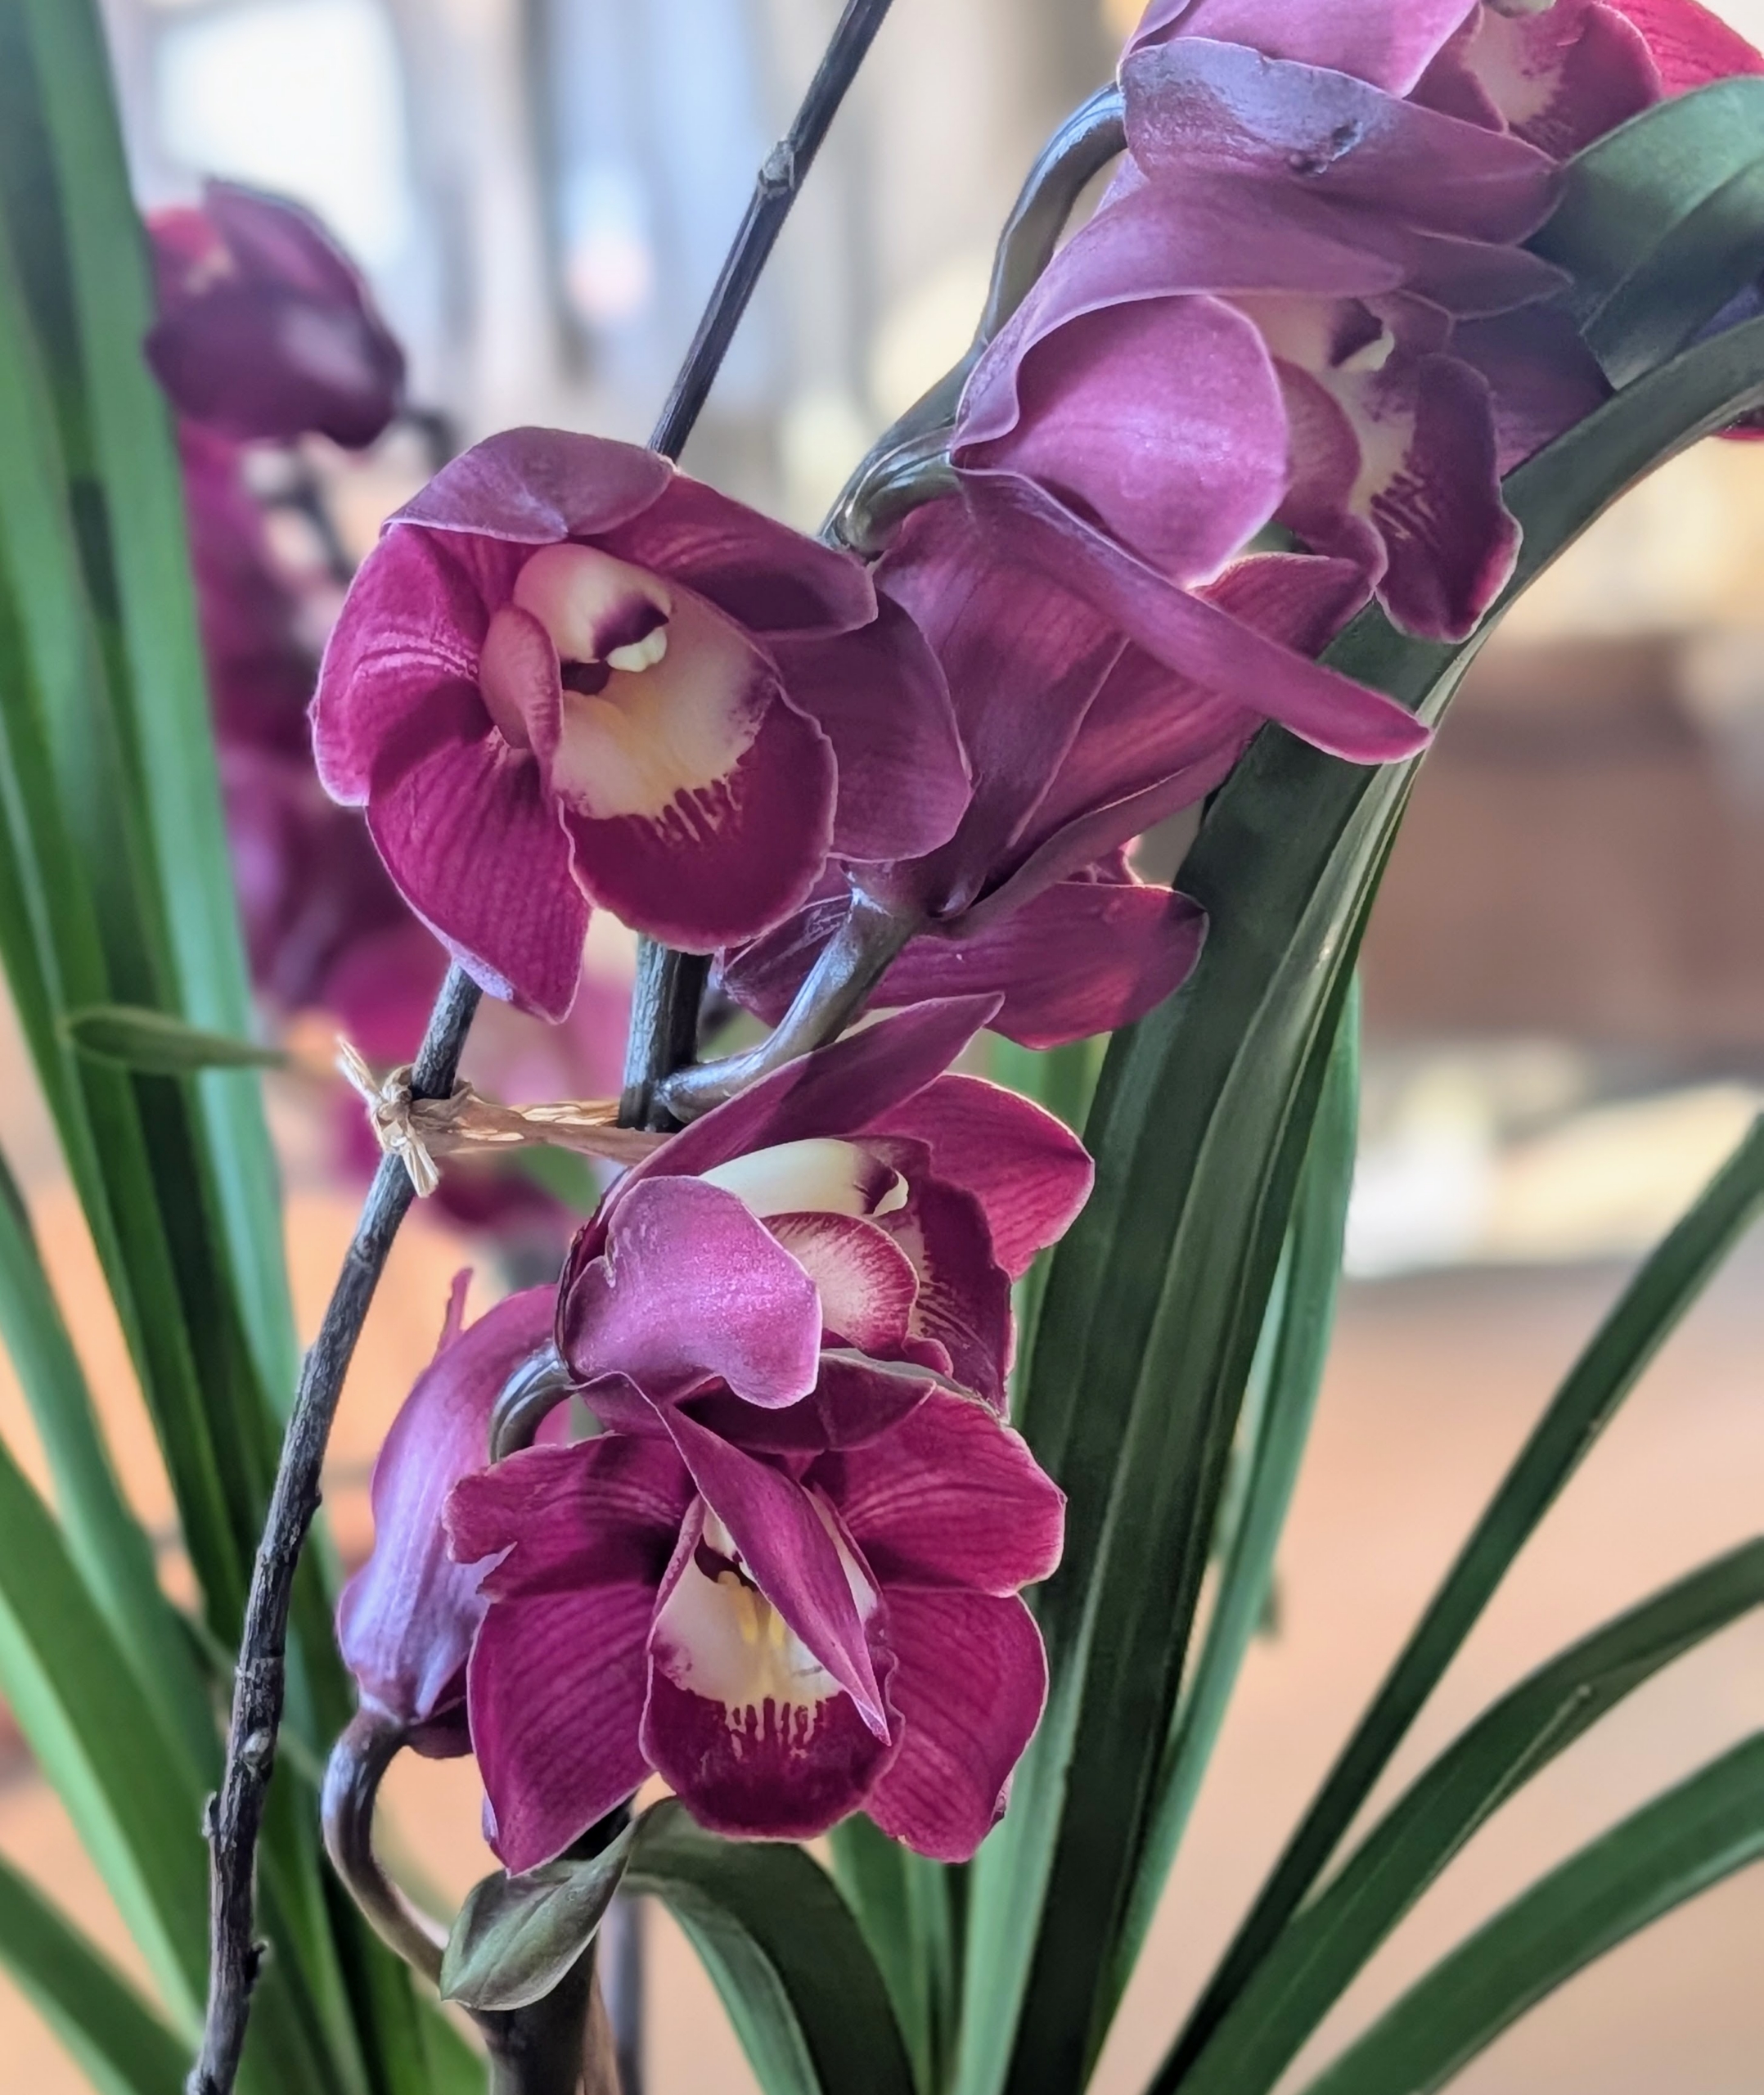
Beallara Marfitch ‘Howard’s Dream’ AM/AOS is a stunning Oncidium orchid hybrid. It features striking psychedelic colored blooms in pink, purple and white. And, it can bloom twice a year when cared for properly.
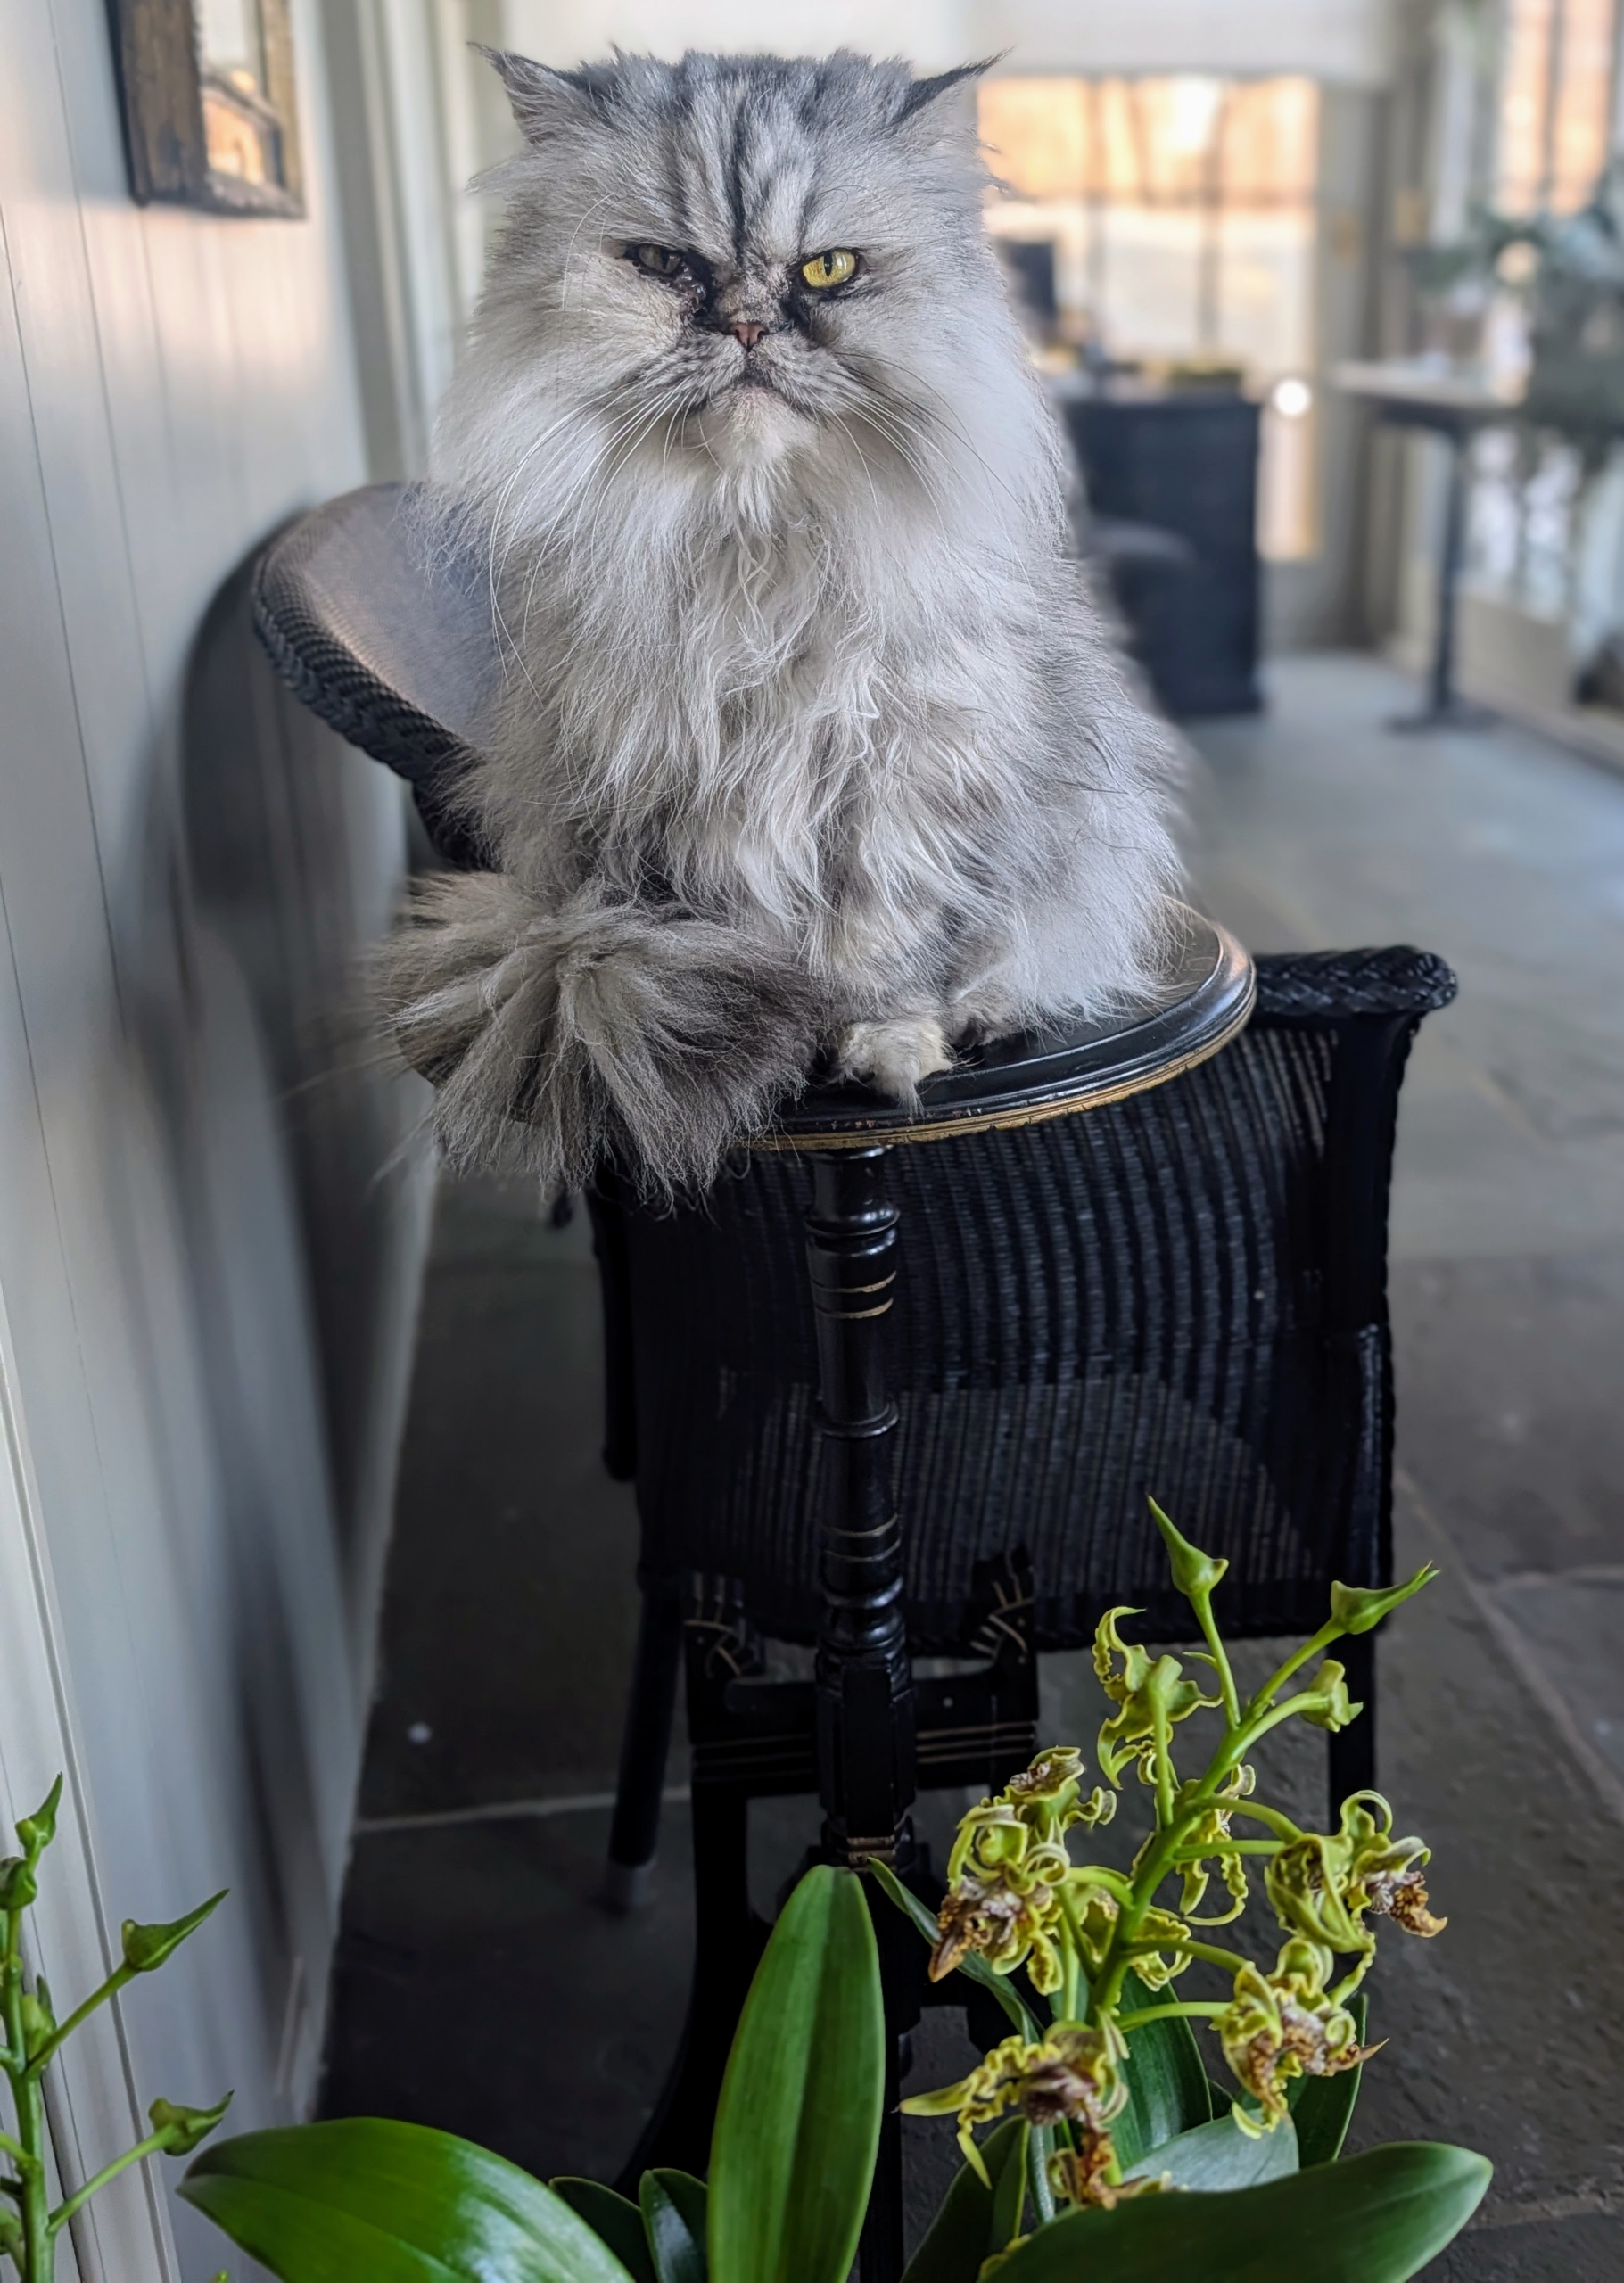
Here is my silver shaded Persian, Magnolia. She enjoys lounging in my enclosed porch and watching the placement of every plant. Magnolia is one of four cats that live with me in my Winter House.
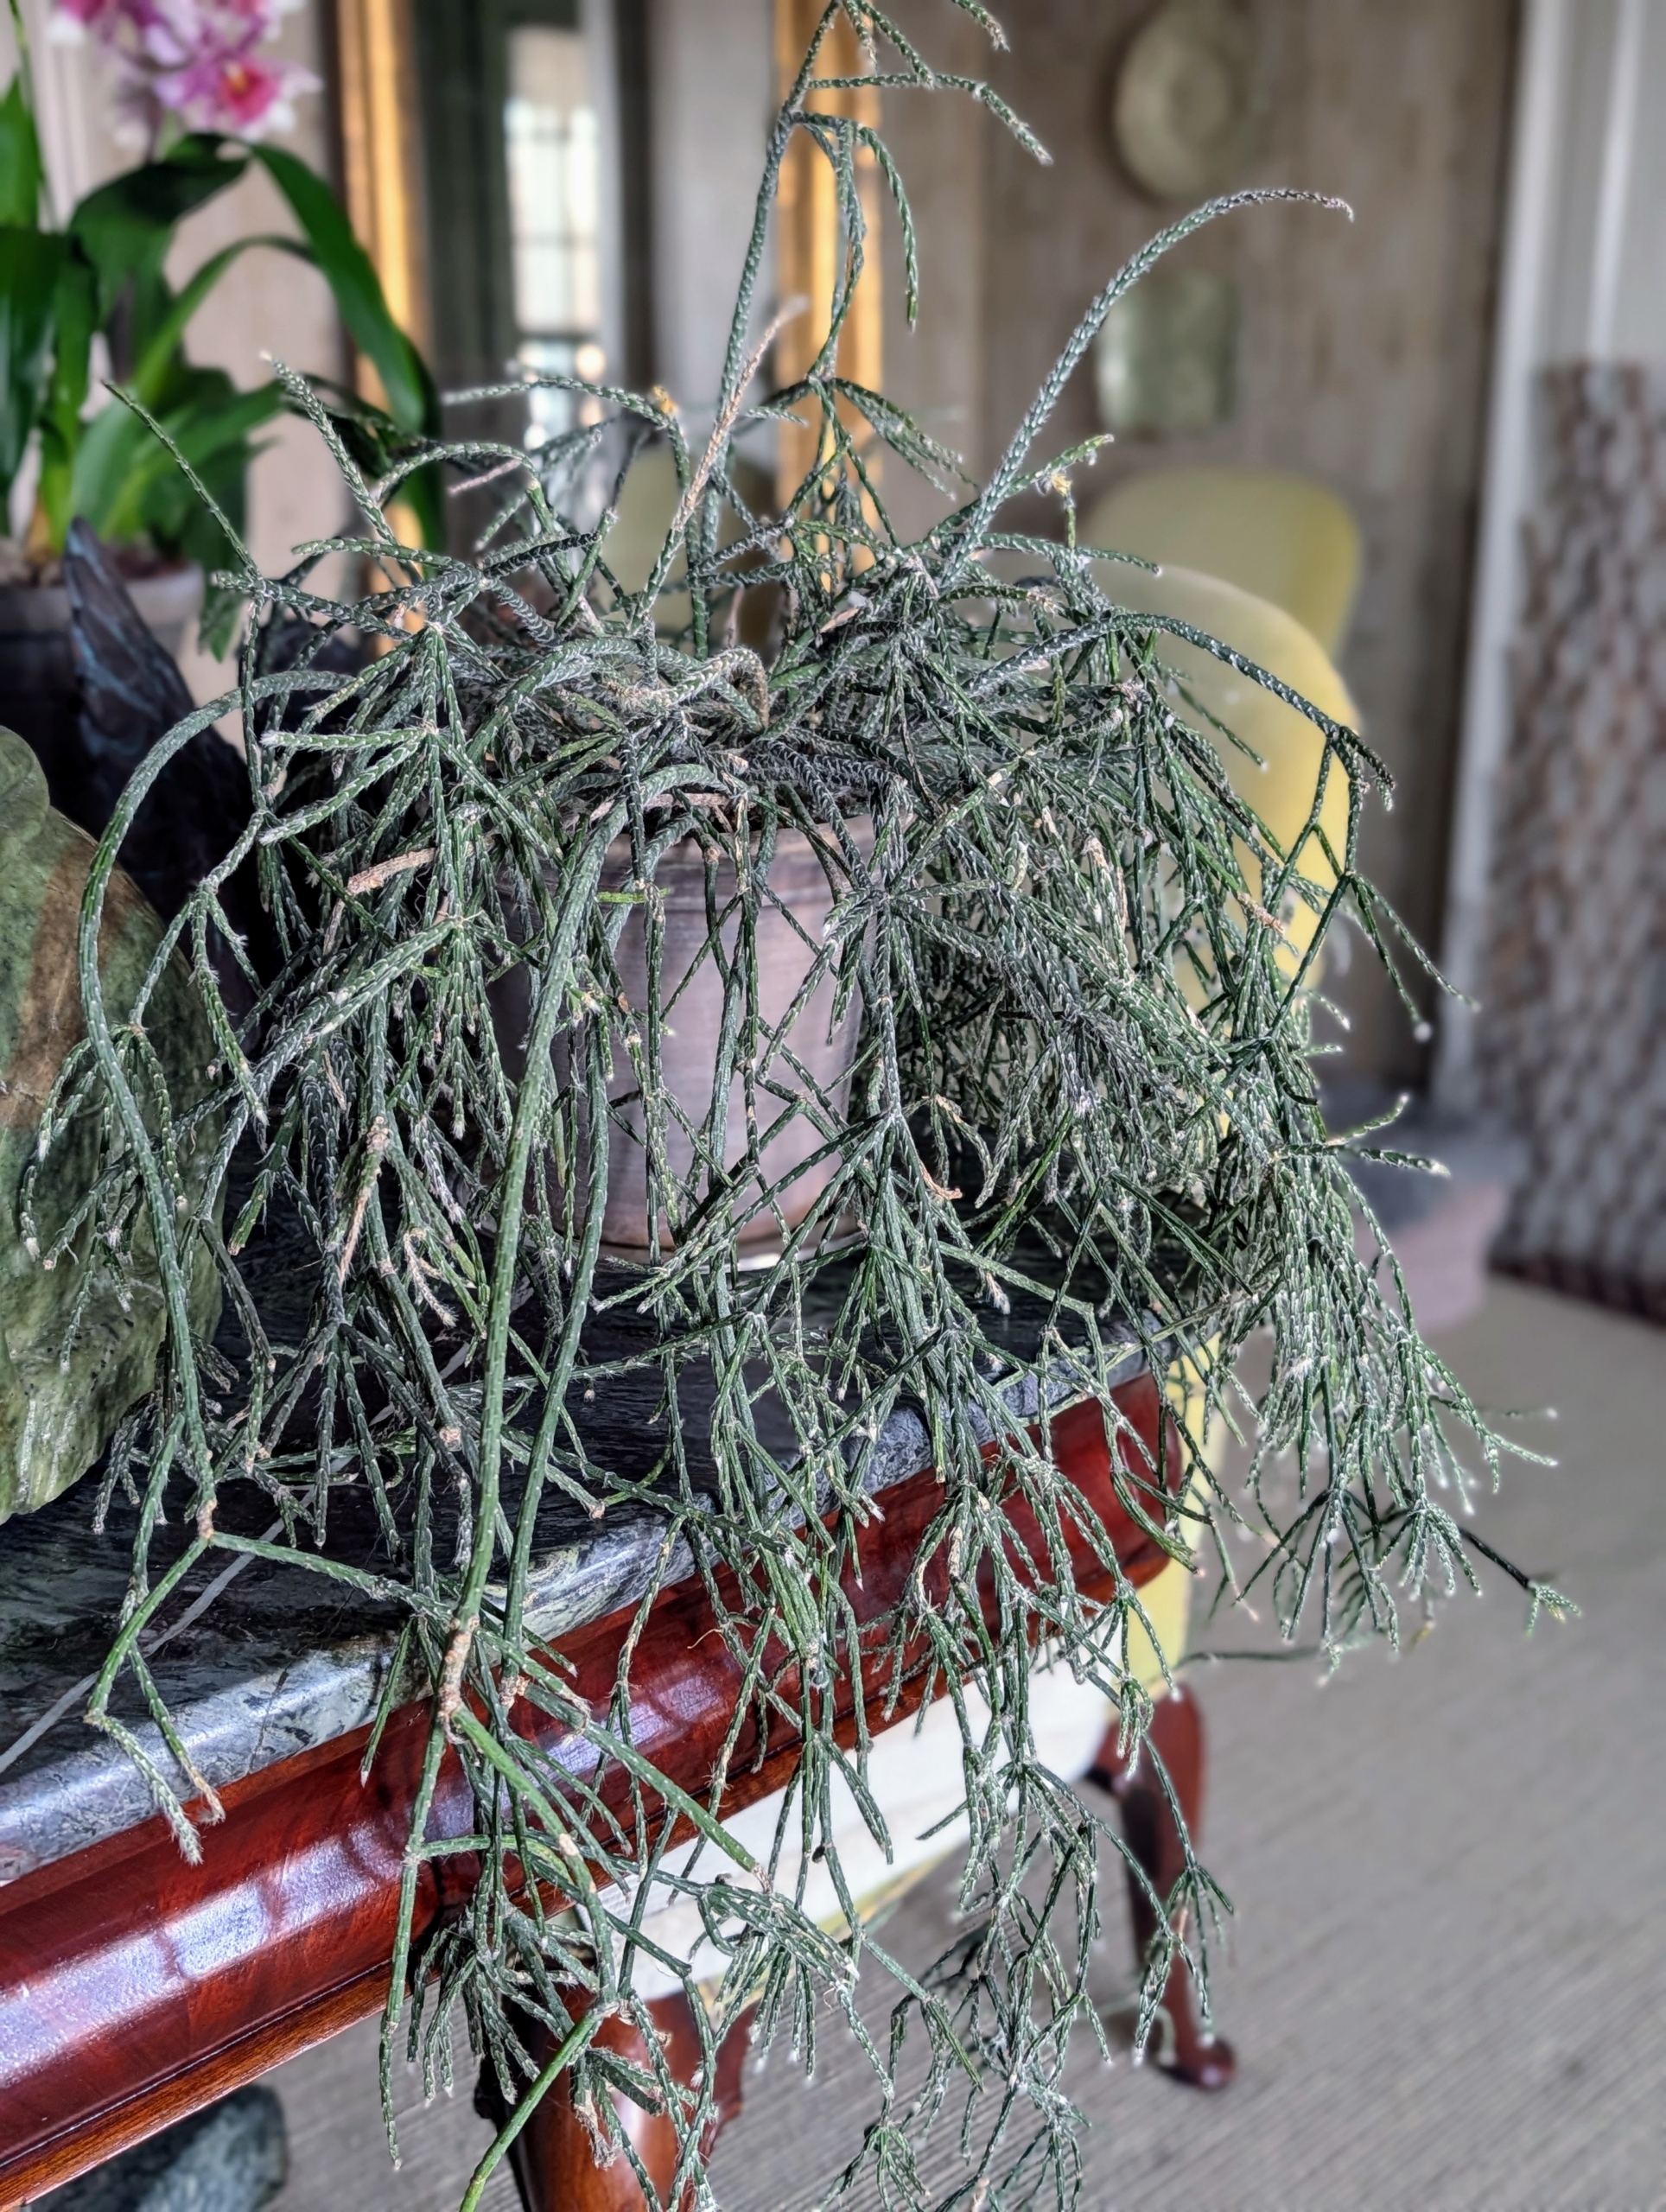
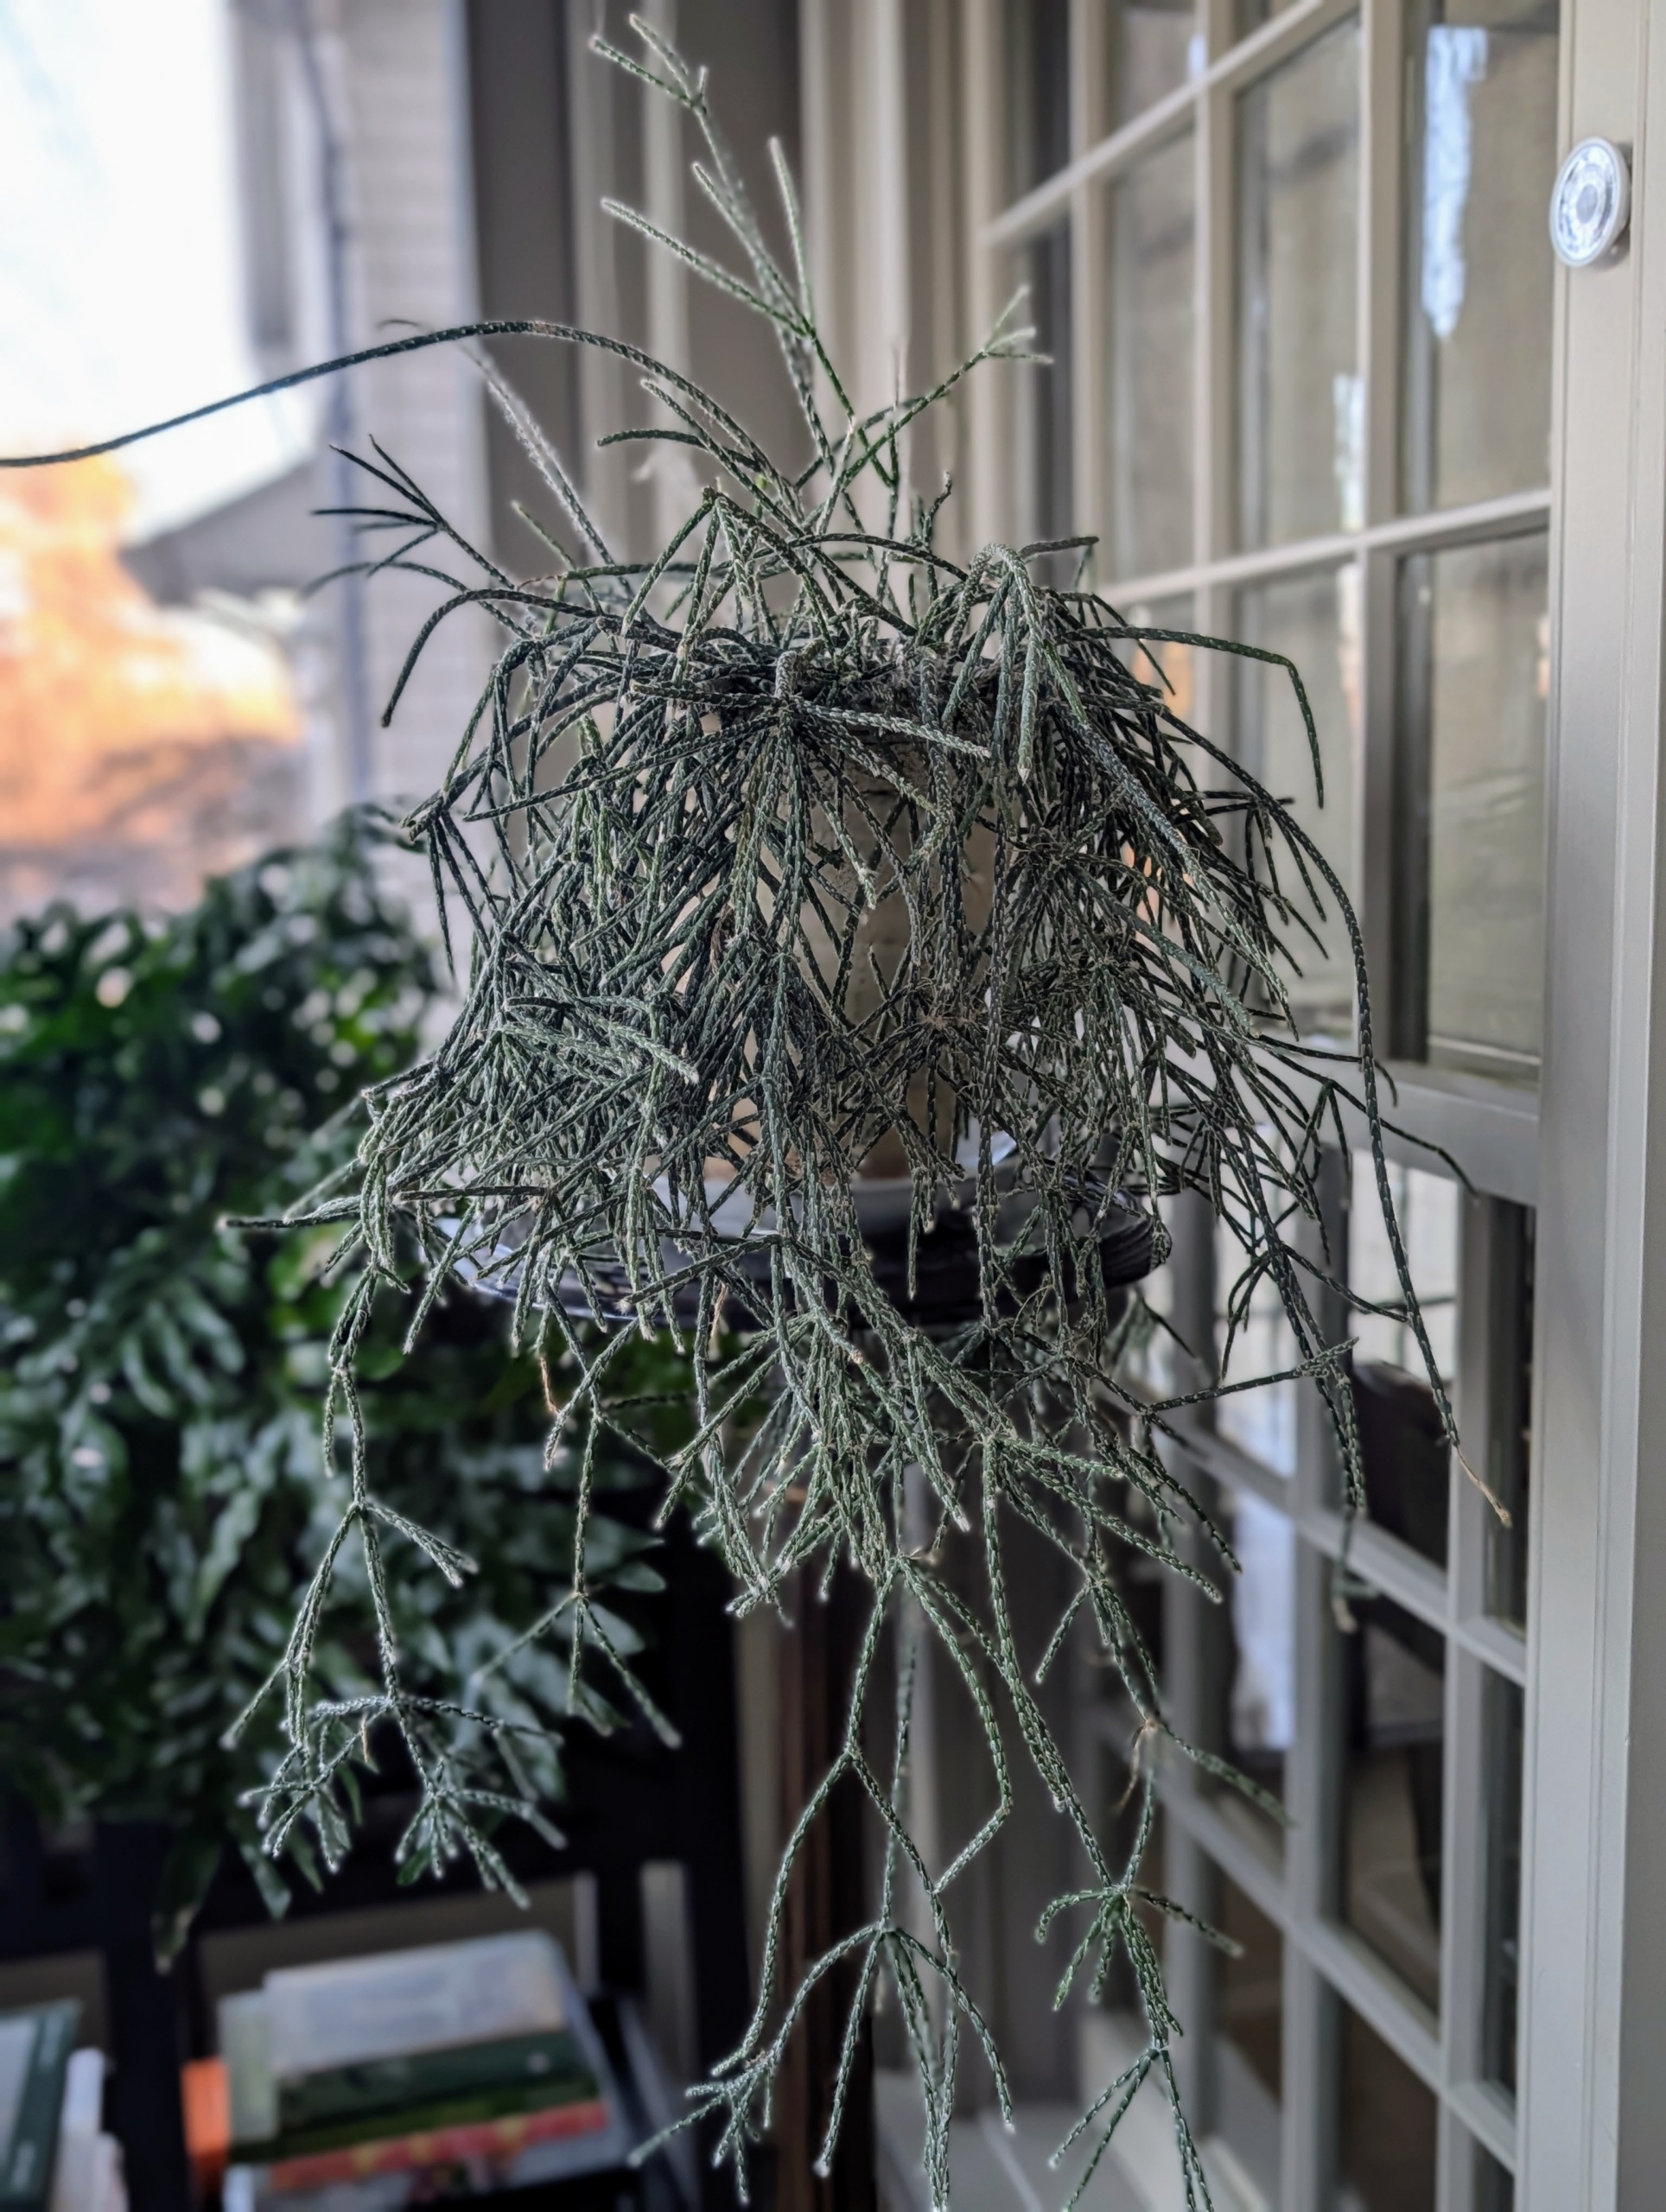
This is a potted rhipsalis, native to the rainforests of South America, the Caribbean and Central America. Rhipsalis is a cacti genus with approximately 35 distinct species. I have many types of rhipsalis growing in my greenhouse. Rhipsalis specimens have long, trailing stems making them perfect choices as indoor plants on pedestals or tall tables.
Also known as chain cactus or mistletoe cactus, the thread-like succulent stems are narrow, green and can grow several feet long.
My porch is a lovely space for displaying houseplants. The floor to ceiling windows allow lots of light and the plants surround my desk, where I can enjoy them while writing or while attending remote meetings.
If you like growing plants, but don’t really have a lot of time to care for them, consider growing succulents. Succulents, which includes the cactus family, require very little maintenance. These plants are able to survive prolonged drought because they store moisture in their fleshy stems, roots, and leaves.
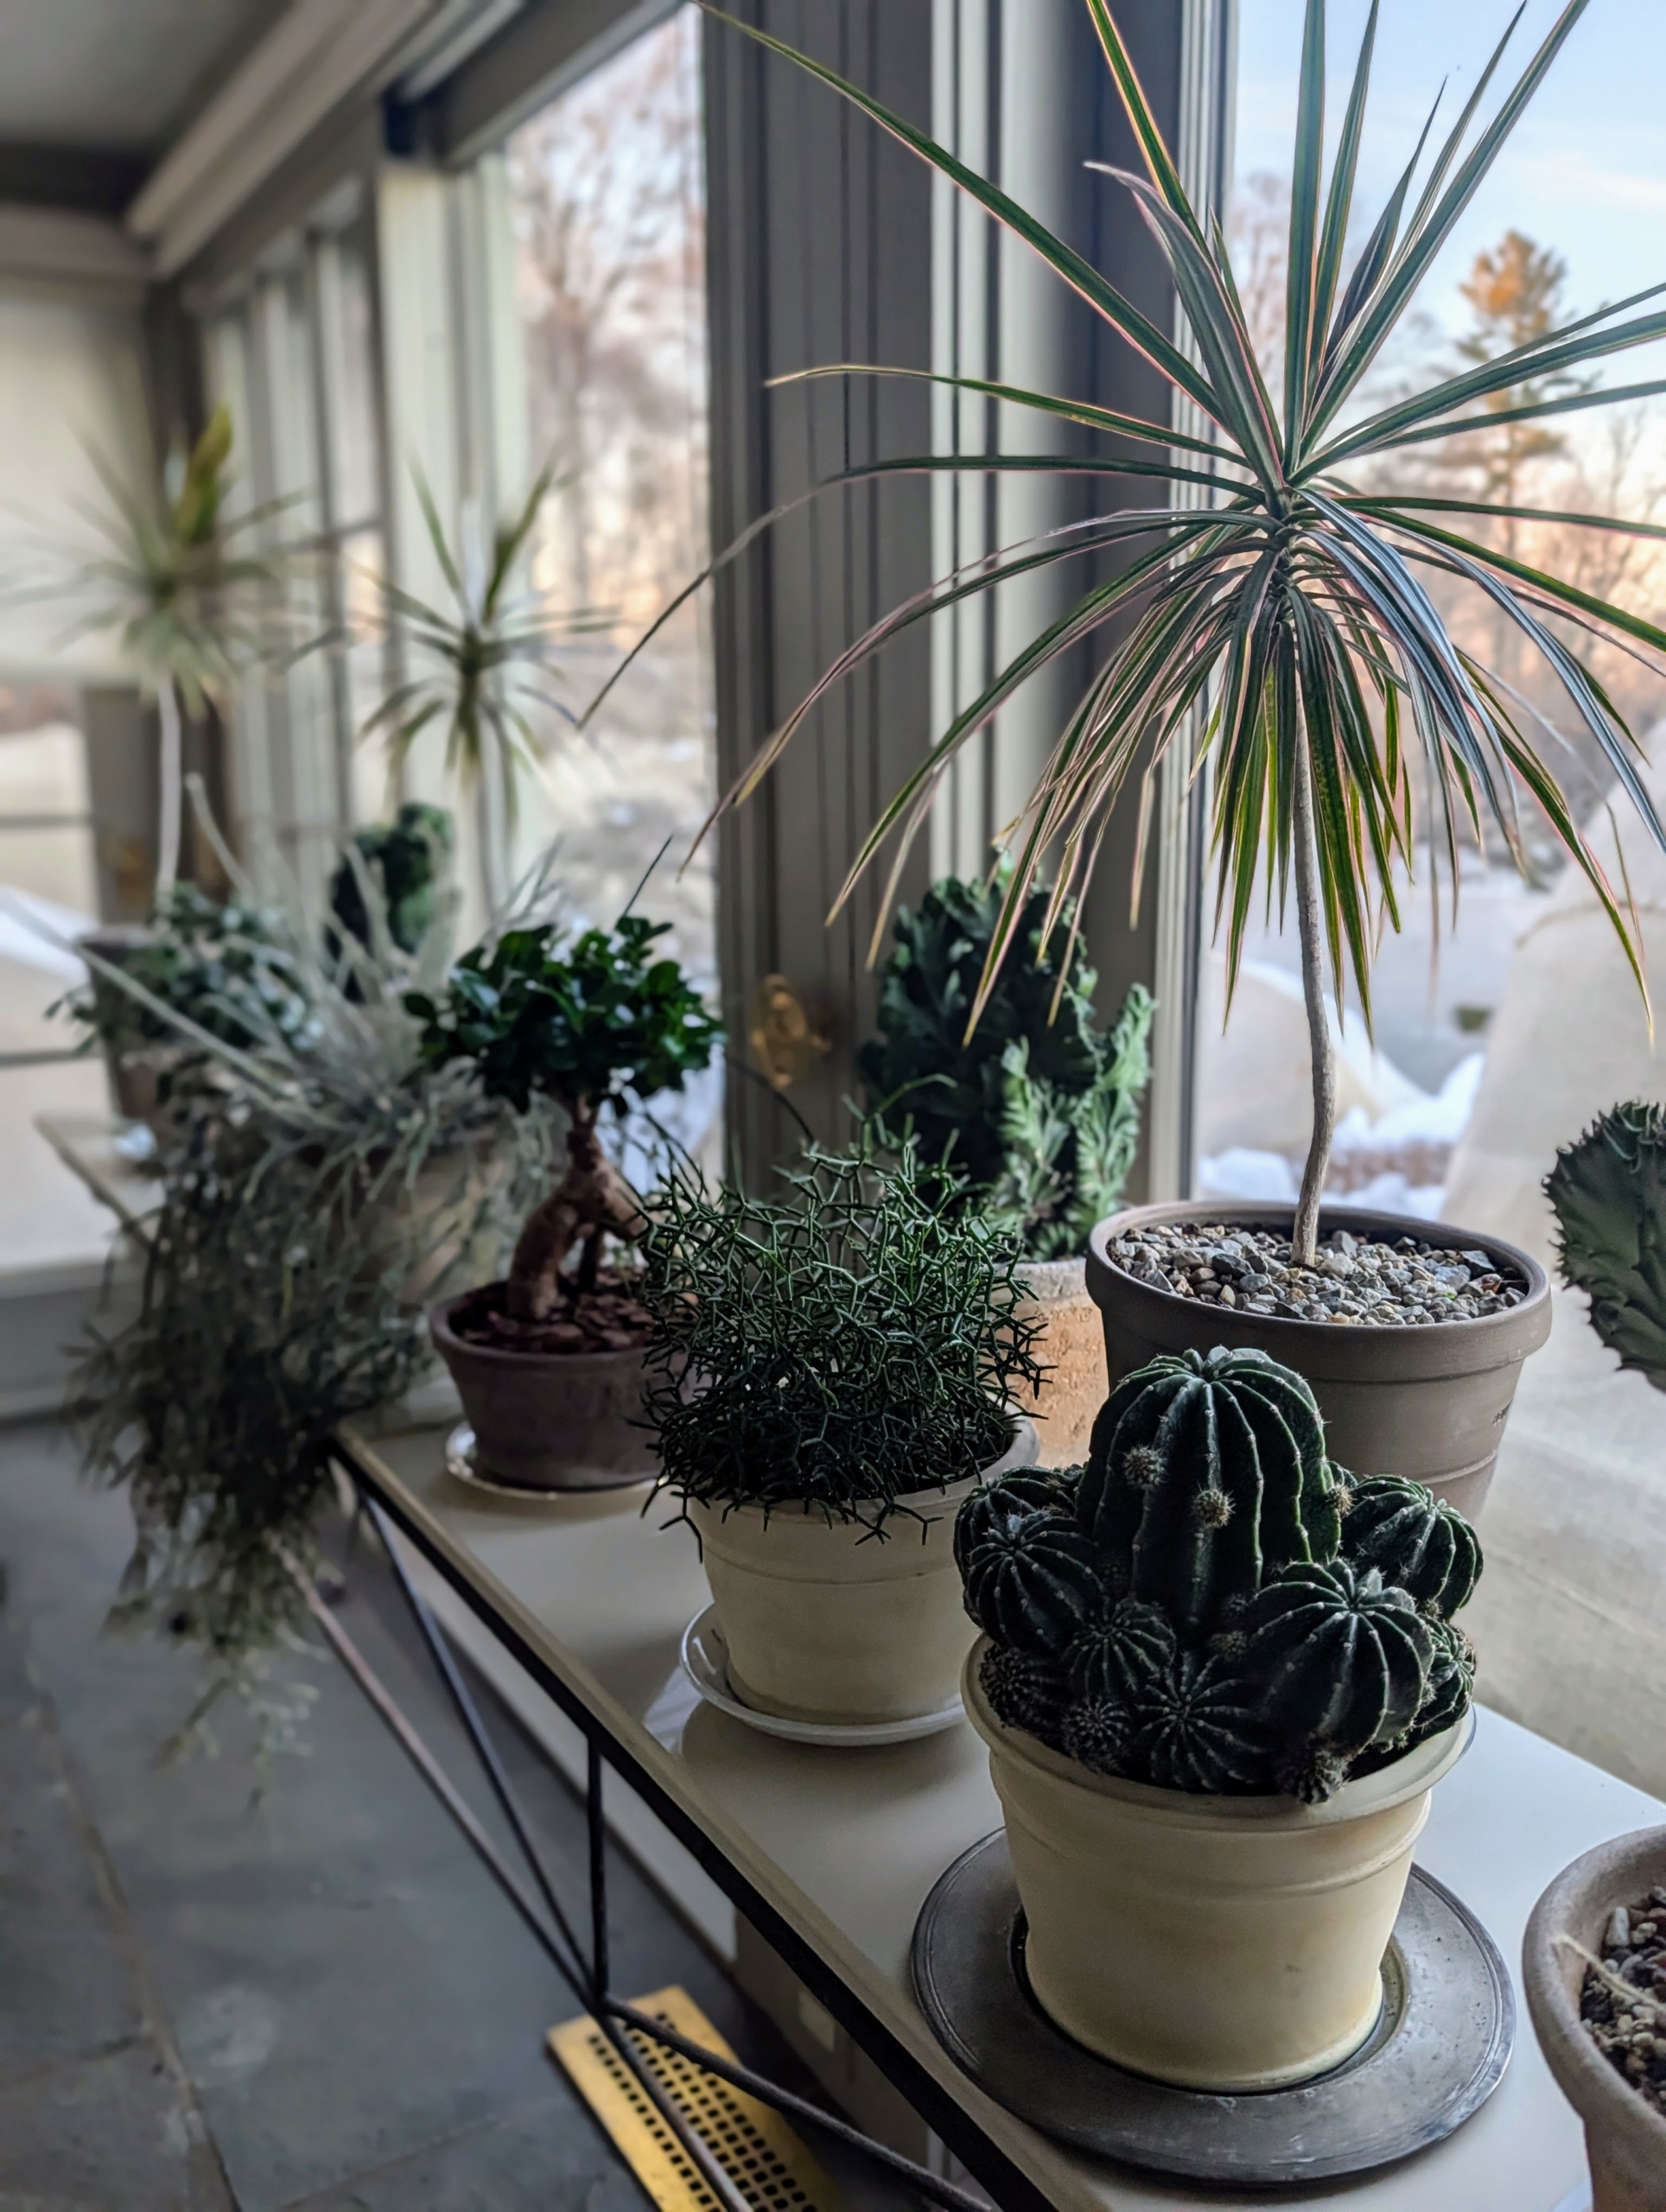
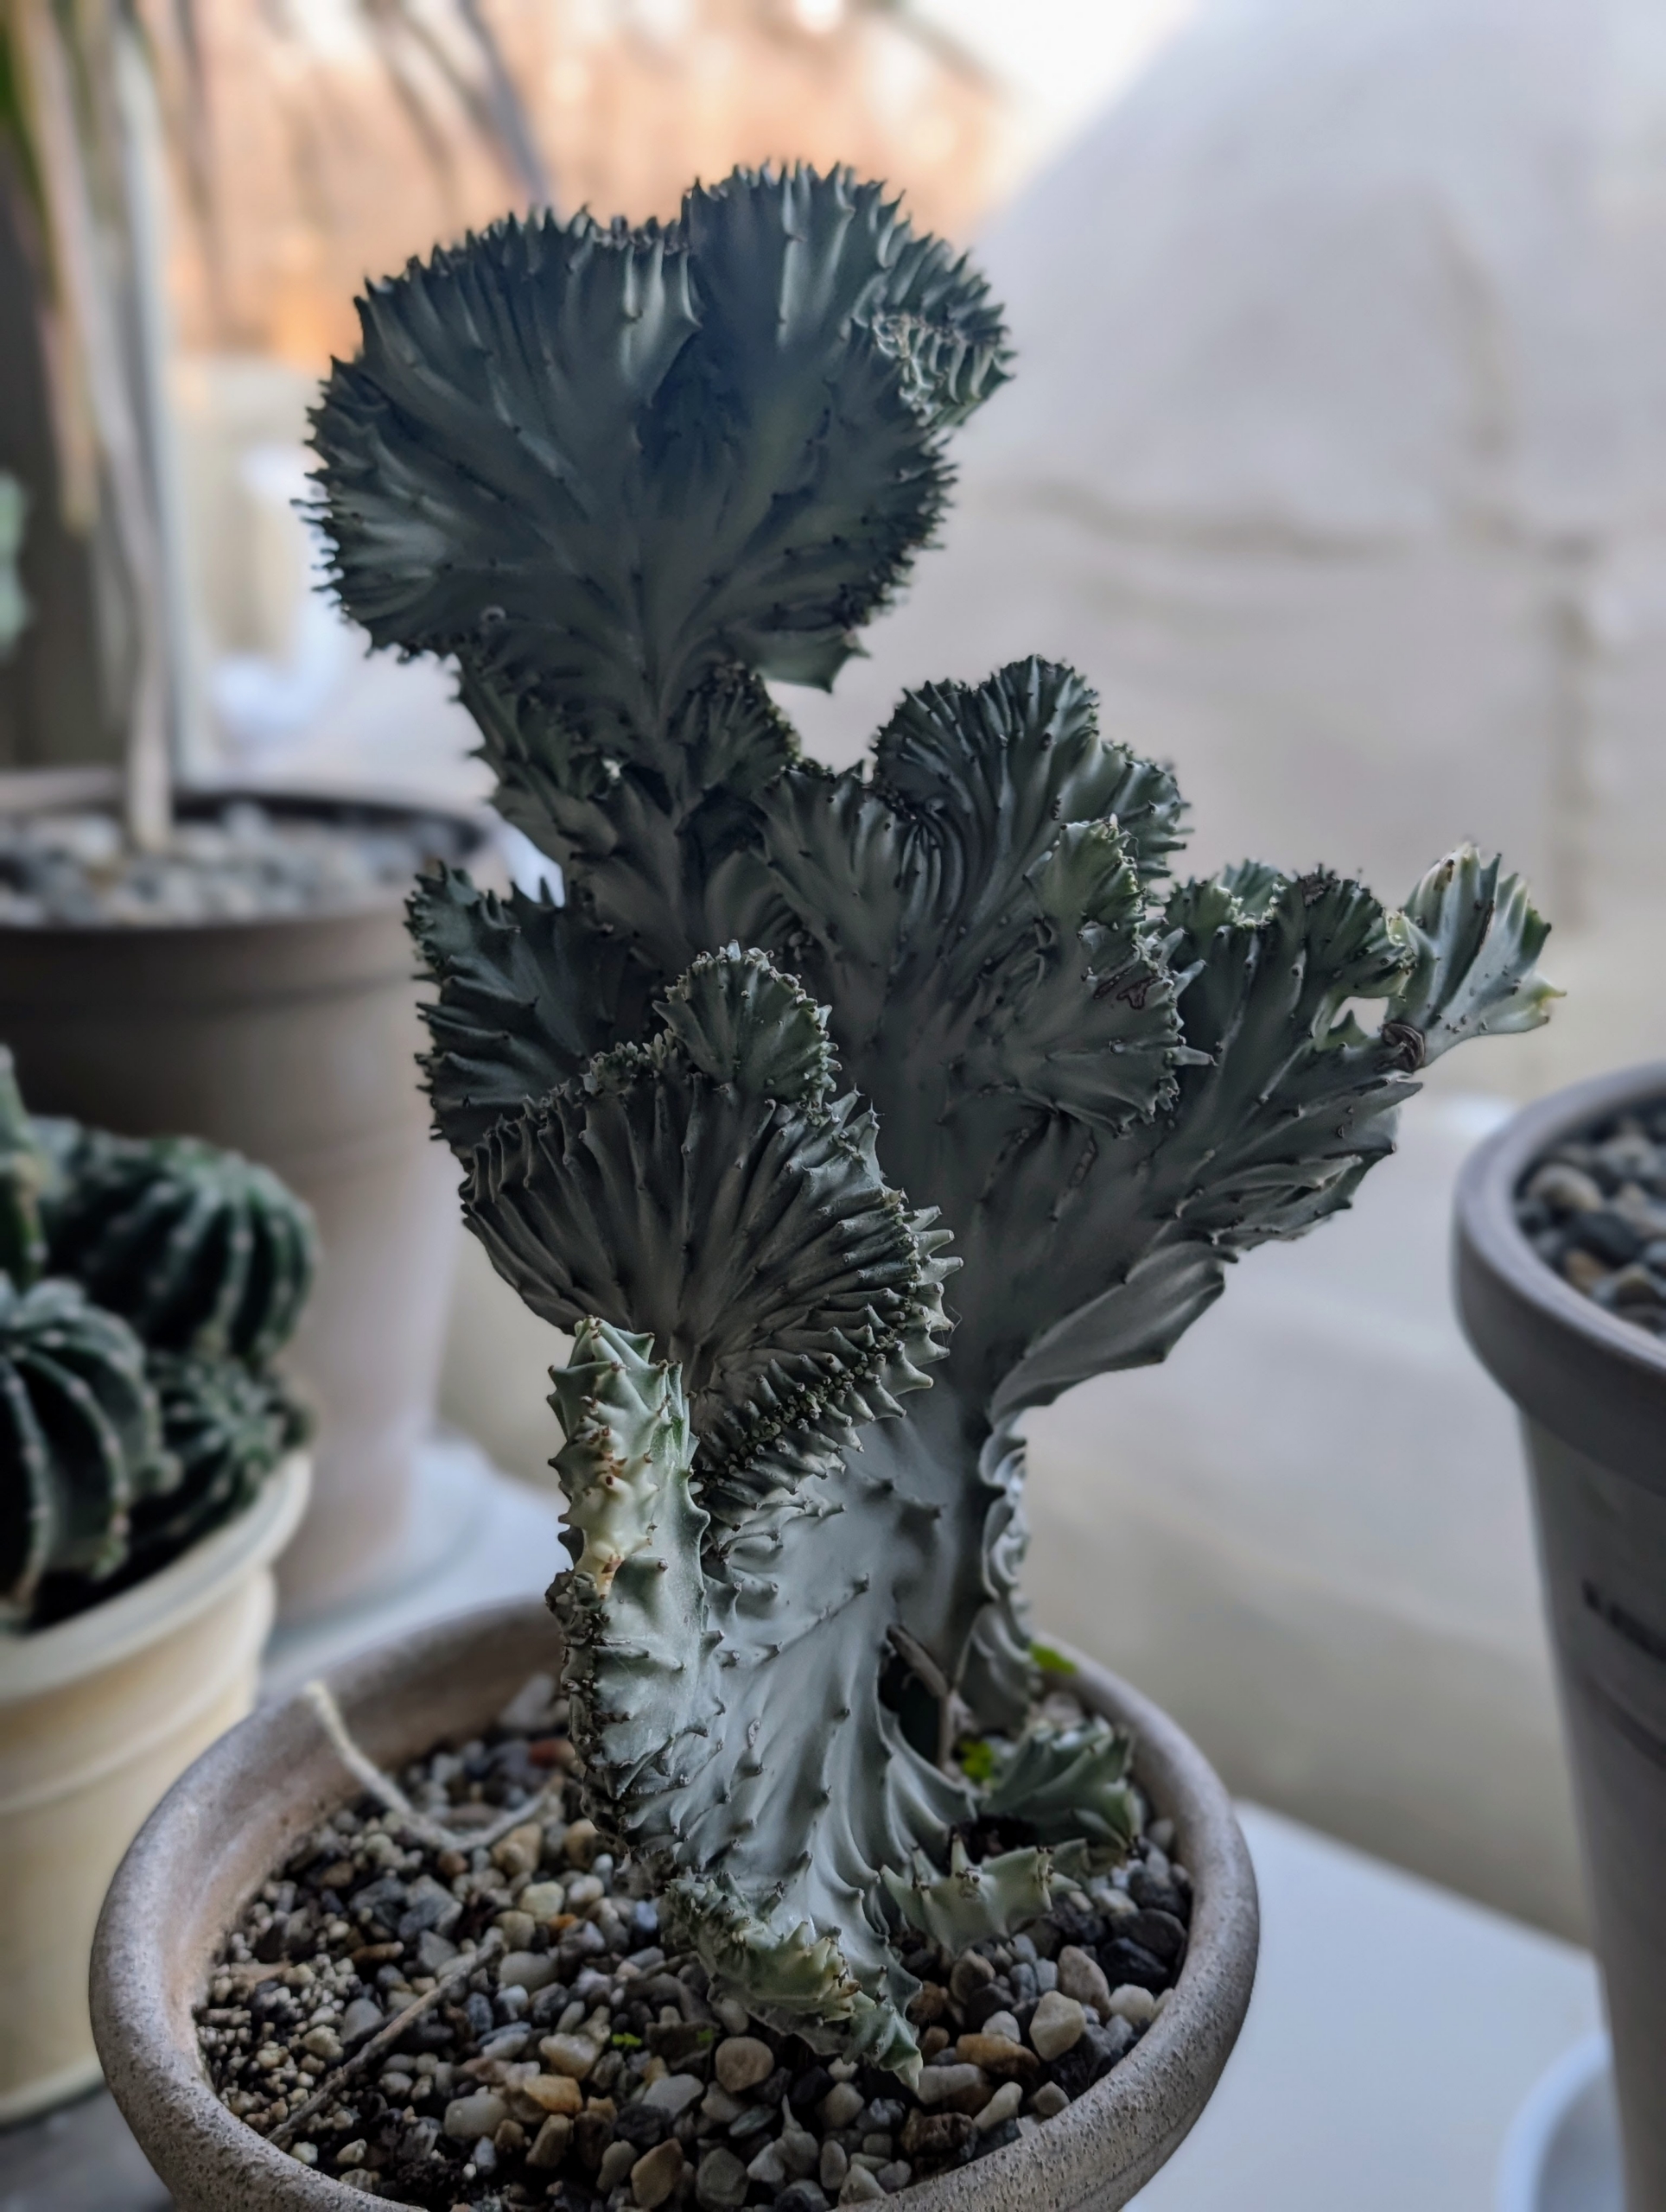
This Euphorbia lactea is a cactus-like succulent known for its interesting shape and spiny ridges.
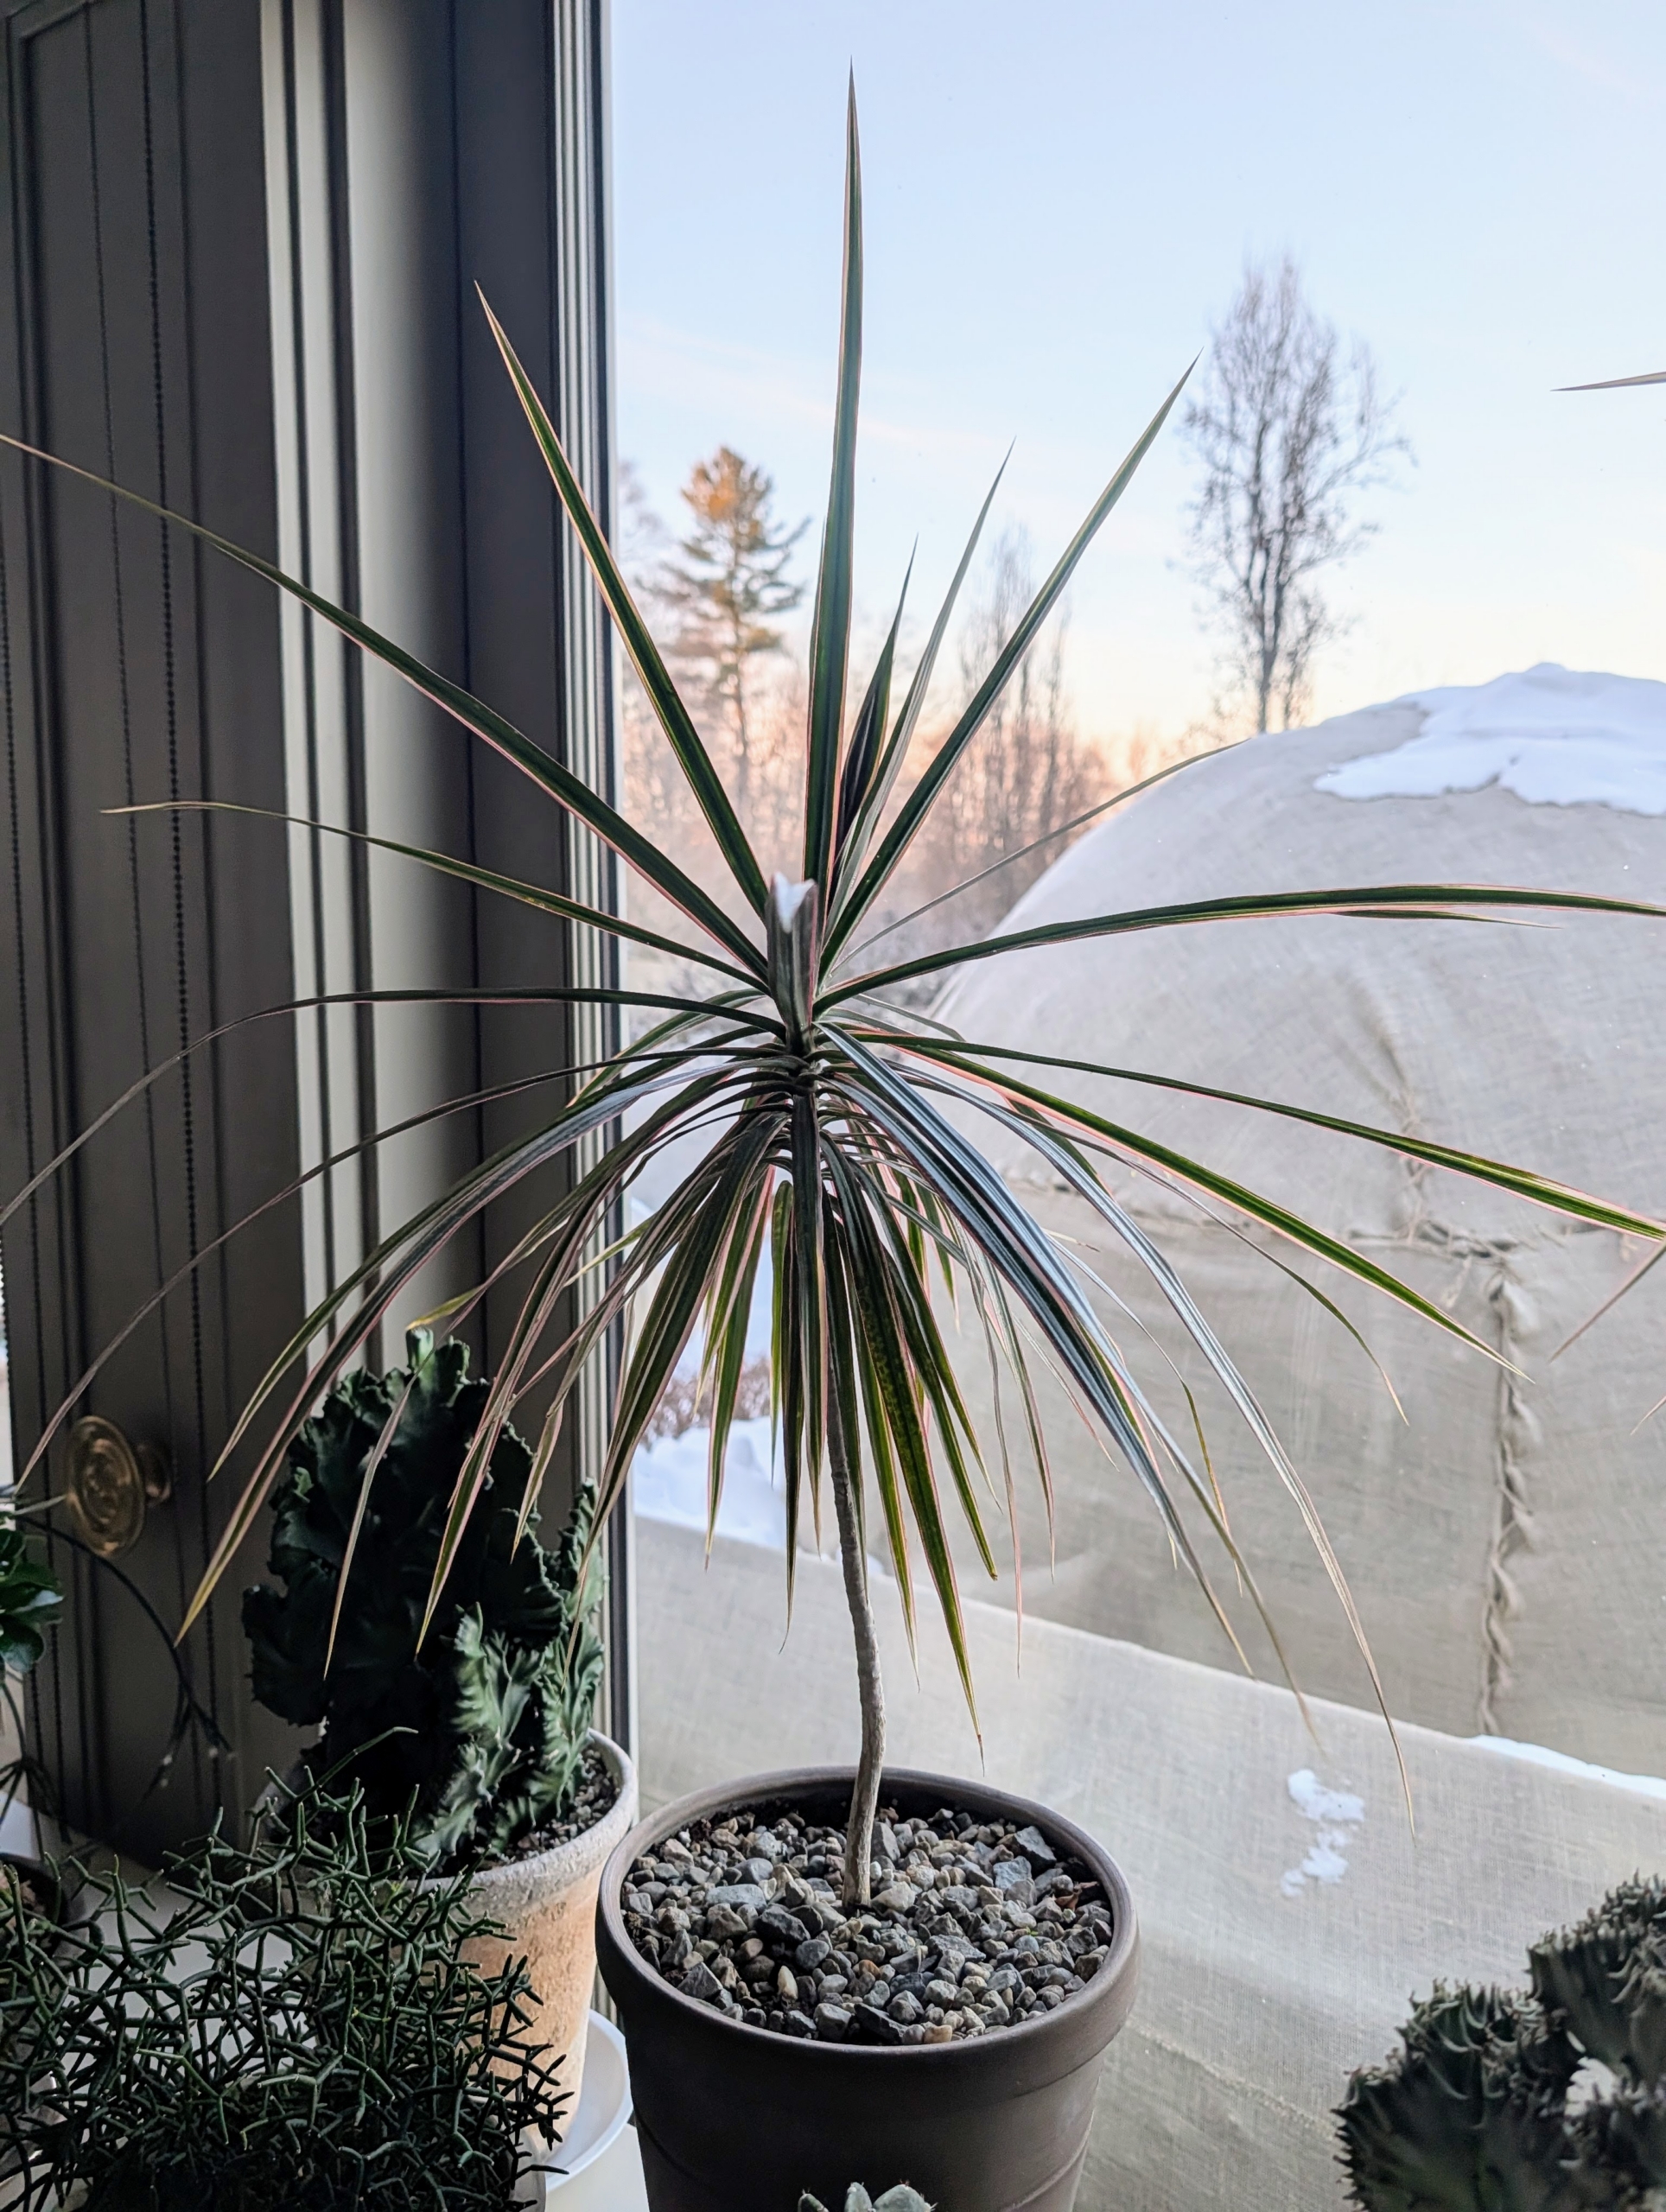
Dracaena’s narrow foliage may be completely green or may include stripes or edges of green, cream, red, or yellow.
And my beautiful Lilium, my brown Persian longhaired cat. Always be sure any plants displayed inside are safe around pets. Fortunately, my pets are not attracted to any plants or flowers. I hope you can enjoy some beautiful plants in your home this winter.