Decorating doesn't have to be expensive or burdensome - just moving existing pieces of furniture can transform and refresh any room.
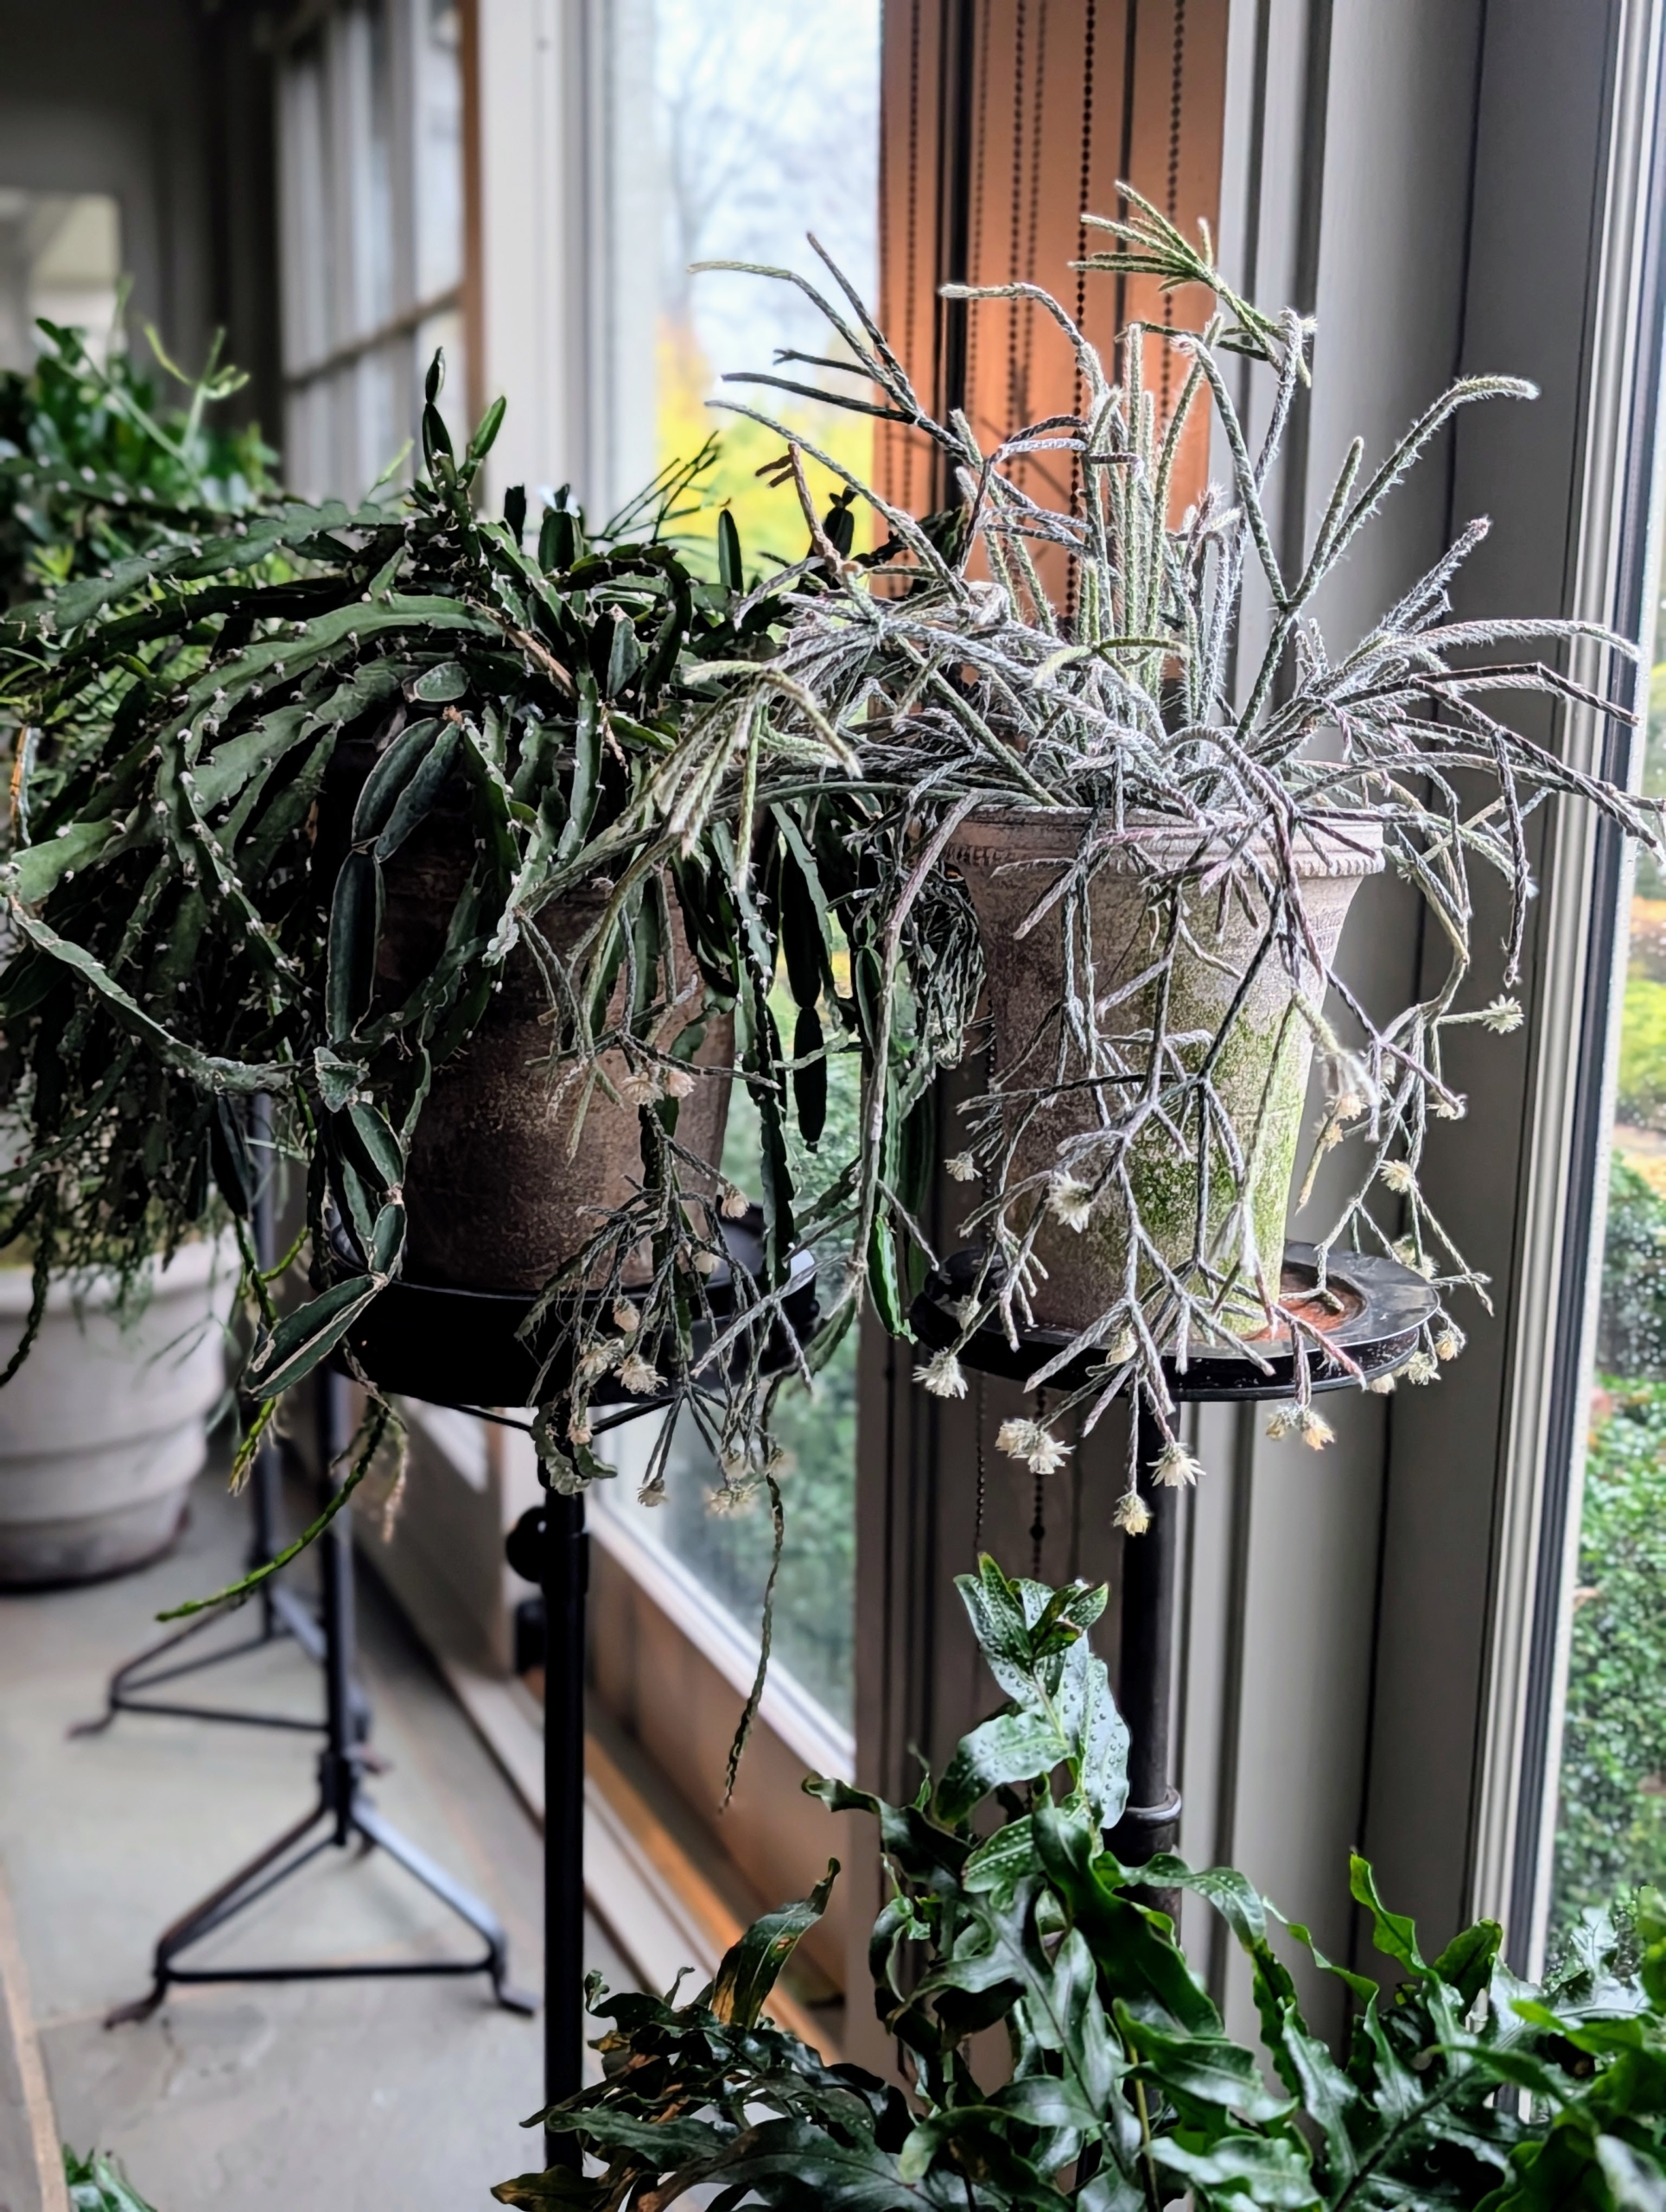
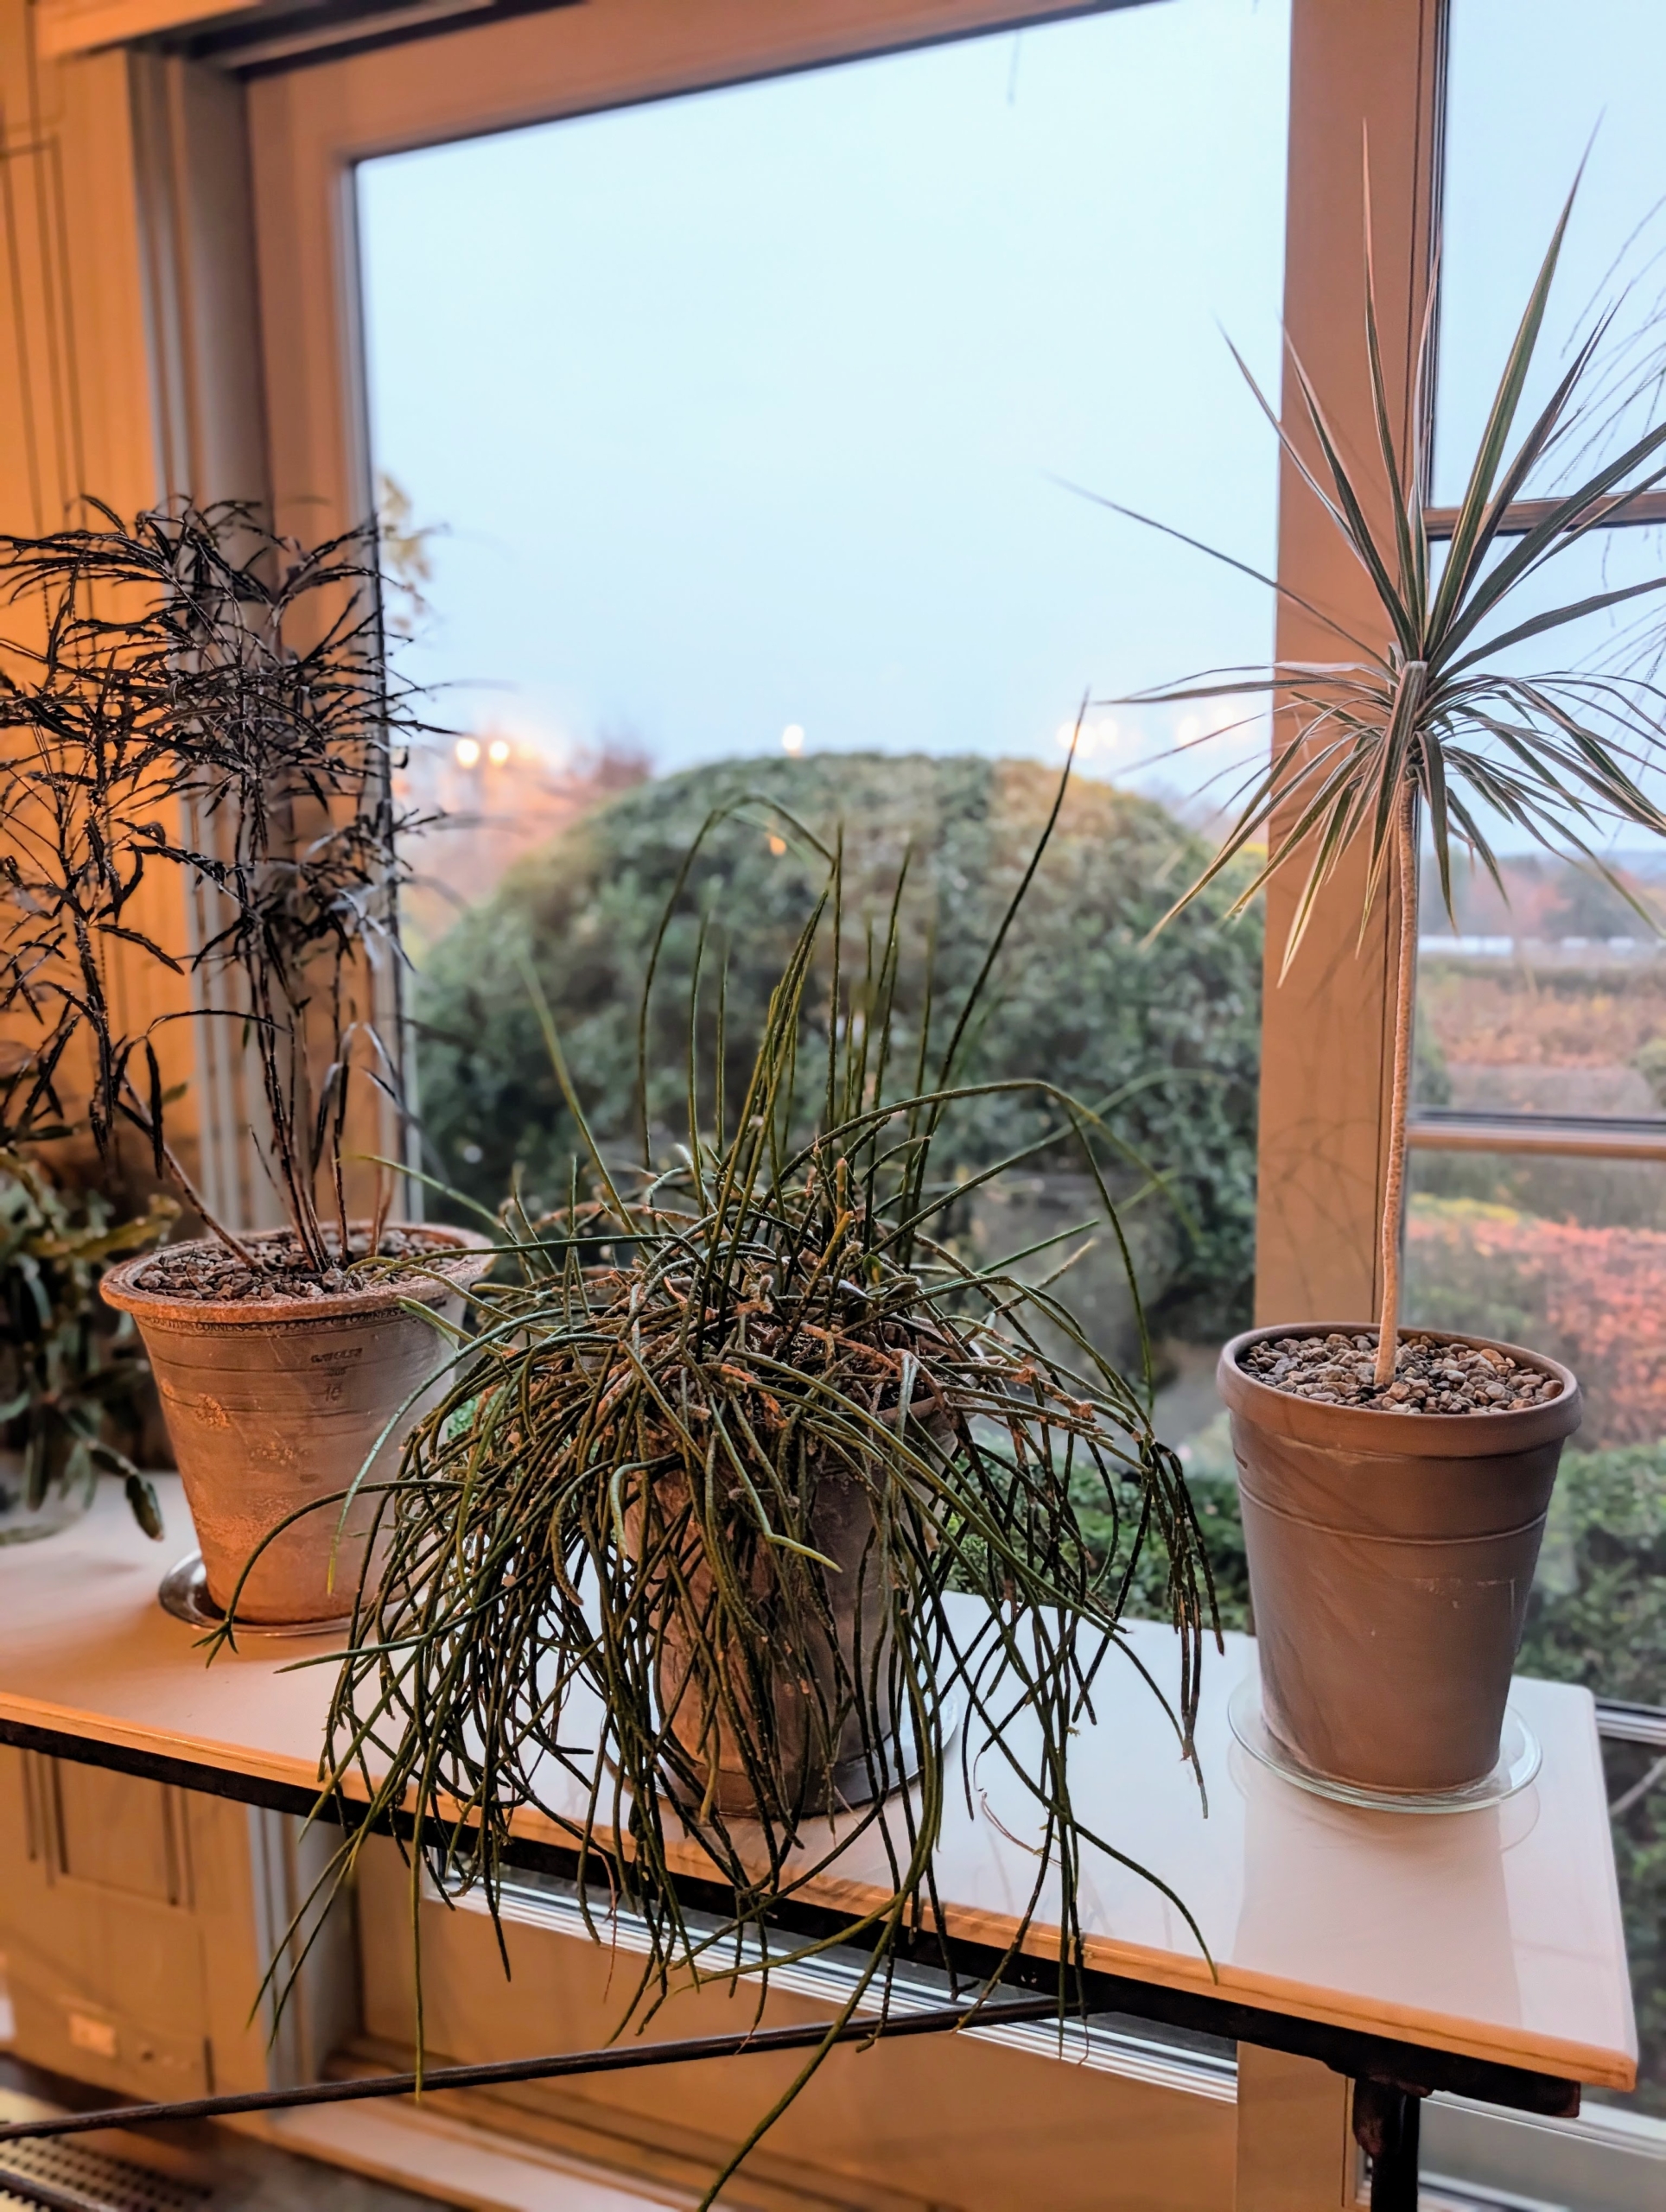
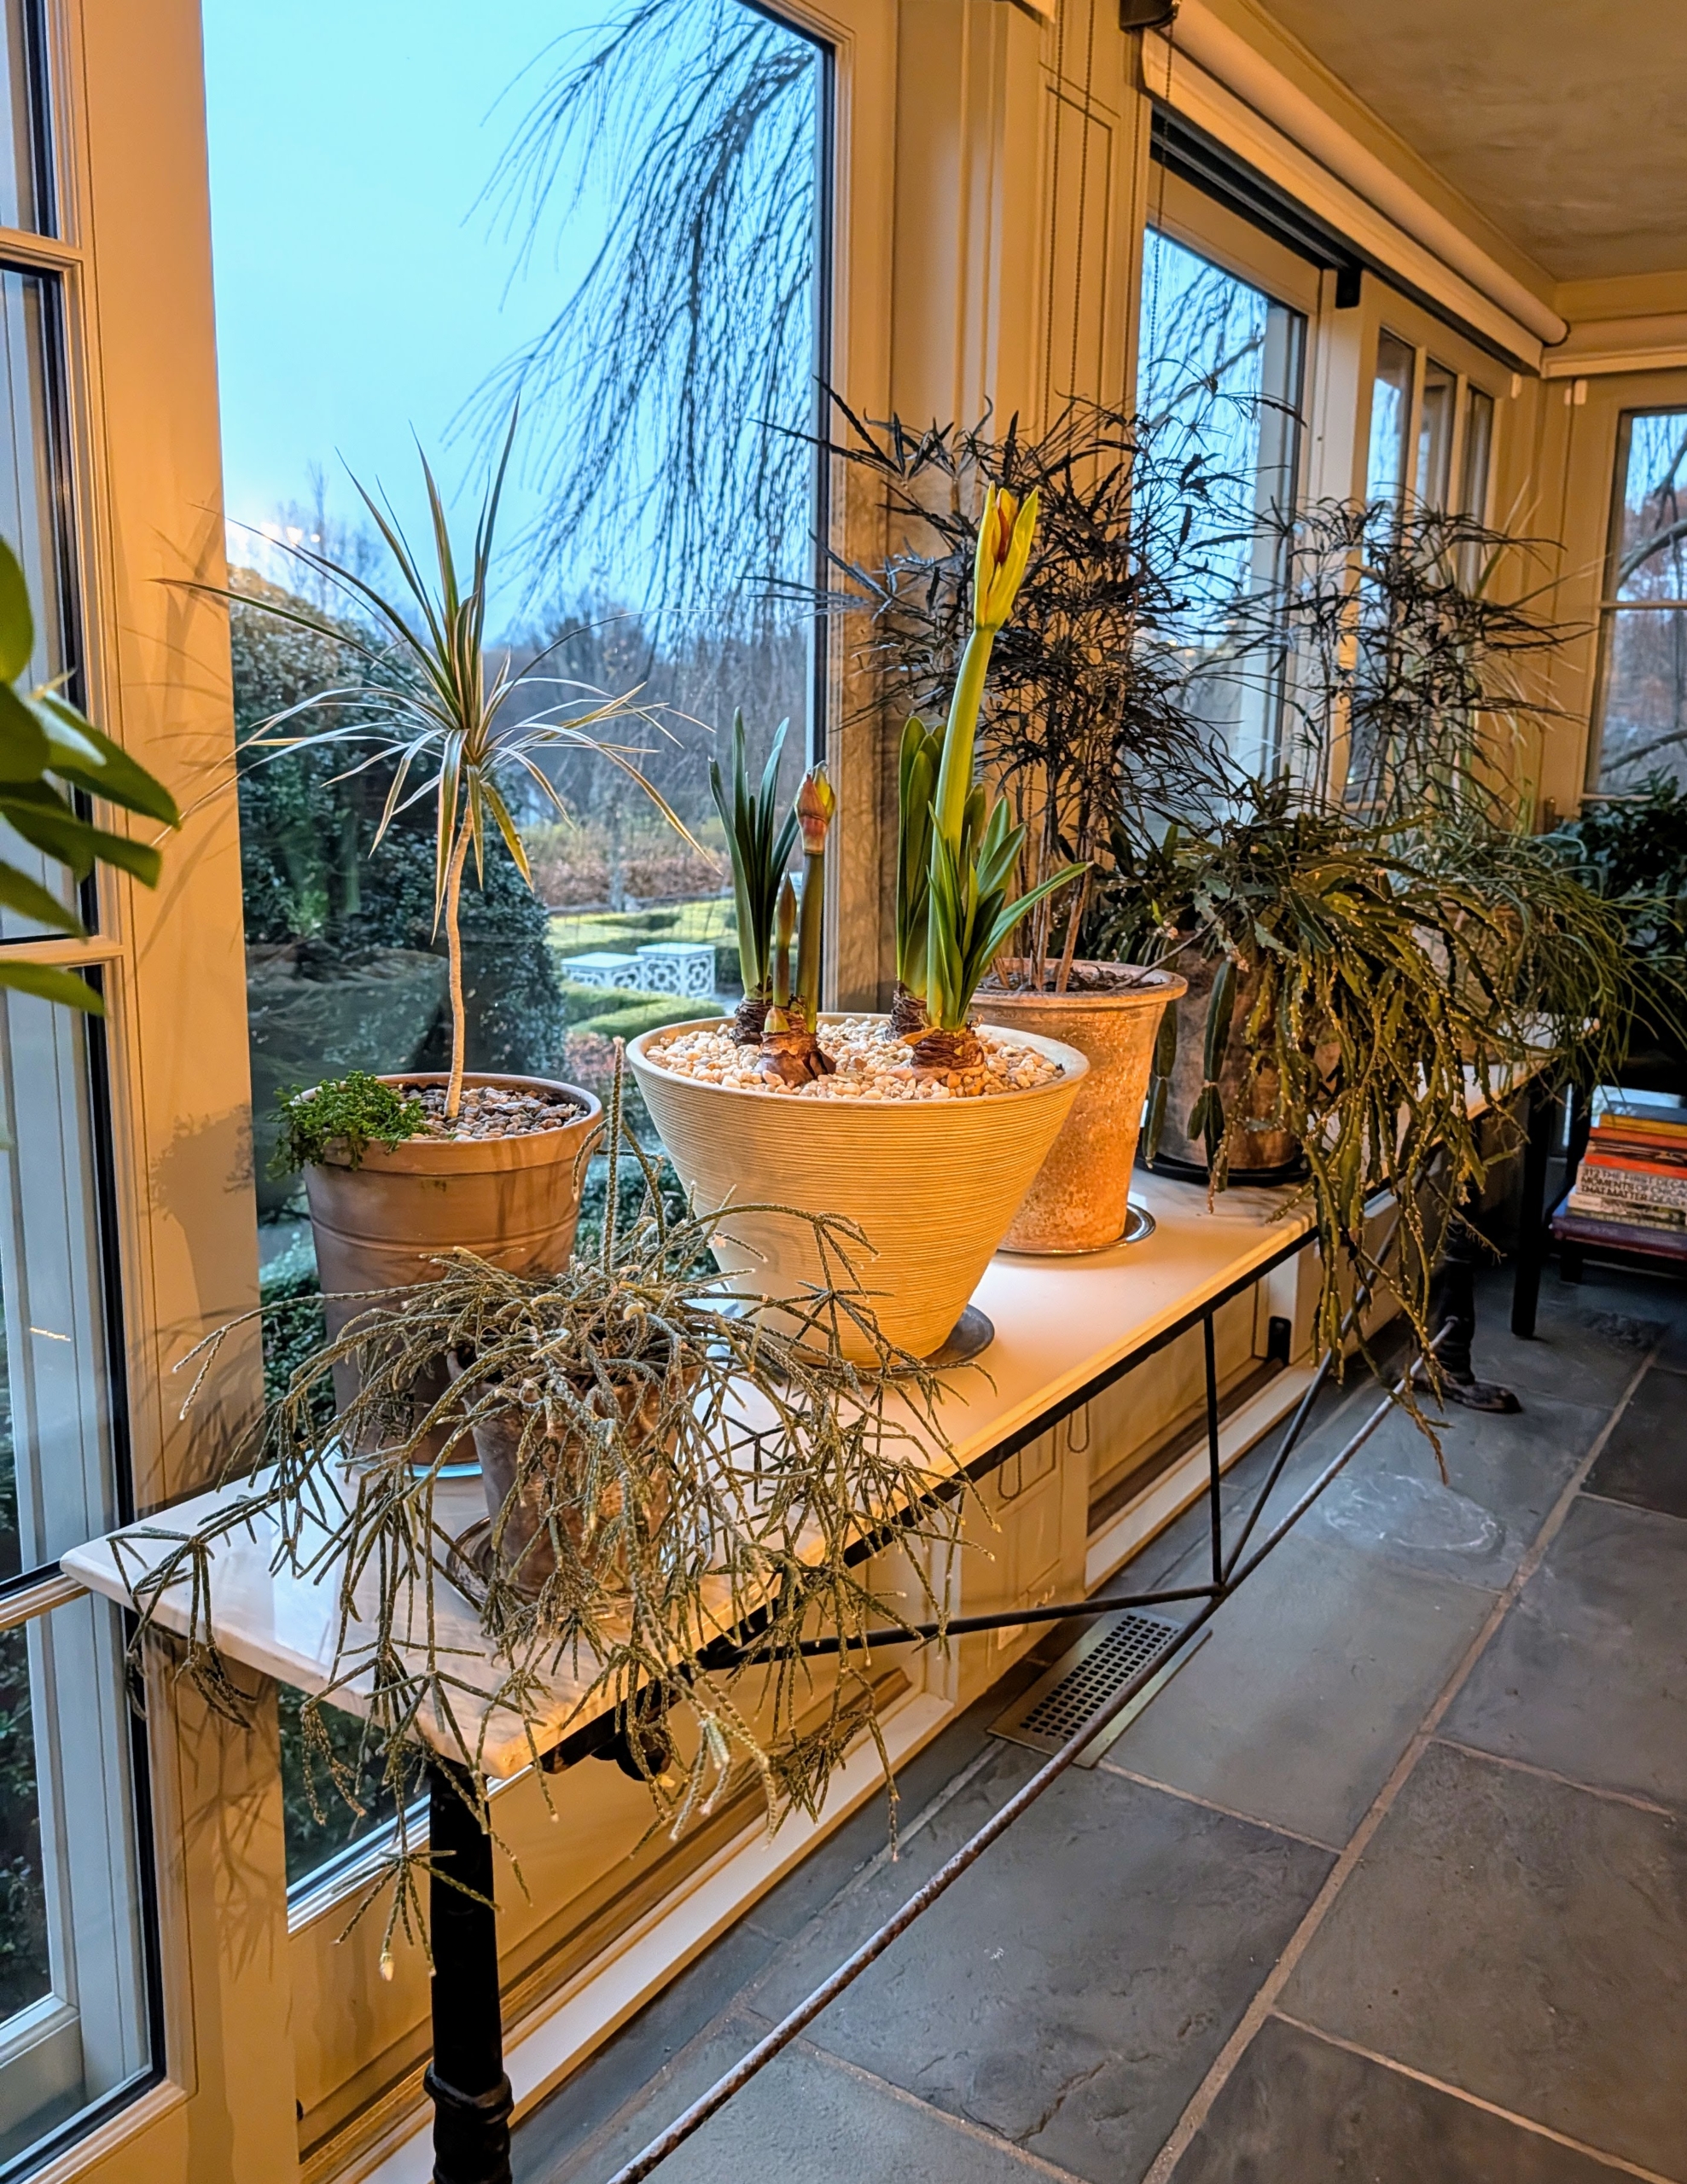
I always like to keep a collection of interesting container plants in my enclosed porch where I can see them every day. Most of my houseplants are kept in the greenhouse, so they can be closely maintained and then moved to my Winter House when I am home. For some time, I've been thinking about where I could put two unused long marble-topped tables. It finally came to me that they would be perfect for the porch - to hold many of my potted specimens, such as Rhipsalis, Dracaena, forced paper whites and amaryllis, and so many others.
Enjoy these photos.
My porch is a lovely space for displaying houseplants. The floor to ceiling windows allow lots of light and the plants surround my desk, where I can enjoy them while writing or while attending remote meetings.
I fill the spaces on both sides of the door with appealing and interesting specimens. All the furniture, including these plant stands, are black and the pots are natural light gray clay.
But then I had the idea to move in these two tables – narrow marble-topped tables on strong, black cast iron legs, that fit perfectly. They brighten up the porch right away.
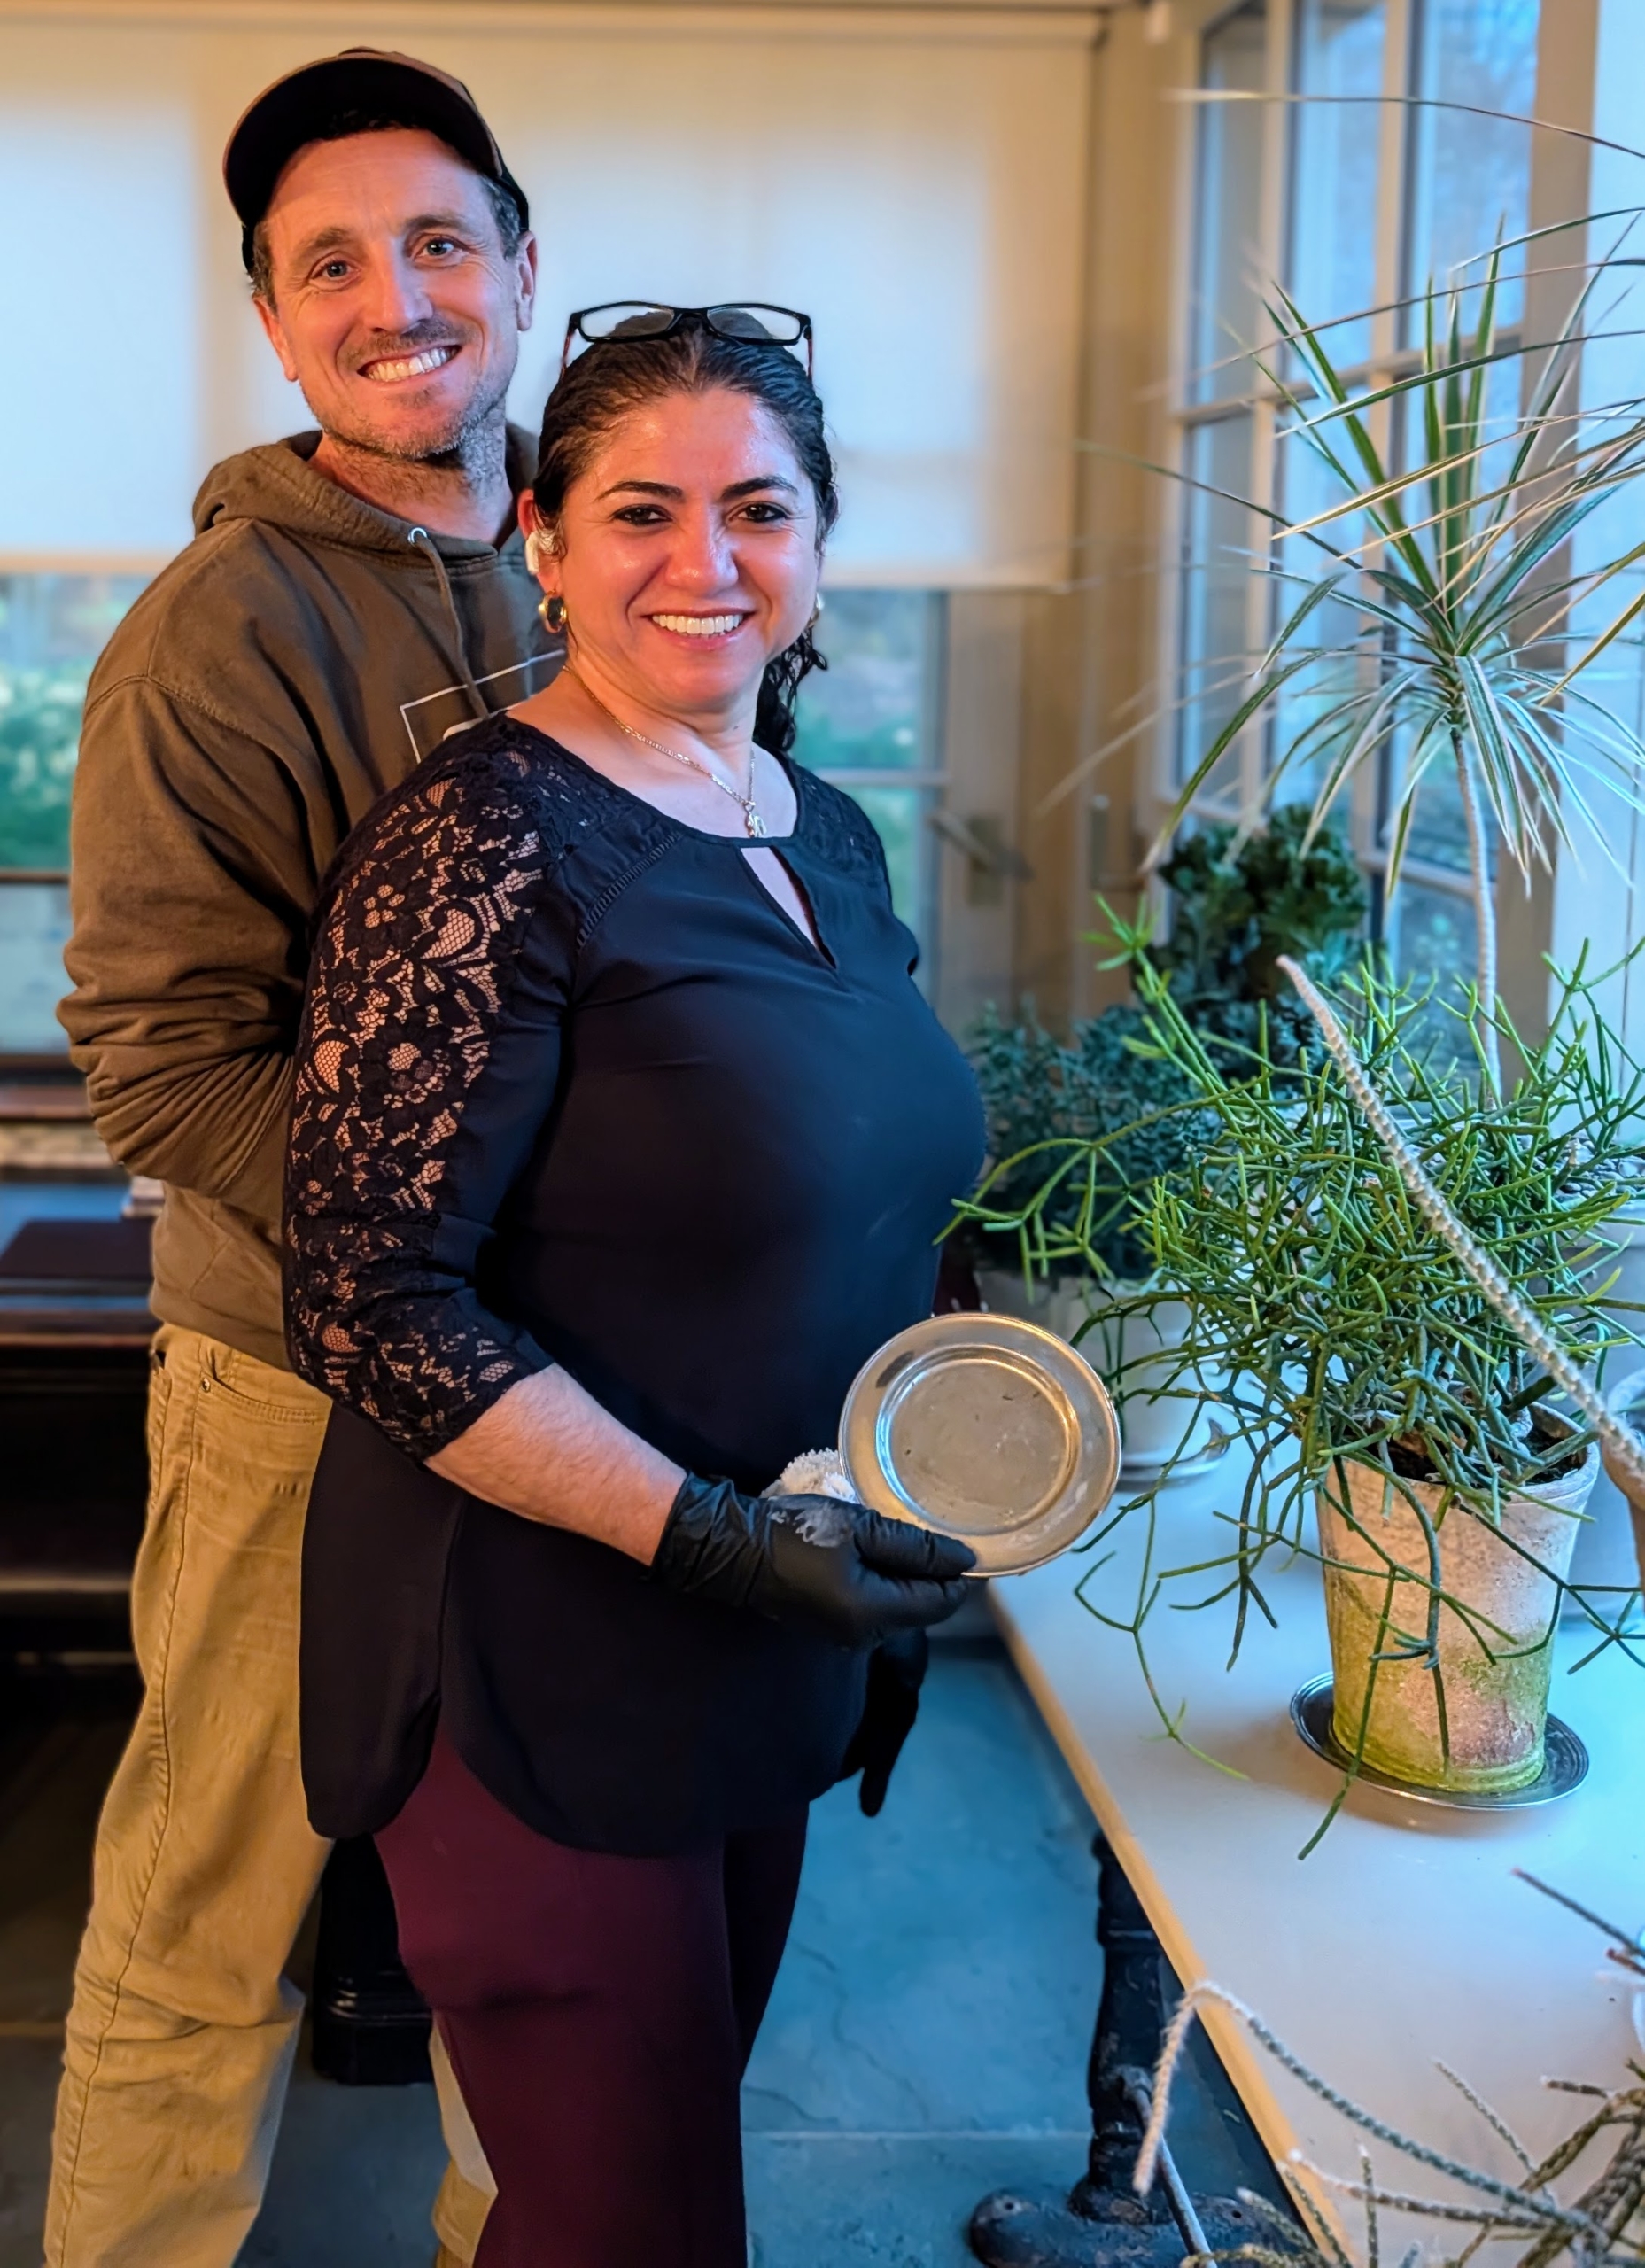
I asked my head gardener, Ryan McCallister, to arrange the plants on the tables and add some more to the collection.
Ryan and my housekeeper, Enma Sandoval, worked together. Enma brought in plates. Whenever I decorate with plants, I use silver, copper, glass, or white plates, purchased from tag sales or antiques fairs, under the pots to catch any water. I find them more decorative than the clay saucers that come with the pots.
The plates are selected individually for each pot. Make sure it is wider than the bottom of the container.
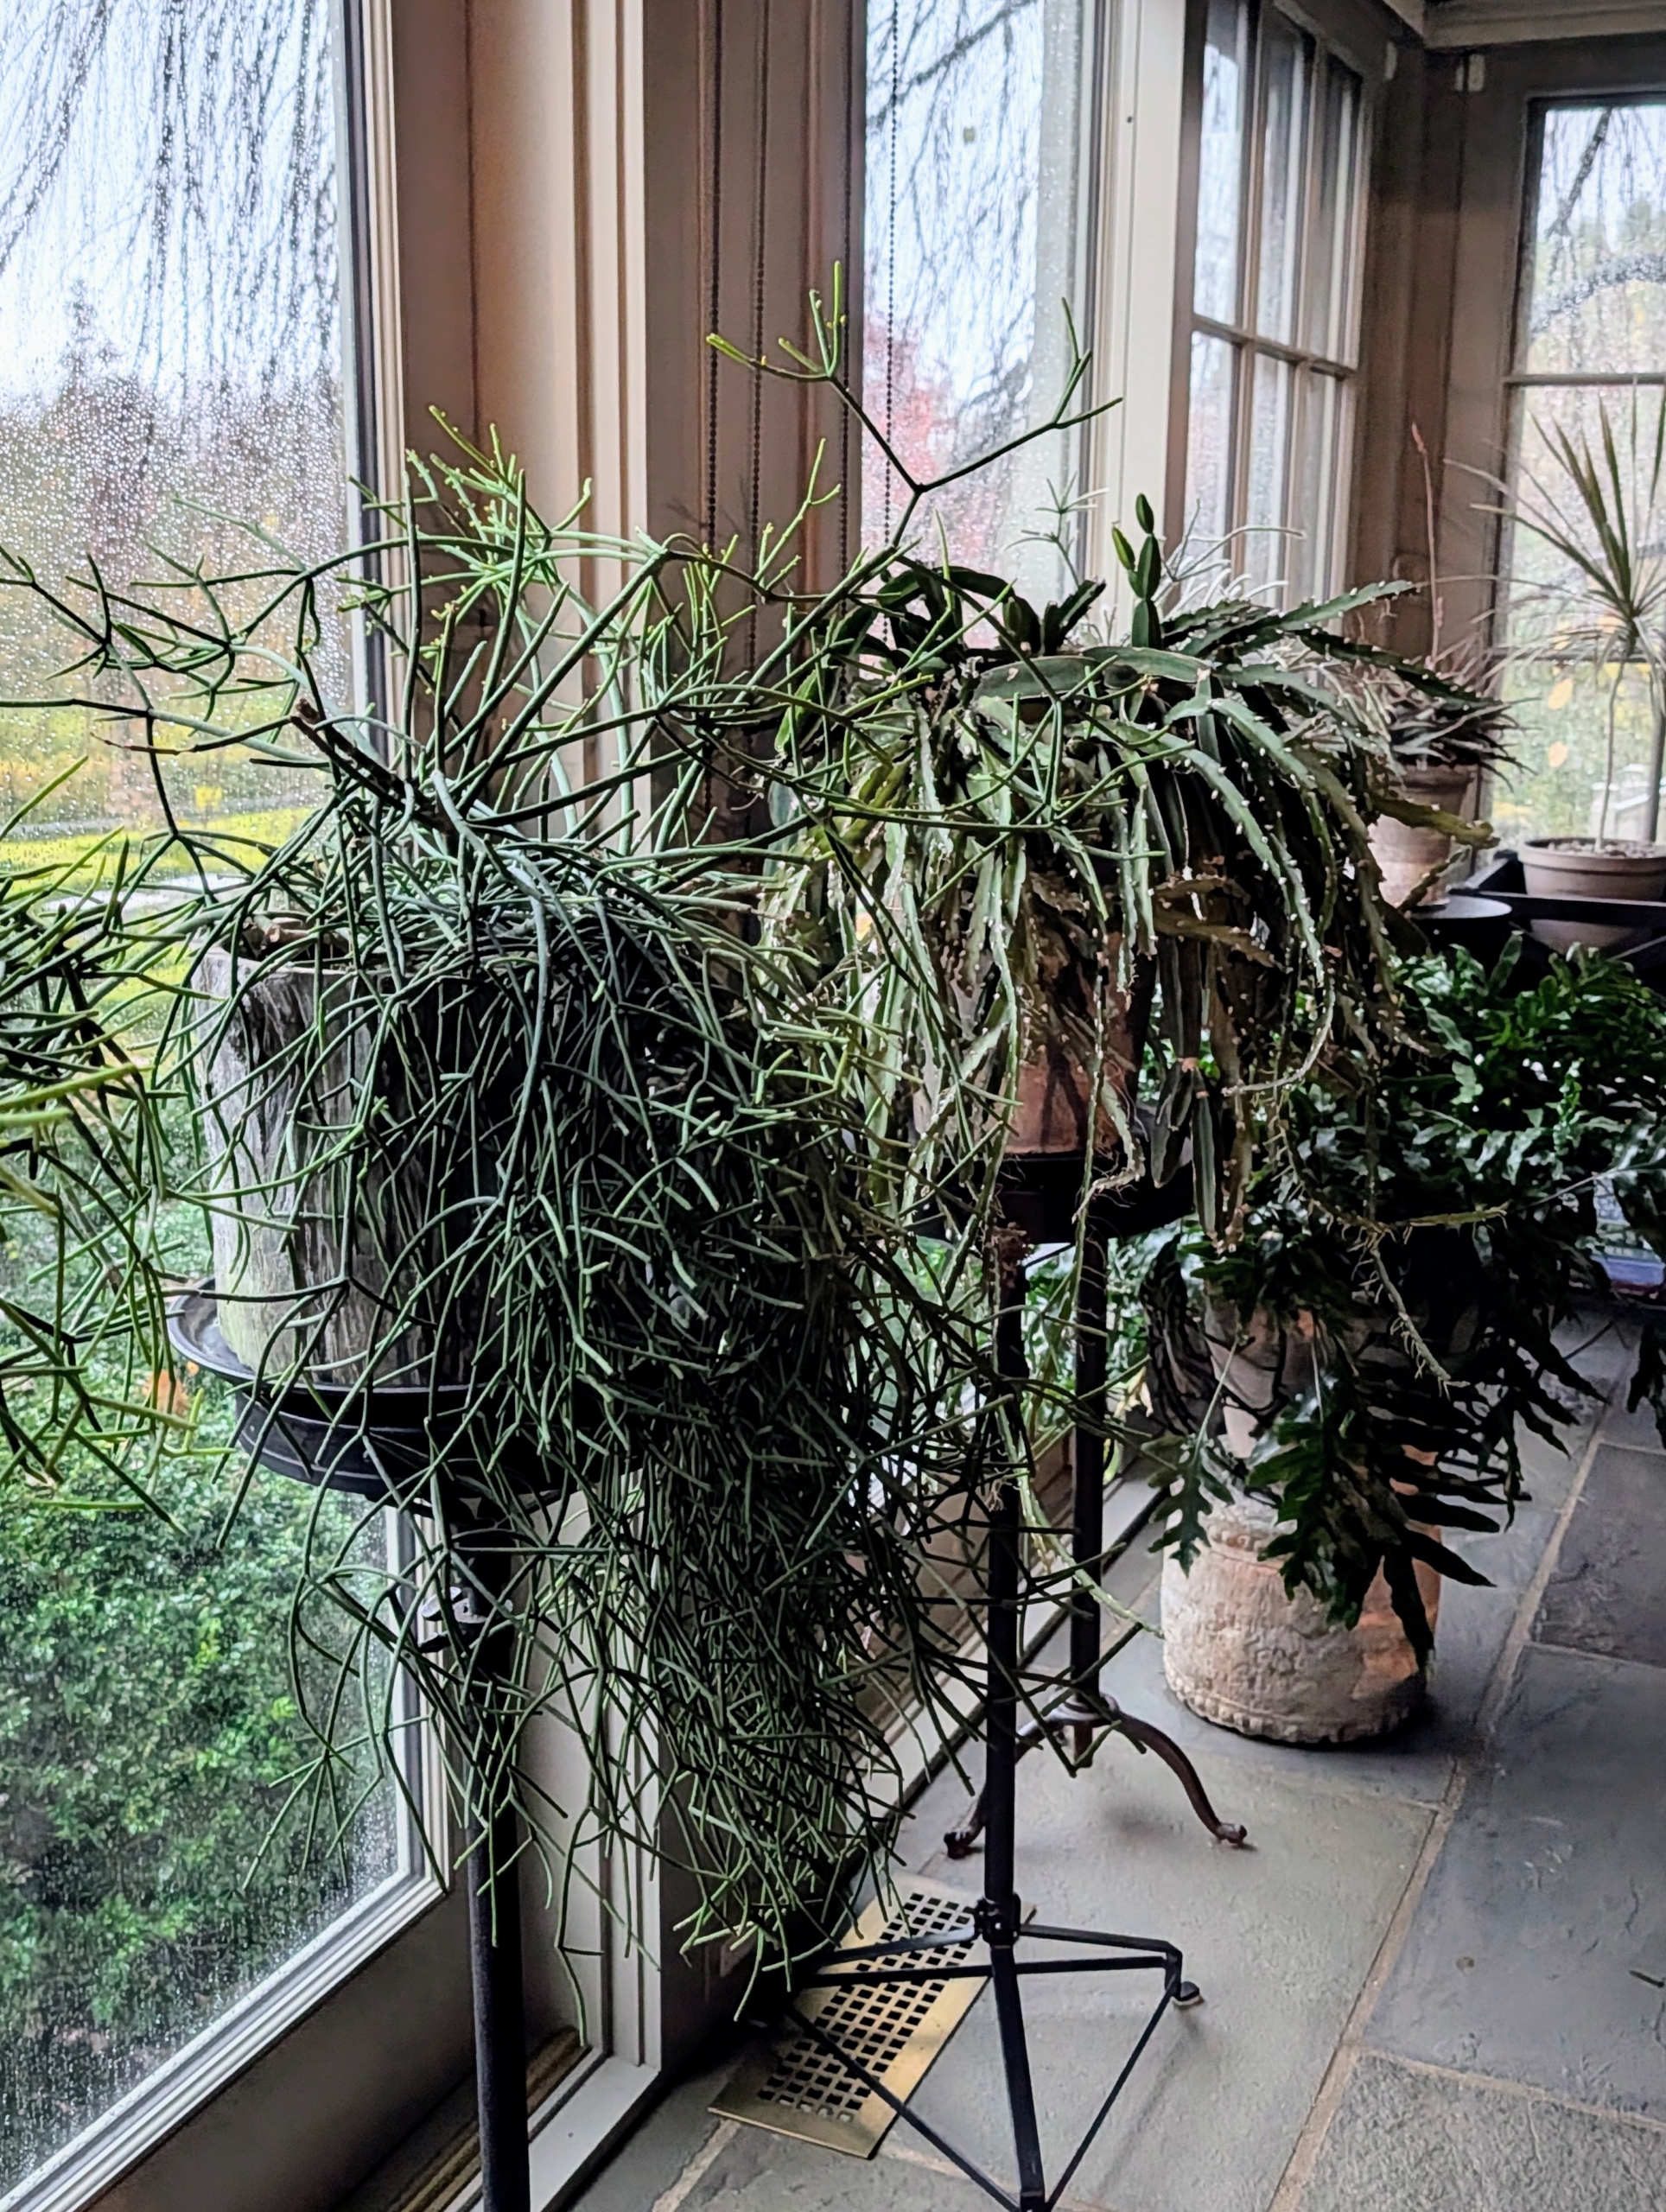
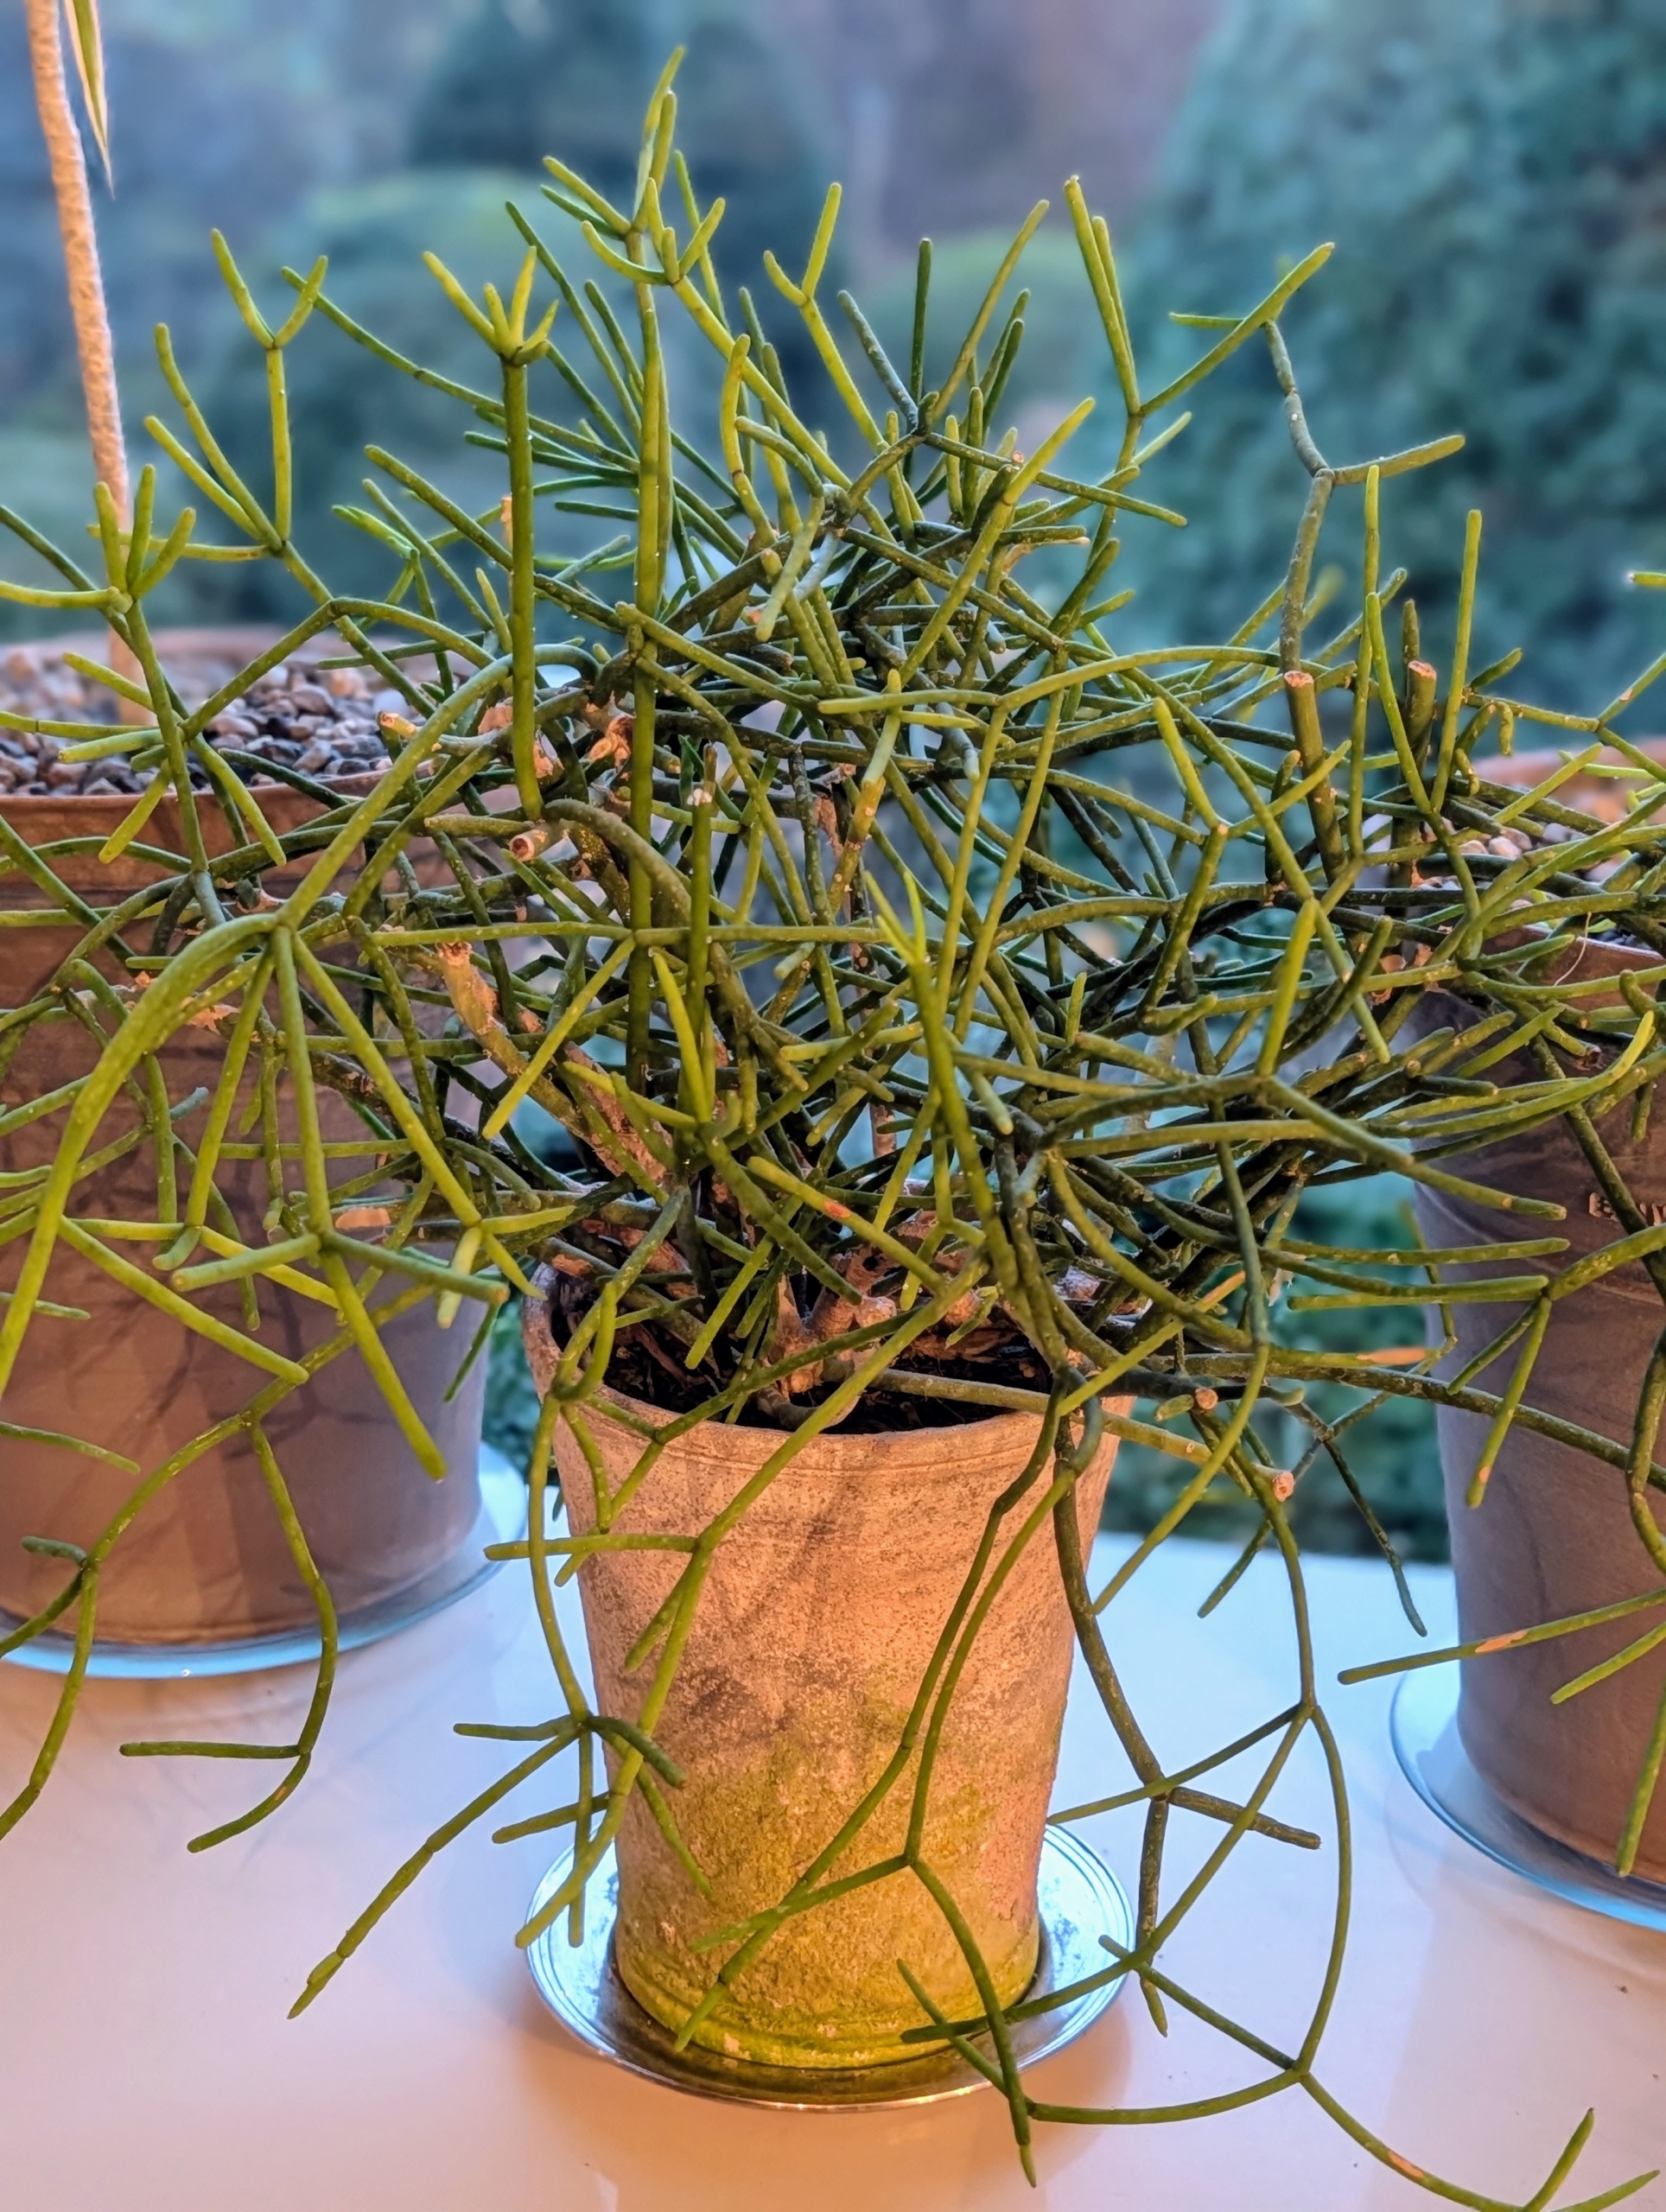
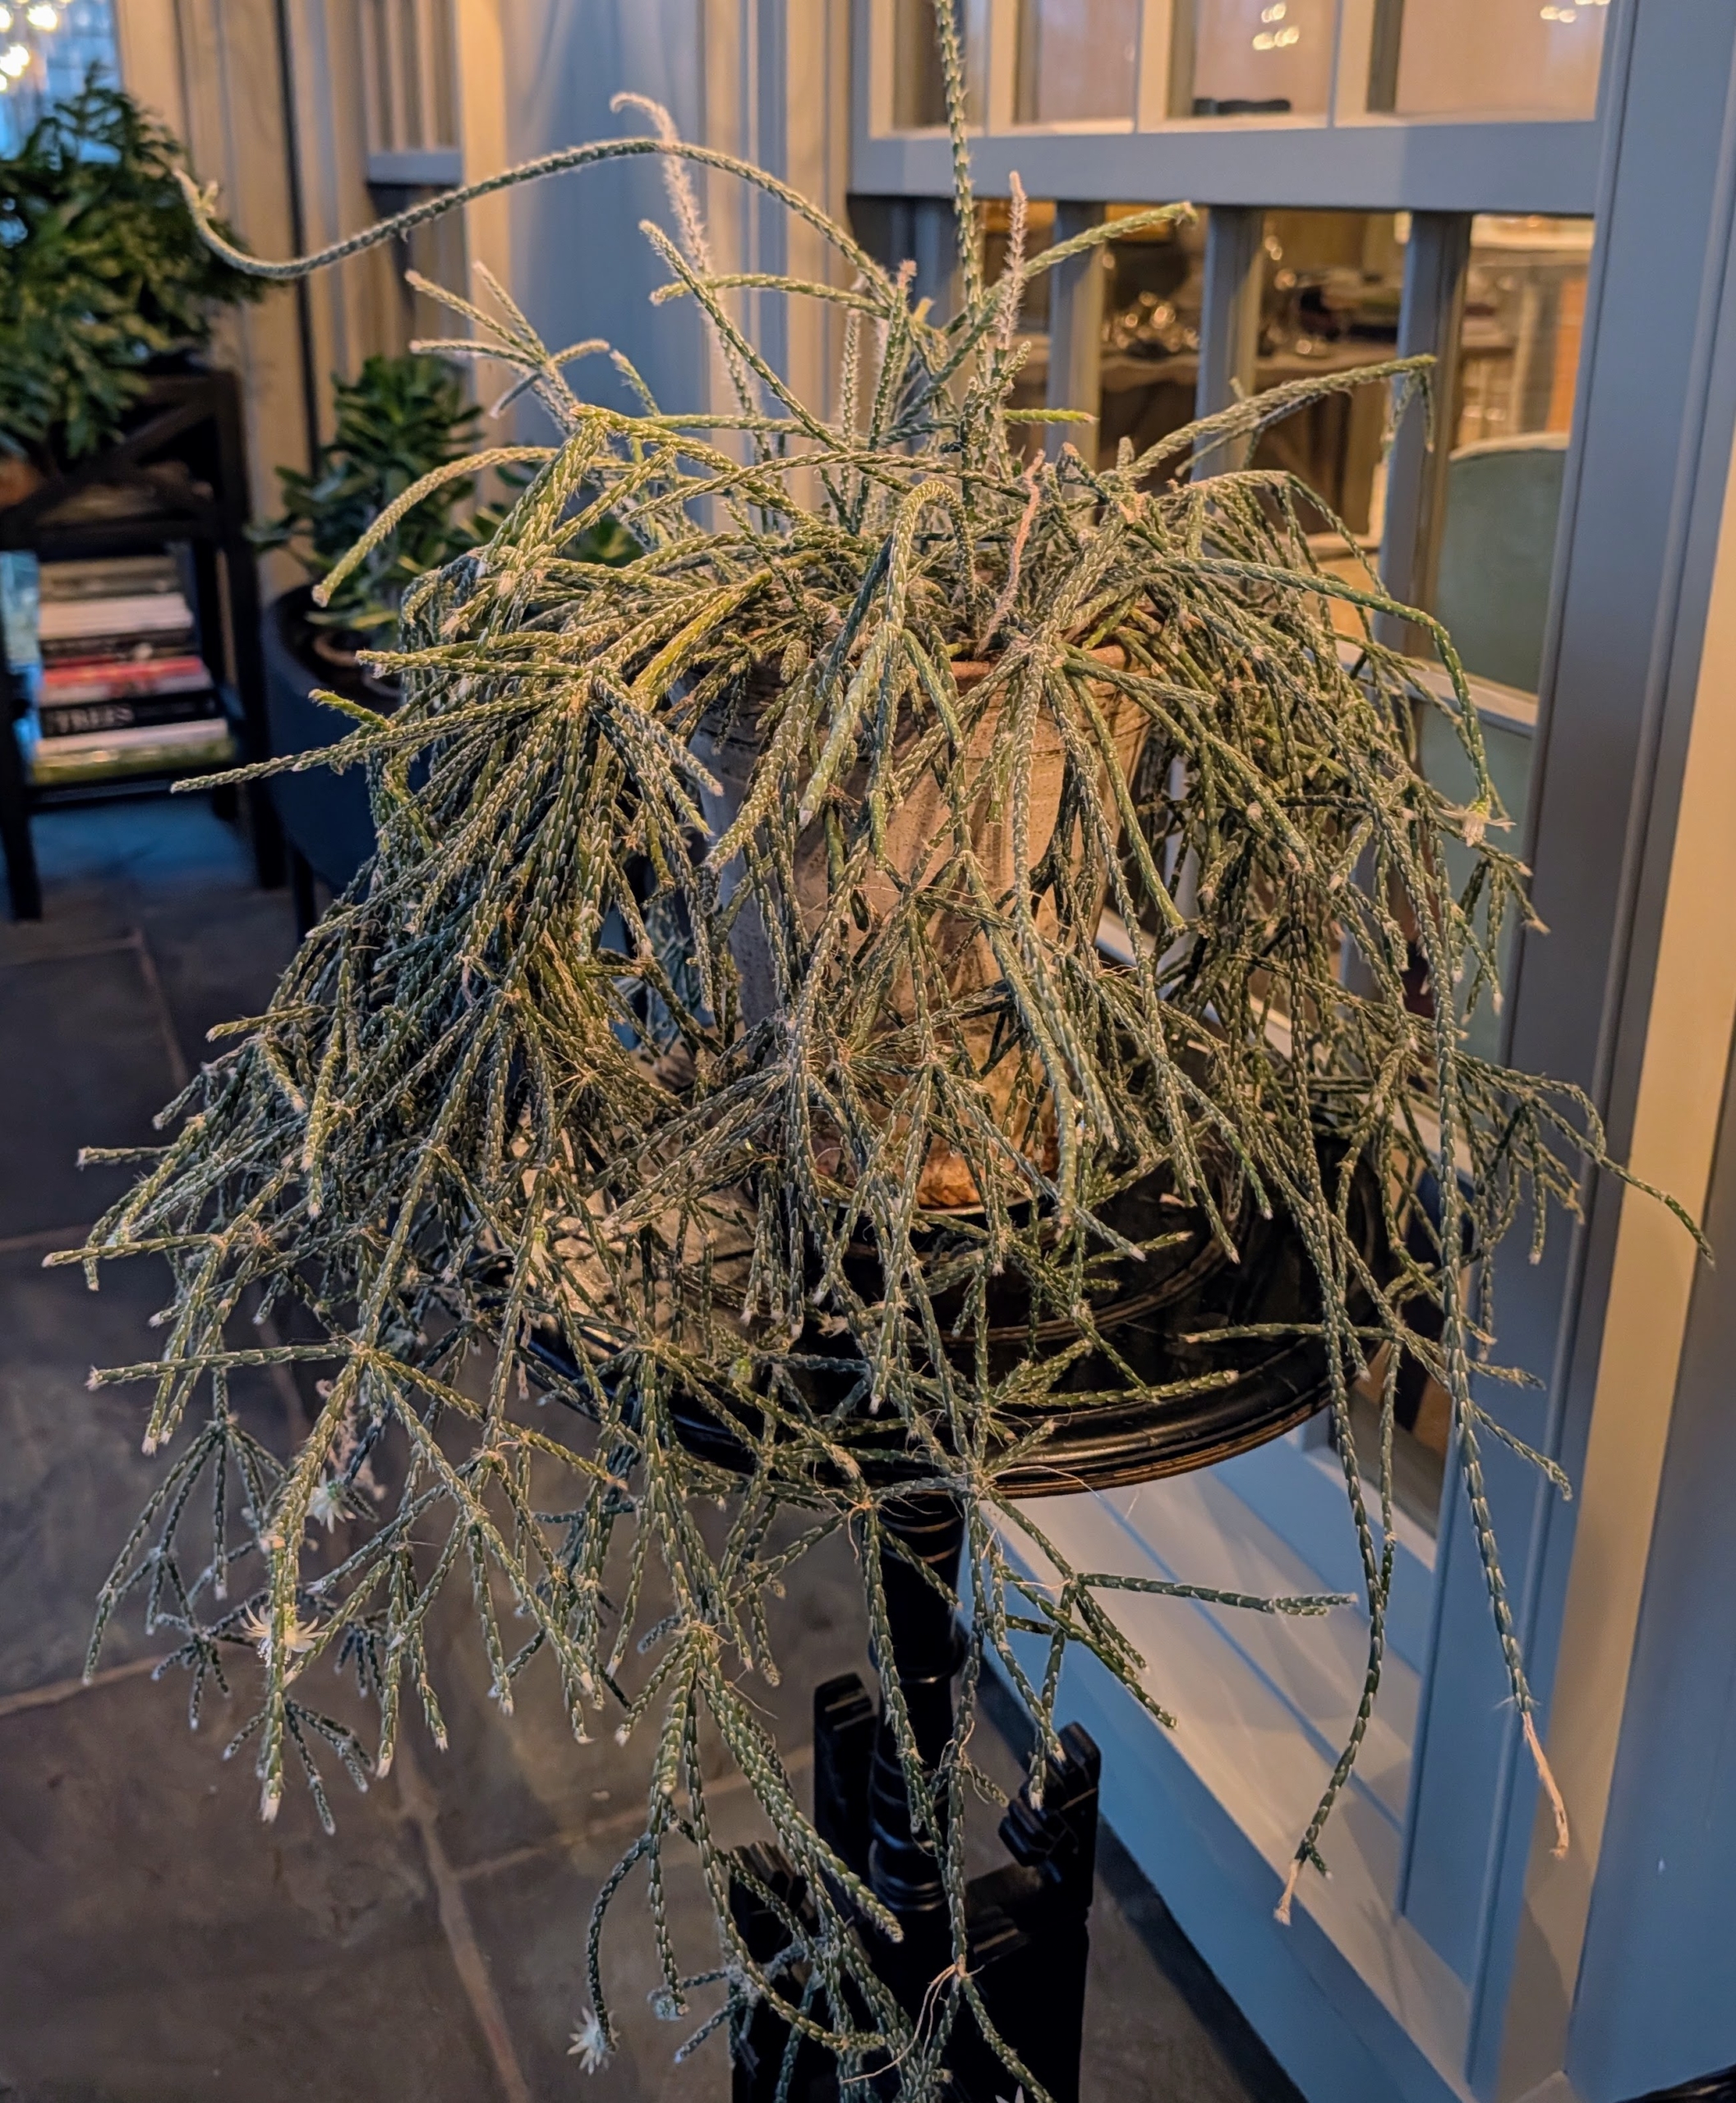
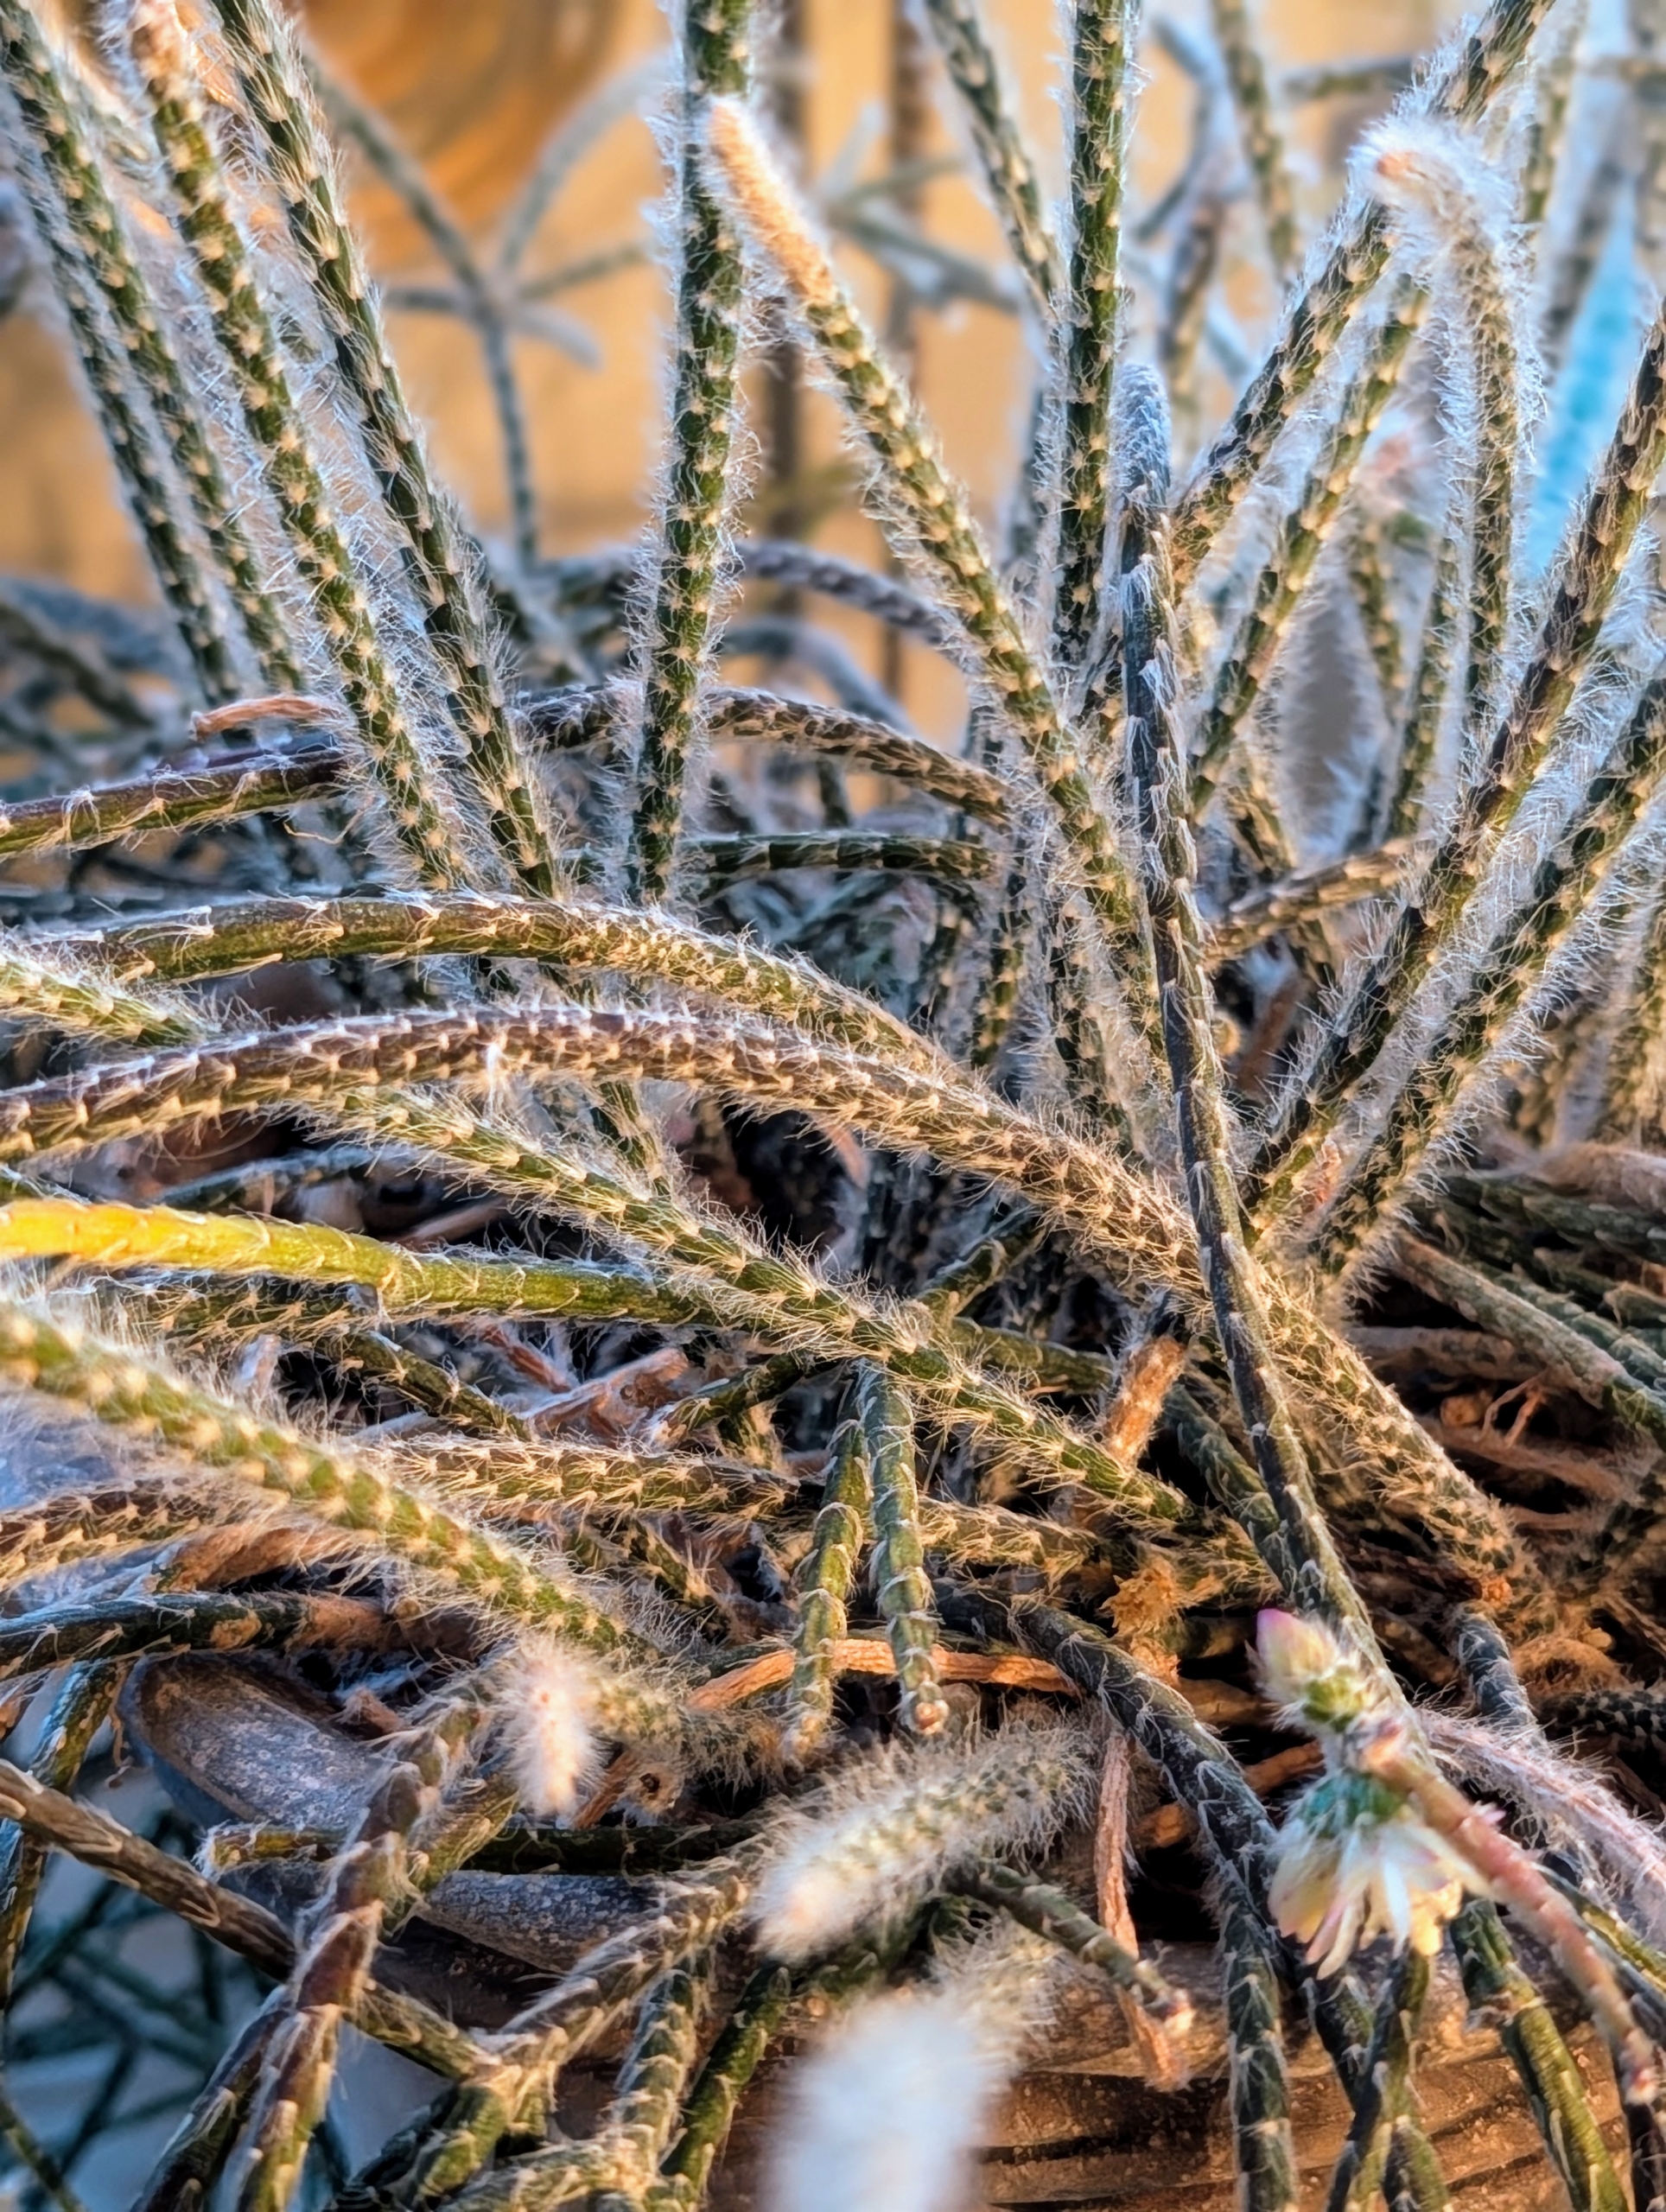
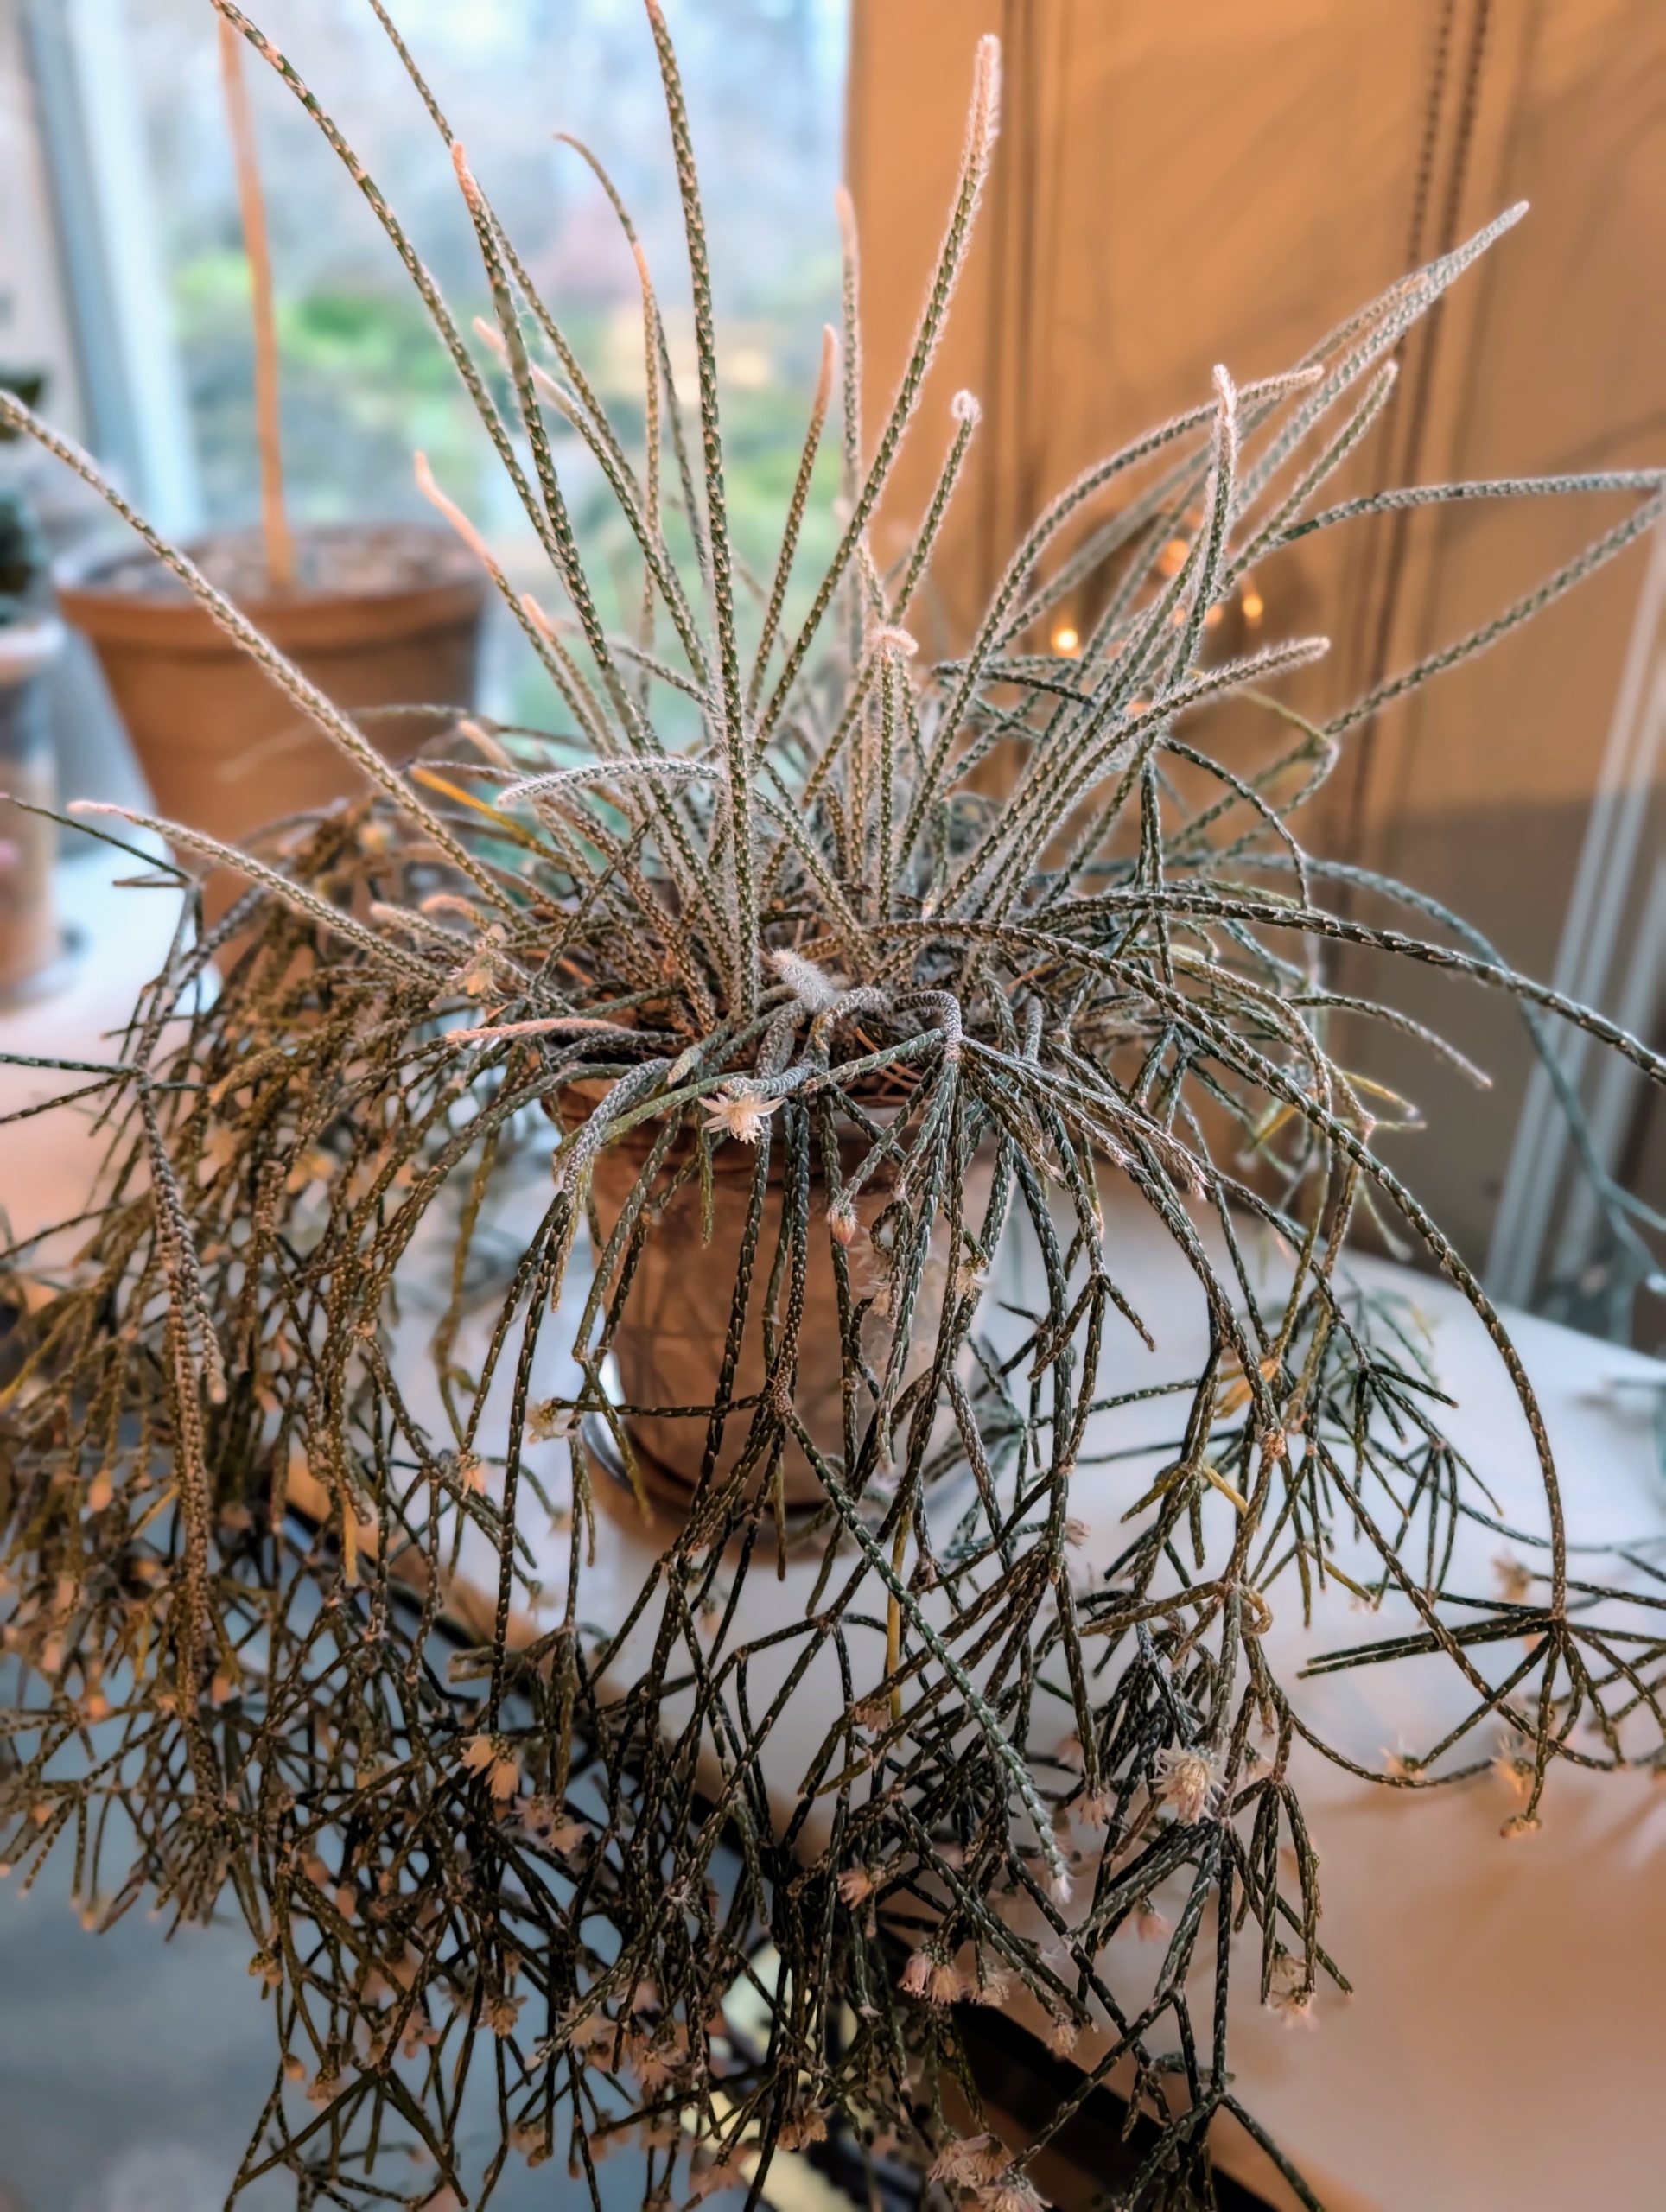
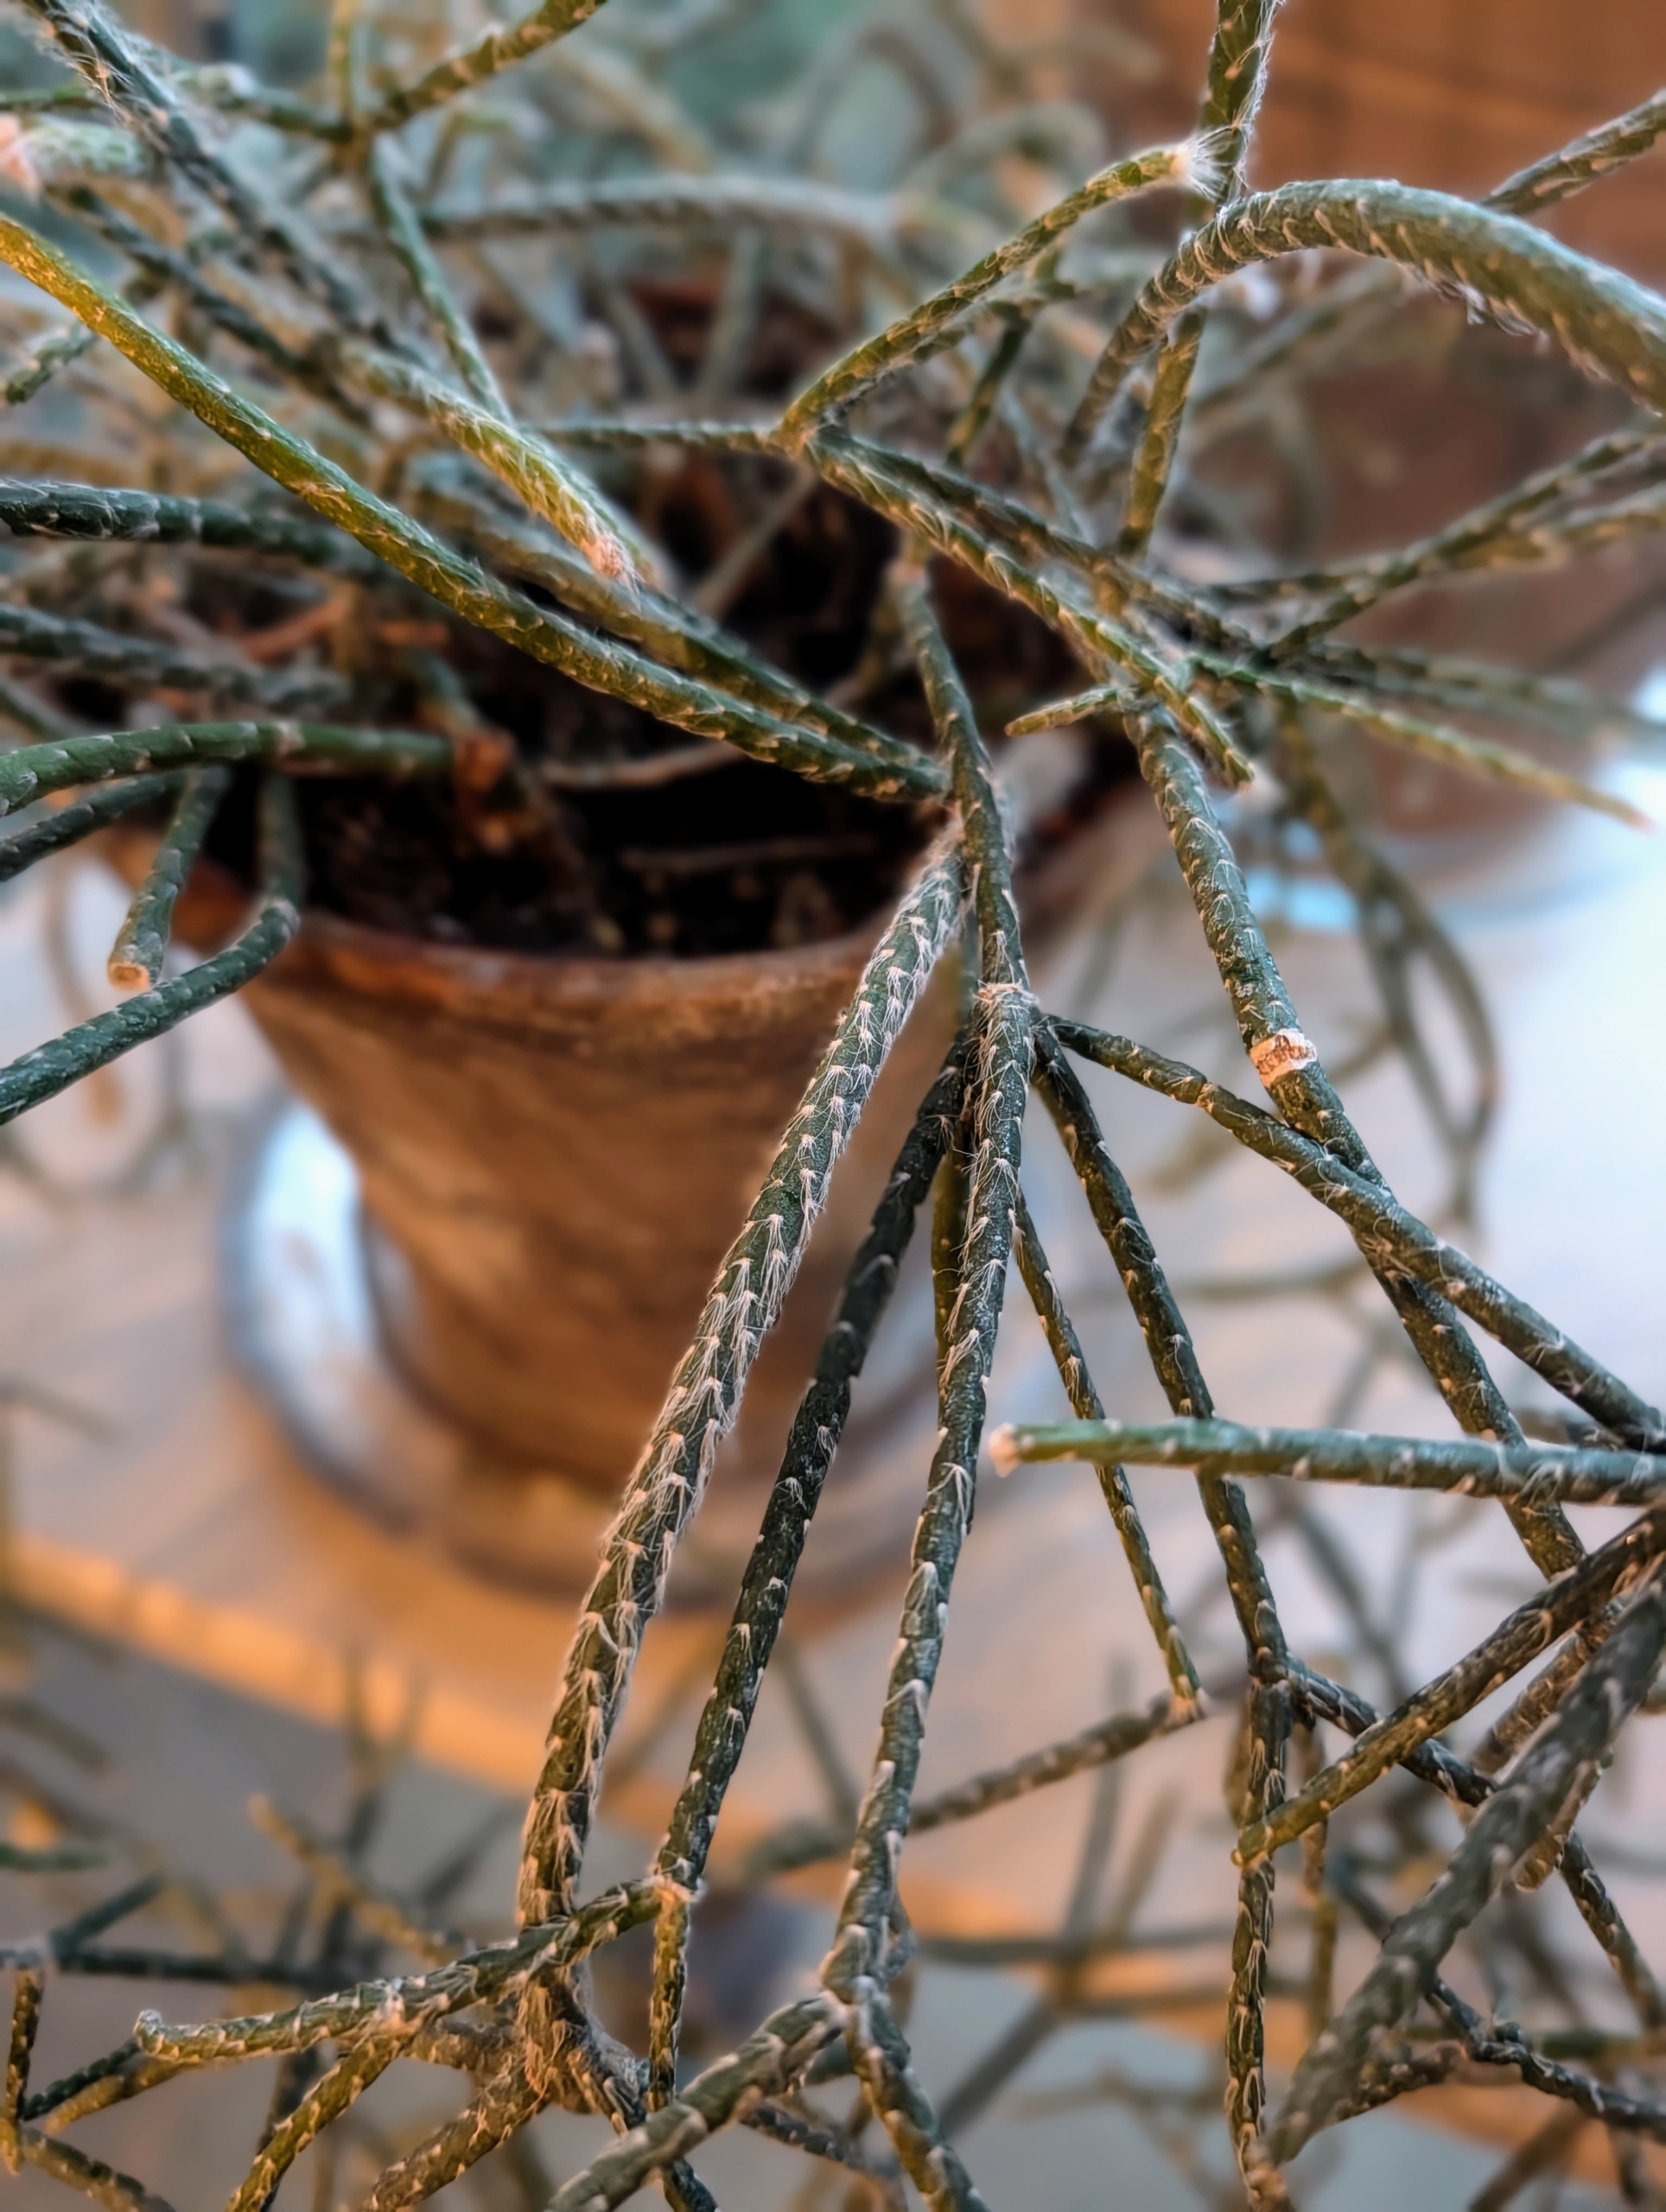
Some of the plants here right now include this potted rhipsalis. It is native to the rainforests of South America, the Caribbean and Central America. Rhipsalis is a cacti genus with approximately 35 distinct species. I have many types of rhipsalis growing in my greenhouse.
Rhipsalis specimens have long, trailing stems making them perfect choices as indoor hanging plants.
Also known as chain cactus or mistletoe cactus, the thread-like succulent stems on the cactus are narrow, green and in can grow several feet long.
These plants prefer bright, indirect light. Rhipsalis plants also appreciate a good misting now and again and watering about once a week, or whenever the soil becomes dry.
Displayed on its own or with other specimens, rhipsalis plants always get lots of attention.
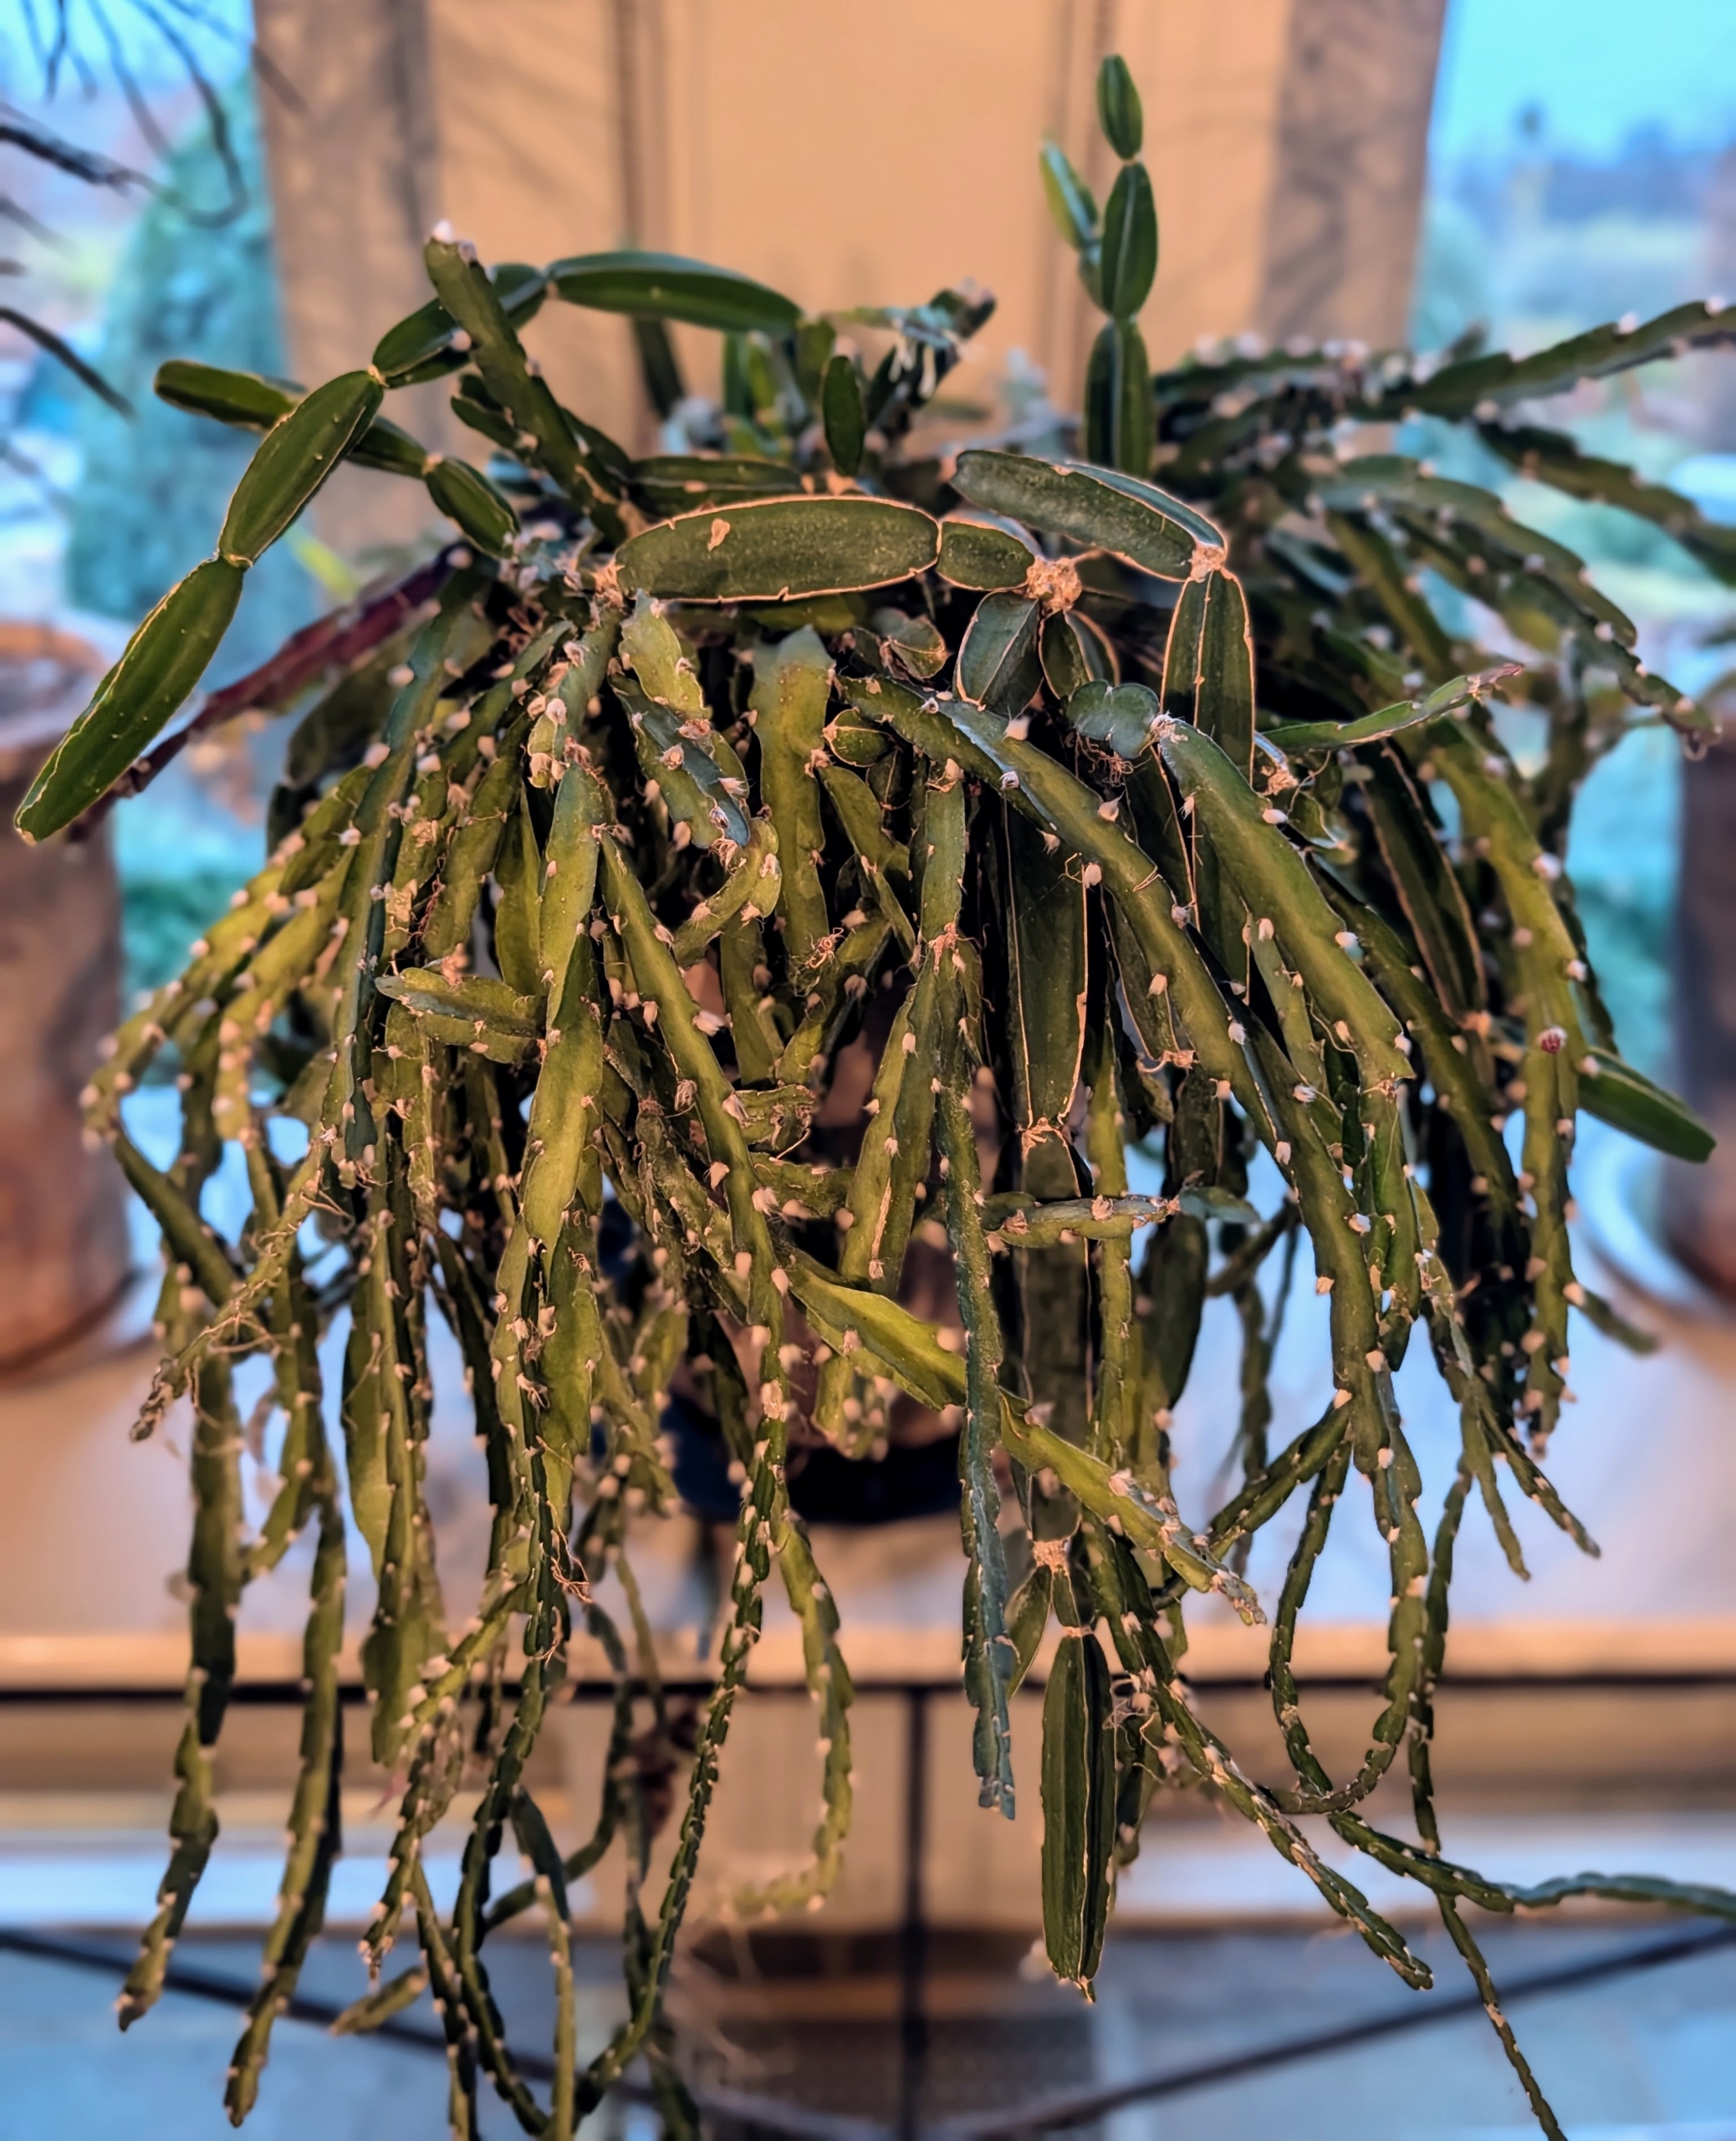
If you like growing plants, but don’t really have a lot of time to care for them, consider growing succulents. Succulents, which includes the cactus family, require very little maintenance. These plants are able to survive prolonged drought because they store moisture in their fleshy stems, roots, and leaves.
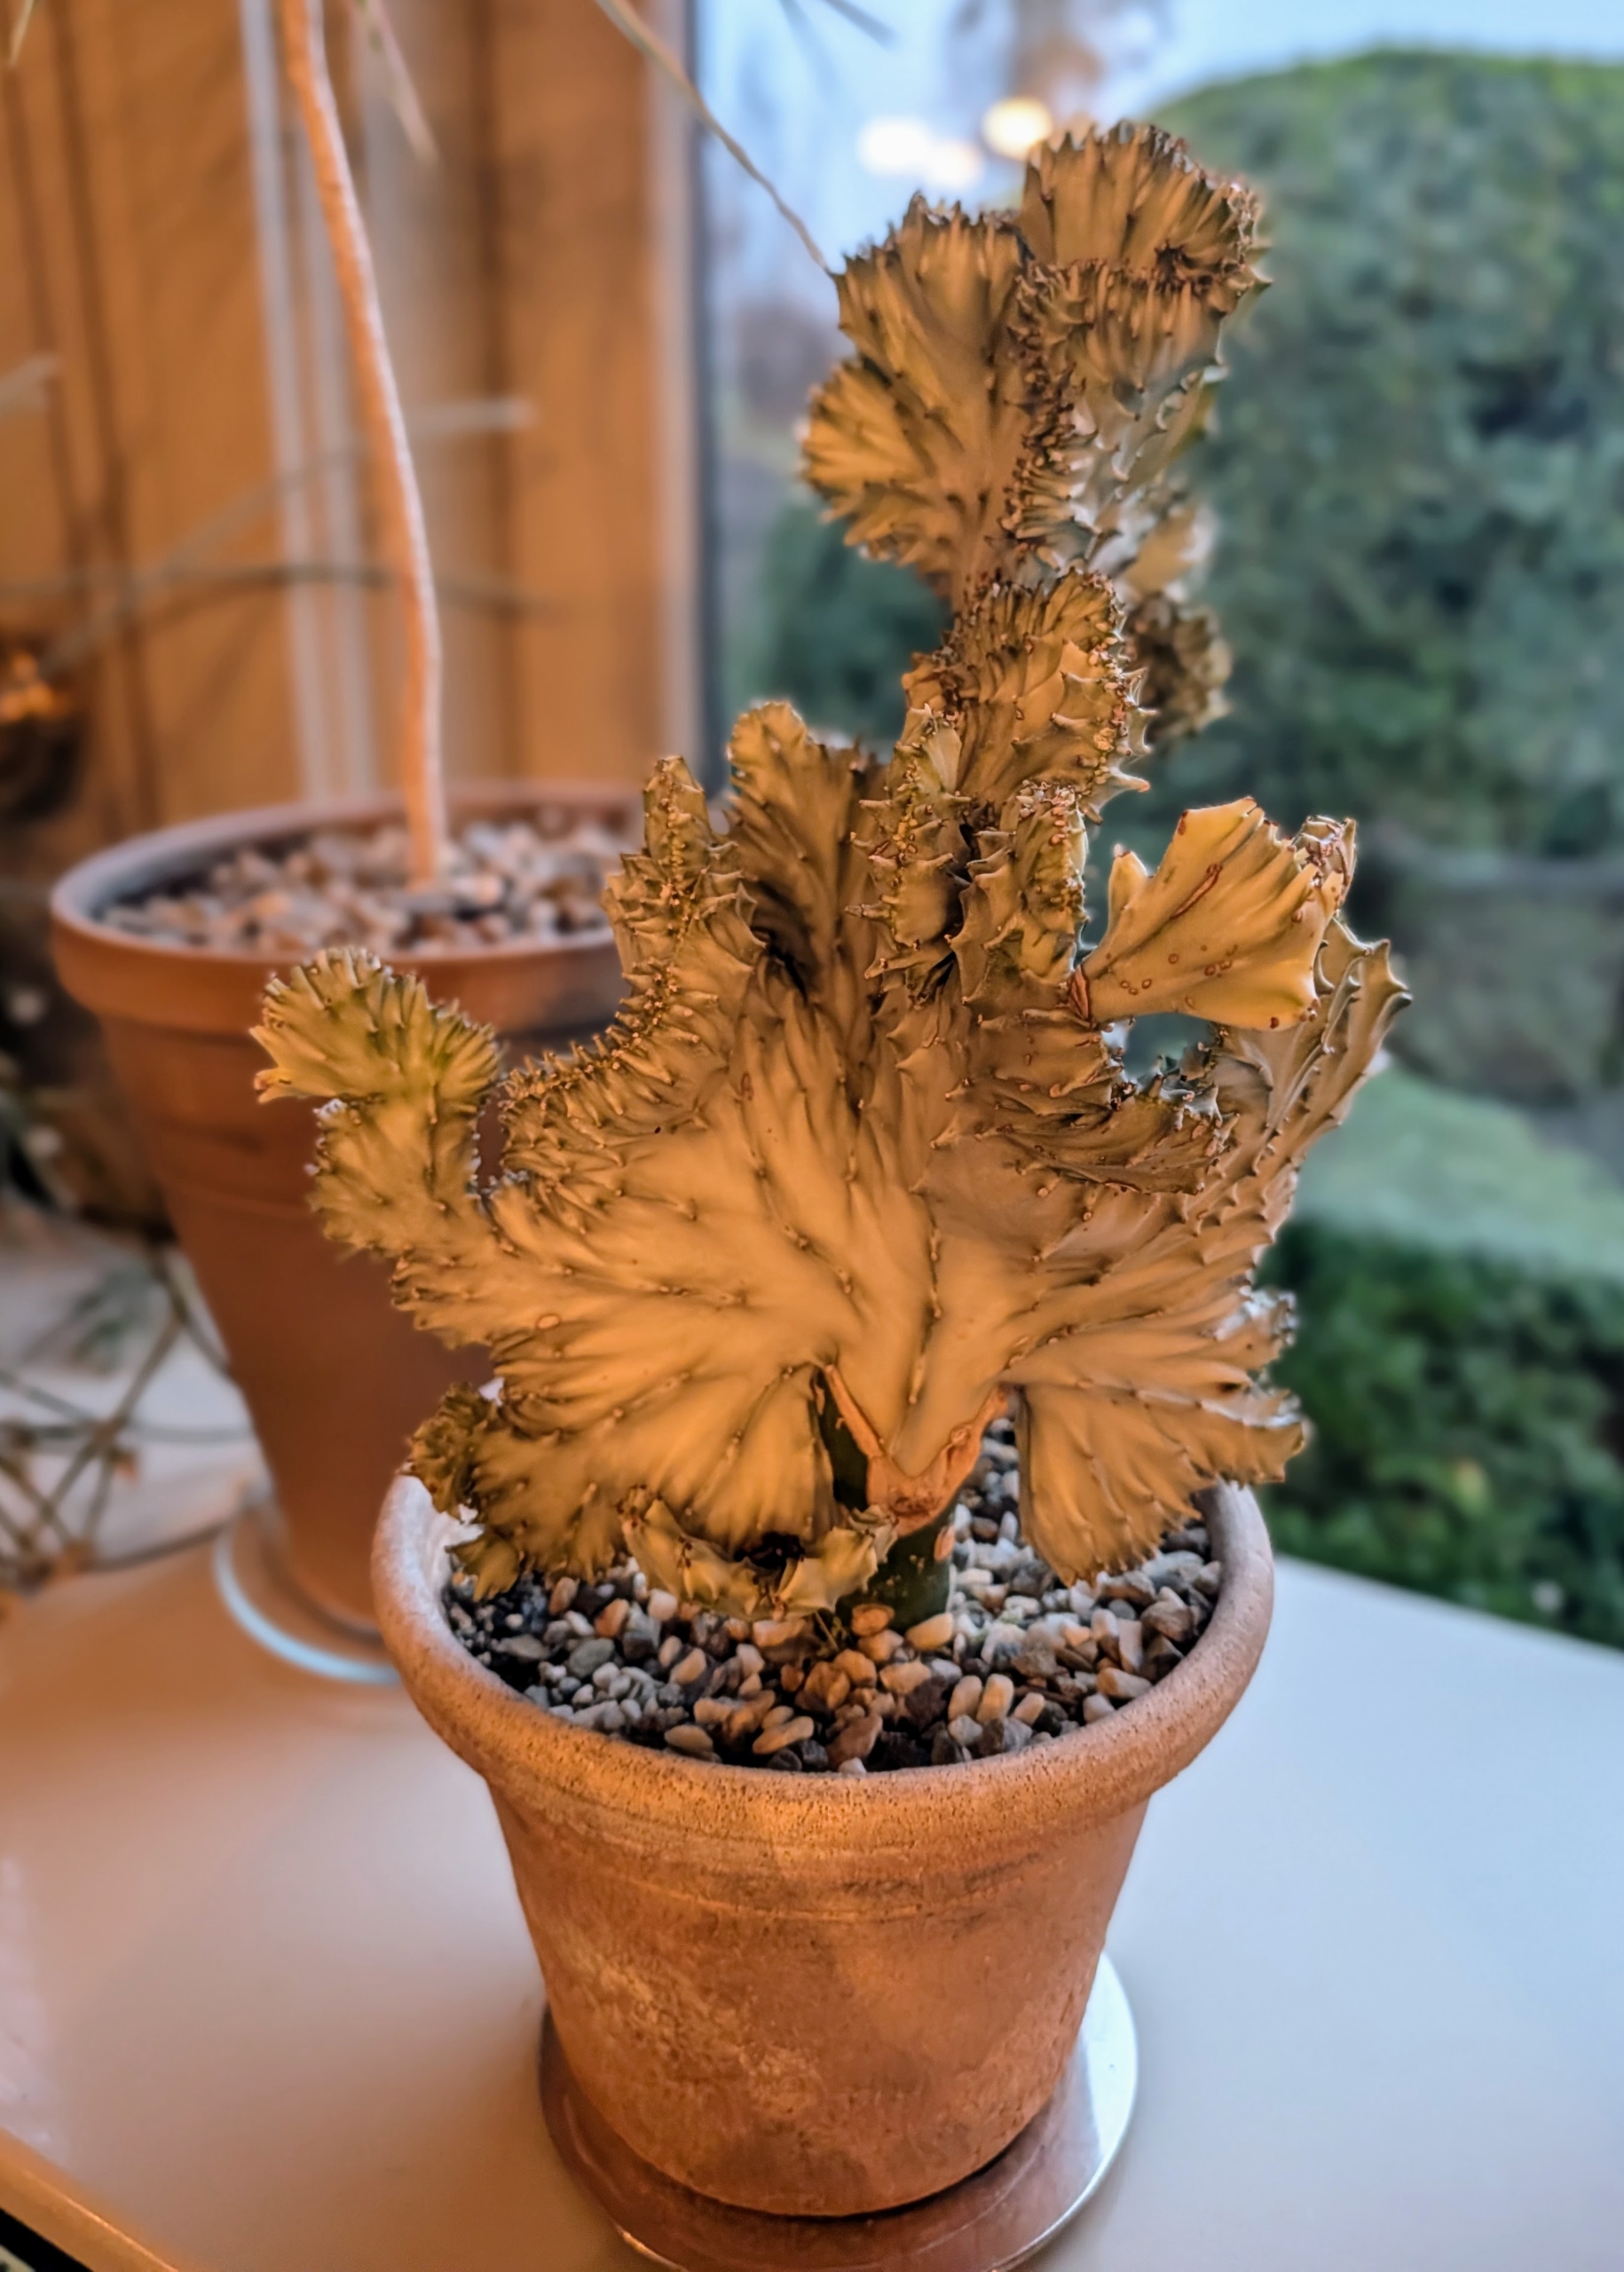
This is Euphorbia lactea is also known as a “Coral Cactus.” It is a species native to tropical Asia, mainly in India. The showy part of the plant, the section that resembles coral, is called the crest. The ridges are spiny, with short spines.
On the other side of the porch is a jade plant, Crassula ovata – another popular succulent characterized by its thick, woody stems and shiny, oval shaped leaves. It’s well known for its ease of care – it can live for many years if maintained properly.
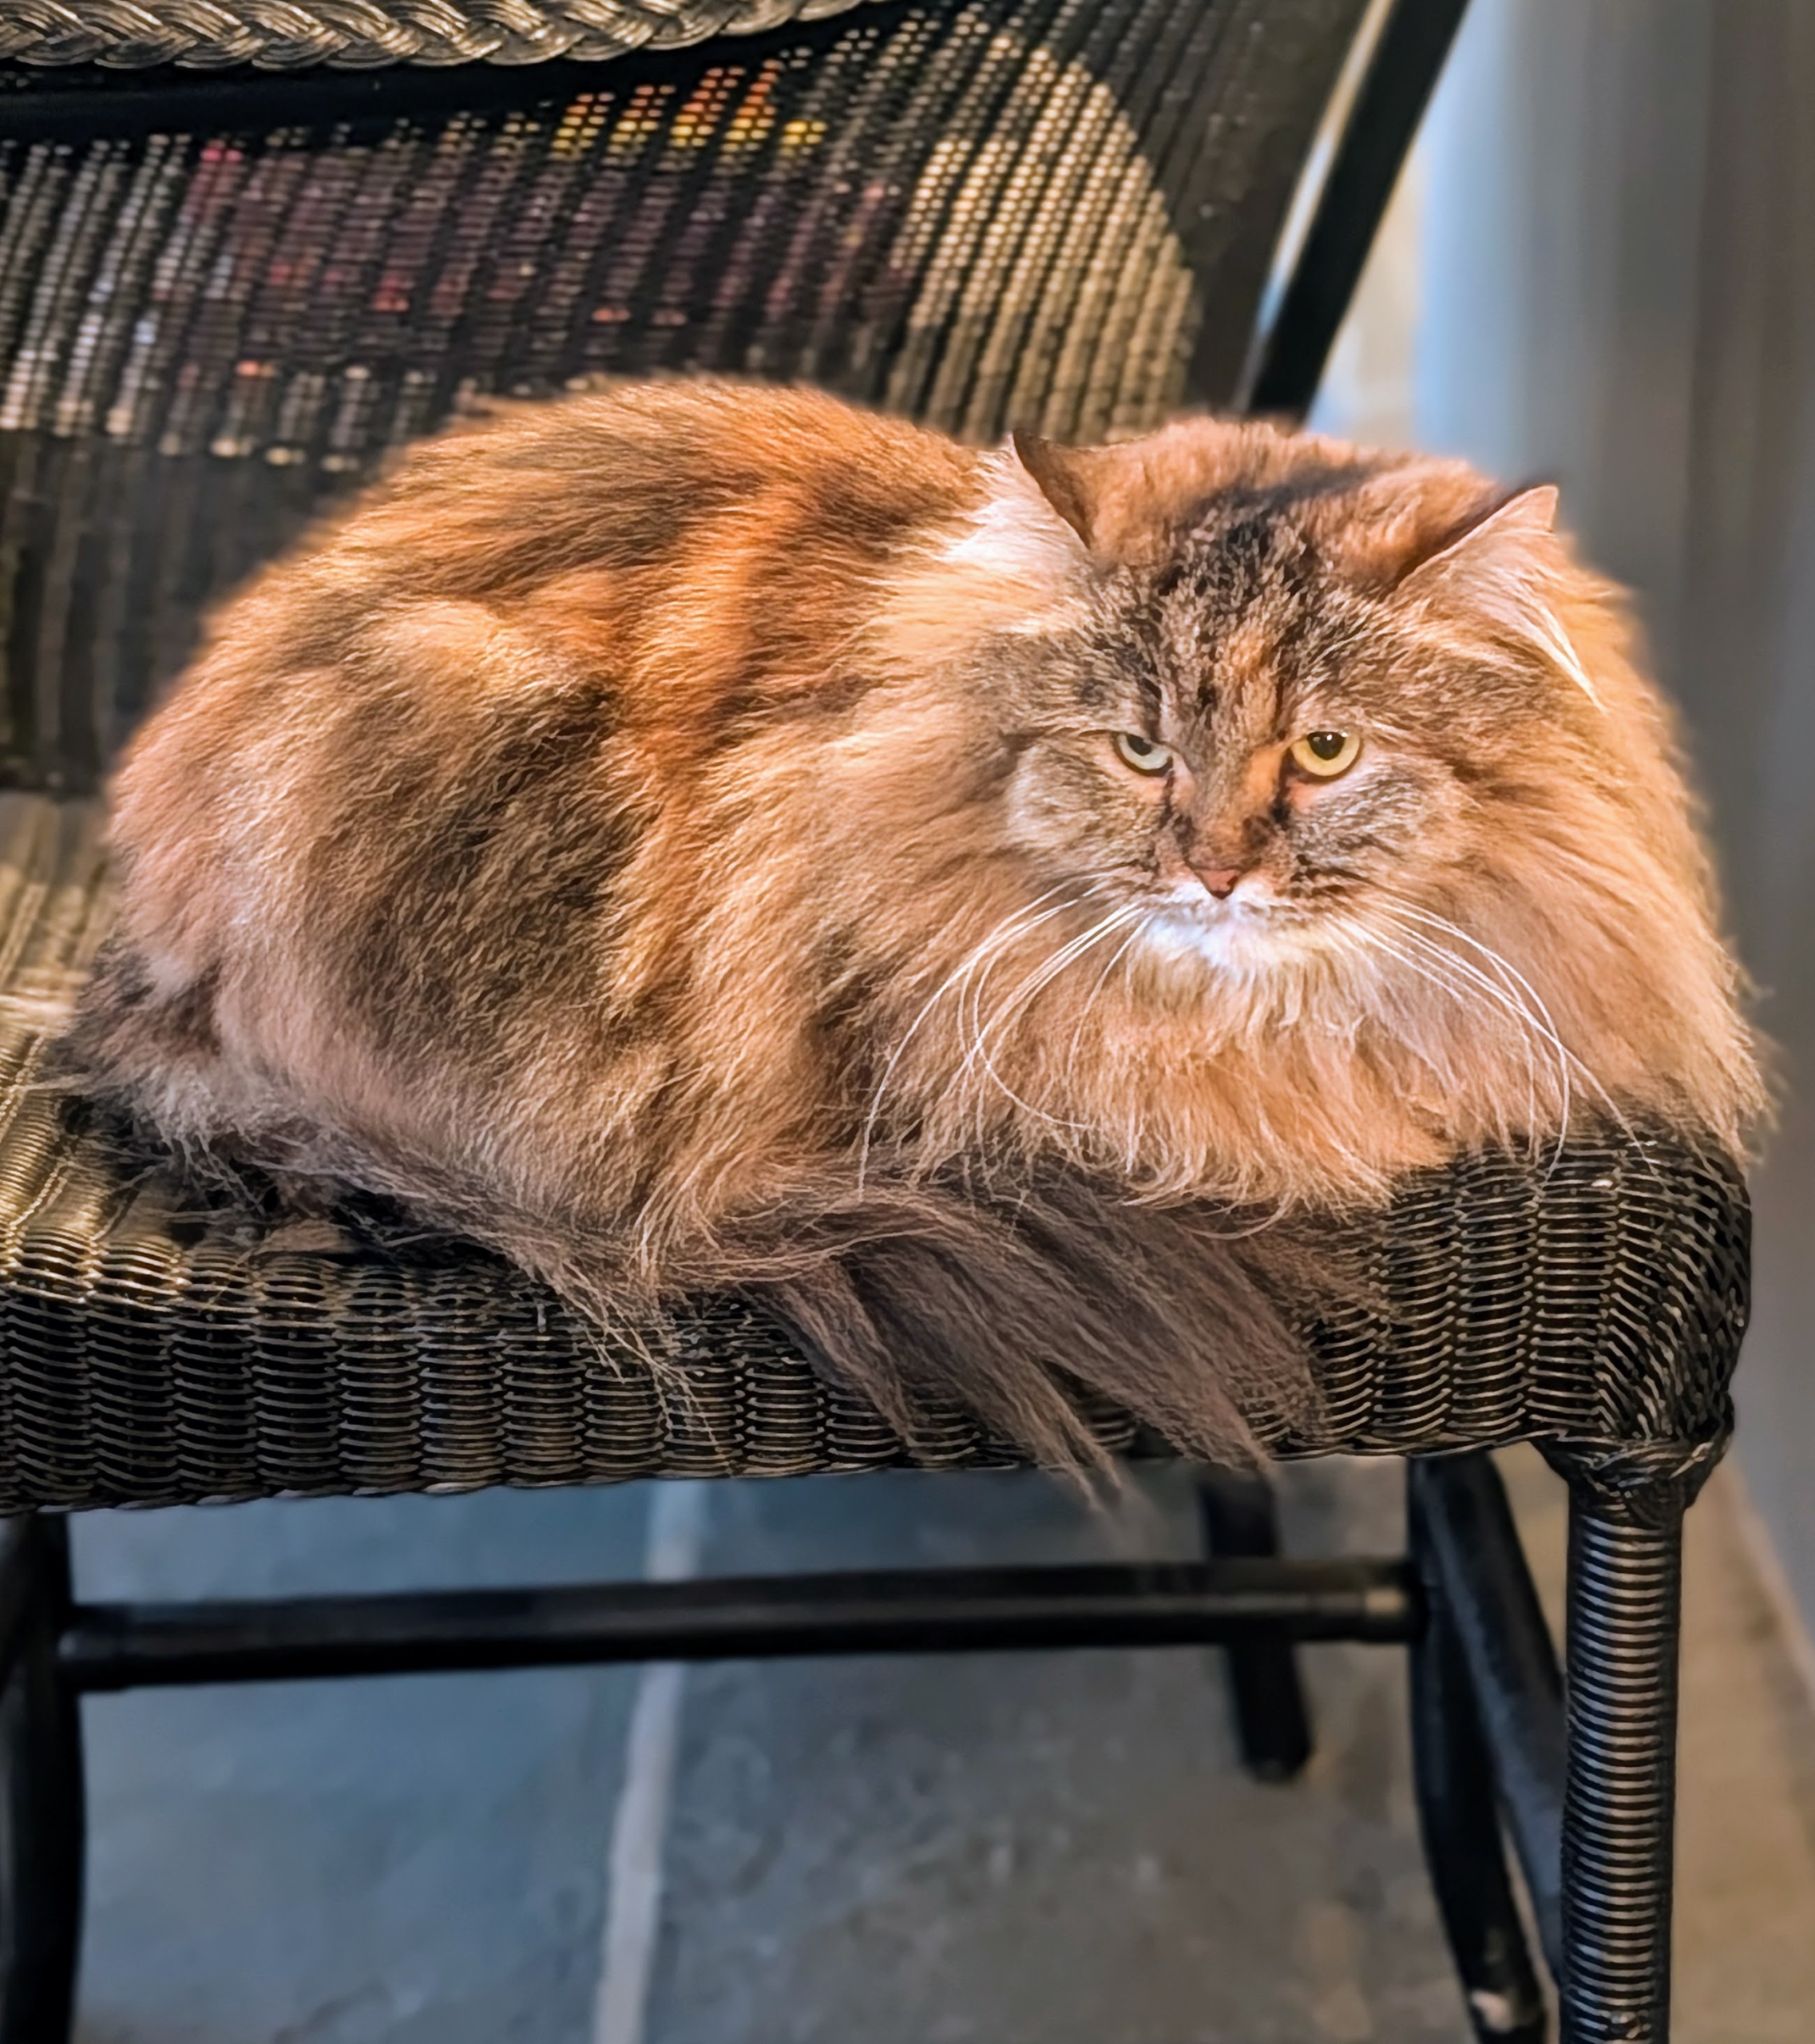
And look who is watching all the redecorating. It’s Lilium, my brown Persian longhaired cat. She is one of four cats that live with me in my Winter House.
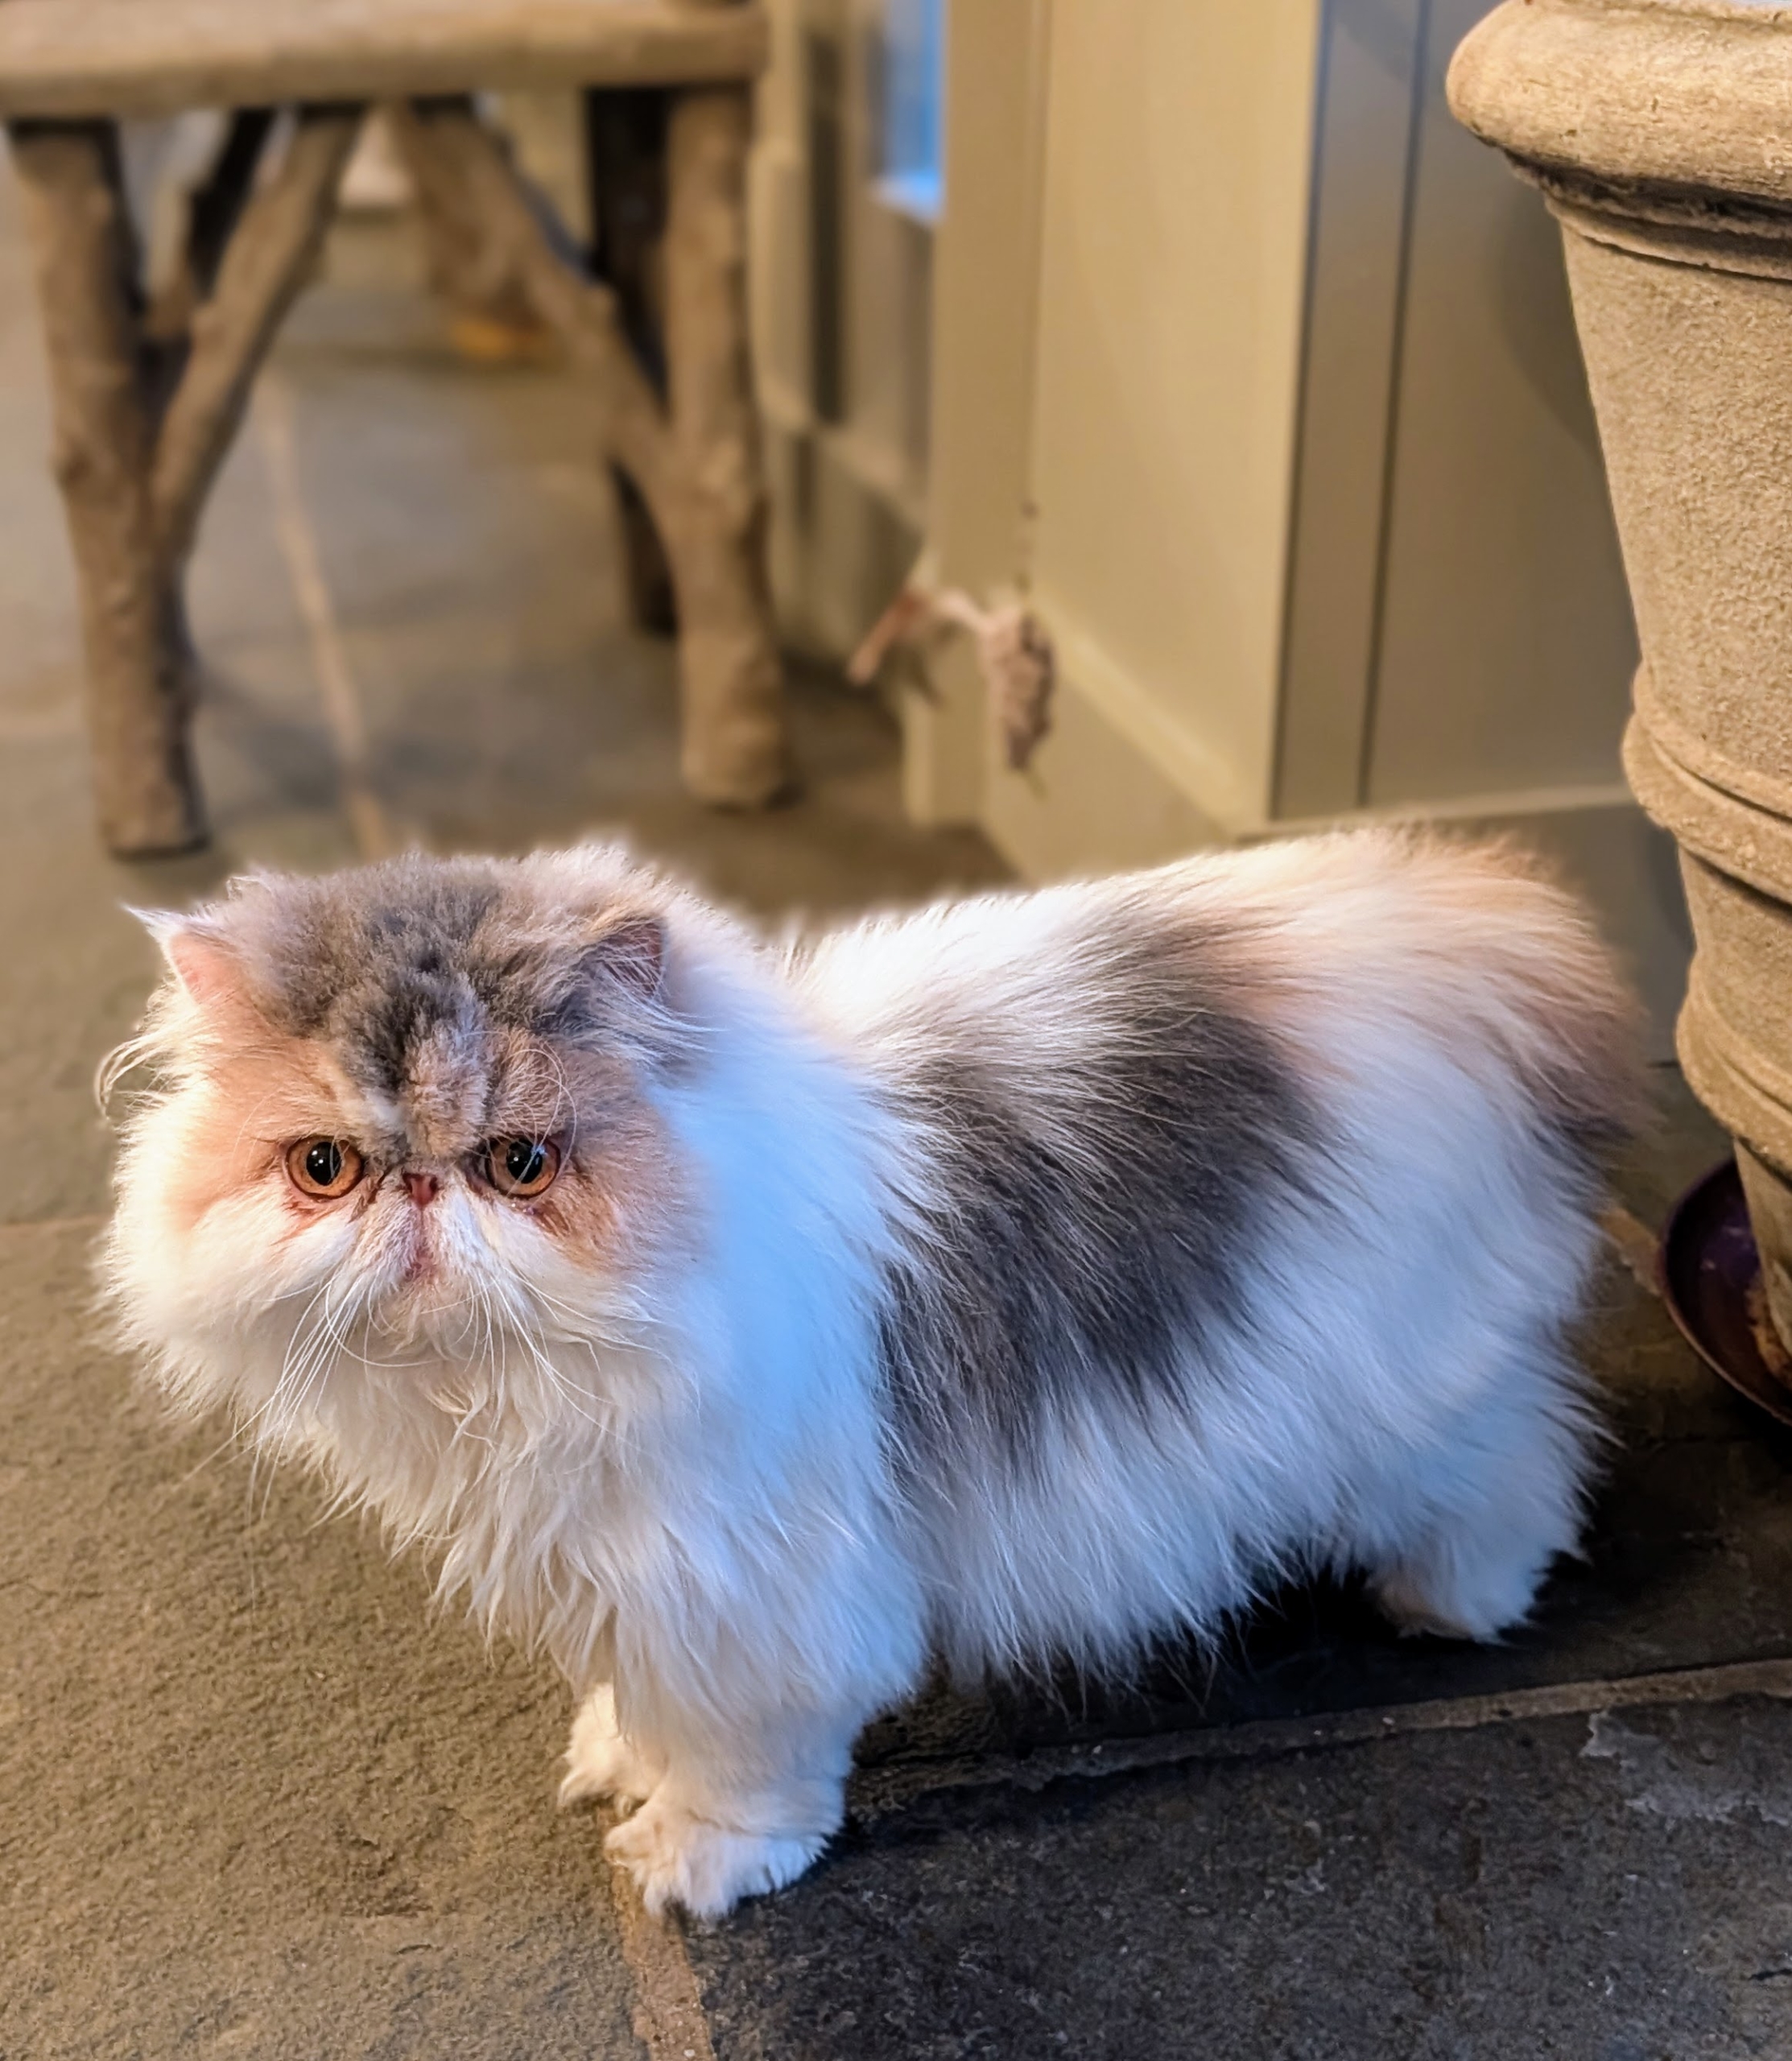
And this is Dahlia, a dilute calico Persian. My cats love to lounge in this enclosed porch.
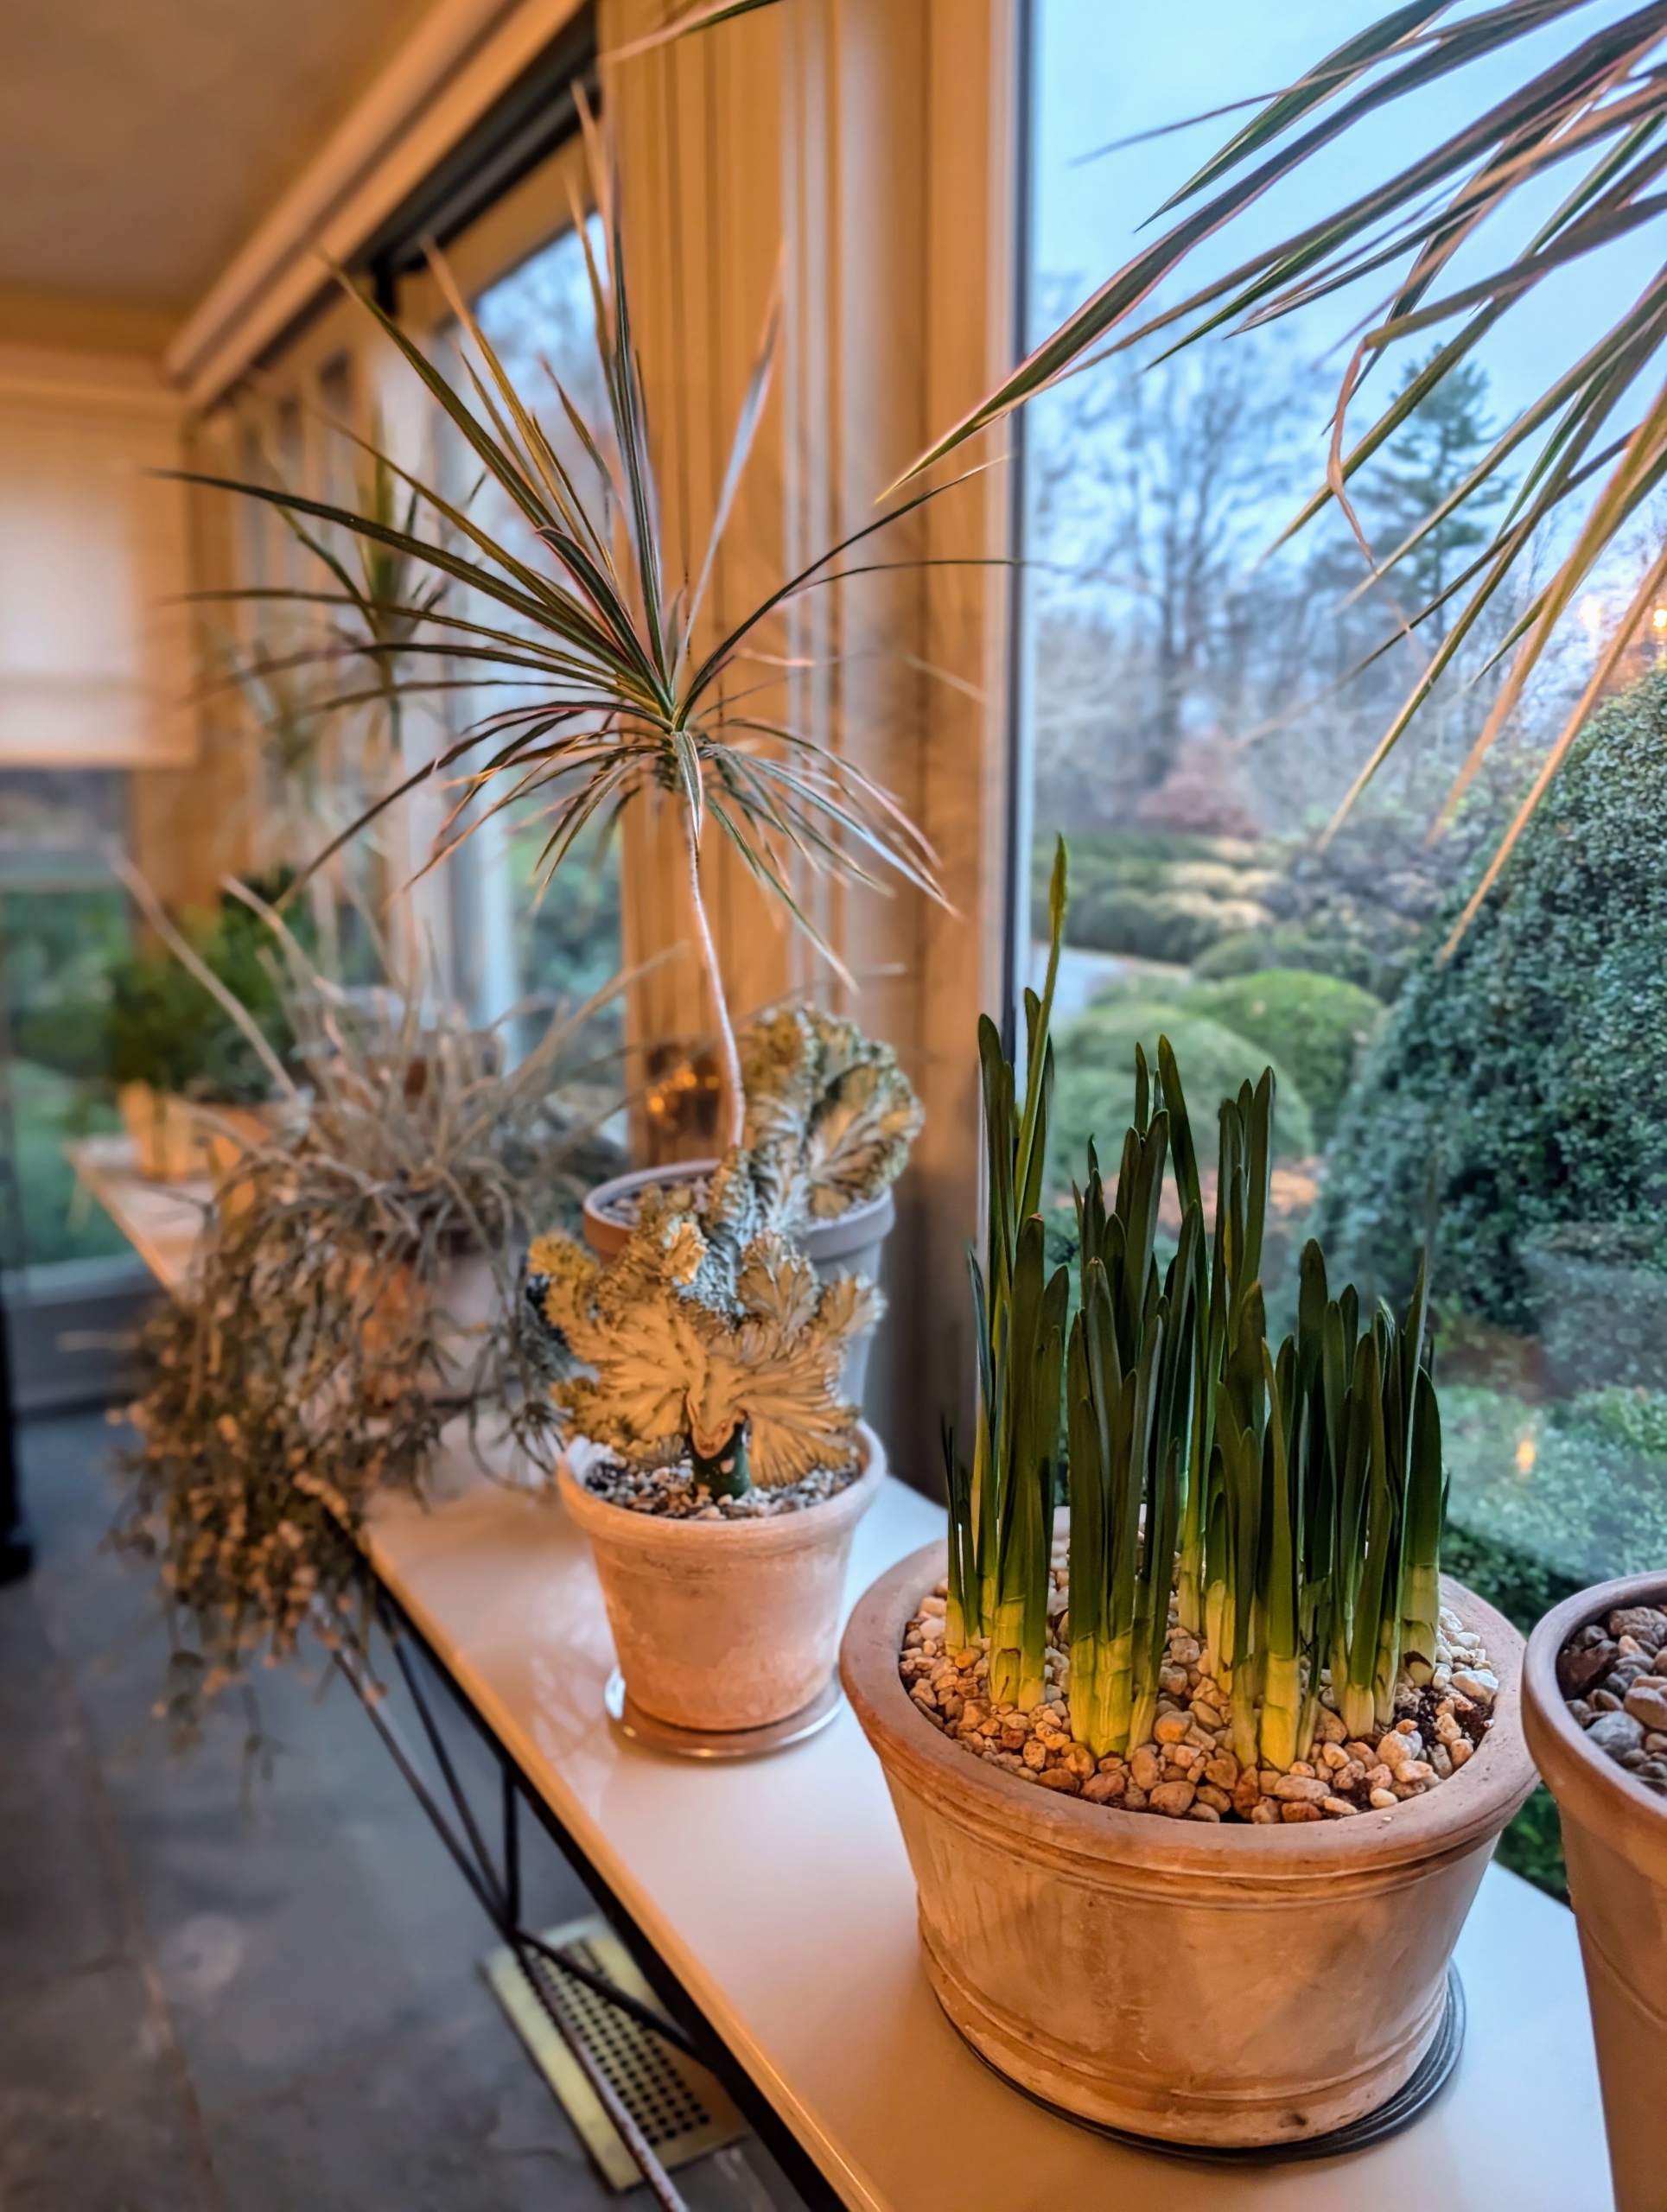
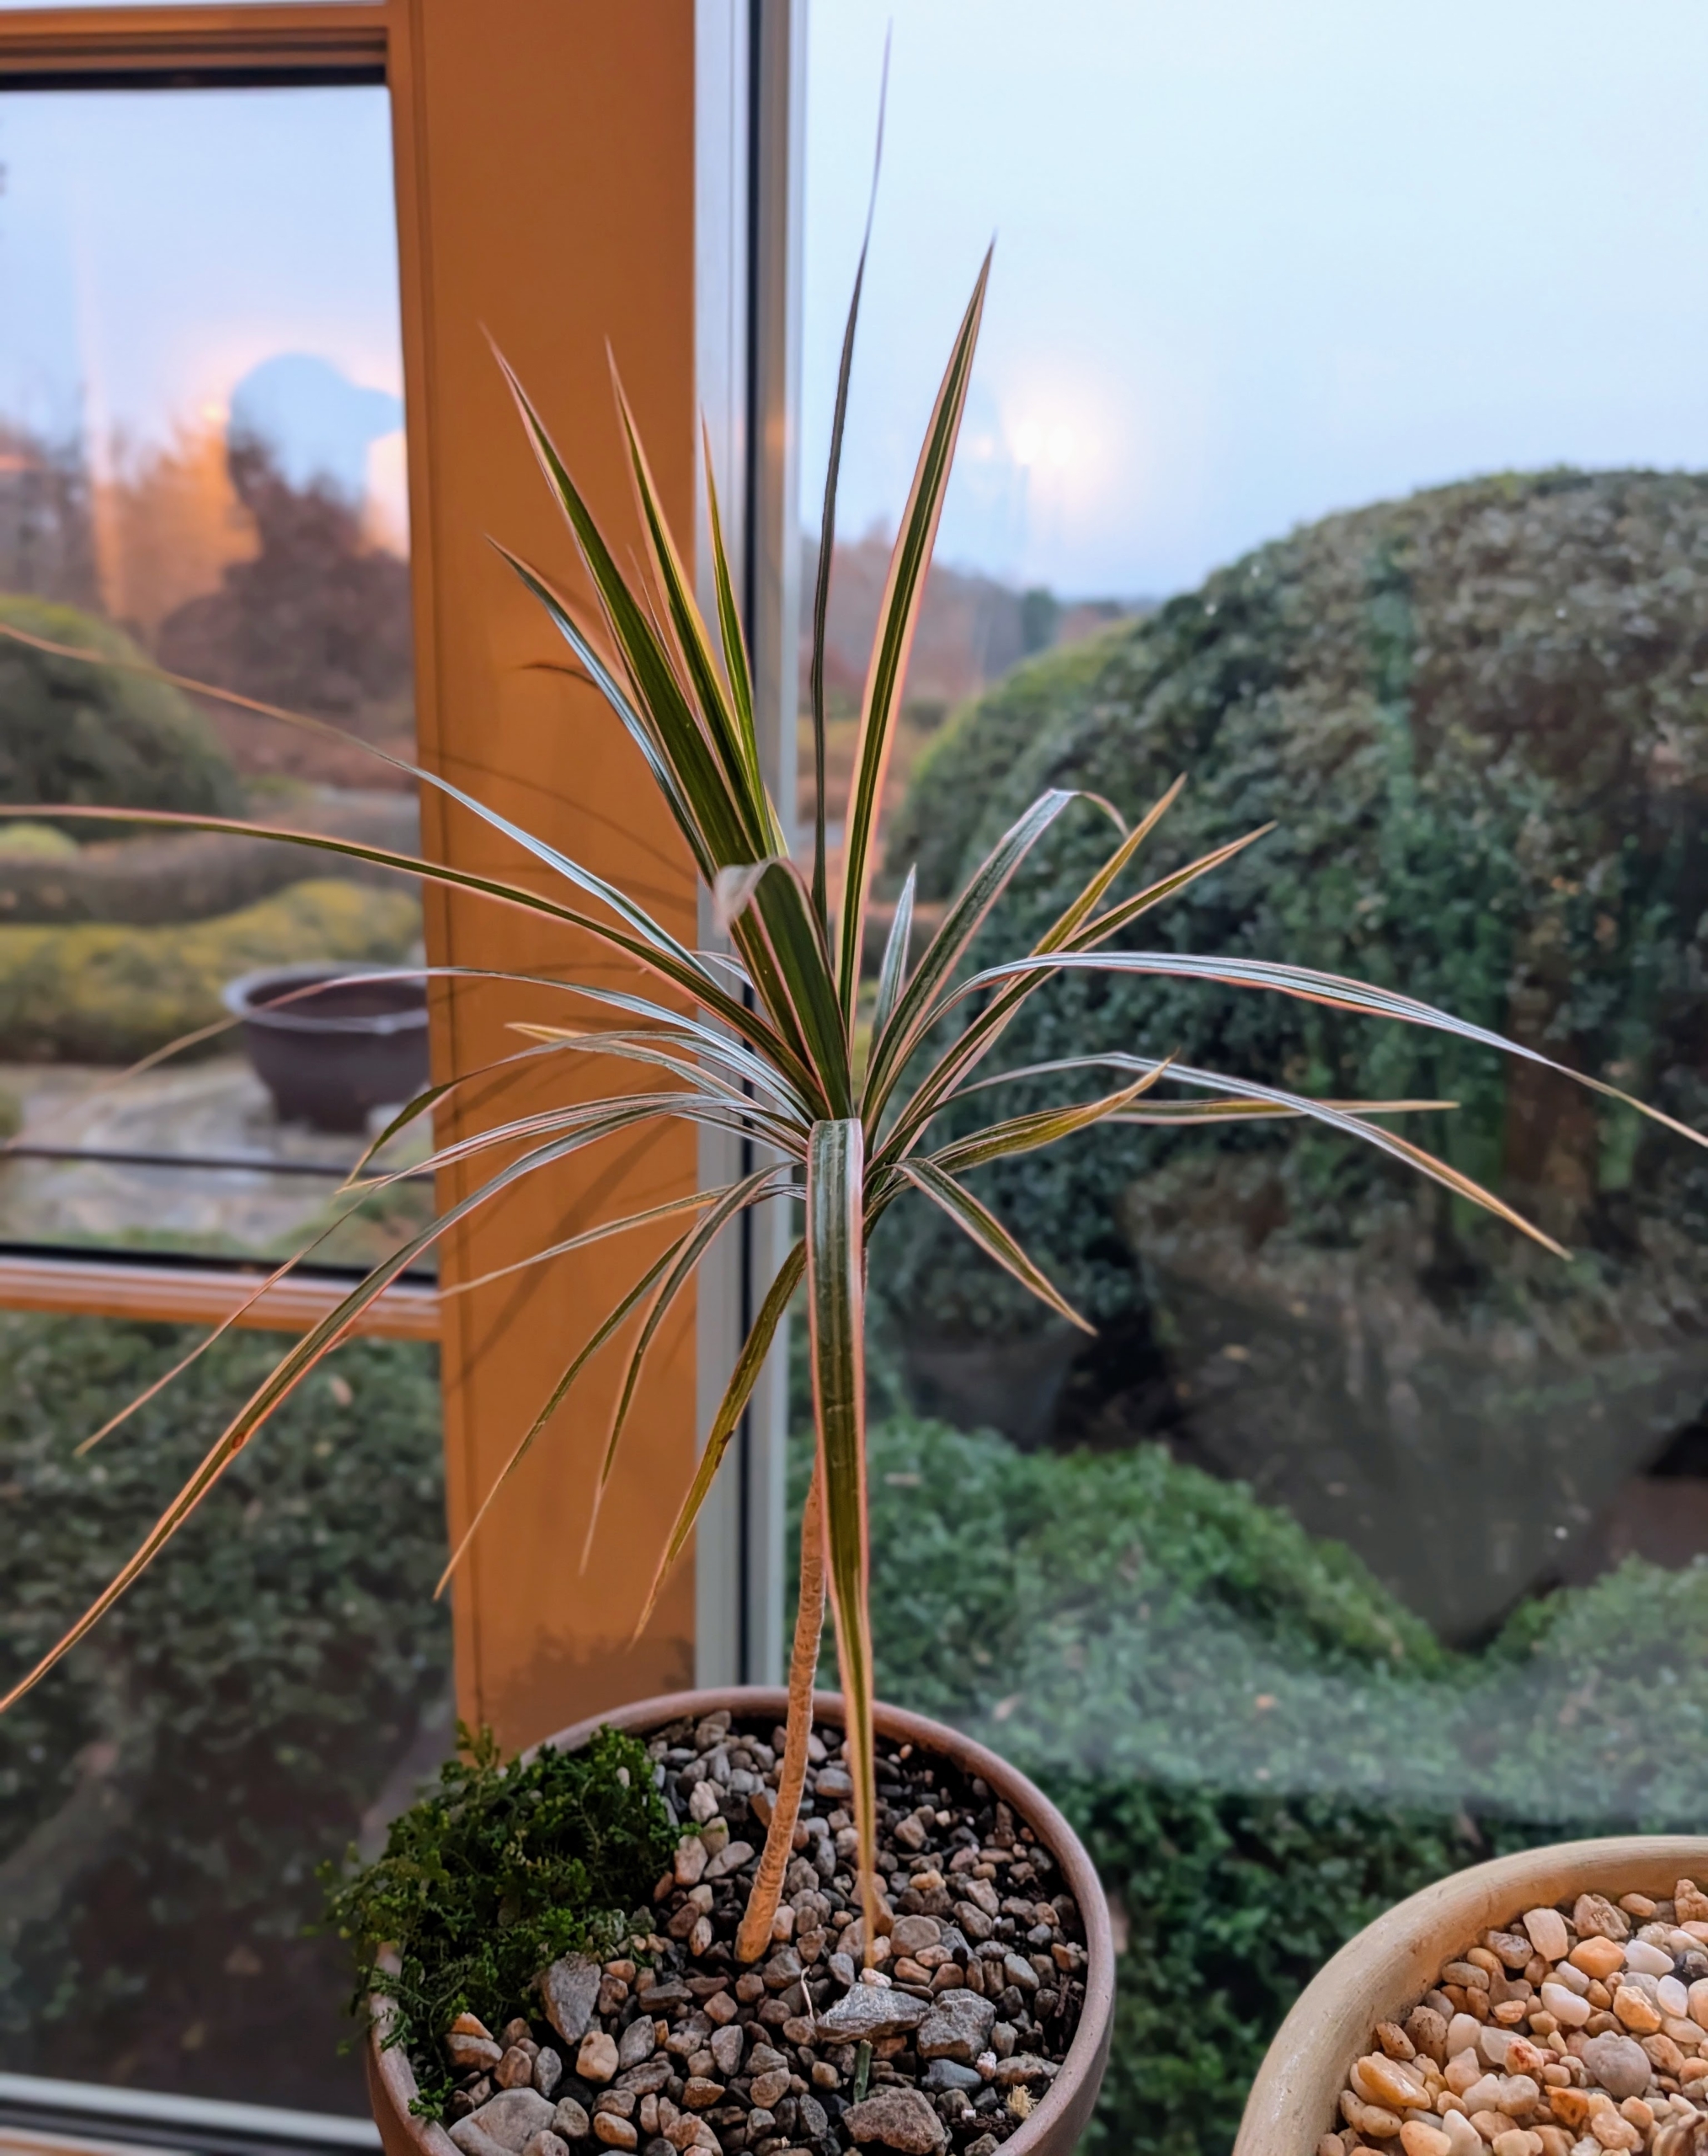
Dracaena has strap-like leaves that emerge in a fountain-like cluster from a thick woody stem. This plant can grow as much as six feet in height when grown as a potted plant. In outdoor settings, it has been known to grow up to 20 feet.
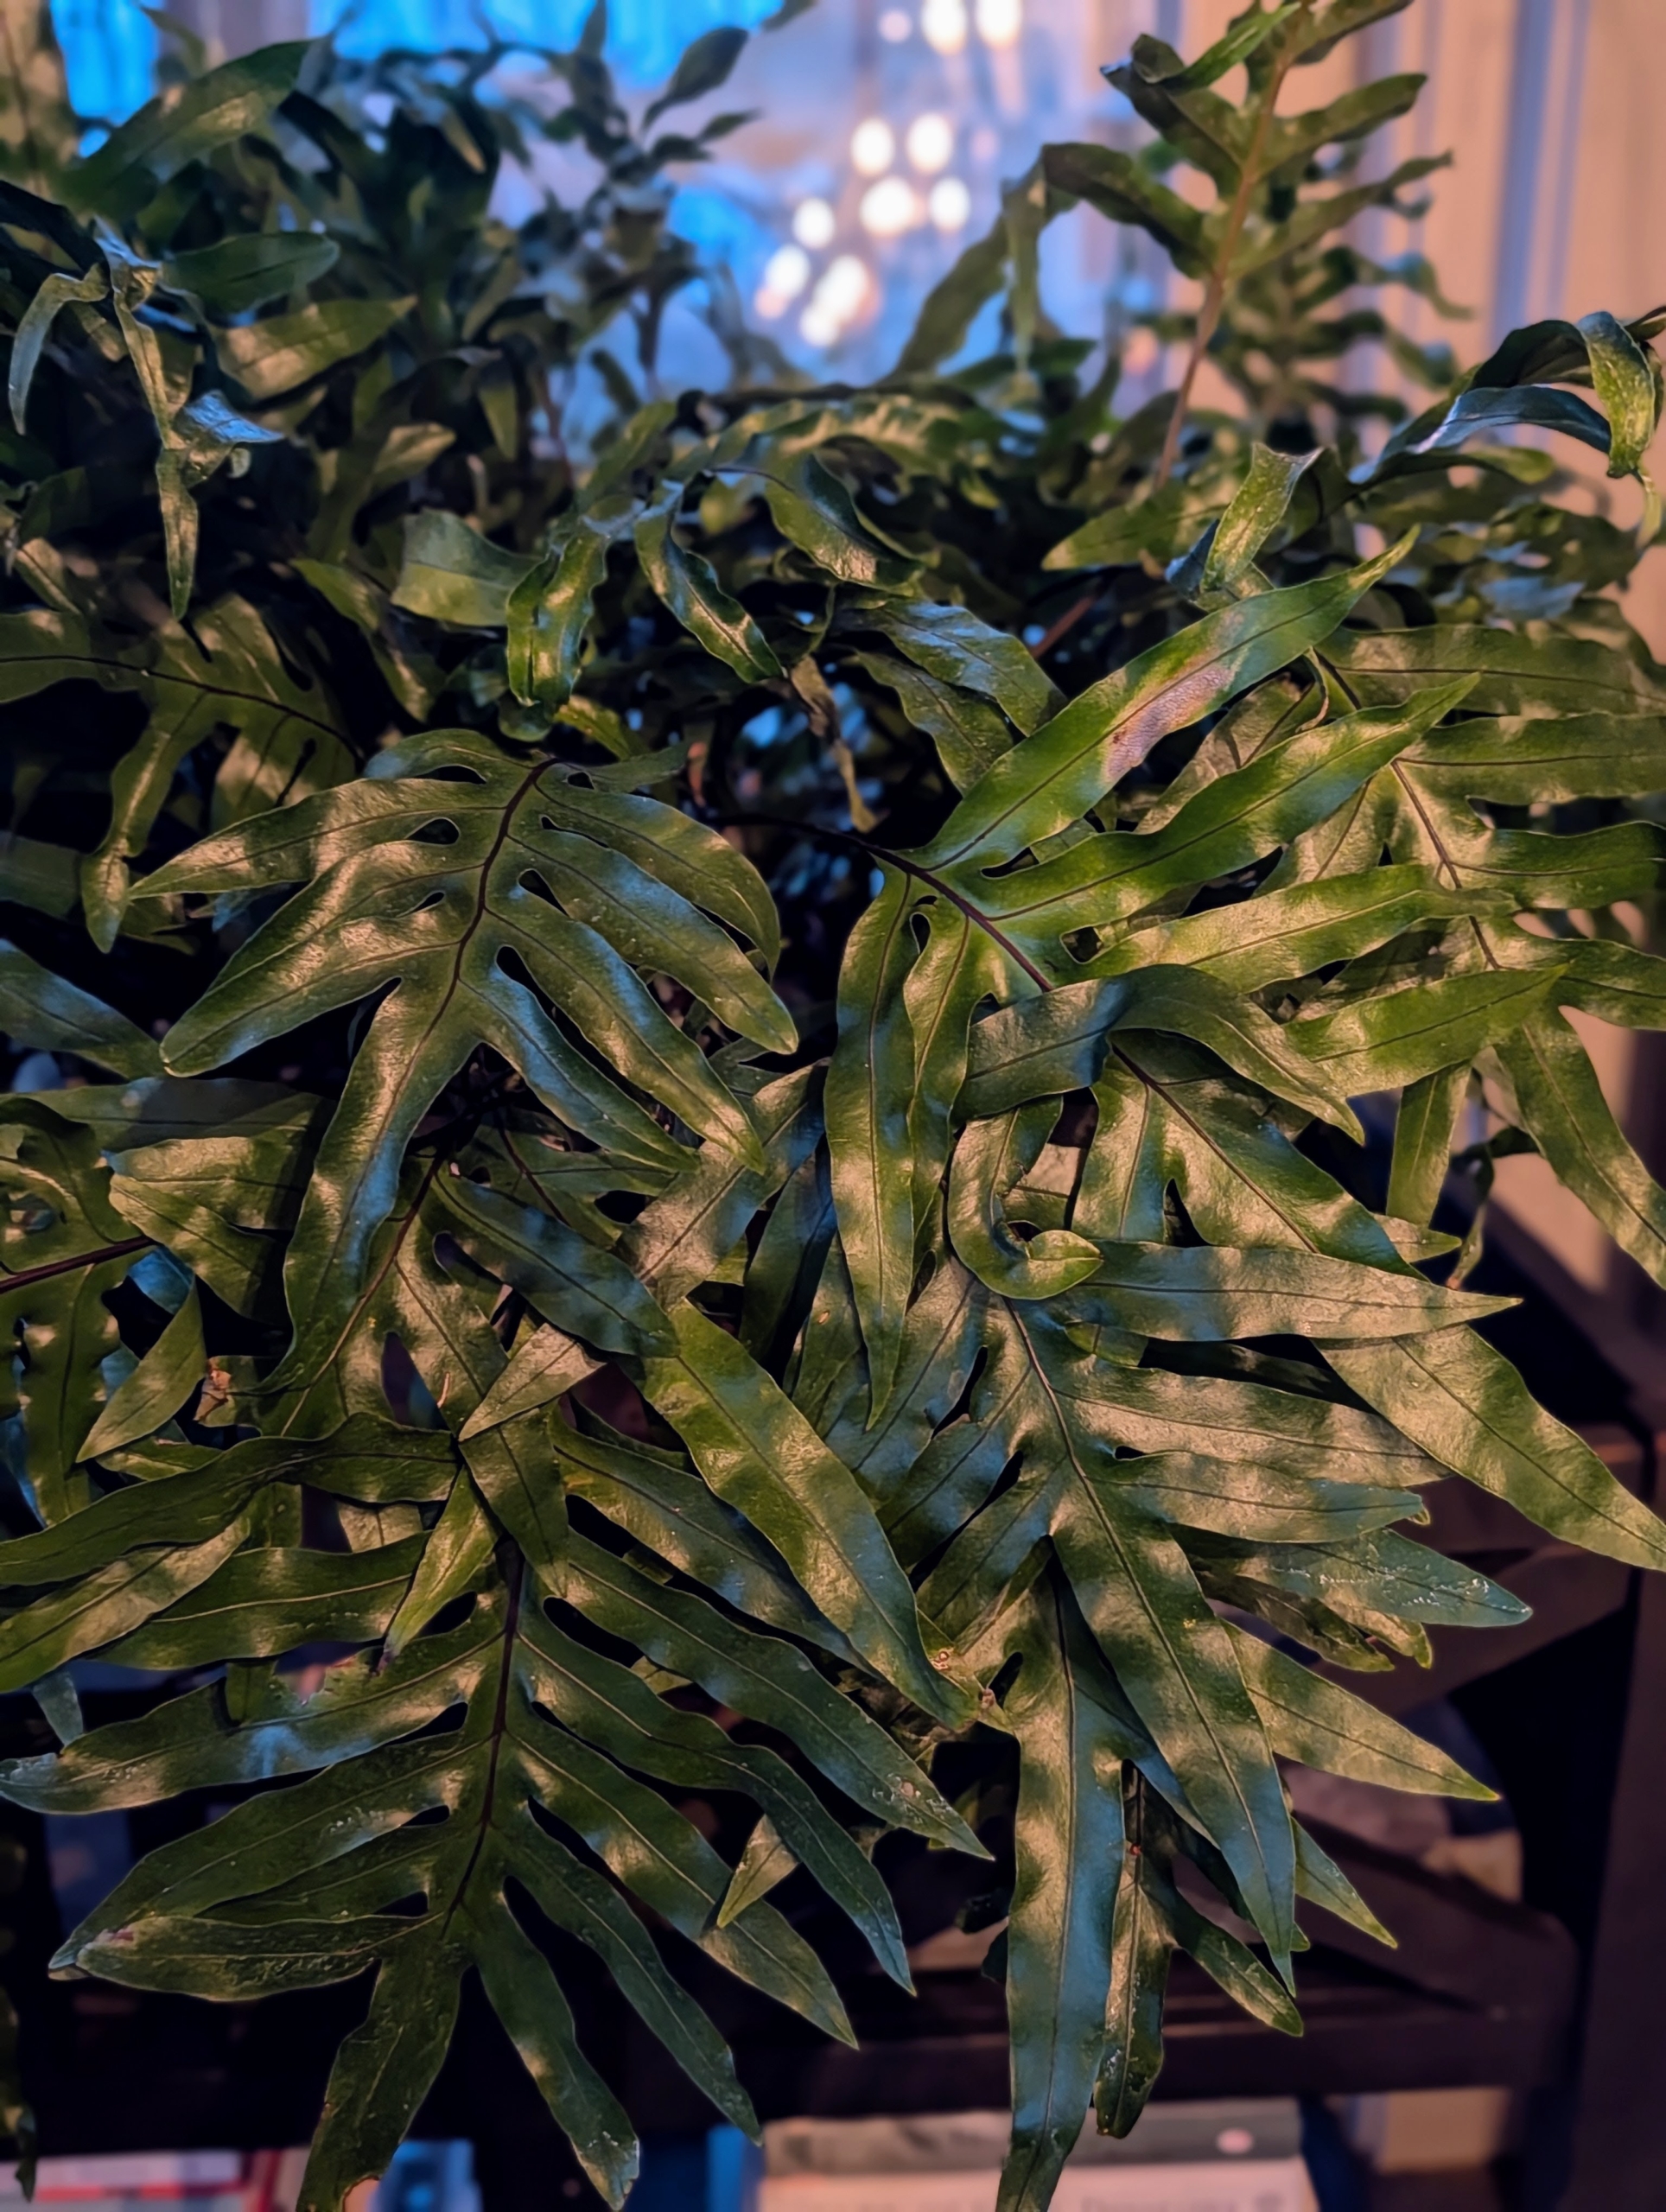
On one end, I have these potted Monarch ferns. They are tropical ferns native to the Western Pacific Rim and loved for their glossy, green foliage.
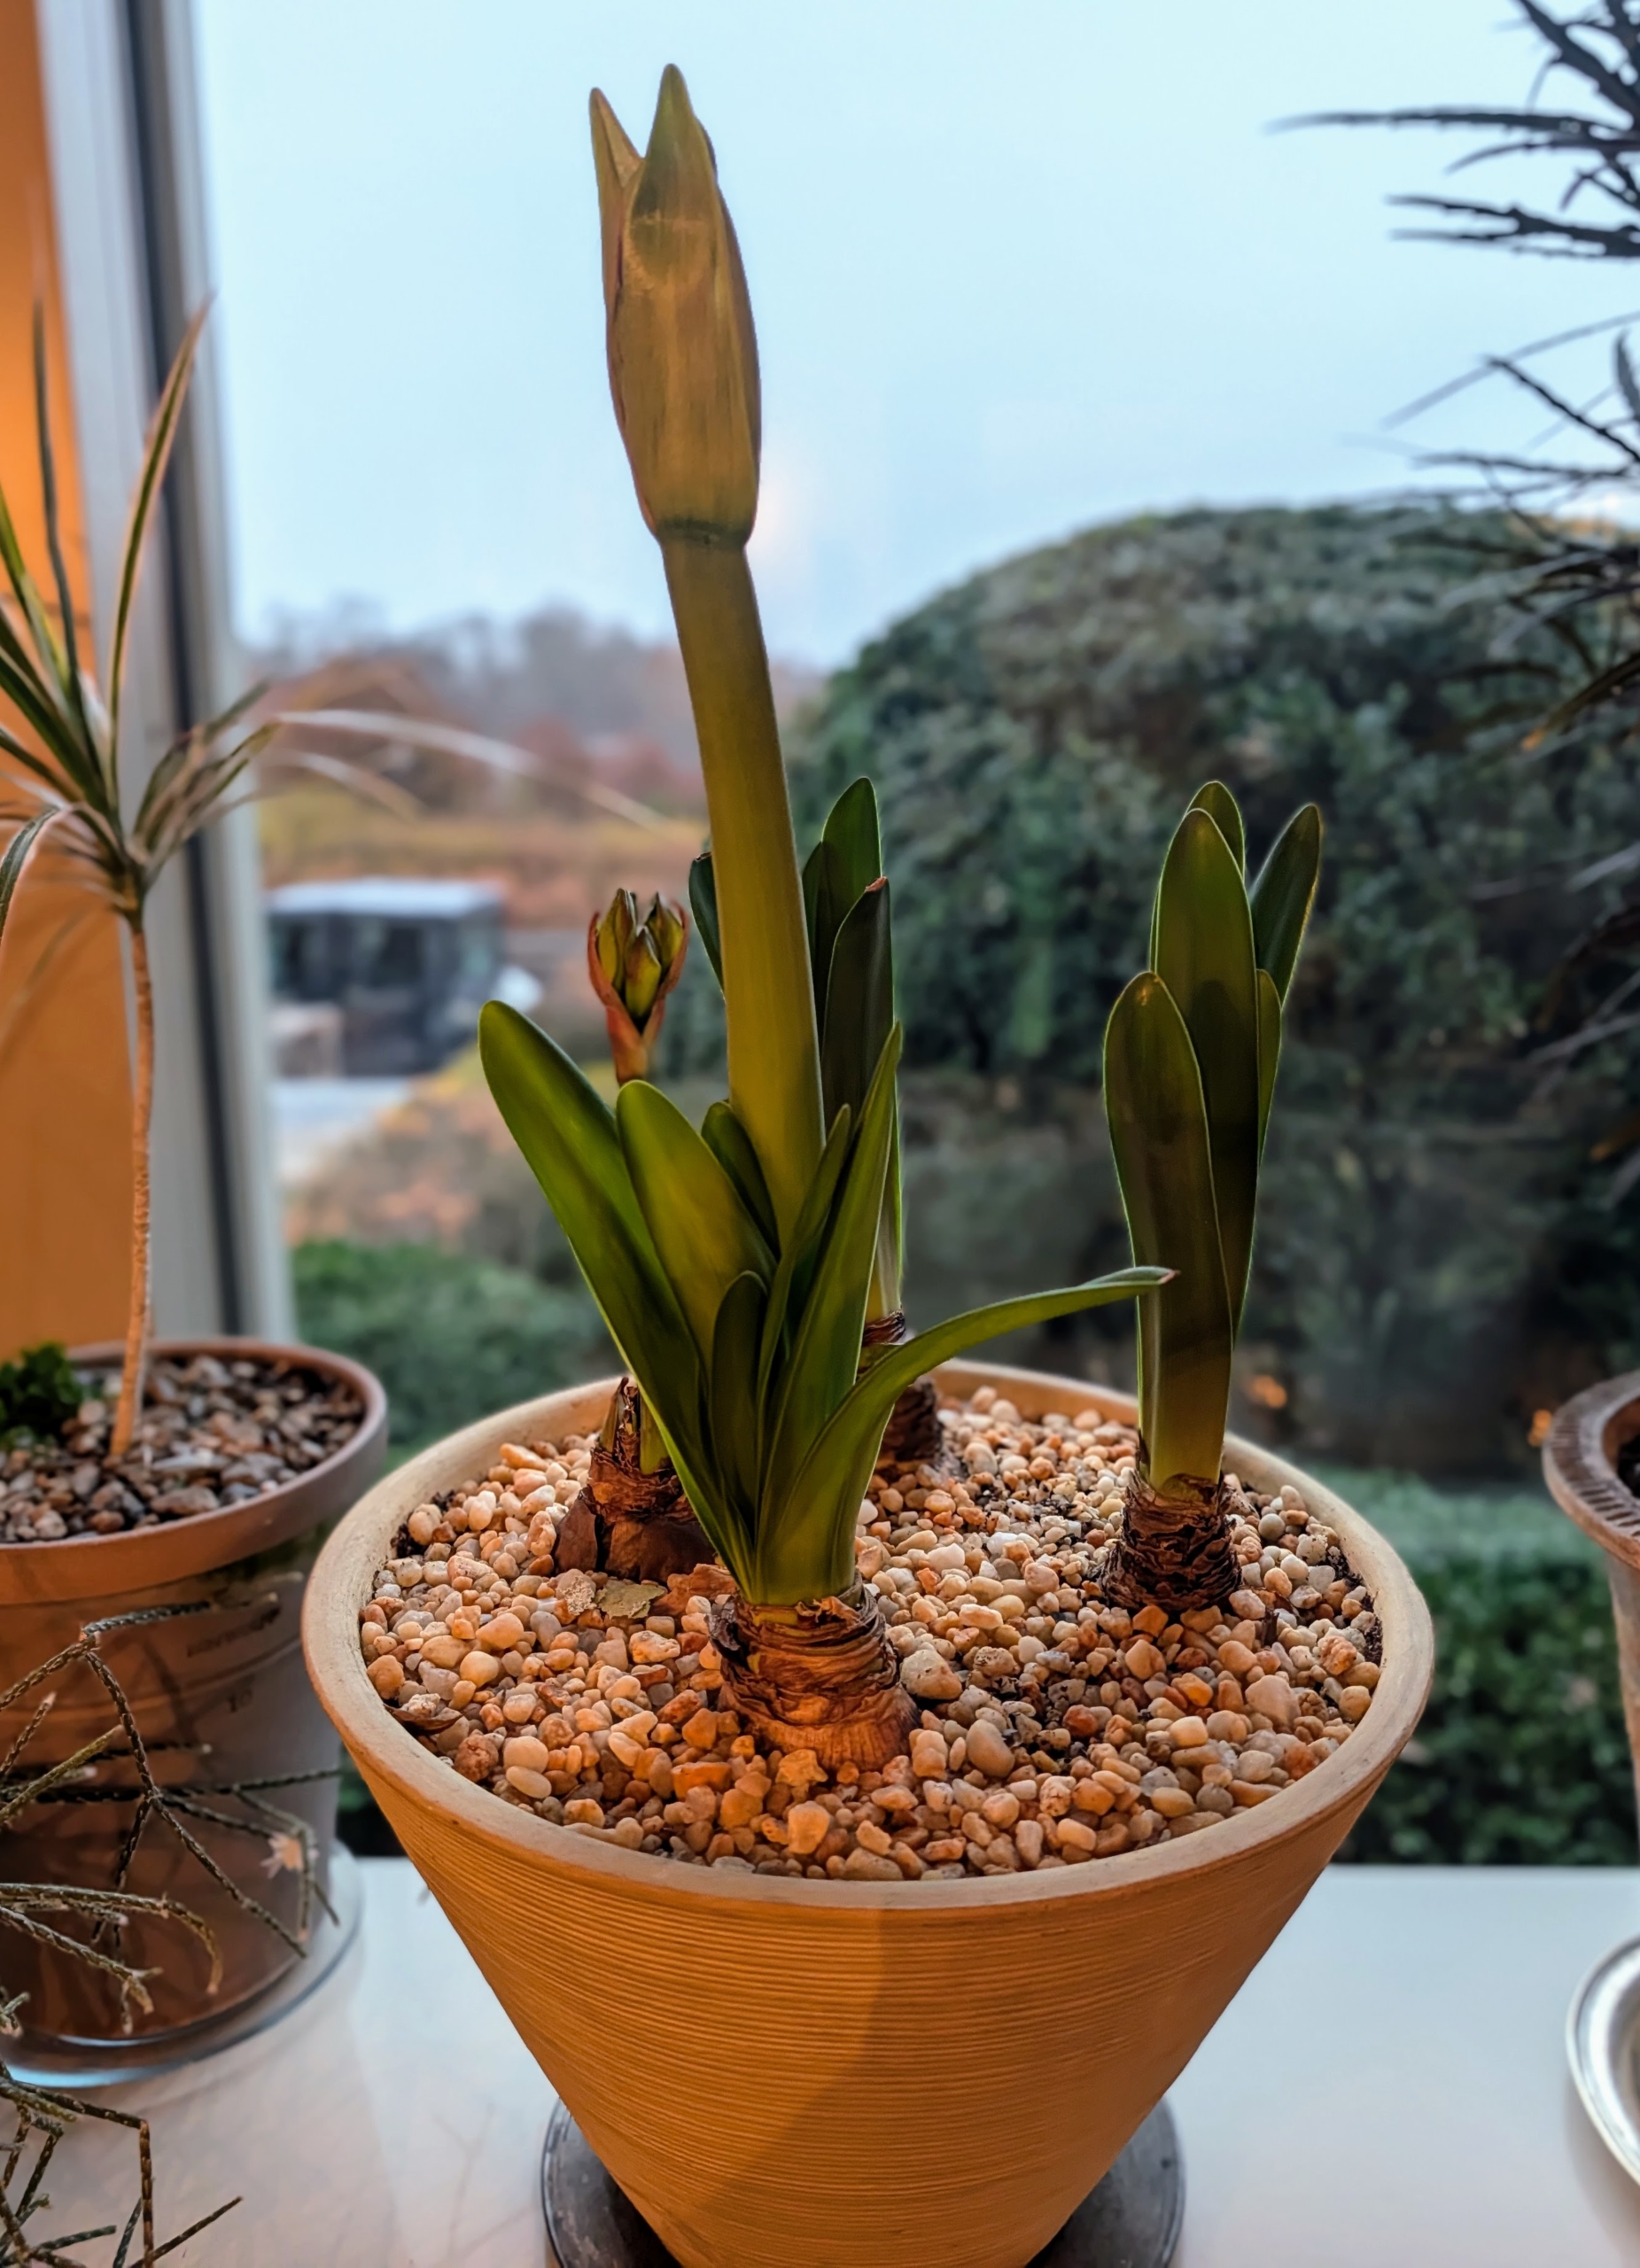
Forcing is the process of speeding up a bulb’s development by simulating the conditions of winter and spring – it’s a way of fooling Mother Nature and tricking the bulb to bloom before its natural time. These paper whites were started last month and they’re developing so beautifully.
These are forced amaryllis. It won’t be long before they bloom.
If you’re hosting this Thanksgiving and getting your home ready for guests, look around, switch some furniture, add a few houseplants – and watch the space transform. Redecorating with items you already have is easy… and a very good thing.
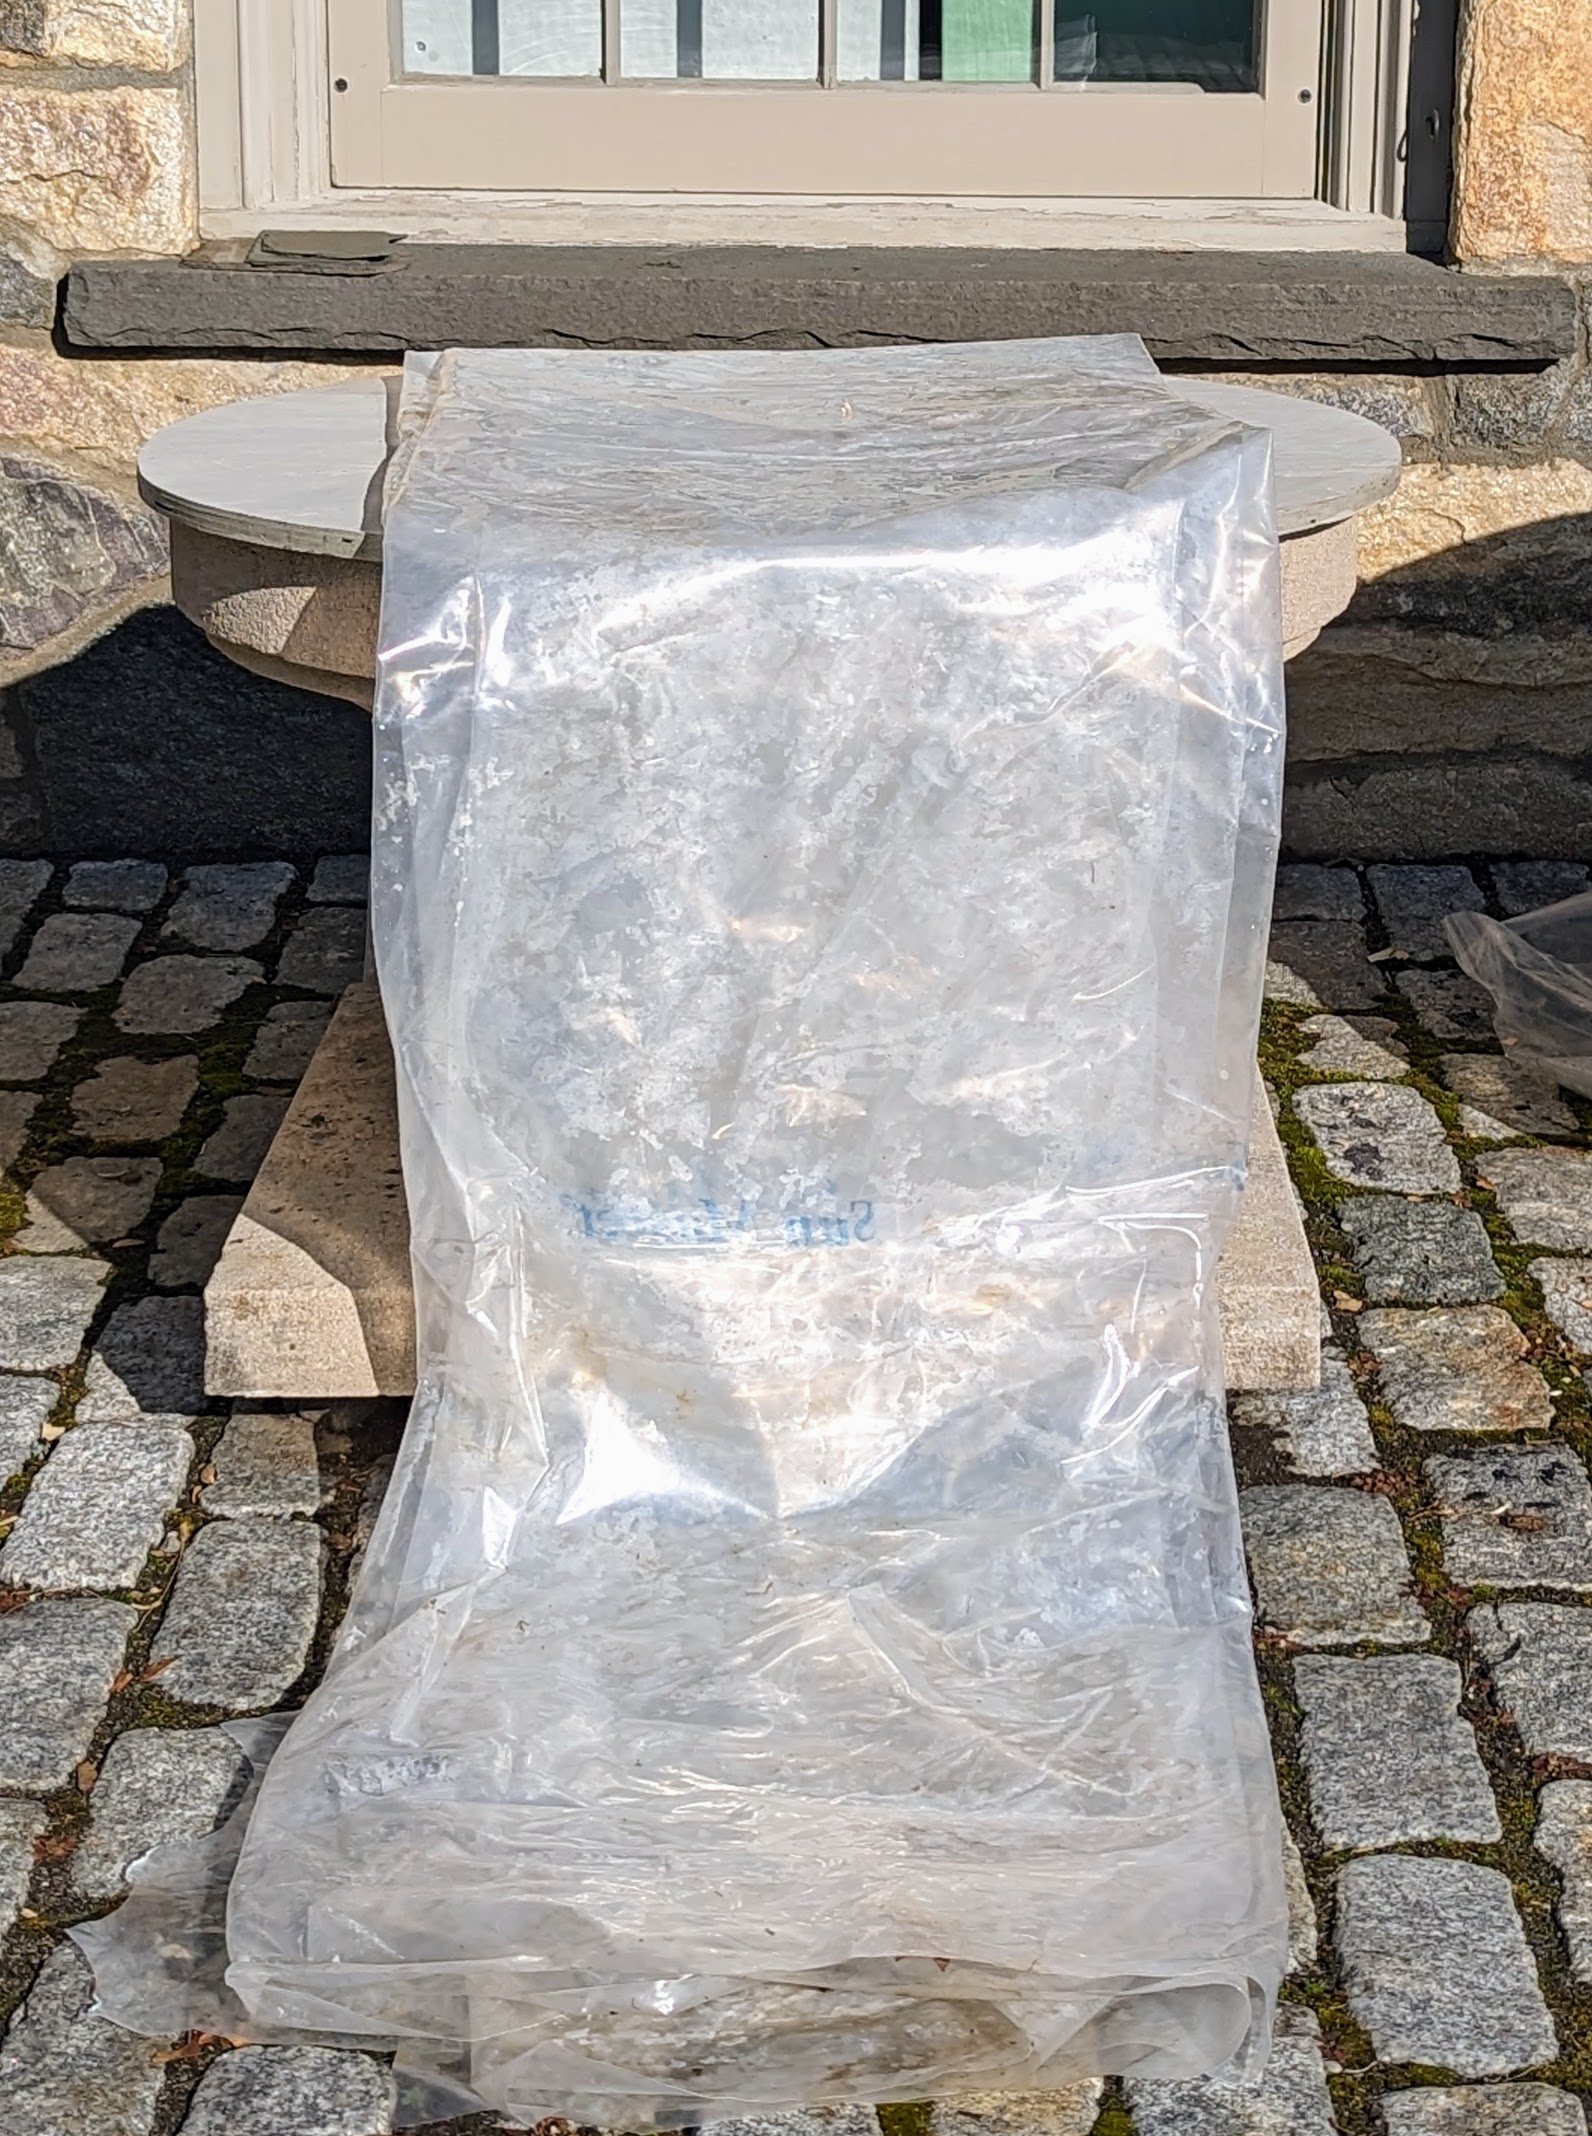
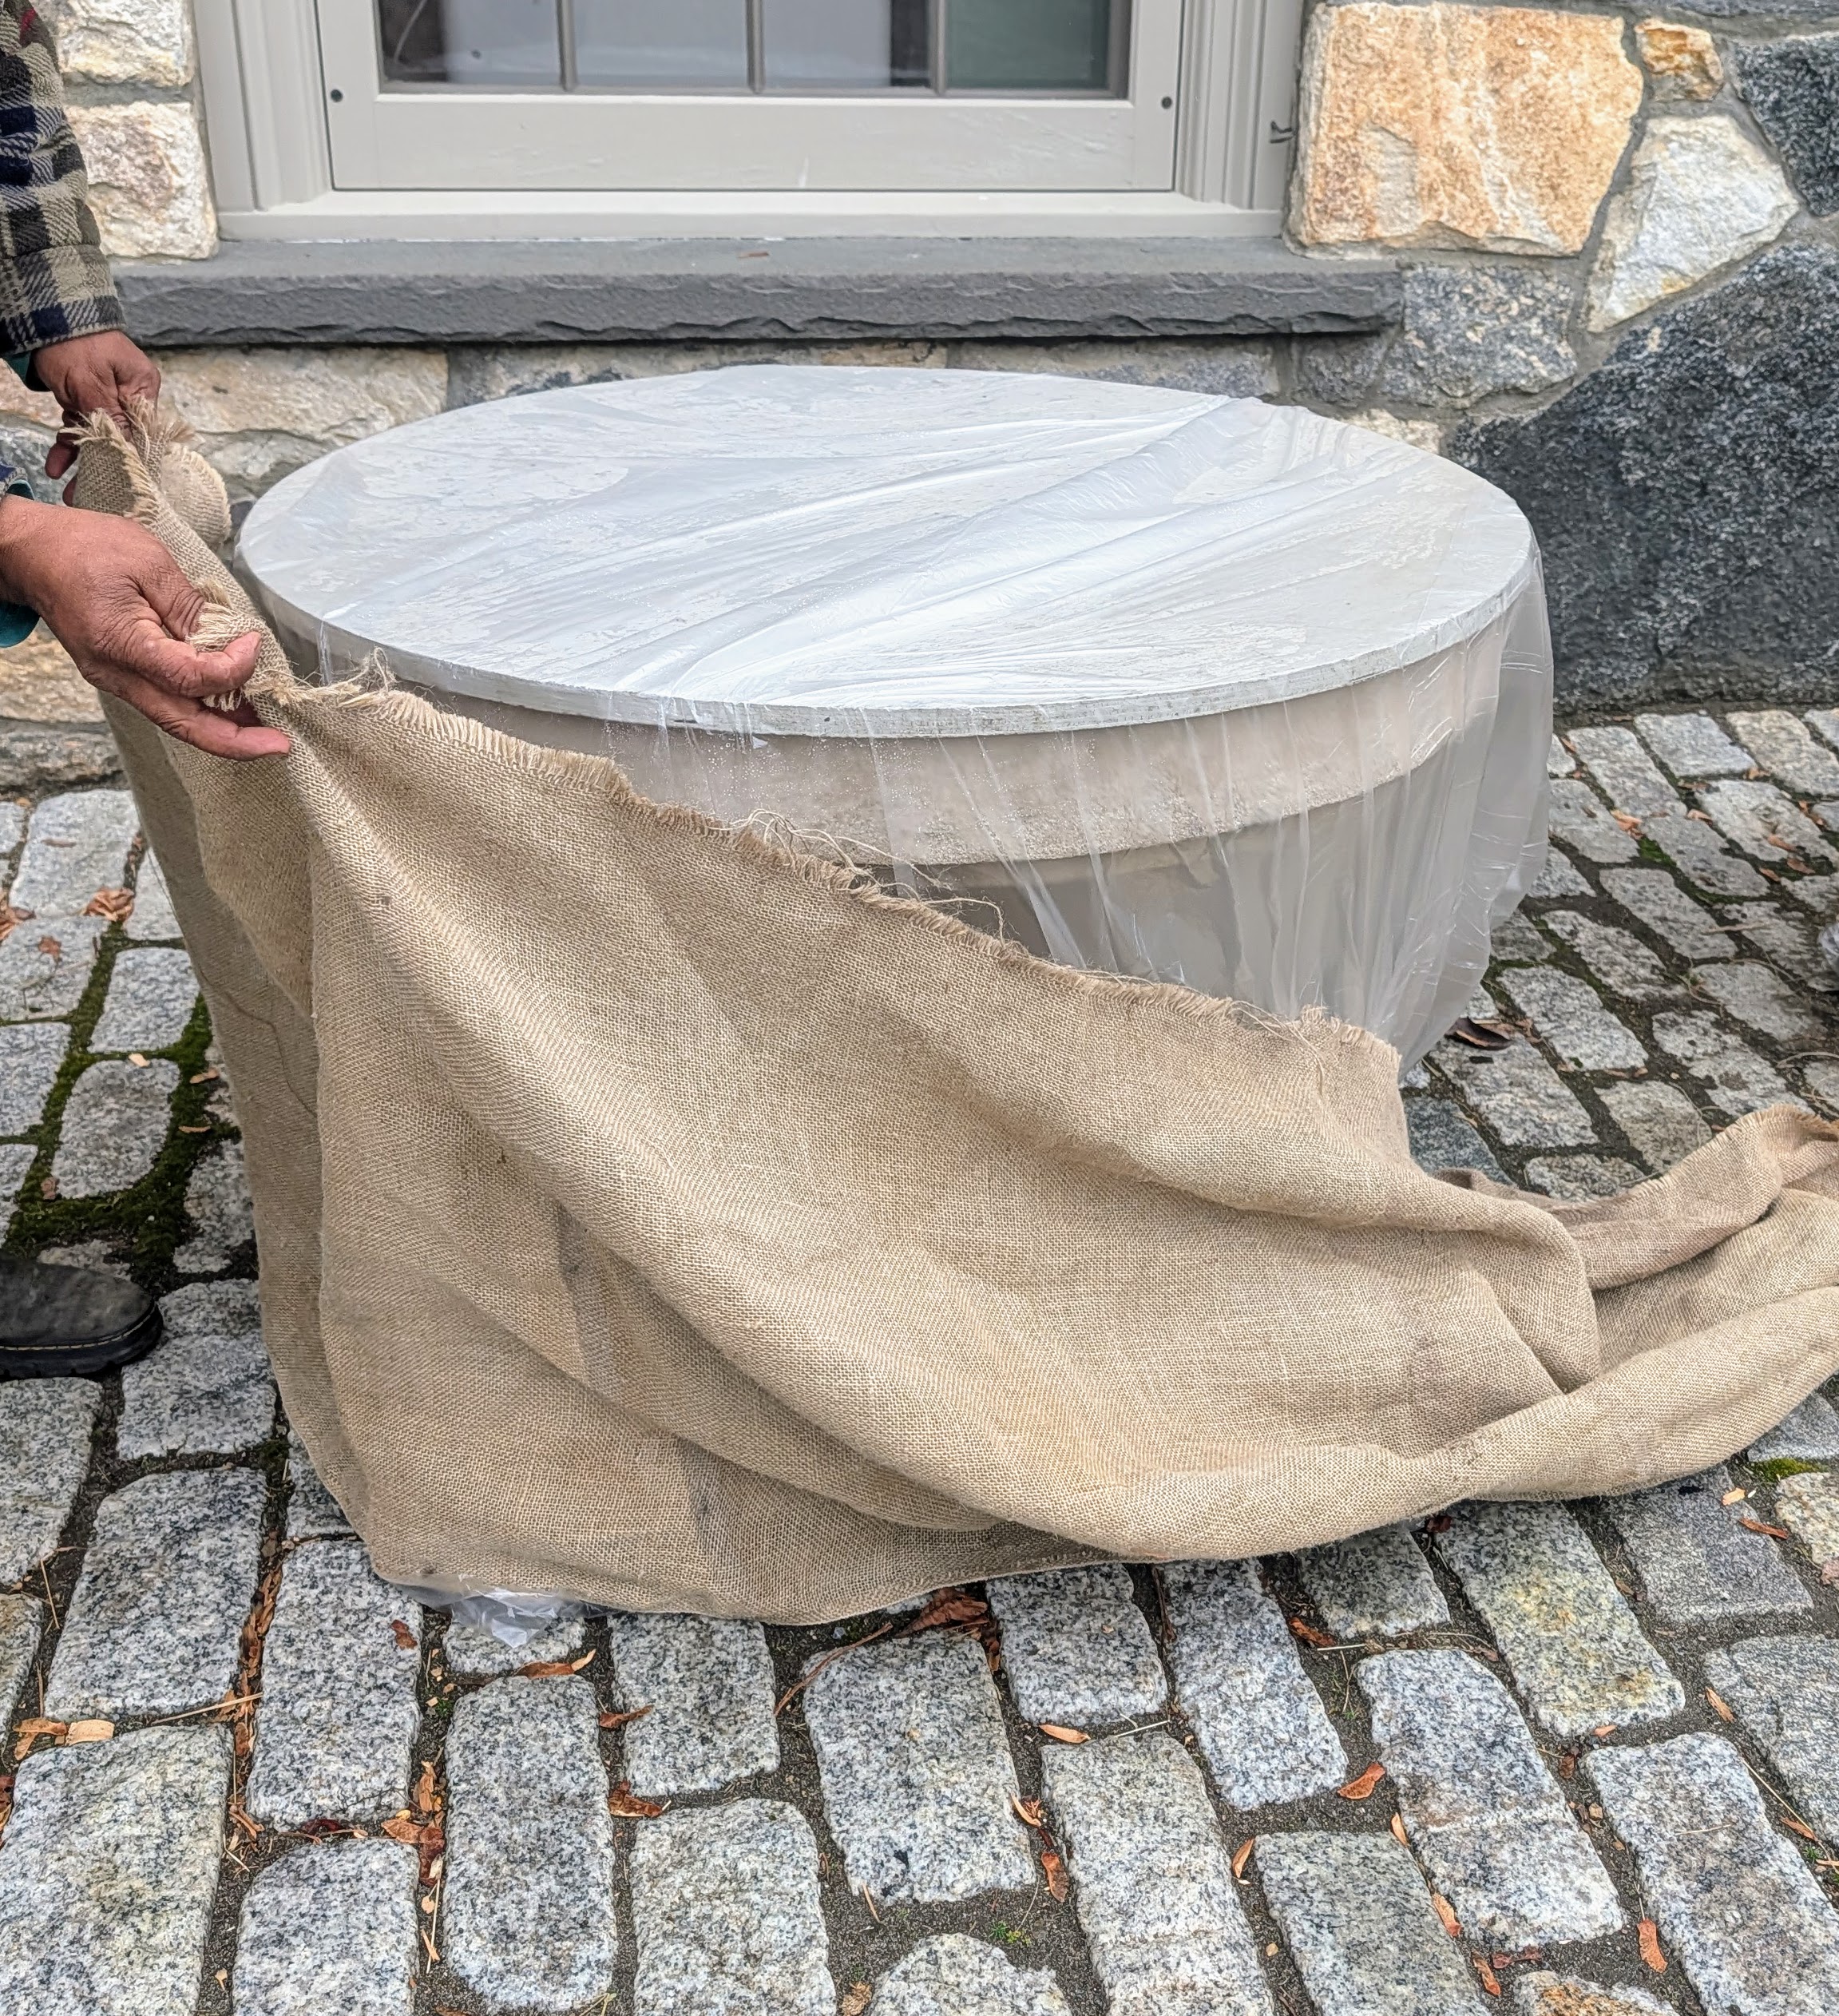
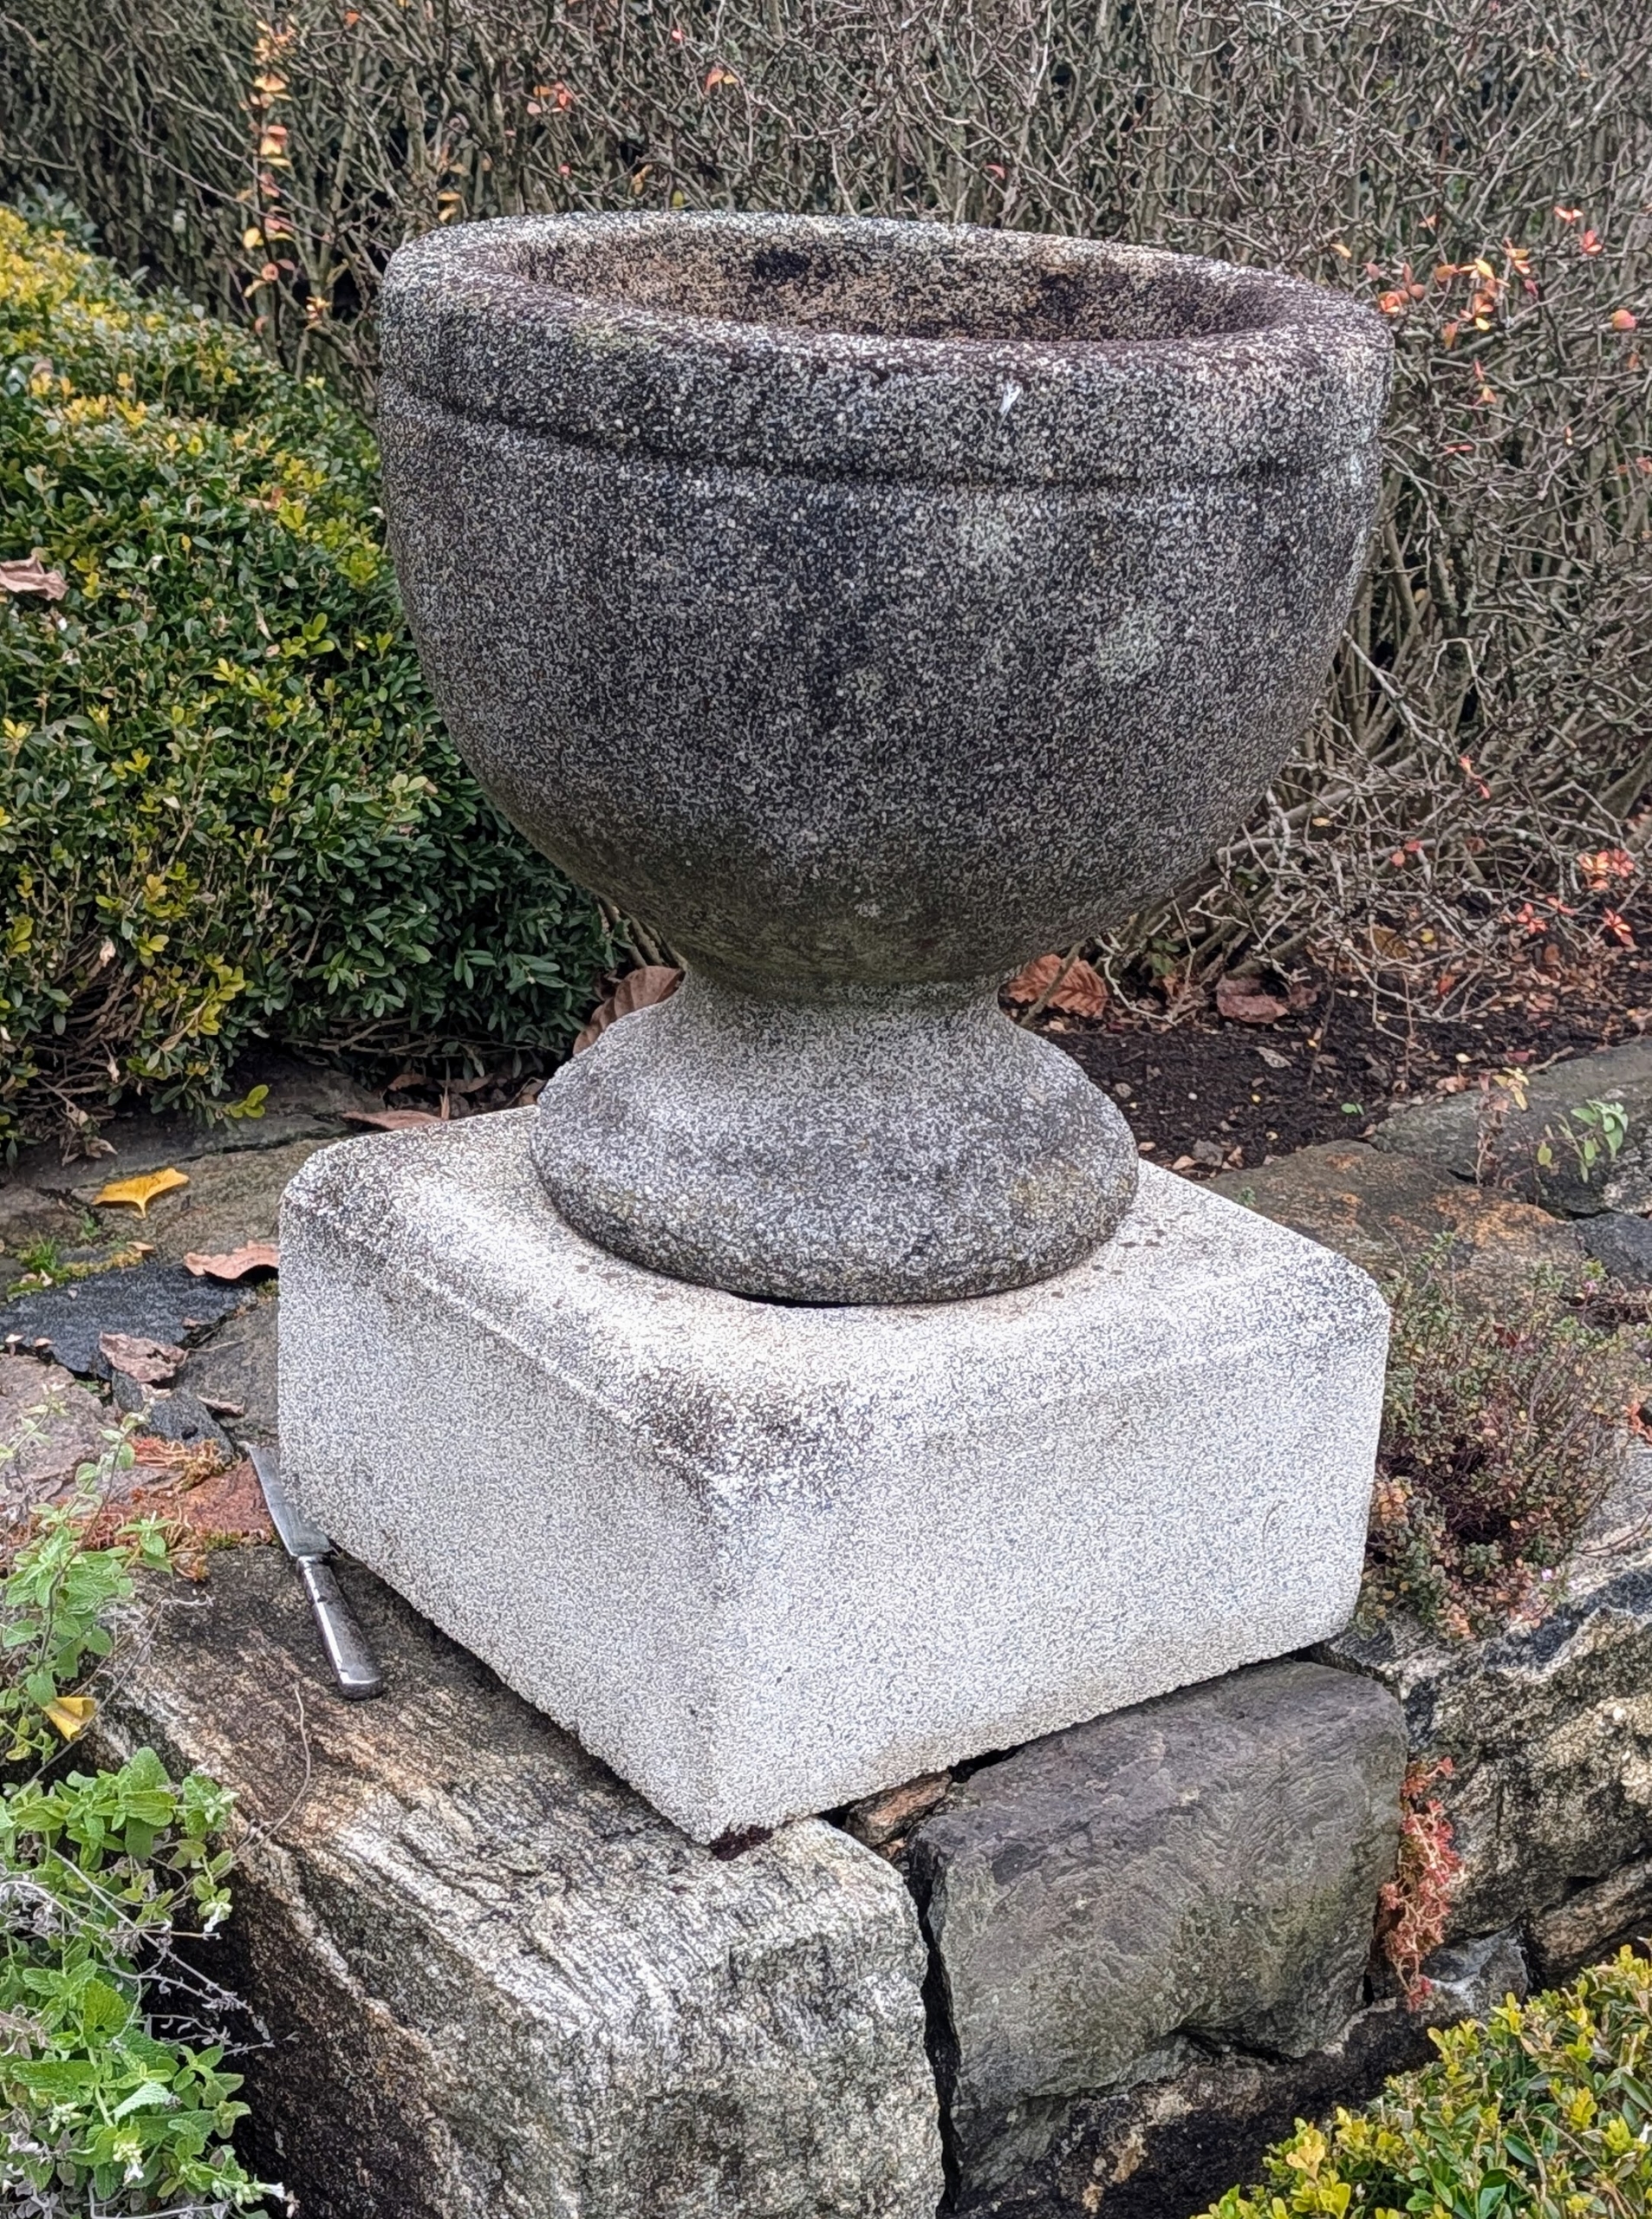
You know cold winter weather is on the way when various ornamental vessels around my farm are covered in burlap.
I've been covering my boxwood shrubs and hedges with burlap for many years to protect them from splaying and breaking from the weight of snow and ice. I feel it is equally important to protect my outdoor garden containers from the harsh winter elements. A winter freeze, alternating with thaws, could crack or crumble any kind of stone or cement, especially if it is antique. During this time, all my outdoor planters, birdbaths, stanchions, etc., are covered in the same burlap used for my live specimens.
Here are some photos.
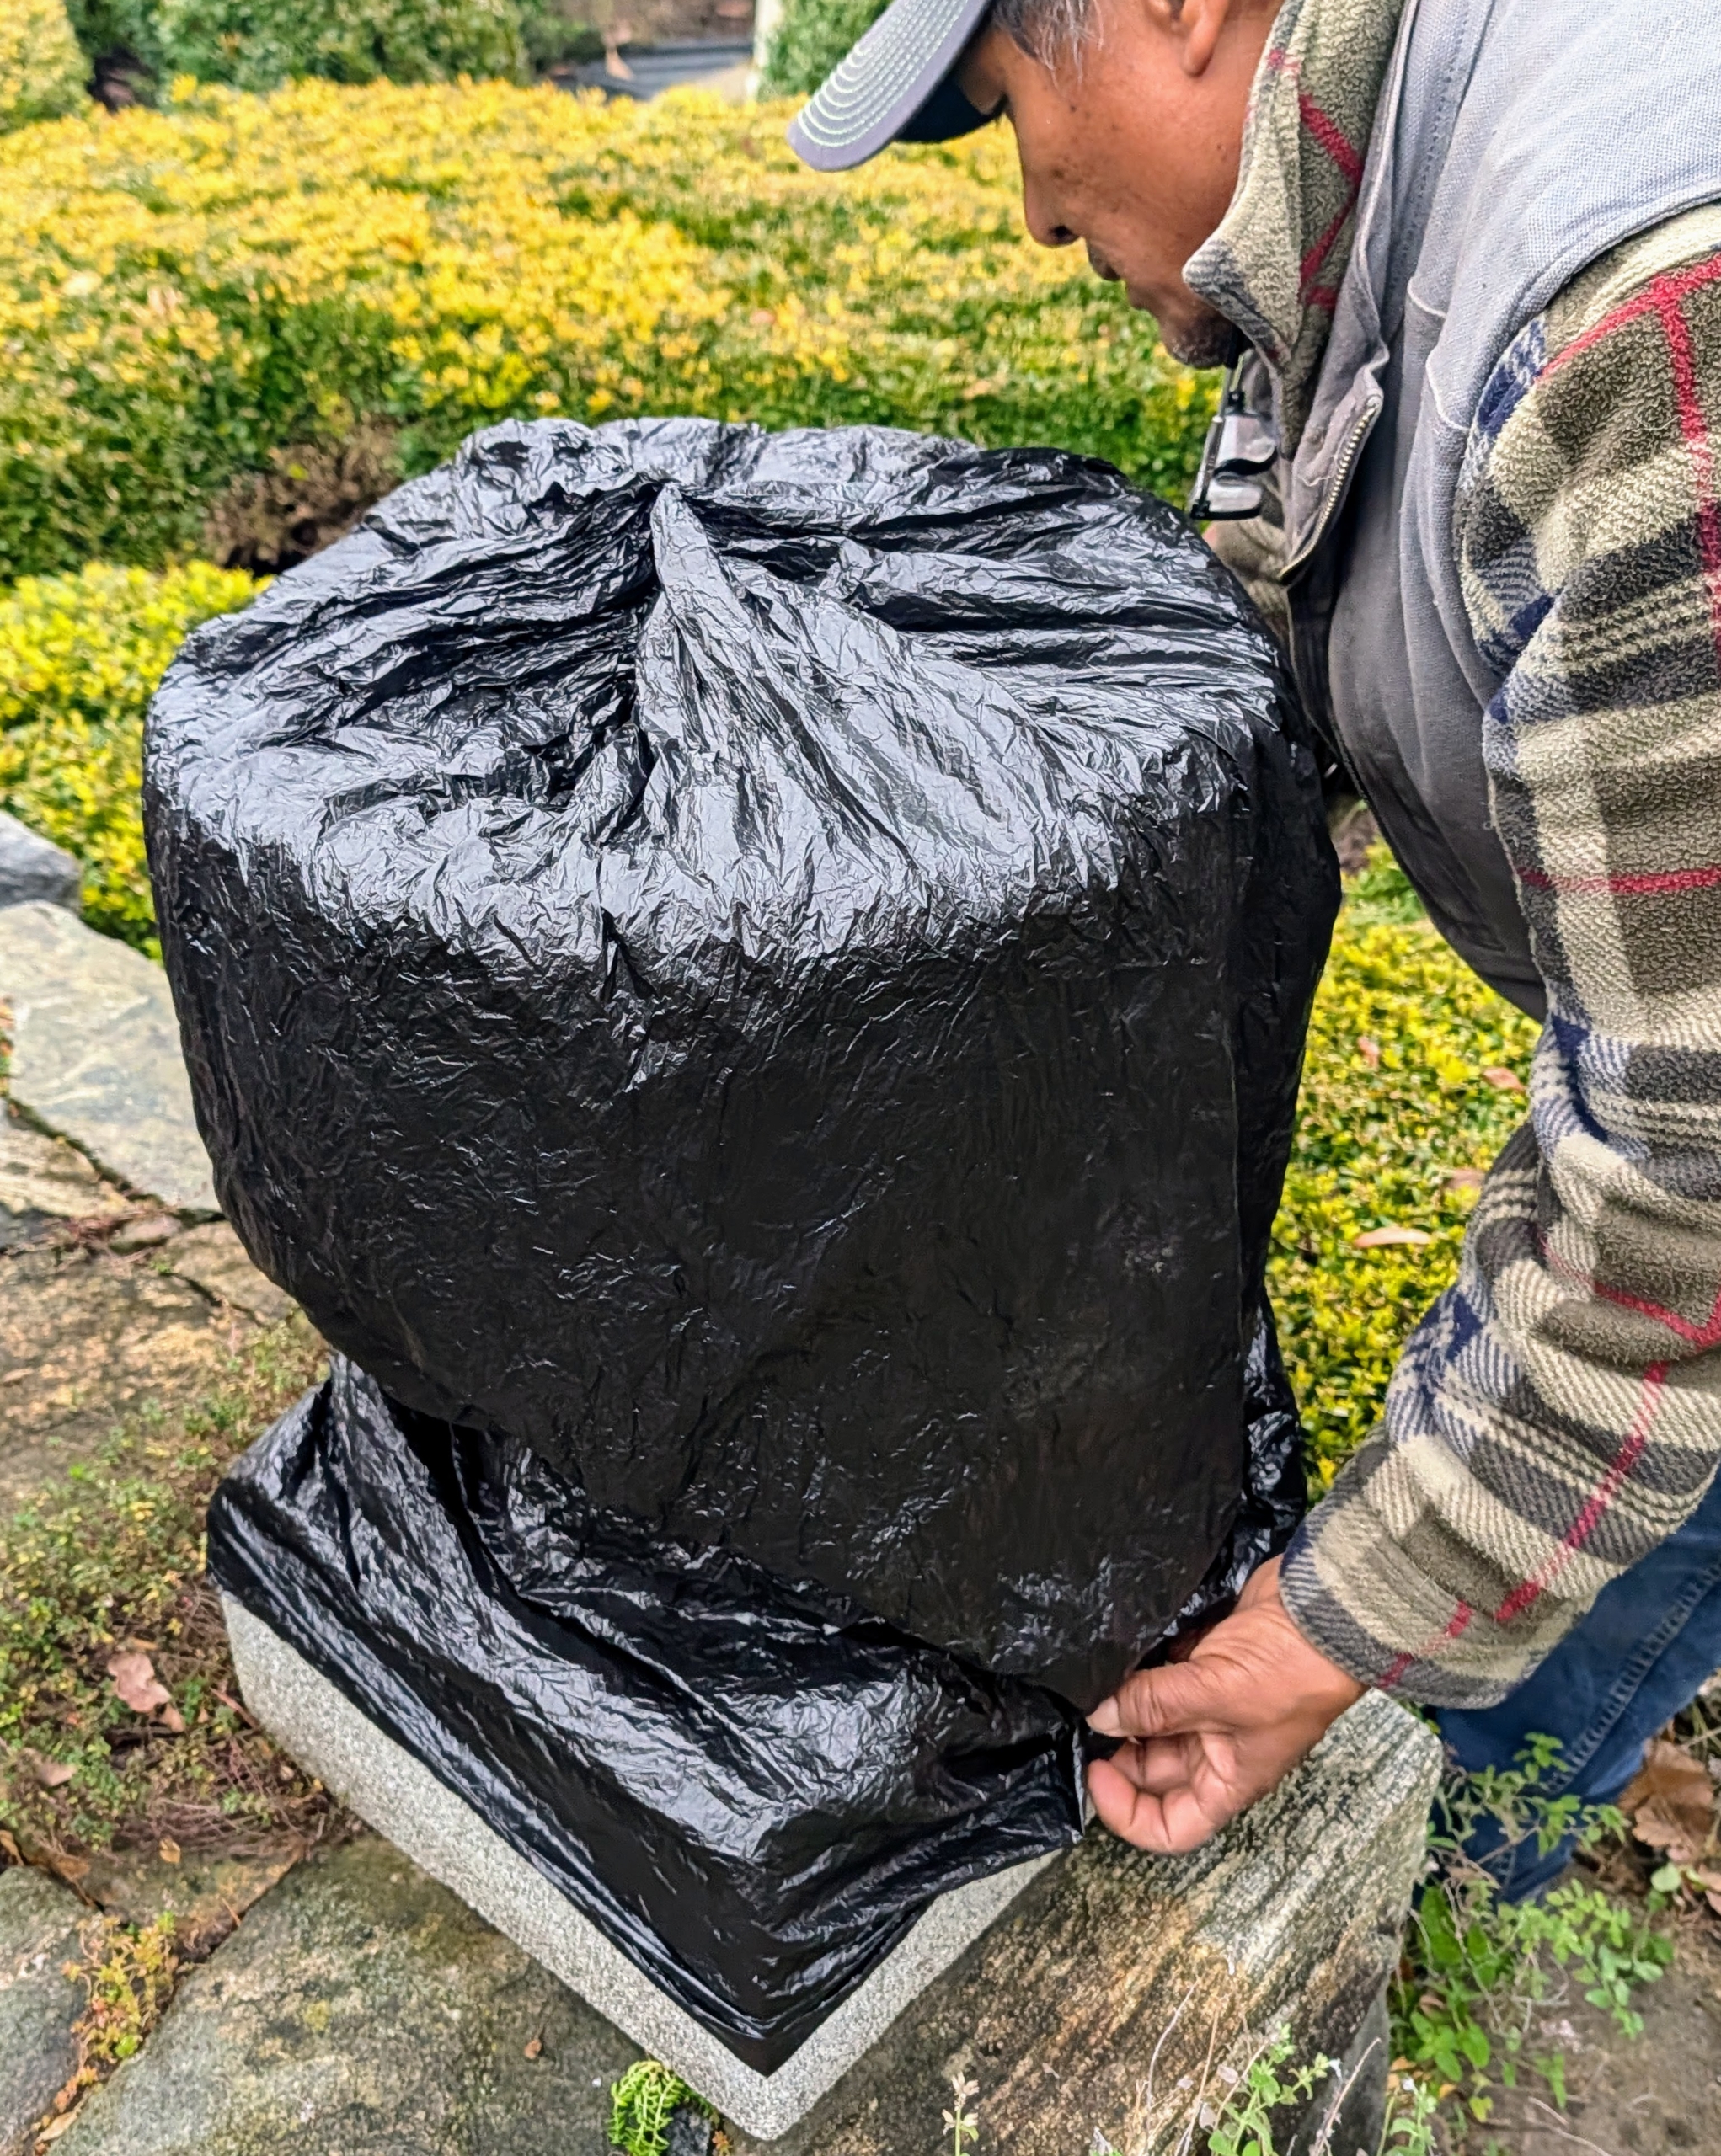
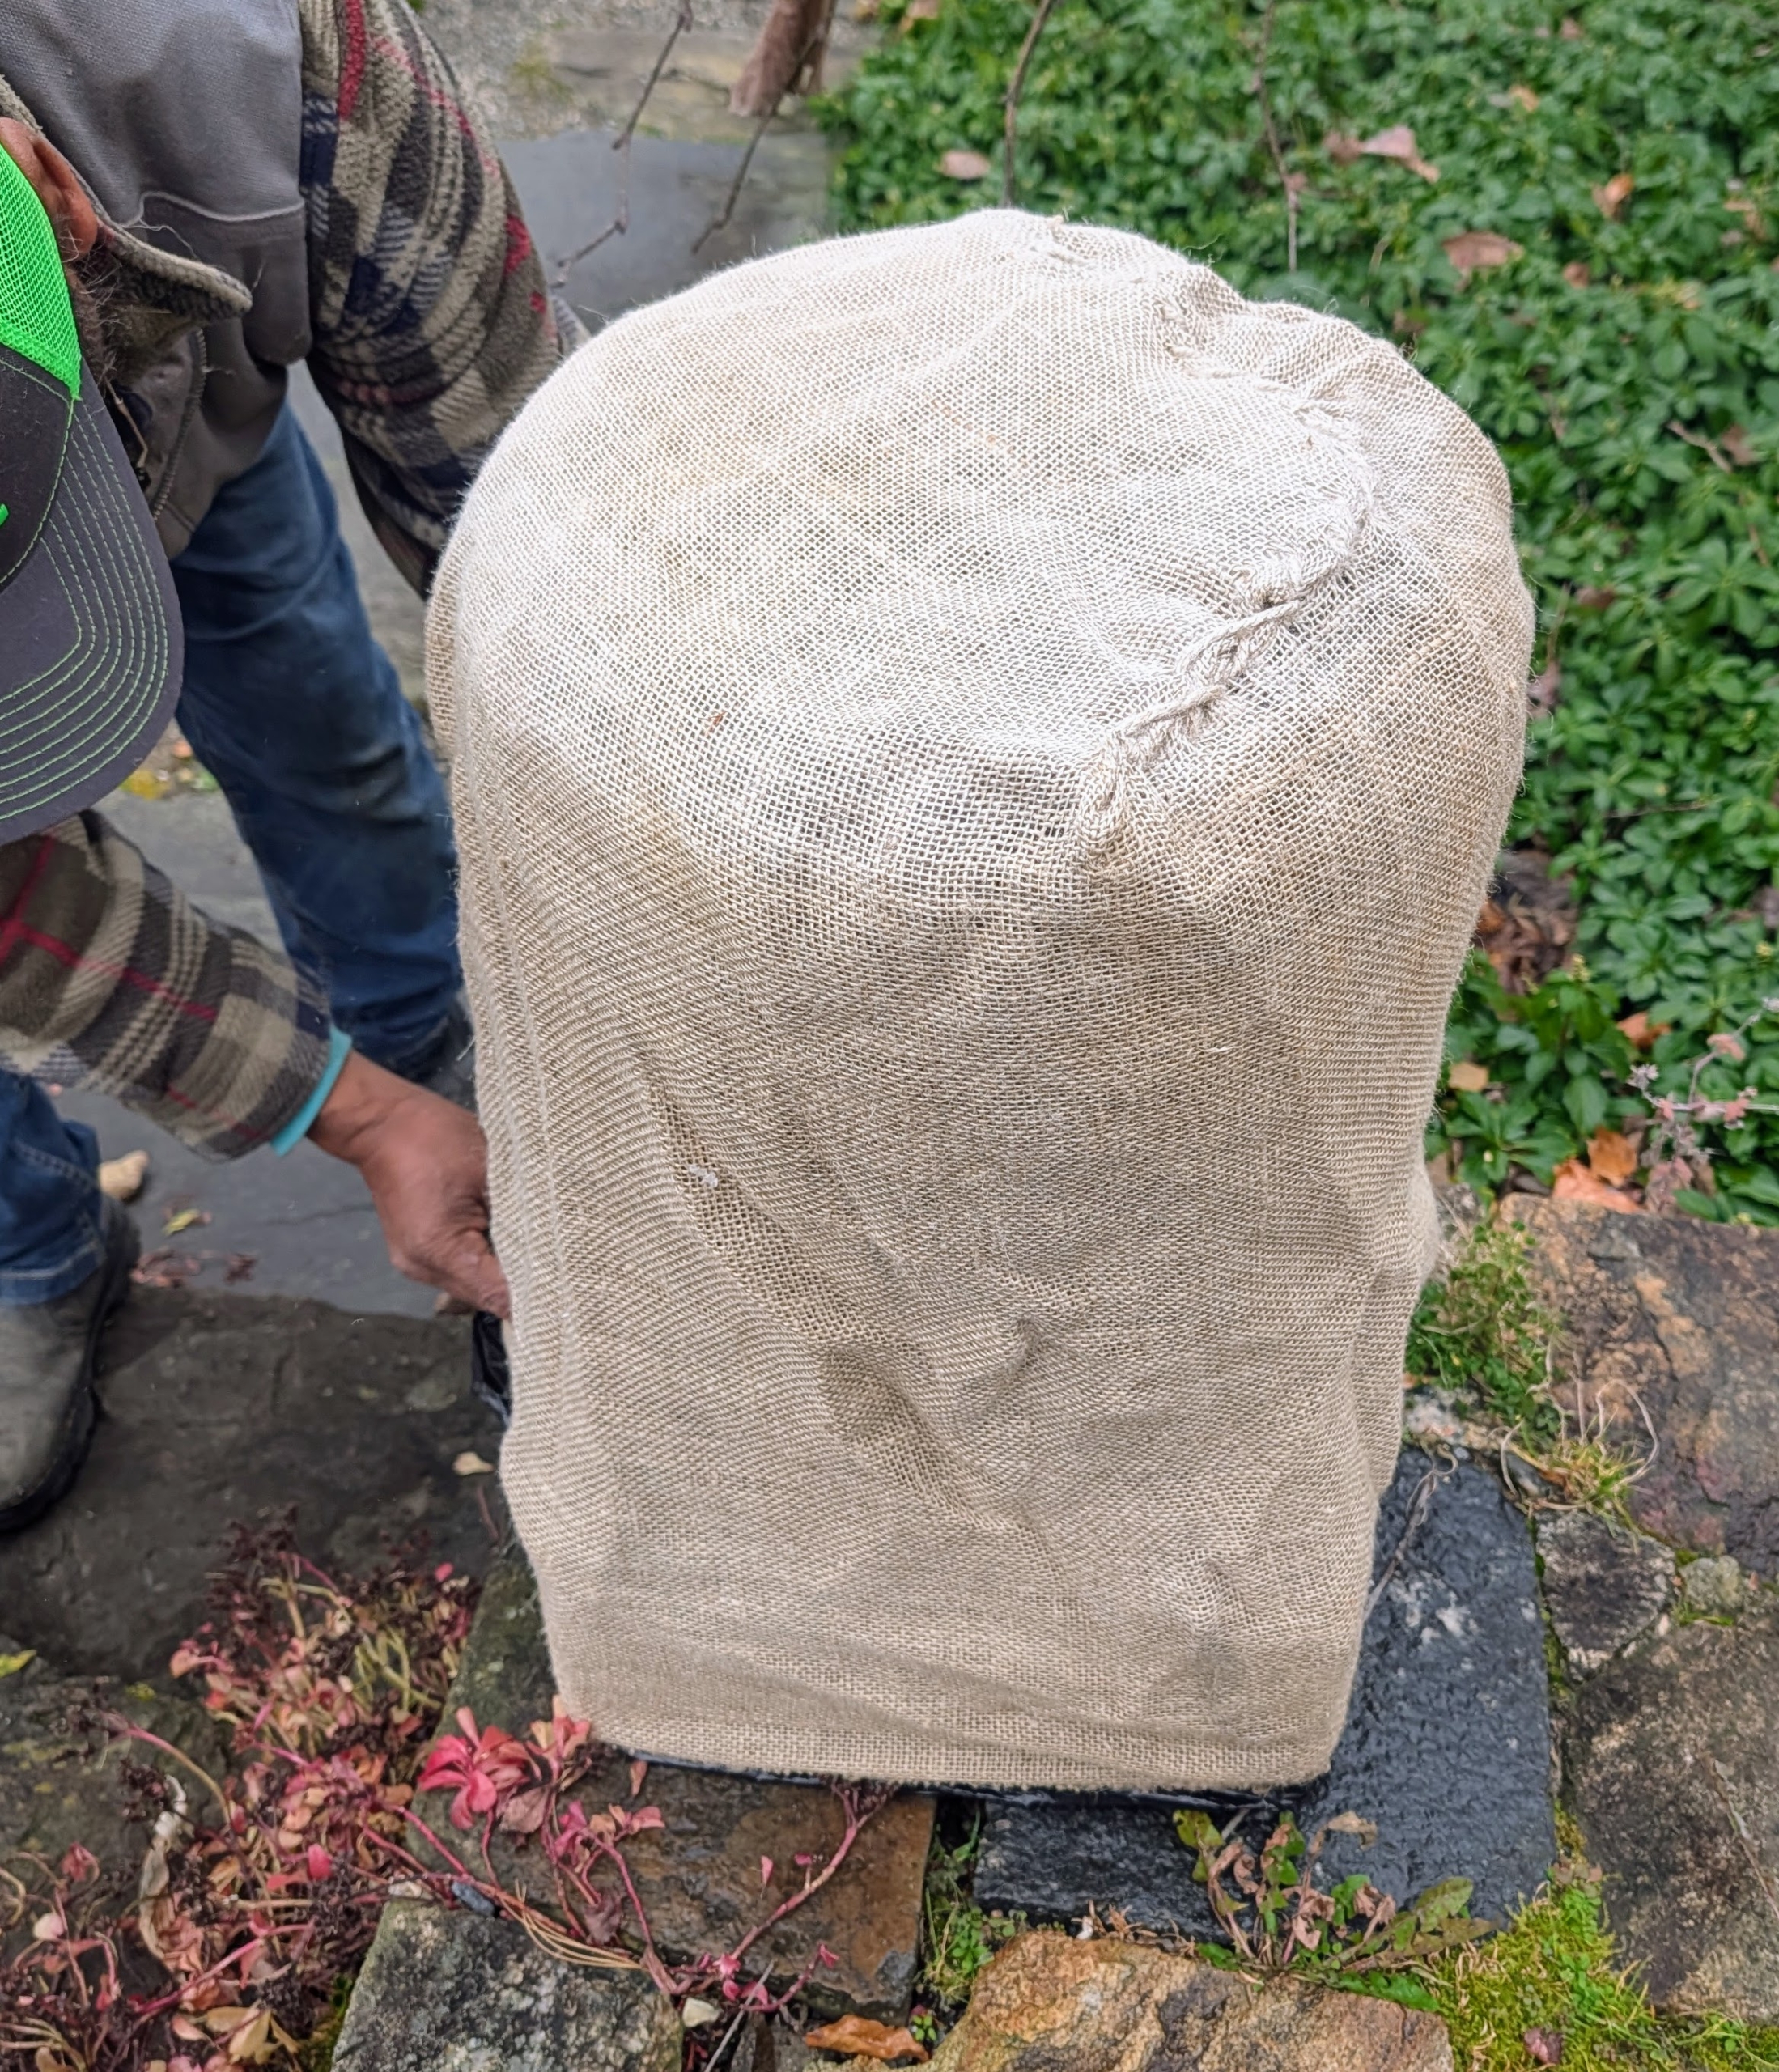
The “burlapping” process has begun! I have many outdoor containers and garden ornaments that are covered and protected with burlap and kept in their respected locations for the duration of the cold season. Here is a birdbath that sits outside the stable office where my business manager, property manager, and operations manager work.
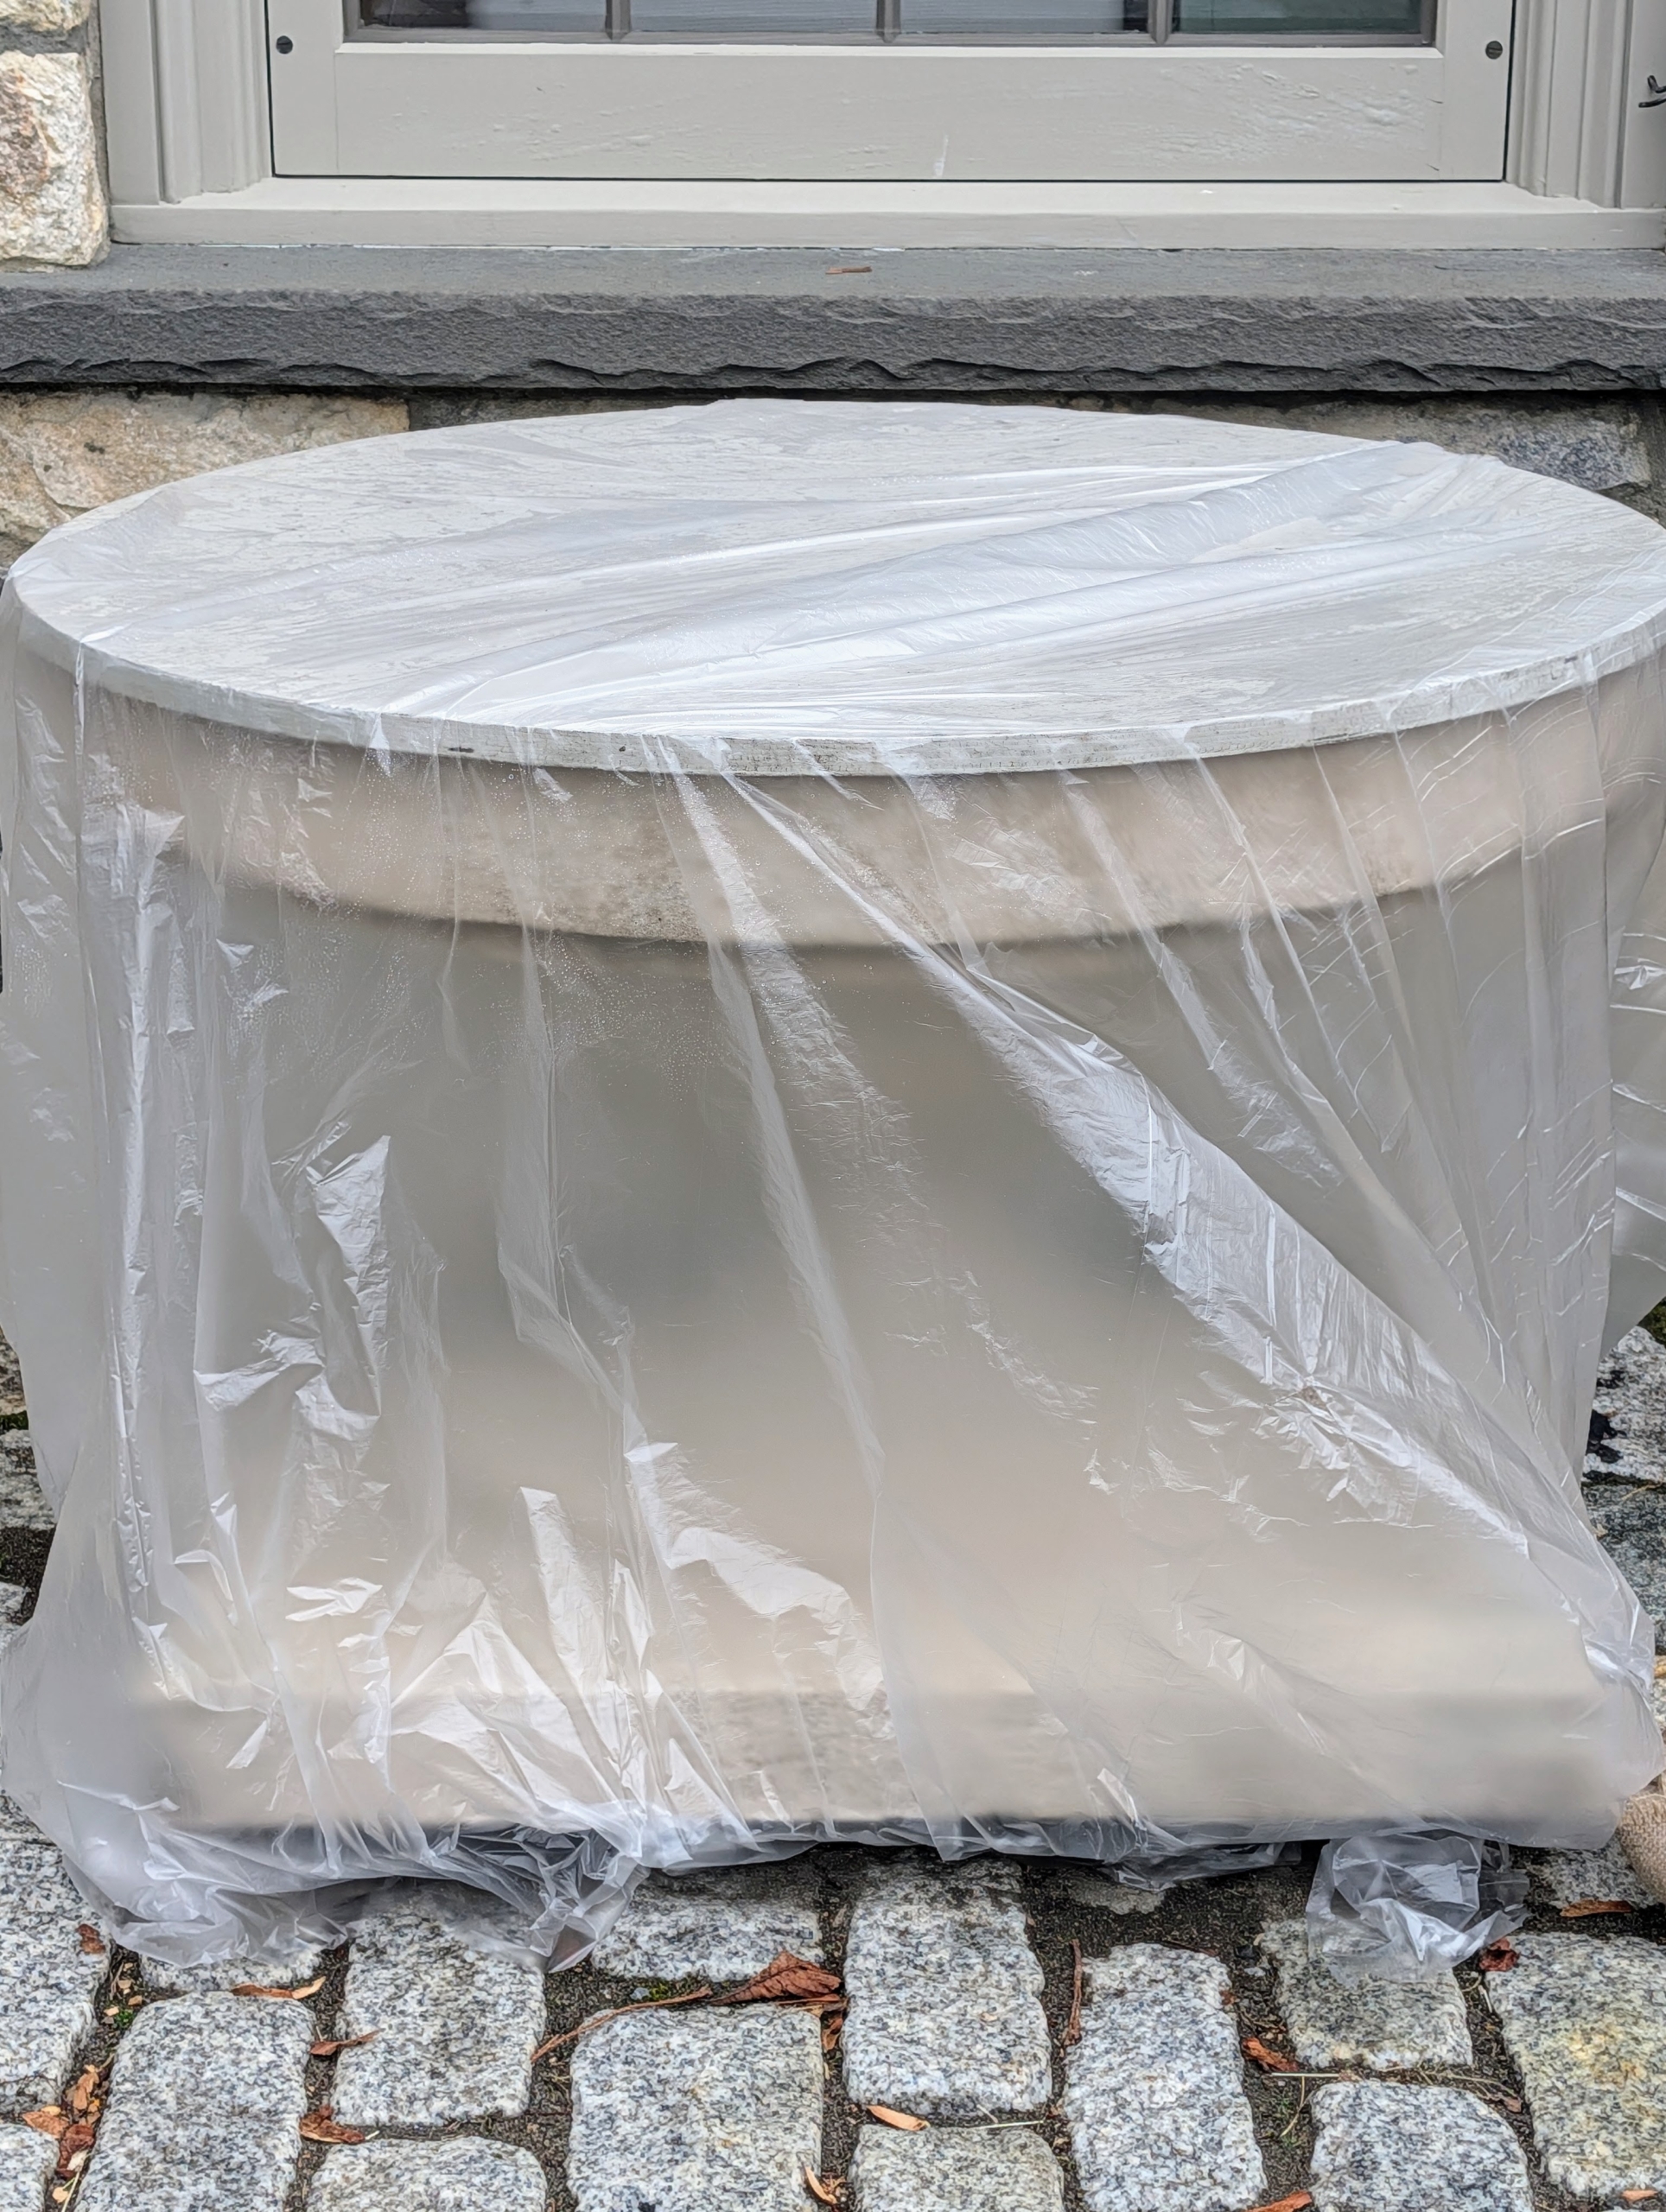
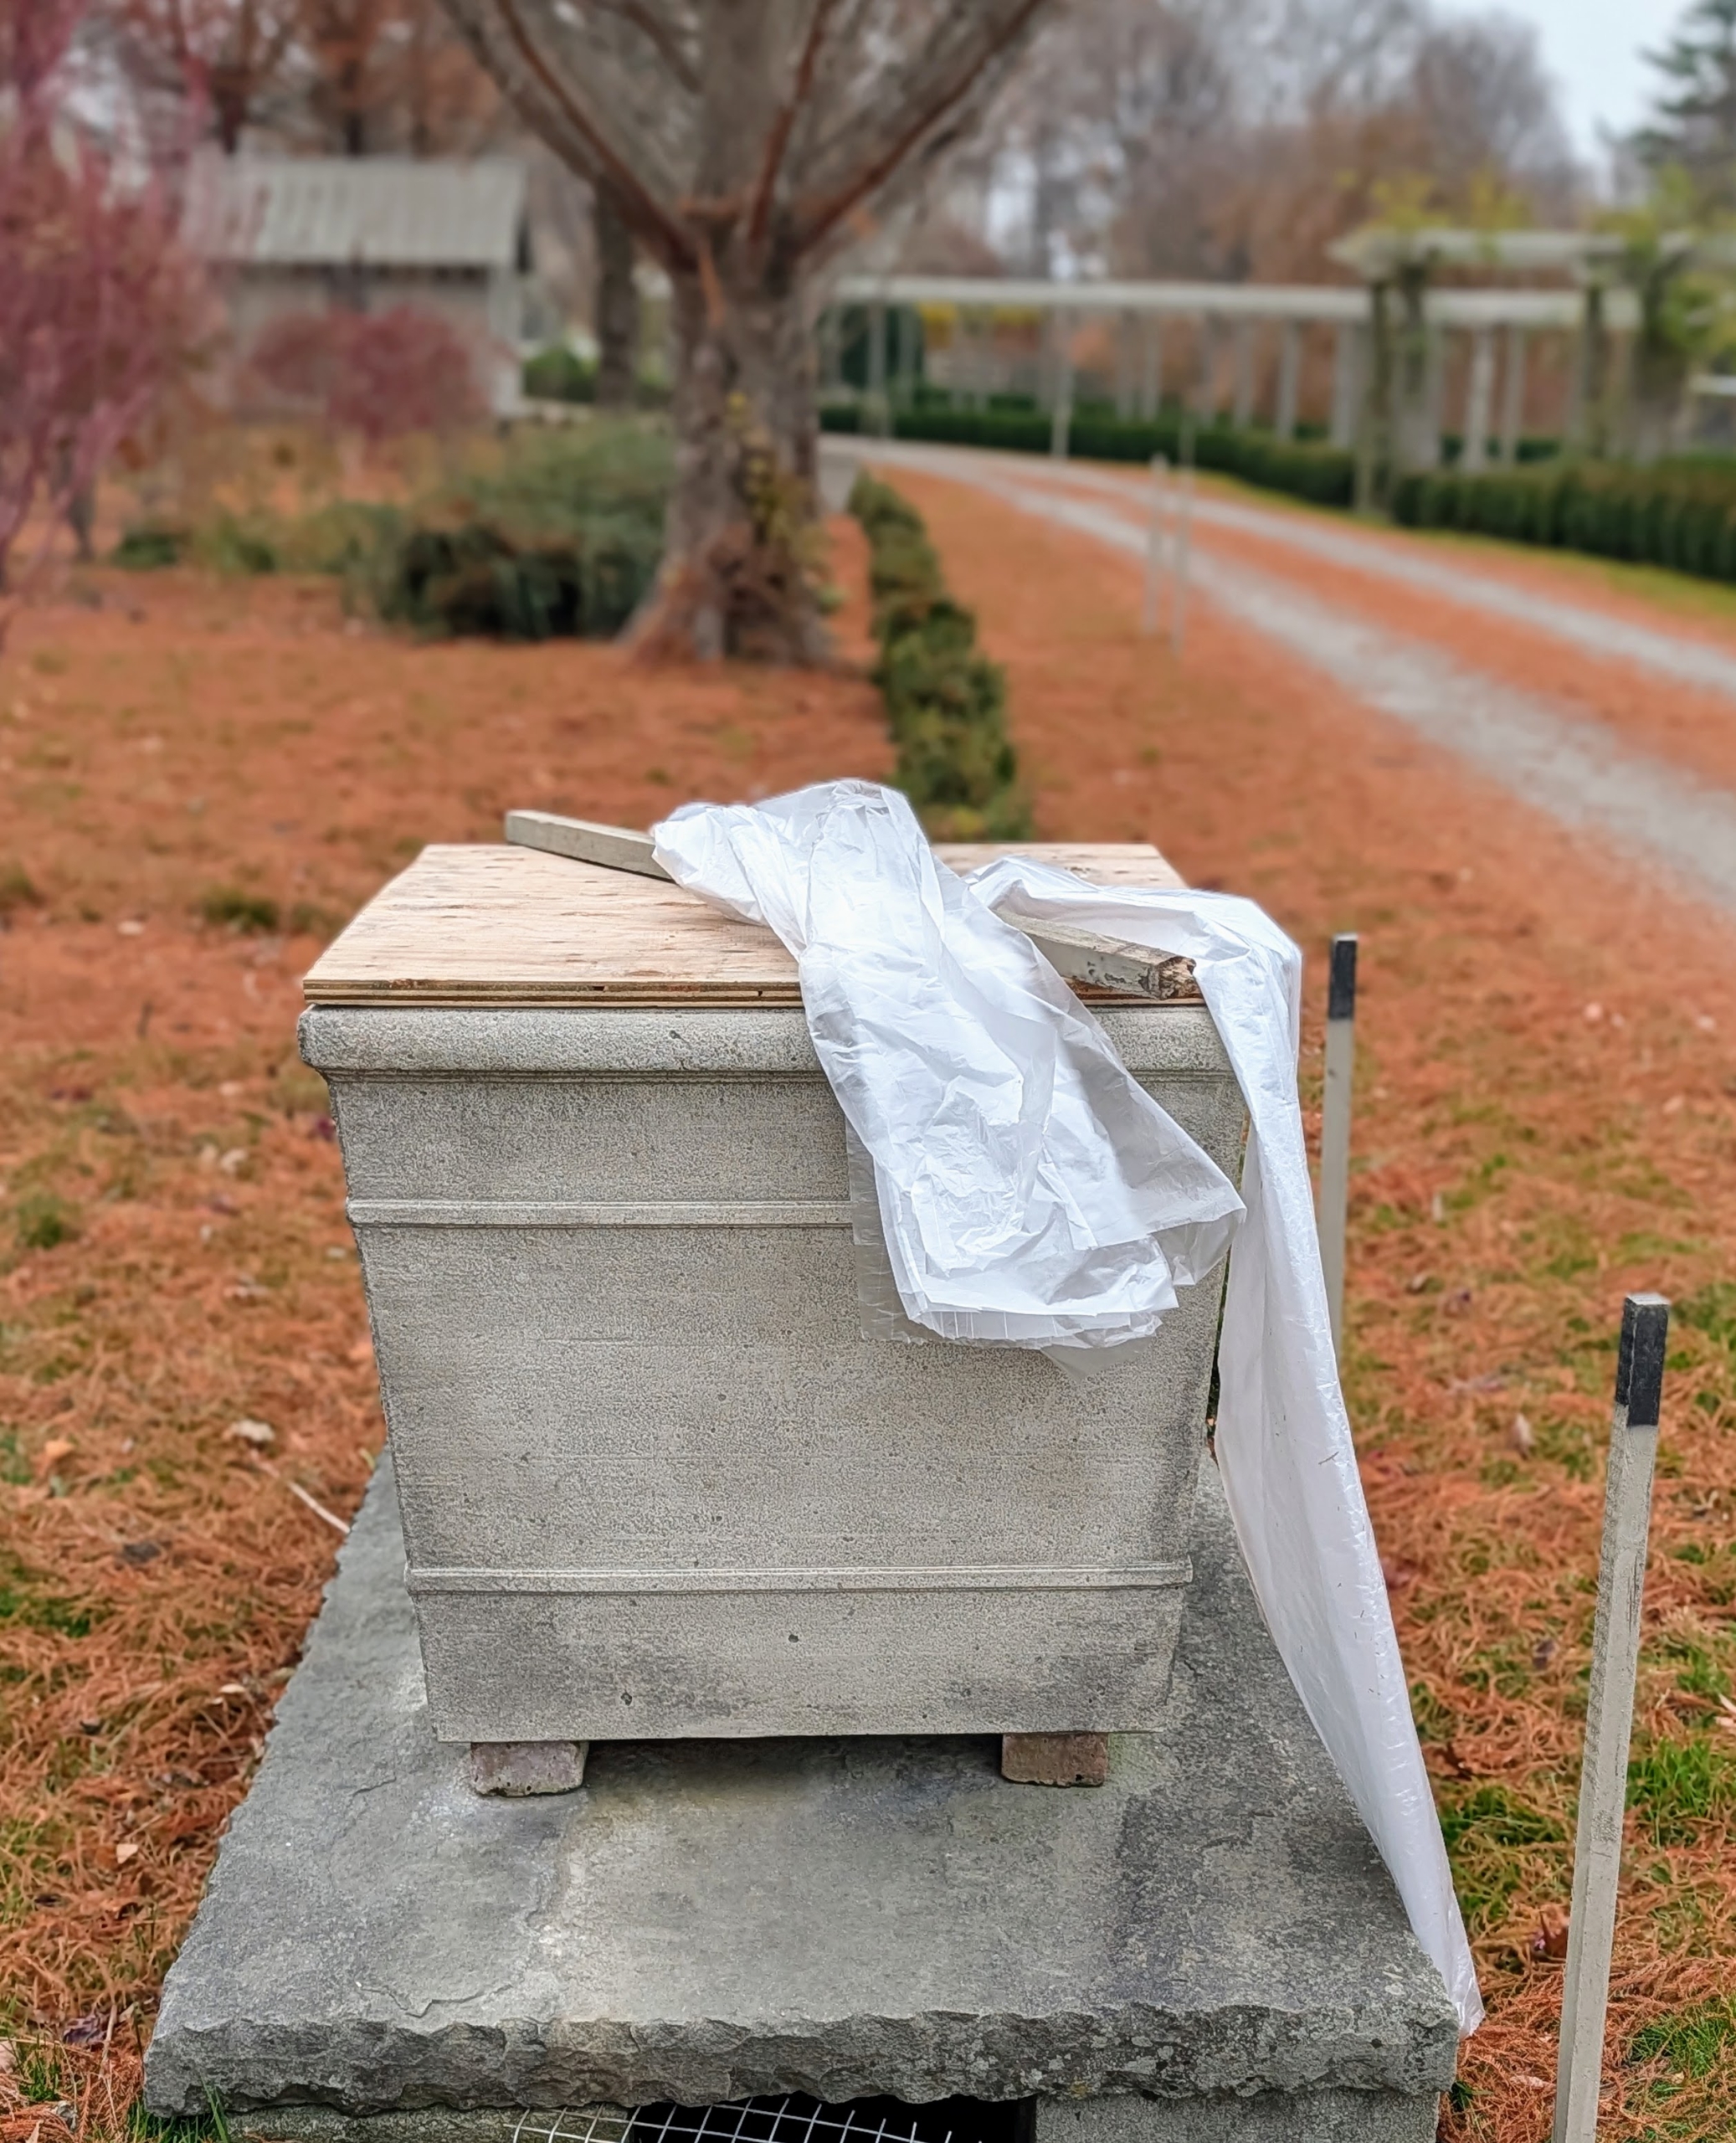
Because stone, cement, and clay-based materials can crack from exposure to the winter elements, it’s important to protect them from all sides. The first thing I do is cover the large opening with a piece of plywood. The crew cuts any spare plywood into rounds to fit over various pieces. Then it is wrapped in a layer of plastic all the way around.
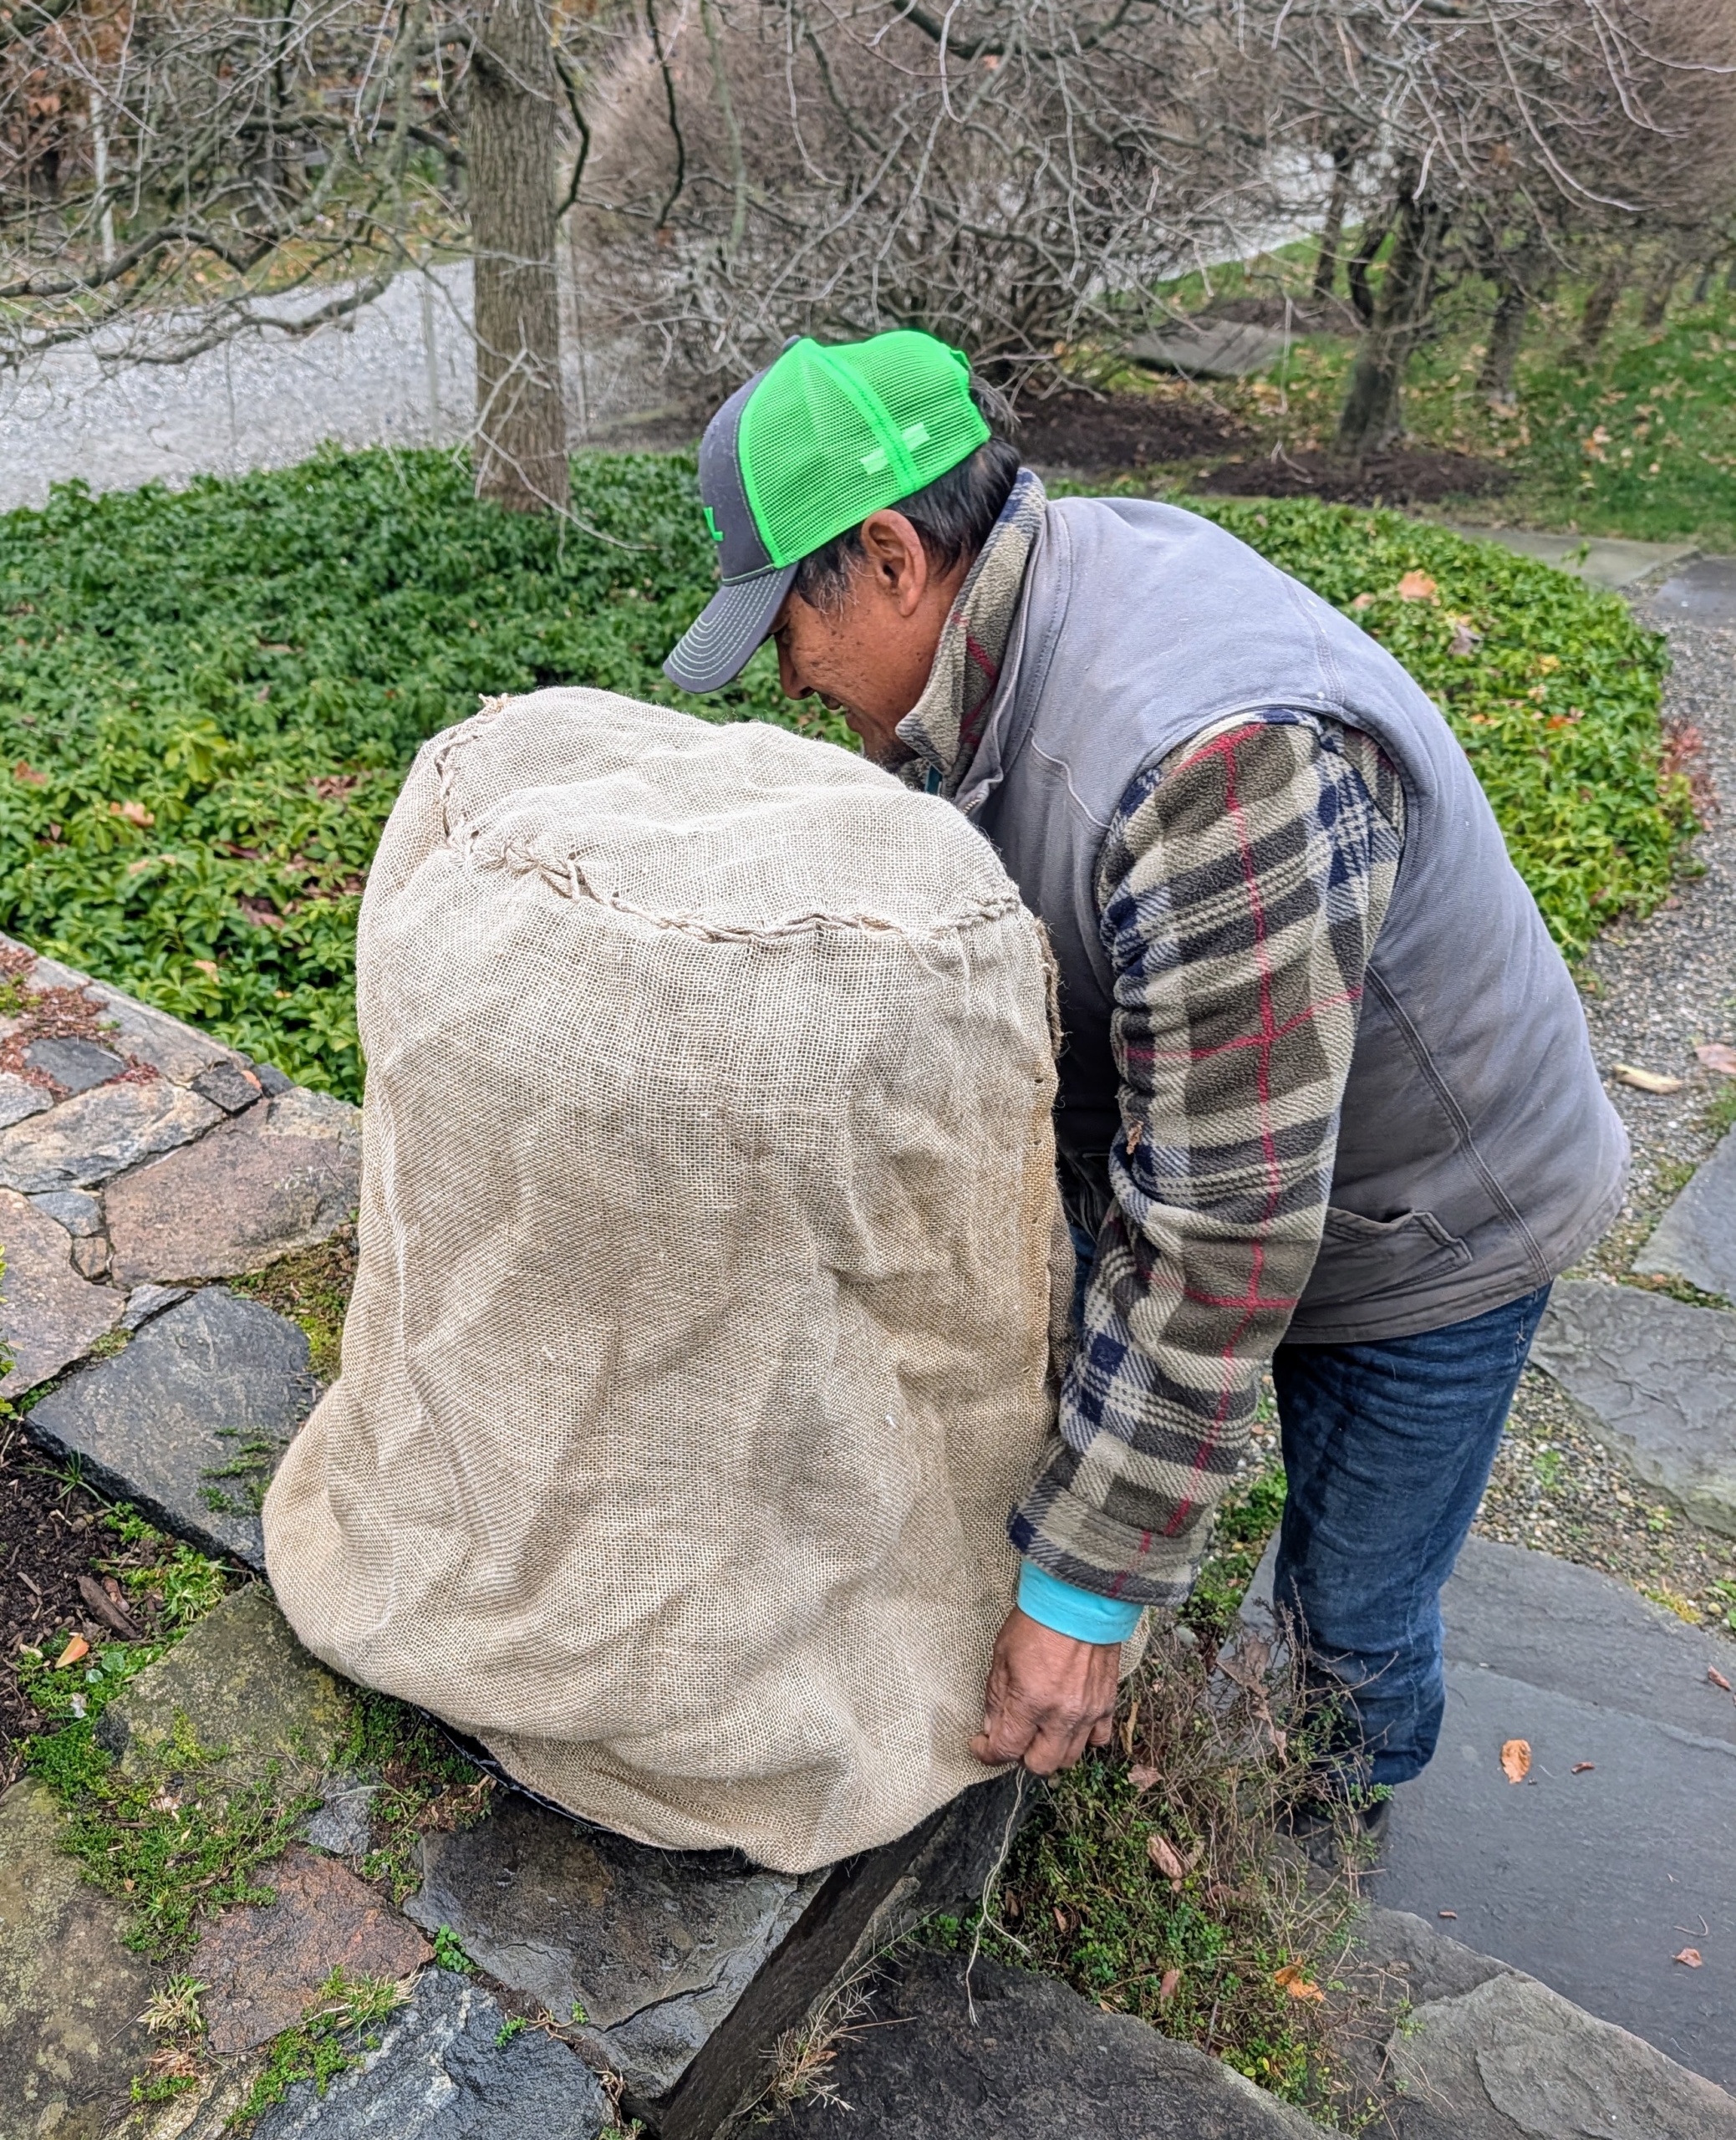
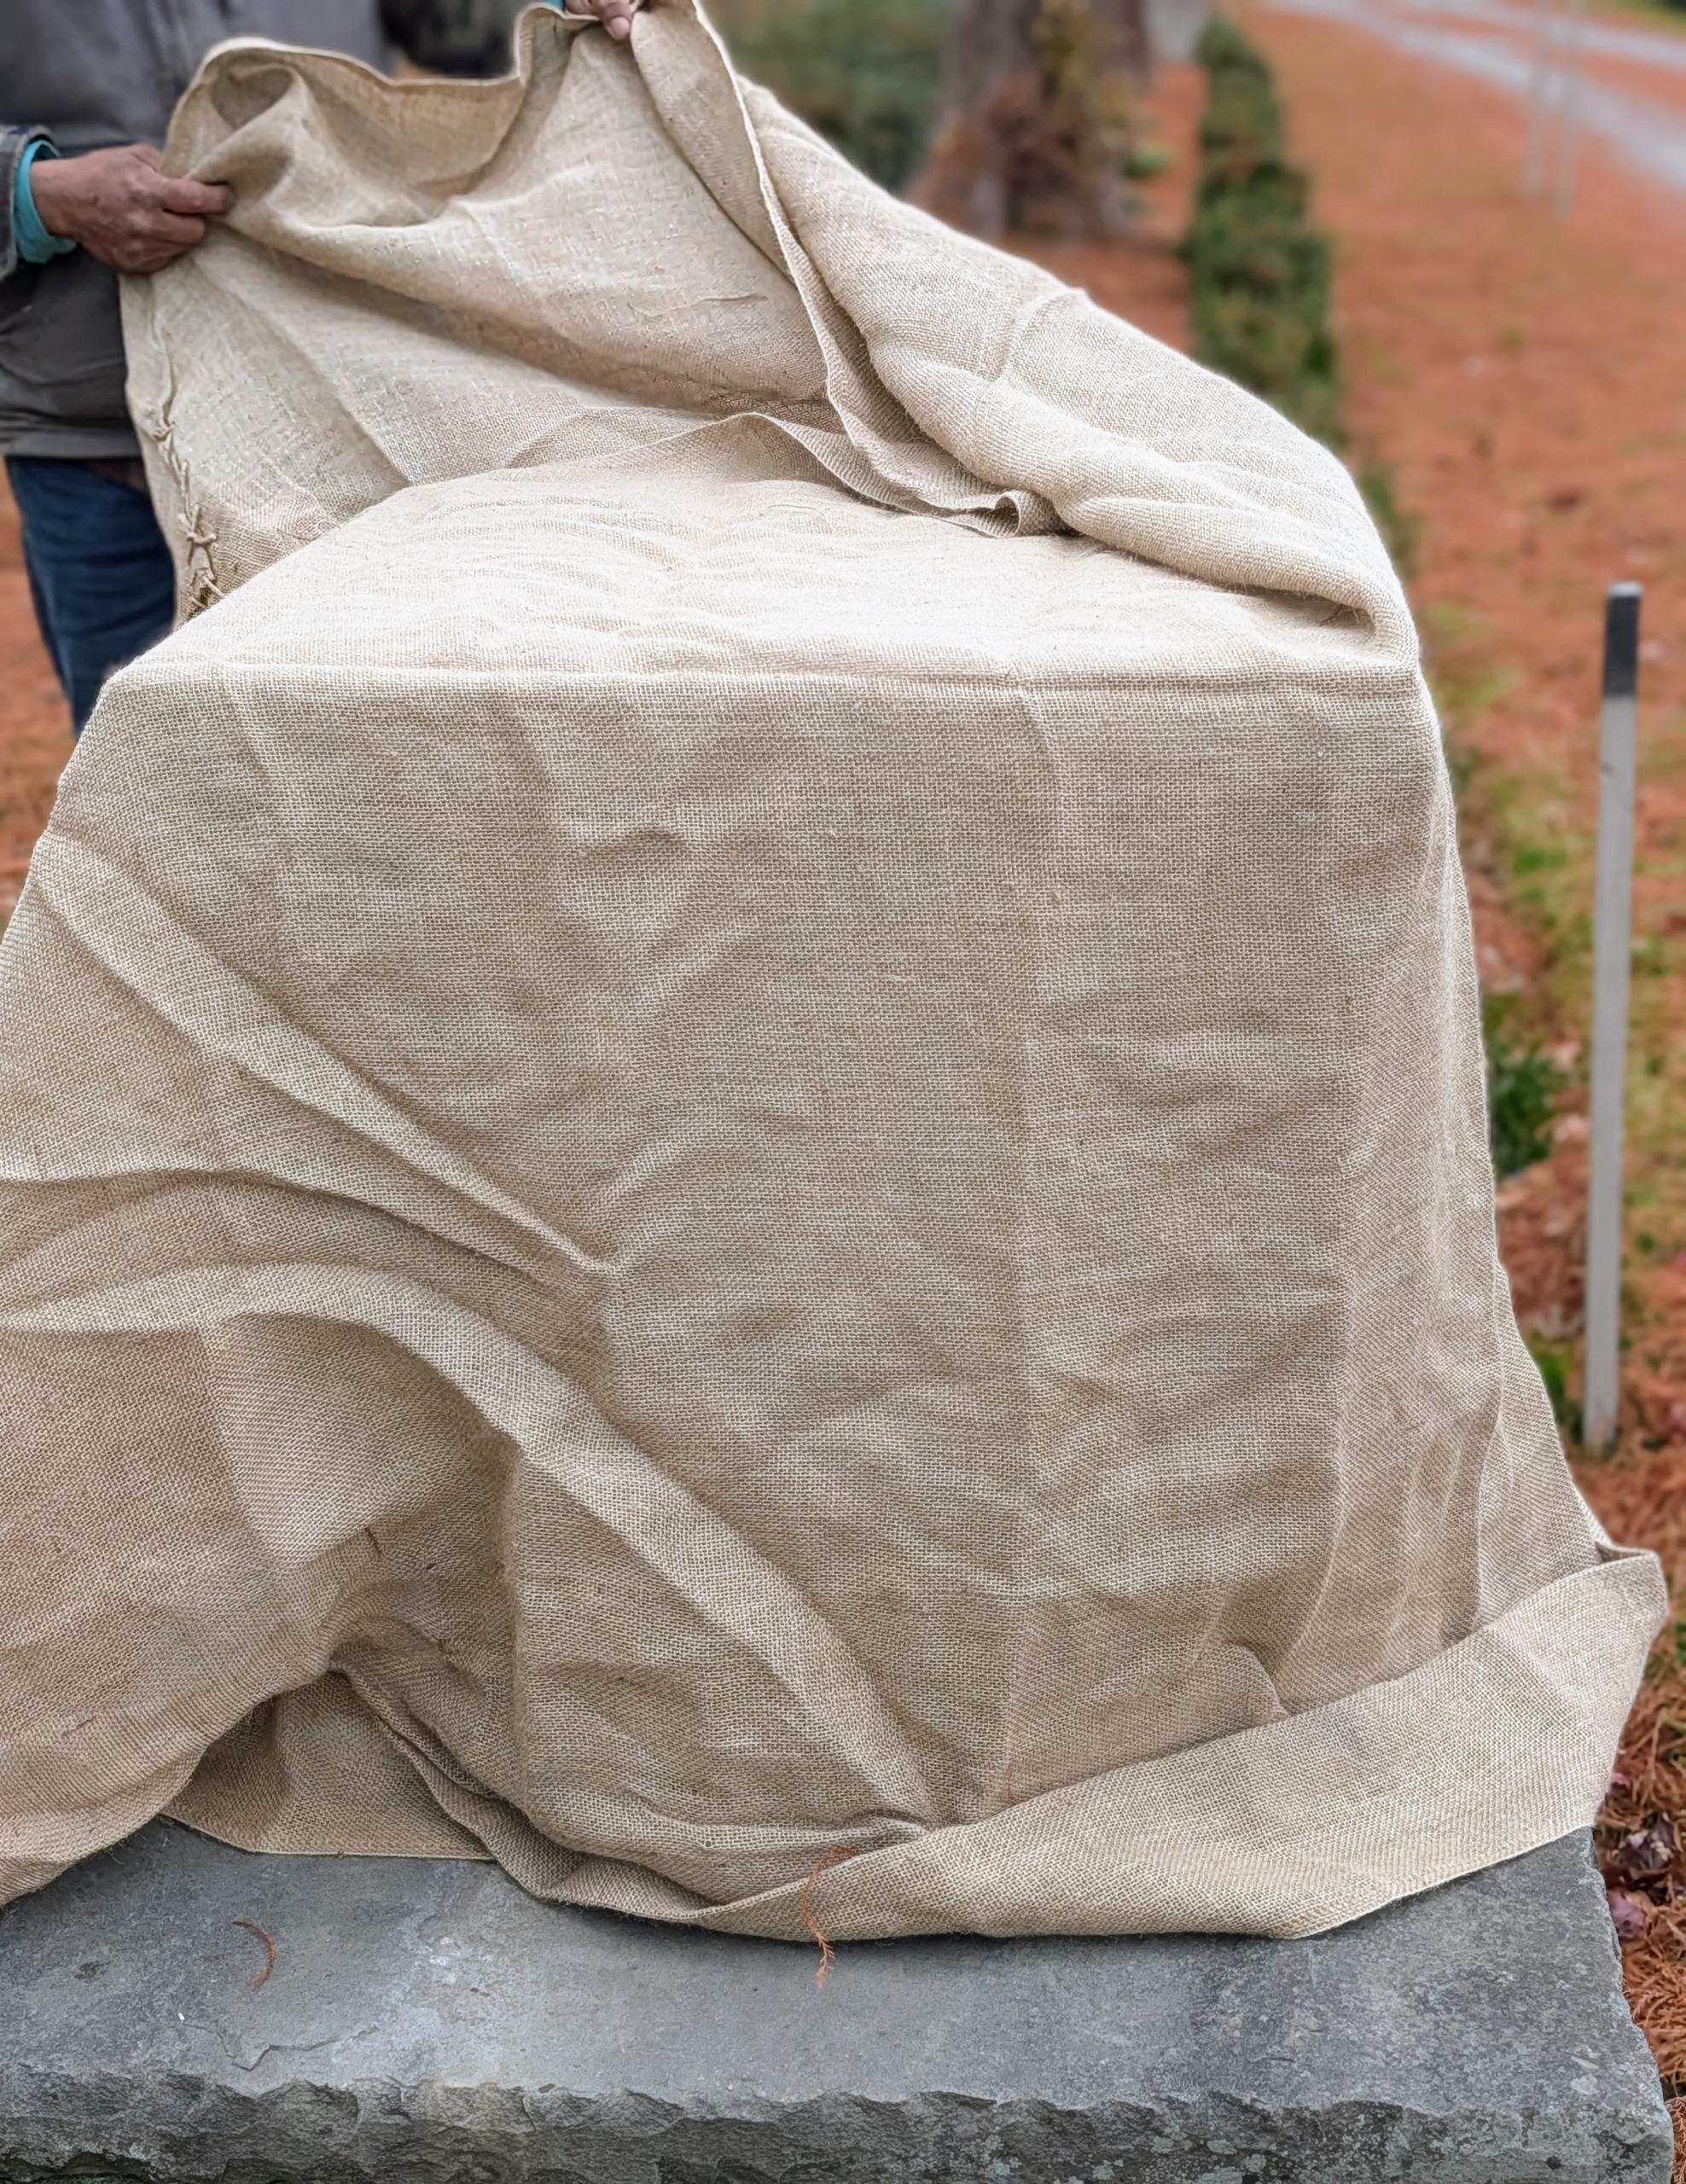
When we can, we reuse burlap from seasons past; however, it is also available in giant rolls of 40-inches or 60-inches wide. Also called hessian, burlap is made in Pakistan, Bangladesh and India from jute, a tall, grass-like plant grown for its strong fibrous stalks. This burlap cover is from last year. If stored properly in a dry place, it can last a couple of seasons. Pete wraps this entire vessel from top to bottom with the burlap, tucking it all in underneath.
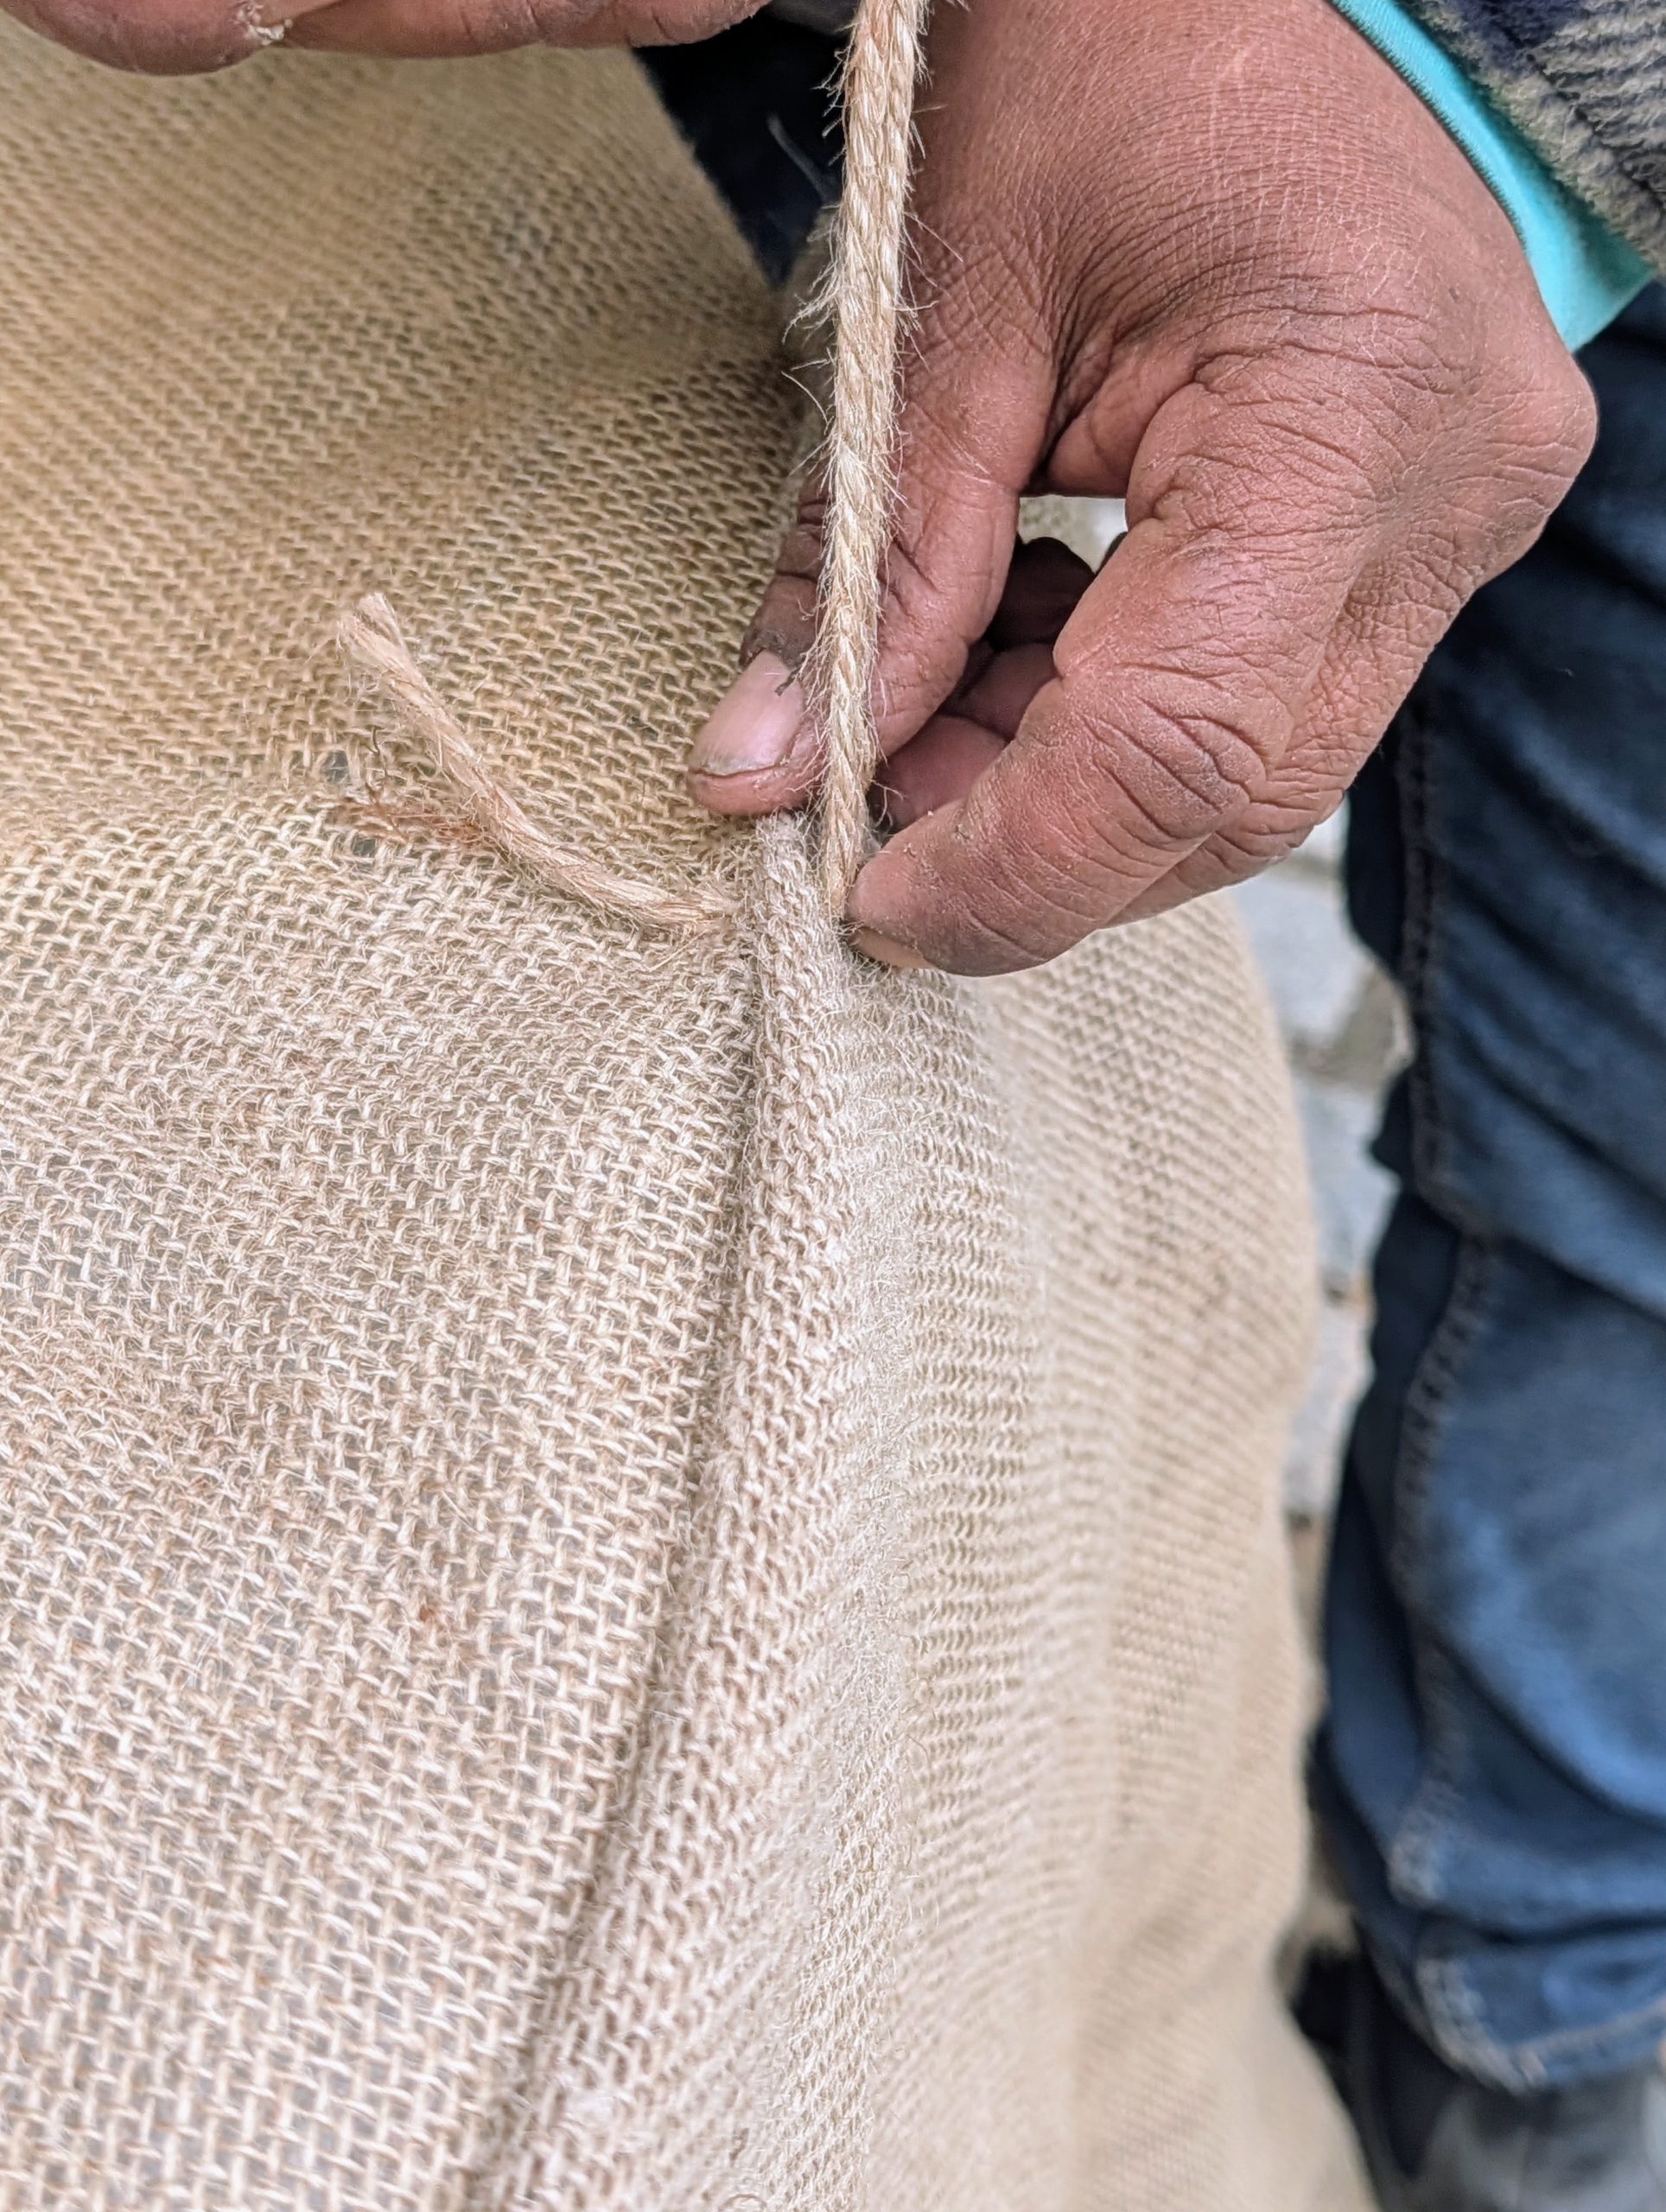
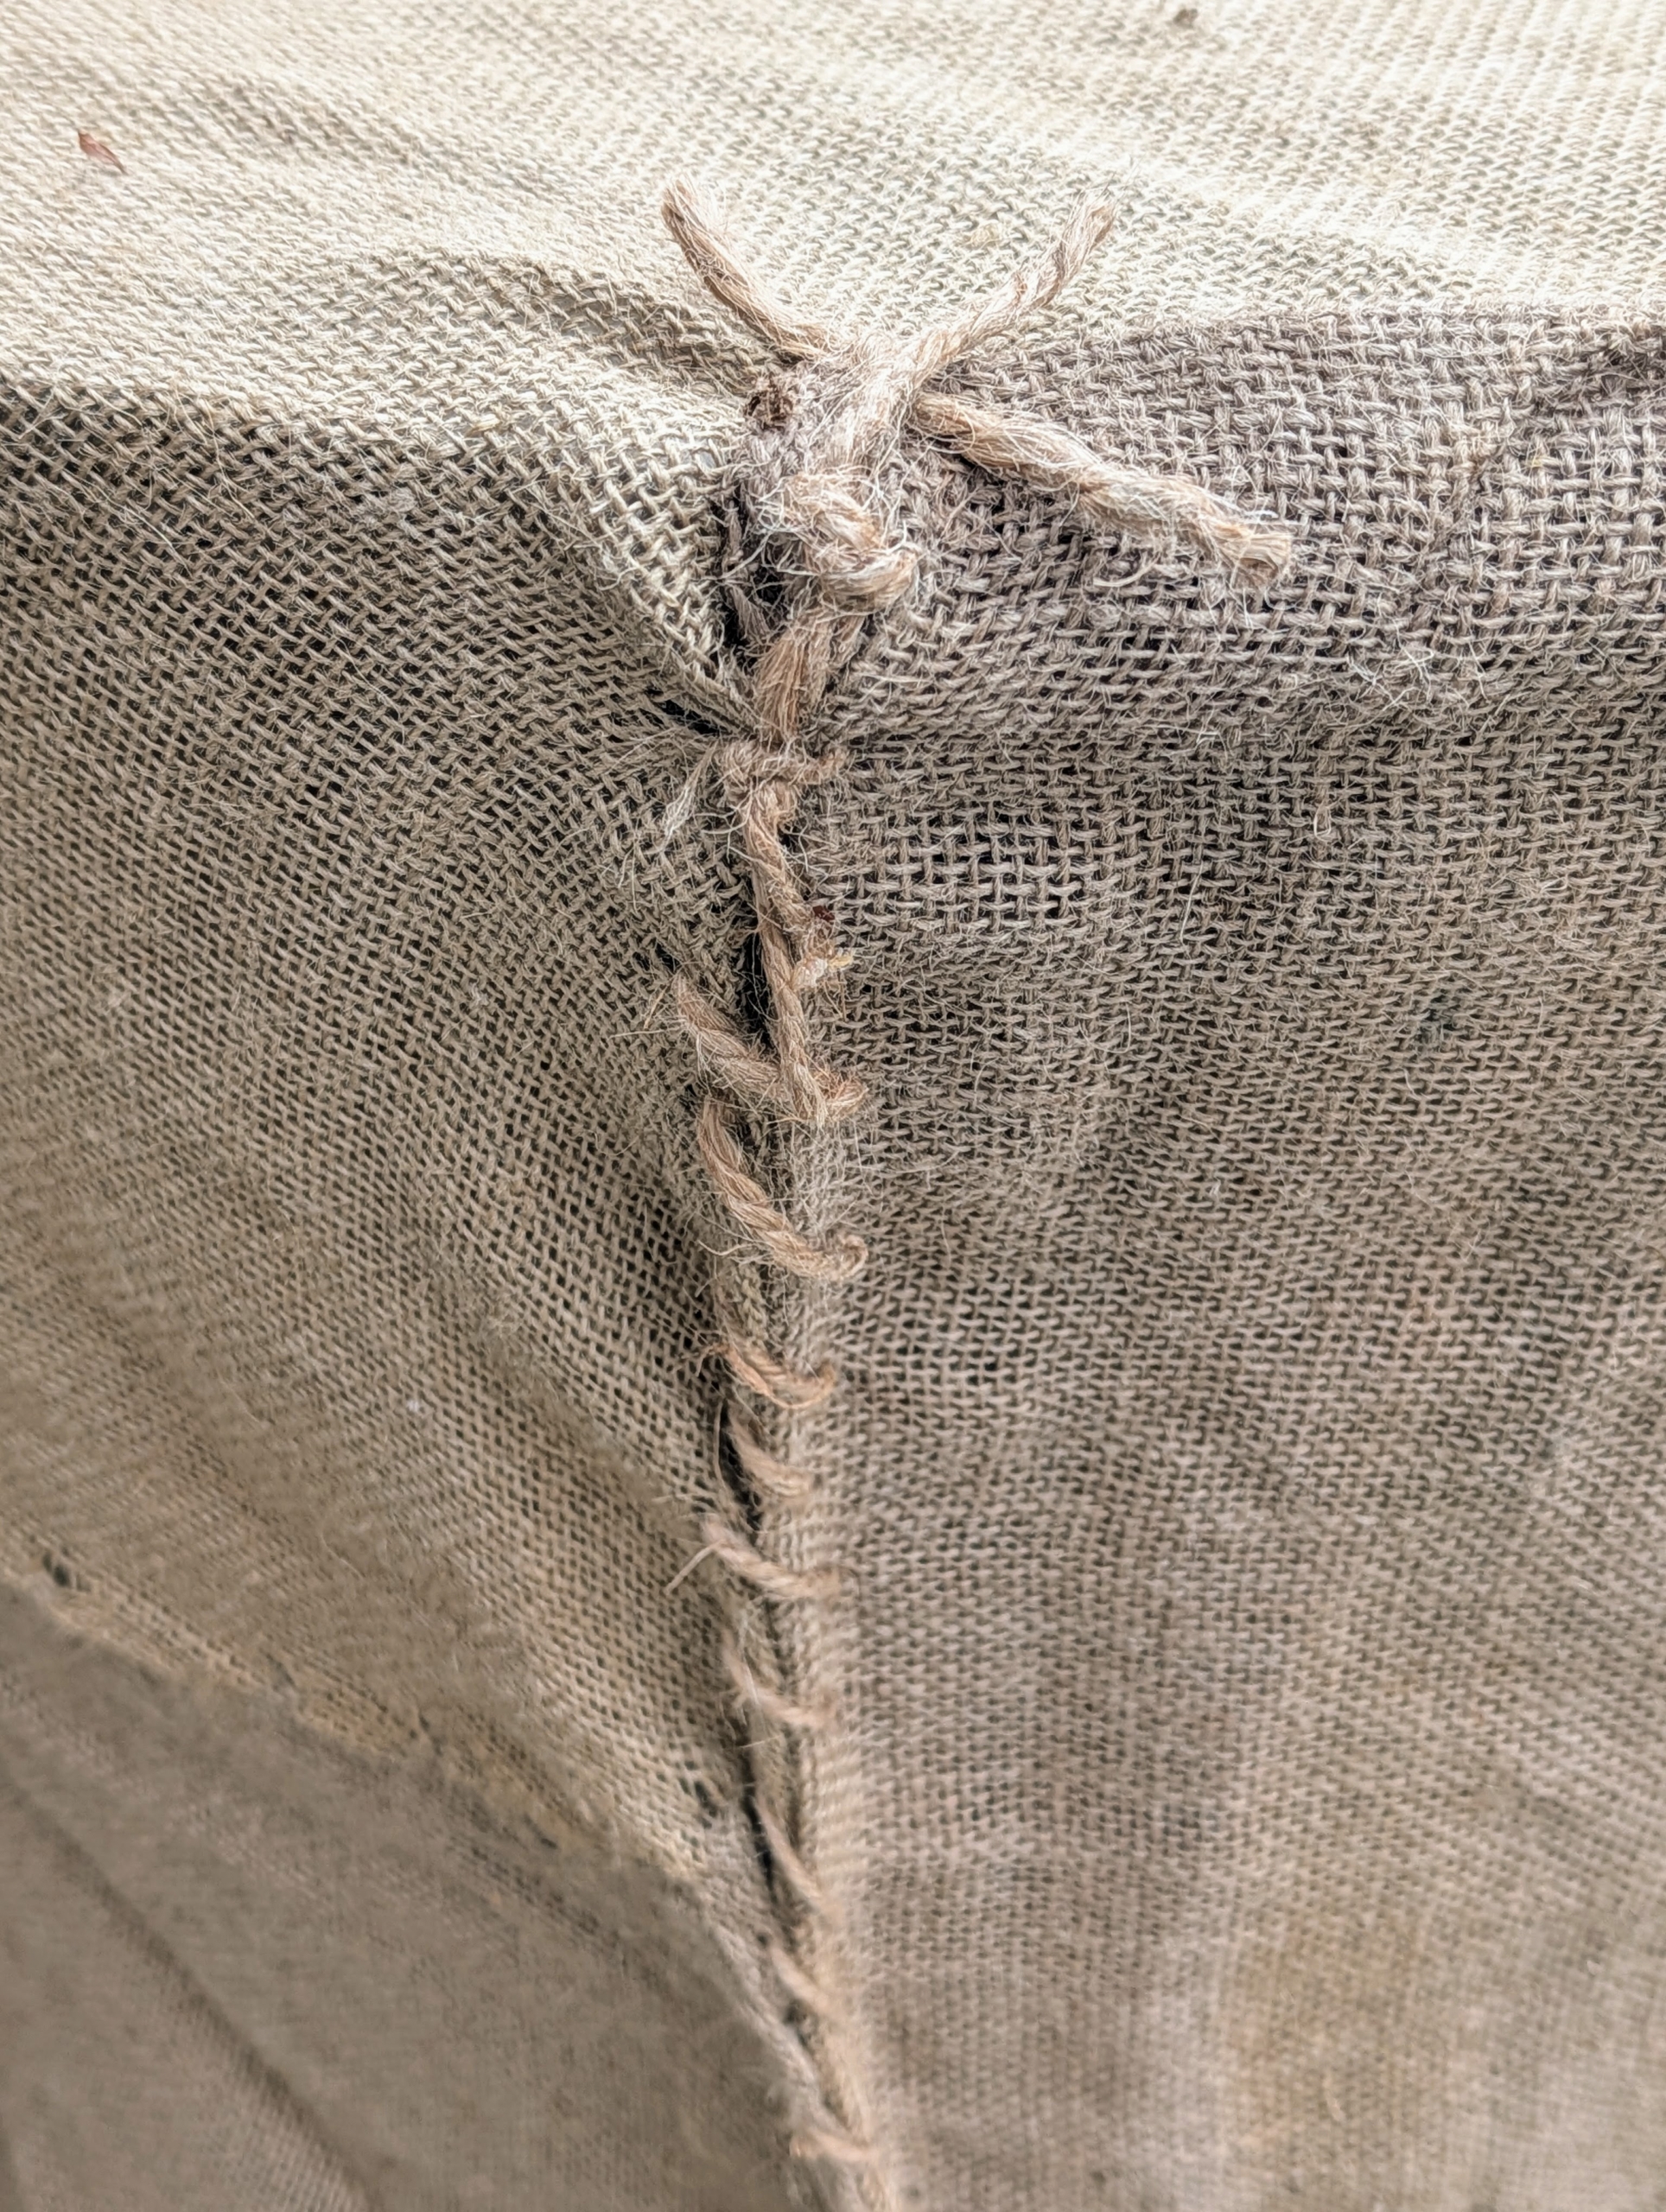
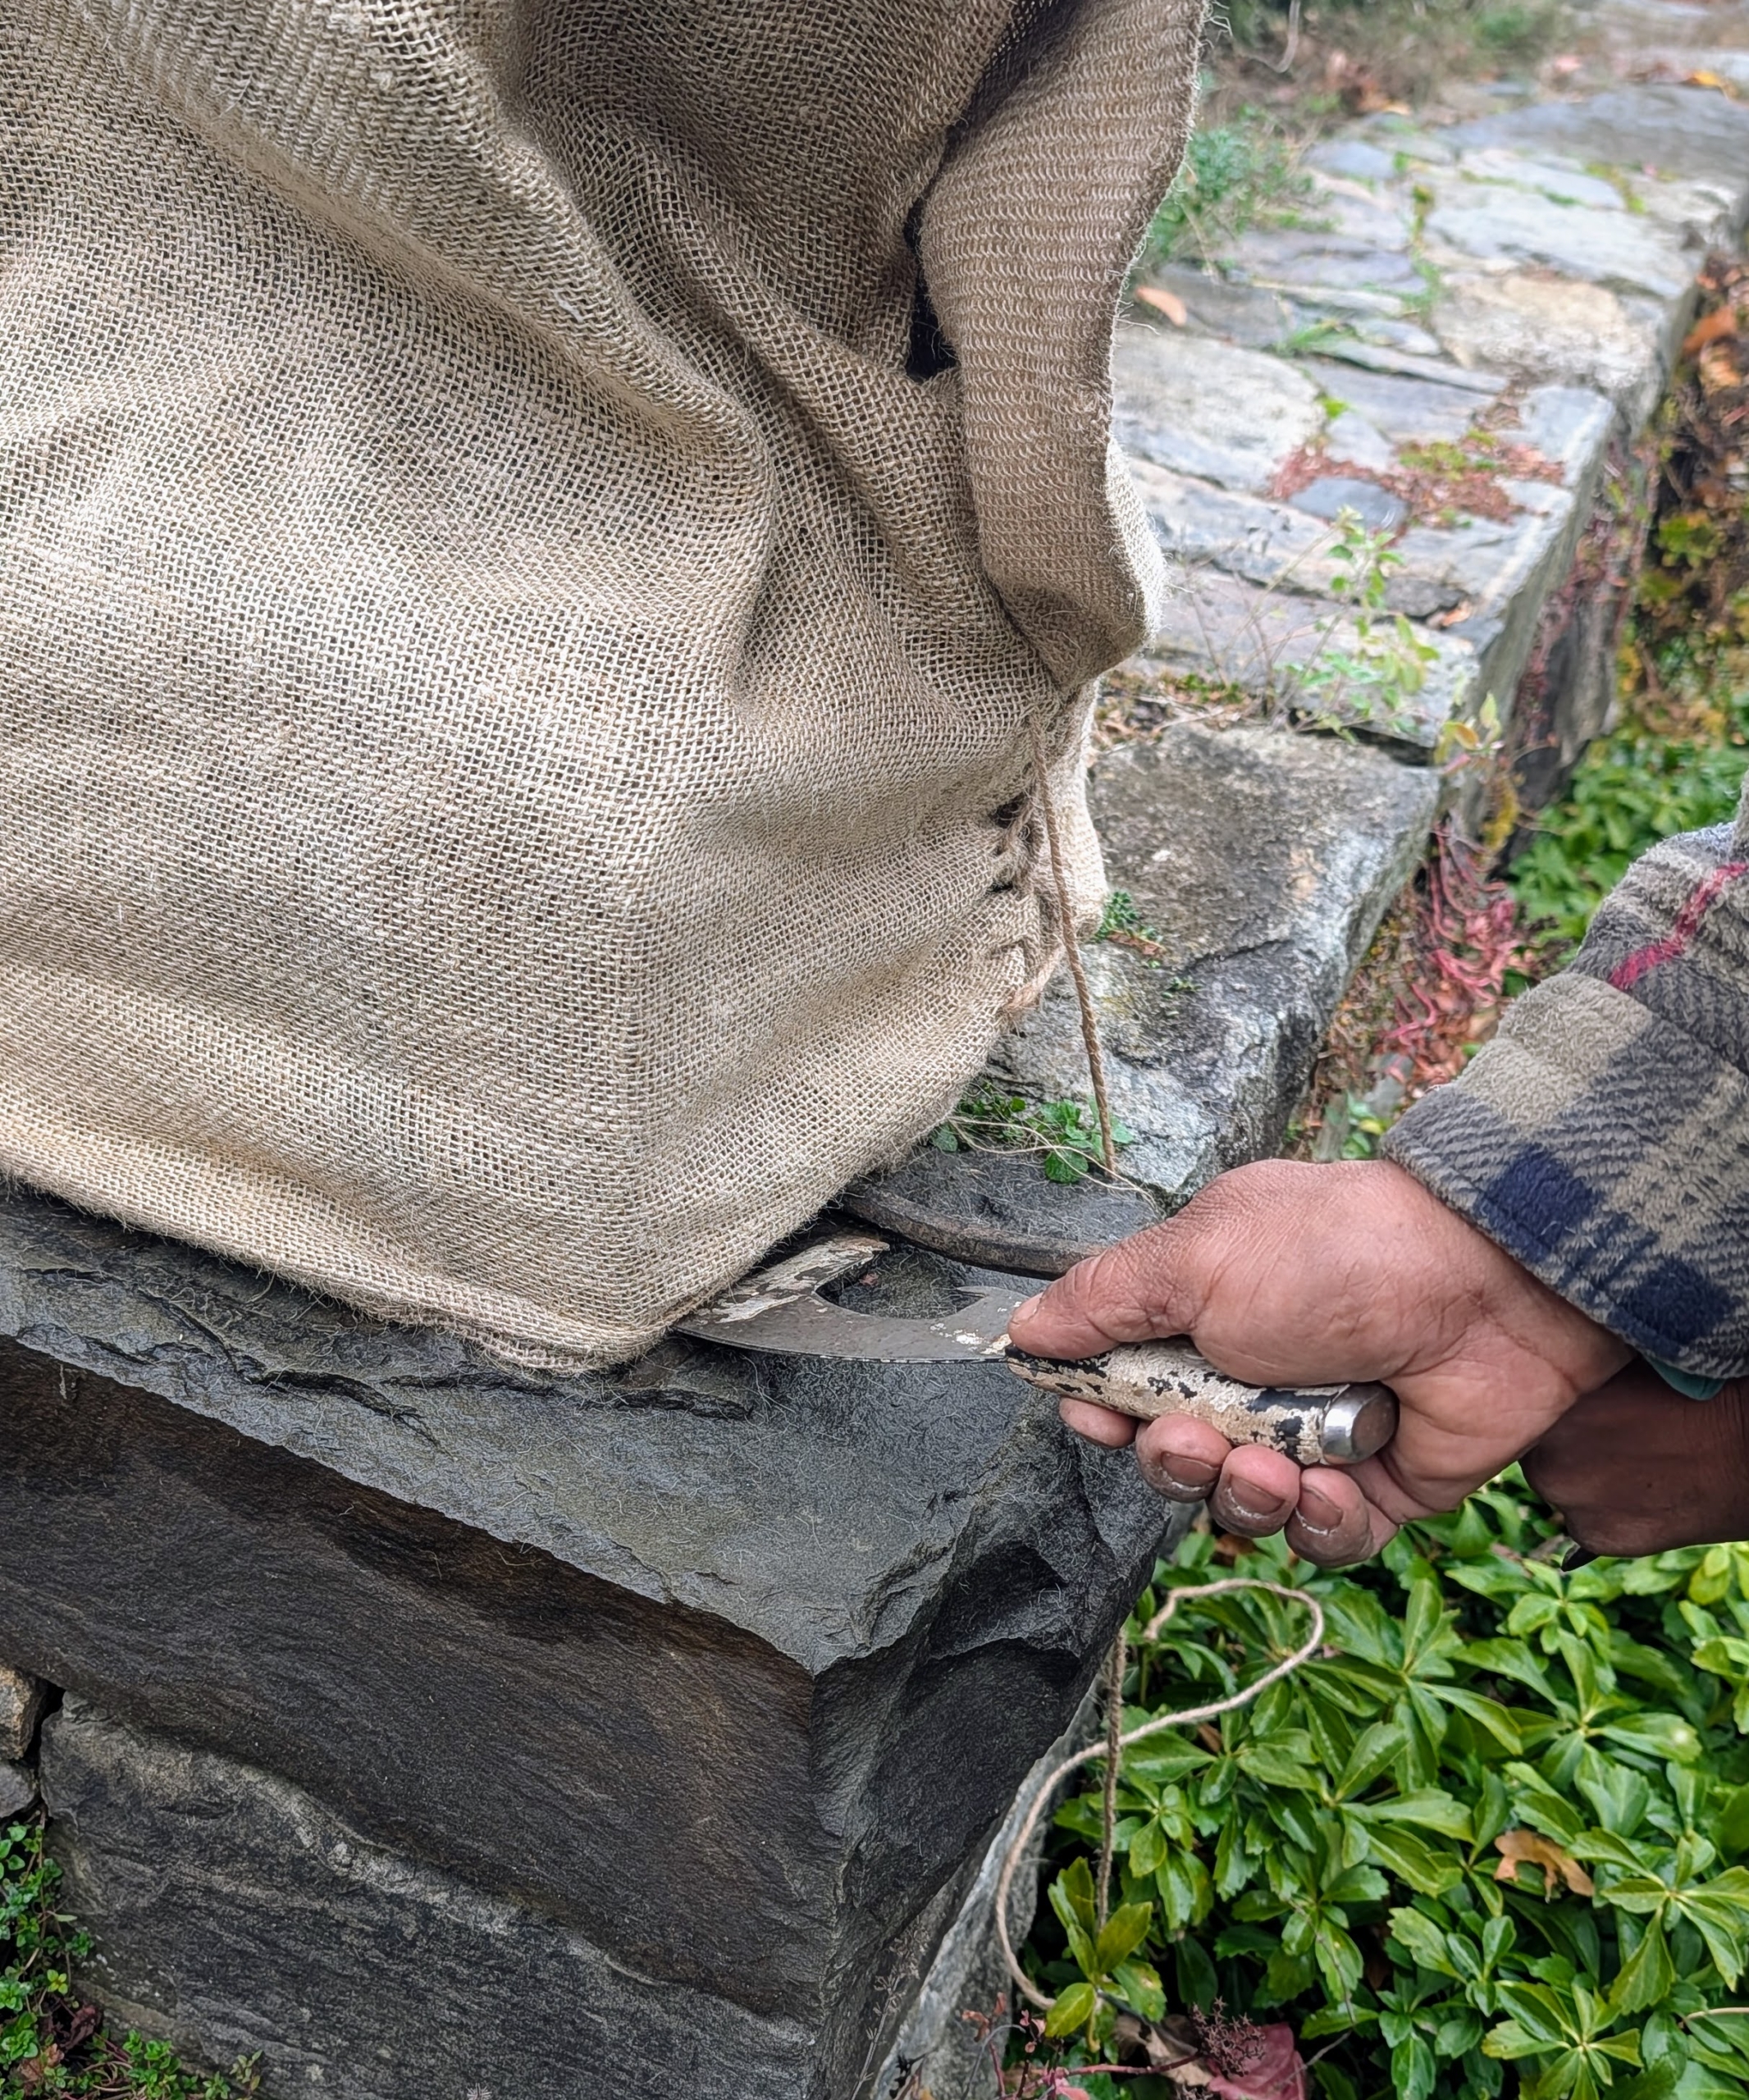
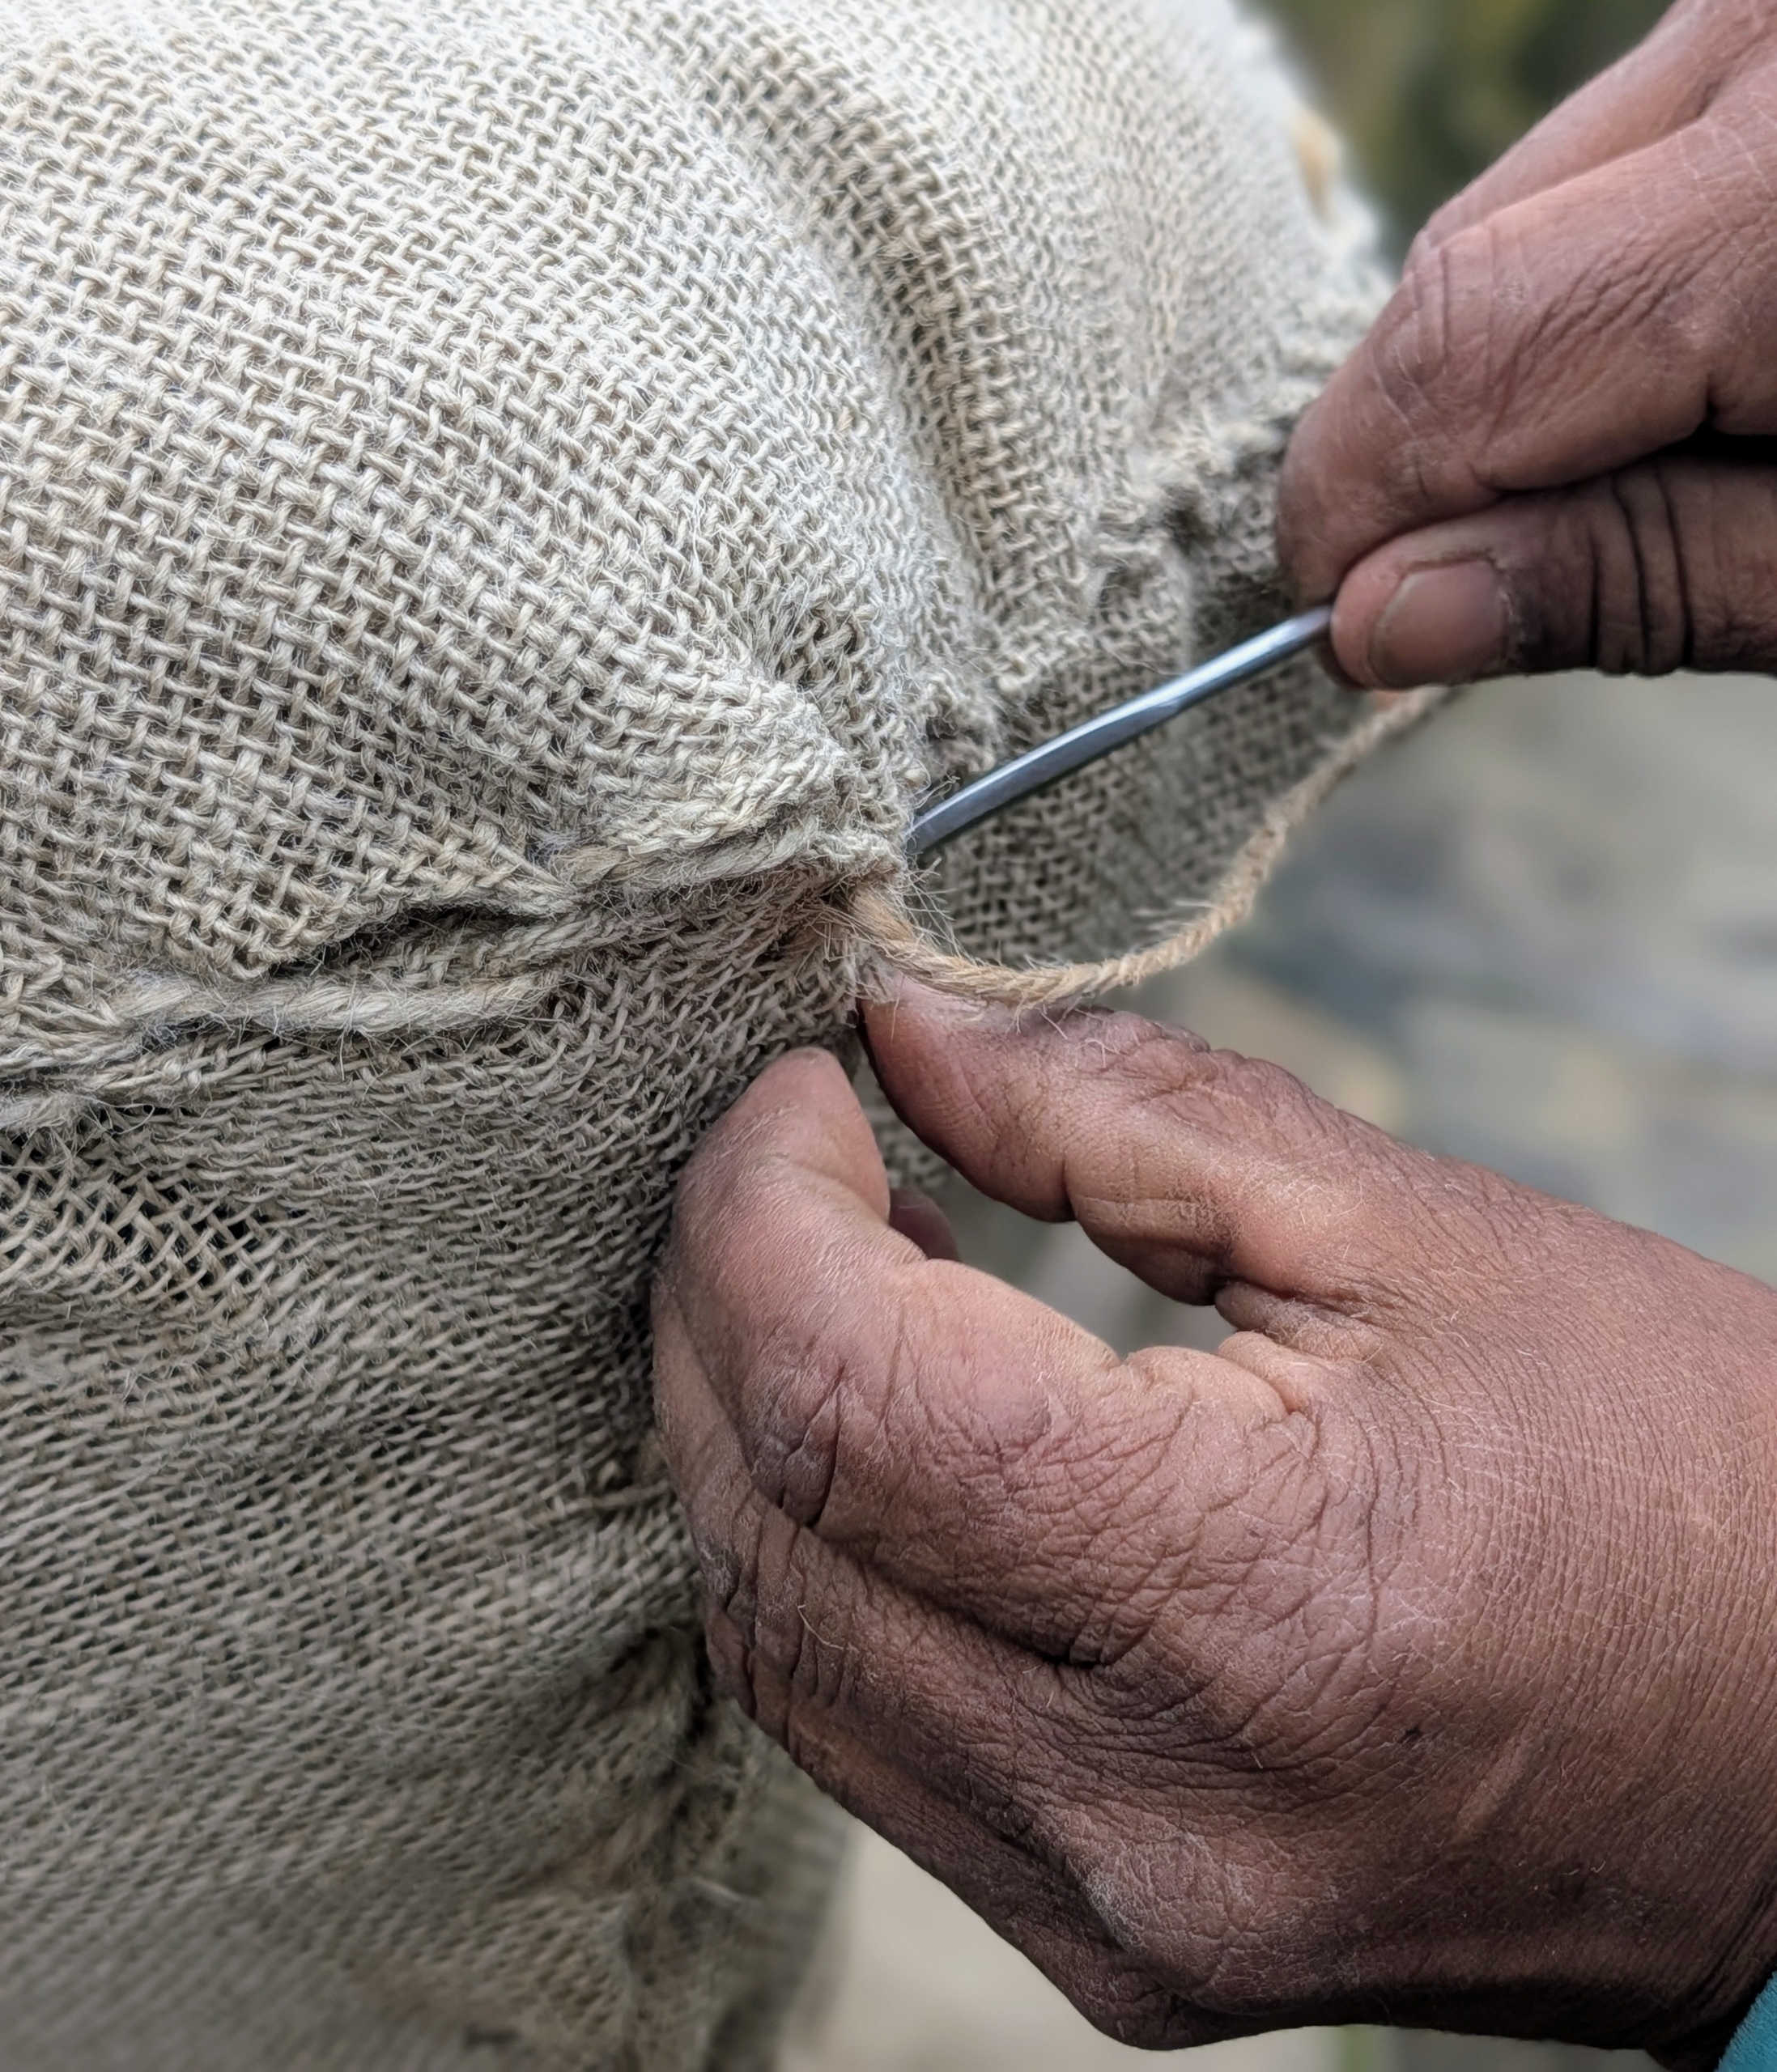
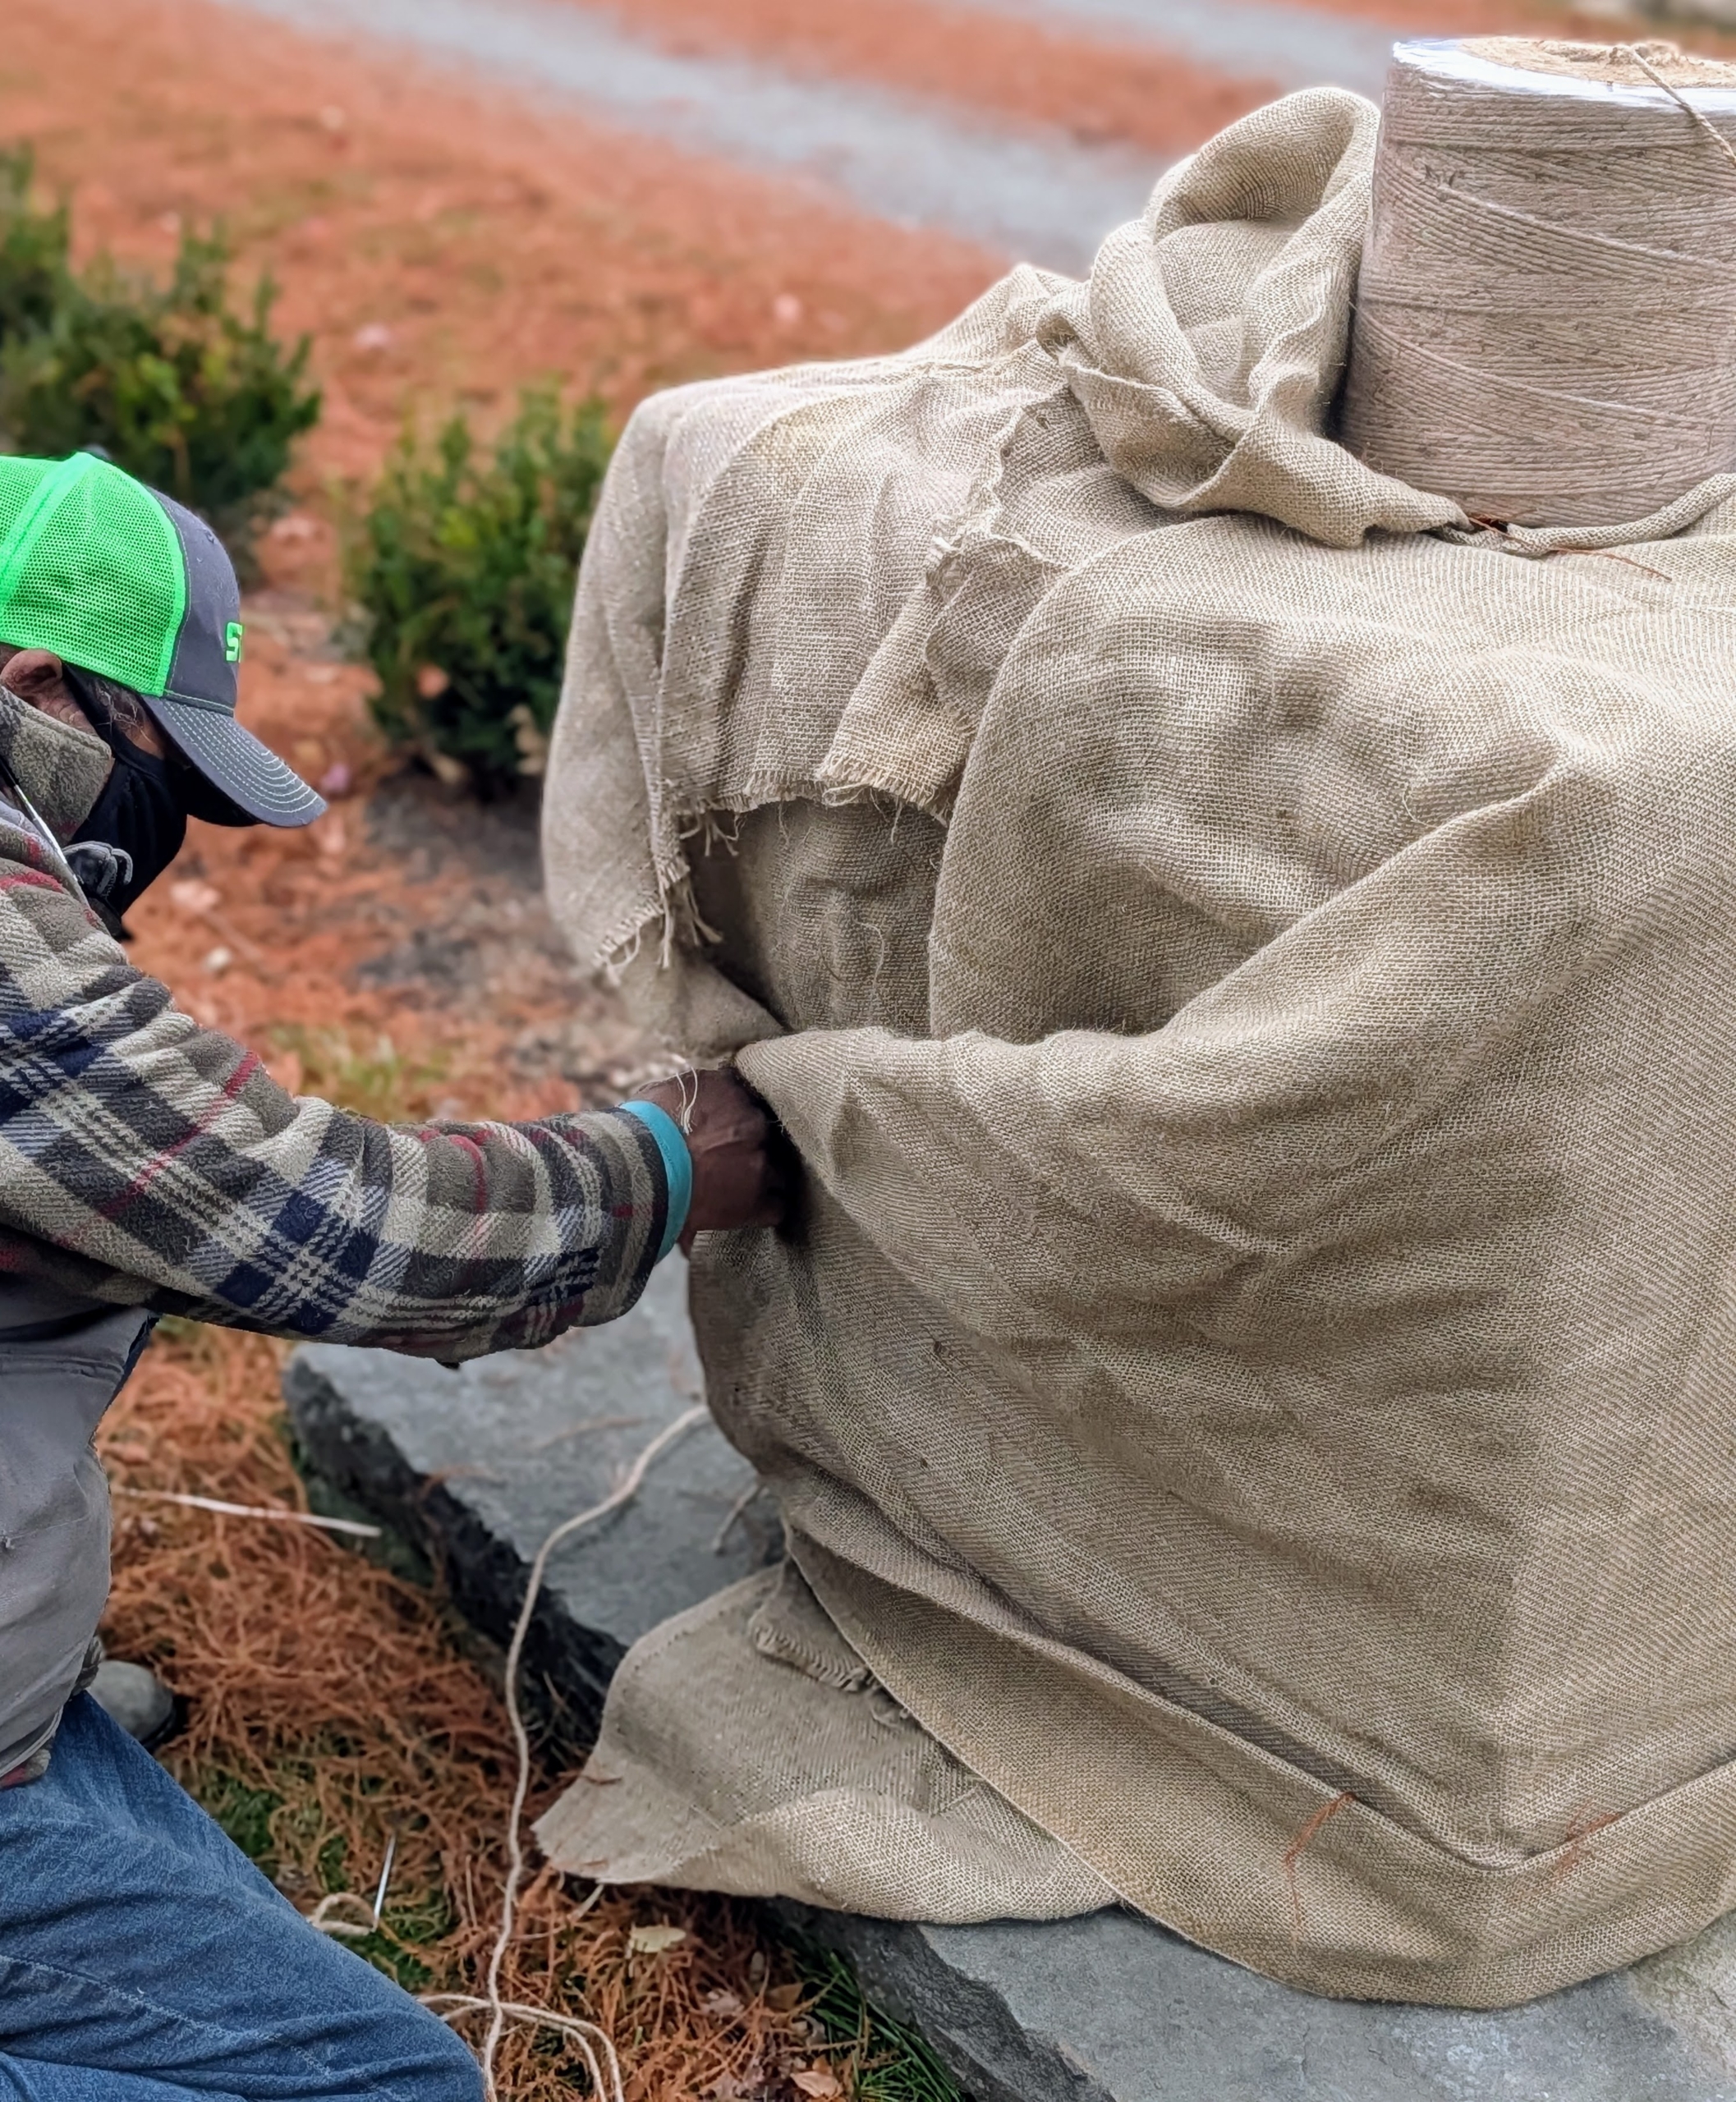
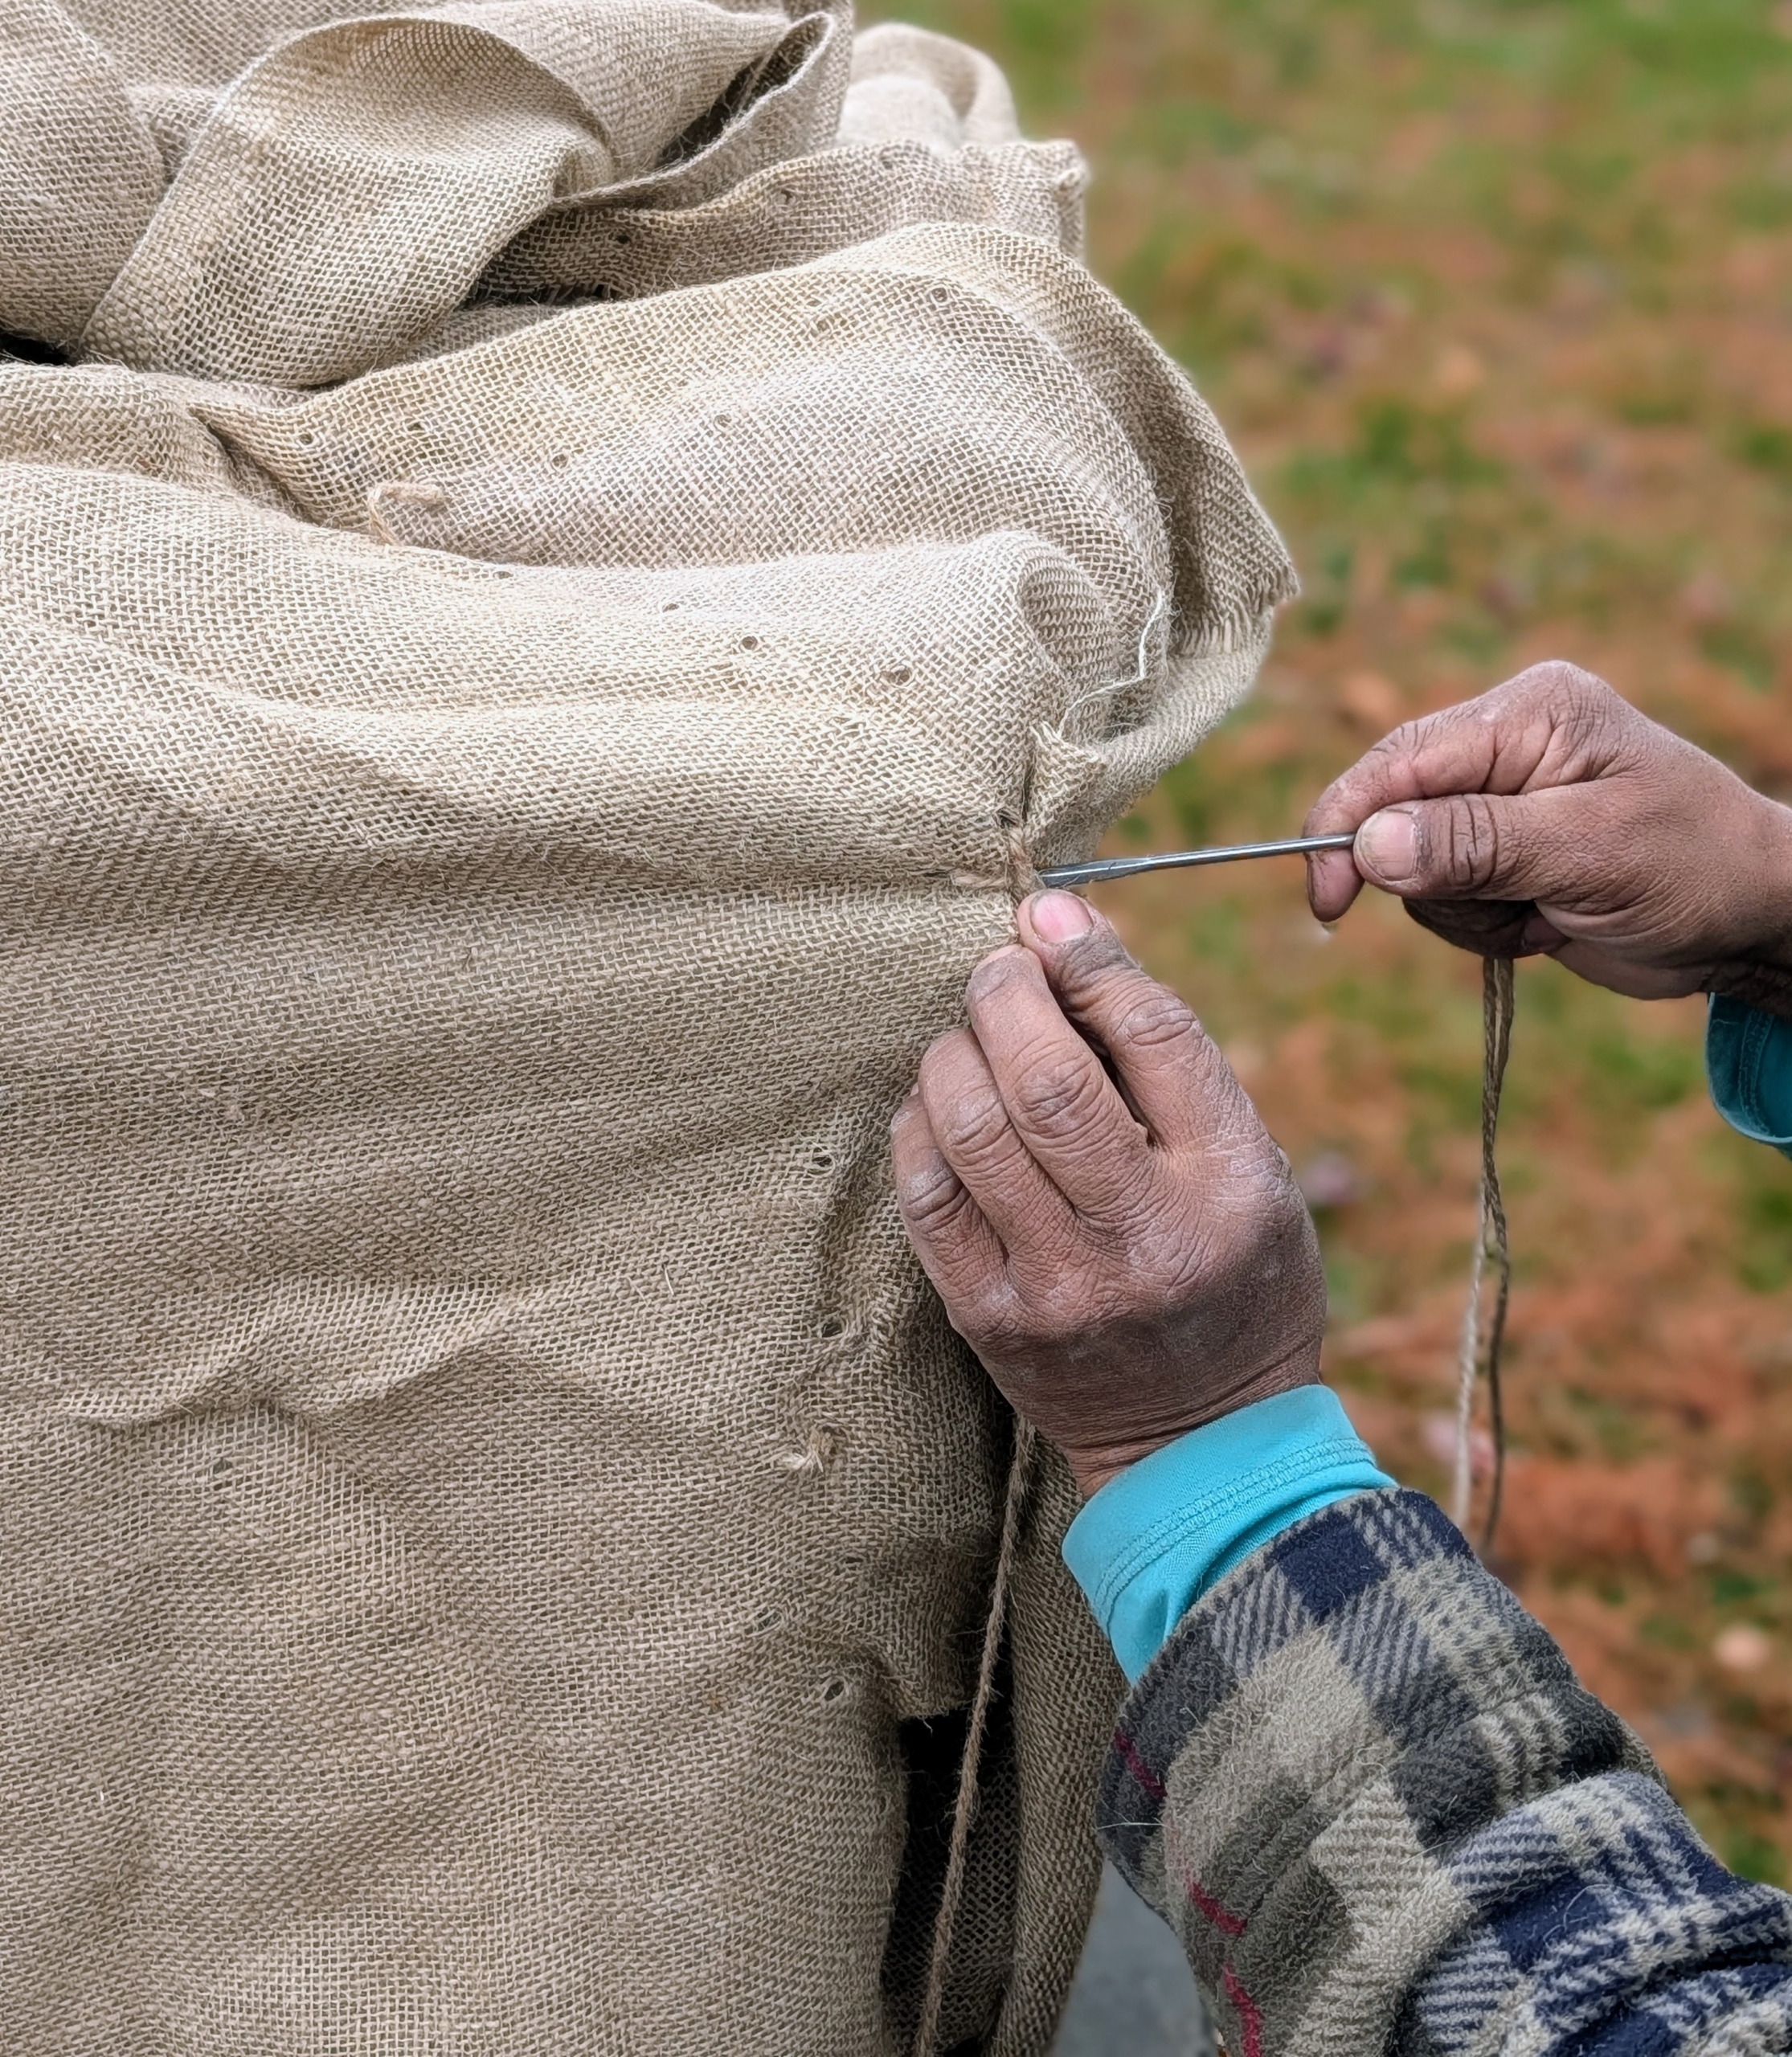
To sew the burlap, the crew uses jute twine. It is all natural and the same color as the burlap.
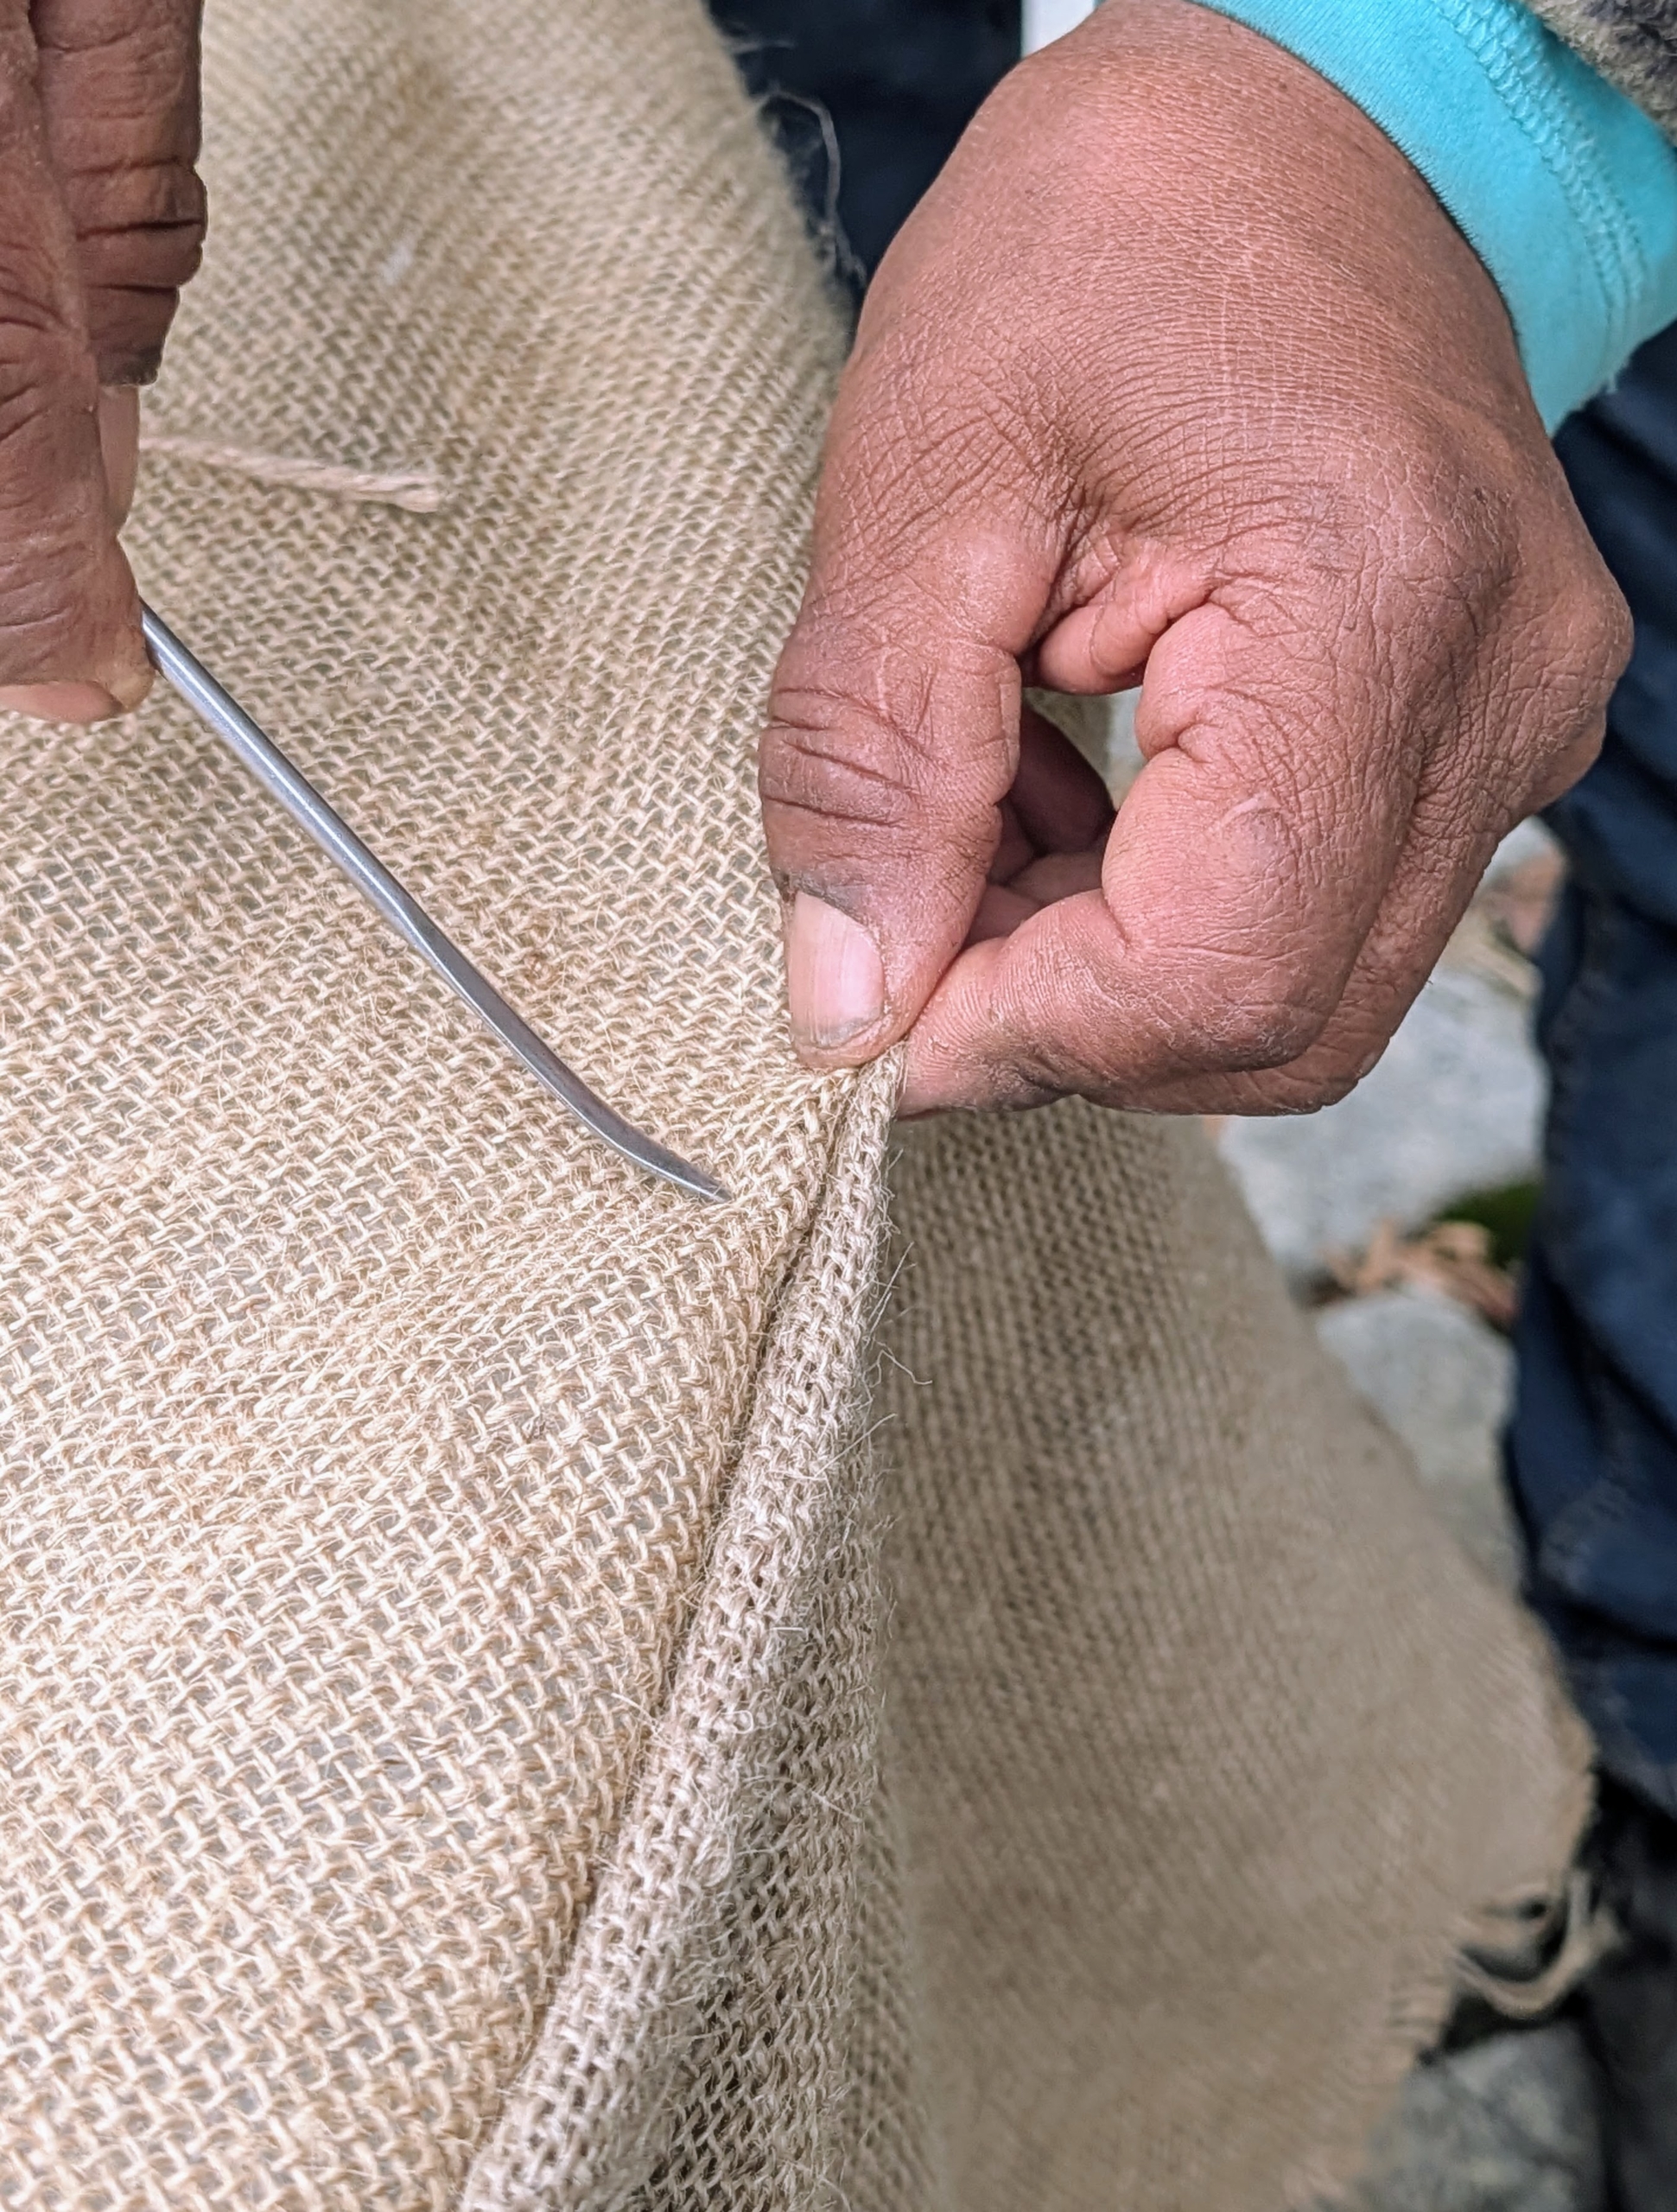
These needles are specially designed for sewing jute. These five-inch long needles have large eyes and bent tips. Every member of my outdoor grounds crew has a needle. Pete stitches the top of the fabric together pulling the burlap snug.
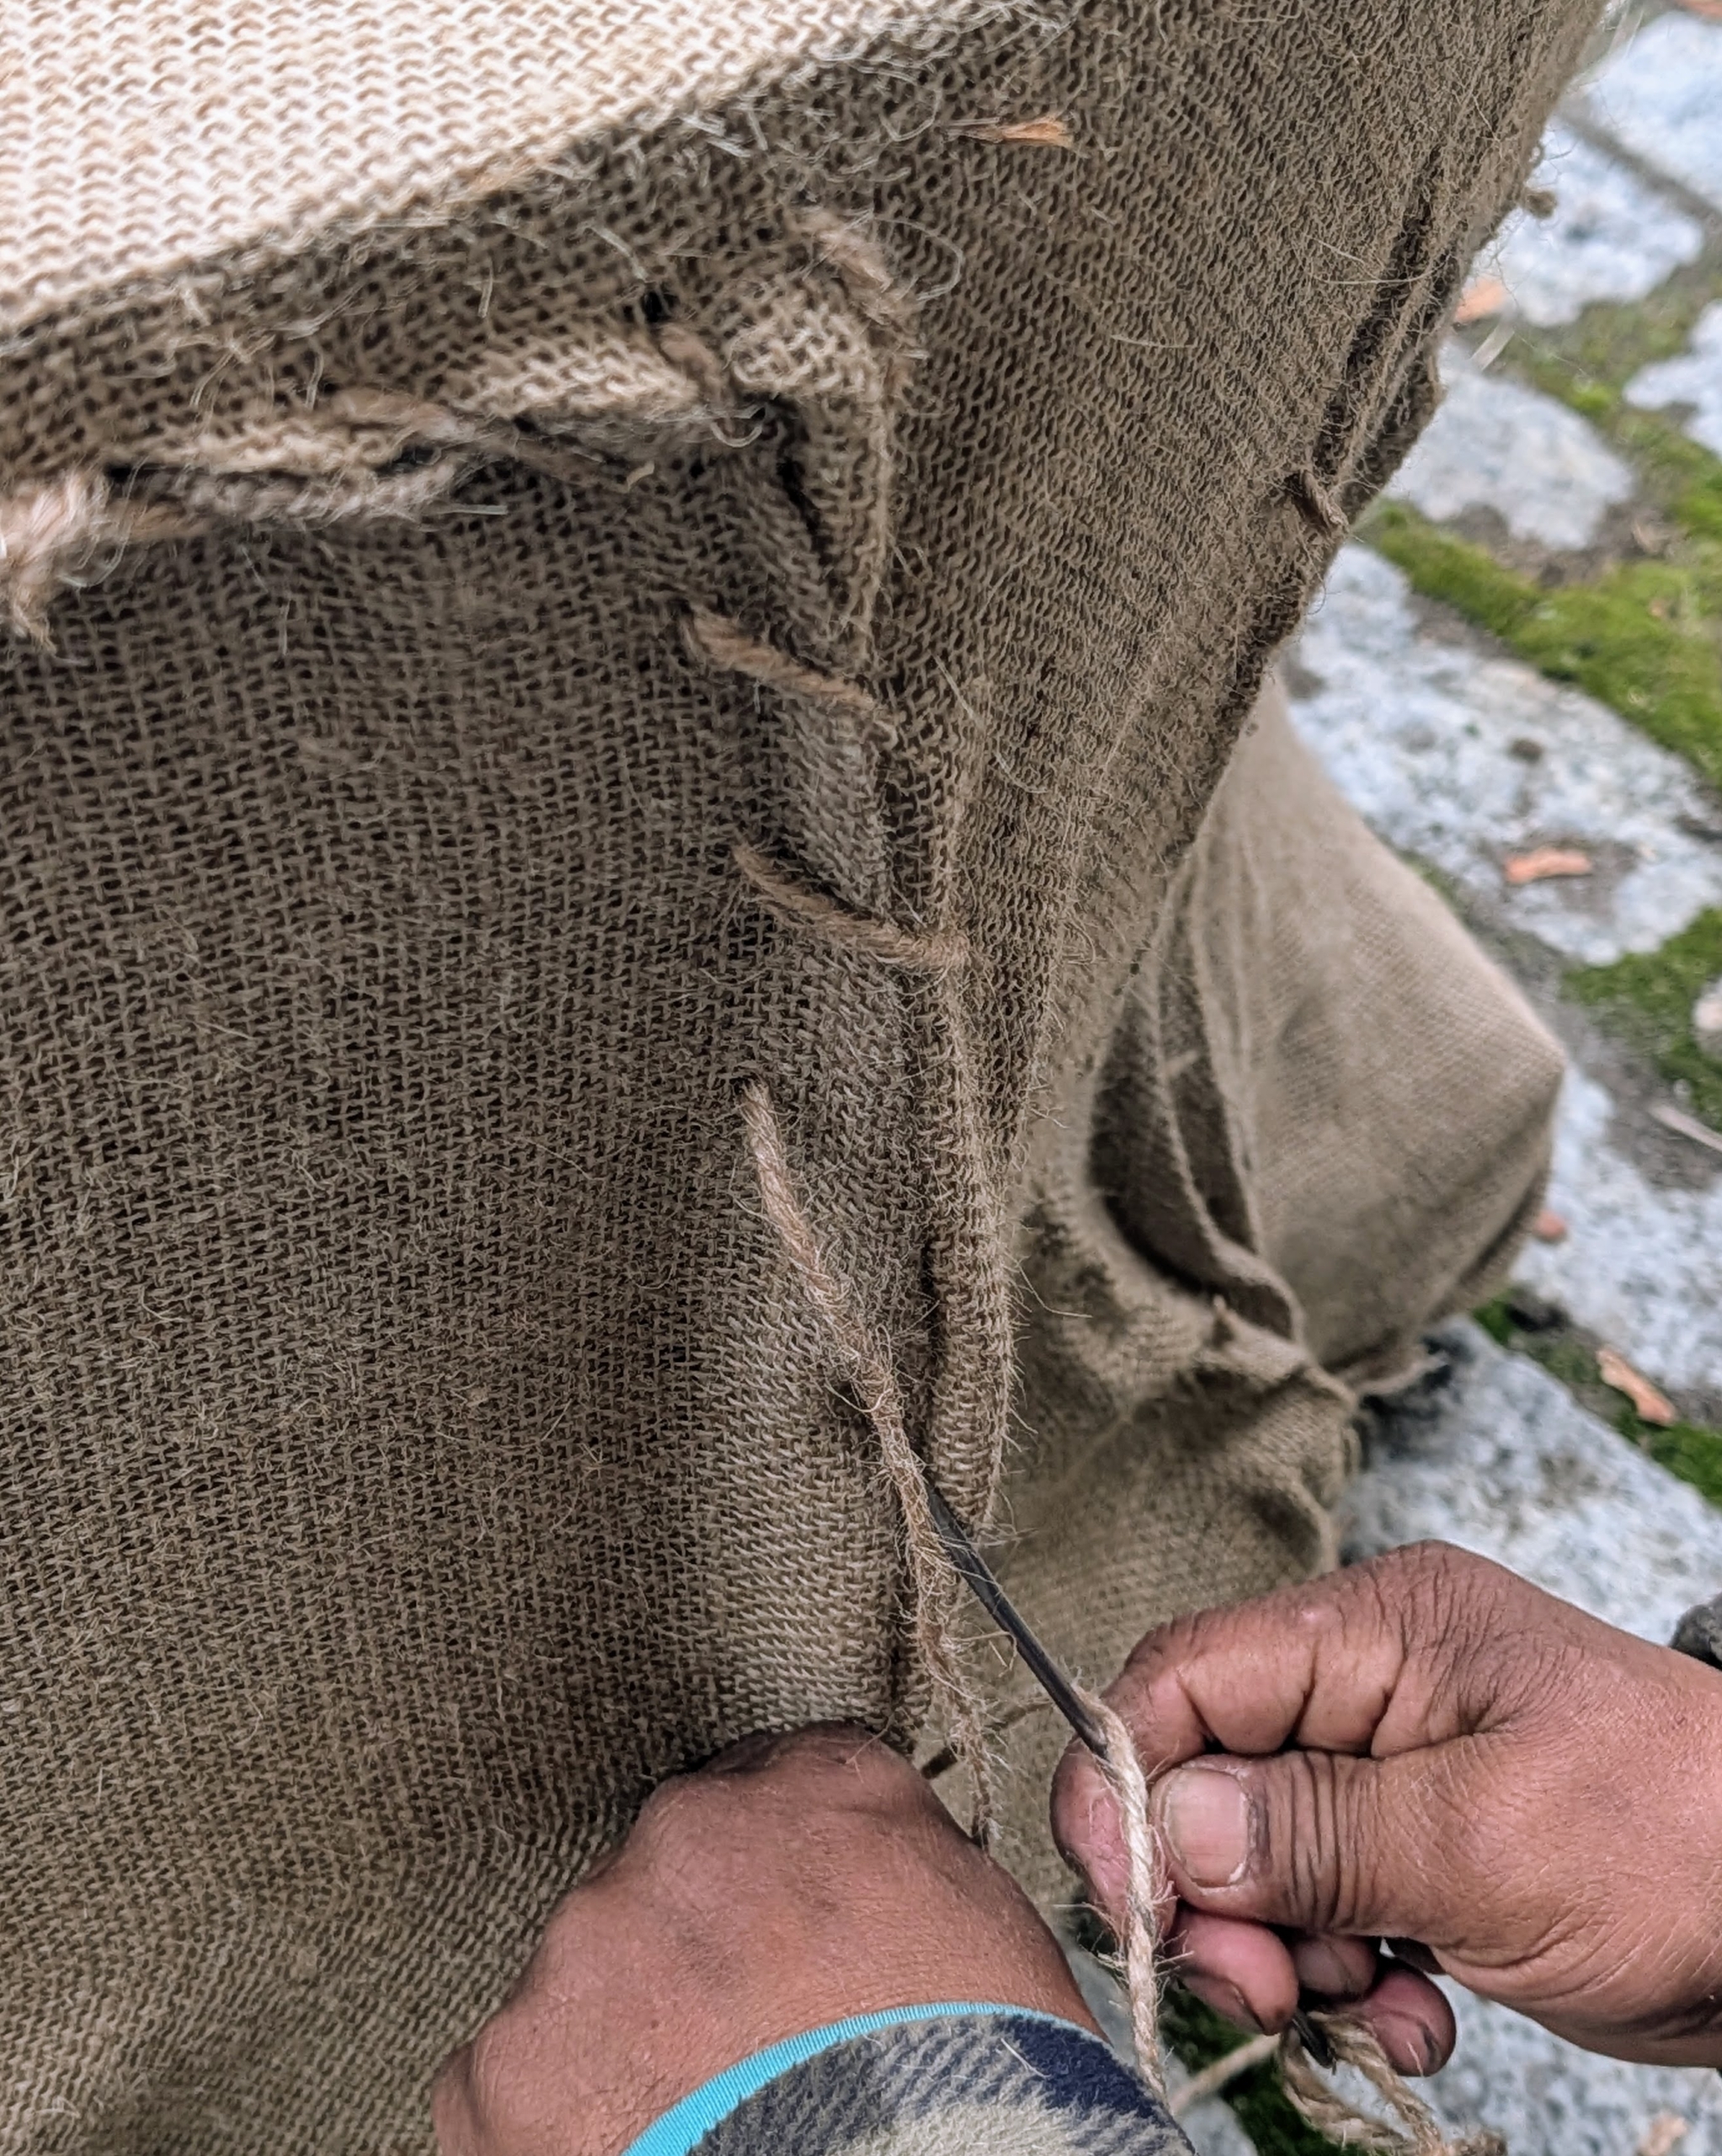
Then he sews the opening closed. There is a lot of tucking involved to make it neat, and a lot of stitching and knotting, but my crew has been covering these pieces with burlap every year for quite some time – they are all excellent burlap sewers.
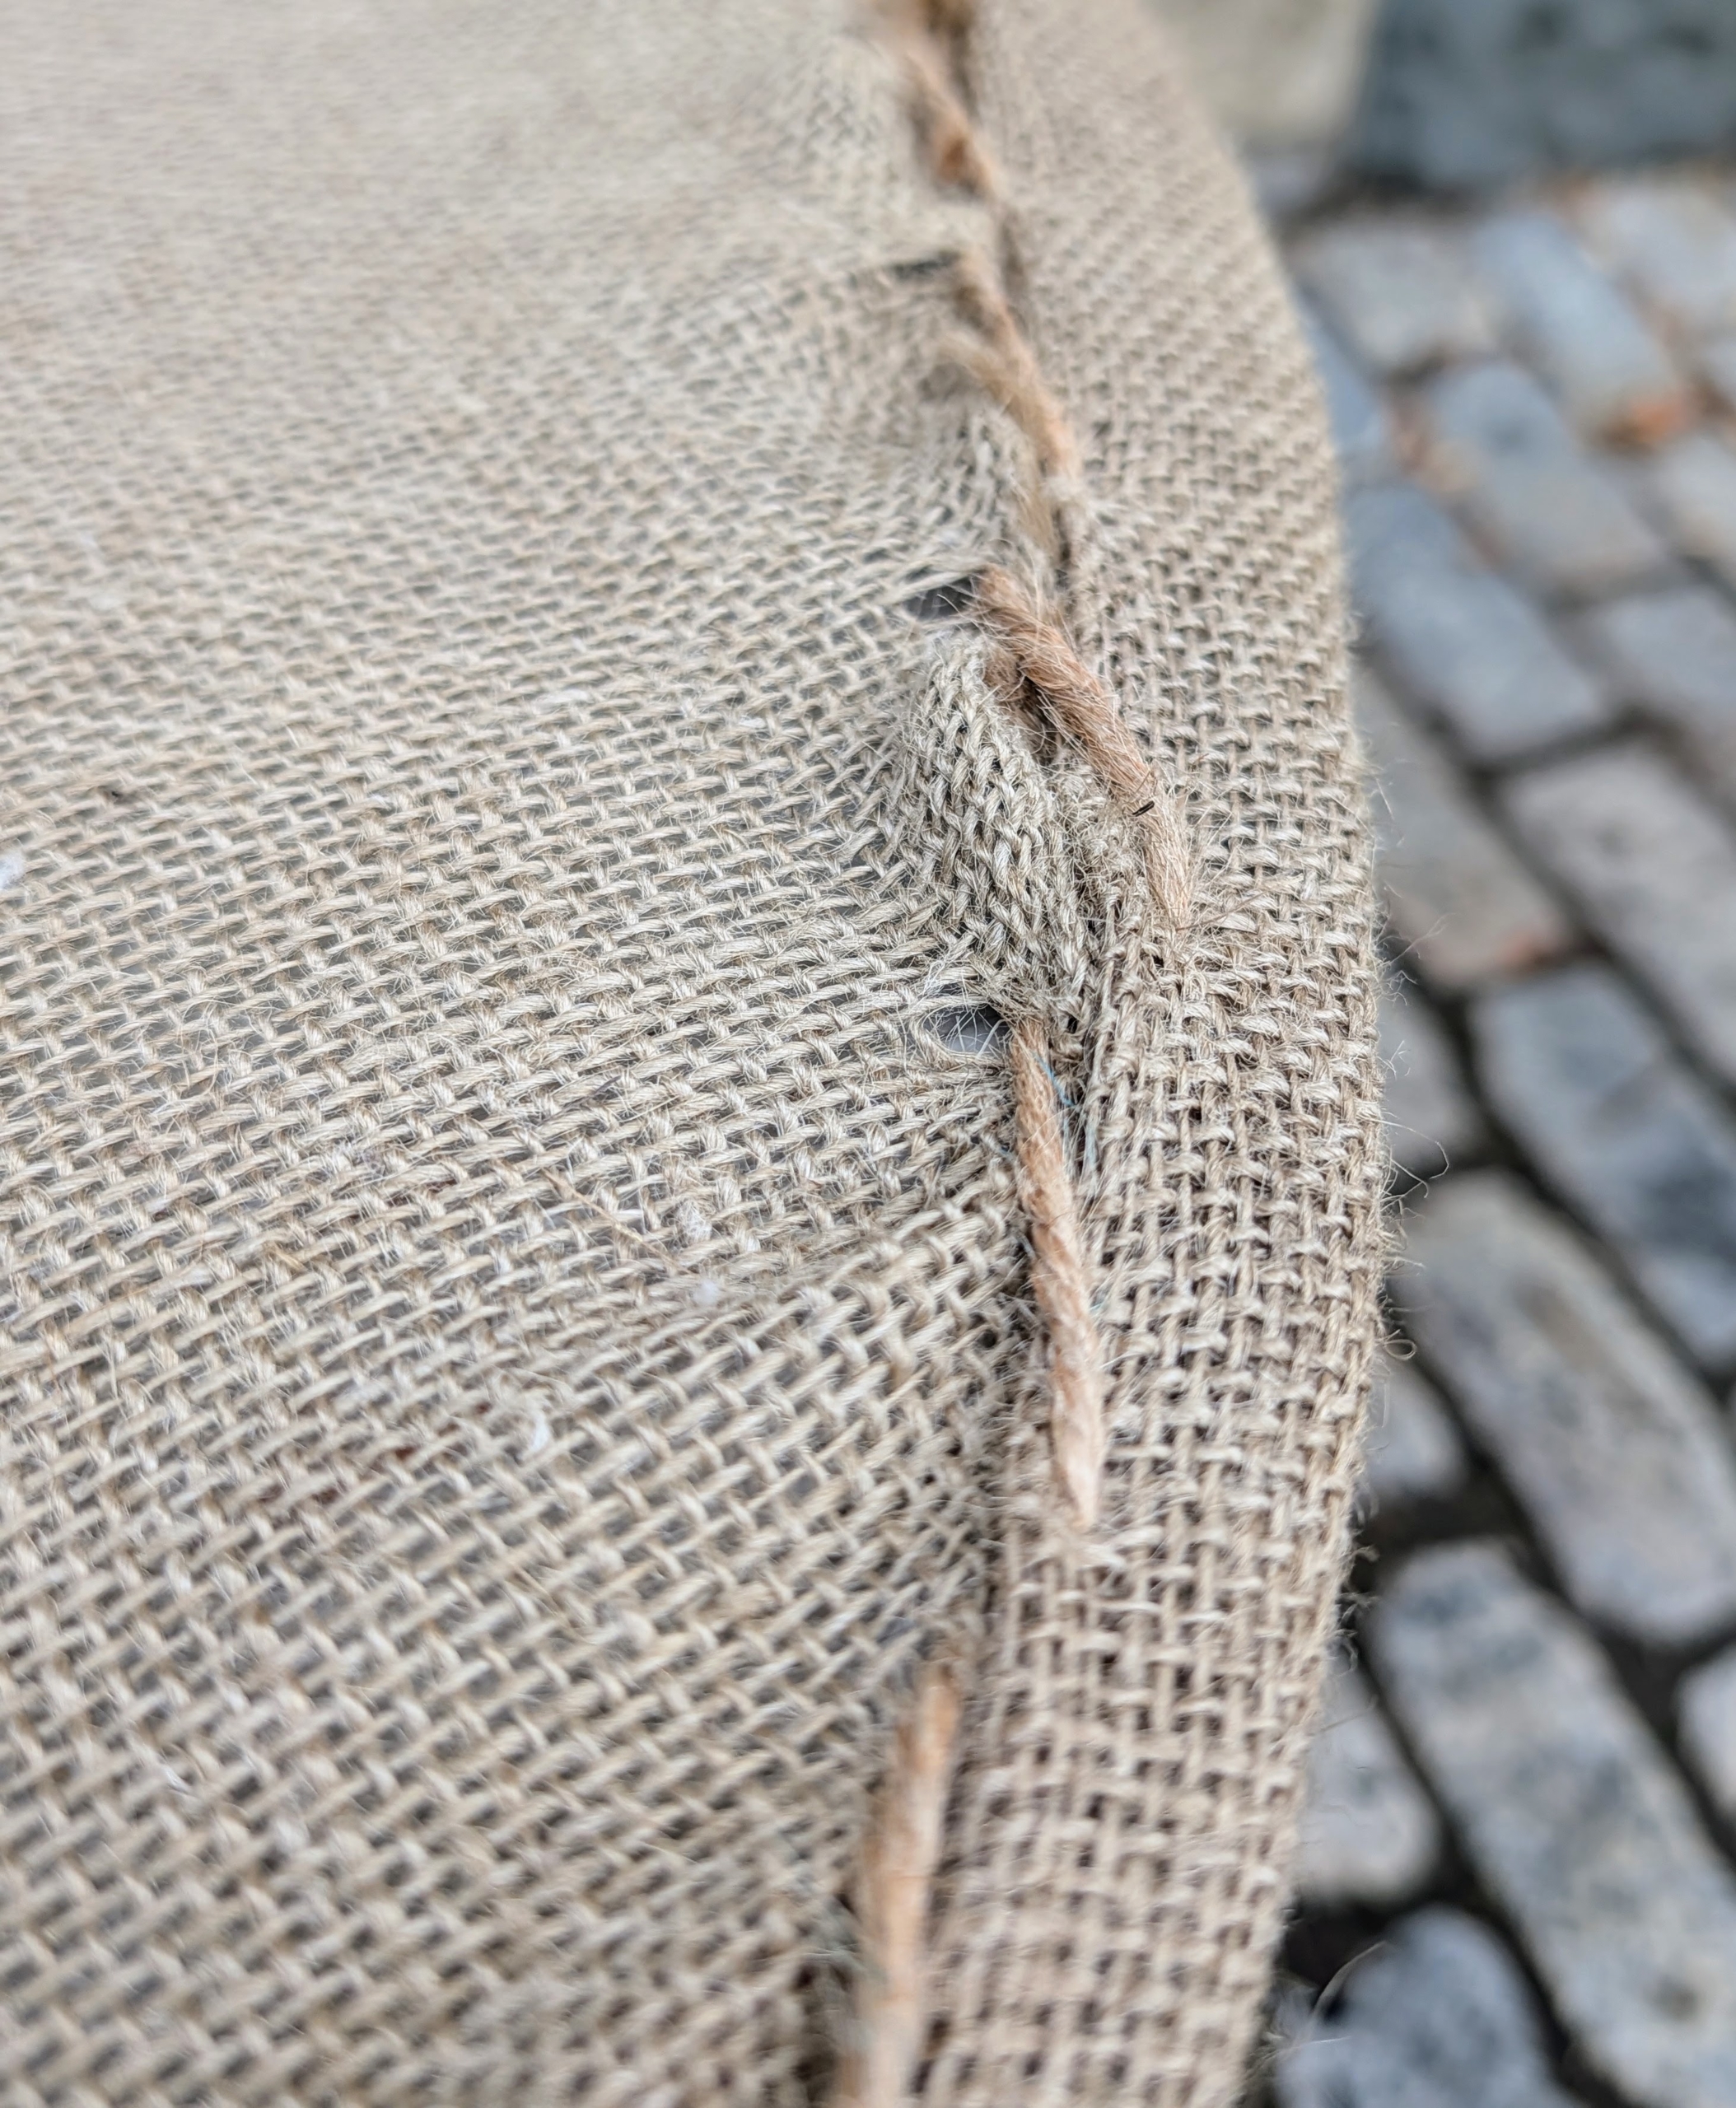
Here is the opening stitched closed. The burlap should be sewn tightly, but with some space for air circulation.
And here is the top – secured and ready for the elements. Burlap is so useful for many gardening projects – it is inexpensive, biodegradable, and the color and texture of burlap is so pretty to use.
After a group is all done, they look like pieces of burlap art. Here is the front of the stable office – the urns and birdbaths look so neat and tidy.
Pete moves on to my Winter House terrace parterre. I have pairs of smaller stone urns flanking each entrance to the area.
These containers are covered first in black plastic garbage bags.
This piece of burlap is being reused from last year also. I always encourage the crew to reuse and repurpose.
Here Pete uses a flat scraper to tuck the burlap underneath.
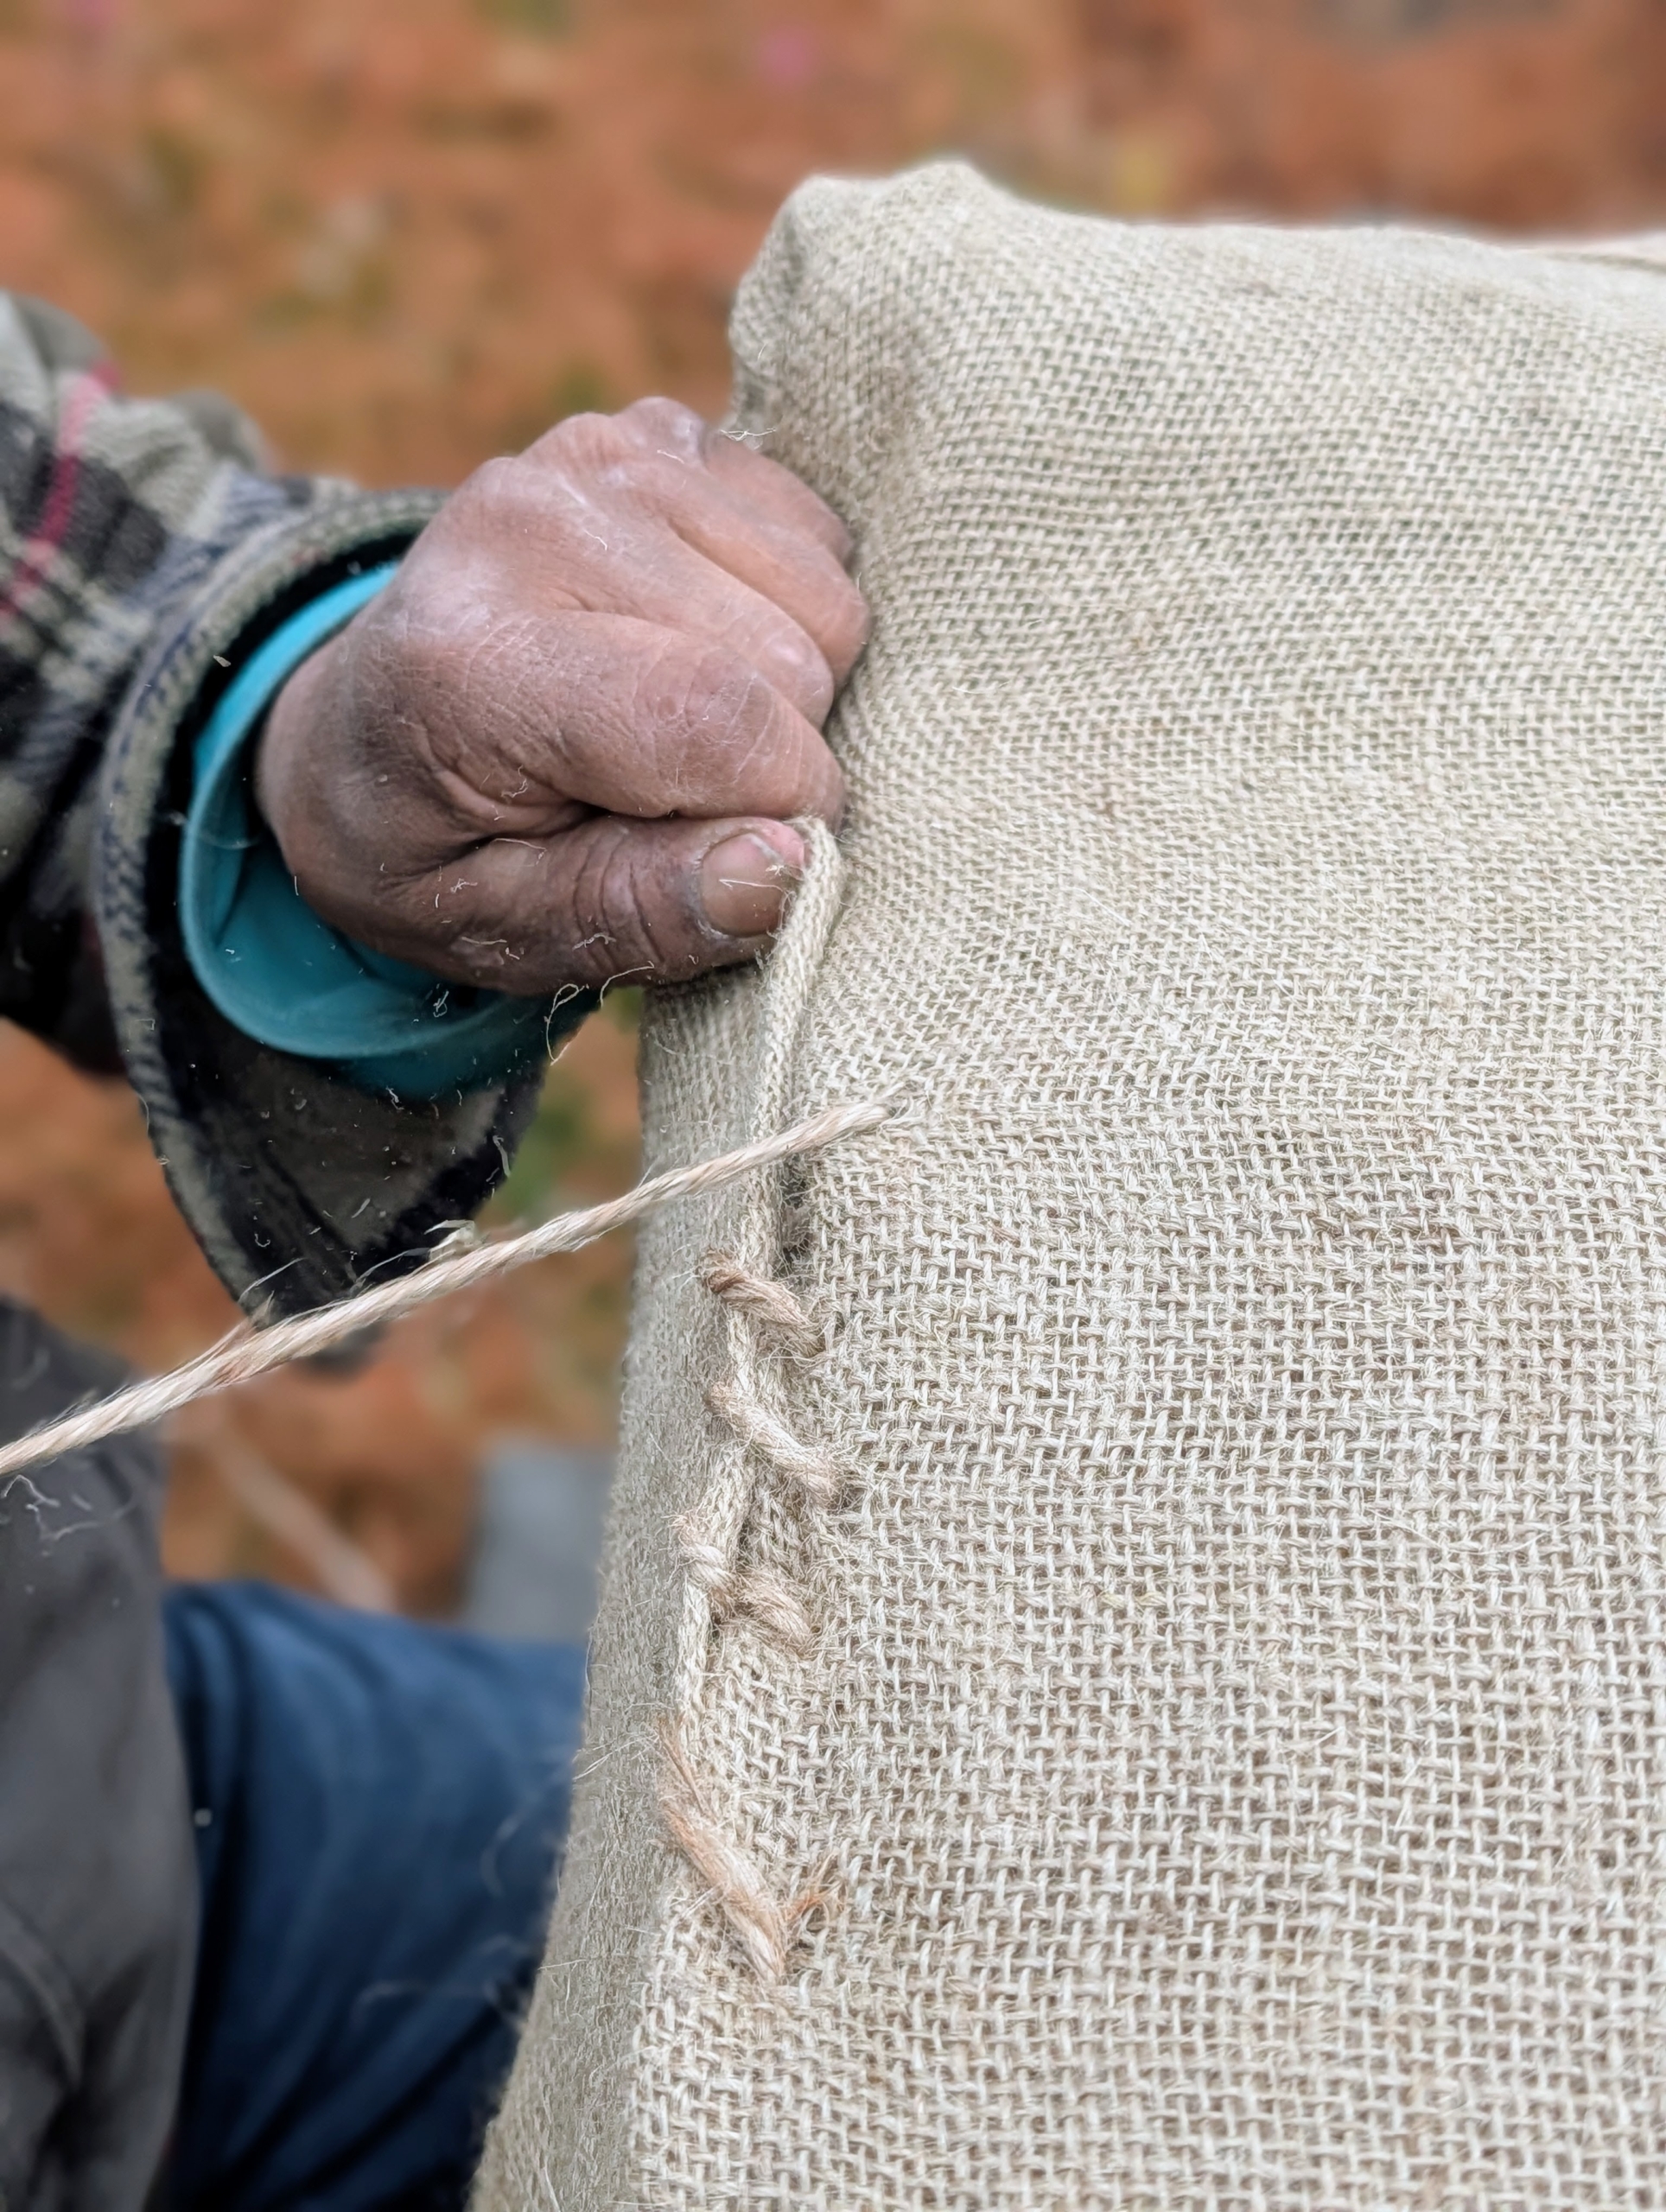
Then Pete pulls it taut at the opening and sews it closed. If needed, Pete starts with small stitches and knots at the top and the bottom just to keep the fabric in place.
Then he sews the burlap along the open edge at the top.
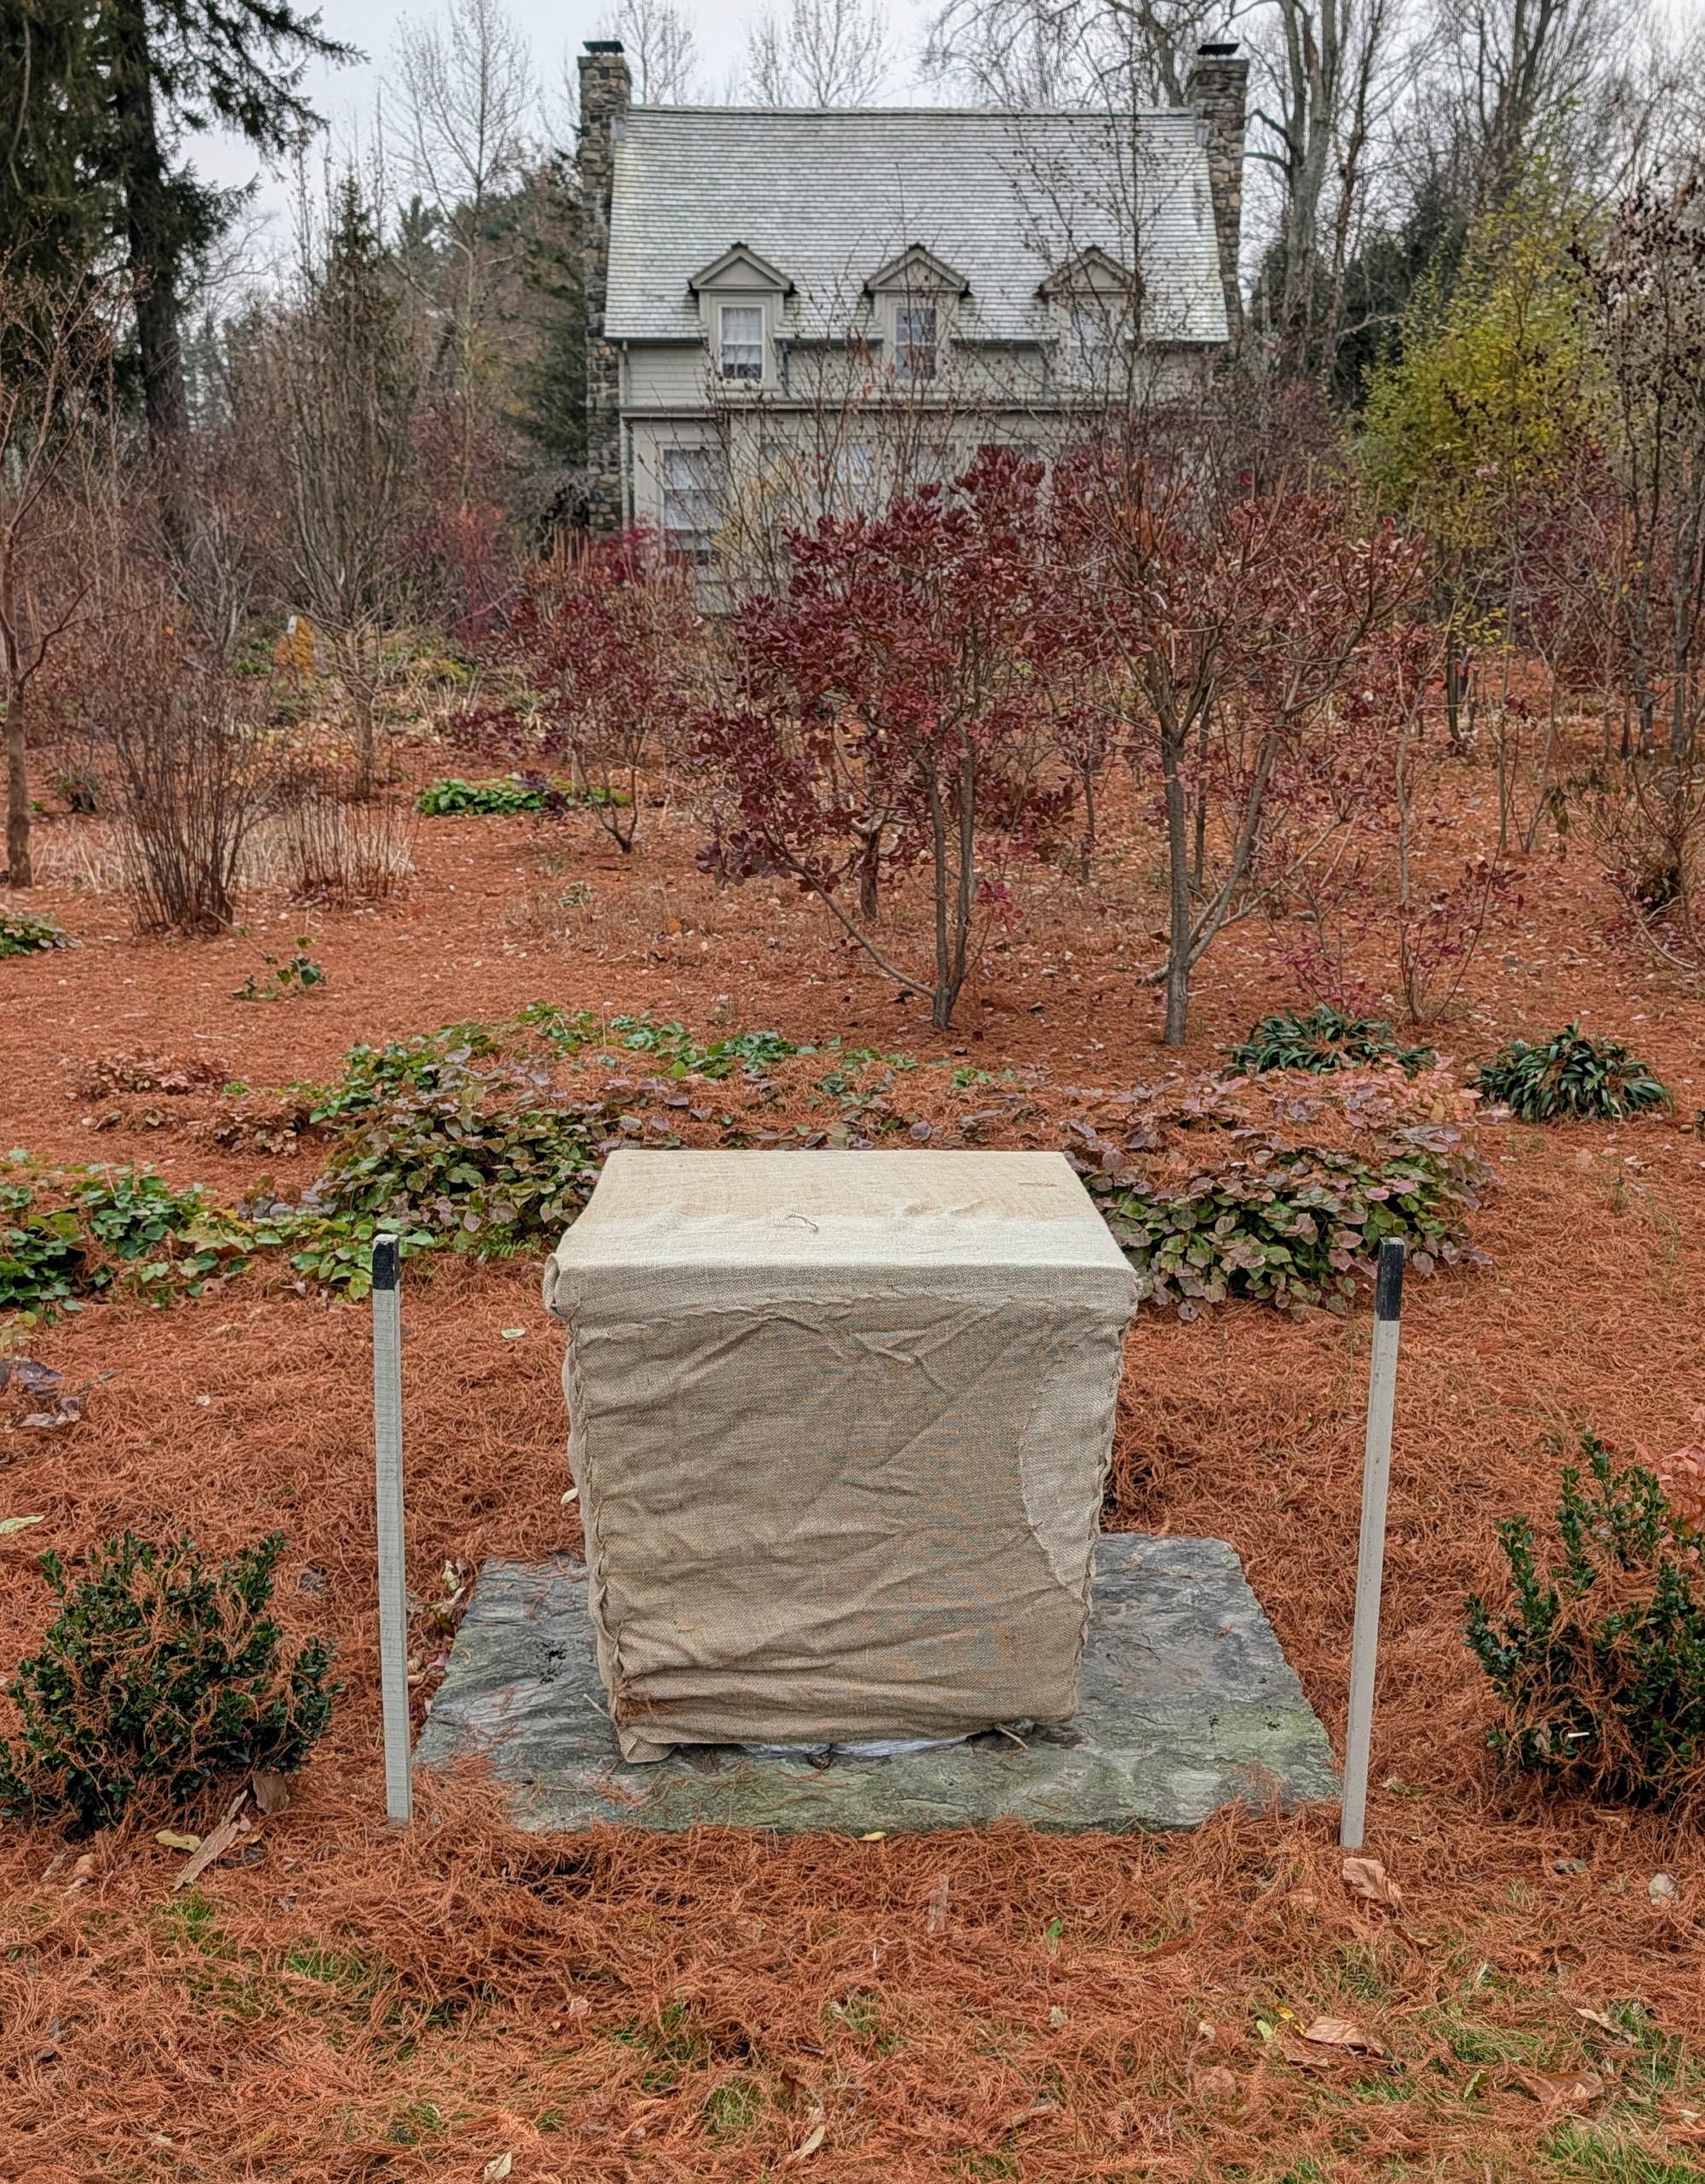
Here is the planter covered. It will stay here for the duration of the season until it is in uncovered and planted again in spring.
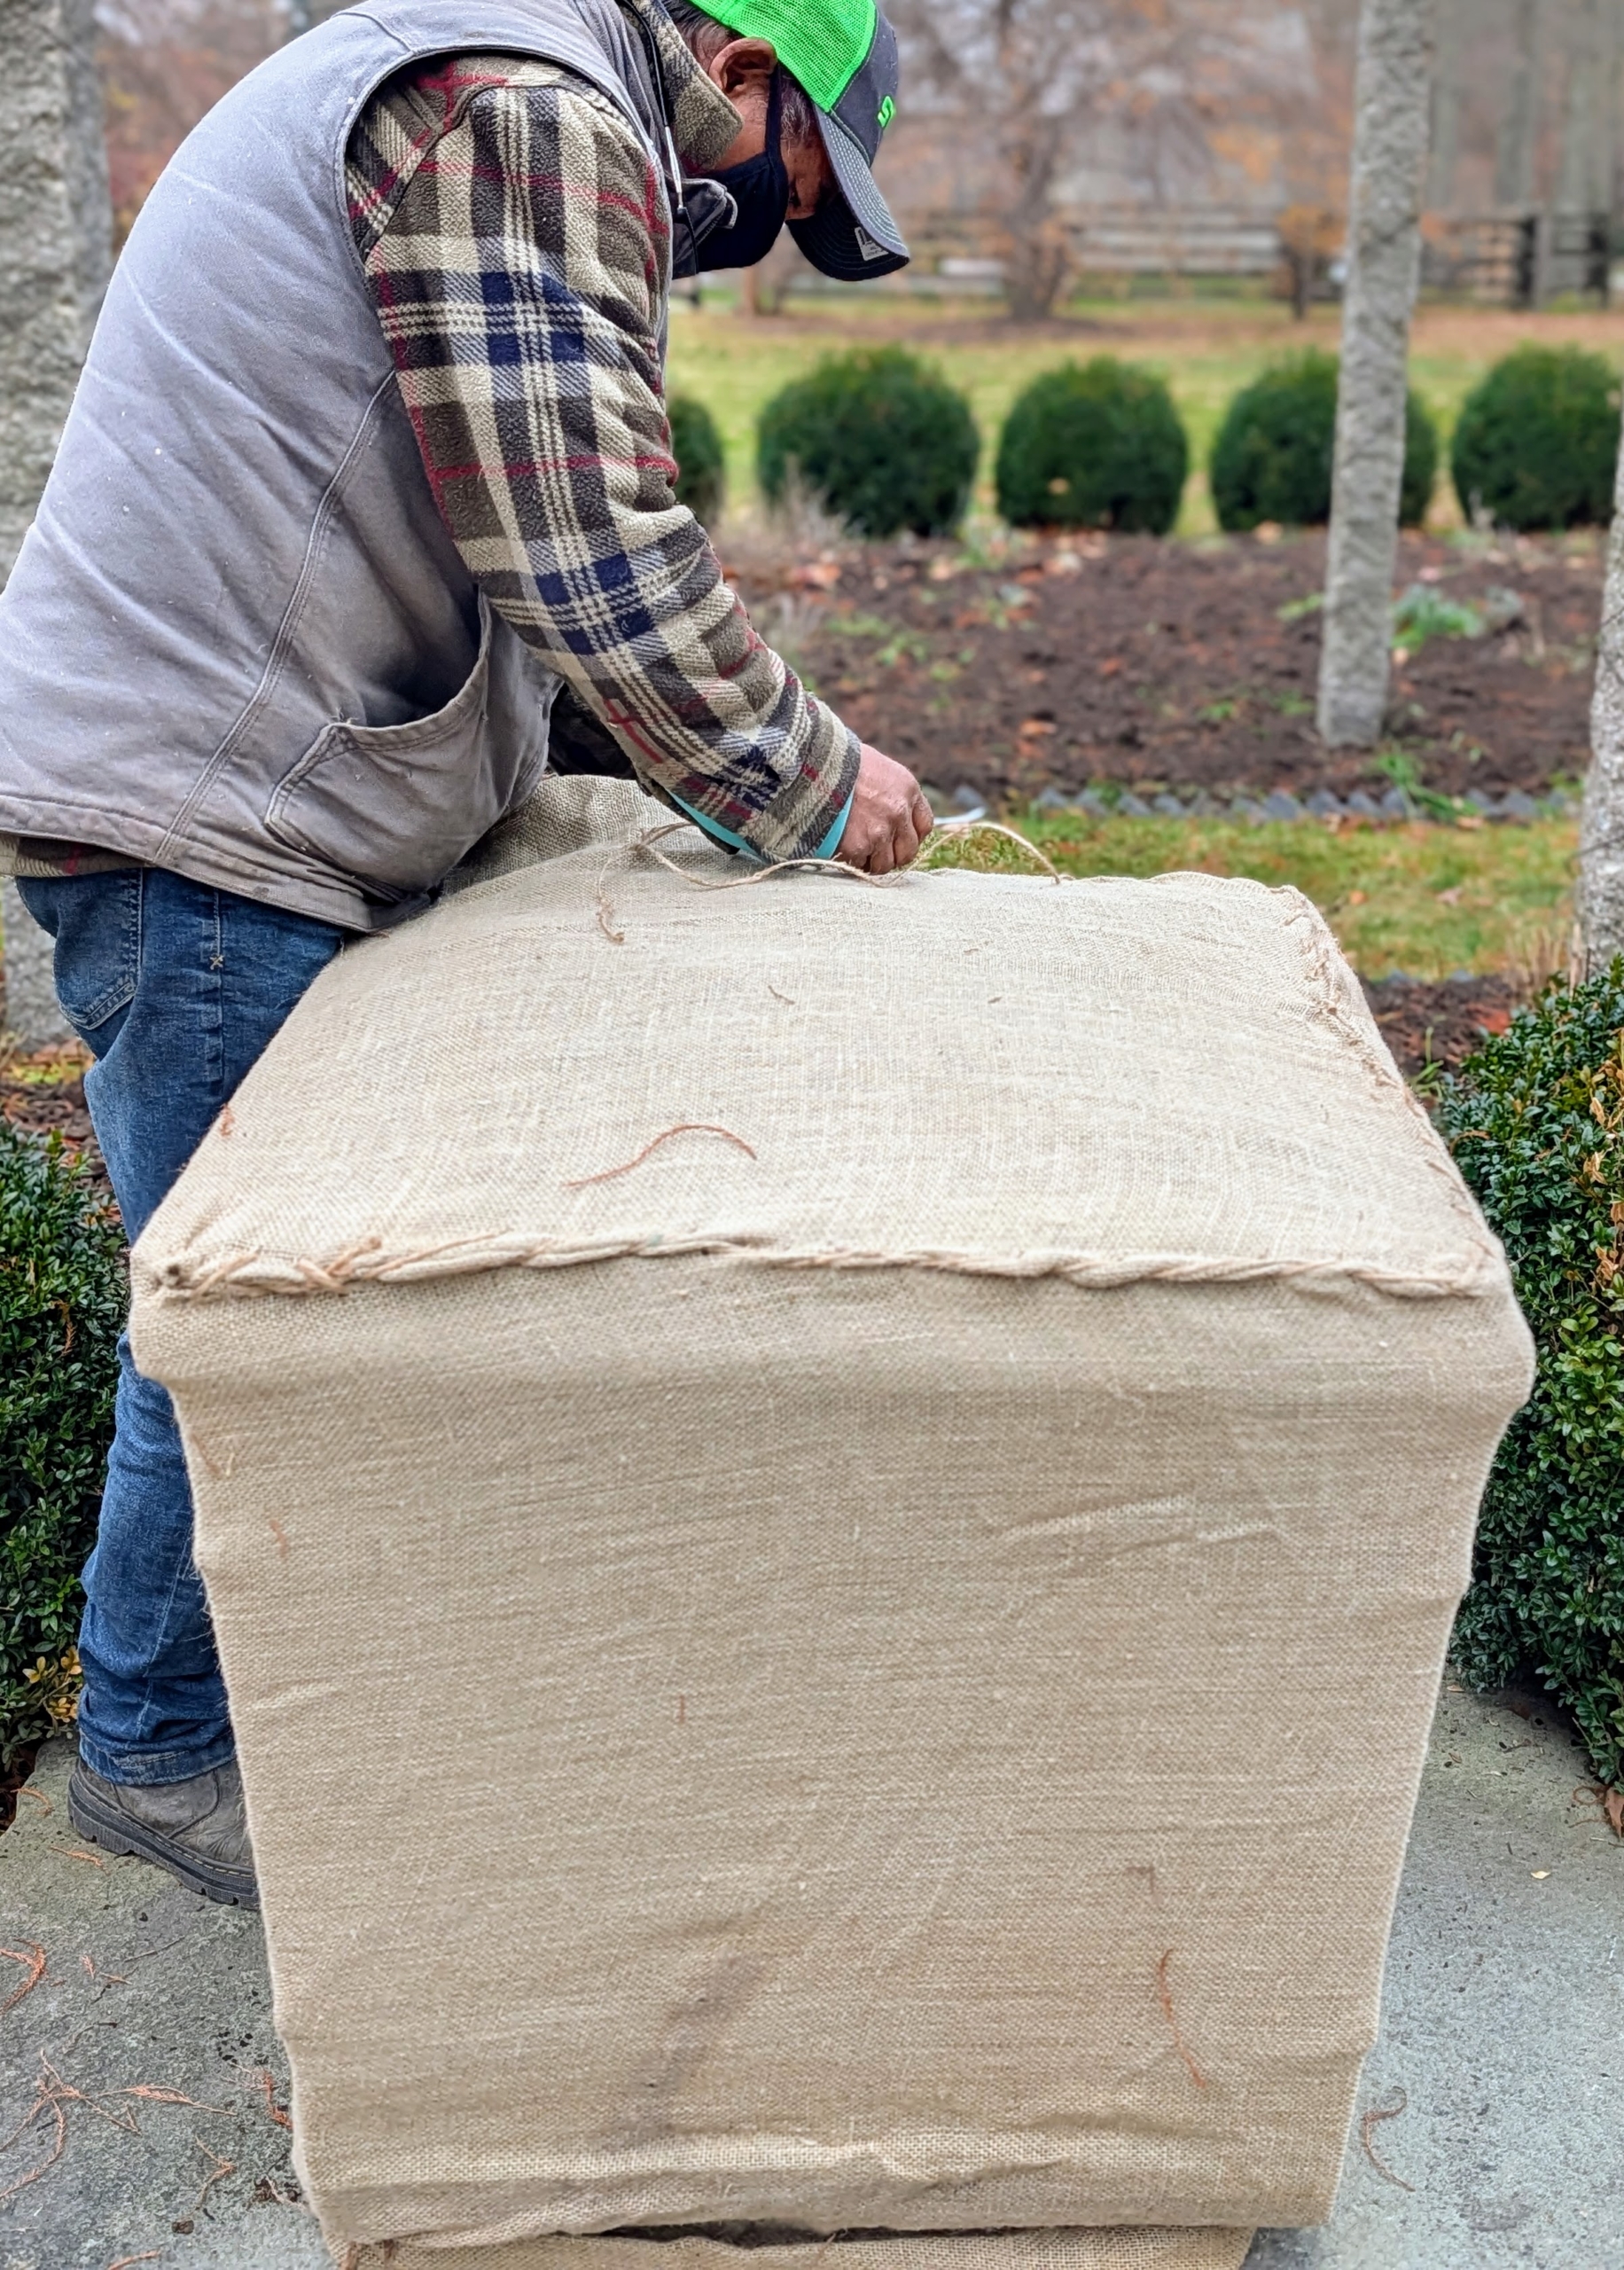
The same process is used for the giant planters along the carriage road under my bald cypress trees. Pete covers the top with a piece of plywood and then wraps the entire planter with strong plastic.
Here is Pete wrapping the entire vessel with burlap. It is always a good idea to wrap it first to estimate how much is needed and then cut off any excess. One doesn’t want to accidentally cut too much.
And then like a present, Pete tucks the fabric and pulls it snug before sewing the ends together.
Because these containers will be exposed to winter elements for several months, Pete makes sure to do the task very carefully.
The top is also pulled tight and sewn closed.
The edges are all folded neatly before sewing. After all, it will also be seen by visitors who come by.
And here it is all covered. Depending on the size of the vessel, it takes about 20 to 30 minutes to cover one of these ornamental containers. On this day, Pete completed more than a dozen. There is still a lot of “burlapping” to do, but it is comforting to know that all my valuable planters will be protected for the season. Do you cover your outdoor planters?
Anyone who owns a horse knows how important it is to stay up-to-date on all the ever-changing trends and products in the horse industry.
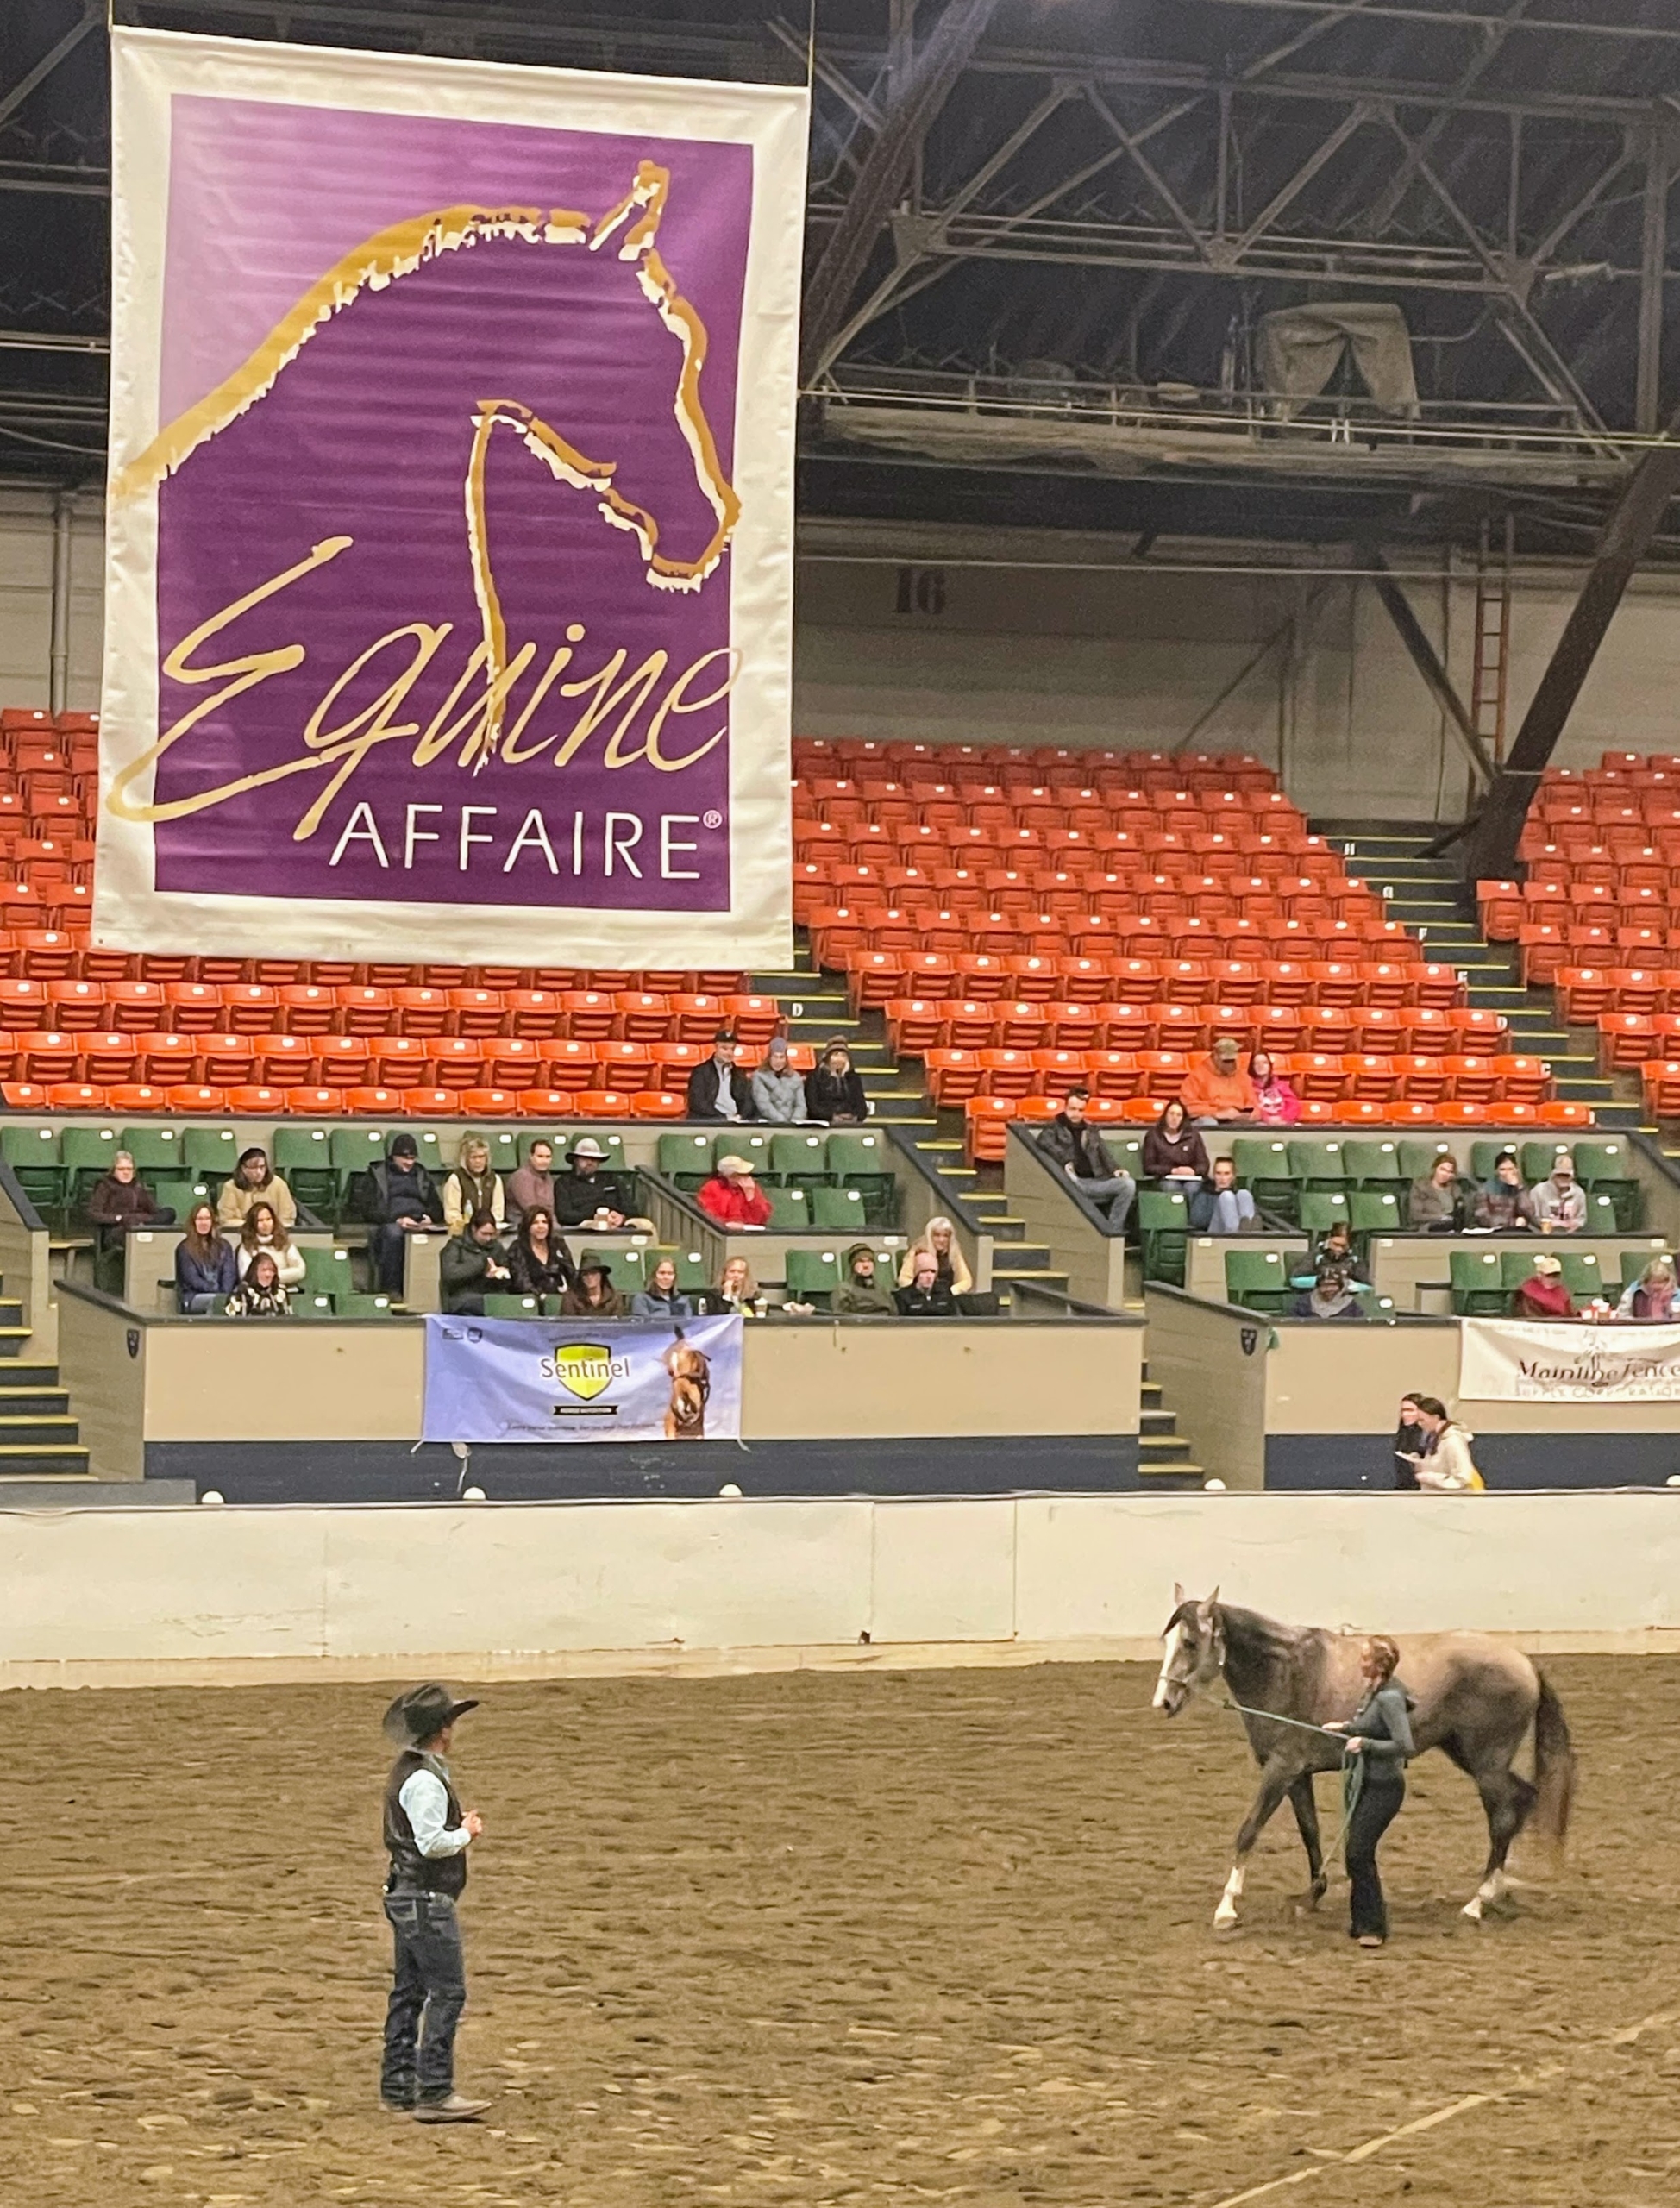
Earlier this month, my stable team attended the Equine Affaire in Springfield, Massachusetts, North America's premiere equestrian exposition. First established in 1993 for the purpose of creating a first-class, education-oriented horsemen's convention, the event offers attendees the opportunity to talk to trainers, coaches, and other experts, participate in various clinics, meet dozens of breeds of horses from around the world, and shop the many vendors.
Here are some photos, enjoy.
The main mission of the Equine Affaire is to help educate and improve horse management and care, training, and equestrian riding skills. The event is held twice a year – once in Massachusetts and once in Ohio. More than 30-thousand horse enthusiasts attend the four day event annually. This is the coliseum at Springfield’s Big E where classes and shows are held.
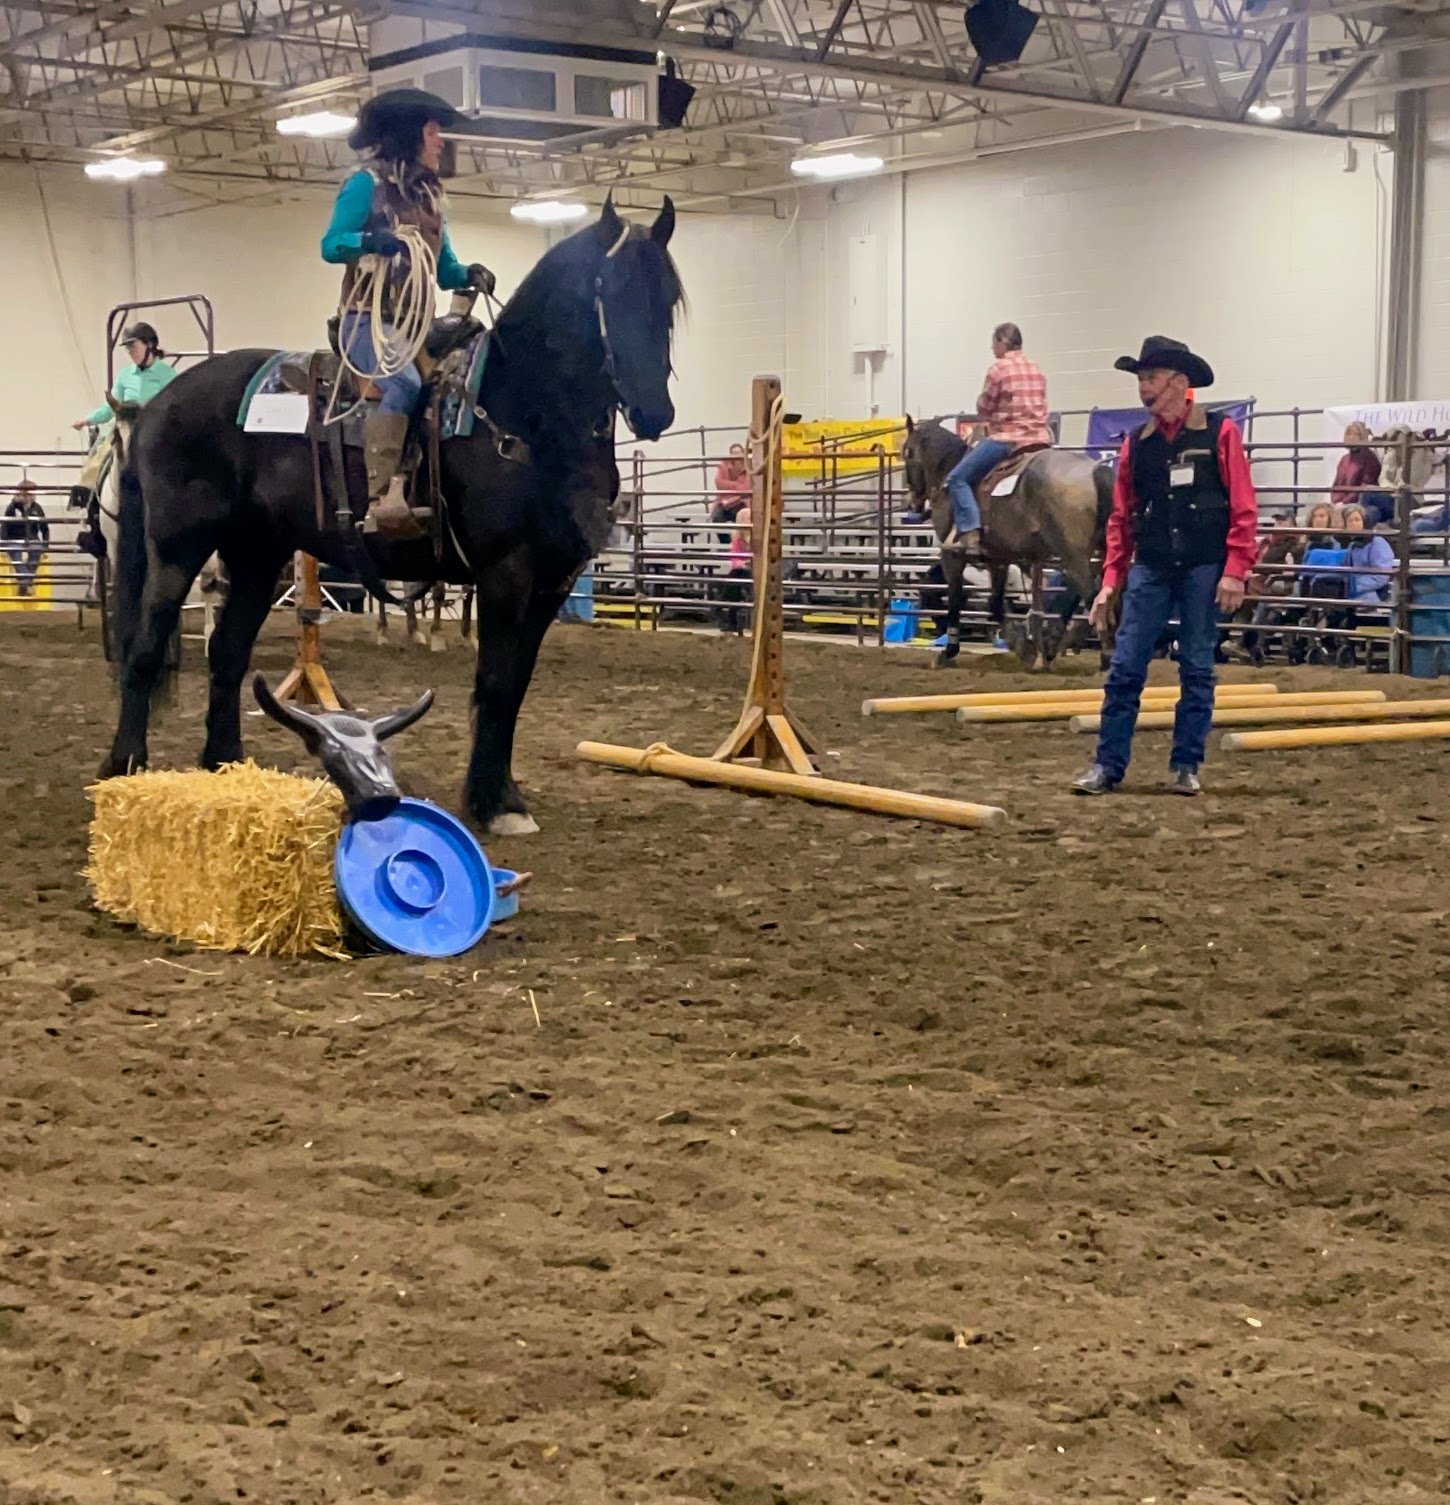
The event features all of the major equestrian sports from dressage, reining, cutting, jumping, driving, eventing, and barrel racing to team penning and sorting, distance competition, western dressage, trail, polo, and sidesaddle. It’s a great way for all riders to gain more information and talk to experts.
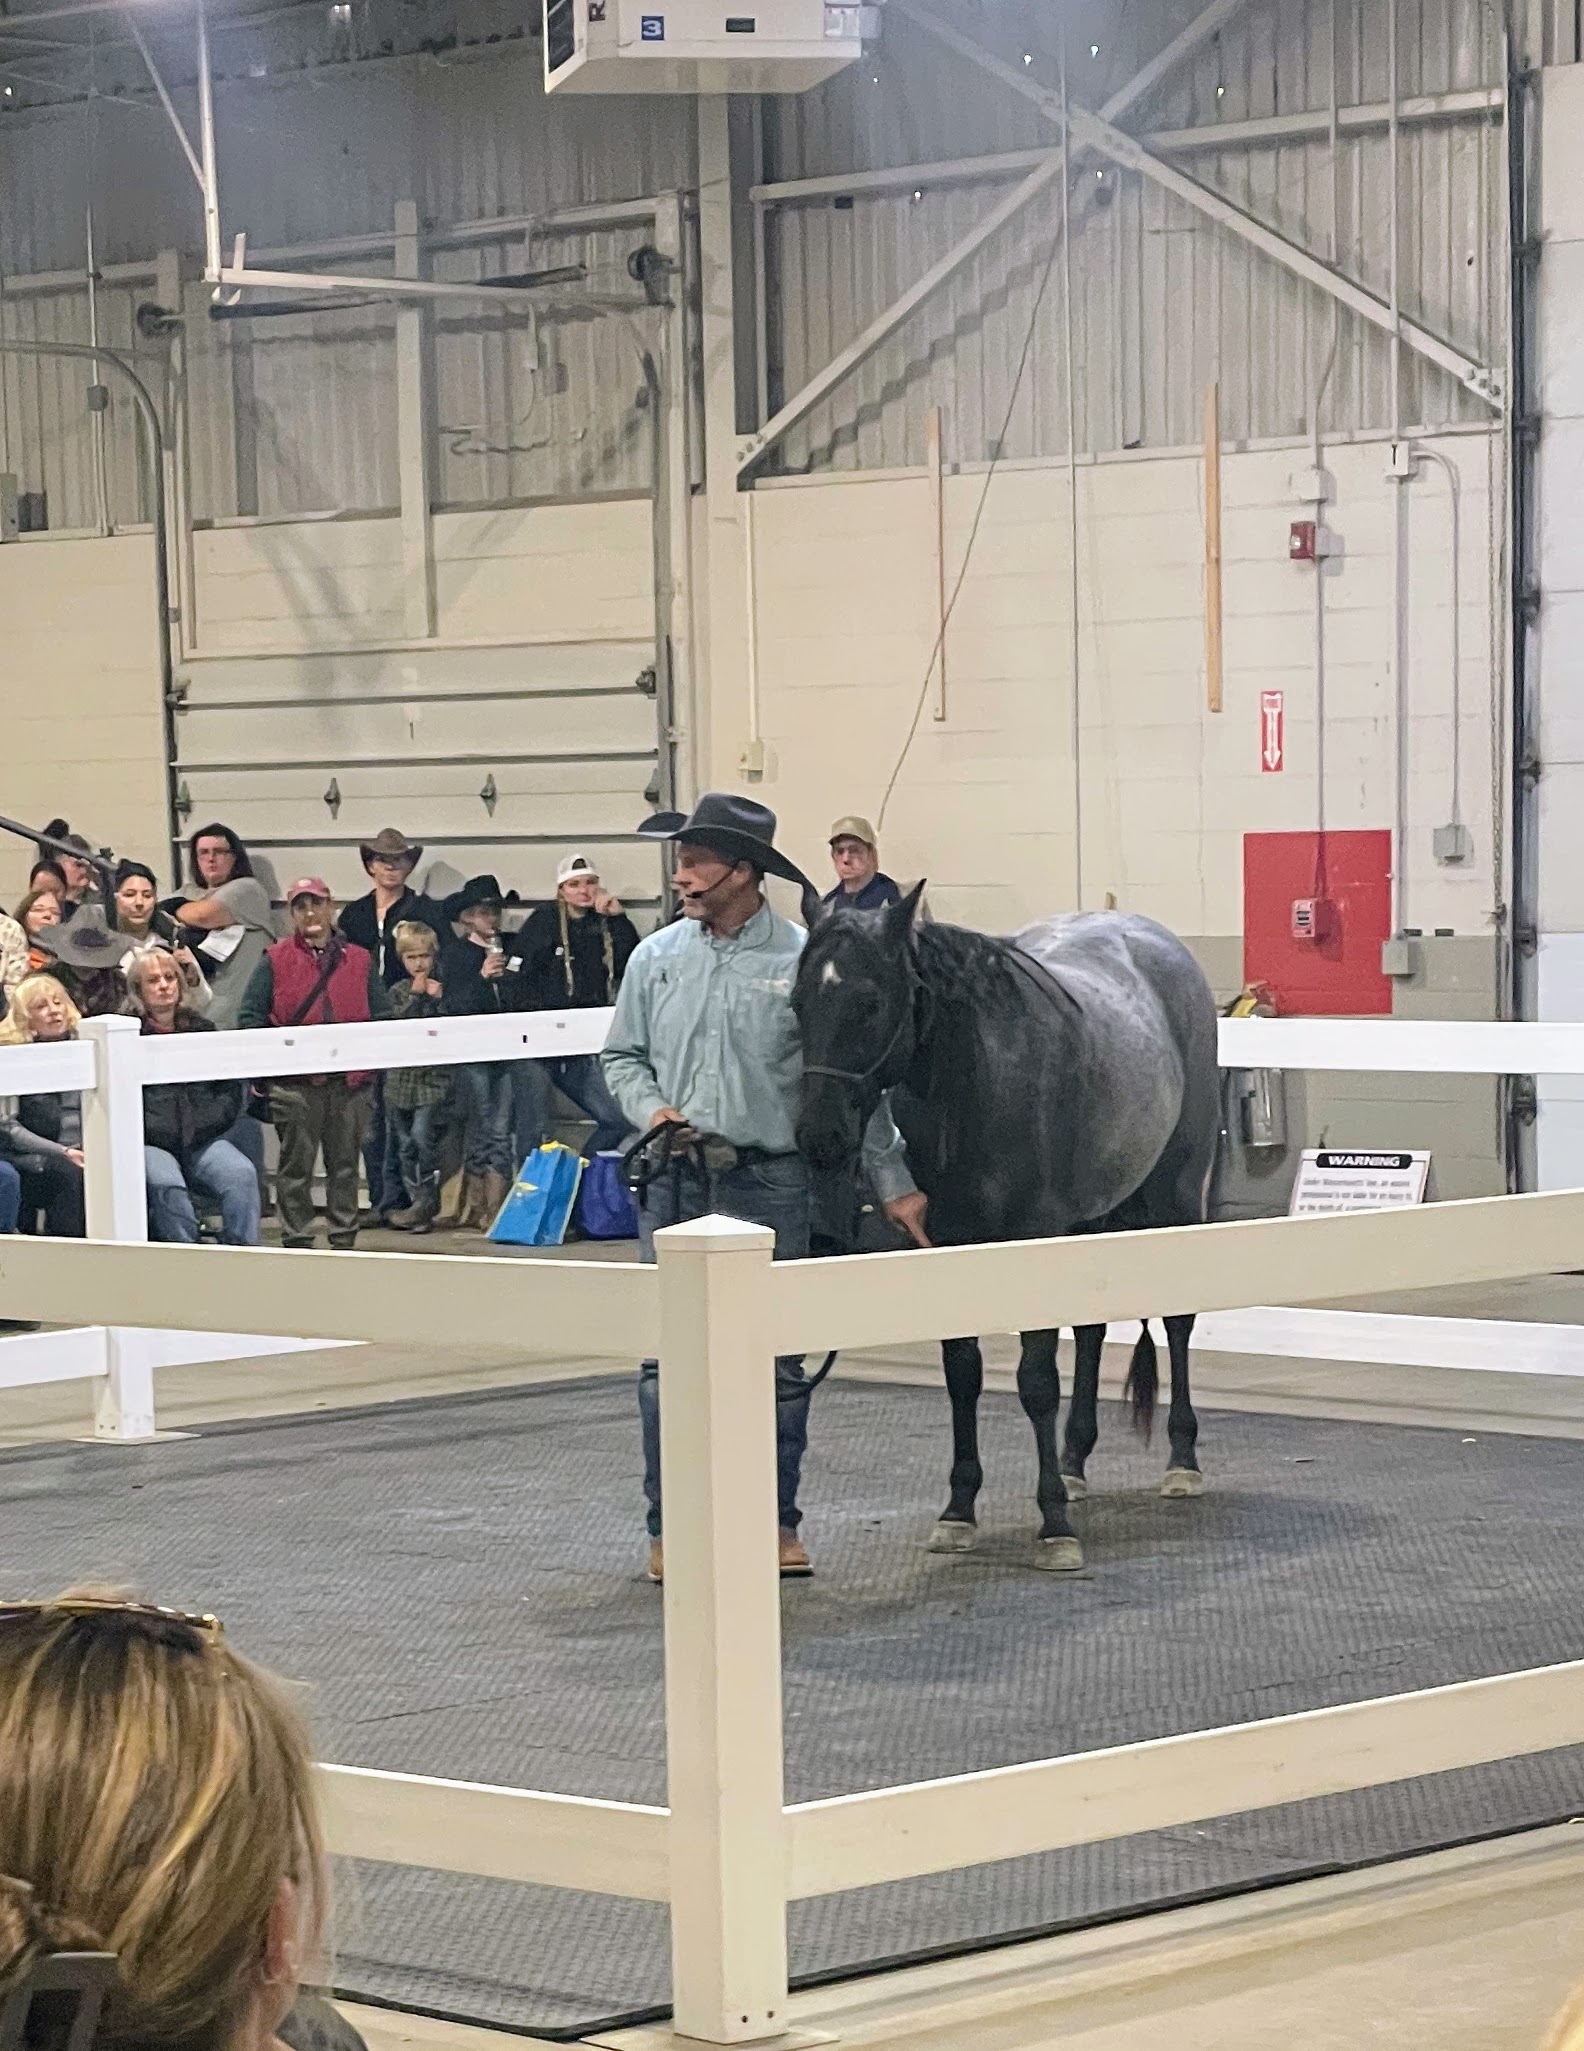
Different breeds of horses from around the world participate at Equine Affaire.
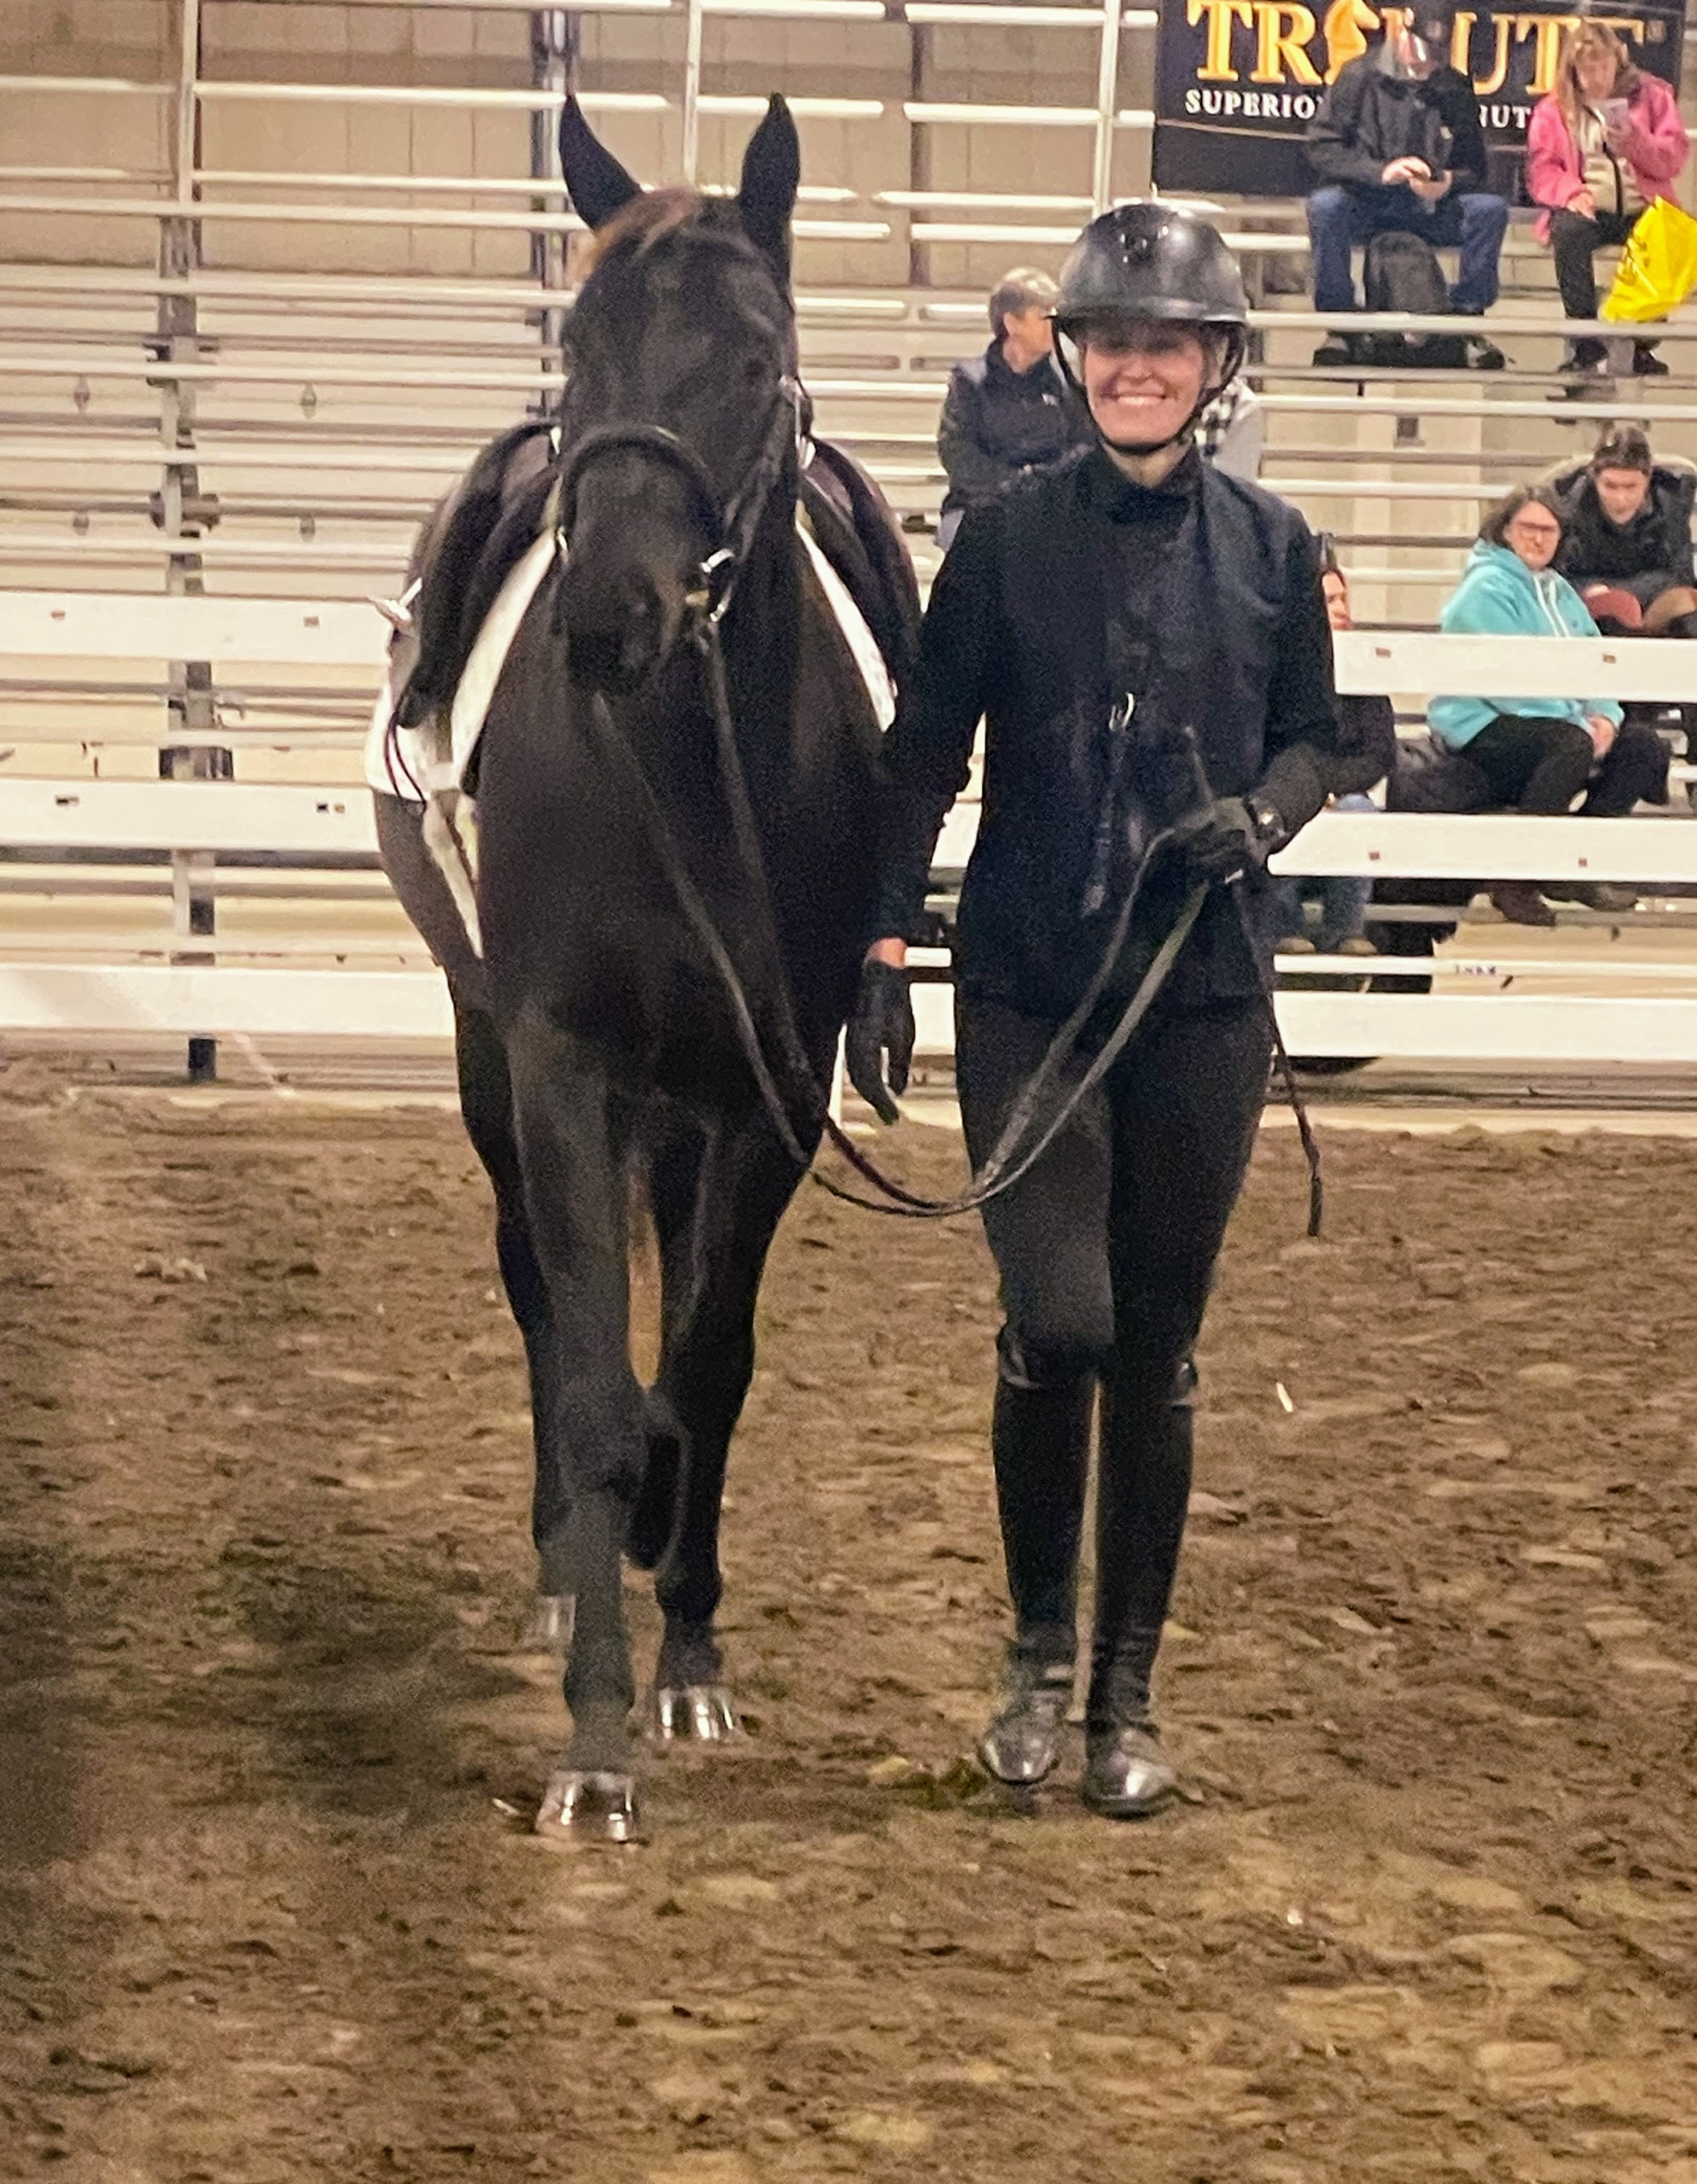
Educational programs and clinics remain the cornerstones of the events. Helen and Juan tried to view as much as they could during their visit.
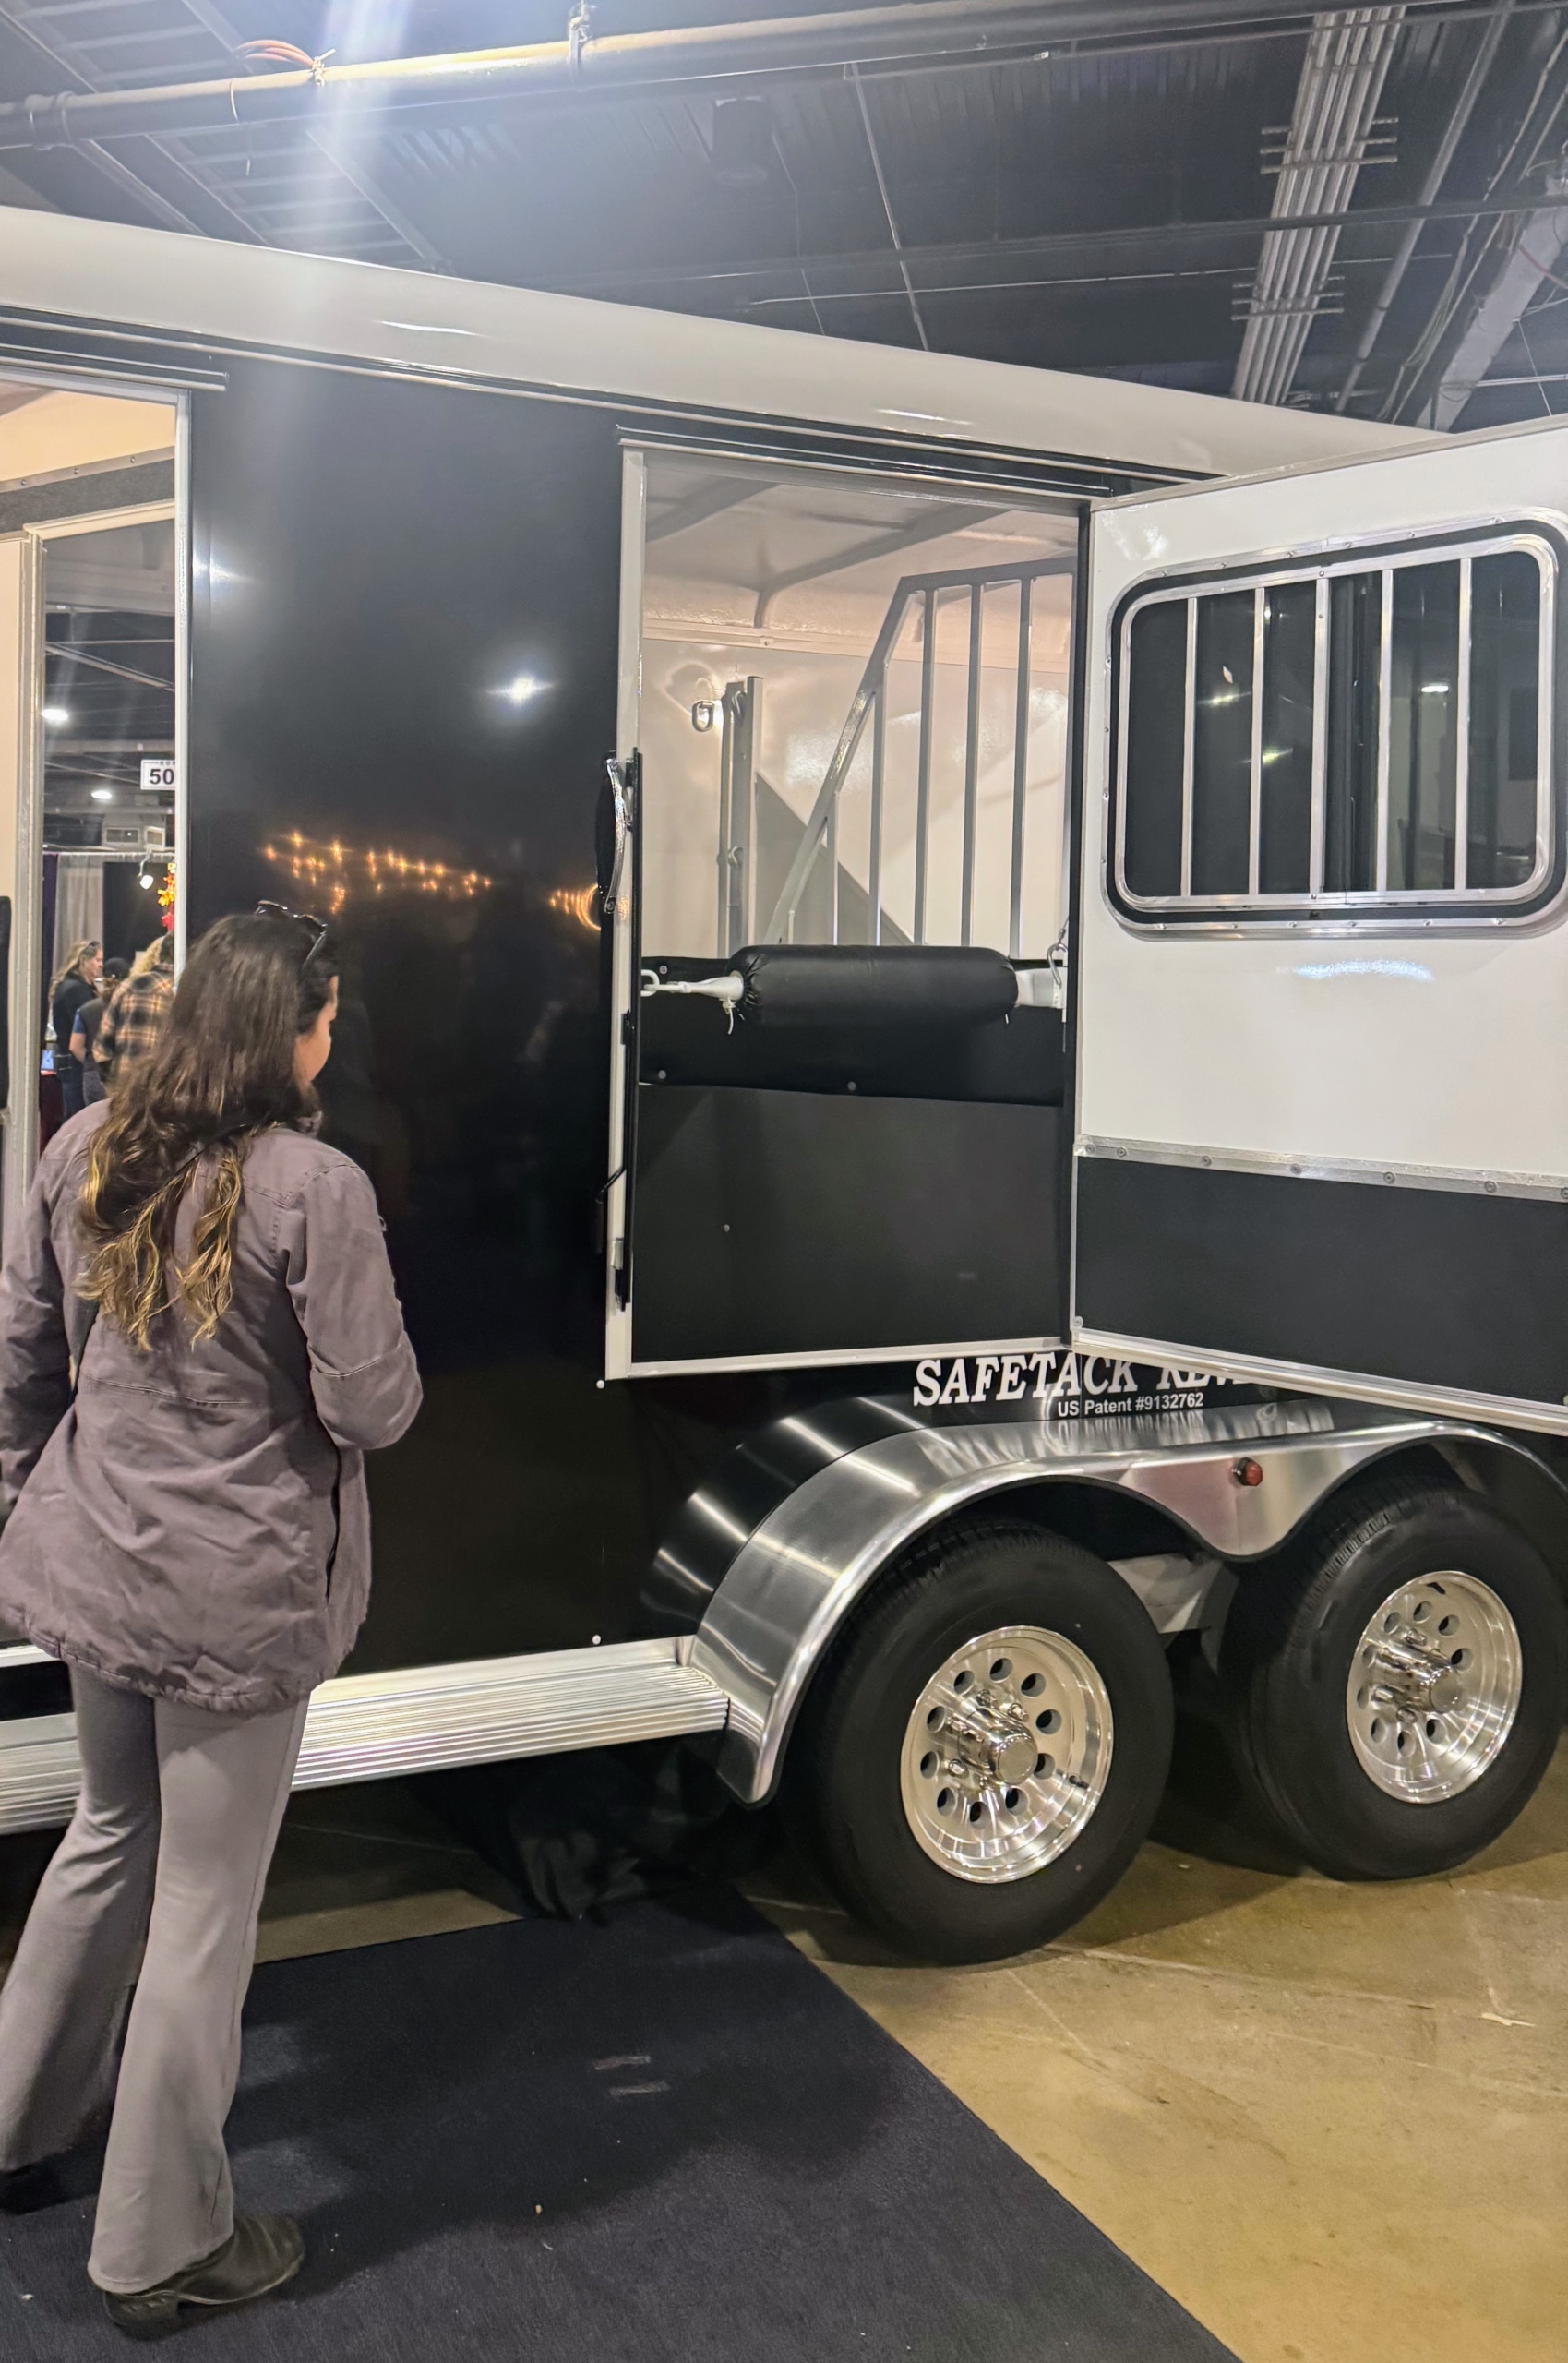
Here is Helen looking at one of the newest trailers, which offers more room and tack storage space.
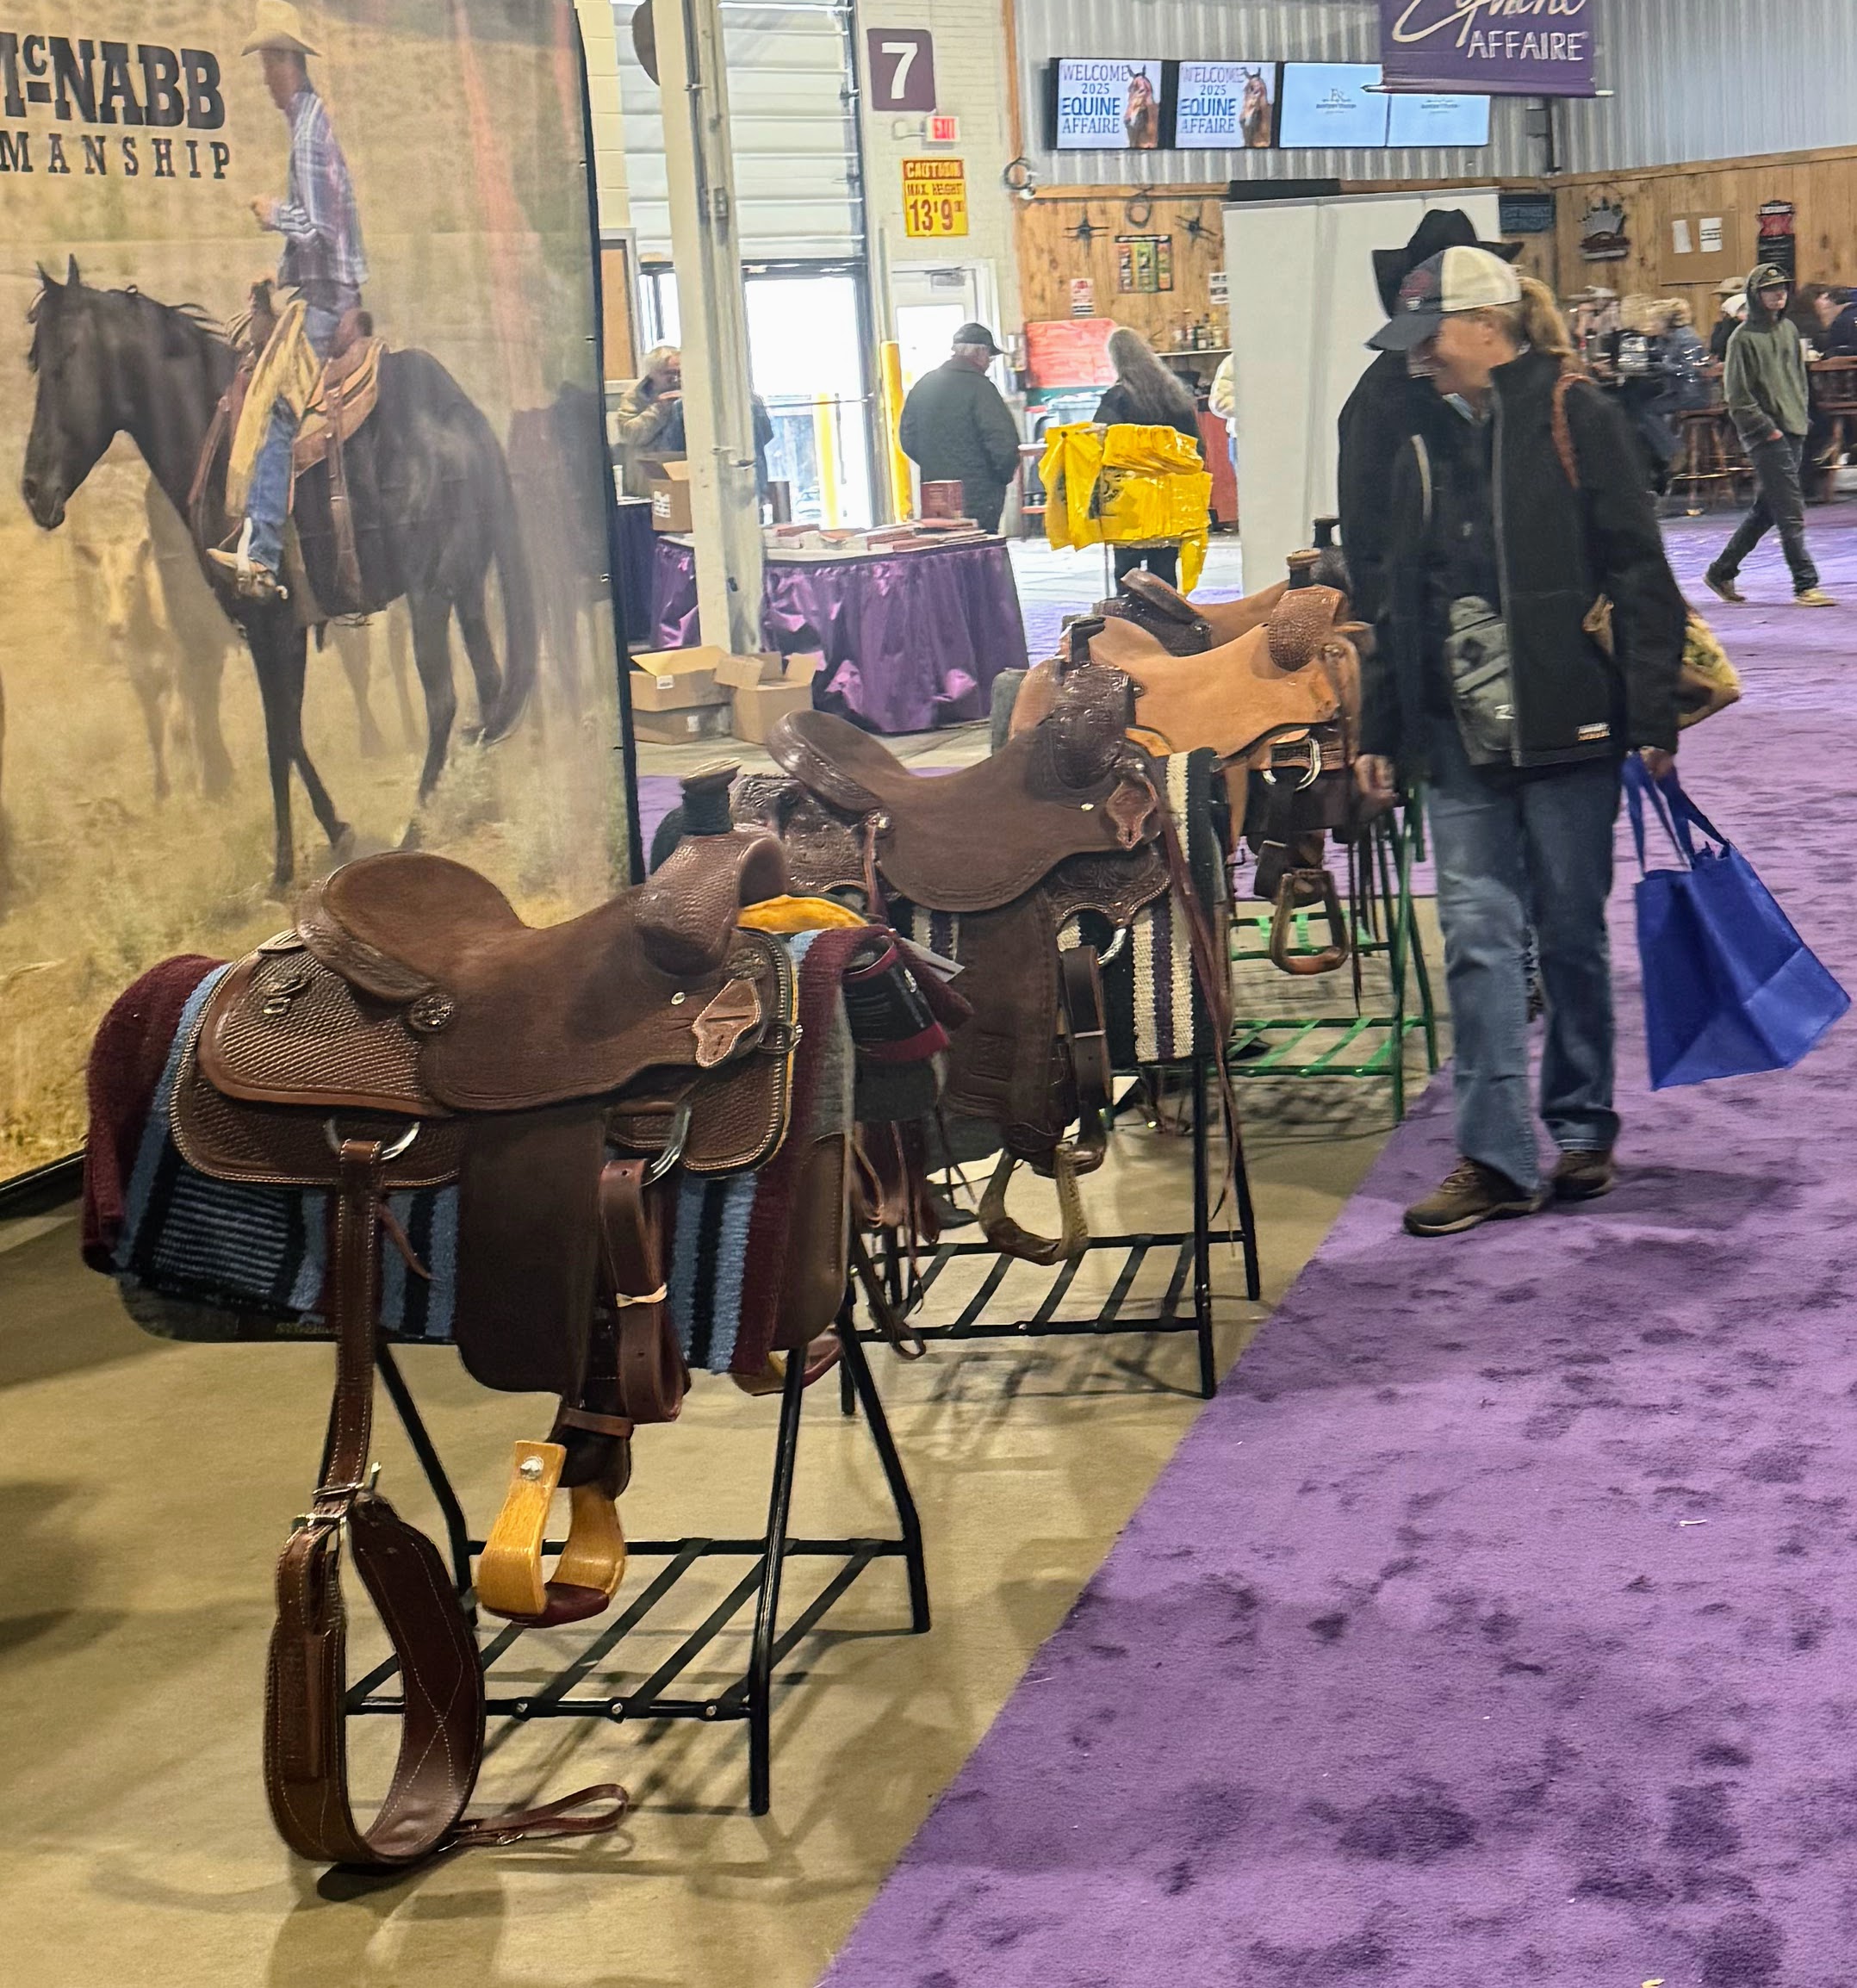
There is always a mad rush for equine product shopping. Dozens of saddles were available for both English and Western riders.
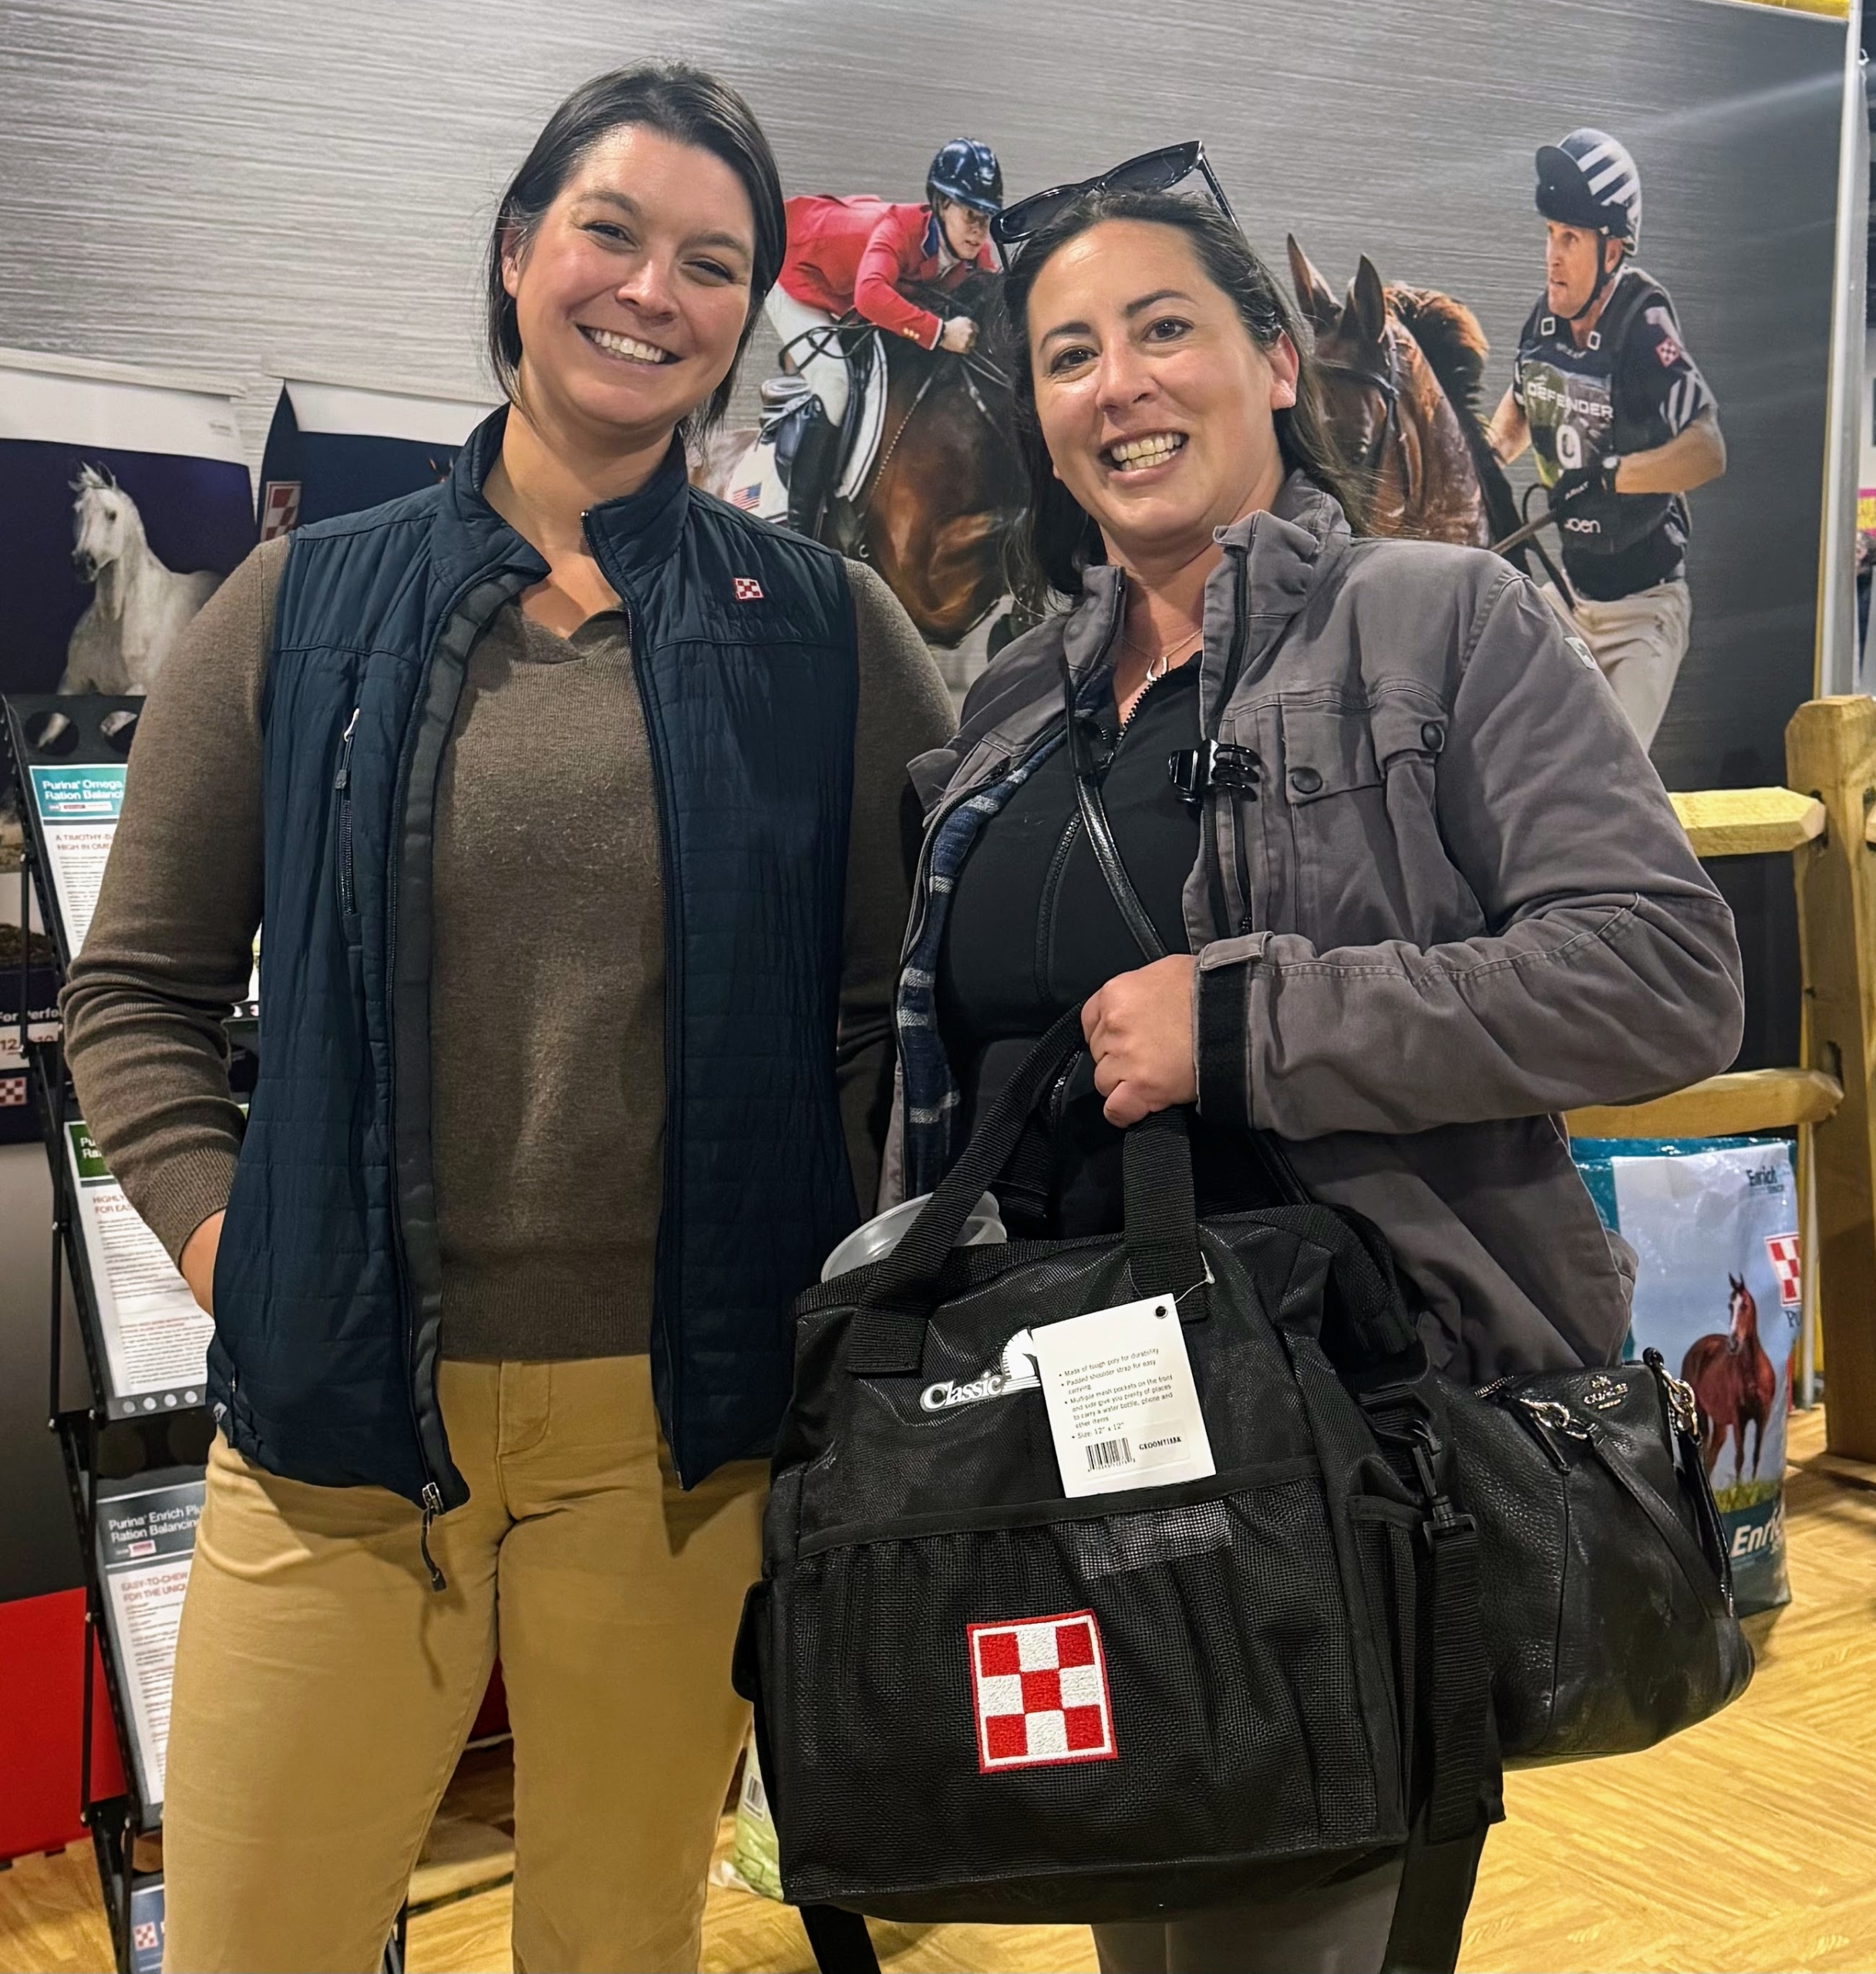
Here is Helen with Meghan Crout, equine nutrition specialist for Purina.
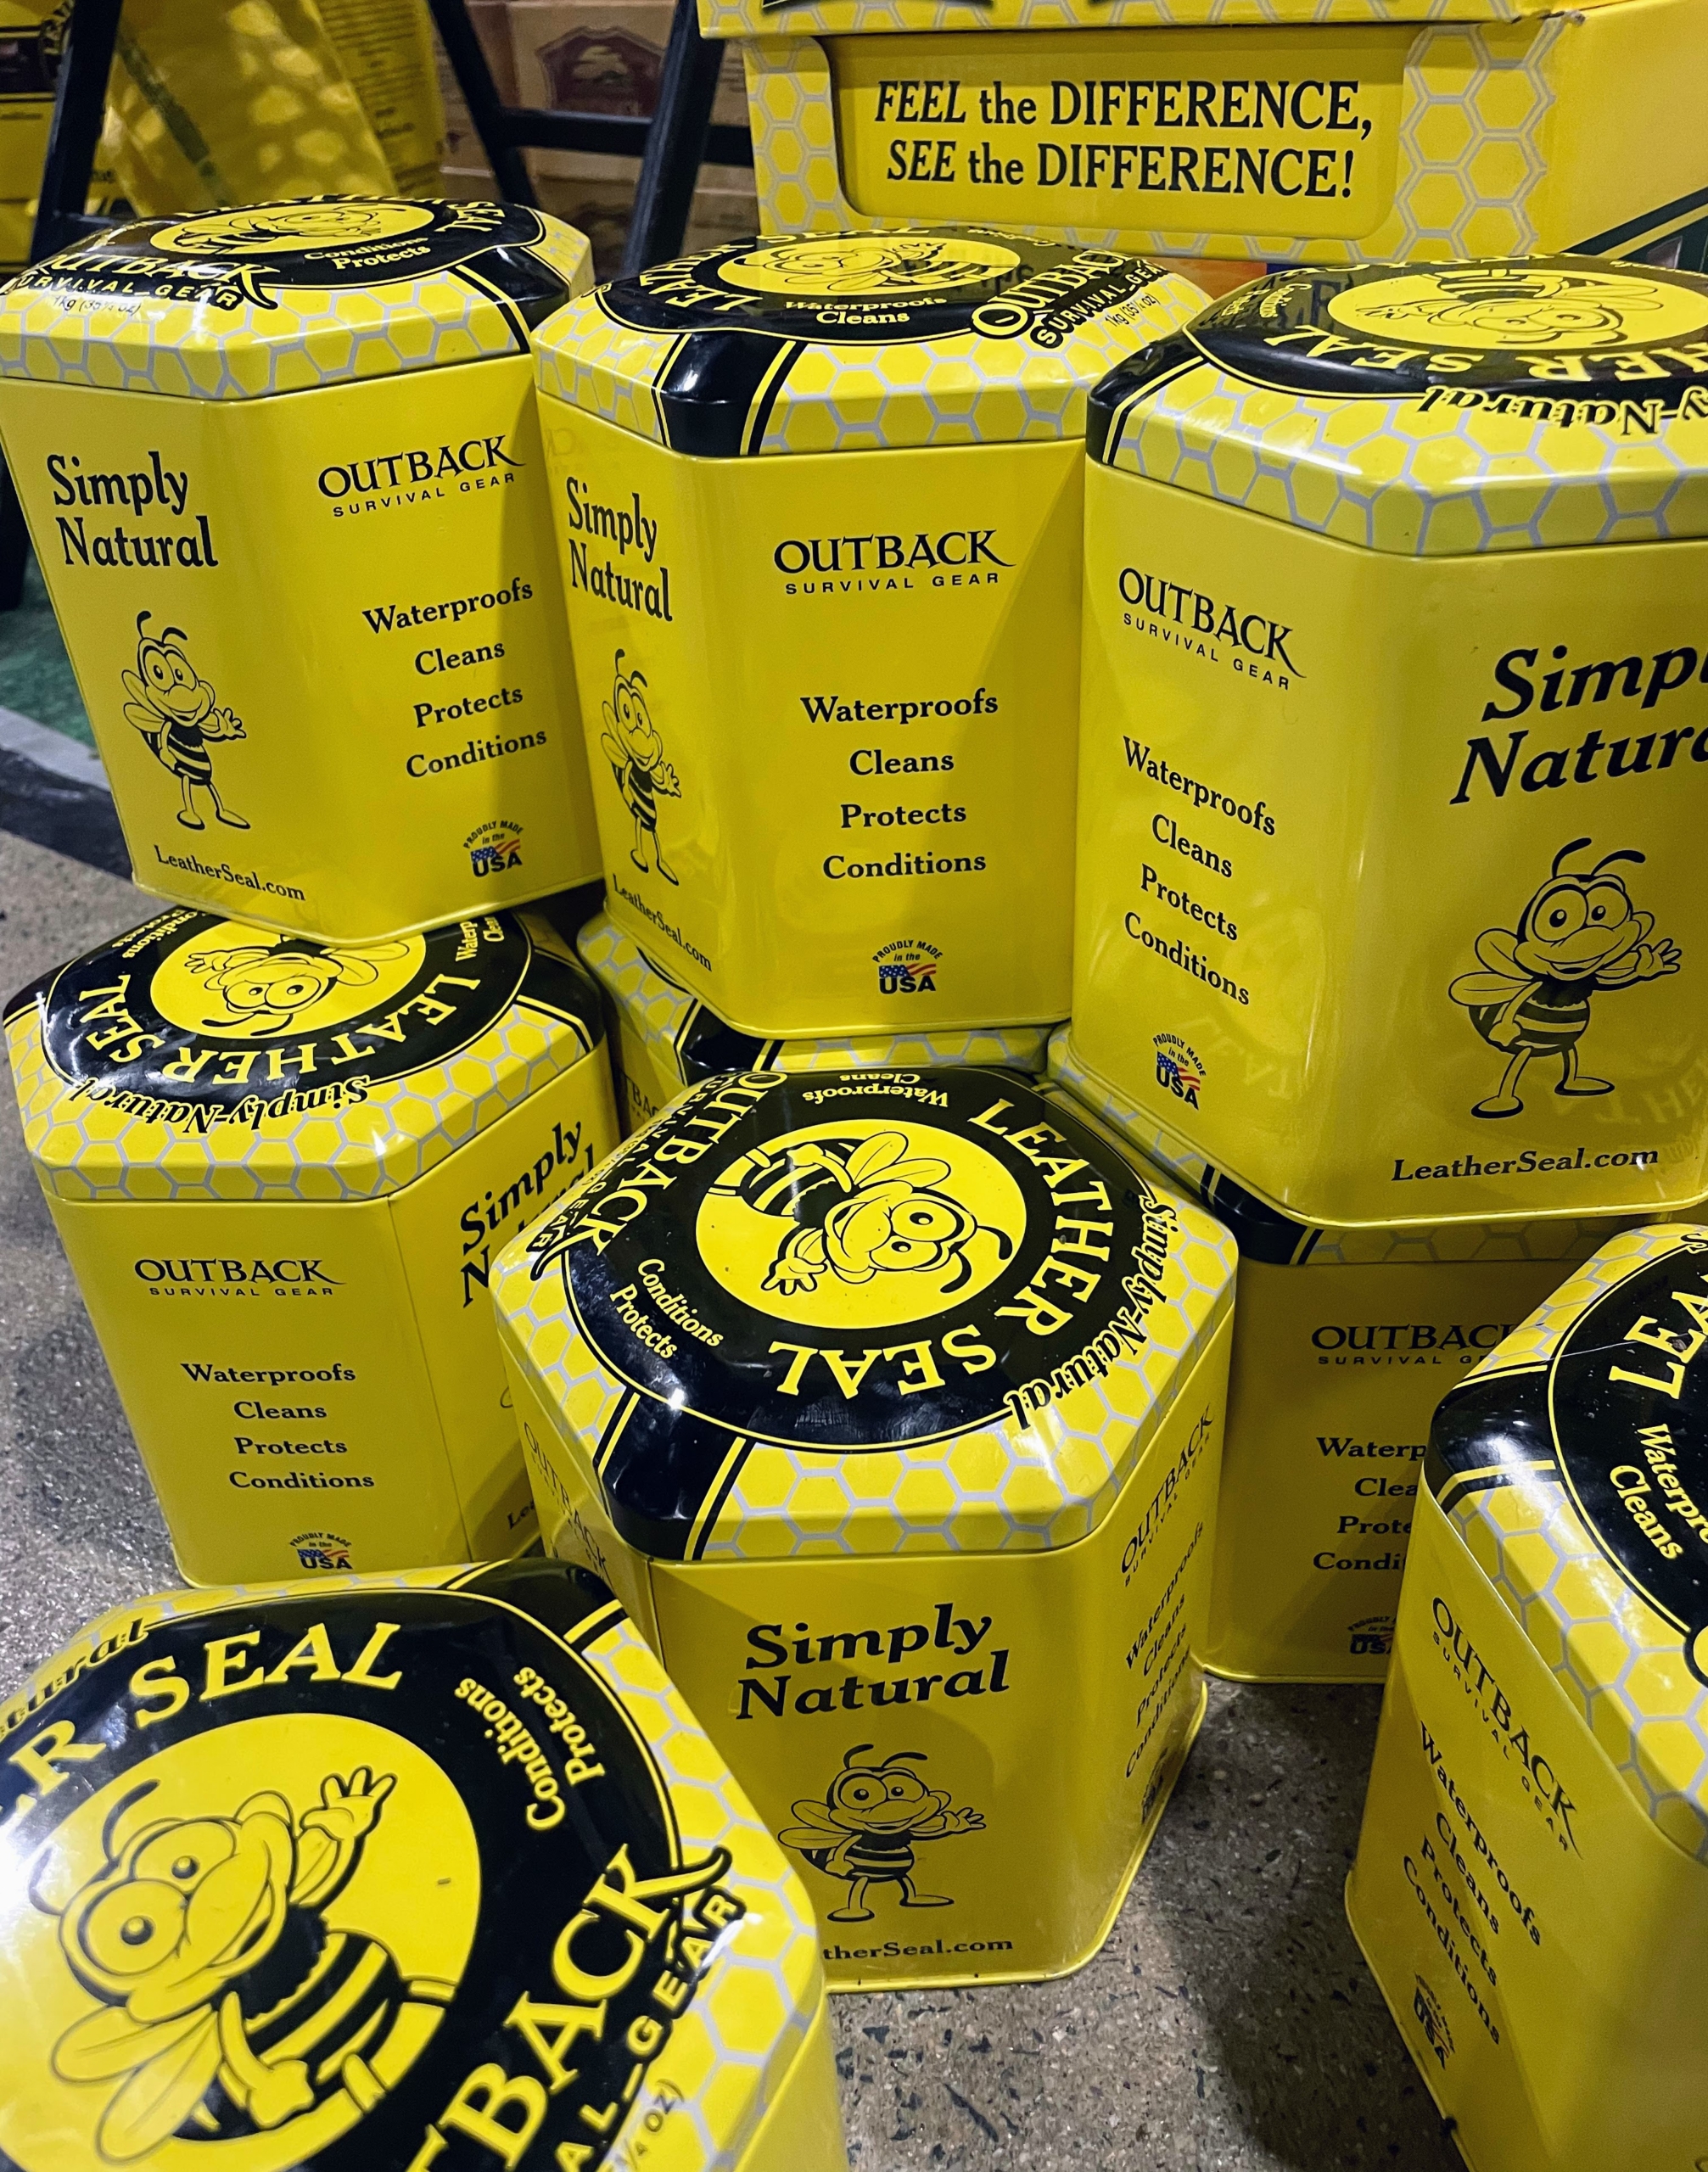
This Outback Survival Gear Leather Seal is a natural cleaner and conditioner that is designed to rejuvenate and protect leather iterms. It contains beeswax, eucalyptus, avocado oil, lavender oil, and vitamin-E oil.
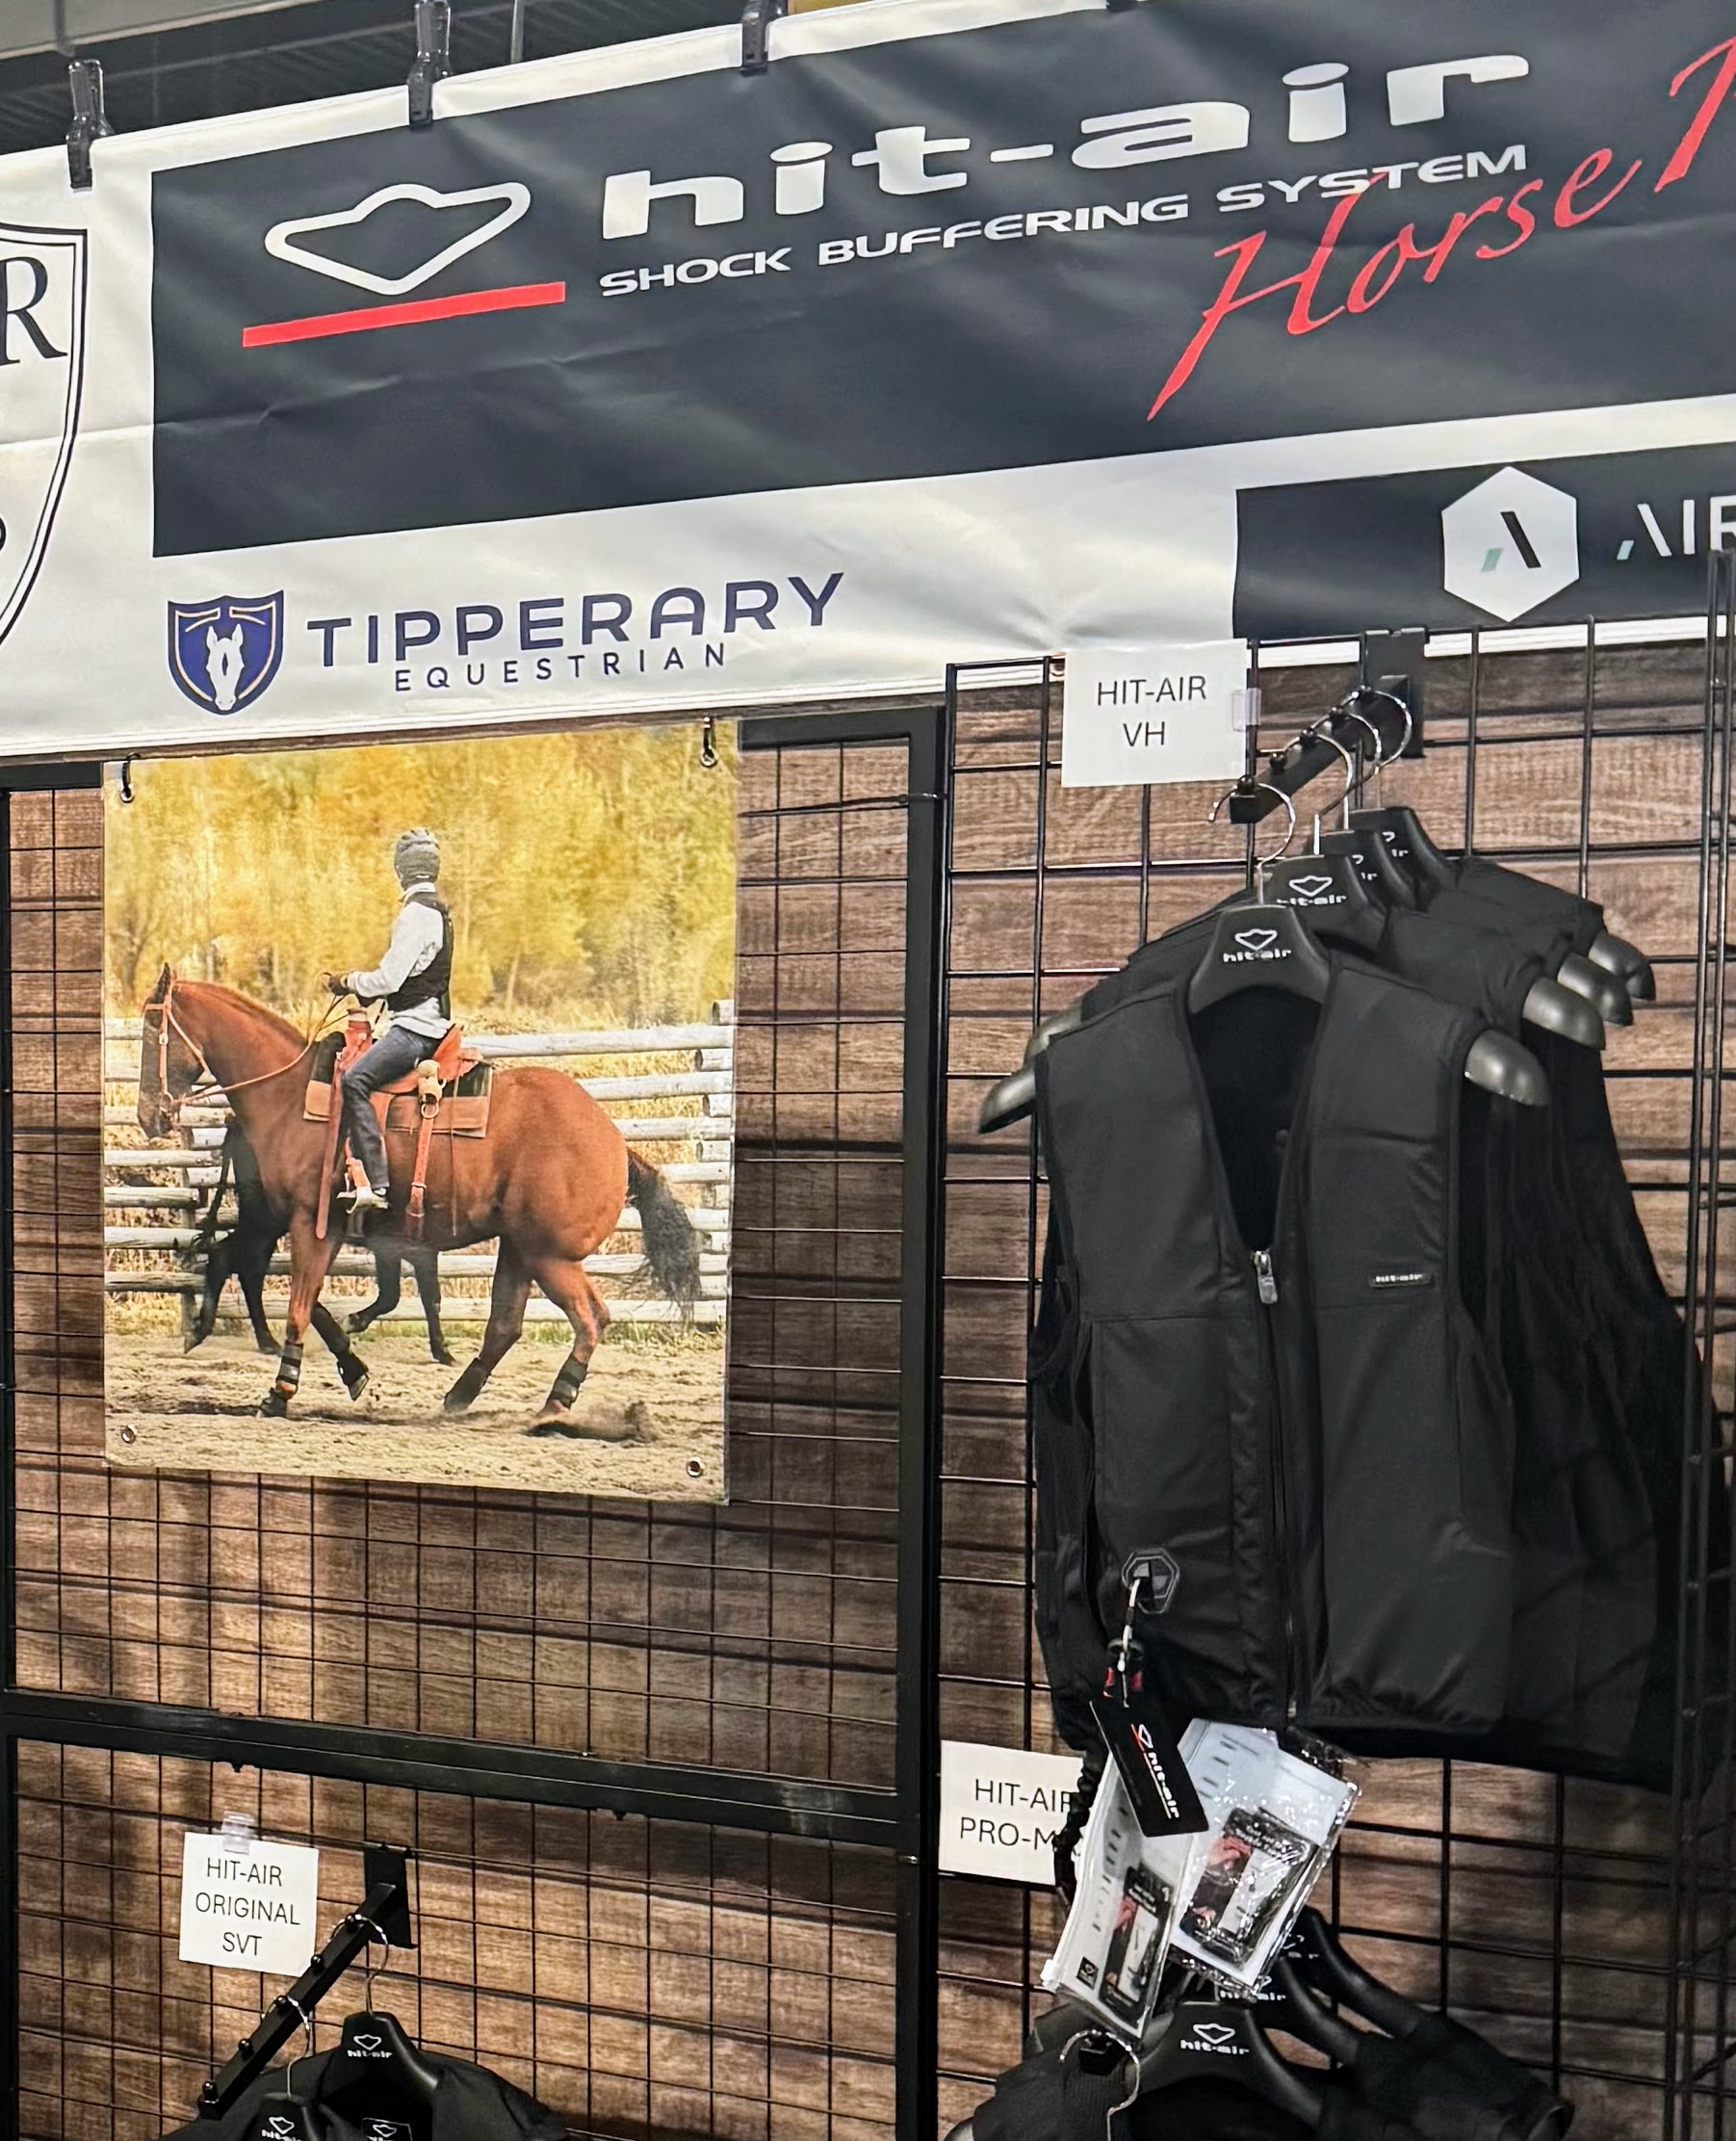
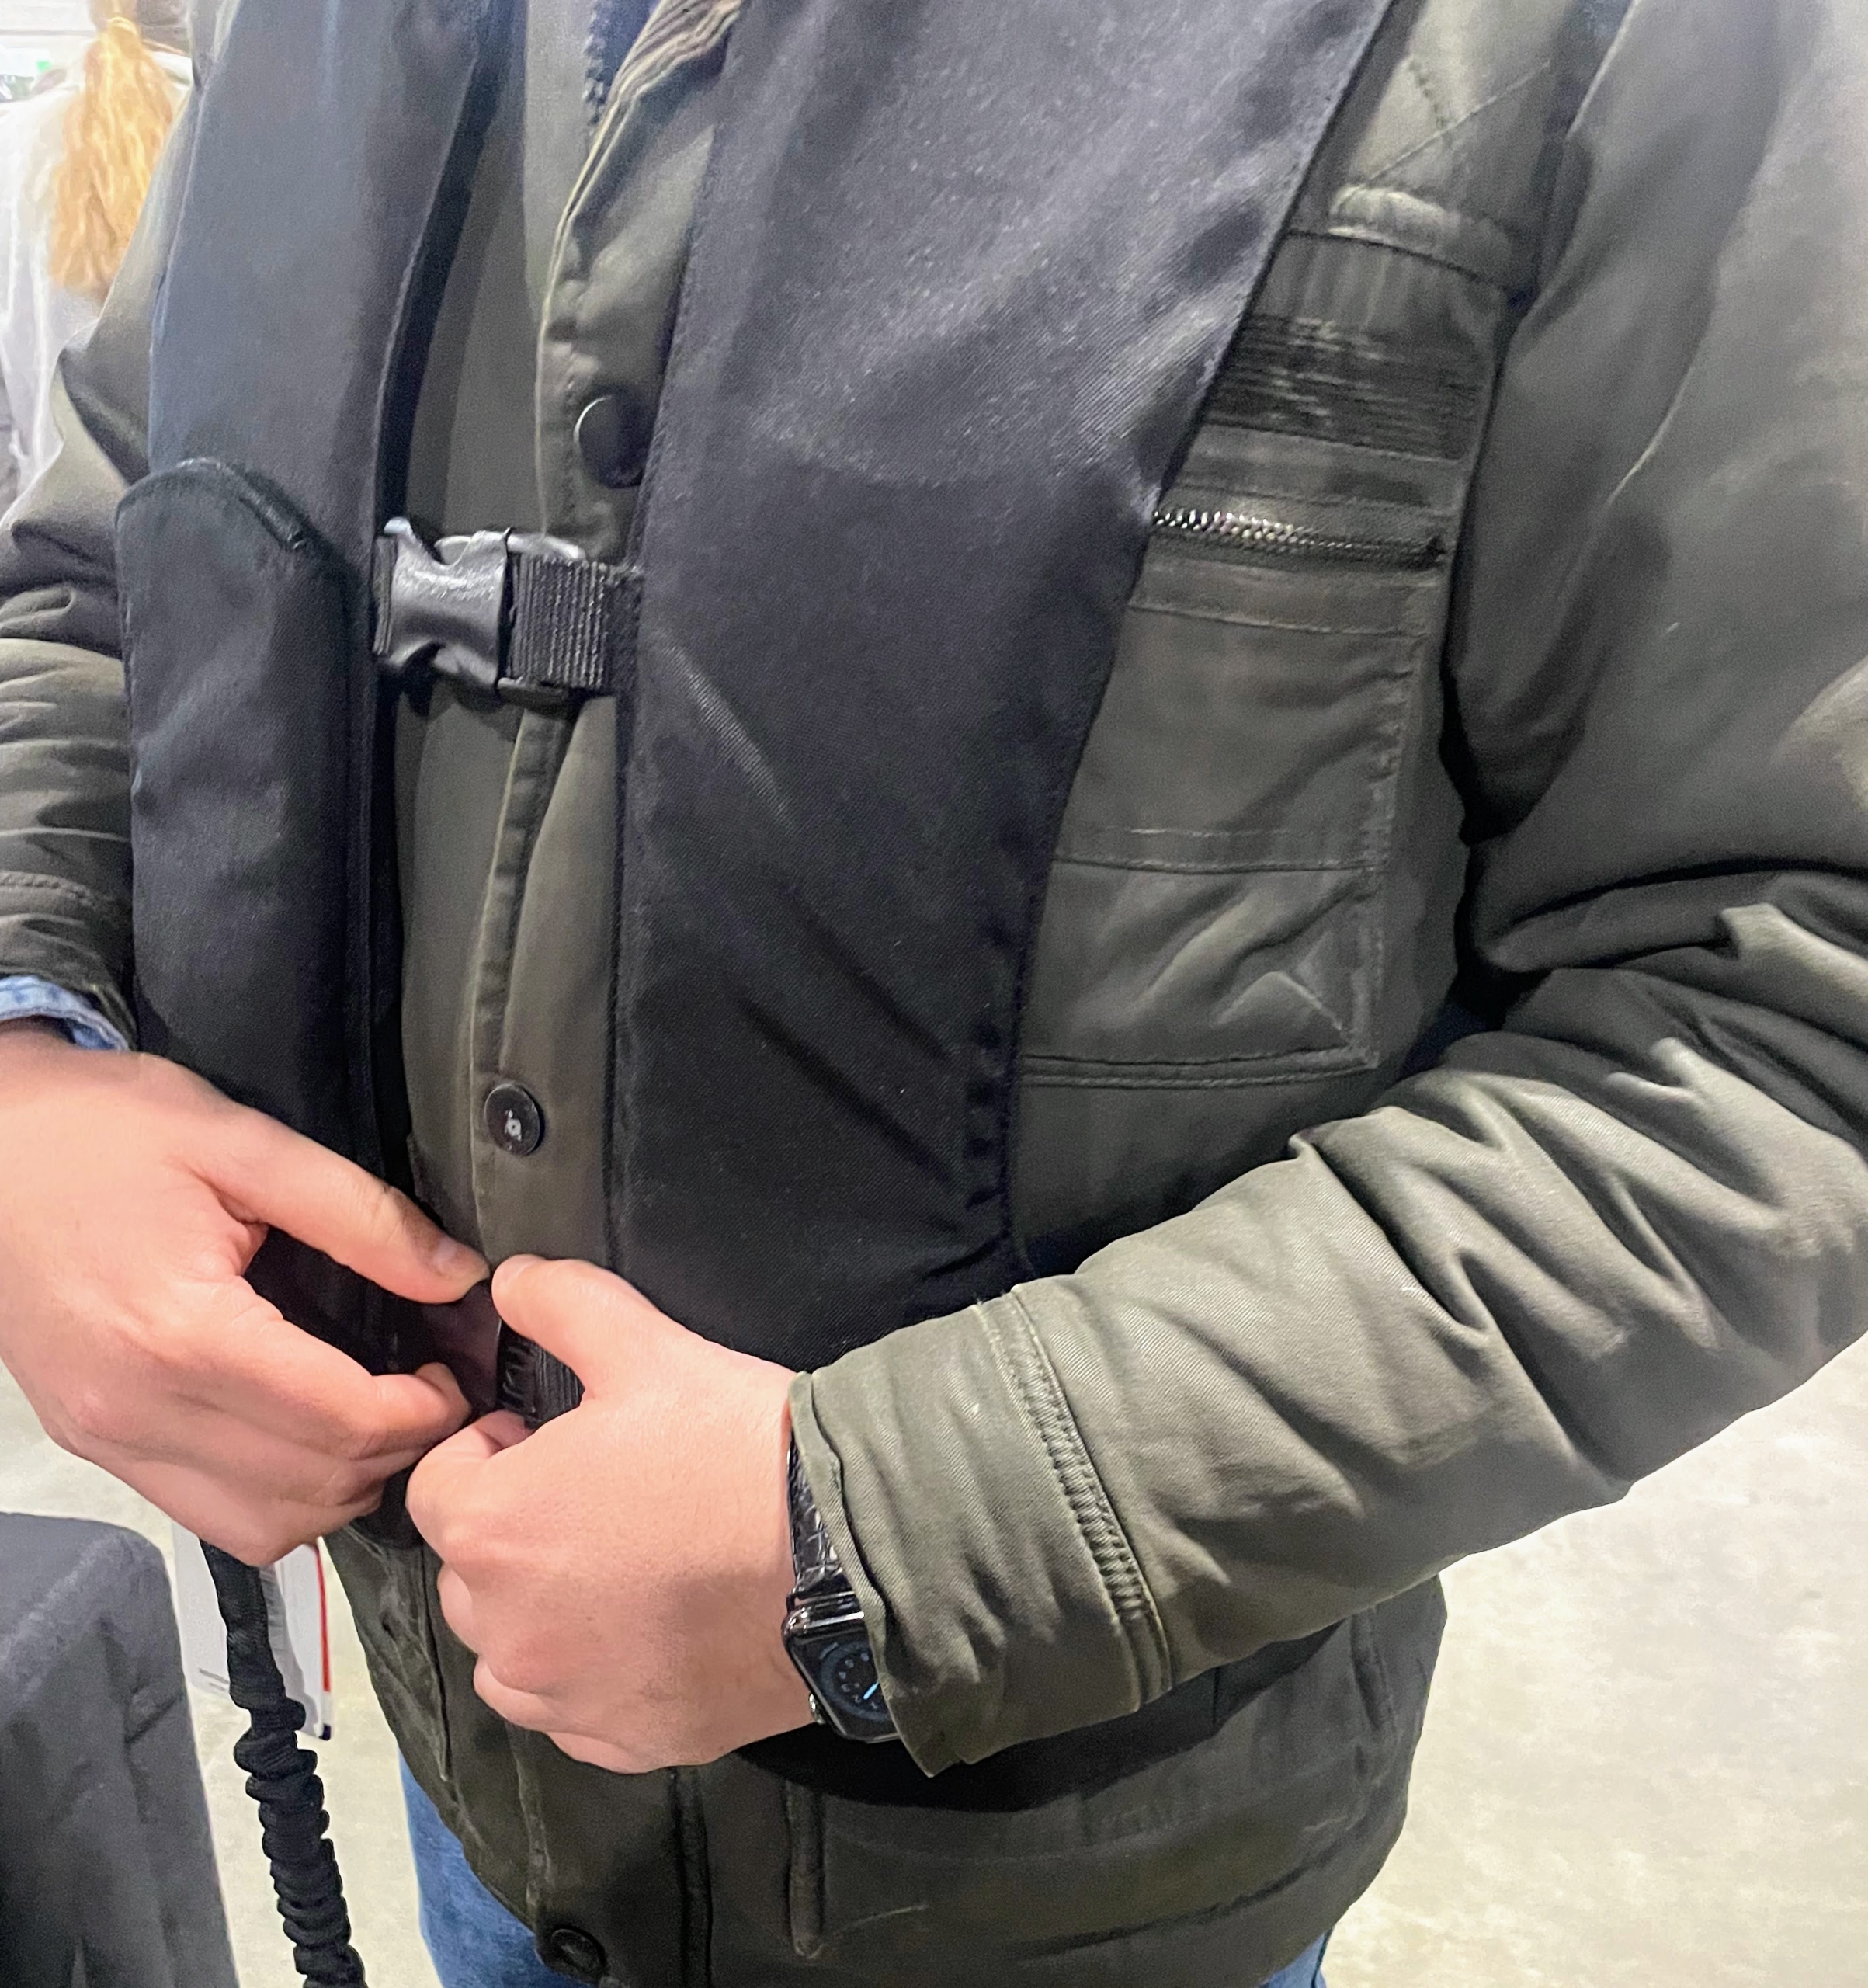
Helen and Juan also stopped by the Hit-Air booth to check out the safety vests.
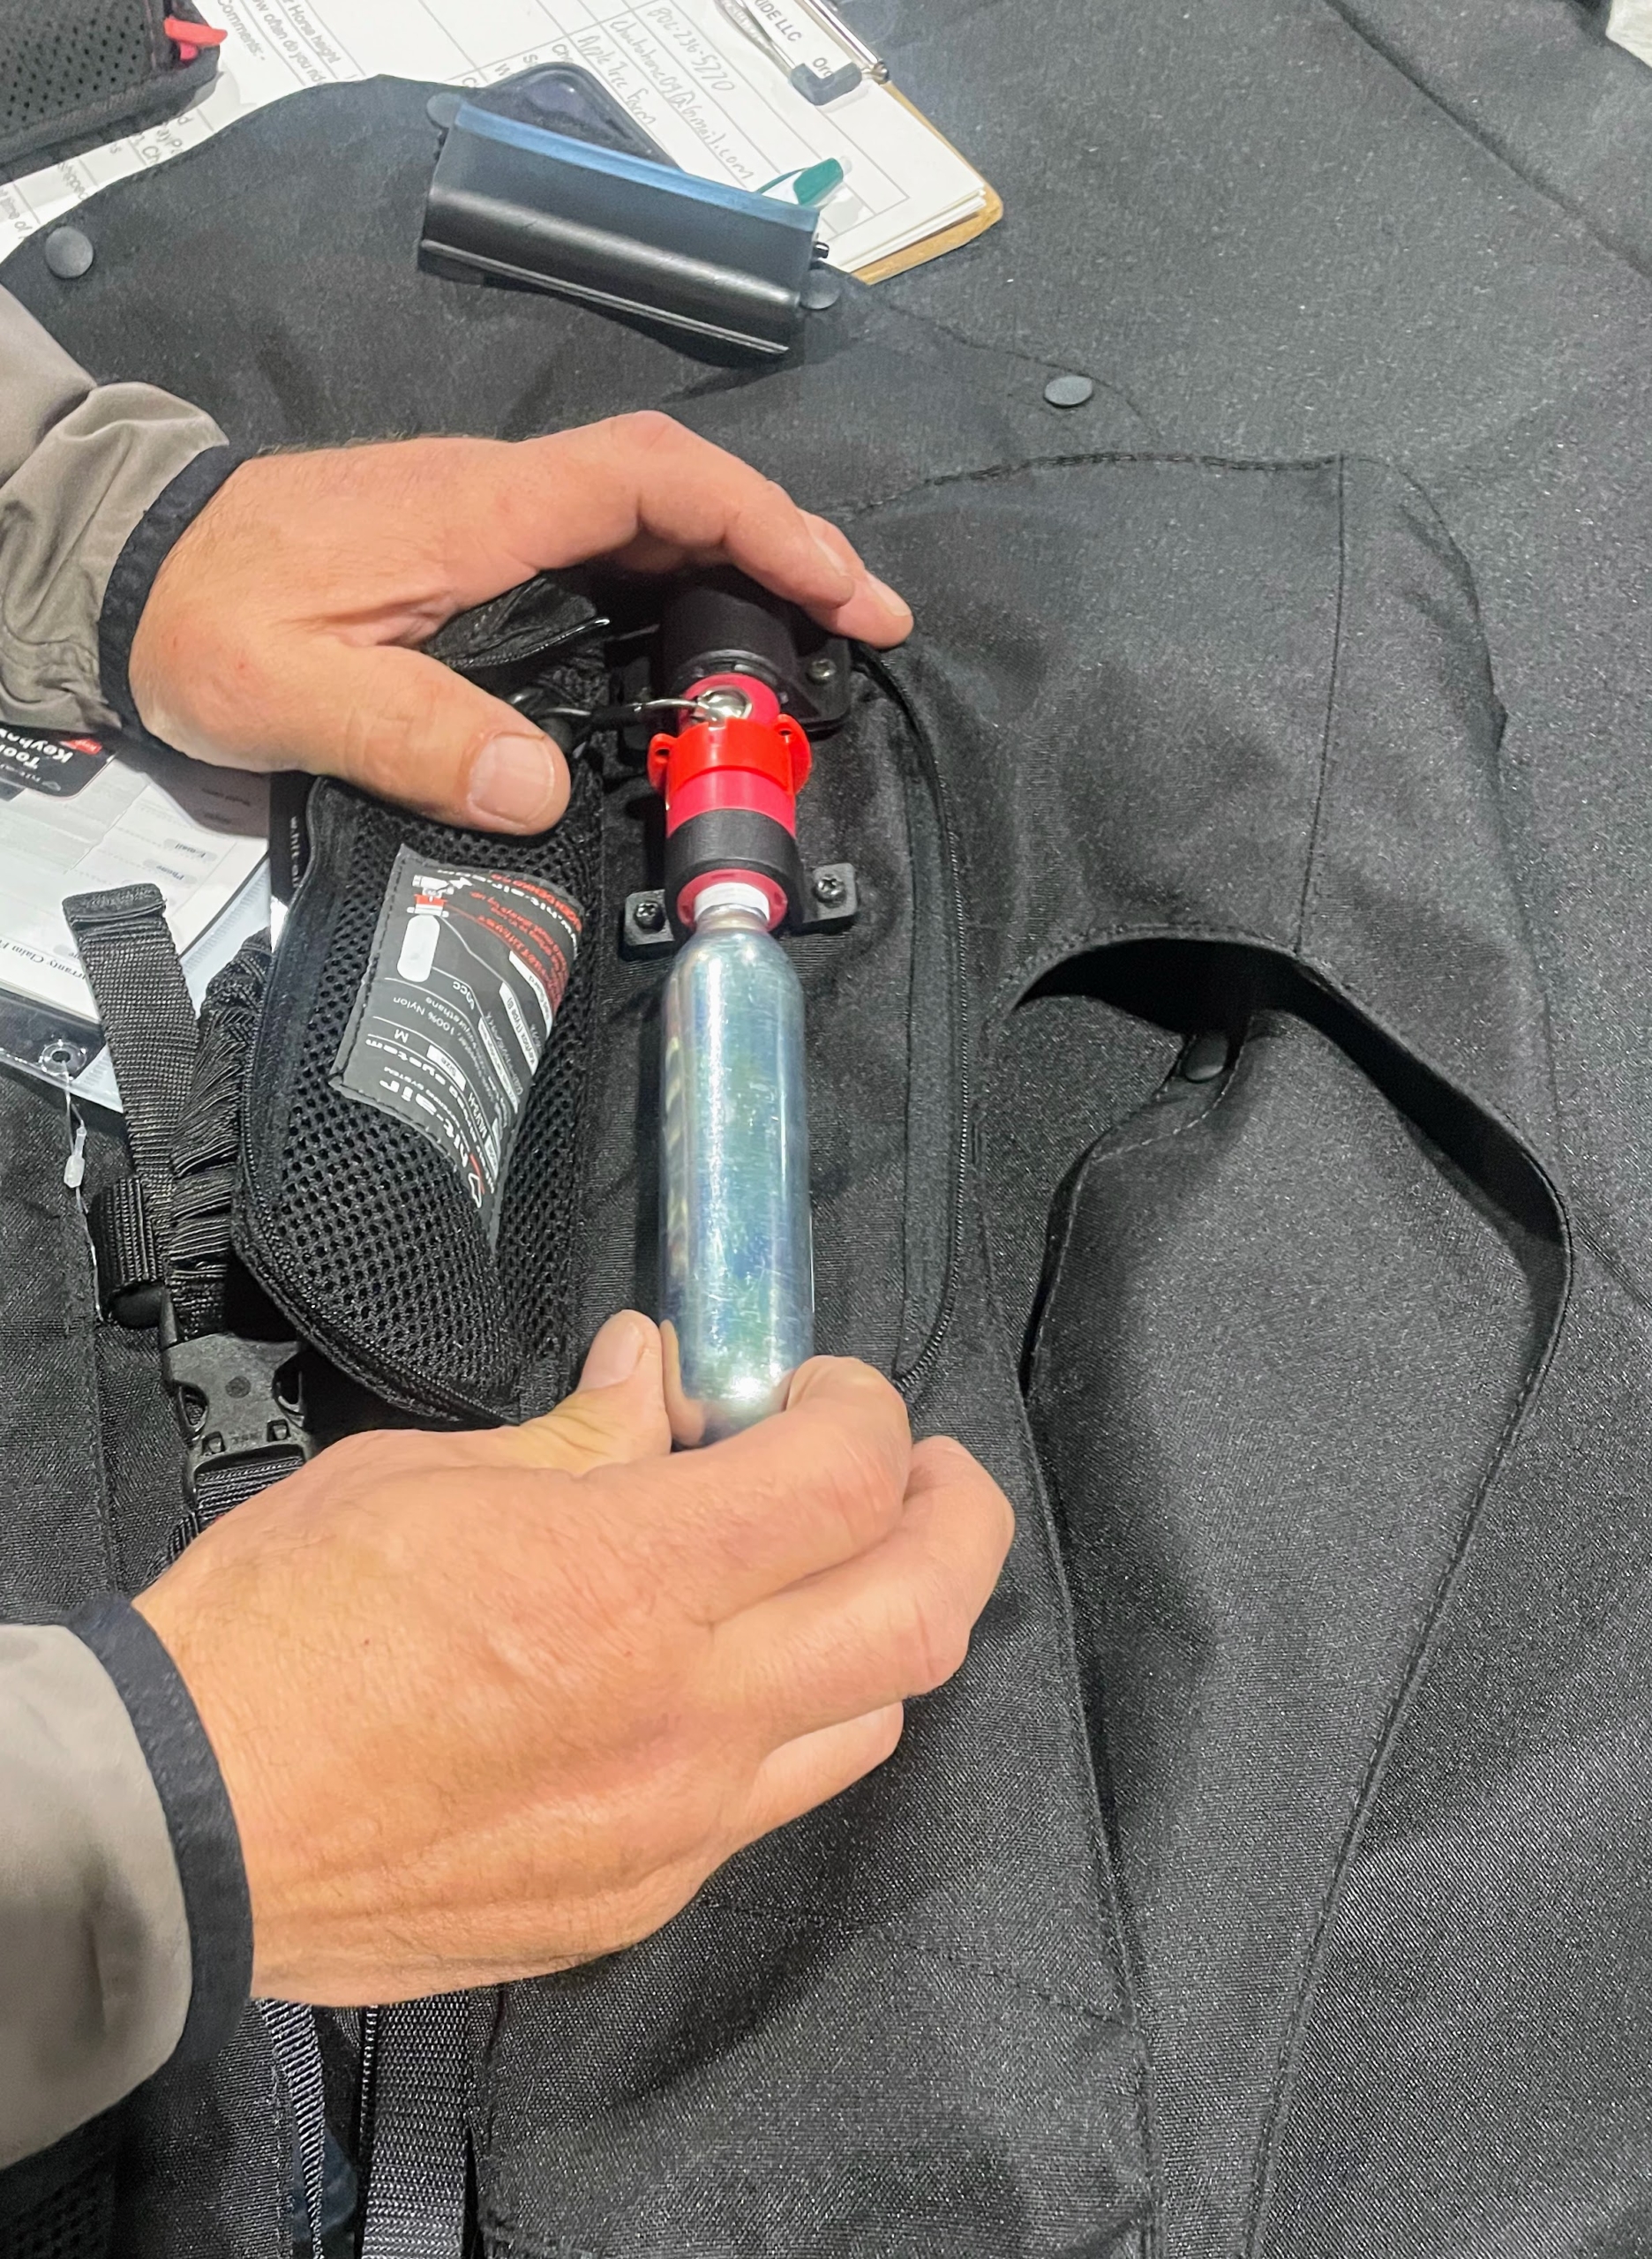
This vest is made to protect the areas most prone to serious injuries during a fall. It uses a shock buffering system that works on impact.
CO2 cartridges inflate immediately to create air cushions just before the rider hits the ground in a fall. The air cushions protect the neck, spine, chest, ribs, and lower back.
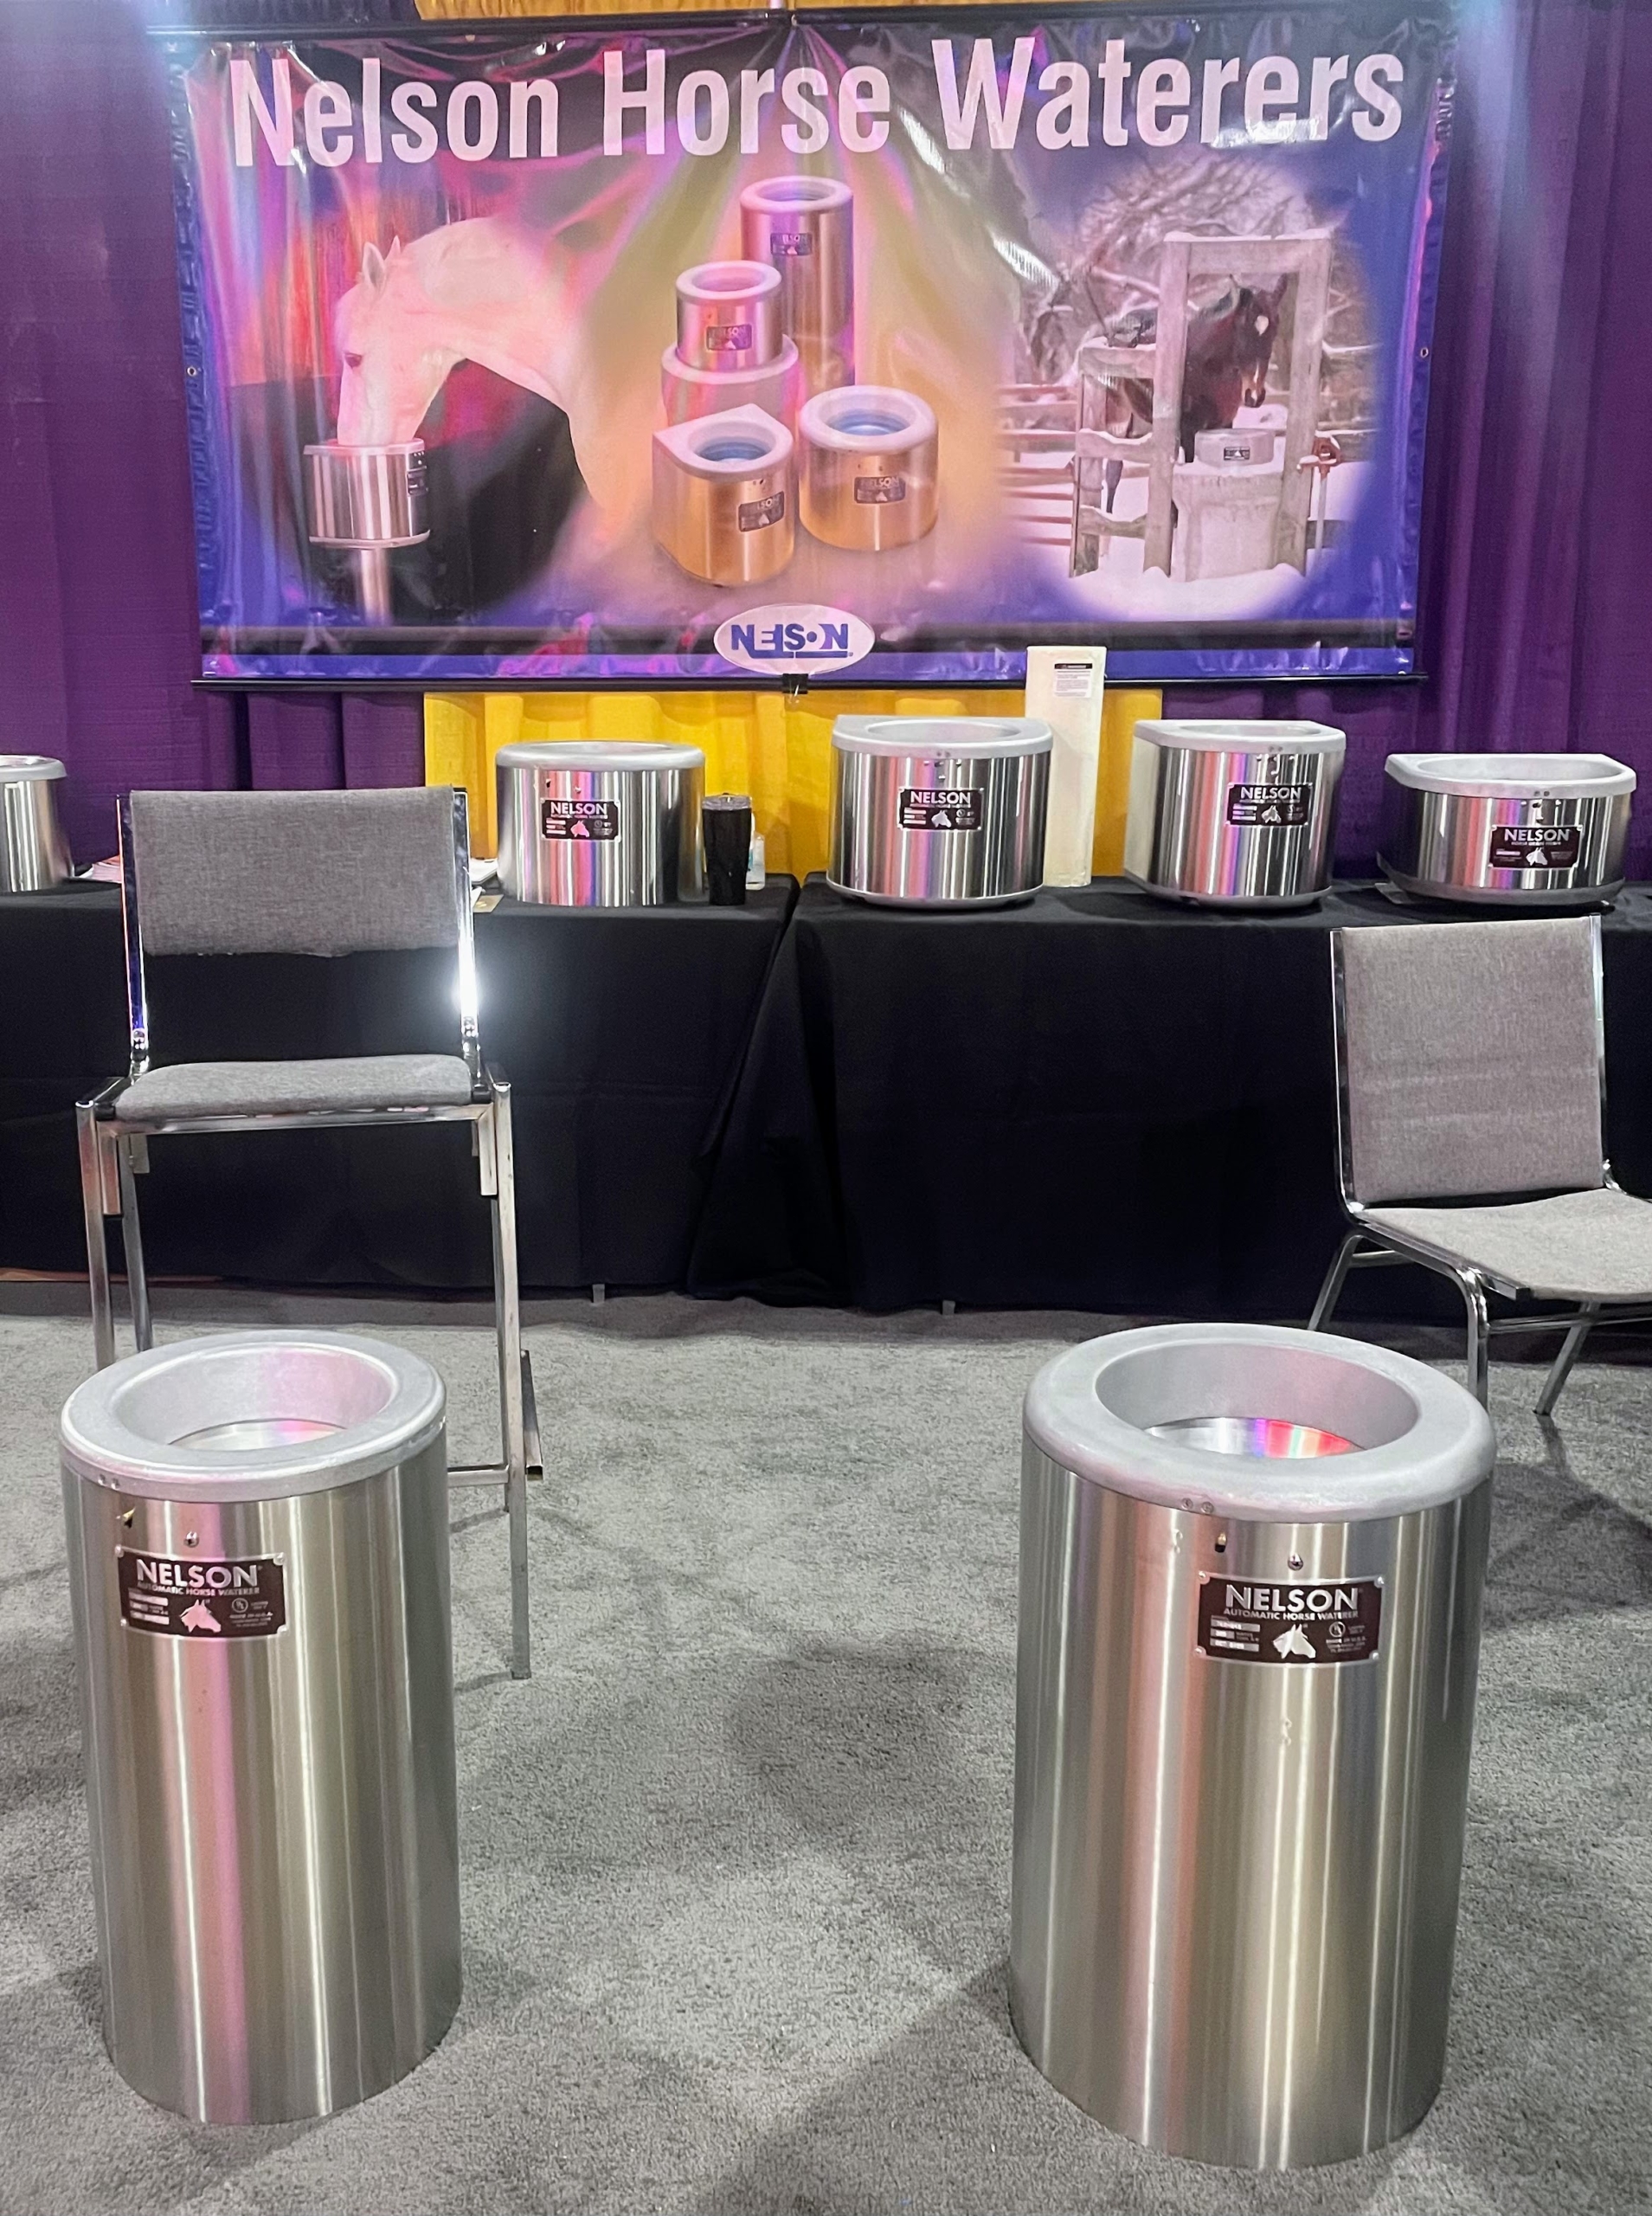
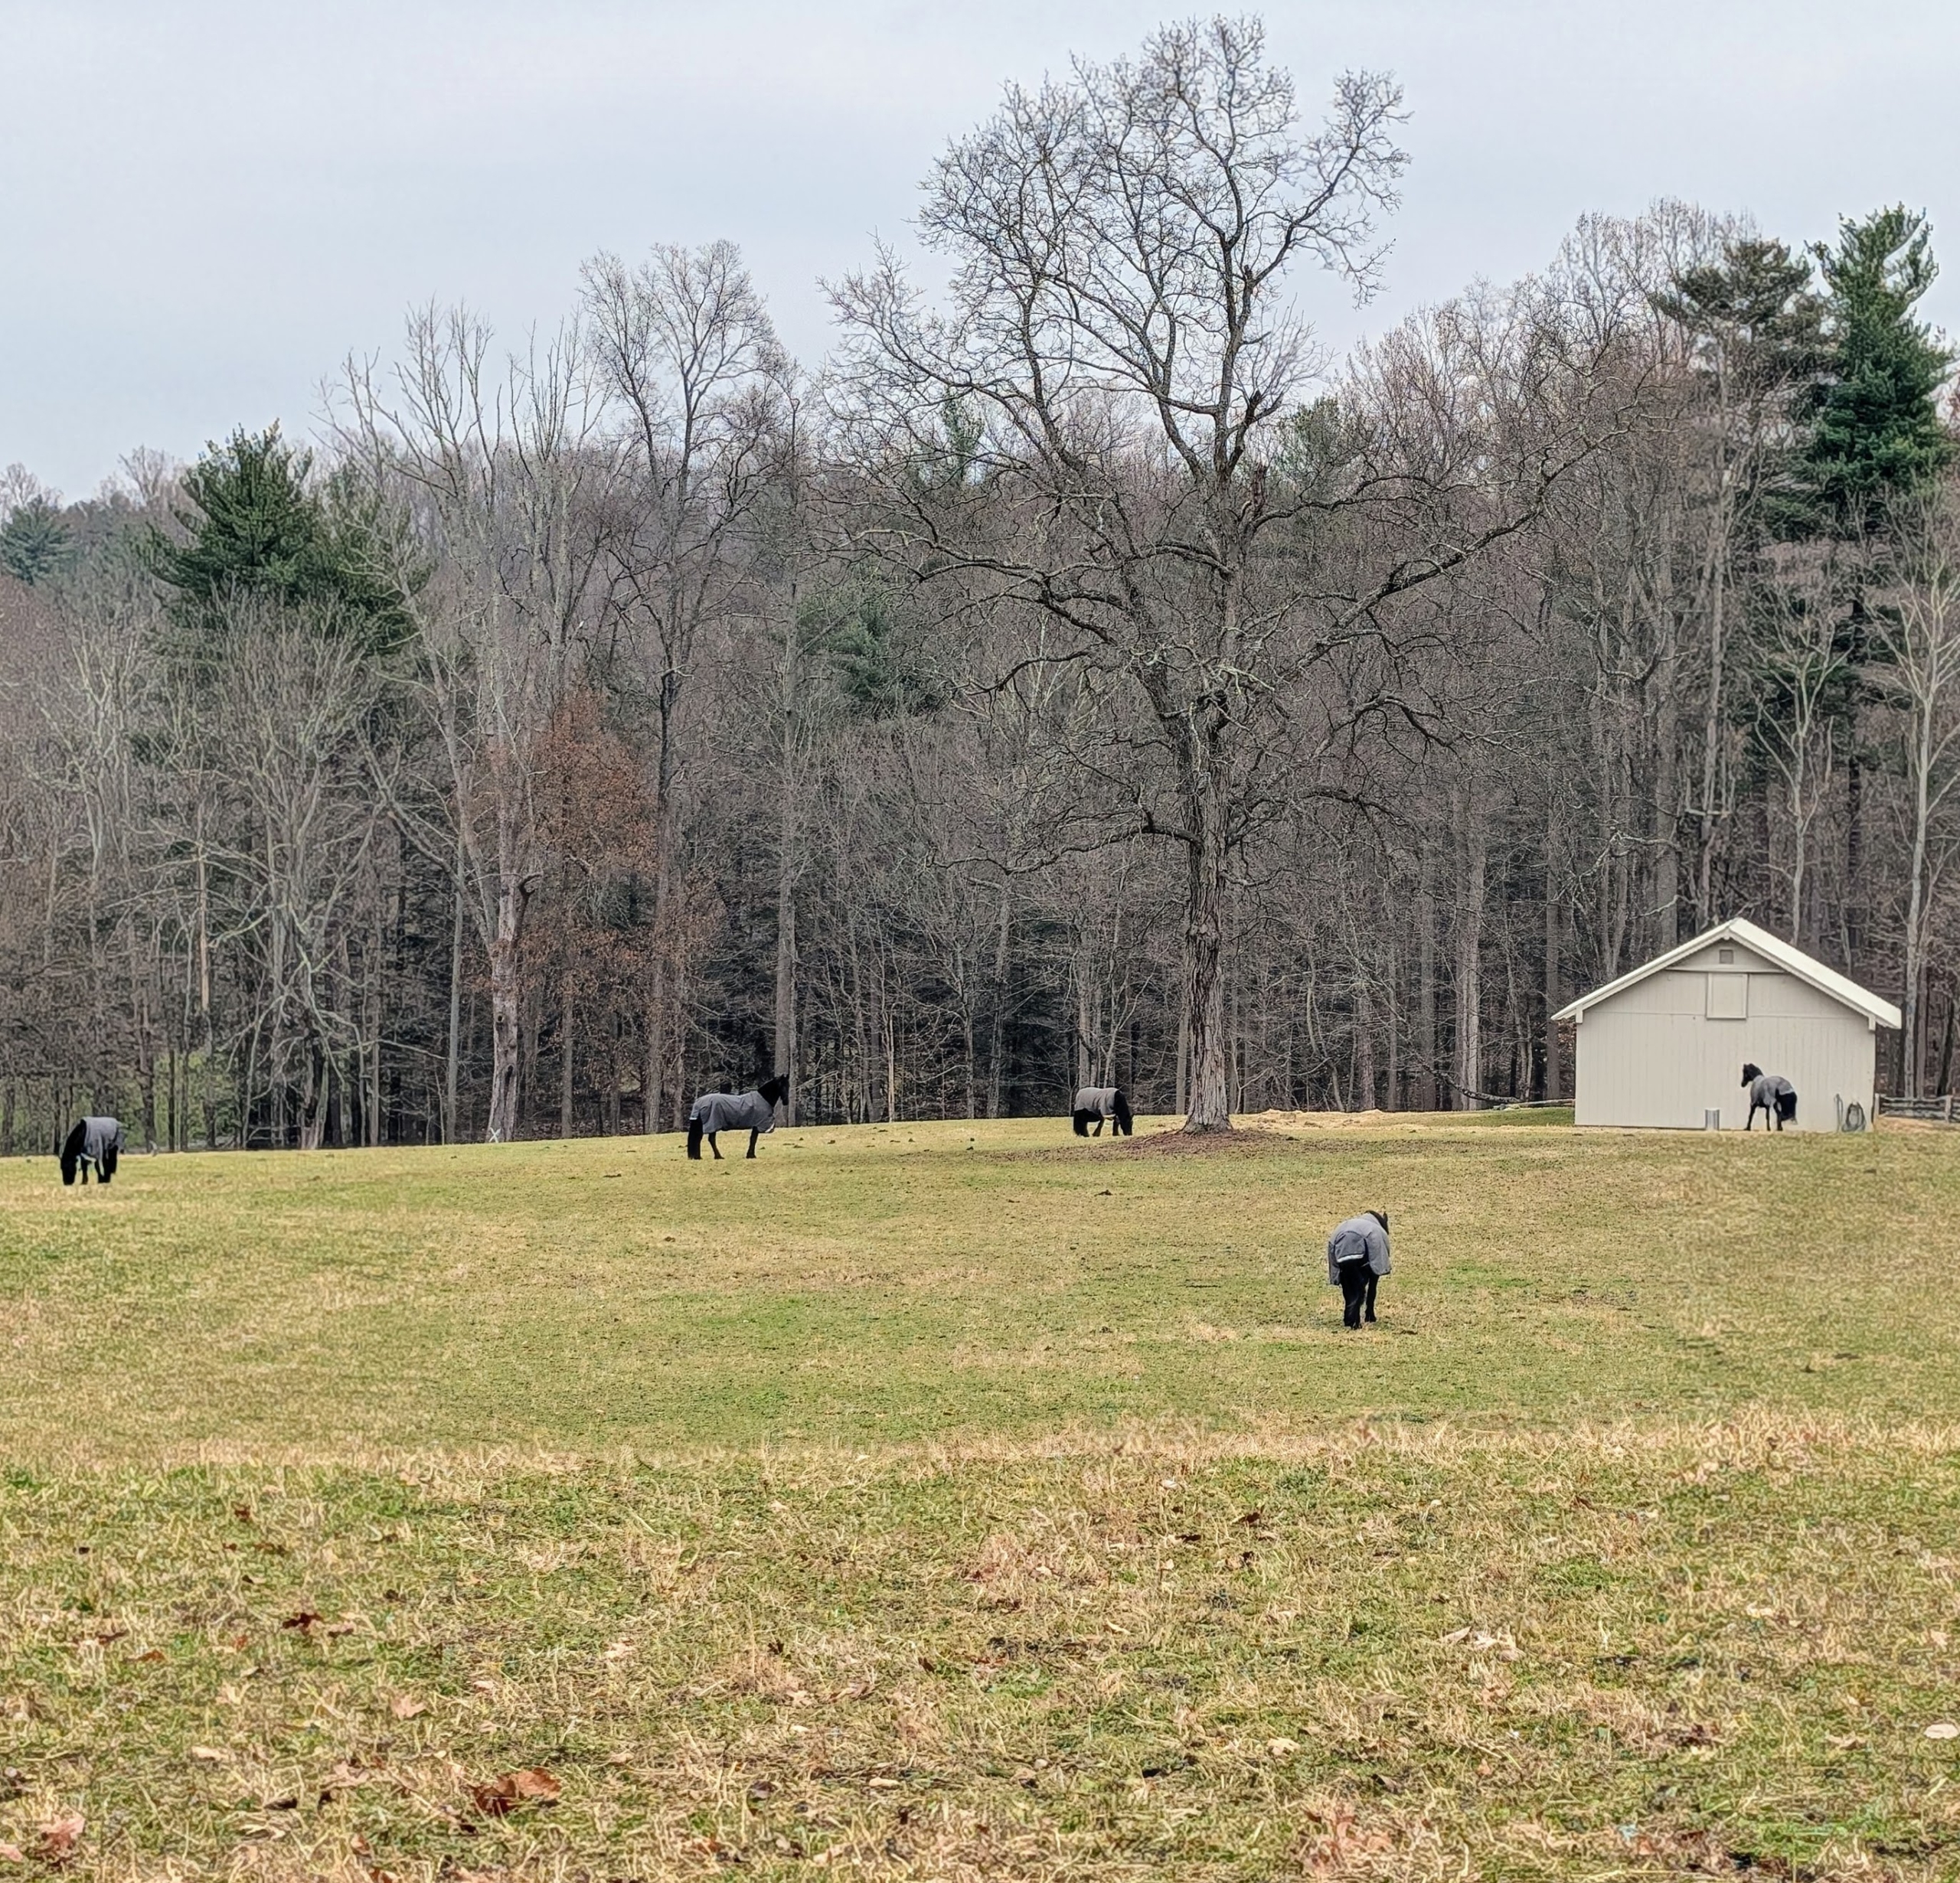
These are Nelson horse waterers for use inside the stalls and outside in the paddocks – they are durable, reliable, and easy to maintain. They also have a heating feature which prevents water from freezing during cold months.
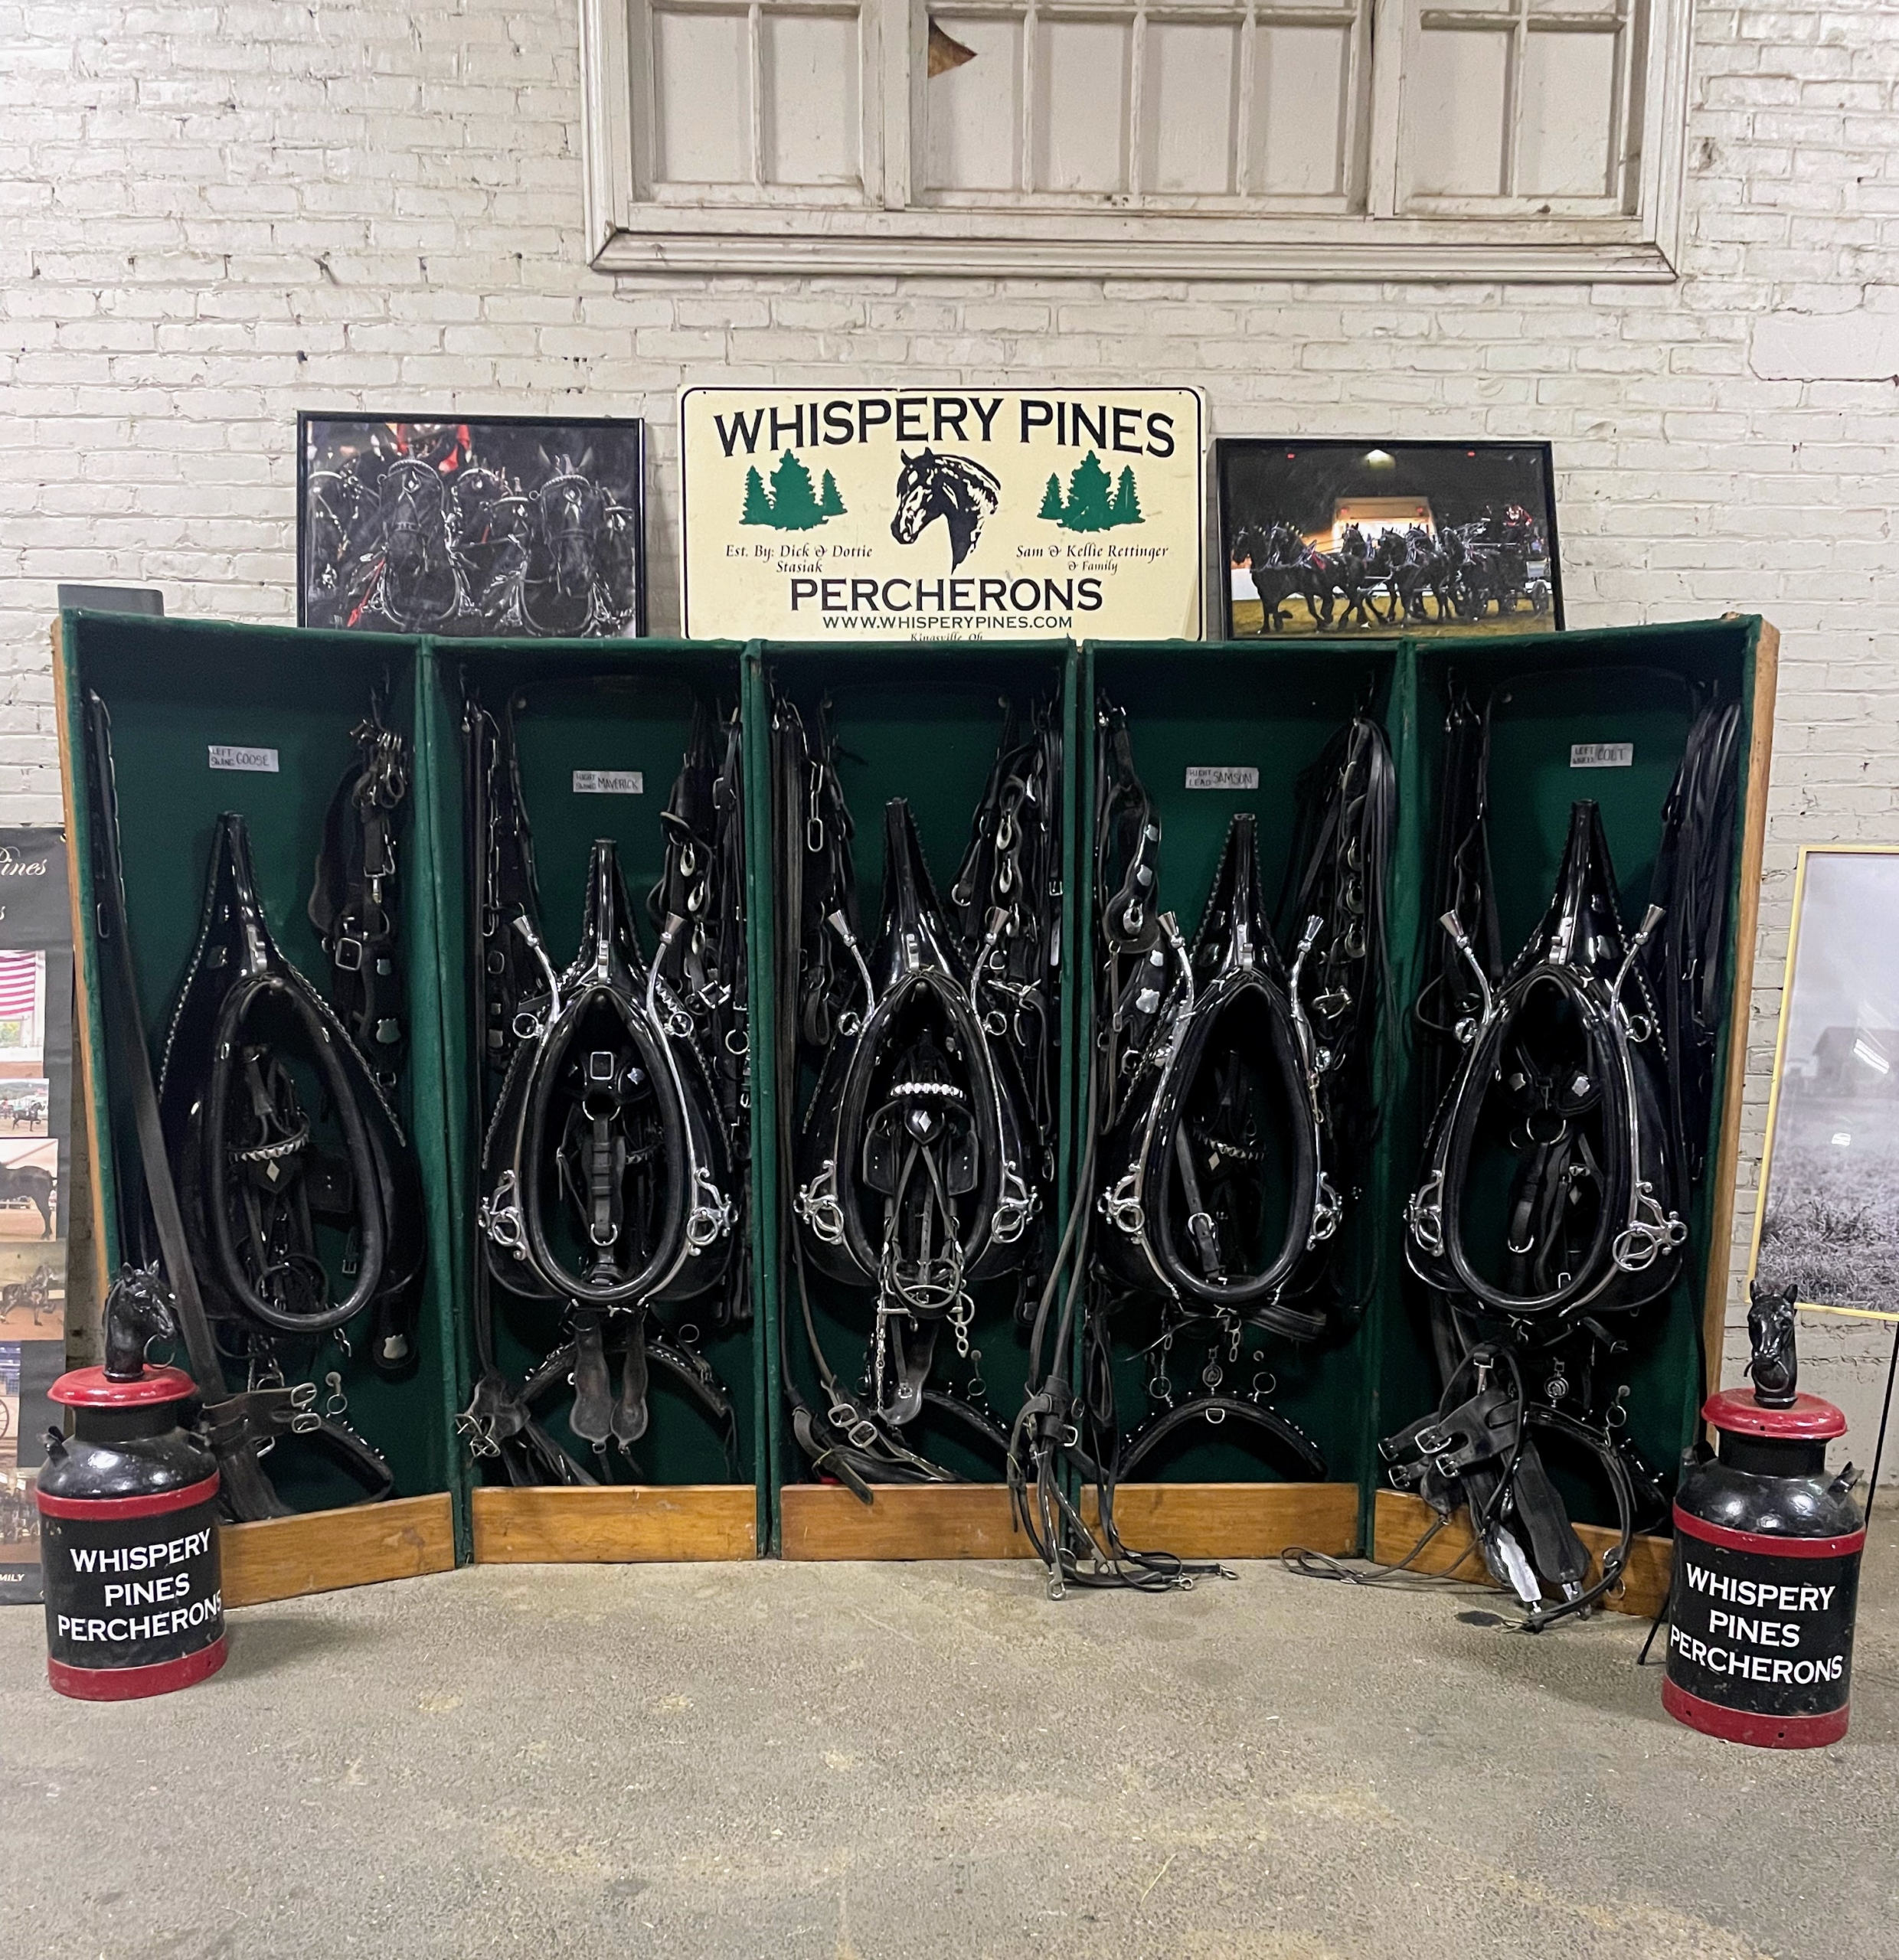
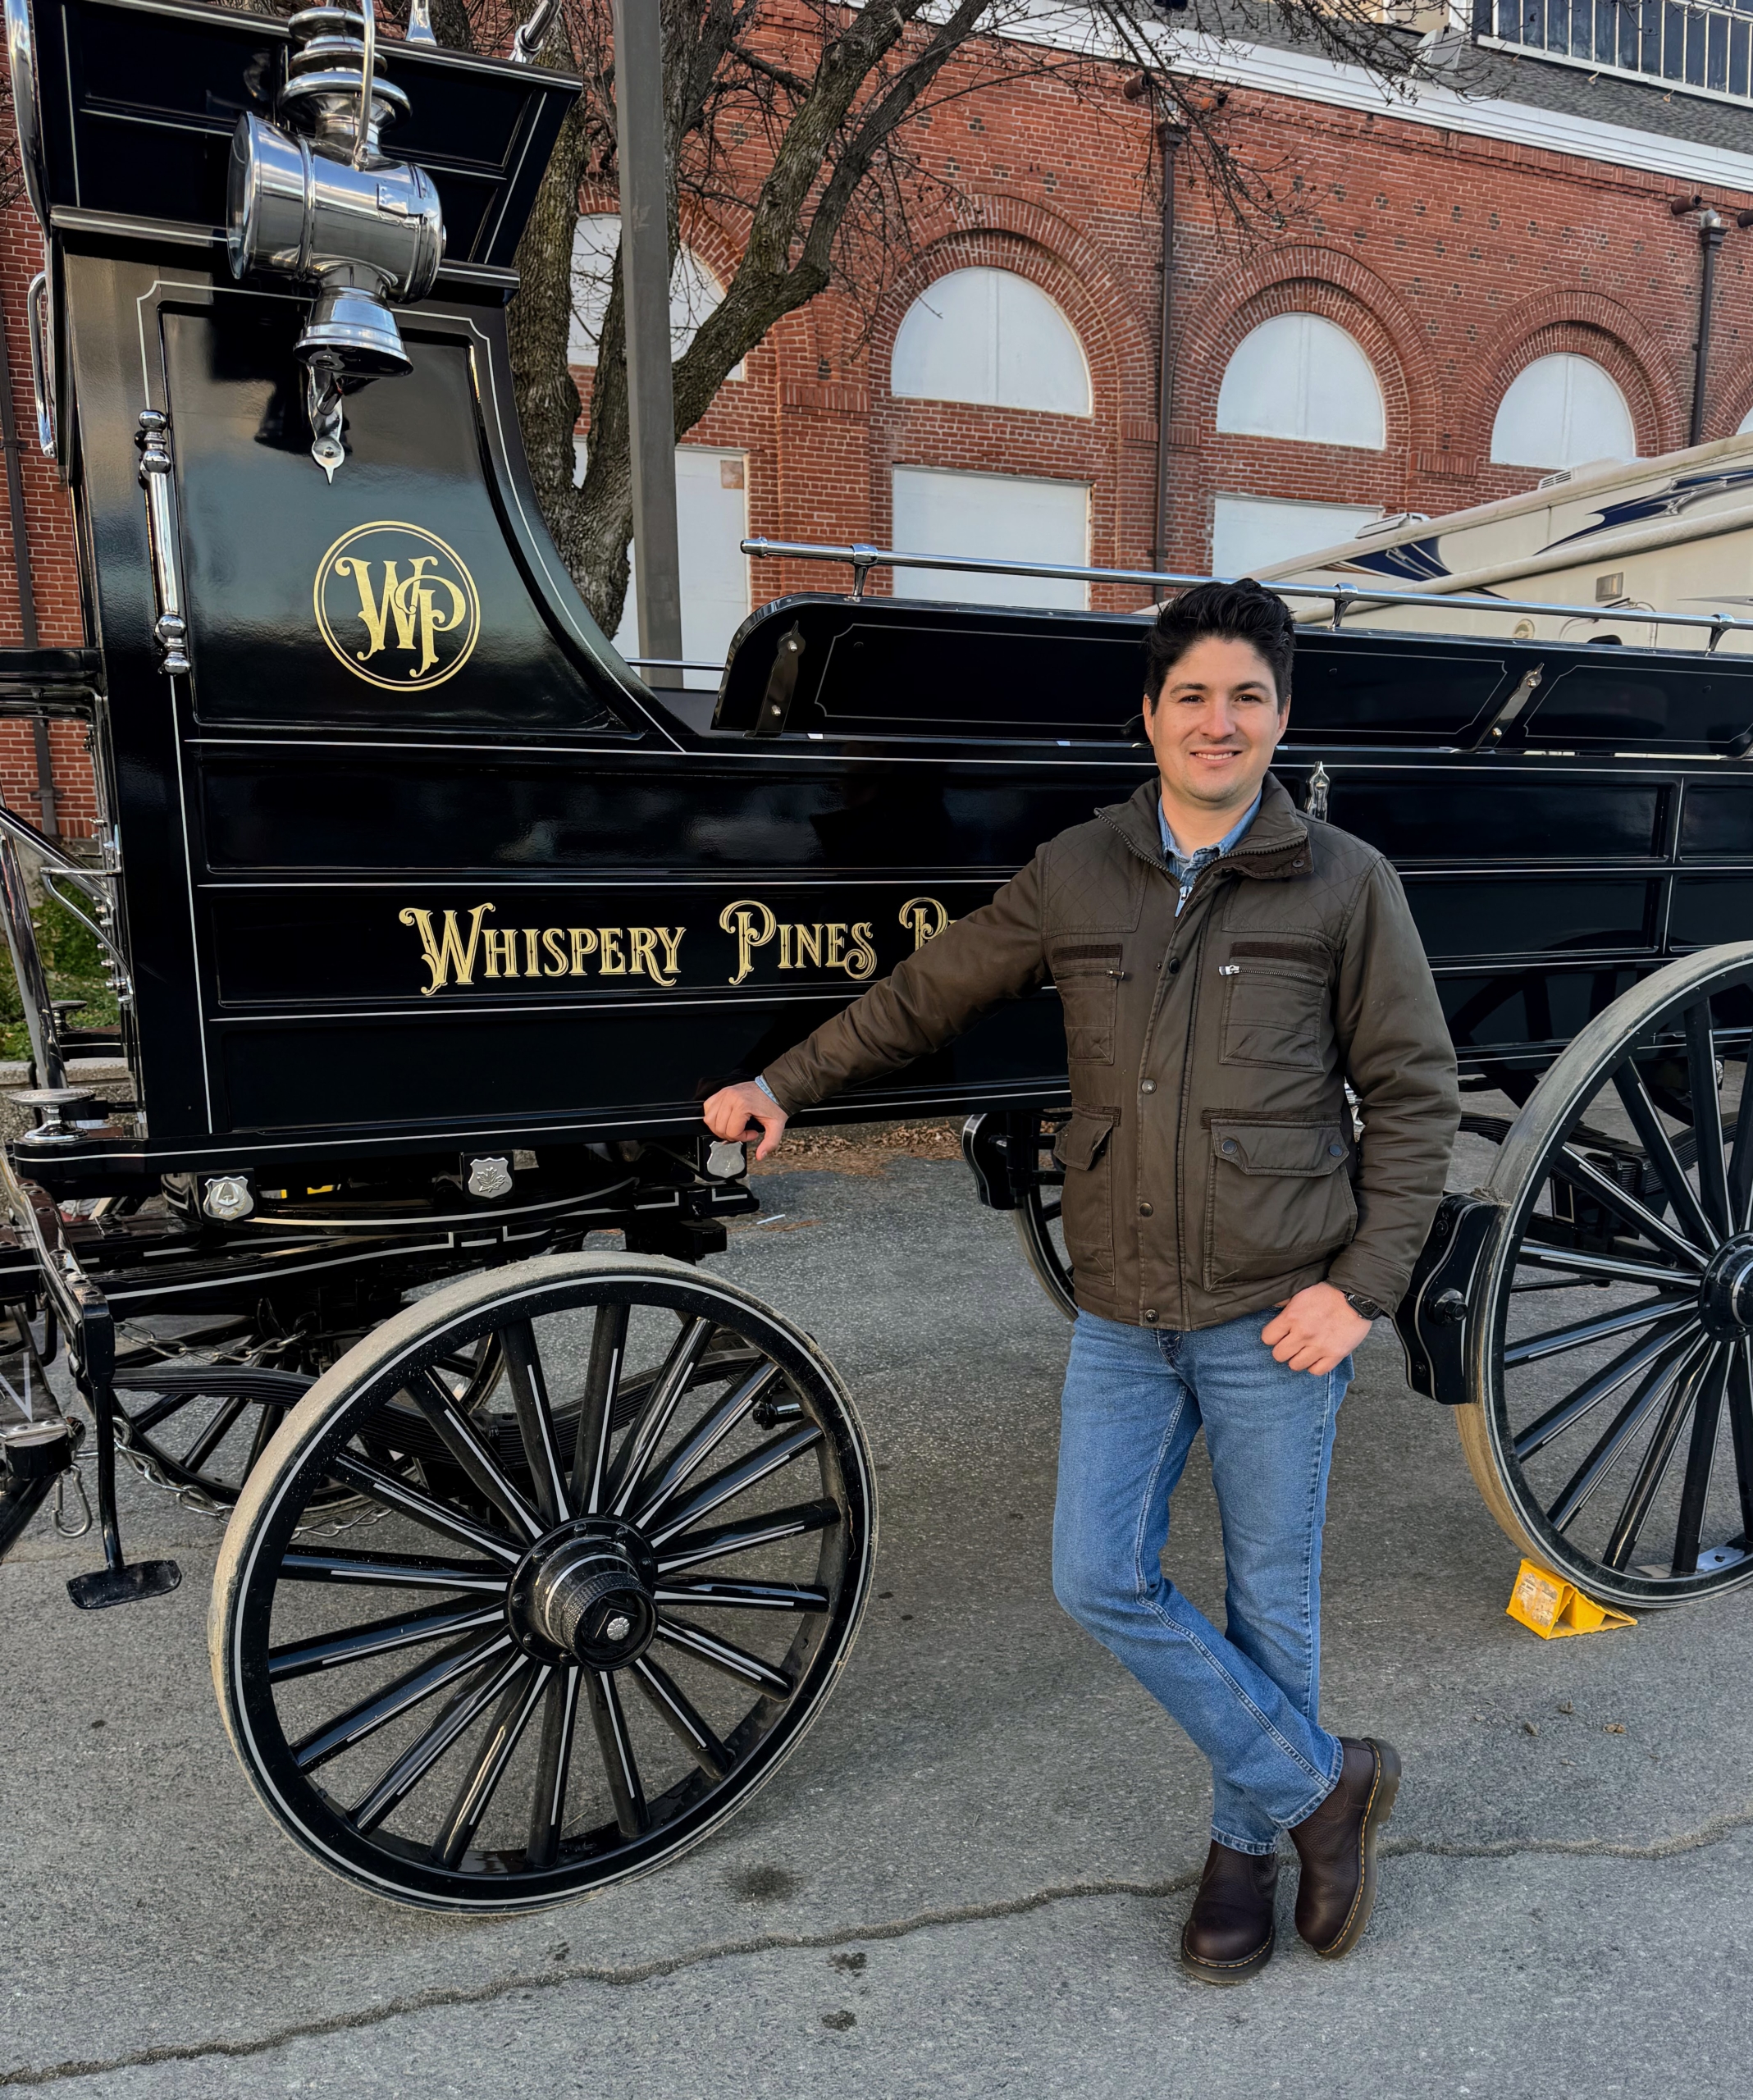
Representatives from well known Whispery Pines Percherons in Kingsville, Ohio, were also there offering different hitch and riding classes.
Here’s Juan in front of the Whispery Pines carriage.
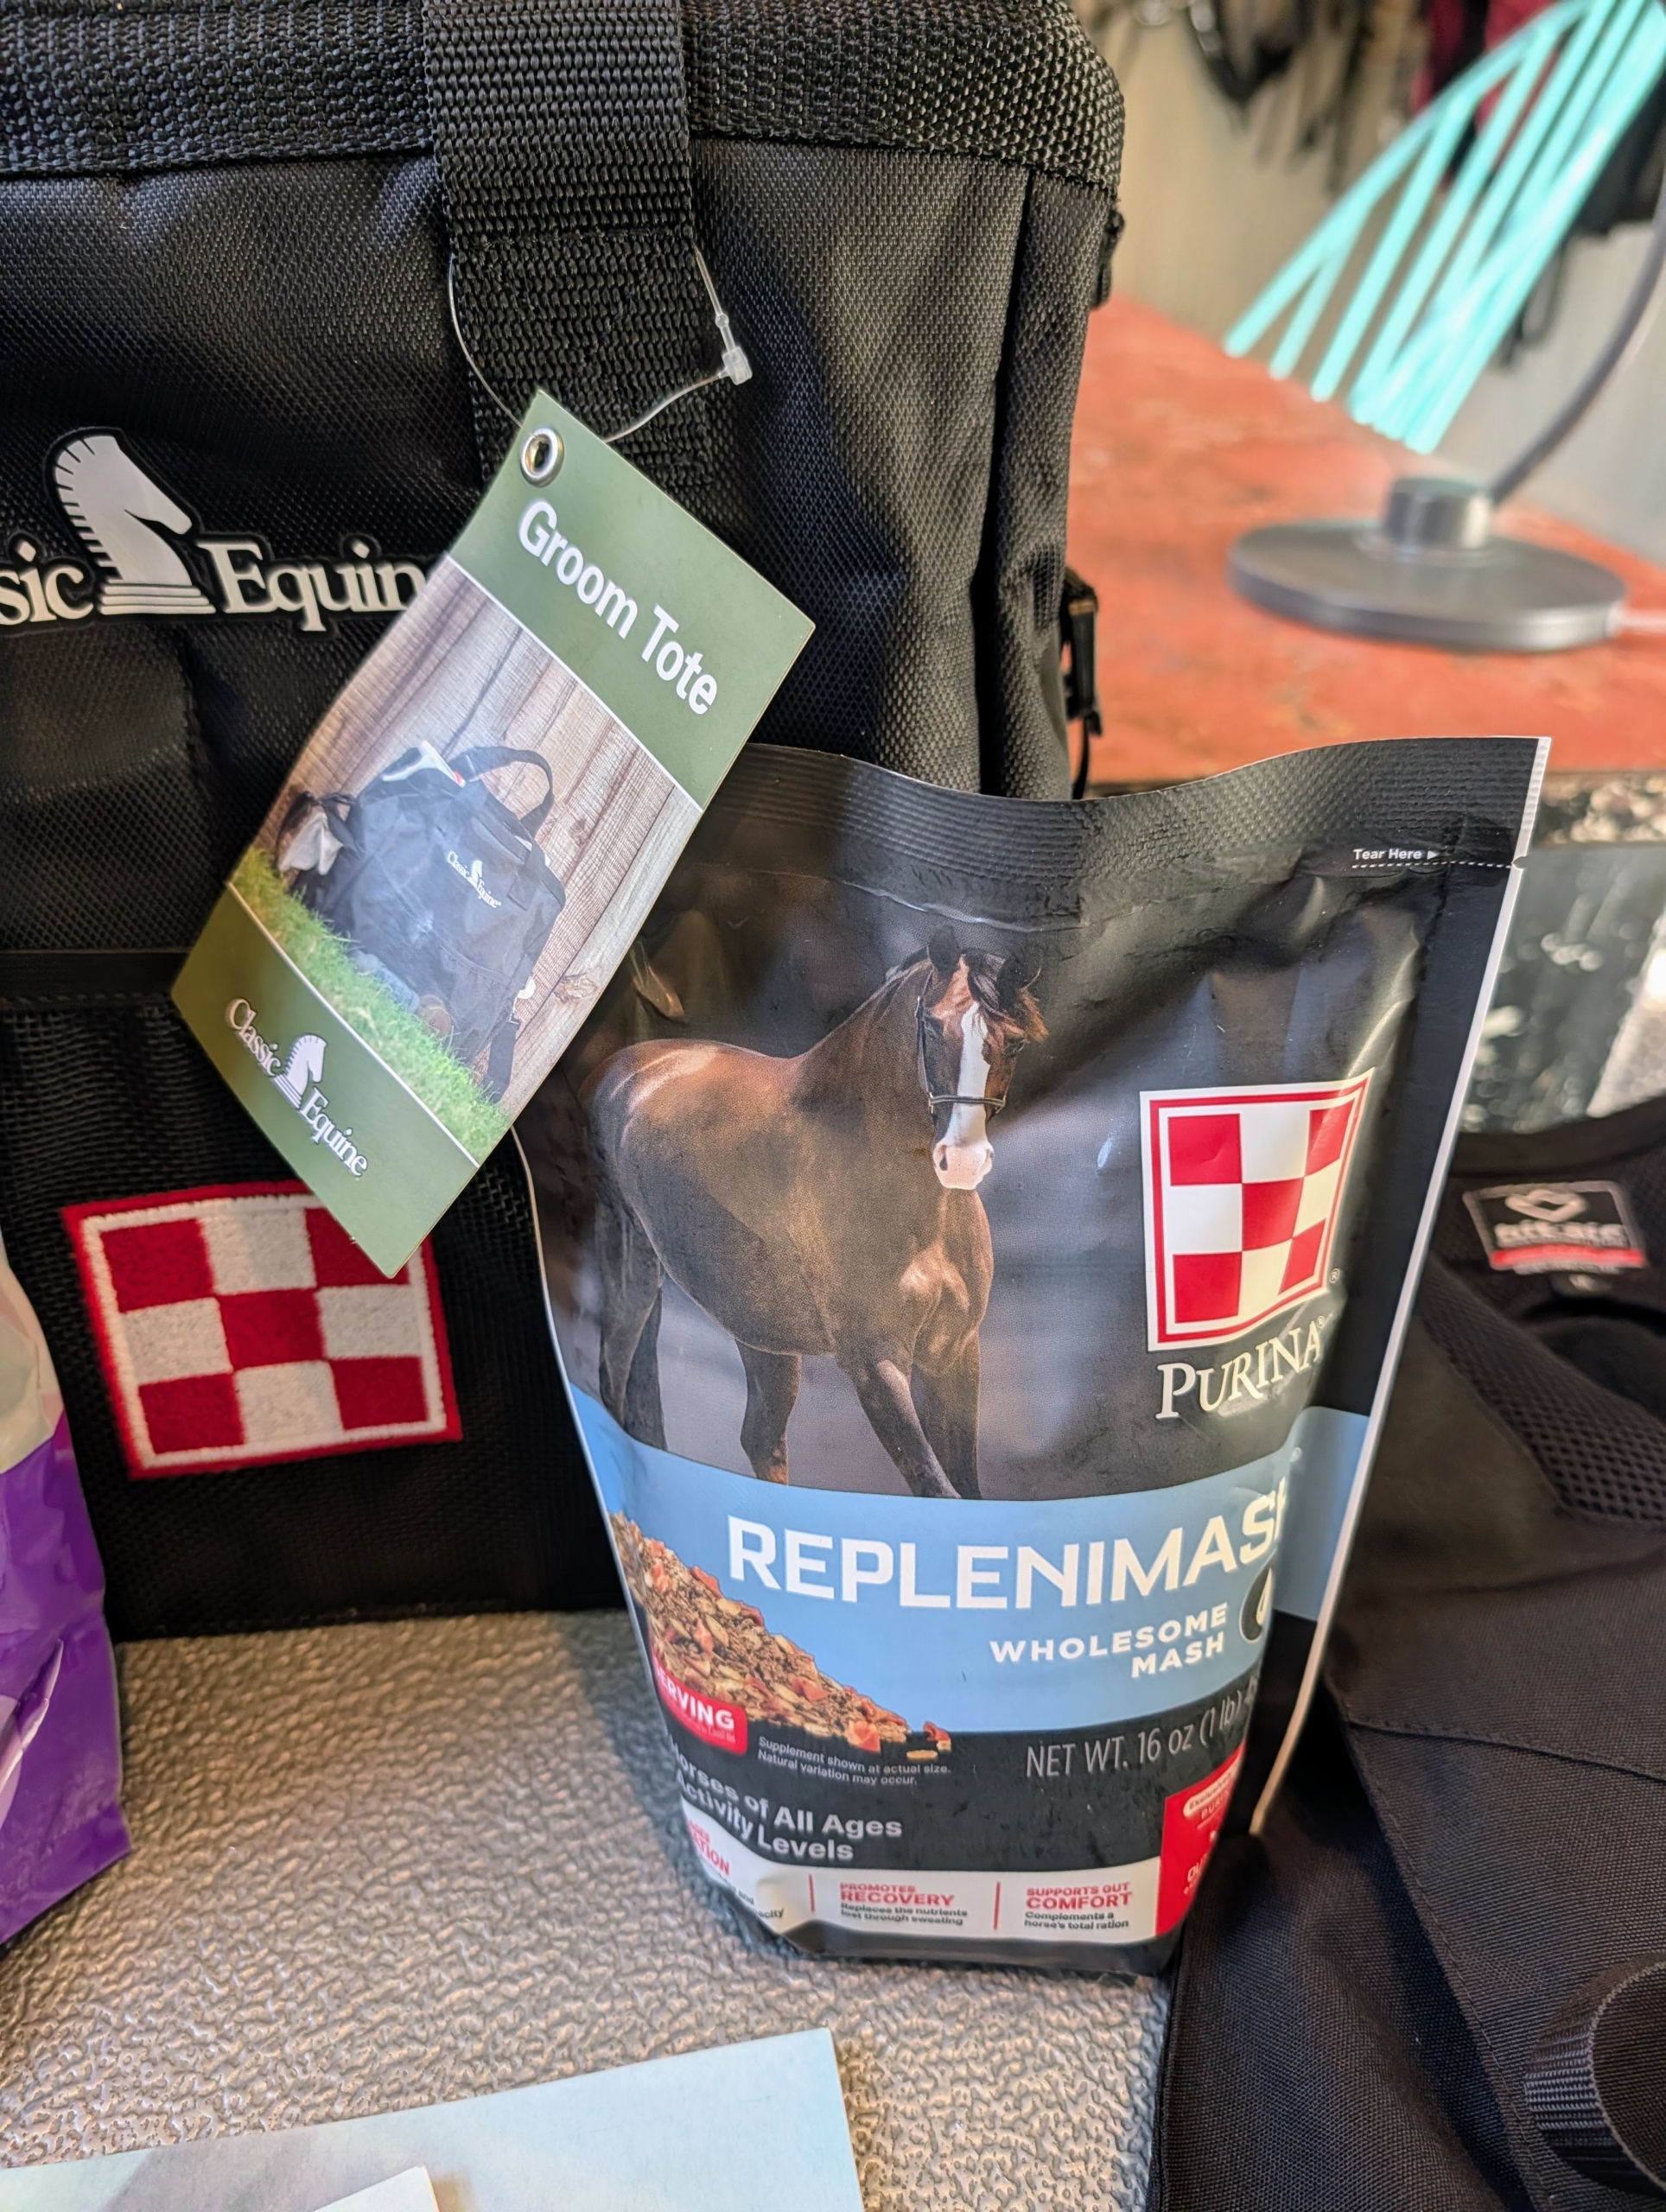
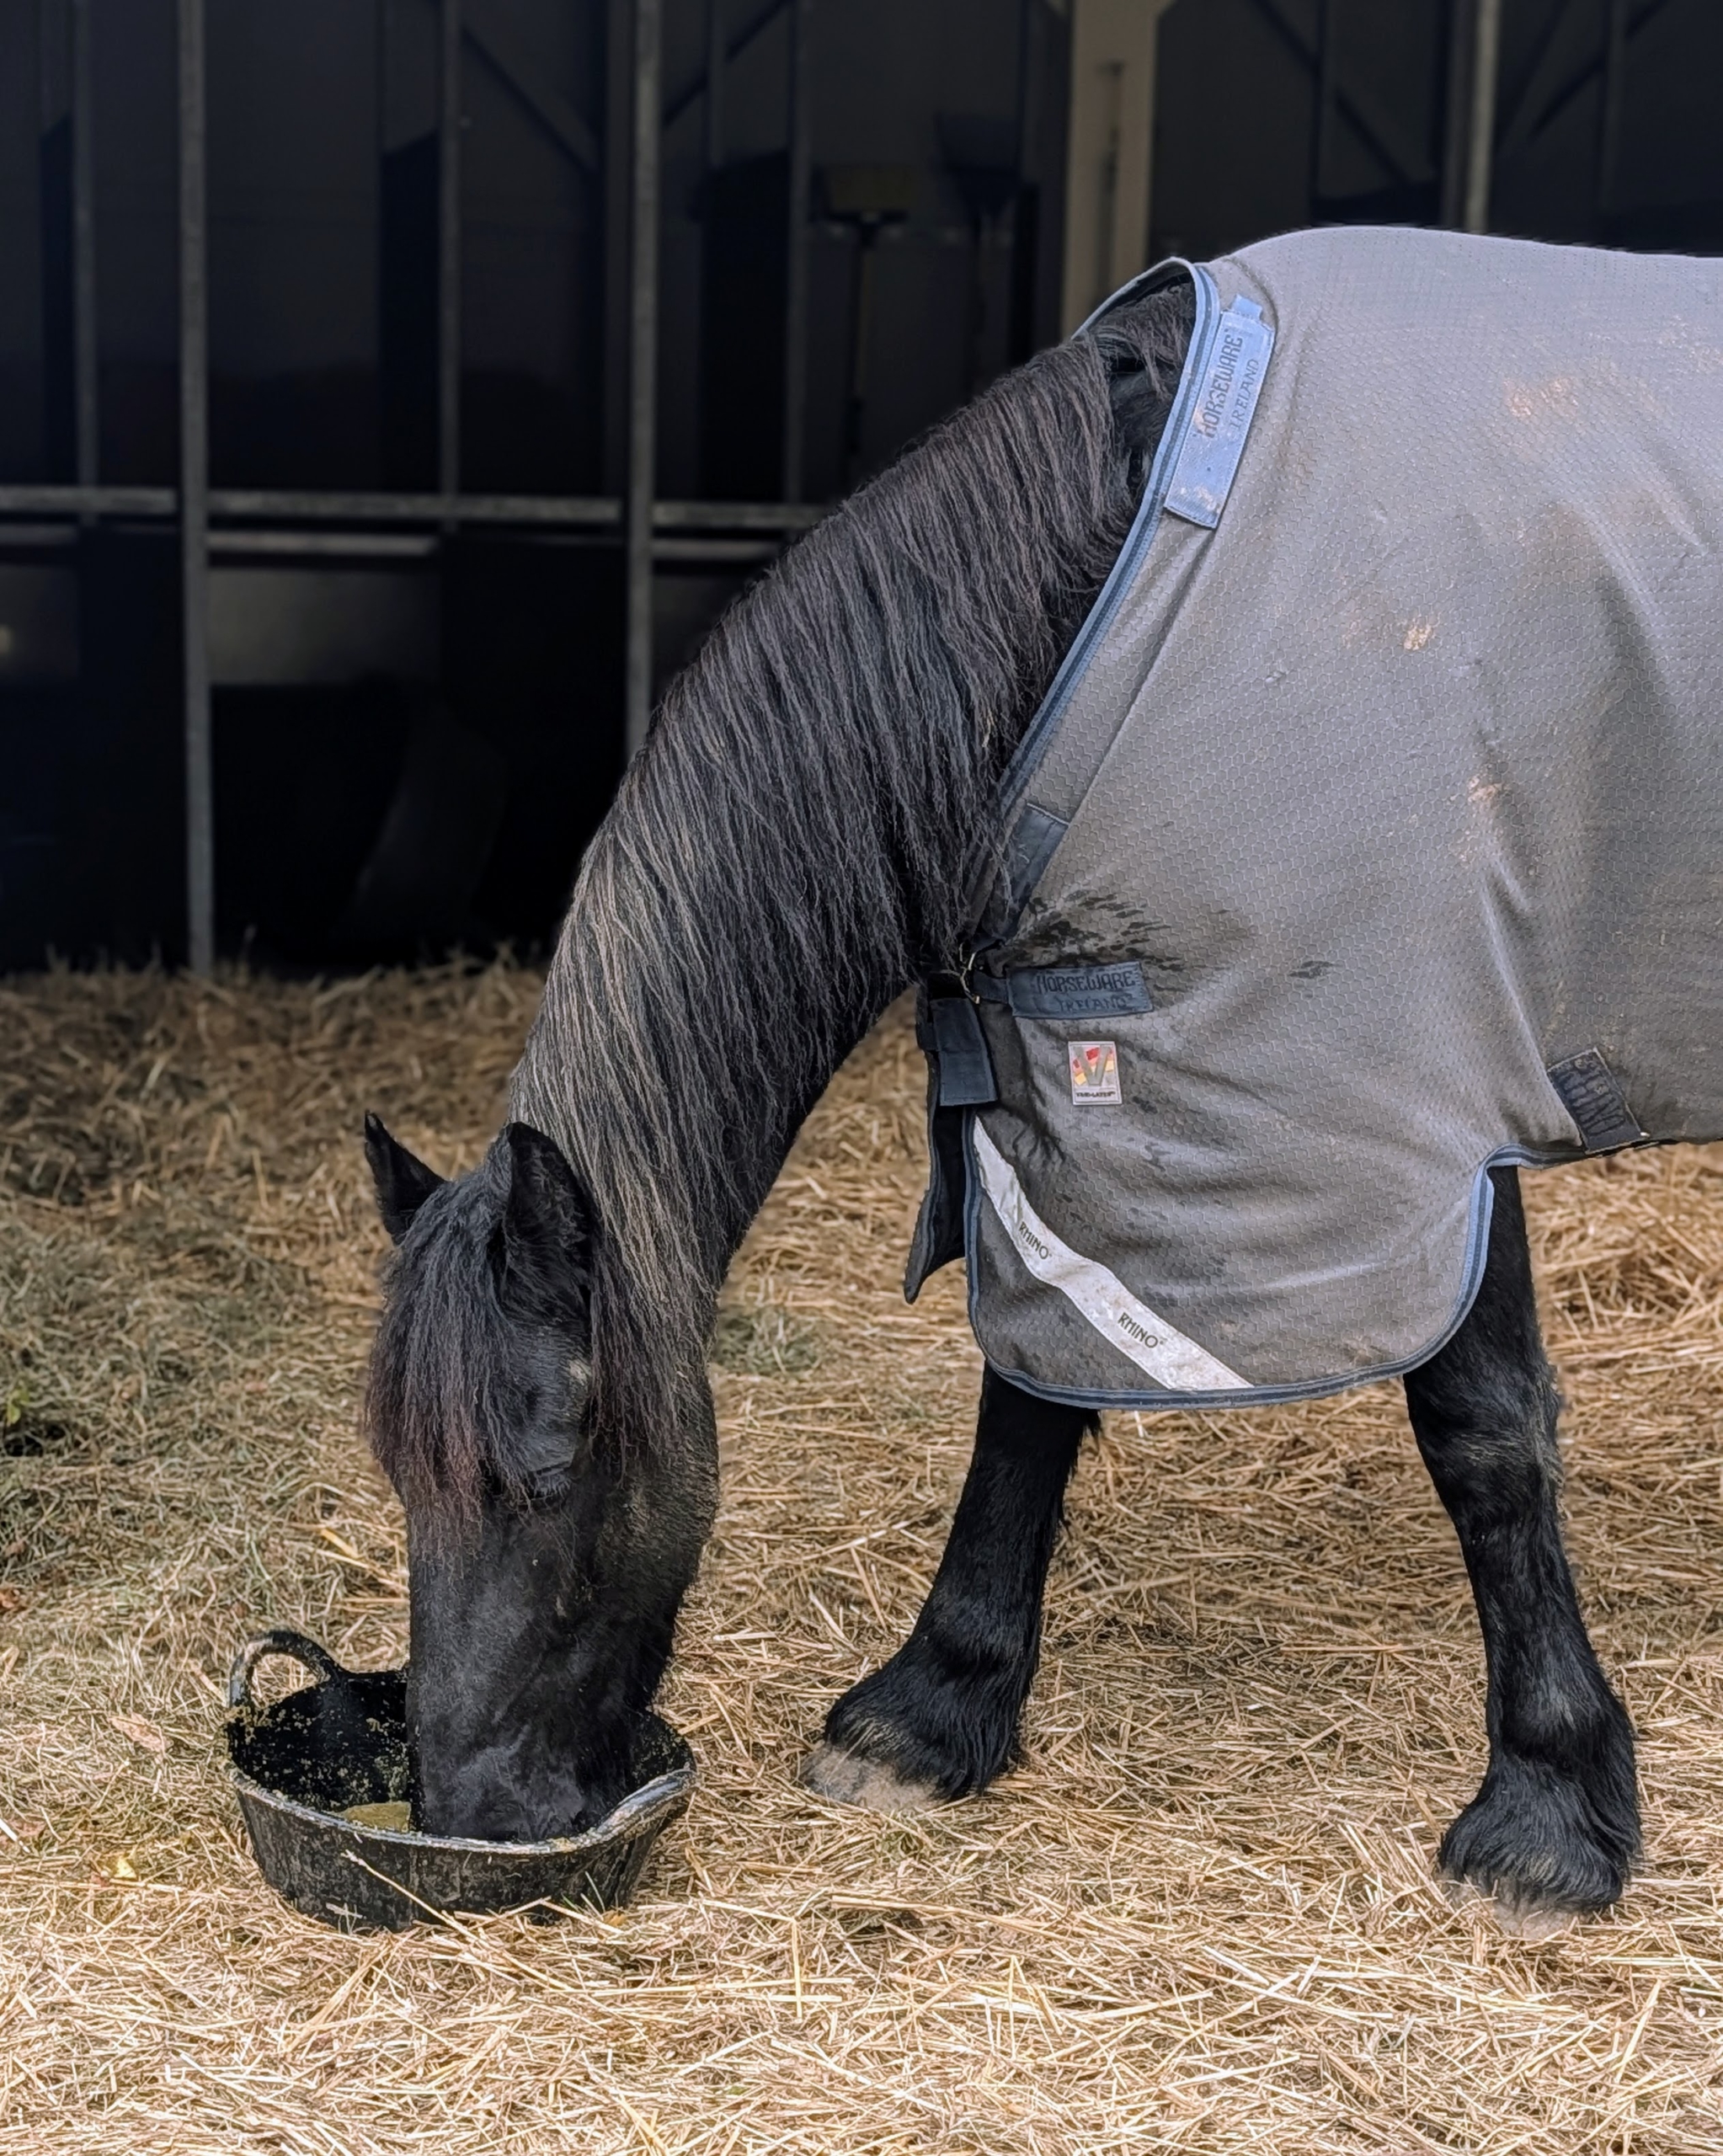
Once back at my stable, Helen tried some of the items she brought home including the Purina RepleniMash for horses, a nutritionally balanced mash designed to support hydration, recovery, and comfort.
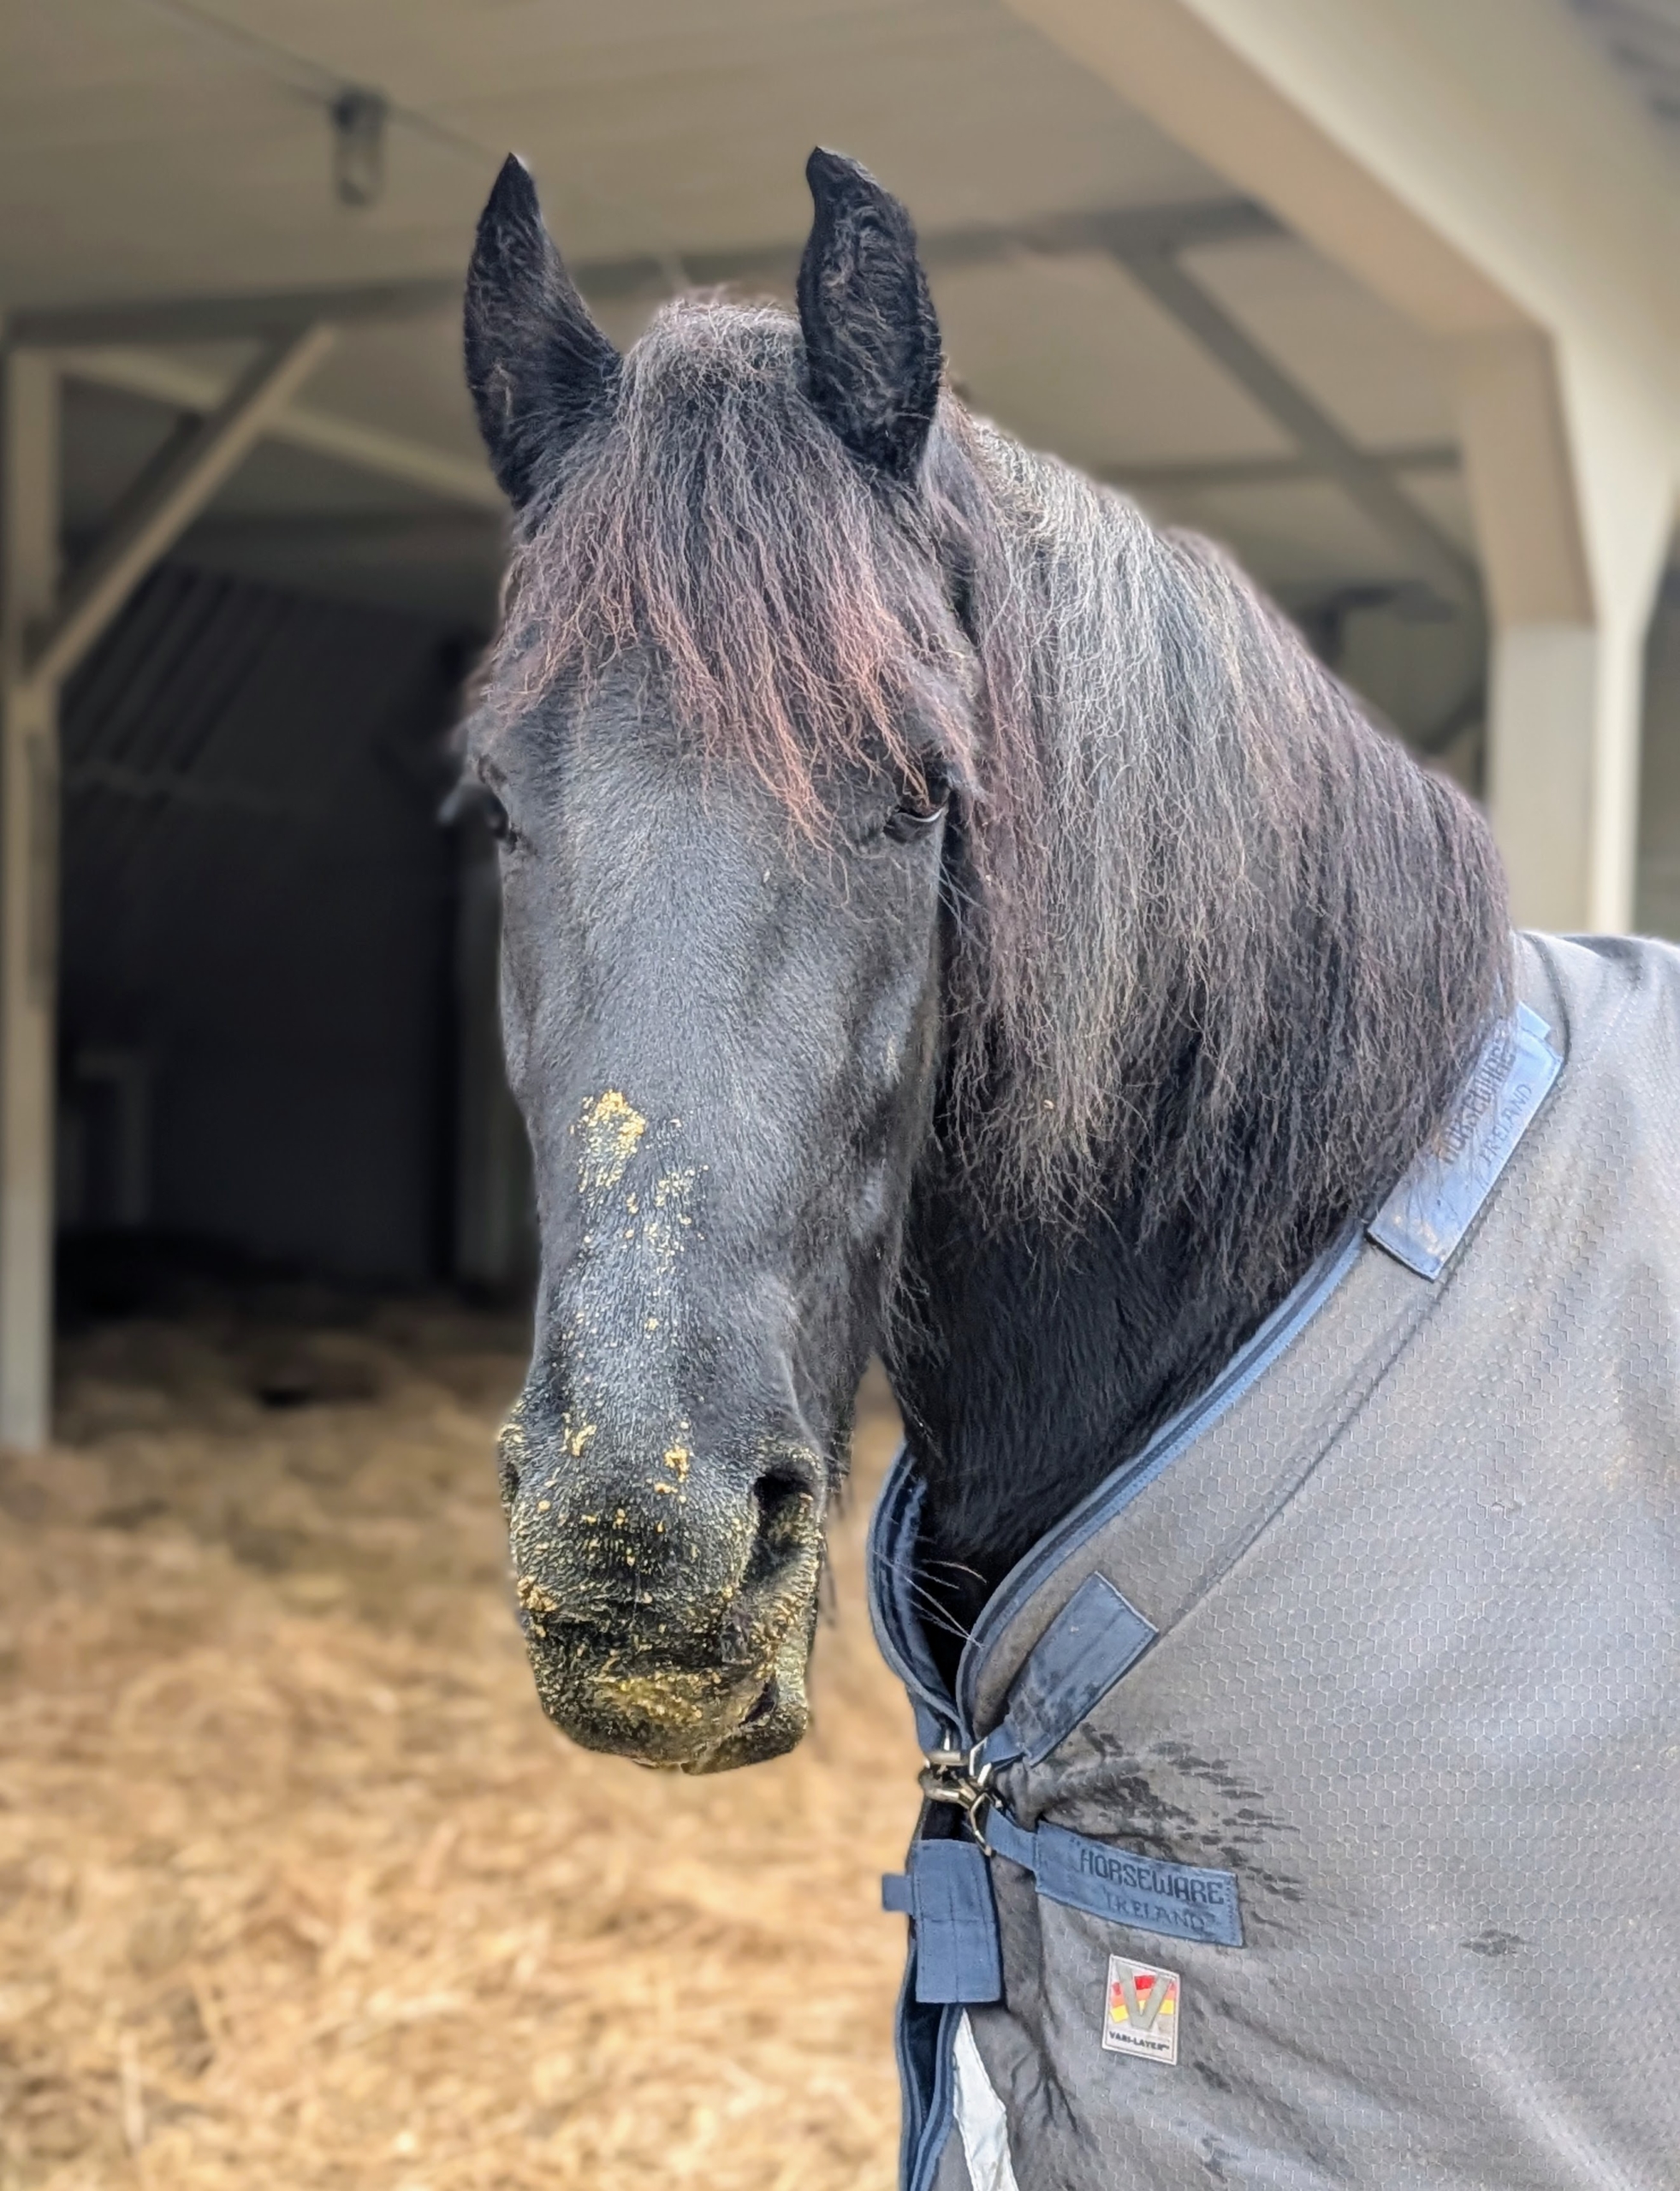
Ulysses, one of my new Friesian rescues, loves it.
It’s good, right Ulysses?
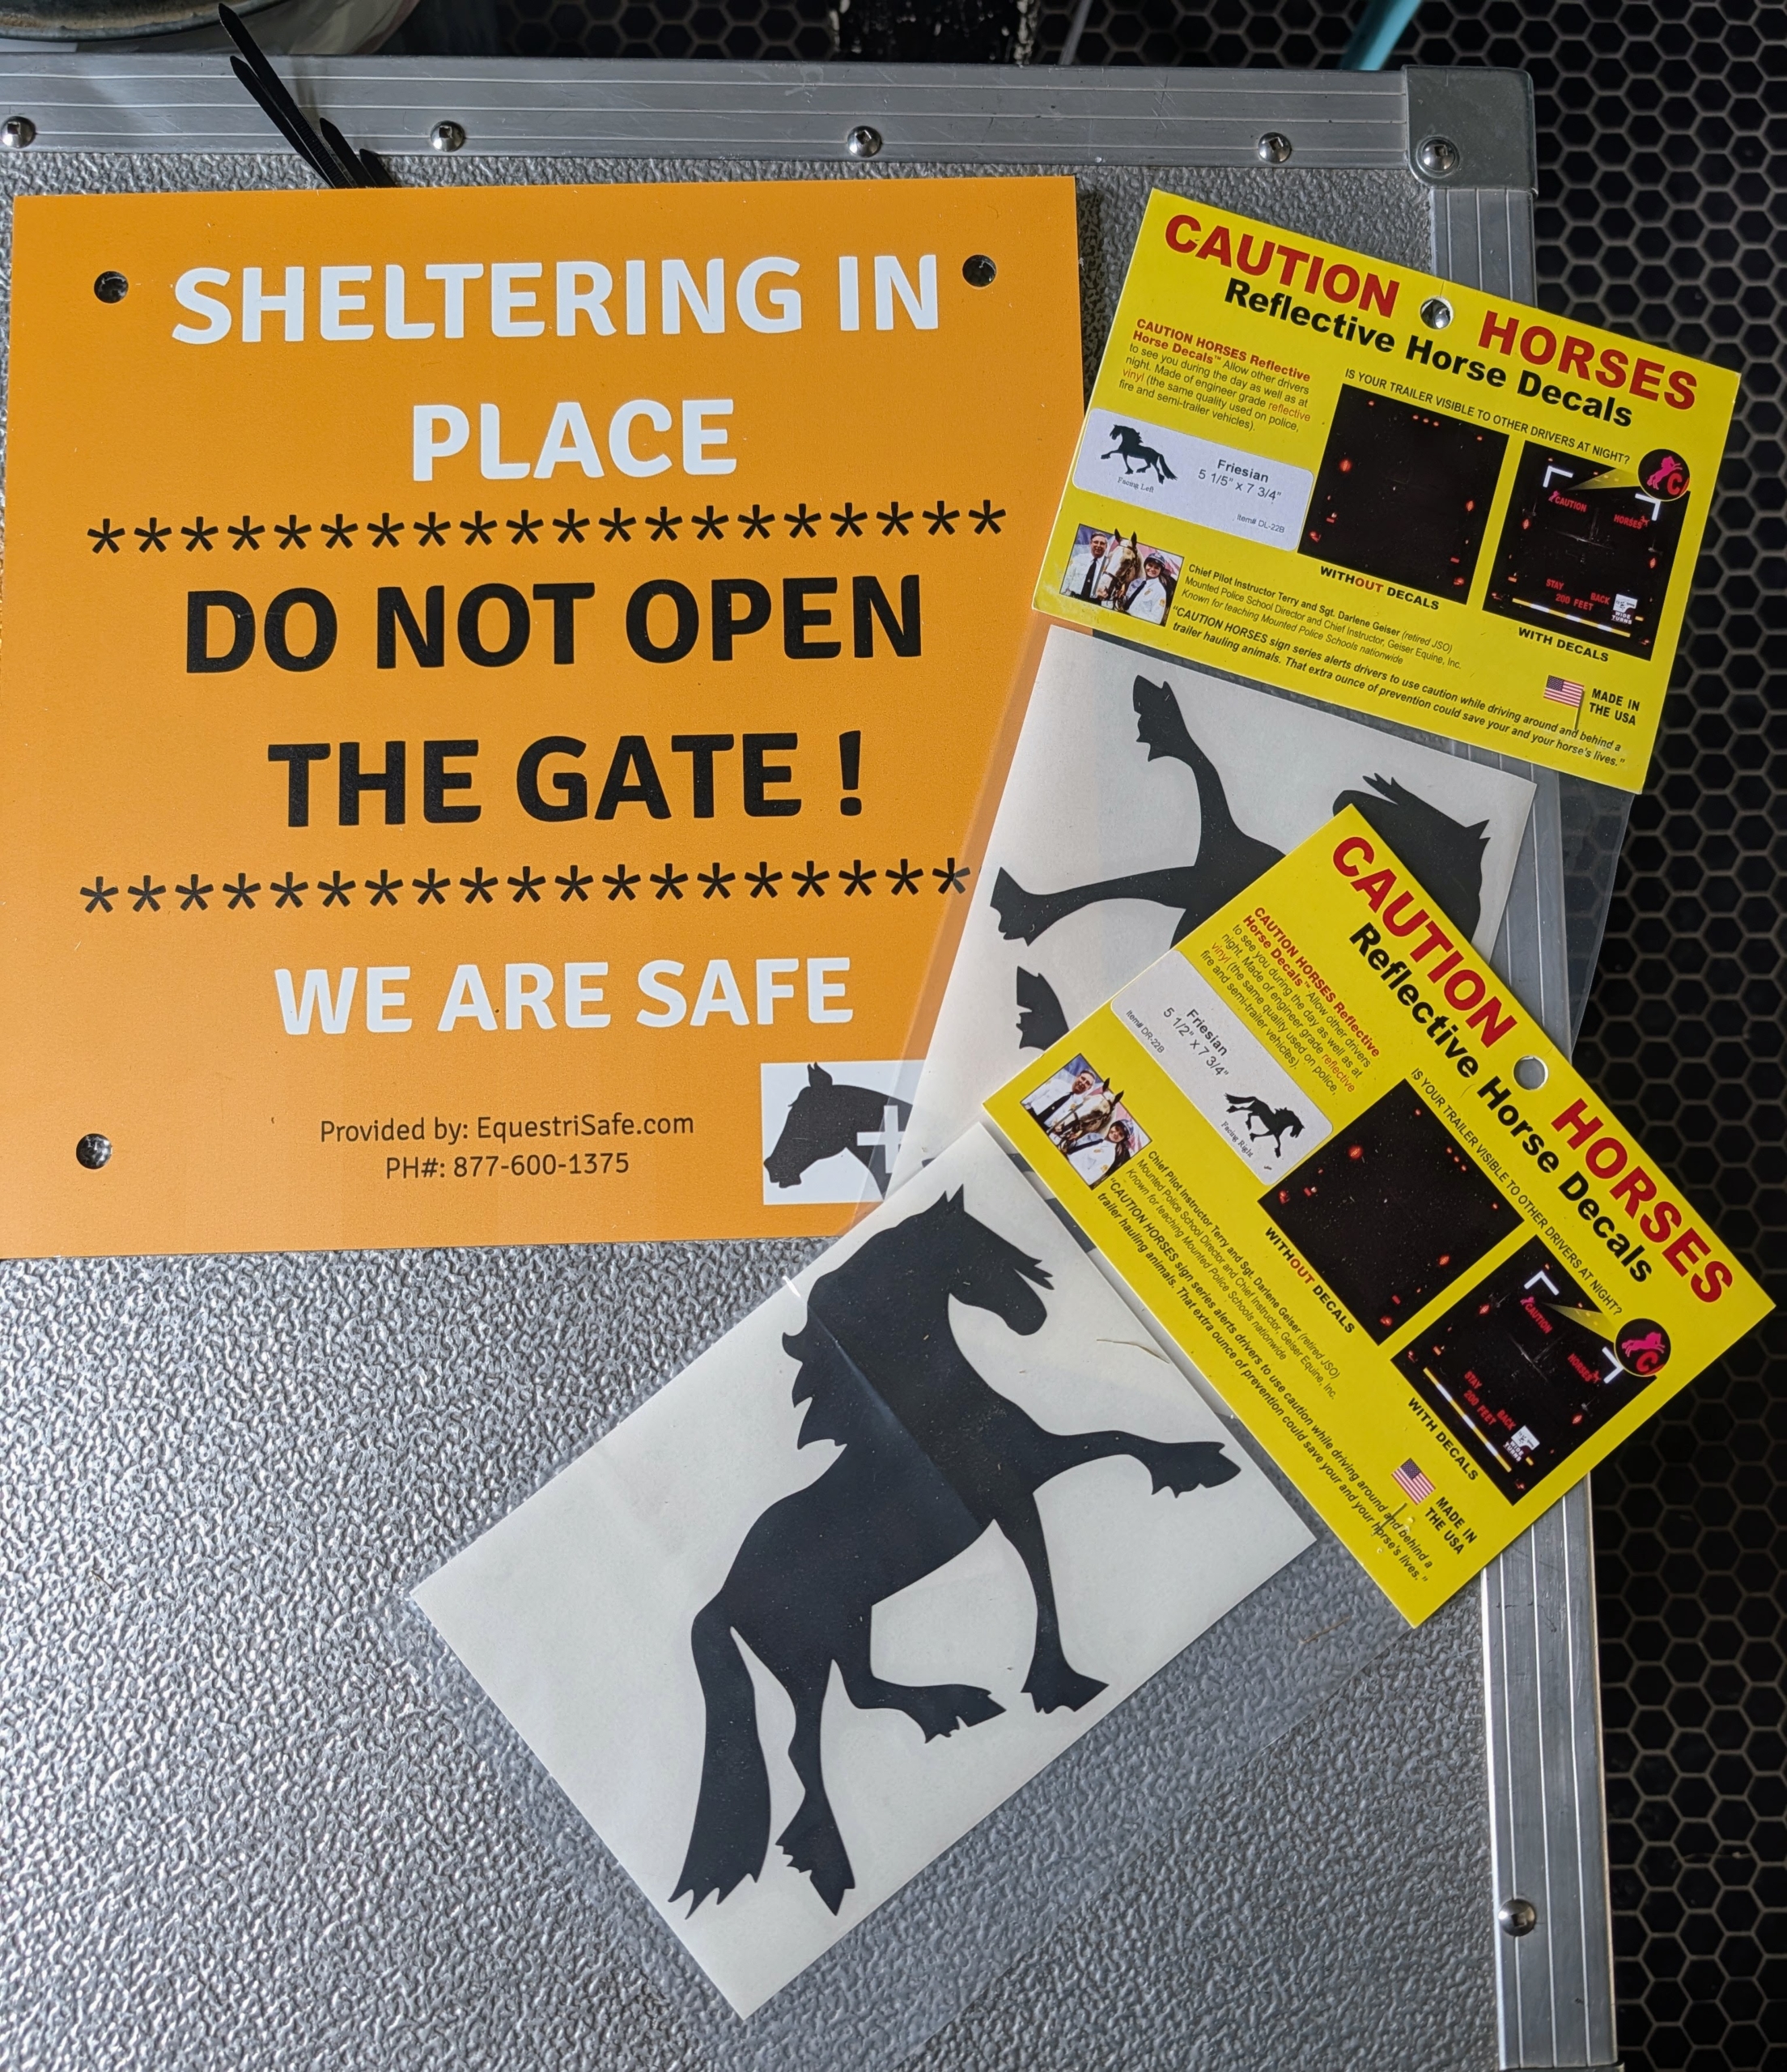
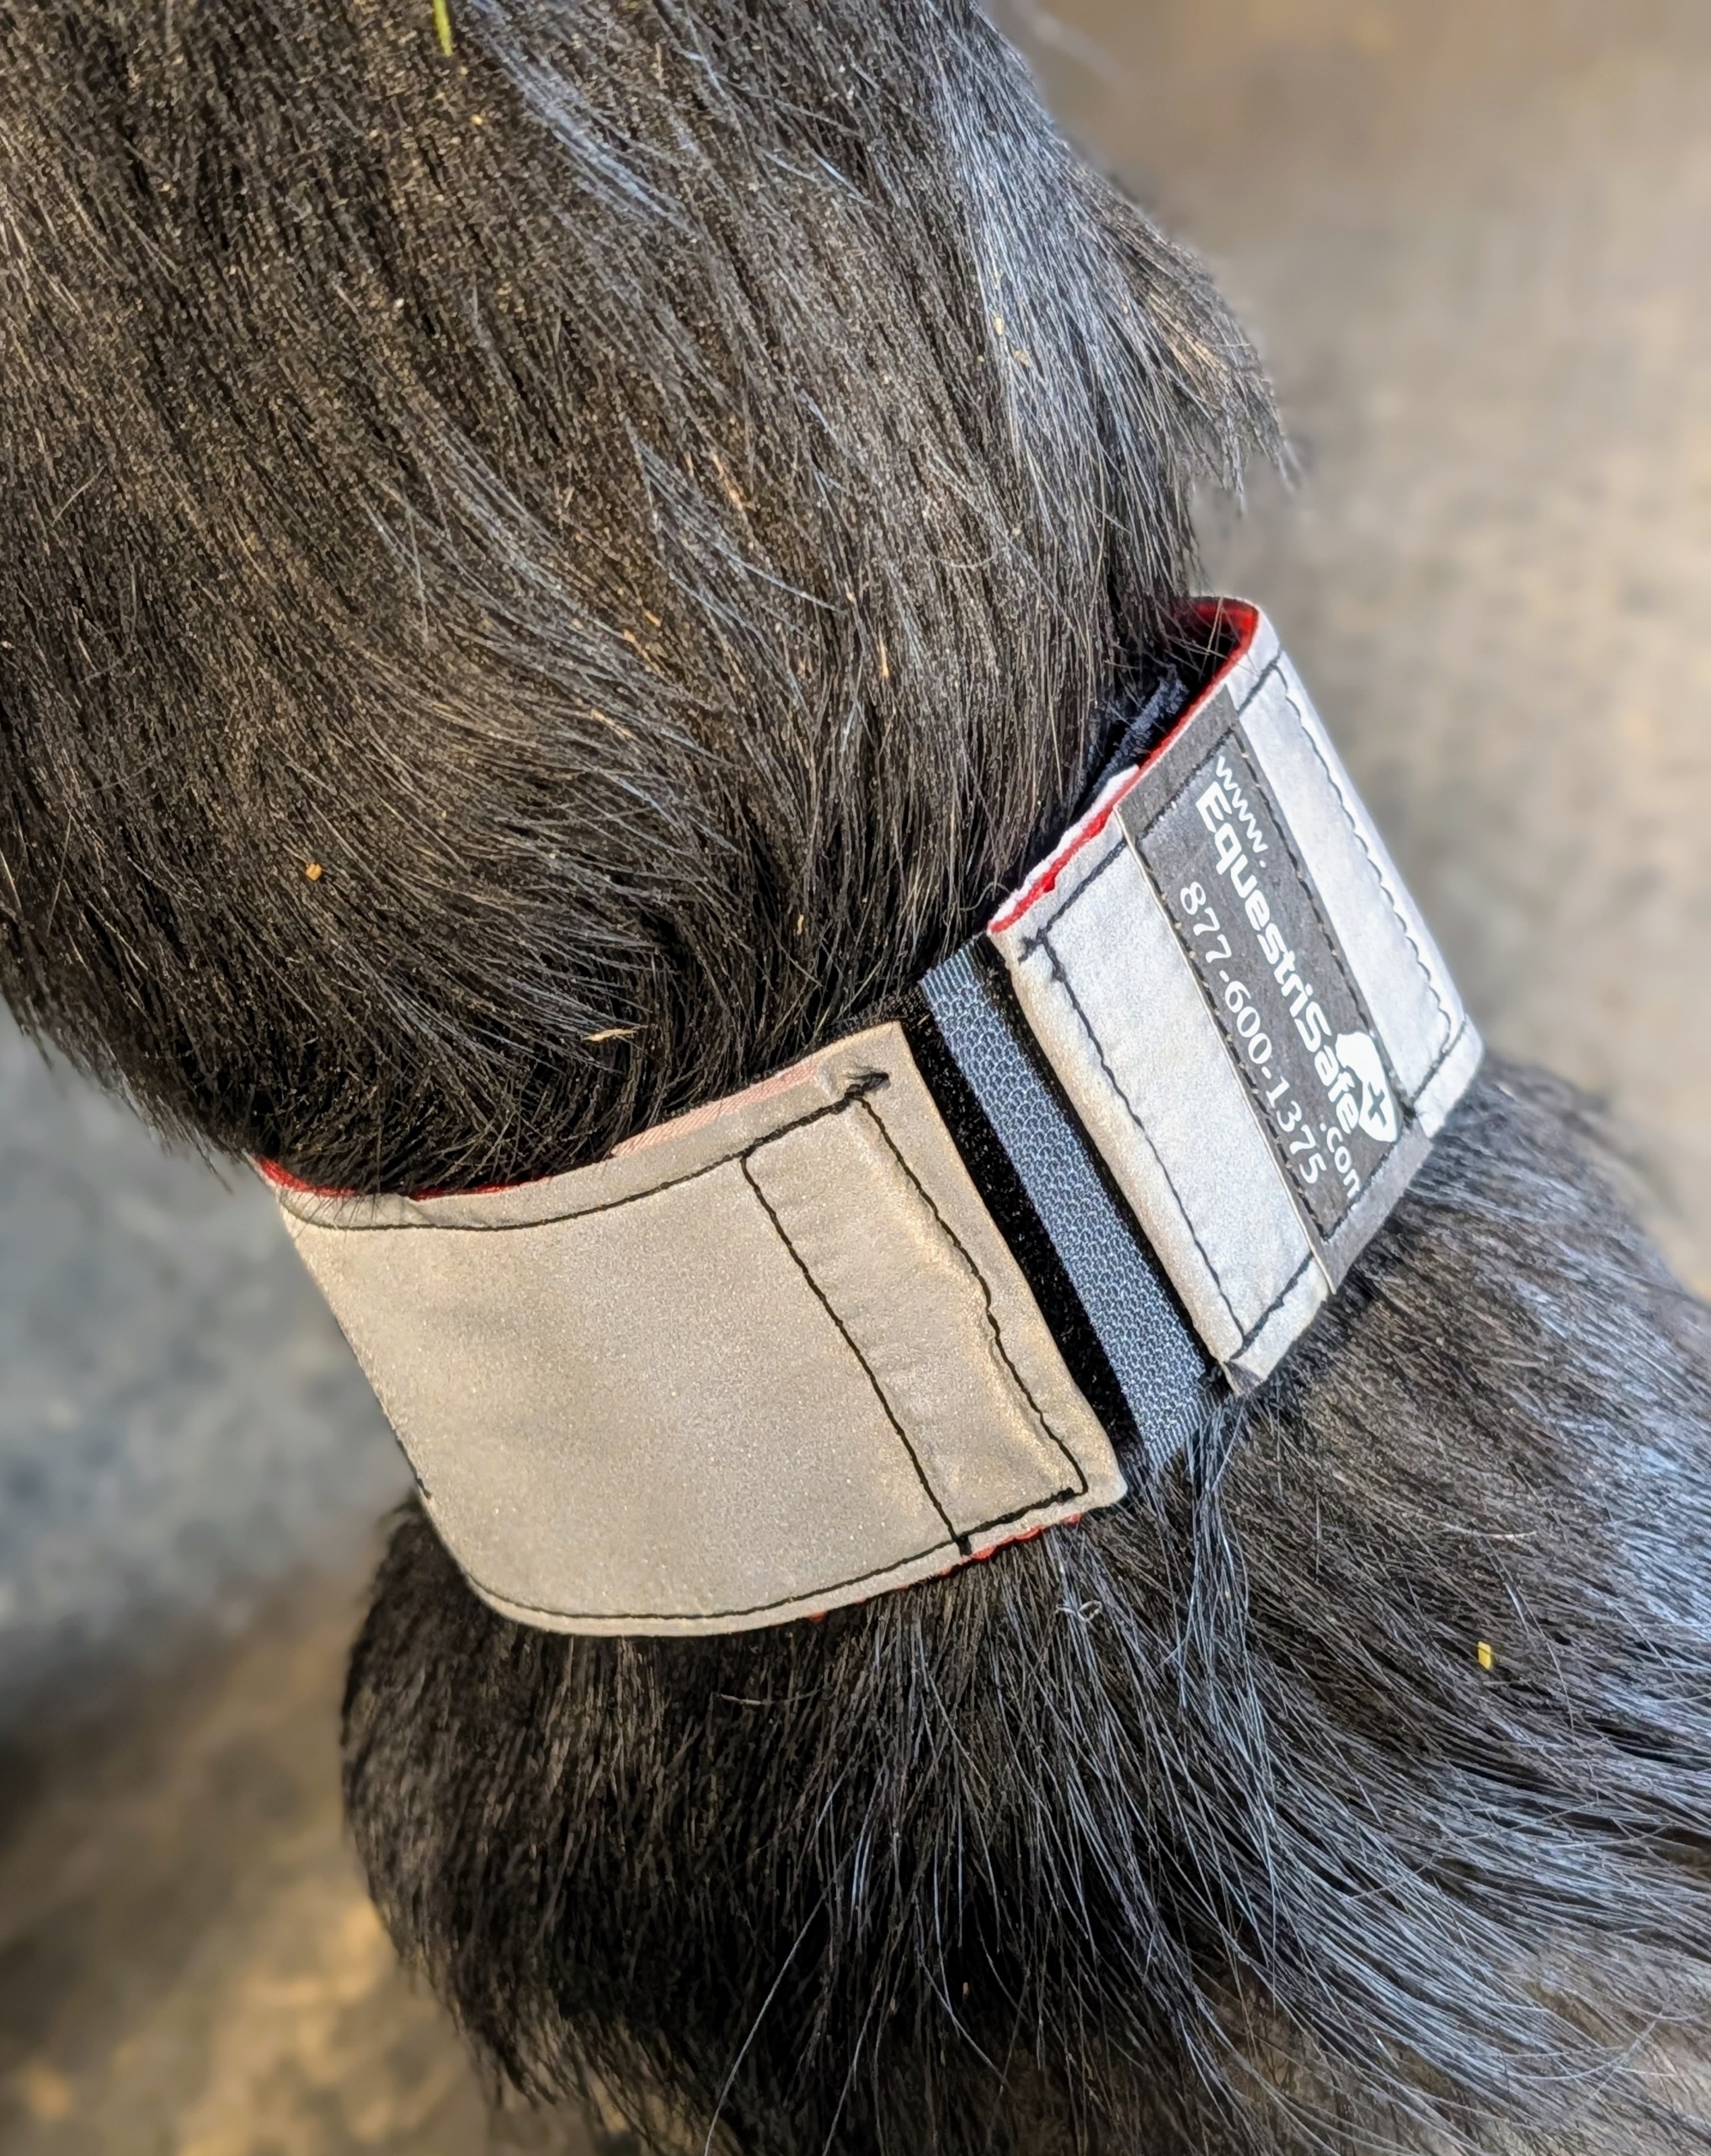
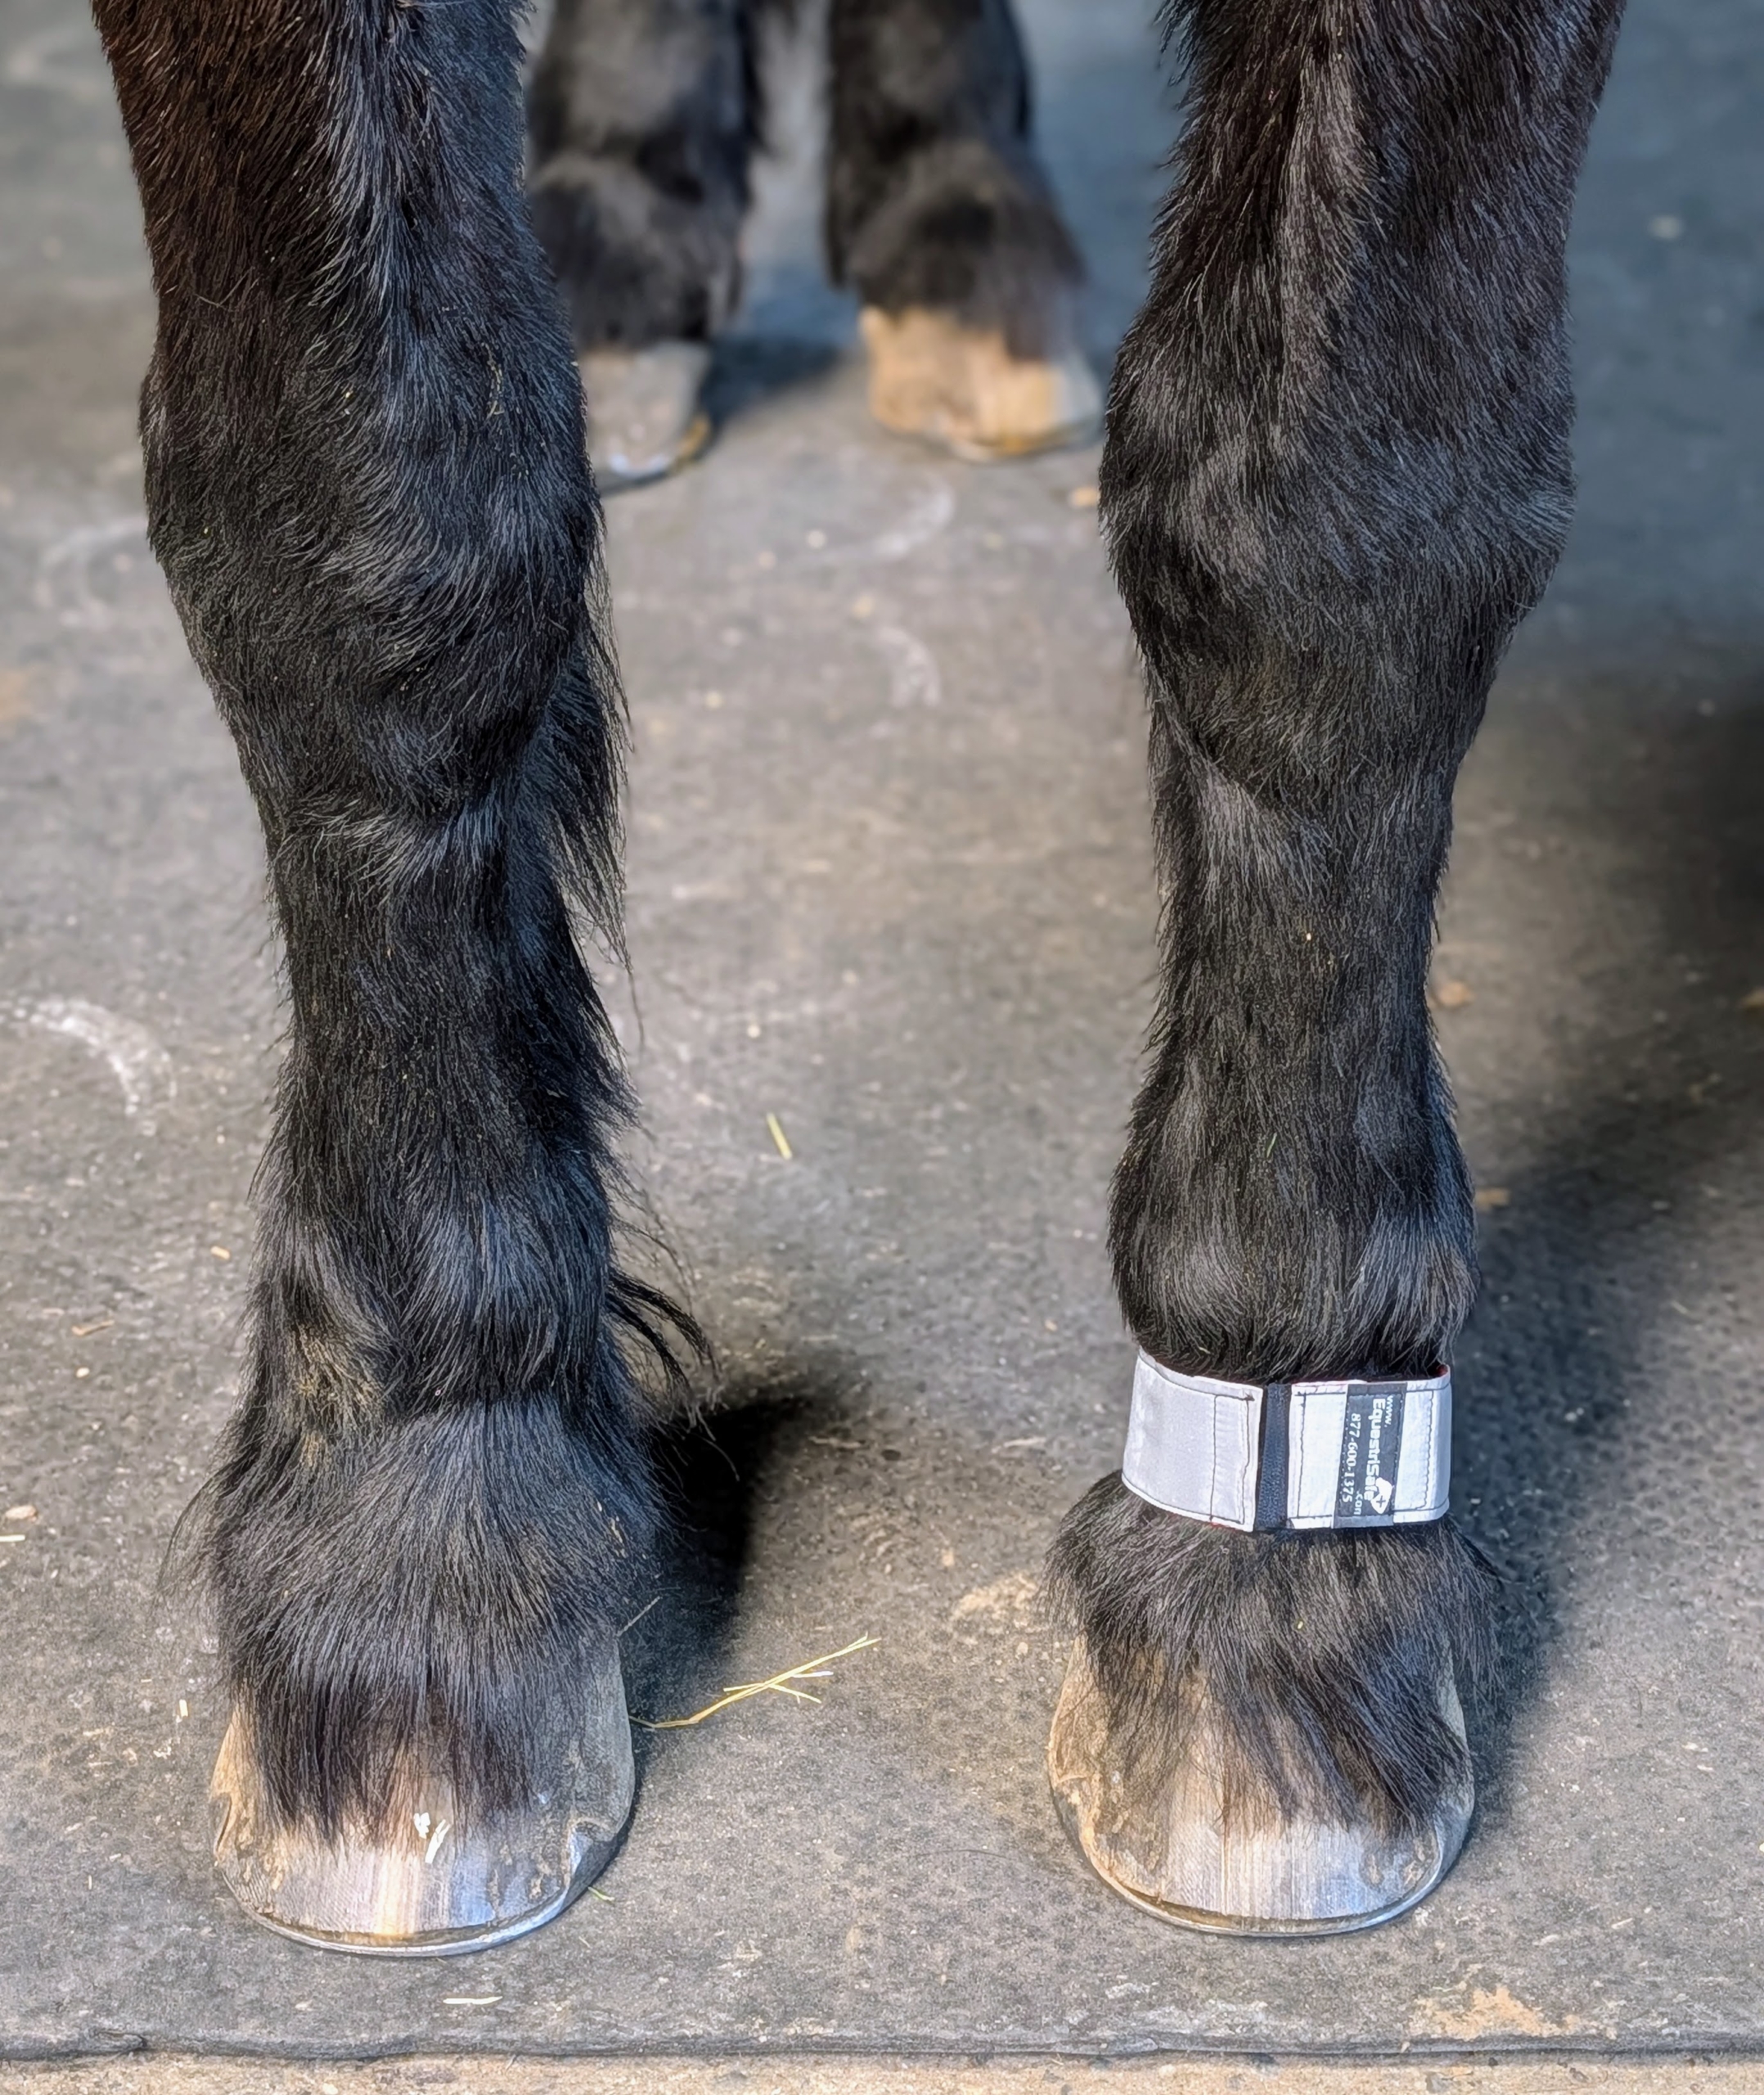
Helen also brought back some safety signs and reflective bands from EquestriSafe. These signs ensure property and trailers are clearly marked and compliant during emergencies.
Equine reflective leg wraps are lightweight and easy to secure. It’s also possible to have an emergency phone number embroidered on the band.
Rinze modeled them – he doesn’t mind them at all. These are highly reflective and can help see a horse in the dark up to a quarter of a mile away.
I am always on the lookout for quality equipment, food, and supplies for all my animals. It’s important to me that I provide what I can to keep them in the best condition.