There is always so much to see and learn about at my farm.
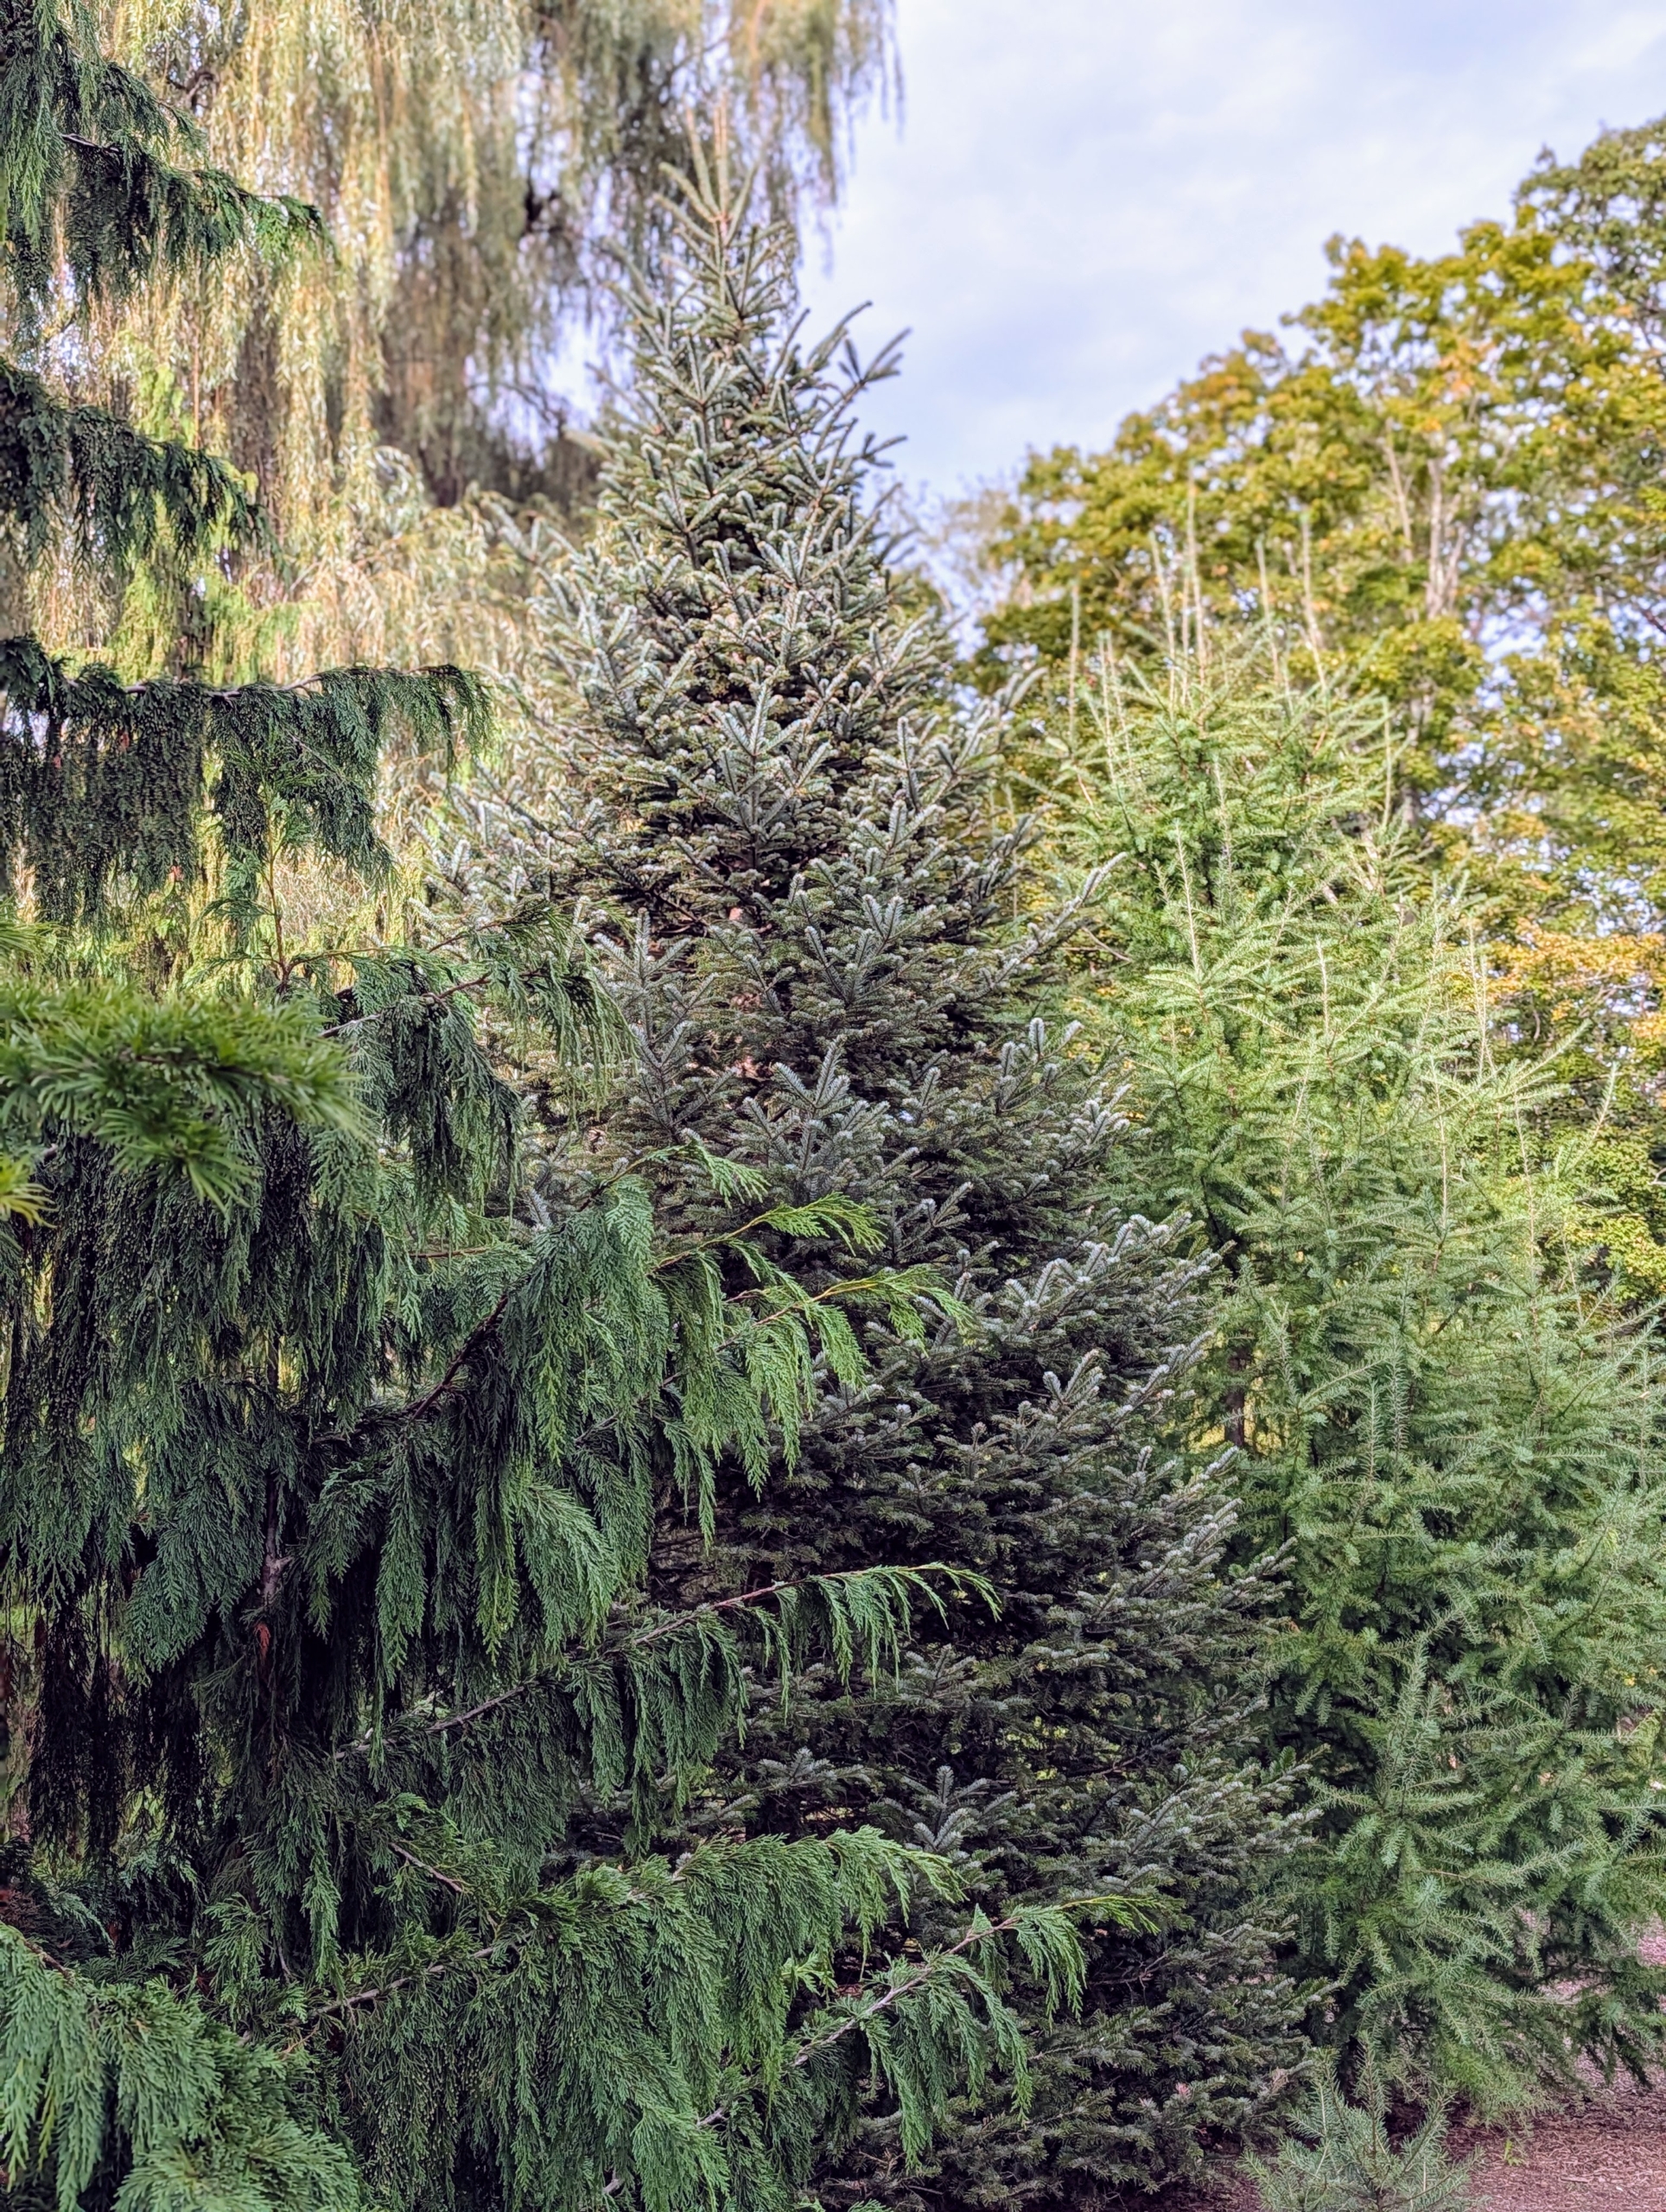
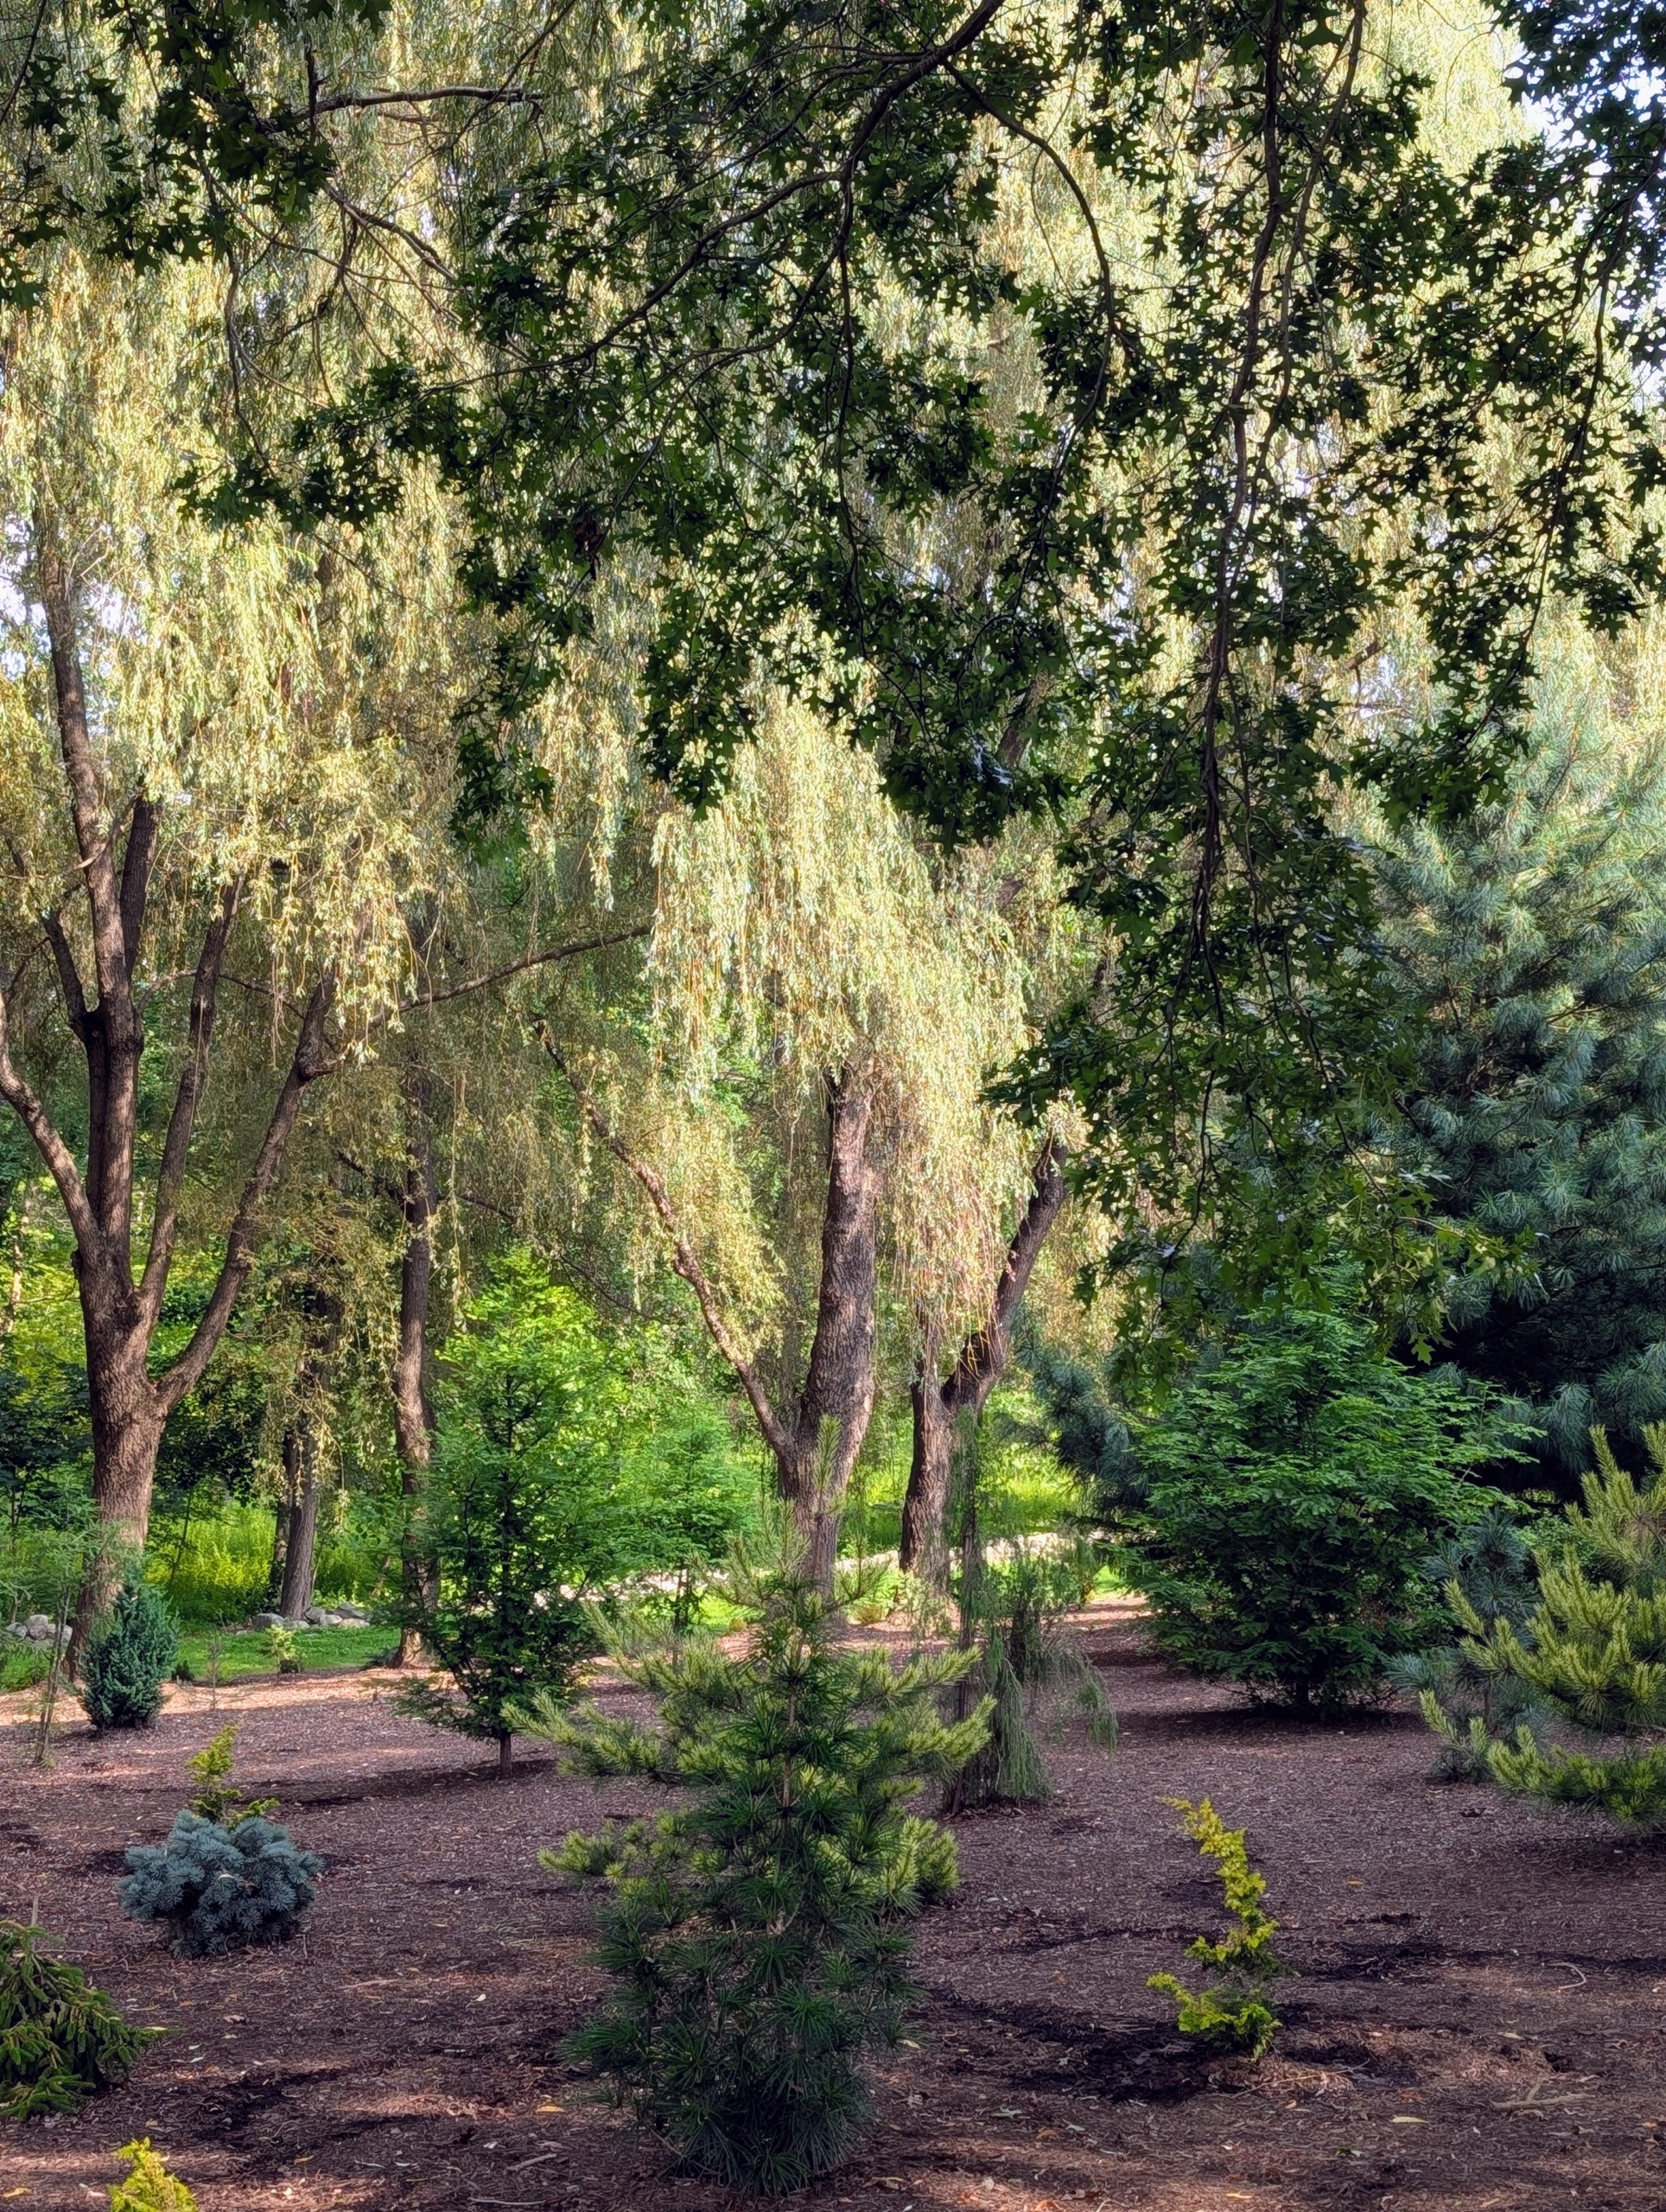
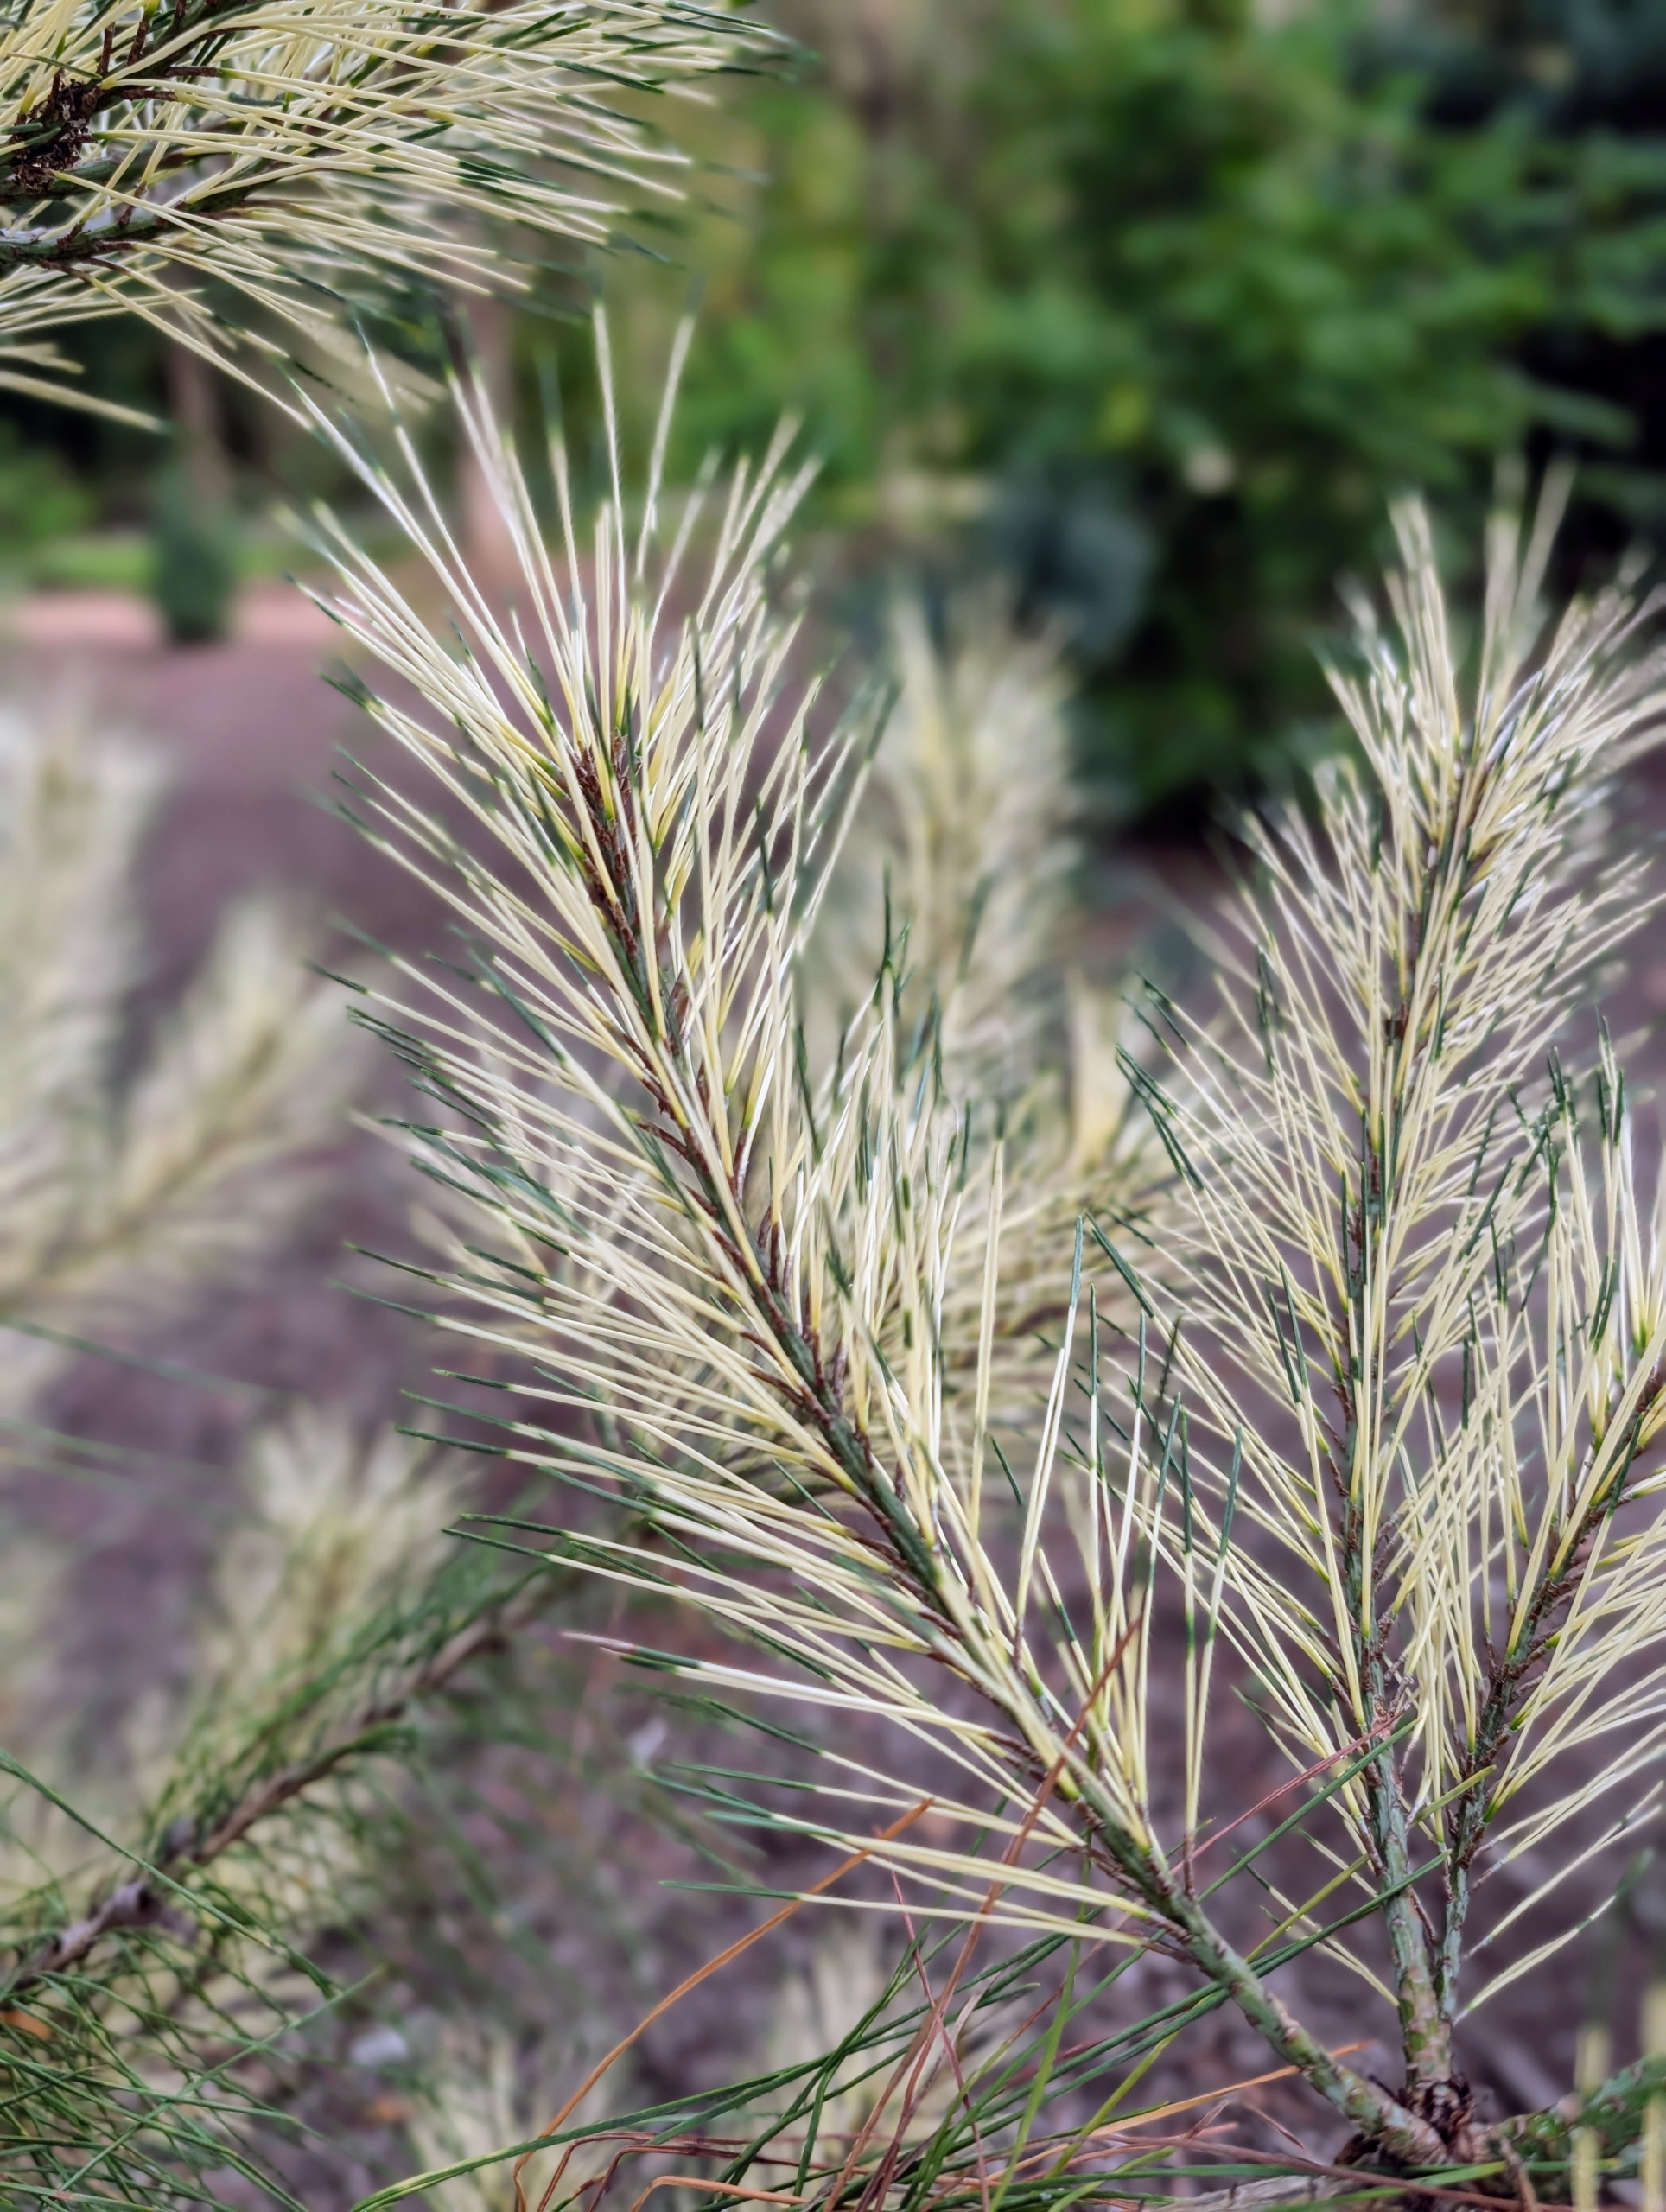
Over the years I have designed many gardens. One area that is constantly evolving is my pinetum - an arboretum of pine trees and other conifers I planted in a field behind my large Equipment Barn and near my weeping willow grove. This collection has grown extremely well and I continue to add additional specimens every year.
Here are some photos, enjoy.
When I first bought my farm, I knew I wanted to plant many trees. This pinetum collection includes pine trees, but I have also included many spruces, firs, and other interesting evergreens.
Once trees are mature, they need little maintenance except for regular mulching and removal of dead or diseased branches. I keep the ground well-mulched using material made right here at the farm.
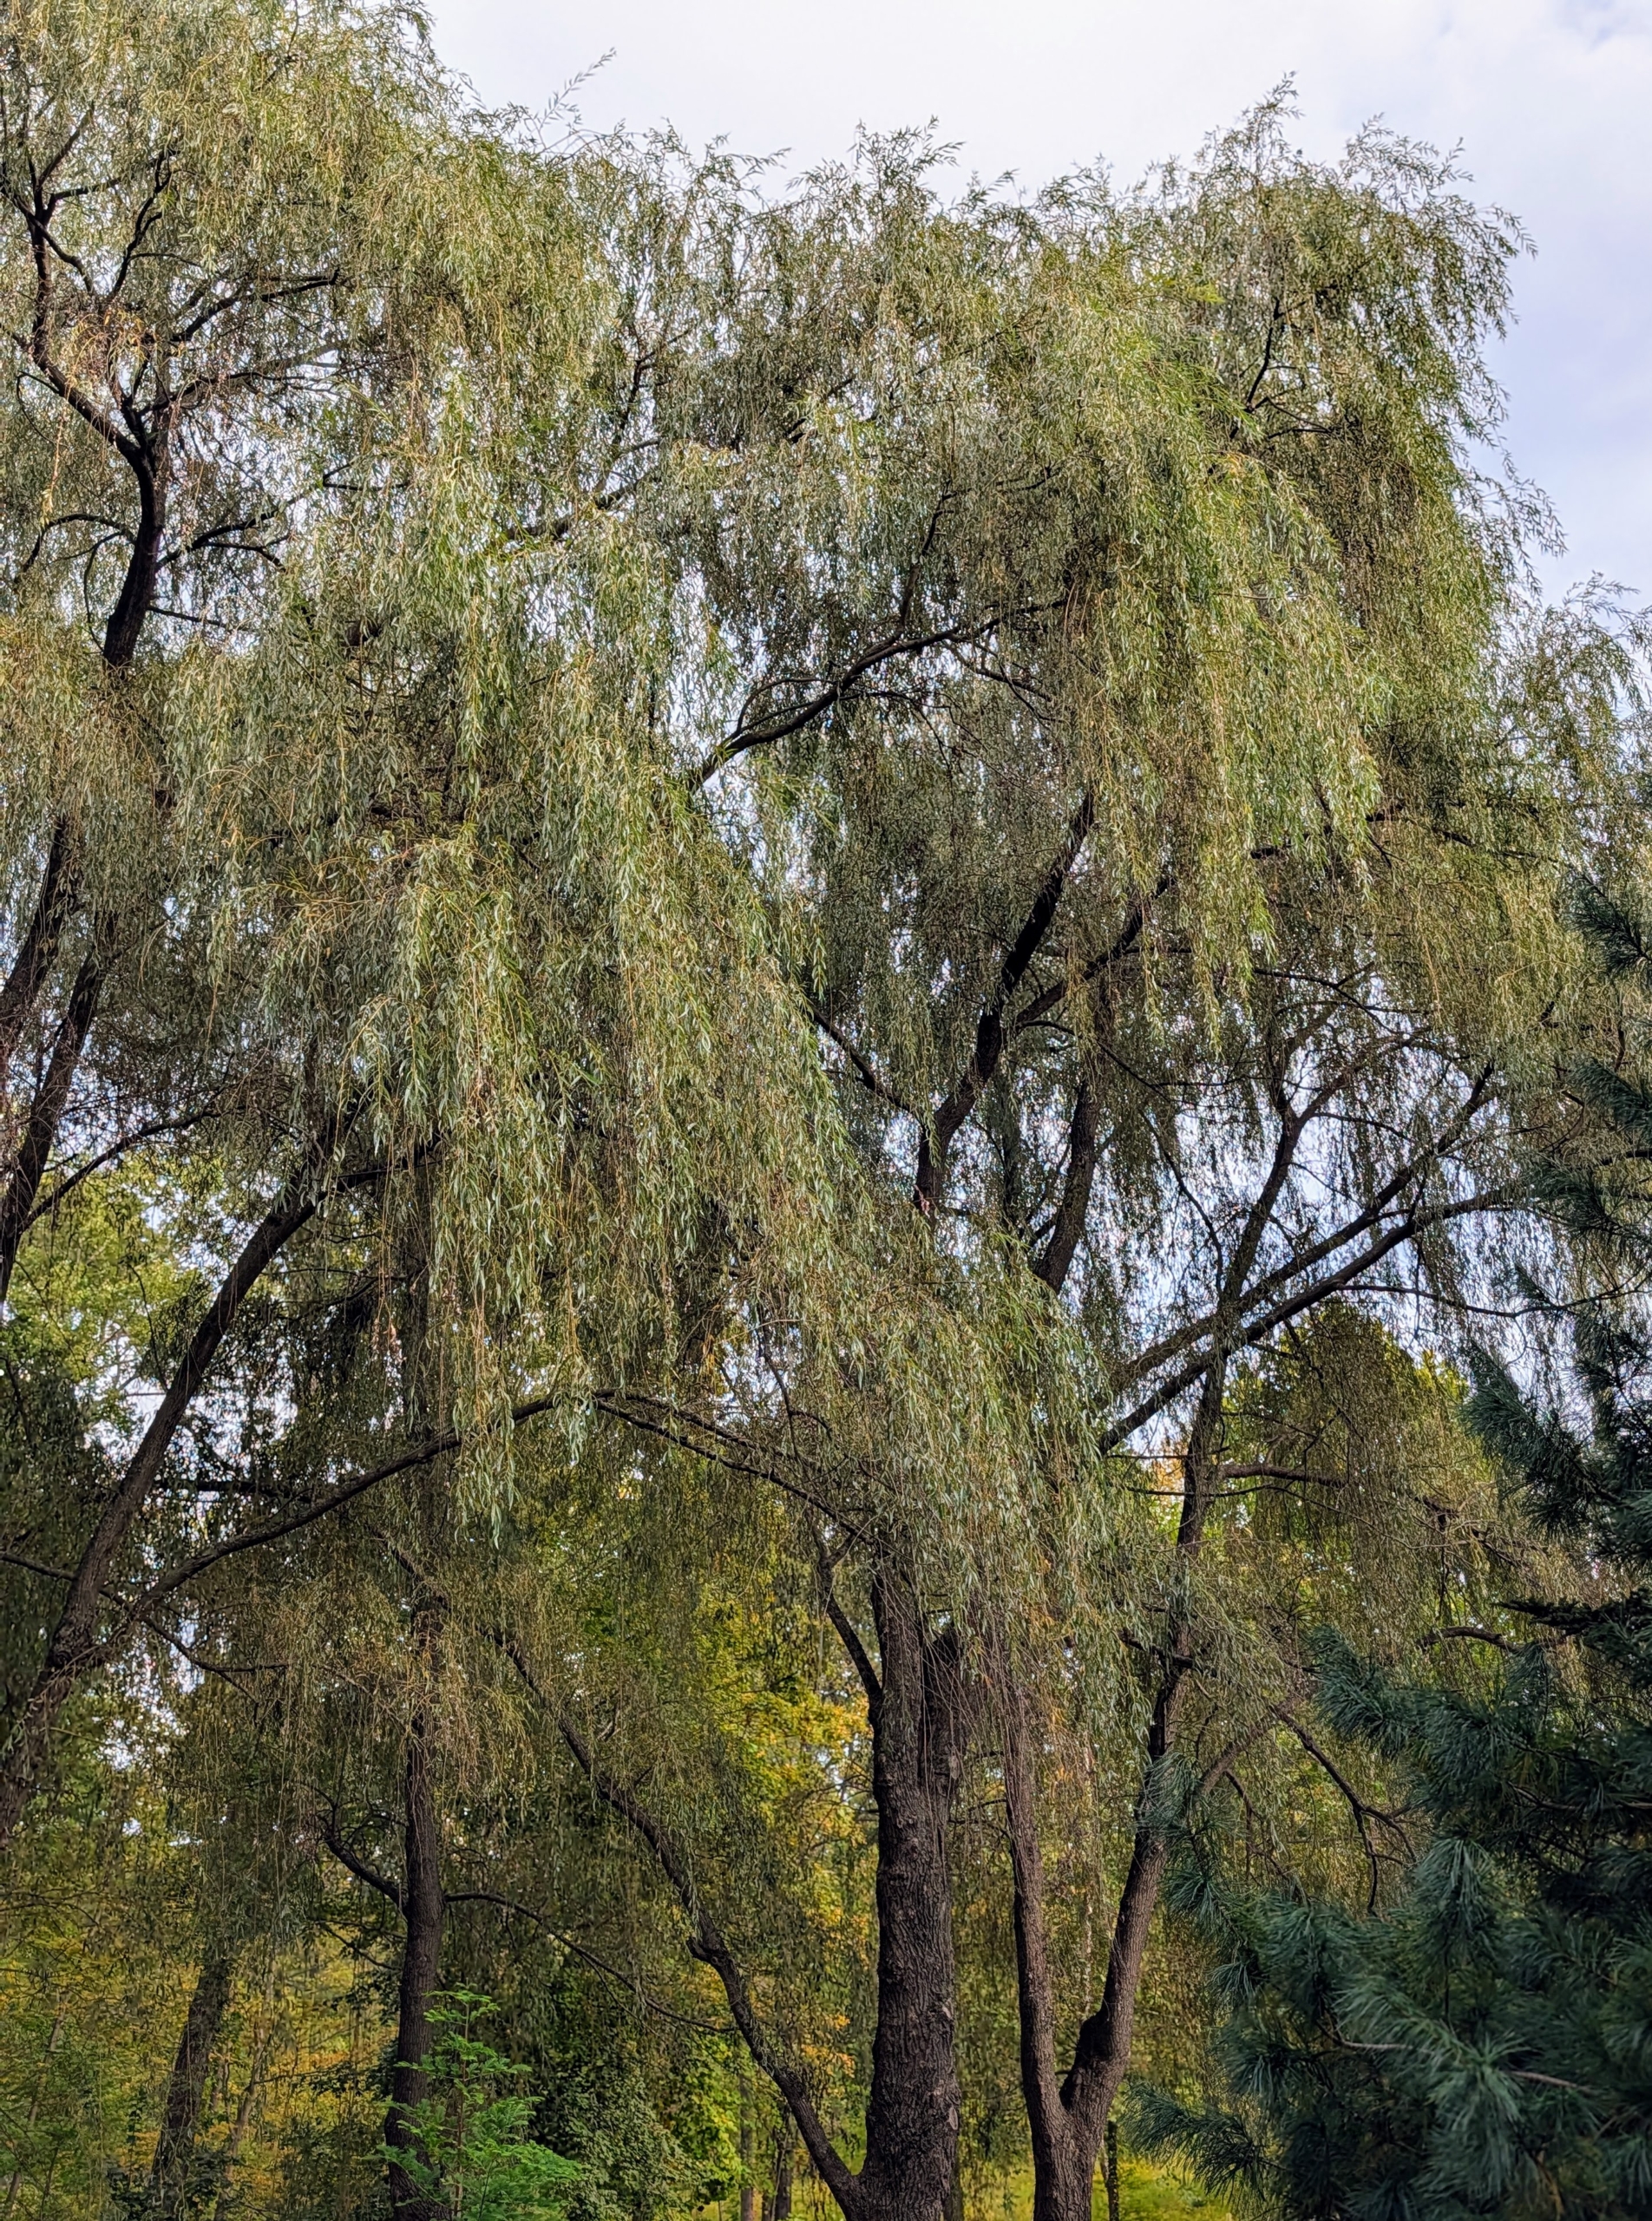
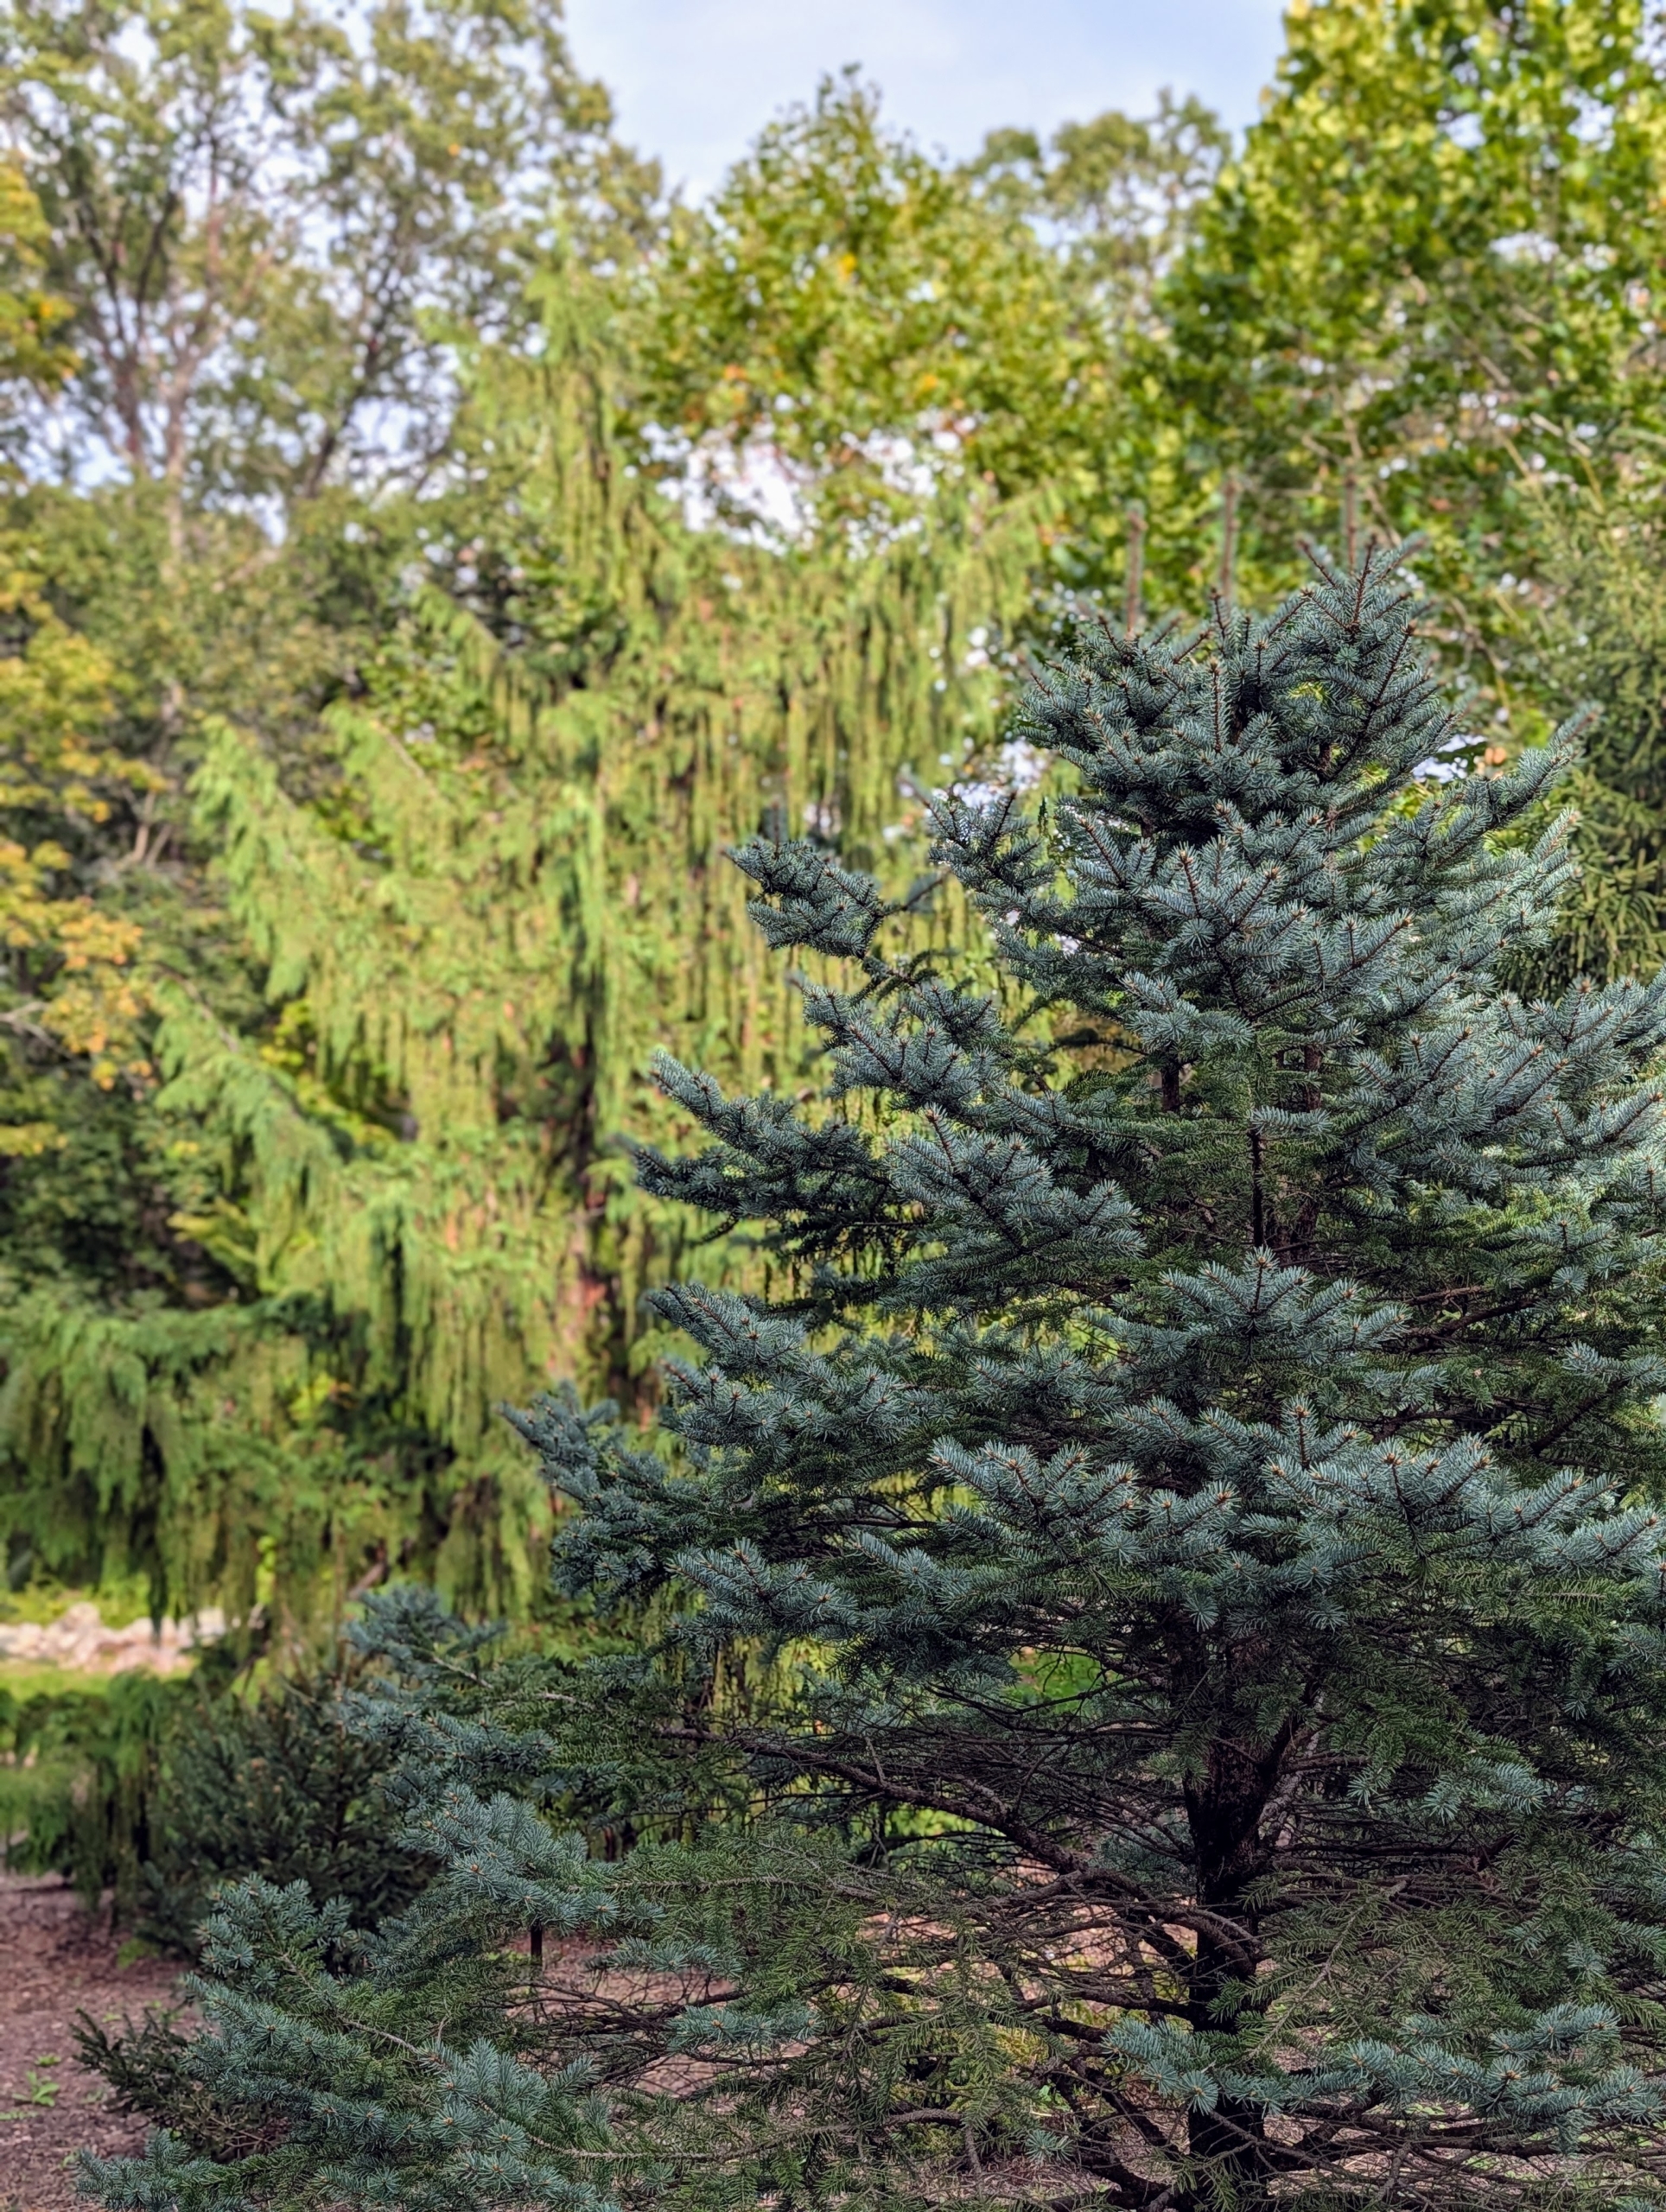
On one side of this pinetum are the tall weeping willows. Weeping willows are wide with beautiful curtains of drooping branches that sweep the ground. I have several groves of weeping willow trees here at my property.
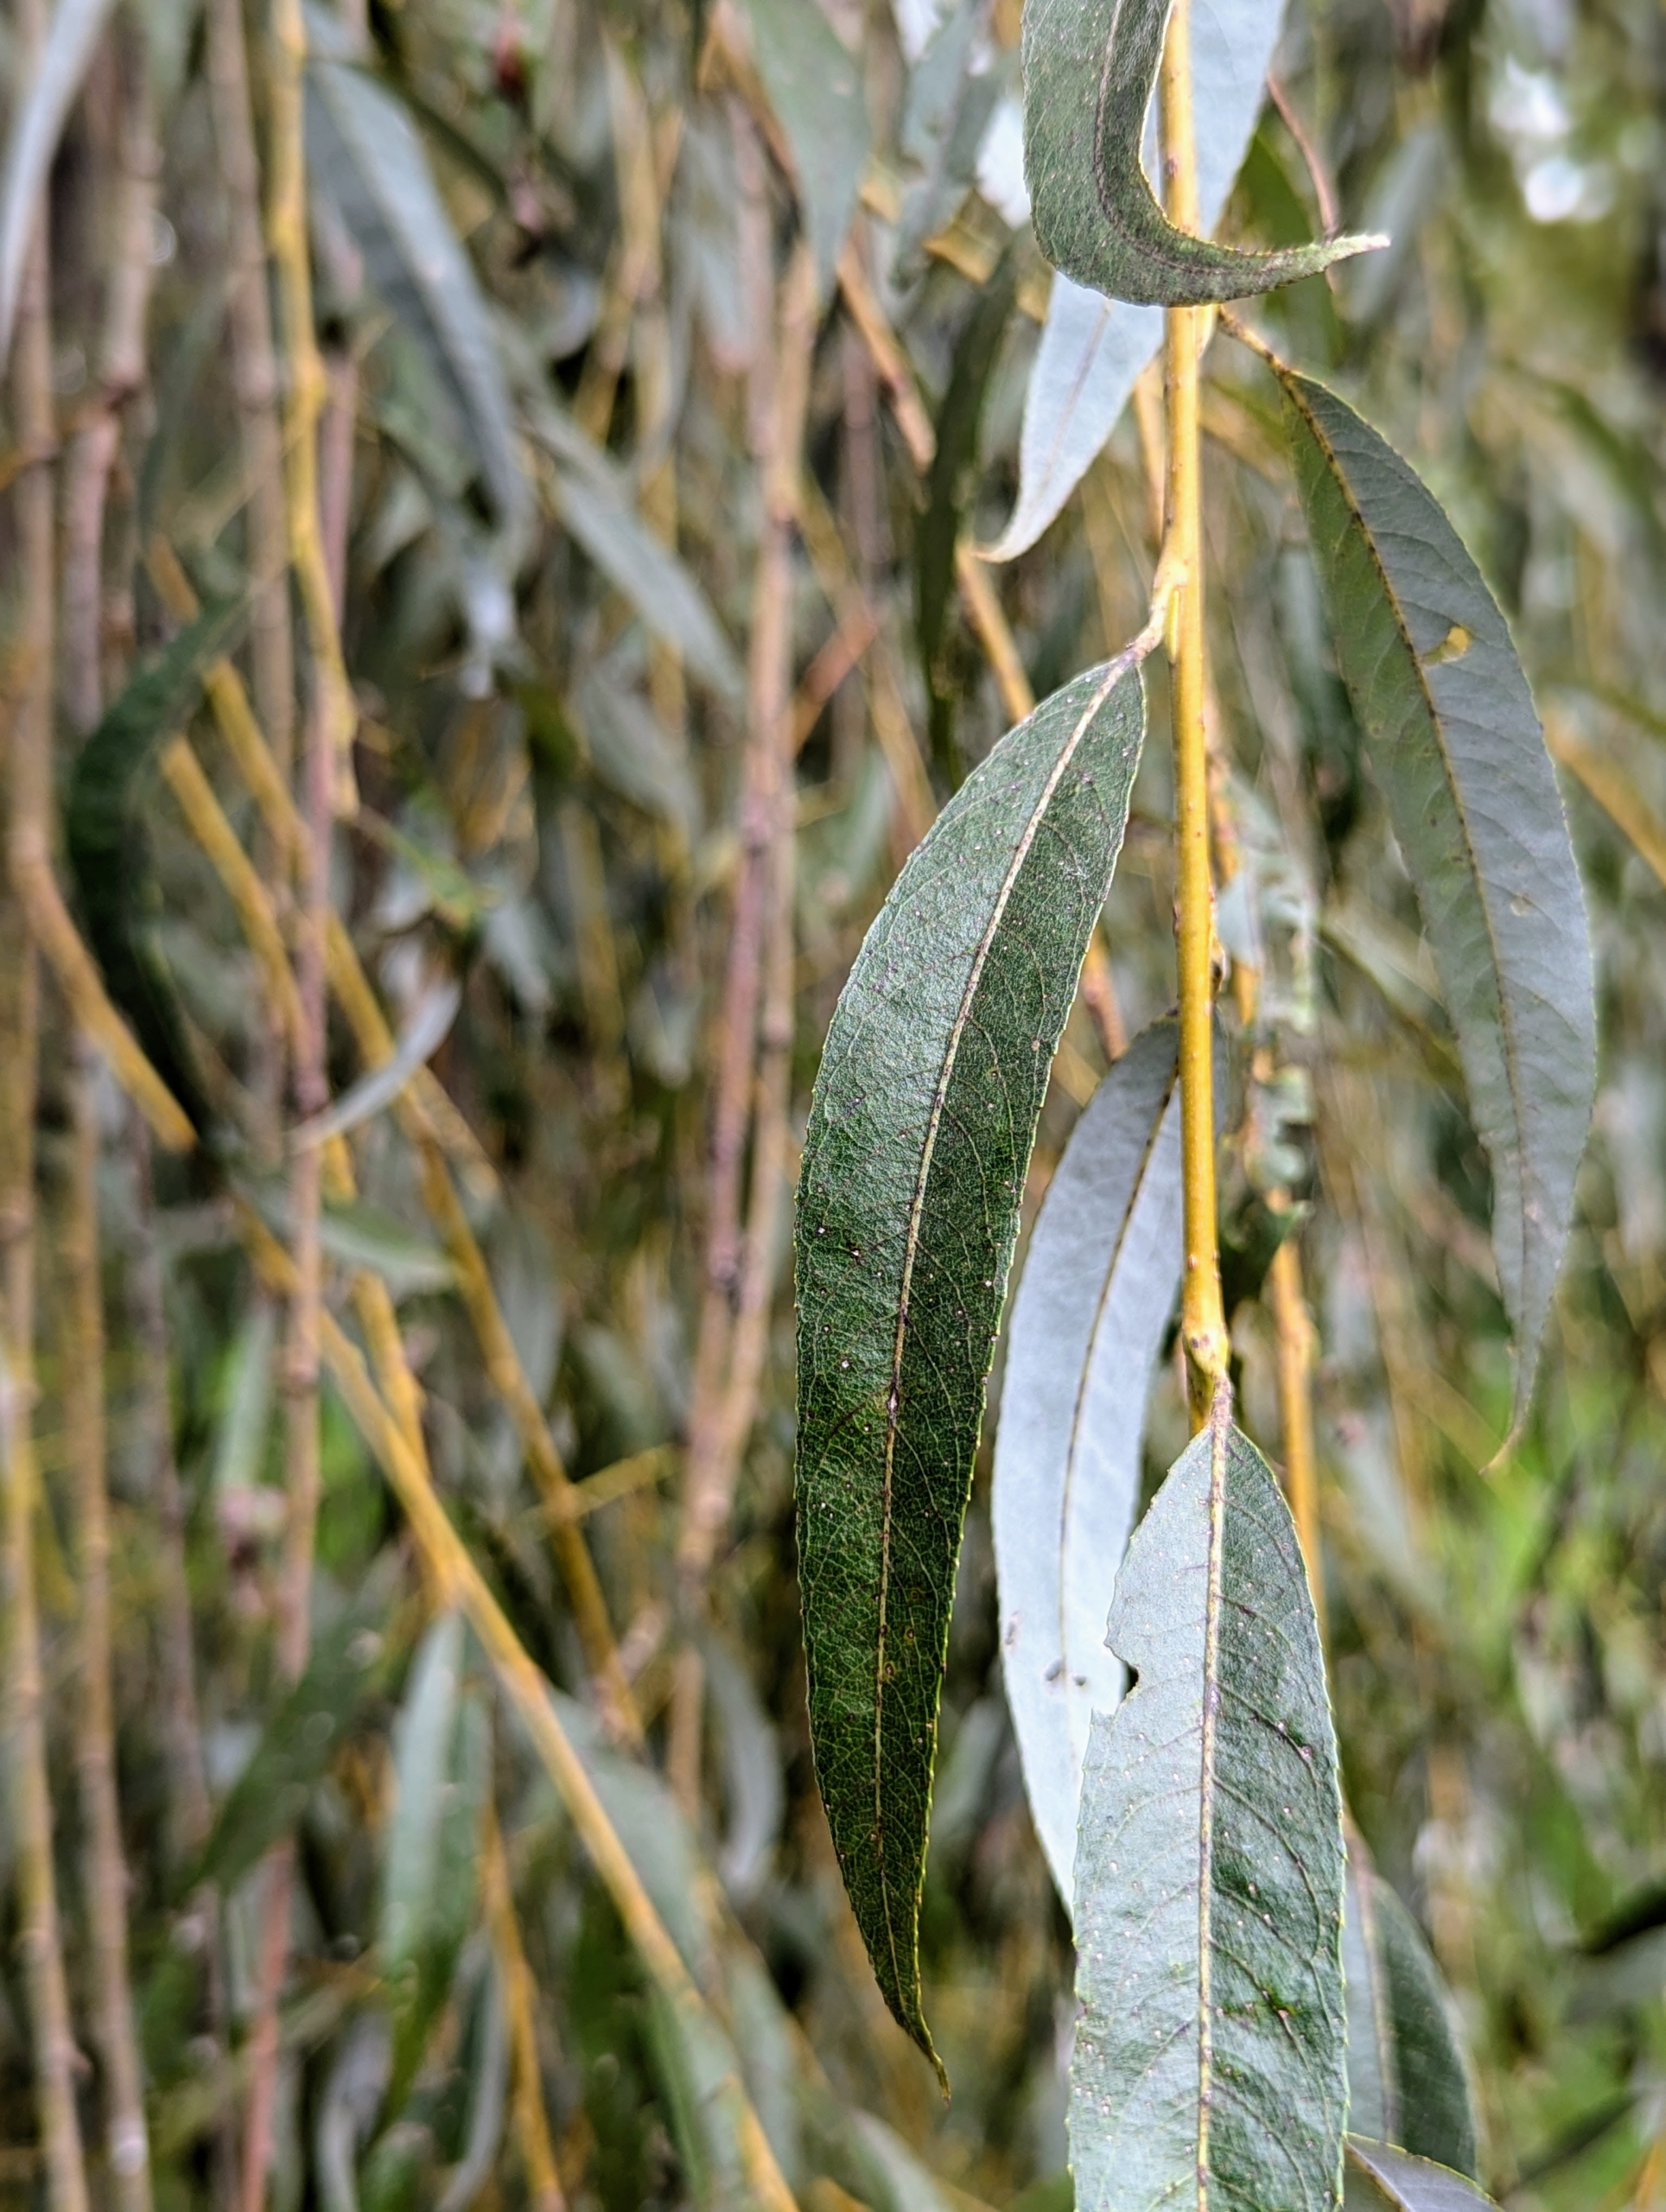
The leaves are long and narrow with a light green color and a finely toothed margin.
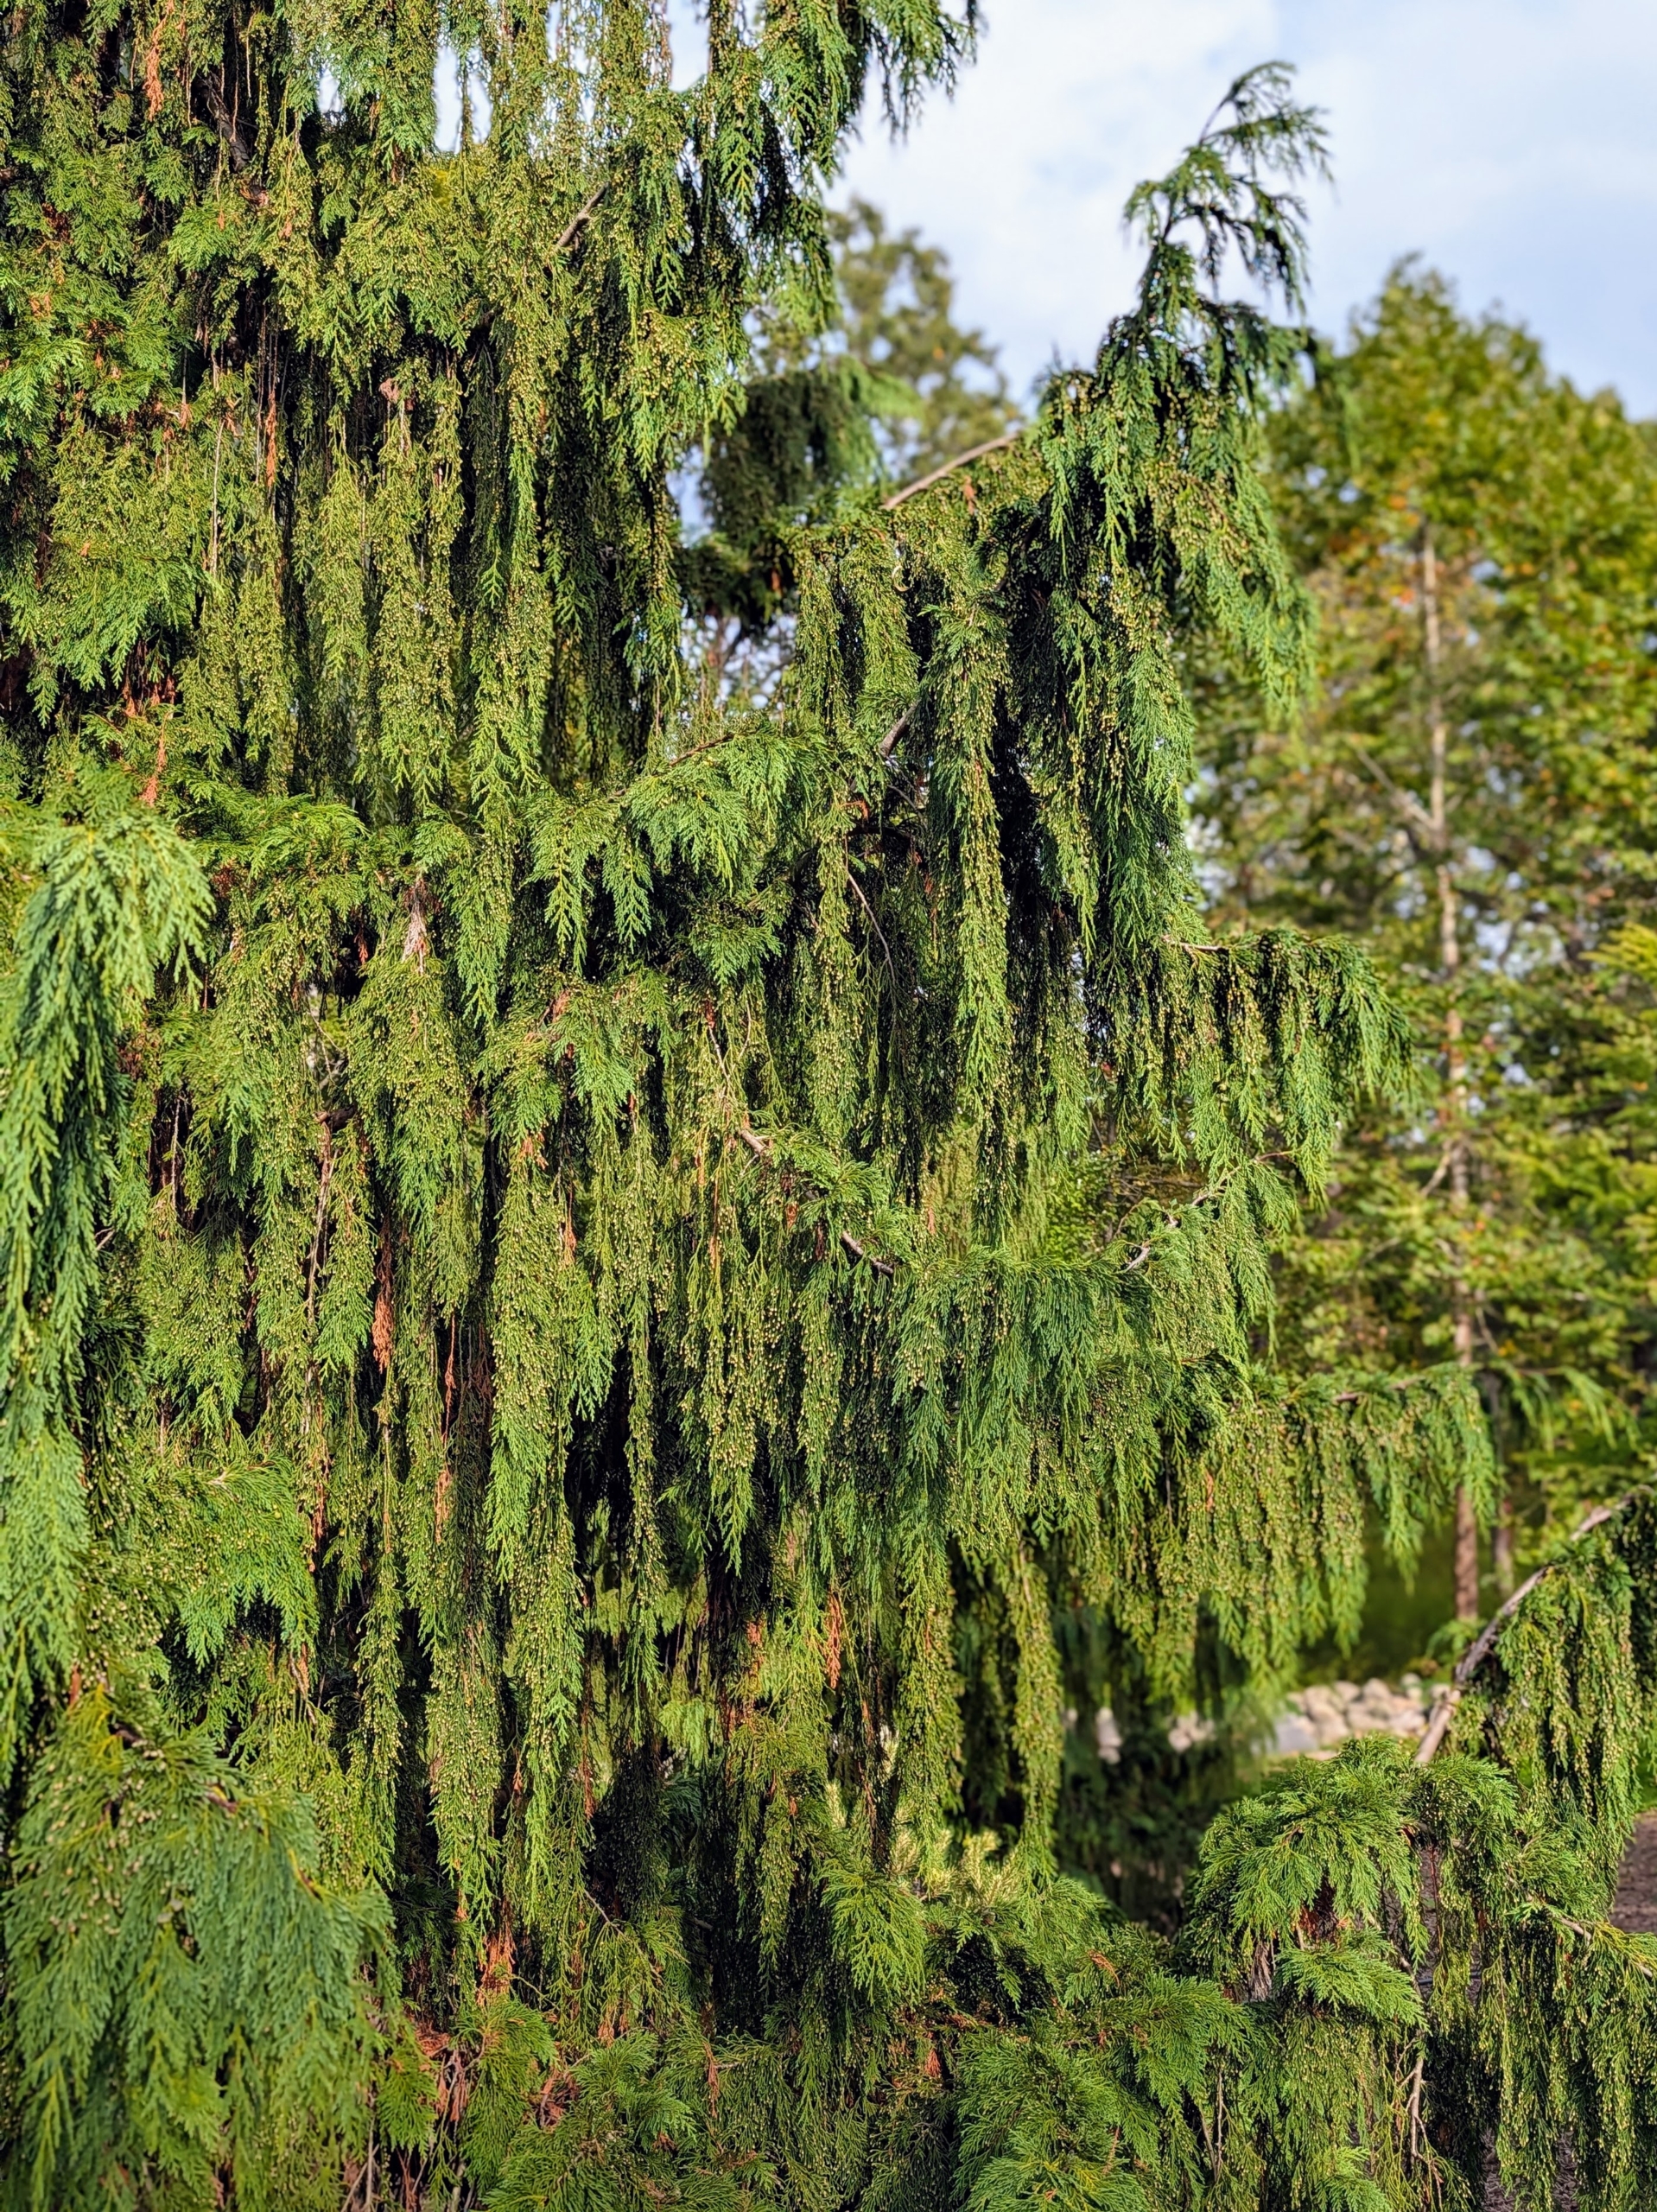
Callitropsis nootkatensis ‘Pendula’ or weeping Alaskan cedar, is a slender, strongly weeping form that grows to as much as 35-feet tall.
It has widely spaced ascending to horizontal branches with flattened sprays of blue-green leaves that hang downward.
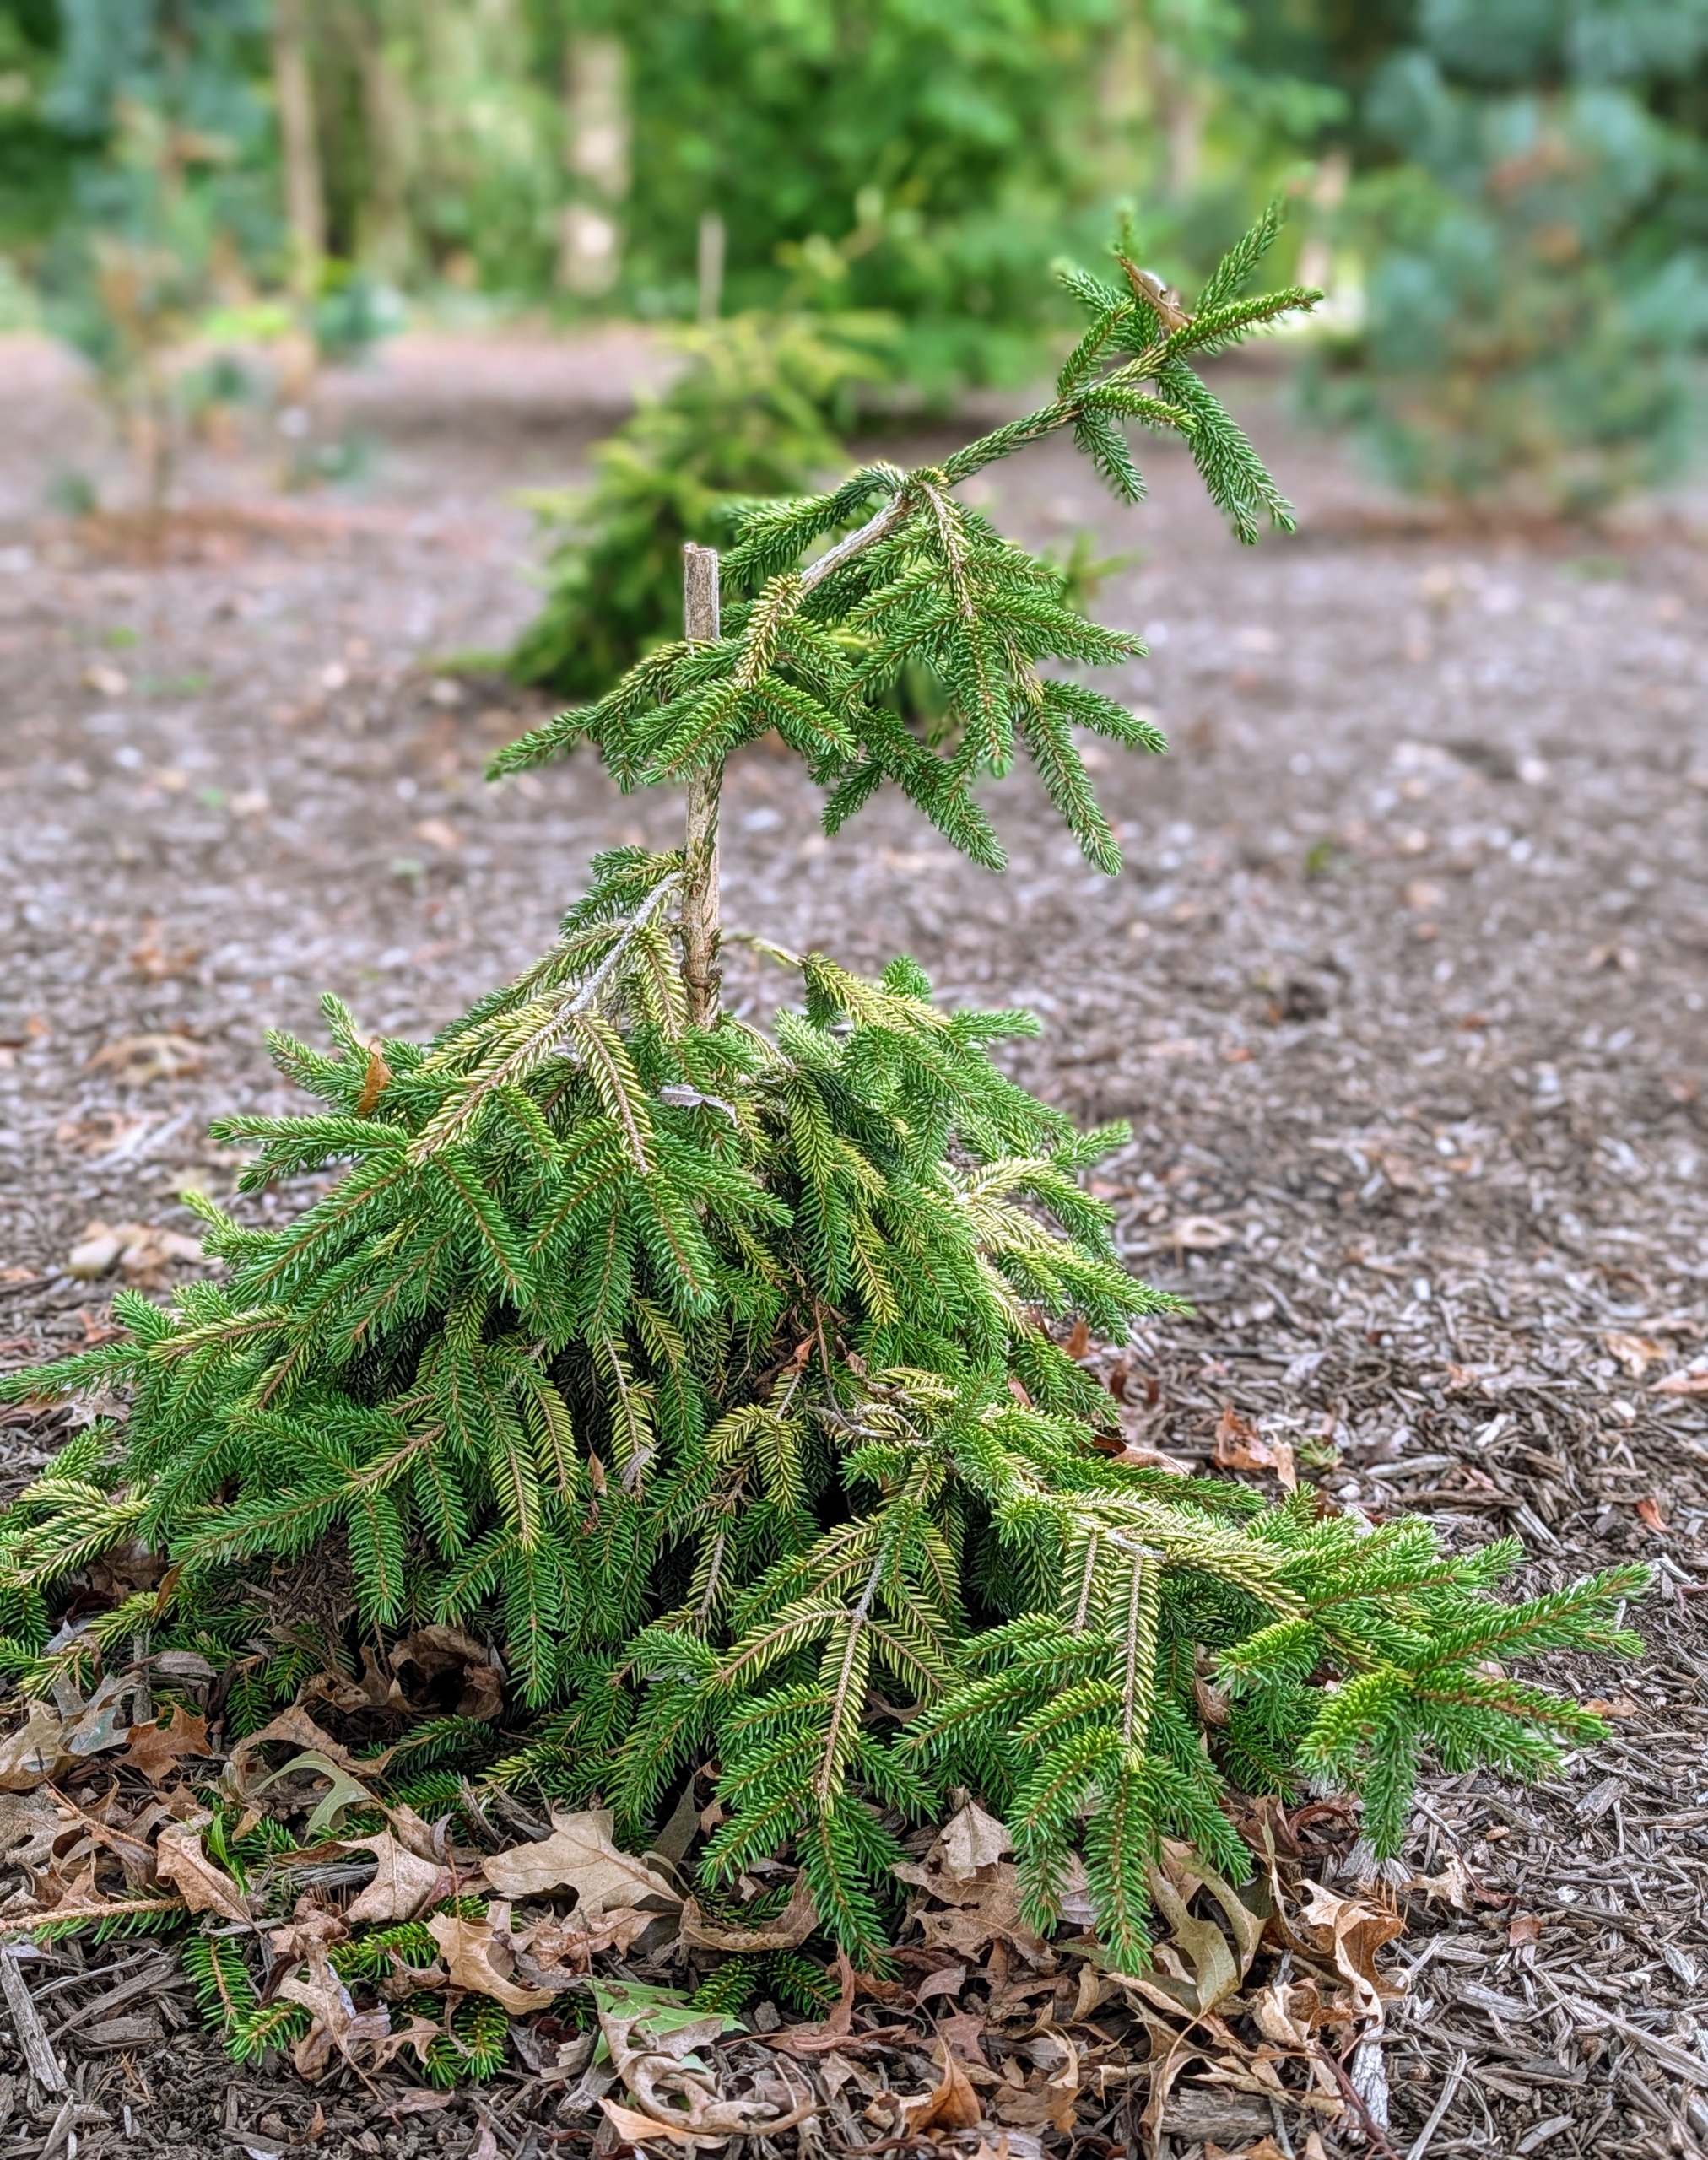
And this is a young Picea orientalis ‘Aurea,’ a Golden Oriental Spruce. It shows off dense, dark green foliage.
New growth emerges bright yellow, fading to rich gold with dark green in the plant’s interior.
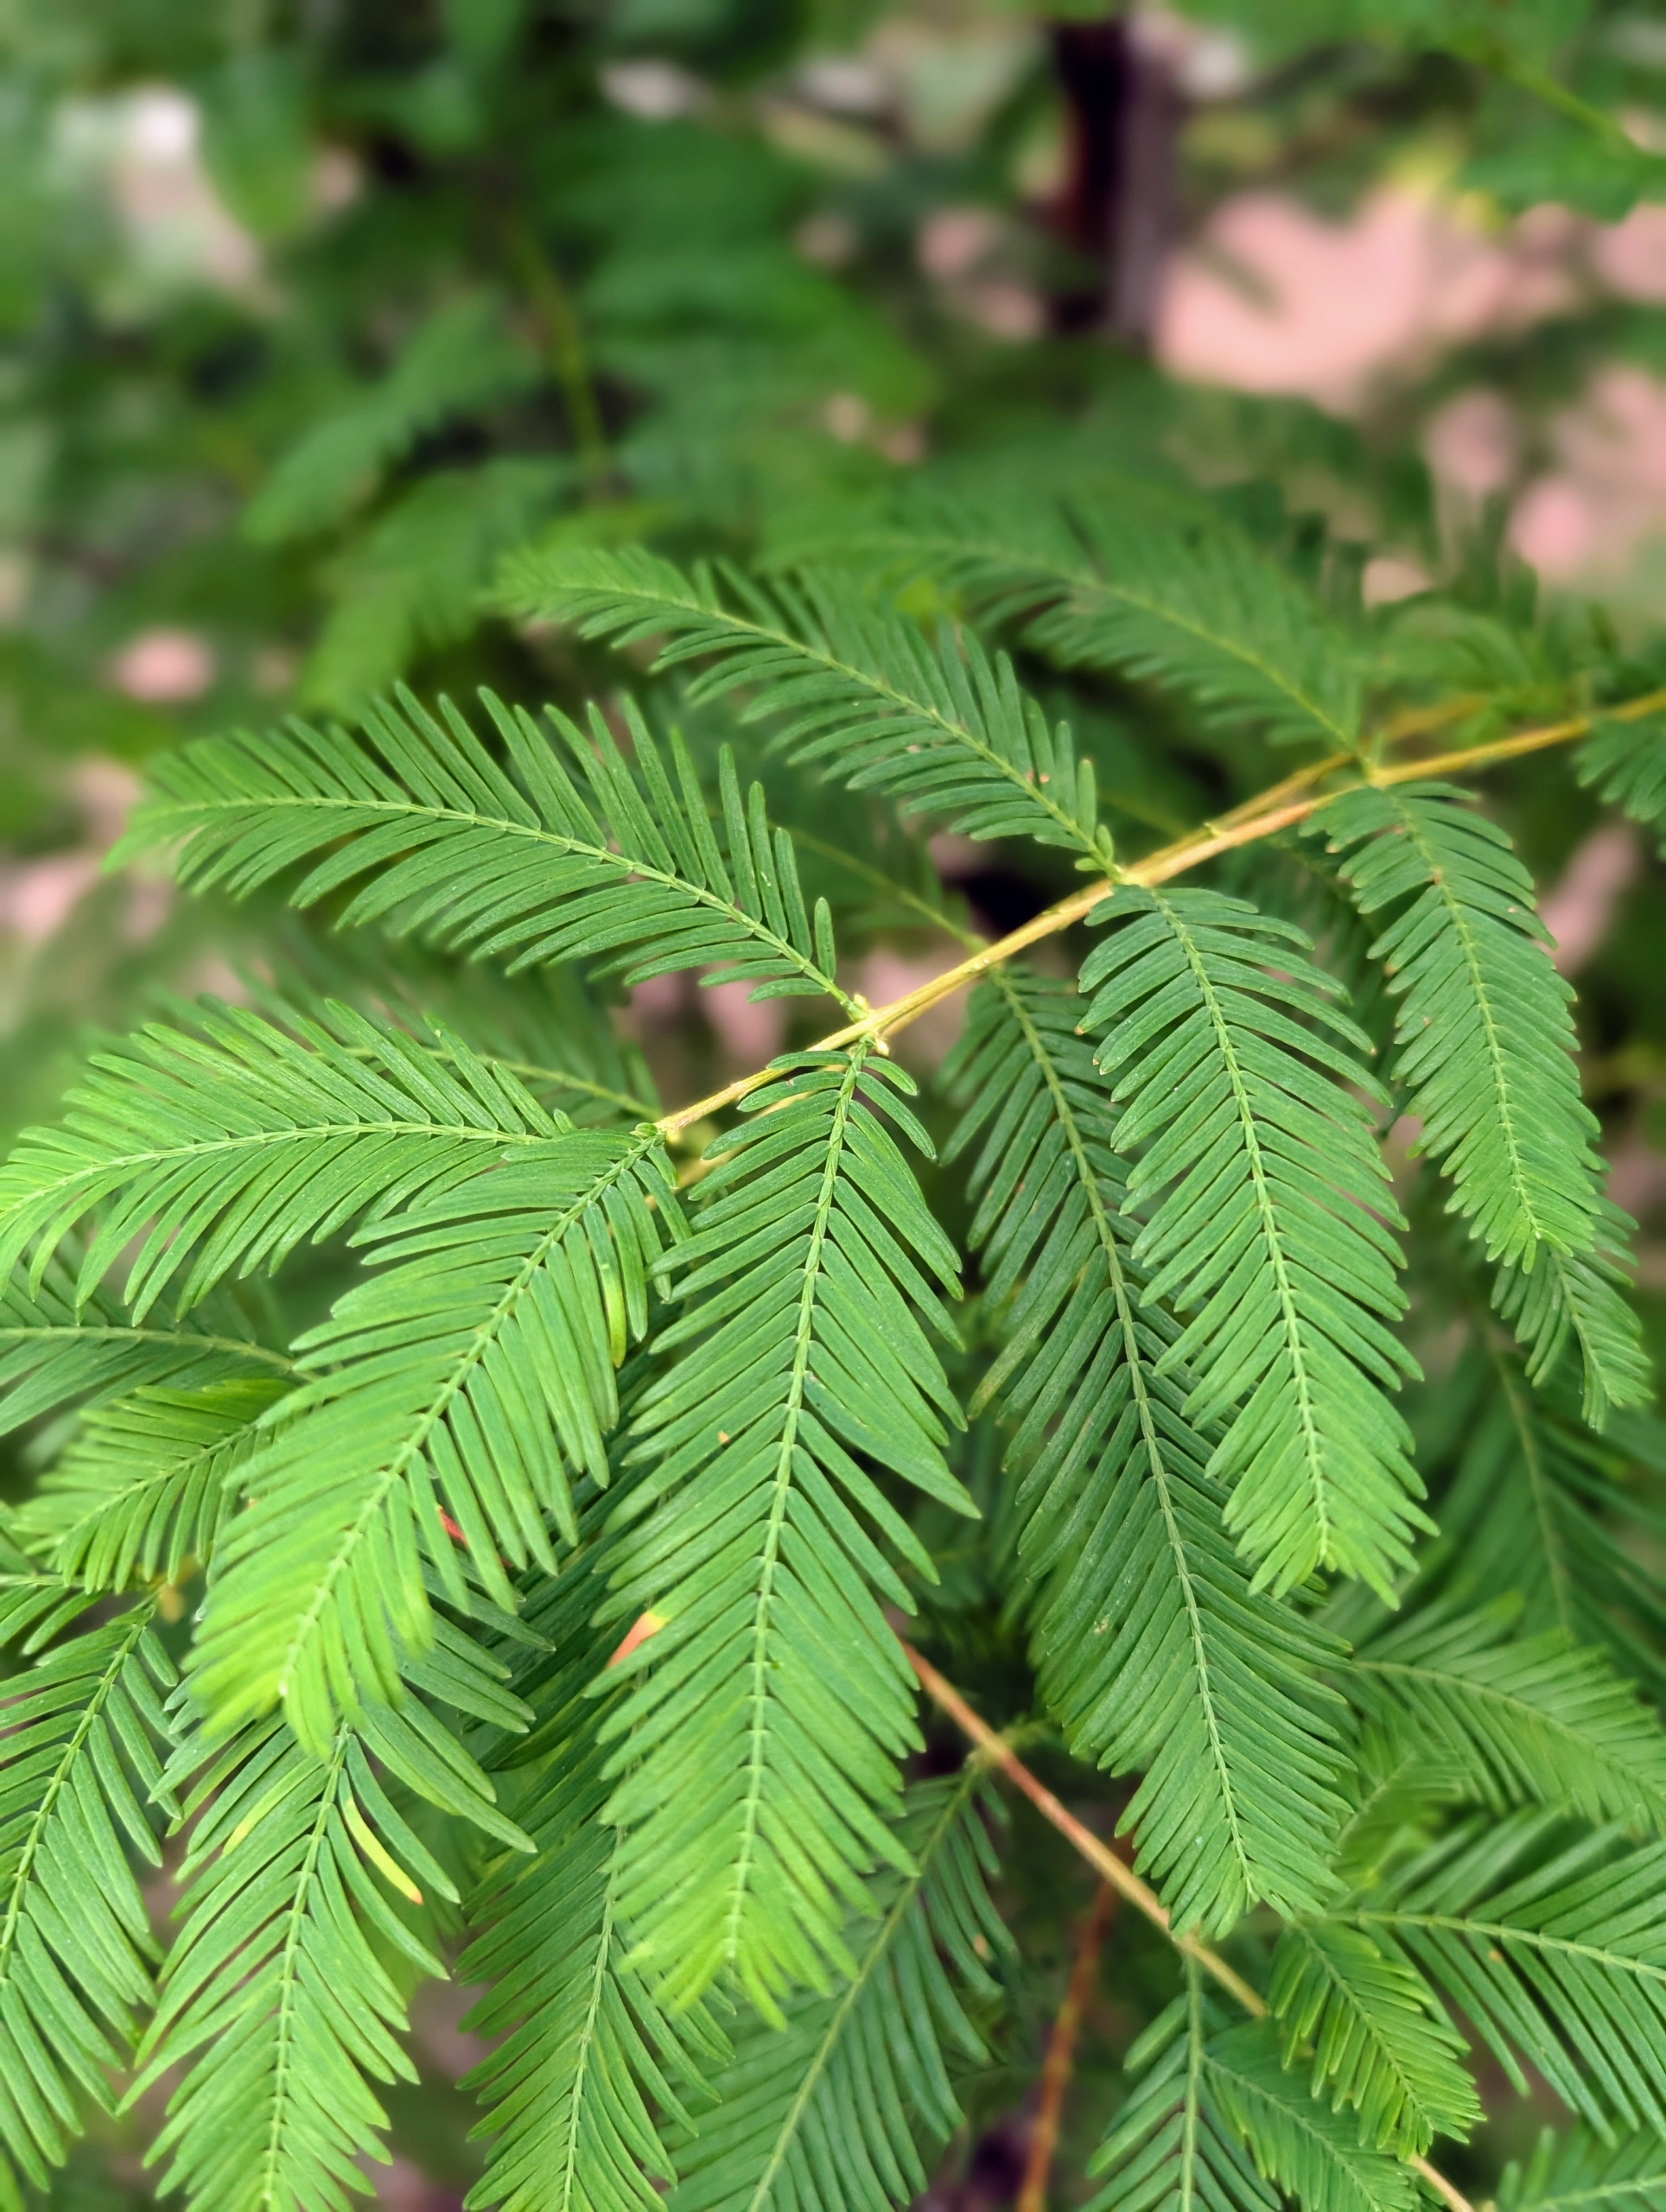
Perhaps you recognize this one – a dawn redwood, Metasequoia Glyptostroboides. I have planted plenty of these trees around my farm. This one was just planted here earlier this year.
The dawn redwood has feathery, fine-textured needles that are opposite each other and approximately a half-inch long. Don’t confuse them with the bald cypress needles, which grow alternately. These dawn redwood needles will turn shades of red and brown before falling – it is one of the few deciduous conifers.
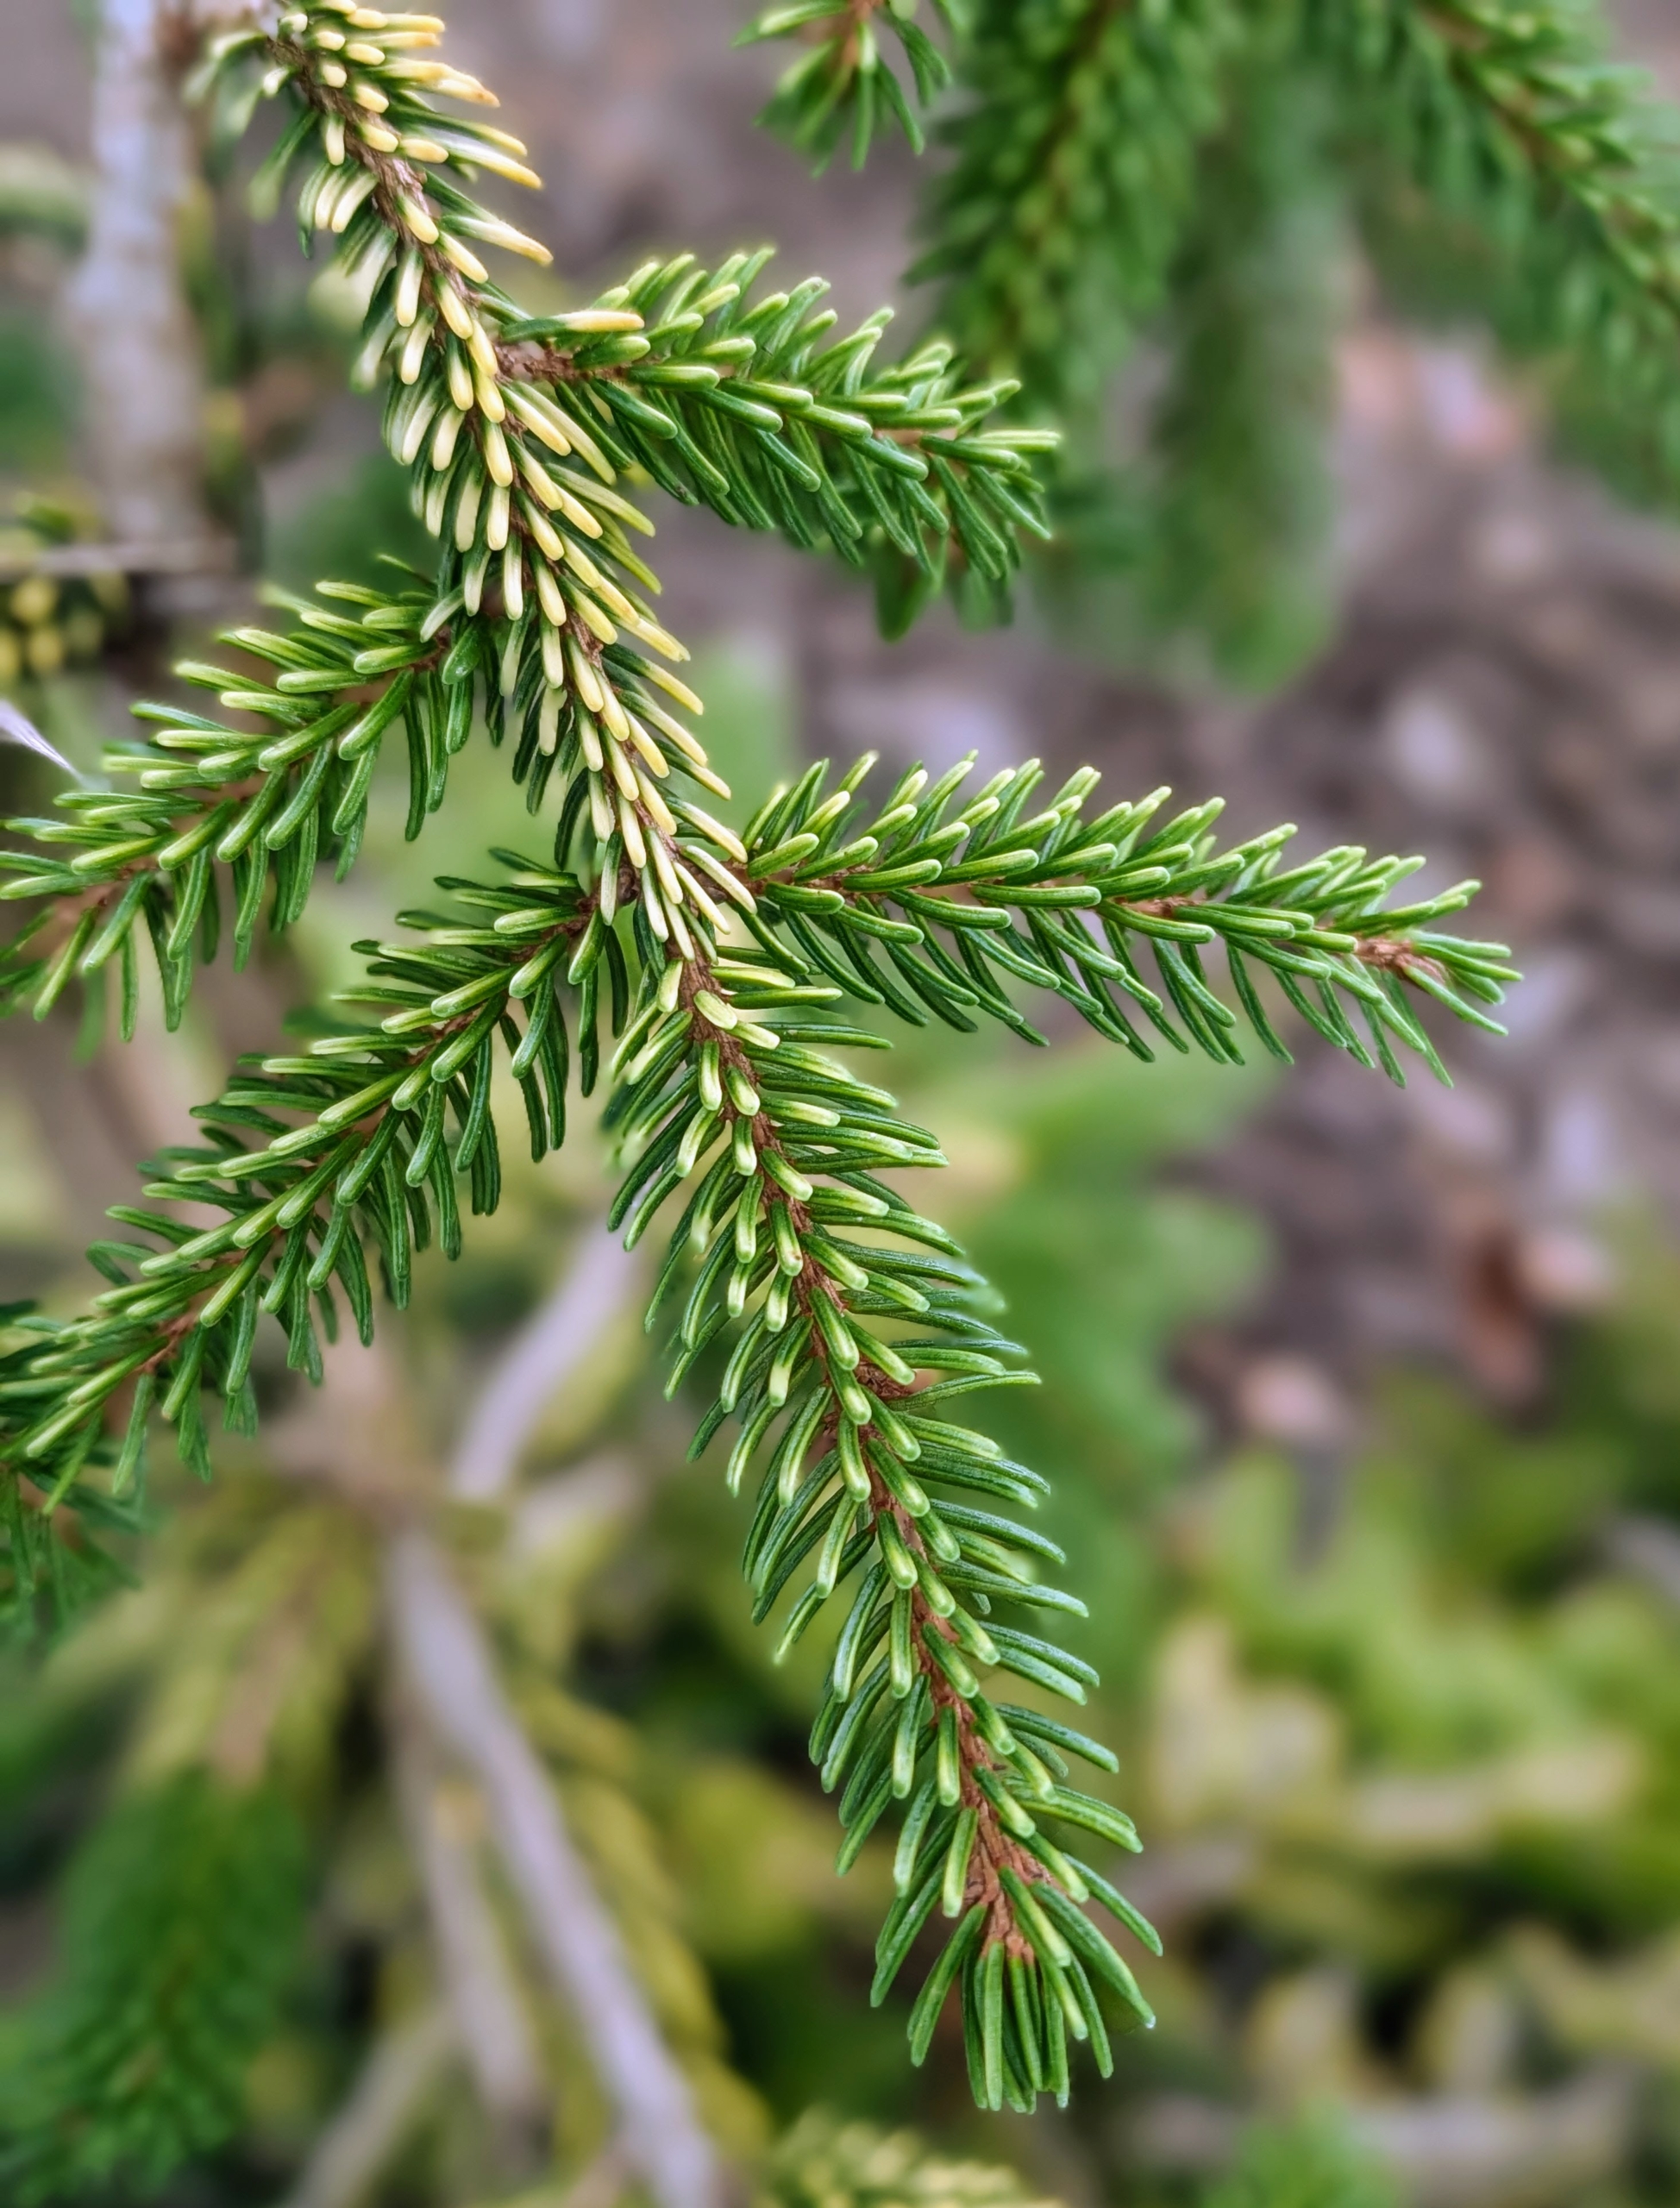
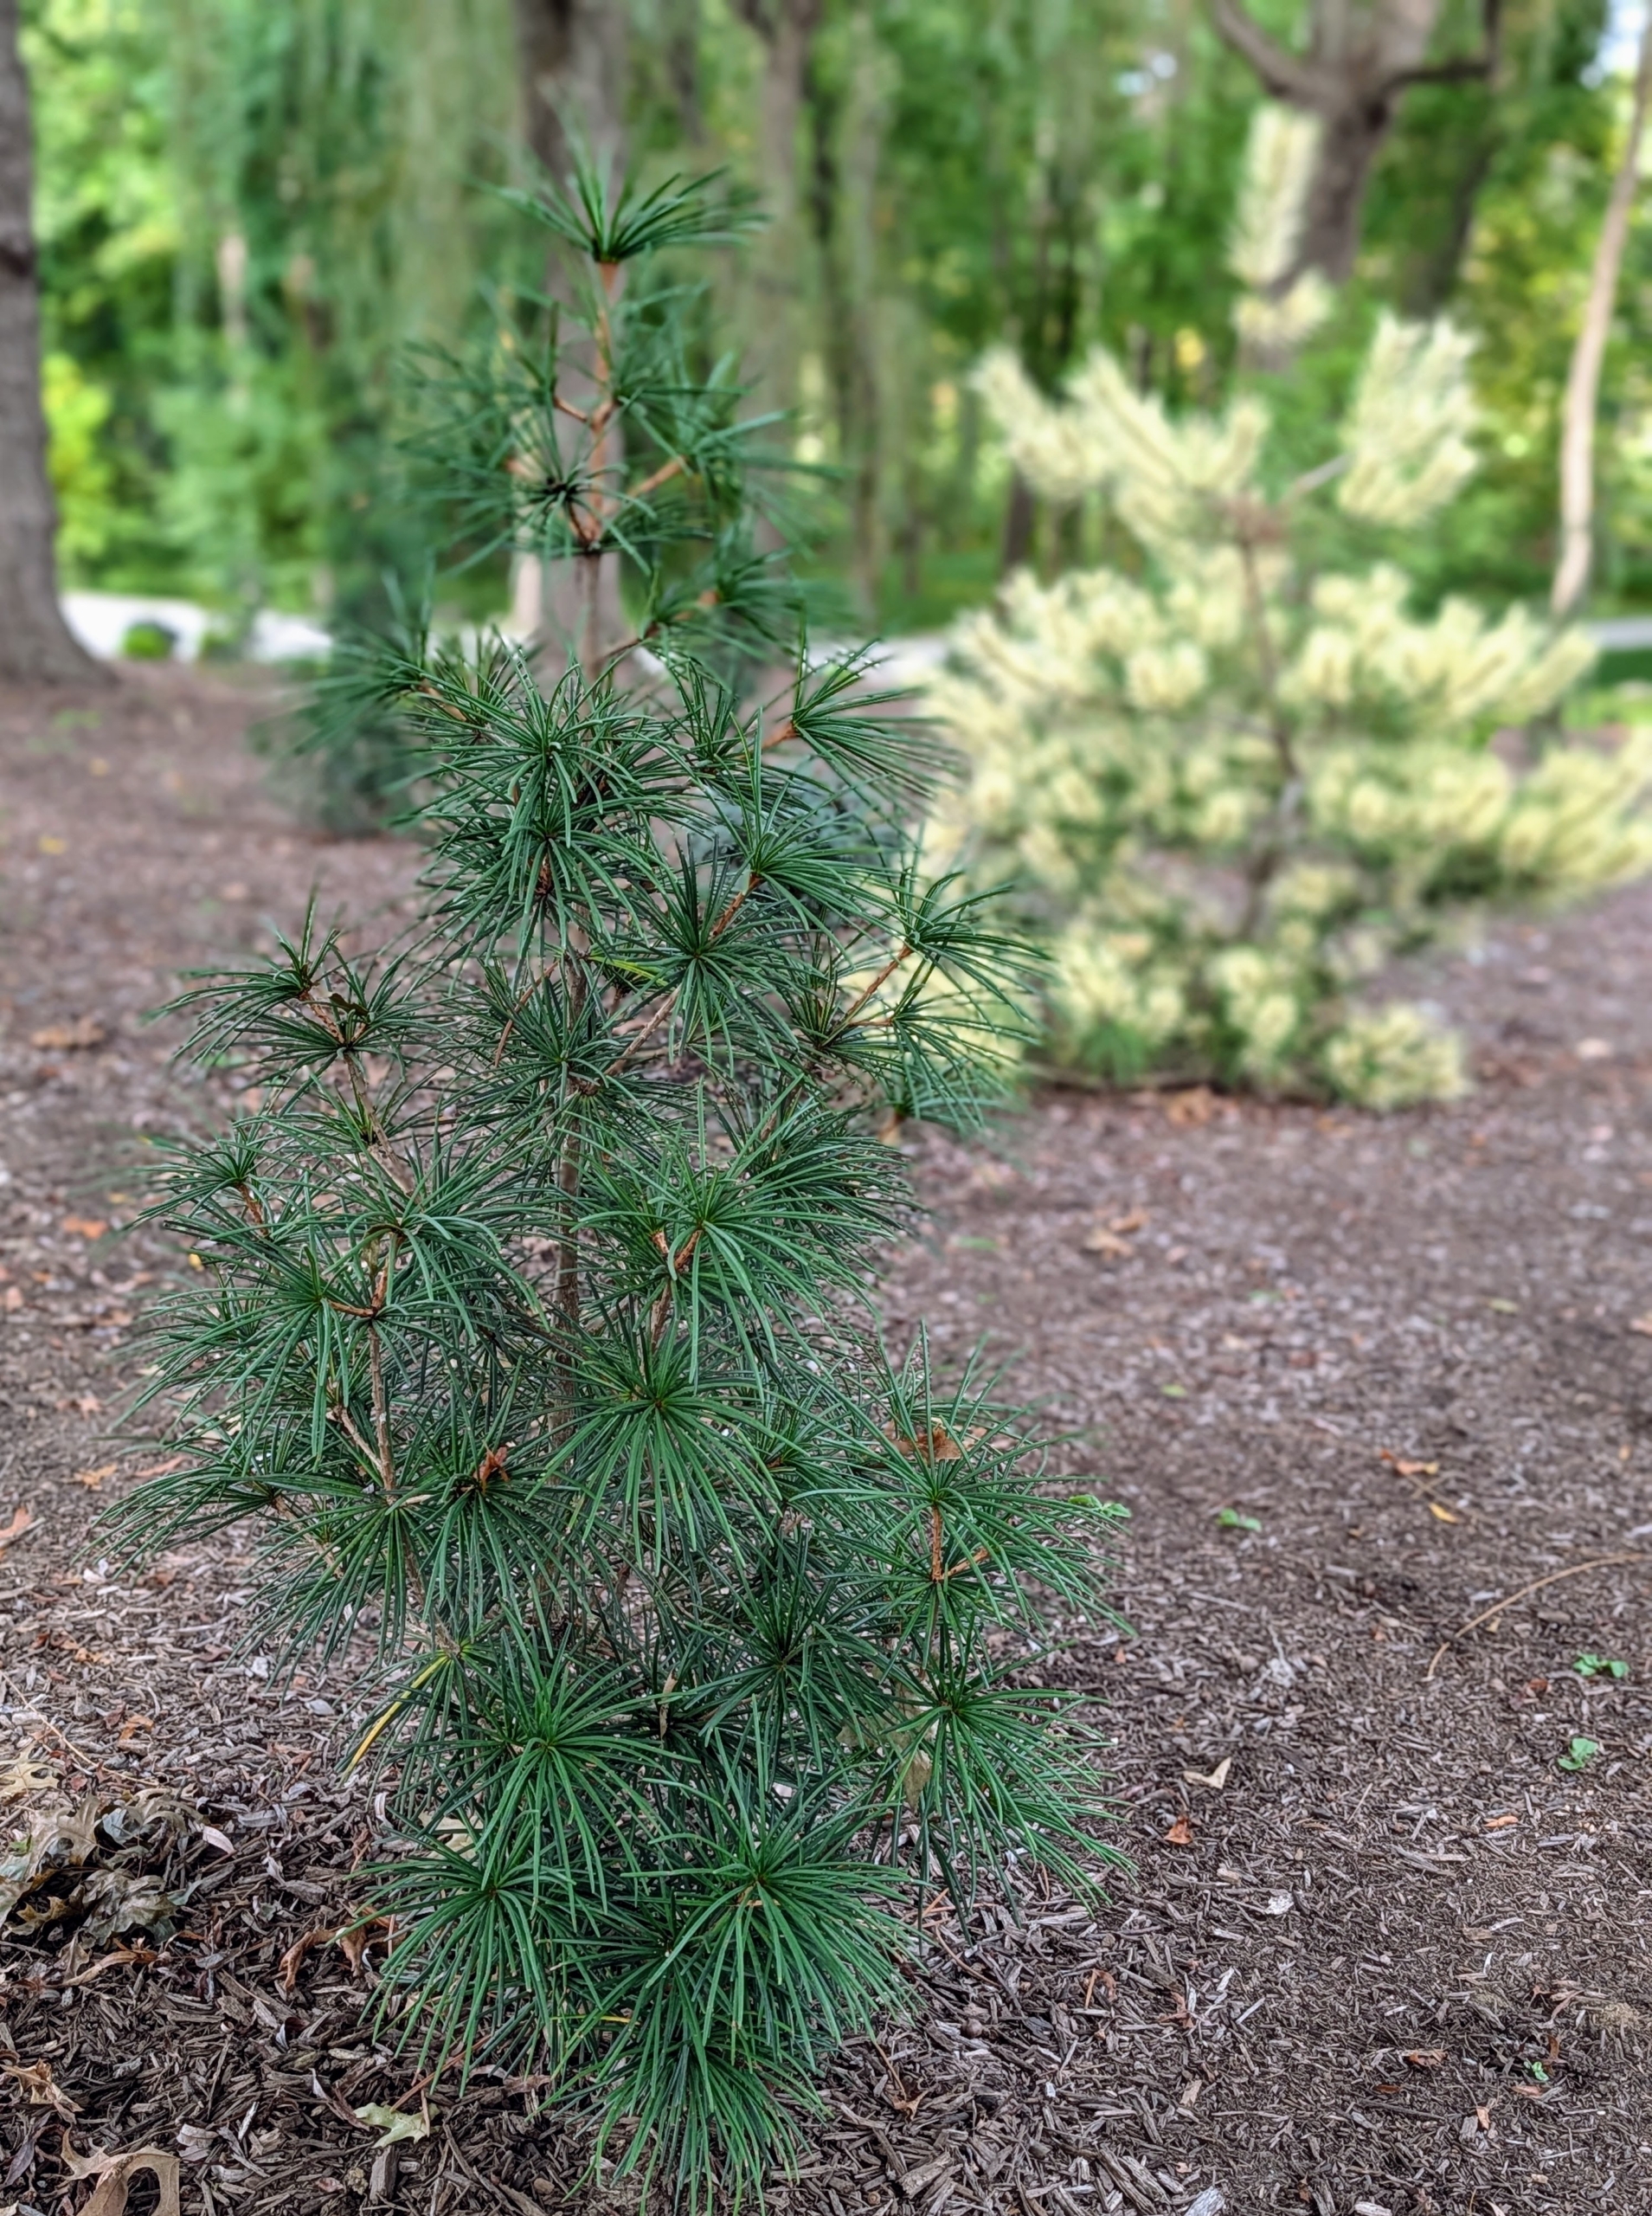
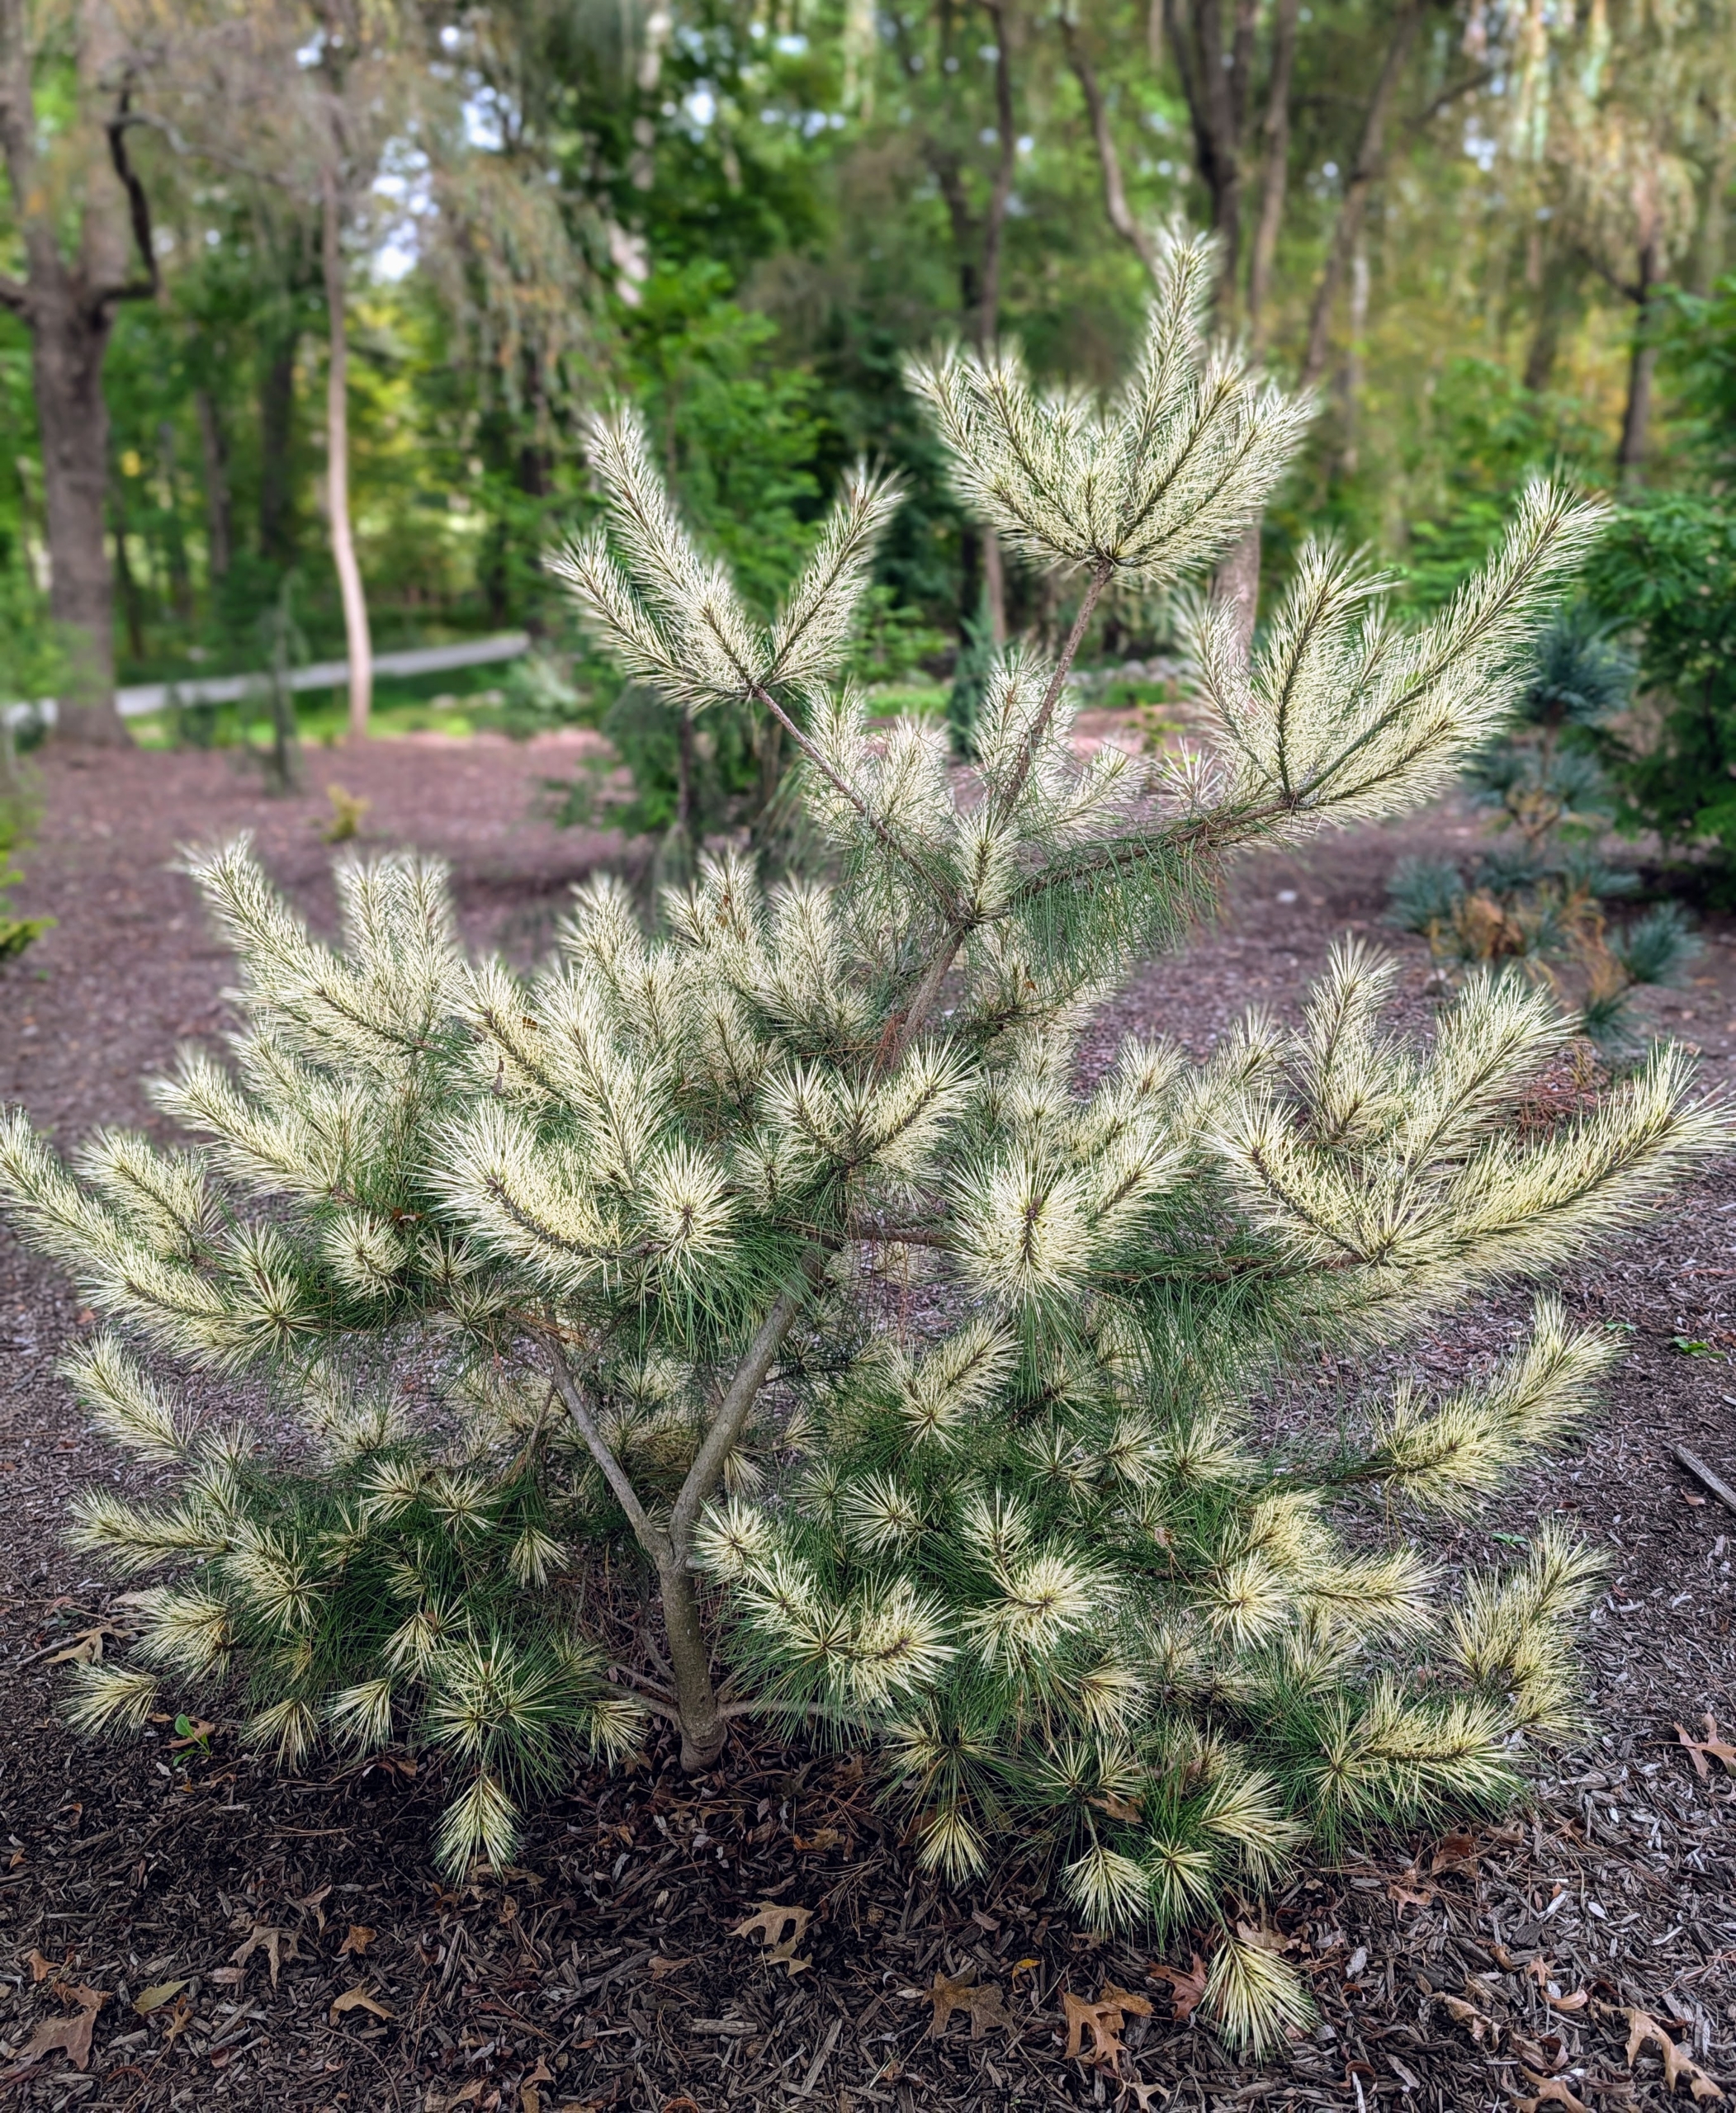
Other trees growing here include this dwarf white pine tree. If you’re not sure how to tell some of these popular trees apart, here are some key tips: pines have needles that are arranged and attached to the branches in clusters of two, three or five. Spruce and fir trees have needles attached individually to the branches.
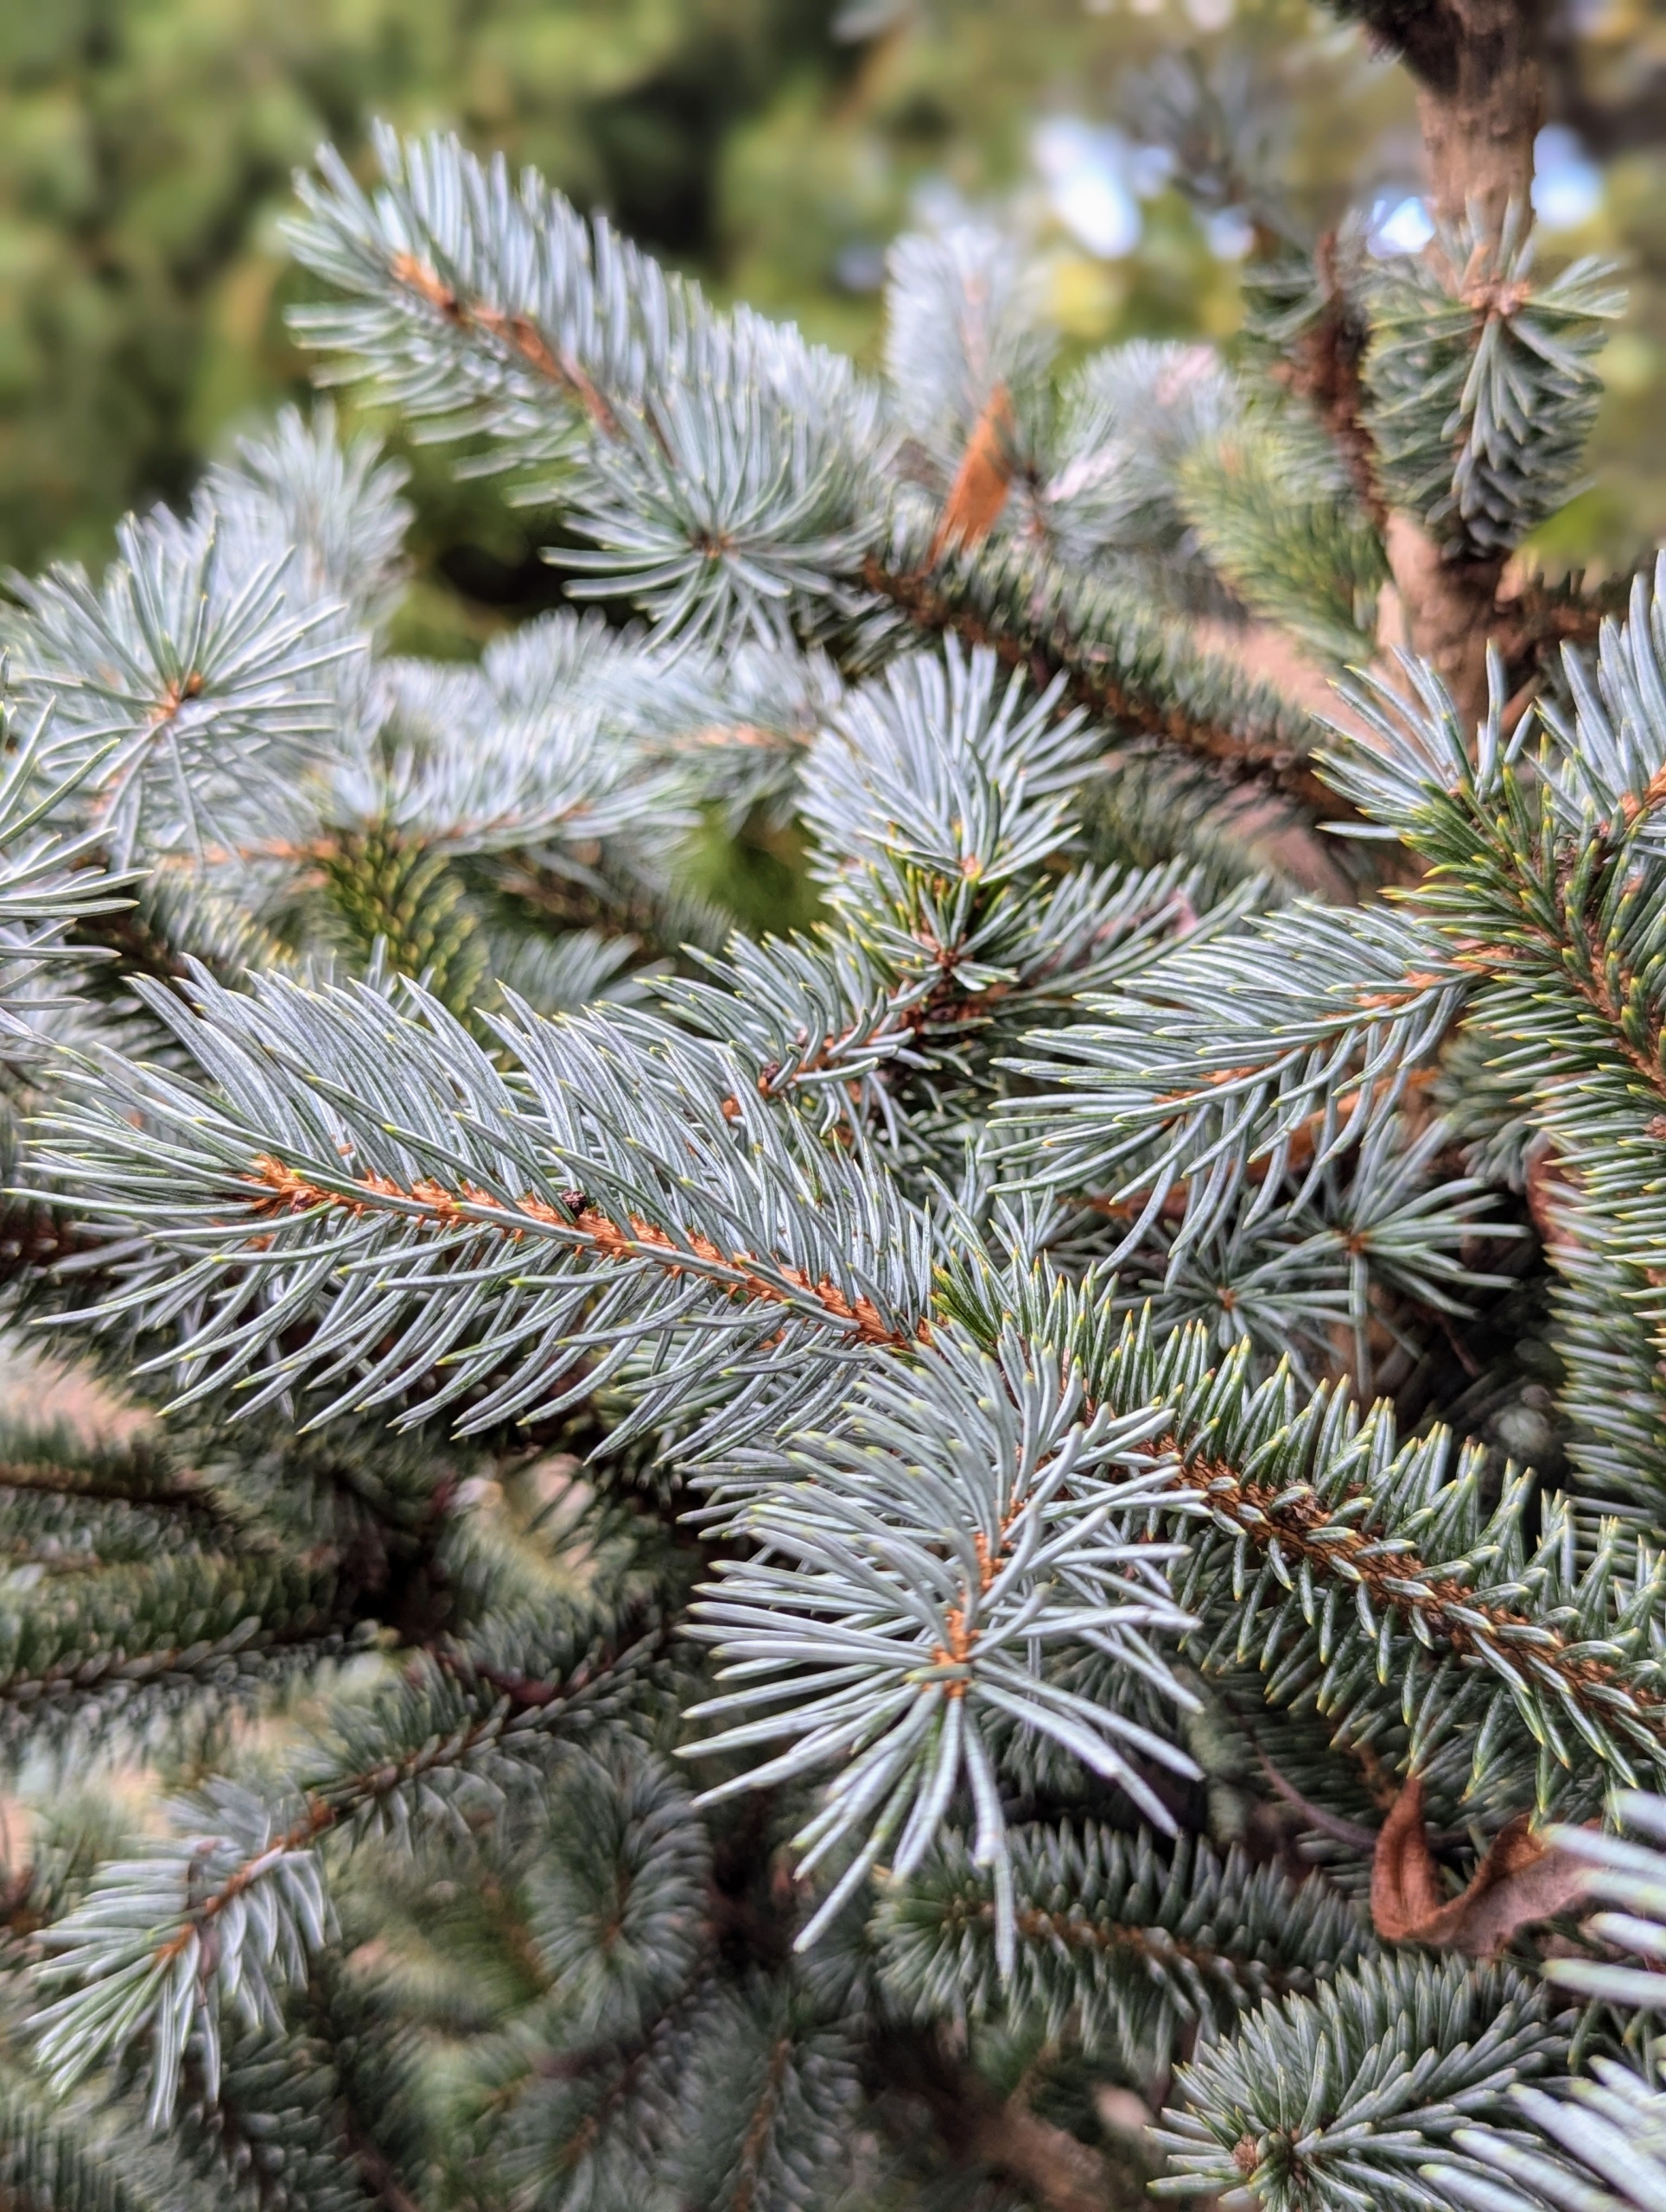
This is a baby blue spruce, Picea pungens ‘Baby Blue.’ This dwarf blue spruce tree stays under 25 feet.
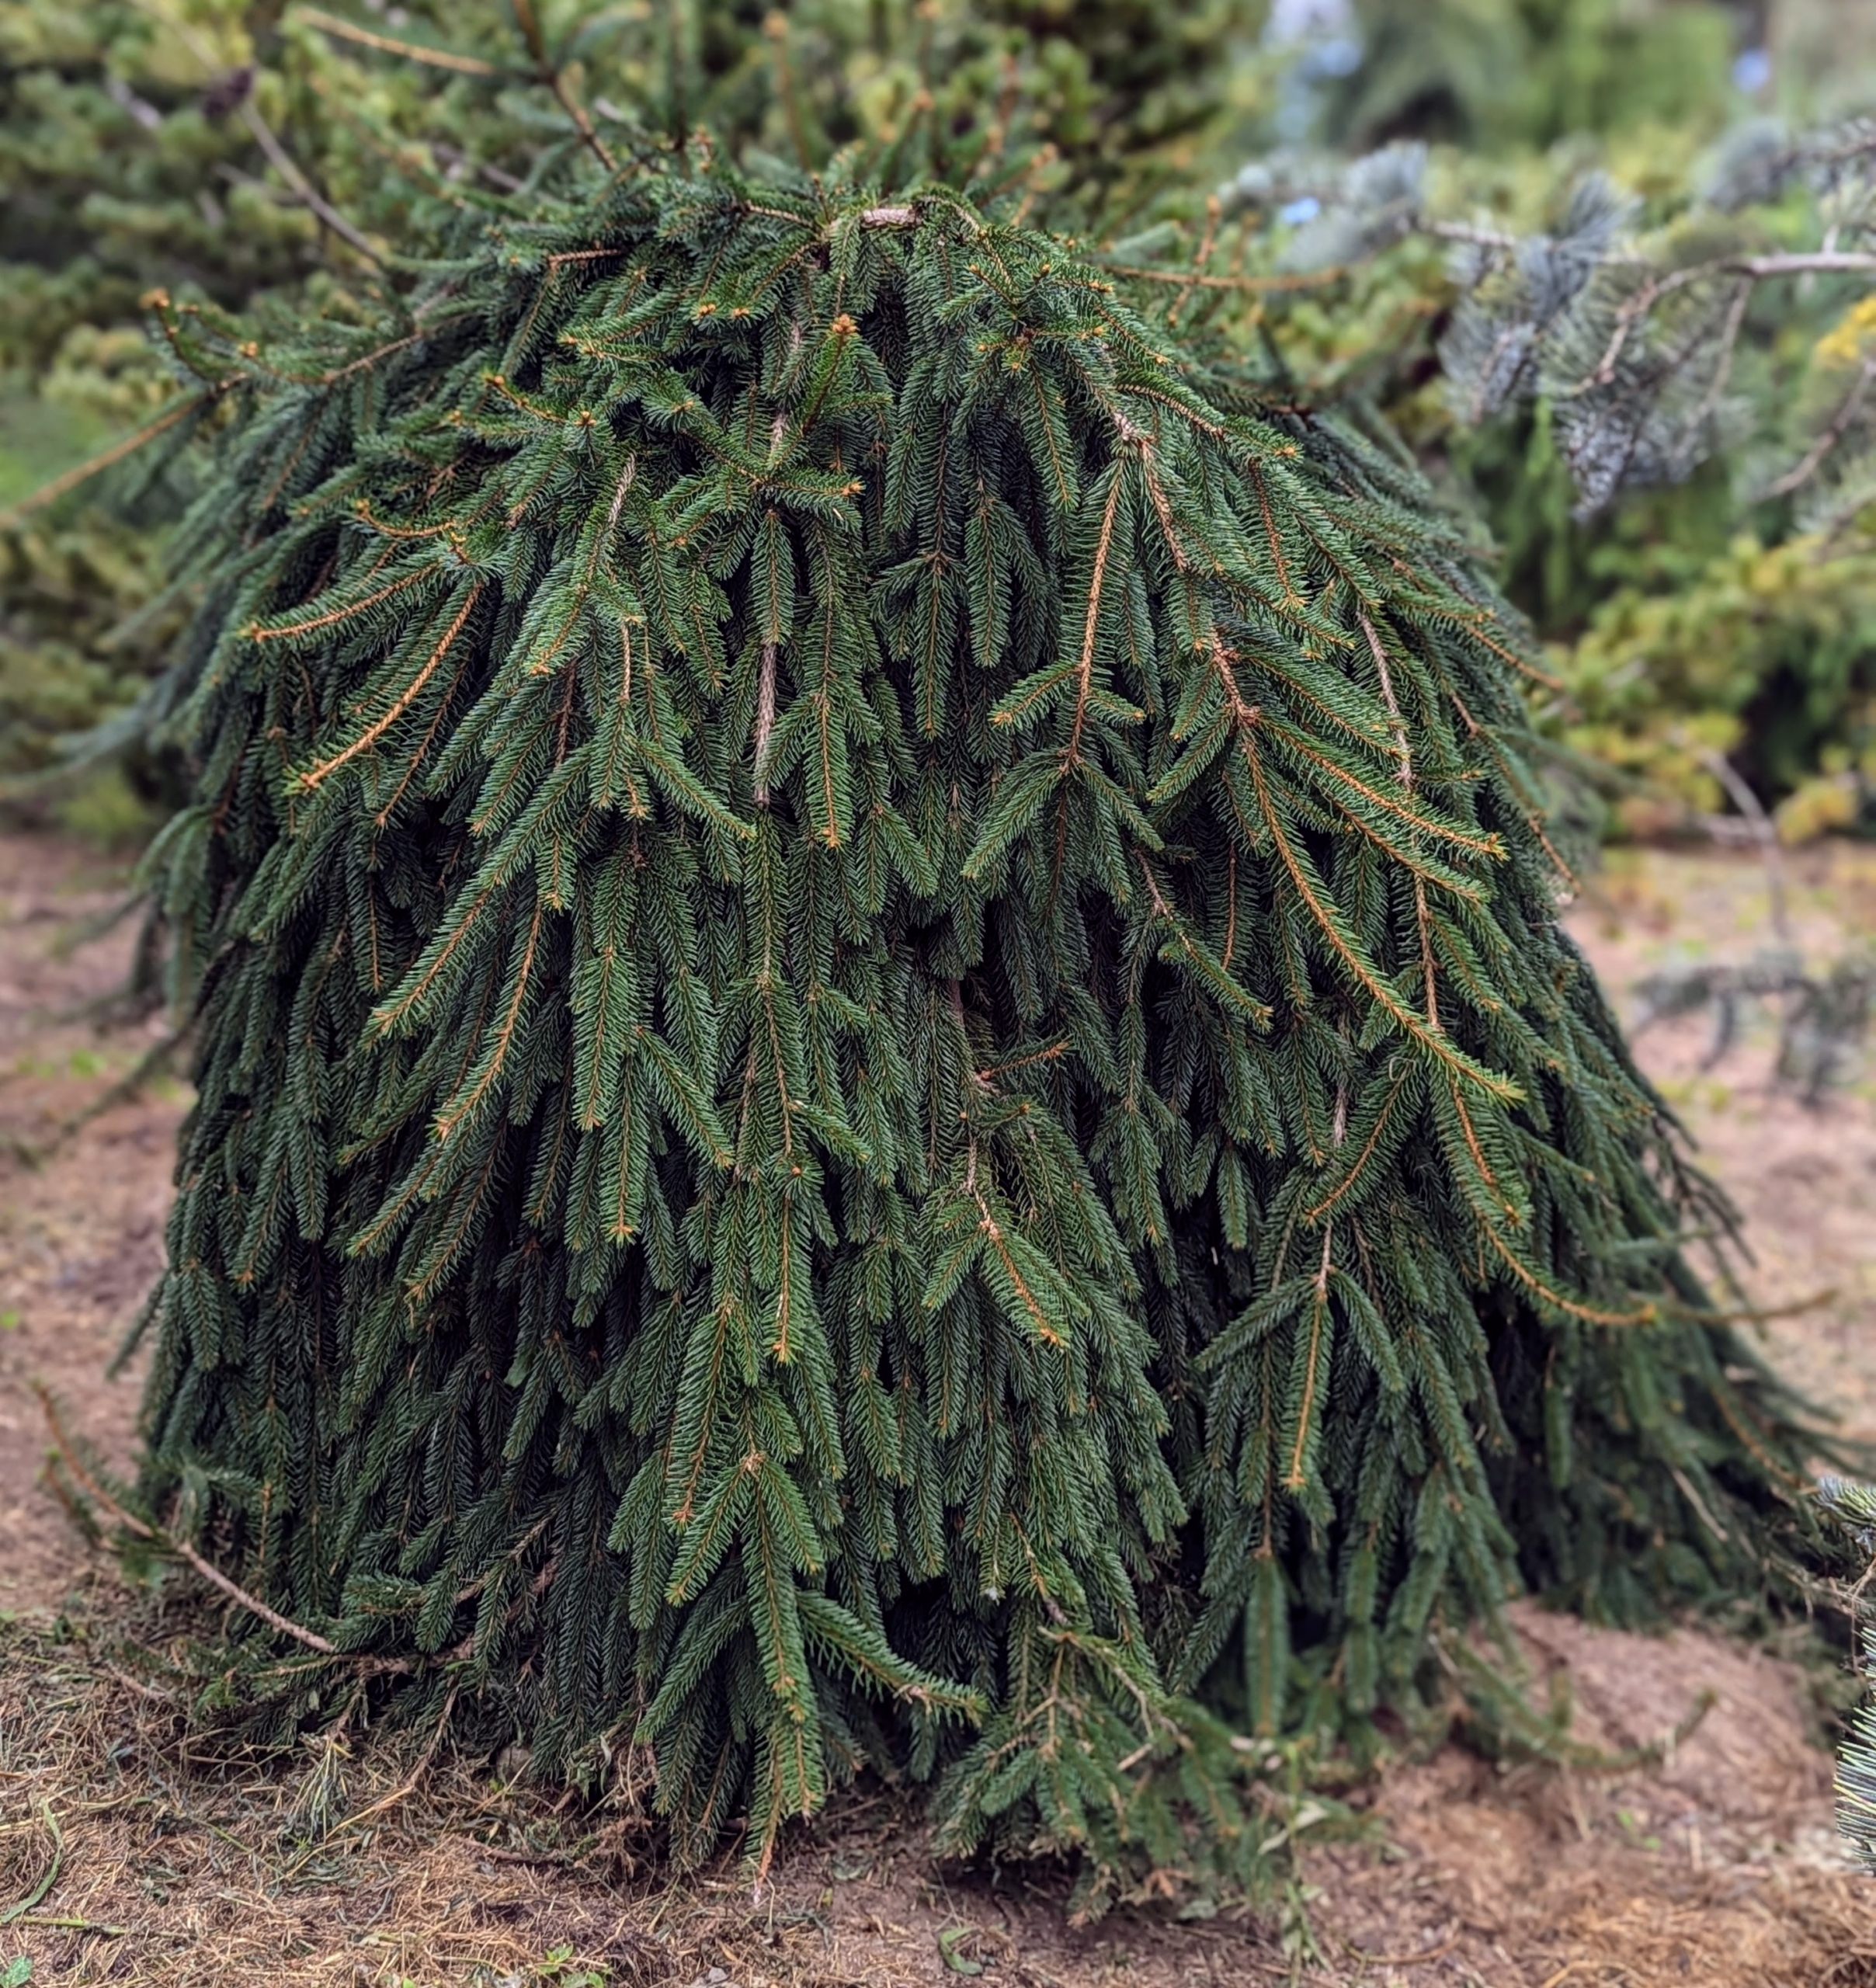
Picea abies ‘Pendula’ describes the weeping forms of Norway spruce. The Norway spruce or European spruce is a species of spruce native to Northern, Central, and Eastern Europe. Its uniquely trained form adds so much interest in this pinetum.
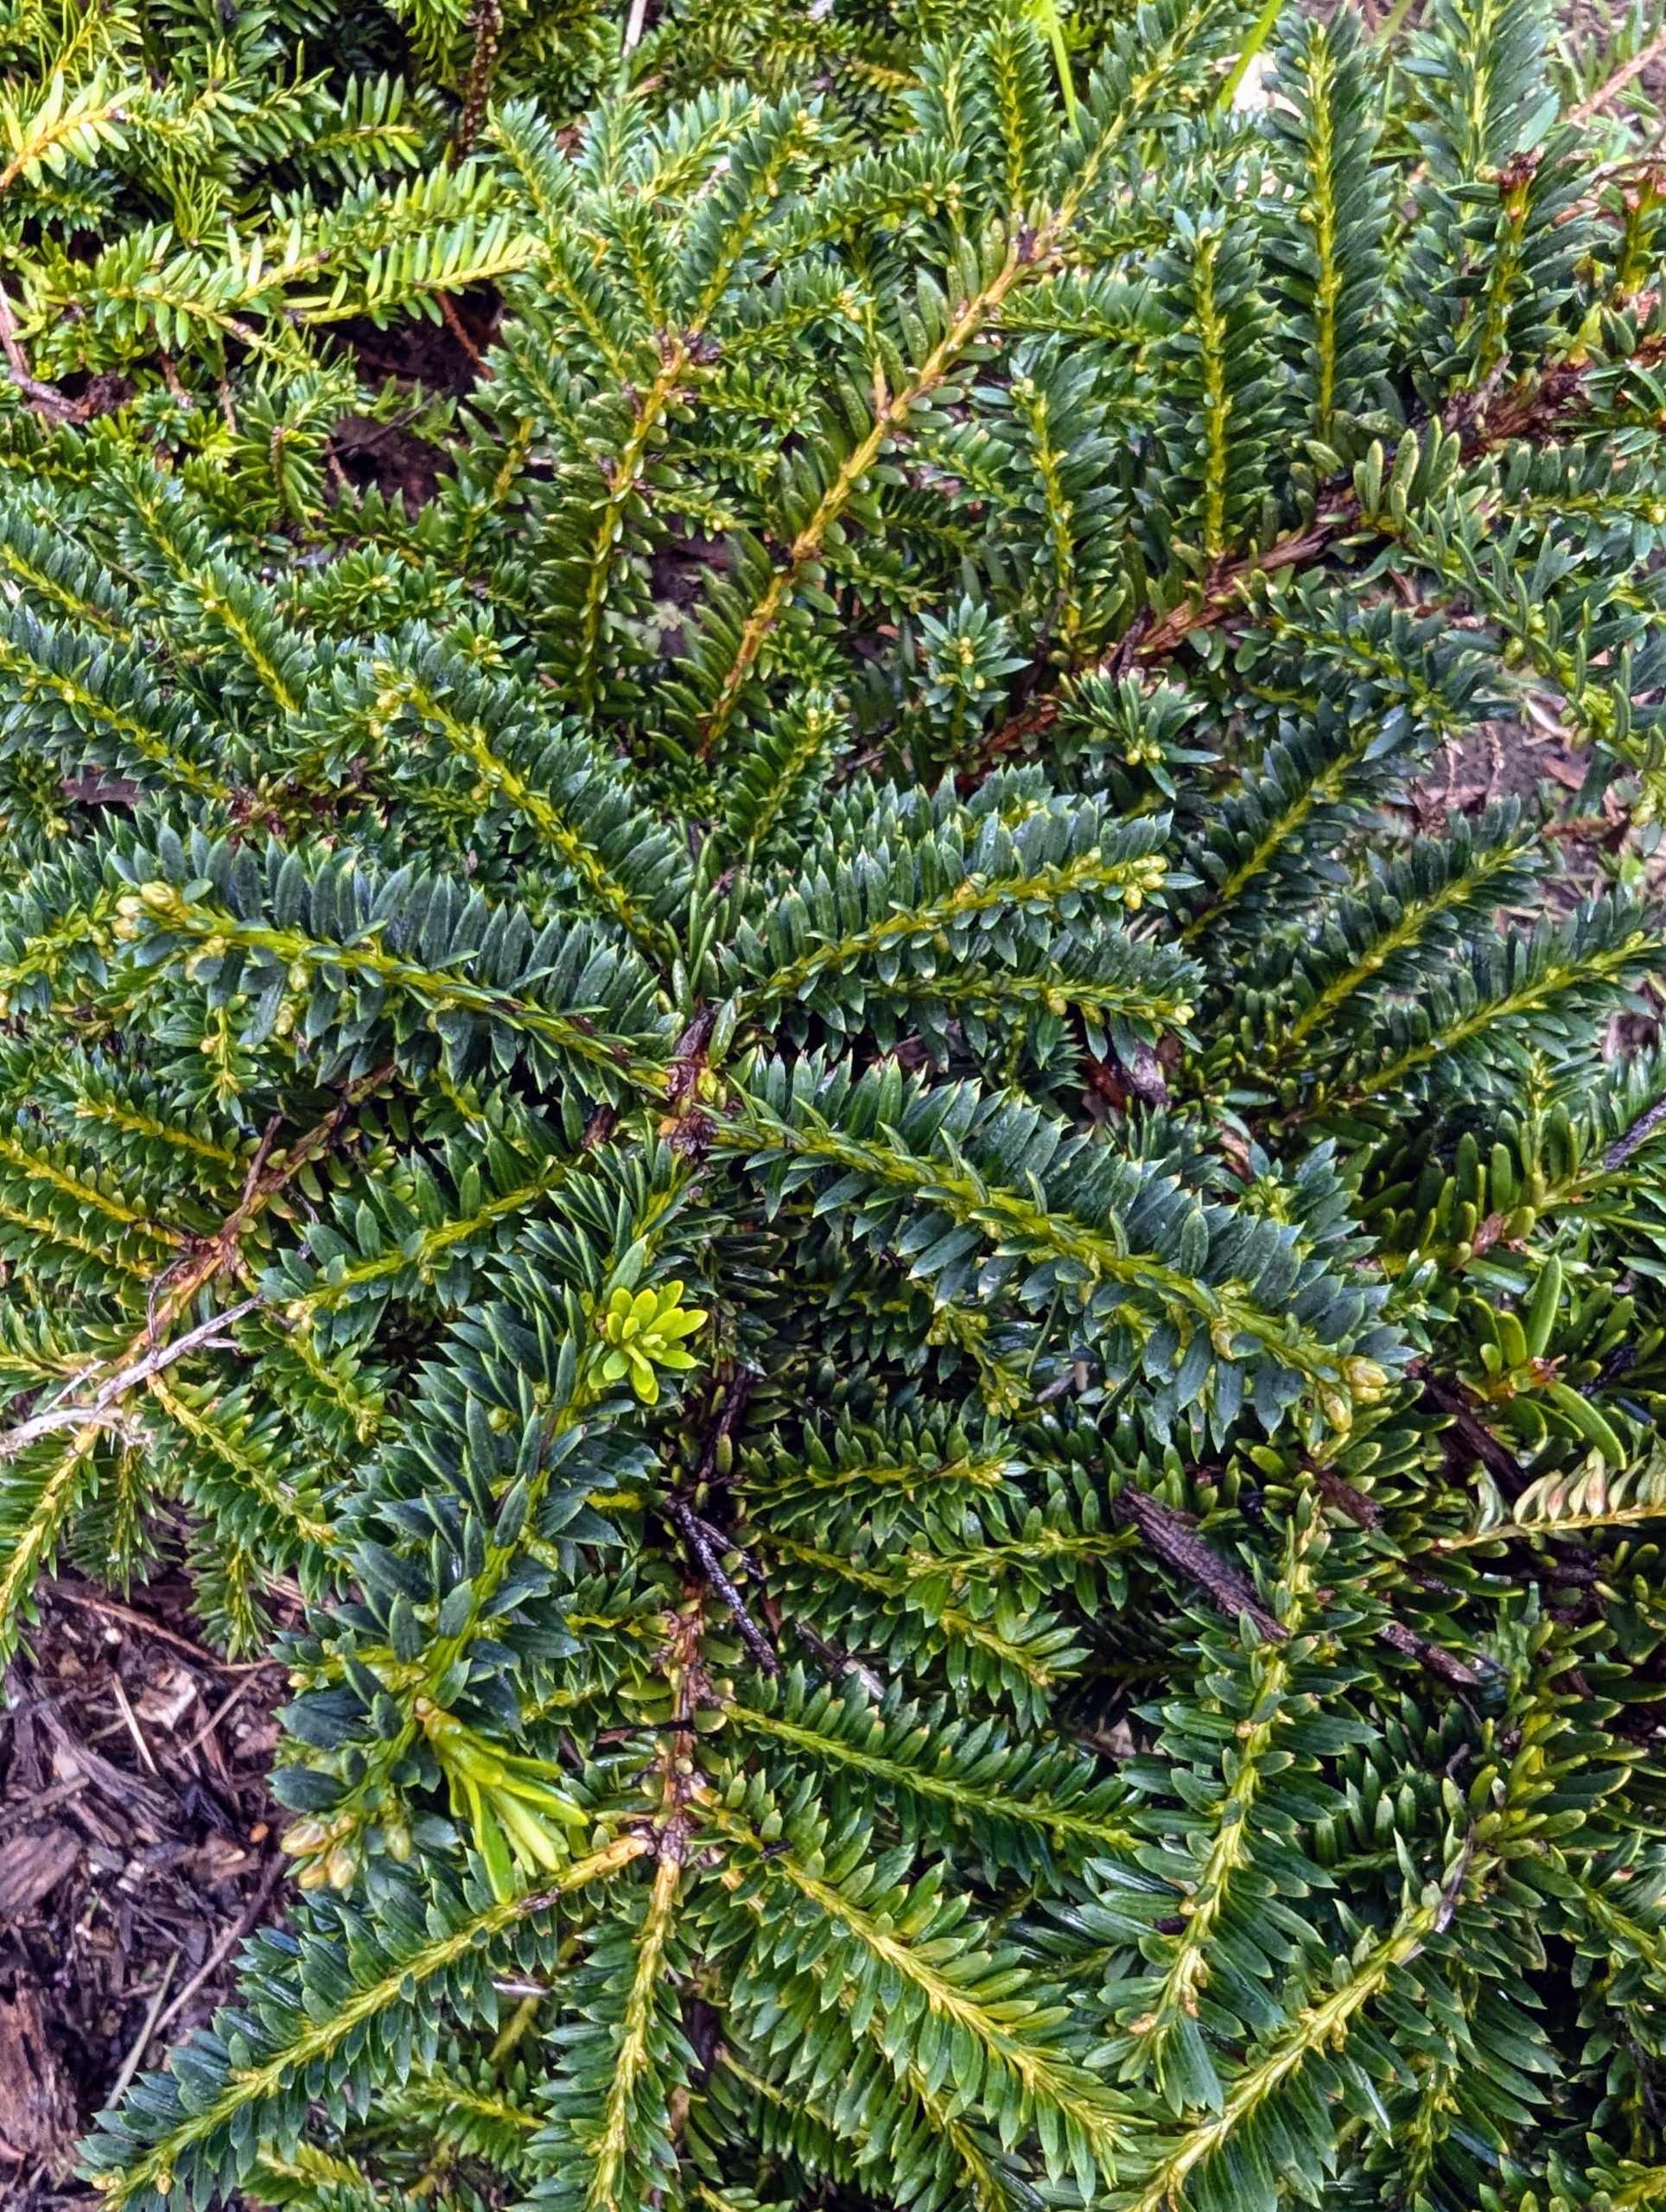
These are the branches of a Japanese Yew, Emerald Spreader, a cold hardy, evergreen shrub that is strong, sturdy, and retains its green color even in winter.
These branches are from a Cedrus deodara ‘Wells Golden’ – a true cedar with rich, golden color, which is beautiful in winter.
I add more specimens to this collection every year – some are very rare and slow growing, but I love the variety of plantings I’ve amassed. This past spring I began developing this area of the pinetum, adding more interesting specimens.
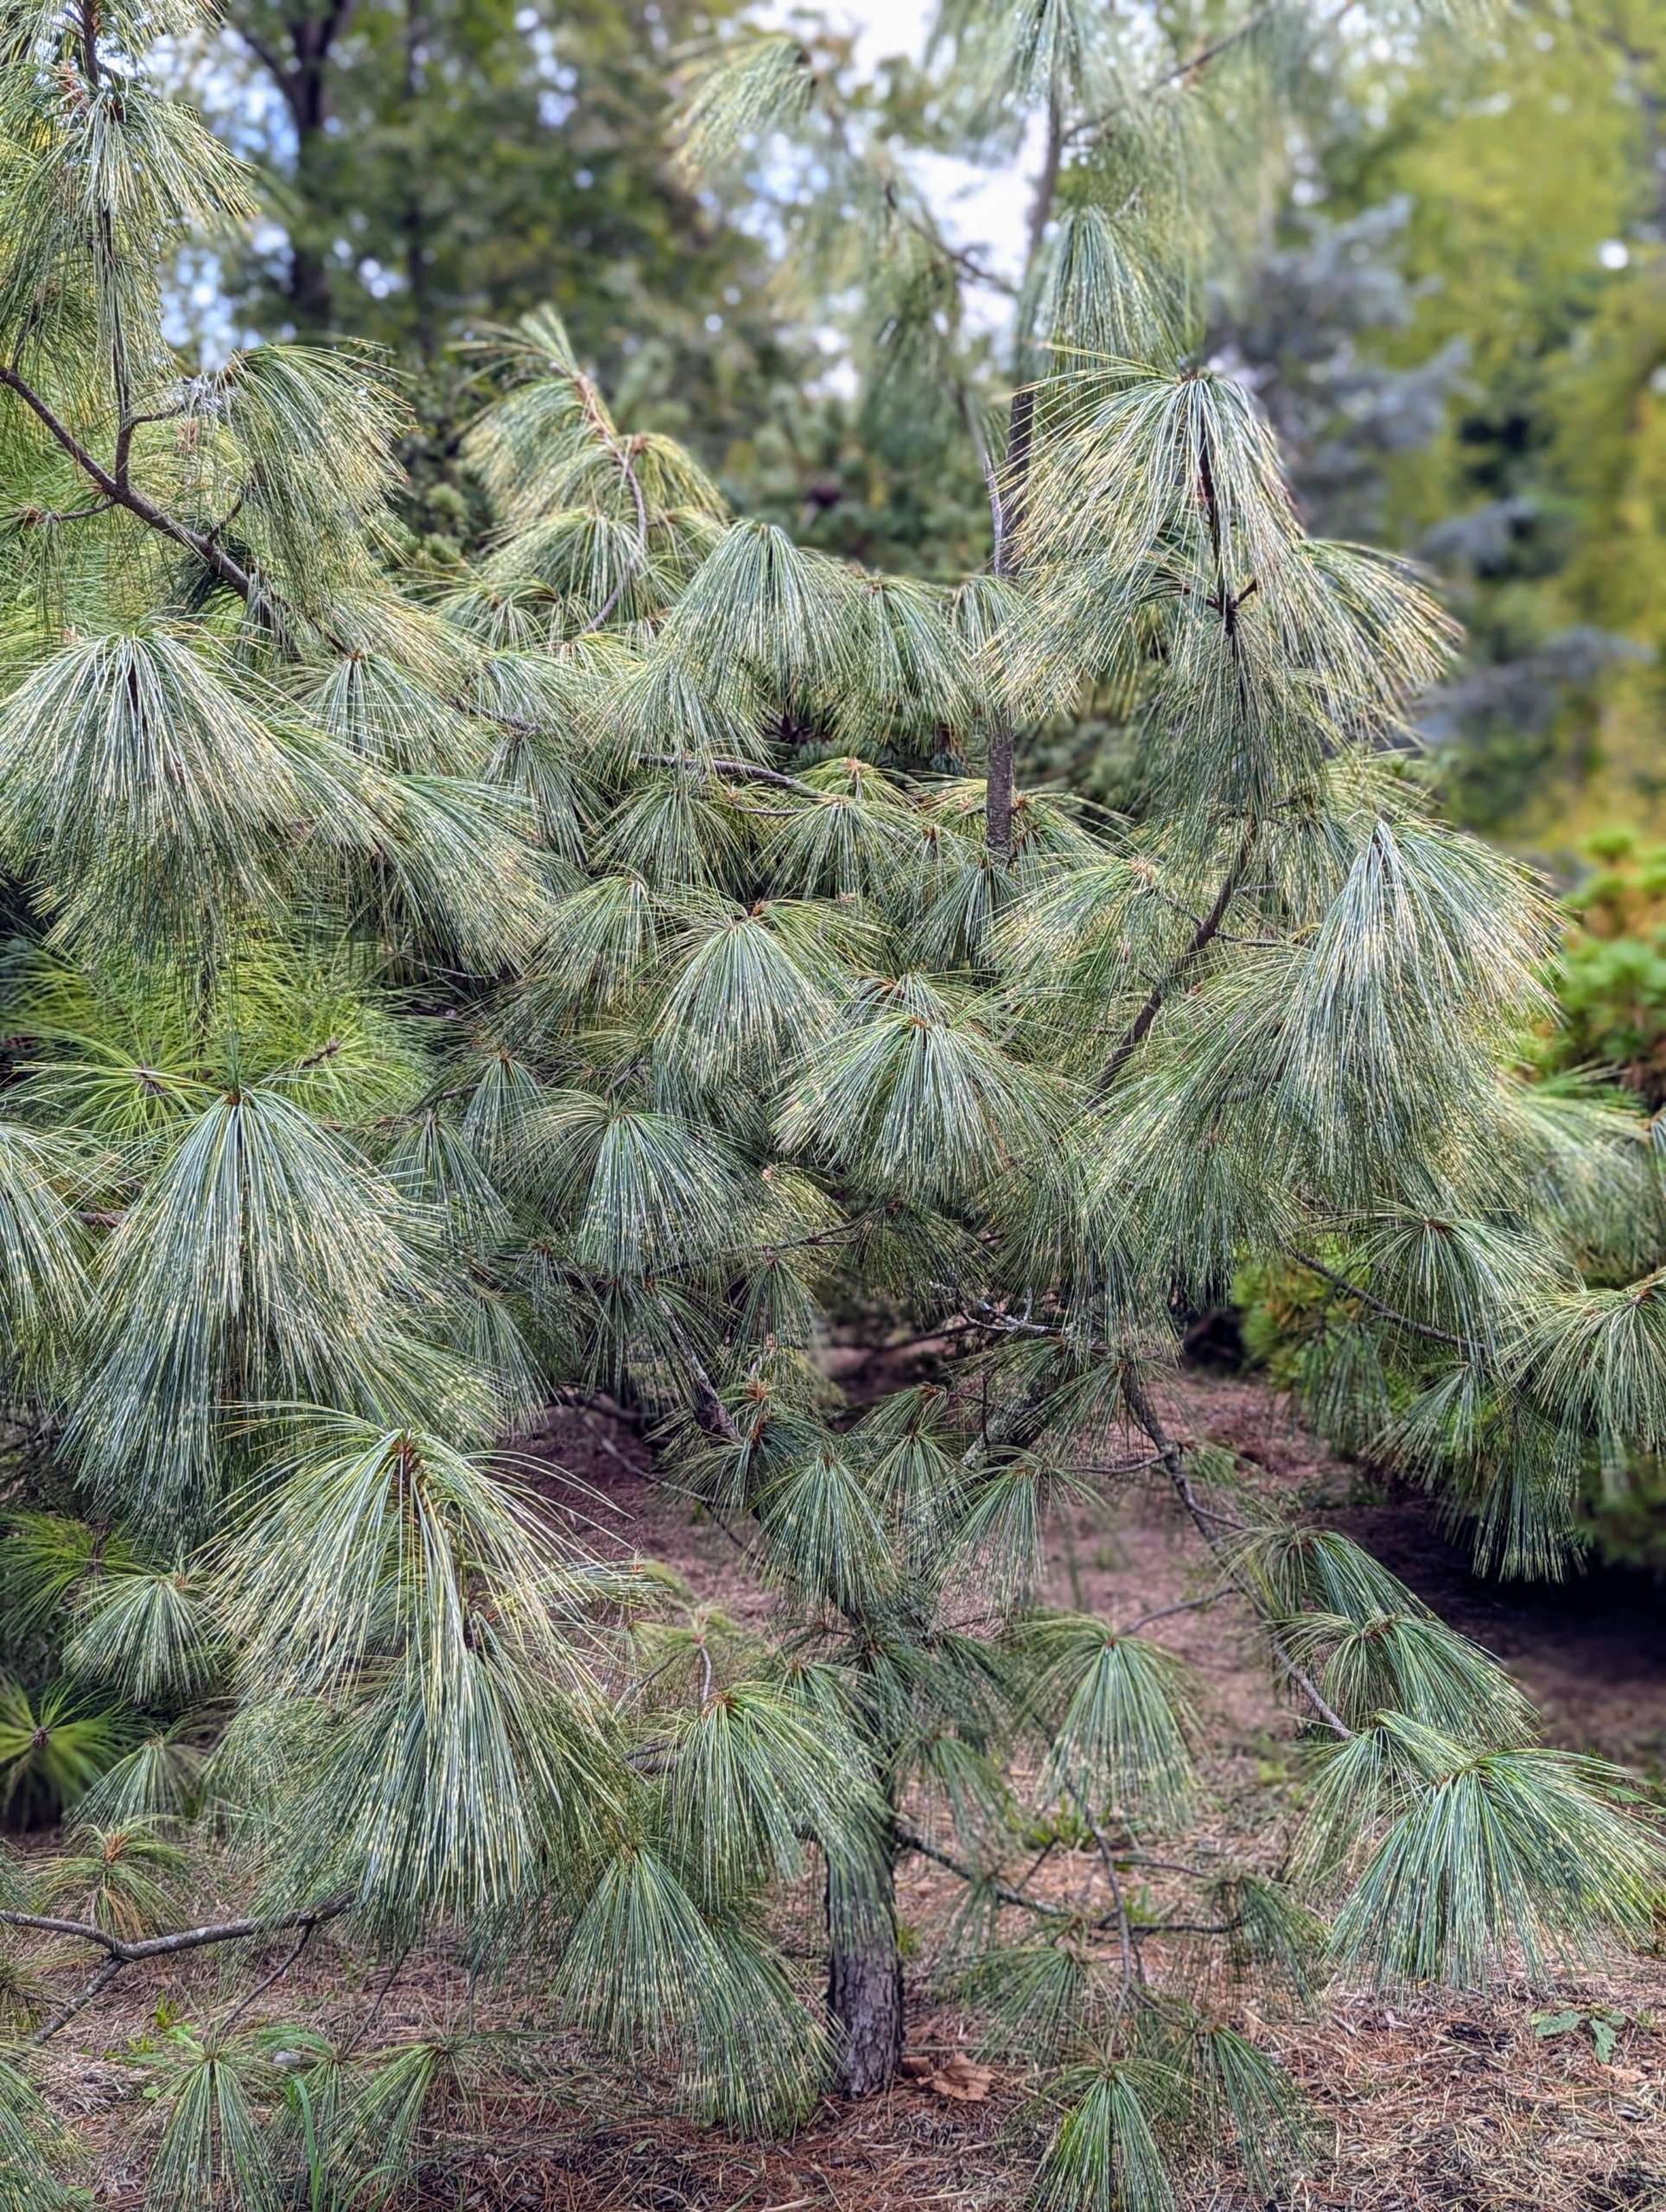
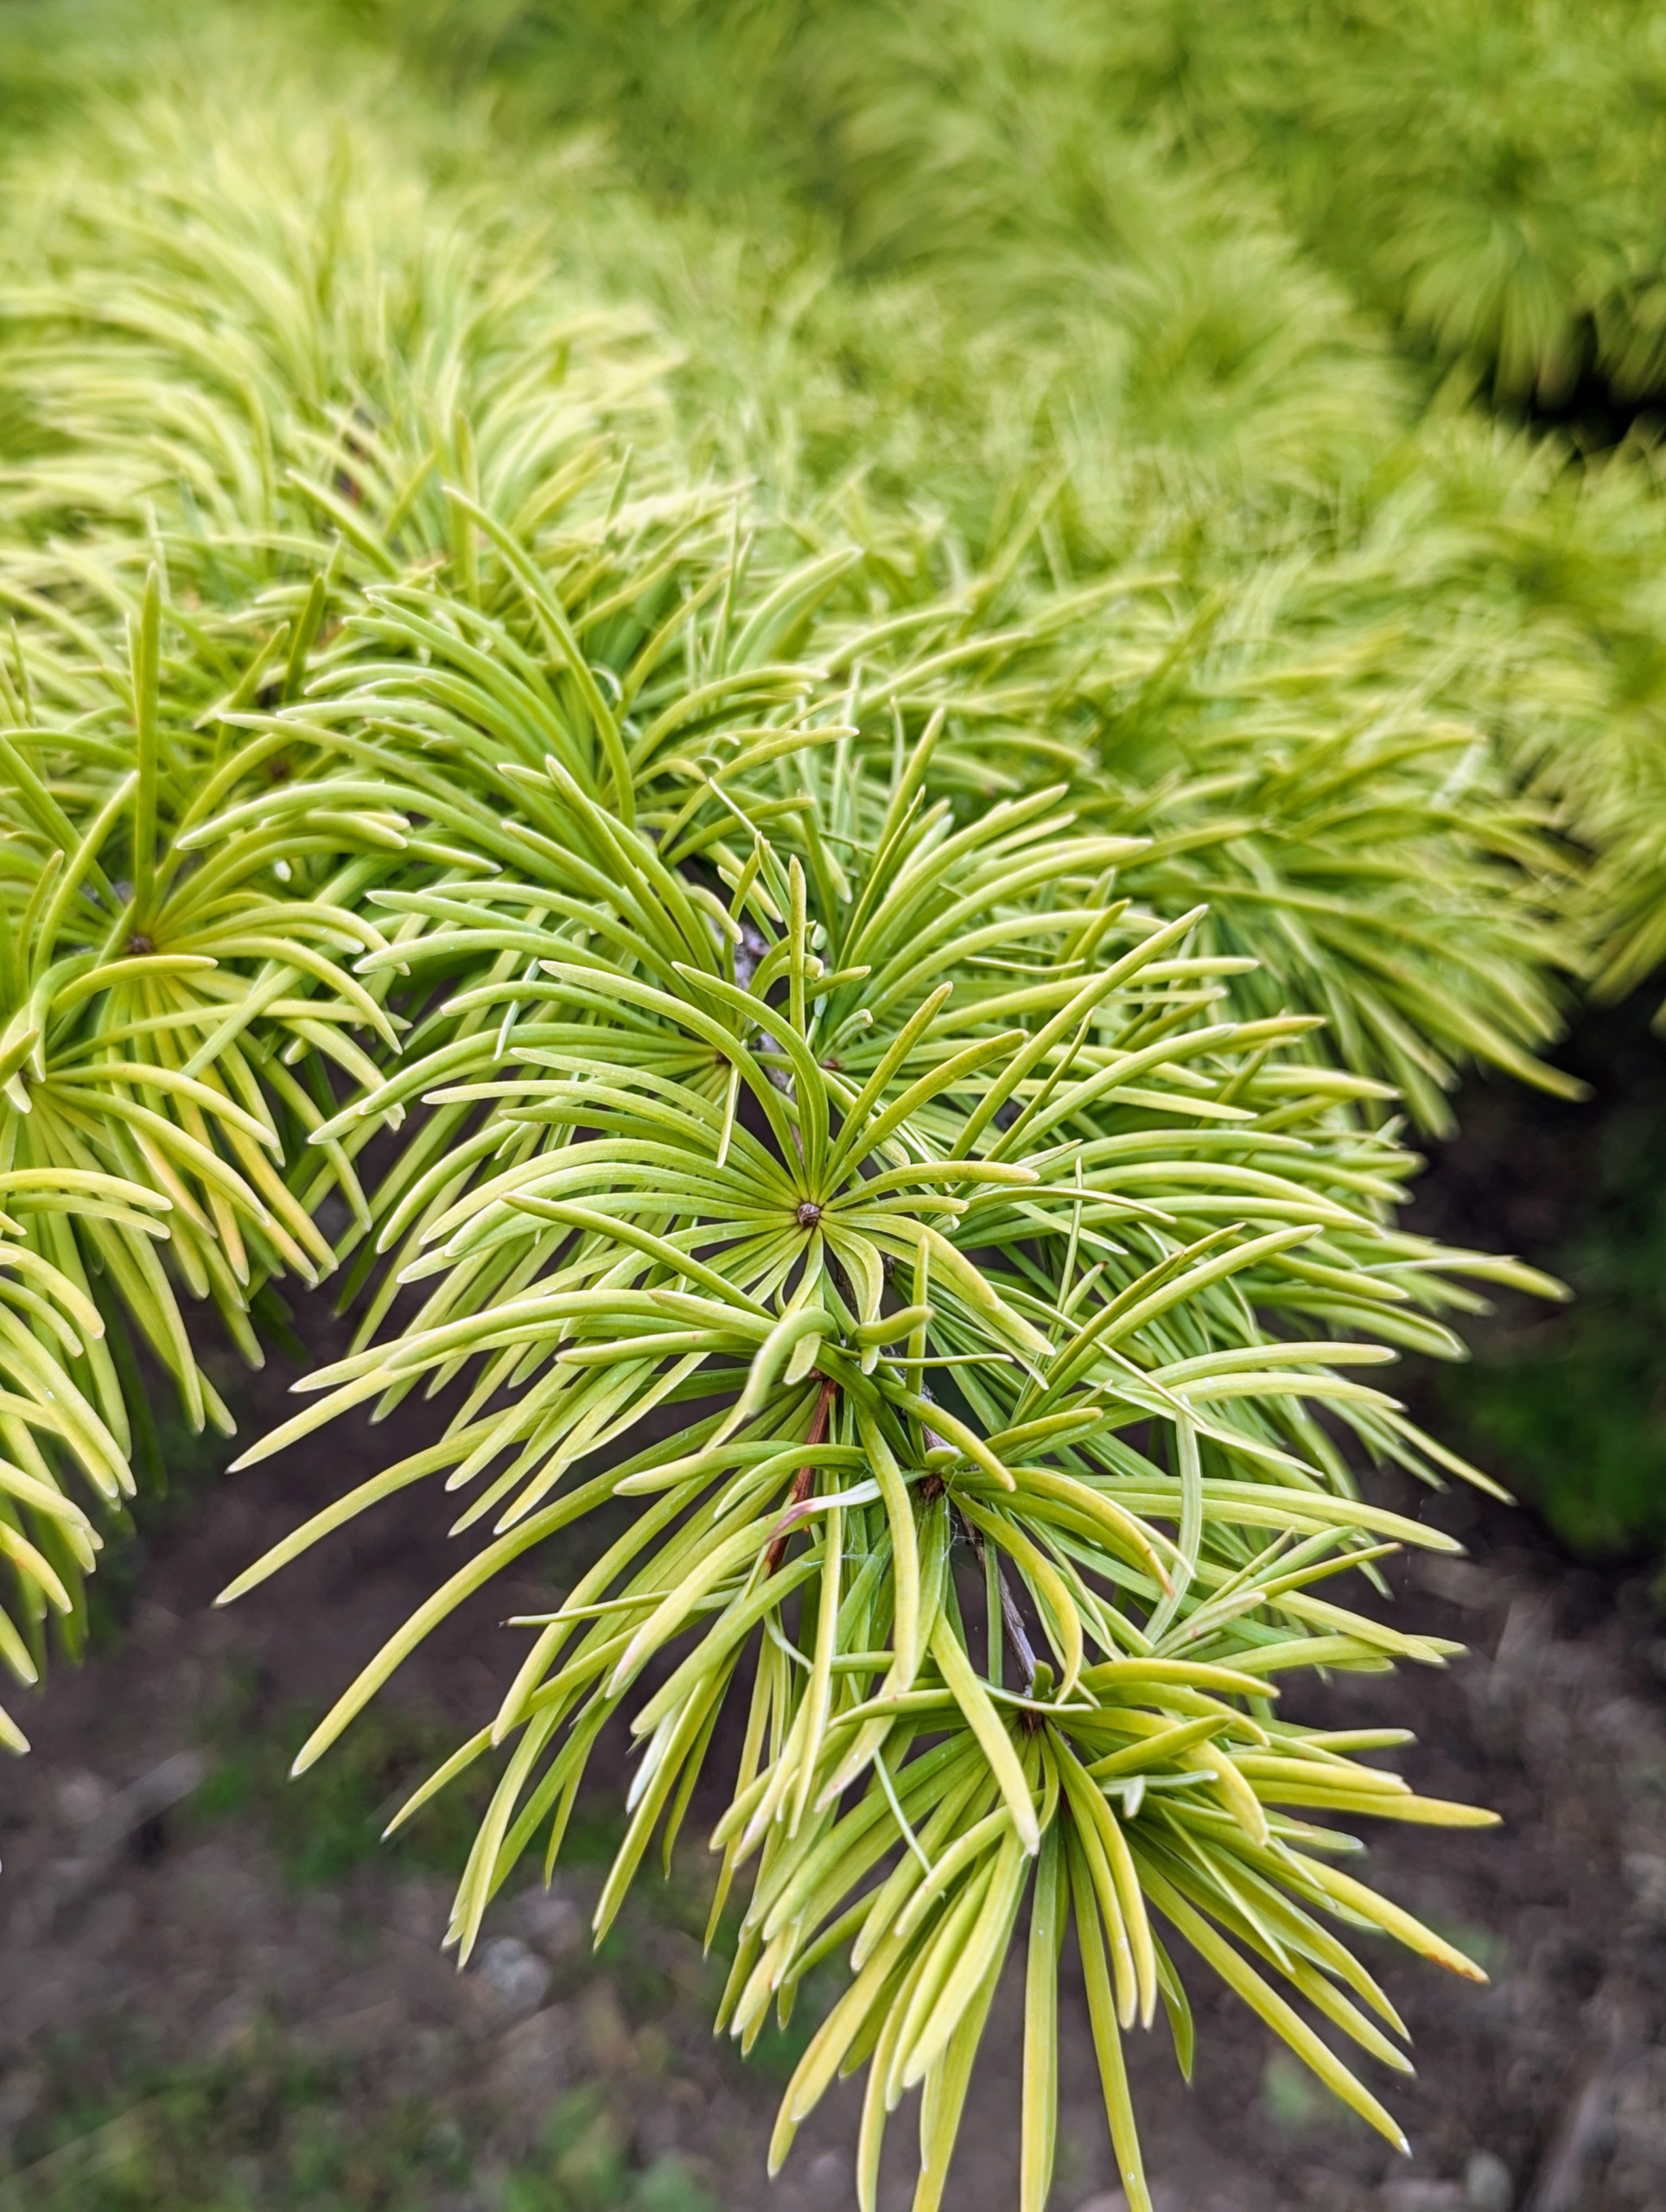
Umbrella pines are unique. The branches of young trees grow straight out and then become more pendulous as they mature.
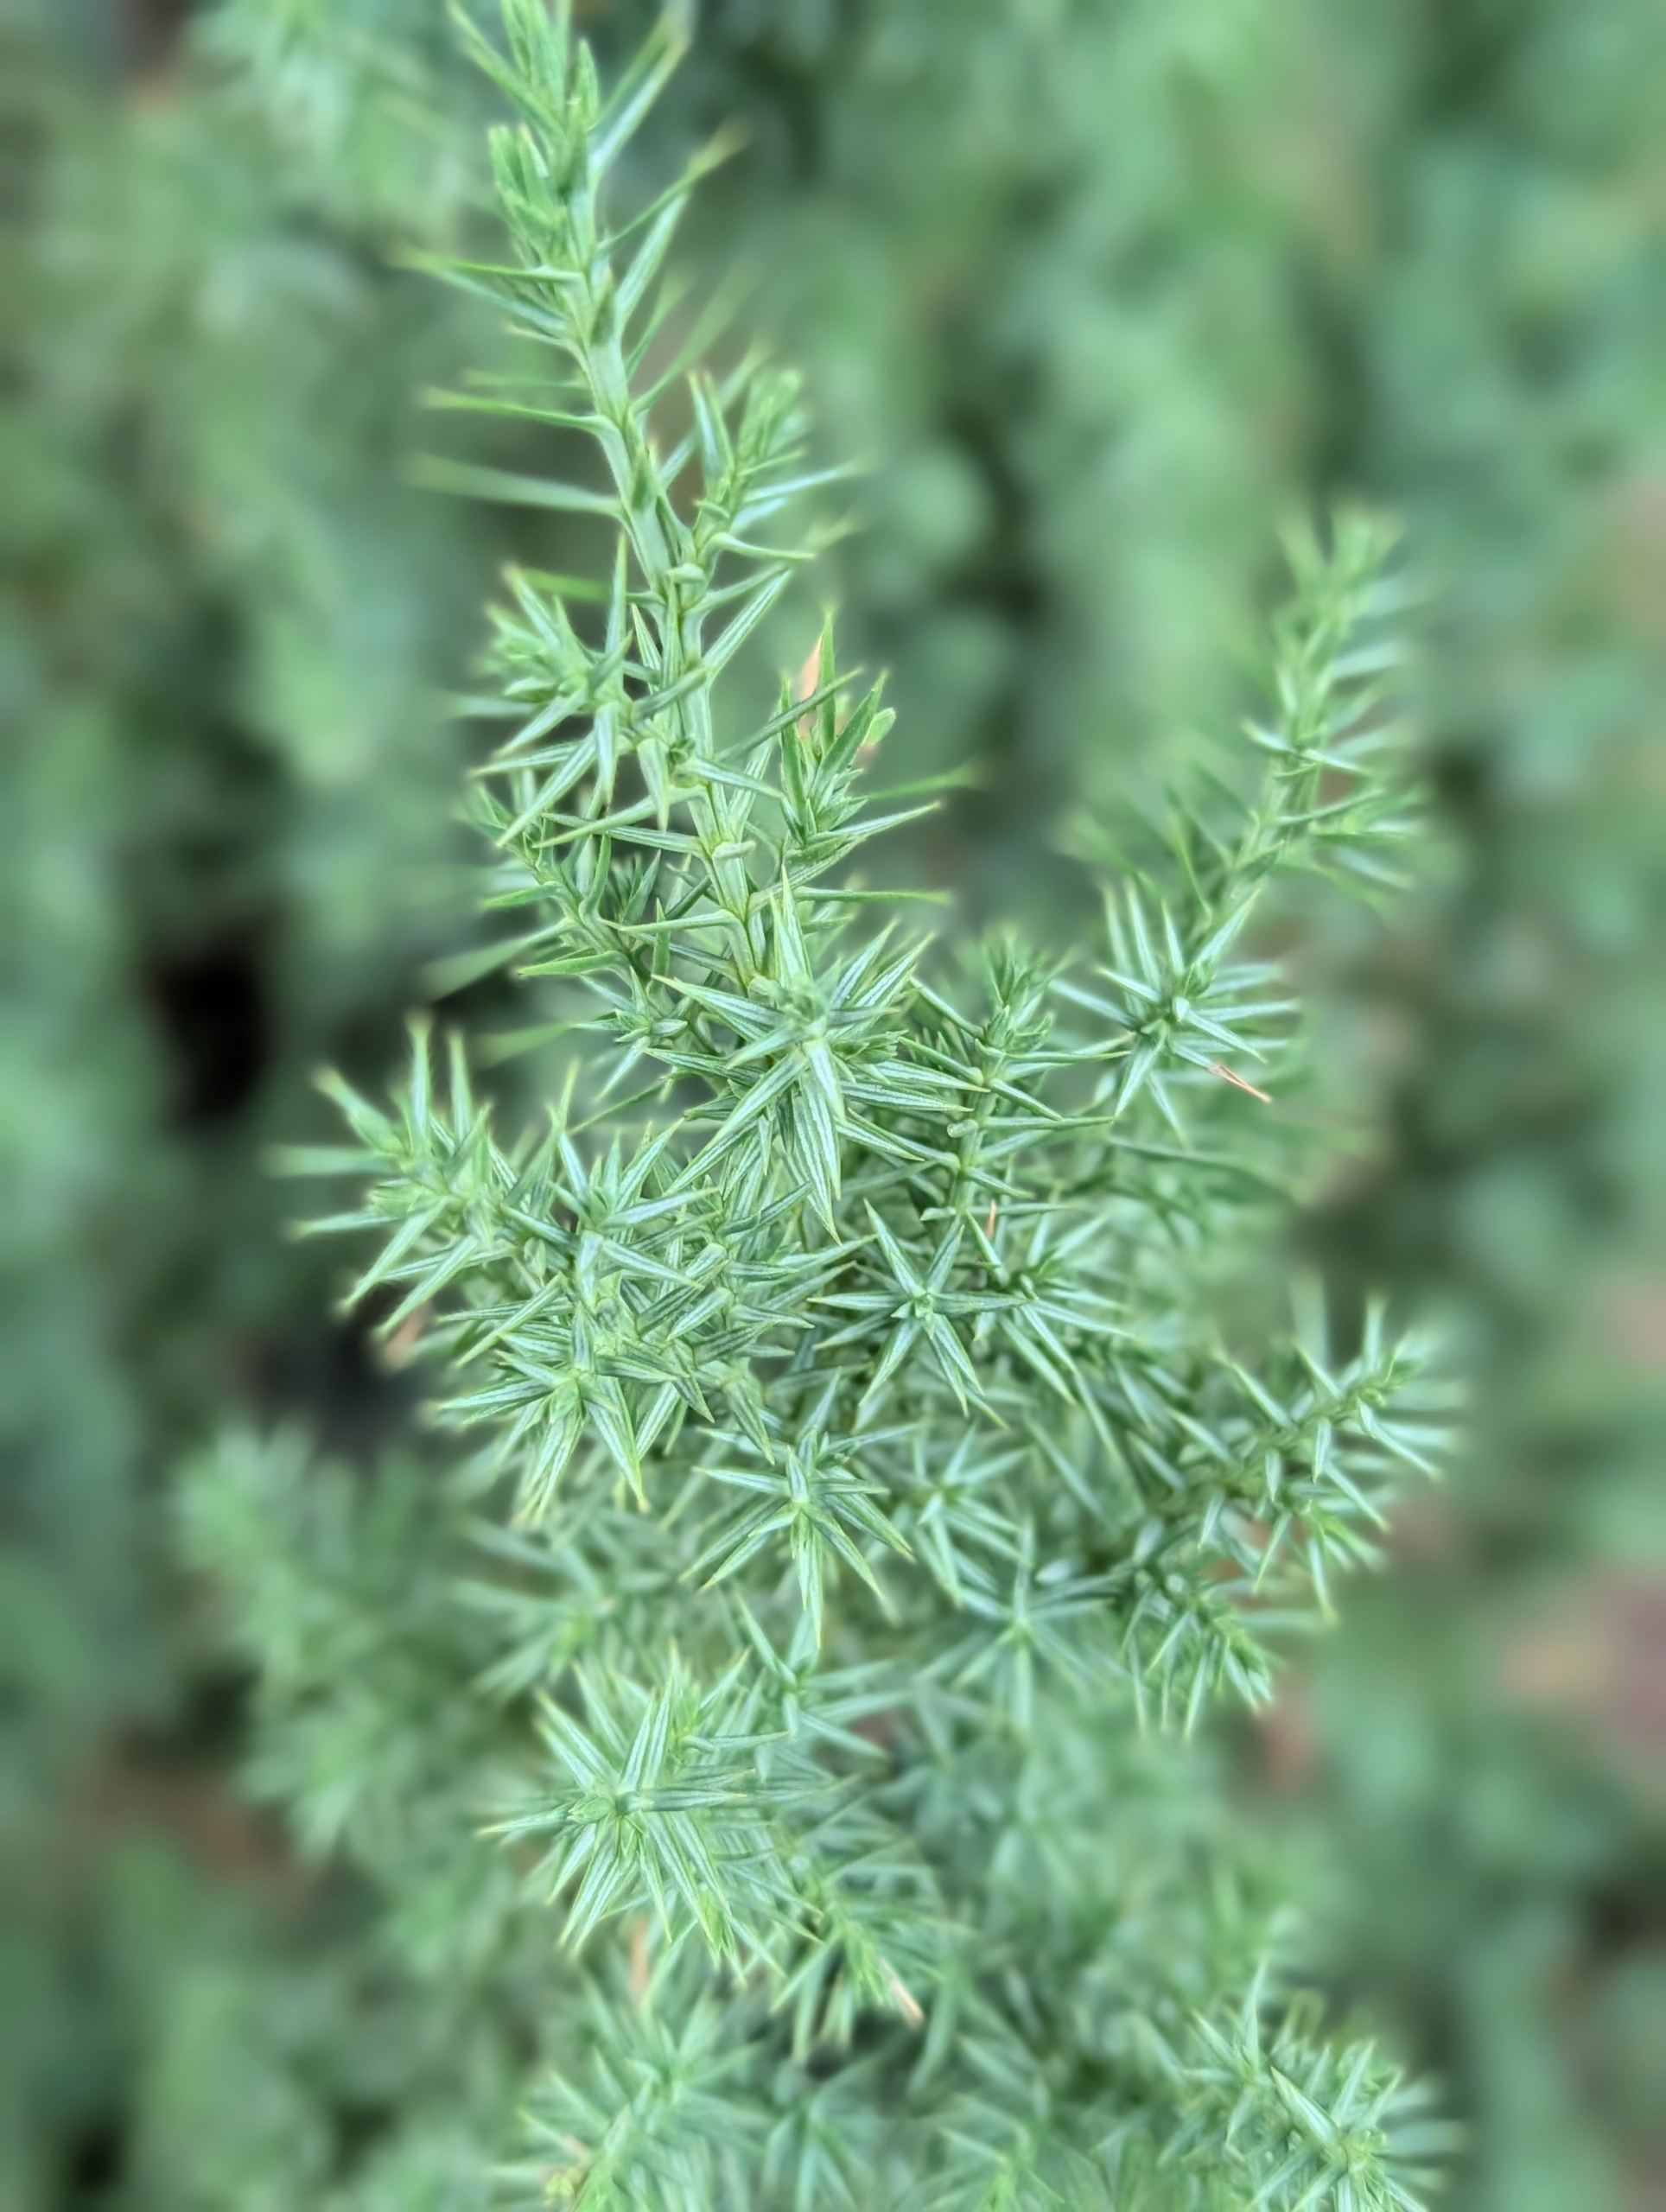
The foliage of the Obelisk Juniper is dark blue-green. Its needles are pointed and can grow up to a half-inch long.
Burke’s Variegated Red Japanese Pine, Pinus densiflora, is a multi-stemmed evergreen with a distinctive and refined pyramidal form.
It features striking wide, horizontal, creamy yellow bands on each needle, which are visible year-round on rough branches.
I hope this inspires you to try planting more unusual plants that can add both texture and color to your garden.
The world of technology is evolving every day and shows no signs of slowing down. I love technology and am always excited to test new devices and learn about the latest features and applications.
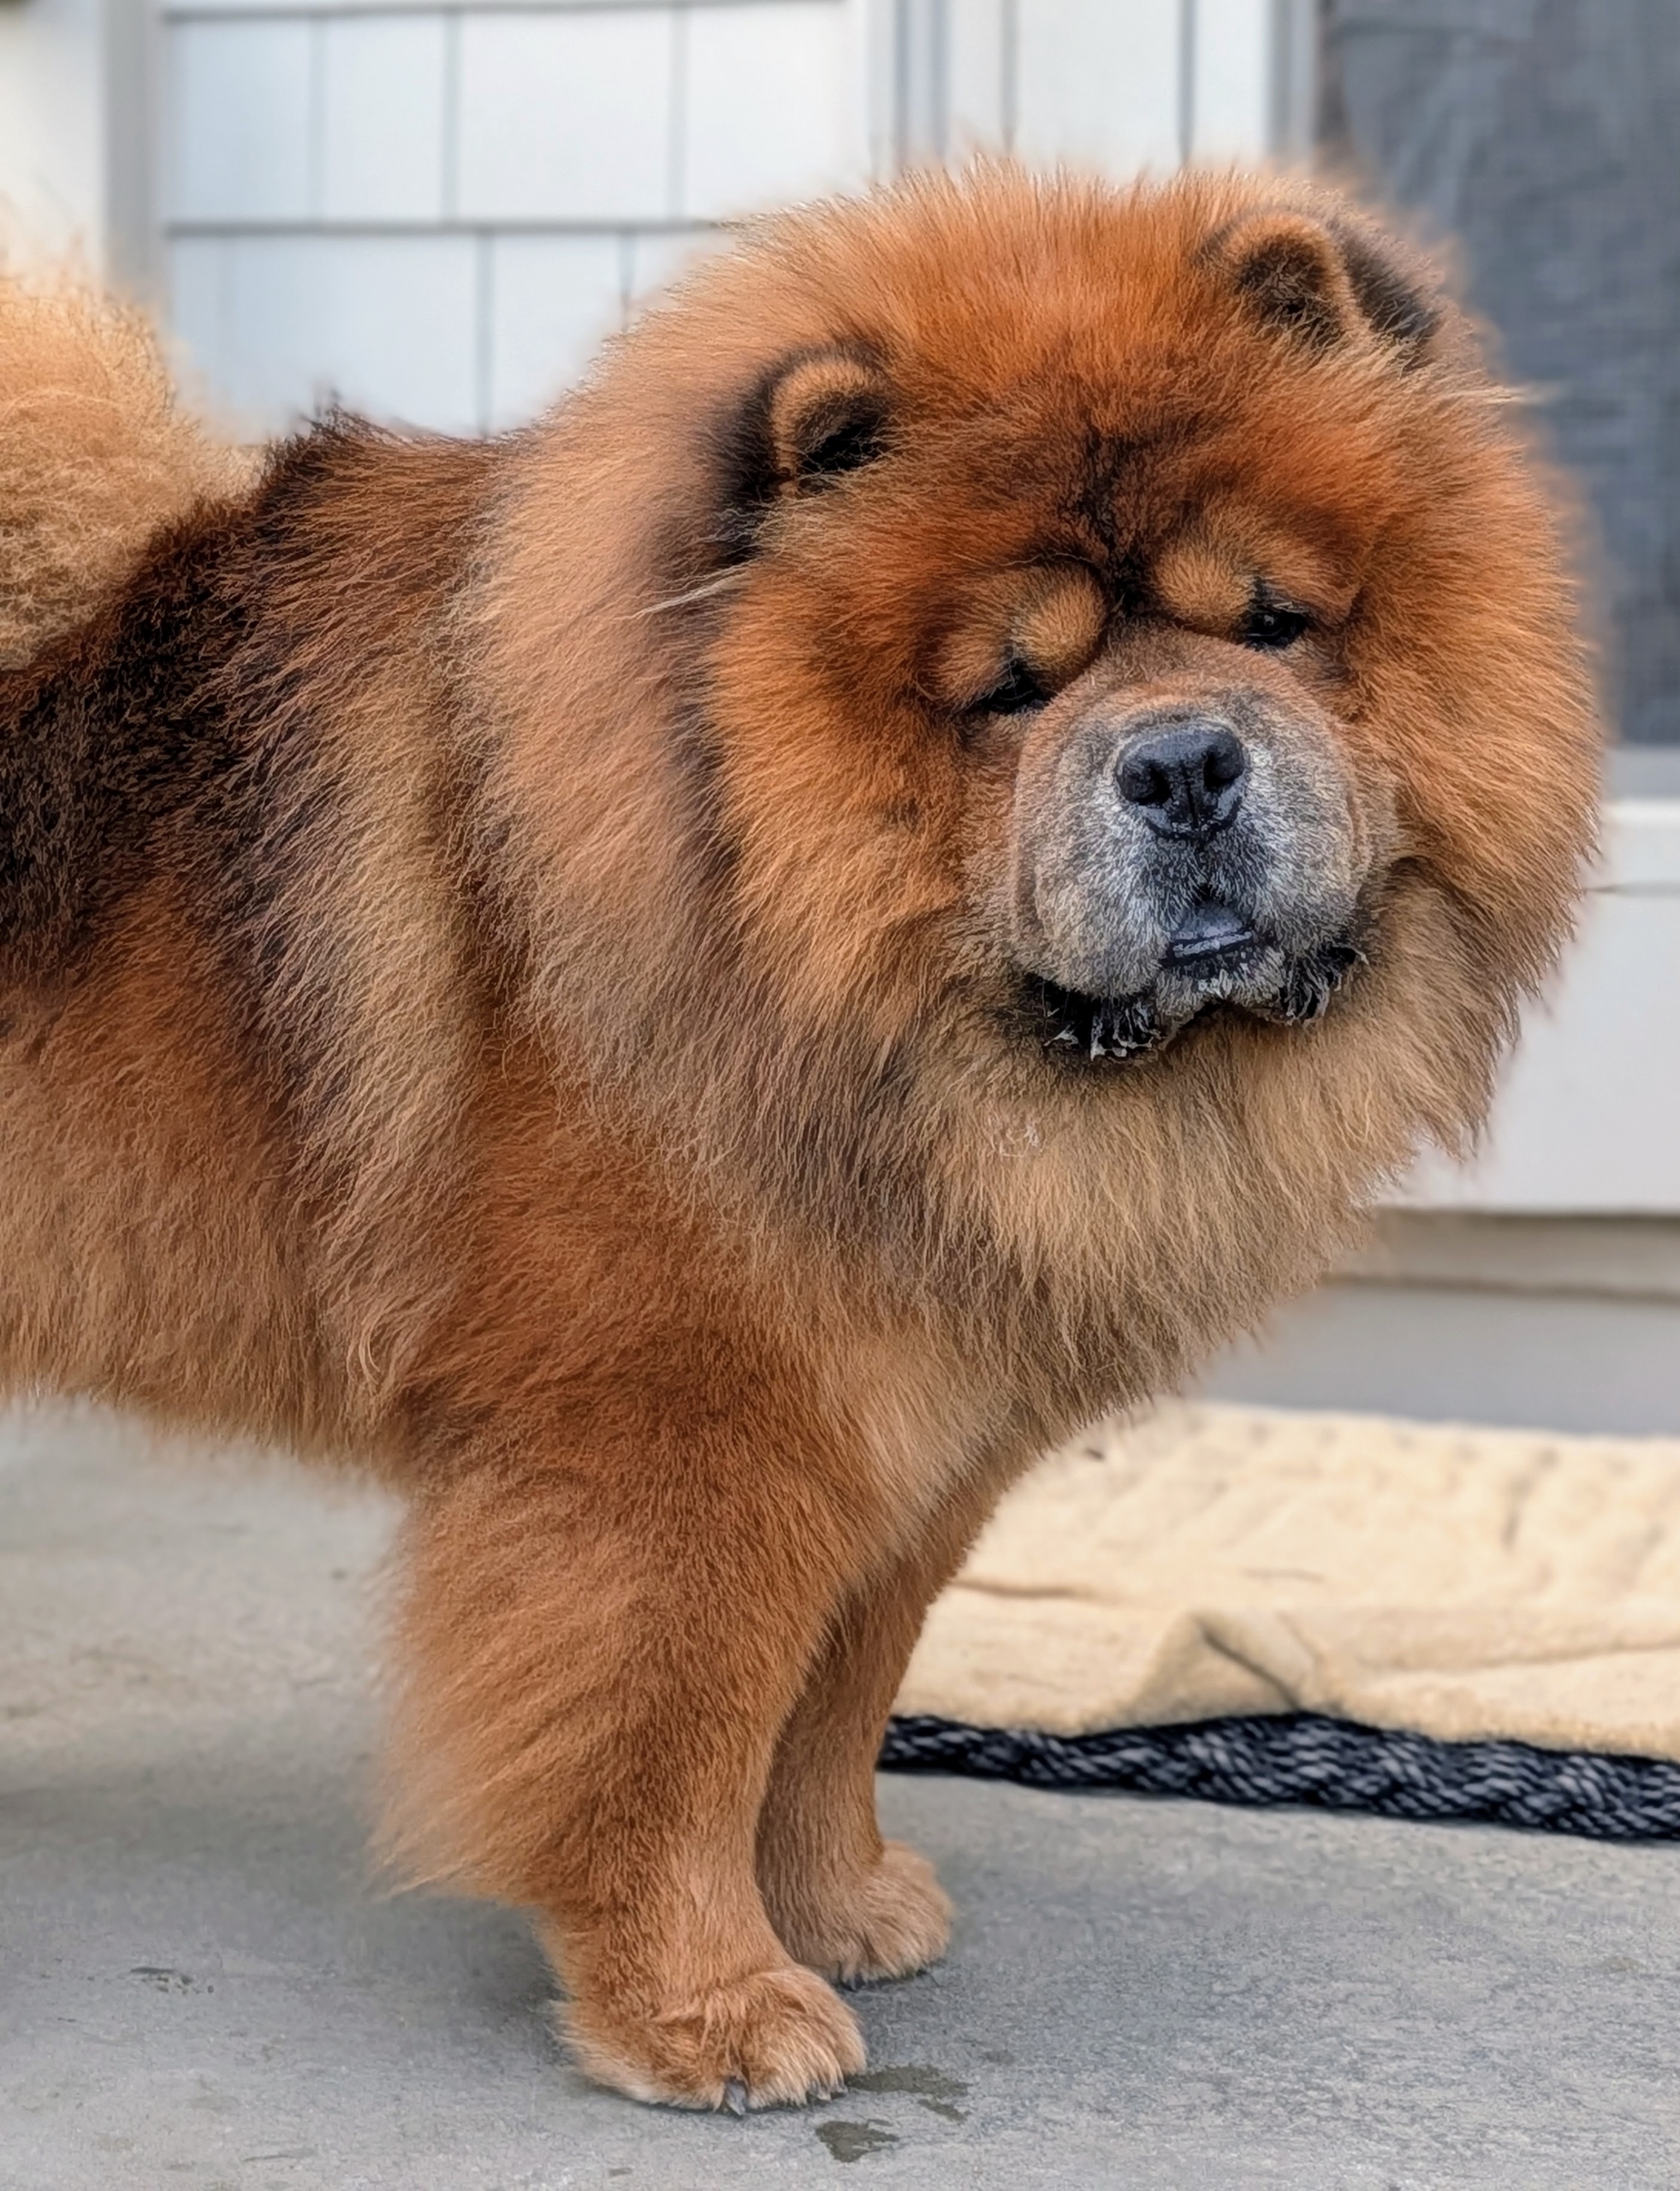
Recently, I received the new Google Pixel 10 Pro XL, Google's newest smartphone. Convenient to carry and easy to use, the Google Pixel has been my blog team's go-to phone for several years. This latest model offers even more impressive photo taking capabilities including a 5x telephoto lens with a 20x super resolution zoom, Camera Coach to assist users in taking and editing pictures, and an "auto best take" feature, which is an AI powered tool designed to enhance the quality of group photos.
We went out and tested the new Google Pixel 10 Pro XL camera, enjoy these images. #giftgromgoogle #googlepixel
My Chow Chow Han is always very photogenic. This image was taken with the new Google Pixel 10 Pro XL. The camera takes photos quickly to capture those special pet “moments” that don’t last long.
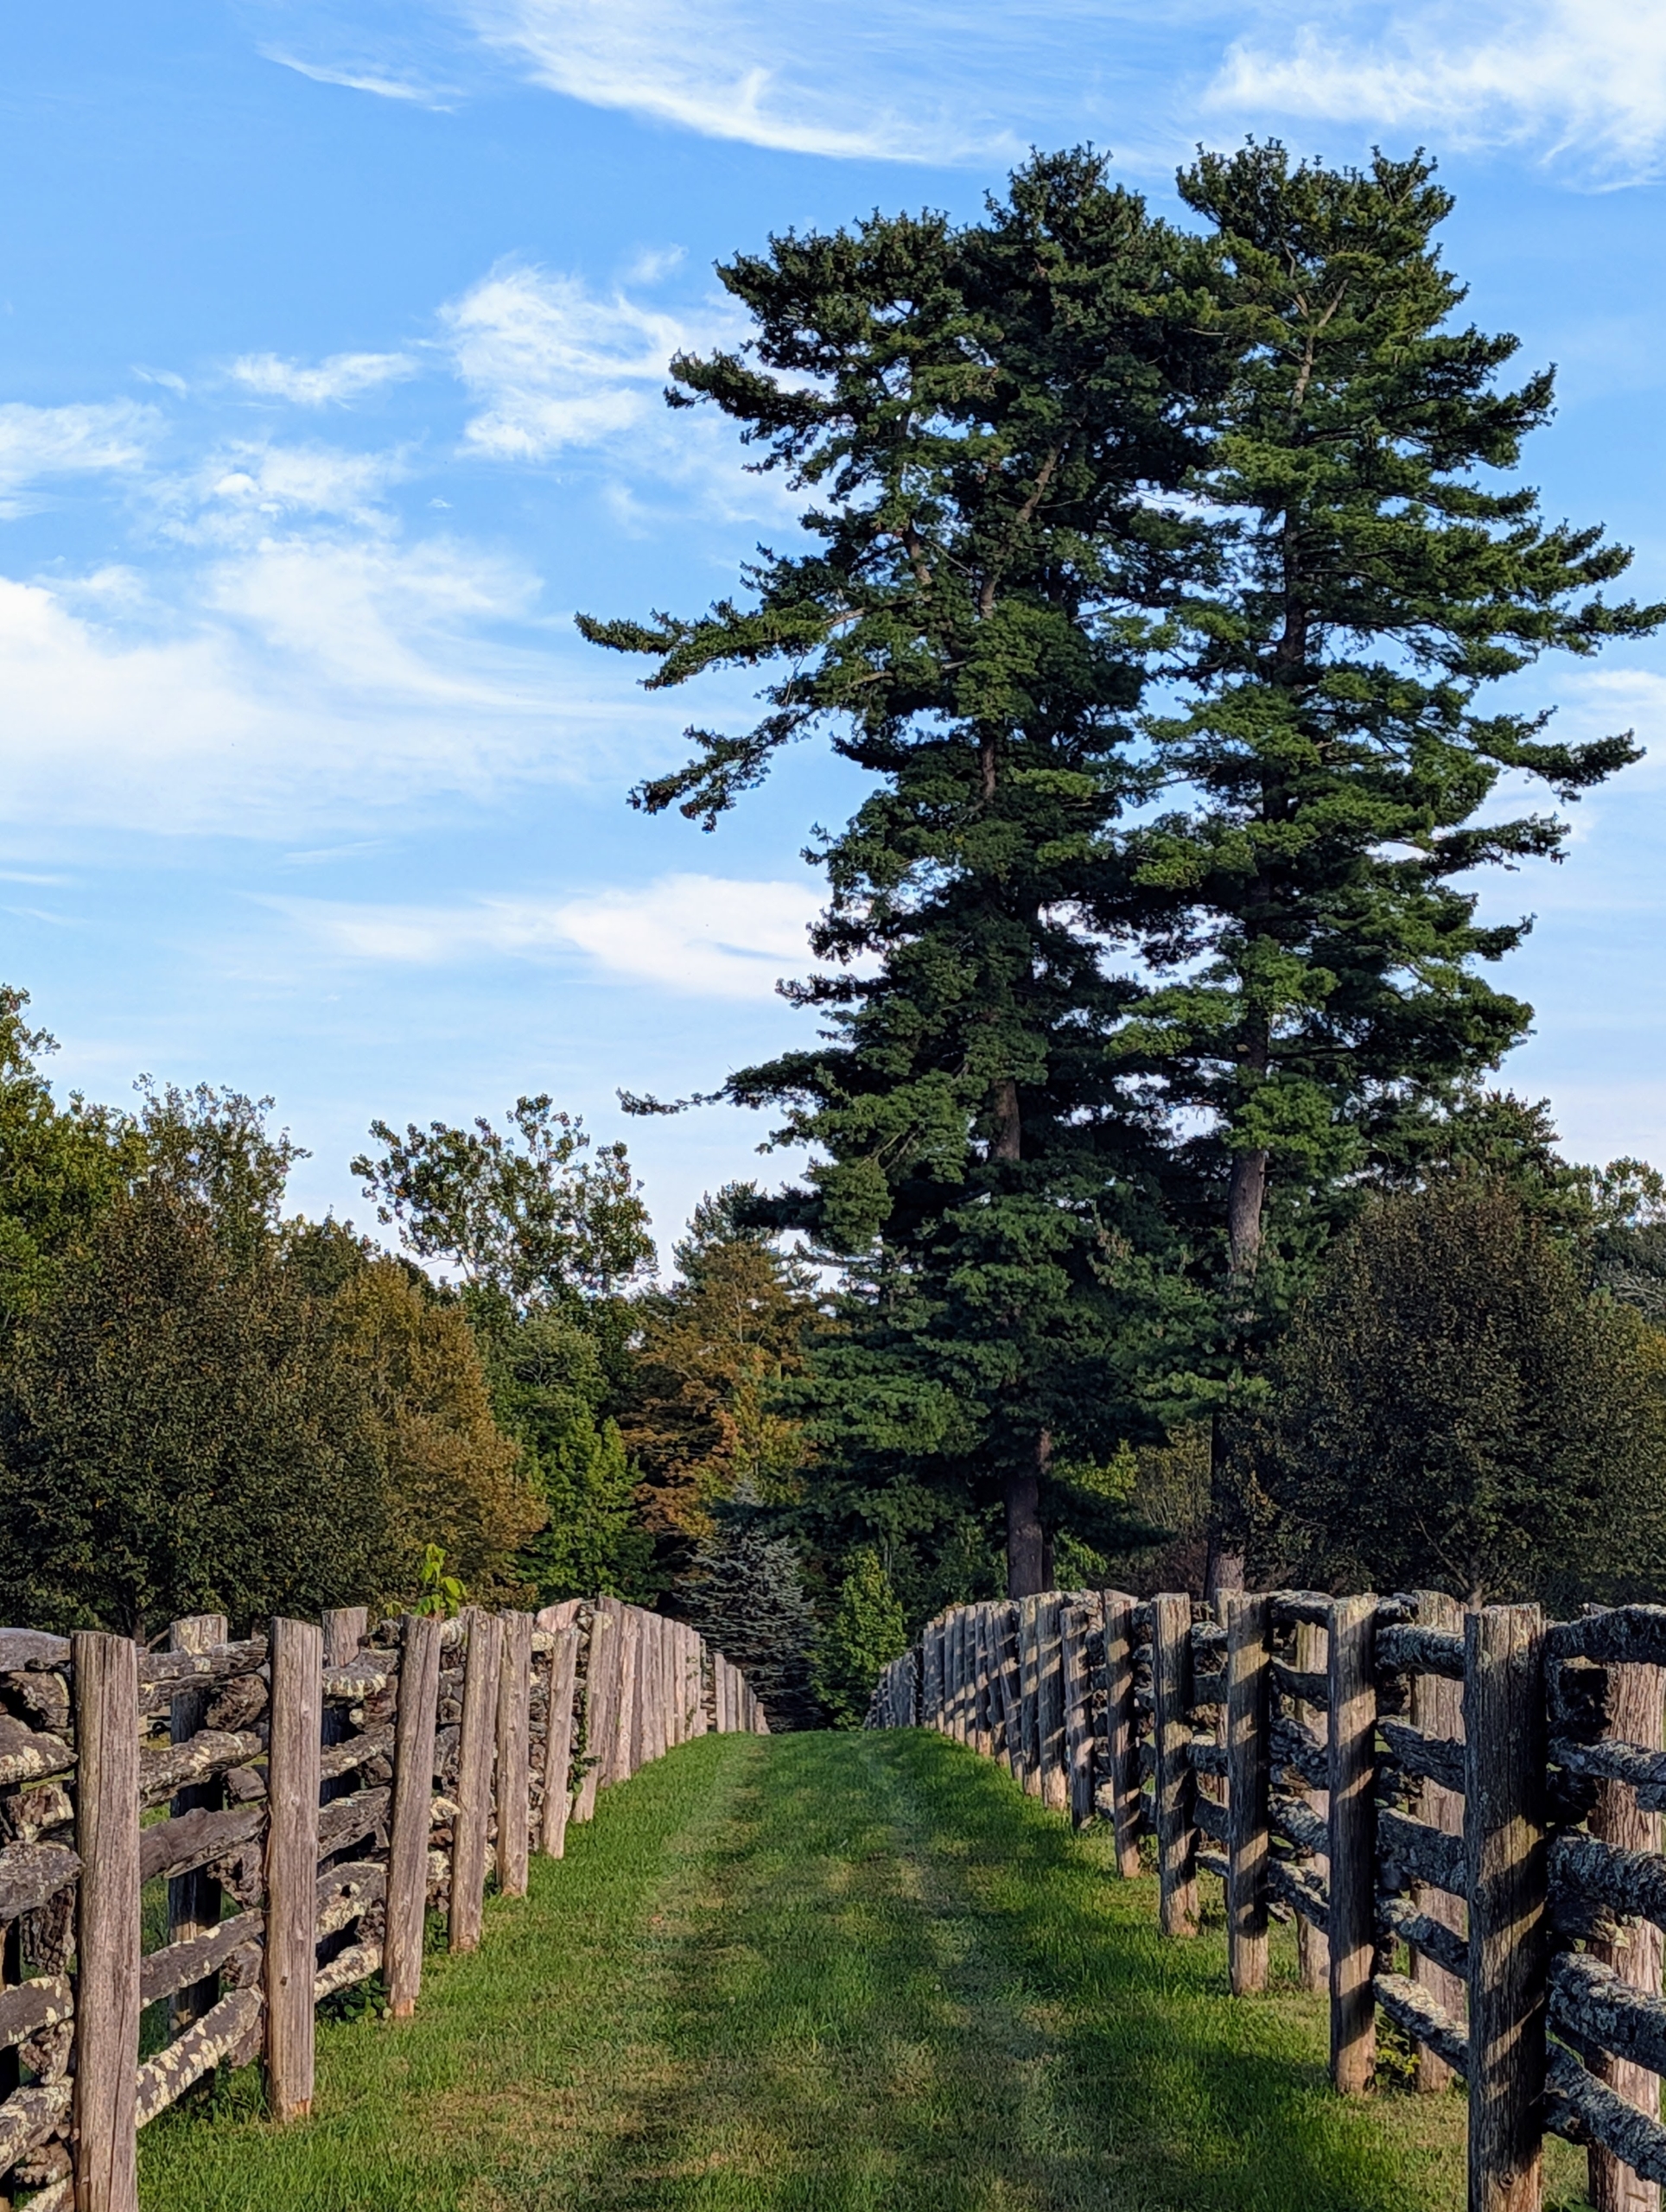
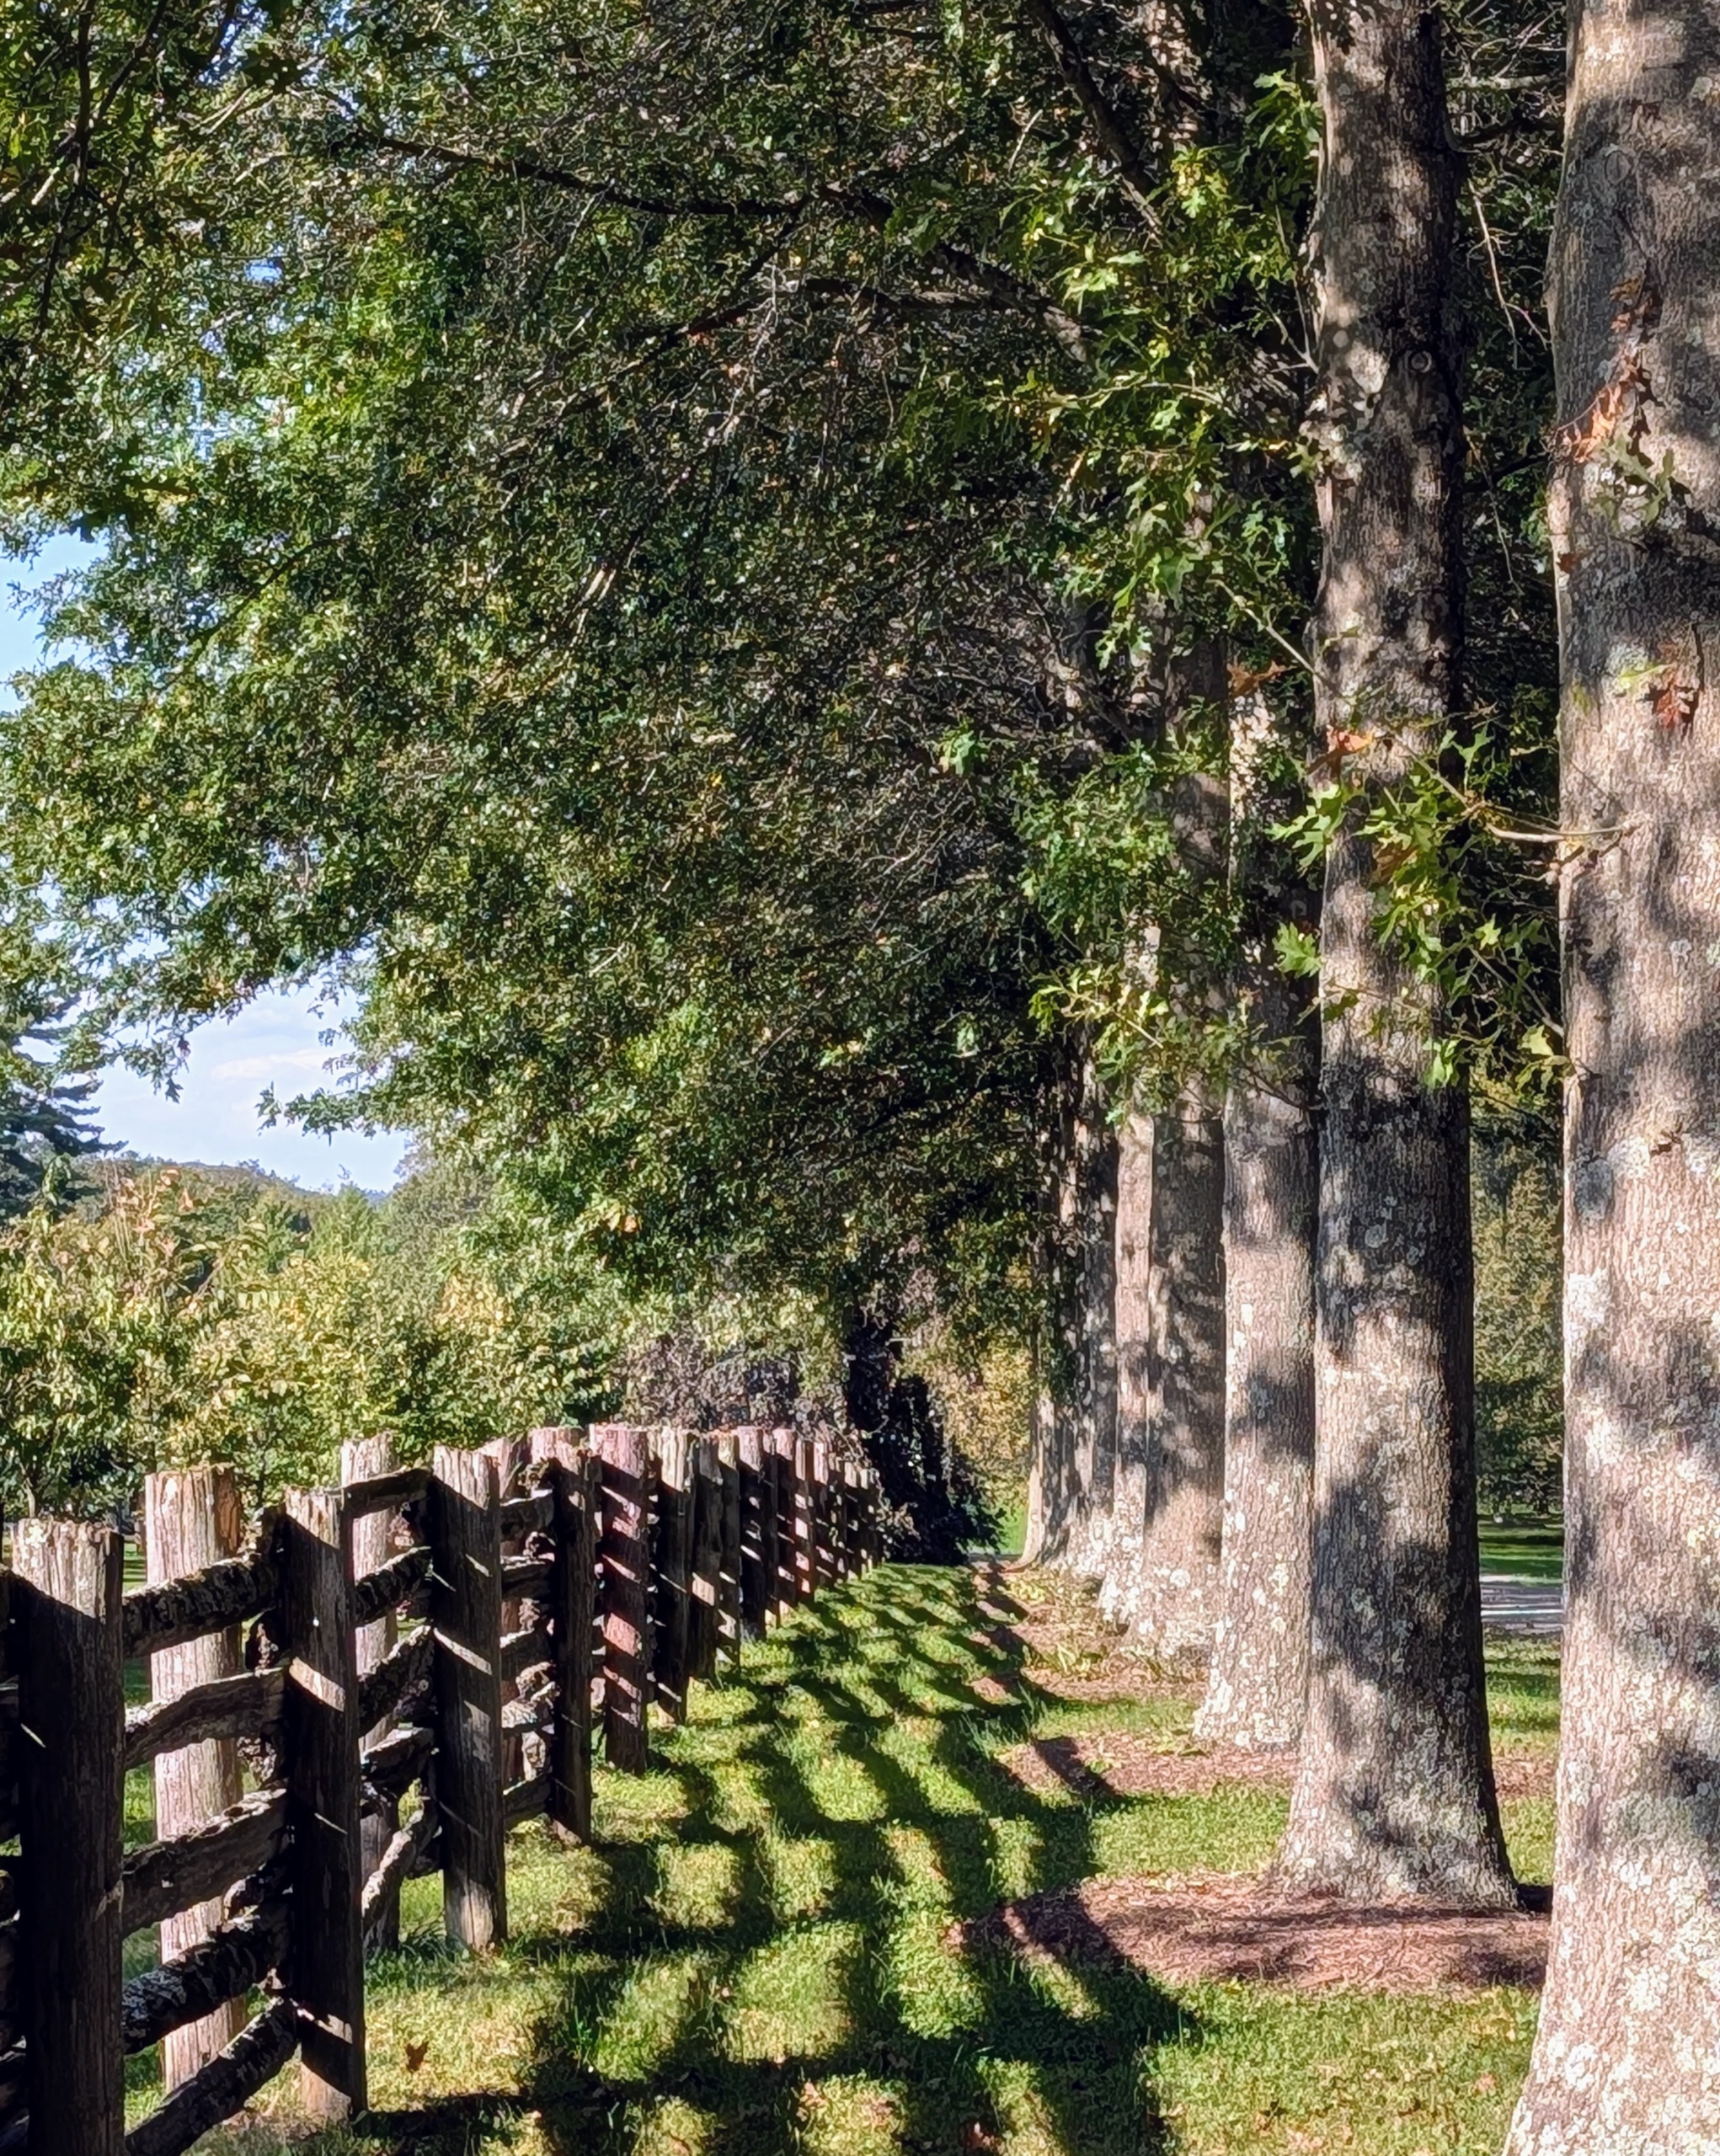
Here’s a photo looking between two fenced in pastures and the tall eastern white pines in the distance. The camera captures so much detail.
Over in the allée of pin oaks, this photo captures the afternoon shadows of my antique fencing.
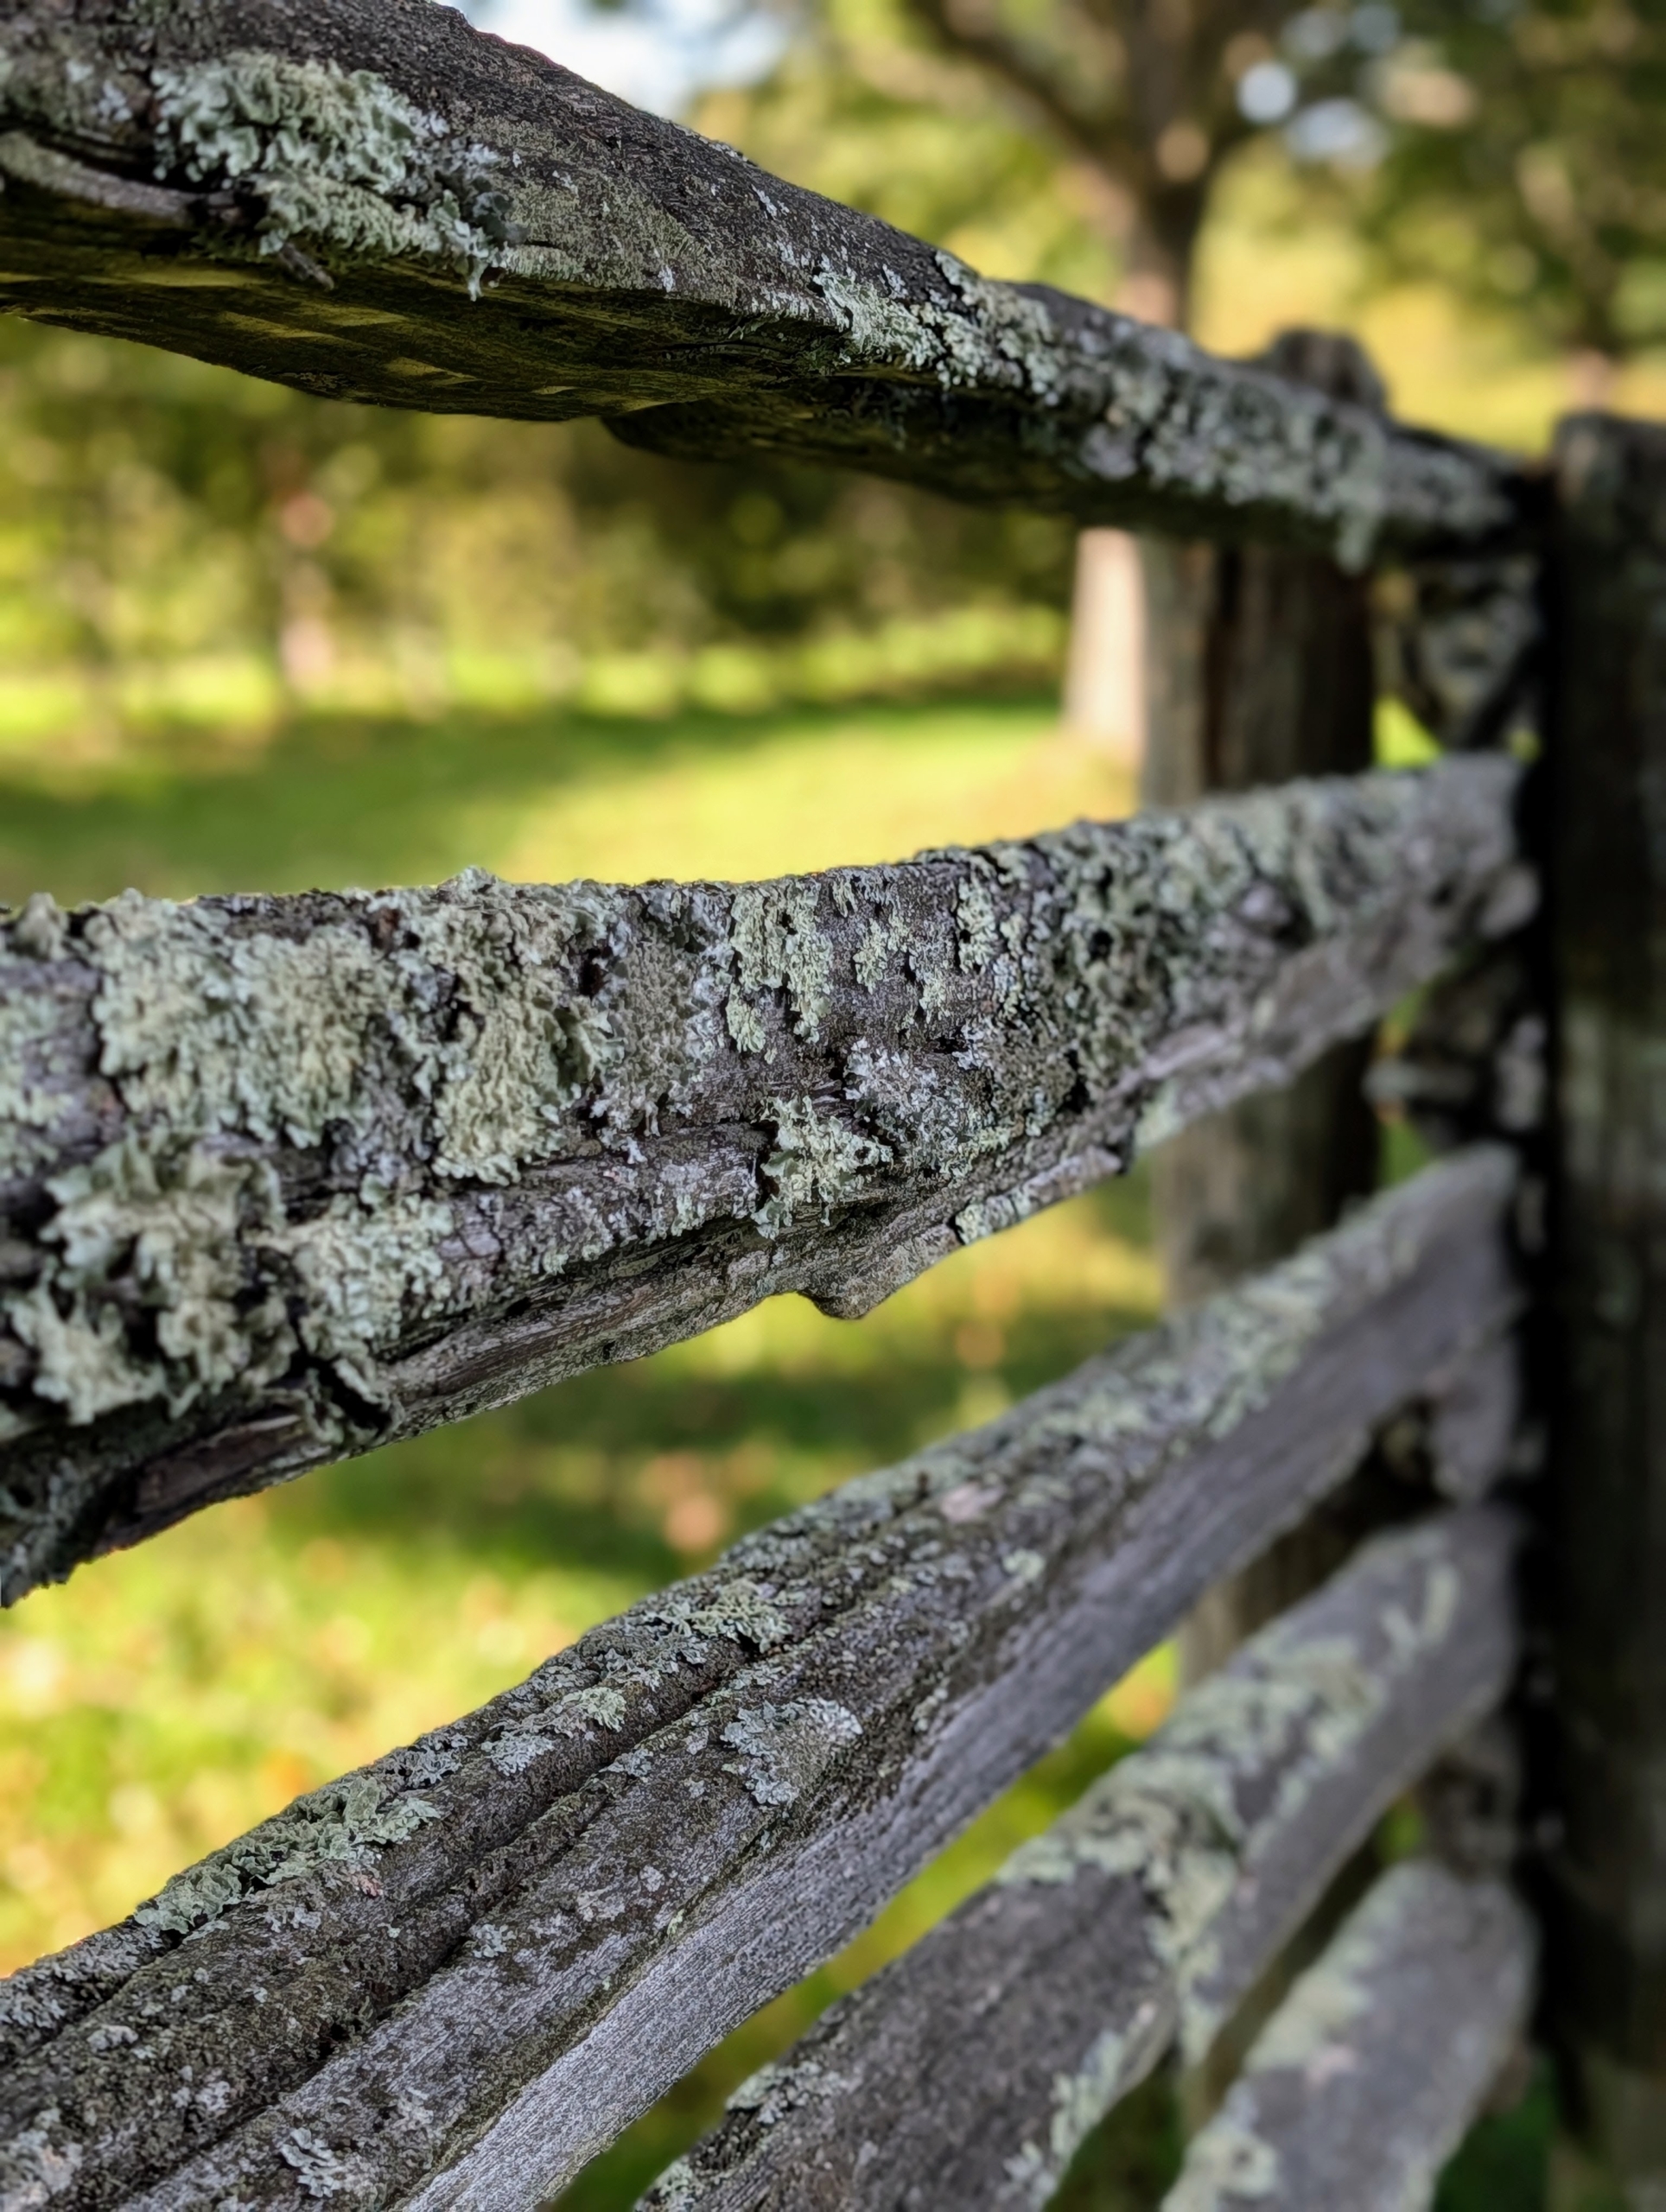
And this is the lichen close up on the 100-year old fence rails.
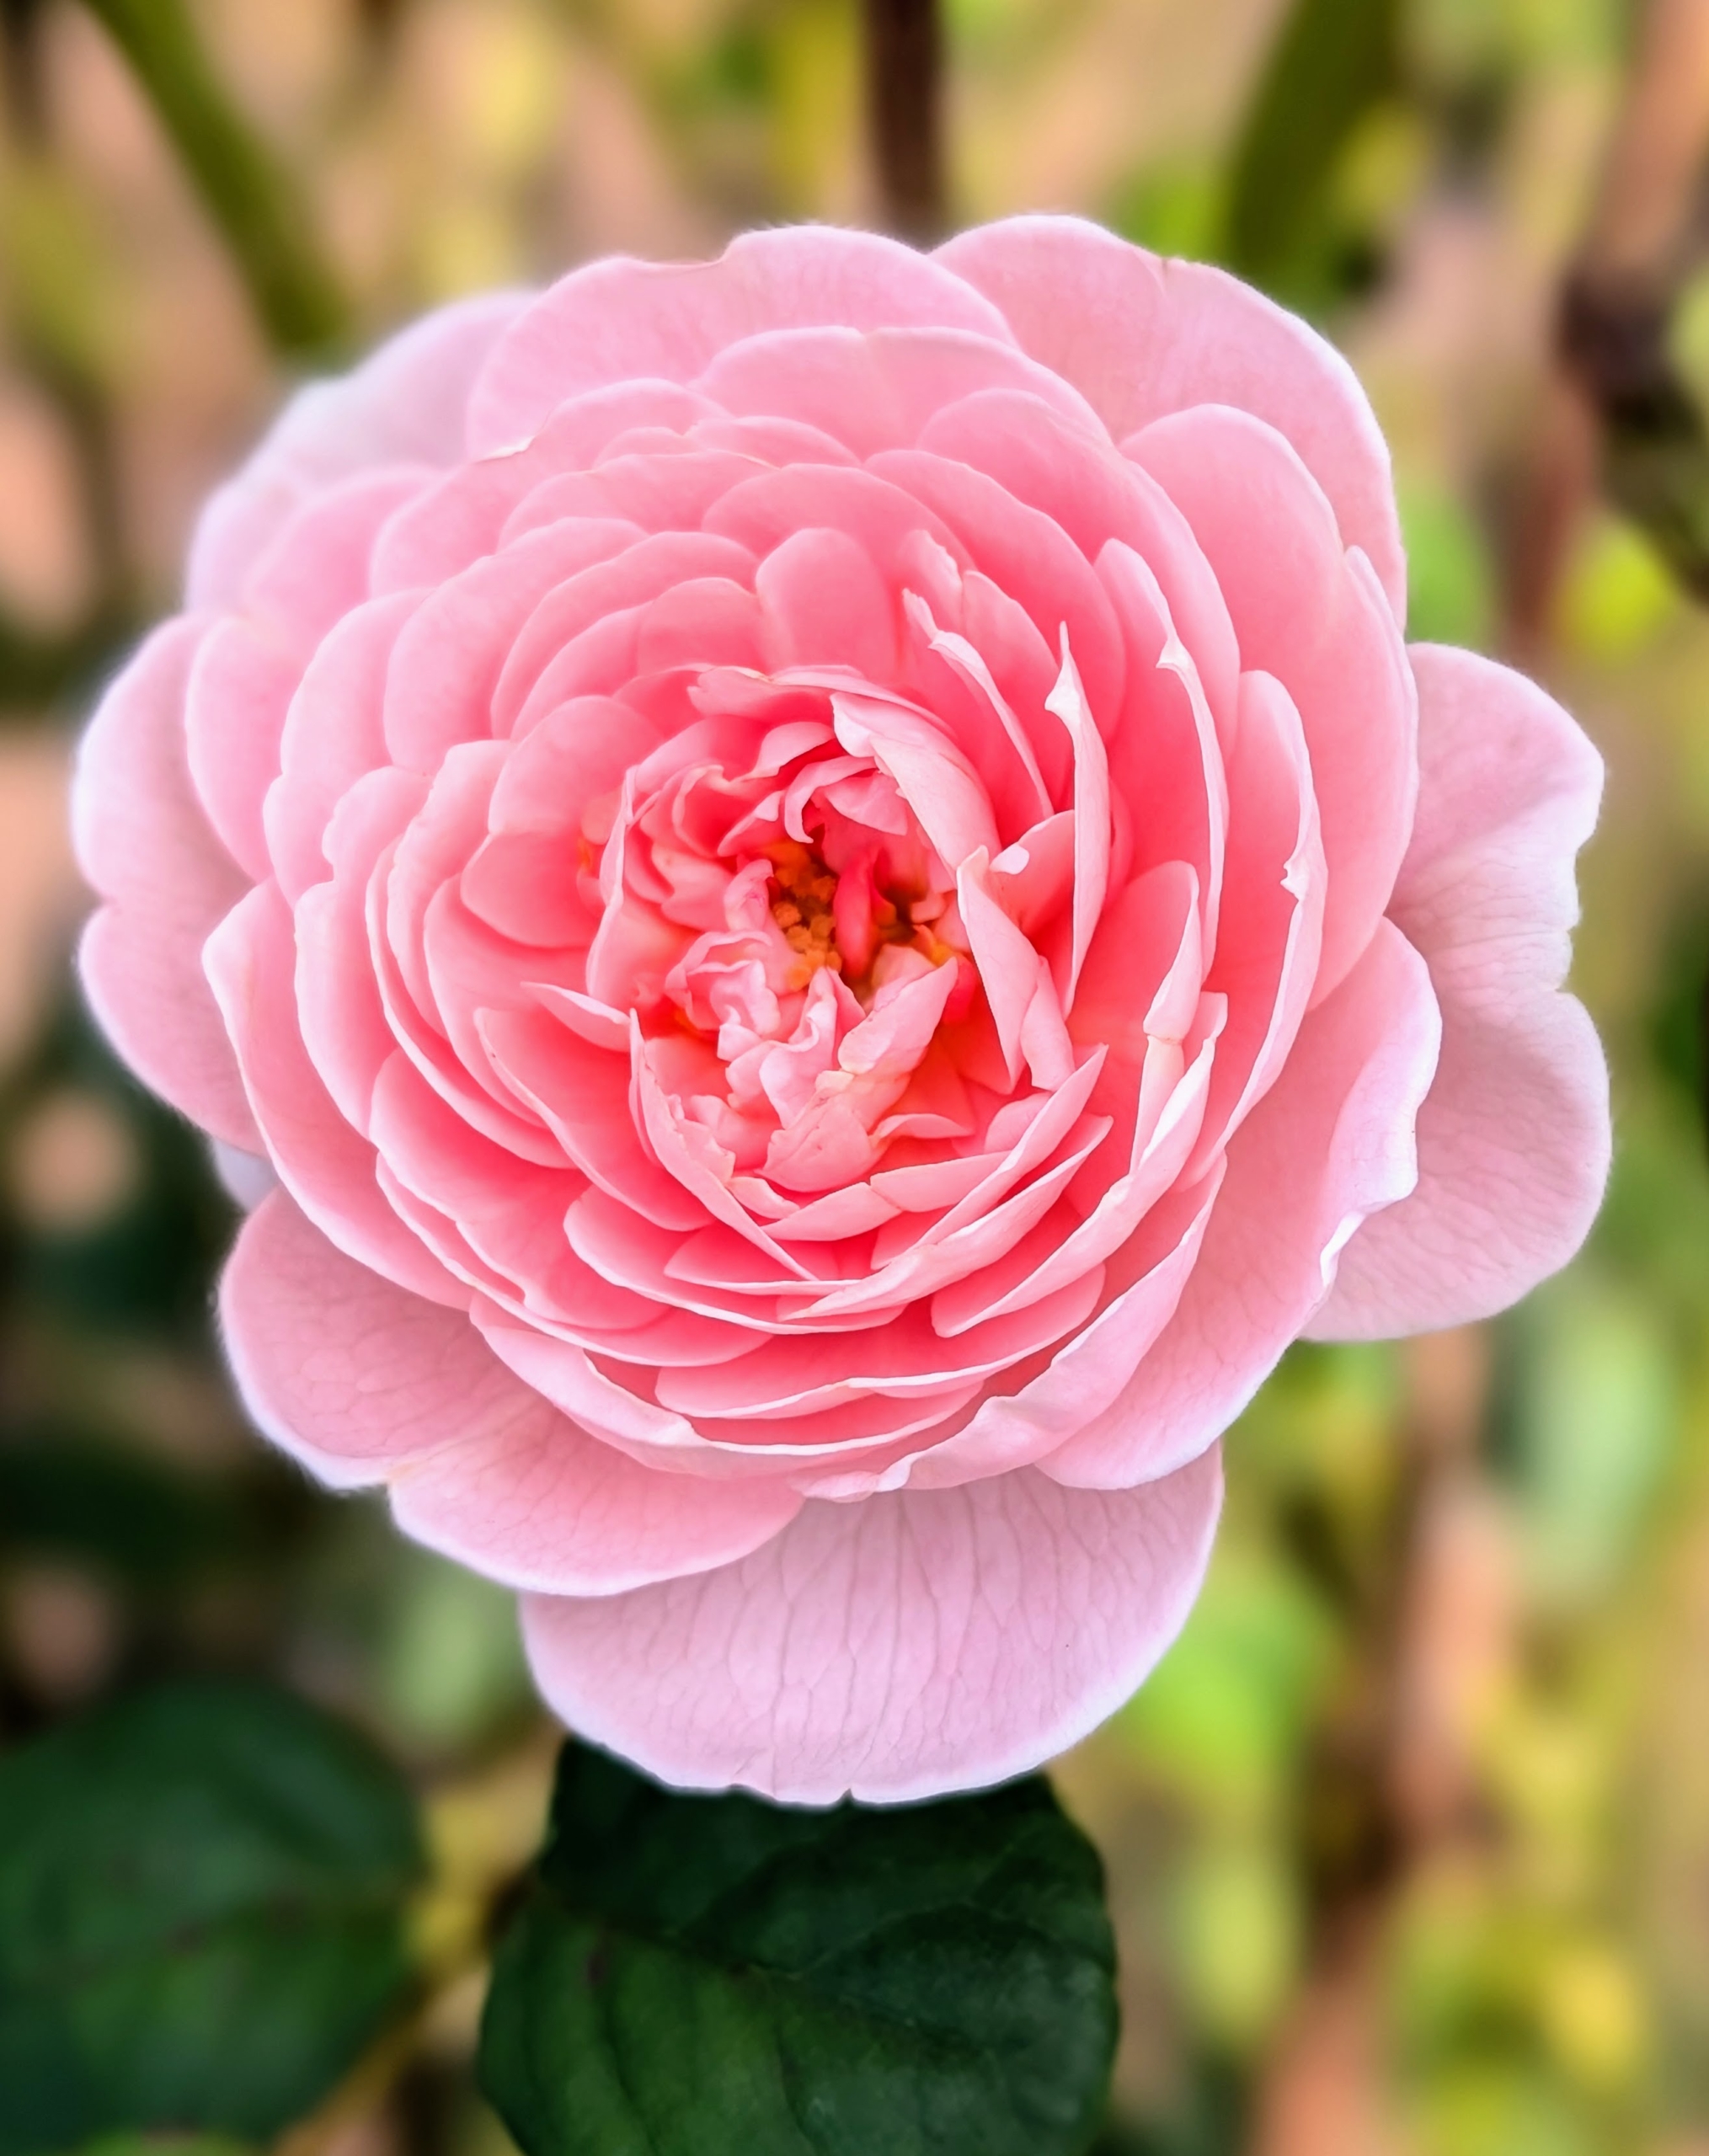
The Google Pixel 10 Pro XL also takes crisp flower photos. Here’s a close up of a pink rose in my formal rose garden.
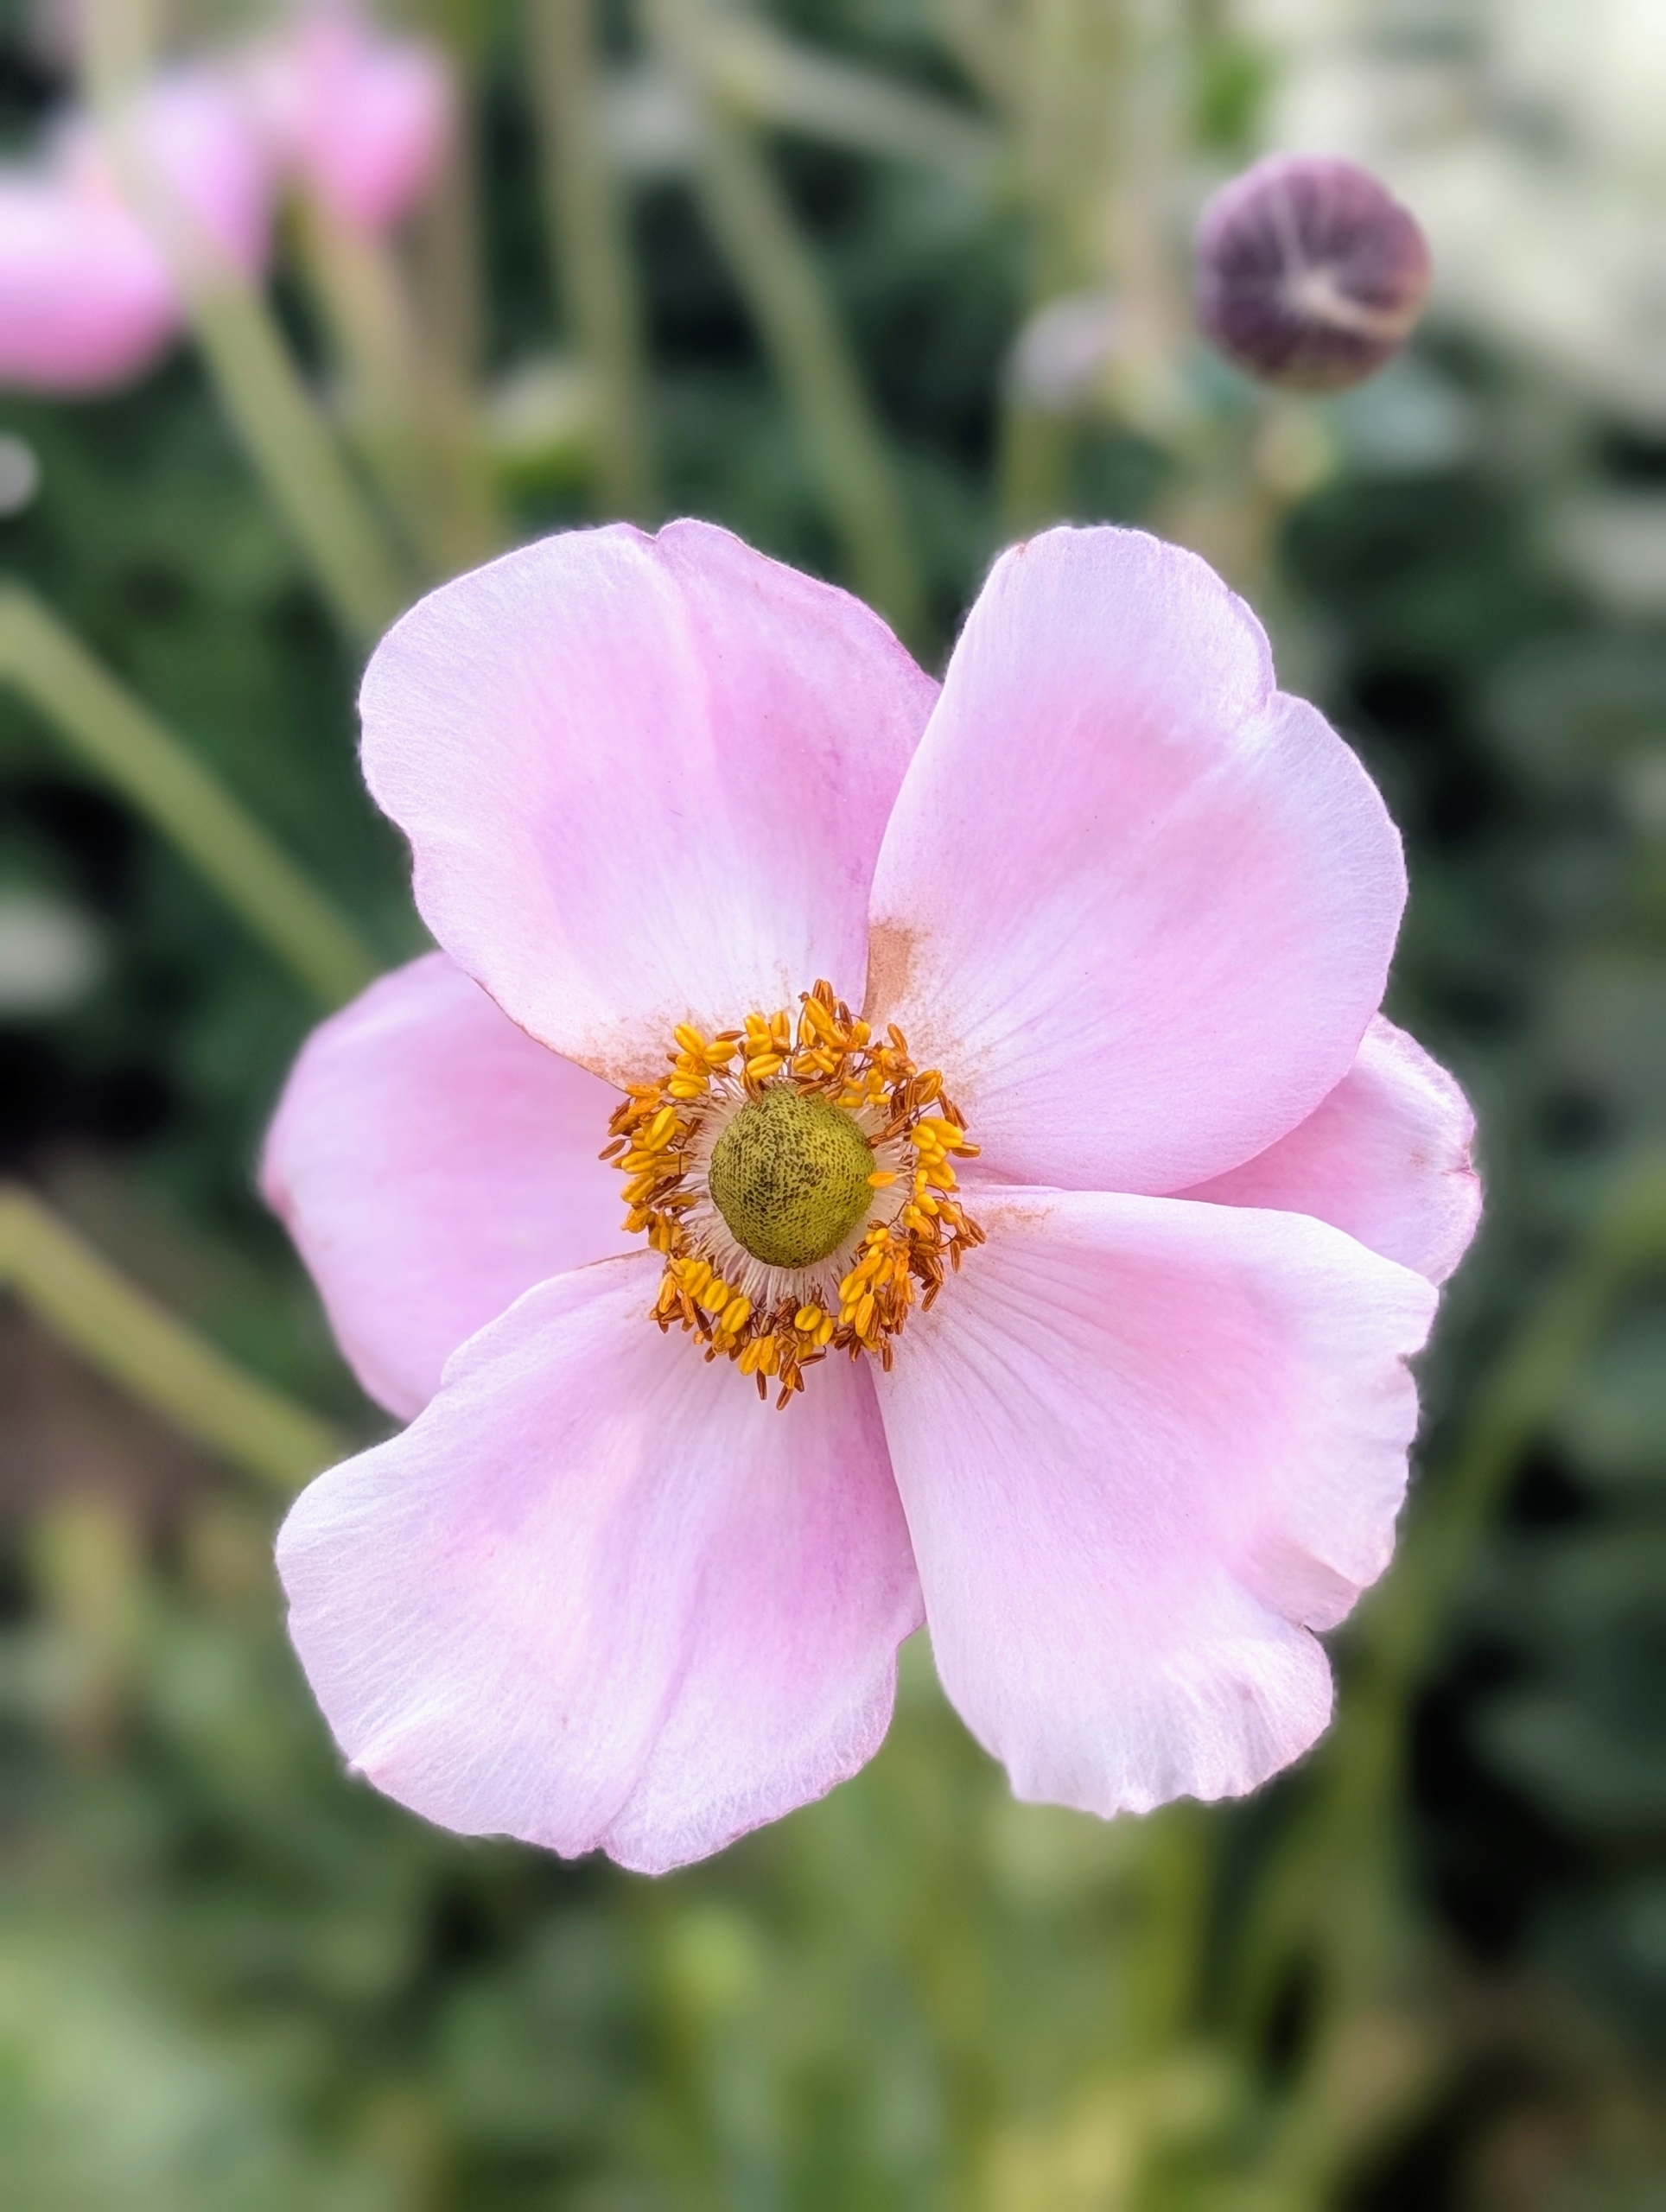
There was a gentle breeze at the time of this photo, but this late season Japanese anemone still looks very clear.
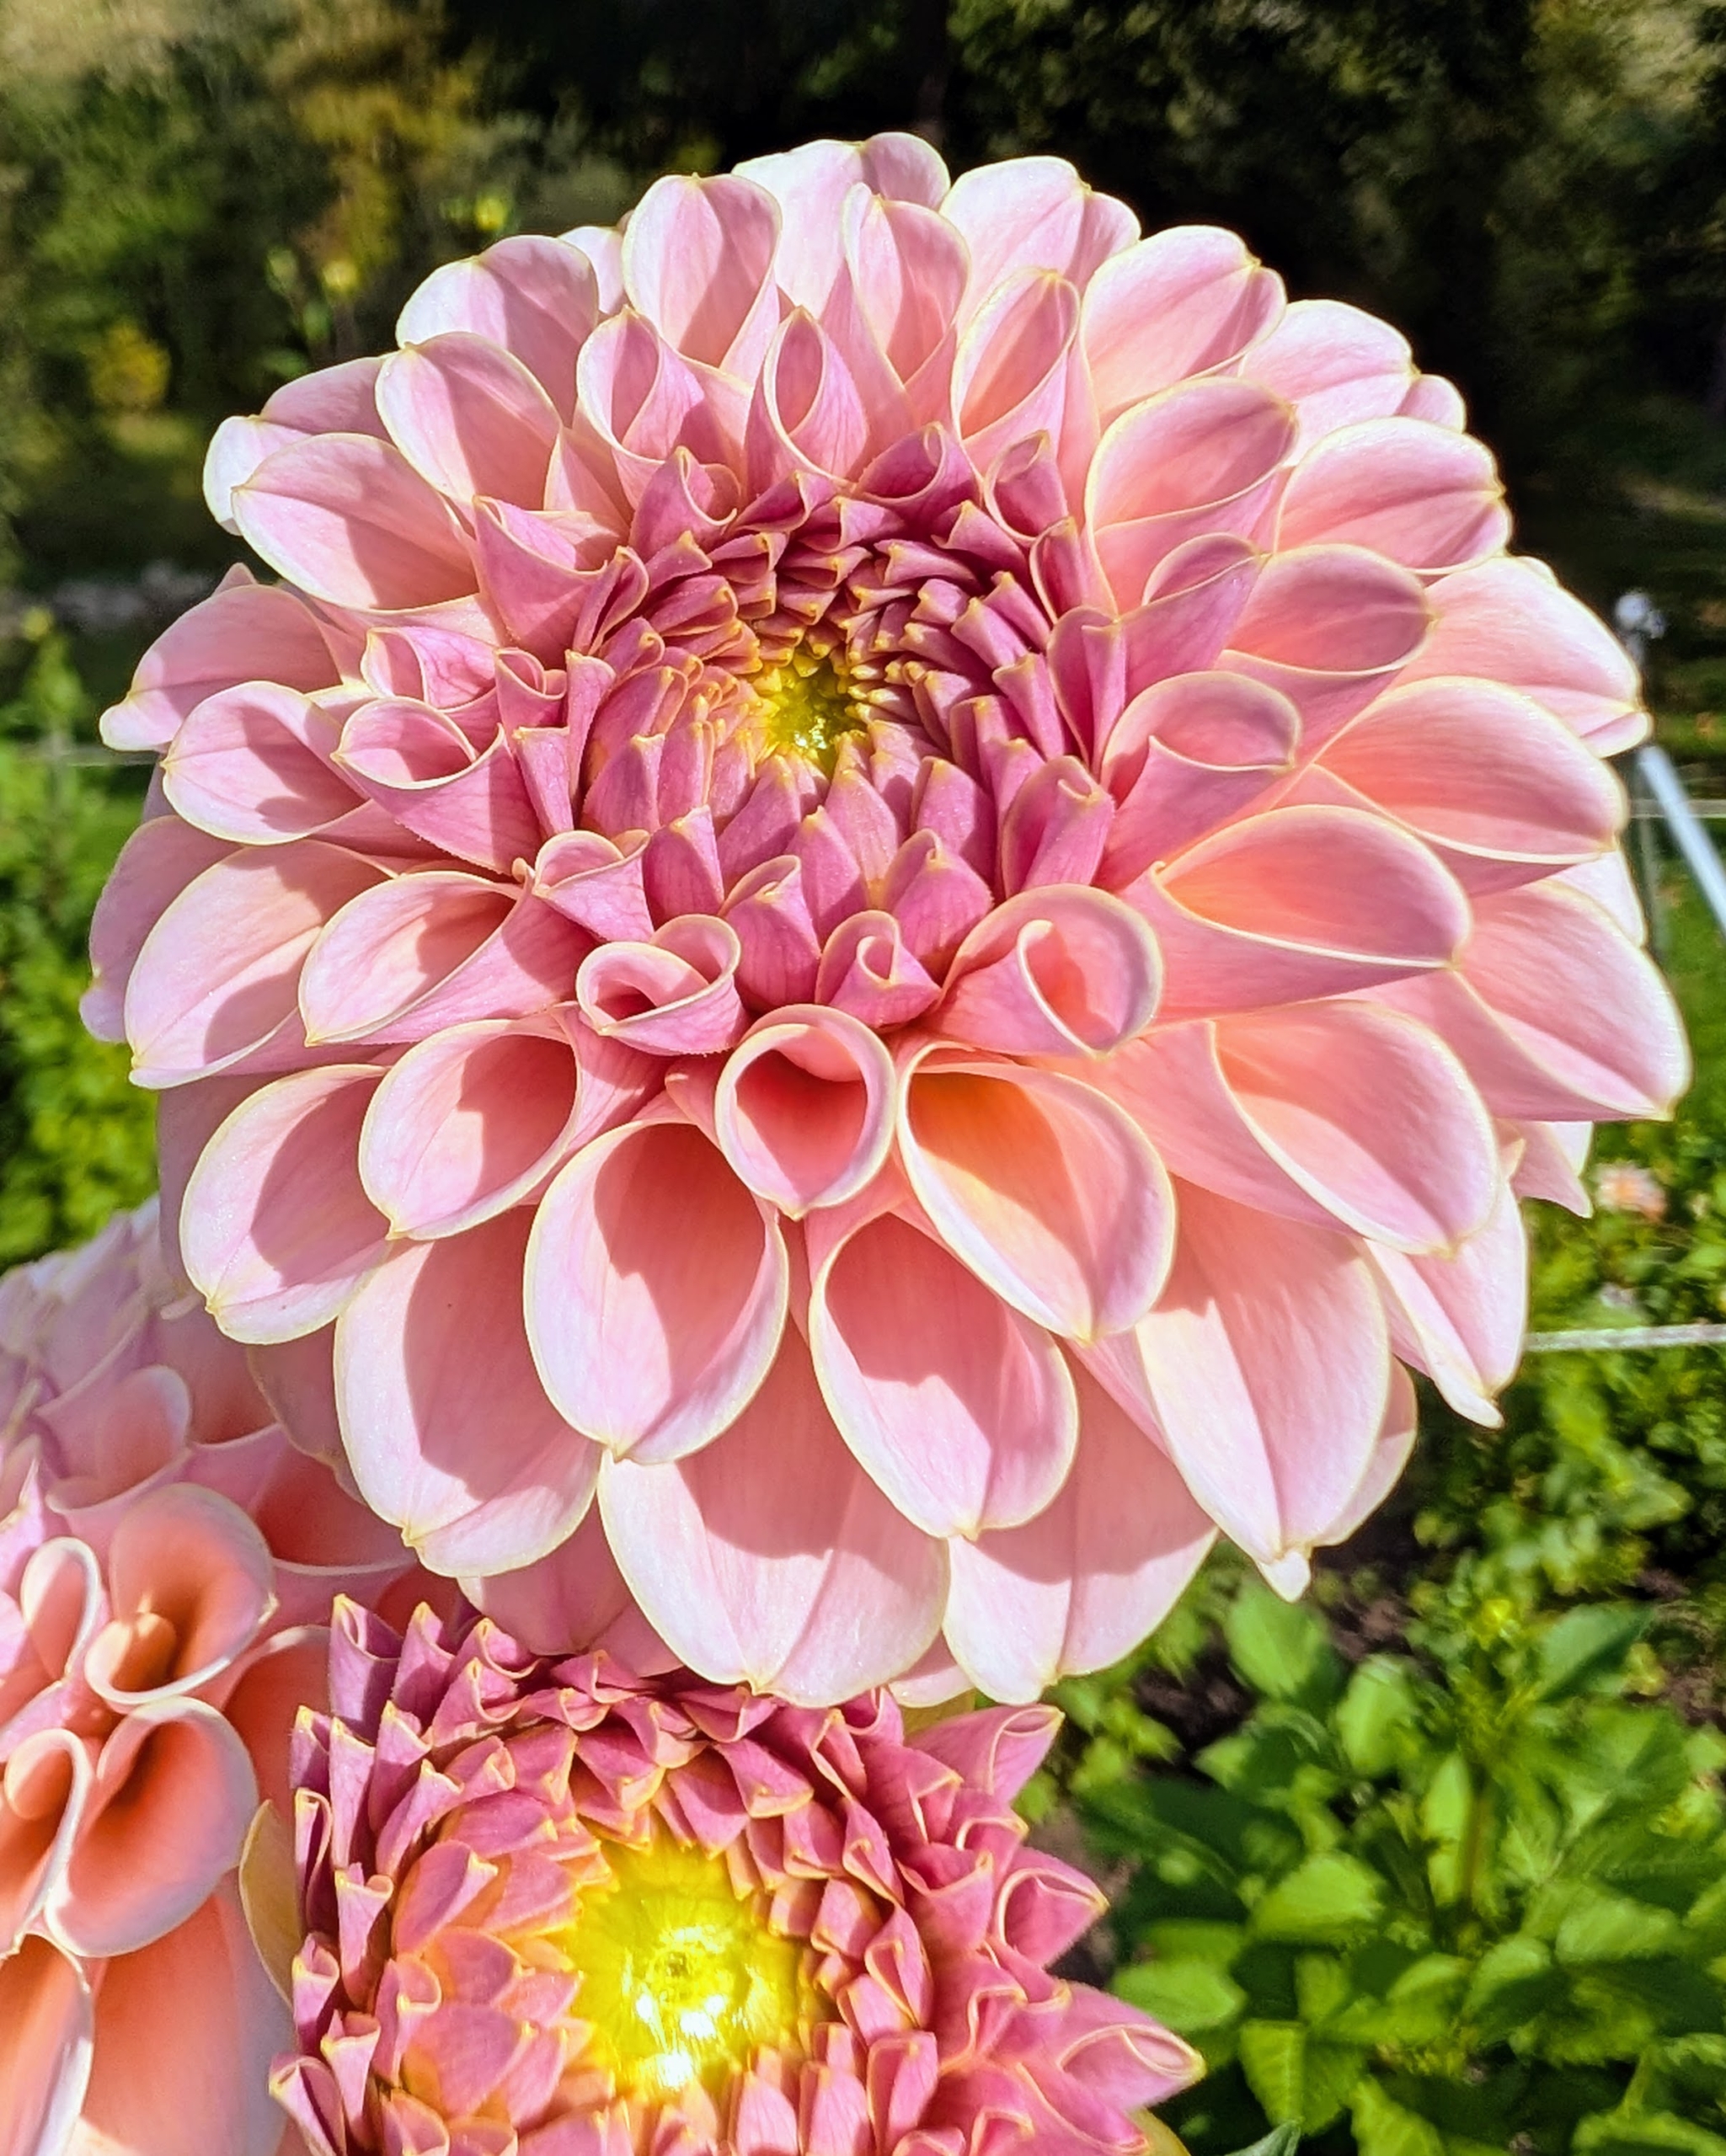
The dahlias are still blooming so beautifully and should continue producing an abundance of flowers until the first frost.
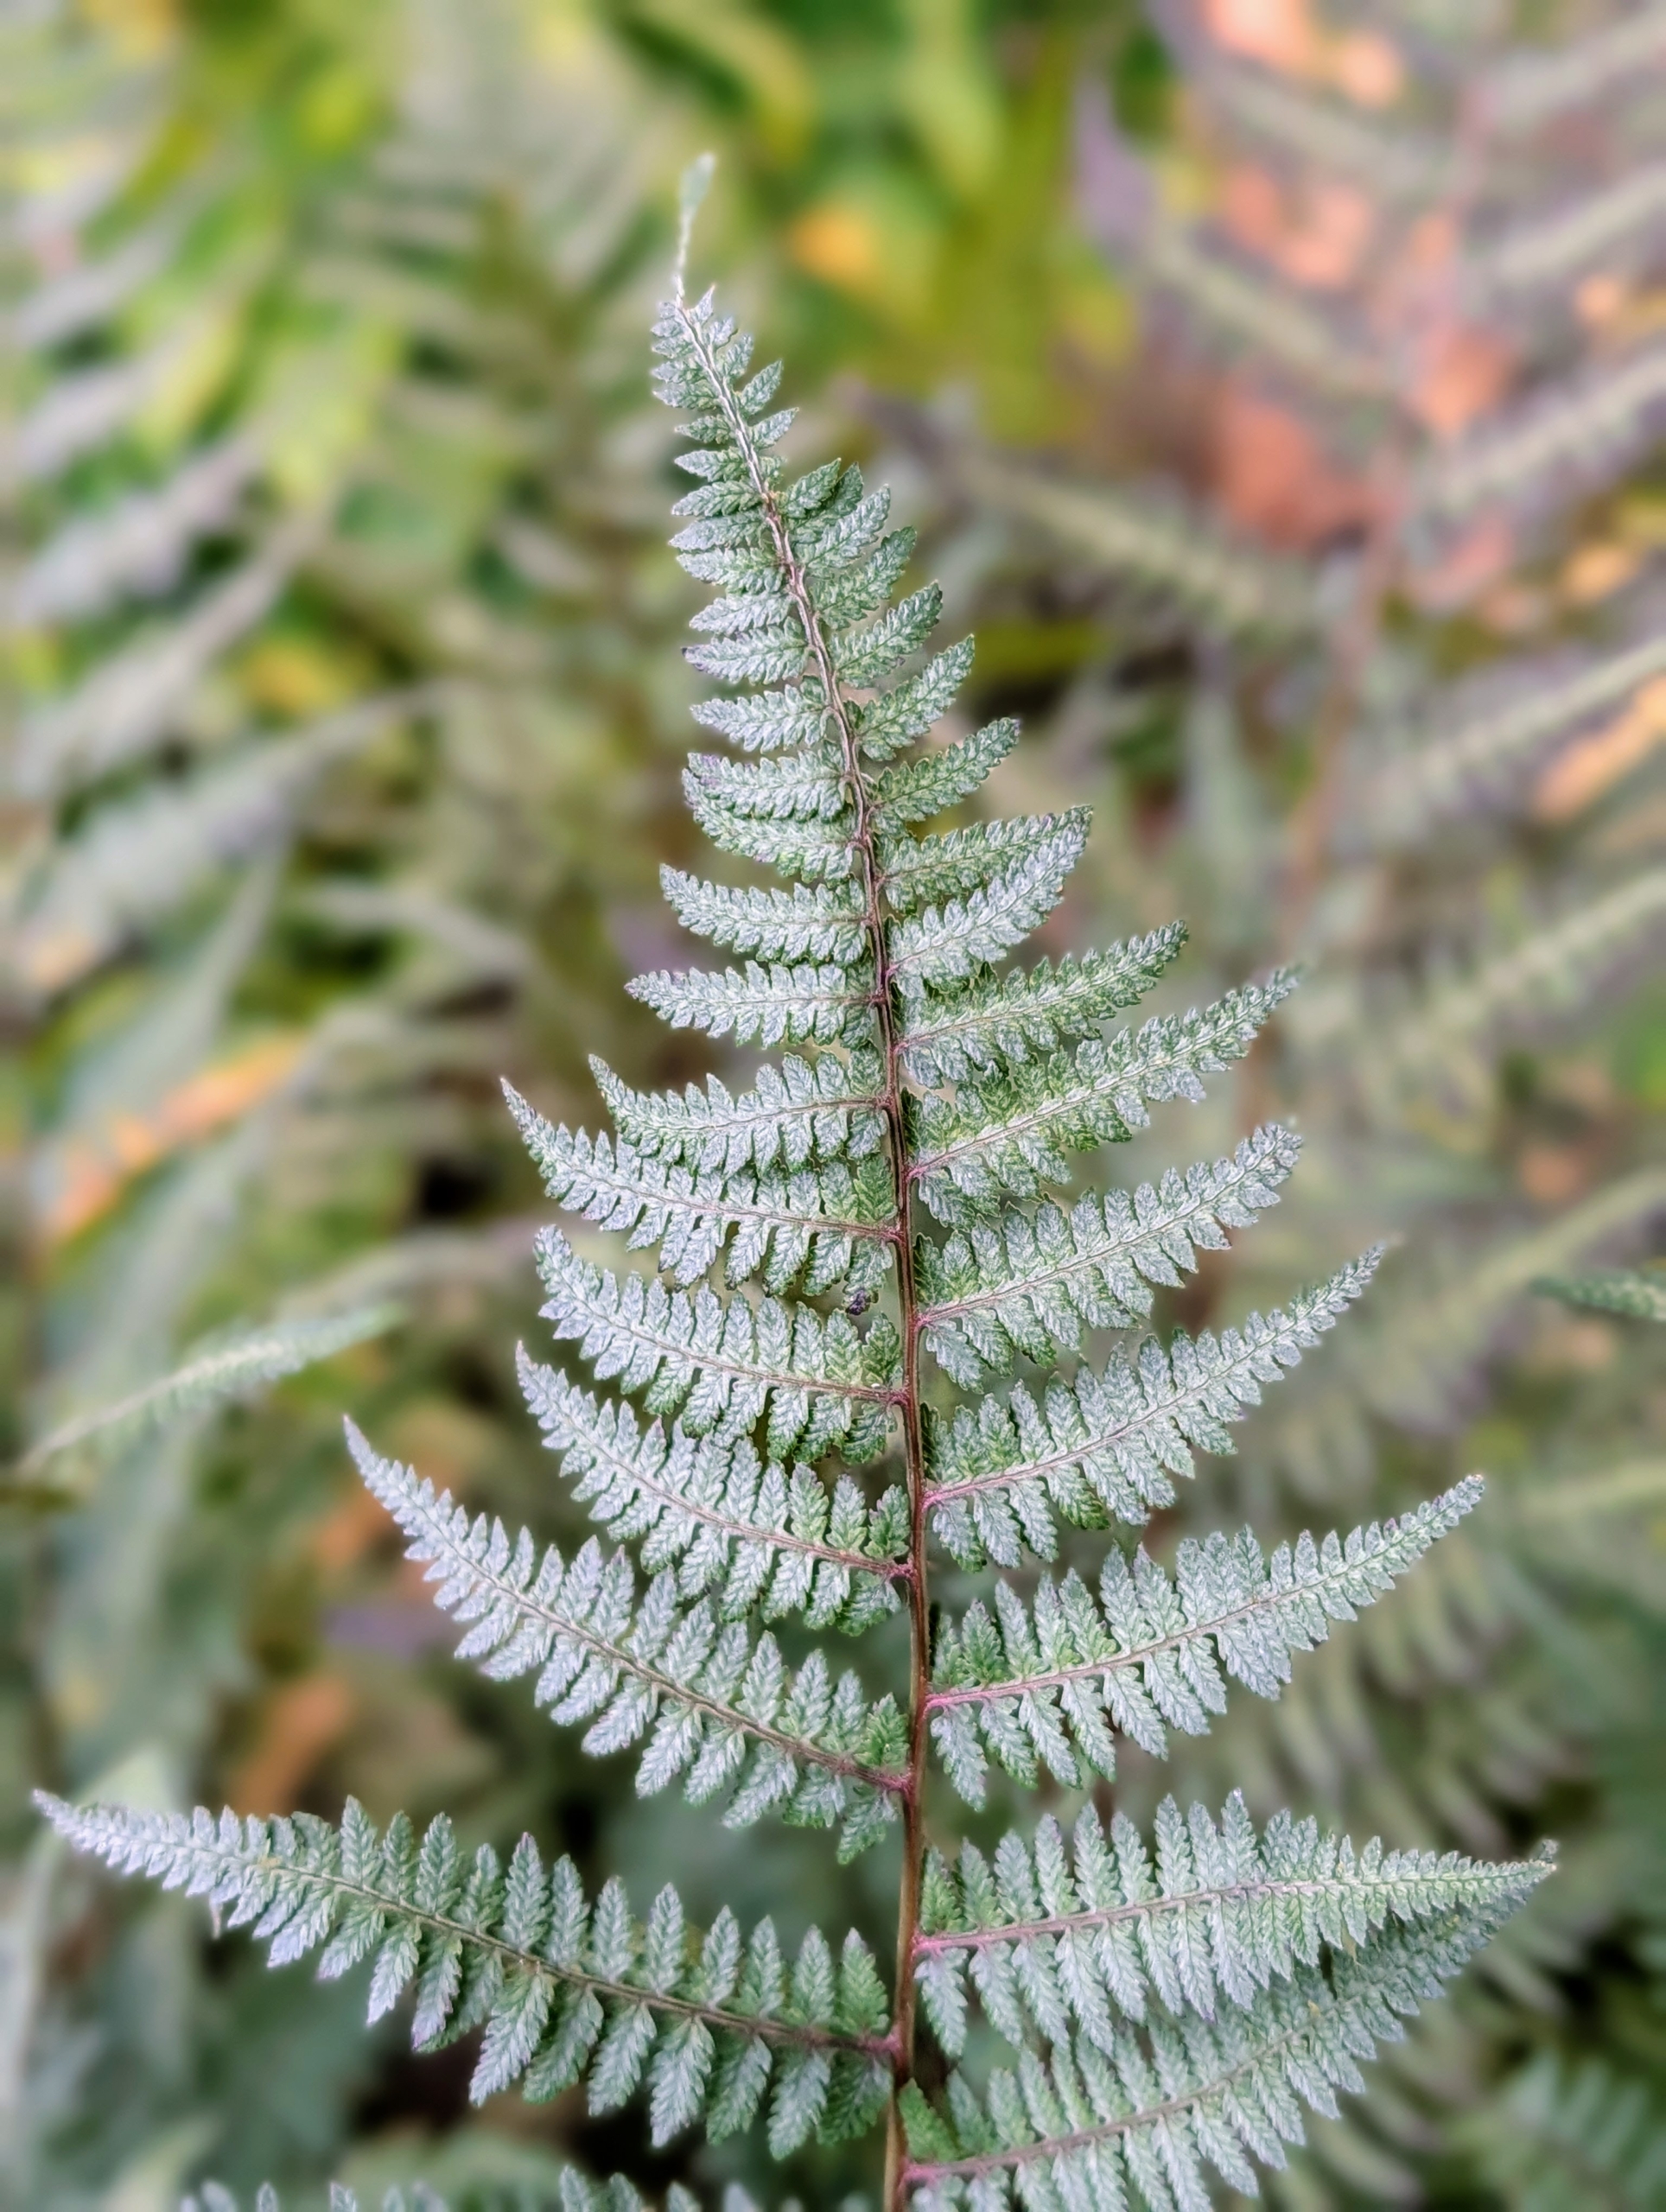
Here is a Japanese painted fern with its luminescent blue-green fronds and dark central ribs that fade to silver at the edges.
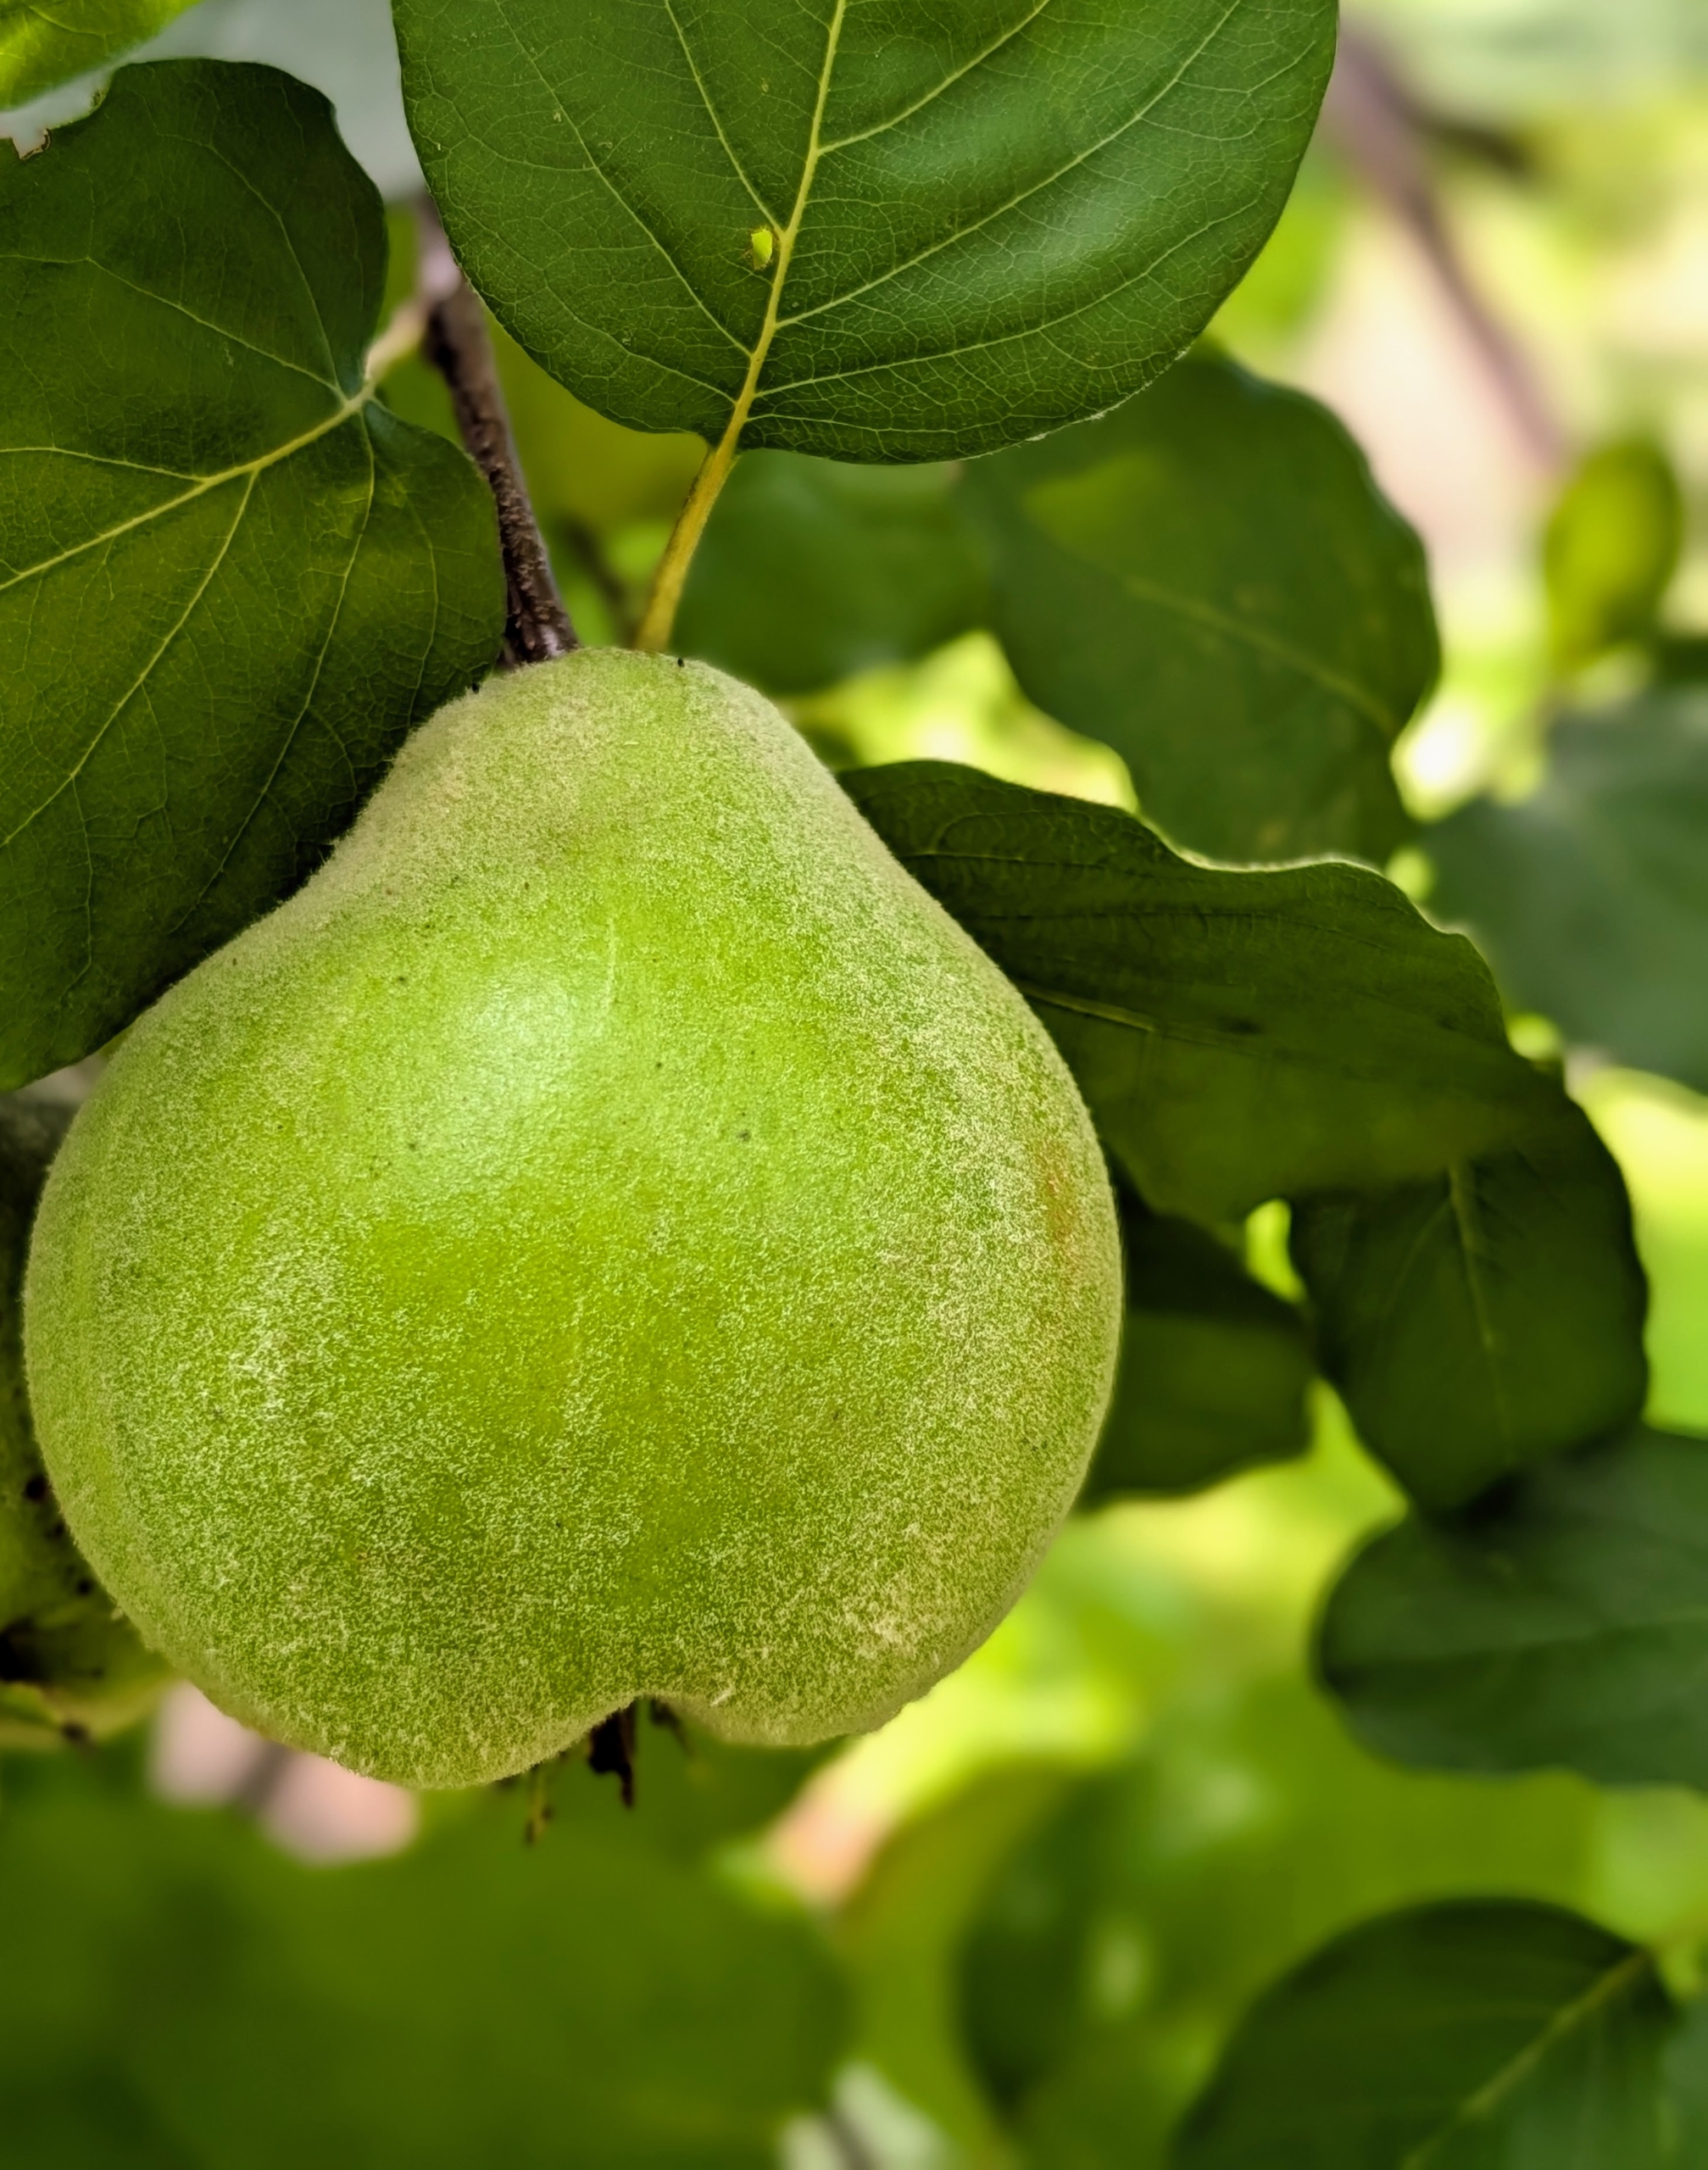
The quince fruits are developing excellently. The camera adjusts its focus quickly and accurately.
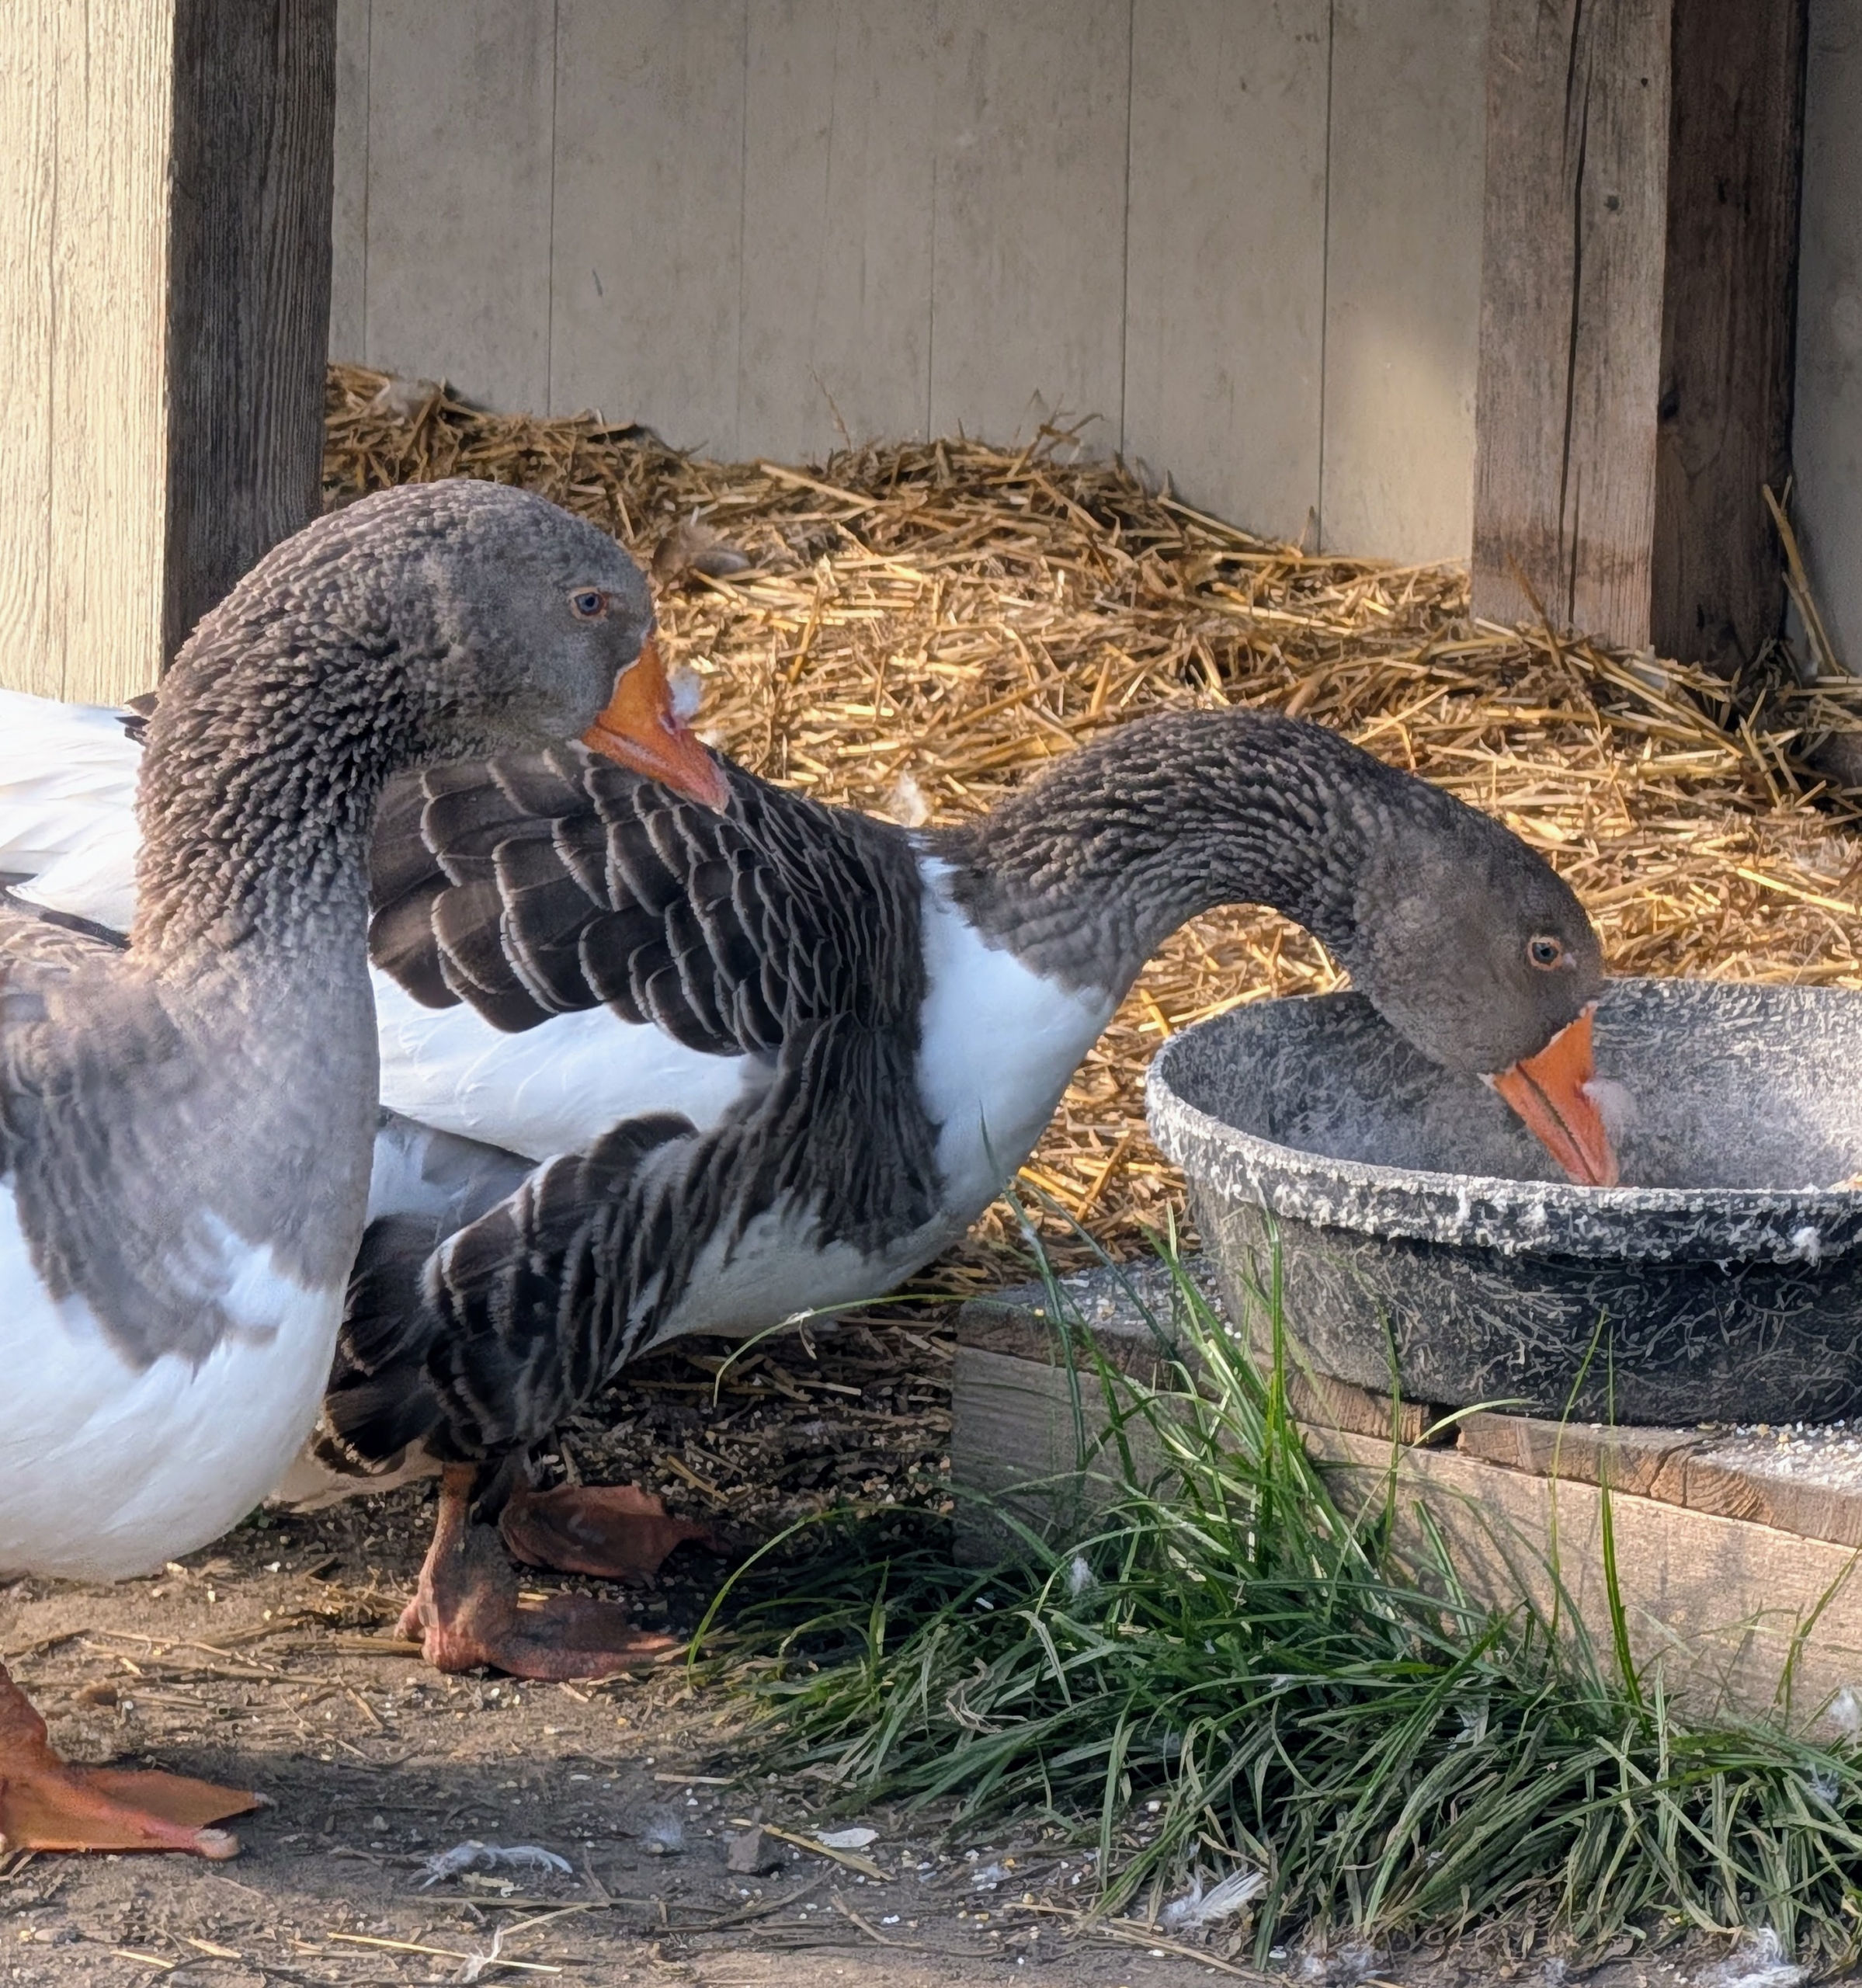
This photo of my Pomeranian geese was taken from outside the enclosure several feet away. The Google Pixel Pro 10 XL has more enhanced magnification, making subjects look great from a distance.
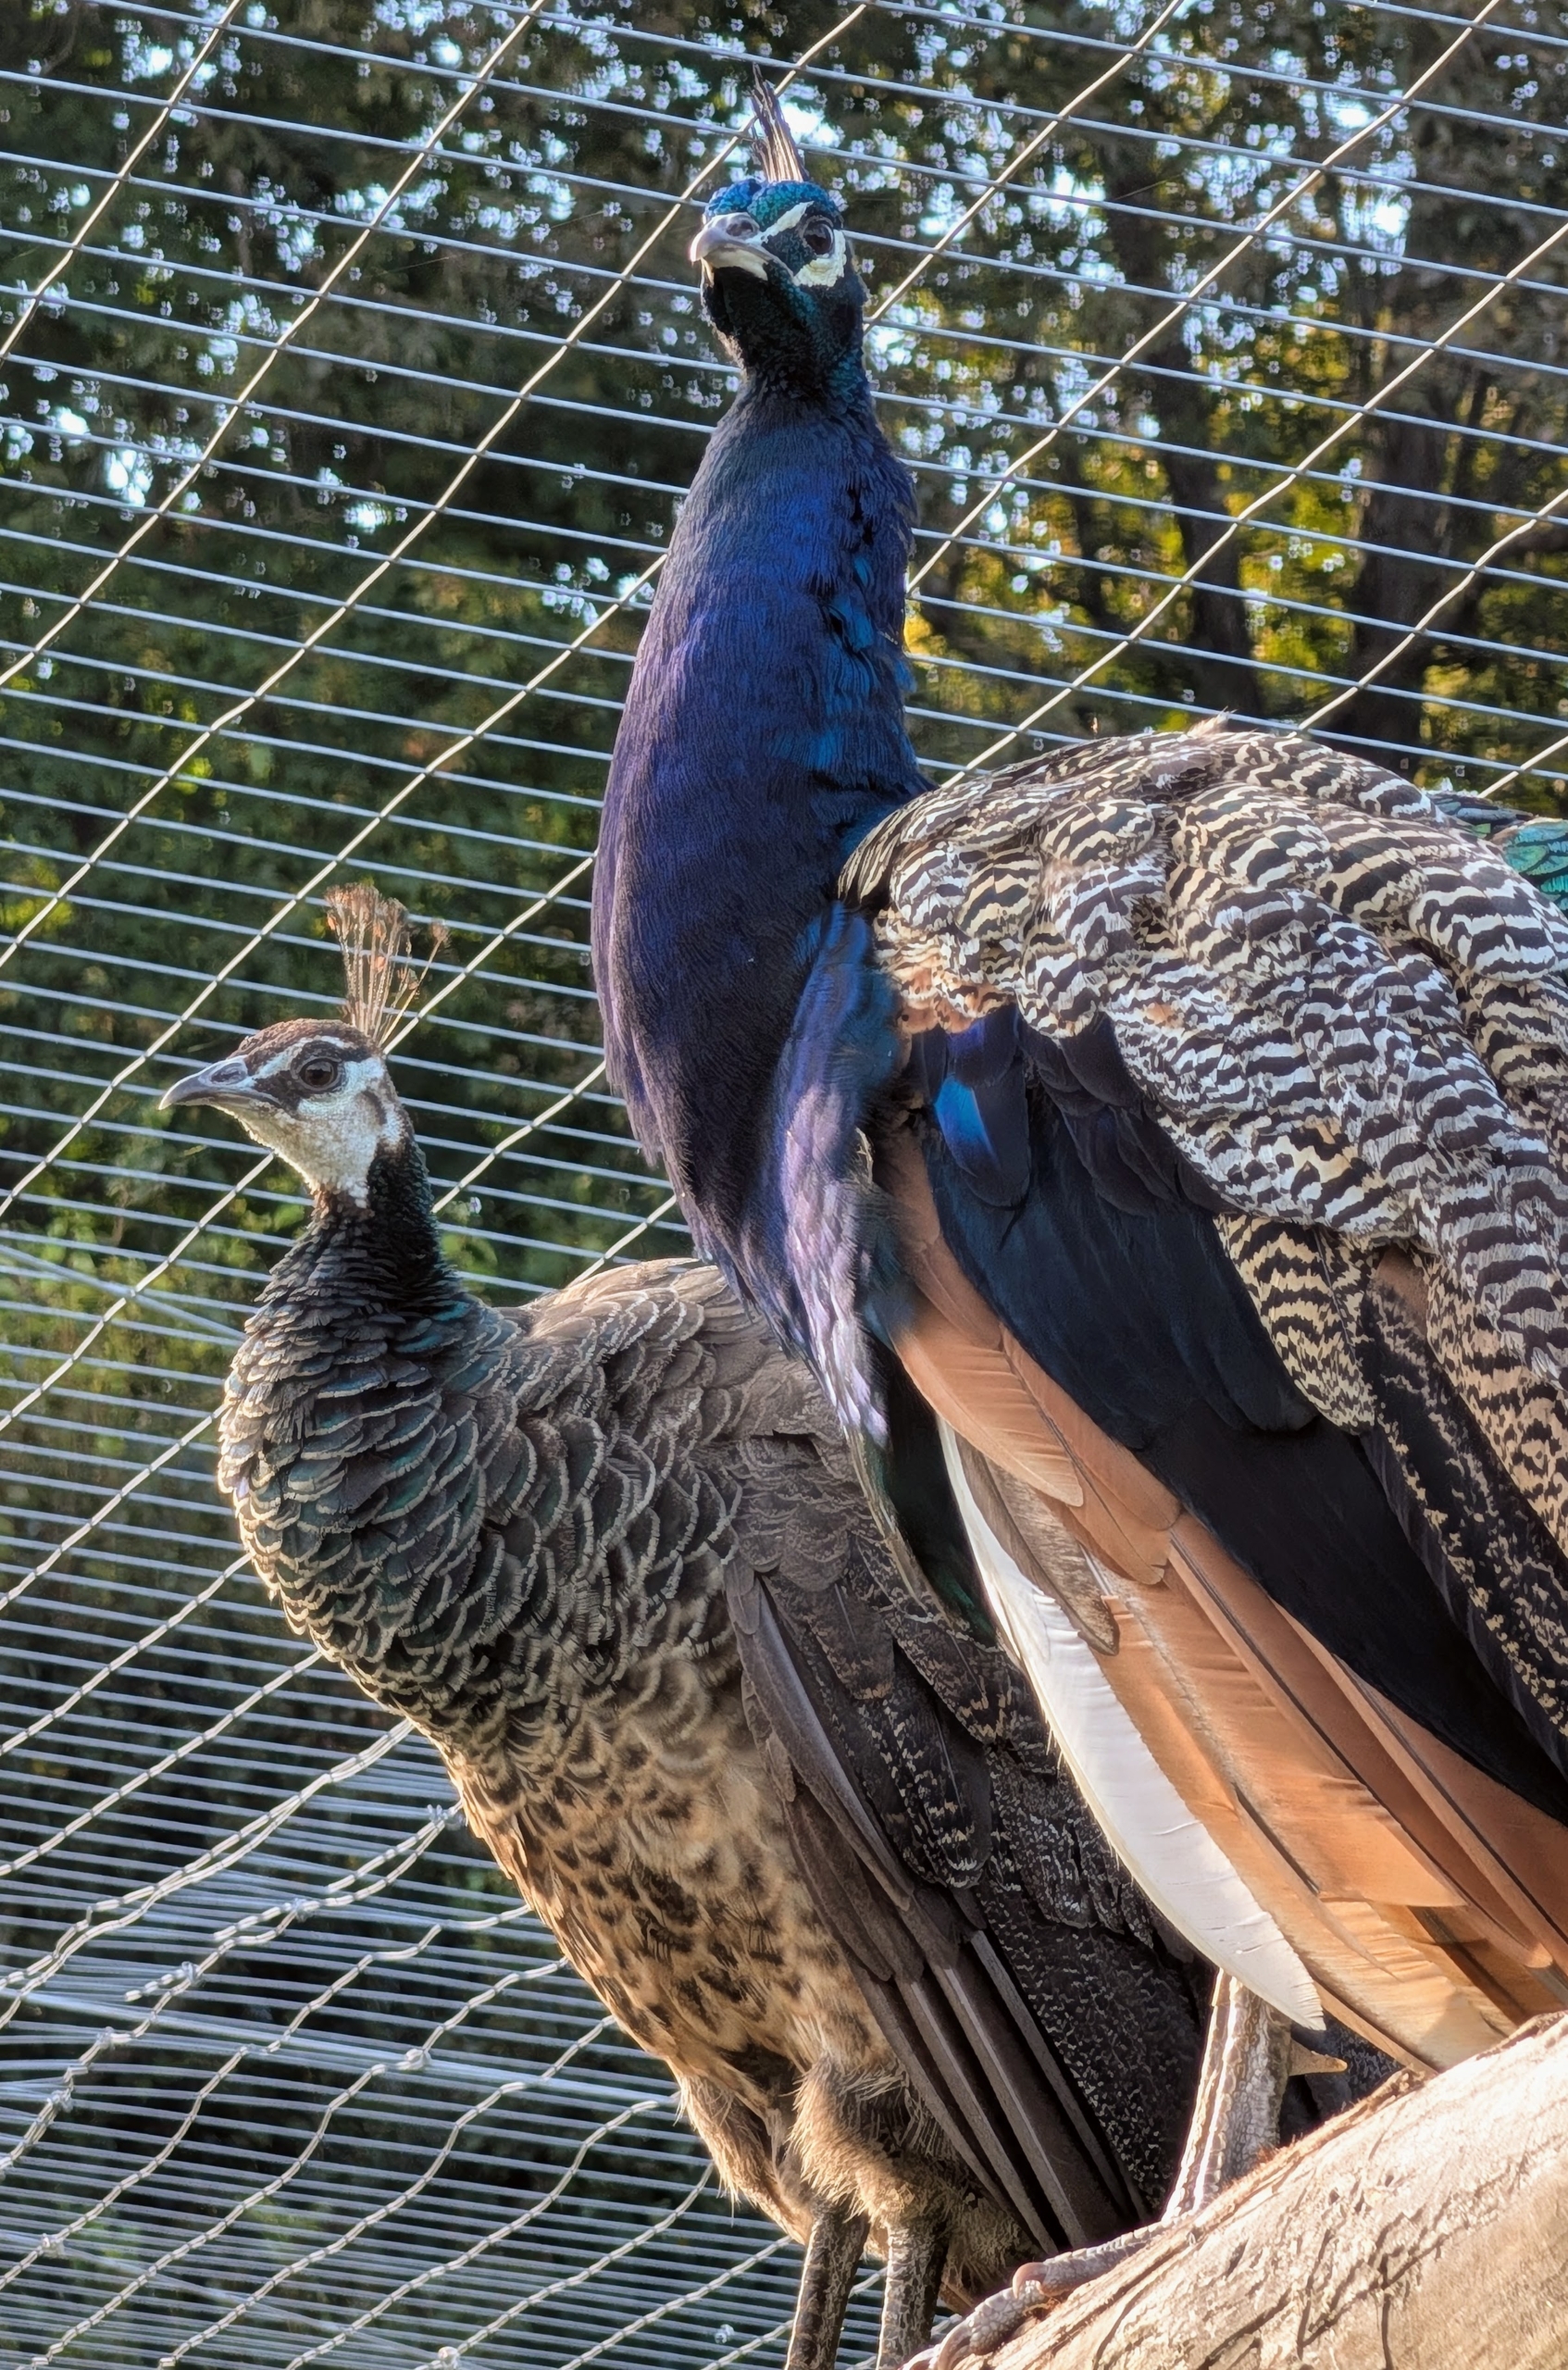
And look at the peafowl – this was also taken from more than 20-feet away.
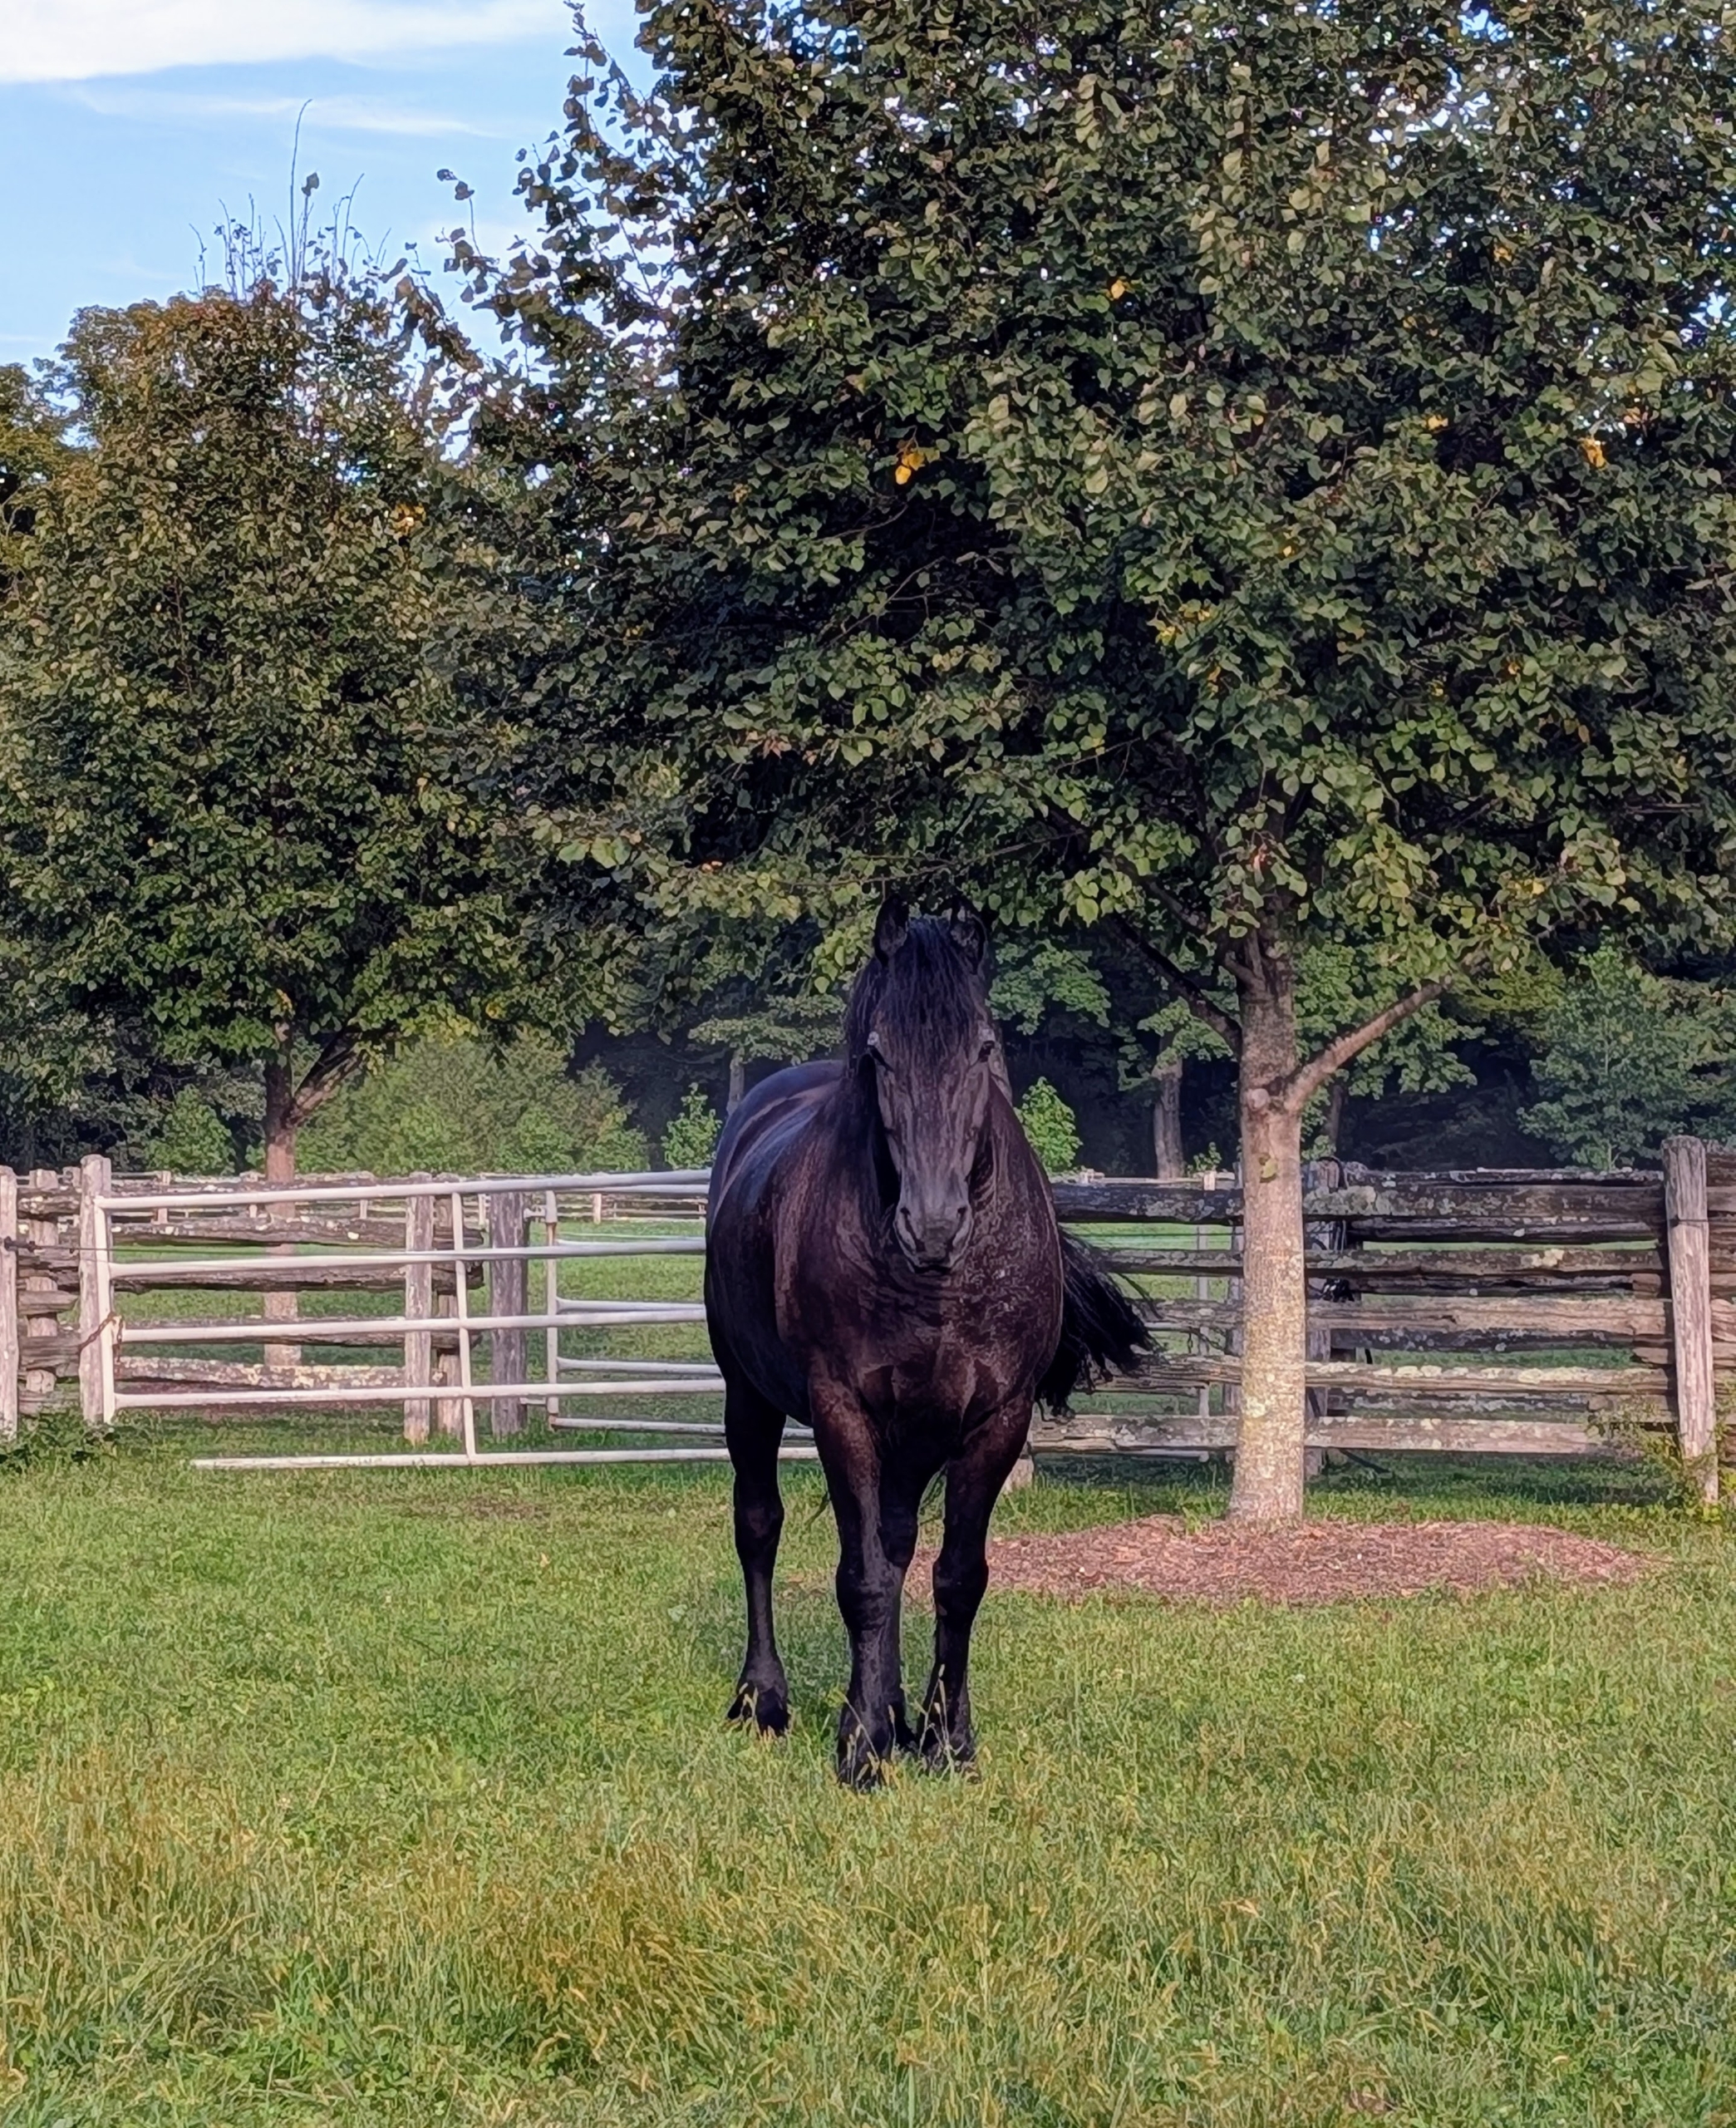
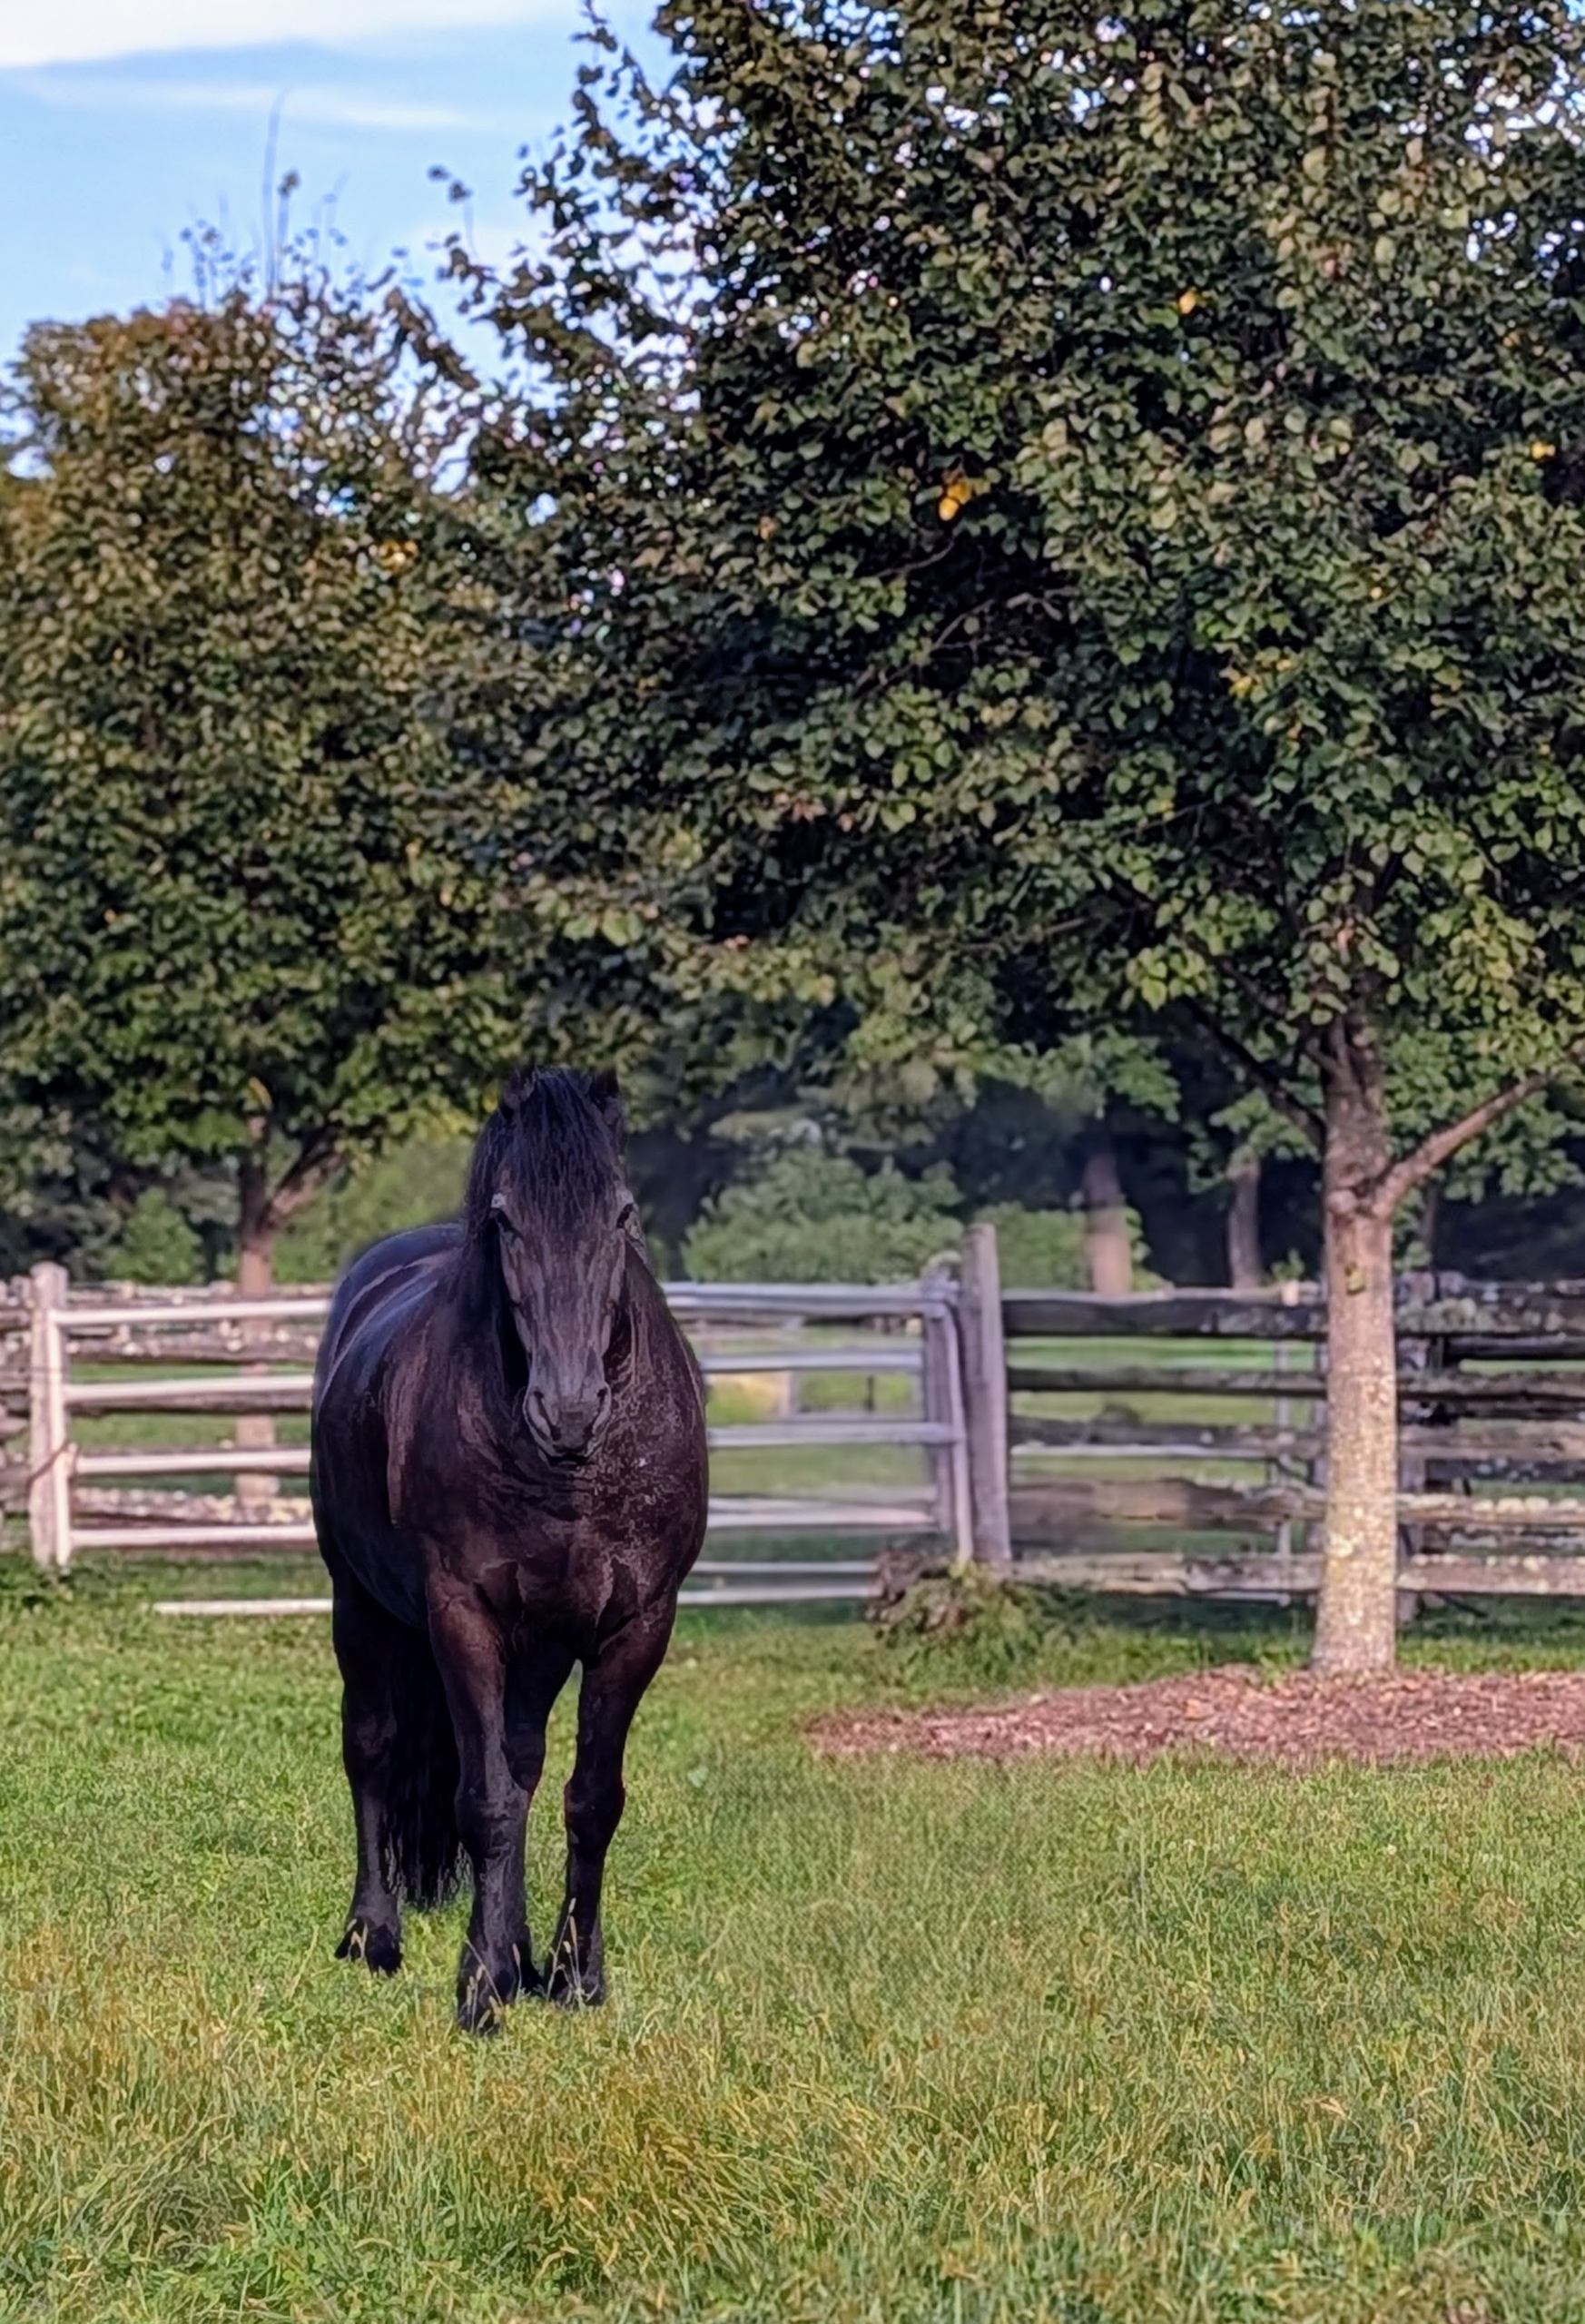
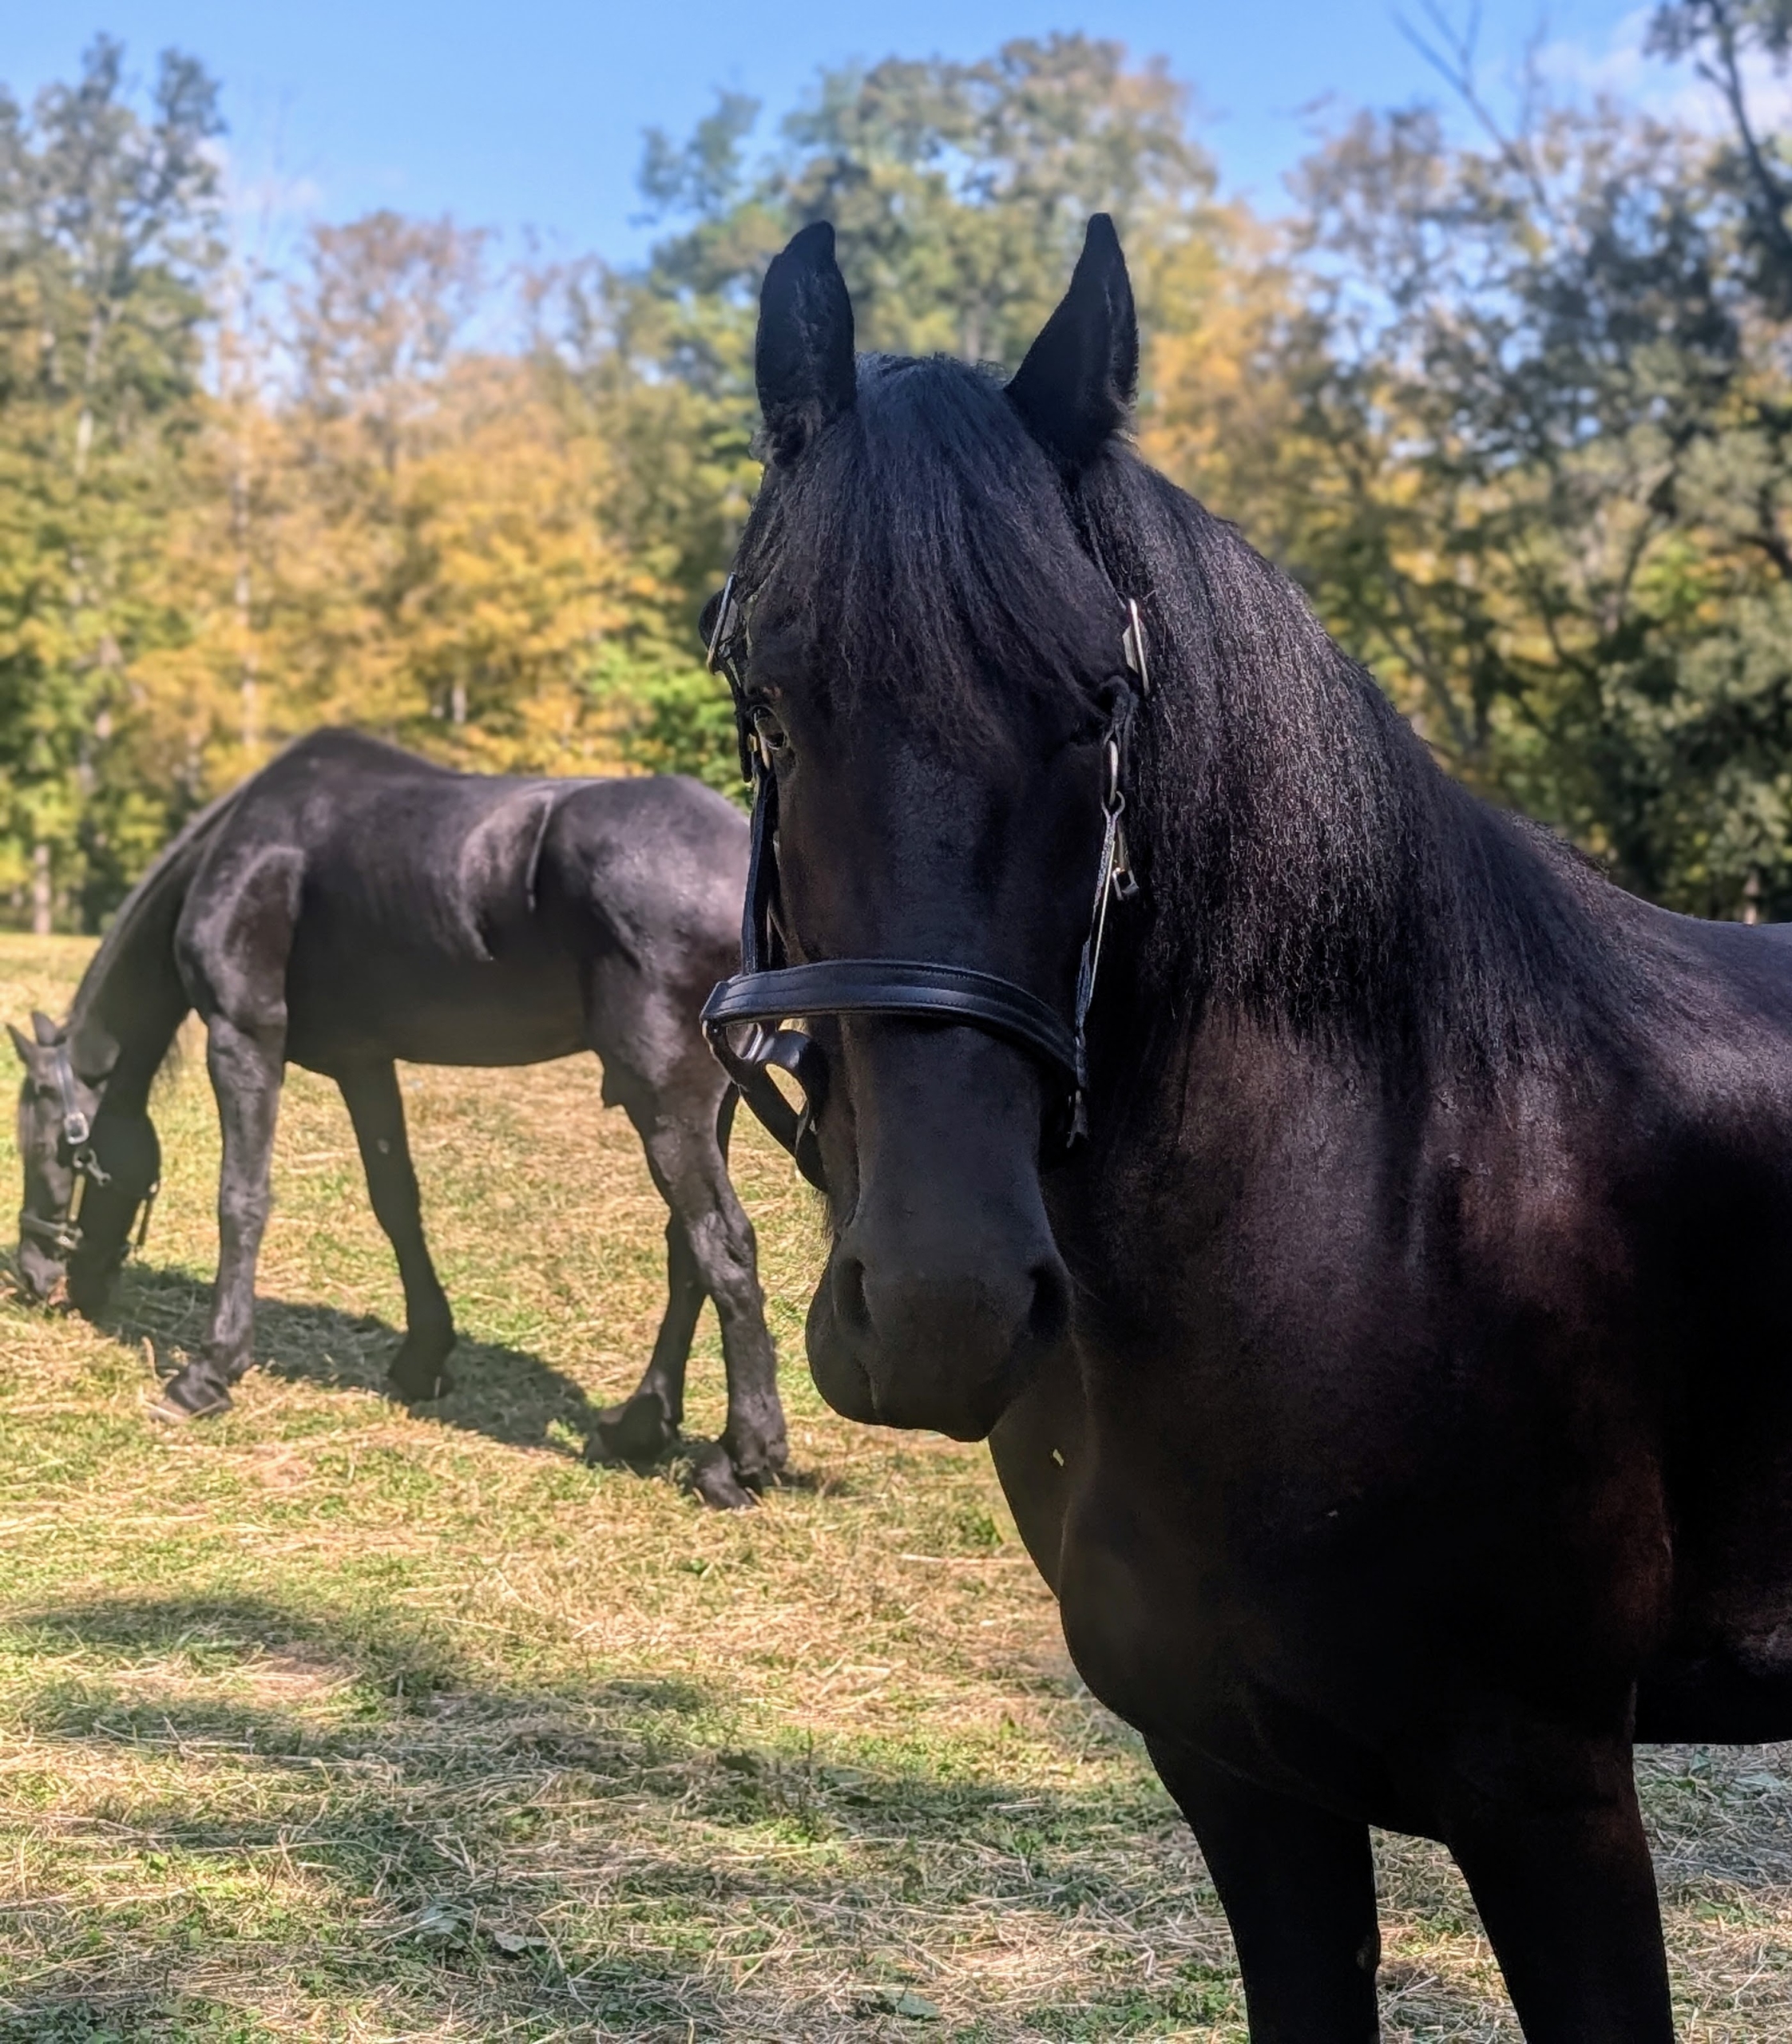
The “move” feature allows subjects to be moved from one place to another. Here’s my handsome Friesian Hylke in the paddock, standing just in front of the edge of the tree pit under one of my lindens.
With just a few key strokes in edit mode, Hylke was moved a little to the left.
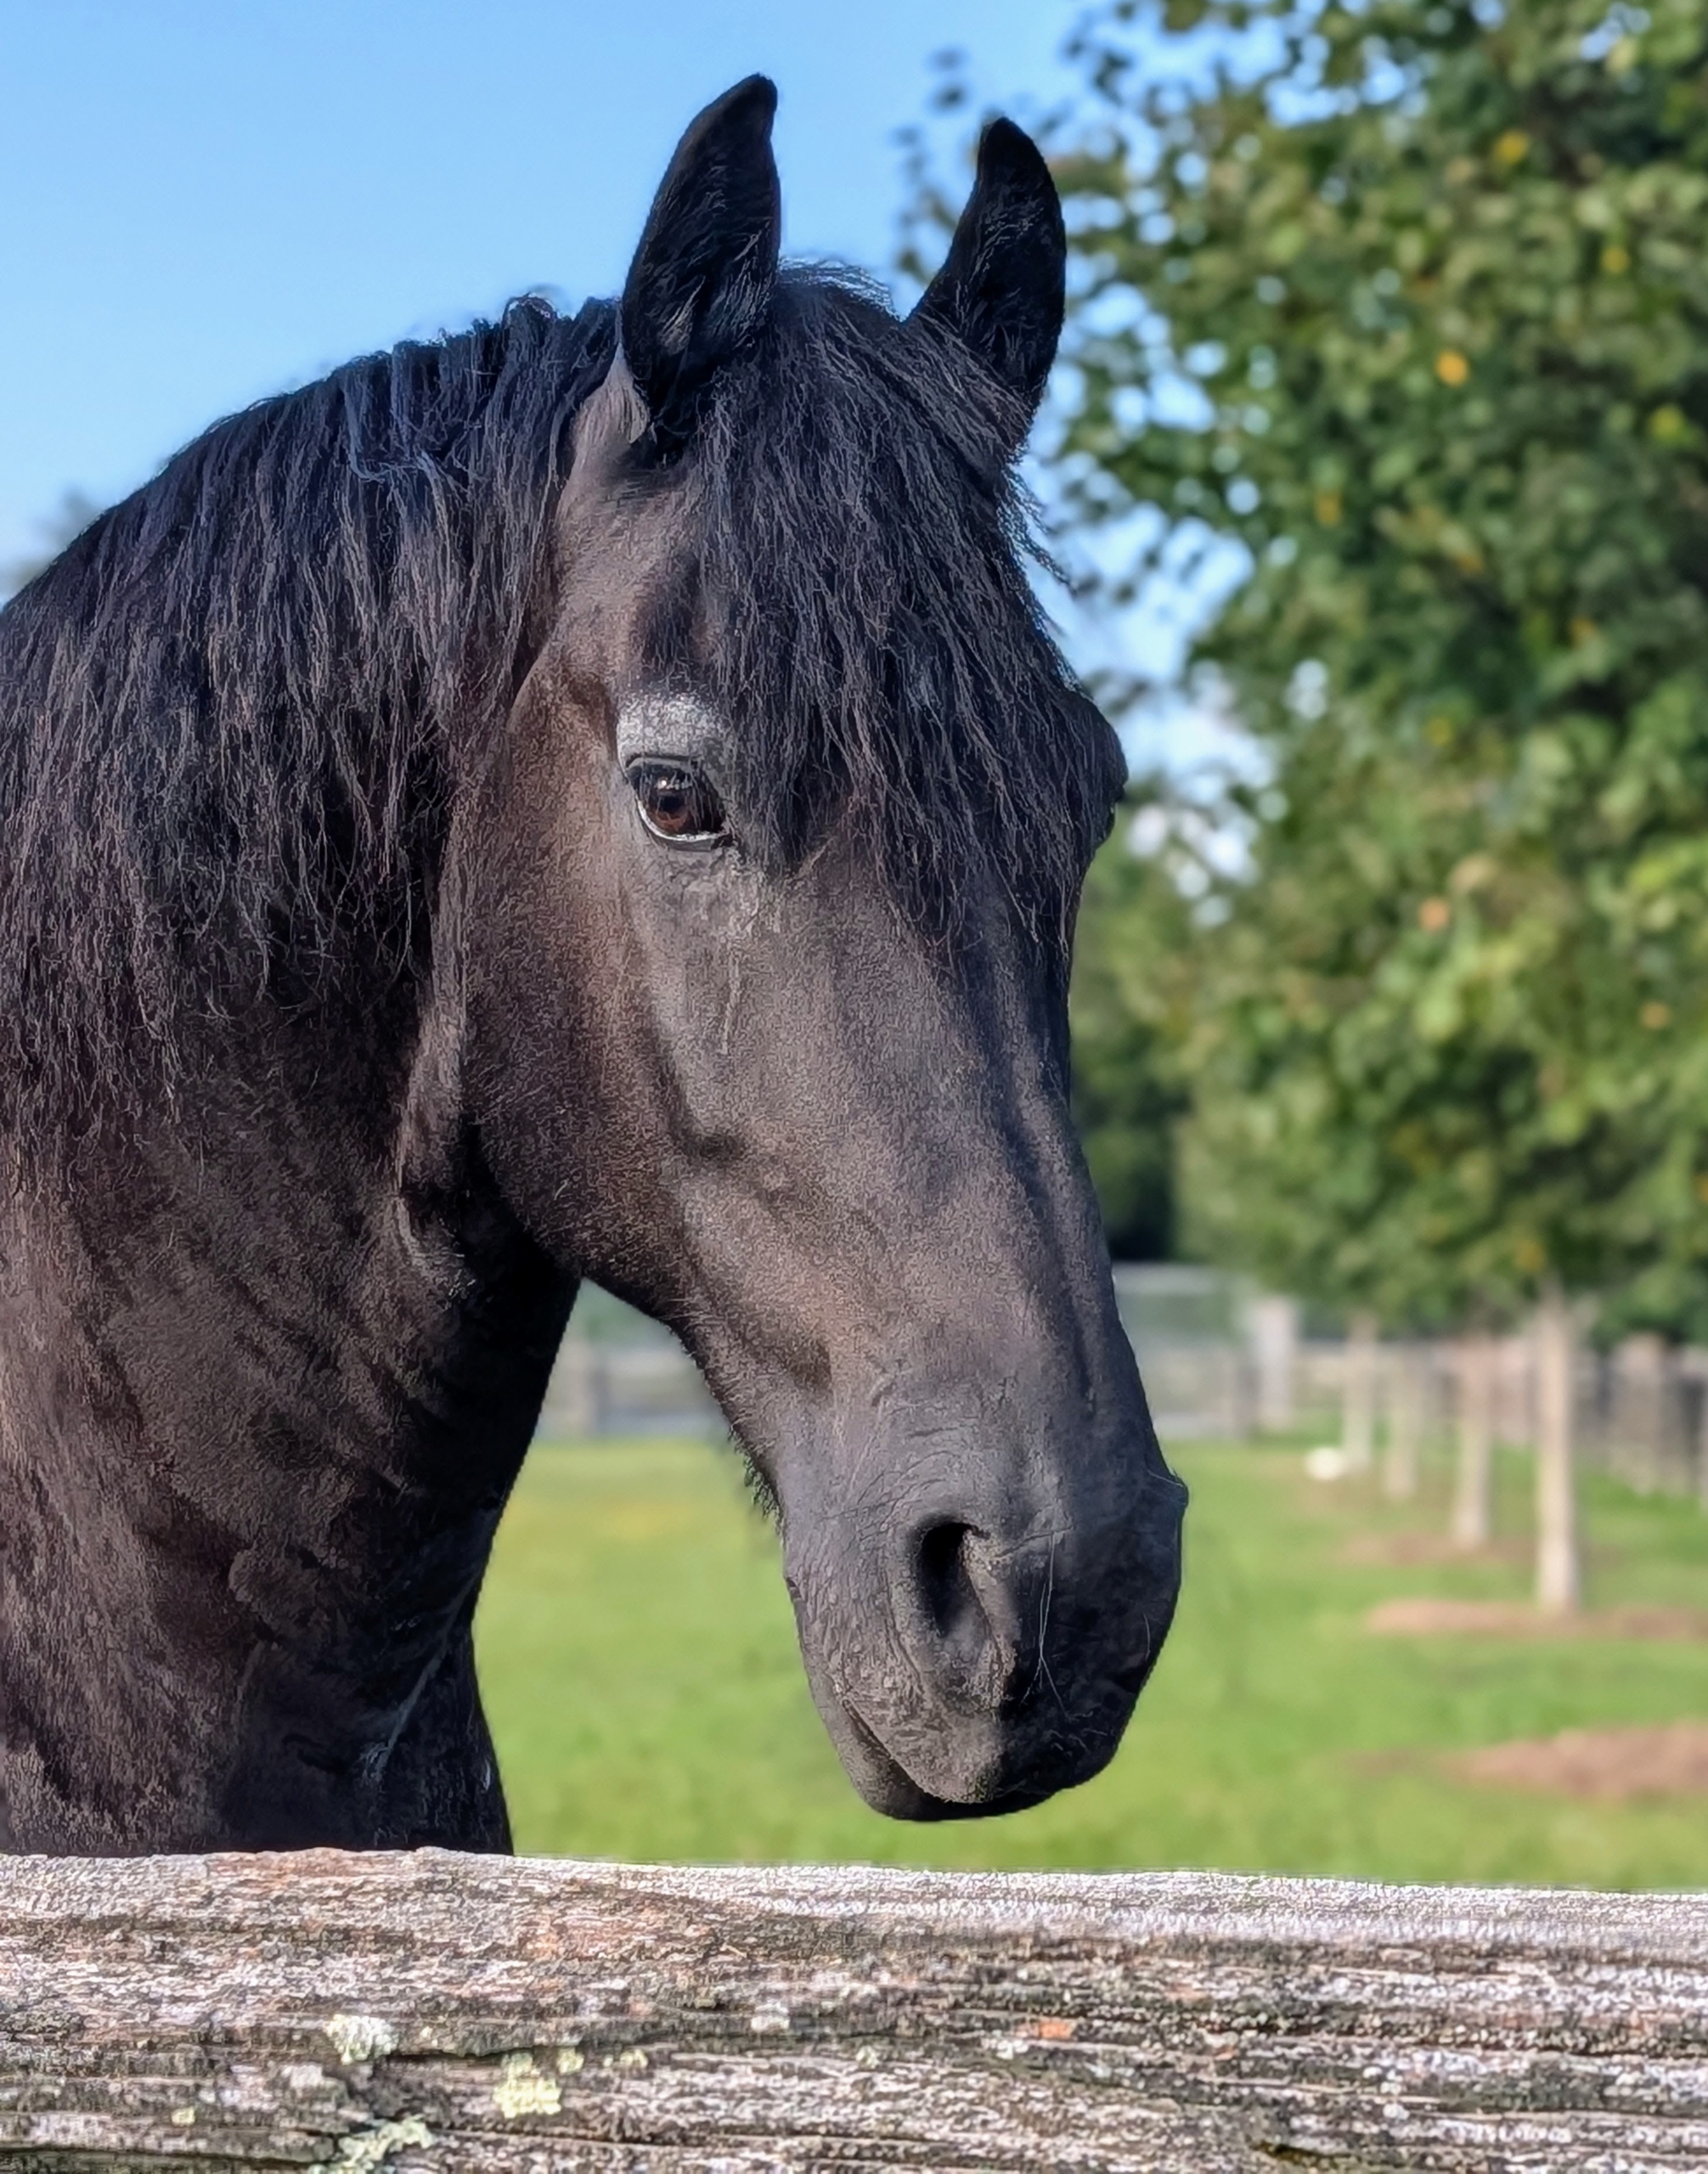
And then he came up right to the fence and said hello.
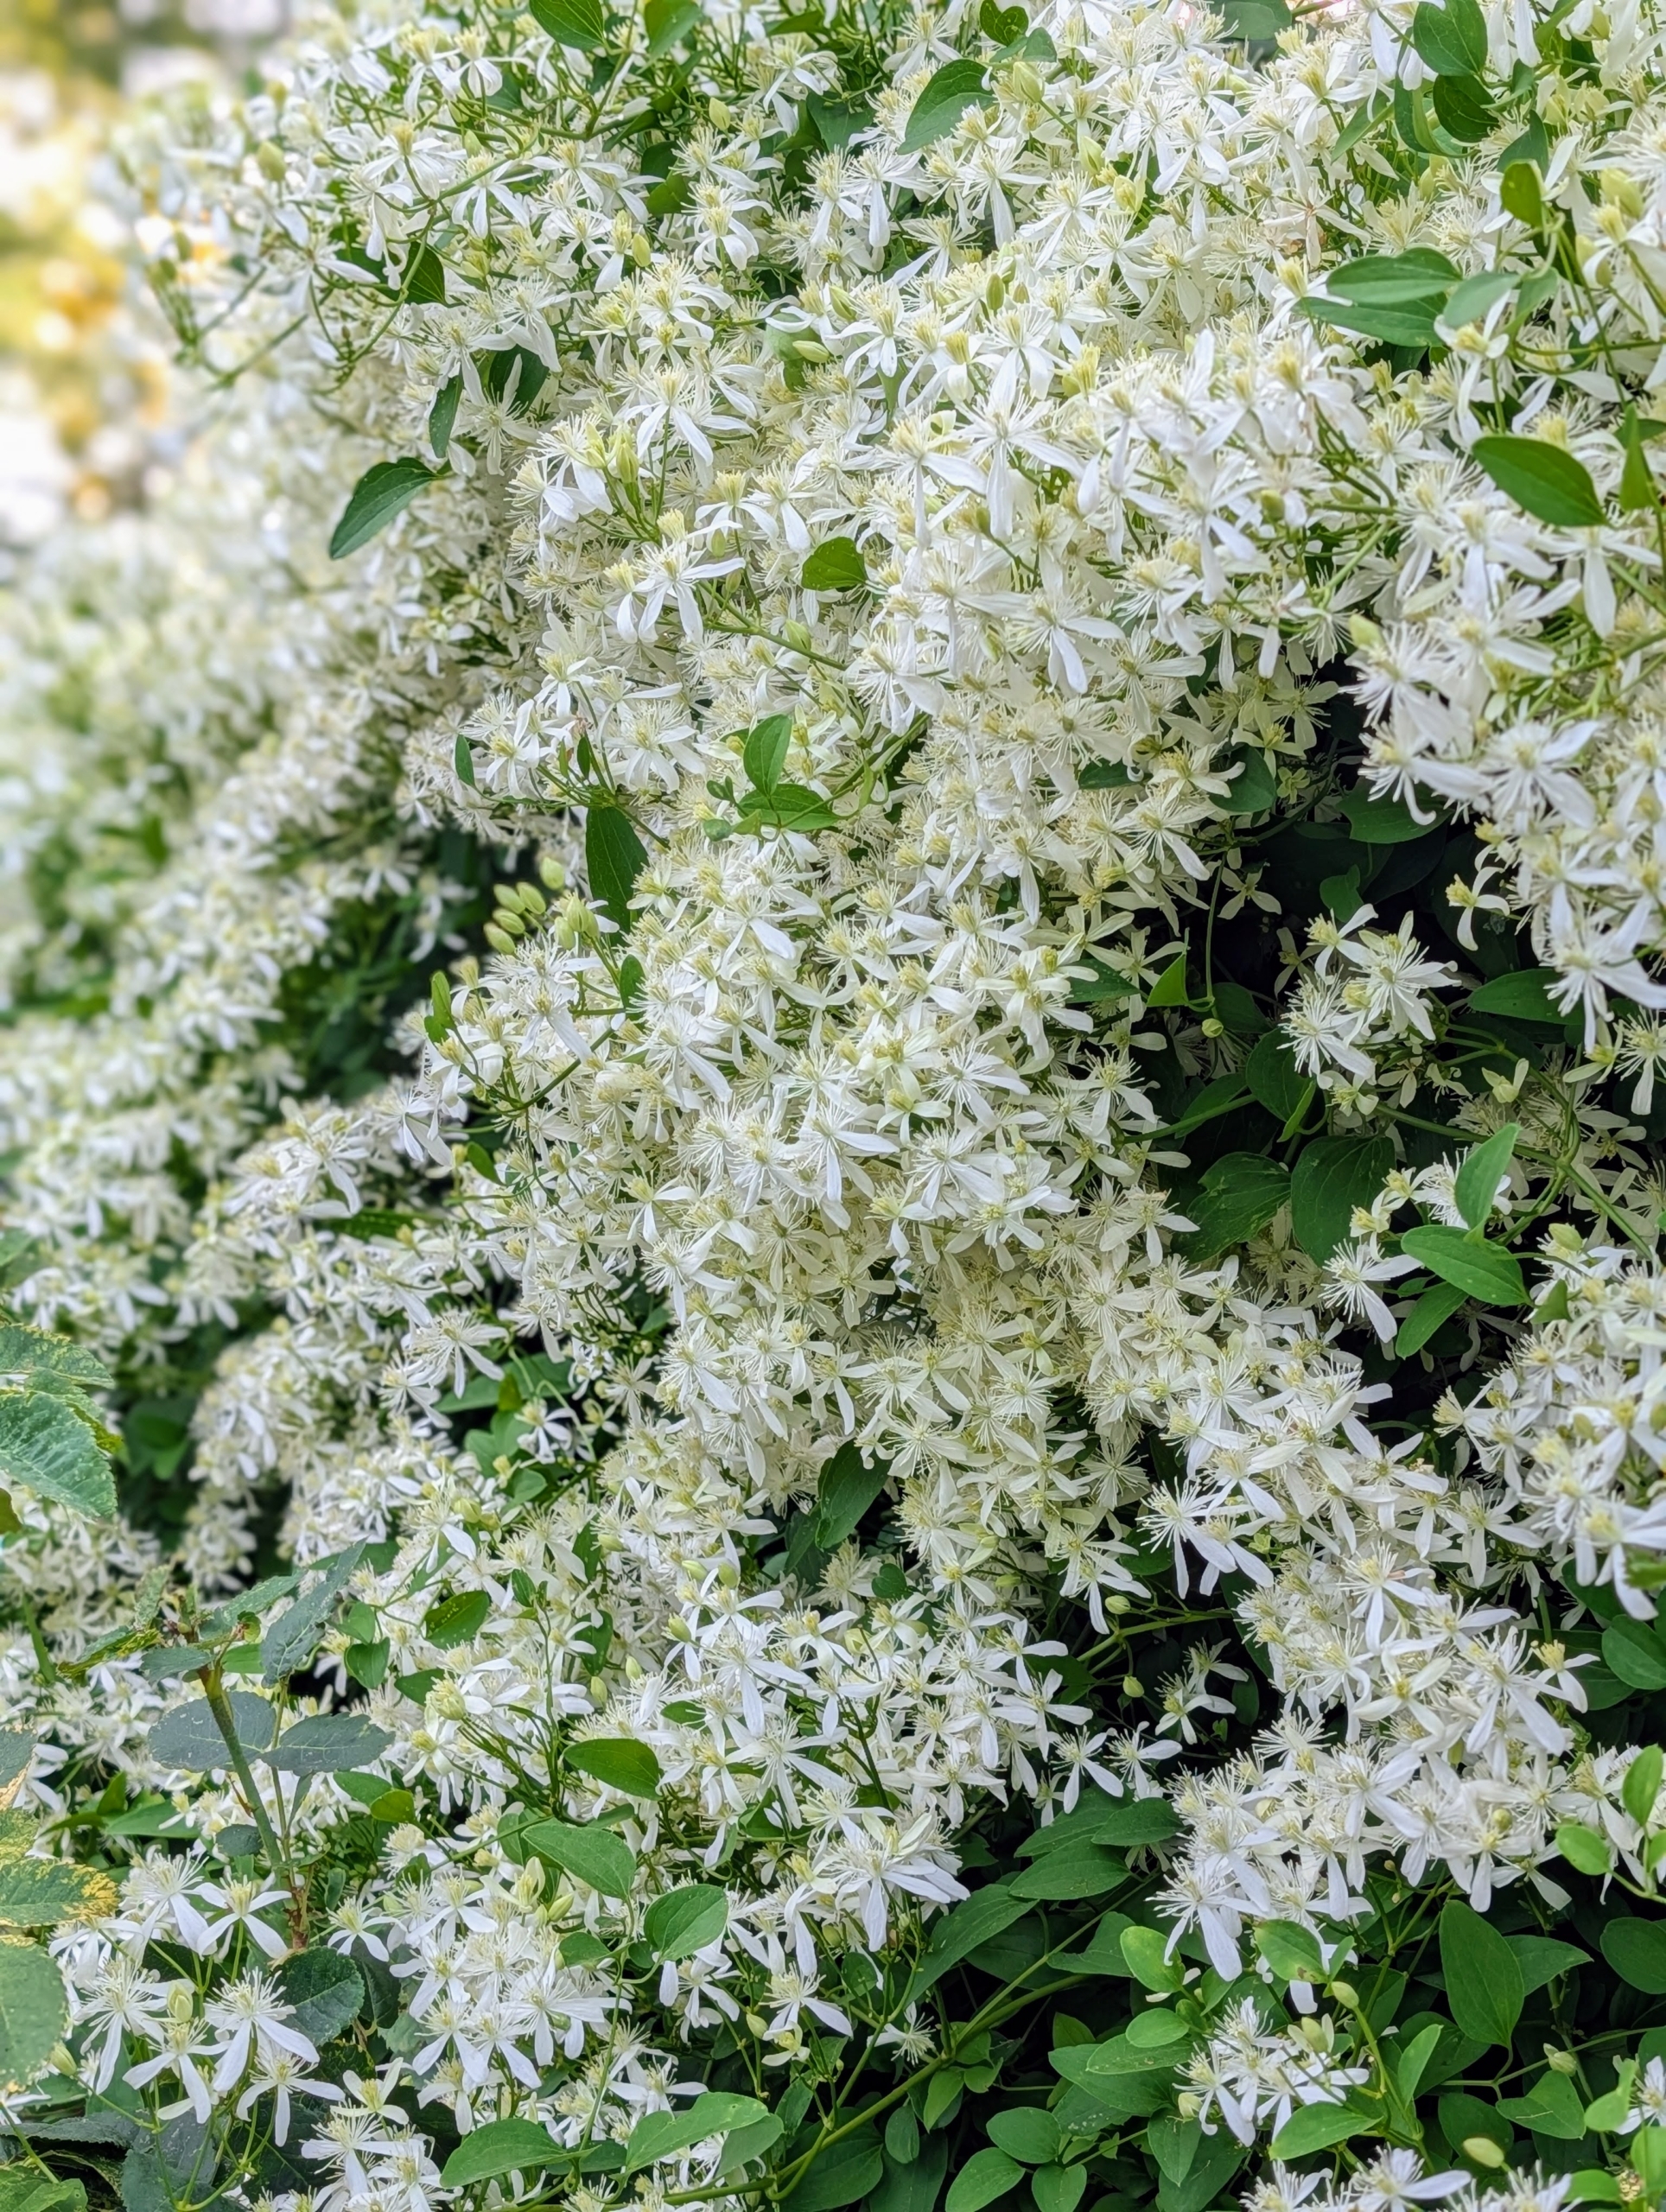
This sweet autumn clematis displays billowy masses of fragrant white flowers against bold colored green leaves.
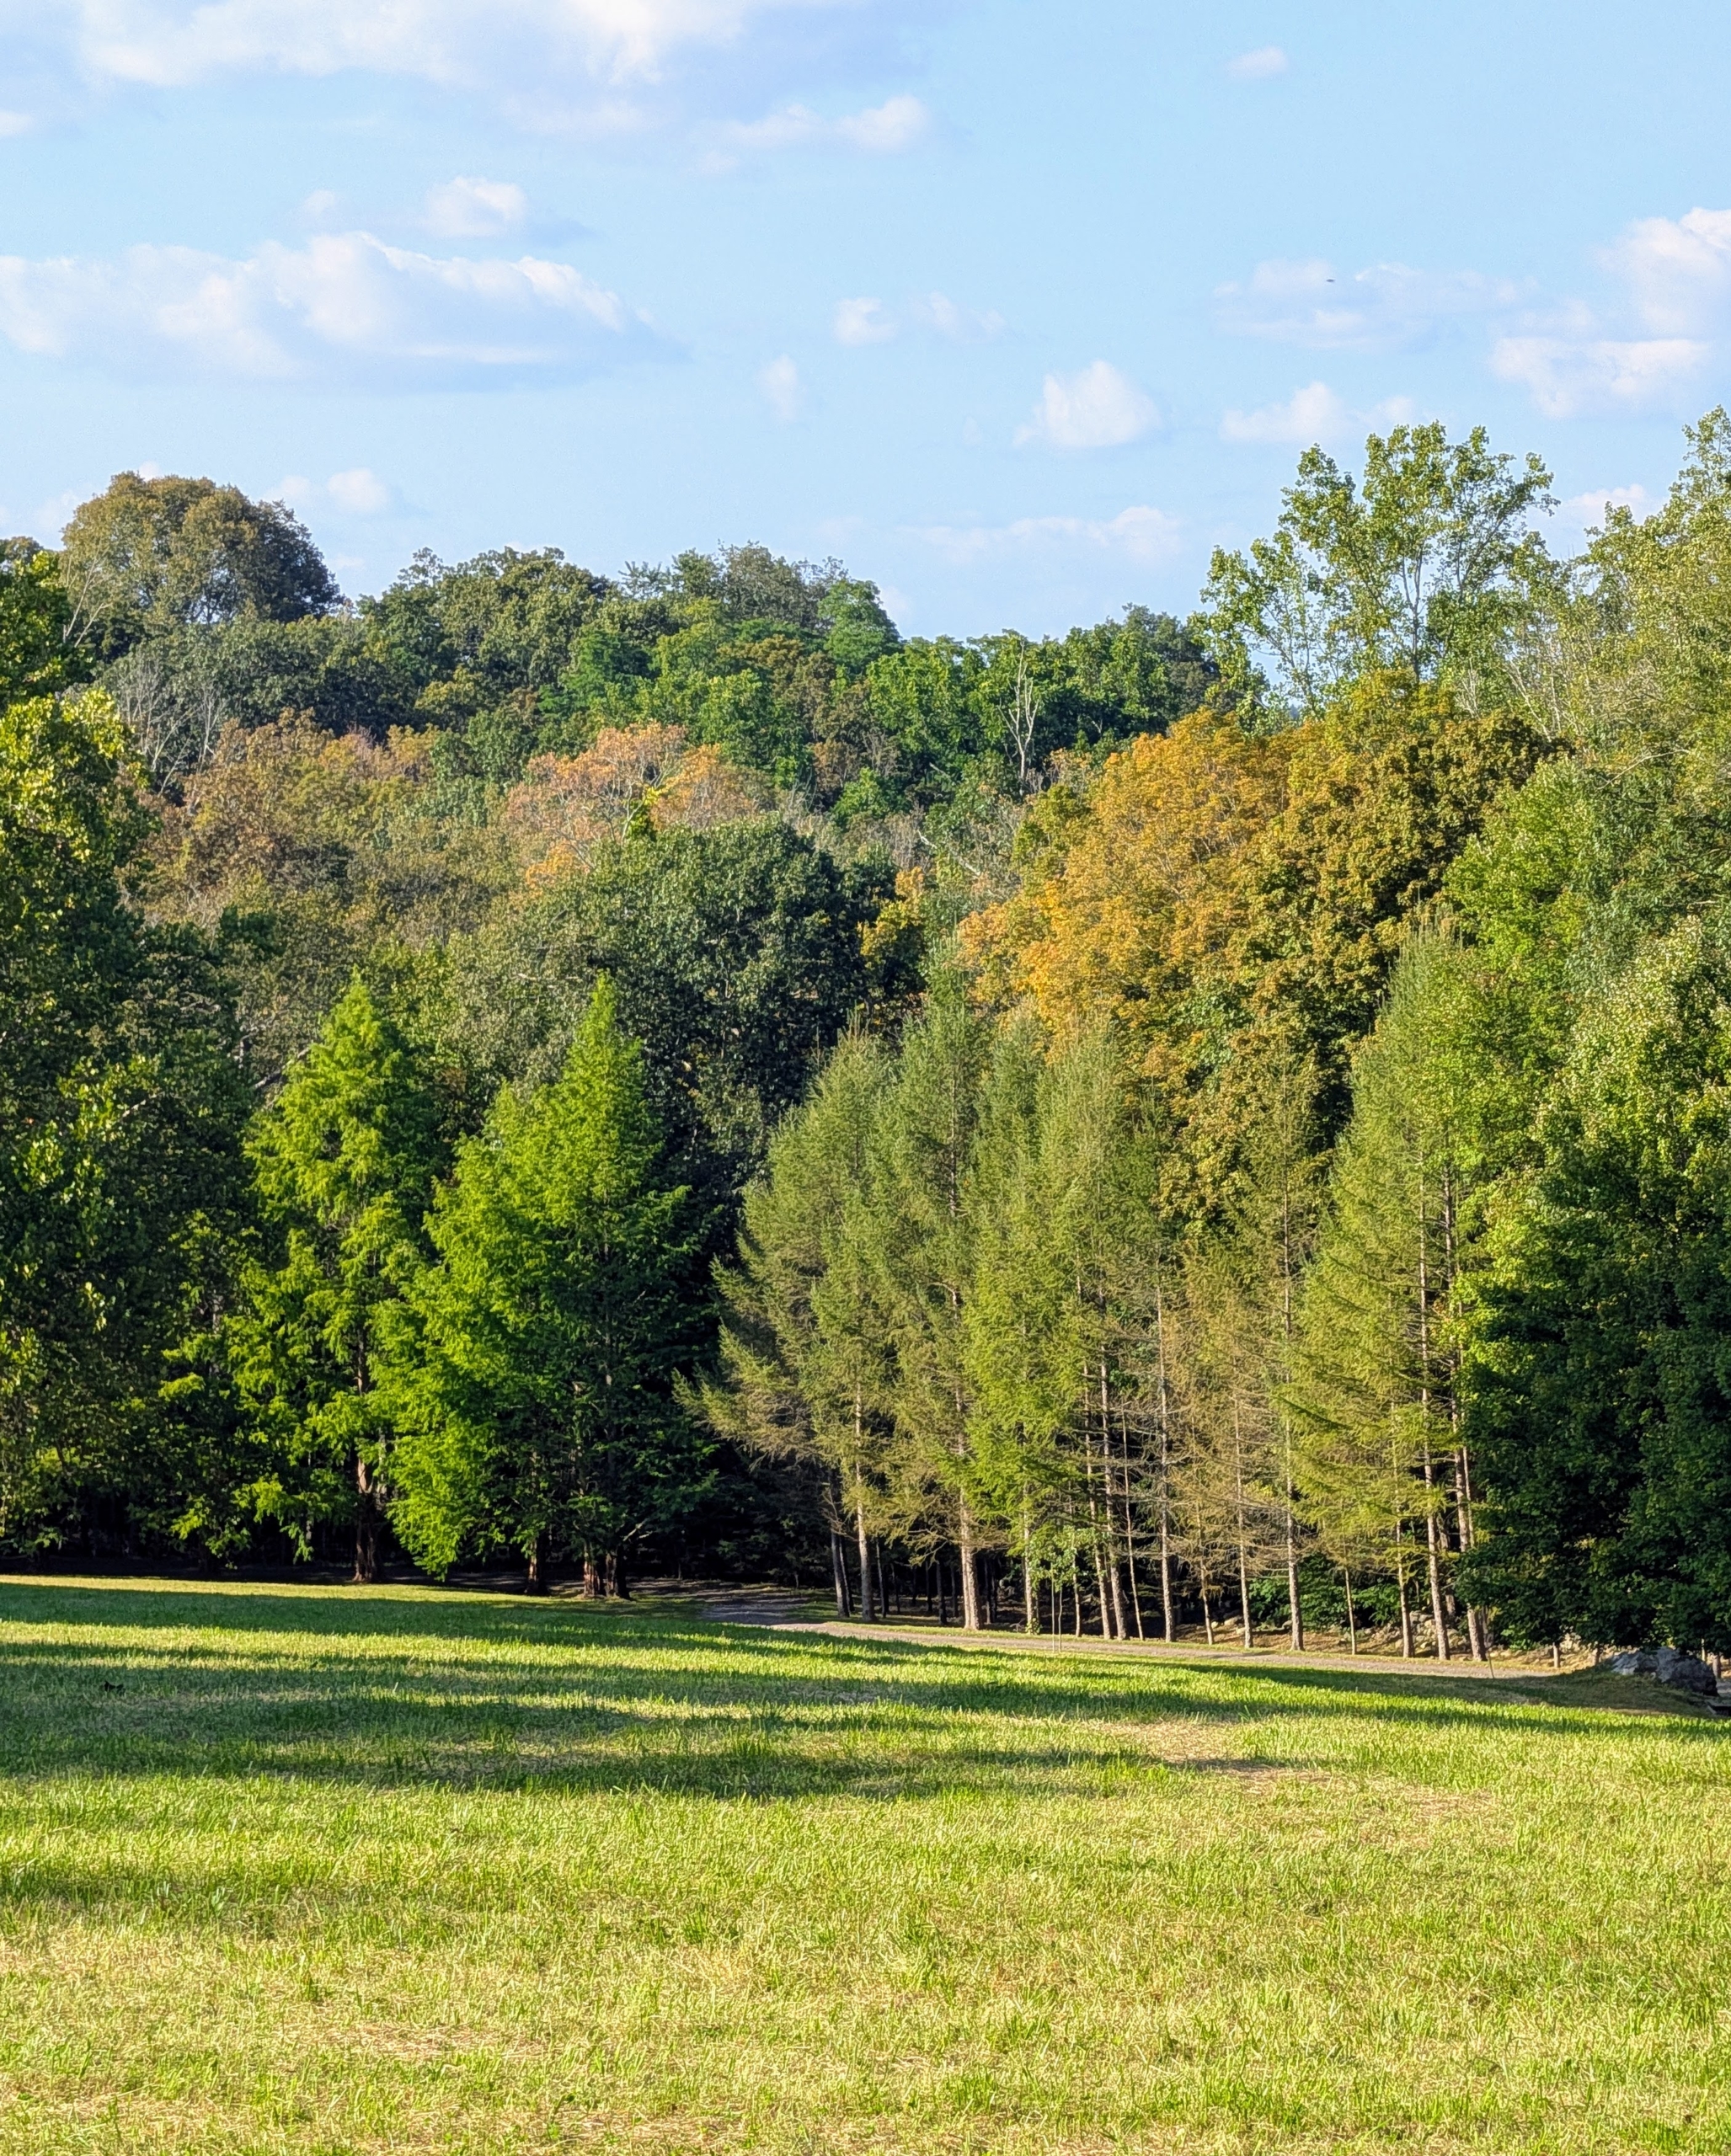
This is a long distance photo in my back field of trees just starting to show their fall colors.
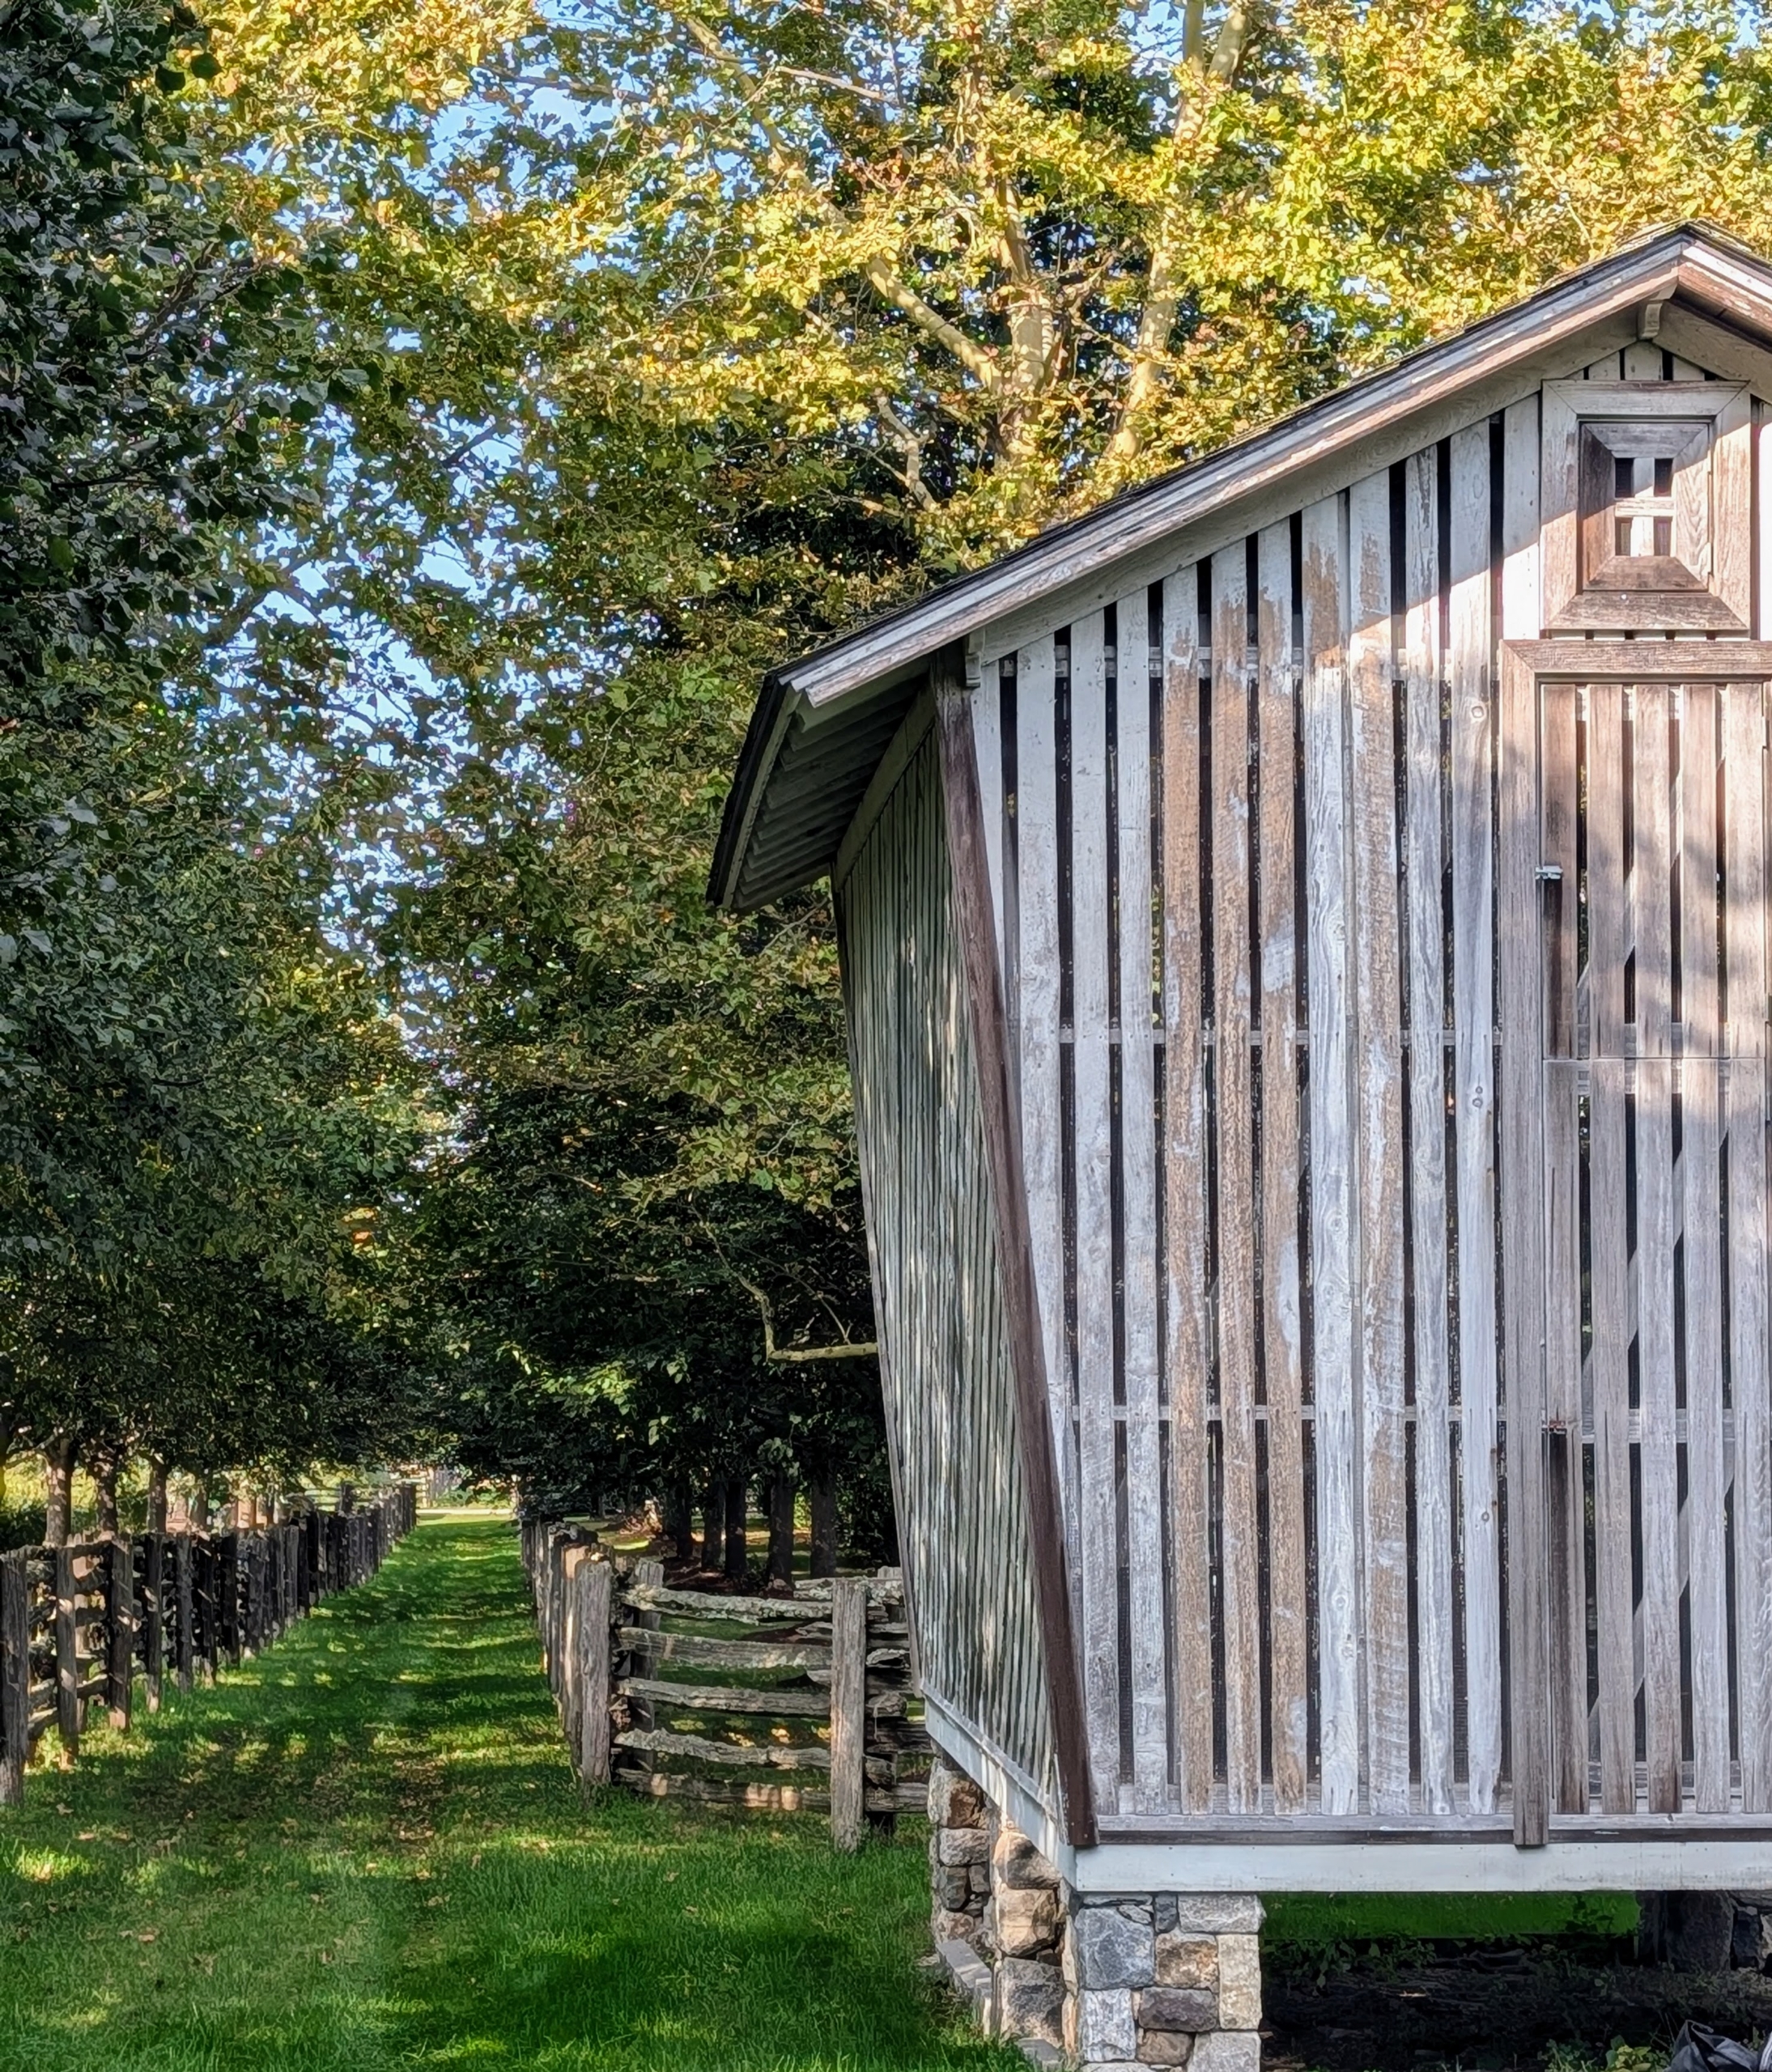
And my old corn crib in the late afternoon. These smartphone cameras are getting better and better with every generation.
If you’re looking for a smartphone to take great photos of your family, your pets, your gardens or the sights along your next trip, consider the Google Pixel 10. You’re sure to capture some great memories… and photos.
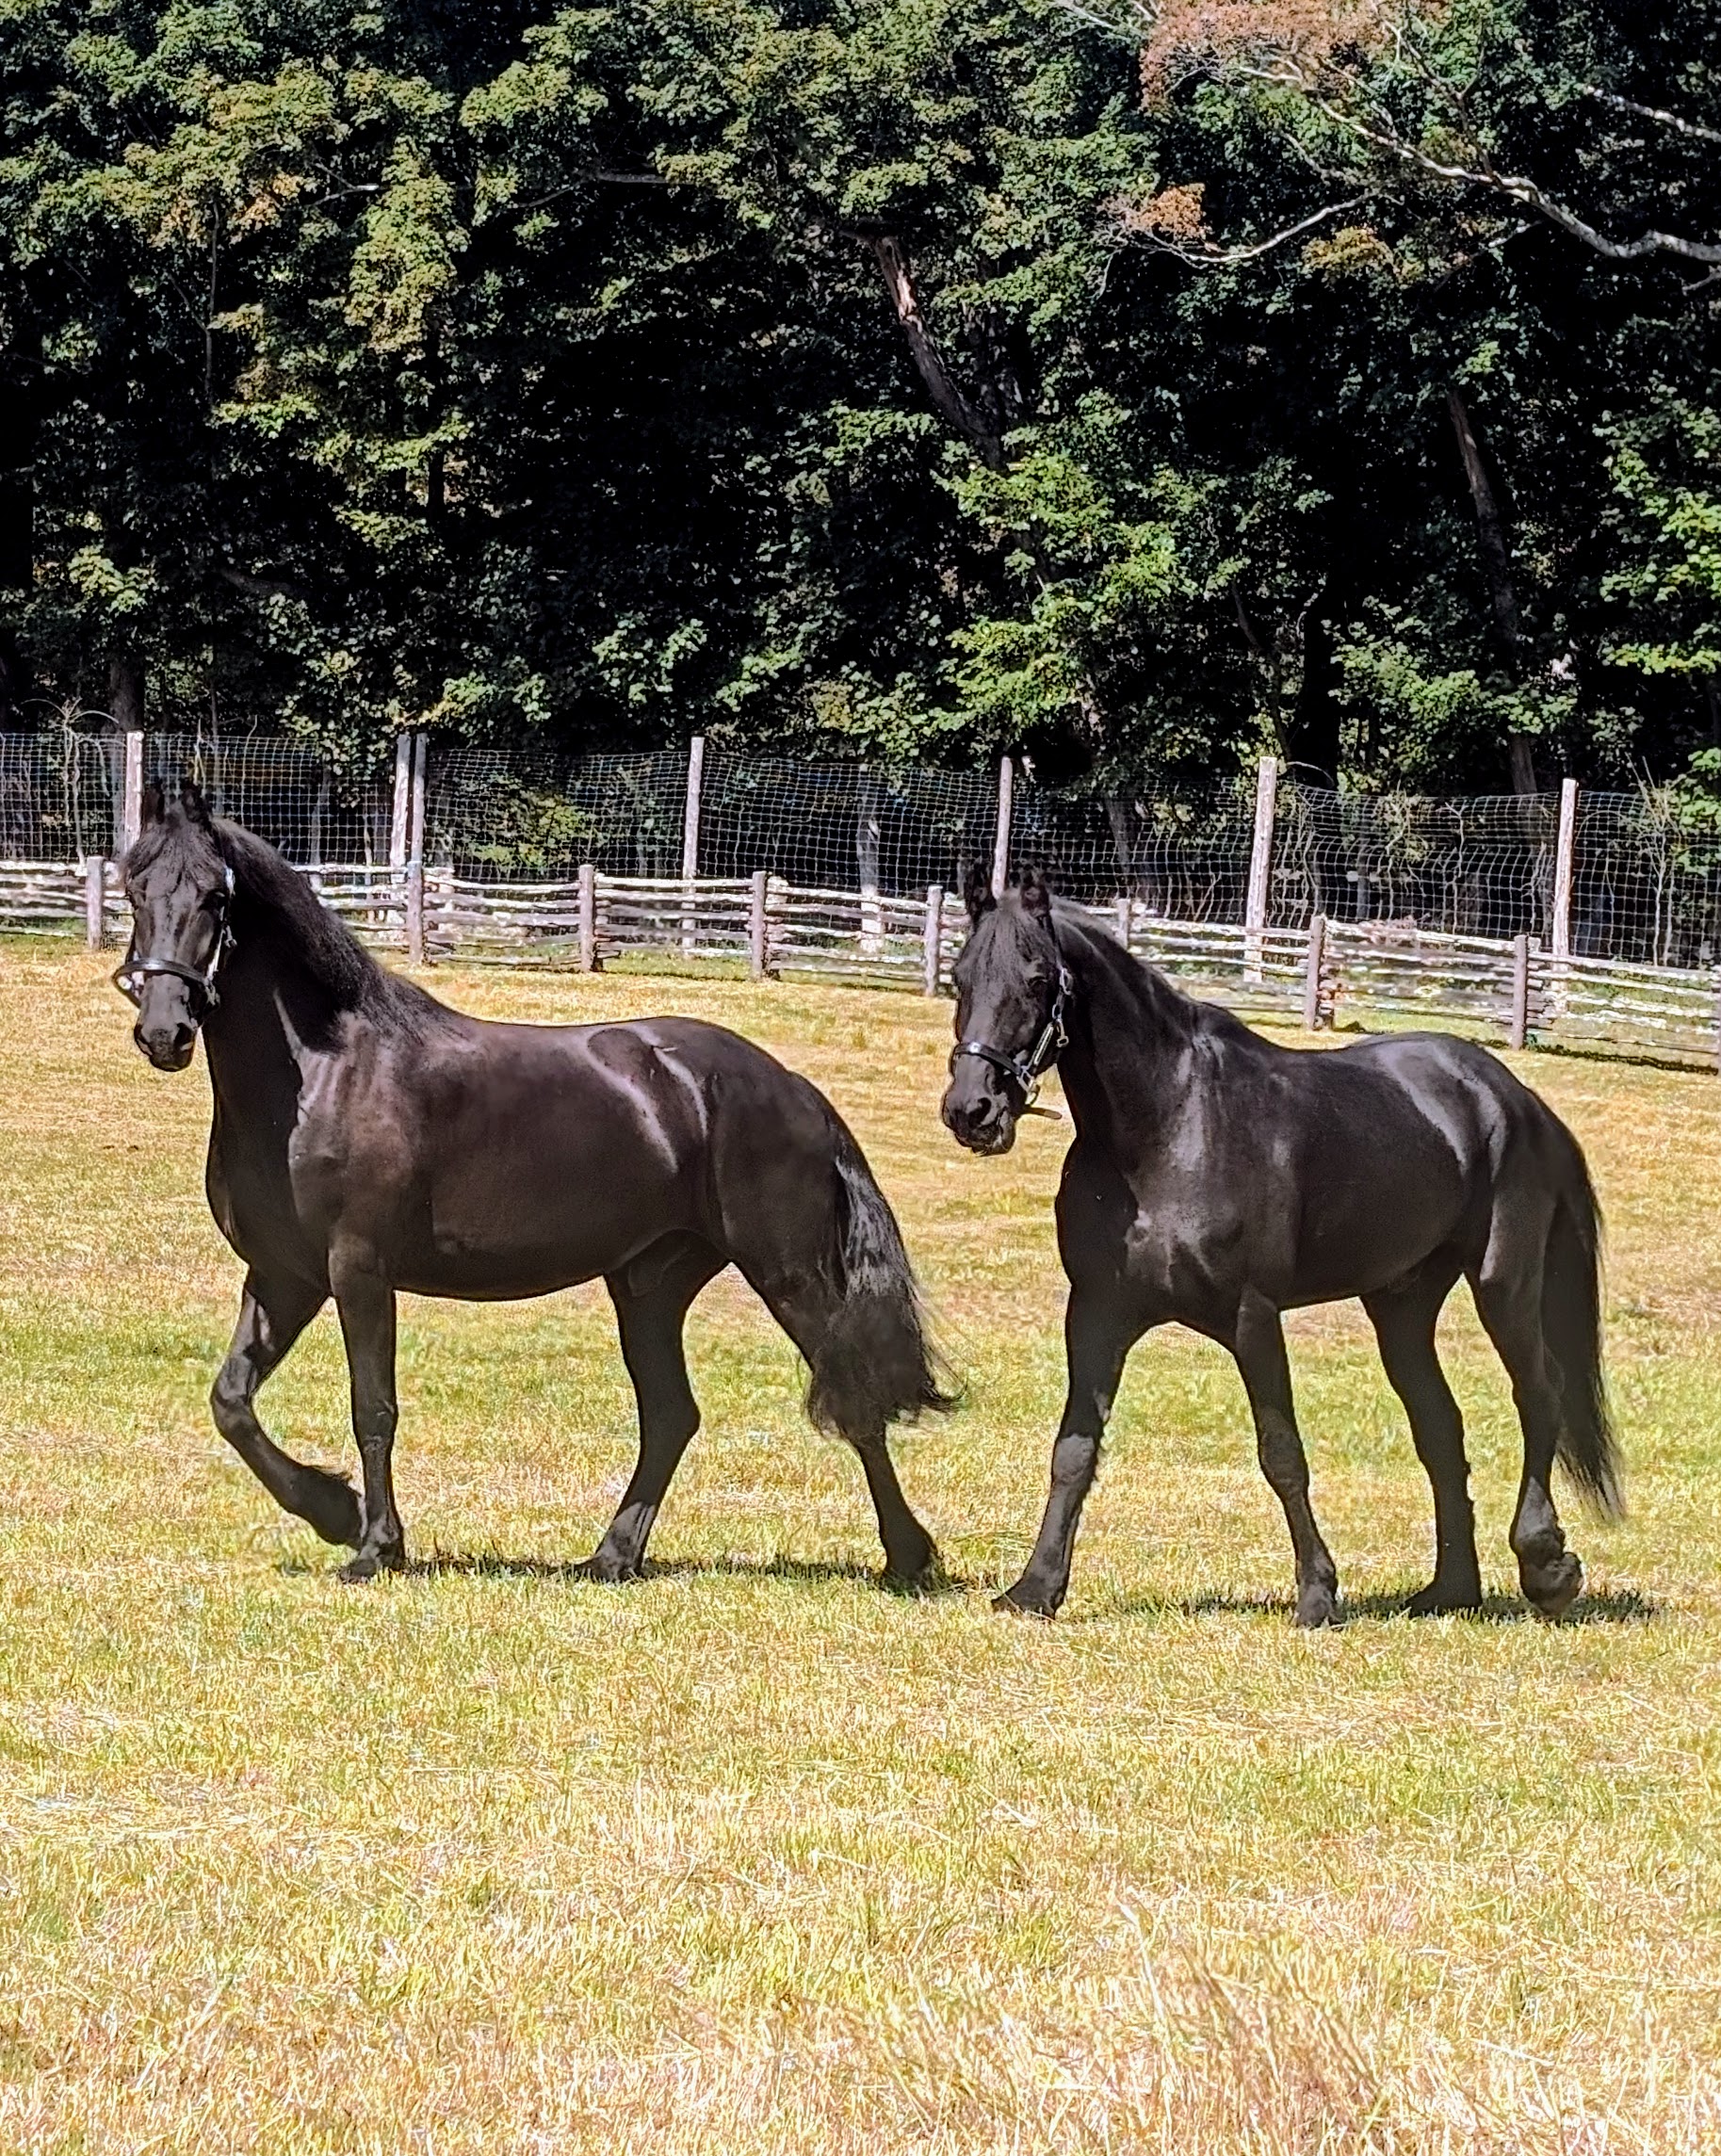
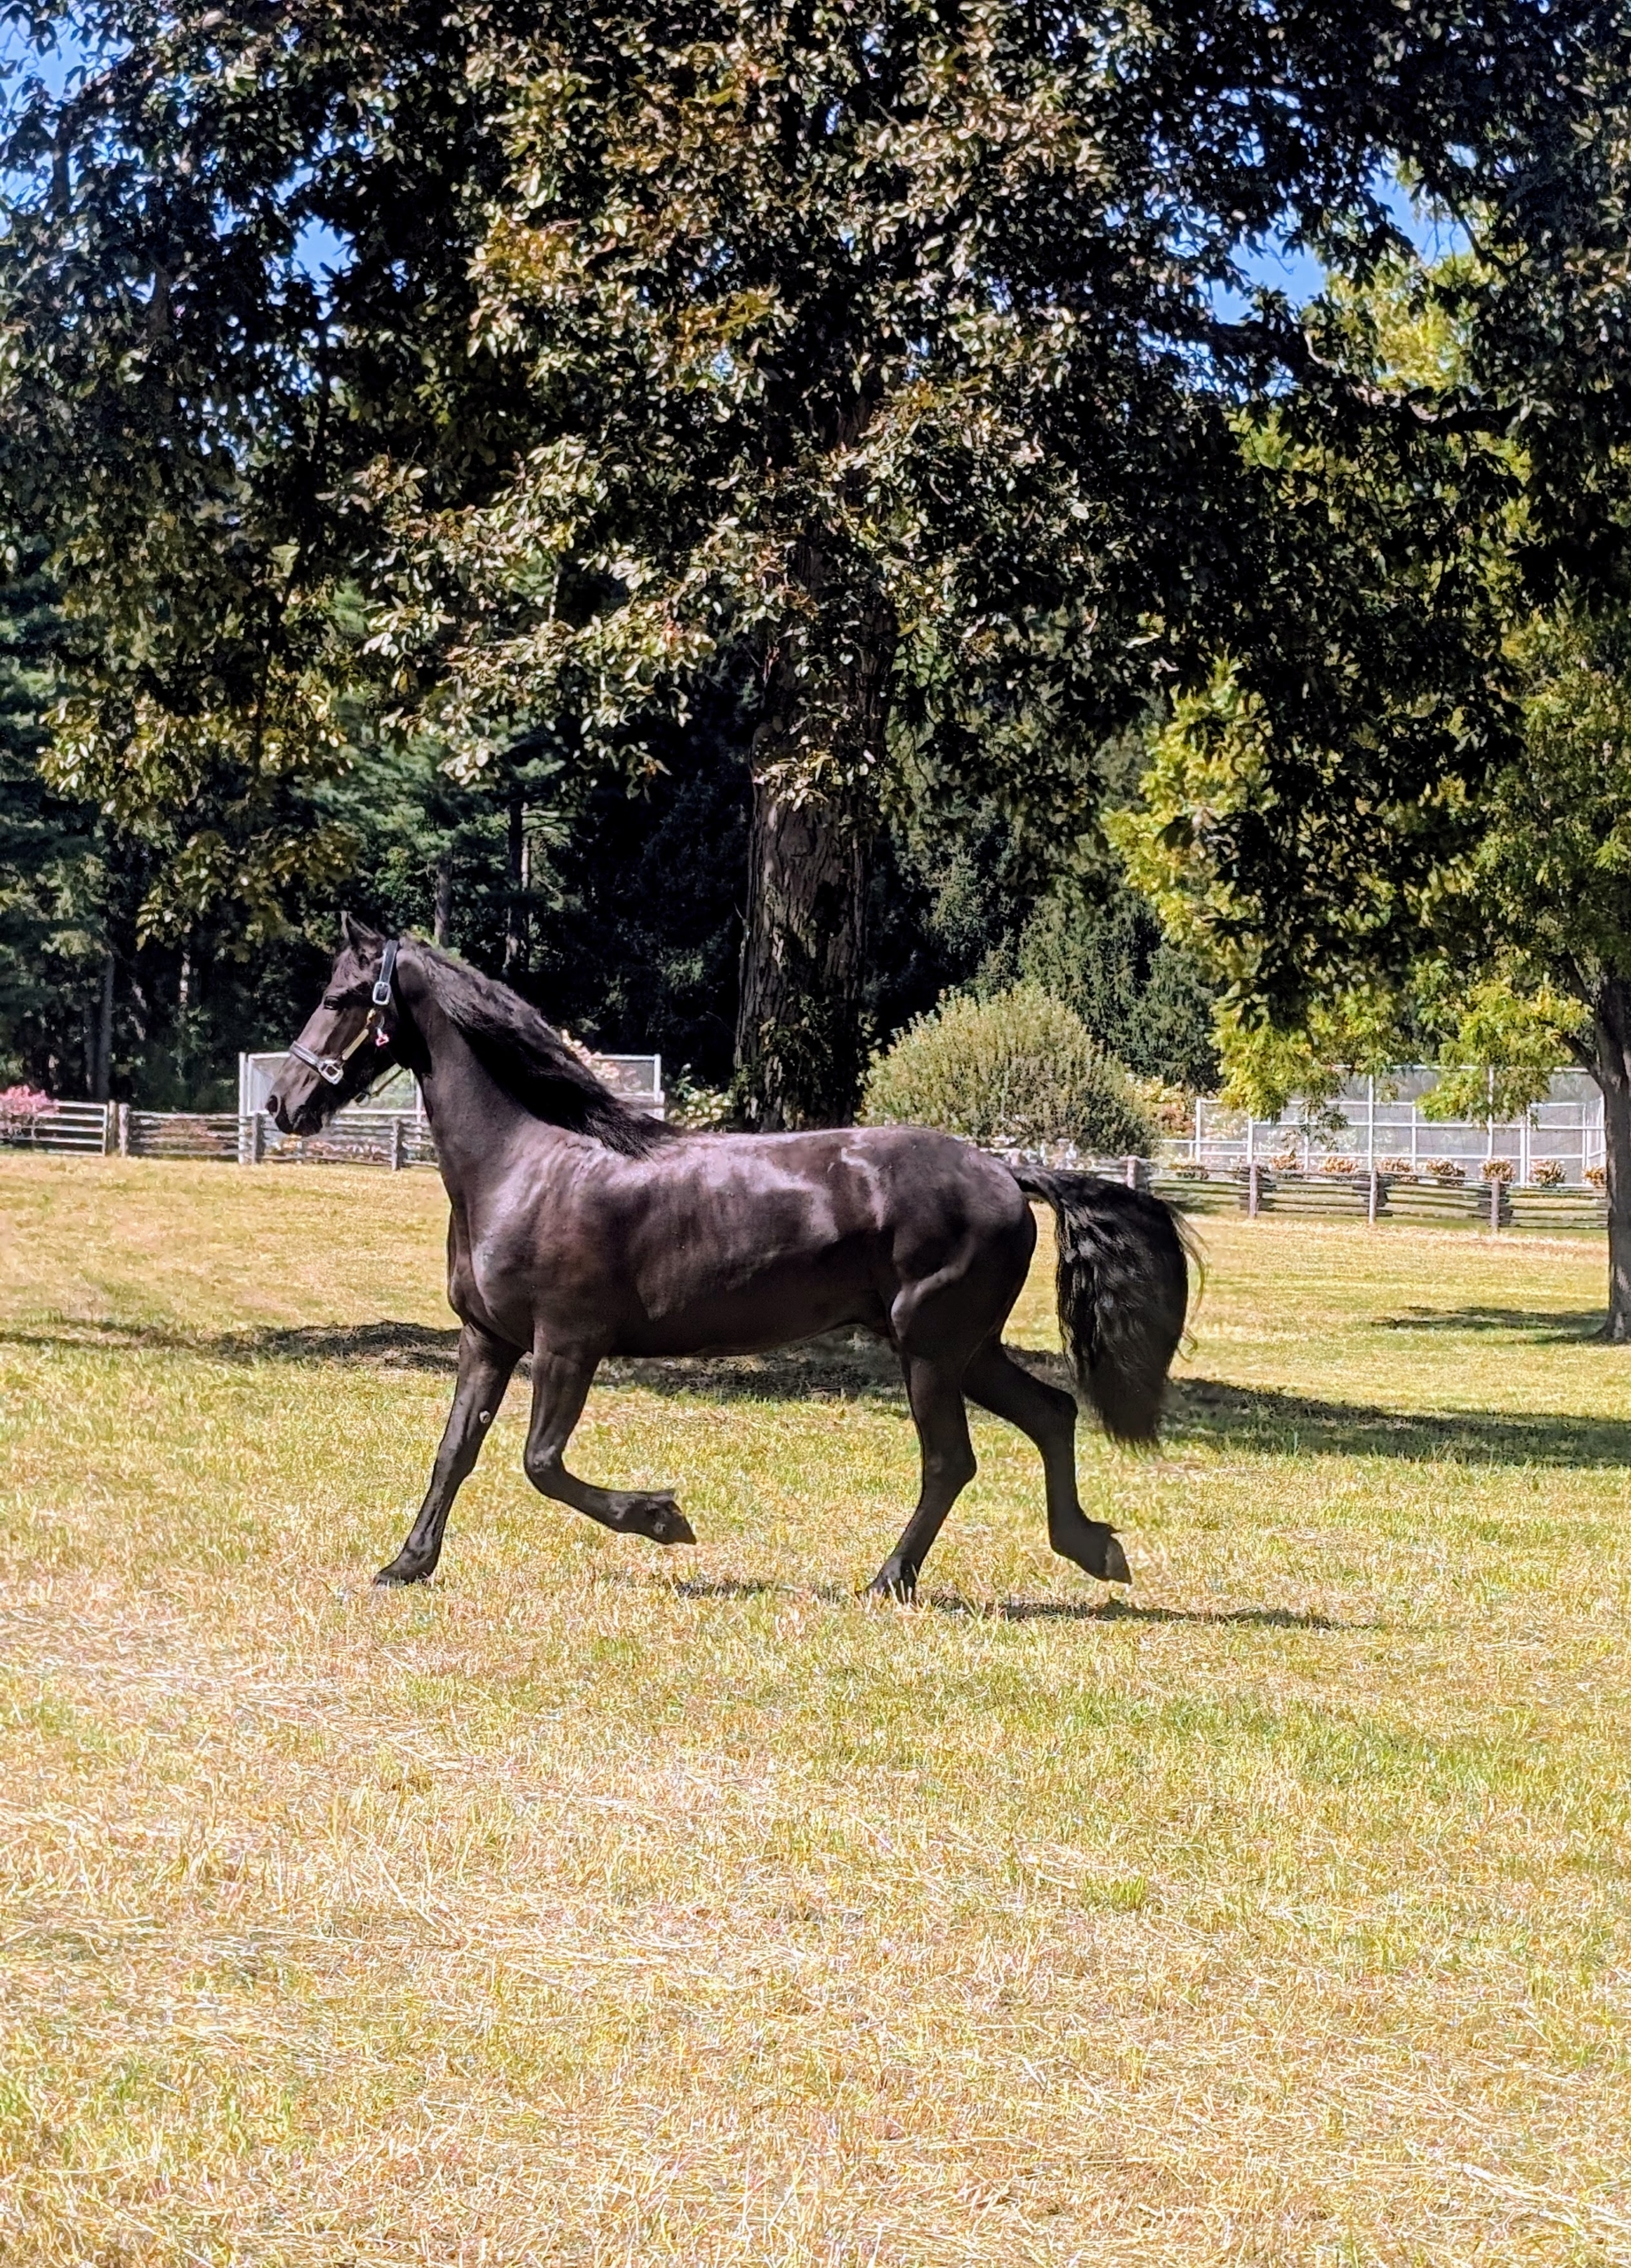
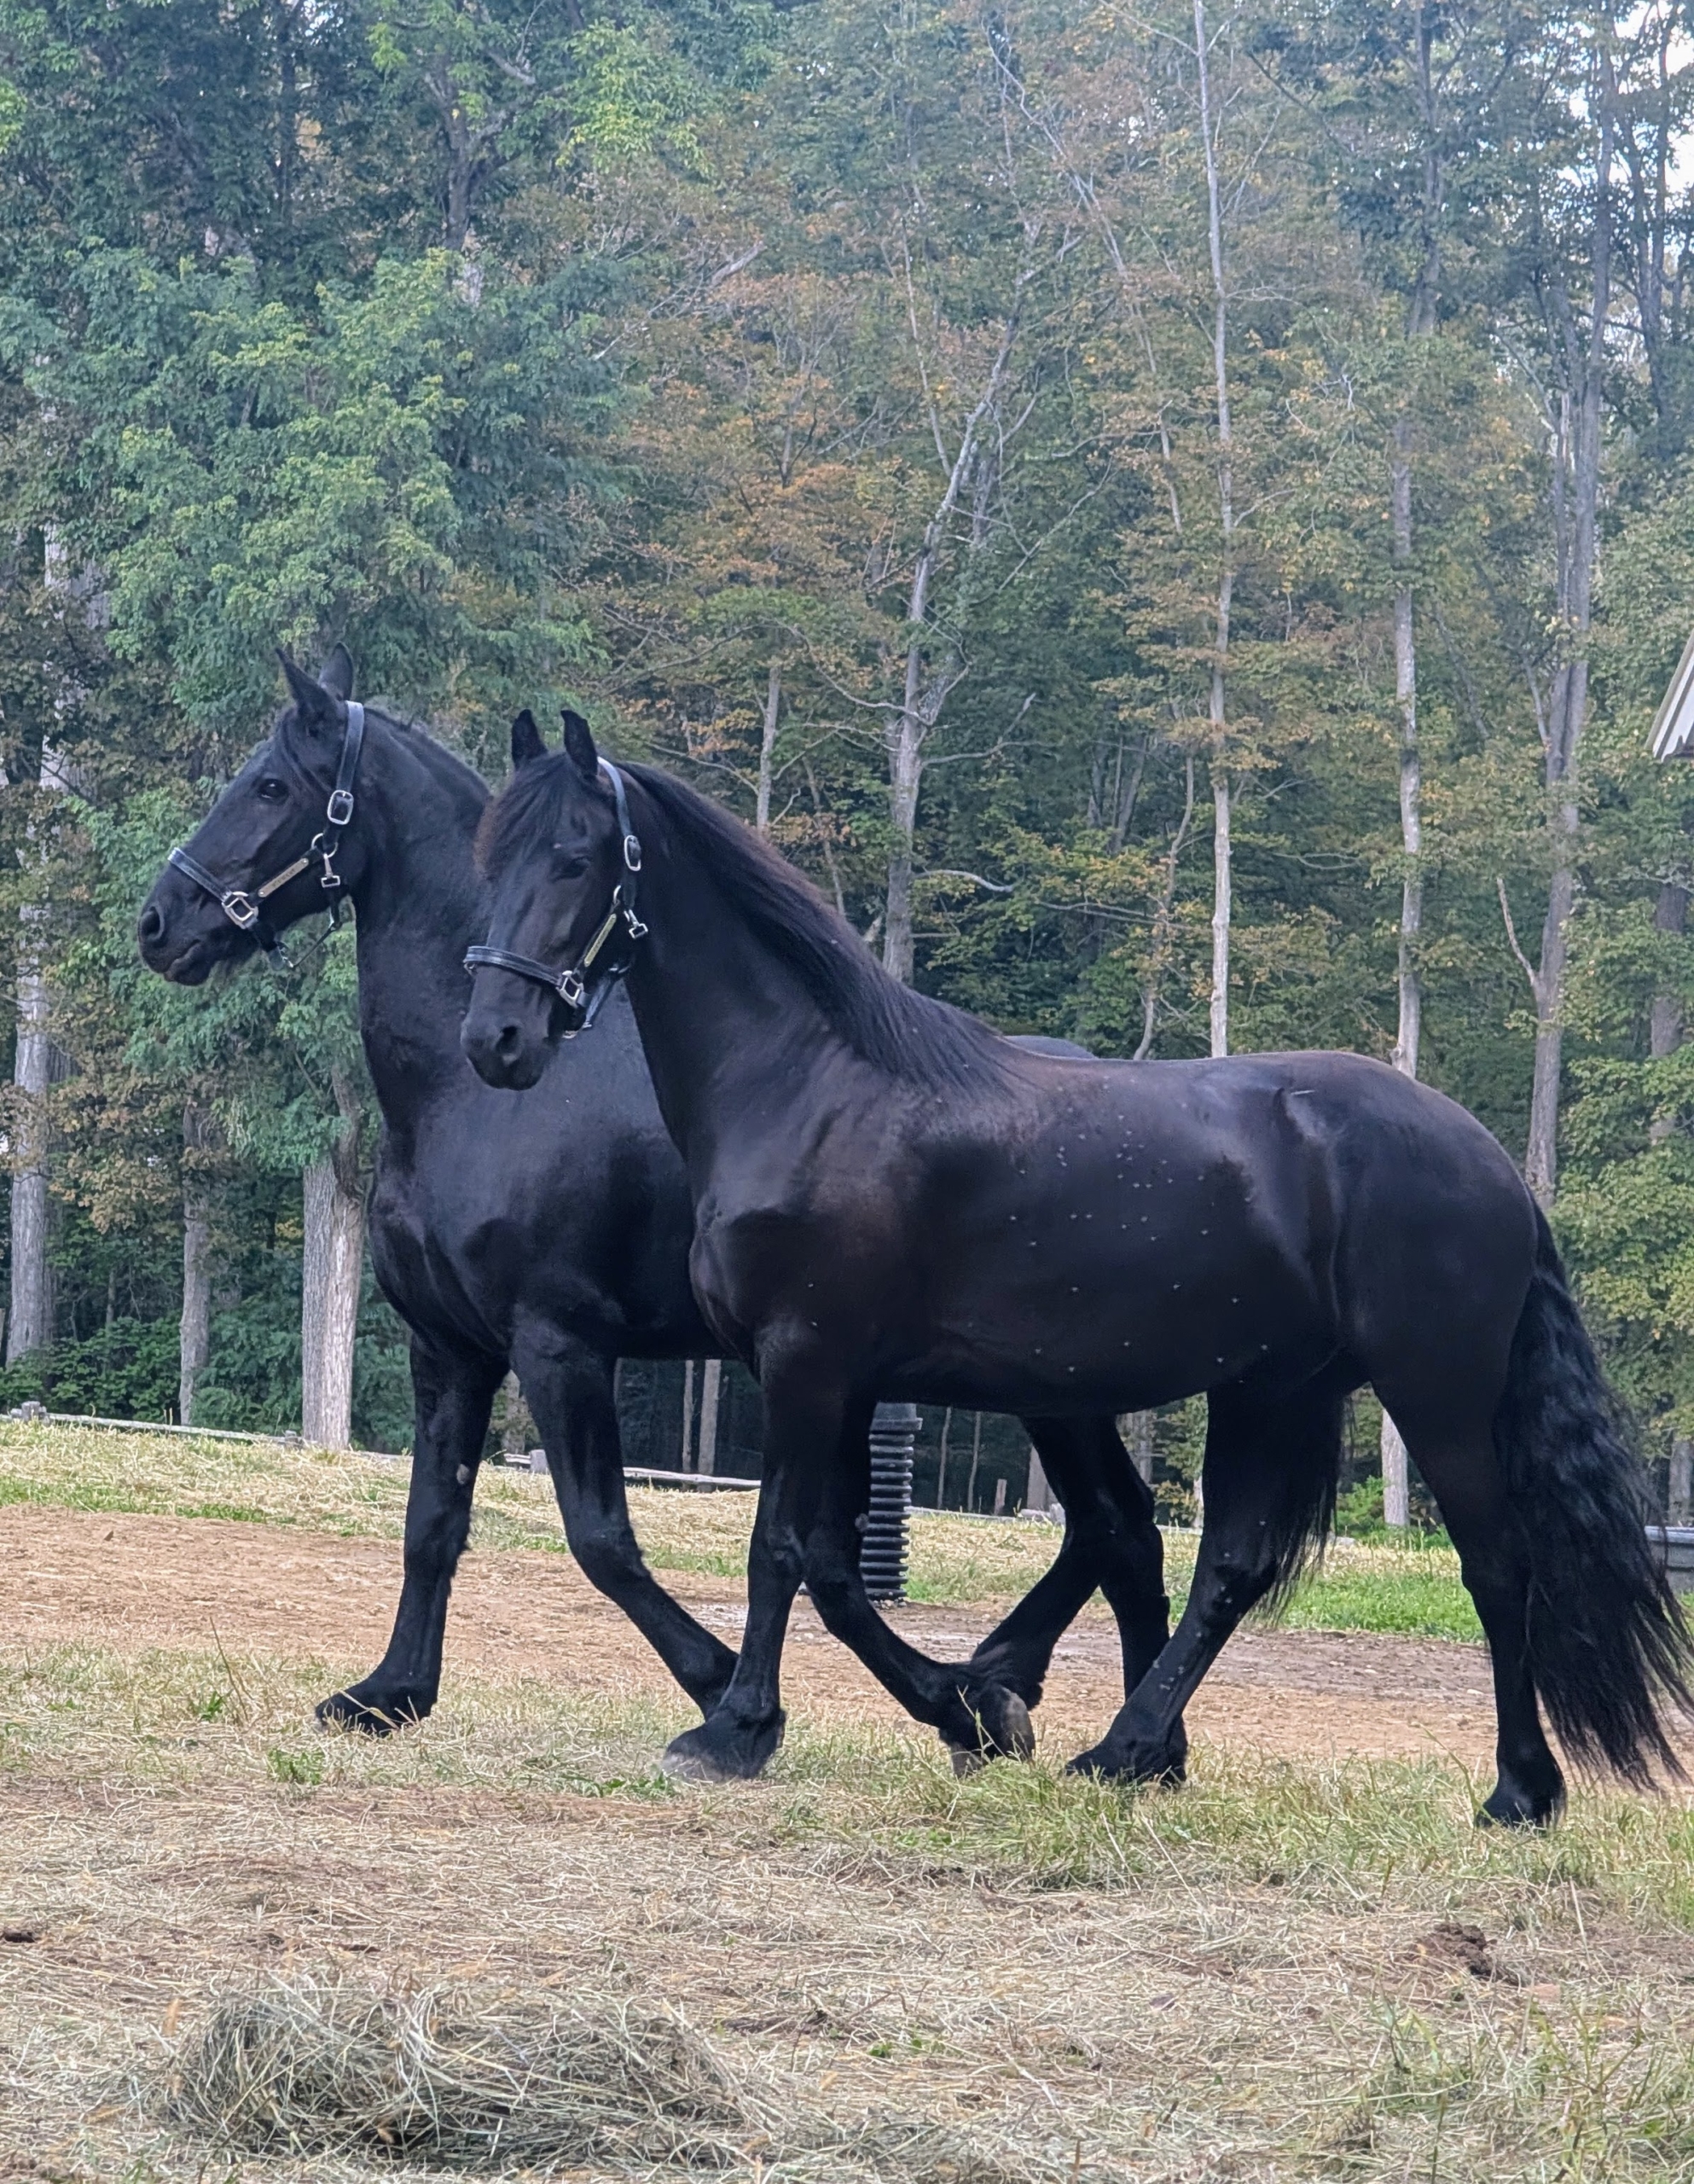
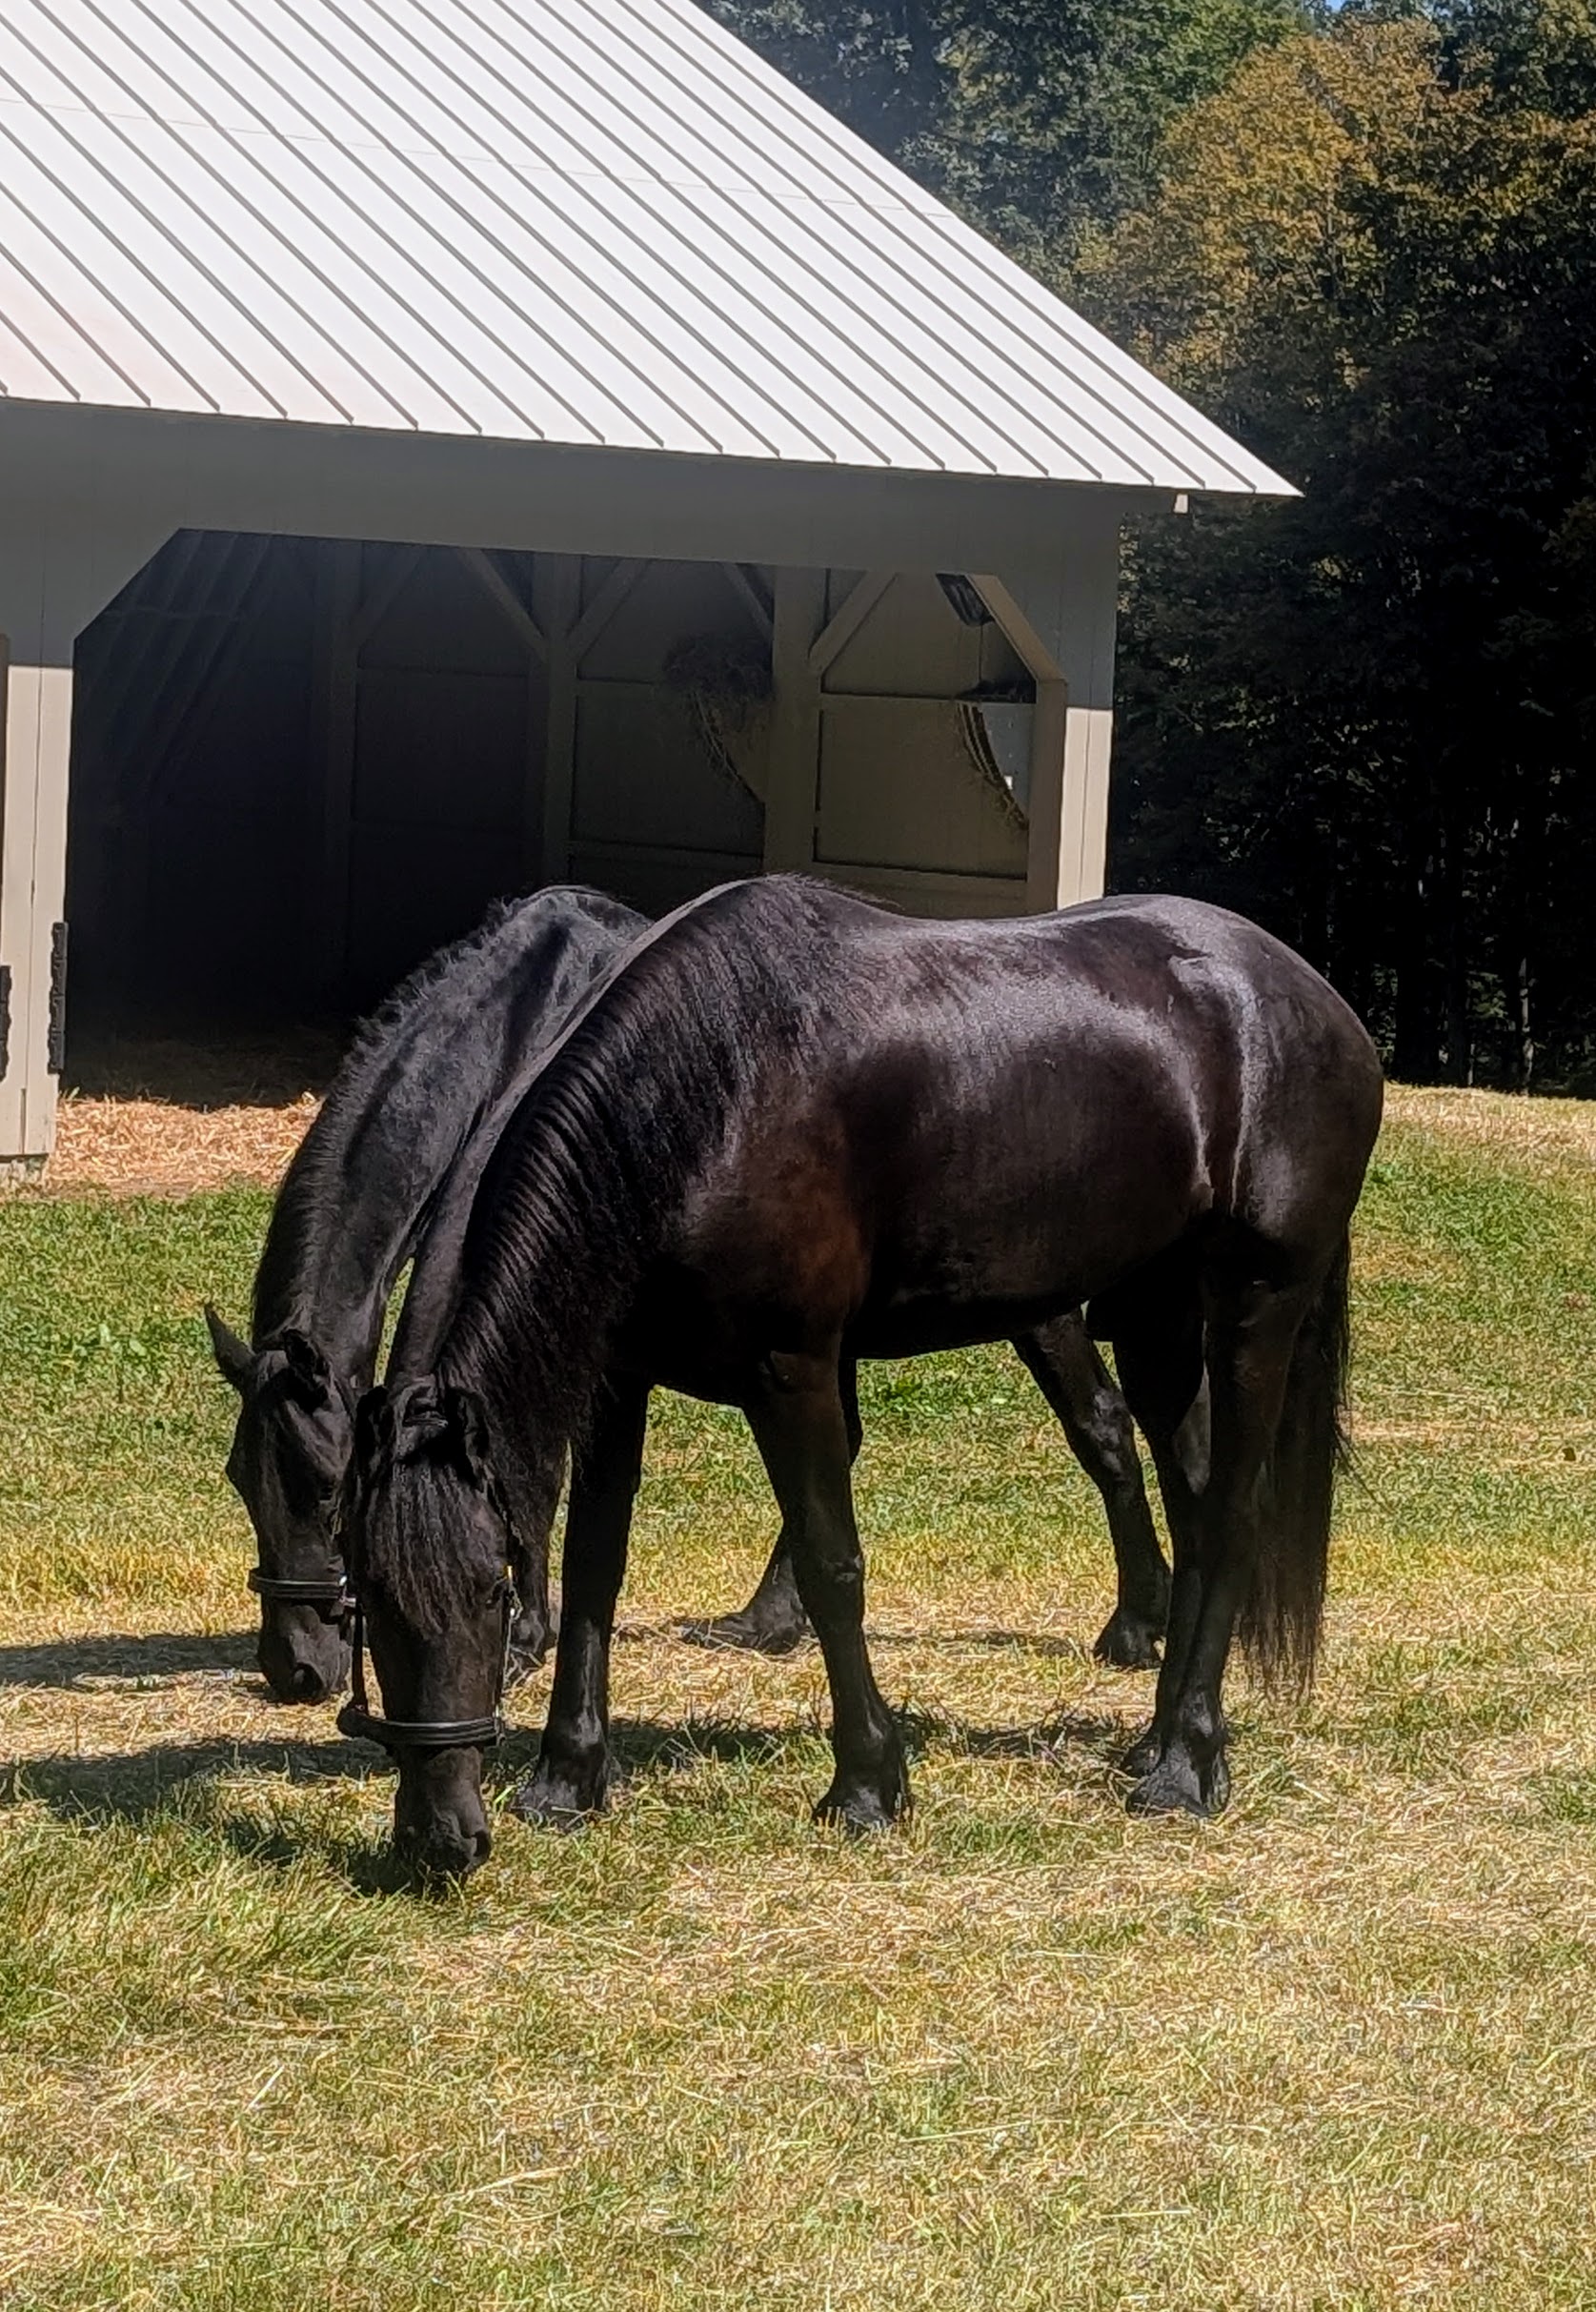
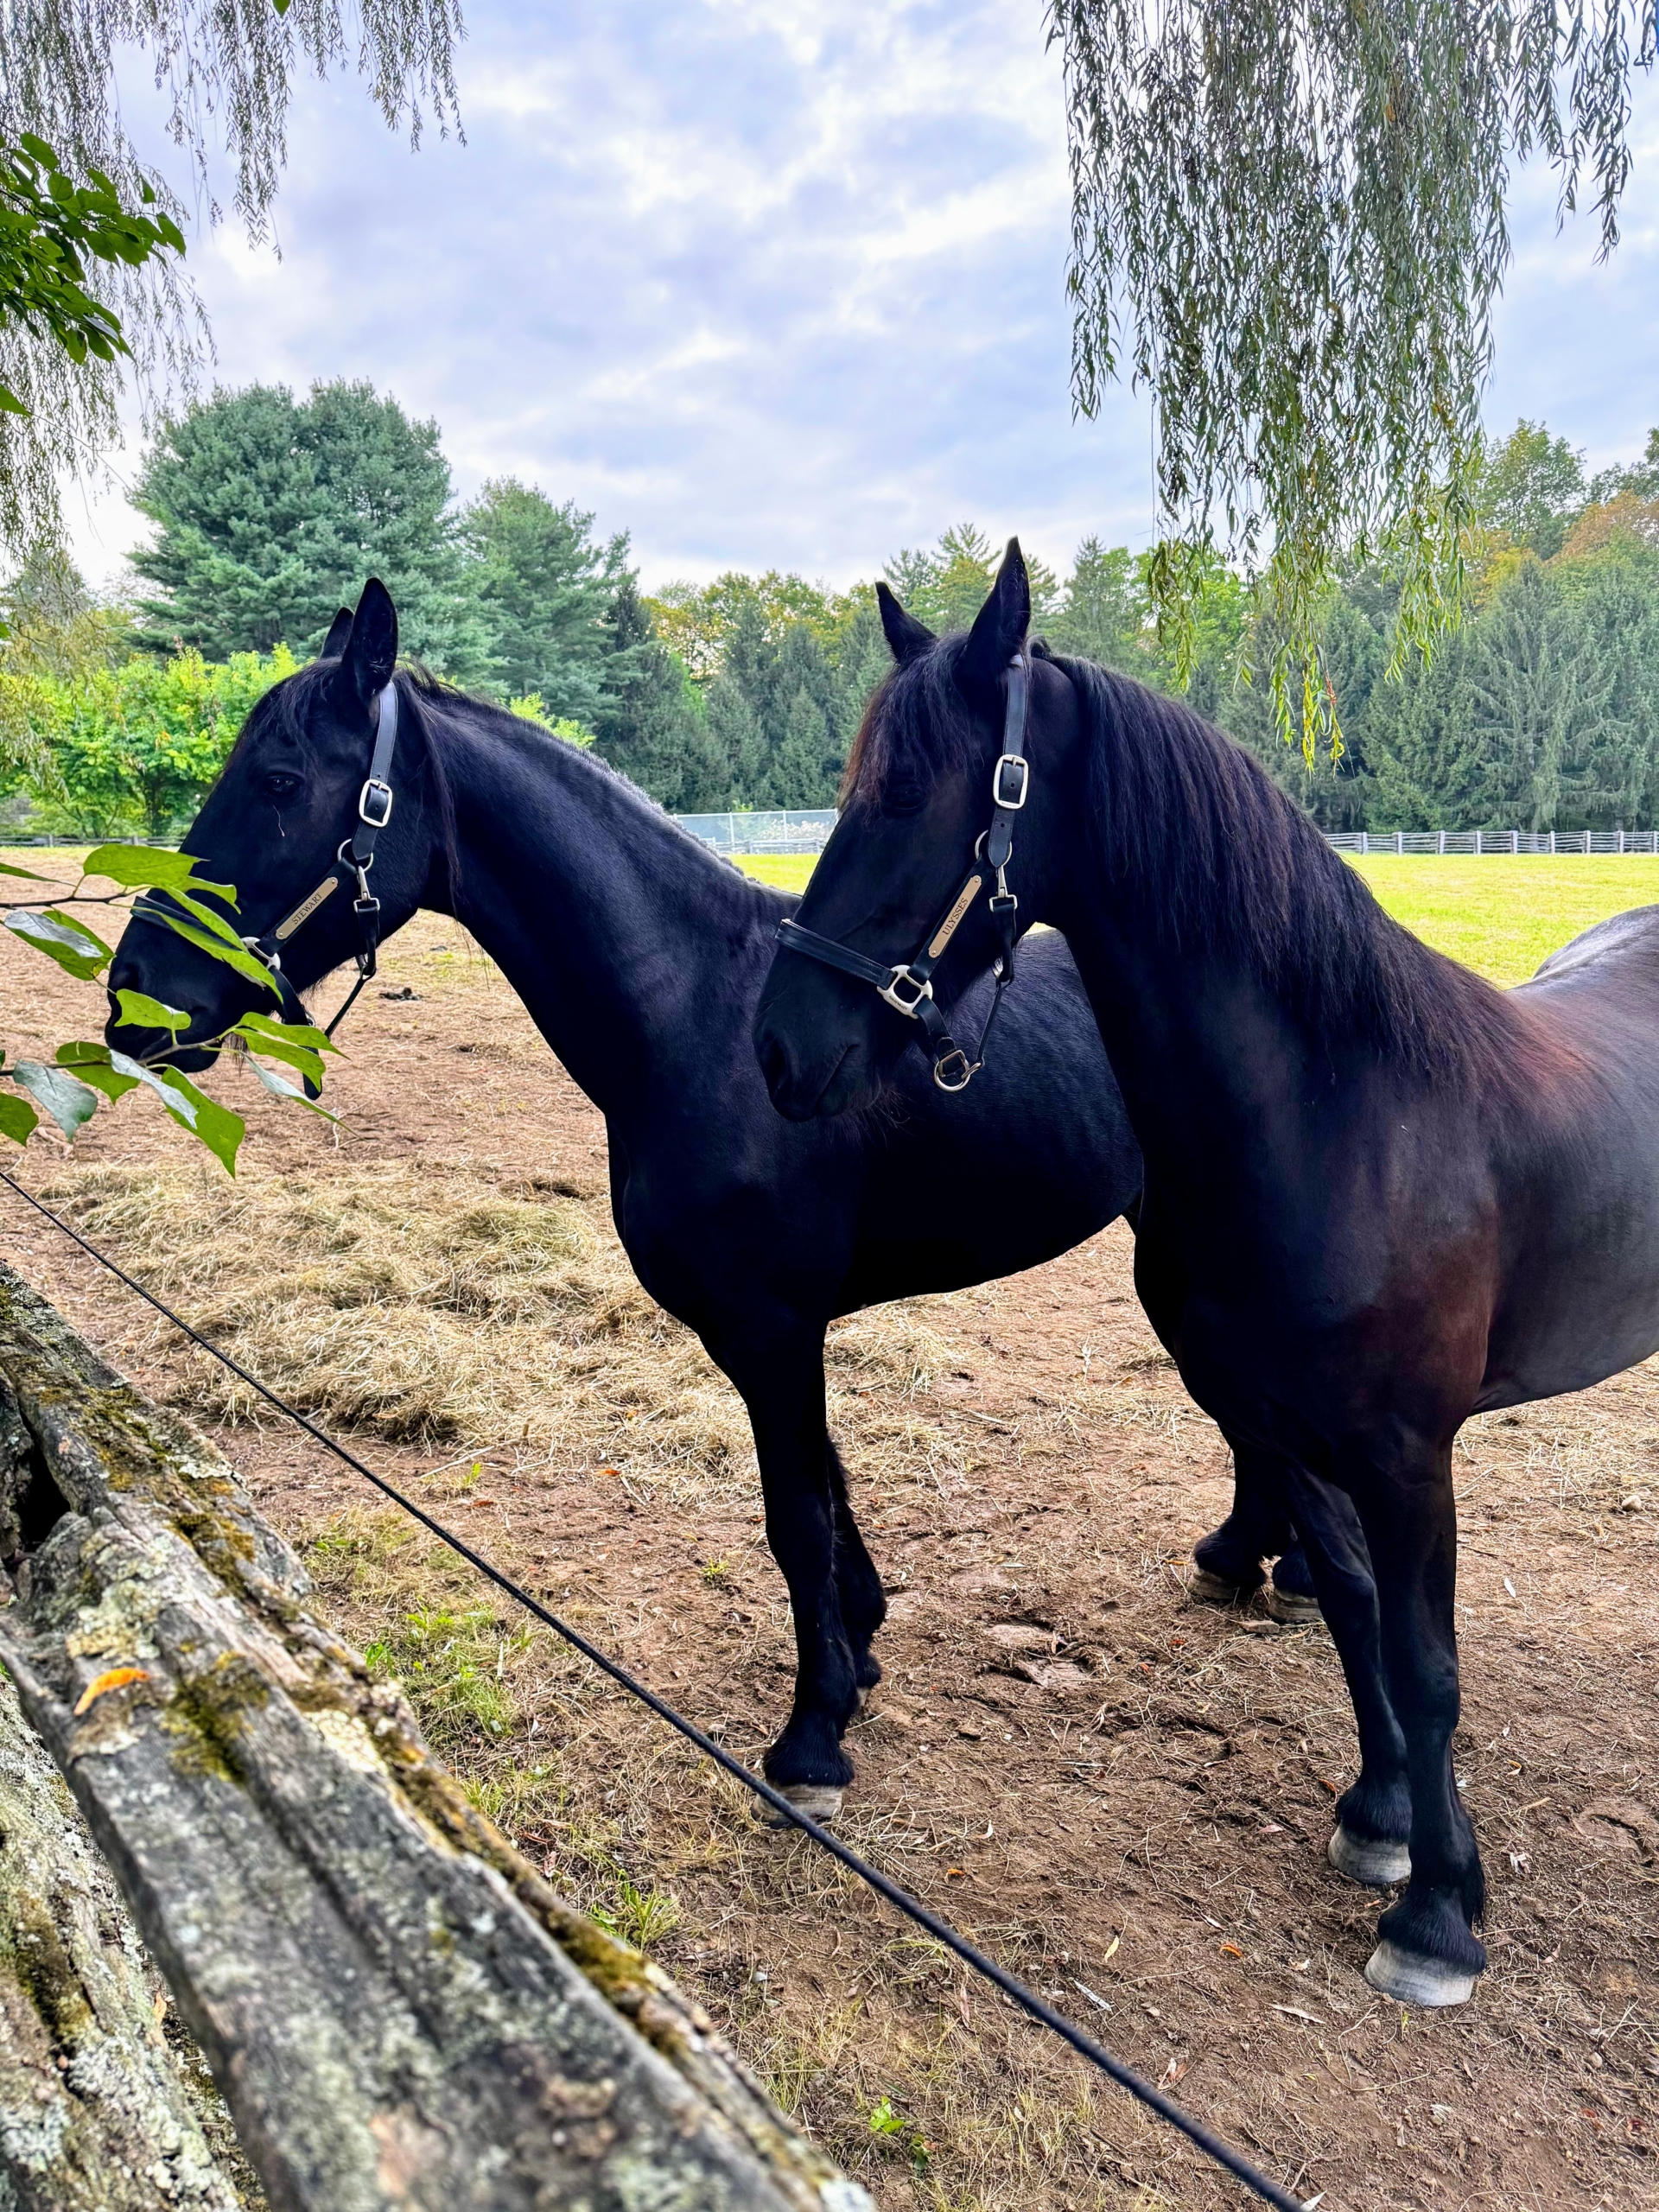
It will take time for my newest Friesian horses, Ulysses and Stewart, to fully acclimate to life at my farm, but so far these handsome steeds are doing excellently.
This bonded pair arrived last week from The Dorset Equine Rescue, a 501(c)(3) nonprofit organization based in Vermont dedicated to rescuing, rehabilitating, and rehoming at-risk horses. The two had a great first weekend - exploring their new surroundings, meeting new friends, and learning their new routines. They especially loved eating the hay from last week's big second-cut harvest in my run-in pasture.
Here are a few more photos, enjoy.
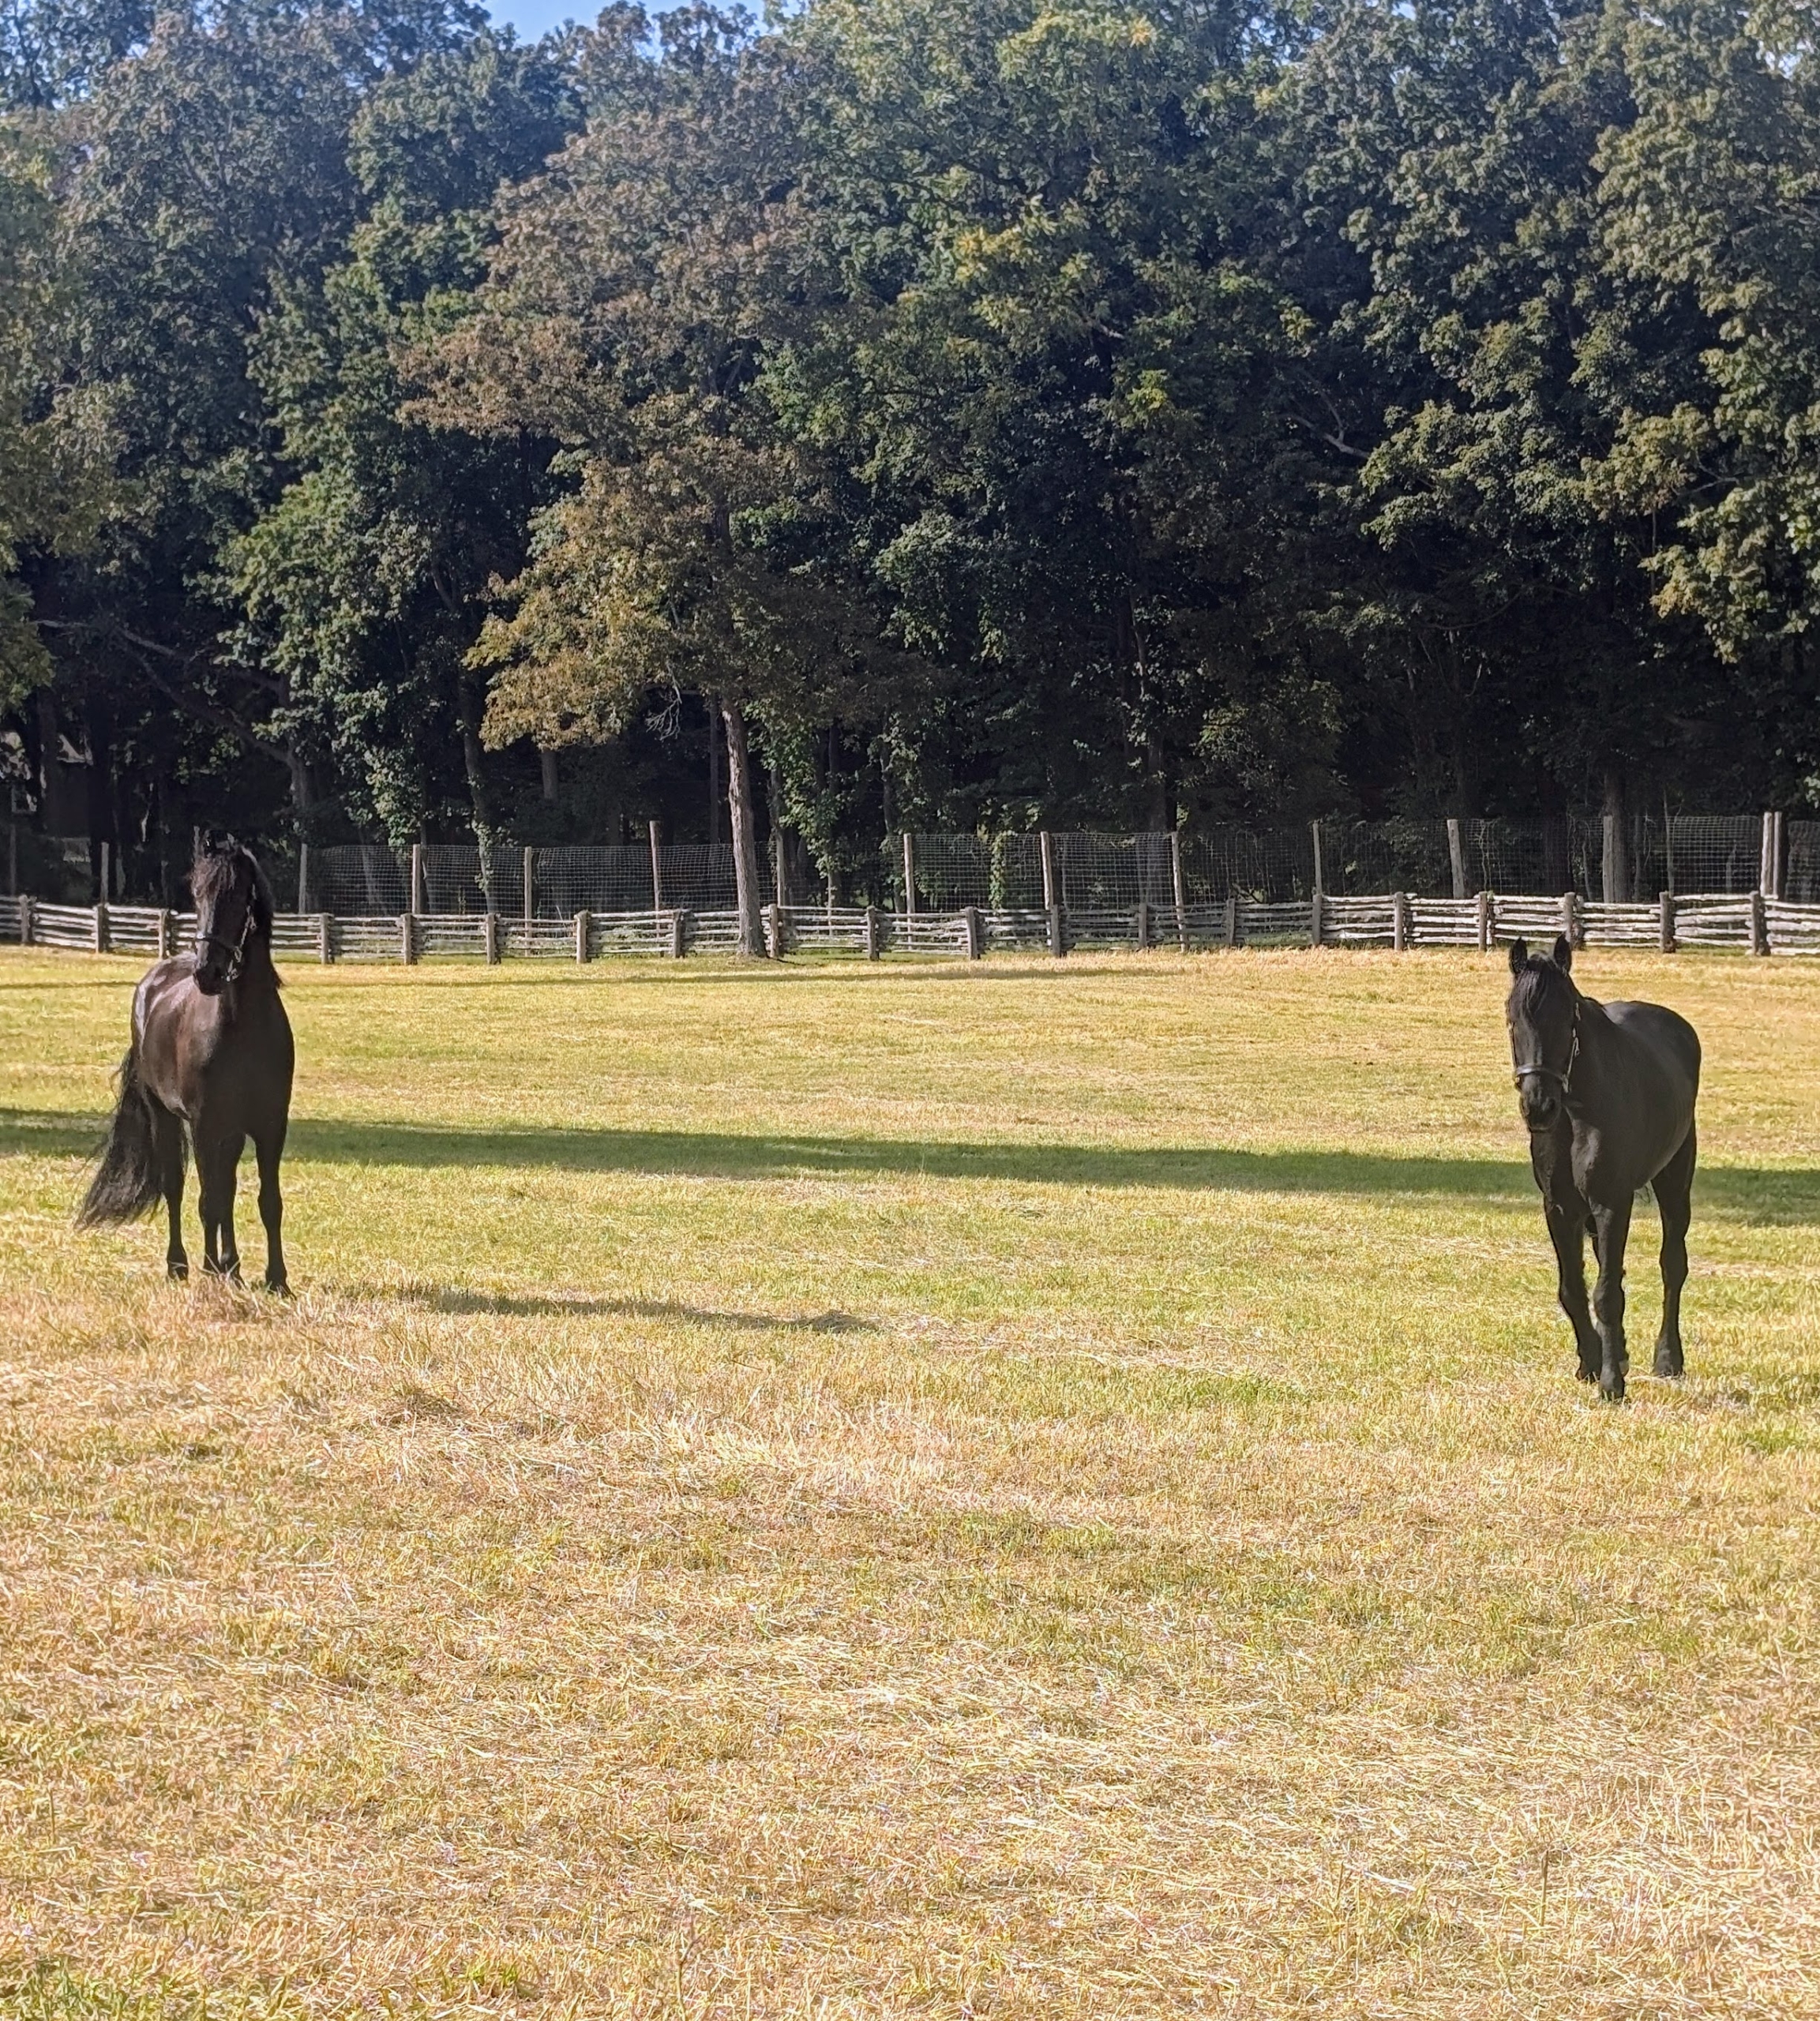
The new Friesians had a great weekend. They currently live in my run-in pasture. It is large with lots of room to roam.
This is Ulysses, a three year old male. It’s so wonderful to see him run and enjoy his new surroundings.
The Friesian is most often recognized by its bold black coat color. They have long, arched necks and well-chiseled, short-eared, “Spanish-type” heads. They also have powerful, sloping shoulders, compact, muscular bodies with strong hindquarters, and low-set tails.
A Friesian horse has a long, thick mane and tail, often wavy, and “feather” long, silky hair on the lower legs always left untrimmed. These two horses are still in recovery and will fill out more as time progresses.
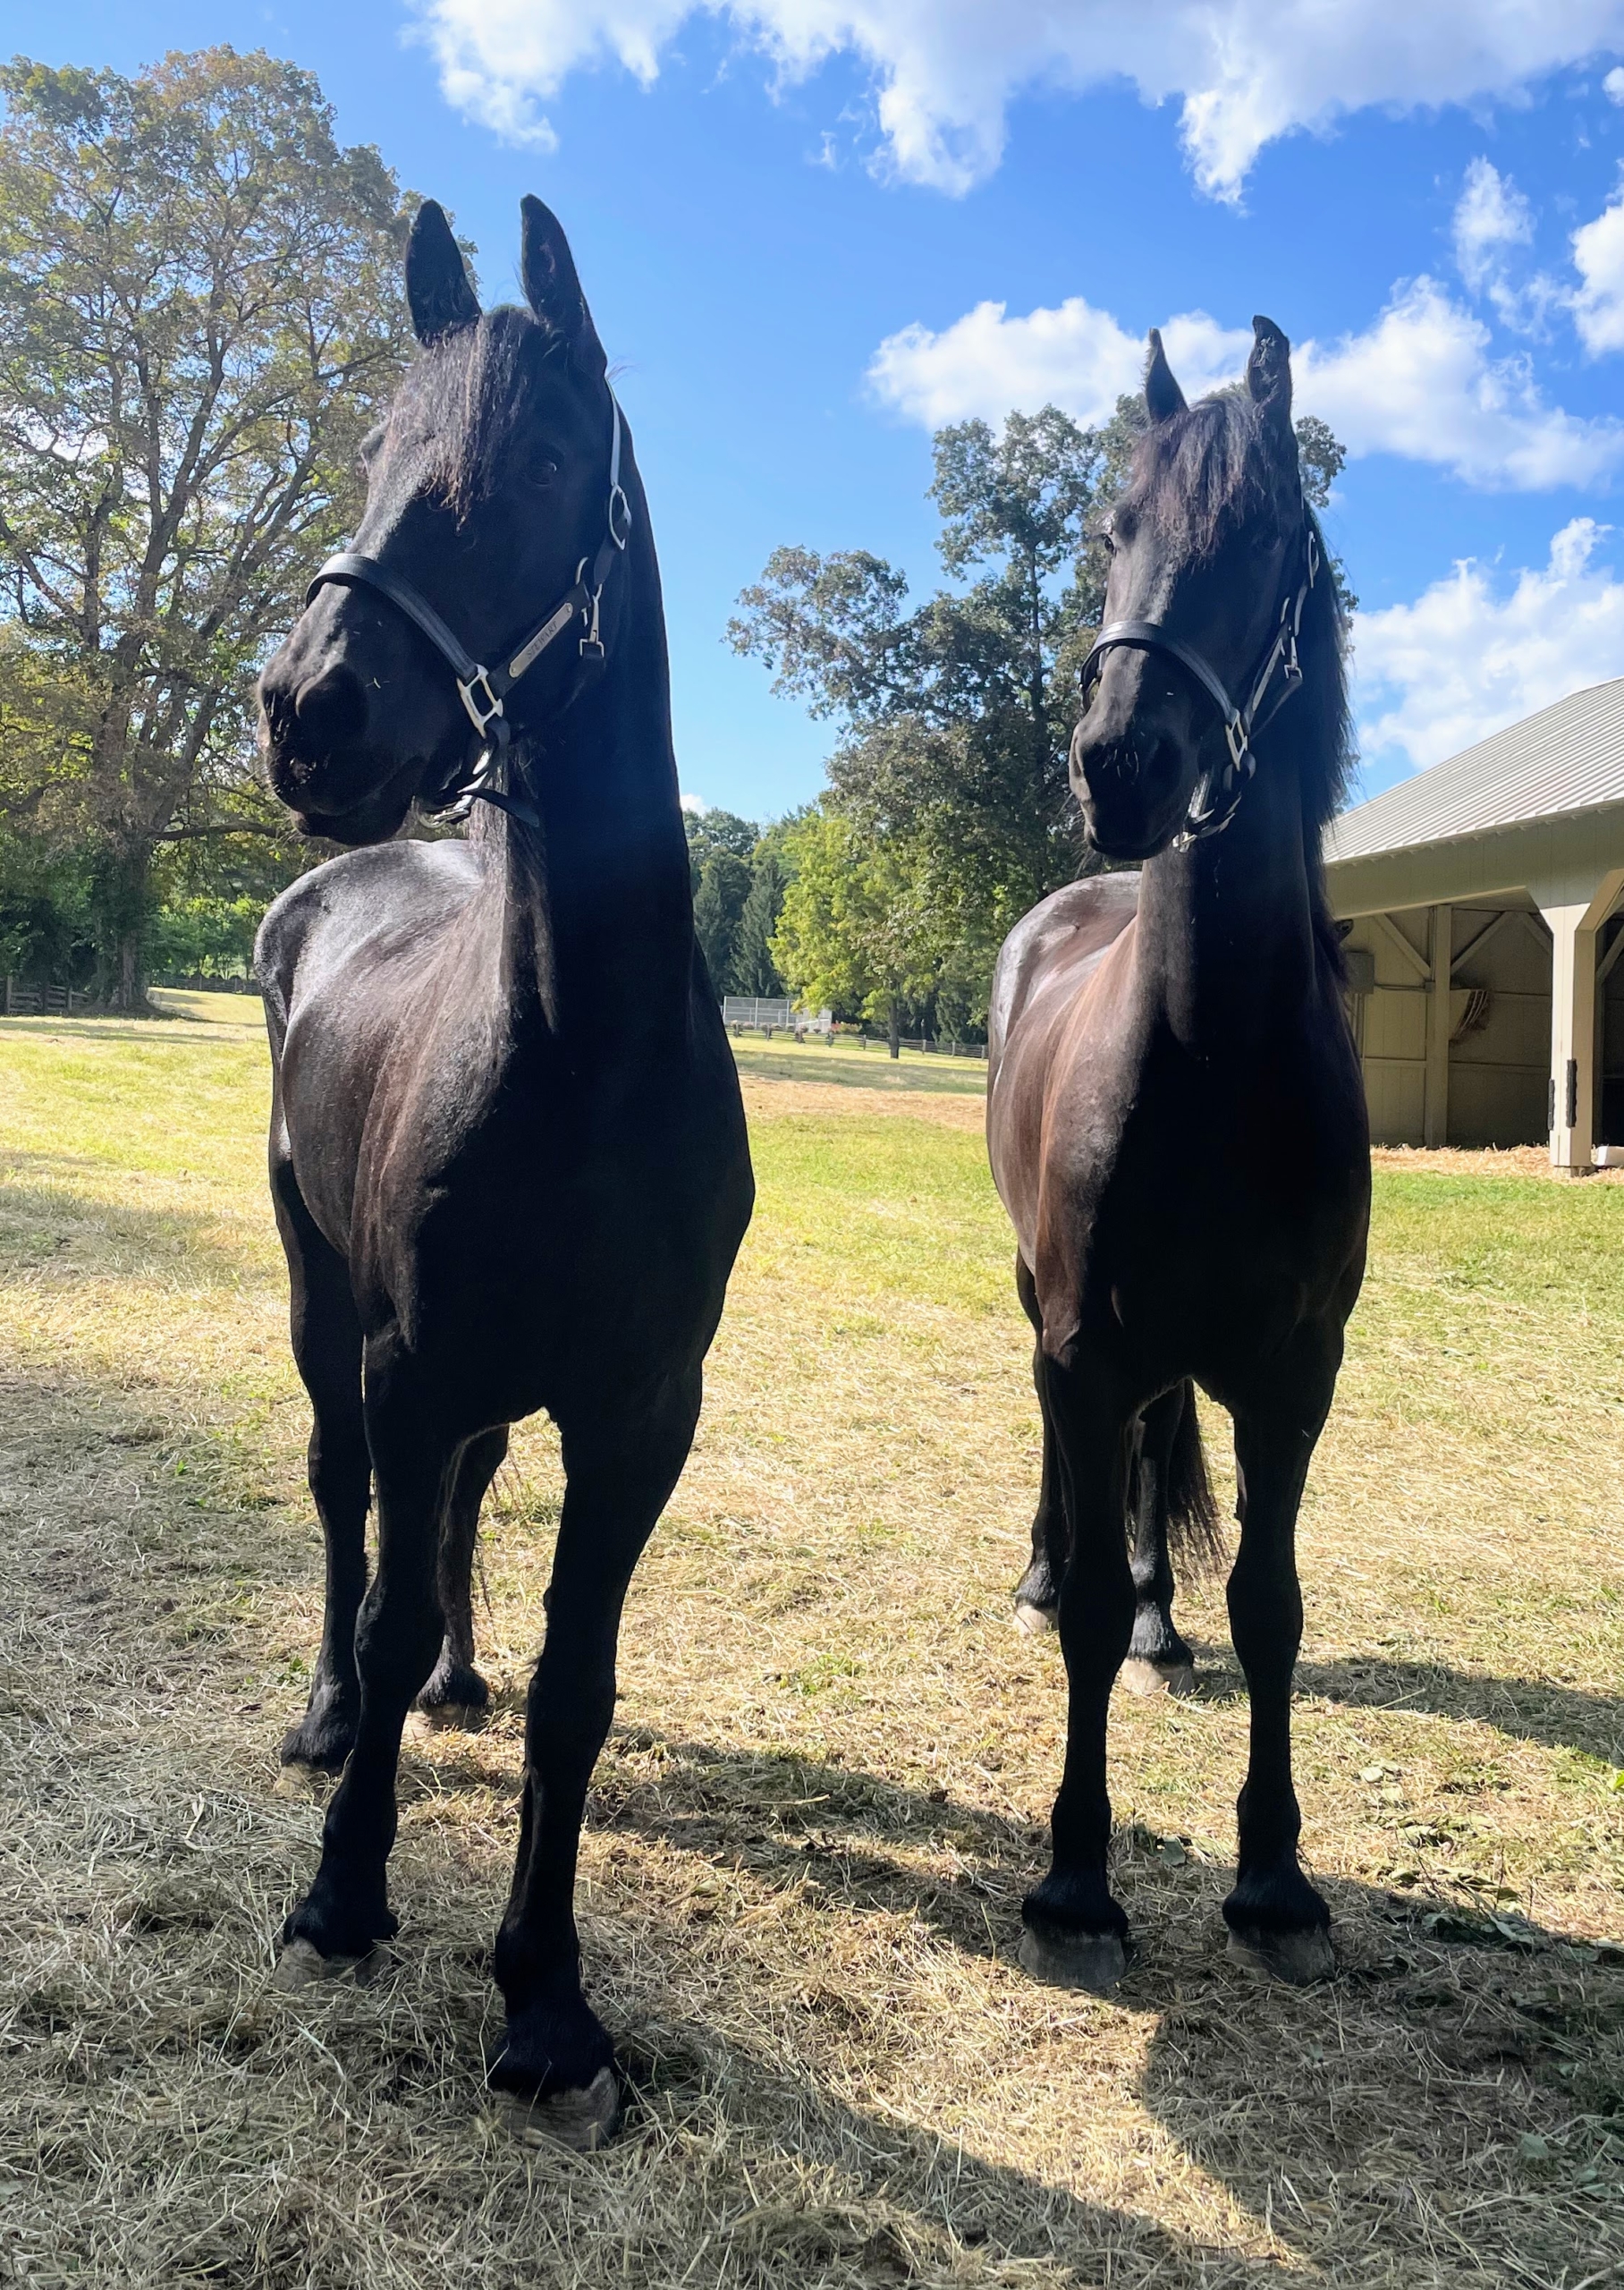
Here they are this weekend – let’s see how they look in a couple months.
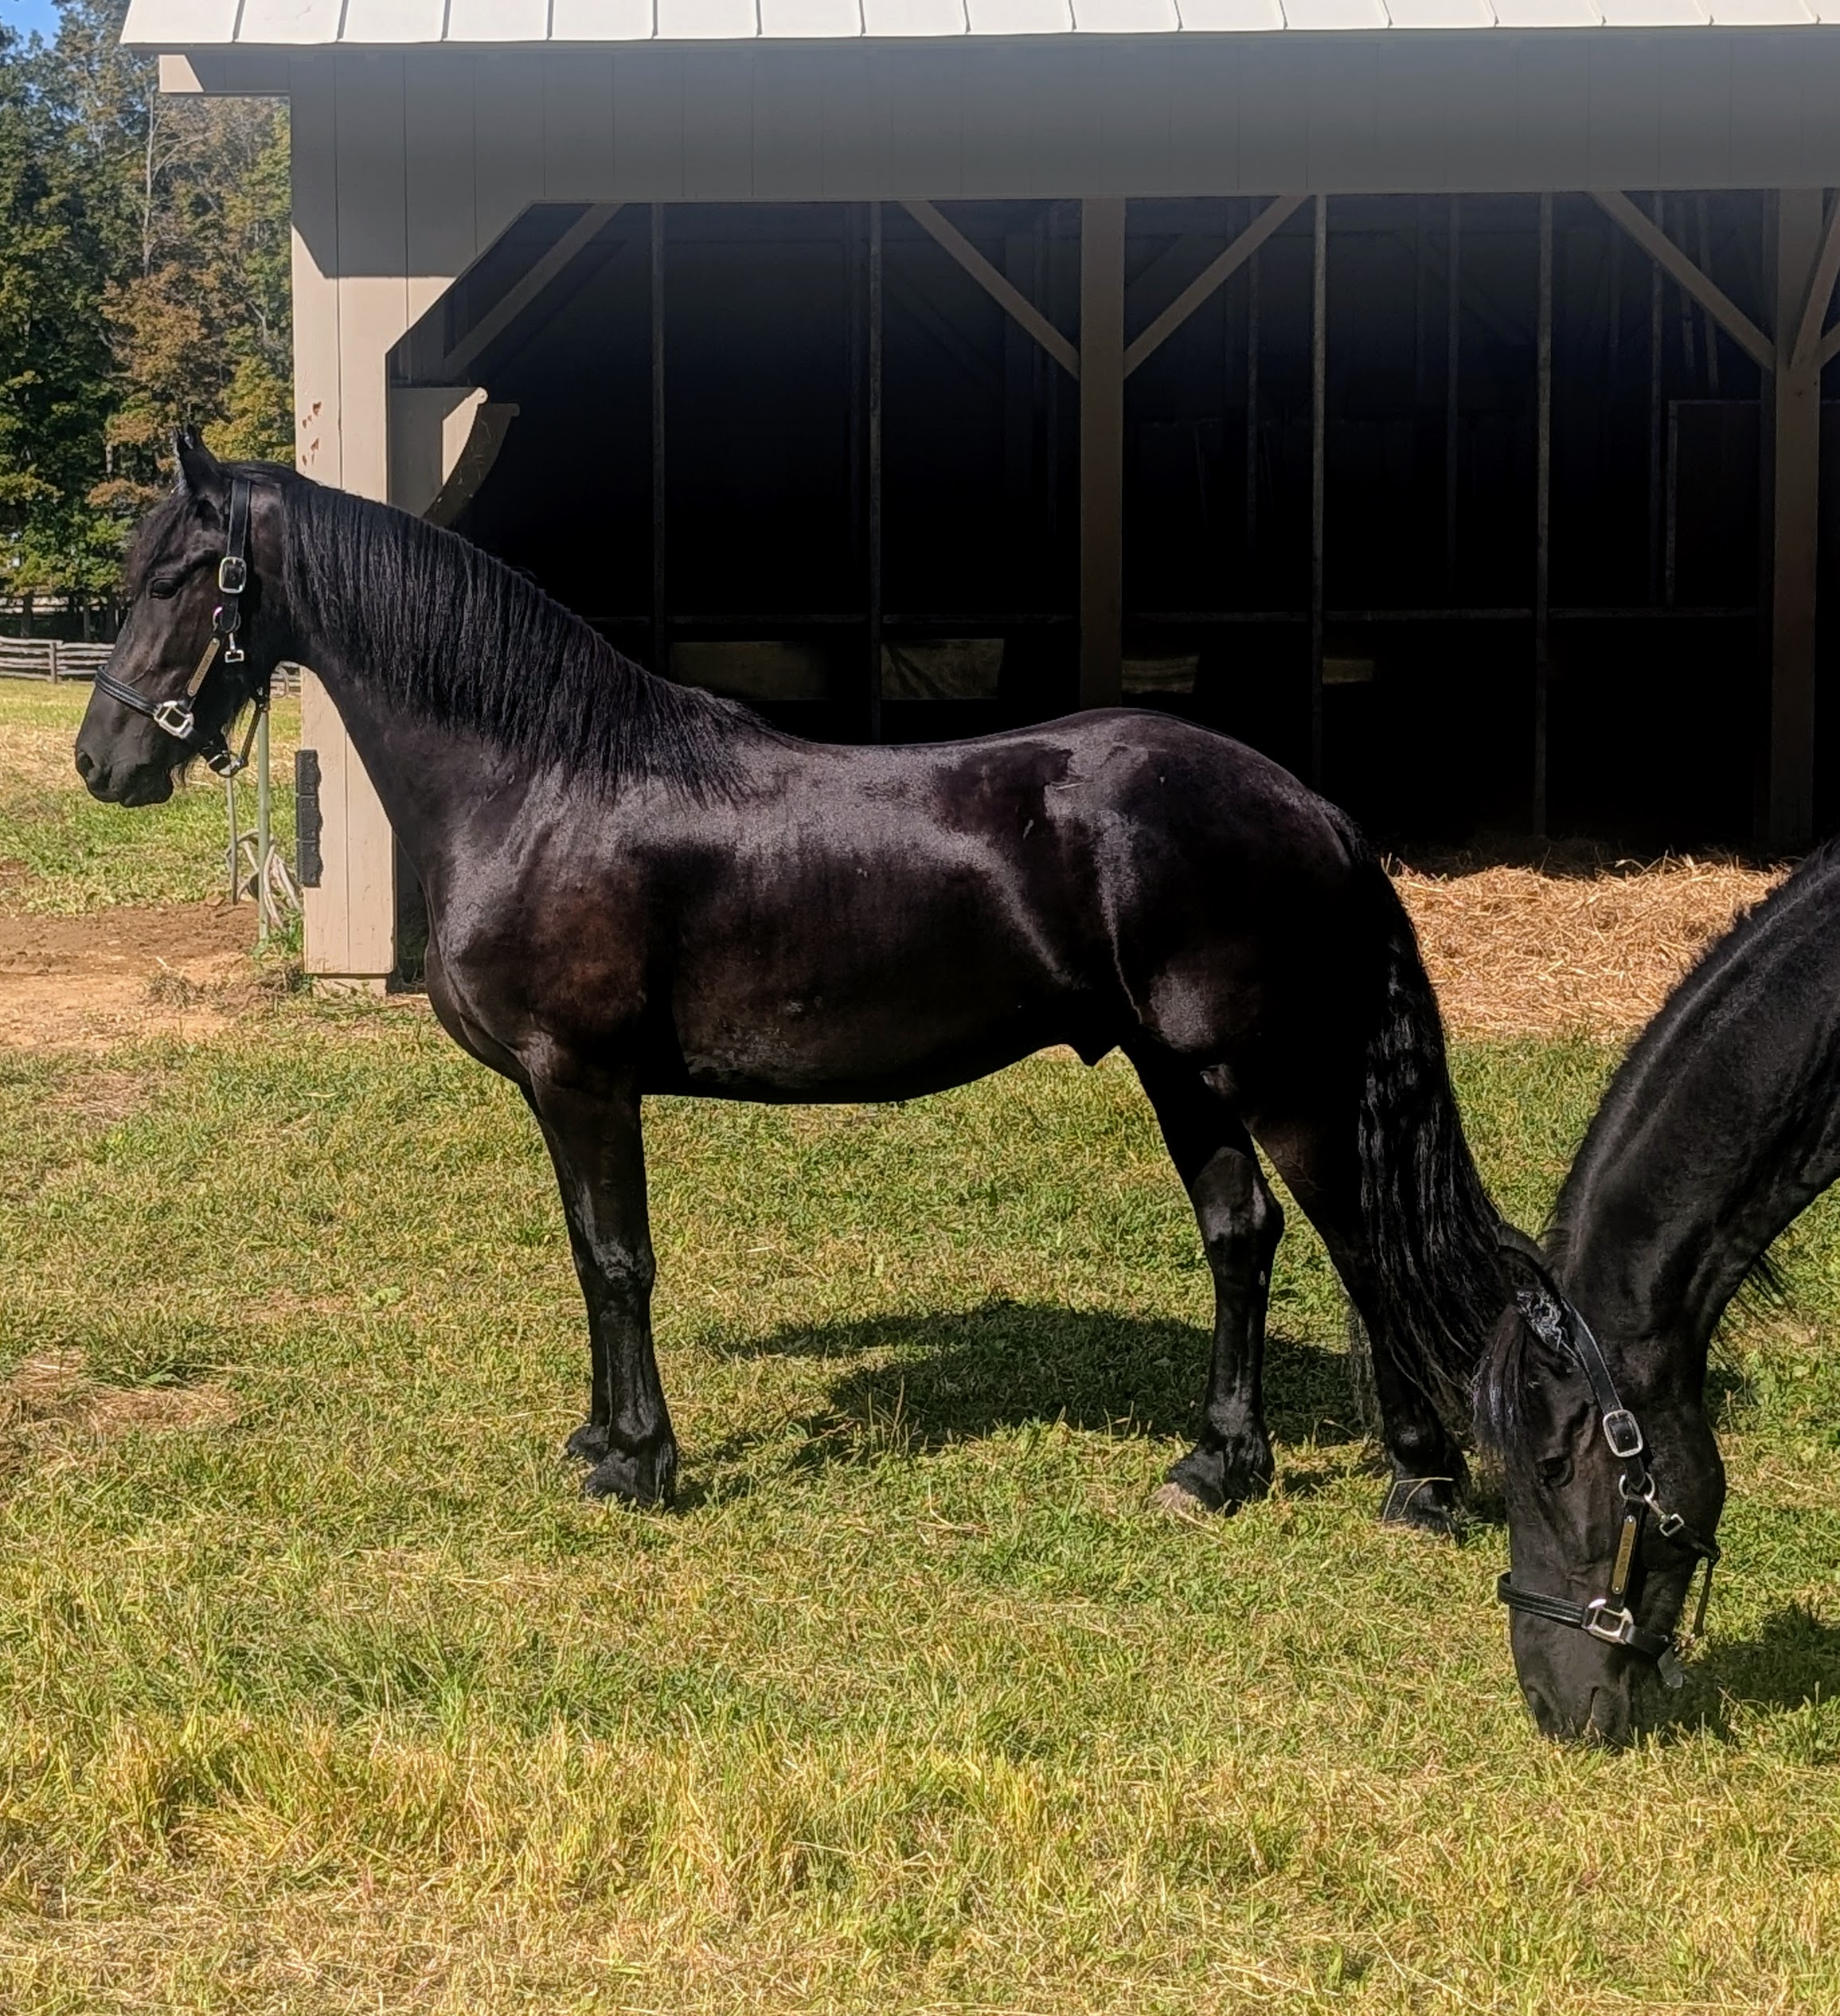
Both horses are strong eaters. Here they are grazing on what’s left over from the recent hay harvest.
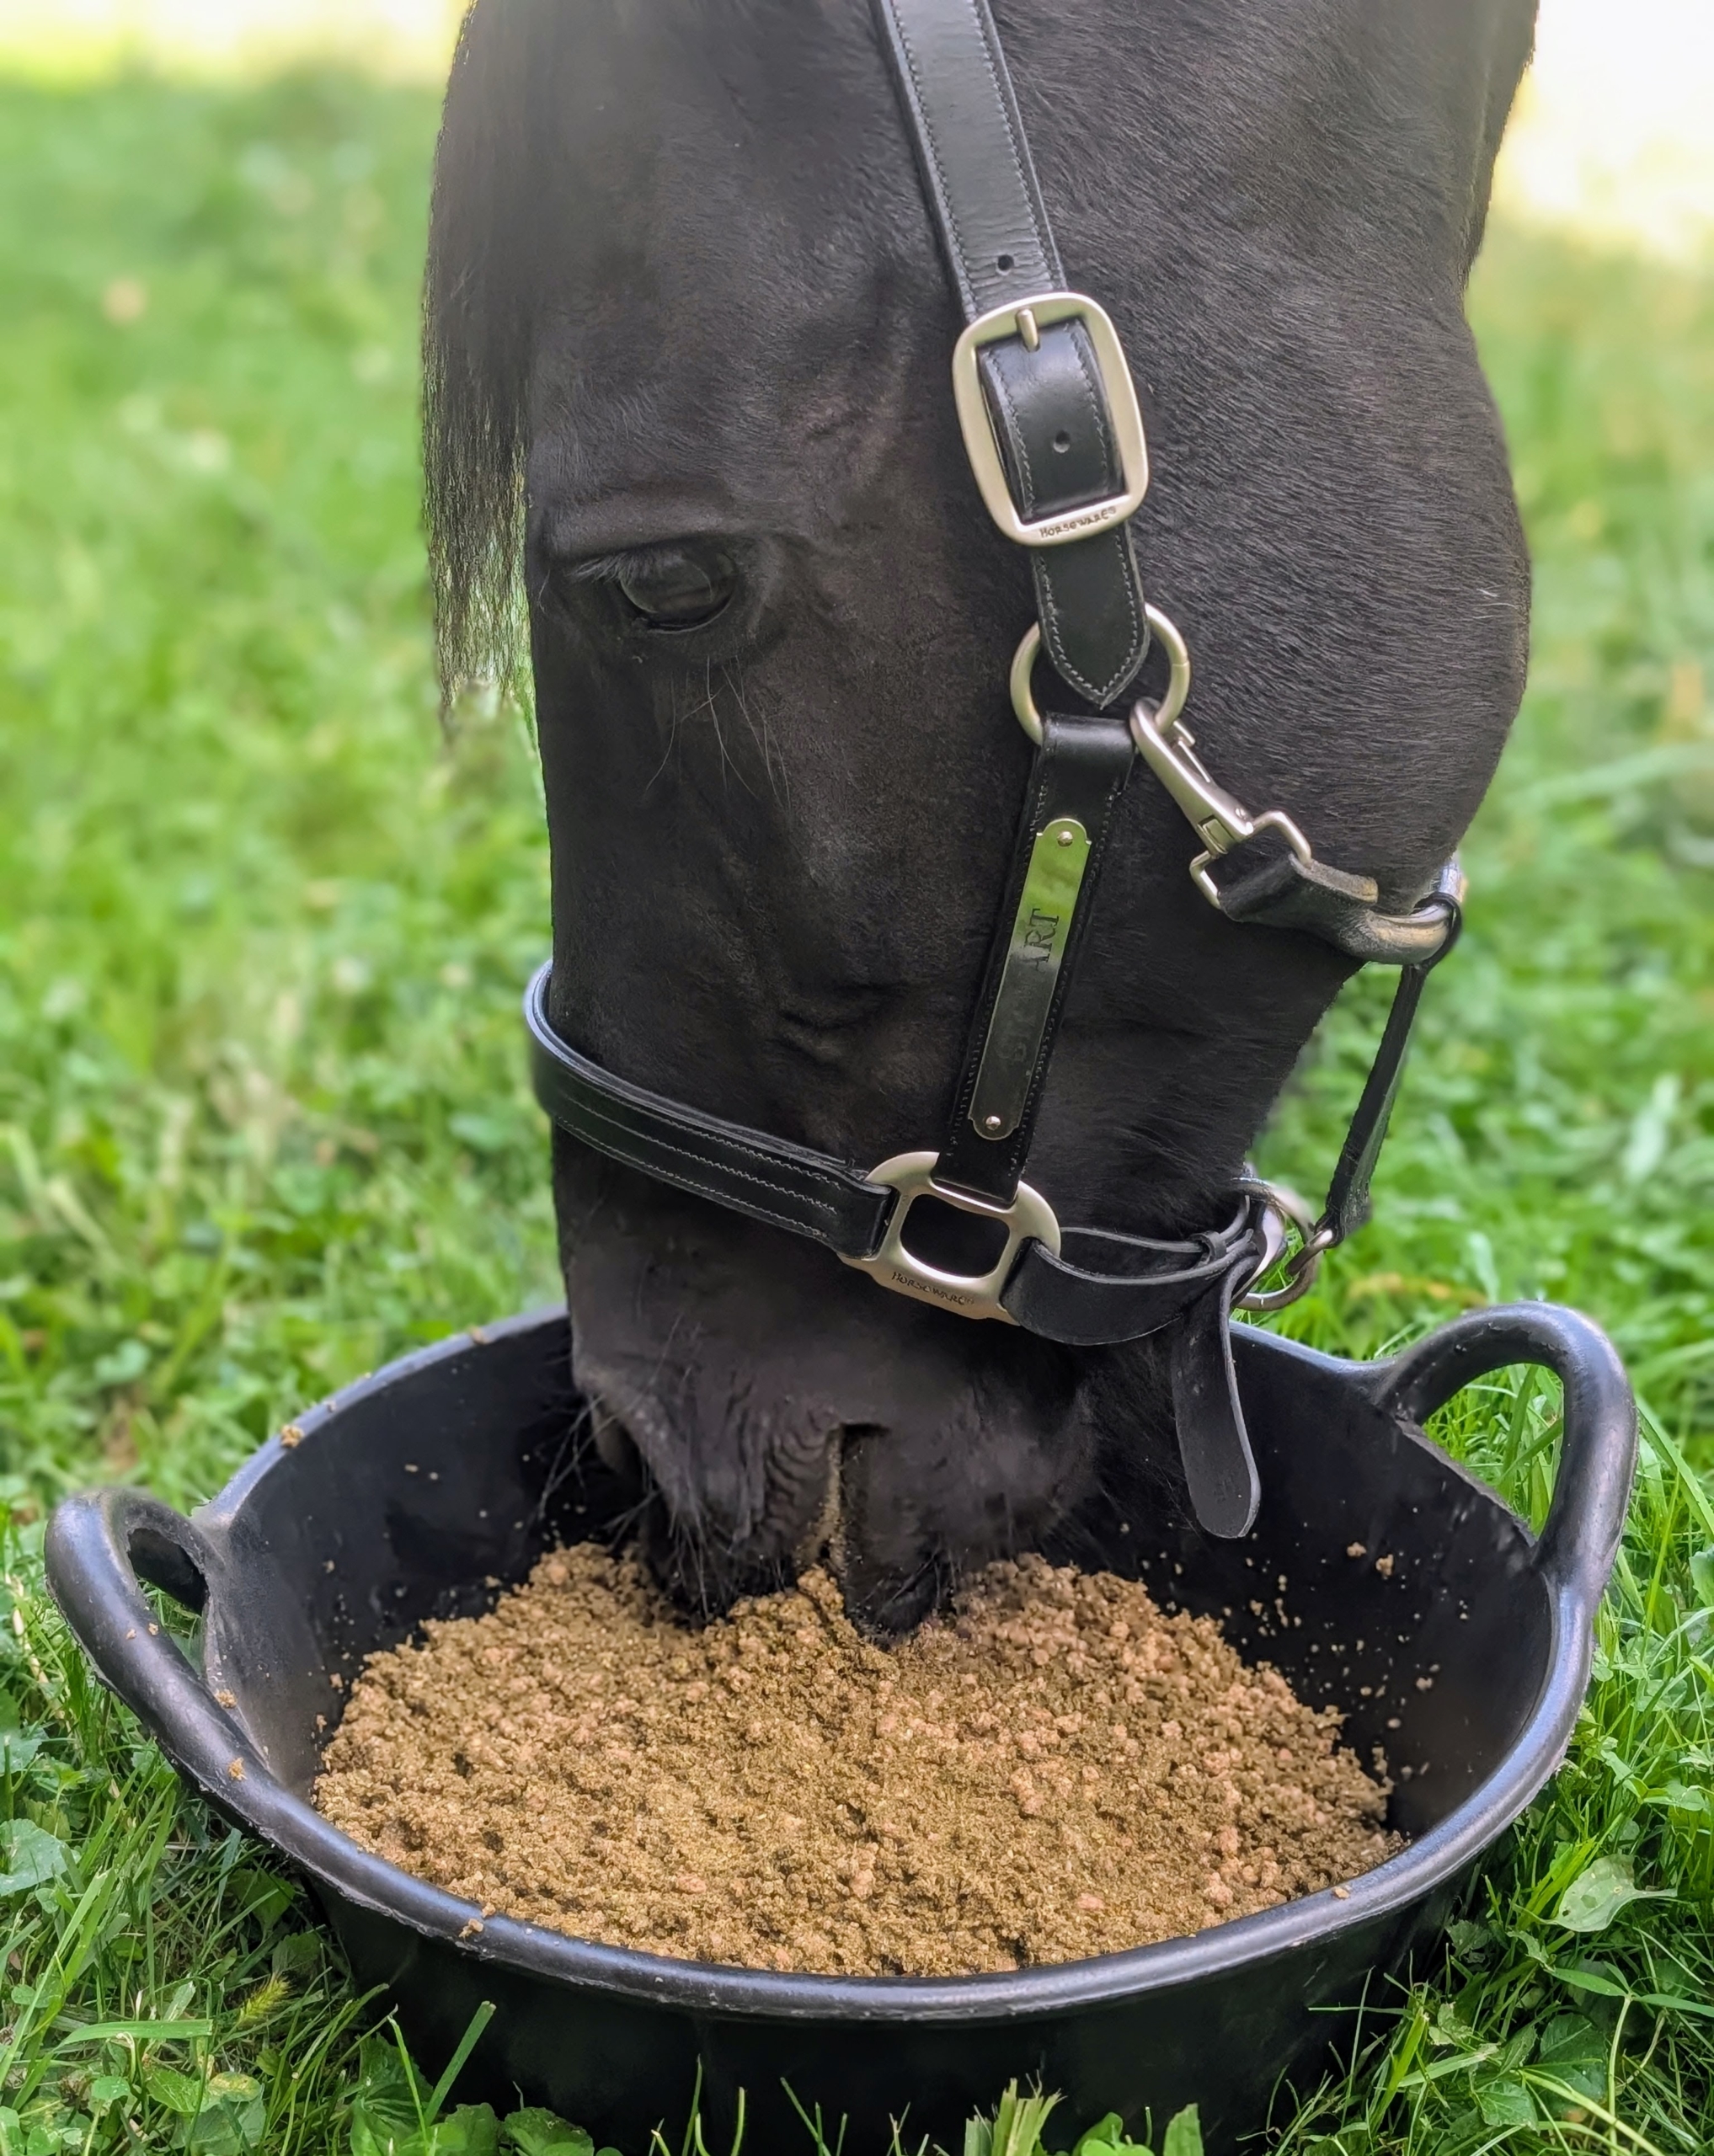
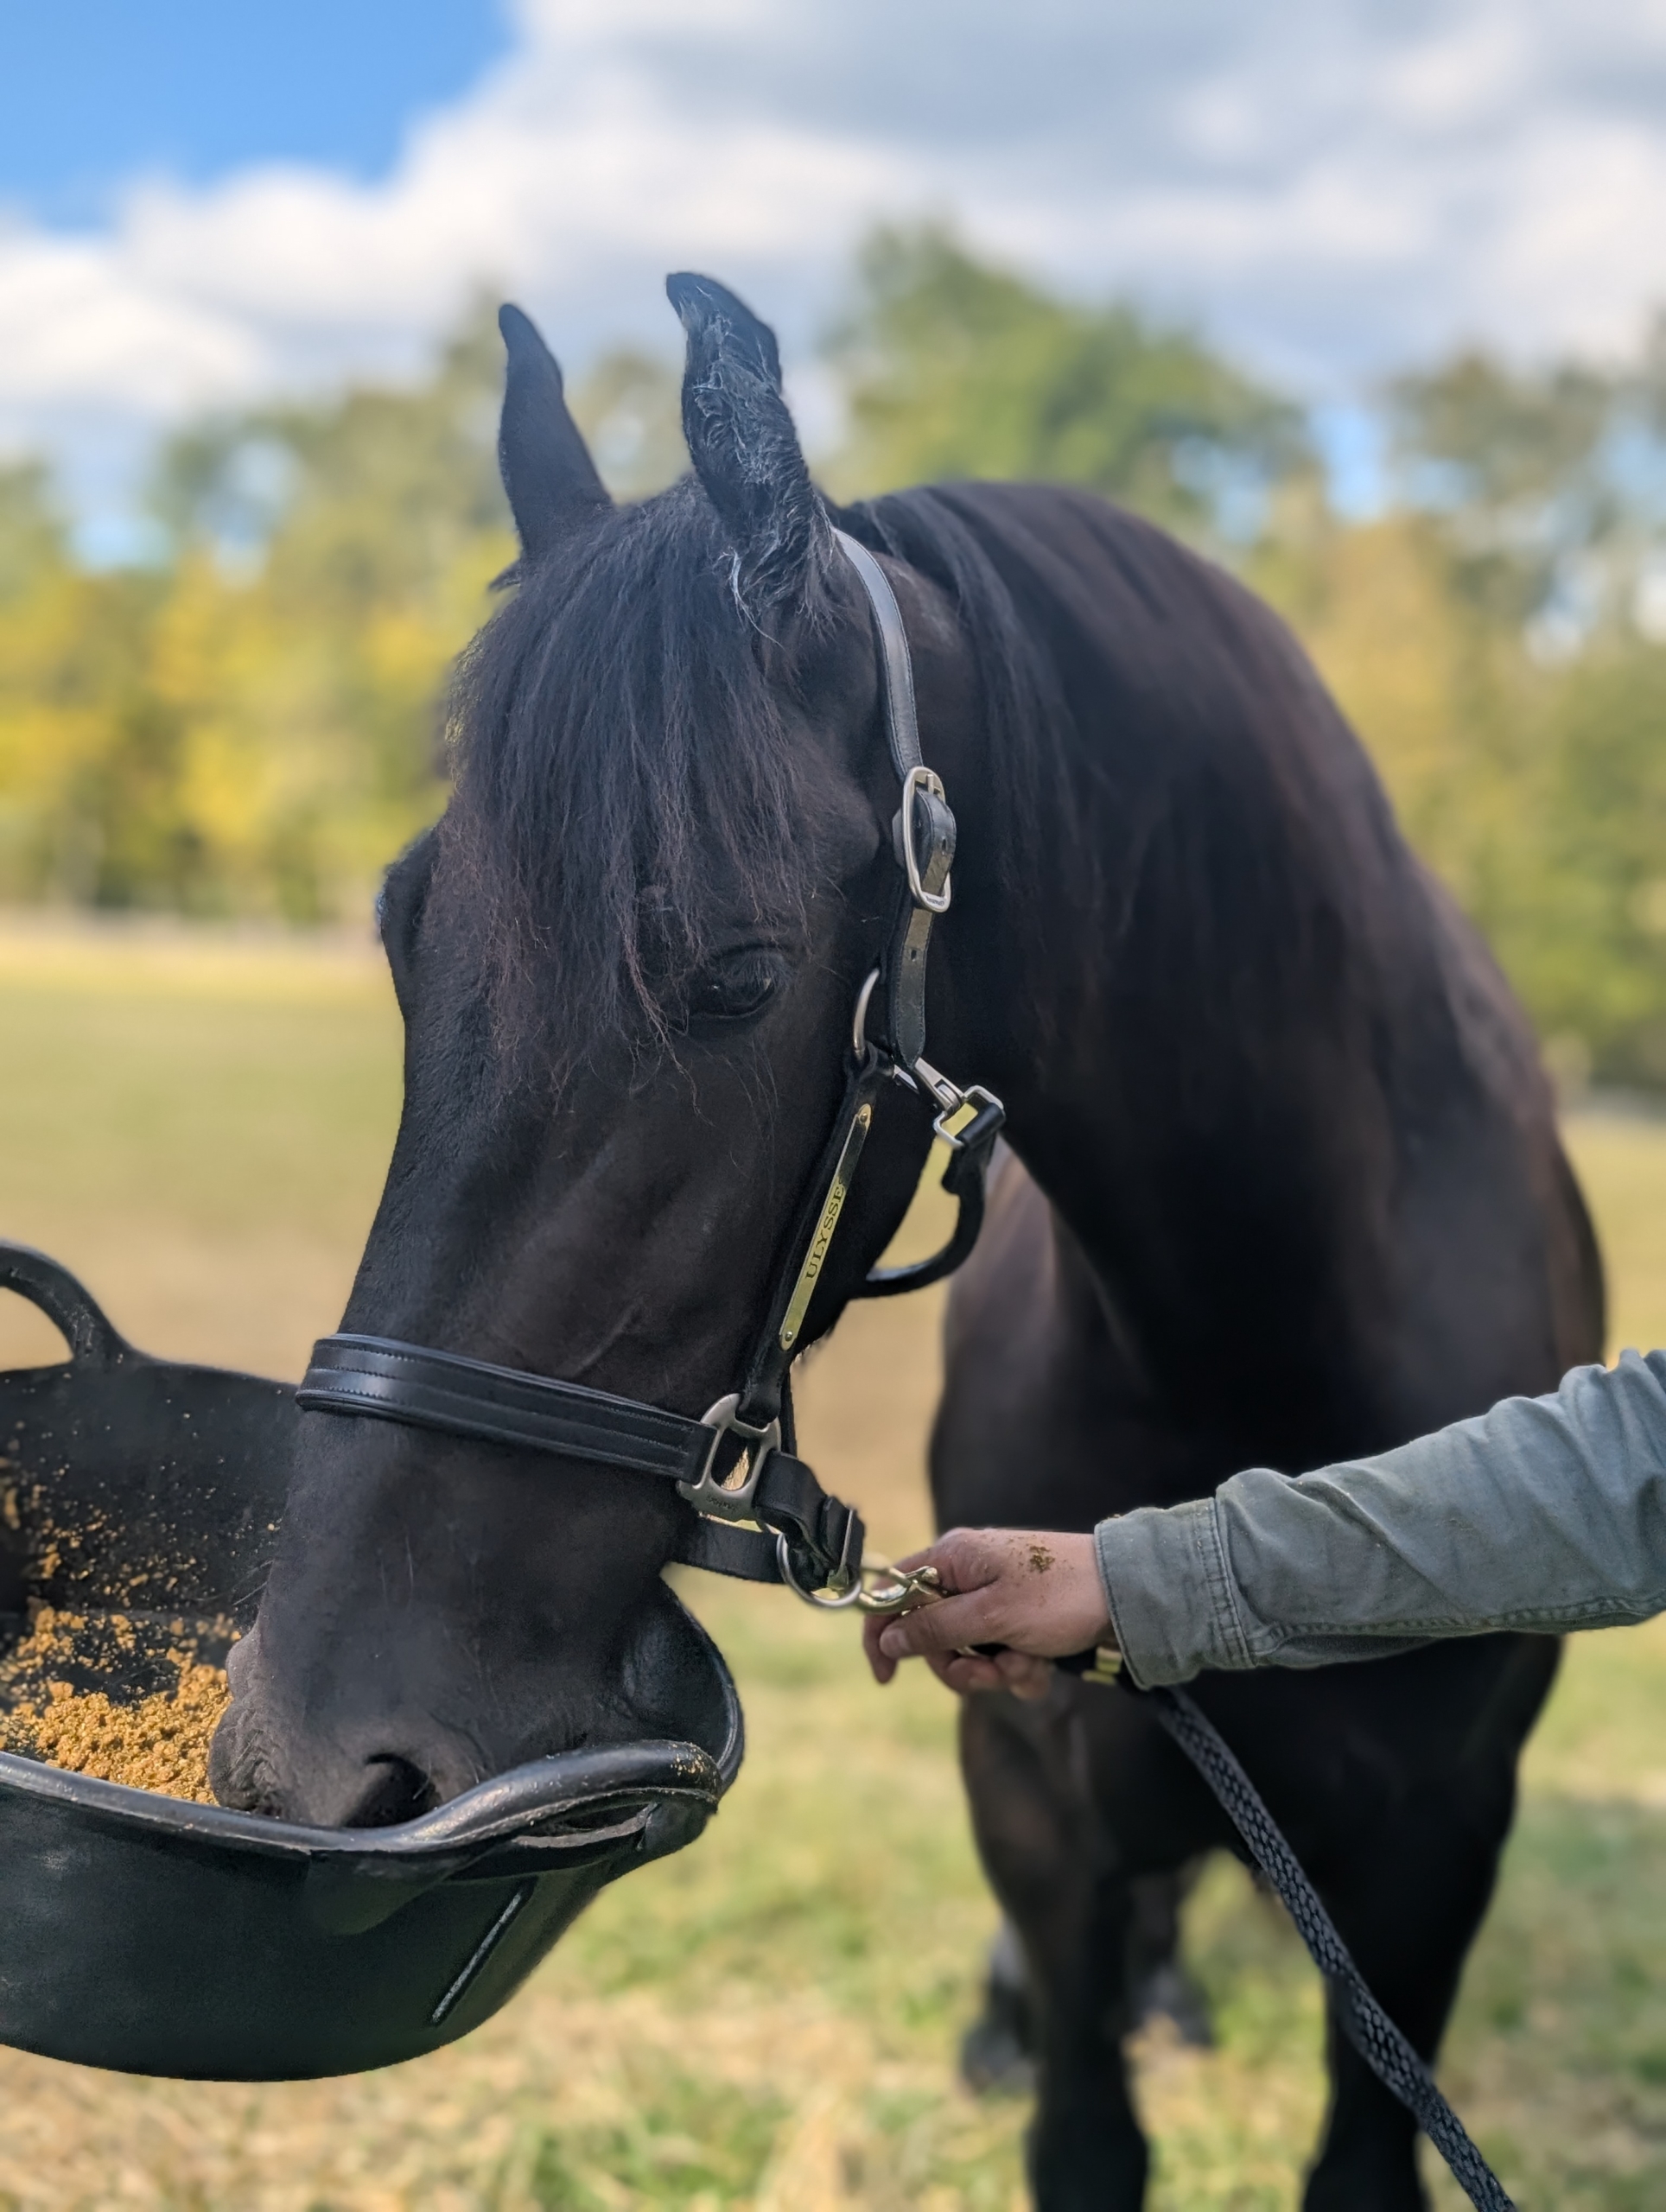
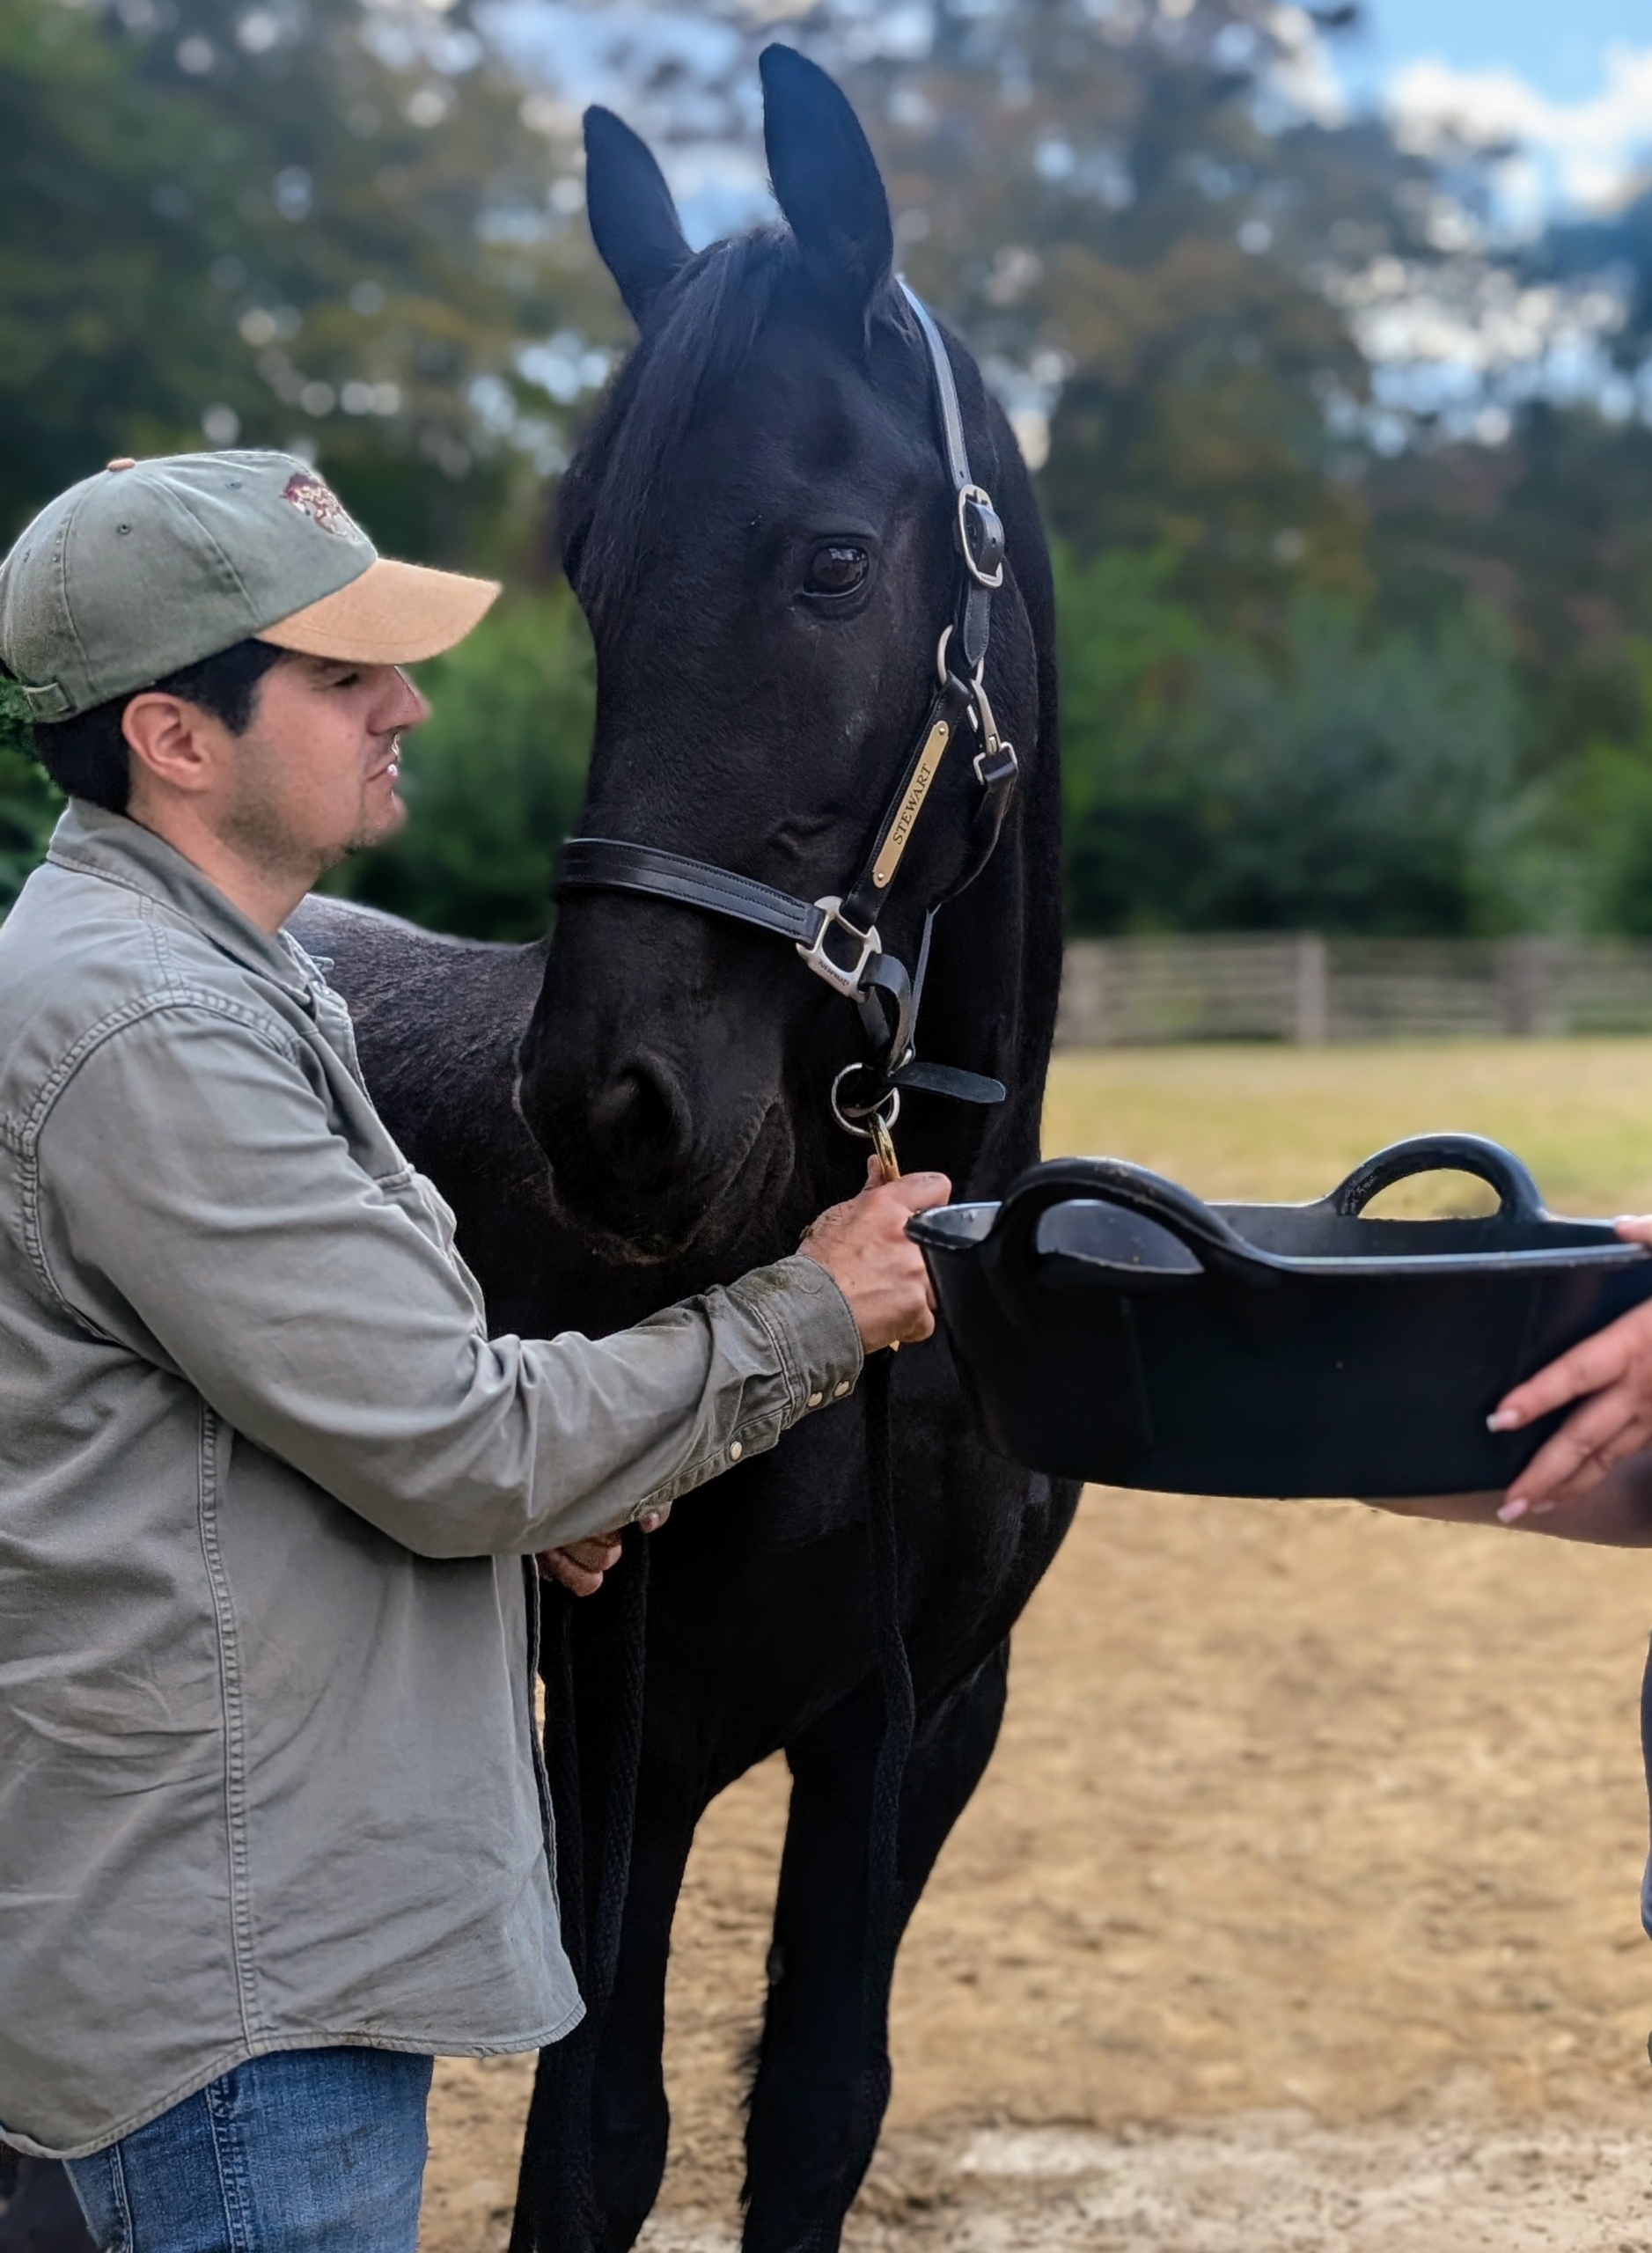
They also enjoy their grains and supplements. Here is Stewart eating his first meal. Of course, both horses already have new personalized halters.
Ulysses prefers more personal service. This bonded pair will transition slowly from what they have been eating at DER to their new diet here at the farm. It is crucial to follow a gradual switch to minimize digestive upset.
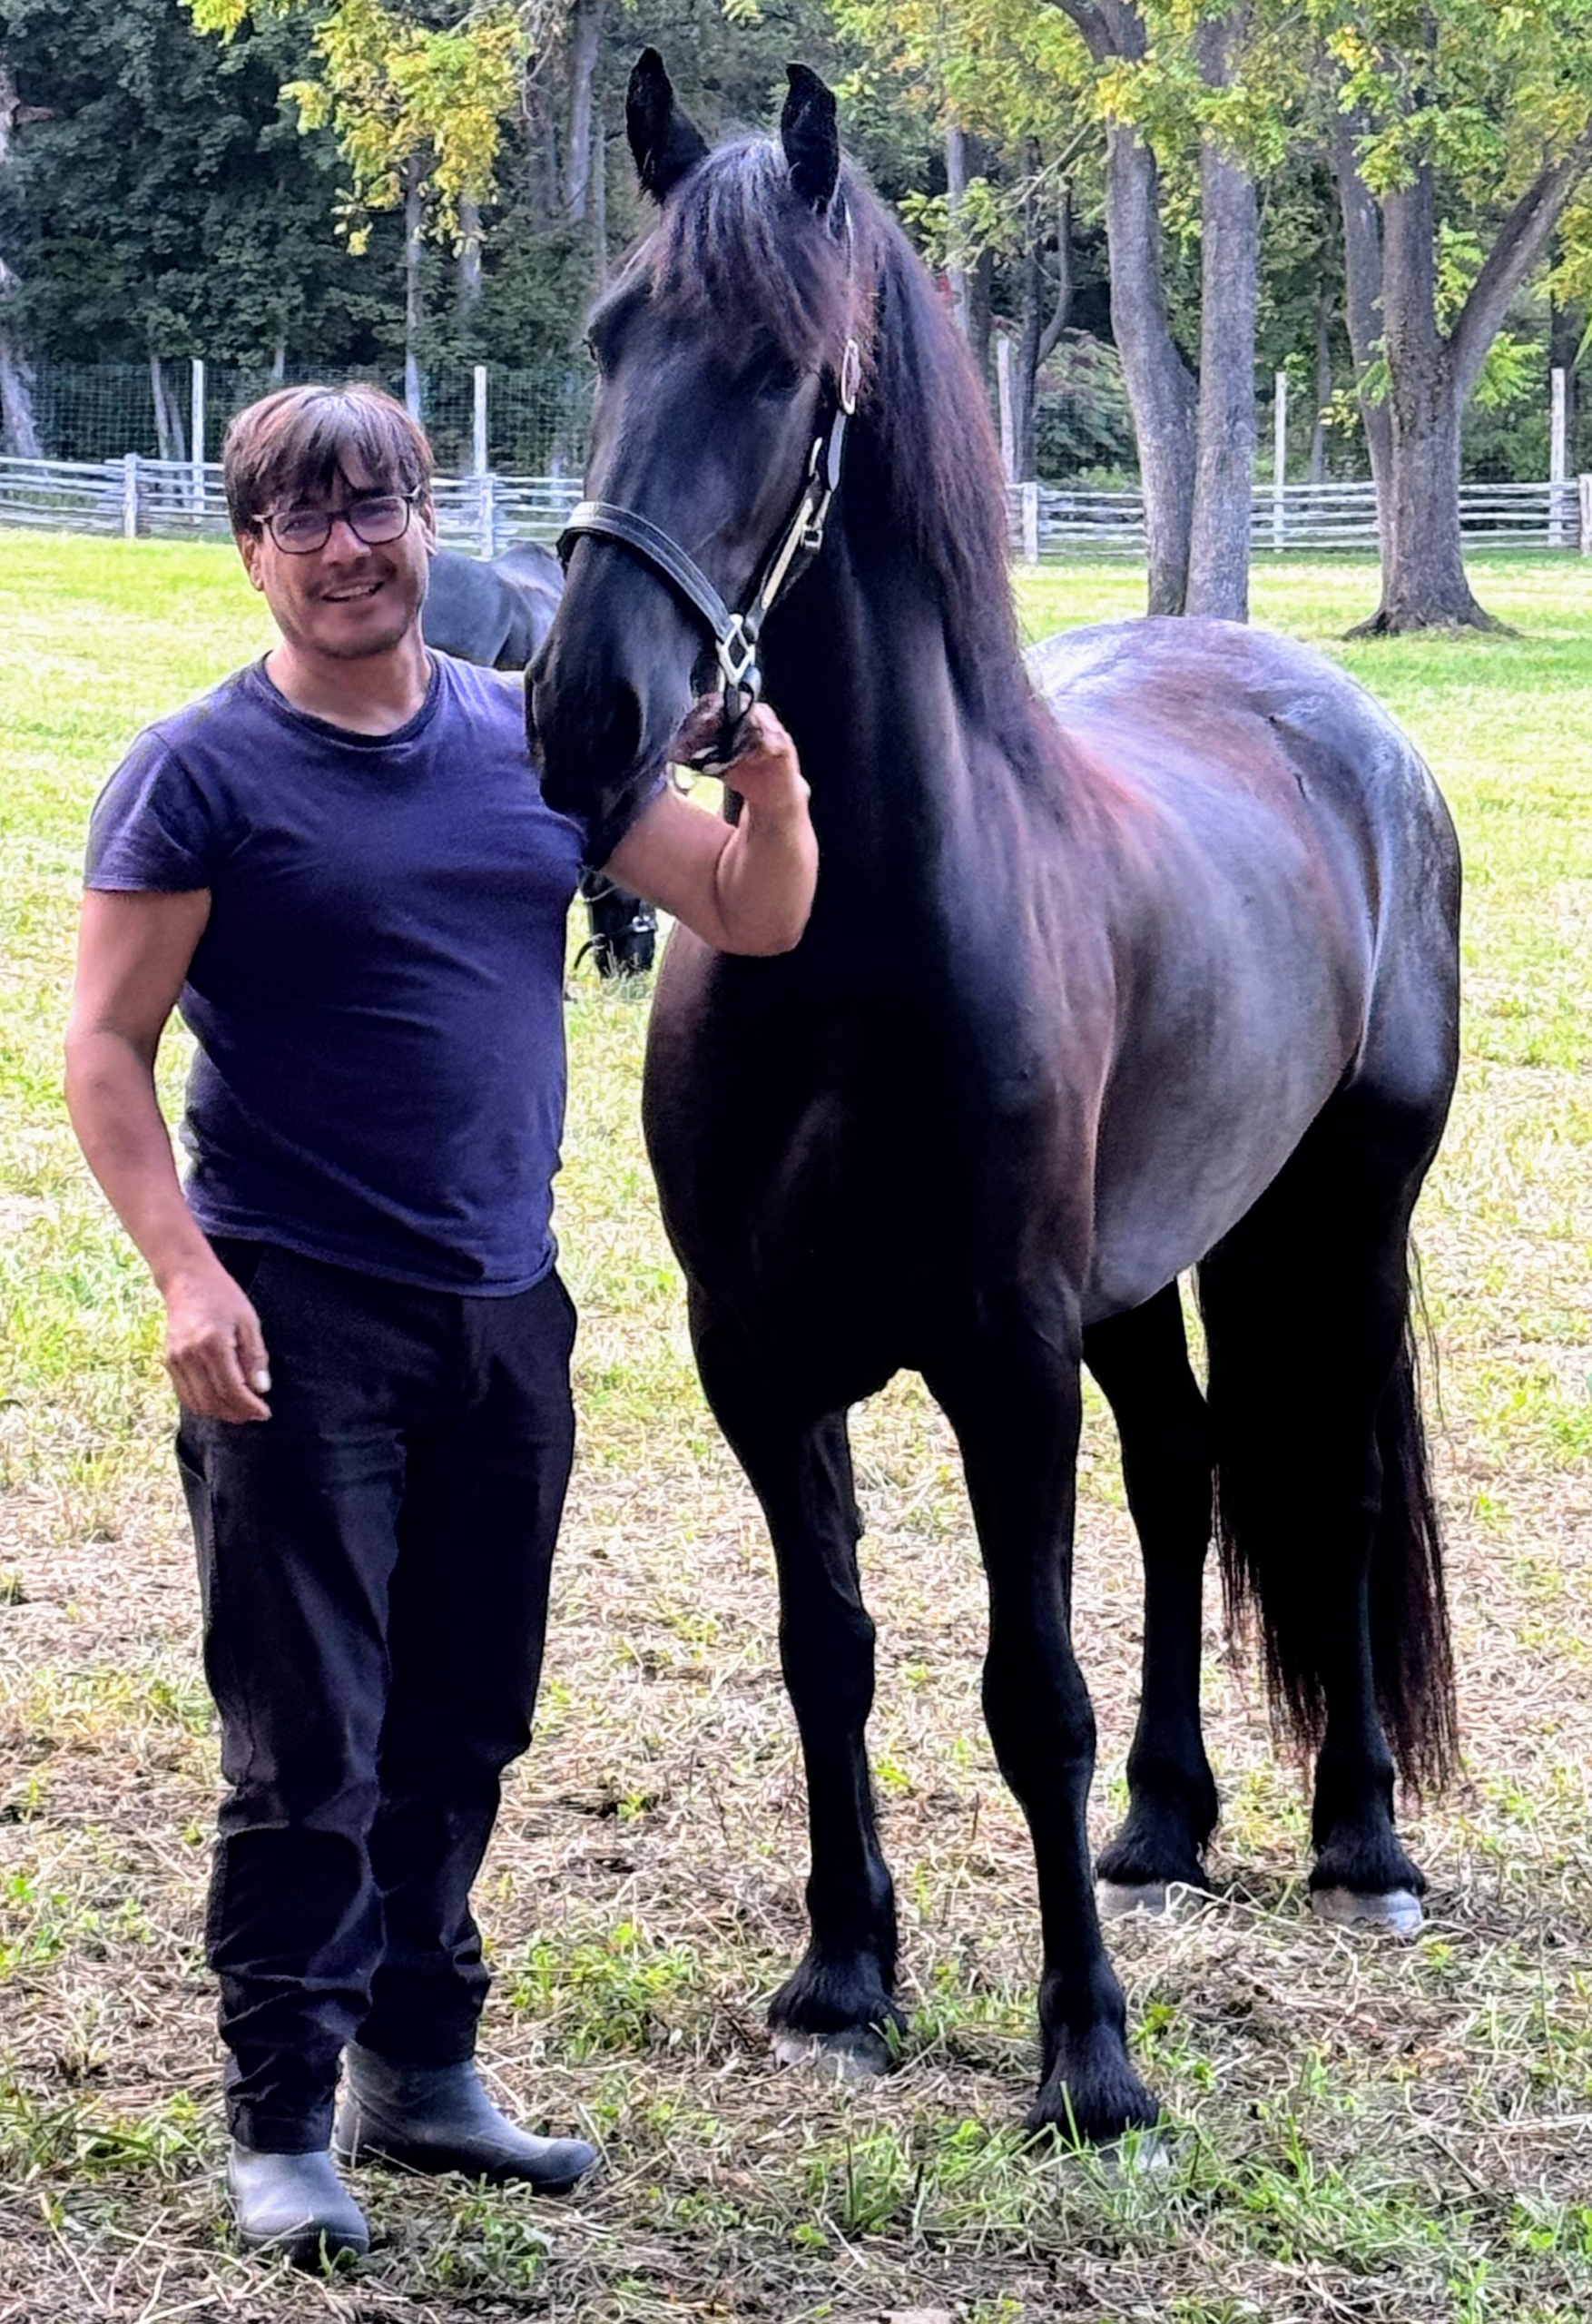
Juan Londoño, who works in my stable, is excellent with all the horses. Here he is with Stewart – they will be fast friends.
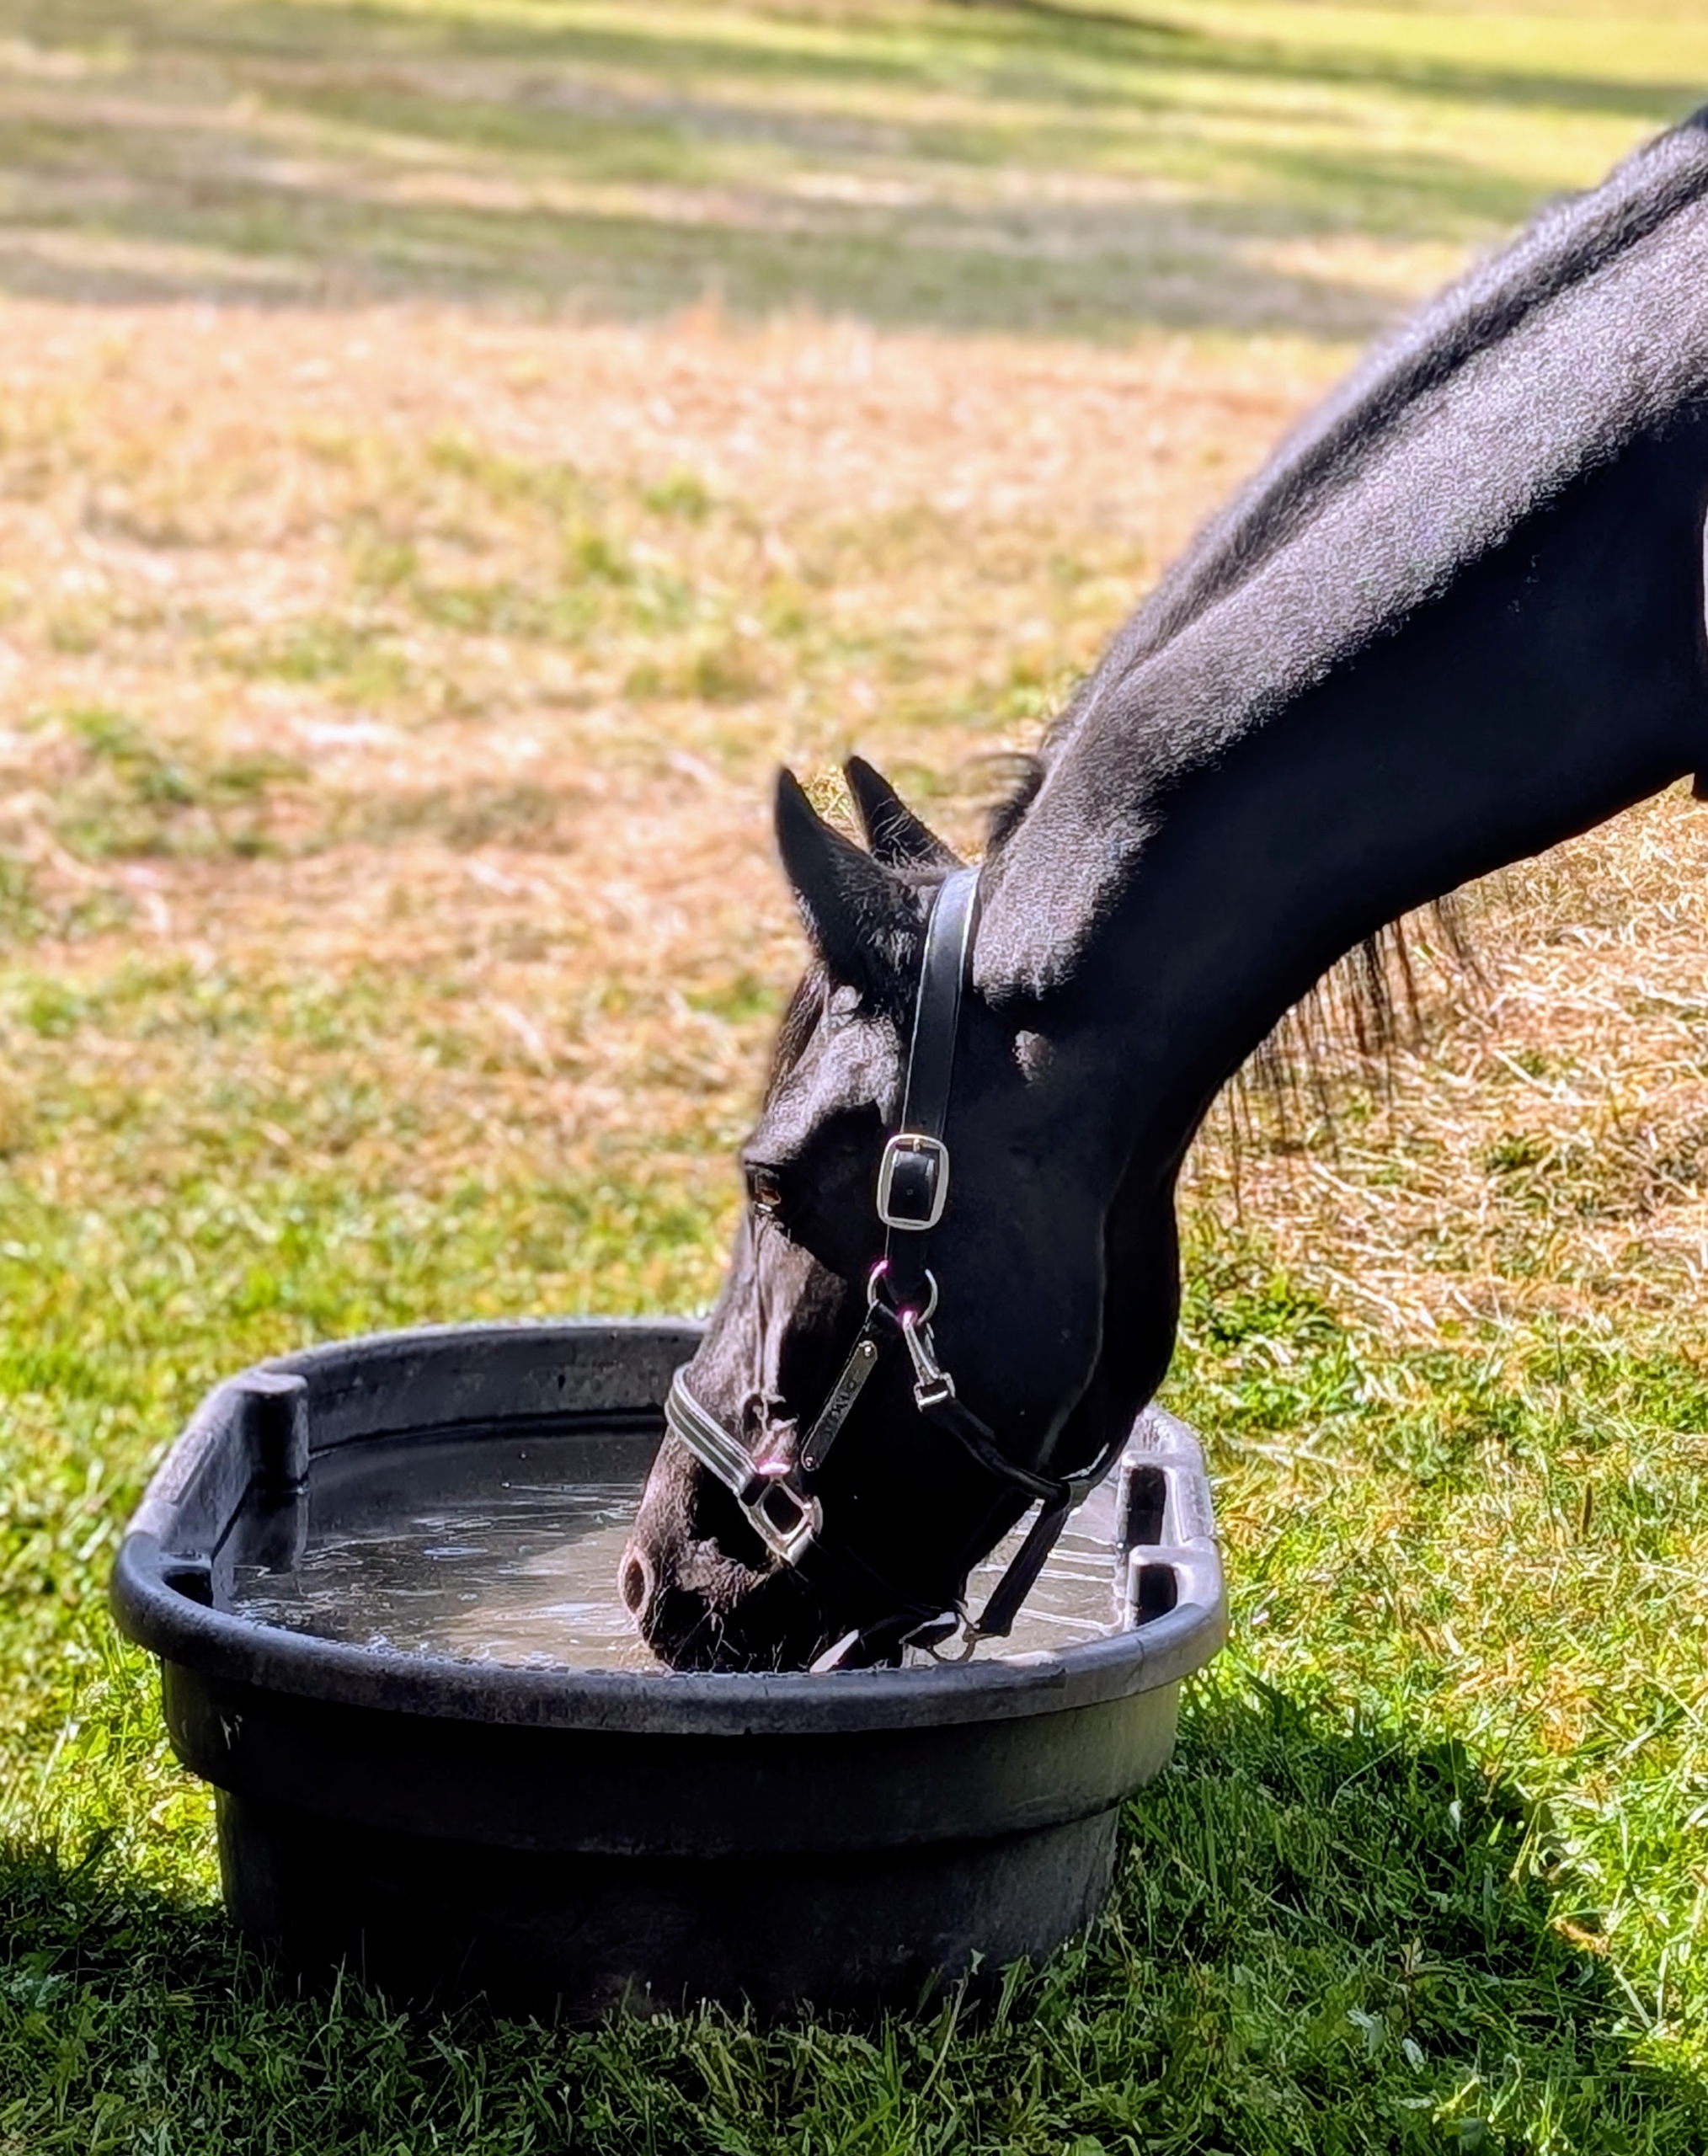
The horses were shown their water source right away. Horses drink water by siphoning it through pursed lips, not by lapping it up like other animals. Stewart and Ulysses are good drinkers.
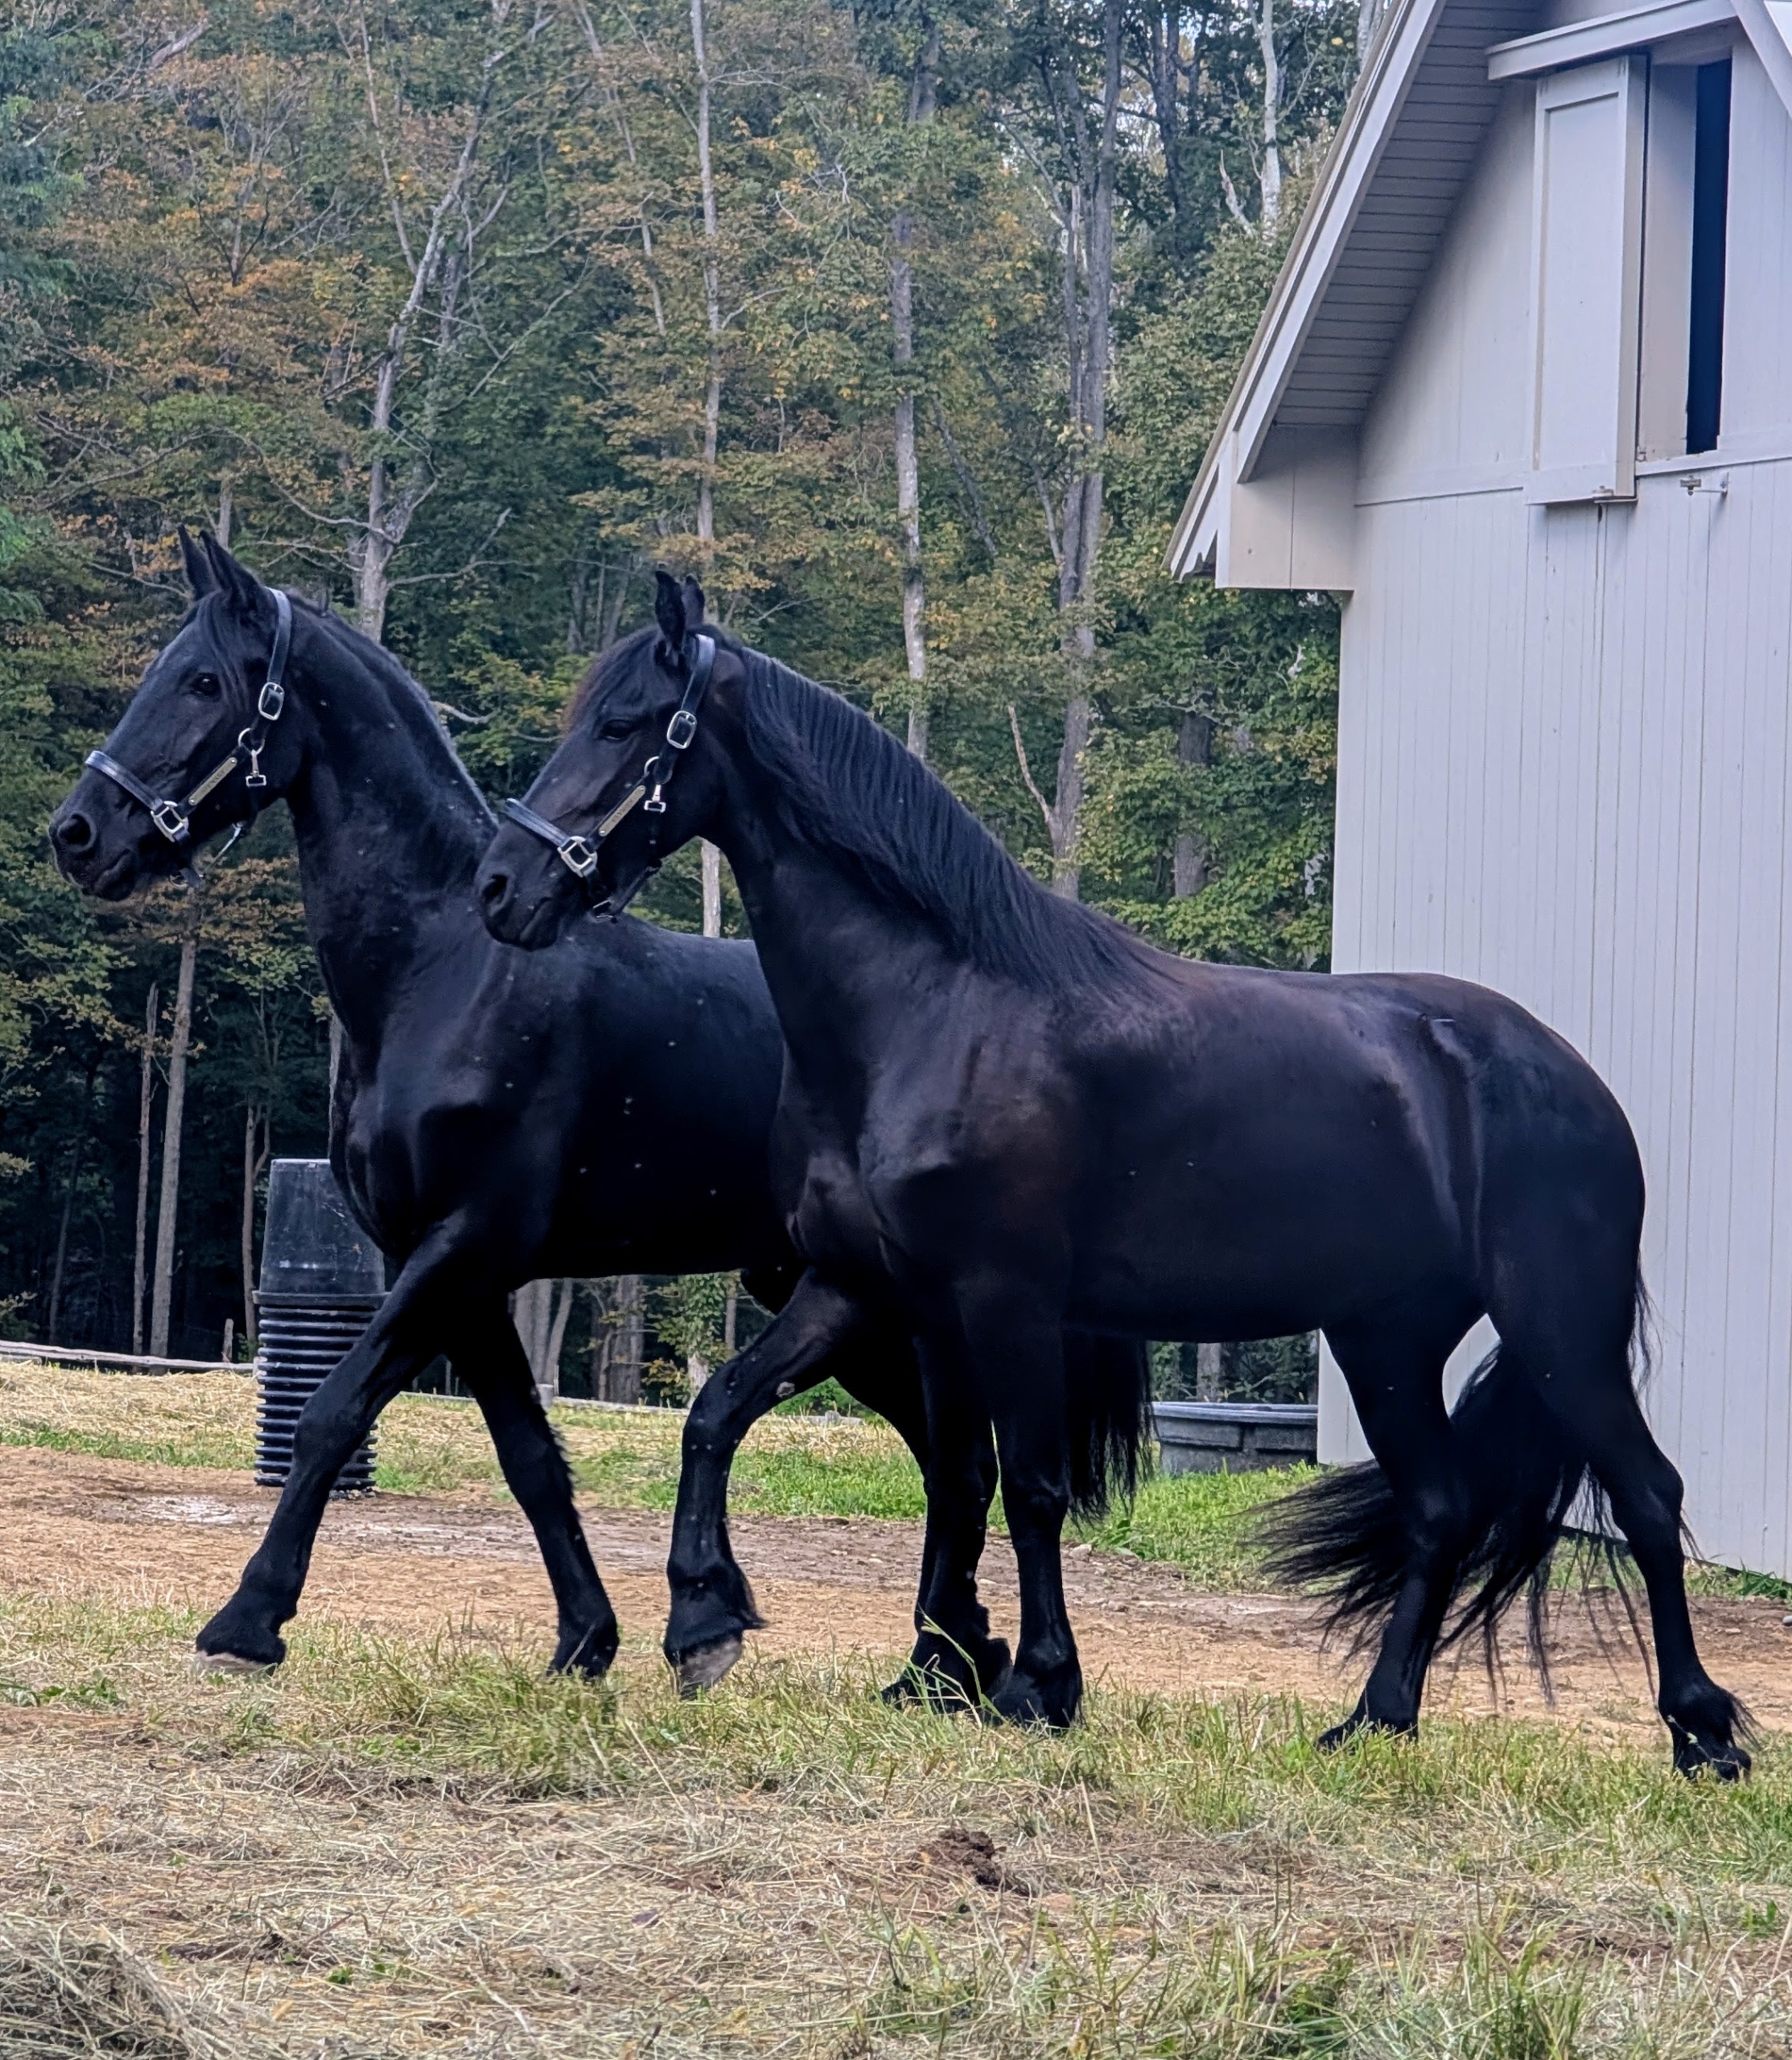
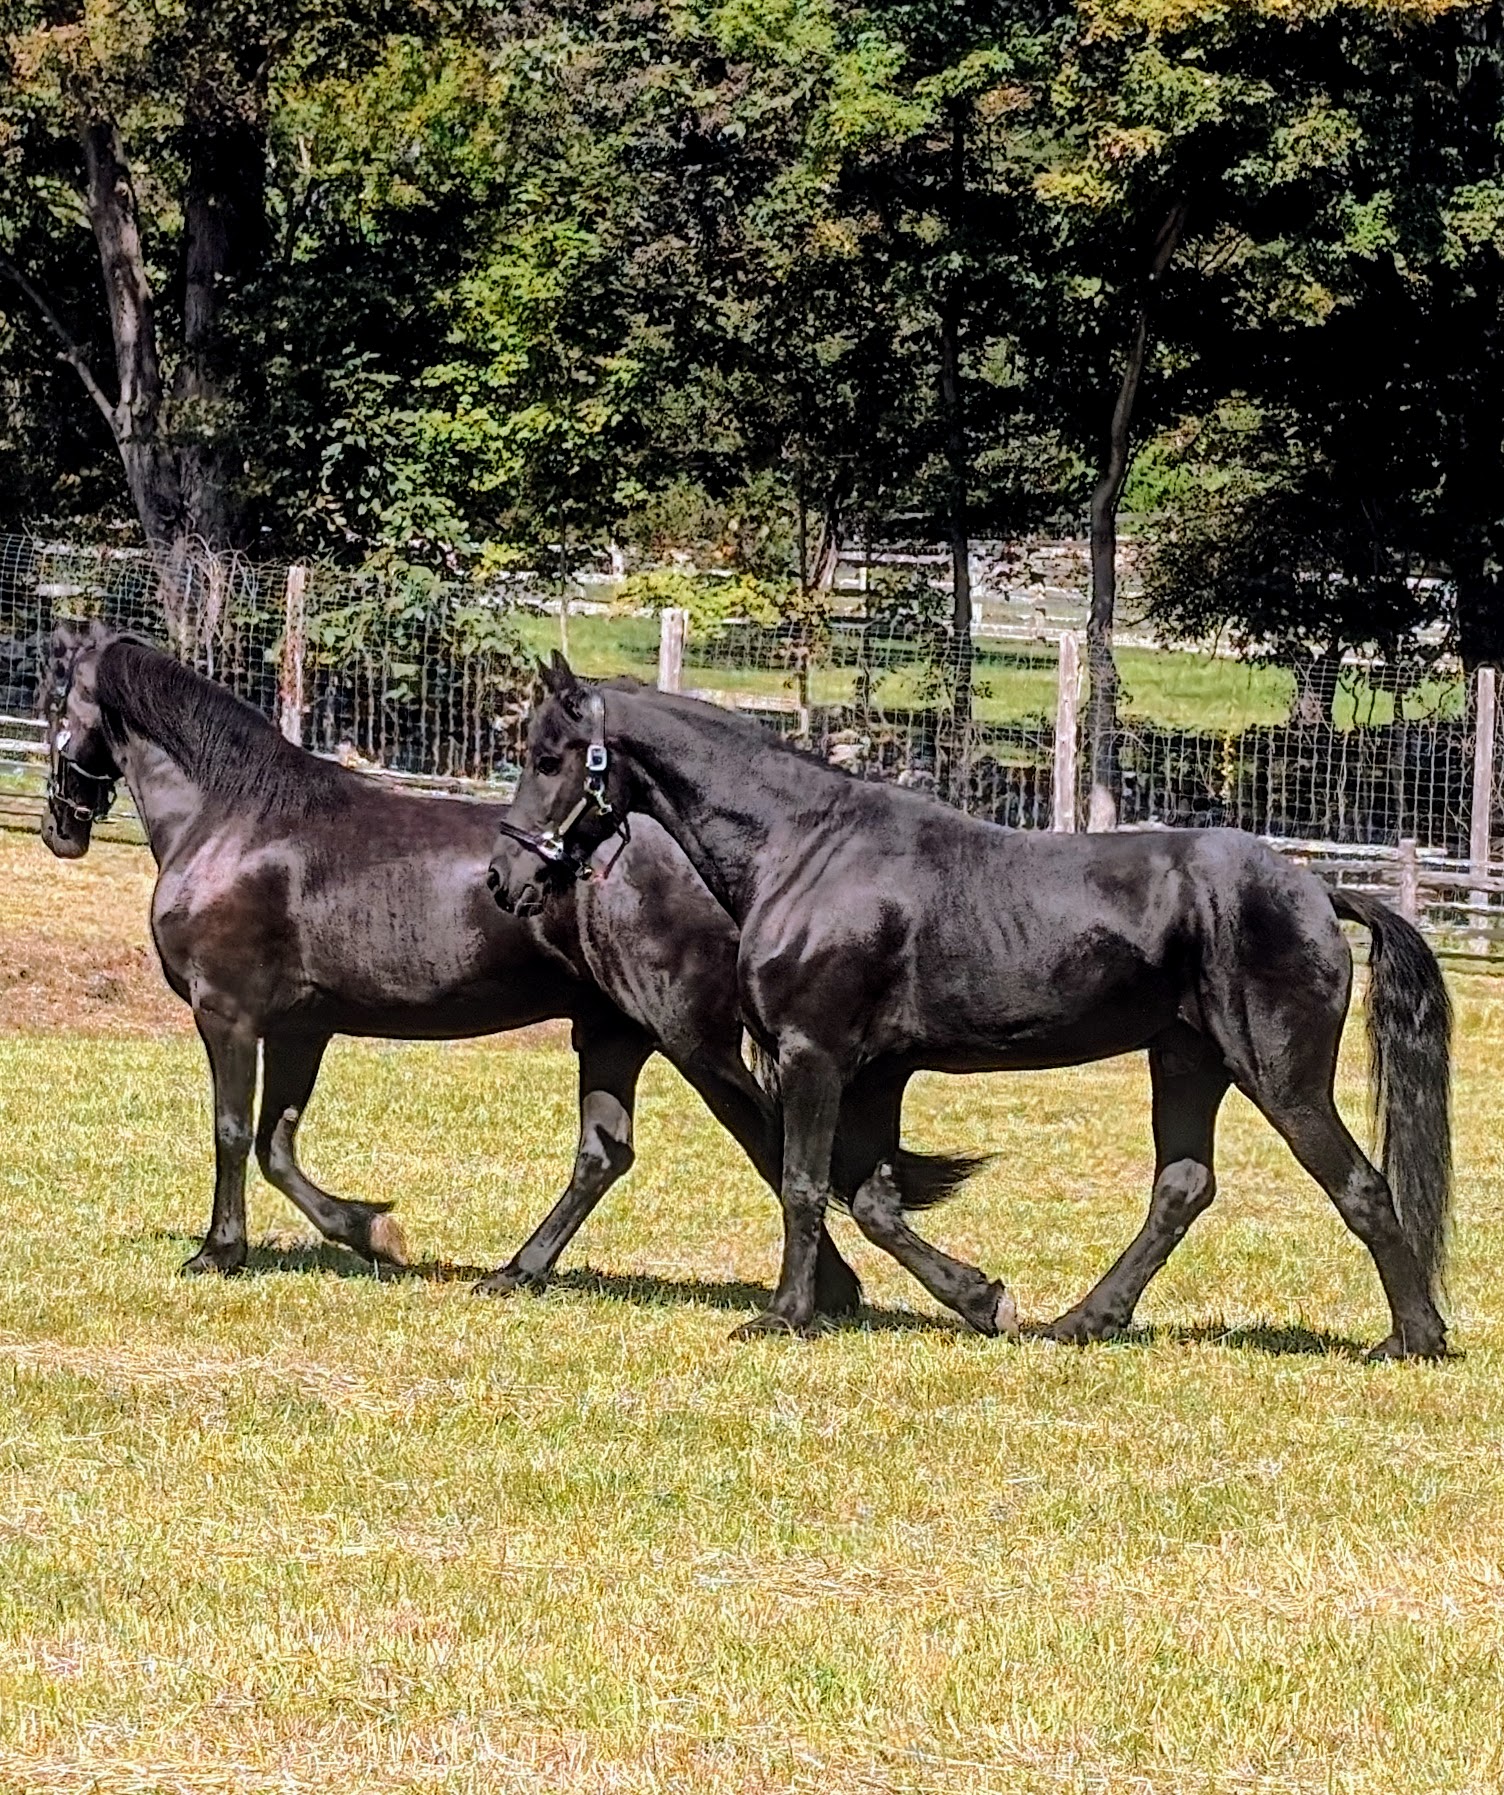
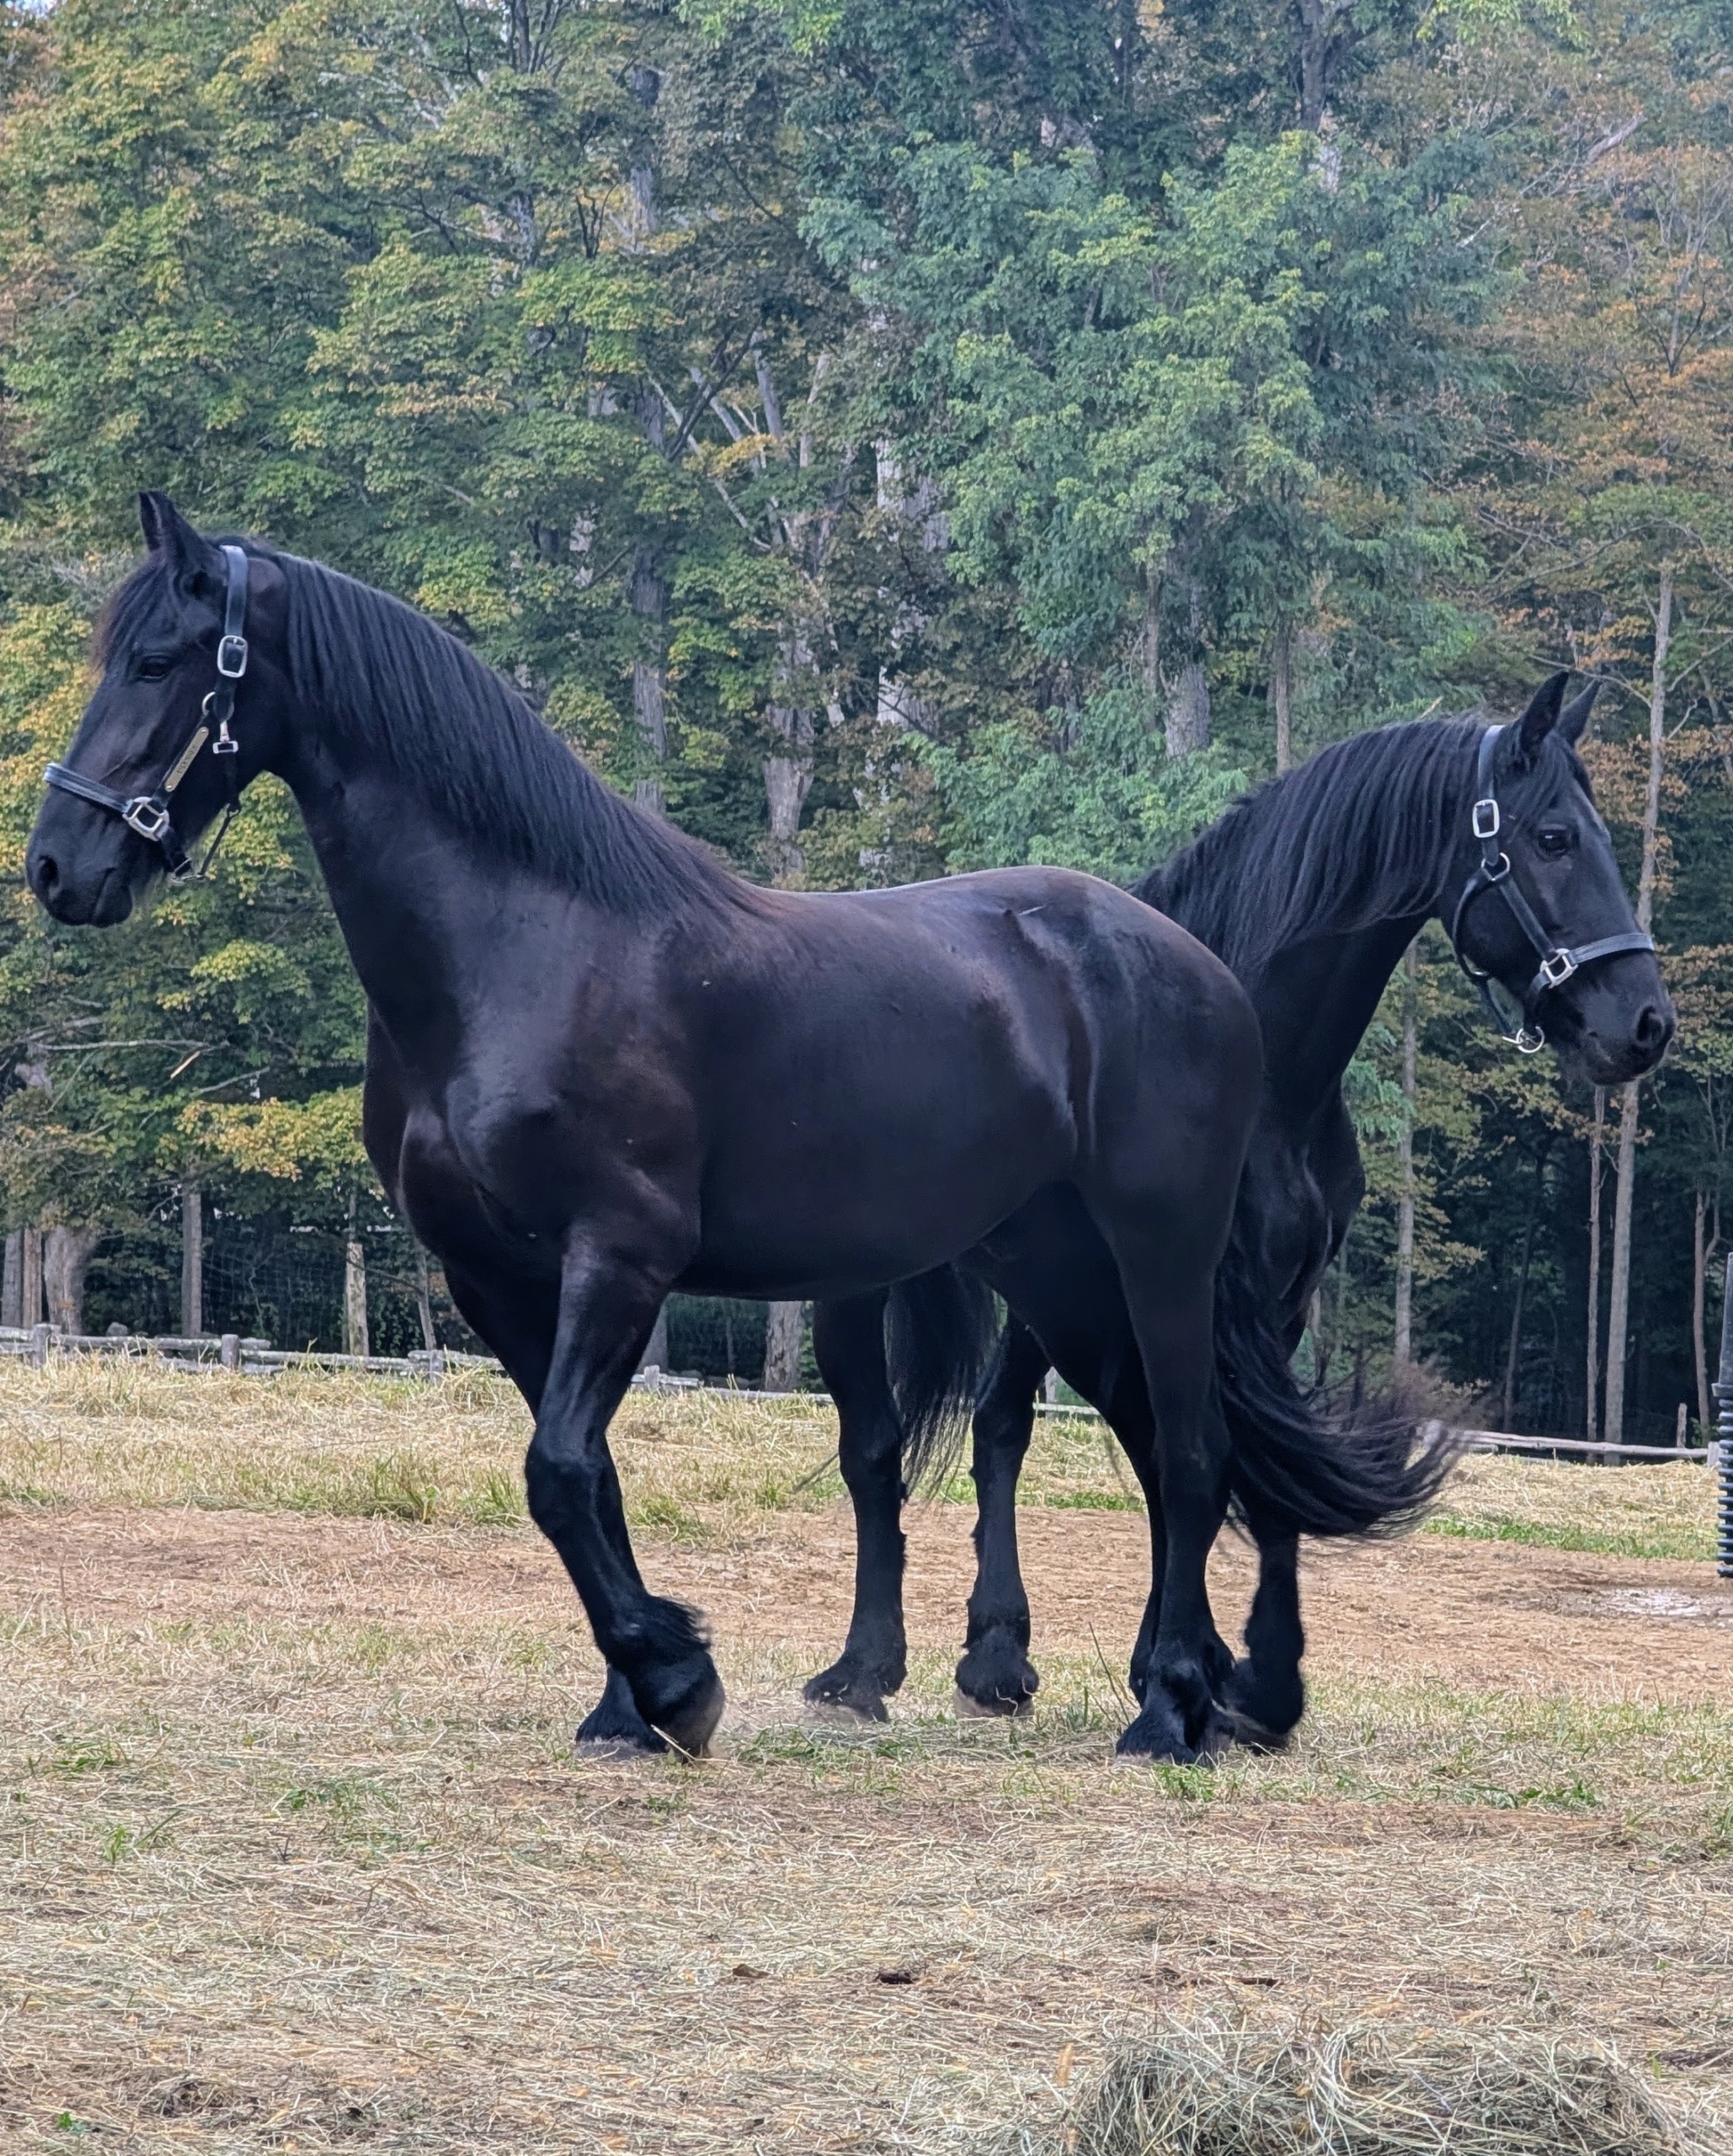
These horses are bonded, which means they have developed a strong connection to each other, due mostly to the time they’ve spent together.
Where one goes, the other will soon follow.
Friesians are loved for their excellent temperaments. They are gentle, affectionate, social, adaptable, and very eager to please. They are also highly intelligent and respond well to positive reinforcement training methods.
A Friesian can weigh anywhere from 1200 to 1500 pounds when full grown. They are also considered medium to large breed horses and can range in height from 15.3 to 17 hands tall.
I think Ulysses is getting accustomed to the camera. There have been lots of photos taken of the pair these last few days.
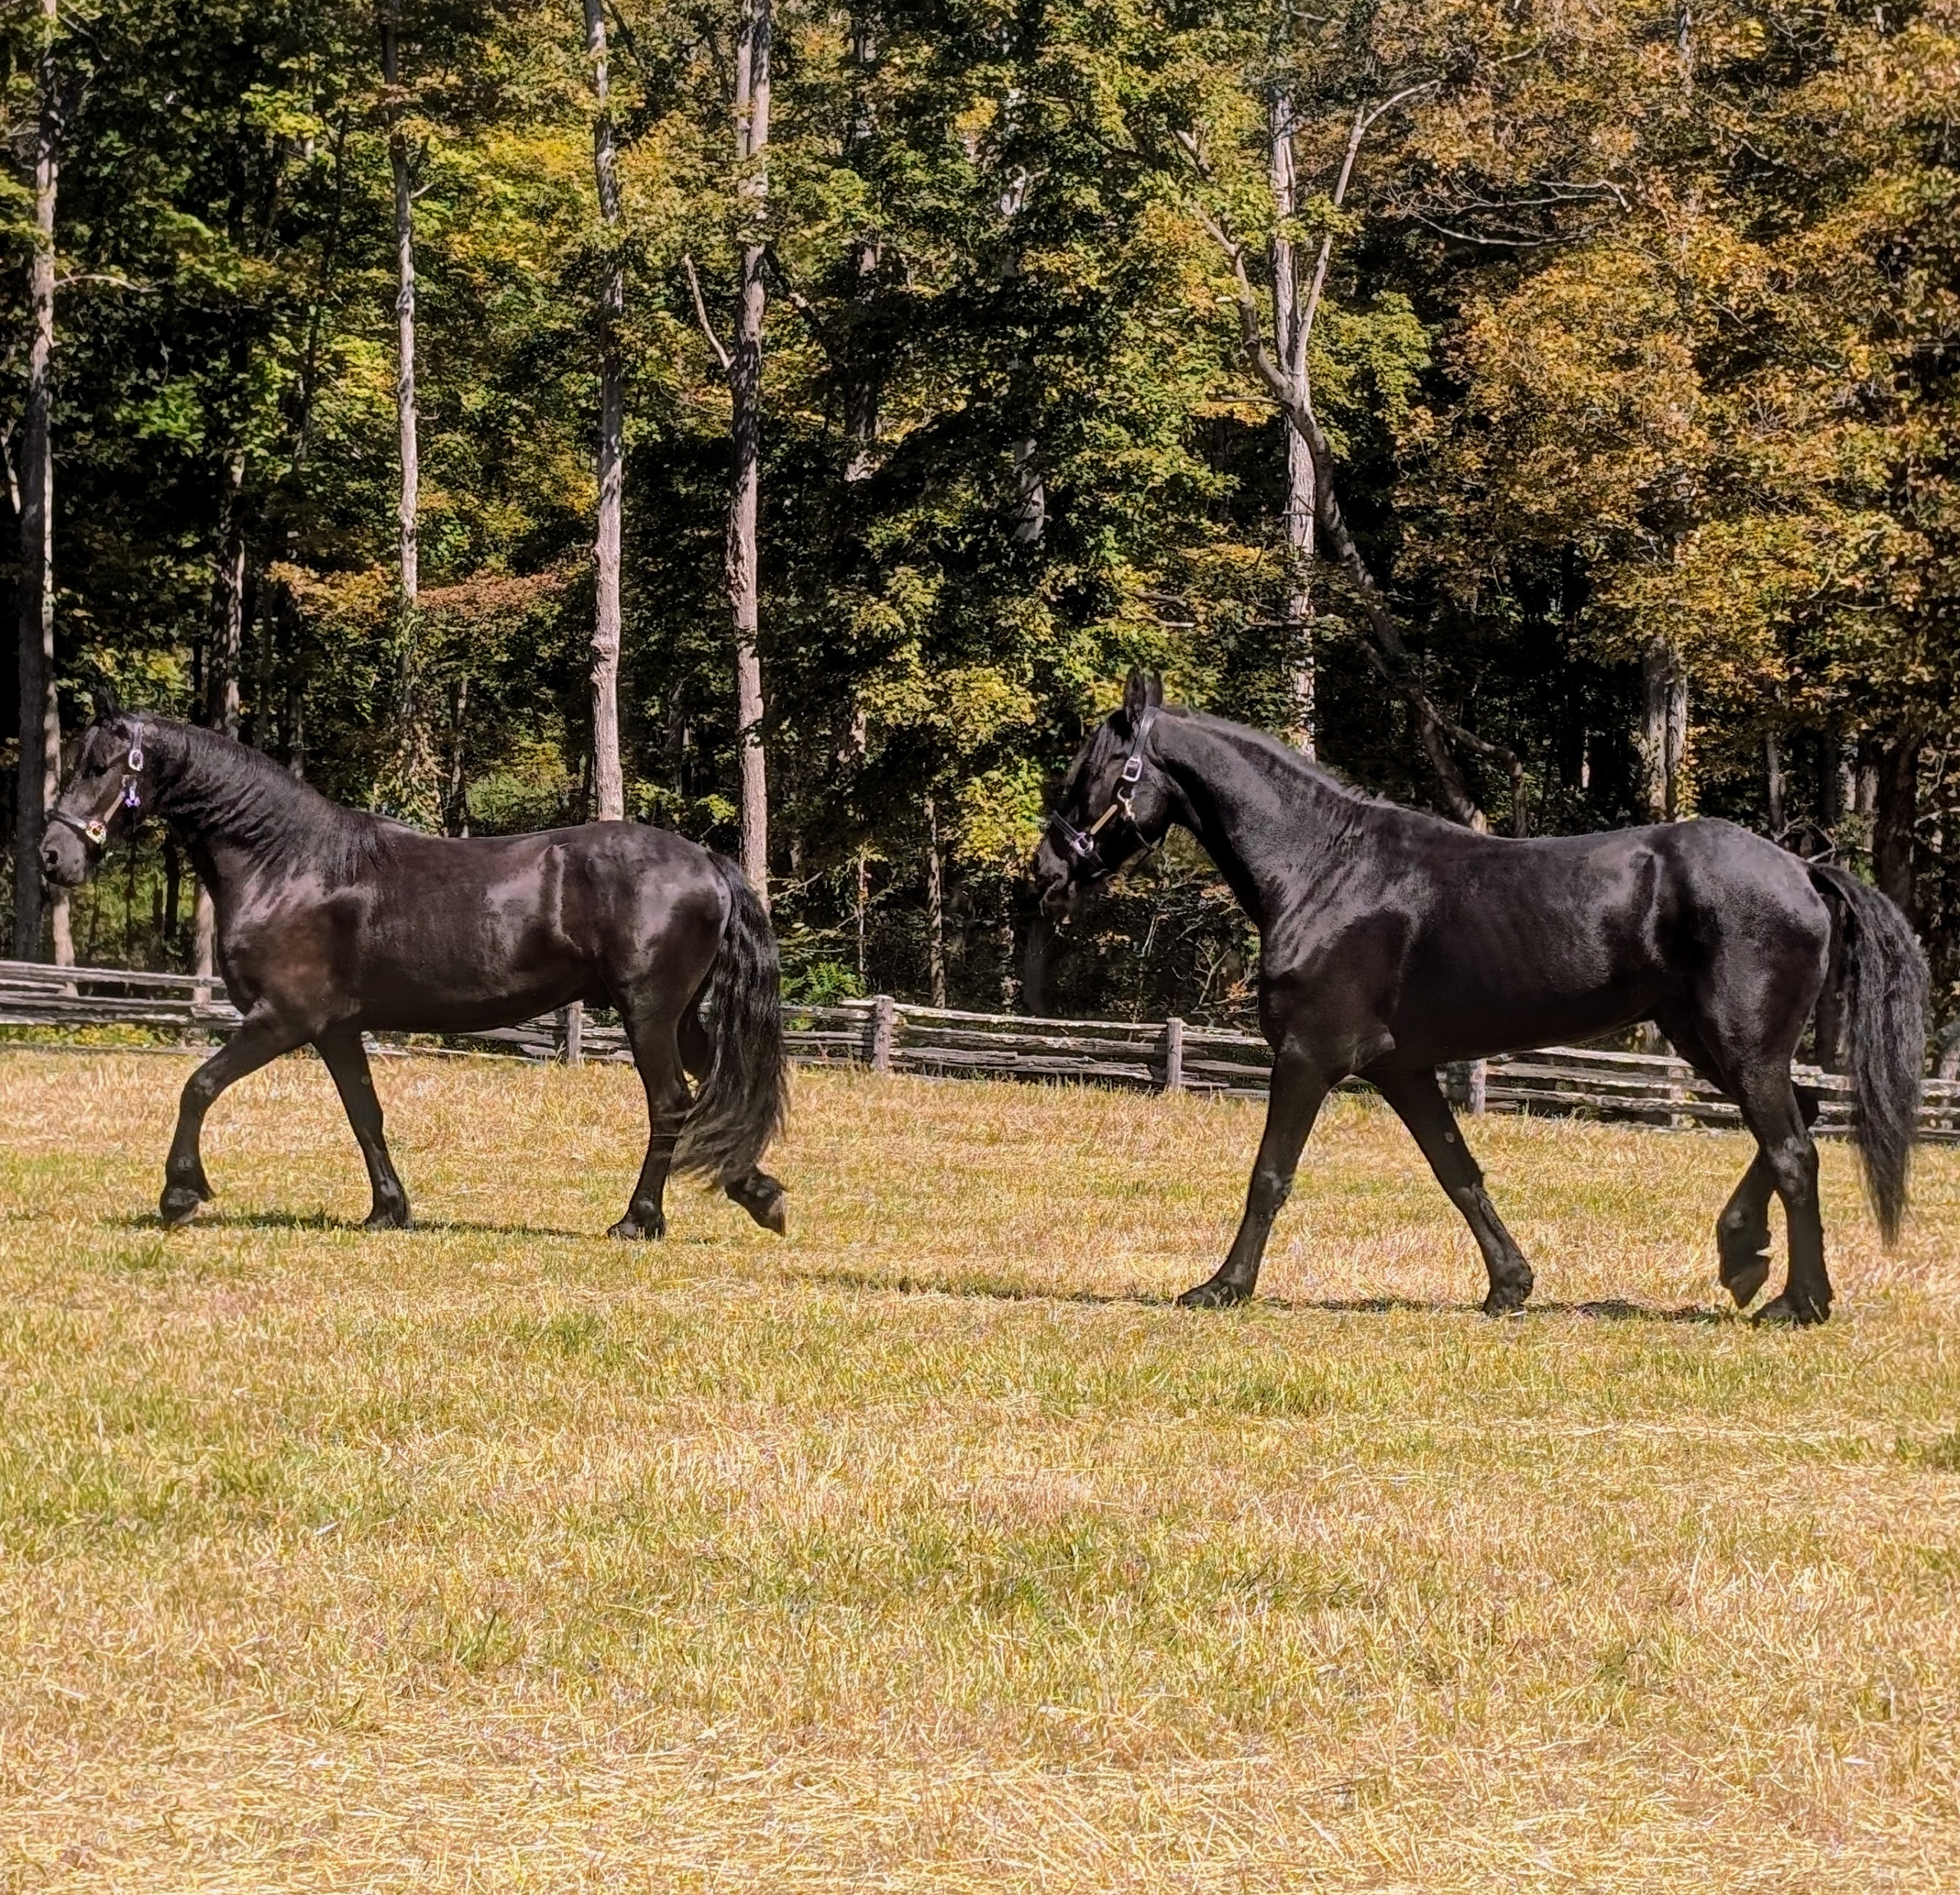
And then they’re off again…
Running from one end to the other. They seem quite happy.
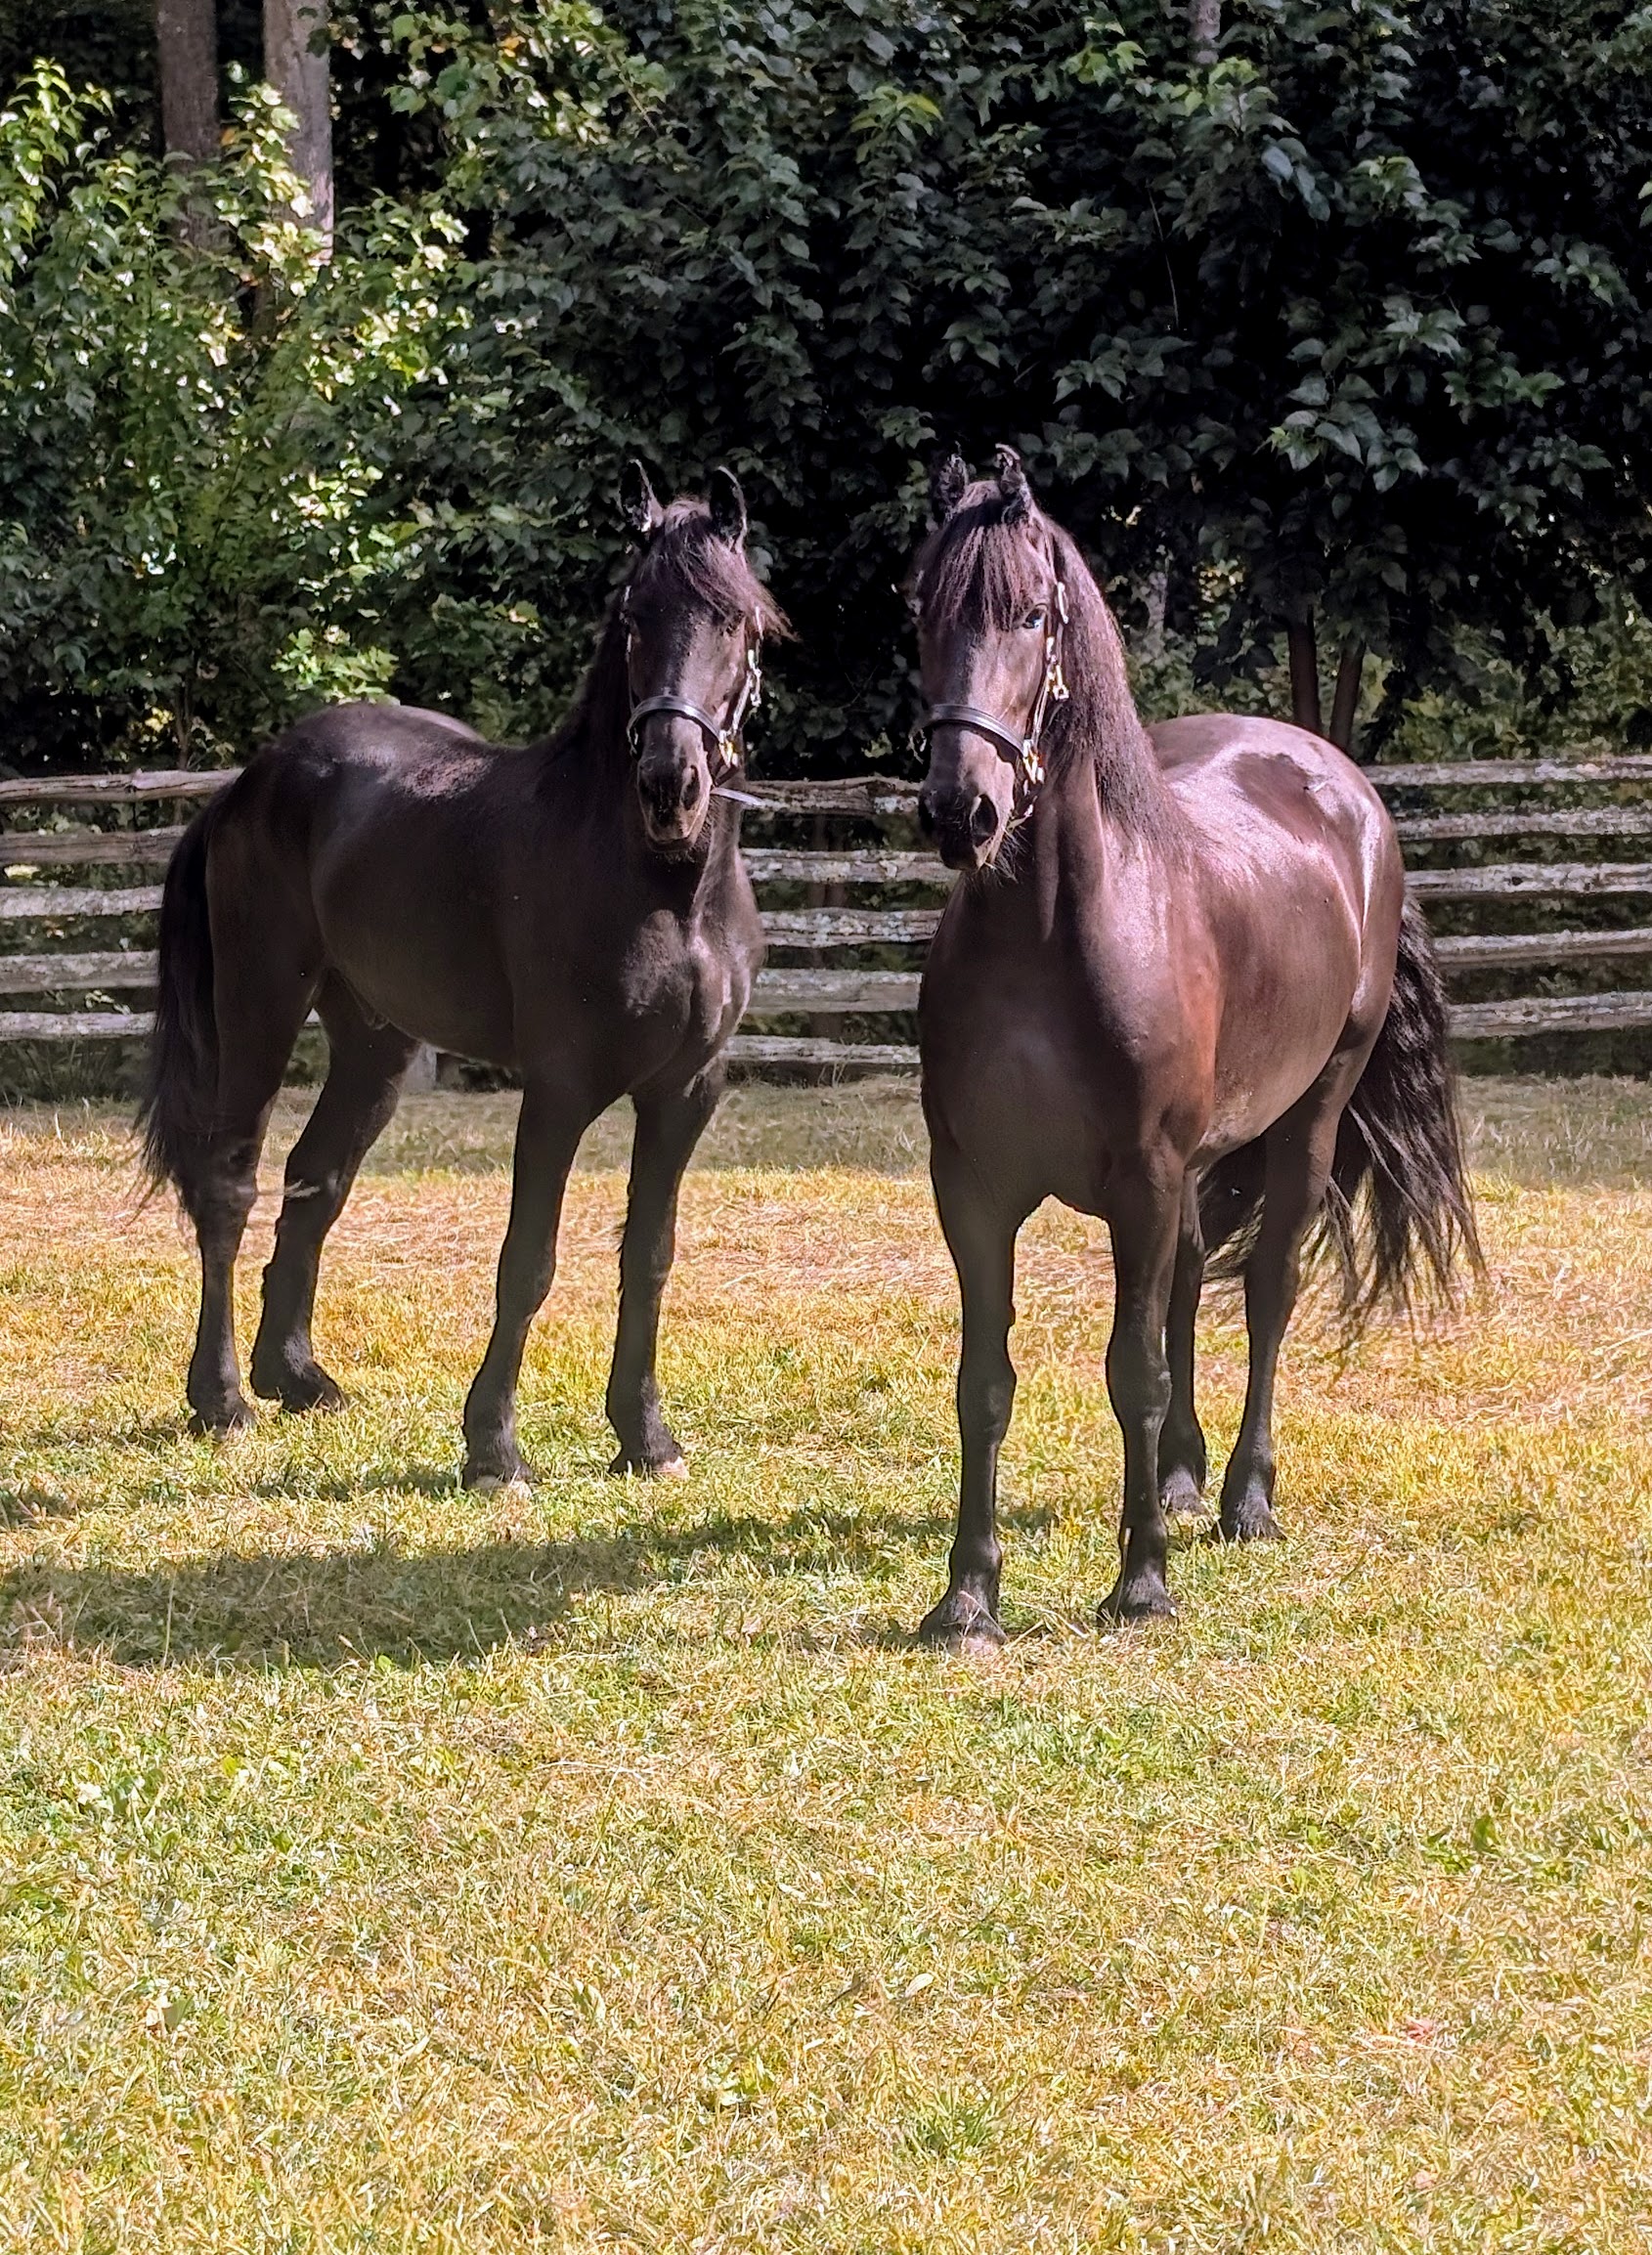
Here they are at the edge of the field waiting for visitors.
This is a photo of Cesar with Ulysses taken by my longtime driver, Carlos “Uno” Villamil.
In the coming months, I will slowly introduce them to the rest of the herd, but for now, I am so glad these two are acclimating well. You’re going to love it here at Cantitoe Corners, Stewart and Ulysses!