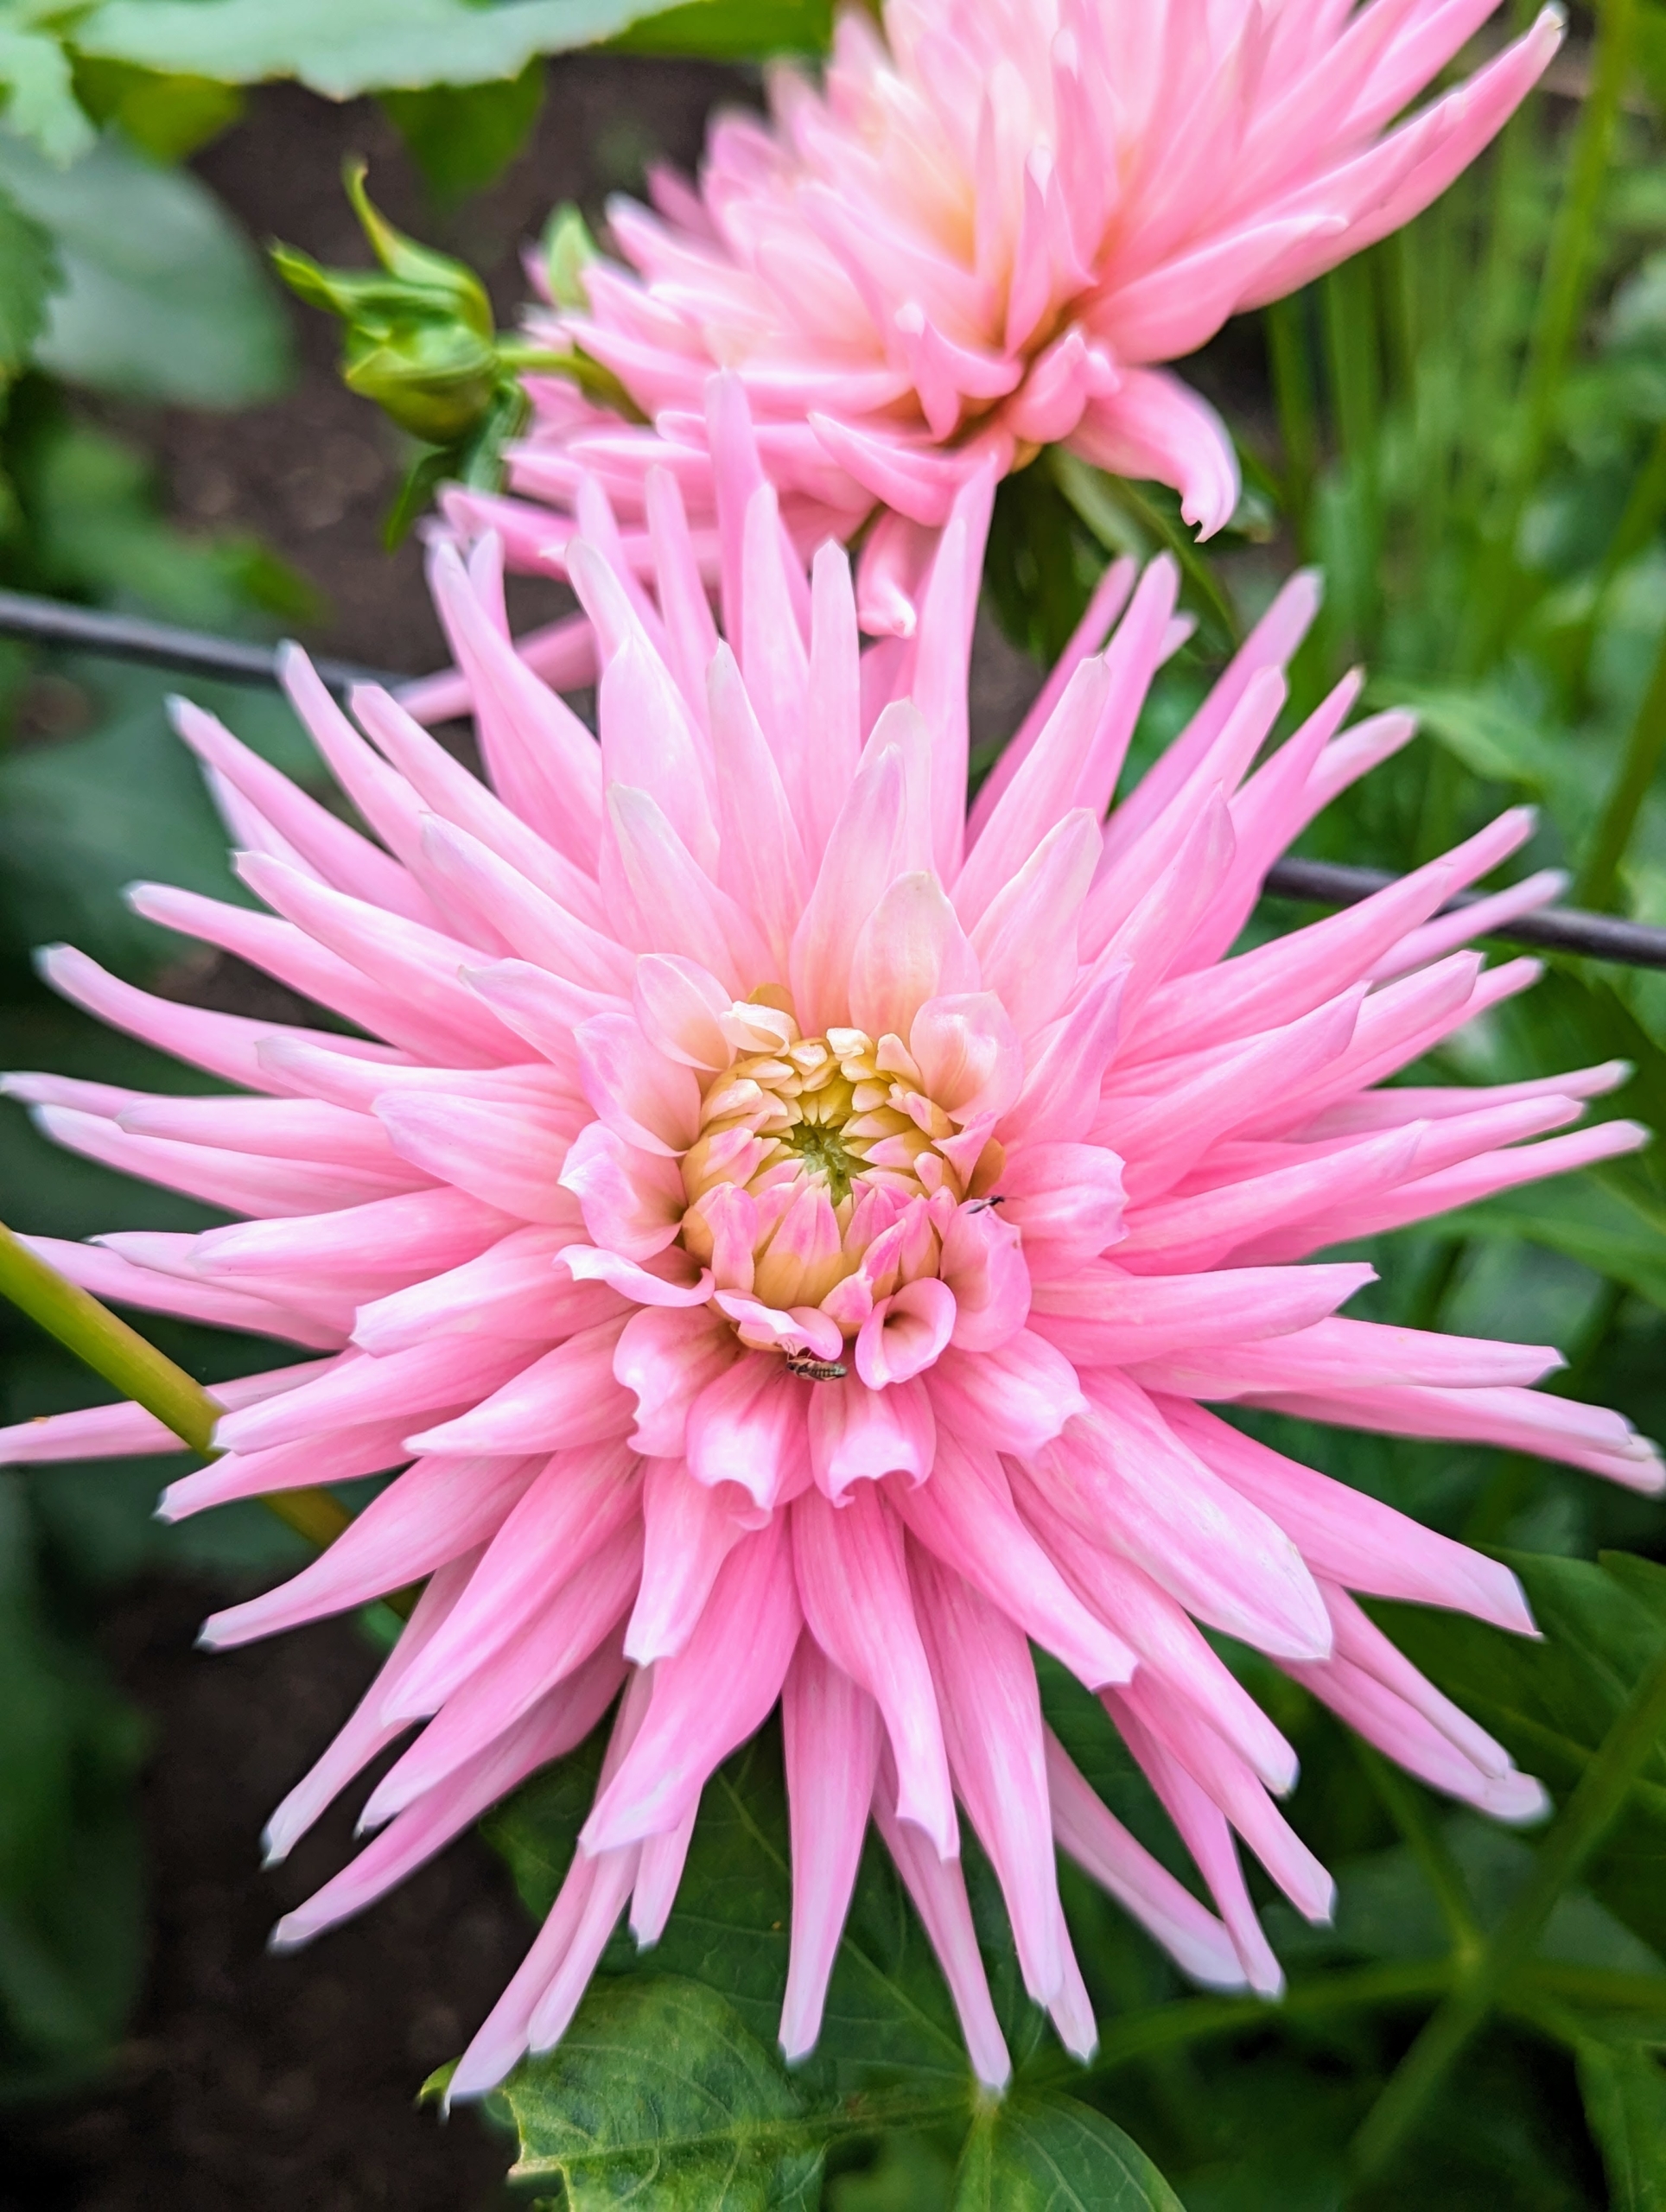
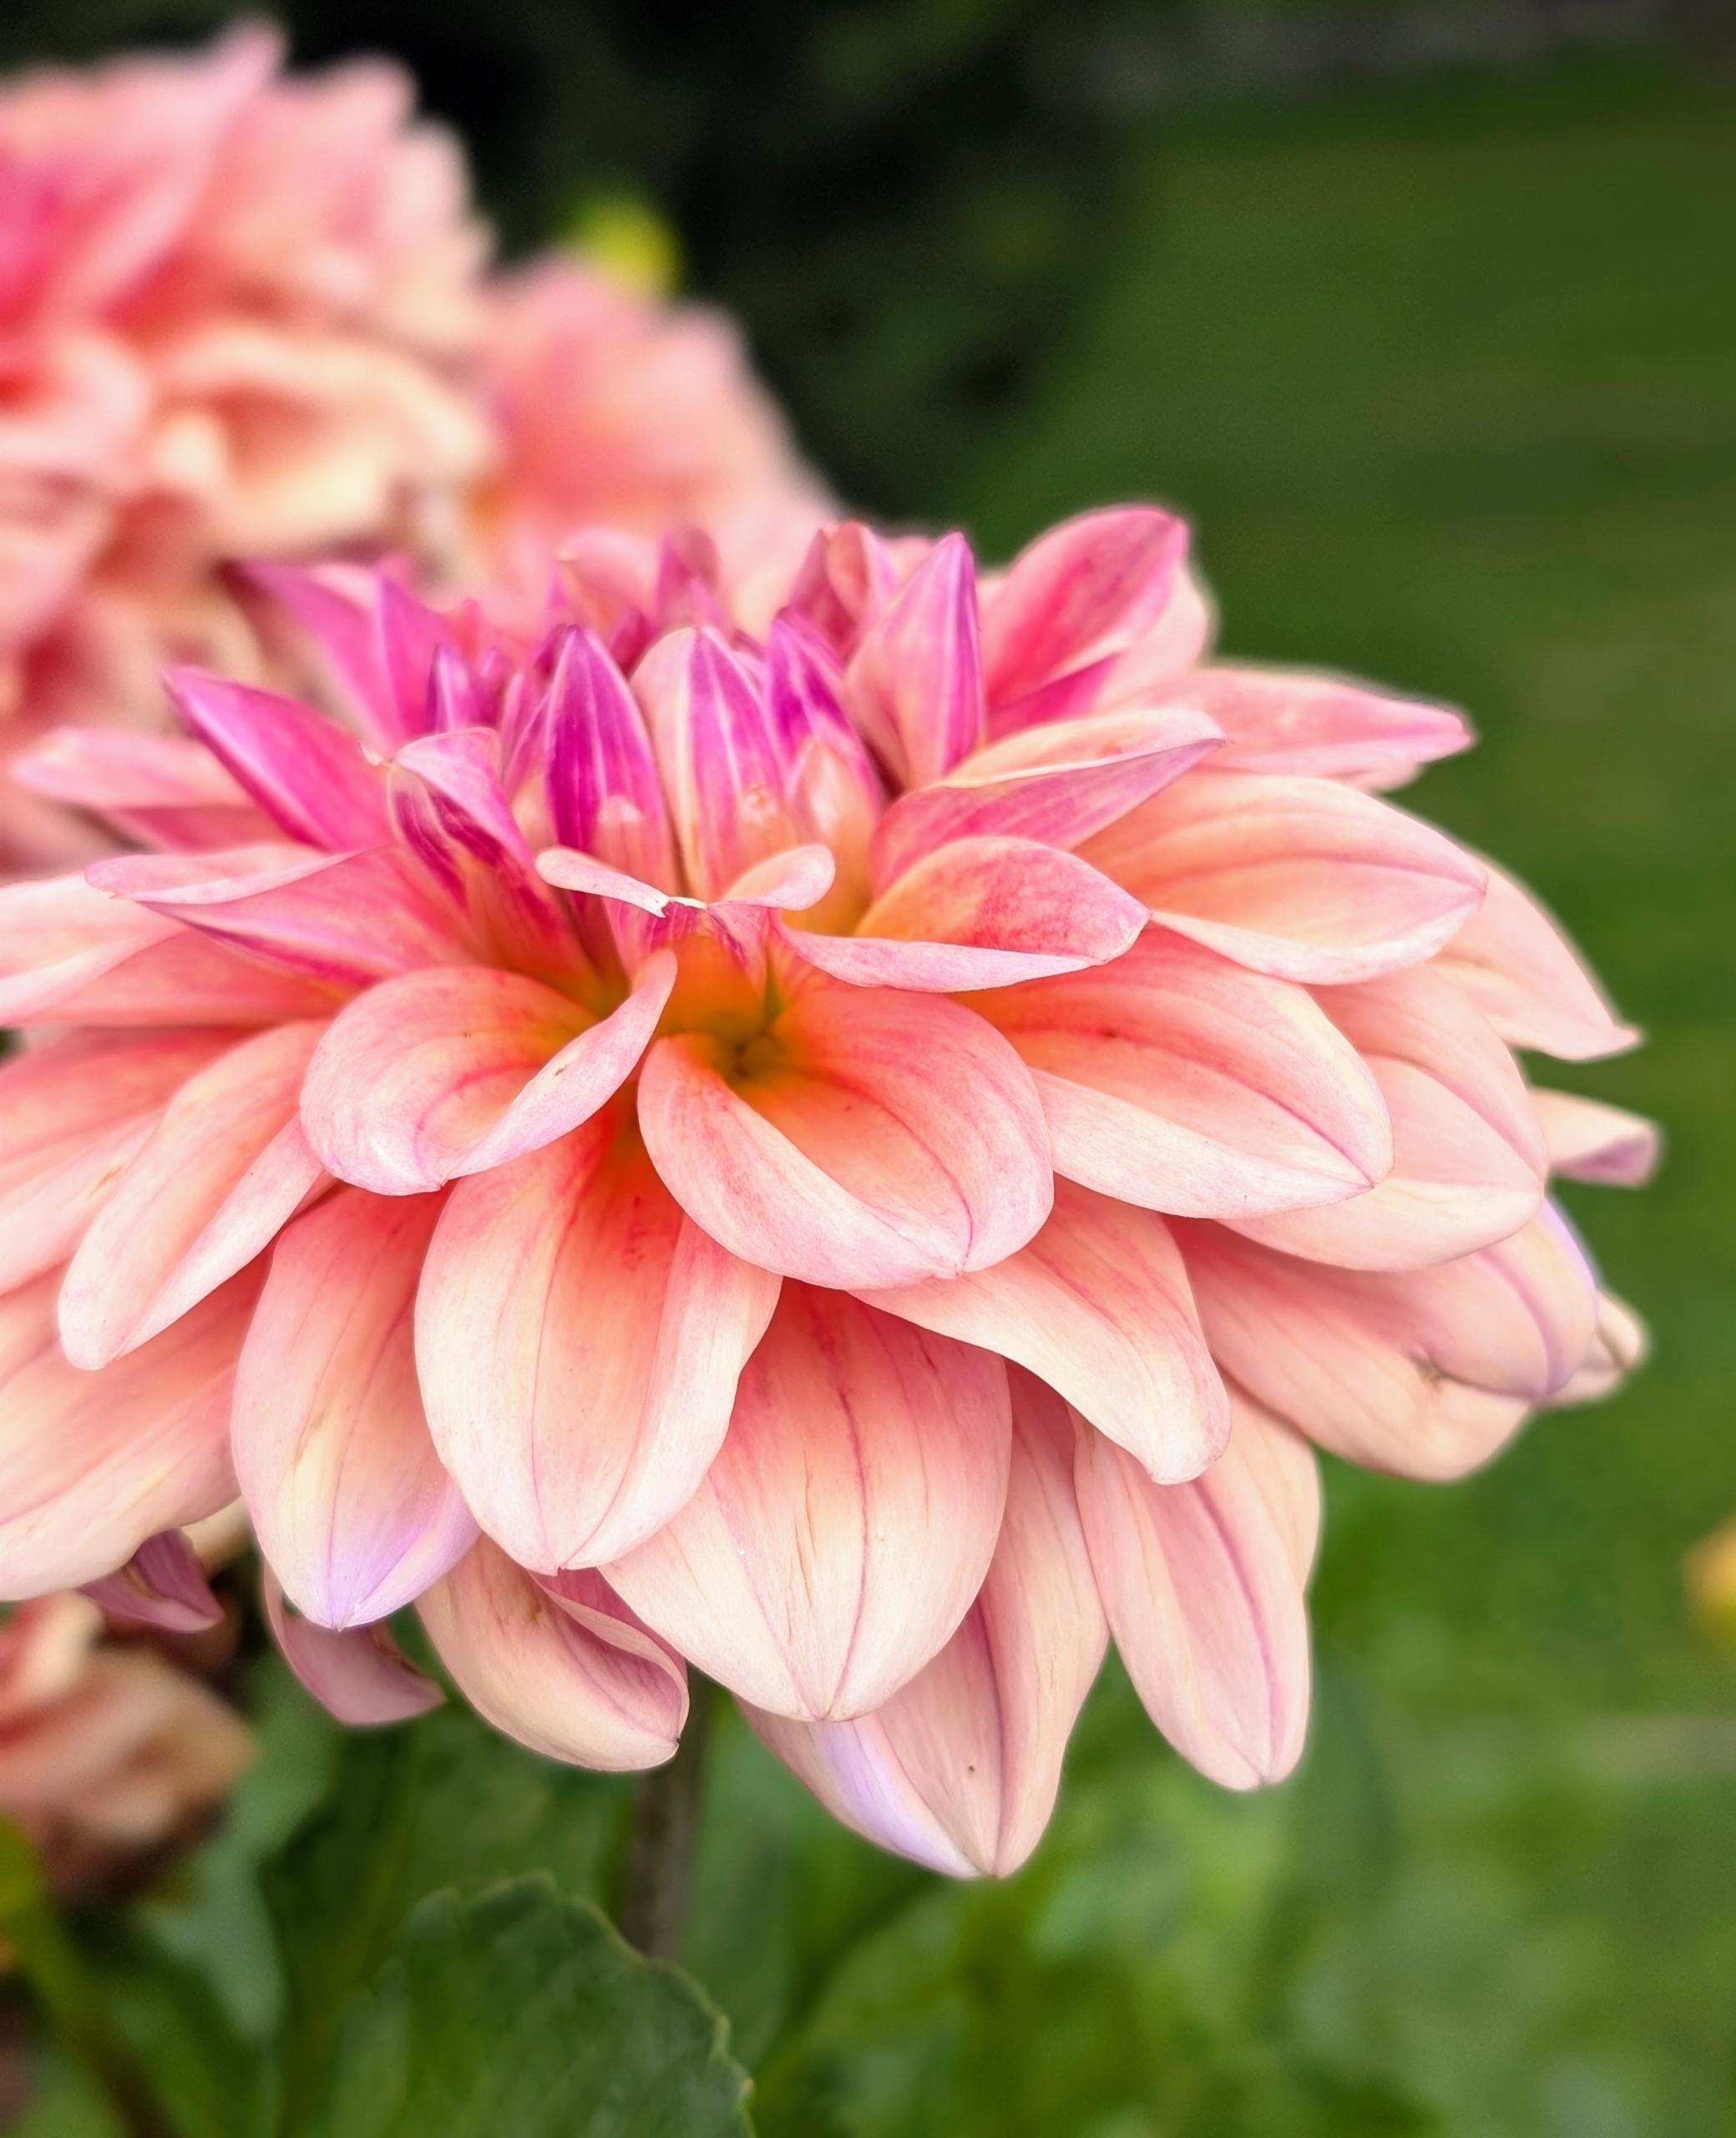
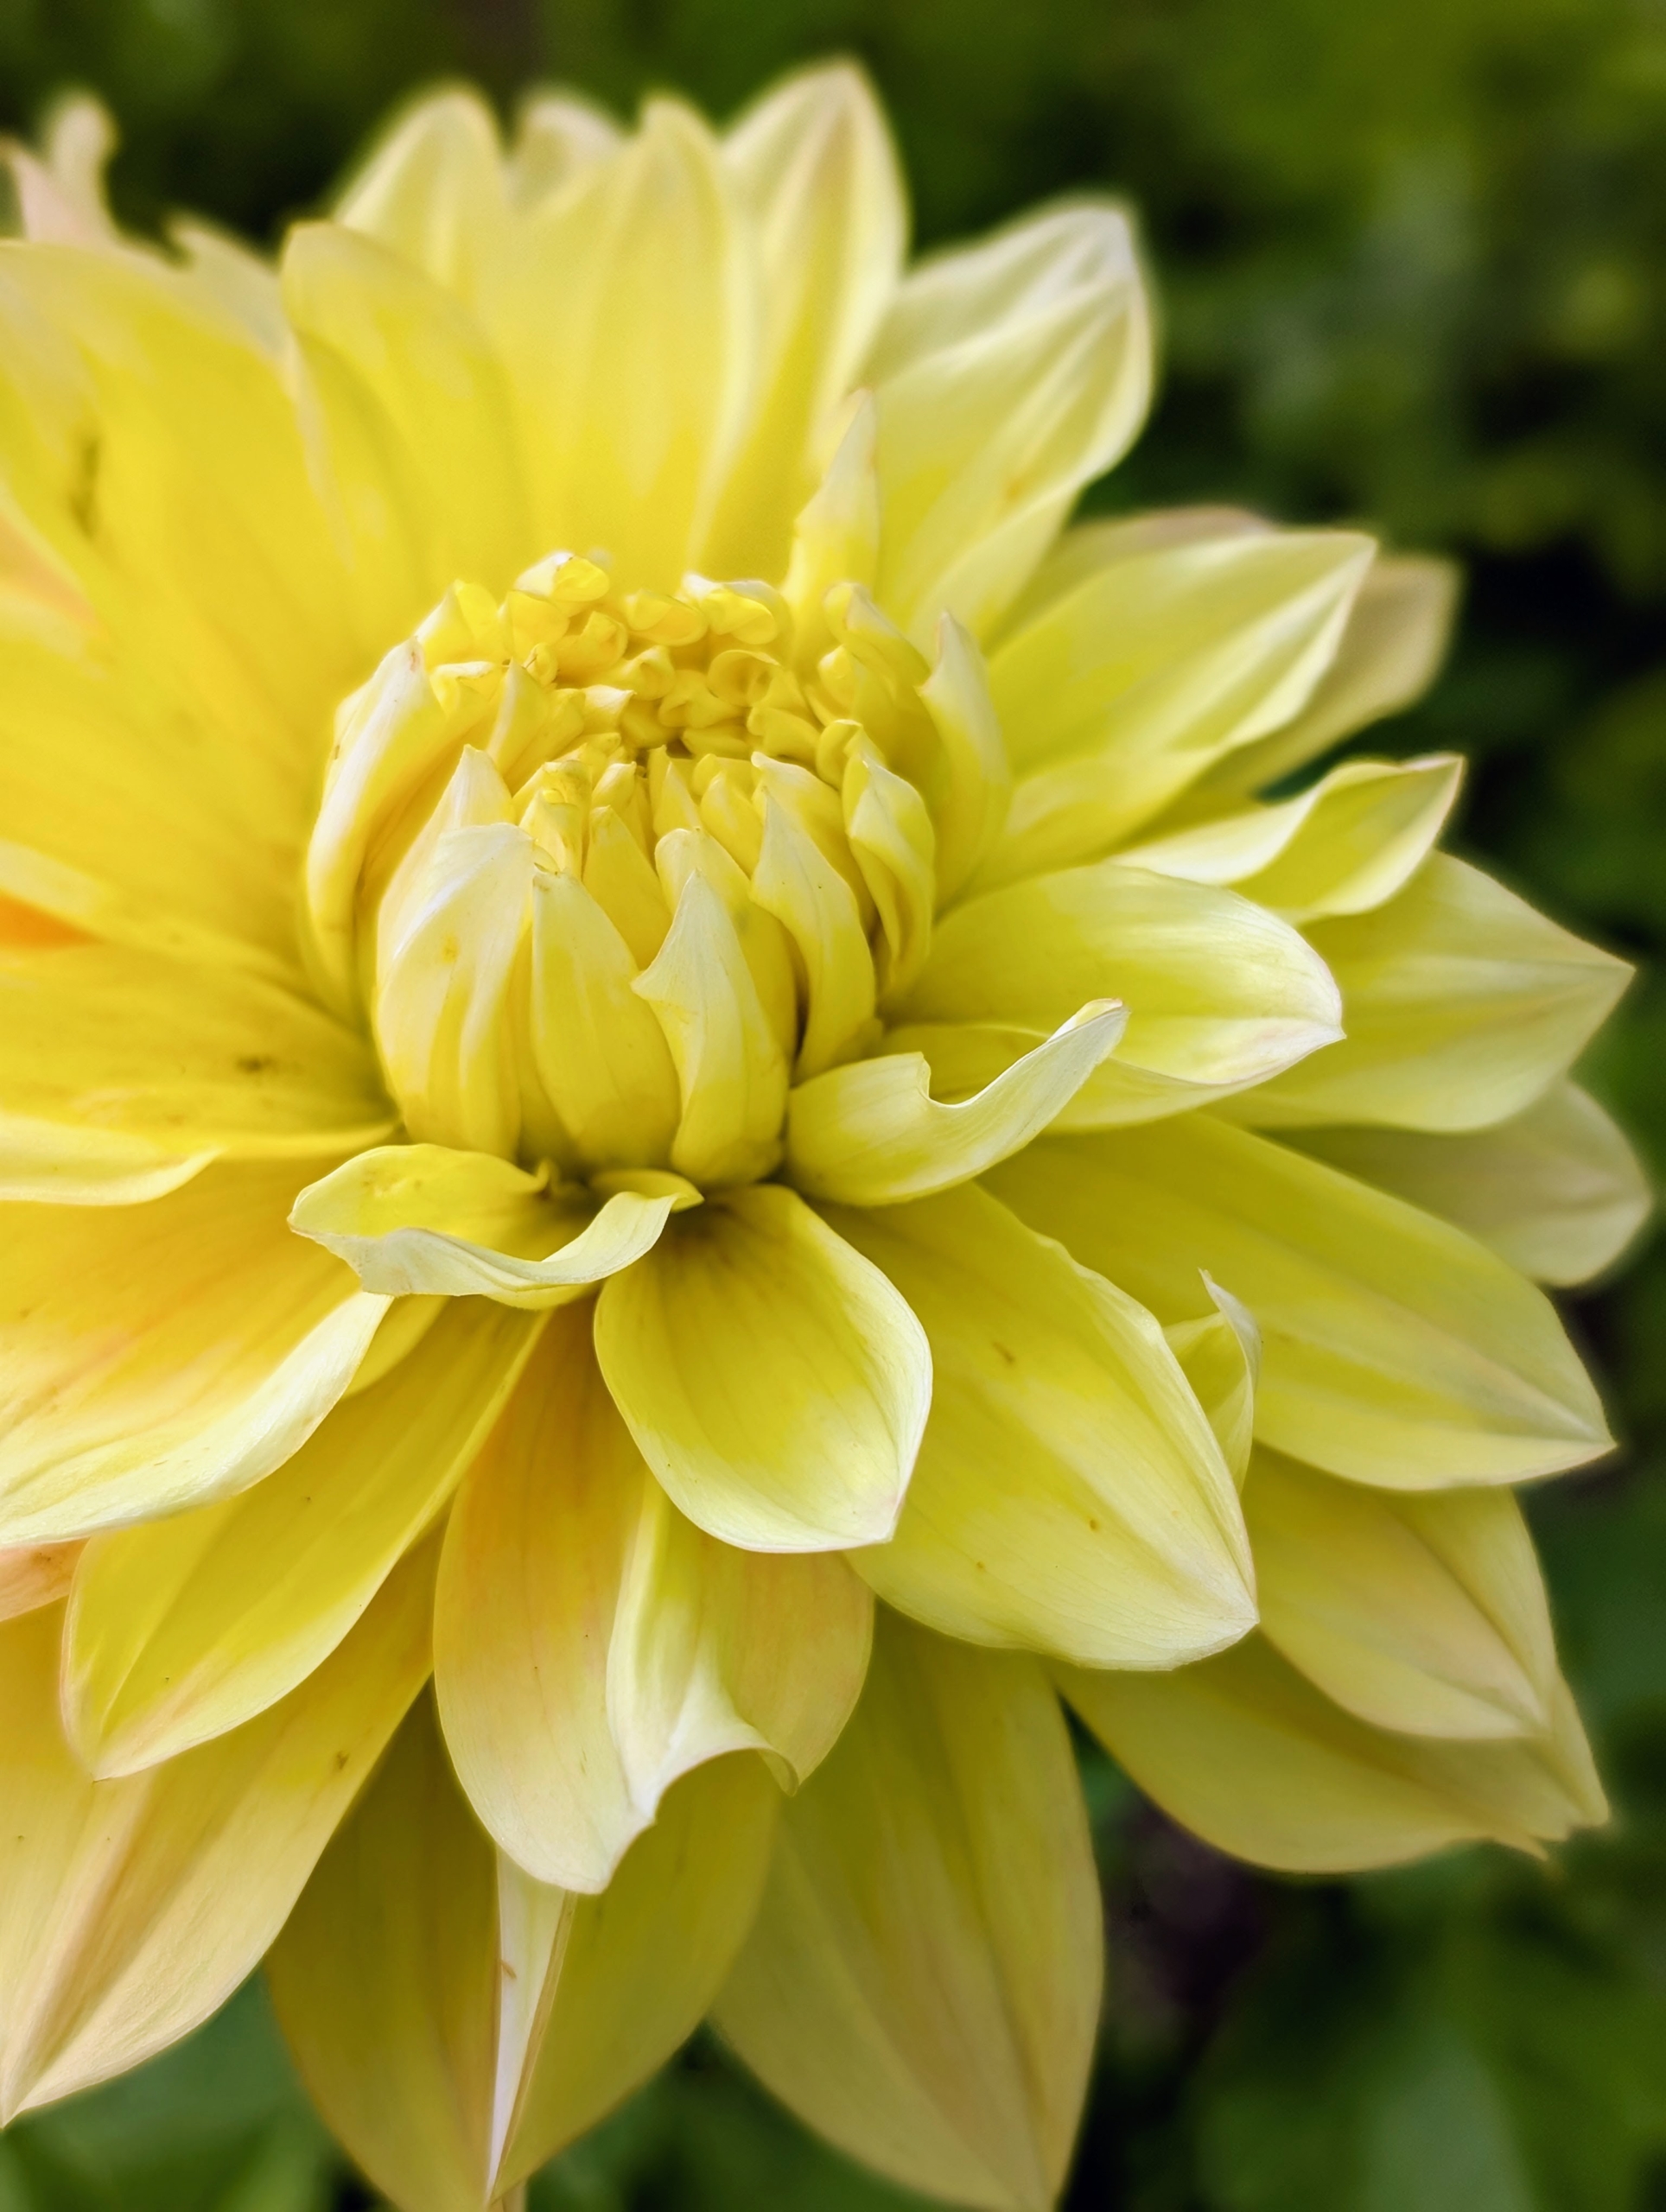
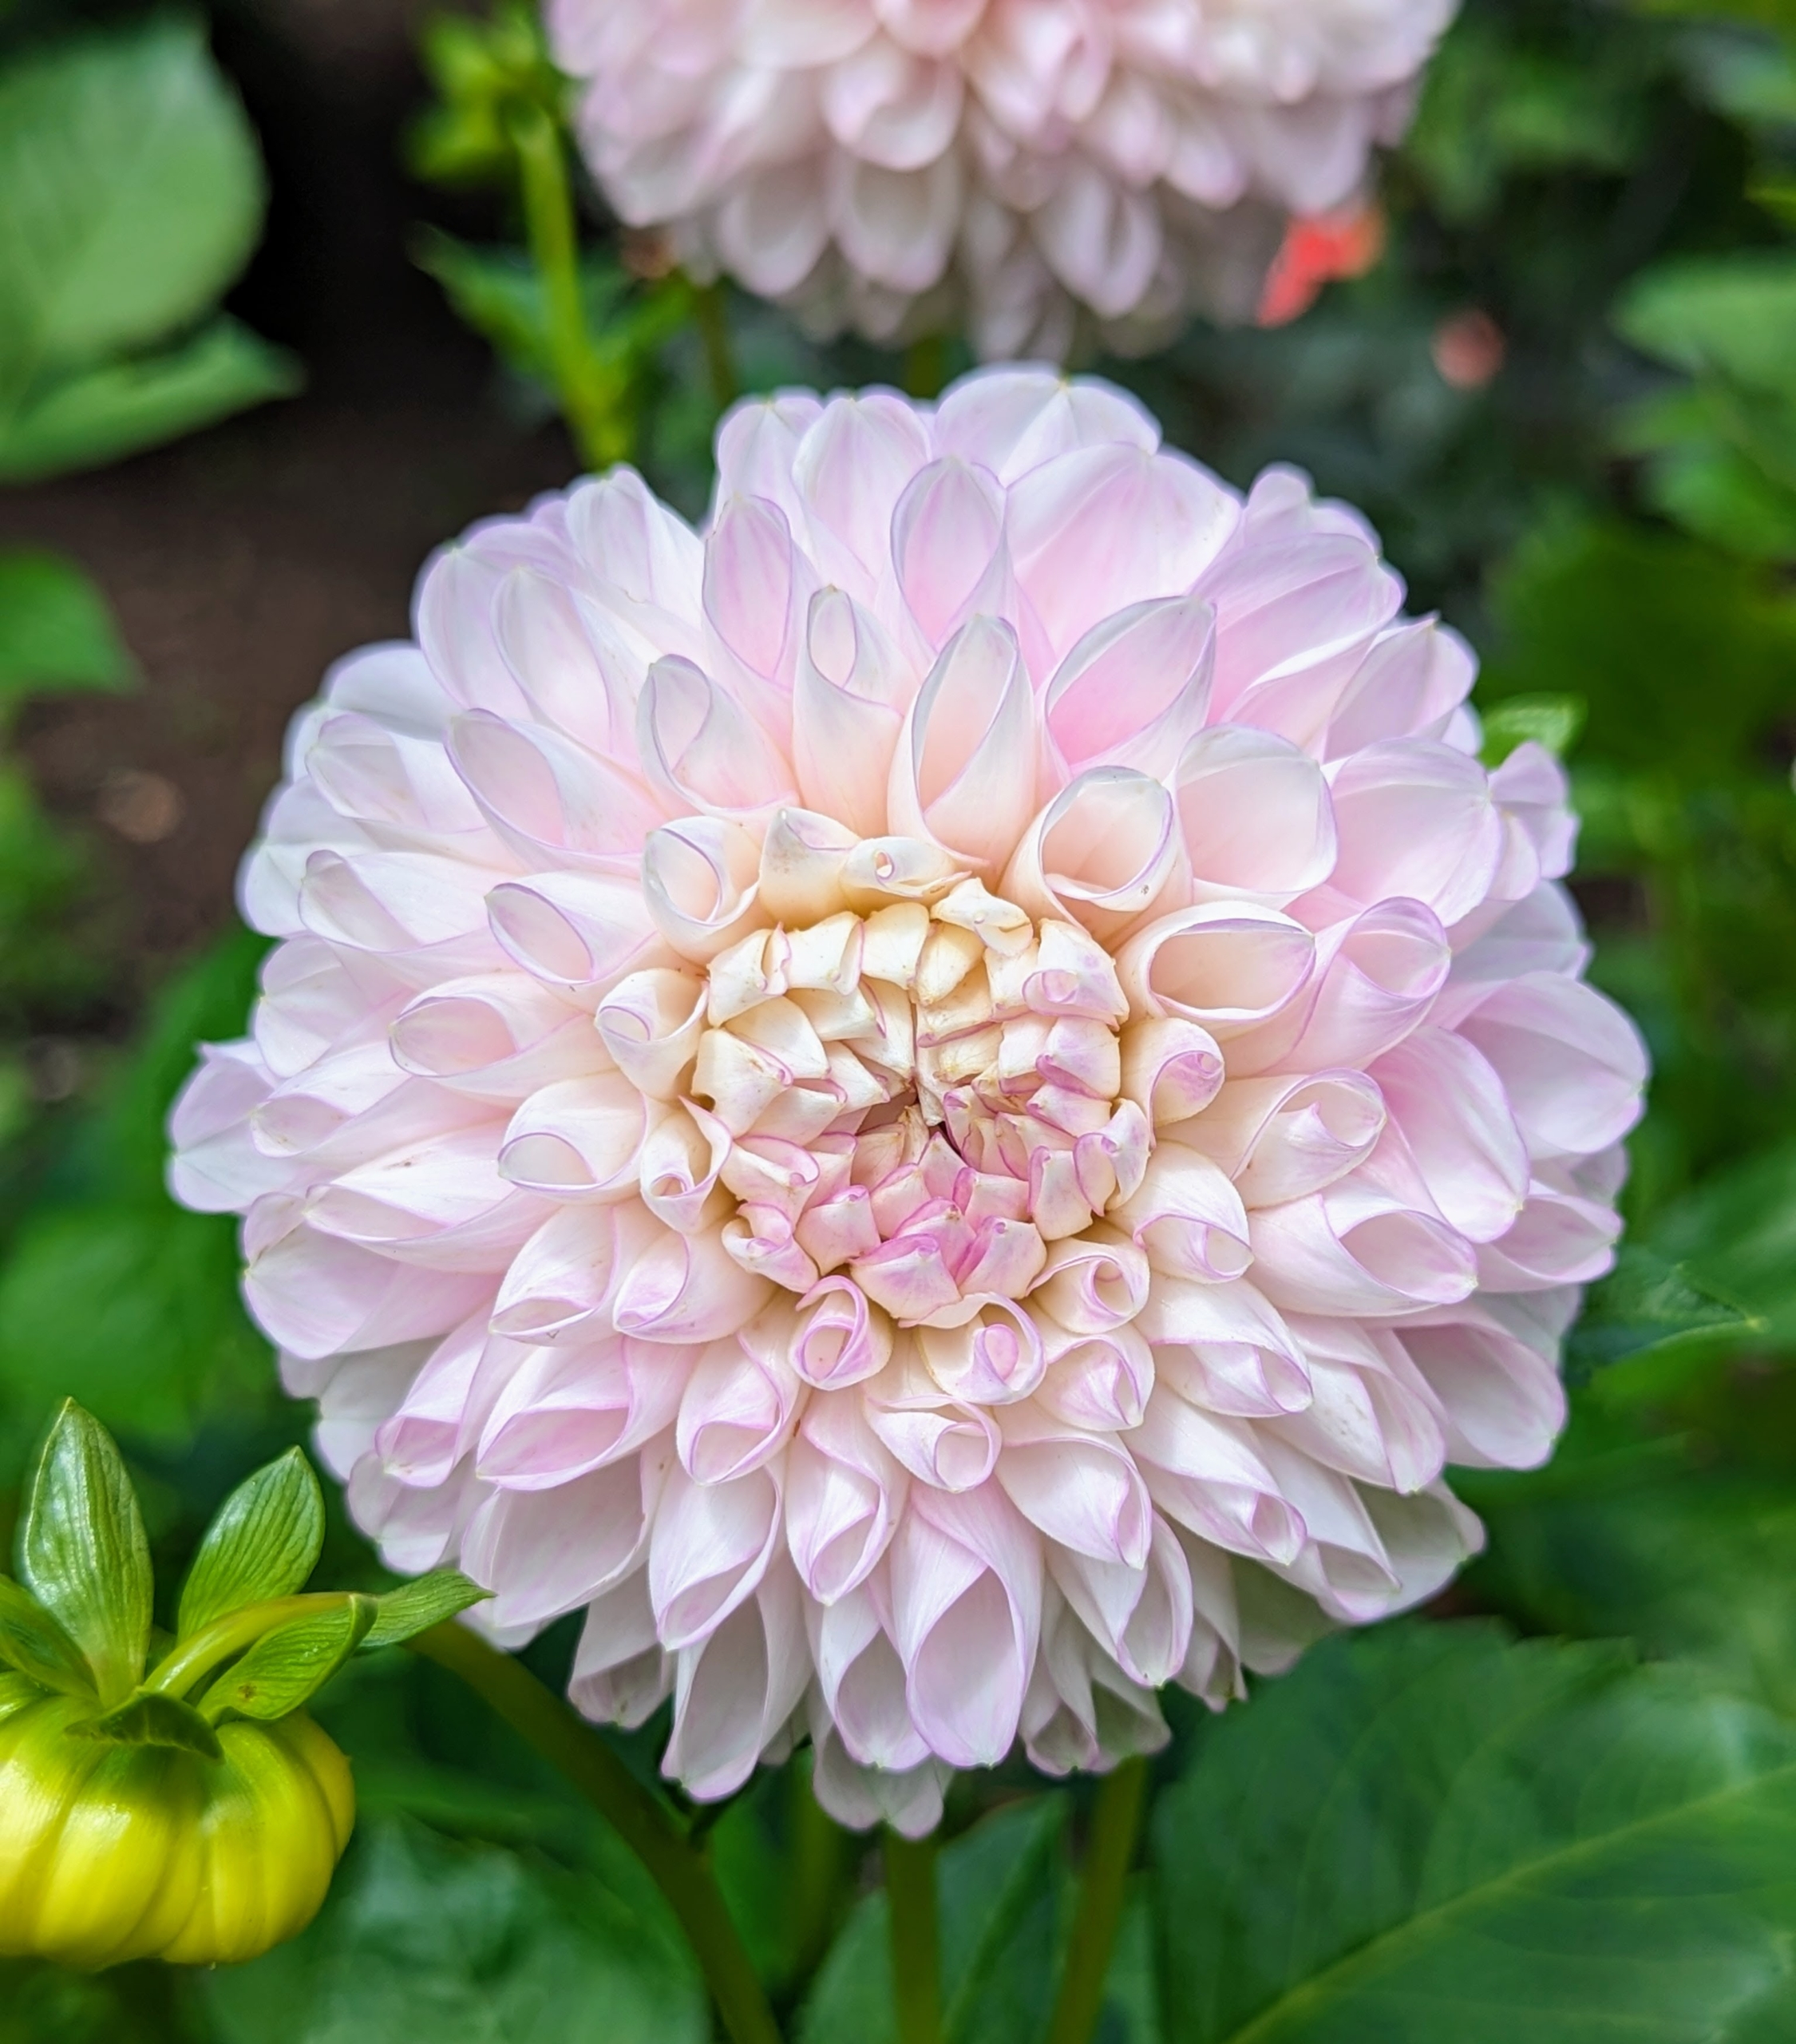
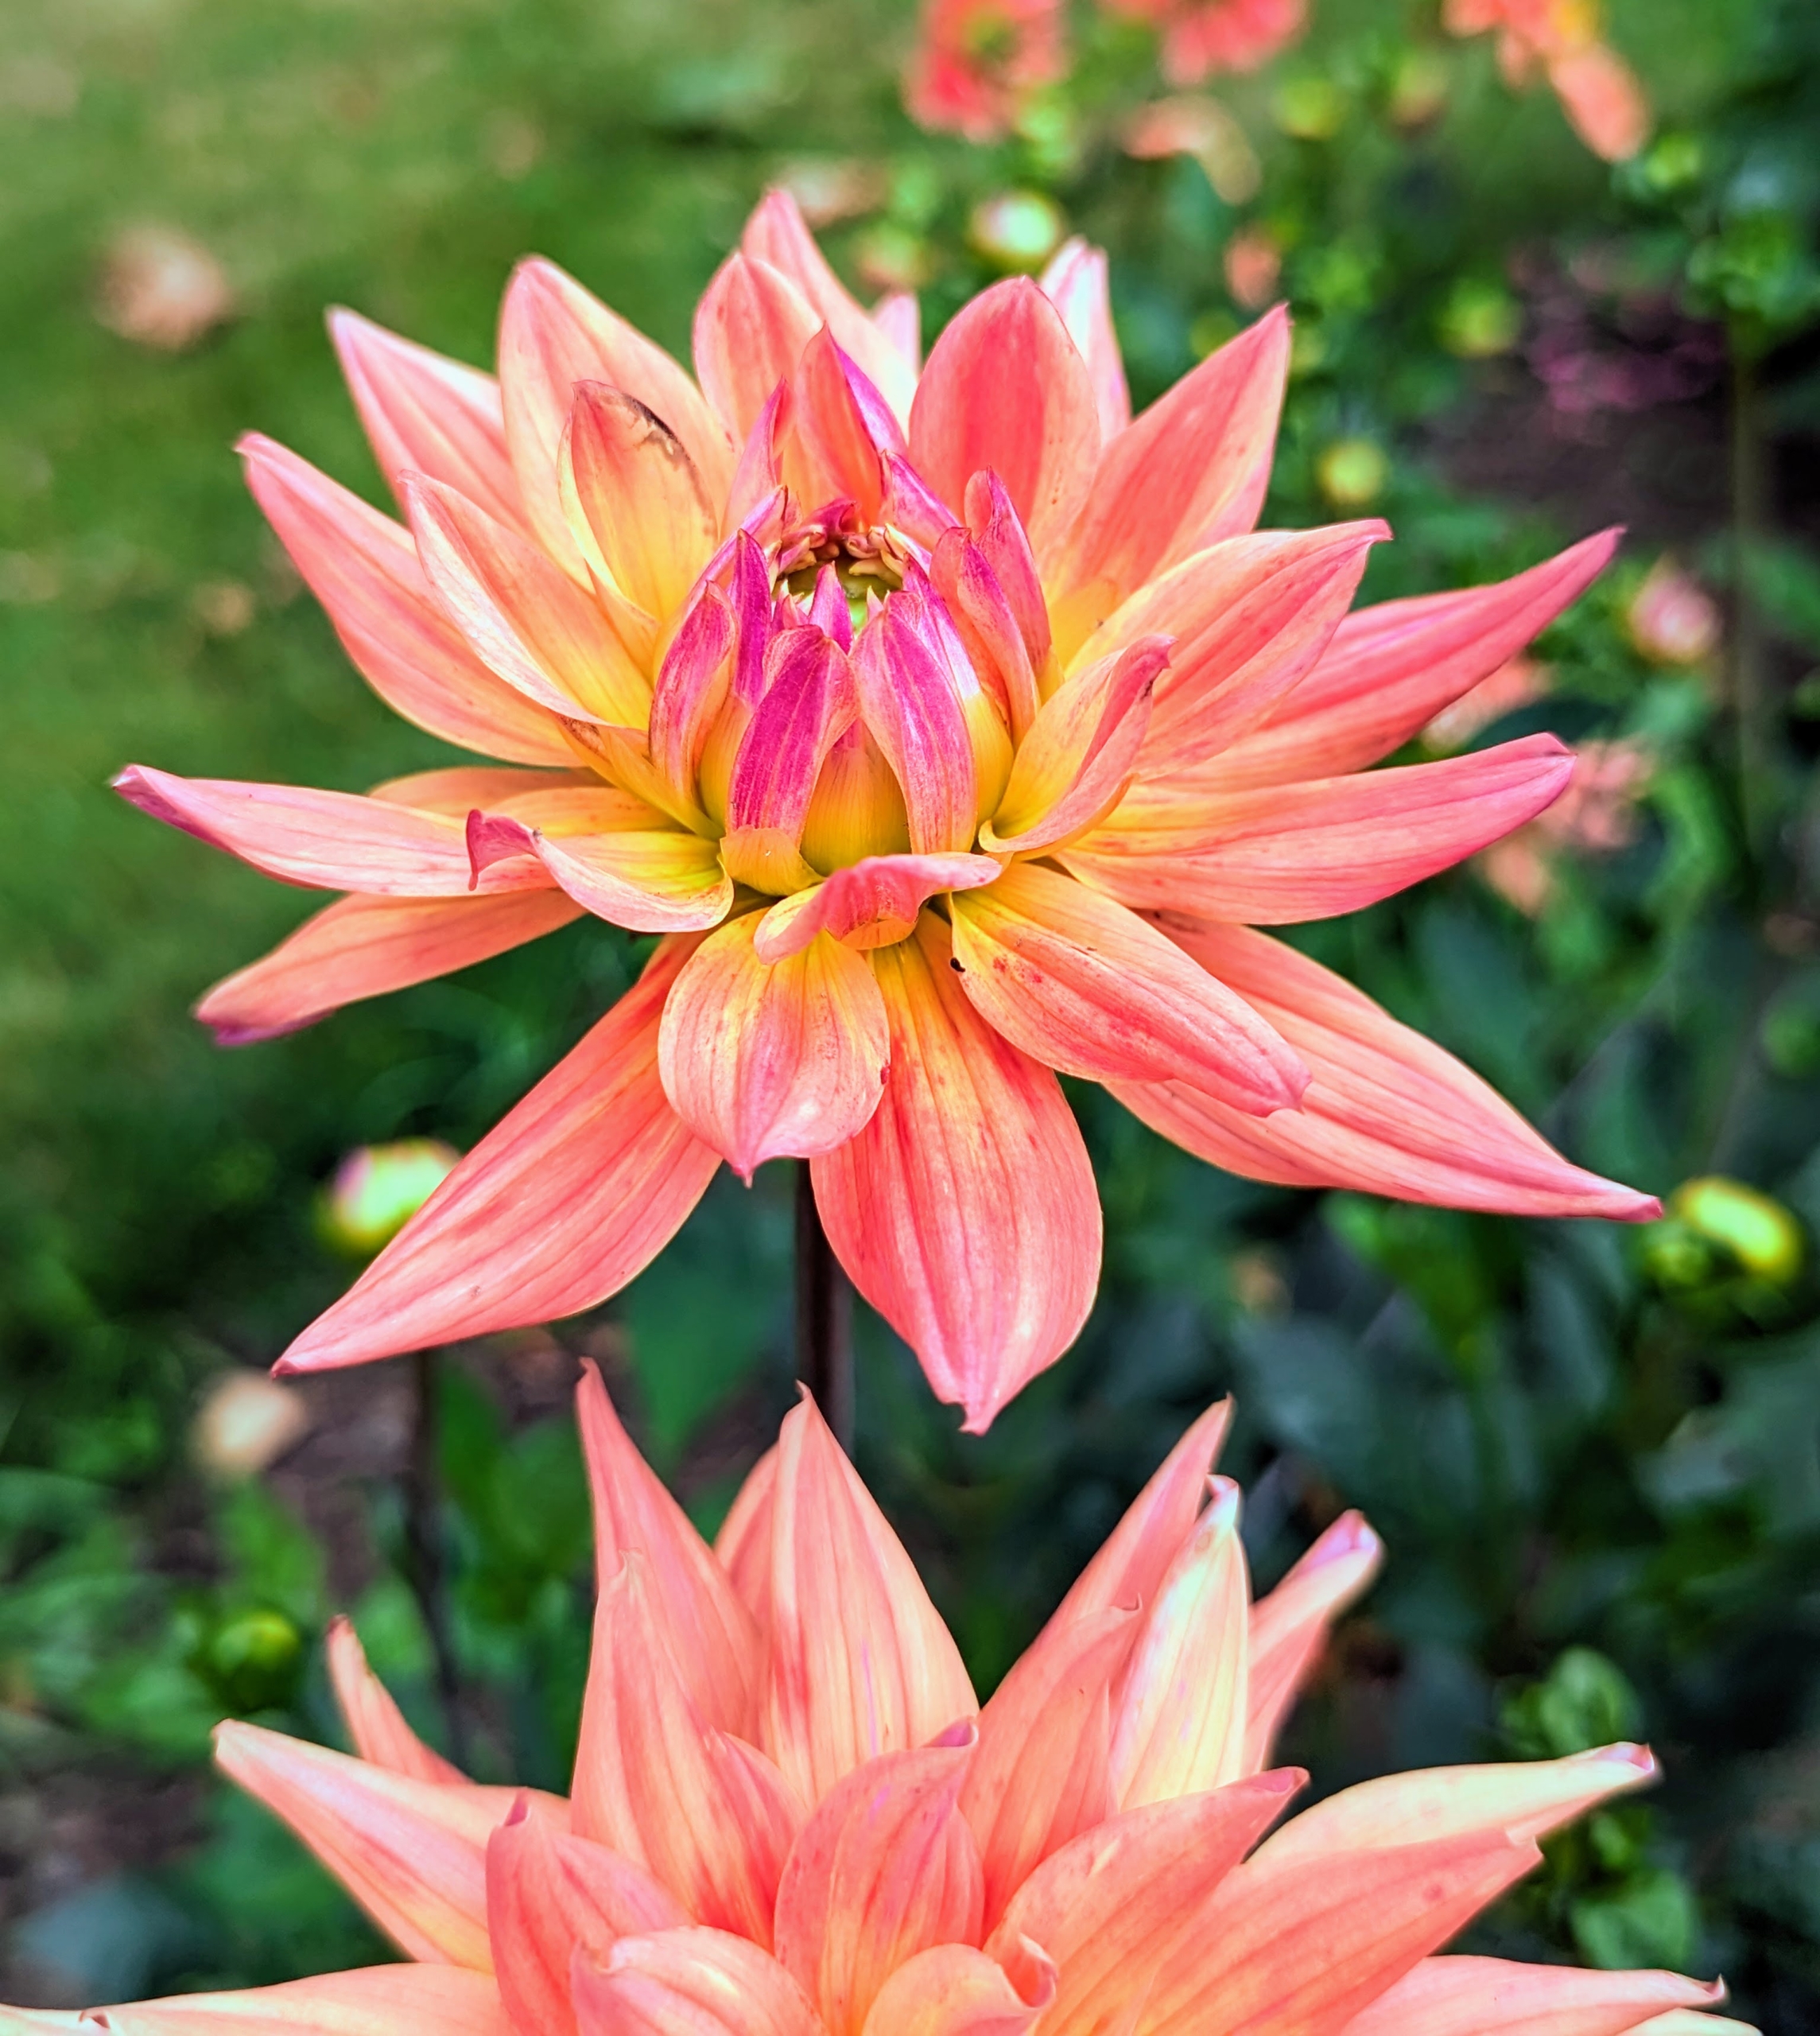
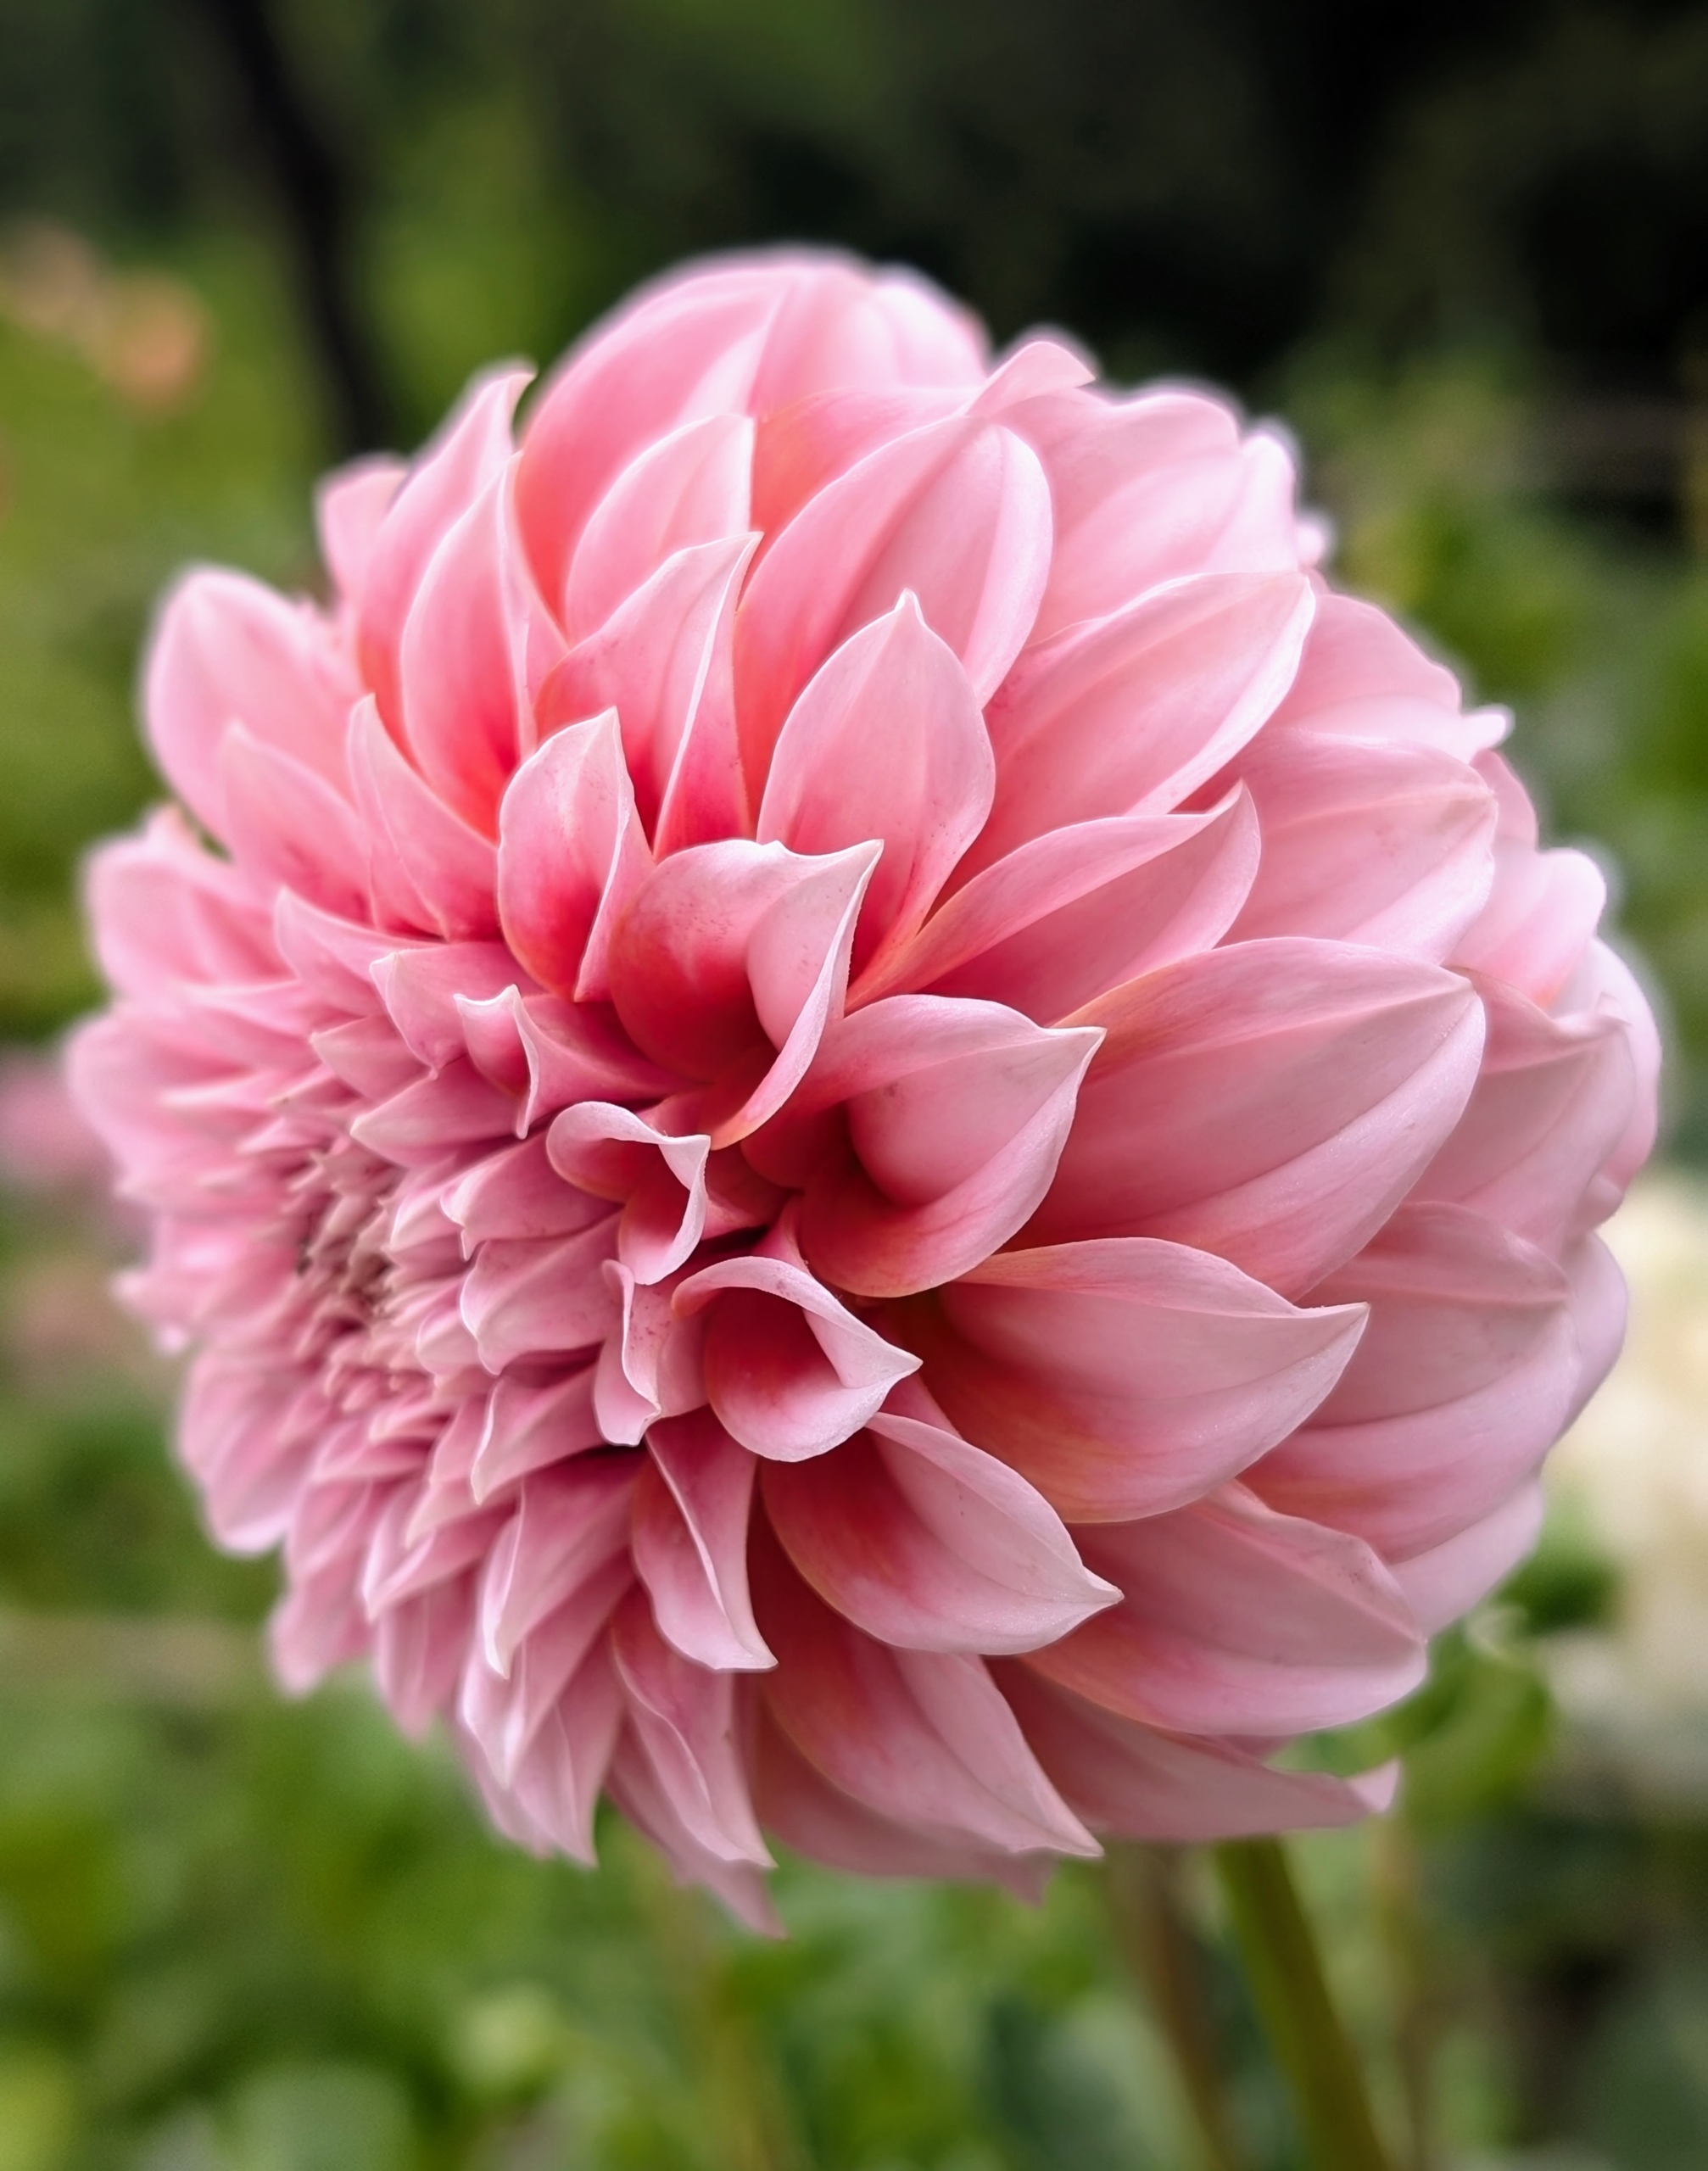
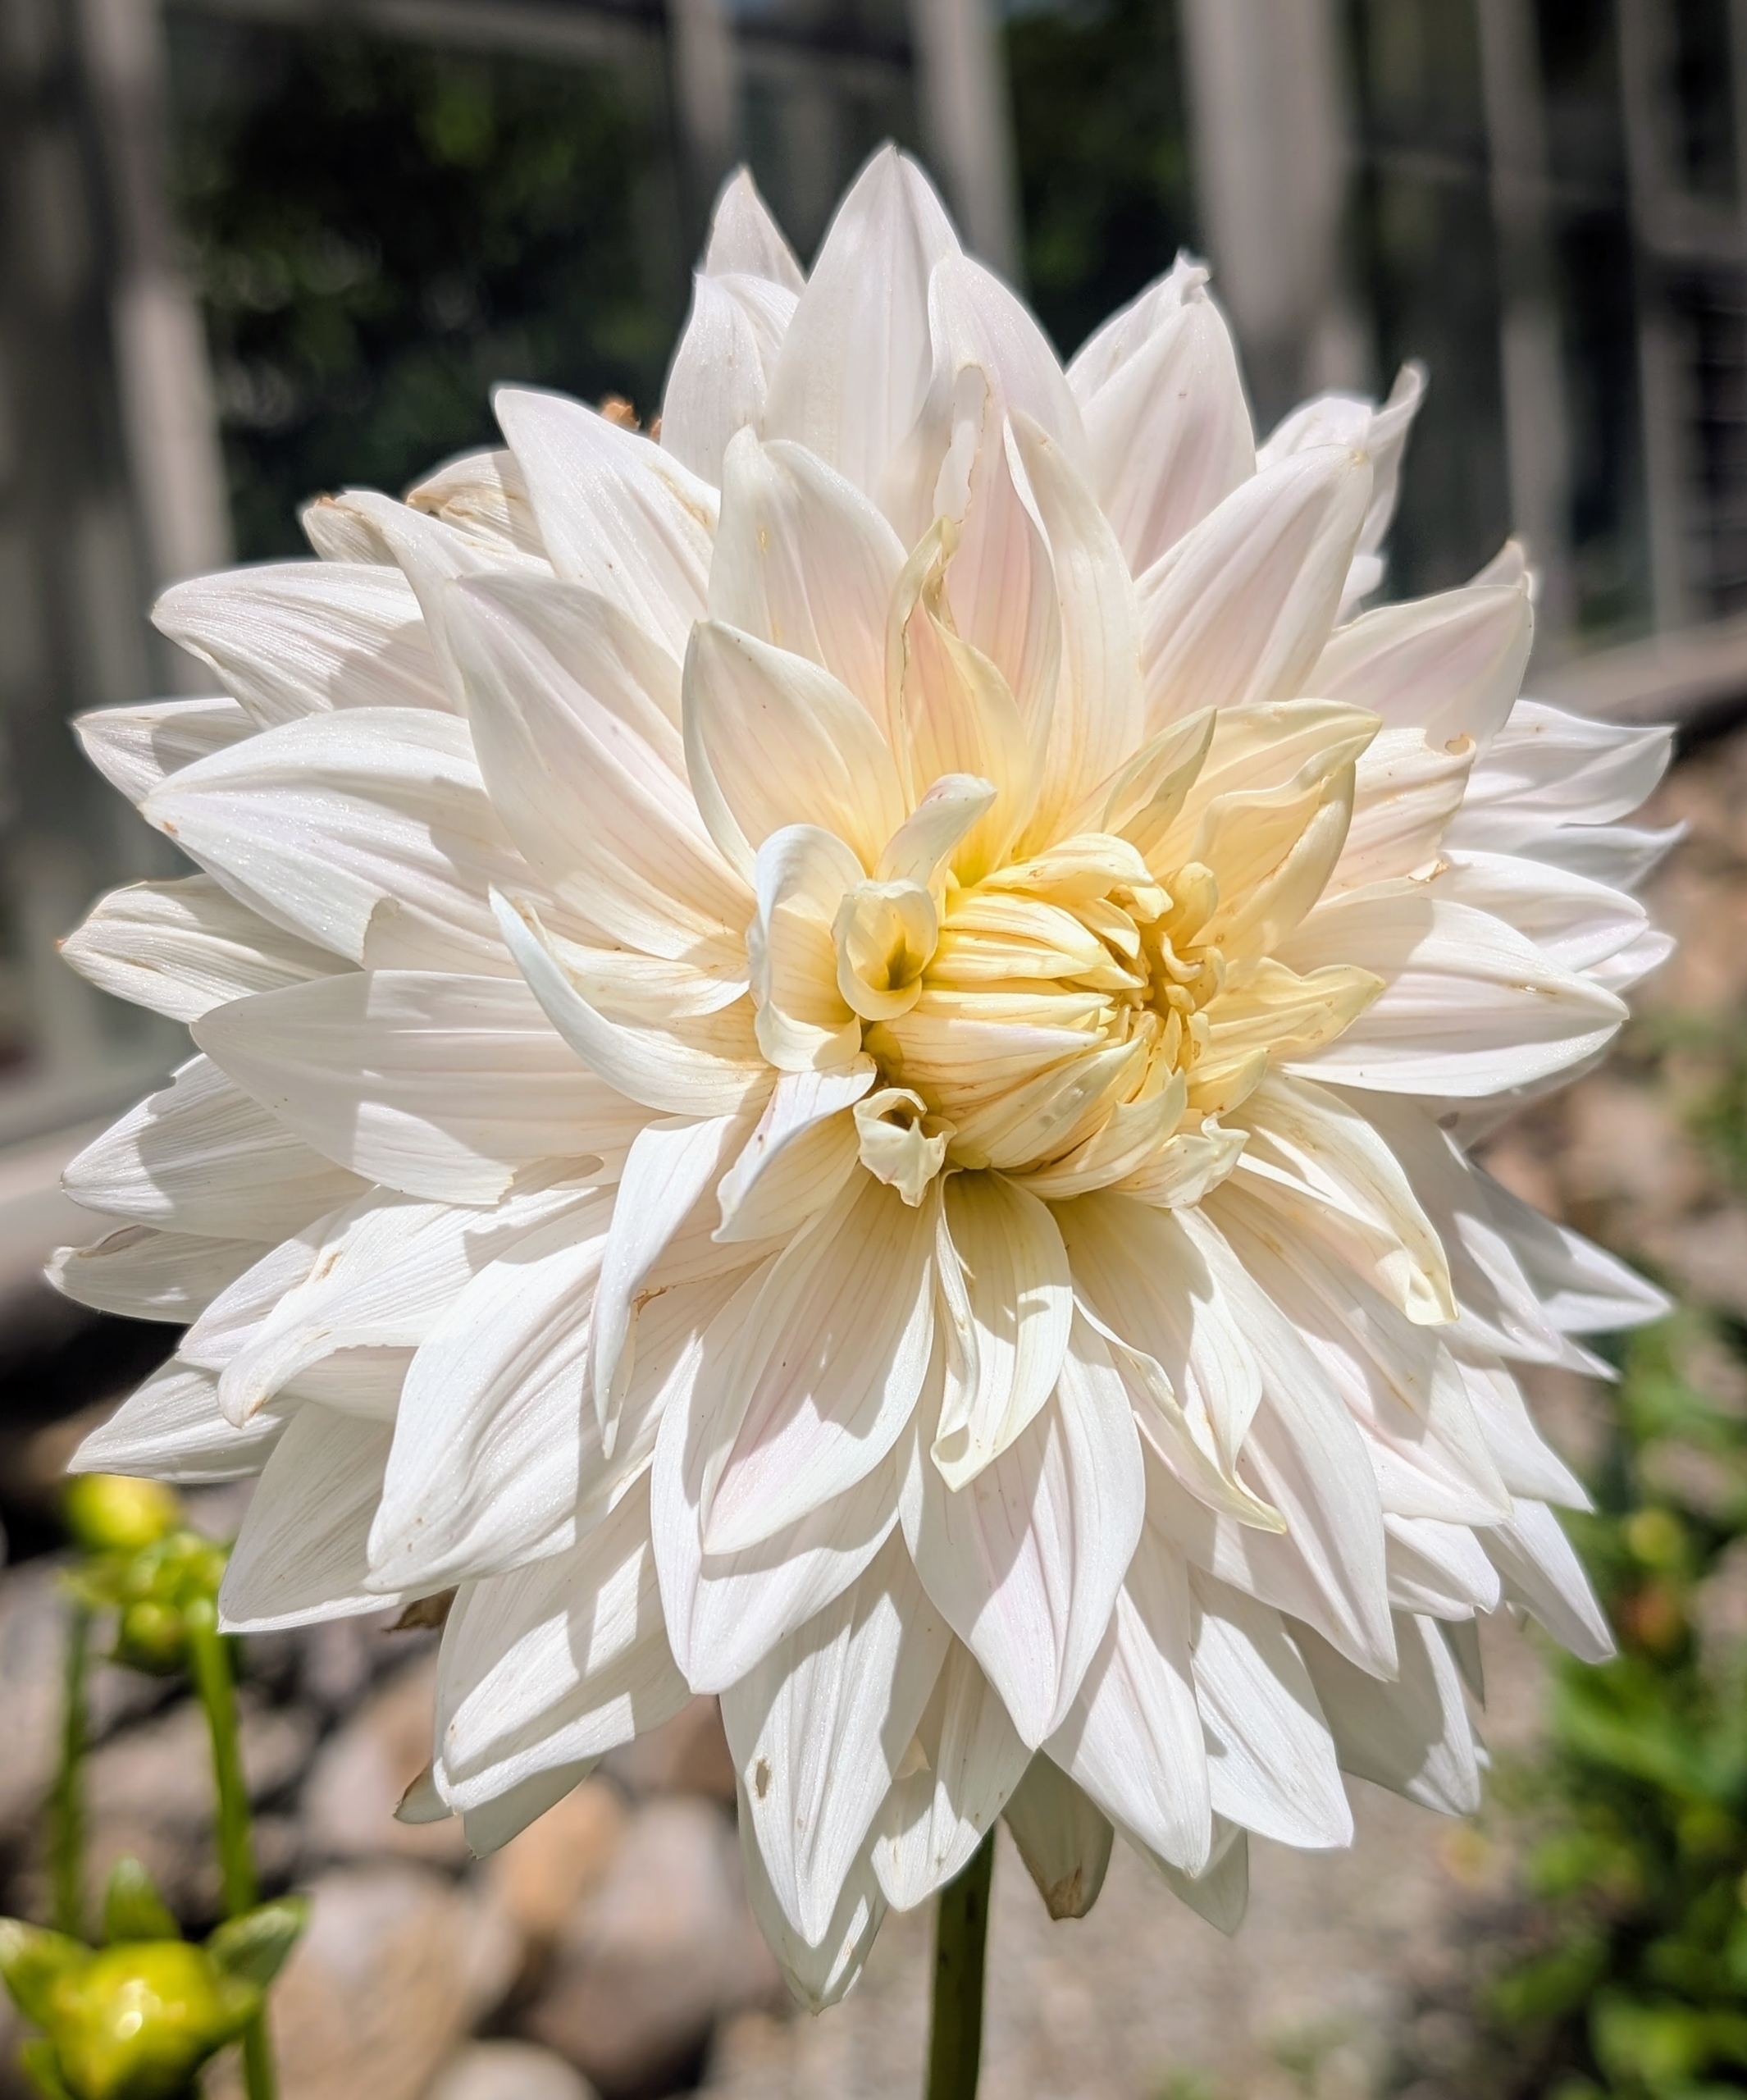
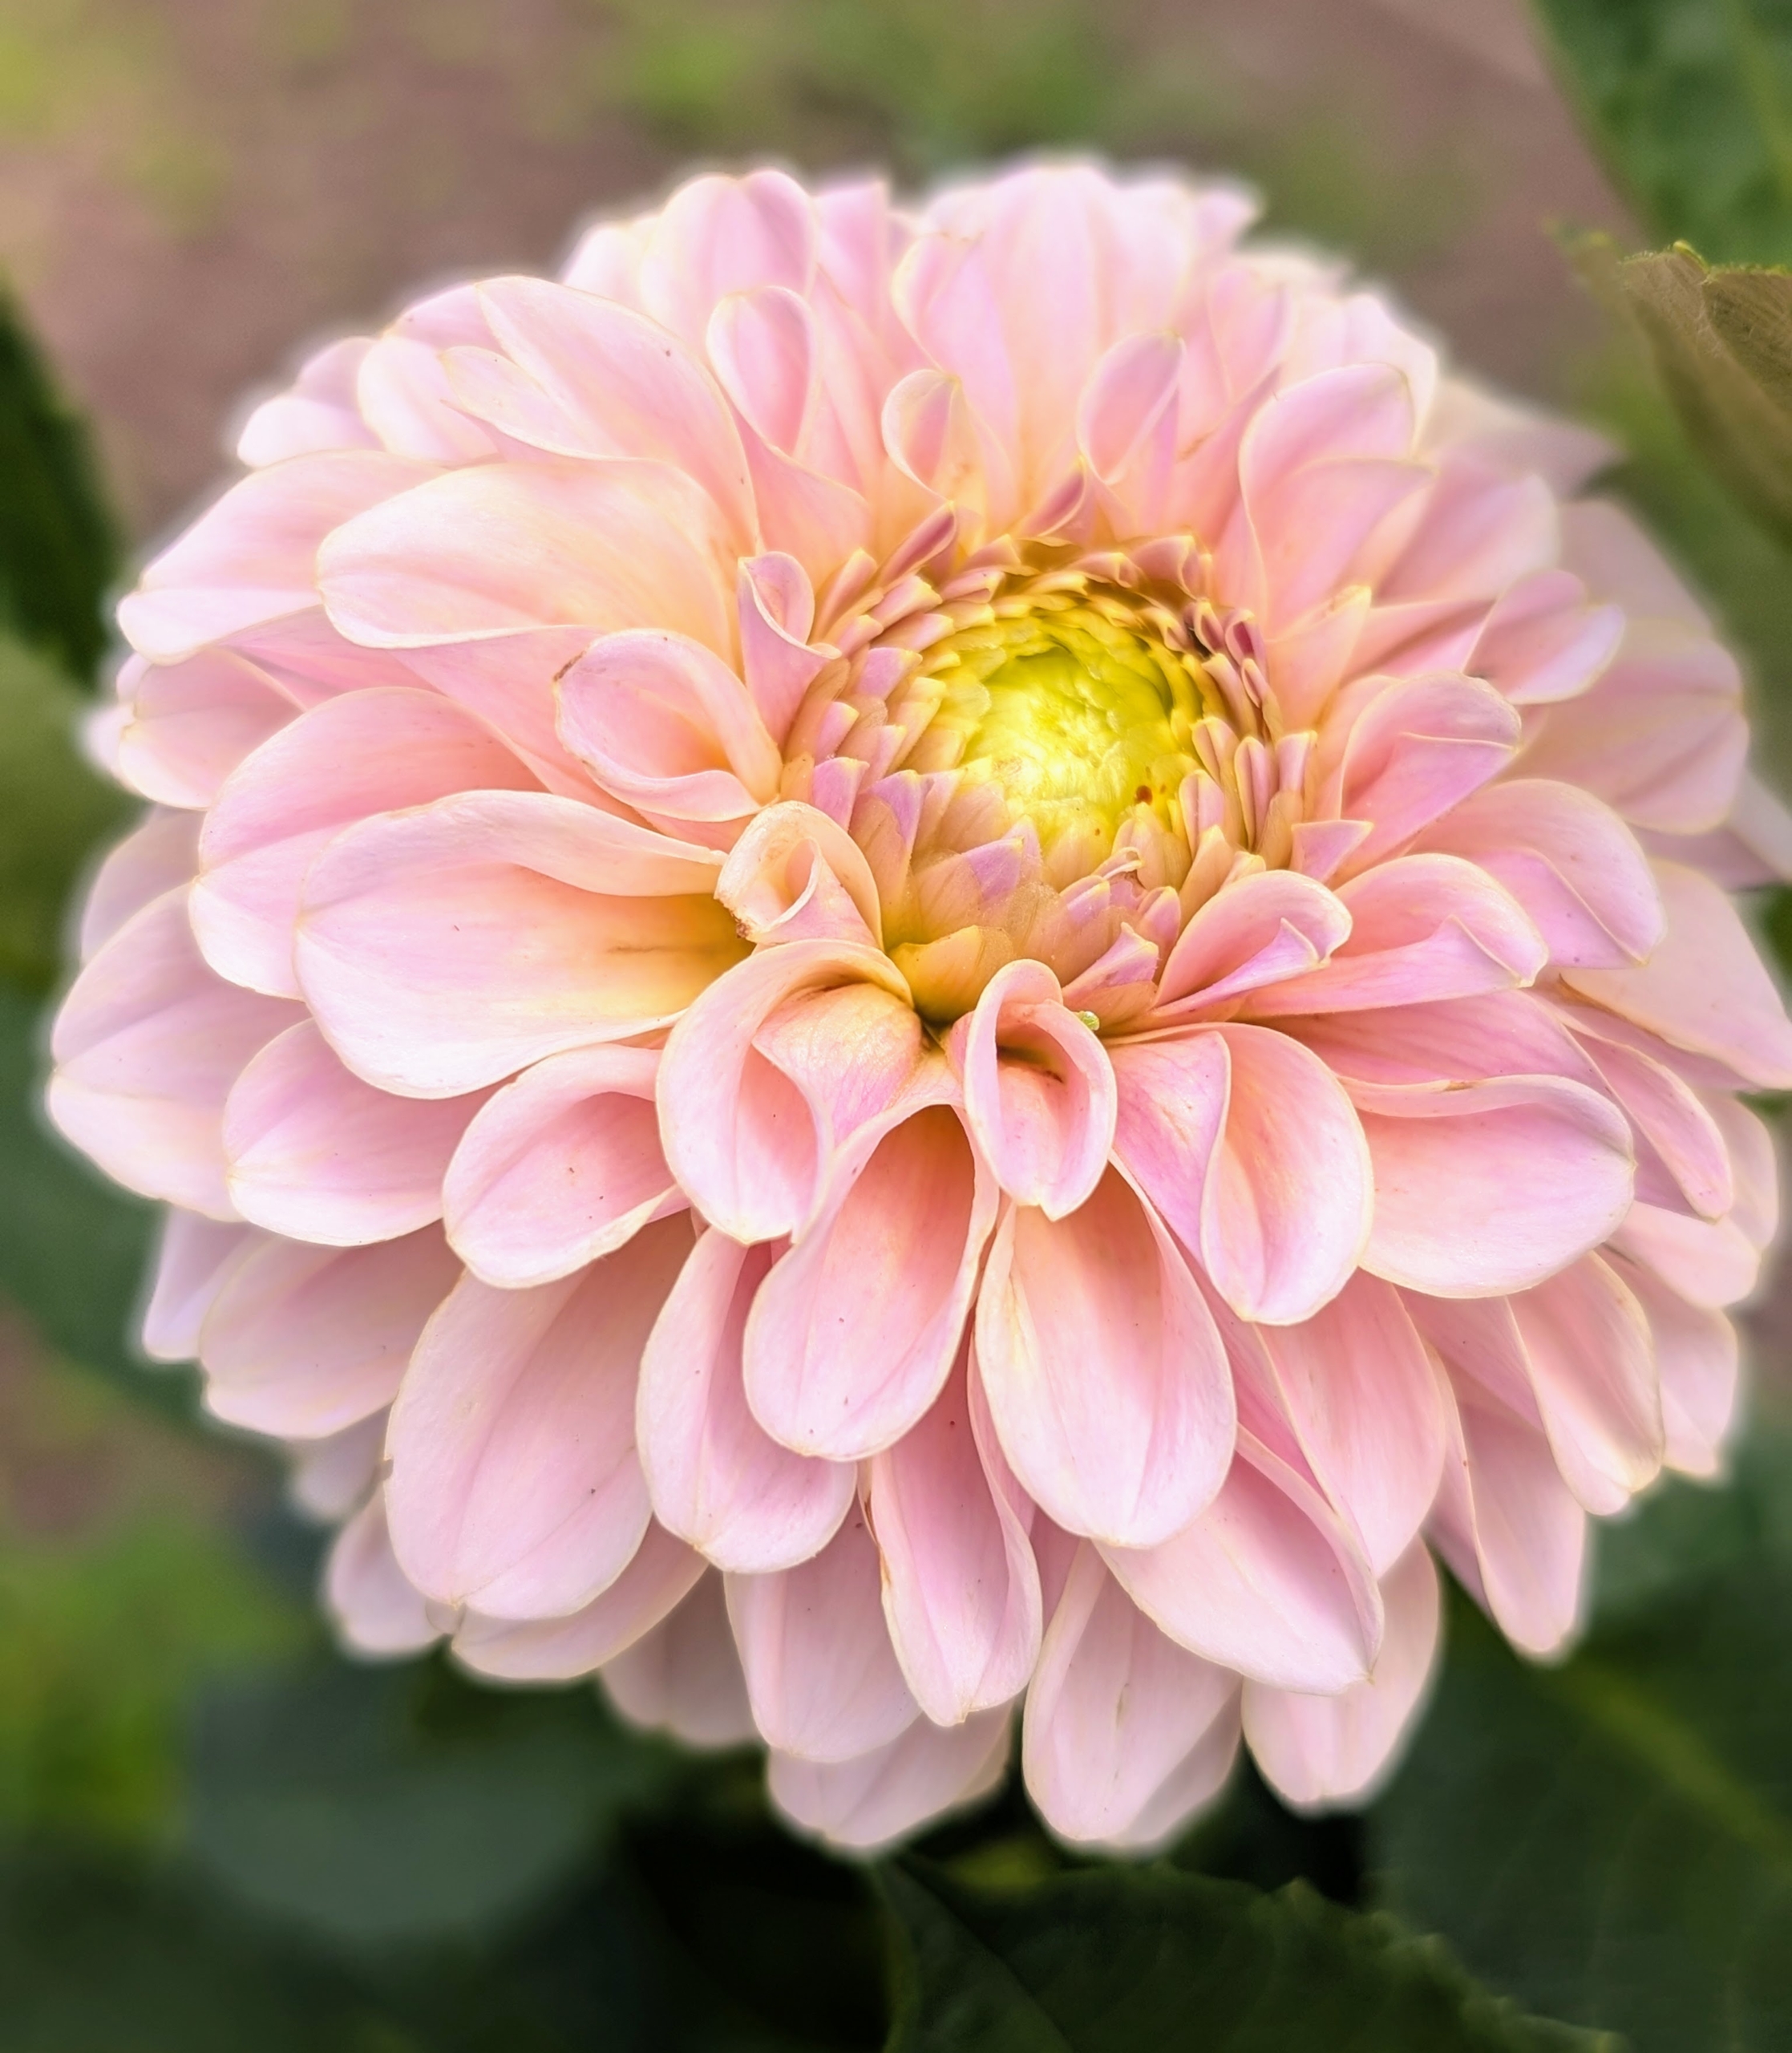
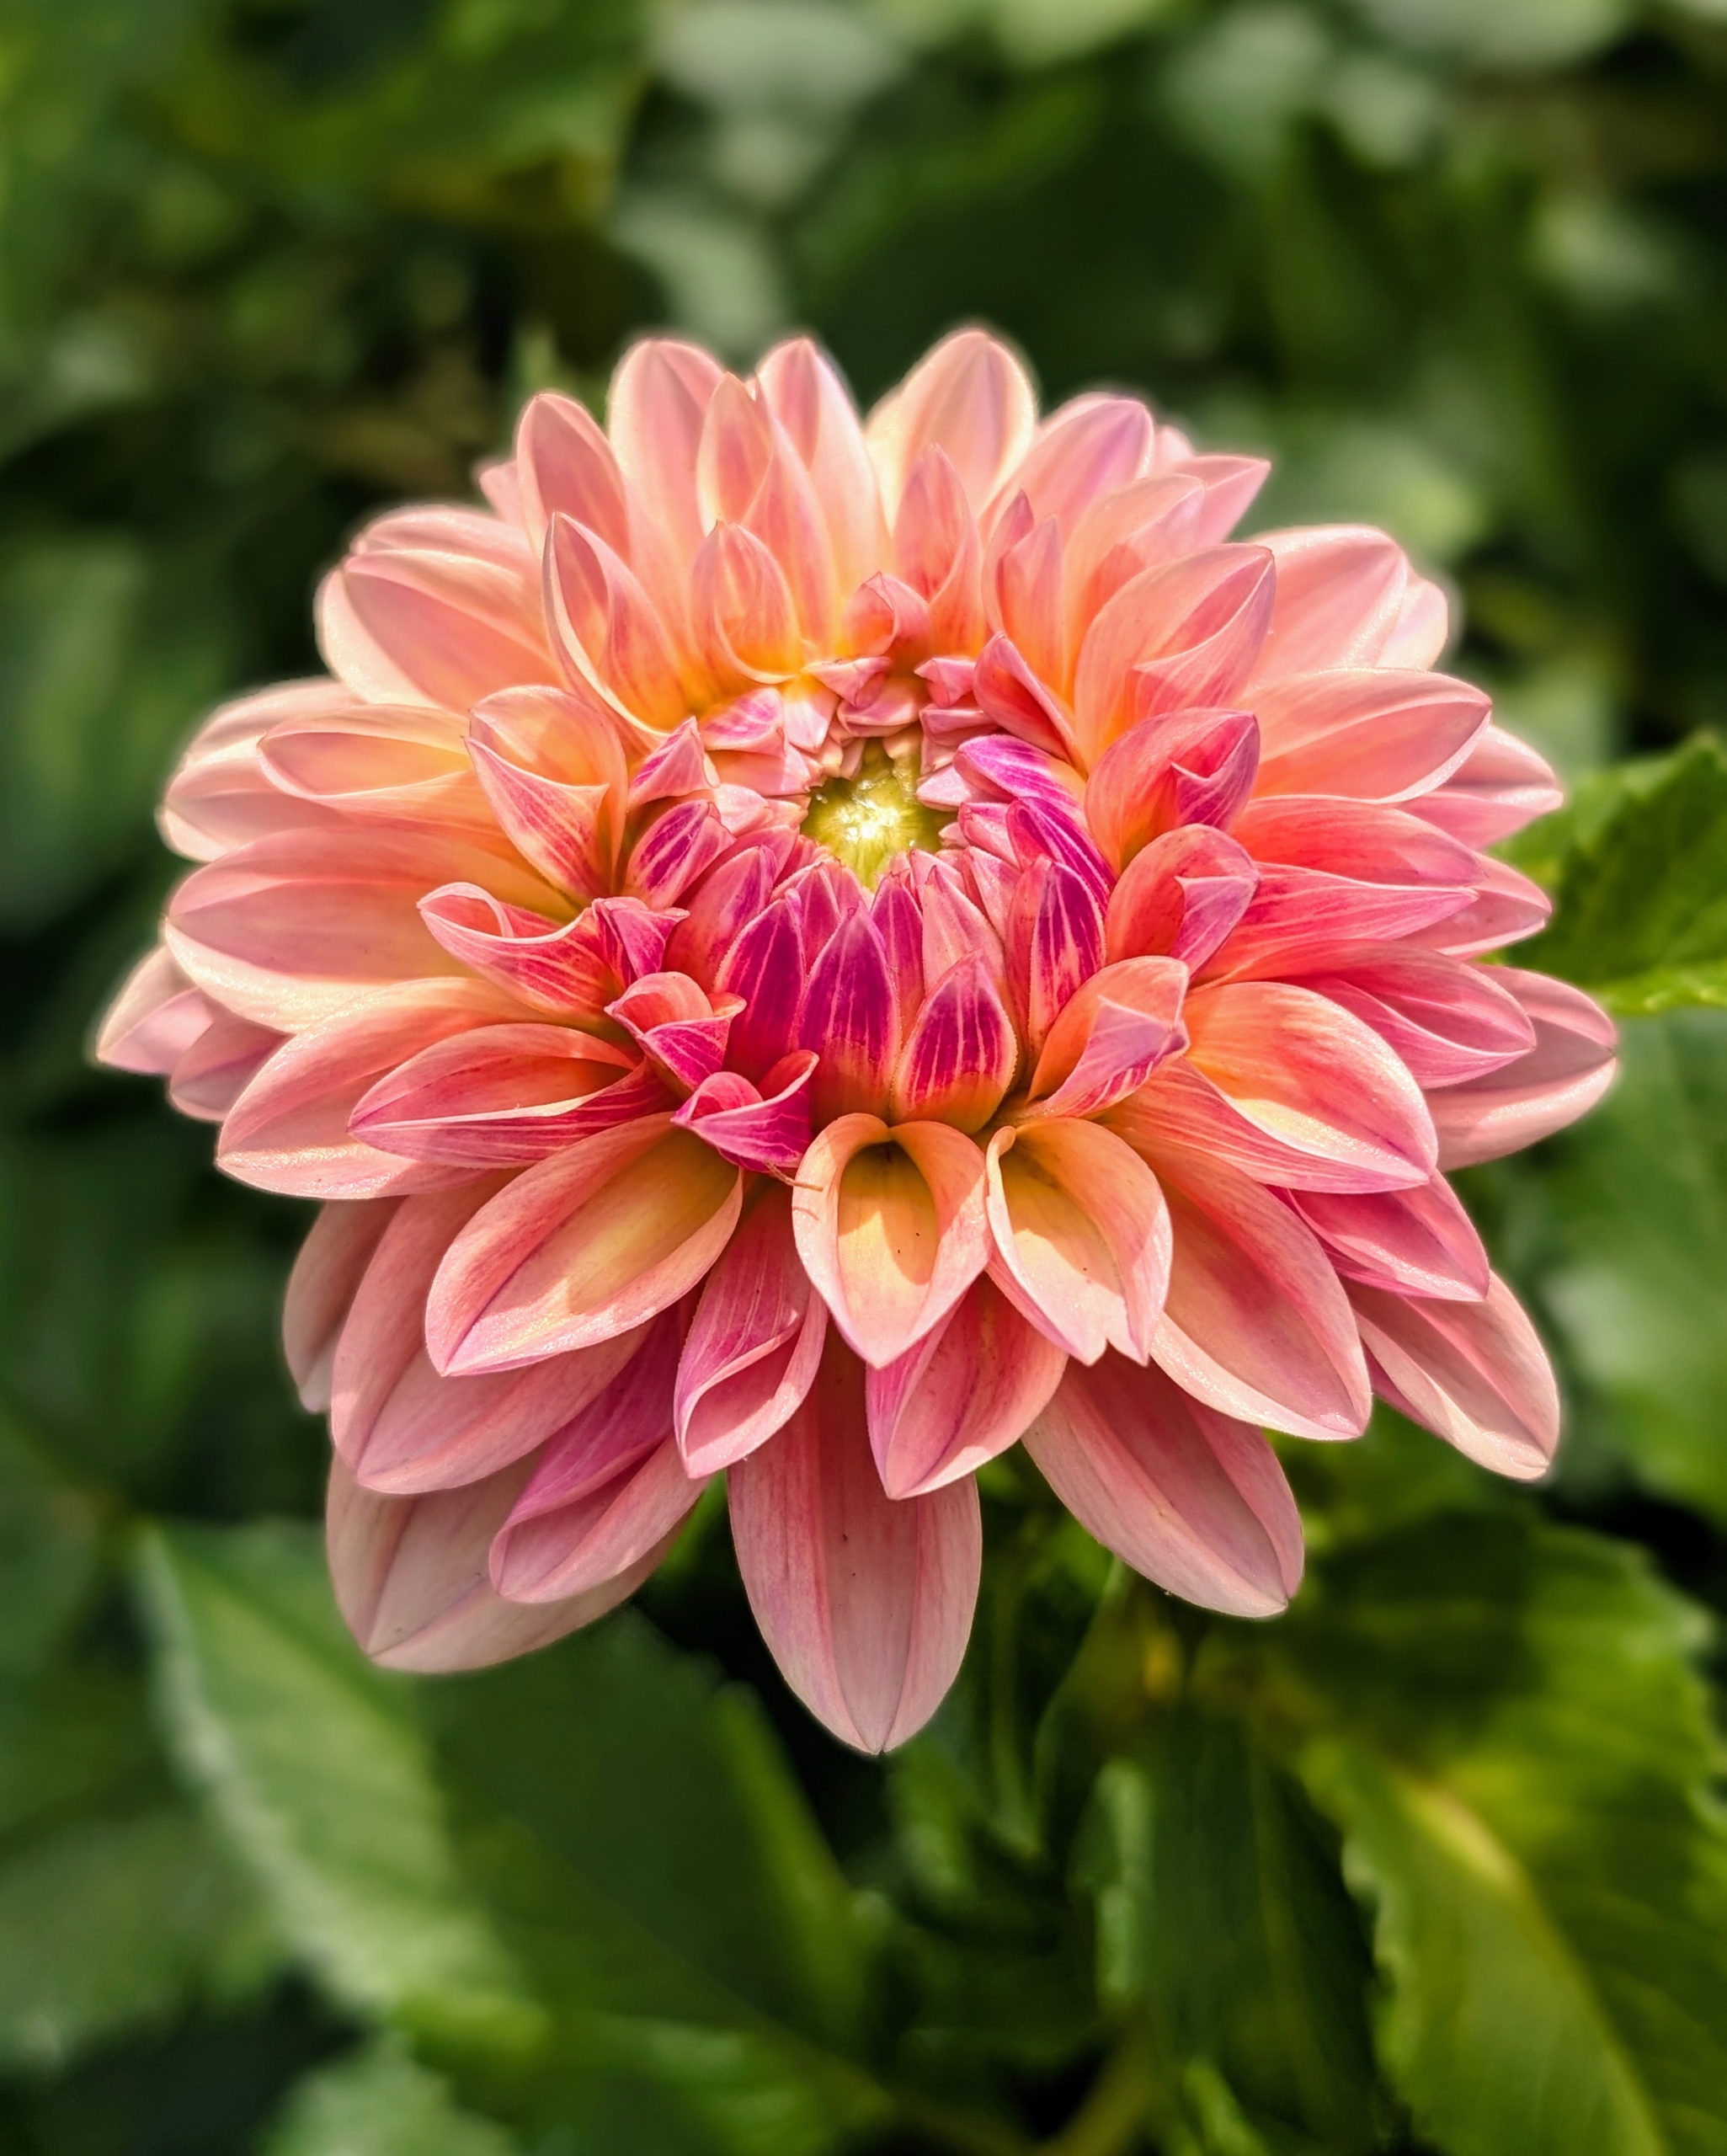
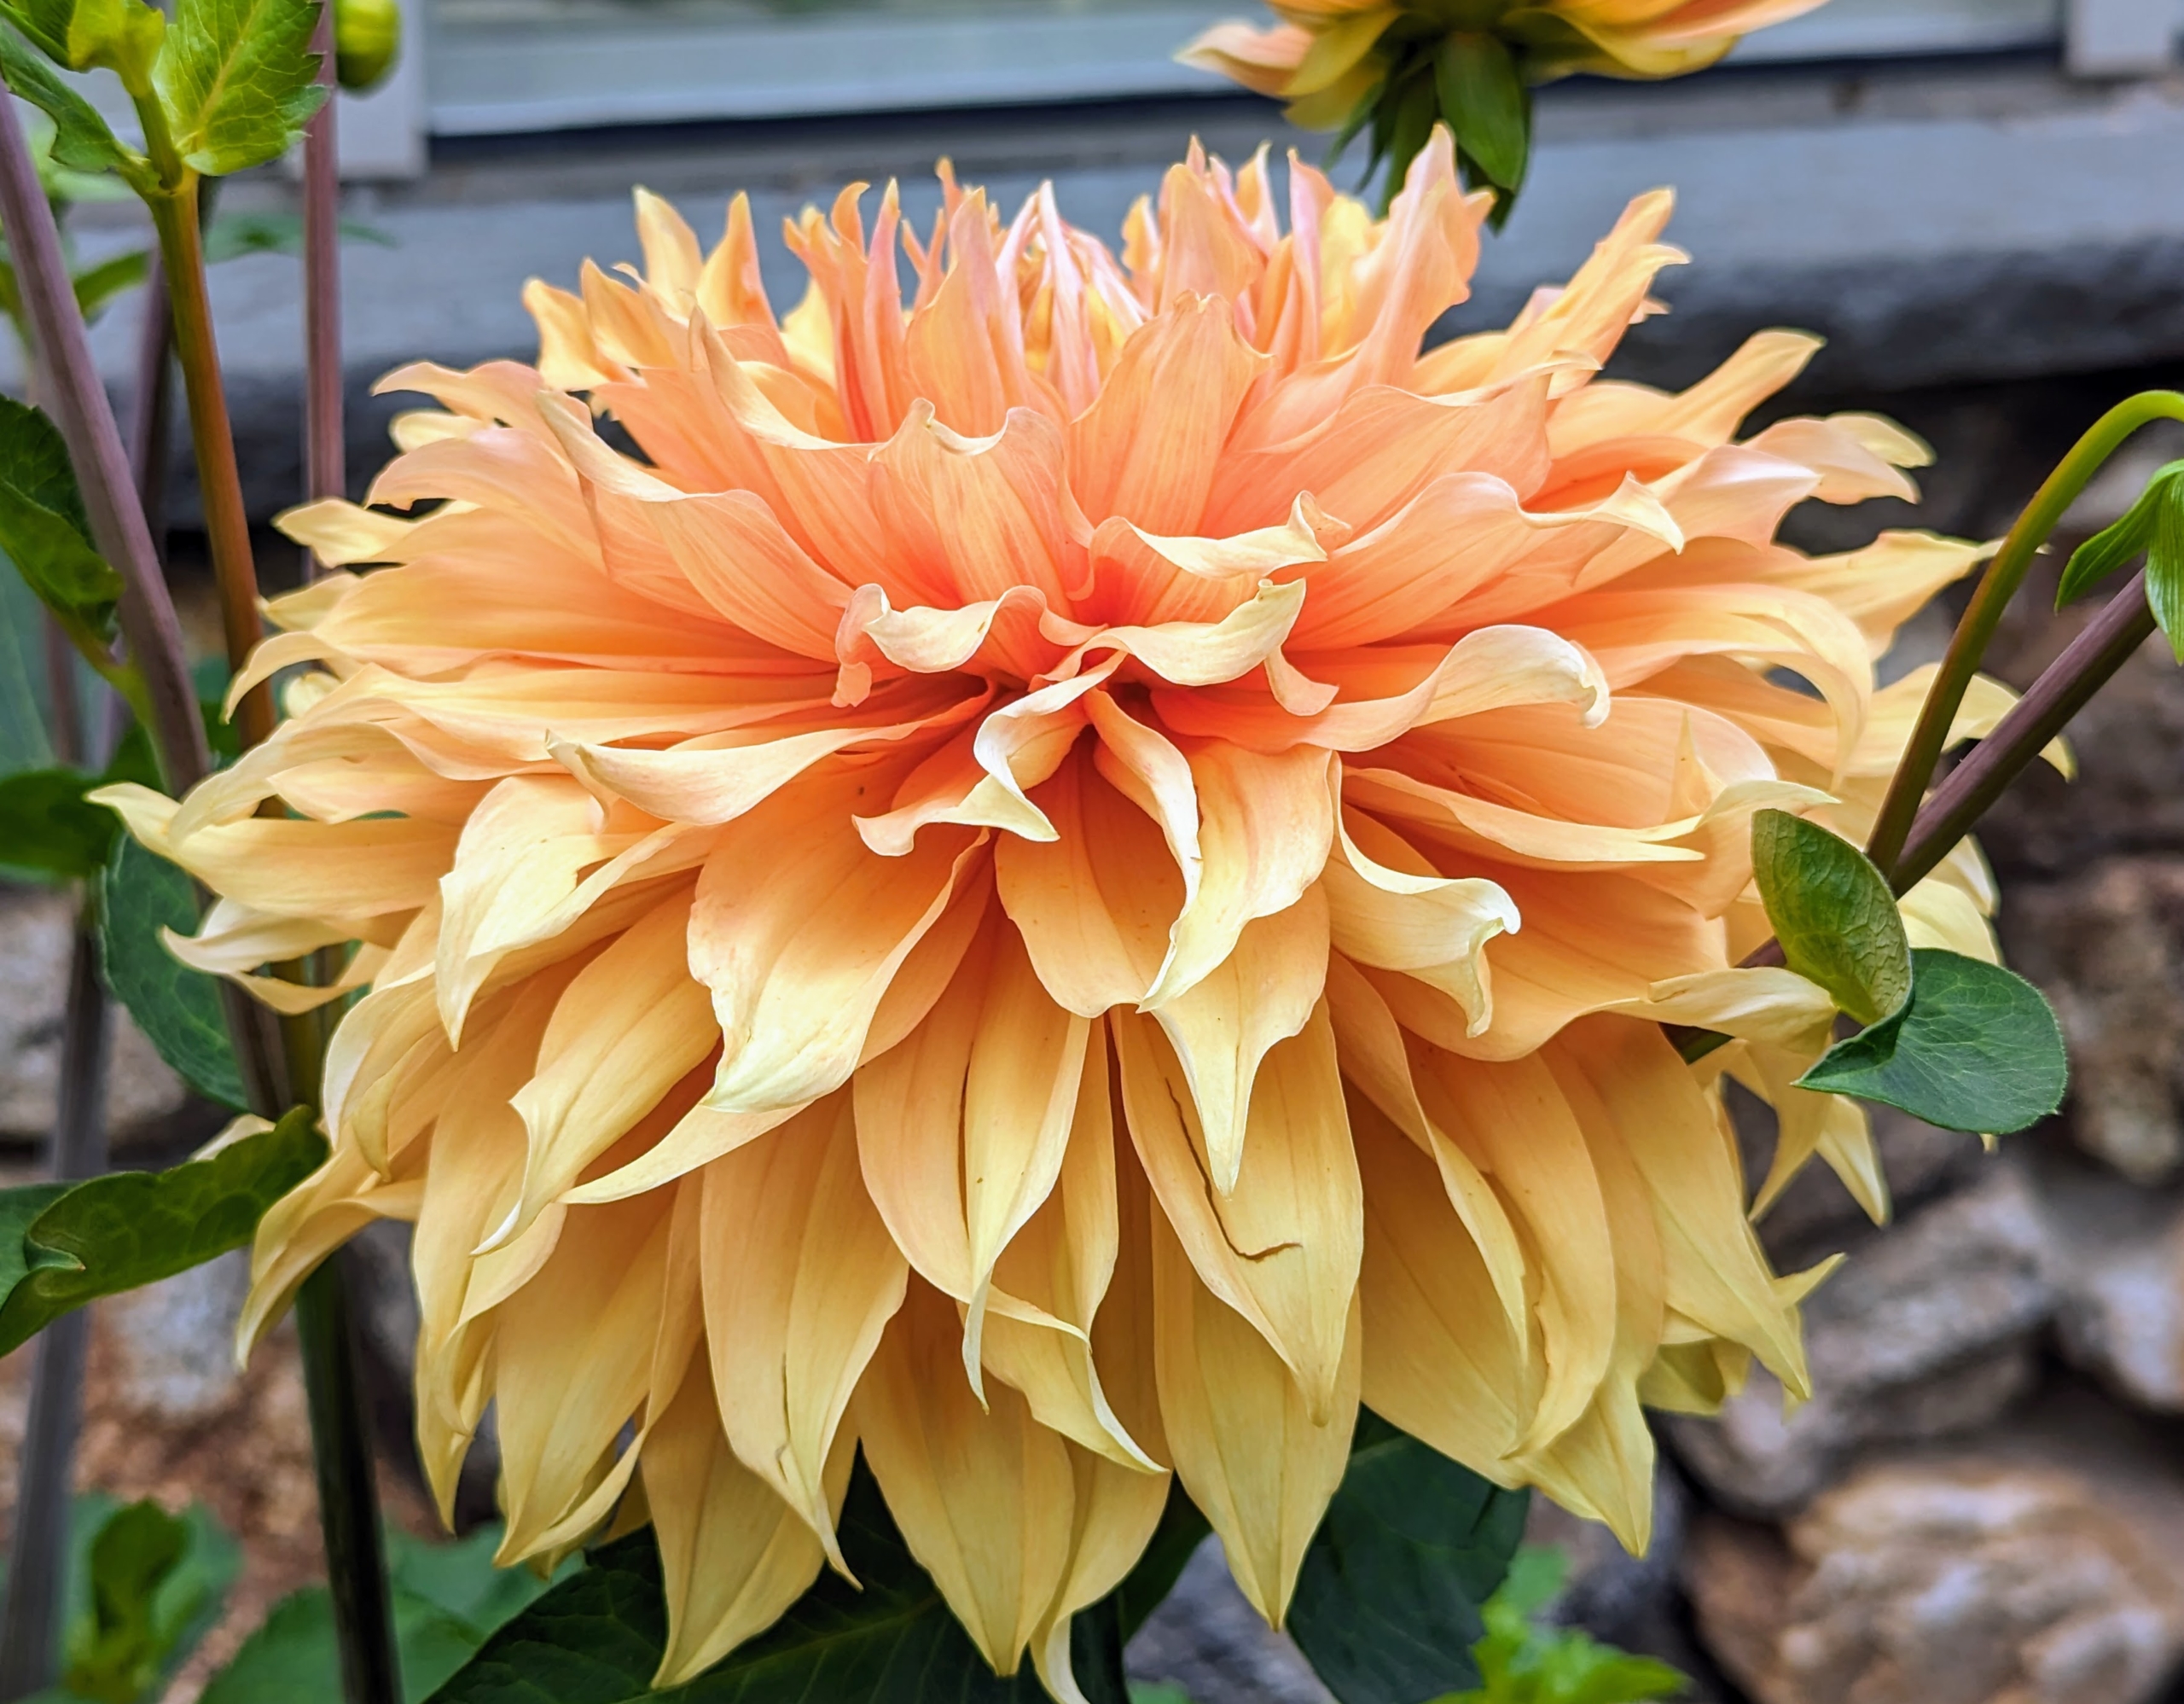
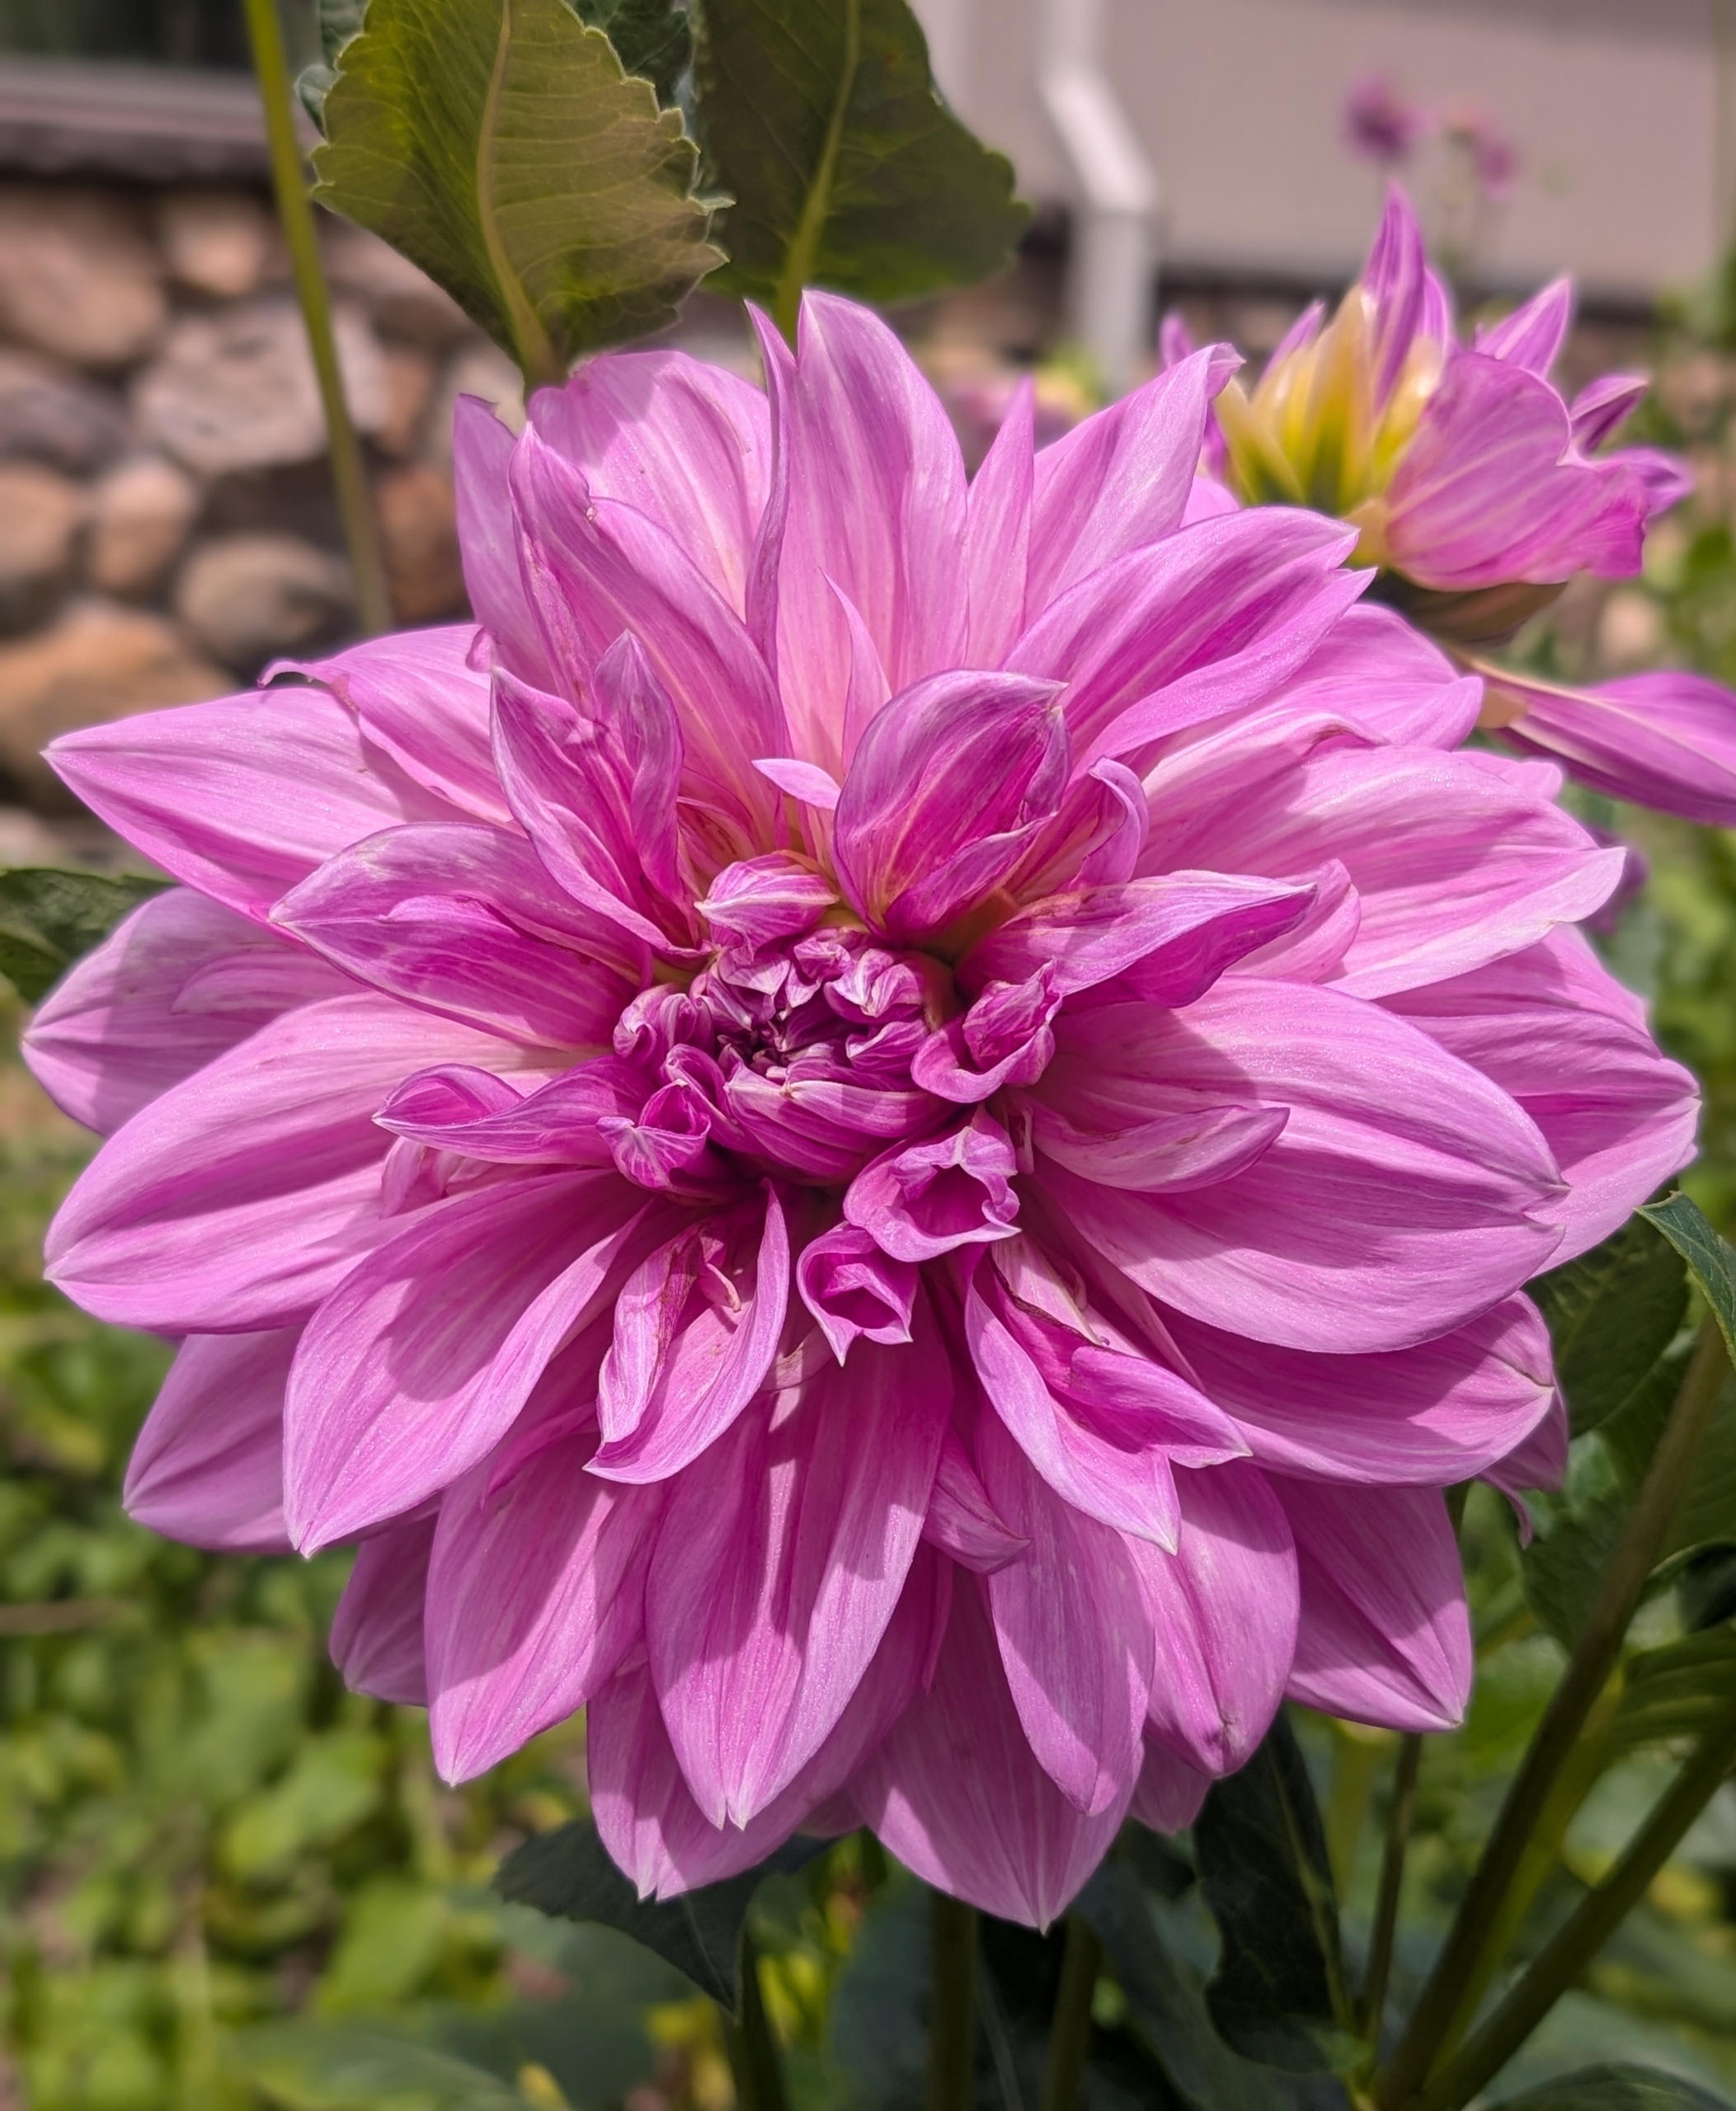
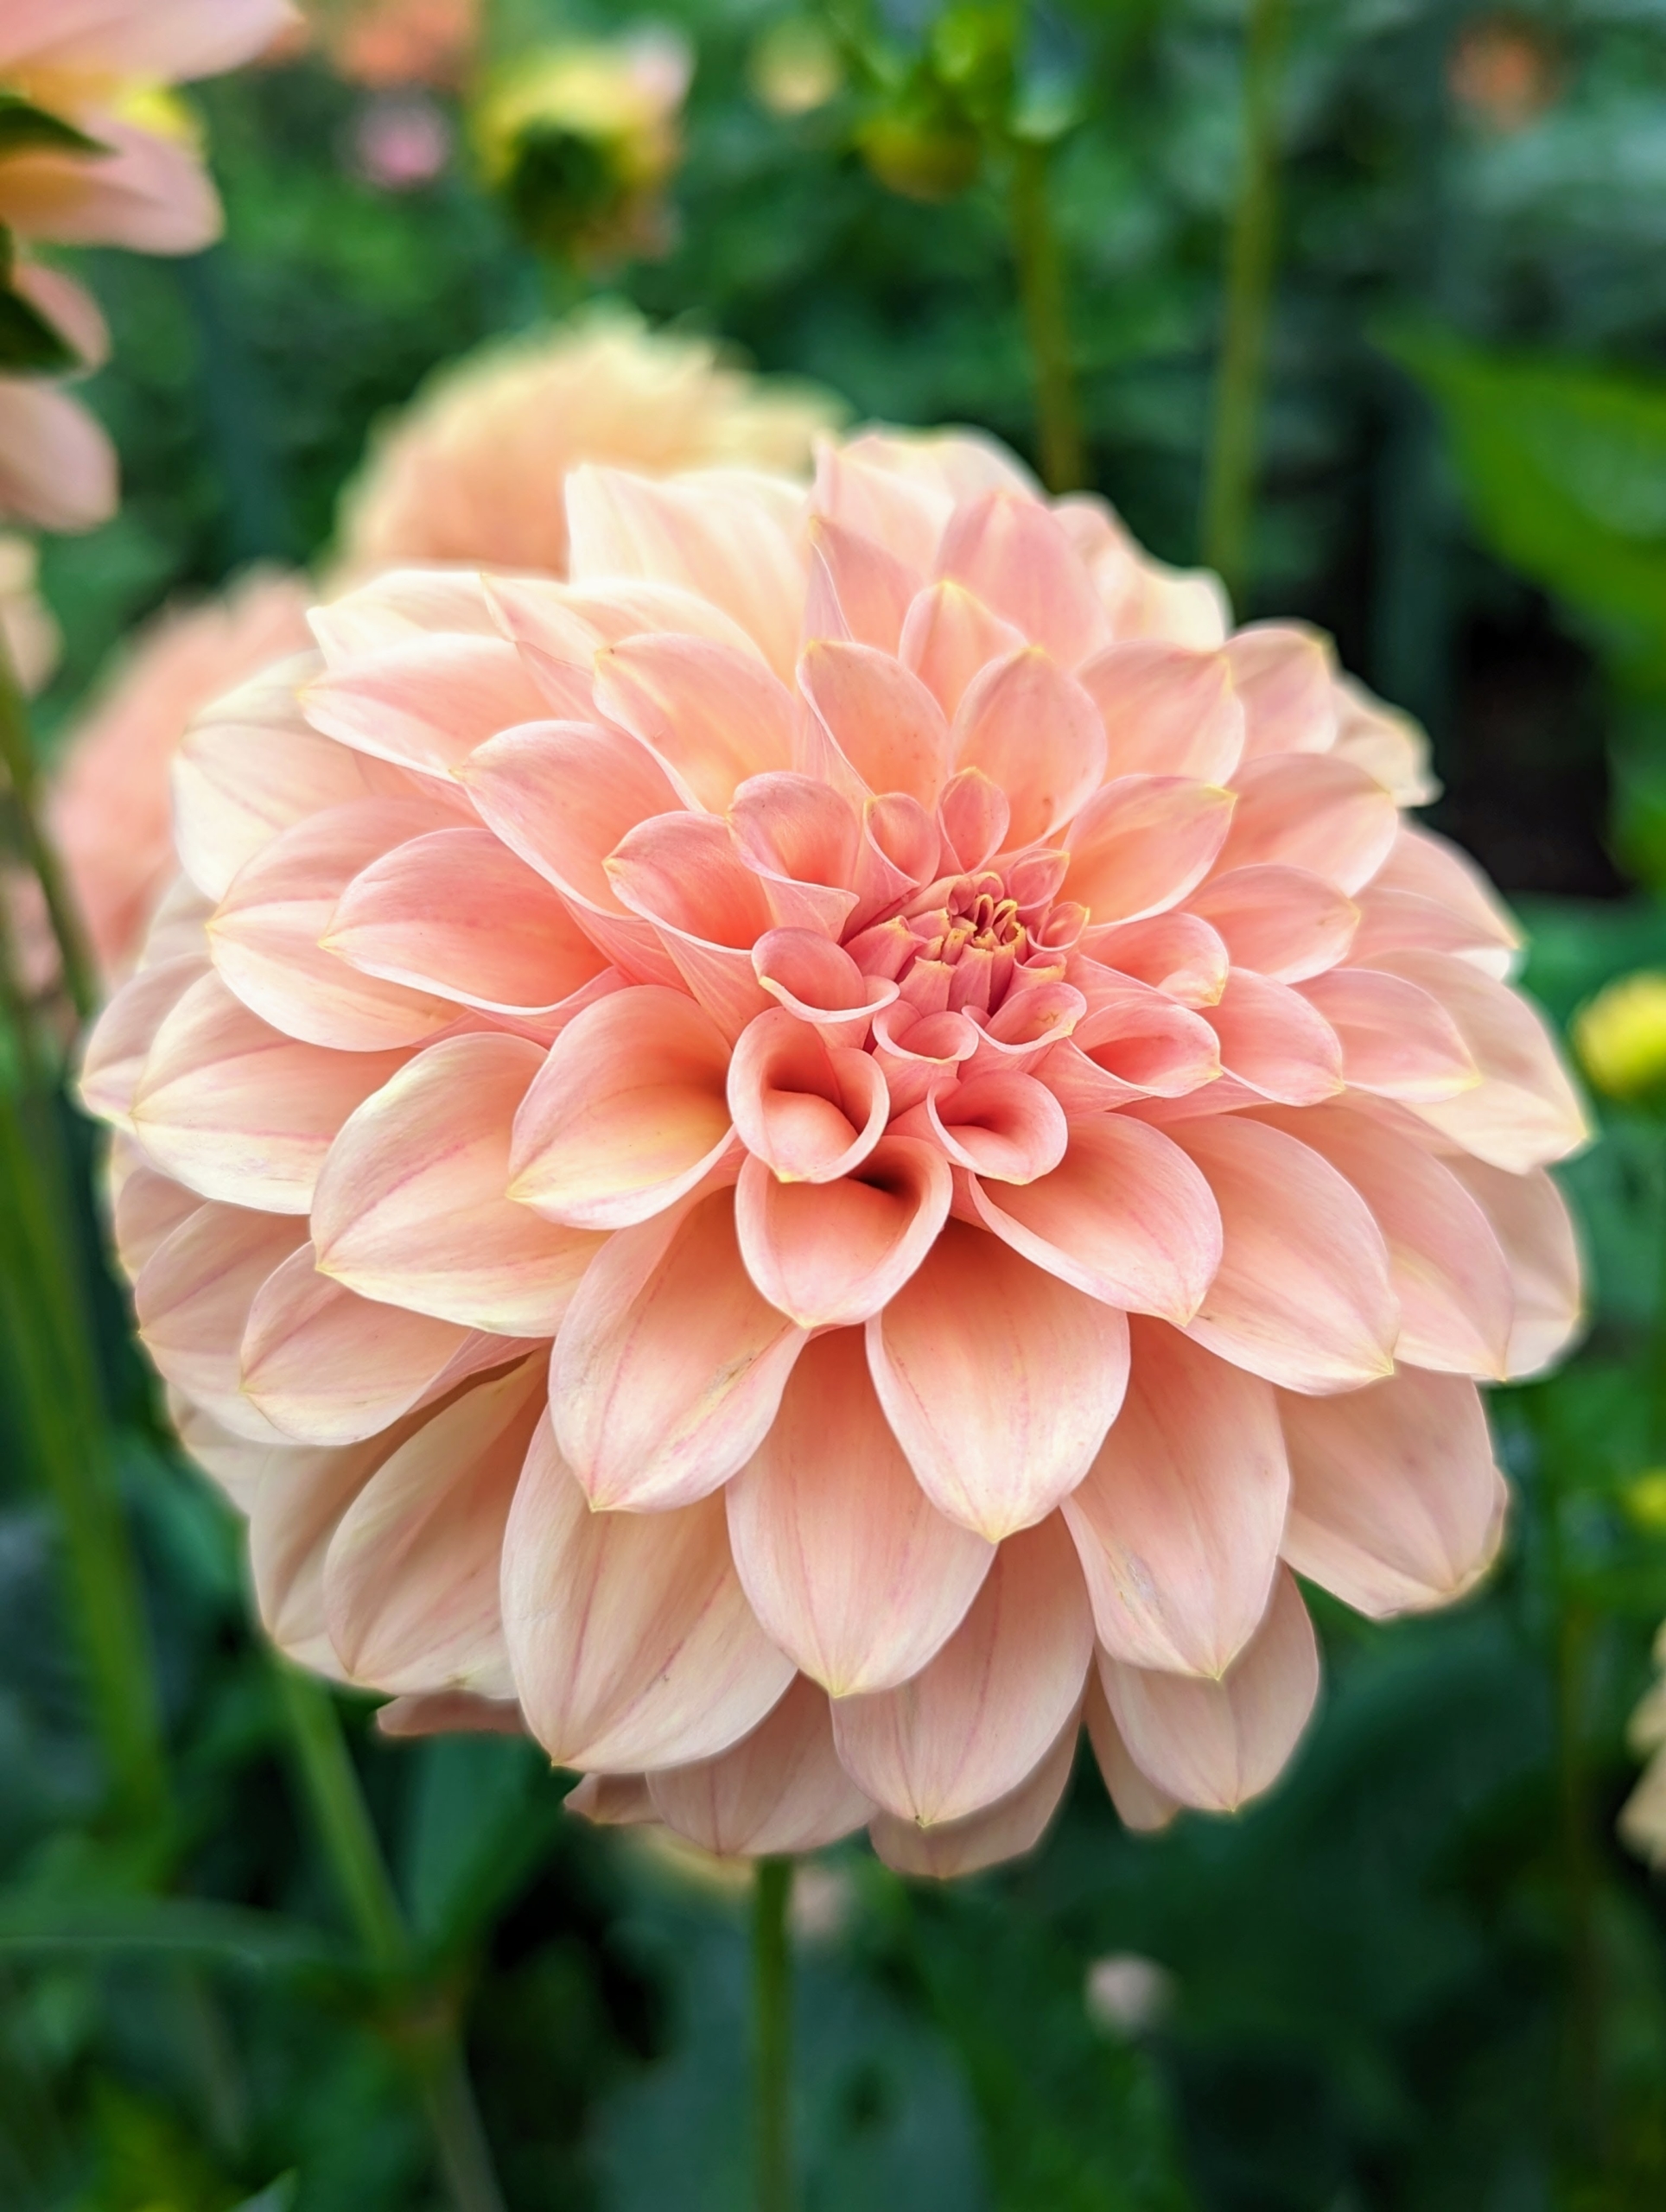
Beautiful, colorful dahlias continue to bloom at my farm.
Dahlias begin to bloom with great profusion just as other plants pass their prime and they last right up until the first frost. My all-dahlia garden is planted in a large bed behind my vegetable greenhouse. I have flowers ranging from small to giant dinner-plate size in all different colors and forms. And to keep them flourishing, I make sure to continuously deadhead spent blooms - it’s the key to keeping this garden bursting with flowers all season long.
Here are some photos, enjoy.
Every day I’m home, I make it a point to tour my farm several times to see how the gardens are doing. This time of year, when it’s hot and dry, it’s important to make sure everything gets watered, weeded, and maintained properly.
I often say my favorite flowers are those blooming at the time because I love them all. Right now, my dahlias are bursting with color. There are about 42 species of dahlia, with hybrids commonly grown as garden plants. A member of the Asteraceae family of dicotyledonous plants, some of its relatives include the sunflower, daisy, chrysanthemum, and zinnia.
The genus Dahlia is native to the high plains of Mexico. Some species can be found in Guatemala, Honduras, Nicaragua, El Salvador, and Costa Rica as well as parts of South America where it was introduced.
Dahlias were first recorded by Westerners in 1615, and were then called by their original Mexican name, acoctli. The first garden dahlias reached the United States in the early 1830s. Today, dahlias are grown all over the world.
It is named after the Swedish 18th century botanist Anders Dahl, who originally declared the flower a vegetable, as the tubers are edible.
Flowers come one head per stem. The blooms can be as small as two-inches in diameter or up to one foot across. They are divided into 10 groups: single, anemone, collarette, waterlily, decorative, fall, pompon, cactus, semi-cactus, and miscellaneous.
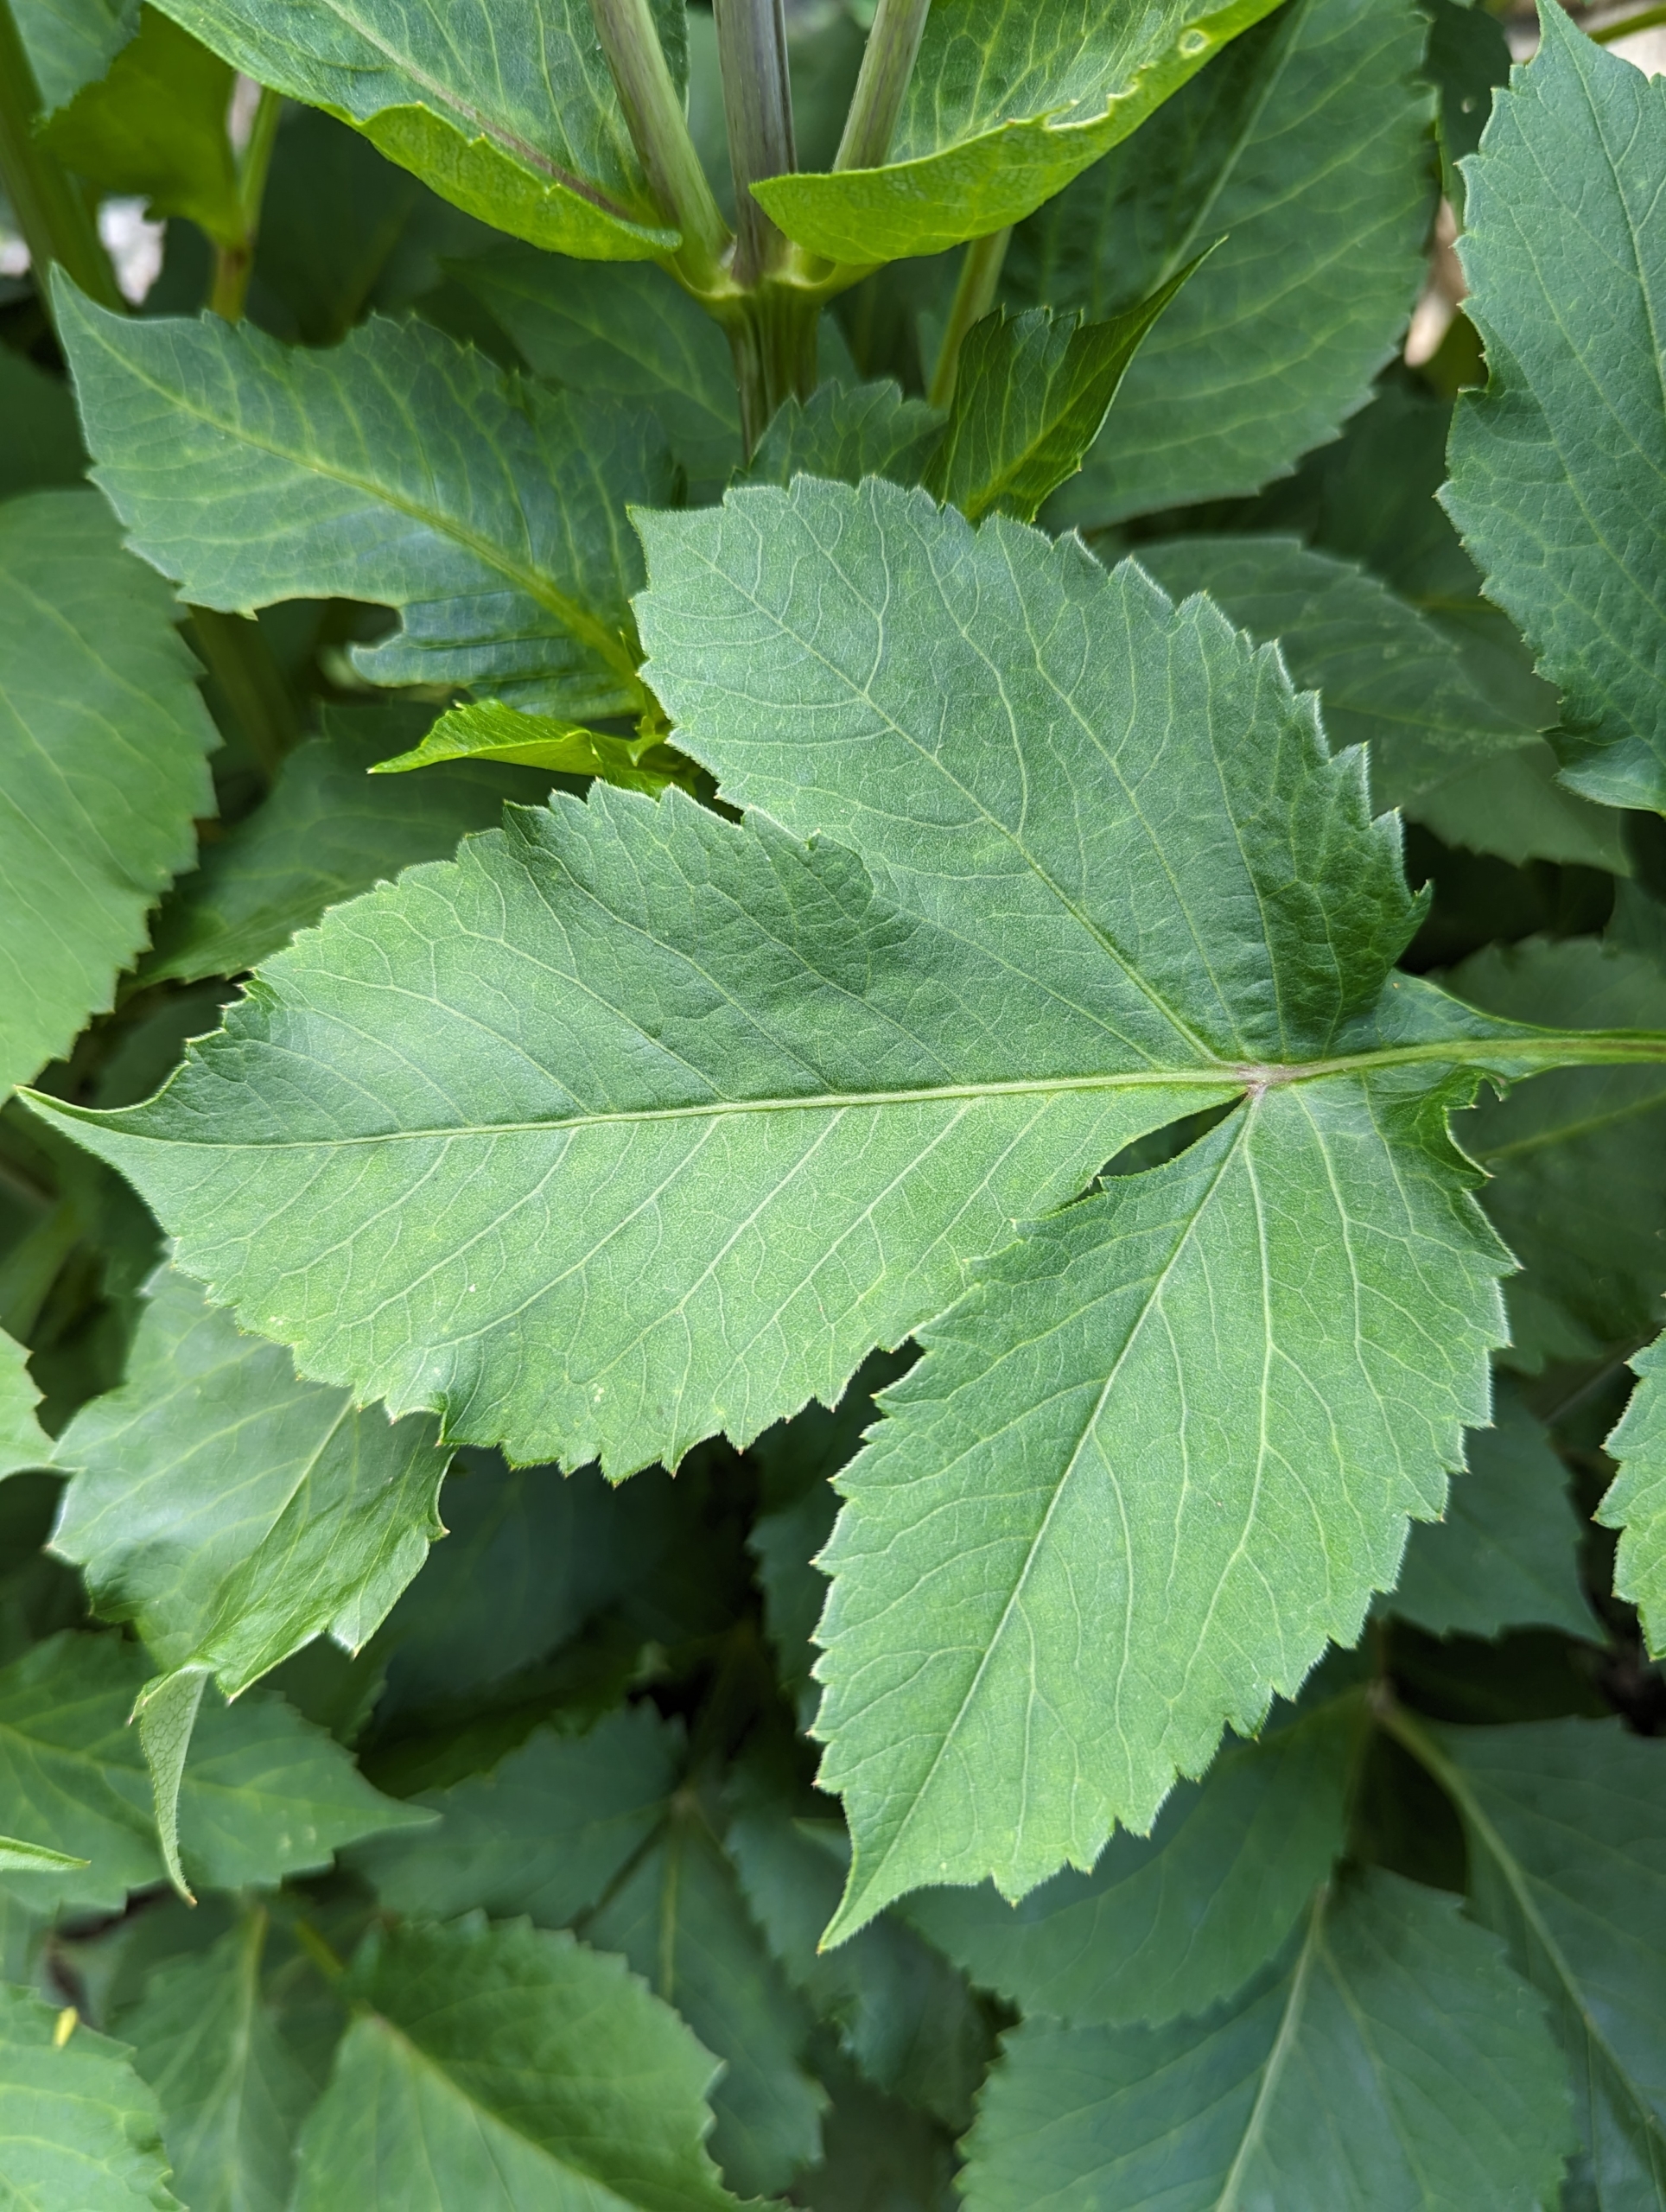
Dahlia leaves are typically dark green, lance-shaped, and have a slightly rough texture.
Dahlias can vary in height, leaf color, form, and shape. This is because dahlias are octoploids, meaning they have eight sets of homologous chromosomes, whereas most plants have only two.
They produce an abundance of wonderful flowers throughout early summer and again in late summer until the first frost.
Dahlias are popularly grown for their long-lasting cut flowers. From the side, many dahlia petals grow all around the flower head giving it a very full appearance.
And they thrive in rich, well-drained soil with a pH level of 6.5 to 7.0 and slightly acidic.
The majority of dahlia species do not produce scented flowers or cultivars, but they are brightly colored to attract pollinating insects.
Dahlias come in white, shades of pink, red, yellow, orange, shades of purple, and various combinations of these colors – every color but true blue. In the 19th century, a London newspaper offered a pound, or a little more than a dollar, to the first breeder to create a blue dahlia—the reward was never claimed, but there have been many attempts that are near-blue.
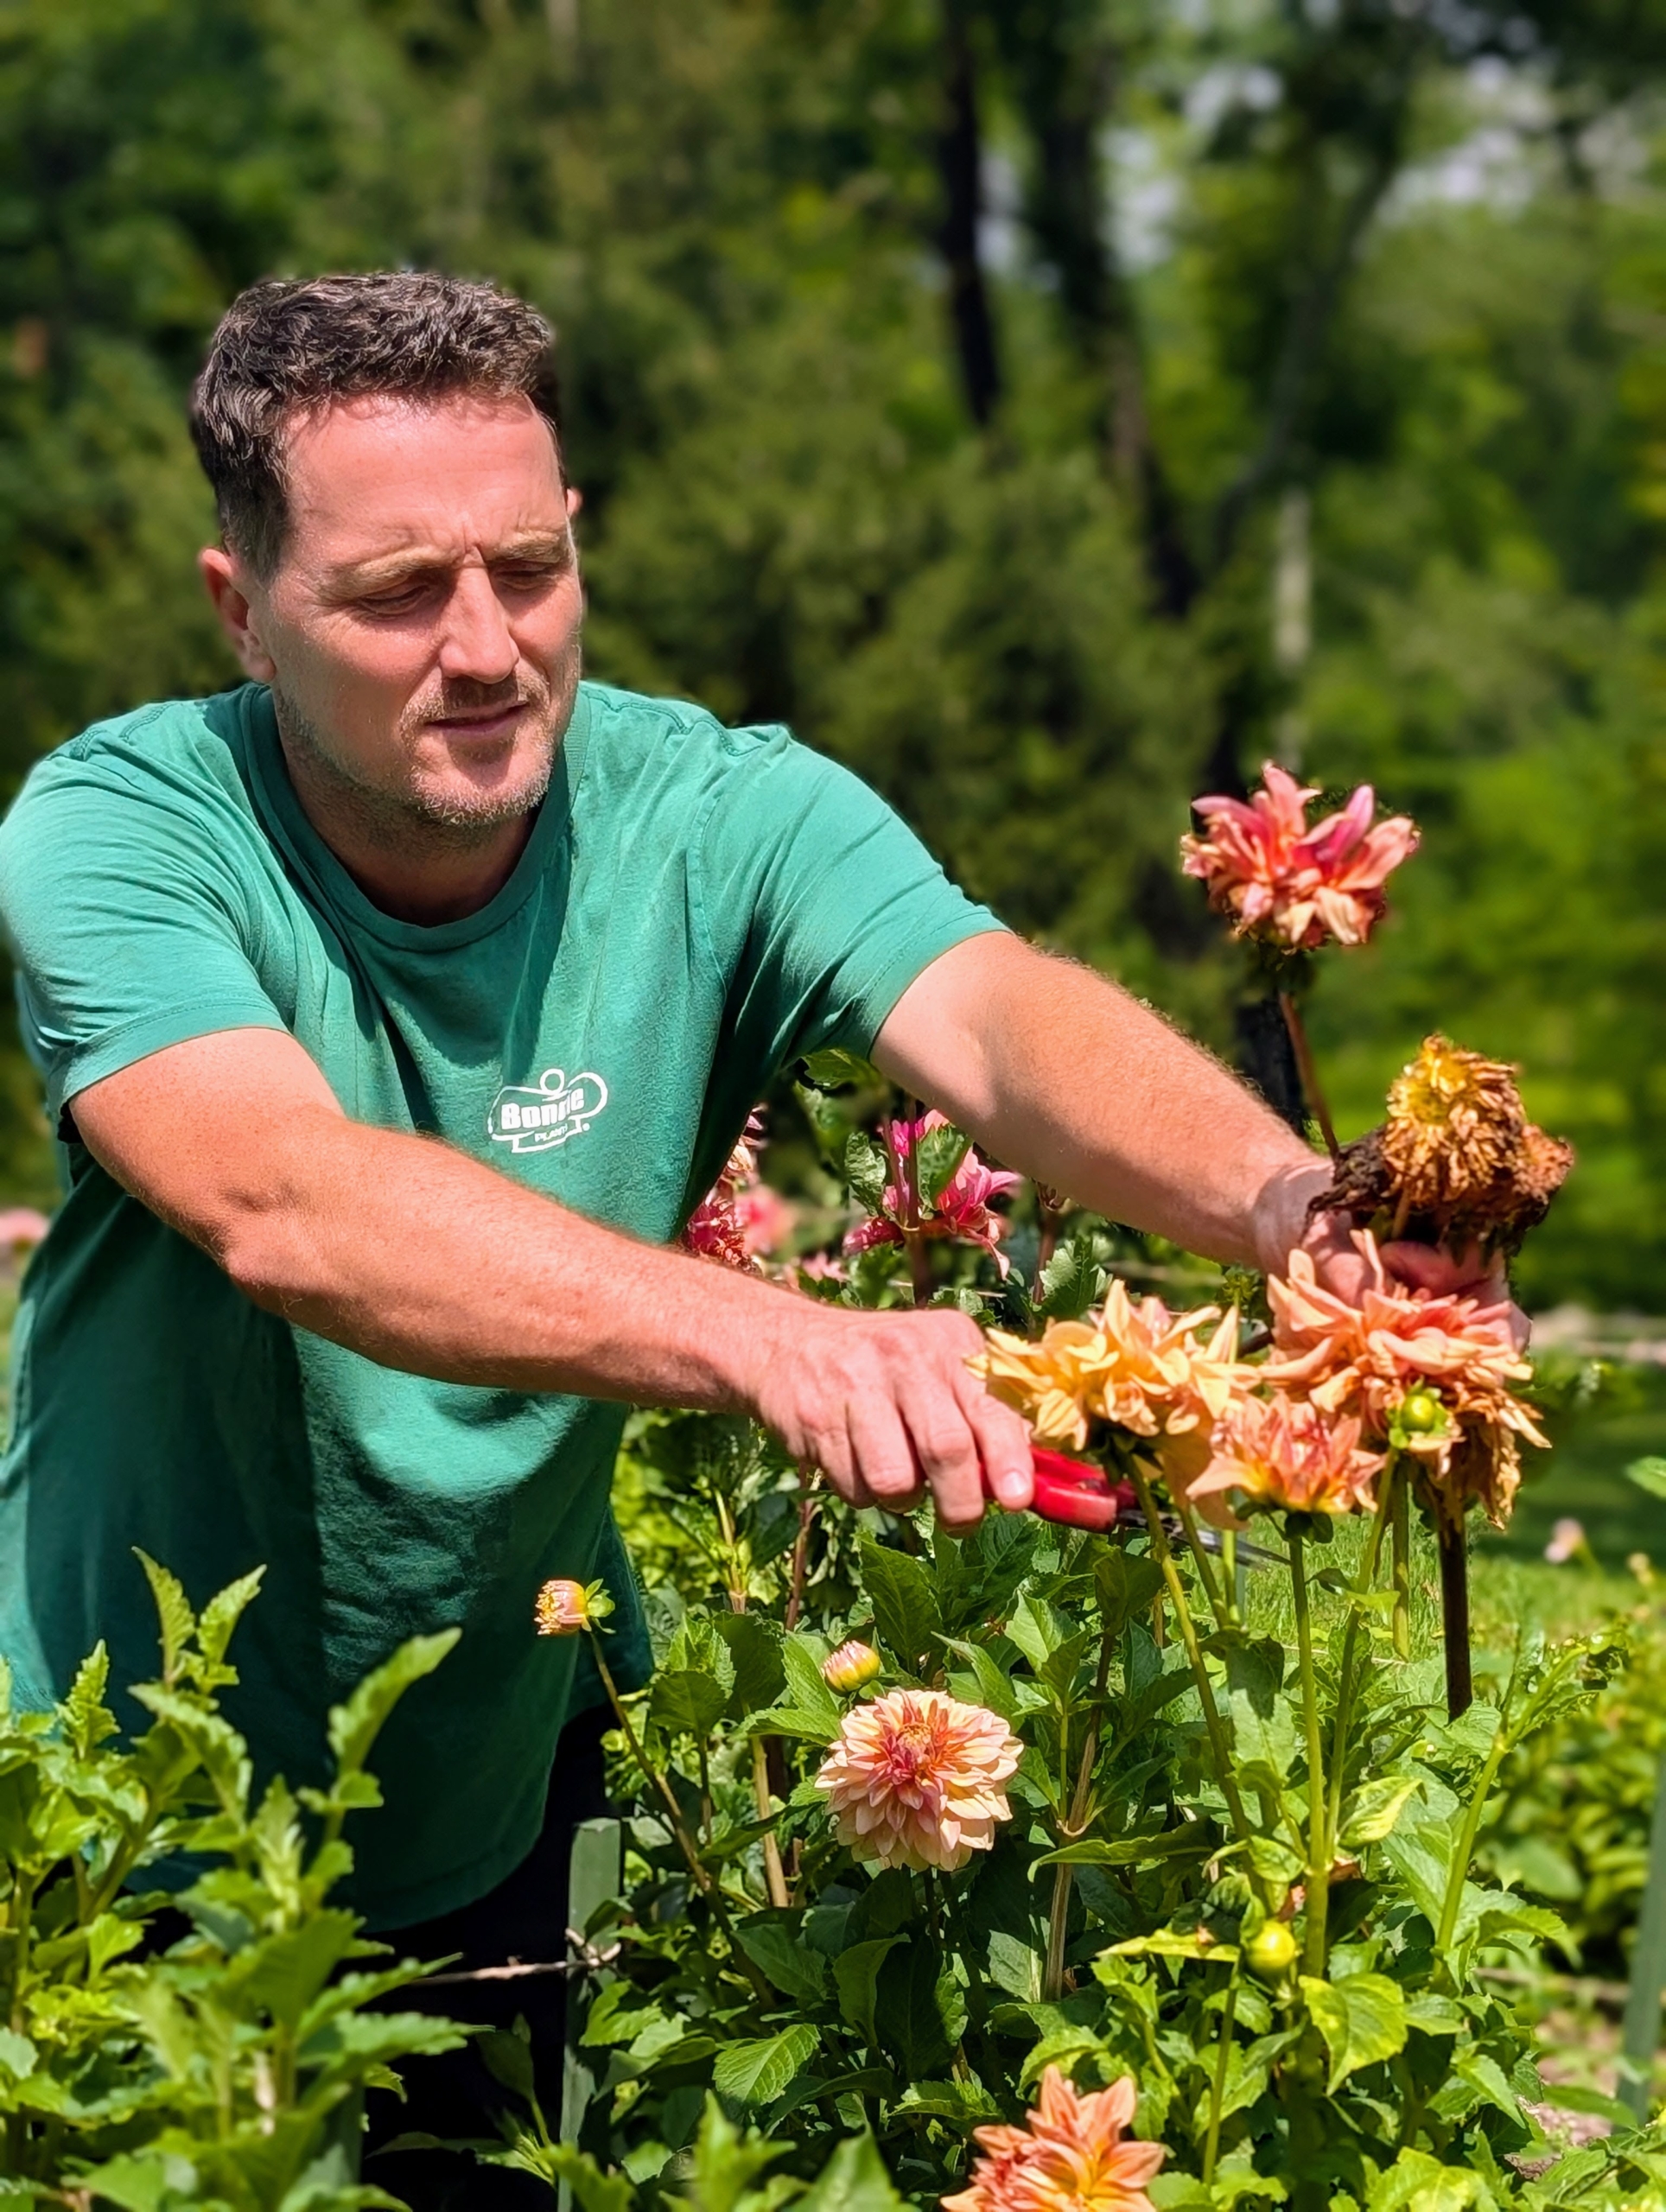
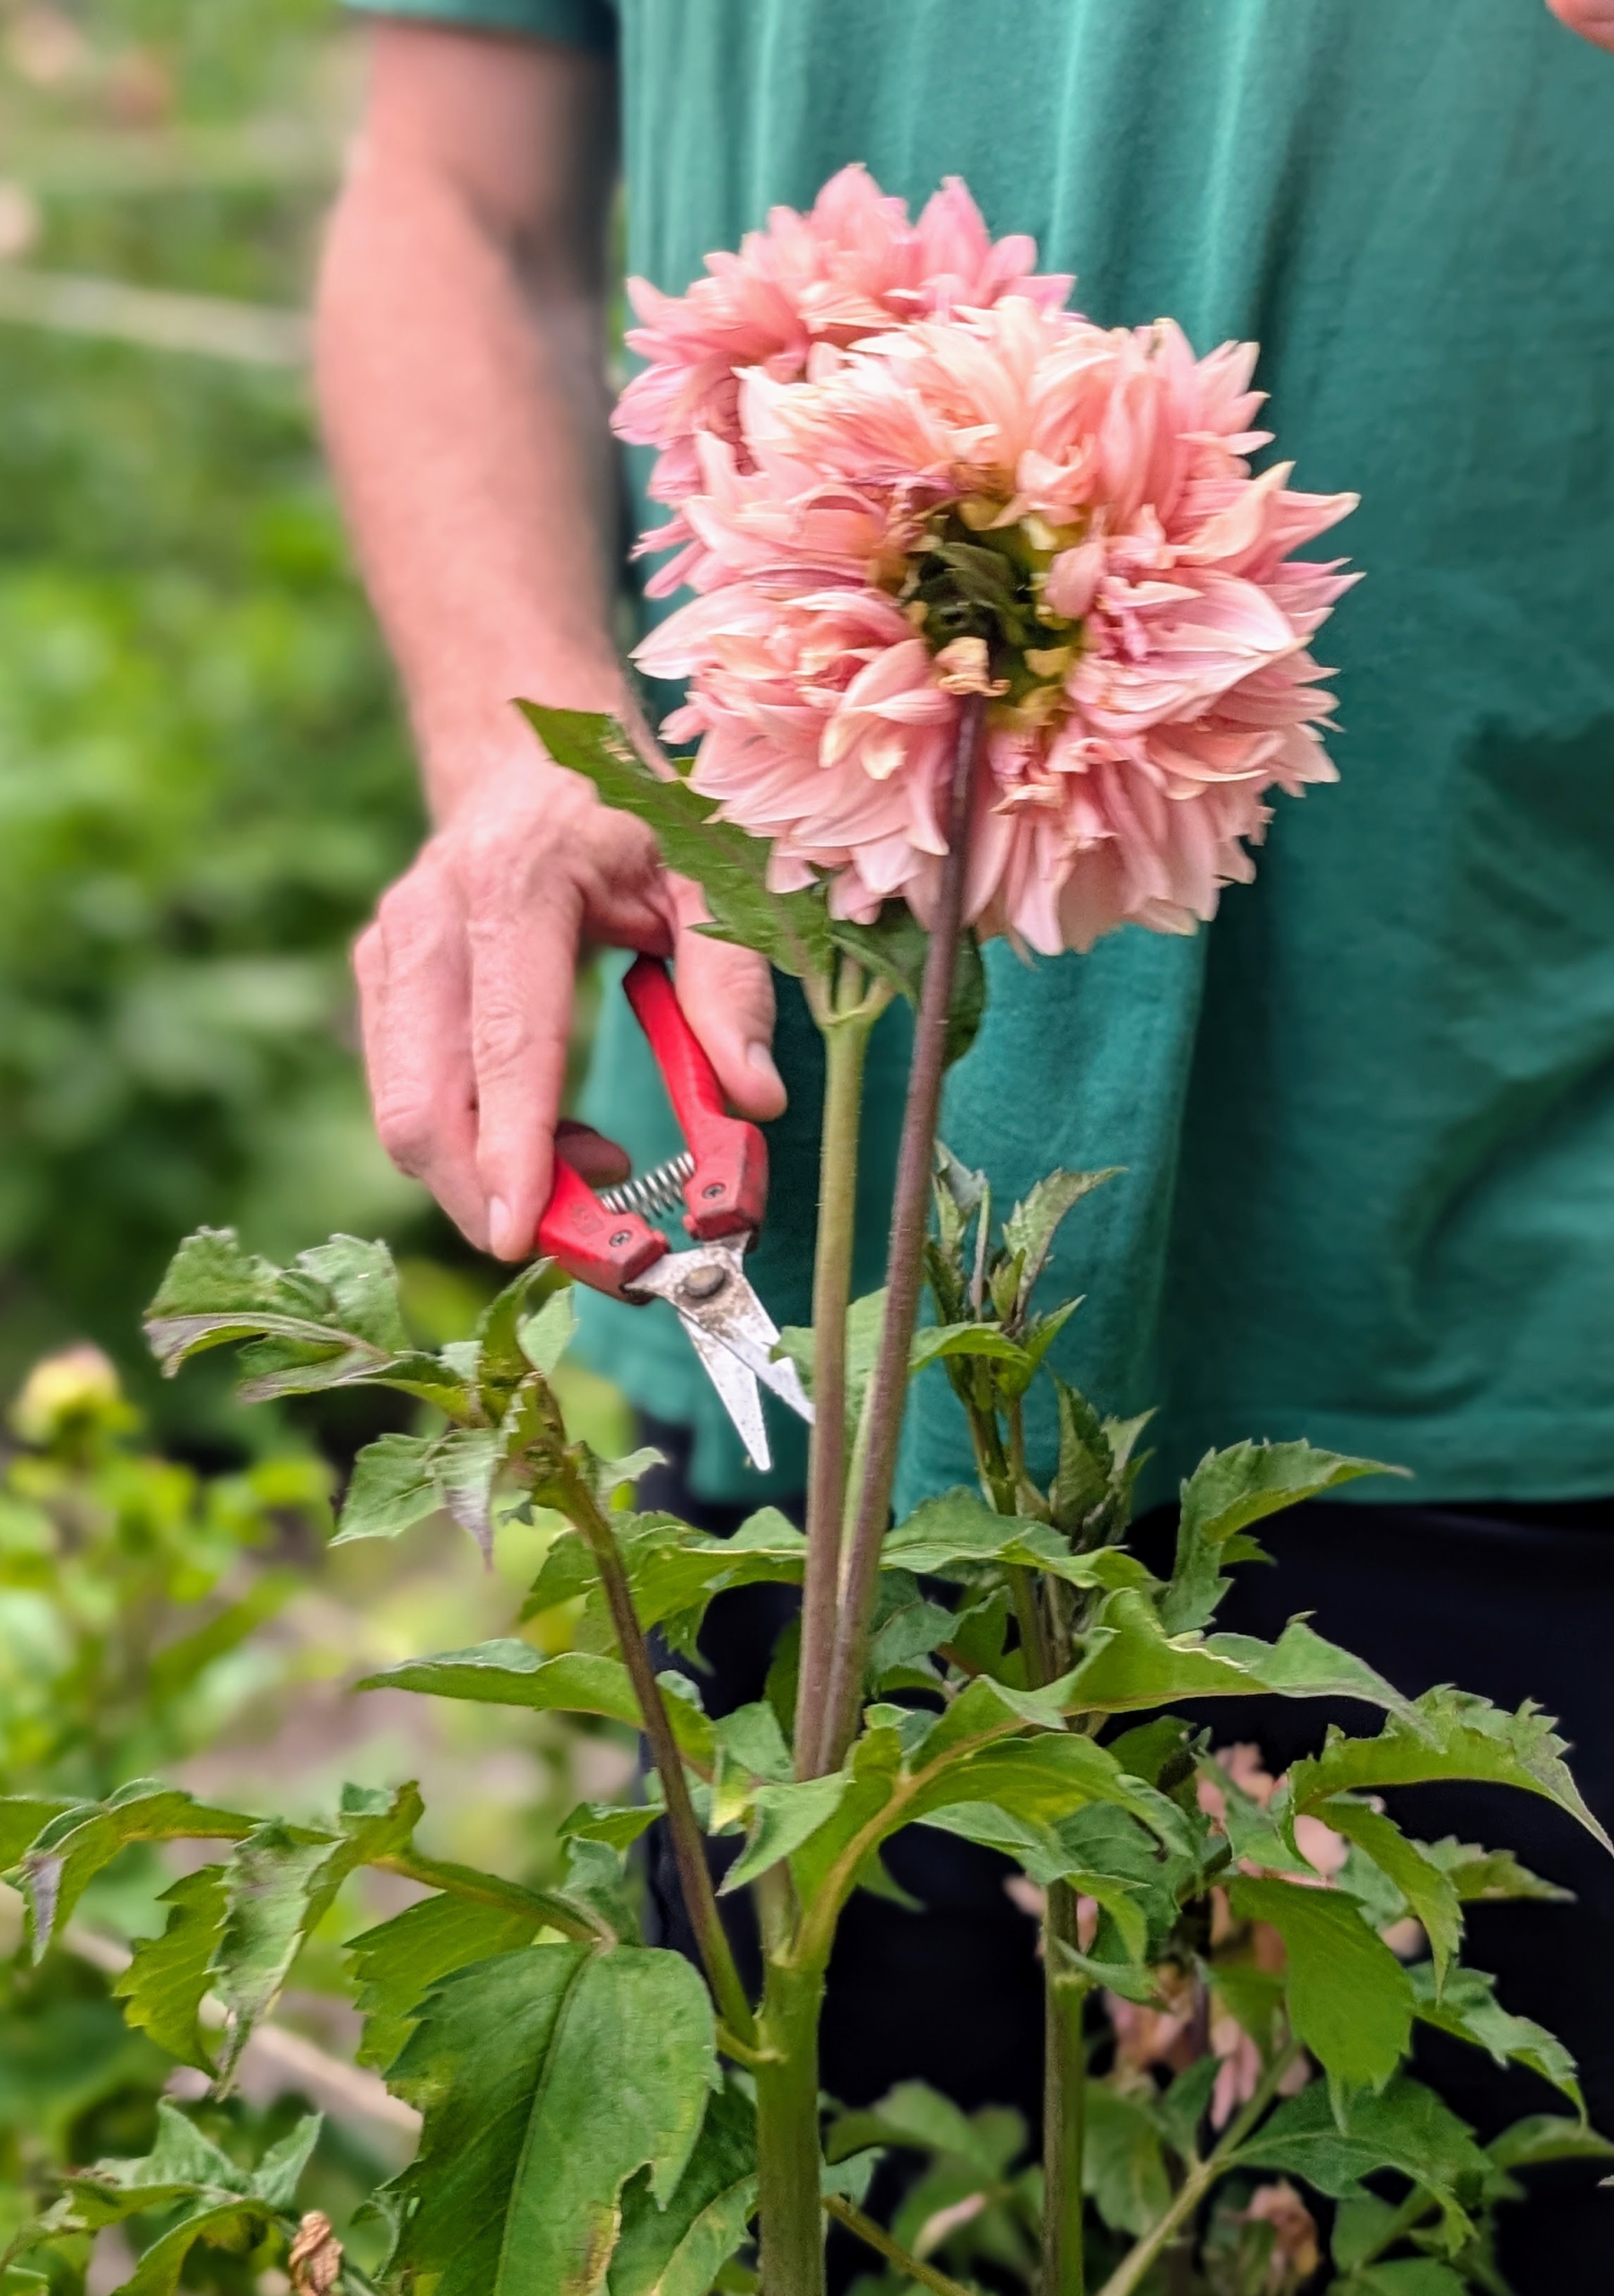
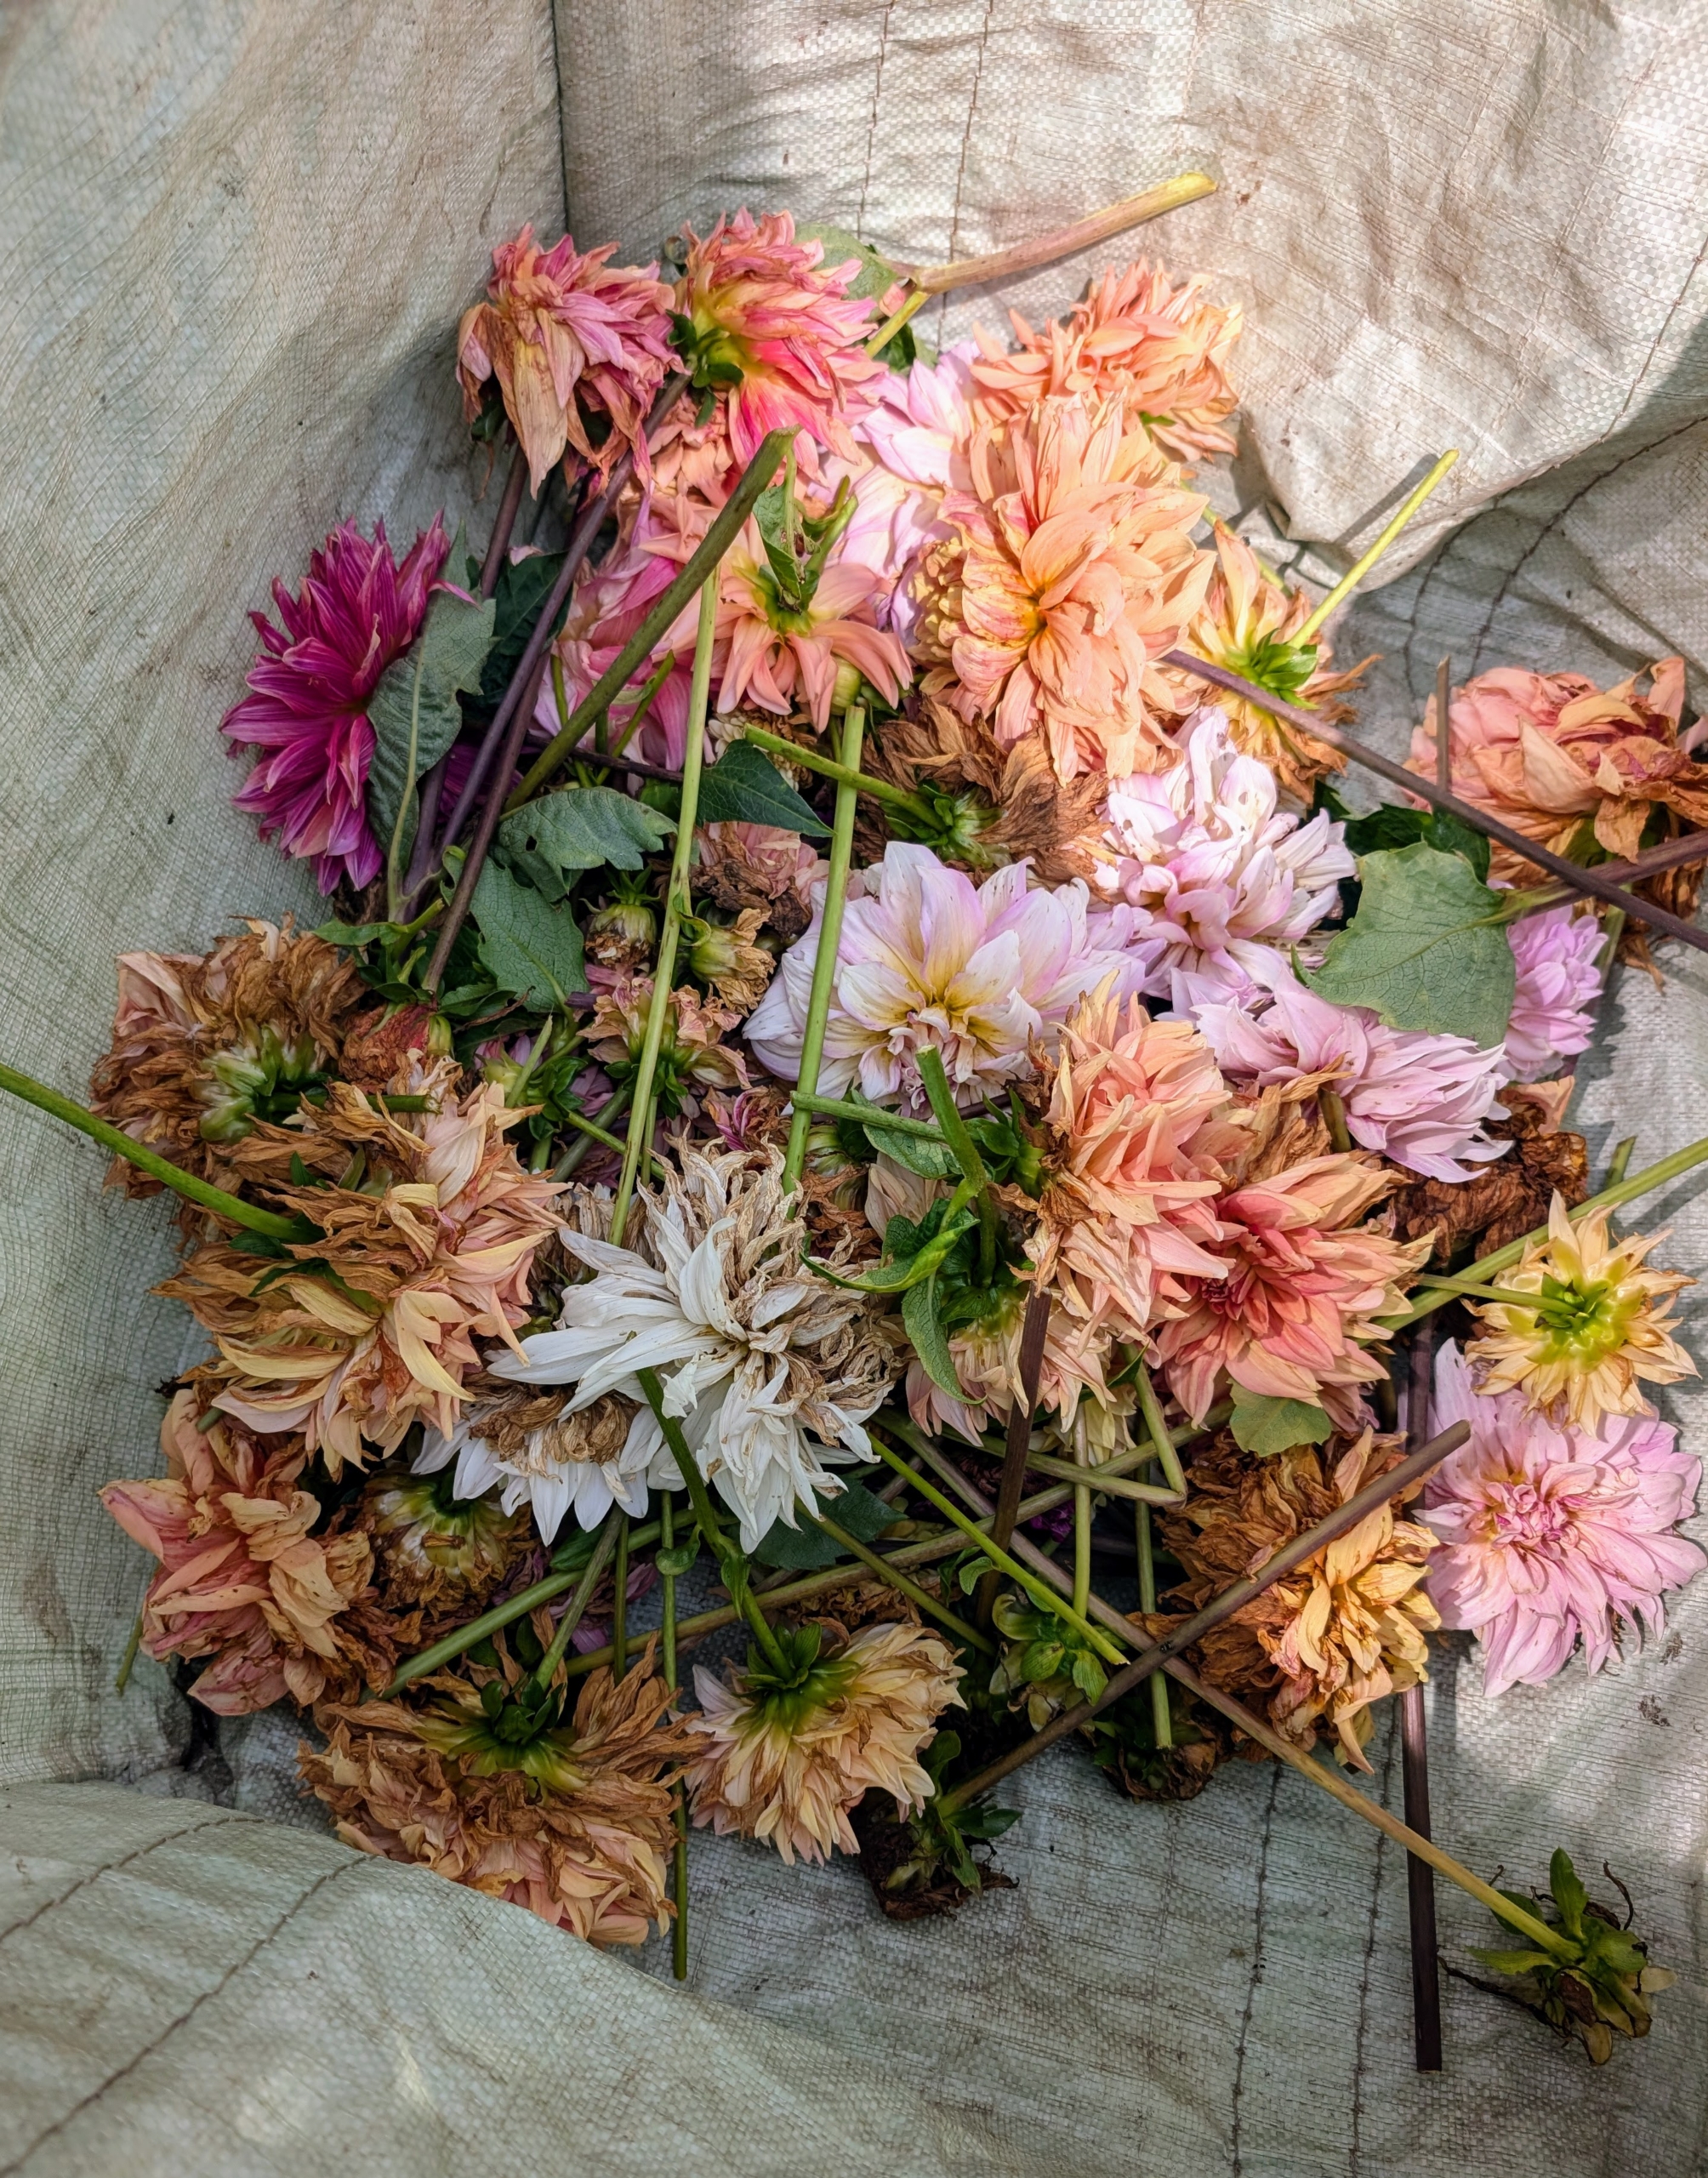
And as the flowers finish blooming, when petals have begun to wilt, fade, or turn brown around the edges, it’s time to deadhead, or remove spent flowers.
Deadheading through the season prevents the plants from redirecting their energy into seed production, allowing them to focus on producing more flowers instead. Ryan clips below the flower head just at the junction with the neighboring stem.
Deadheading also helps maintain the overall health of the plant, keeps the garden looking tidy and prevents the spread of pests and disease.
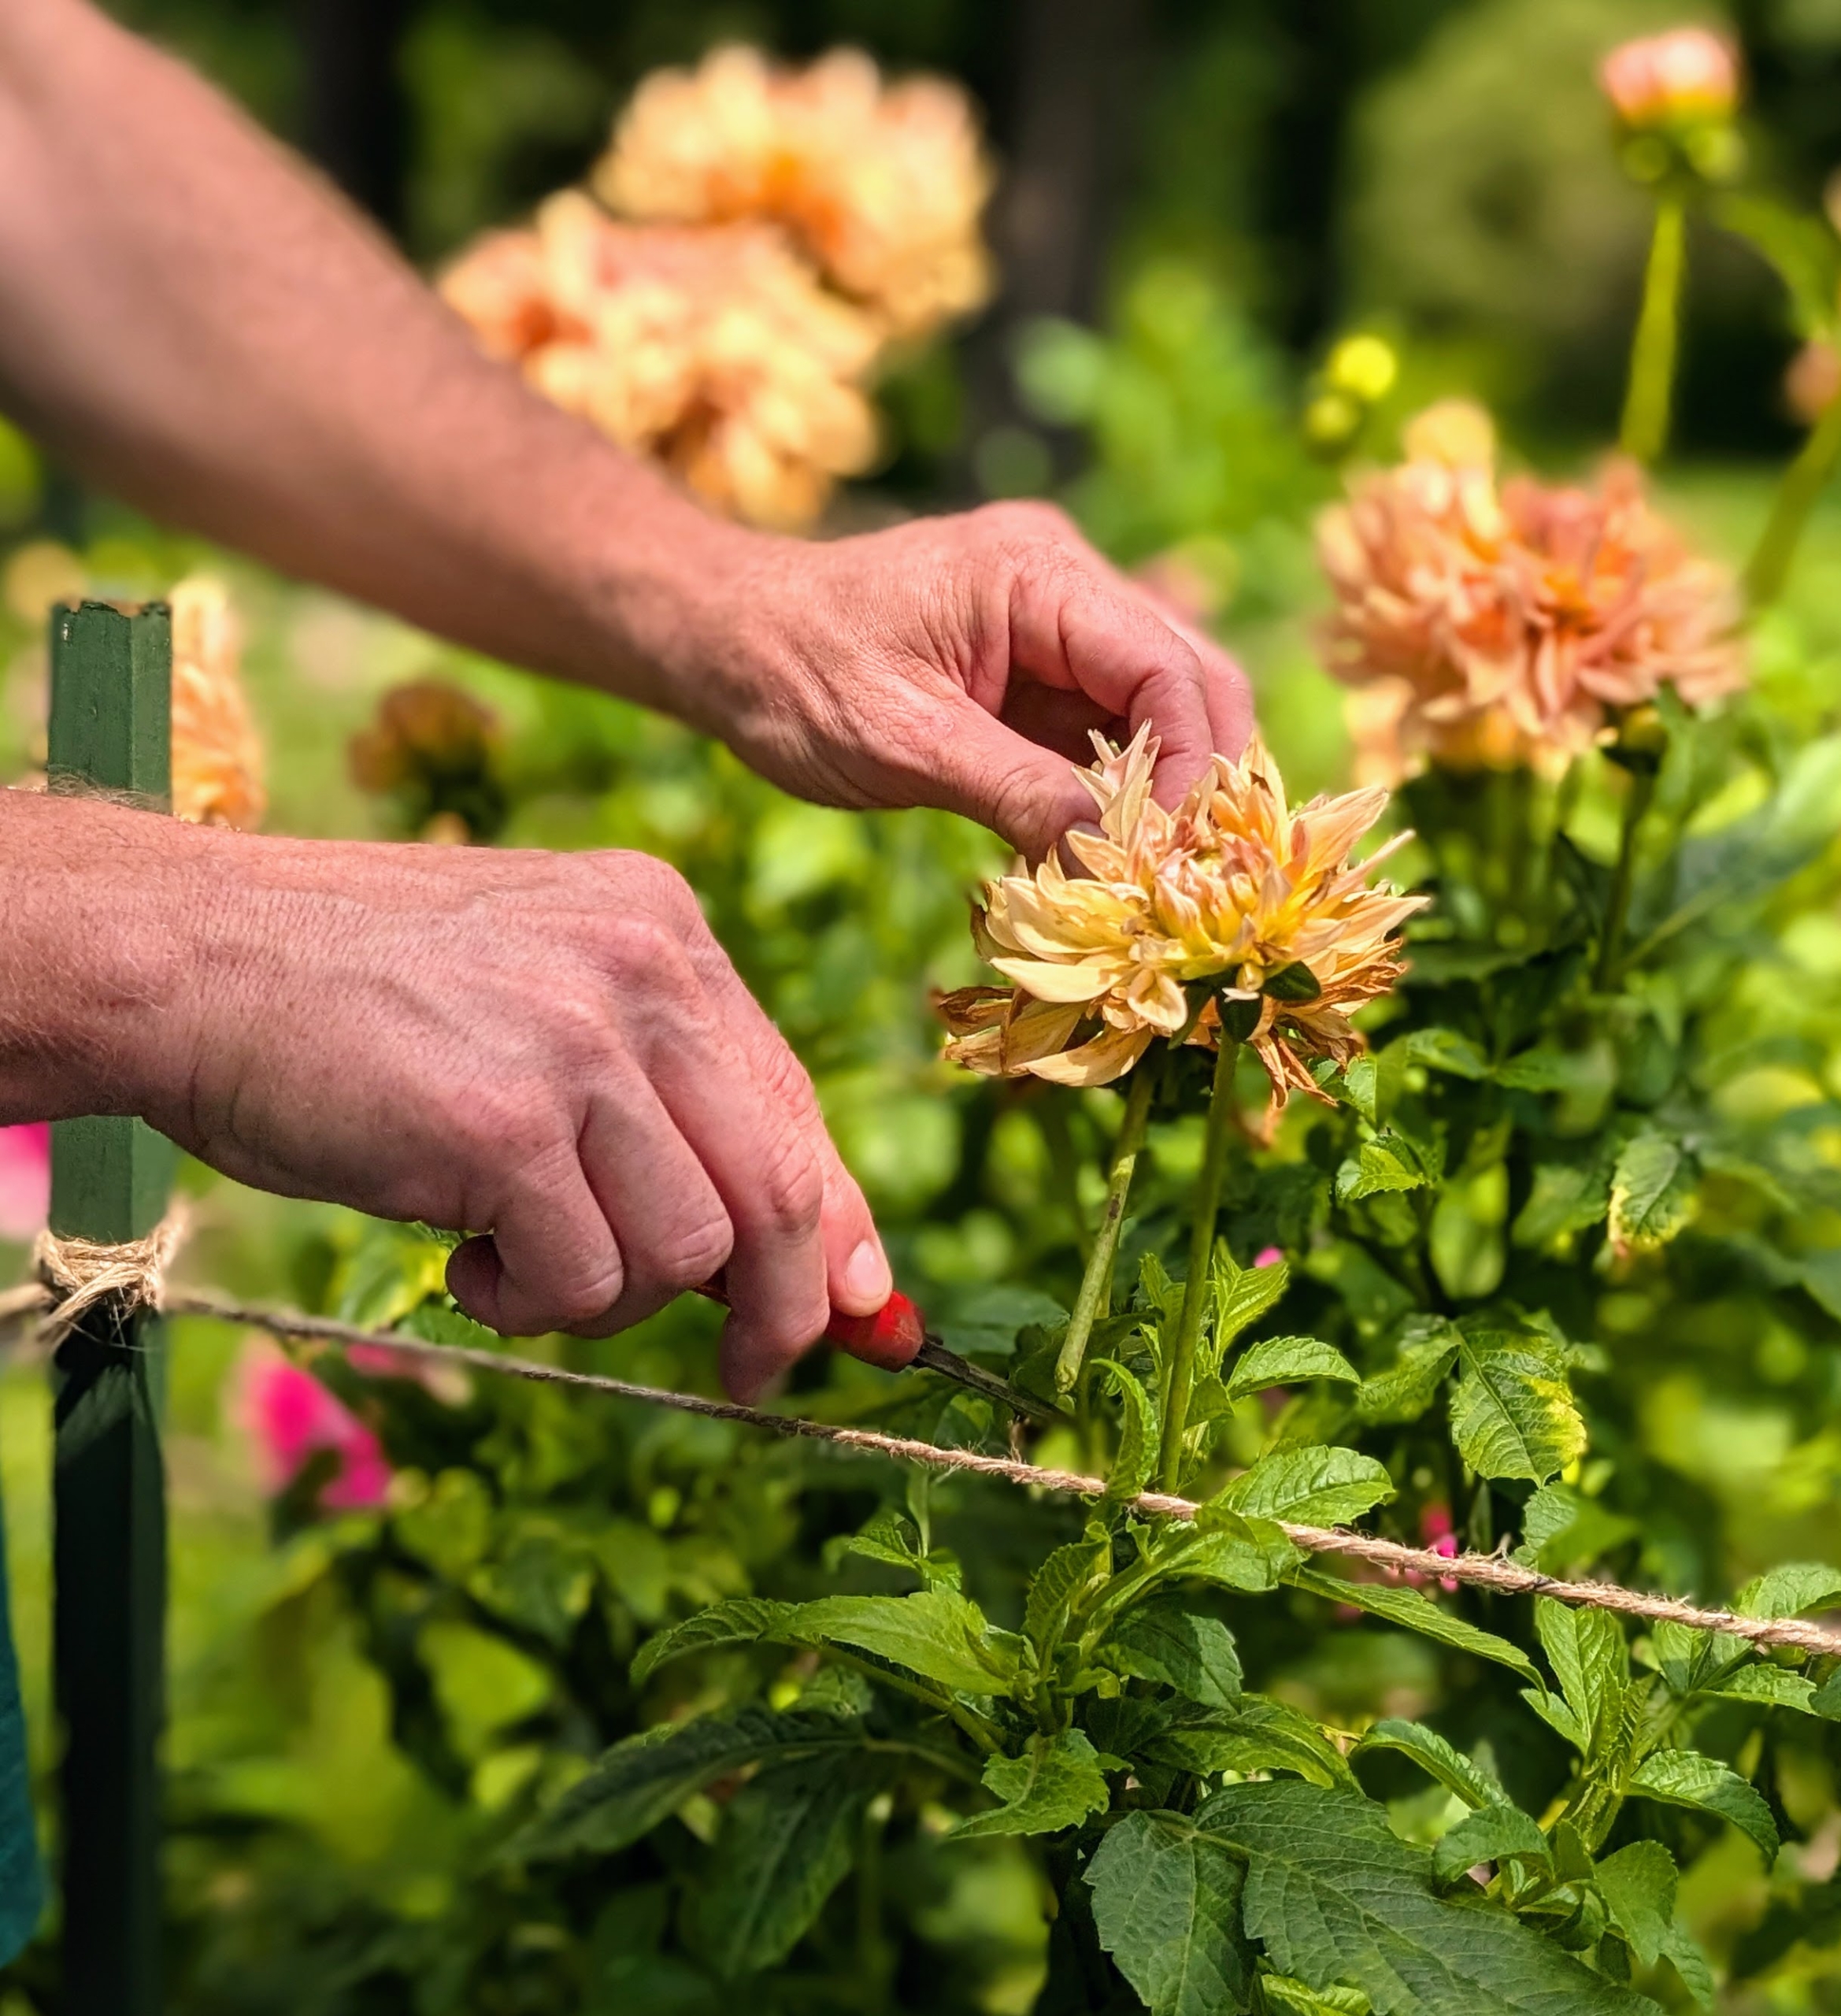
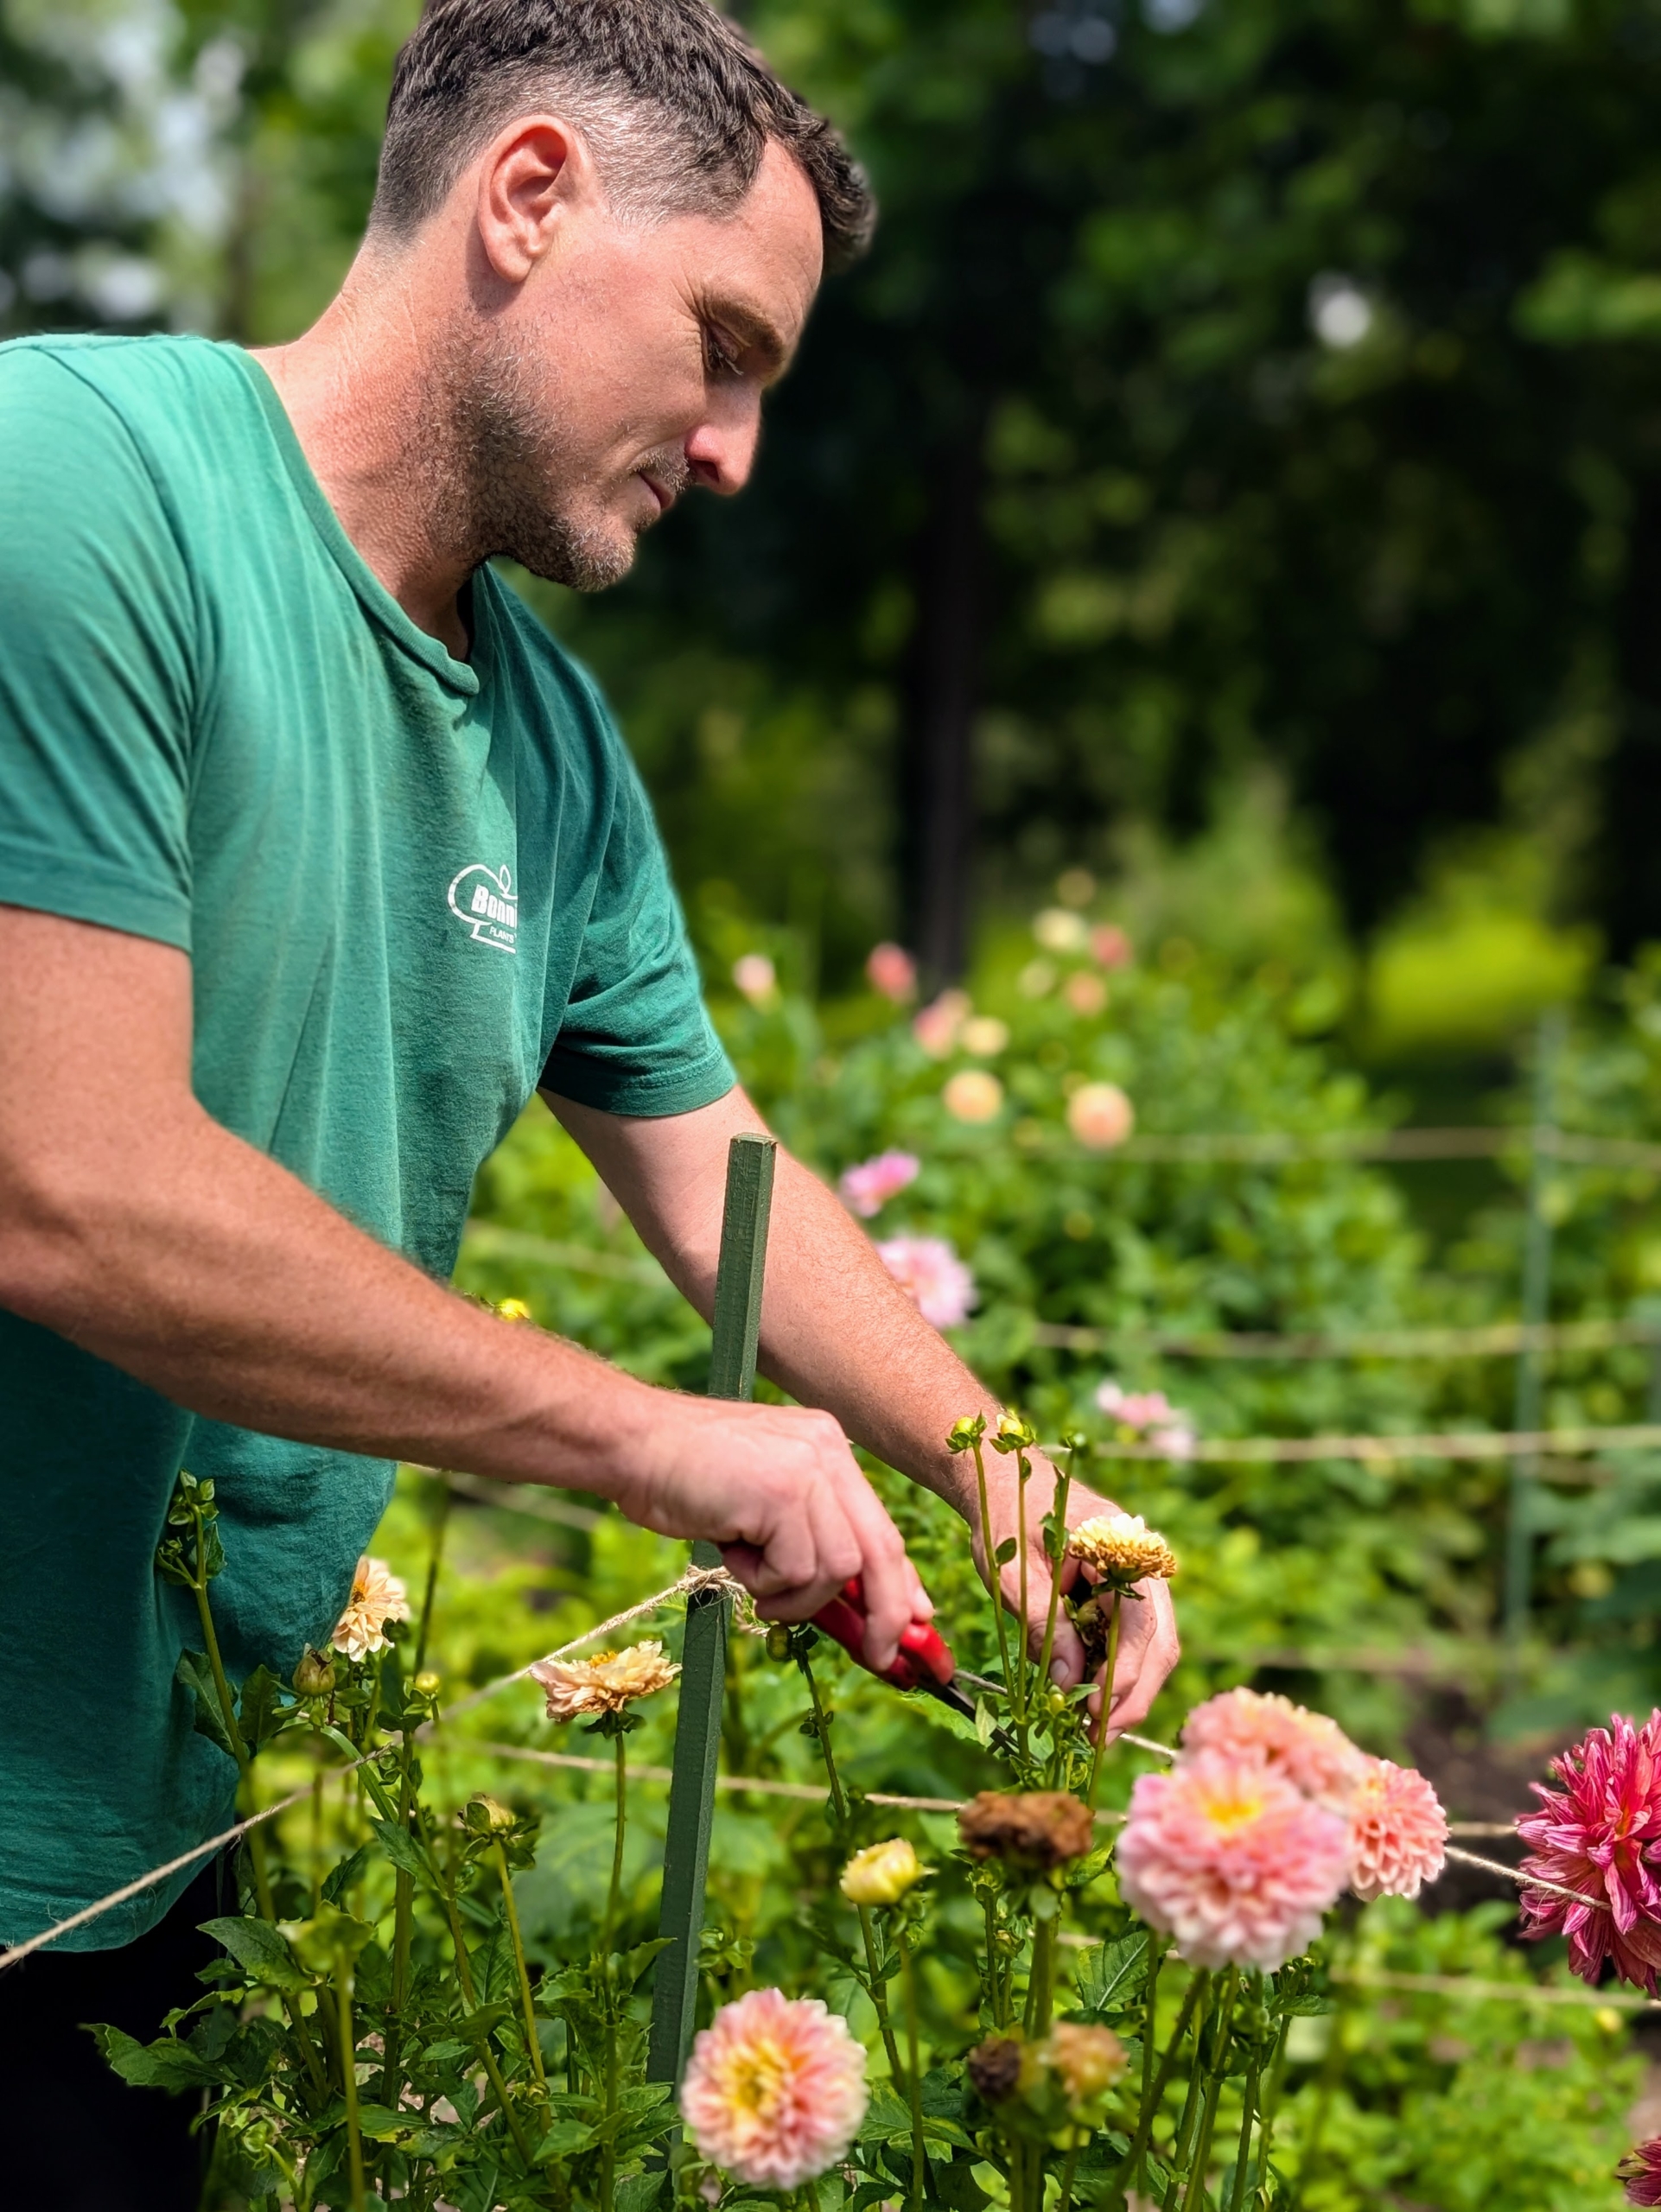
Ryan will check the dahlia garden once a week and trim any faded blooms.
After just a few minutes, Ryan has deadheaded the entire garden – it doesn’t take long at all.
And to prevent wilting, when cutting do so only in the early morning or late afternoon. And only cut them after they open to mature size – dahlias will not open after cutting.
So, go out and check your dahlias. Deadheading now and through the season will mean more to enjoy until the onset of winter.
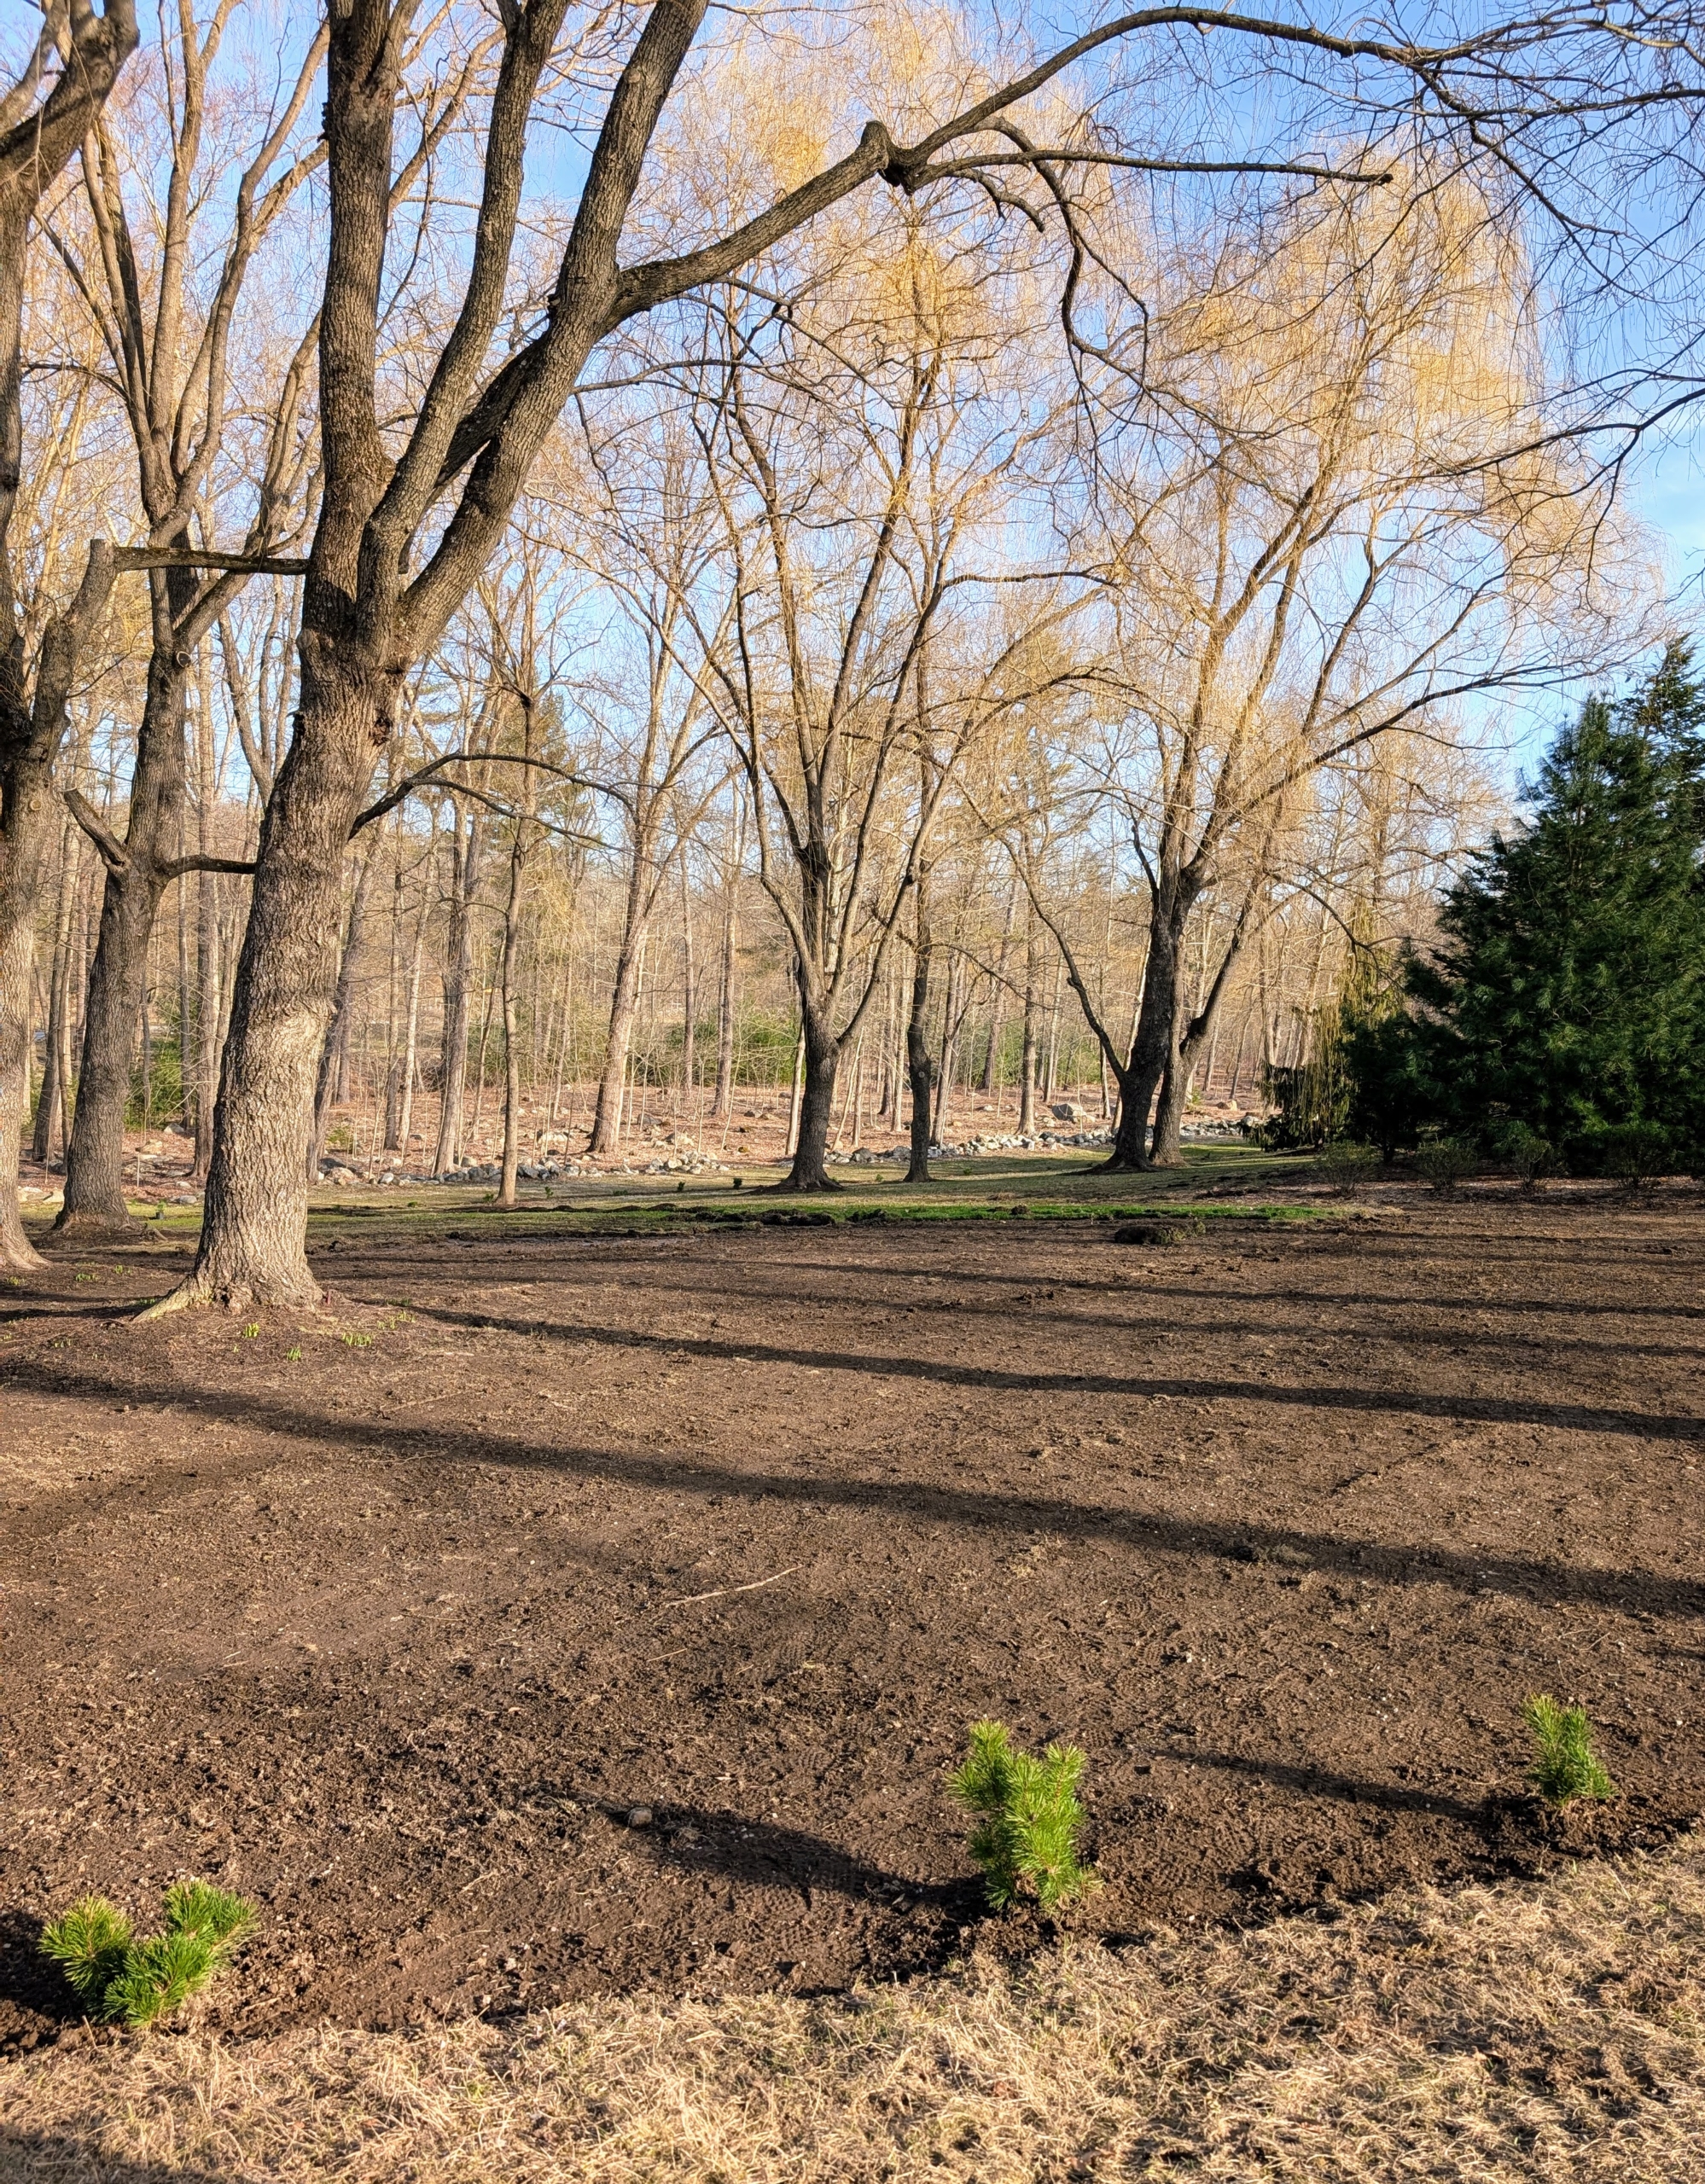
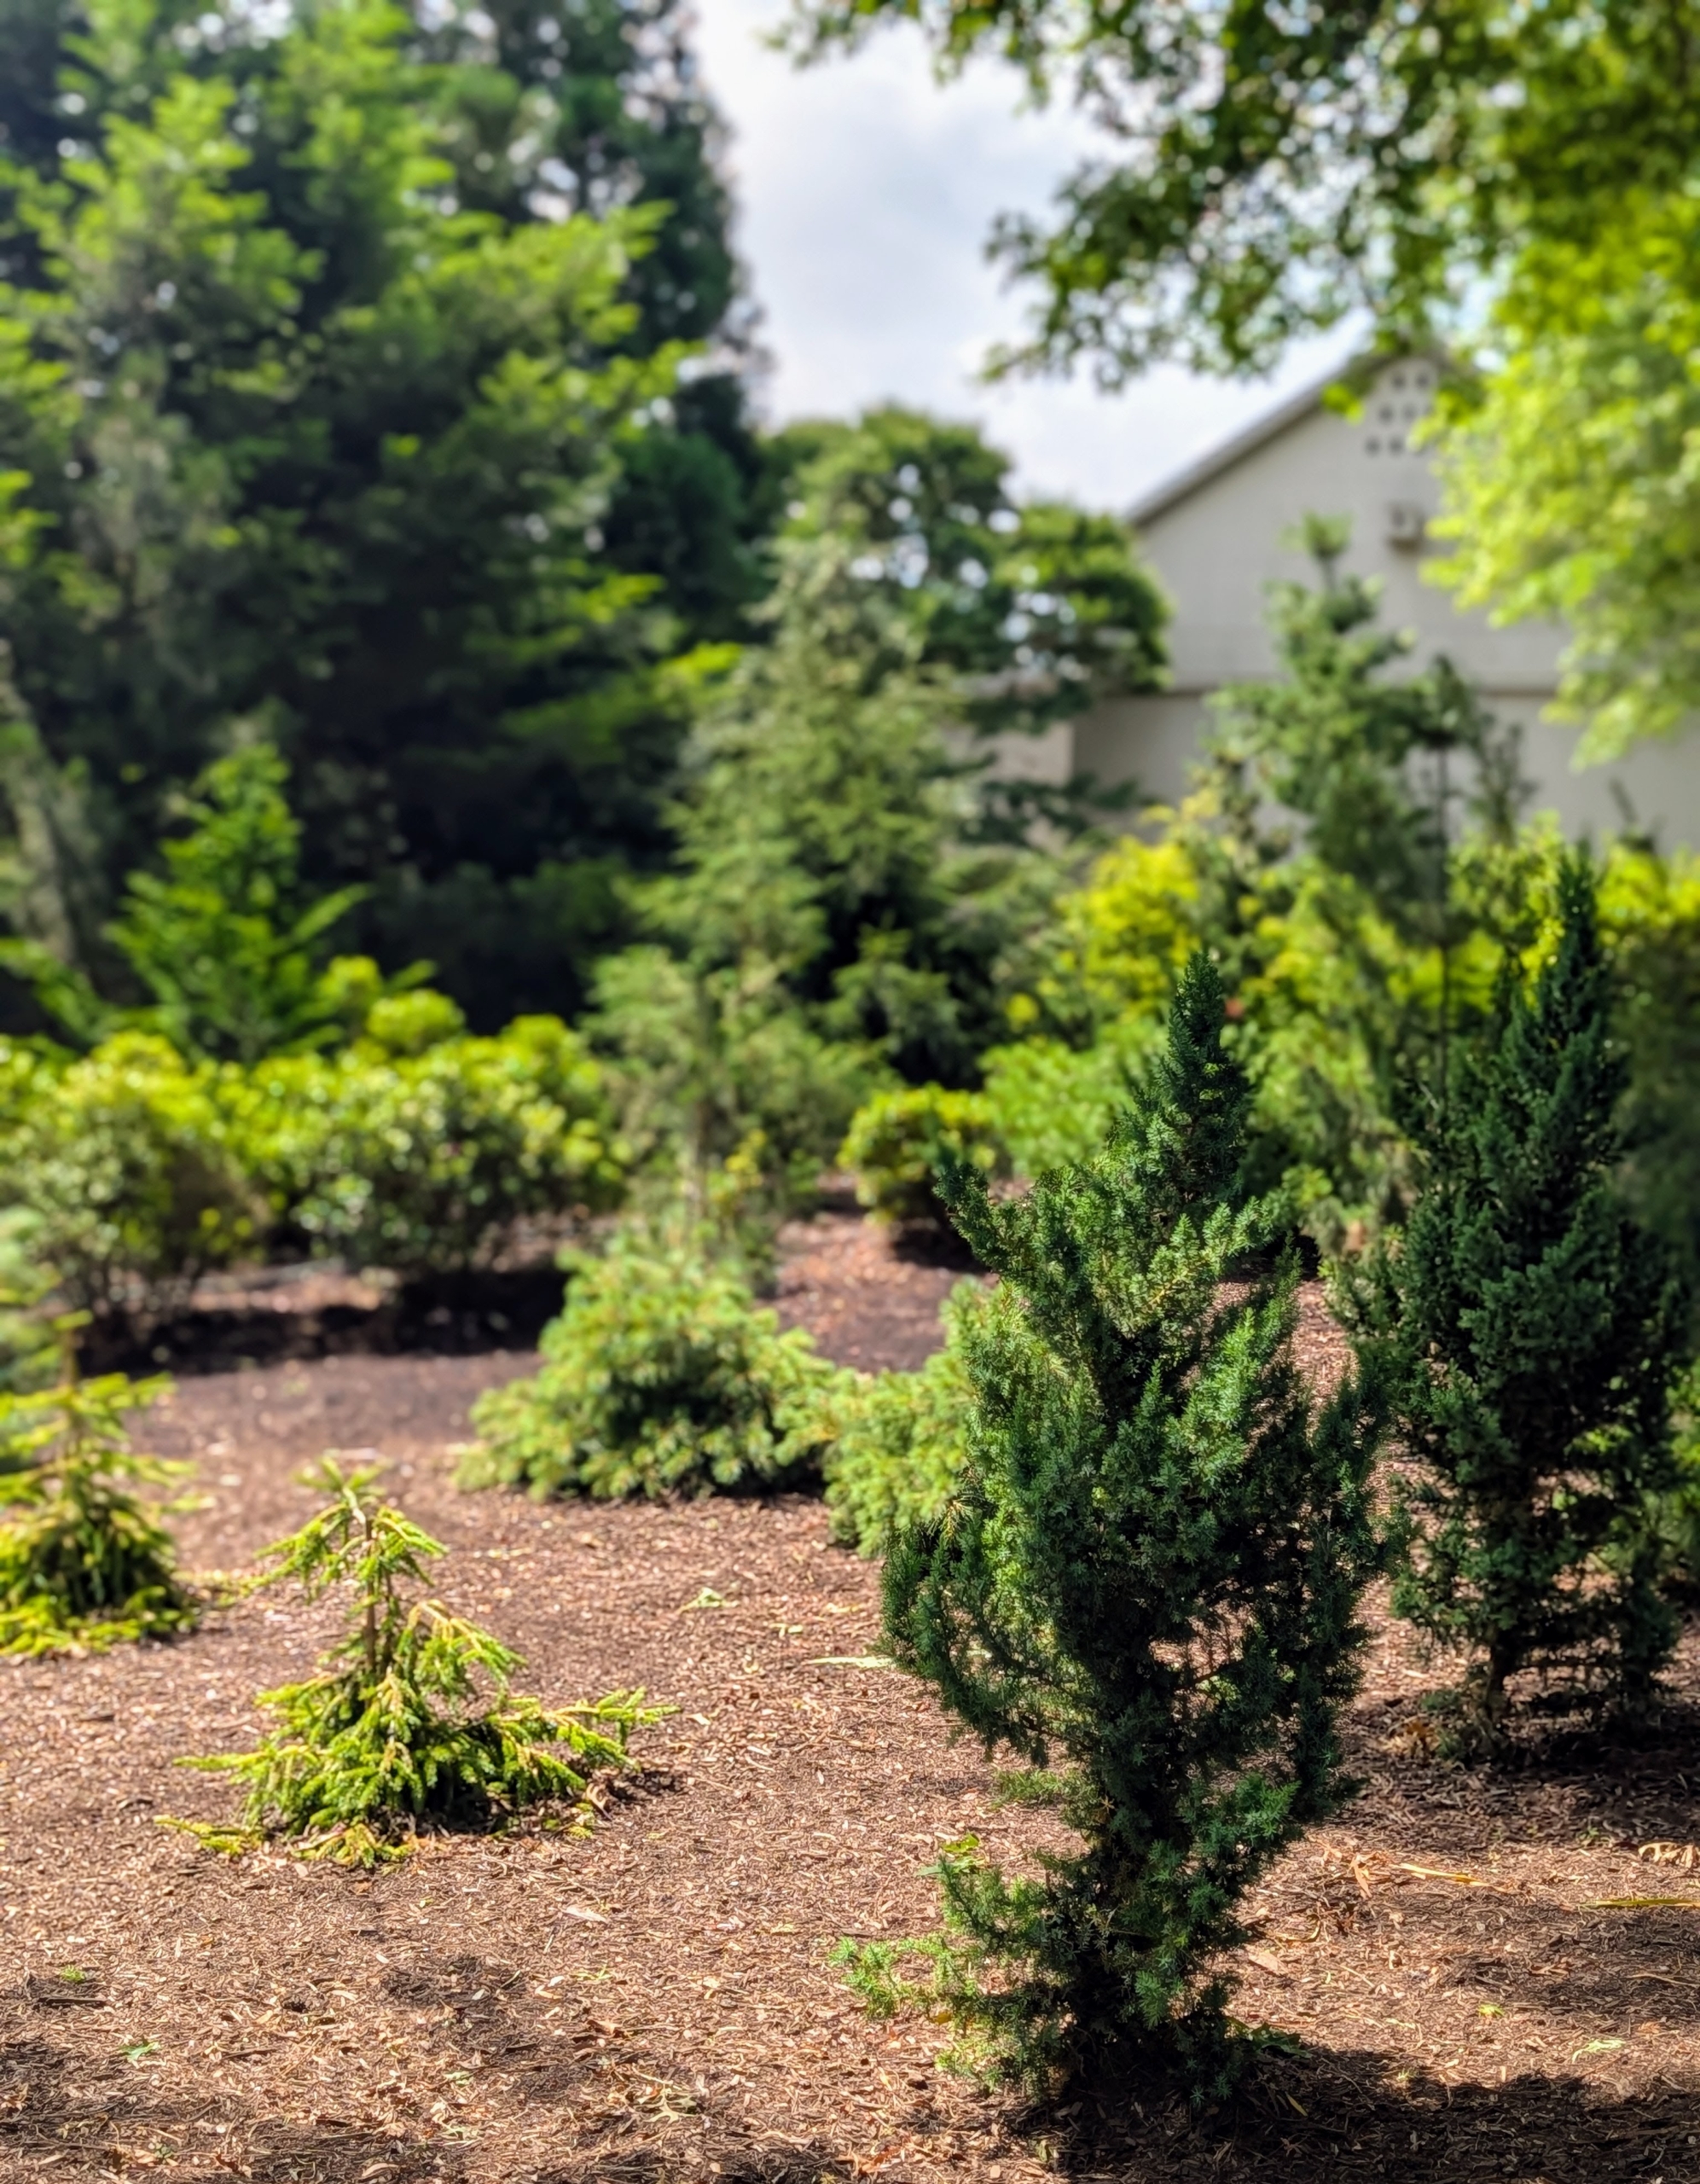
Planting evergreens in the garden provides year-round lush foliage of color and texture.
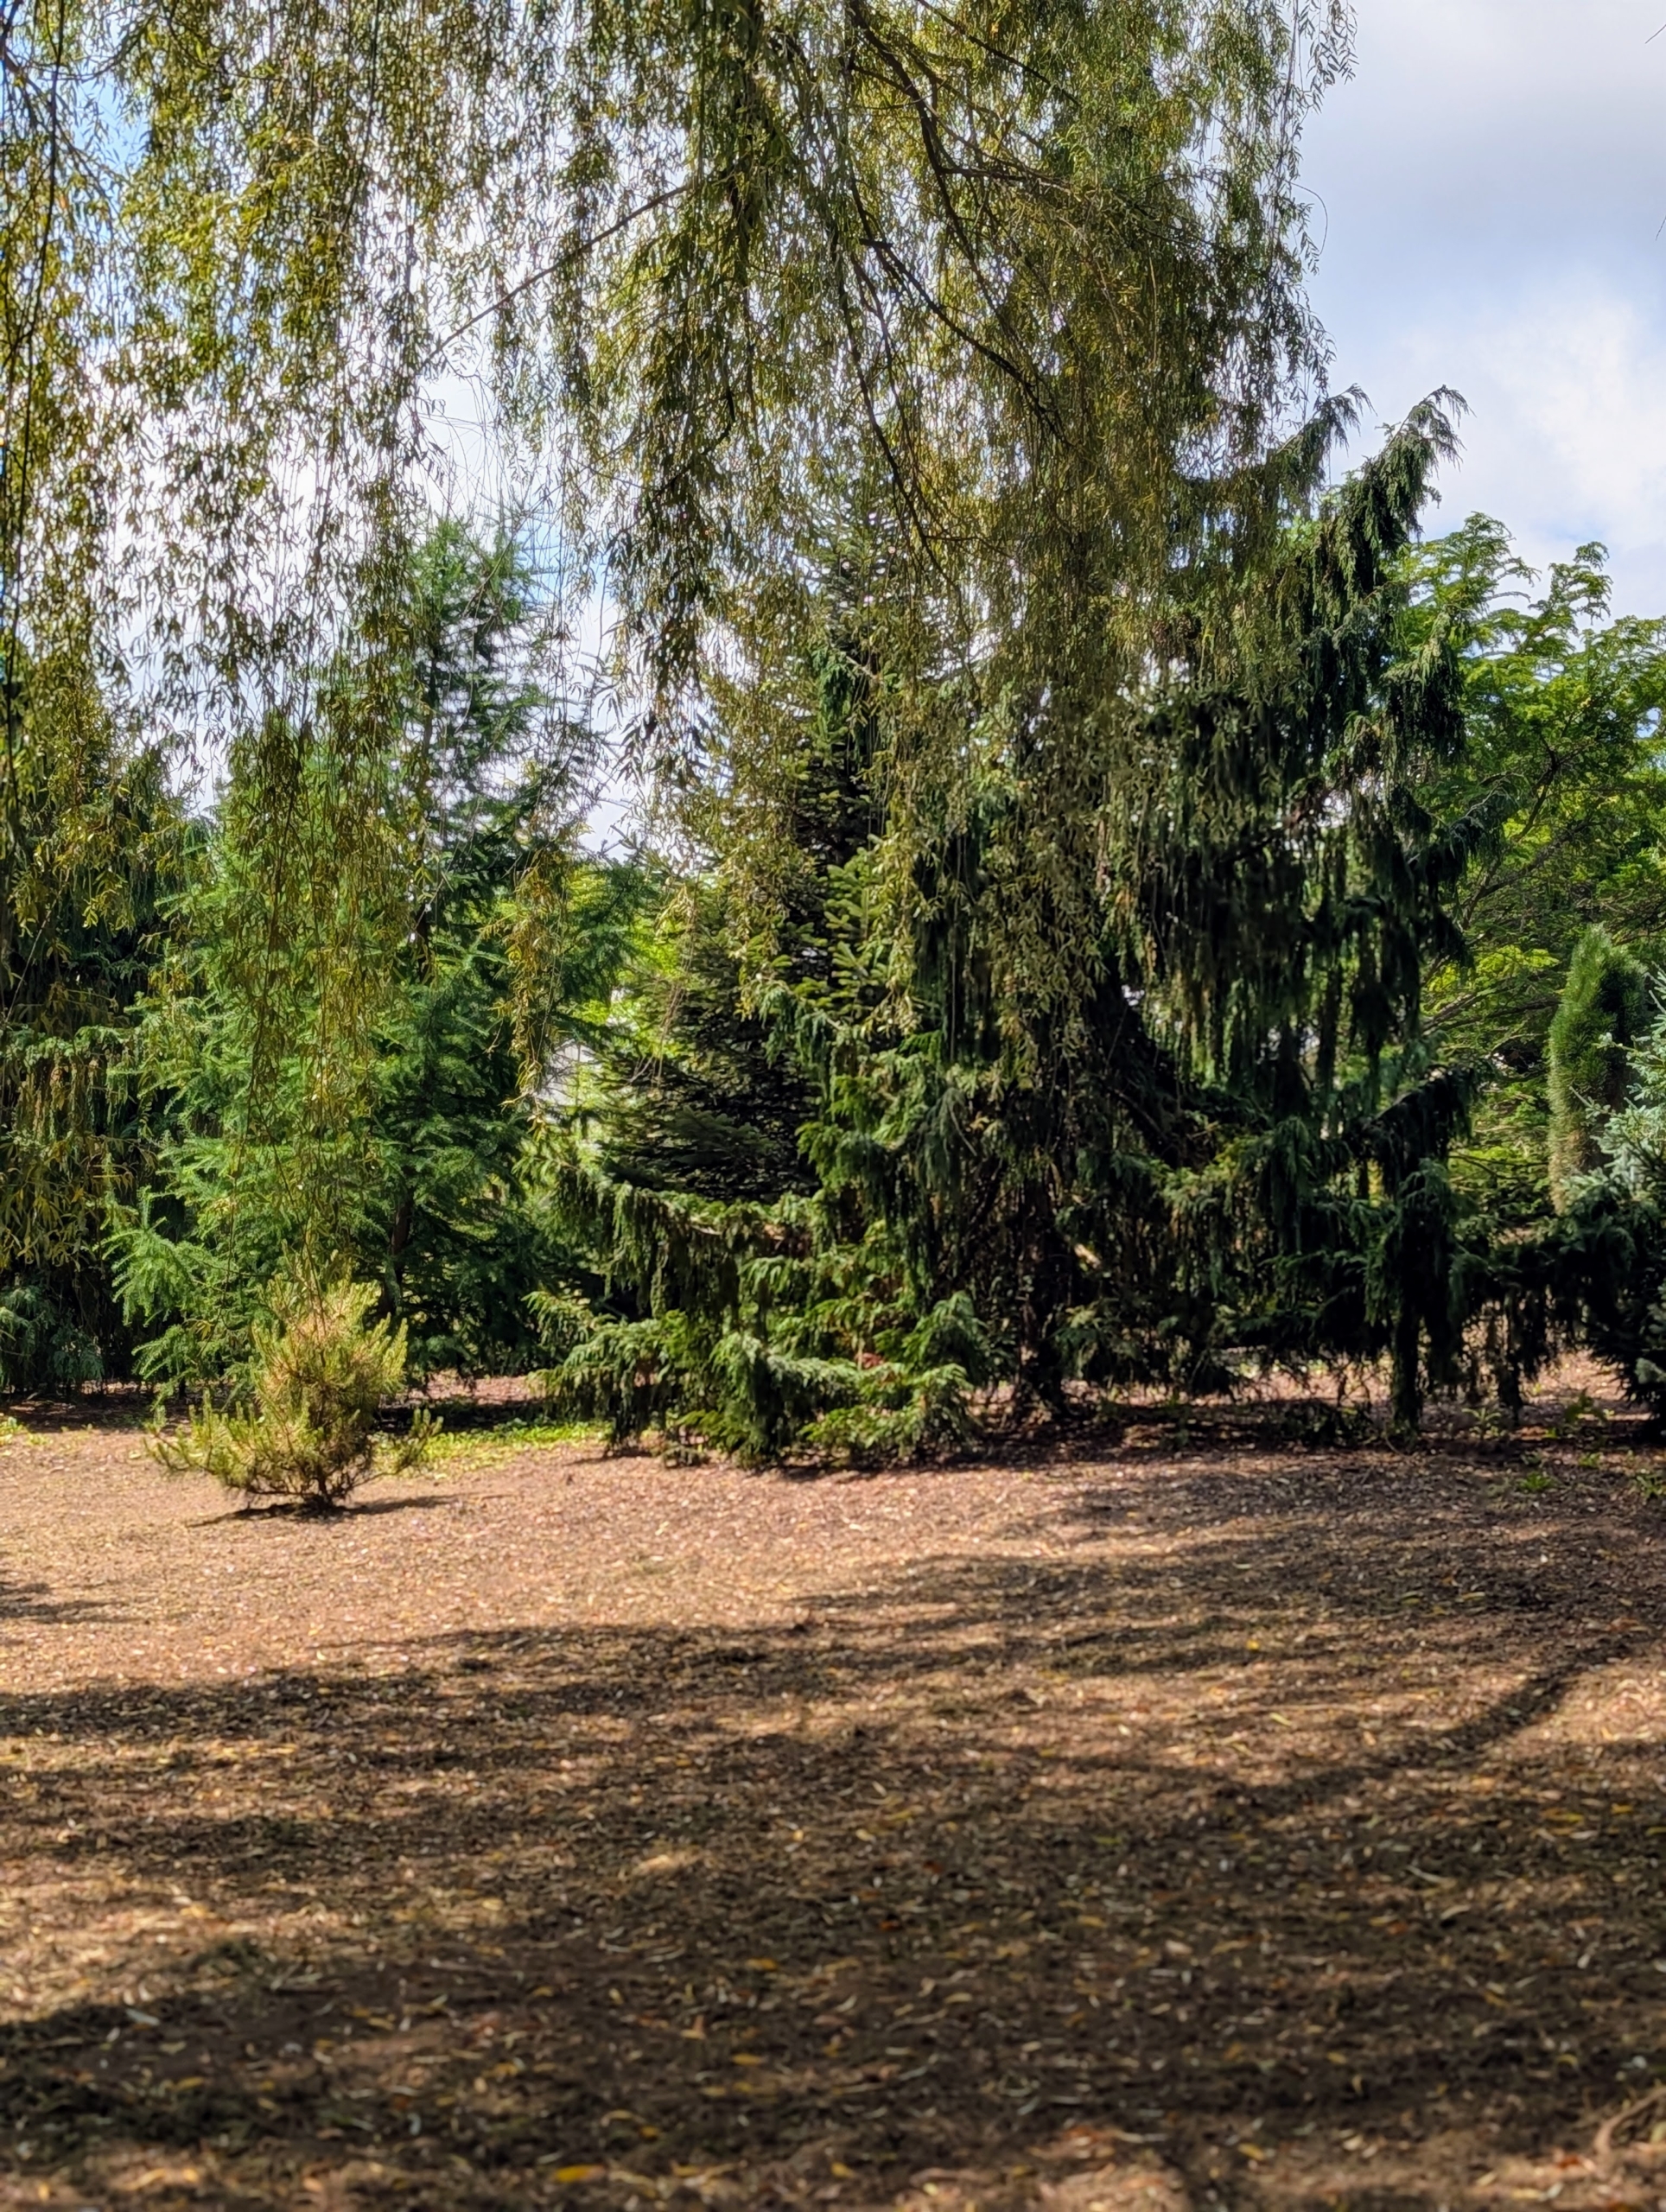
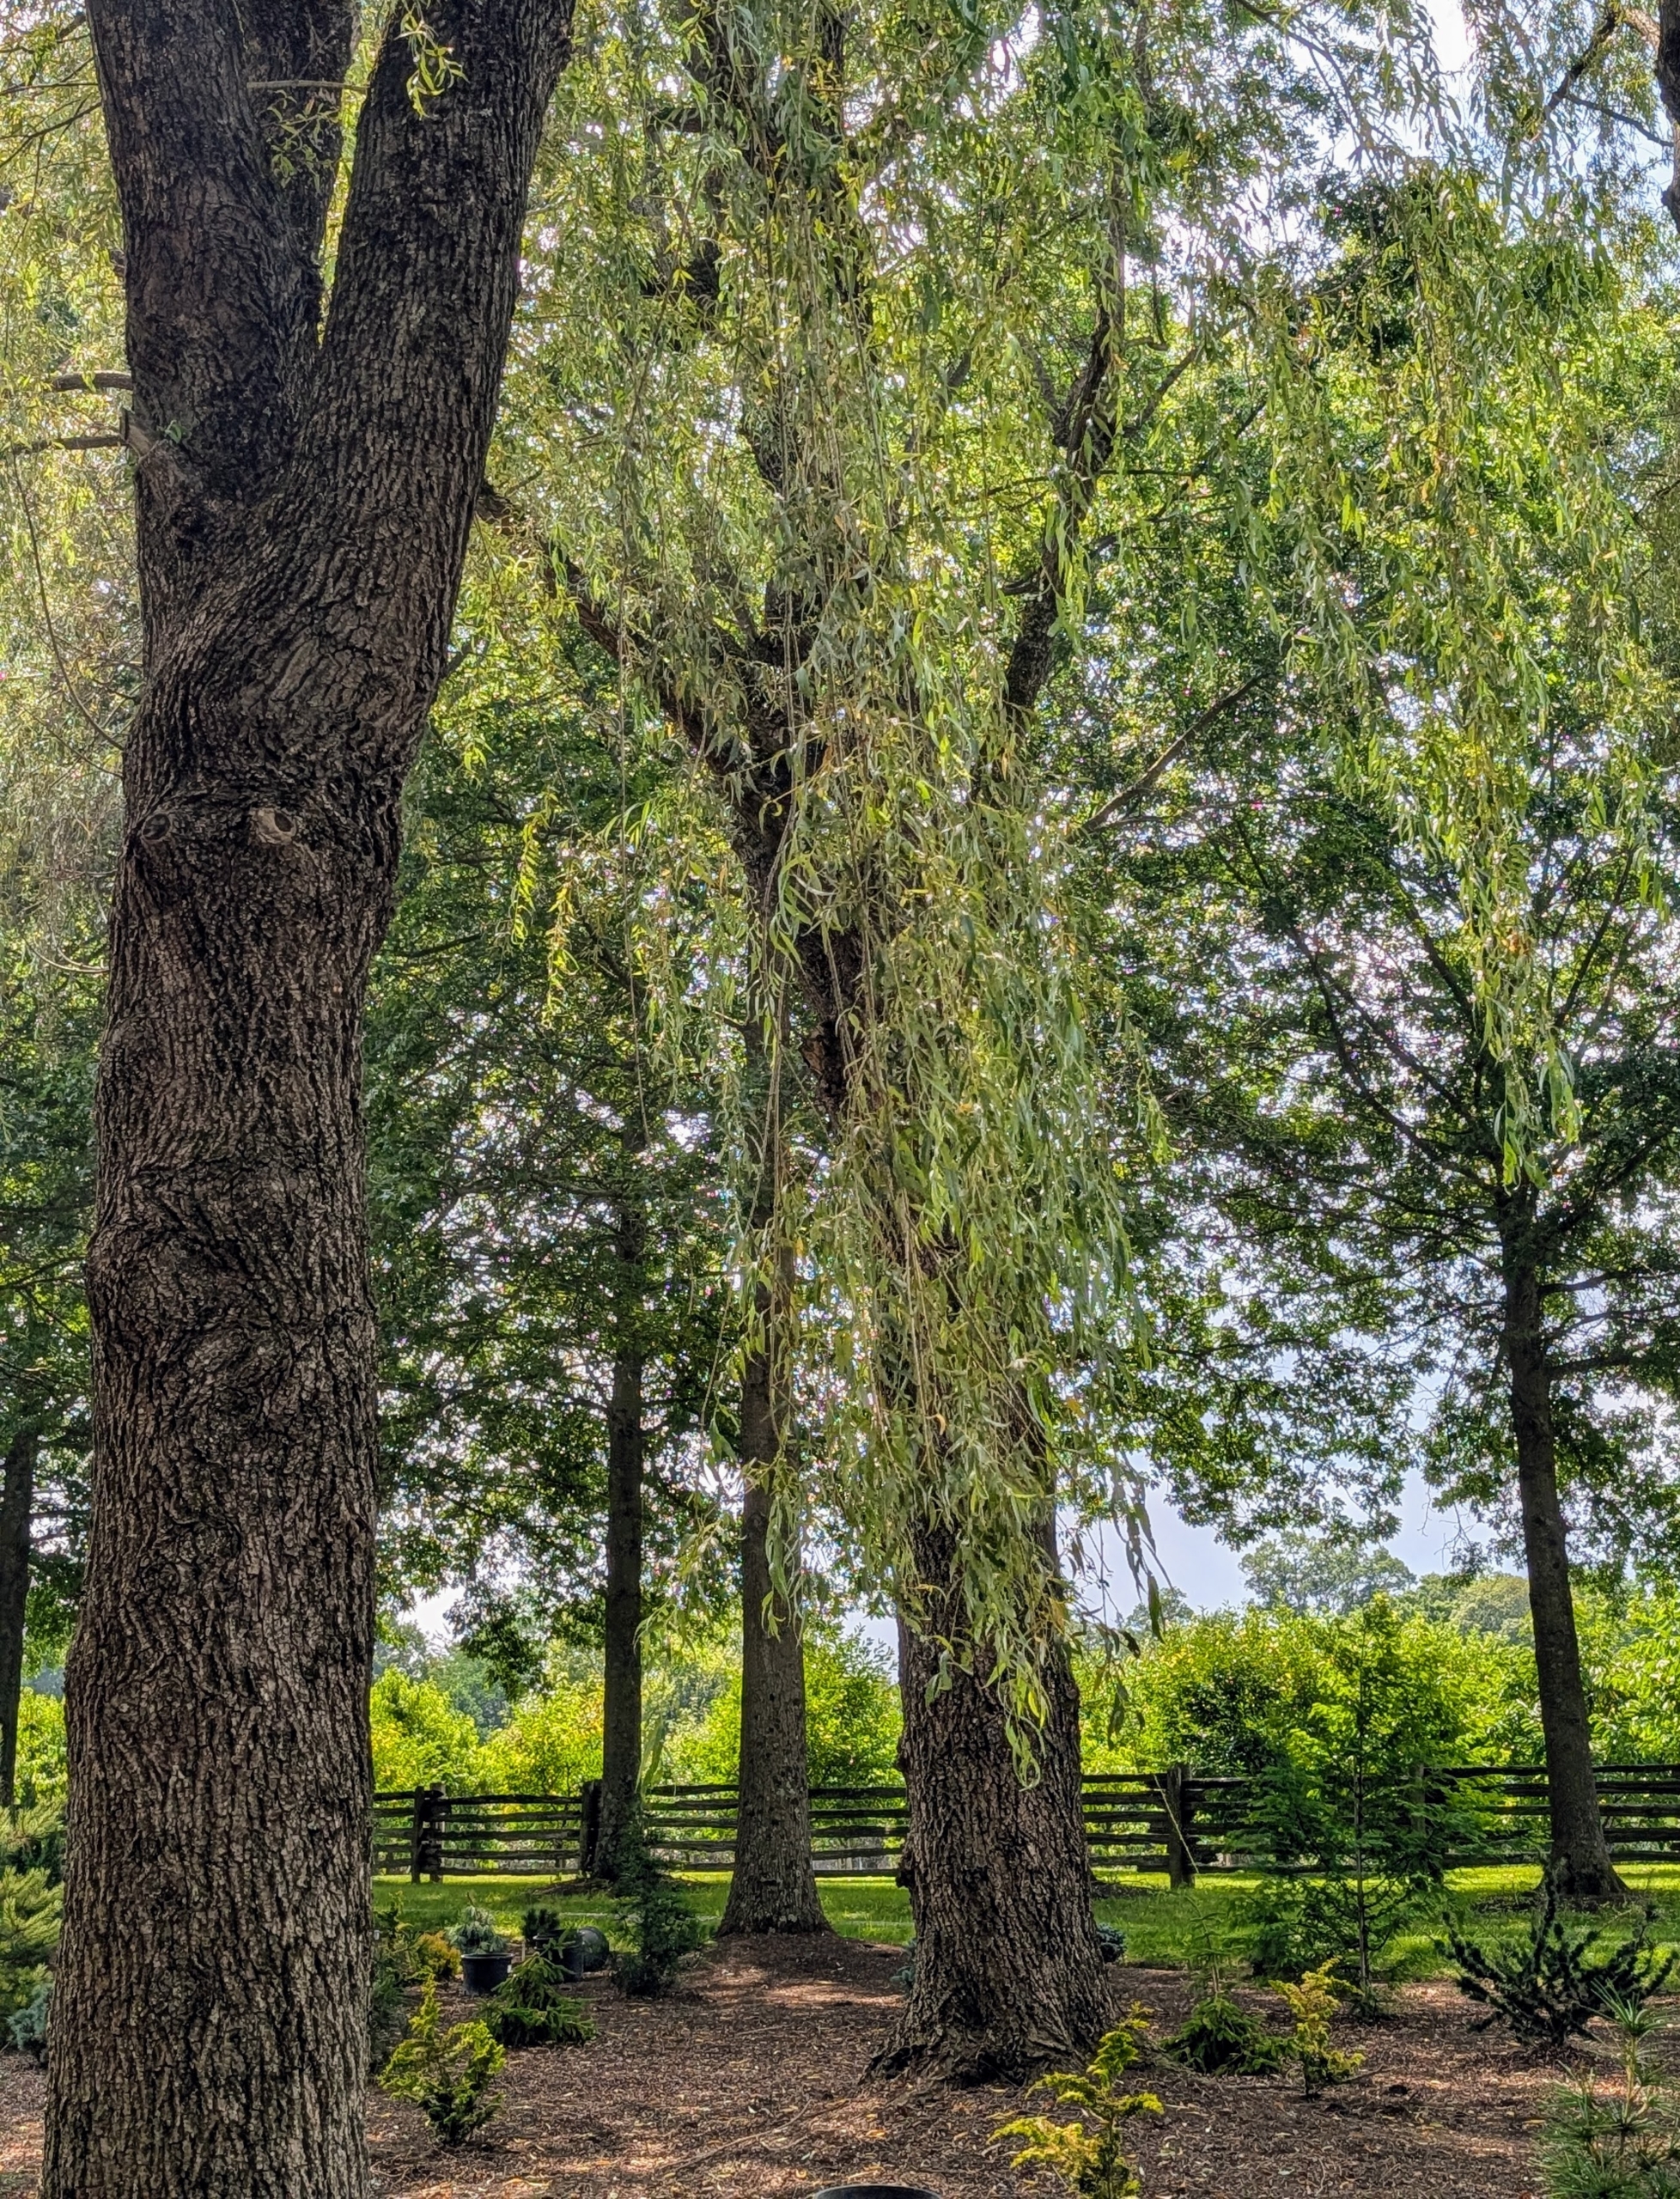
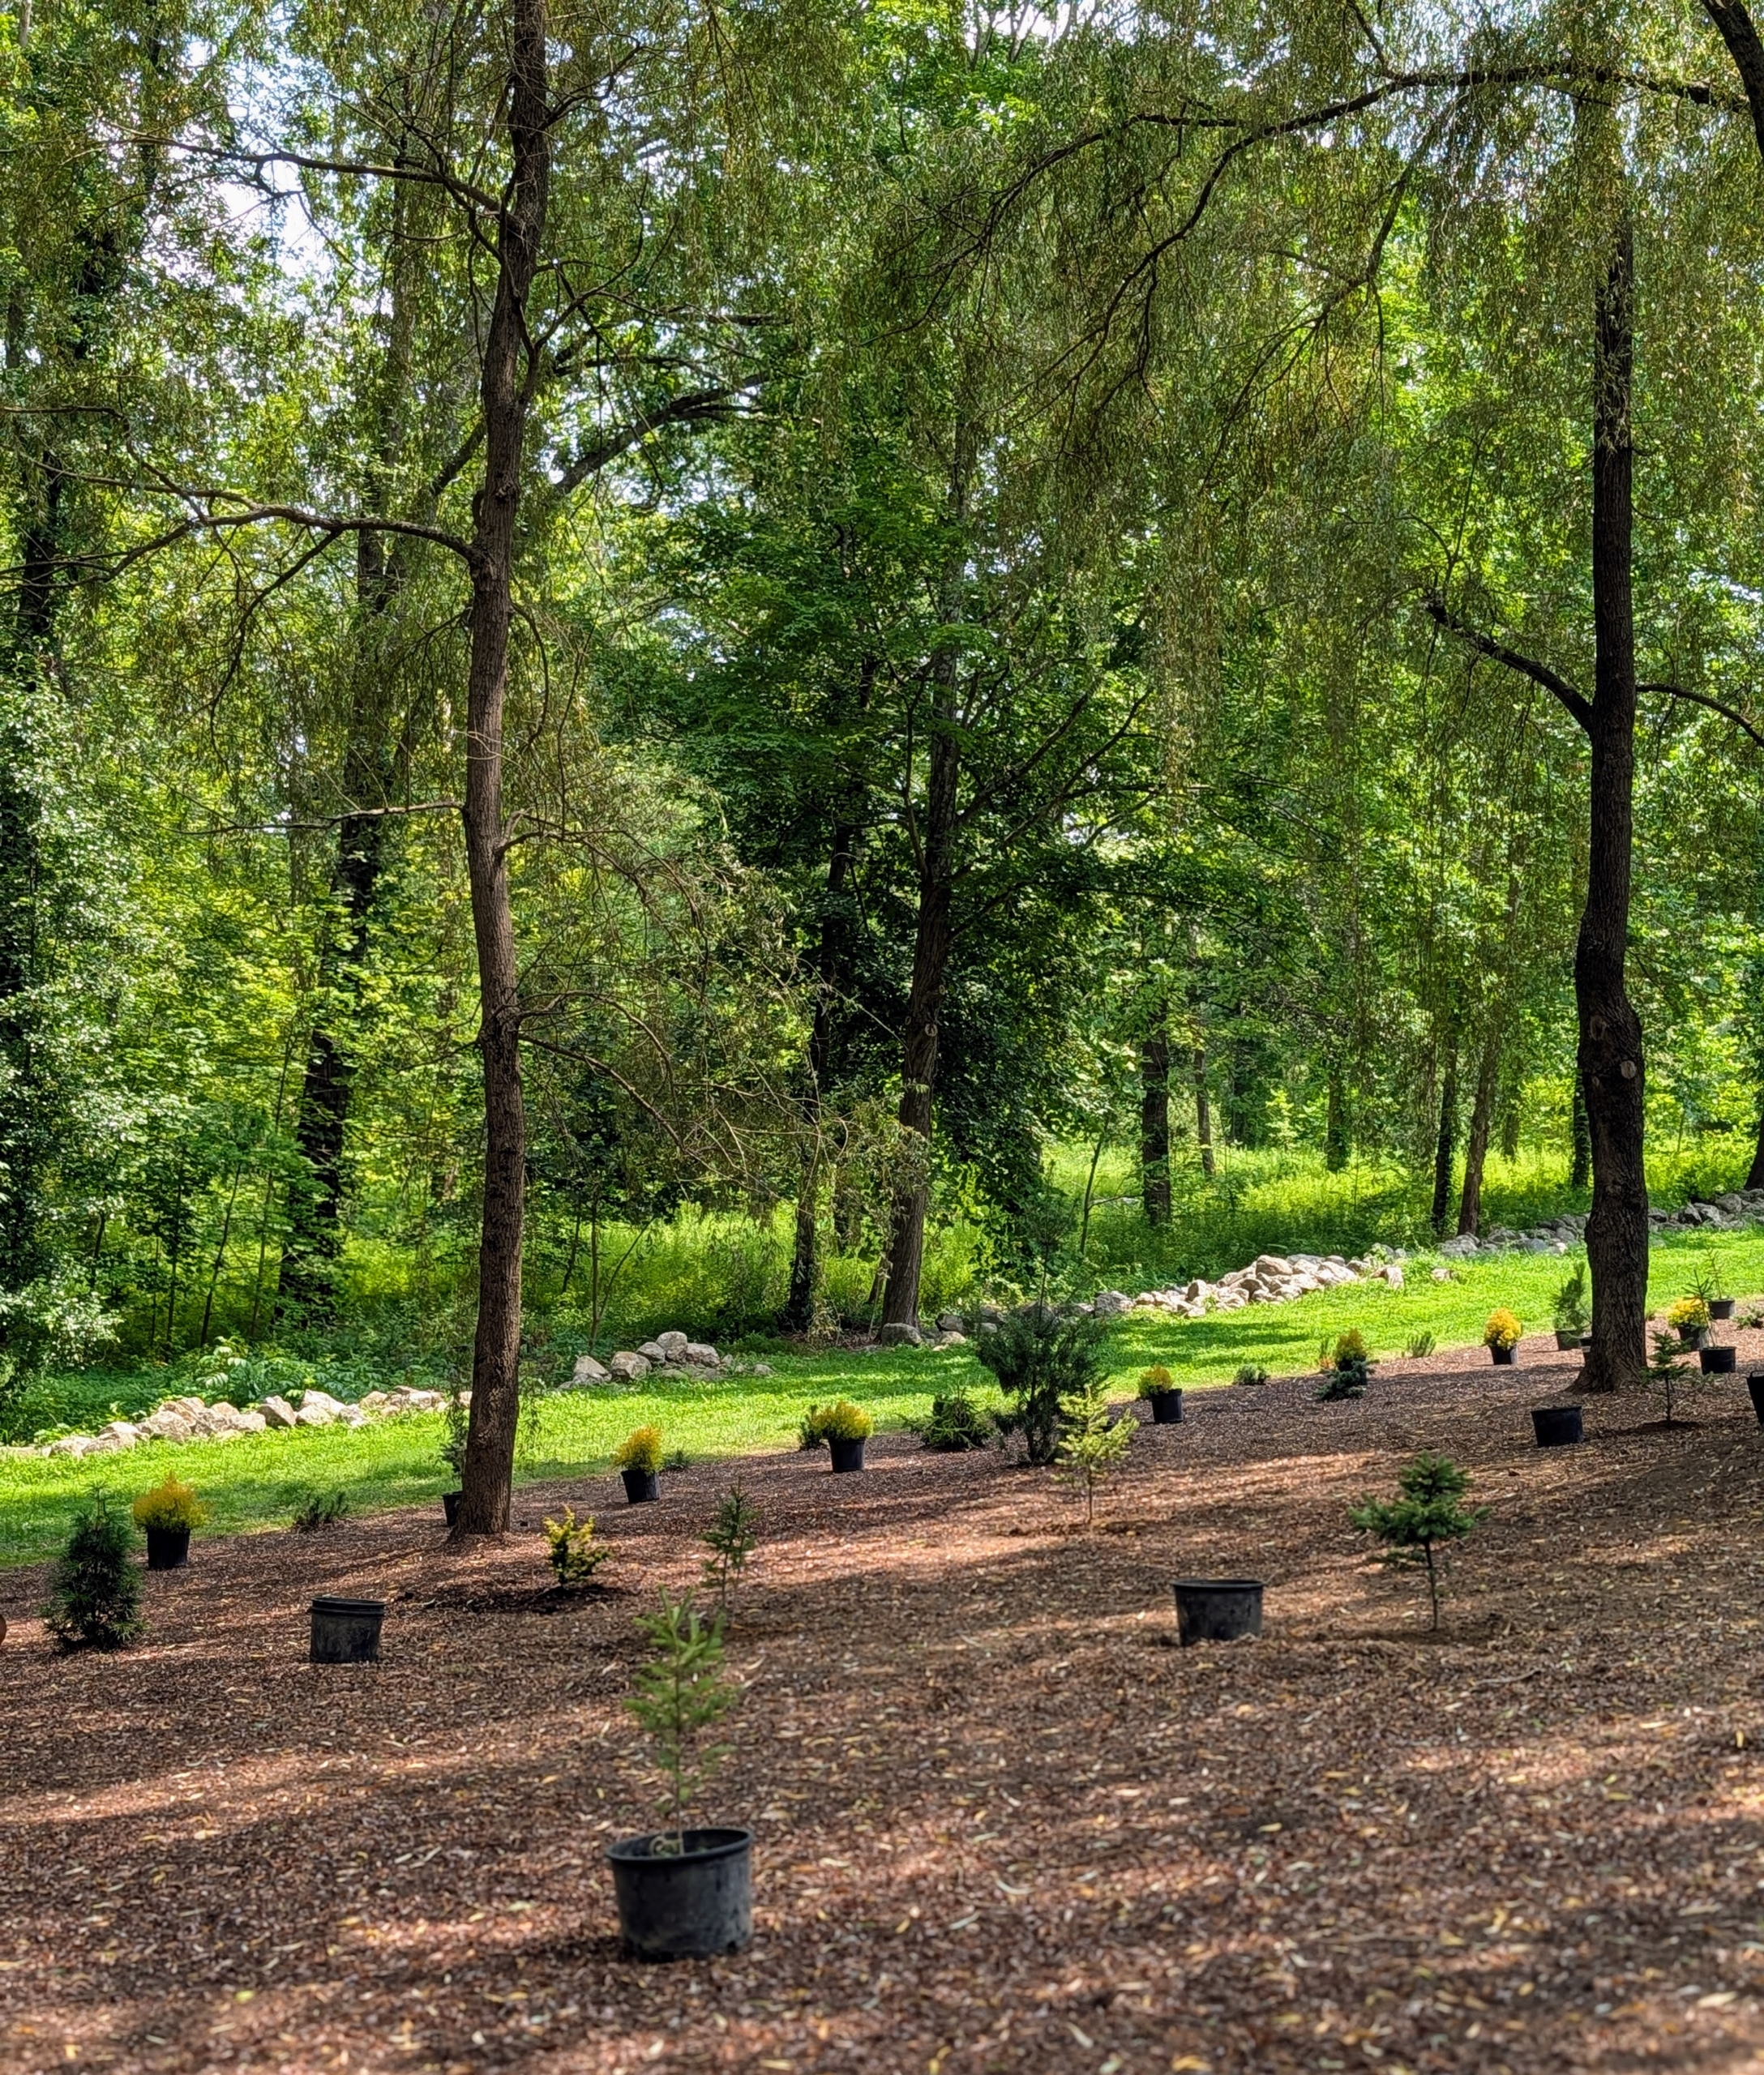
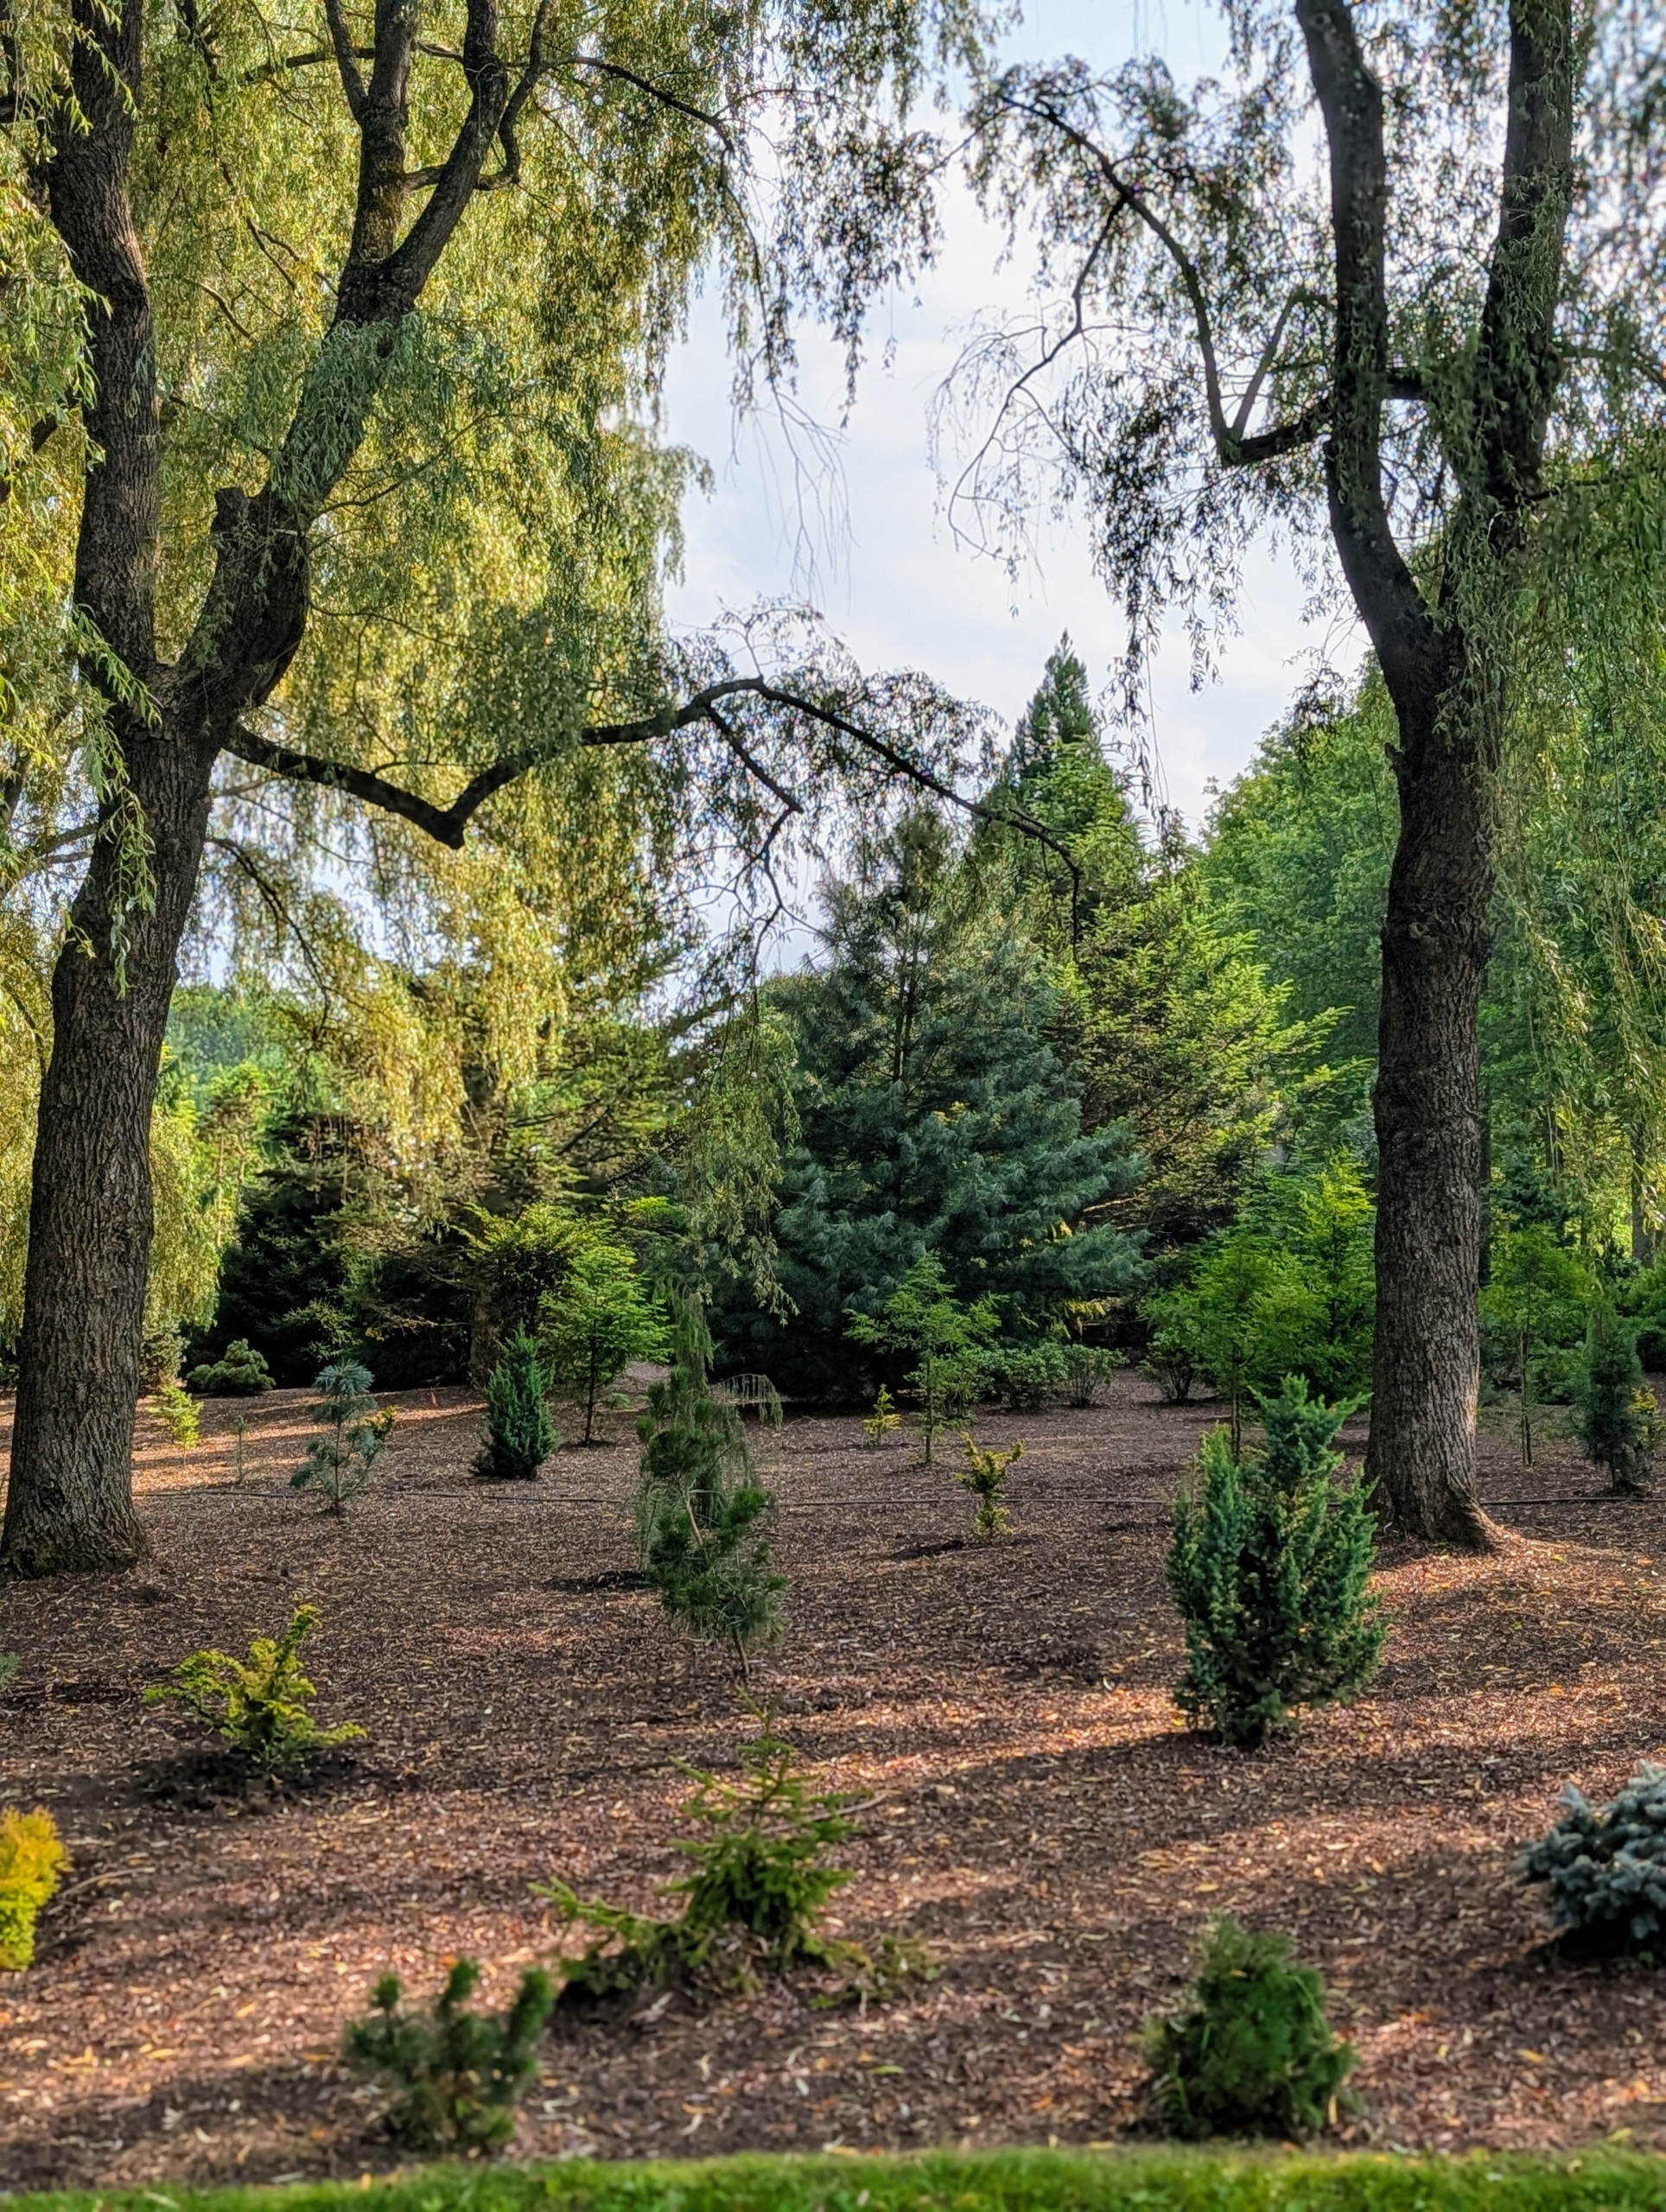
Here at my farm, I have an area I call my pinetum, an arboretum of evergreens and other conifers located behind my giant Equipment shed. Earlier this year, I expanded the pinetum under my grove of weeping willows and planted a number of interesting pines, junipers, and Oriental spruce. As the garden develops, I check to see what areas need more filling and plant accordingly. It takes lots of patience and time to create a garden. This one is looking better and better every season.
Enjoy these photos.
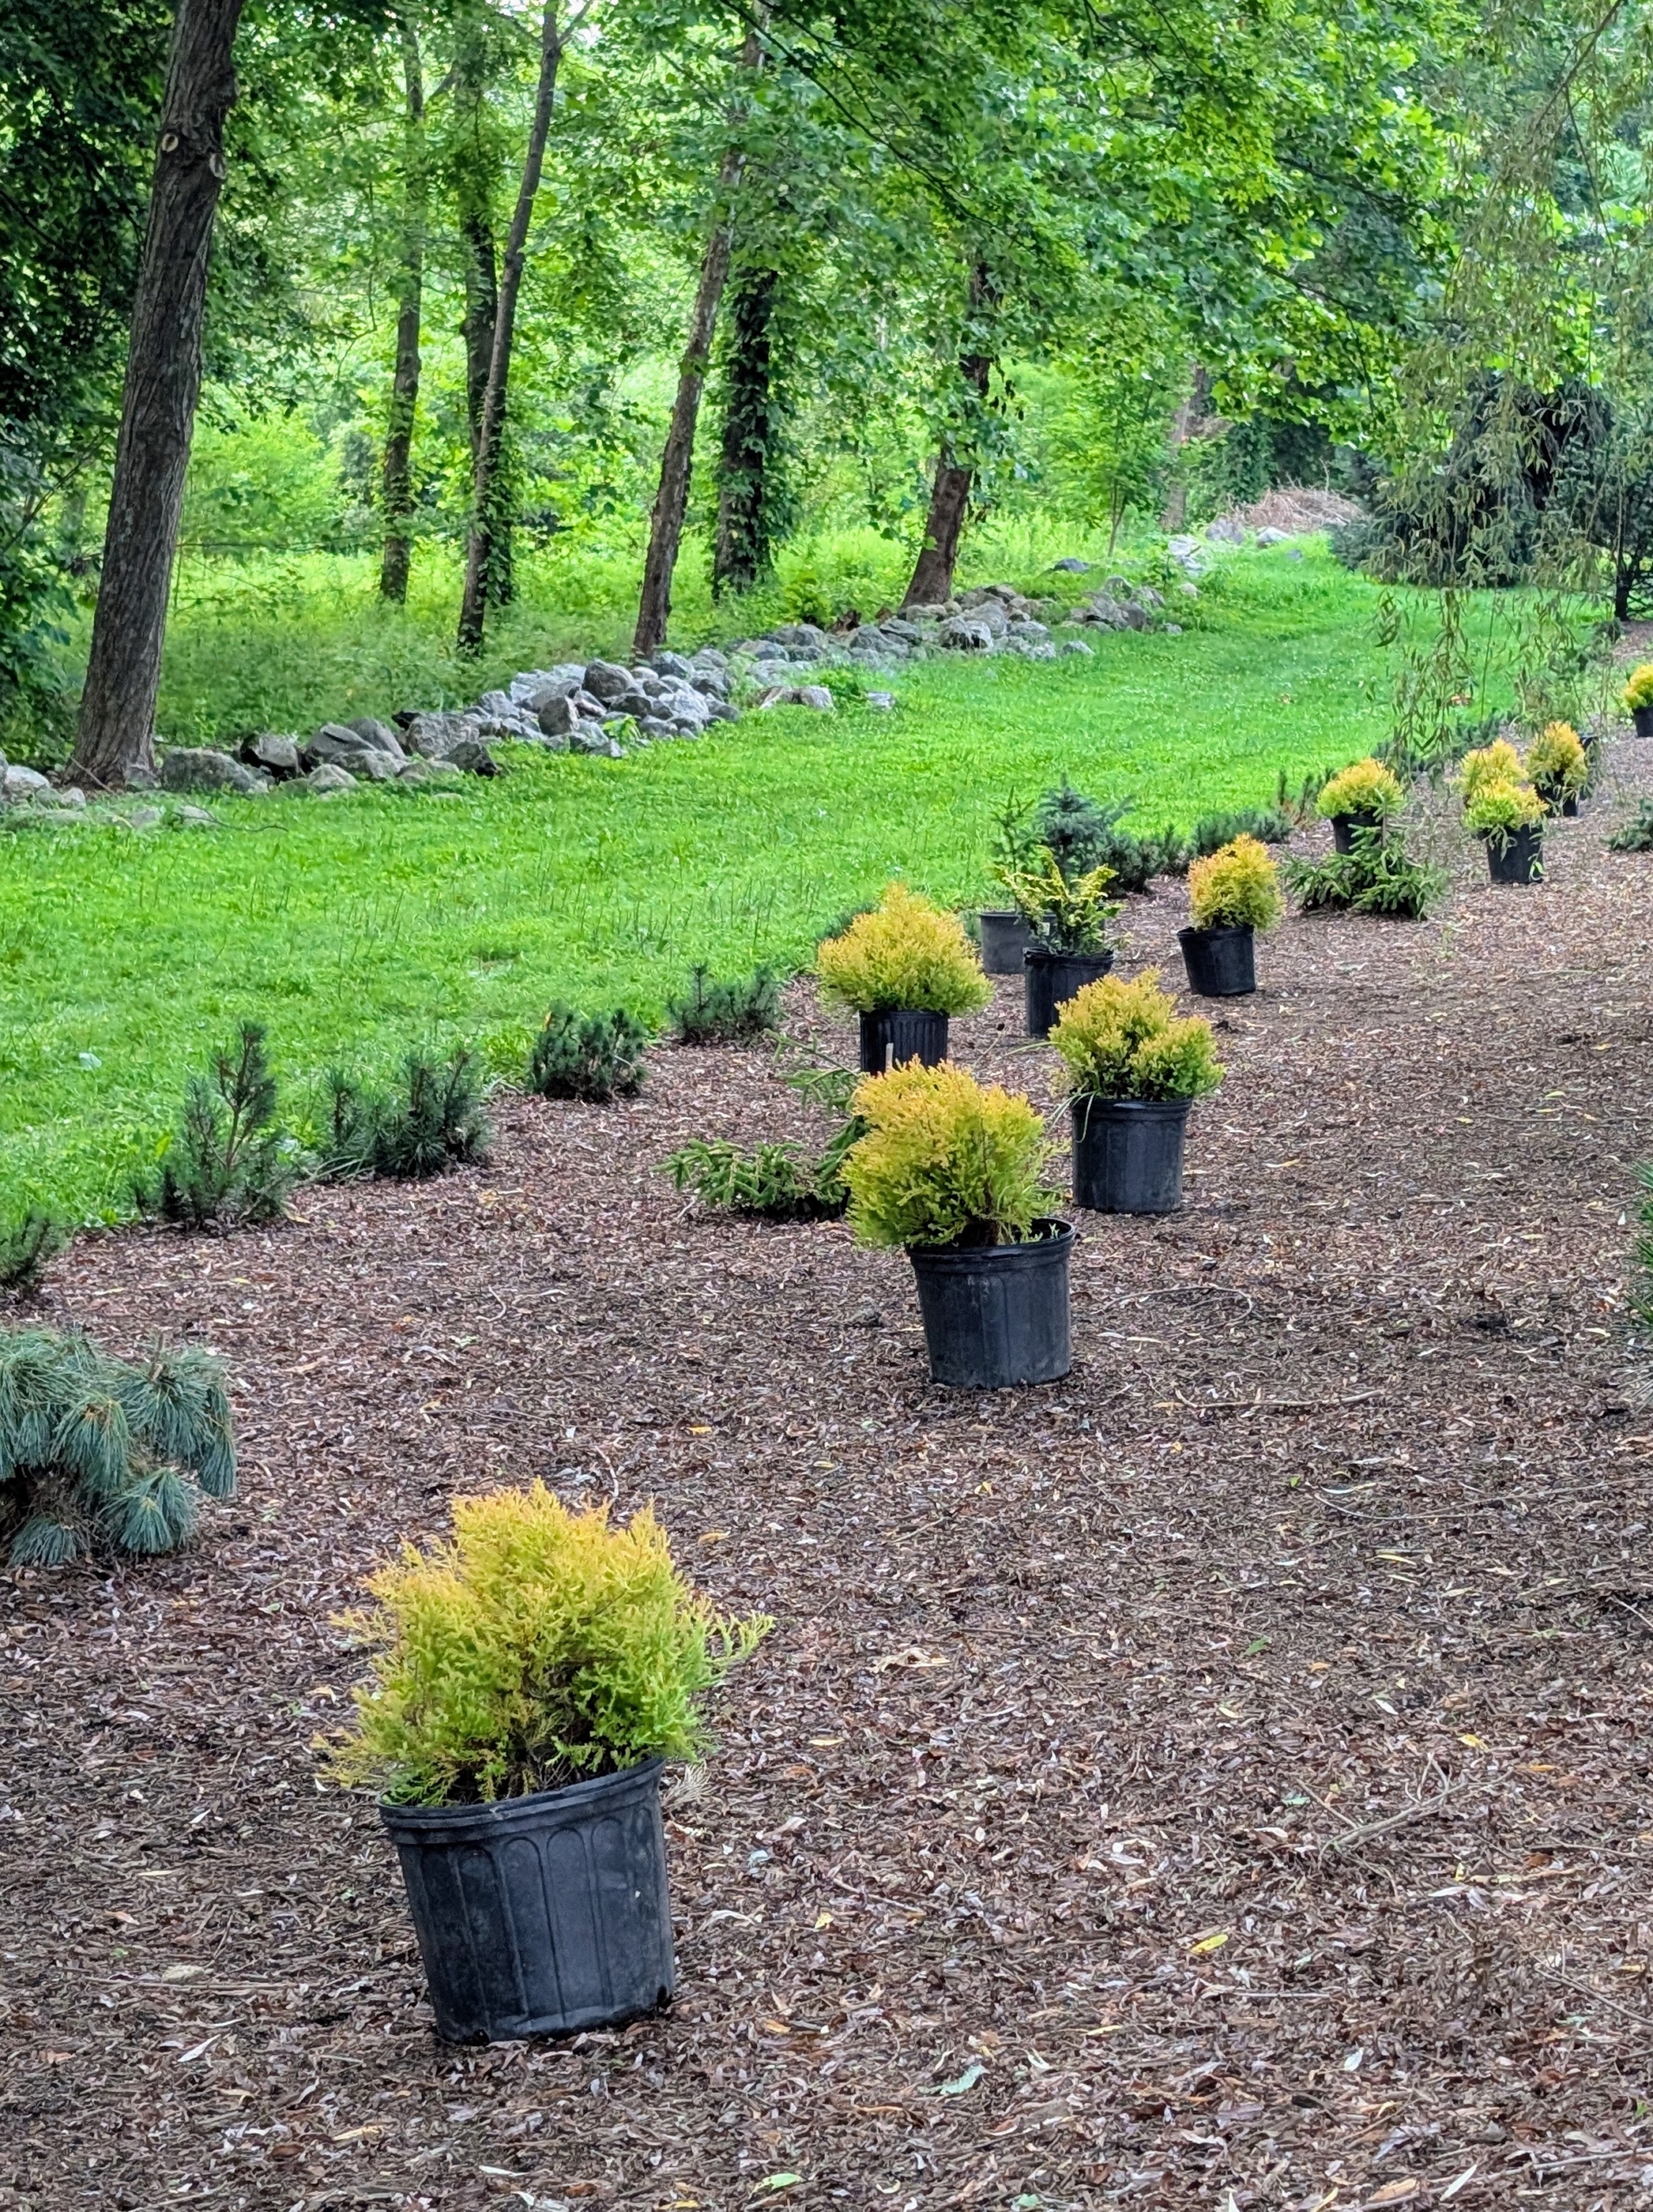
Early last spring, I decided to expand my pinetum. The bed was cleared, cleaned, and prepared for planting.
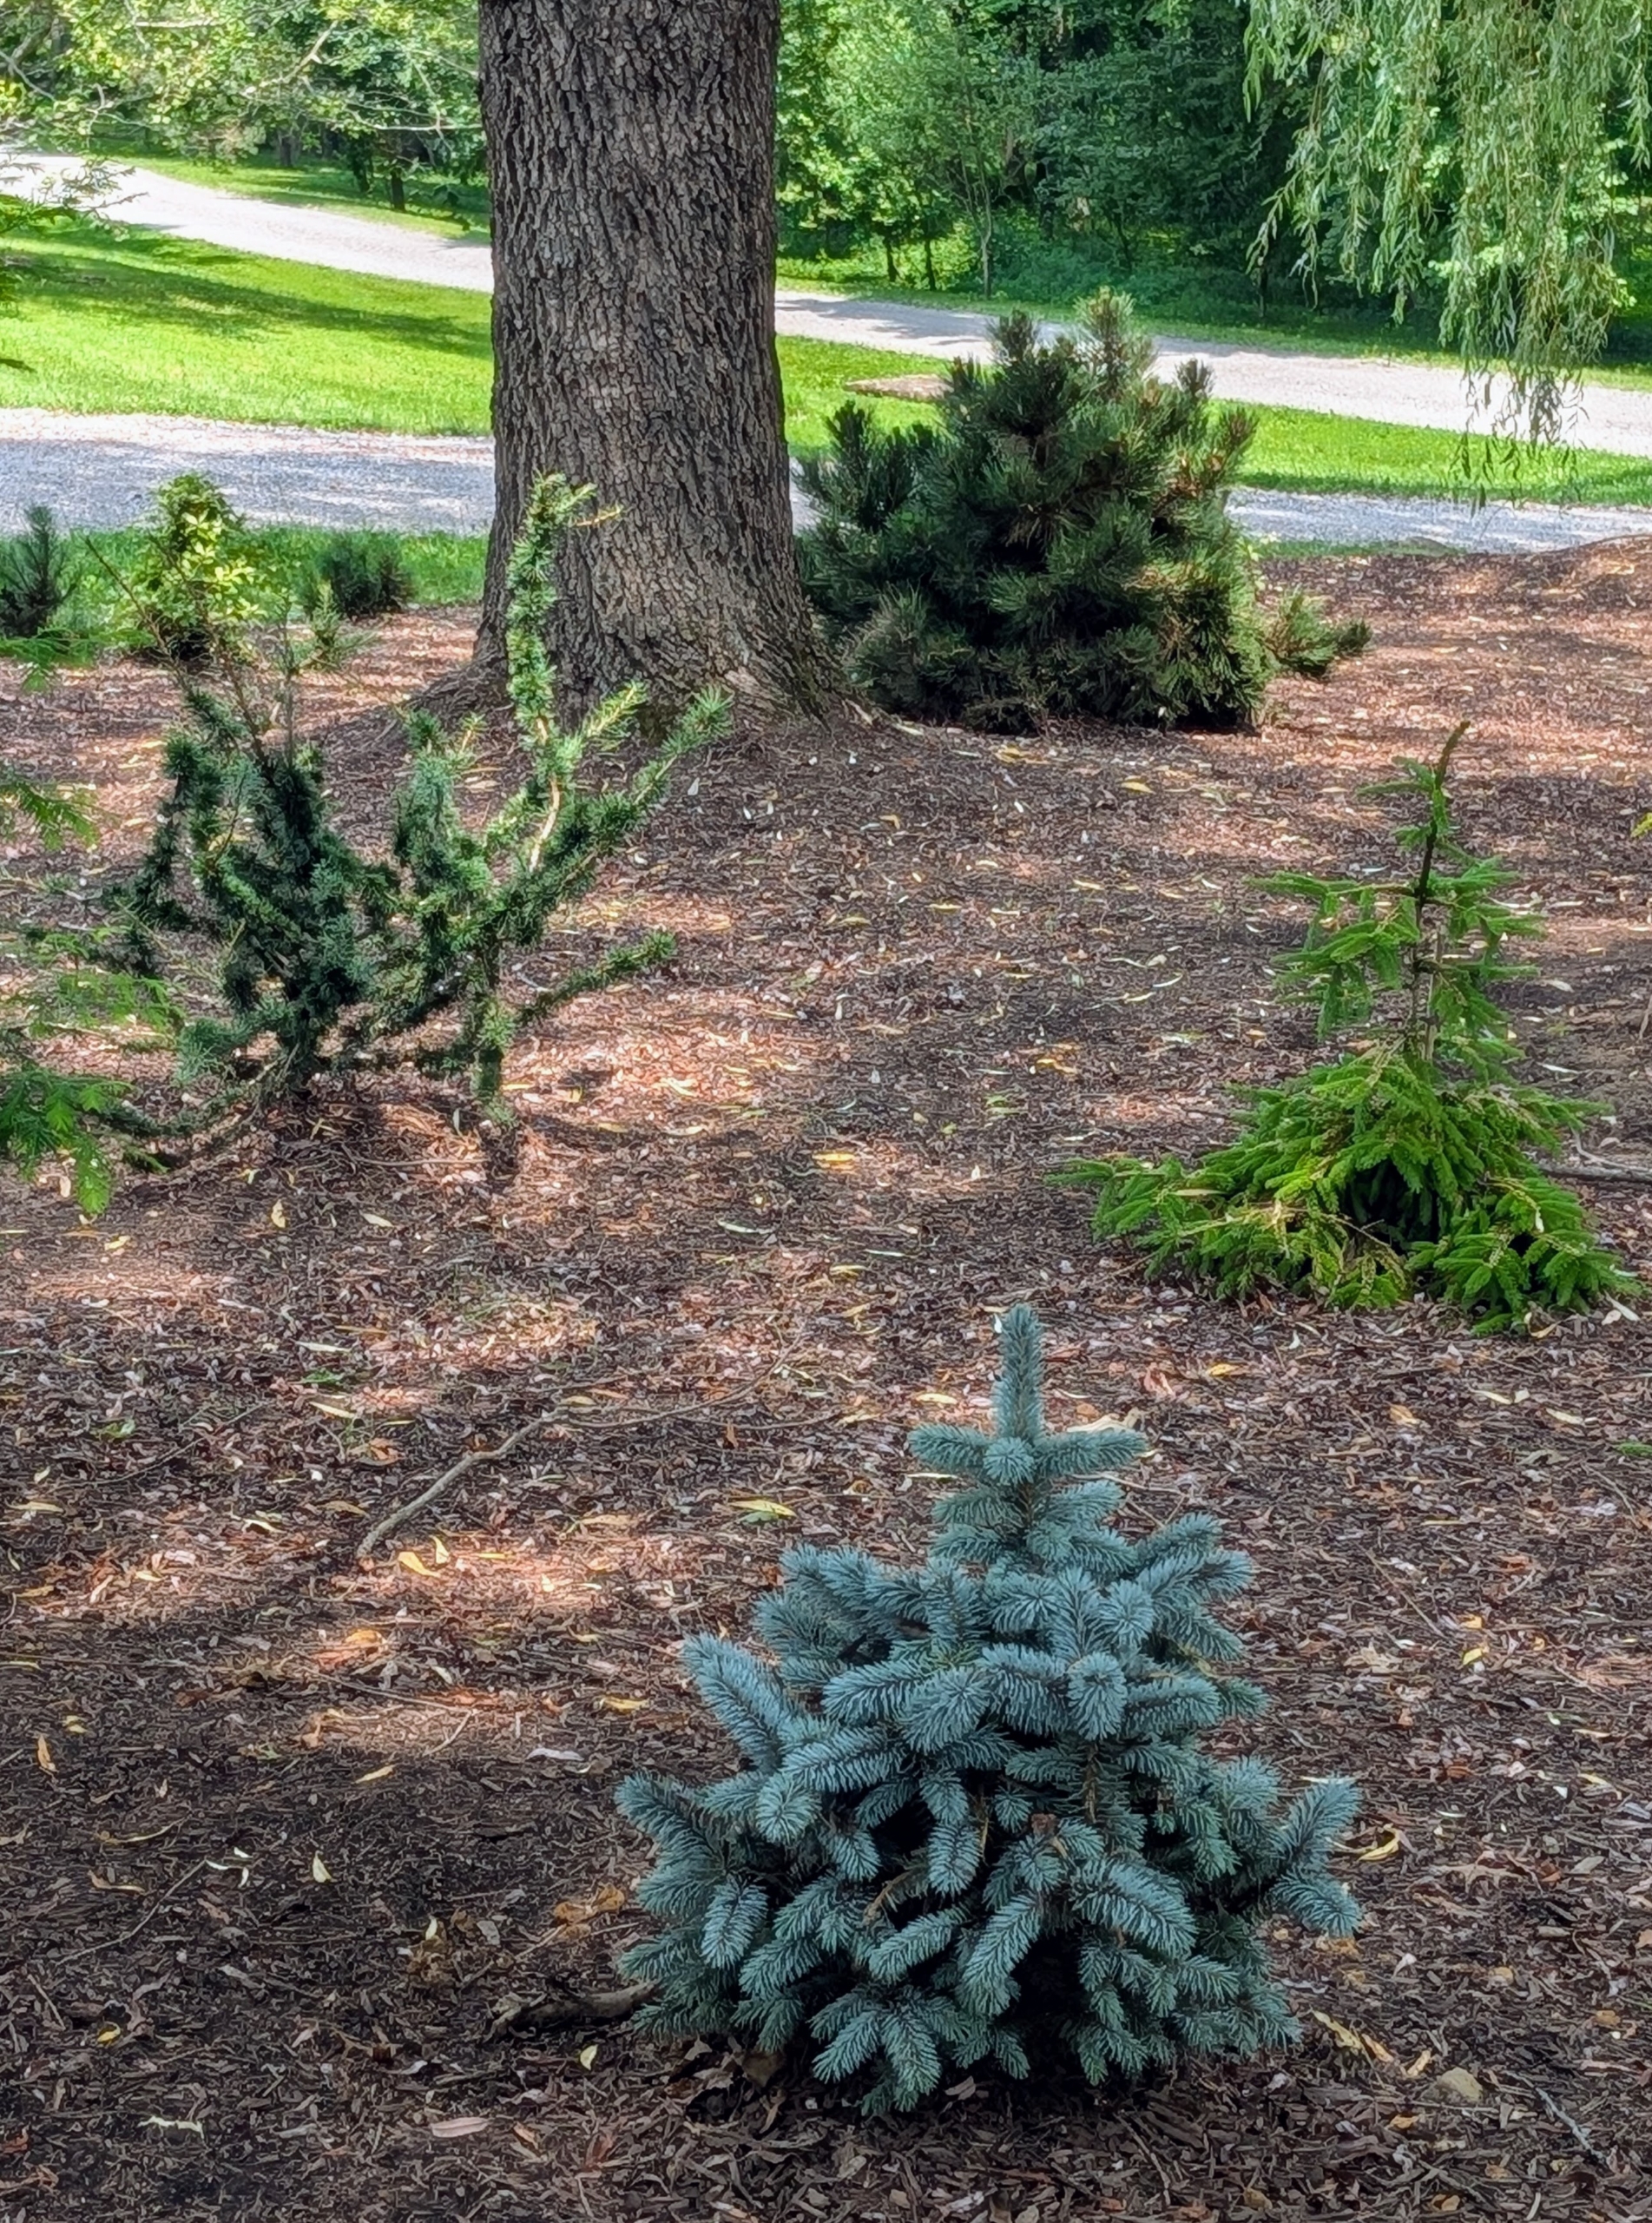
Over several weeks, I planted a variety of different evergreens with interesting growth habits, foliage, and texture.
After the area was recently groomed, I noticed more plants were needed to fill in various empty spaces.
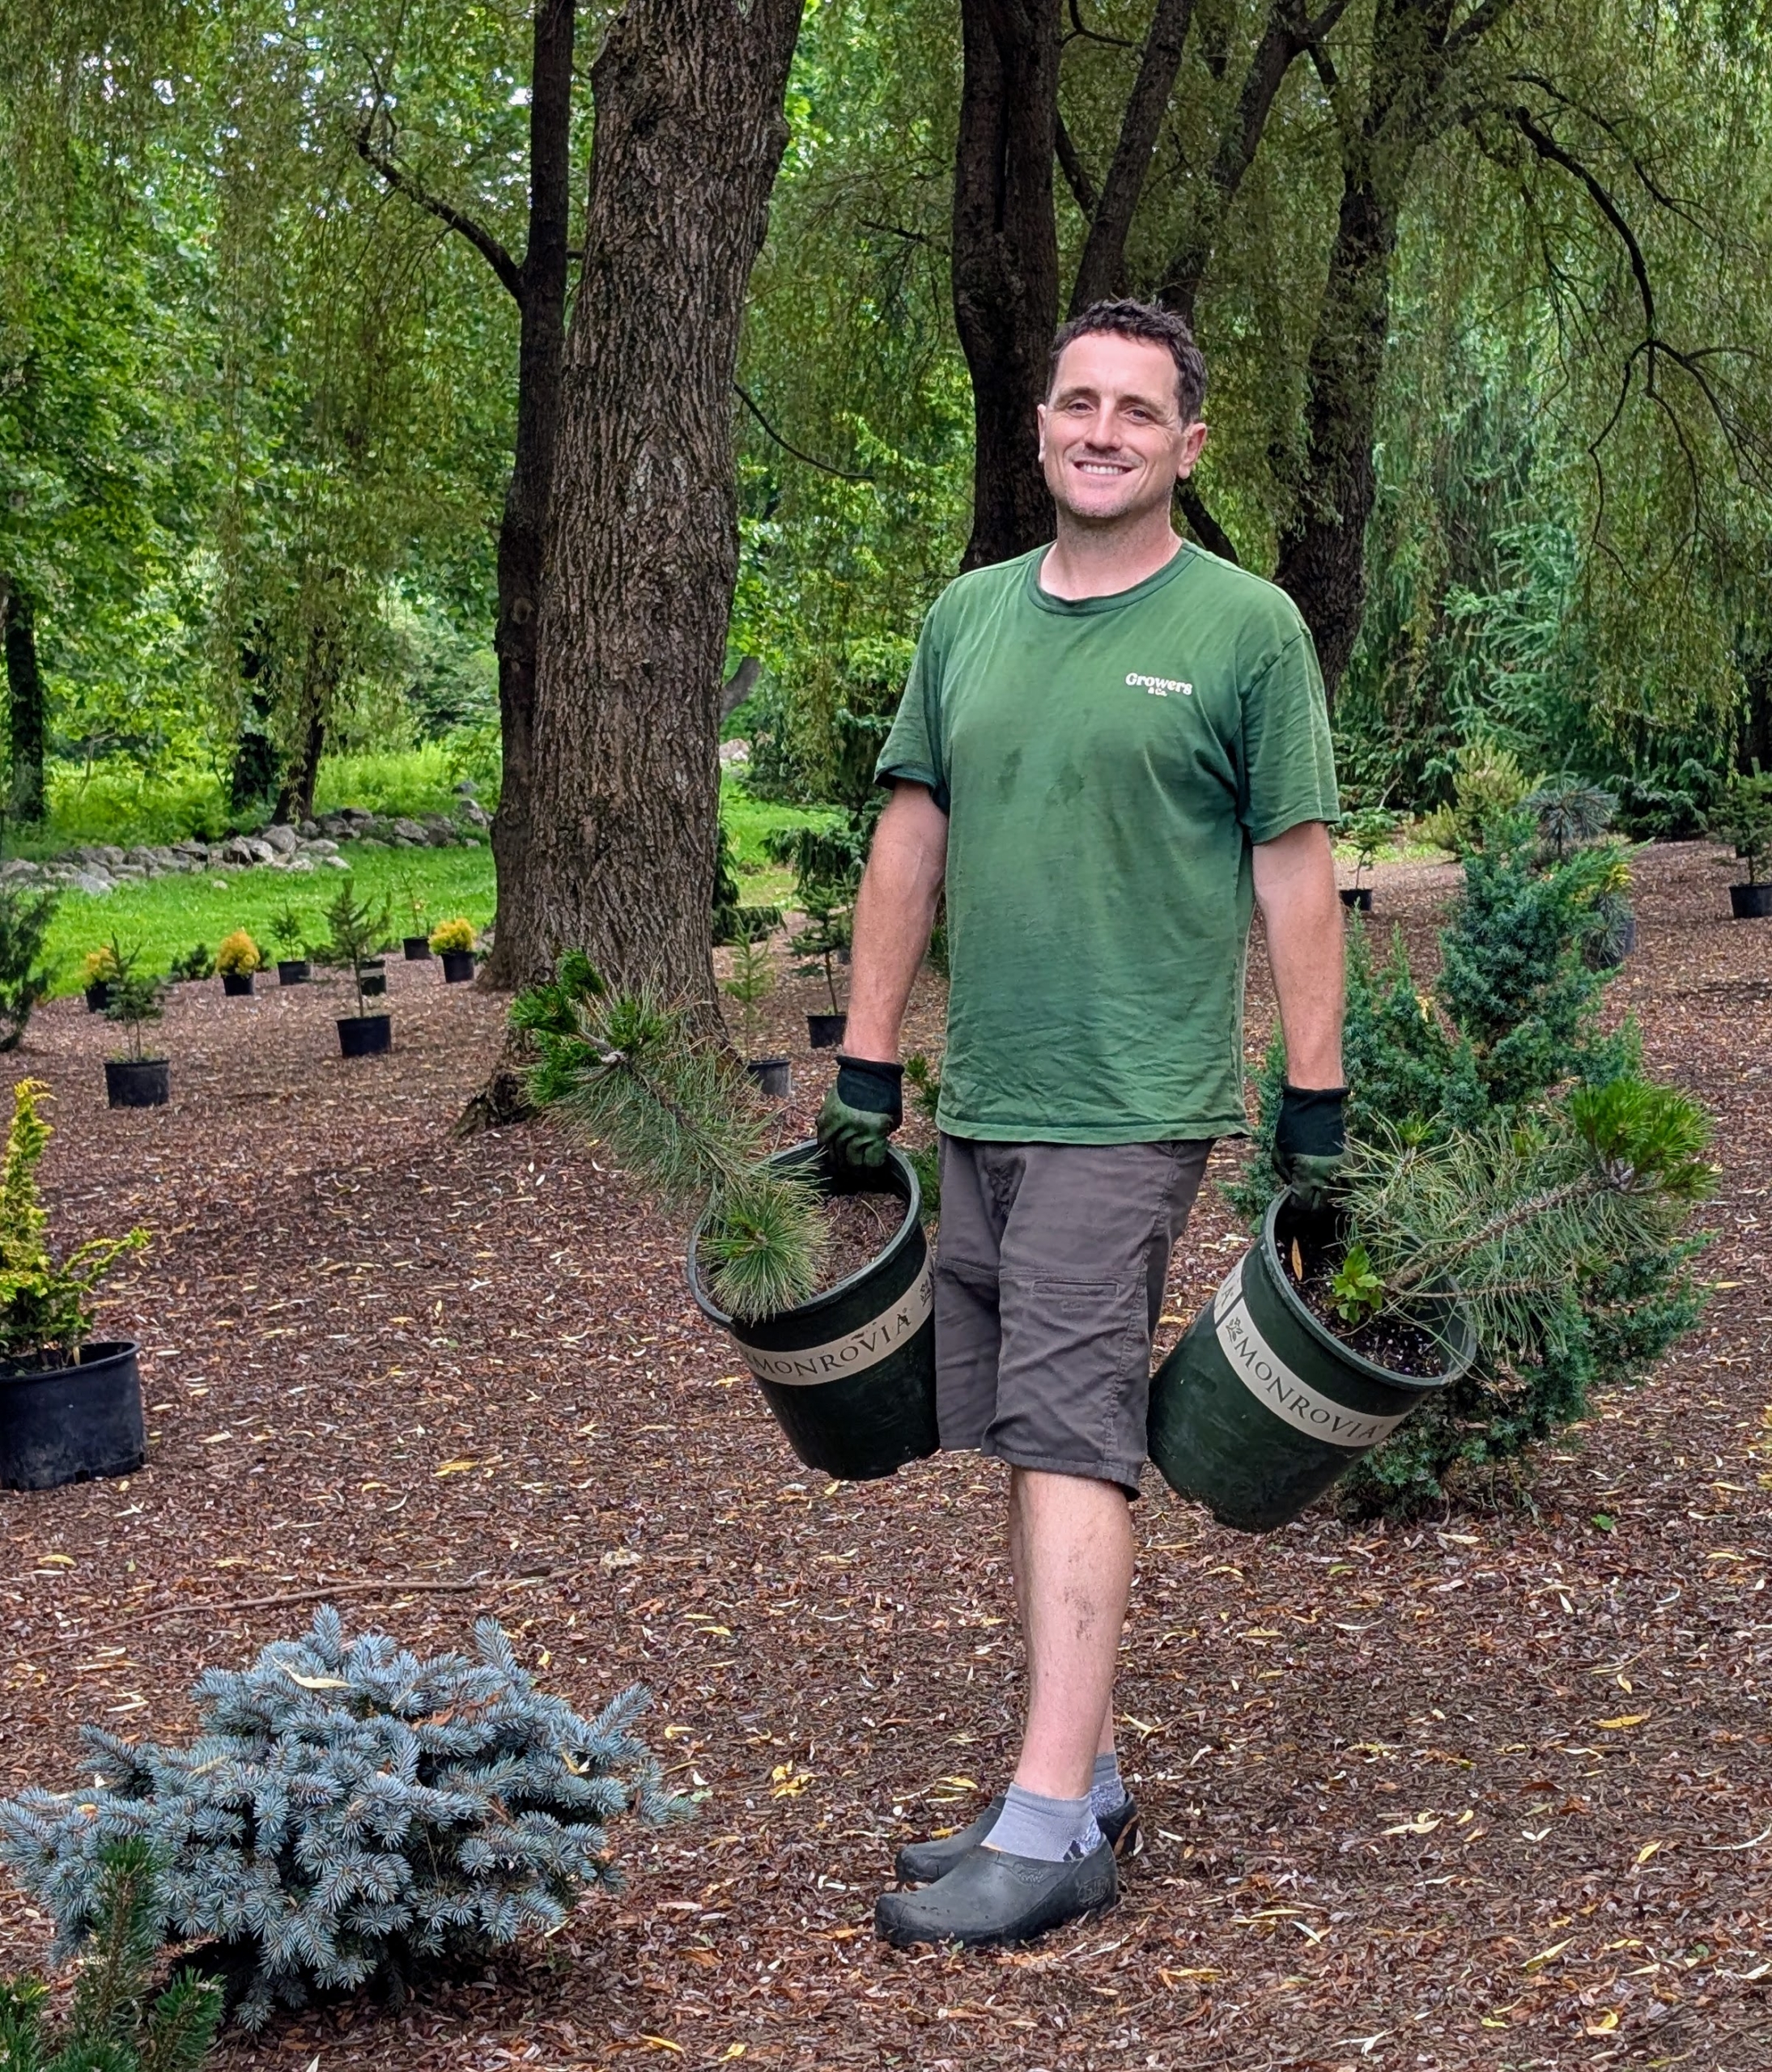
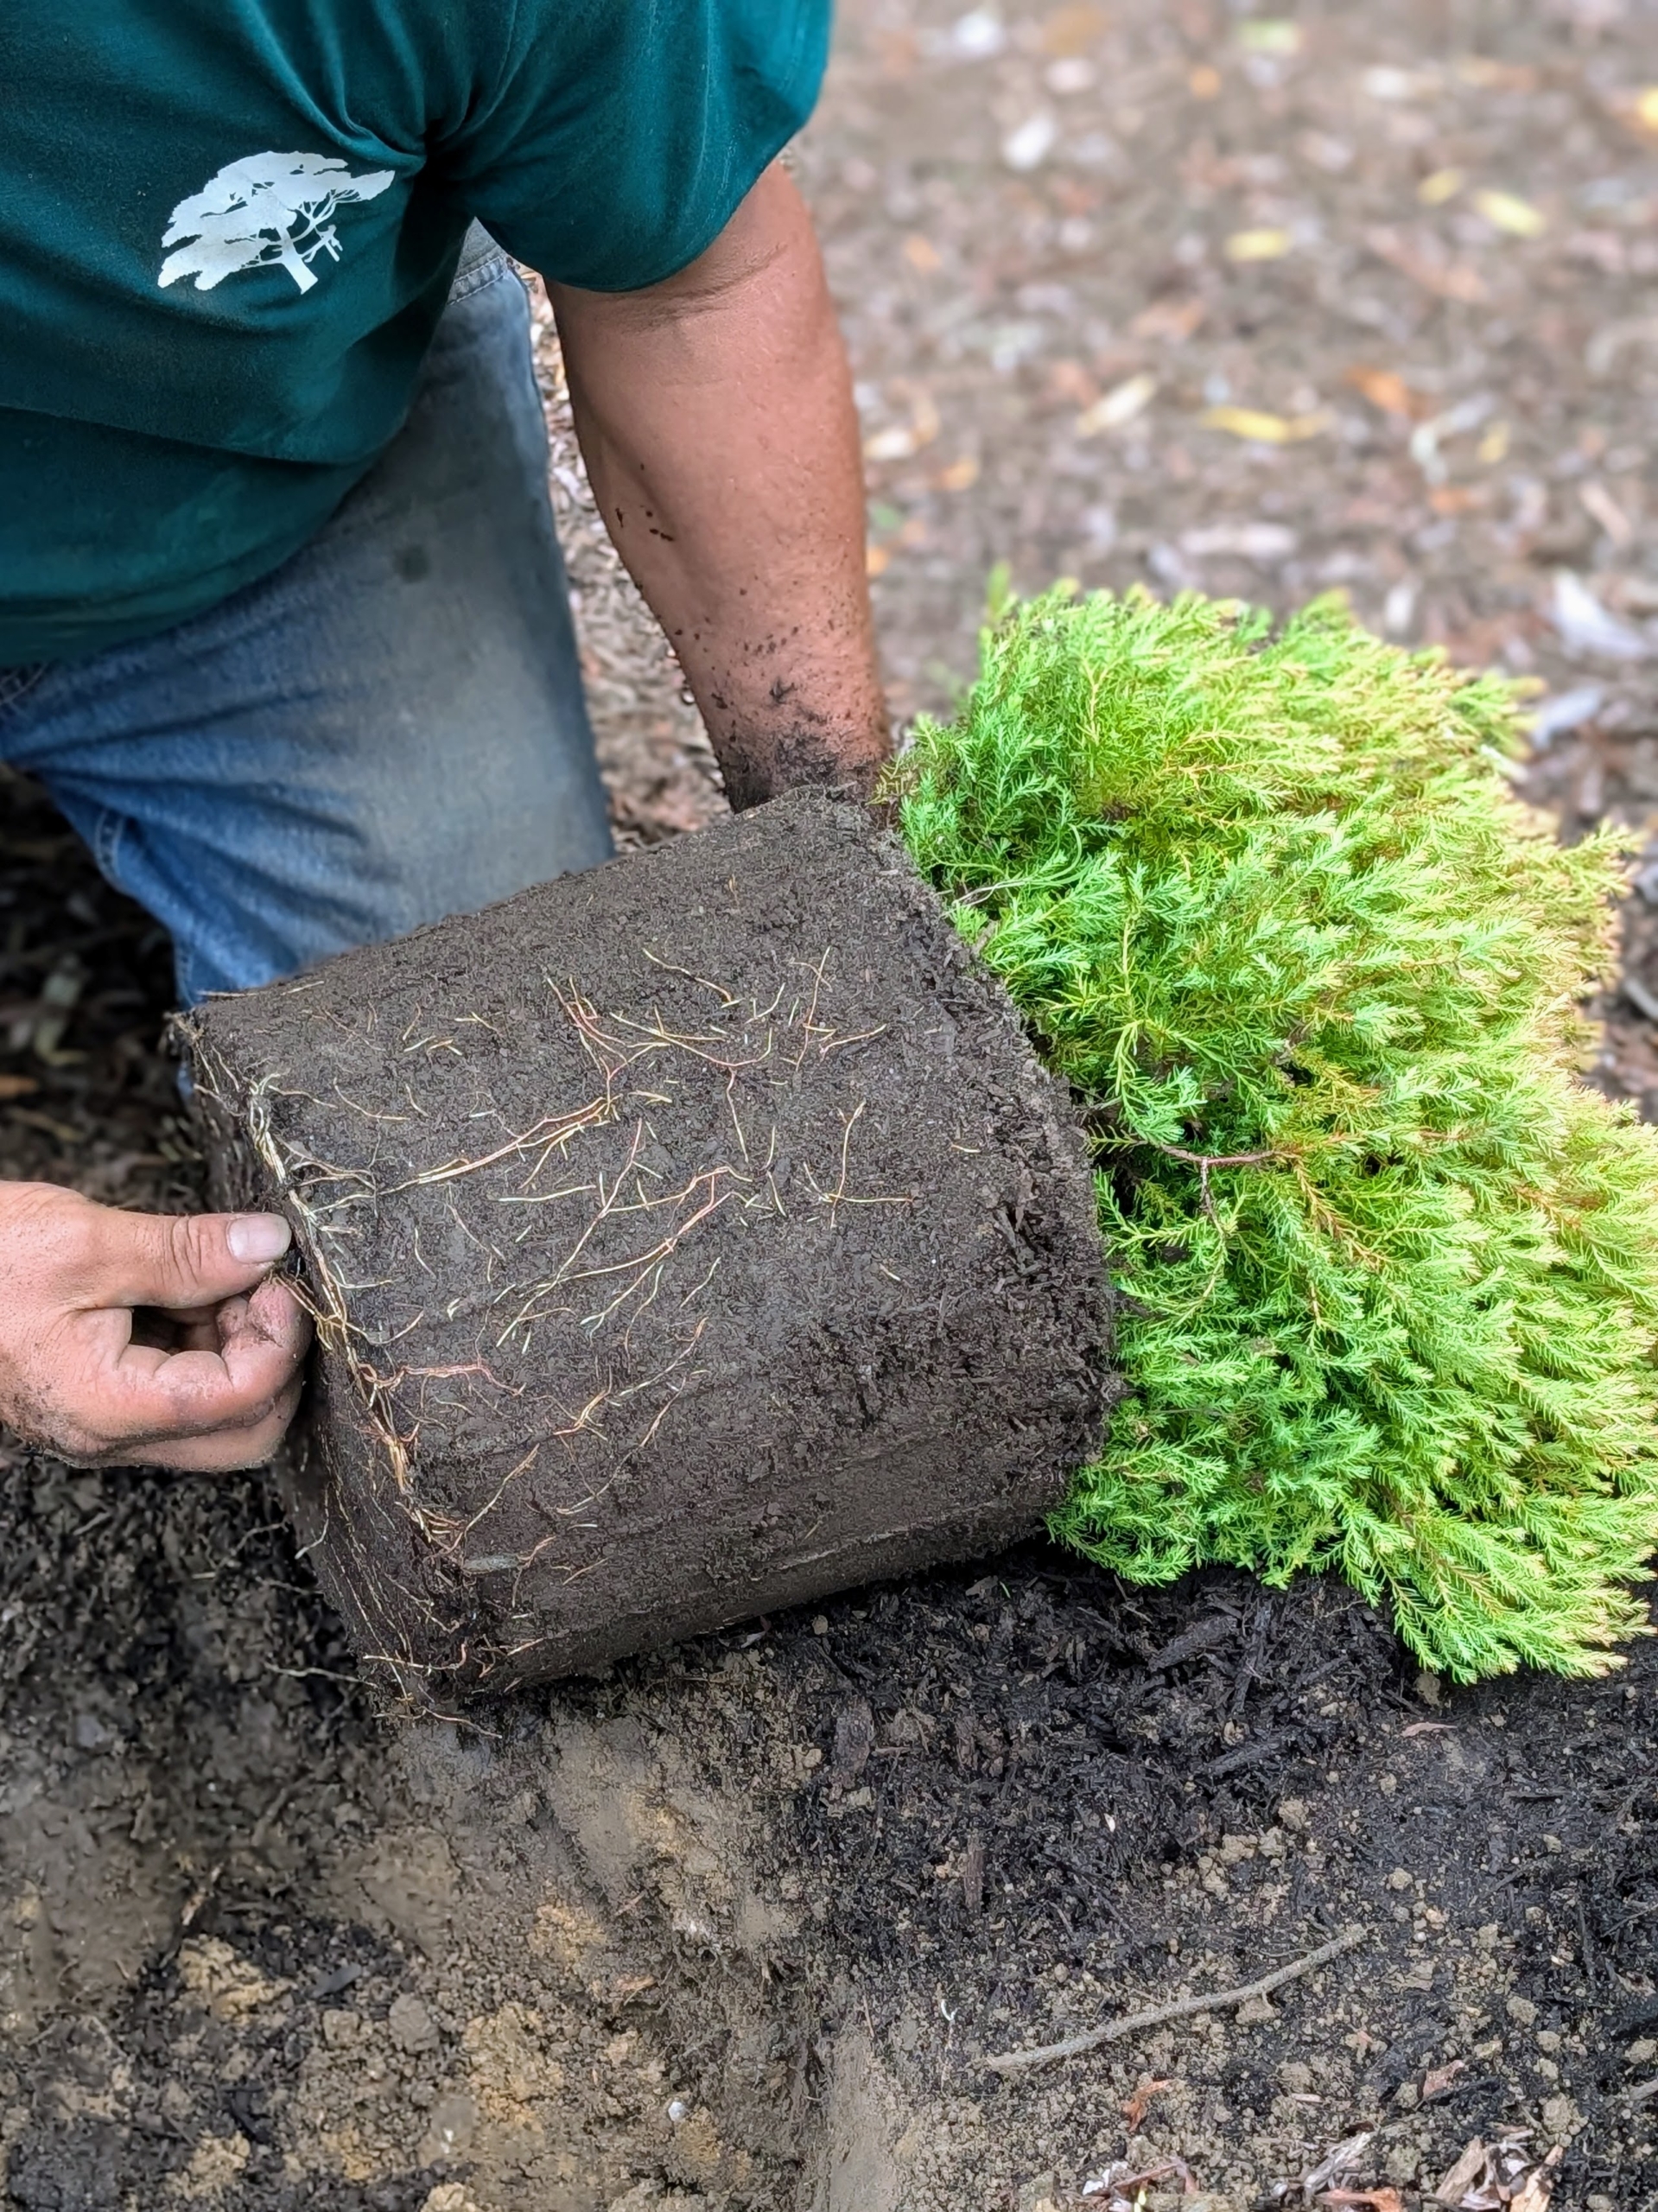
I worked with my head gardener, Ryan McCallister, to plan what specimens would make nice additions. These are potted Eastern red cedars.
Here’s Ryan also positioning some potted pines – the varying colors of the trees and shrubs will look so beautiful together.
More plant were placed strategically around the giant garden bed. As gardens develop, it’s important to watch what does well, note where plants are still needed, and then thoughtfully decide what should be added next.
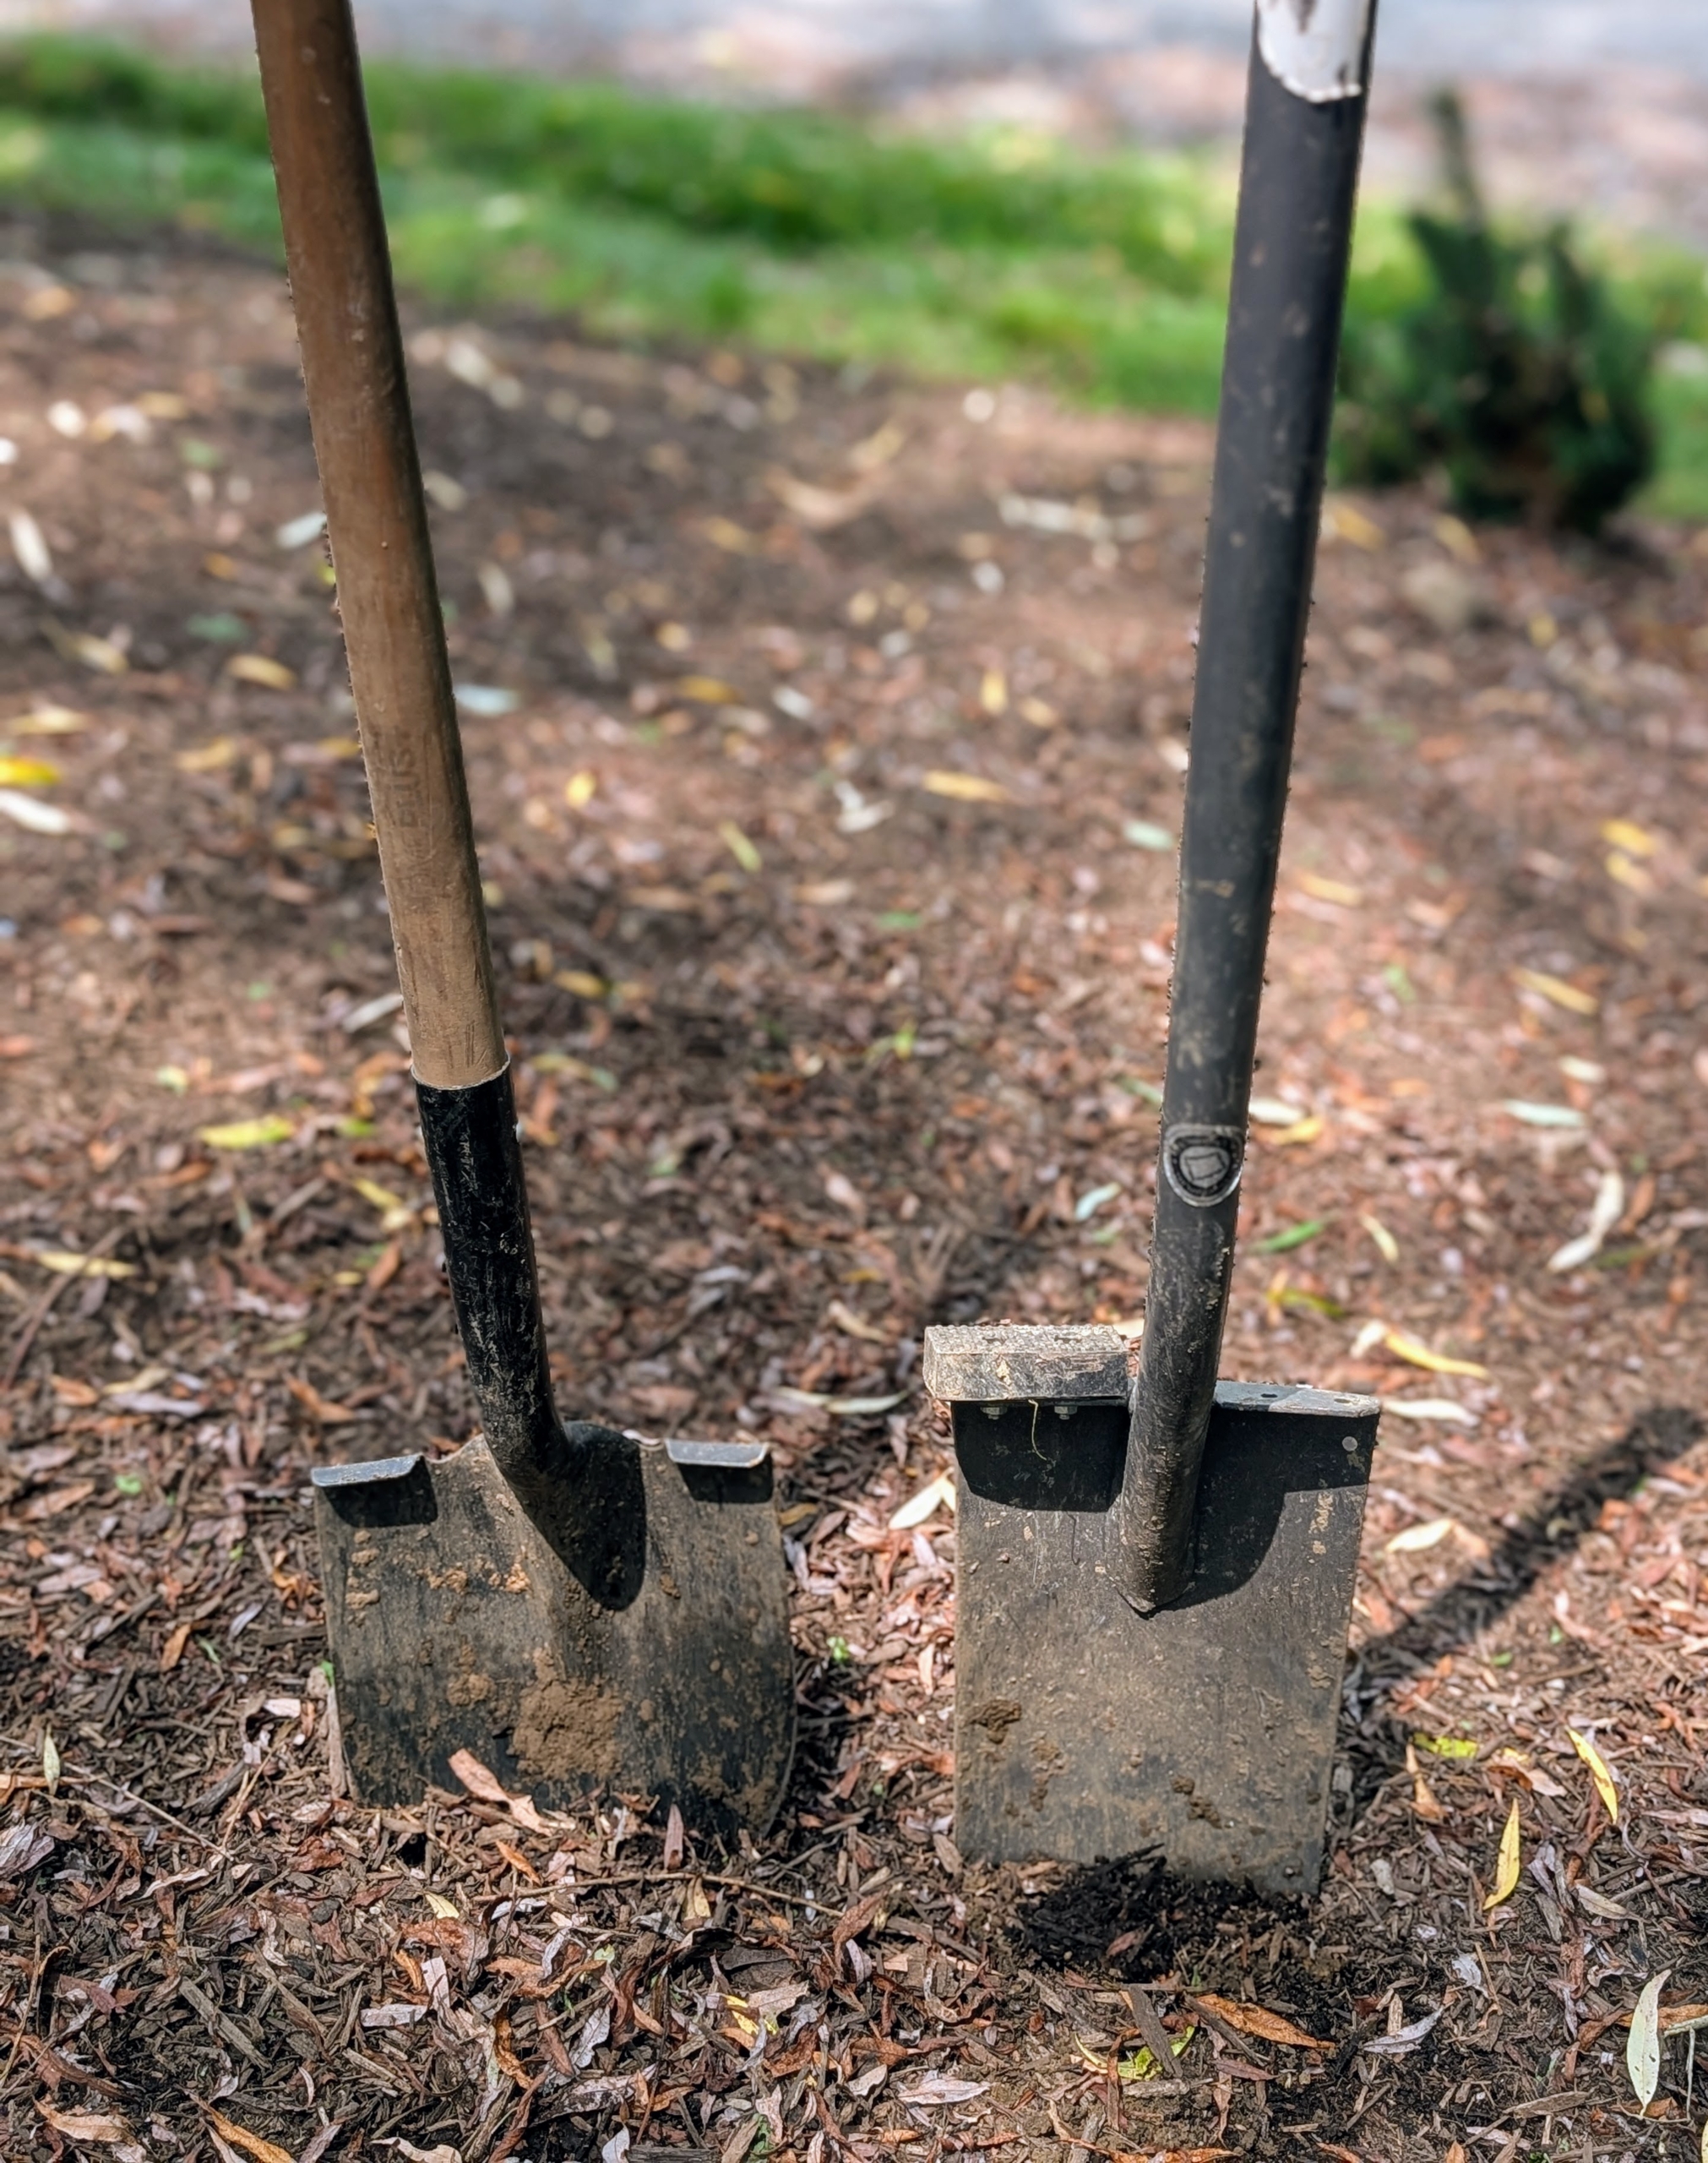
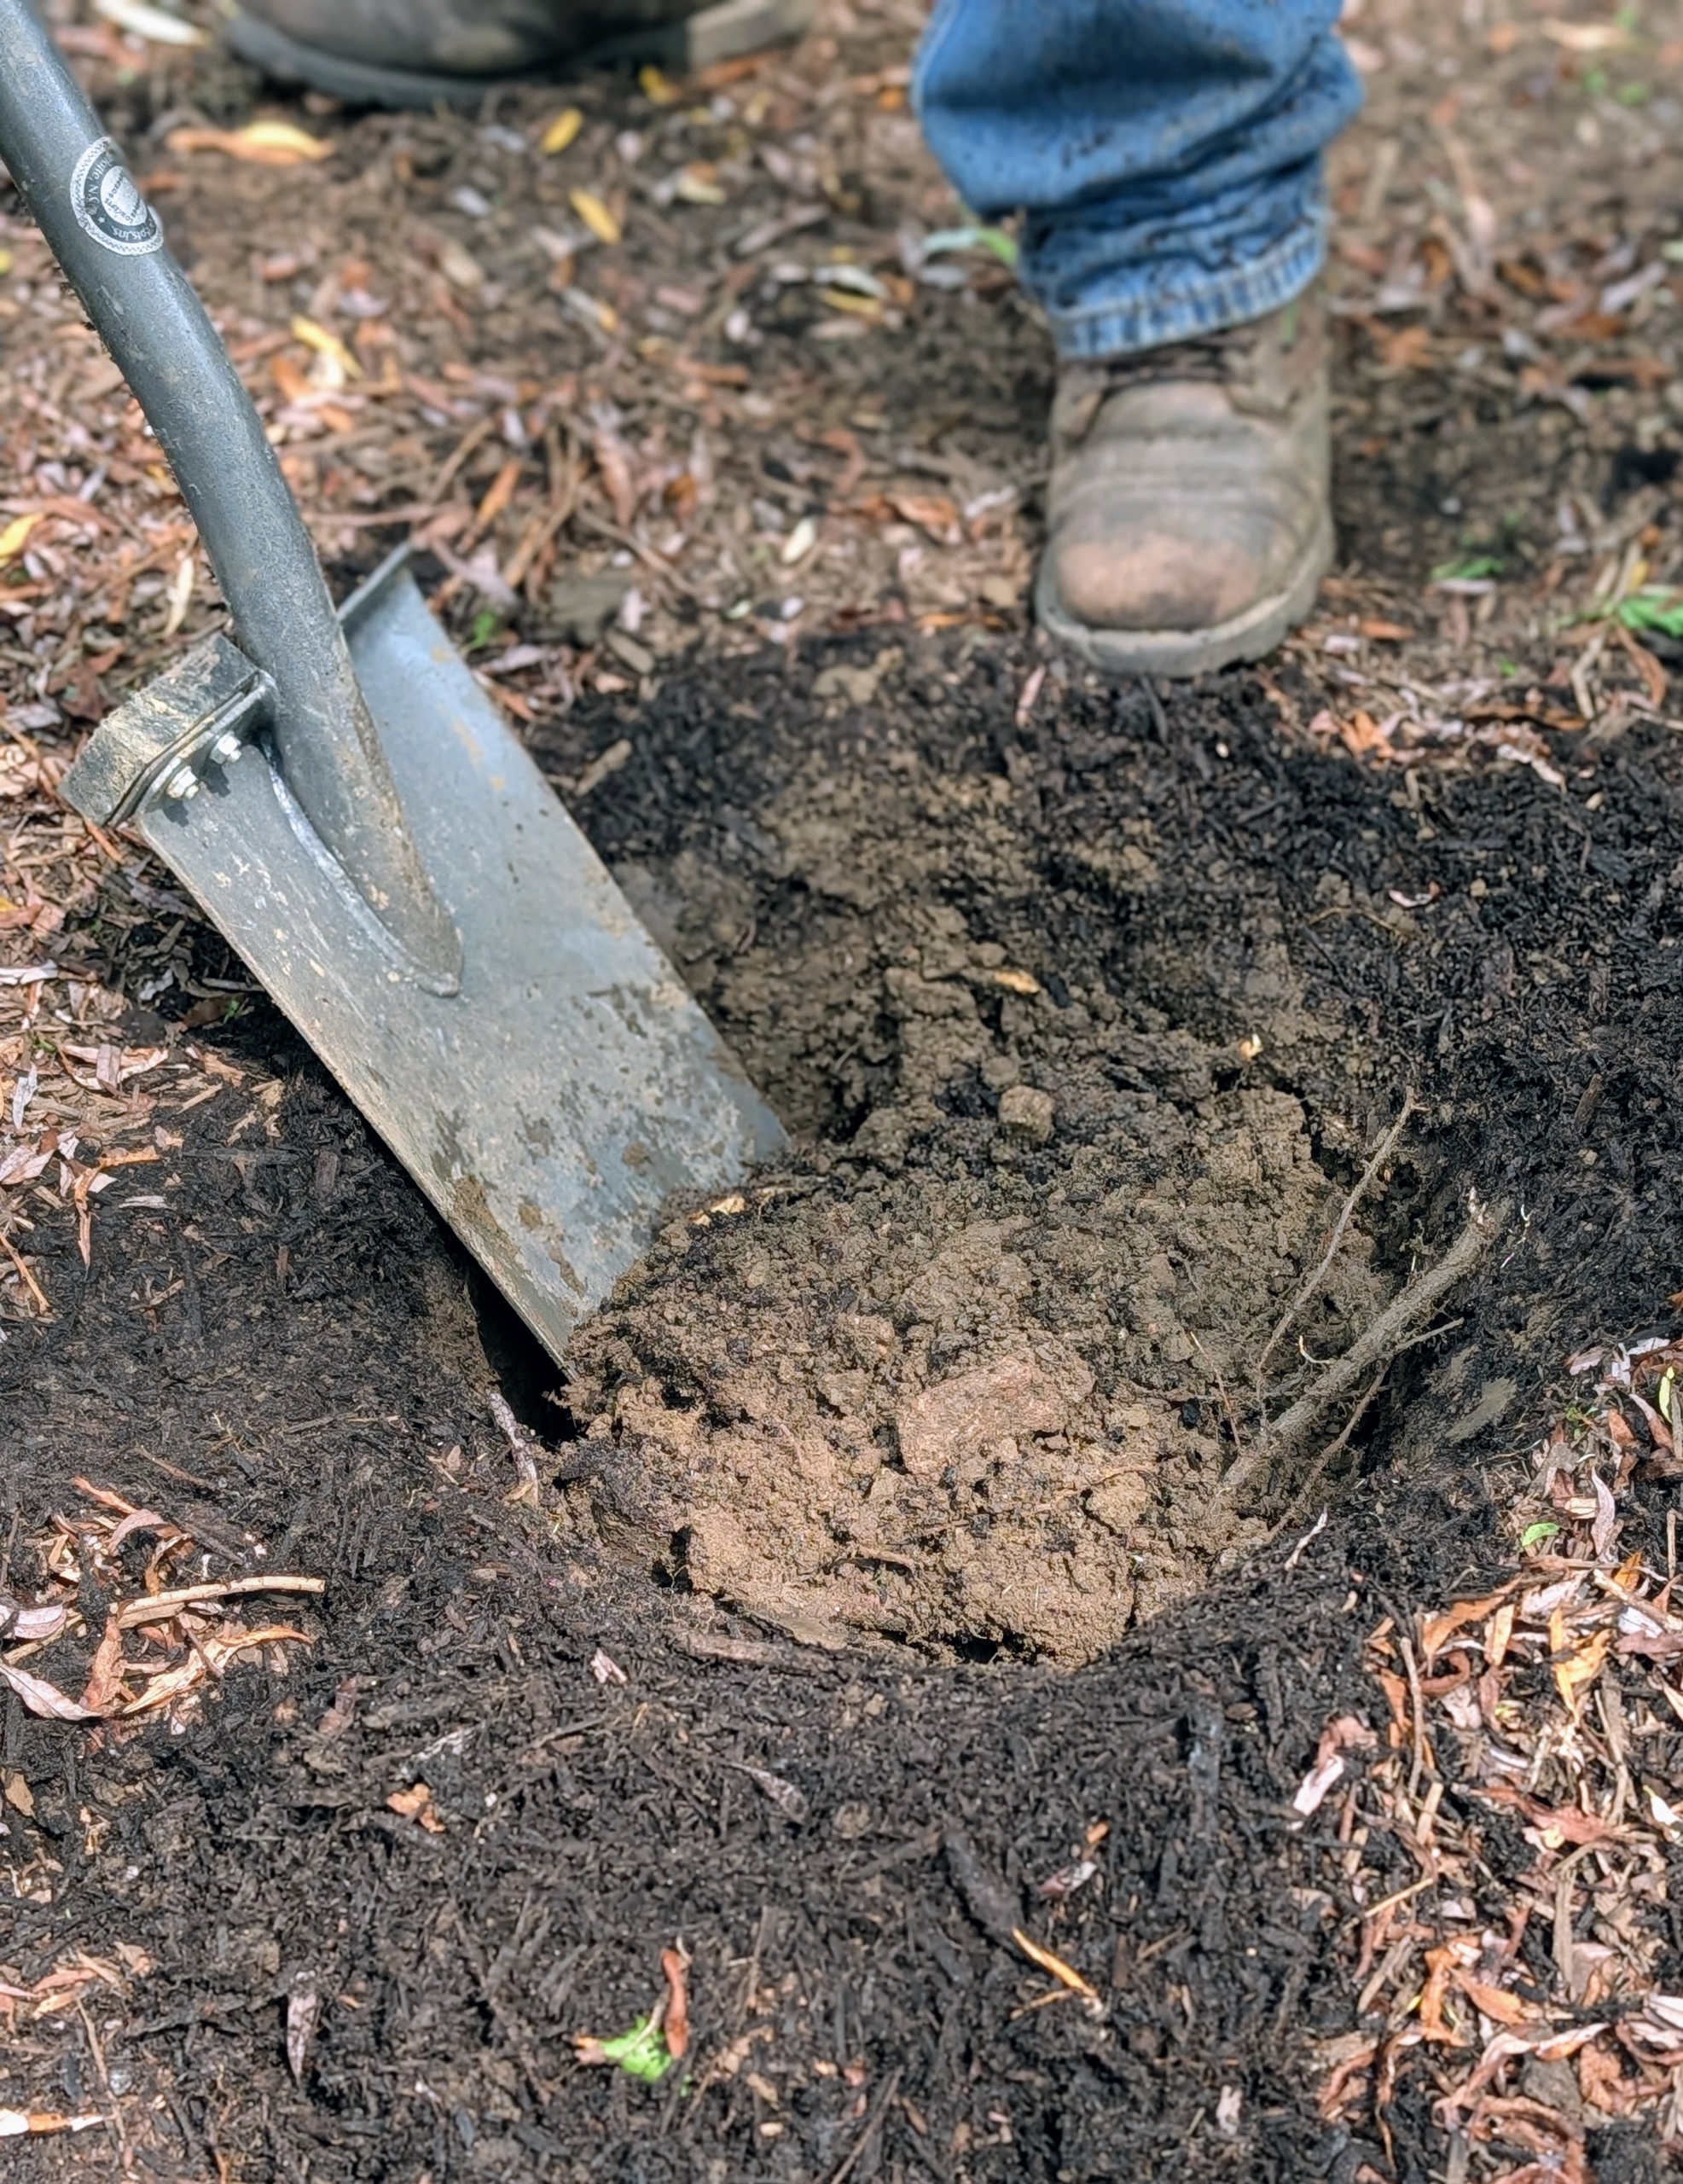
I always encourage my team to use the right tools for the right jobs. Do you know the difference between a shovel and a spade? A shovel is longer, angled, and its blade is curved into more of a scoop with a pointed tip. Shovels are better for digging up, breaking apart, and lifting soil as well as for scooping and moving loose materials. A spade has a relatively flat blade with straight edges and the blade tends to be in line with the shaft, rather than angled forward. Spades are good for edging and cutting.
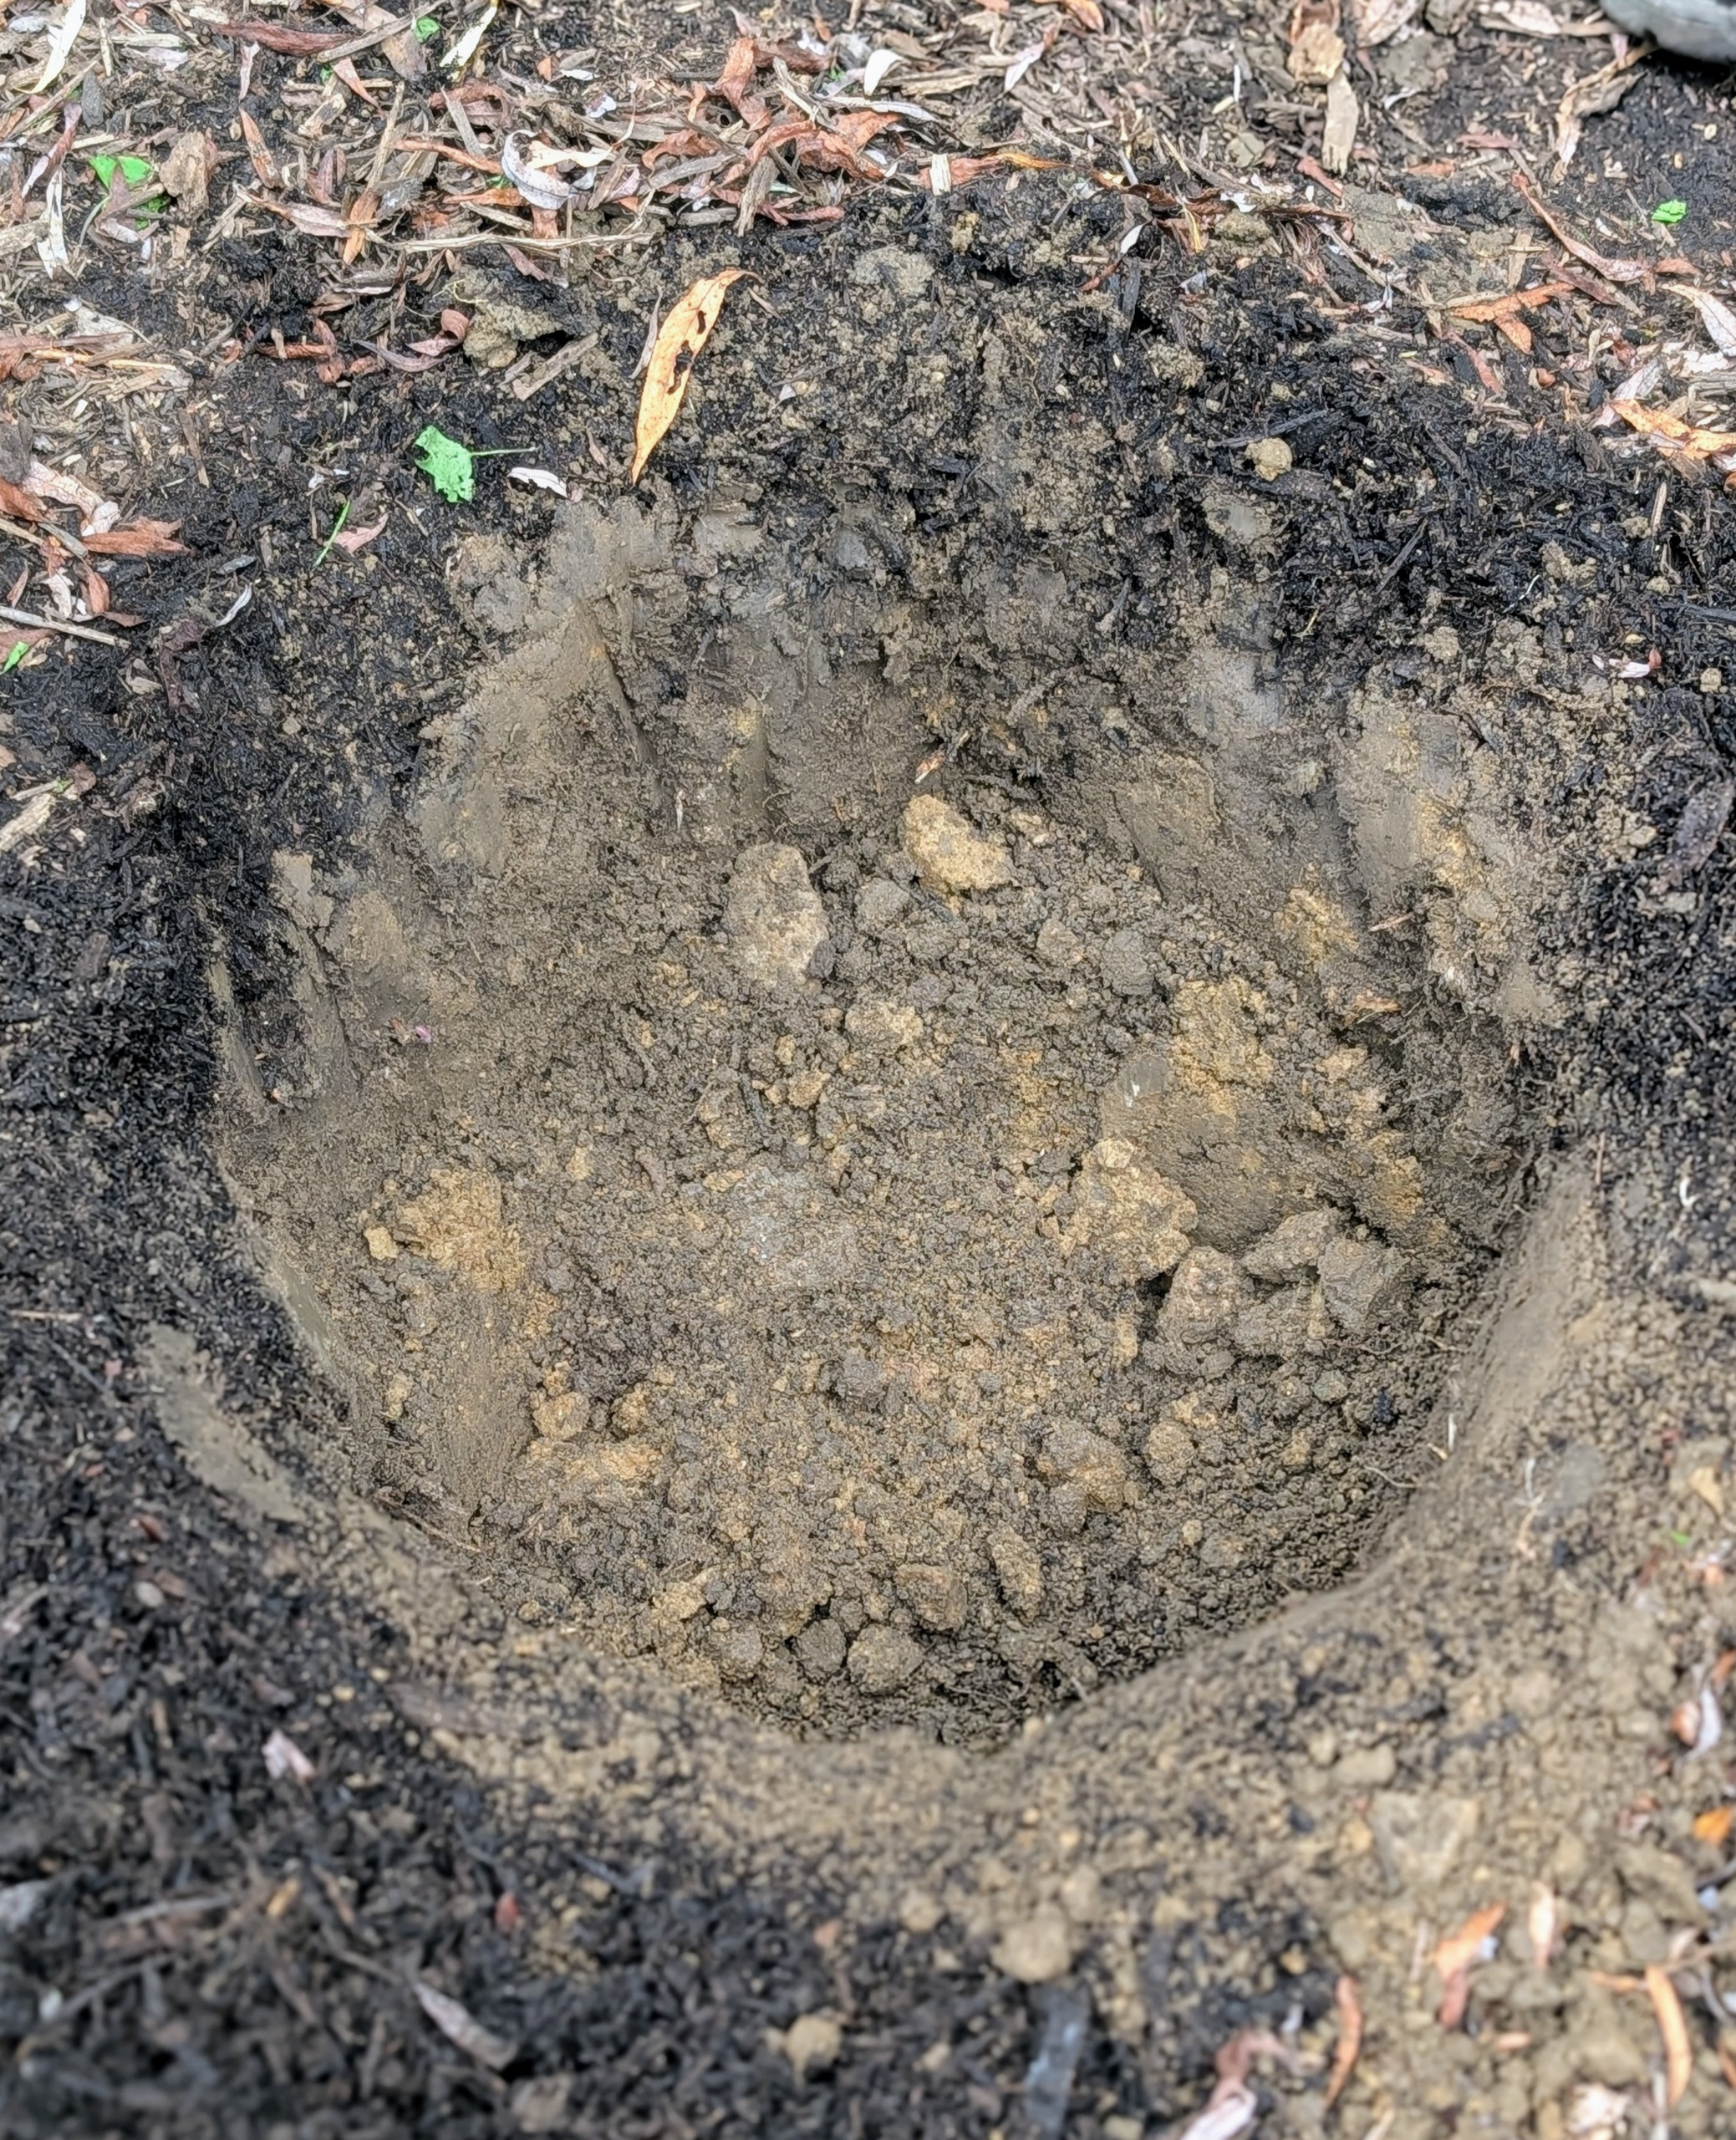
Norman uses the spade to cut through the soil and outline the hole which should be at least twice the size of the plant.
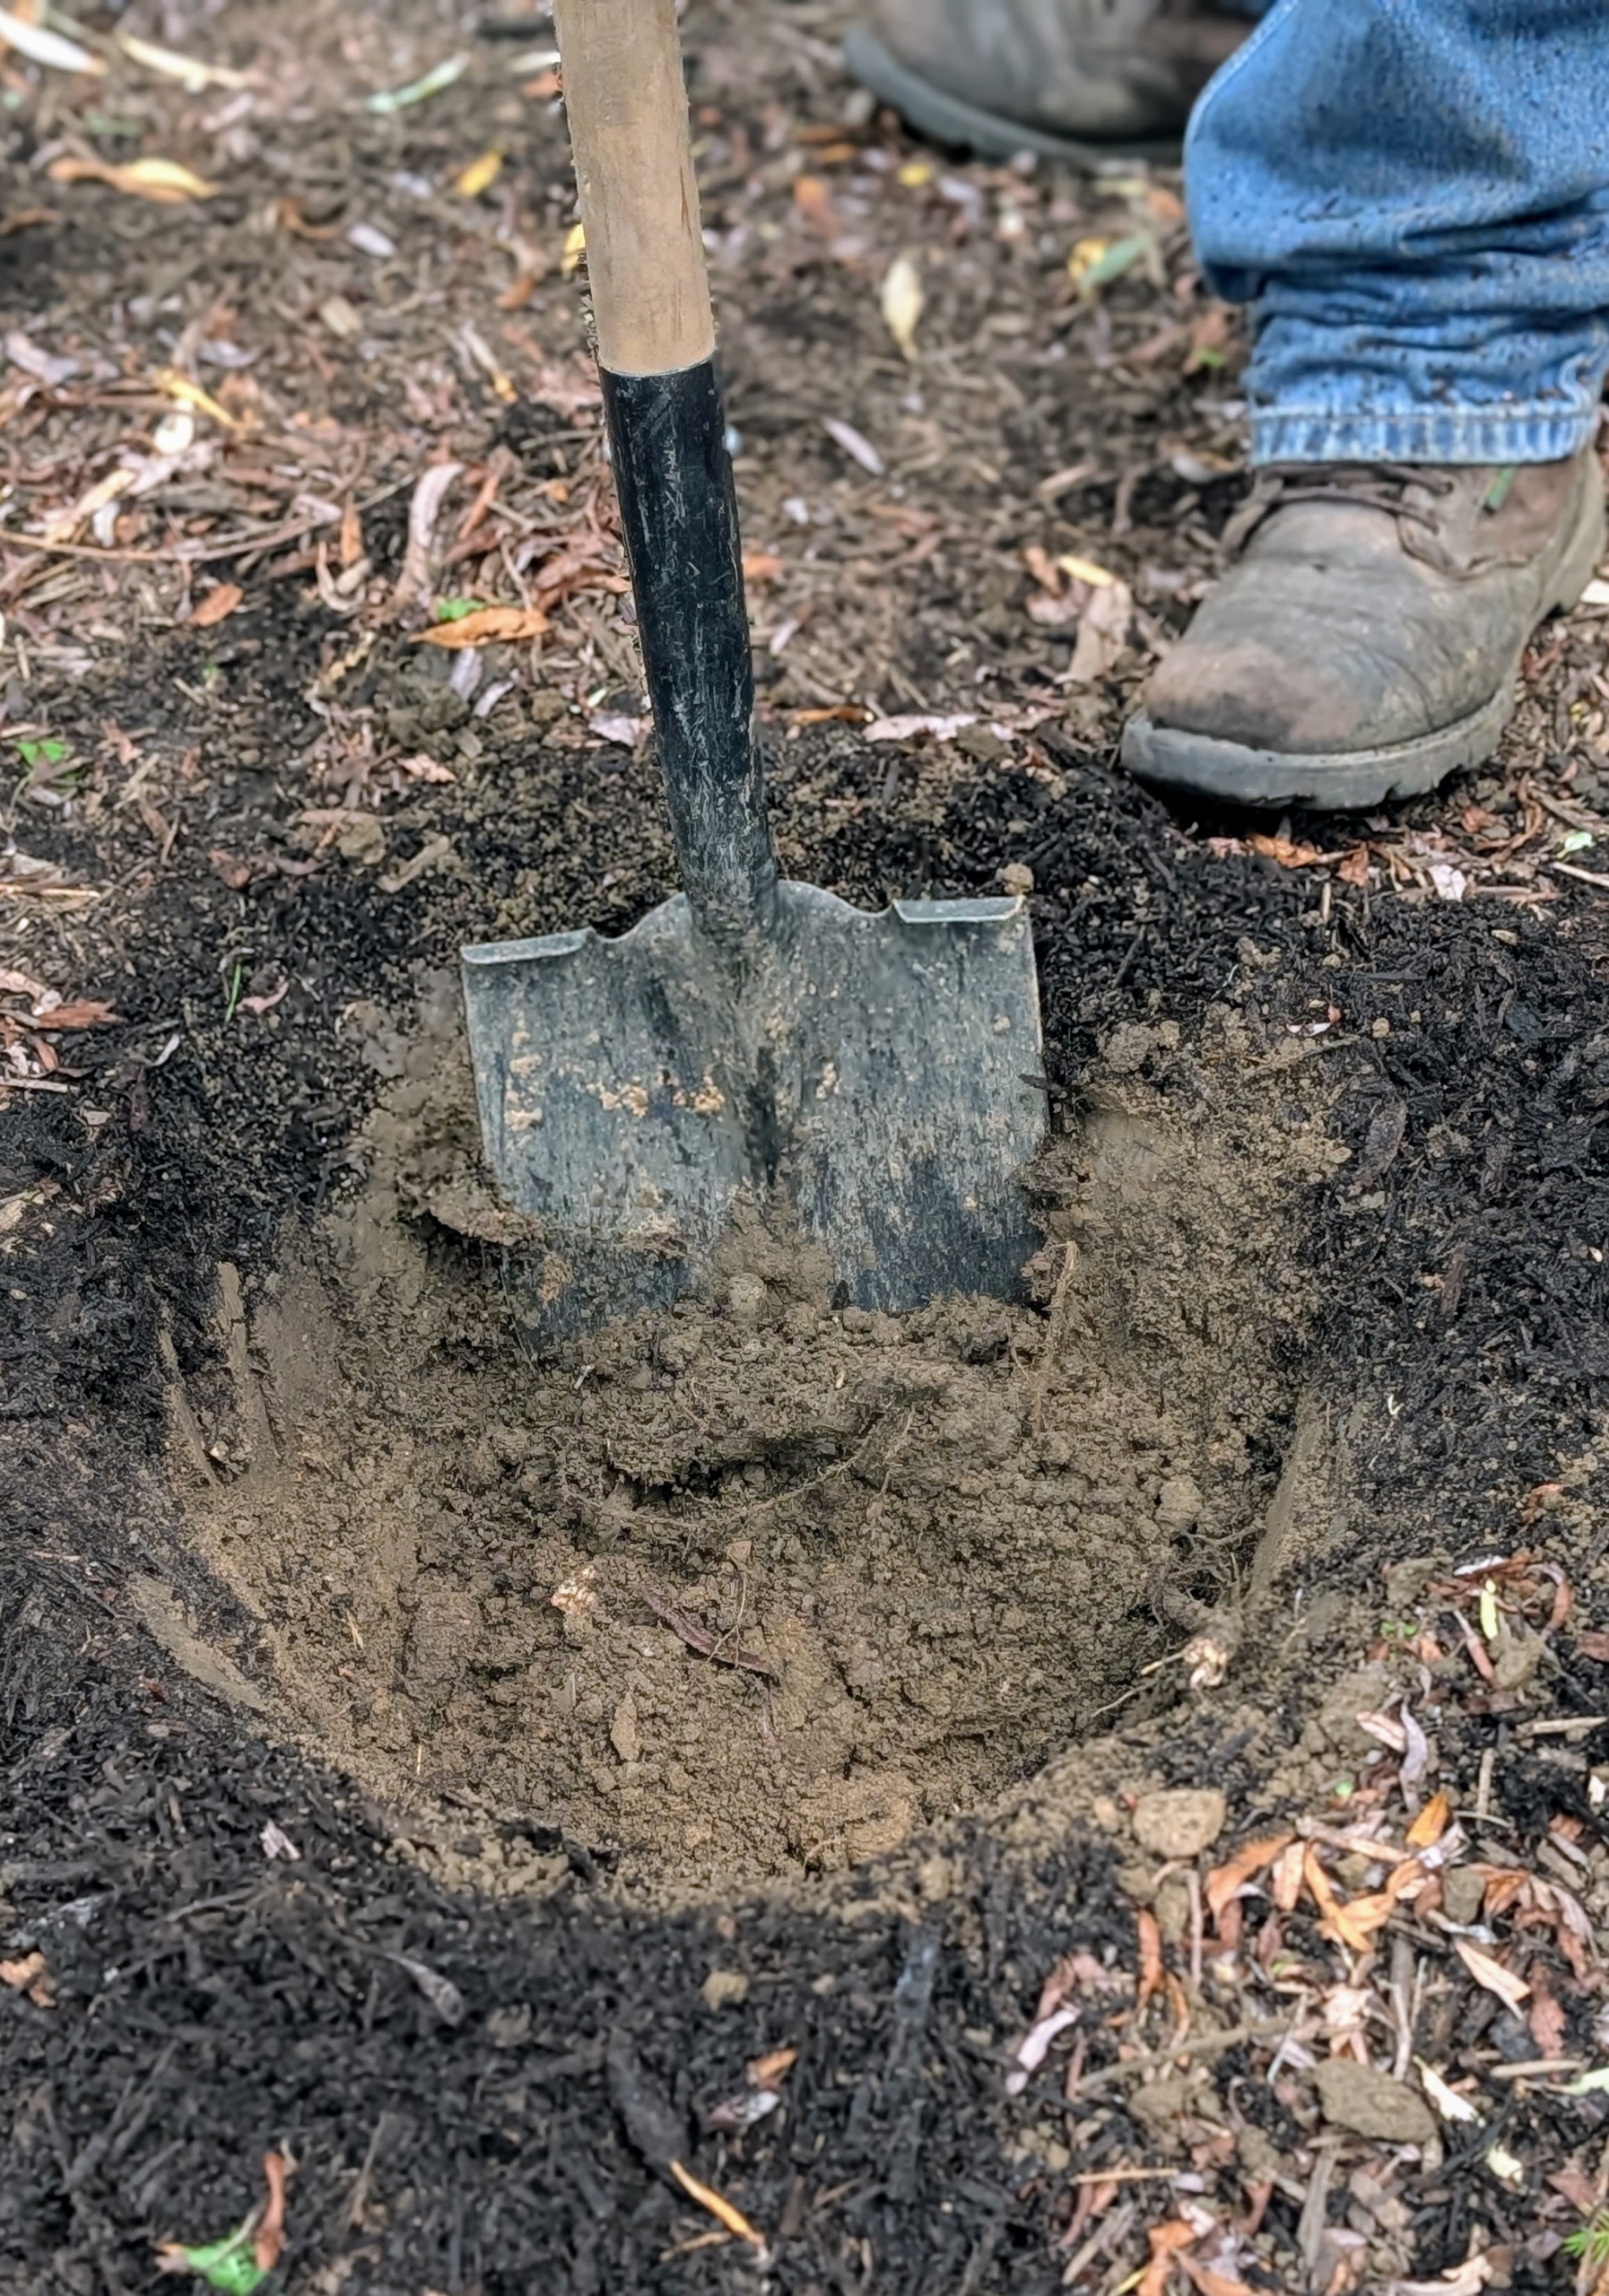
Then he uses the shovel to lift the soil out.
Now this hole and its surrounding soil are ready for a sprinkling of fertilizer.
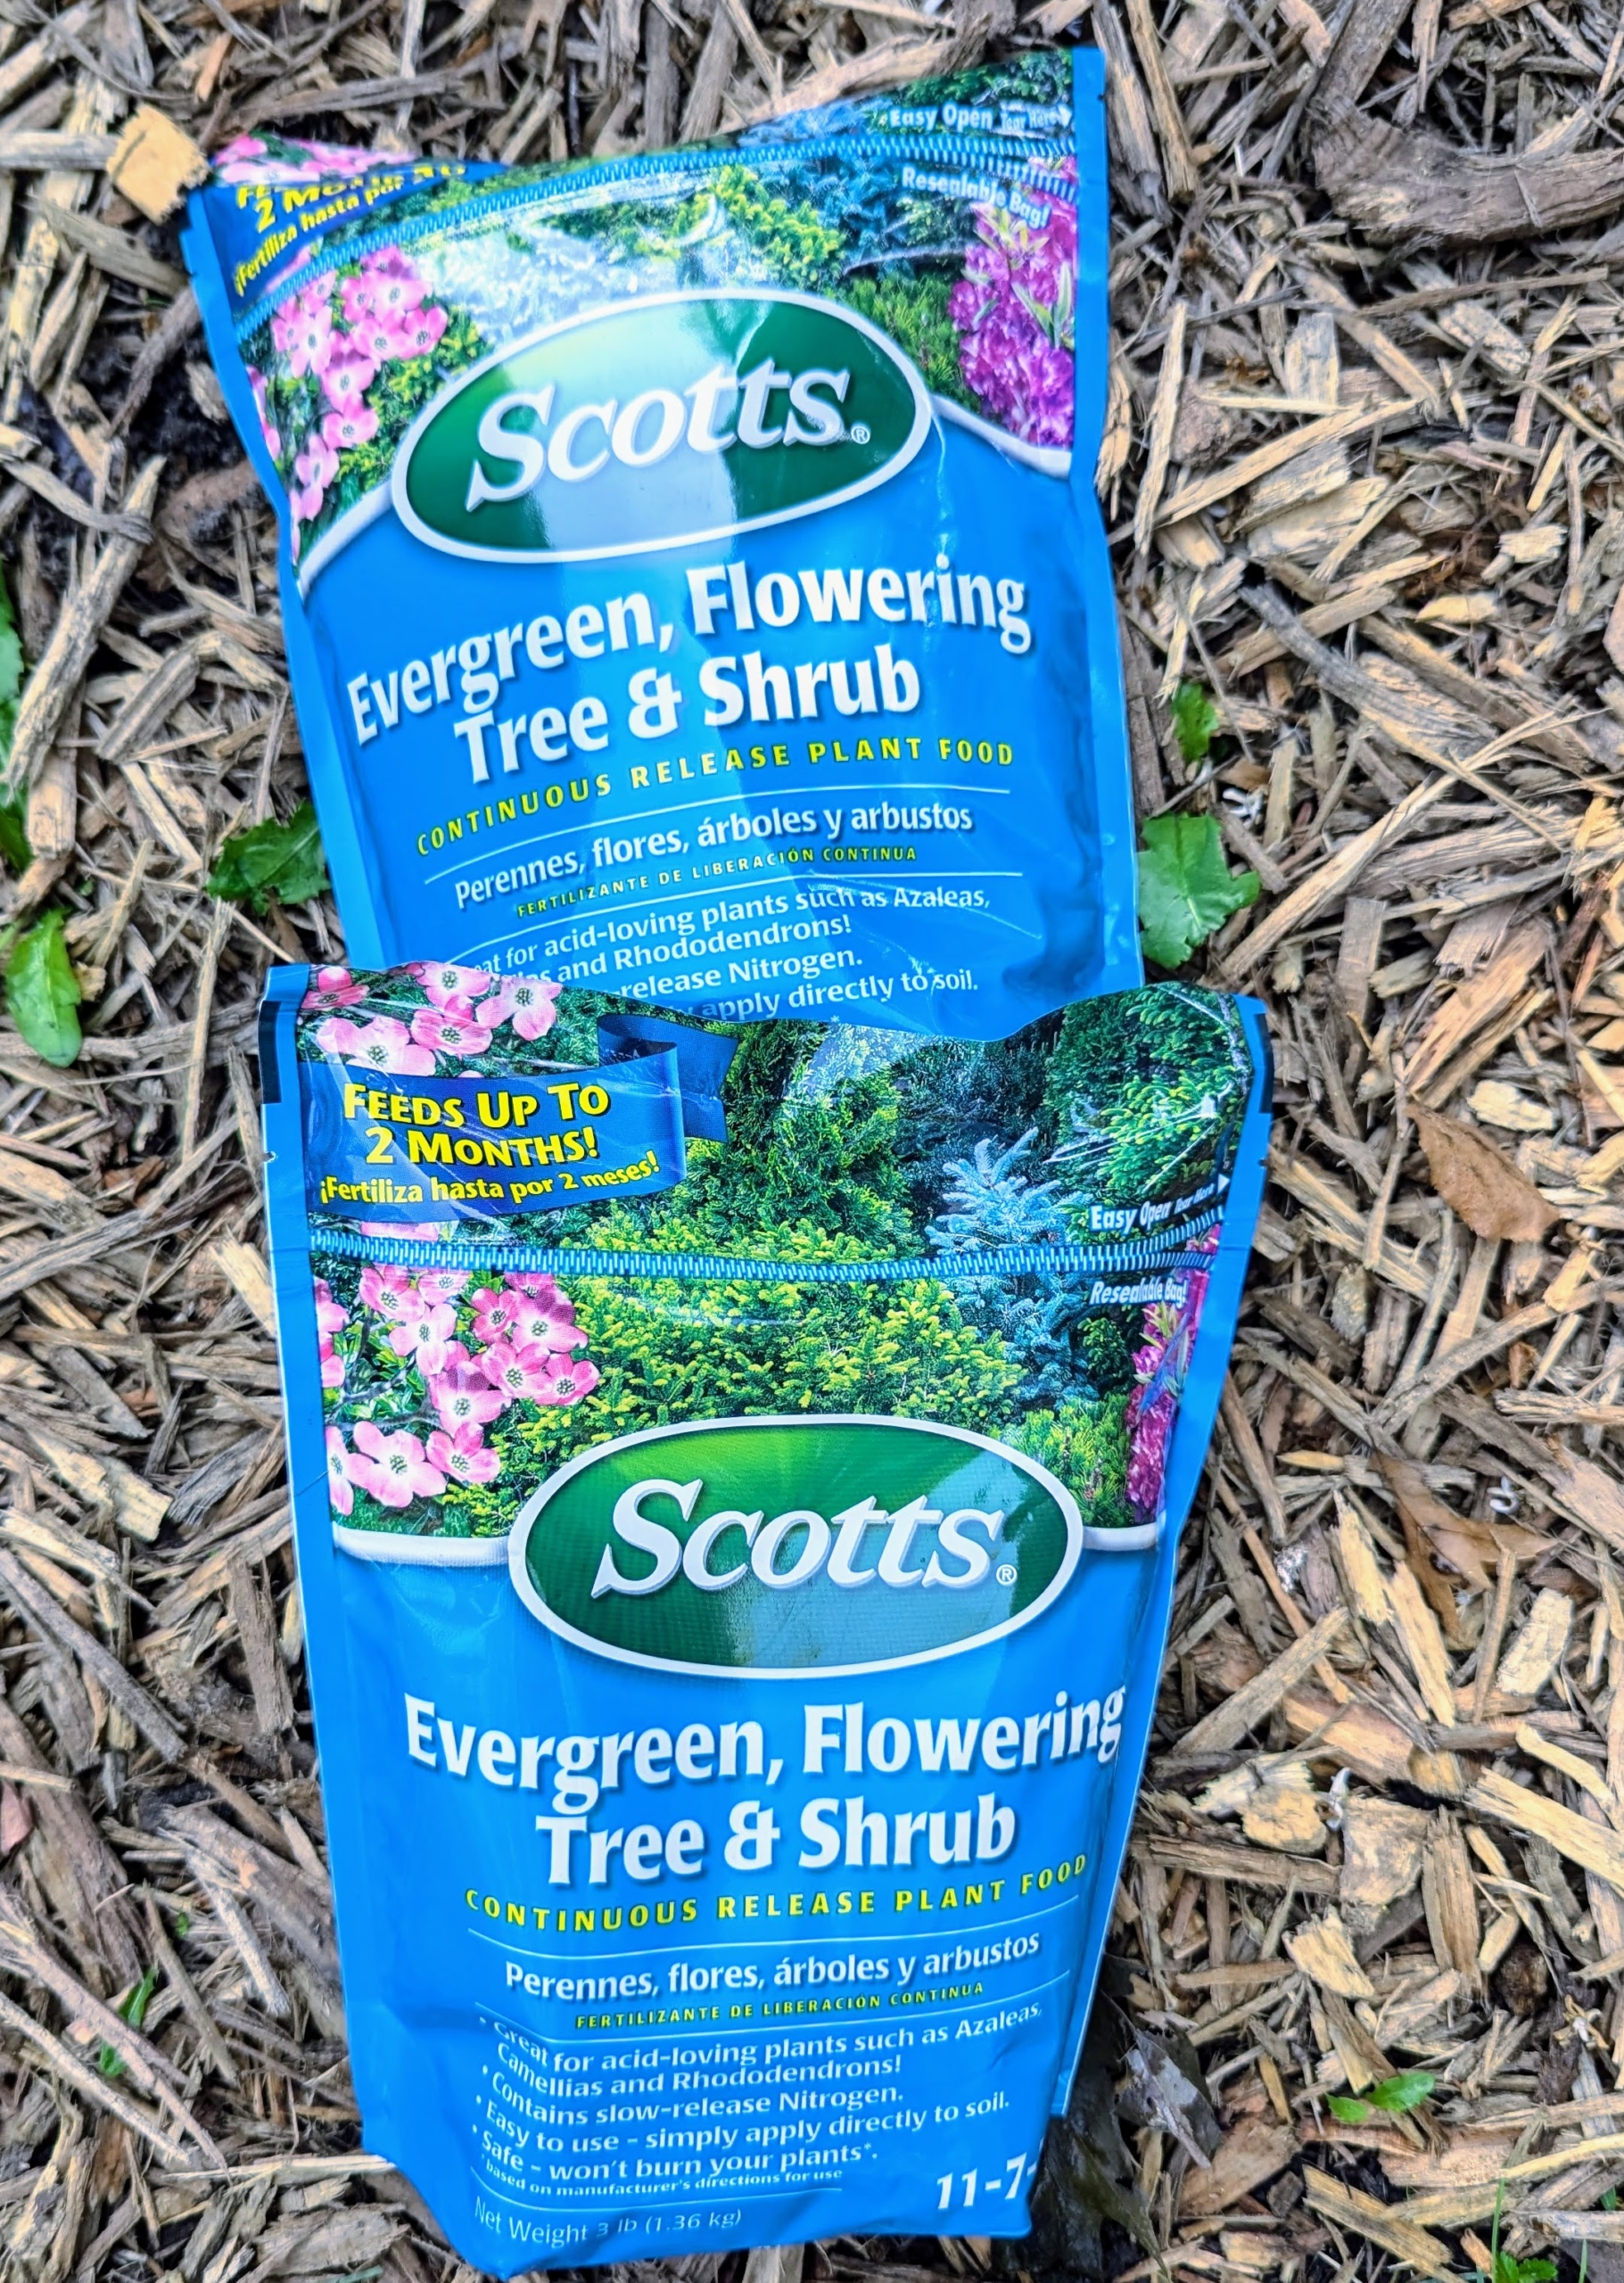
I use the appropriate Scotts fertilizer for evergreens and flowering trees and shrubs.
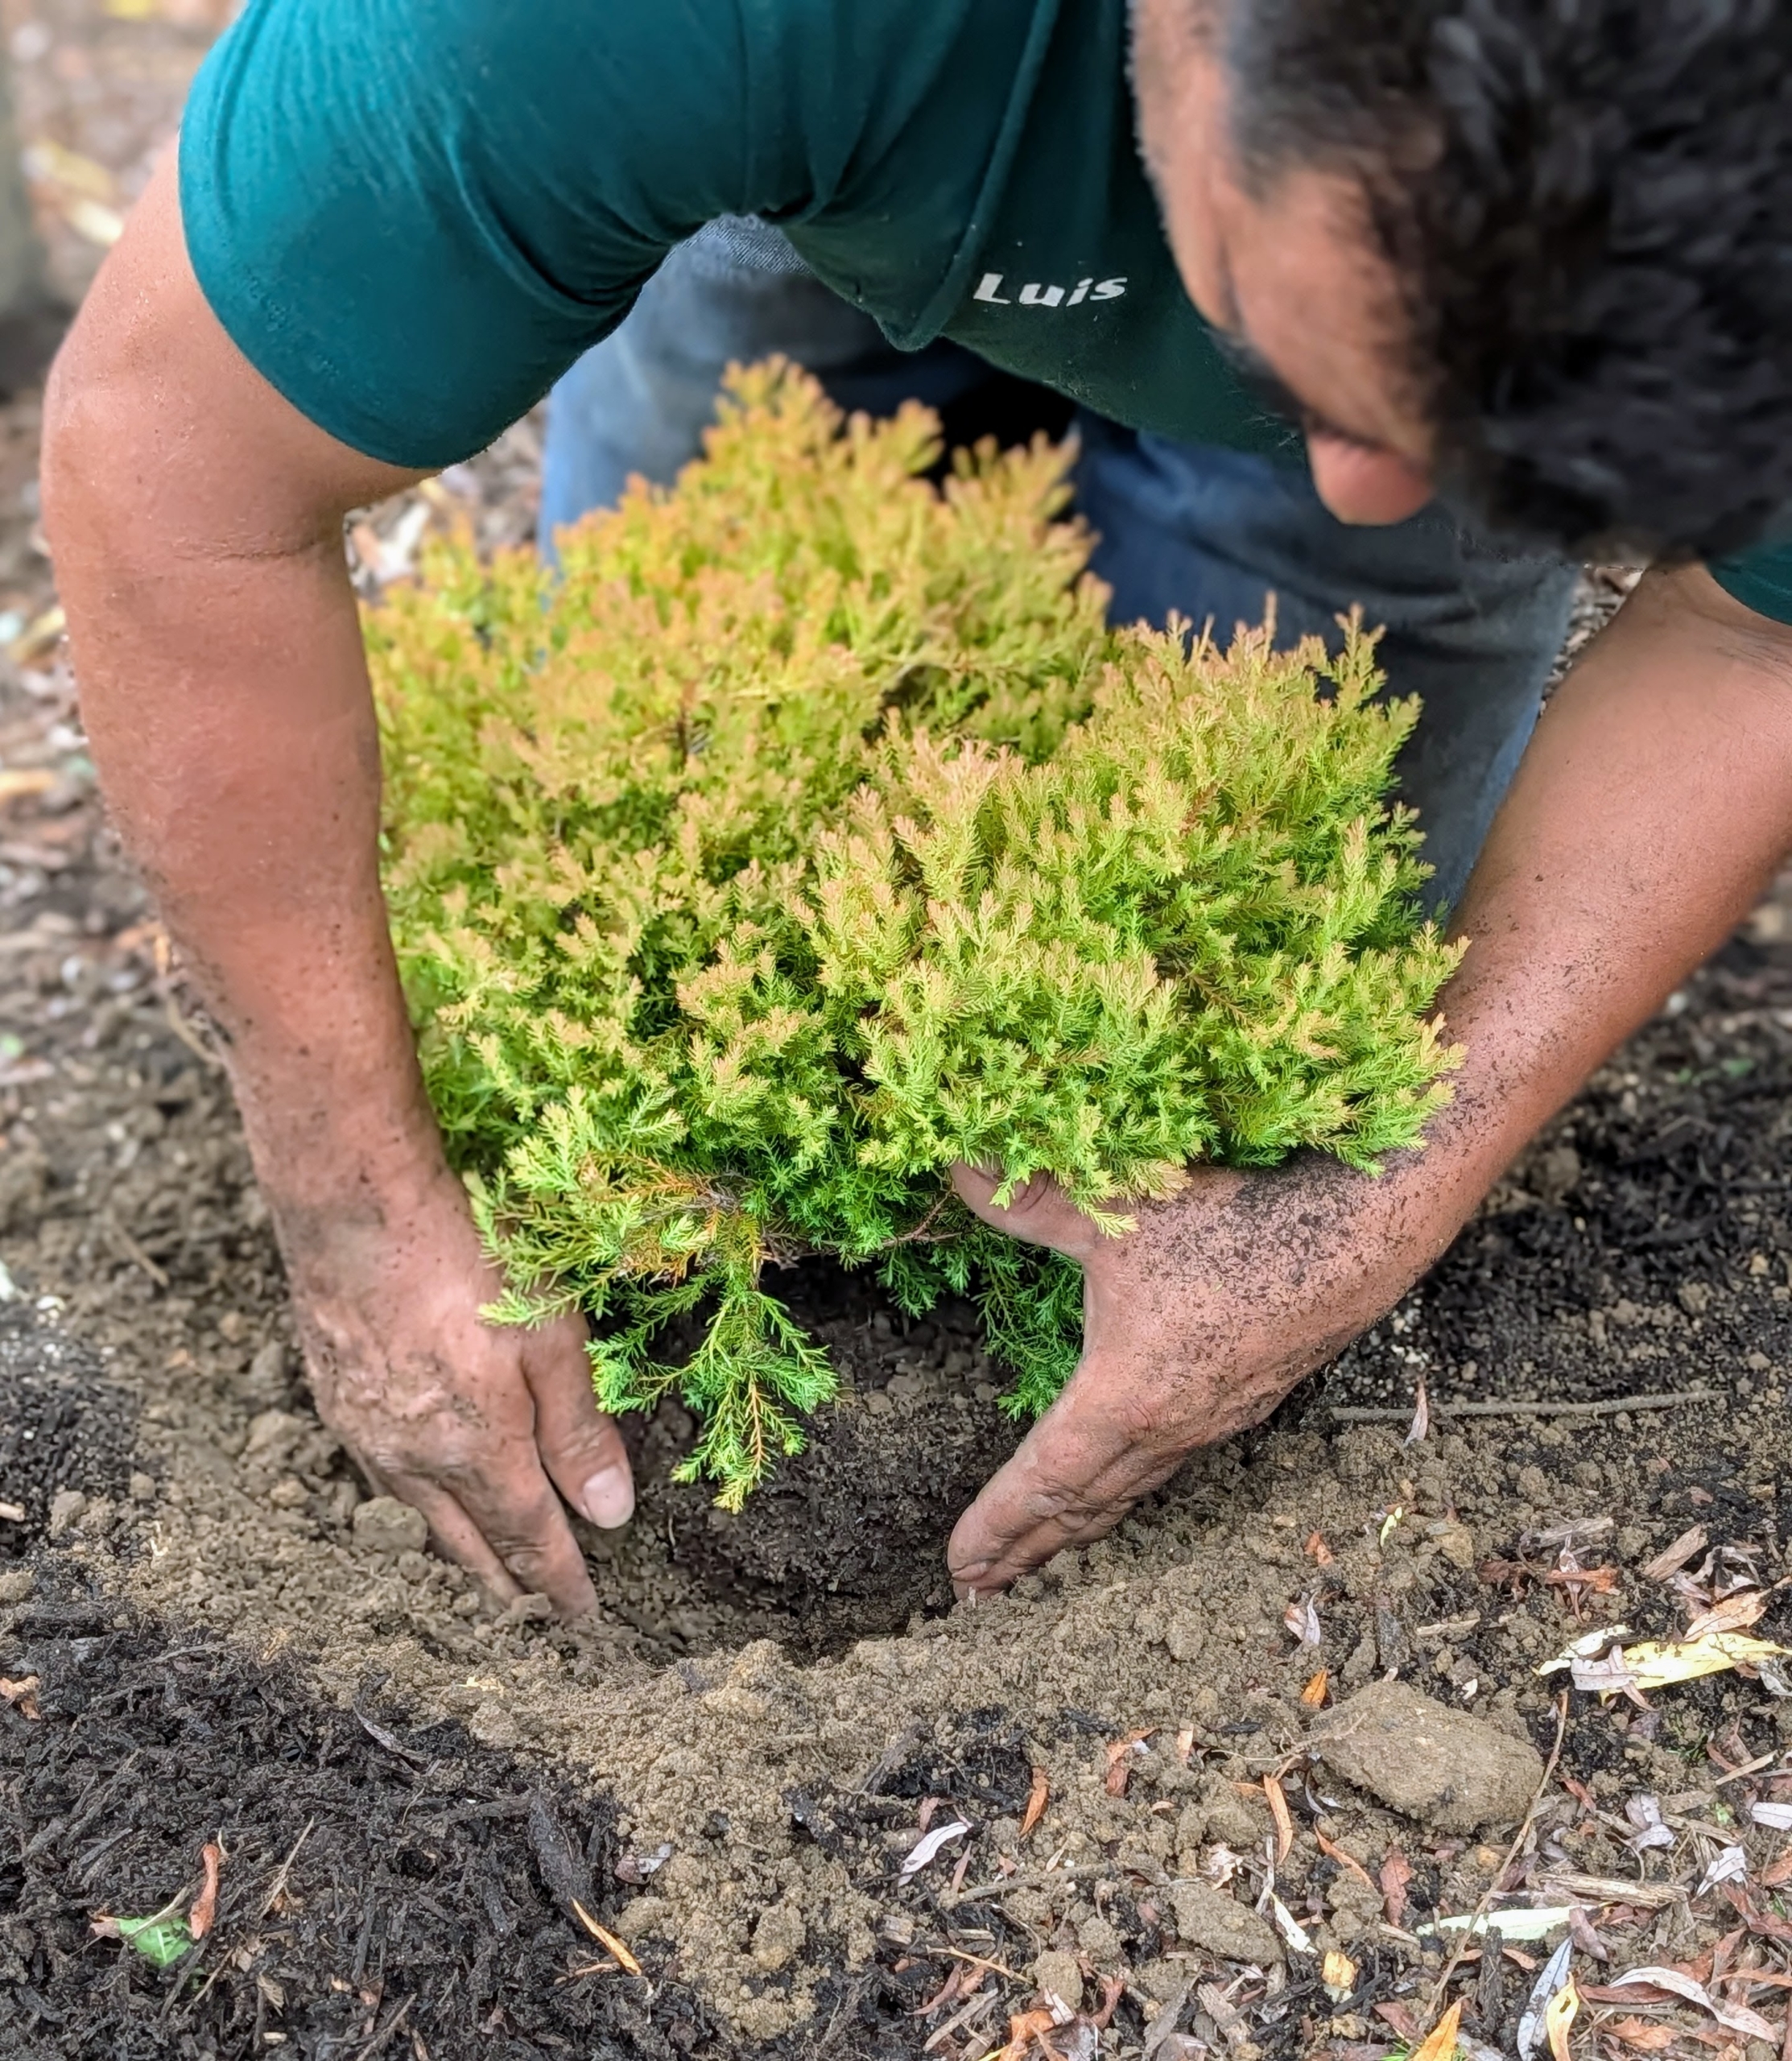
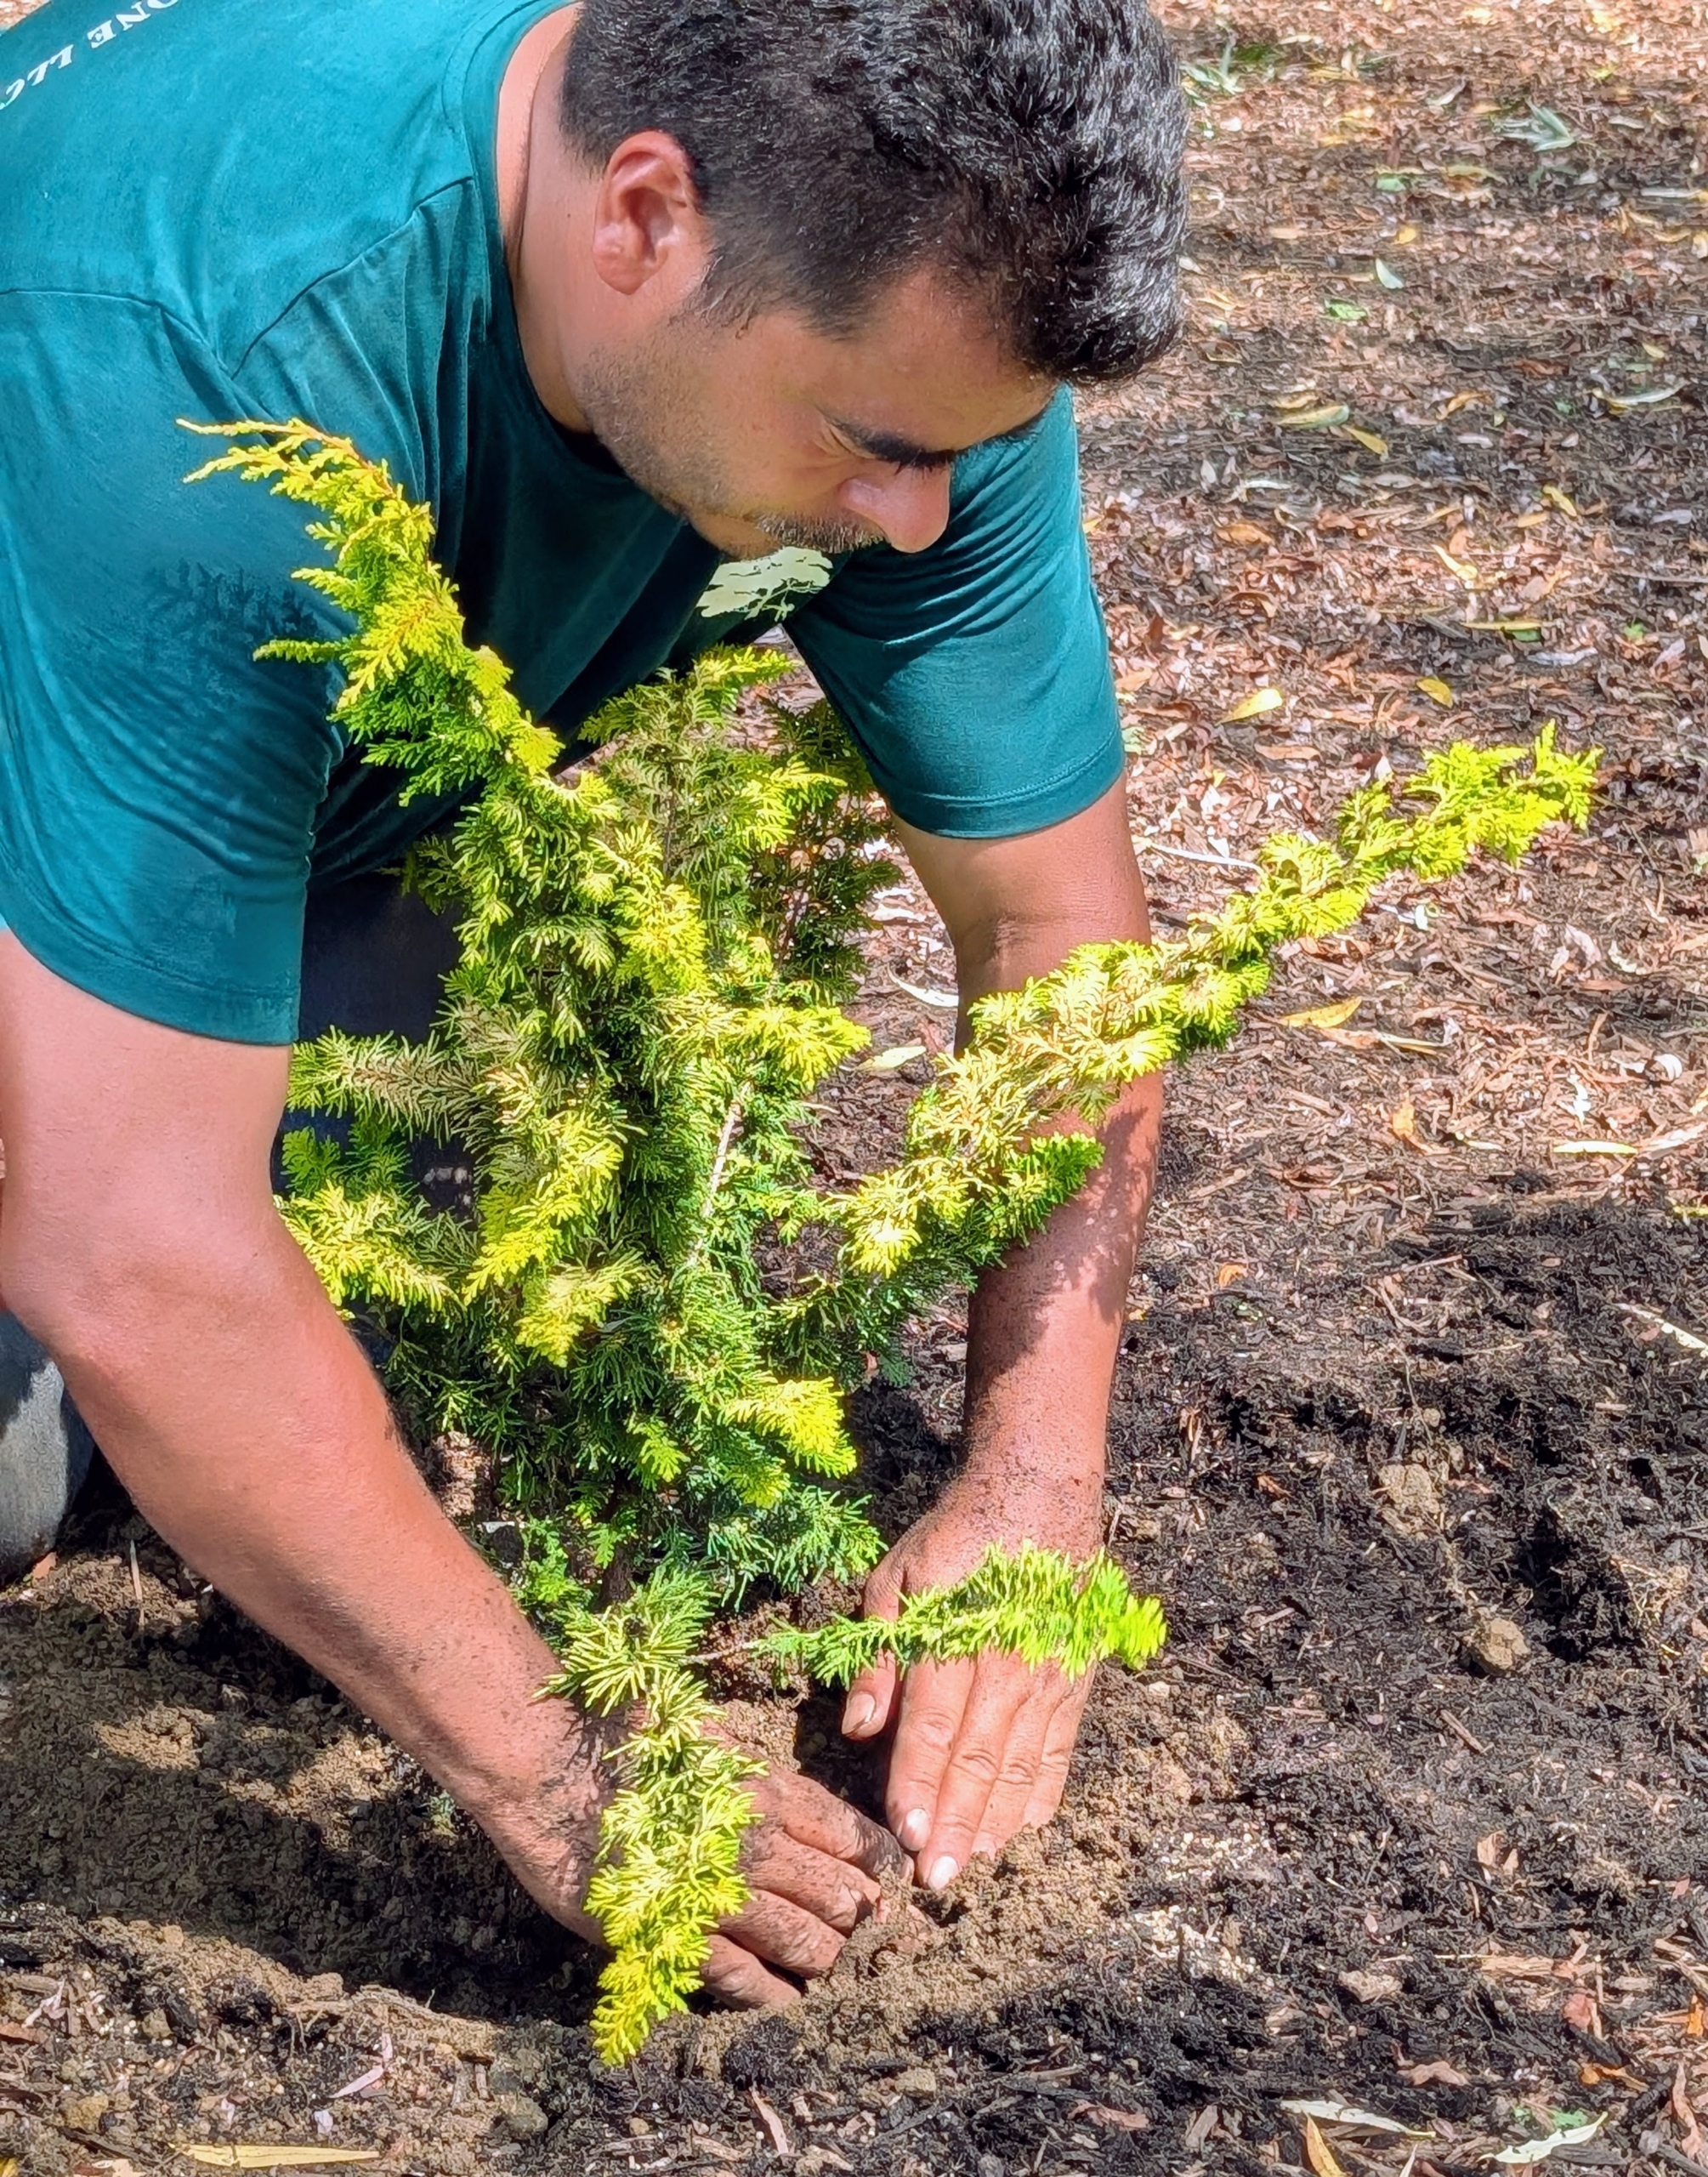
Norman removes the plant from its pot and teases the roots on the bottom. The root ball is in good condition, so this can easily be done with one’s hand. Scarifying the roots helps with nutrient absorption by loosening them and allowing them to expand into the new soil.
Norman places it in the hole and checks to be sure that it is planted at the right depth. It should be at the same level as it was in the pot.
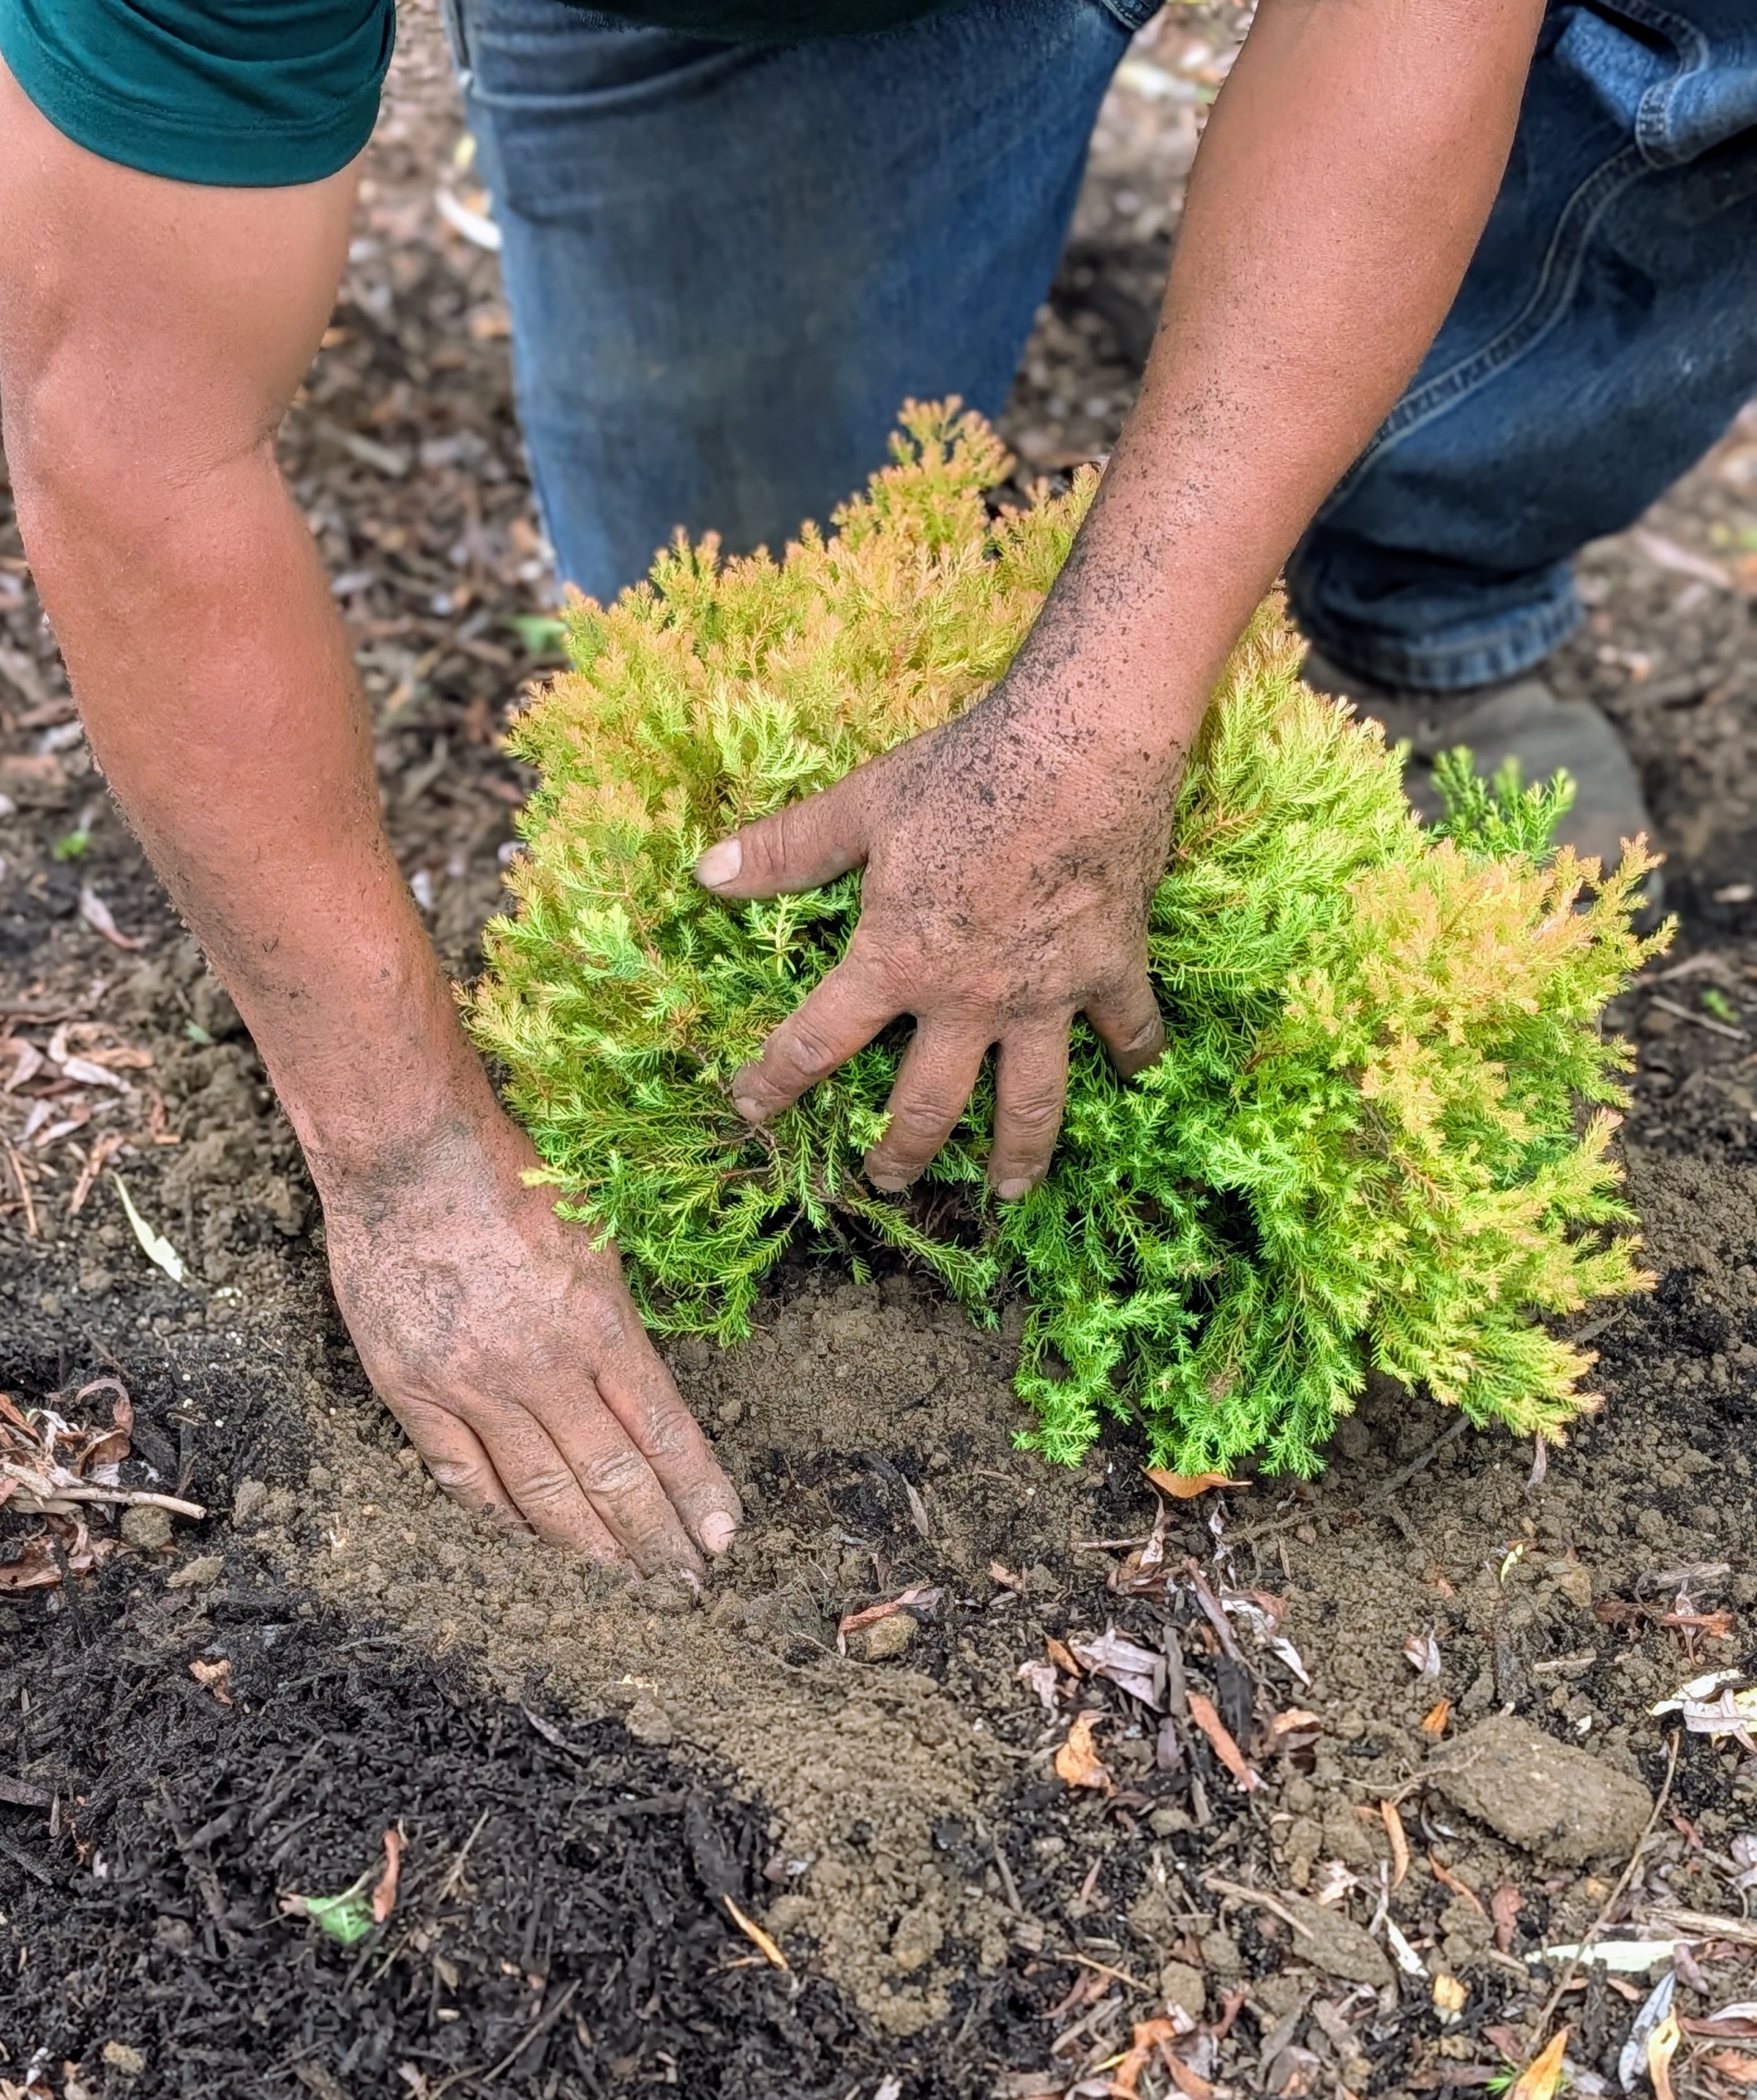
Finally, he backfills and tamps down lightly to create a good connection between the root ball and the existing soil.
These weeping willow trees, which I planted here years ago, have done so well. Weeping willows are wide and tall with curtains of drooping branches that sweep the ground.
It takes a full day to get all the plants in, but they fill the areas nicely. When adding plants to any garden, always consider the planting environment, the plant’s growth habit and space needs, and its light requirements.
Norman plants a cypress nearby.
I always look for interesting and hardy specimens to add to the gardens. Many are slow growing, but in time these will fill the spaces nicely.
Everything thrives here in part because of the excellent soil which I amend often with nutrient rich compost and organic fertilizer. I am very proud of how it is developing. I’ll be sure to share more photos of the pinetum as the newest trees and shrubs grow.
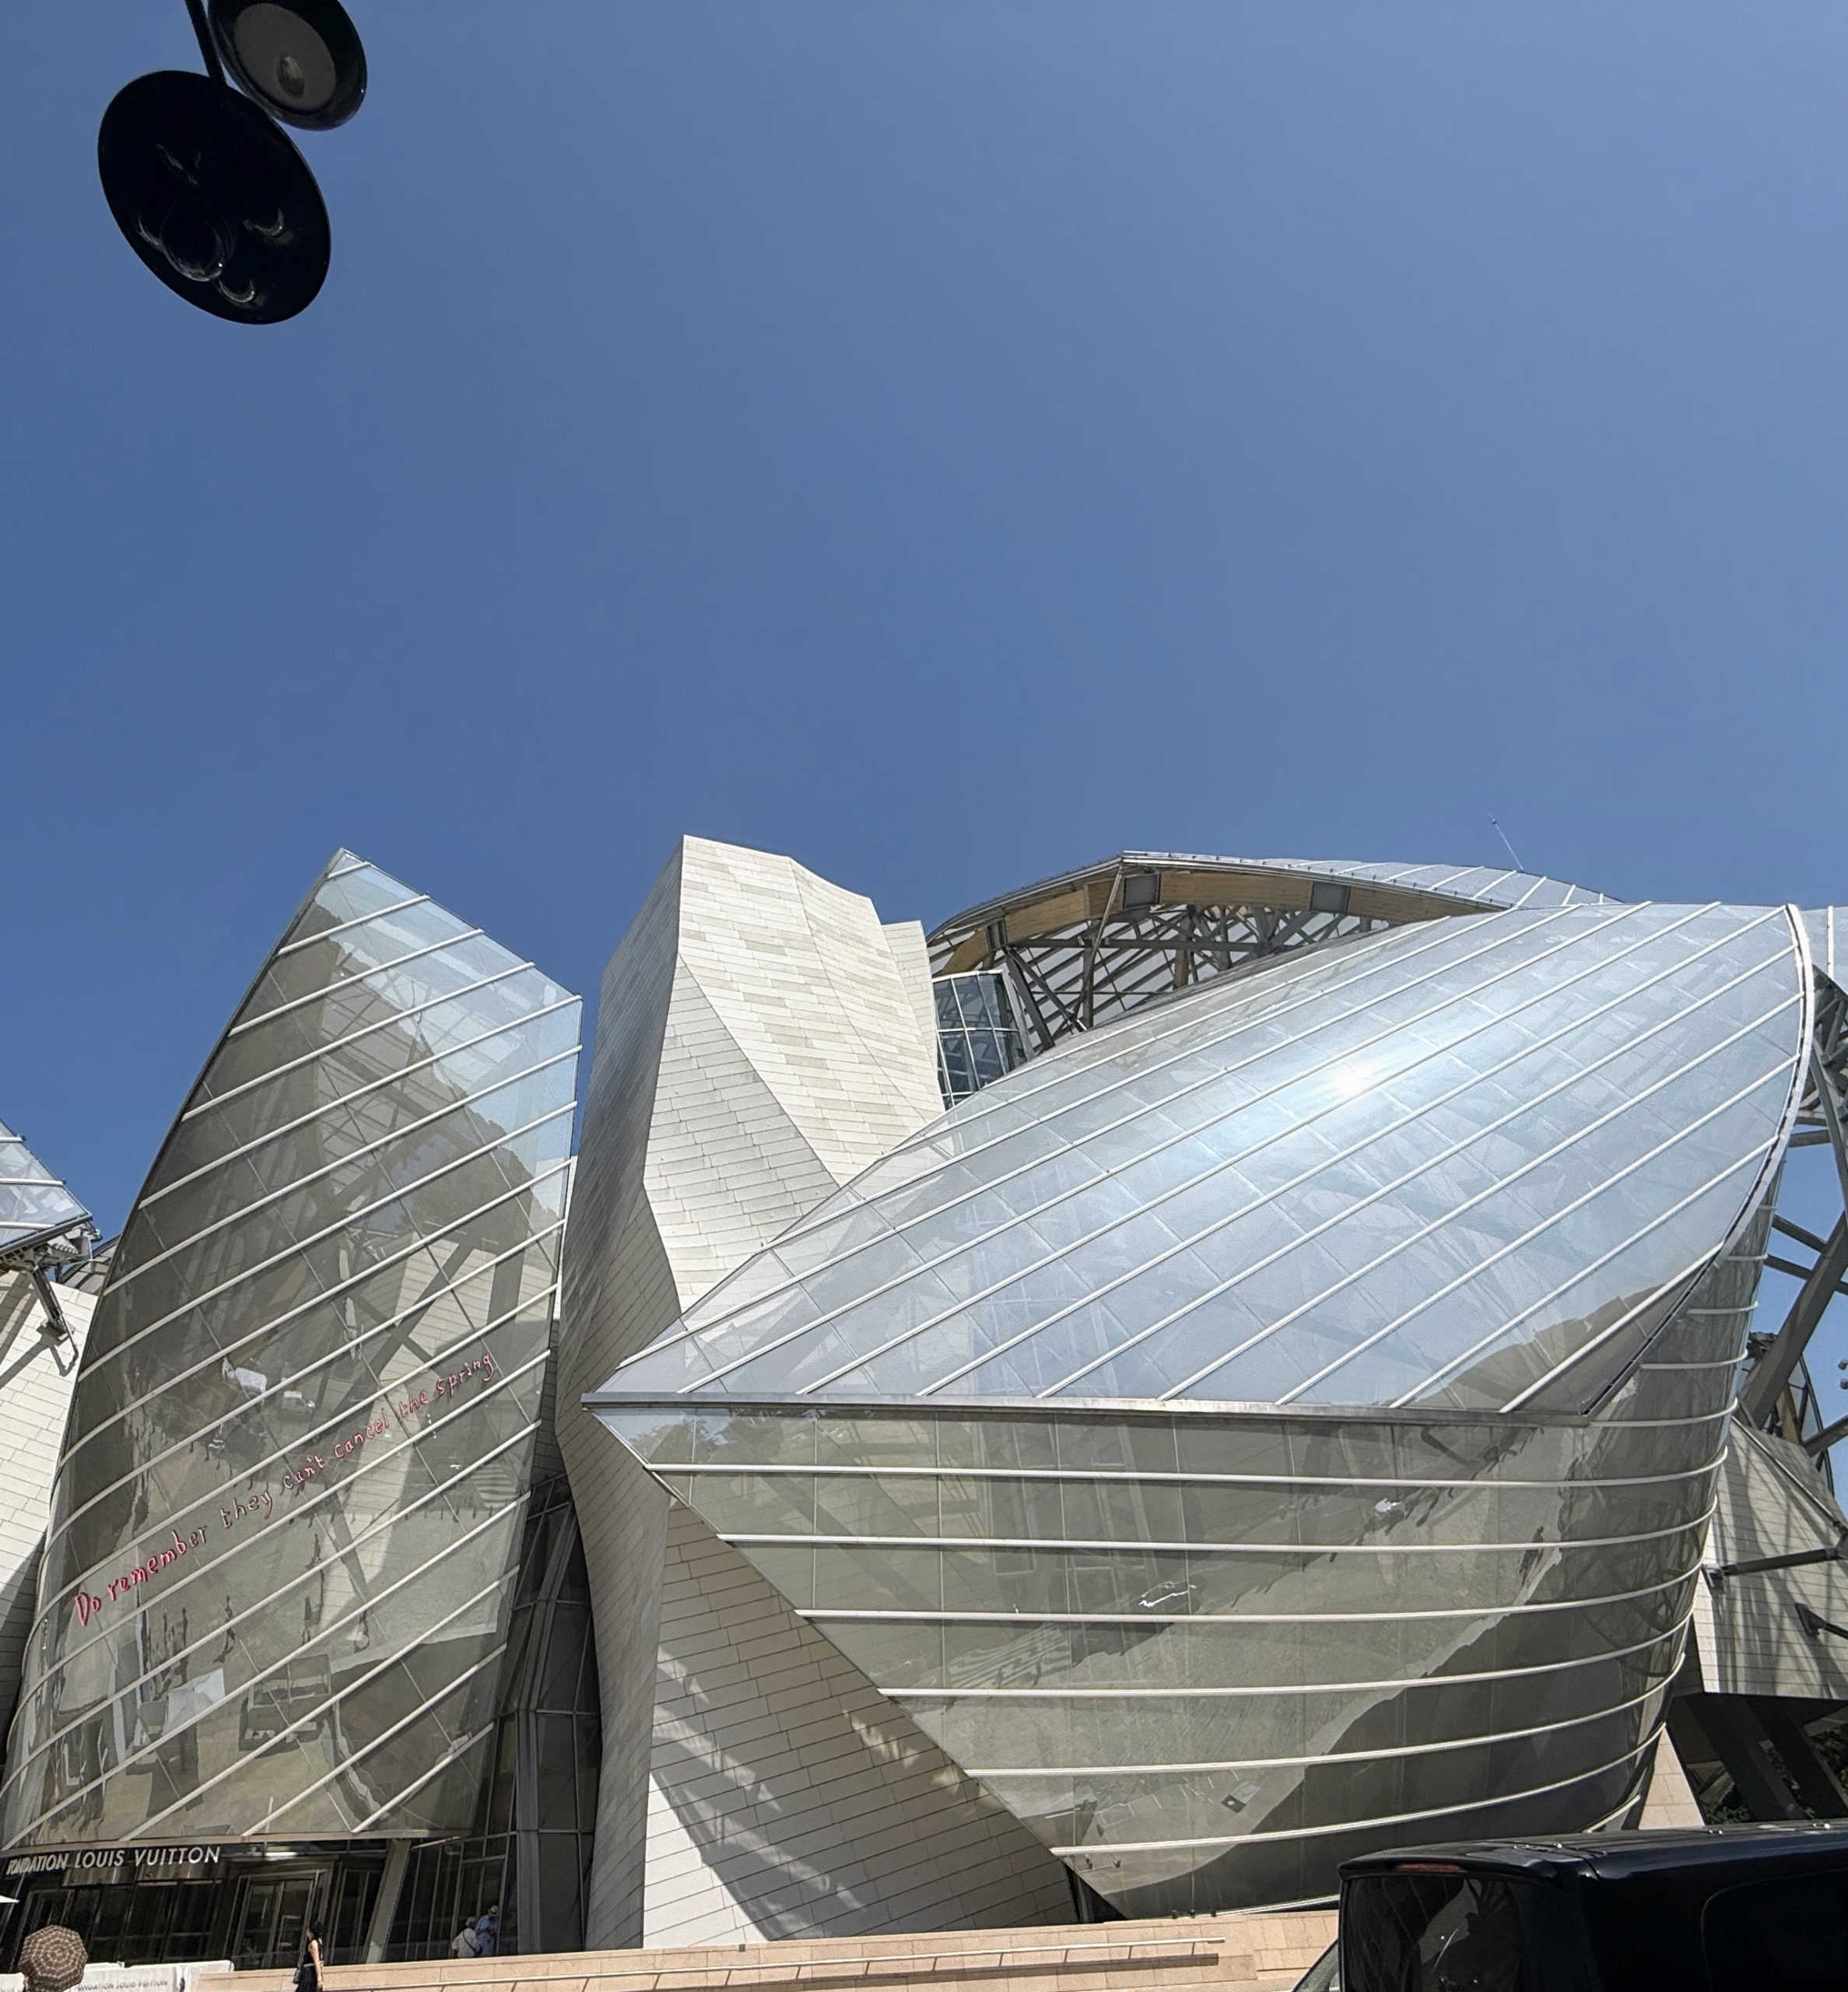
If summer travels take you to Paris this year, I encourage you to make some time to see David Hockney 25, a special art exhibition at the Fondation Louis Vuitton that runs until August 31st.
The Fondation Louis Vuitton is dedicating five months and 11 galleries to the renowned British painter, graphic artist, and photographer, David Hockney, who is considered one of the most influential artists of the 20th and 21st centuries. The display includes more than 400 of his works from 1955 to now and is the biggest exhibition he's ever done. His pieces include oil and acrylic paintings, ink drawings, pencil and charcoal sketches, as well as digital works created on a cellphone or computer. David wanted the presentation to emphasize not only earlier forms of expression, but also his more recent works and interpretations. Not long ago during a short business trip abroad, I made sure to view David Hockney 25 - it is an exceptional and inspiring collection of art.
Here are some photos.
David’s exhibit fills the entire building in what is his biggest presentation to date. The display includes works borrowed from institutions all over the world, including London, Oslo, Düsseldorf, Milan, Dallas and Melbourne, as well as works from David’s own collection.
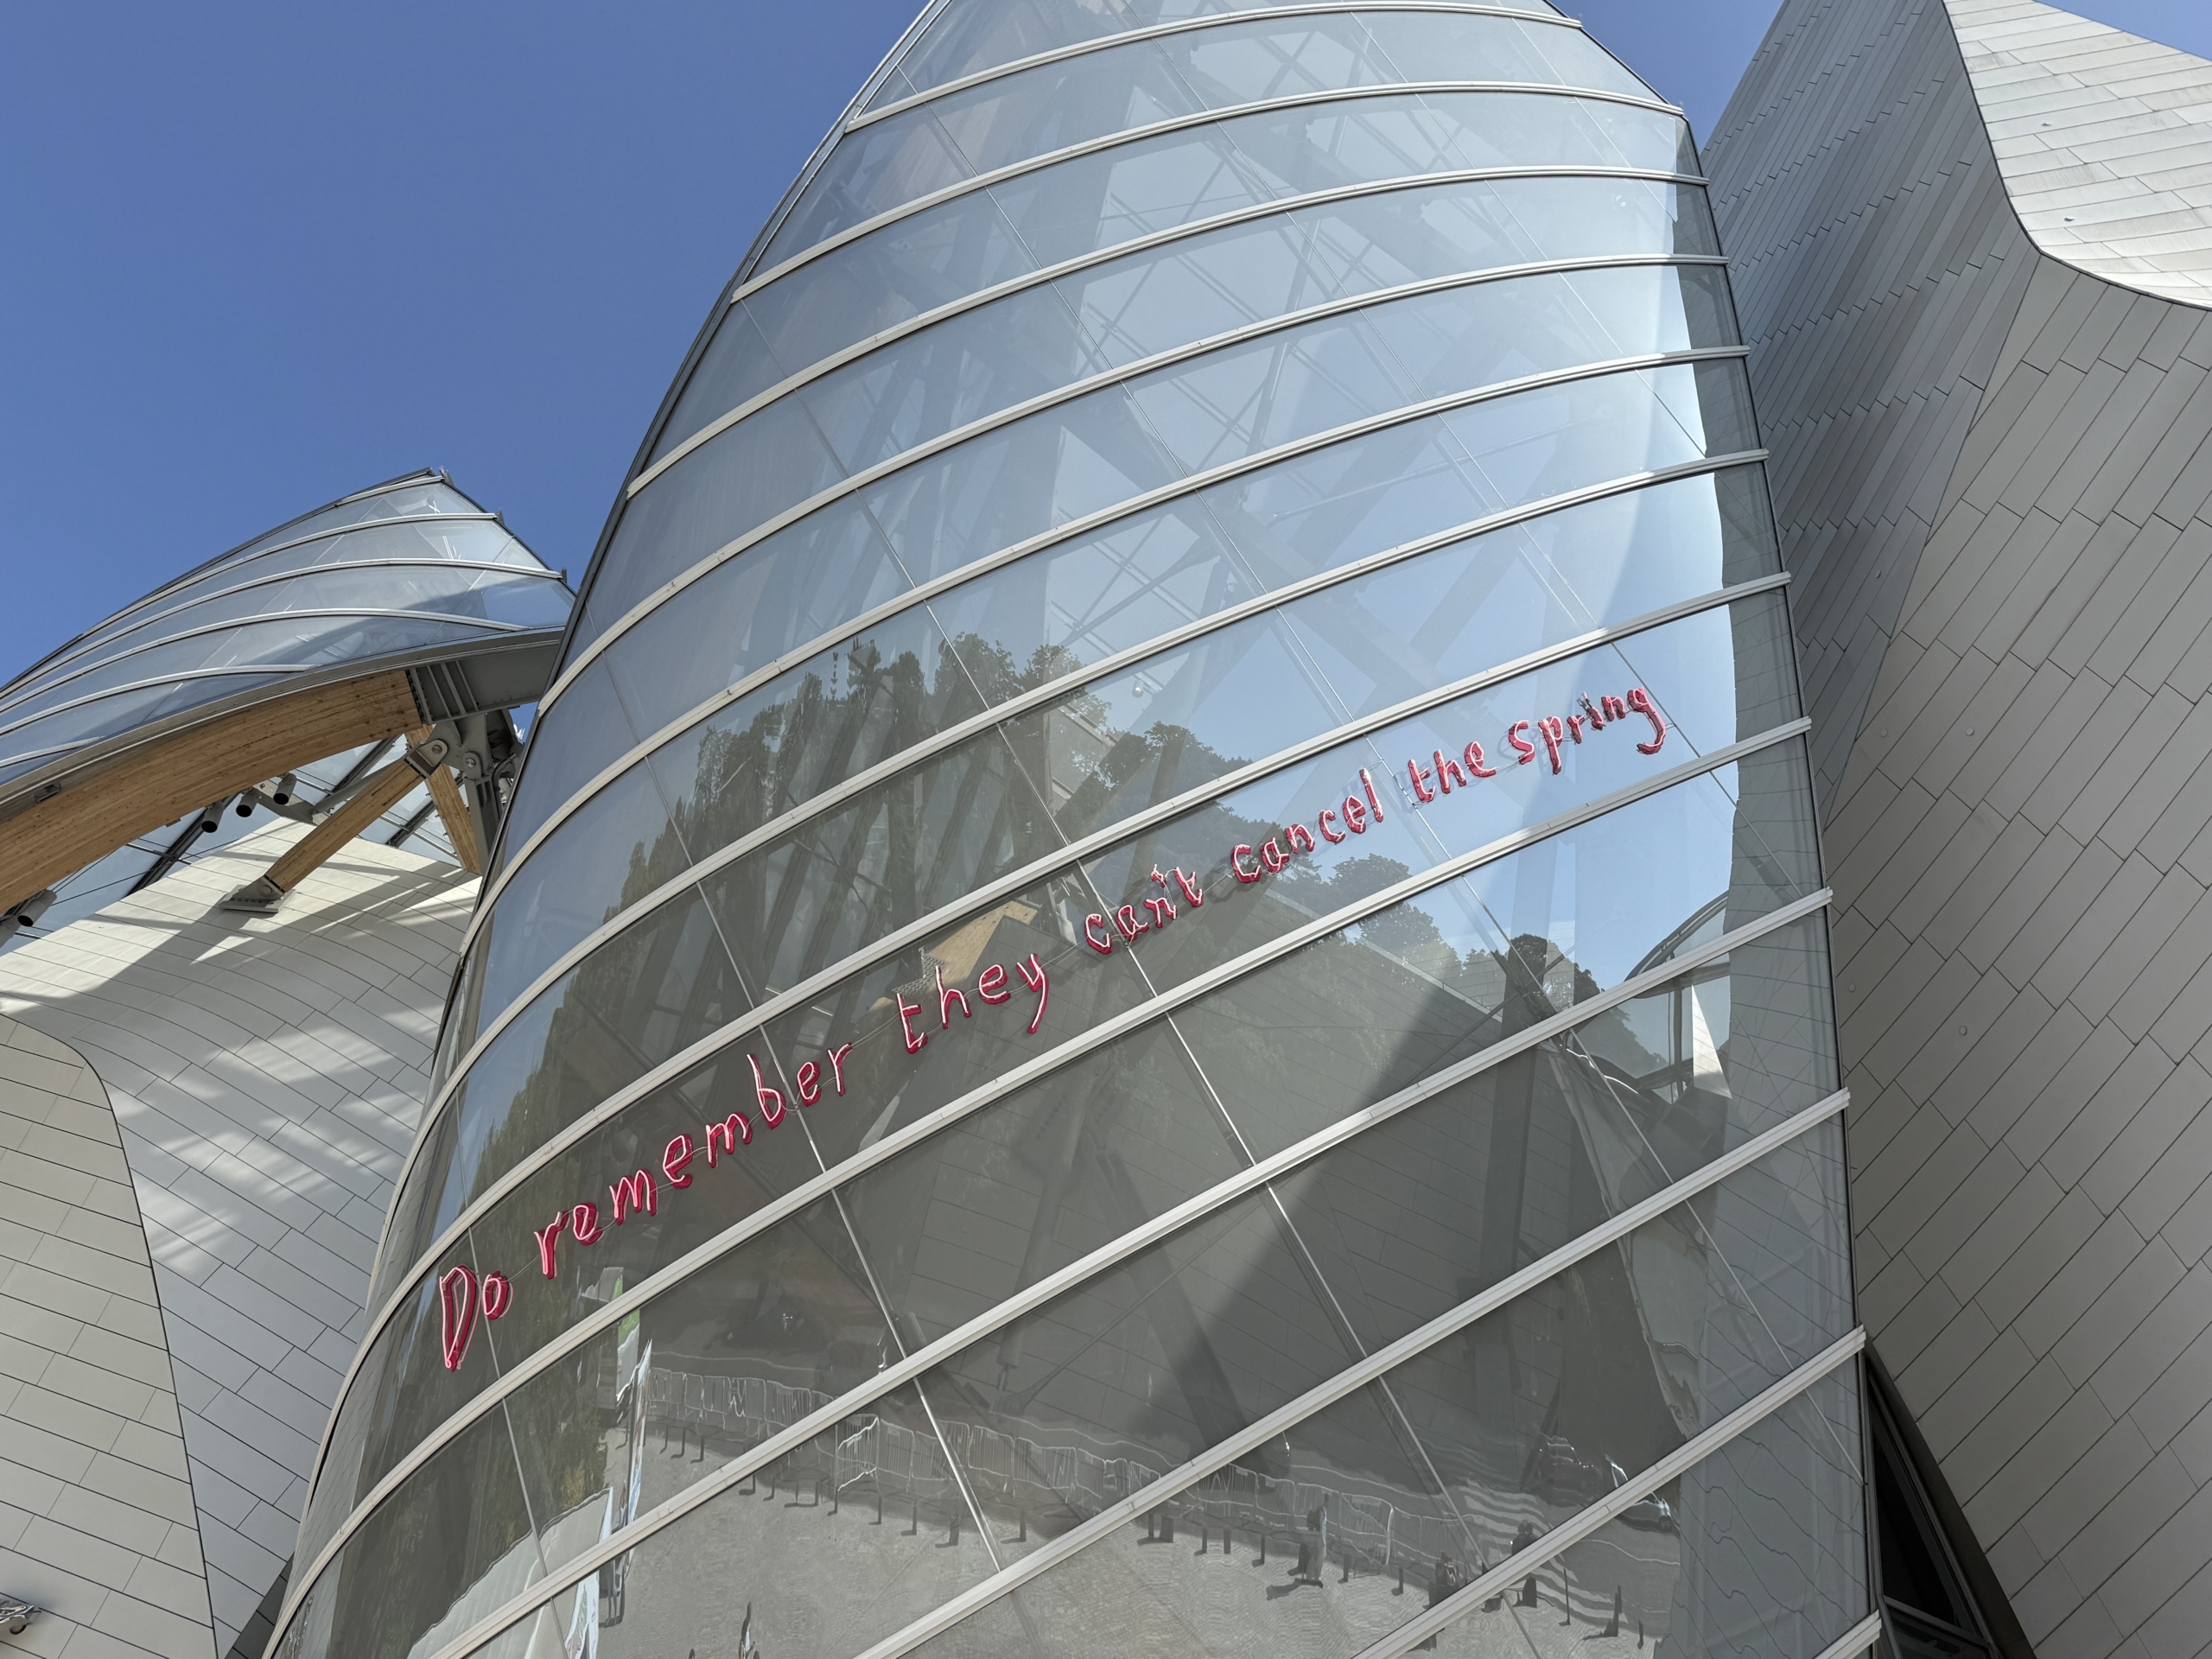
The two story Fondation Louis Vuitton structure has 11 galleries of different sizes. It also houses a 350 seat auditorium and a multi-level roof for events and art installations.
The building opened in 2014. It was designed by the well-known architect Frank O. Gehry. The facade is made of 3,600 glass panels and 19,000 concrete panels.
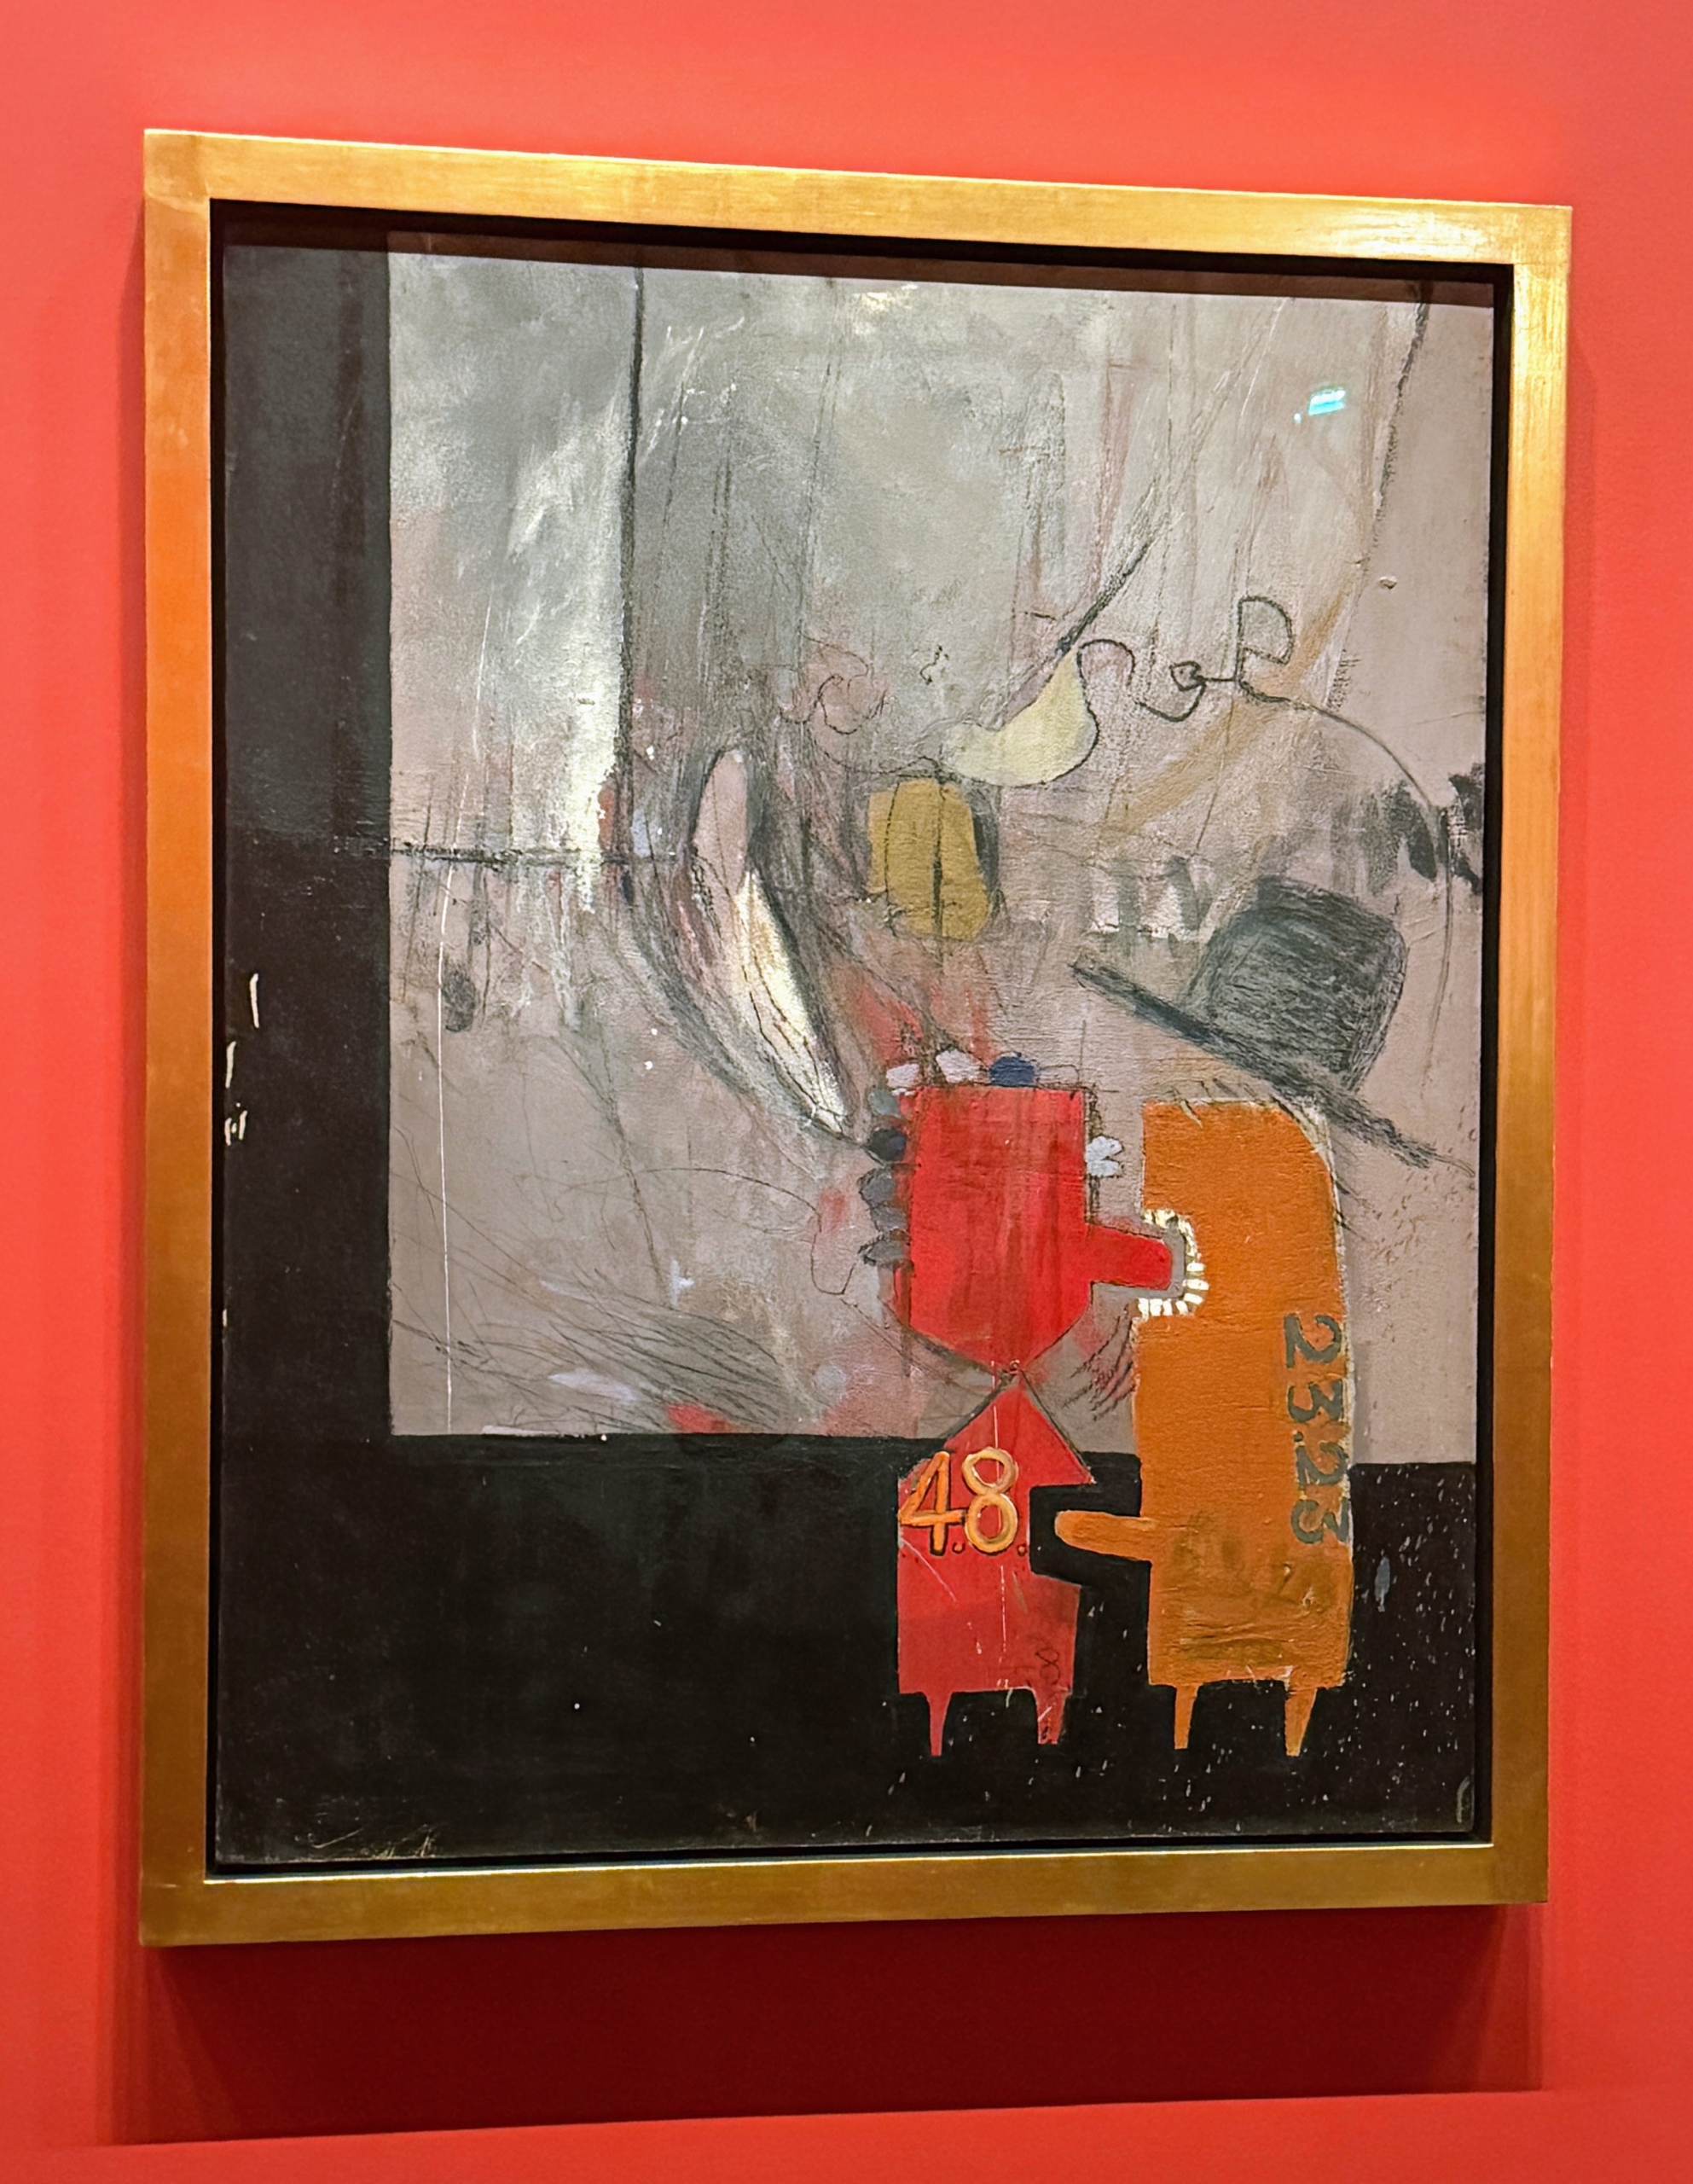
David’s works in this display span several decades. This is called David Hockney, “Adhesiveness,” 1960. David is one of the leading figures of the pop art movement of this time.
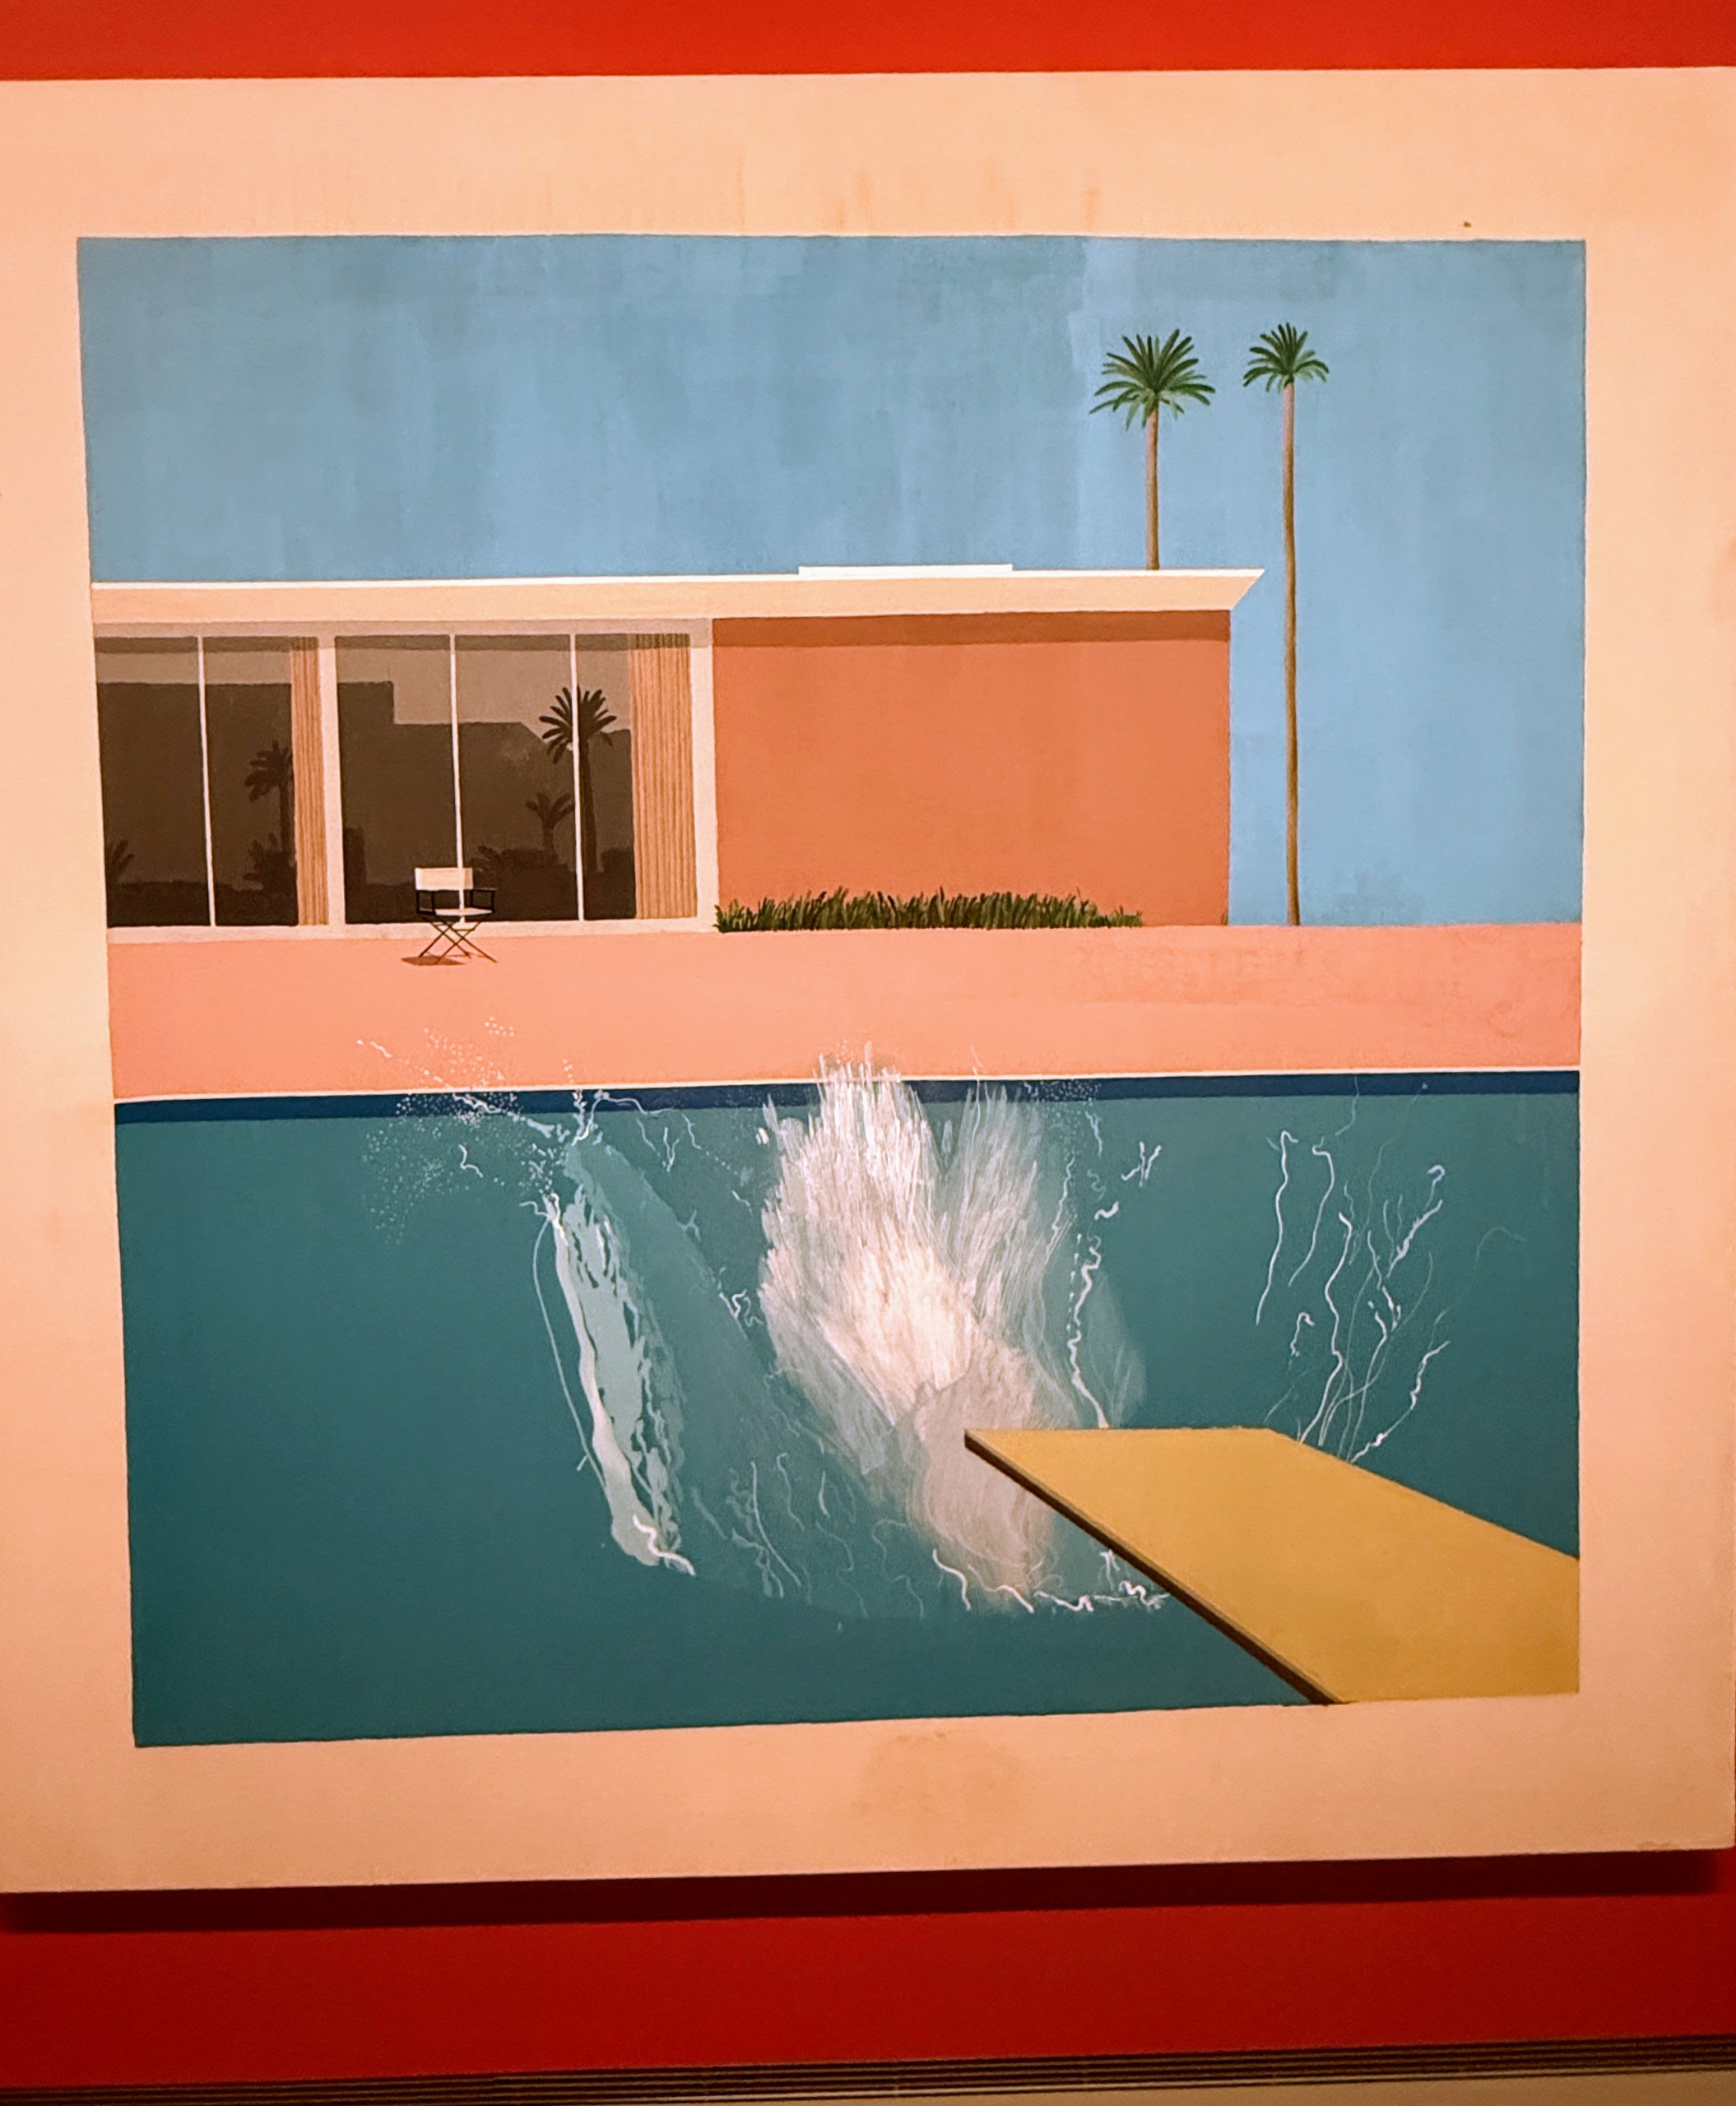
This is David Hockney “A Bigger Splash,” 1967 which shows how David captured specific moments in time. It is a famous work included in a series of paintings Hockney created featuring the California lifestyle.
Here is David Hockney, “A Bigger Grand Canyon,” 1998. David uses vibrant colors, varying techniques, and themes inspired by his own personal observations, surroundings, and experiences.
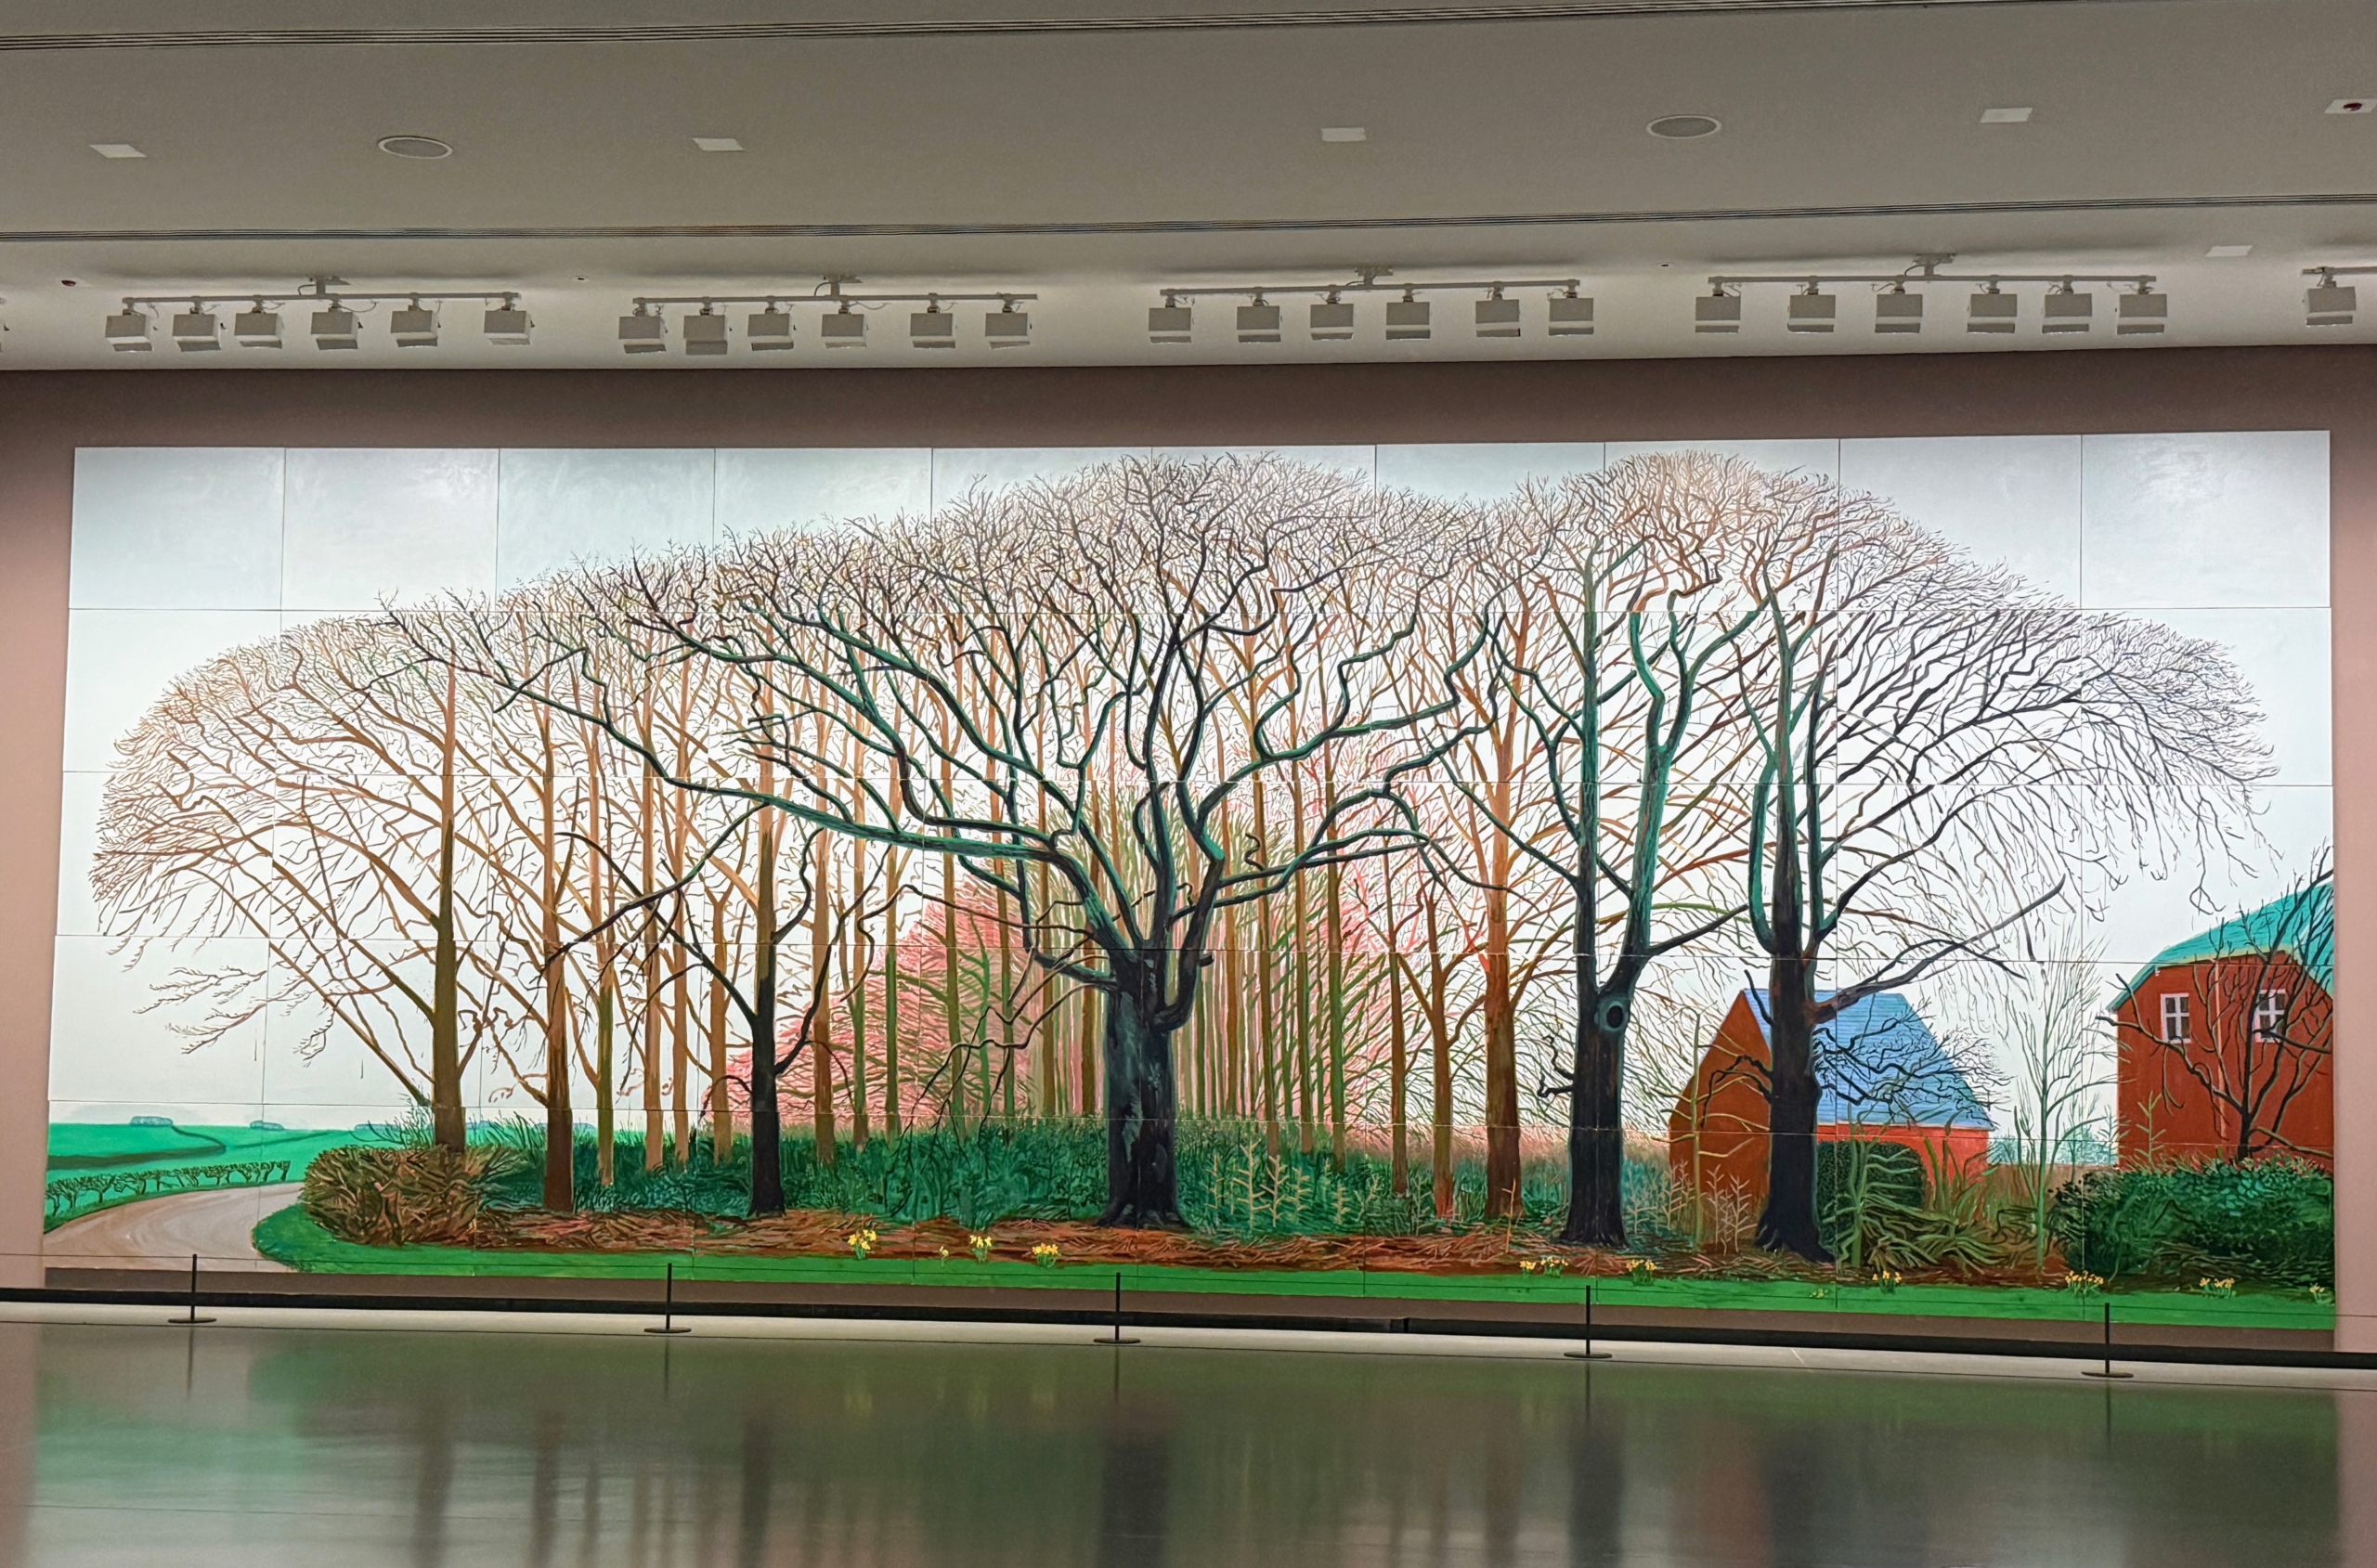
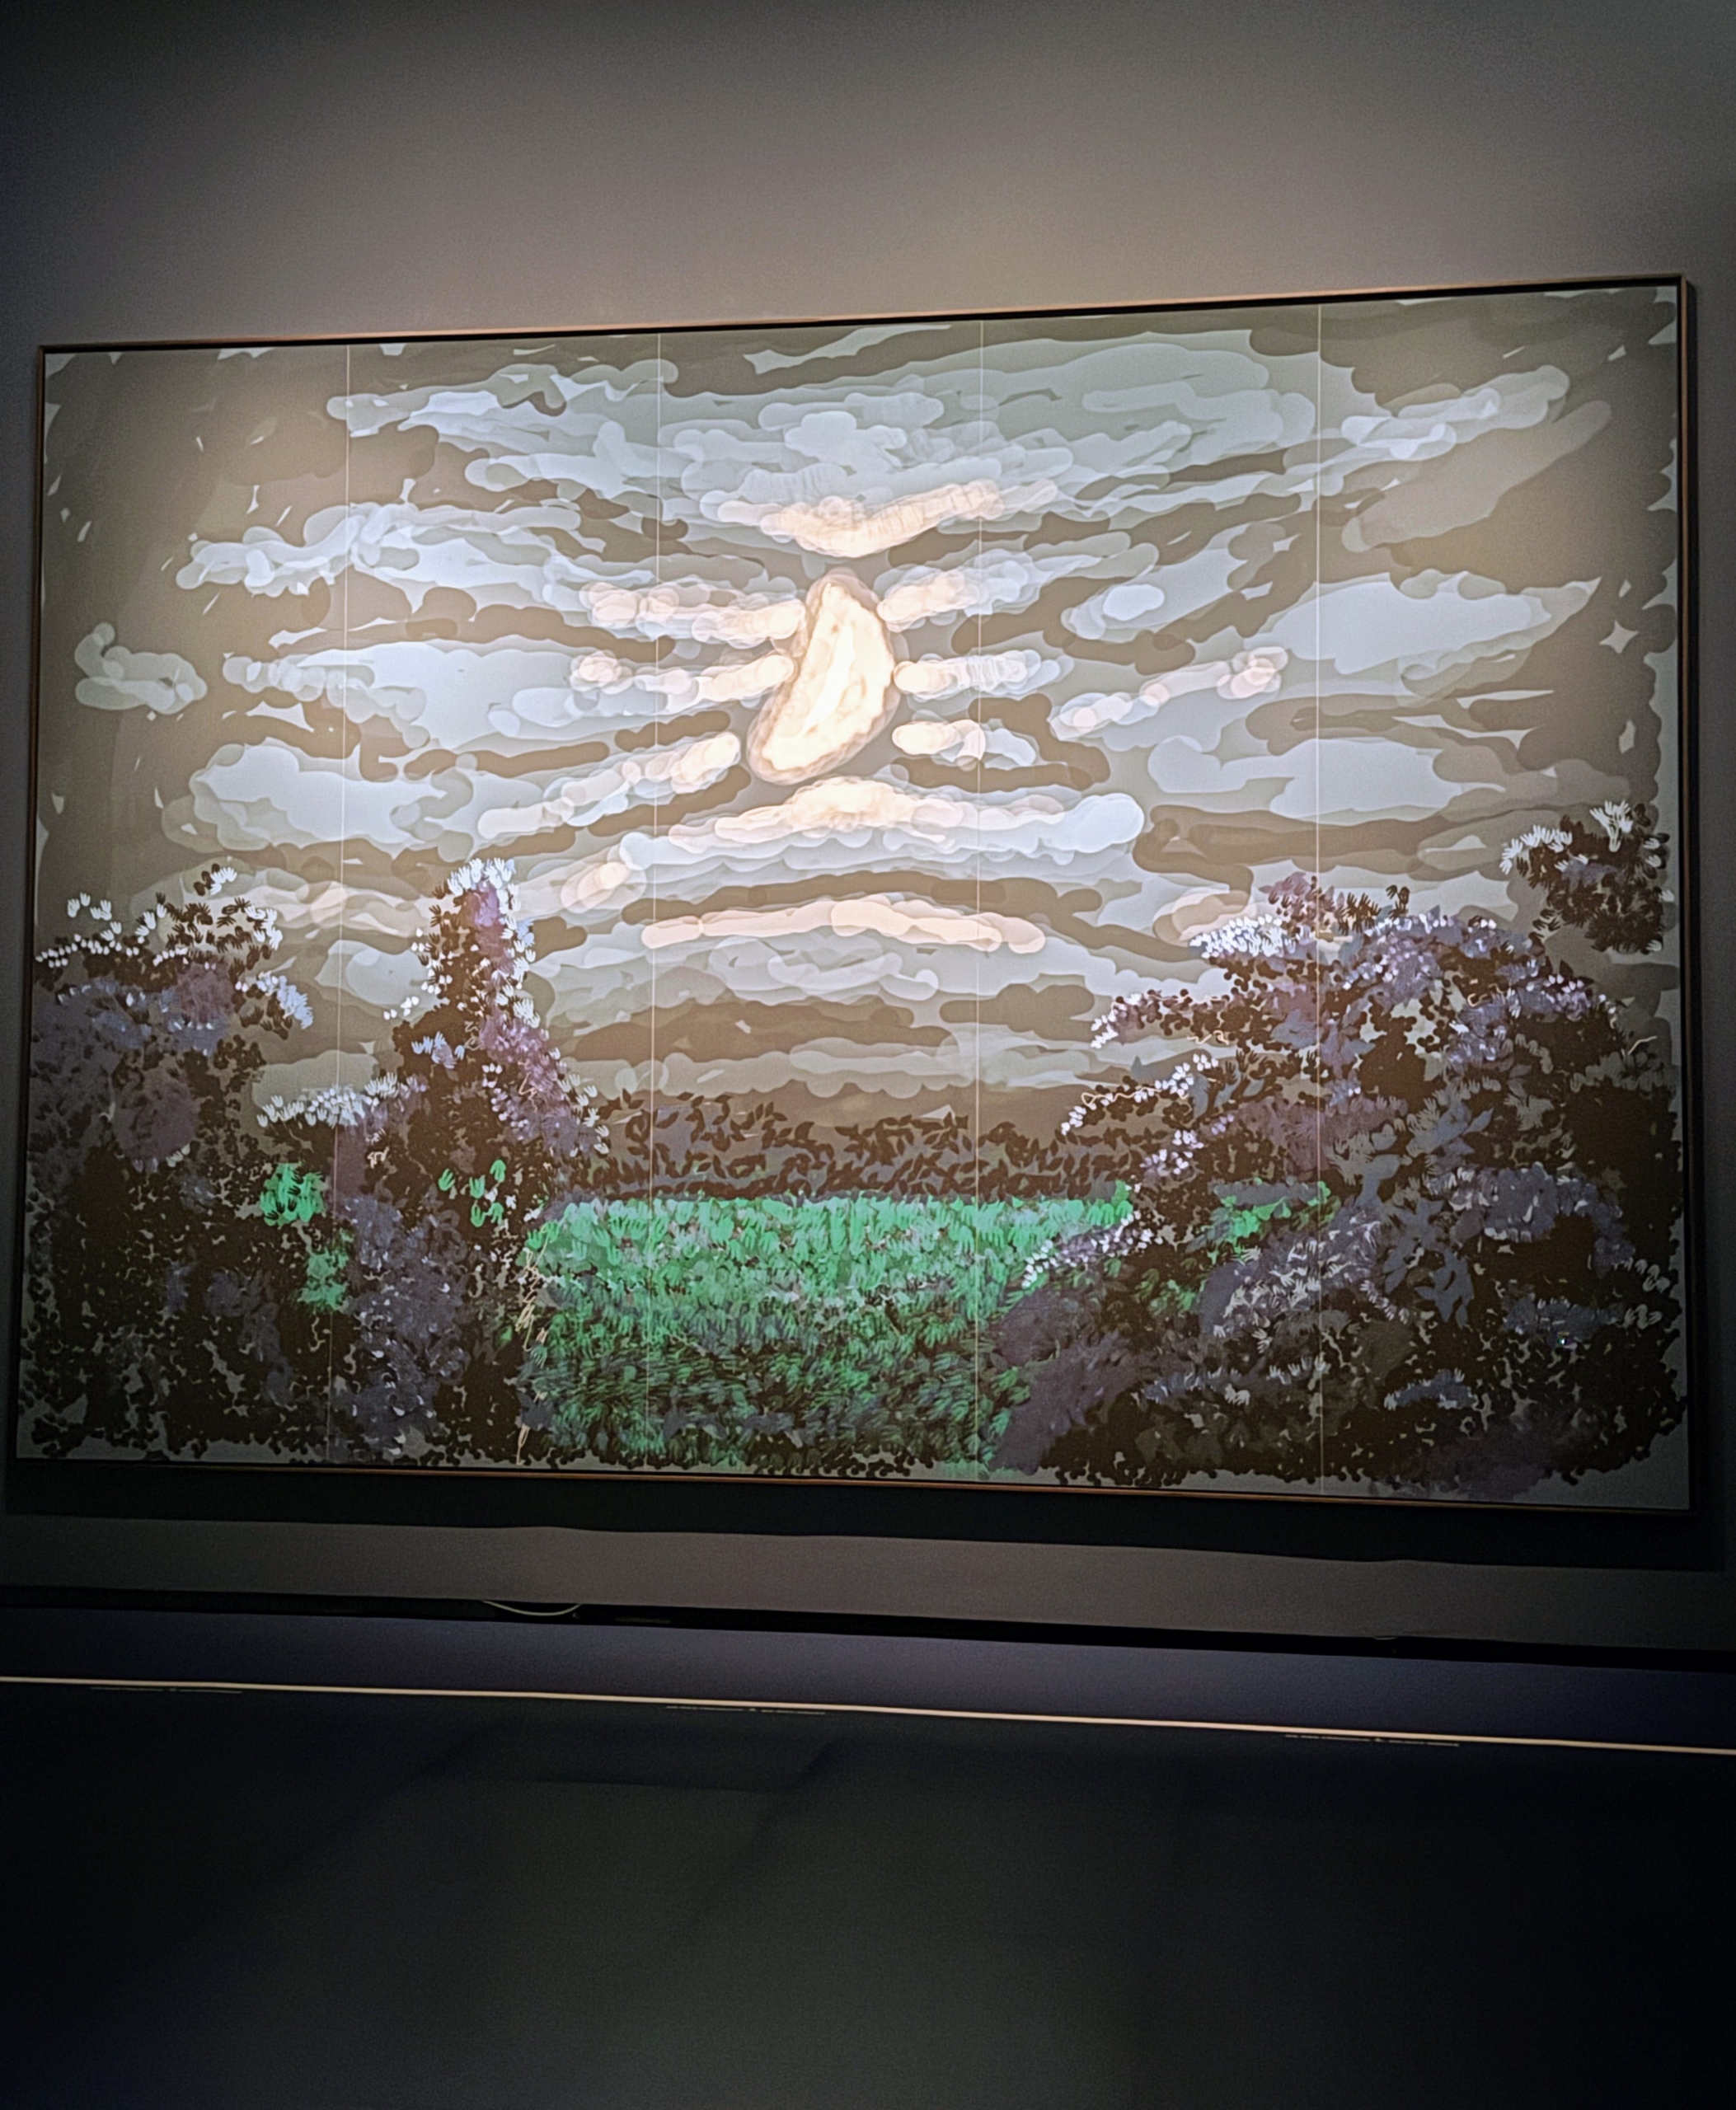
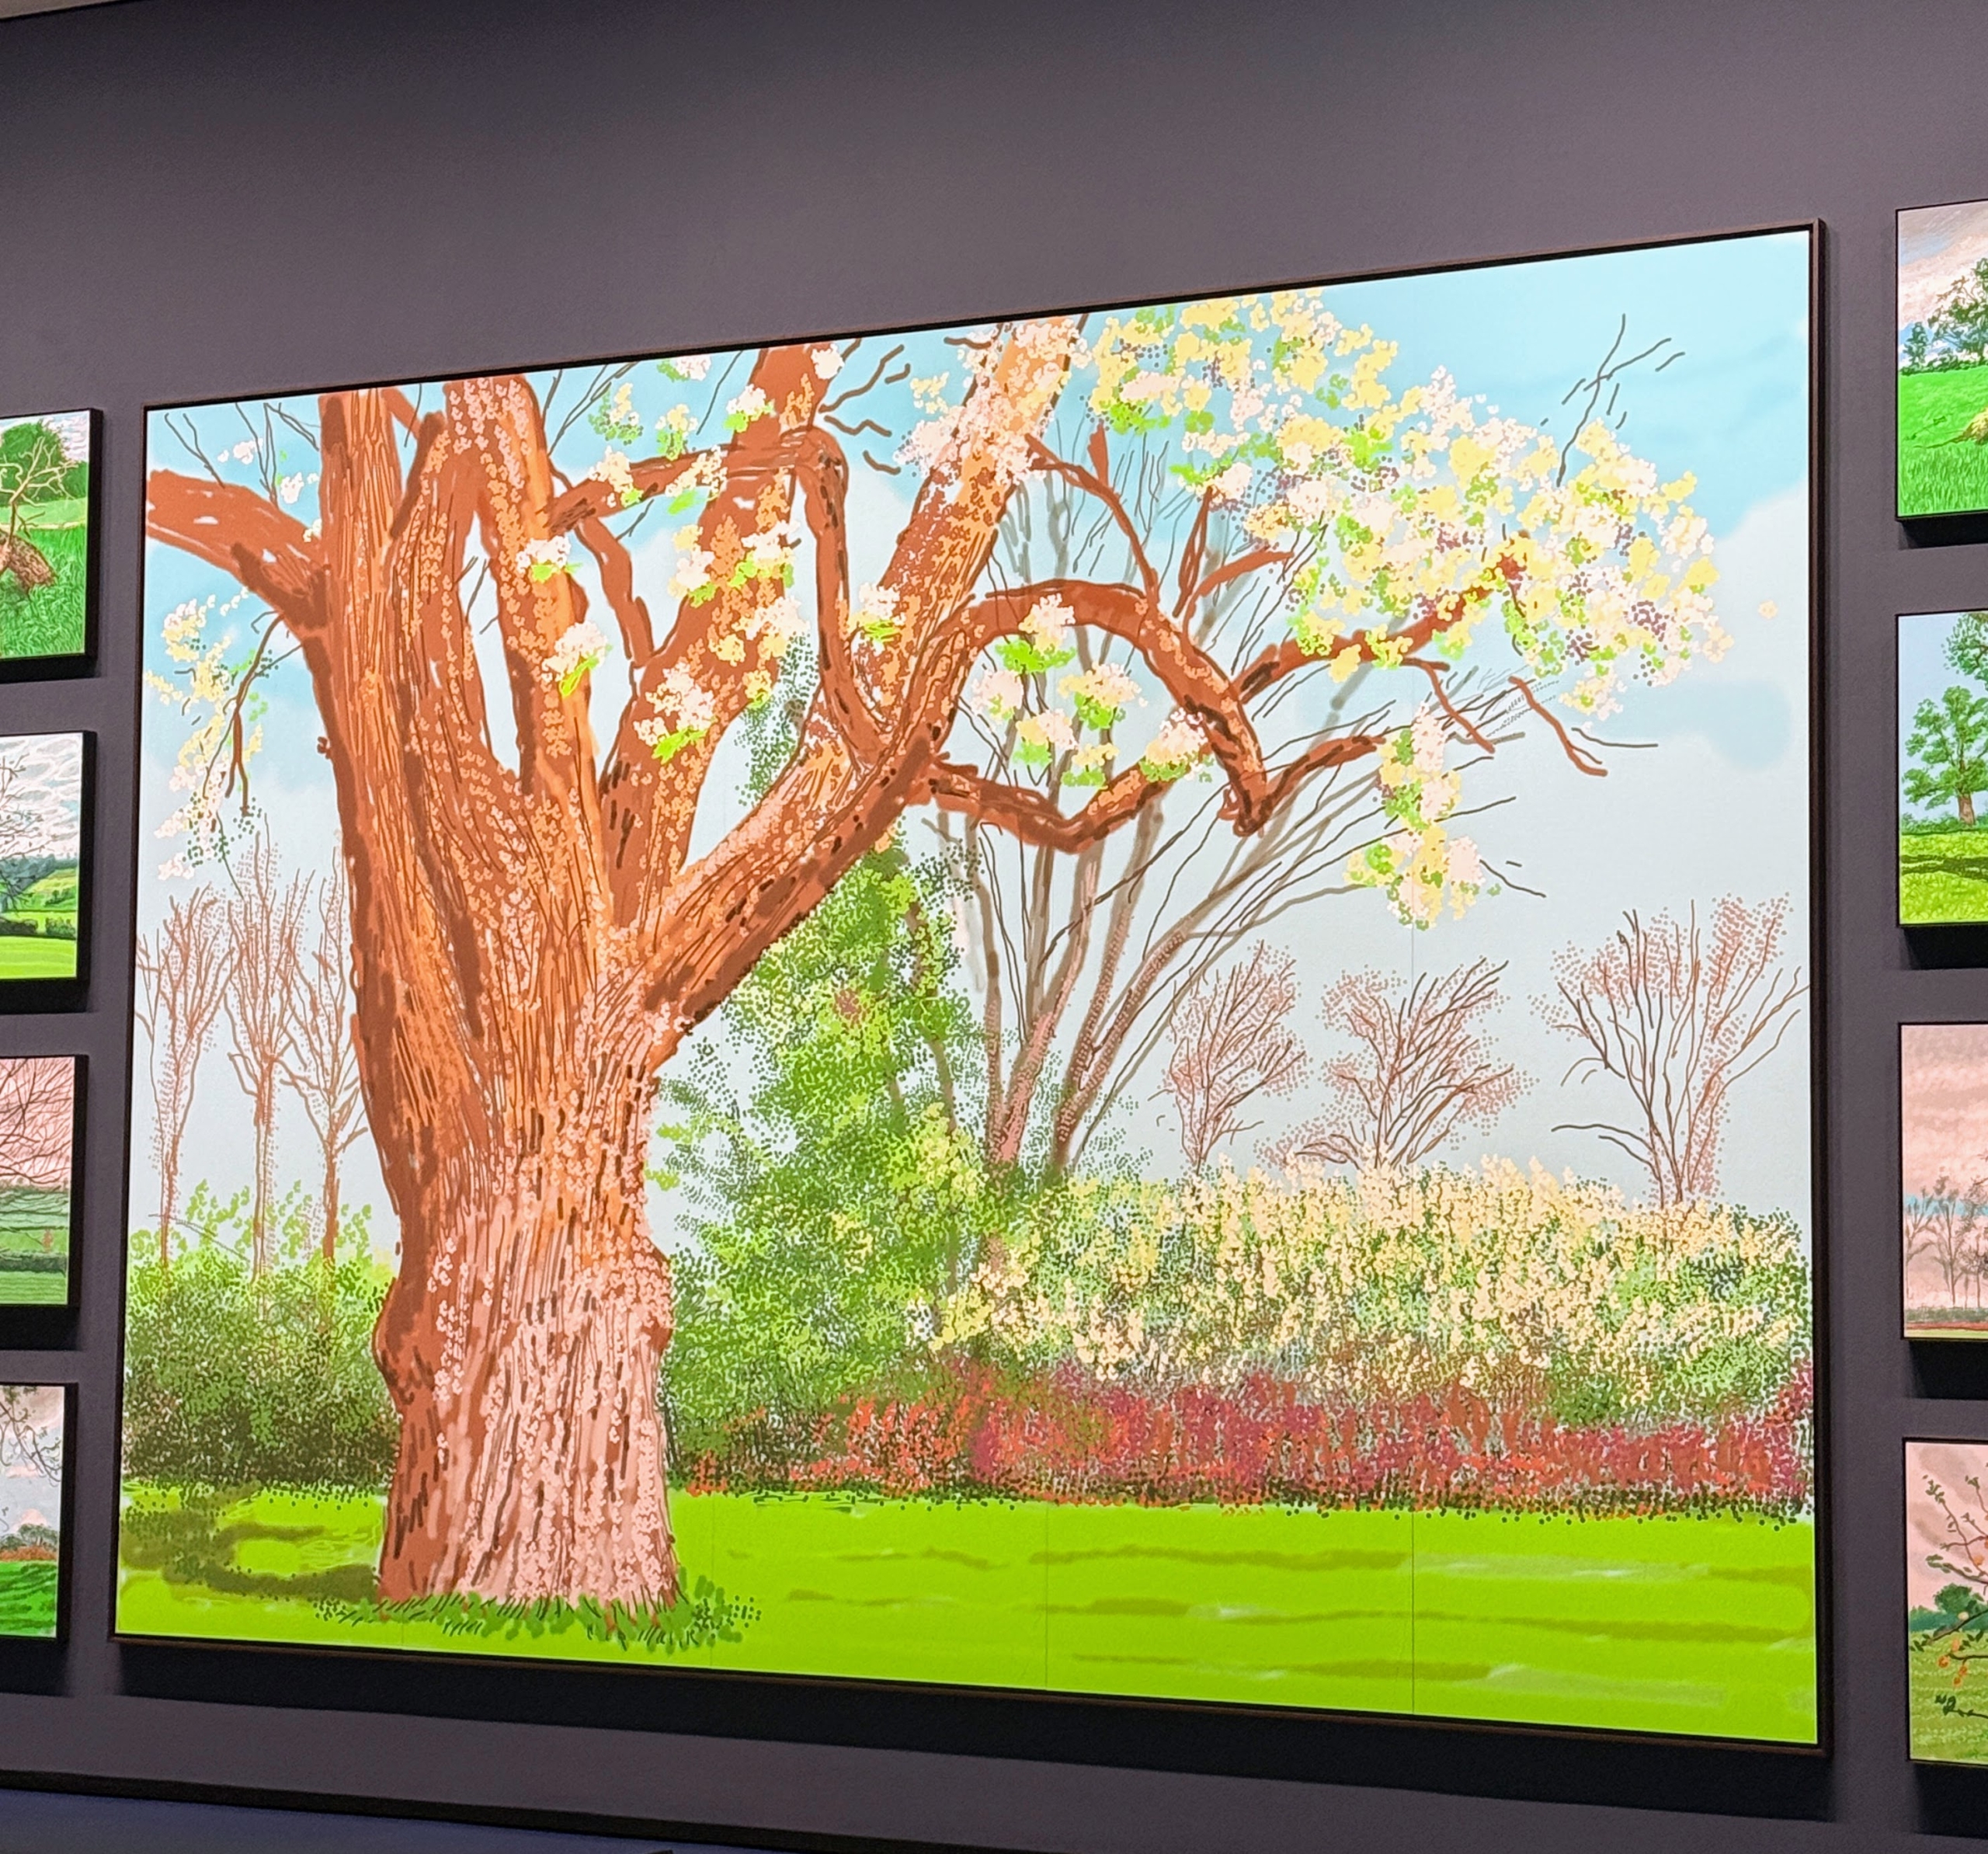
David hockney, “Bigger Trees near Warter,” Winter, 2008. The entire work is a landscape painting and depicts trees near Warter, a small village in the East Riding of Yorkshire, England.
The oil painting is done on nine canvases each measuring 36-inches by 48-inches.
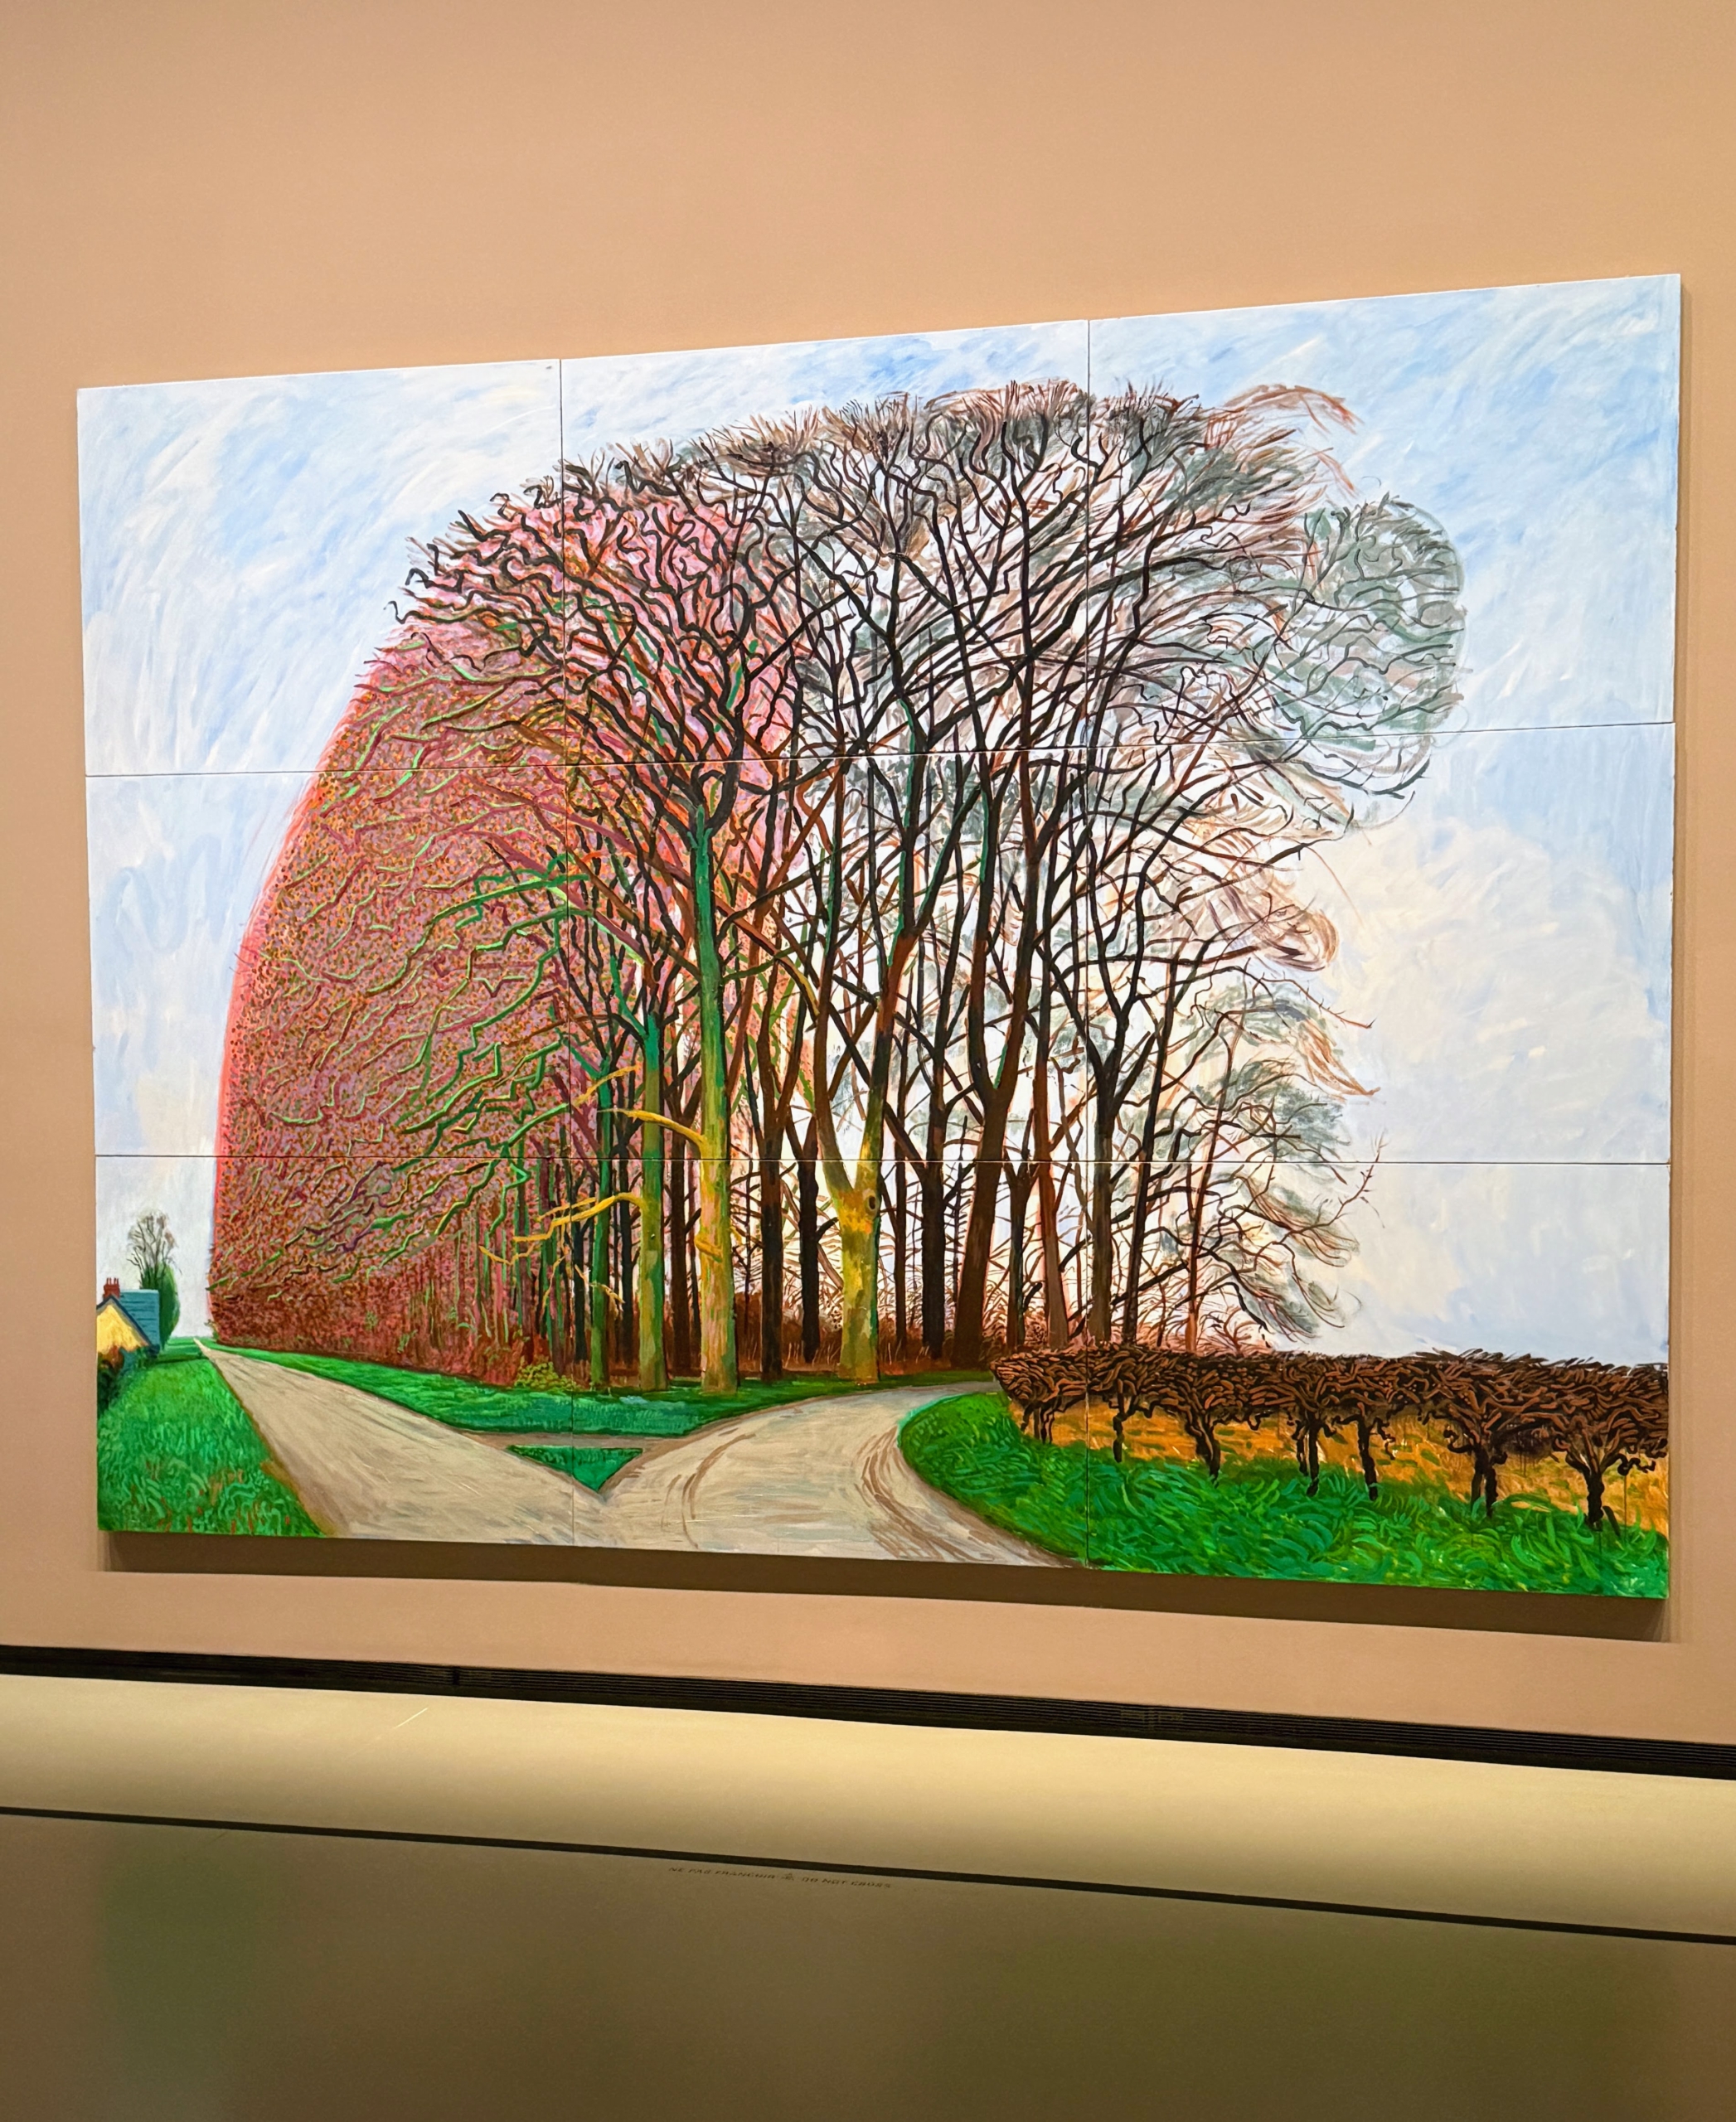
And this is David Hockney “Bigger Trees Nearer Warter,” Summer 2008.
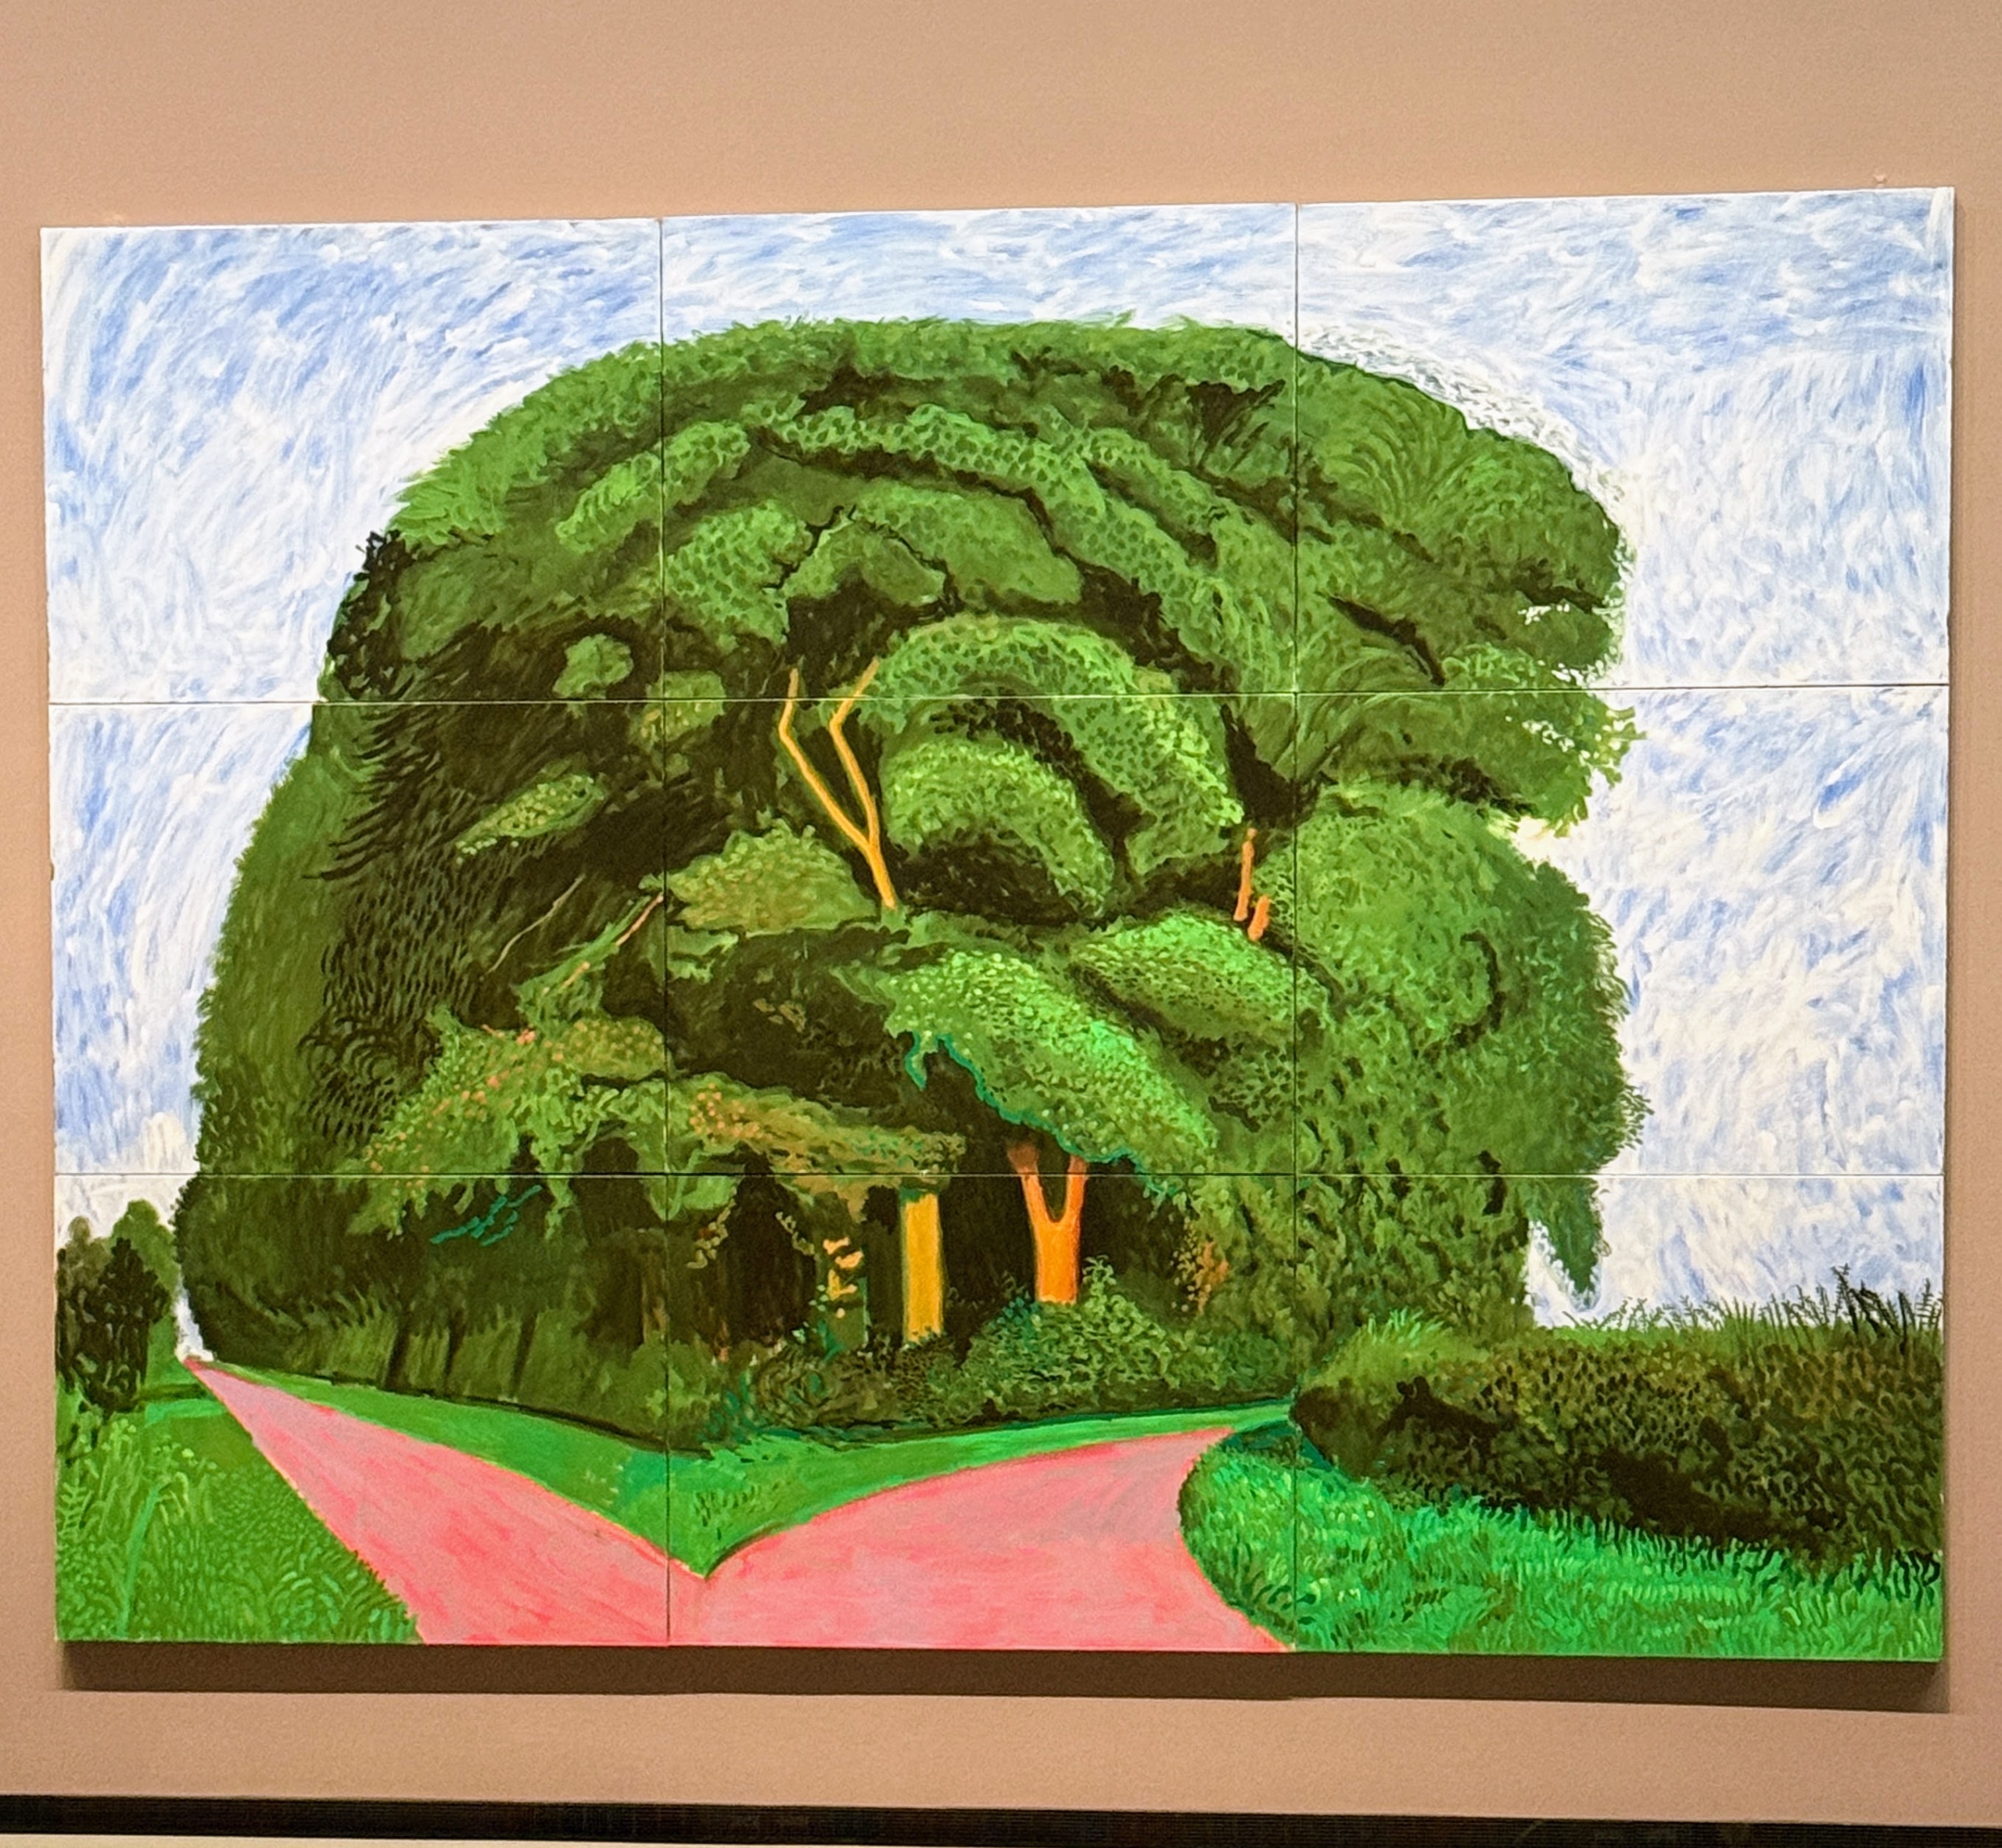
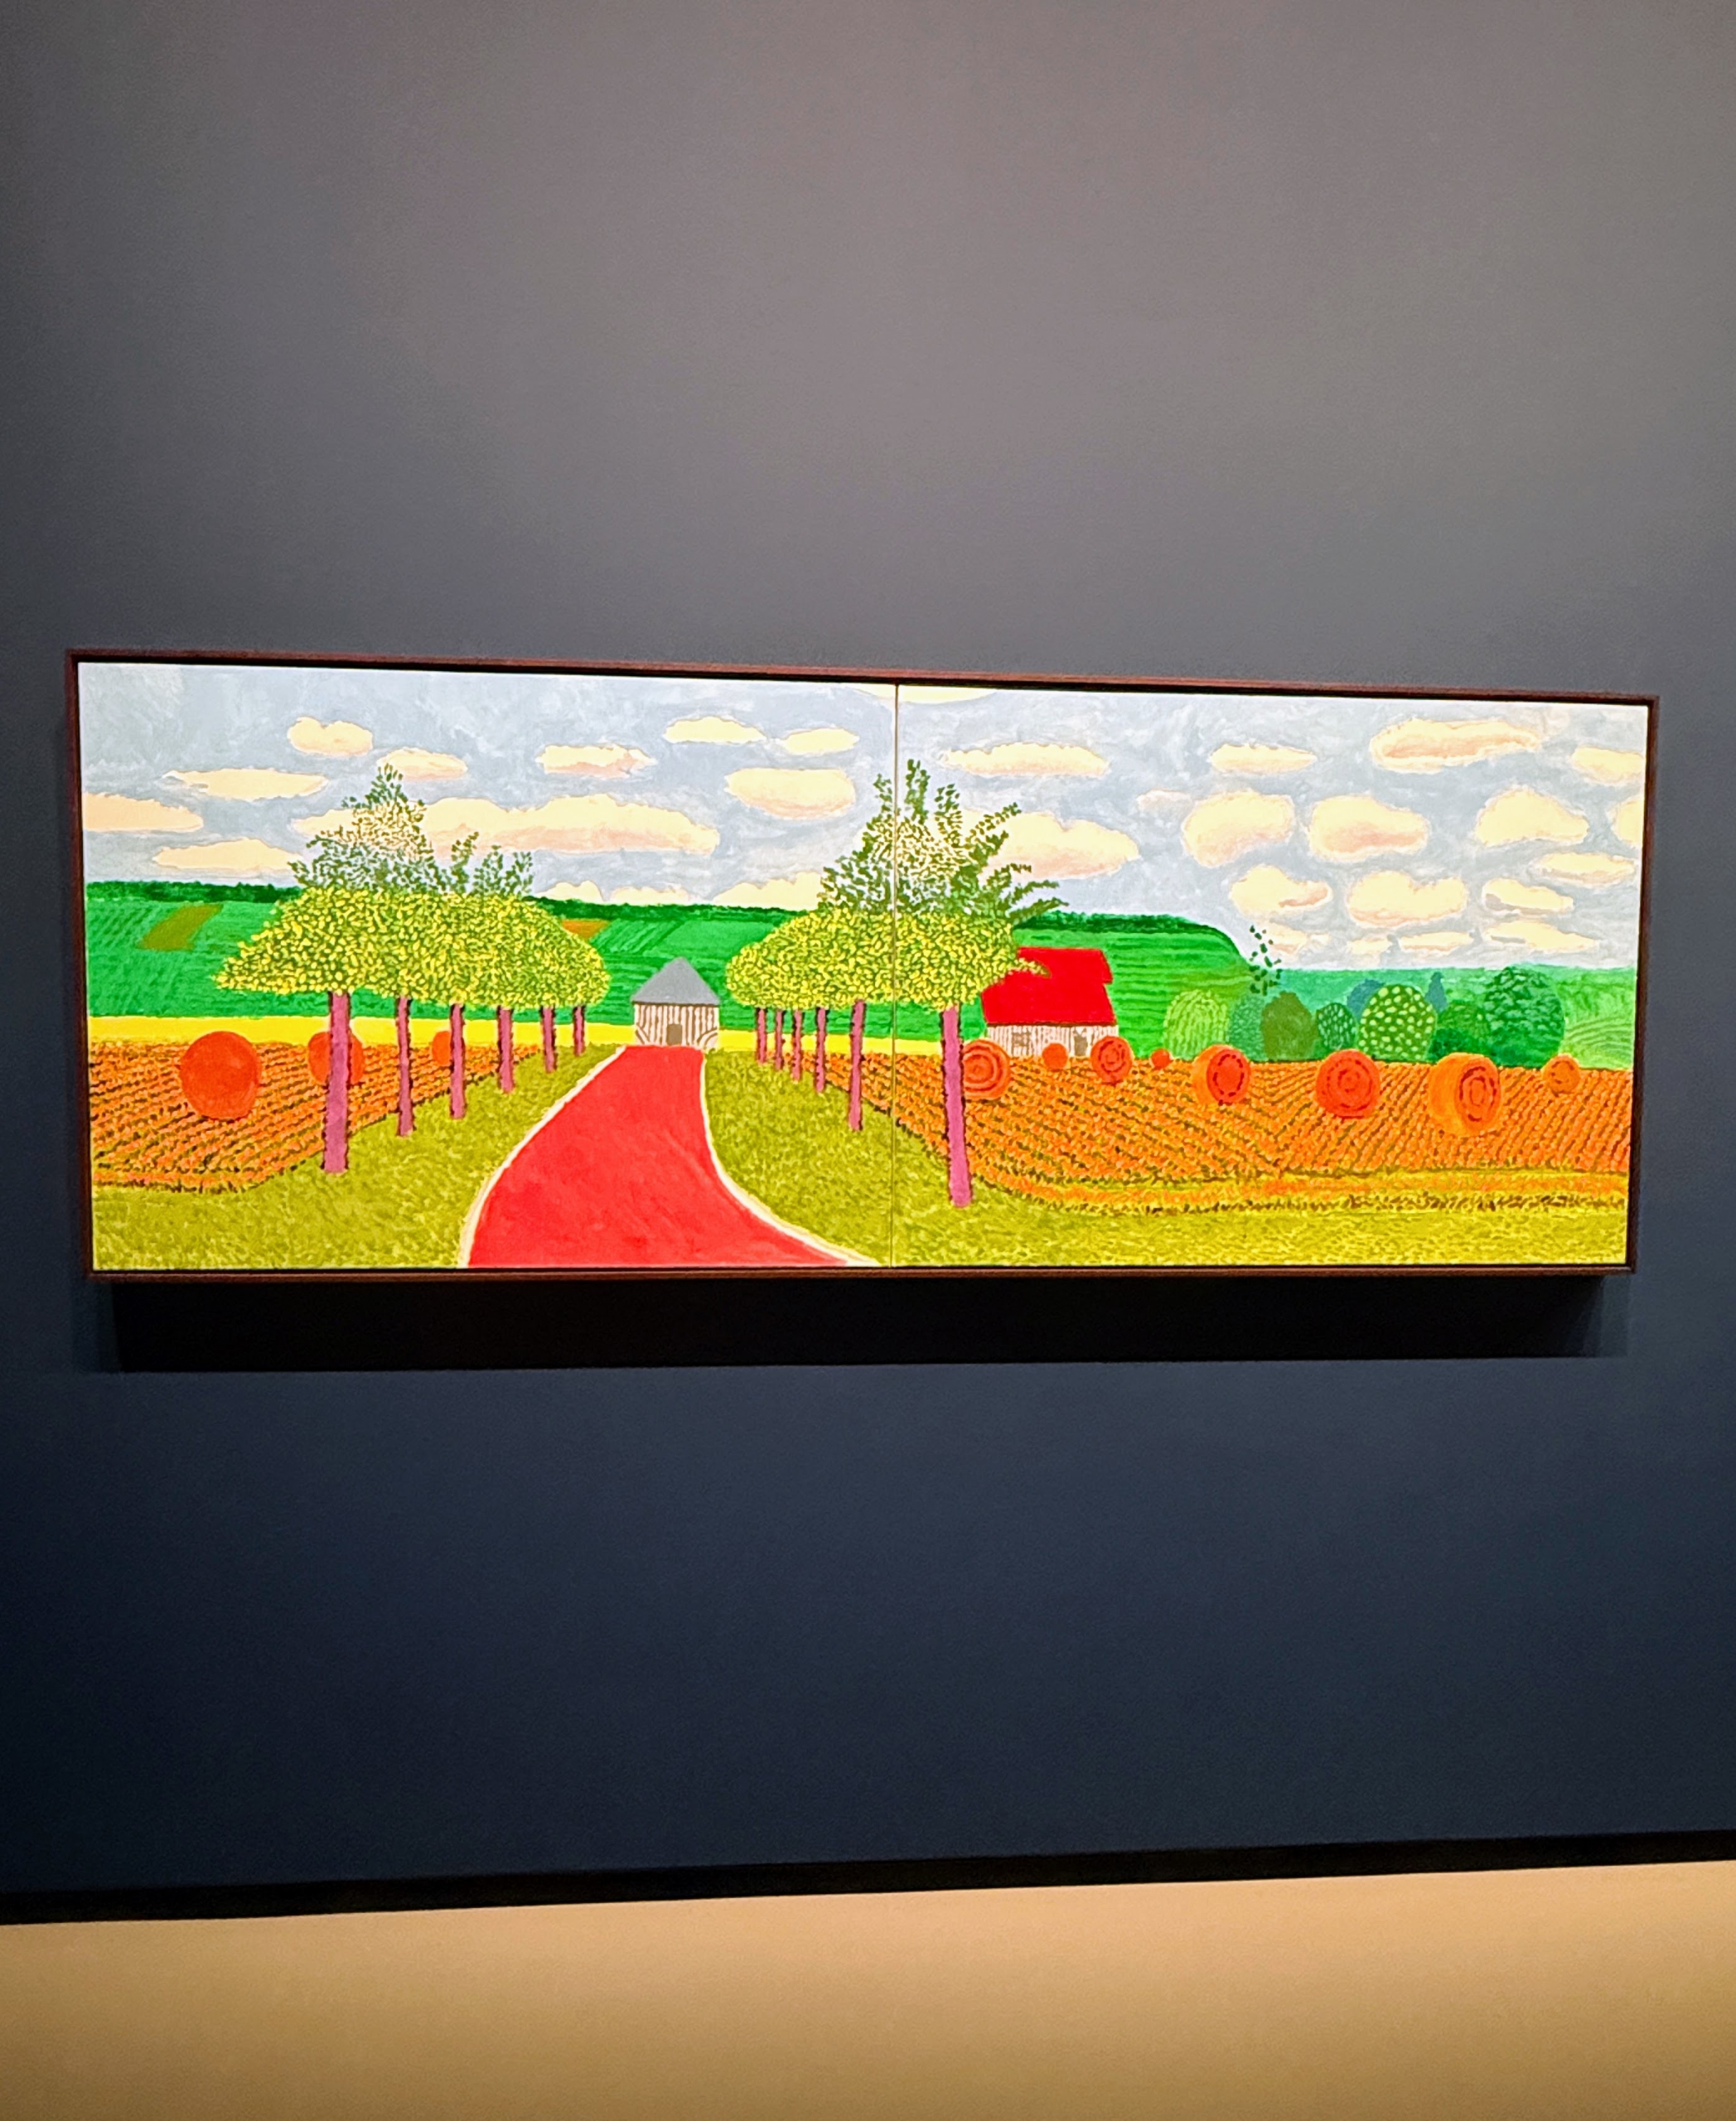
The exhibit separated sections dedicated to David’s works on various landscapes and the changing of the seasons.
It also featured David’s pieces showing light variations – both night and day.
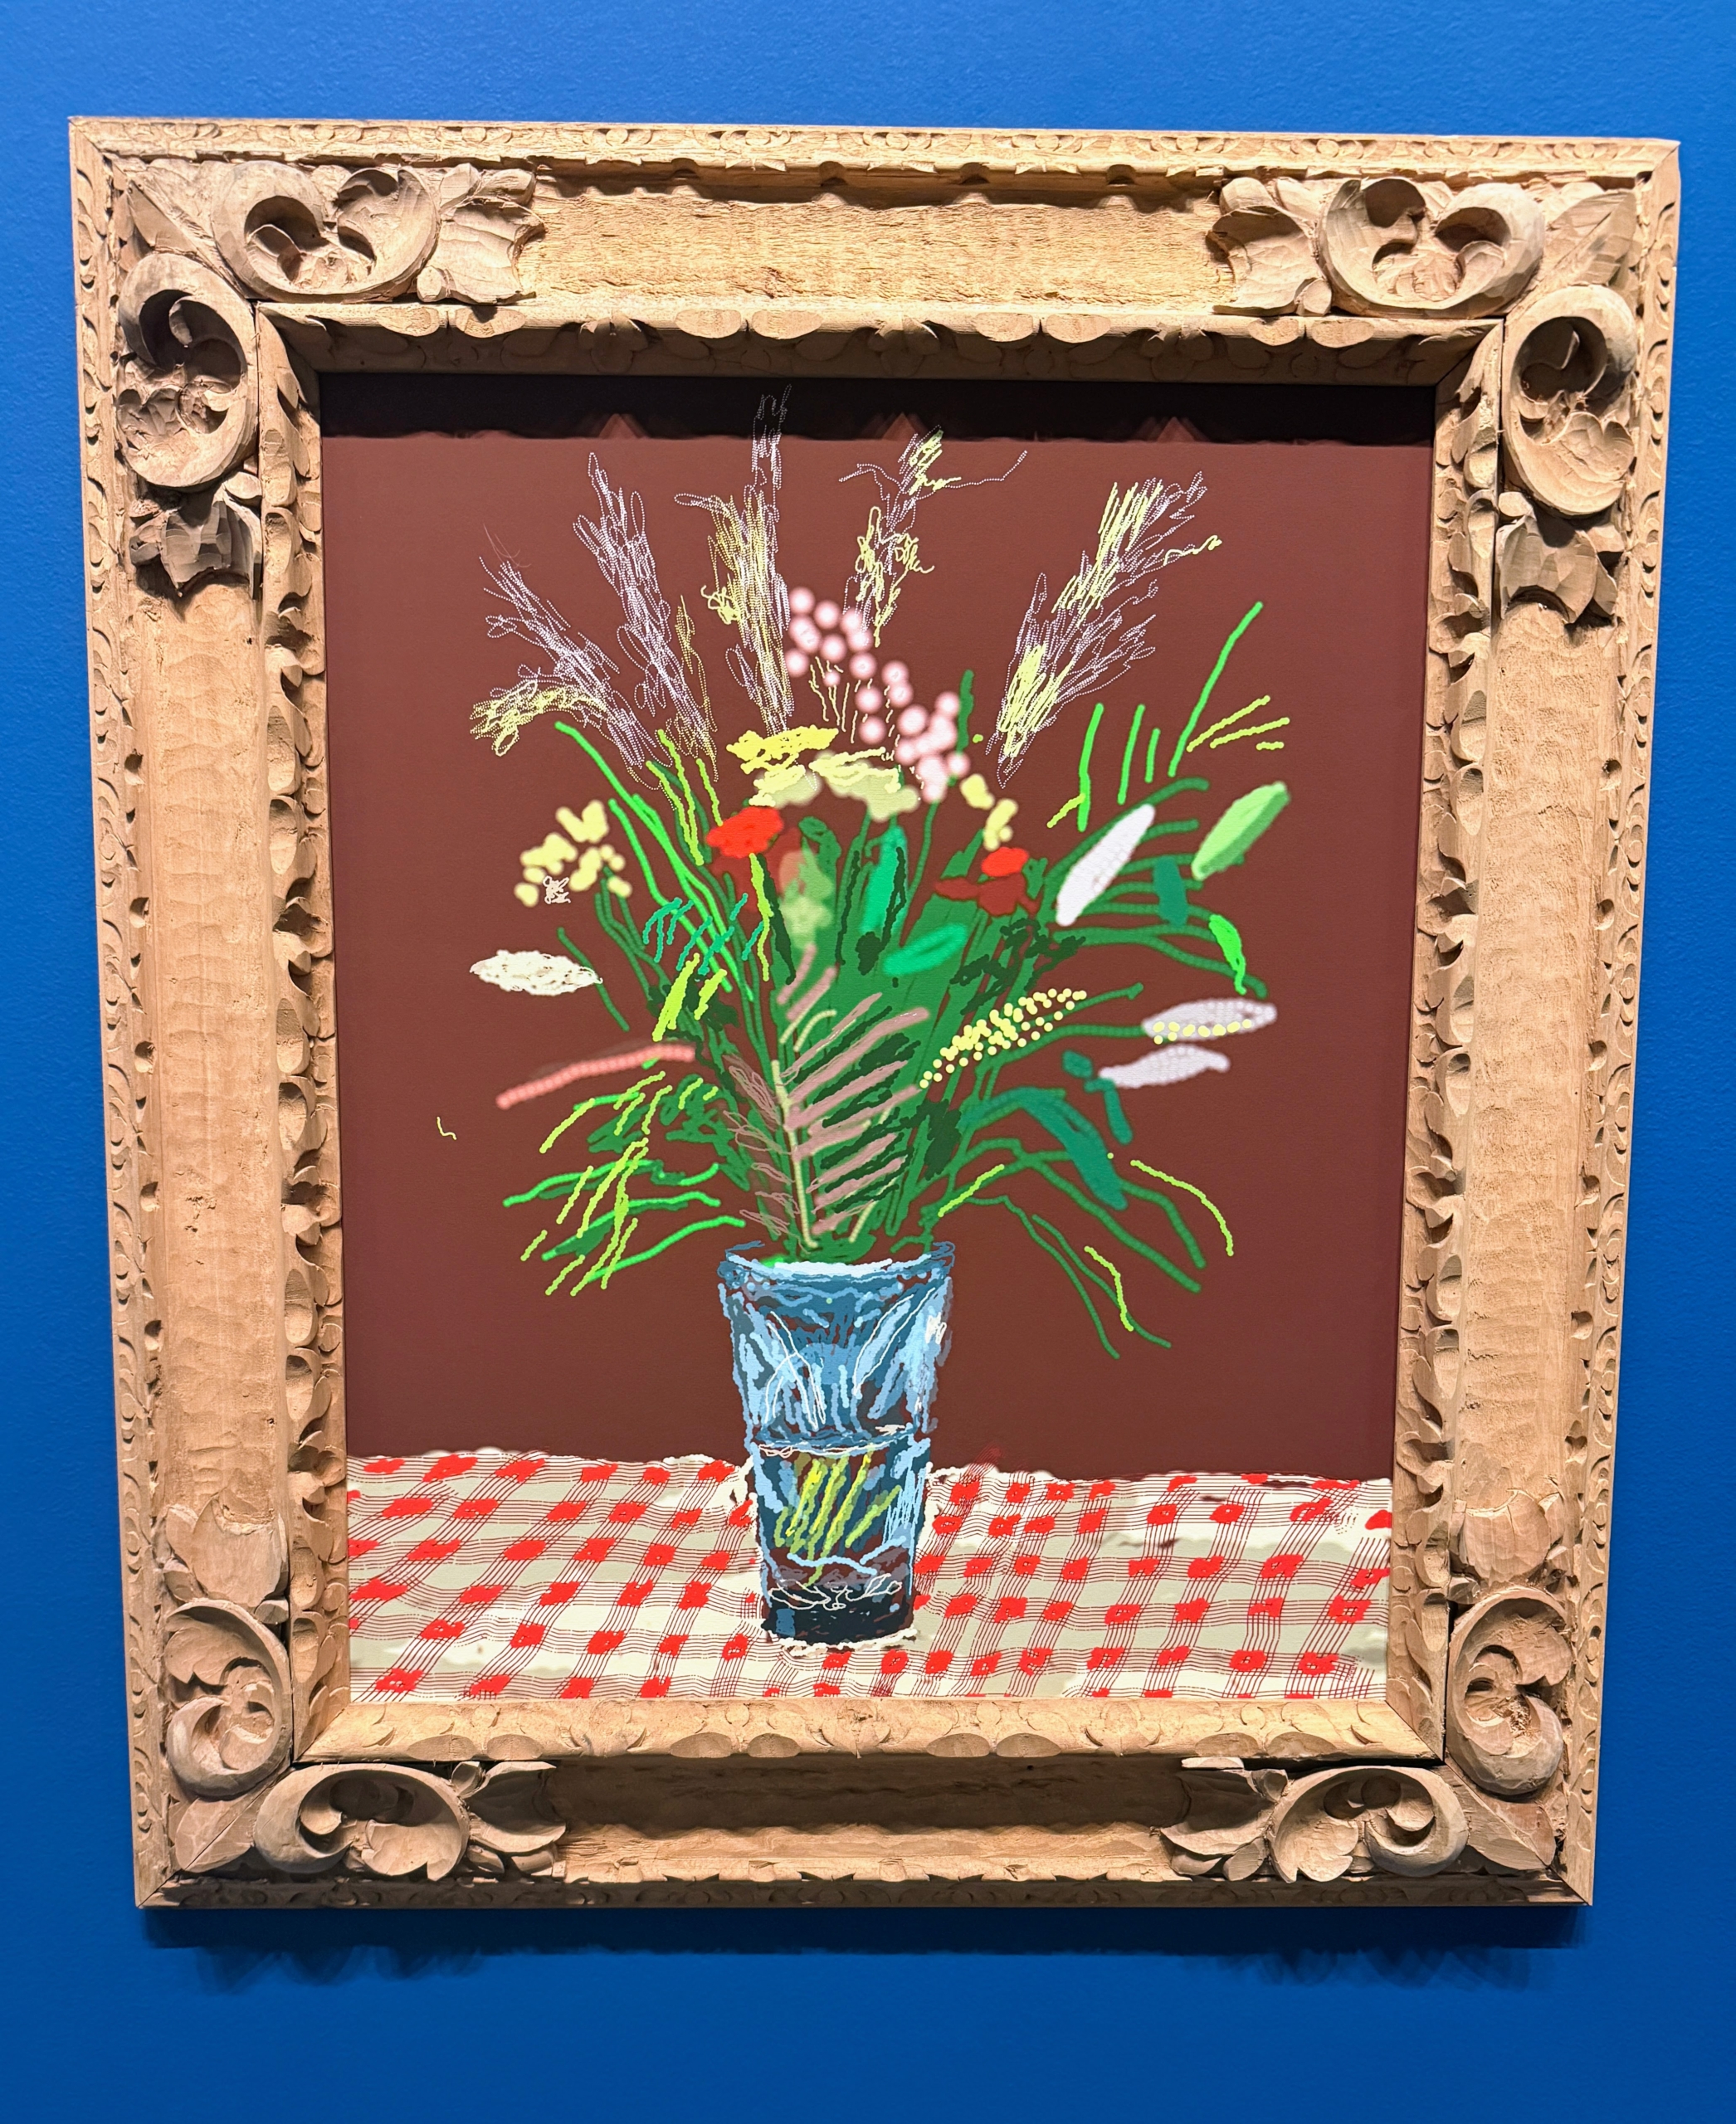
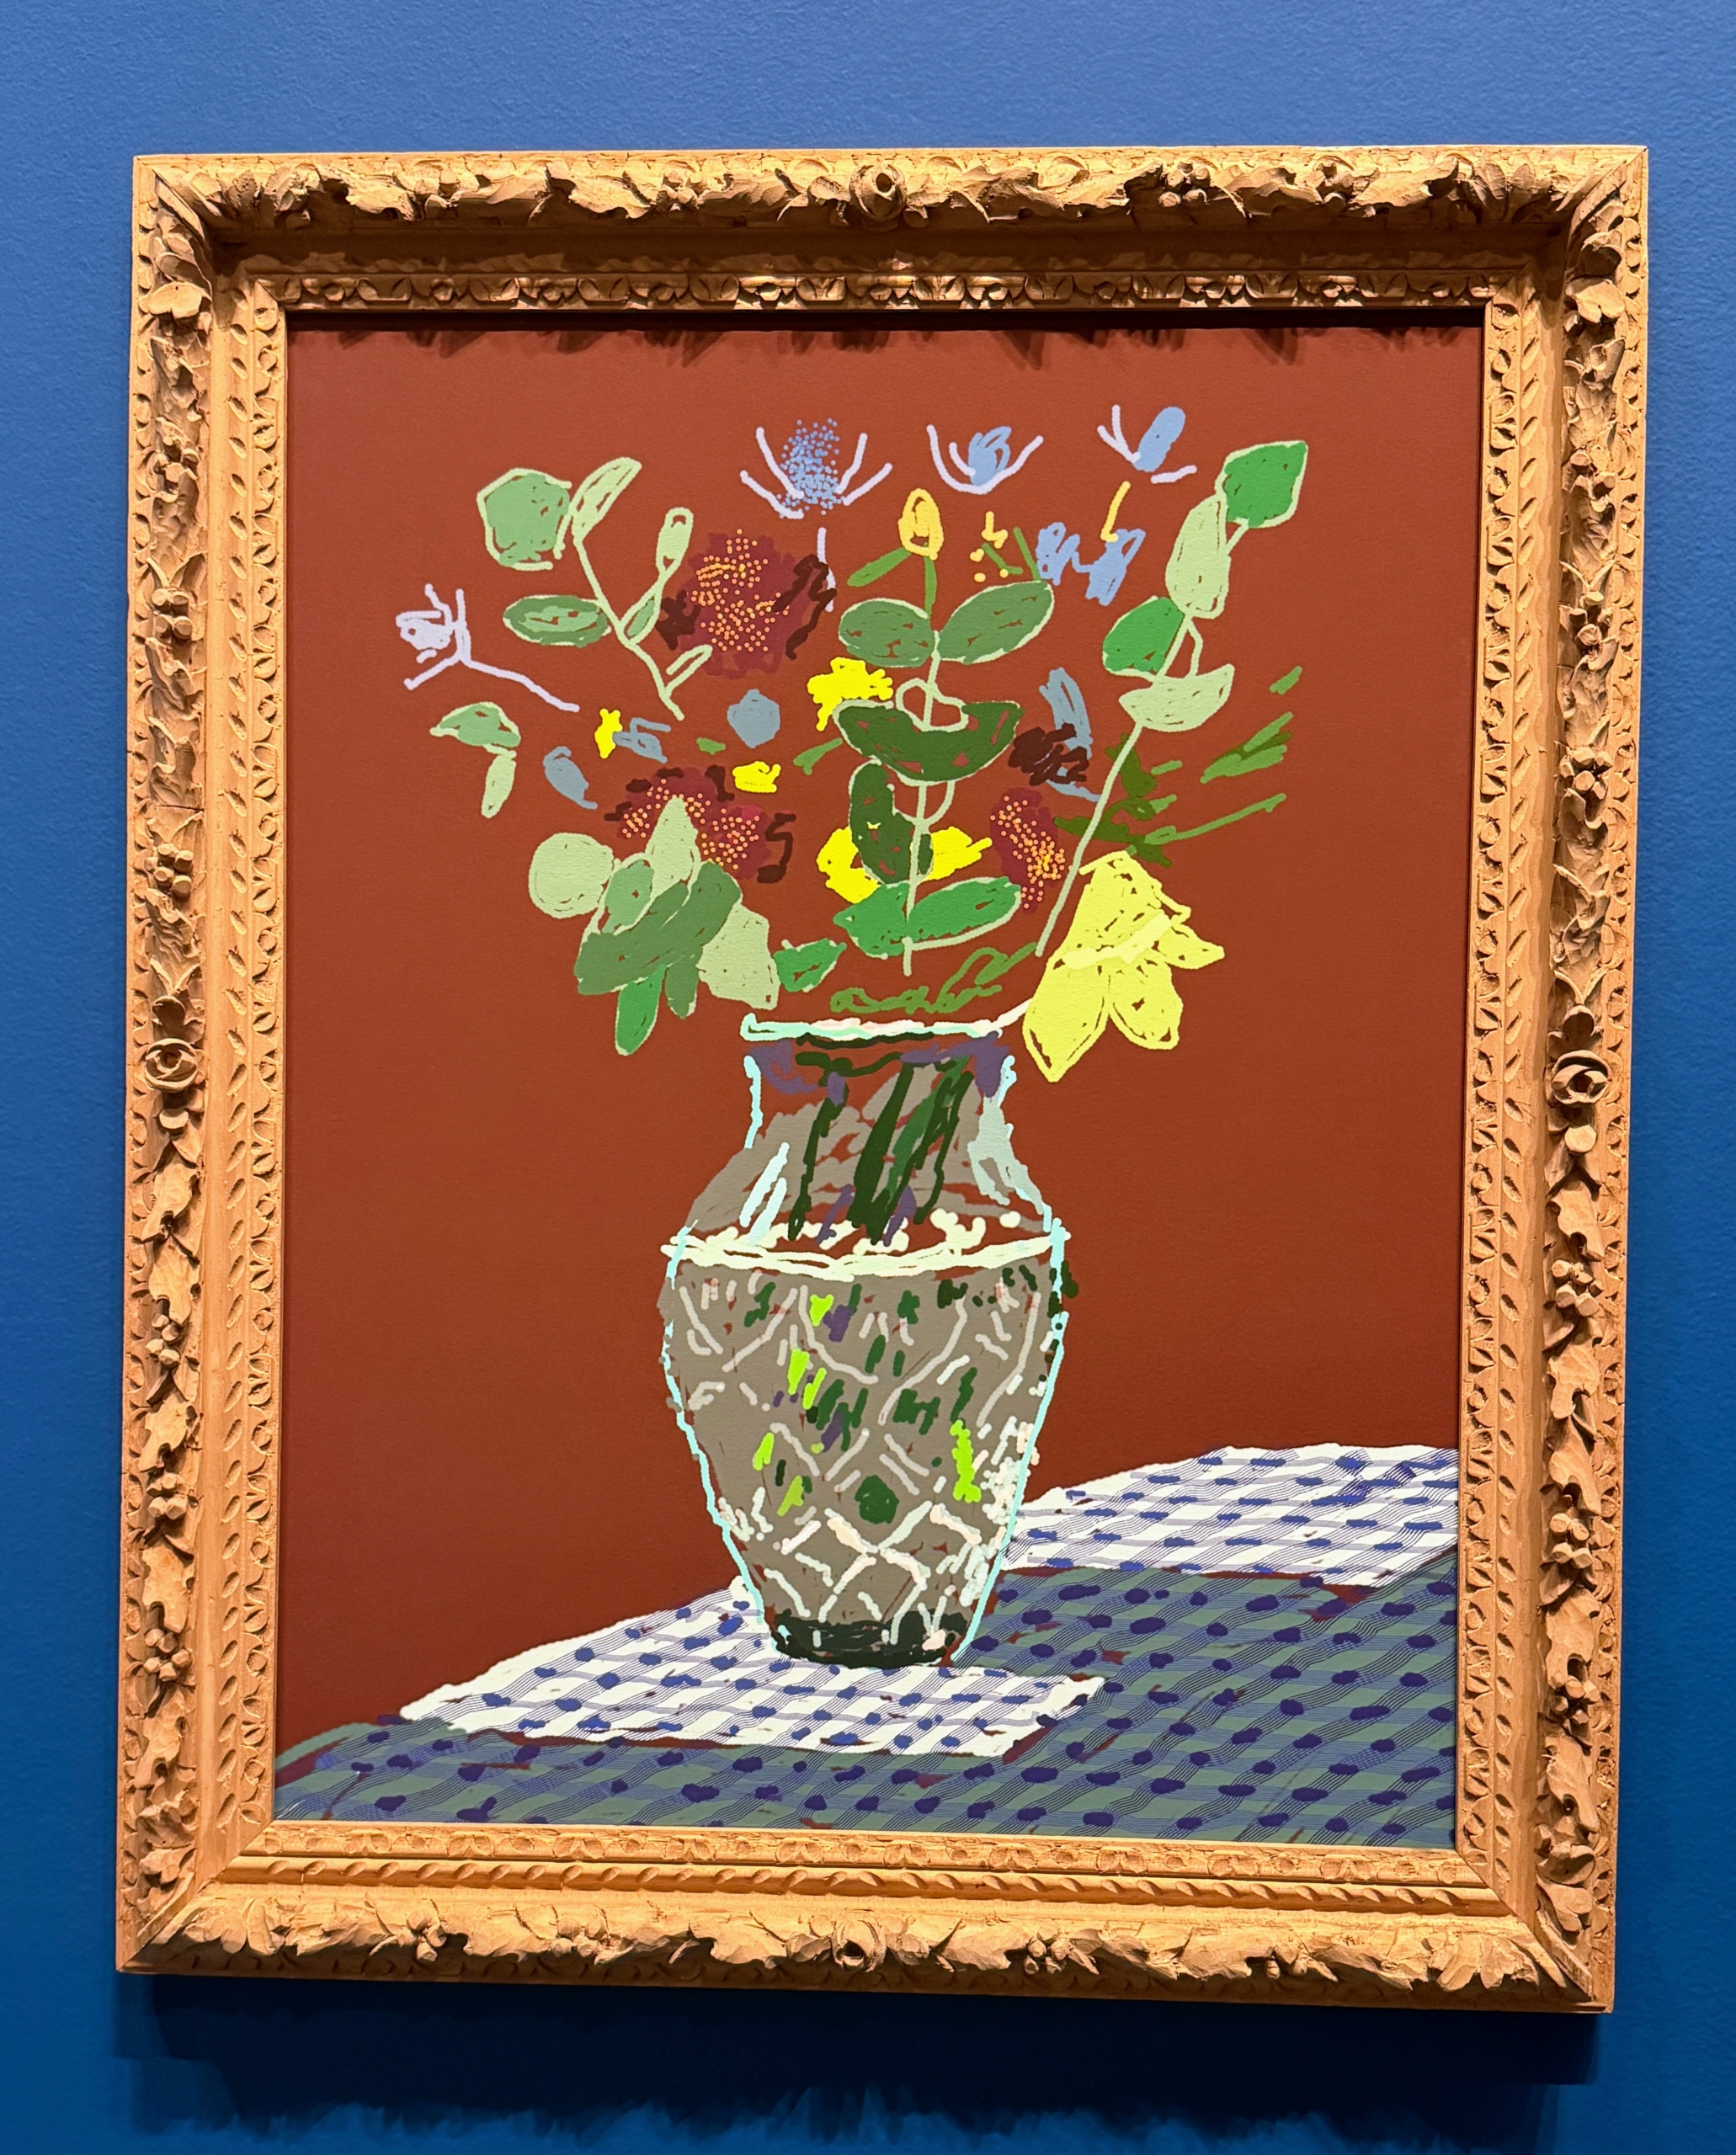
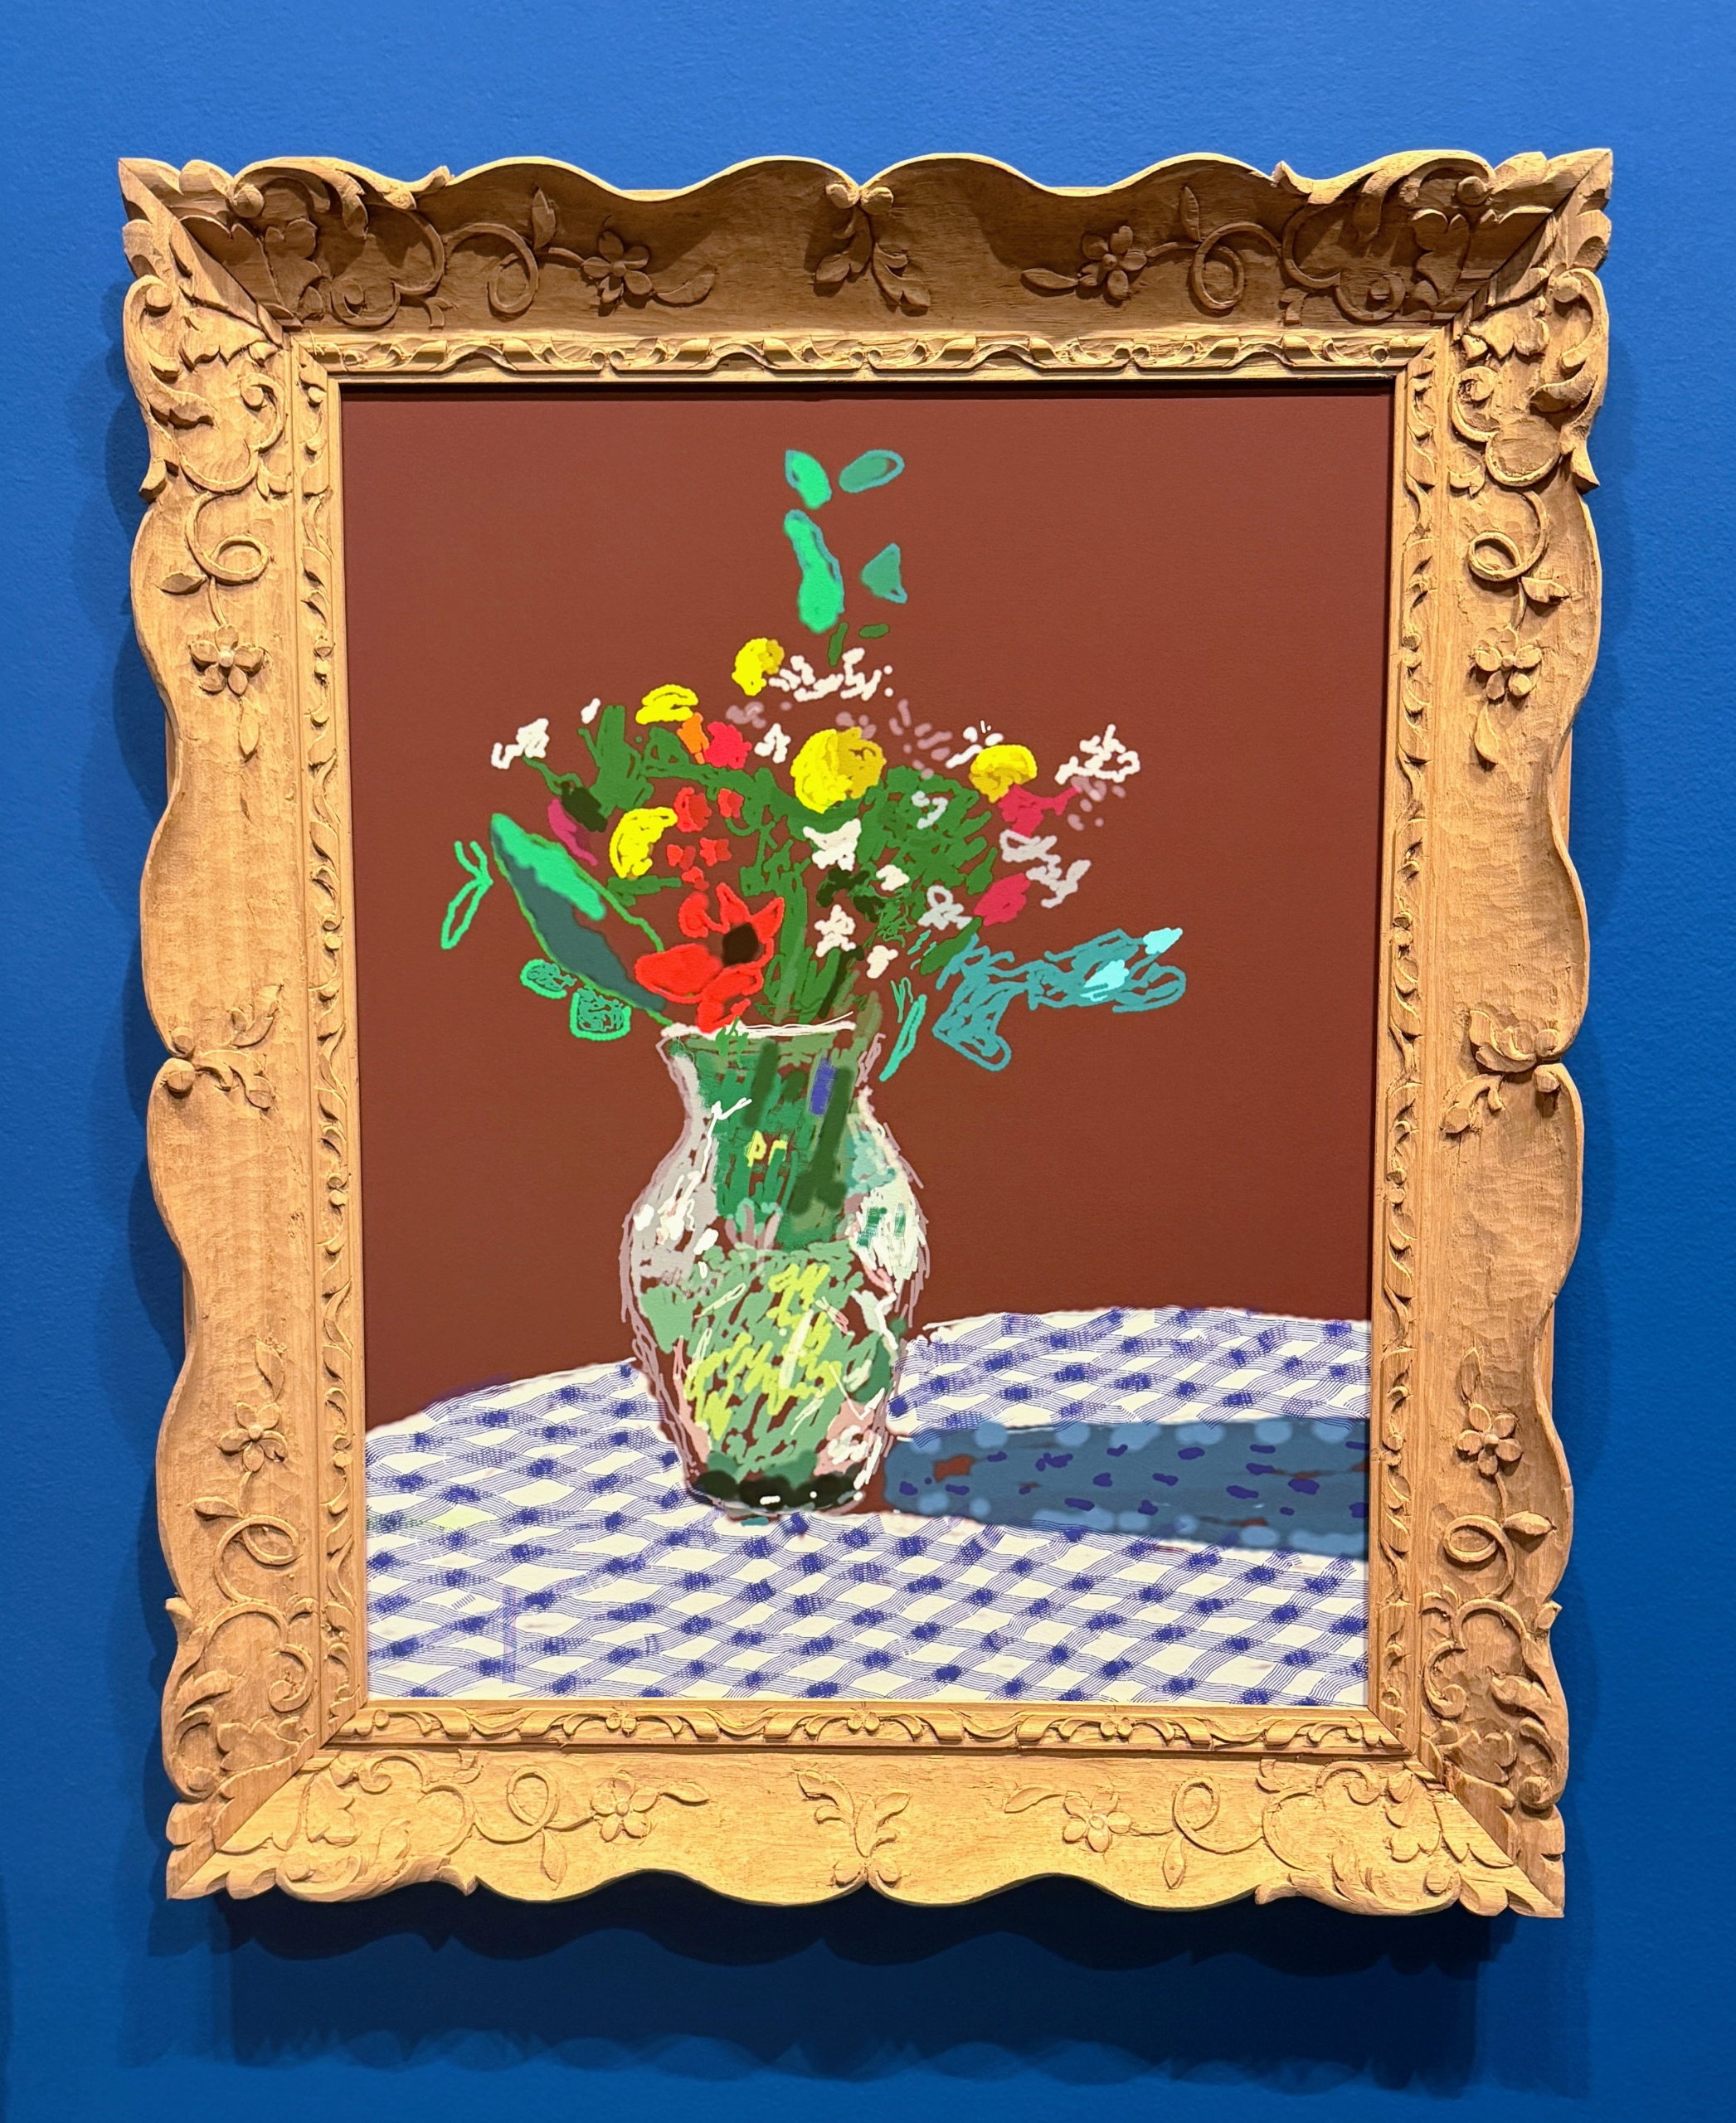
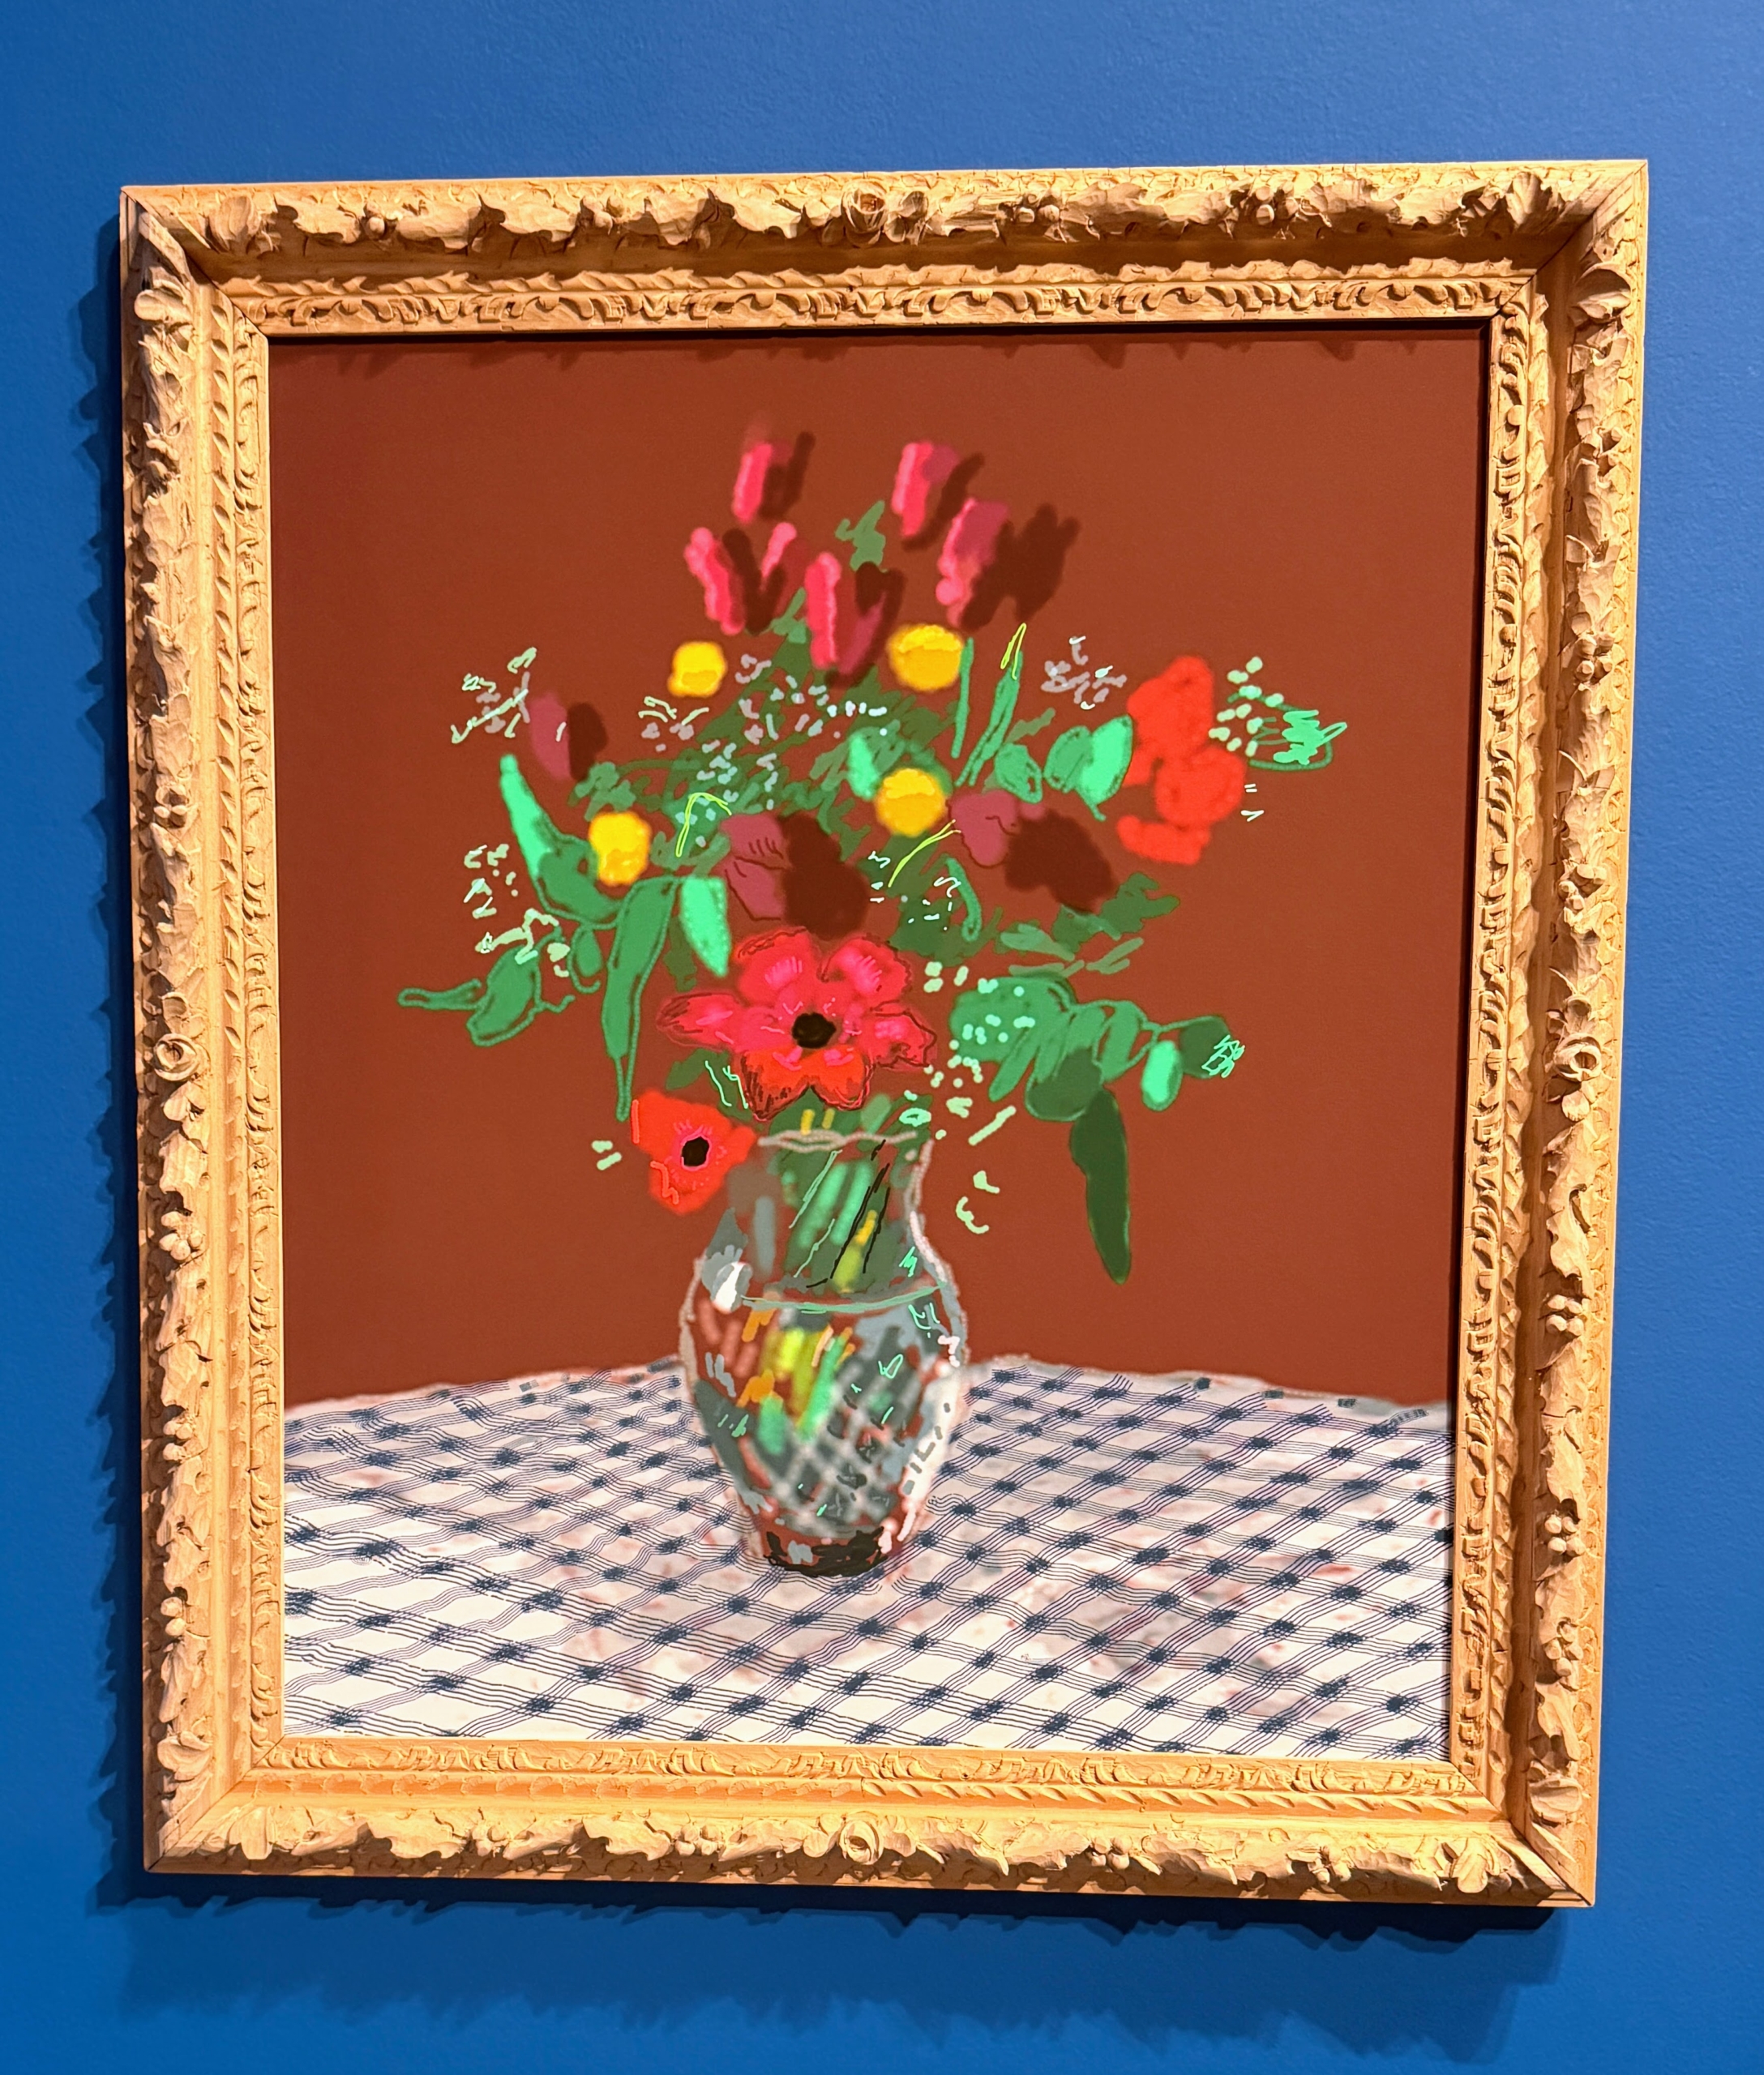
David also devotes time to making digital creations on his iPad. These flowers are part of a series of 20 made in 2021.
The arrangements represent floral still life, and his observations of the changing seasons in what is included in the bouquets.
Various elements in each work change including the type of flowers, the vase, and the color and shadows in the tablecloth.
In the larger display of this large-scale photographic drawing, “Looking at the Flowers,” 2022, it shows David sitting at both left and right sides, sitting in a chair, looking at the wall of smaller framed works.
This is David Hockney, “27 March 2020, No. 1” 2020.
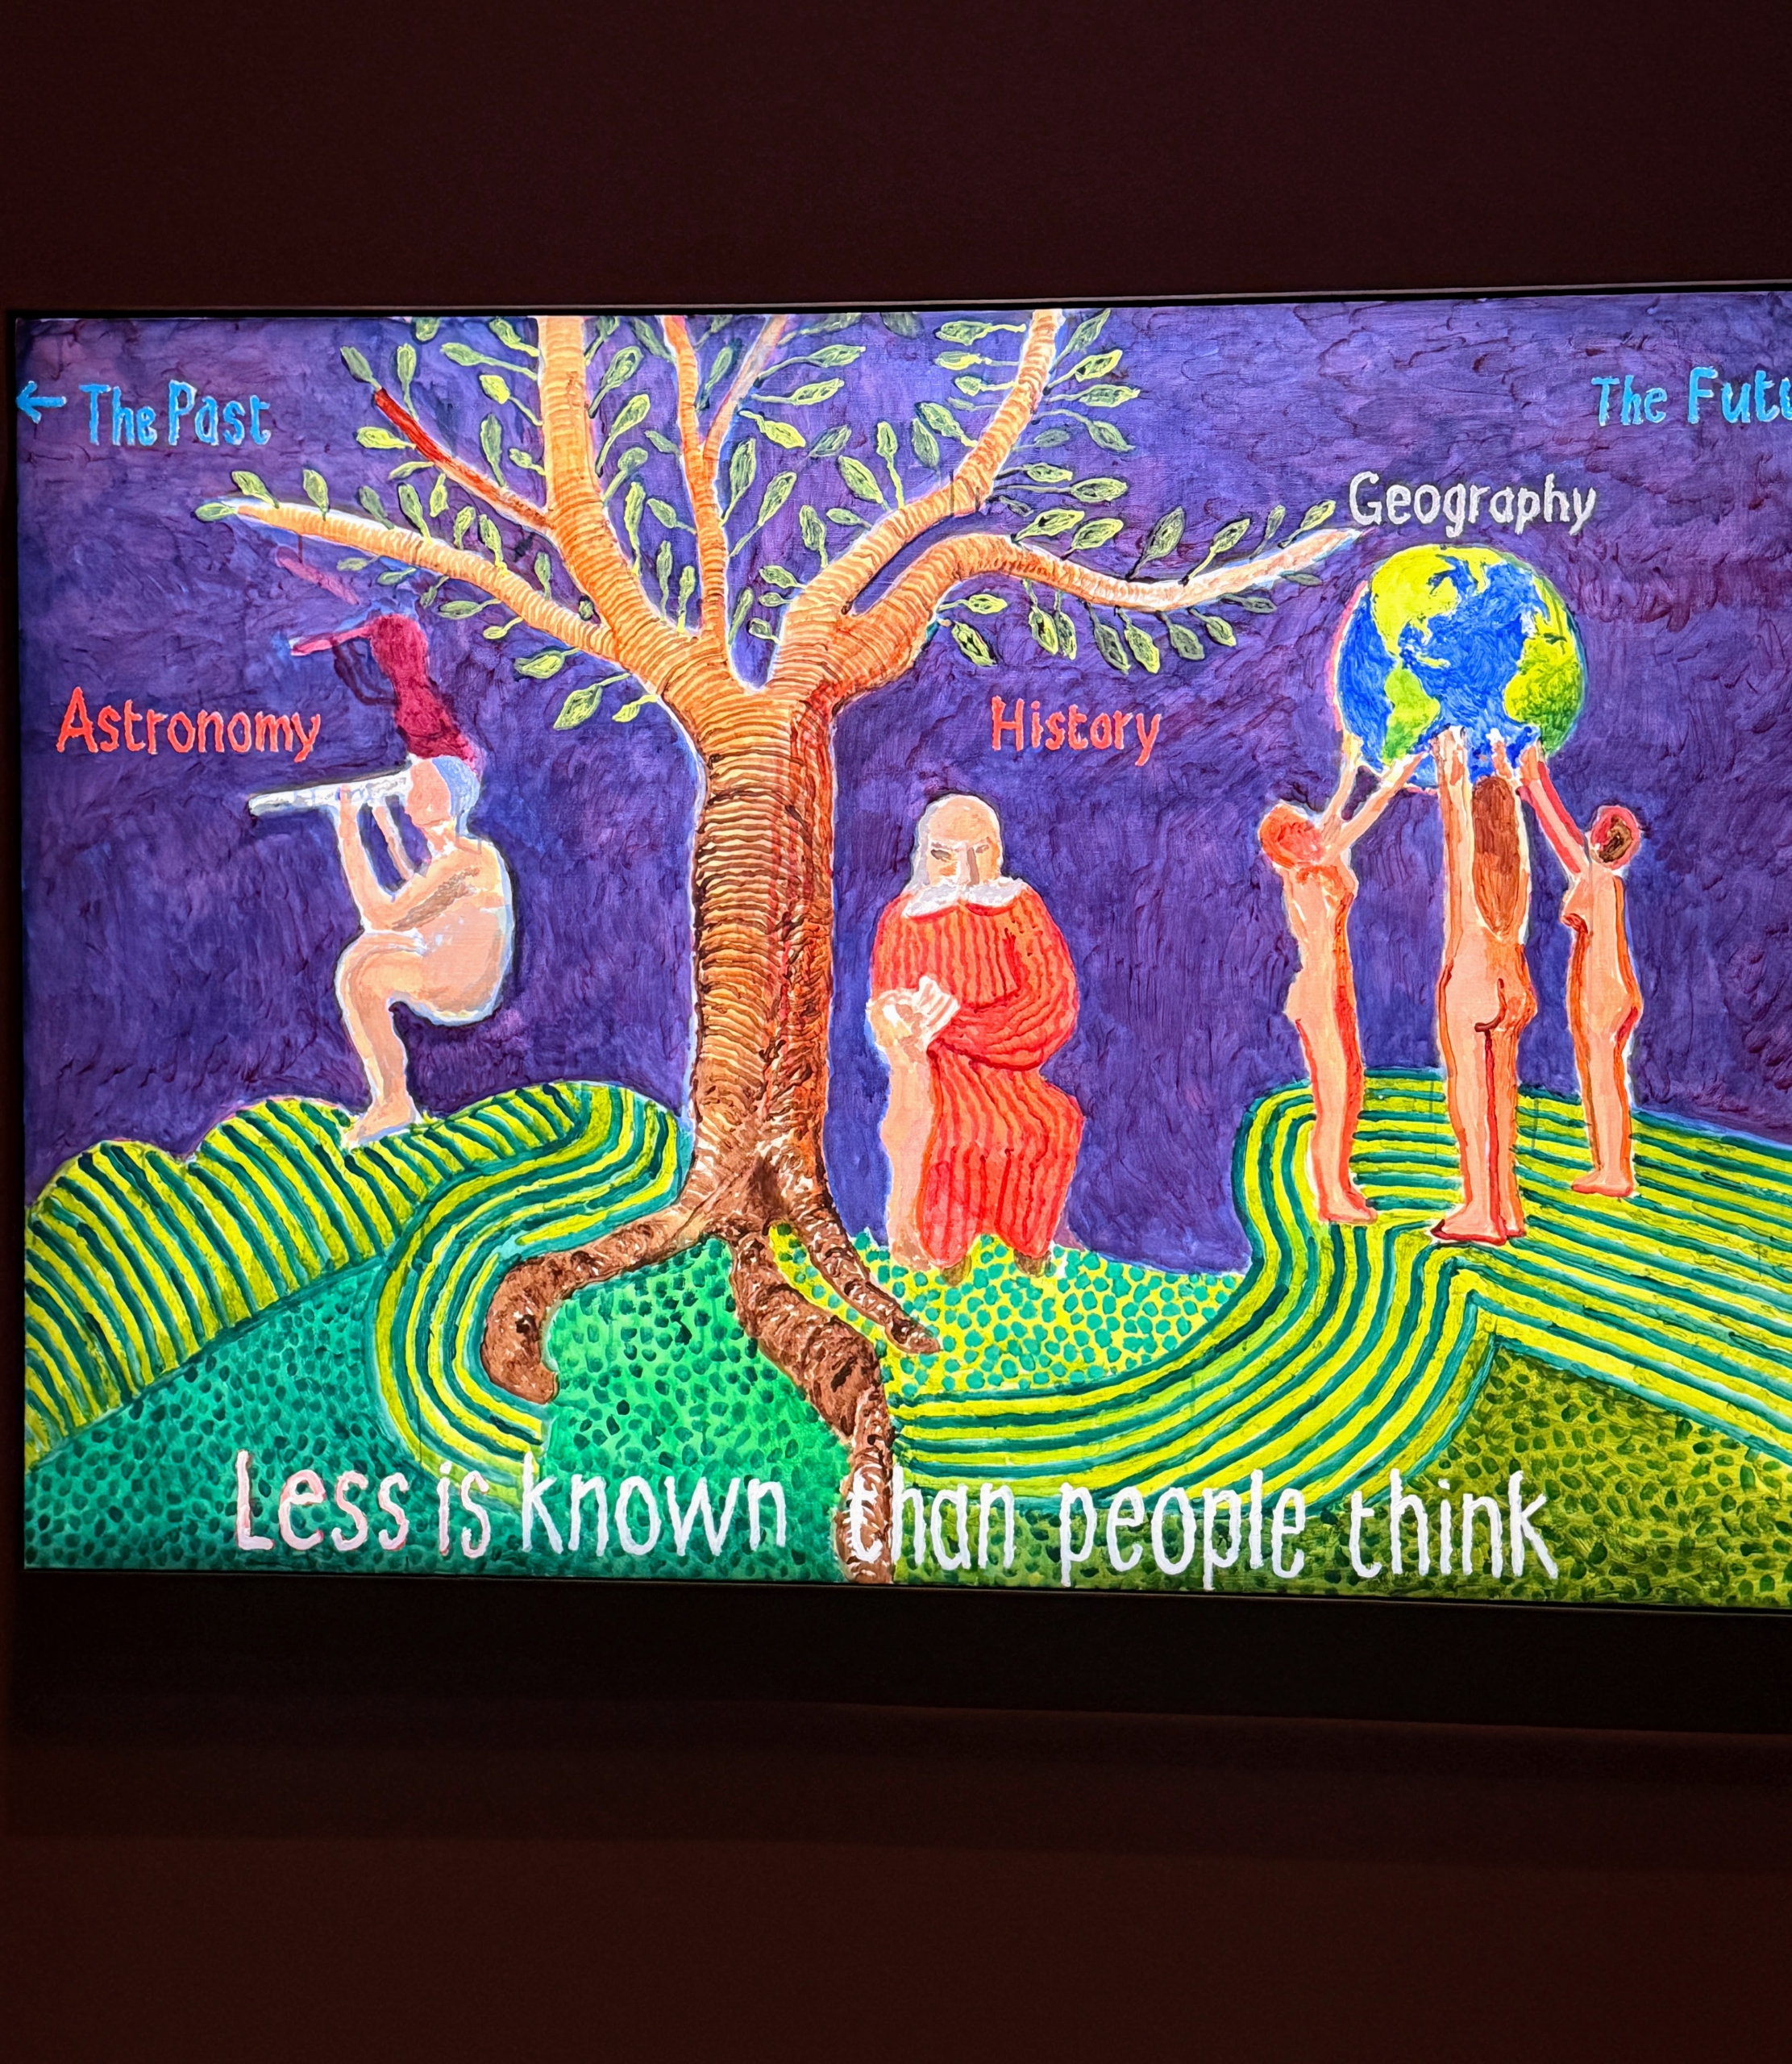
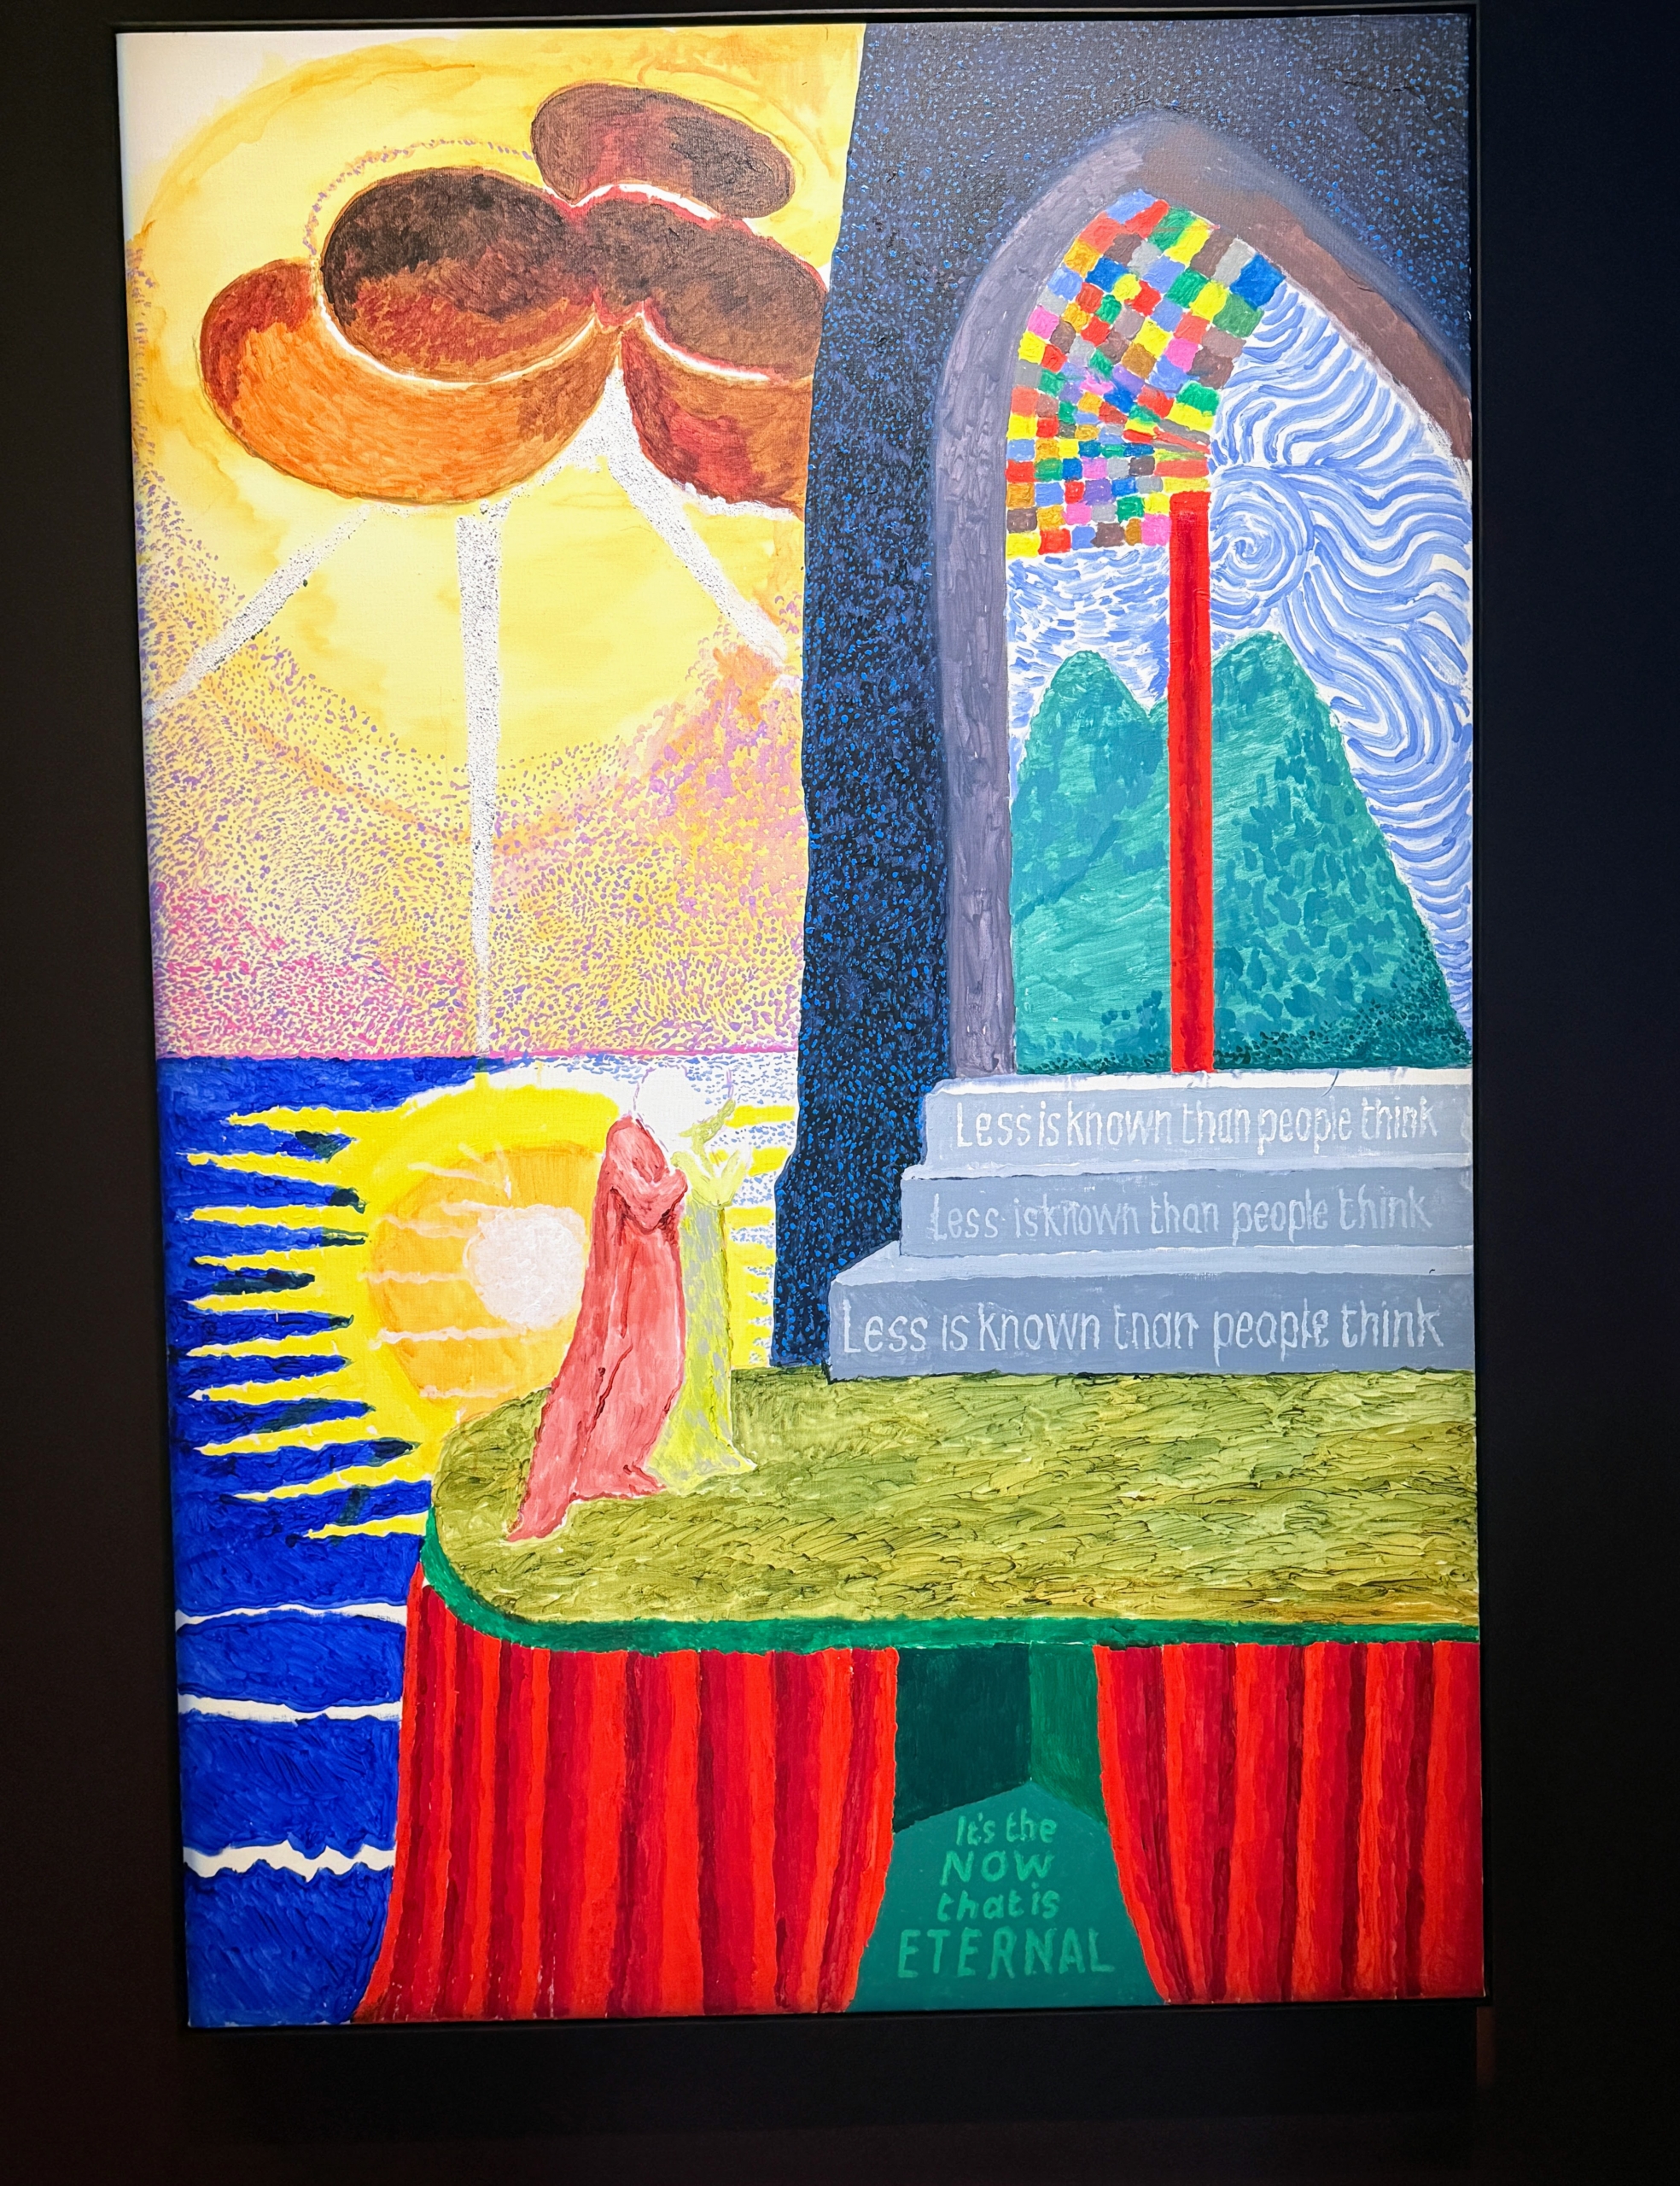
And here is David Hockney, “After Munch: Less is Known than People Think,” 2023.
This work is David Hockney, “After Blake: Less is Known than People think,” 2024
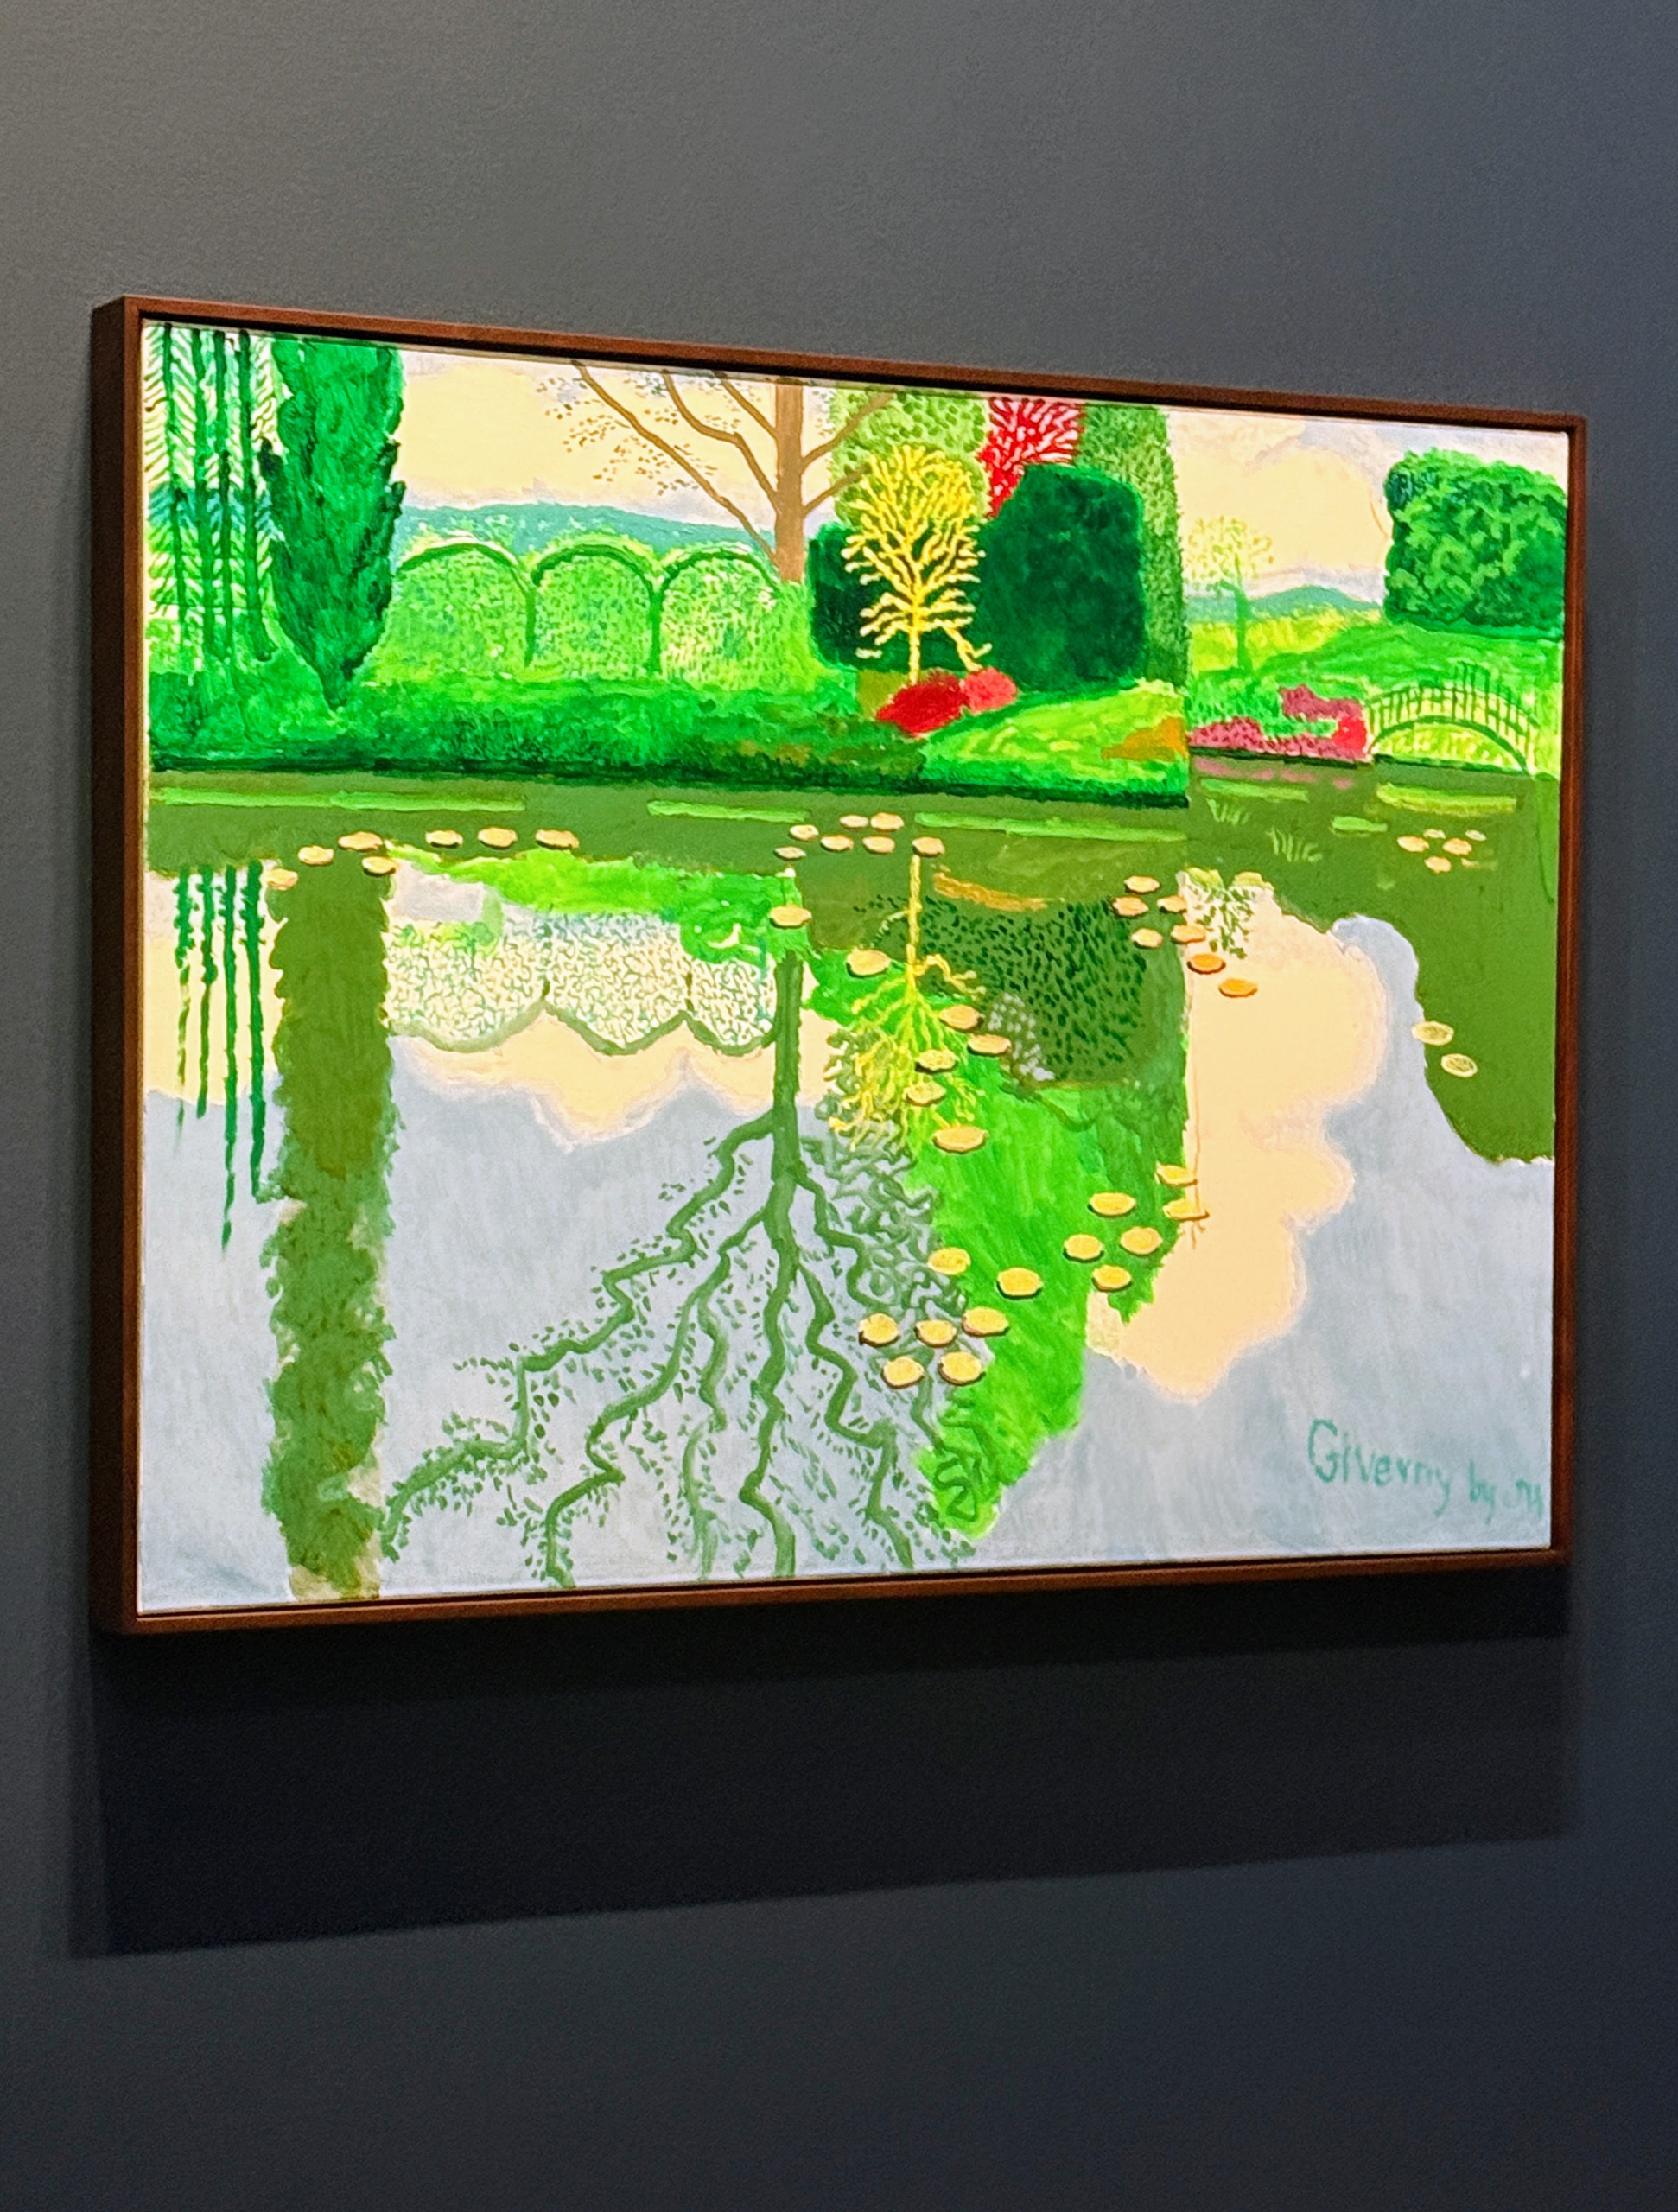
This is called David Hockney, Giverny by DH, 2023.
If you have the chance, do visit David Hockney 25 at the Fondation Louis Vuitton in Paris. I know you’ll enjoy this exhibit.