Totally transforming an existing garden bed is a good way to revitalize an outdoor space.
The two garden beds in front of my main greenhouse were once home to my currant bushes. Six years ago, I moved the berries and created more formal gardens with hostas and white lilies. Recently, I decided the beds would be perfect for displaying my new Martha Stewart Hybrid Tea Roses. I wanted them to be planted in a grid pattern alternating each rose with boxwood. In the center of each bed, I planted four tall conical boxwood. I know these gardens will grow so beautifully in the coming years.
Here are some photos.
How would you display a rose named after you? These are blooming Martha Stewart Hybrid Tea Roses, bred by Meilland, a six-generation family-owned rose-growing business, and launched in North America through Star Roses and Plants. I knew these would look excellent in front of my main greenhouse at my farm.
My new rose has large pink blooms, dark green foliage, and a most wonderful and sweet fragrance. Plus, each five inch bloom has more than 100 petals.
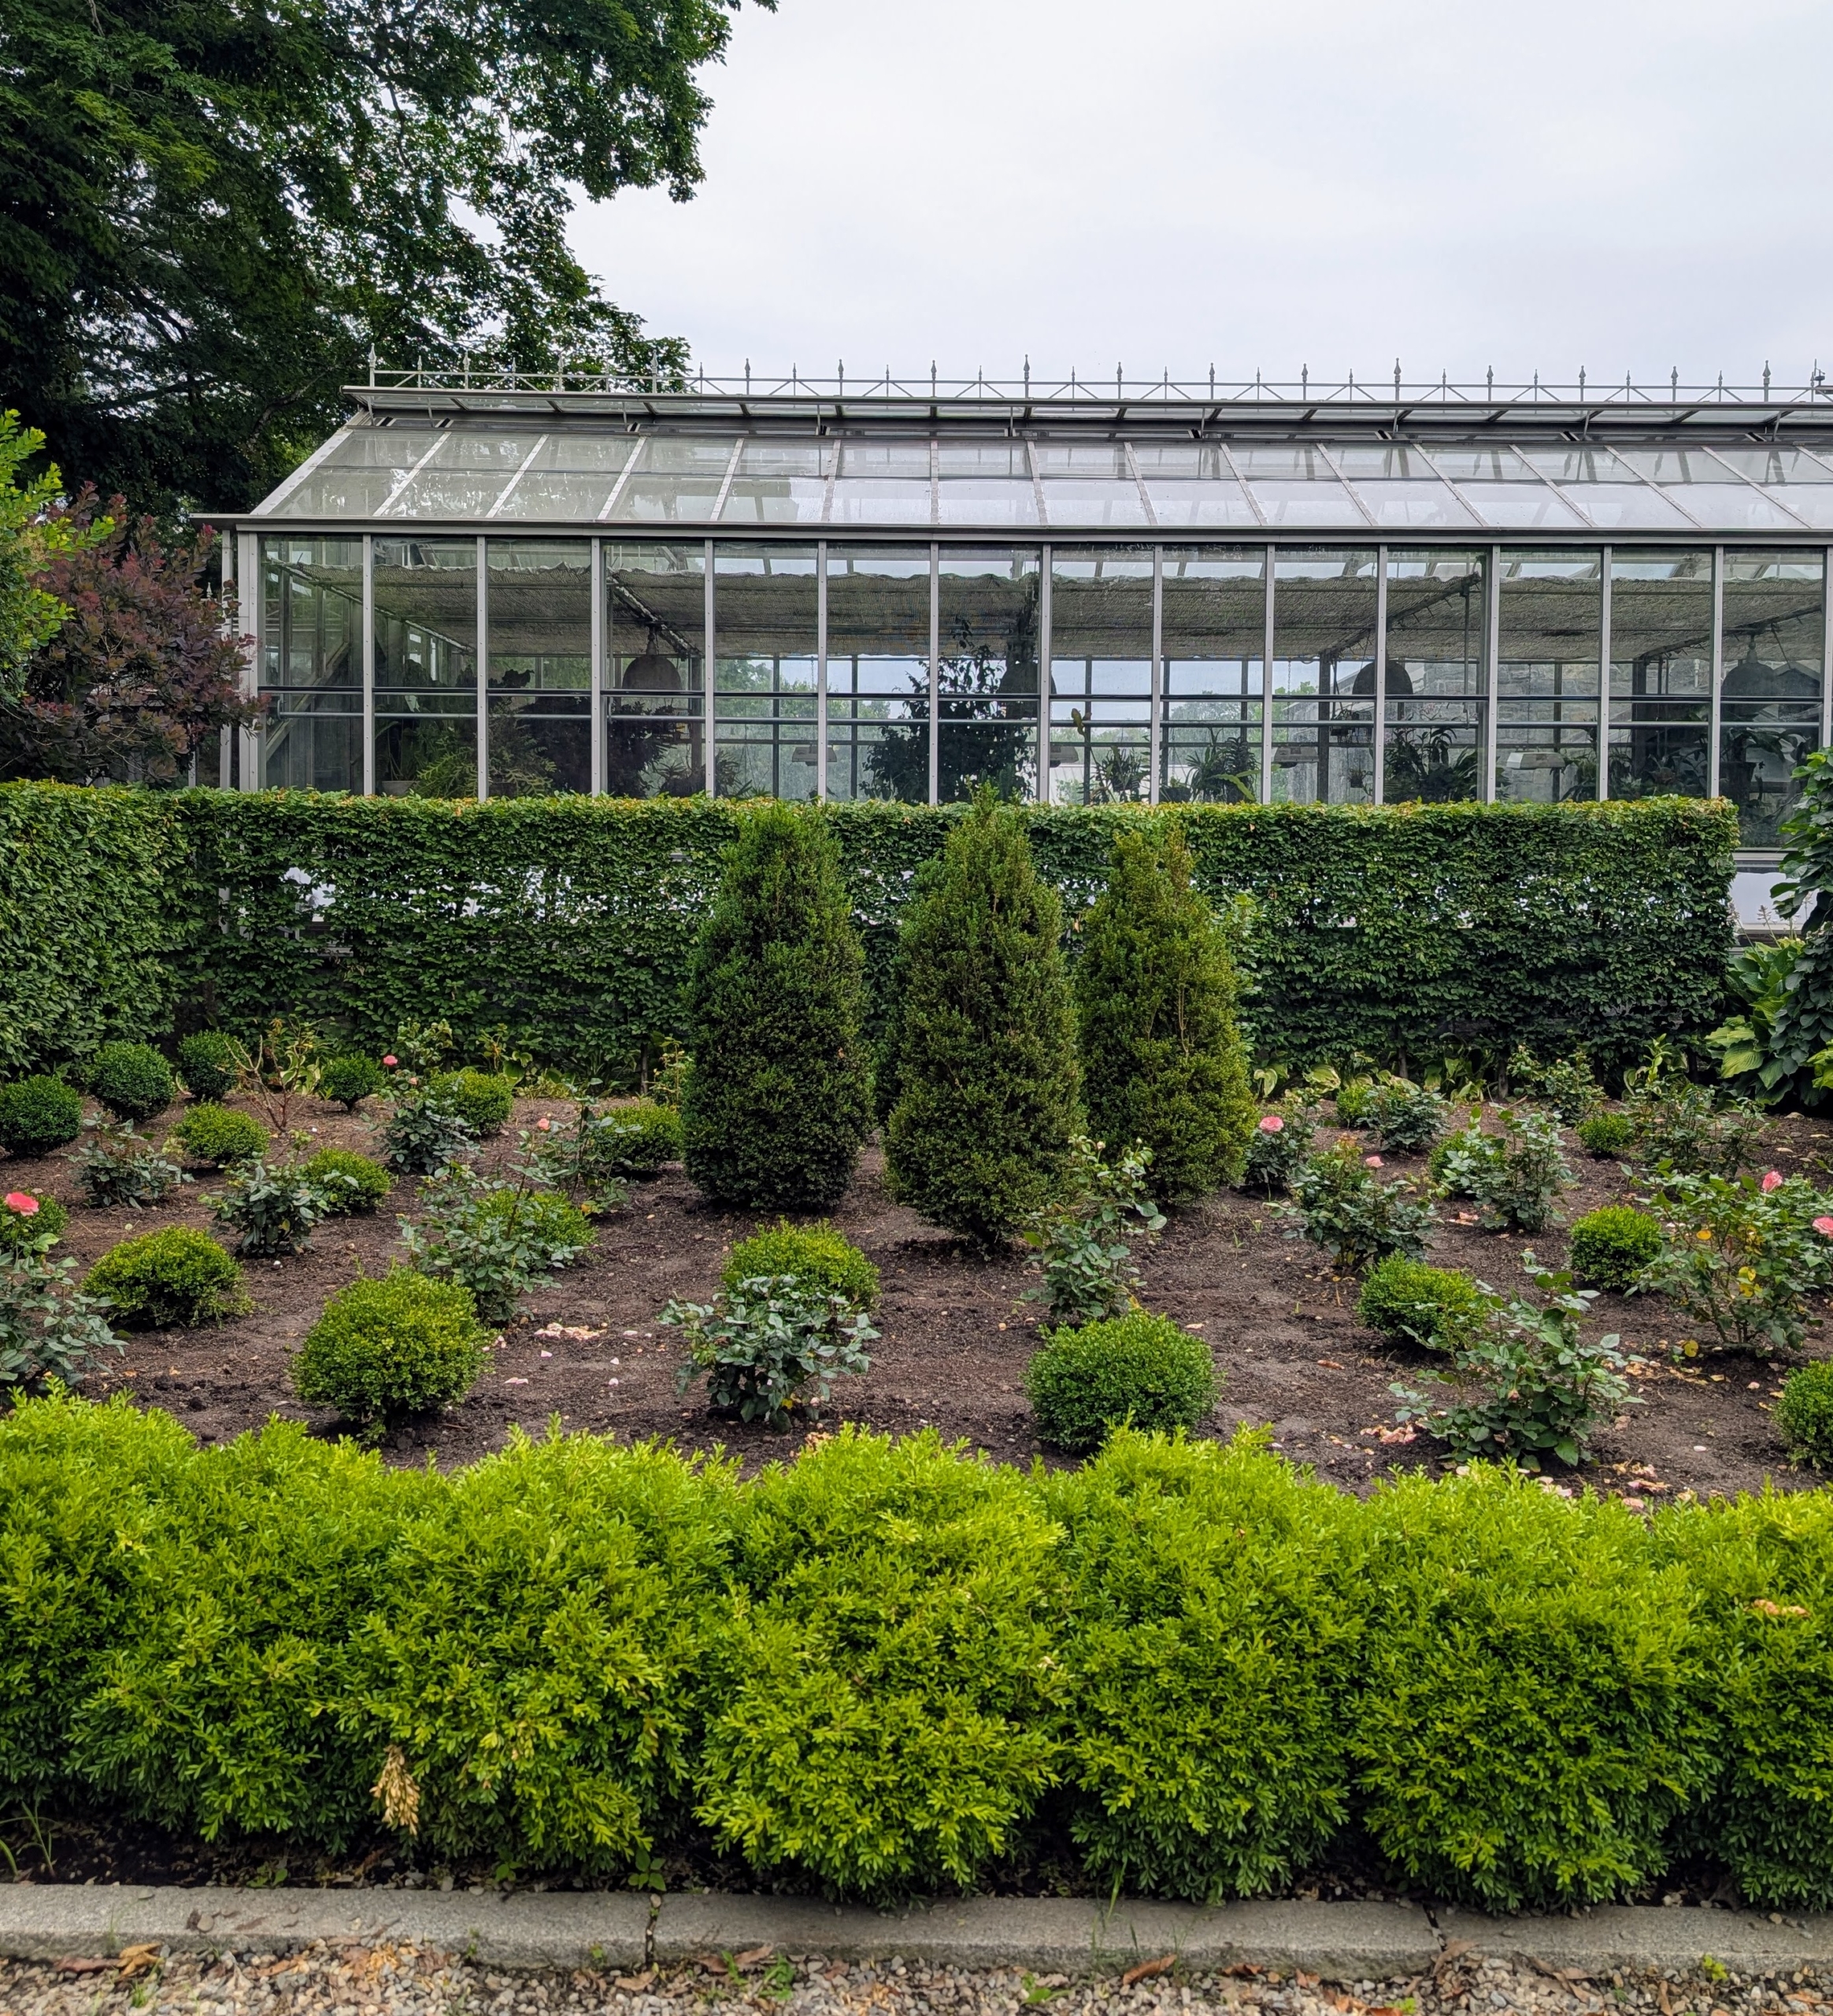
These garden beds in front of my glass greenhouse are already bordered by European hornbeam hedges and boxwood shrubs. Last fall, the beds were also cleared, tilled and fed before any work was started to redo them.
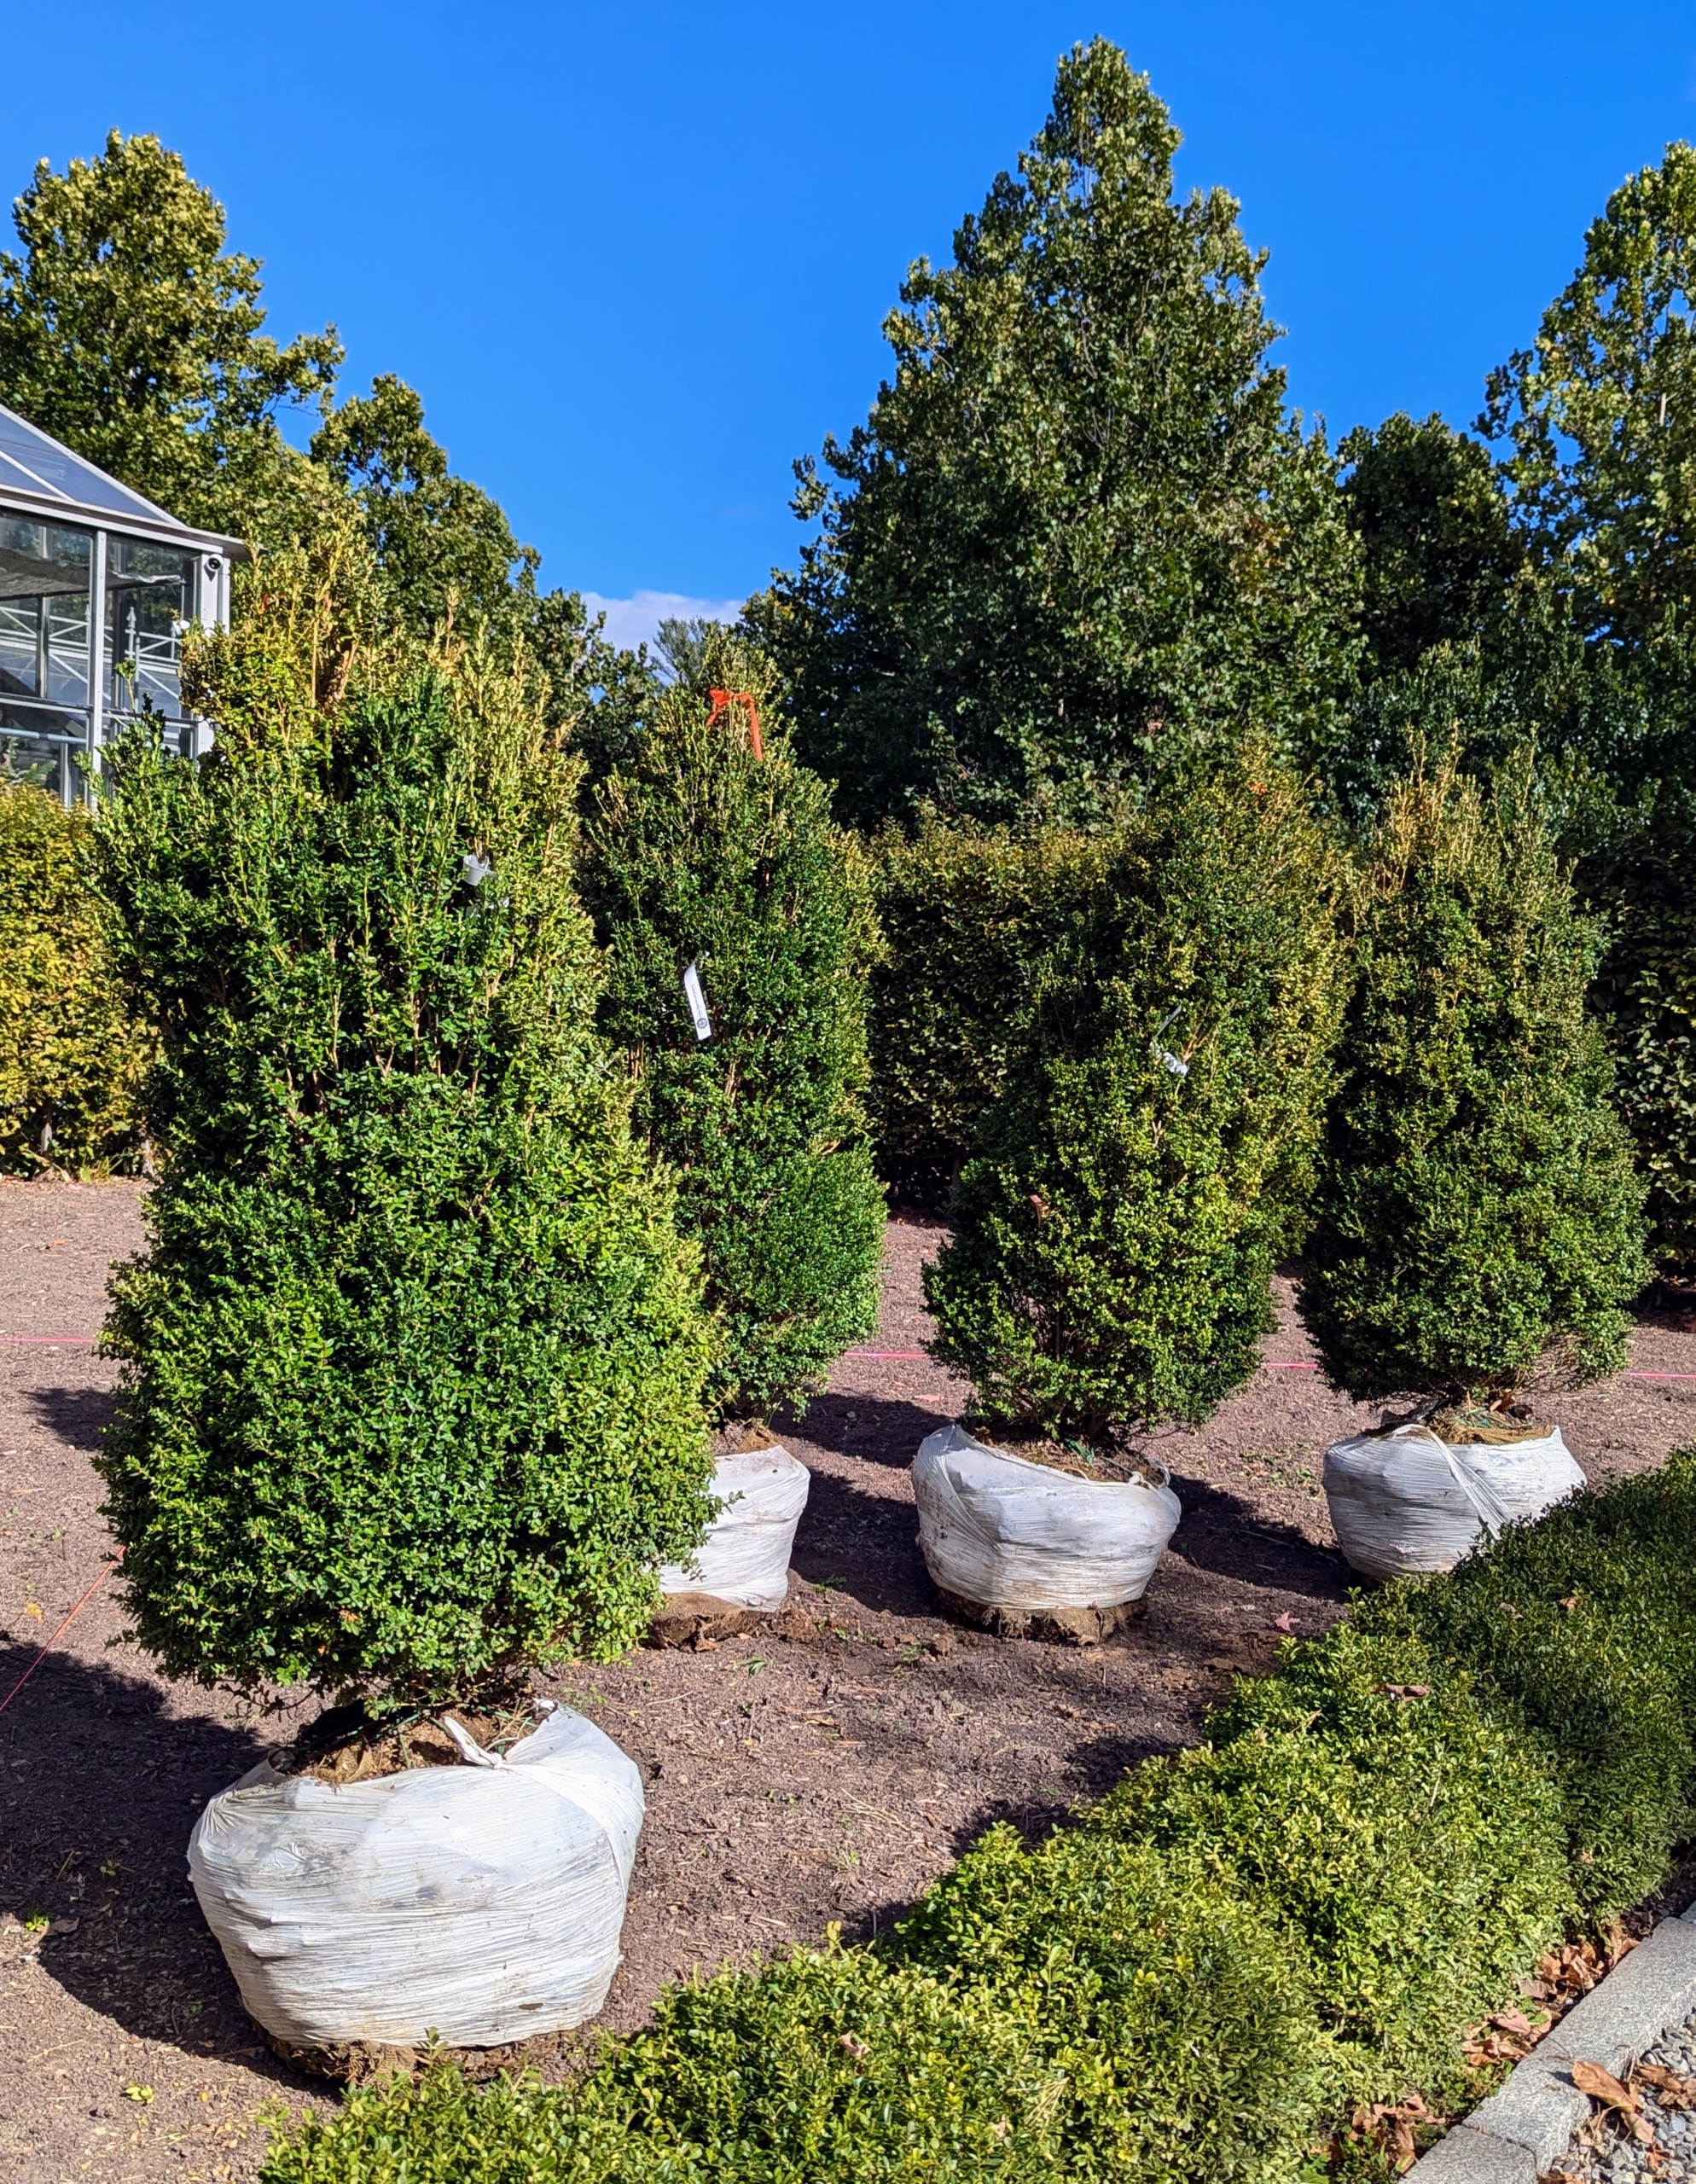
In the center of each bed, I planted four Buxus microphylla ‘John Baldwin’ from nearby Select Horticulture in Pound Ridge, New York. ‘John Baldwin’ is grown for its broad, conical habit. New foliage starts with a blue tint which slowly fades to blue-green.
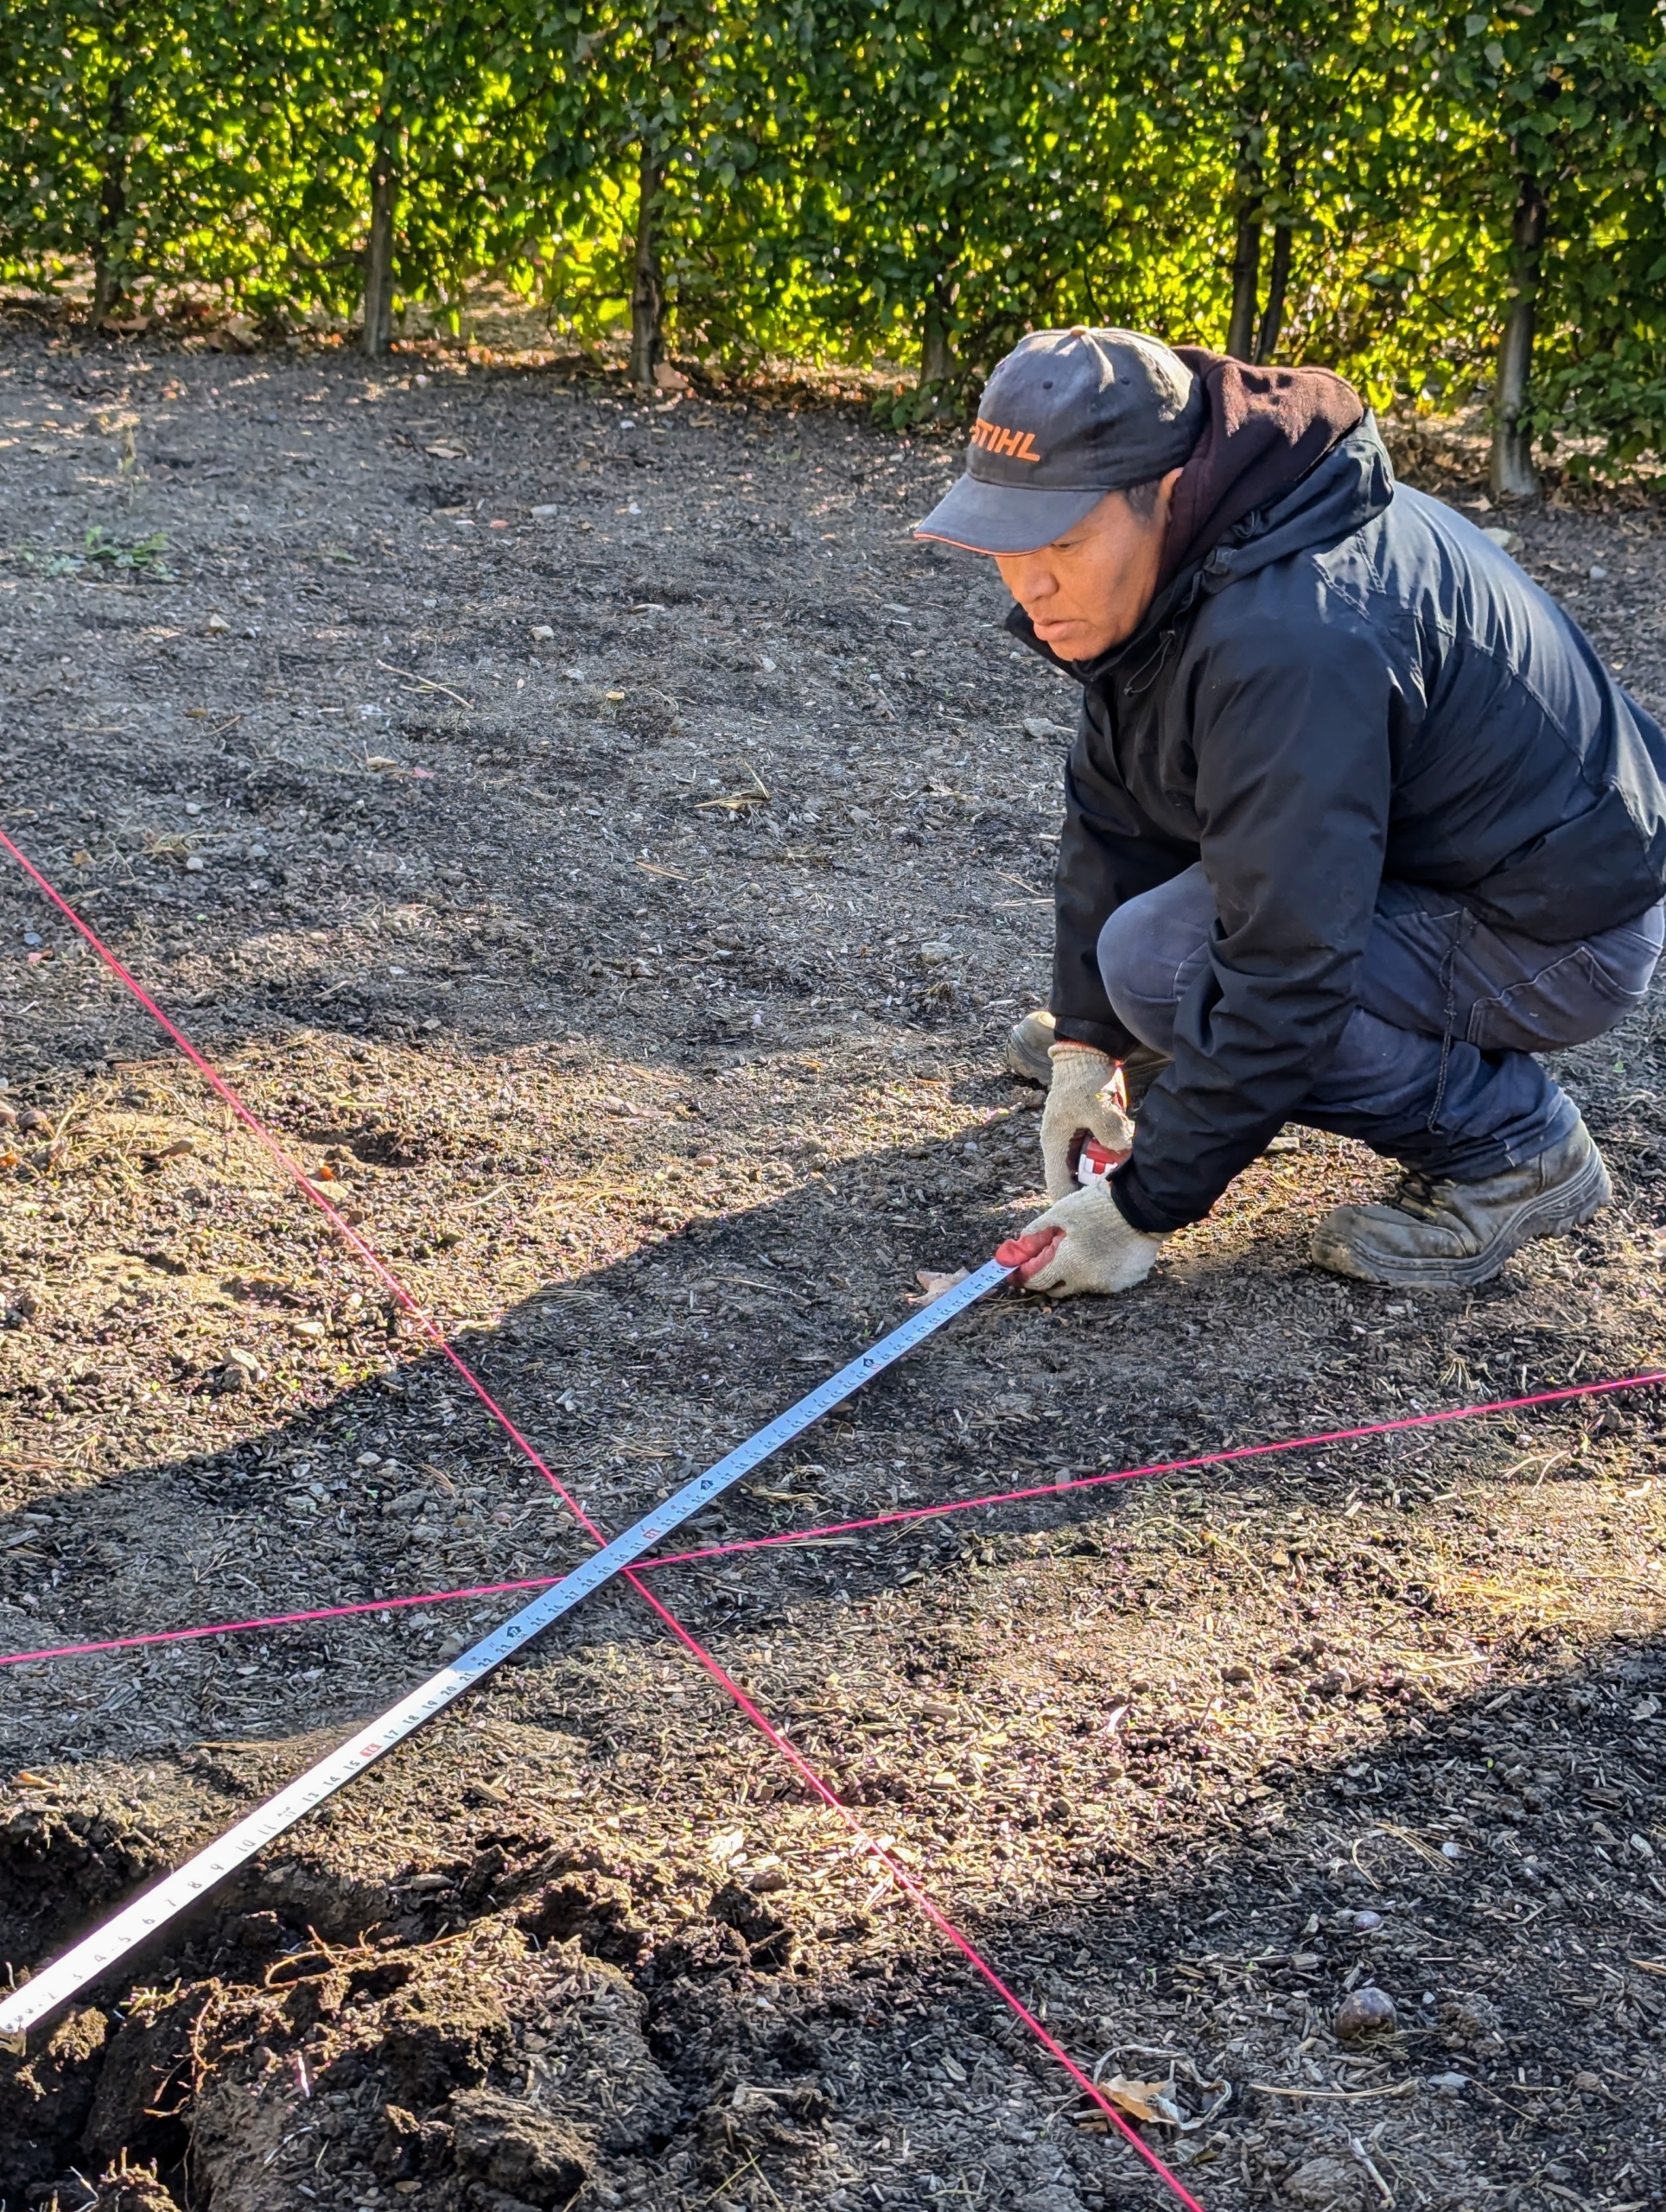
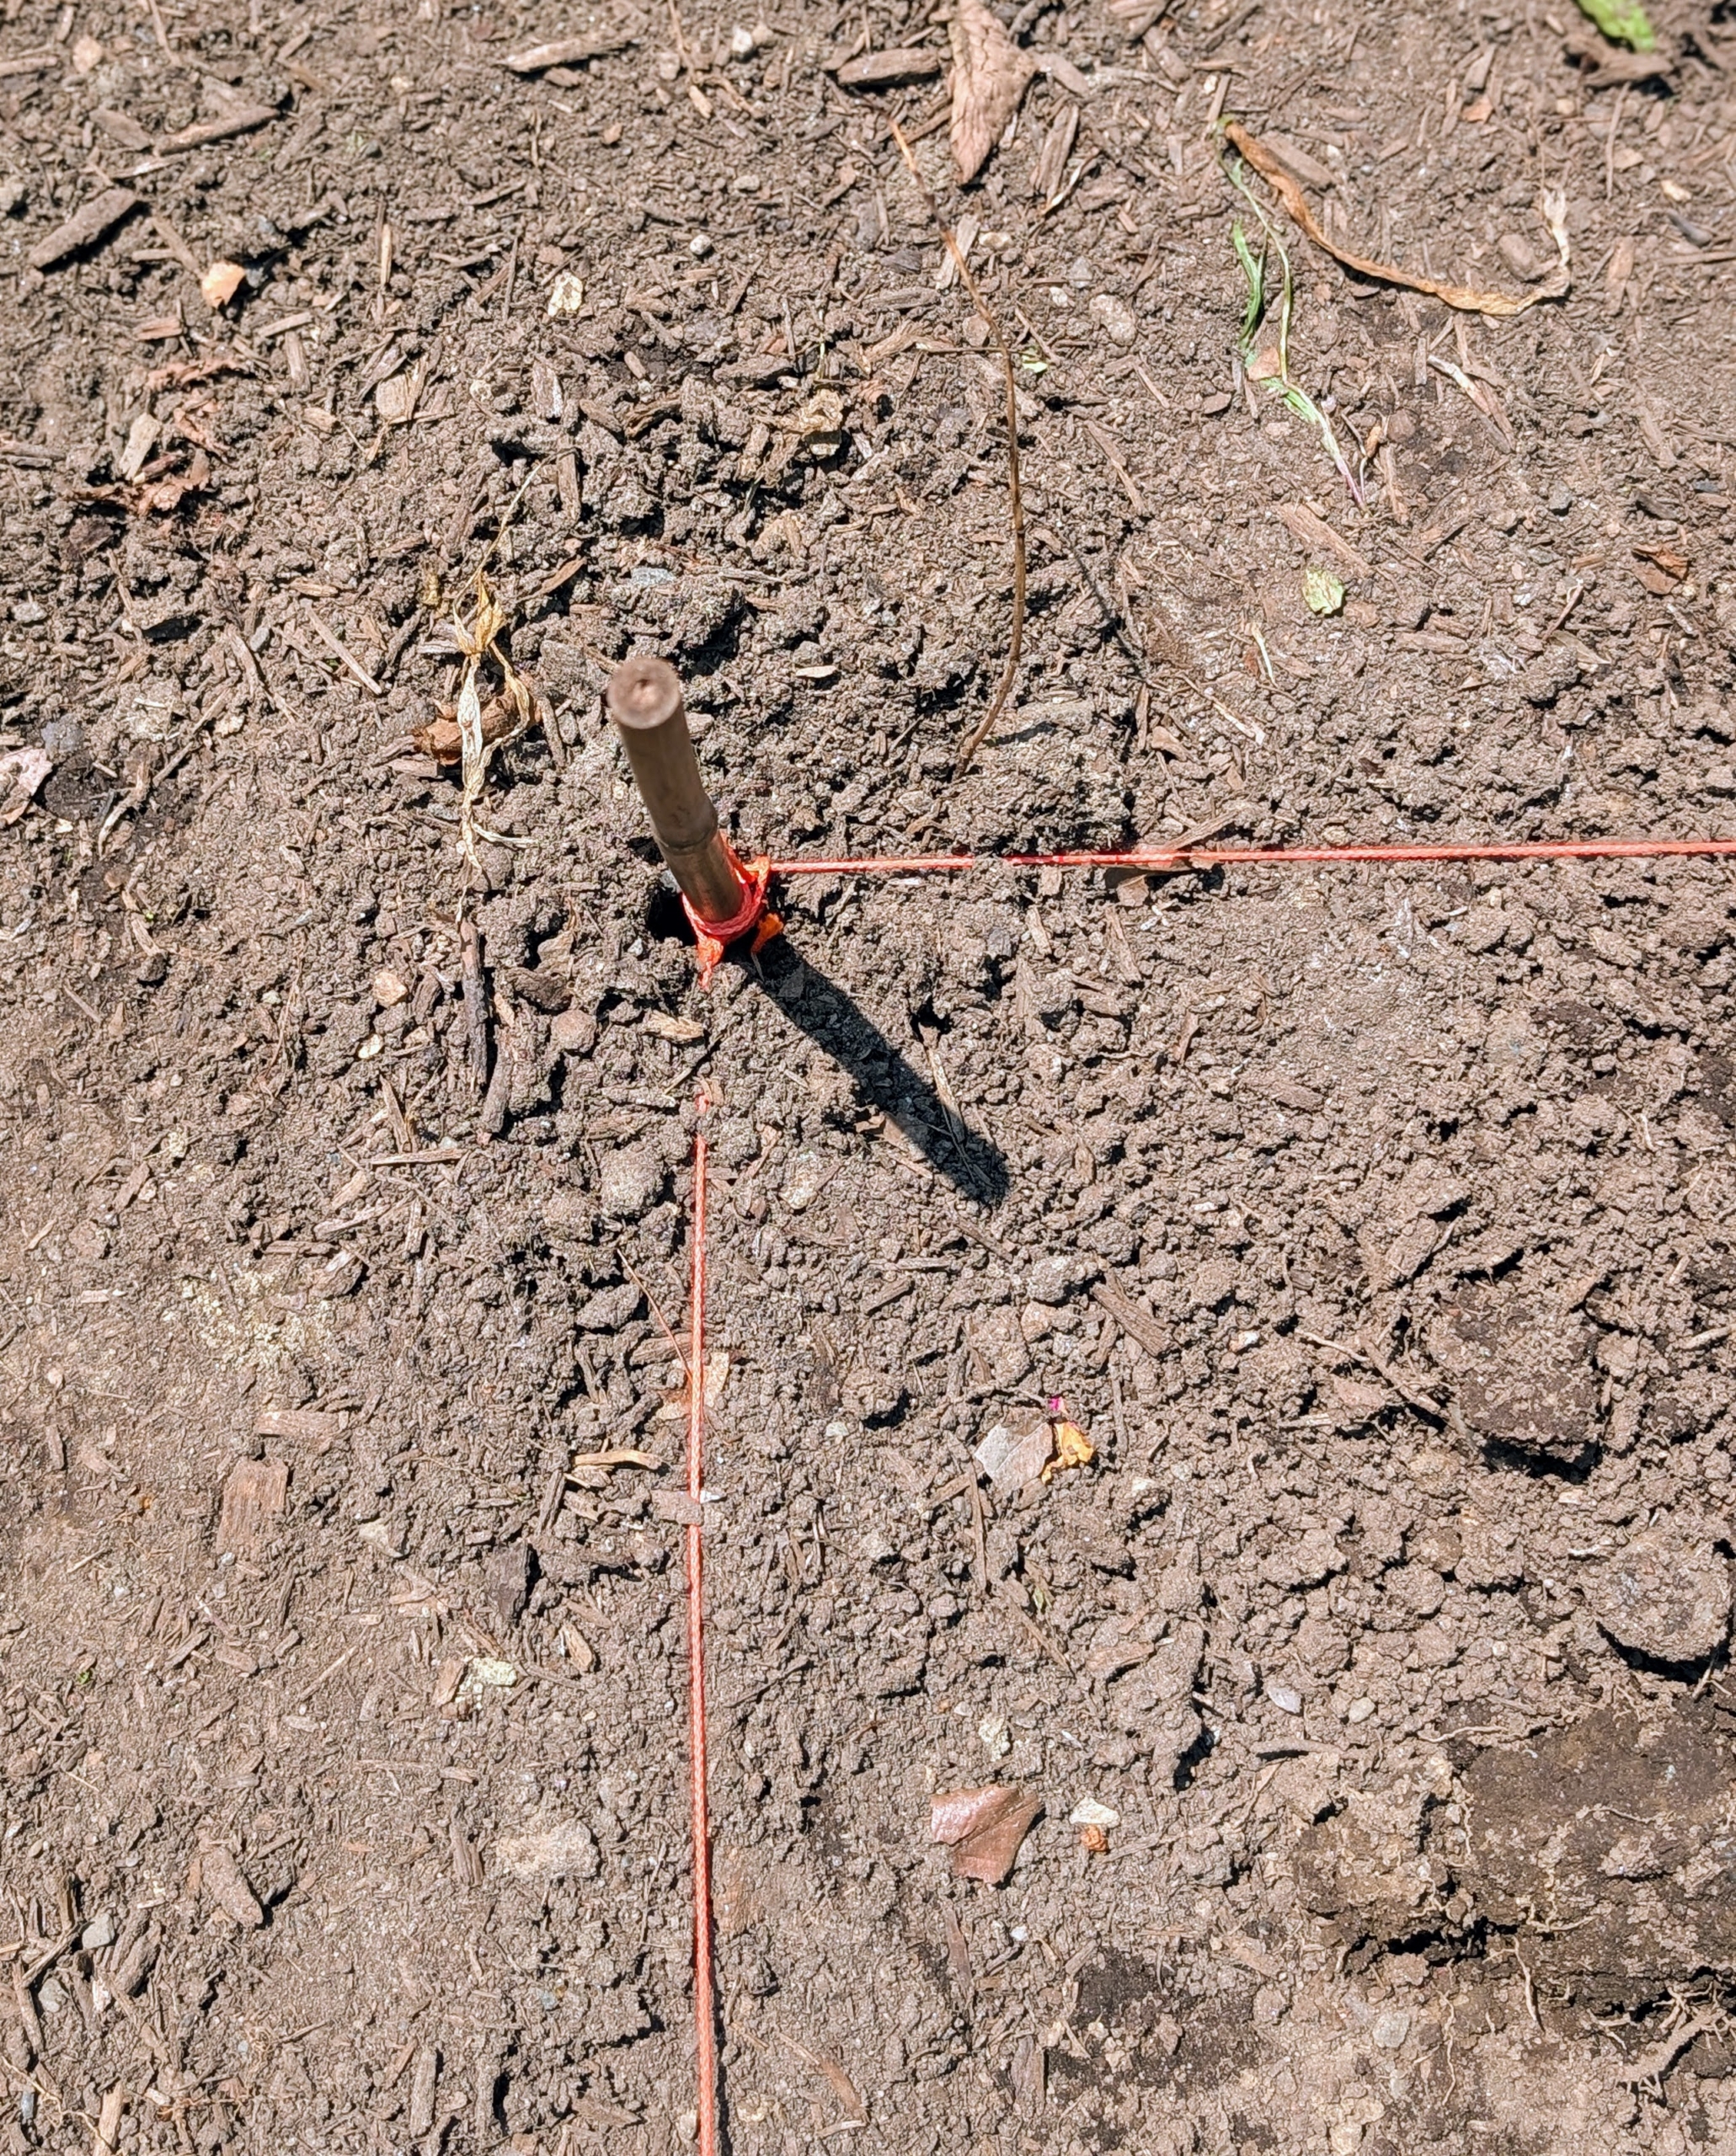
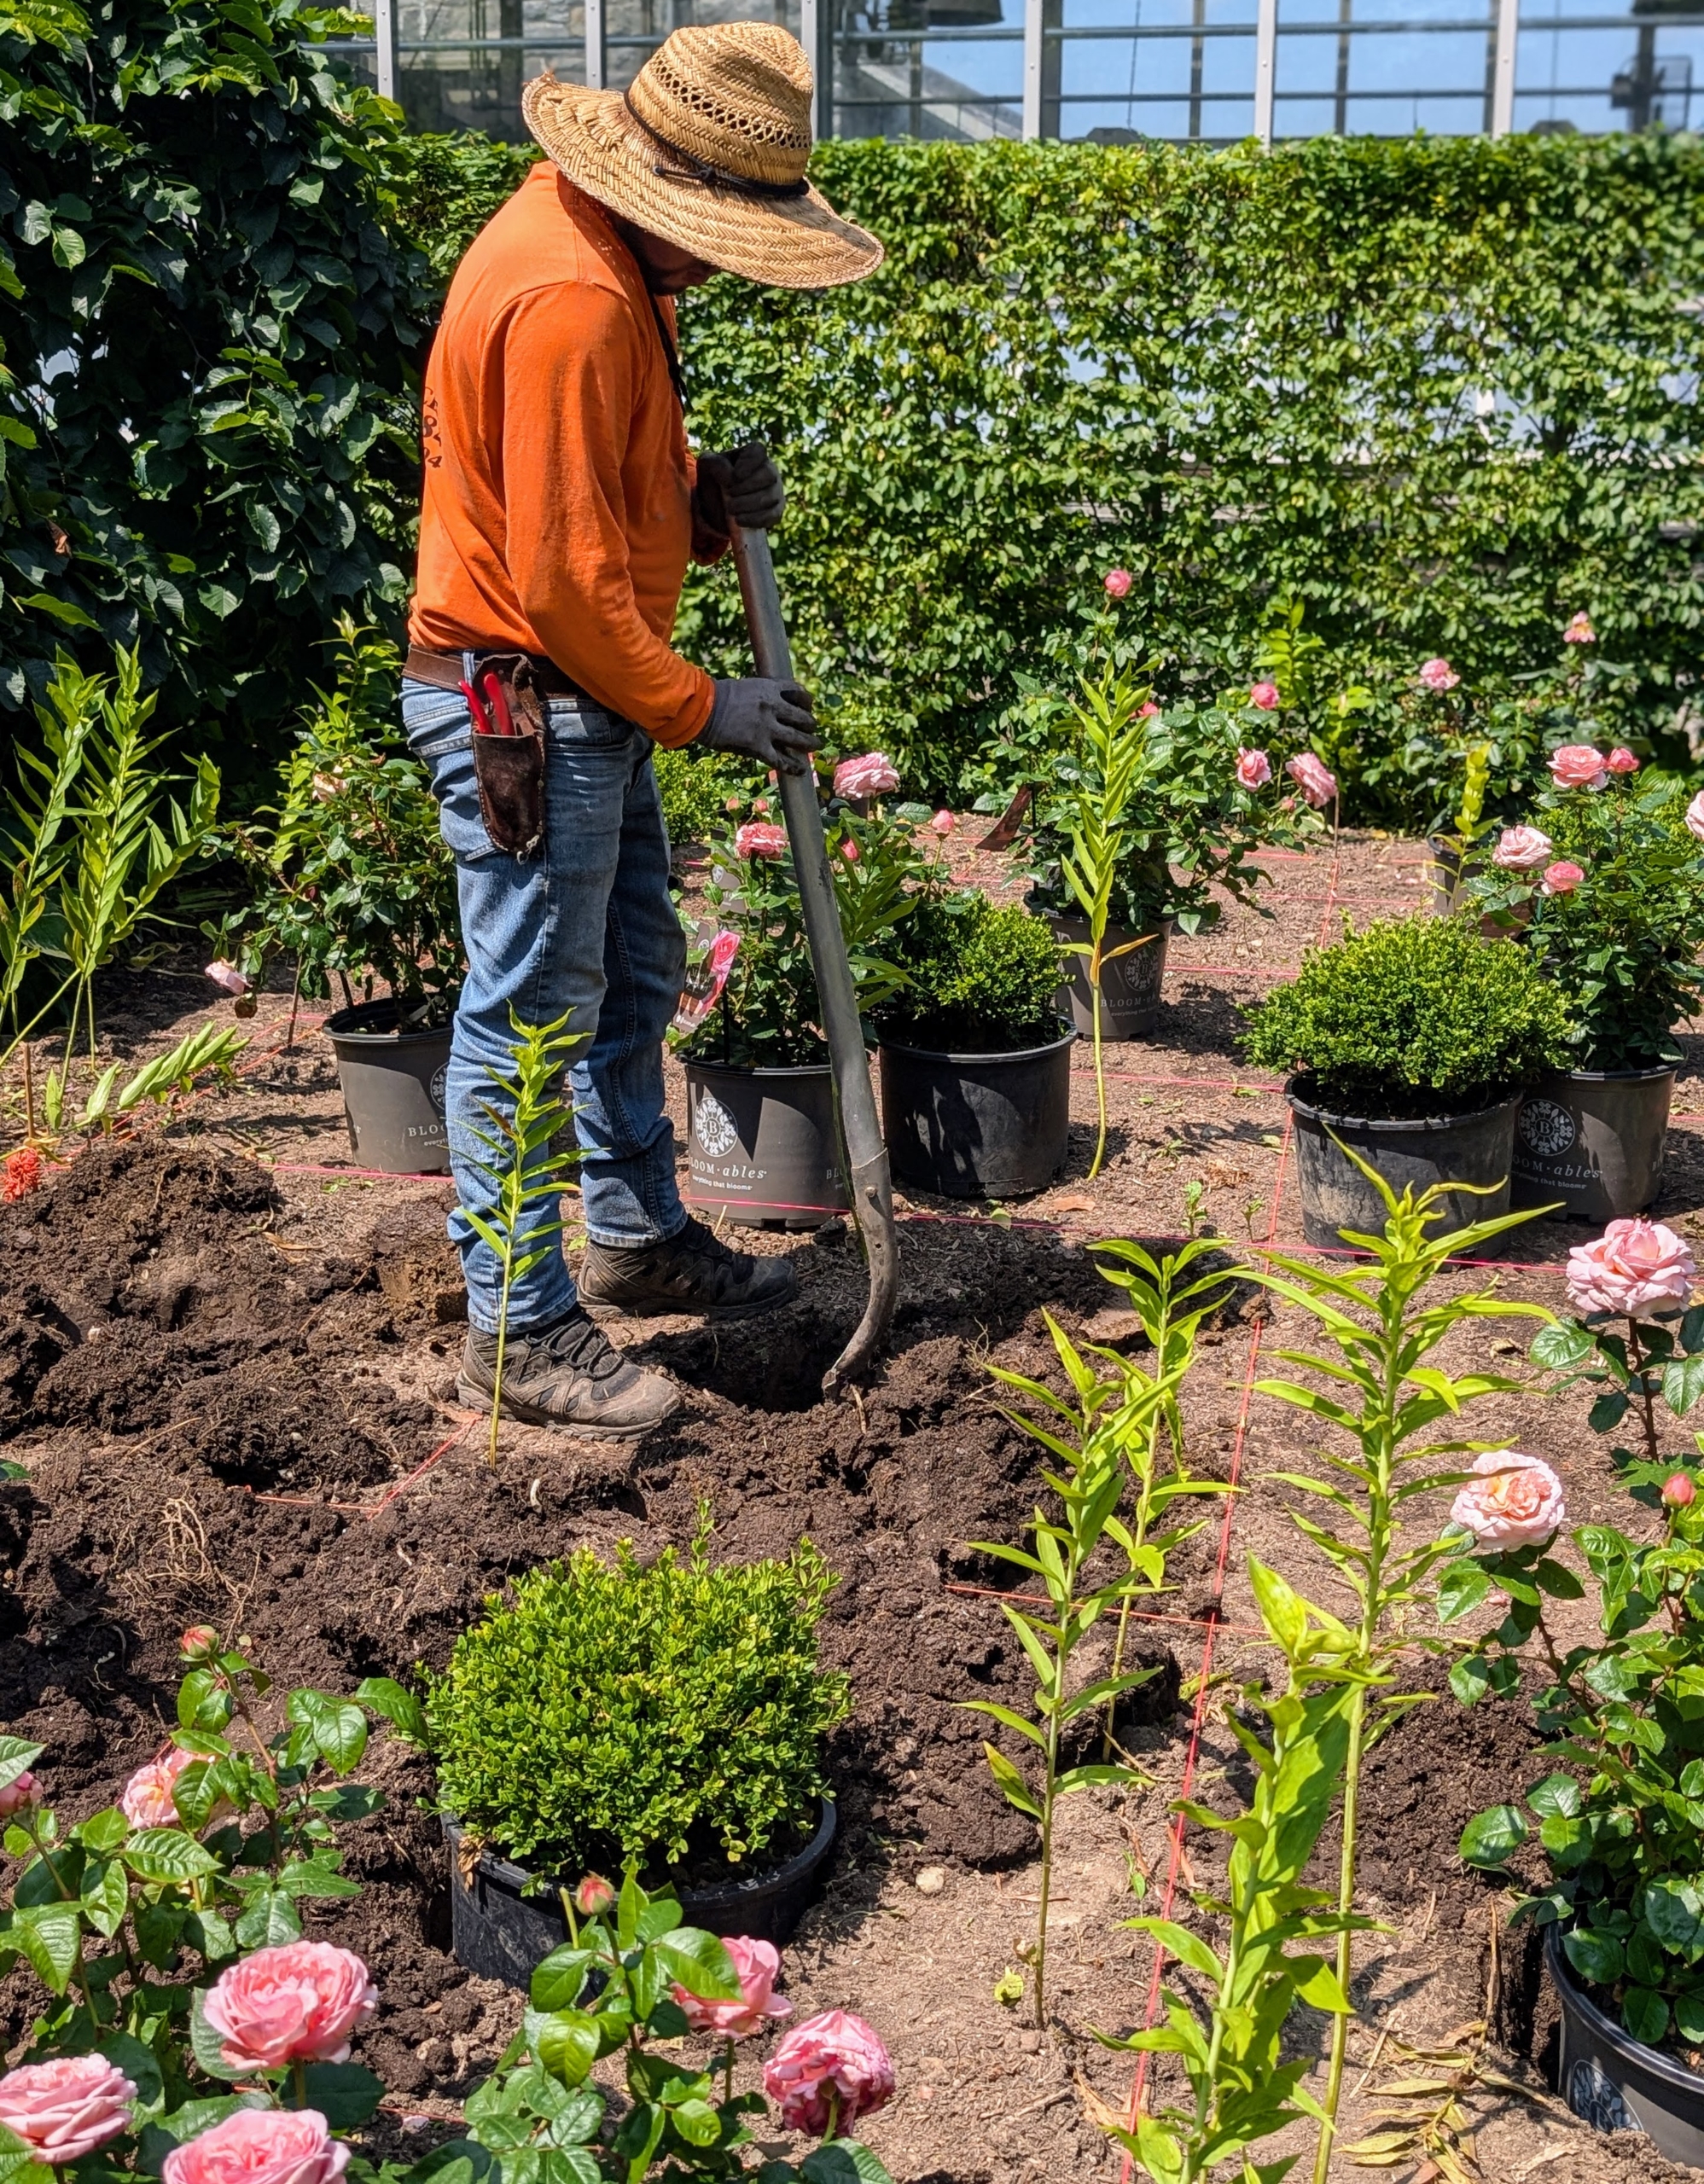
I always encourage my gardeners and outdoor grounds crew to measure everything. Here is Phurba marking the true center of each bed.
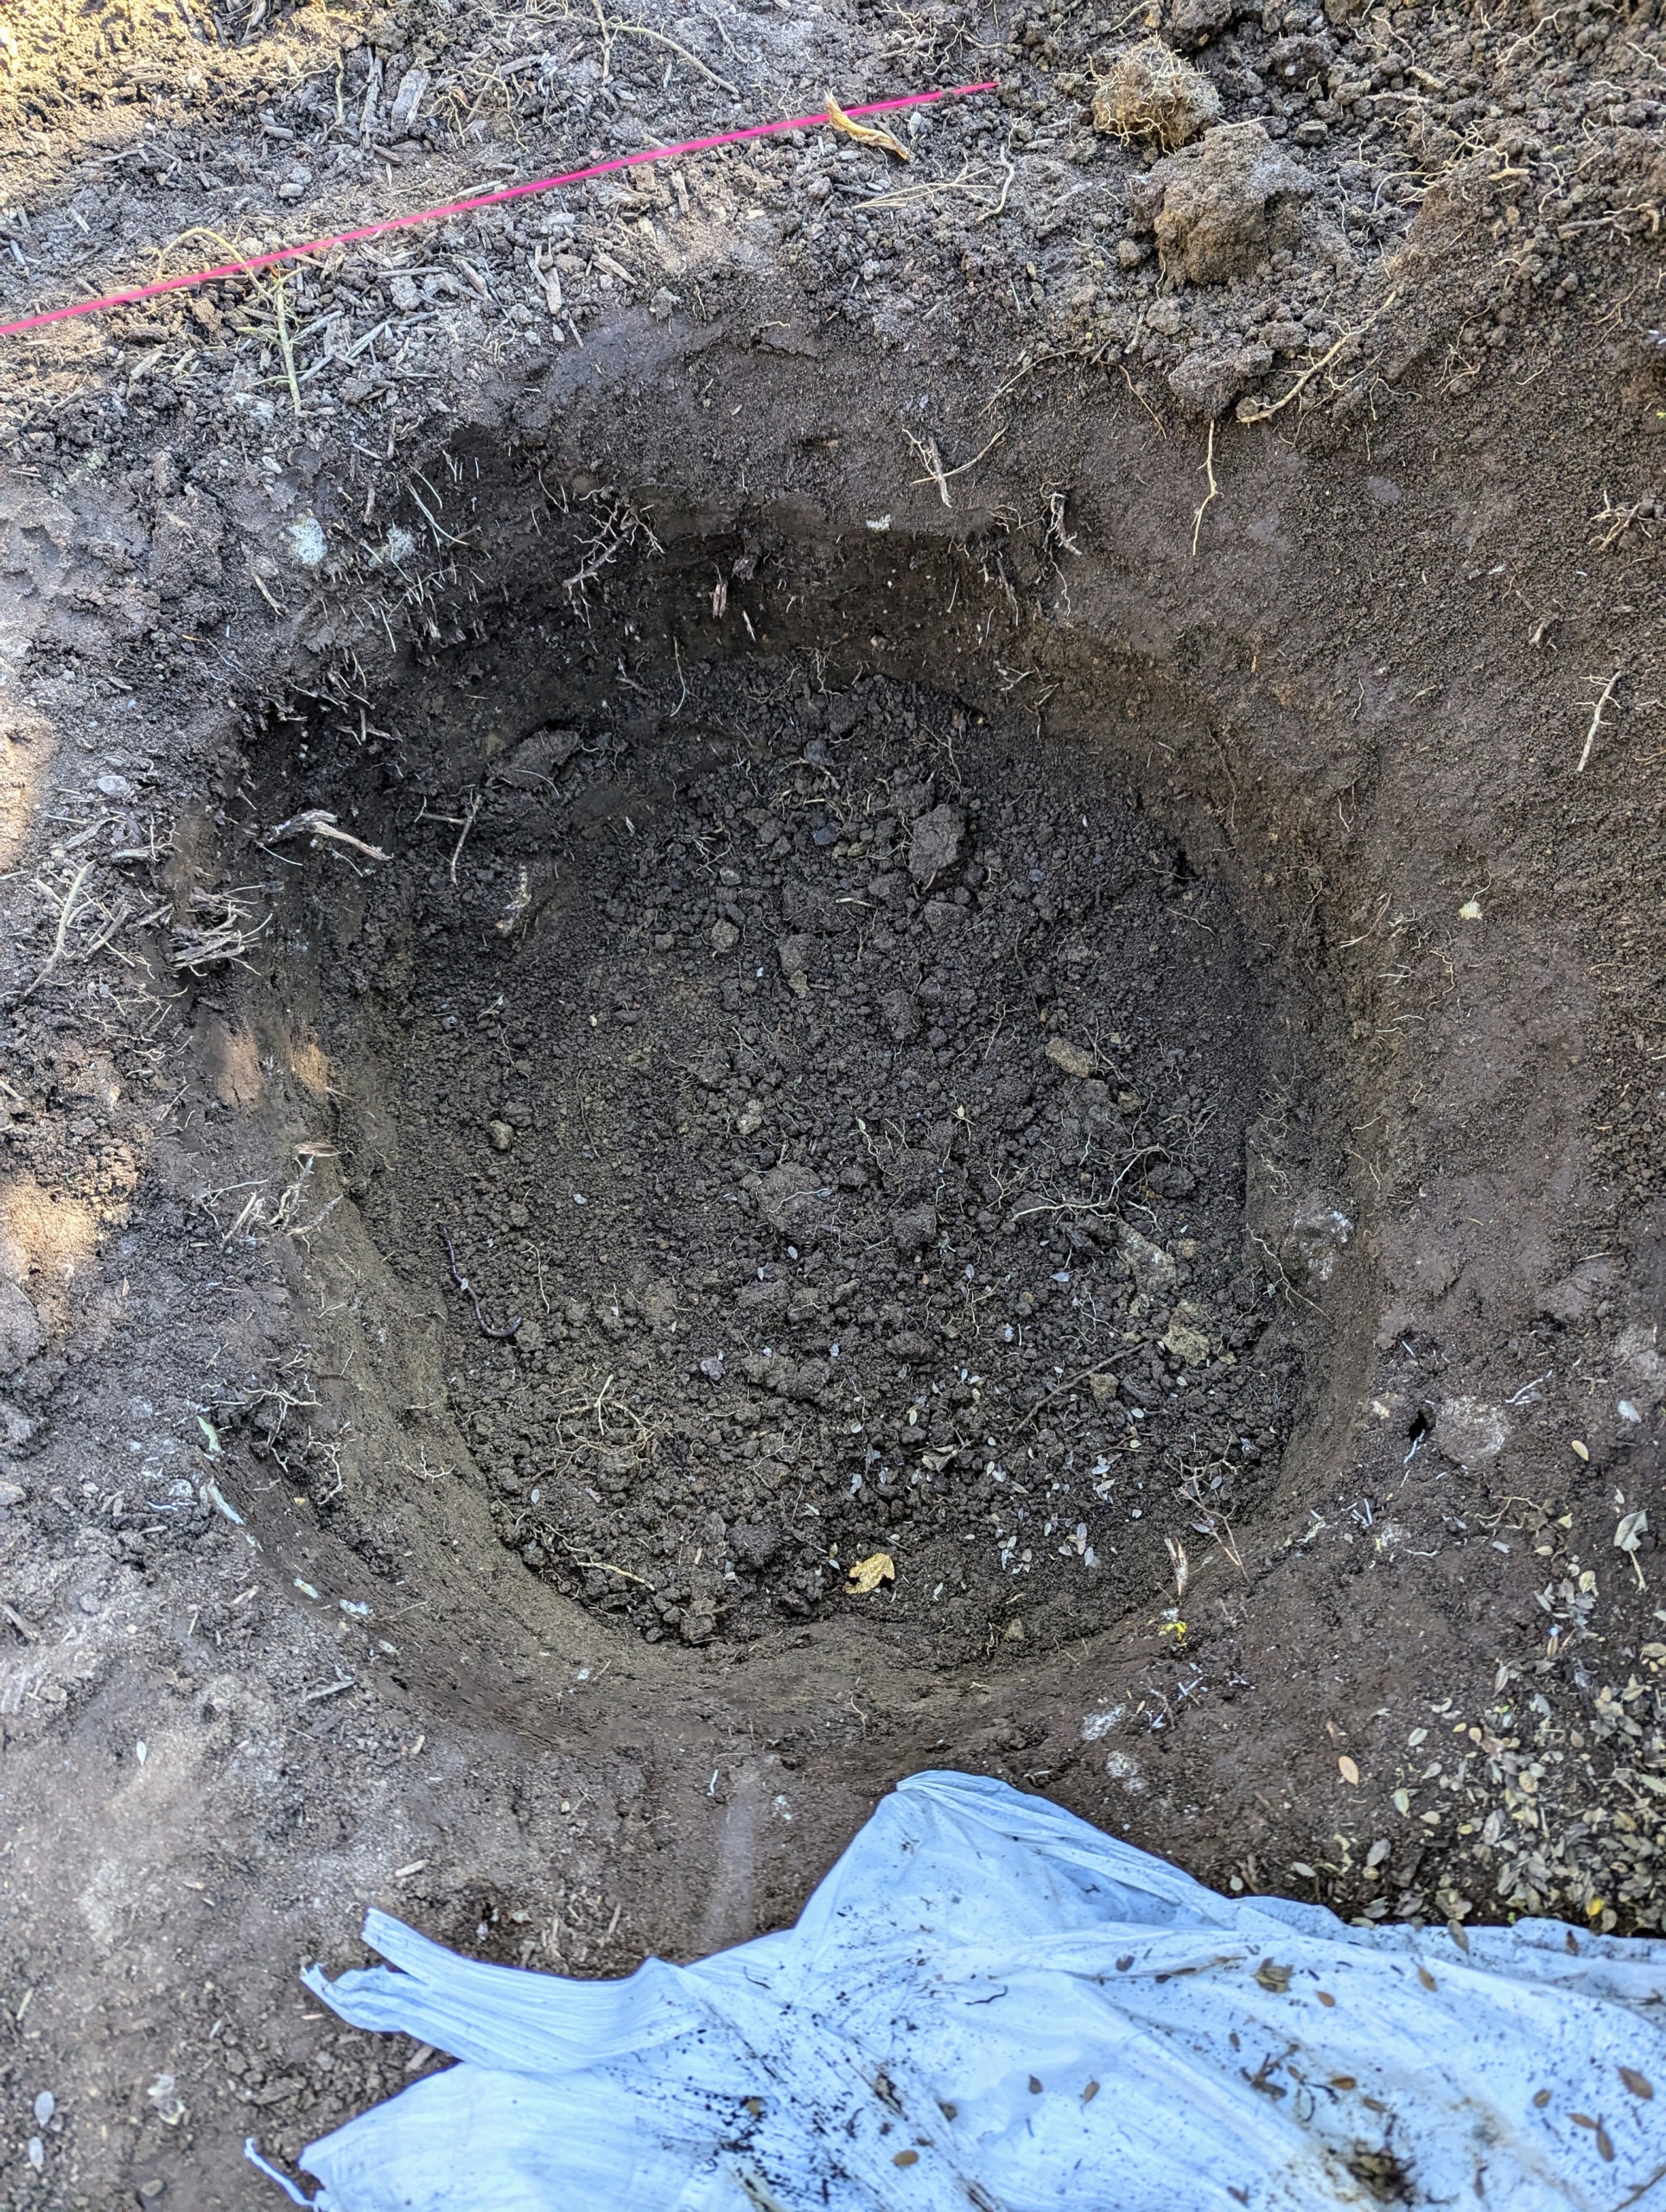
Next, holes are dug out for each of the four boxwood.
Each hole should be at least two to three times as wide and as deep as the height of the boxwood root ball.
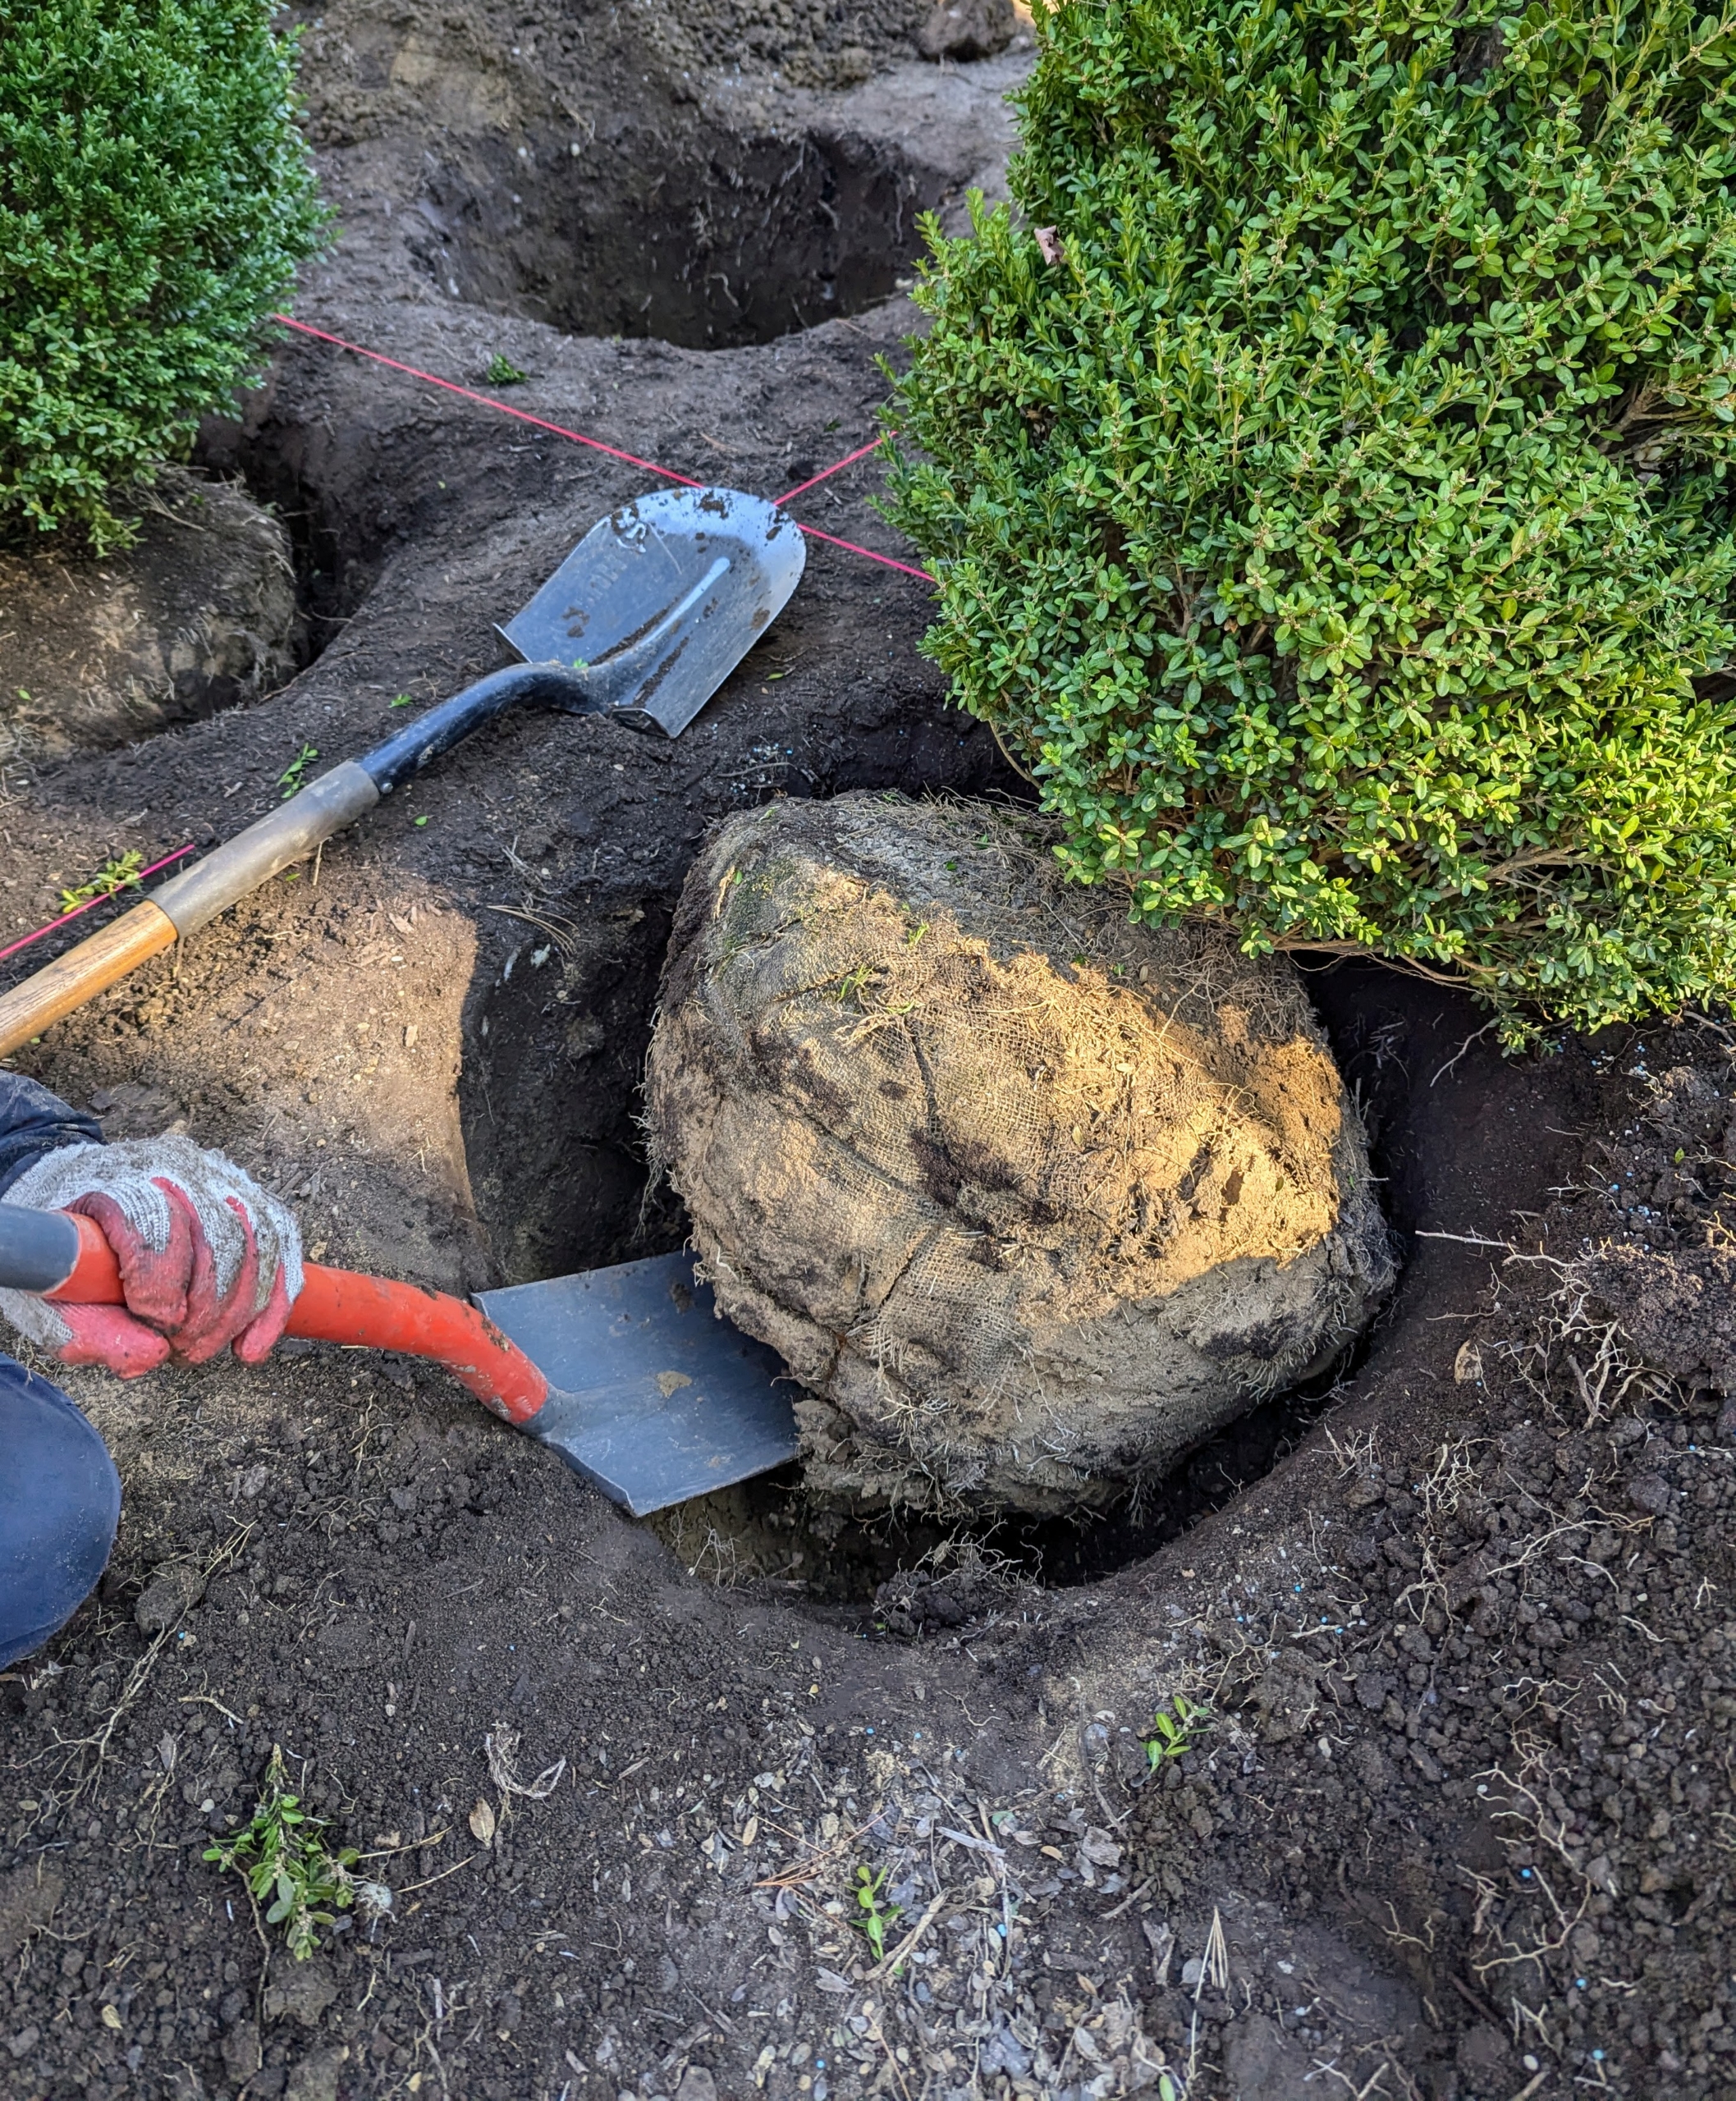
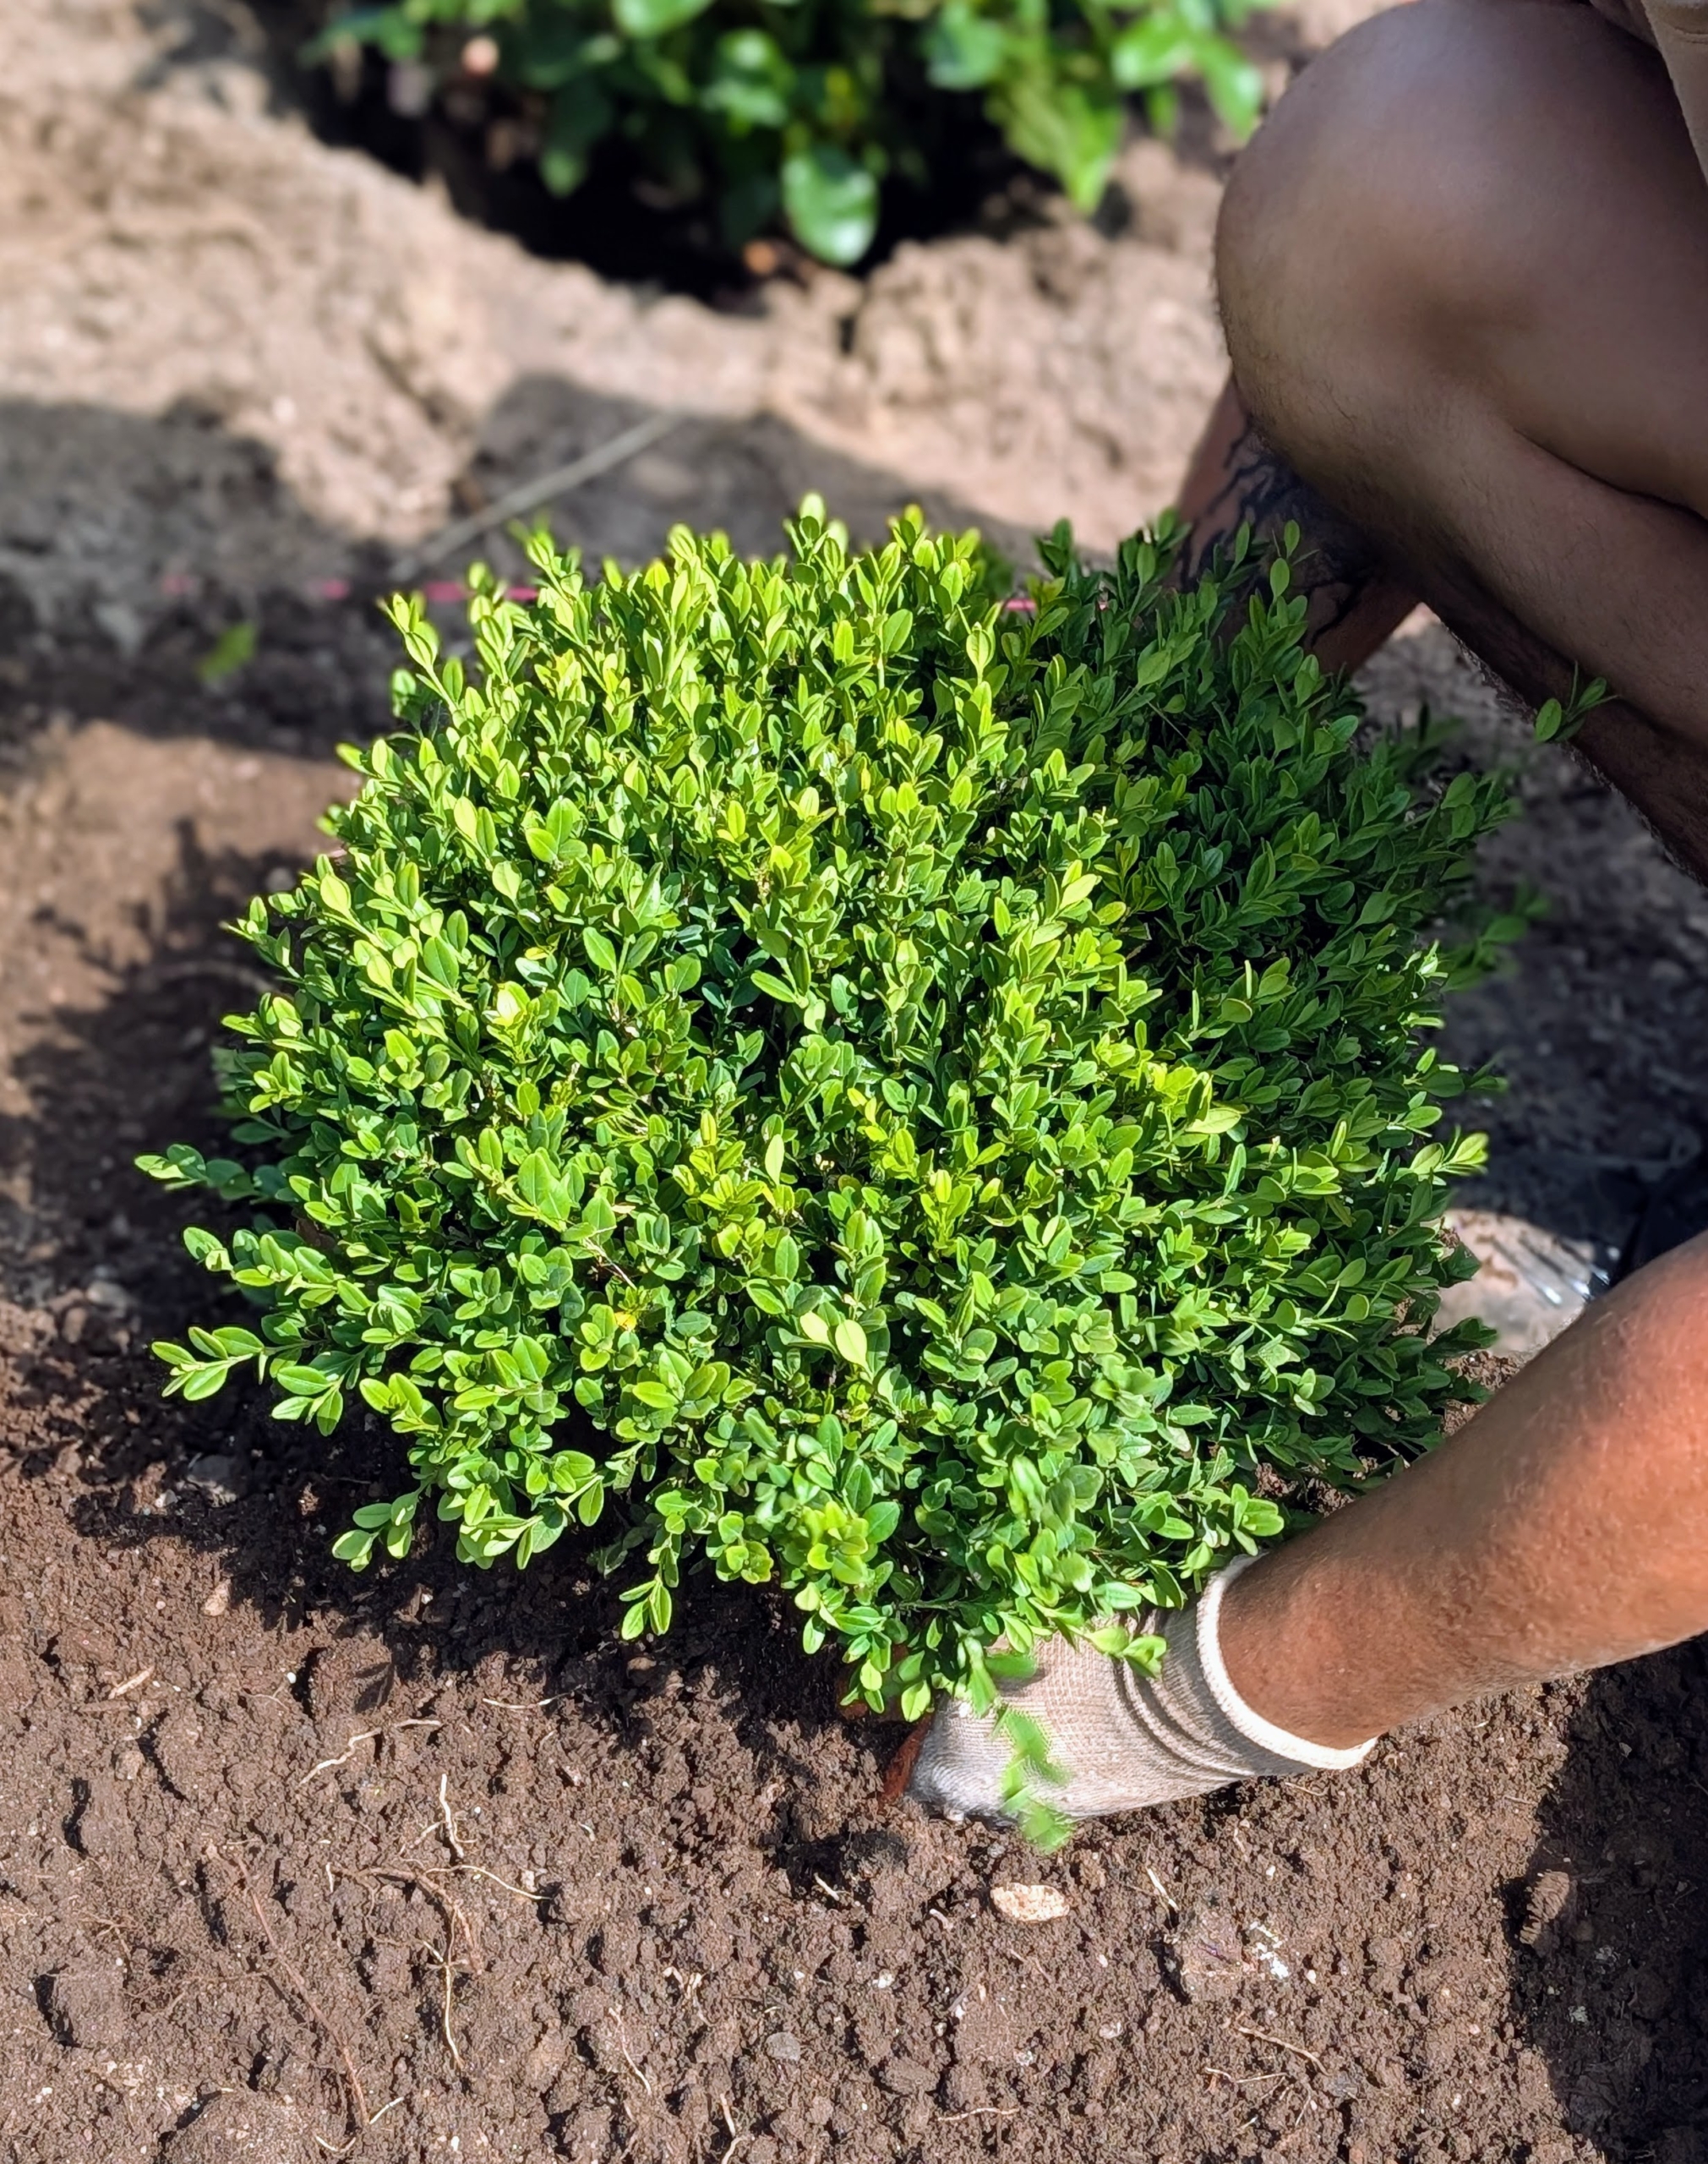
Then, each boxwood is carefully placed into the hole and backfilled. Notice, all the protective wrapping from the root ball is removed and discarded. I like to take everything off whenever i plant, so there is nothing obstructing the roots. The soil is also properly fed with Miracle-Gro.
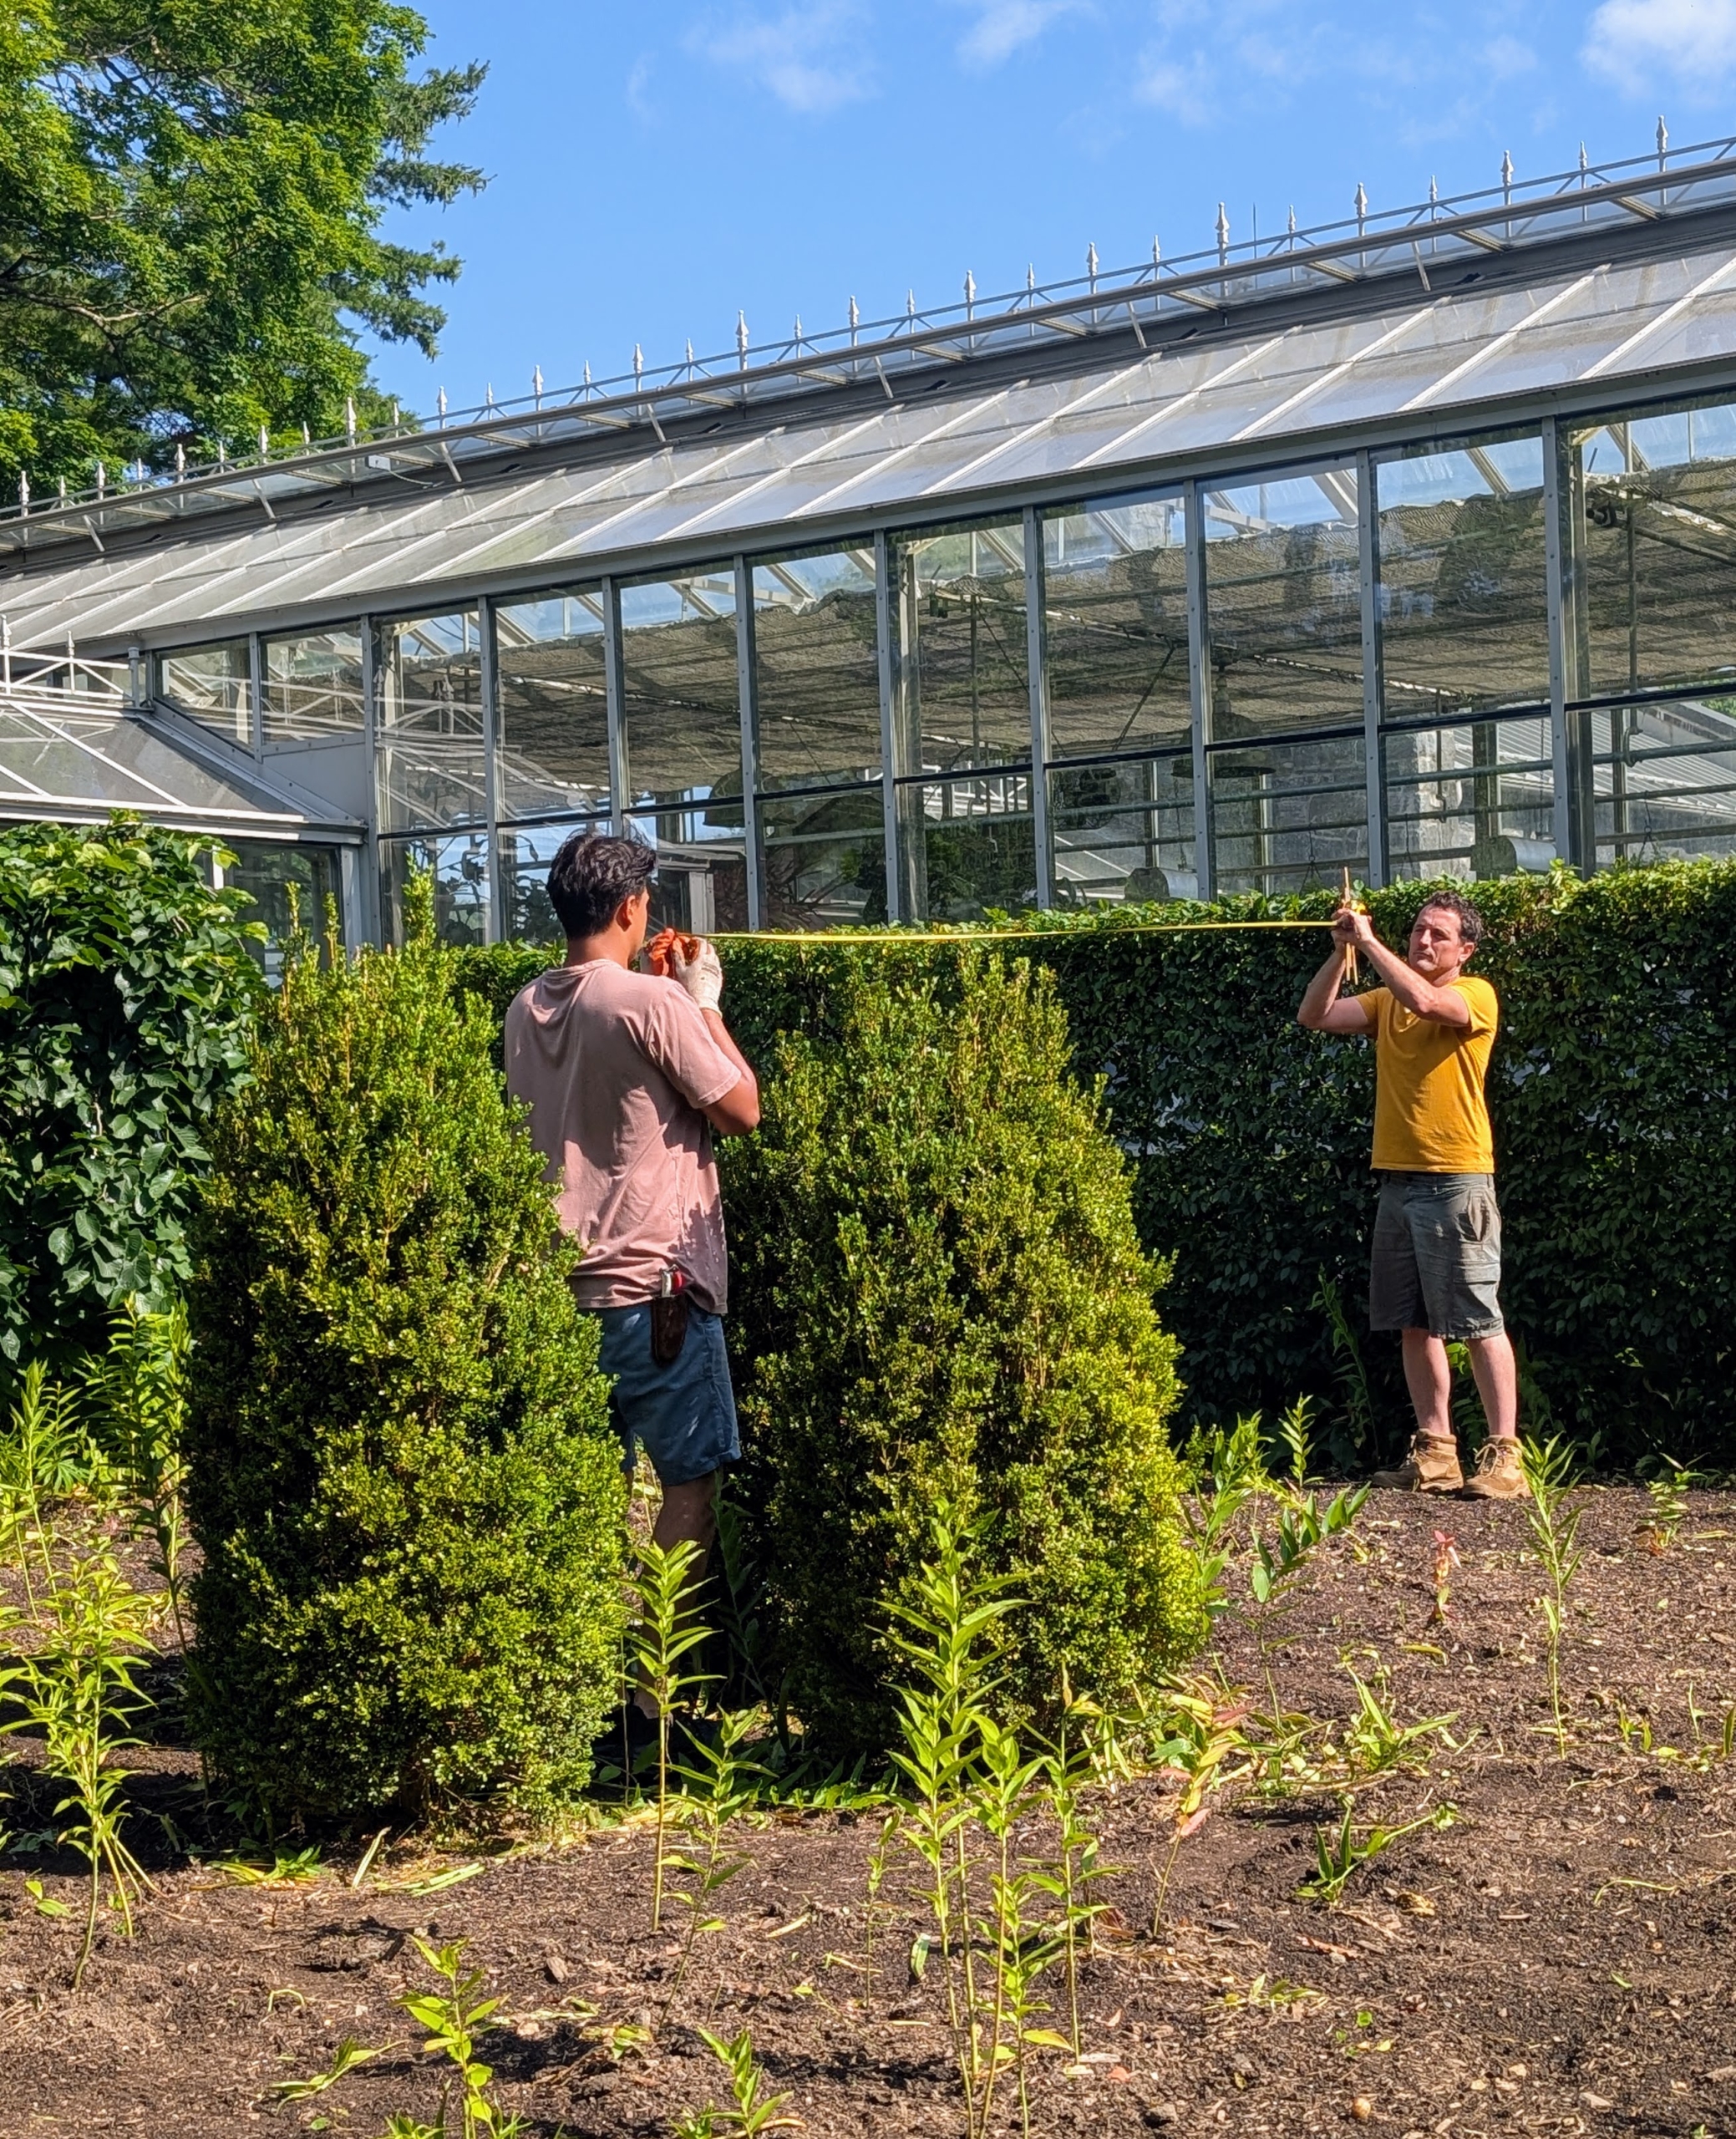
Not long ago, I instructed my head gardener, Ryan McCallister, to measure a new grid pattern for my new rose bed design. Ryan and Matthew measure from the center of the boxwood.
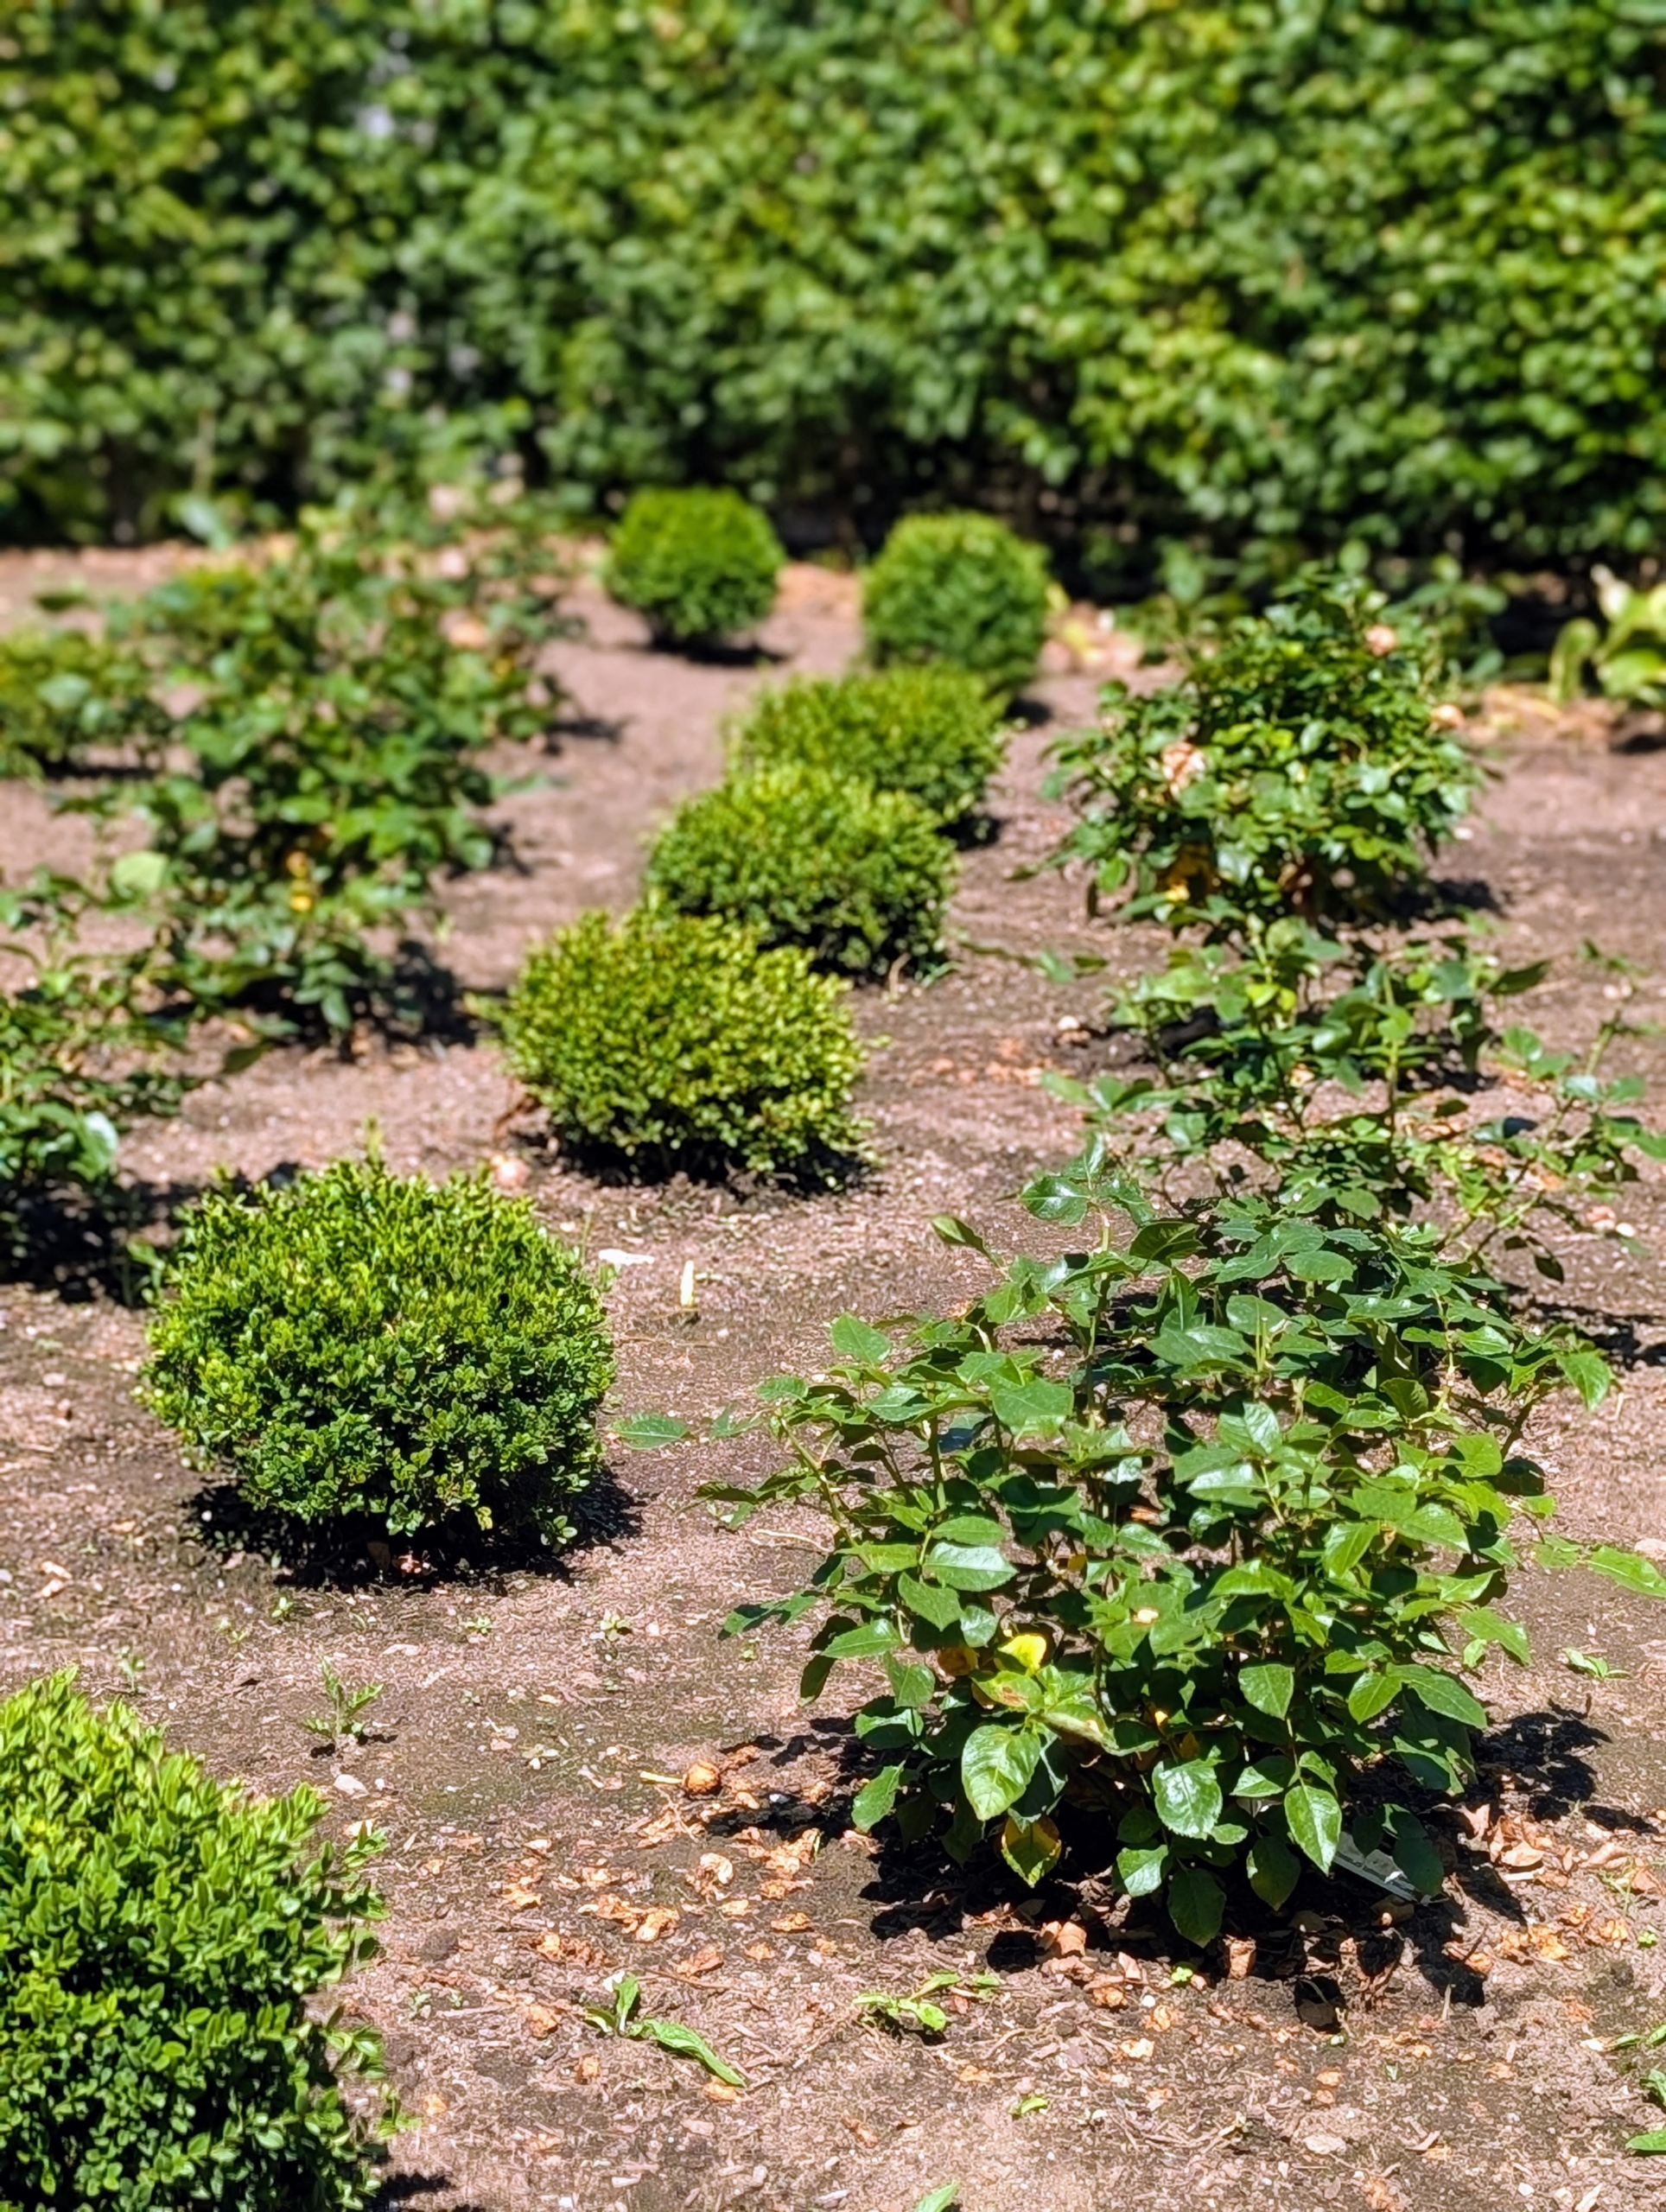
I wanted to alternate the roses and small boxwood shrubs, one in each square of the grid. The boxwood were nurtured here from bare-root cuttings.
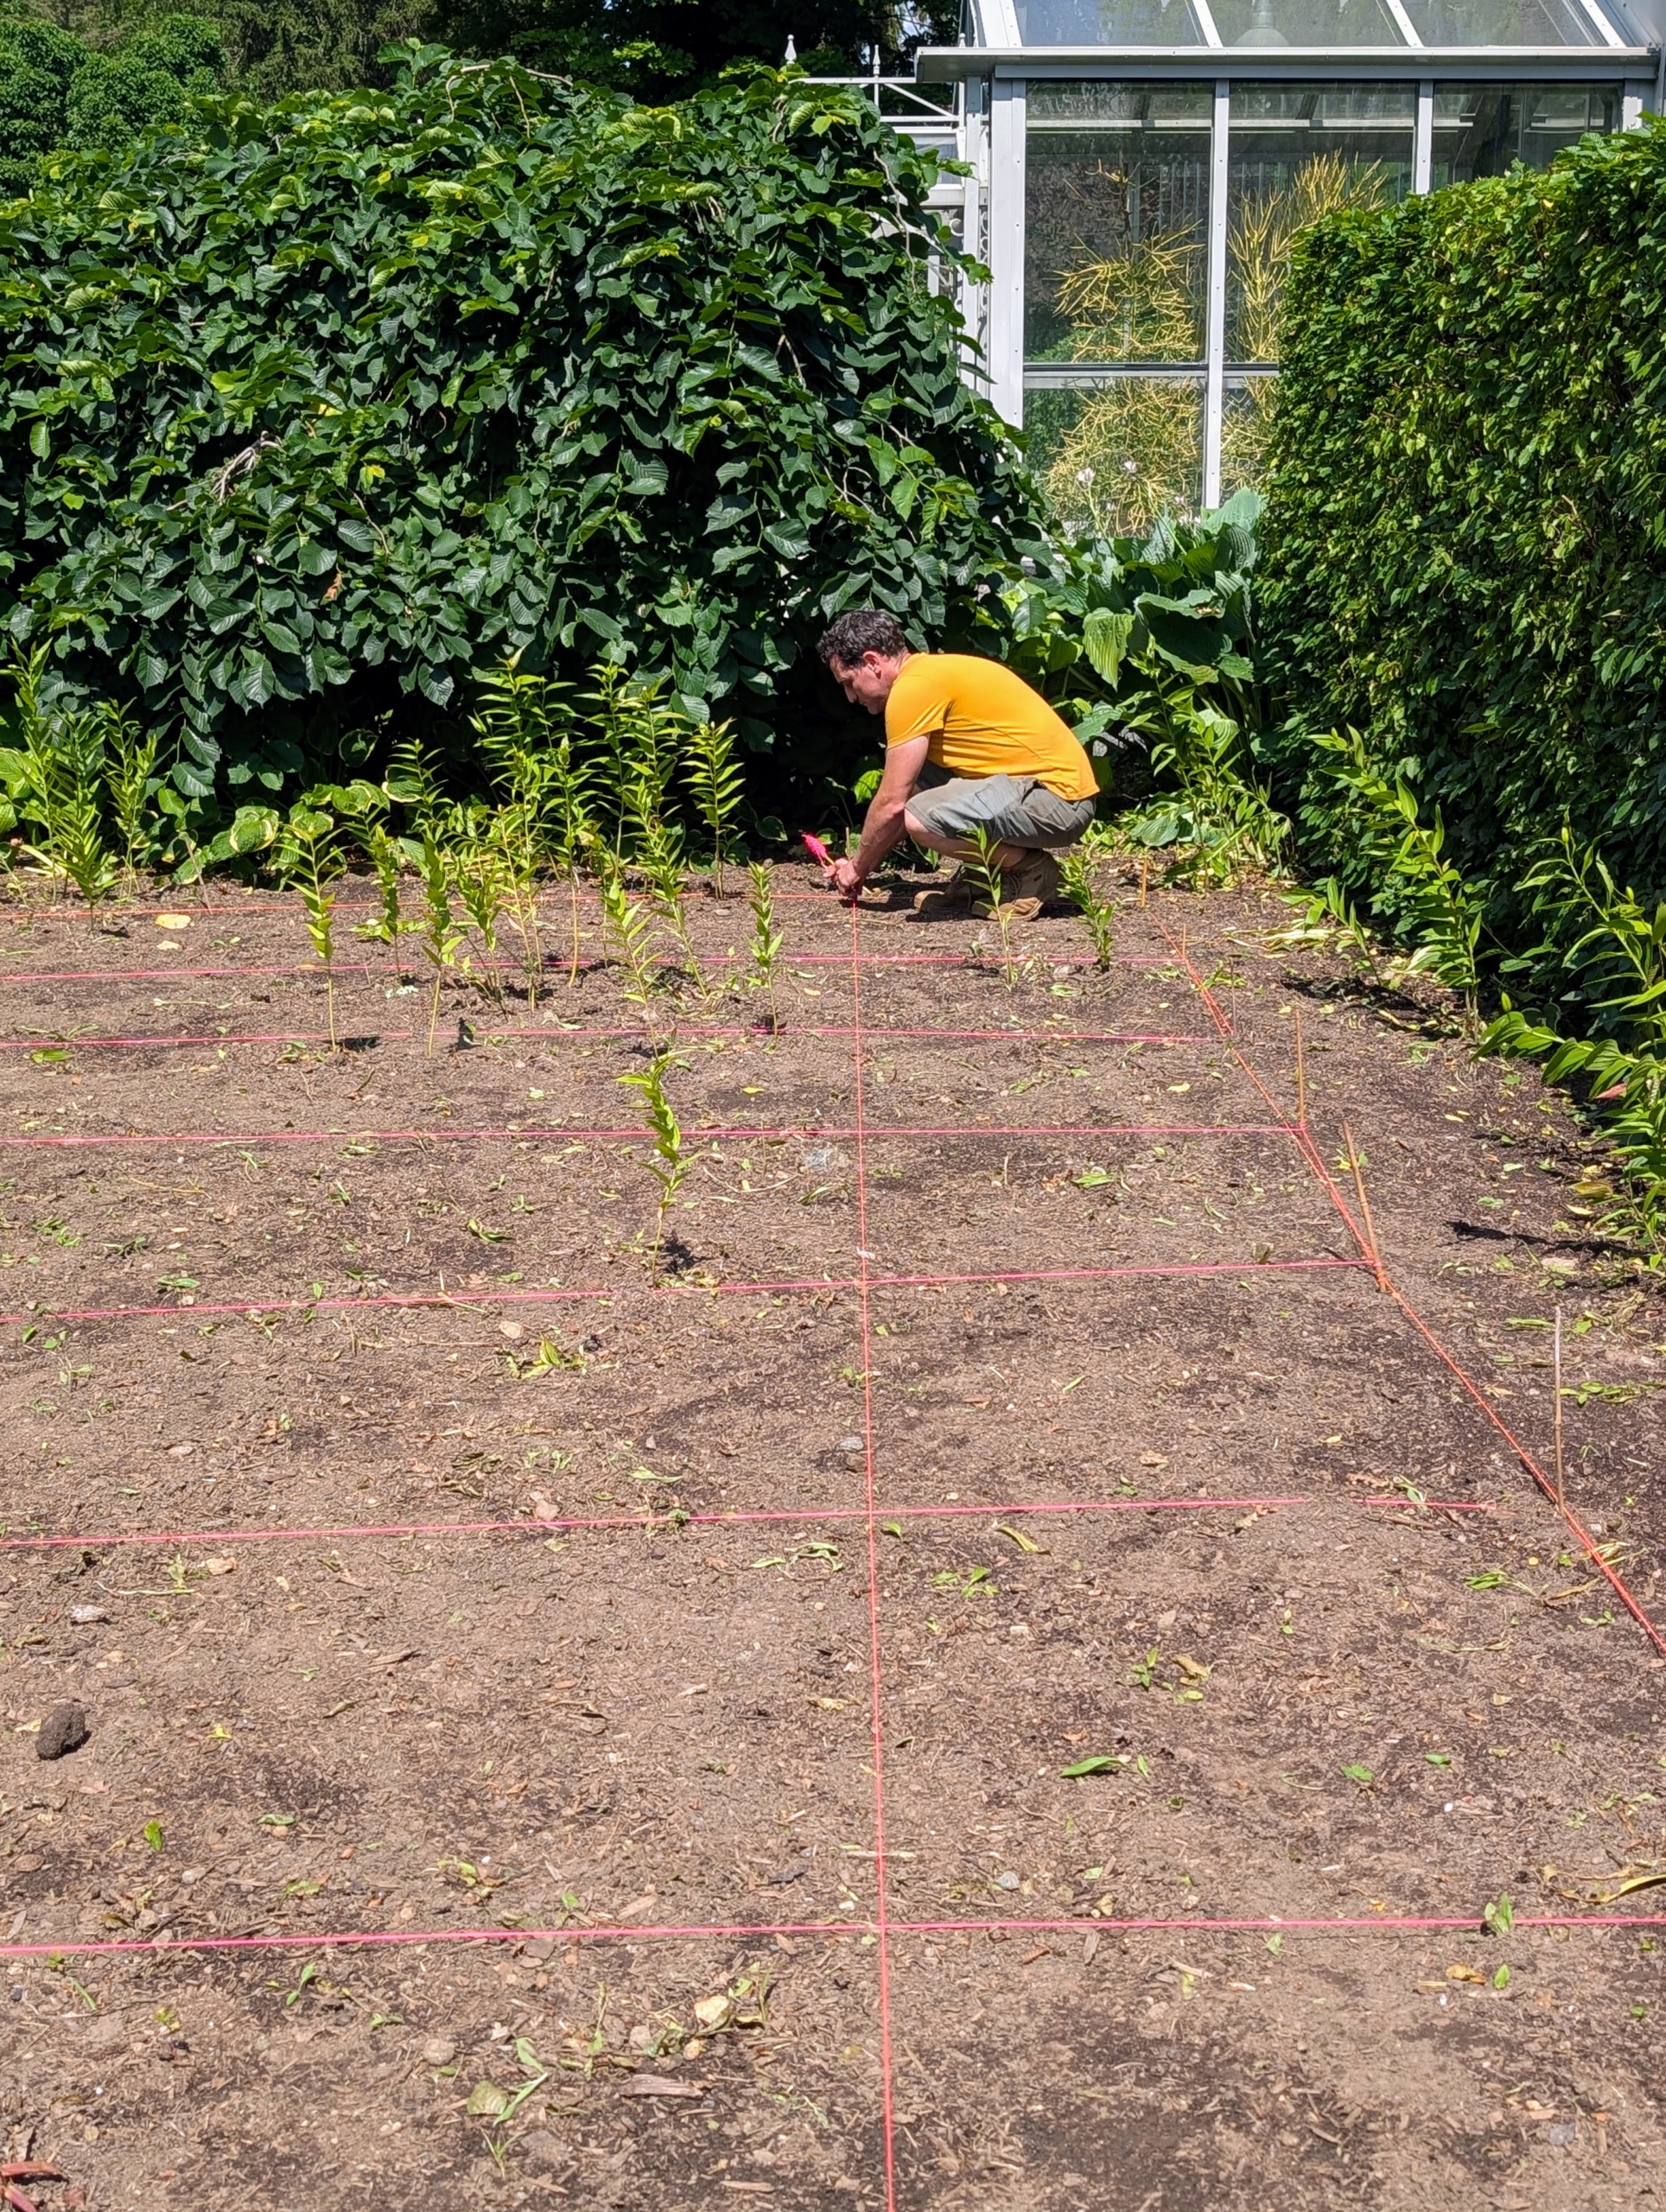
Bright colored landscape twine is used to mark the pattern.
Ryan meticulously measures each square to be three feet by three feet.
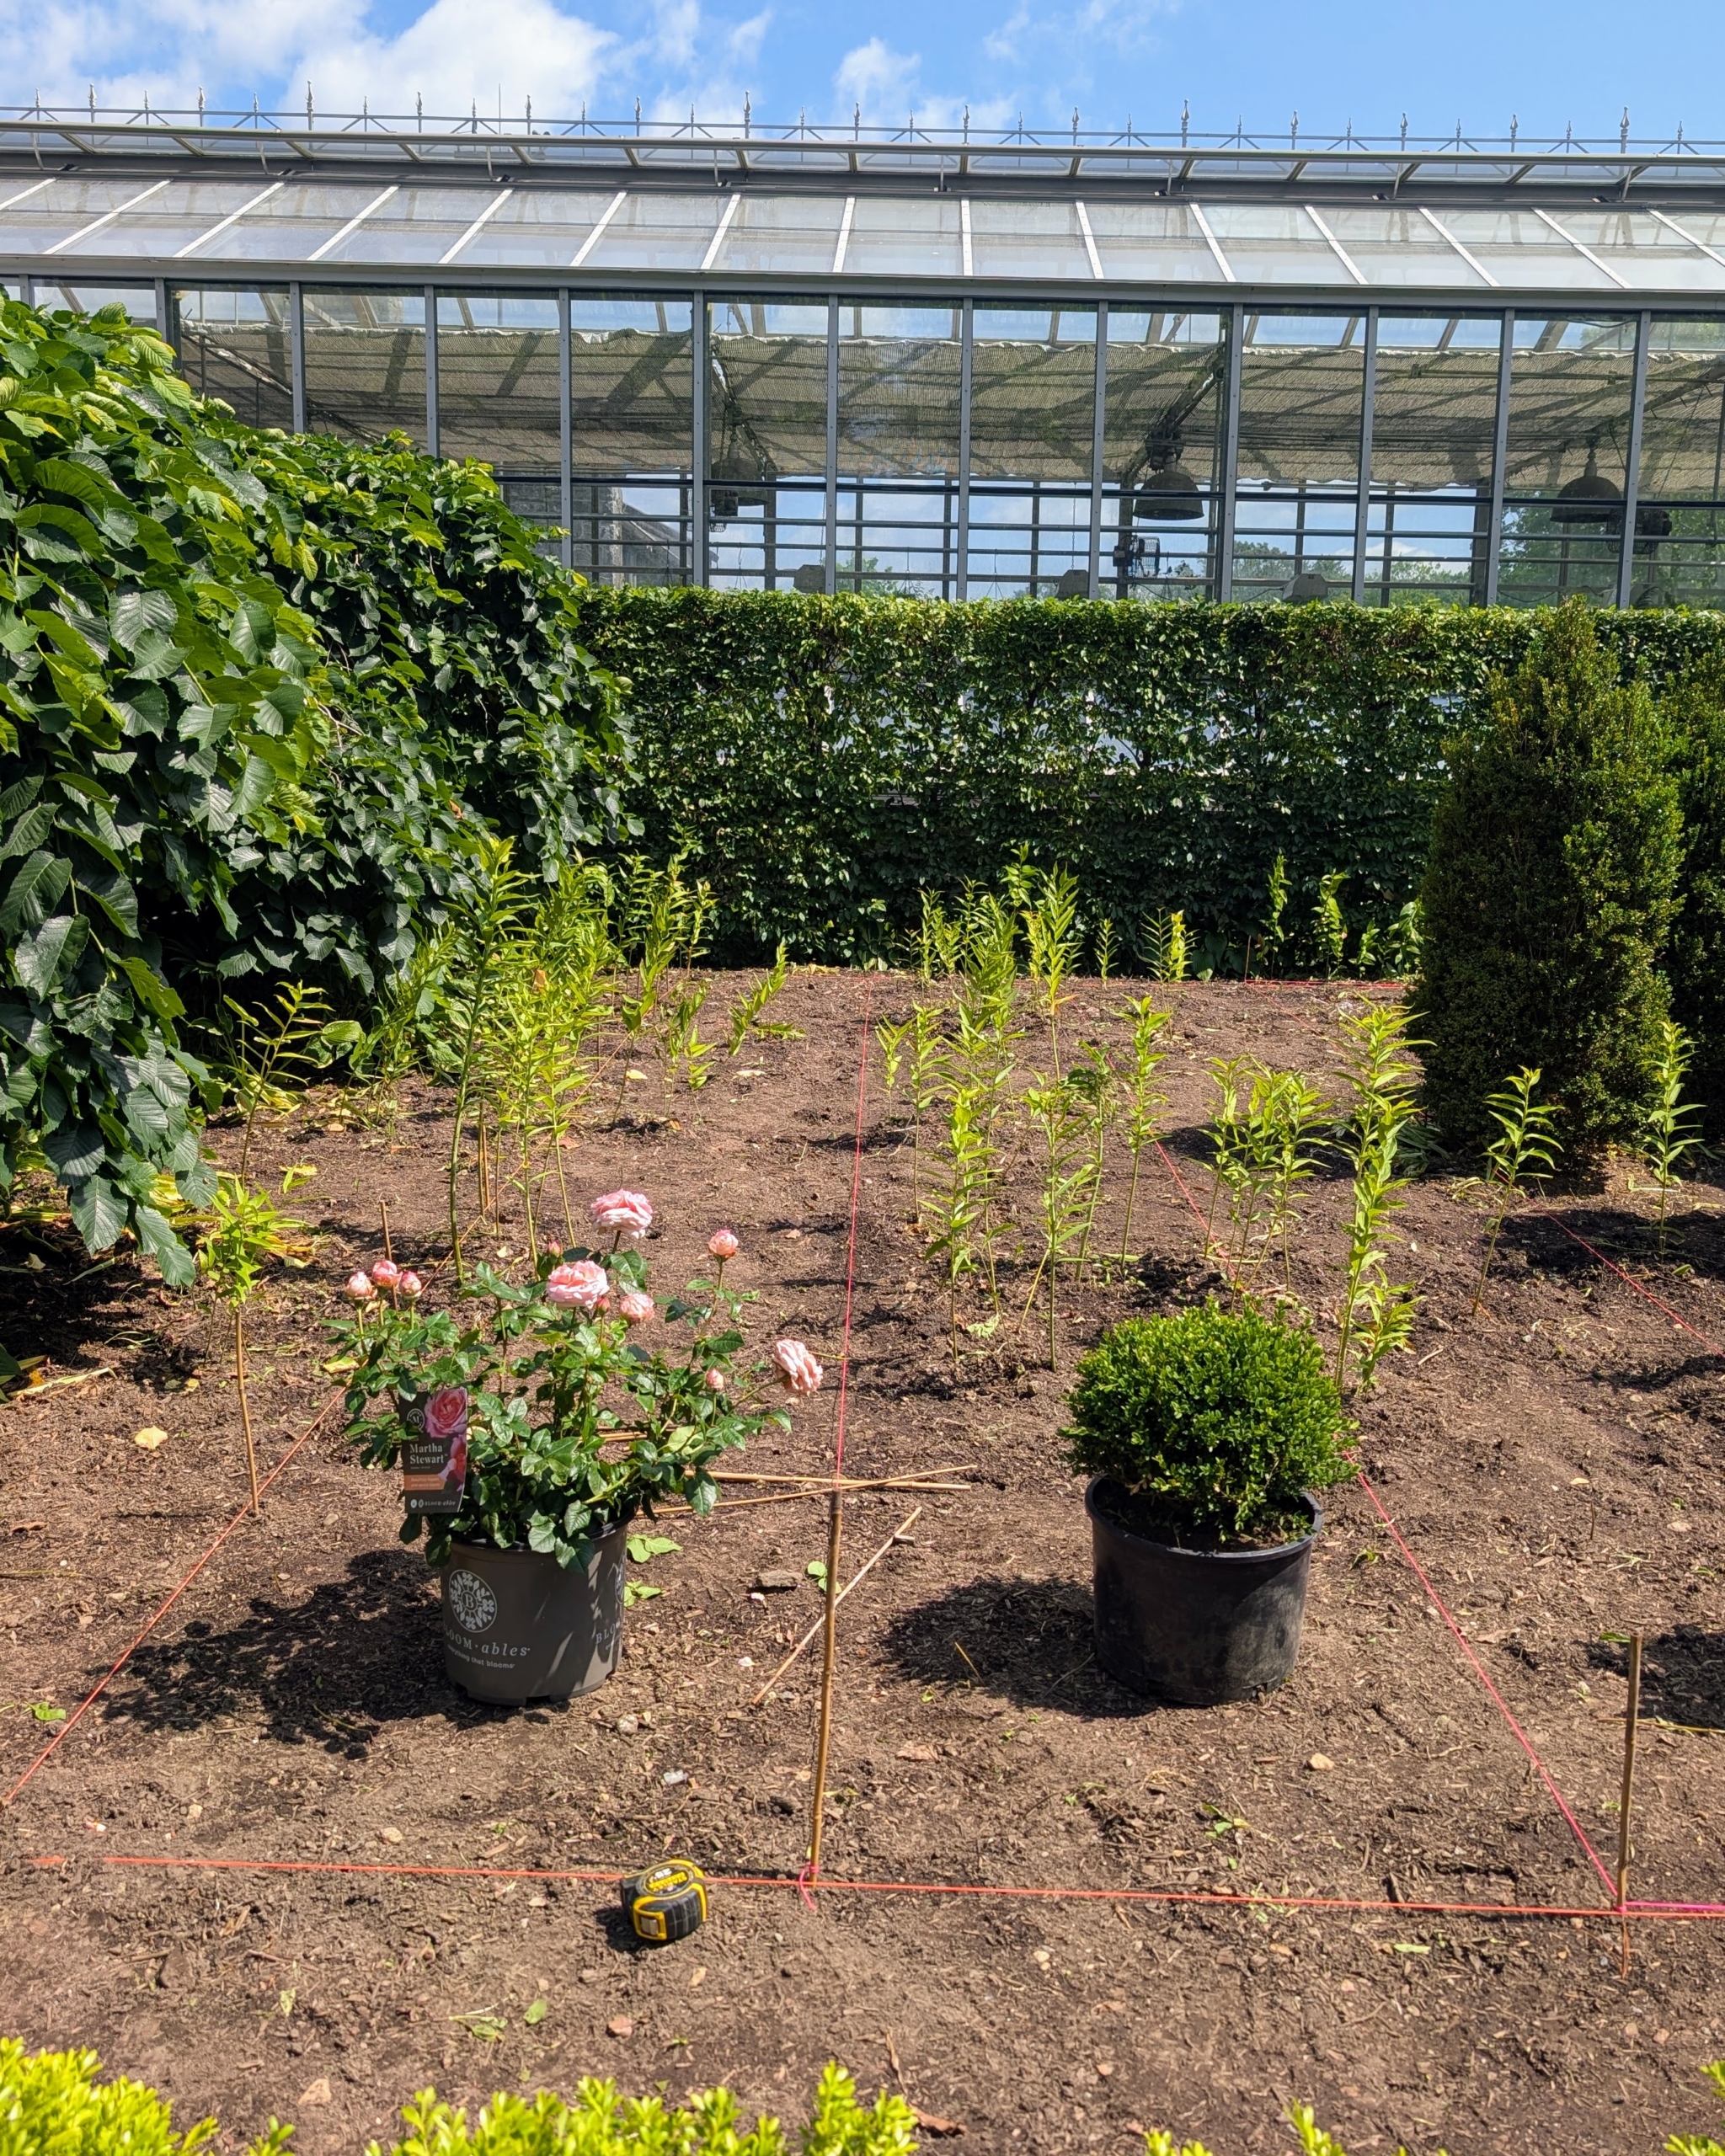
The rose plants are selected, counted, and brought to the planting site. I think they will all look so wonderful growing in these beds.
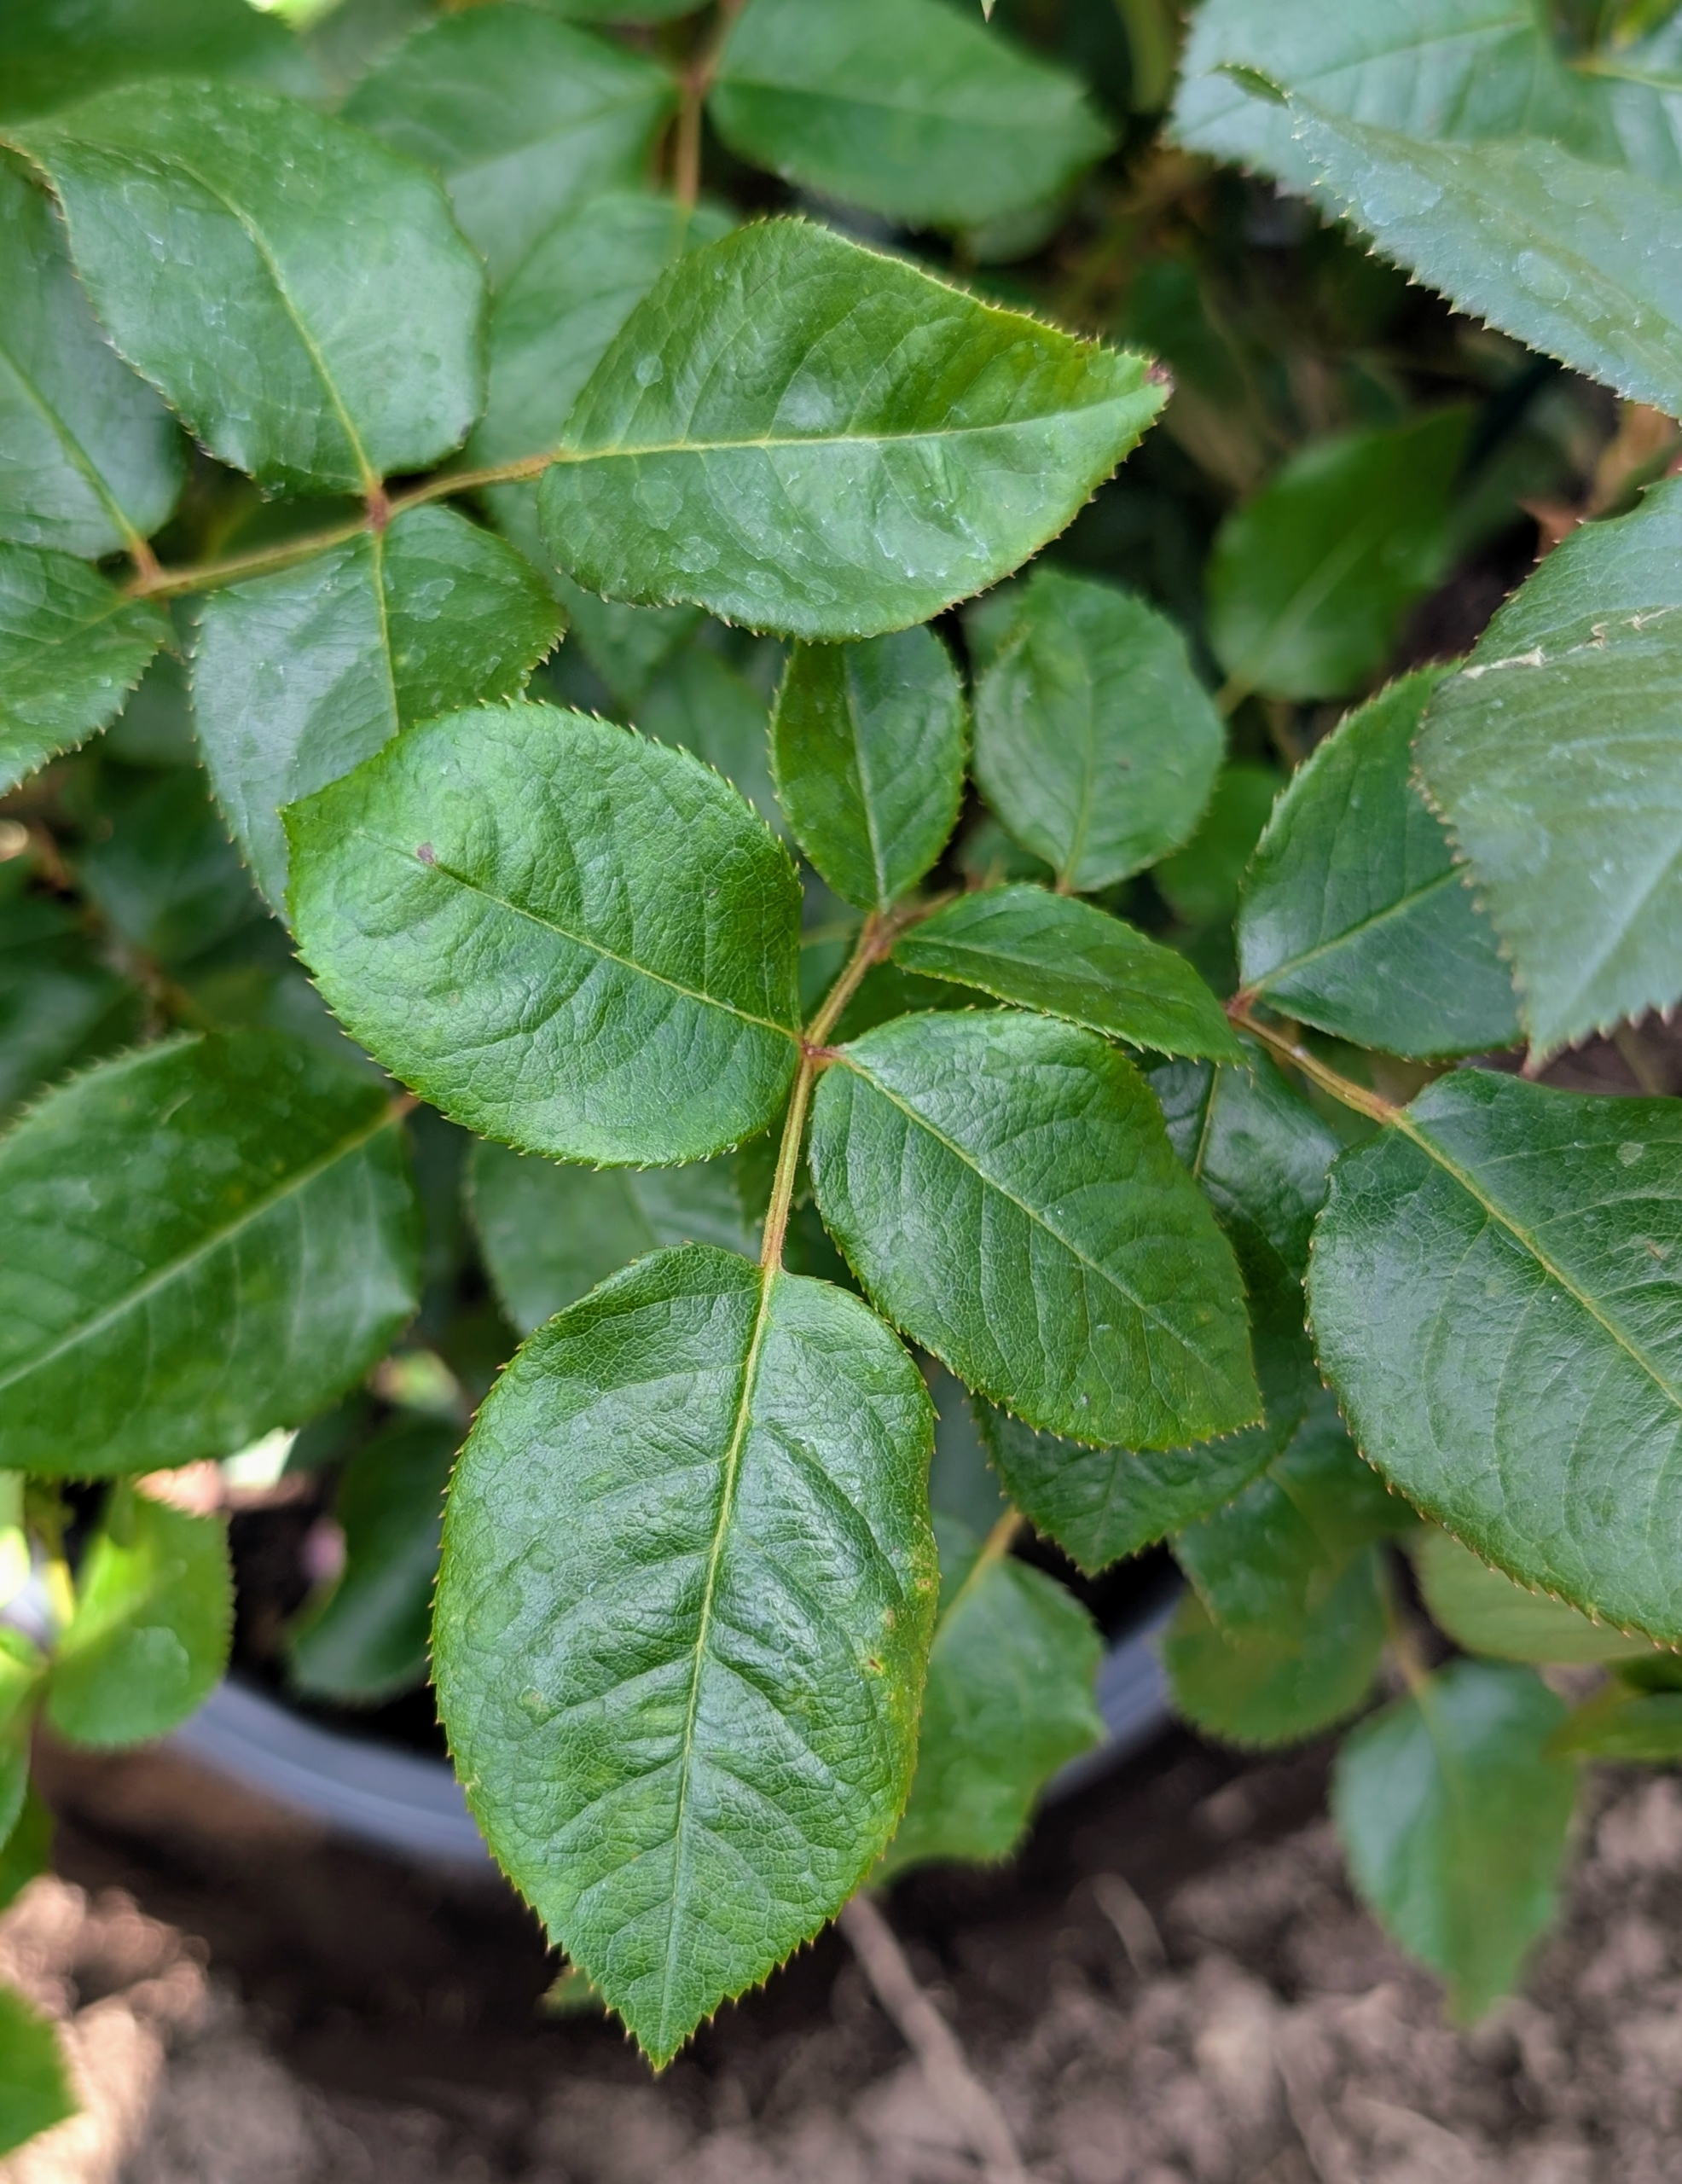
The leaves of the rose are described as “pinnate” – meaning there is a central rib and then leaflets off to each side, with one terminal leaflet. Rose leaves can have anywhere from two to 13 leaflets.
Then more digging… When planting, make sure the hole is slightly wider but equal in depth to the rose’s root ball. This will generally be about 15 to 18 inches deep by 18 to 24 inches wide.
The boxwood and roses are placed into the holes for me to see before planting. Each hole is also fed with Miracle-Gro.
And then planting can start. Buxus is a genus of about 70 species in the family Buxaceae. Common names include box or boxwood. Boxwood is native to western and southern Europe, southwest, southern and eastern Asia, Africa, Madagascar, northernmost South America, Central America, Mexico, and the Caribbean. One boxwood…
… and then one rose. Matthew places the rose into the designated hole and checks to see that it is at the same level as it was in the pot. He makes sure the top of the root ball is about an inch above the edge of the hole before he backfills. He also looks to see that the plant is straight and the best side faces front.
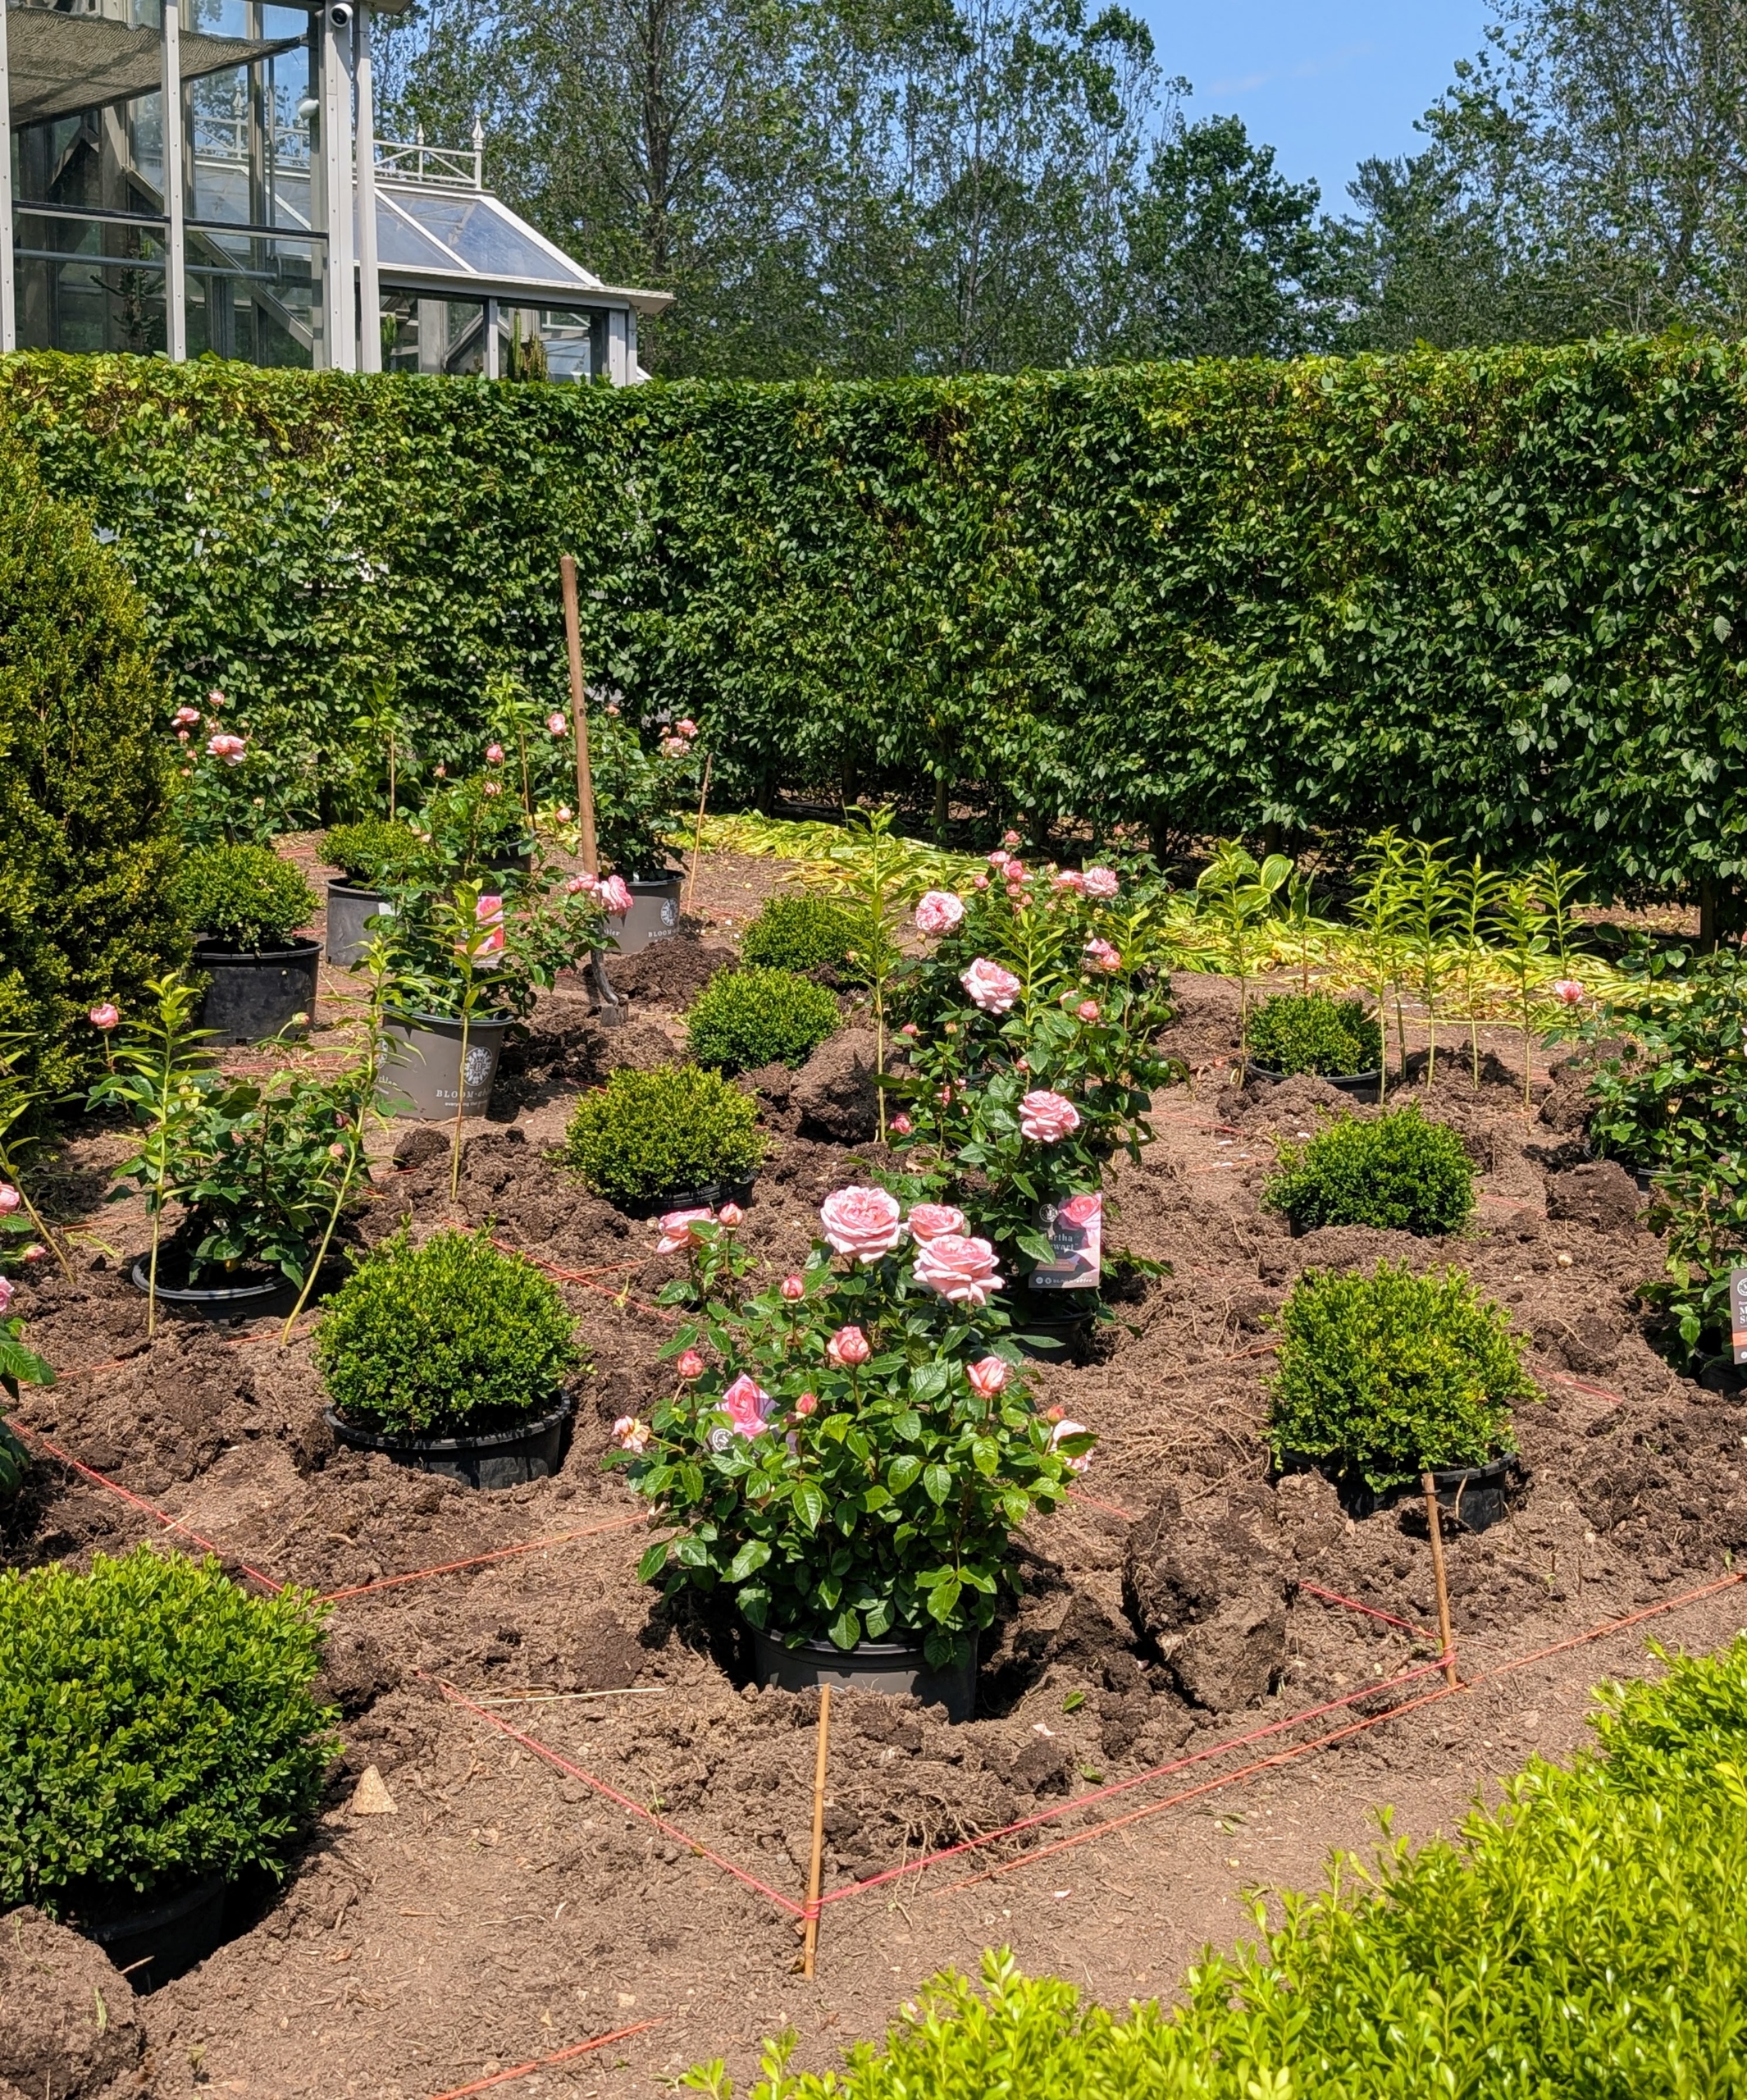
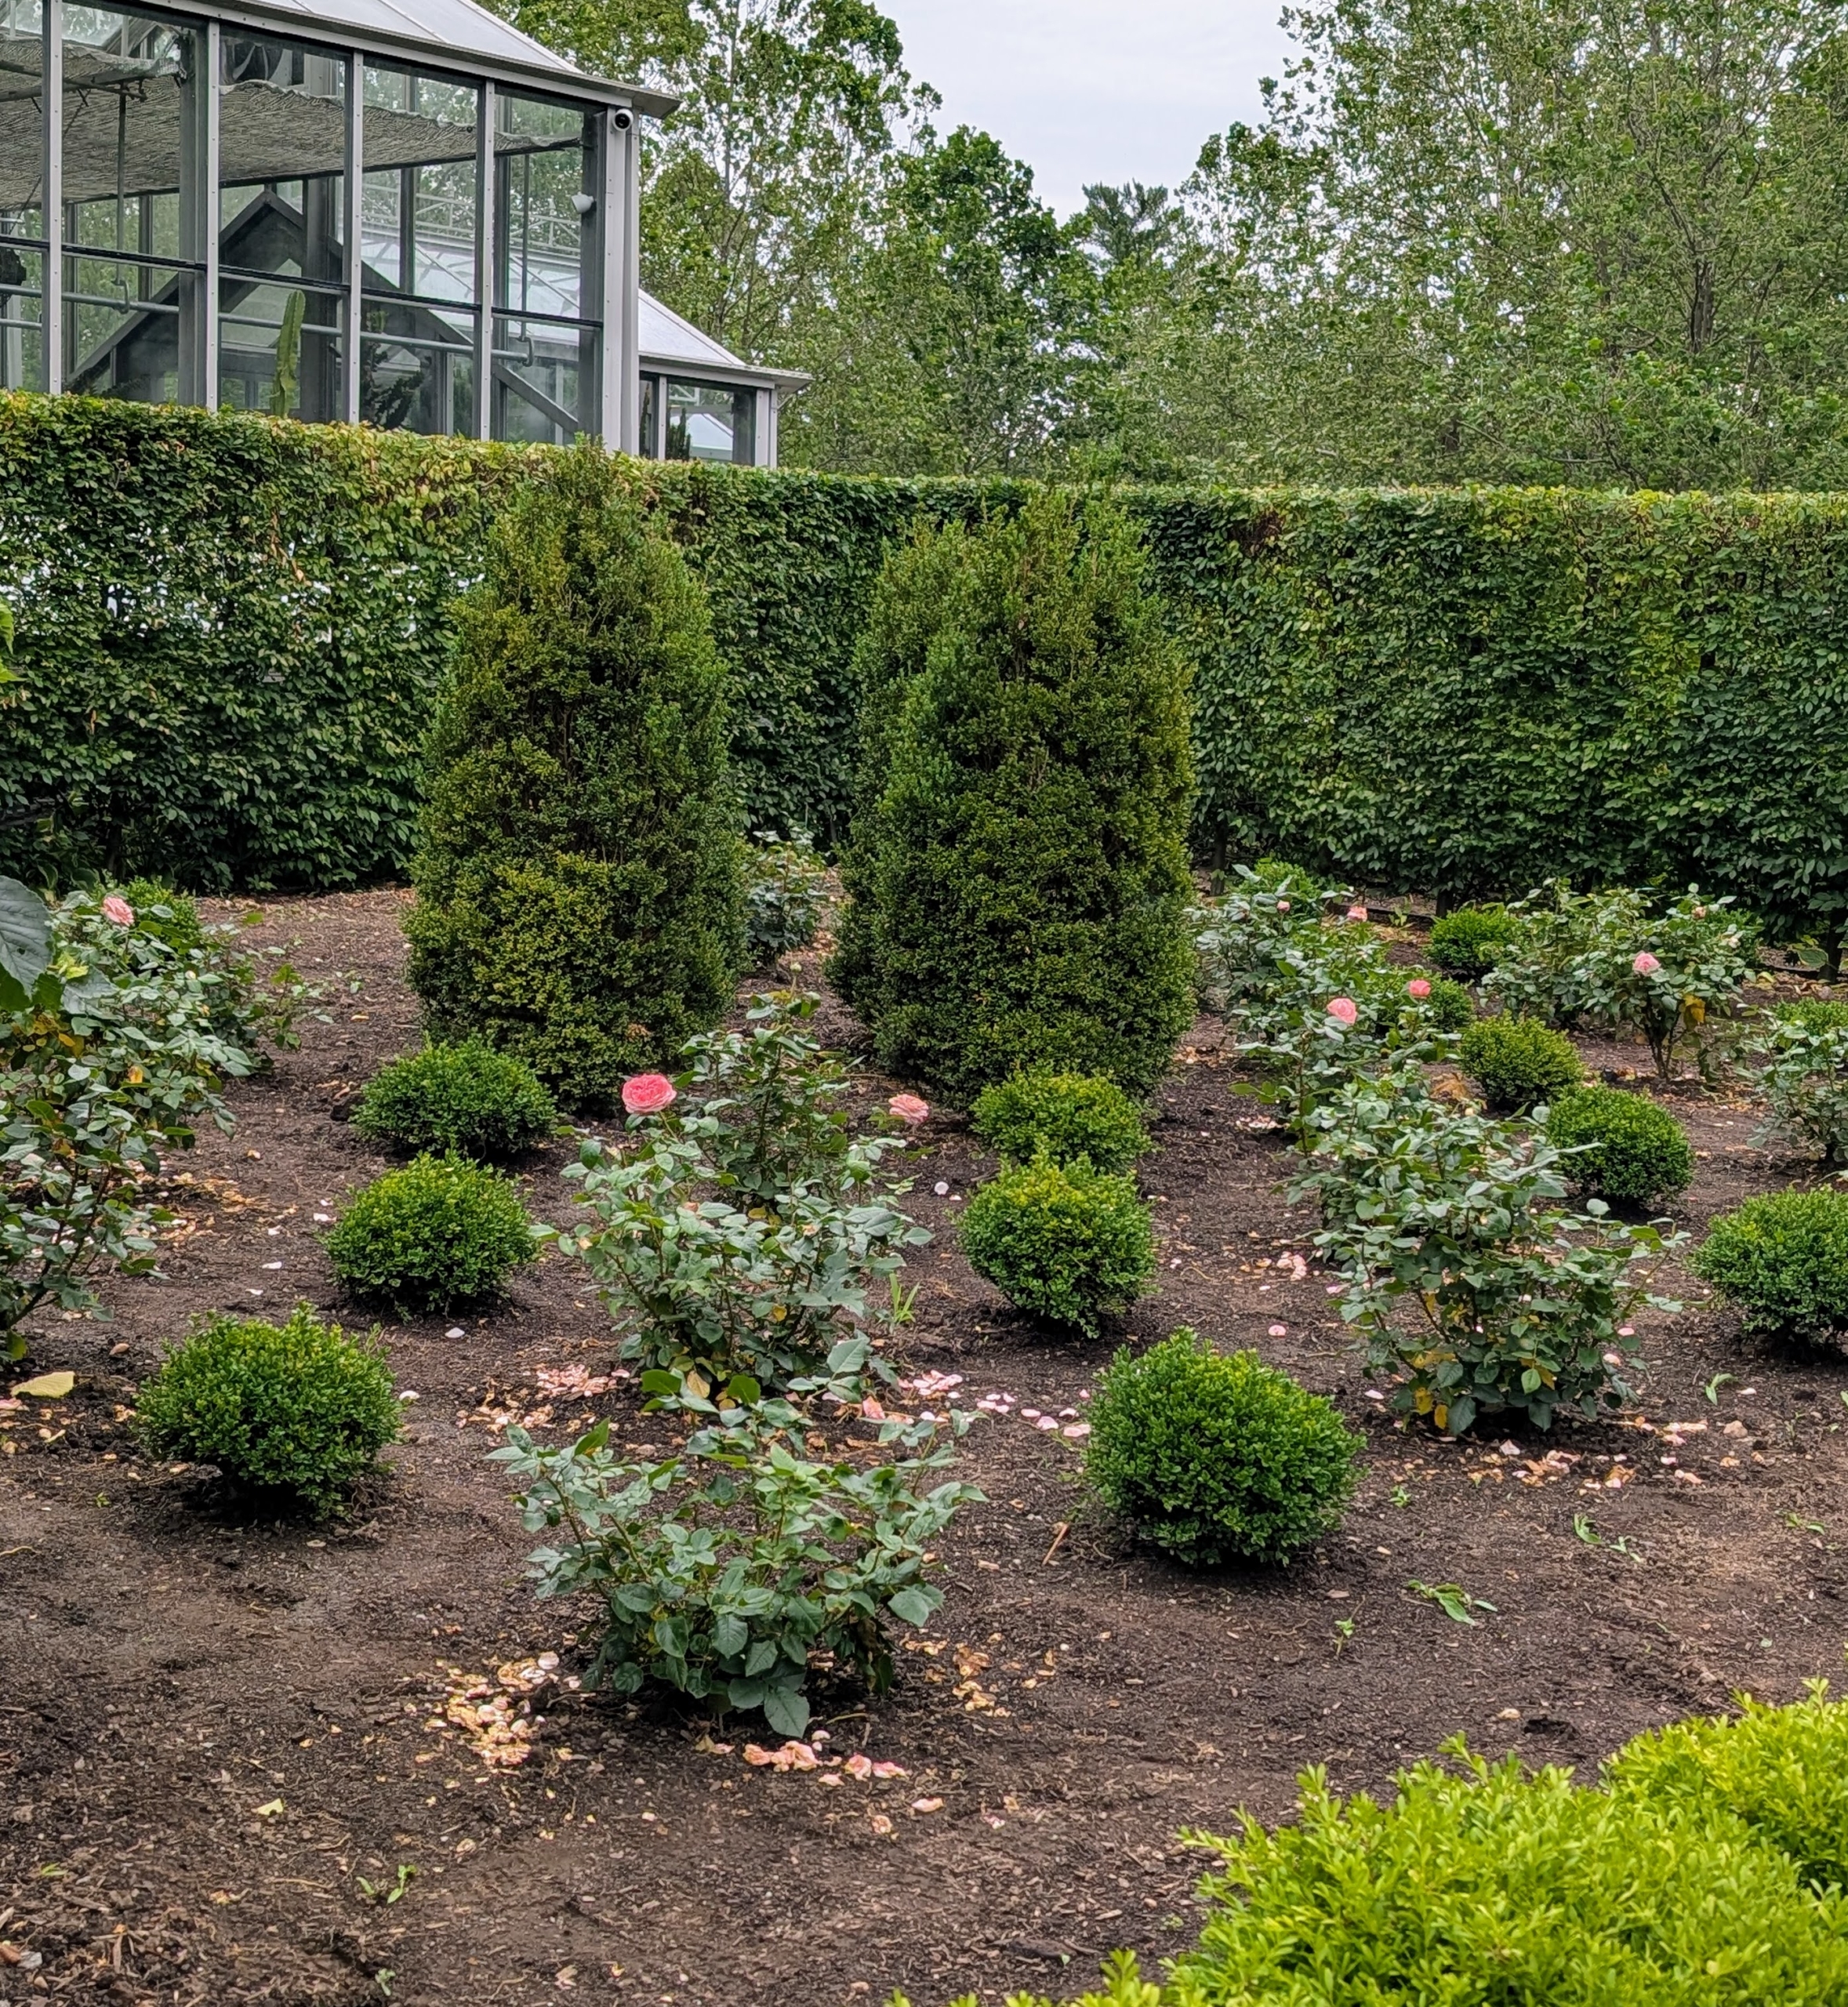
Here is the garden all planted. When planting roses, depending on the variety, they need at least two to five feet in between plantings. These are spaced perfectly.
The roses and boxwood shrubs will grow beautifully together. I am looking forward to watching them mature.
Here’s the garden on the other side. I will be sure to share more photos as the plants become established and bloom again. Happy gardening.
As the owner of many gardens, groves, and allées, I am constantly looking at all the trees, making sure they are in good condition.
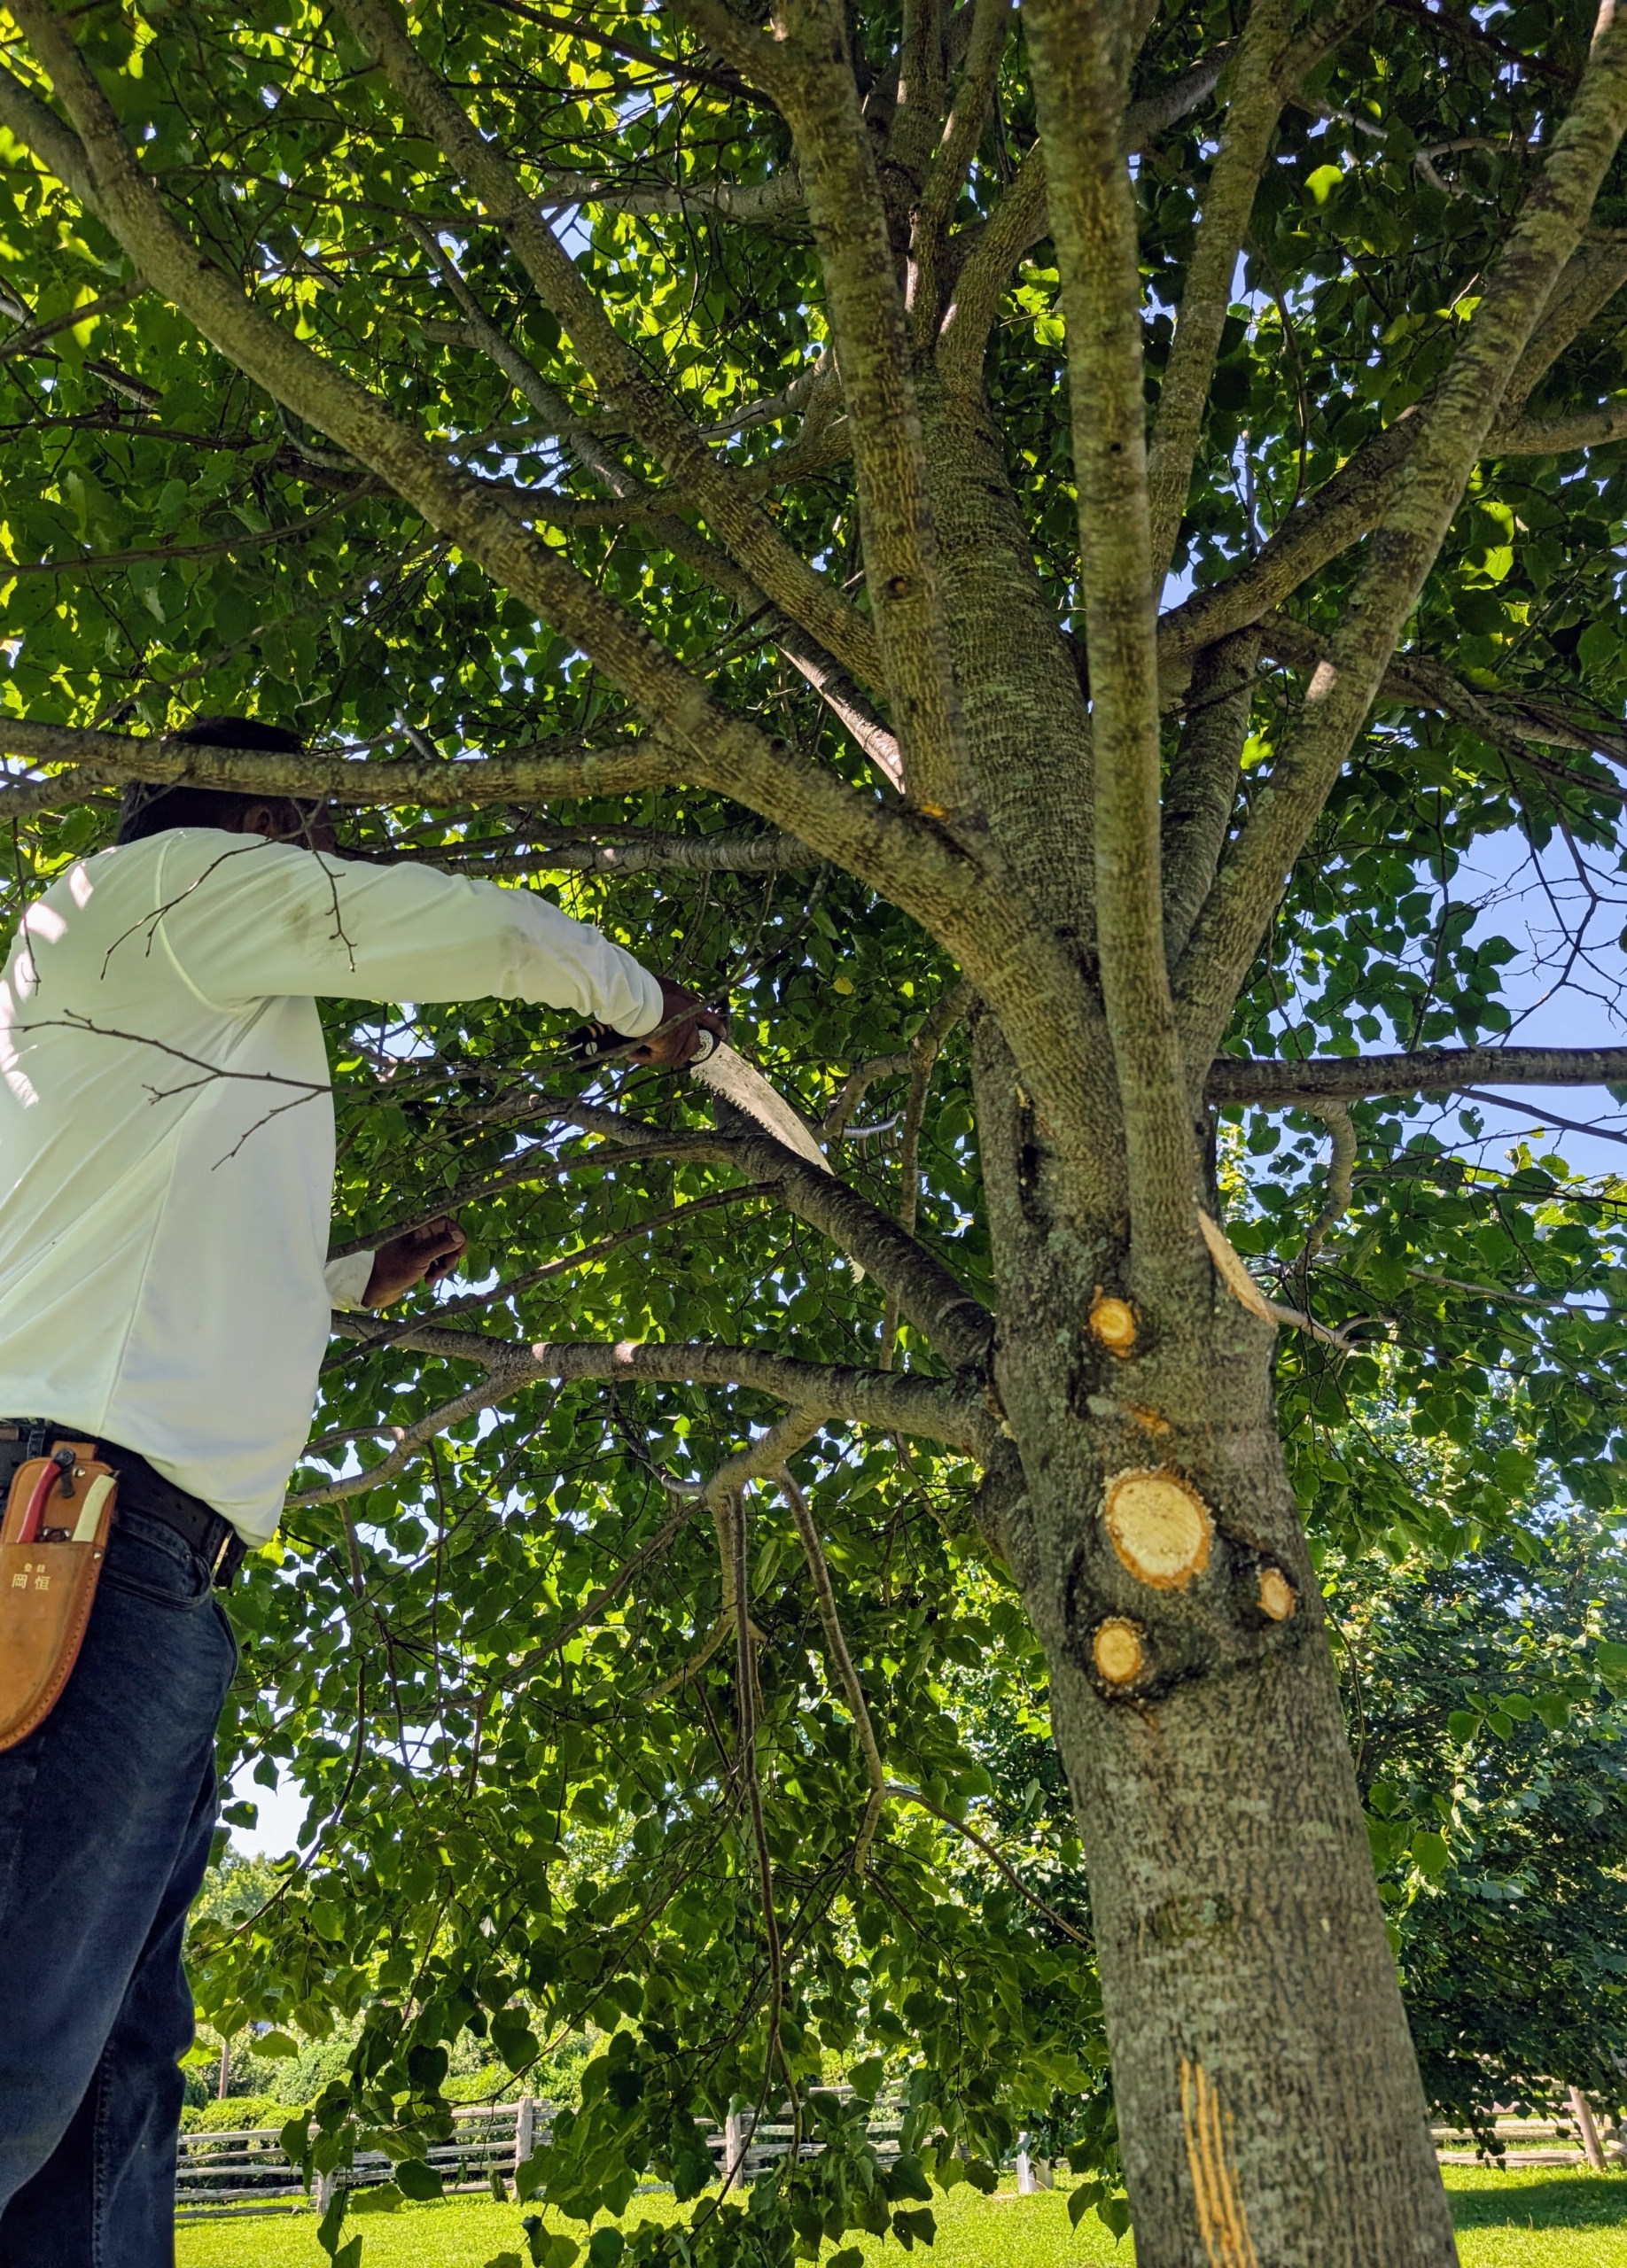
Pruning is one of the biggest and most important gardening chores. Not only does pruning improve the overall health of the plants, it also prevents disease, and encourages better growth. When assessing my trees, I also think about general appearance as well as safety. Last week, I noticed the allée of lindens that grows in two horse pastures needed some attention. The lower branches had grown so much, my horses could not walk under them for shade. I asked Pete Sherpa from my outdoor grounds crew to "limb up" the trees, meaning remove all the lowest branches to allow for more clearance and air circulation.
Here are some photos, enjoy.
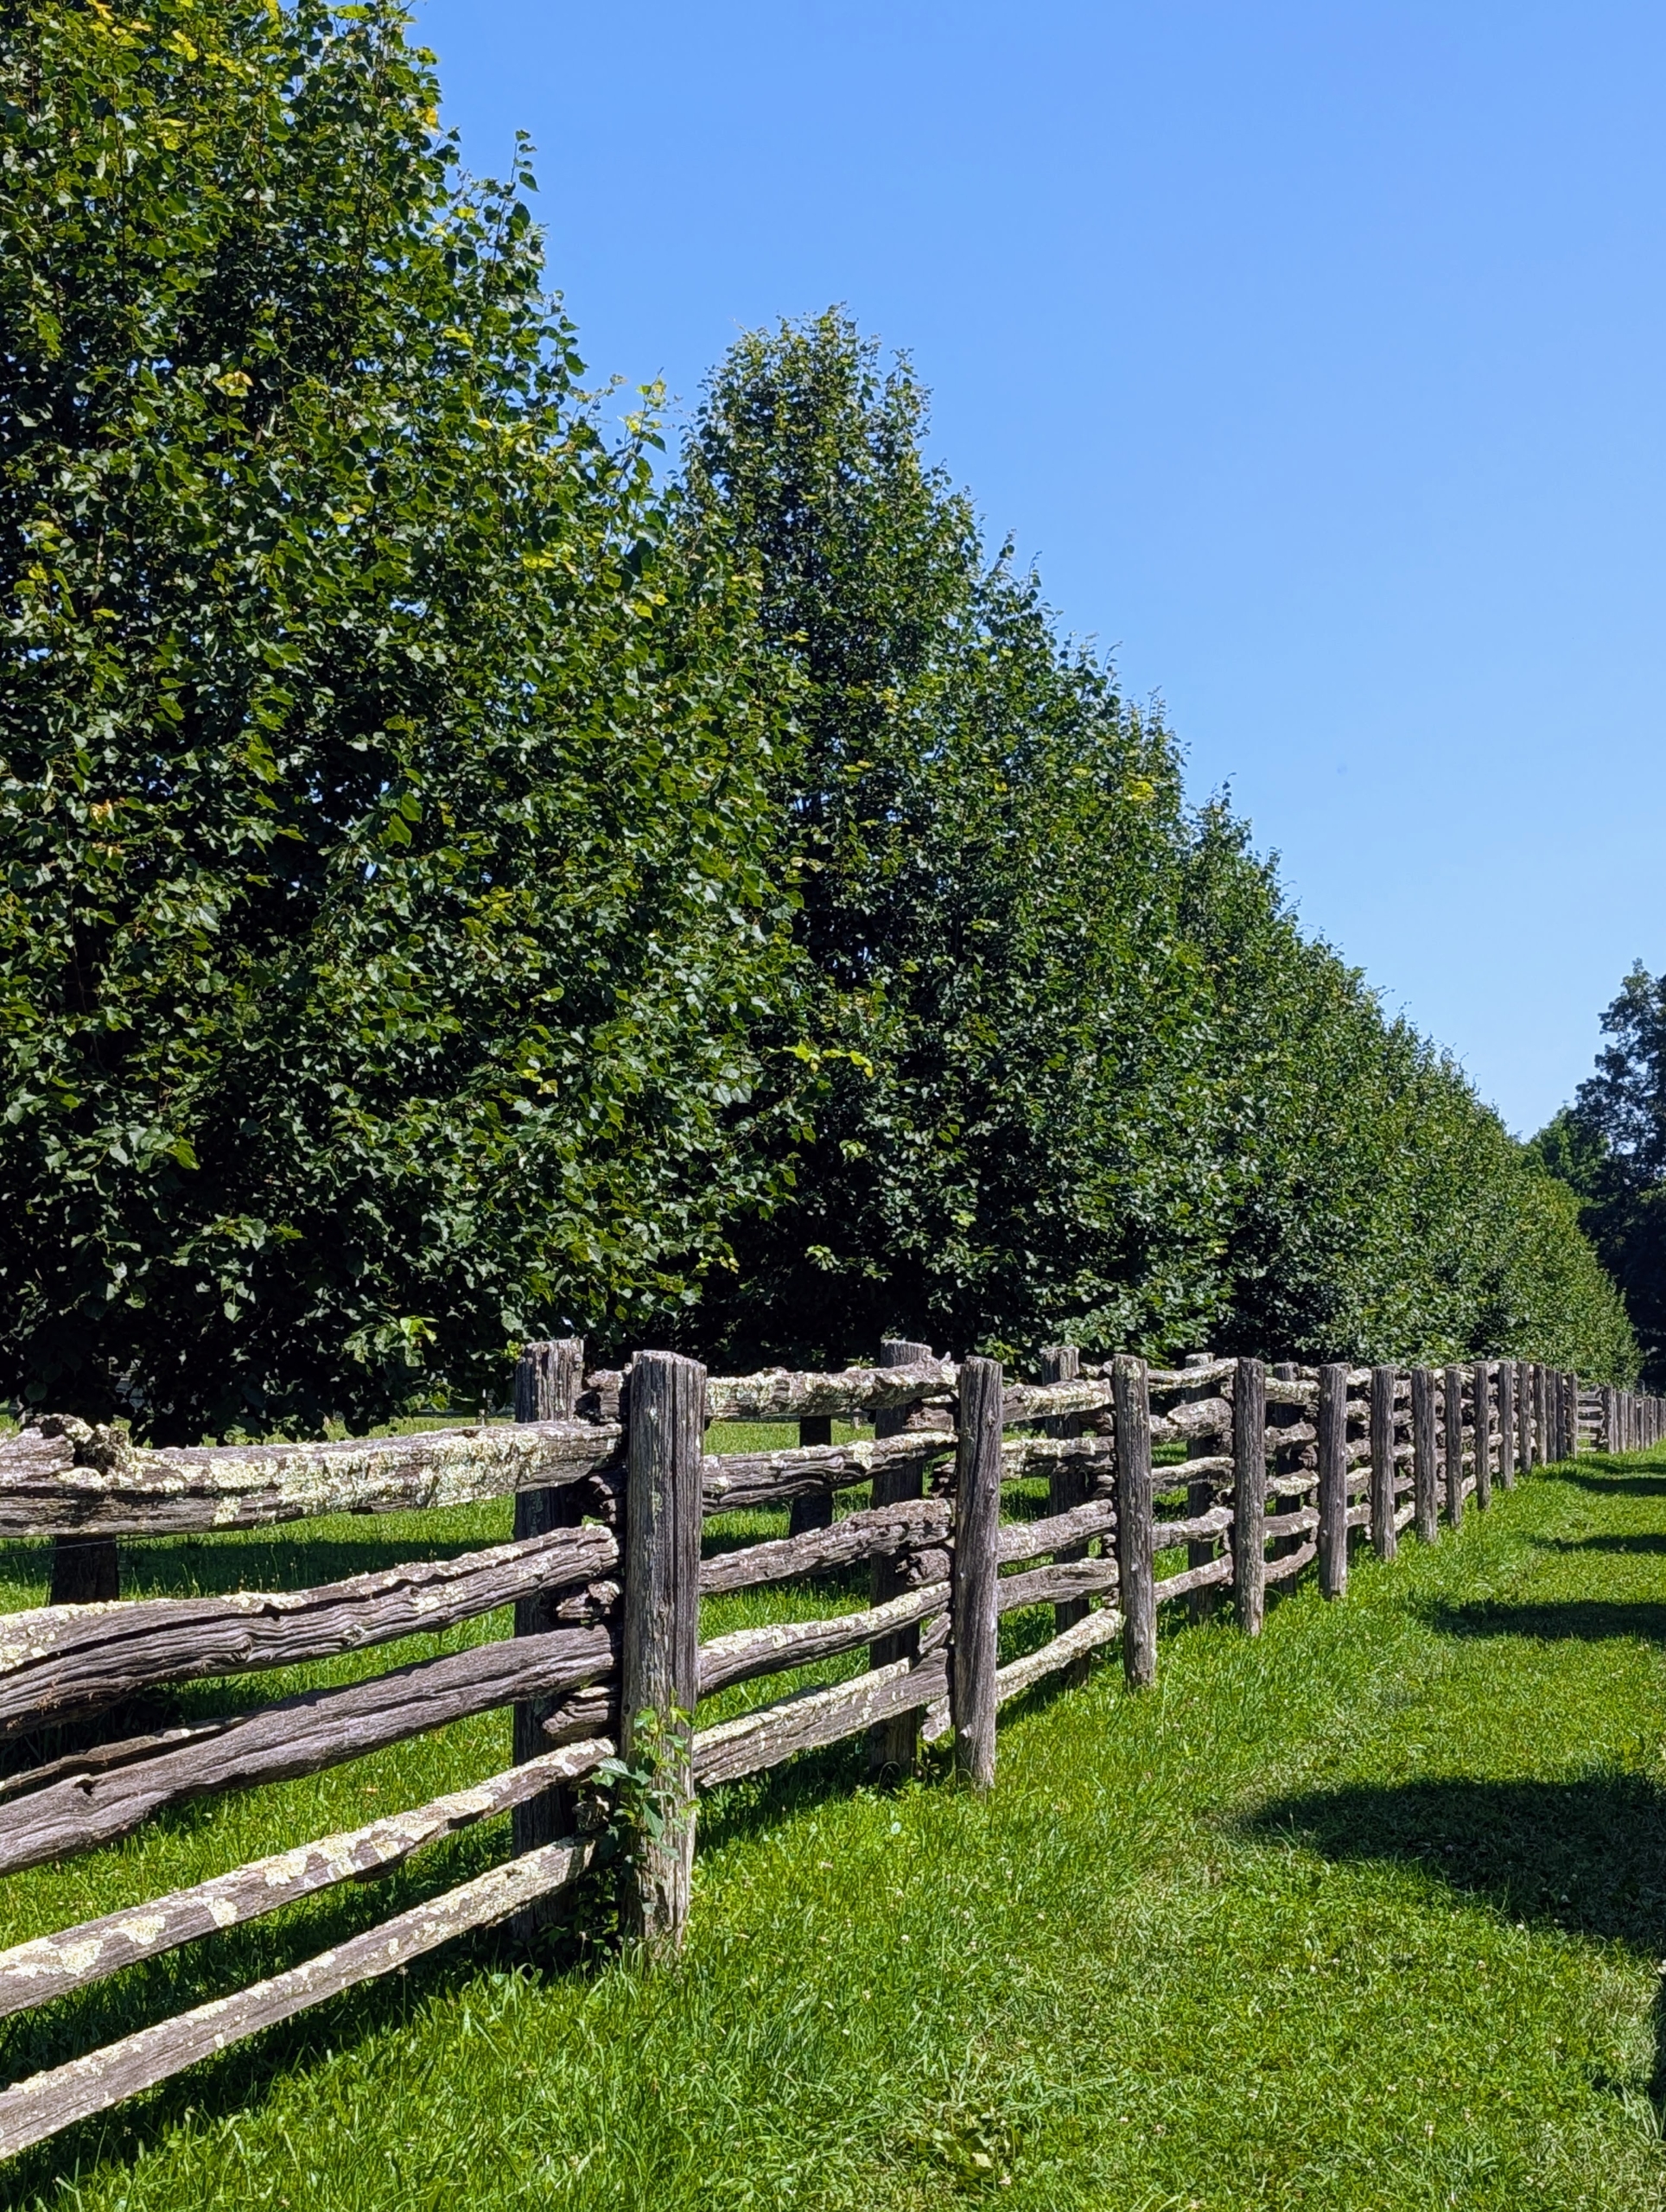
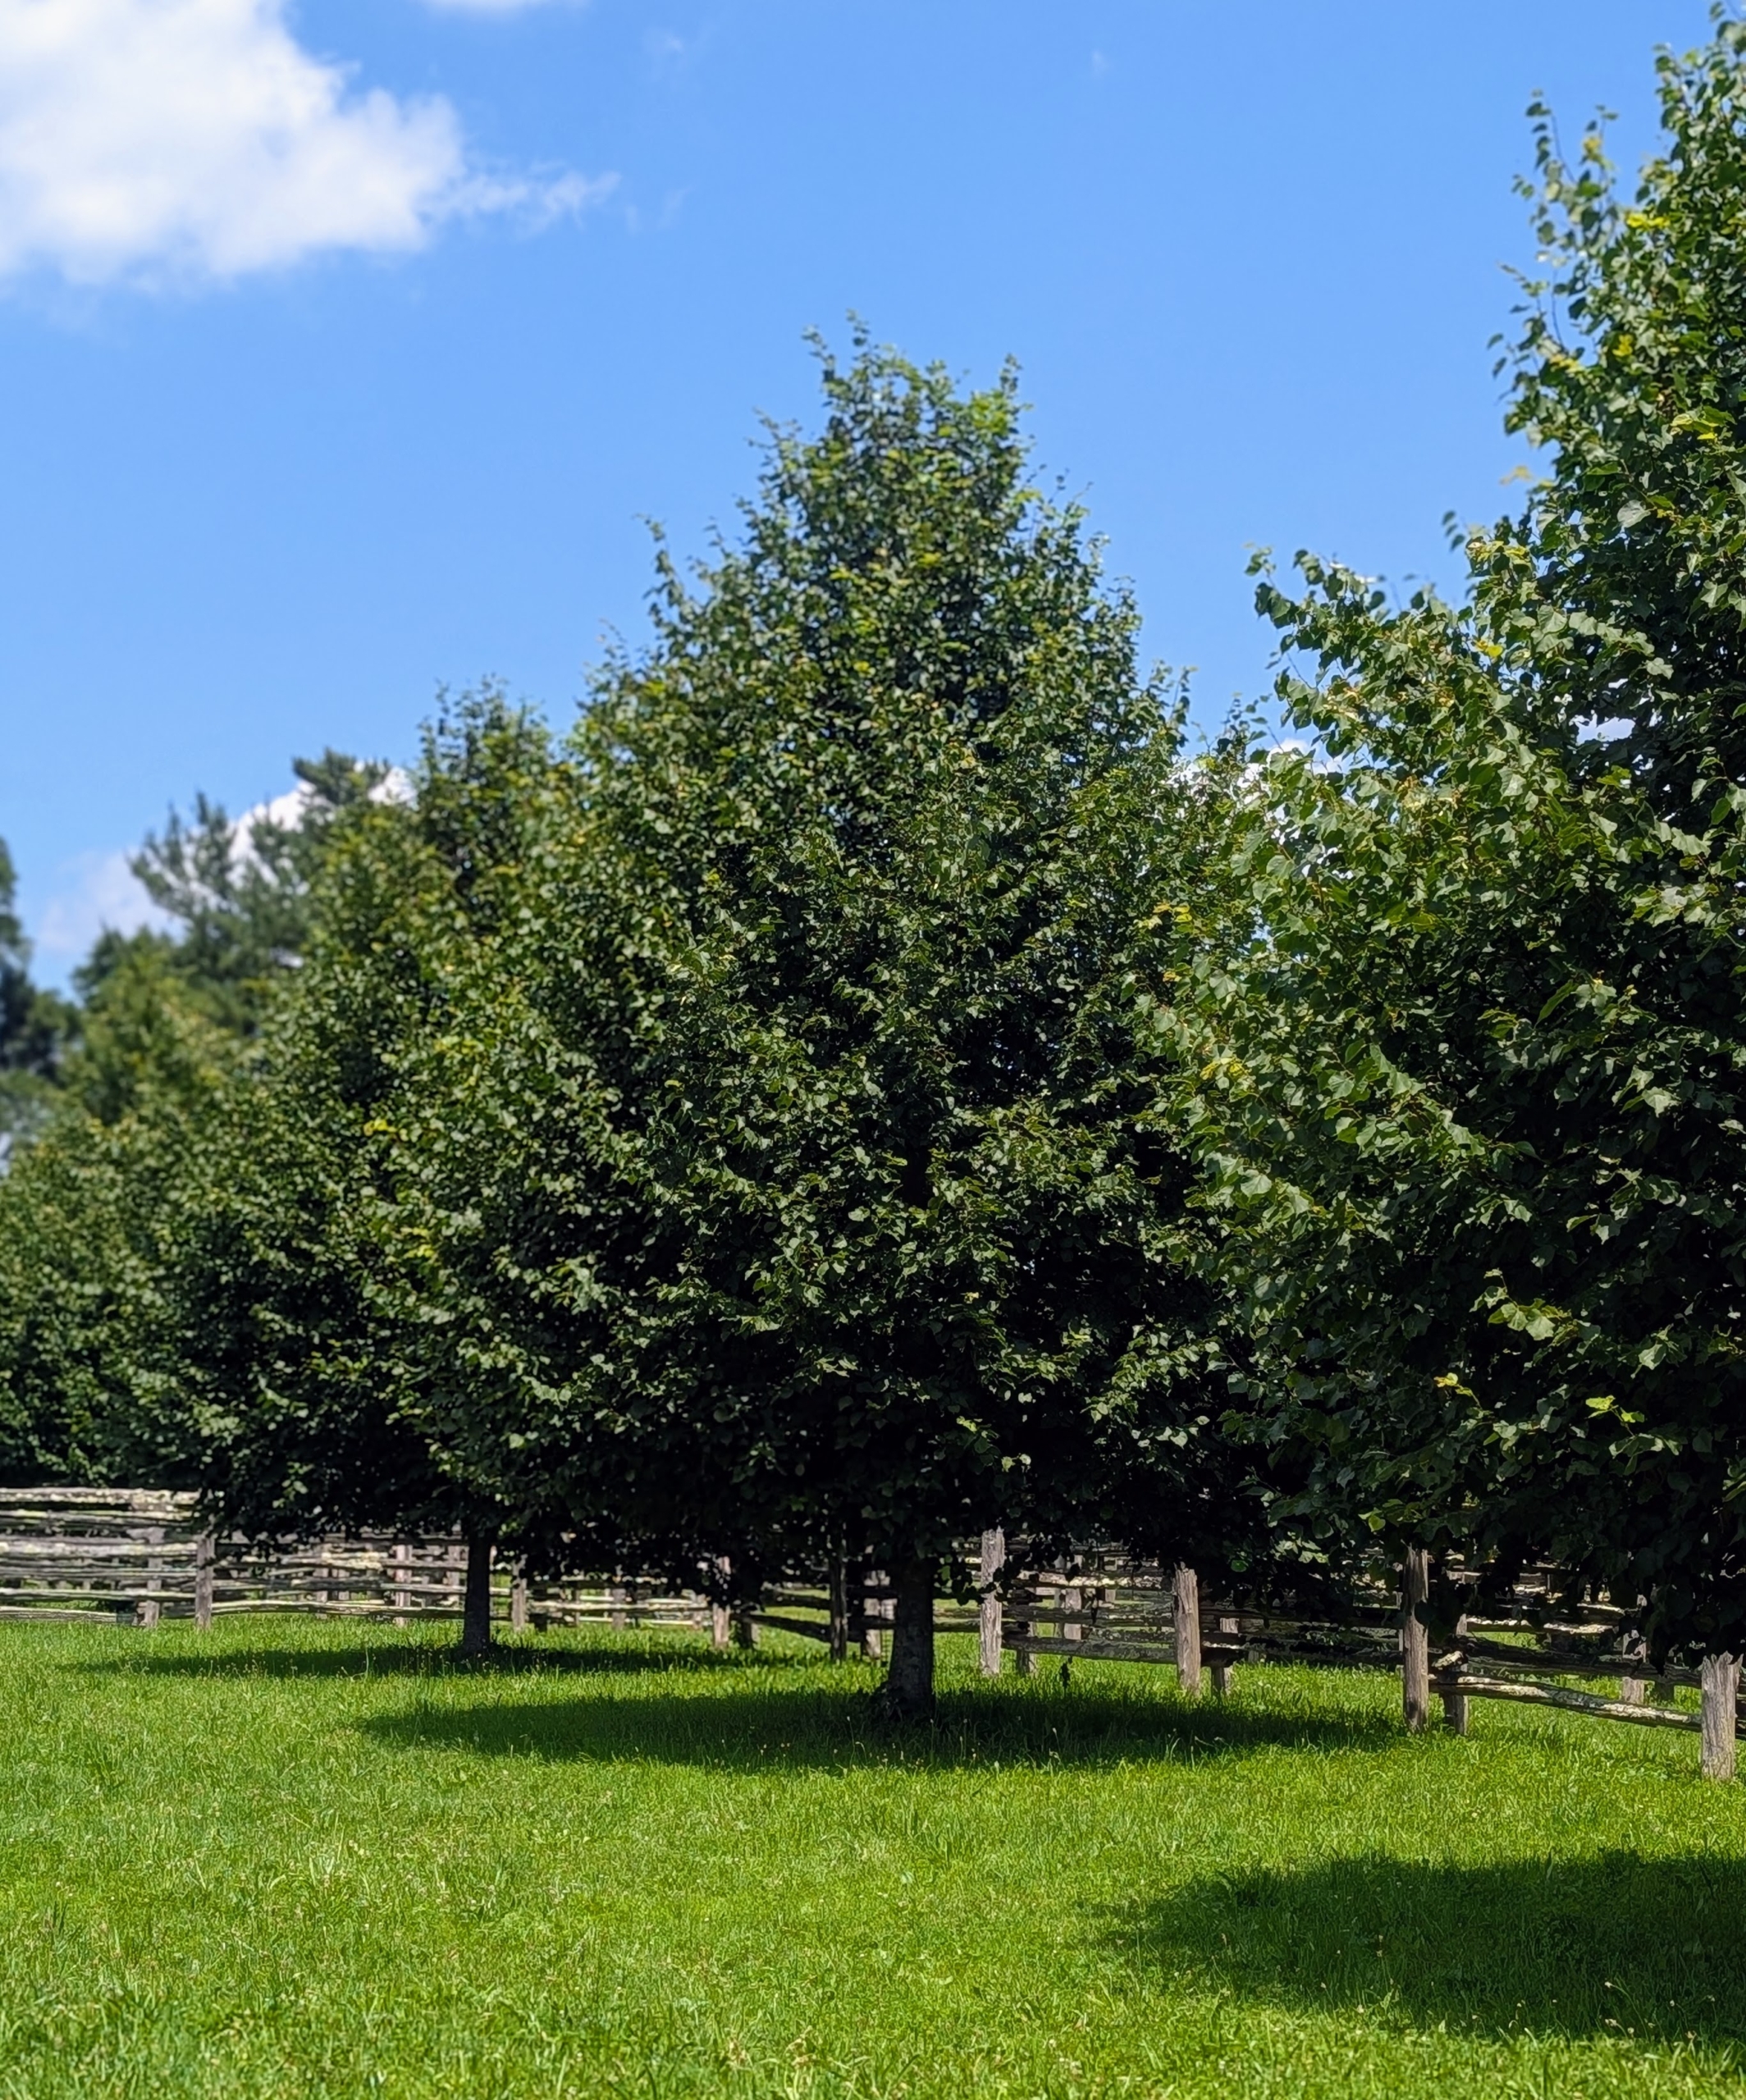
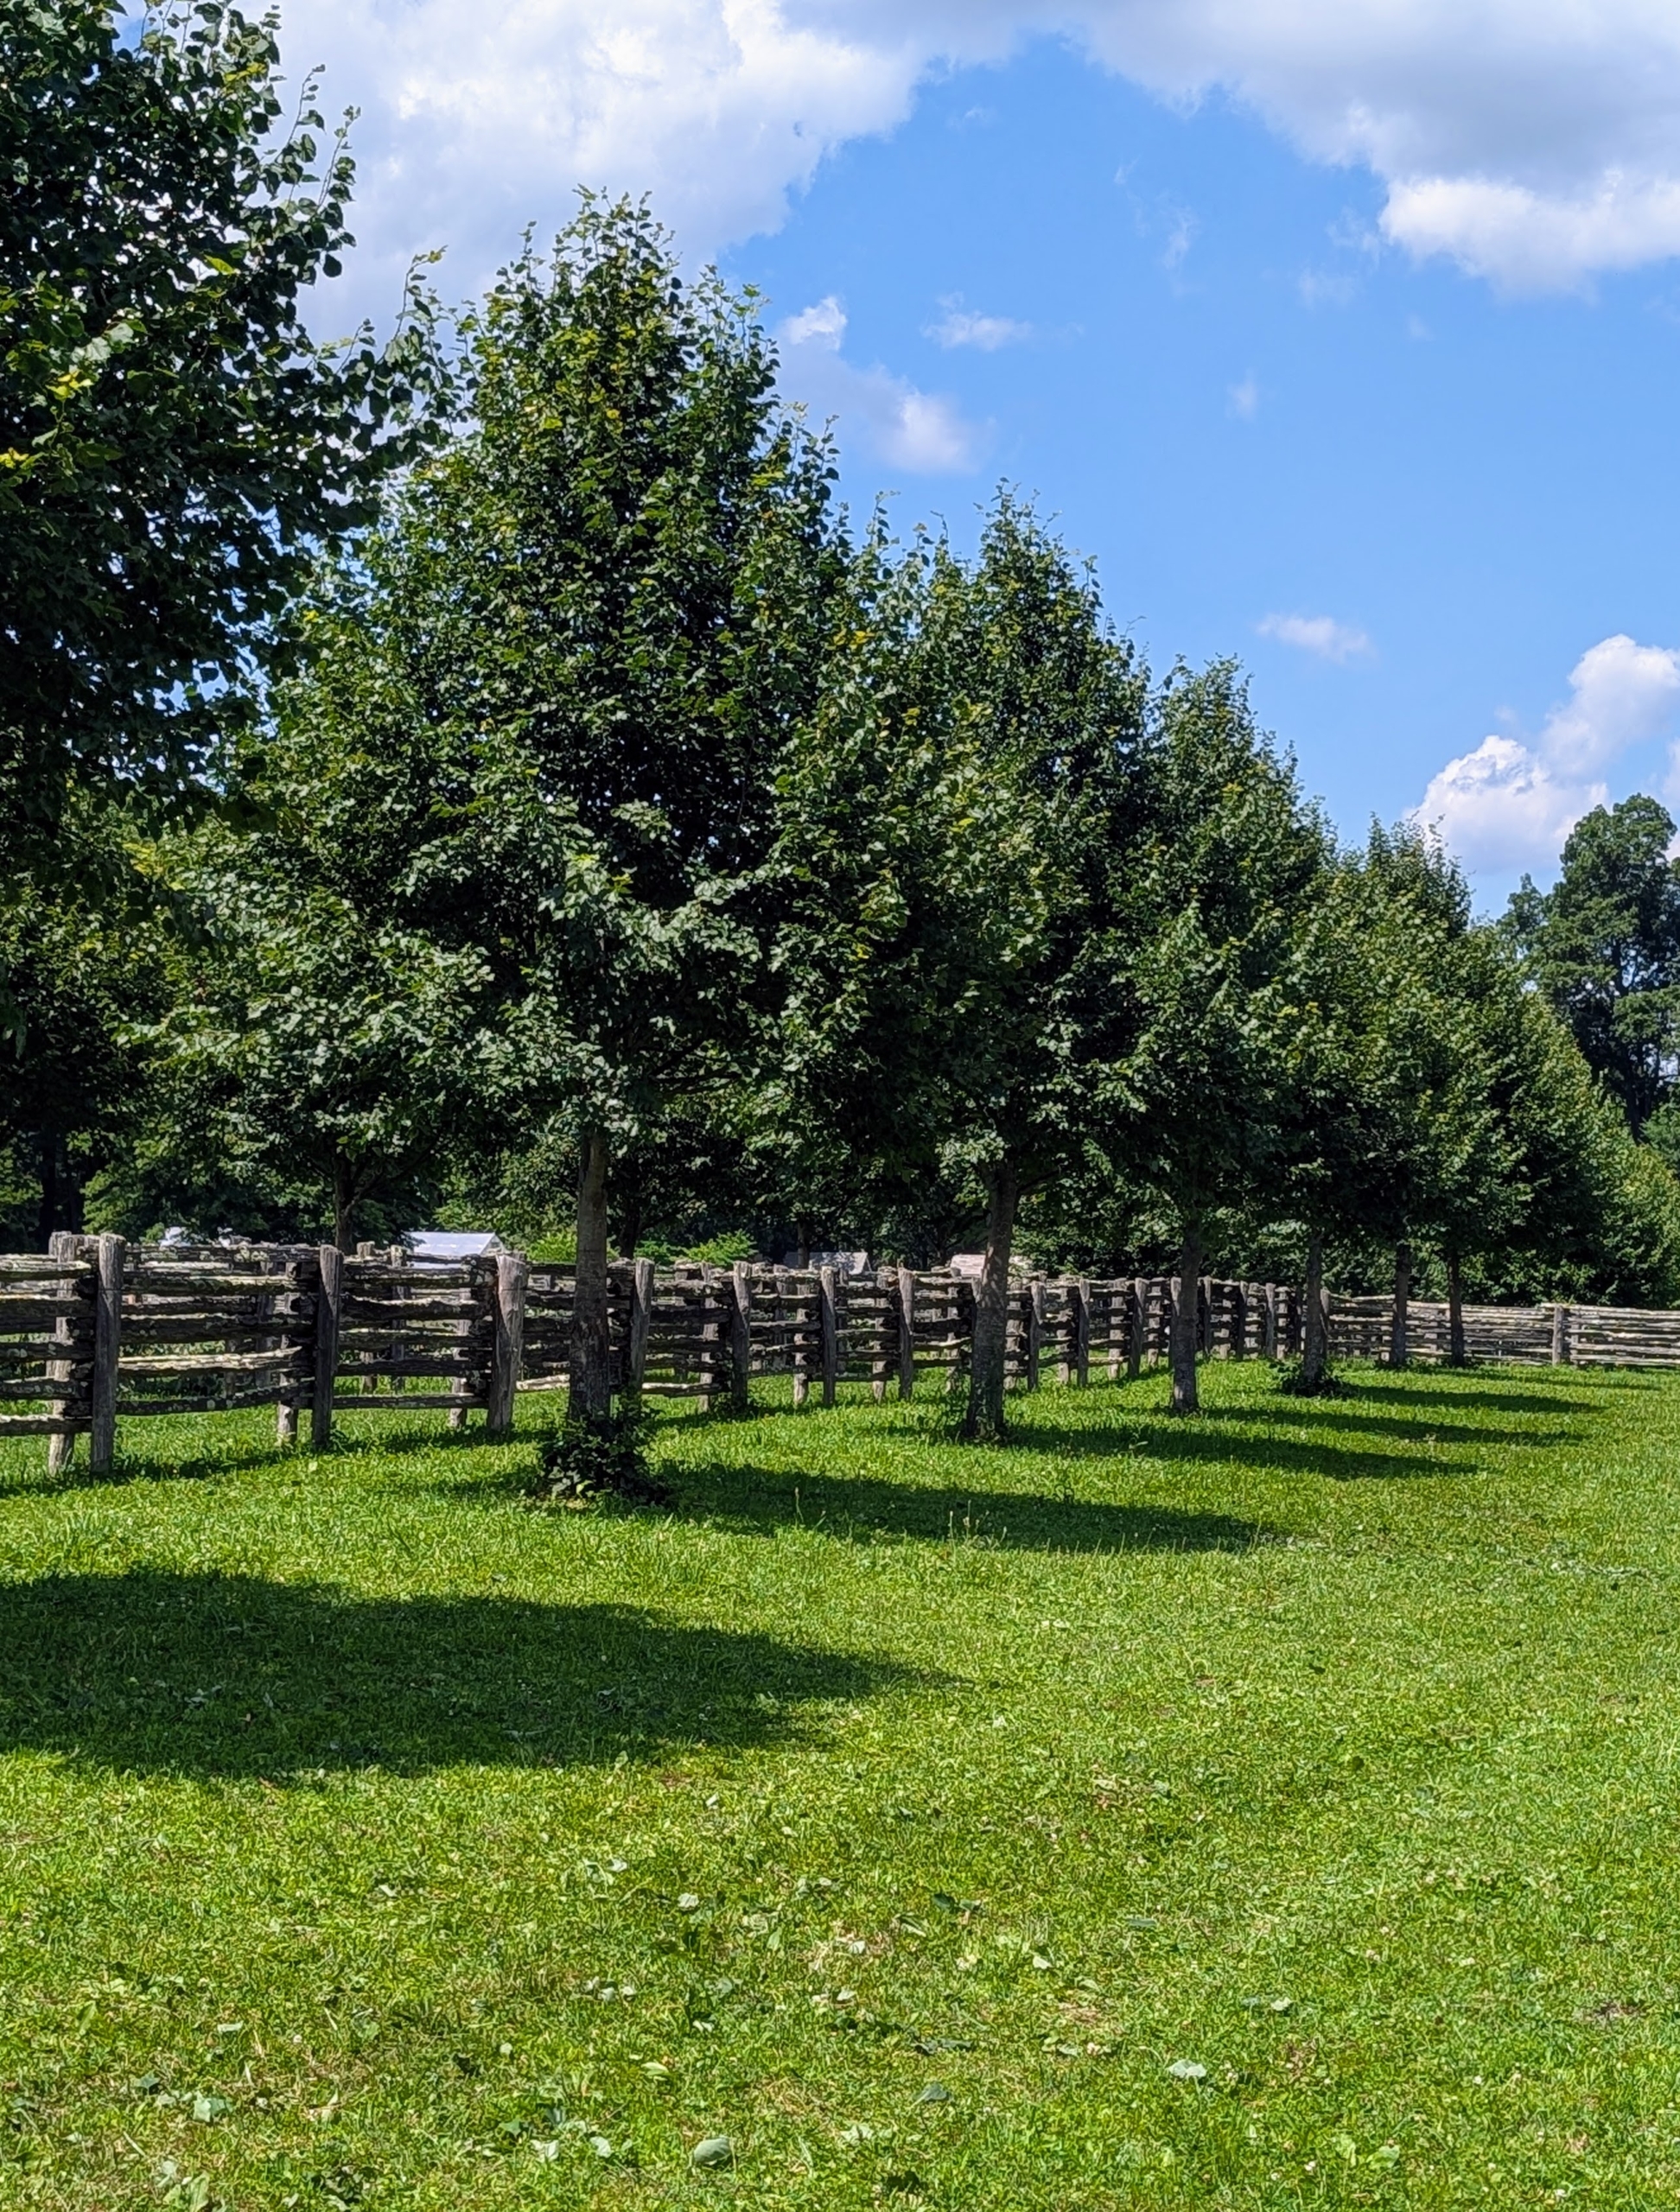
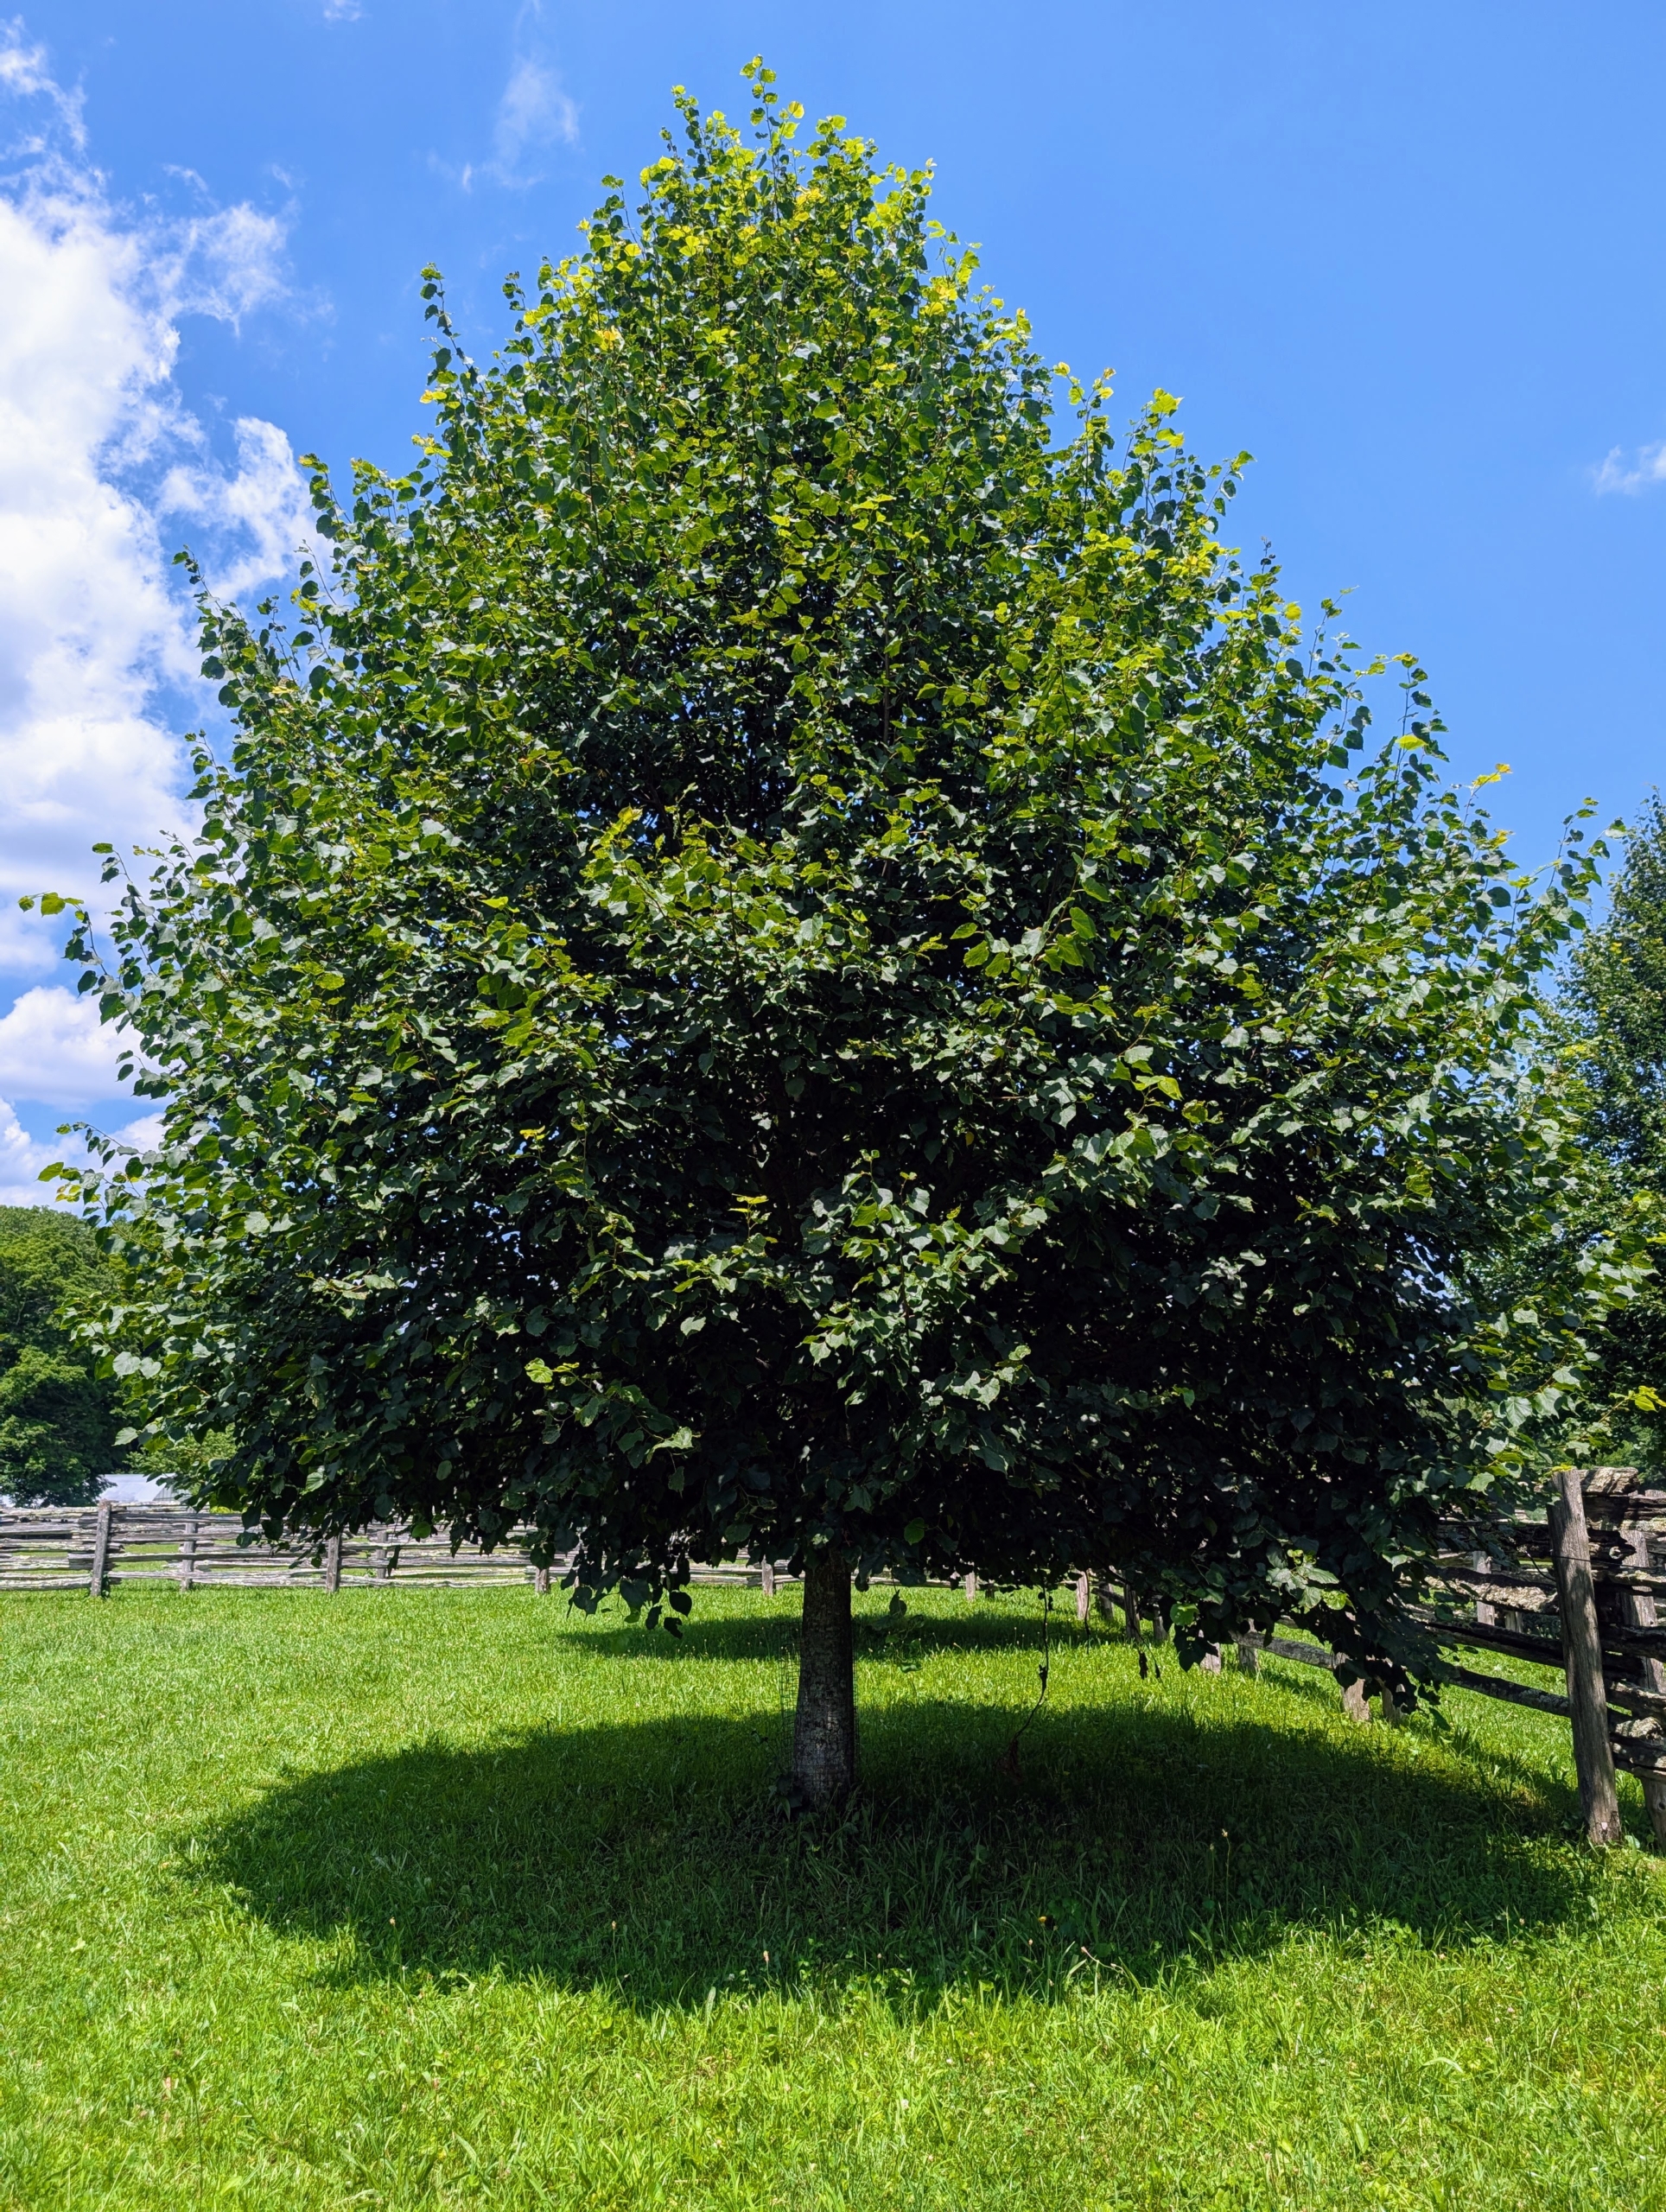
Lindens, Tilia, are medium to large sized shade trees that are easy to maintain and attractive in any landscape. I have two linden tree allées. One outside my stable and this one which runs from the old corn crib all the way down to the chicken coops.
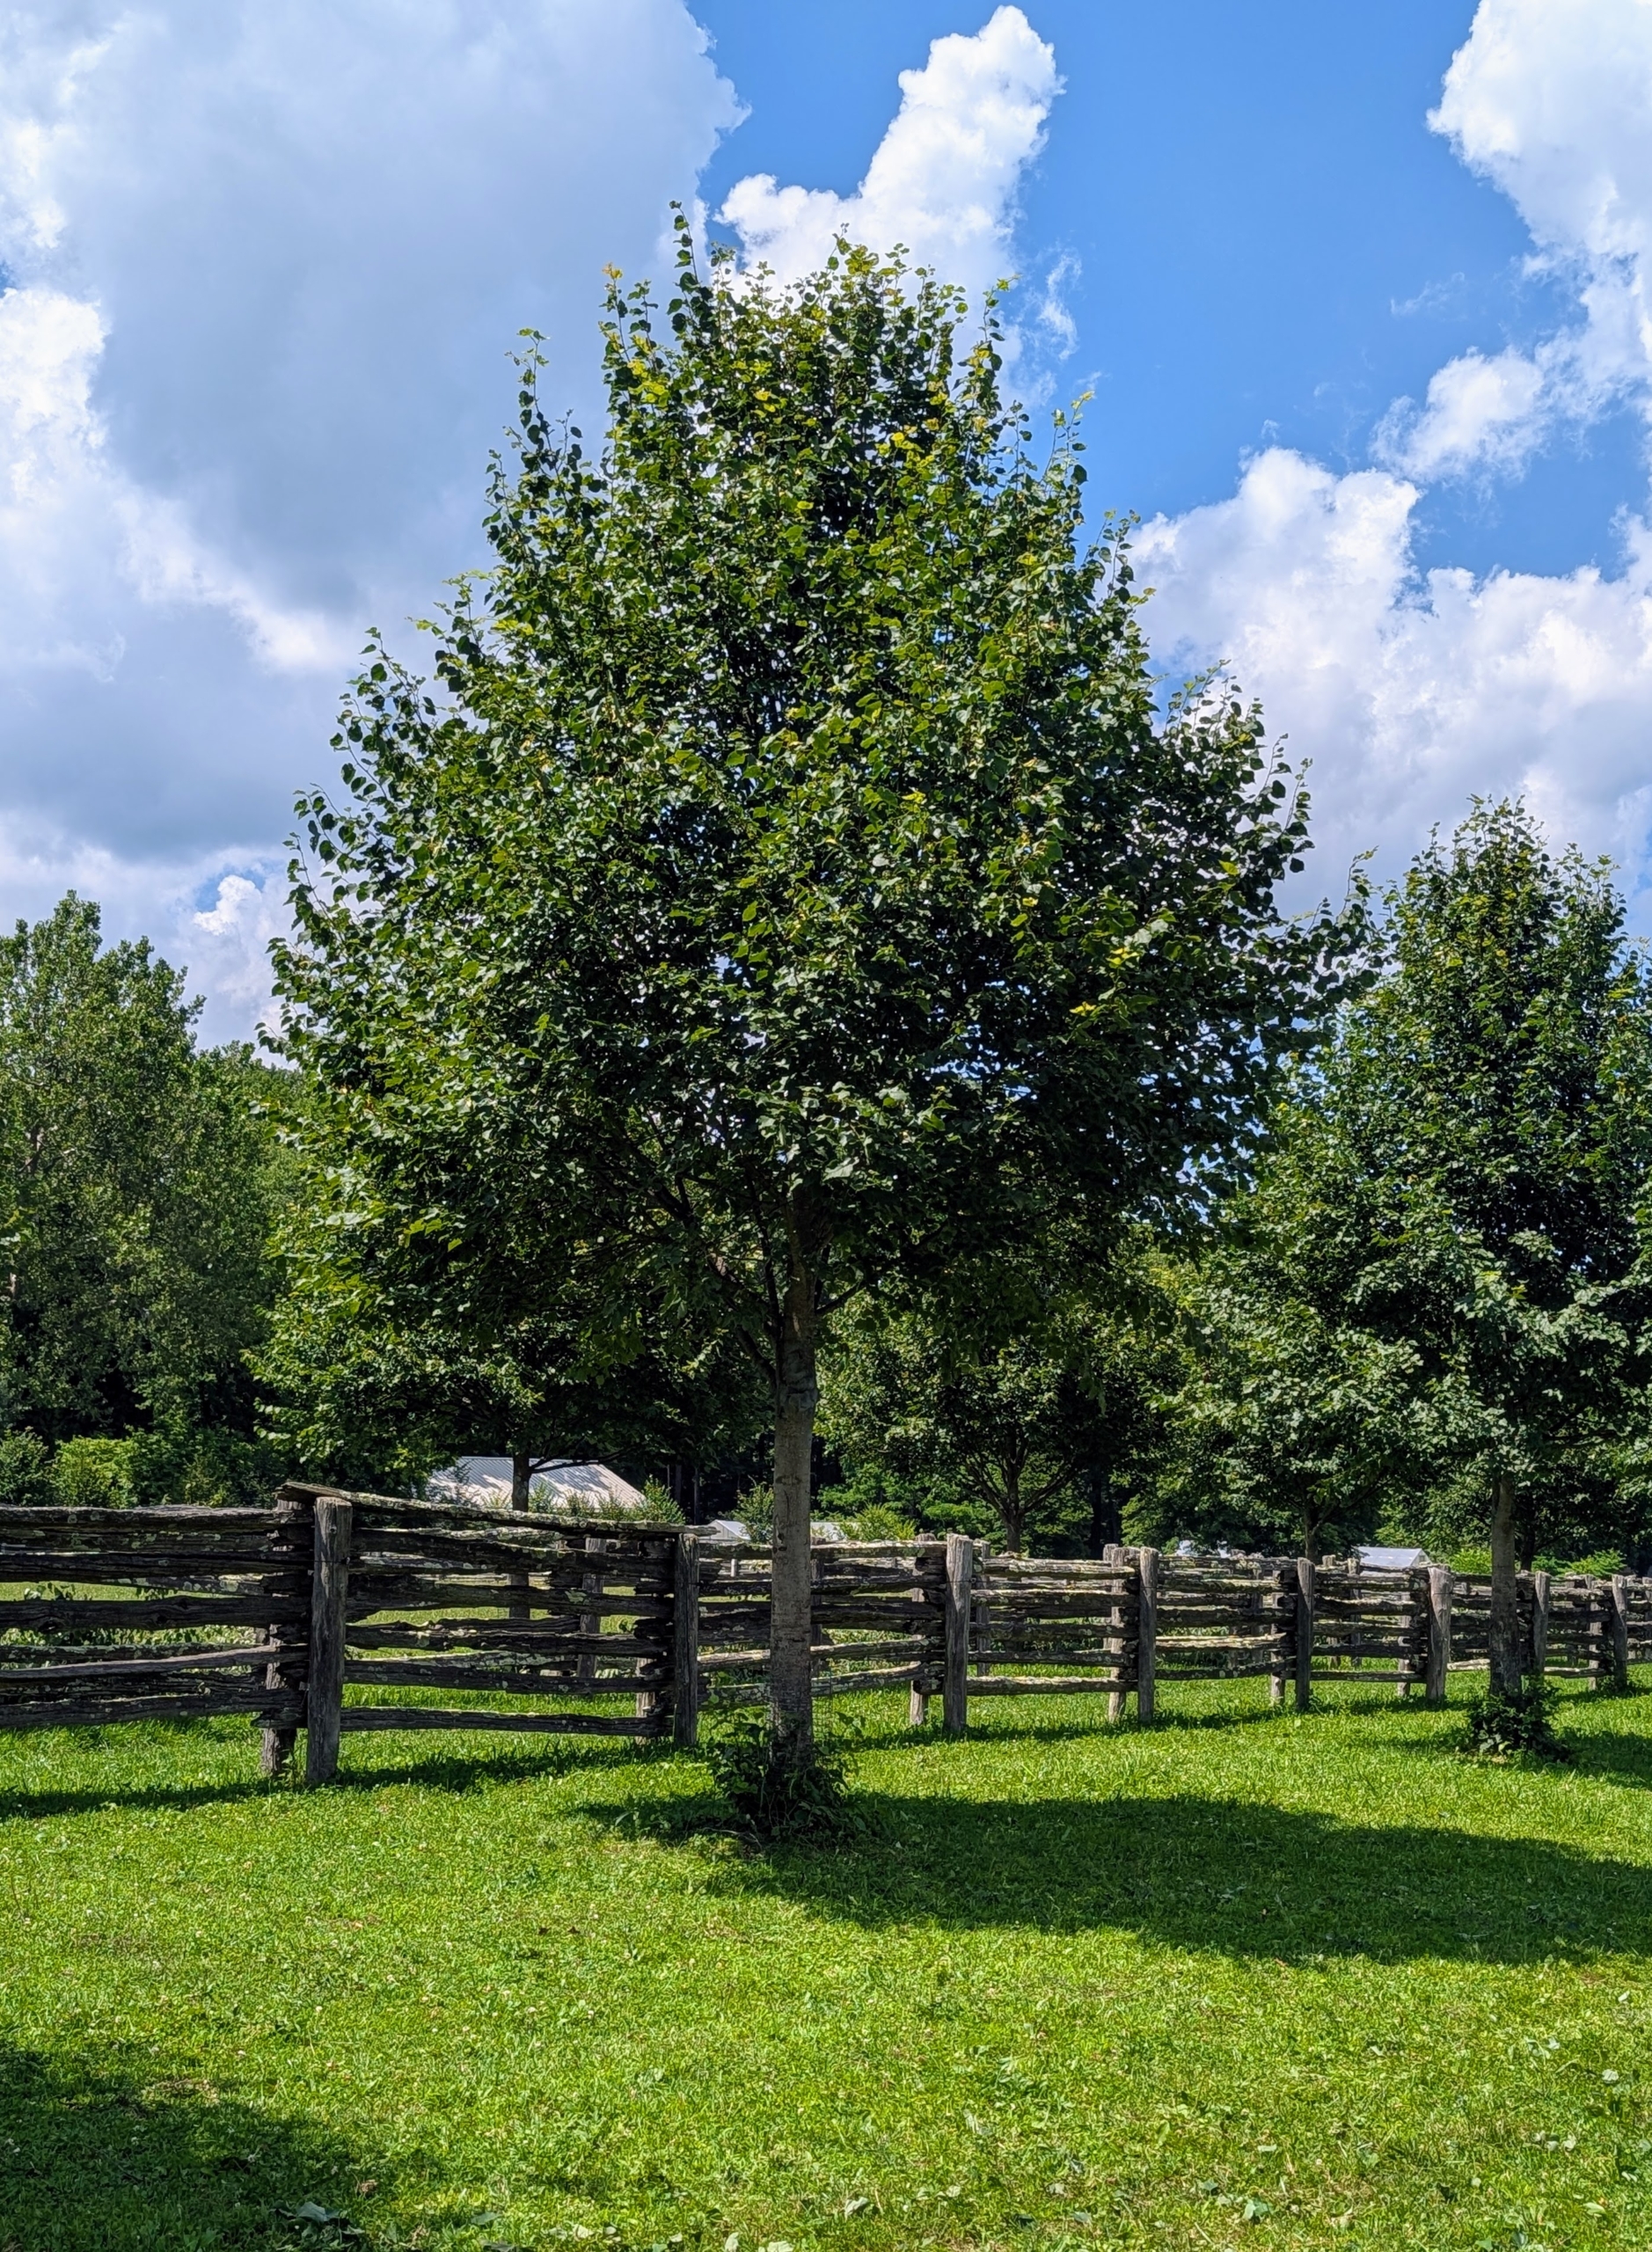
Notice the lowest branches. They are very low to the ground and need trimming to control its shape and to allow for better air circulation through the center of the specimen. I also like to prune the branches so anyone on foot, on horseback, or my horses themselves, could pass through easily. This low branch work is called limbing up or crown raising.
I extended this allée in 2017 all the way down to the chicken coops. These trees are developing so nicely and are pruned every couple of years. Pete focuses on the lower branches only, but cuts off any dead, damaged, diseased, or crisscrossing branches.
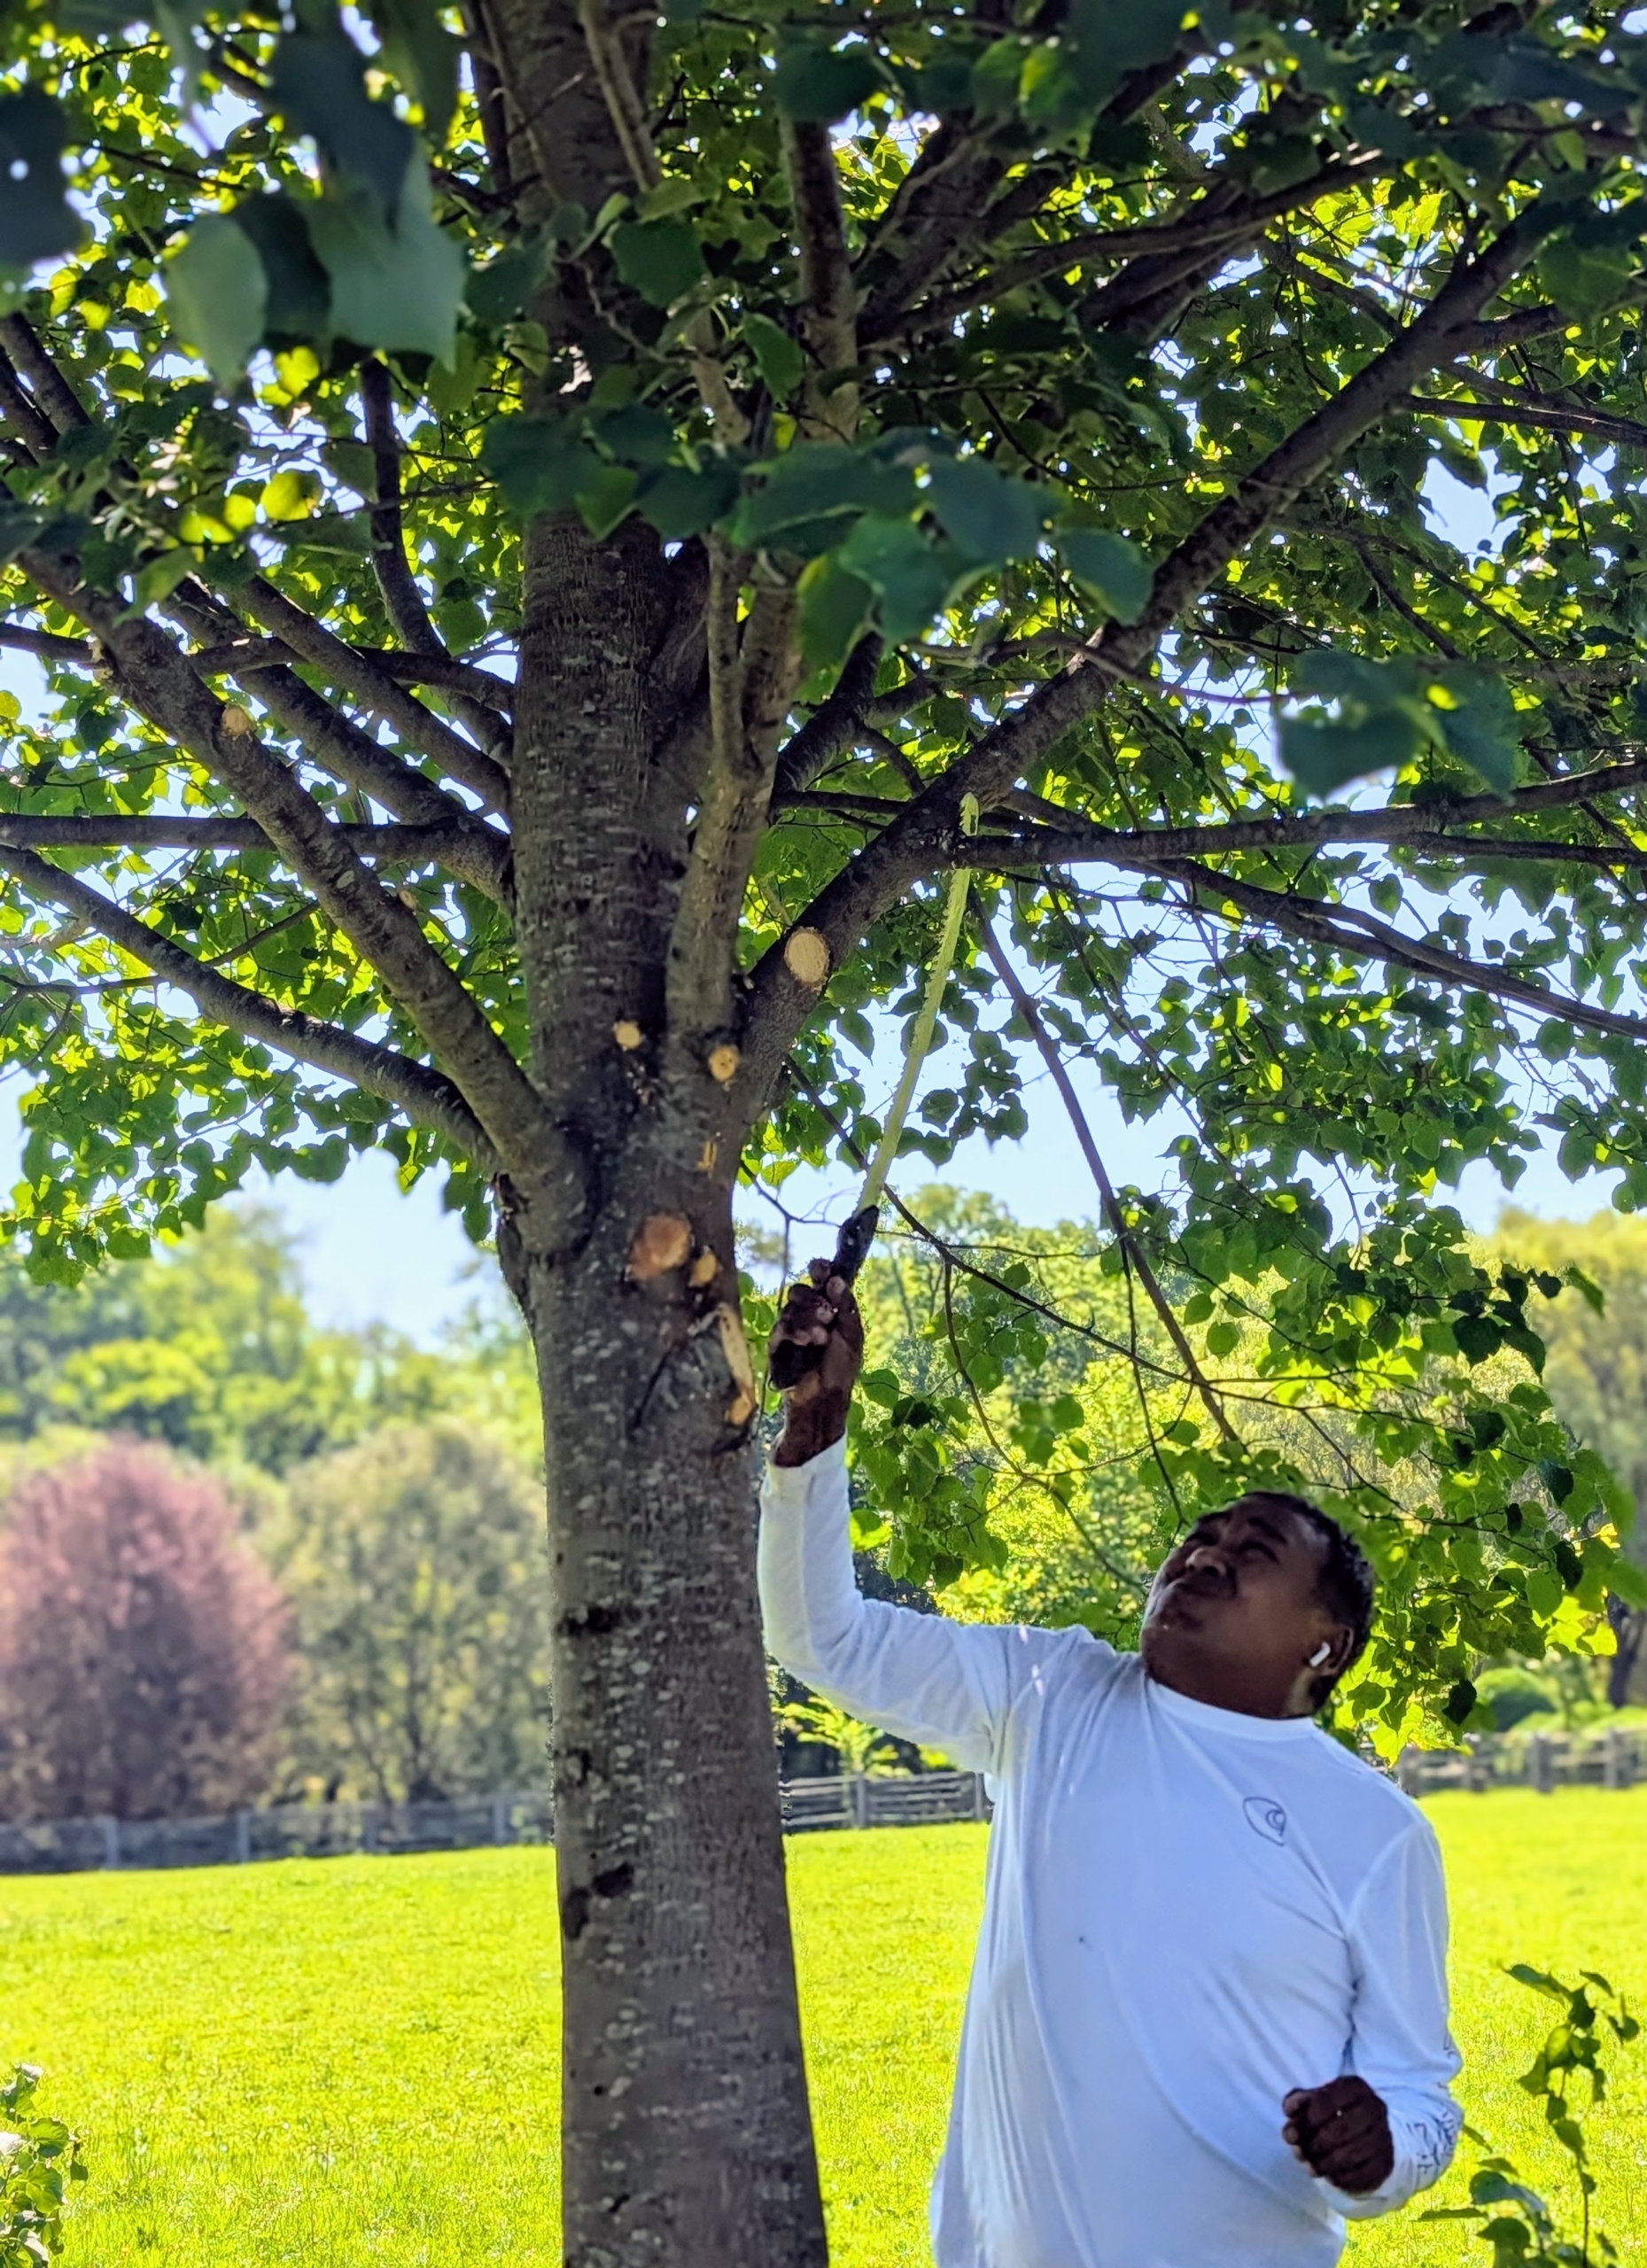
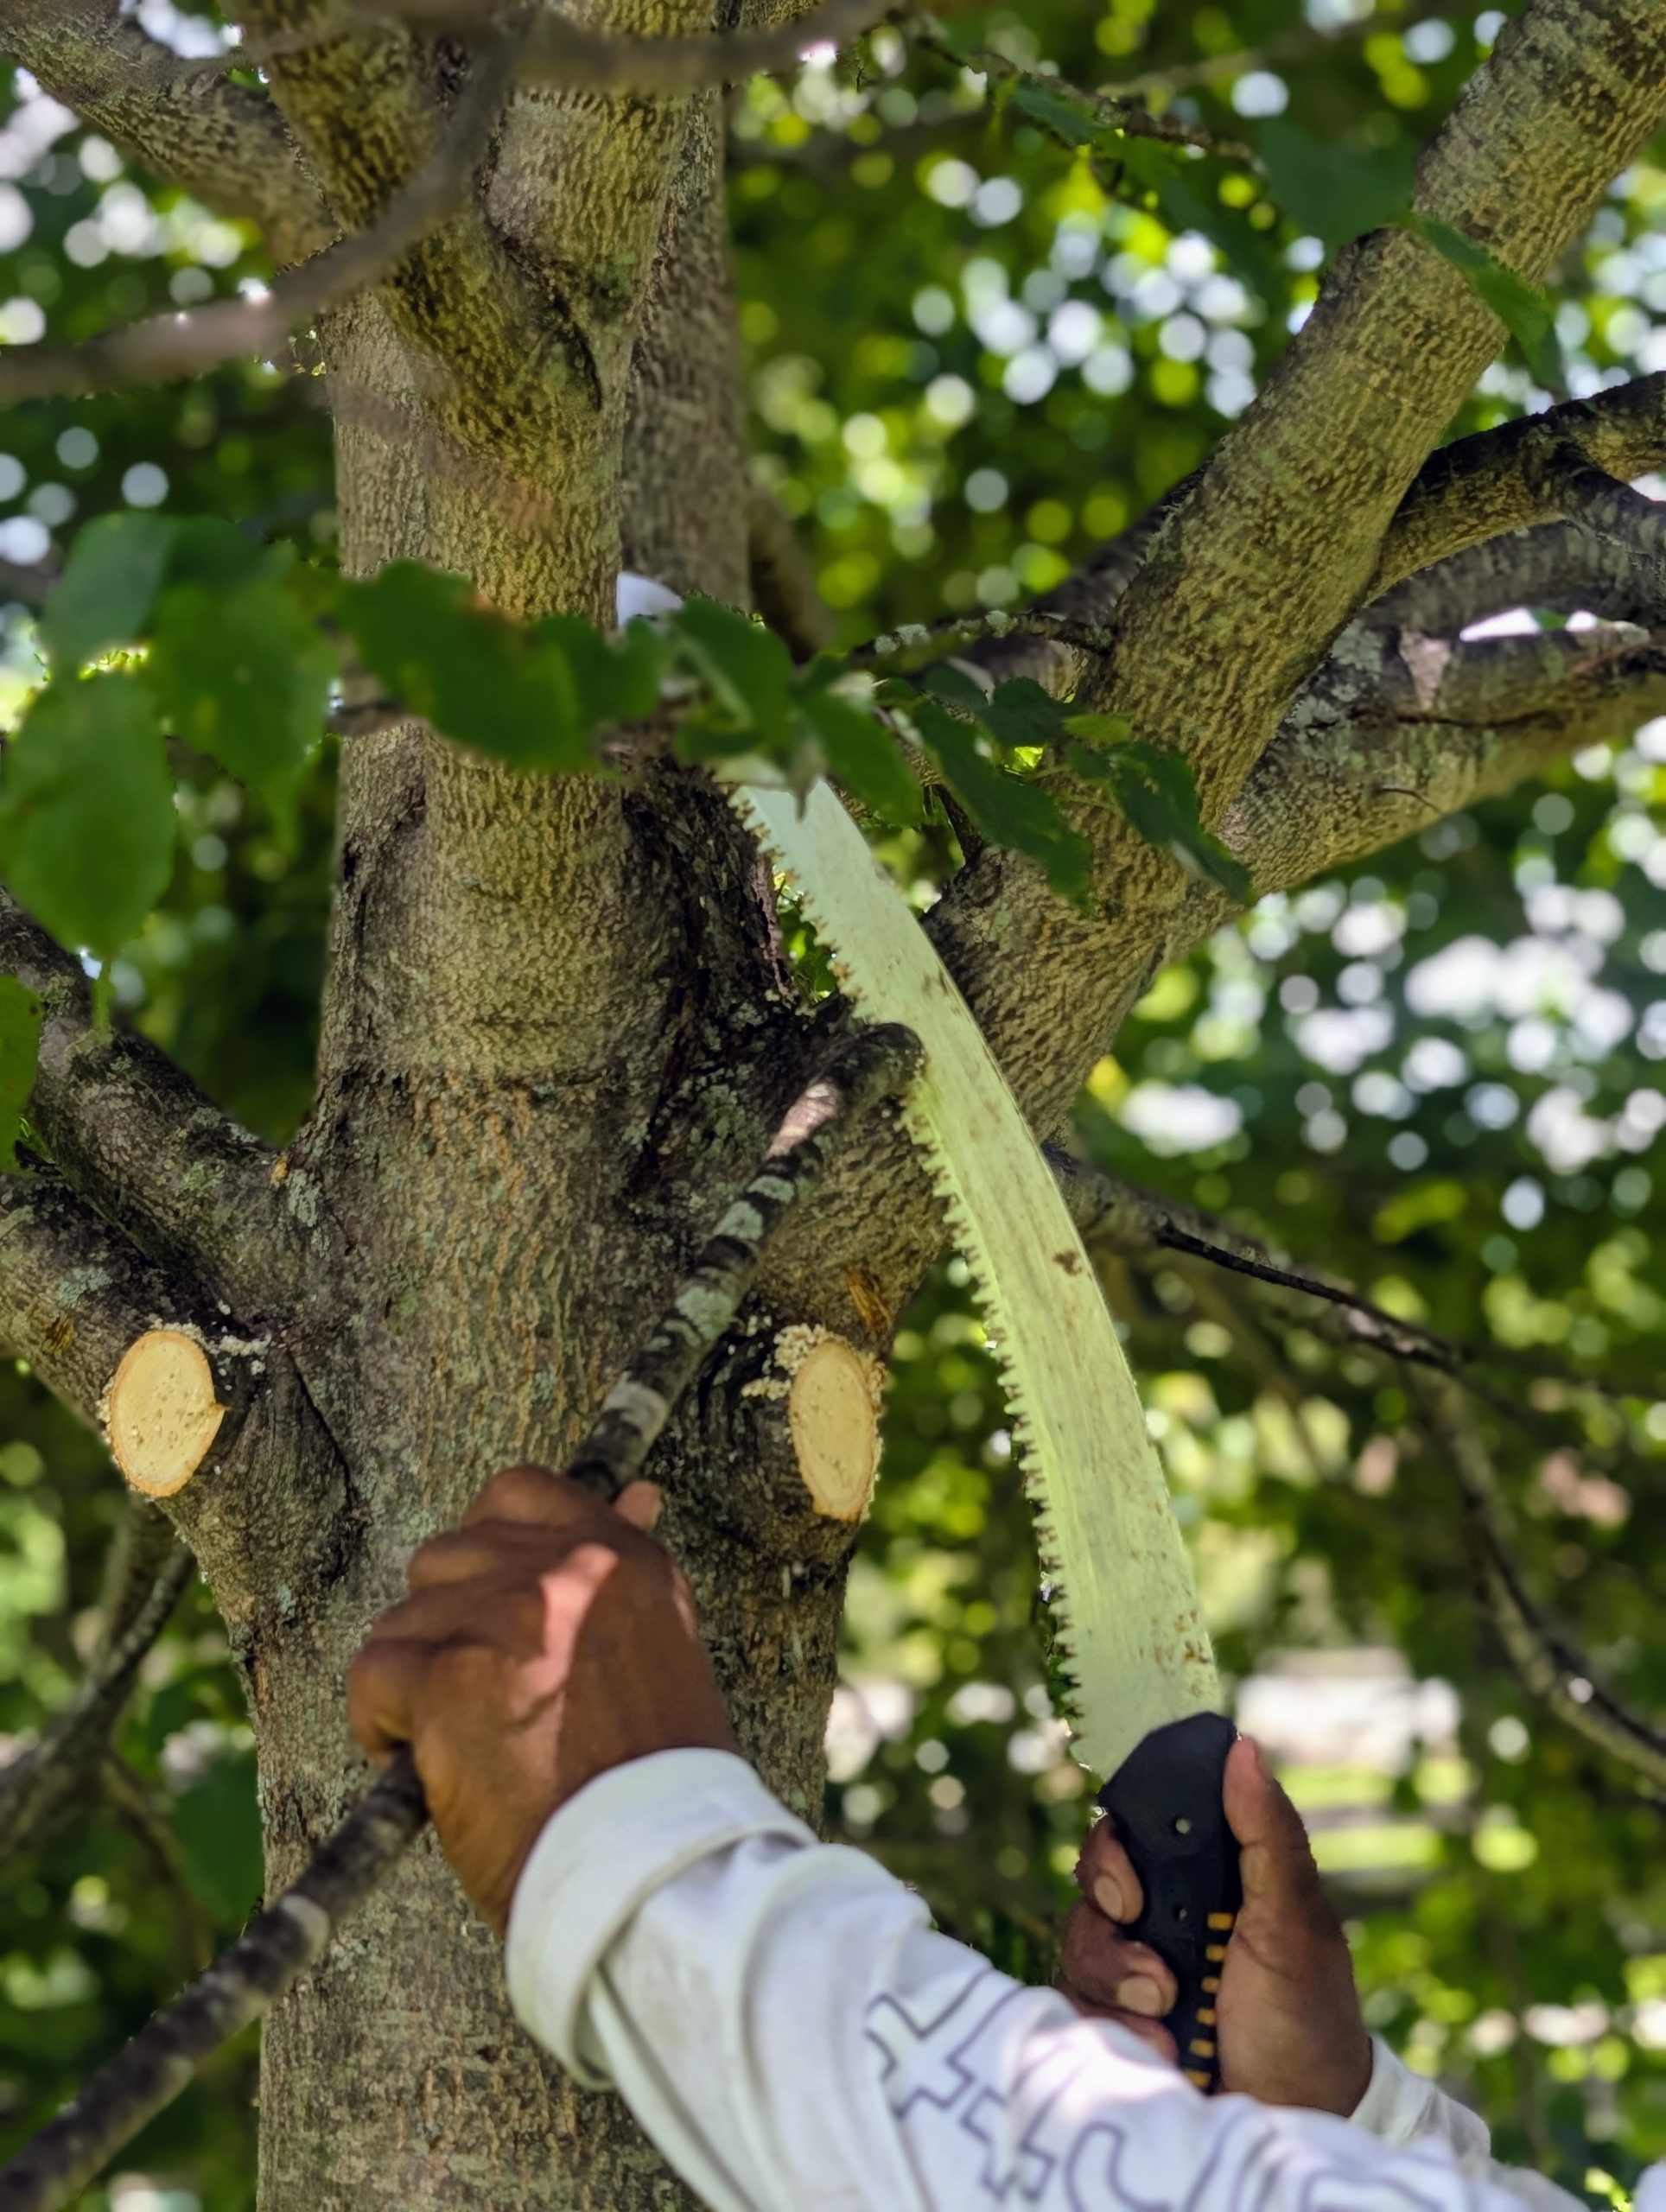
Pete uses his hand tree saw carefully cutting from the bottom most branches up.
It is important to always use sharp tools whenever pruning so that the cuts are clean. Dull tools are difficult to use and could even damage the tree. A straight, clean-cut promotes quick healing of the wound and reduces stress on the specimen.
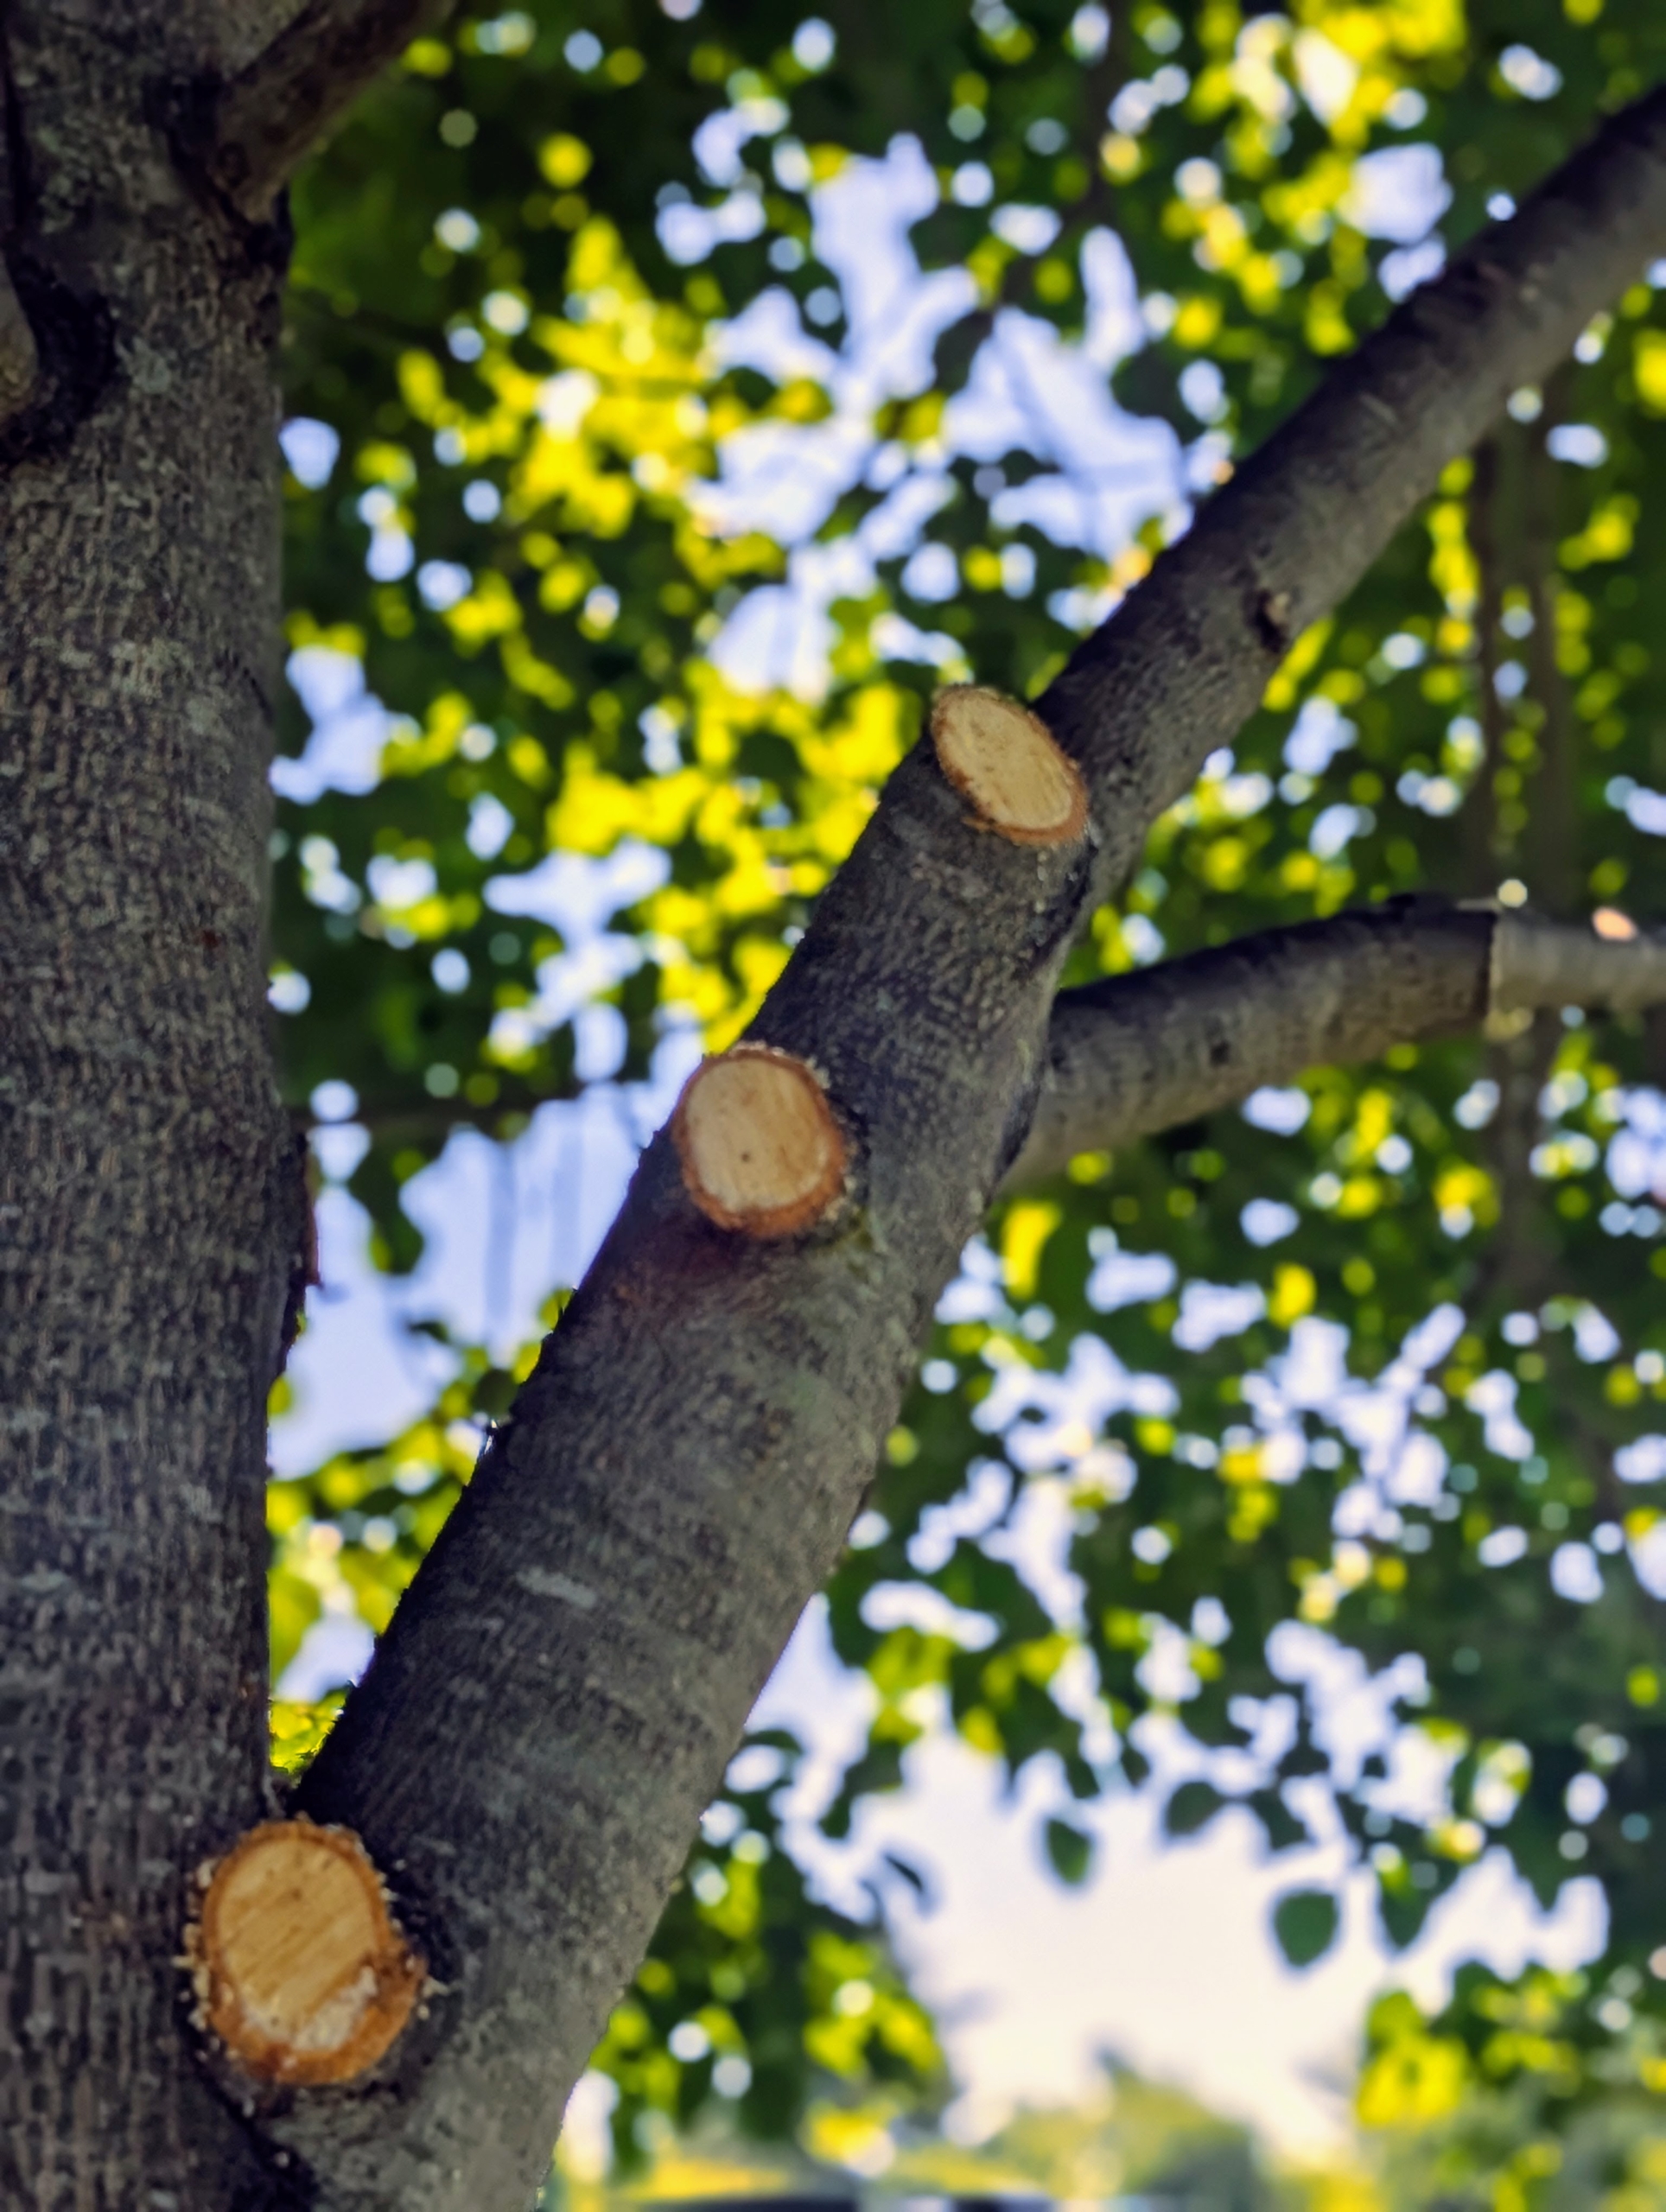
And new cuts are always made outside the branch collar at a 45 to 60 degree angle to the branch bark ridge.
I instructed Pete to make sure there was about 13 and a half feet of clearance under the trees. He uses the back of the Polaris off-road vehicle to safely cut what he cannot reach from the ground.
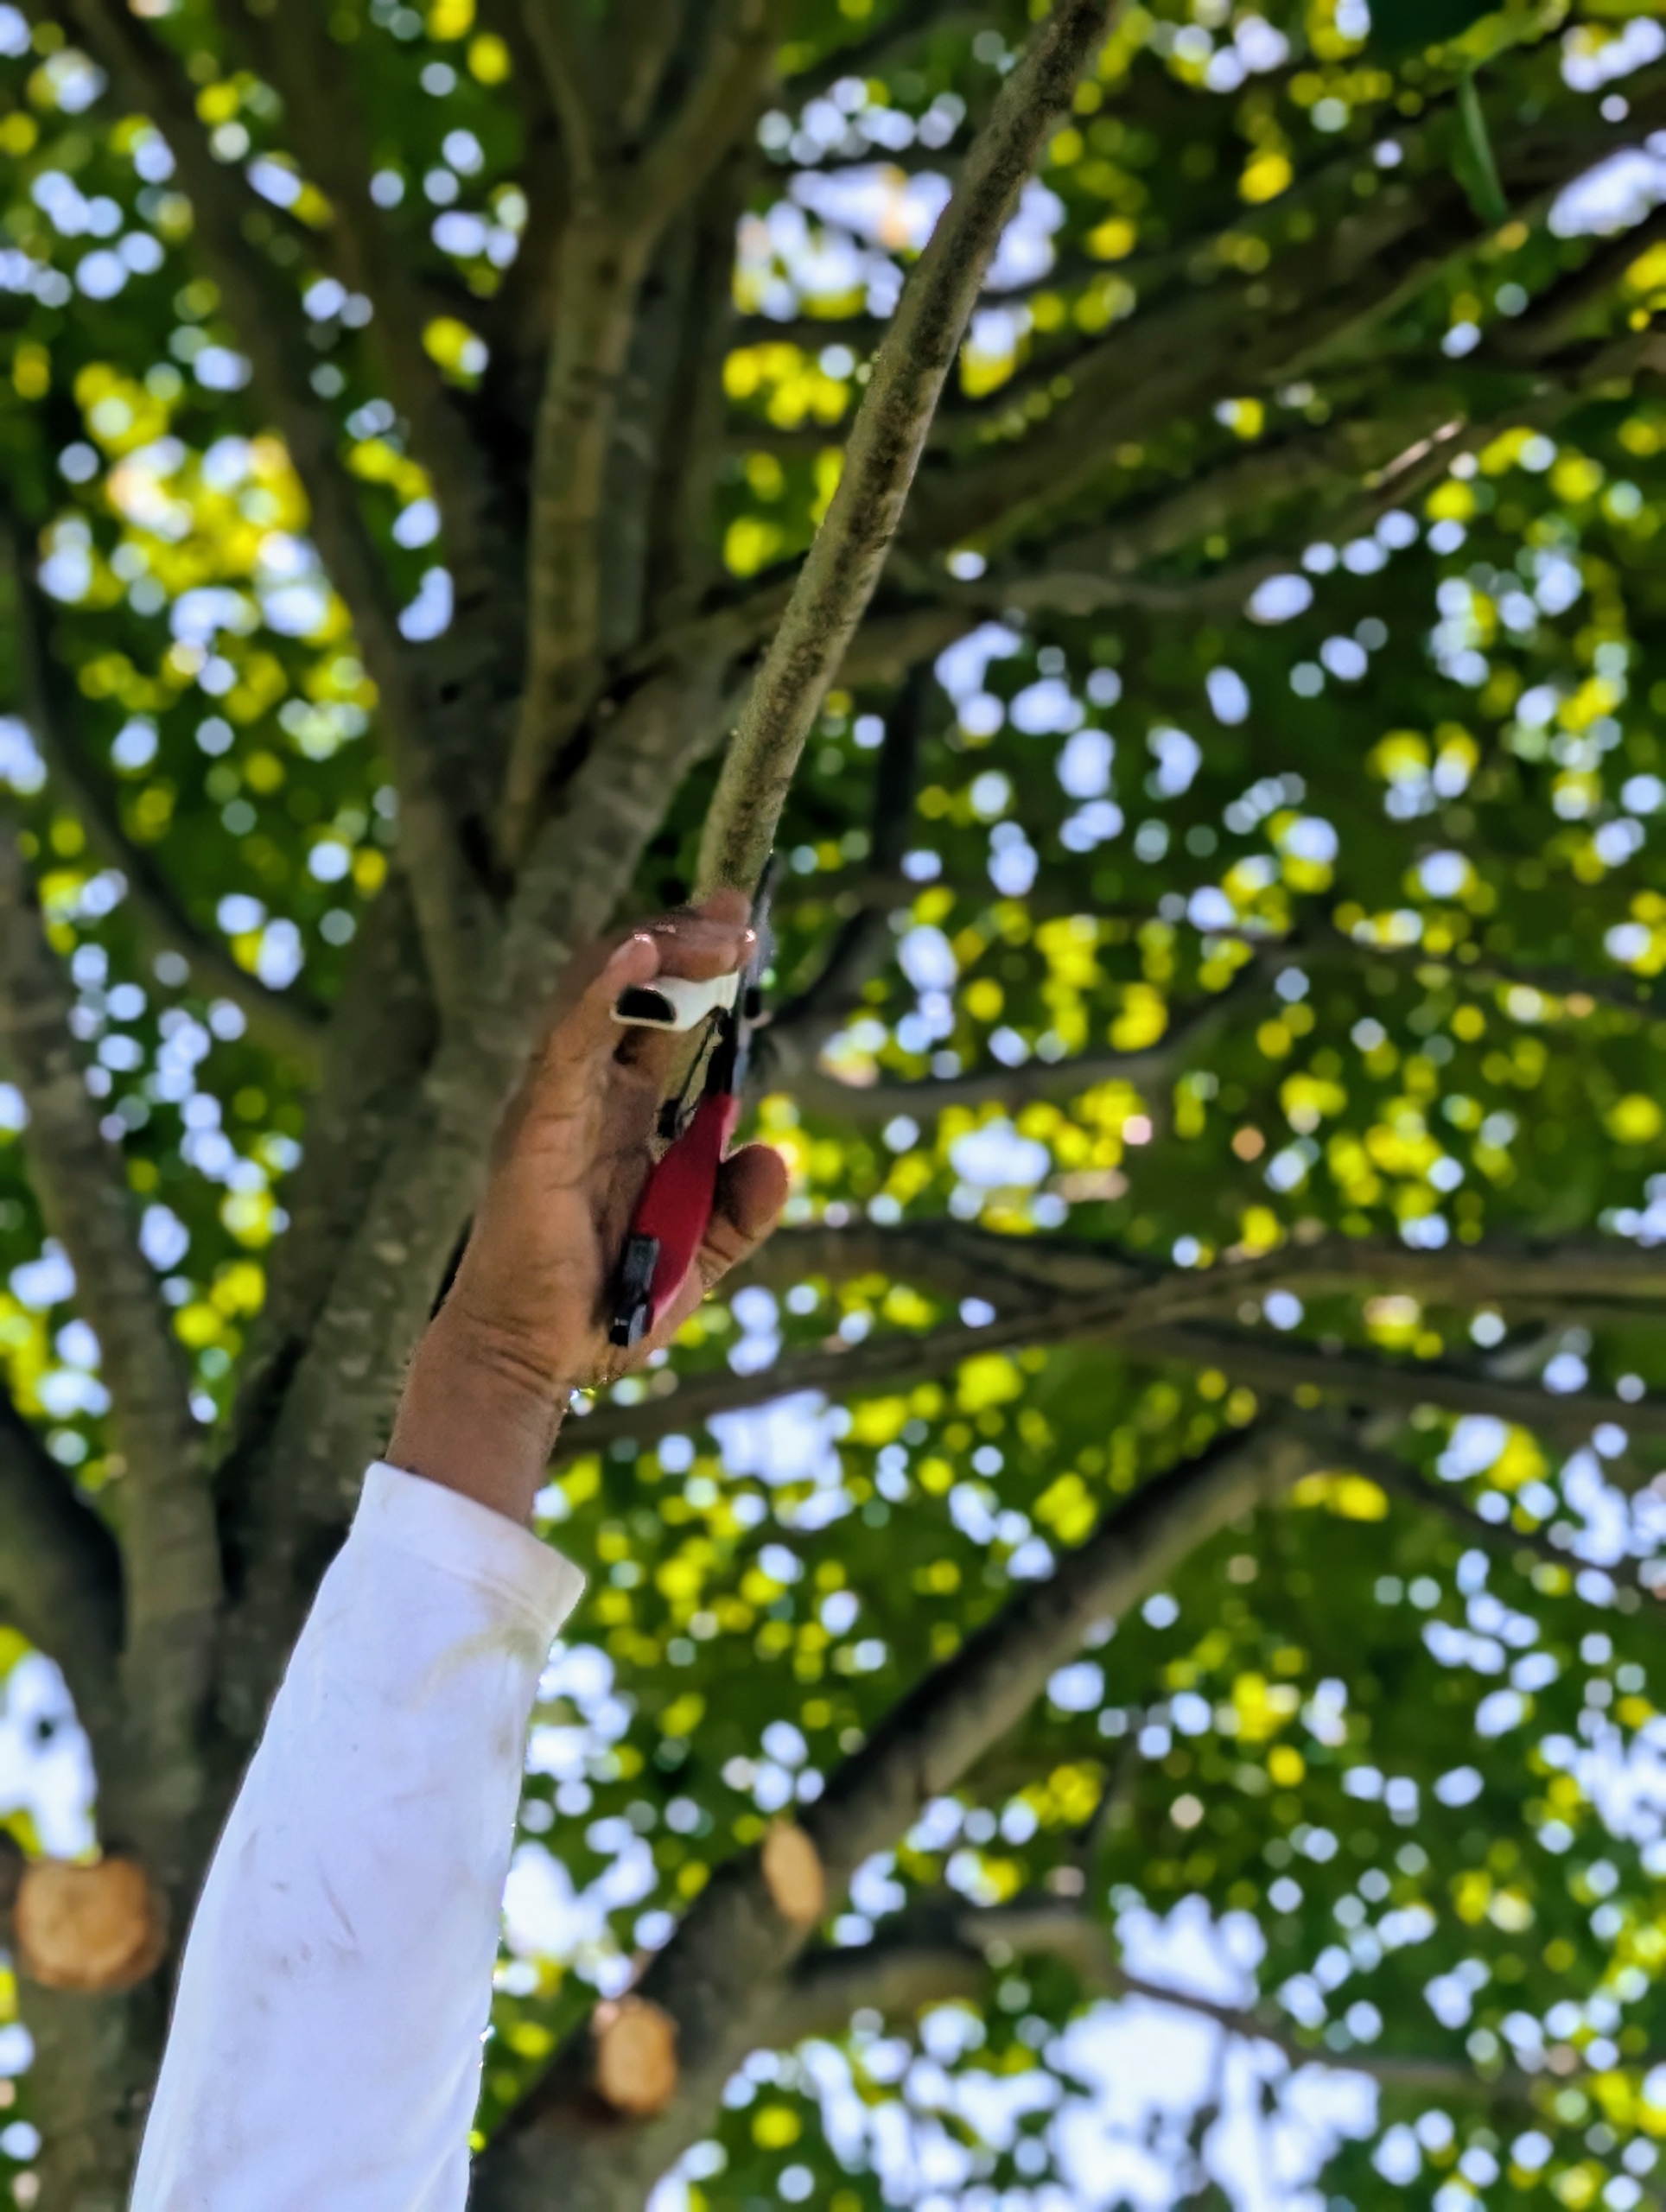
For small branches, Pete is able to use his sharp bypass Okatsune pruners.
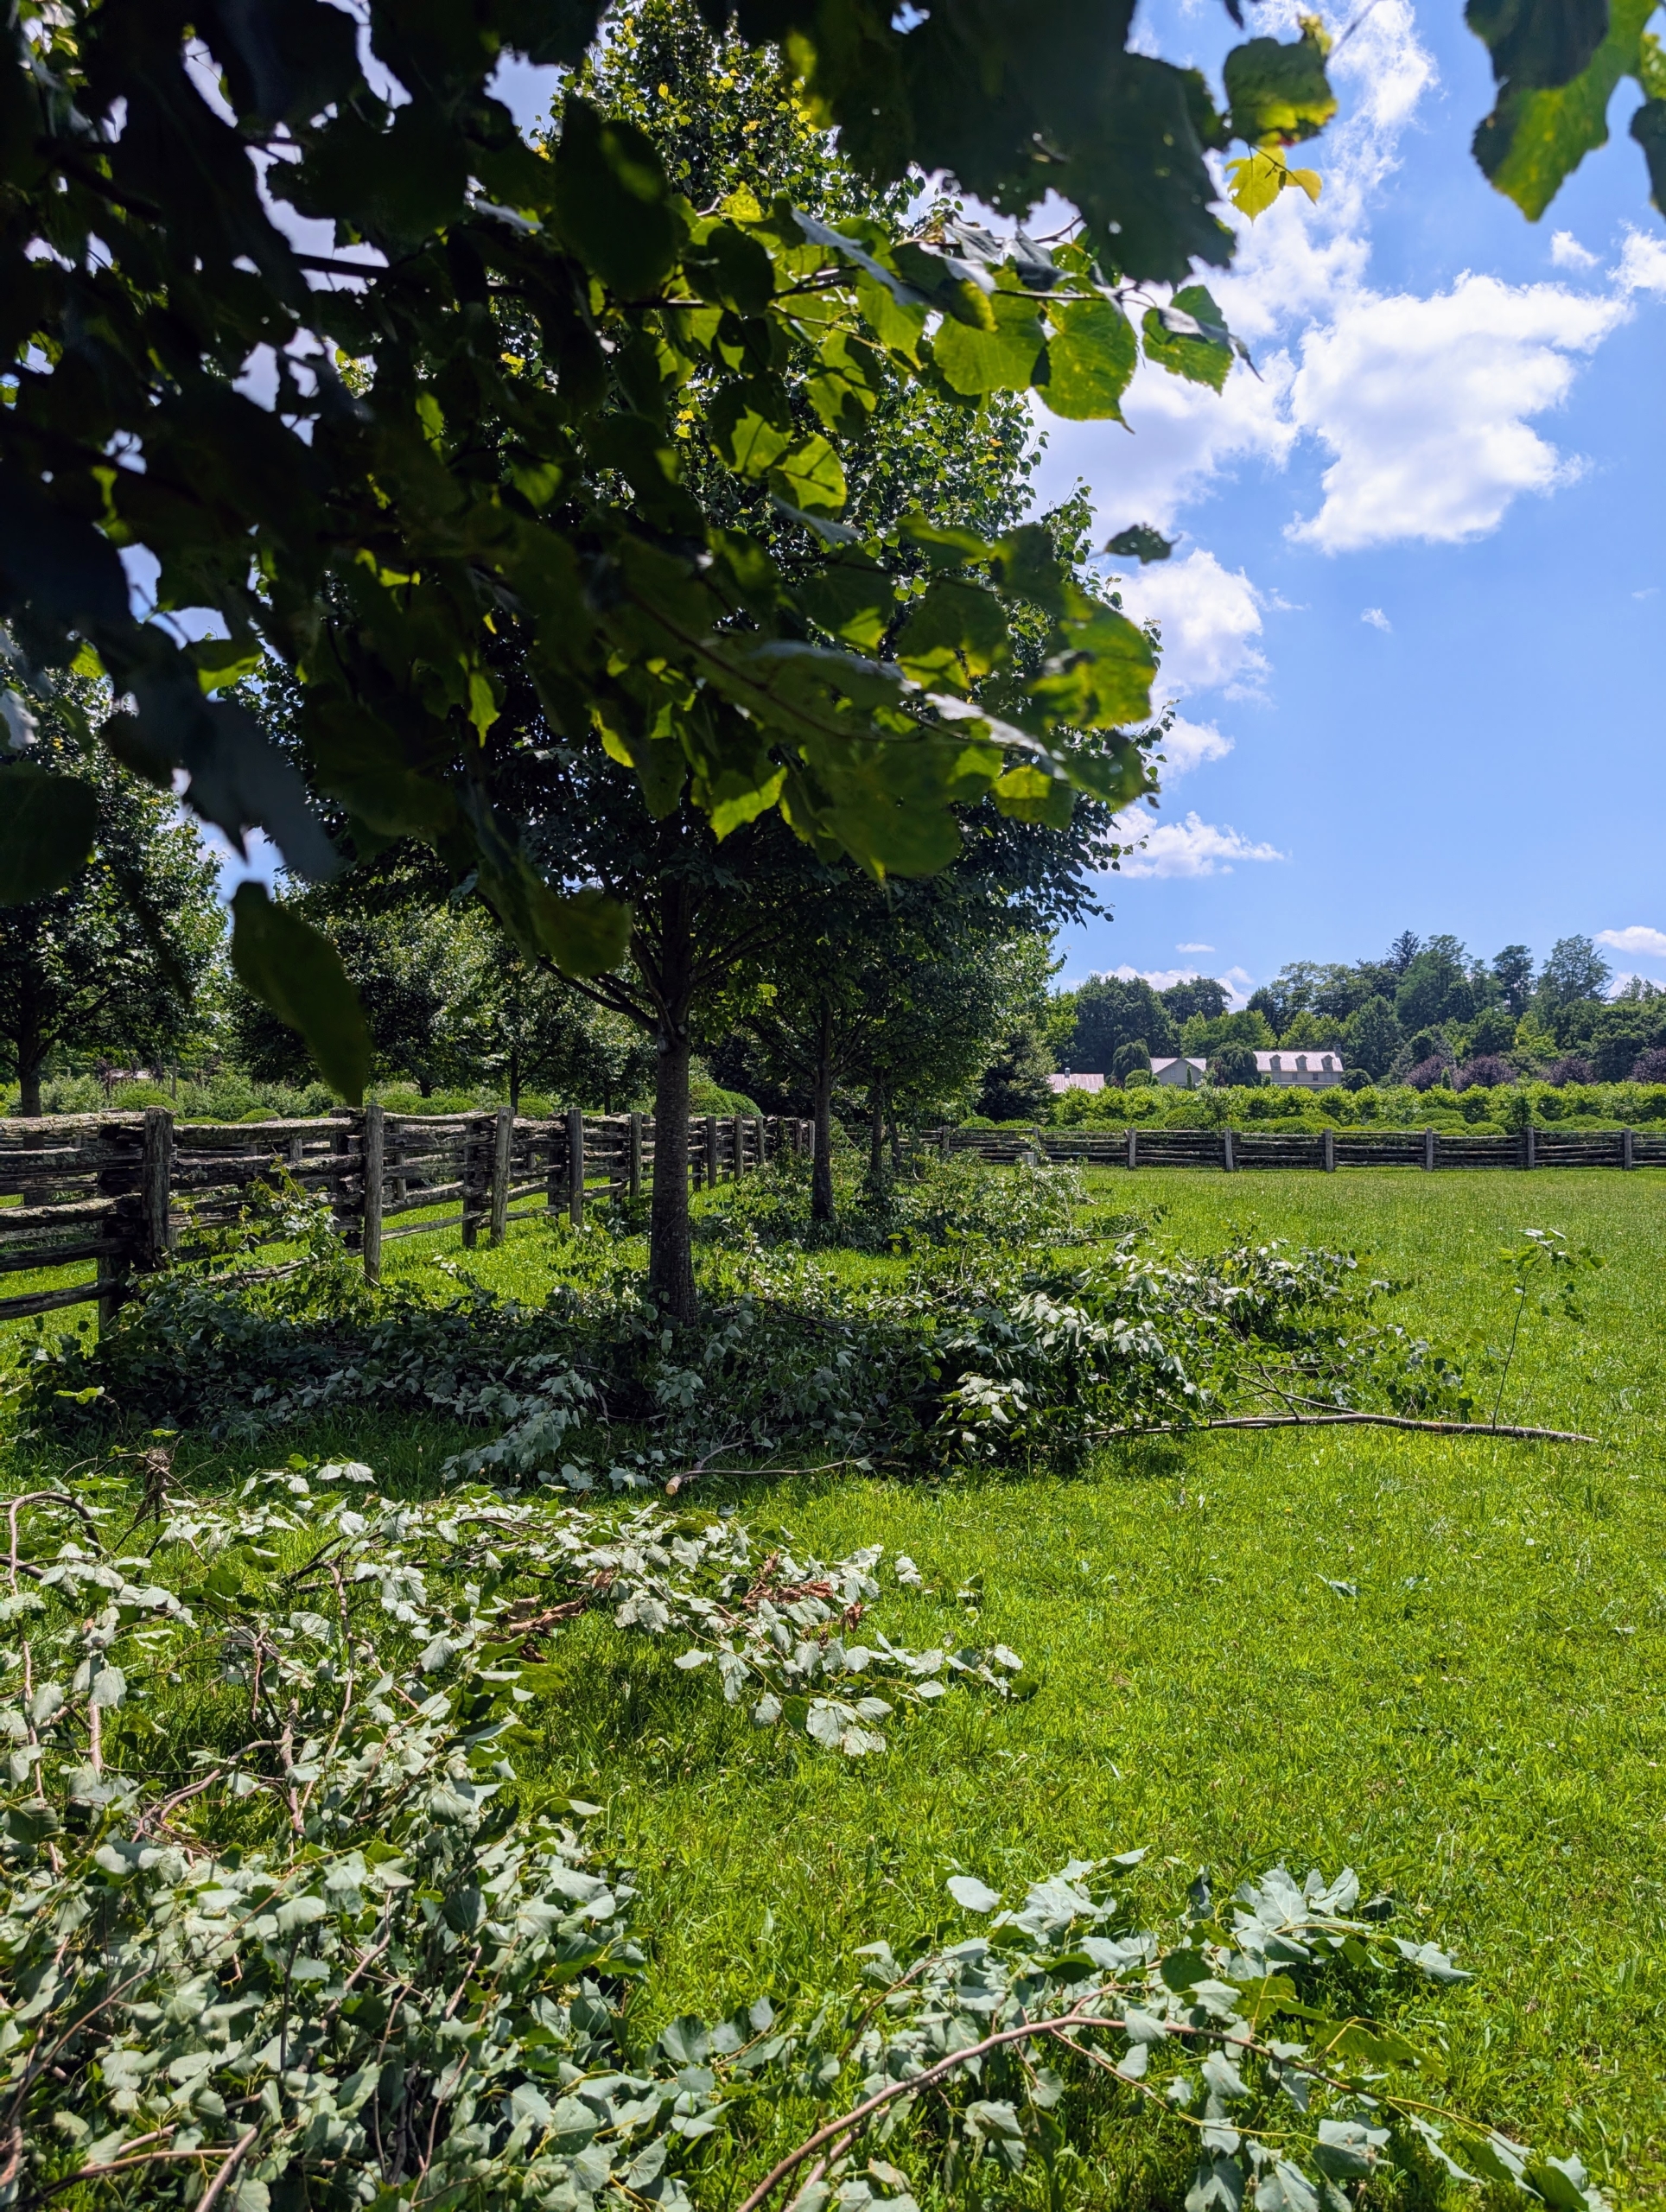
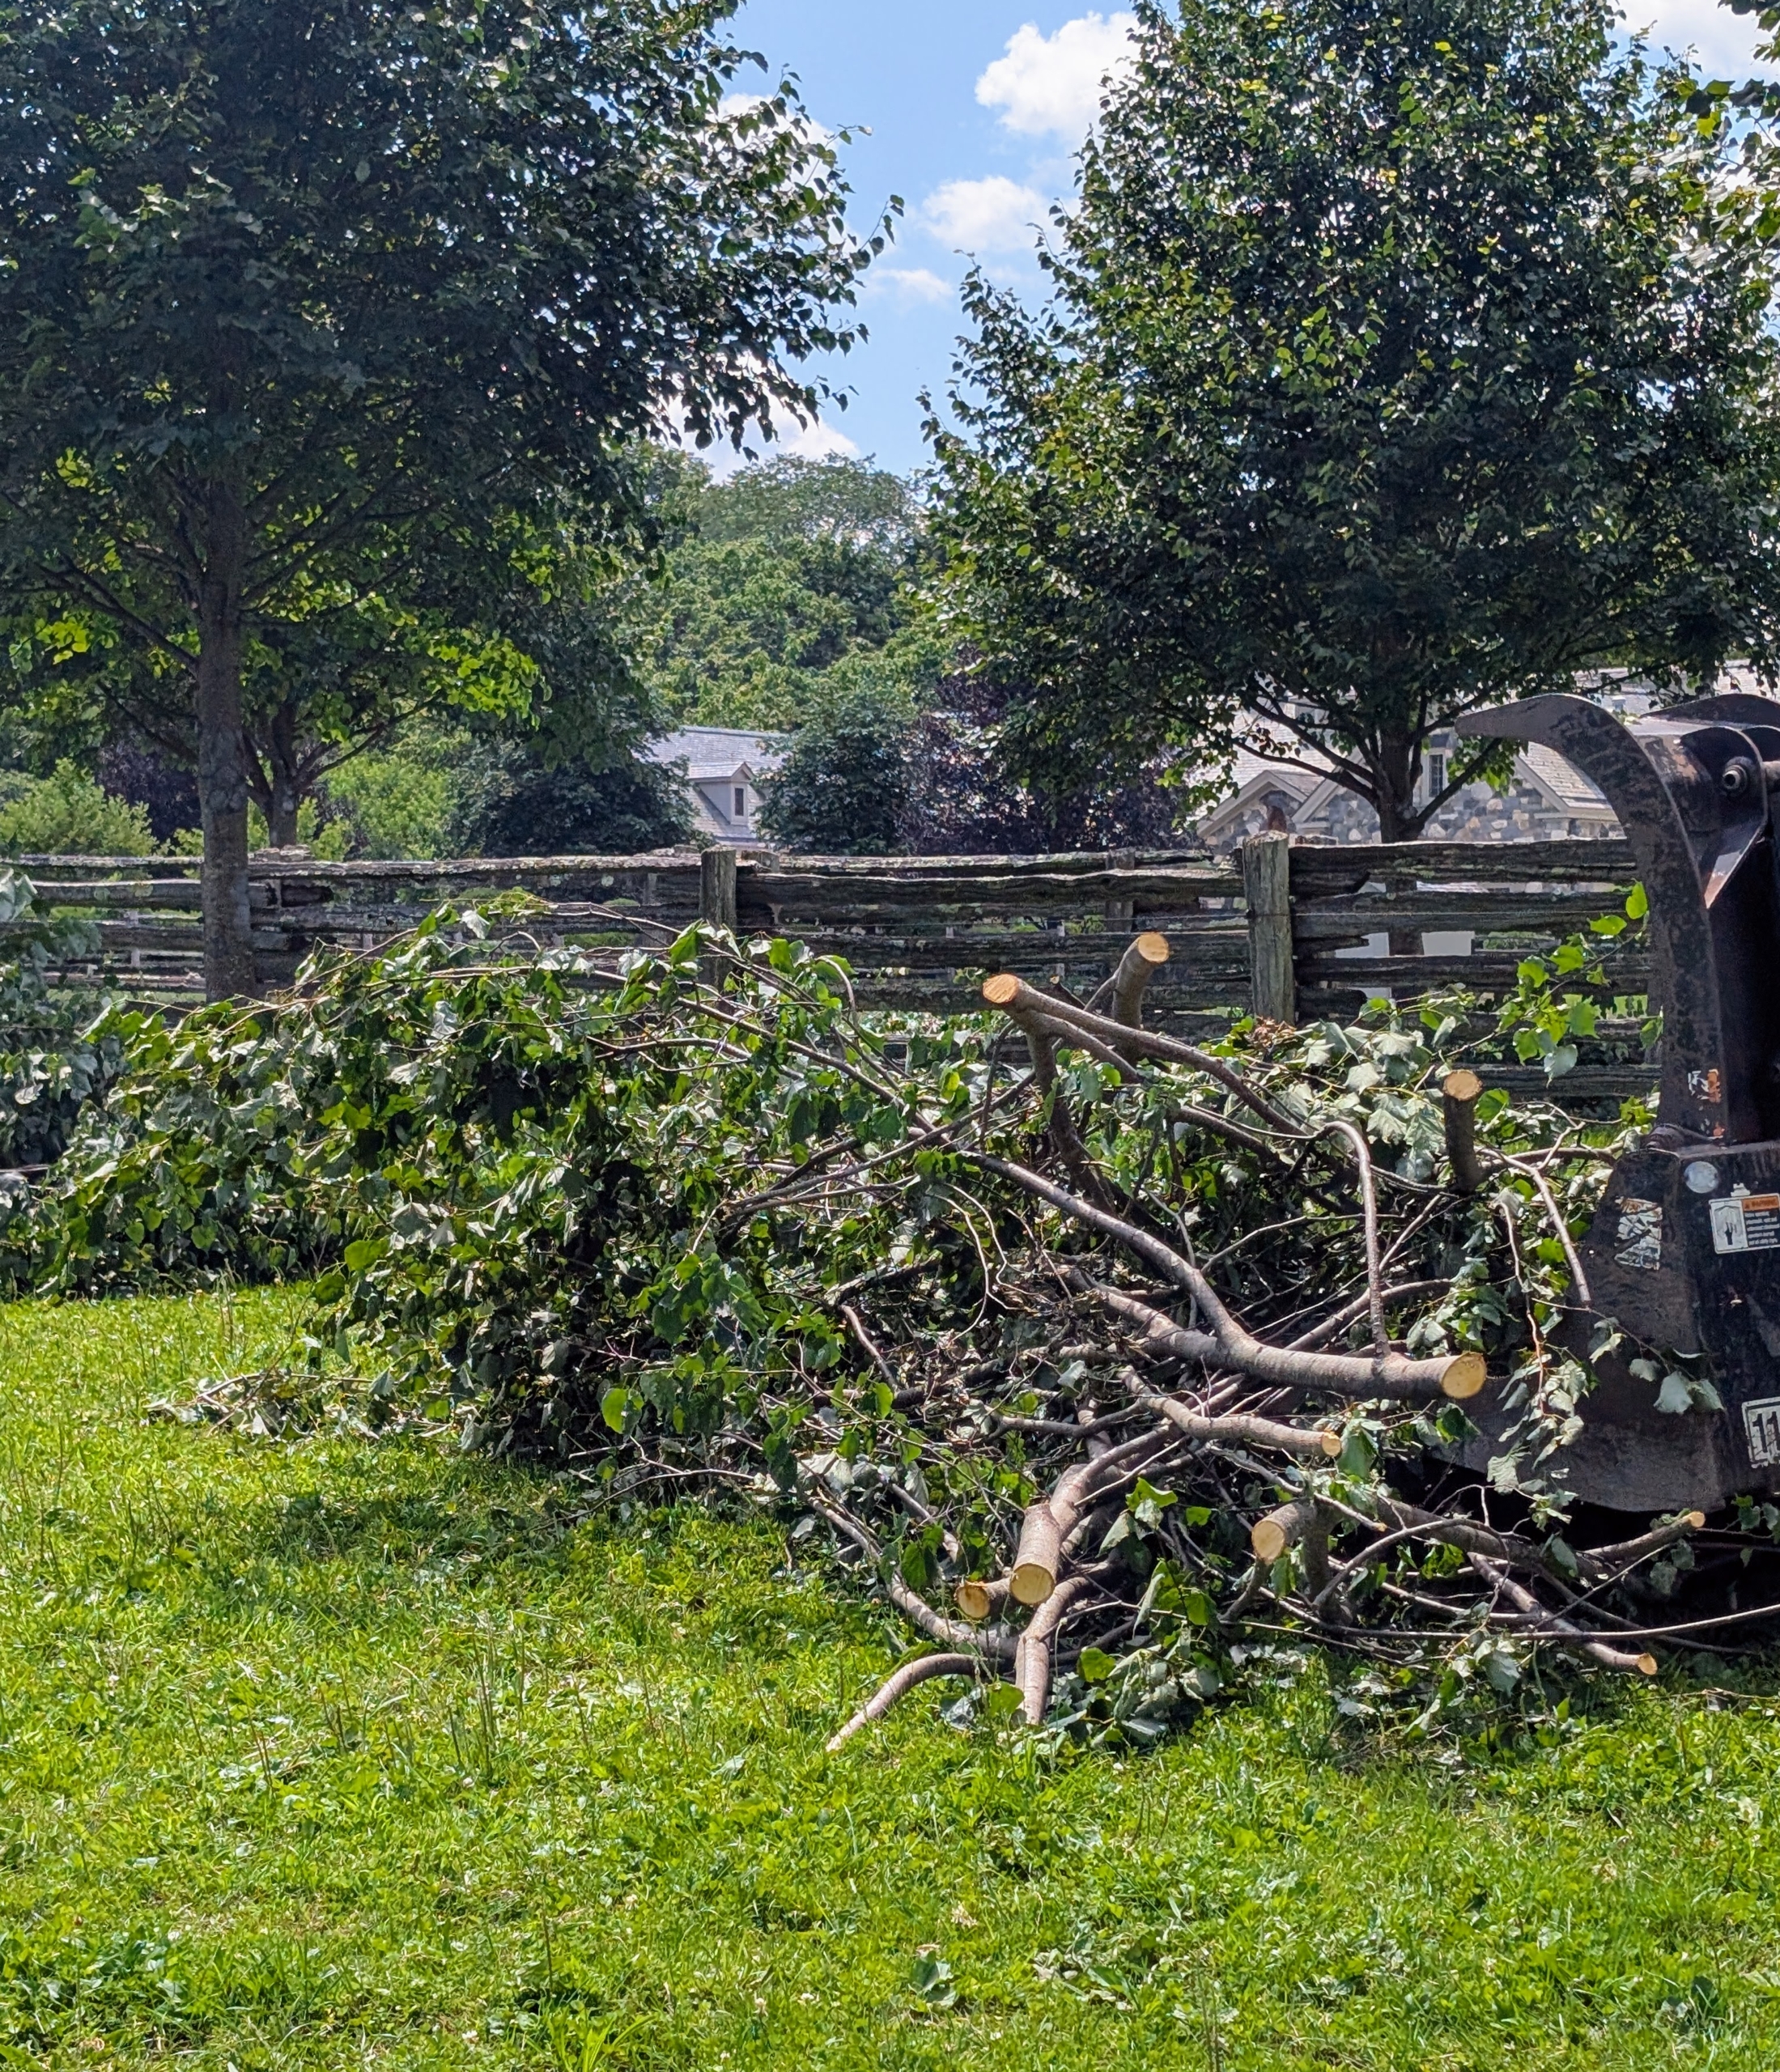
As branches are taken down, they’re gathered and placed into tidy piles, so they can be cleaned up easily and quickly. After the job is done the crew will chip the branches and use the wood chips as top dressing in another area of the farm. Everything is always reused, repurposed or recycled when possible.
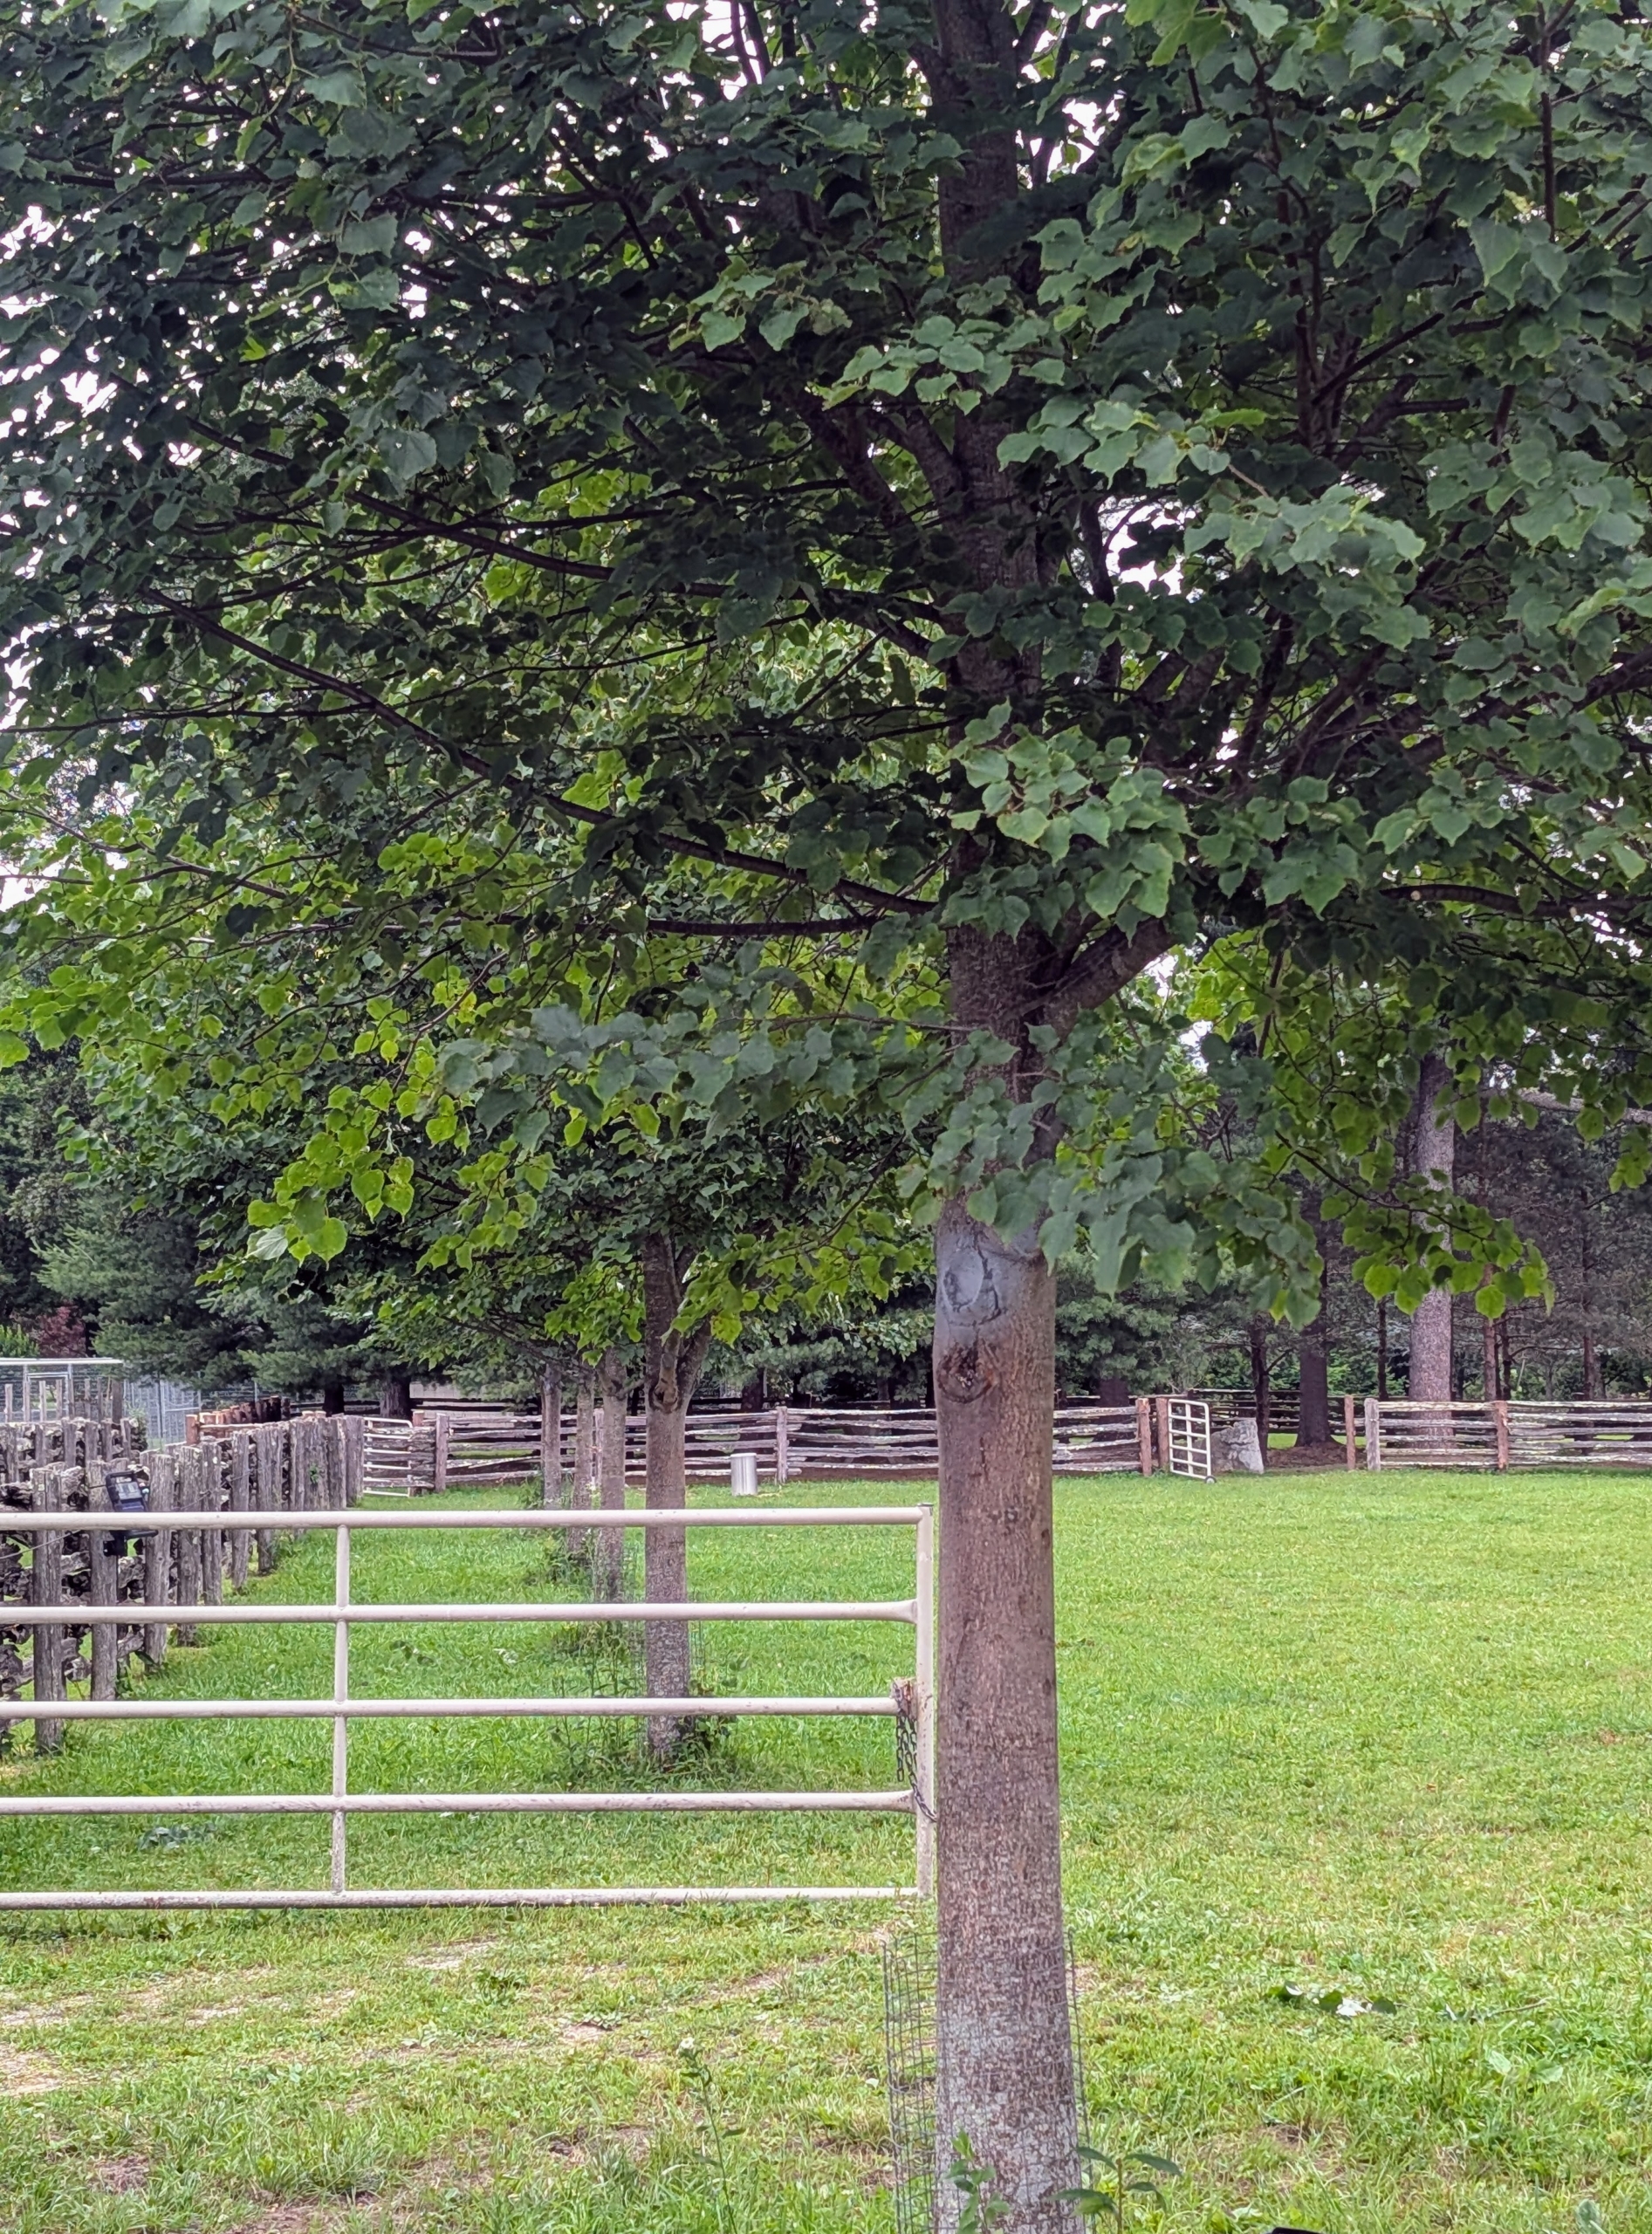
Once cut, there is still lots of shade, but the area is more accessible for my tall Friesians. There is light and air circulating through the allée, and one can see more clearly underneath the trees.
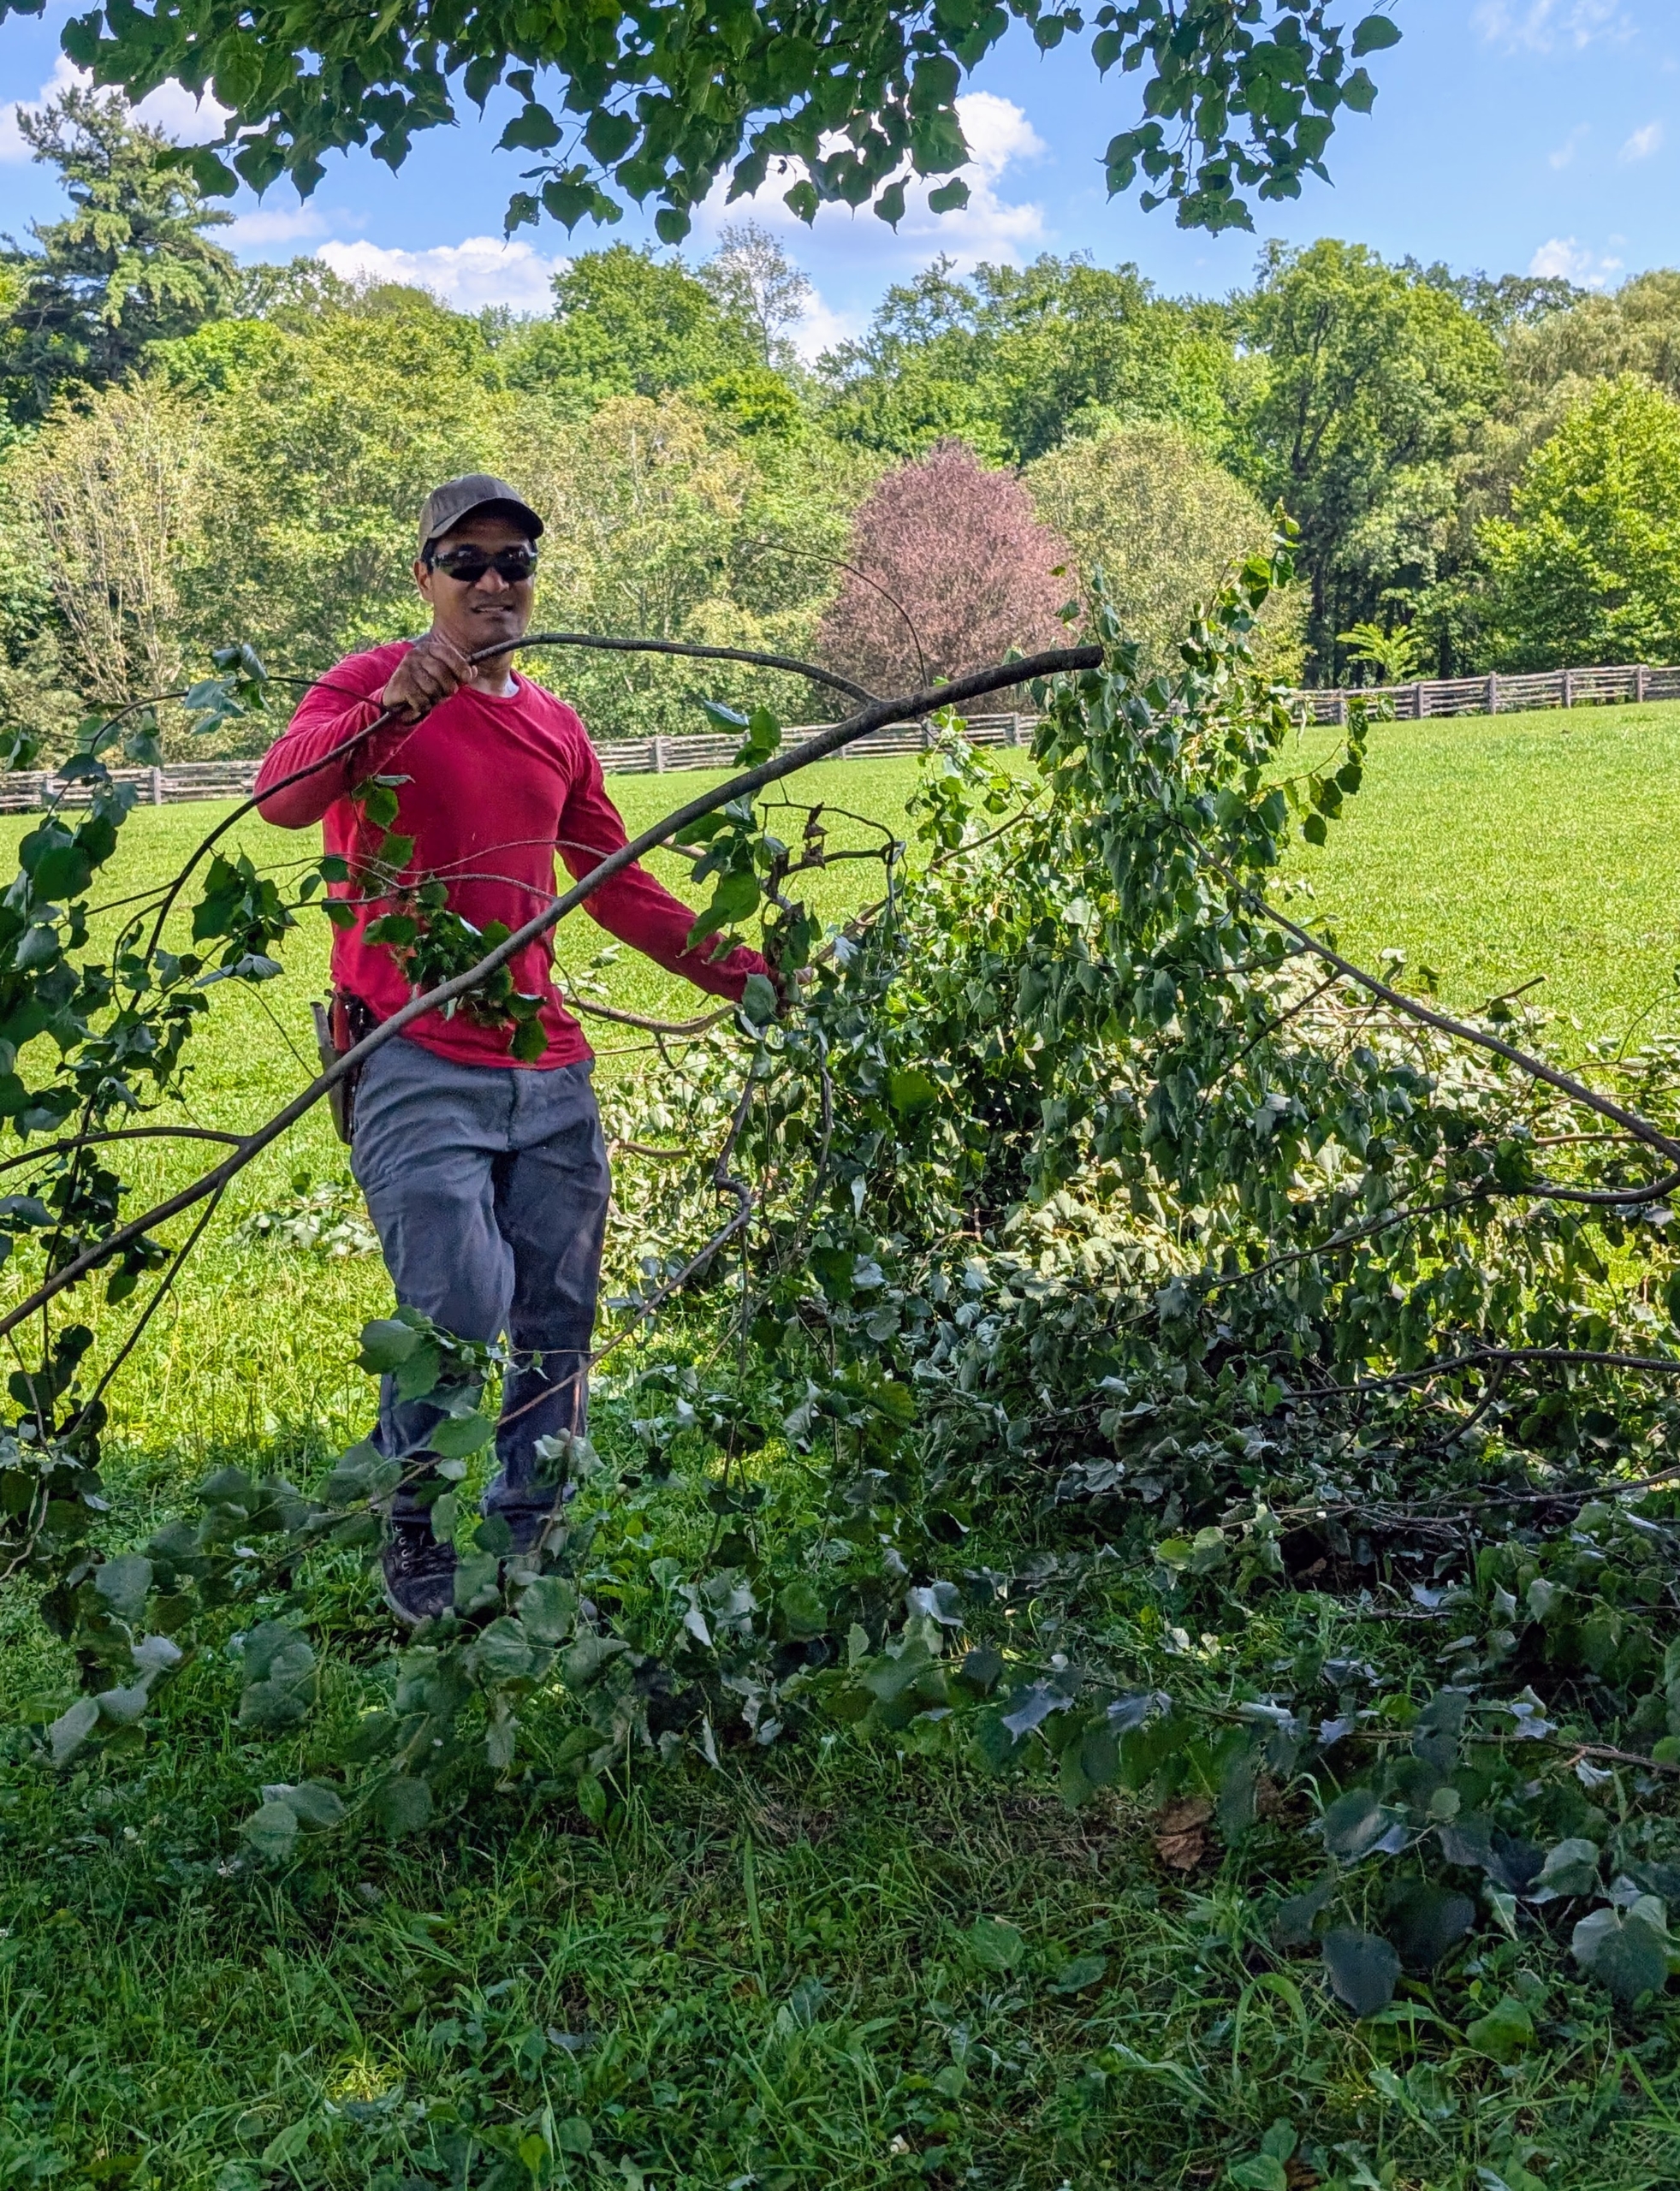
Pasang, my resident tree expert, comes by to help gather all the branches. My crew always works in teams, so there is always help for every project.
The branches are manually picked up and placed into the tractor’s loader bucket.
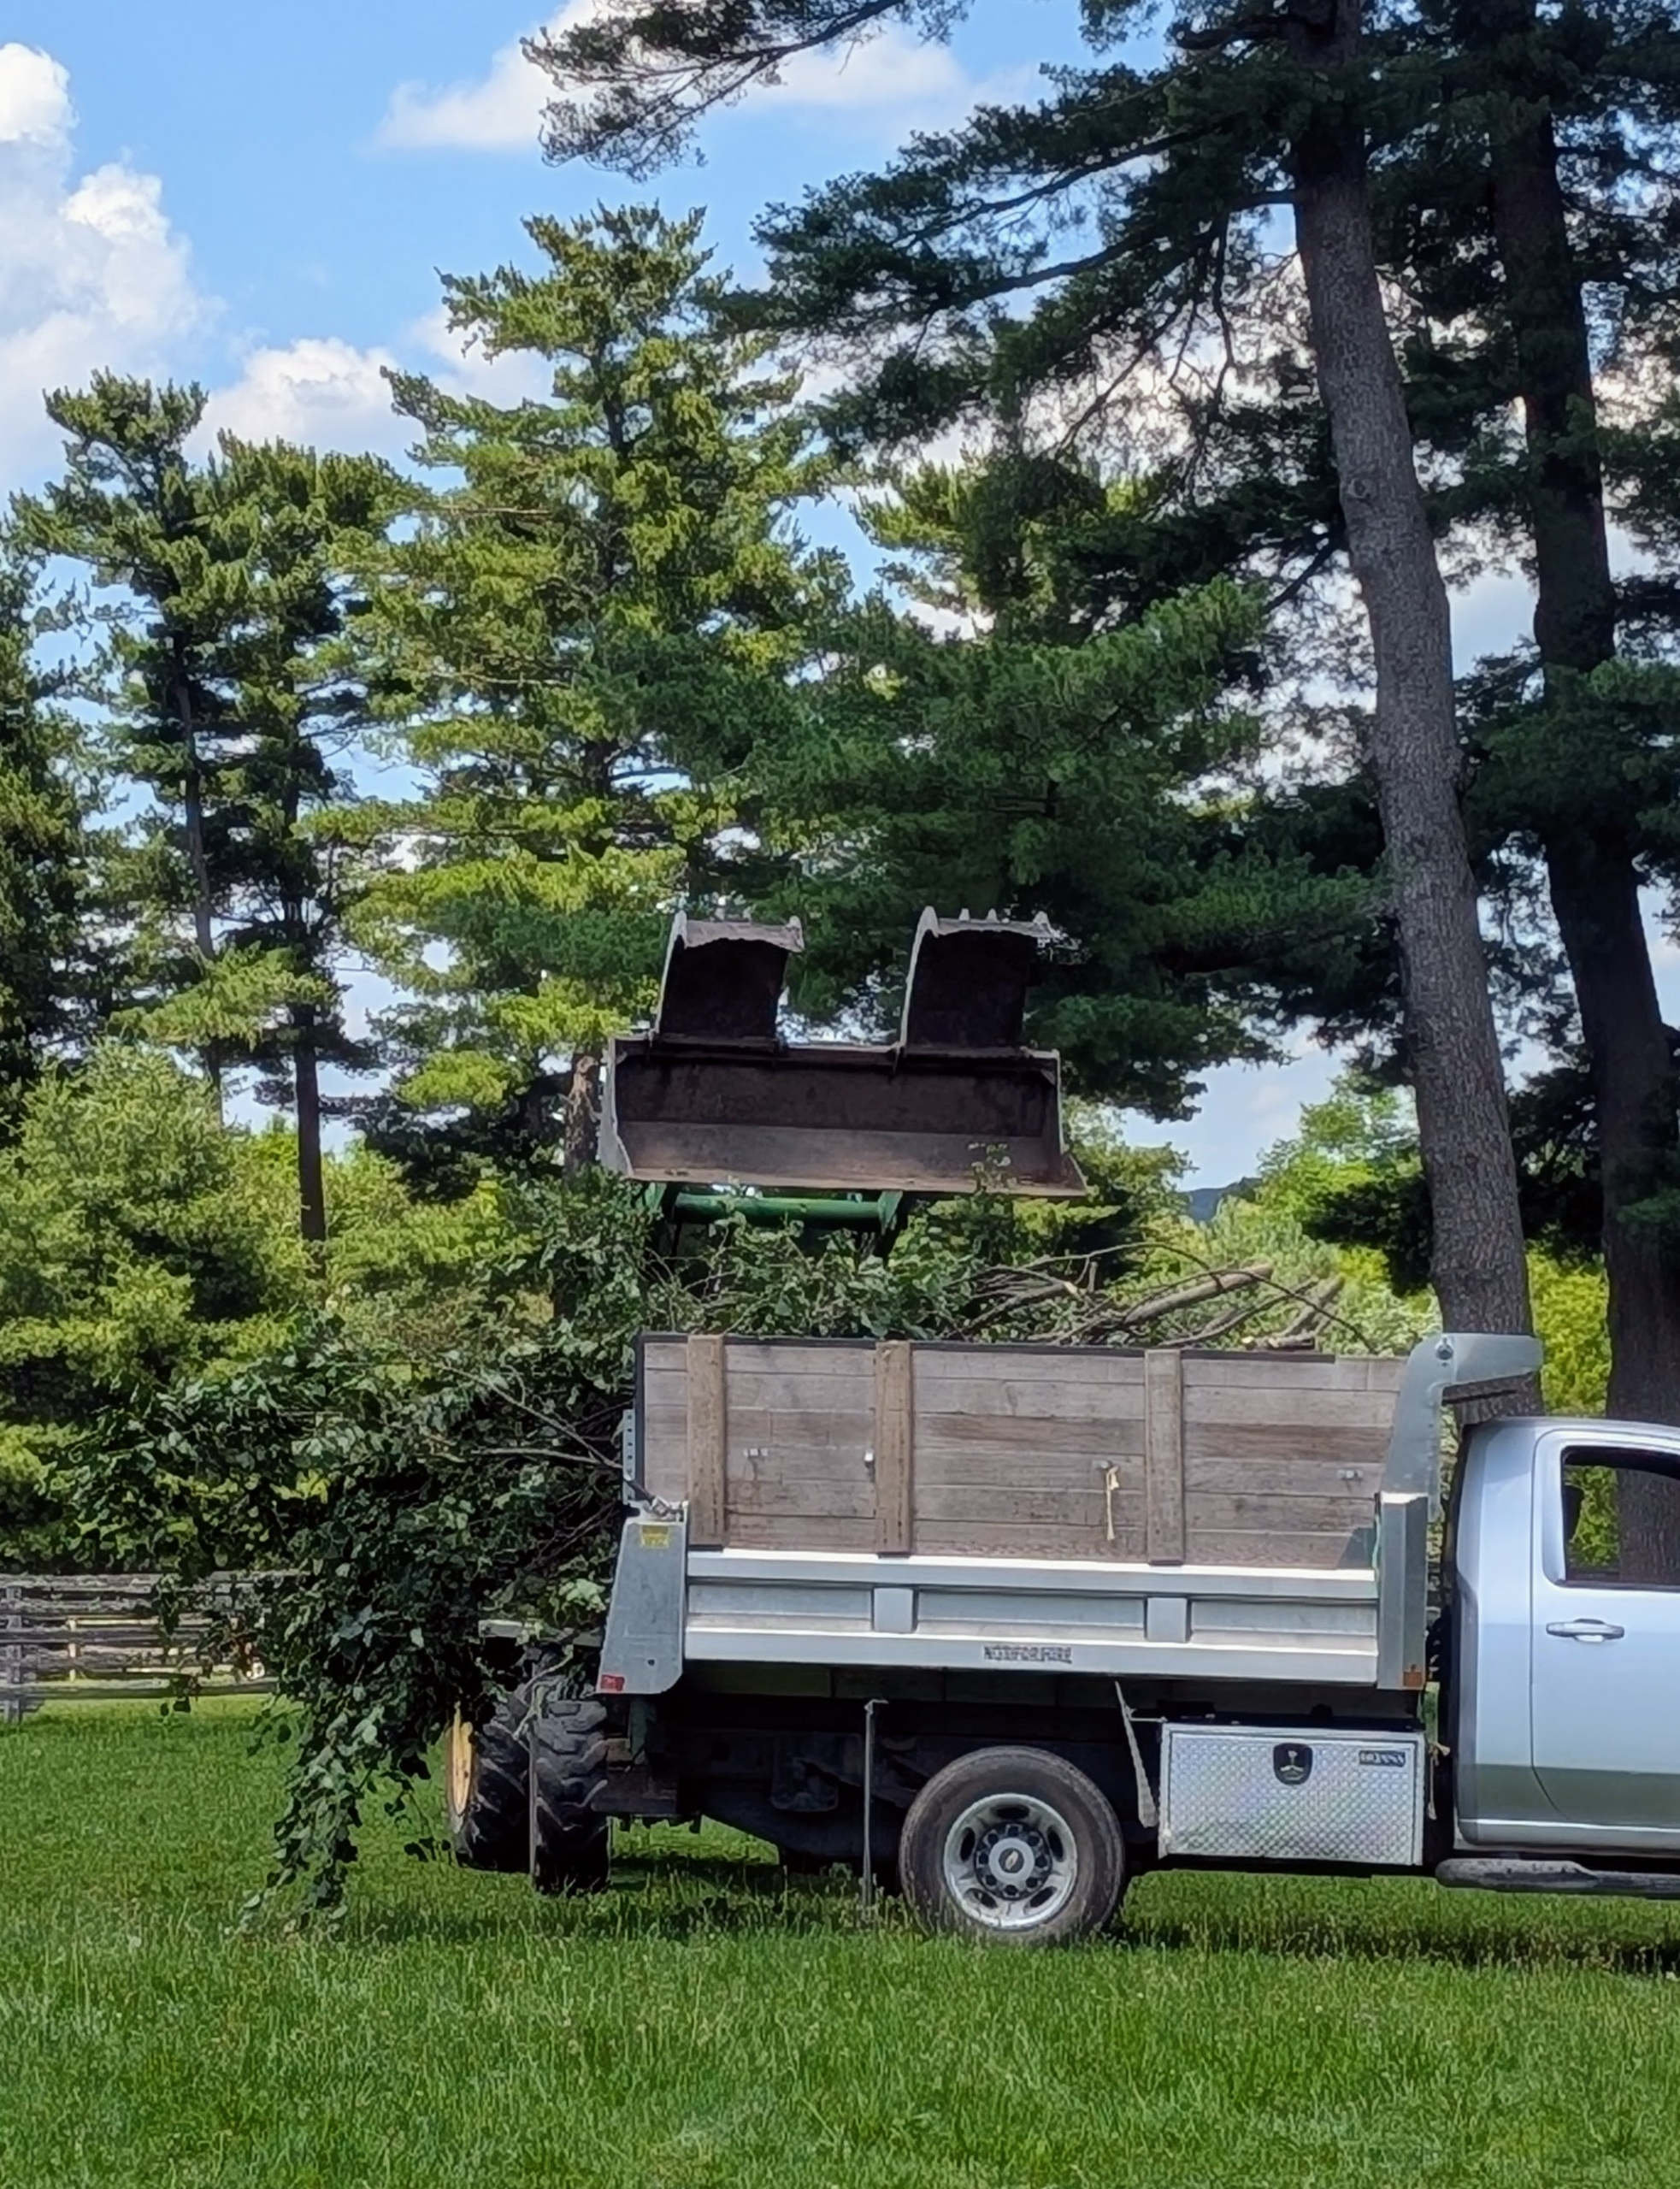
The branches are then carefully dropped into the back of my dump truck and taken to the back compost yard where they will await chipping.
Regular and thorough pruning will also give the branches more room to grow. When mature, lindens reach 50 to 80 feet in height with a spread of 35 to 50 feet. Its growth rate is about 13 to 24 inches a year.
This entire process takes a couple of days to do properly by hand, but it is all worth the efforts to have well-manicured, healthy trees.
And here are two of my handsome boys. I am sure they will appreciate the job well done.
I also like the branch cutoff areas to be colored, so they are not visible. Notice, the cut in this photo. A little dark spray paint disguises the new cut until it ages and turns gray on its own.
Remember, this is what it looked like before – overcrowded branches too low for my horses.
And this is how they look after – much better.
Linden trees typically live 50 to 150 years – maybe even longer with good, consistent care.
If you live anywhere near Maman, the American French-inspired chain of bakery-cafés open in several states, Washington, D.C., and Canada, please stop in and try one of the five newest menu items! Maman and I have teamed up for a year-long collaboration that now includes some of my own favorite savory and sweet treats at all their shops!
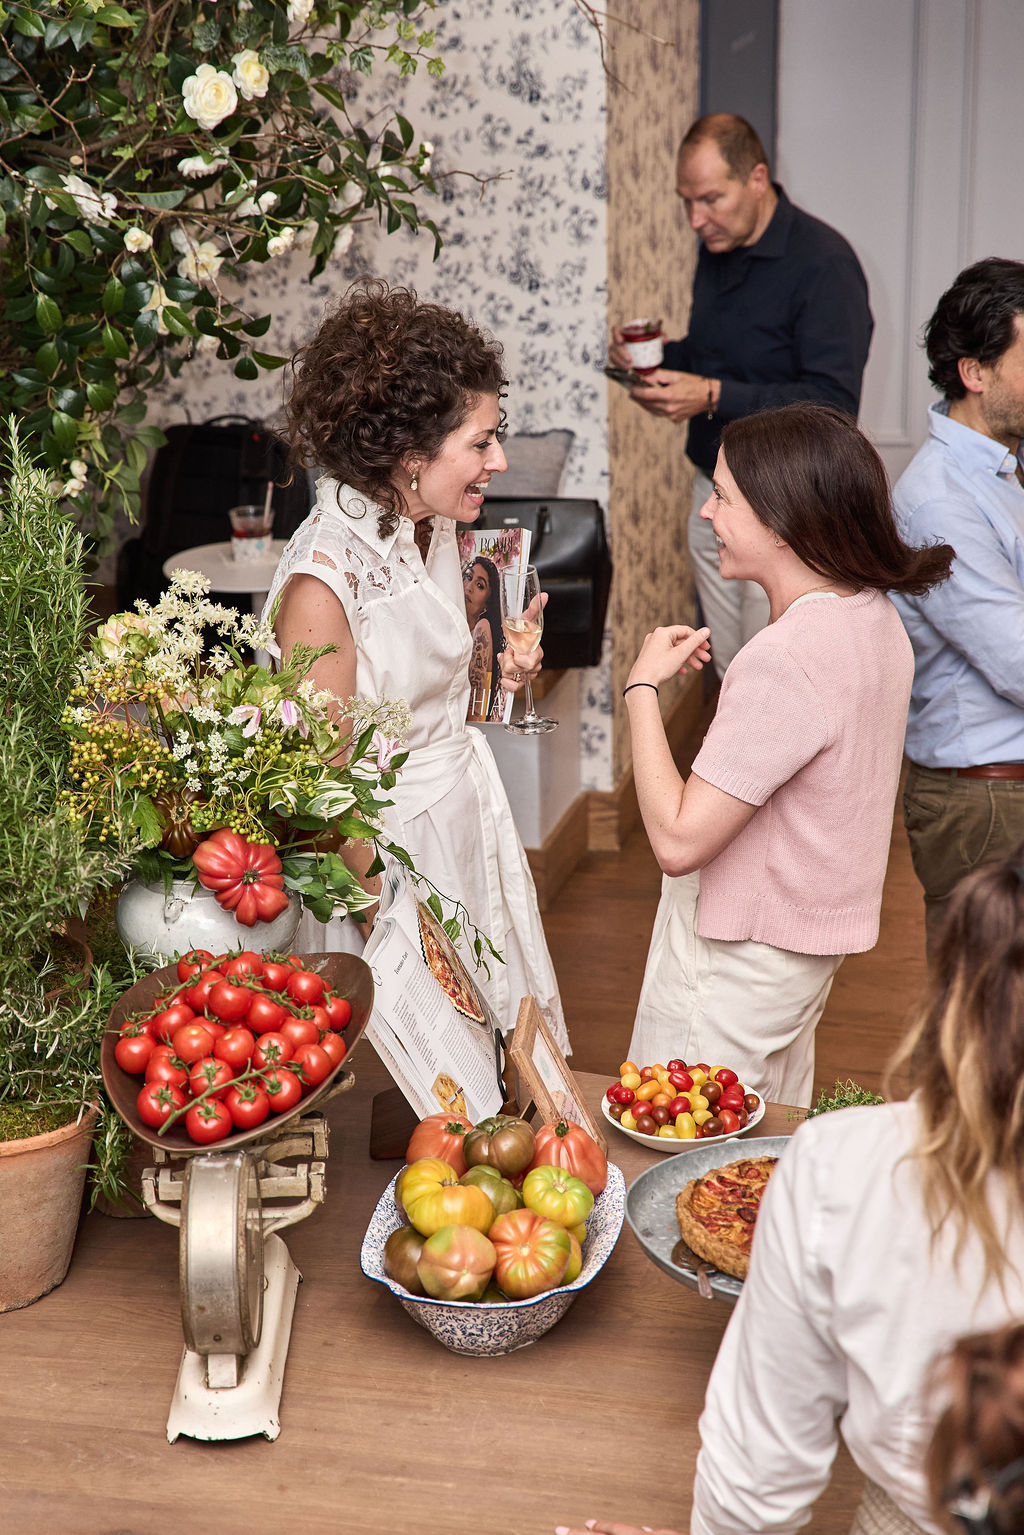
I'm very excited to partner with Maman. Right now, the limited-edition summer menu includes my red iced tea with citrus & berries, my tomato tart from my 100th book, MARTHA: THE COOKBOOK, my turkey cobb sandwich, my ultimate kitchen sink cookie, and my crème brûlée sugar bun. We recently released the menu items at a launch party at Maman's newest flagship location in New York City. More than 75 influencers, colleagues, friends, and members of the media attended the event, trying every item - sometimes more than once! It was a fun gathering and a great way to introduce my menu items at Maman. Be sure to visit!
Enjoy these photos. (All photos by Arianna Tettamanzi)
Here I am with Maman co-founders, Elisa Marshall and Benjamin Sormonte, in front of their newest flagship café in downtown New York City.
This weekend, please stop by any Maman and try the new summer menu items. There are more than 37 Maman shops in the United States and Canada.
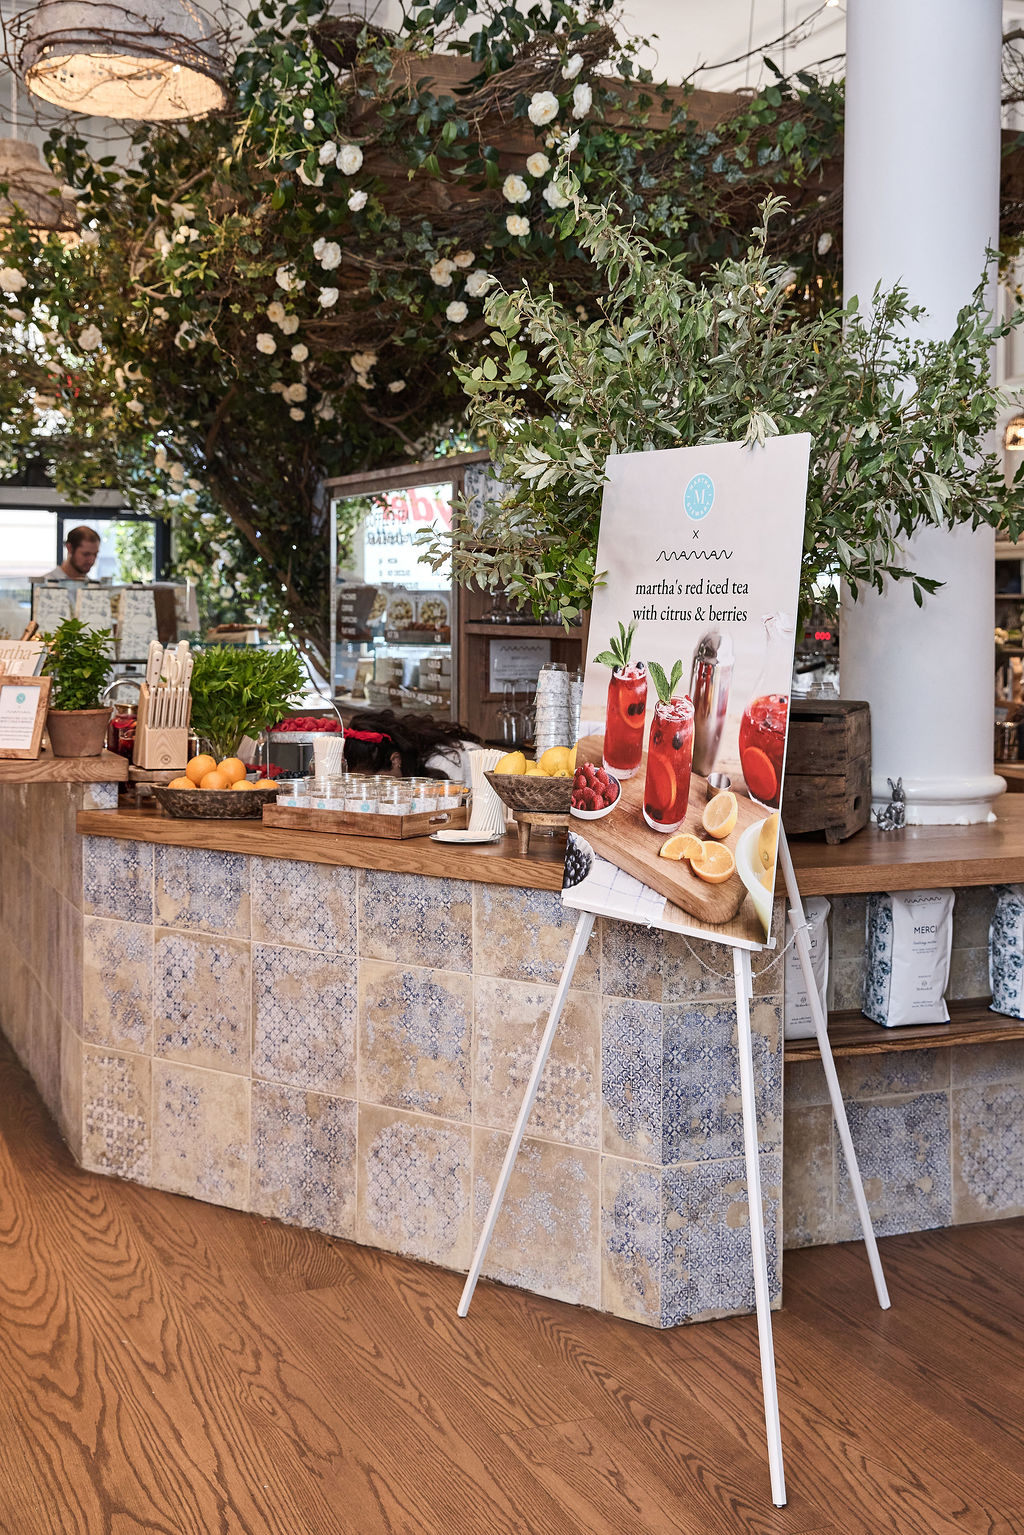
At the launch party, invited influencers, friends, colleagues and members of the media were directed to visit each of five stations to try my menu additions.
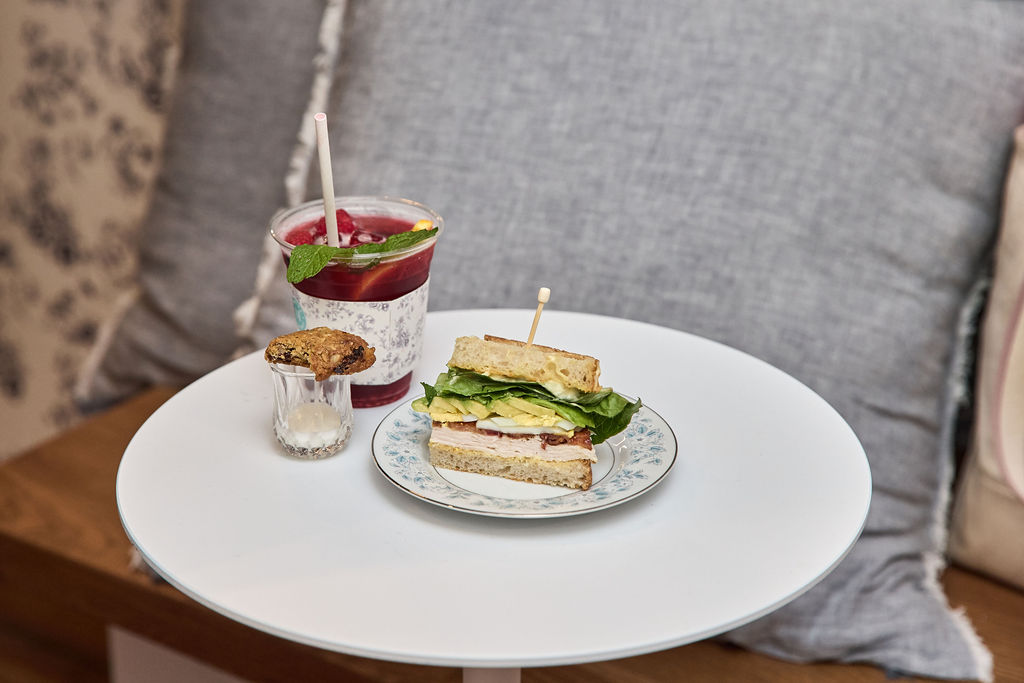
My red iced tea with citrus & berries is made with red zinger iced tea and lots of fresh fruits to bring out the tea flavors. Each glass is garnished with a sprig of mint.
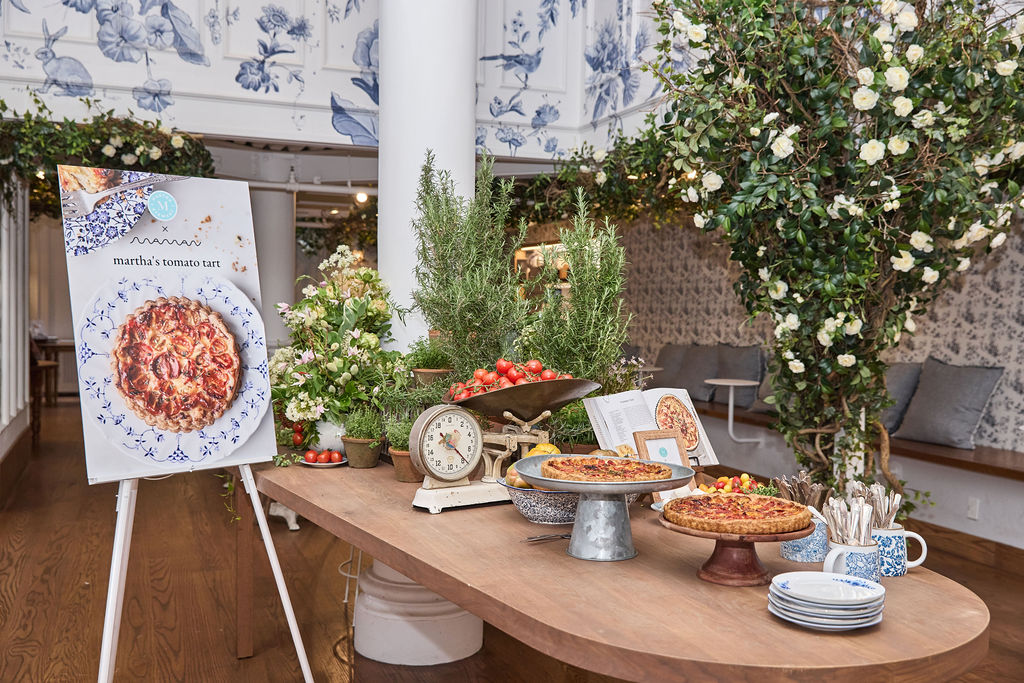
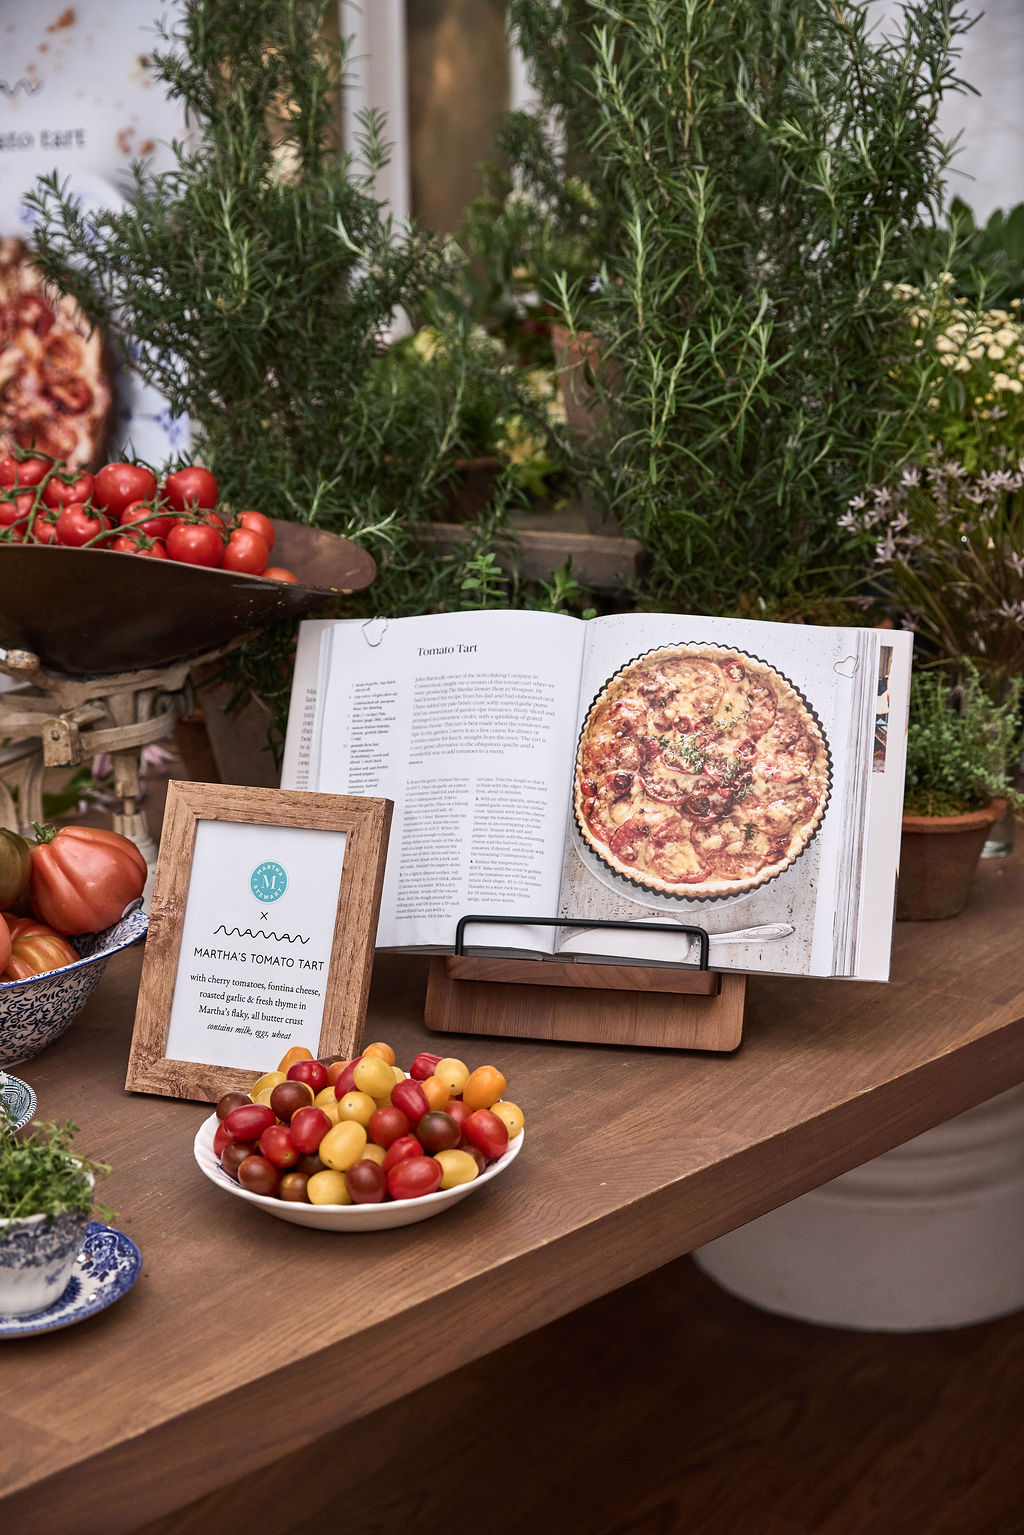
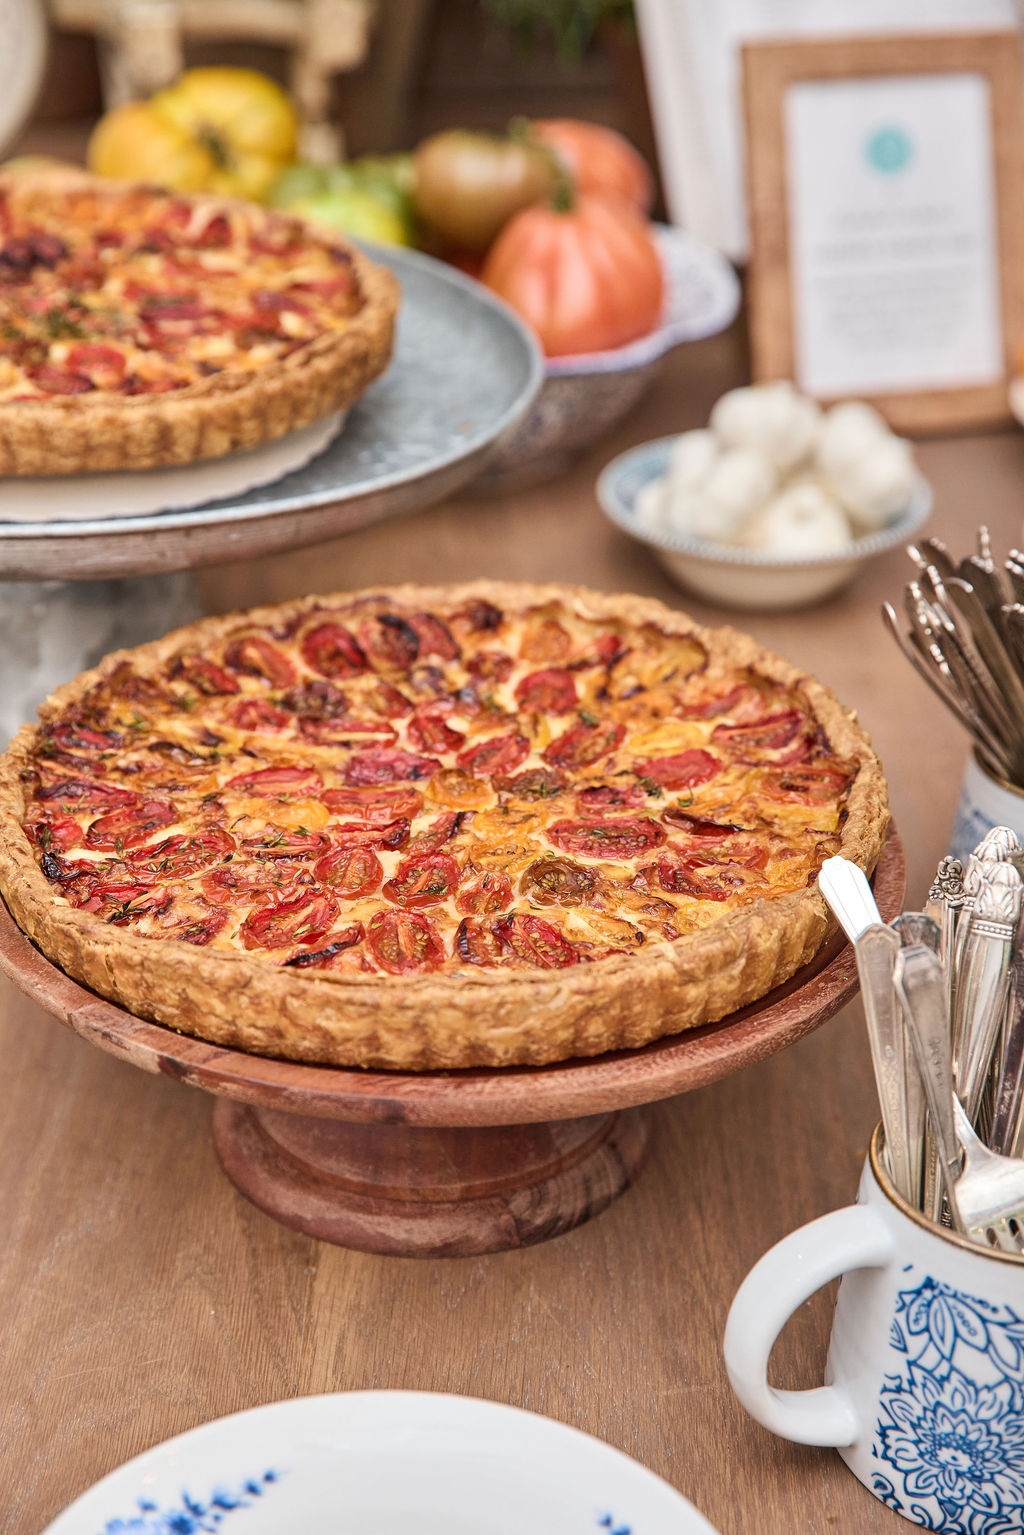
This station features my rich, savory, vegetarian tomato tart. I often serve this to guests at my home and everyone loves it.
The recipe is from my 100th book, MARTHA: THE COOKBOOK. It’s made using juicy, ripe slices of tomato arranged in concentric circles with grated fontina cheese in my pâte brisée pastry crust.
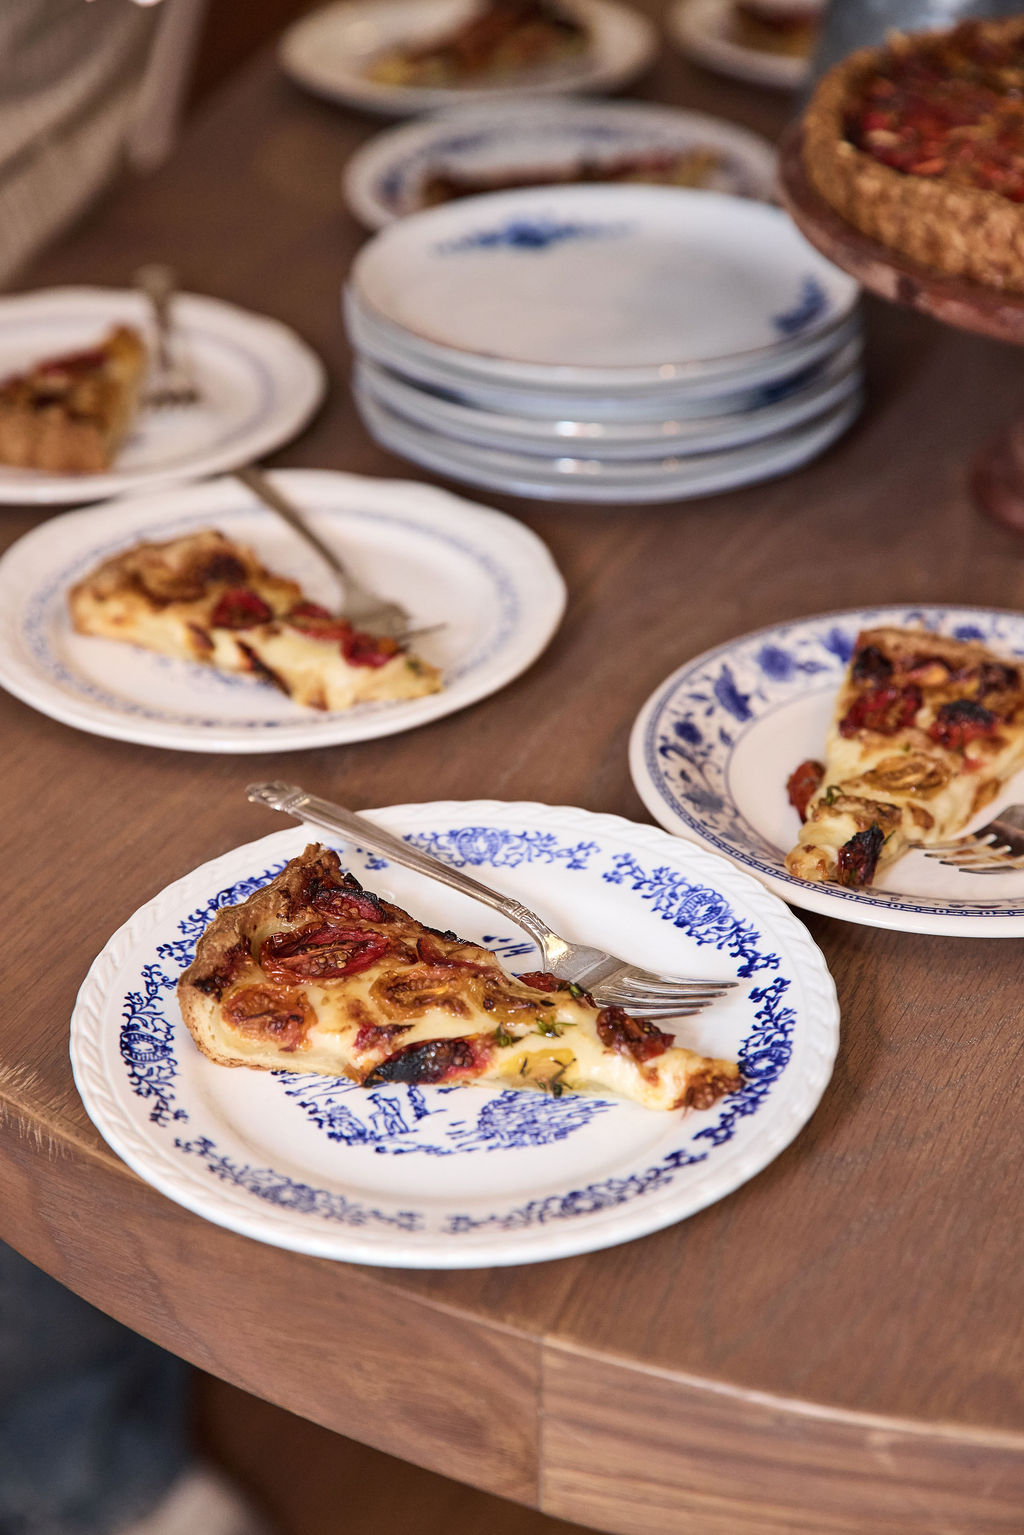
Look how beautiful this is up close. It is a wonderful alternative to traditional quiche.
Everyone got a slice to try. It’s great for lunch or as a first course at dinner.
Personal size versions are made for the shop.
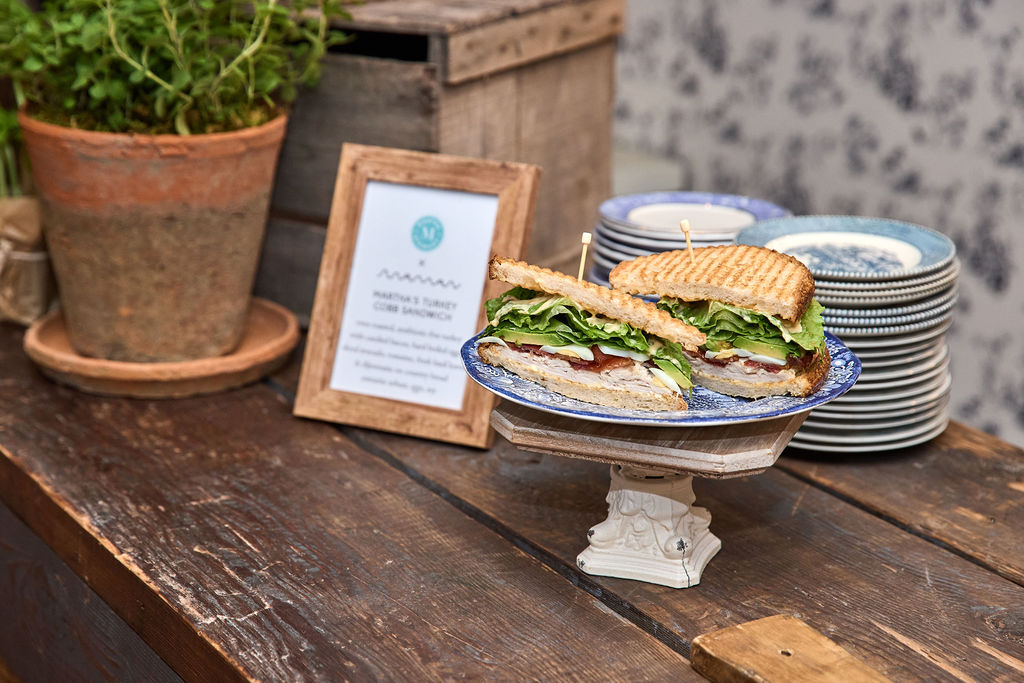
Another station was dedicated to my turkey cobb sandwich – it has everything one loves about the classic cobb salad, but in a sandwich, including oven-roasted turkey, bacon, hard-boiled eggs, sliced avocado, lettuce, fresh basil, and Dijonnaise served on country bread.
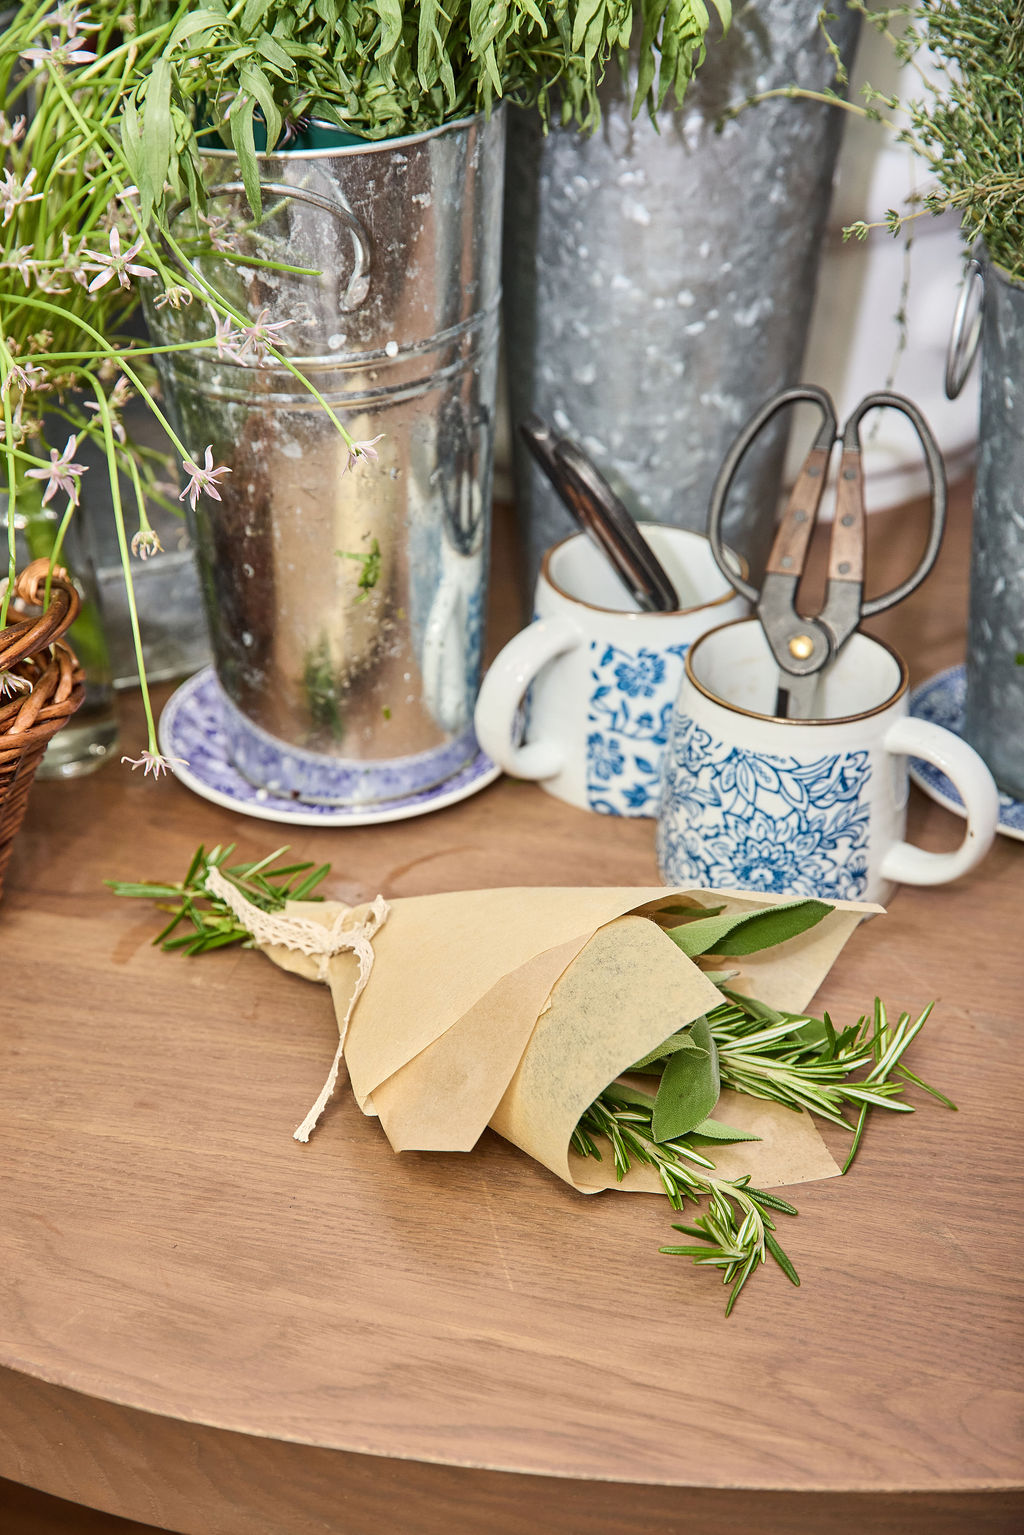
Every station was also very interactive. Guests were able to gather their own herbs to bring home.
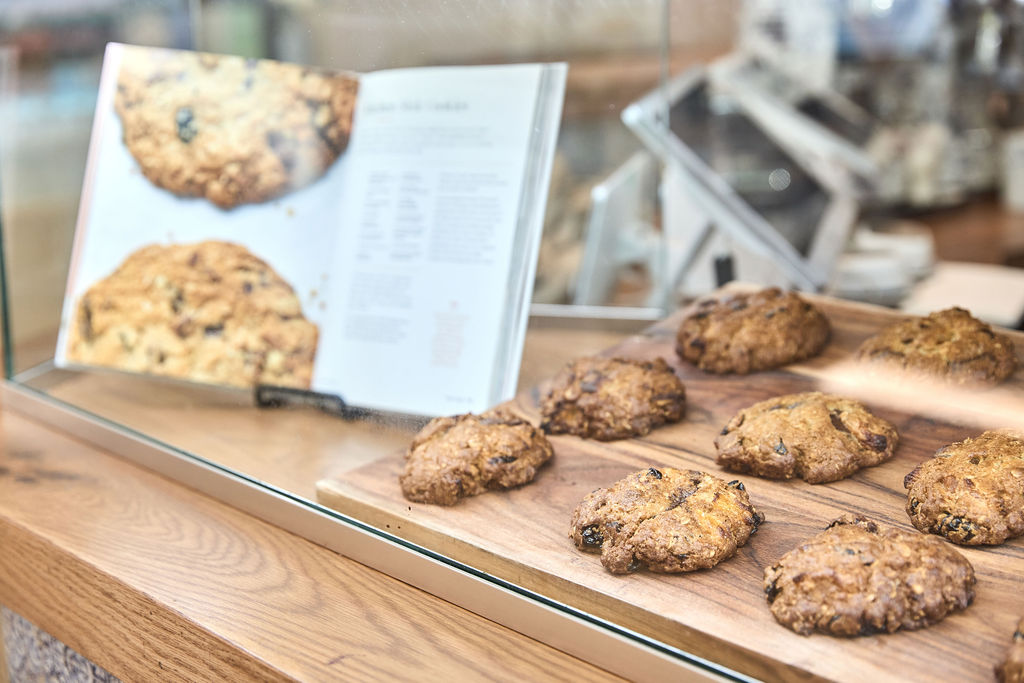
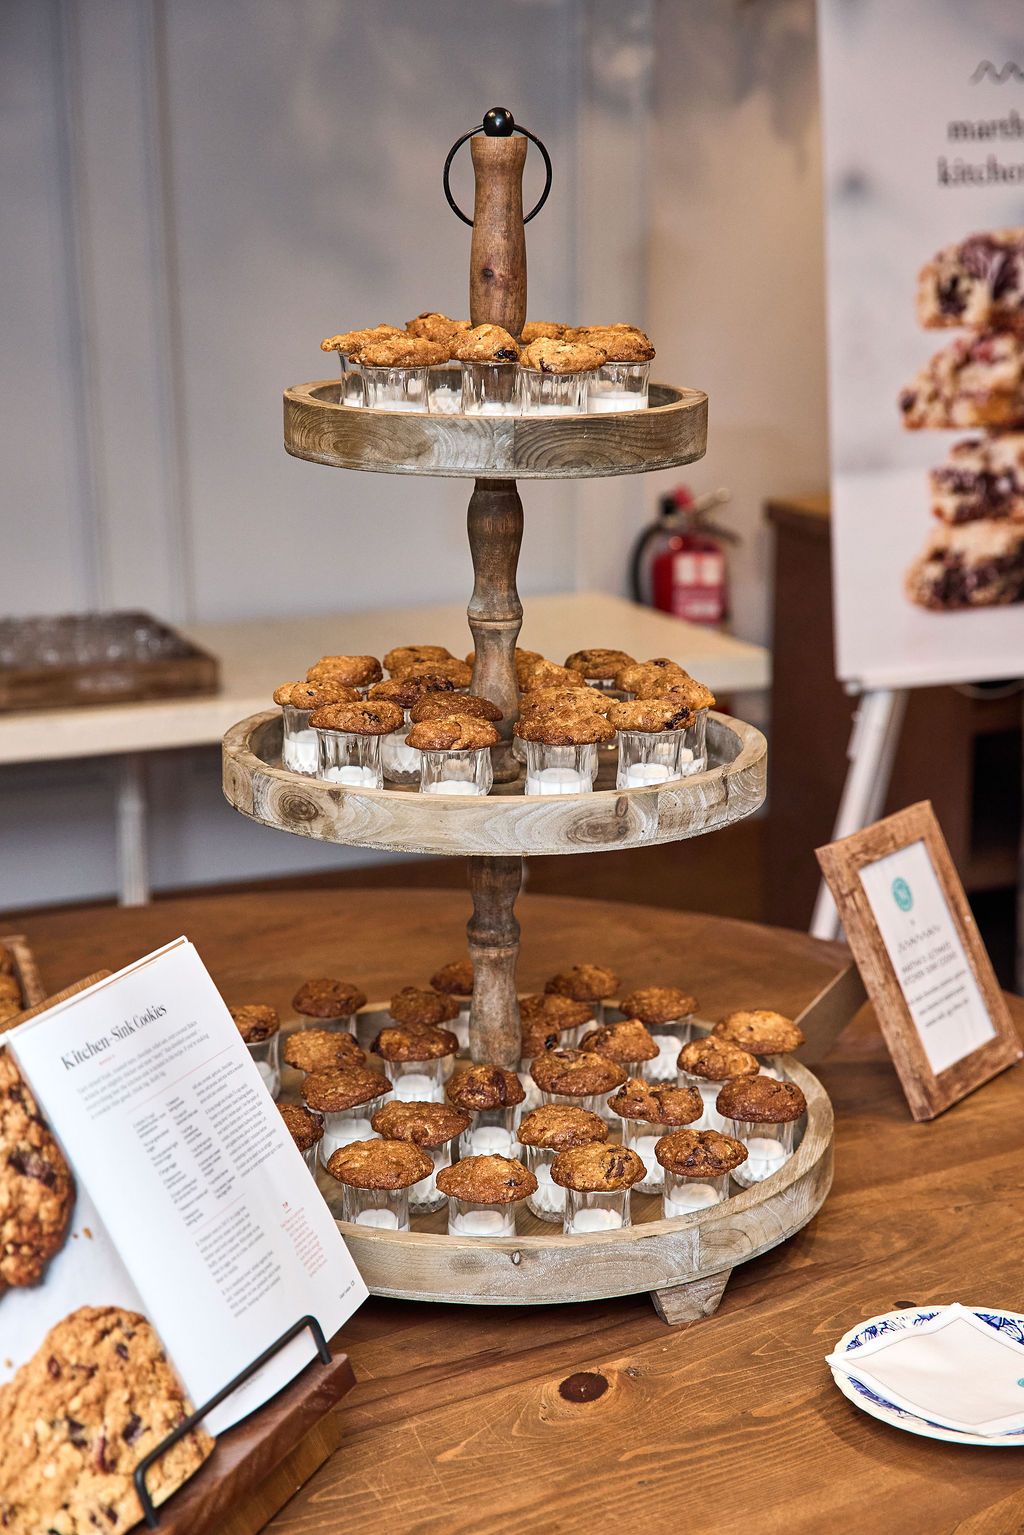
Of course, I had to include a cookie. And for Maman, I selected my delicious ultimate kitchen sink cookies. These cookies are so delicious and so easy to make – one doesn’t even need a mixer. The recipe is from my book, Martha Stewart’s Cookie Perfection. The recipe calls for dried fruits, nuts, chocolate, rolled oats, coconut. It’s all in there – everything but the kitchen sink.
Guests at the launch event enjoyed mini versions served on shot glasses of cold milk.
Can’t have cookies without a little milk…
And this is my crème brûlée sugar bun – a sugar-crusted croissant filled with homemade vanilla pastry cream and a caramelized top.
There was enough for everyone to taste and enjoy.
It was so nice to see such an enthusiastic crowd. Here’s Elisa mingling with guests. Everyone had such a good time.
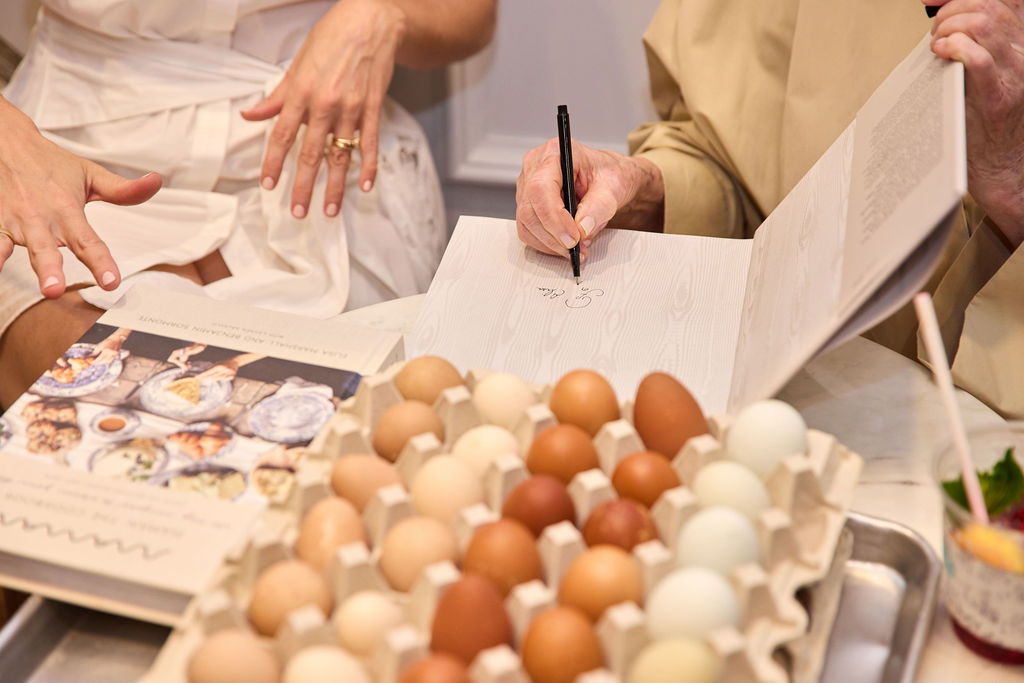
Elisa and I also exchanged books. I signed a copy MARTHA: THE COOKBOOK and gave her some of my farm fresh eggs. She gifted me with a signed copy of Maman: The Cookbook, All-Day Recipes to Warm Your Heart.
Each guest was able to bring home a copy of MARTHA: THE COOKBOOK. If you don’t already have it, order one today. I know you’ll want to read it cover to cover and make every recipe.
The menu will be refreshed in the fall. Be sure visit a Maman Bakery and Café near you.