Planting Martha Stewart Hybrid Tea Roses
One thing I love is the intoxicating scent of a garden rose, especially the newly released Martha Stewart hybrid tea rose.
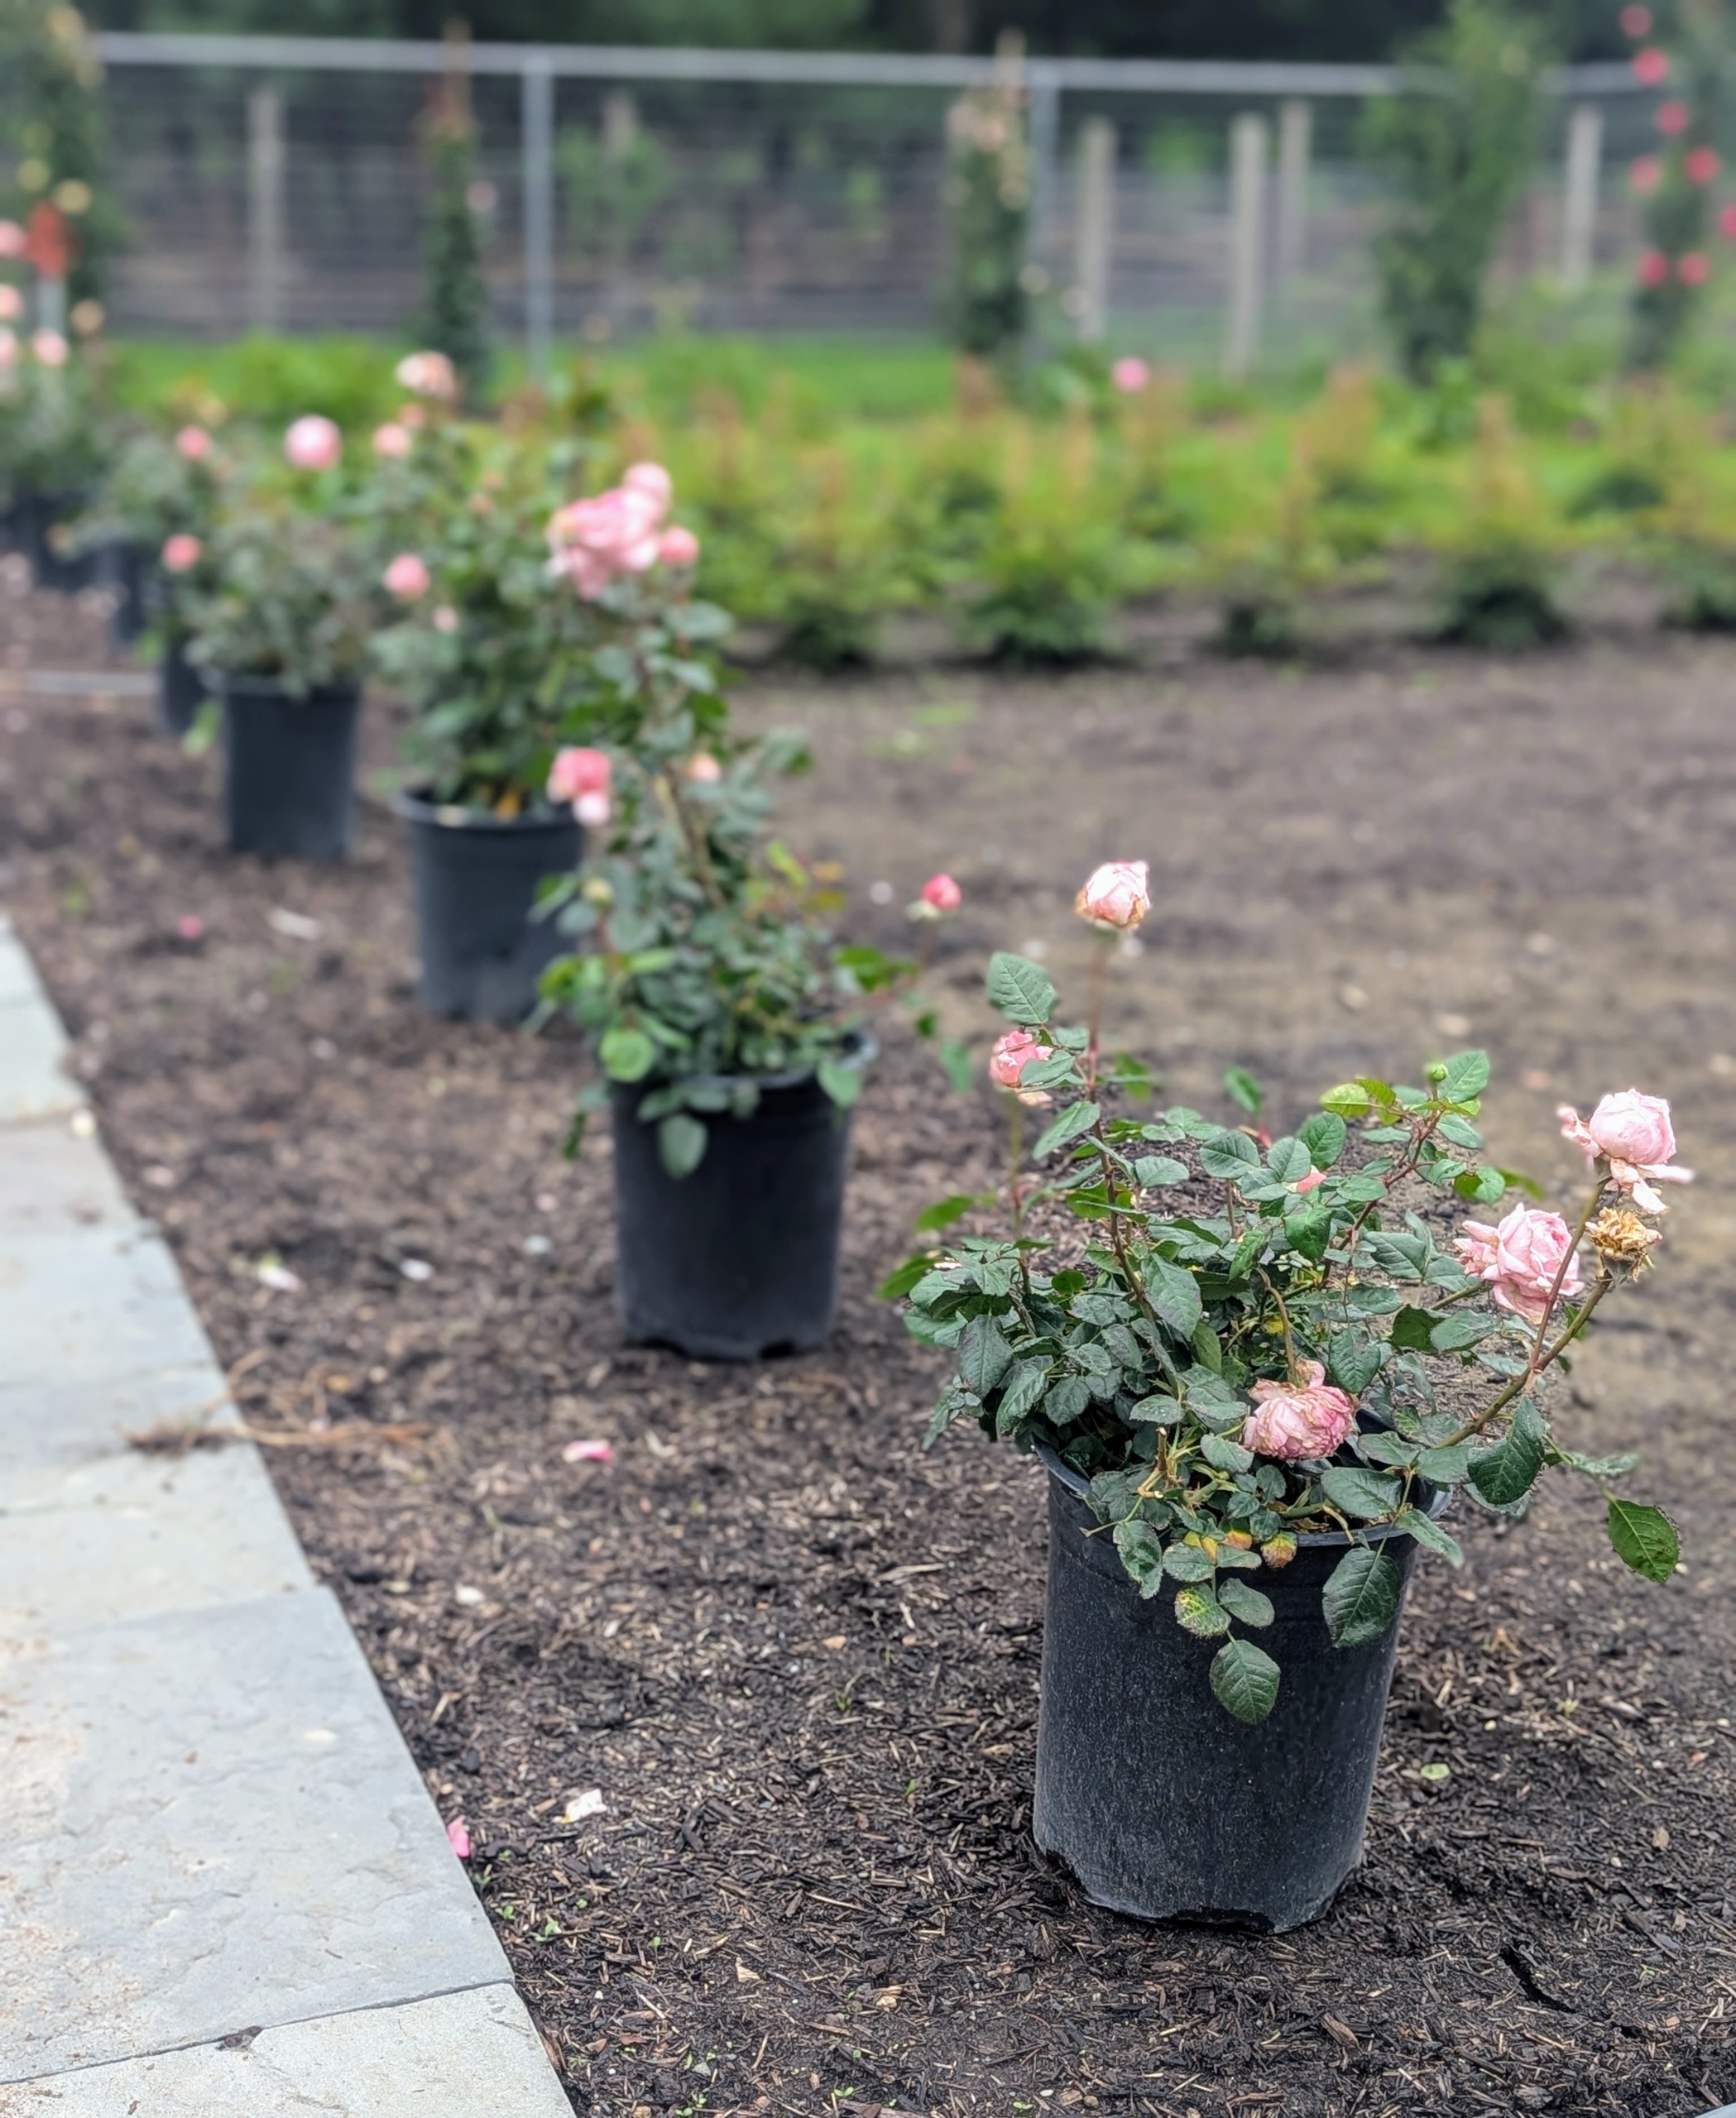
My new rose has large pink blooms, dark green foliage, and a most wonderful and sweet fragrance. It was bred by Meilland, a six-generation family-owned rose-growing business, and was launched in North America through Star Roses and Plants. Last week, I received 40 of my roses from rosarian Danielle Dall’Armi Hahn, the owner of Rose Story Farm in Carpinteria, California - a good number of them in bloom. I decided to plant them all together along both sides of a footpath of a developing garden where they can grow and flourish.
Enjoy these photos.
-

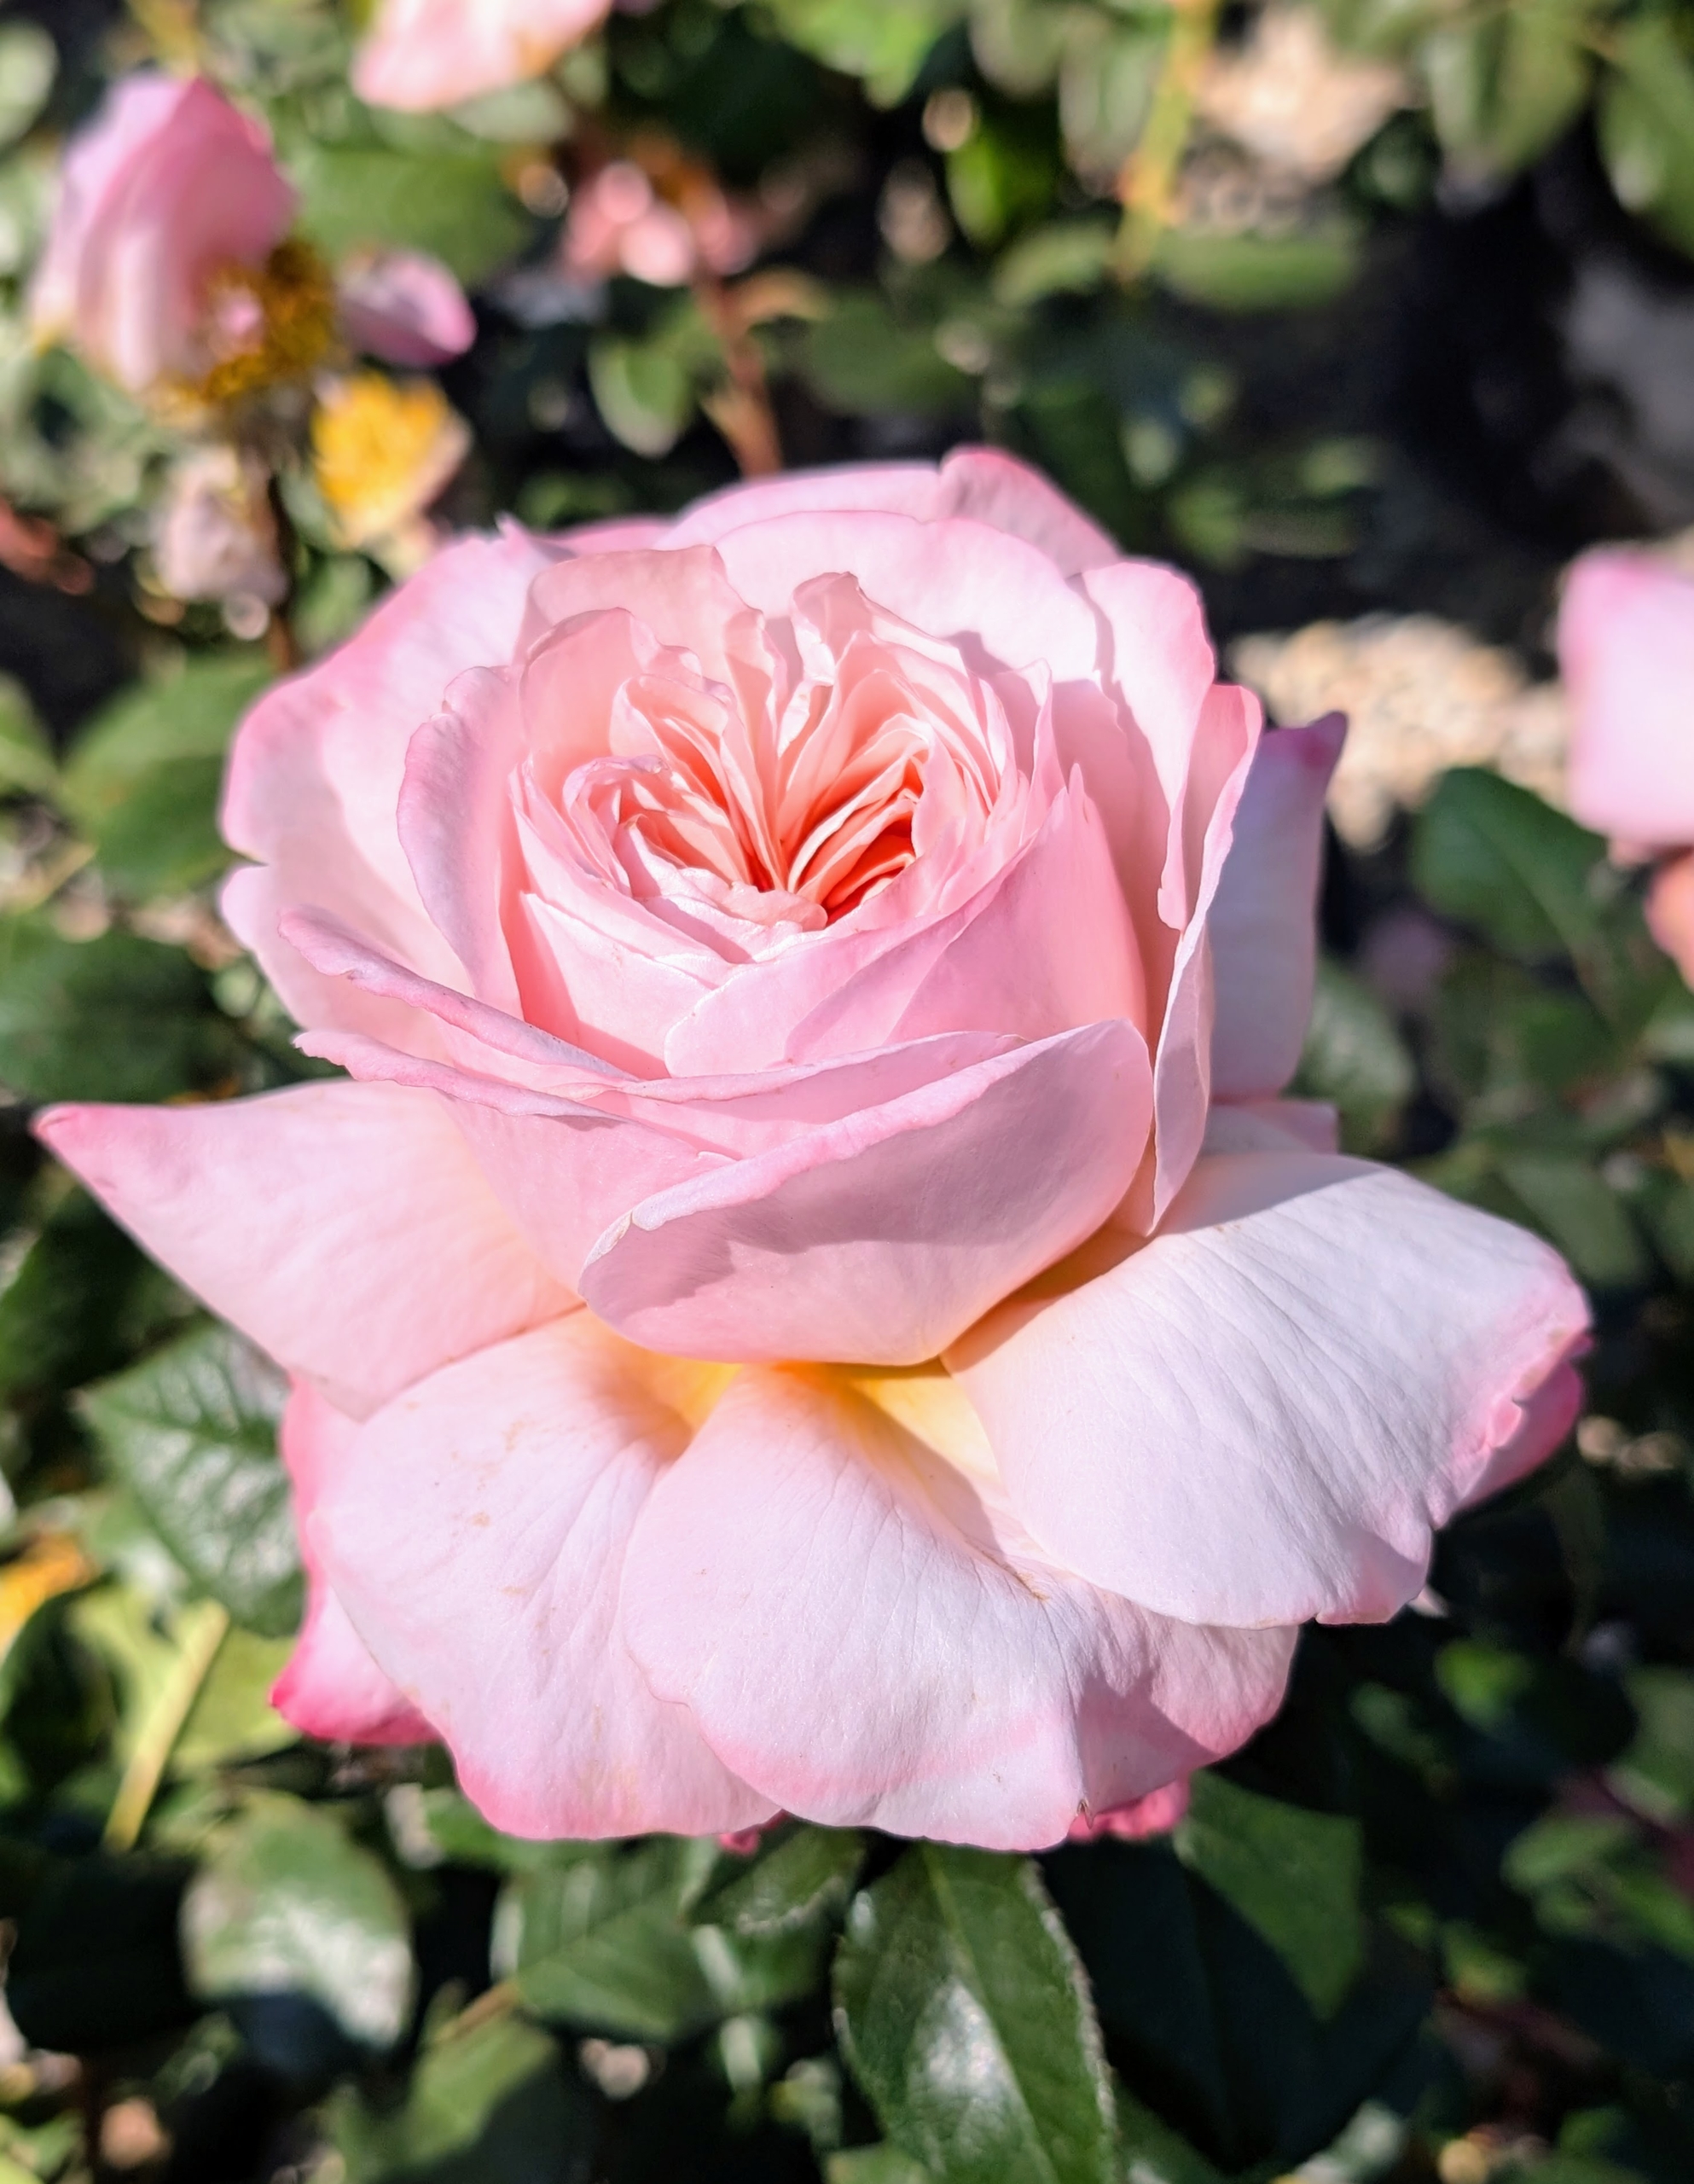
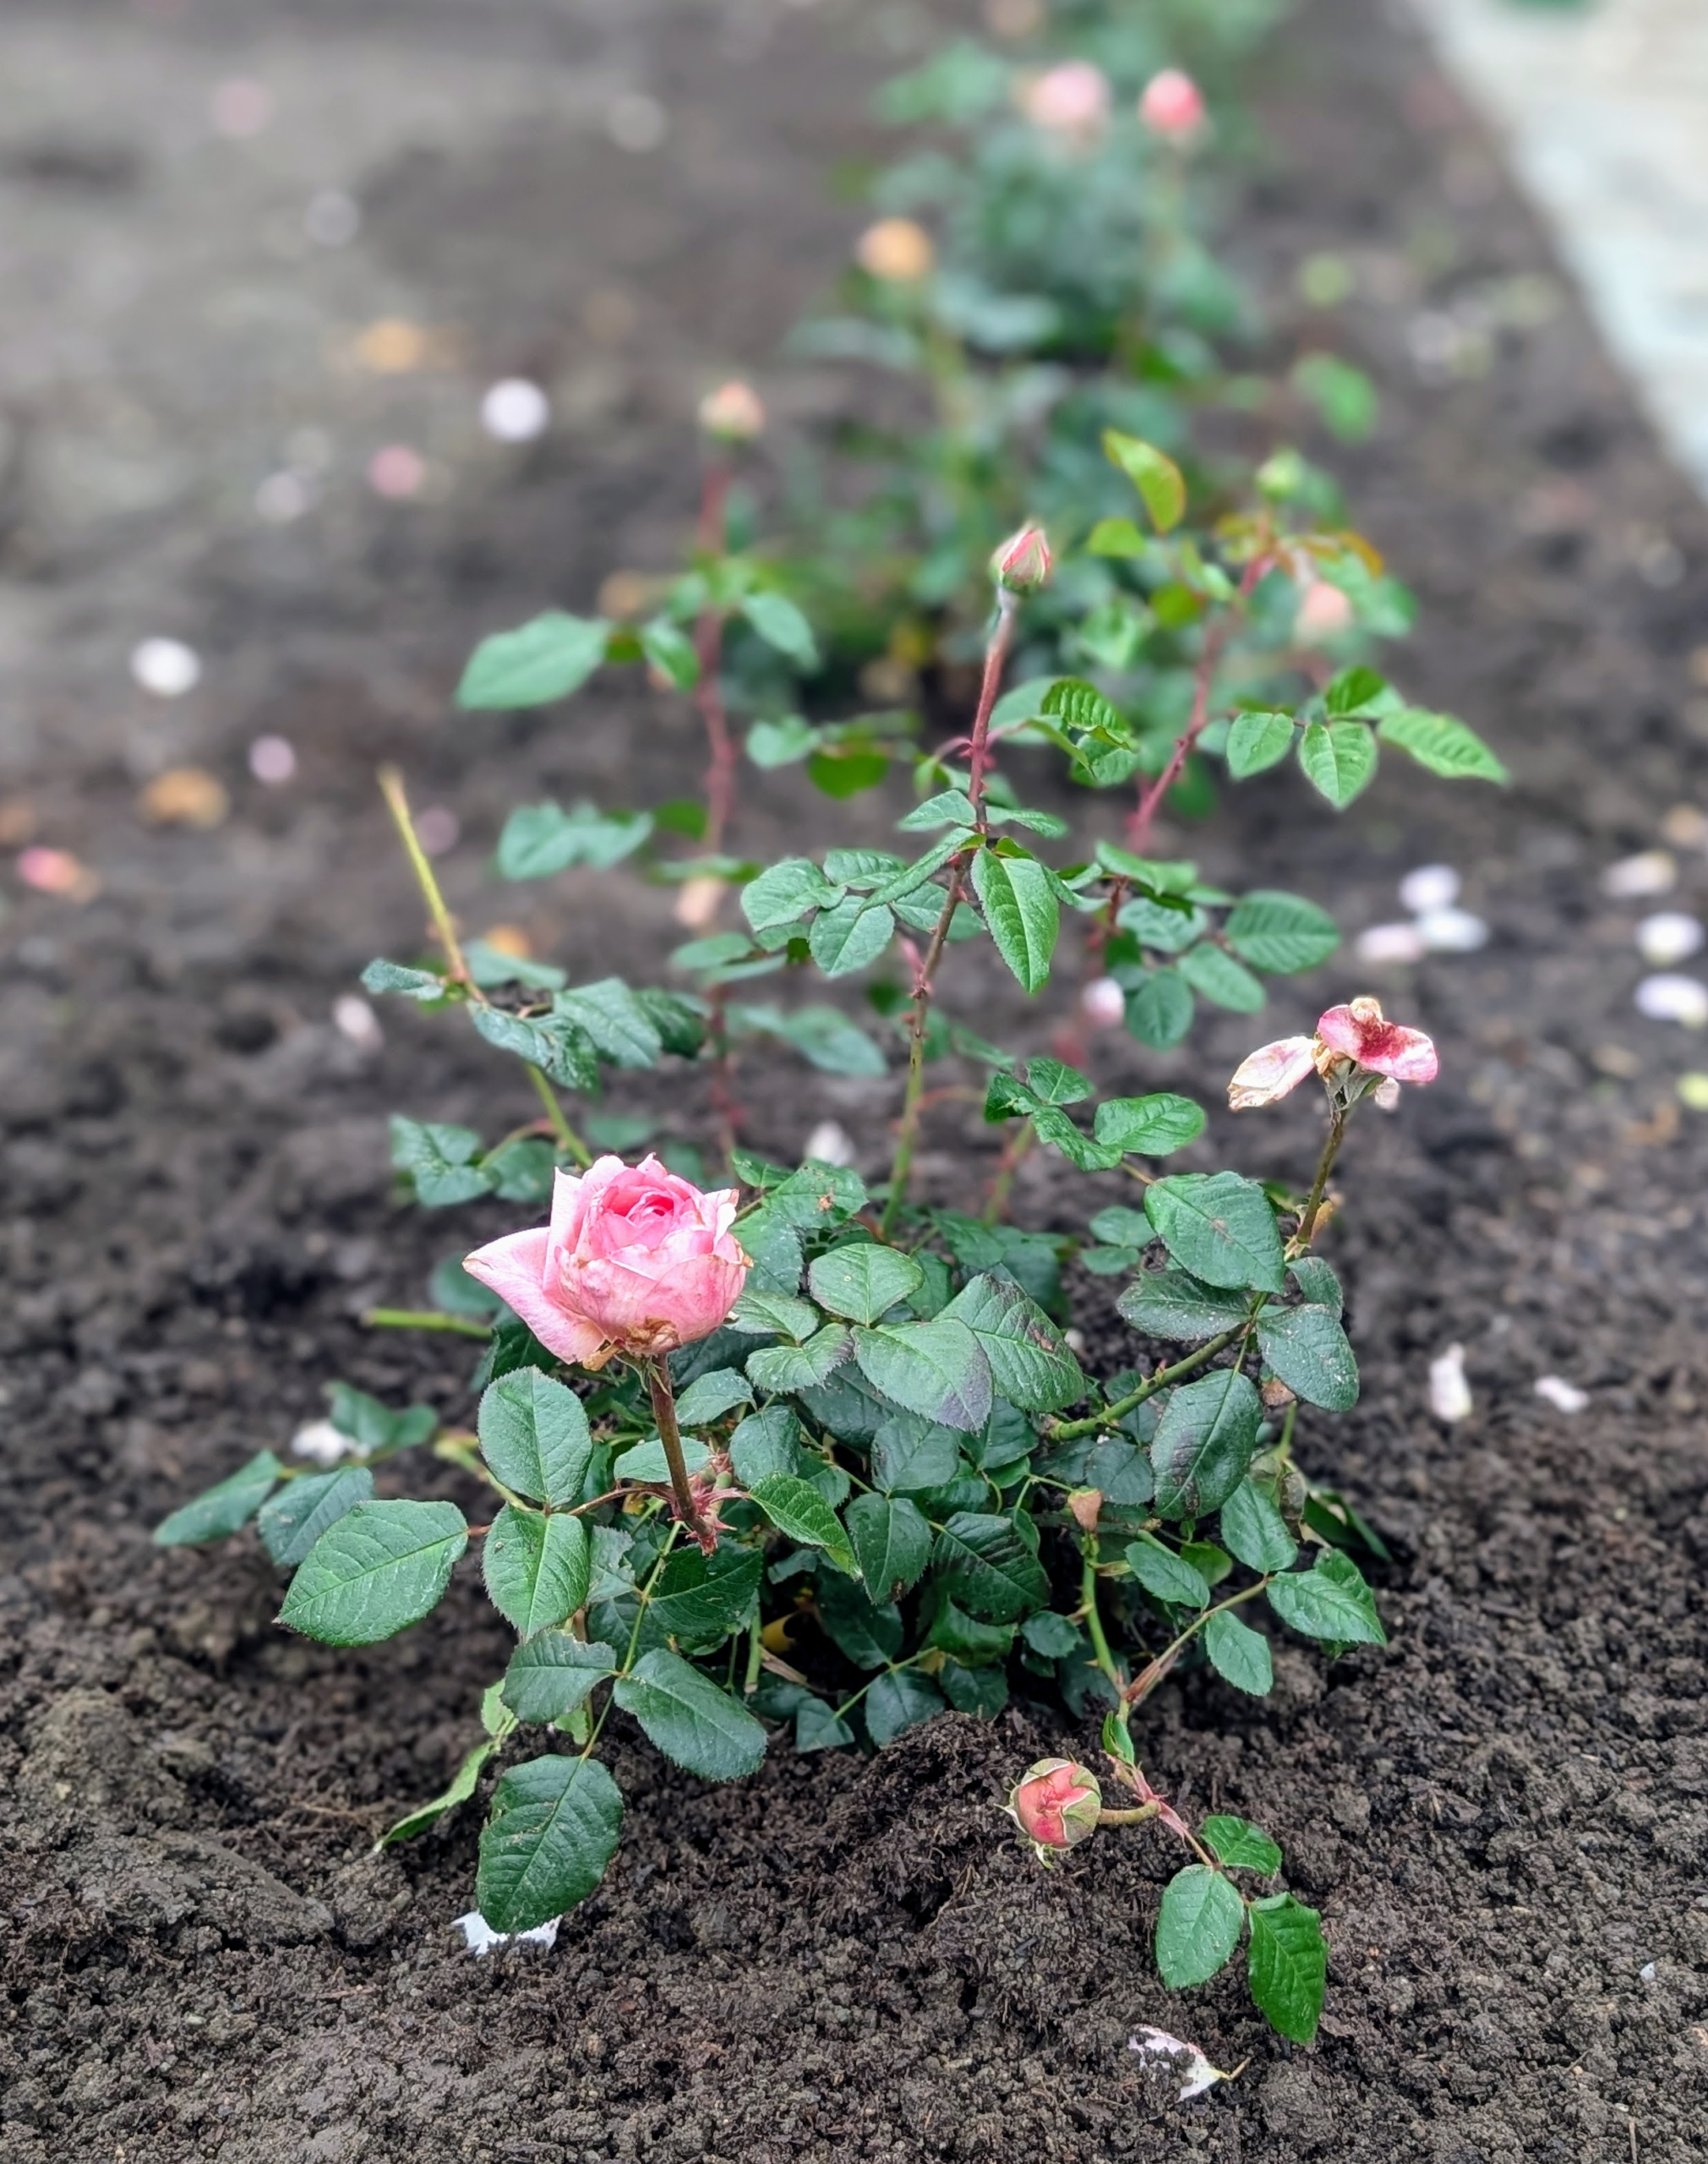
- Look at this gorgeous rose. When in peak bloom, it shows off more than 100 lush pink to apricot petals and a citrus-honeysuckle scent.
-
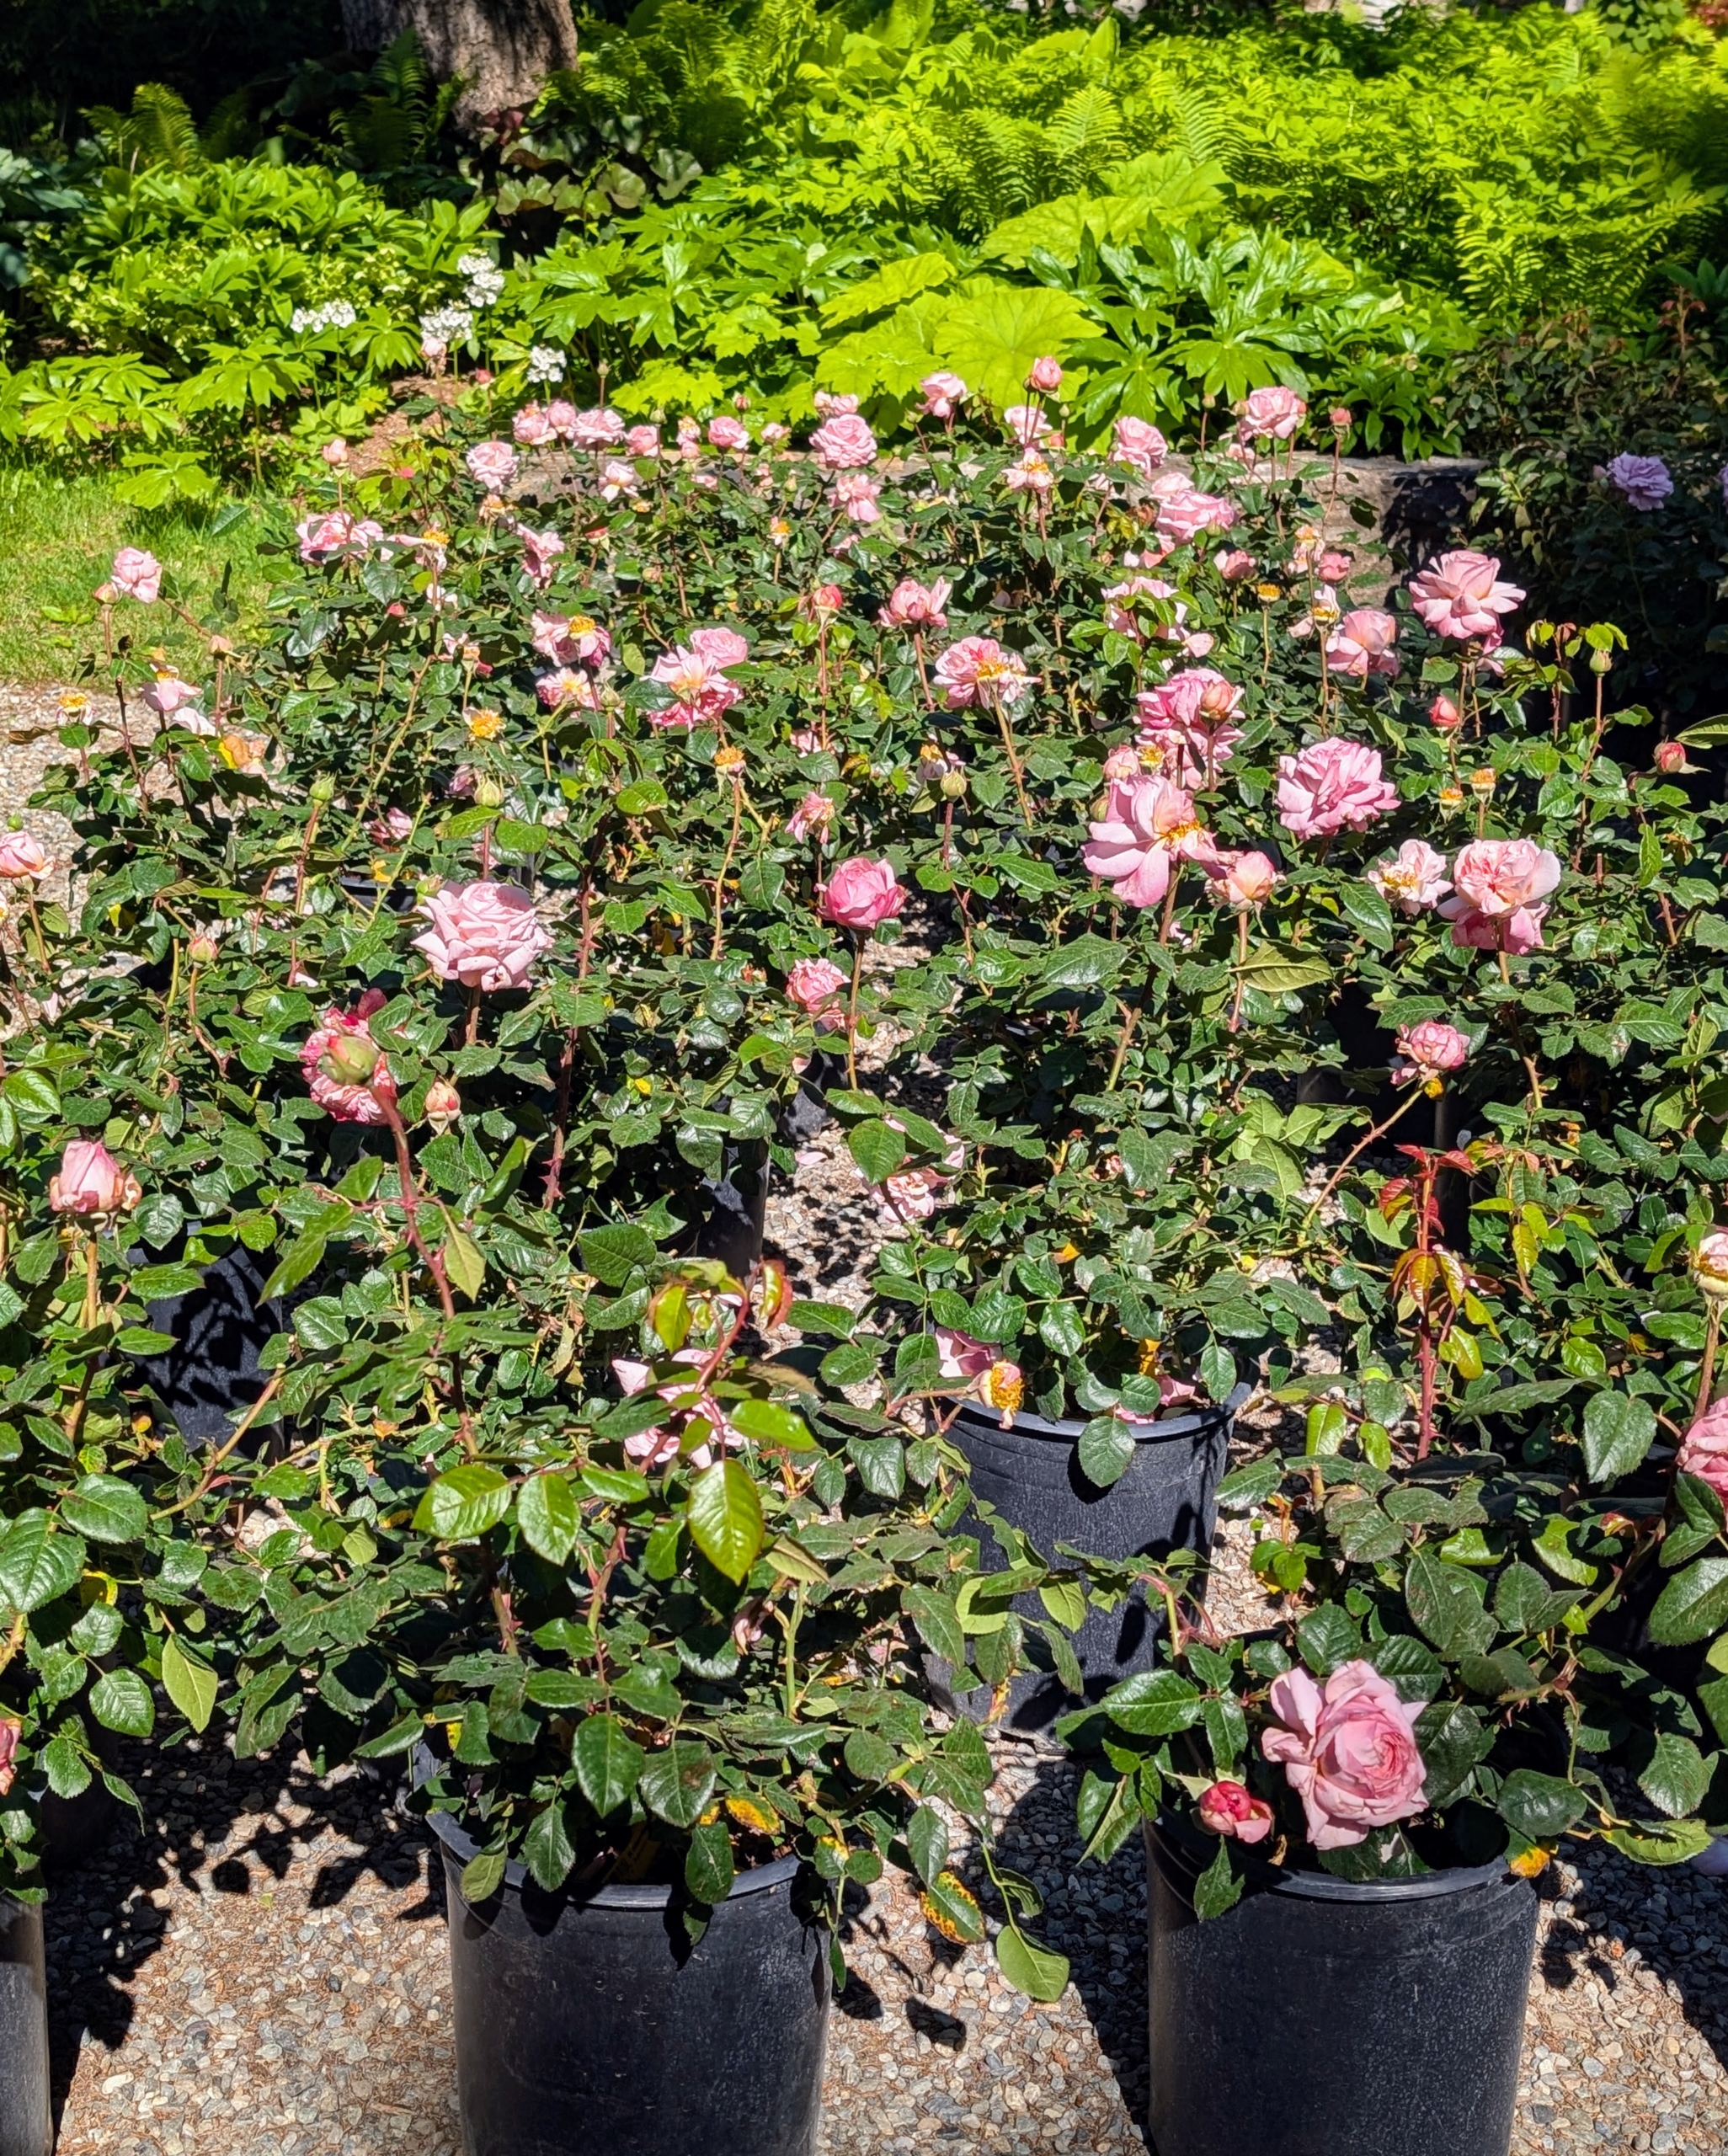
- Many of rose bushes are blooming now and will continue to flower for weeks.
-
- My roses arrived with a large grouping of climbing roses in a variety of colors.
-
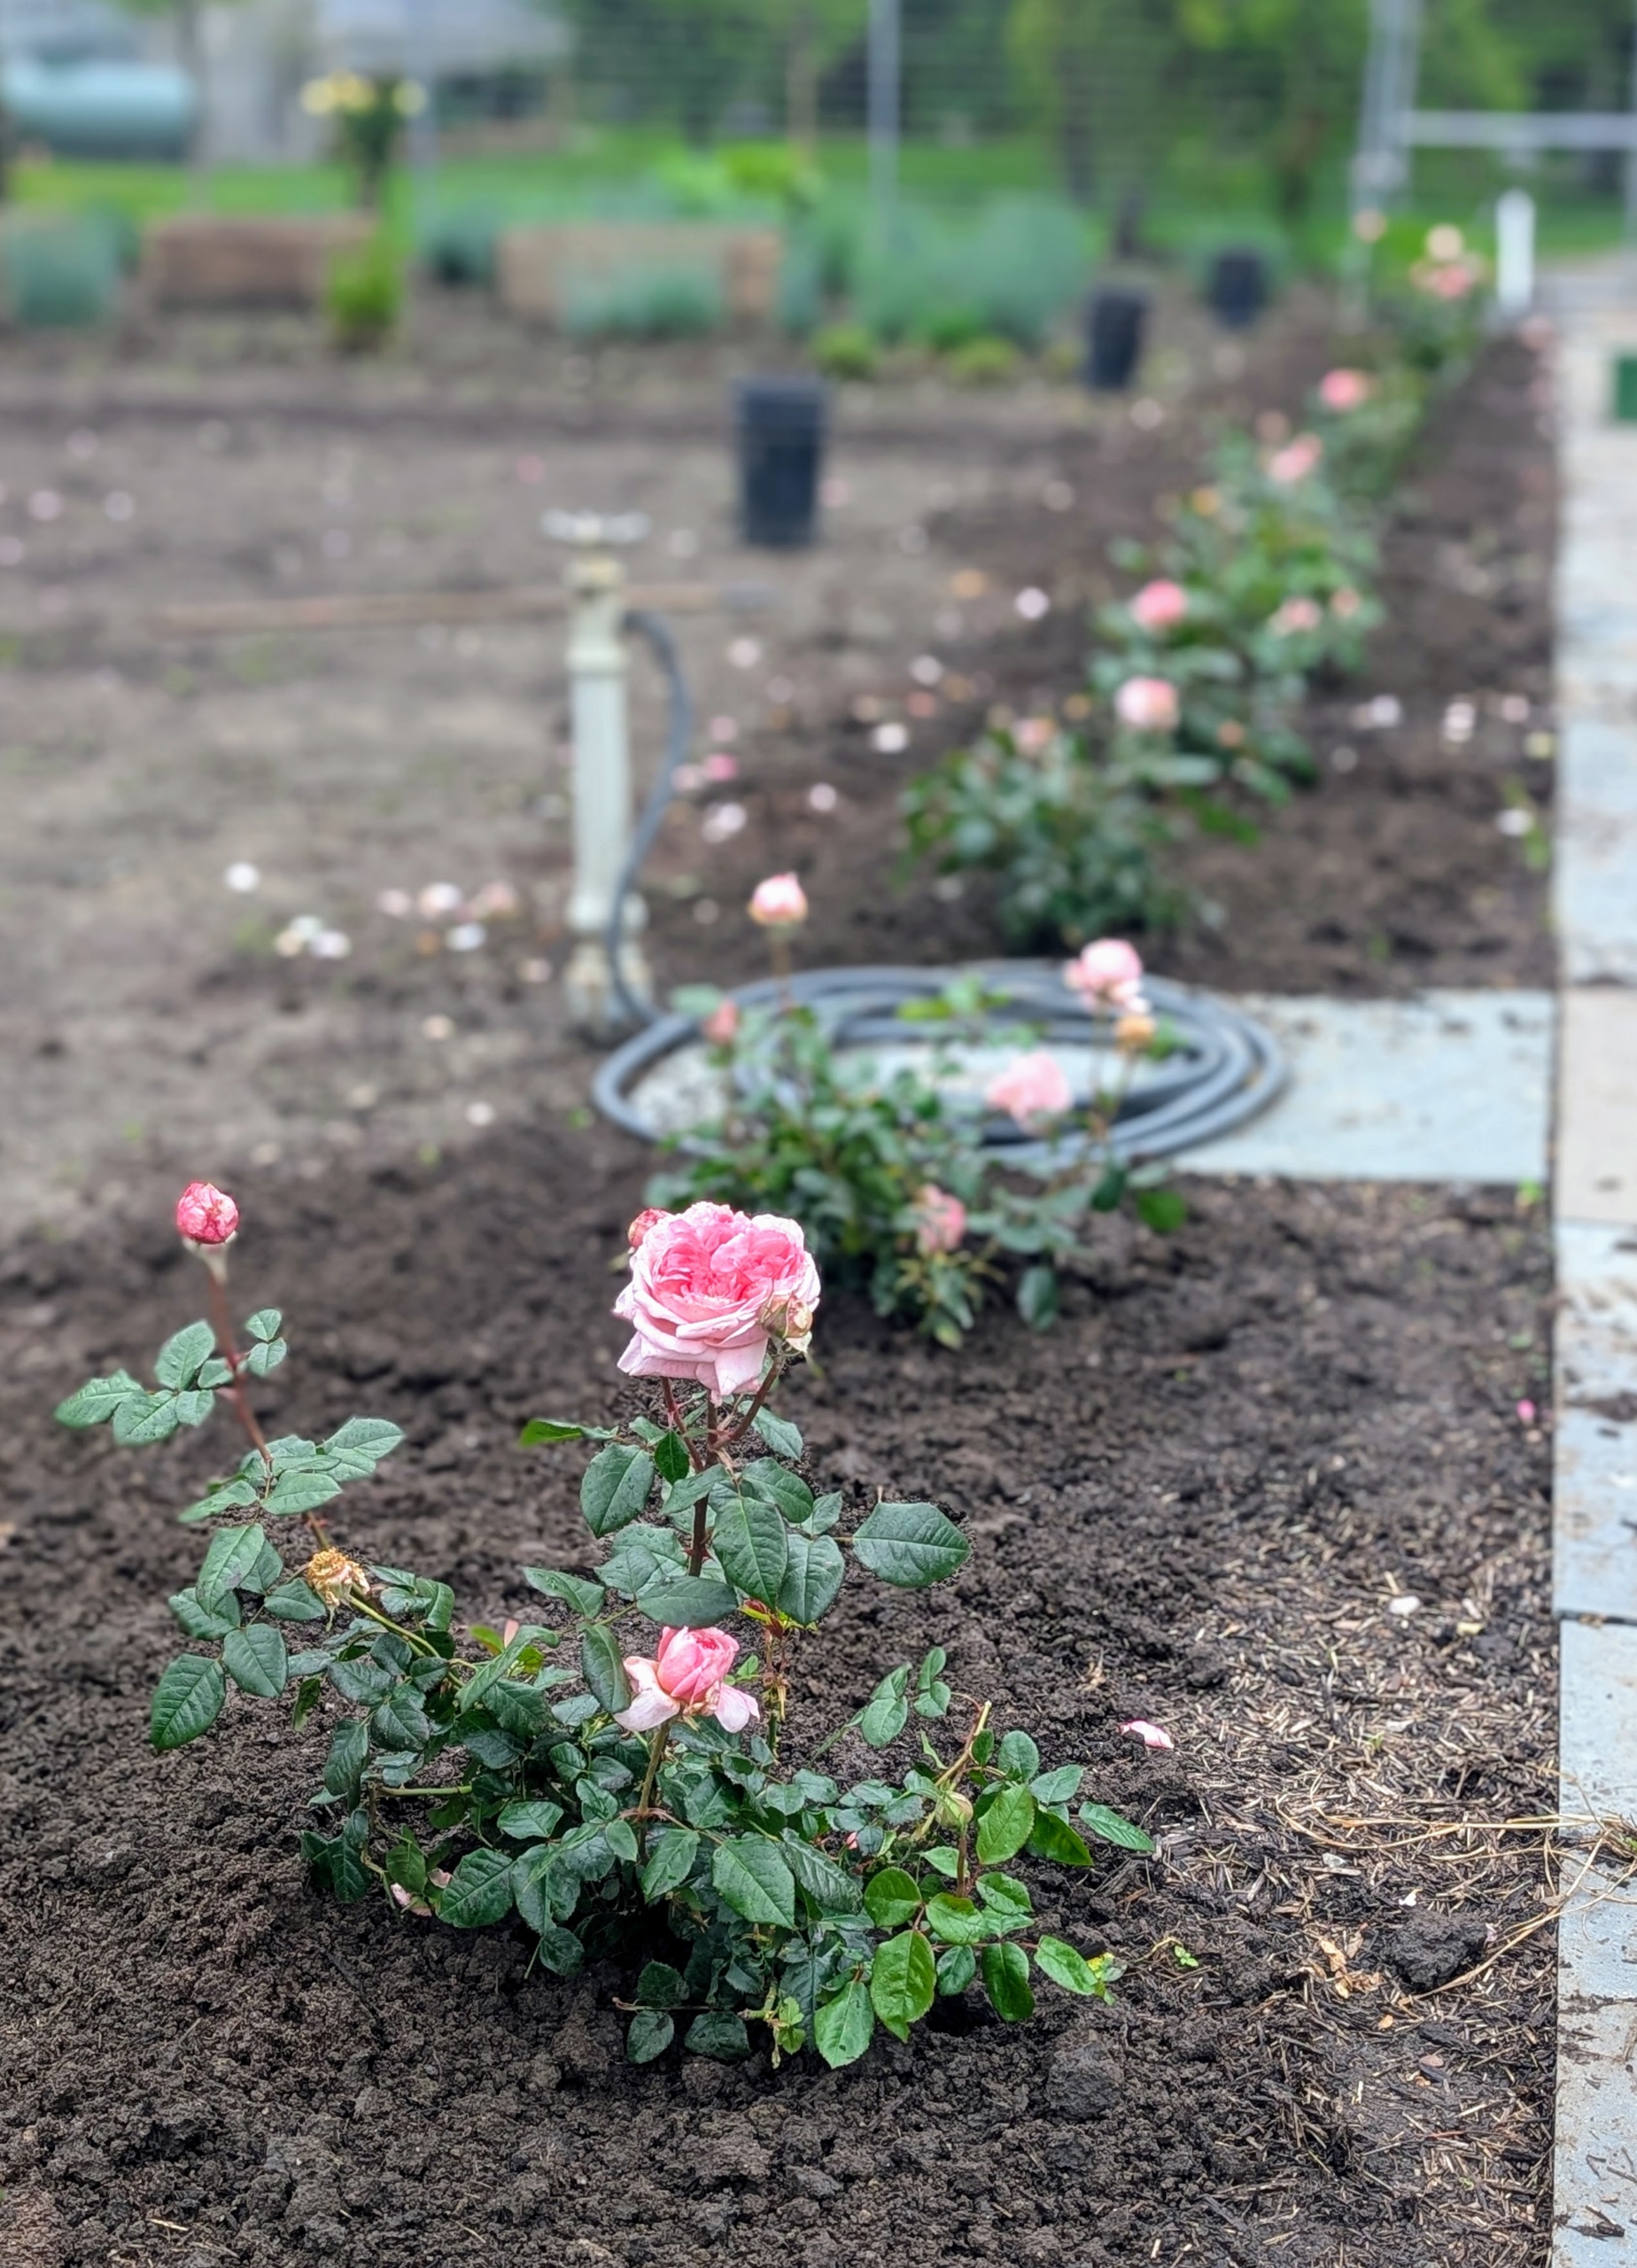
- I decided to plant all the roses in a fenced in garden previously used as my vegetable garden and then a flower cutting garden. The soil is excellent and the surrounding fence is perfect for all the climbers. My potted roses are lined up in straight rows flanking the center footpath.
-
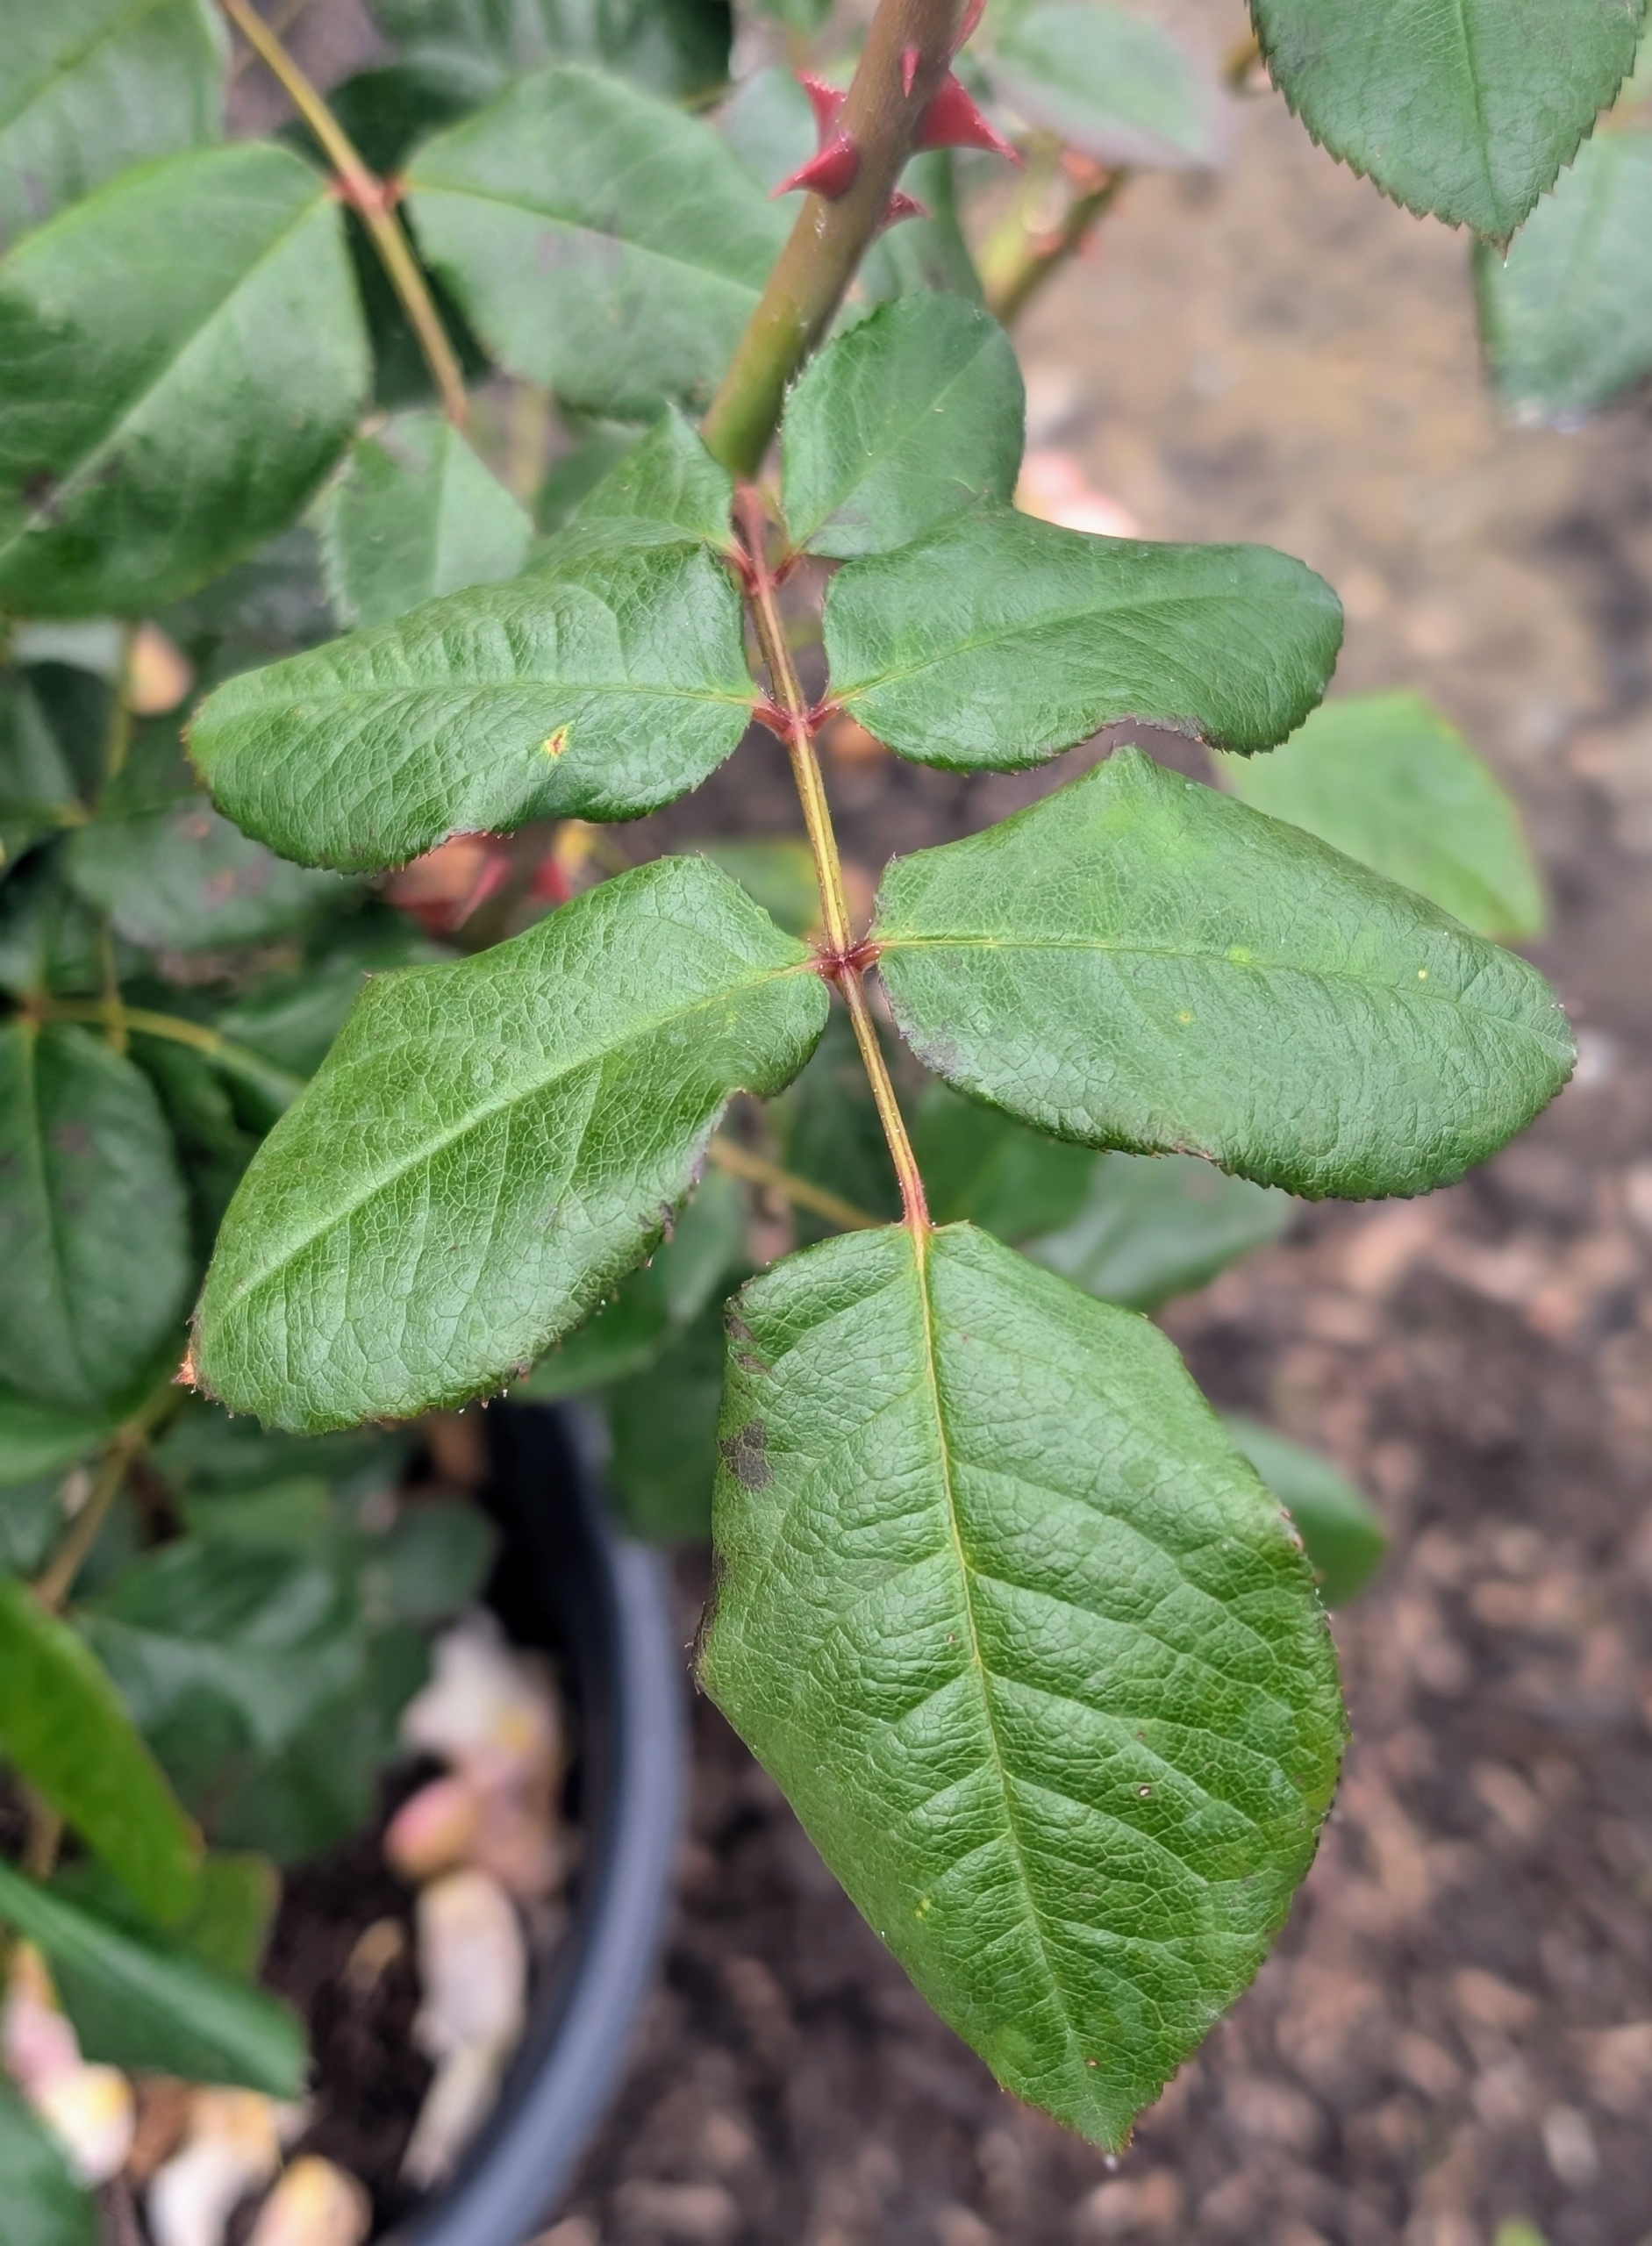
- The leaves of the rose are described as “pinnate” – meaning there is a central rib and then leaflets off to each side, with one terminal leaflet. Rose leaves can have anywhere from two to 13 leaflets.
-
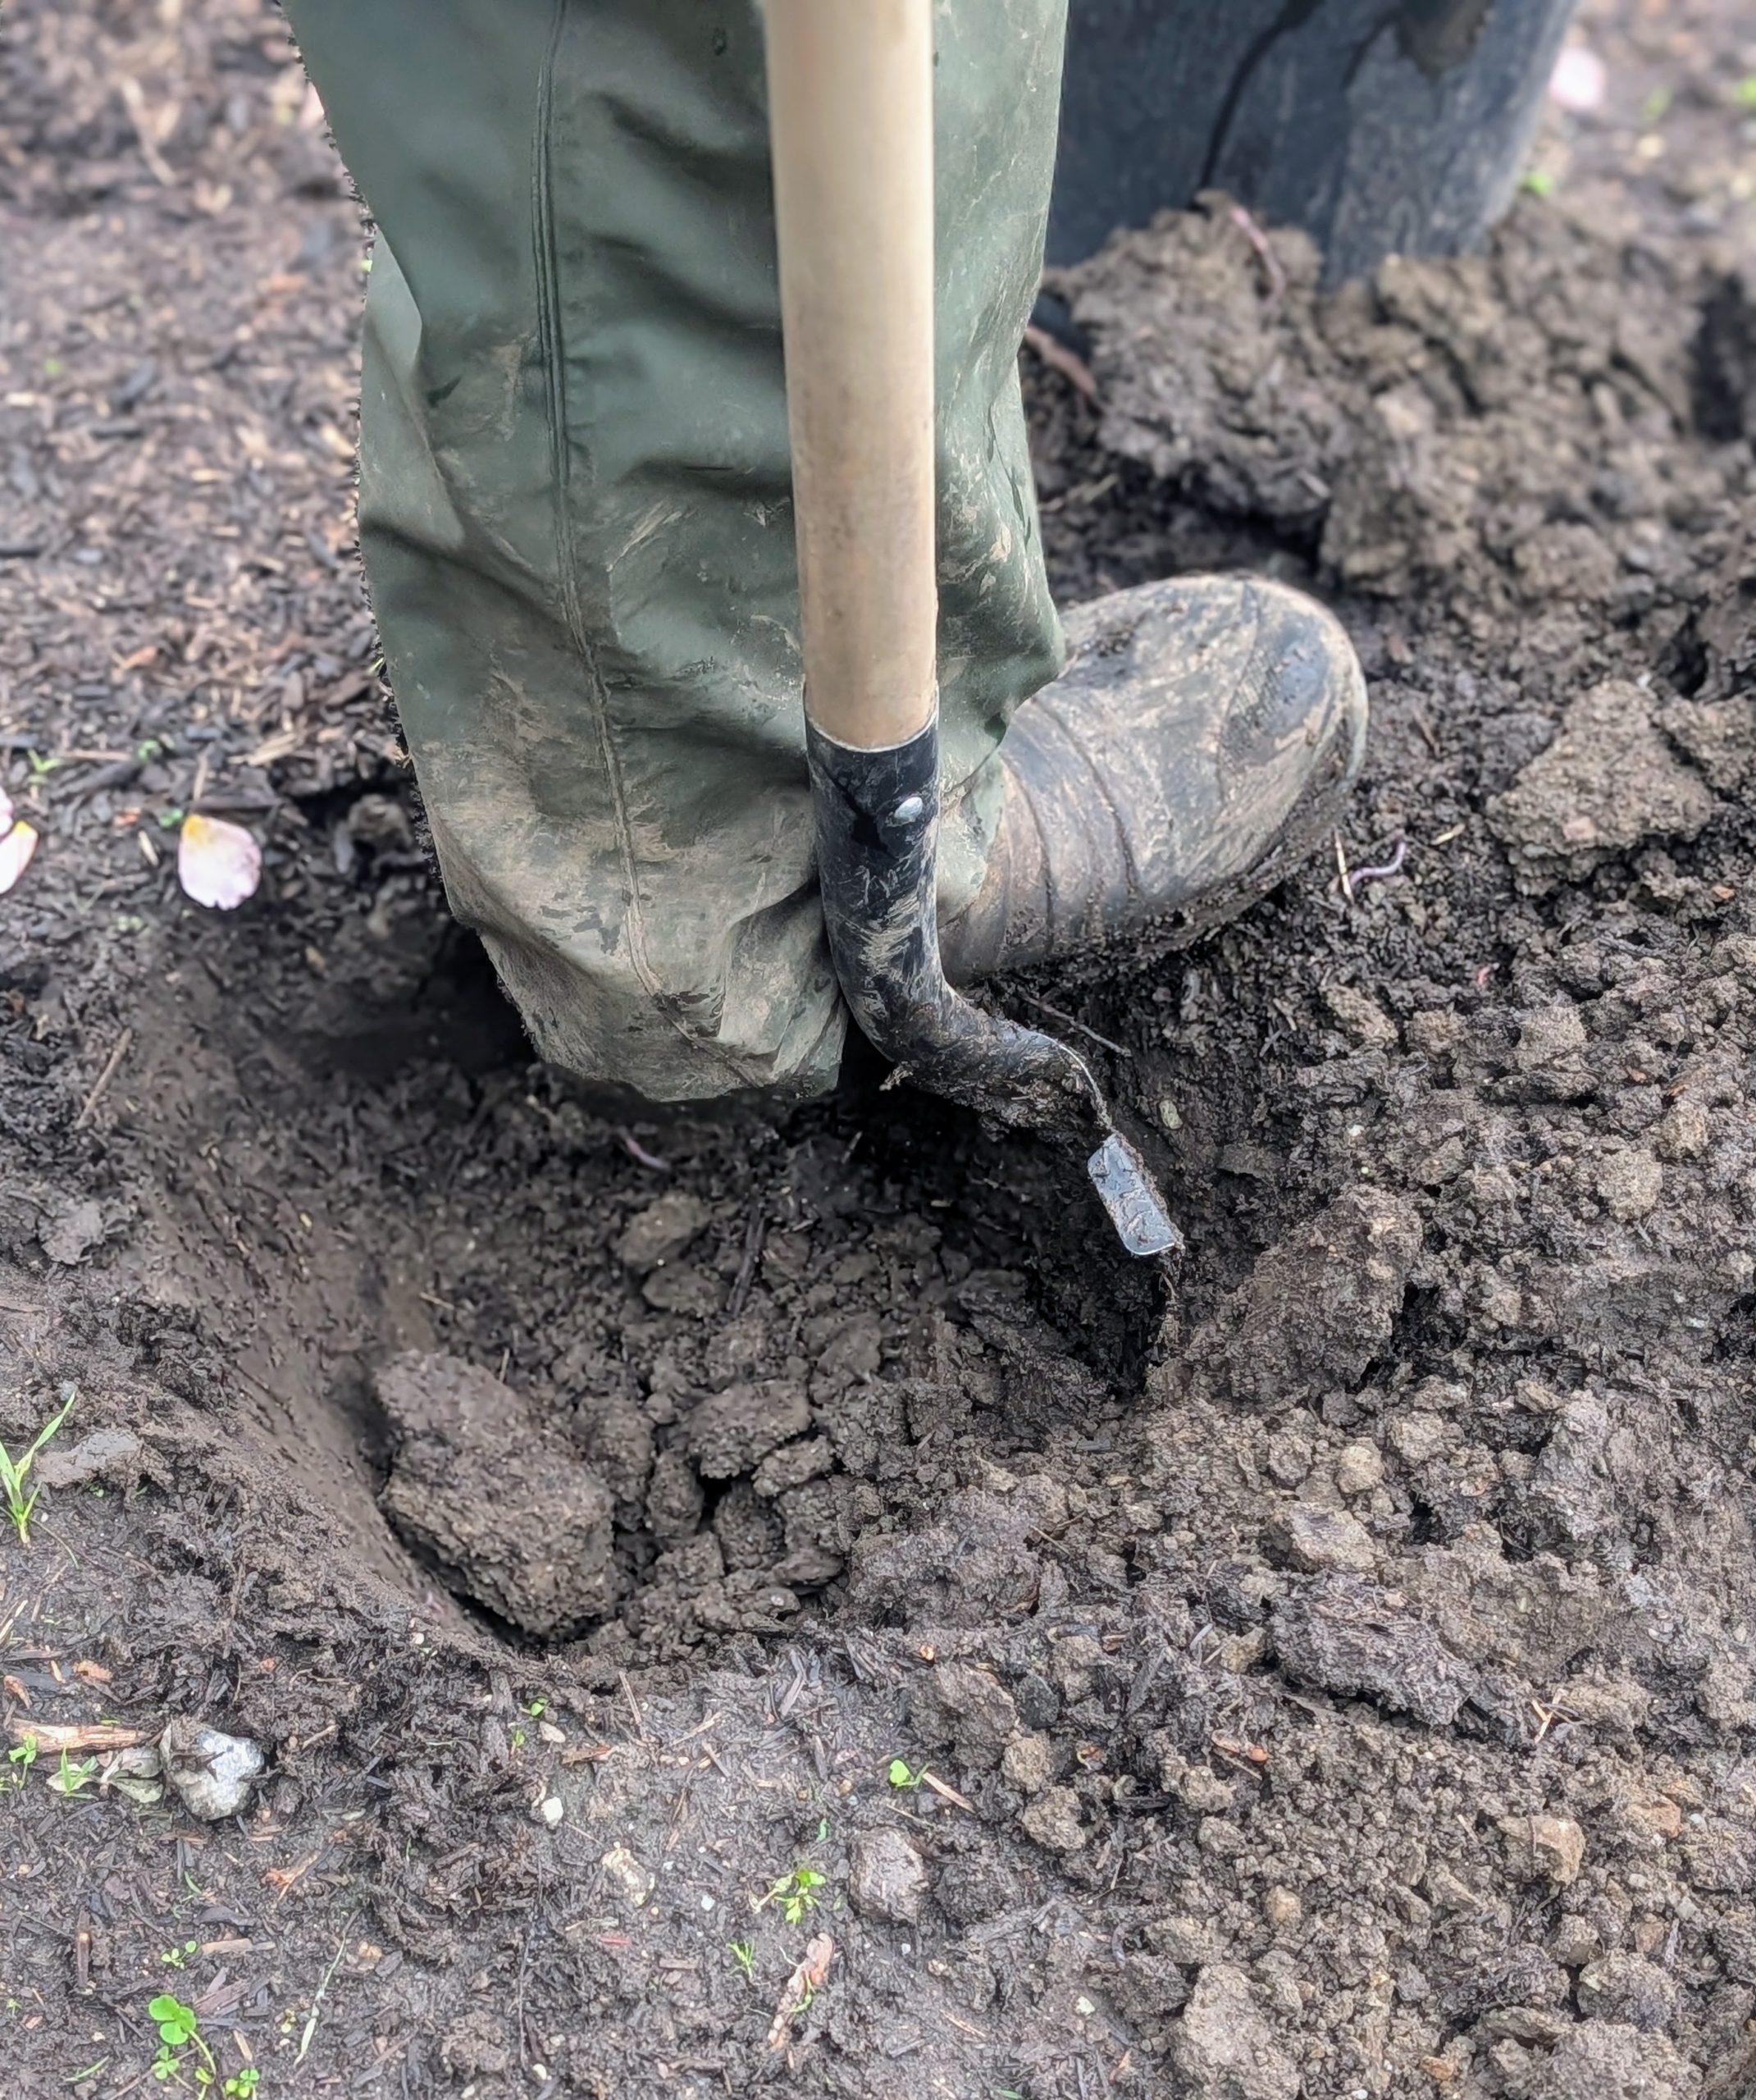
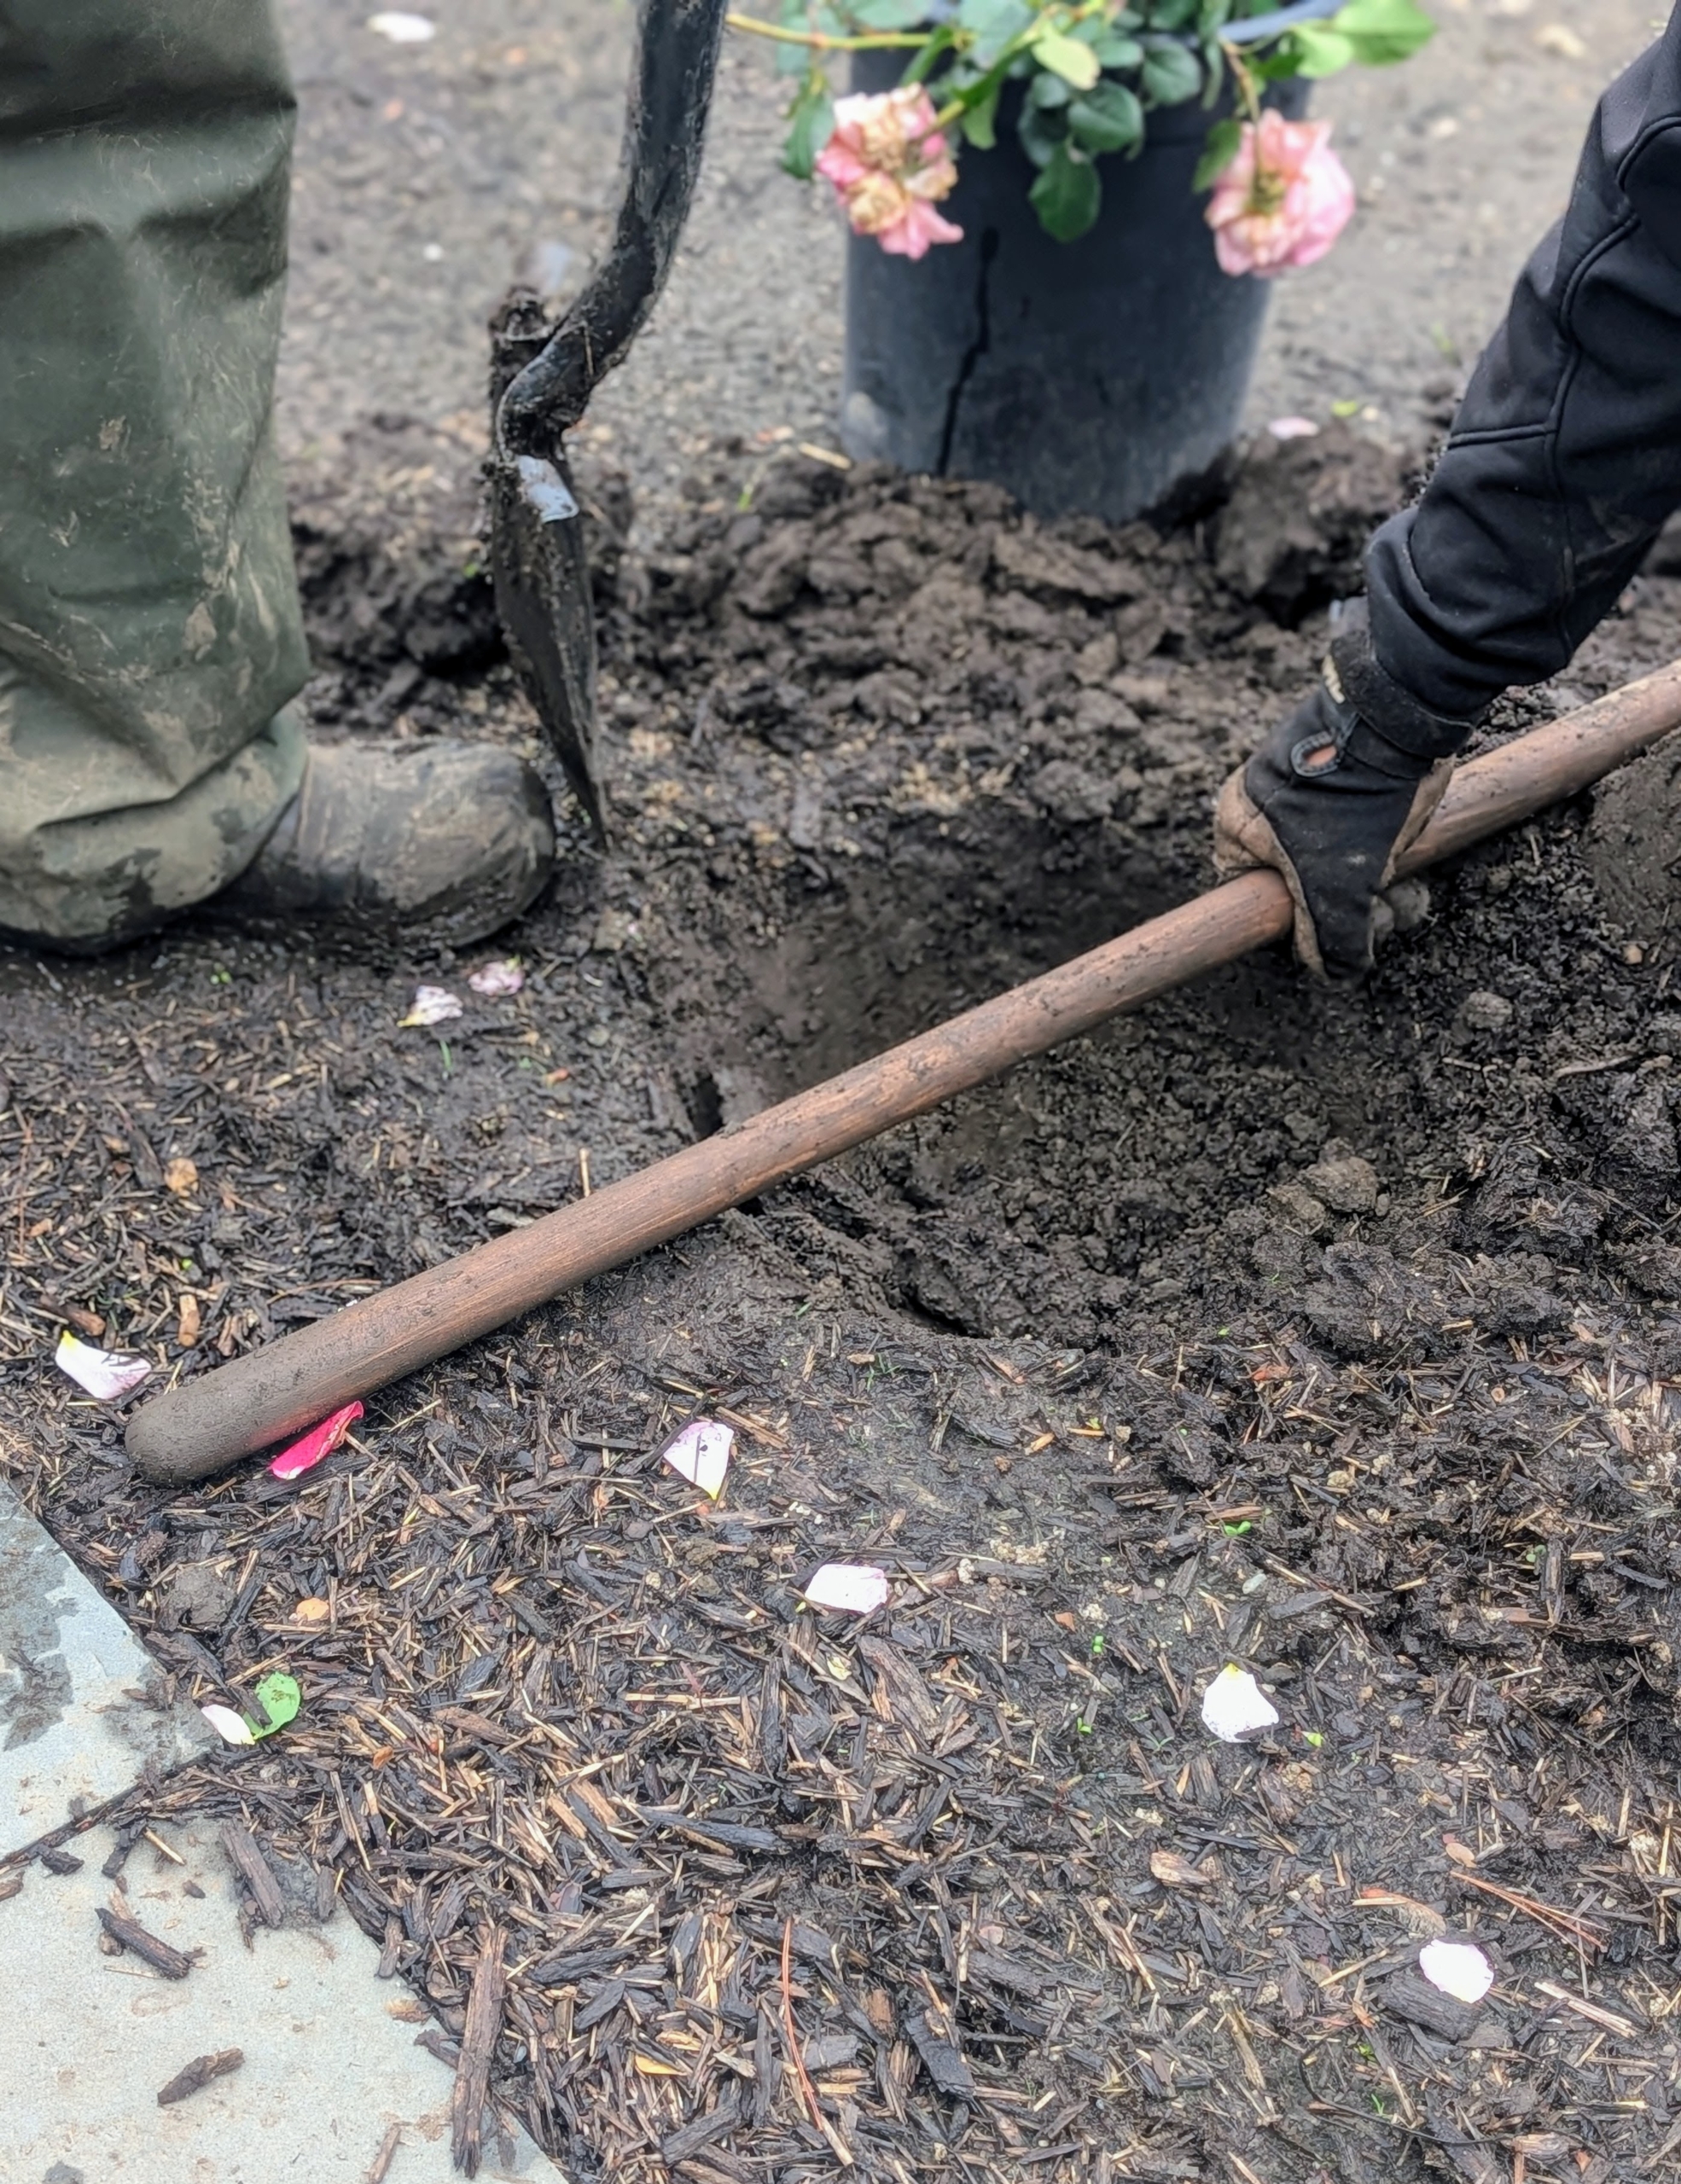
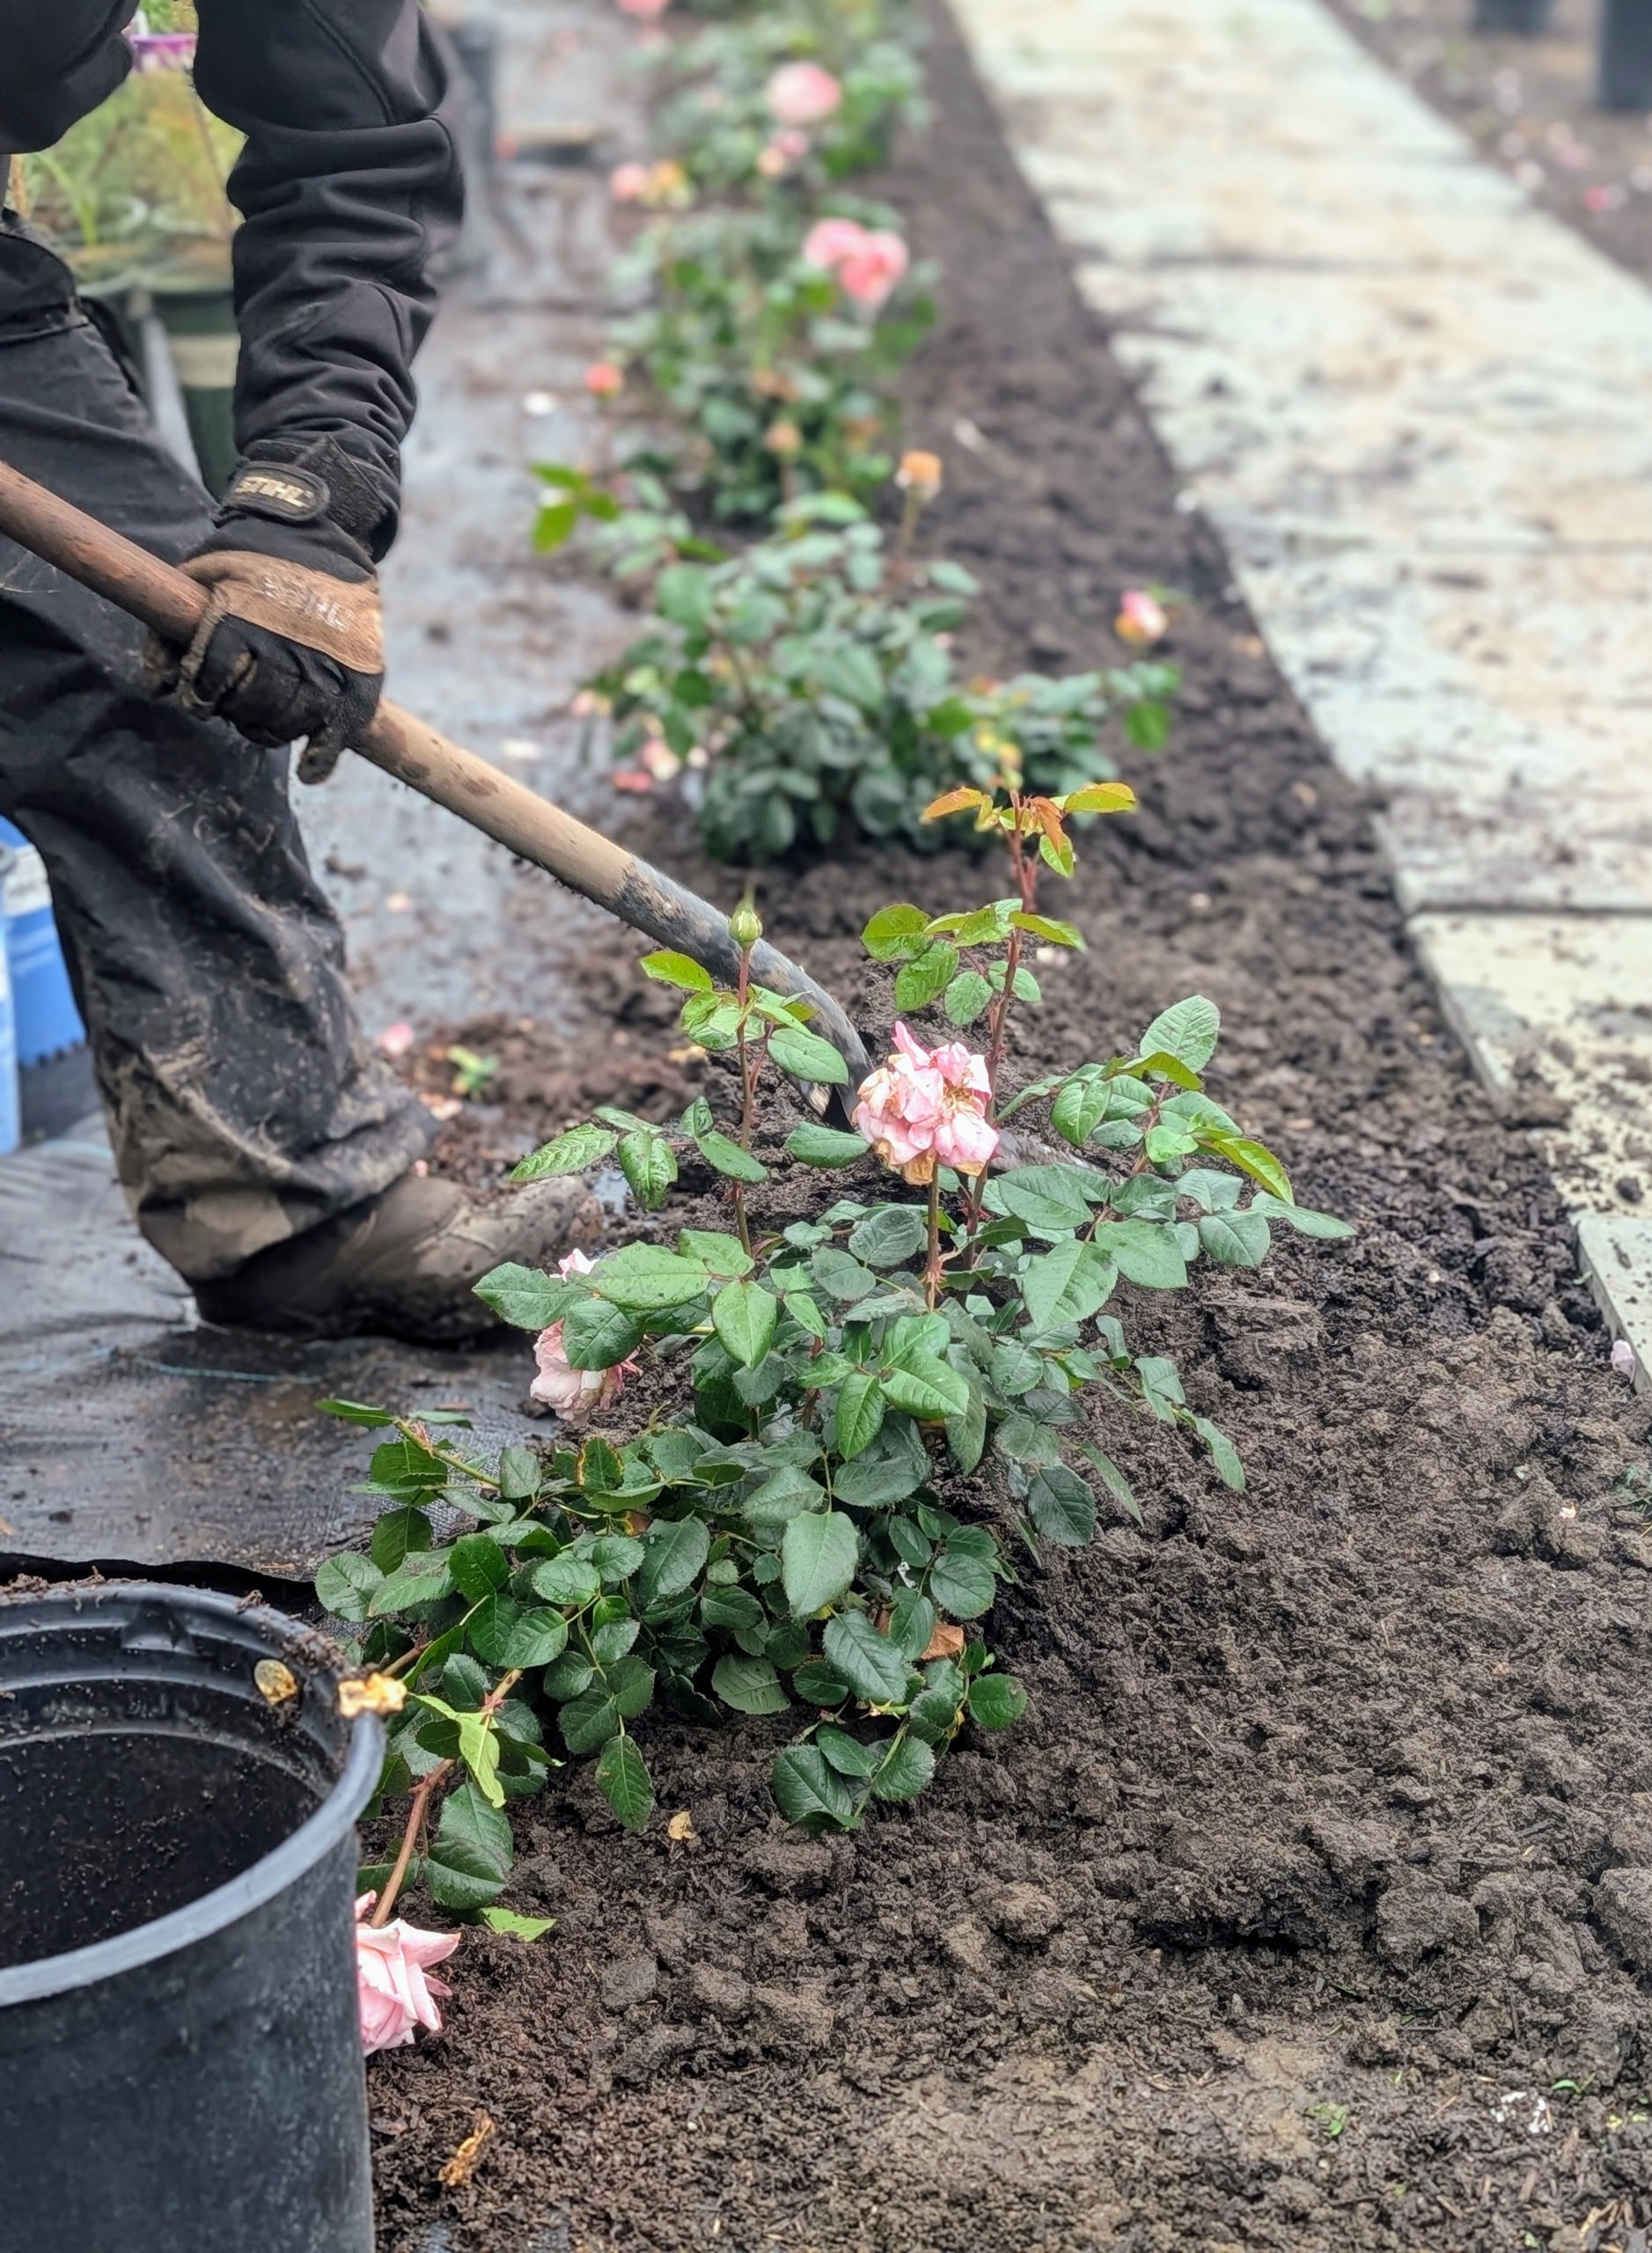
- And here the digging begins – 40 holes, 20 on each side.
-
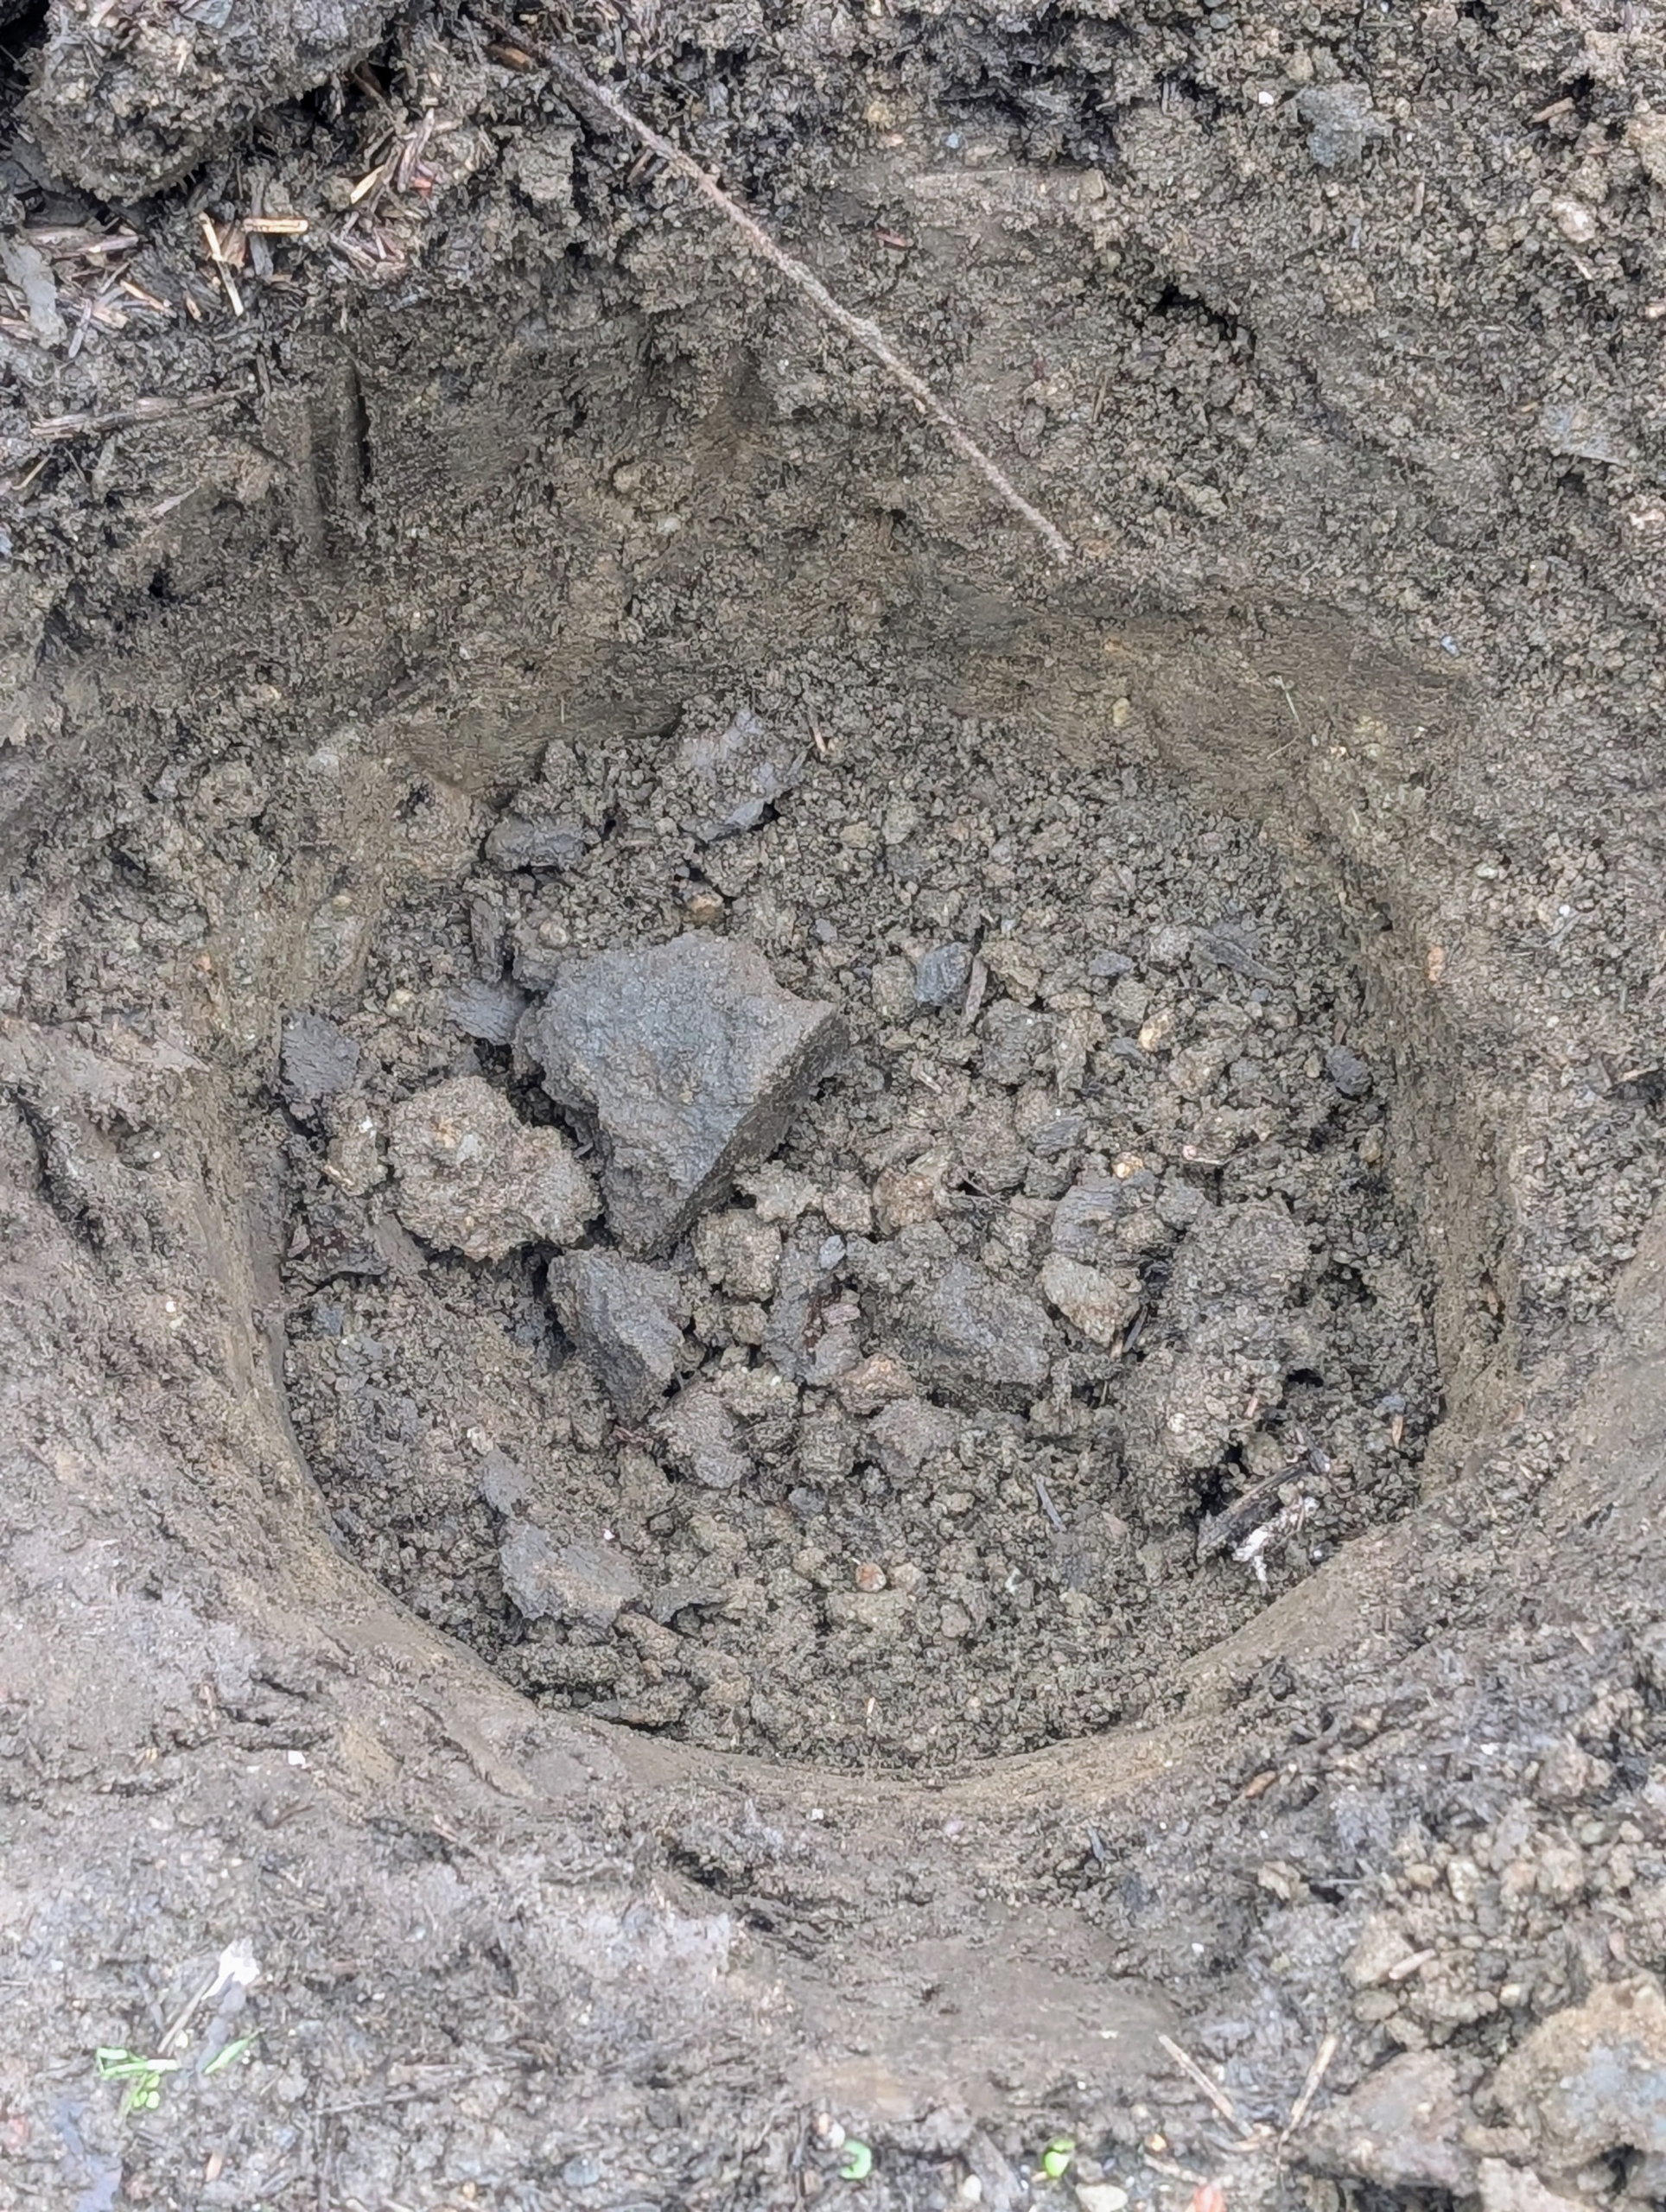
- When planting, make sure the hole is slightly wider but equal in depth to the rose’s root ball. This will generally be about 15 to 18 inches deep by 18 to 24 inches wide.
-
- Phurba uses a long handled garden tool to ensure the holes are straight and according to the pre-measured distance from the footpath.
-
- A sprinkling of Miracle-Gro Shake ‘n Feed is also added to each hole.

-
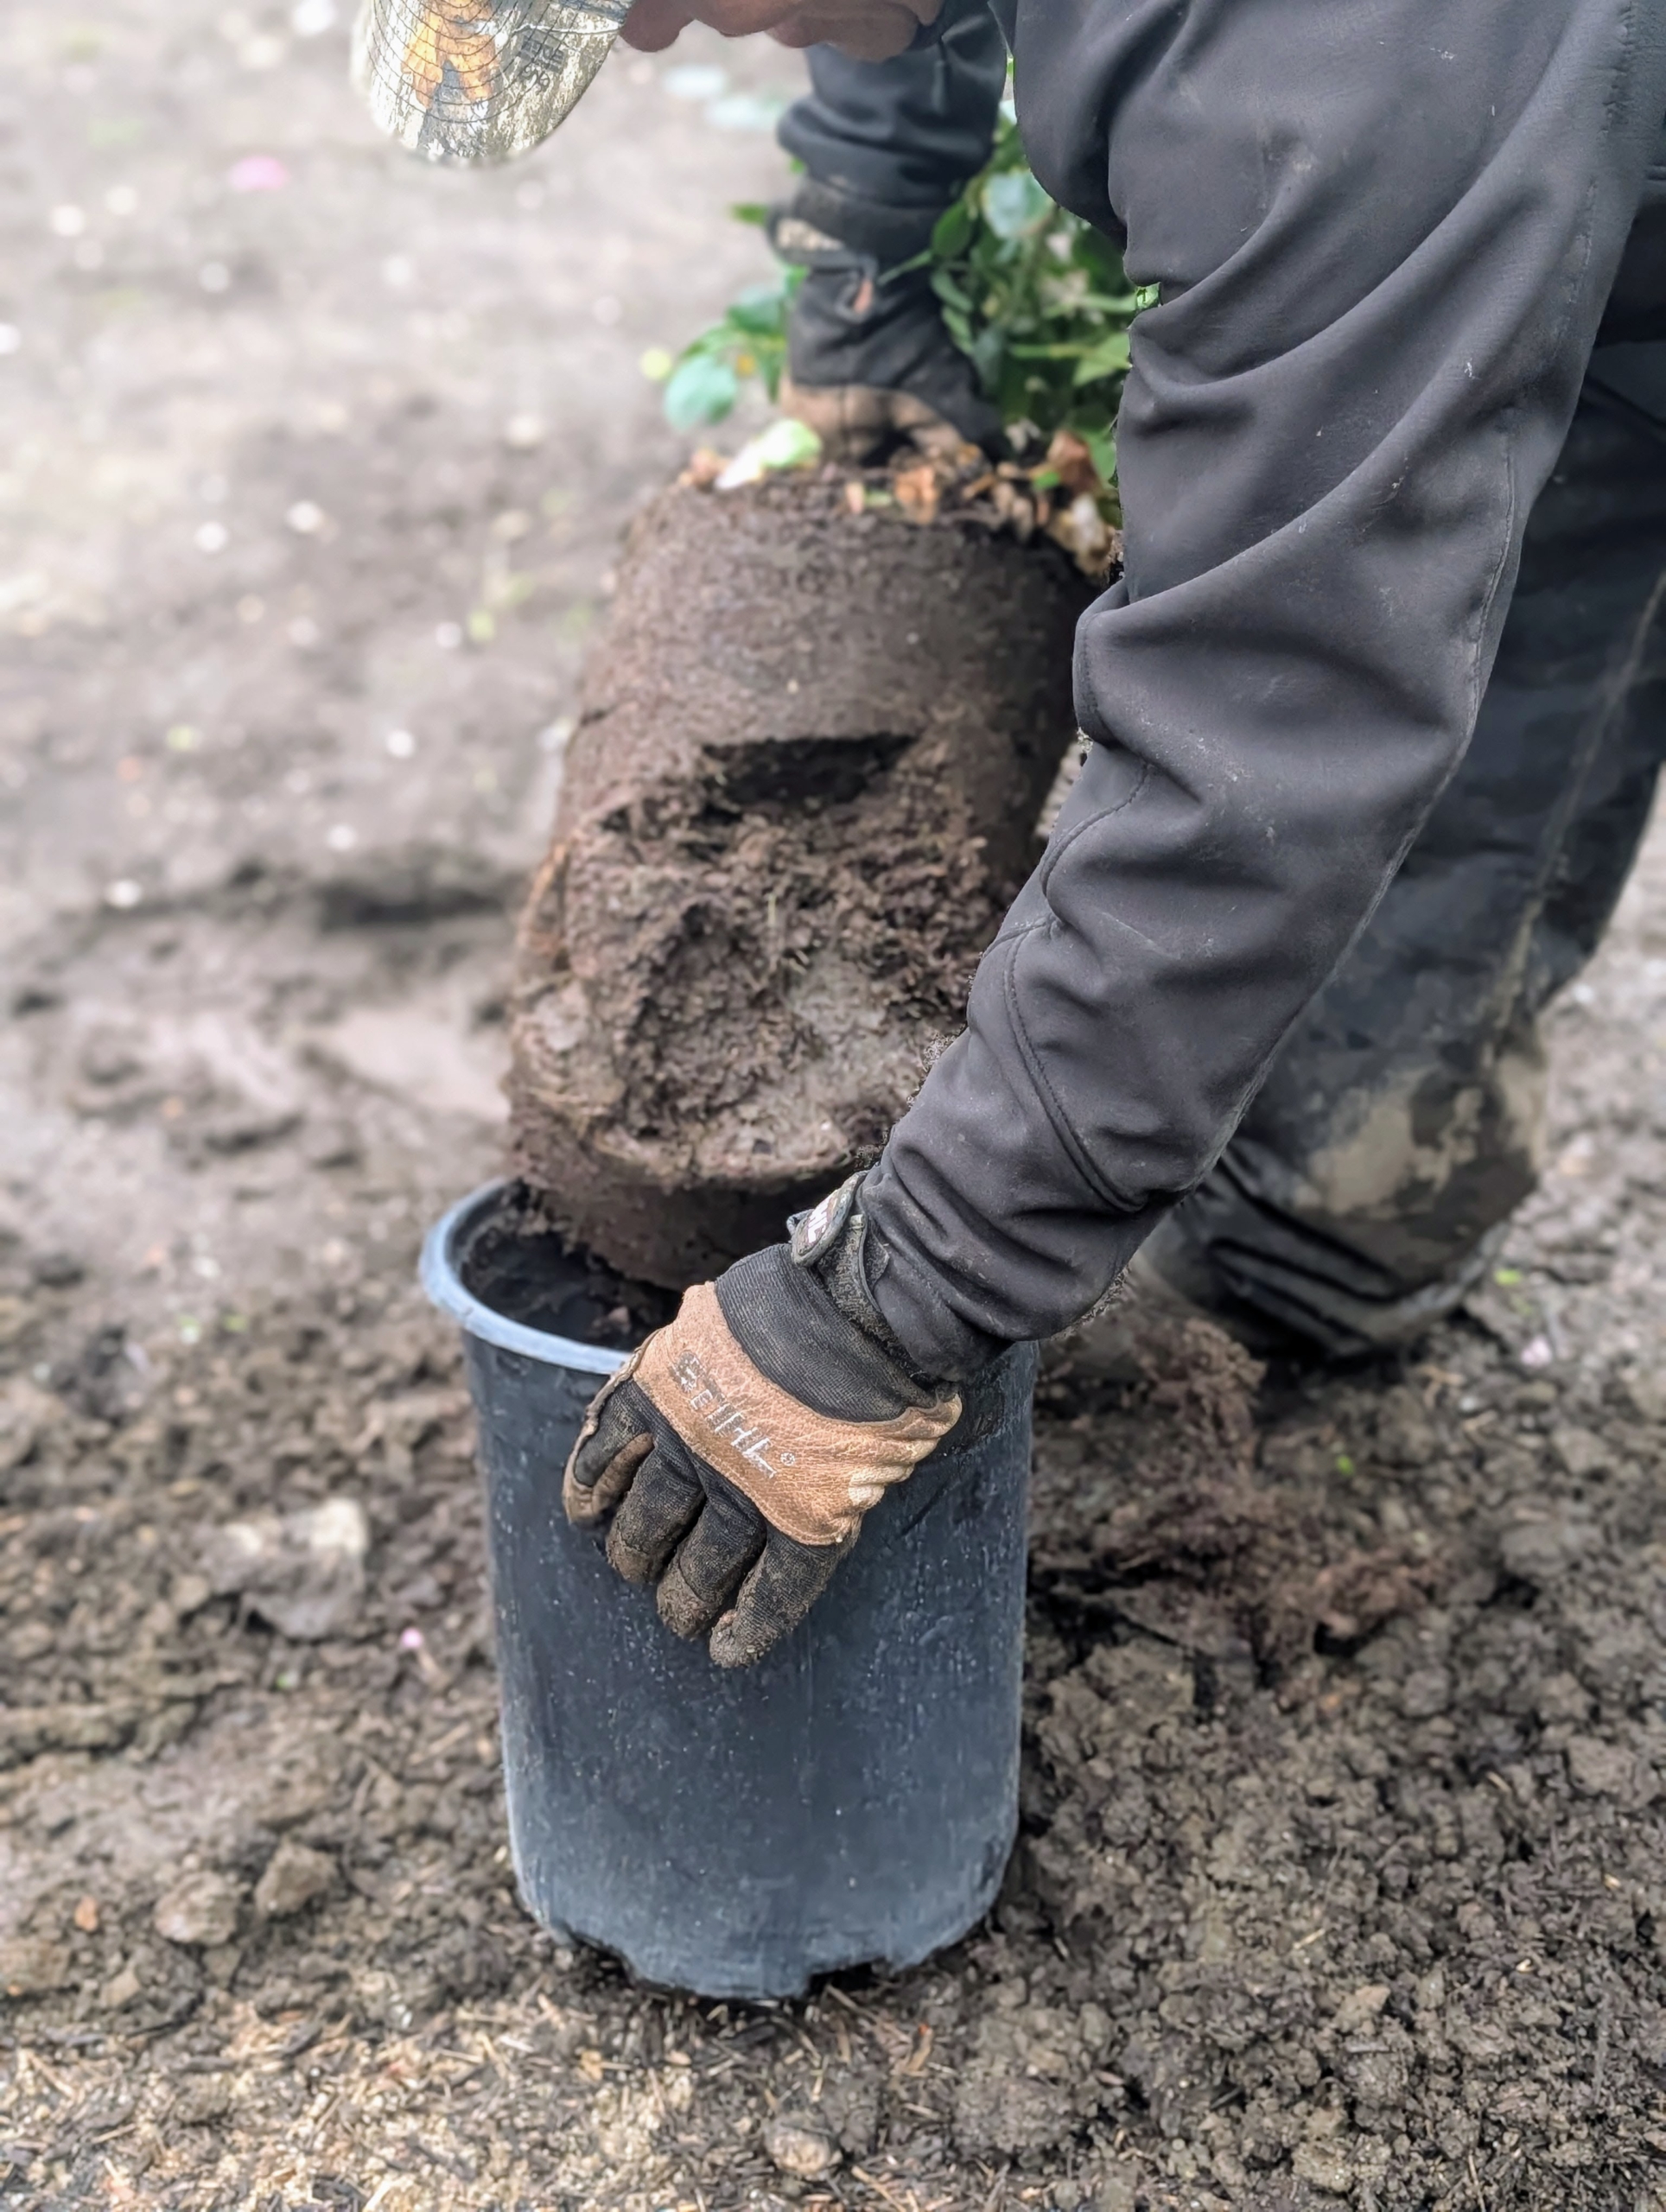
- Phurba carefully removes a rose from its pot. Do this slowly, especially if the root ball is moist and crumbling.
-
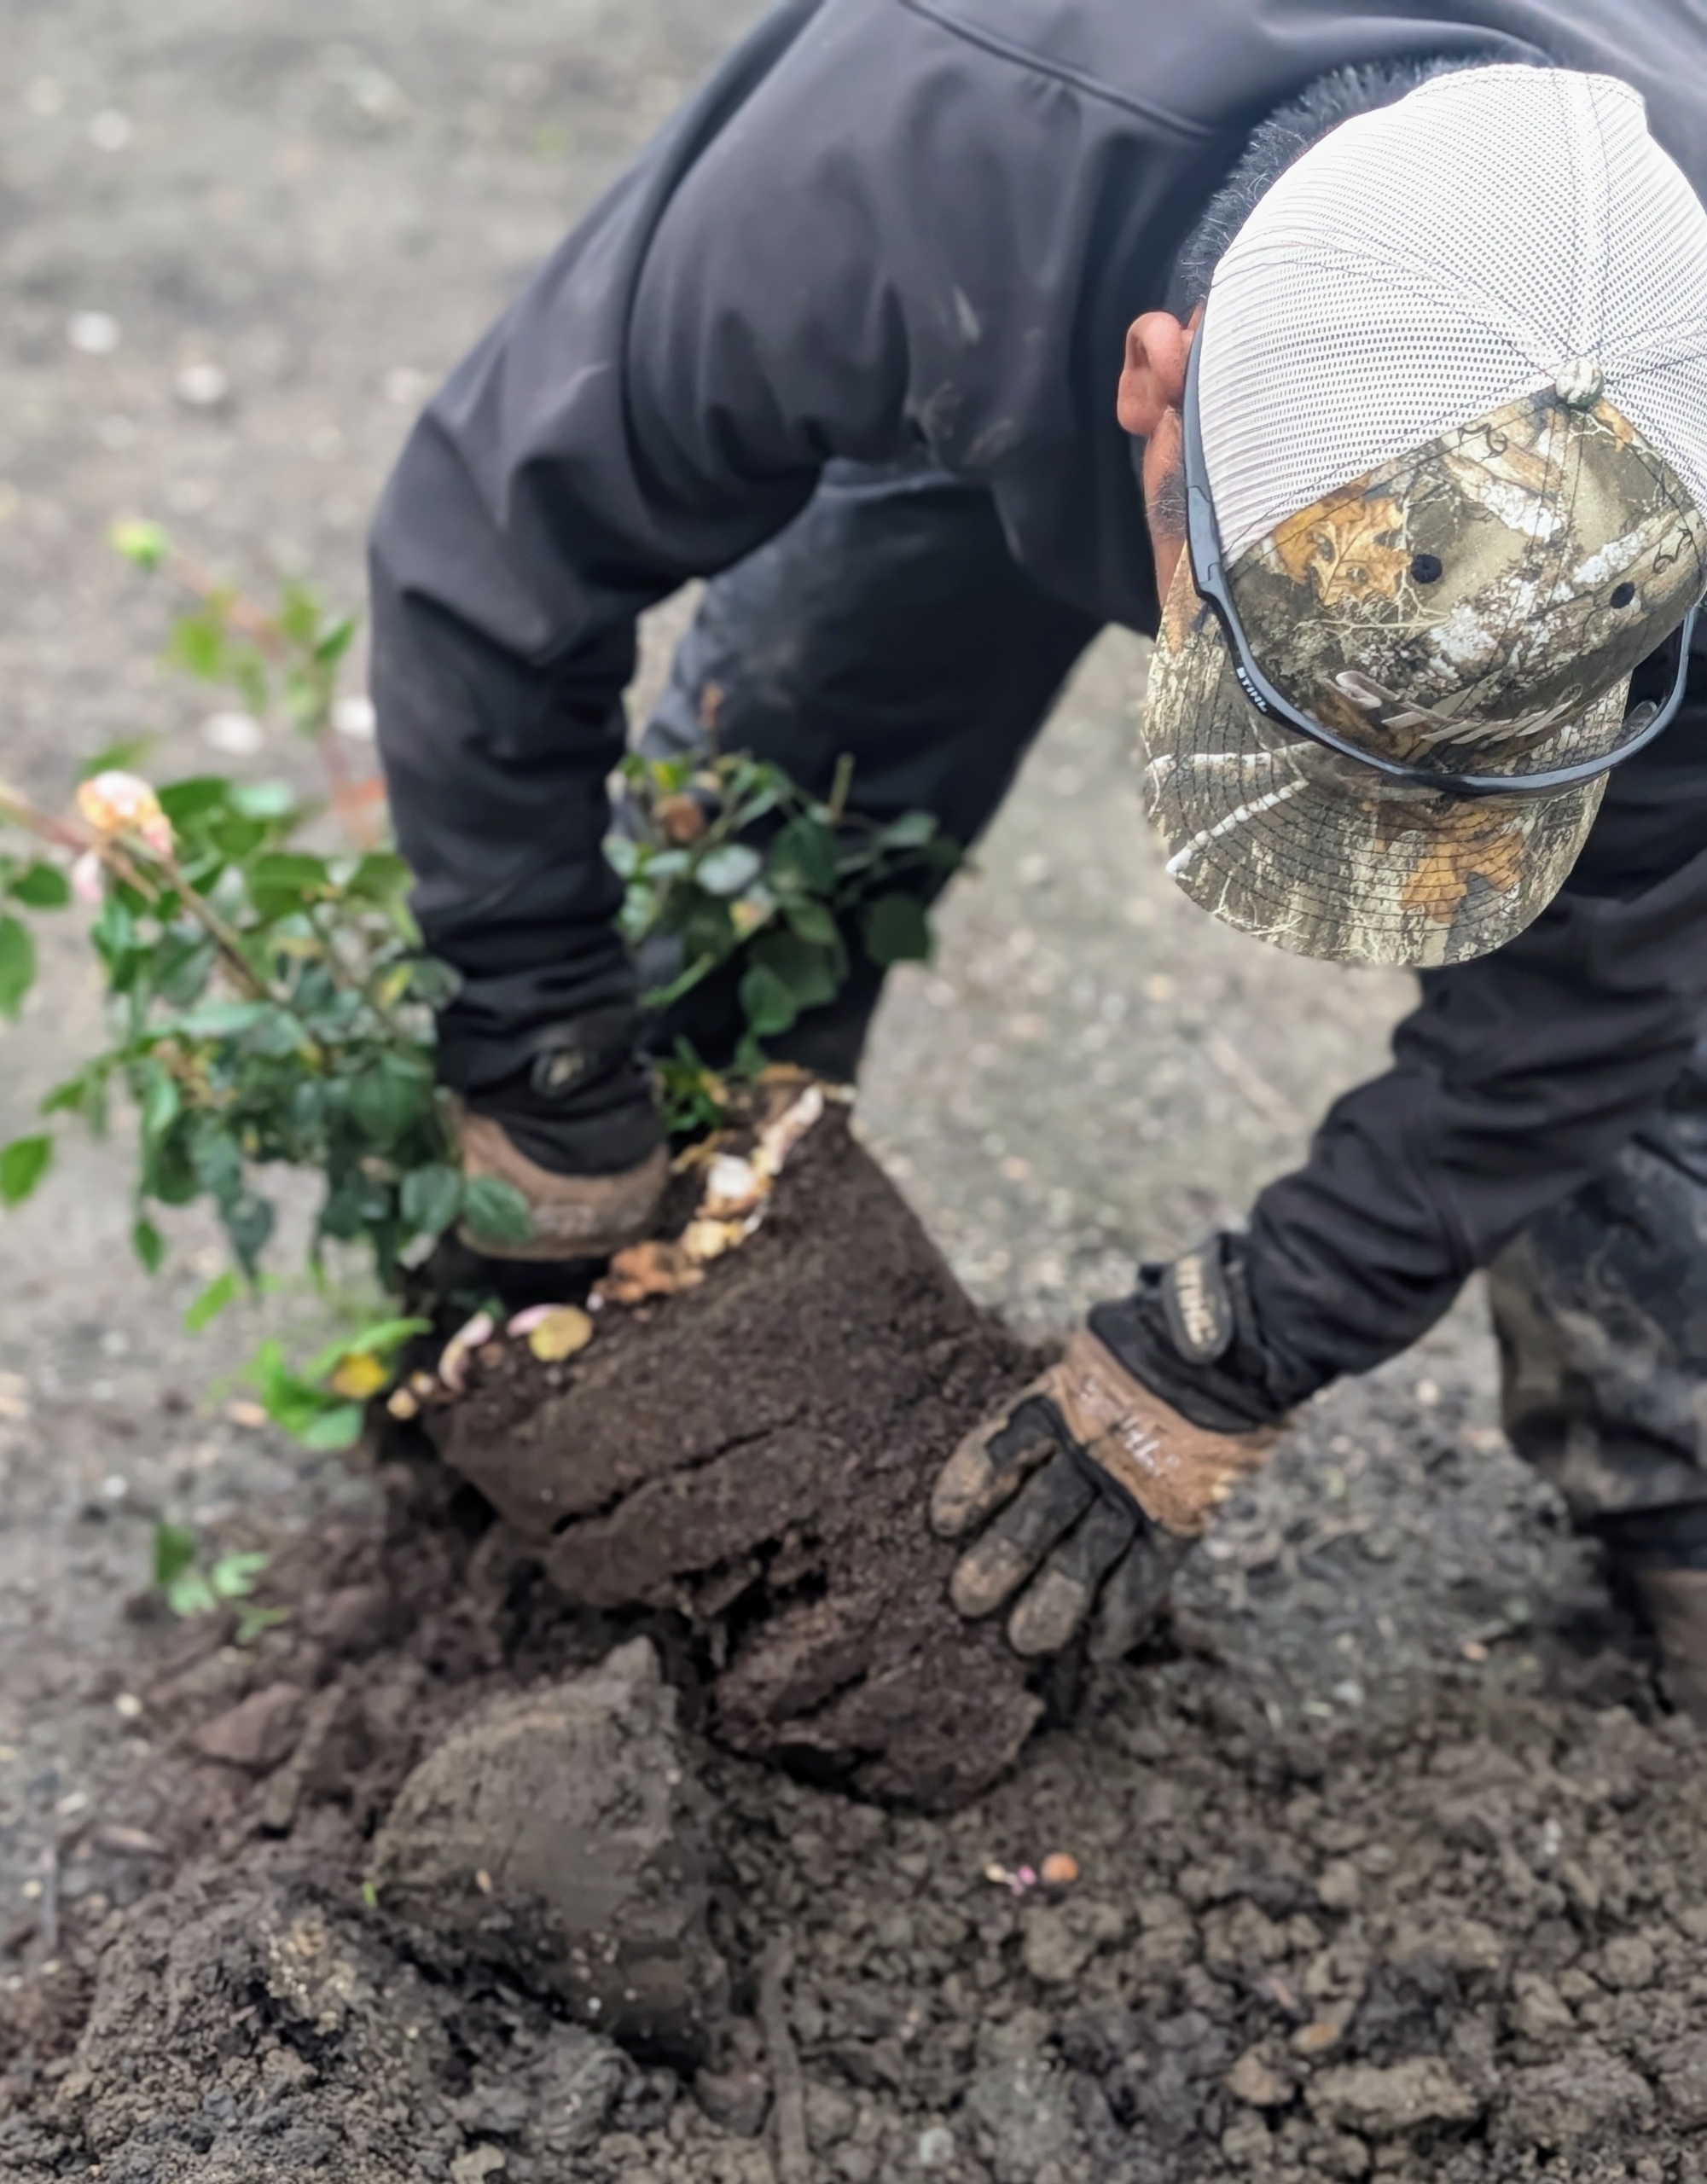
- And then he teases the roots to stimulate growth.
-
- Here, Phurba places the rose into the designated hole and checks to see that it is at the same level as it was in the pot.
-
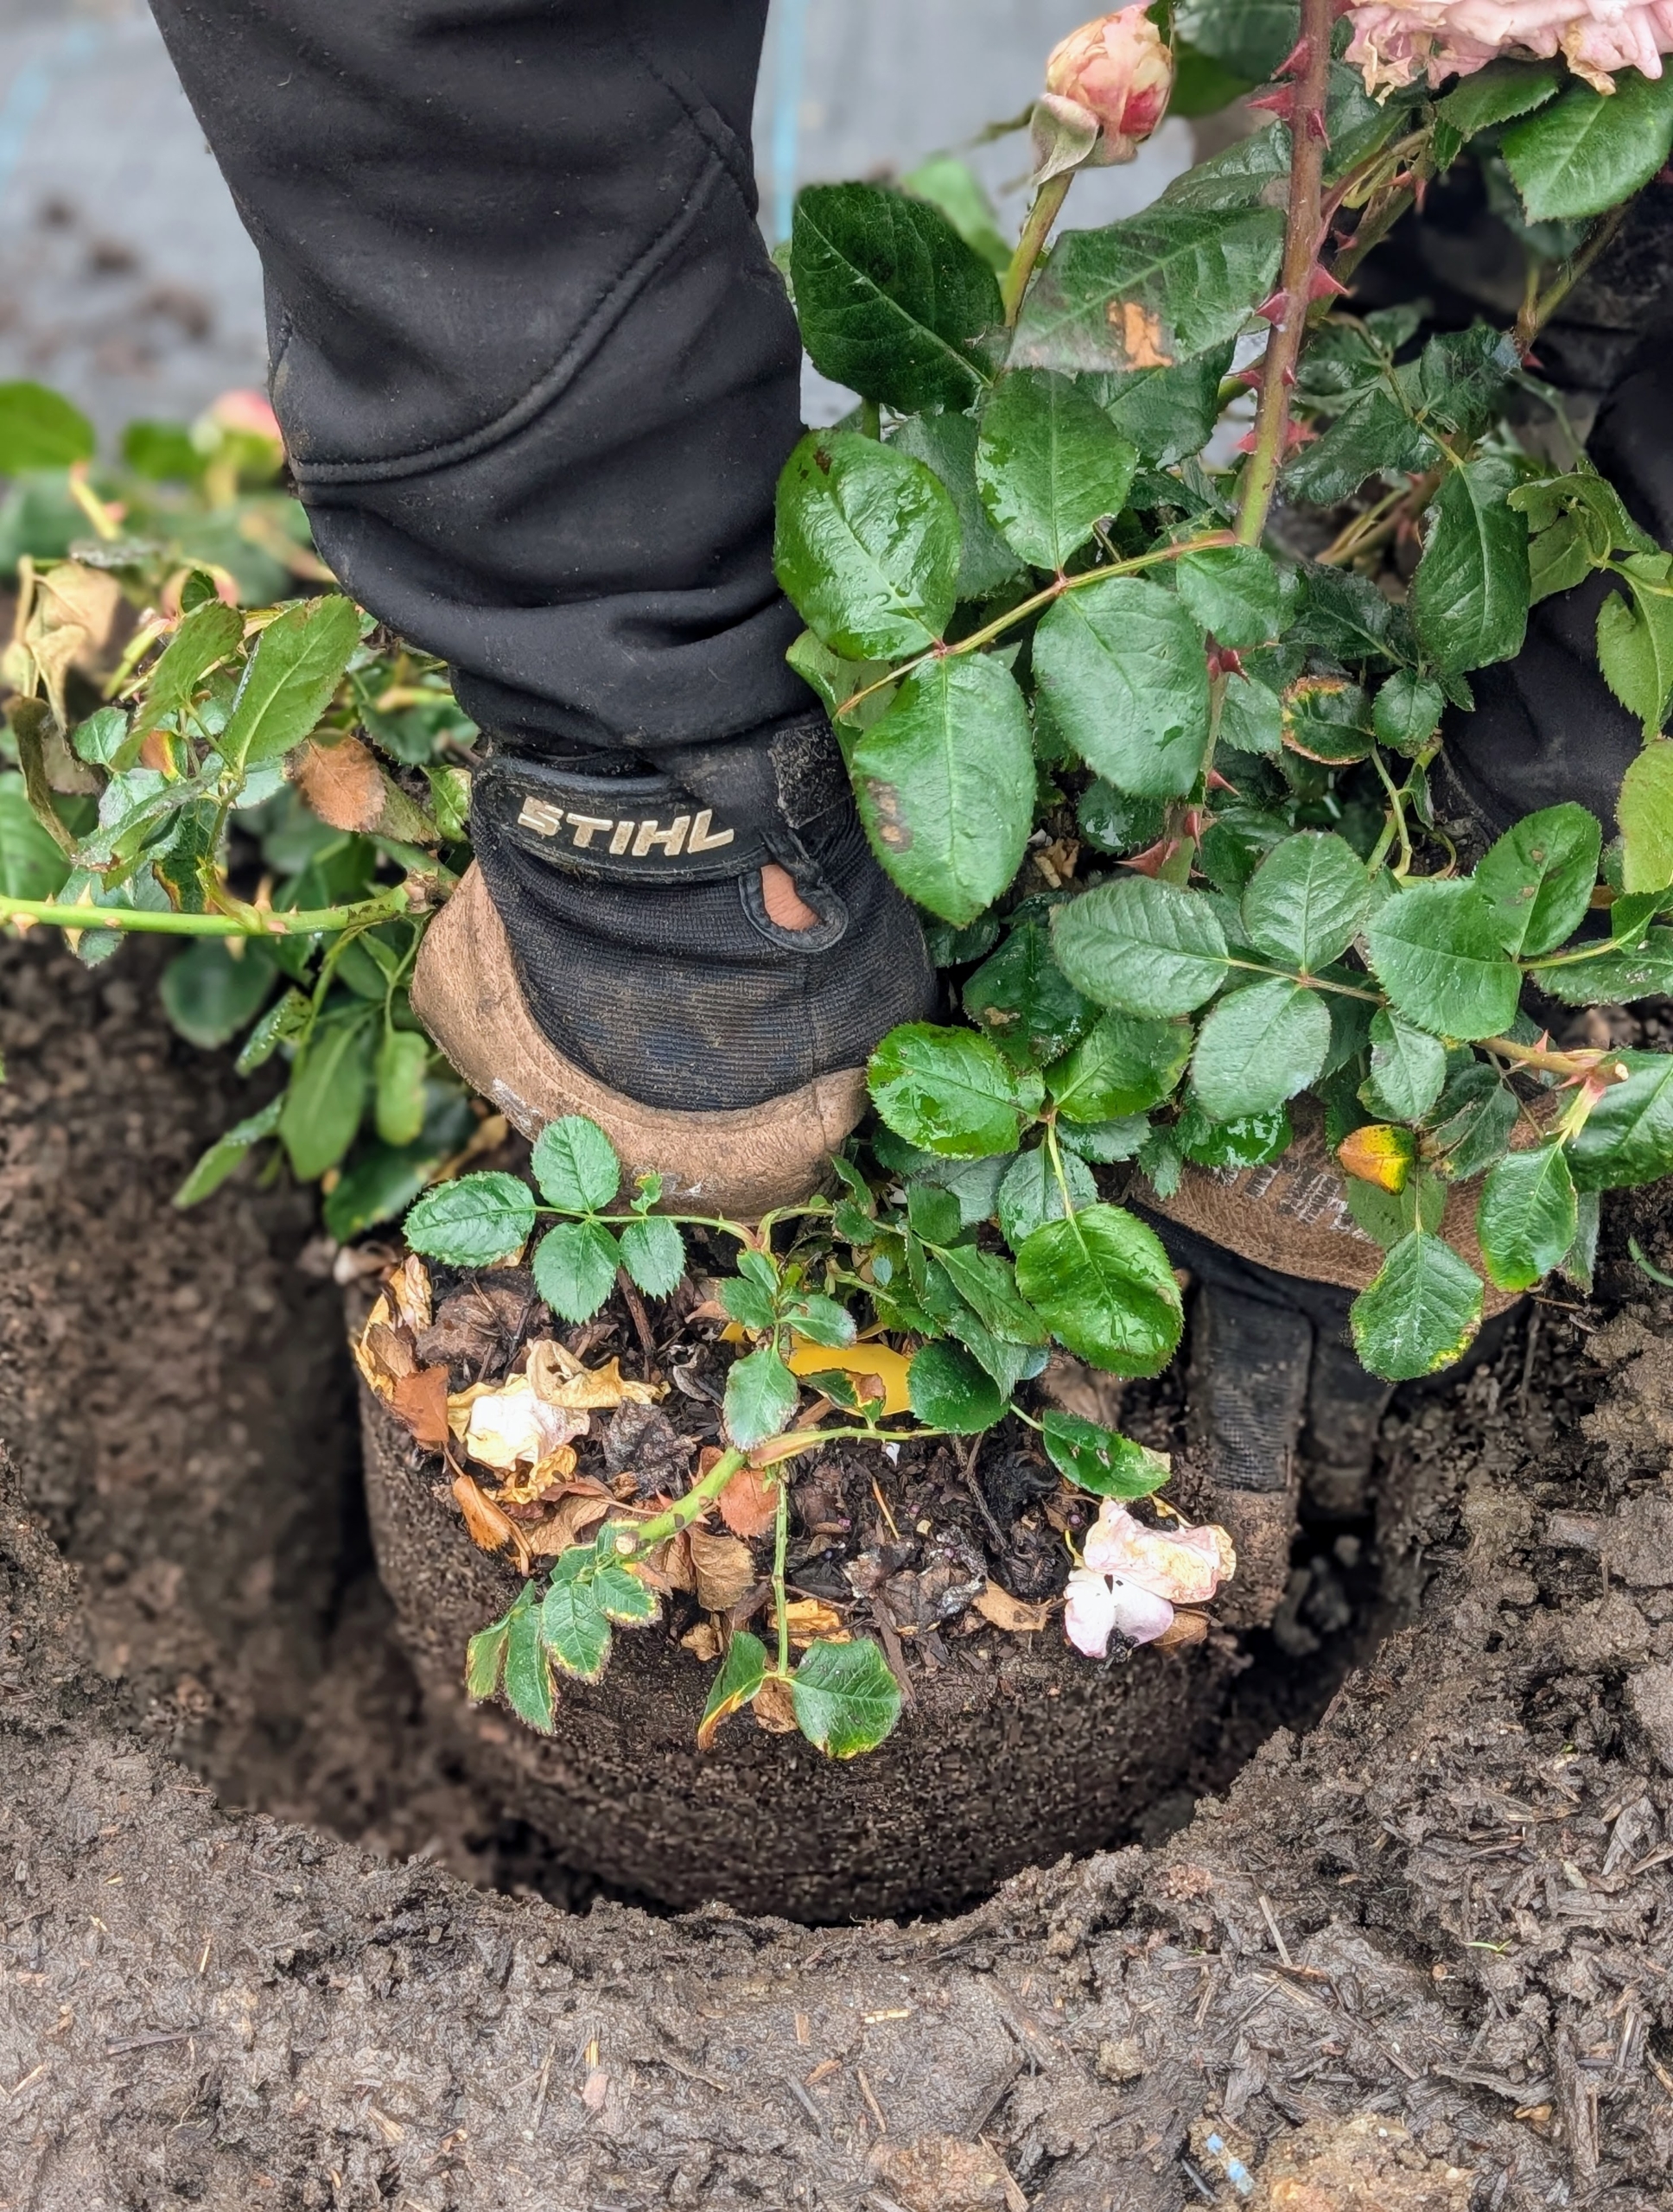
- Phurba makes sure the top of the root ball is about an inch above the edge of the hole before he backfills. He also looks to see that the plant is straight and the best side faces the center.

-
- Any surrounding soil is leveled and tidied.
-
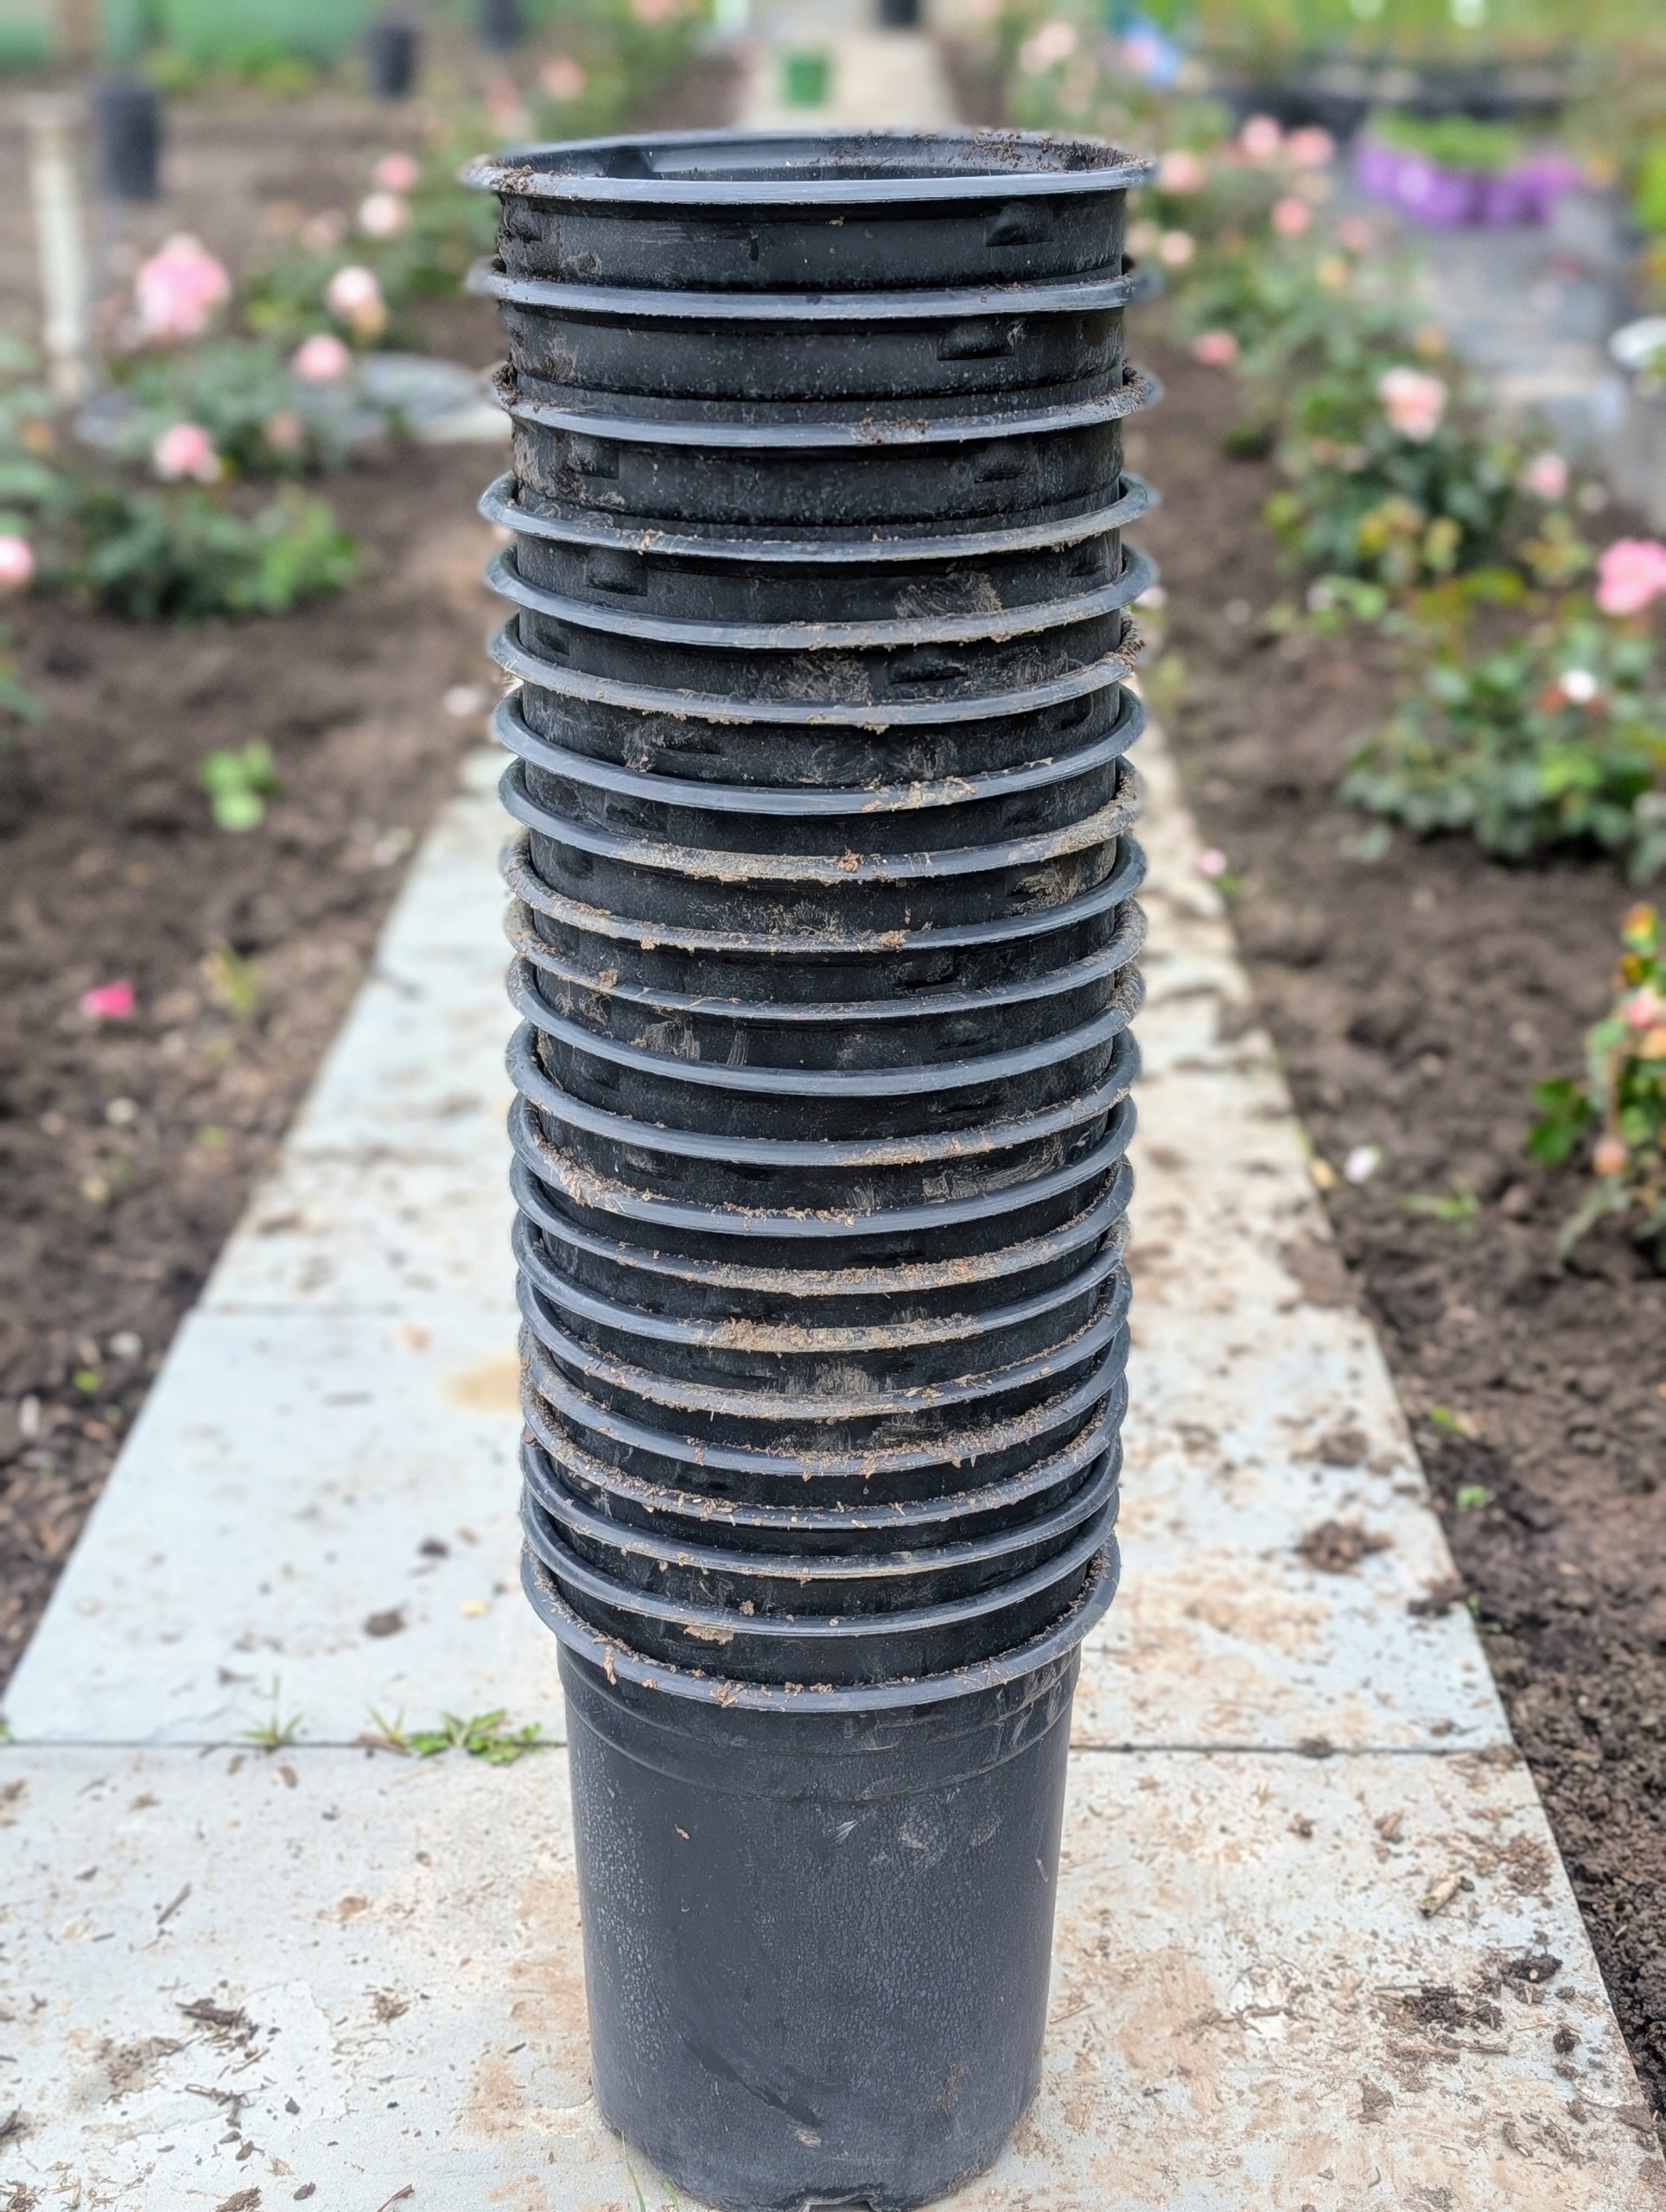
- I save all the pots so they can be reused and repurposed later. If you have the room to store them, save your pots – they always come in handy.
-
- This day was wet and rainy, but all of my roses were planted. I am excited to see them continue to grow and bloom in this enclosed space.
-
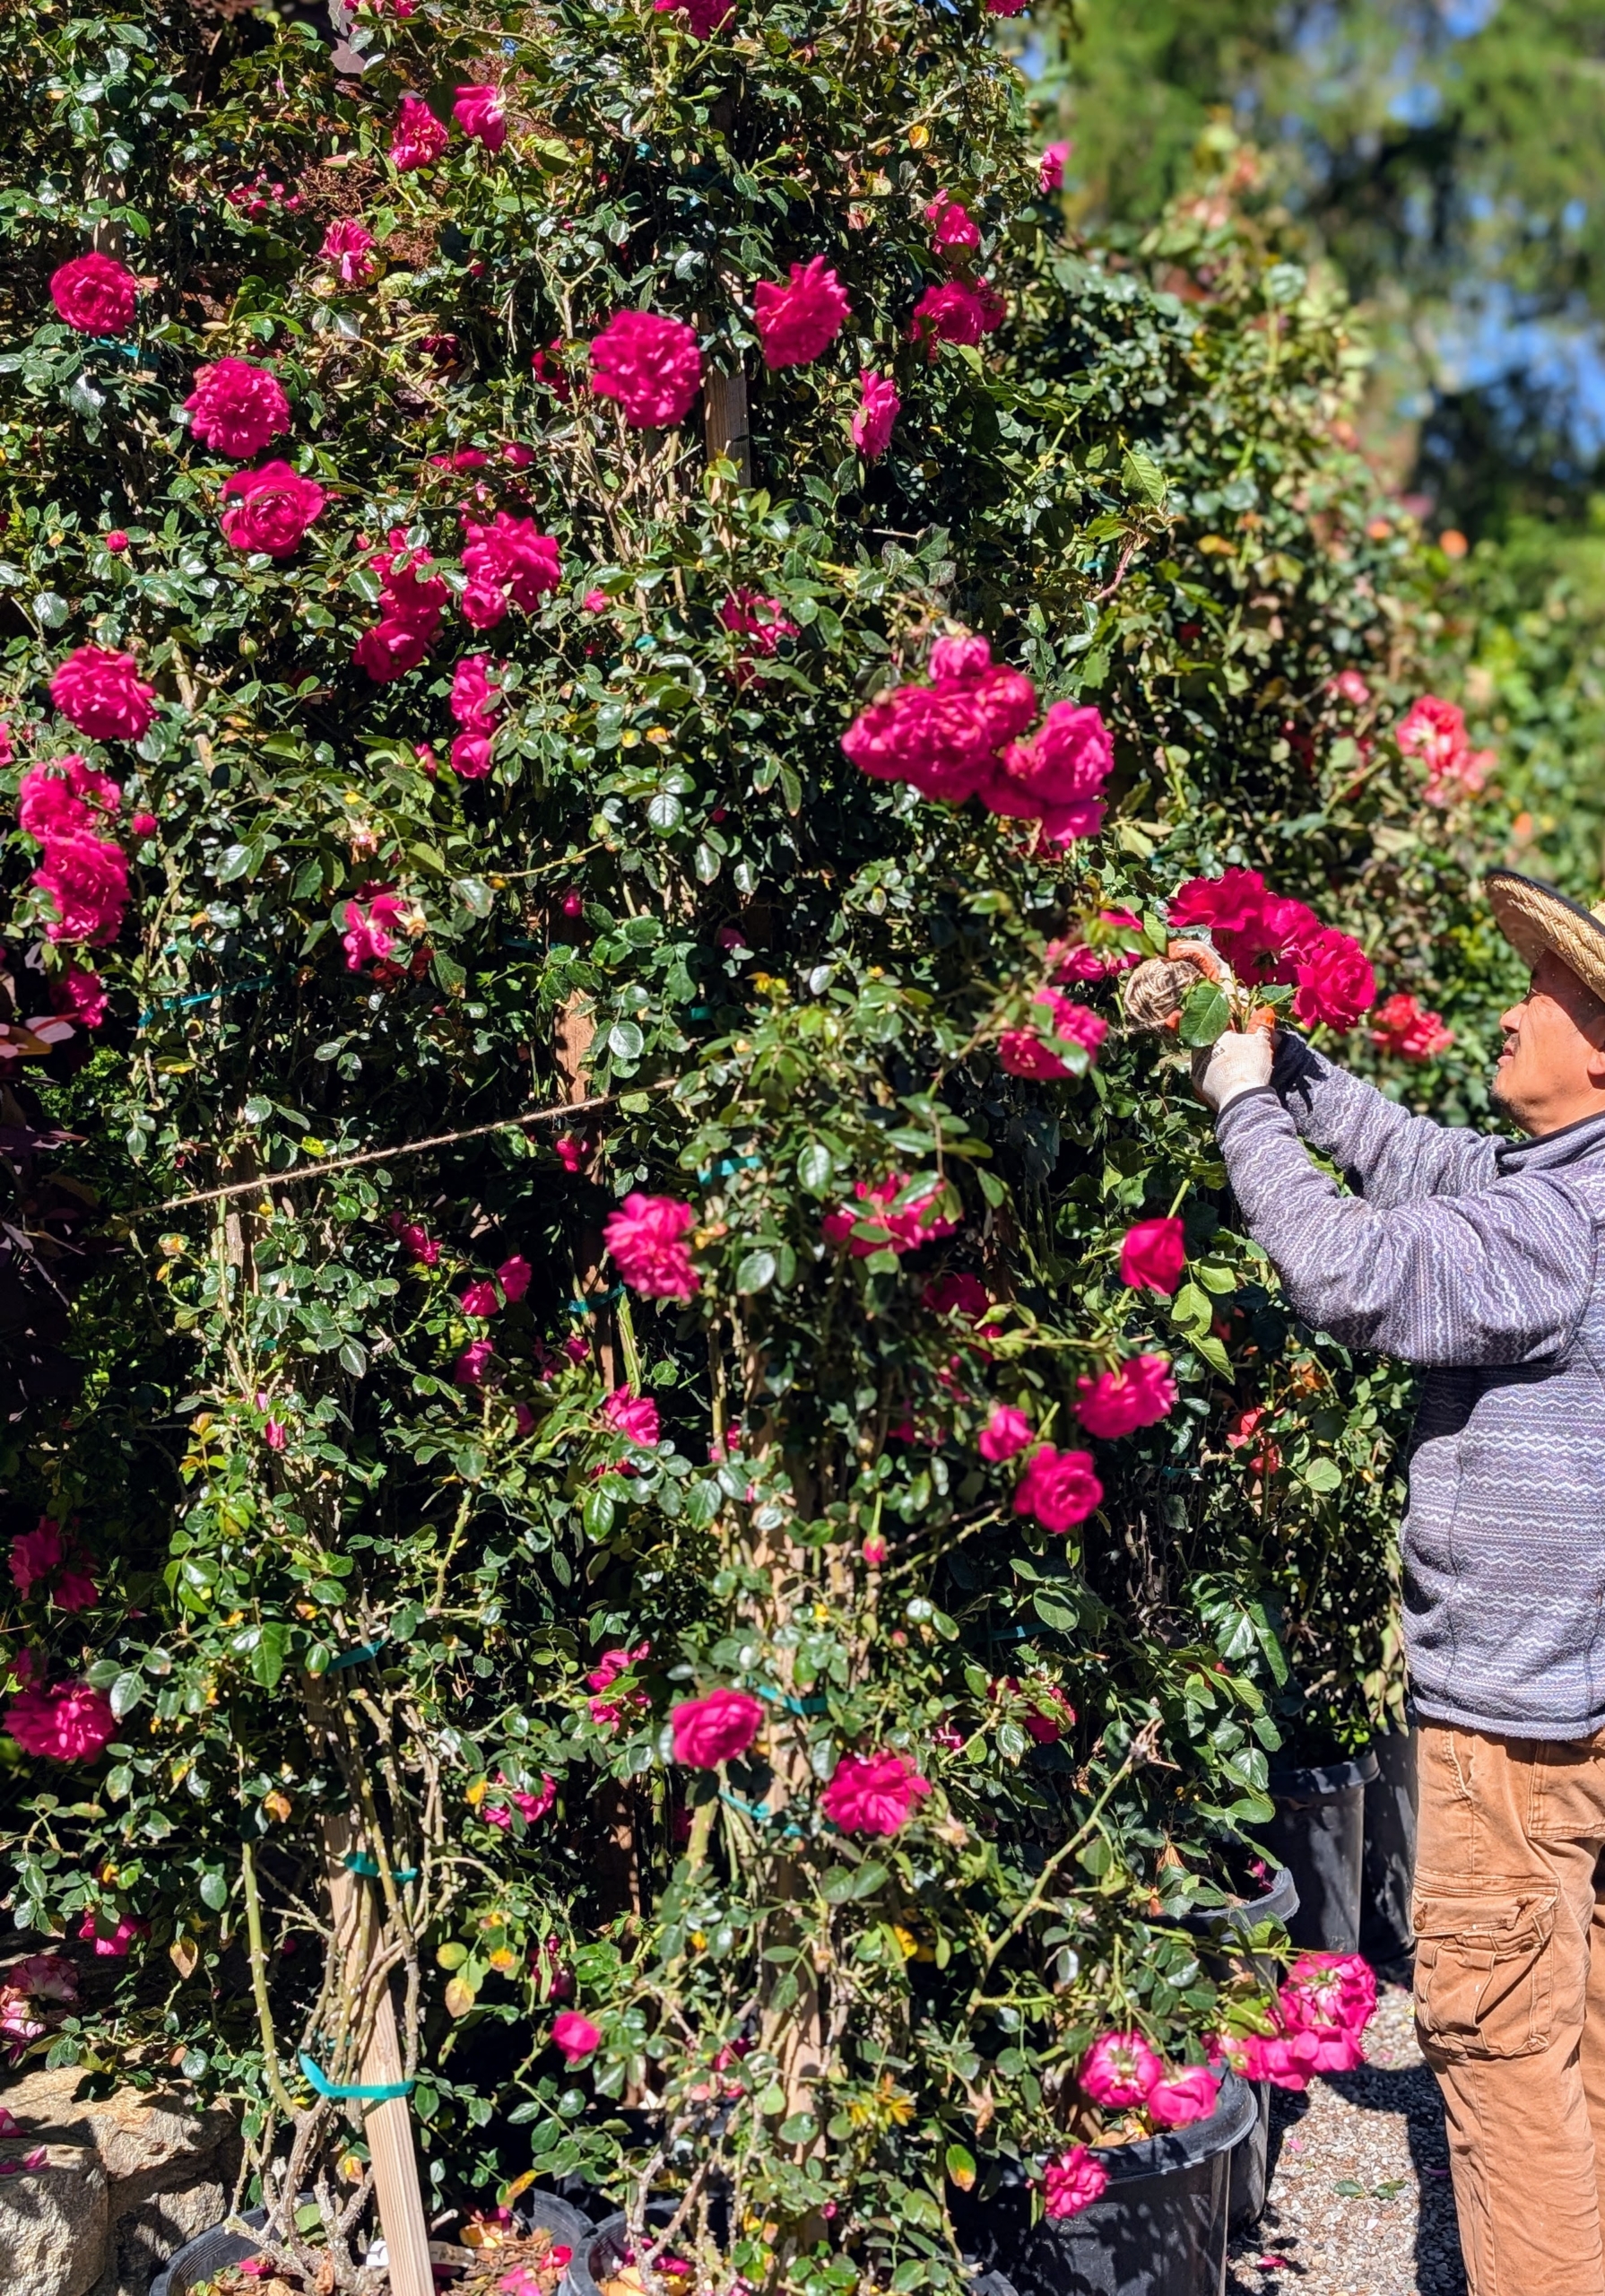
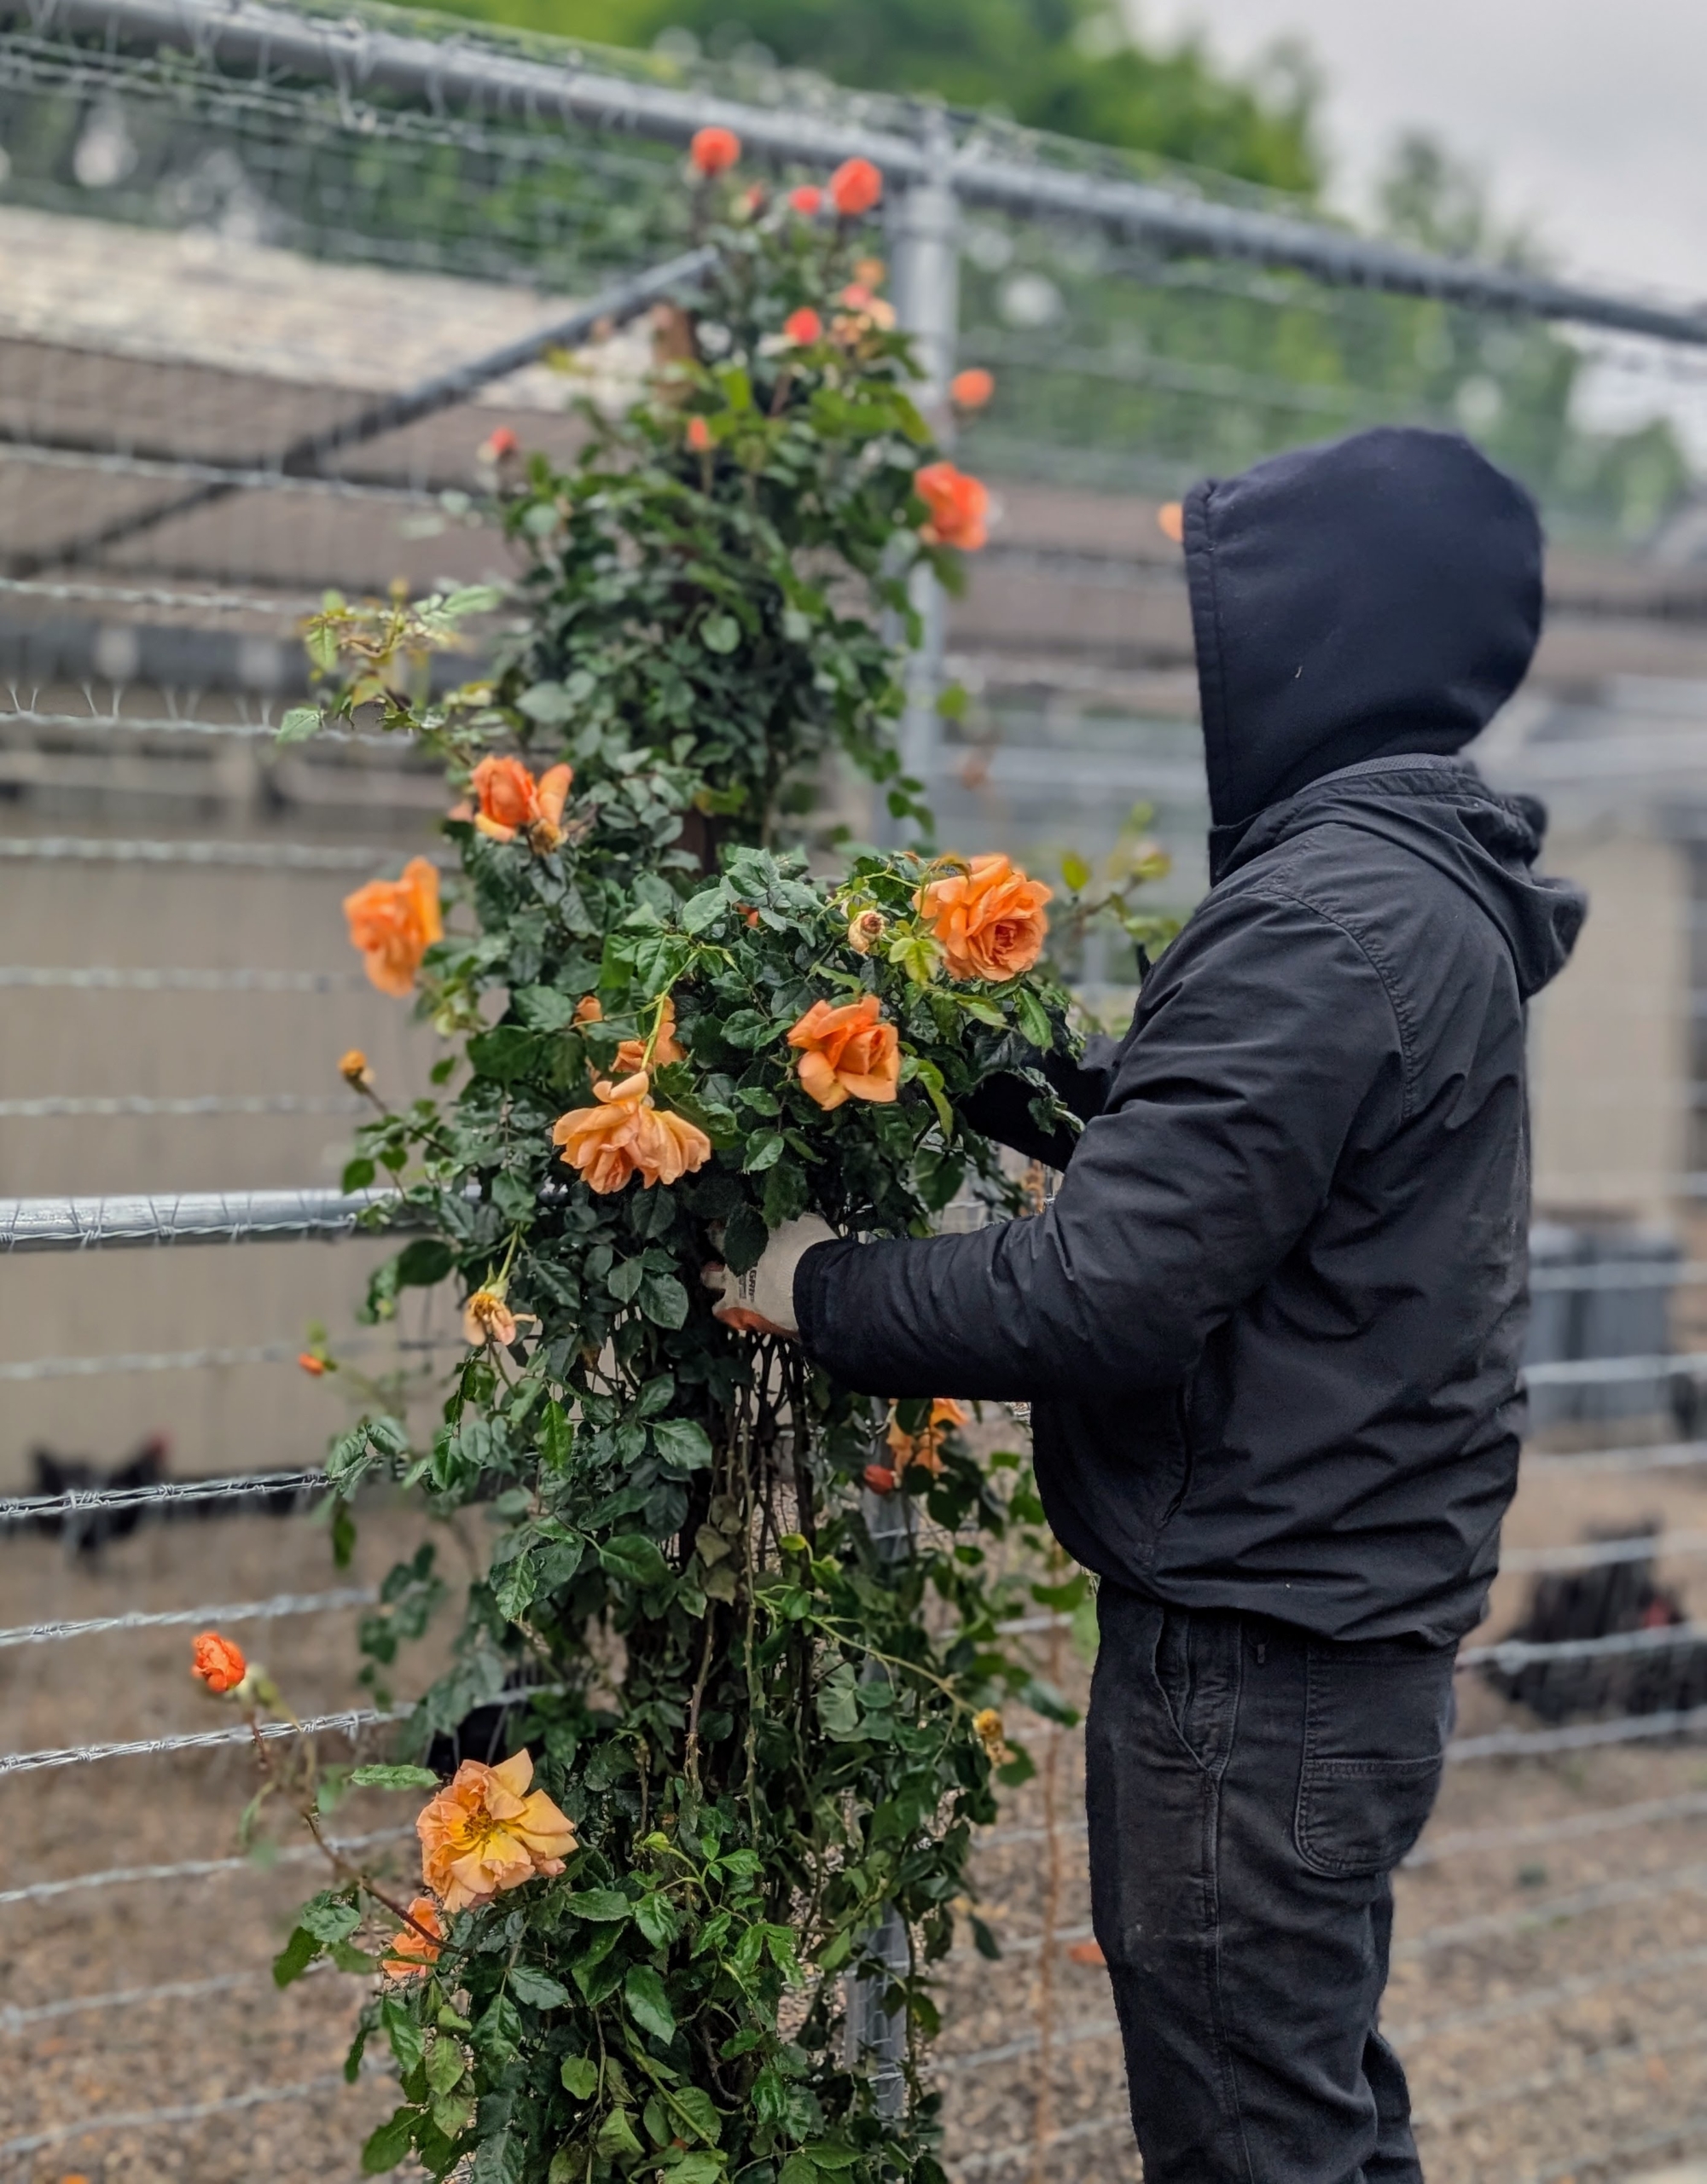
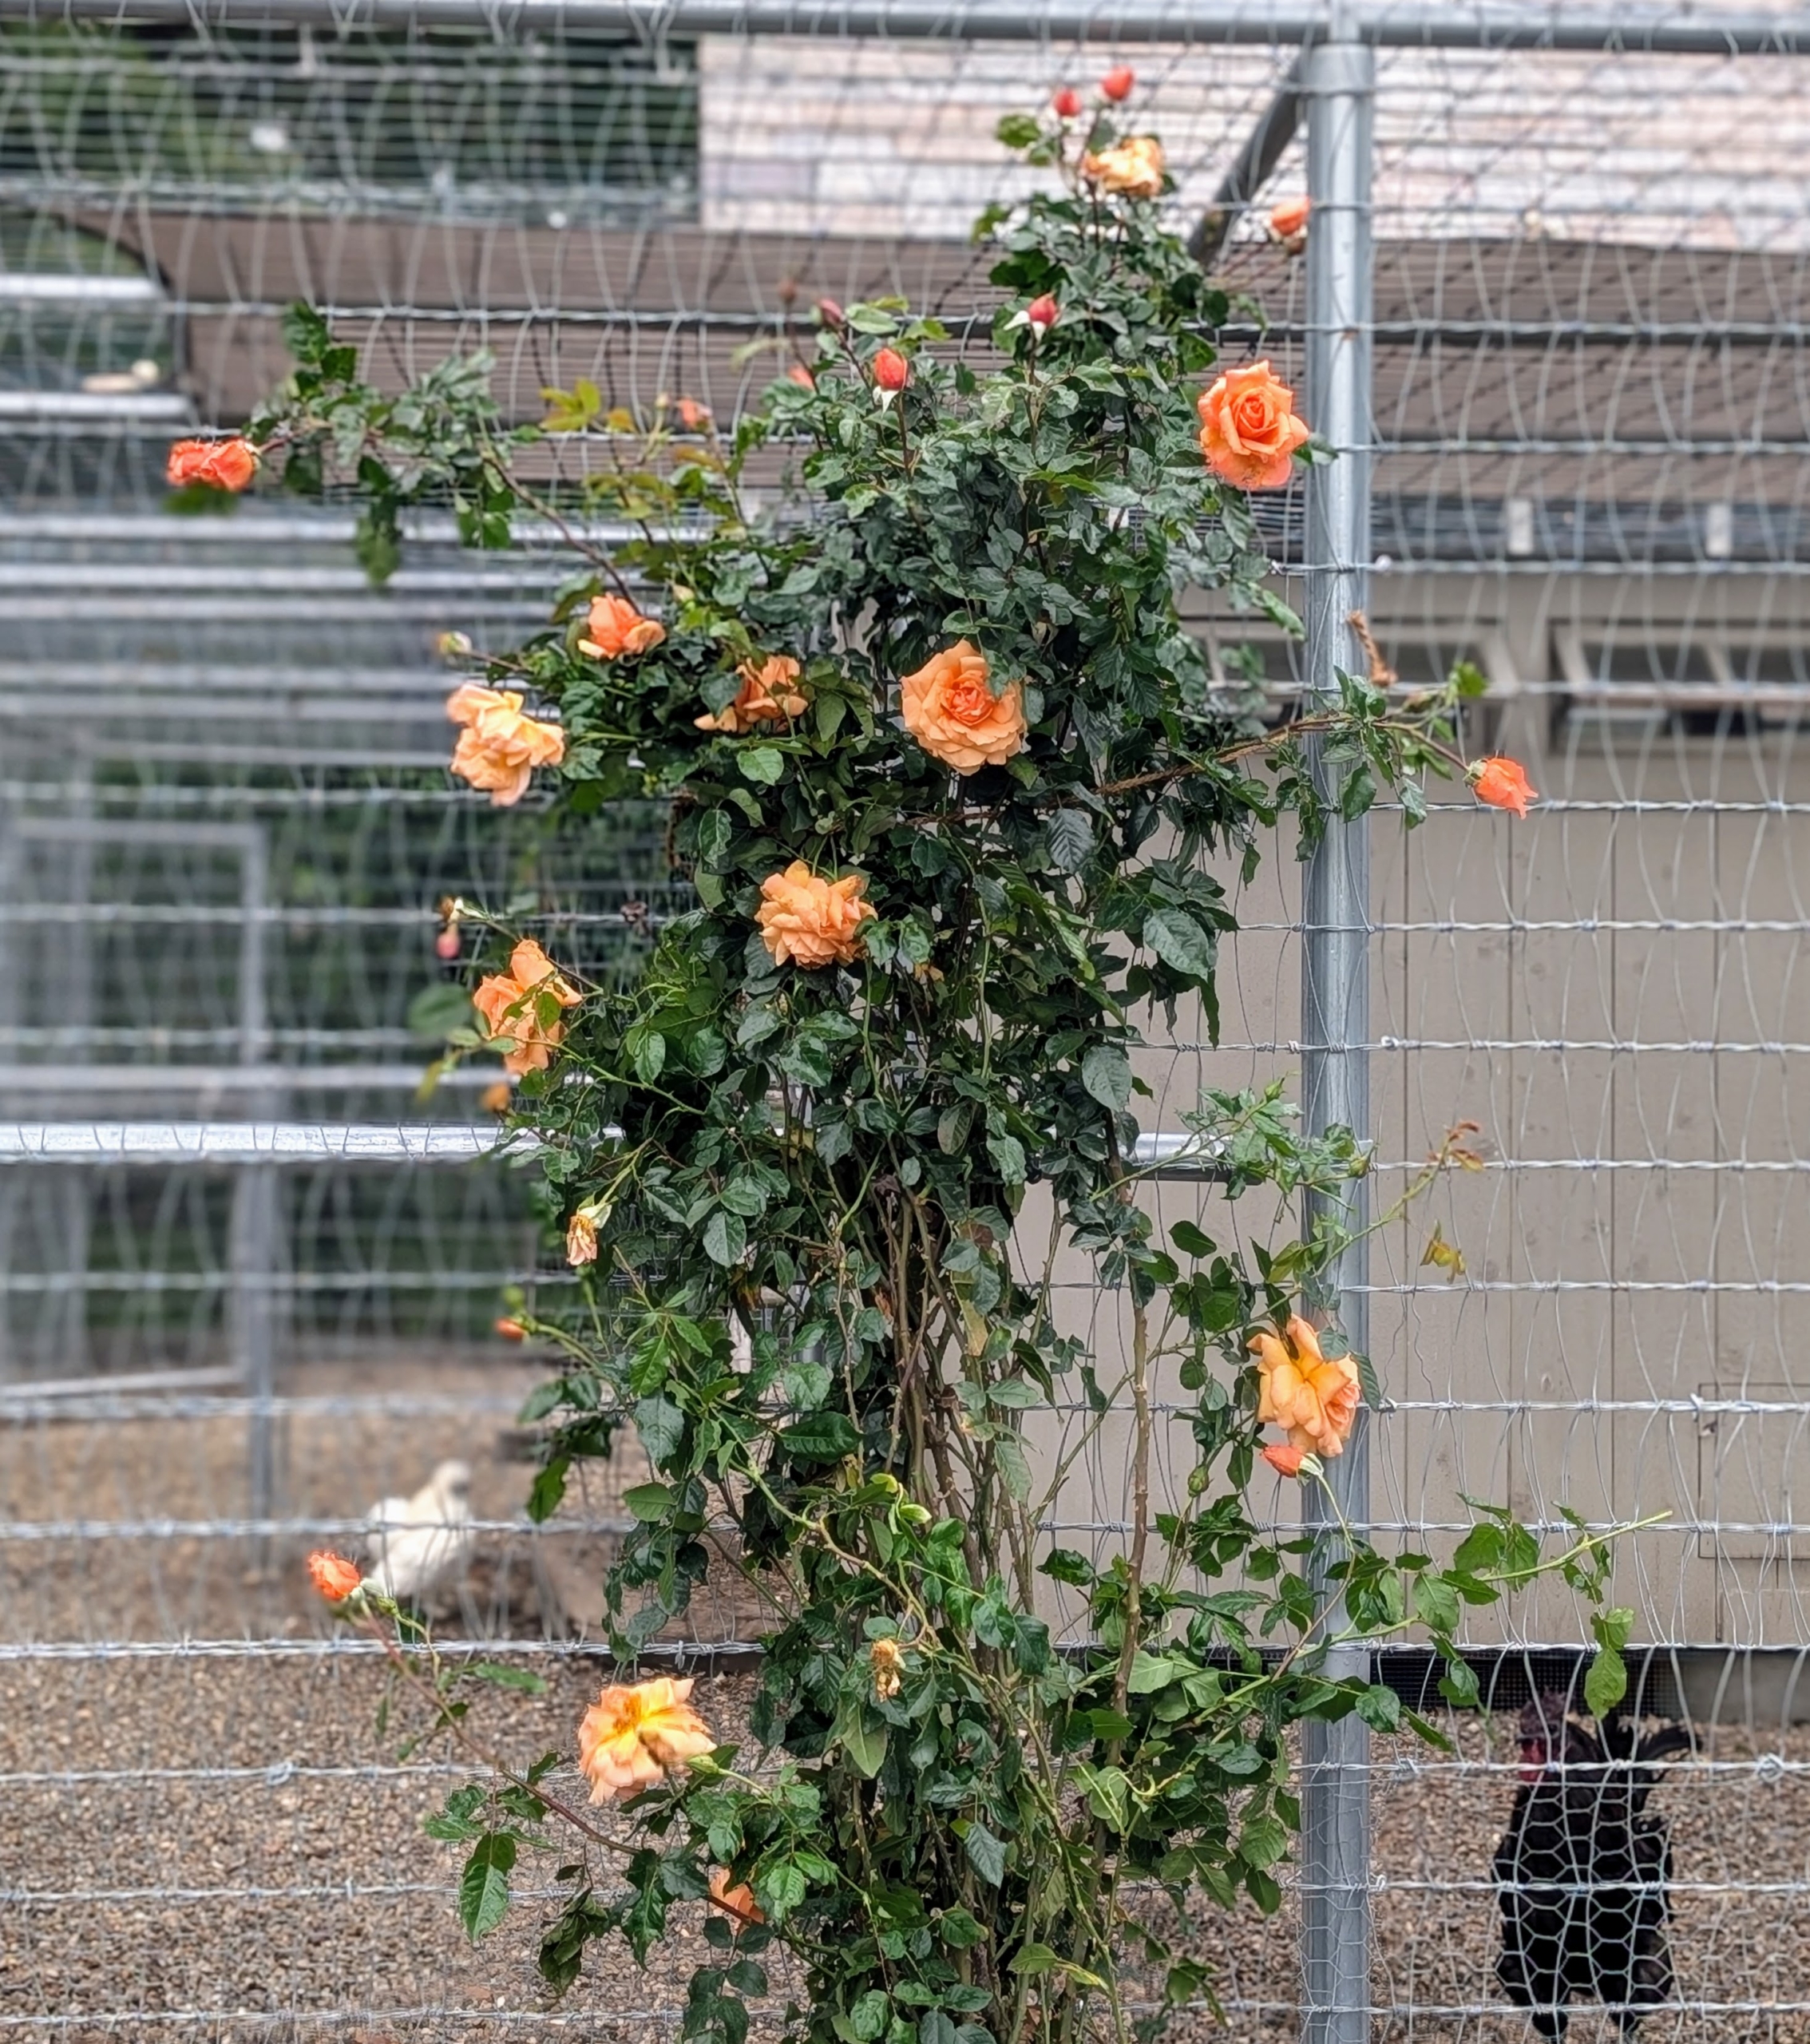
- Meanwhile, Matthew adds support to the climbing roses that were planted along the inside of the fence in this enclosure.
-
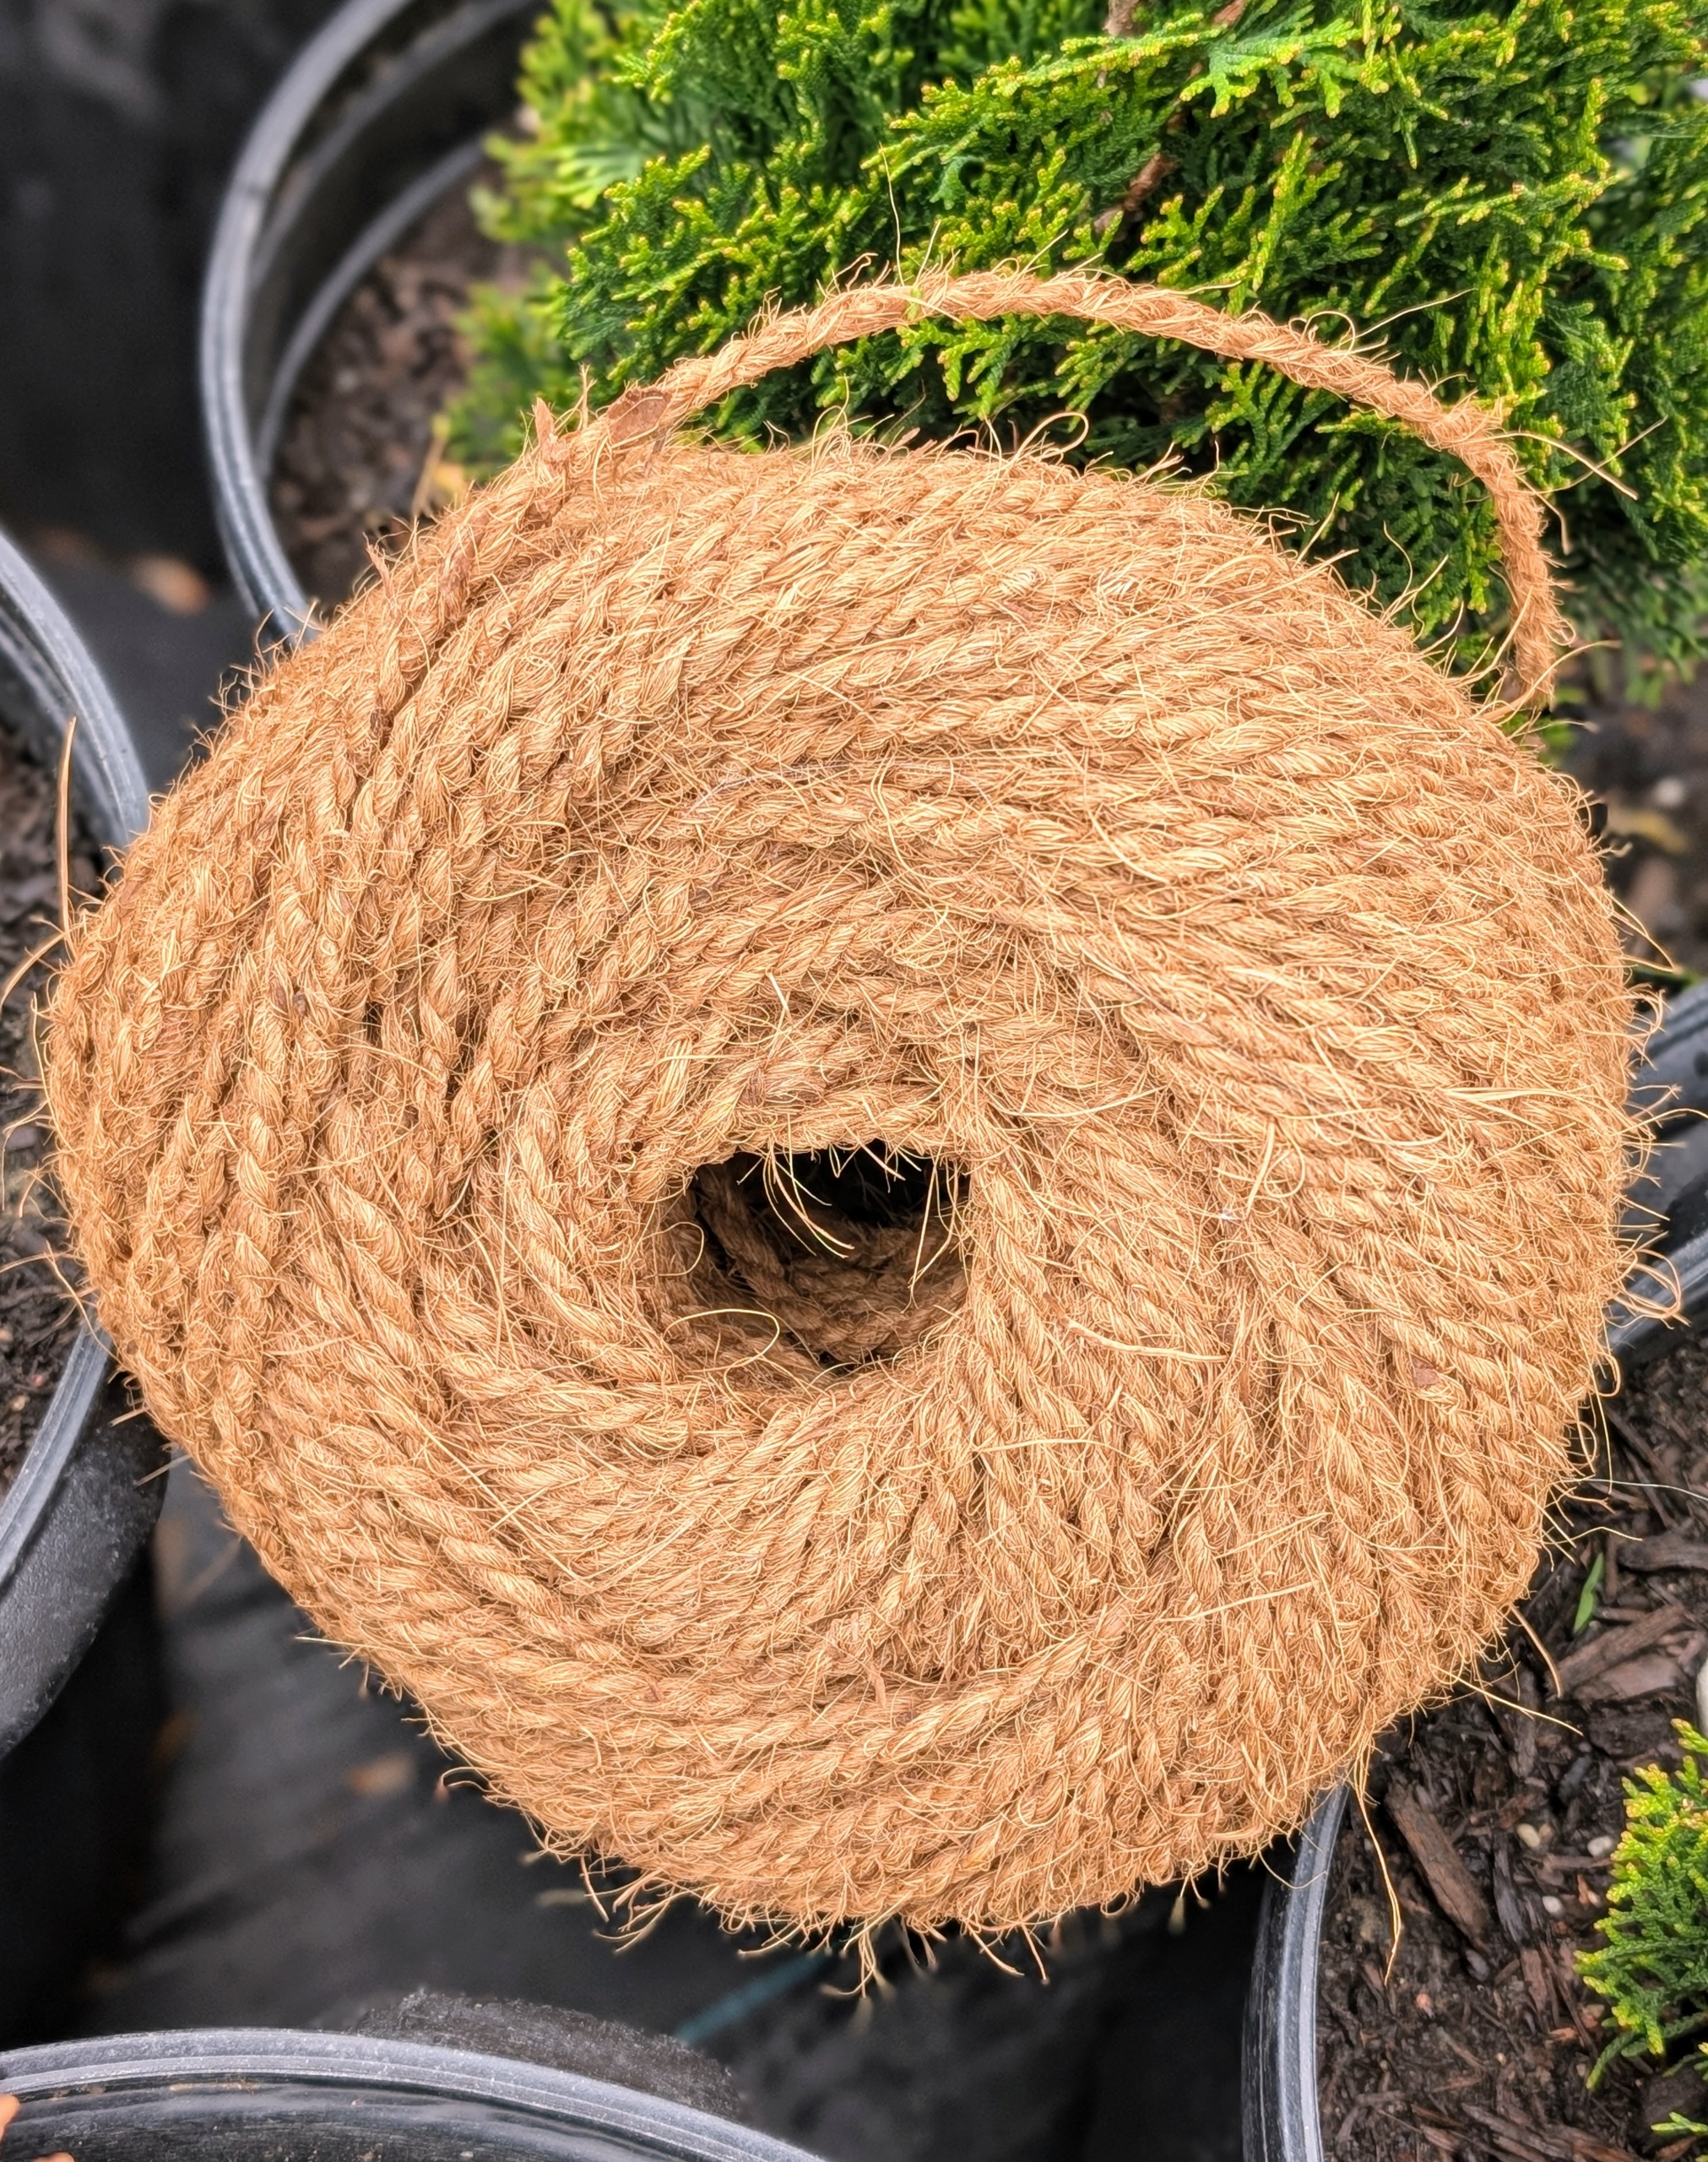
- For this task he uses coir twine, which is stronger than jute twine. It is made from the inner husk of coconuts.
-
- Matthew makes sure the canes are together and separated before he secures the twine. Doing this helps to avoid any crisscrossing as they grow.

-
- Some of these climbing roses are also blooming nicely despite the rain.
-
- This area will look so beautiful in the weeks ahead. I’ll be sure to share more photos as they grow.