Dividing a Walking Iris
I always enjoy growing my own plants, but there’s something even more exciting and gratifying about propagating them - producing plants by dividing, grafting, or rooting cuttings from existent stems.
Recently, I asked my head gardener, Ryan McCallister, to divide one large walking iris into four smaller ones. Walking iris, or fan iris, Neomarica caerulea, is a beautiful and sturdy plant known for its fans of pale green foliage and fragrant flowers that bloom in spring, summer, and fall.
Here are some photos, enjoy.
-

- It is definitely rewarding when one plant can be easily divided to make multiple new ones. That’s what happened to one of my walking iris plants – it is now four.
-
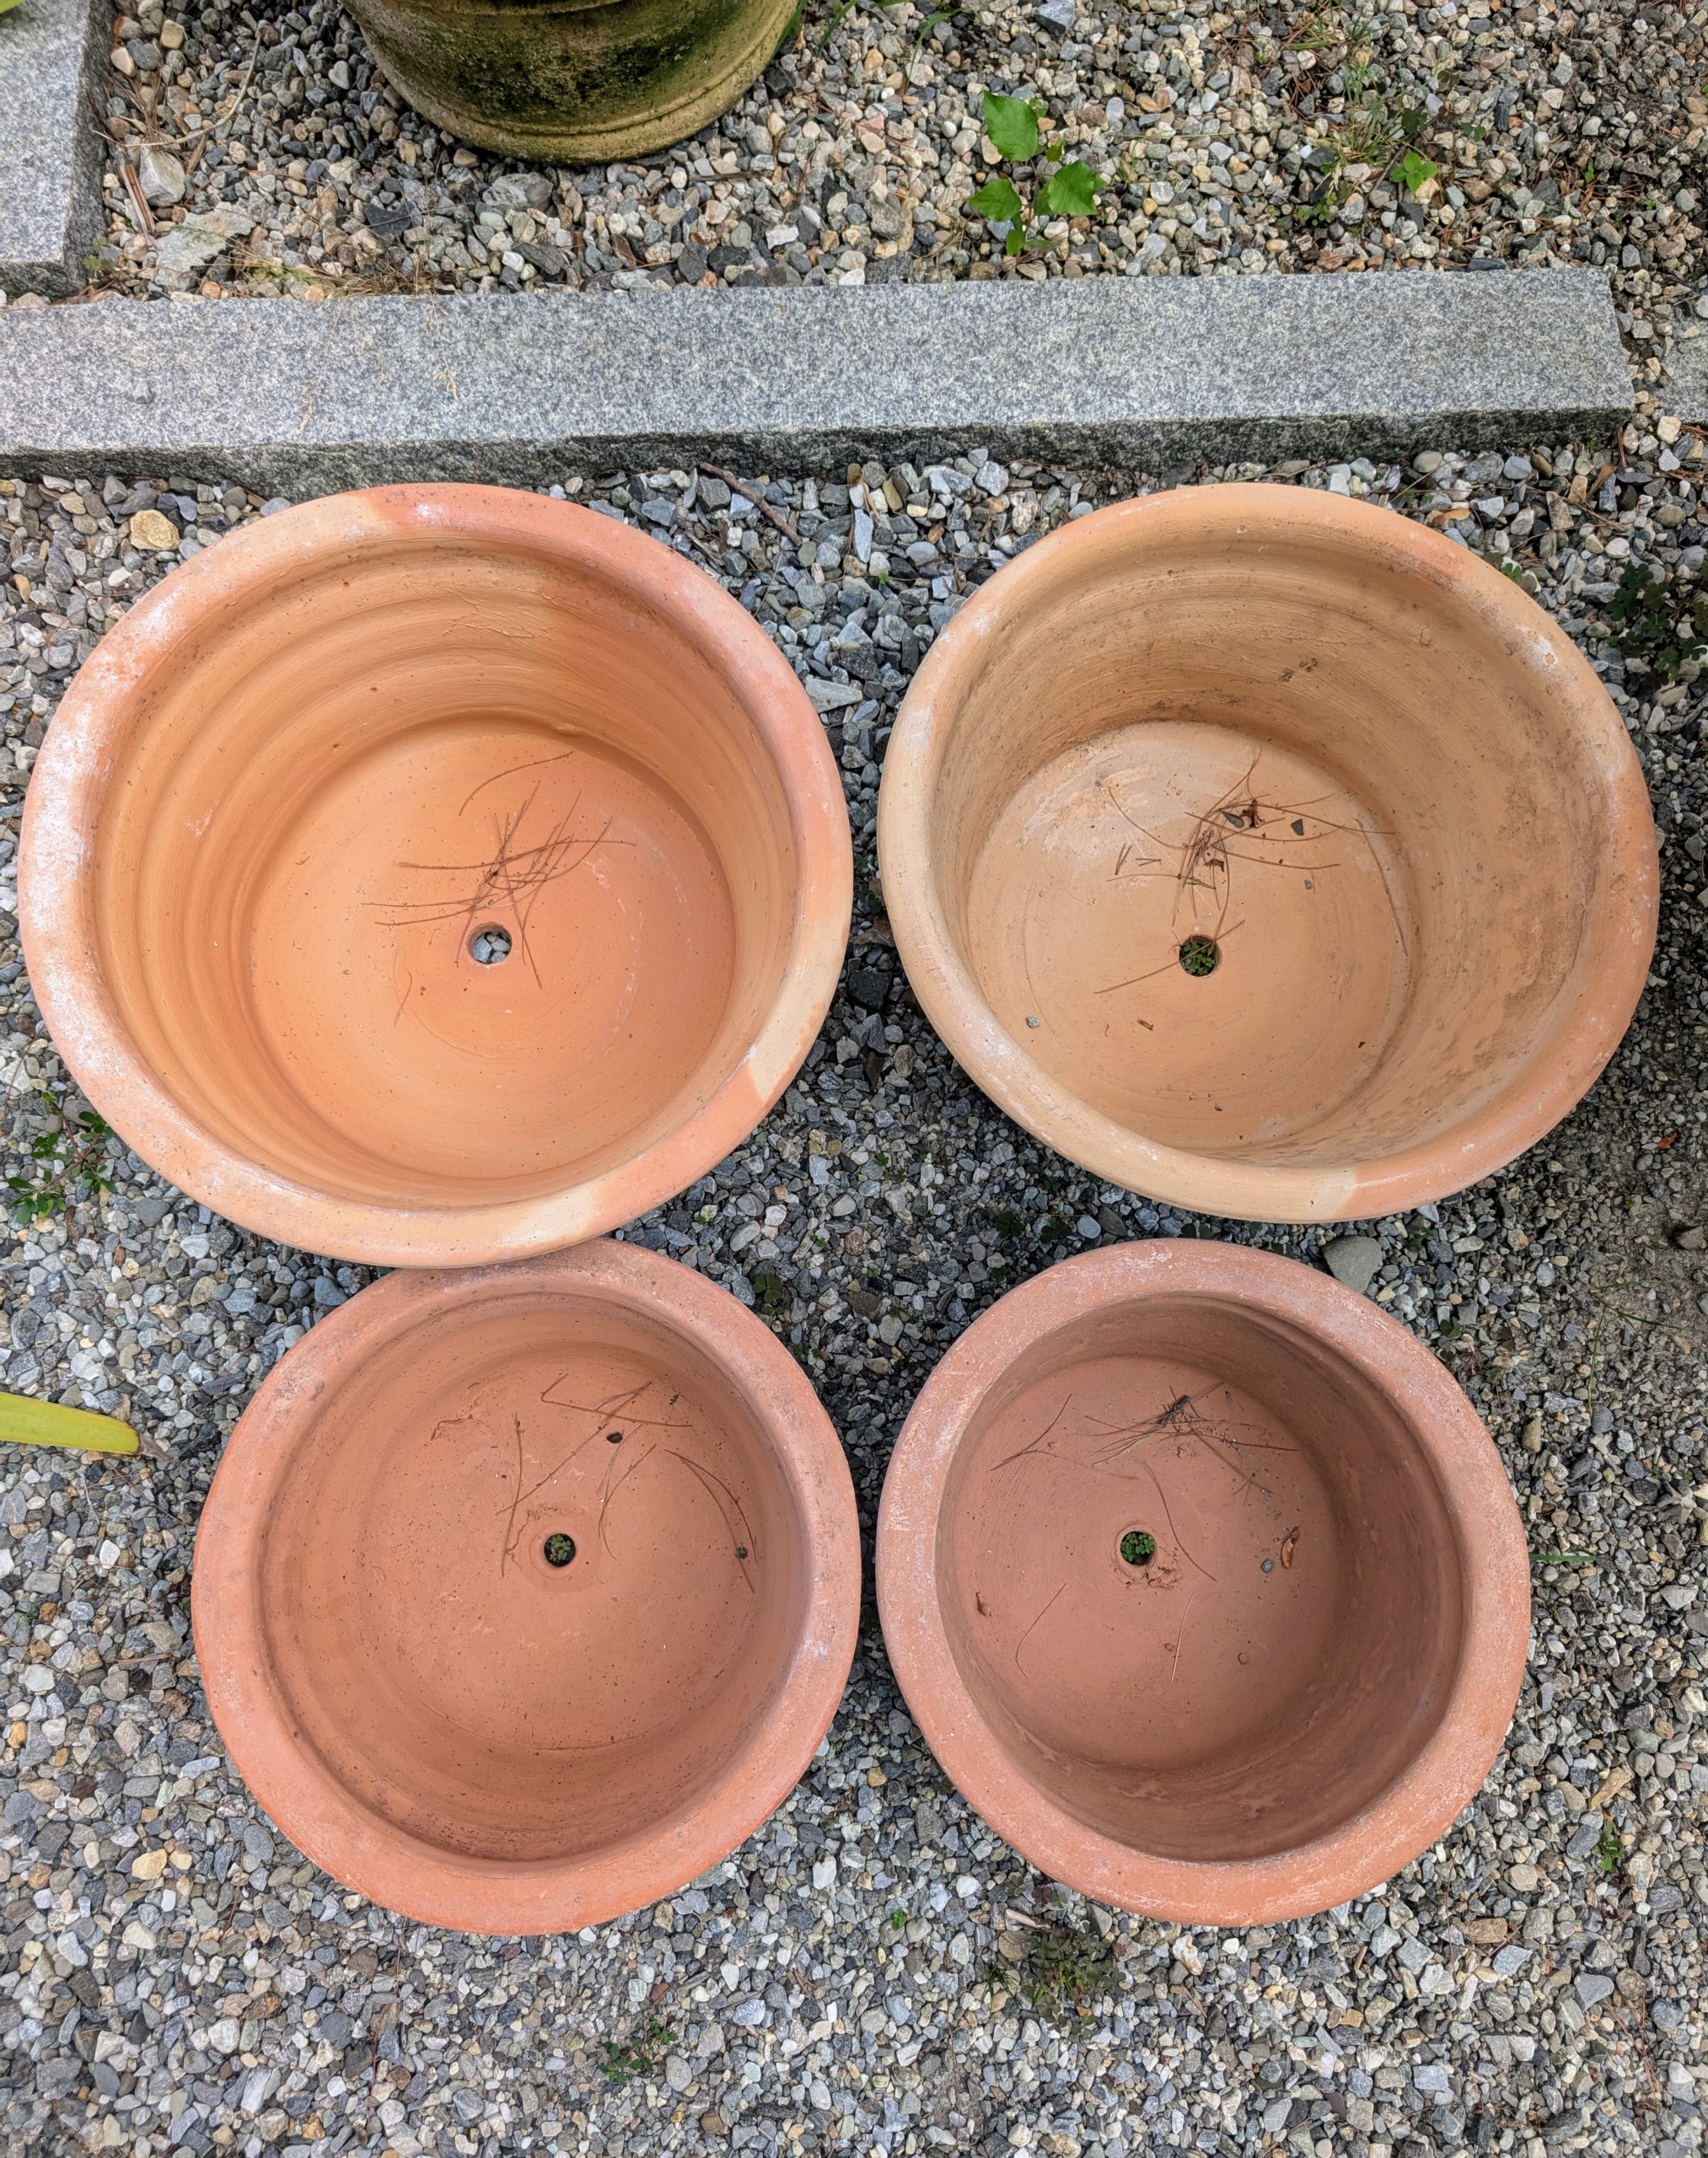
- I provided pots and instructed Ryan to use them for transplanting. The best pot for a walking iris is at least eight inches in diameter and about 10-inches deep. It should also be porous. I selected terra cotta, which will provide good water and air exchange.
-
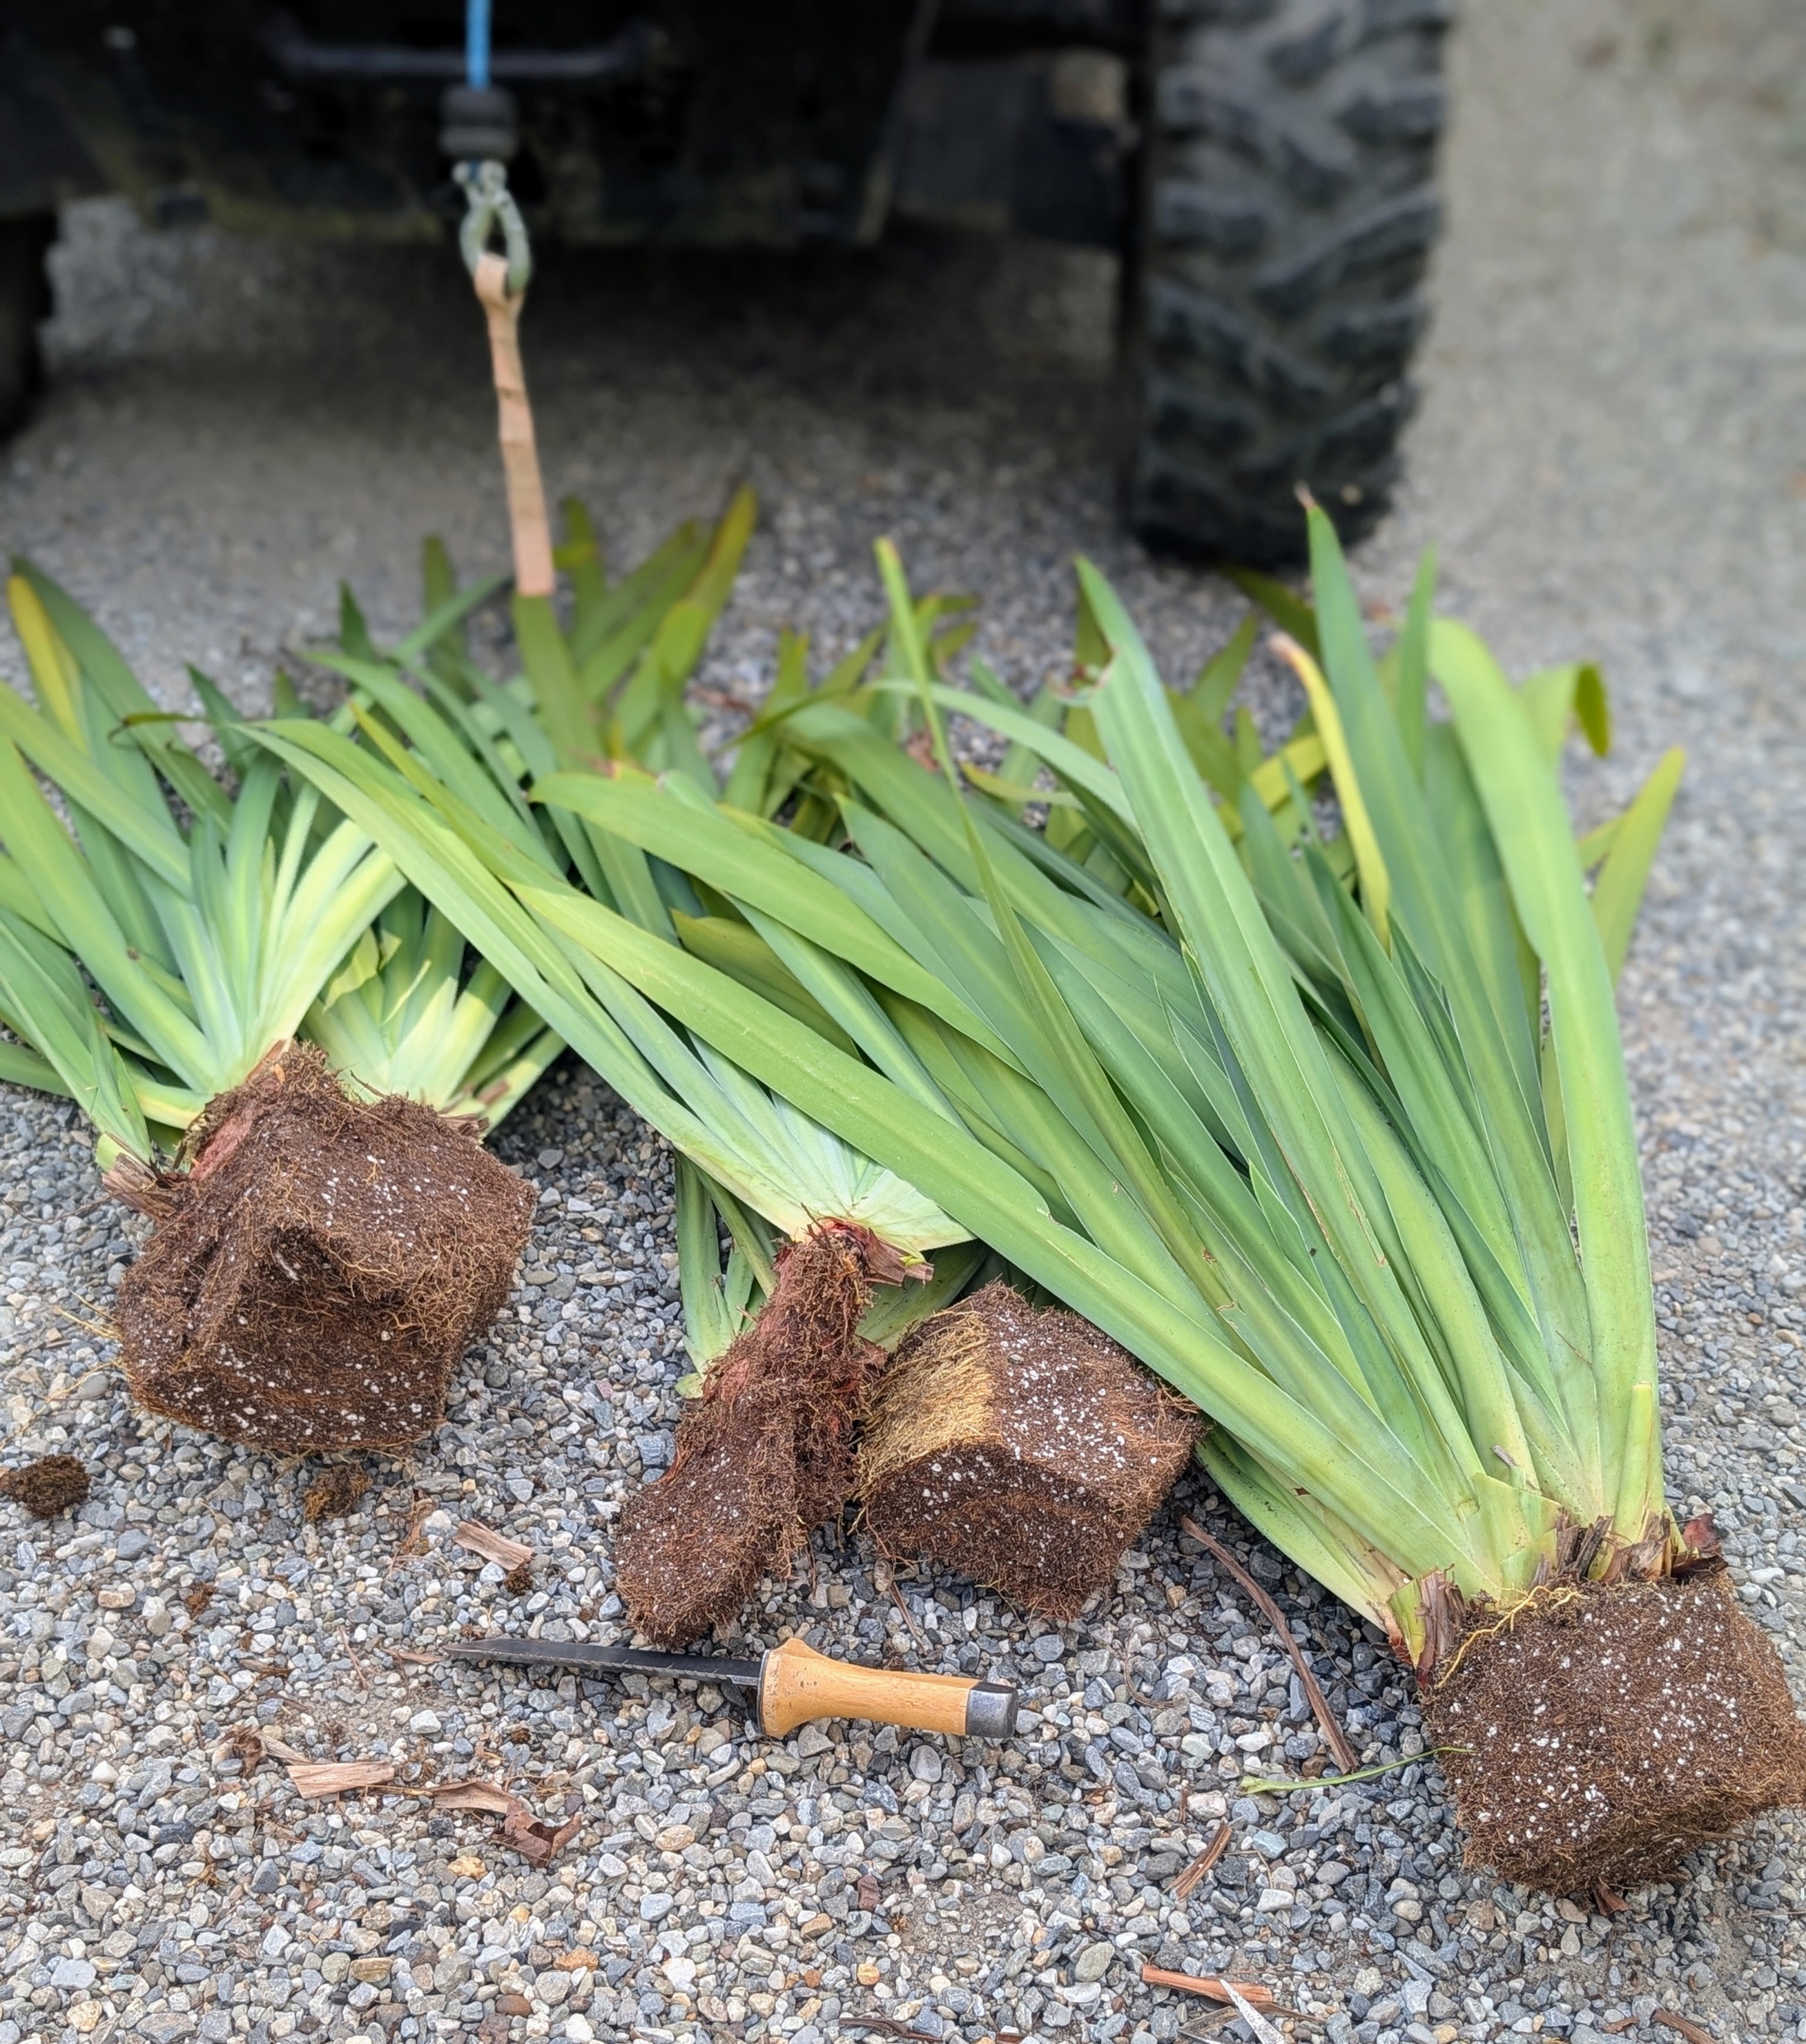
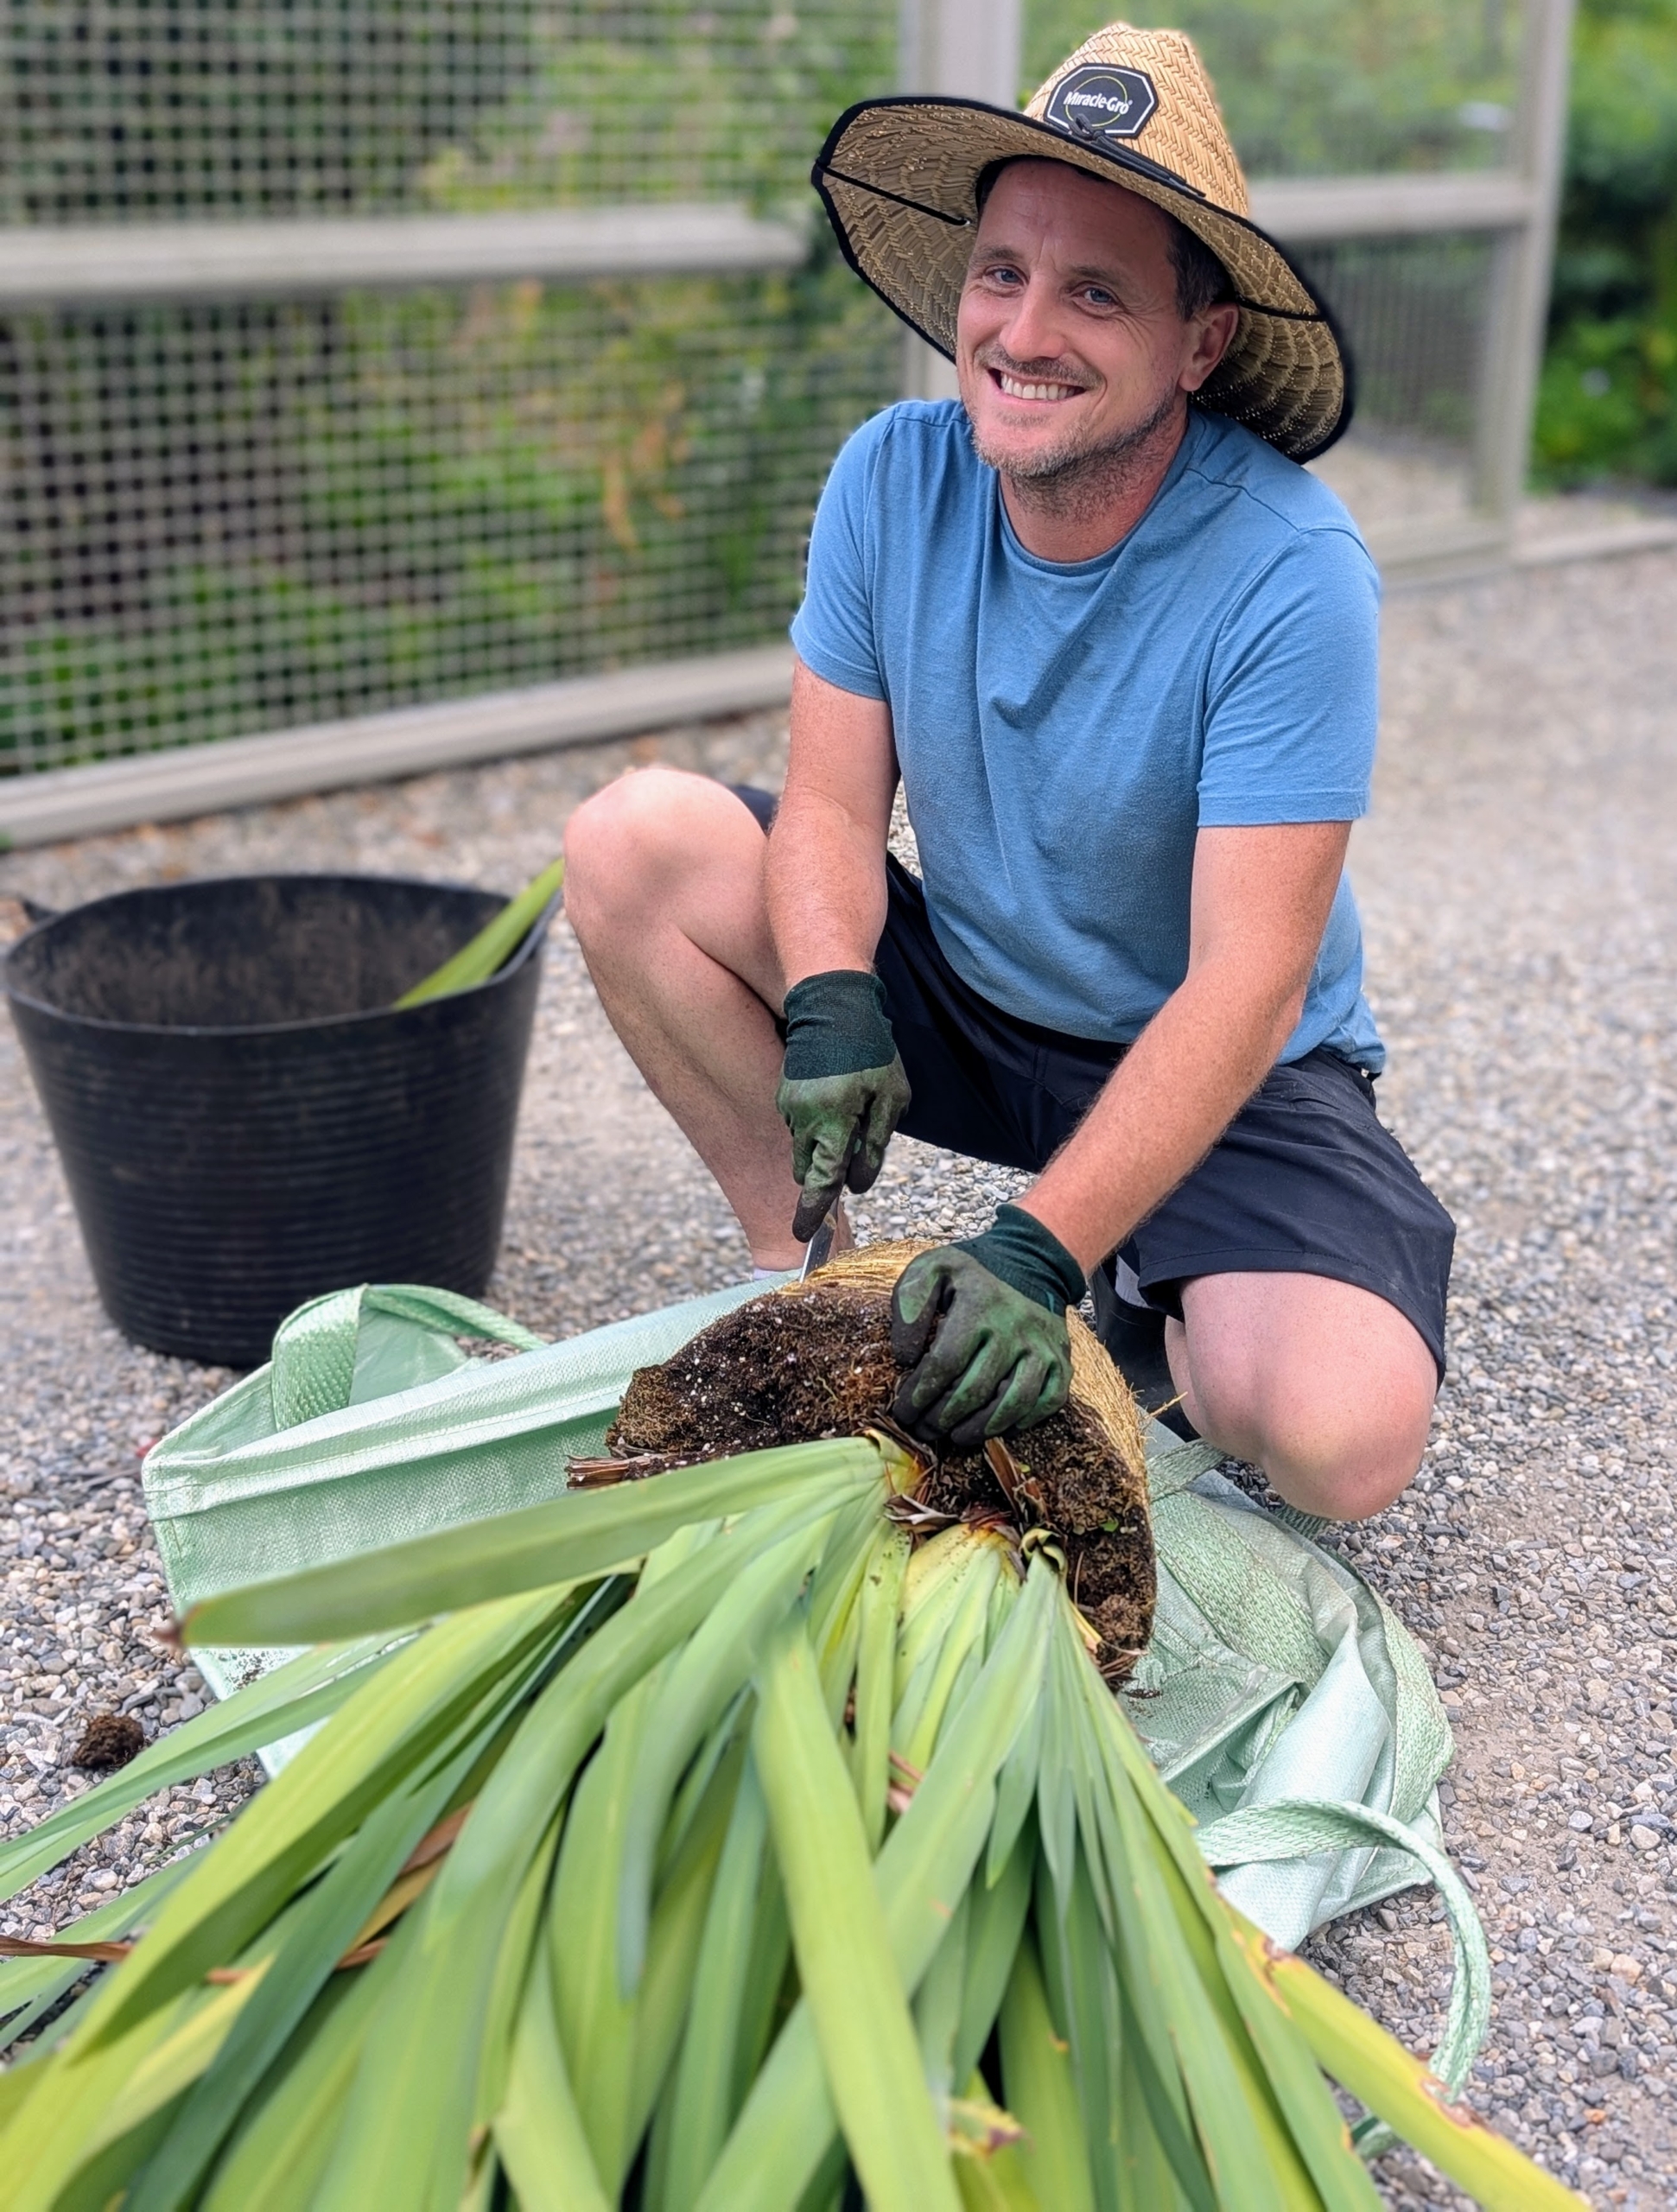
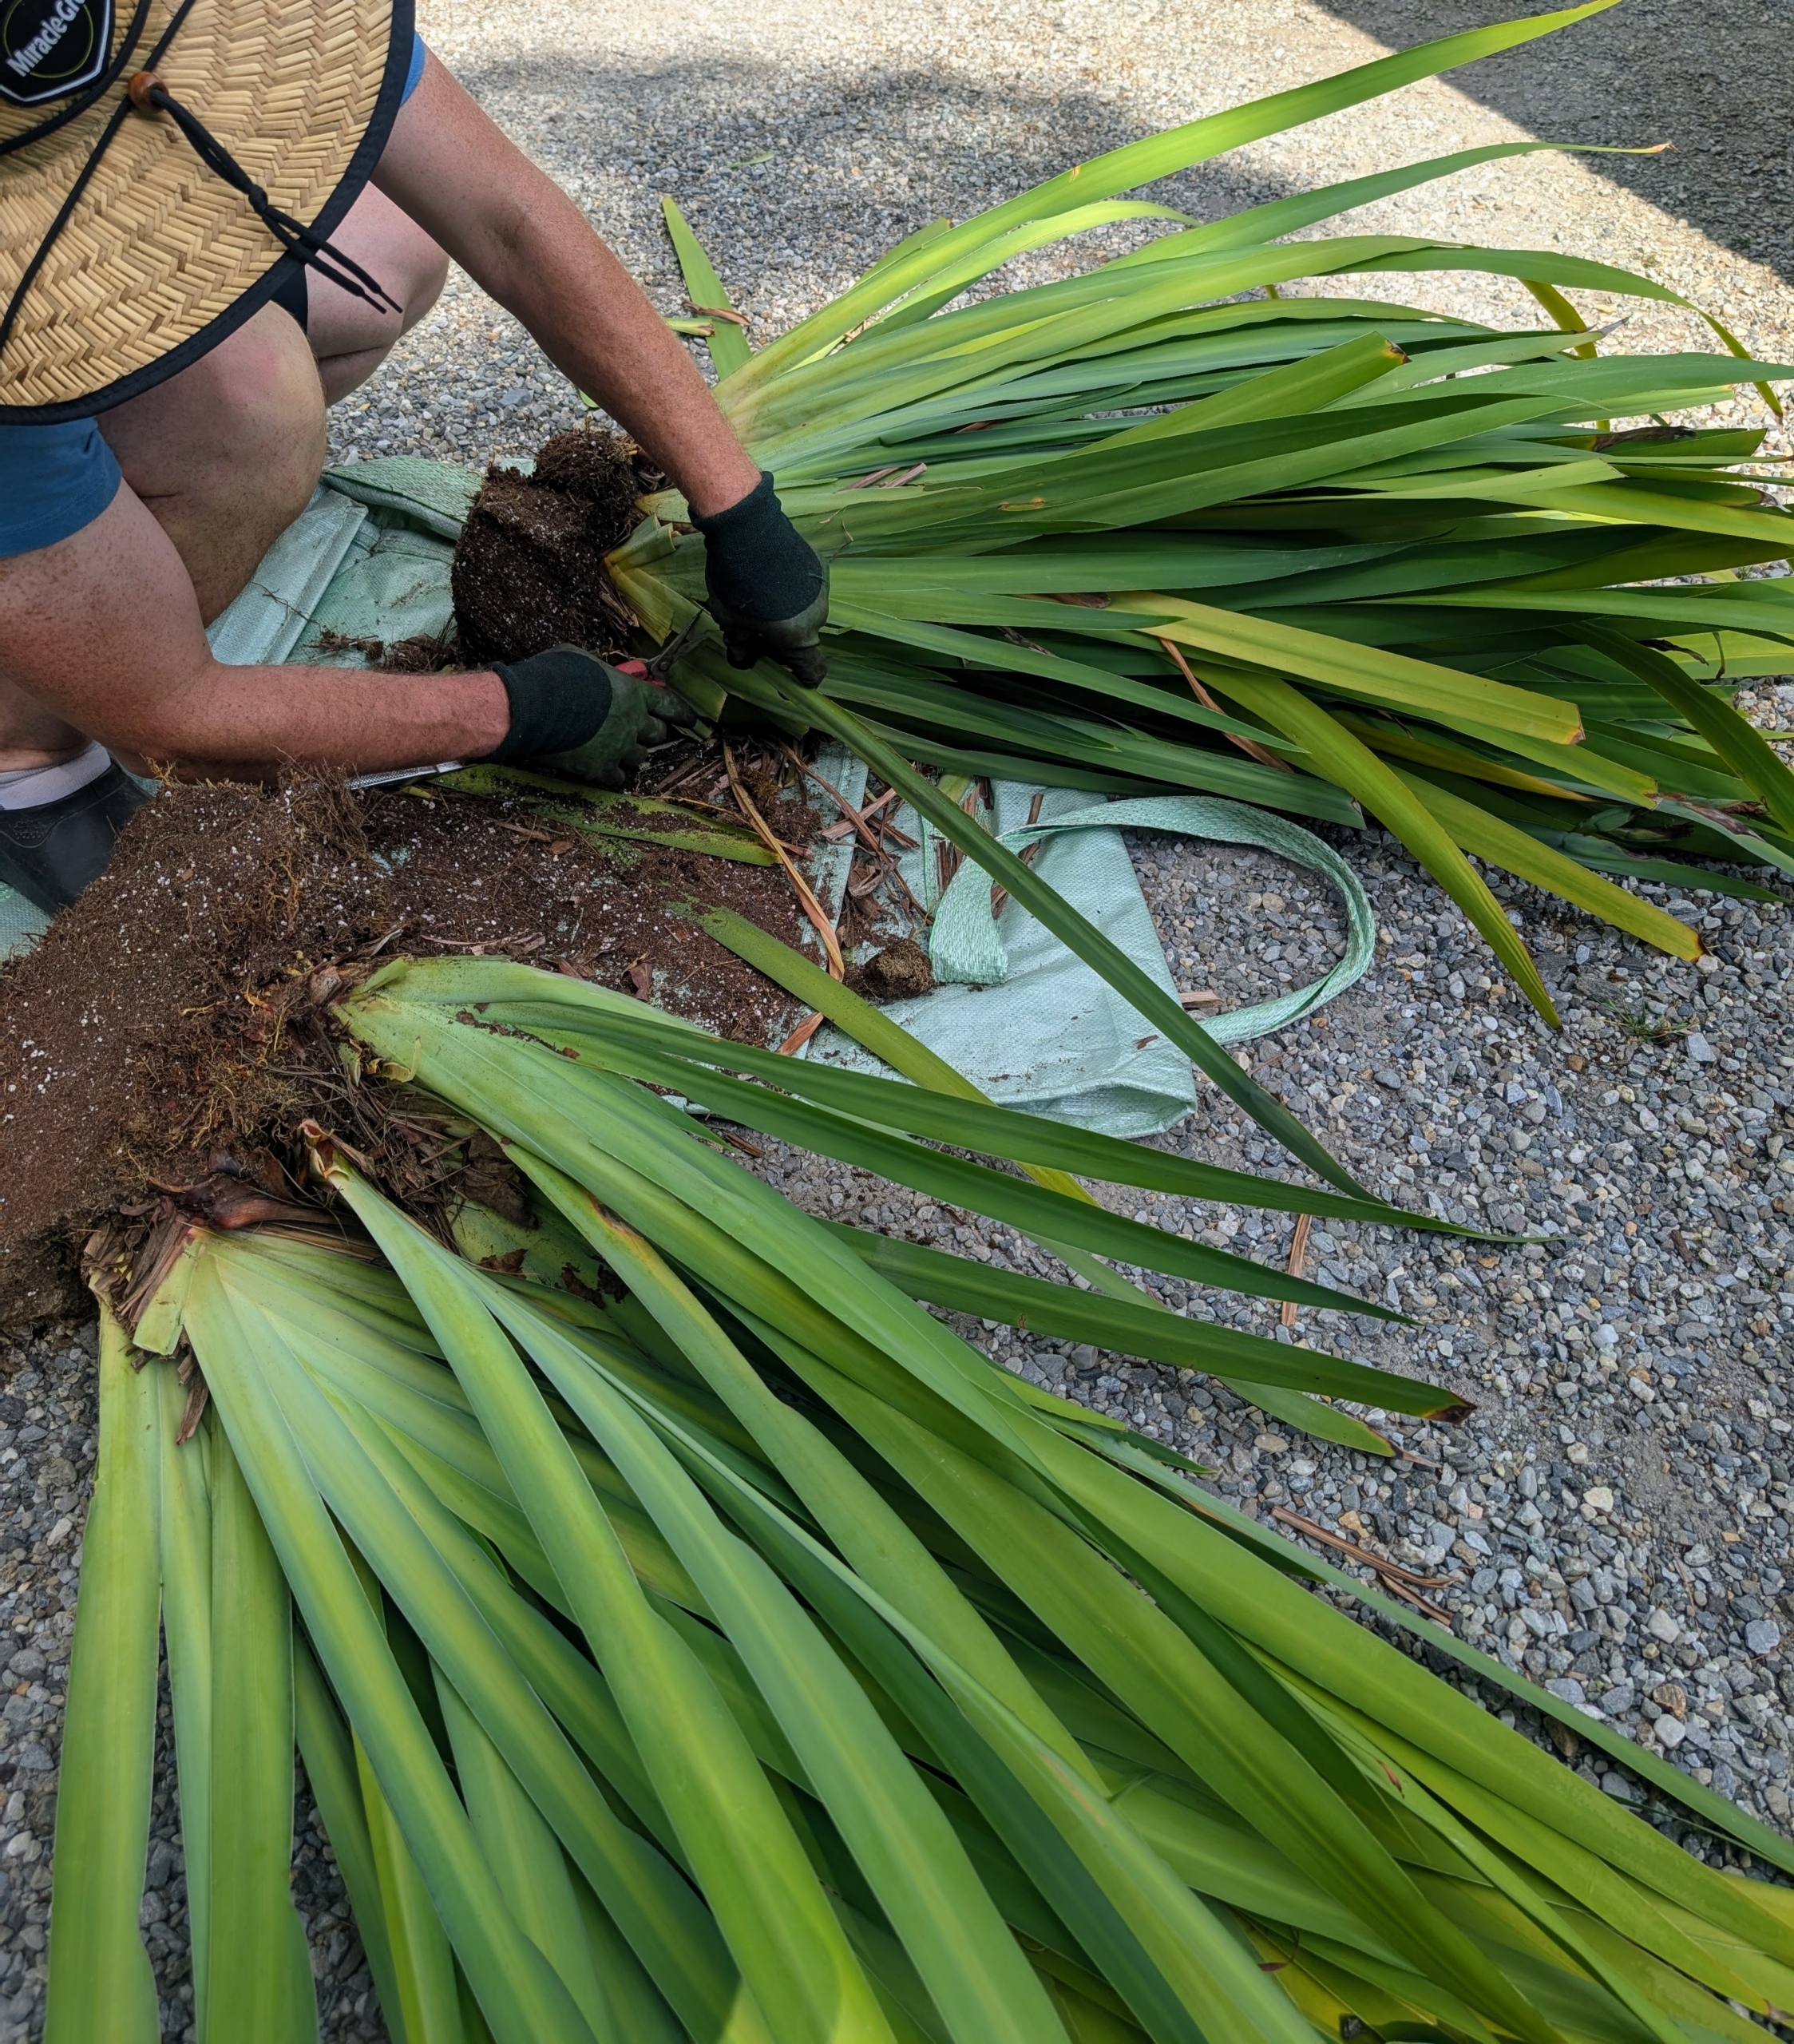
- After pulling the walking iris from its original pot and before dividing, Ryan removes any dead or unsightly foliage from the base of the plant.
-
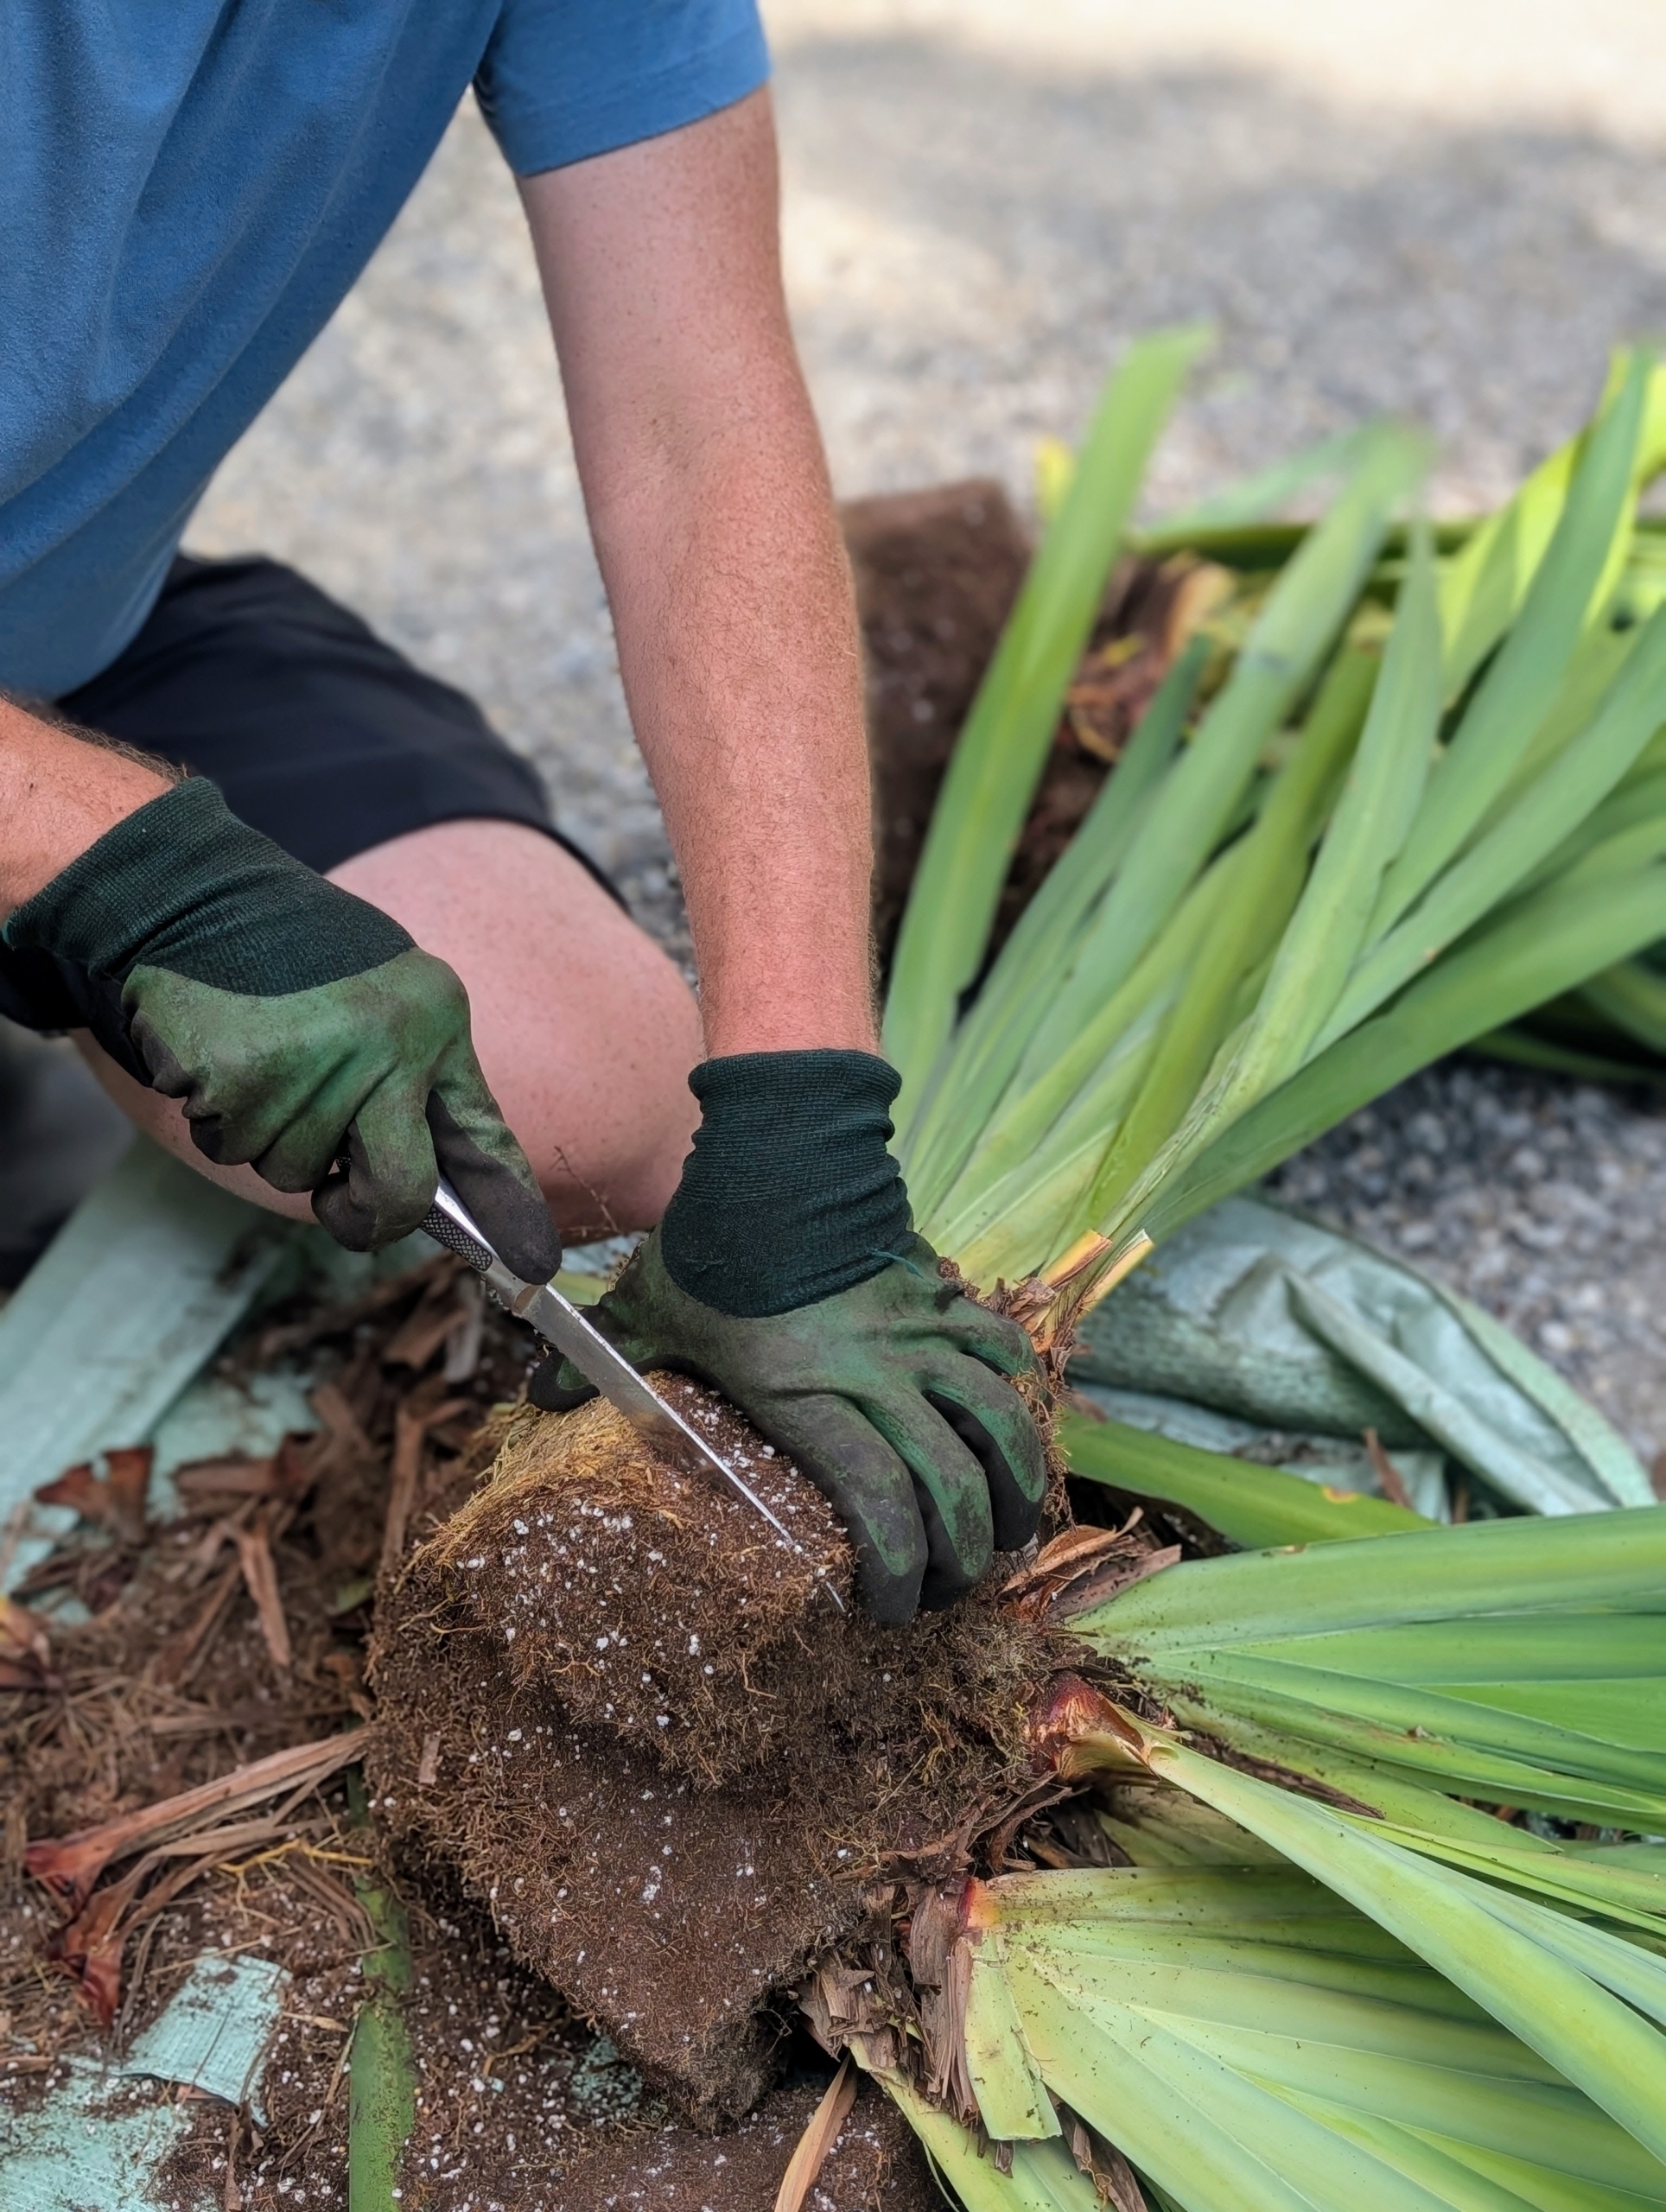
- Walking iris plants grow from rhizomes, or thickened stems that grow underground and serve as storage for water and other nutrients. Here is Ryan as he starts to divide the plant in two.
-
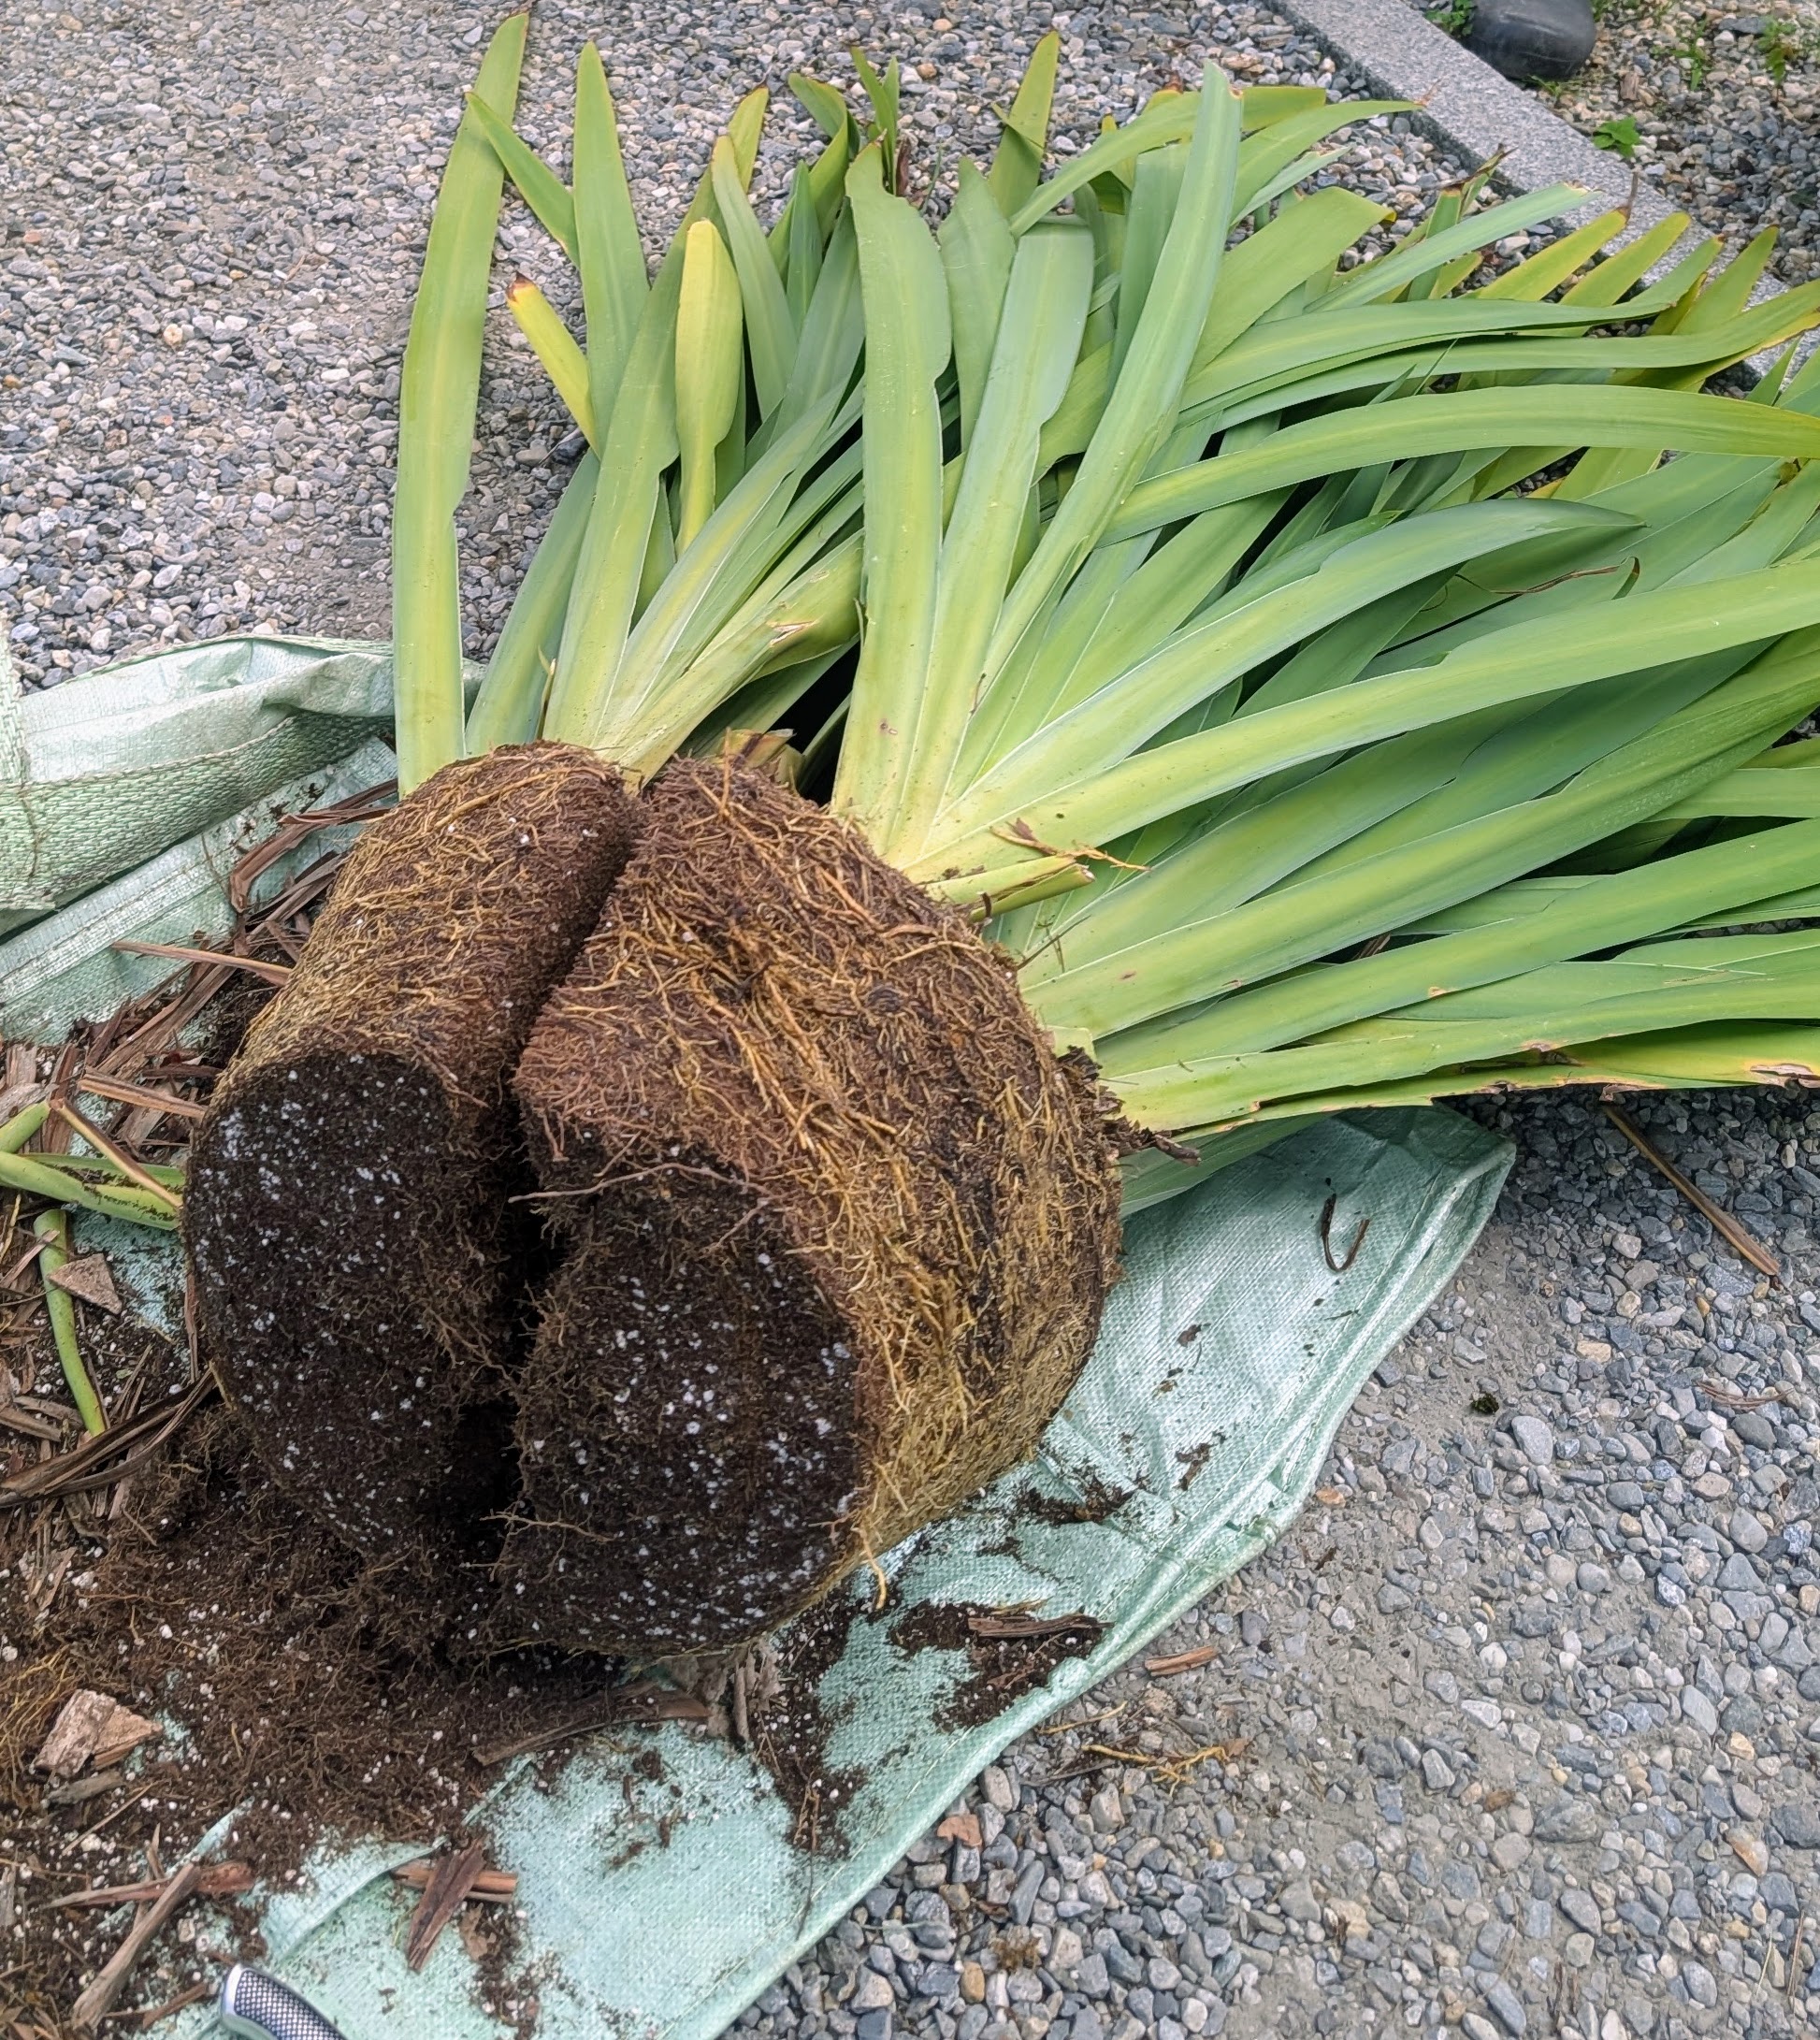
- He divides it making sure each section has strong leaves and rhizomes. This is a very healthy walking iris from Logee’s Tropical Container Plants for Home and Garden in Danielson, Connecticut I got years ago.
-
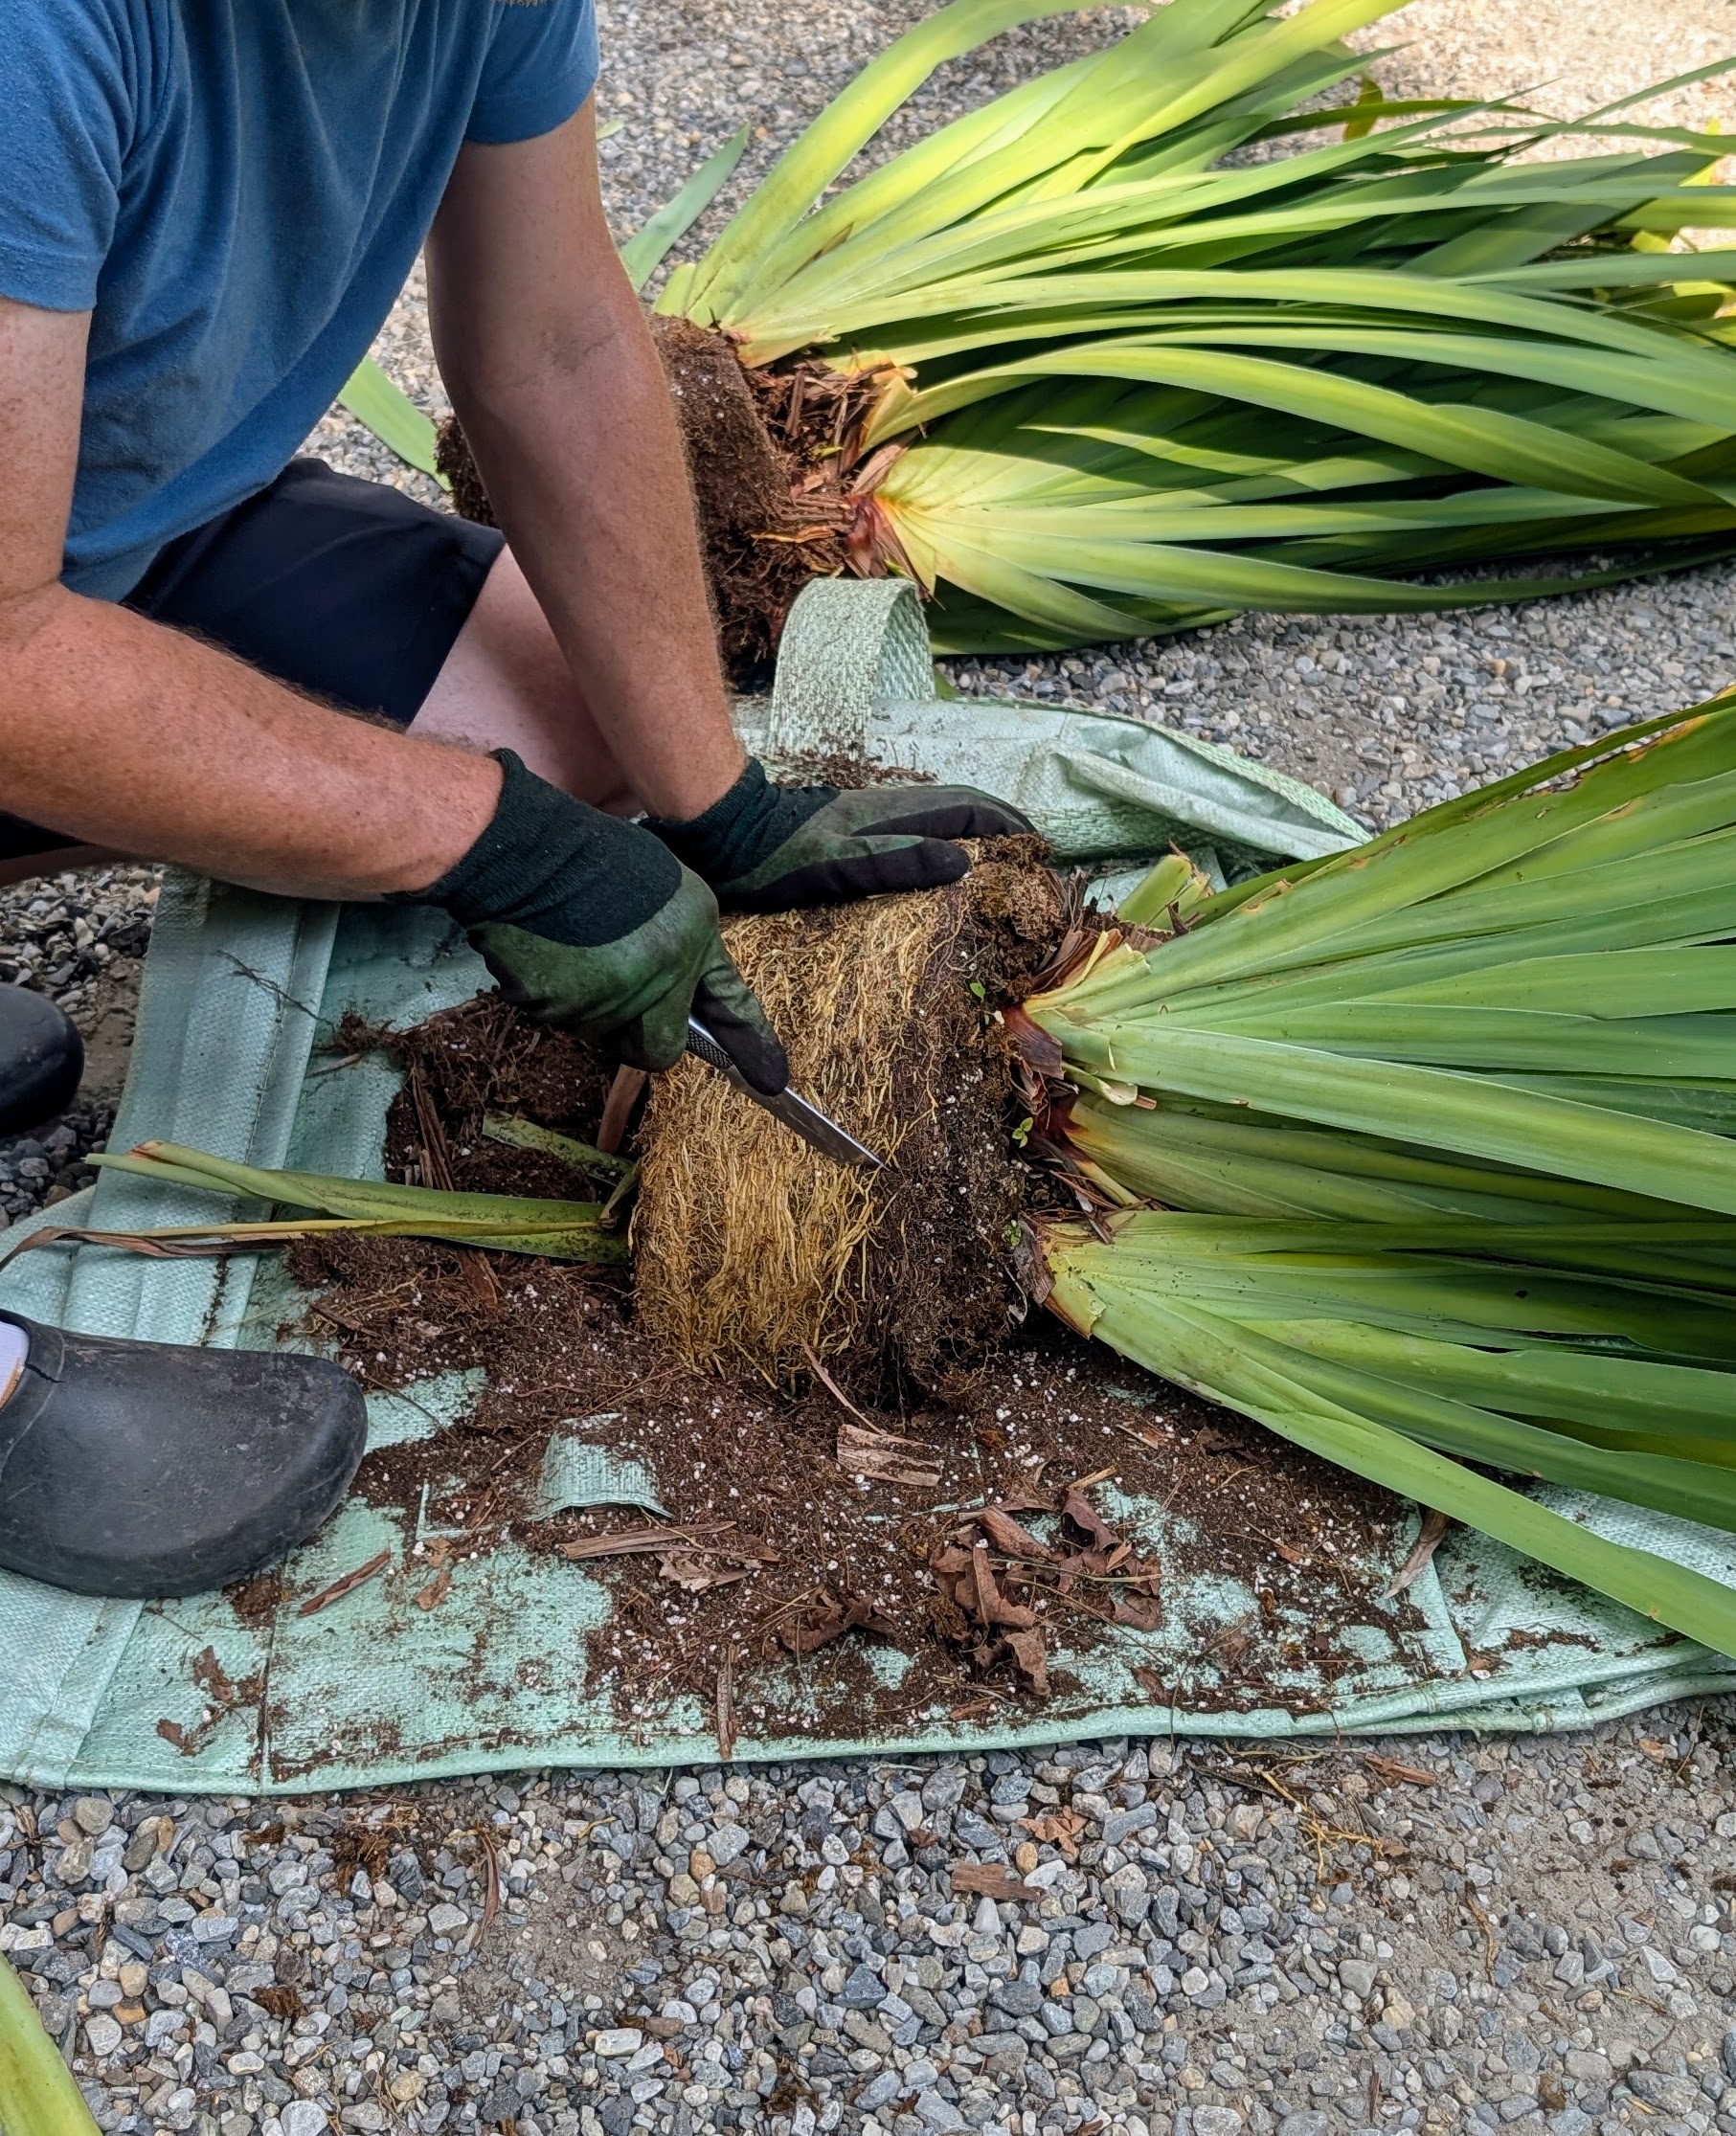
- Next, Ryan assesses where he can cut each section again. Here he cuts one of the halves in two using a very sharp knife.
-
- Here is a healthy section of the plant. Section dividing iris plants promotes good health and prevents overcrowding and competition for water and nutrients.
-
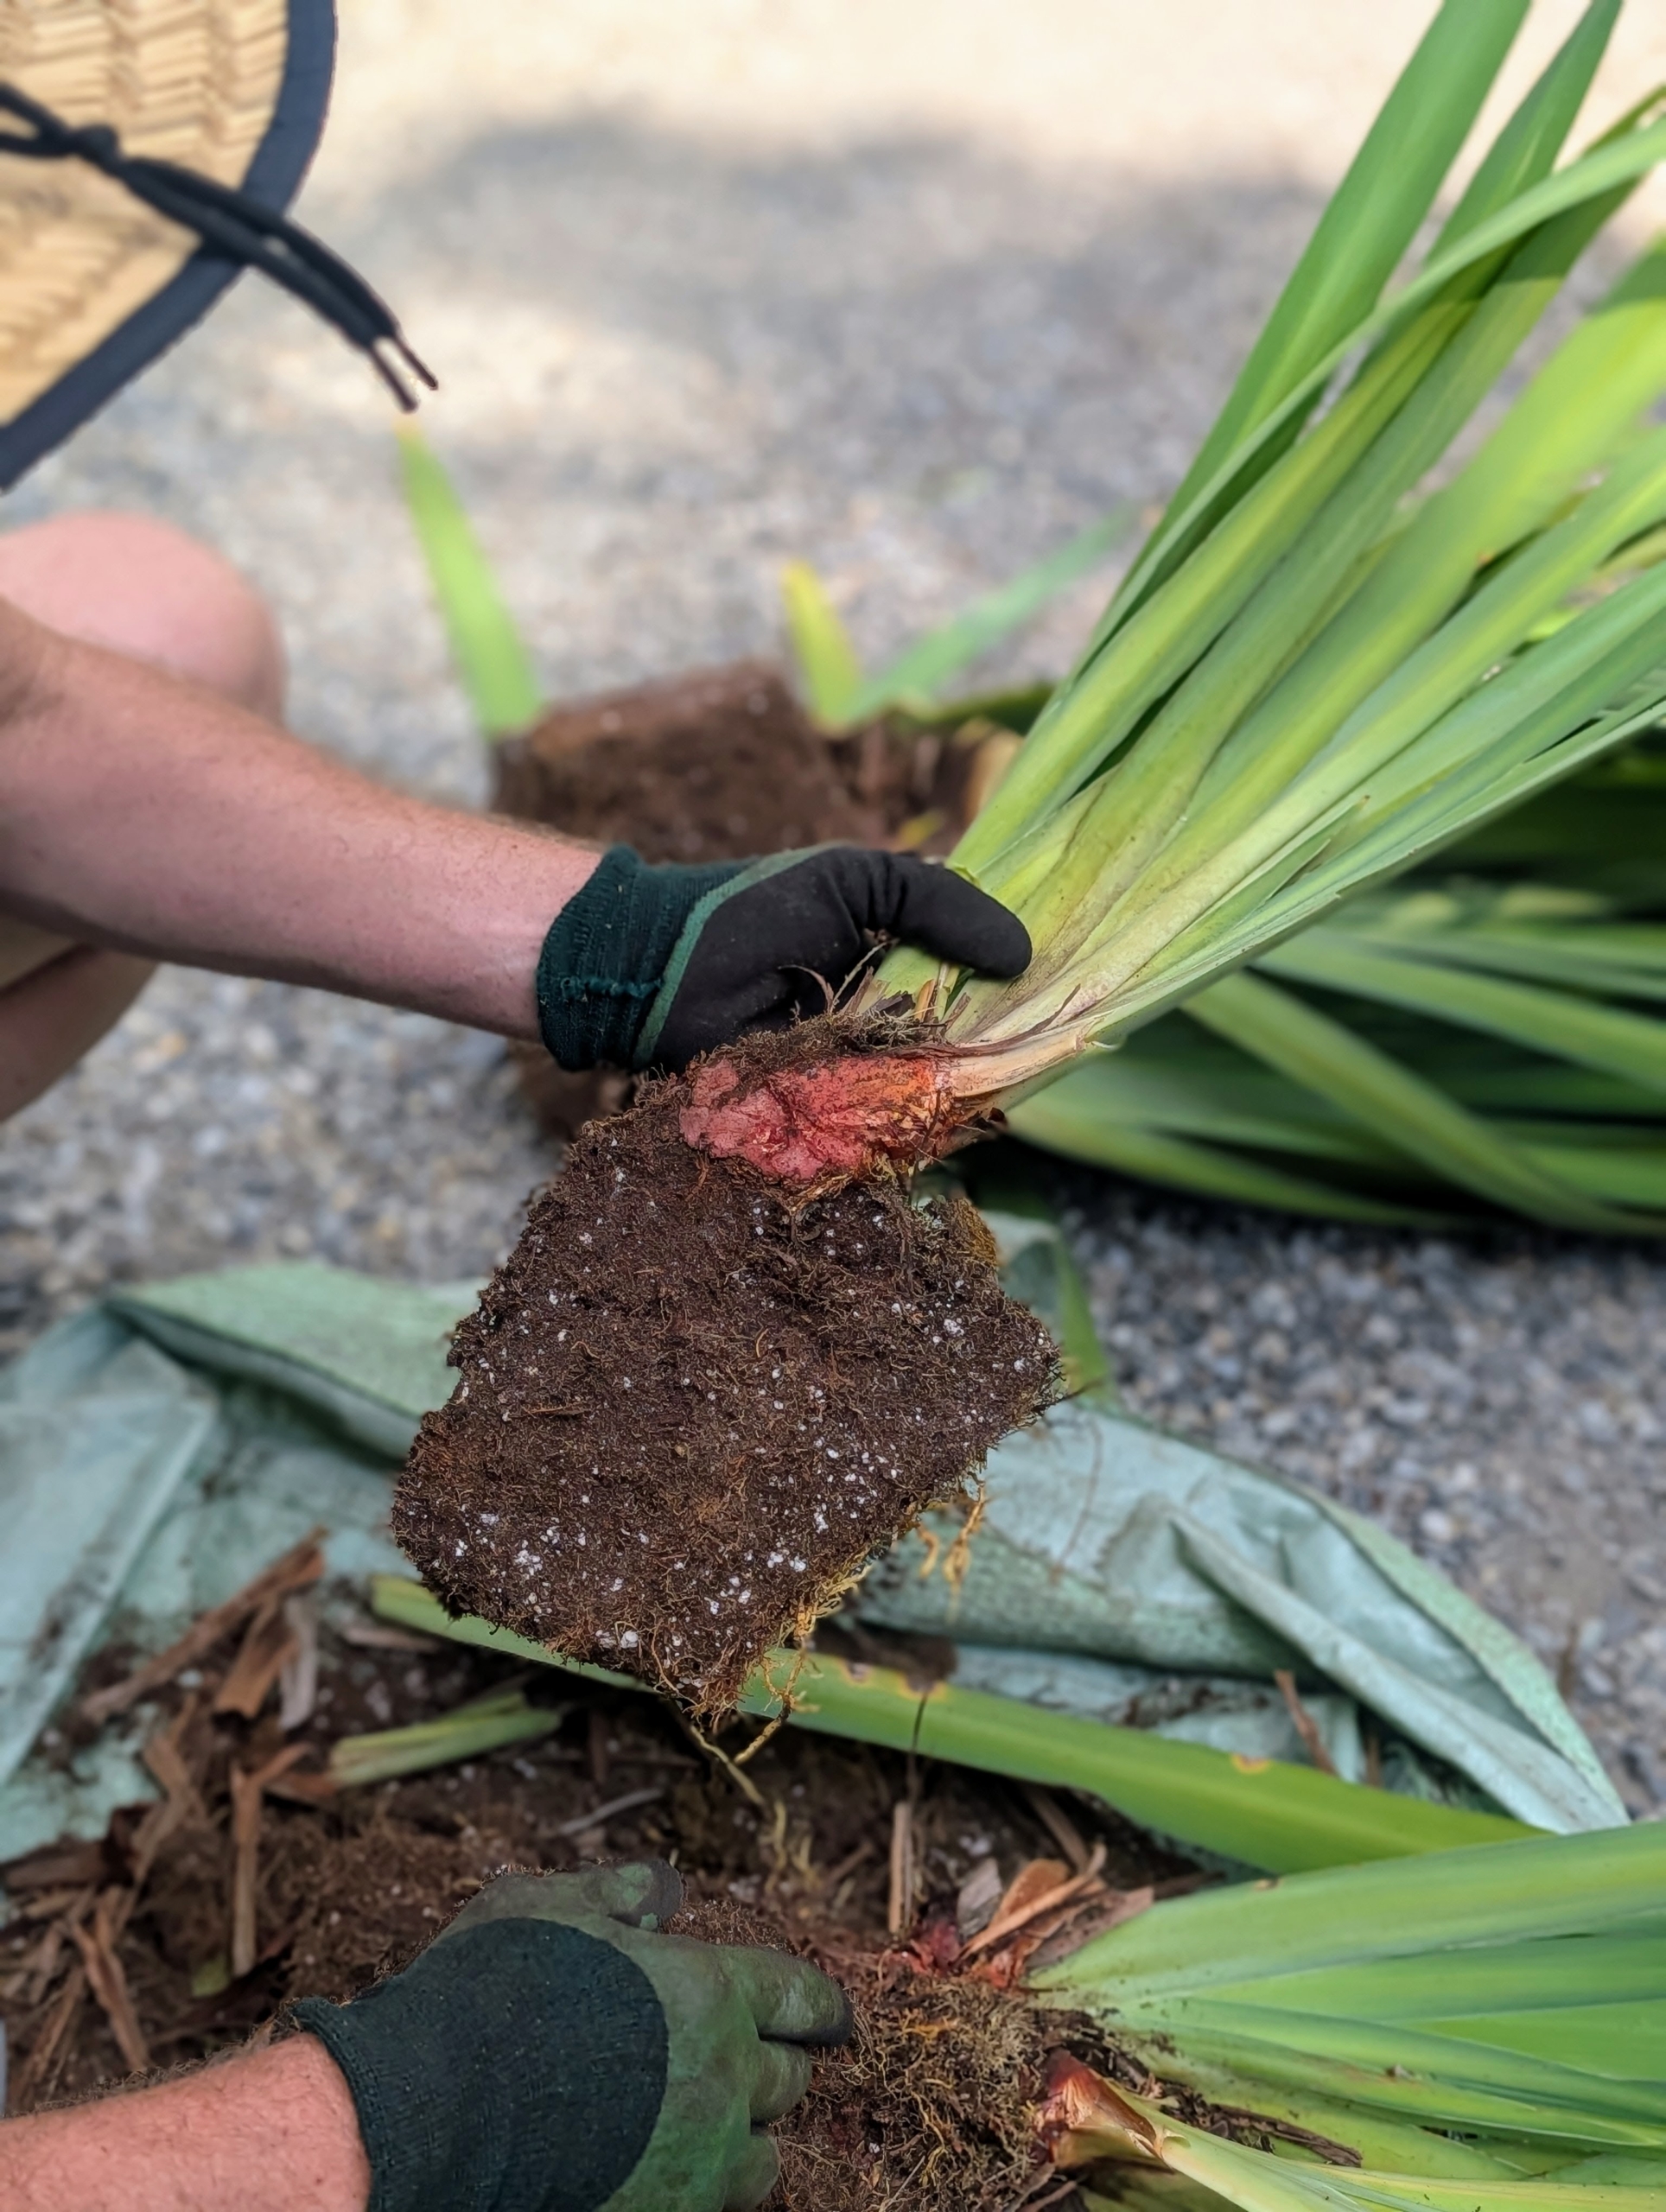
- After cutting the plant into four, Ryan cleans up each one removing unnecessary foliage.
-
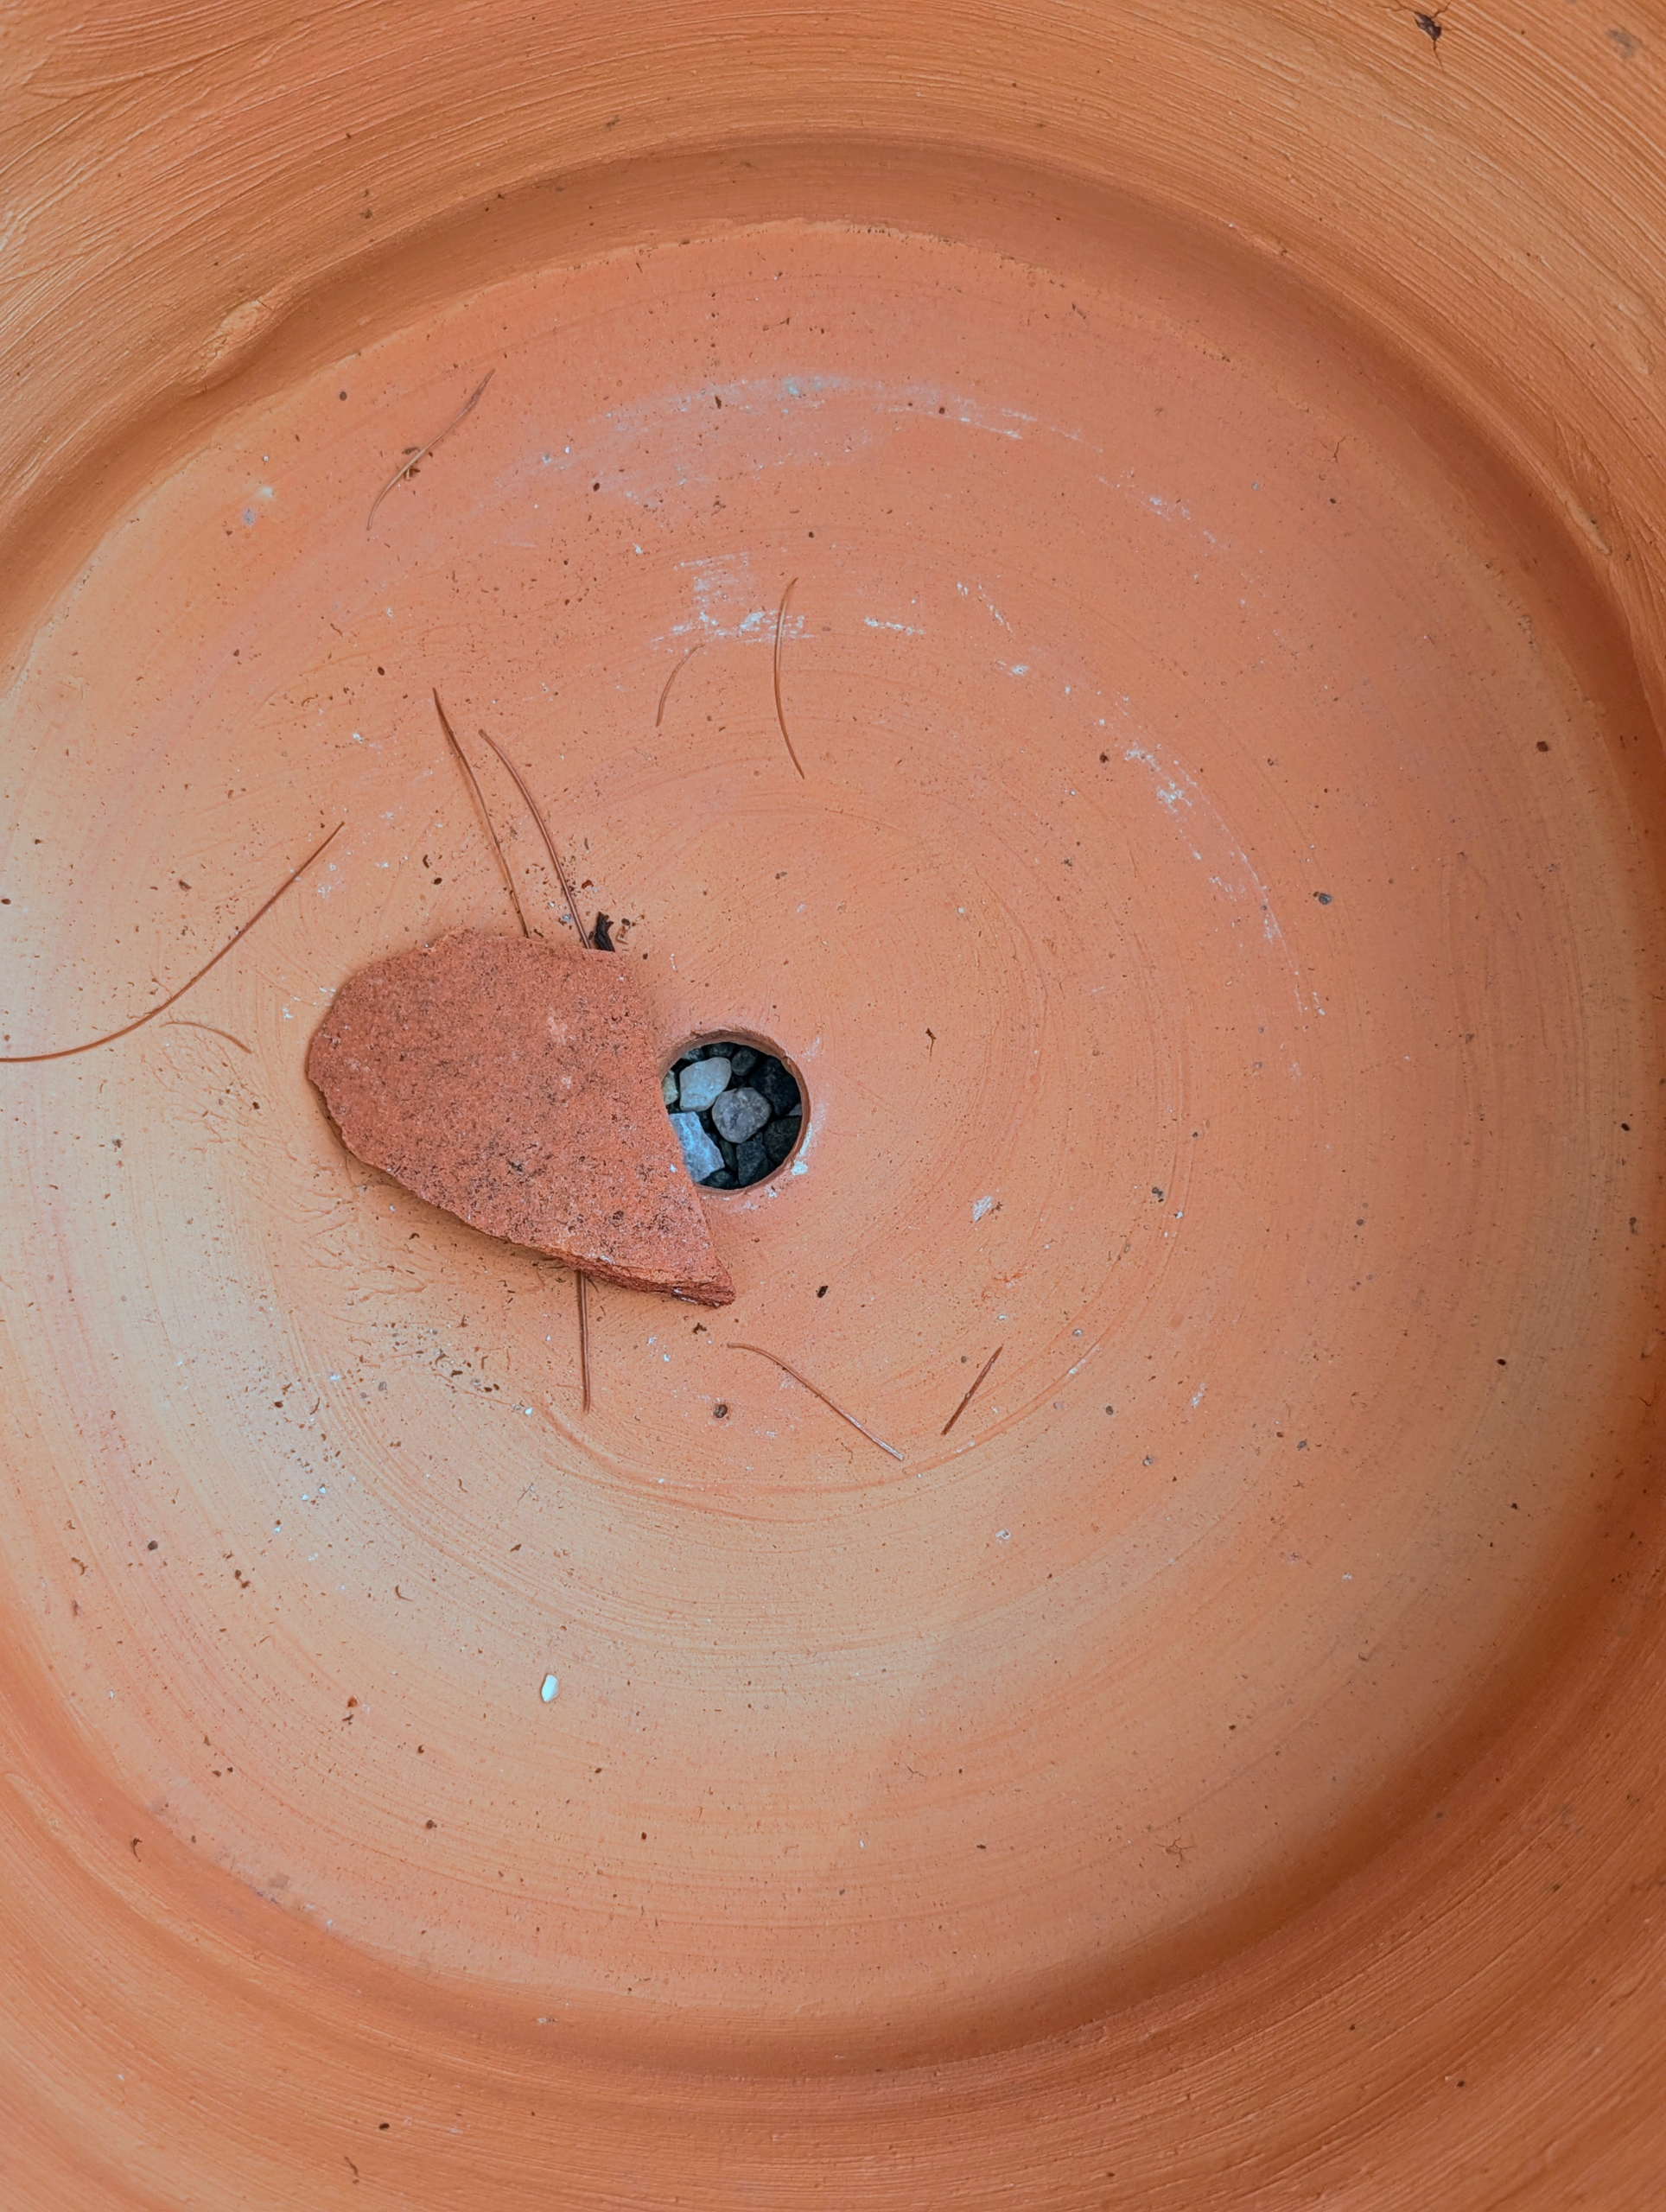
- I save all the shards from broken pots for repotting. It doesn’t happen often, but when it does, these shards come in very handy.
-
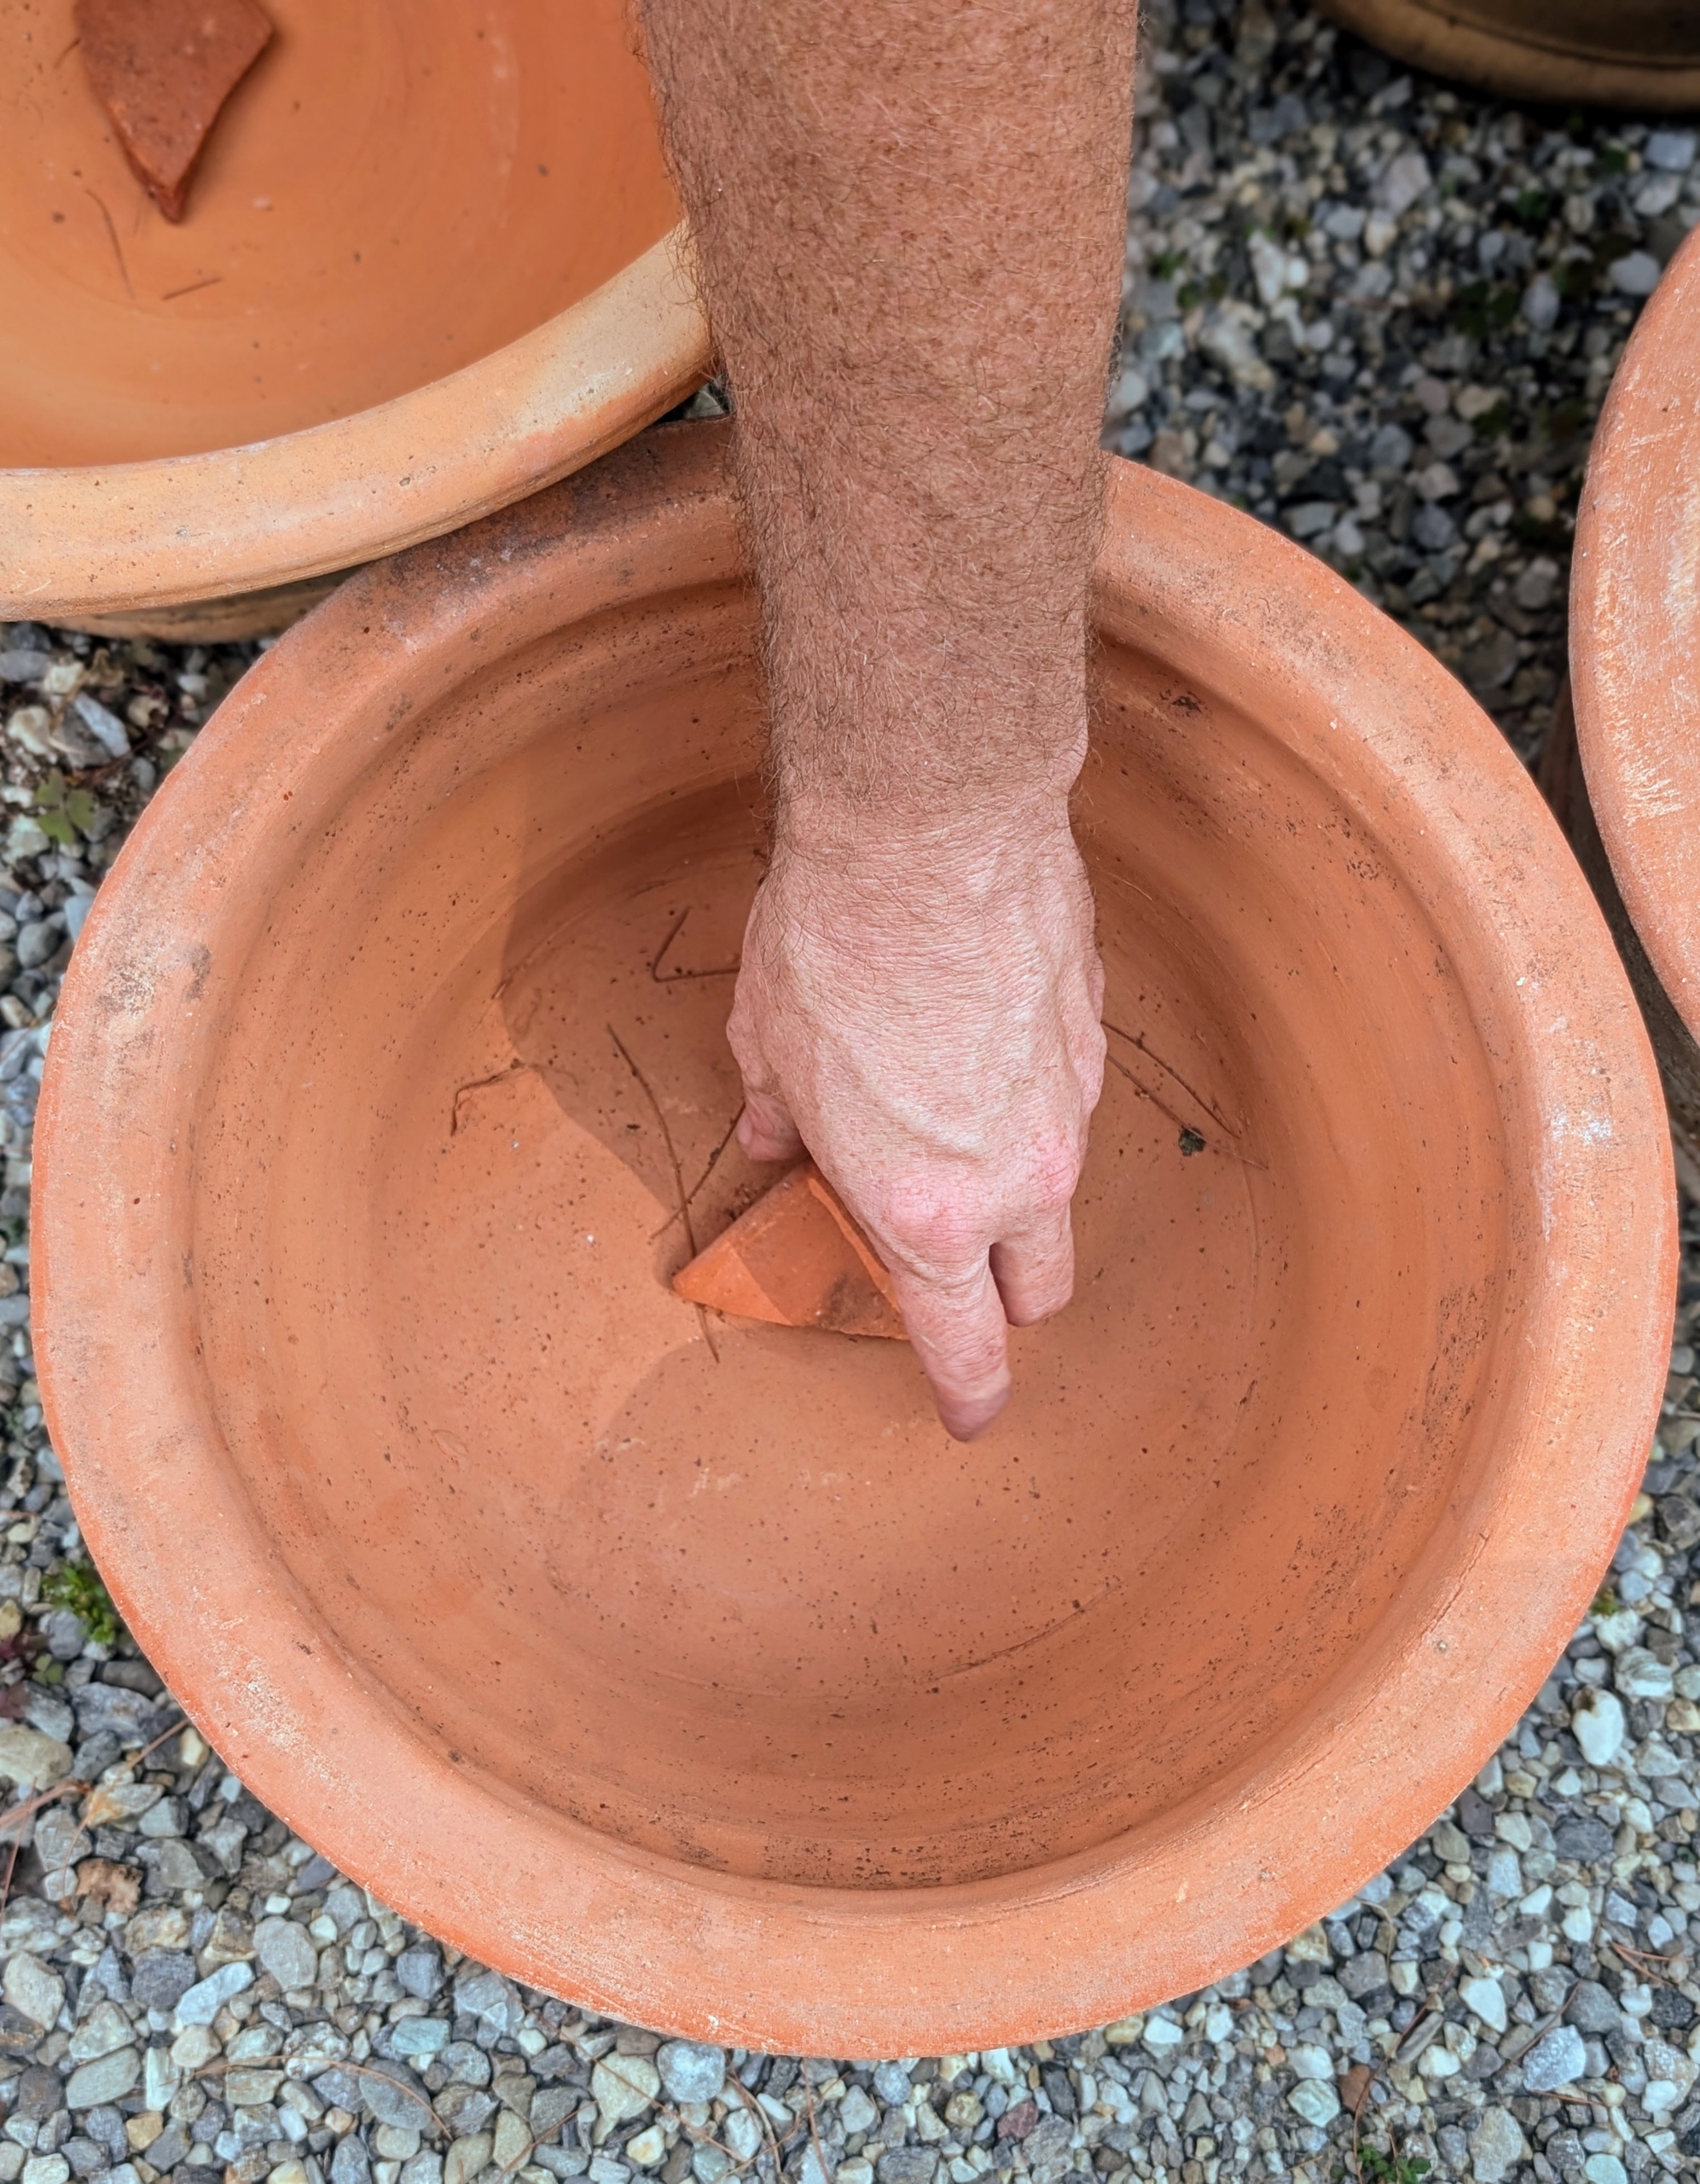
- Ryan places a shard on top of the pot’s hole to maintain good drainage and to prevent soil from escaping.
-
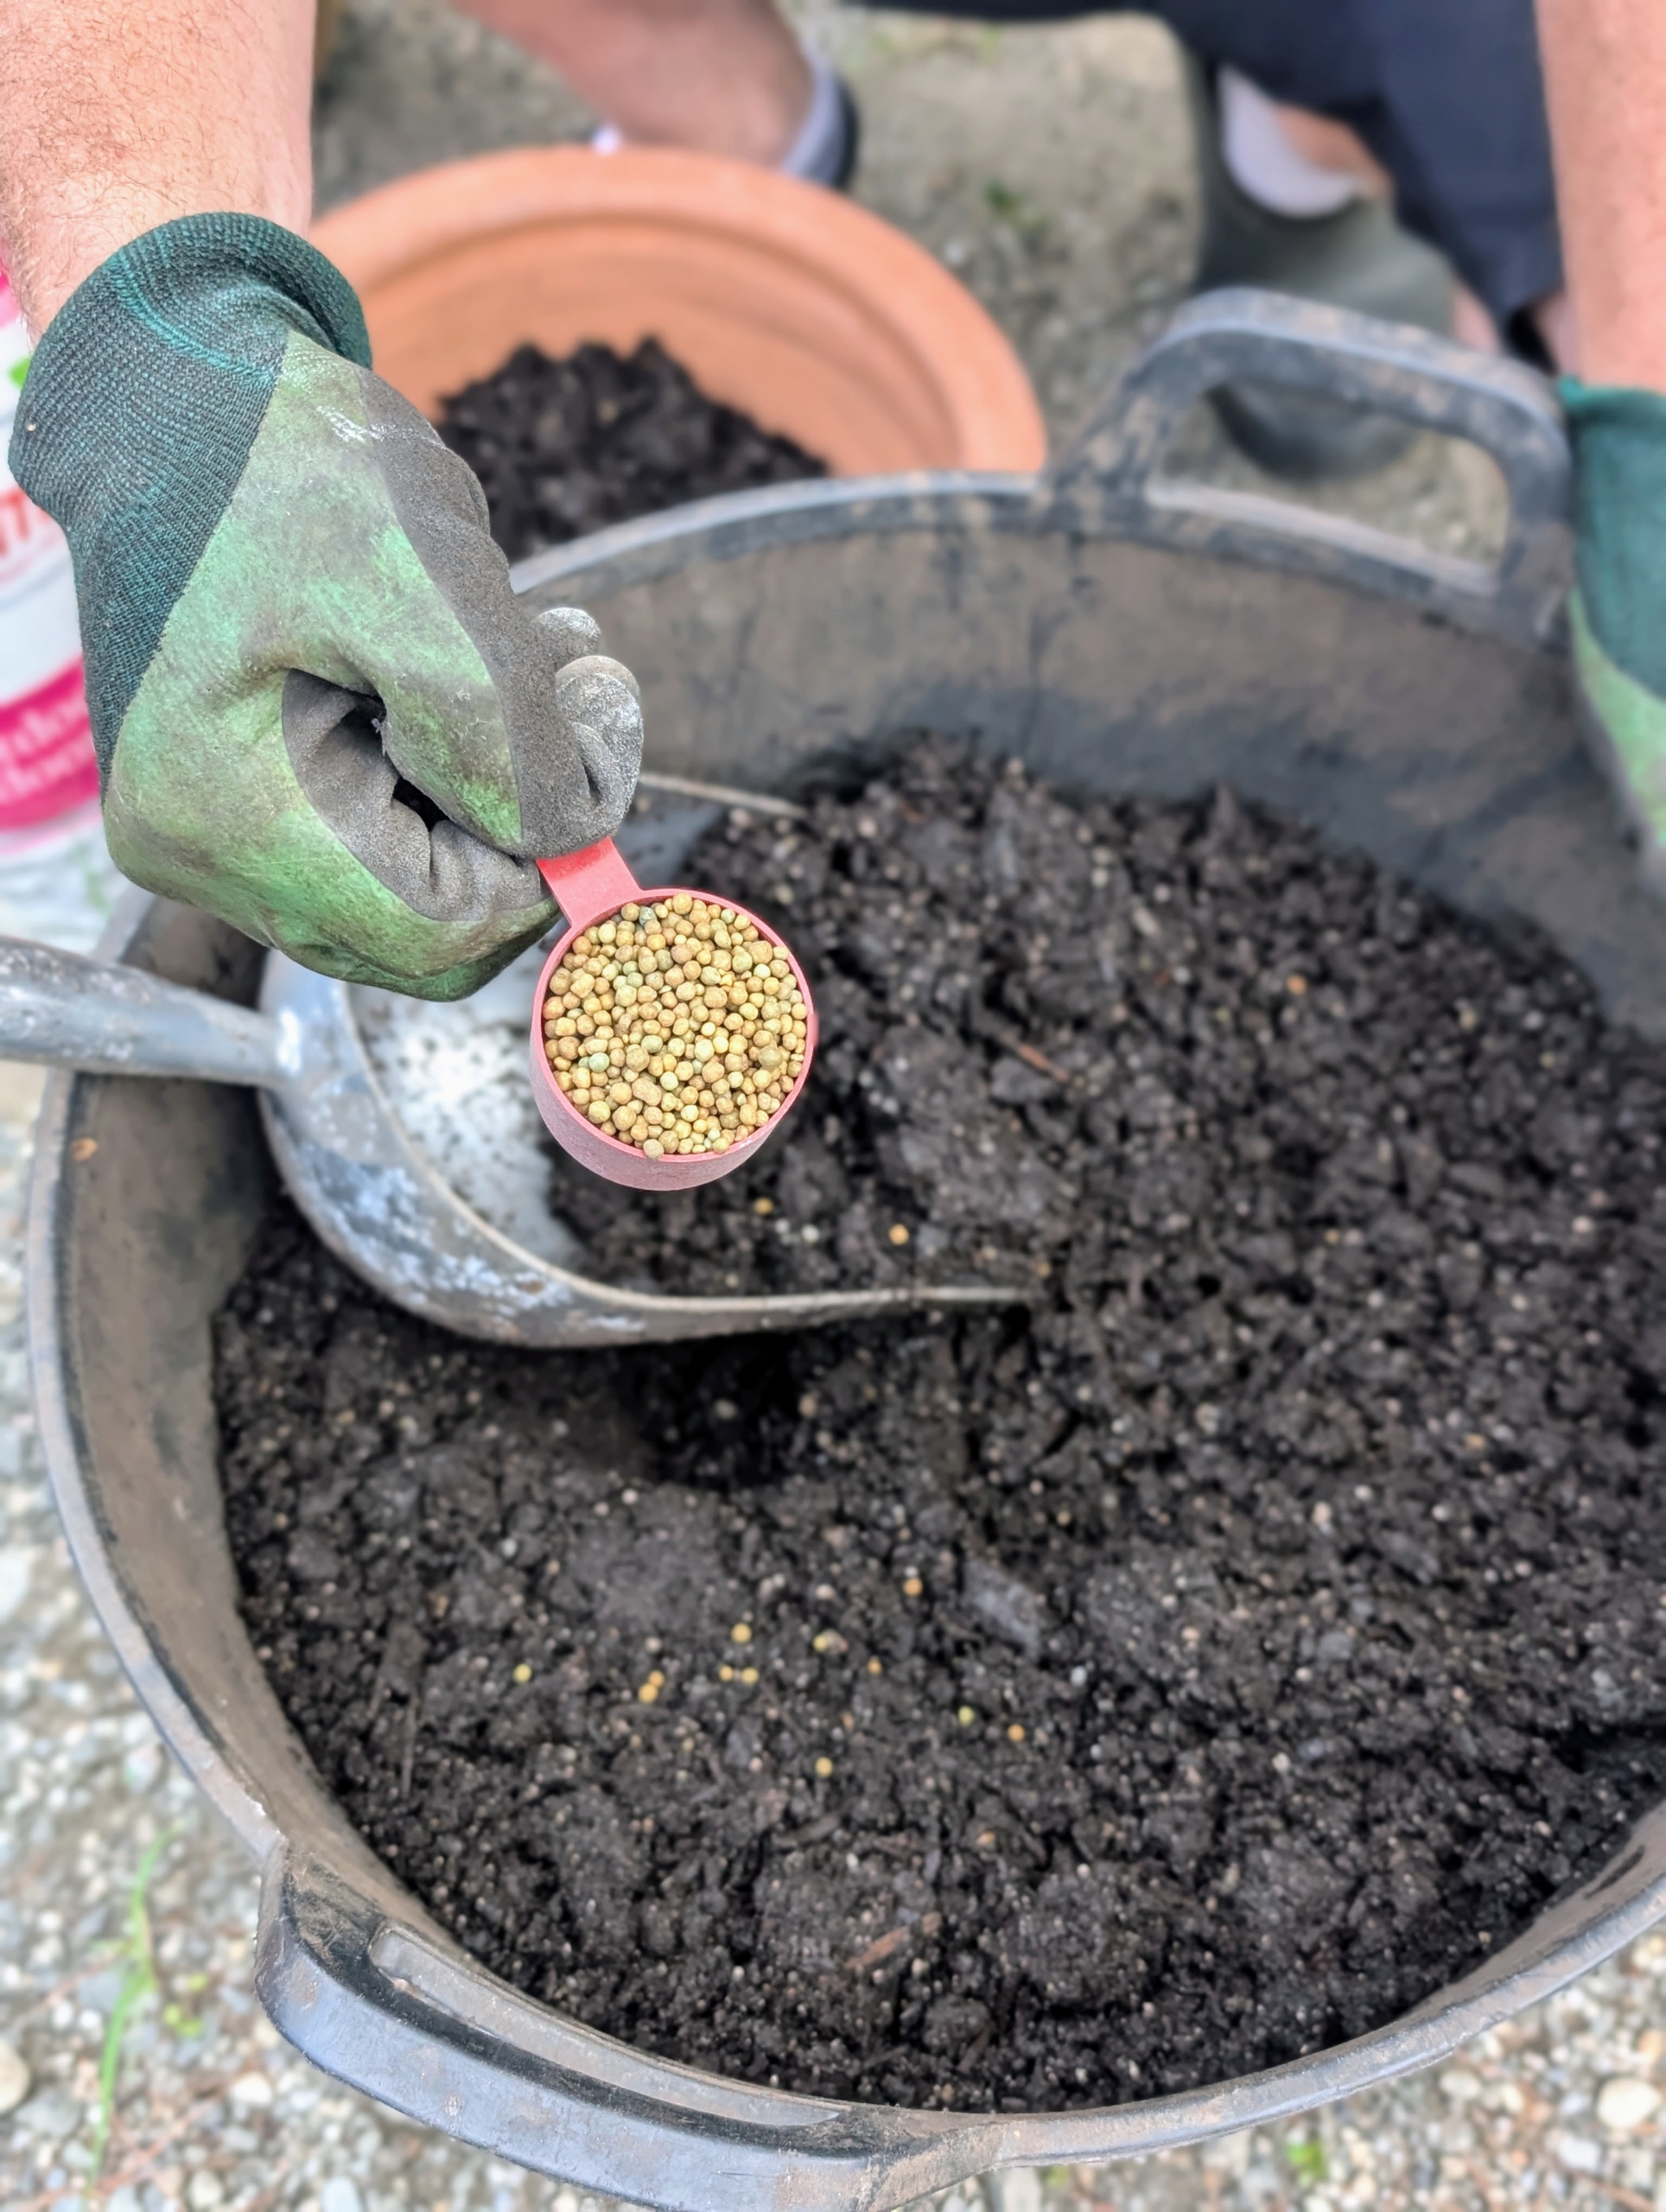
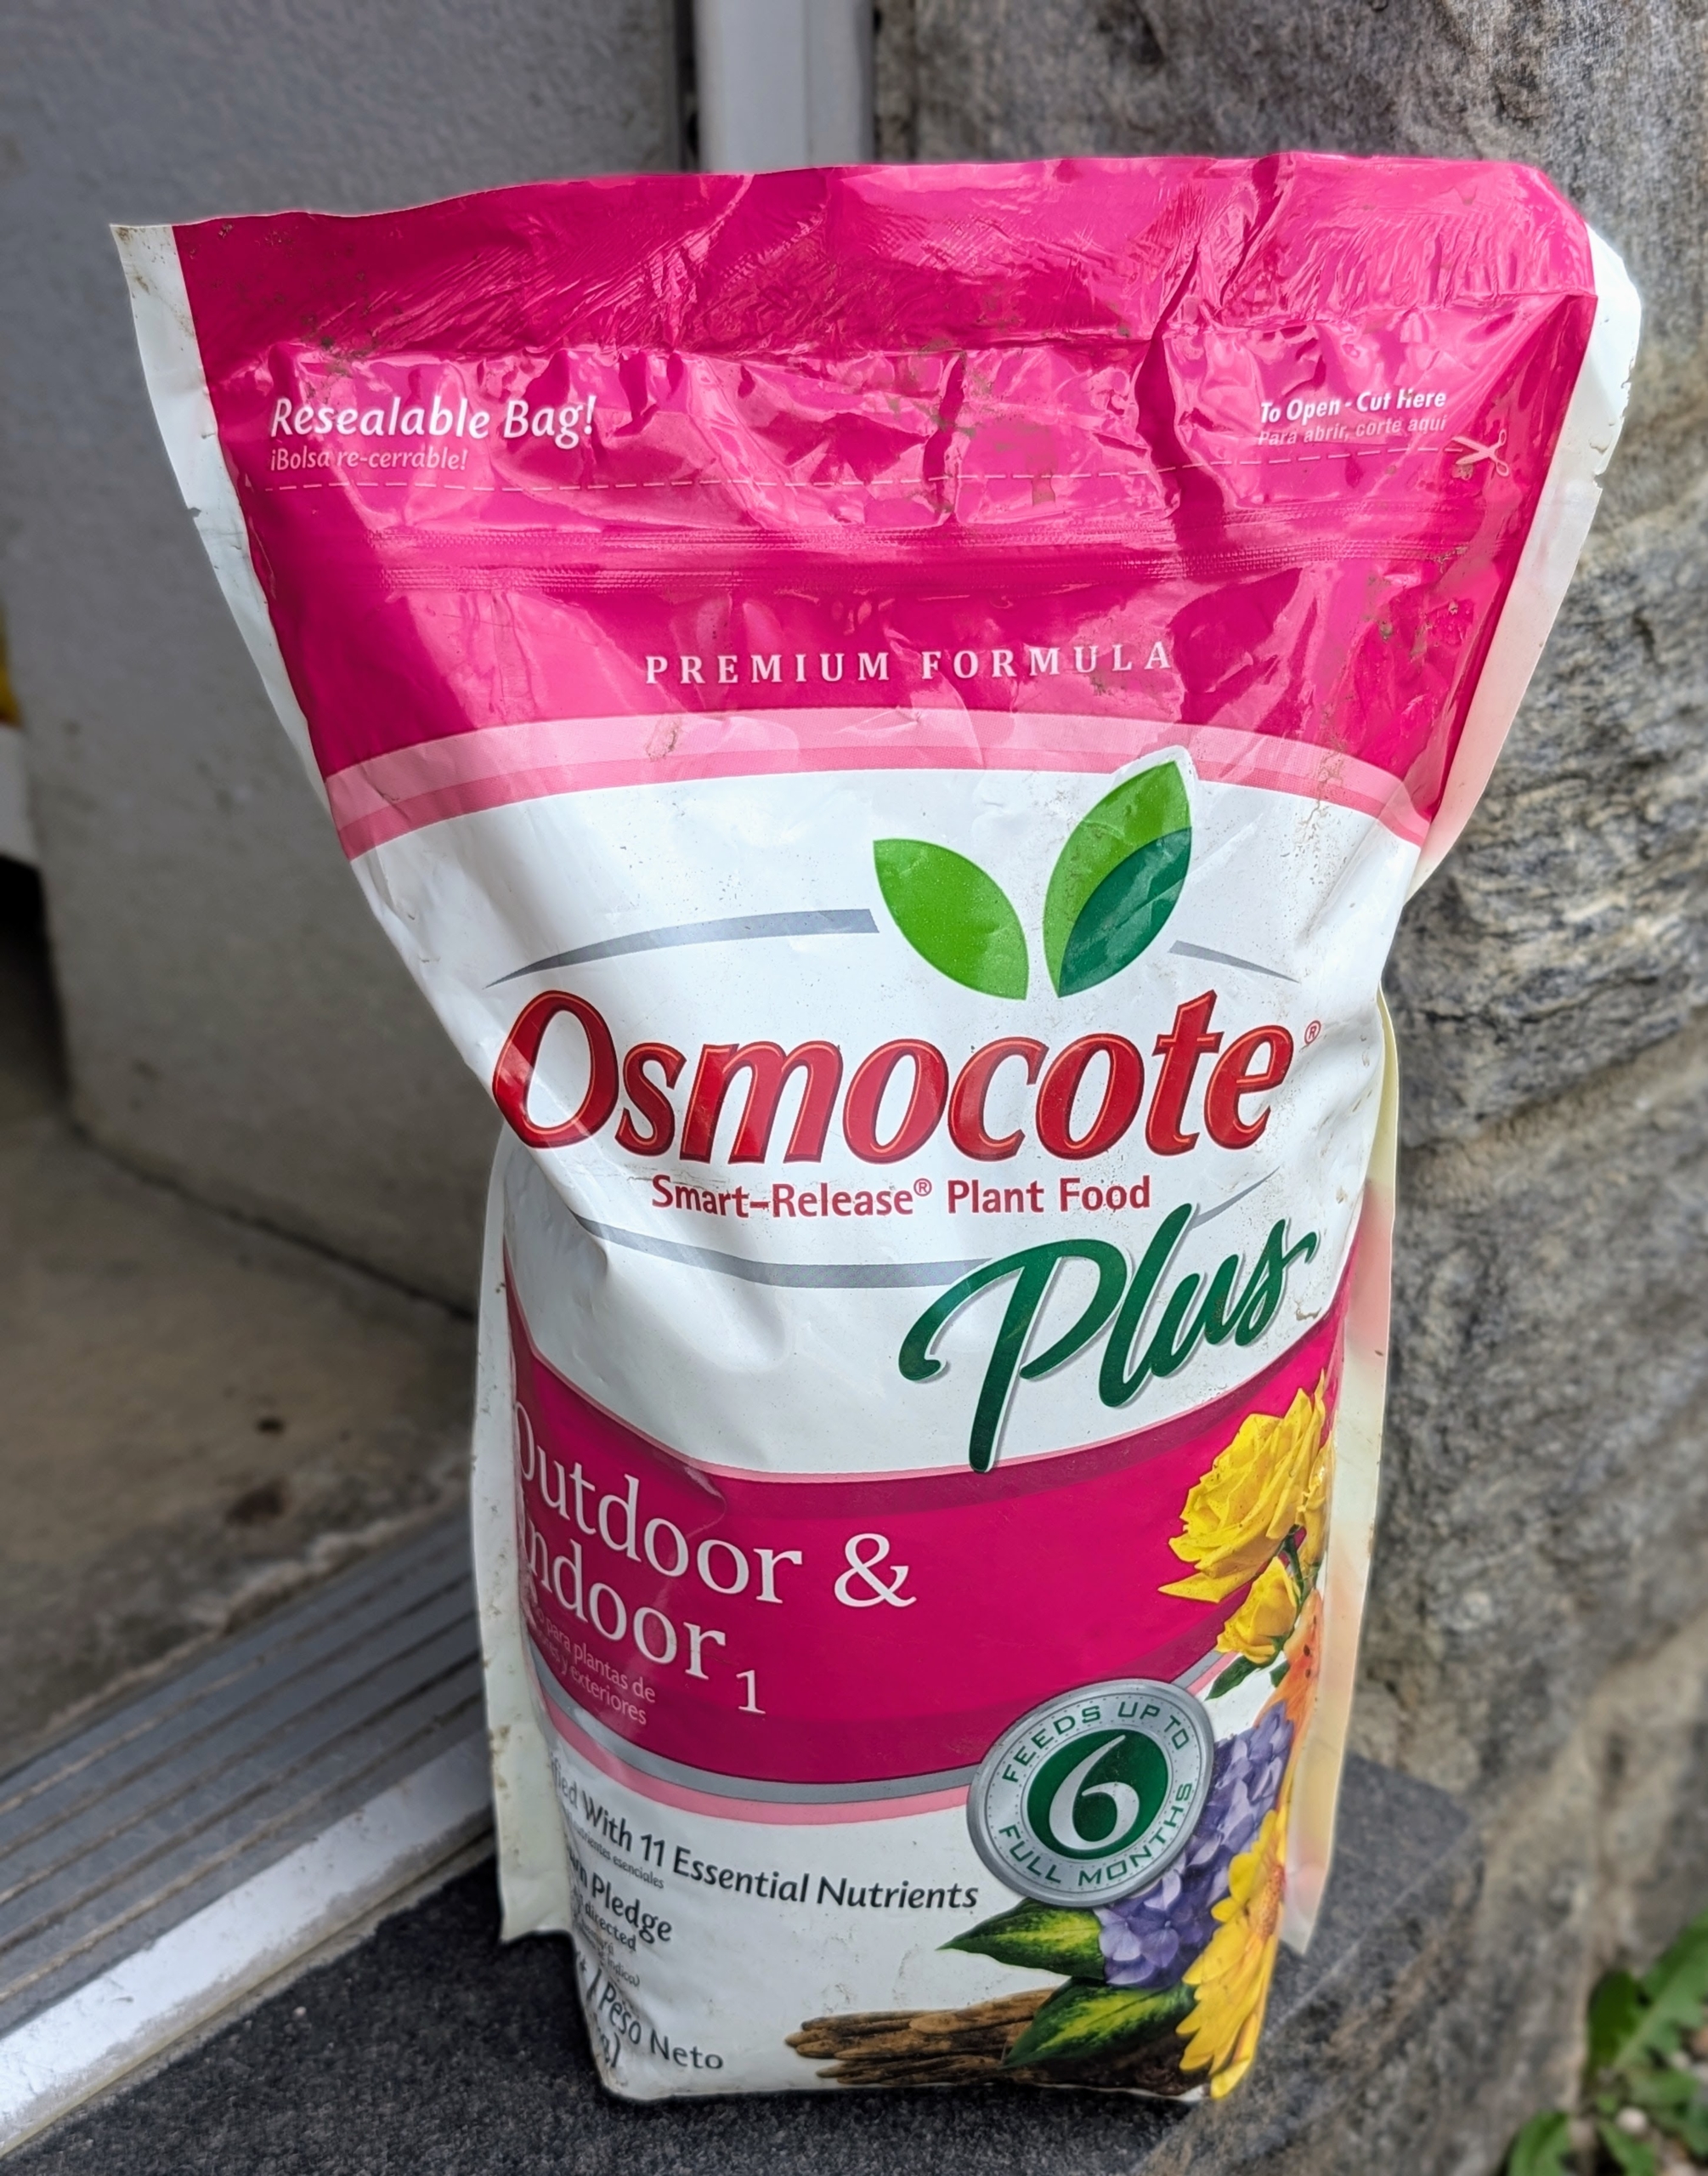
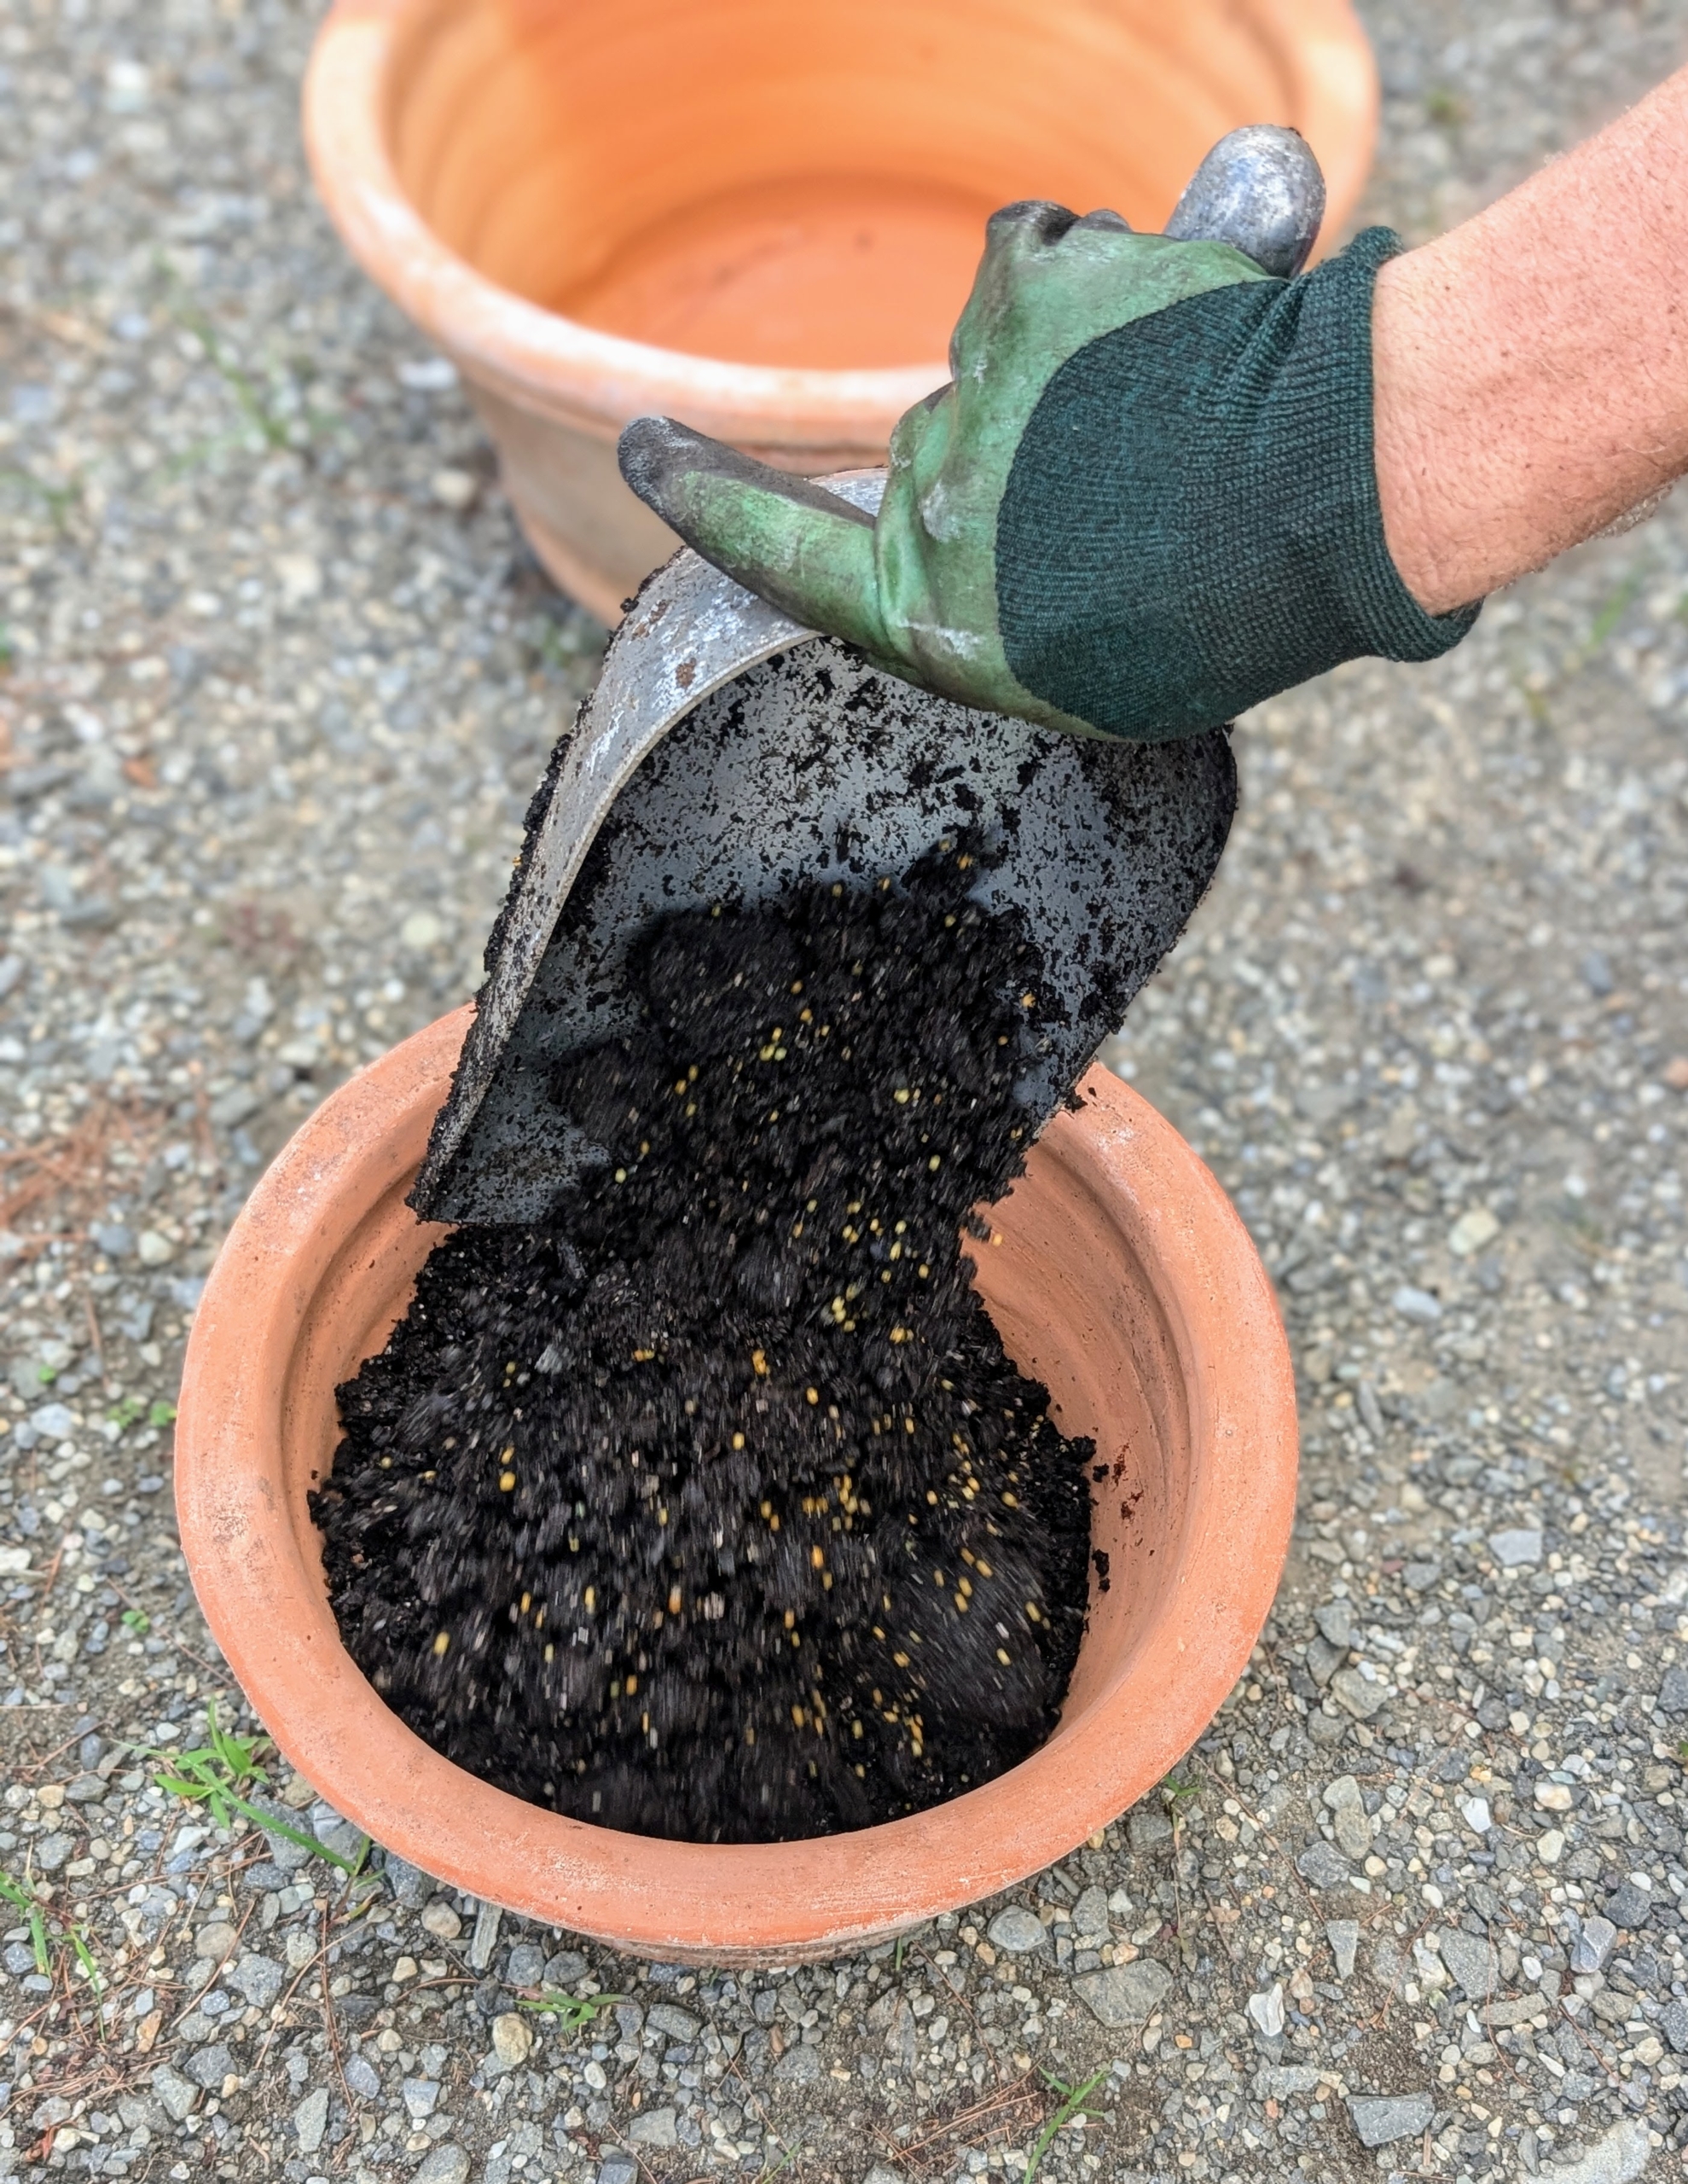
- Ryan adds a couple scoops of fertilizer and mixes it thoroughly with the Miracle-Gro potting soil.
-
- I use Osmocote Plus with added nutrients – it will last for up to six months.
-
- Ryan starts filling the pots with a few inches of soil.
-
- And then gets the divided walking iris sections to plant.
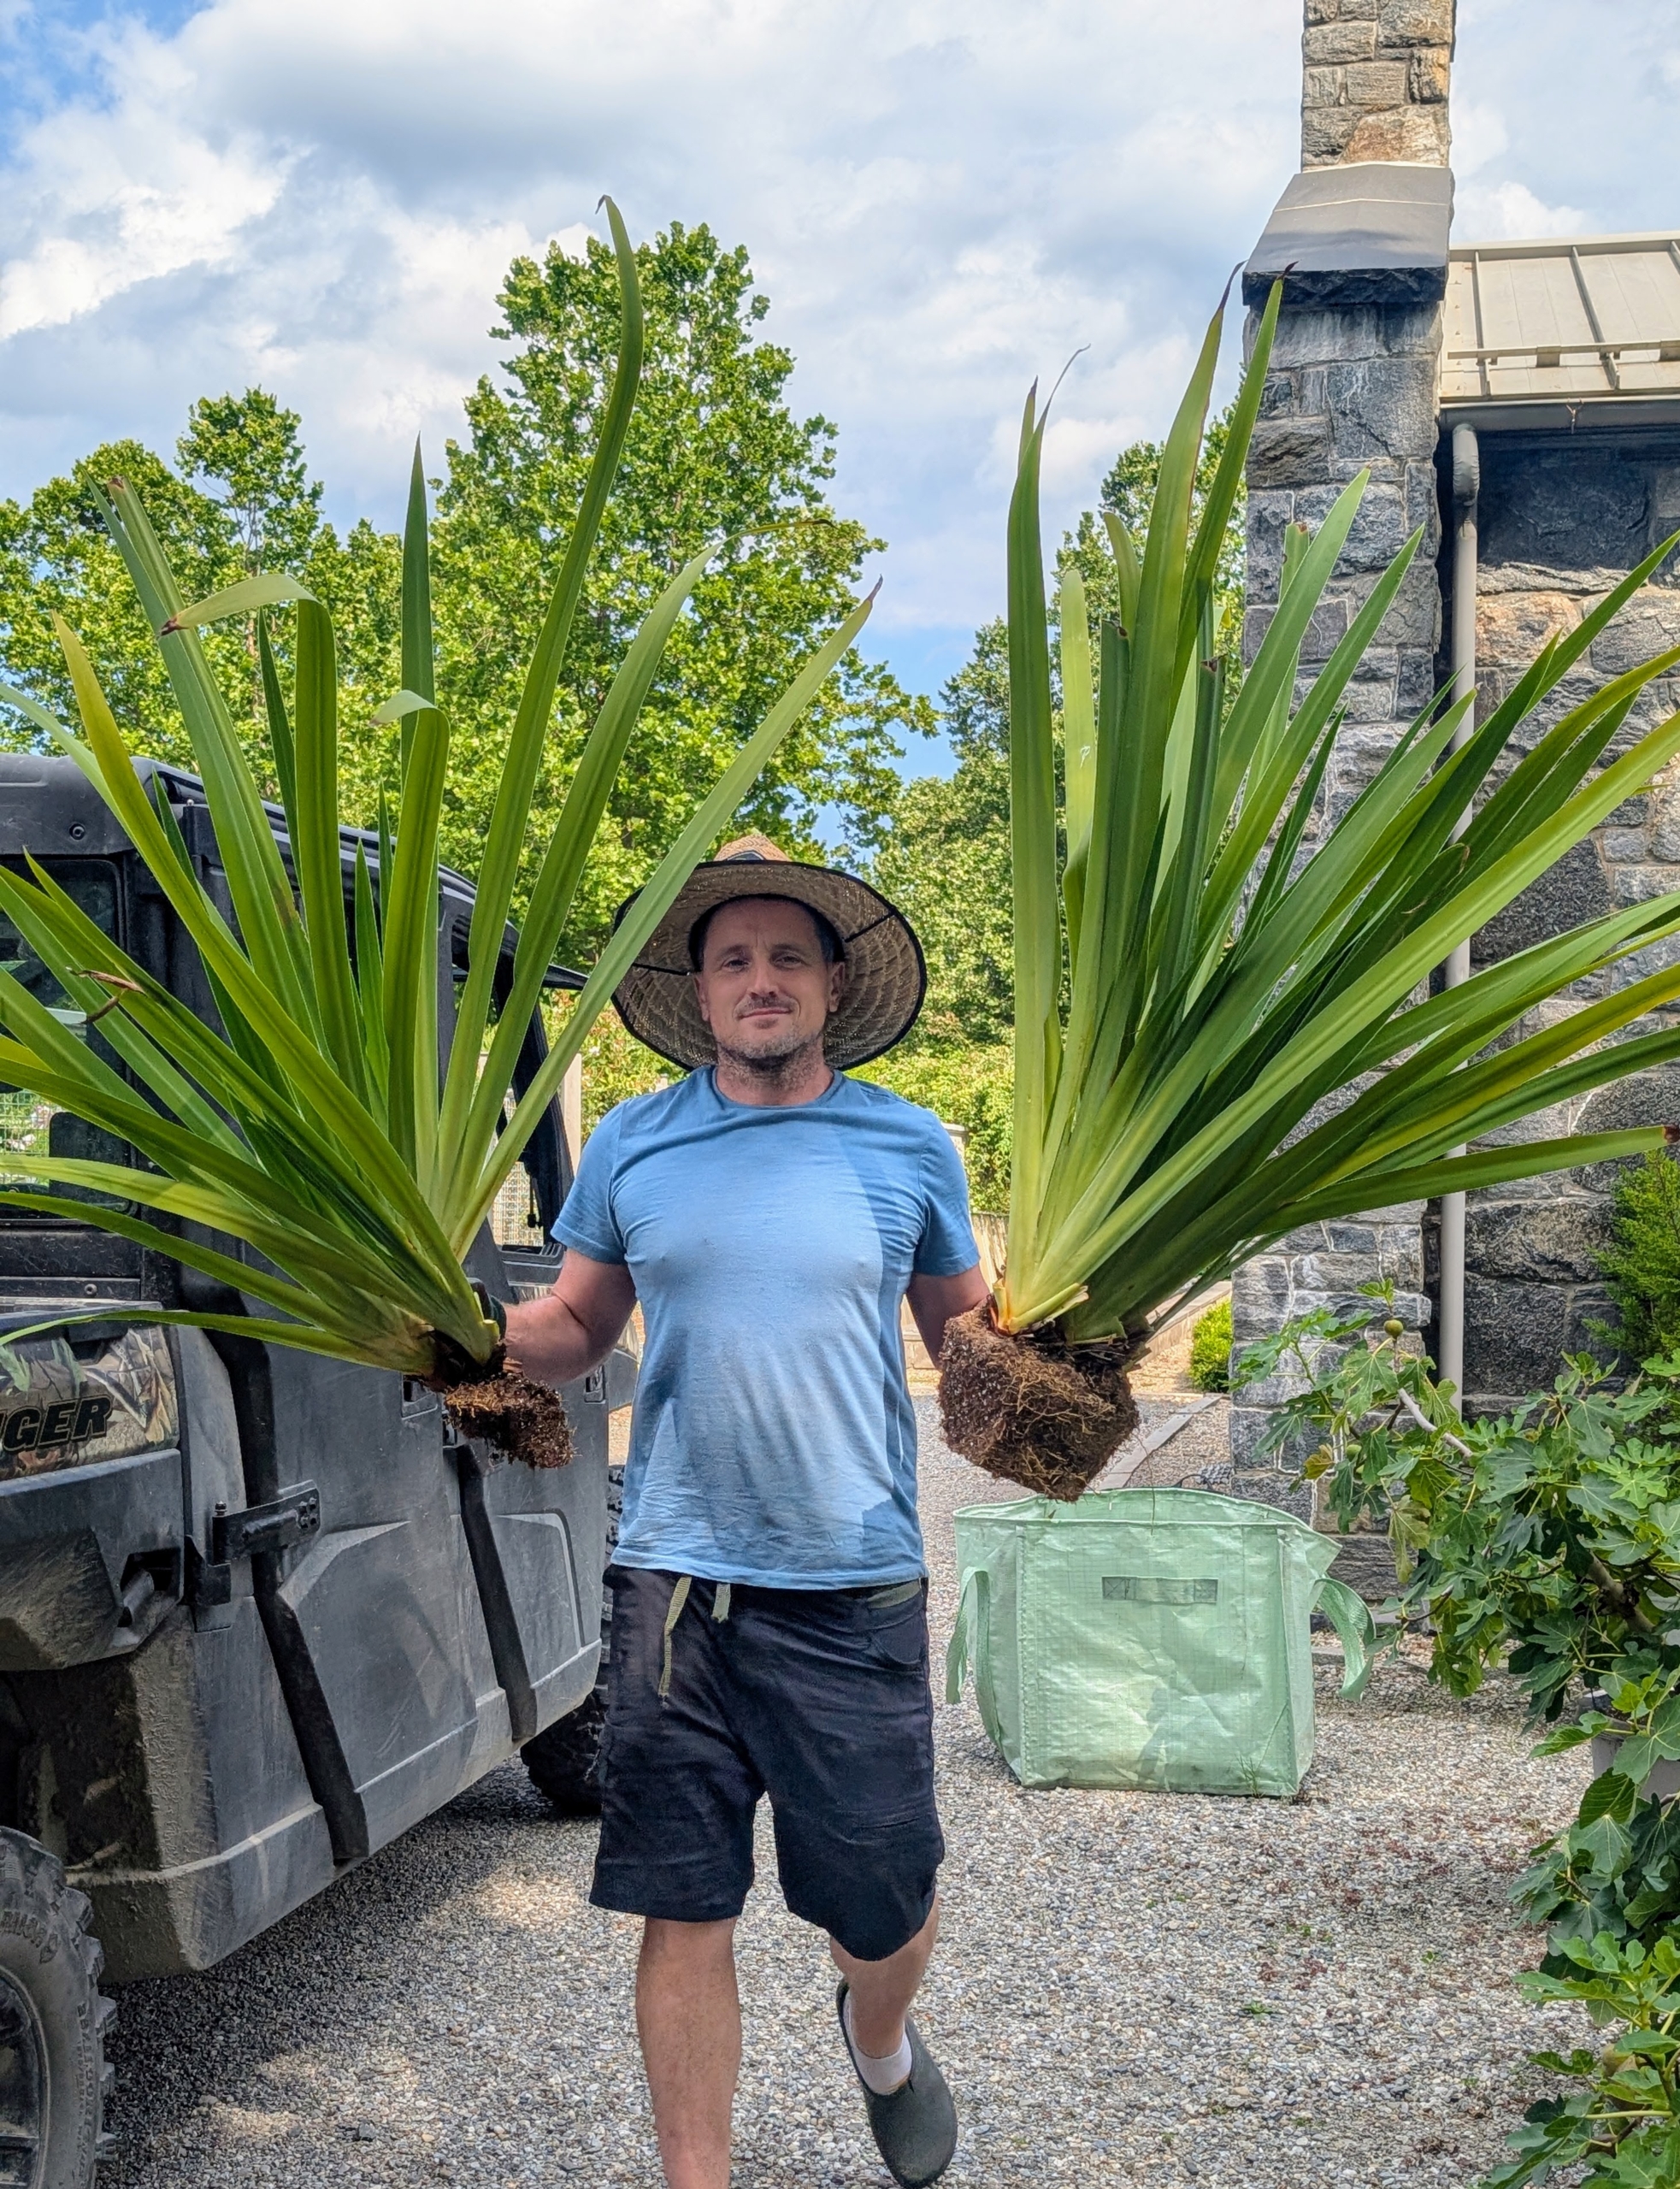
-
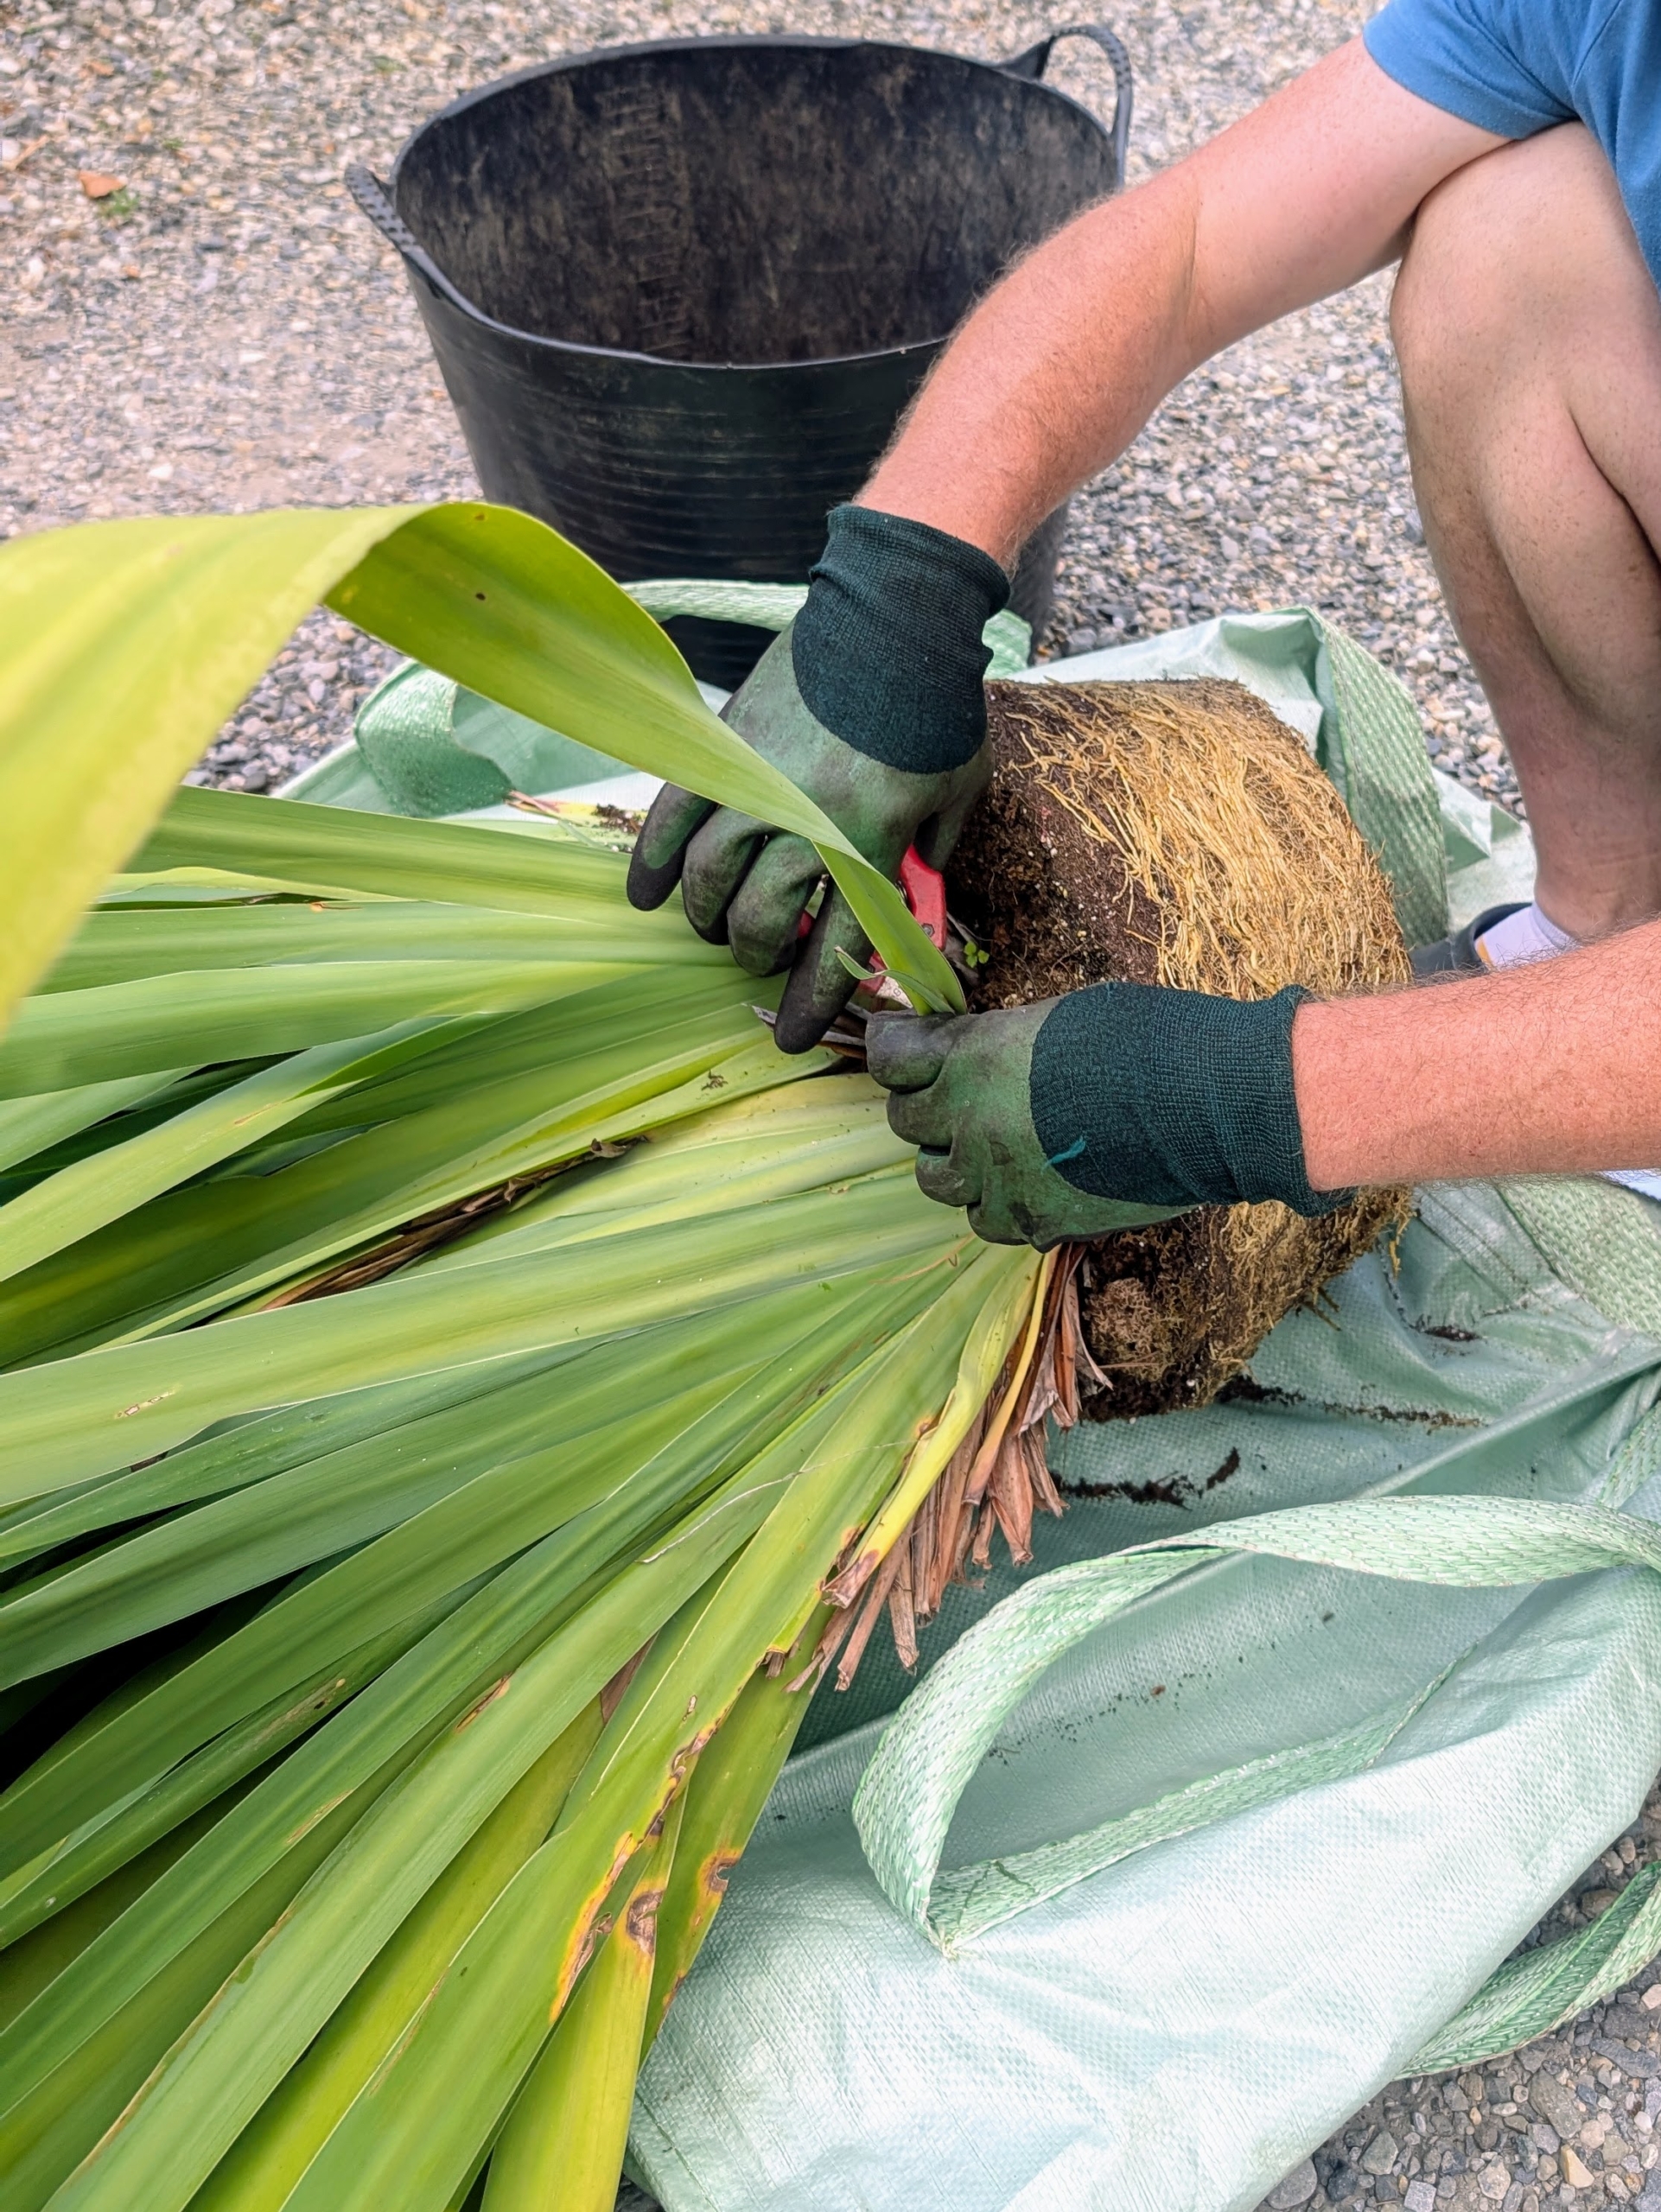
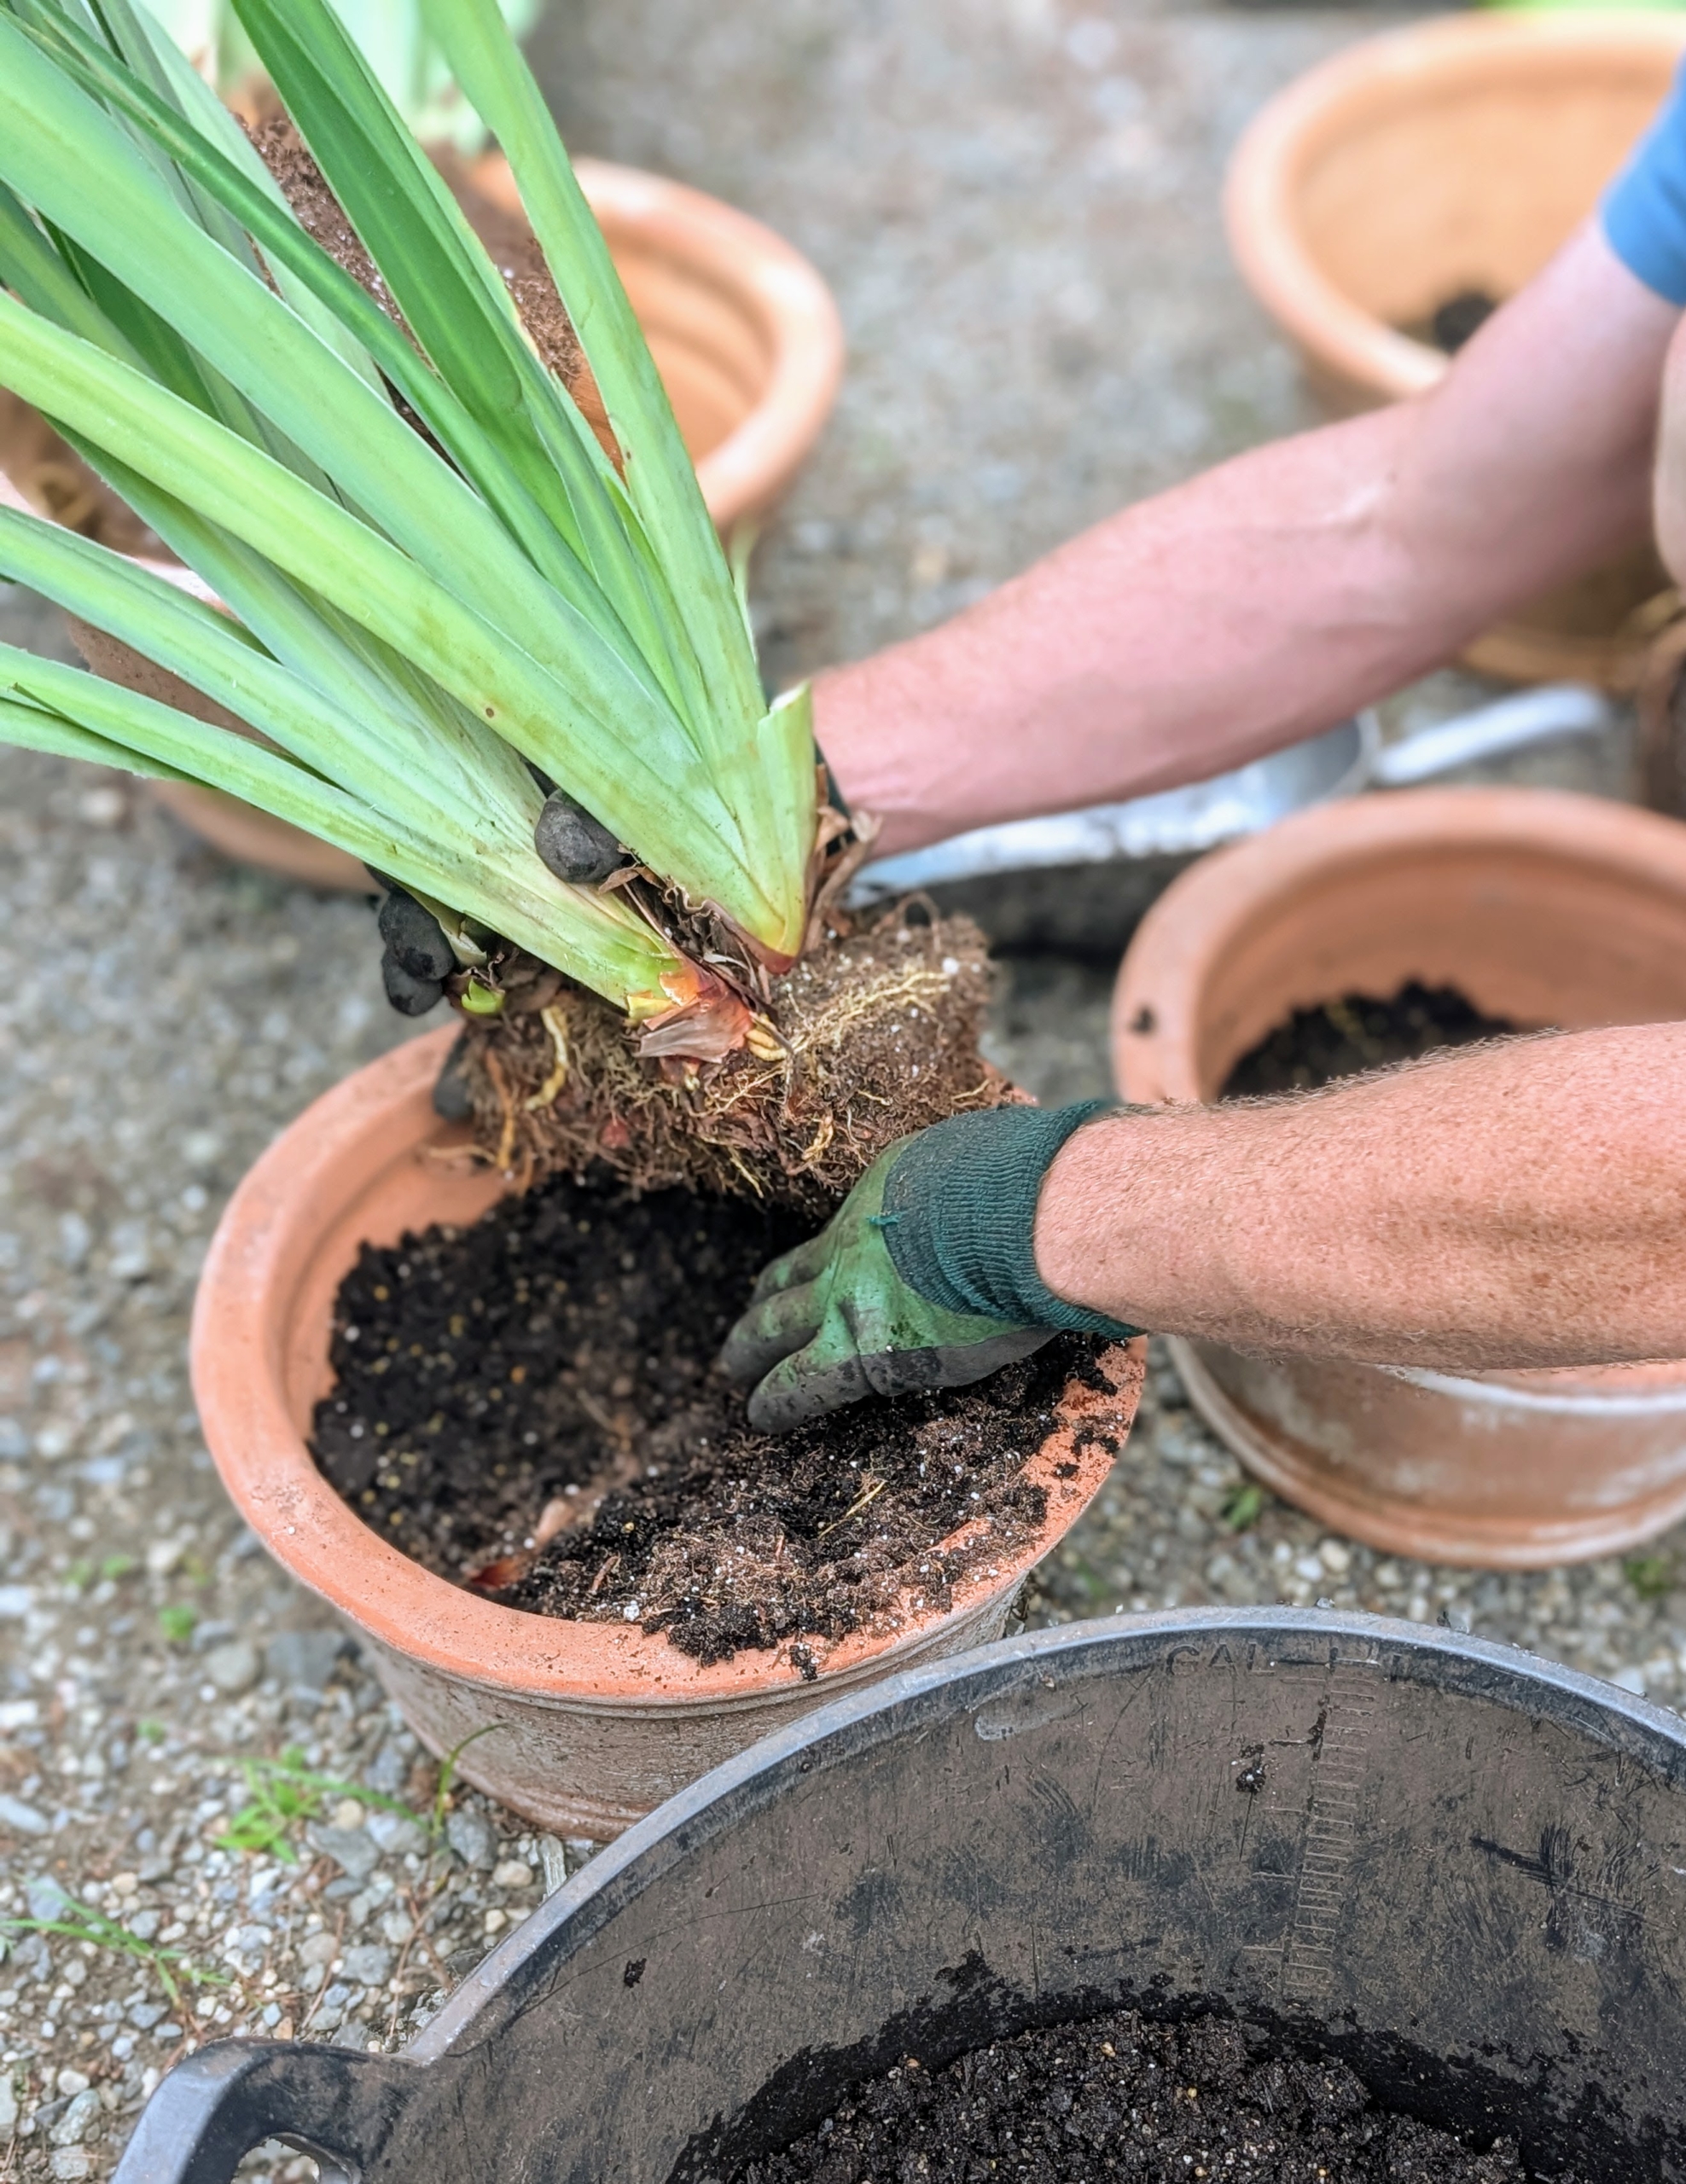
- He decides which section will go into each container. When transplanting, the plant should also be inspected for any signs of disease, rot, or pest infestation. These sections are in excellent condition.
-
- Ryan makes adjustments and cuts the bottom of this section to better fit the pot.
-
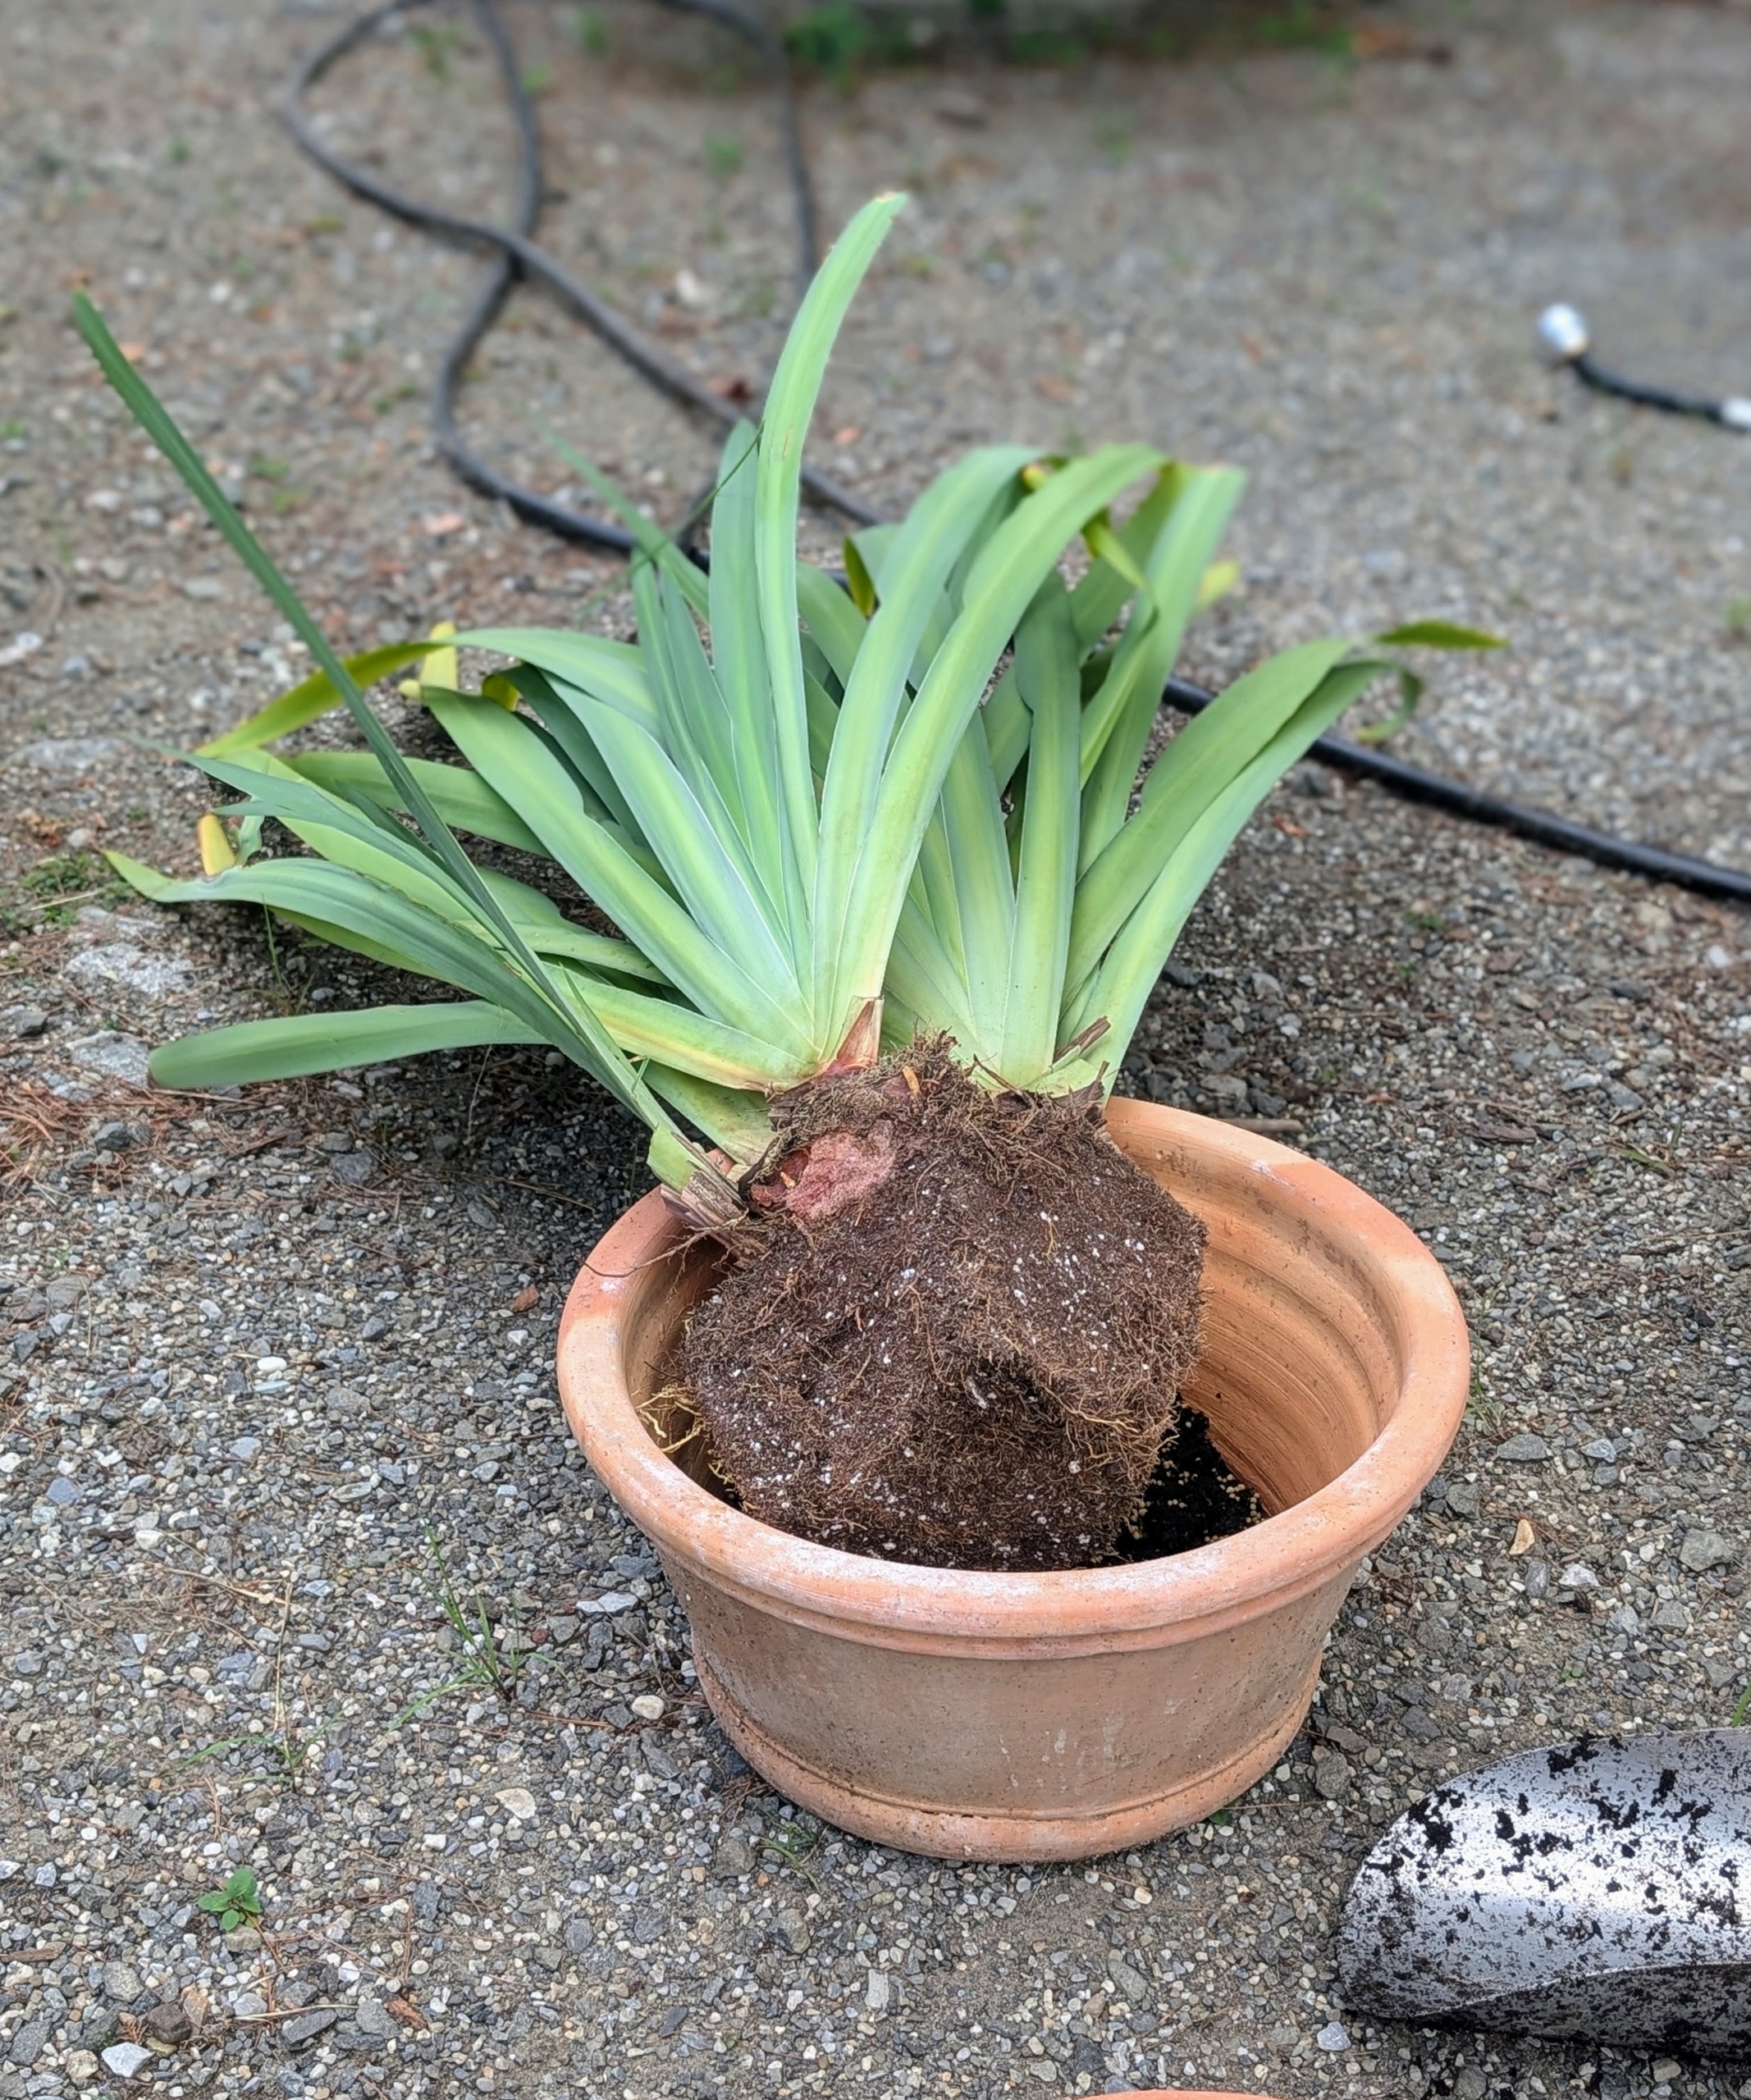
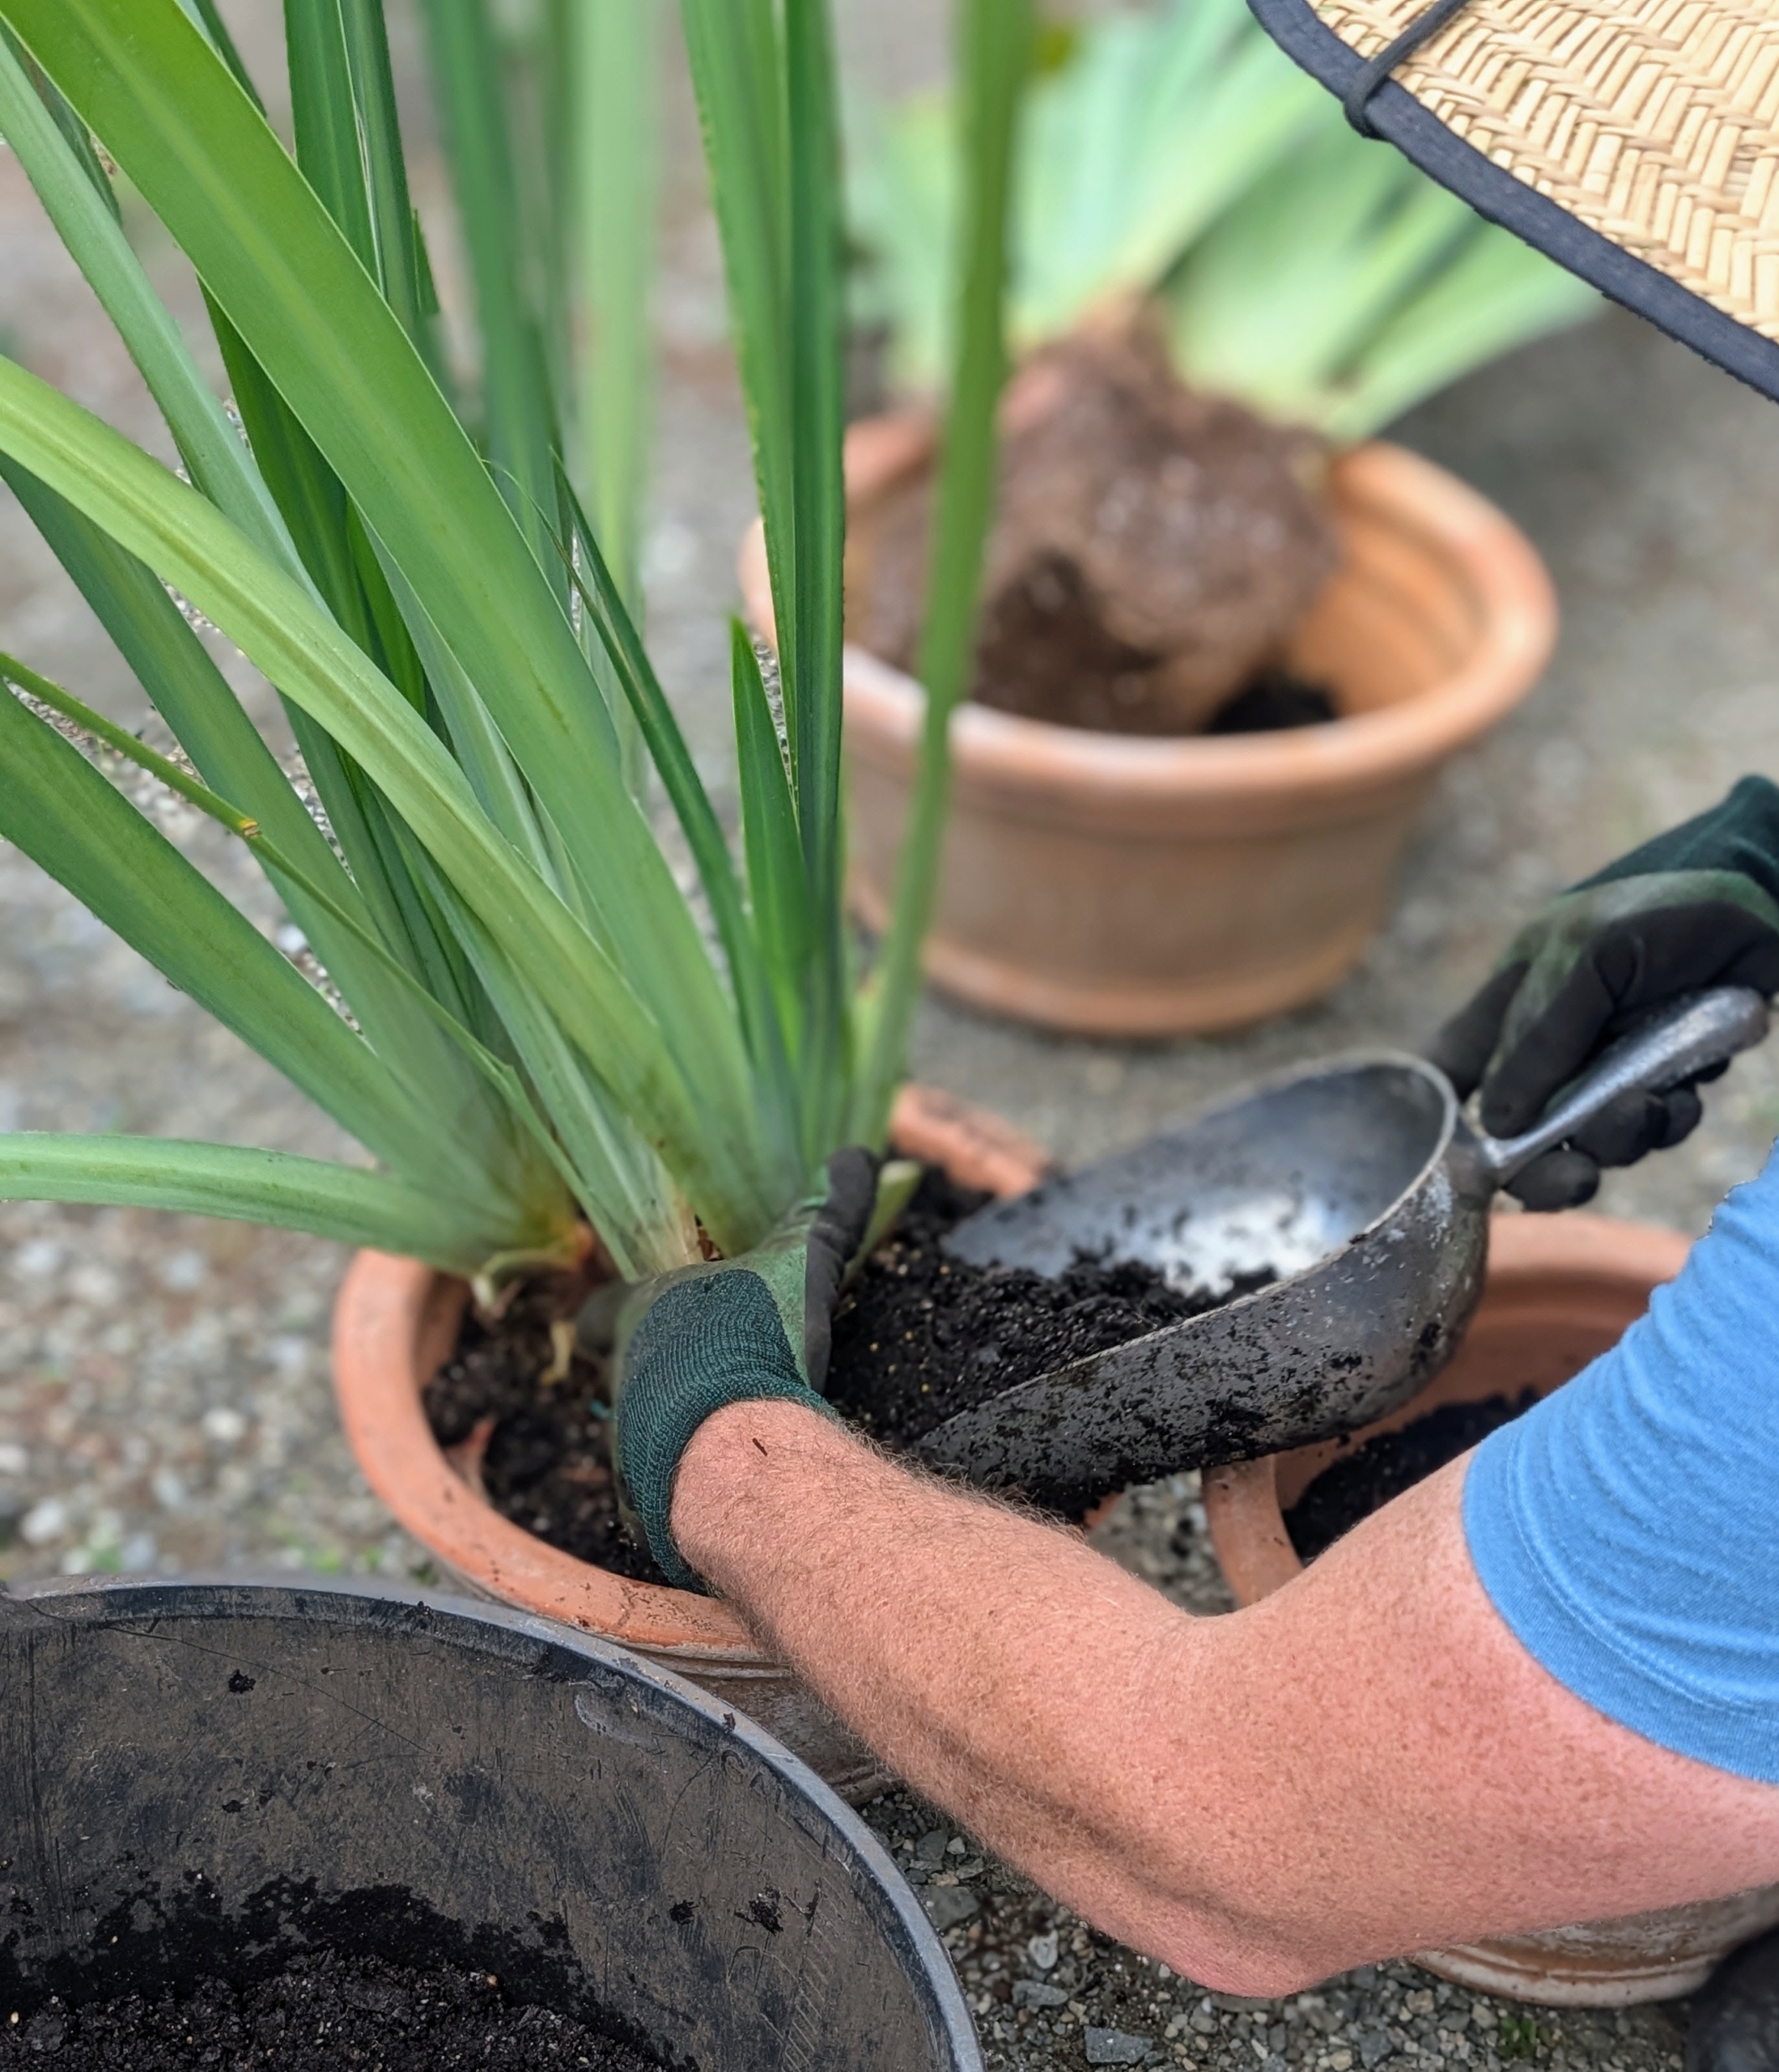
- Then Ryan places the plant in the pot at the same height it was in its previous container. If needed, he adds a bit more soil at the bottom.
-
- Then Ryan backfills, keeping the plant straight as he adds soil.
-
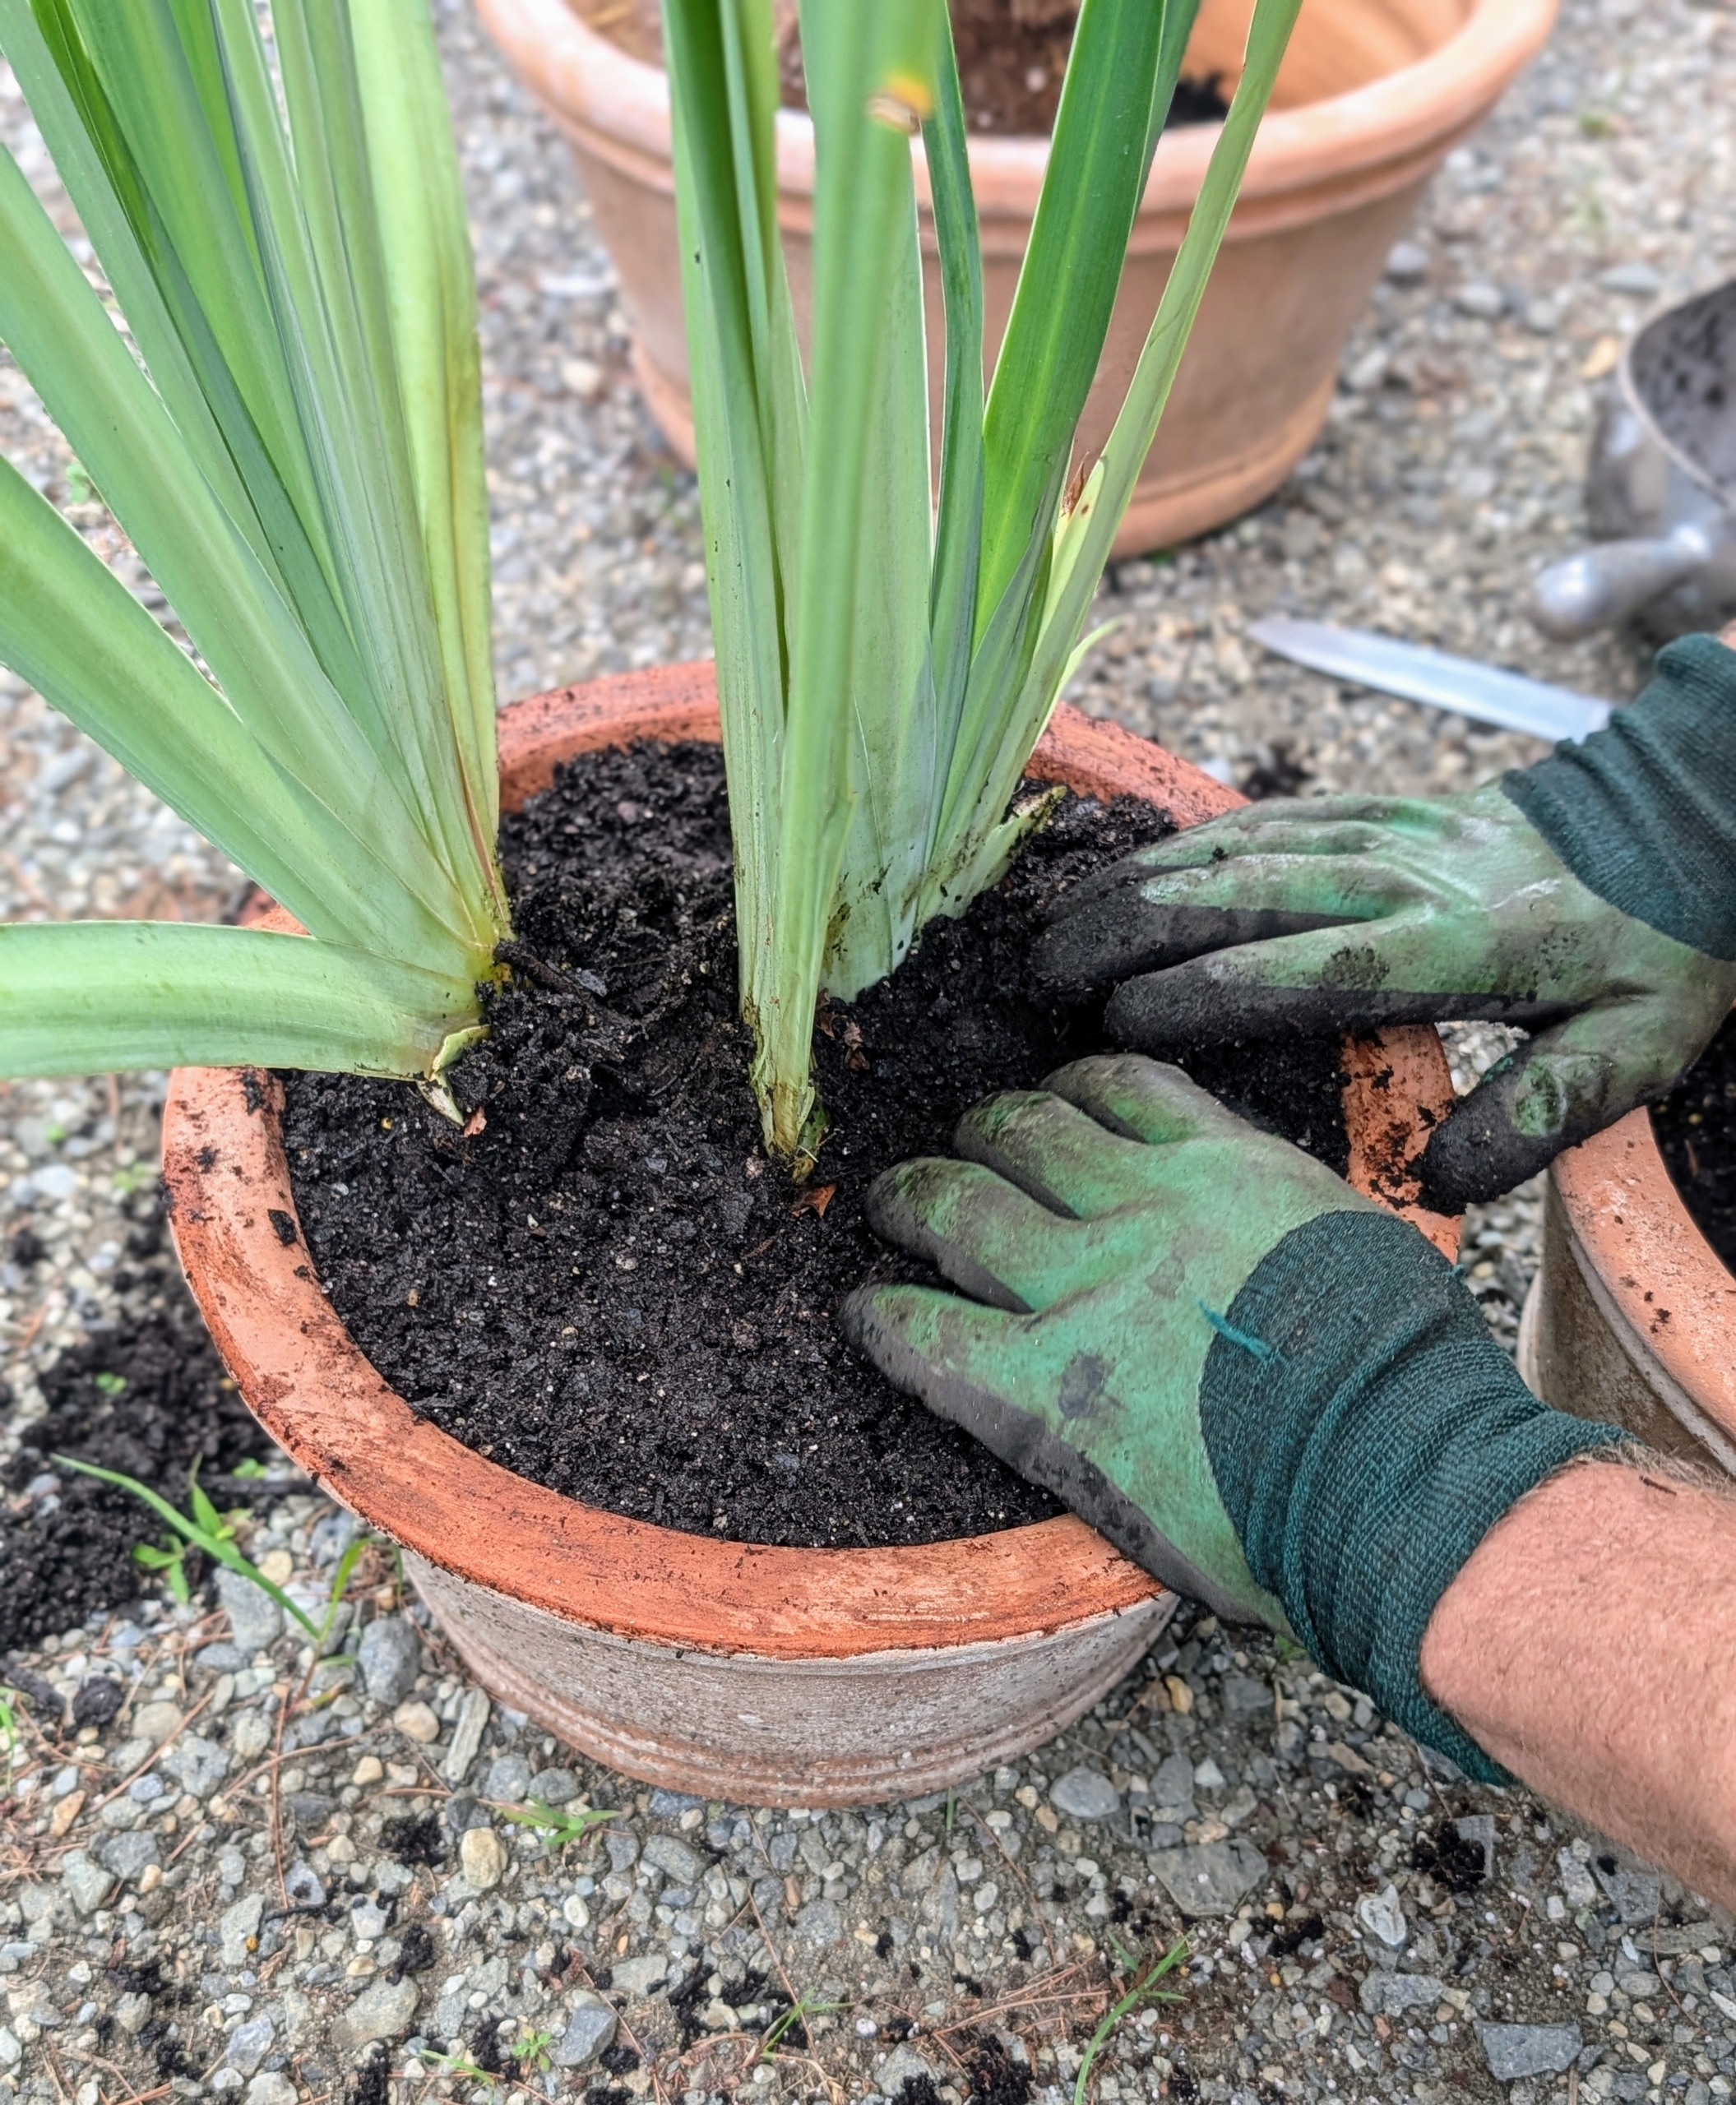
- Once the container is filled, Ryan tamps down on the soil gently to ensure good contact with the plant.
-
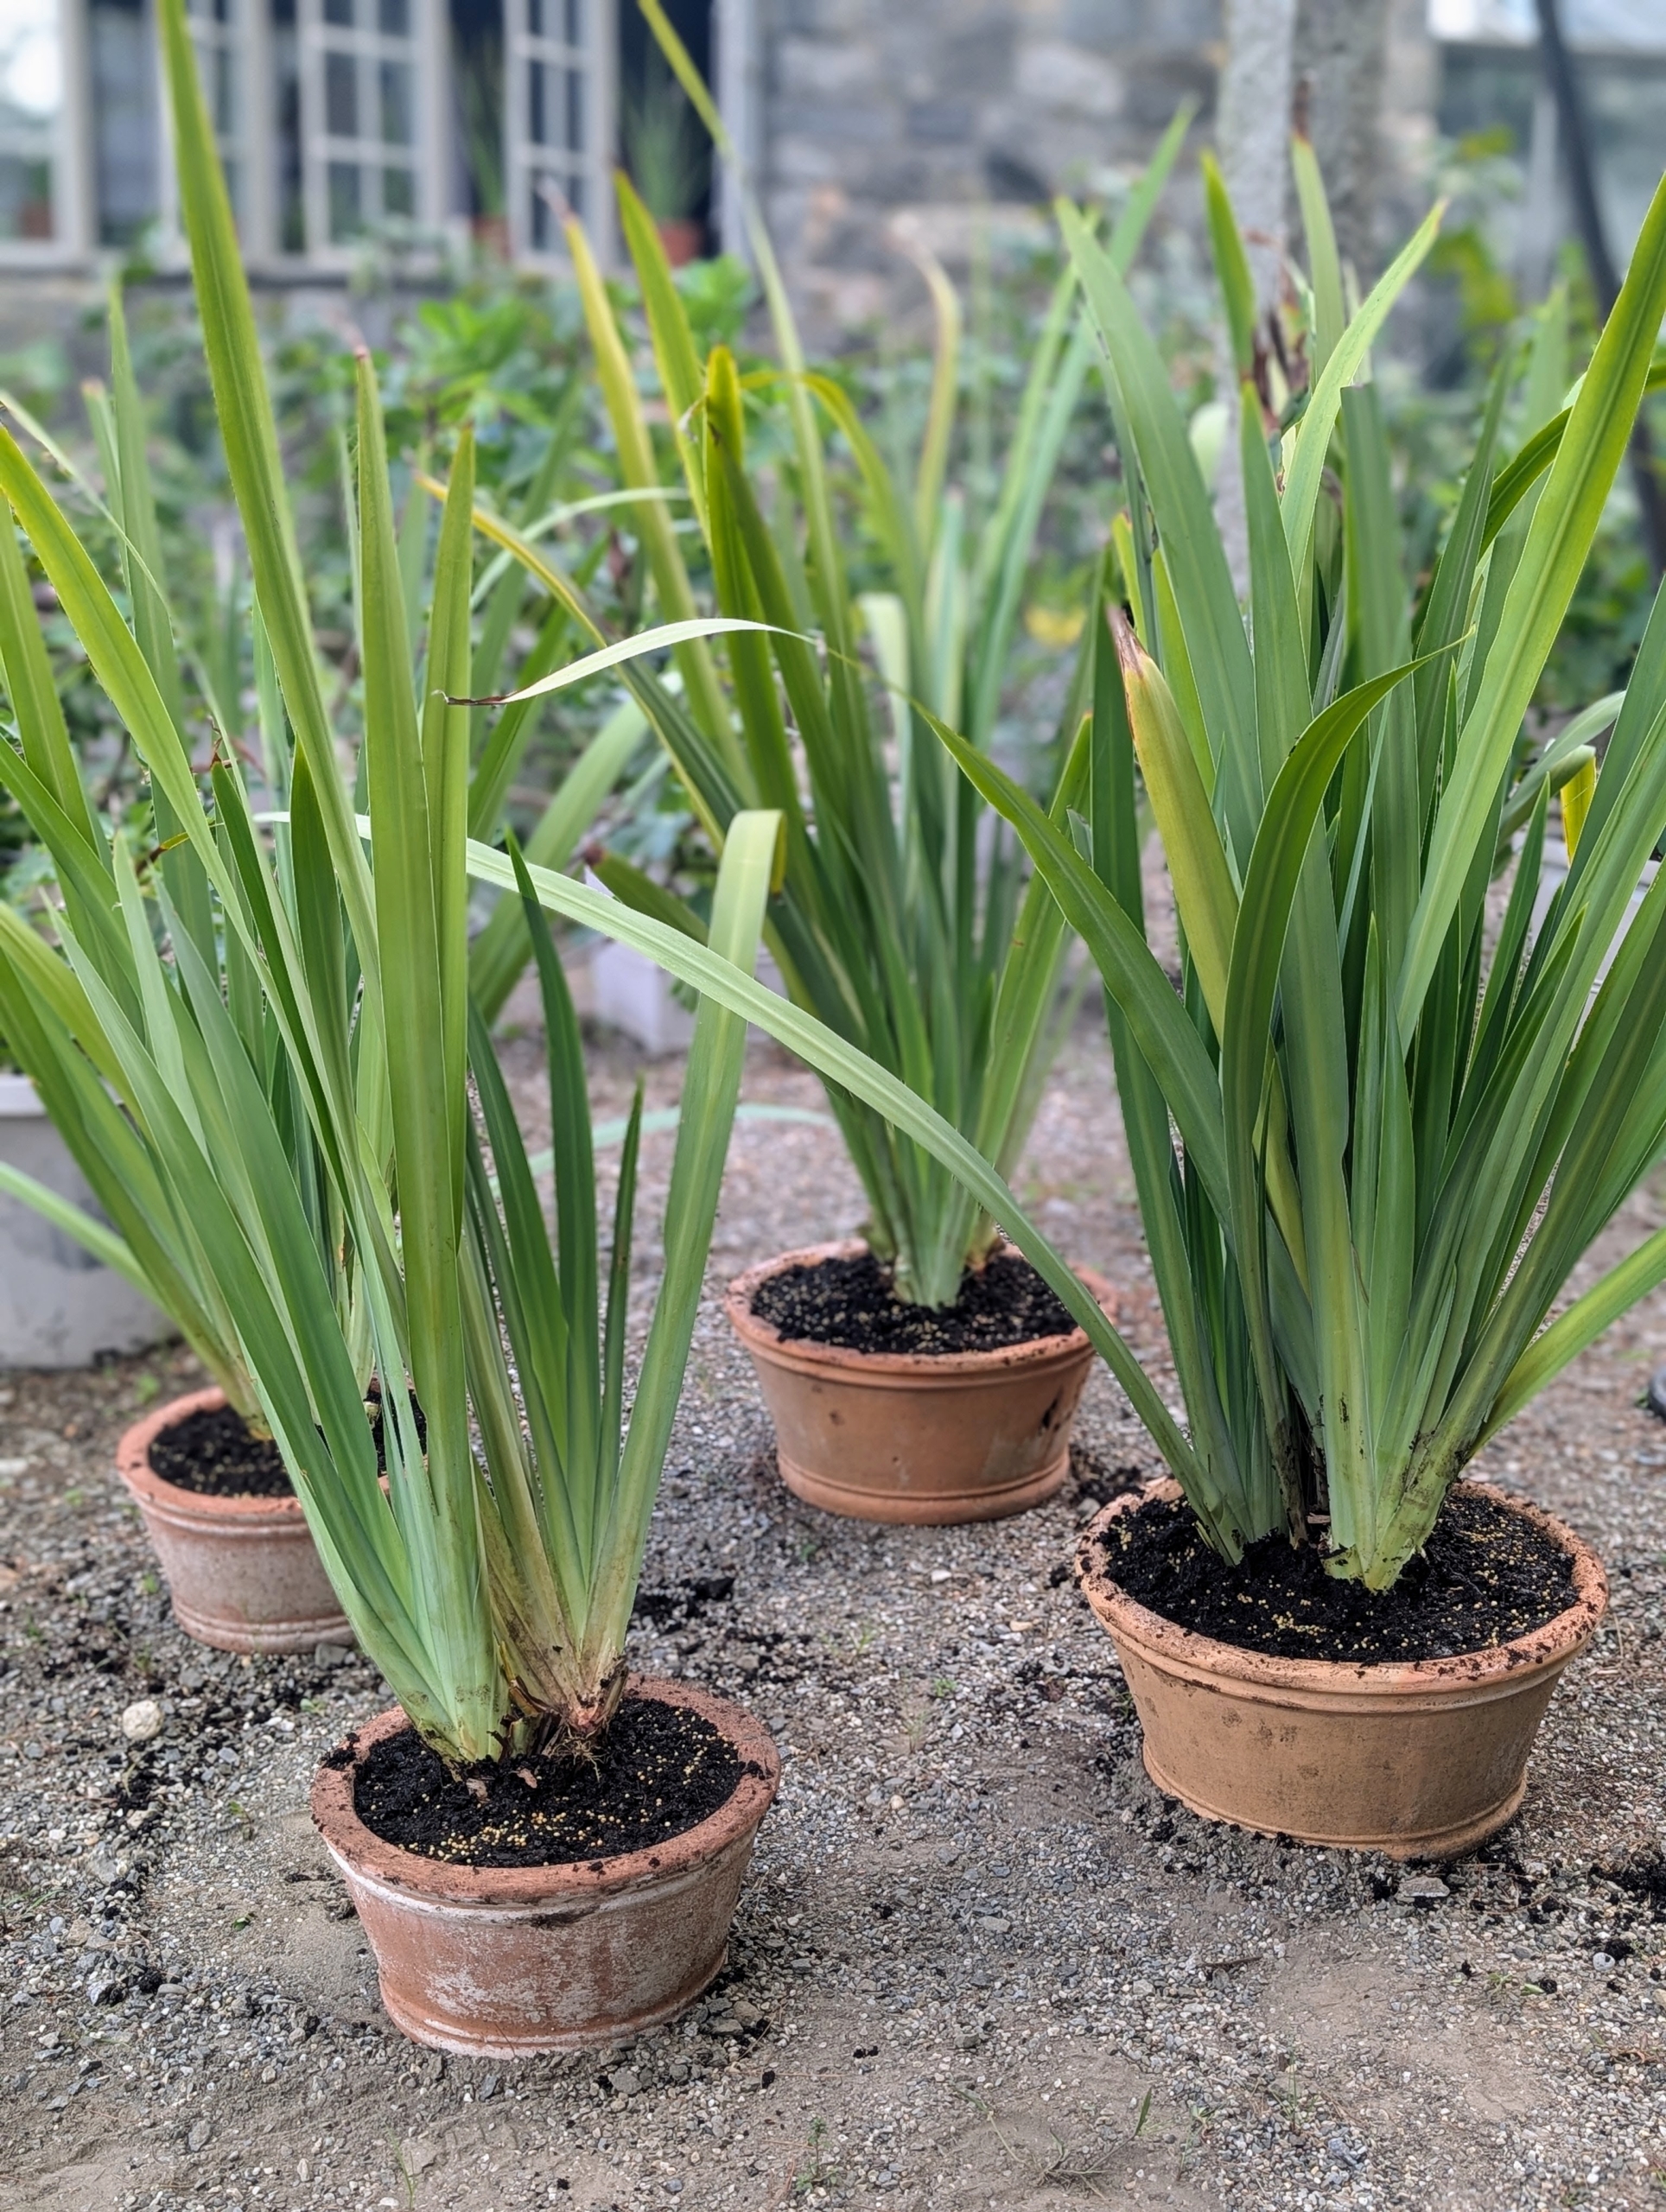
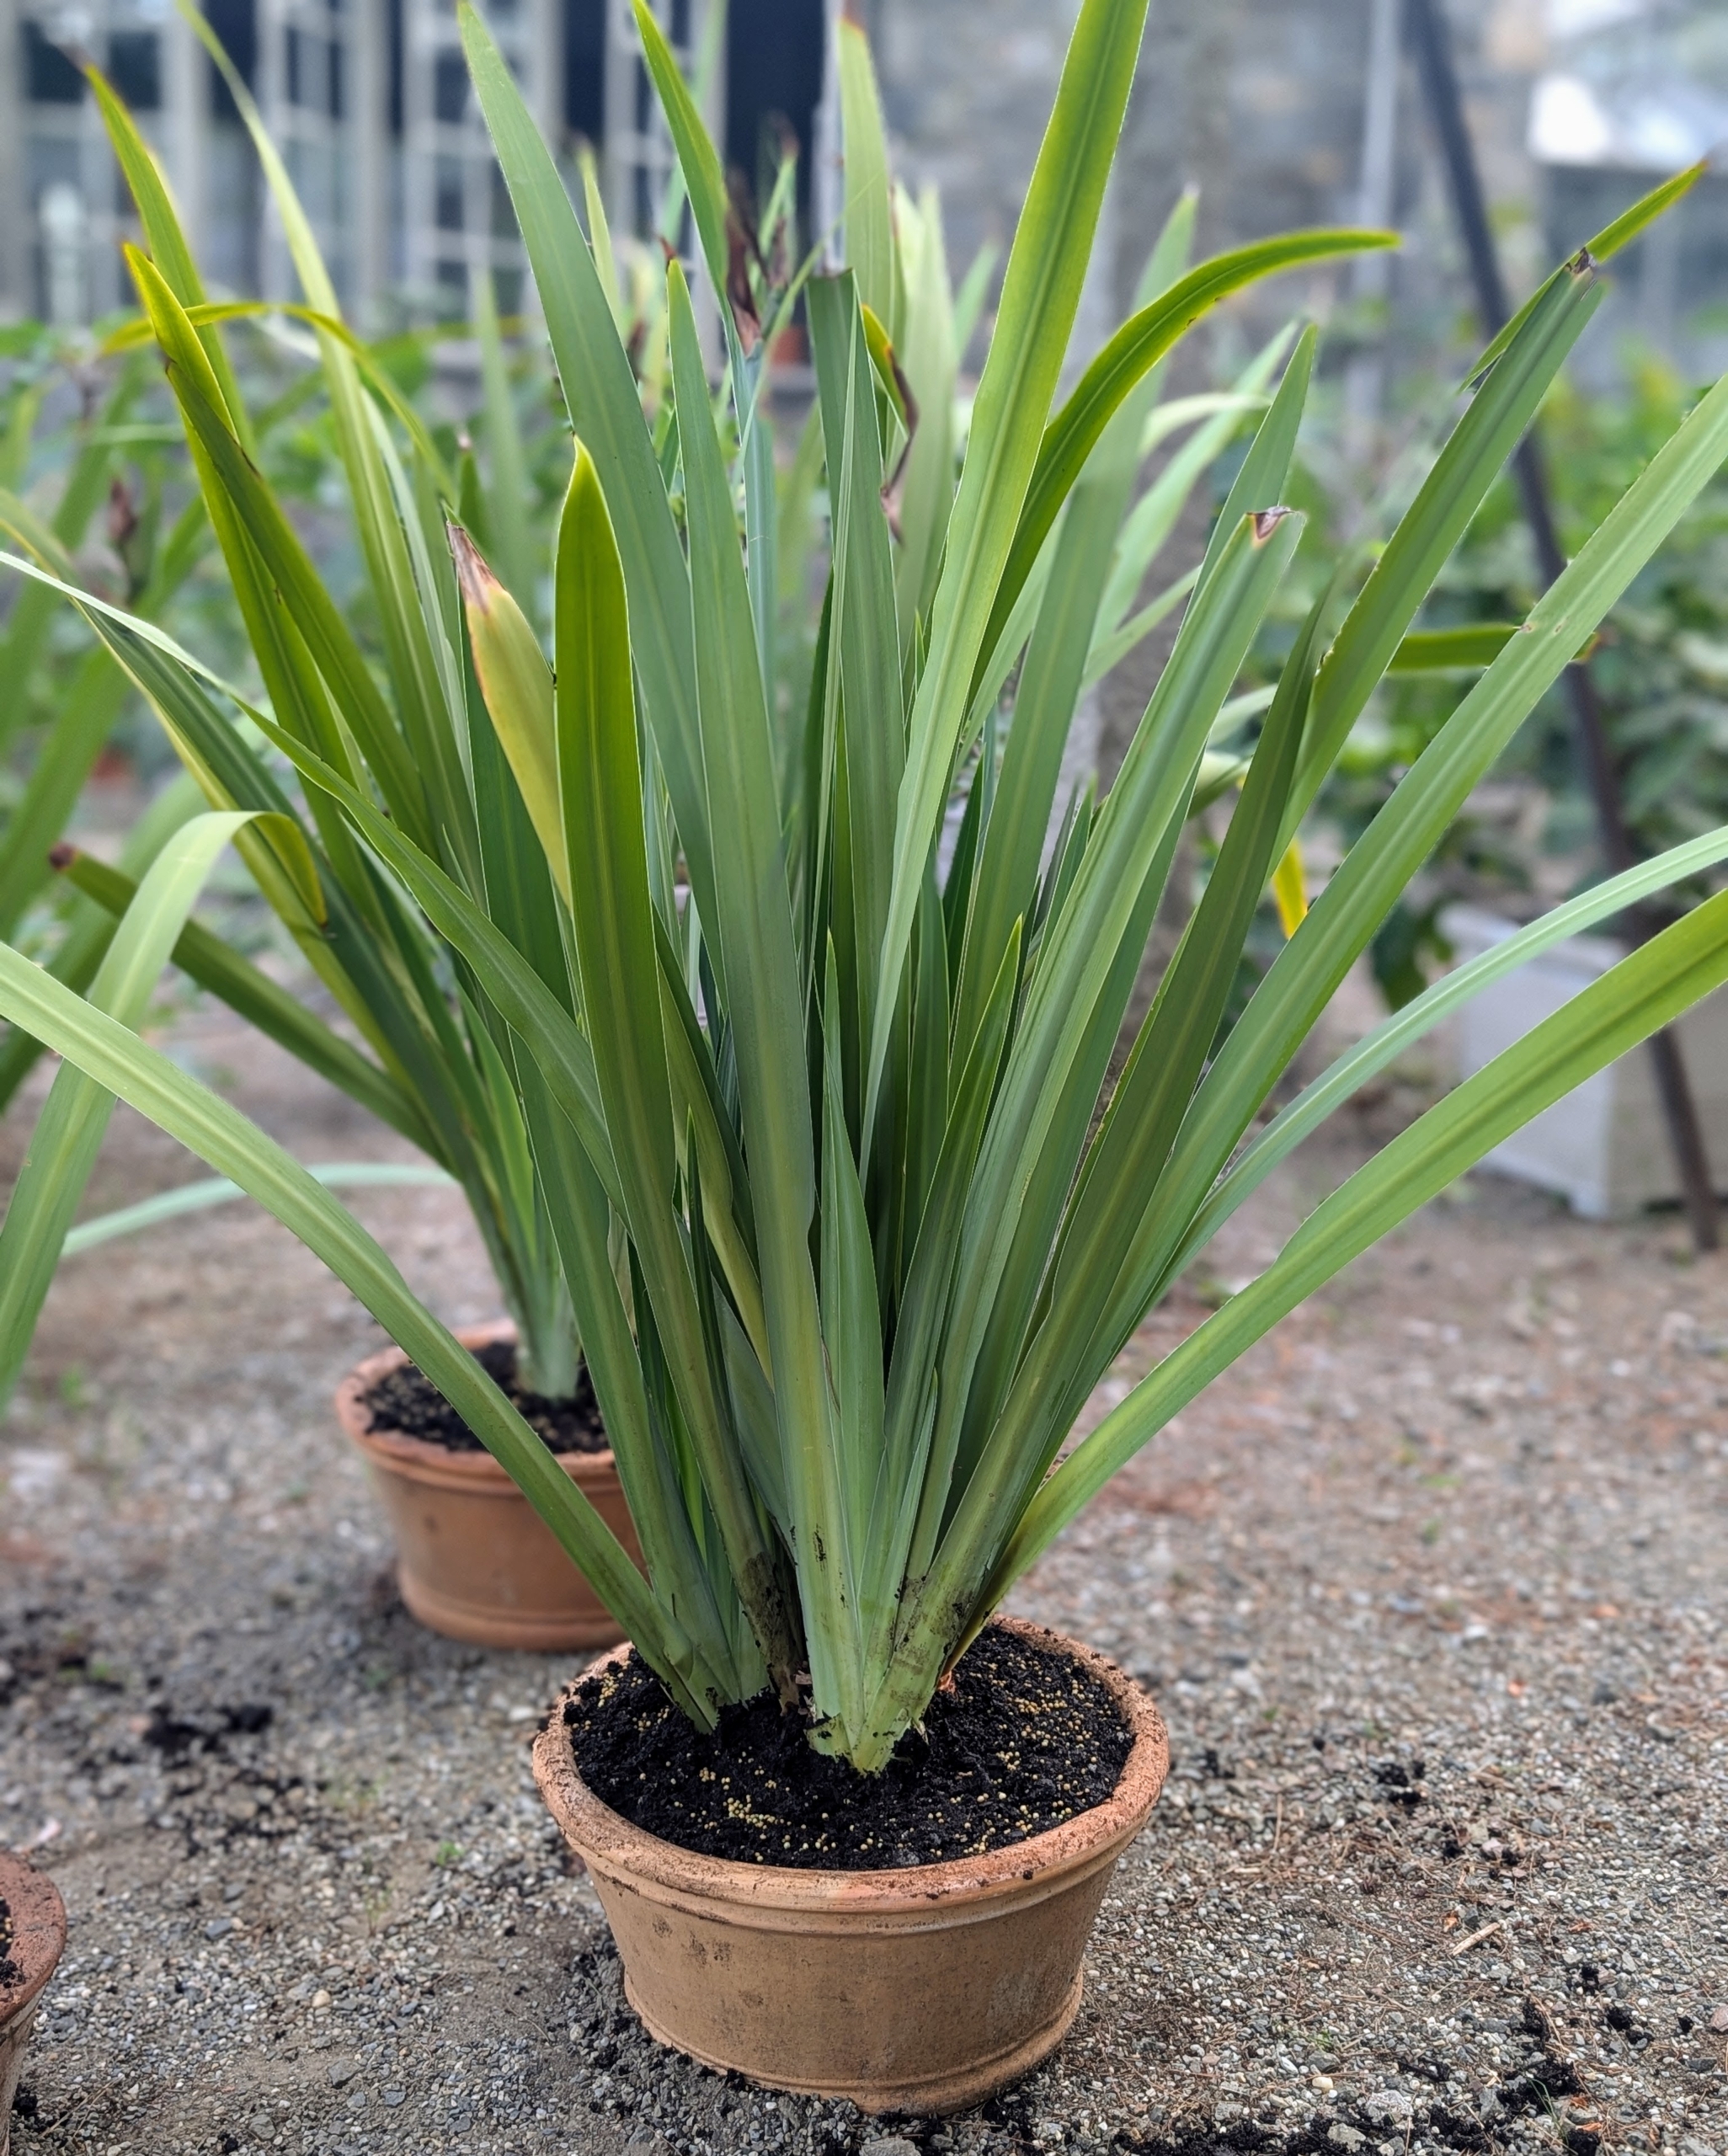
- And here is one all potted up. Do you know how the walking iris got its name? After flowering in the garden, the plant’s stalk bends down and forms new plantlets or babies that root in the soil and give the appearance of moving through the earth.
-
- And then there were four… I am excited to watch these potted walking irises flourish and multiply.