A New Rose Garden
Sometimes a garden simply needs a complete redesign - to incorporate fresh new plants and to revitalize the space.
Earlier this year, I decided to transform what was previously my lilac allée. This area also had many roses, so my thought was to make it a more formal rose garden - adding more rose bushes and surrounding them all with boxwood. The project took careful planning and patience. My gardeners and outdoor grounds crew removed the old plants, tilled the soil, amended it with compost and fertilizer, and then started planting. It was quite an undertaking, but it looks great.
Here are some photos, enjoy.
-

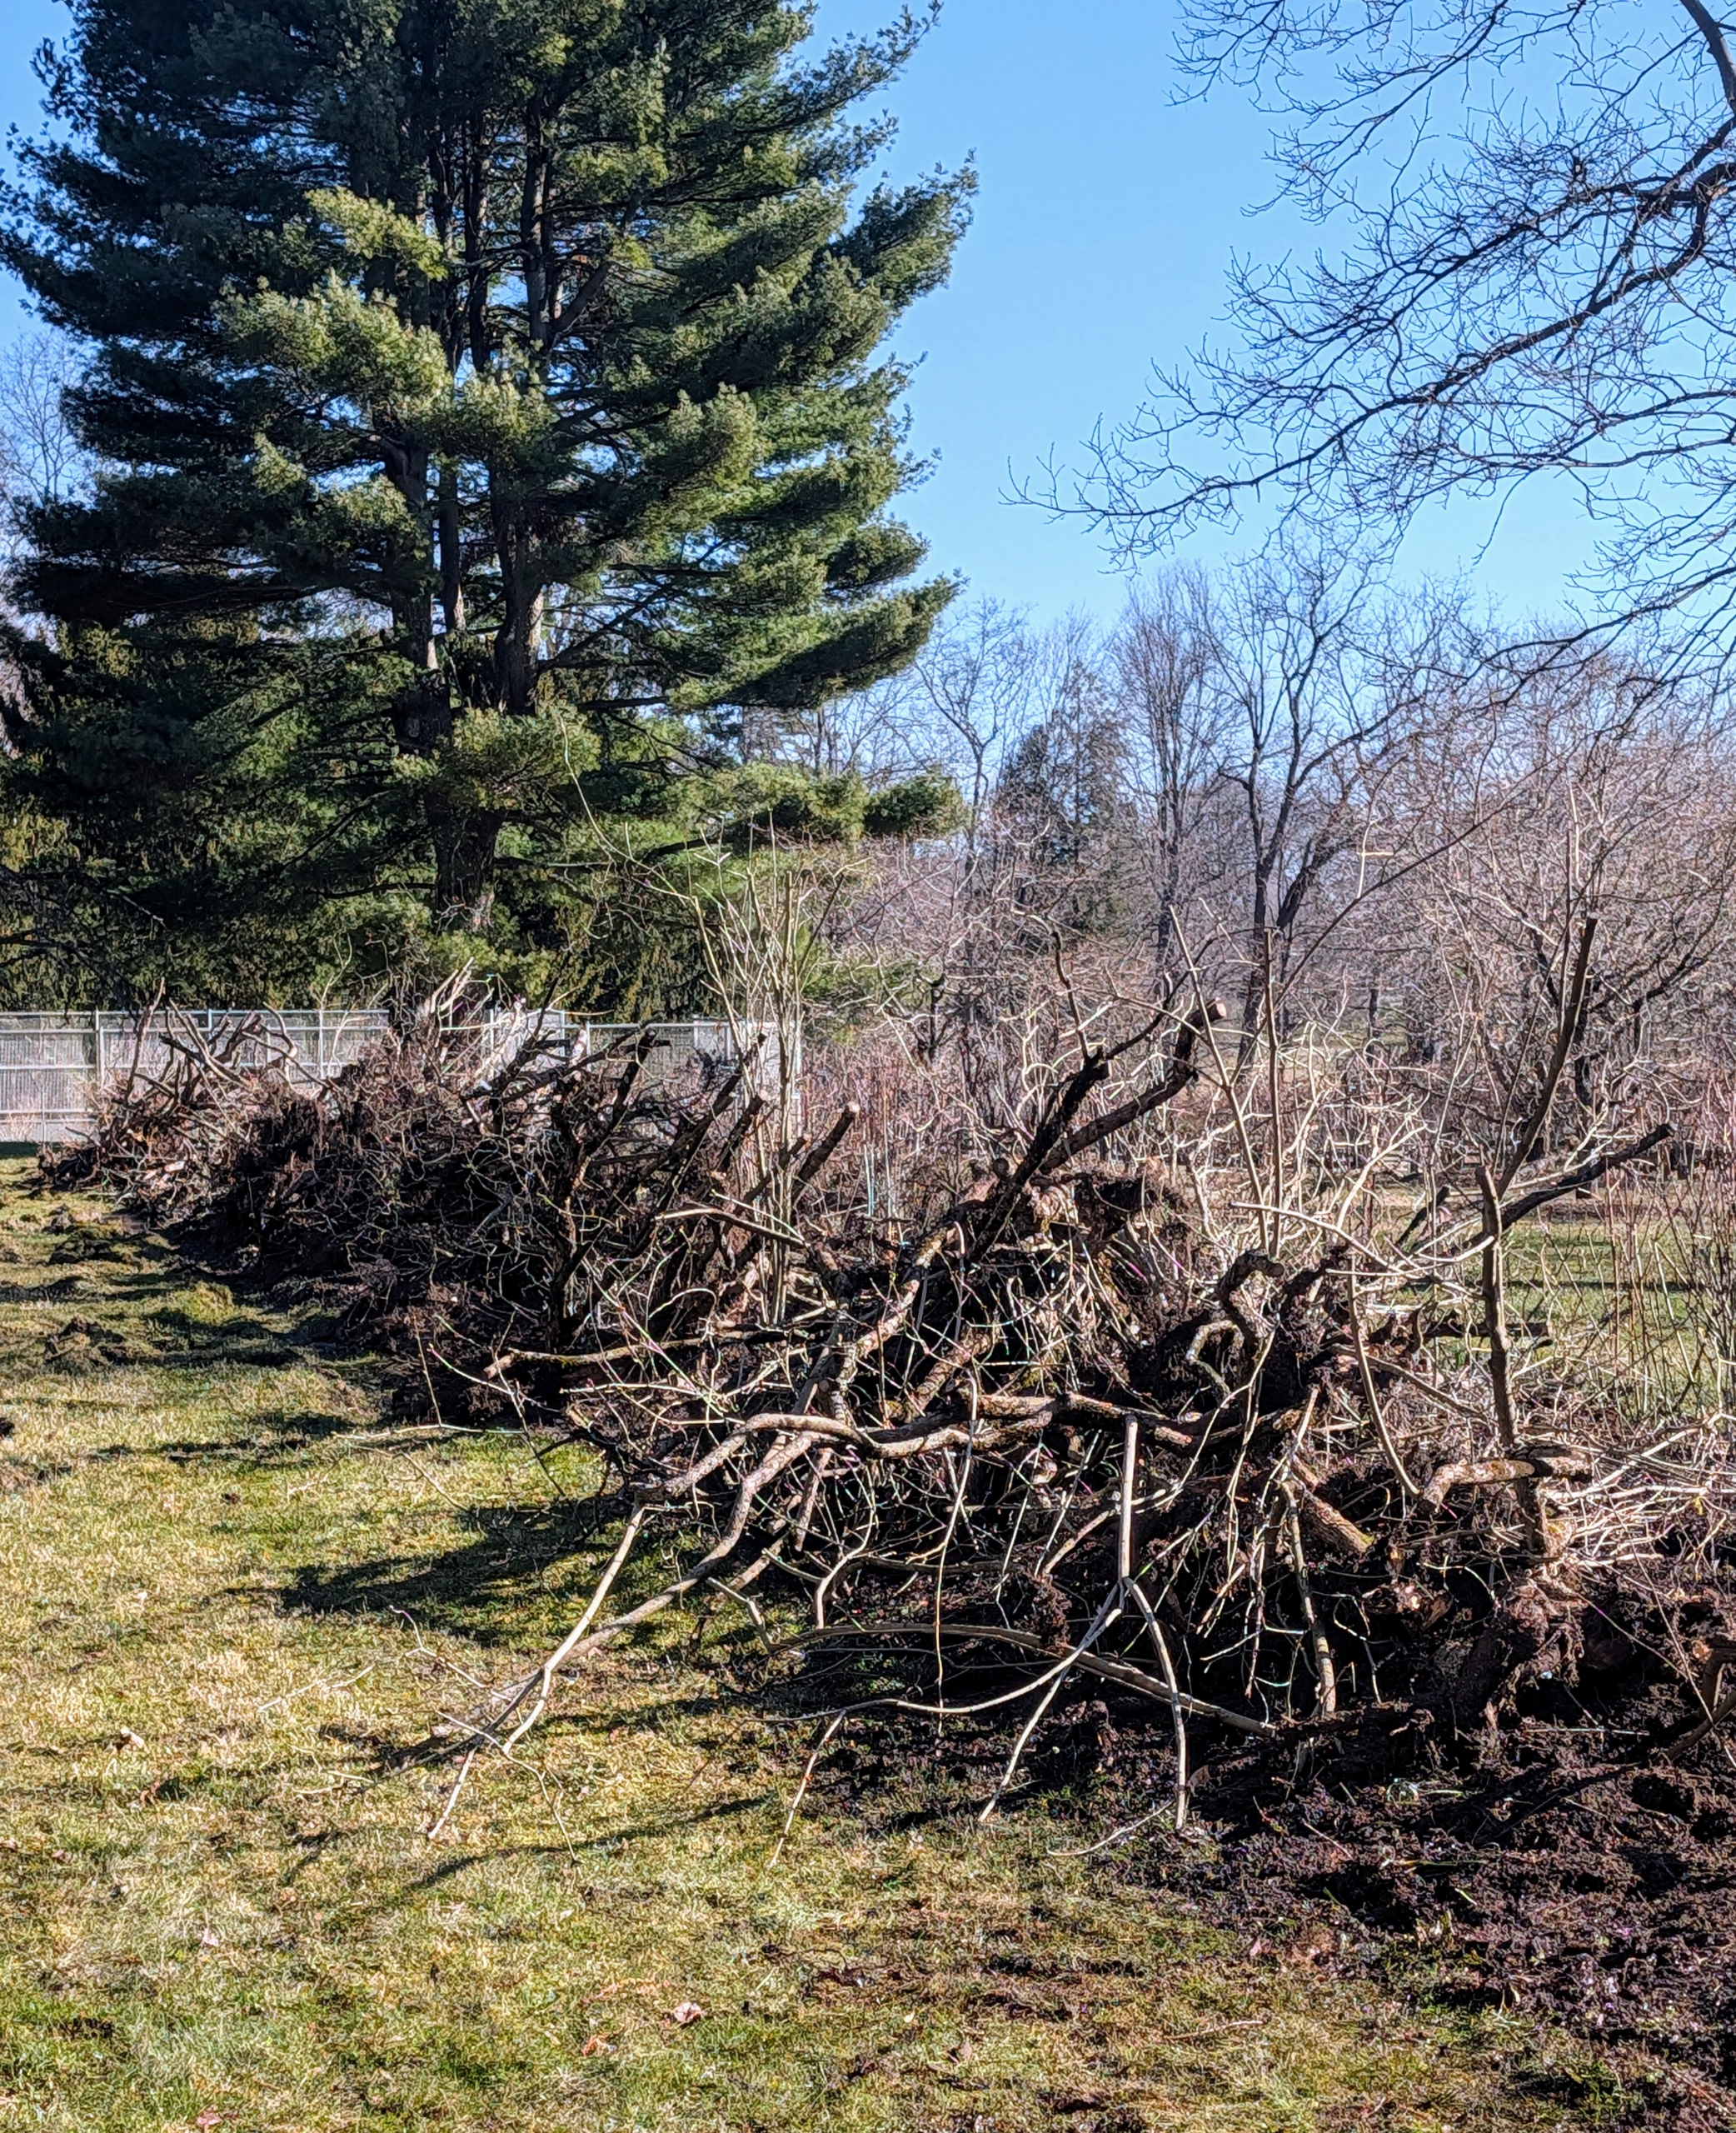
- Last March, I decided it was time to replace the lilacs in this garden. They had all served me well over the years, producing many beautiful and fragrant blooms, but they were aging and the garden needed a good overhaul.
-
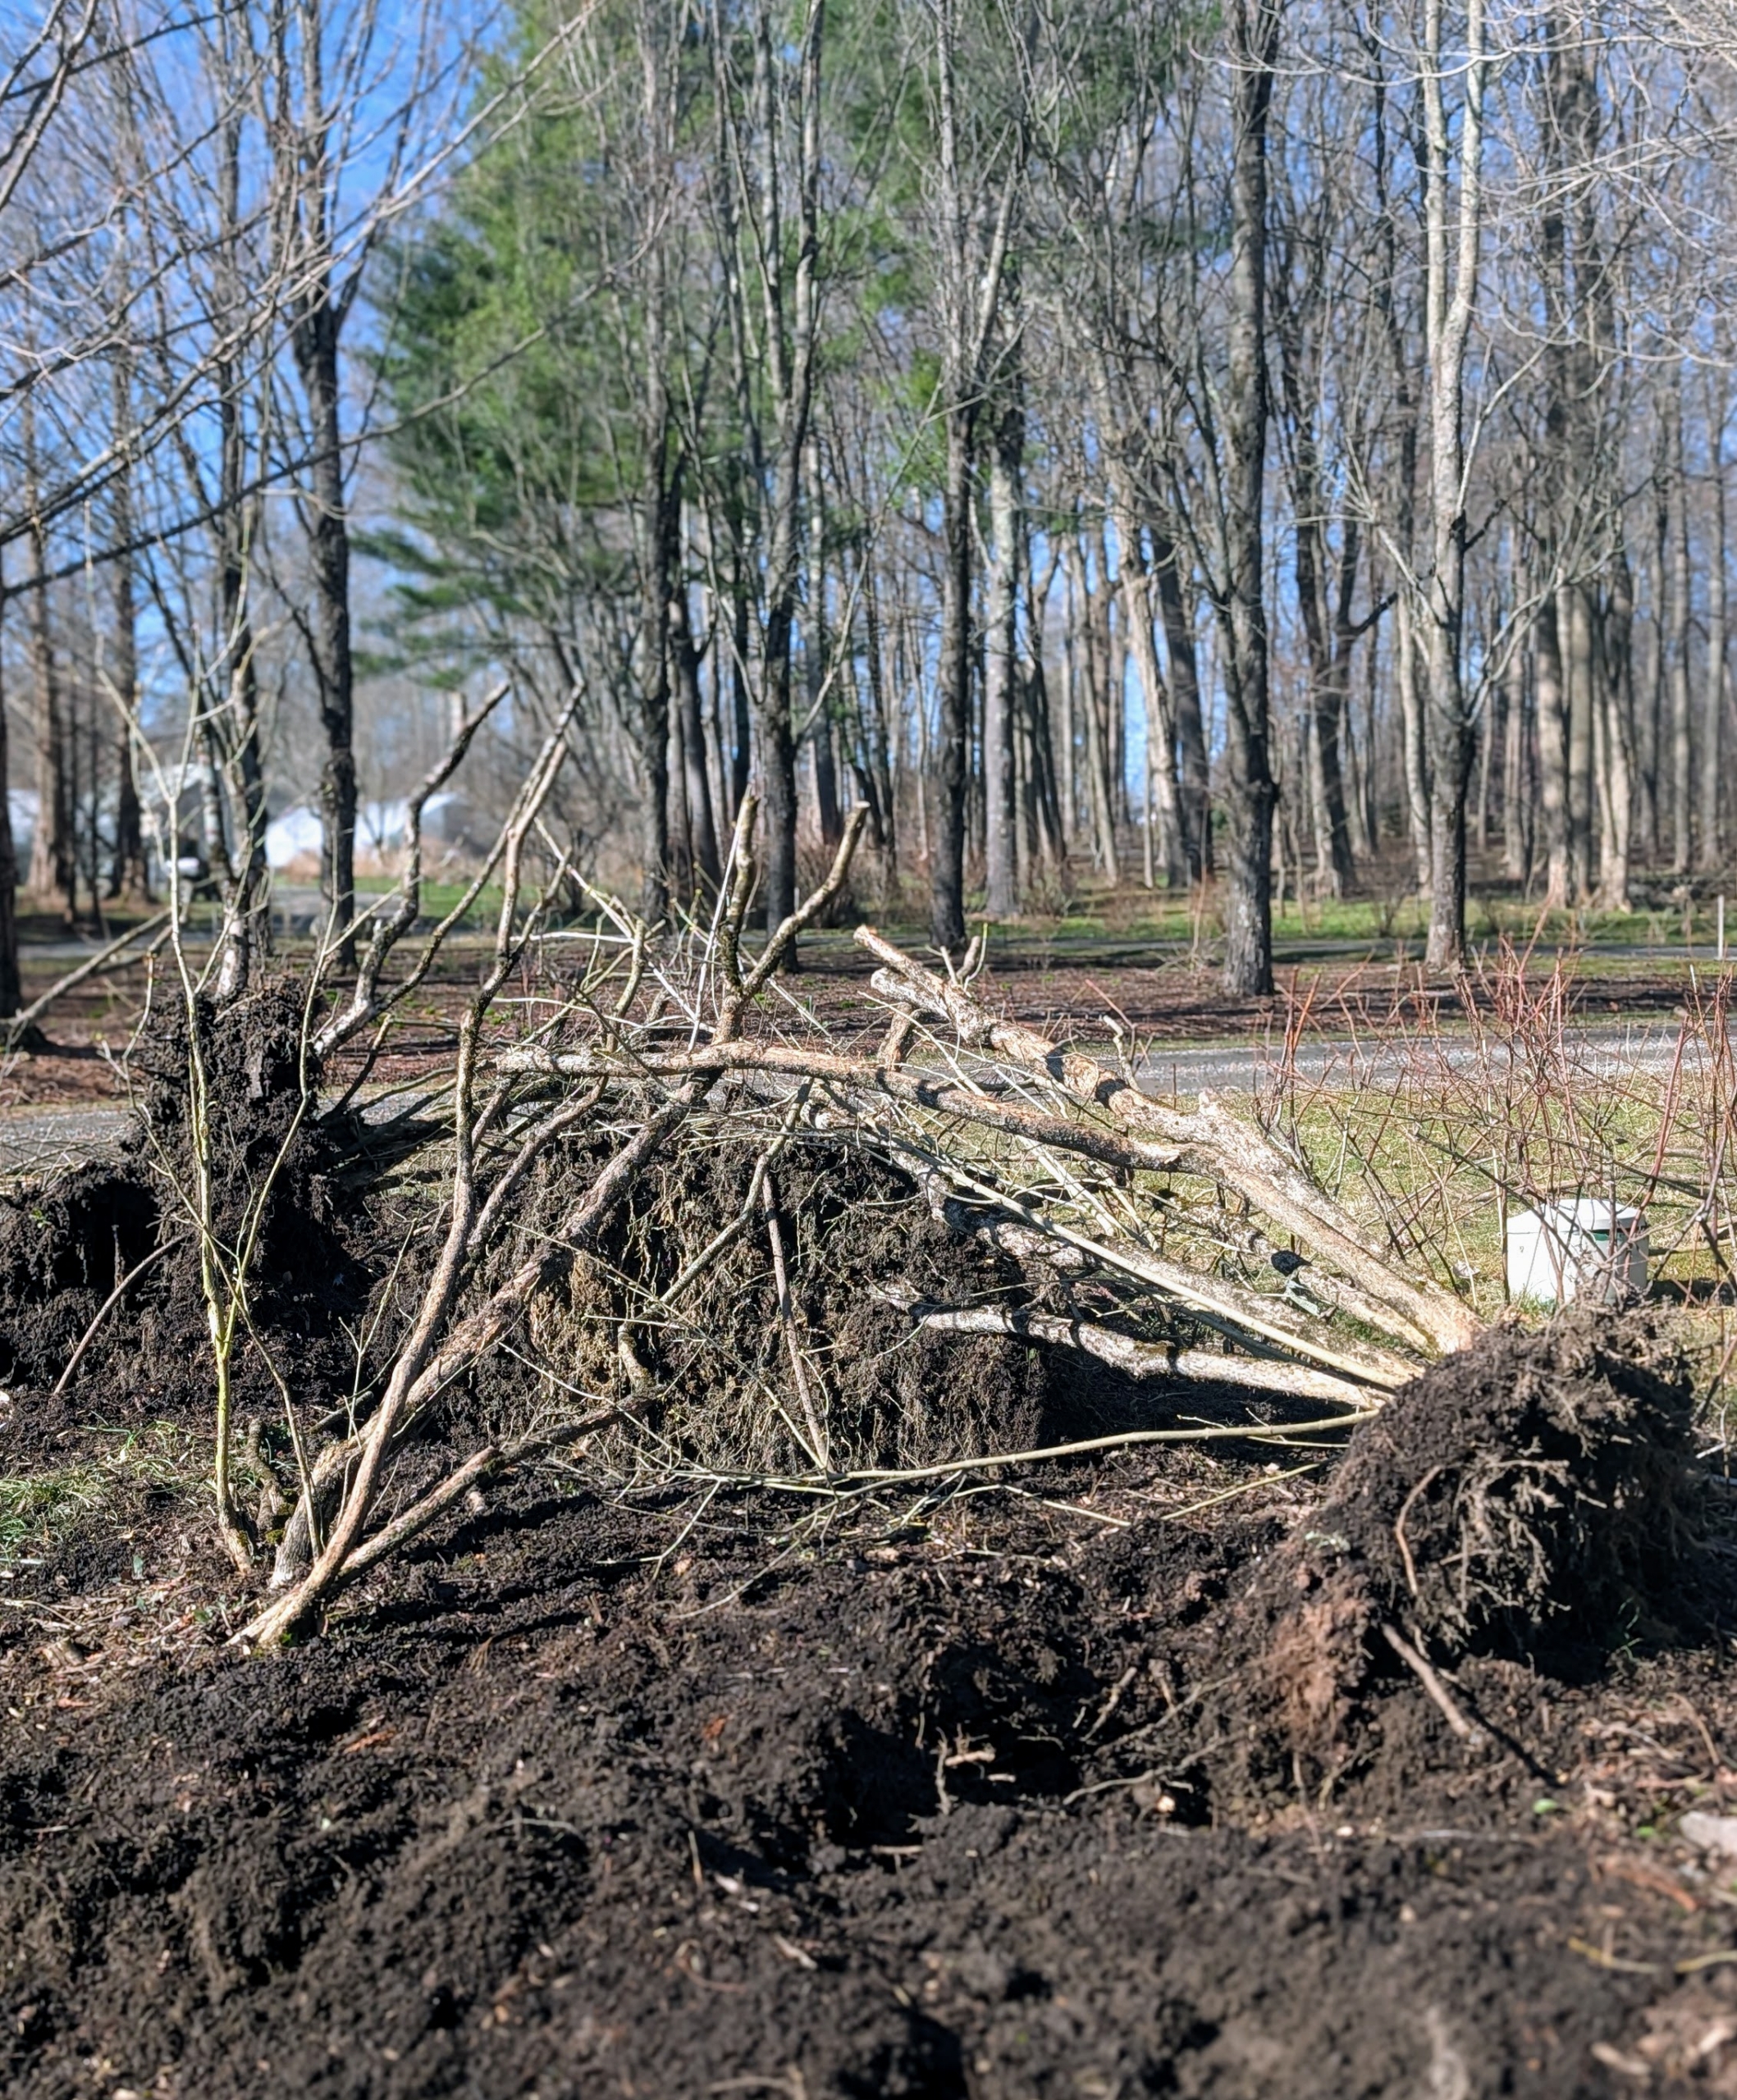
- When removing any plant, large or small, it is important to take out the entire root system, so it doesn’t grow back.
-
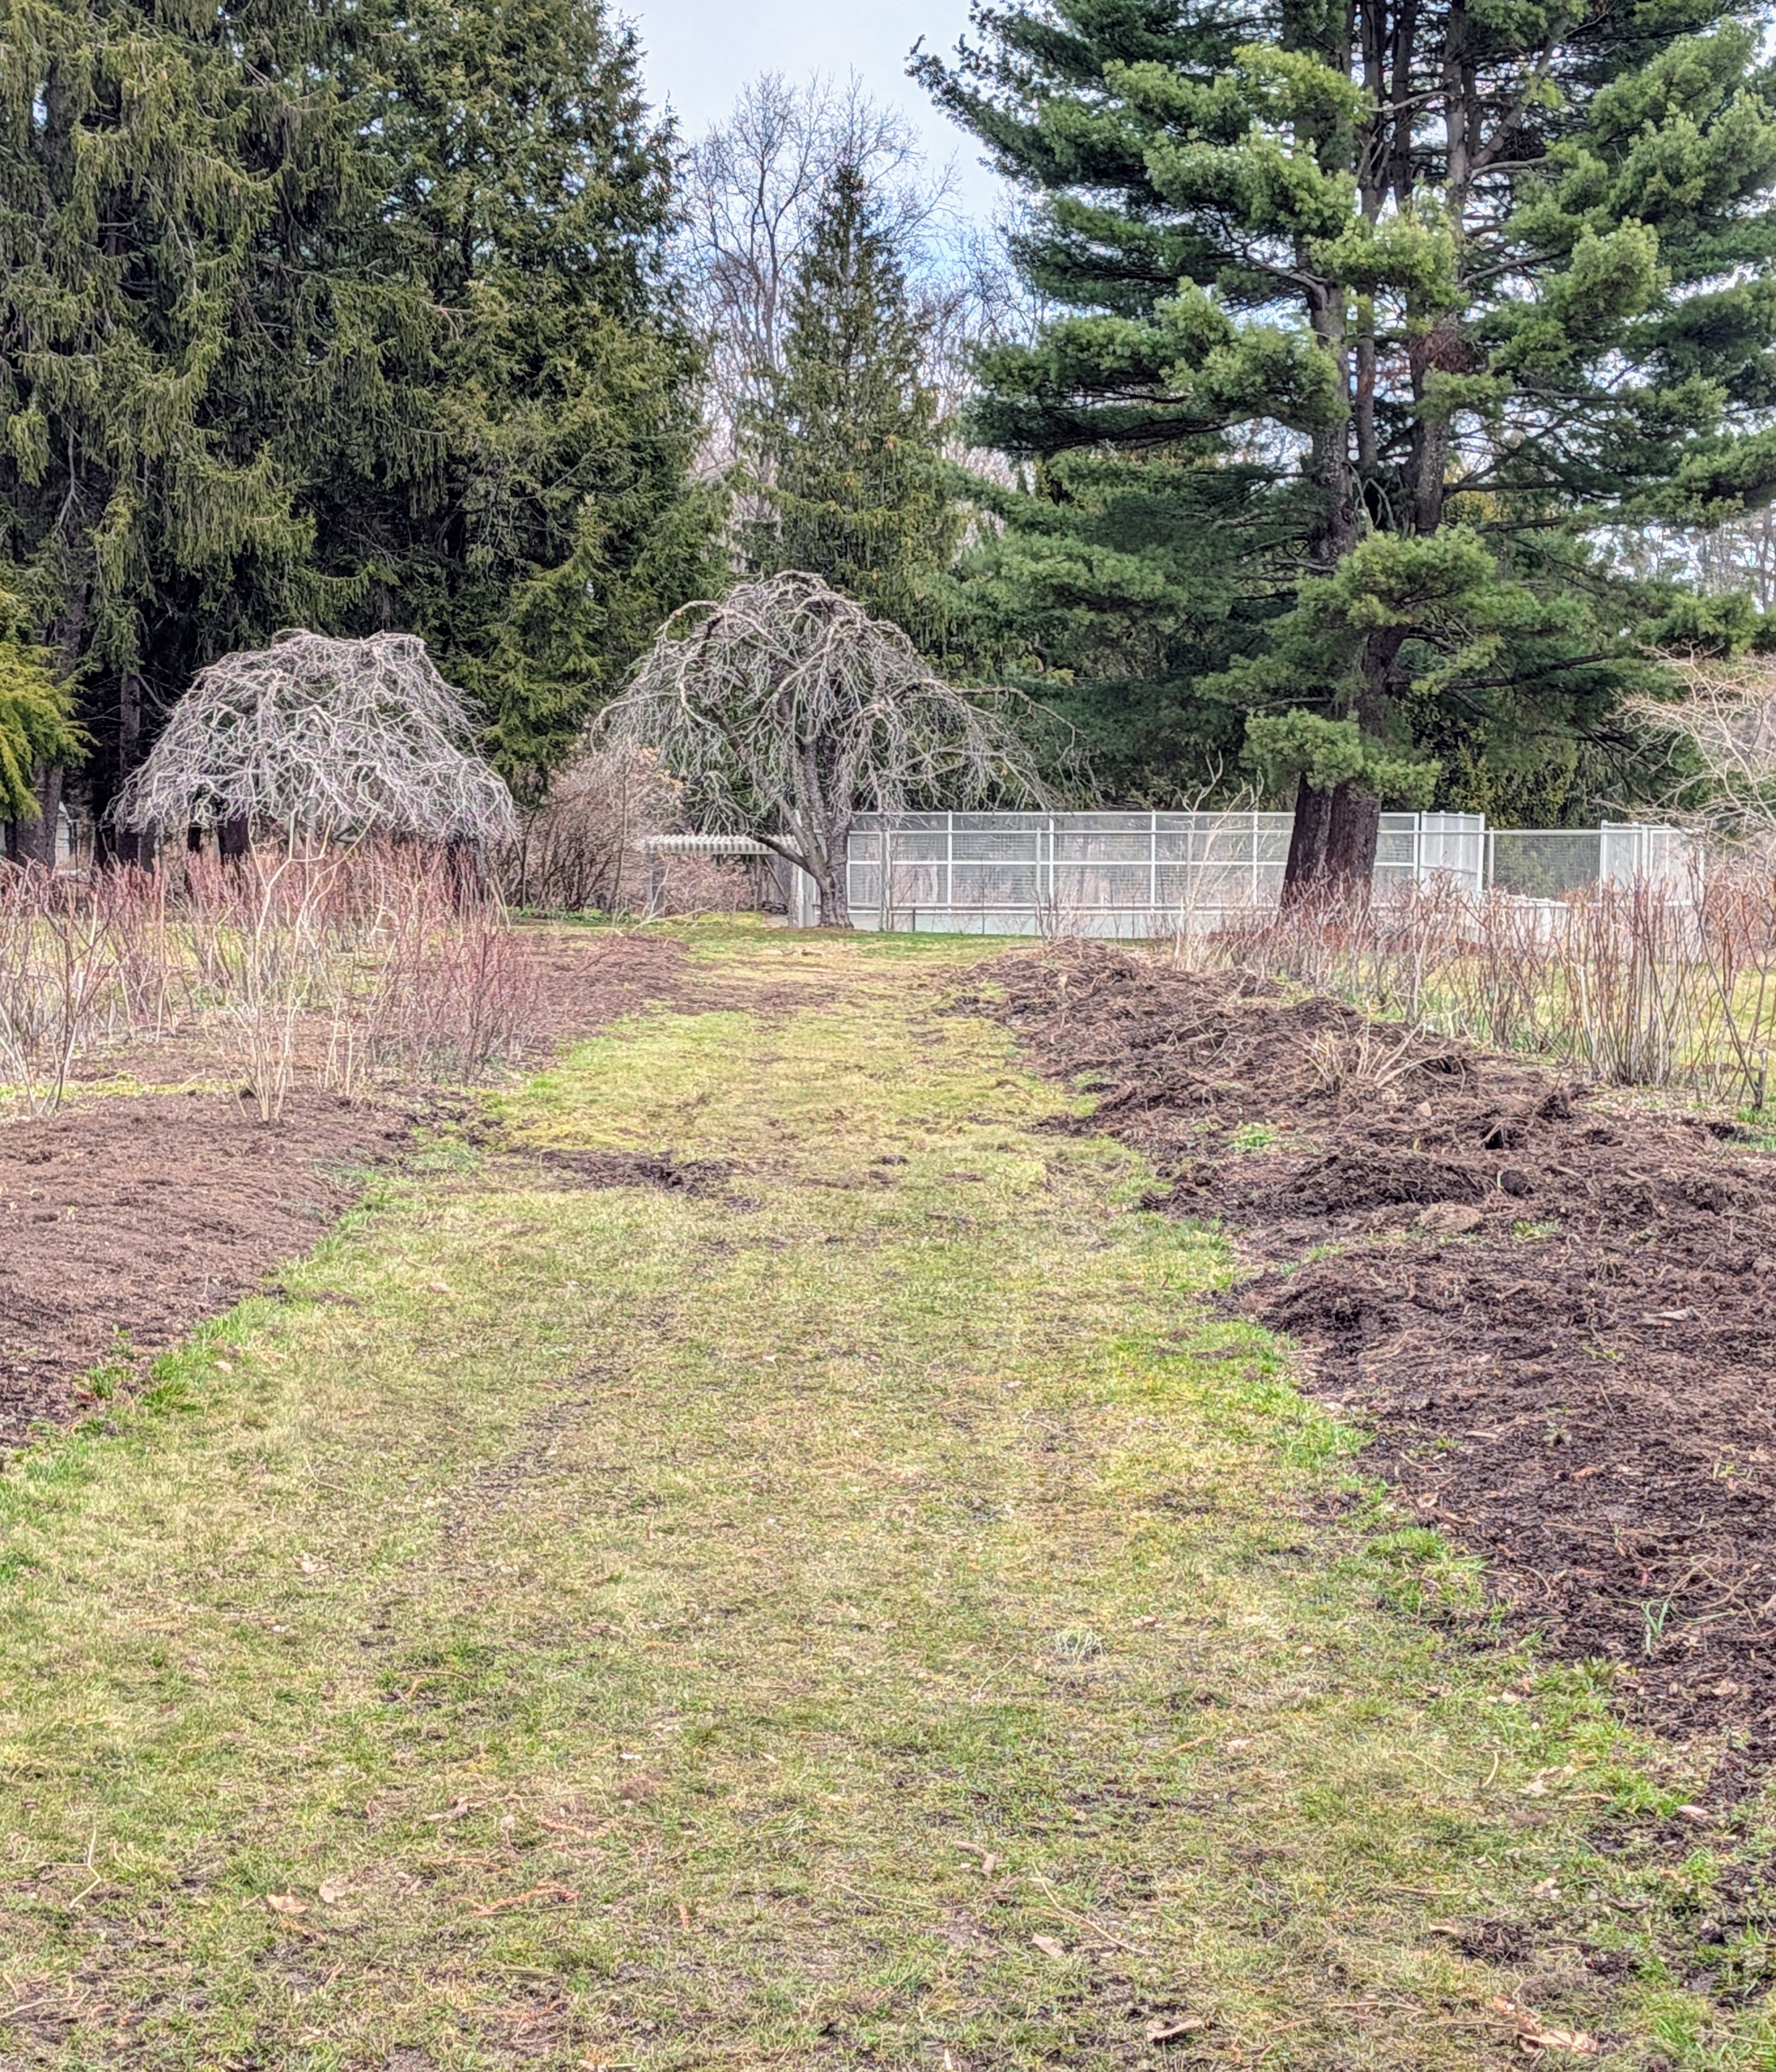
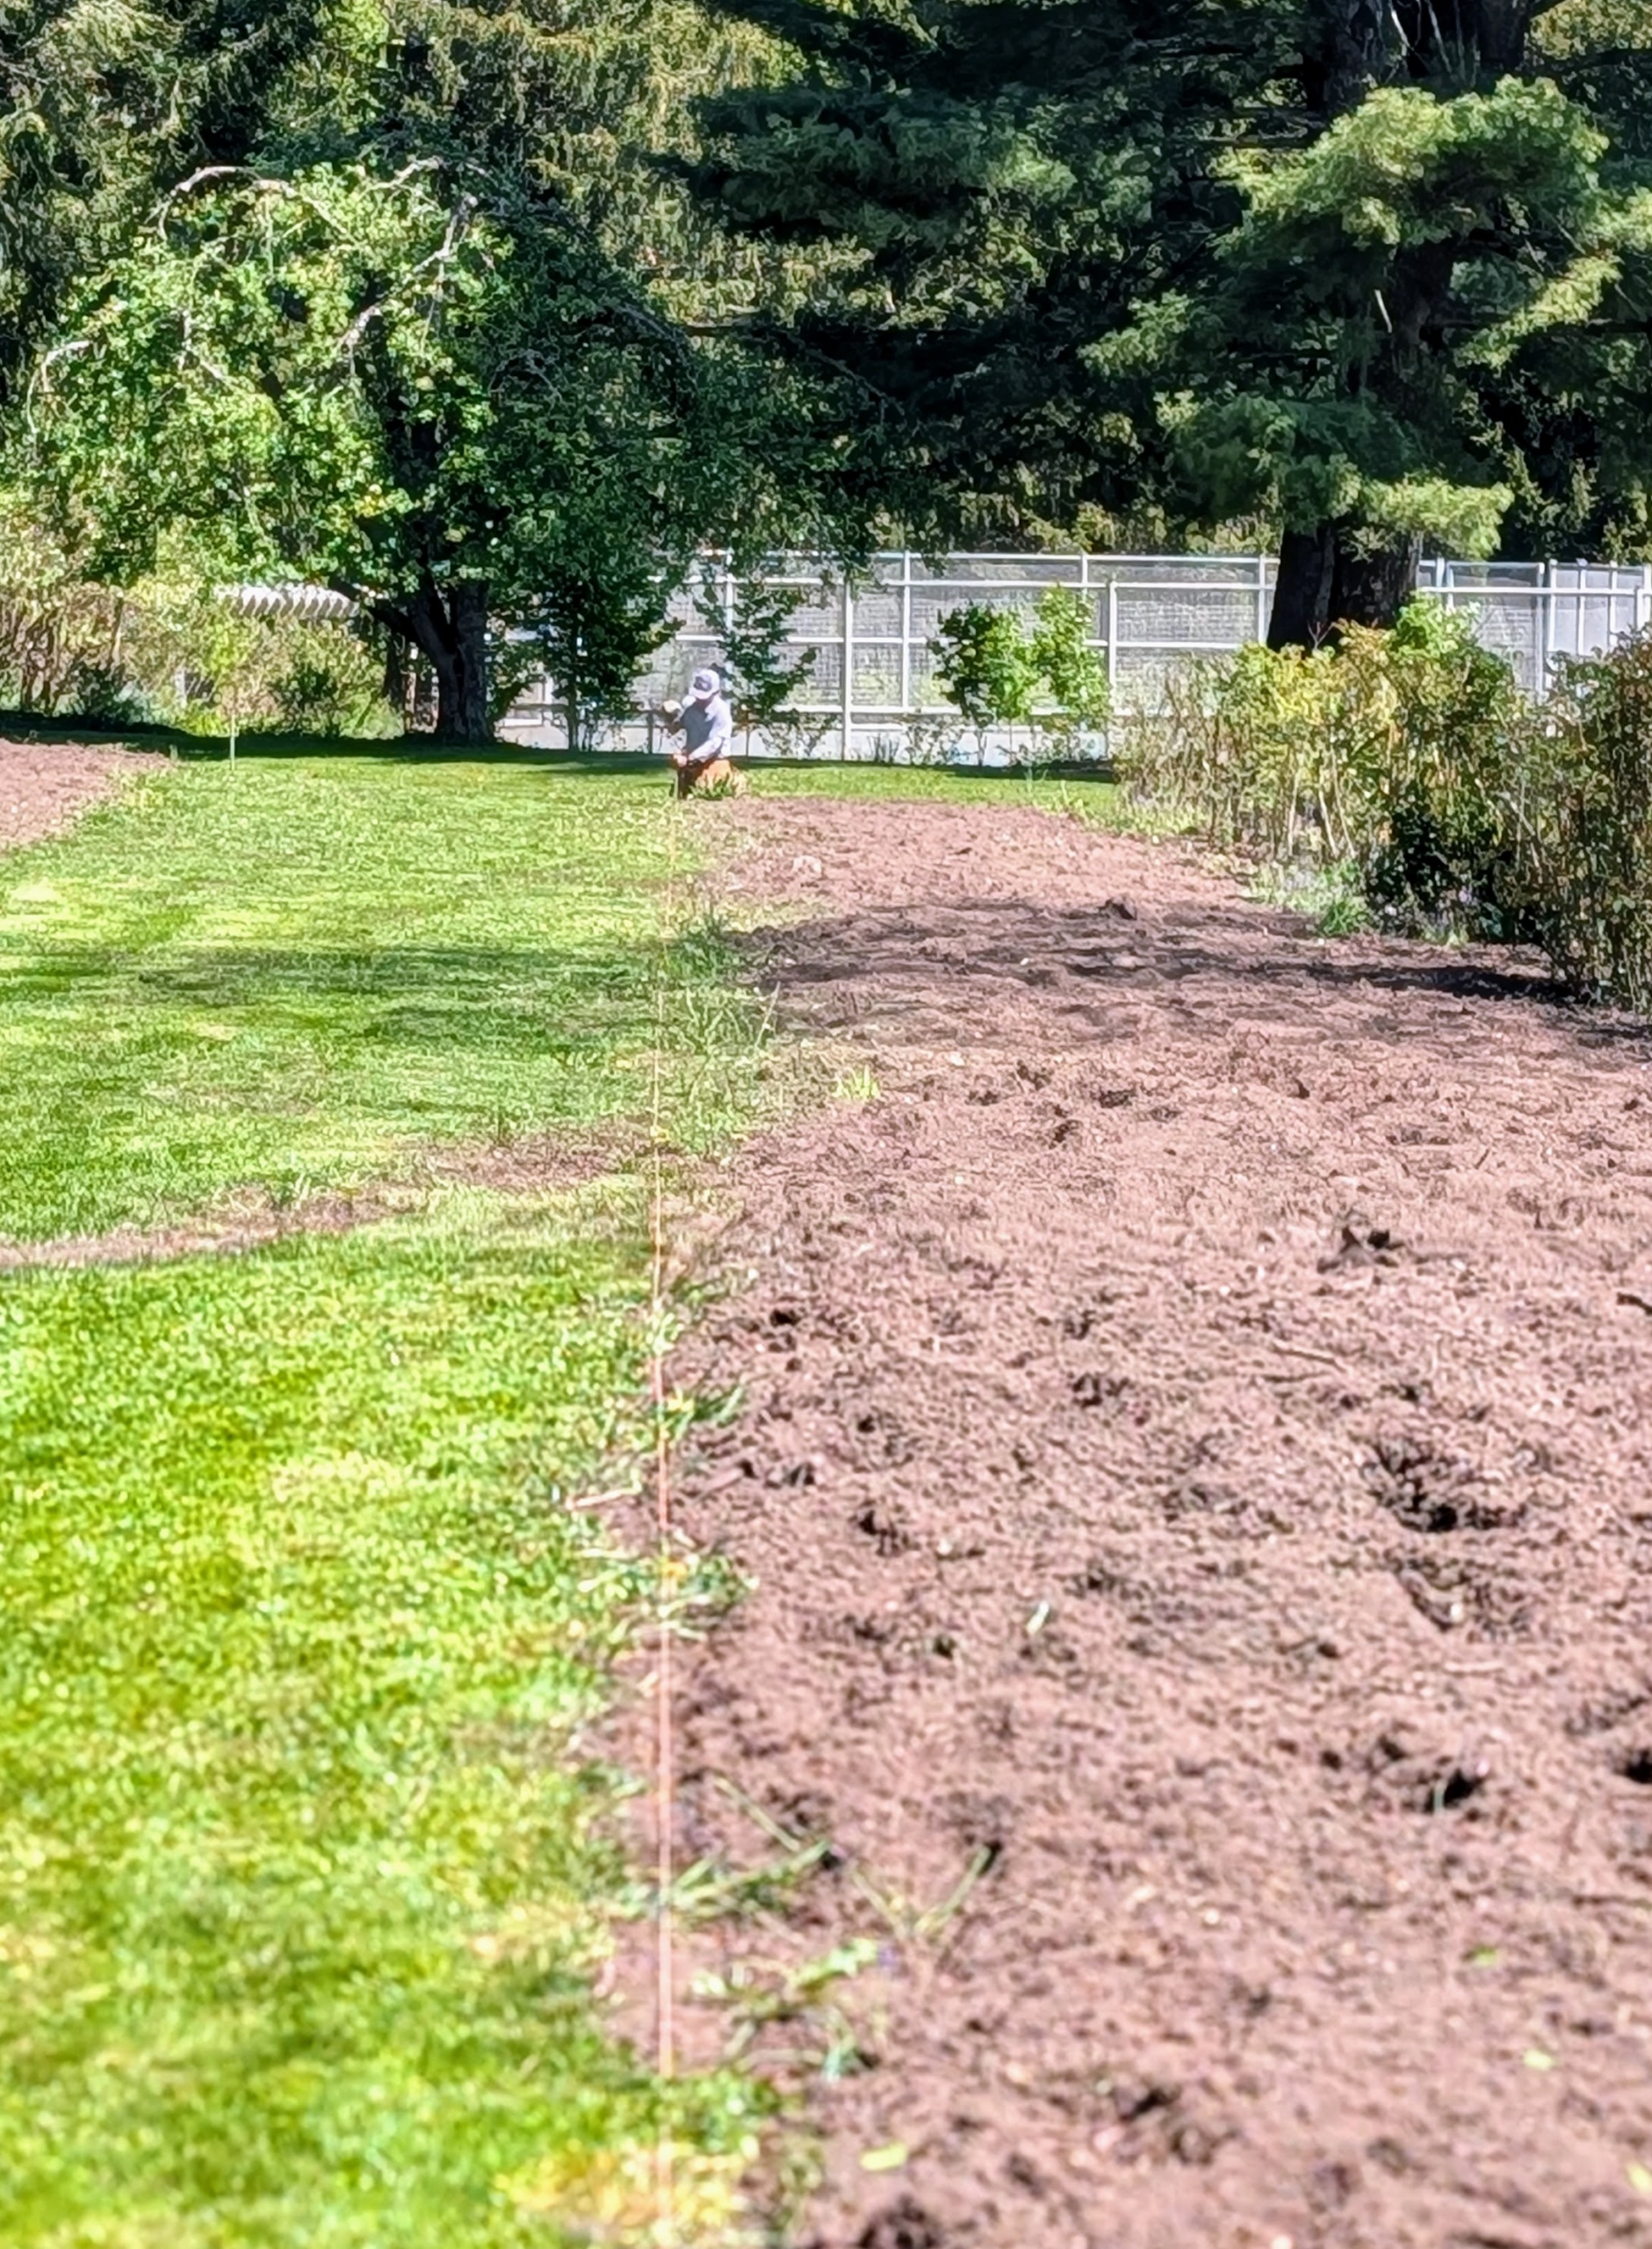
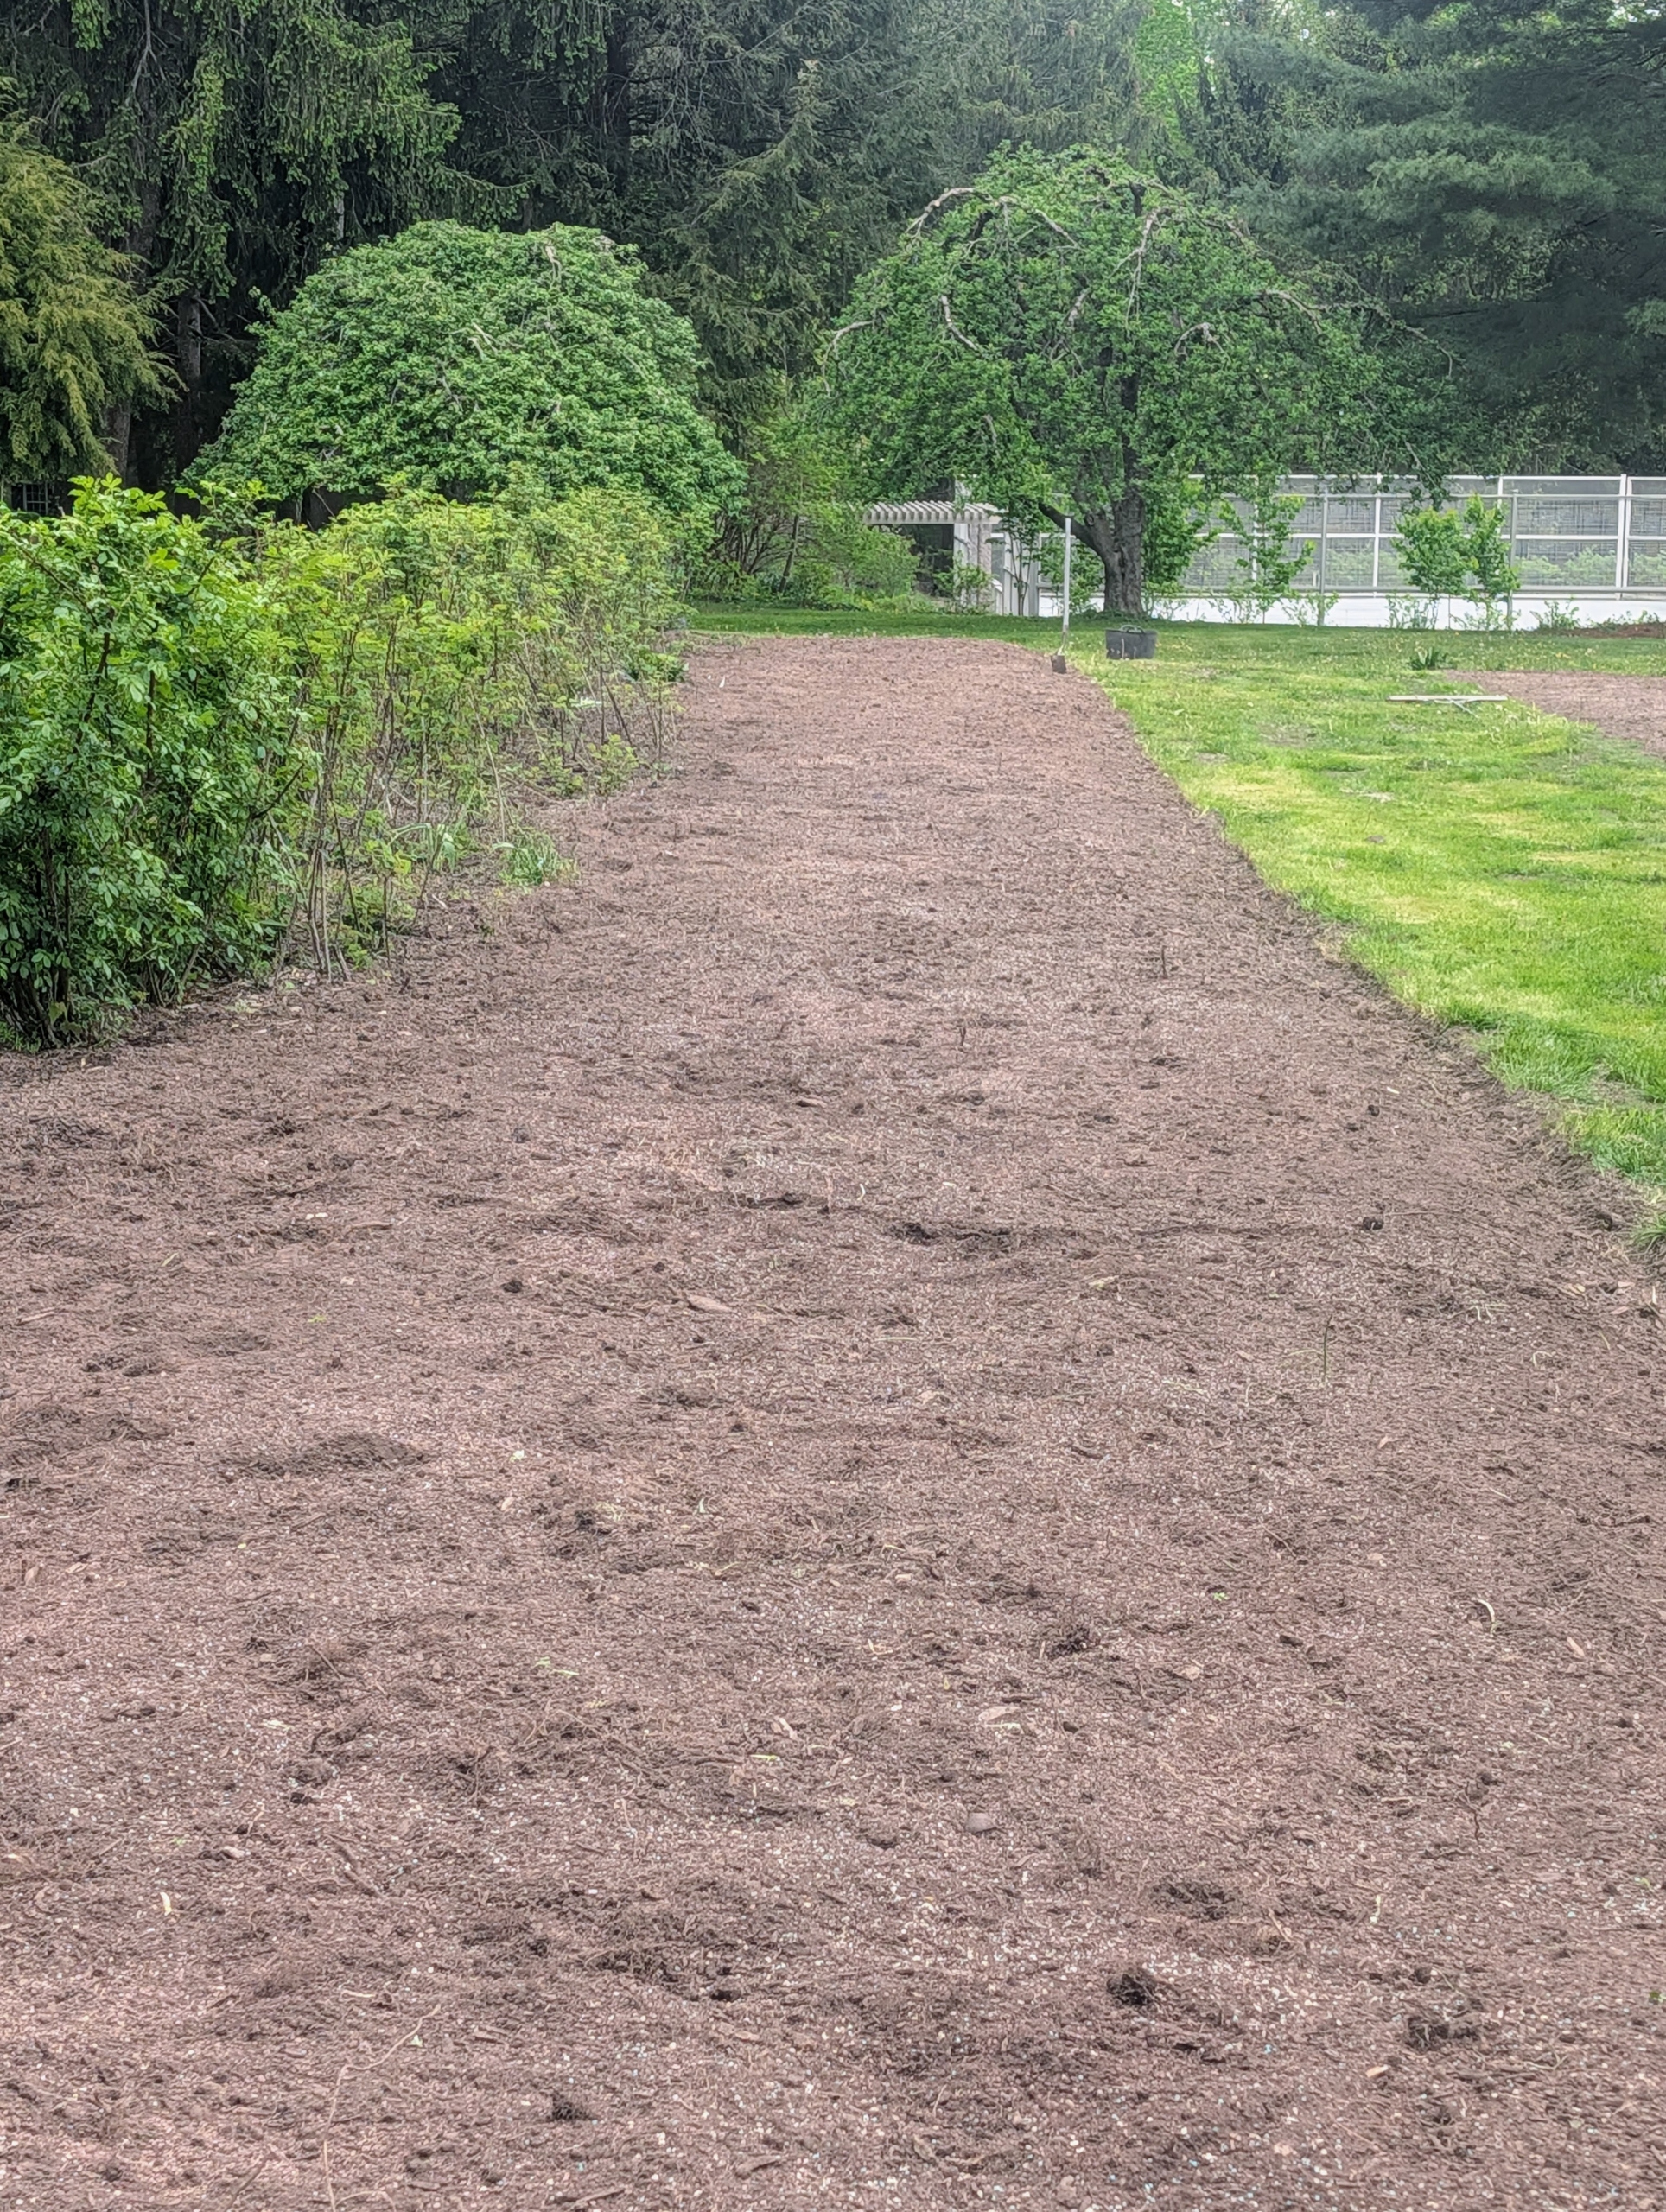
- Here is the area with most of the lilacs removed. I also had roses planted here, but I kept those in place.
-
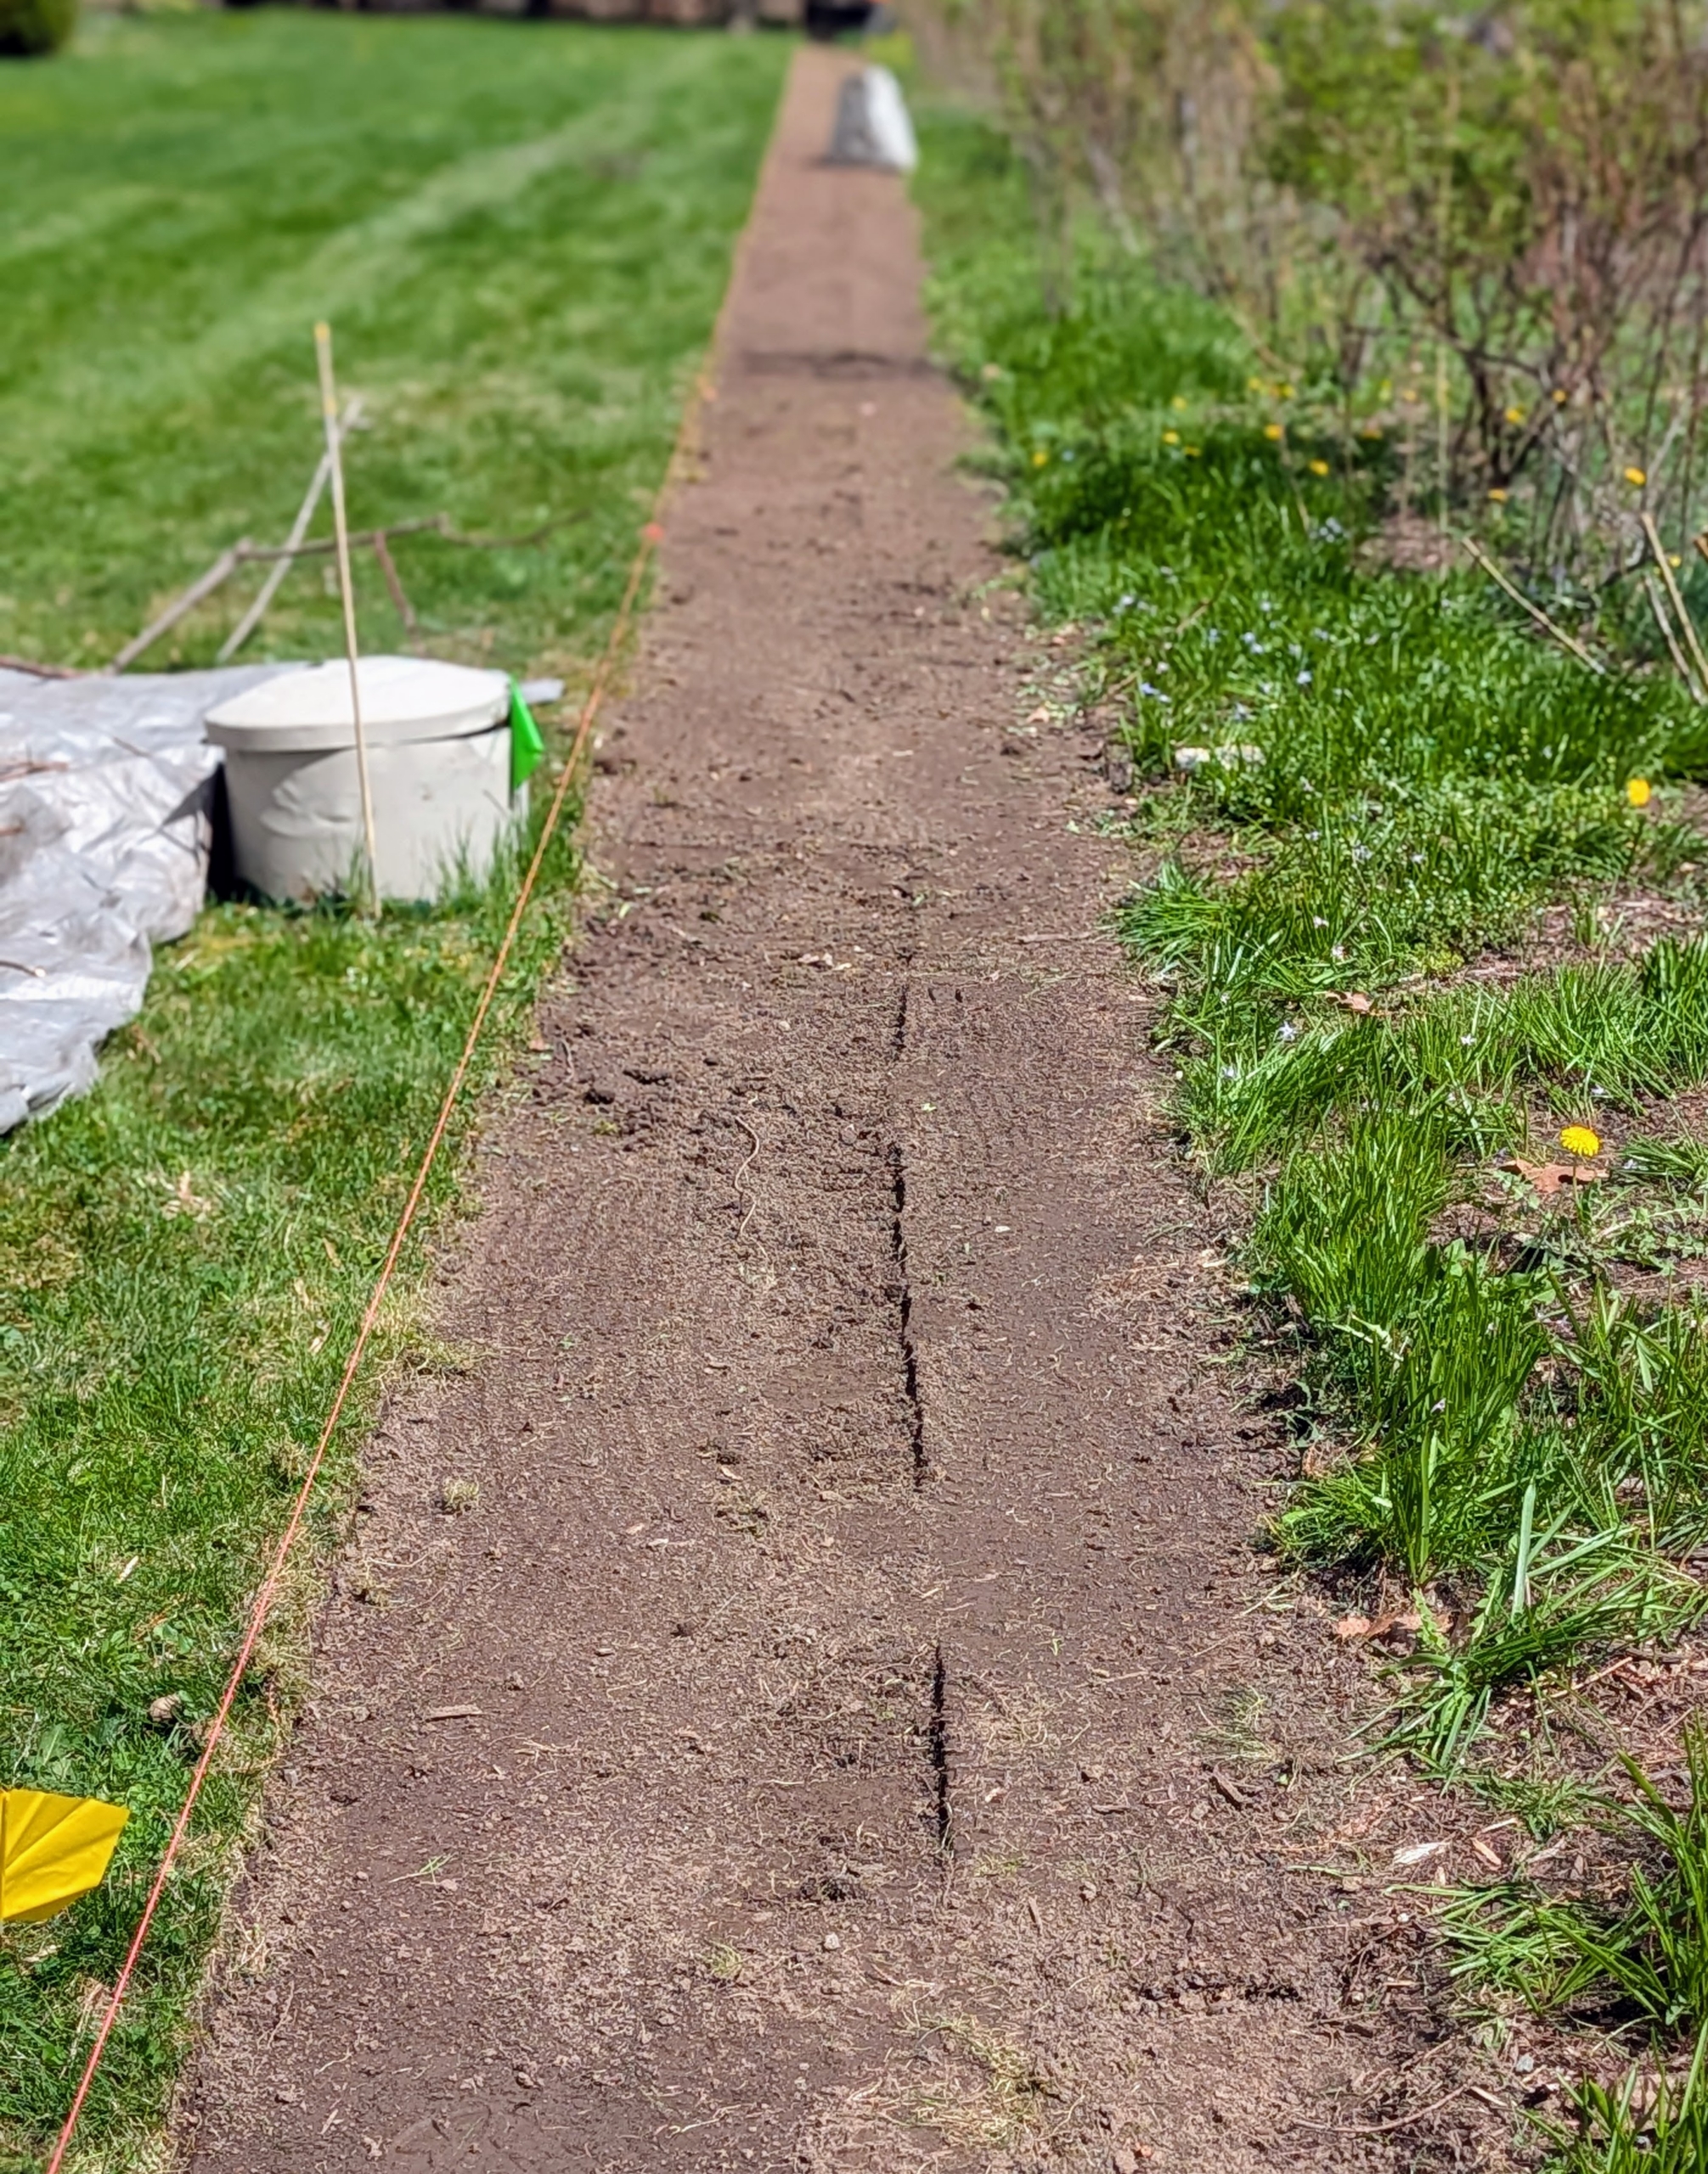
- Next, strips of sod were removed to make the garden larger.
-
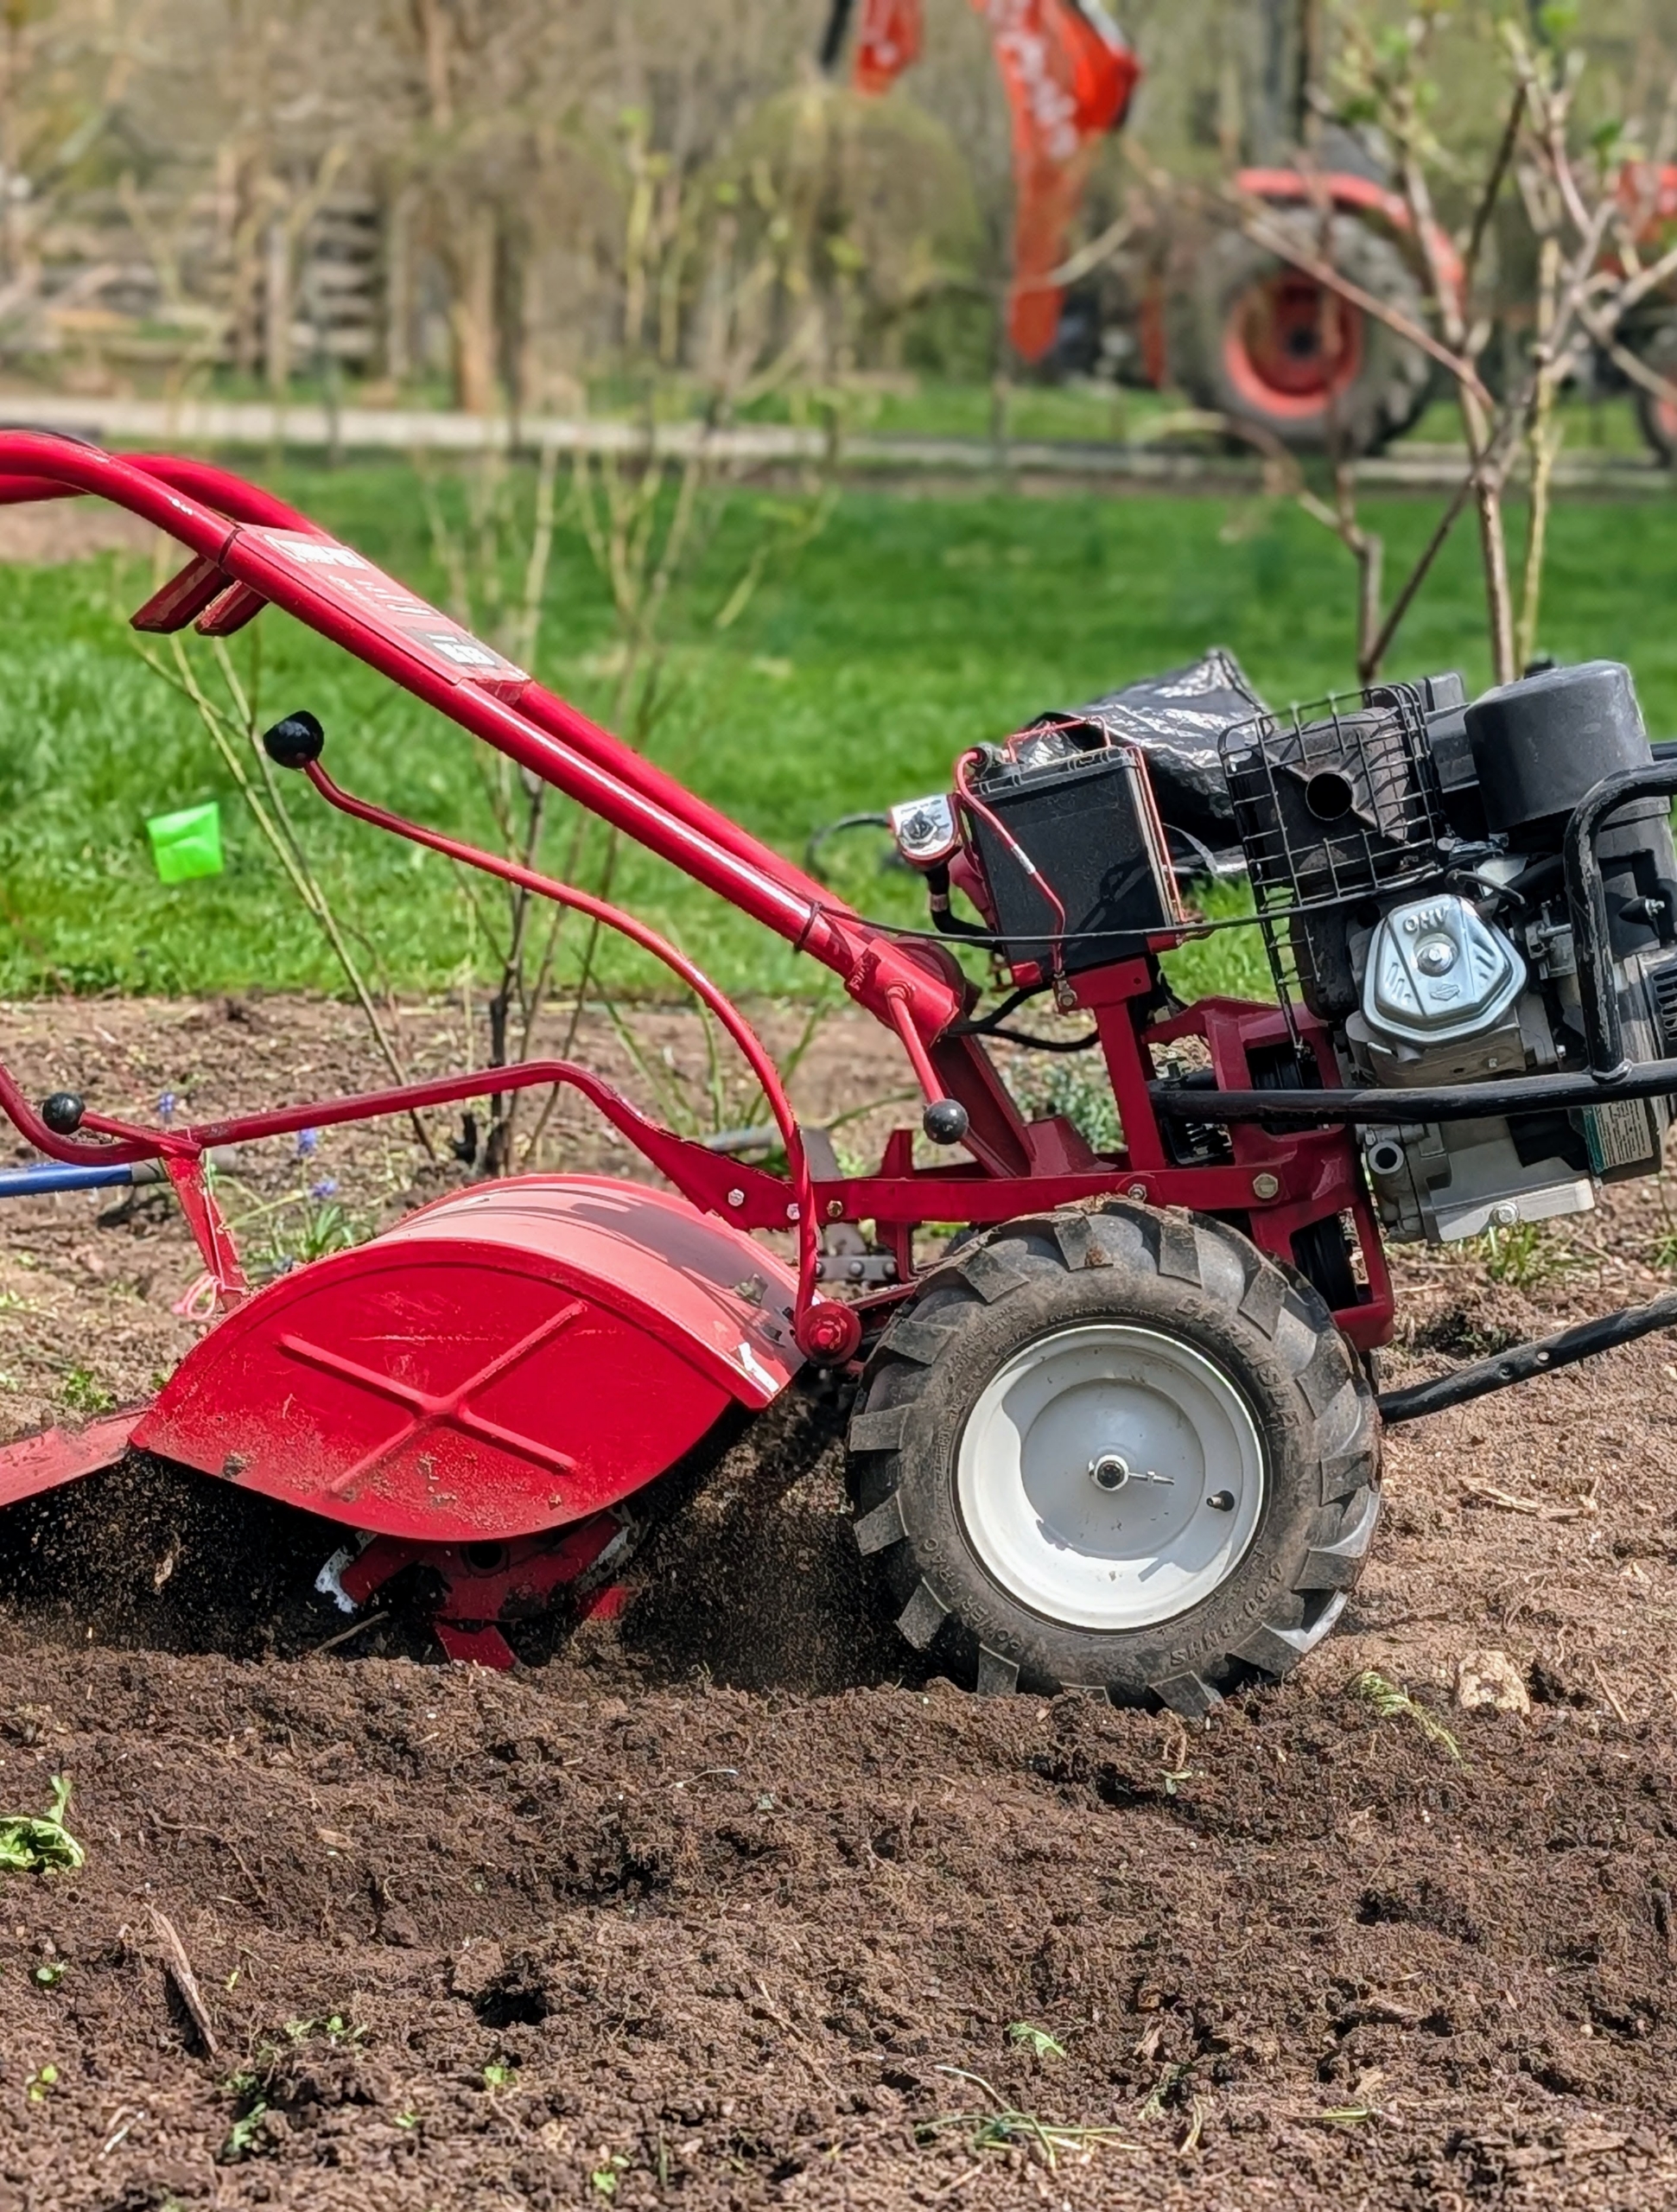
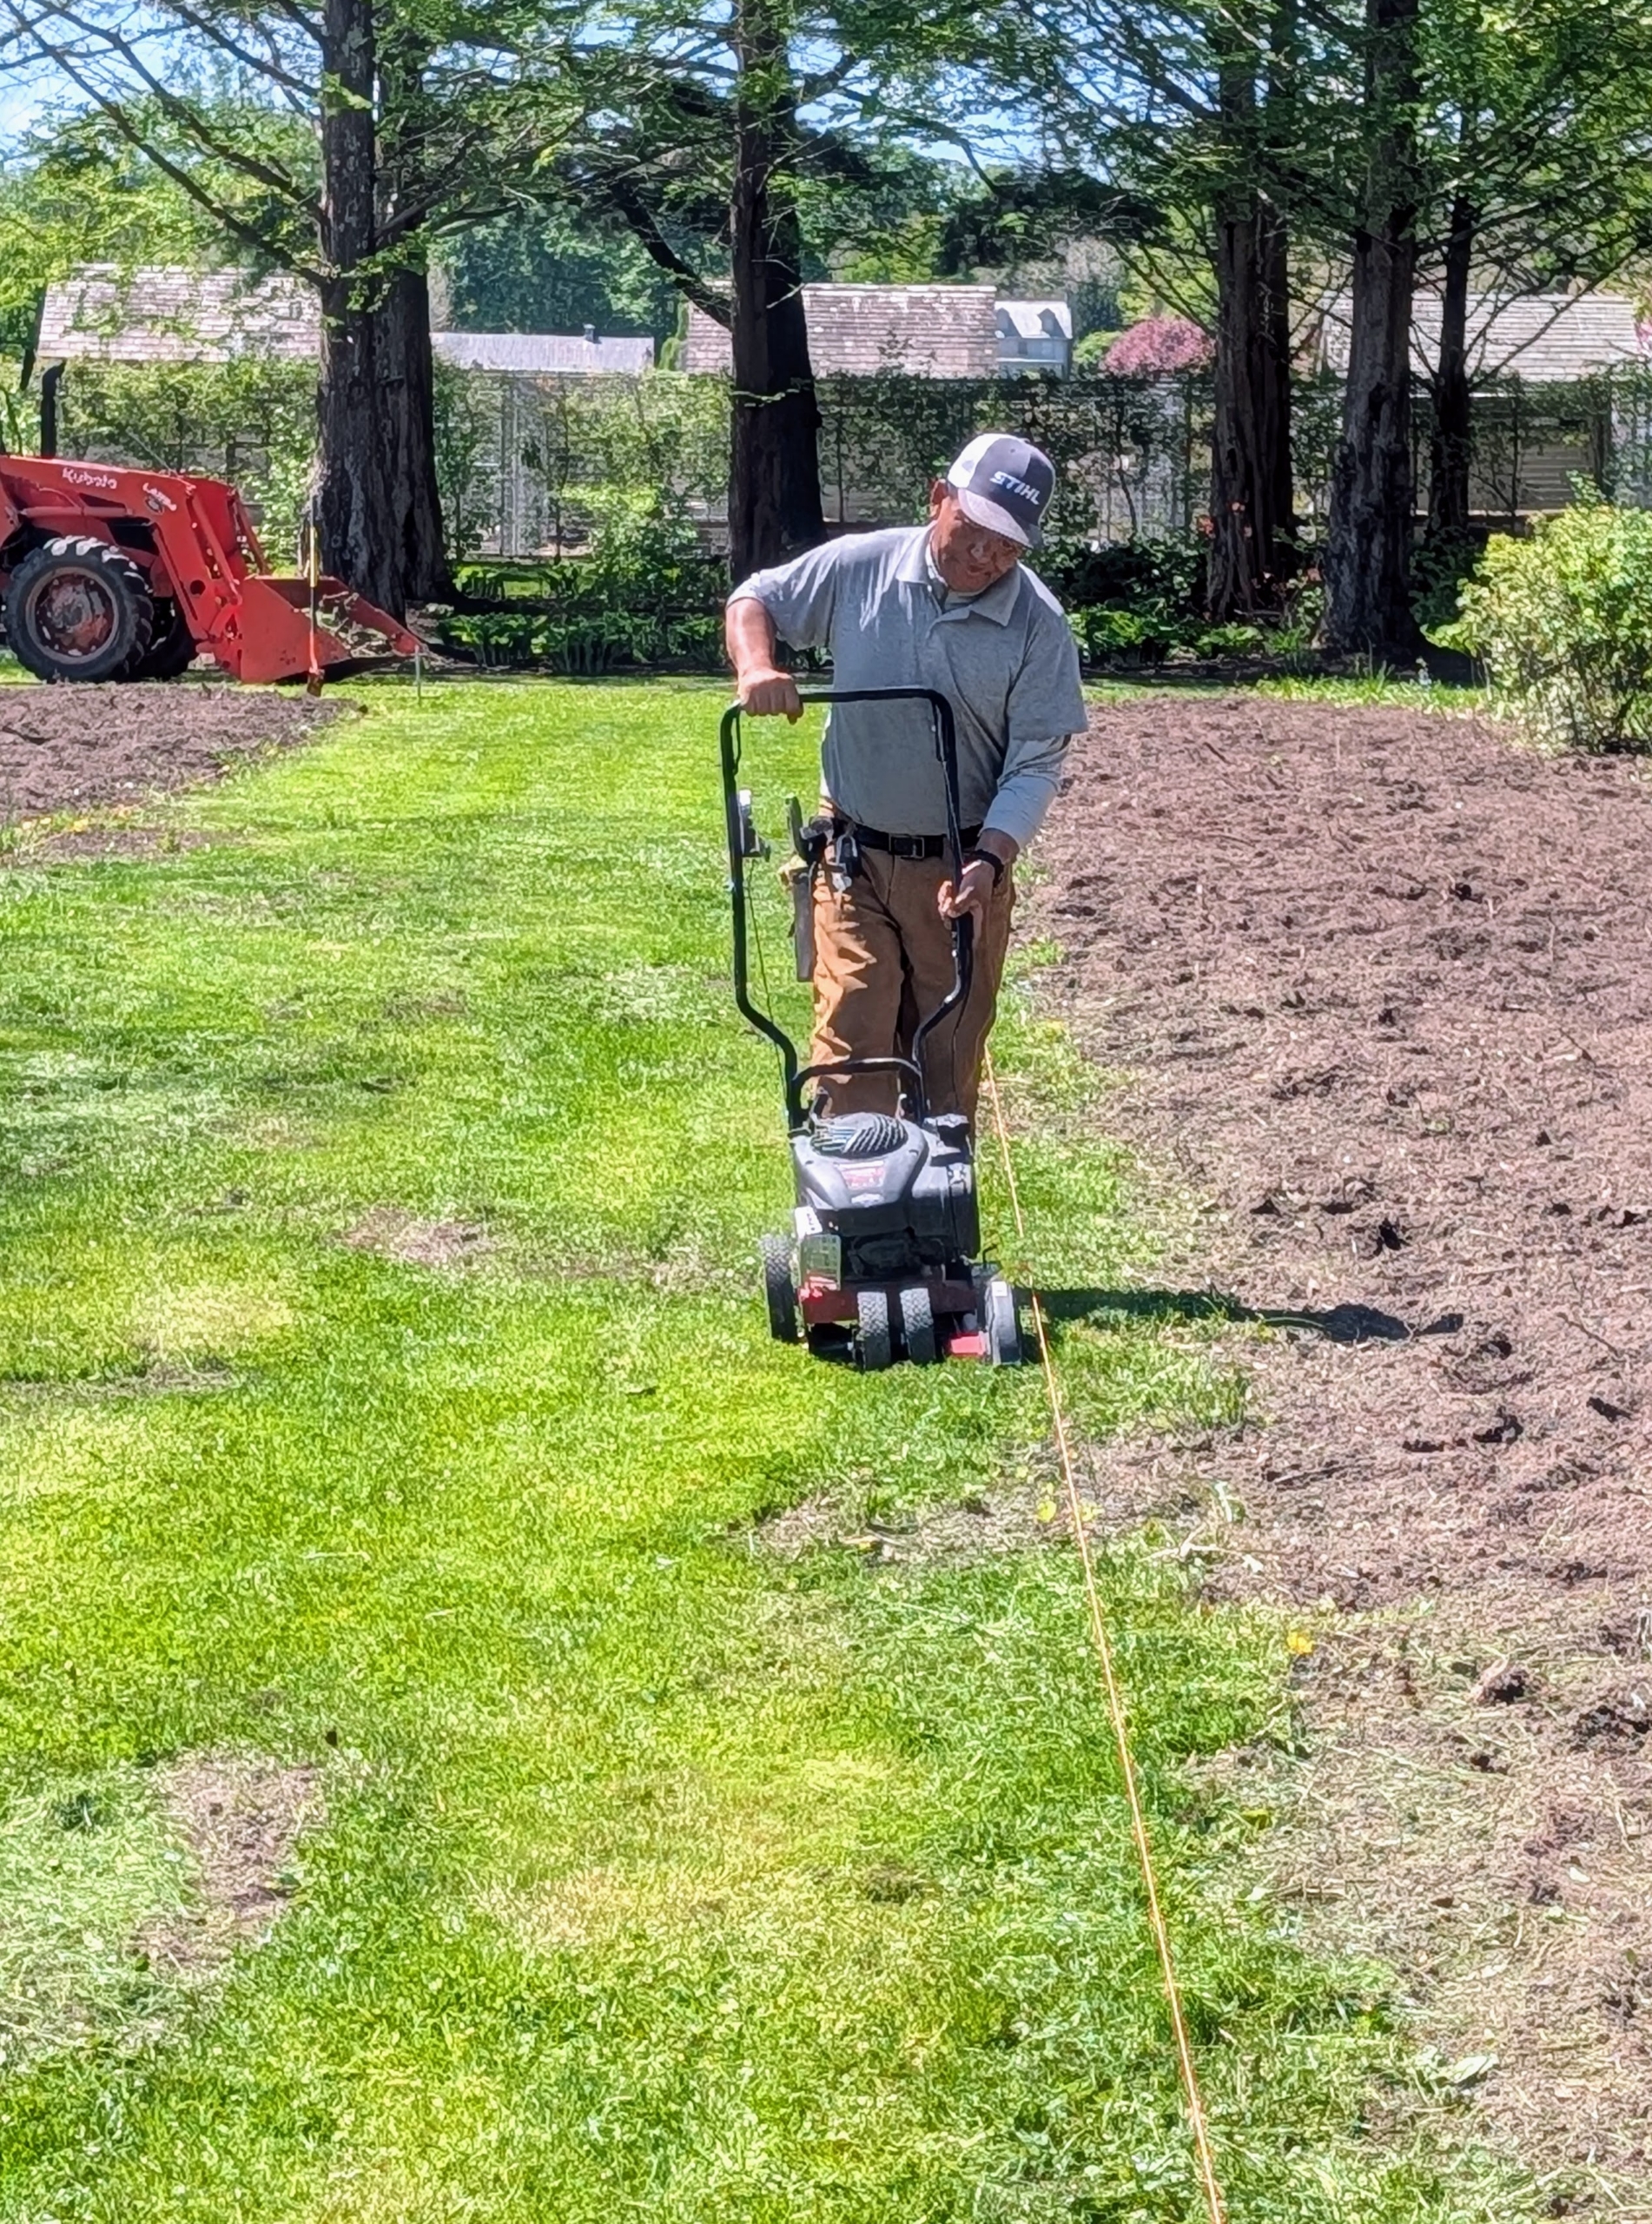
- Rototilling is one method of turning up the soil before planting. It also helps to loosen any other root balls that may have been left deep in the bed. The machine is set to till the soil at about six to eight inches deep. It is driven slowly through the bed to mix the organic matter, break up crusted soil, and loosen the earth.
-
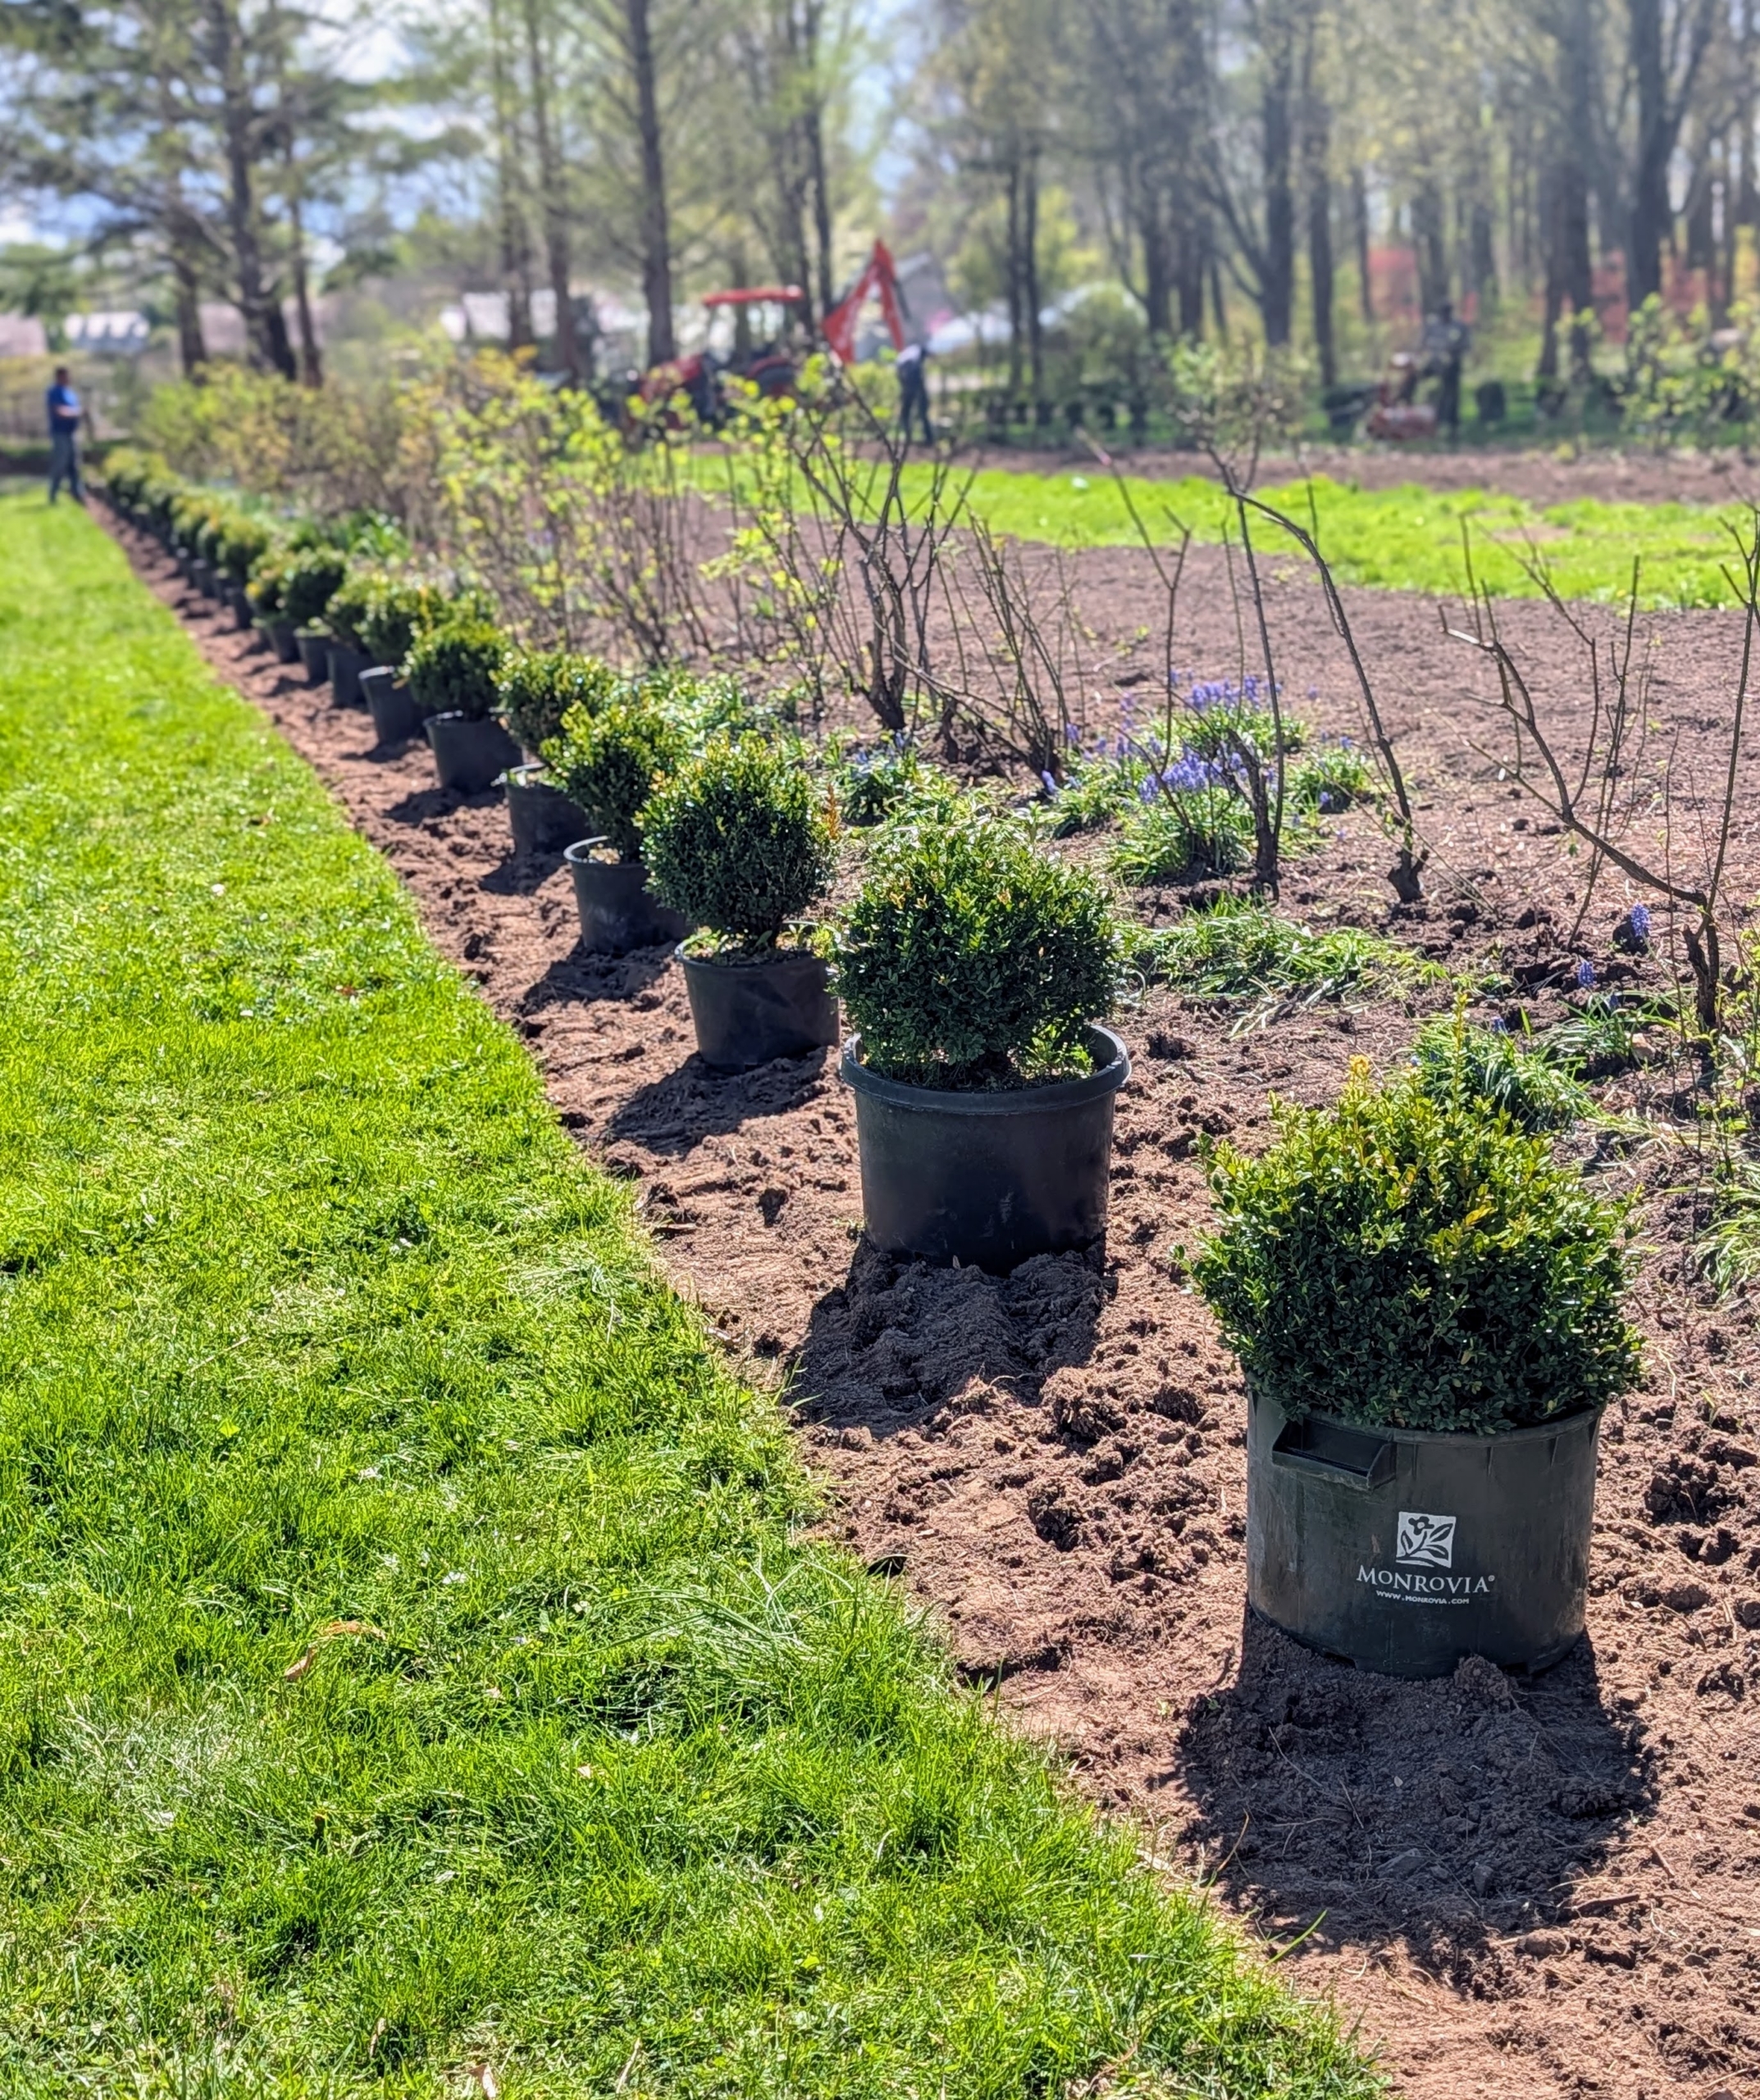
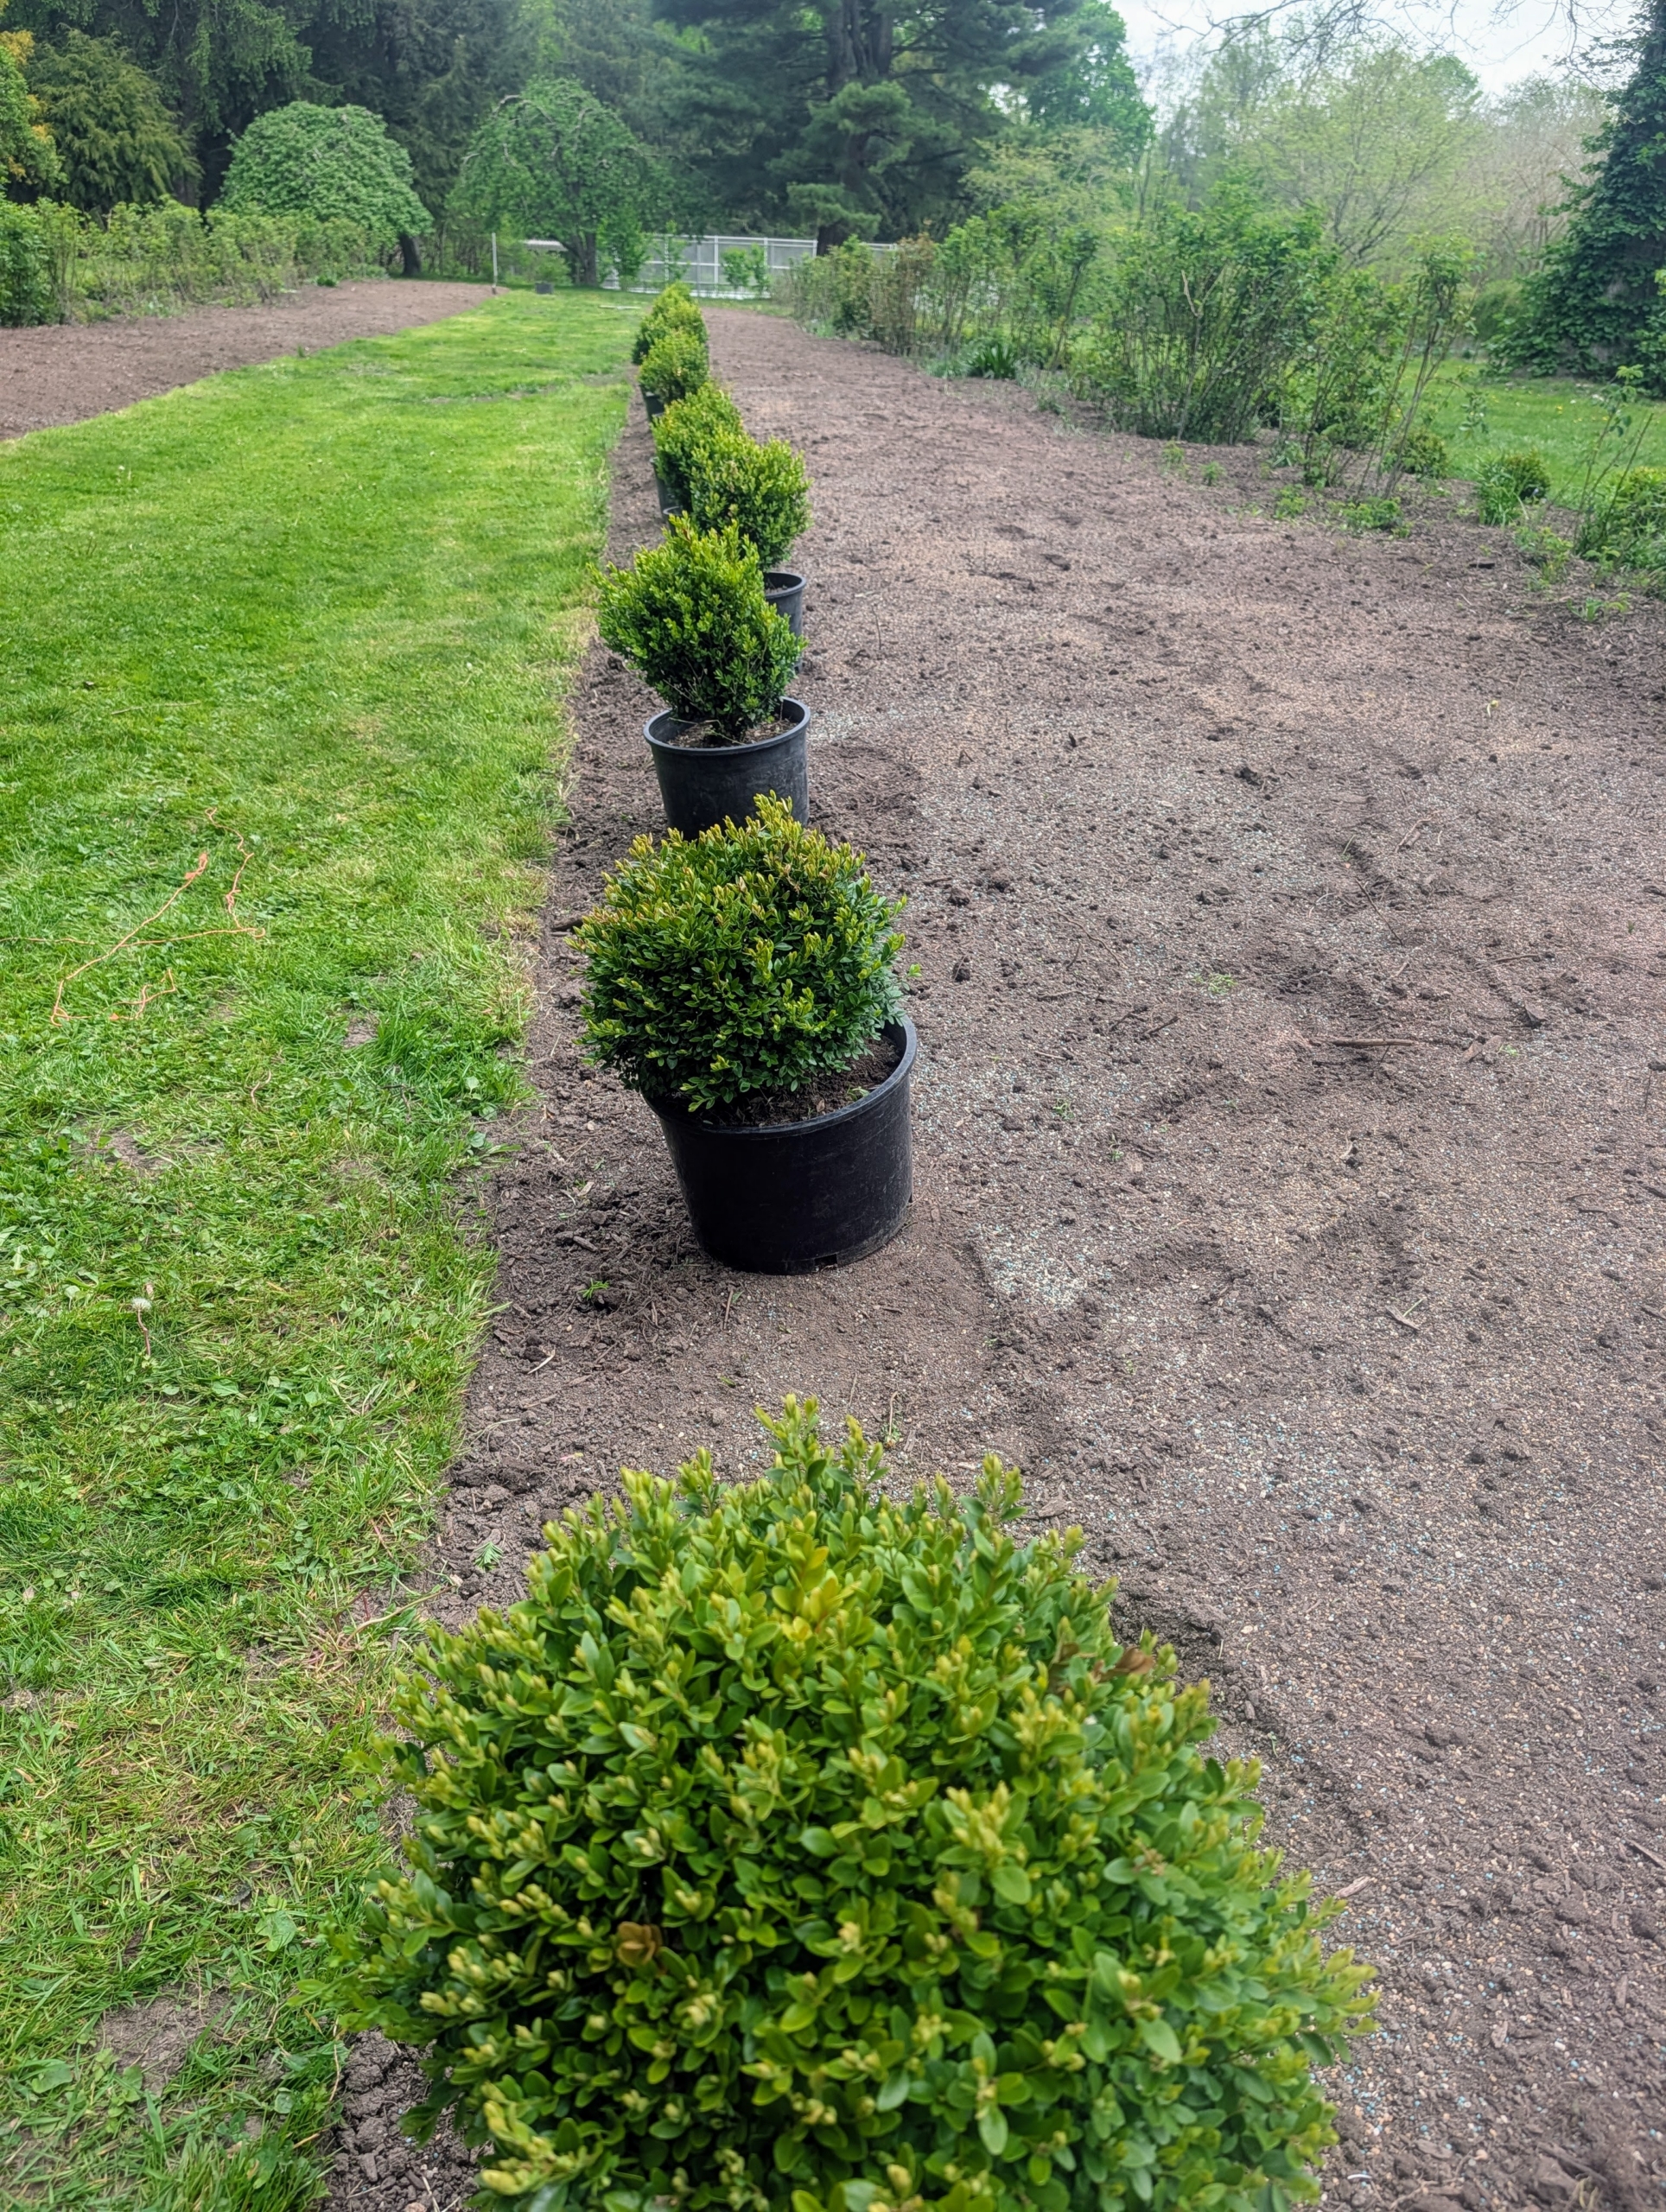
- The boxwood is lined up and counted to be sure there are enough to fill the outsides of the garden beds.
-
- Once the outside of the beds is planted, compost is brought in.
-
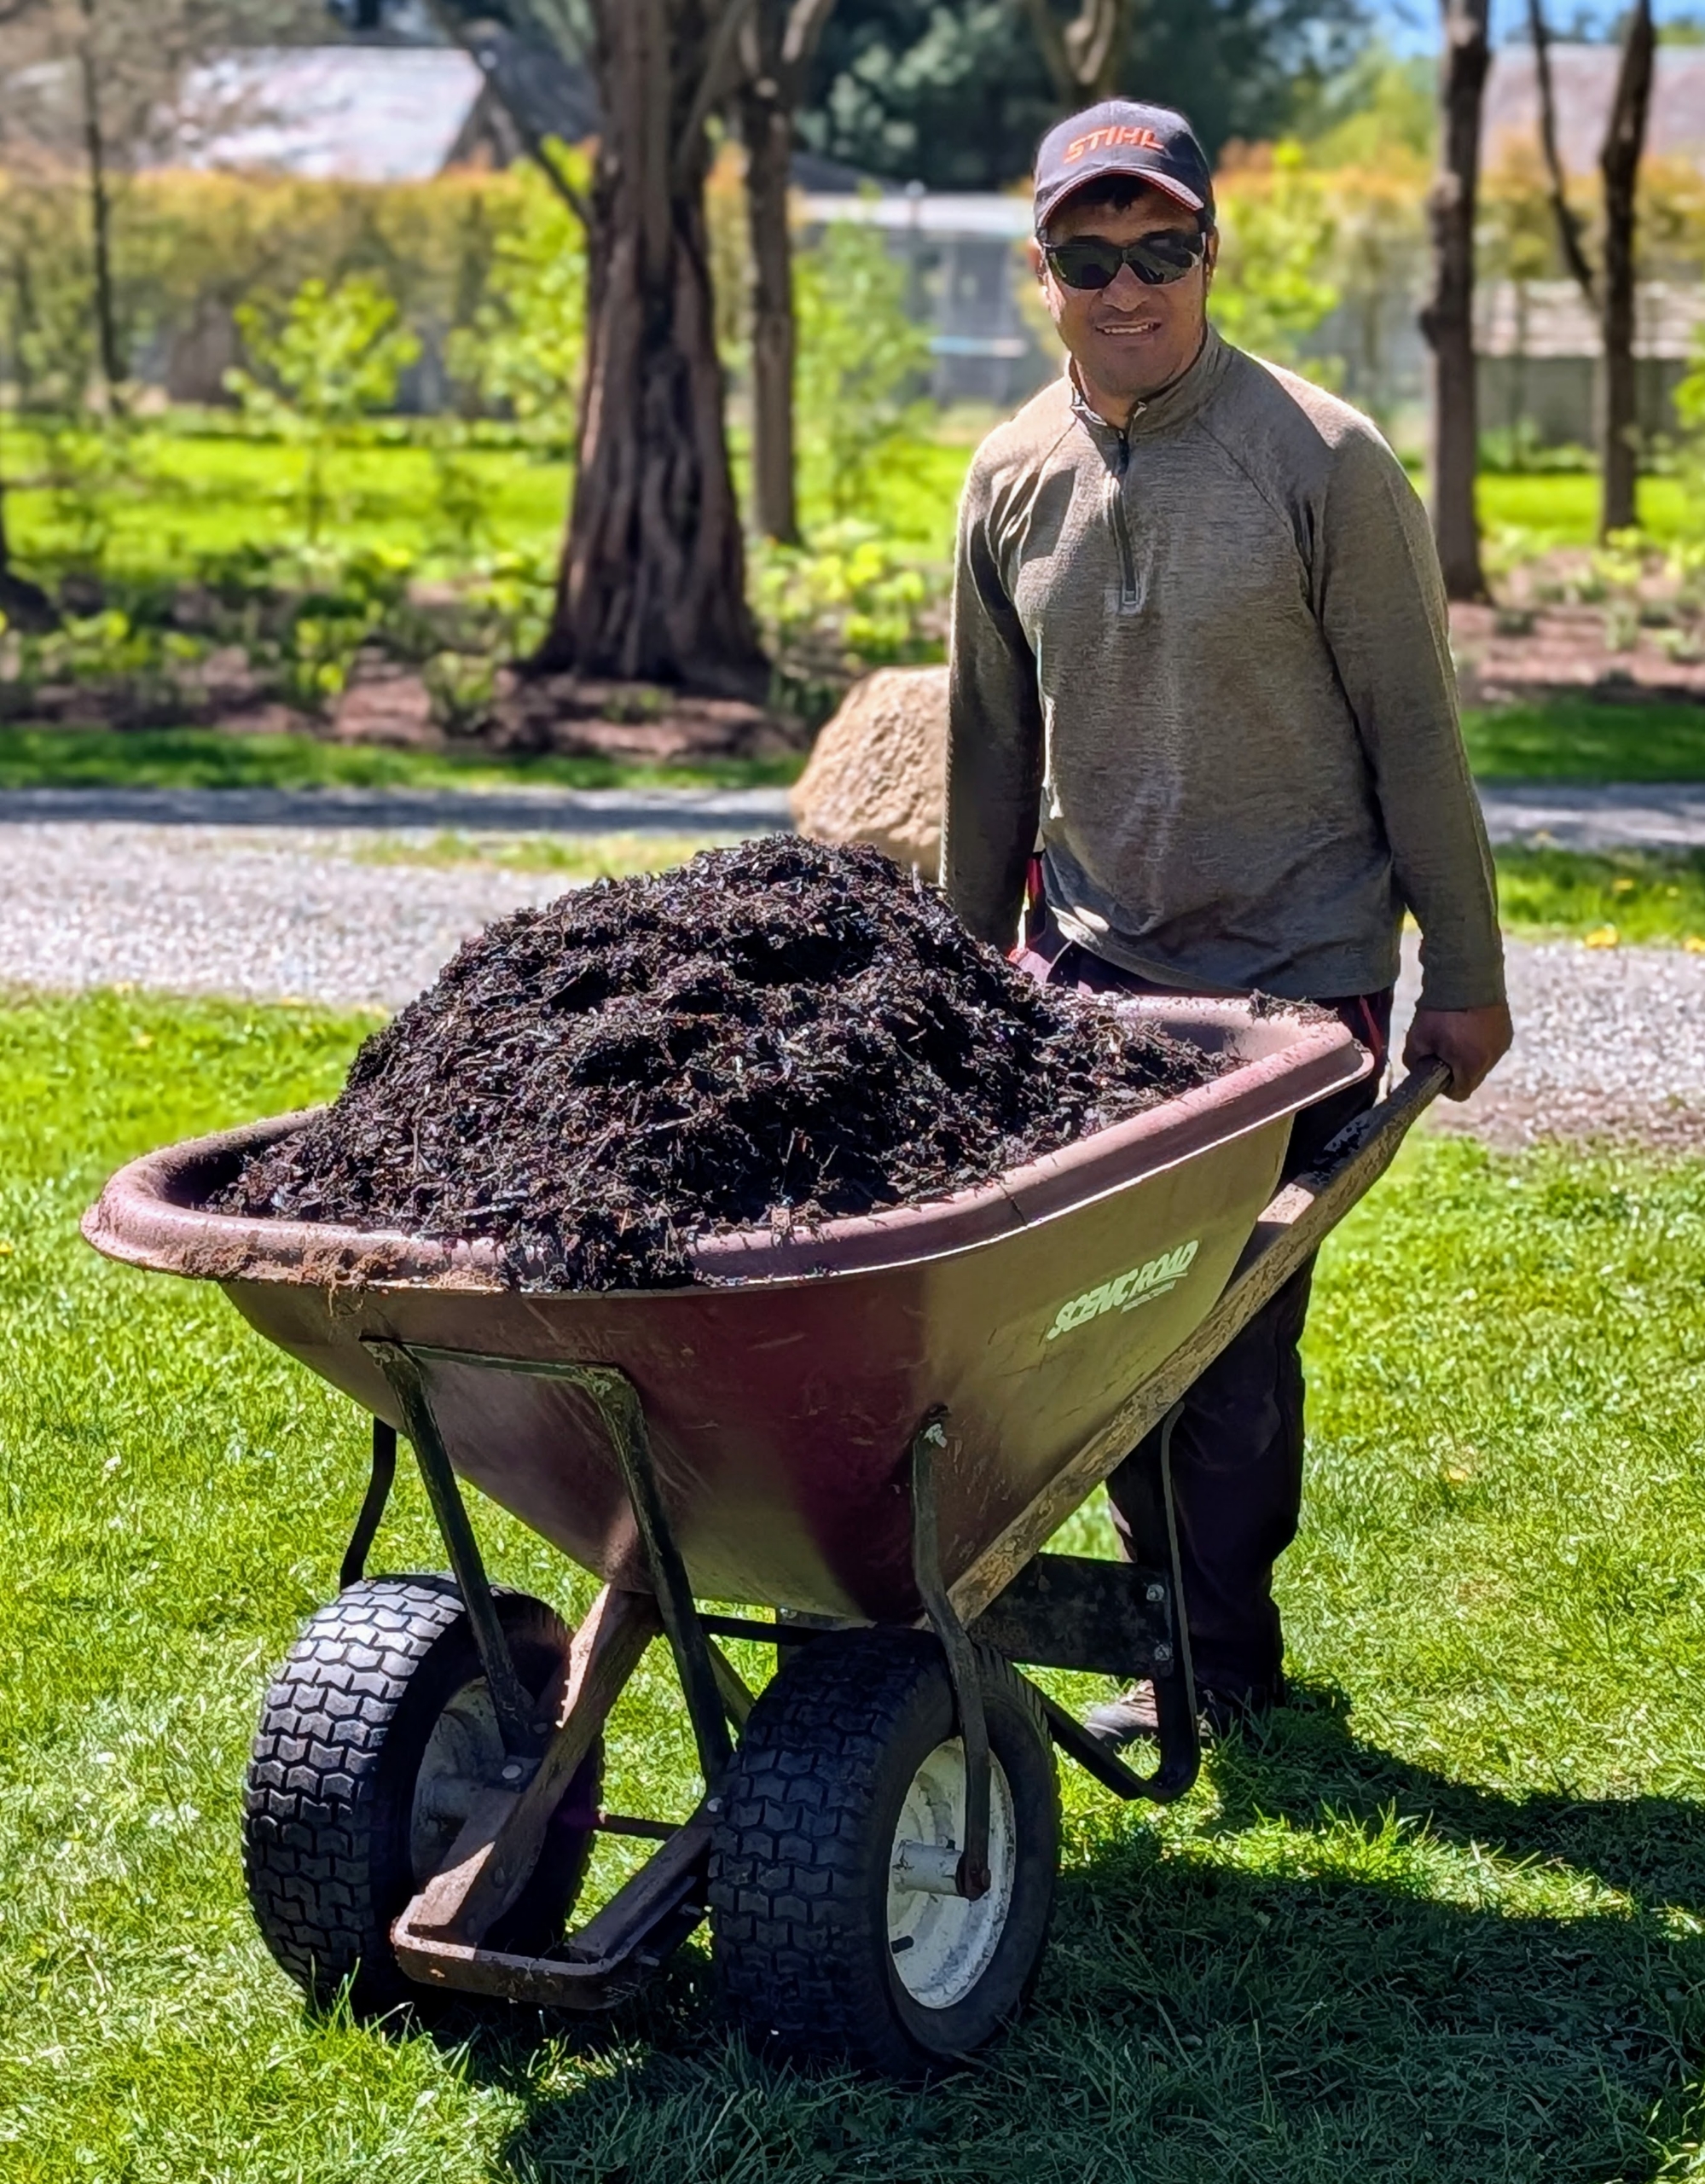
- Pasang manually drops compost along the bed. I am so proud of my compost that is made right here at my farm. Quality compost provides nutrients, improves soil structure, and supports beneficial microorganisms.
-
- Using garden twine is an important step in creating a formal garden to ensure the beds are perfectly straight.
-
- Following the twine, Phurba uses an edger to make good, crisp lines along the edges of the beds.
-
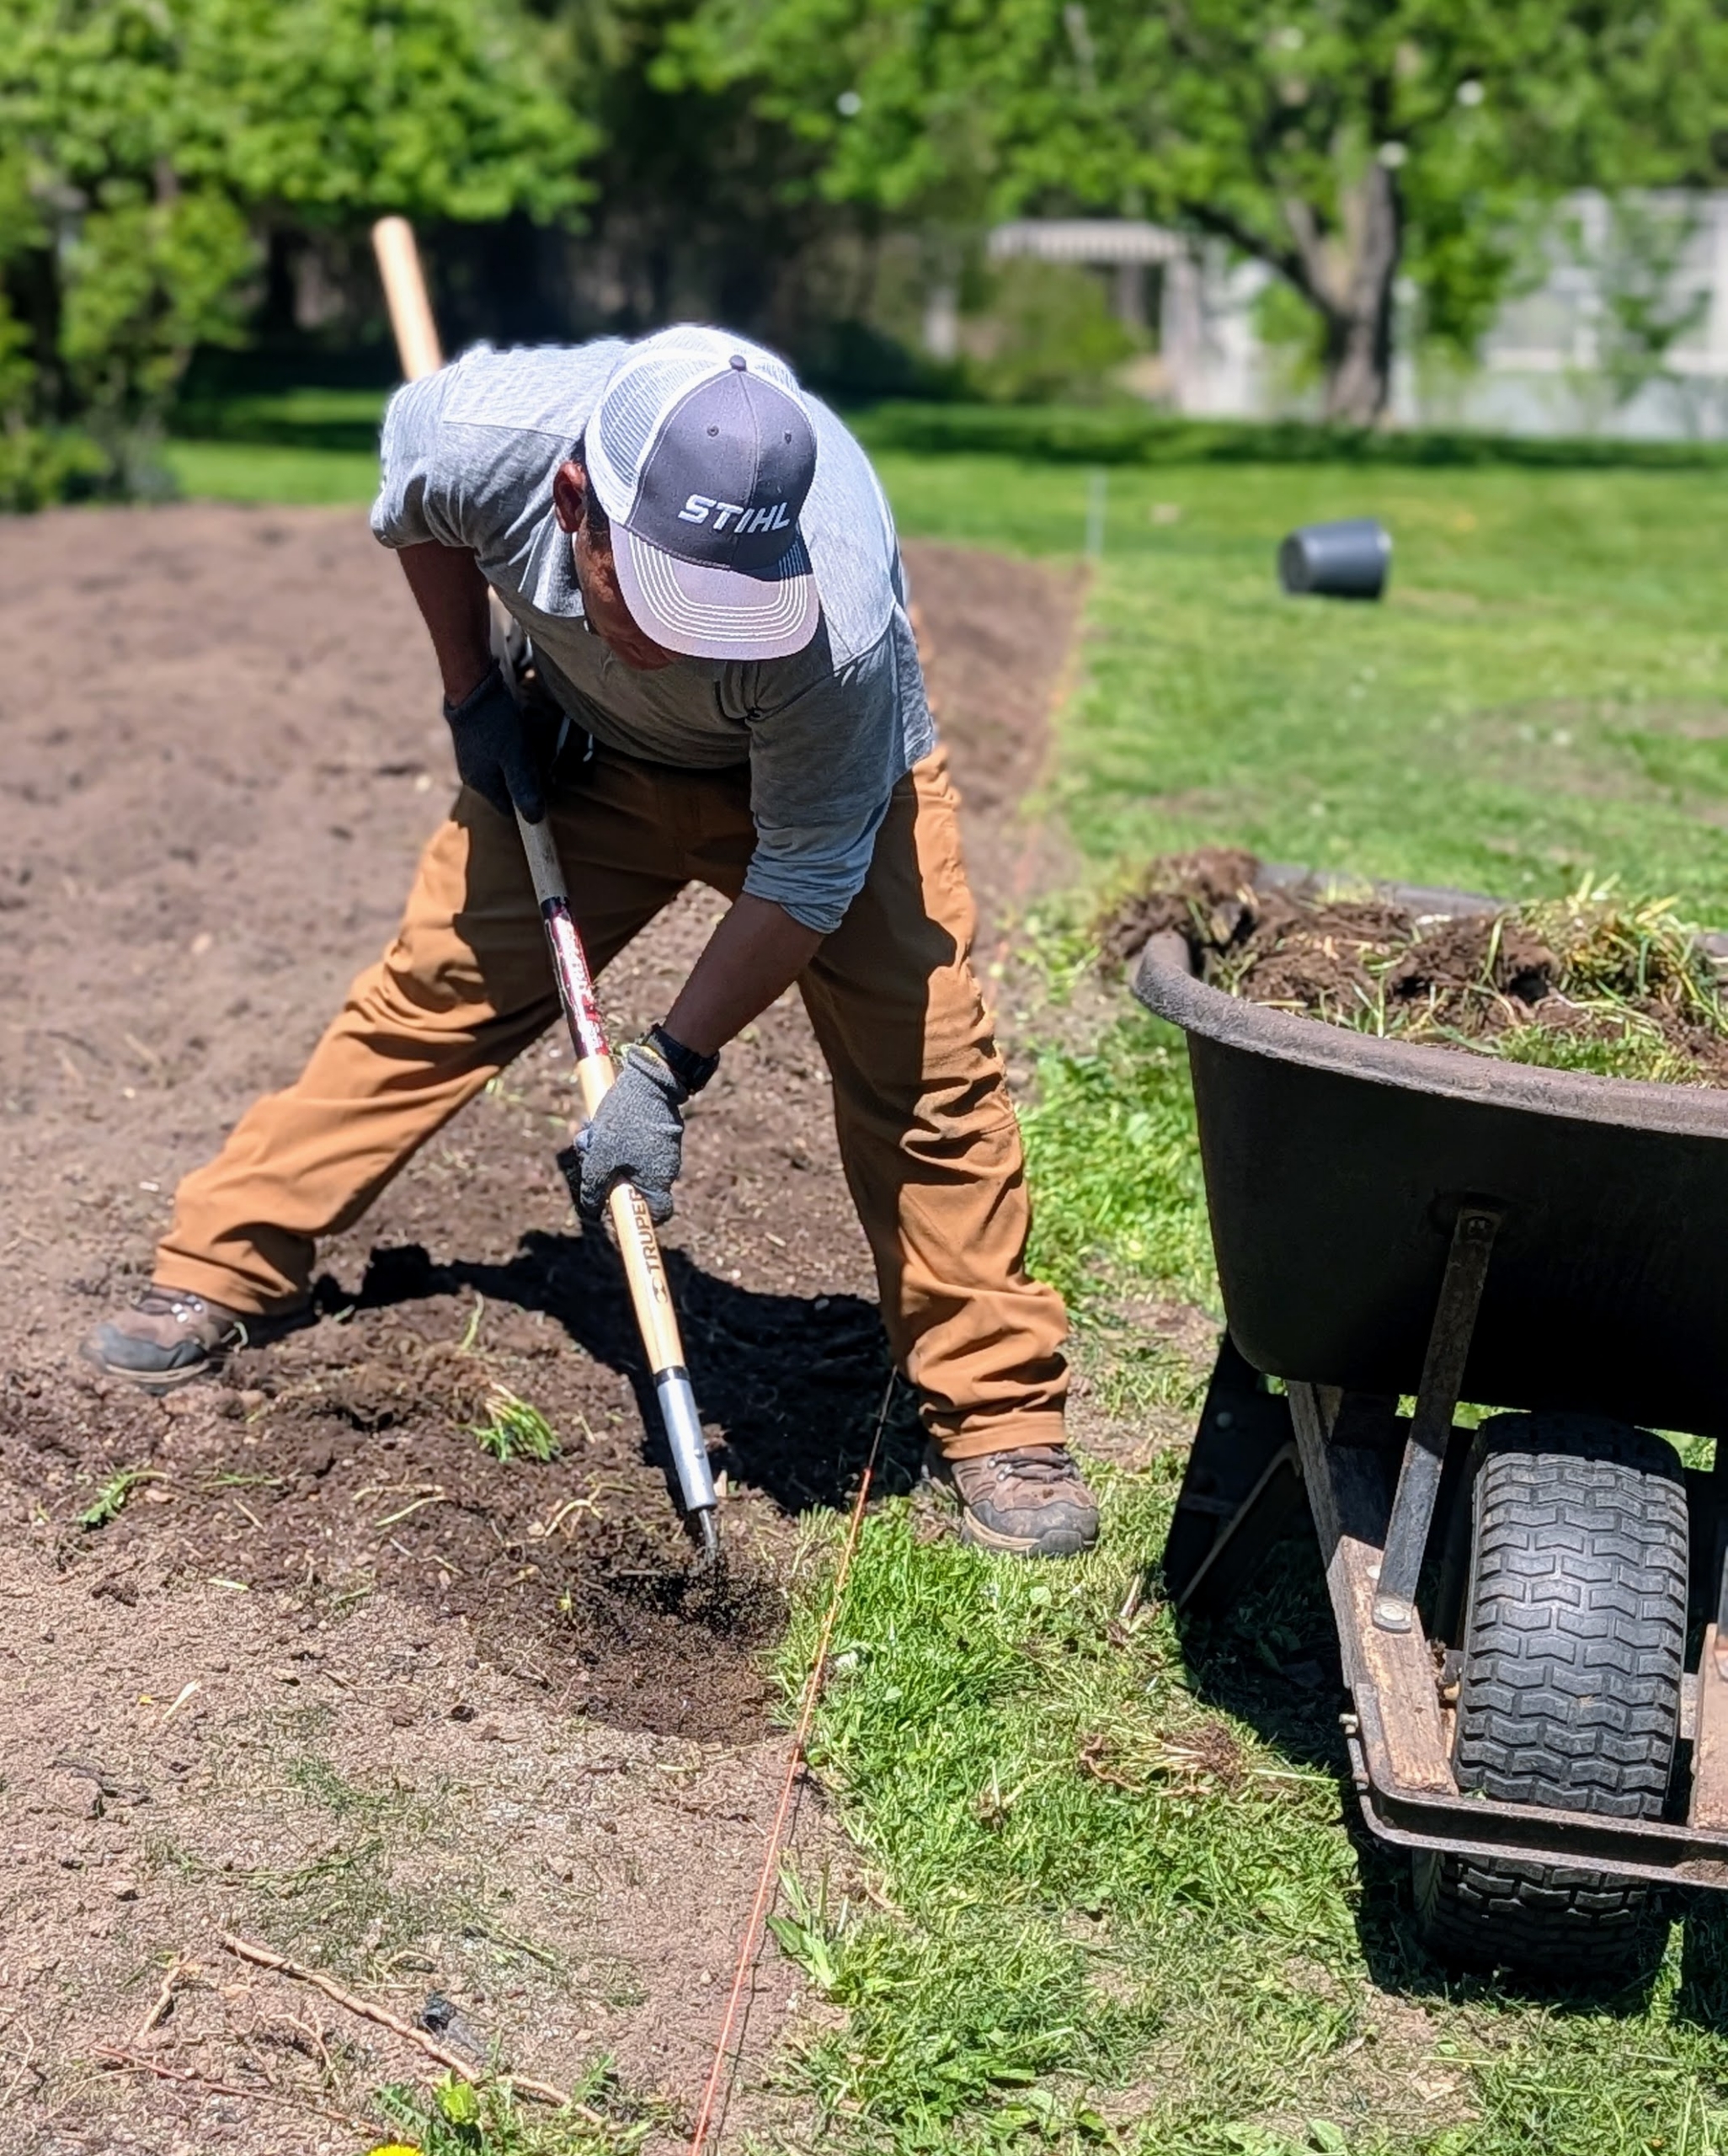
- And then he uses a hoe to remove the unwanted turf.
-
- This side of the bed is now ready for planting.
-
- Another selection of young boxwood shrubs is positioned for the border. These boxwood shrubs came to me as small cuttings. I nurtured them right here at the farm and in just a couple years, they’ve grown big enough to put in more permanent locations.
-
- Pasang lines them up with the boxwood that is on the outside of this bed.
-
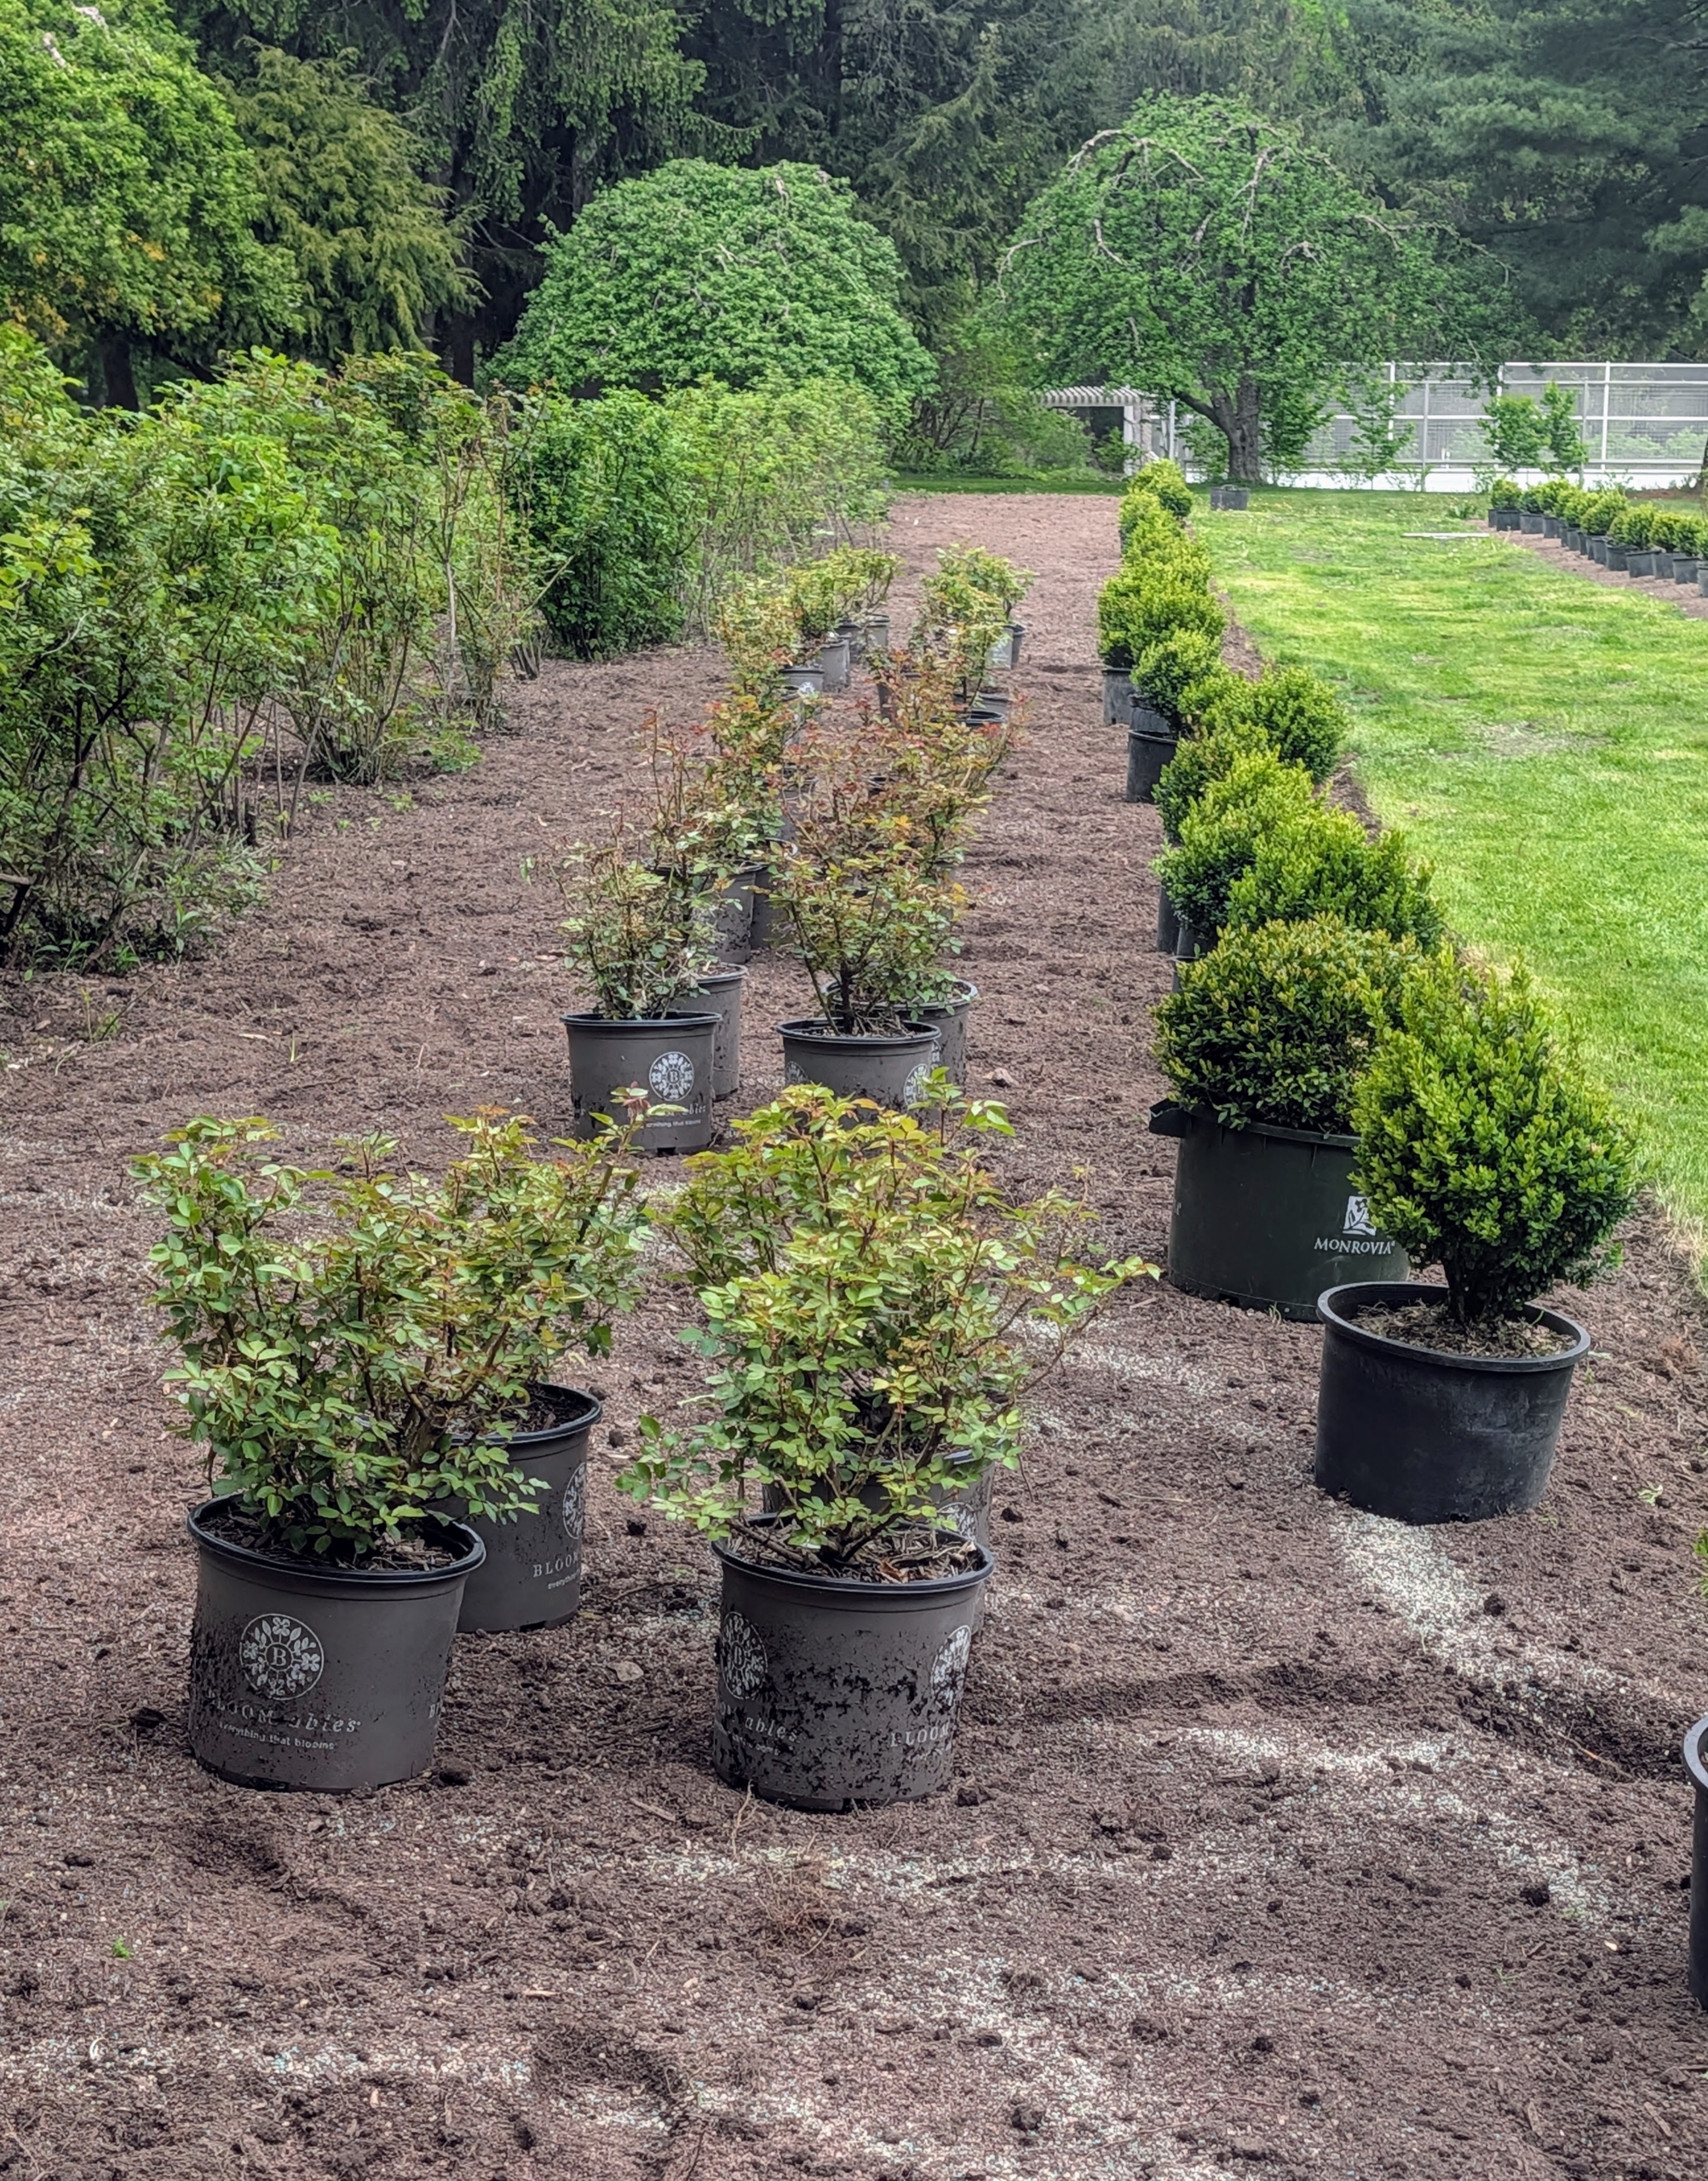
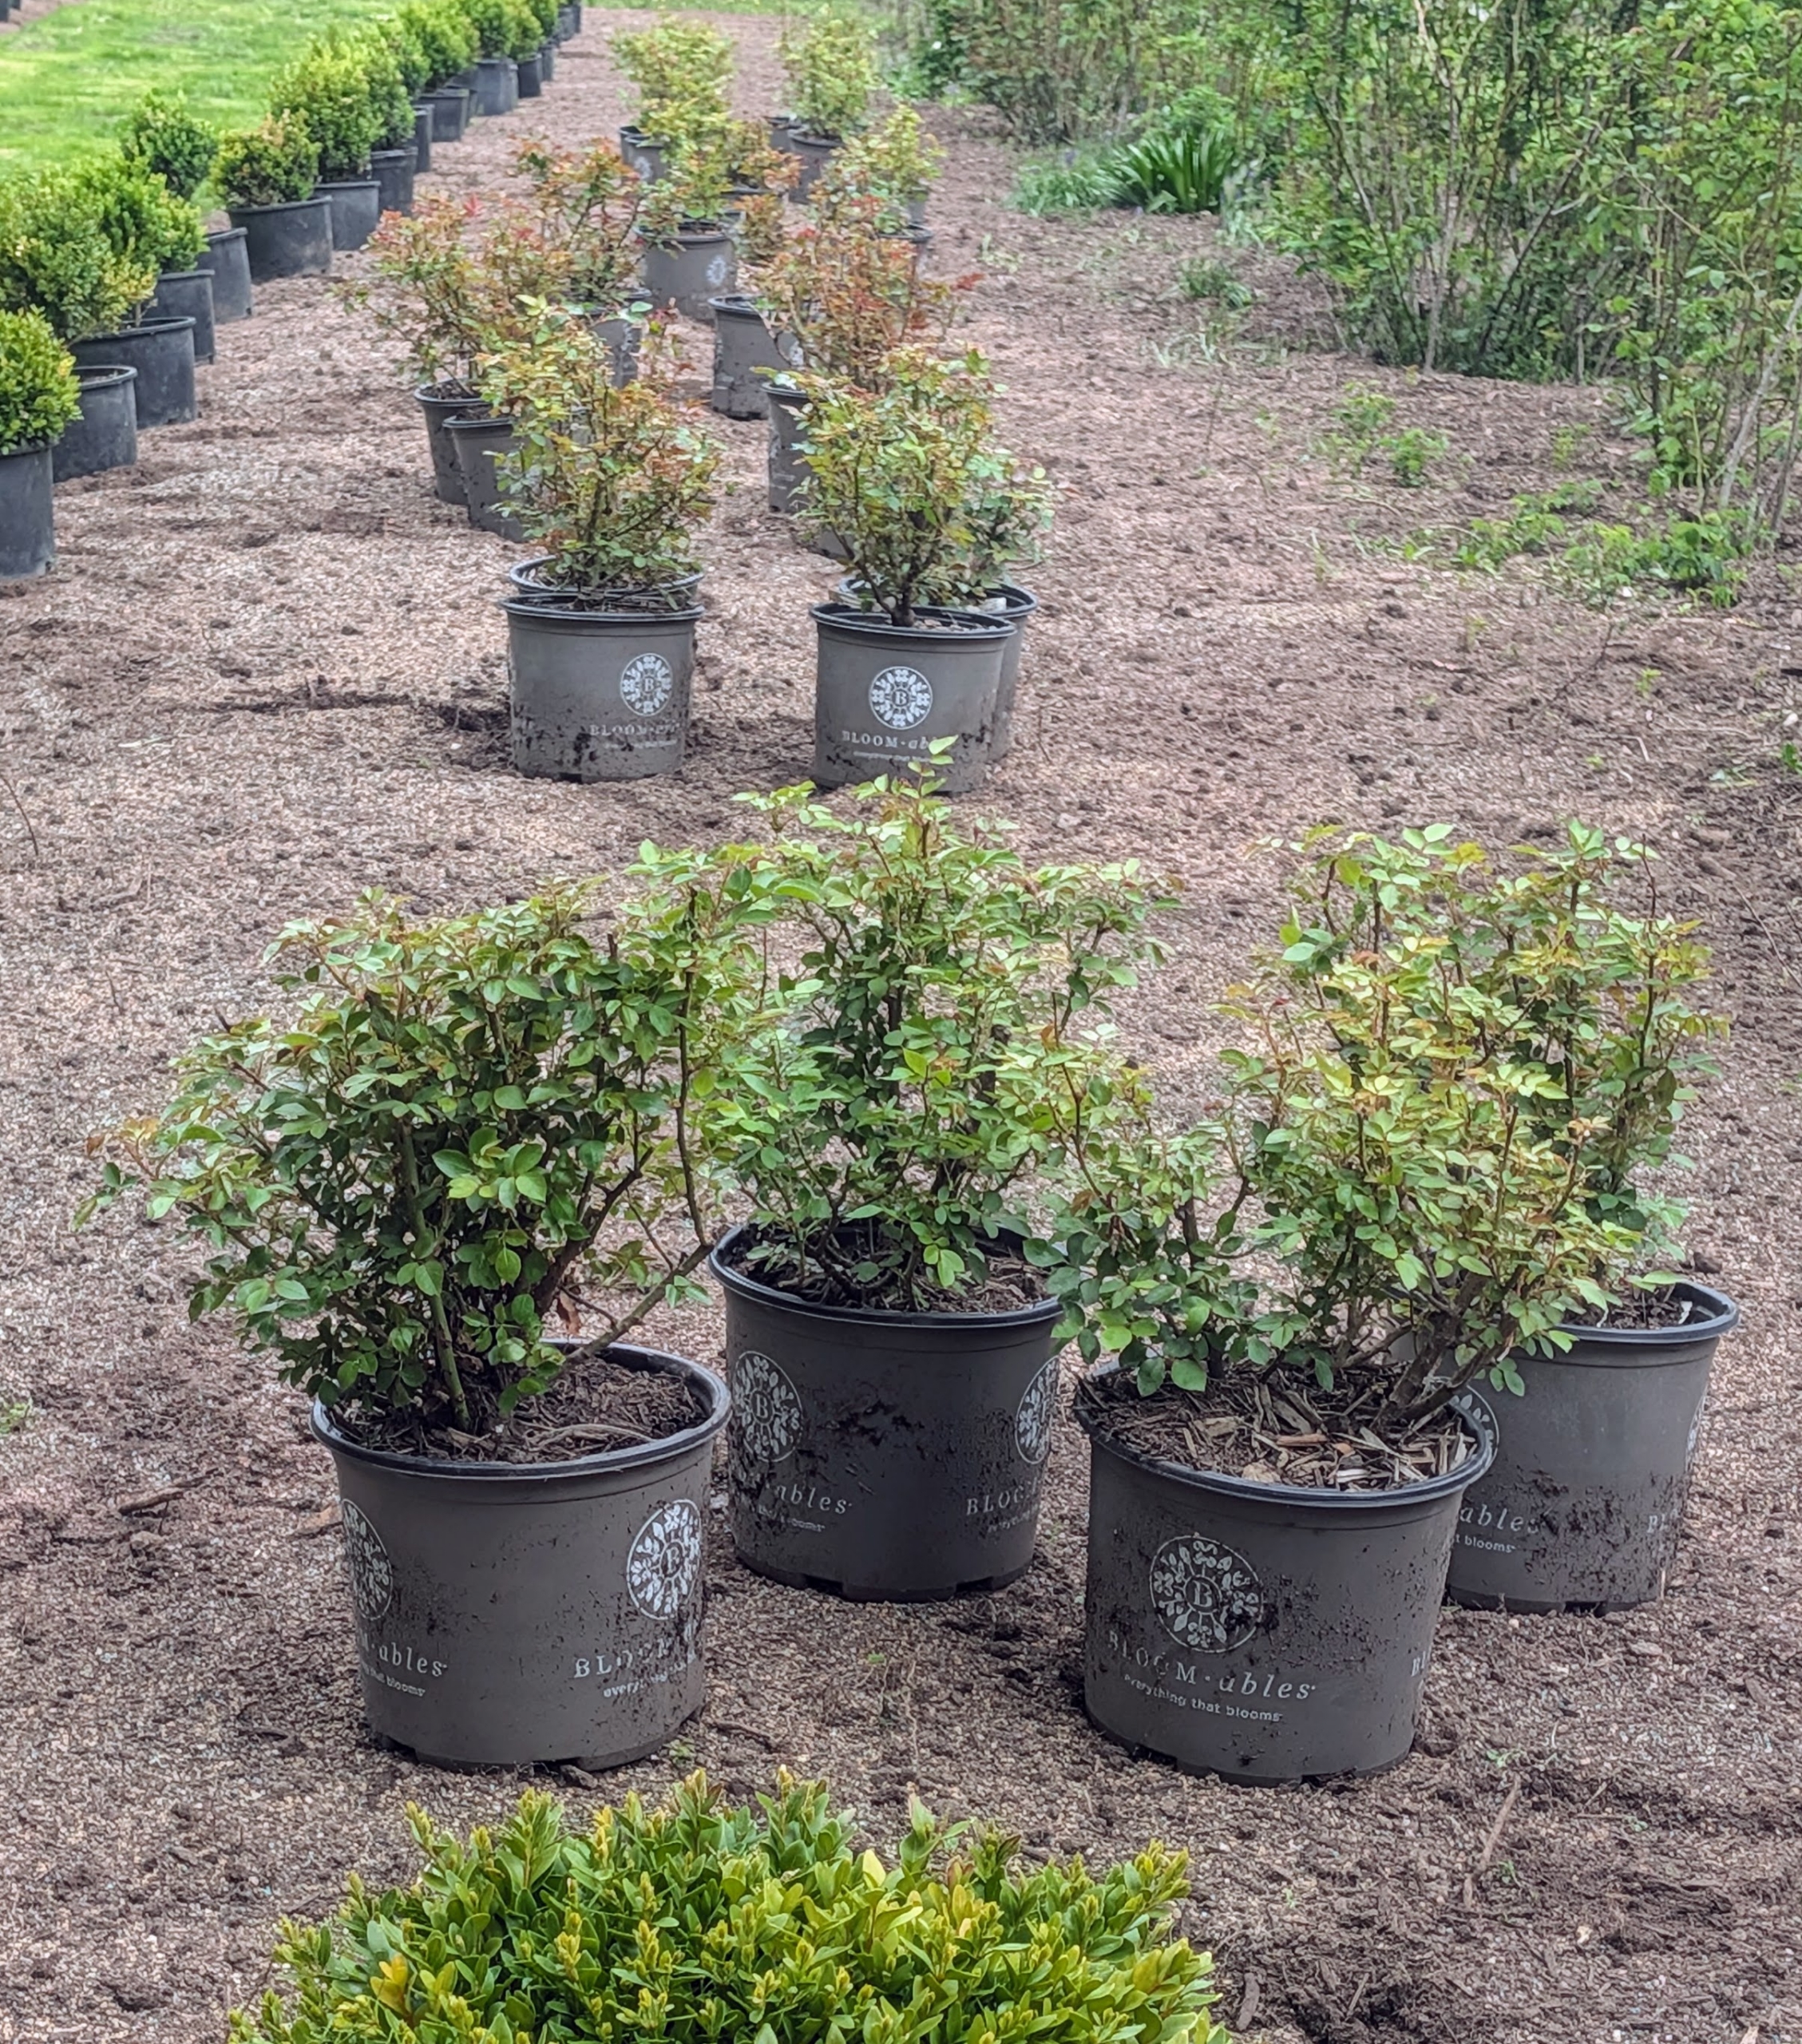
- Next, the roses are also selected and brought to the garden.
-
- I decided to group them by variety – four of each and lined up all along the bed. These roses are from Star Roses and Plants, a company of brands that focuses on breeding and introducing specimens offering longer-lasting, disease resistant blooms.
-
- And then the crew starts digging the holes.
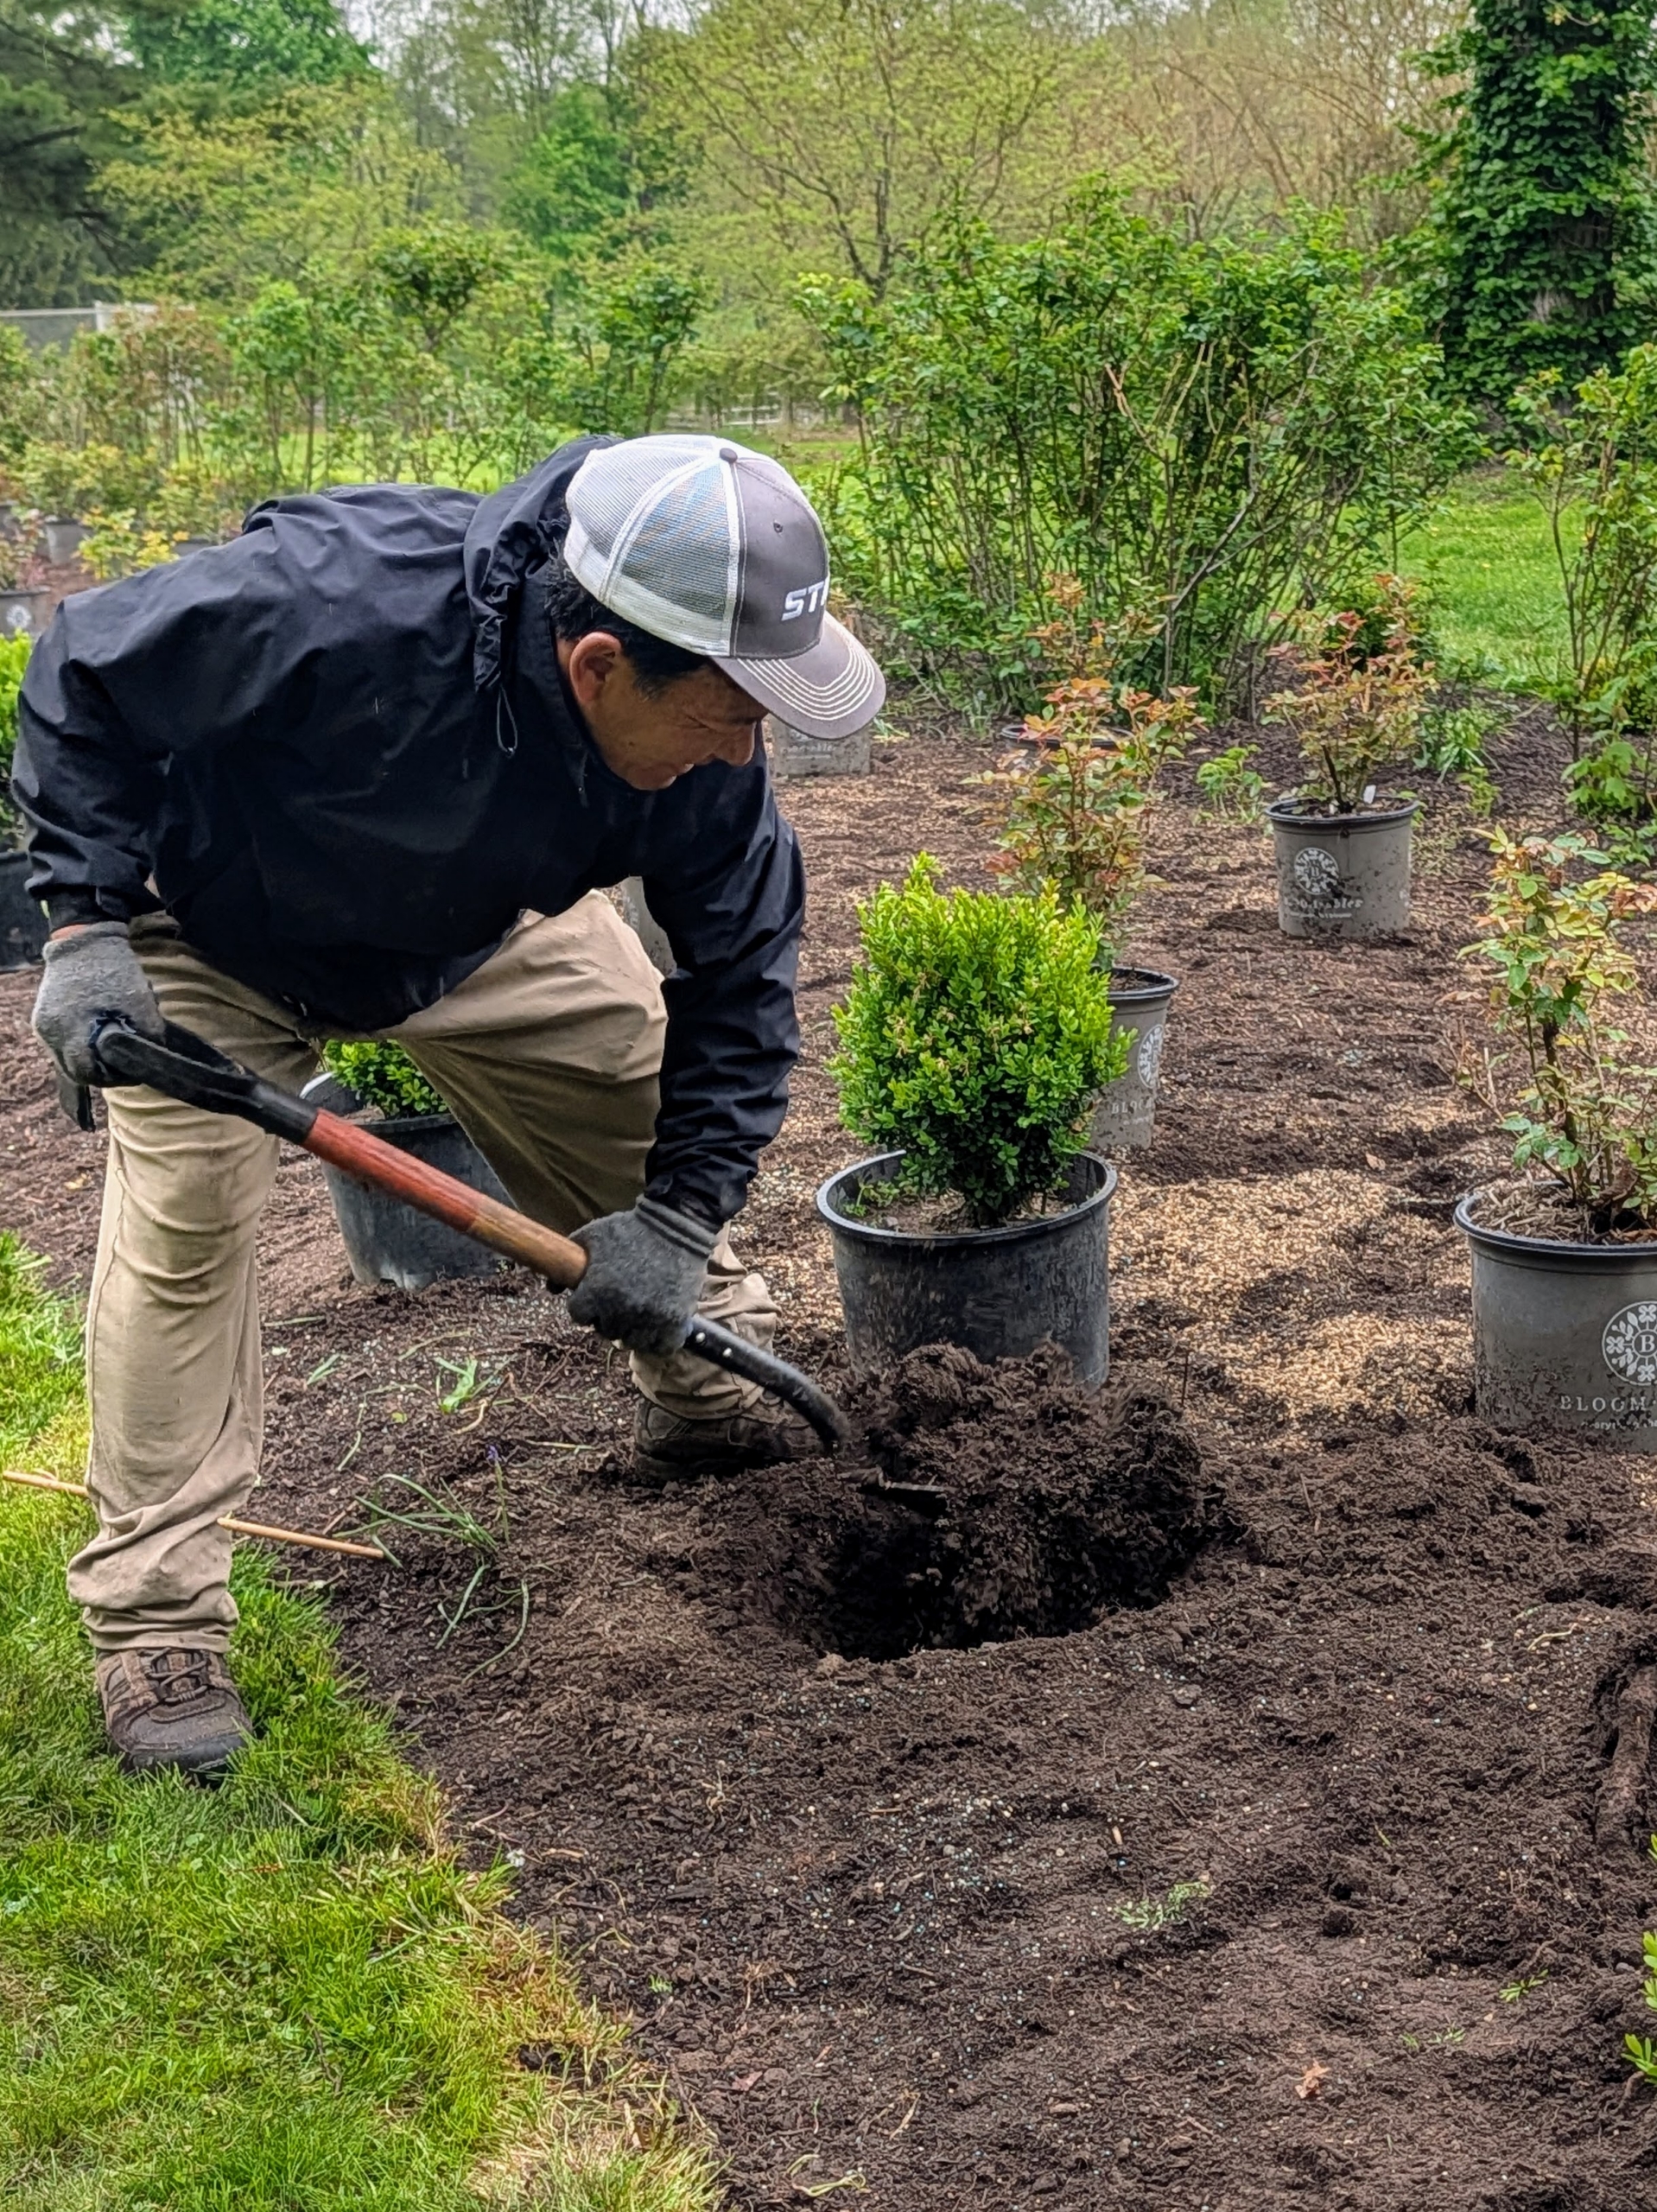
-
- Every hole and the surrounding soil is sprinkled with food. I use Miracle-Gro Shake ‘Feed Flowering Trees & Shrubs fertilizer.
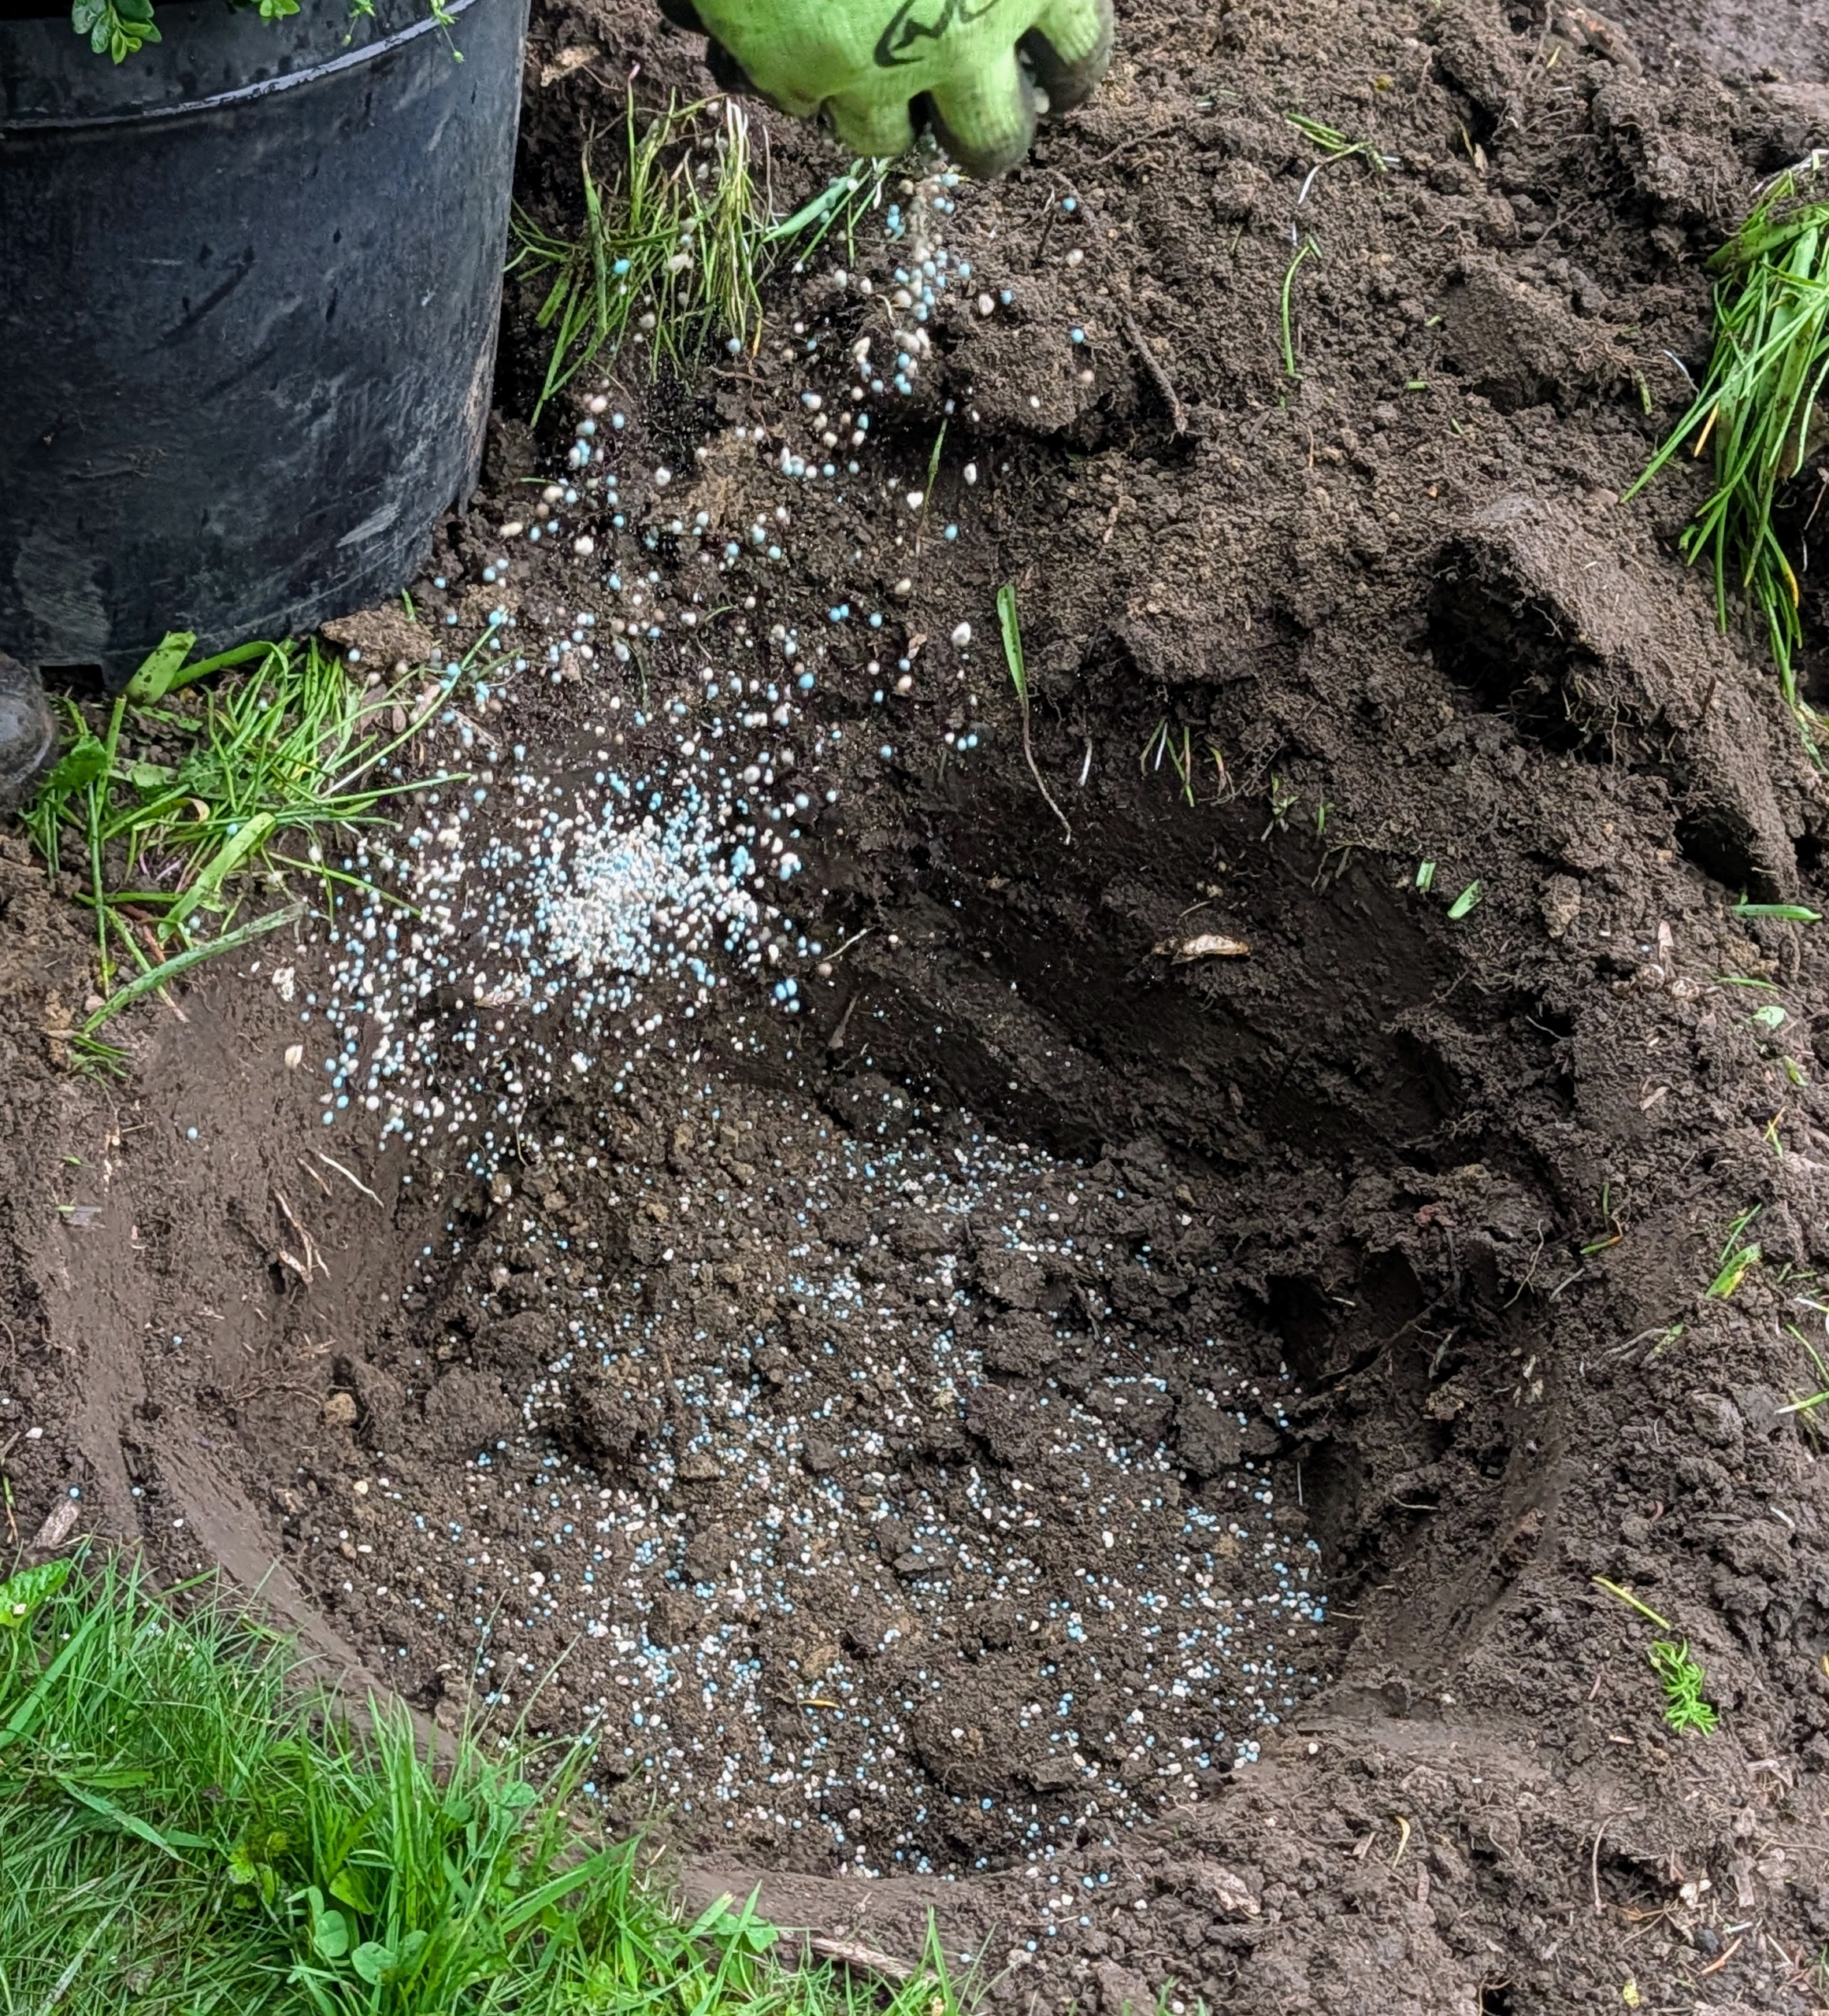
-
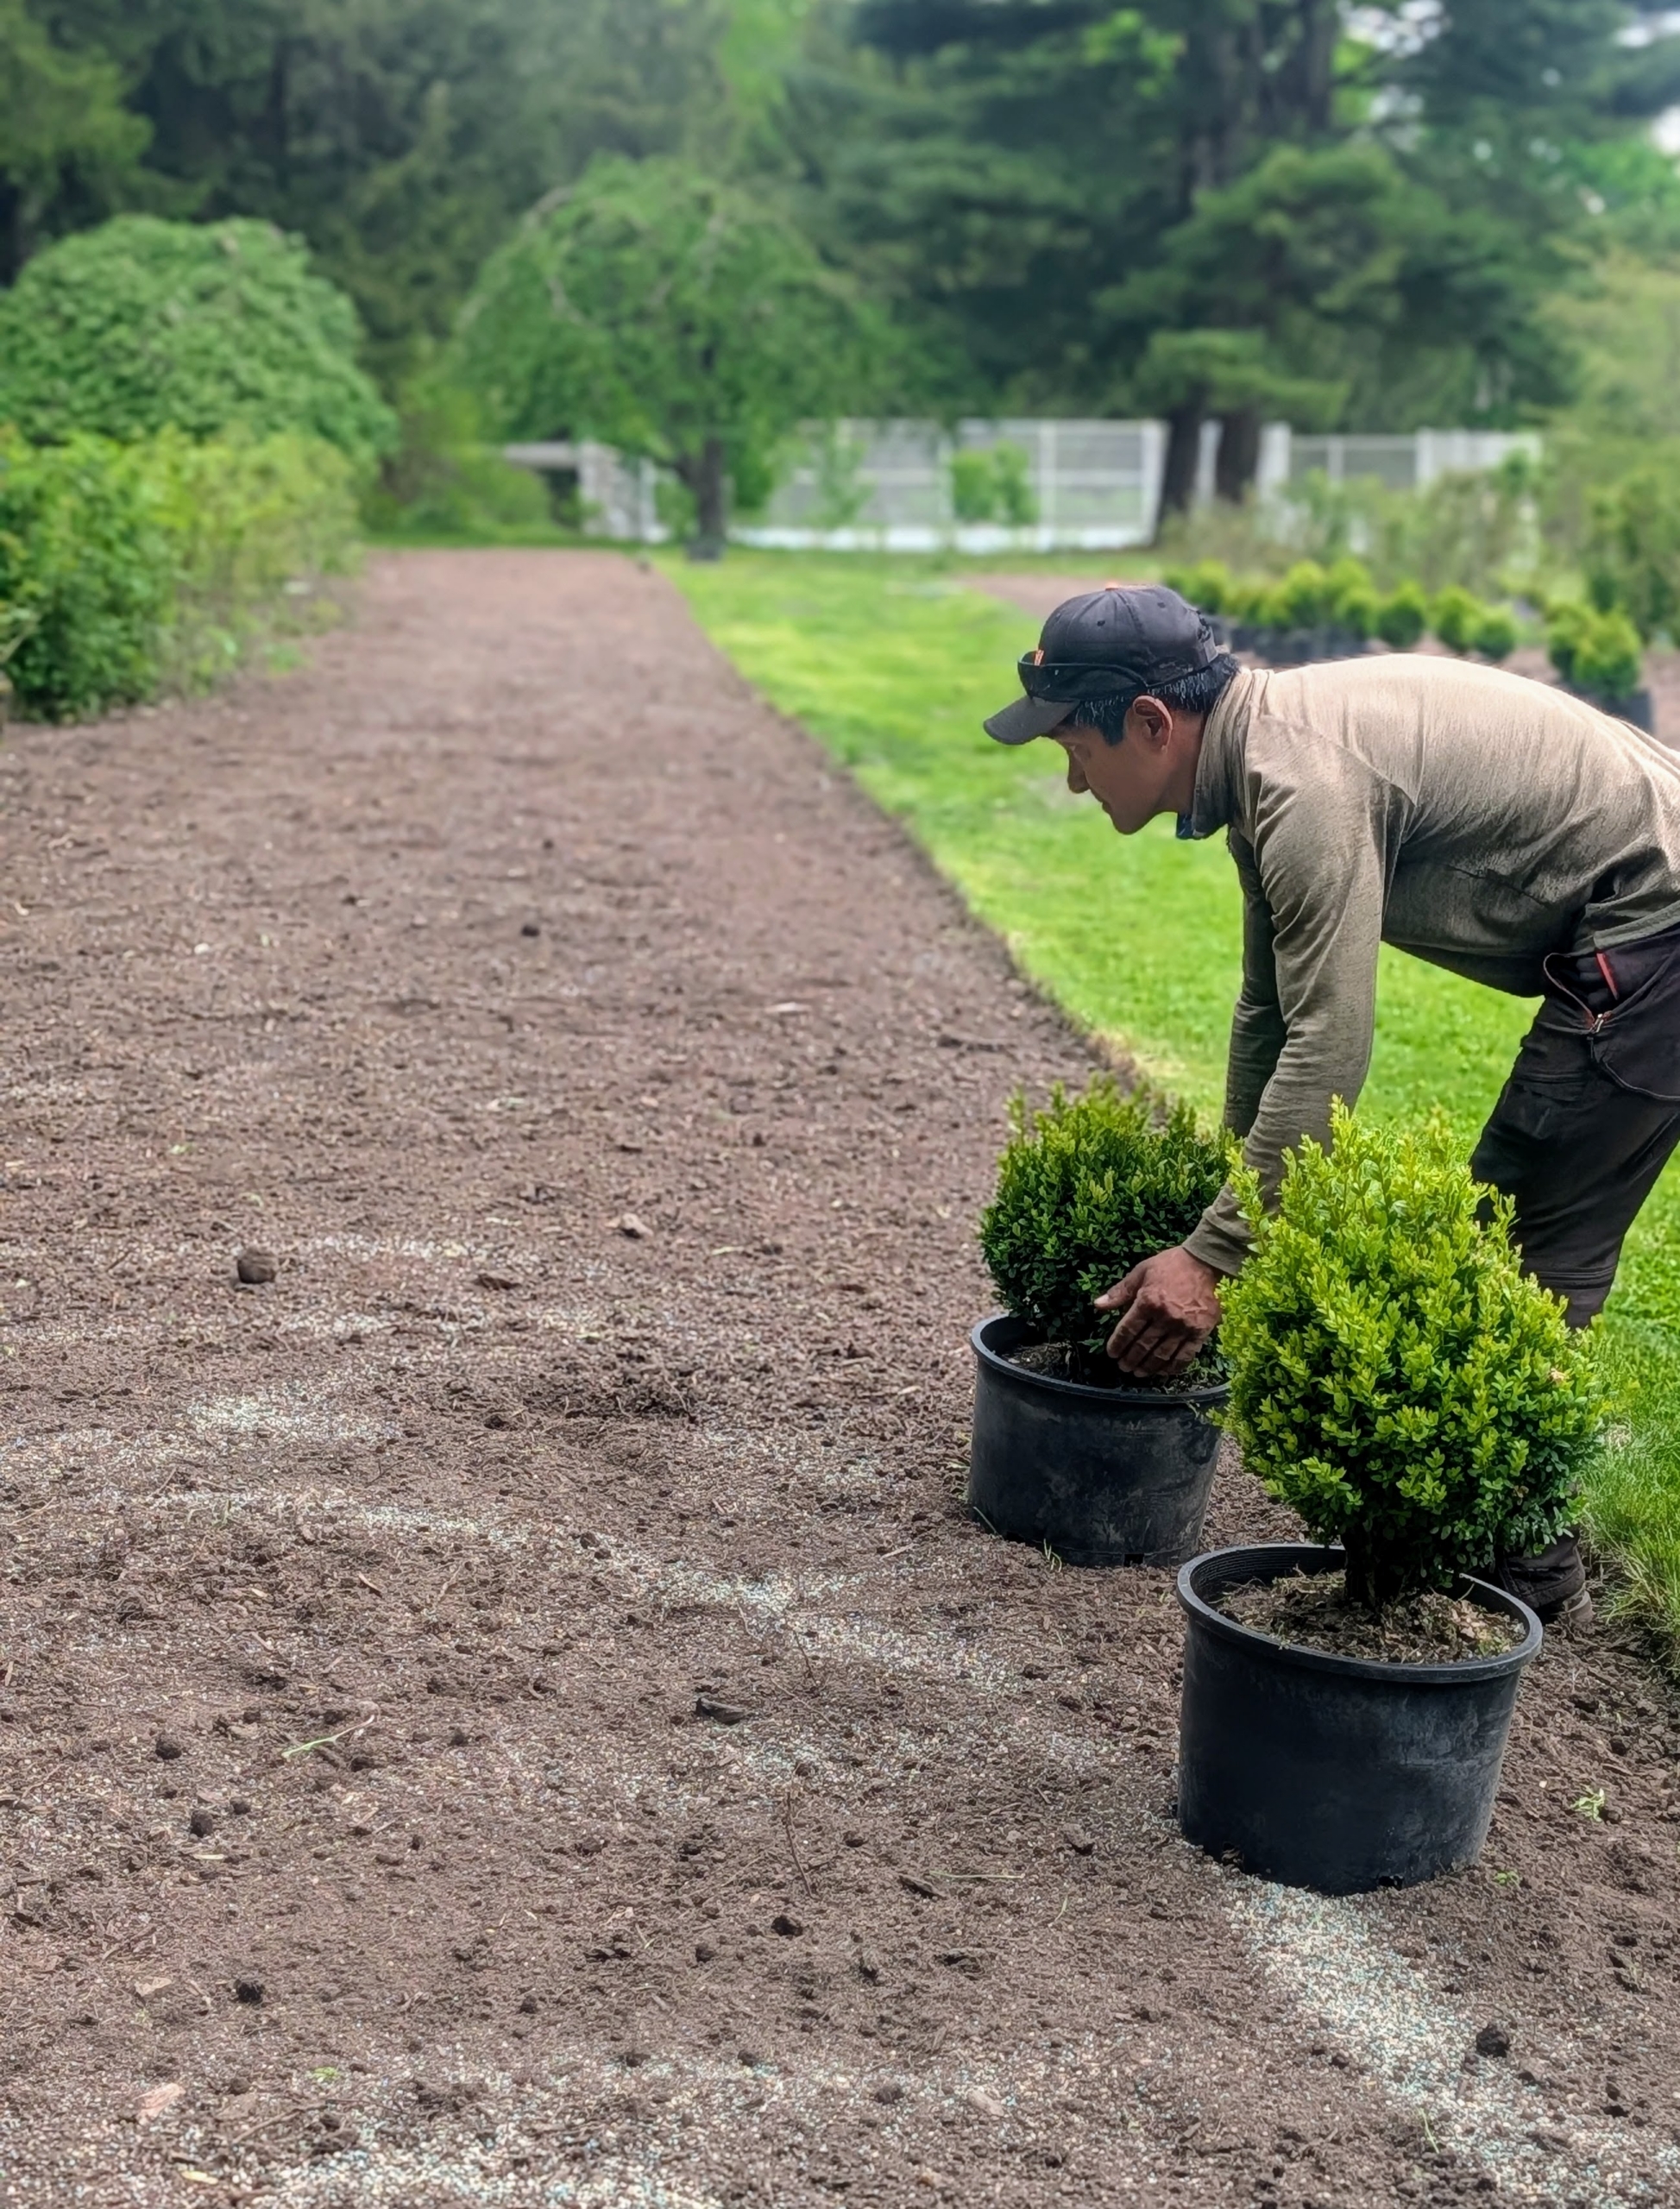
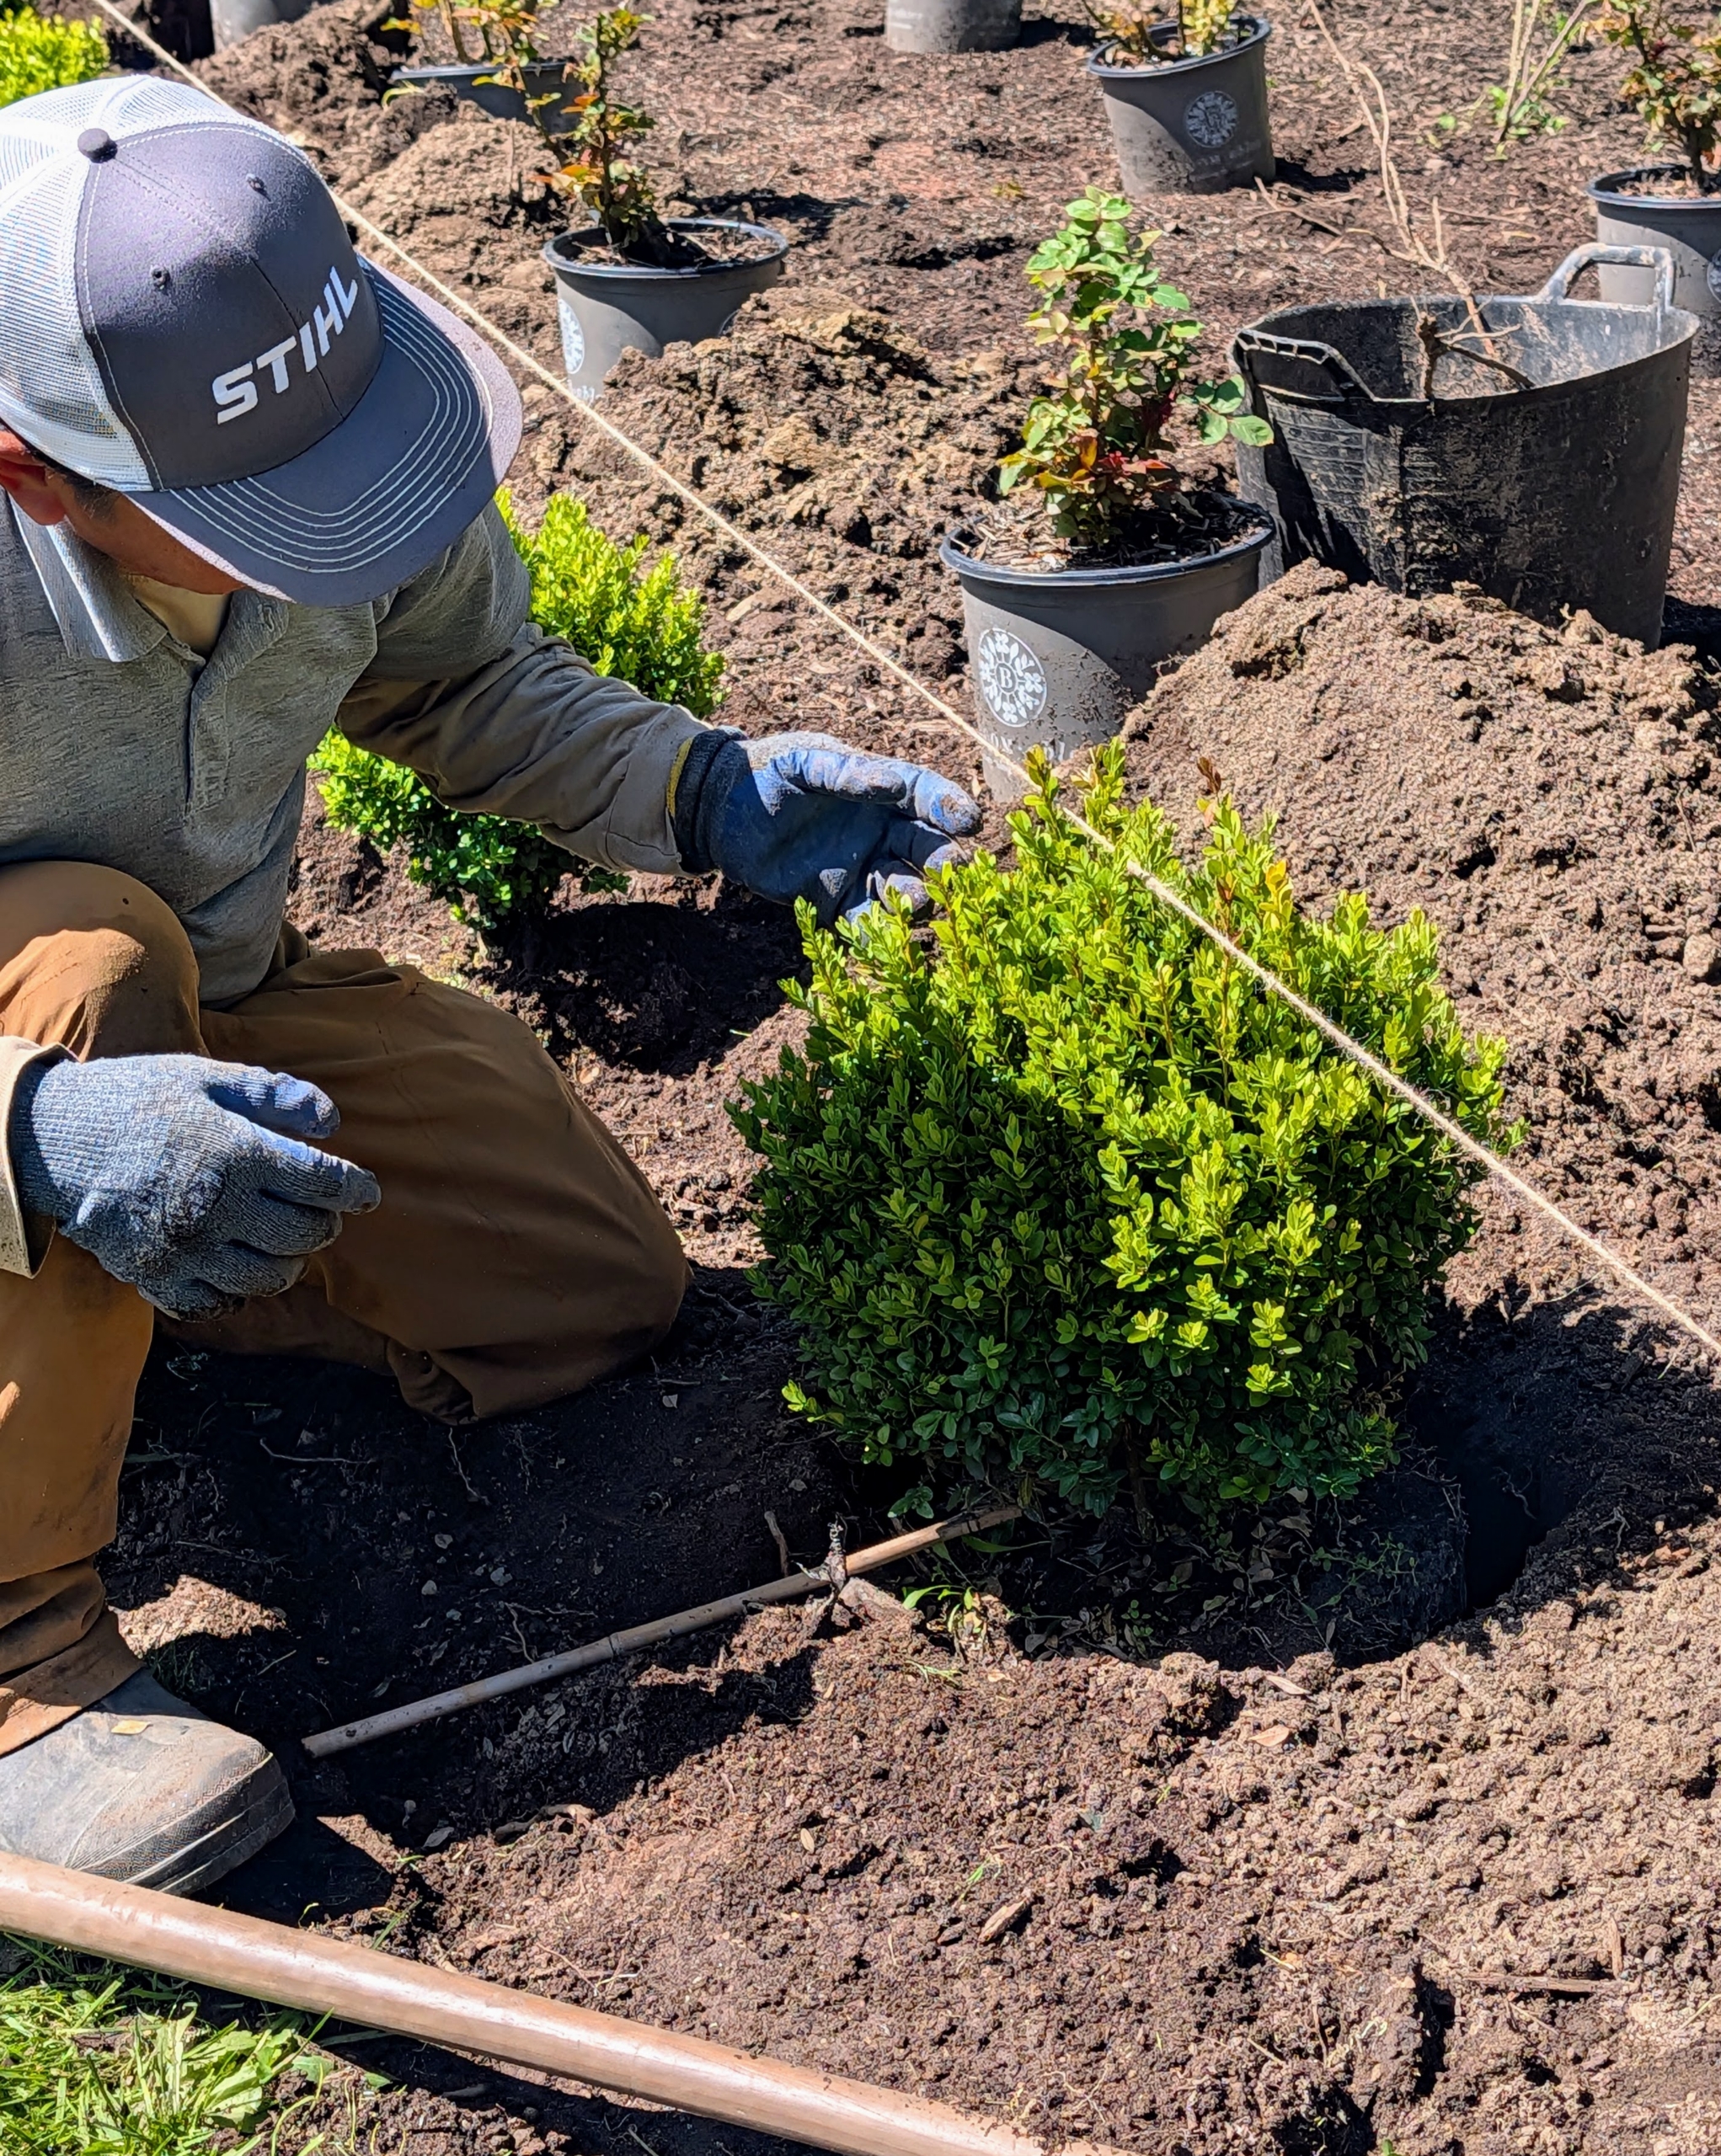
- Garden twine is used again to ensure the boxwood is positioned properly.

-
- Phurba adjusts each boxwood before it is planted.
-
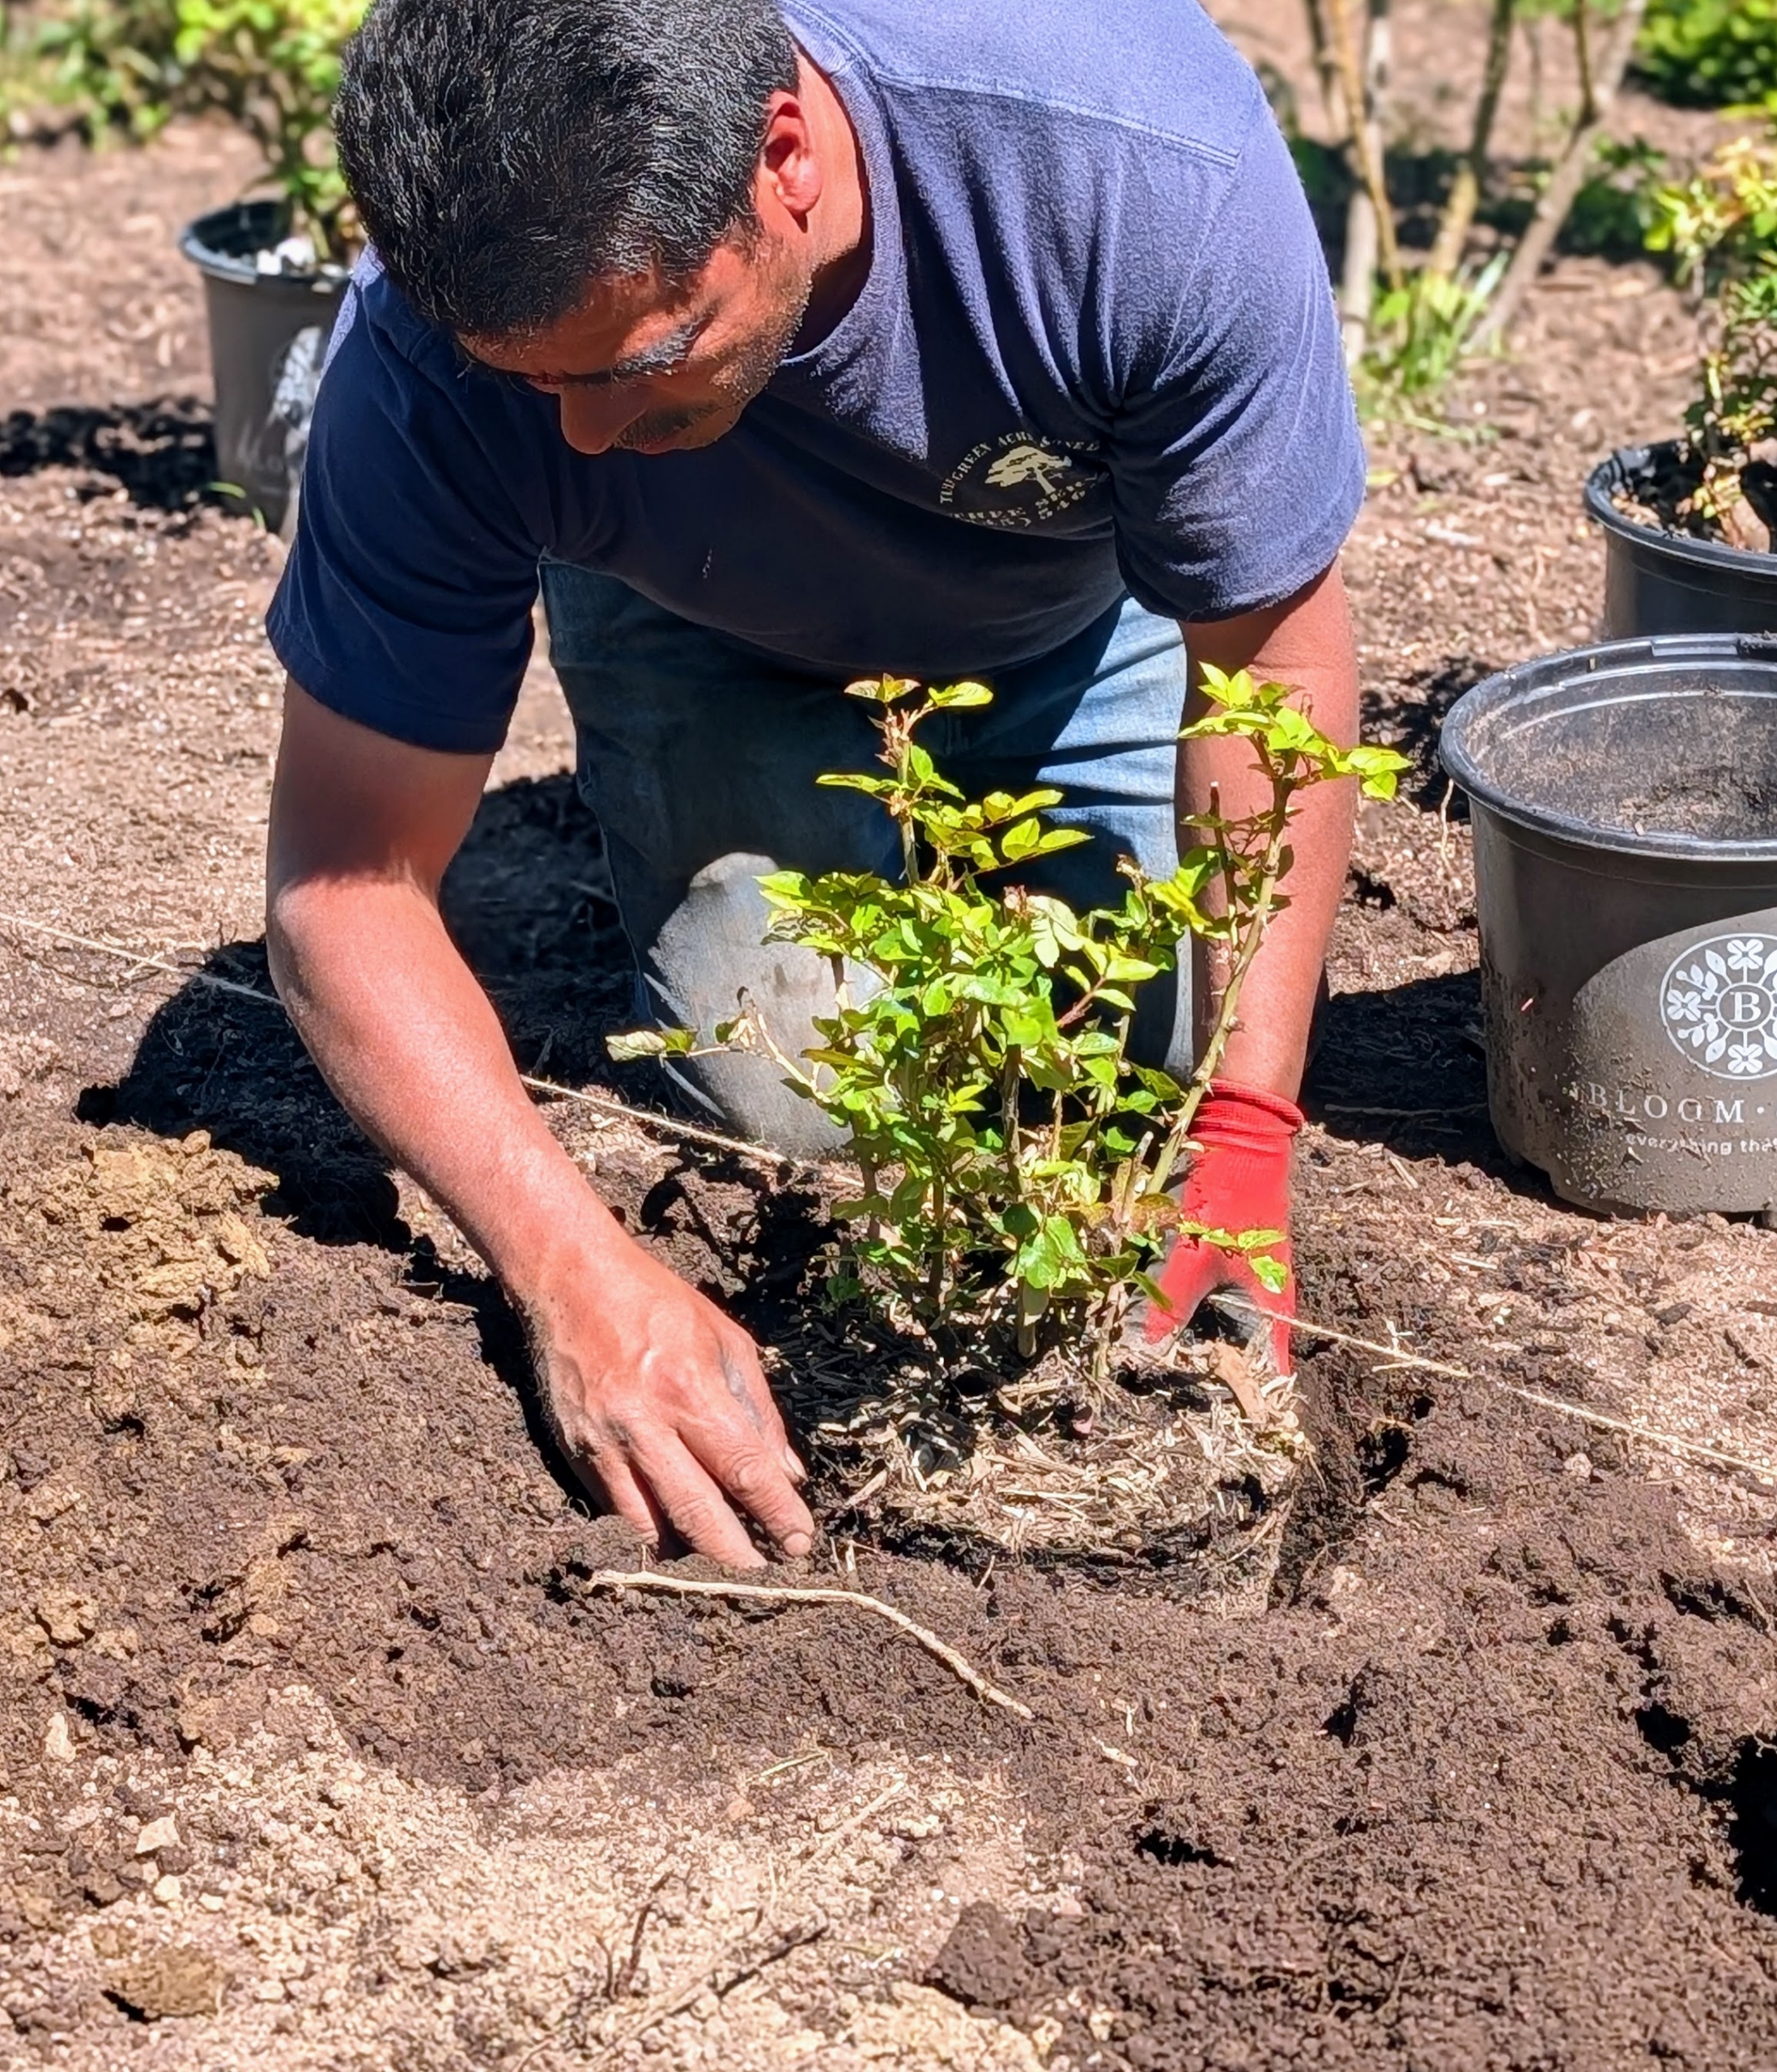
- The same is done for each rose – everything must be perfect.
-
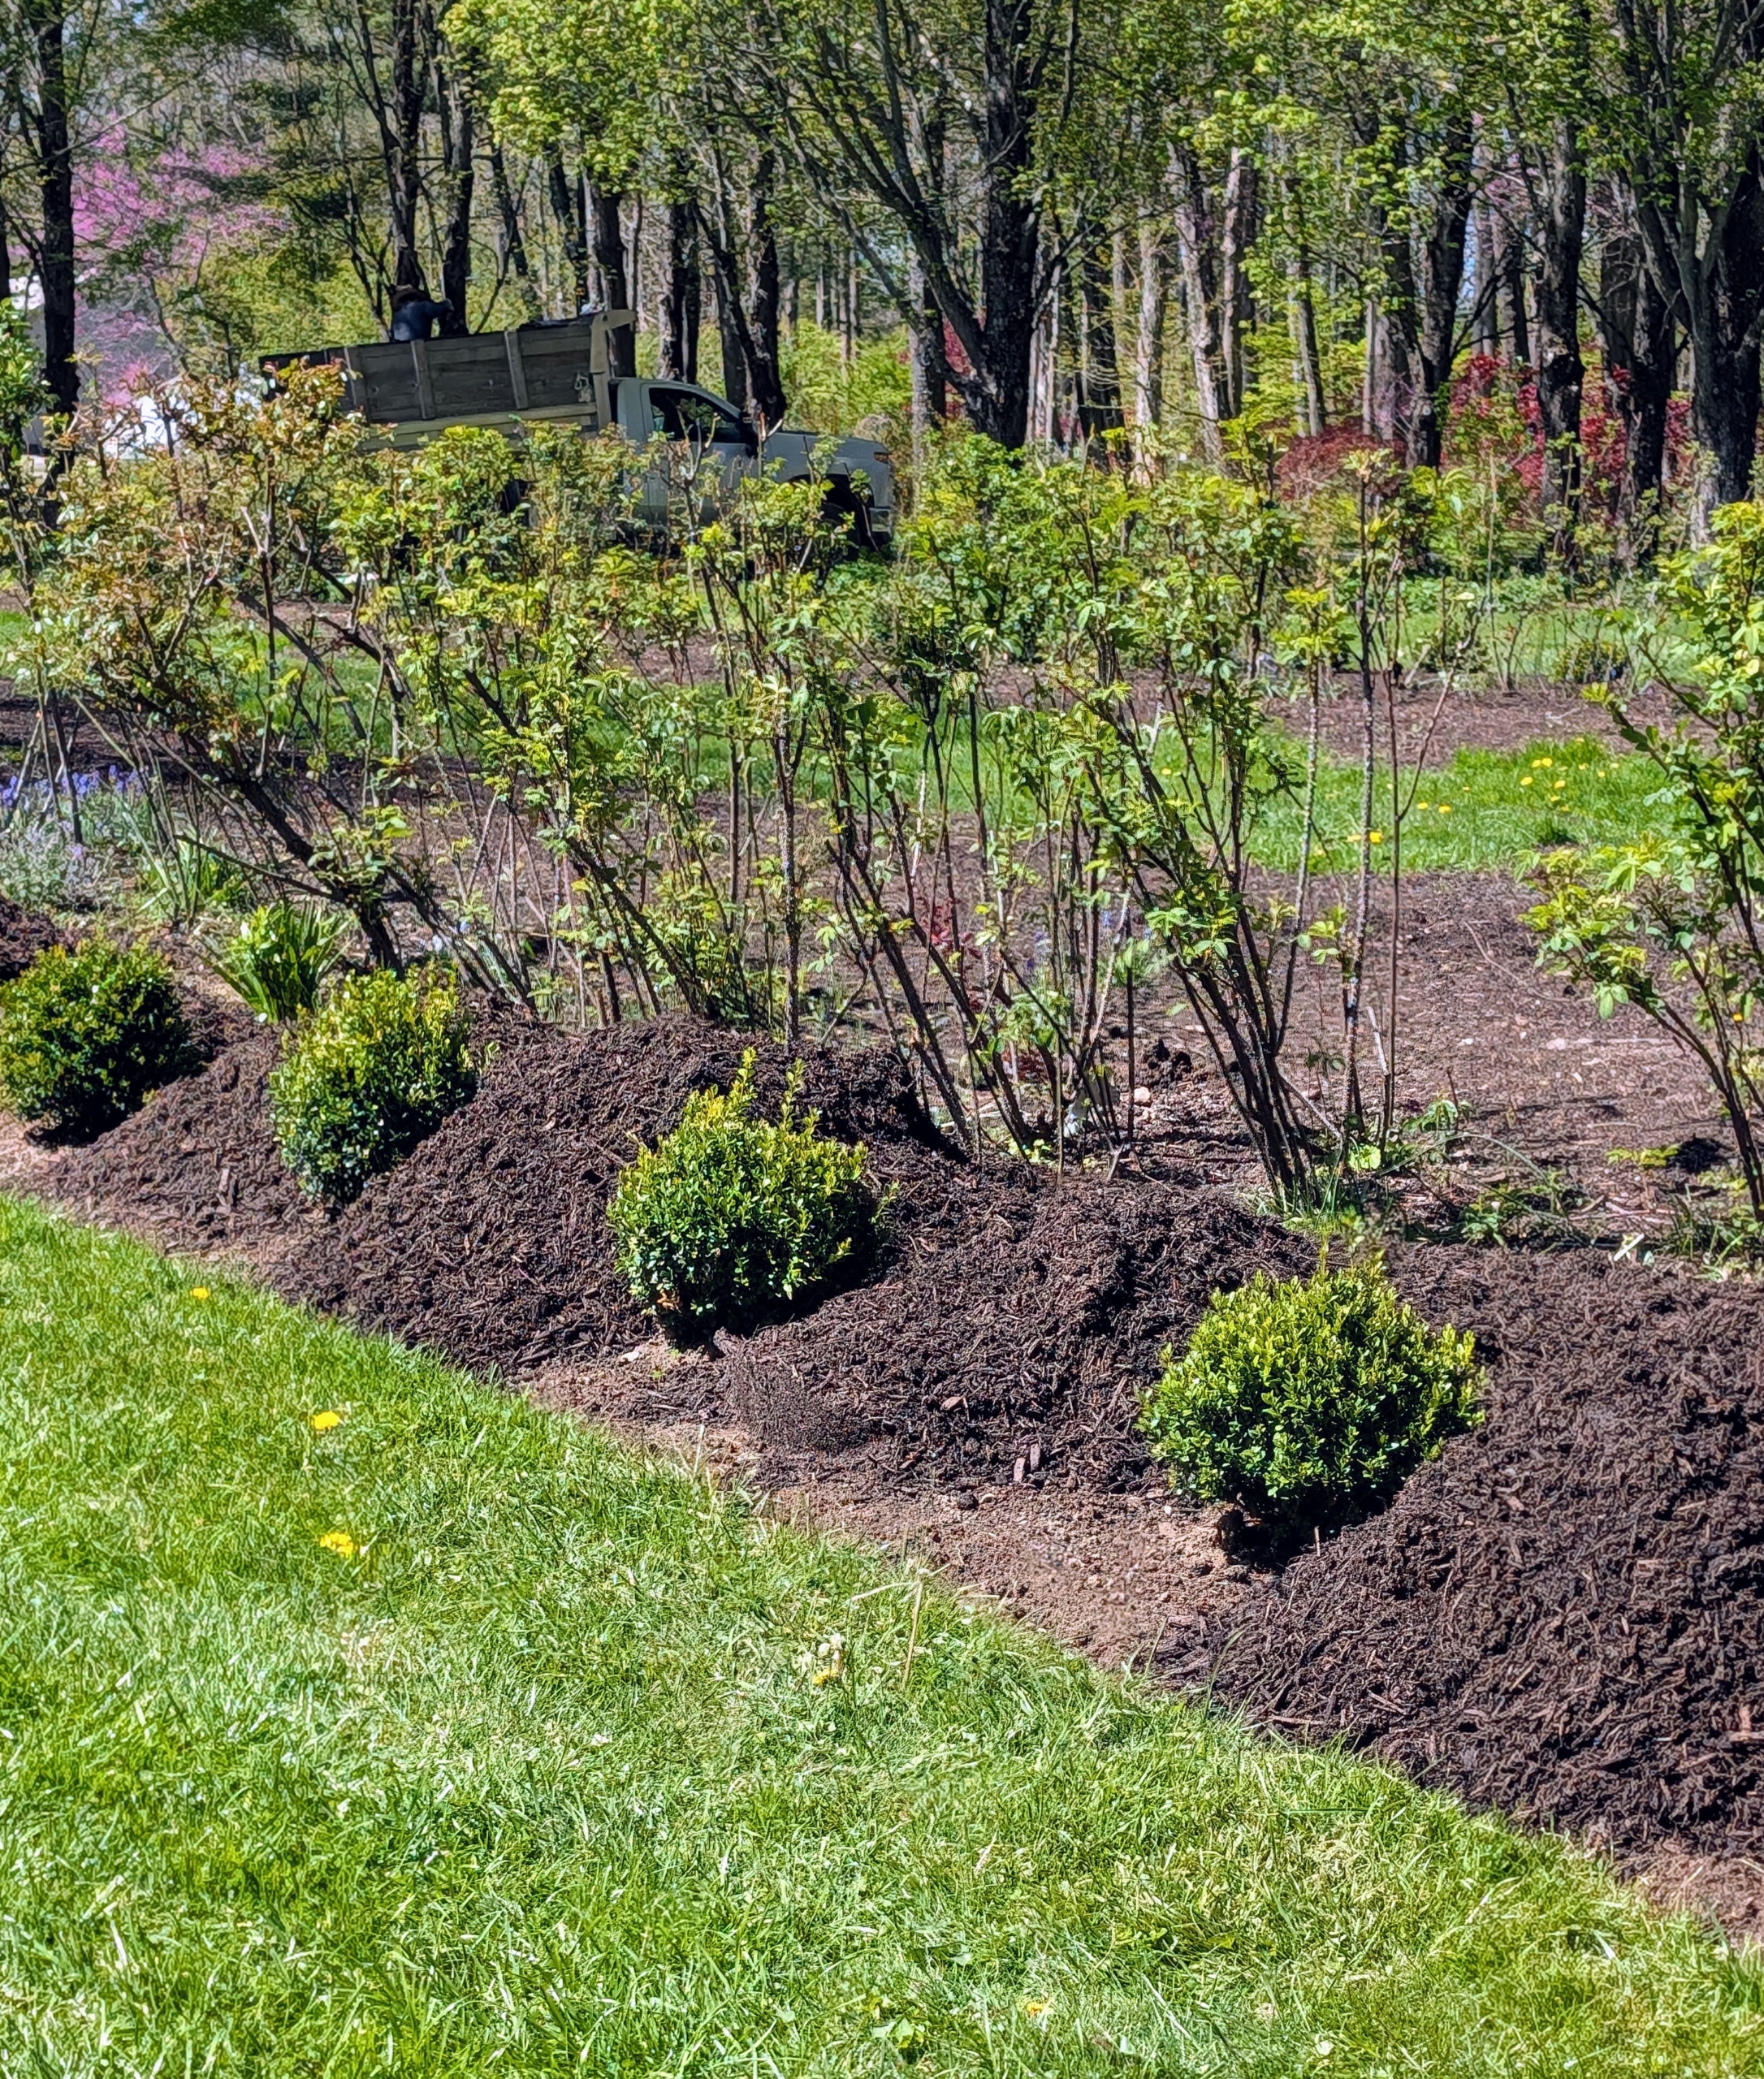
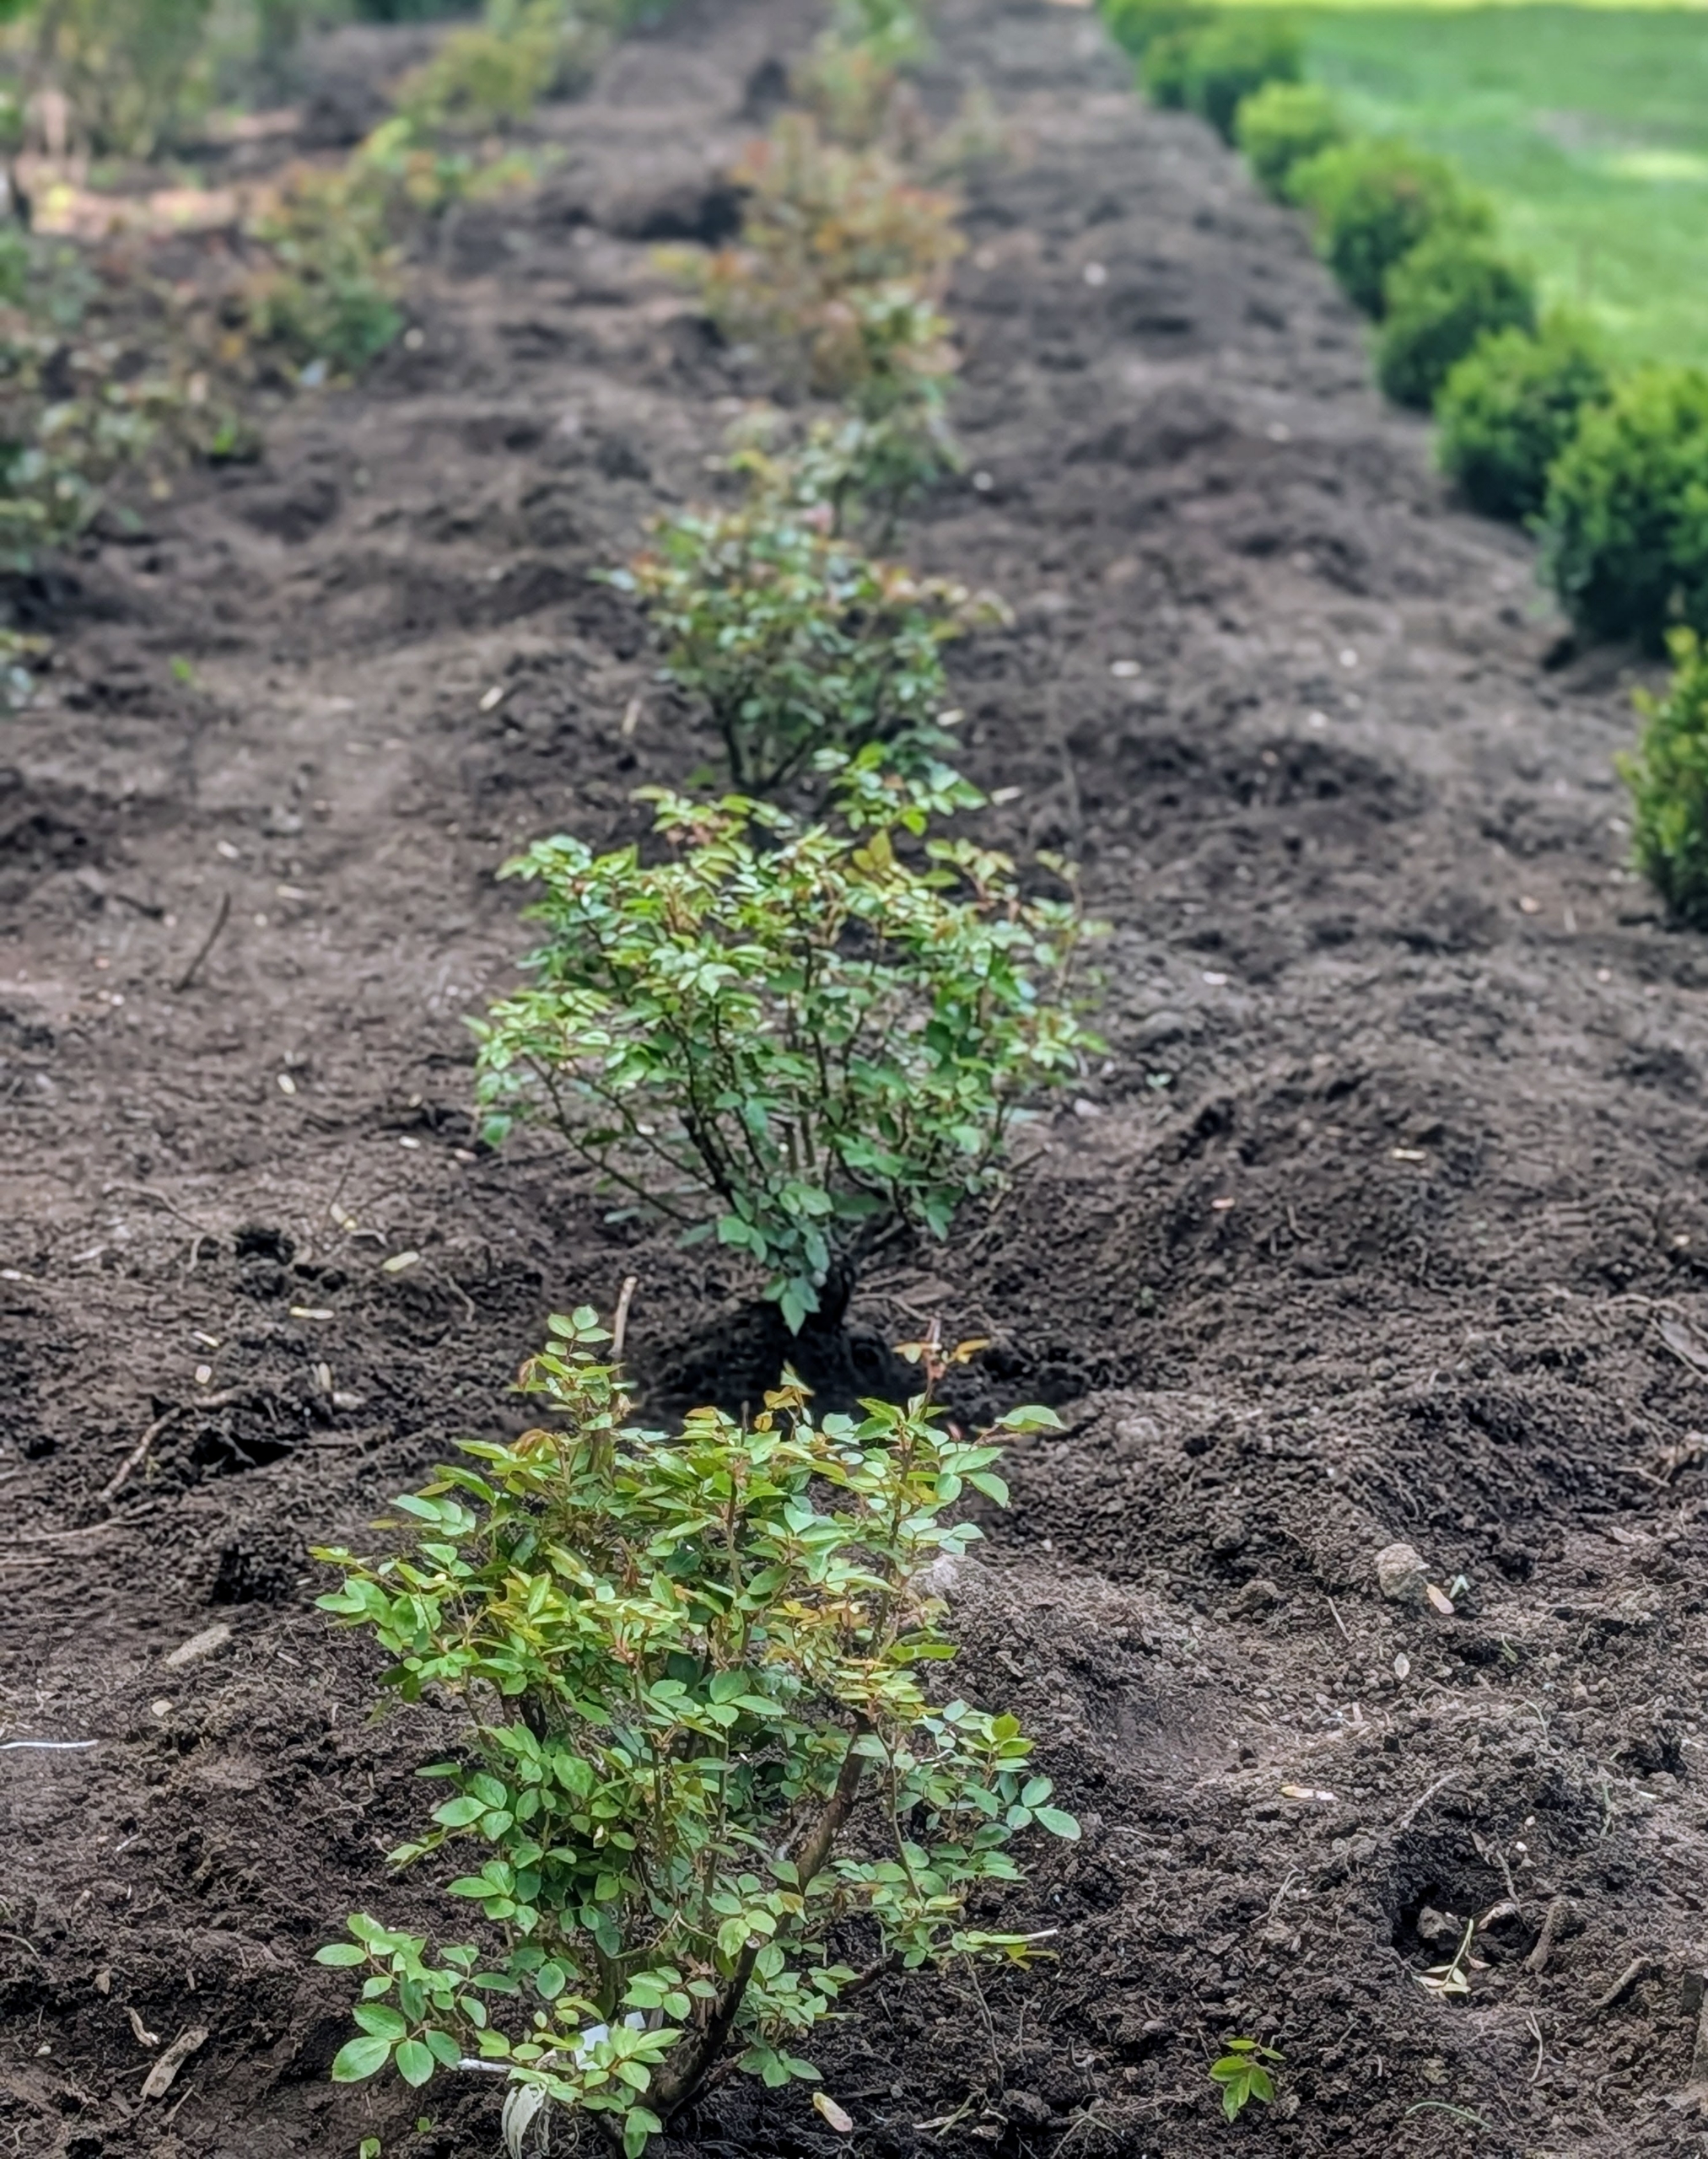
- Here is an area of roses in the ground. Always be sure to bury it to the same depth it was in the pot. The bud union should be at or slightly below the soil surface.
-
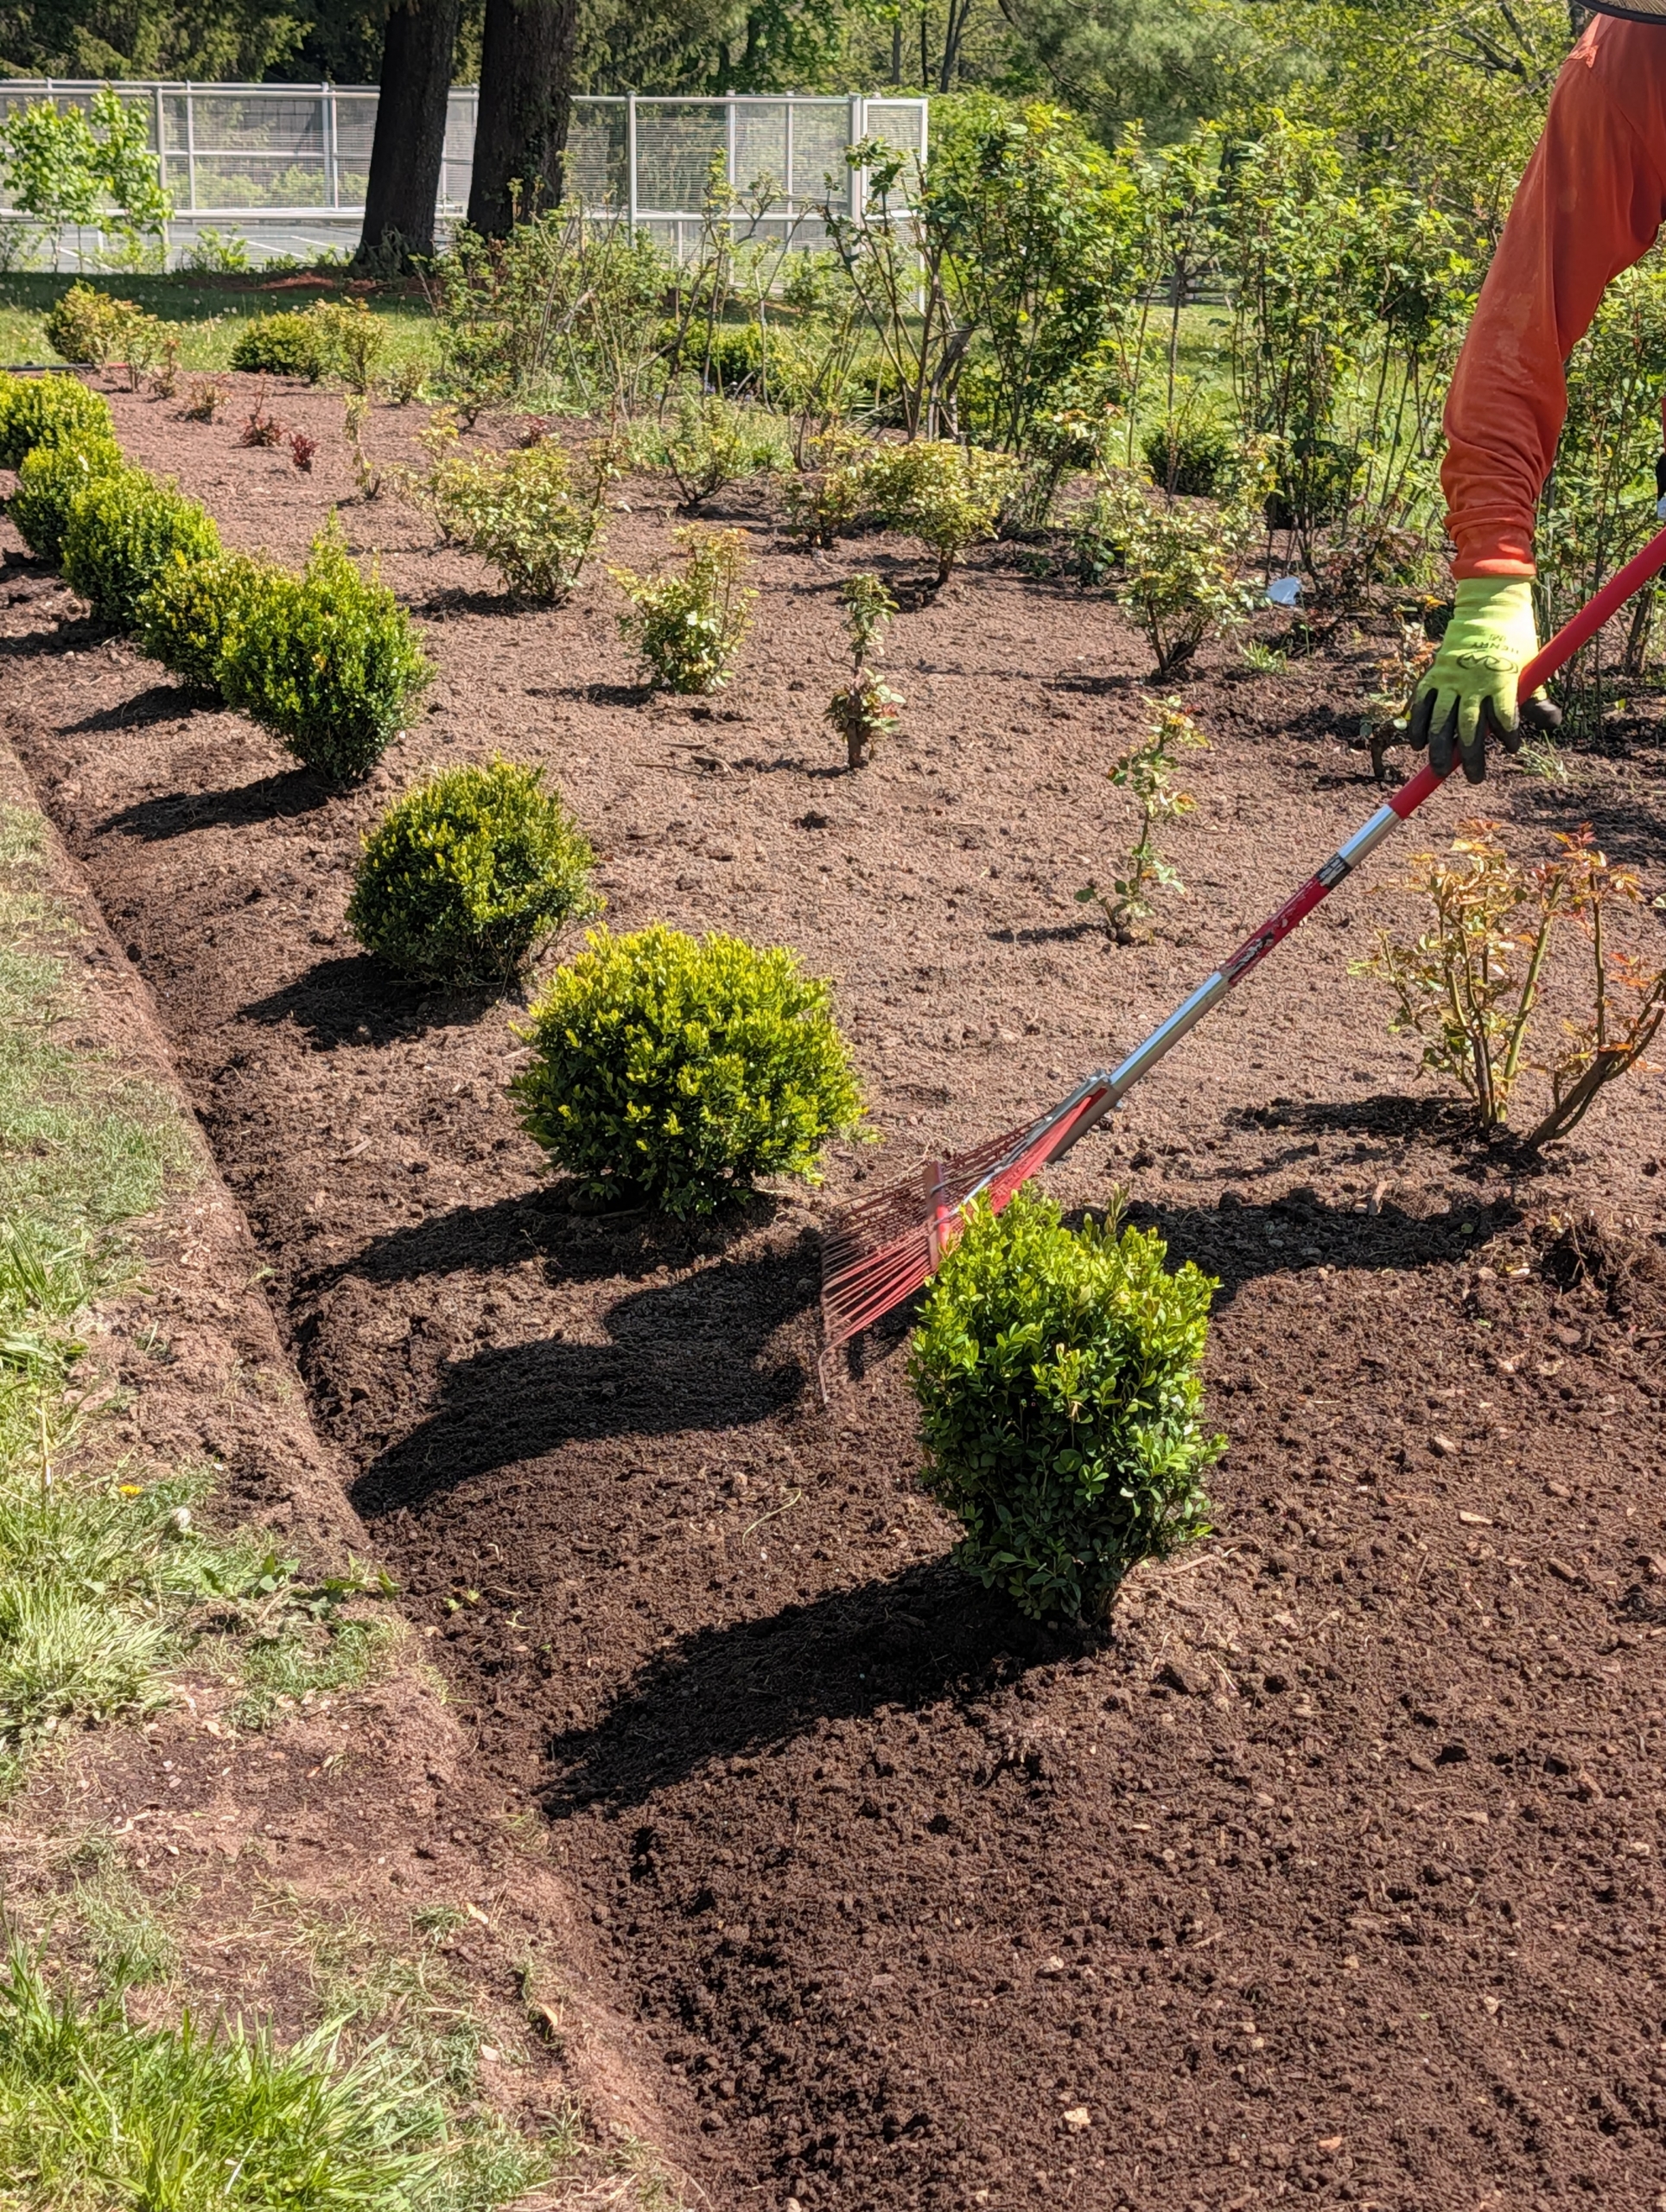
- Once the area is planted, the surrounding soil is raked evenly and neatly.
-
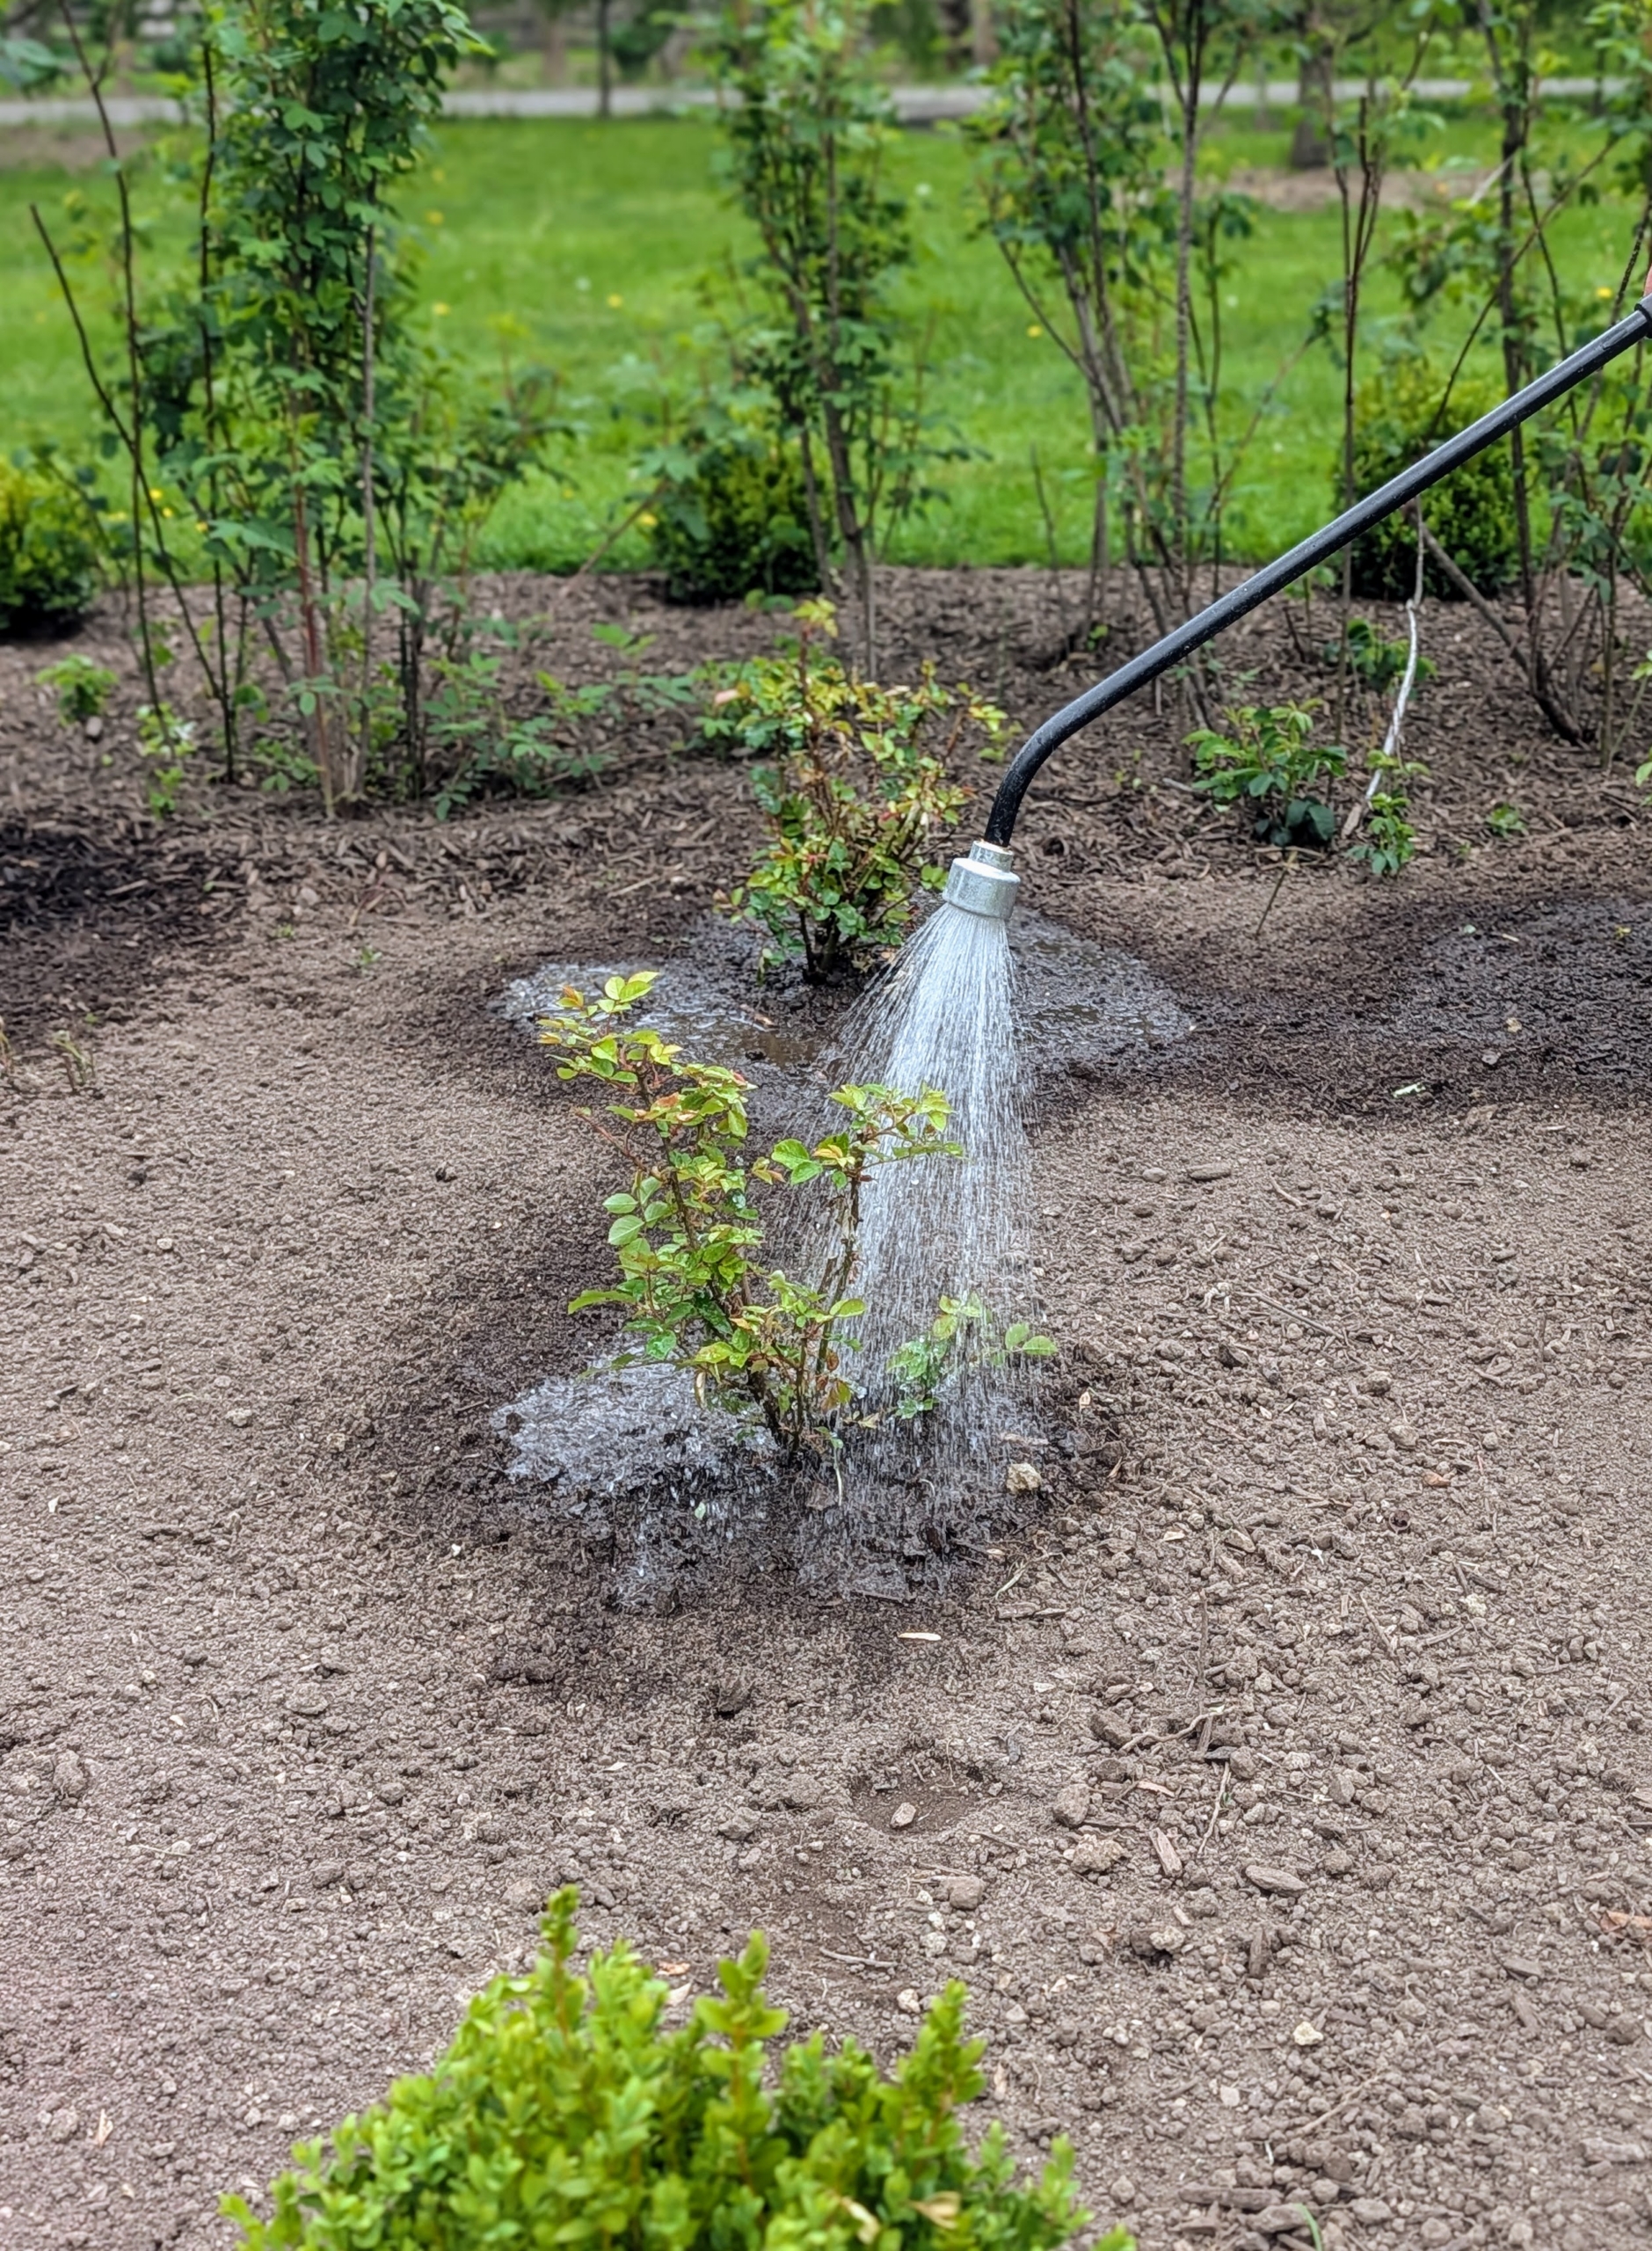
- And then every plant is watered thoroughly. I told my crew to water each one for 10-seconds.
-
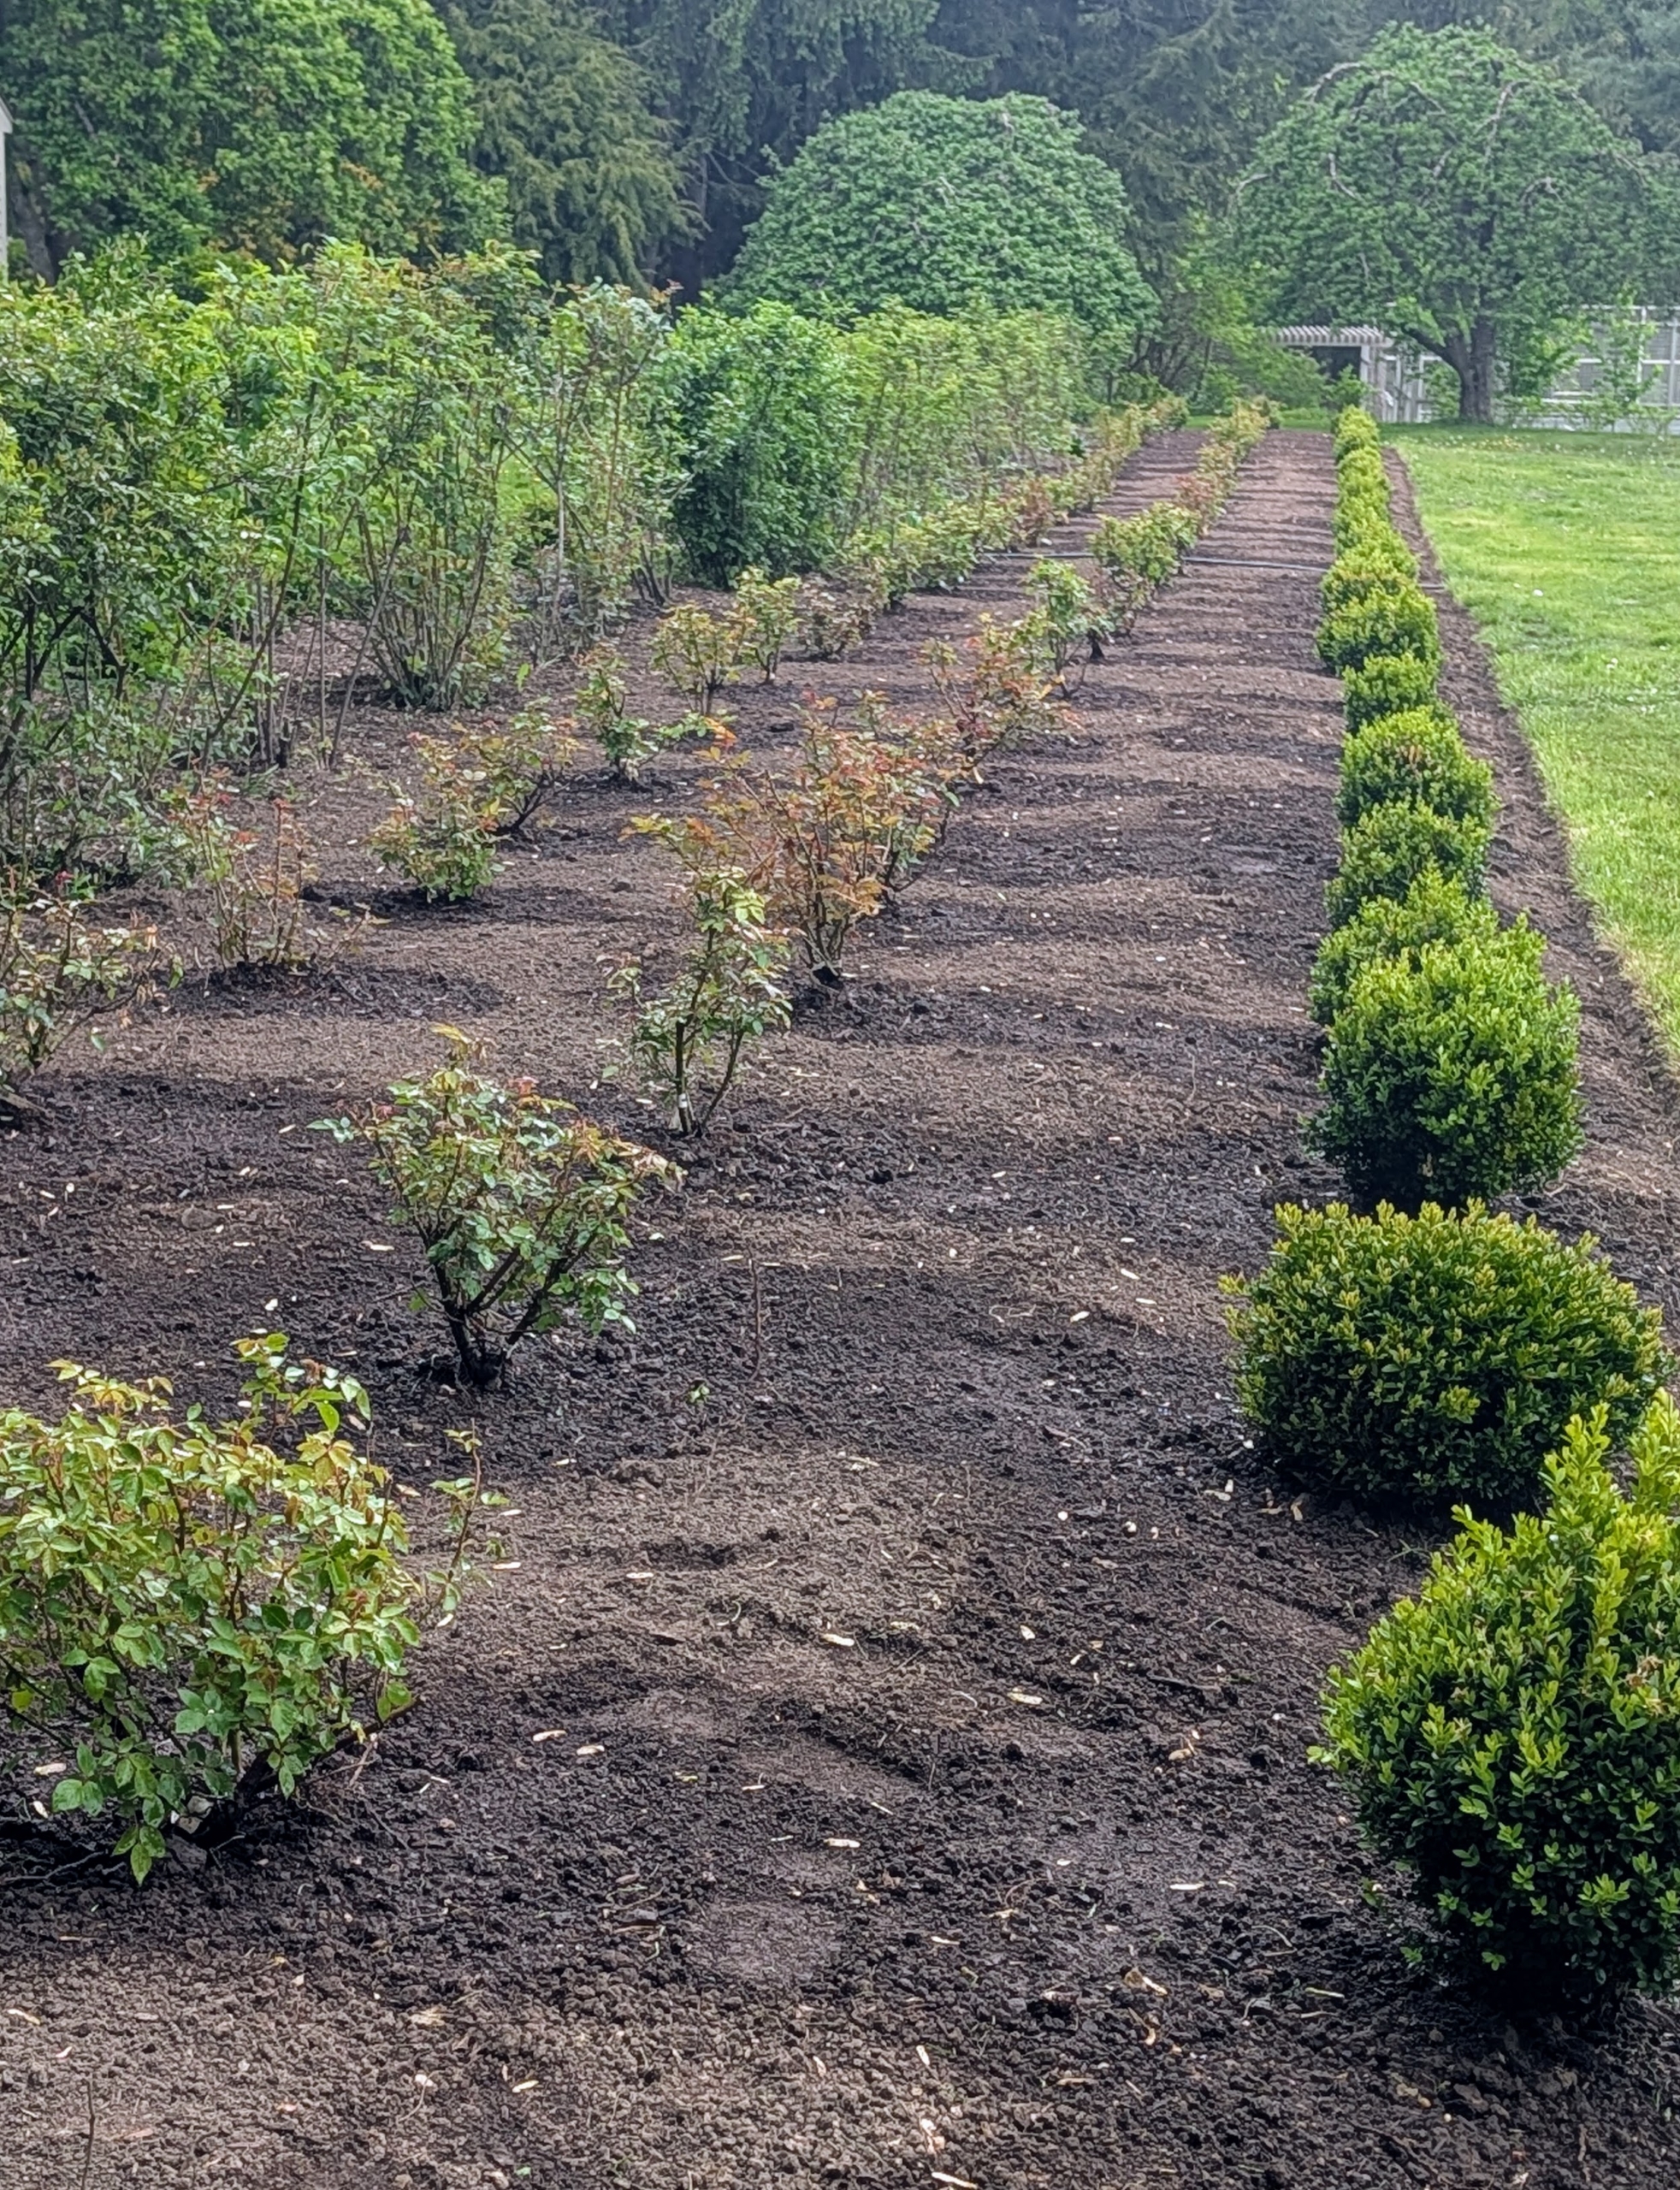
- And here is one side completely planted. It looks great. Next, the beds will be covered with weed cloth and a layer of mulch. In my next blog, I’ll share images of the rose varieties. Transforming a garden gives it renewed life and appeal. I can’t wait to see it flower.