

Planting Spring Tulip Bulbs in My Garden
Get your bulb planters and garden tools ready - it’s time to plant those spring-blooming bulbs!
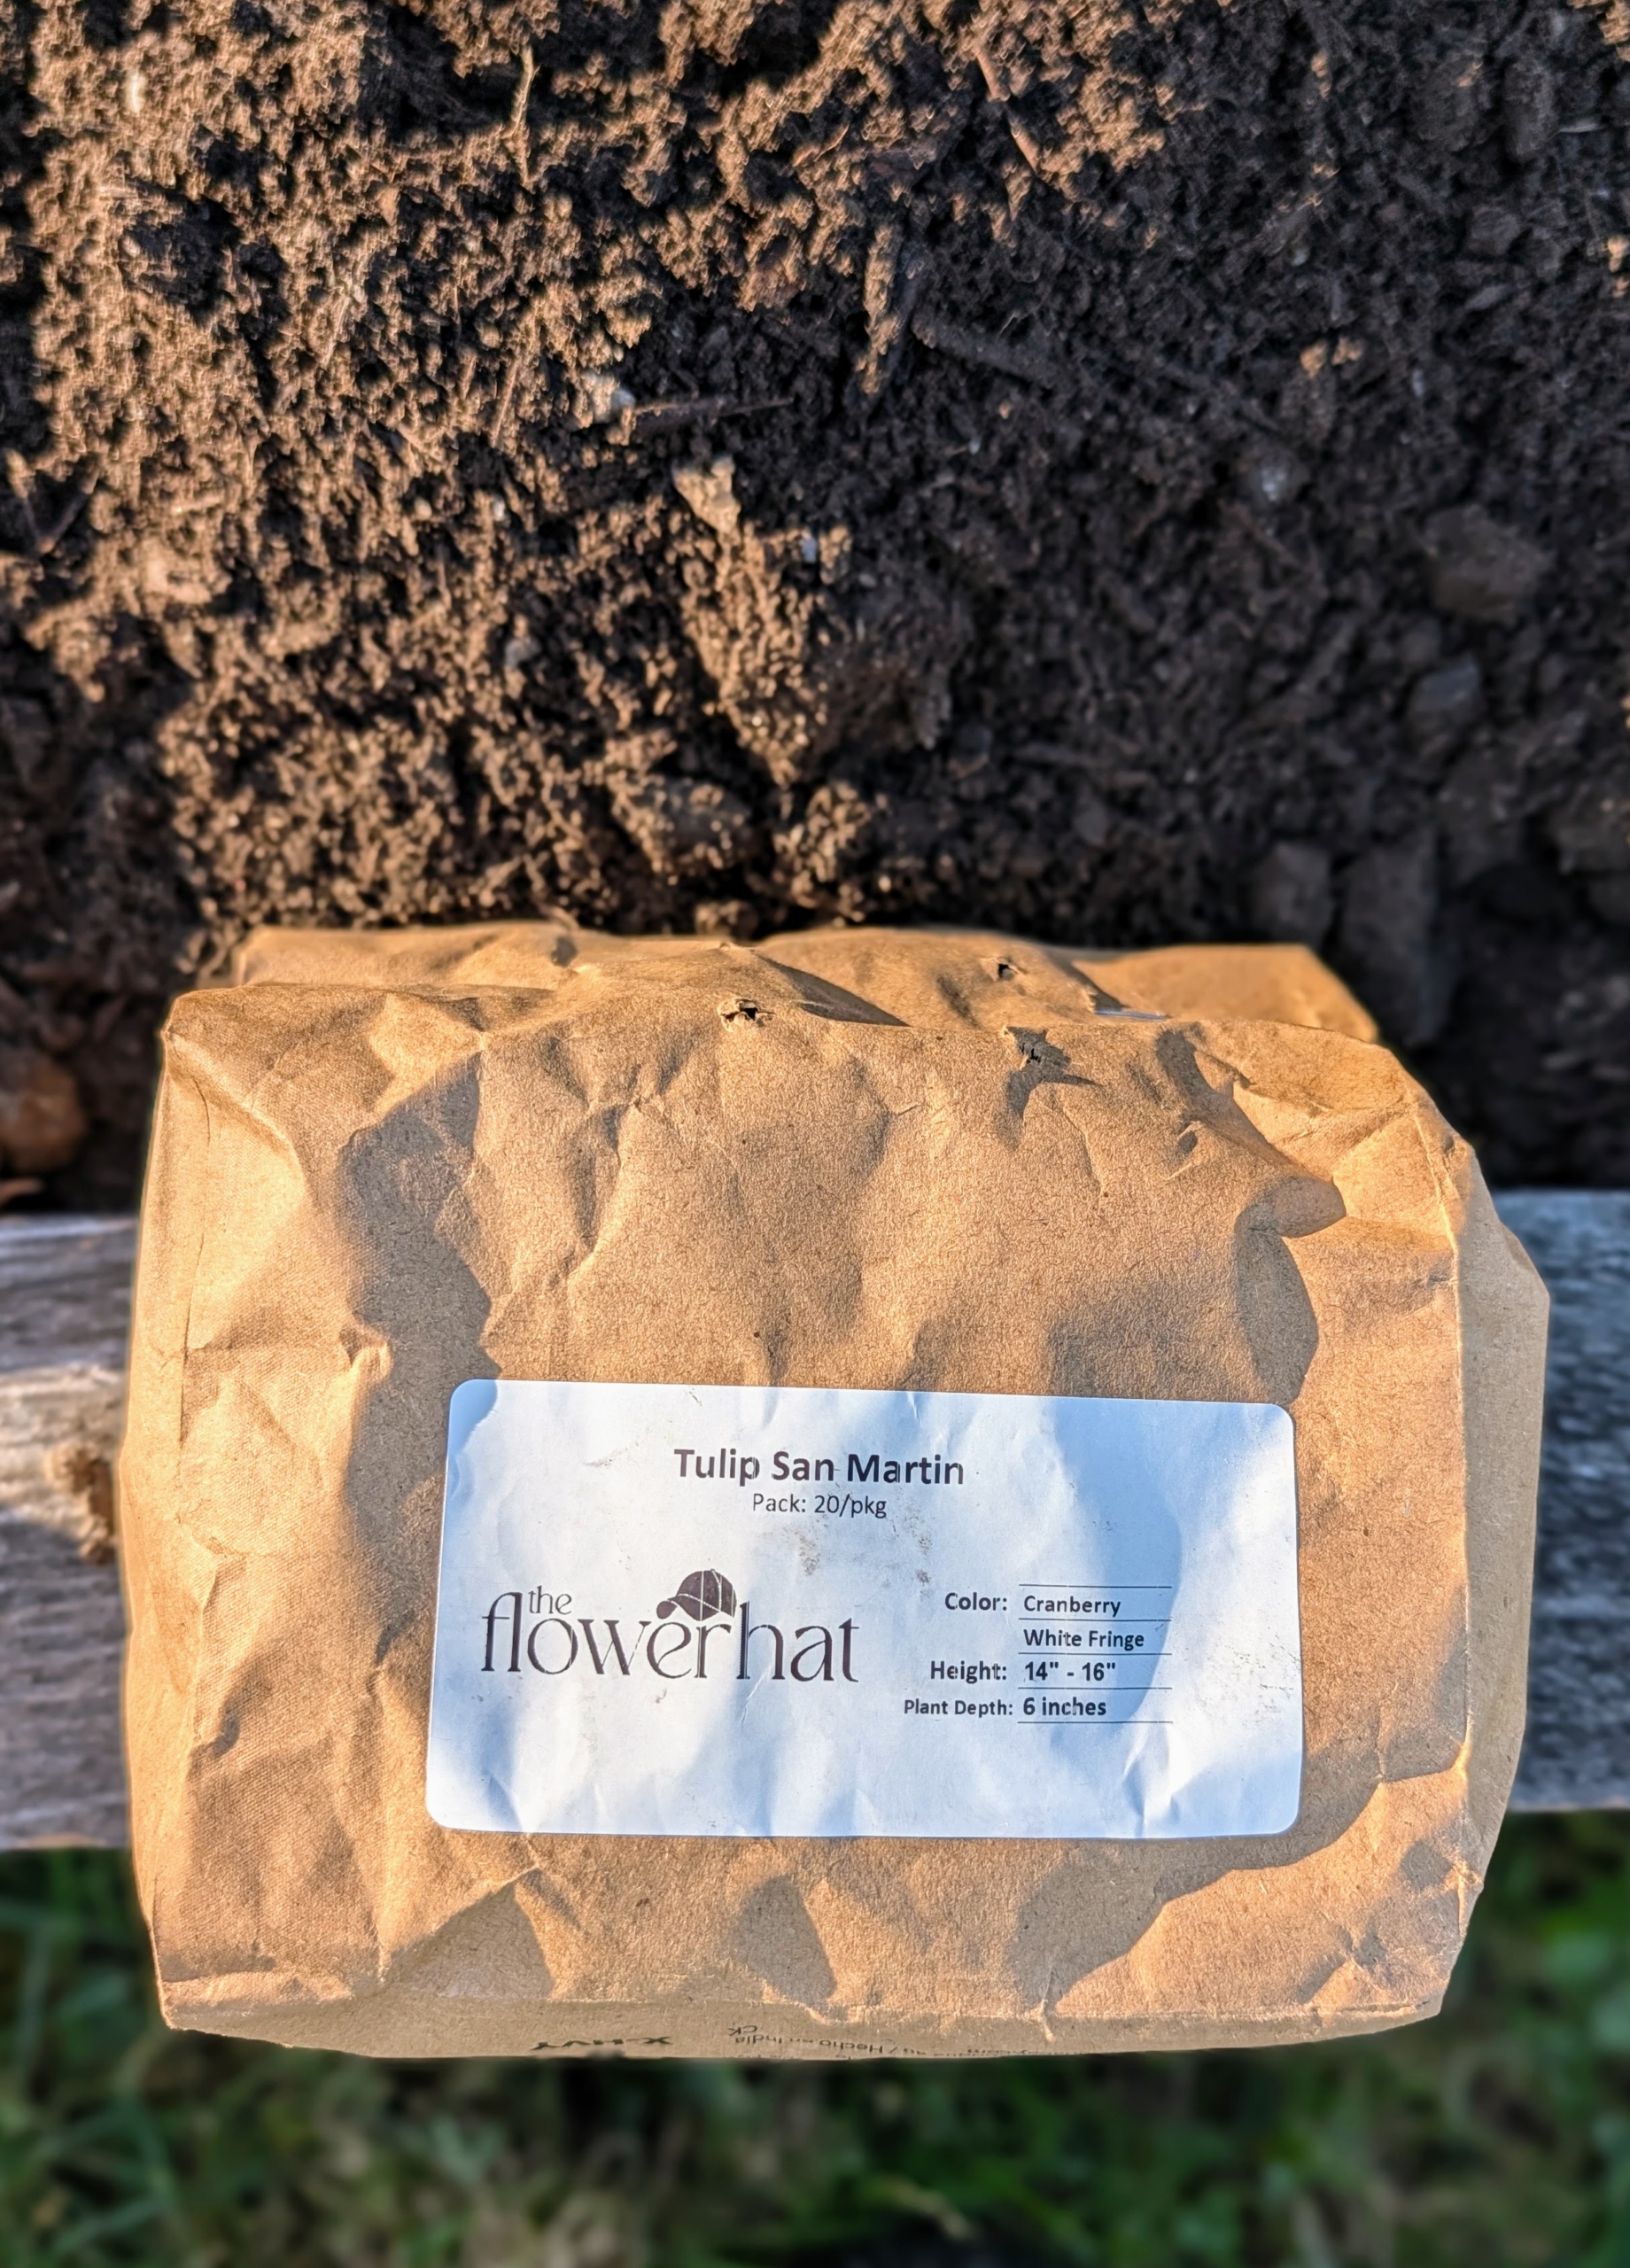
If you want a beautiful display of flowers in the garden next spring, autumn is the ideal time to get planting. Most spring-flowering bulbs require an extended period of cold temperatures to break dormancy and support healthy root development before their spring growth and bloom. Every year, I plant an abundance of bulbs throughout my gardens, including daffodils, Dutch iris, Camassia, alliums, and many others. Yesterday, my gardeners planted tulip bulbs from The Flower Hat, a floral design studio and flower farm in Bozeman, Montana. The bulbs were carefully placed in several raised beds in my vegetable garden, where I know they will put on a spectacular and colorful show come spring.
Enjoy these photos.
-

- It’s always exciting to receive bulbs from The Flower Hat. We were sent a variety of different tulip bulbs, all in excellent condition. All tulips are planted in the fall and bloom in the spring. They grow best in zones 3 to 8 where they can get eight to 12 weeks of cold temperatures while under the soil.
-
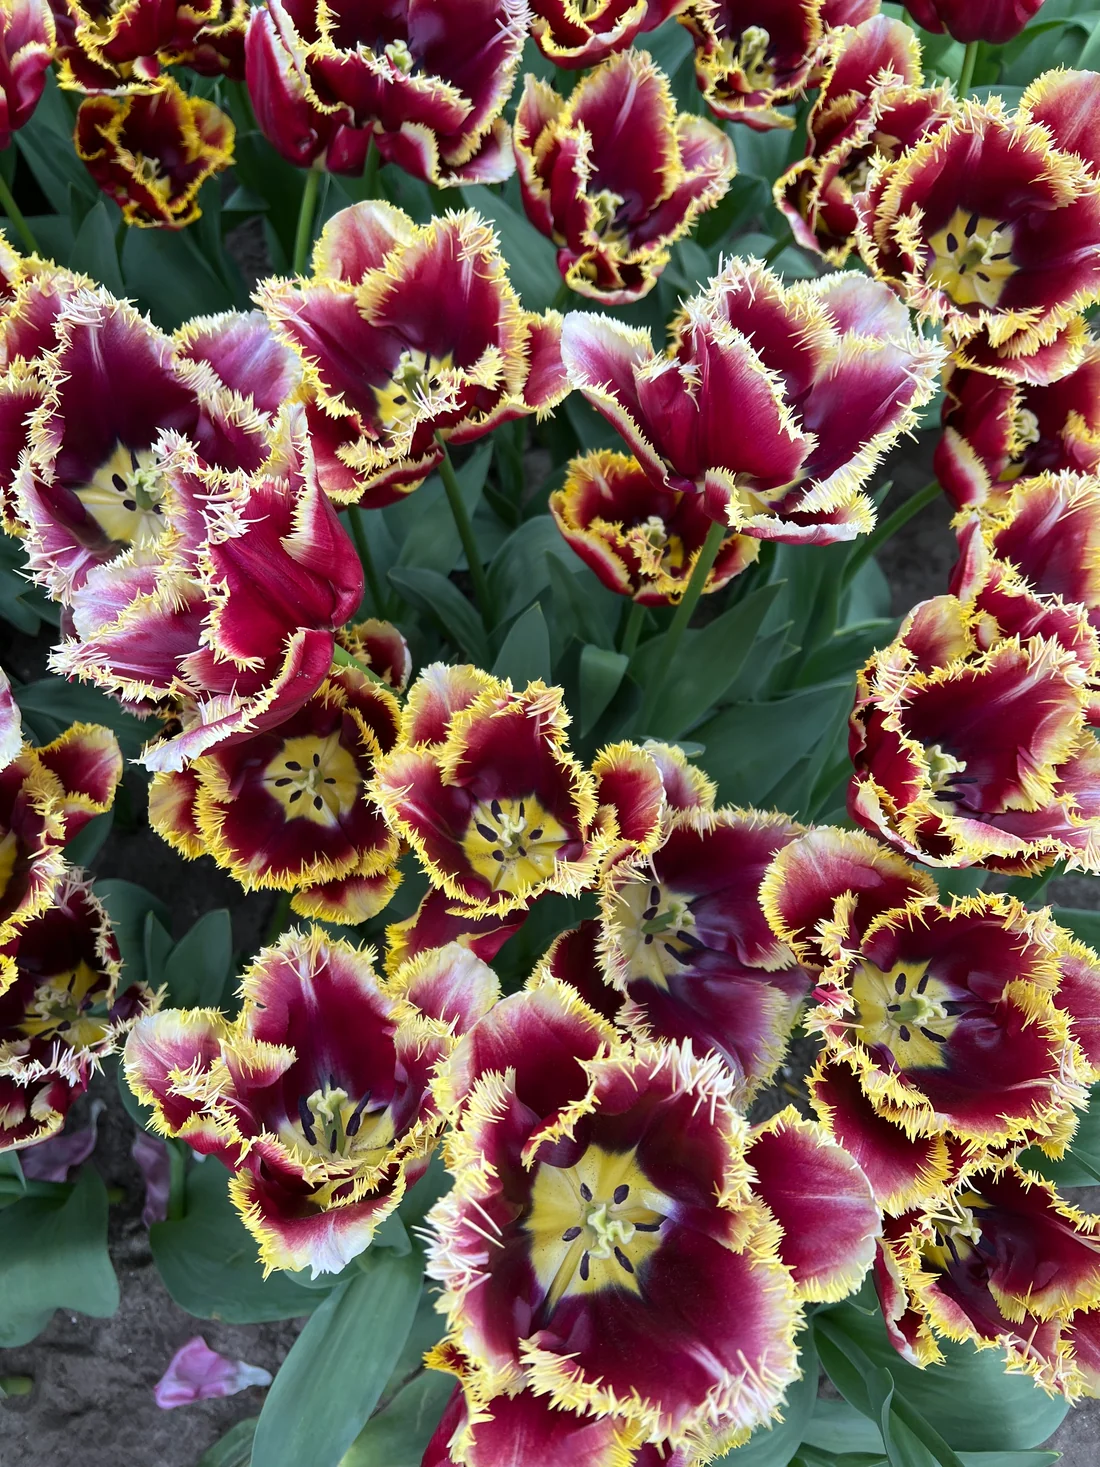
- Among the varieties we received – Tulip Mercure, which features deep burgundy-red flowers edged with a fringed yellow border. (Photo courtesy The Flower Hat)
-
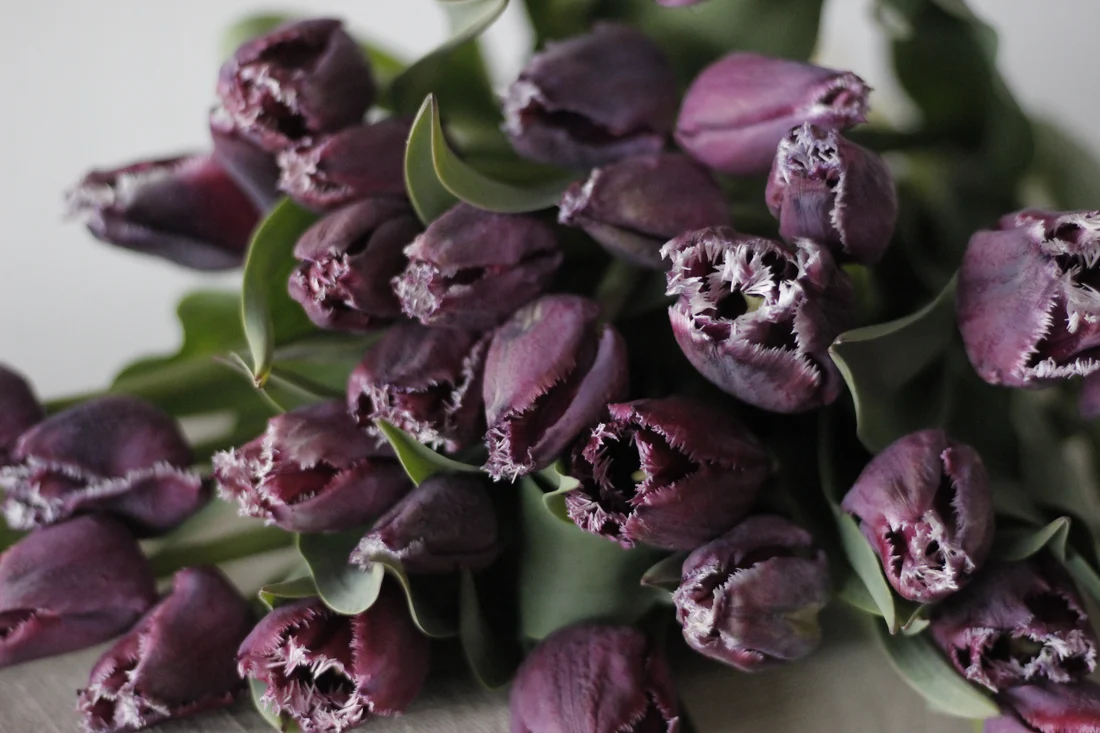
- Tulip San Martin has deep magenta-purple blooms with white fringes along the petal edges. (Photo courtesy The Flower Hat)
-
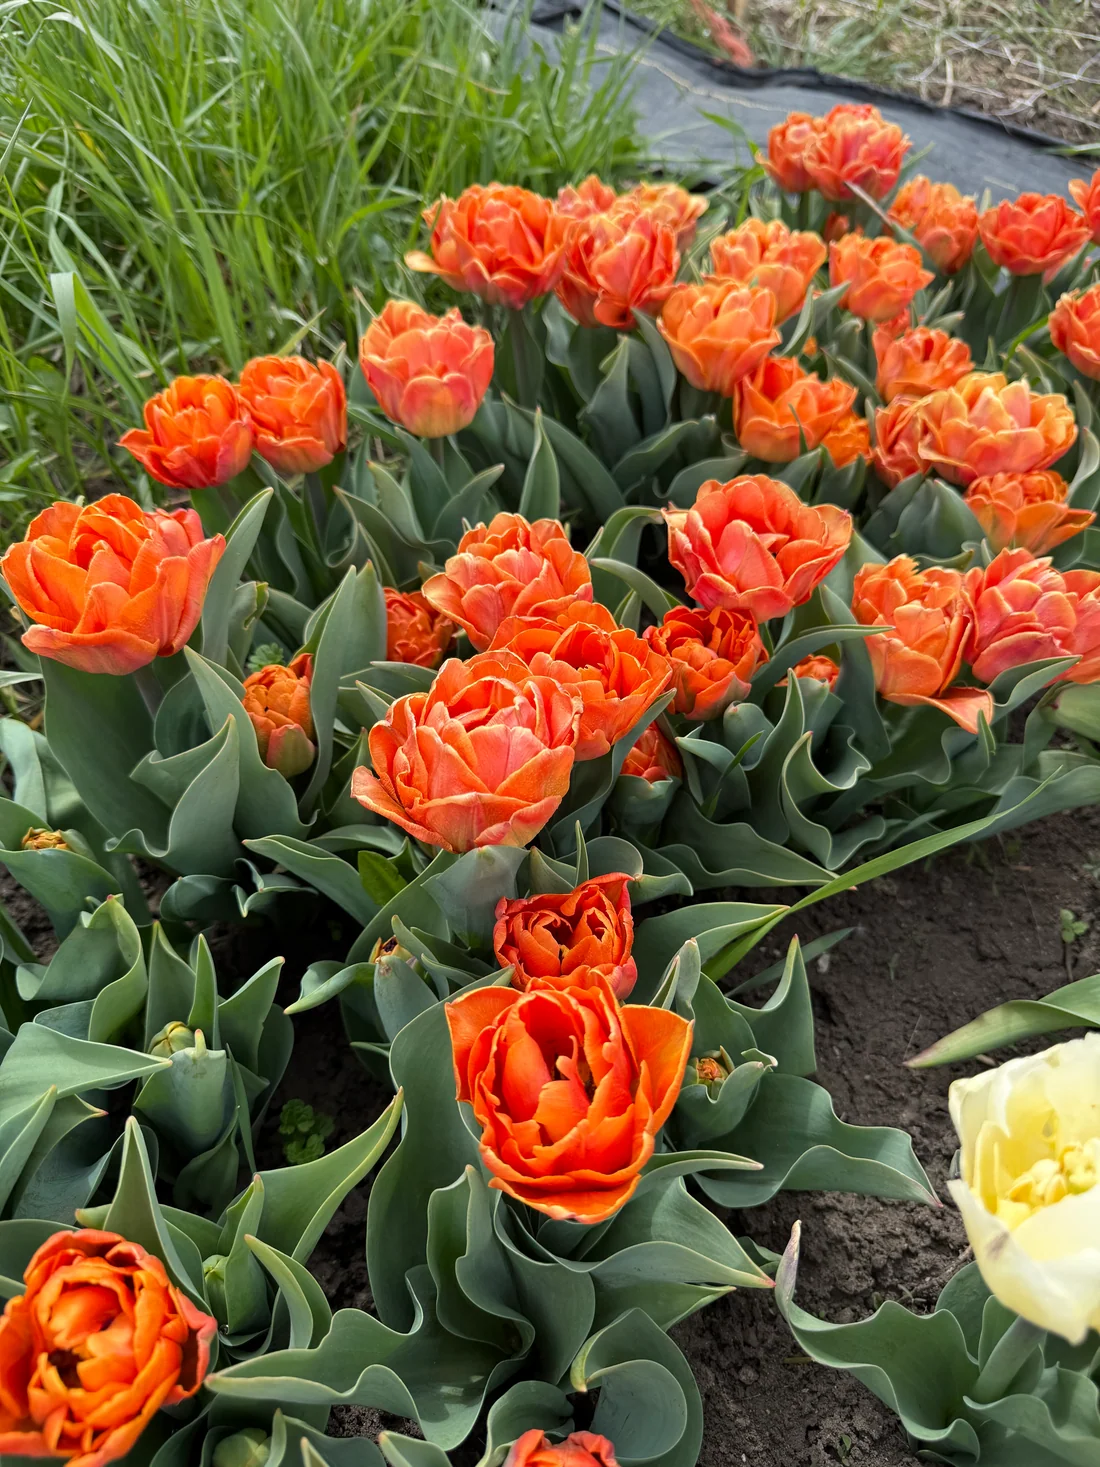
- Tulip Lorenzo is strikingly different with its bold double blooms in rich orange and coral-red hues. (Photo courtesy The Flower Hat)
-
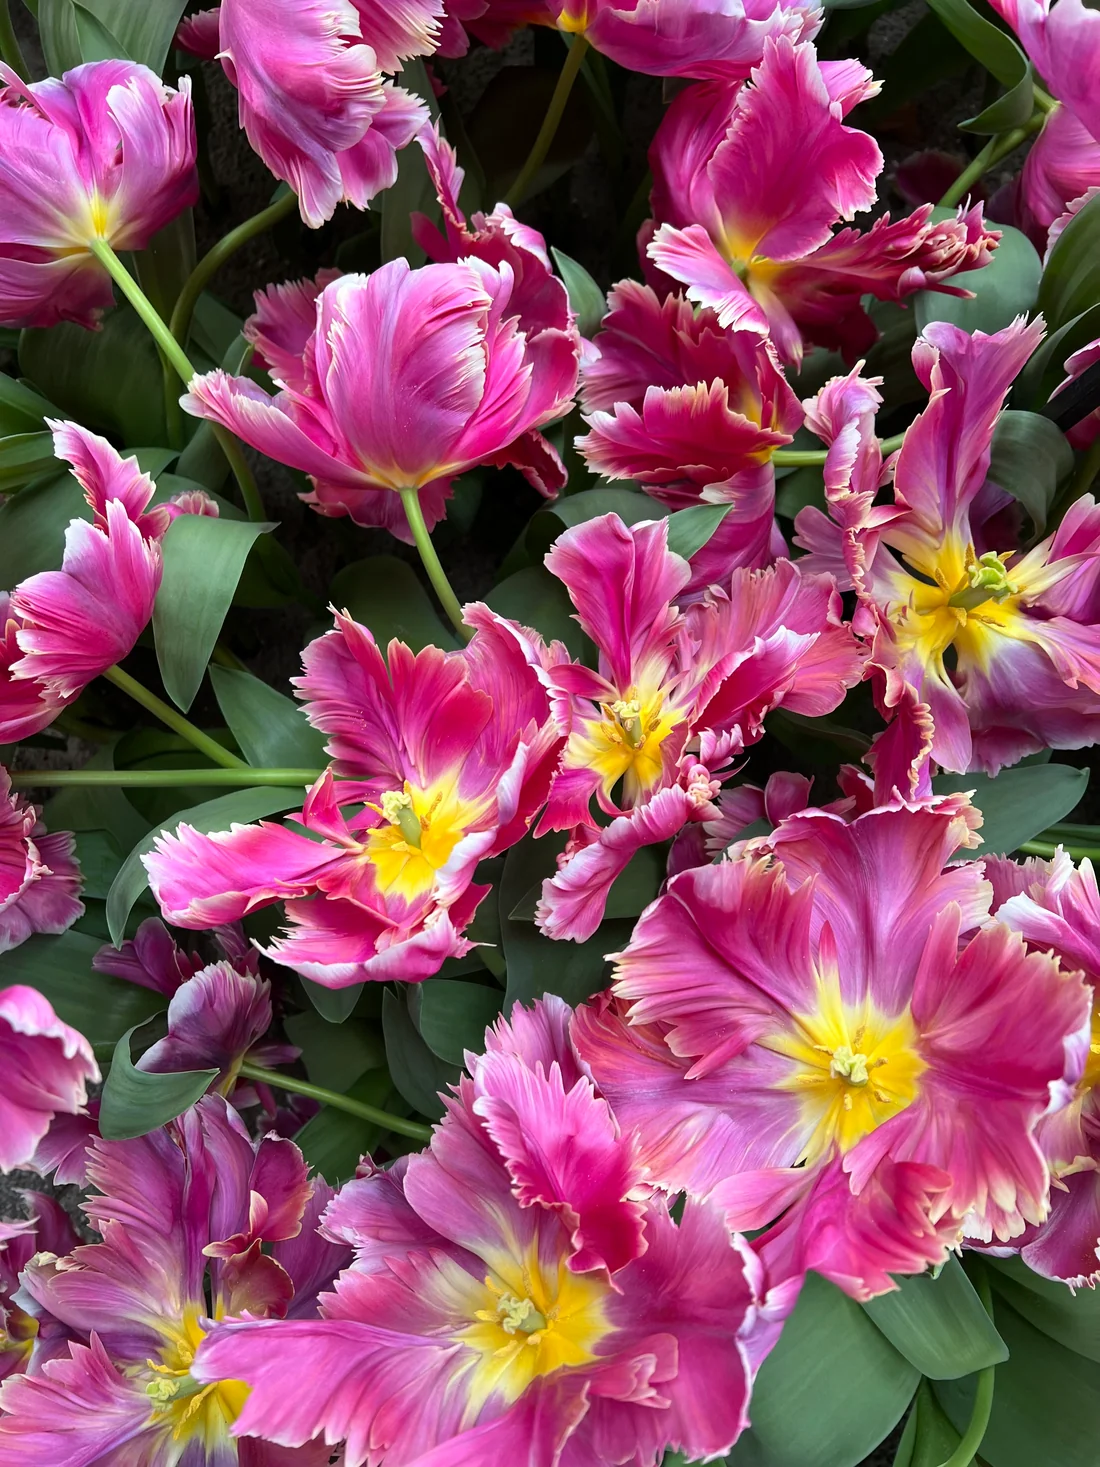
- Tulip Cracker Parrot has deeply fringed, feathered petals in rich magenta-purple. (Photo courtesy The Flower Hat)
-
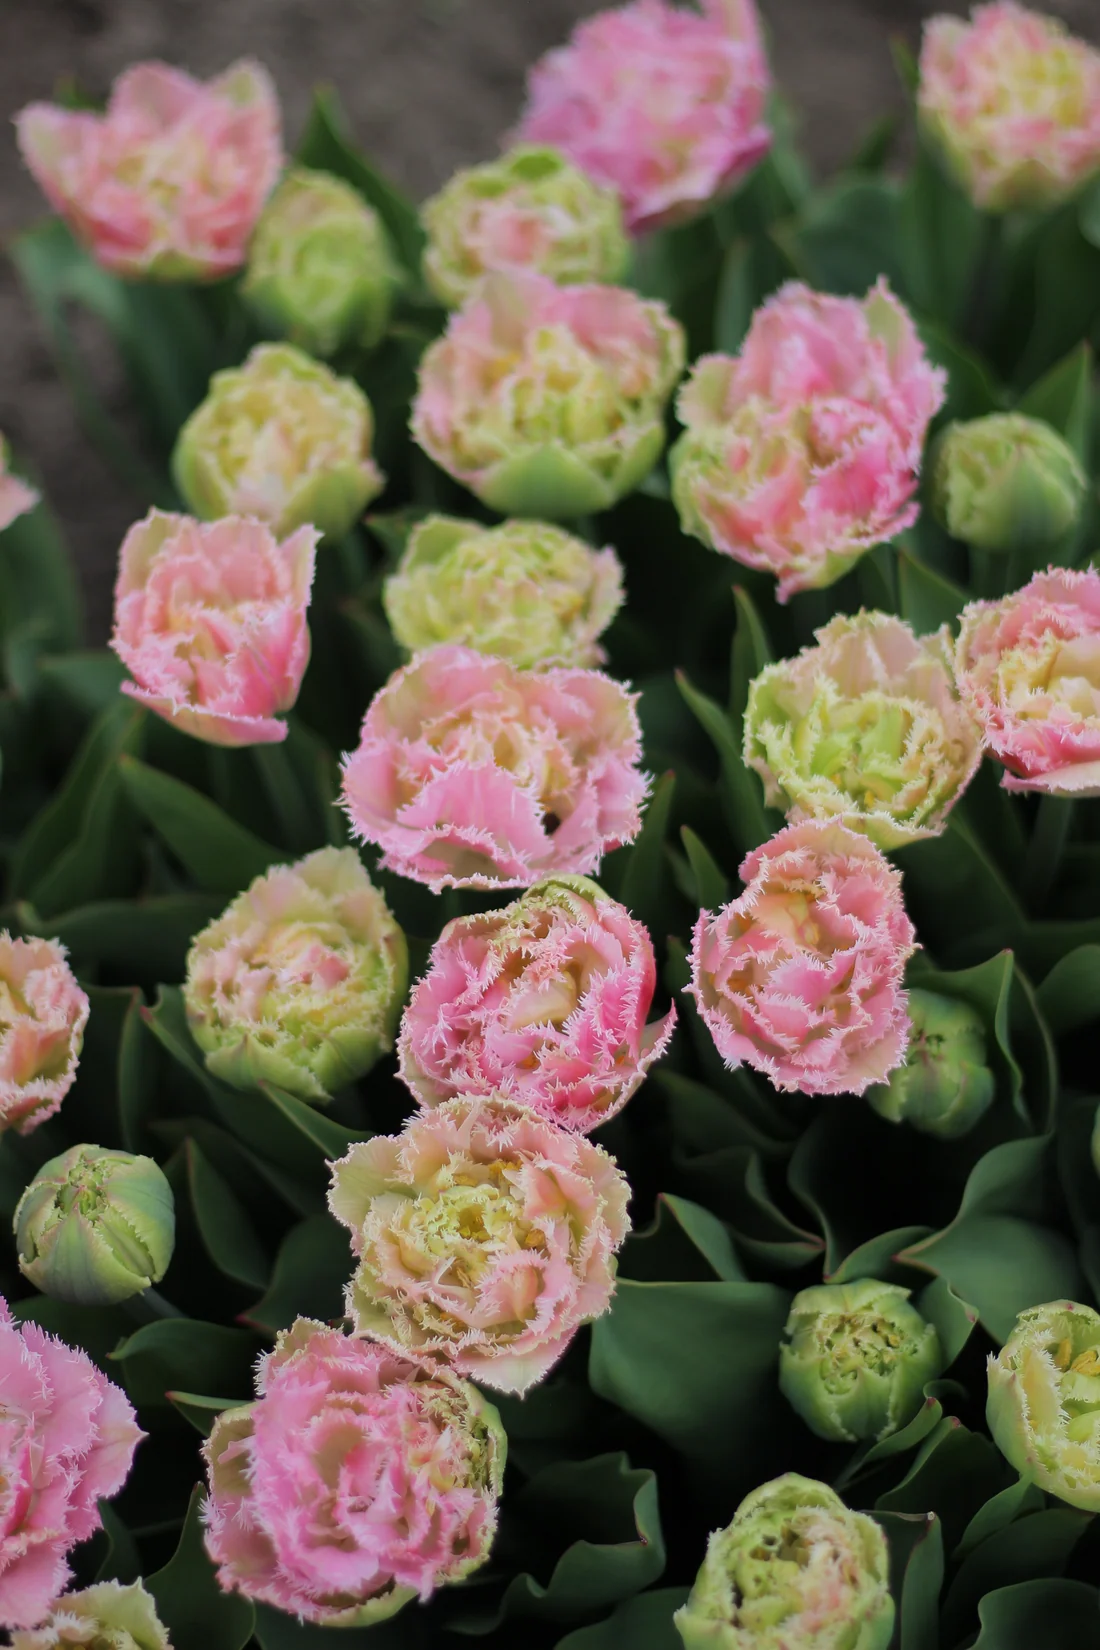
- This lighter colored tulip variety is Perth. It blooms in violet-pink tones with soft rose edging. (Photo courtesy The Flower Hat)
-
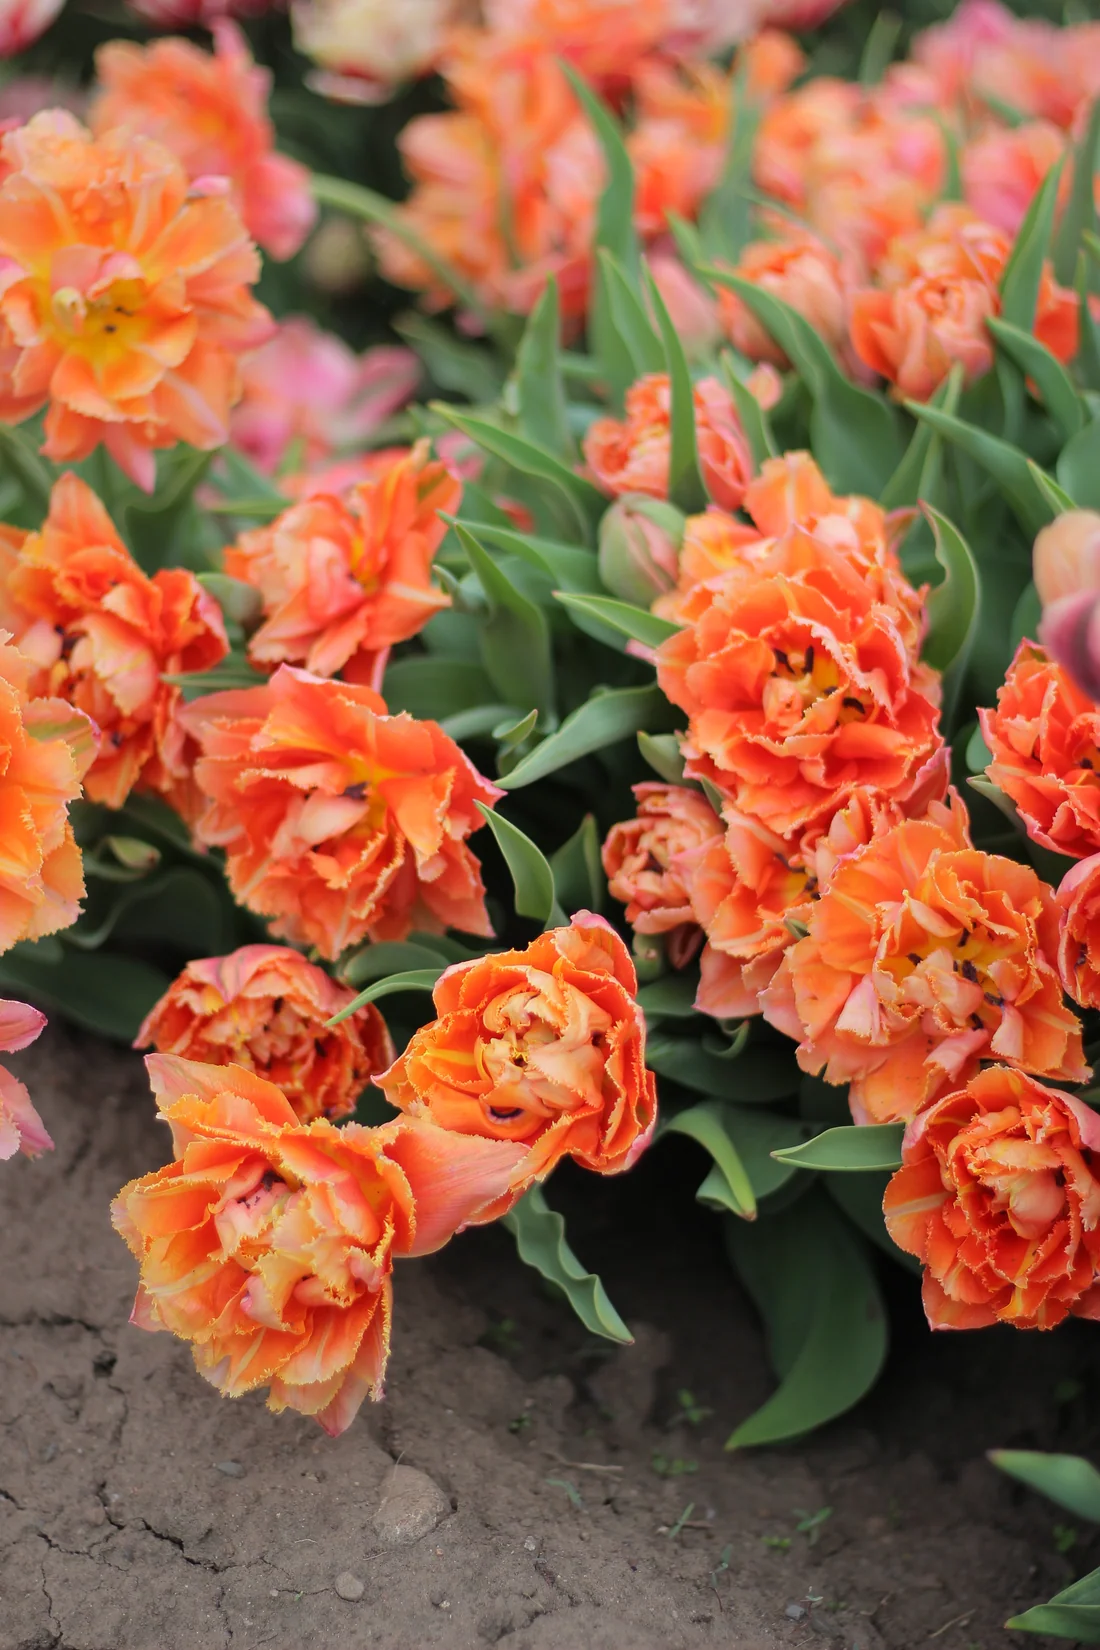
- Tulip Royal Centennial is a standout with its bold double blooms in rich orange and coral-red shades. (Photo courtesy The Flower Hat)
-
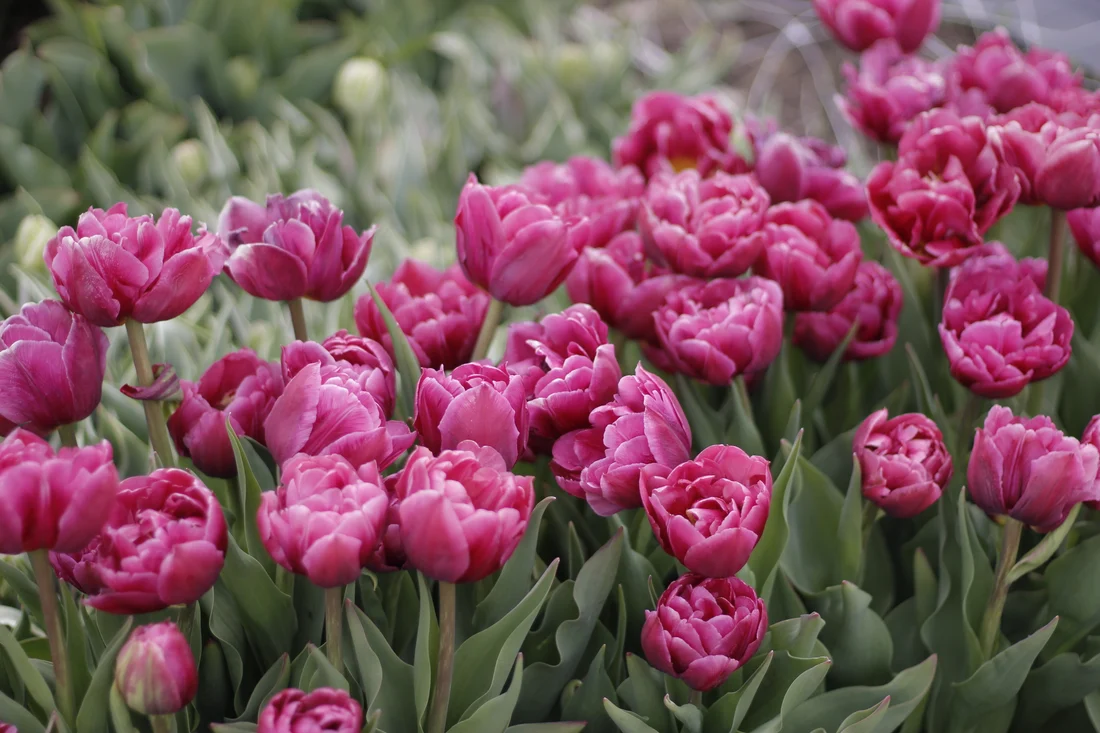
- Tulip Rosy Diamond opens to shades of rose-pink delicately splashed with magenta. (Photo courtesy The Flower Hat)
-
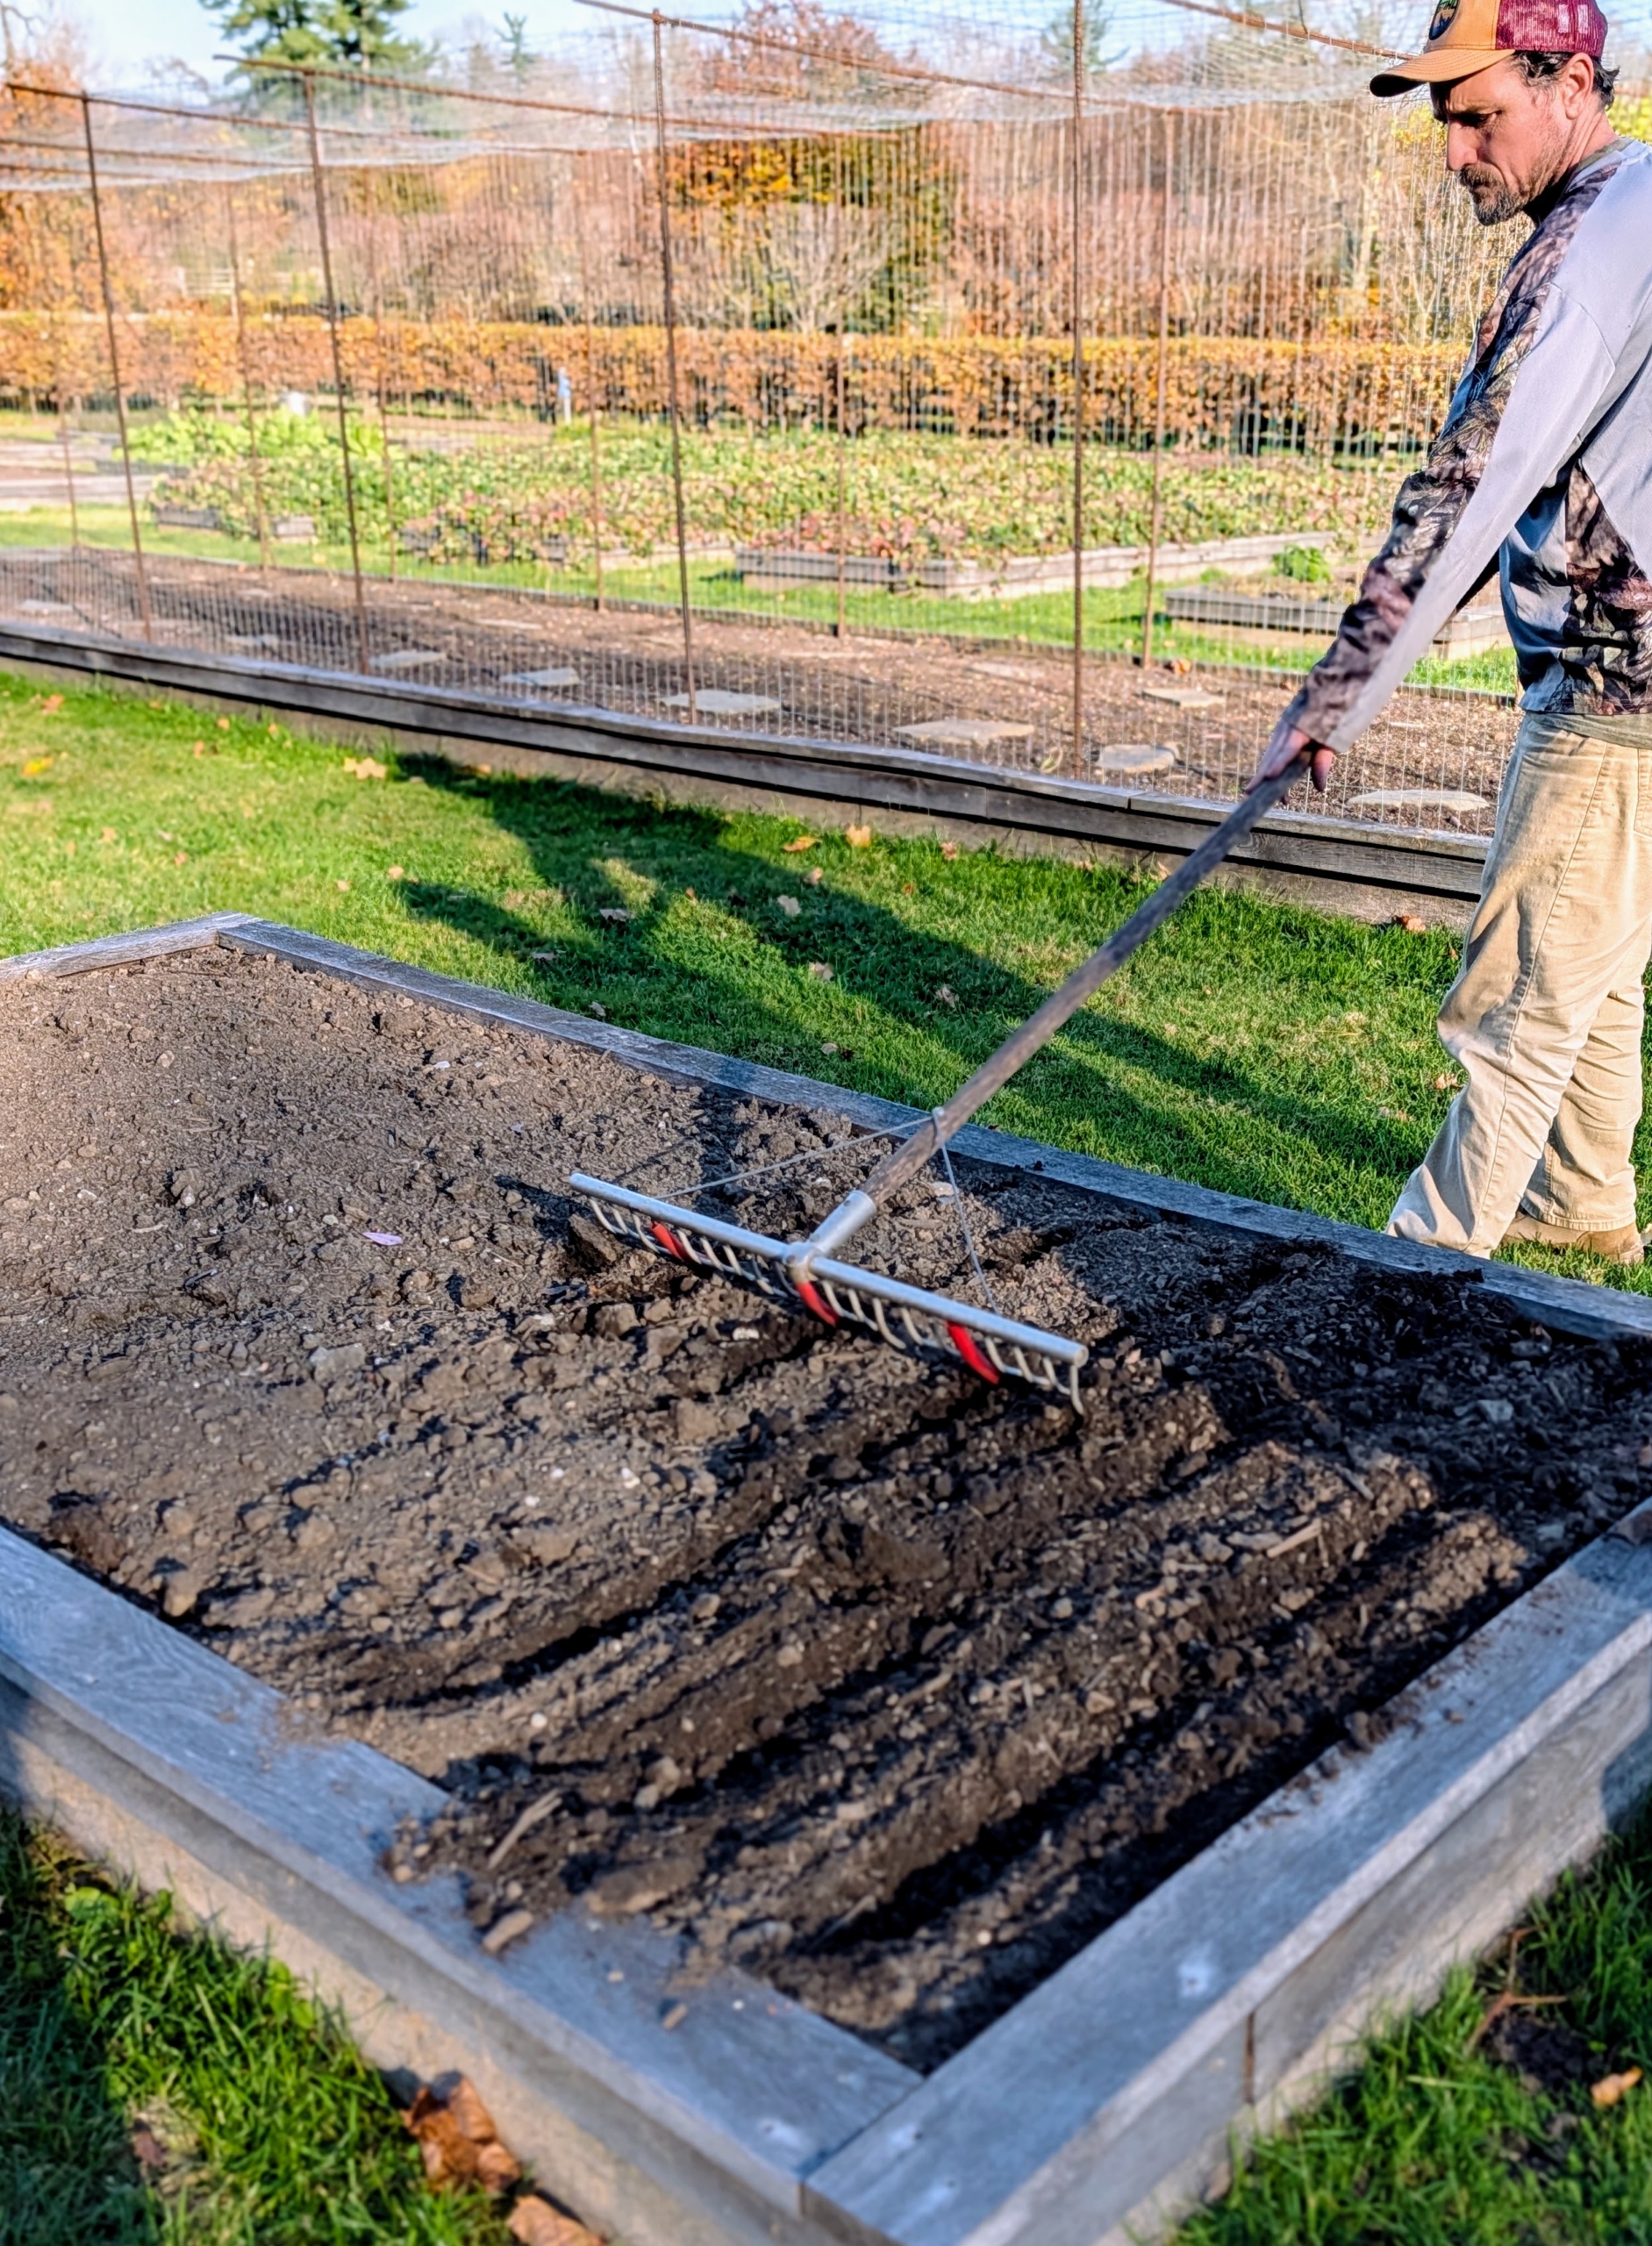
- All the beds were already well-fertilized. Ryan starts by making the rows using the bed preparation rake from Johnny’s Selected Seeds. This tool allows him to easily create shallow furrows in the soil.
-
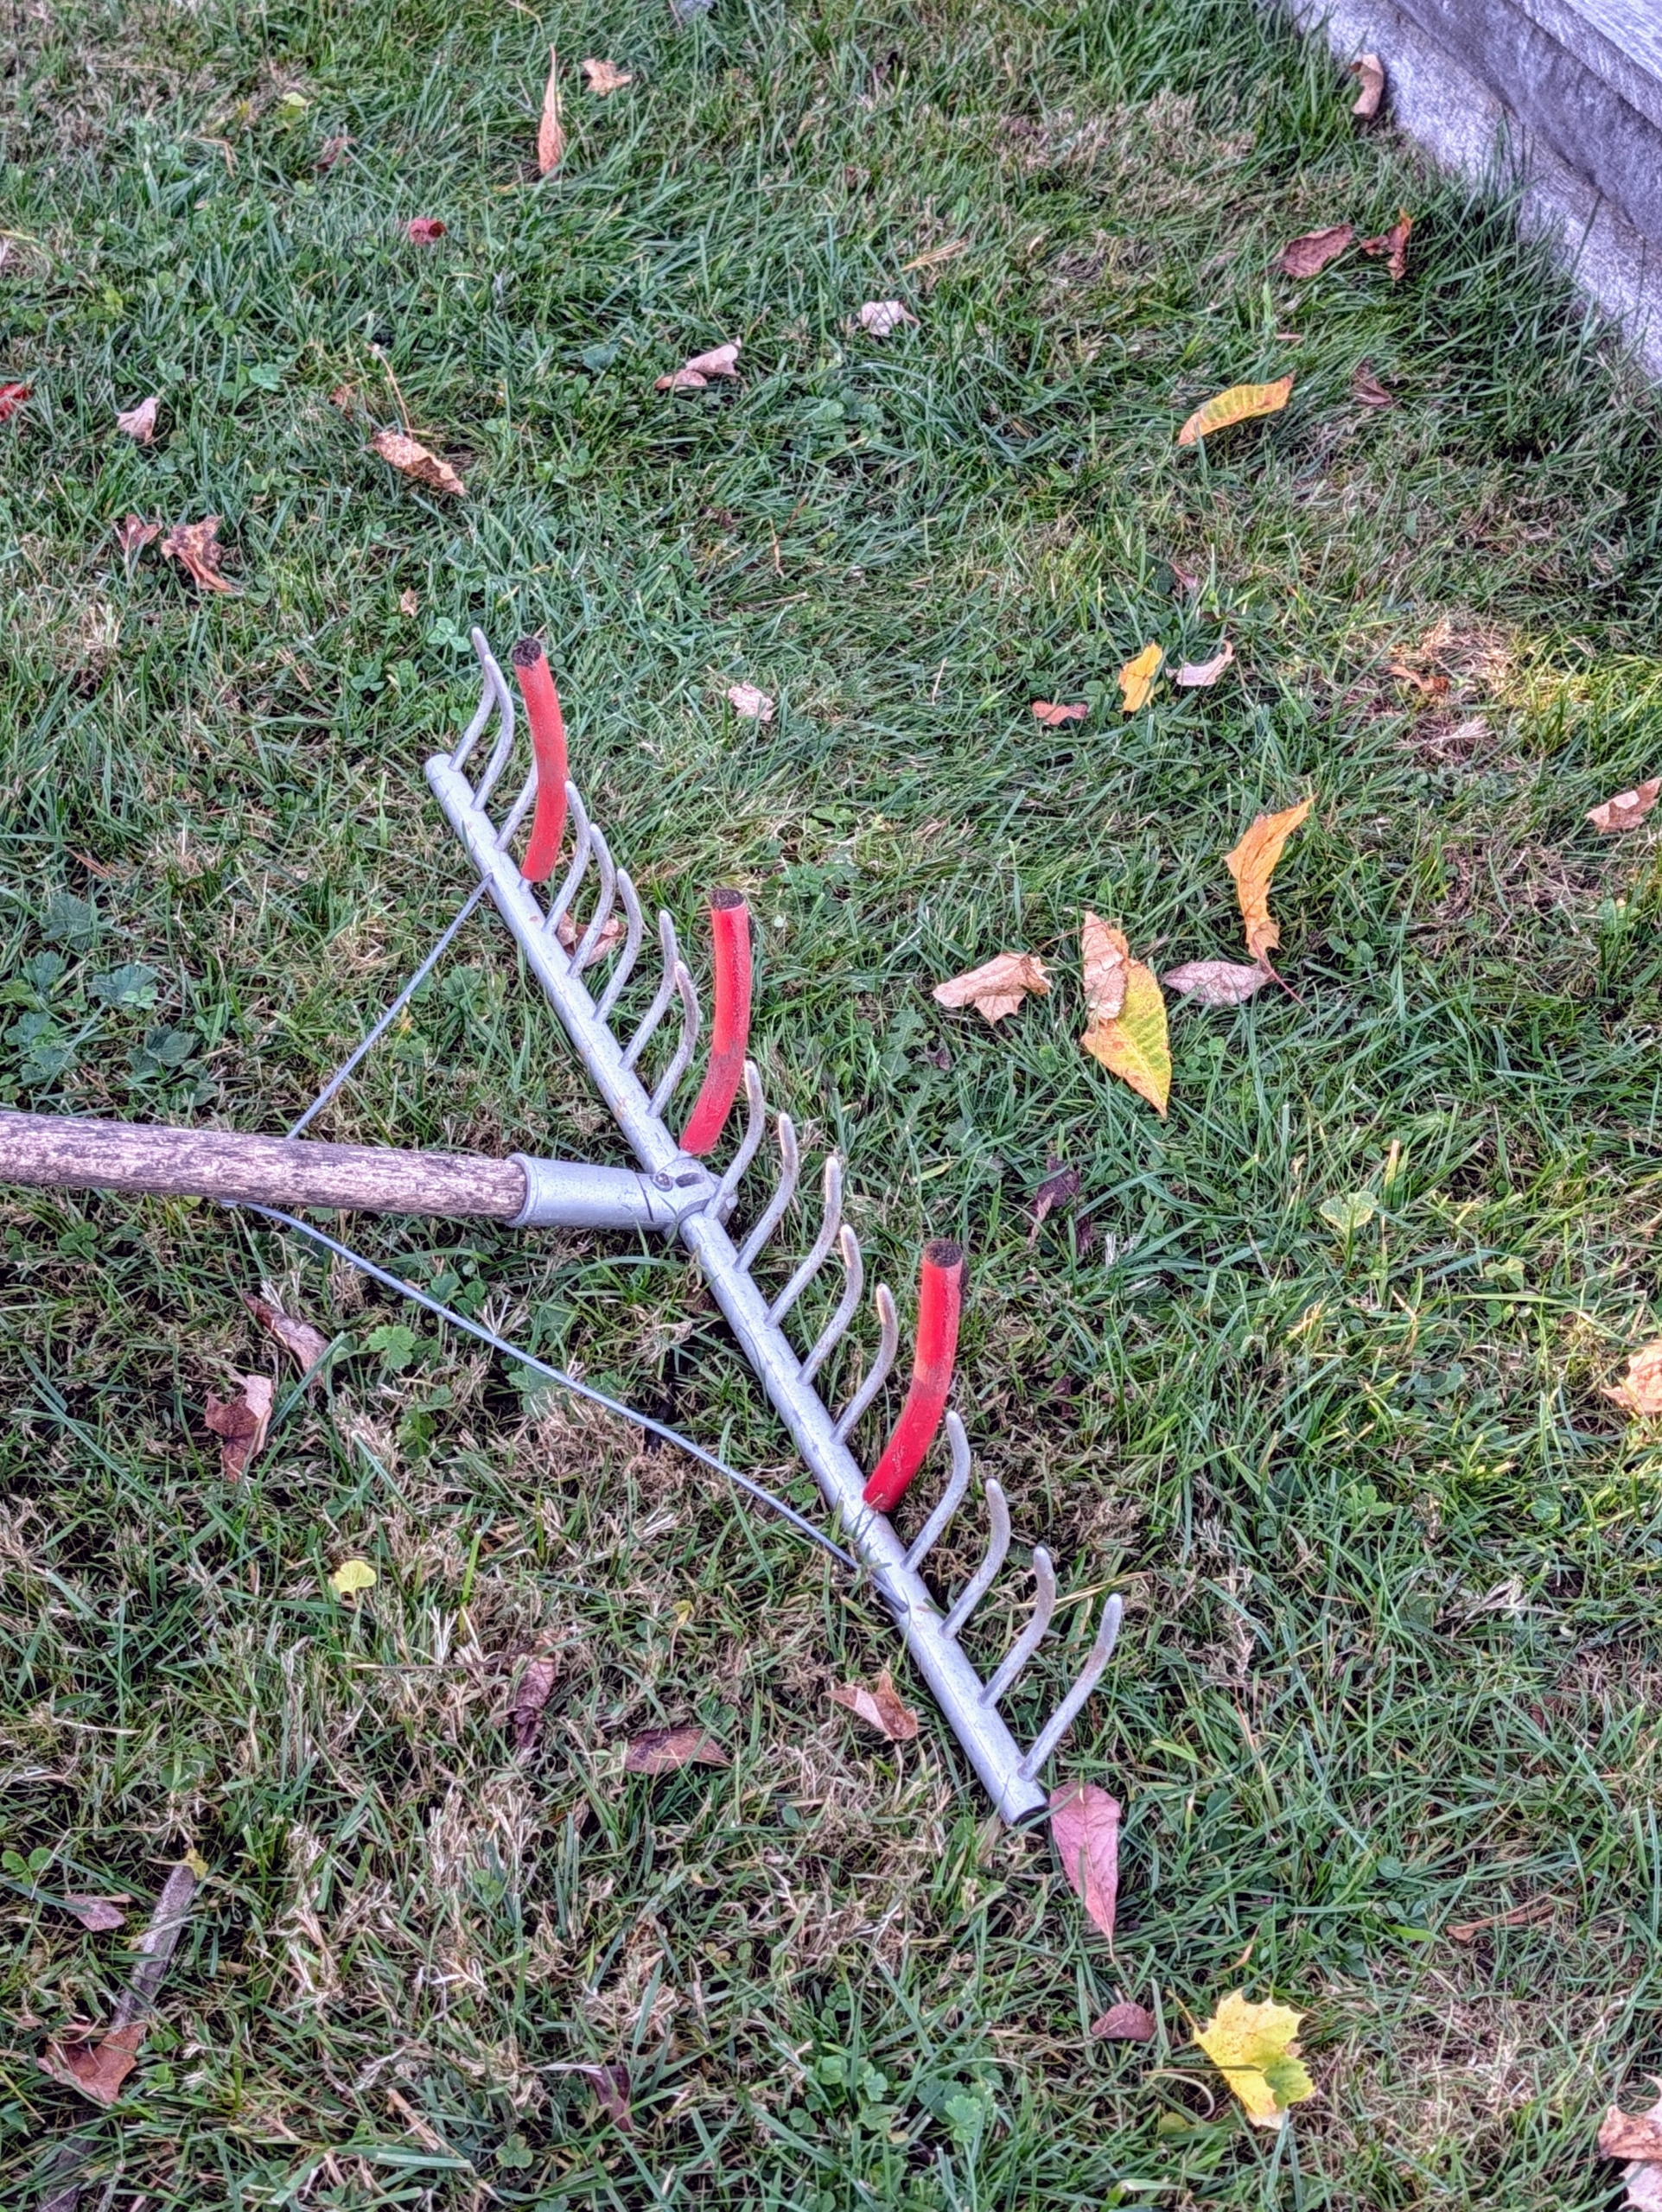
- Hard plastic red tubes slide onto selected teeth of the rake to mark the rows.
-
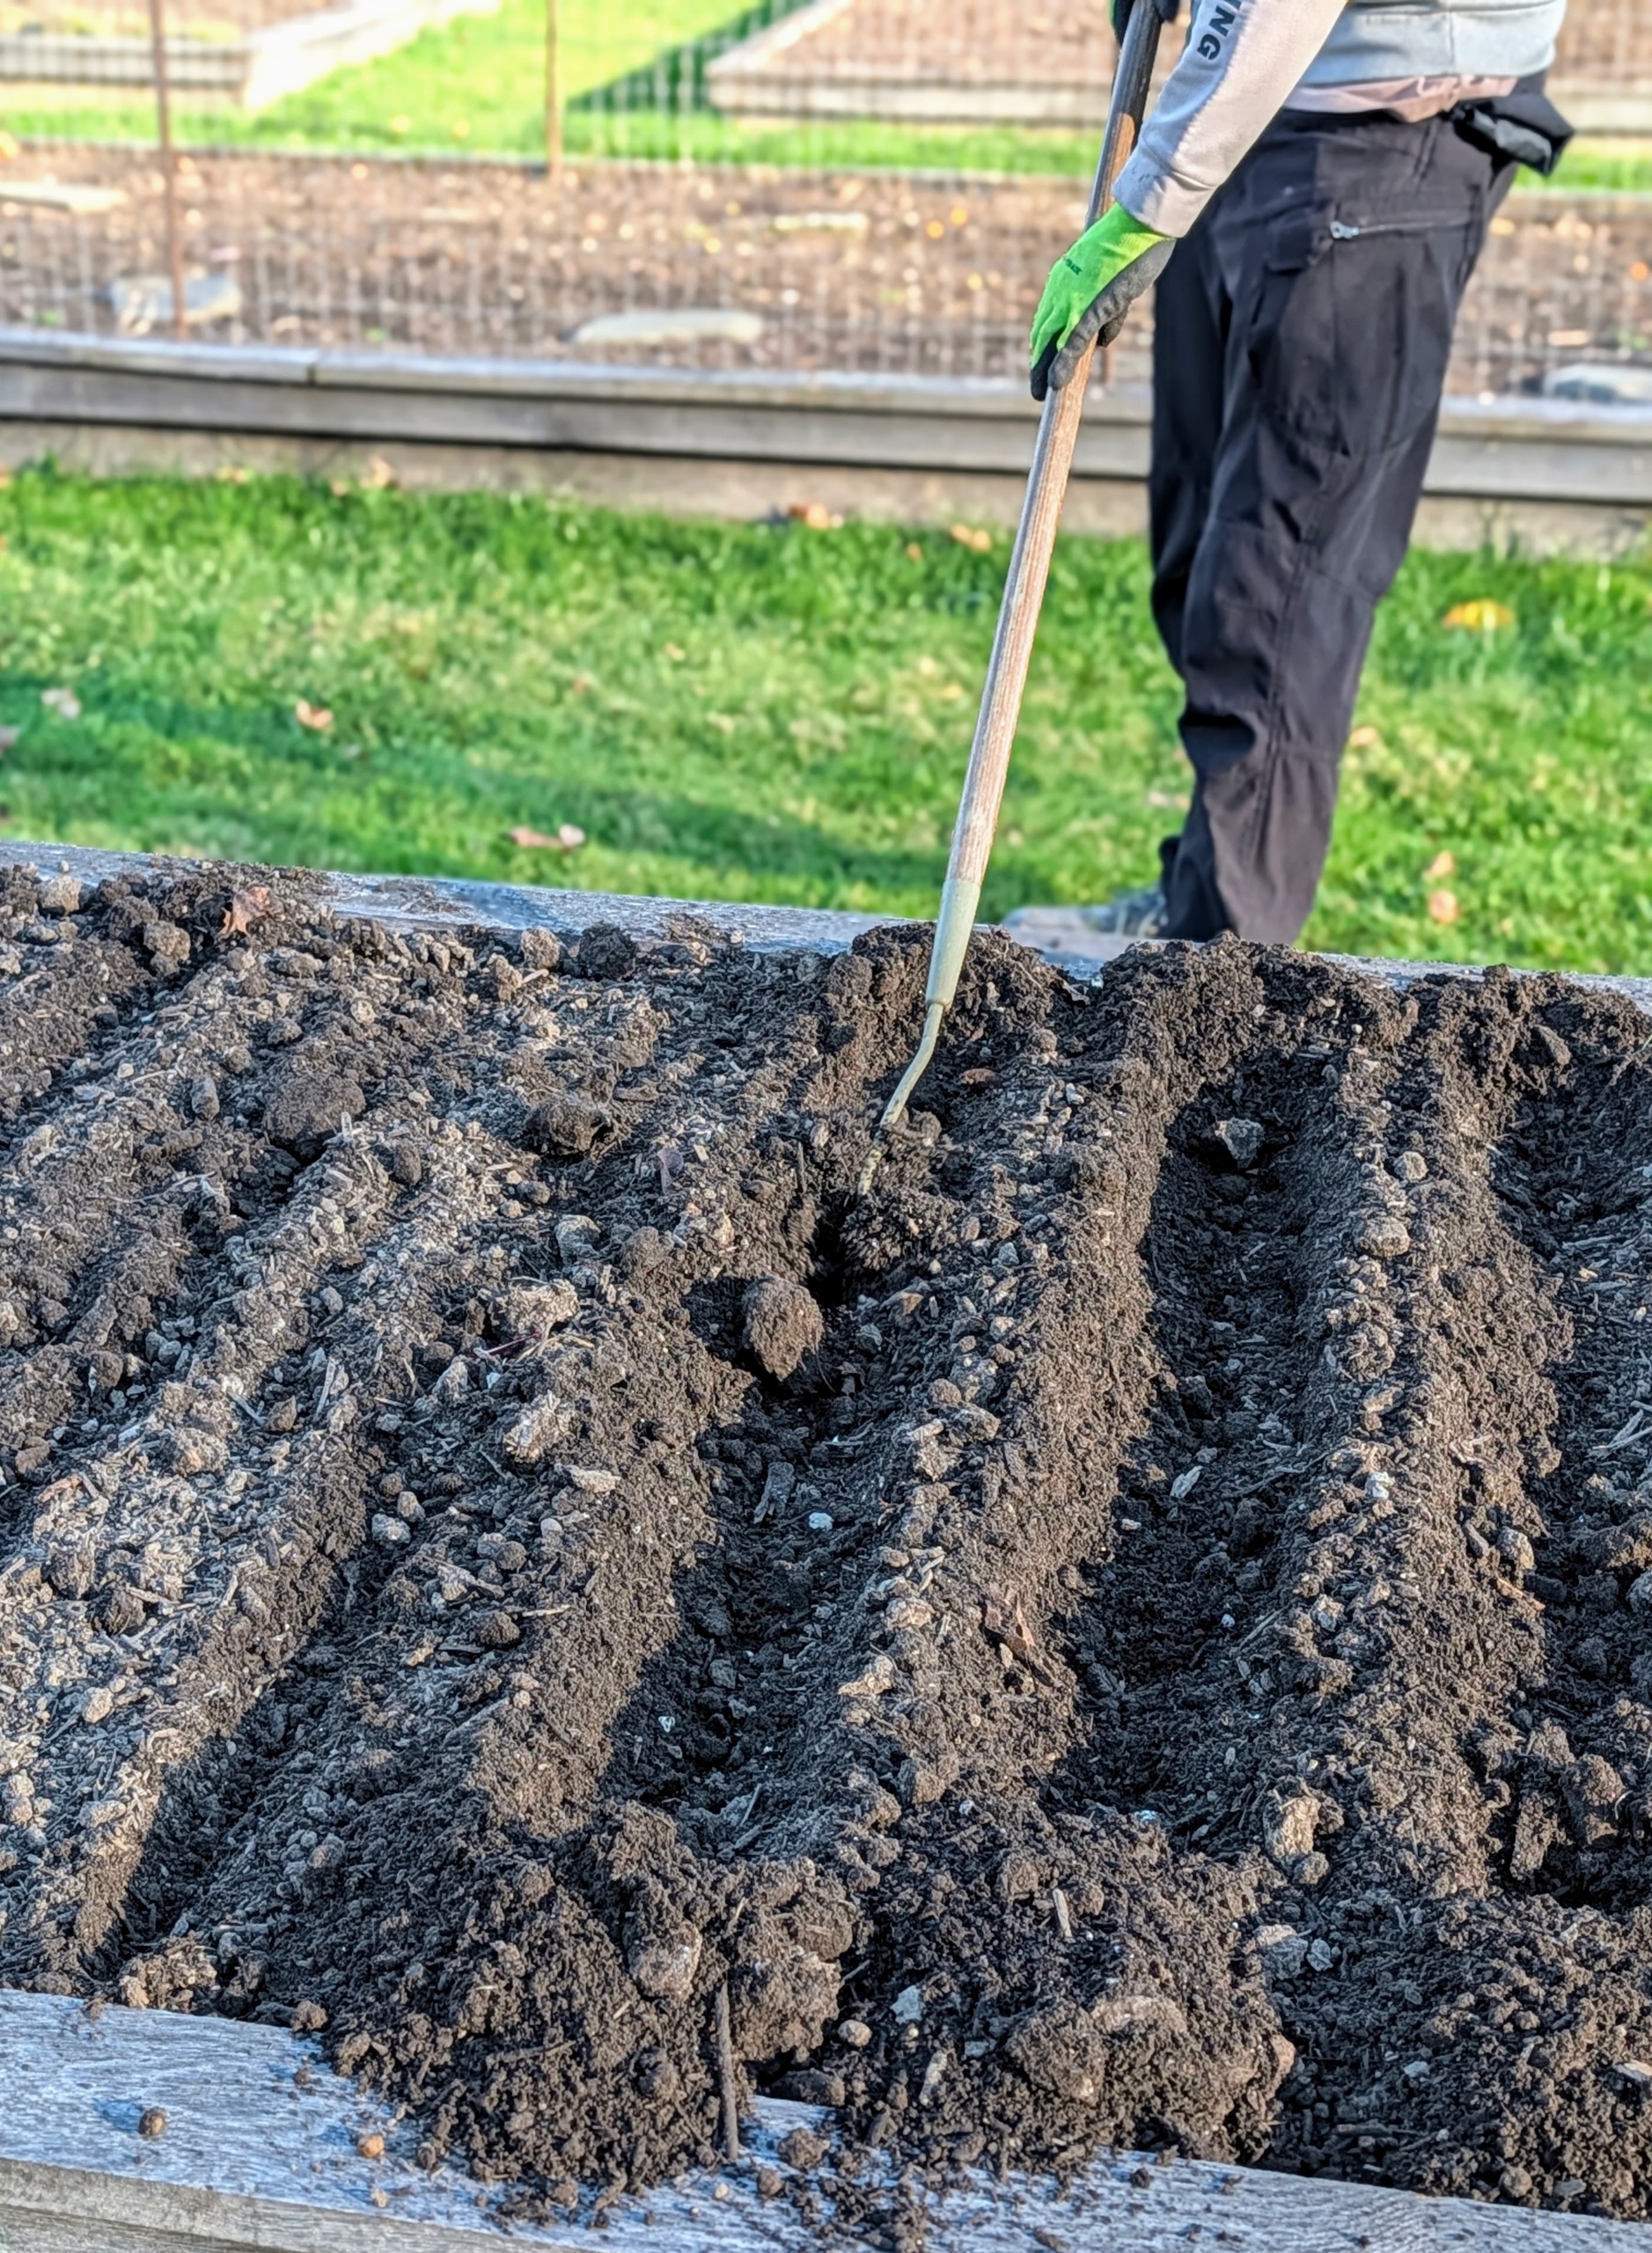
- Matthew goes over the same rows with a hoe. This helps to make deeper trenches in the soil. Tulip bulbs are planted in deep trenches to protect them from freezing, ensure stable root development, and regulate soil temperature.
-
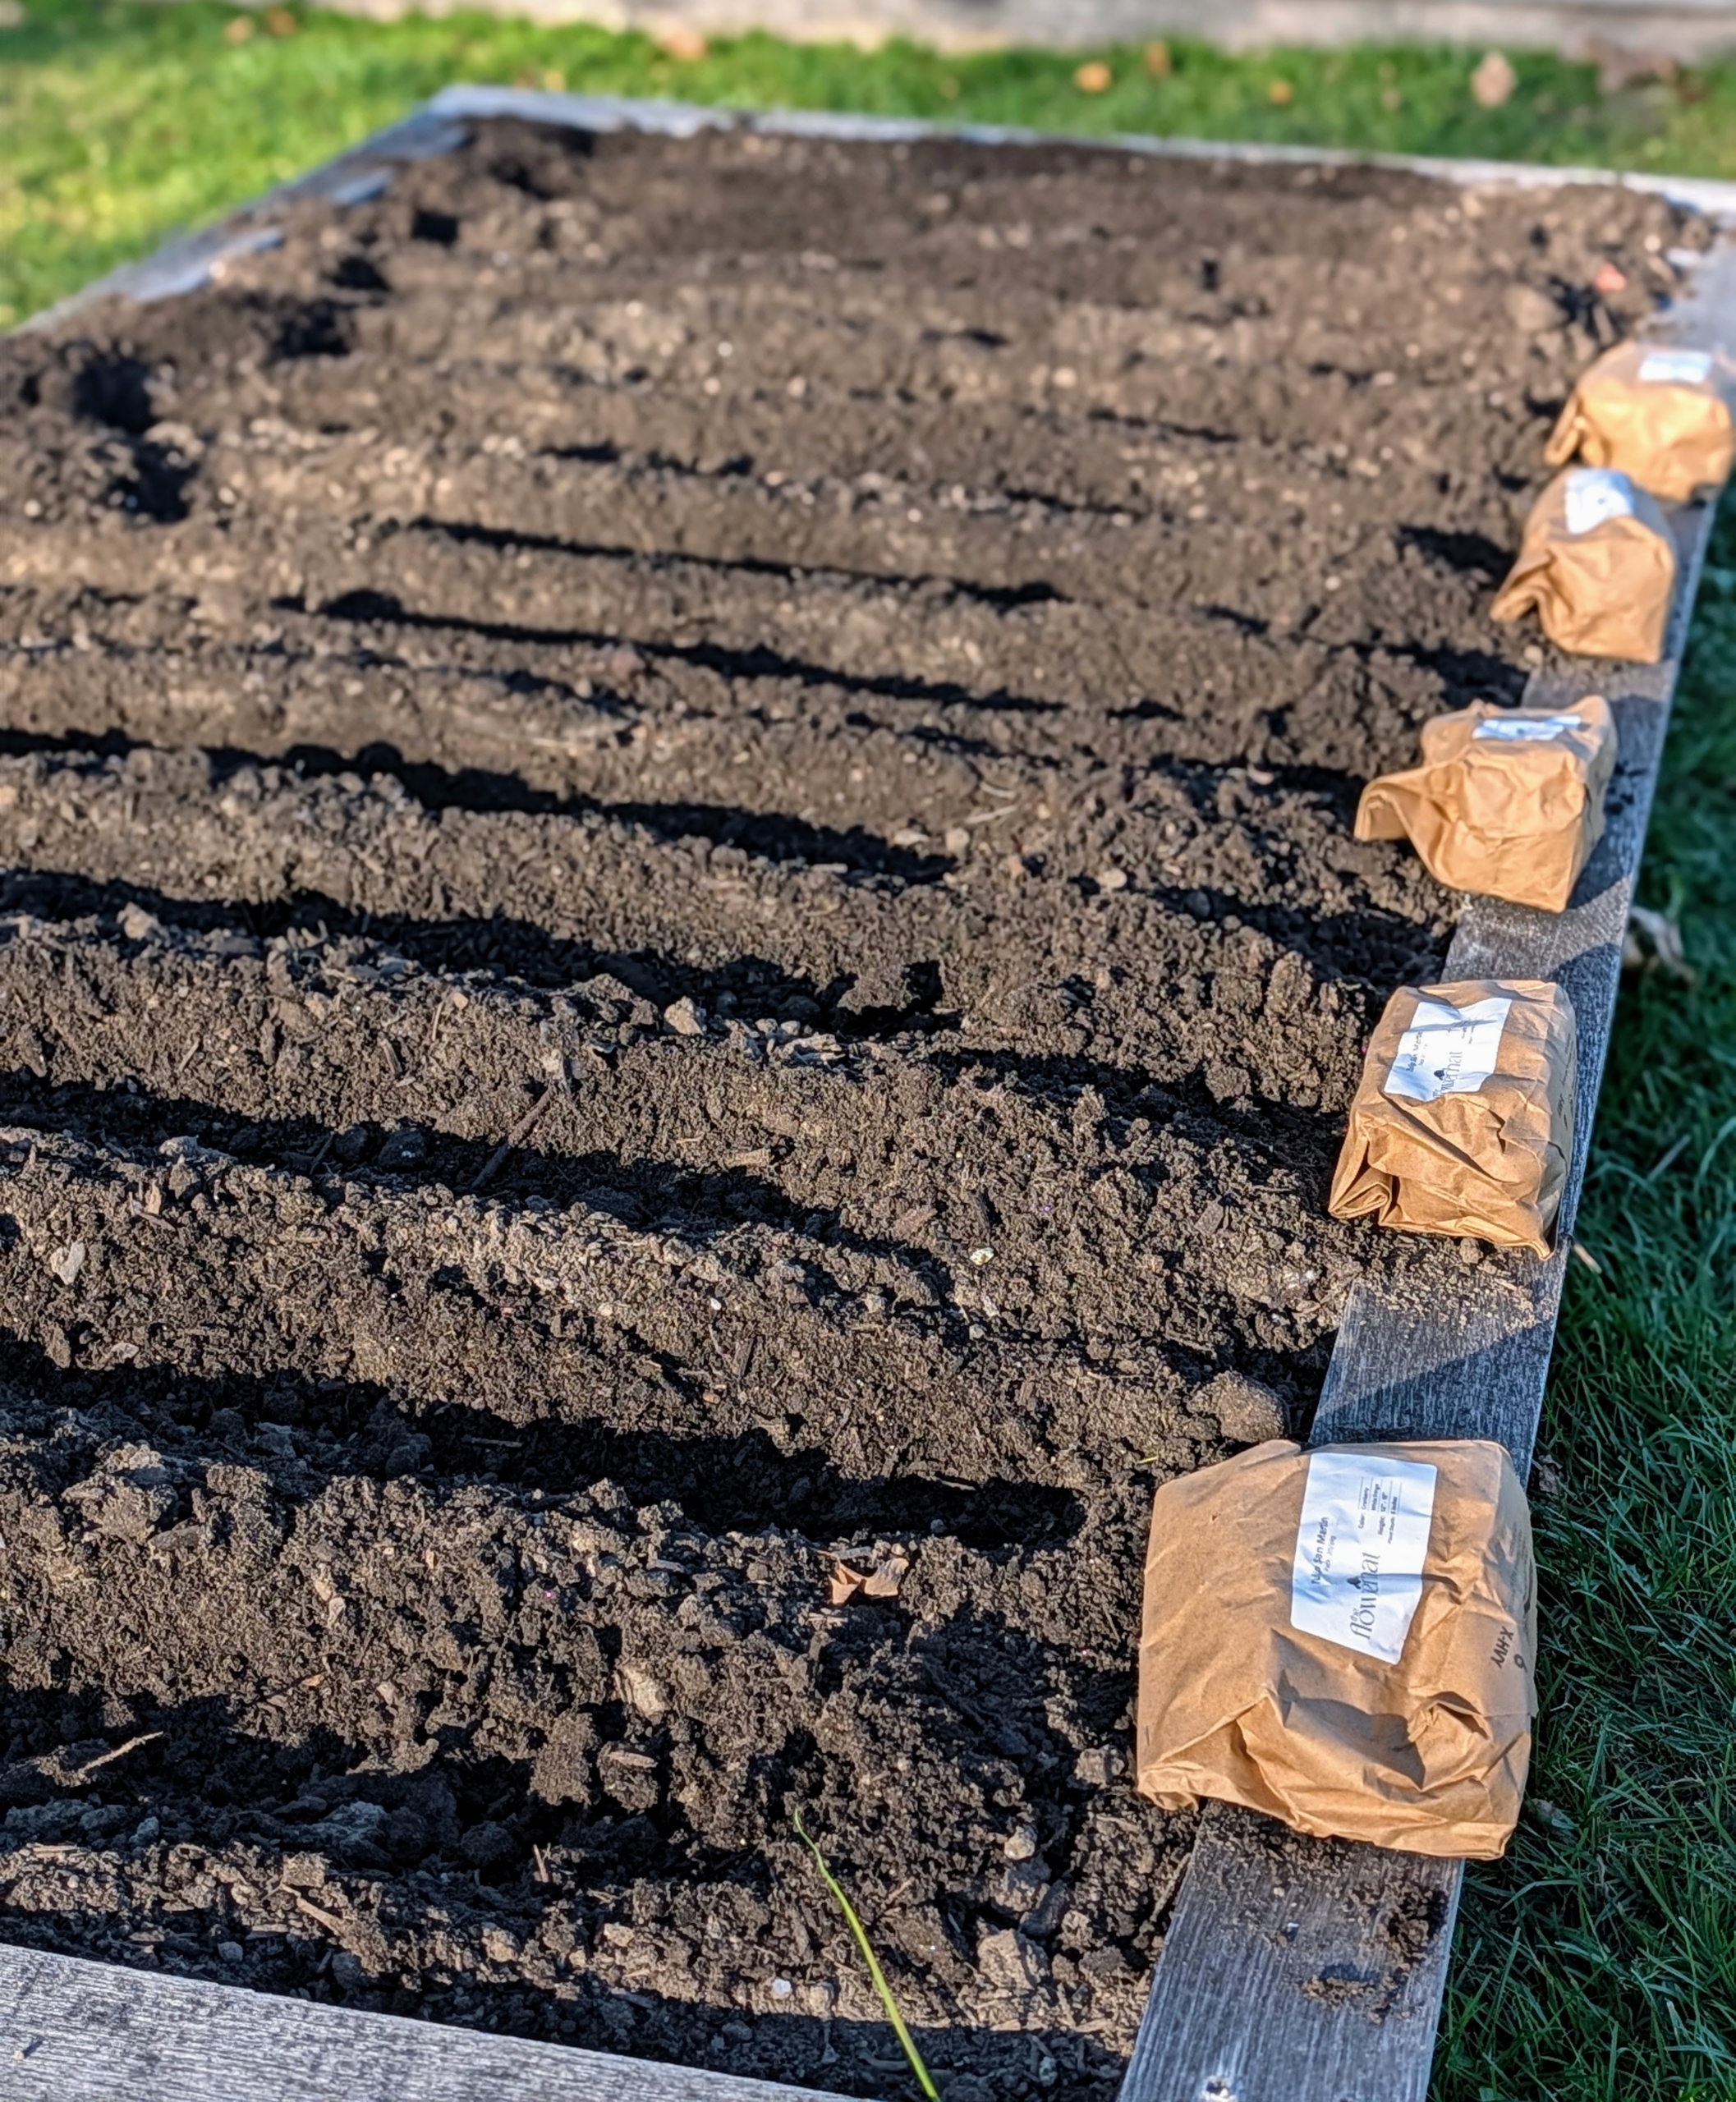
- Ryan places the bulbs next to the bed in which they will be planted – all like varieties together.
-
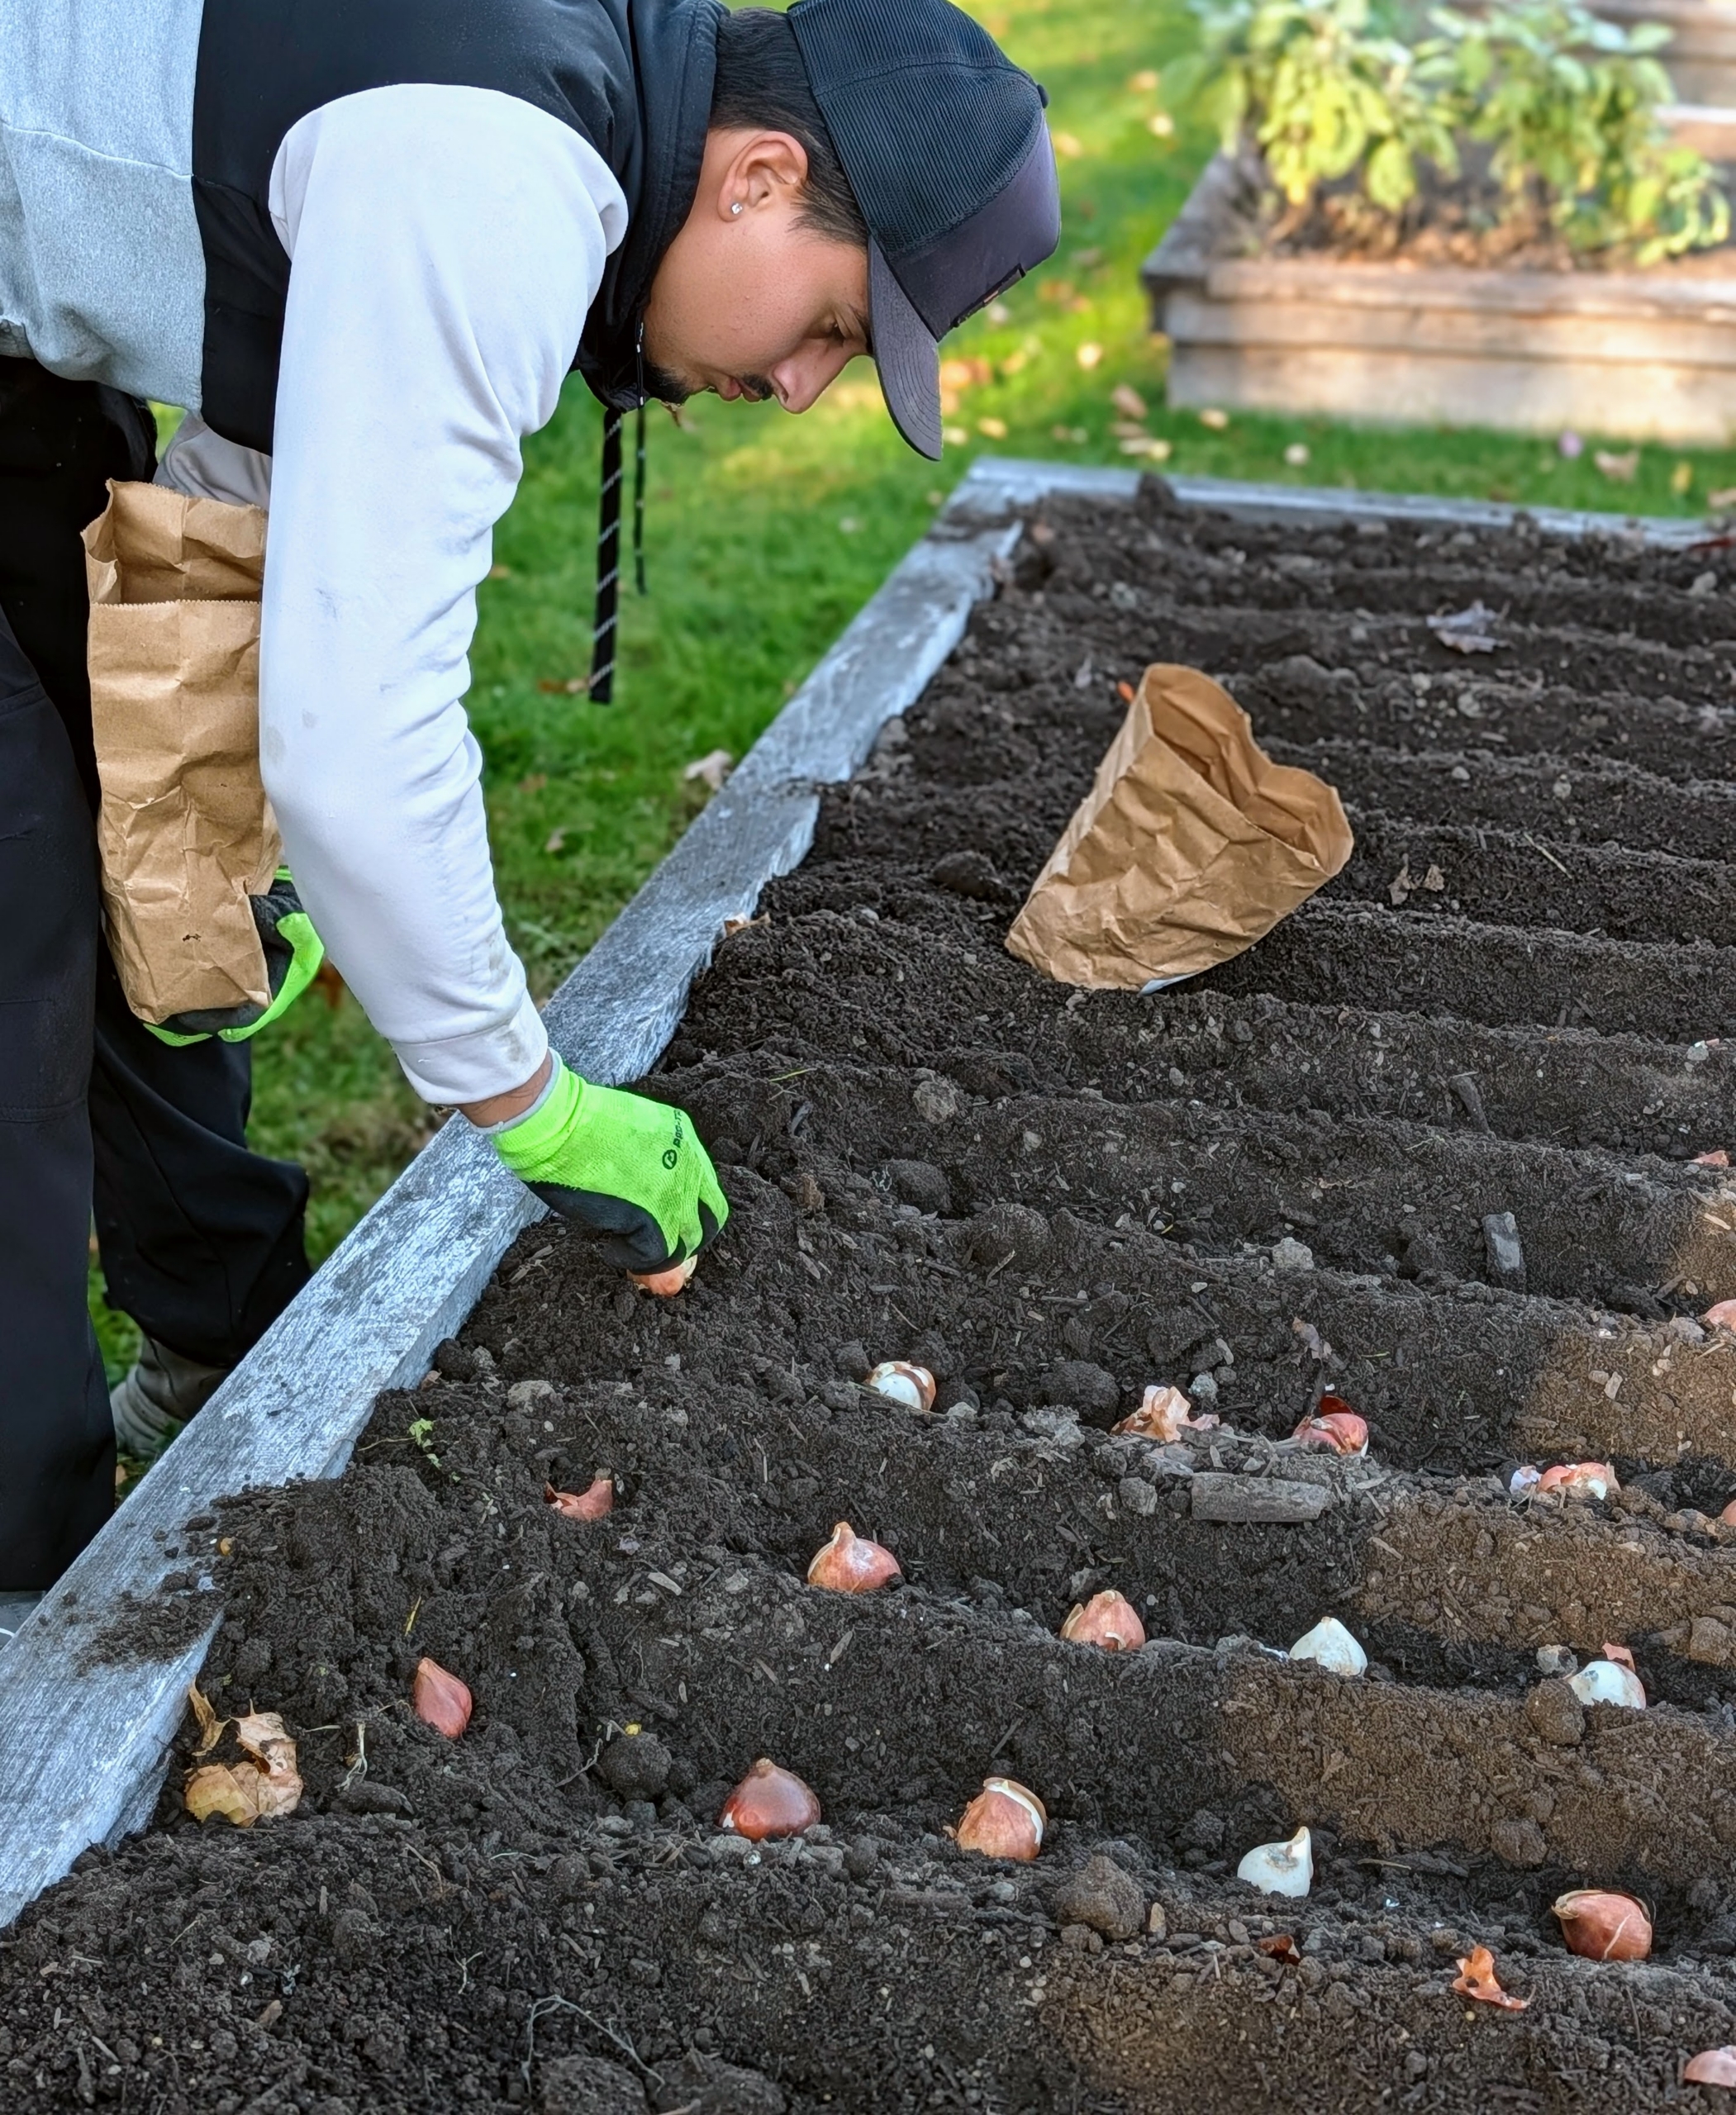
- One by one, Matthew places each bulb into the trench.
-
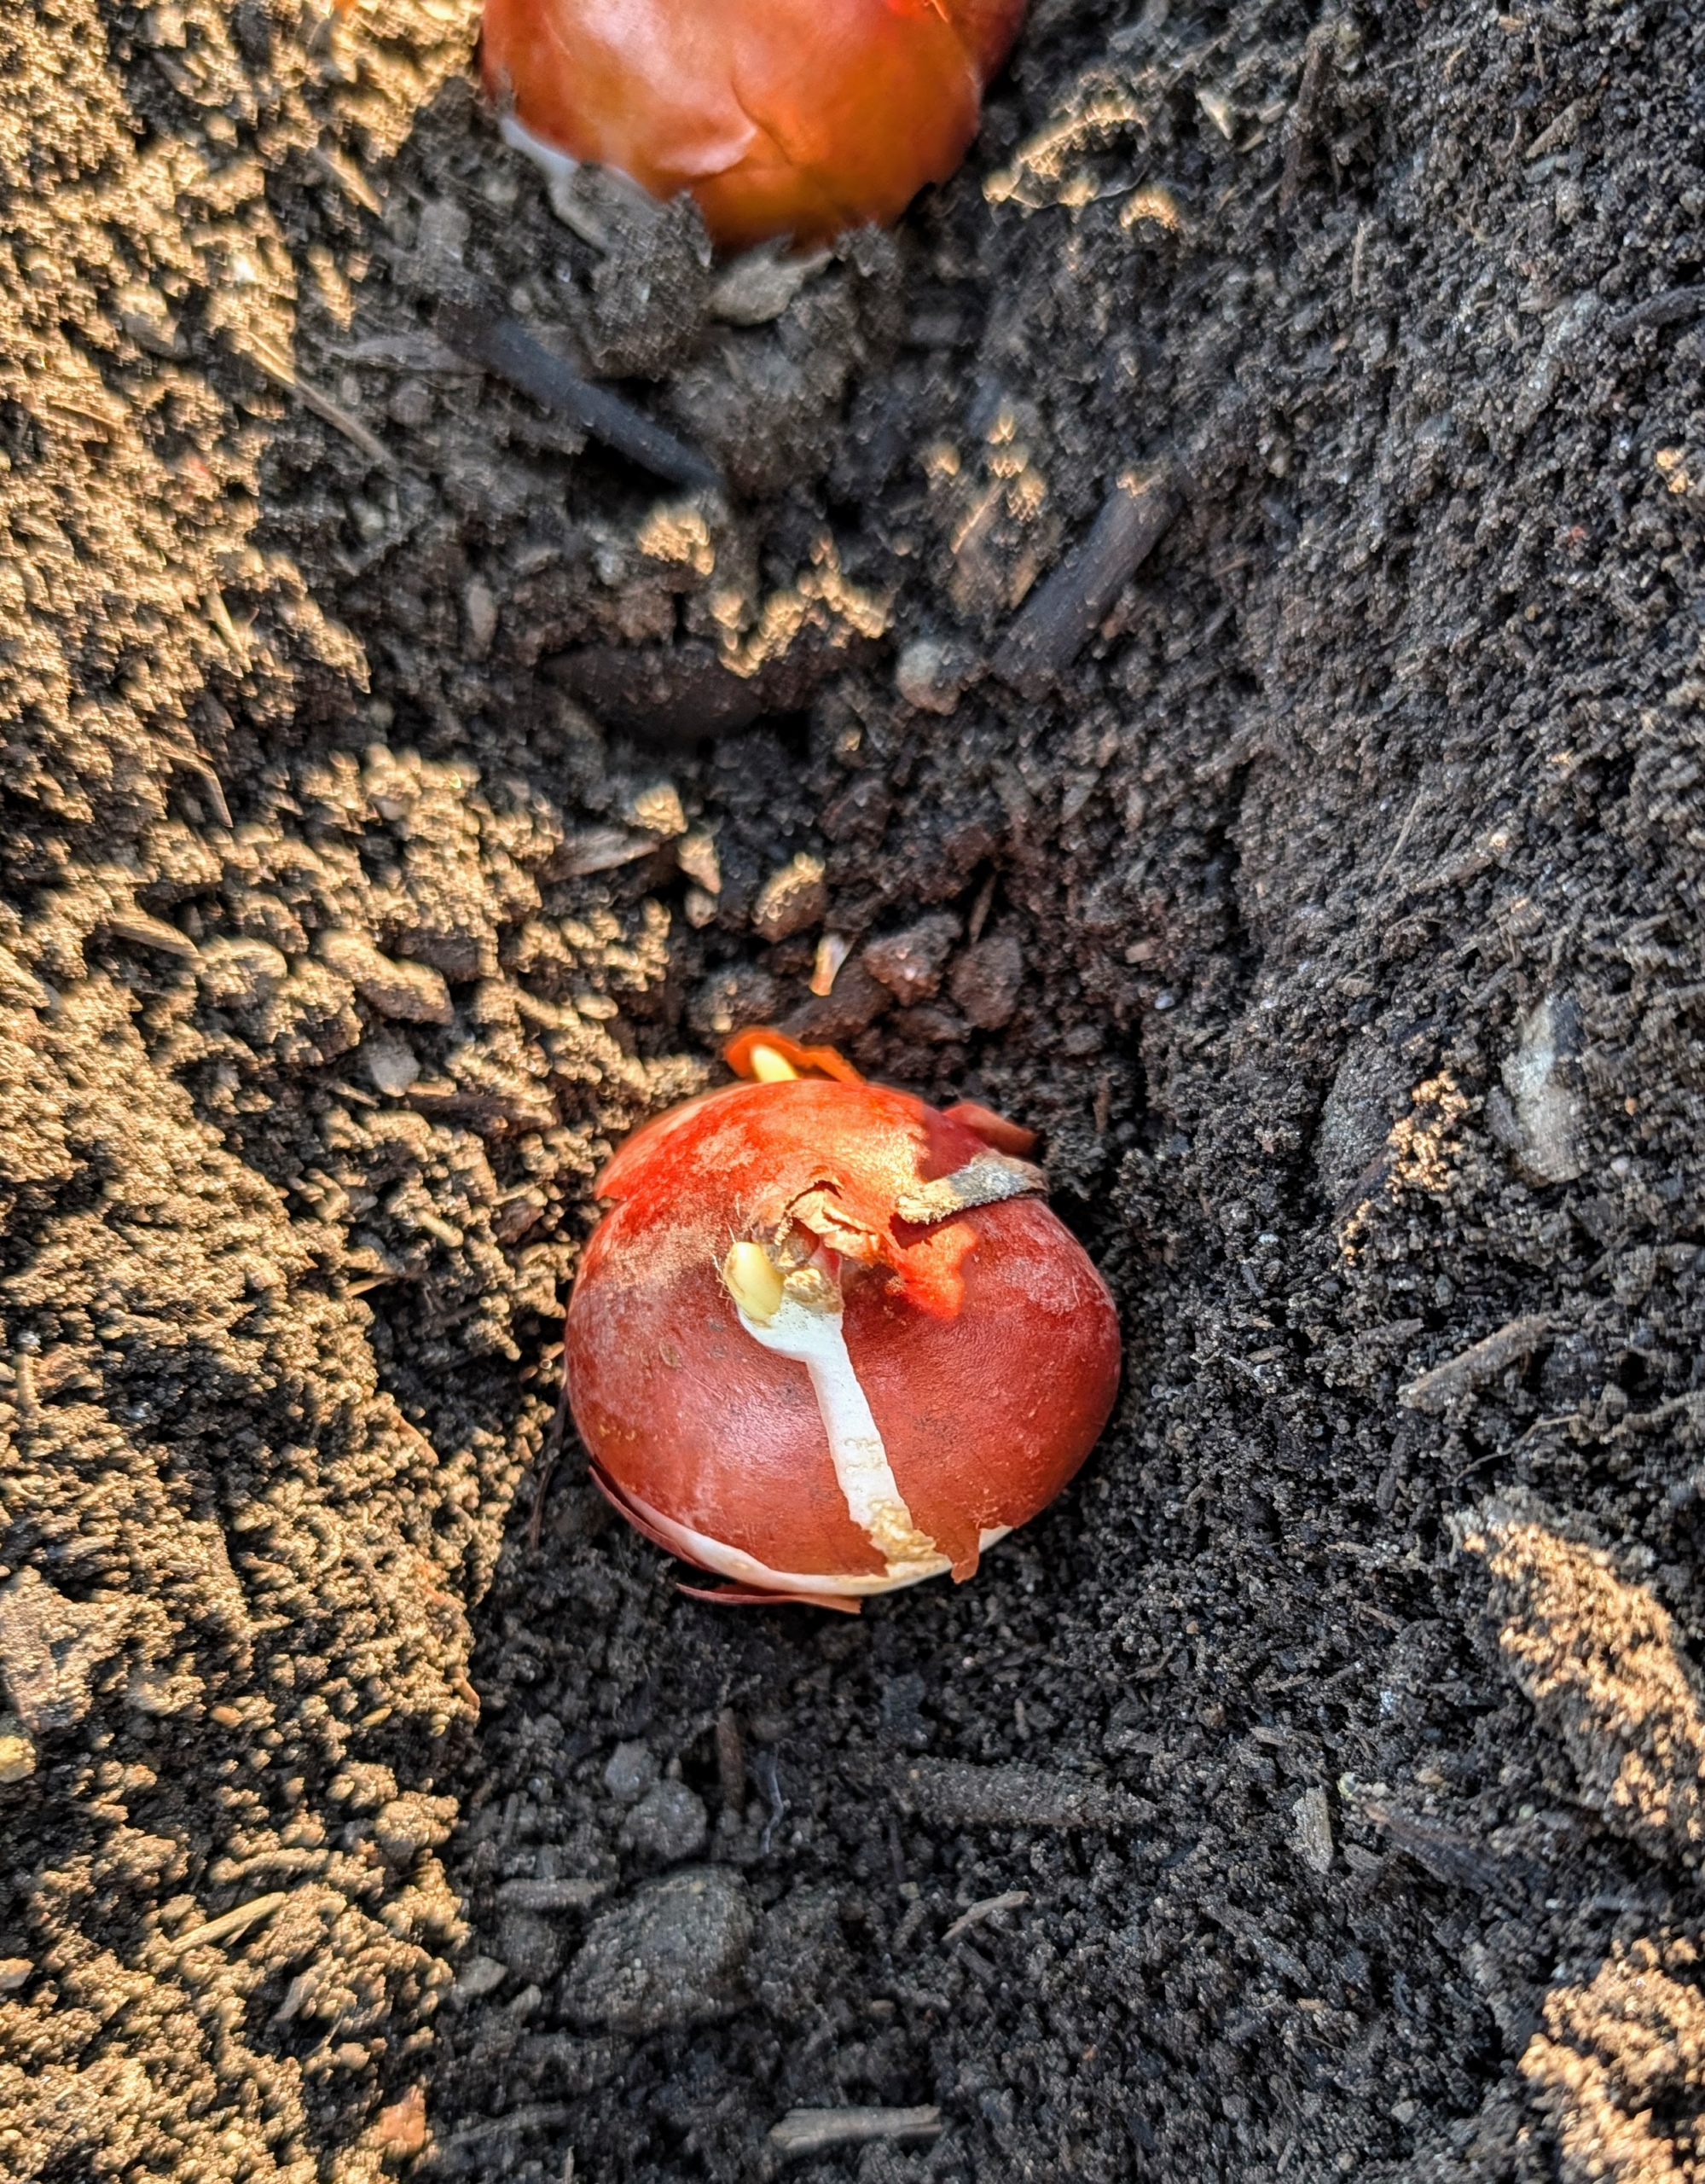
- The papery cover on a tulip bulb is called the tunic — a thin, dry, papery outer layer that wraps and protects the bulb. One can peel it off, or plant as is.
-
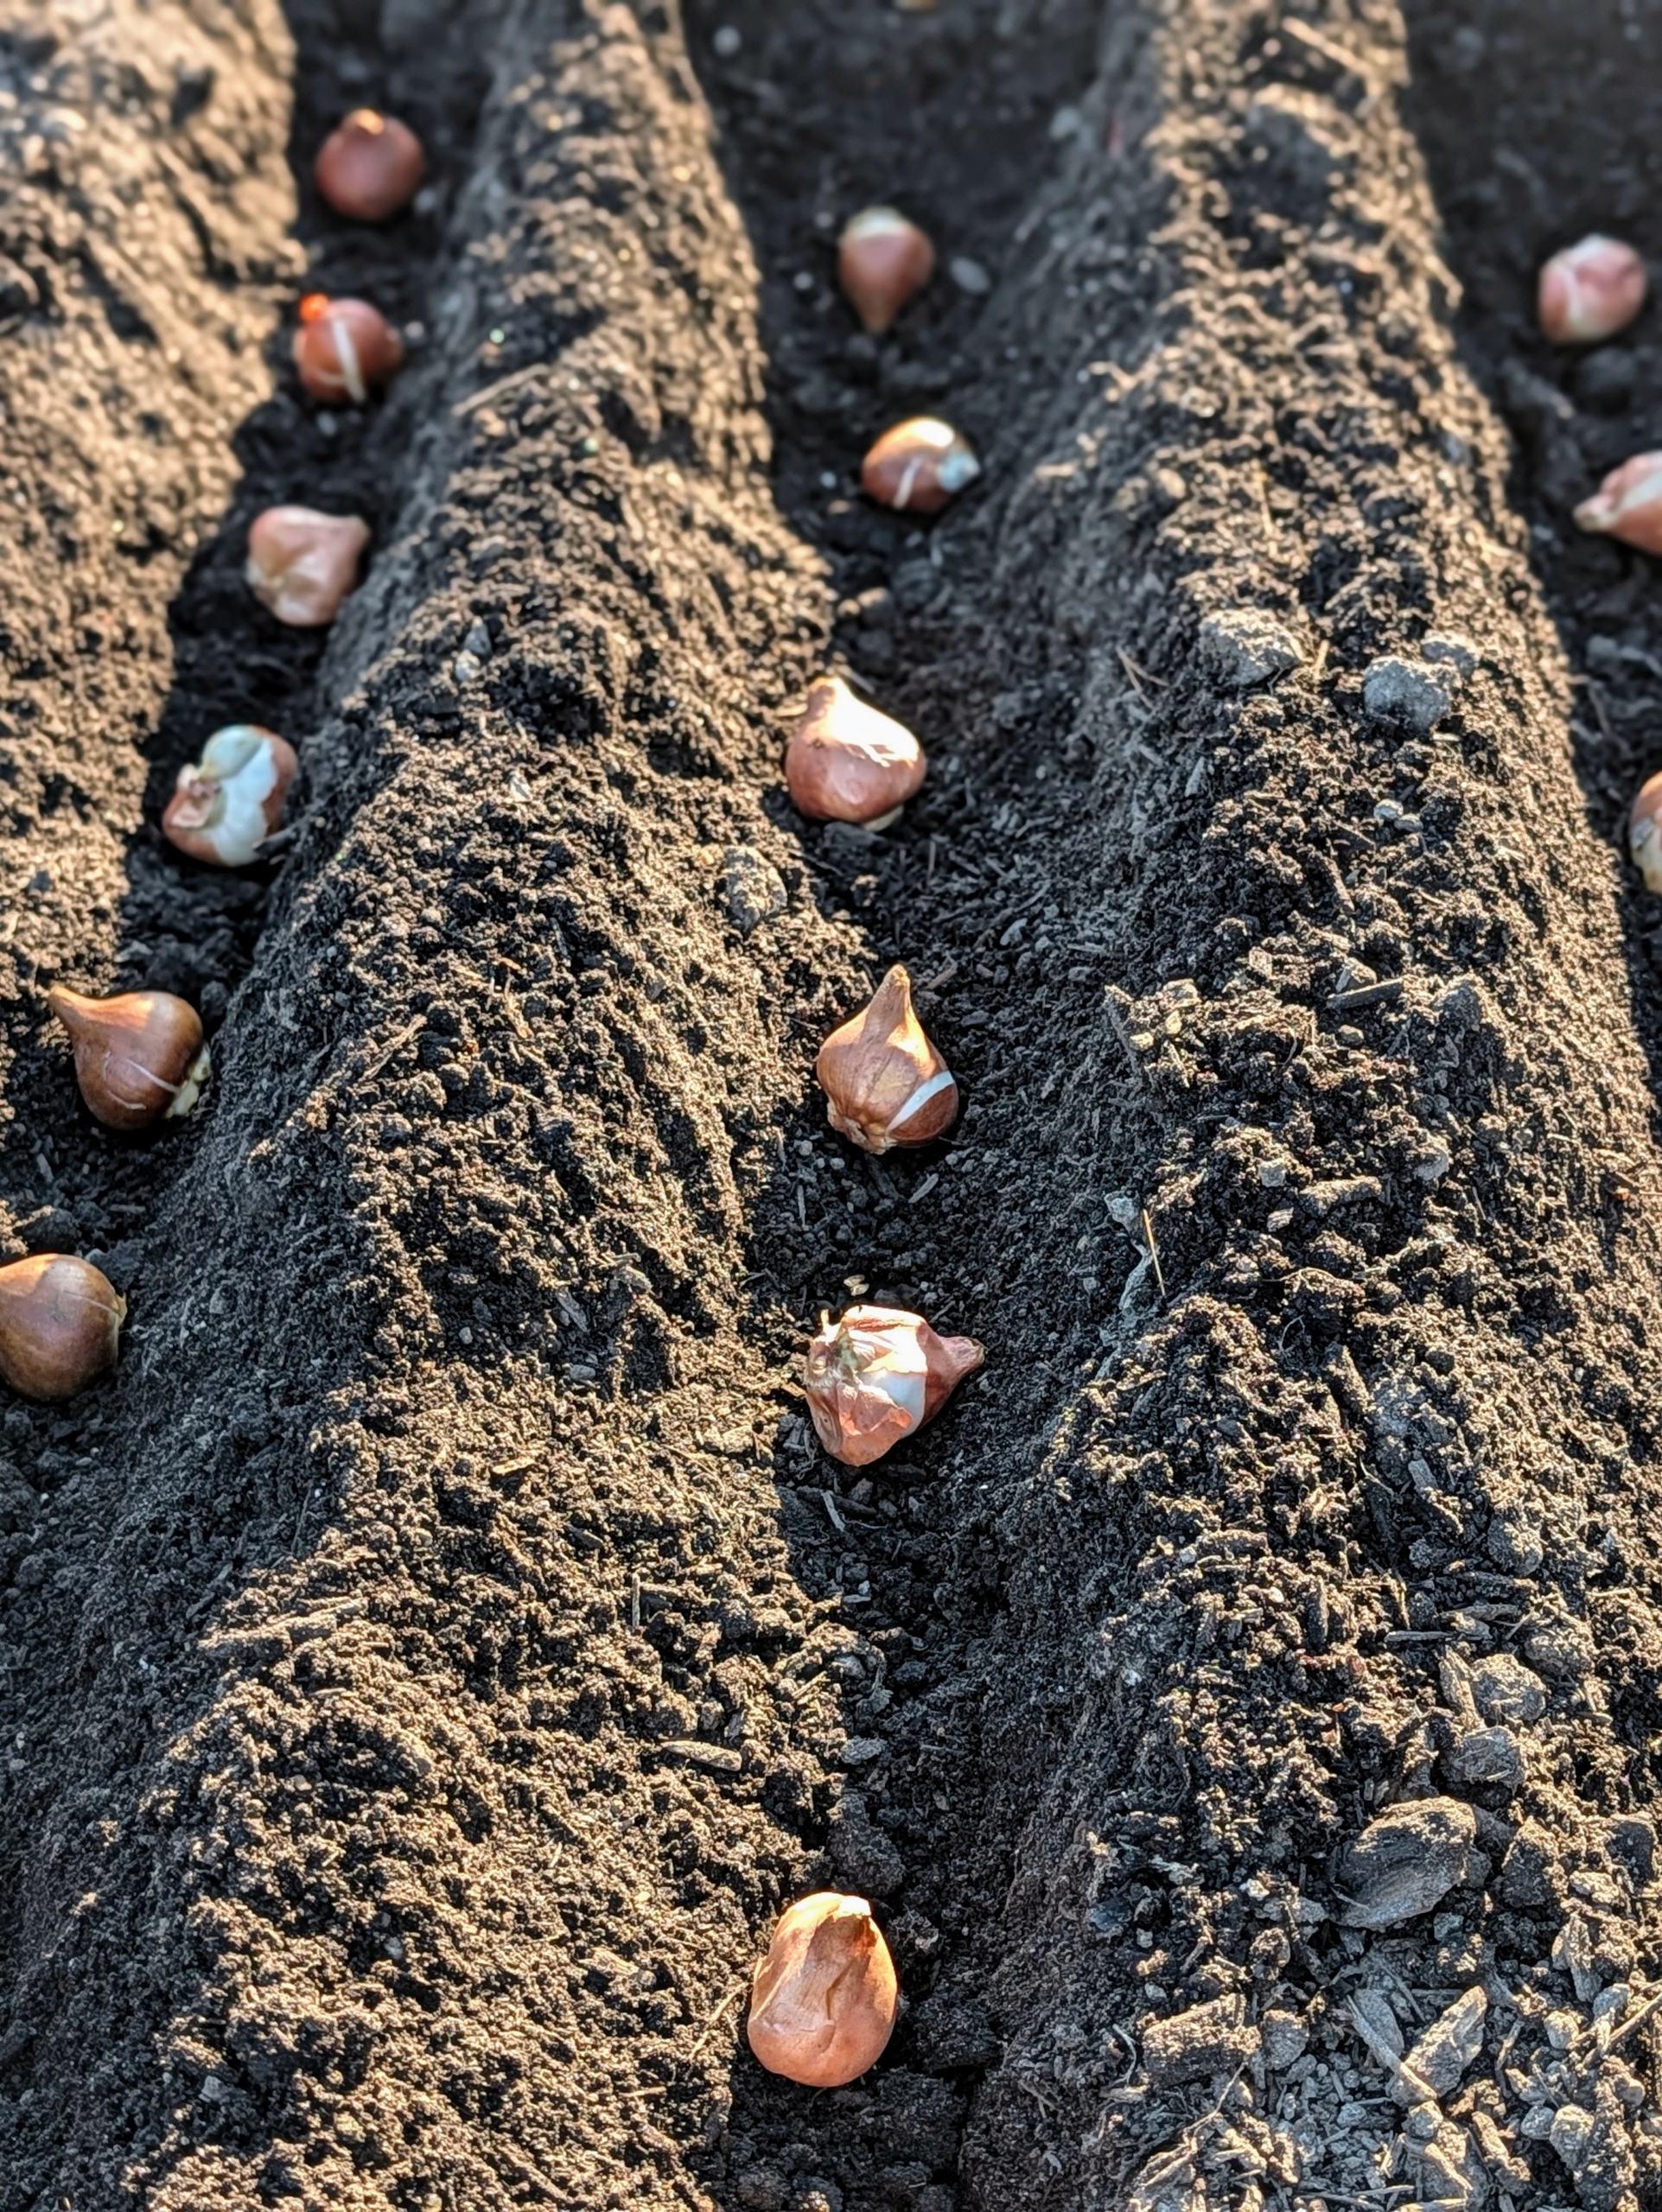
- Matthew places 10 bulbs in each row, equally spaced apart and following in line with the bulbs in the previous row. Because I take a lot of photos of my flowers in bloom, it is important that they line up perfectly.
-
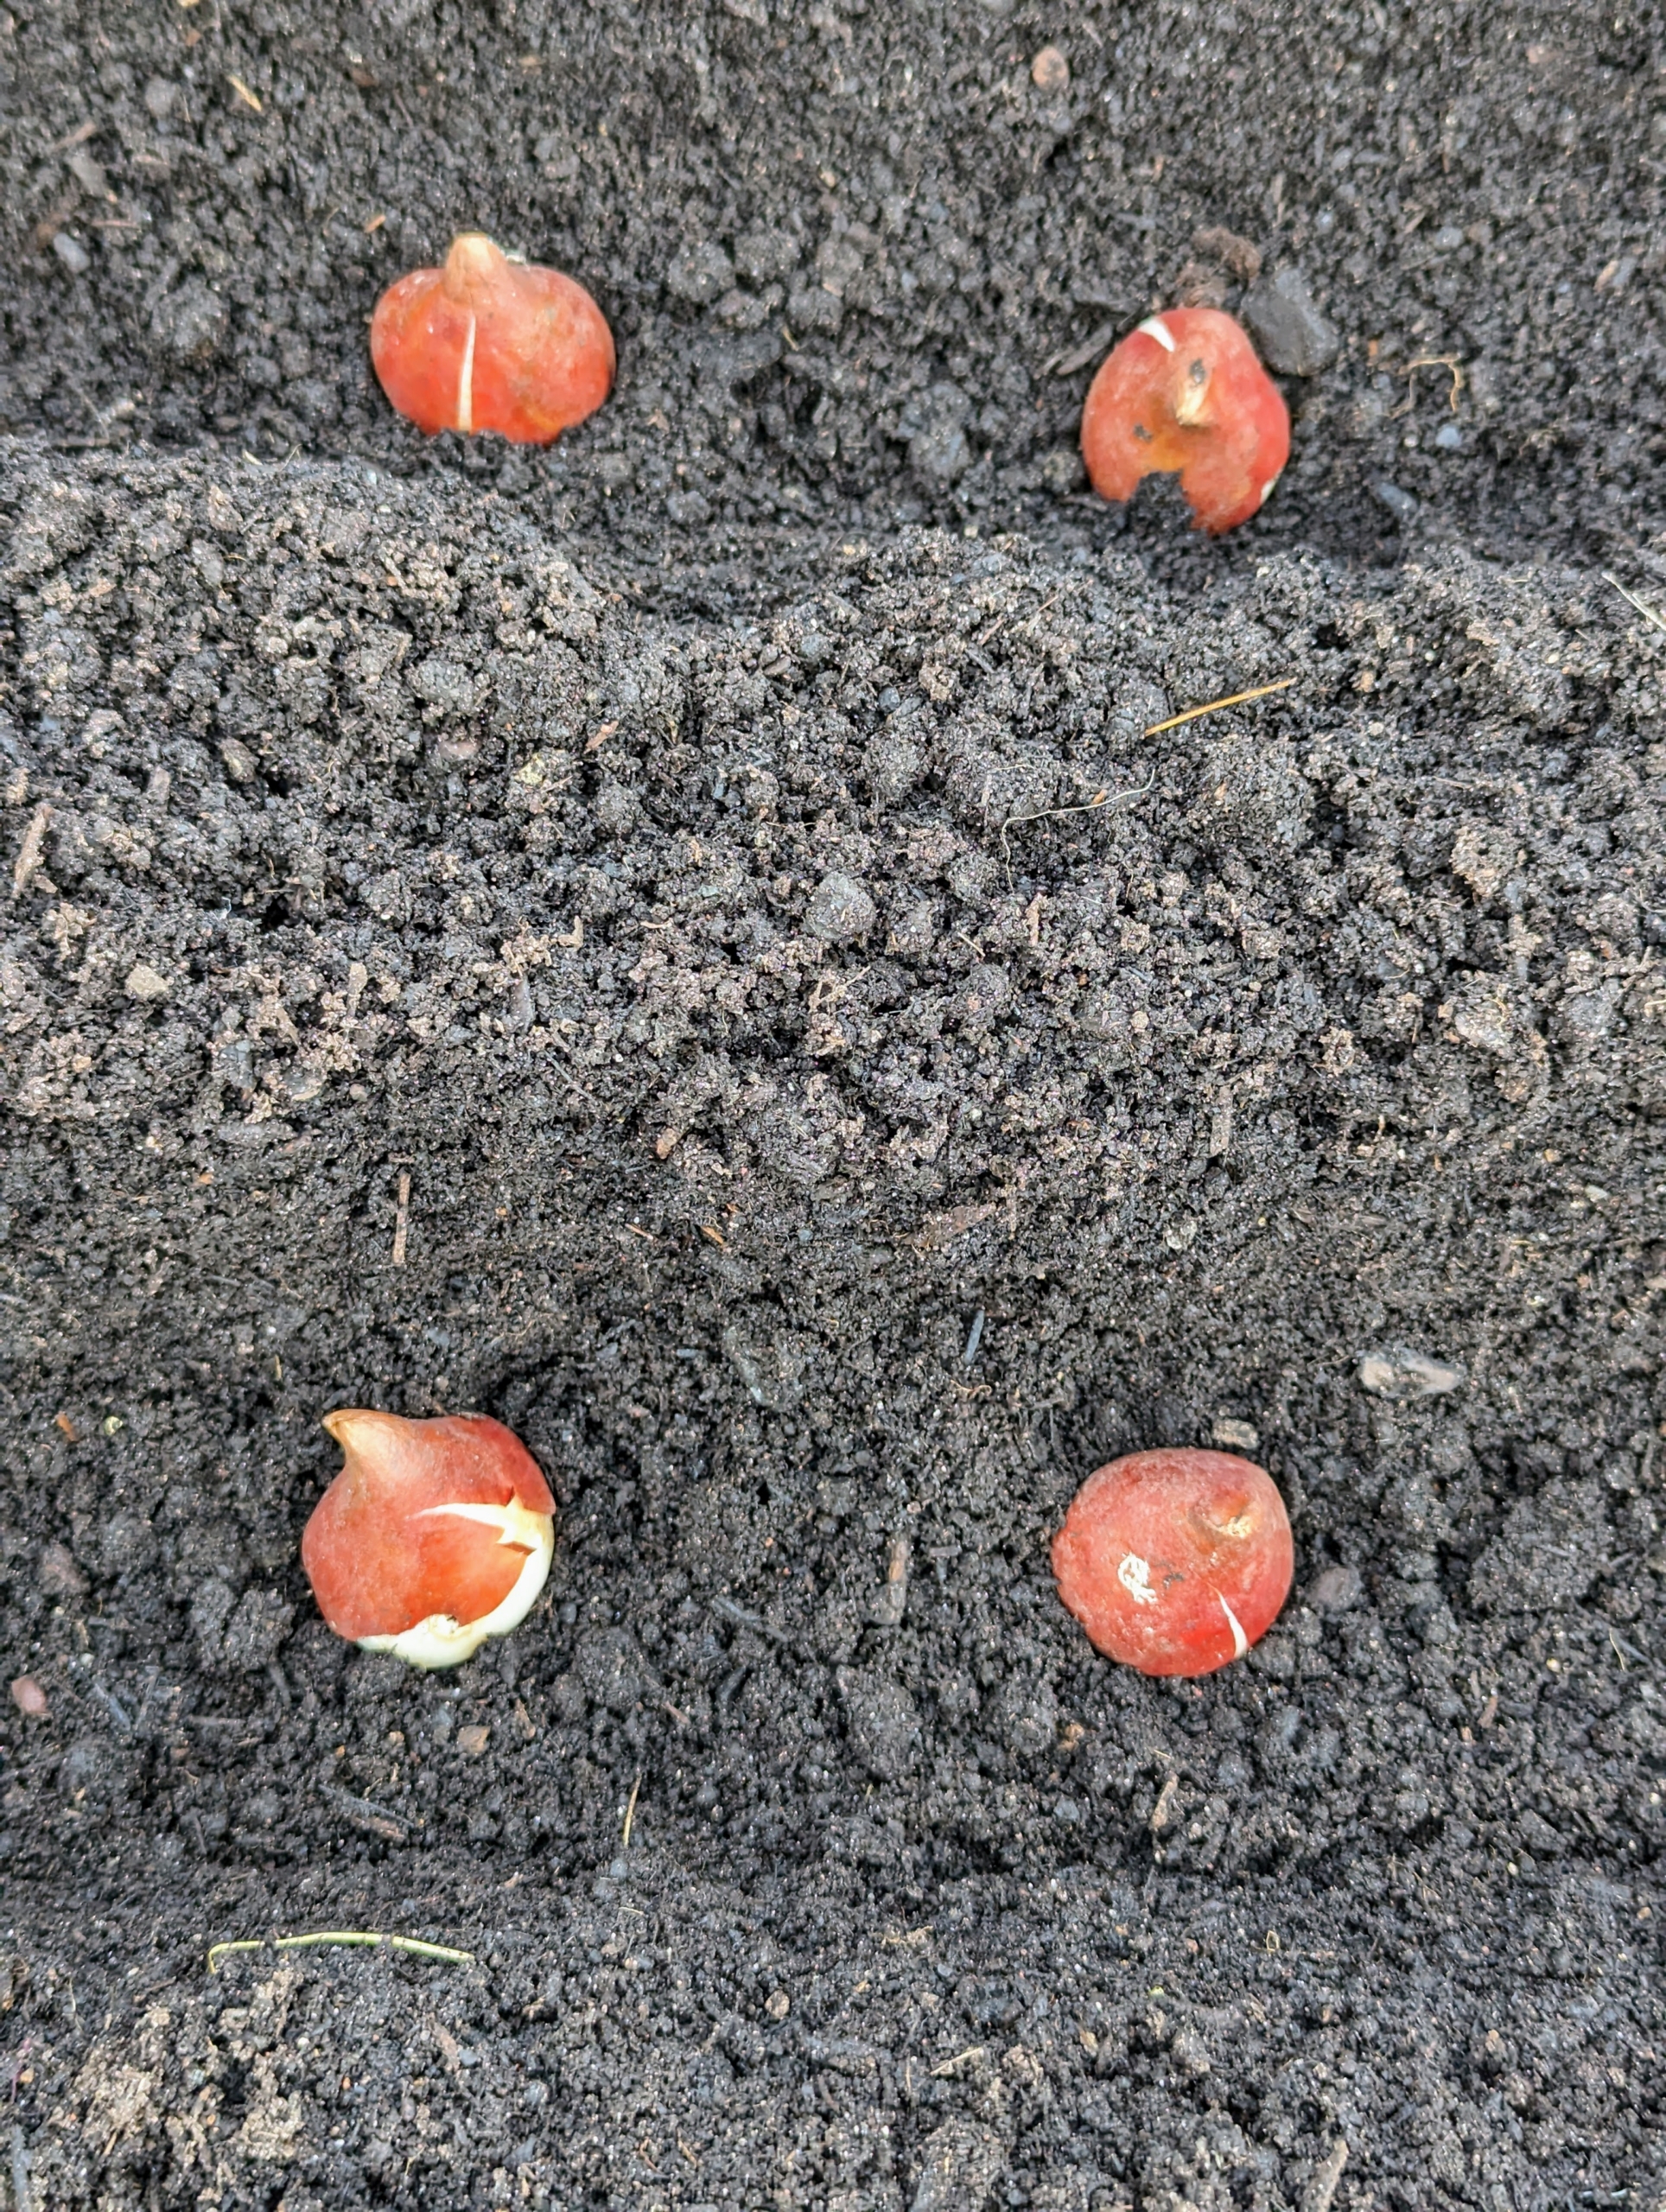
- These tulip bulbs look so healthy. Any kind of bulb should be firm and free of soft spots or visible rot. Check for signs of disease, cracking or other damage, which may cause the bulb to rot in the ground.
-
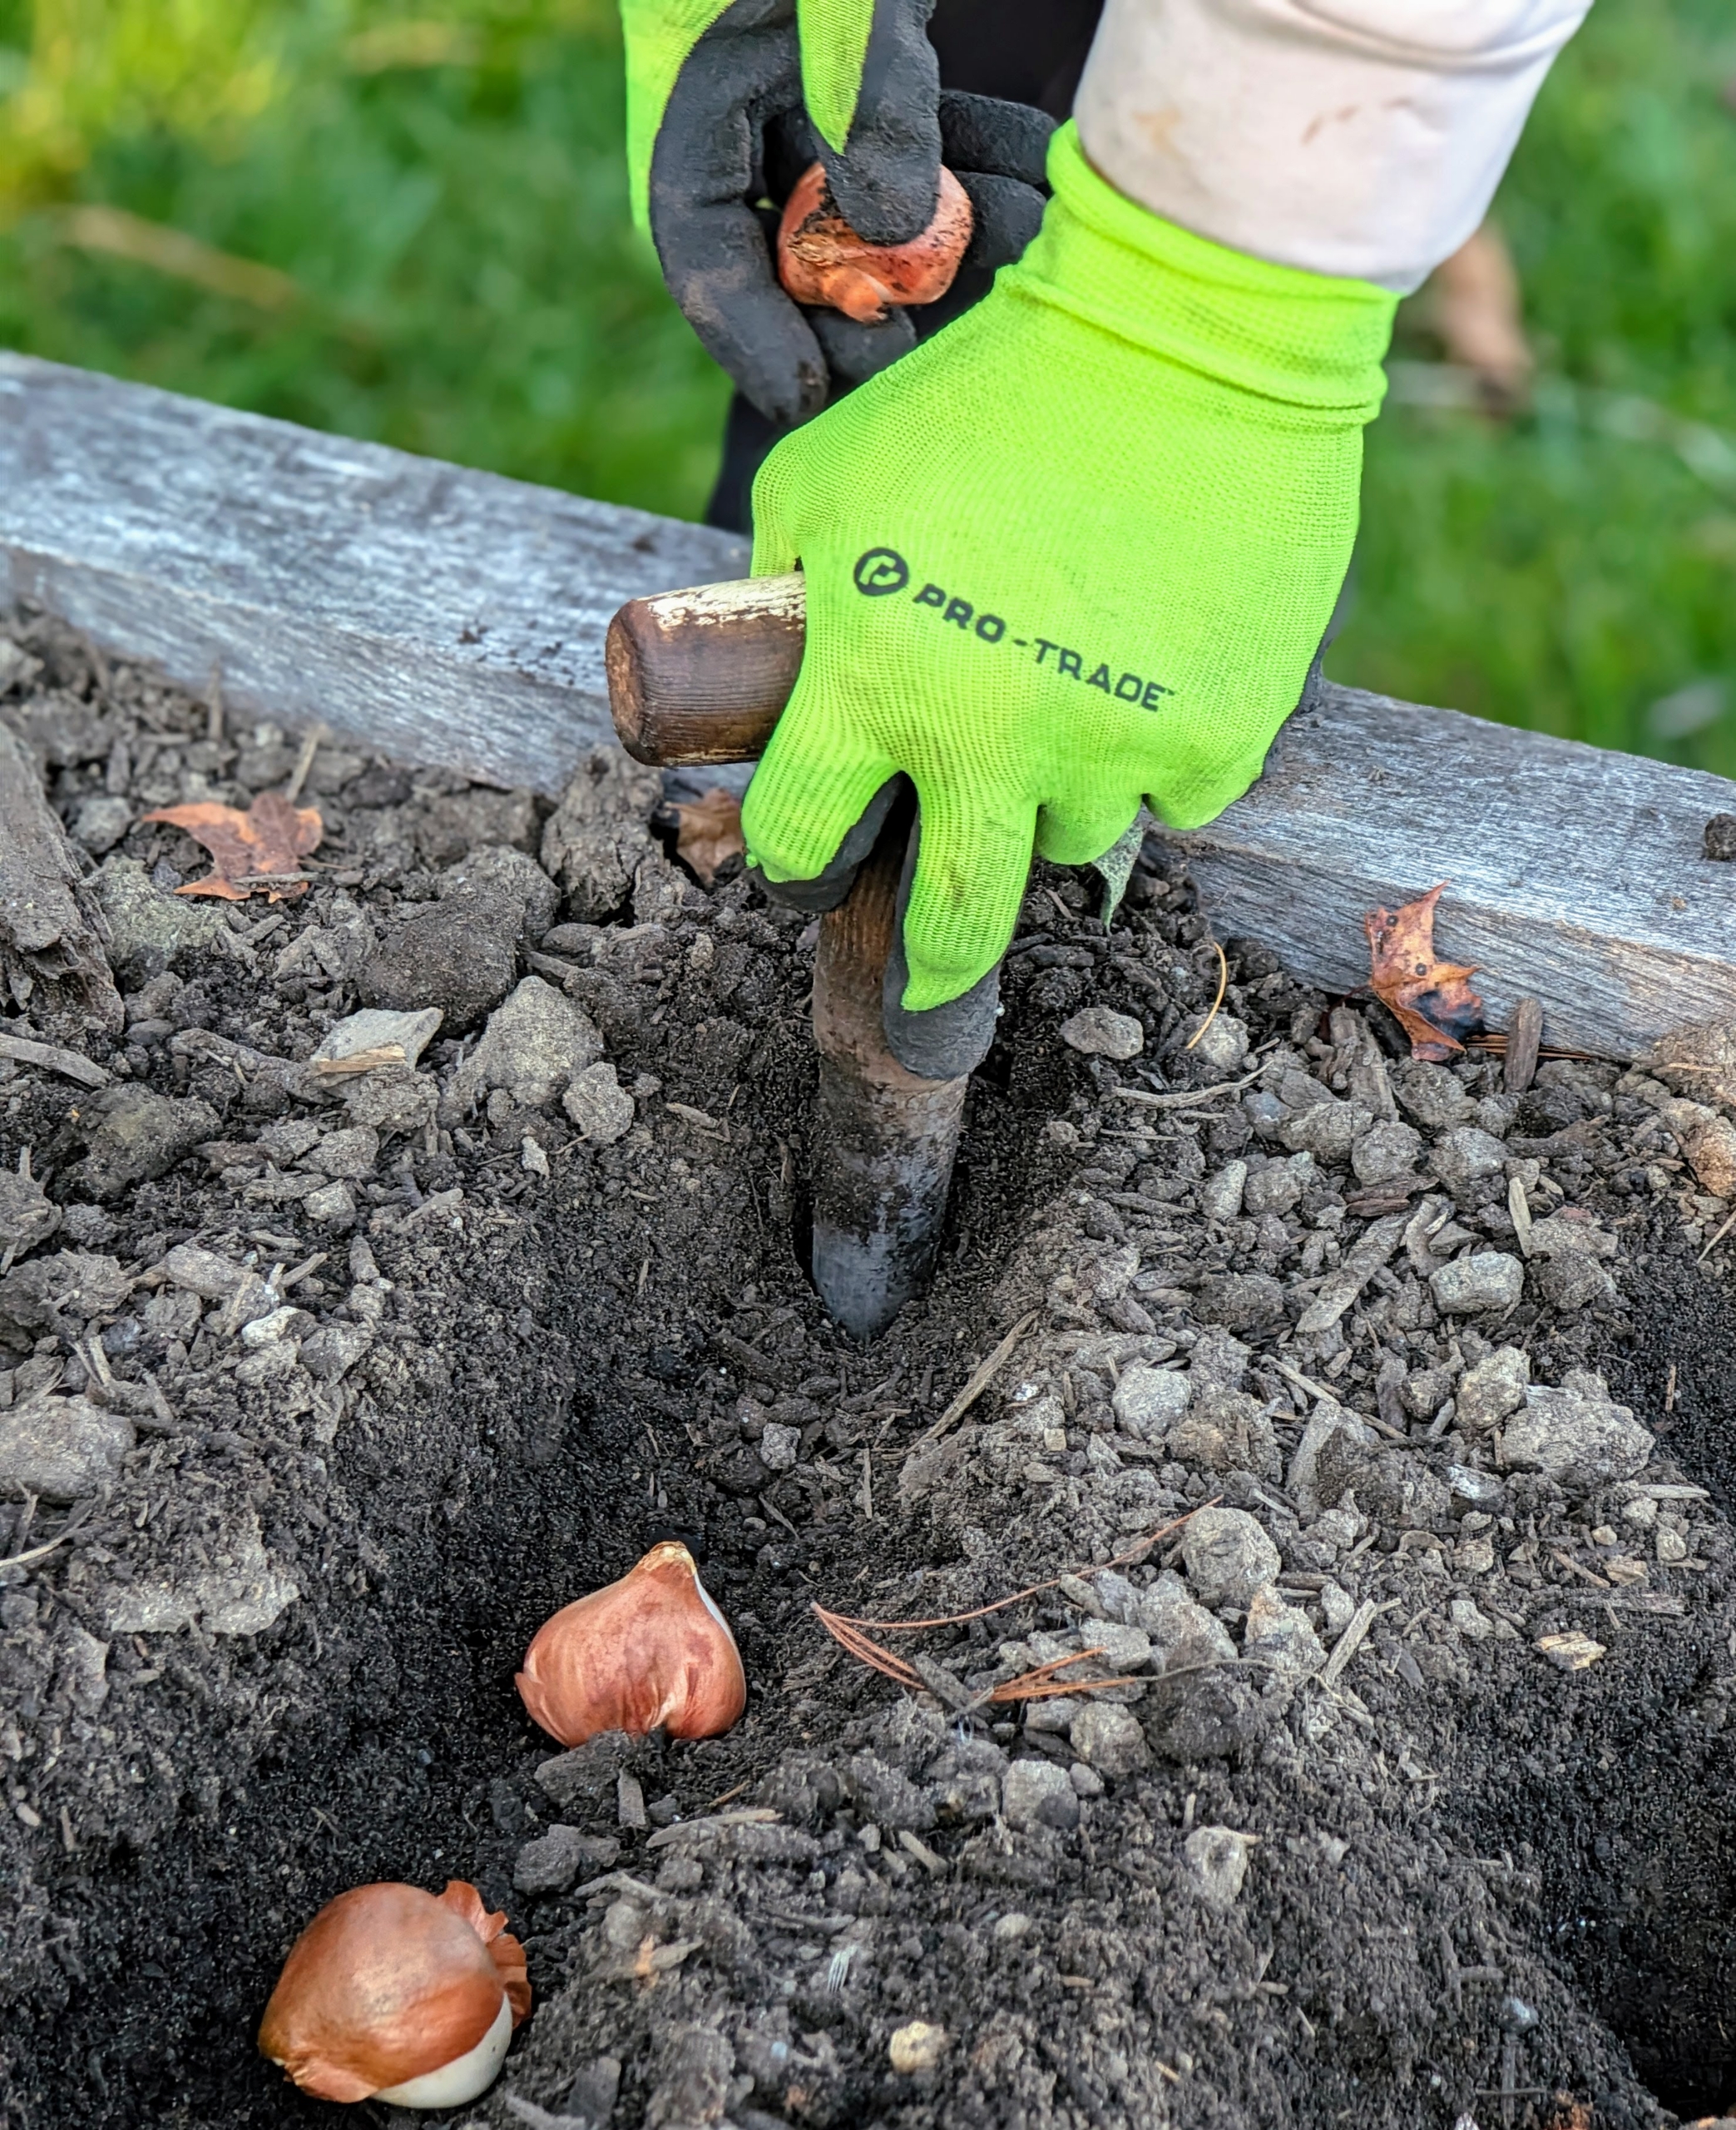
- Matthew pushes the dibber into the soil making a hole as long as the dibber point. Tulip bulbs are medium sized, so they should be buried at least six to eight-inches deep. As a rule of thumb, bulbs should be planted about three times the height of the actual bulb.
-
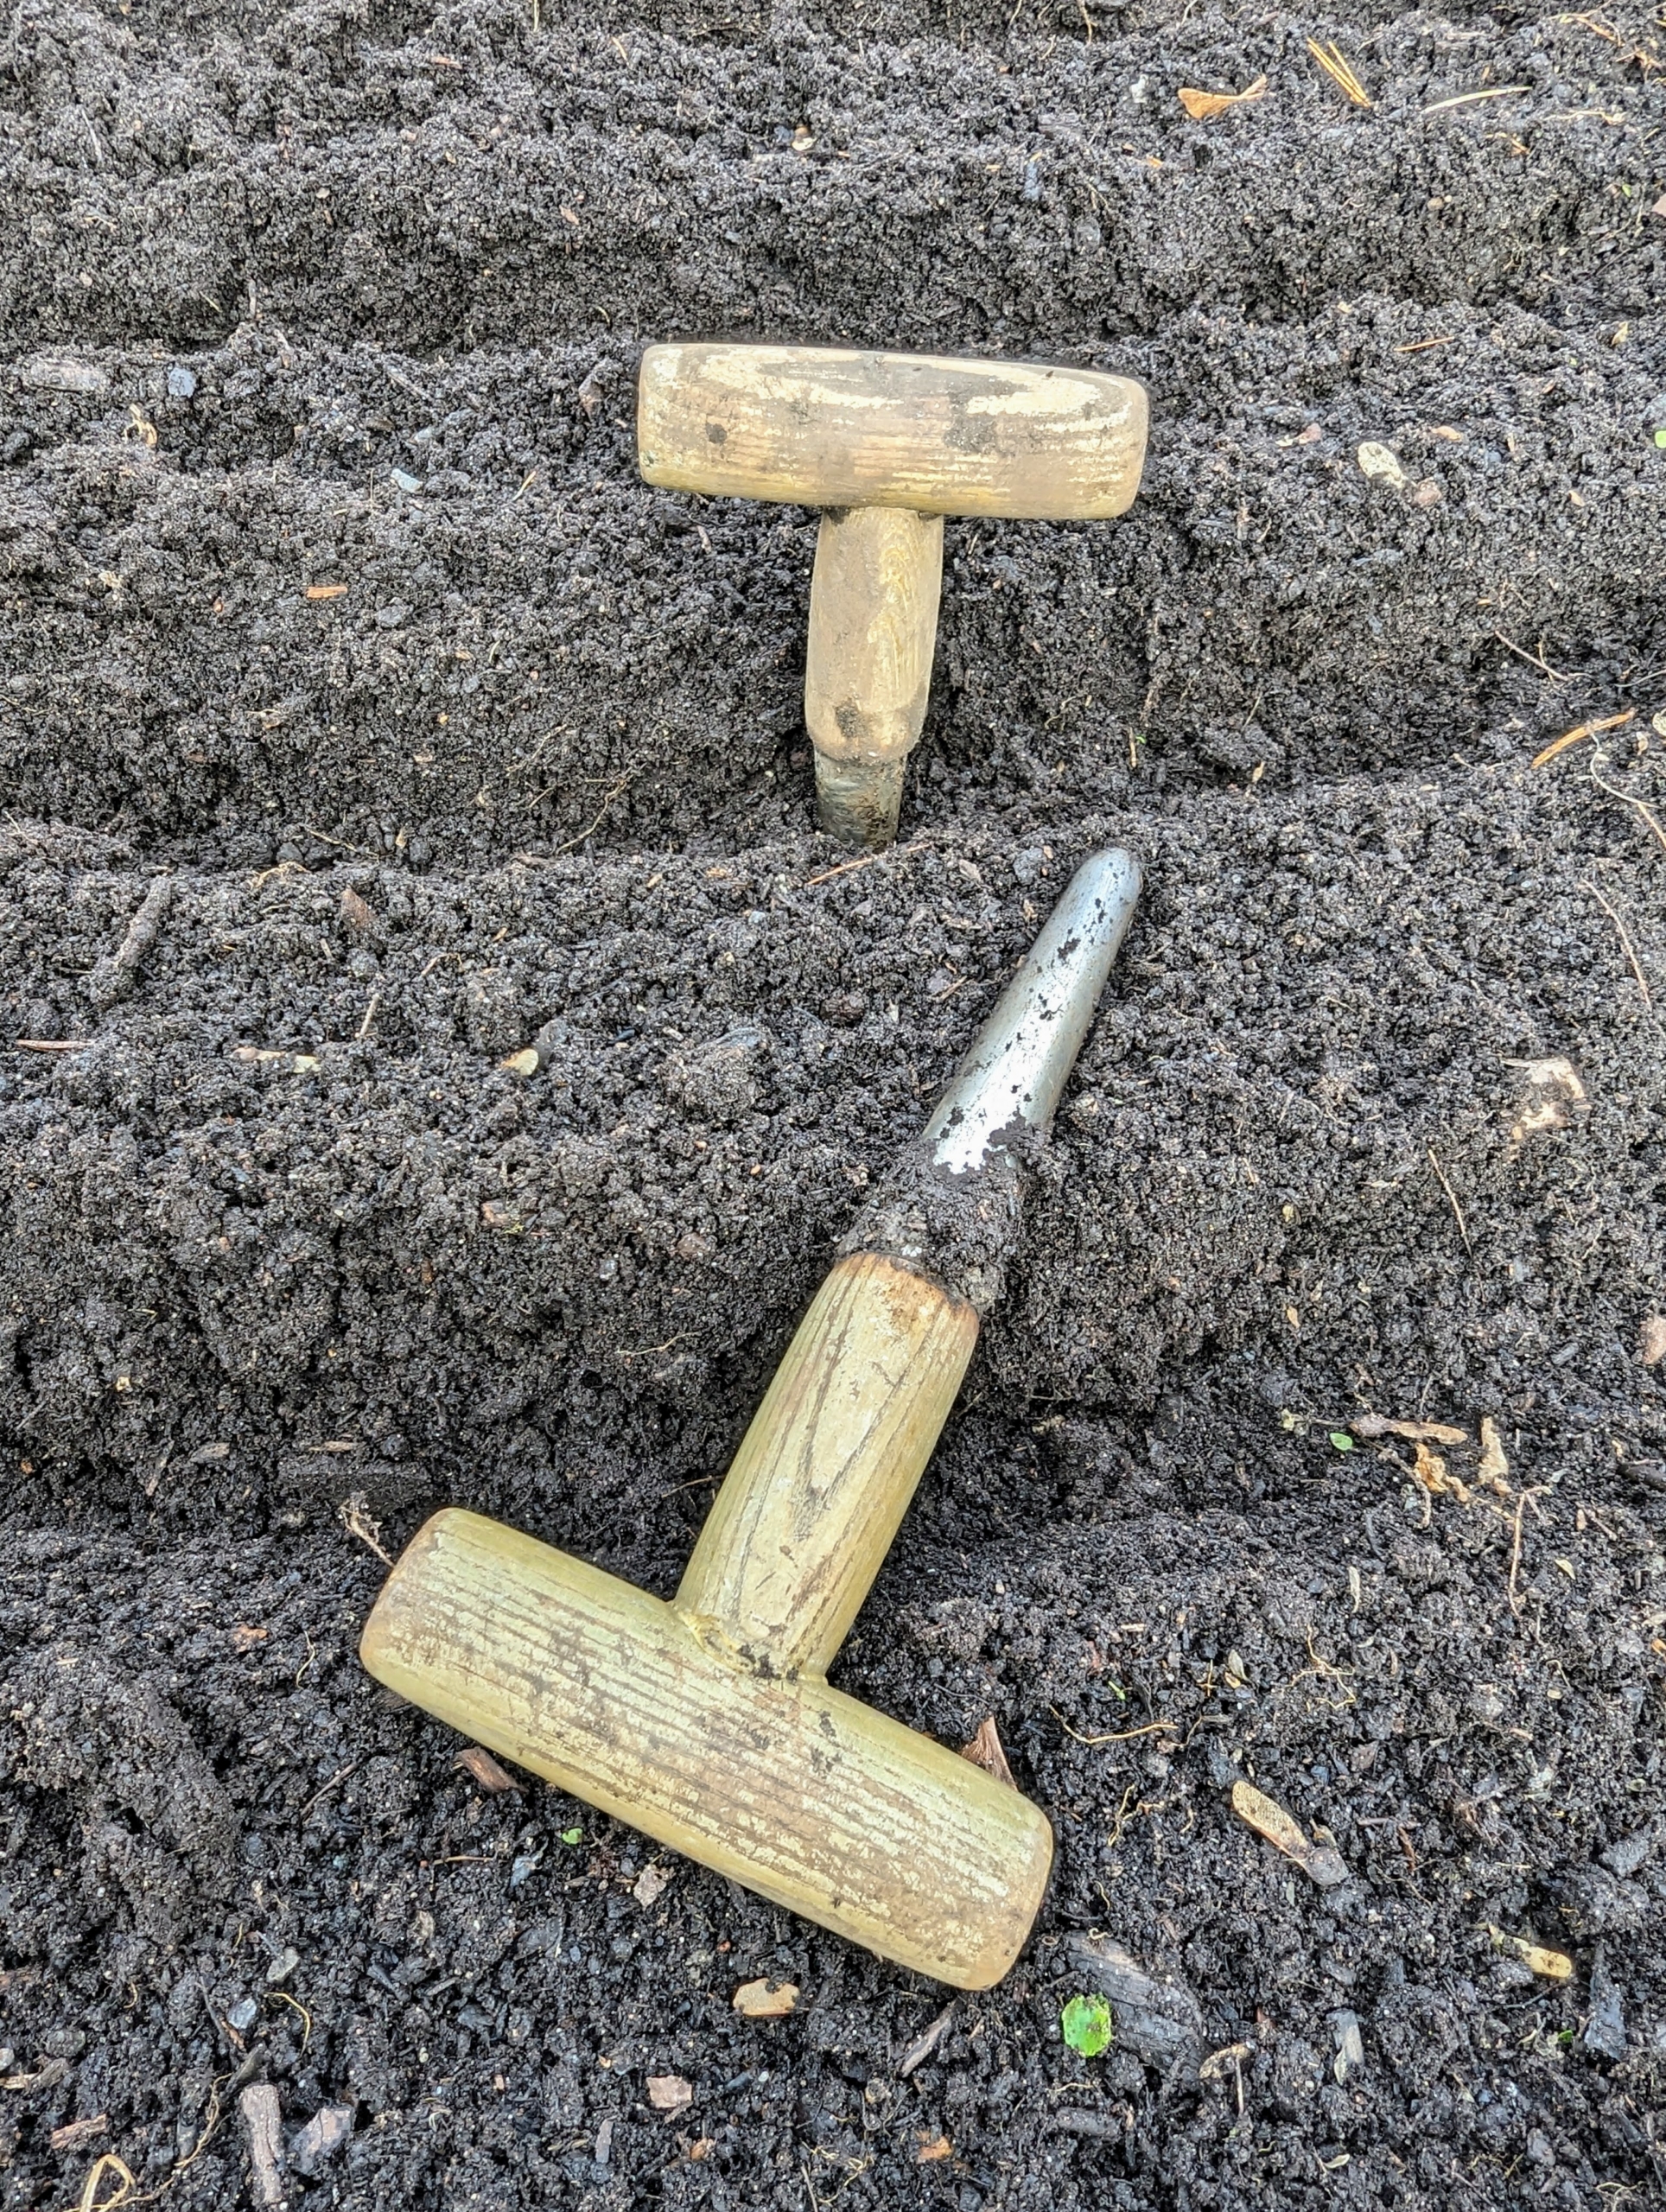
- A dibber or dibble or dibbler is a pointed wooden stick for making holes in the ground so seeds, seedlings or bulbs can be planted. Dibbers come in a variety of designs including the straight dibber, T-handled dibber, trowel dibber, and an L-shaped dibber. These are T-handled dibbers.
-
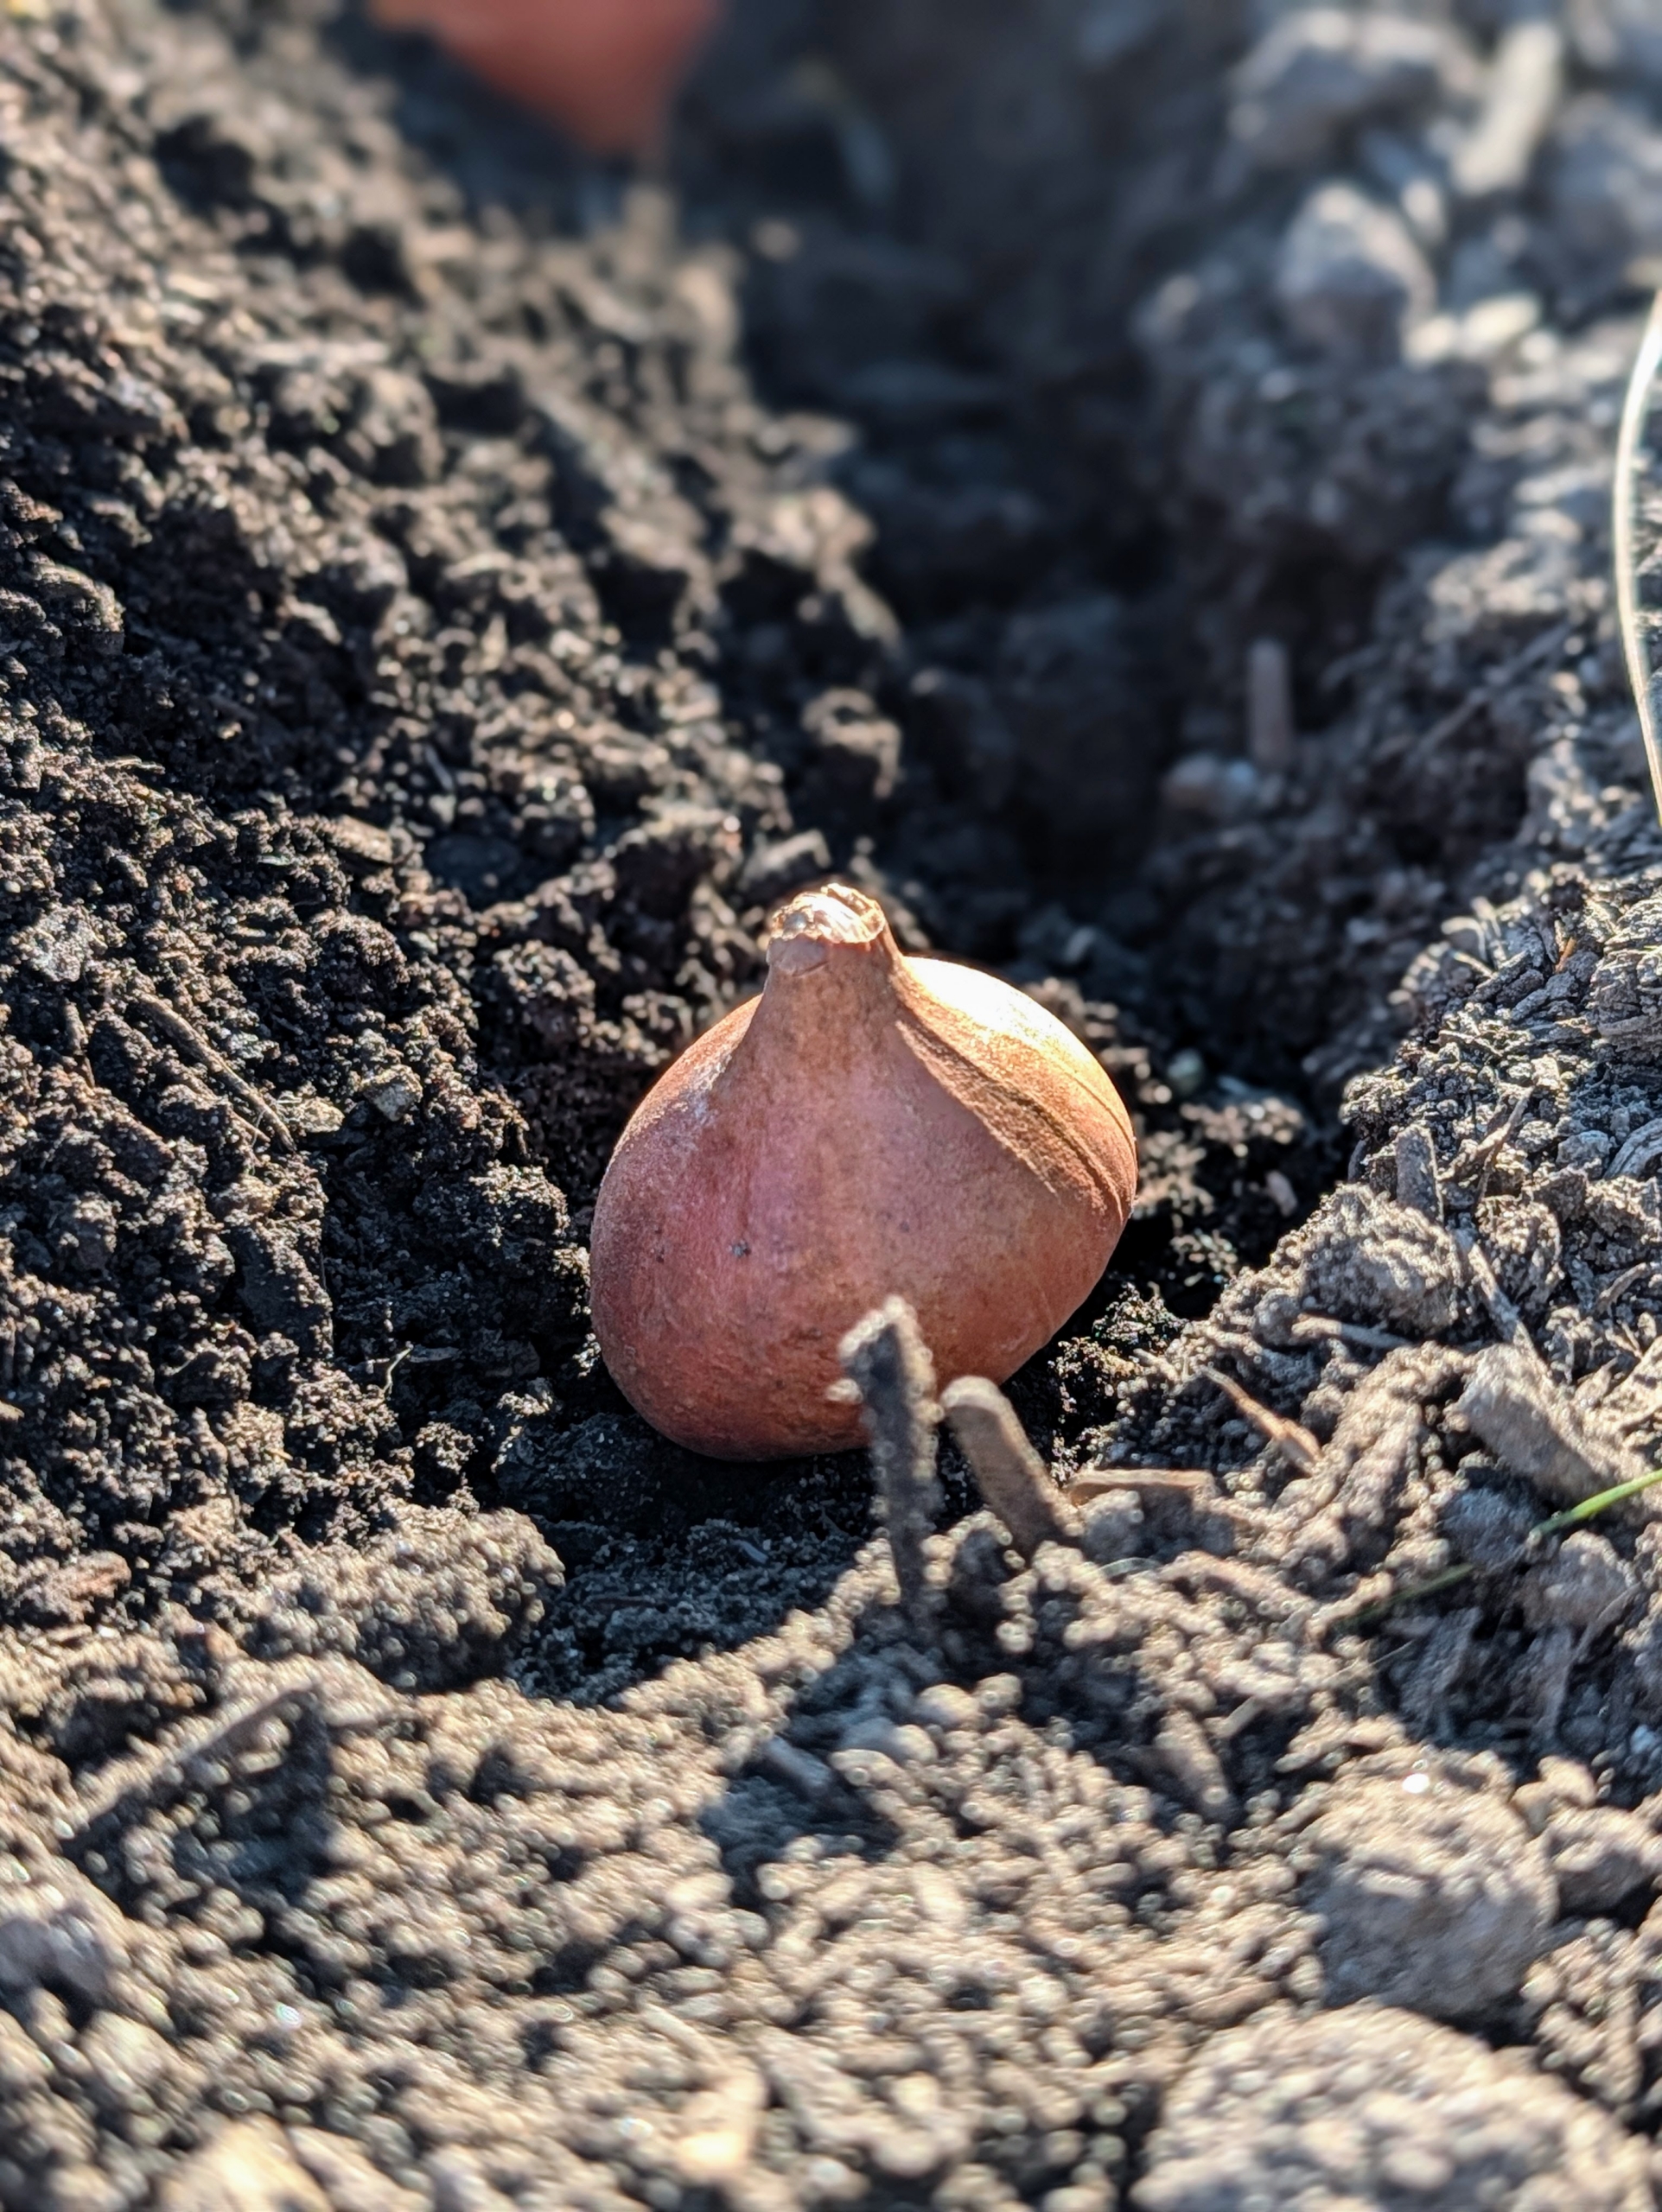
- Every bulb should be planted faced up. This is important for all bulbs. If the pointed end is not obvious, look for the flat side of the bulb, which is the bottom.
-
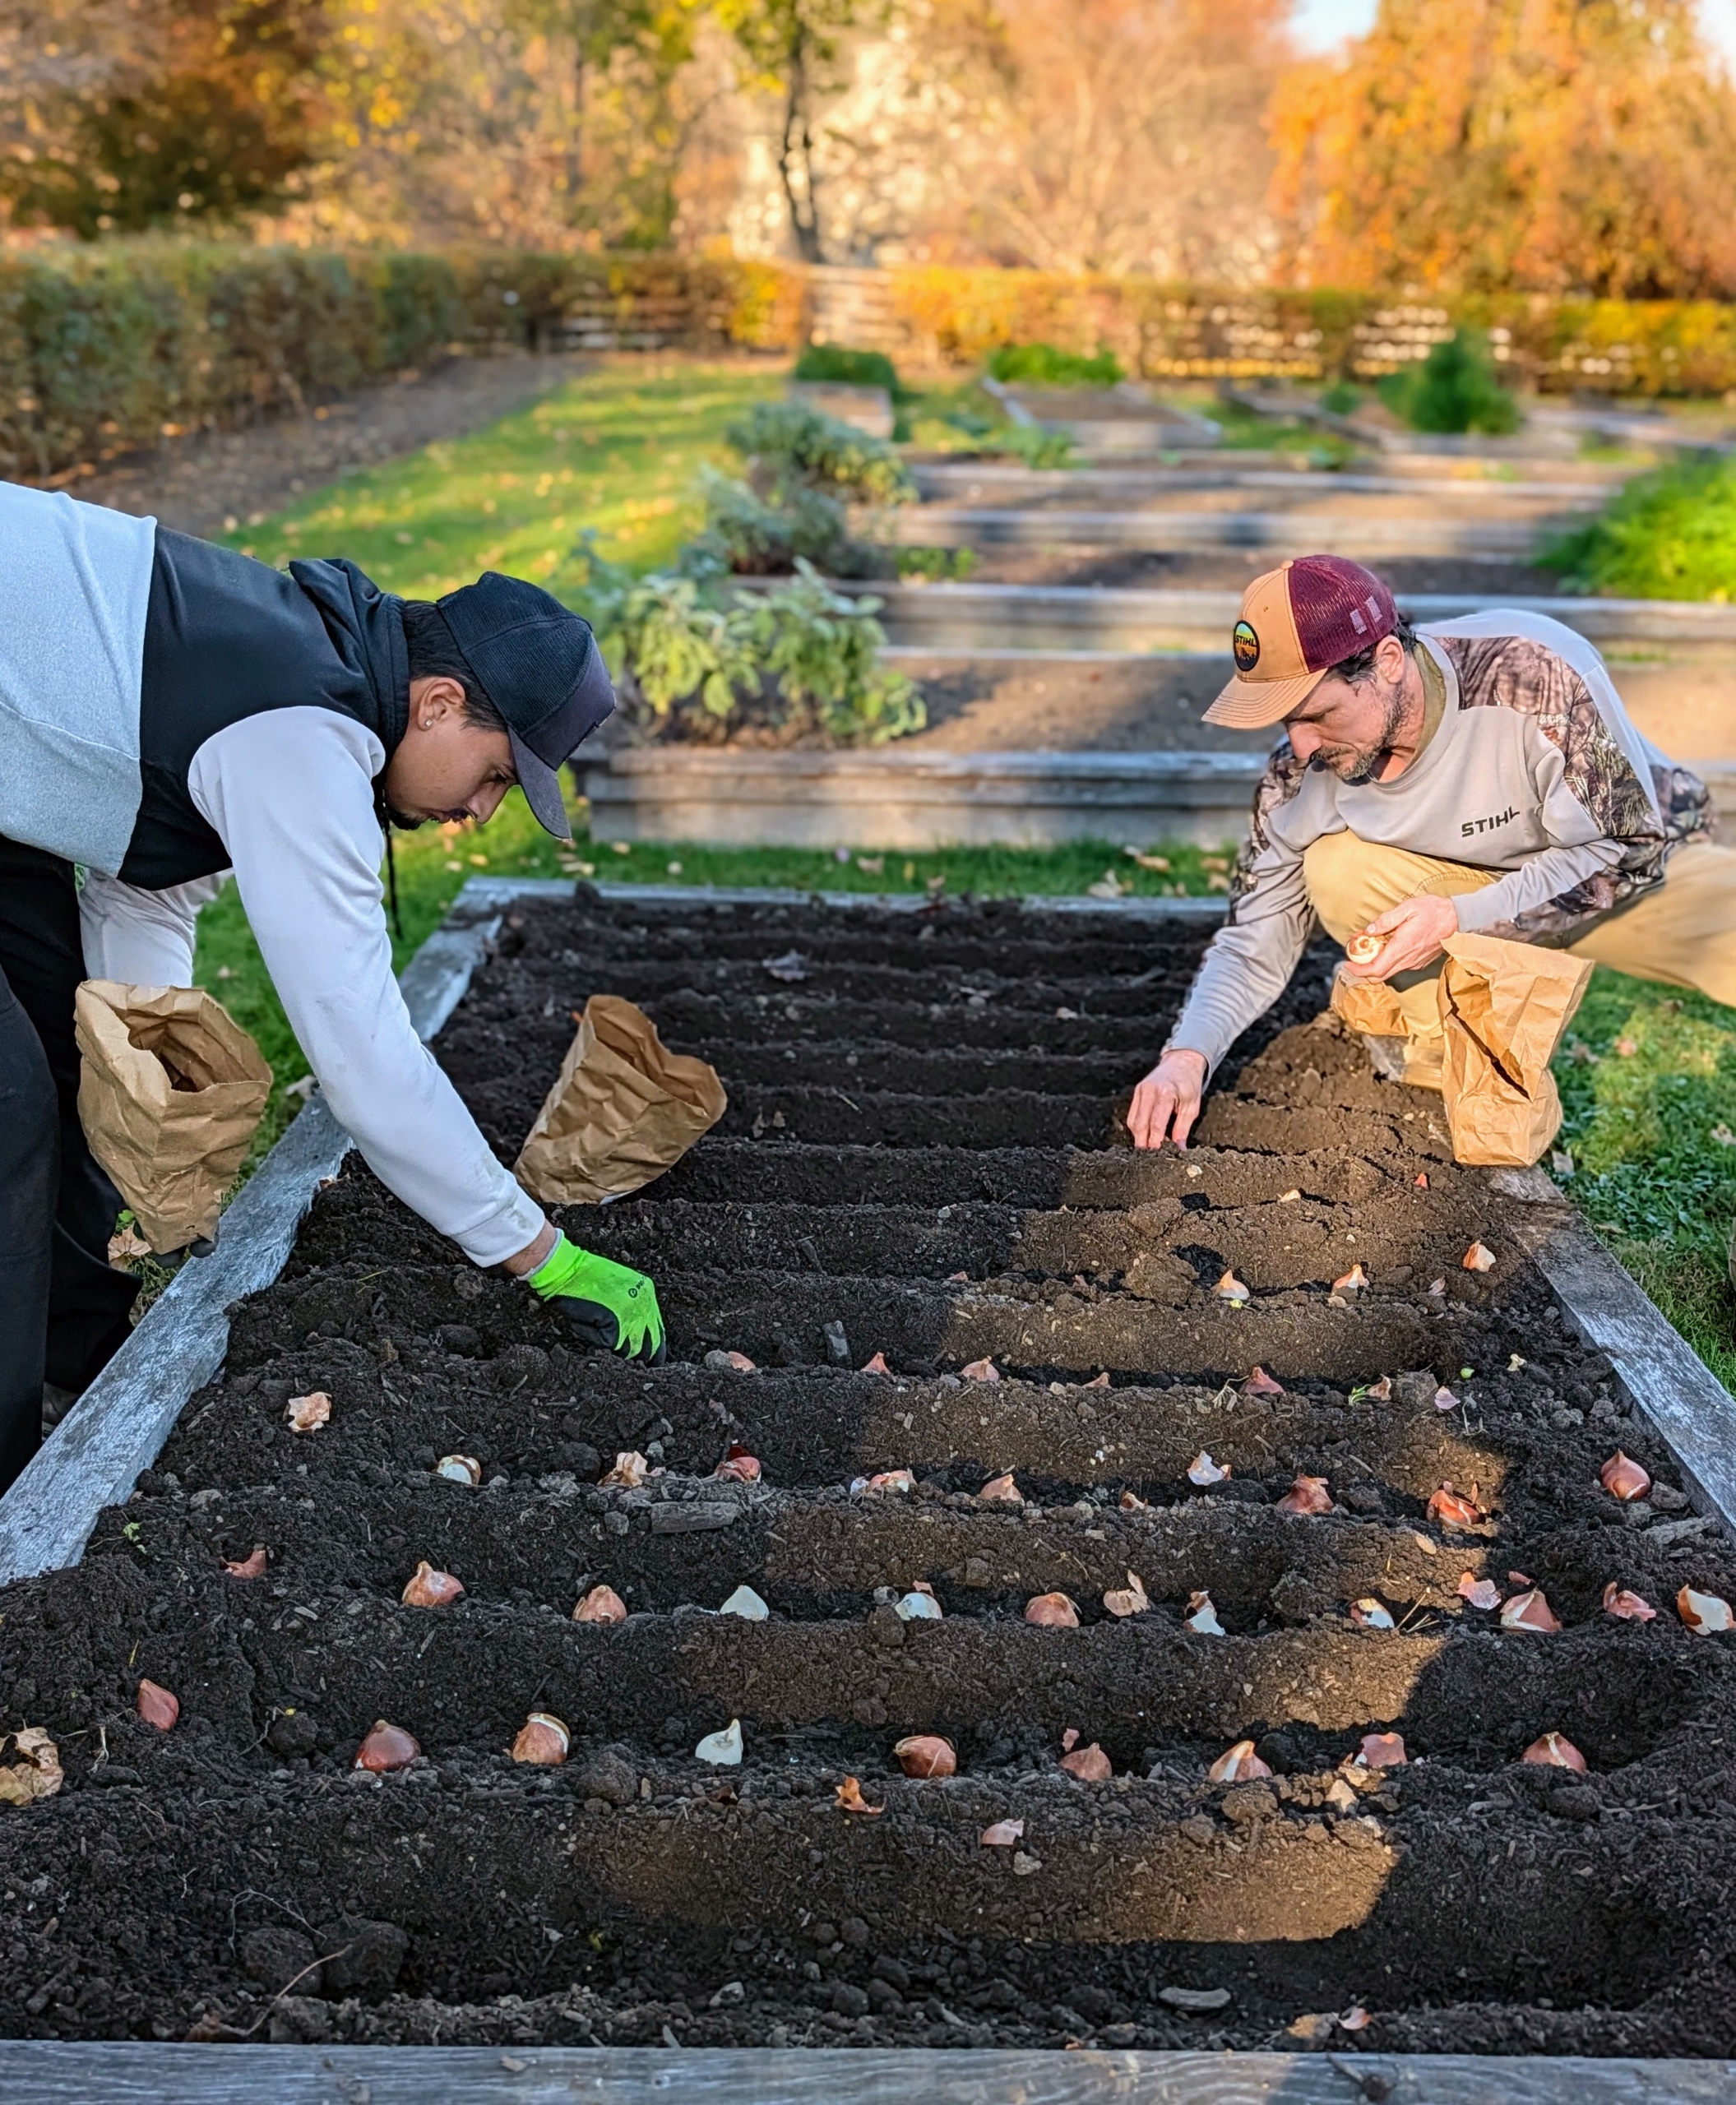
- With the large number of bulbs to be planted, Matthew and Ryan work together from opposite sides of this bed.
-
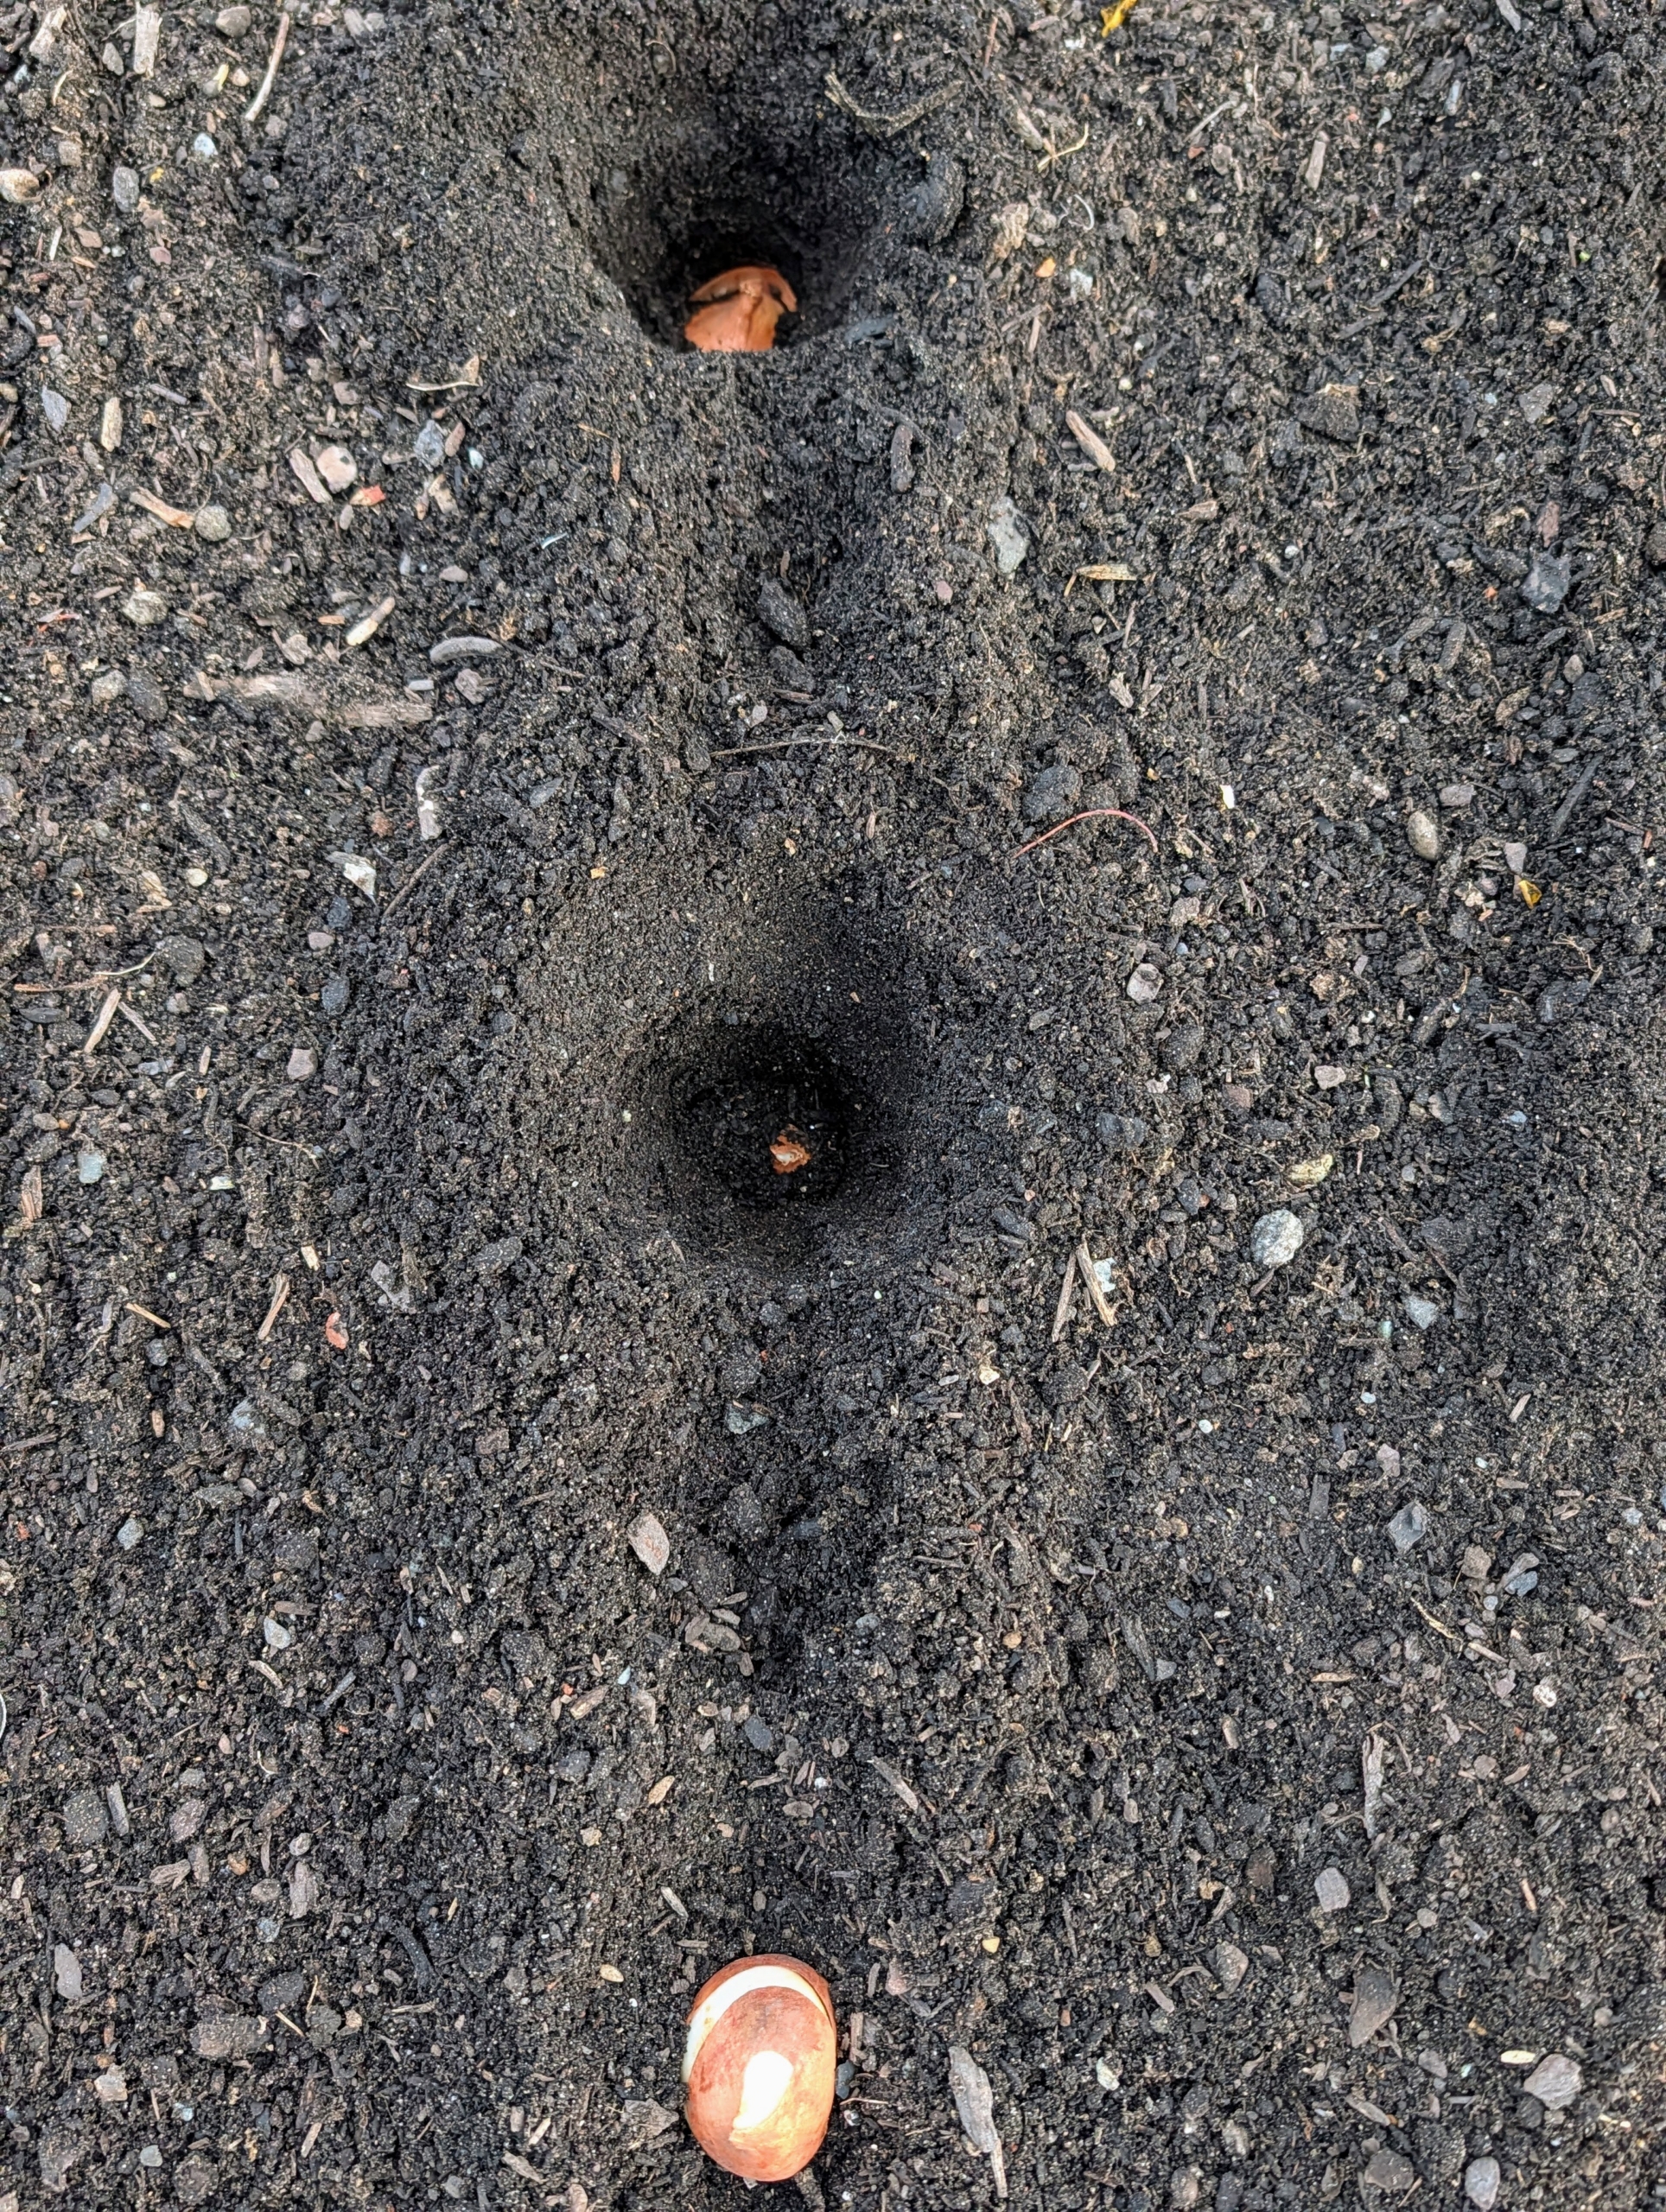
- Here is the bulb in the soil. Matthew and Ryan plant all the bulbs before backfilling, so they can keep track of the planted holes and rows.
-
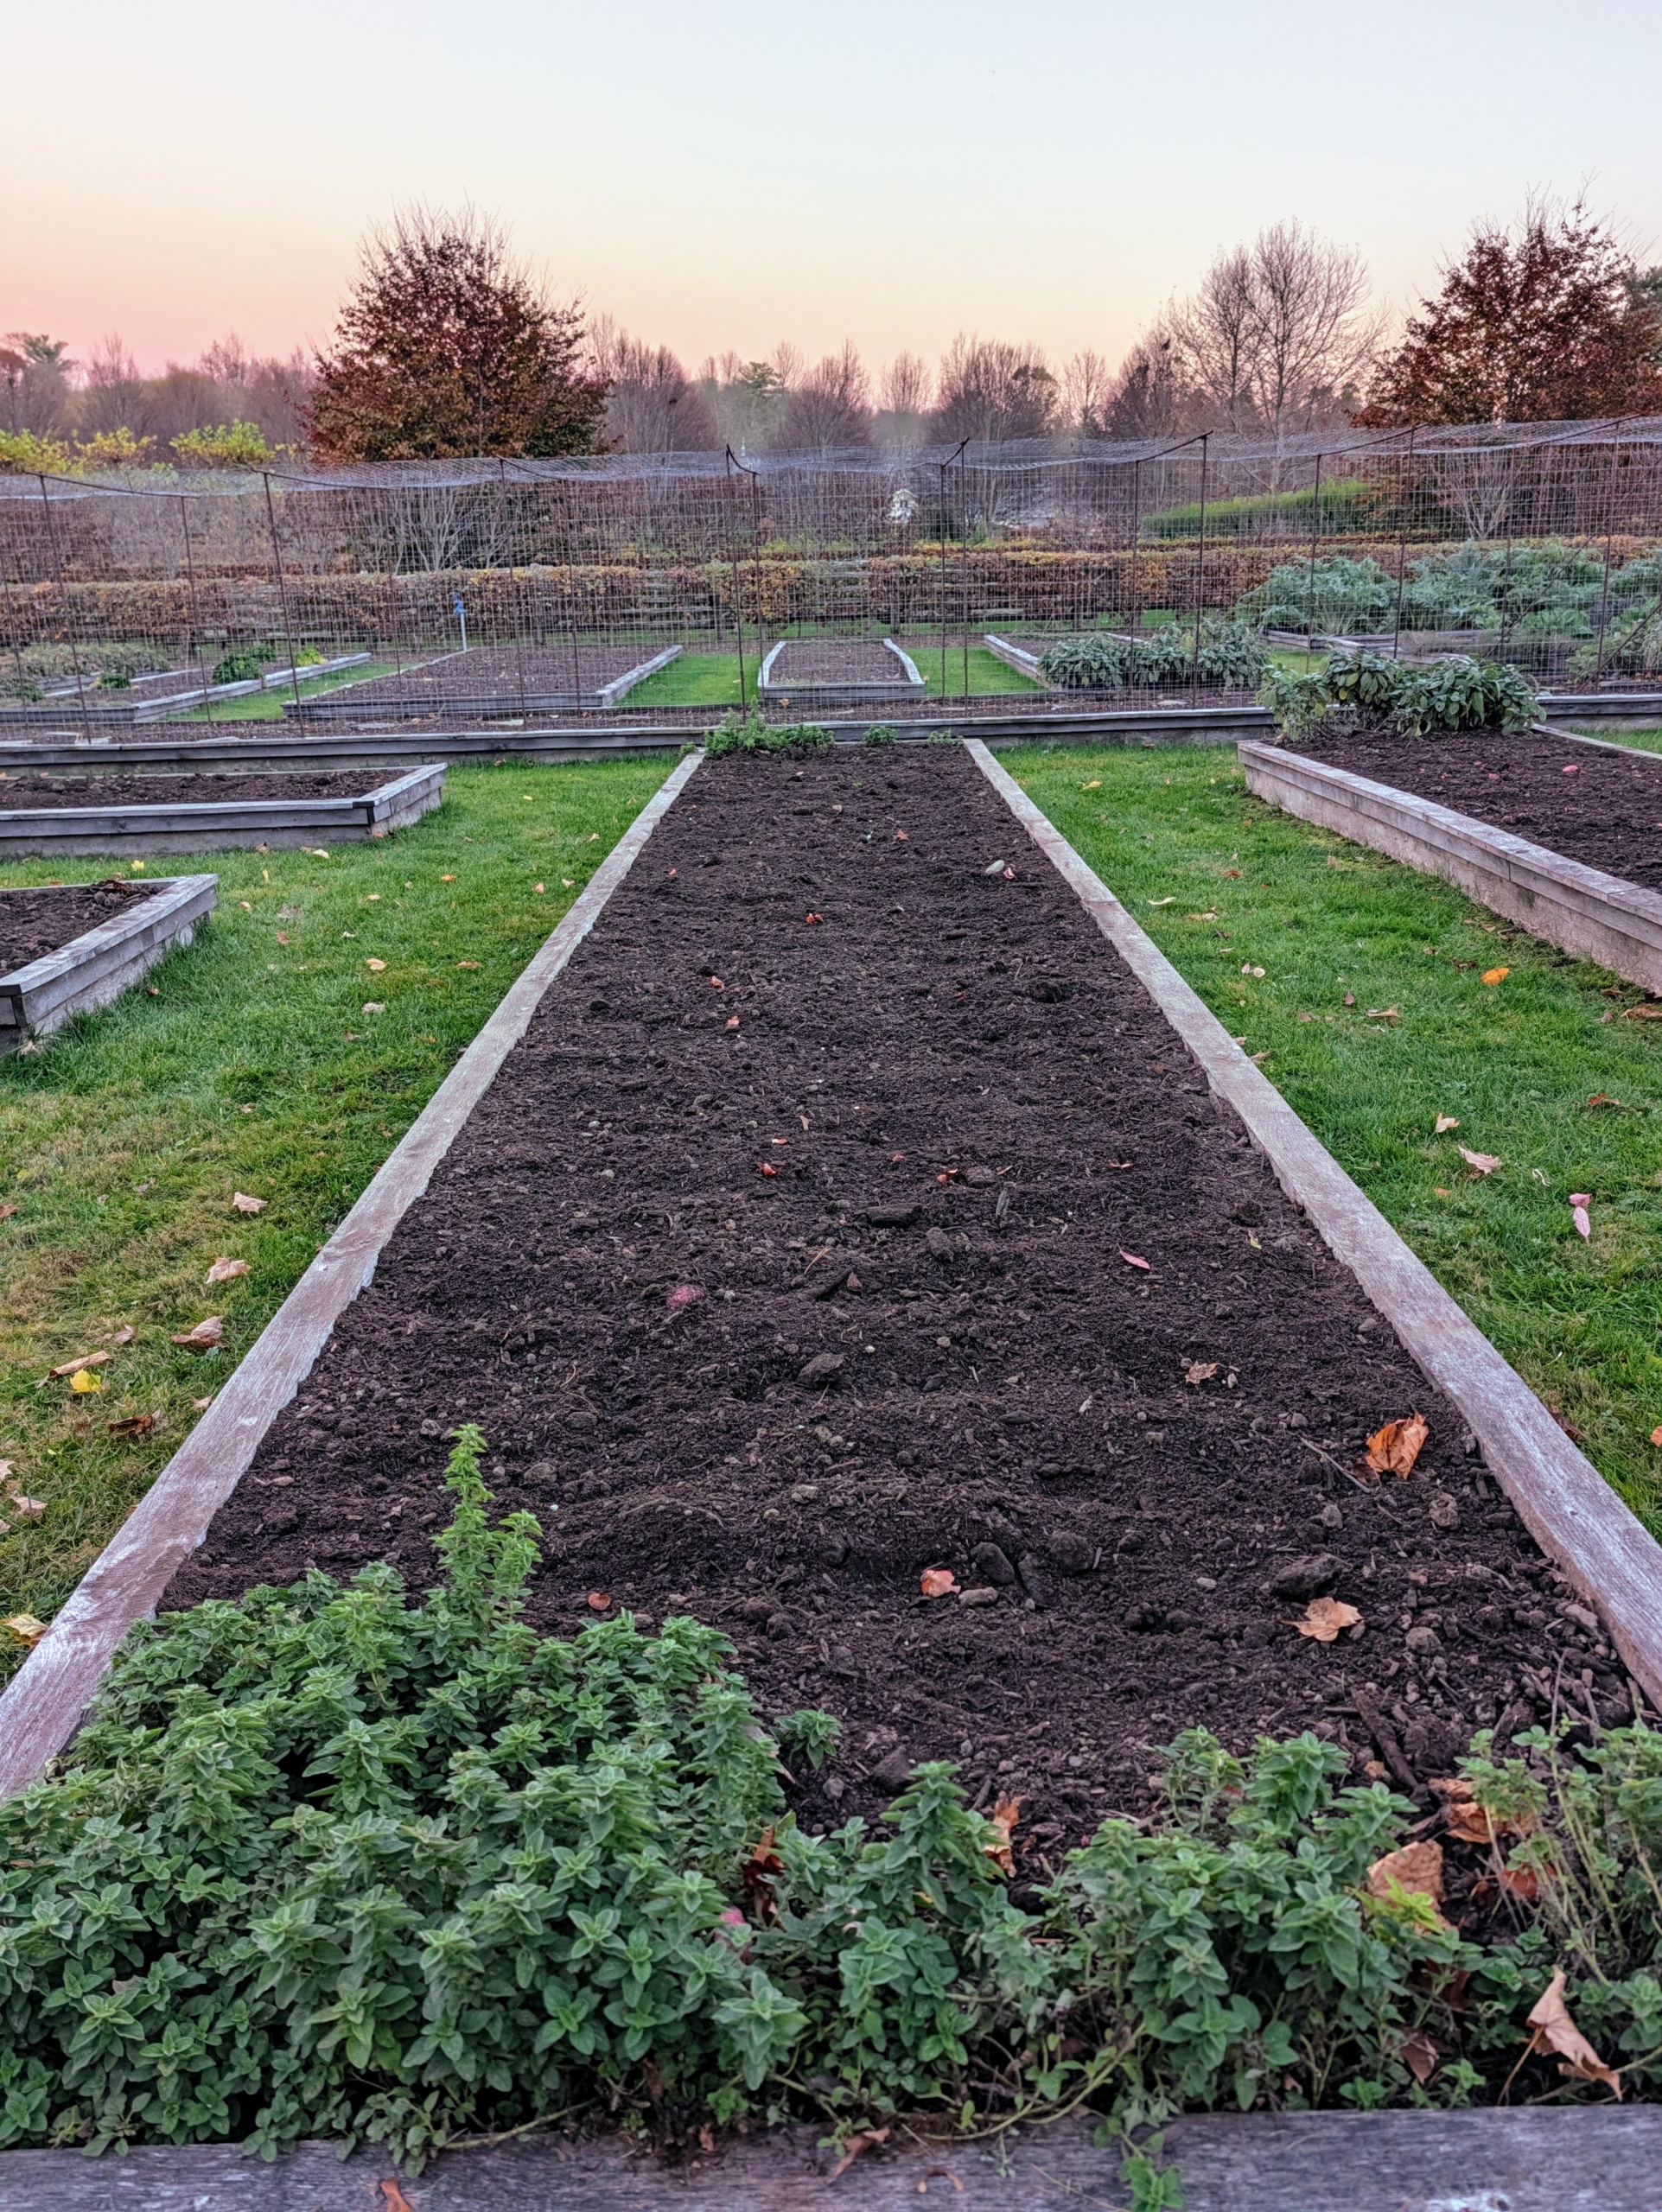
- Once the bulbs are in their designated trenches, it’s time to rake and backfill the bed carefully, so as not to disturb the bulb placements.
-
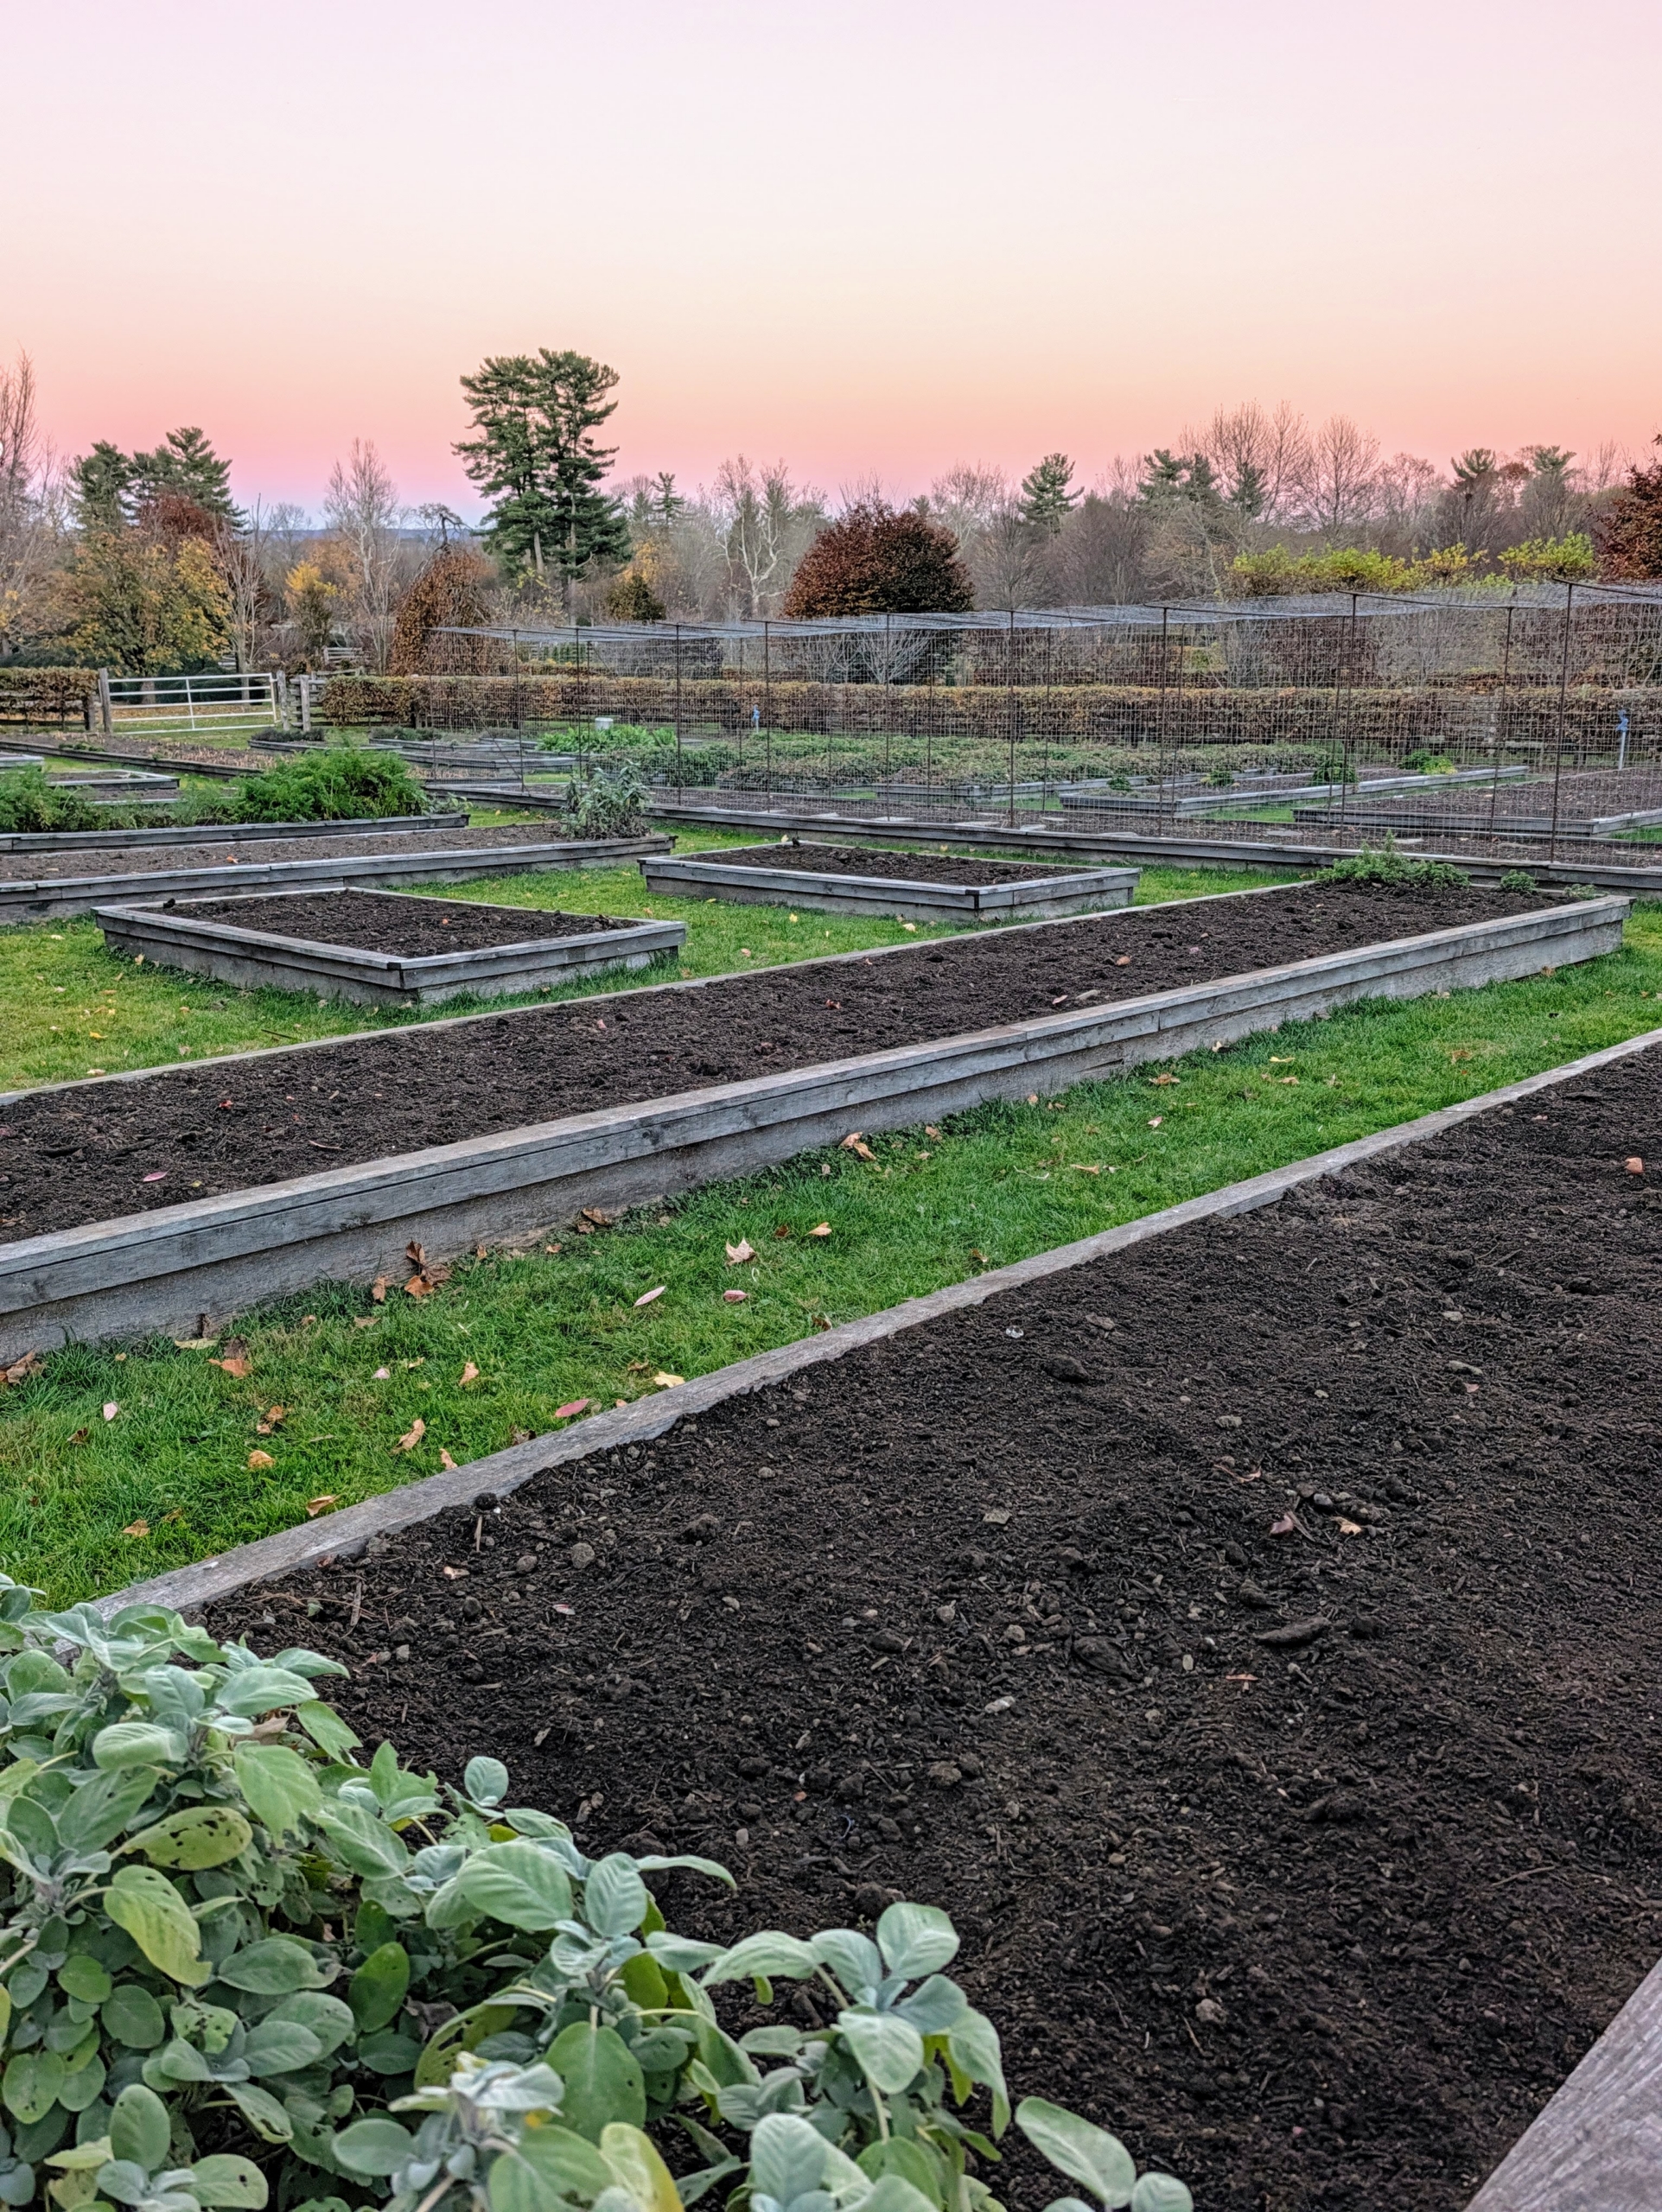
- Most bulbs prefer full sun and average moisture. We’ll have a beautiful cutting garden of colorful tulips come spring.
 Martha Pins


 Martha Tweets


