I've gotten such a nice response to the Easter photos on my Instagram page @MarthaStewart48 - thanks for all the views and comments.
I've always enjoyed decorating for the holidays. For Easter this year, I decorated most of the rooms in my Winter House, filling them with lots of bunnies, chicks, and eggs in all different sizes and colors. One tip is to start several days early and make a list, so everything can be done timely and efficiently. Decorating is fun, and sharing what you've done with family and friends makes it all worthwhile.
Here are more photos of this year's Easter décor, enjoy.
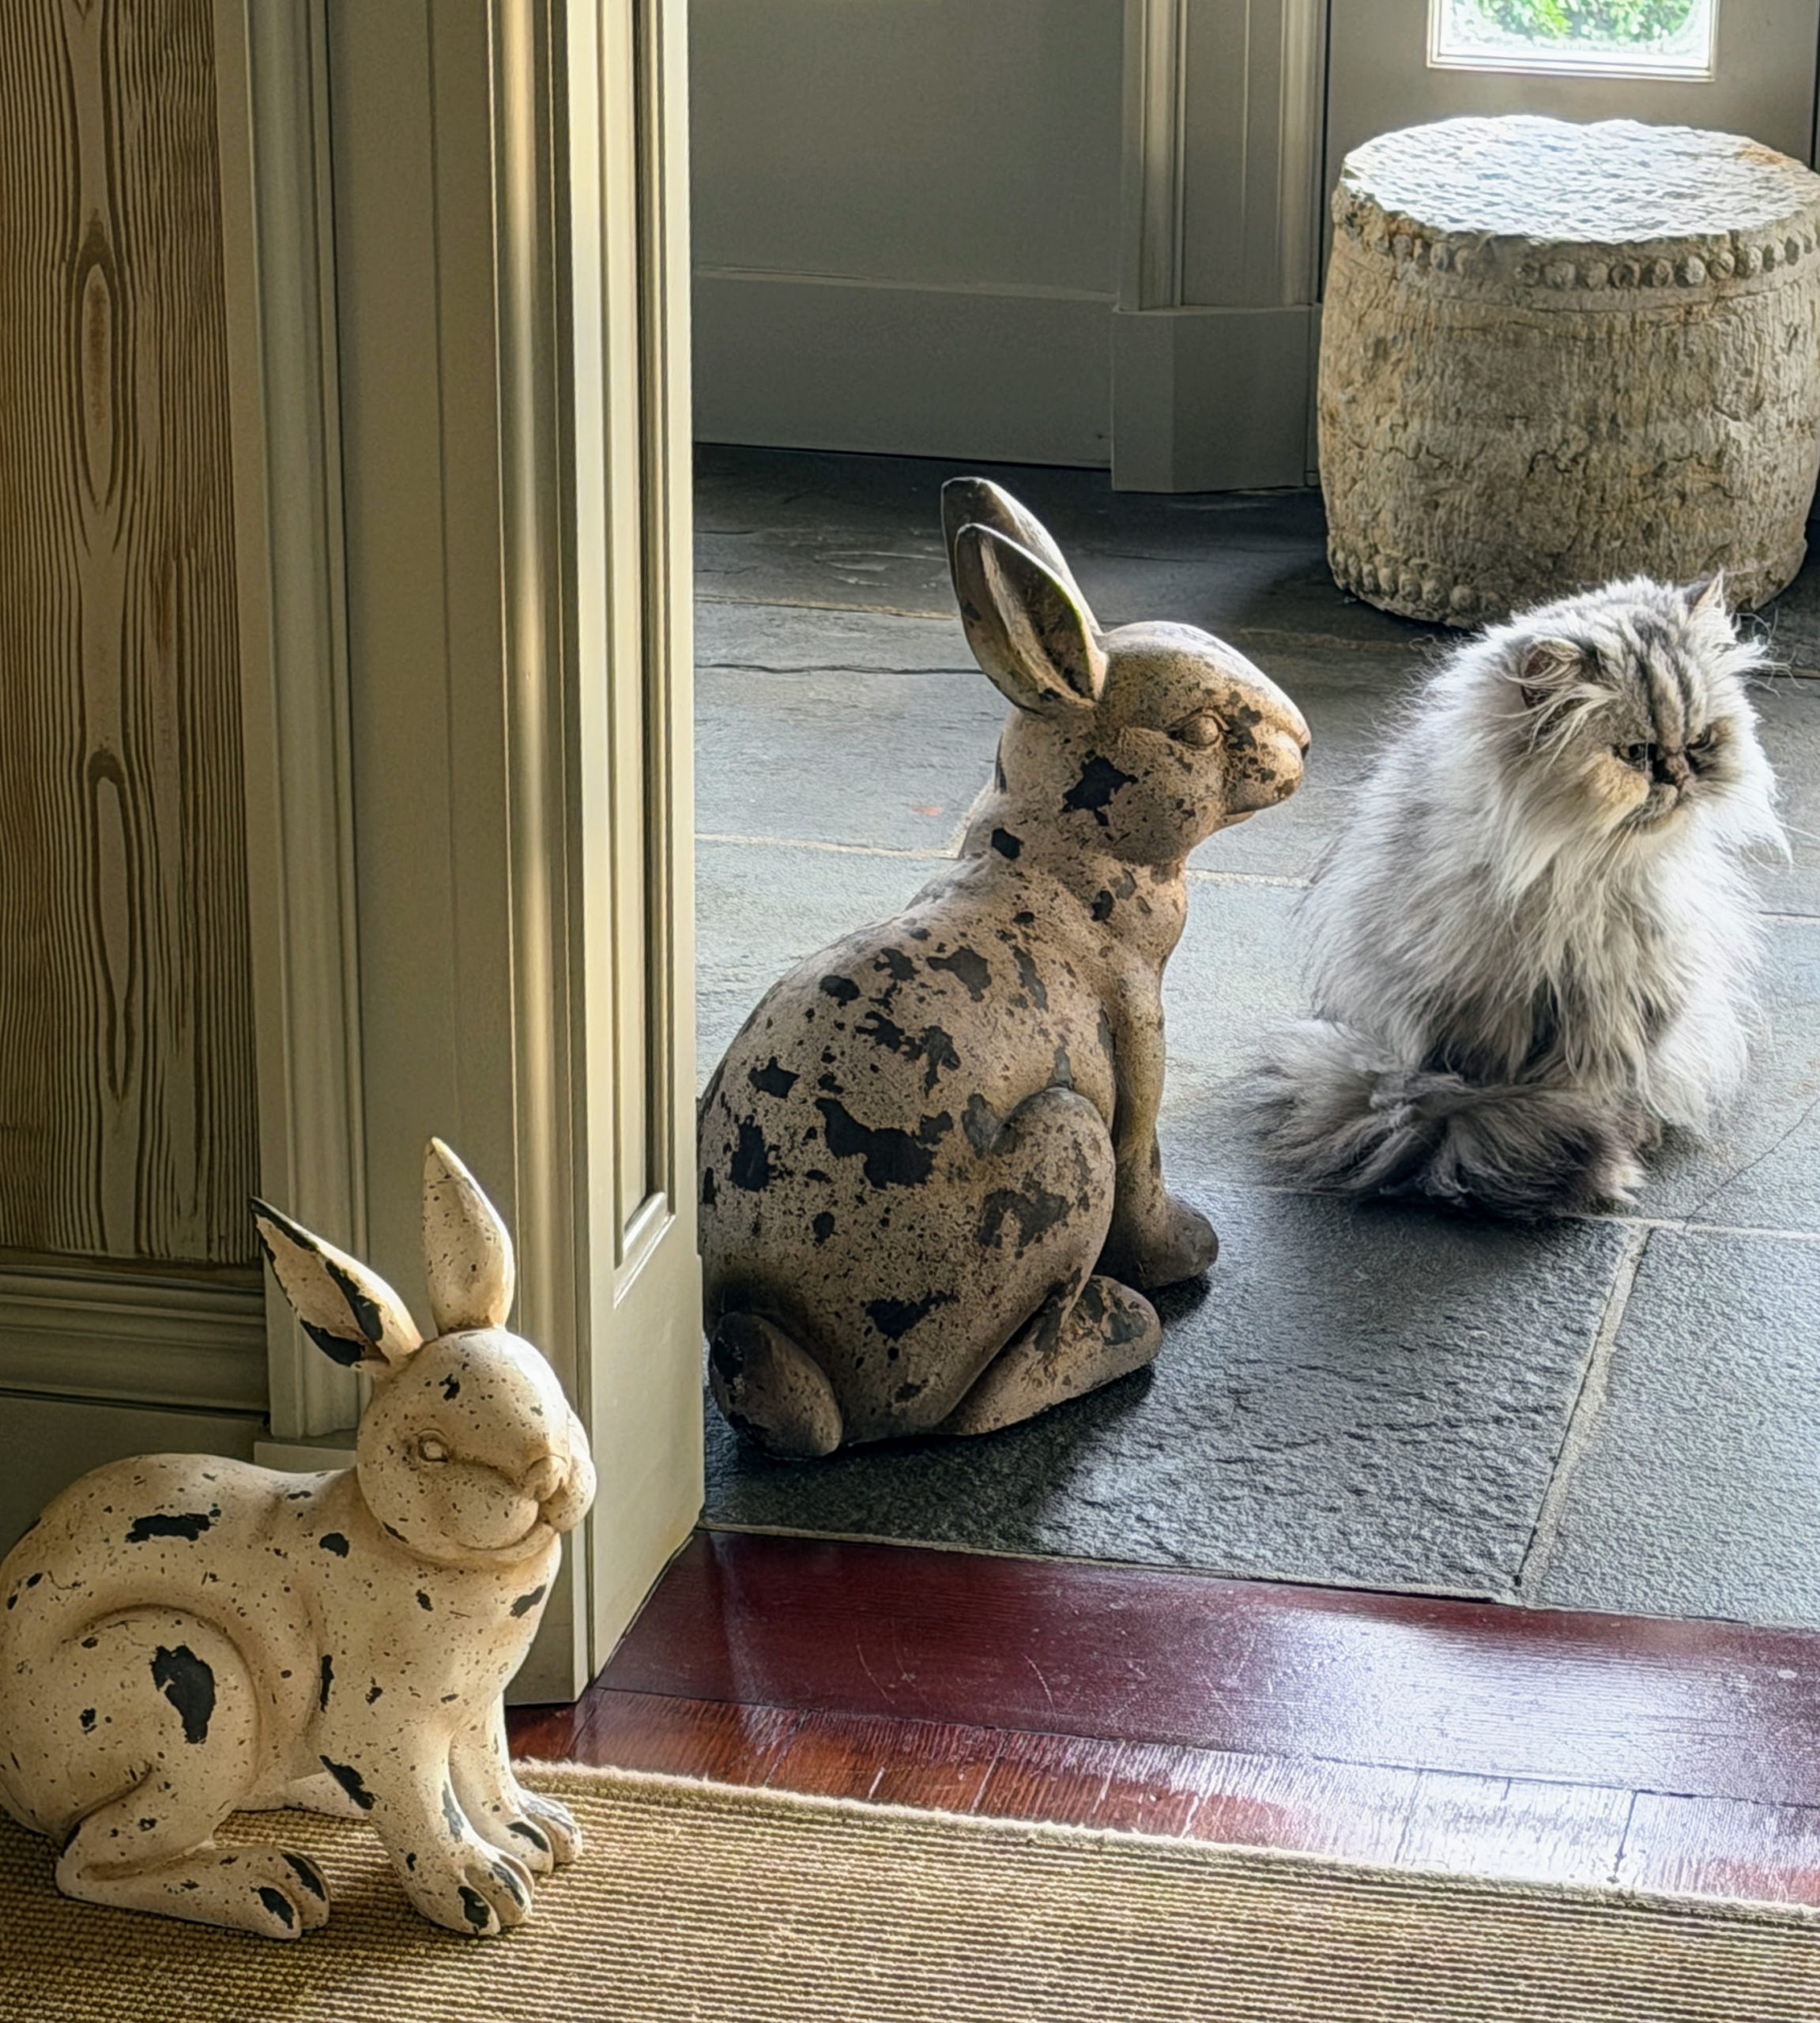
My dear silver shaded Persian, Magnolia, didn’t want to miss out on any of the action. Here she is in my enclosed porch – in good Easter company.
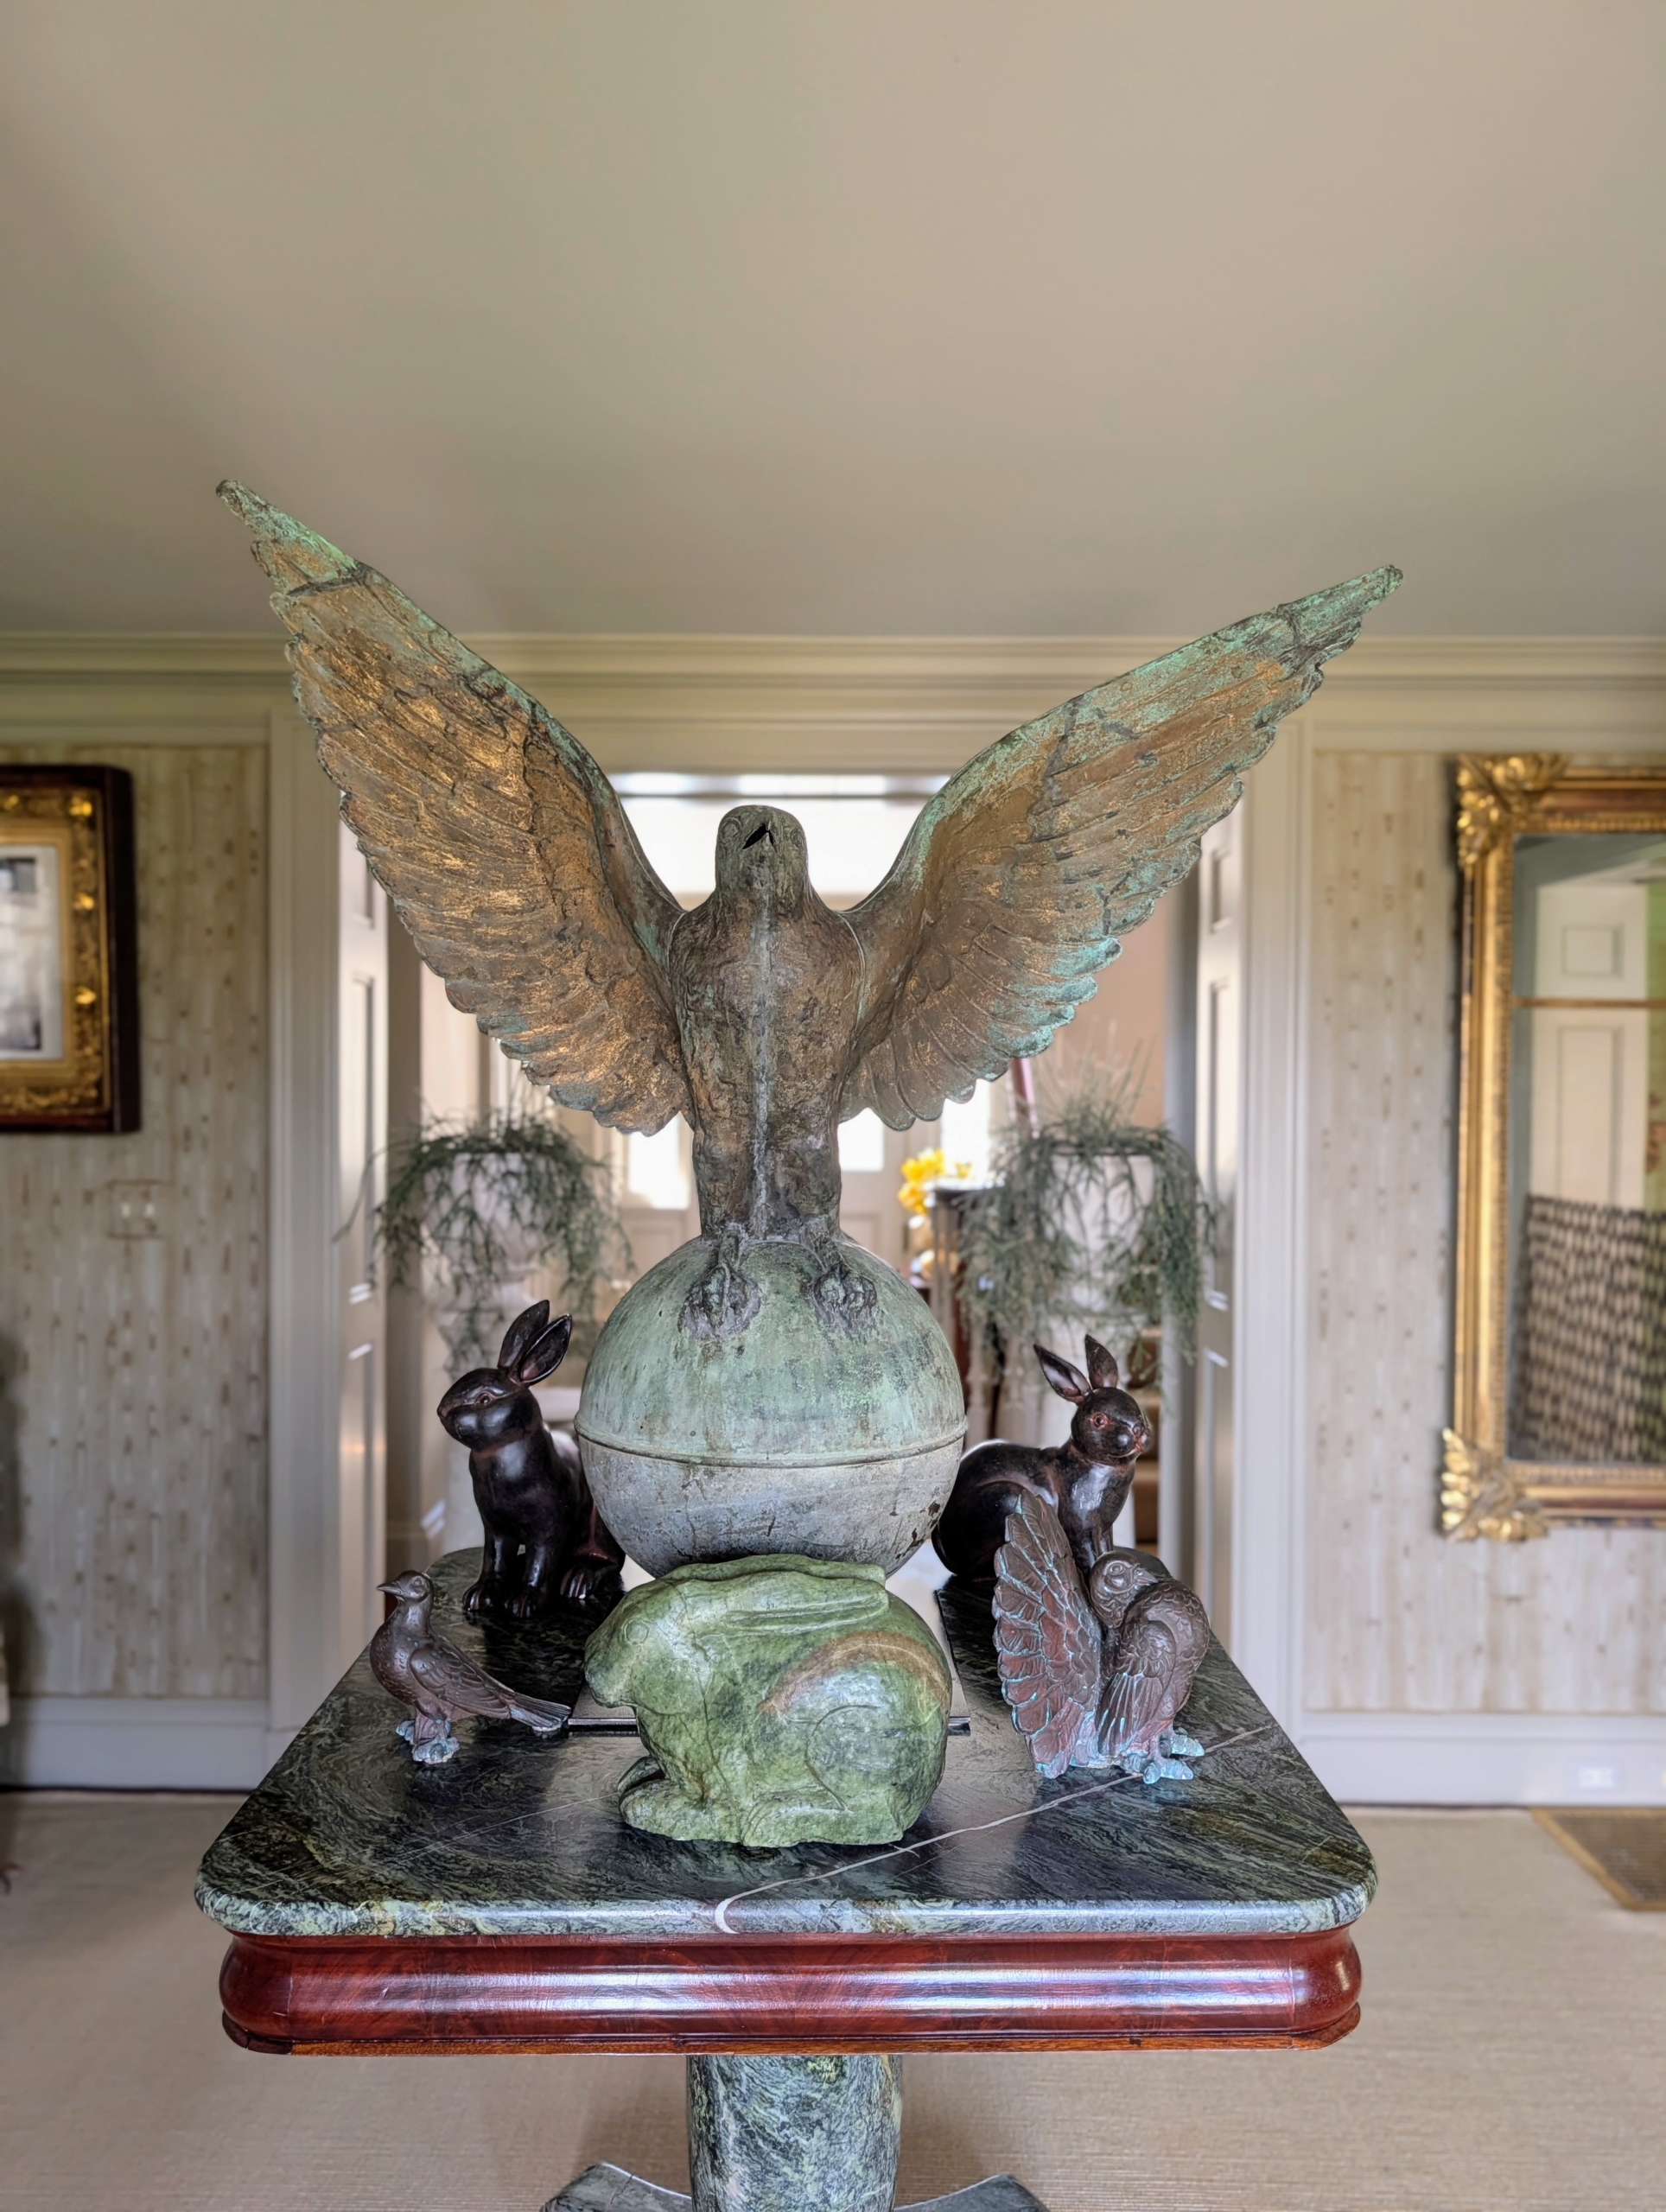
Easter at my home always includes lots of festive decorations. The center table in my foyer is also decorated to welcome guests right from the start. Bunnies and birds surround the giant 19th century gilded copper falcon.
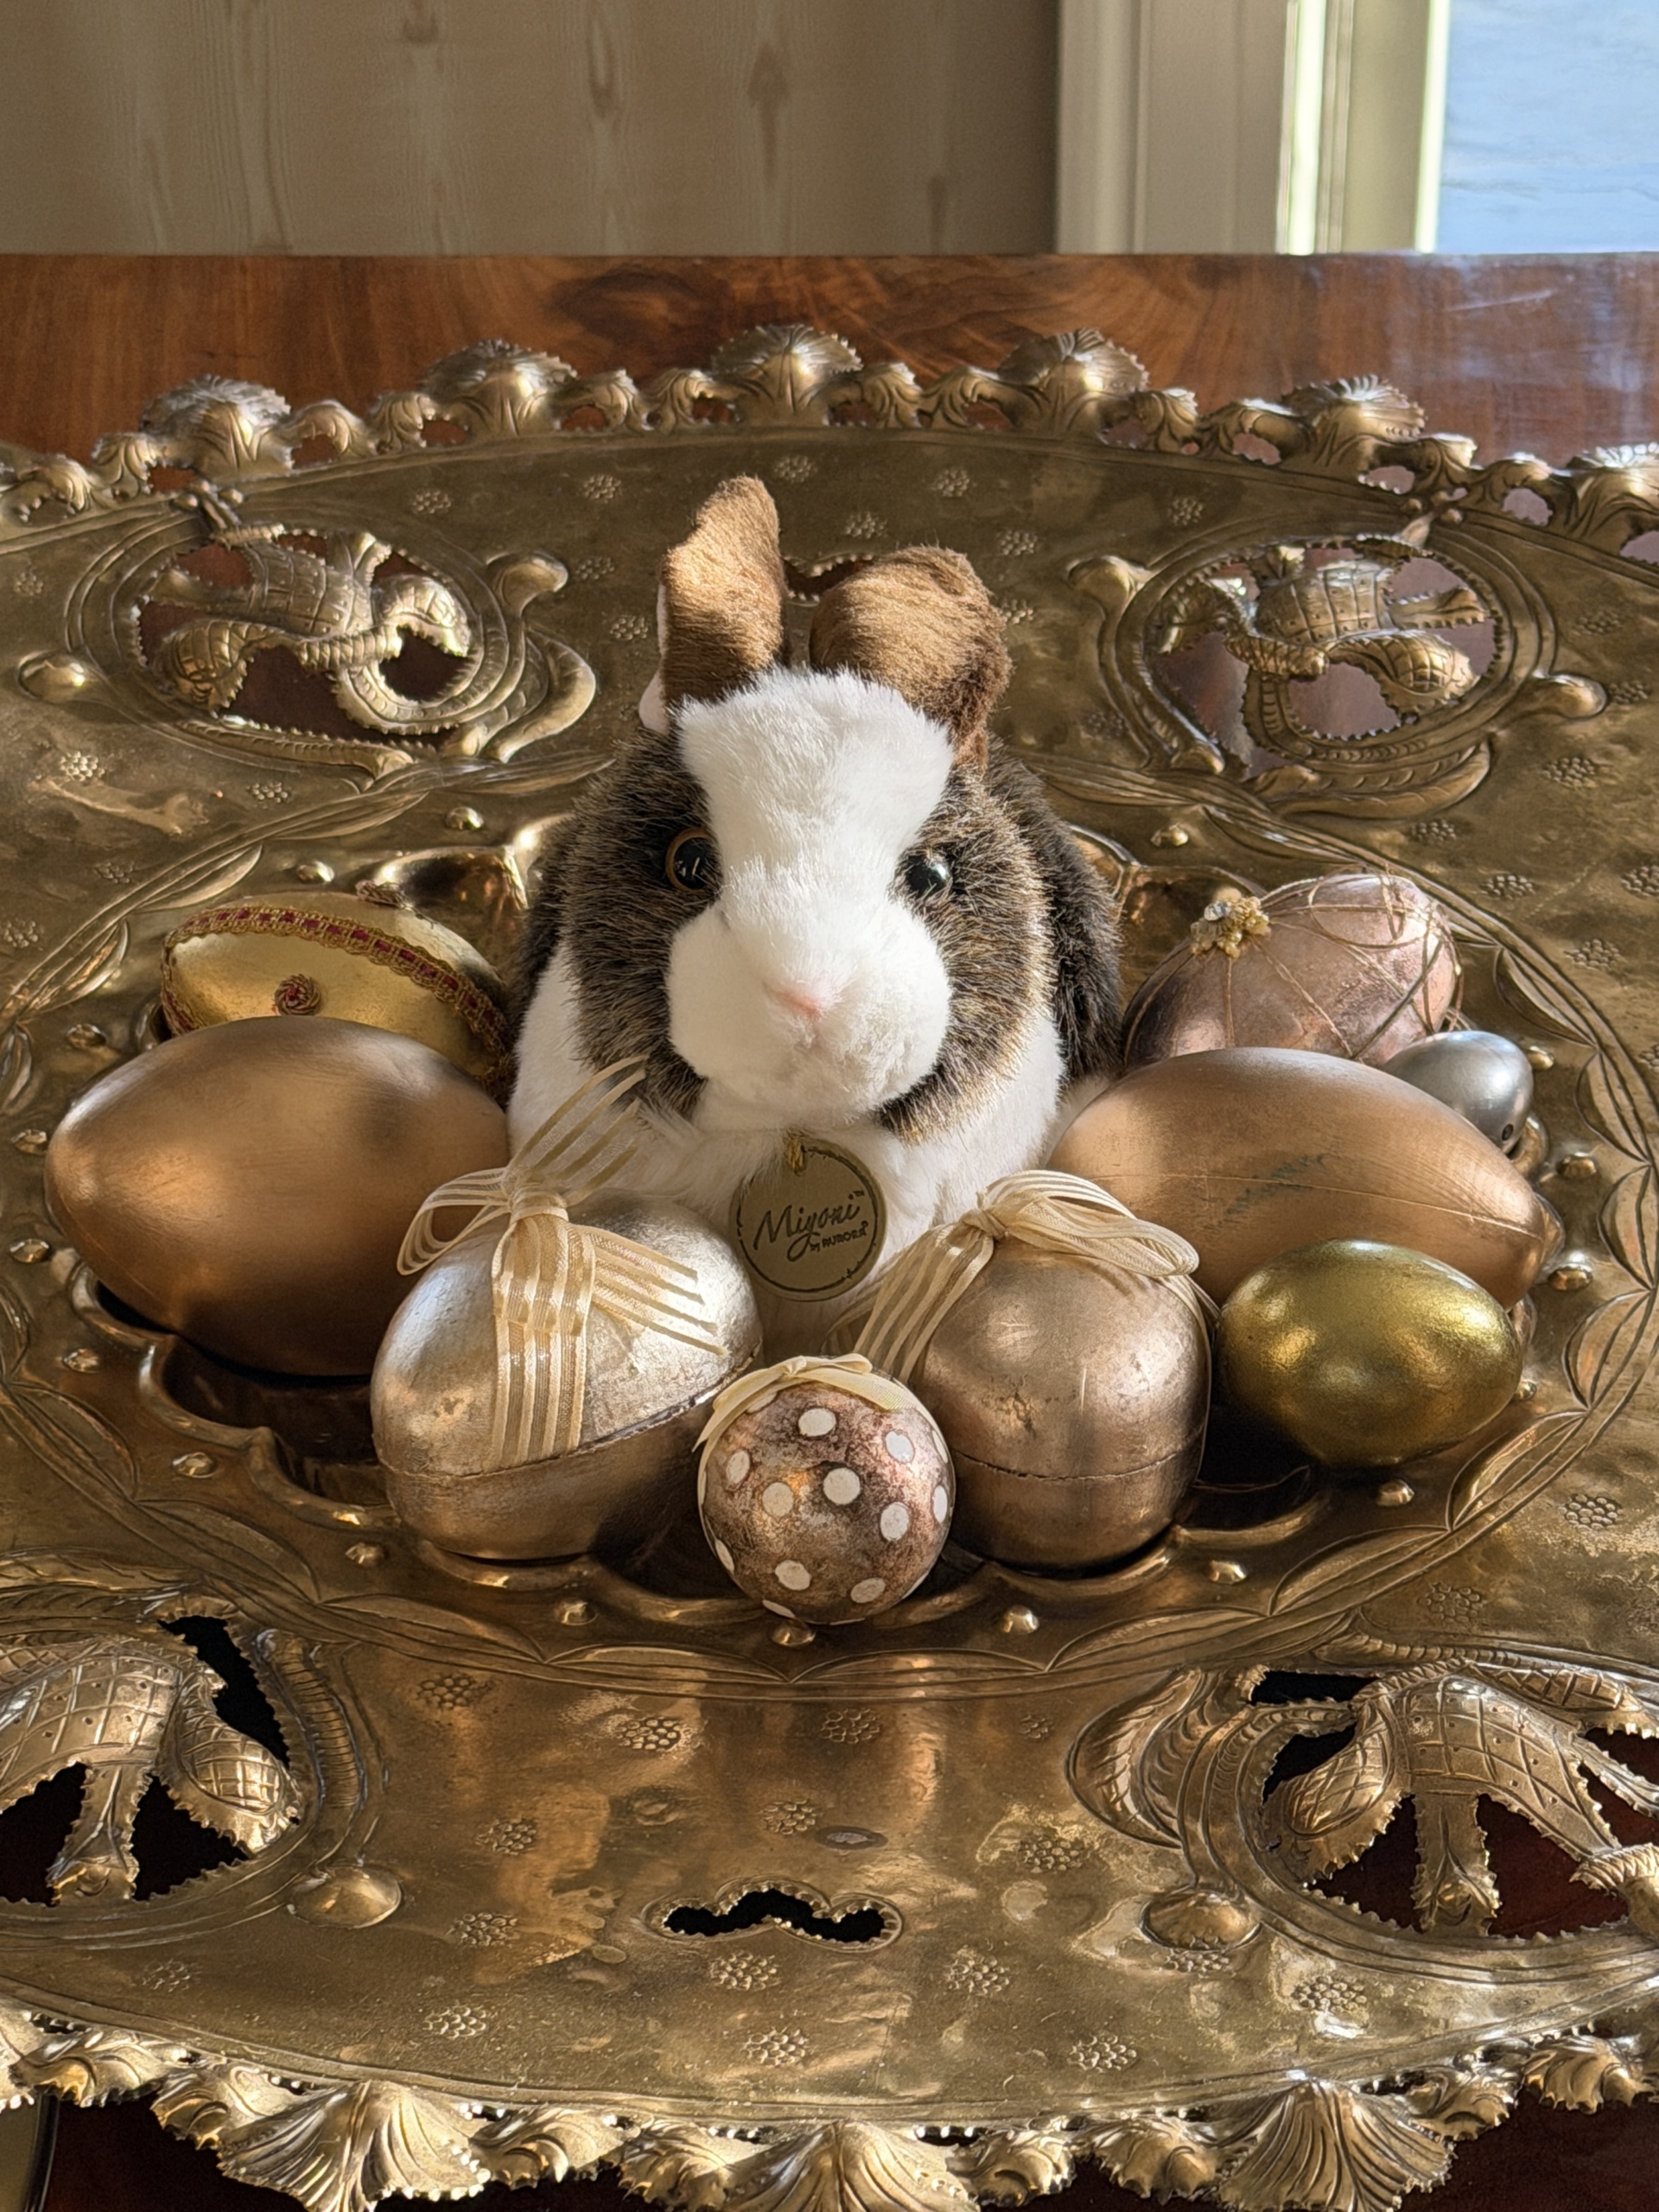
I love pulling out all my decorations finding new ways to use them. Decorations don’t have to be elaborate – use platters you already have and place eggs in them. This one also has a stuffed bunny in the center.
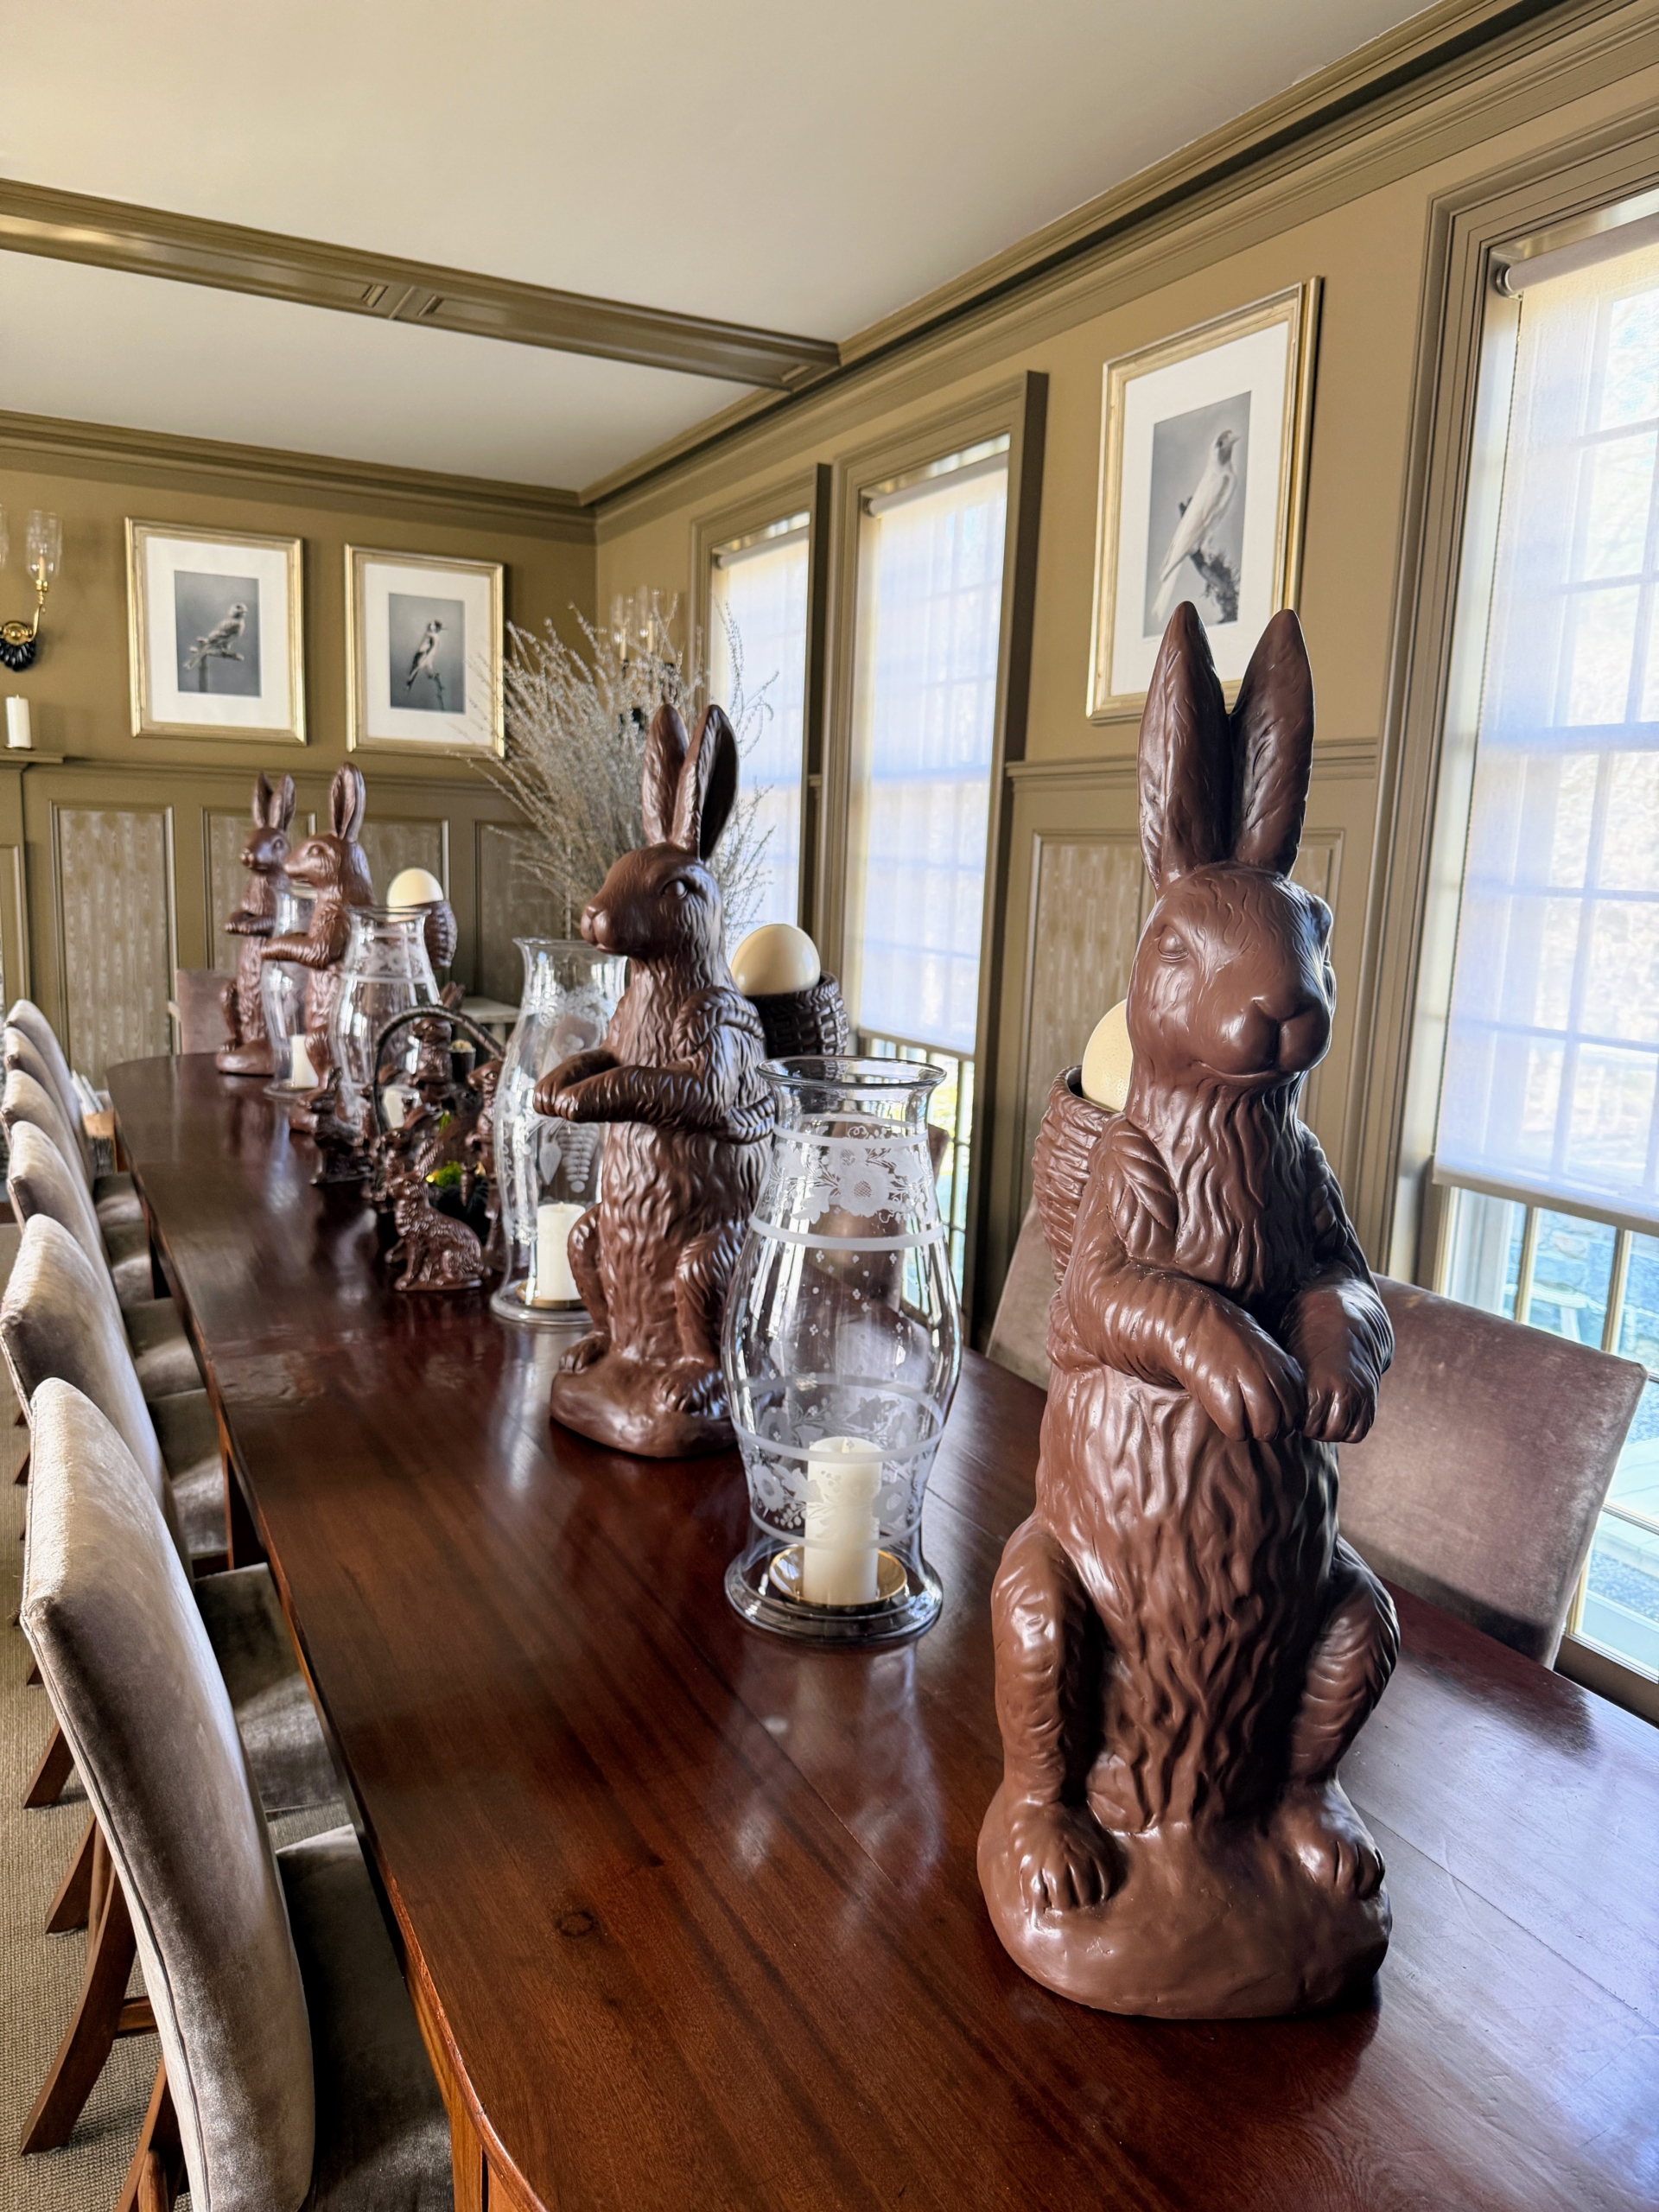
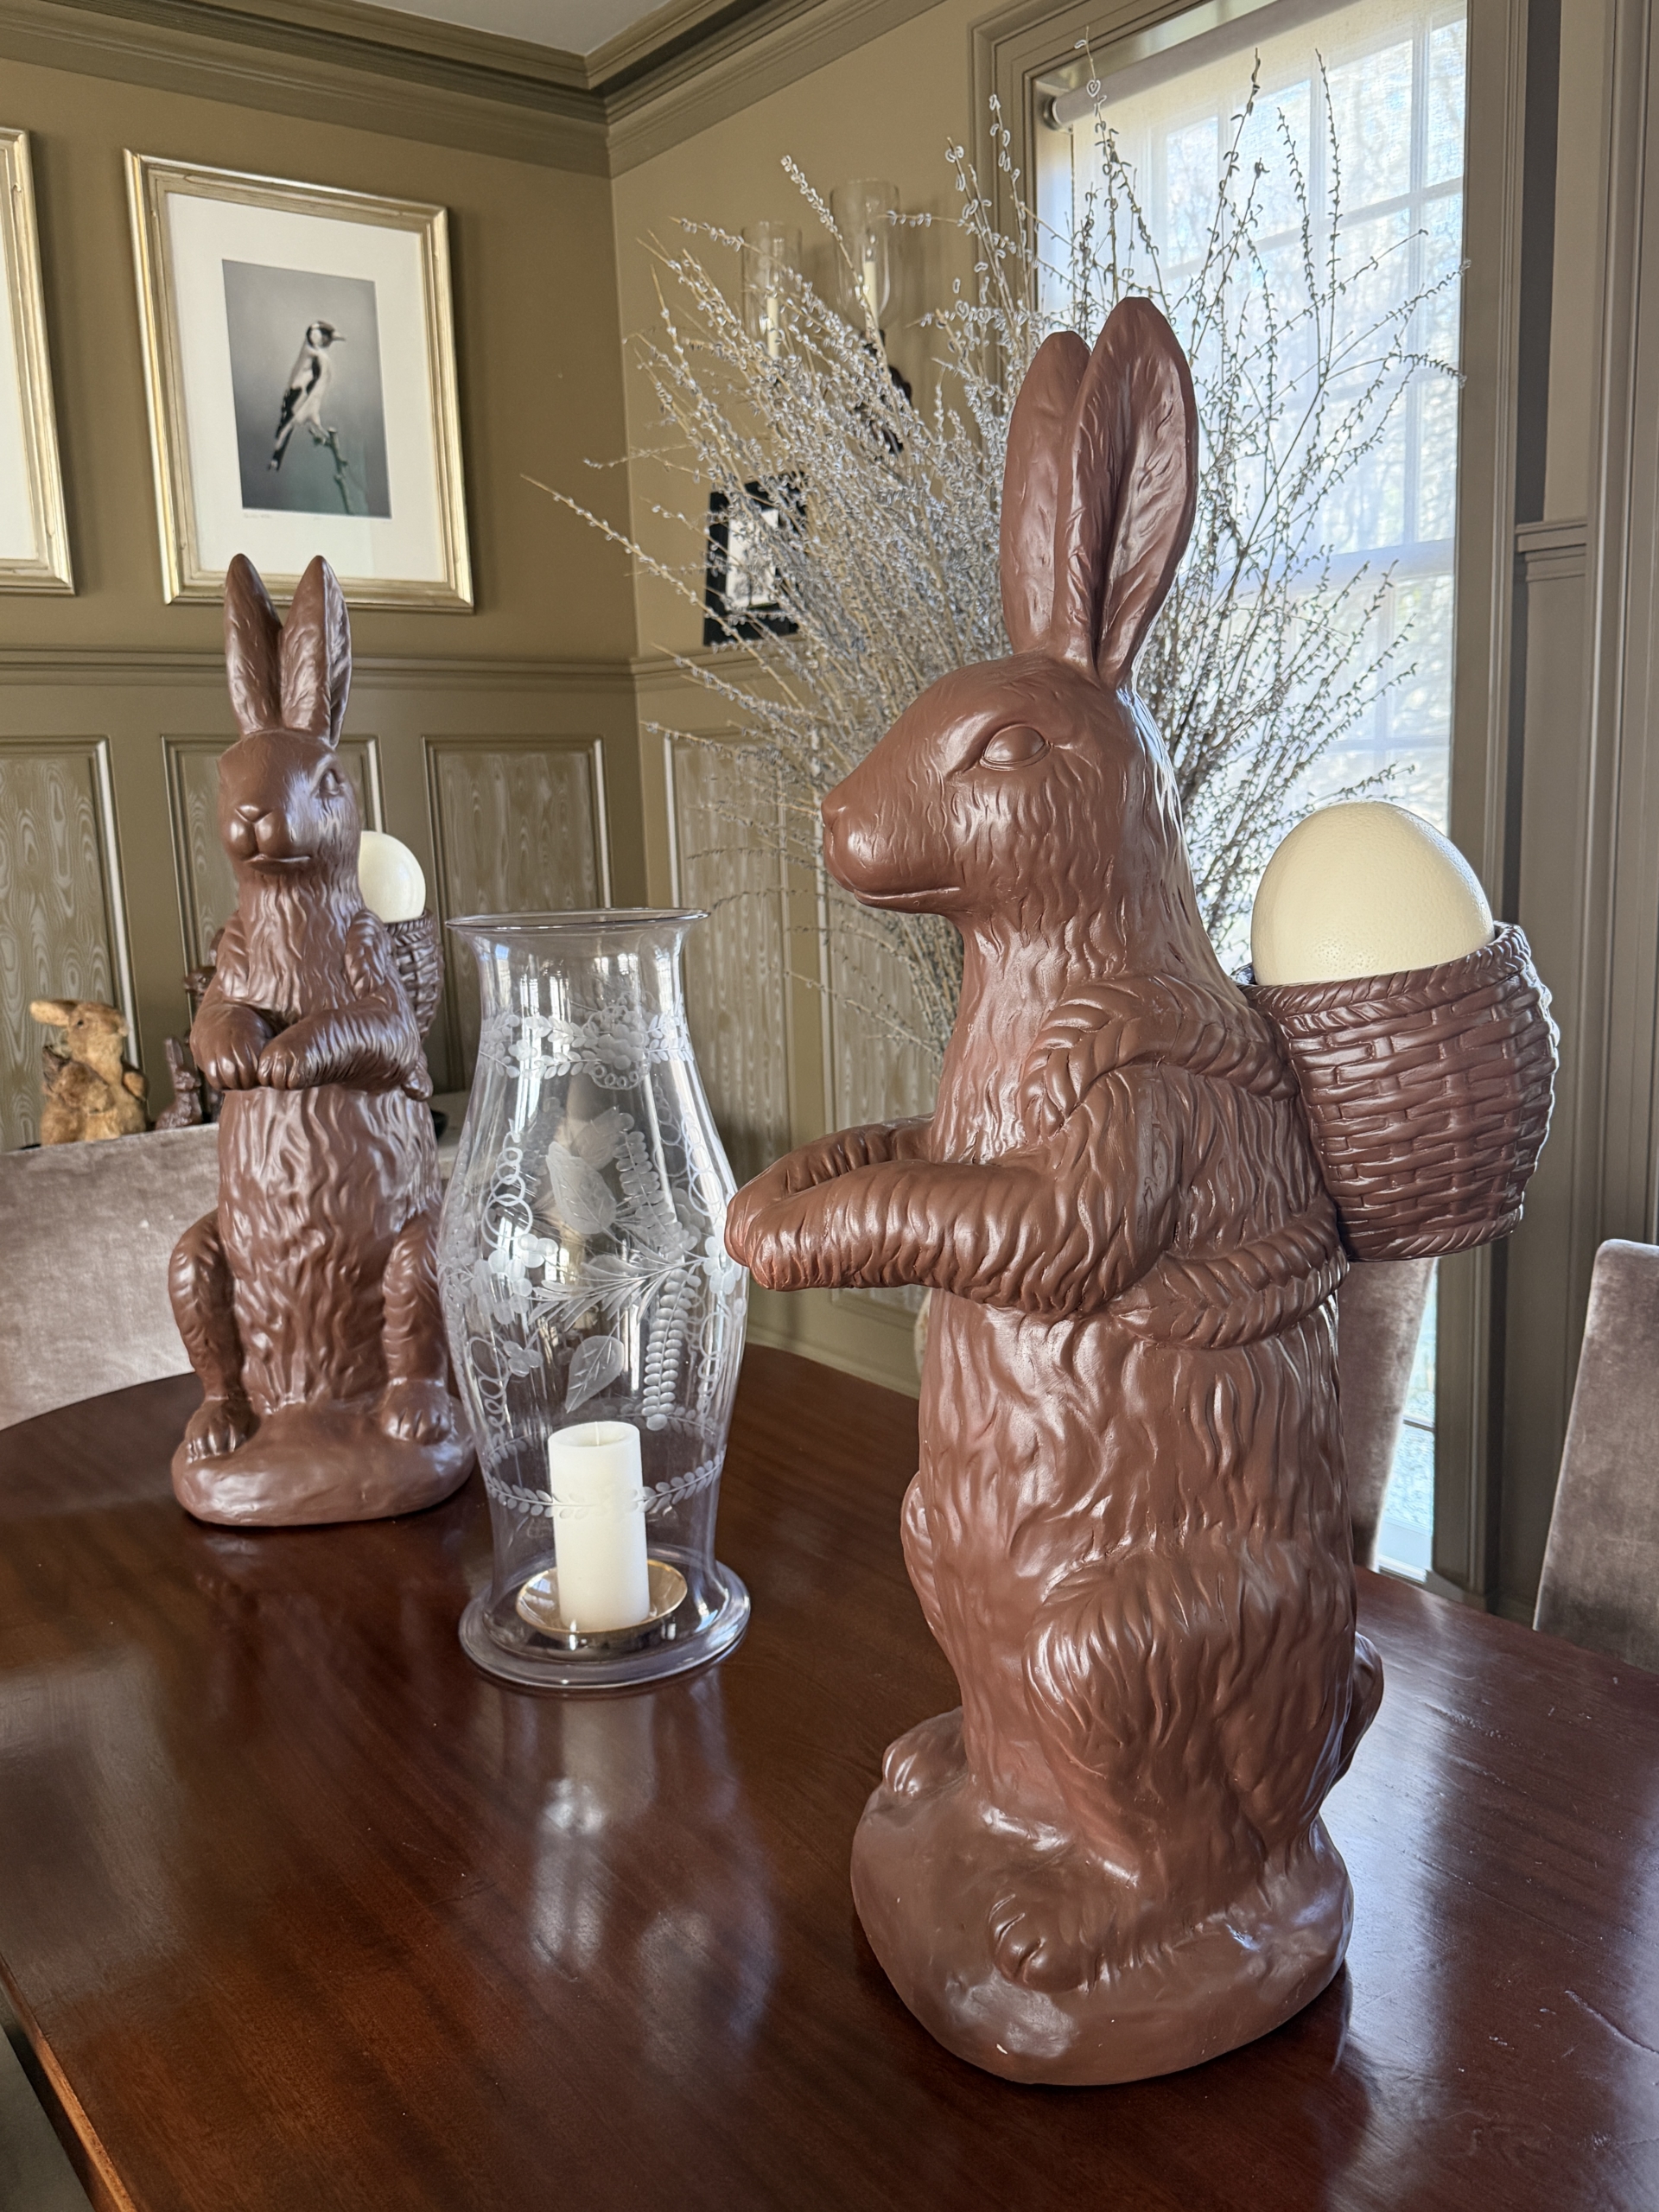
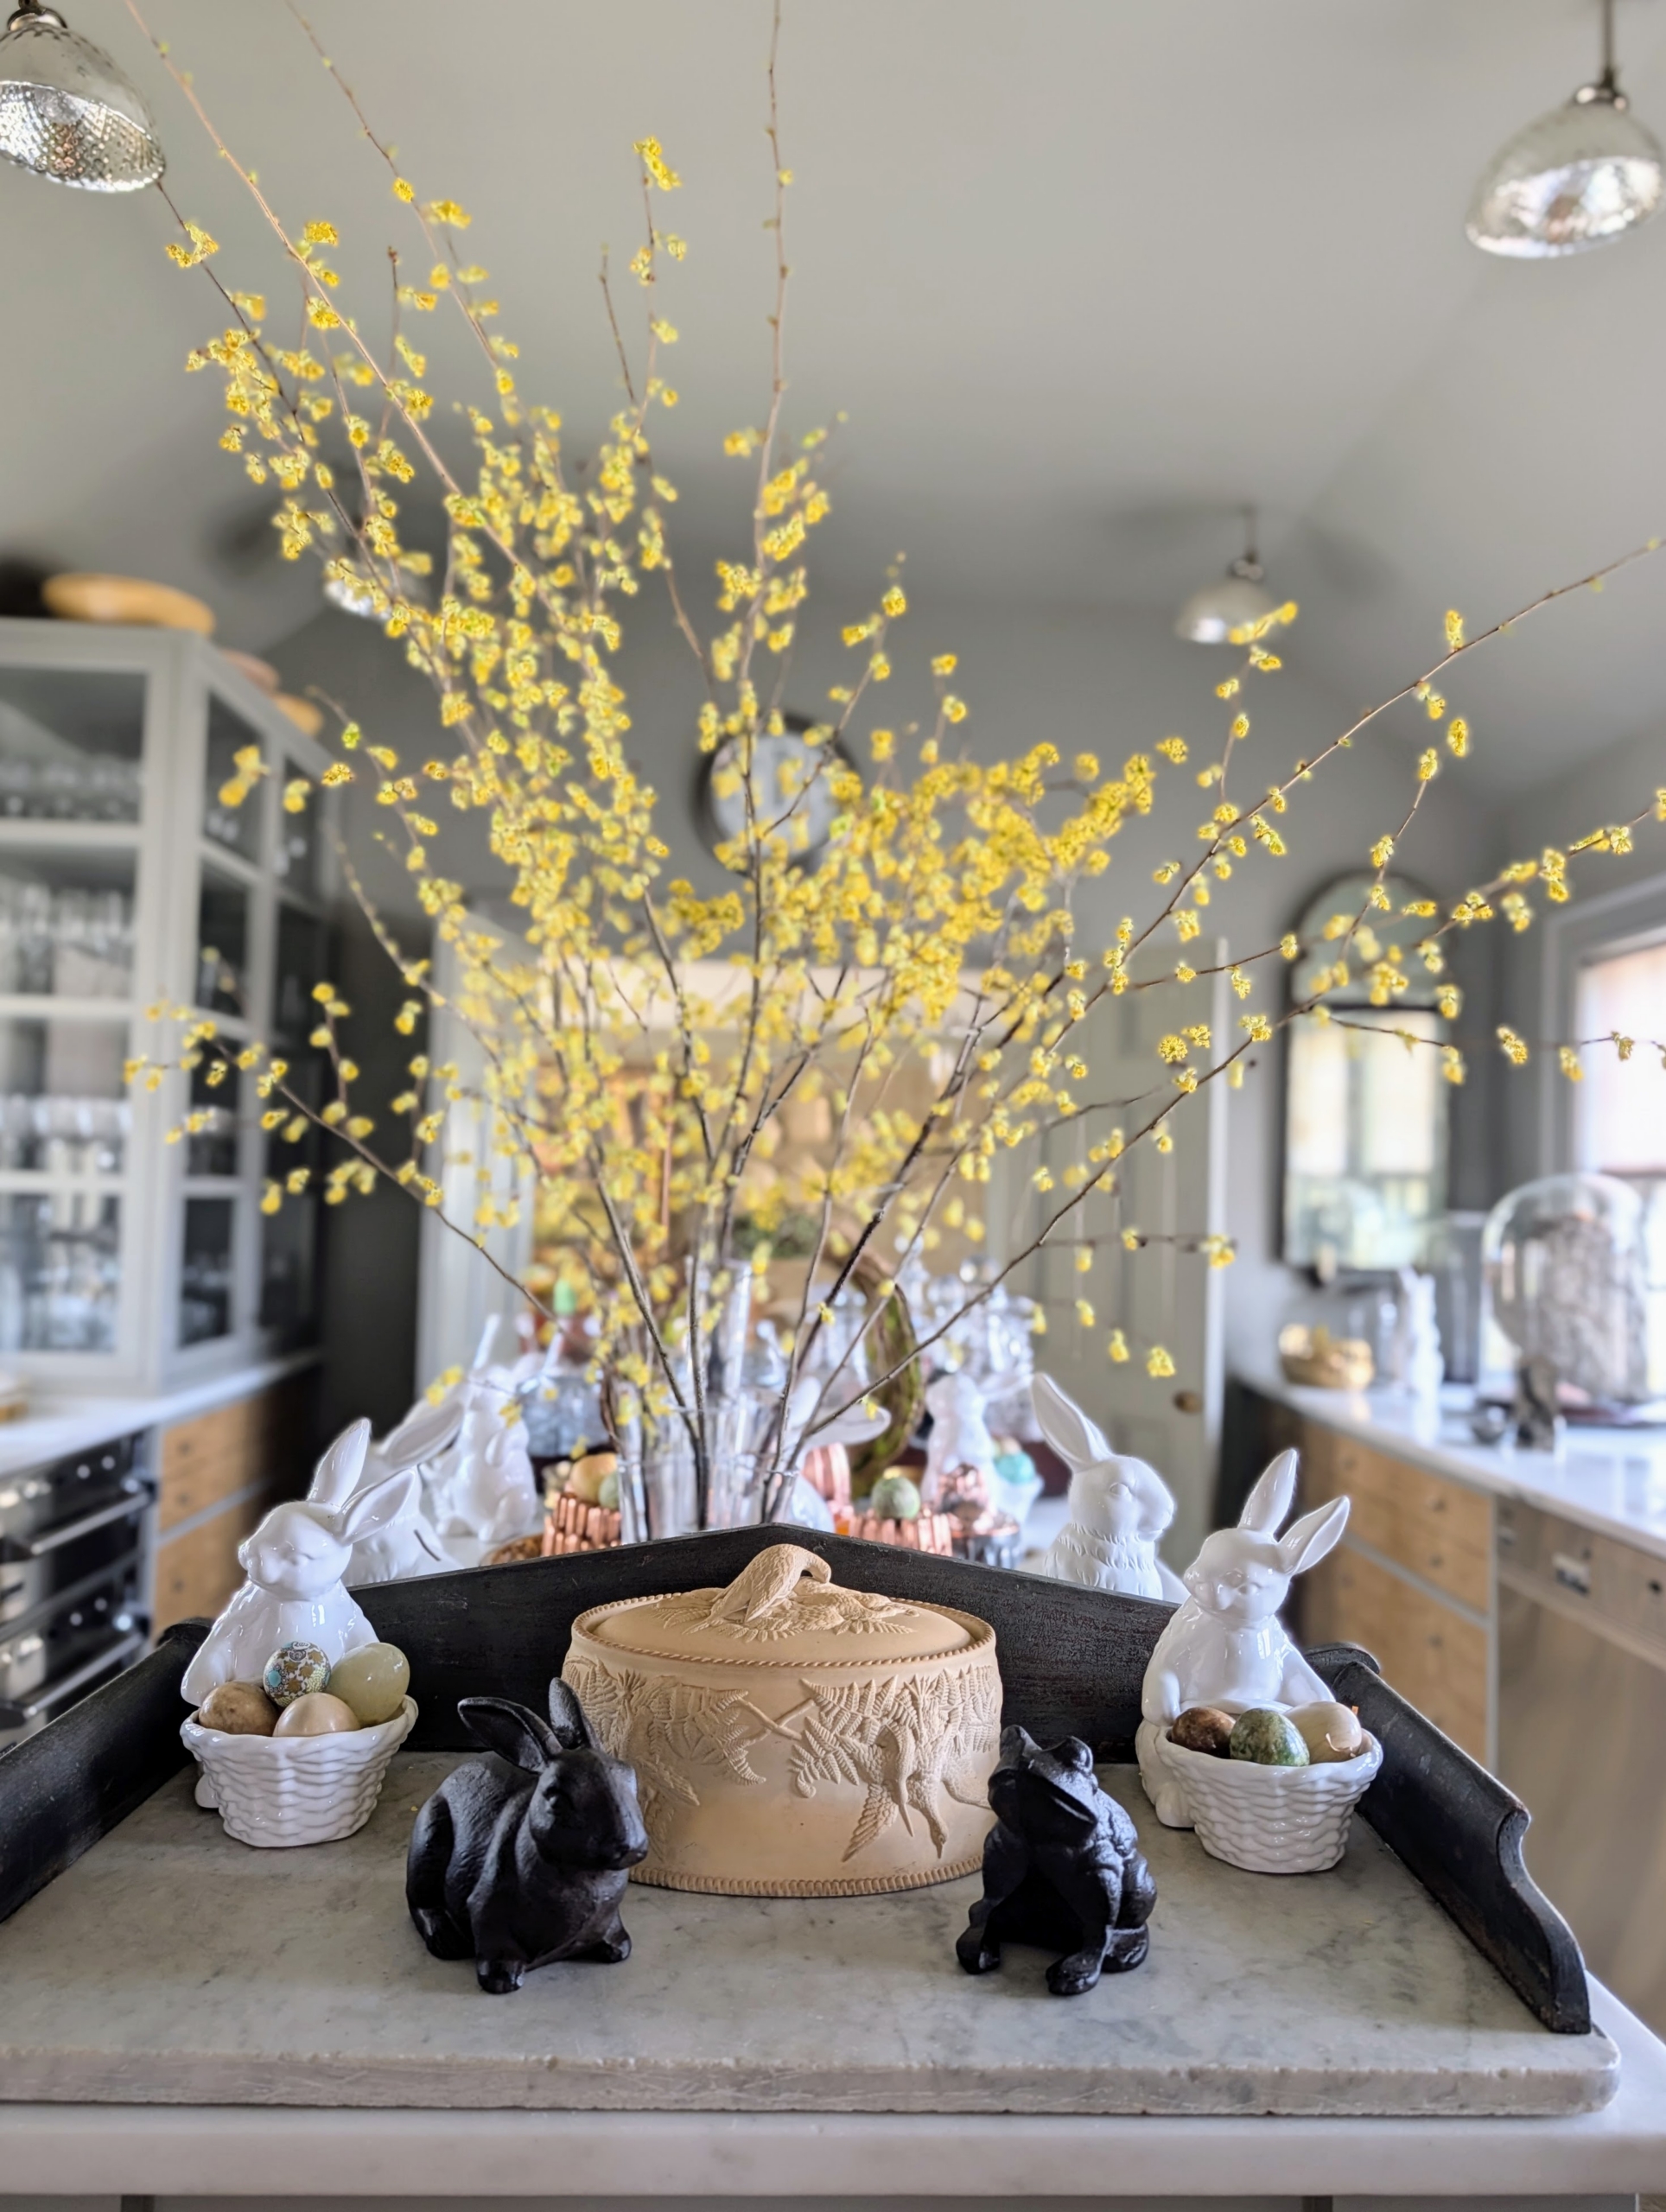
The dining table in my Brown Room was decorated with these larger than life-sized 36-inch faux chocolate bunny figurines carrying eggs.
These bunnies make such nice centerpieces. Find similar bunnies at my shop on Amazon.
There are bunnies and eggs on nearly every table and surface.
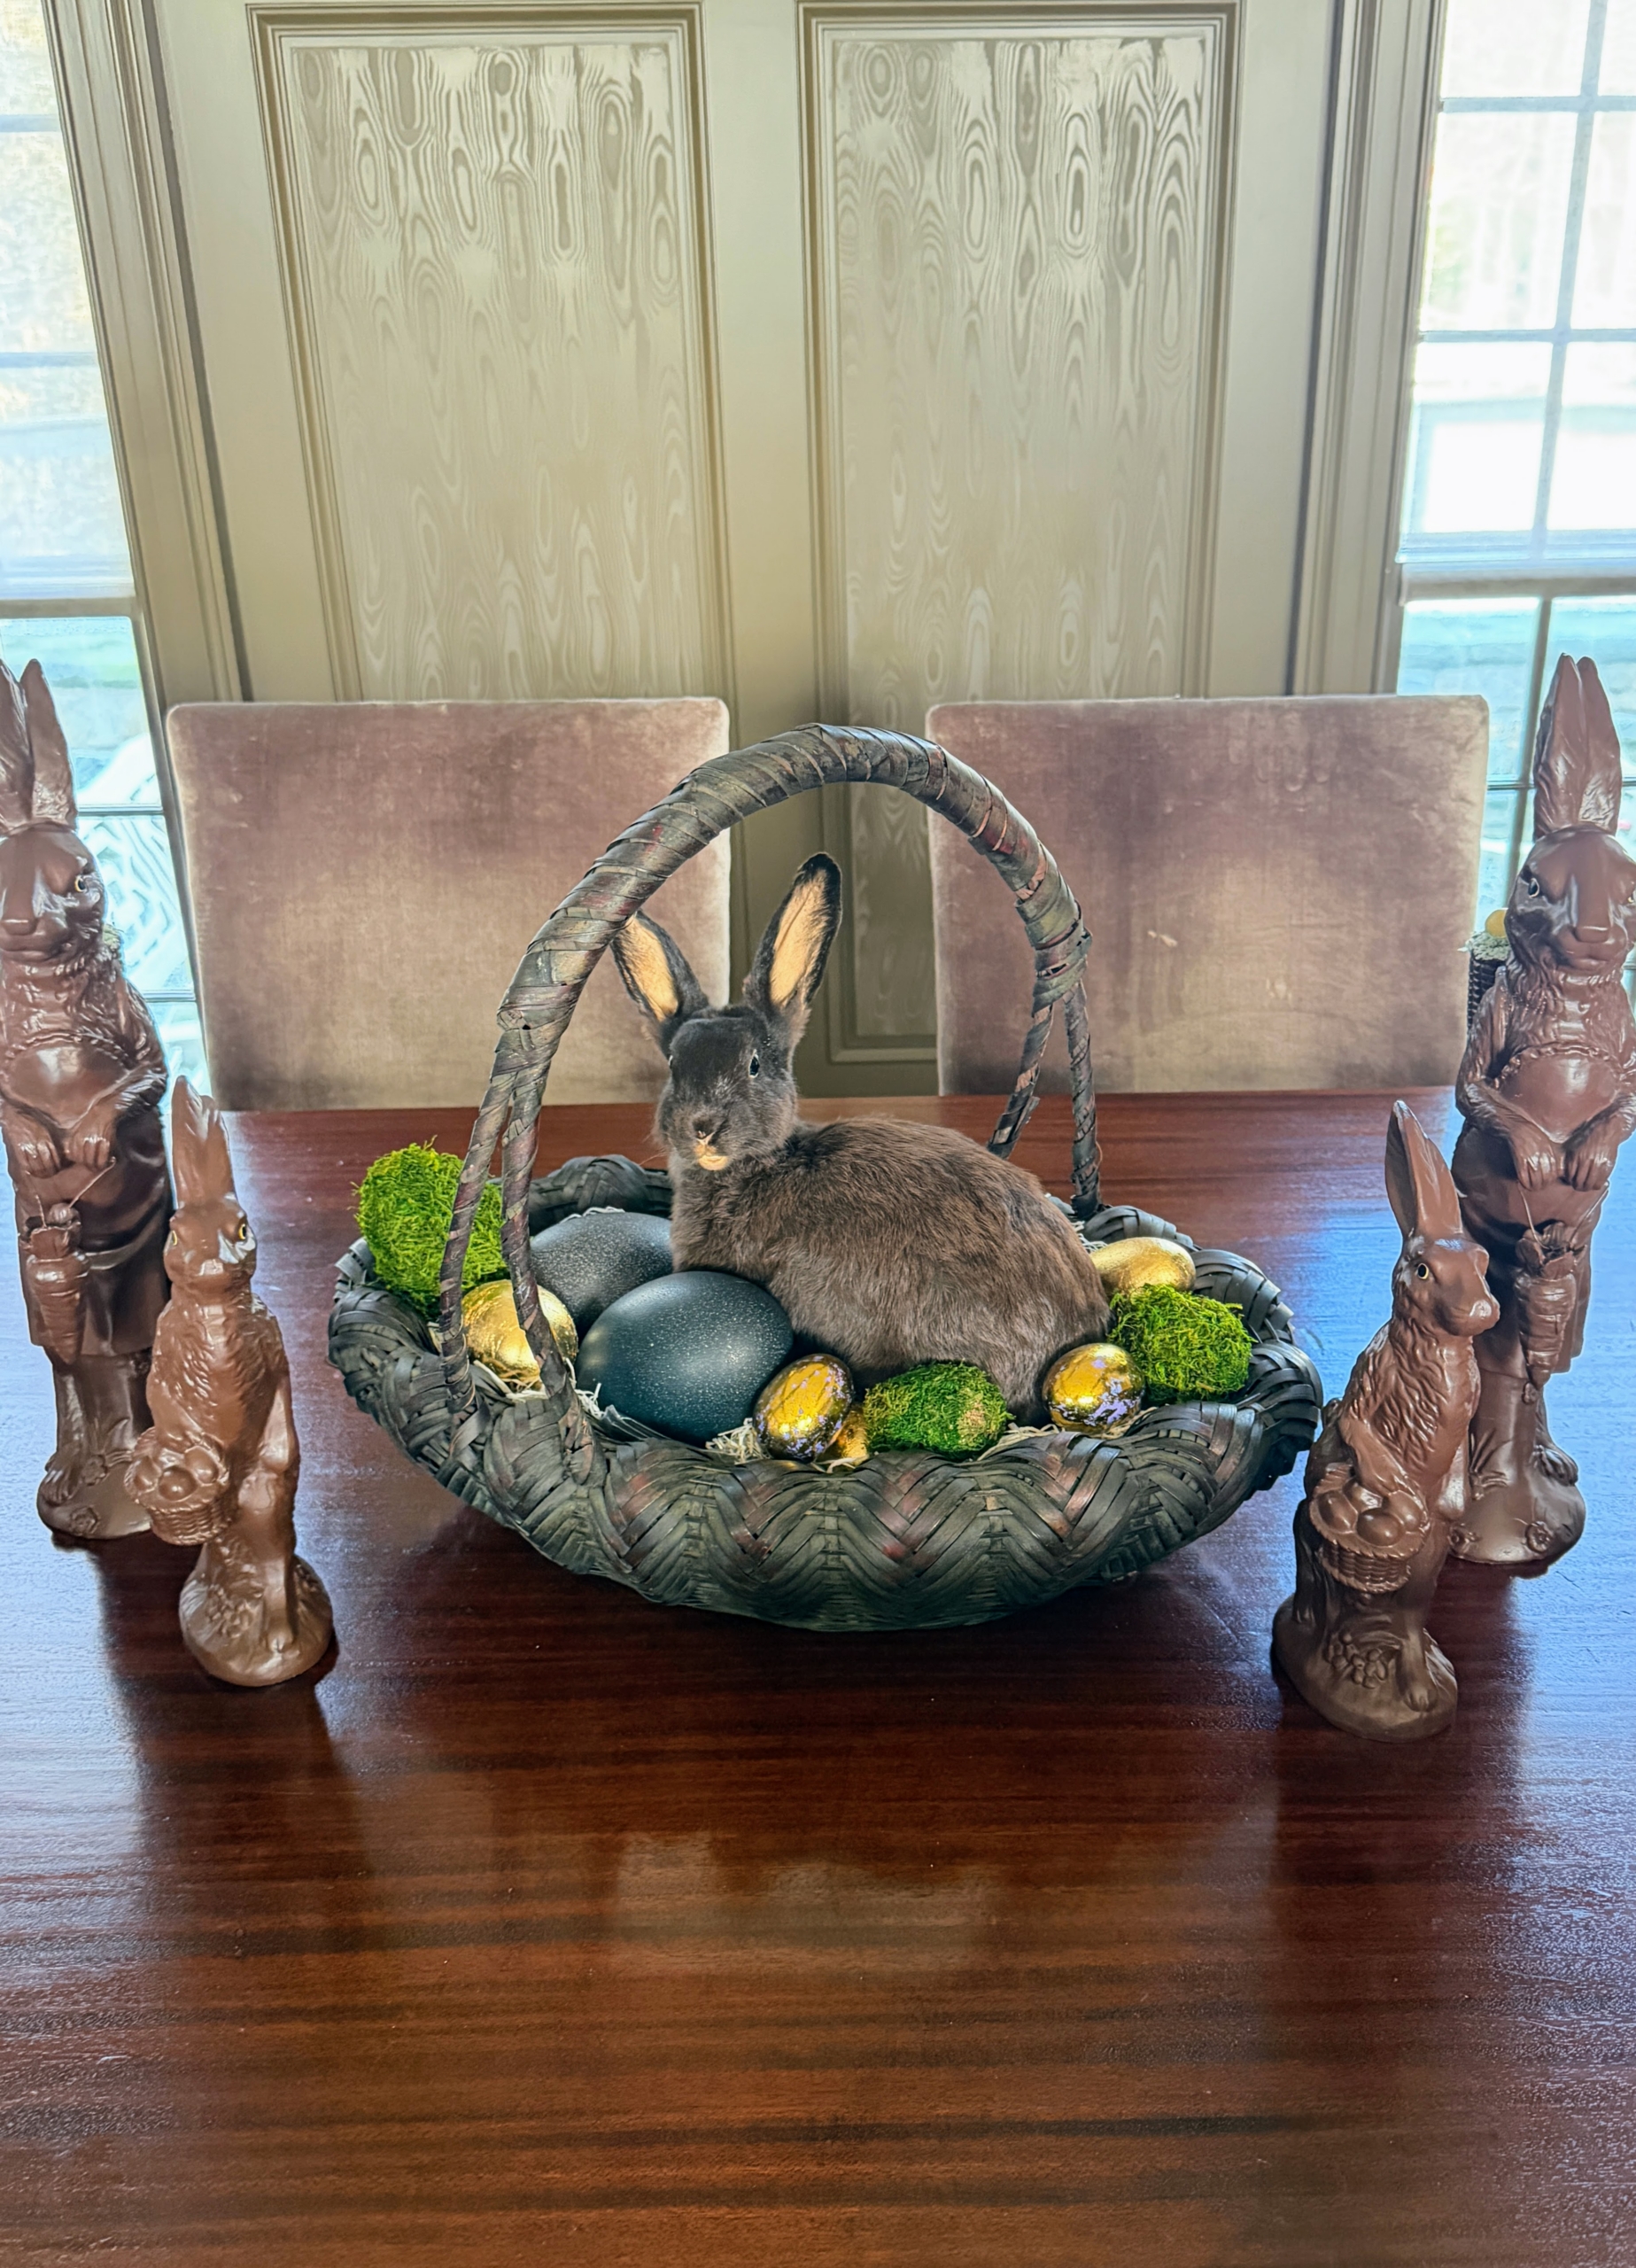
My dear friend, Kevin Sharkey, gifts me with a beautiful Easter basket every year. And I save every single one. This is a real rabbit taxidermy, which Kevin gave me several years ago. He appears very content displayed in this Japanese basket surrounded by eggs.
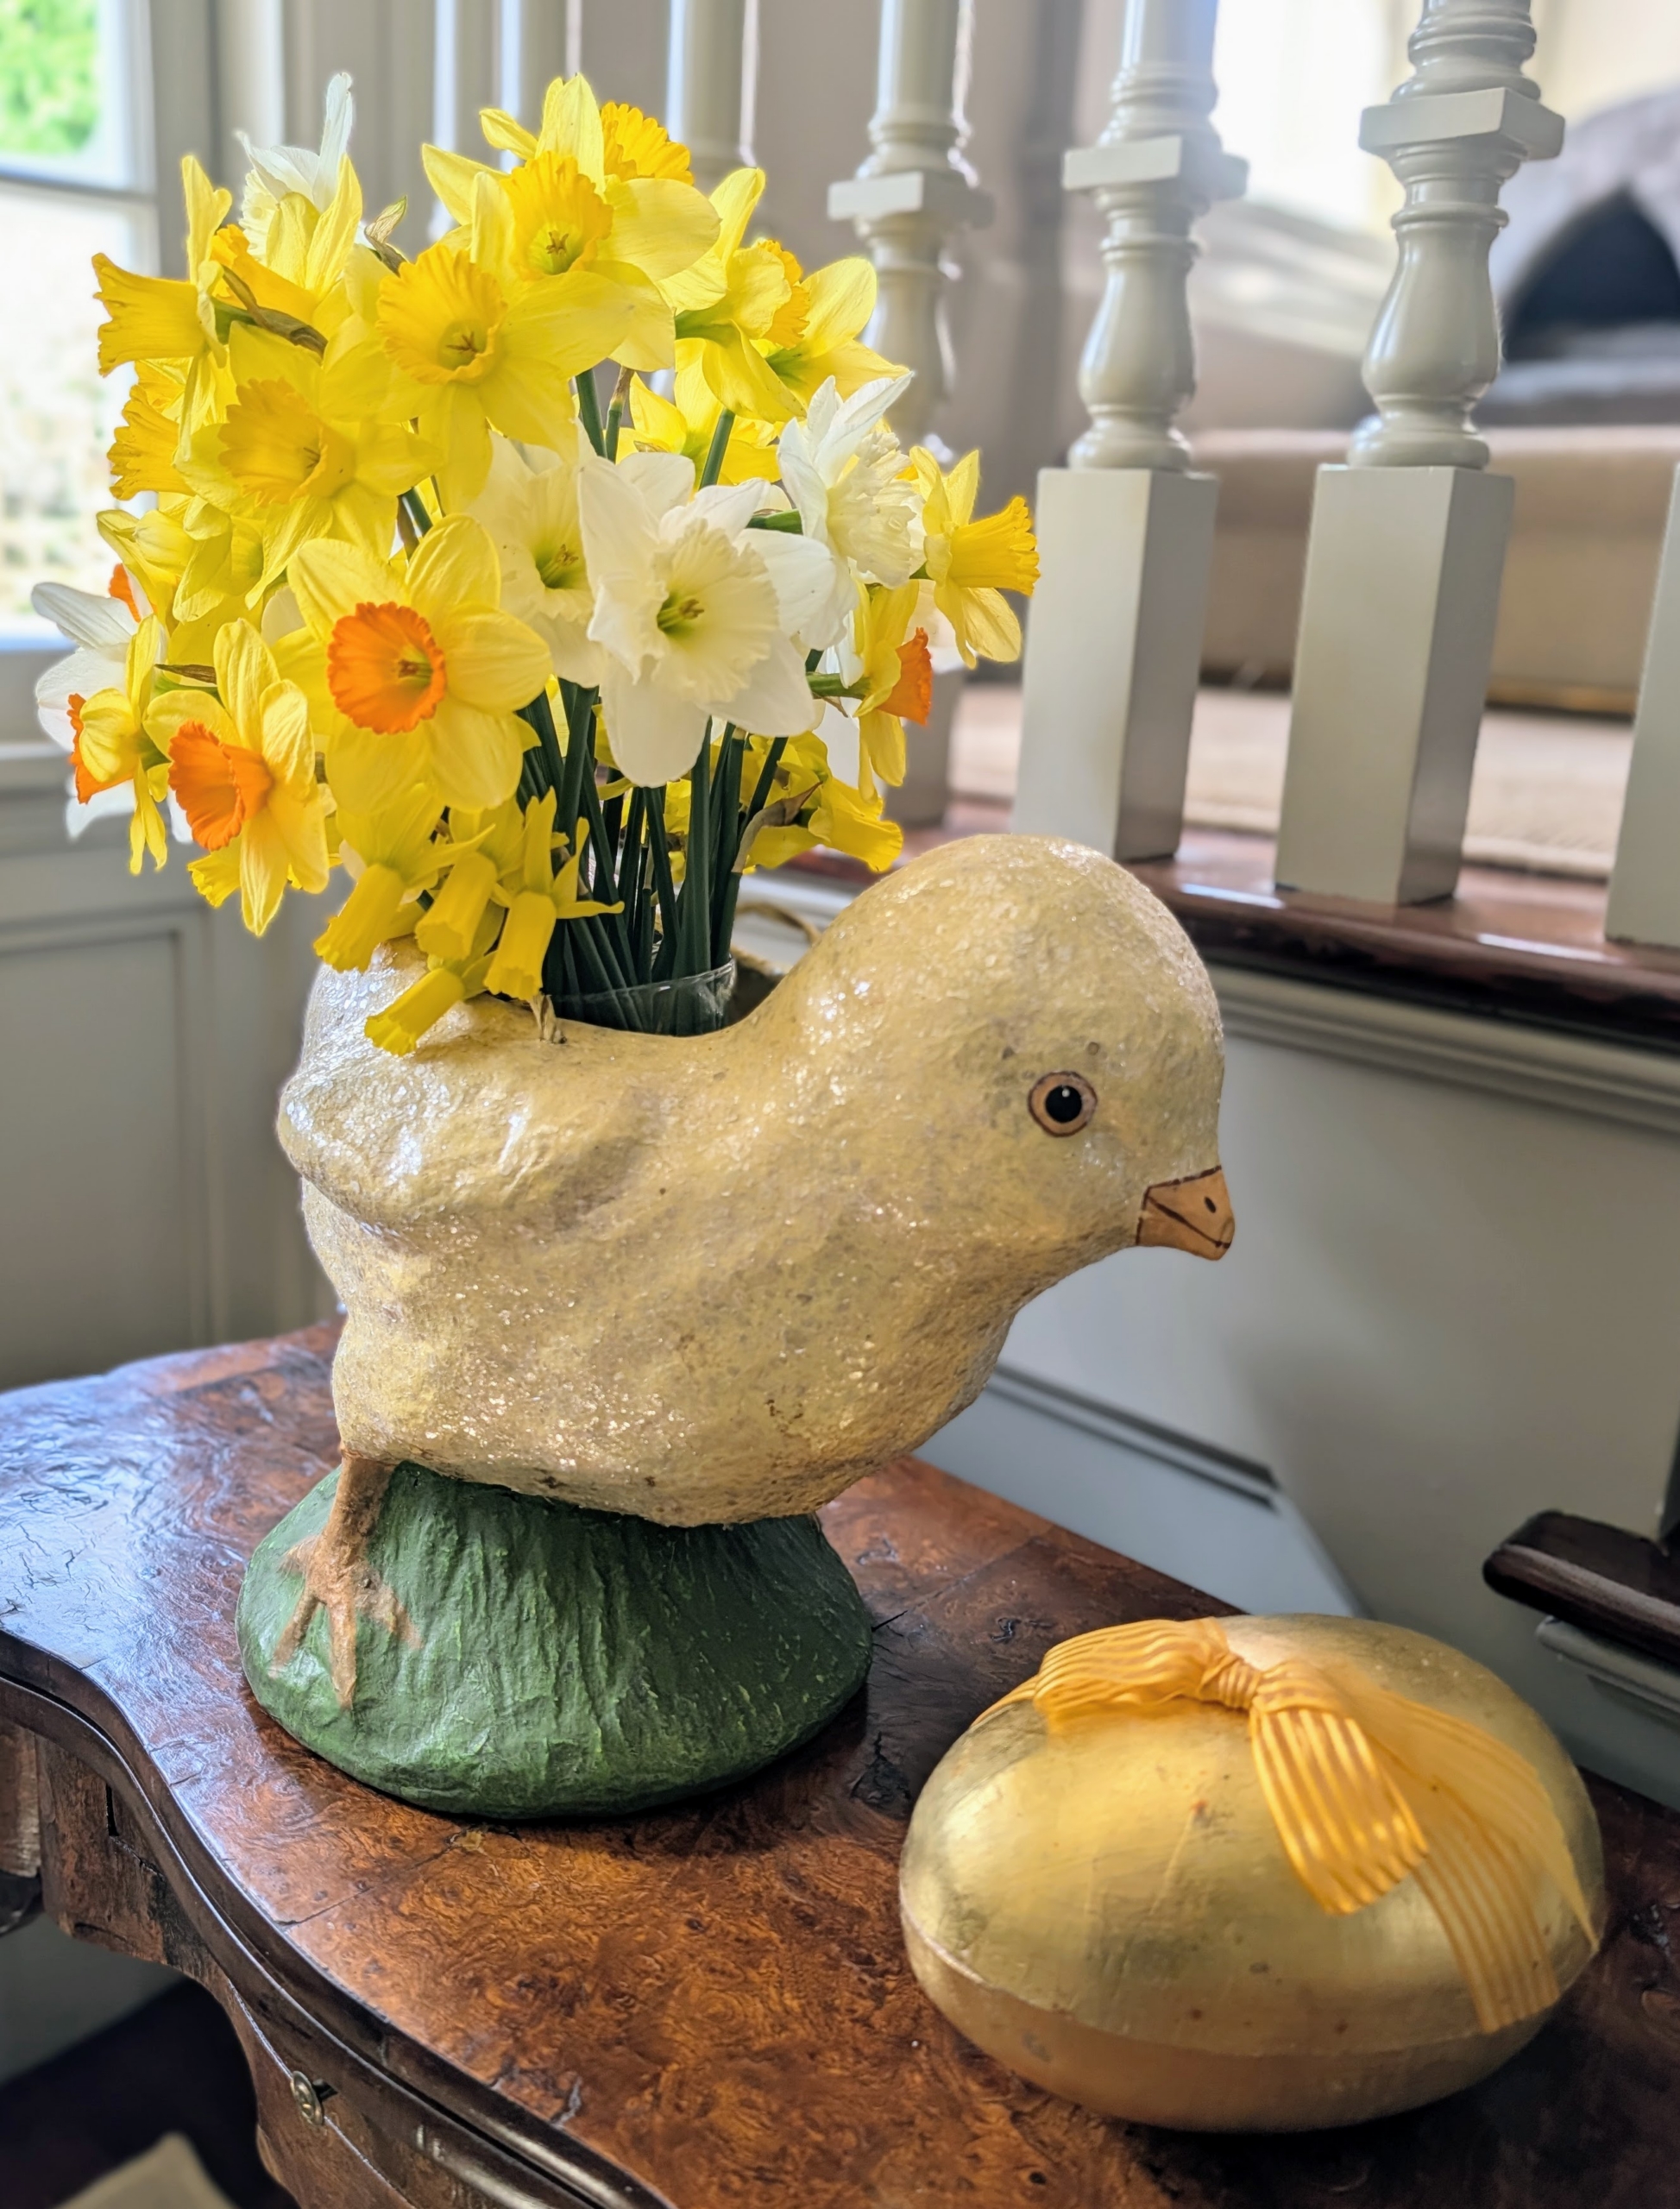
And yes, these are real daffodils – the first ones picked from the garden. The daffodils here at the farm are just starting to bloom now but my housekeeper, Enma Sandoval, was able to pick enough for the glass vase inside this paper maché chick.
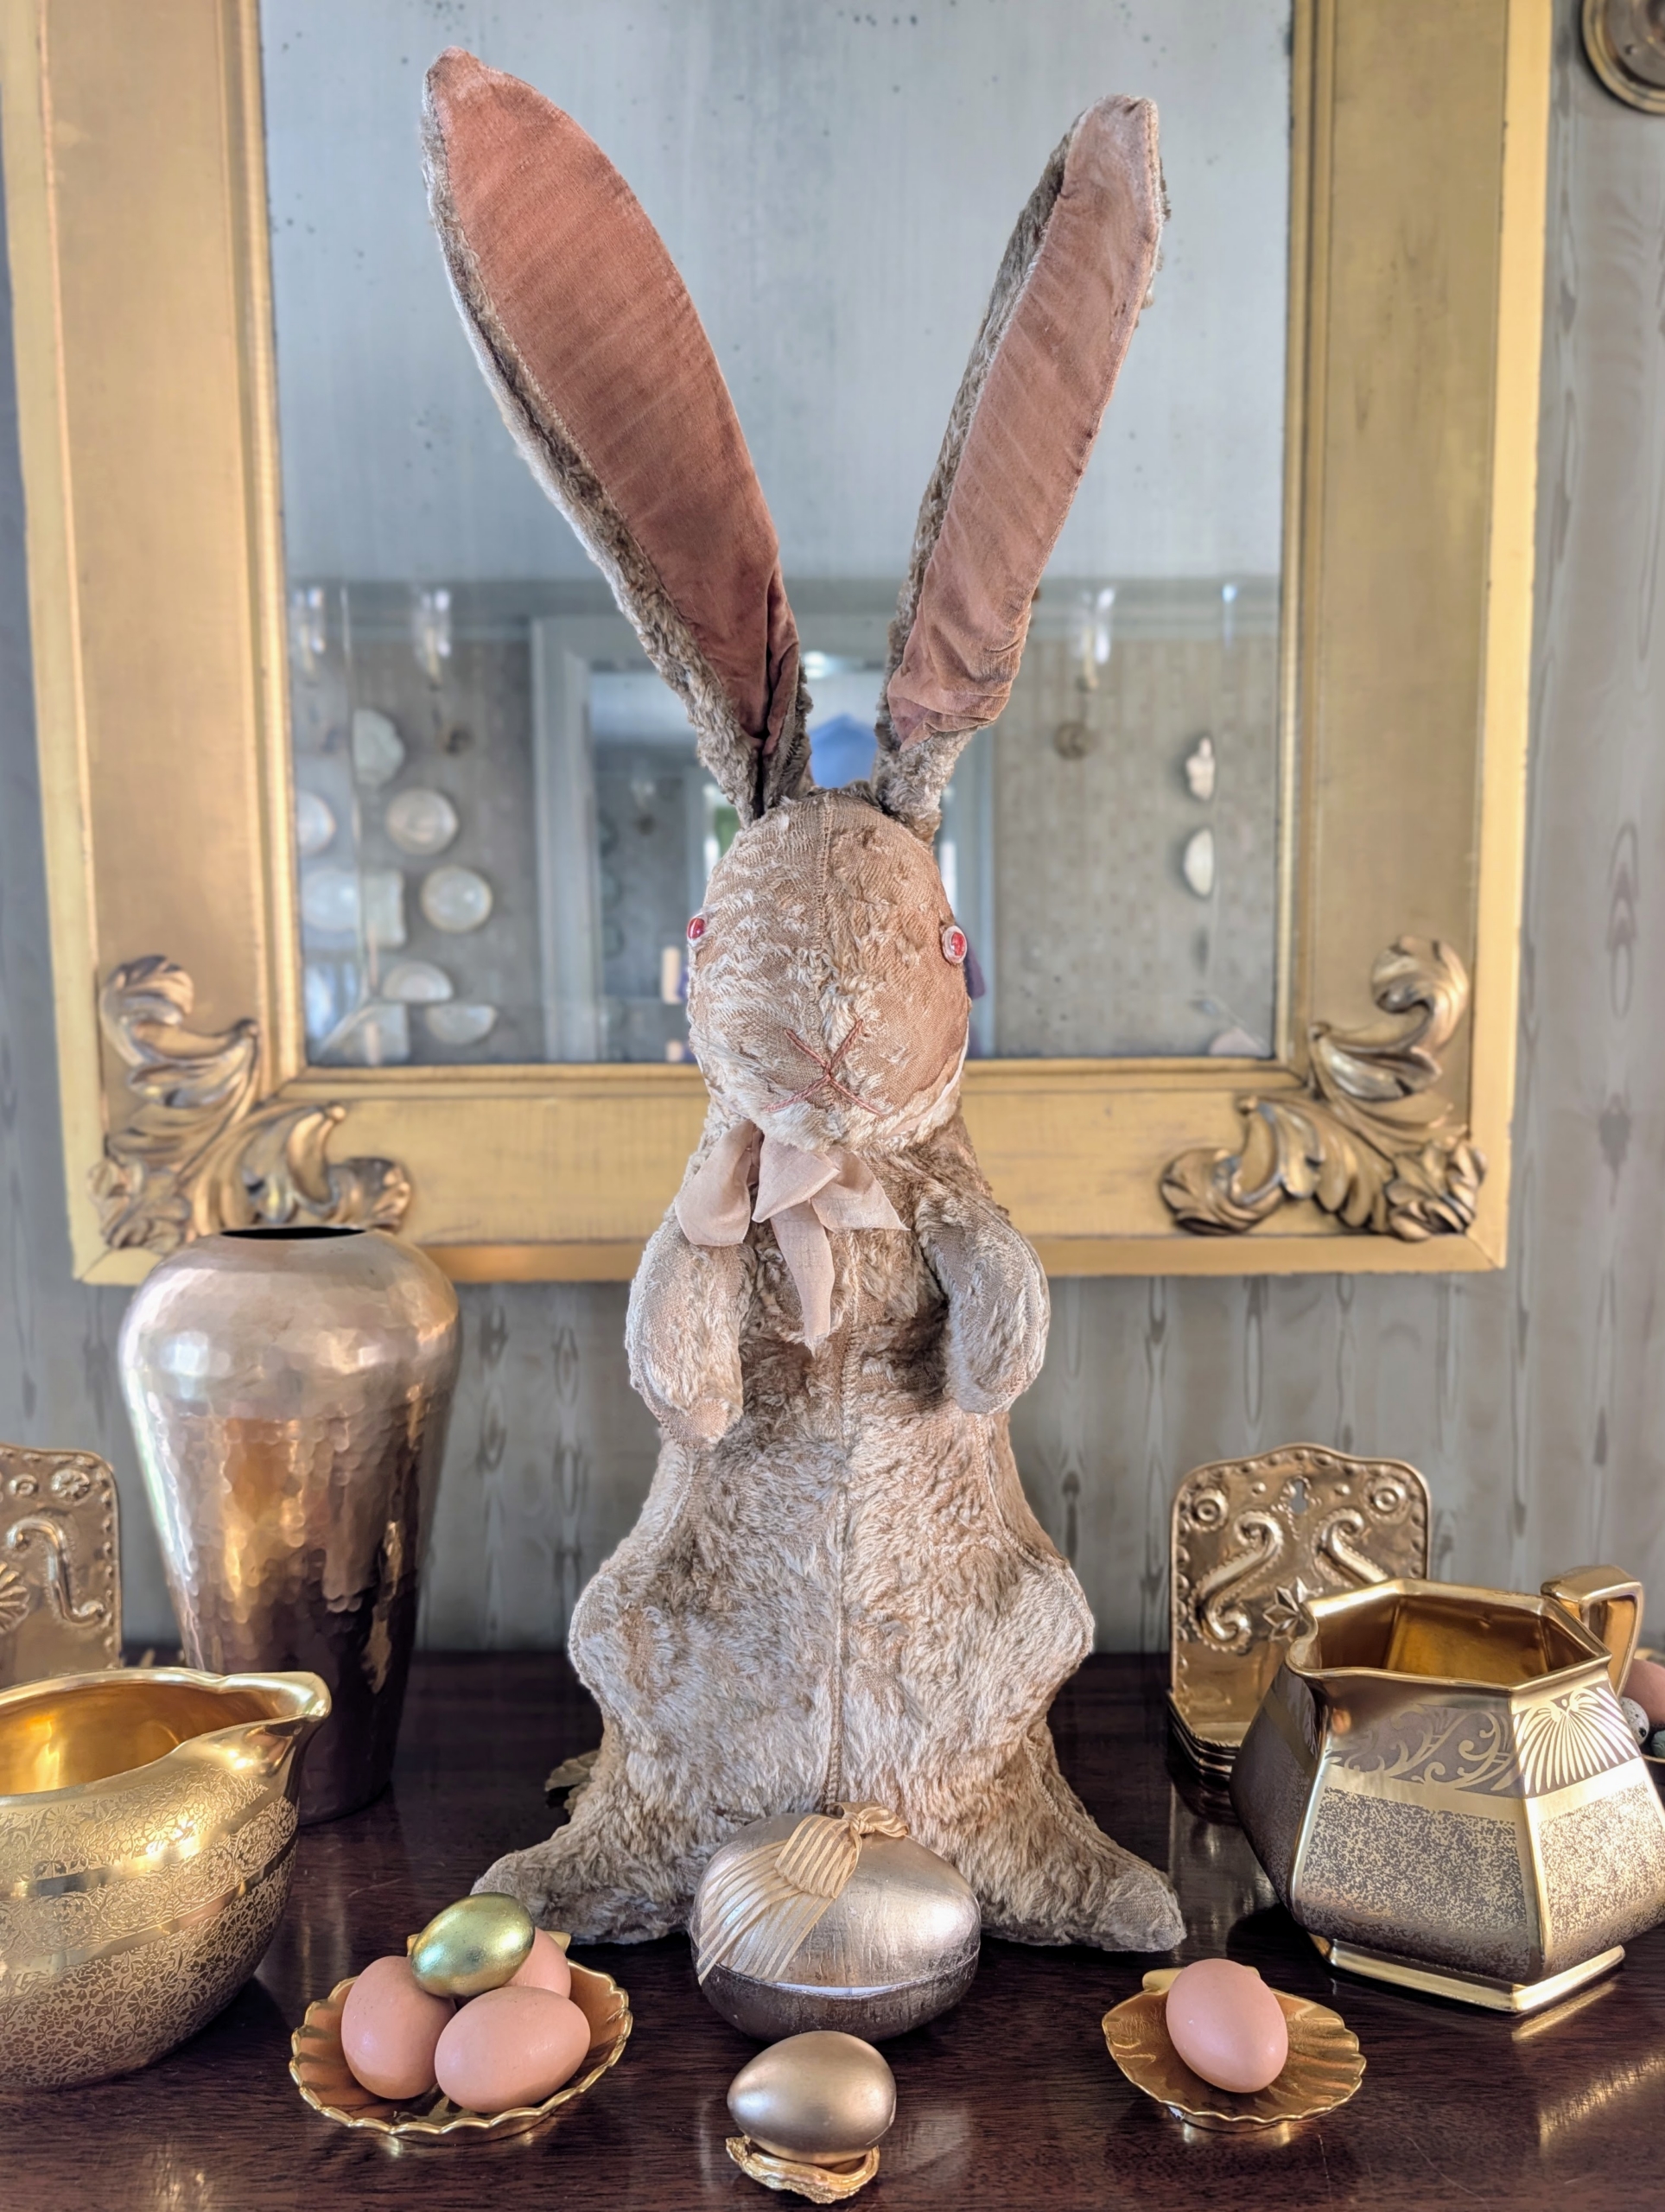
This is an antique velvet bunny I love to take out every year. One can never have too many whimsical animals sitting around a room on Easter.
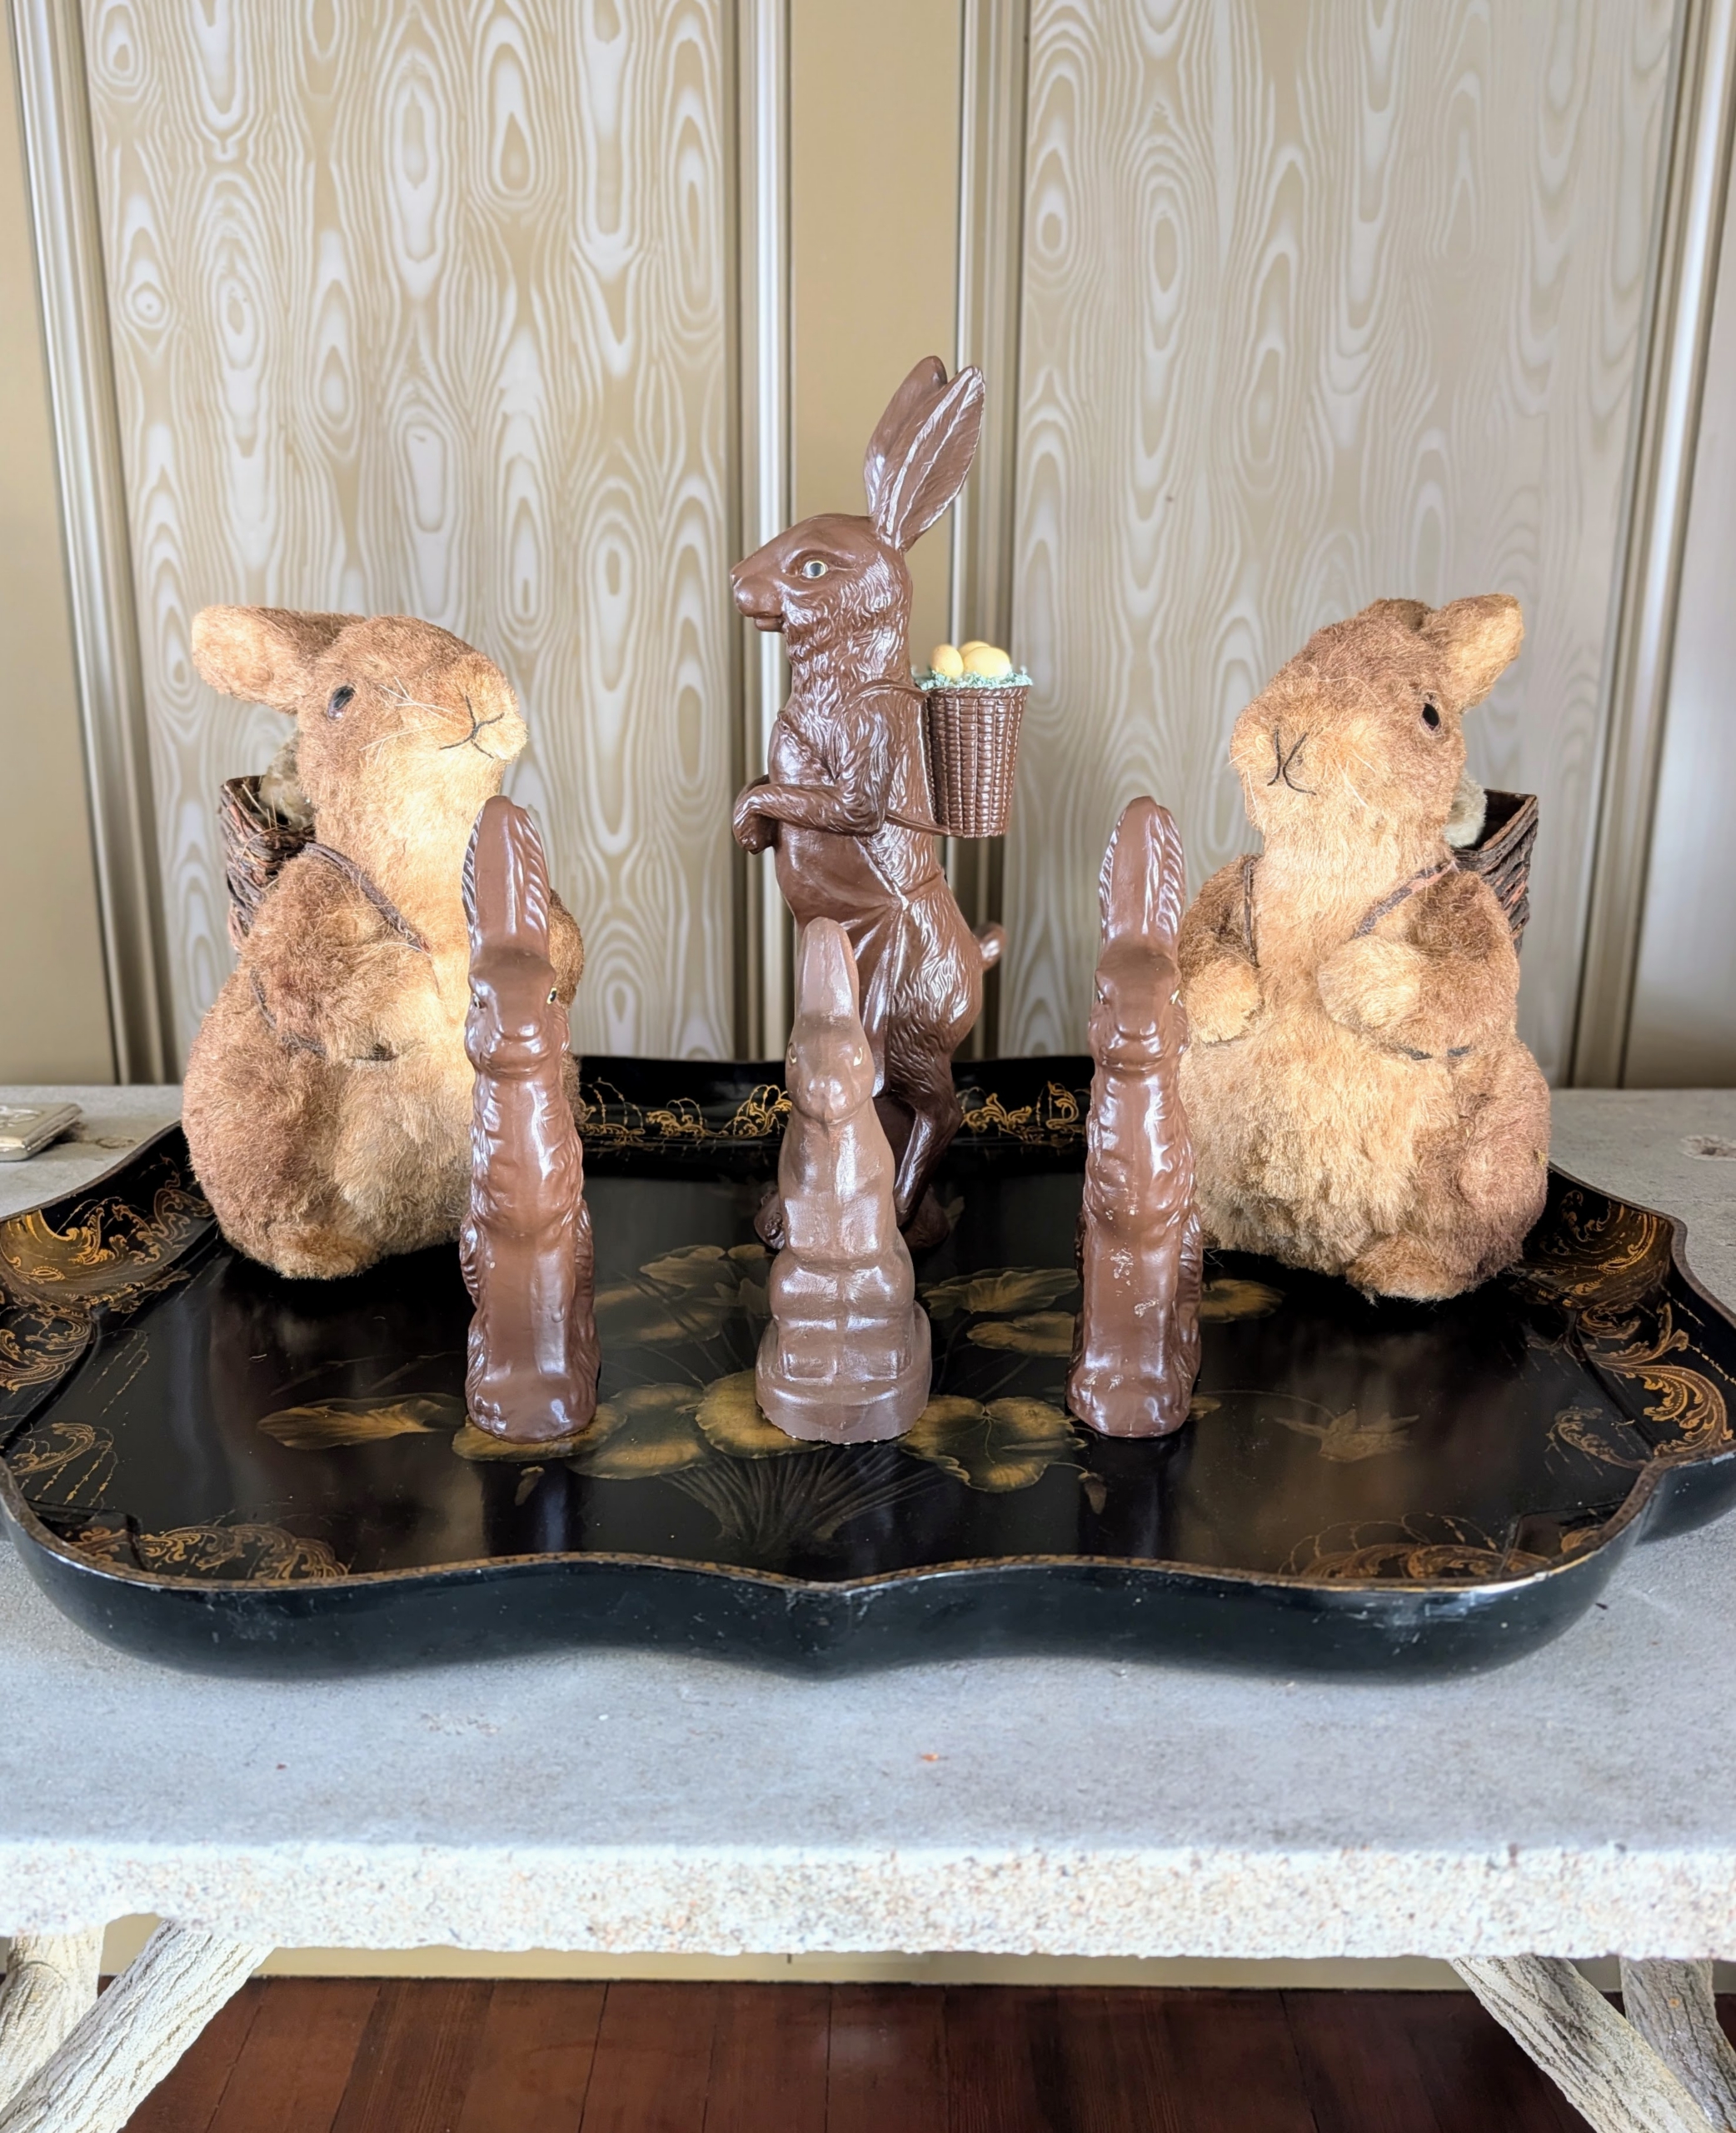
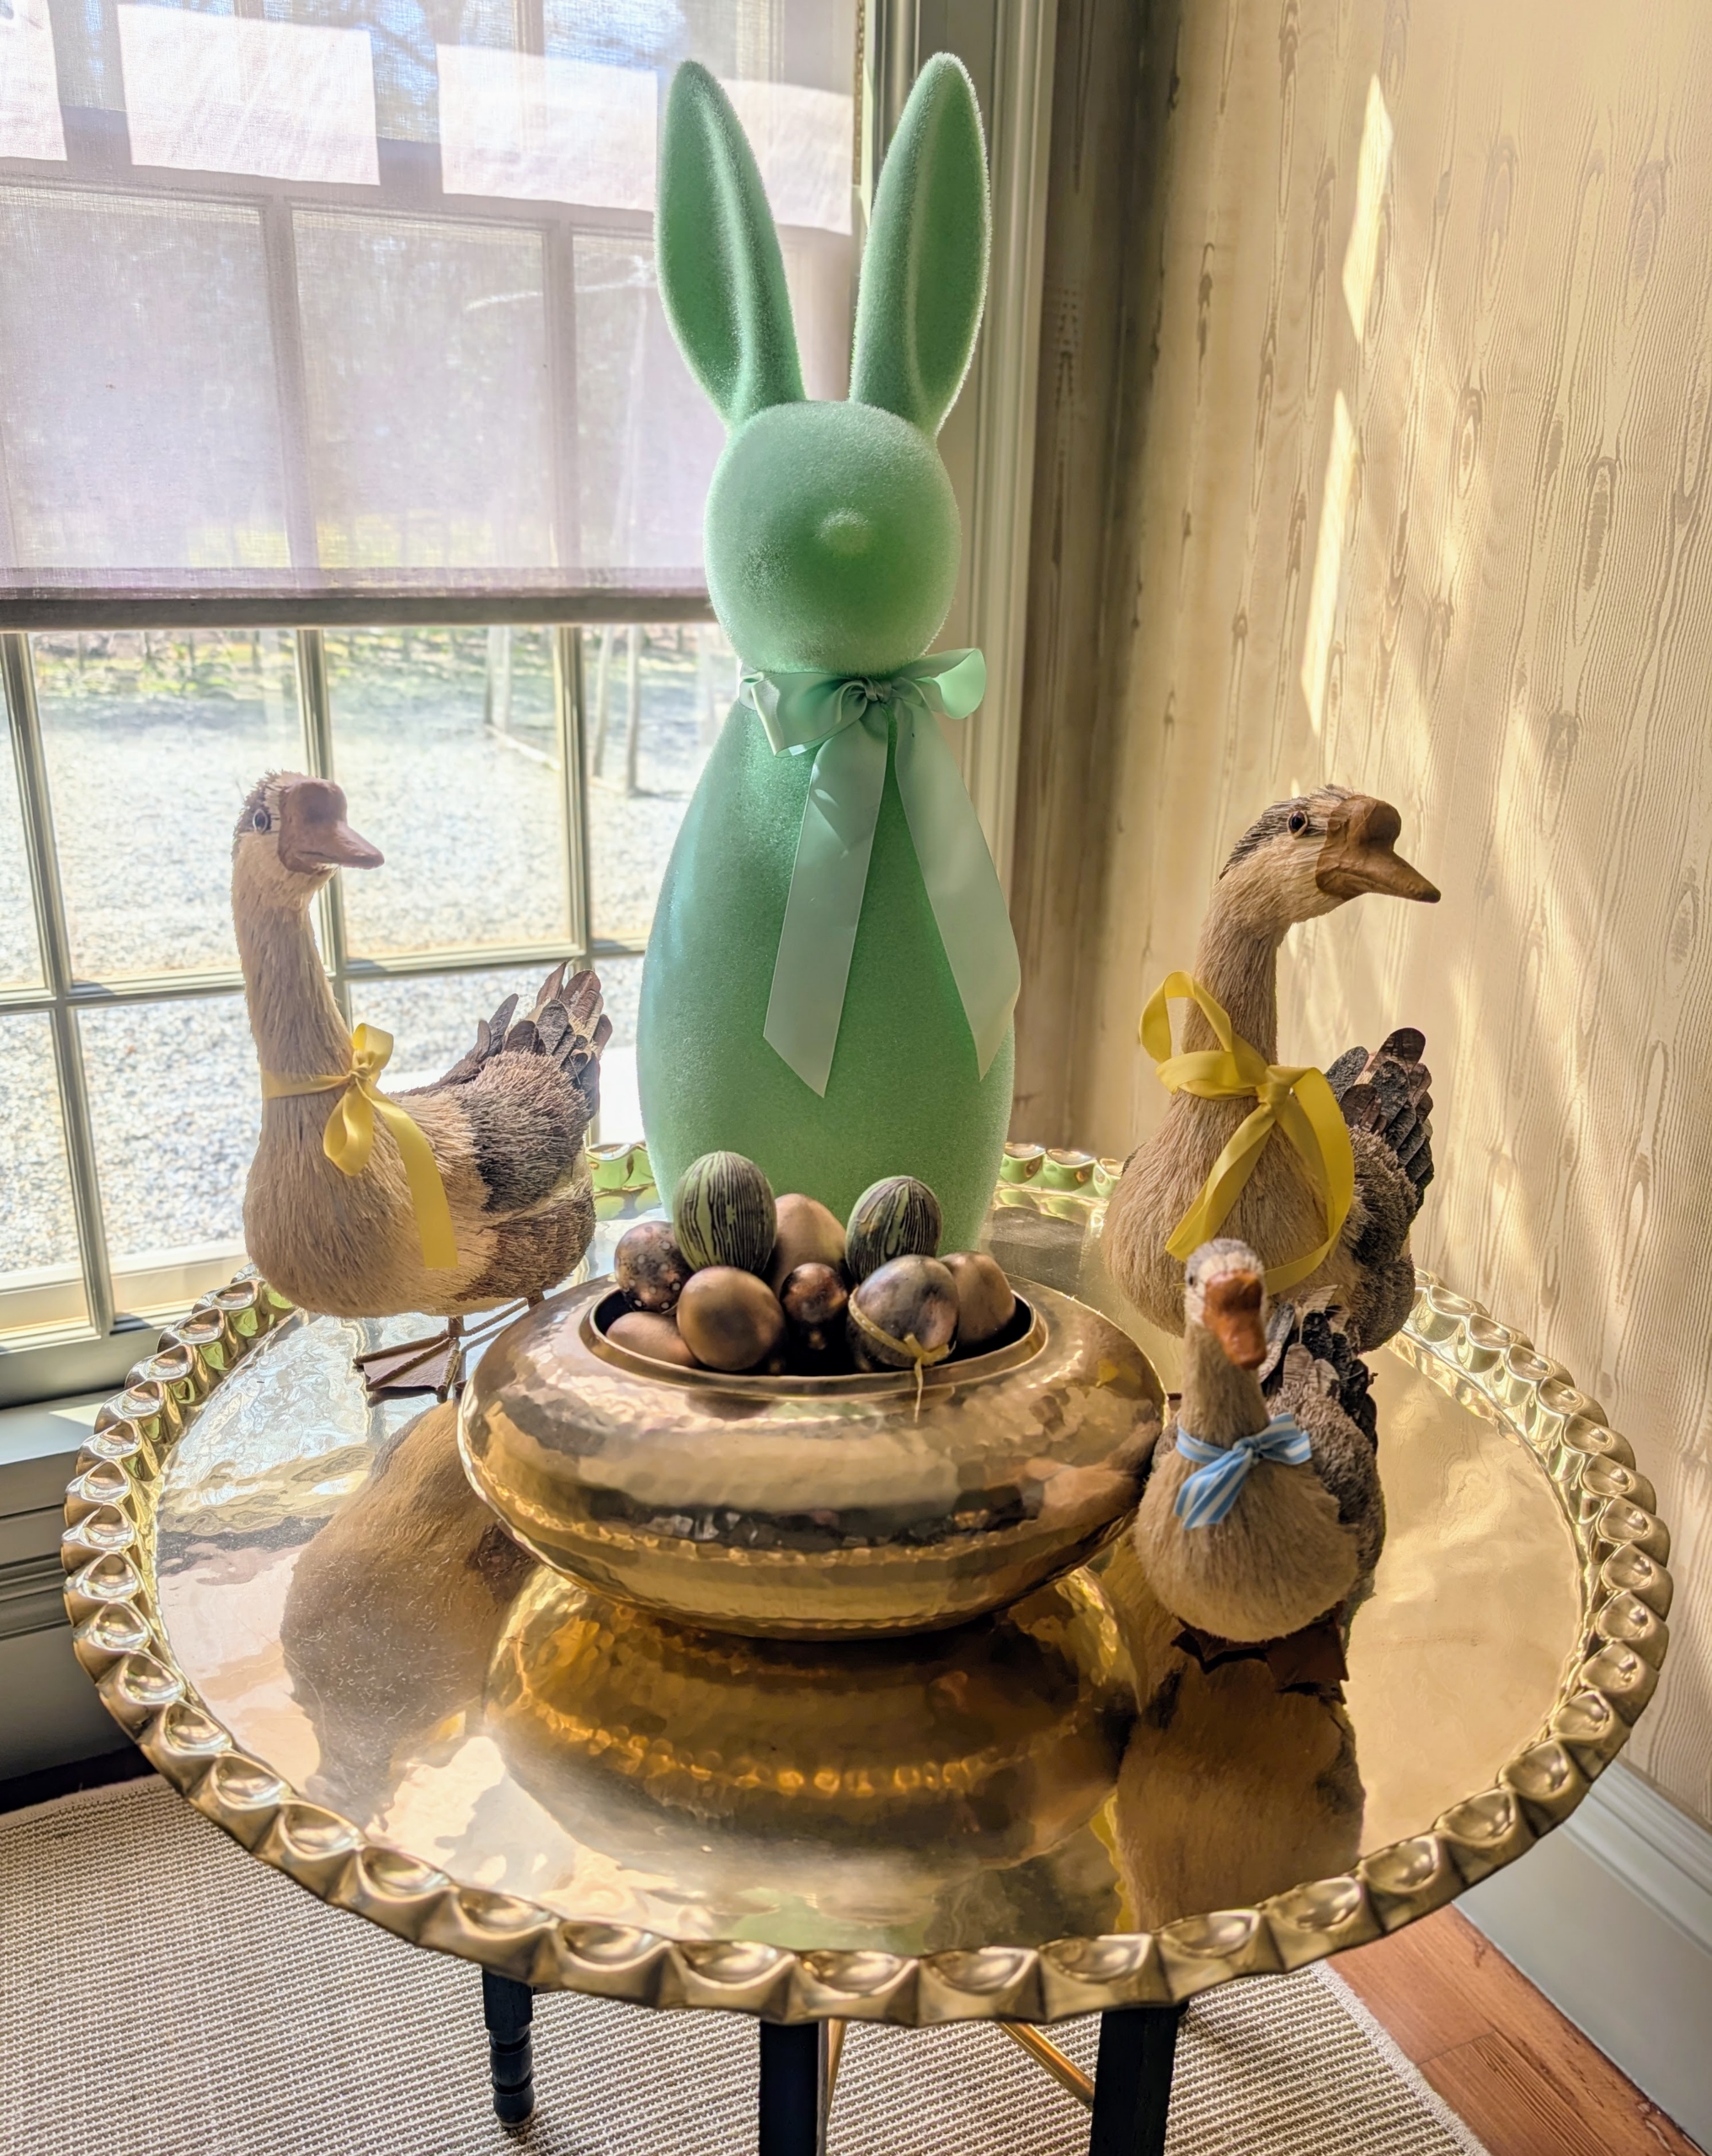
On this table, more bunnies and eggs and geese and ducks.
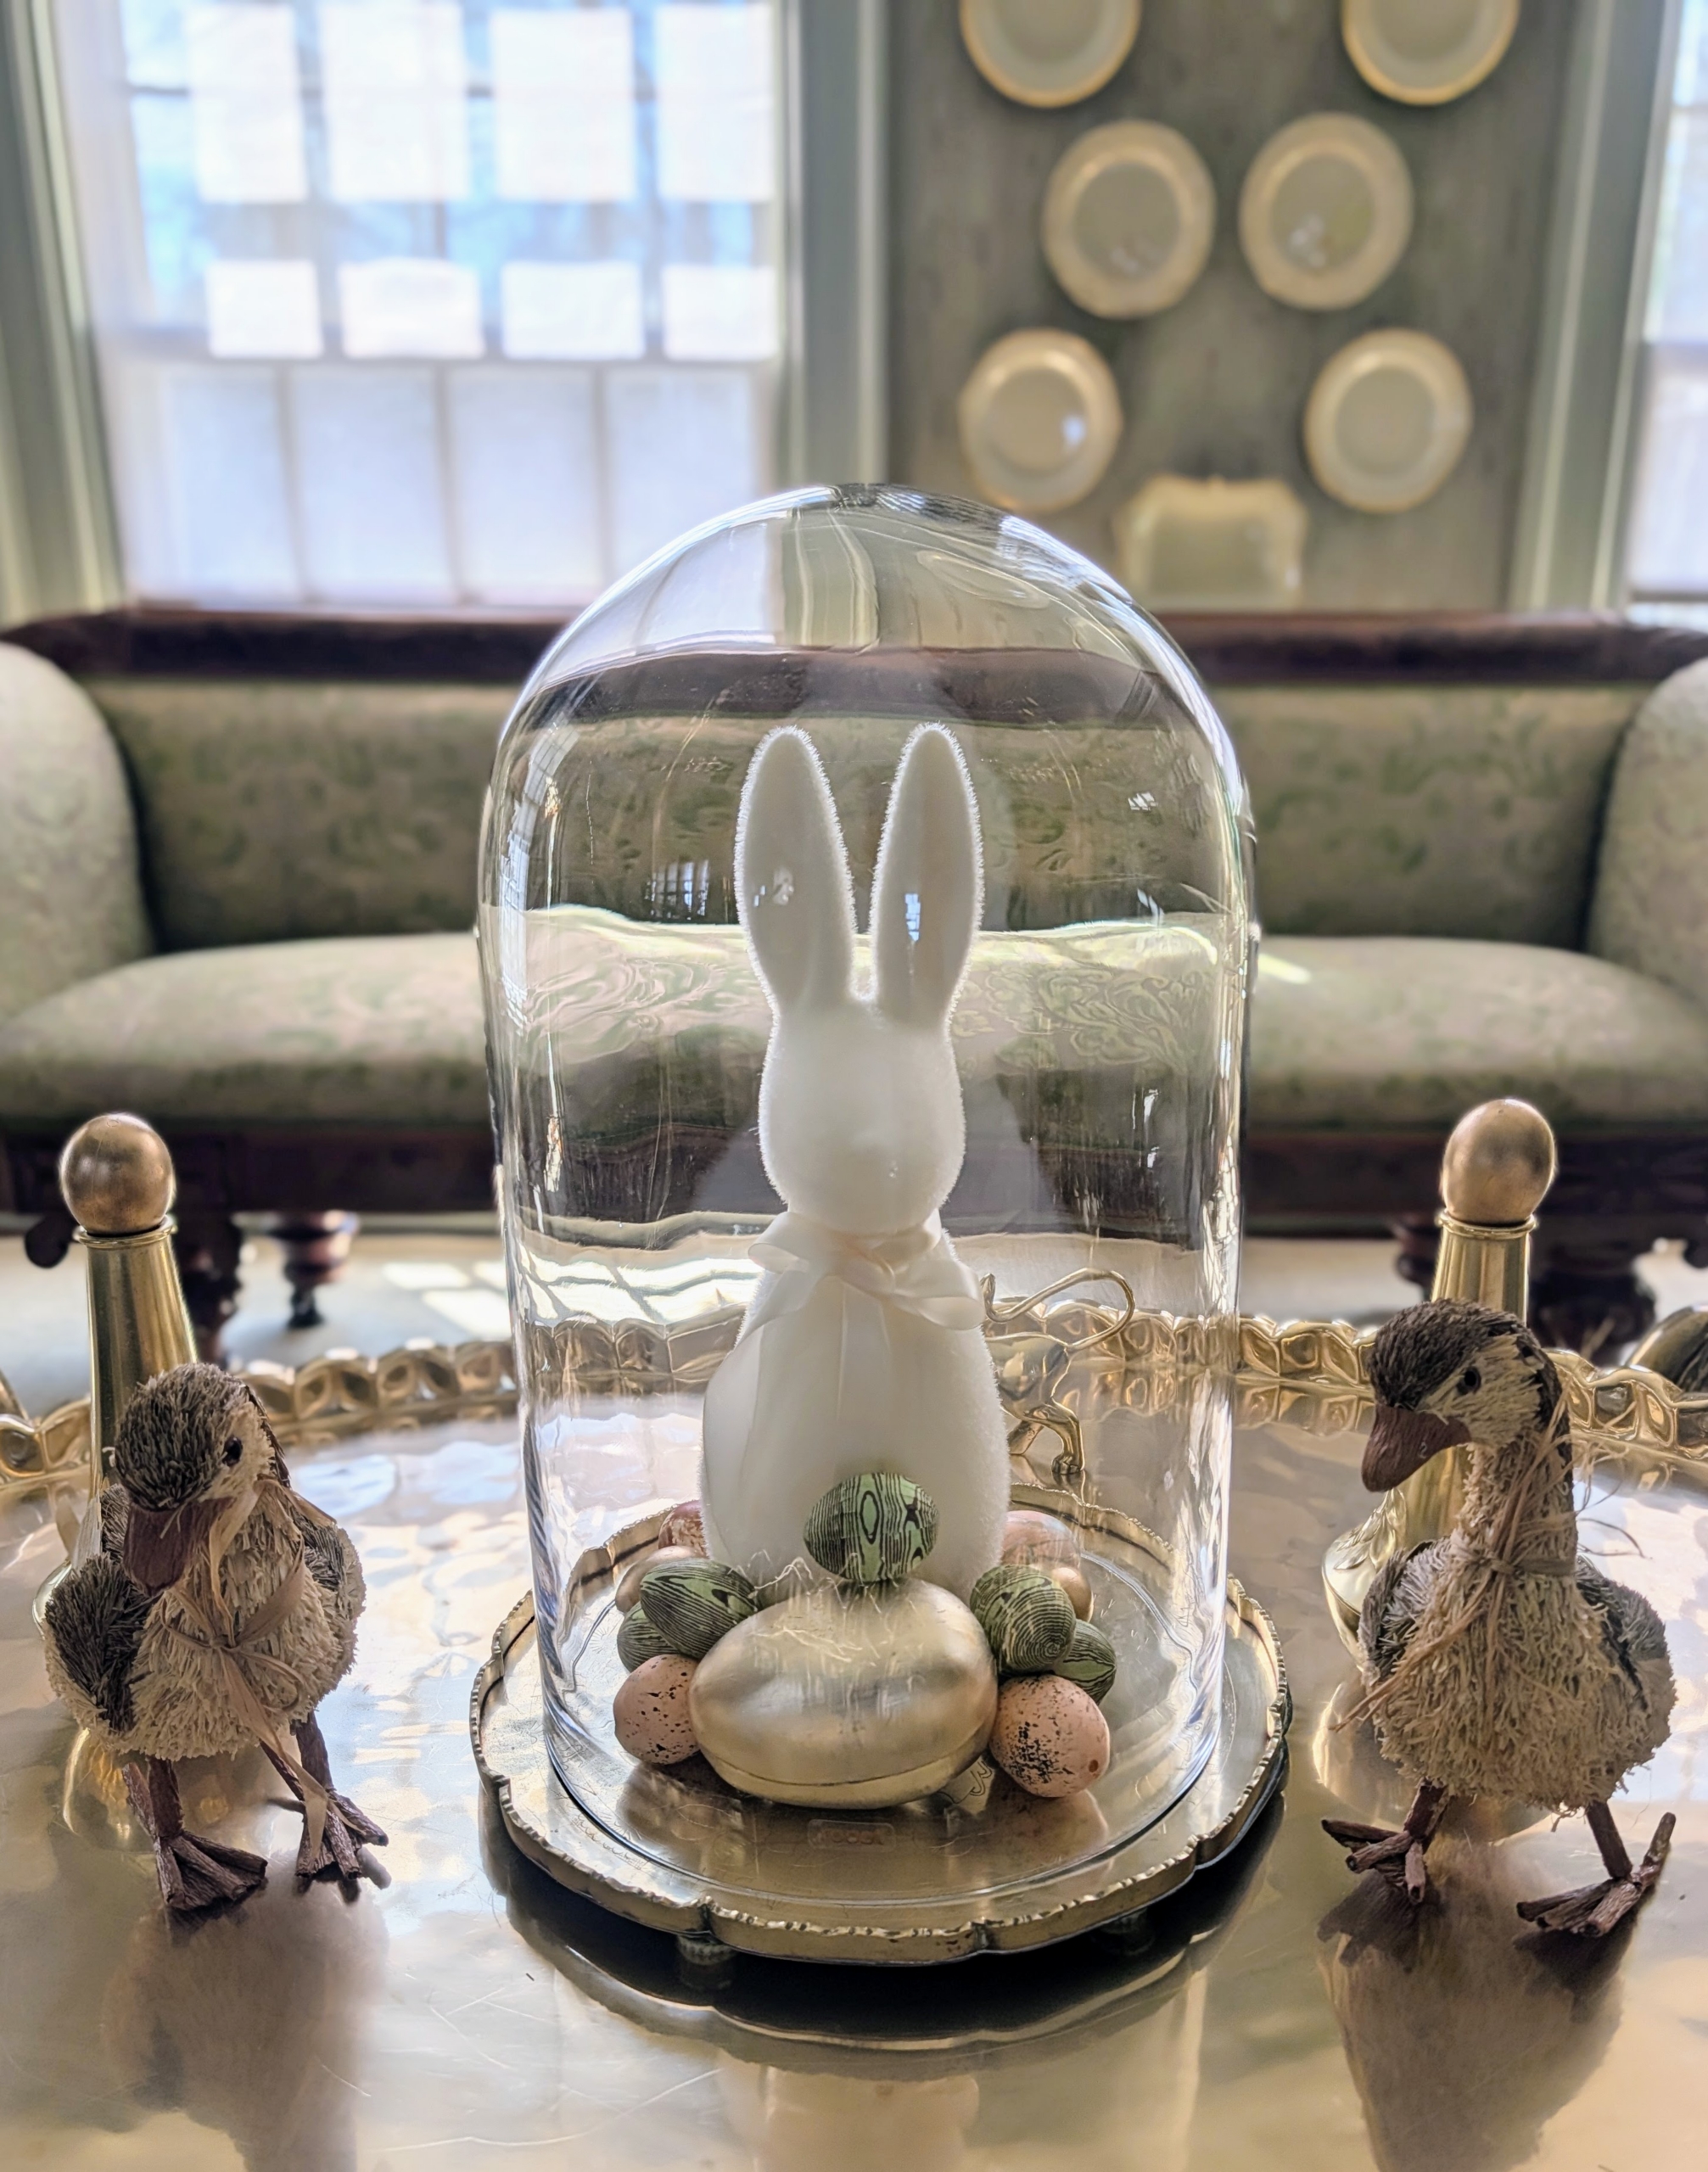
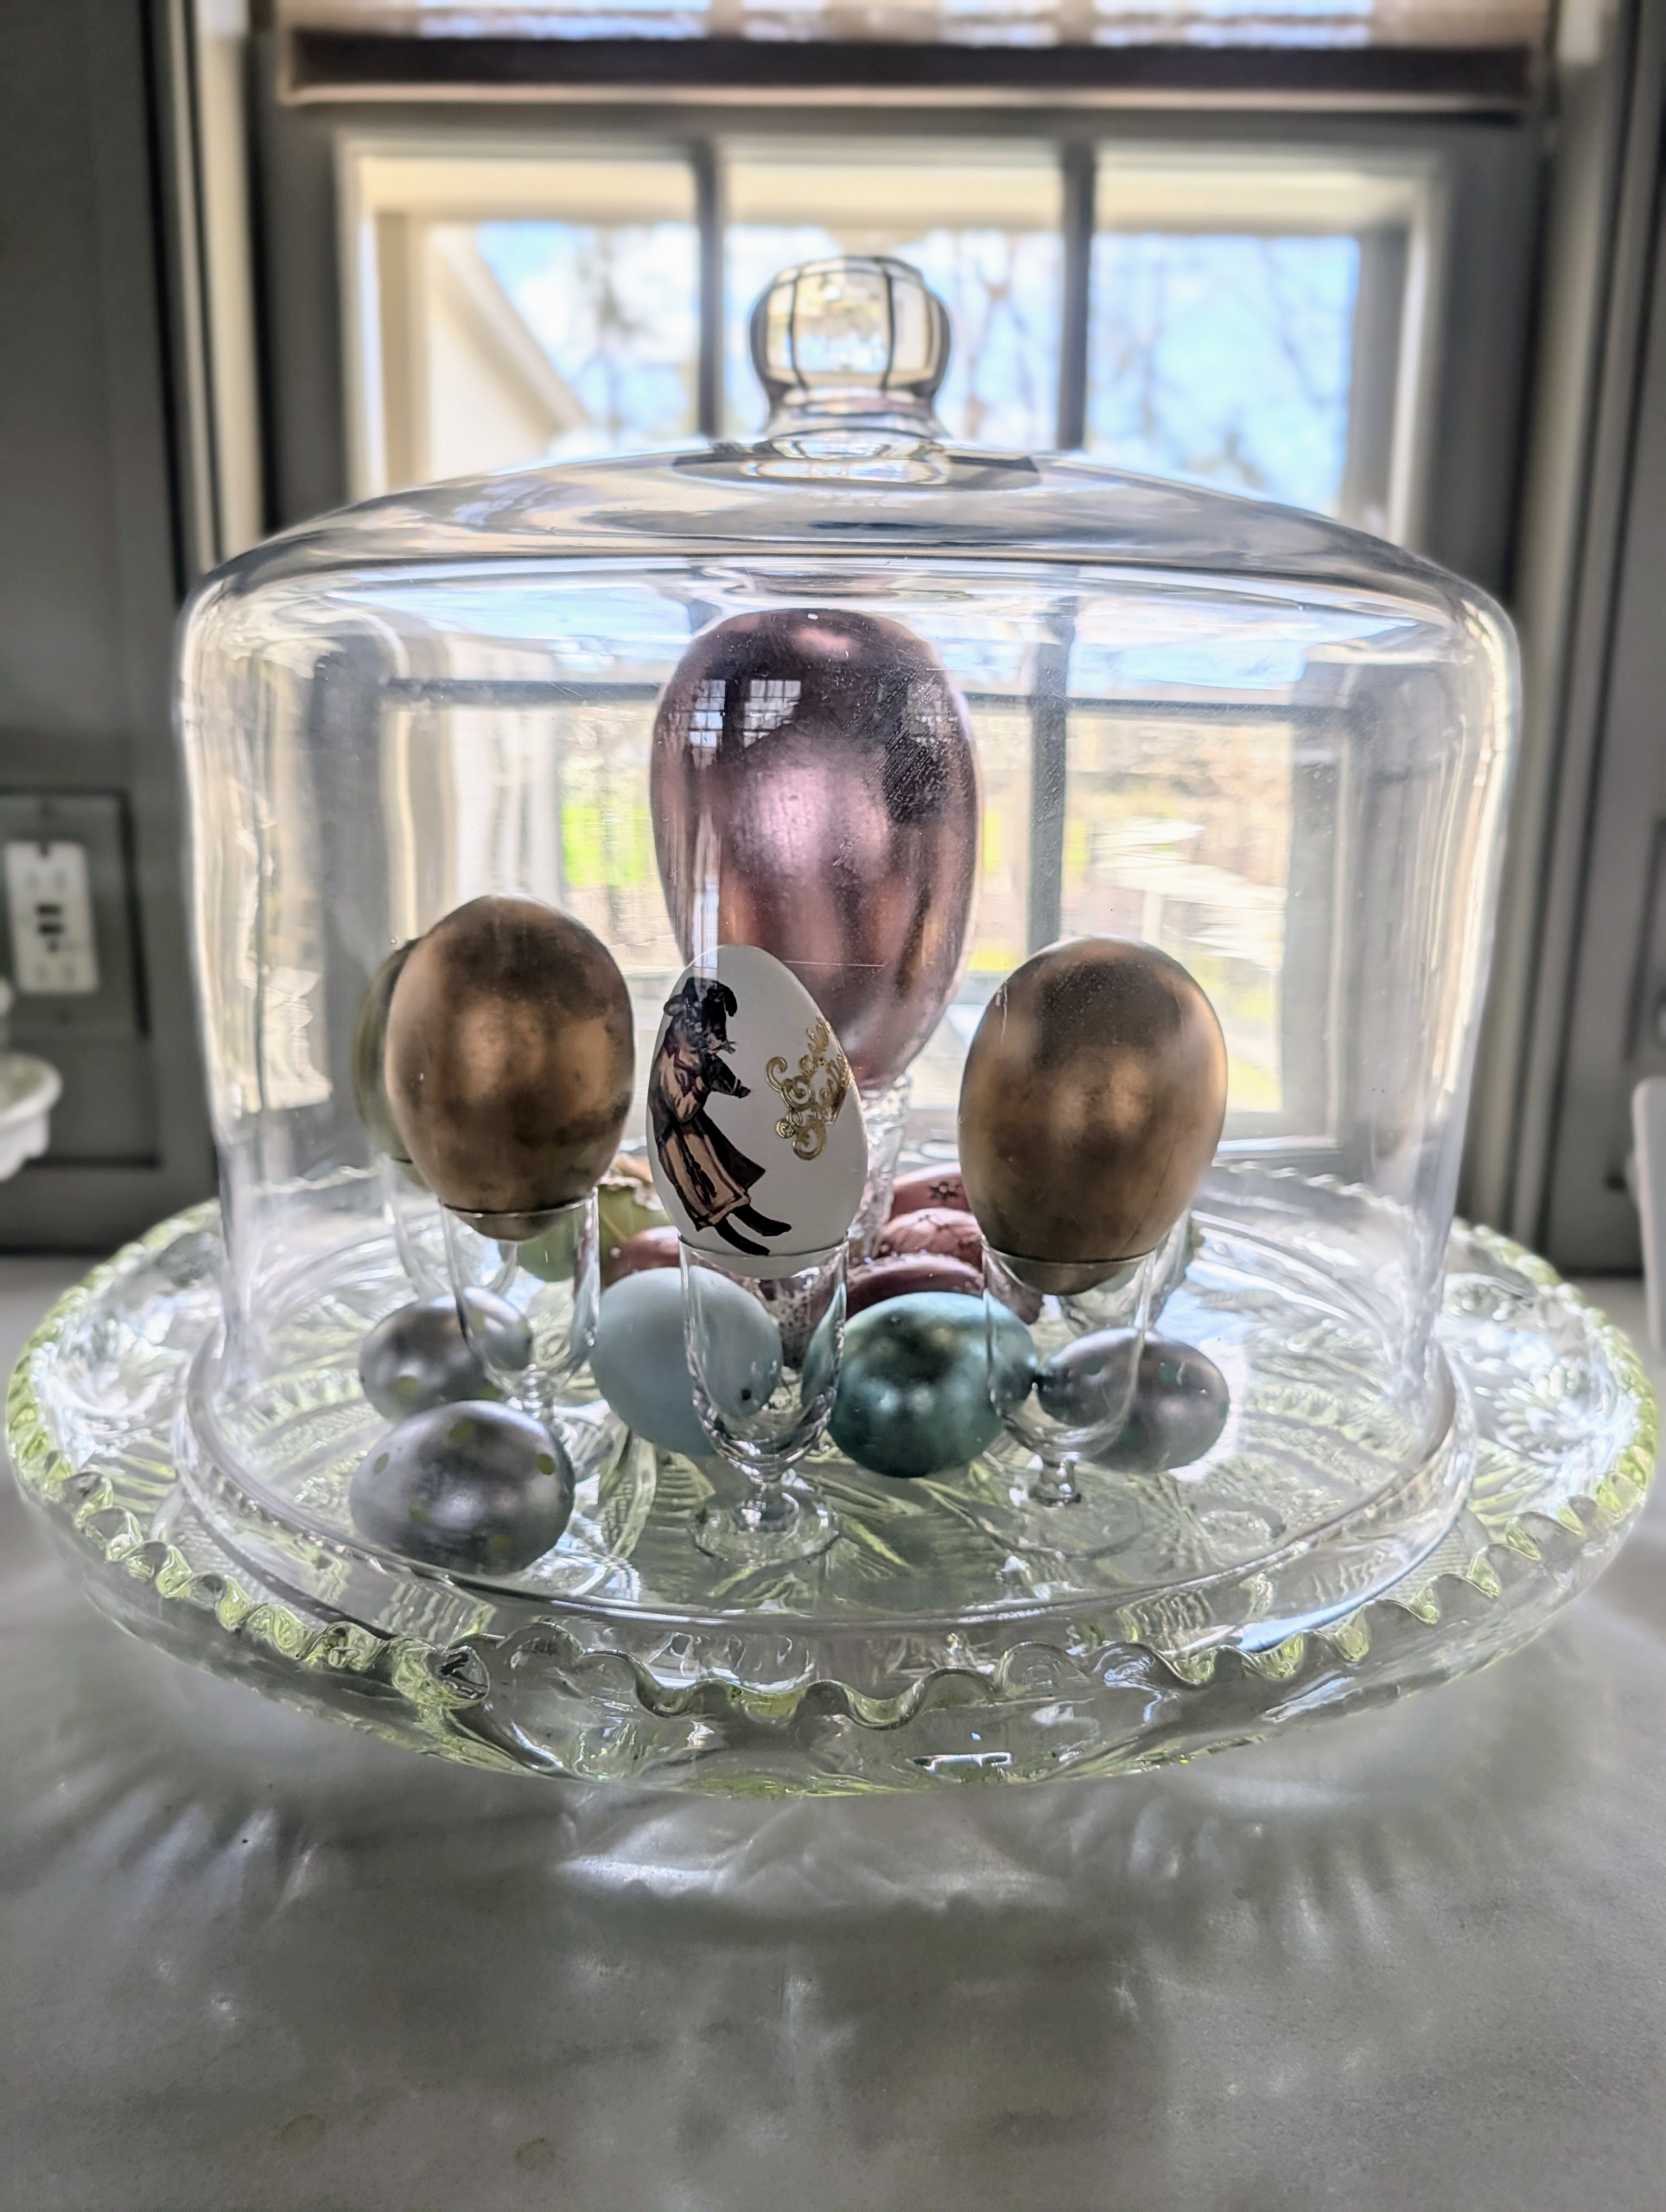
Starting with just a few themed accessories can make such a big impact. Display items with decorations already around the home, such as under a glass cloche.
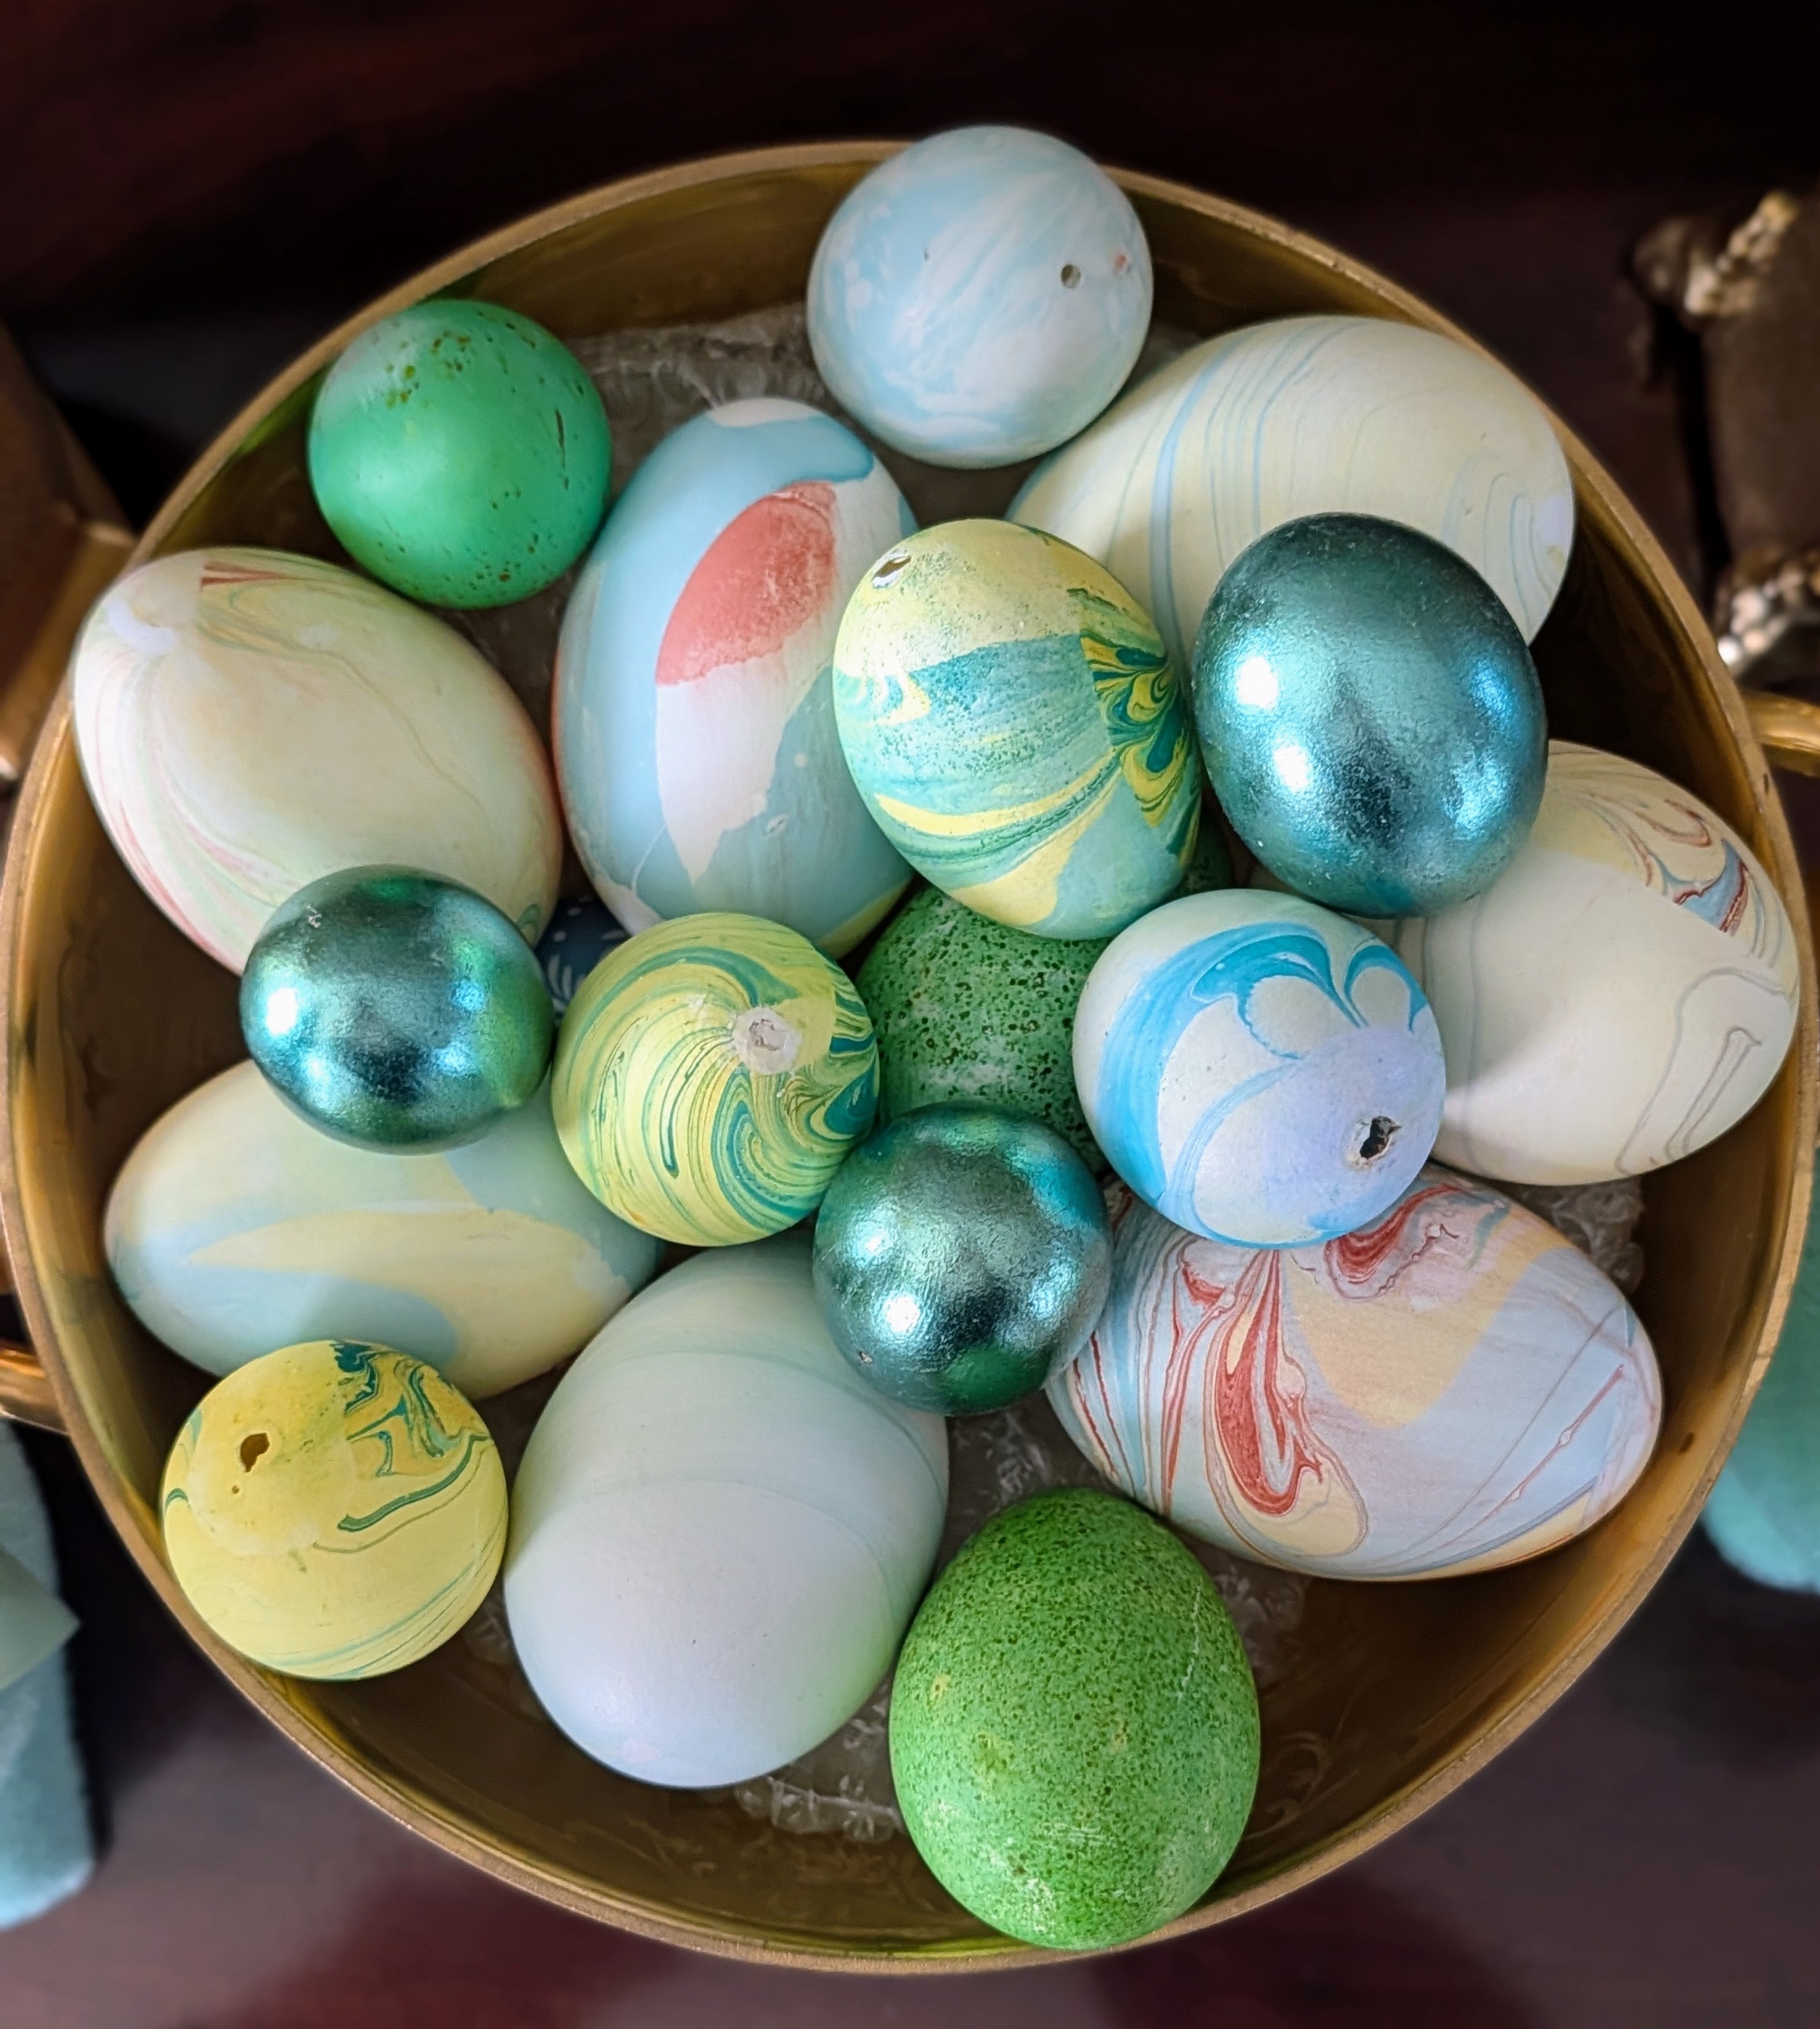
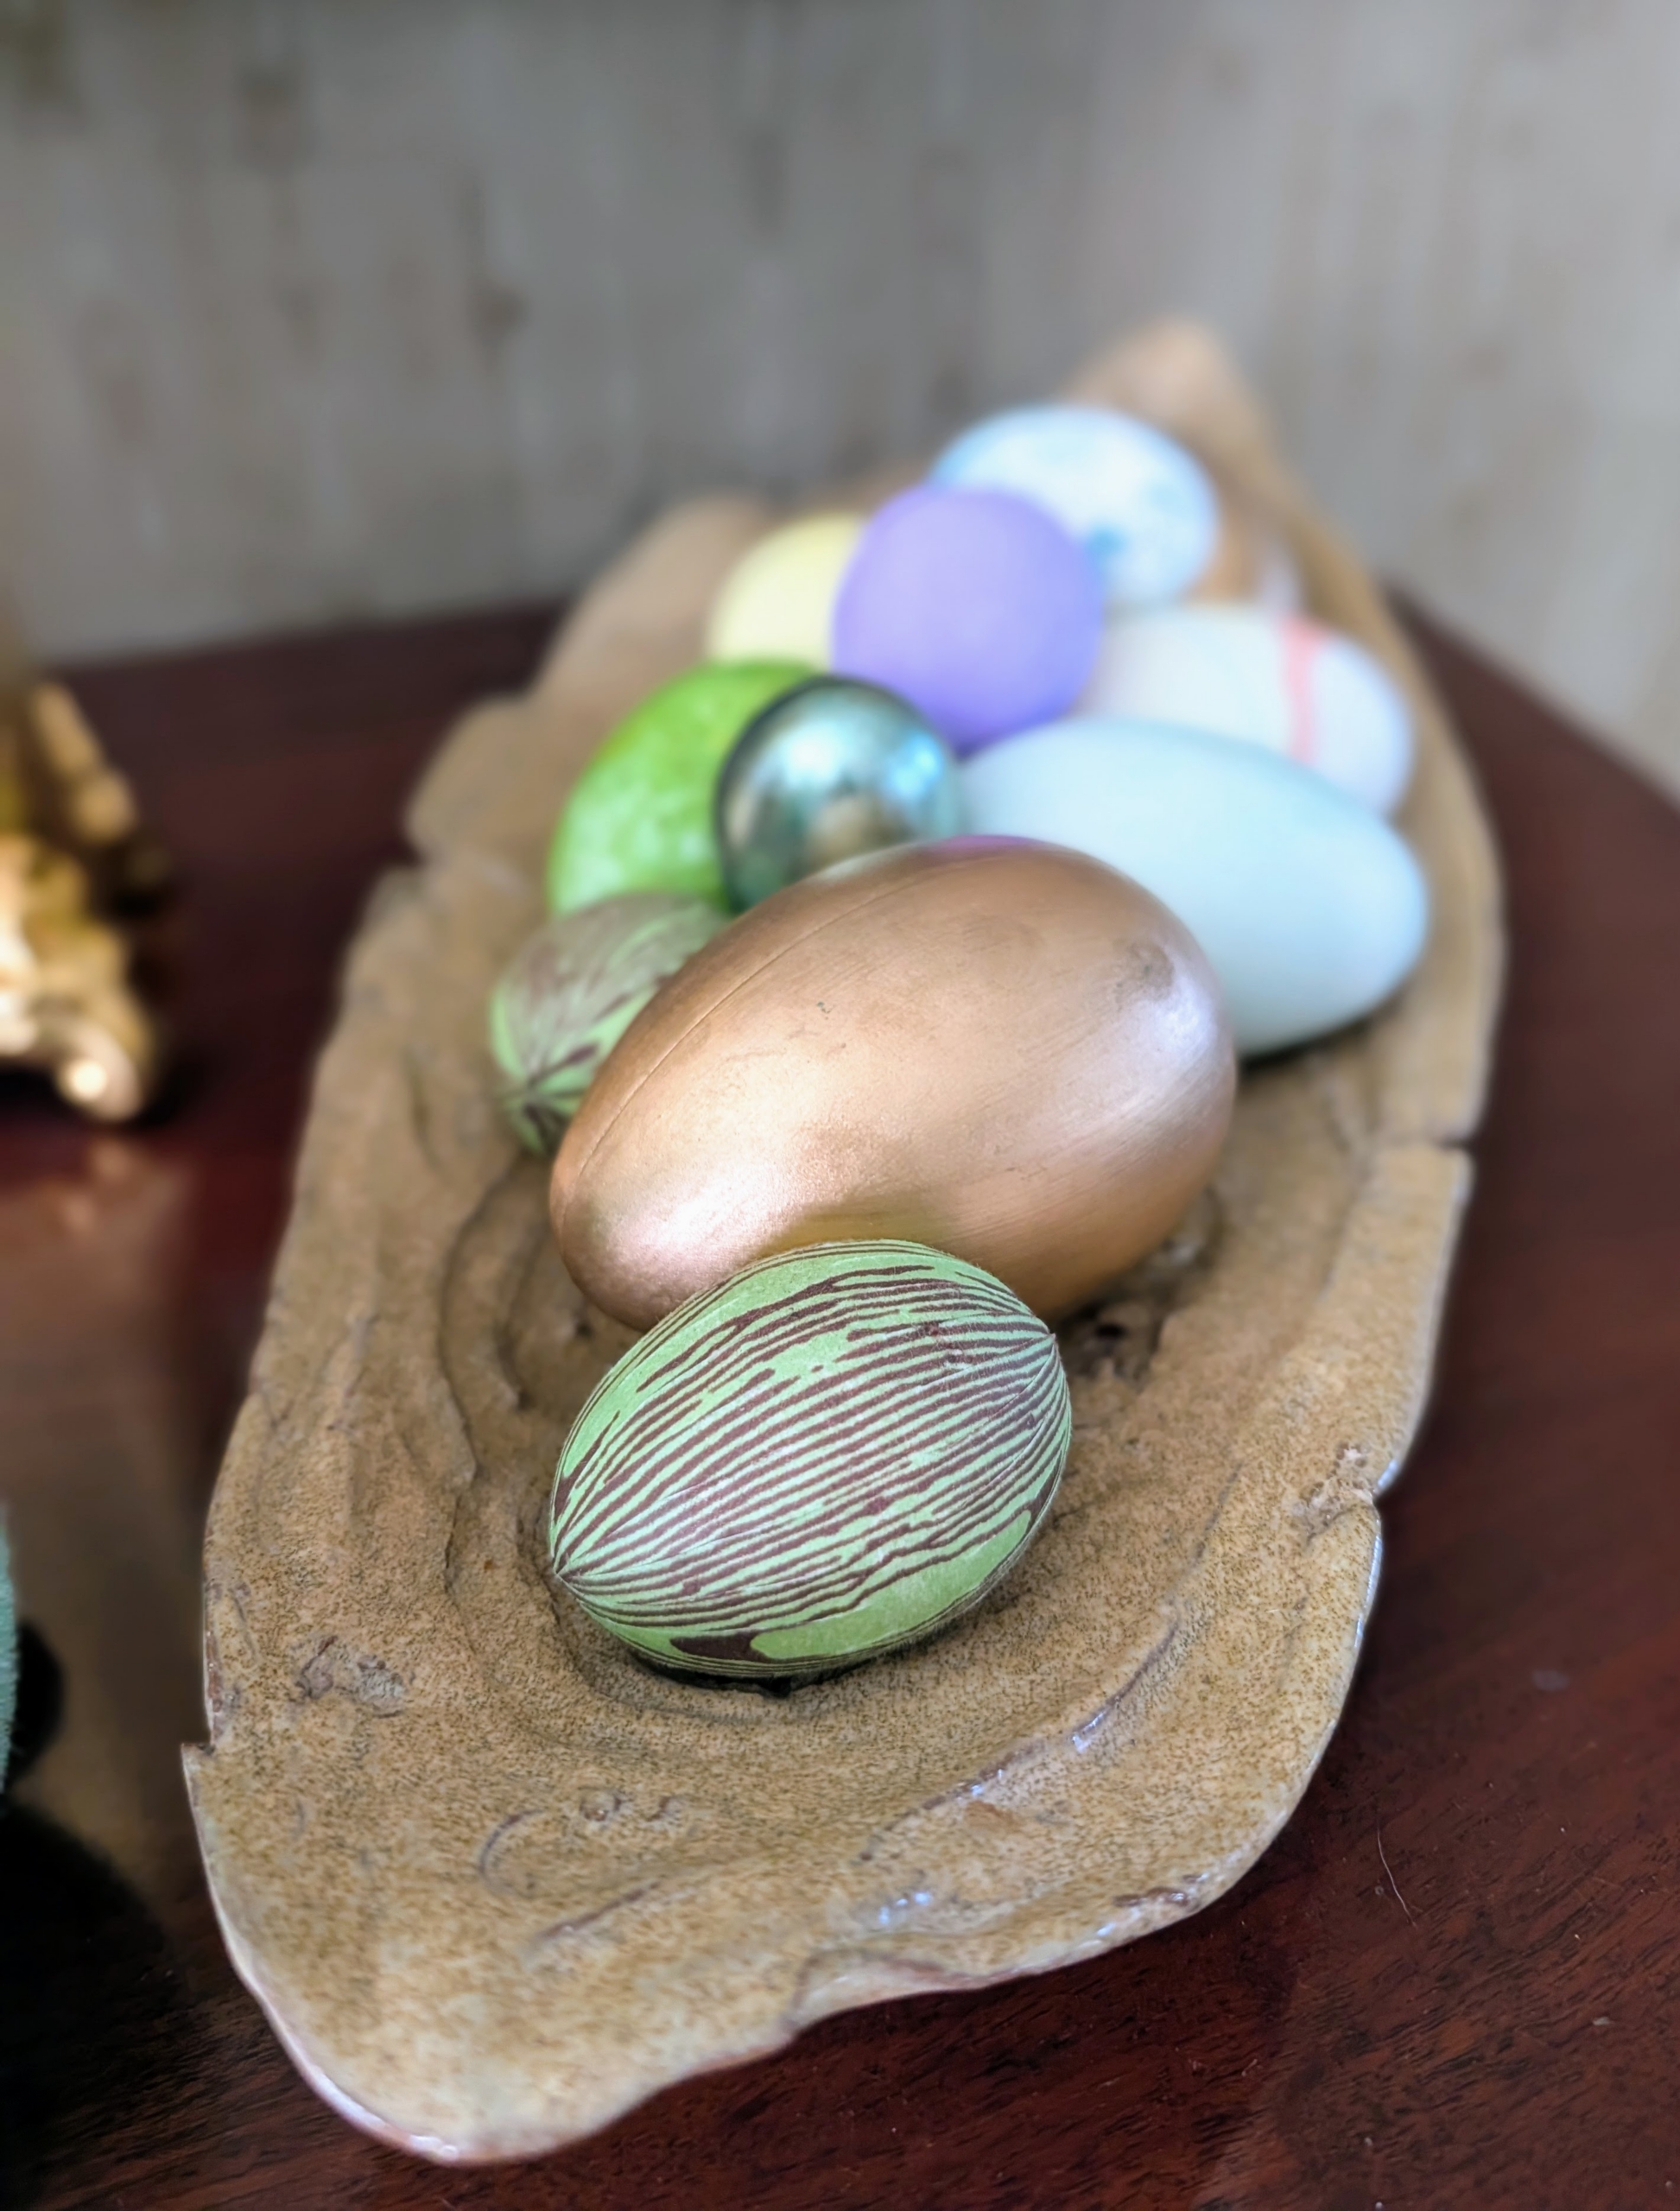
I take out all the beautifully decorated eggs from years past – hundreds and hundreds, and display them wherever I can.
Every plate and platter was filled with beautiful eggs of all sizes.
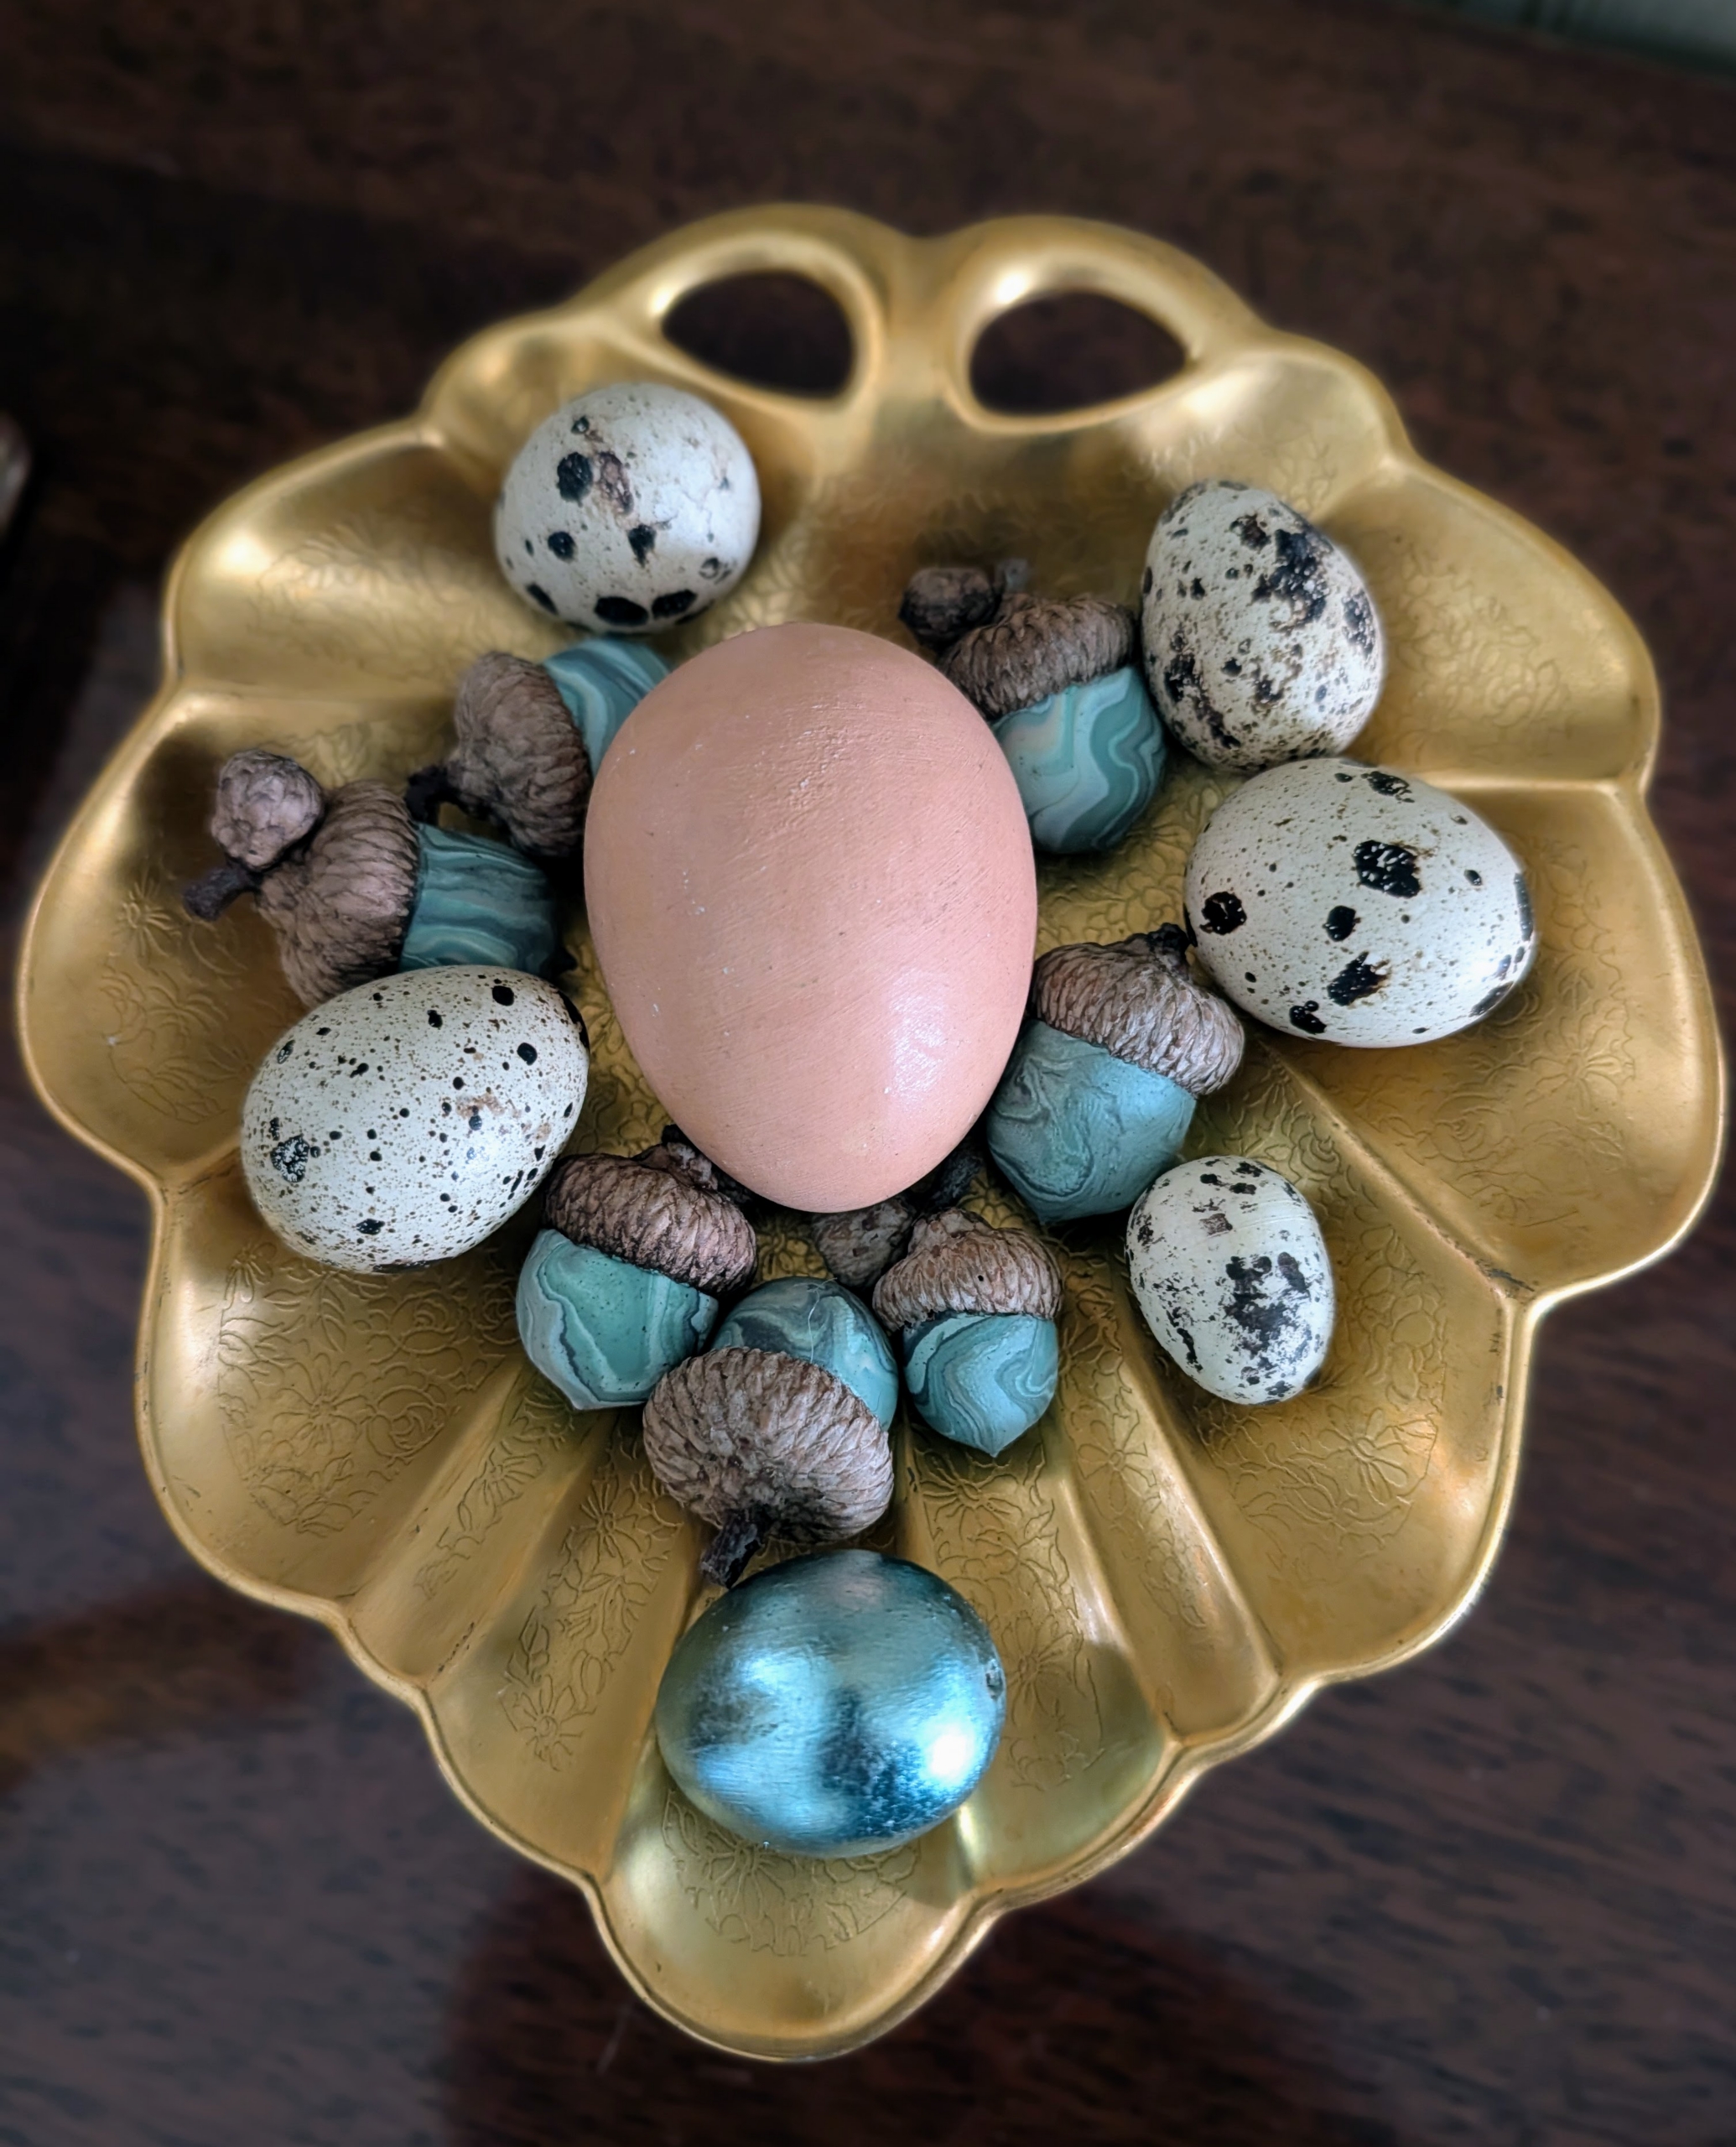
Eggs can also be left as is, such as the small quail eggs mixed in with these decorated acorns.
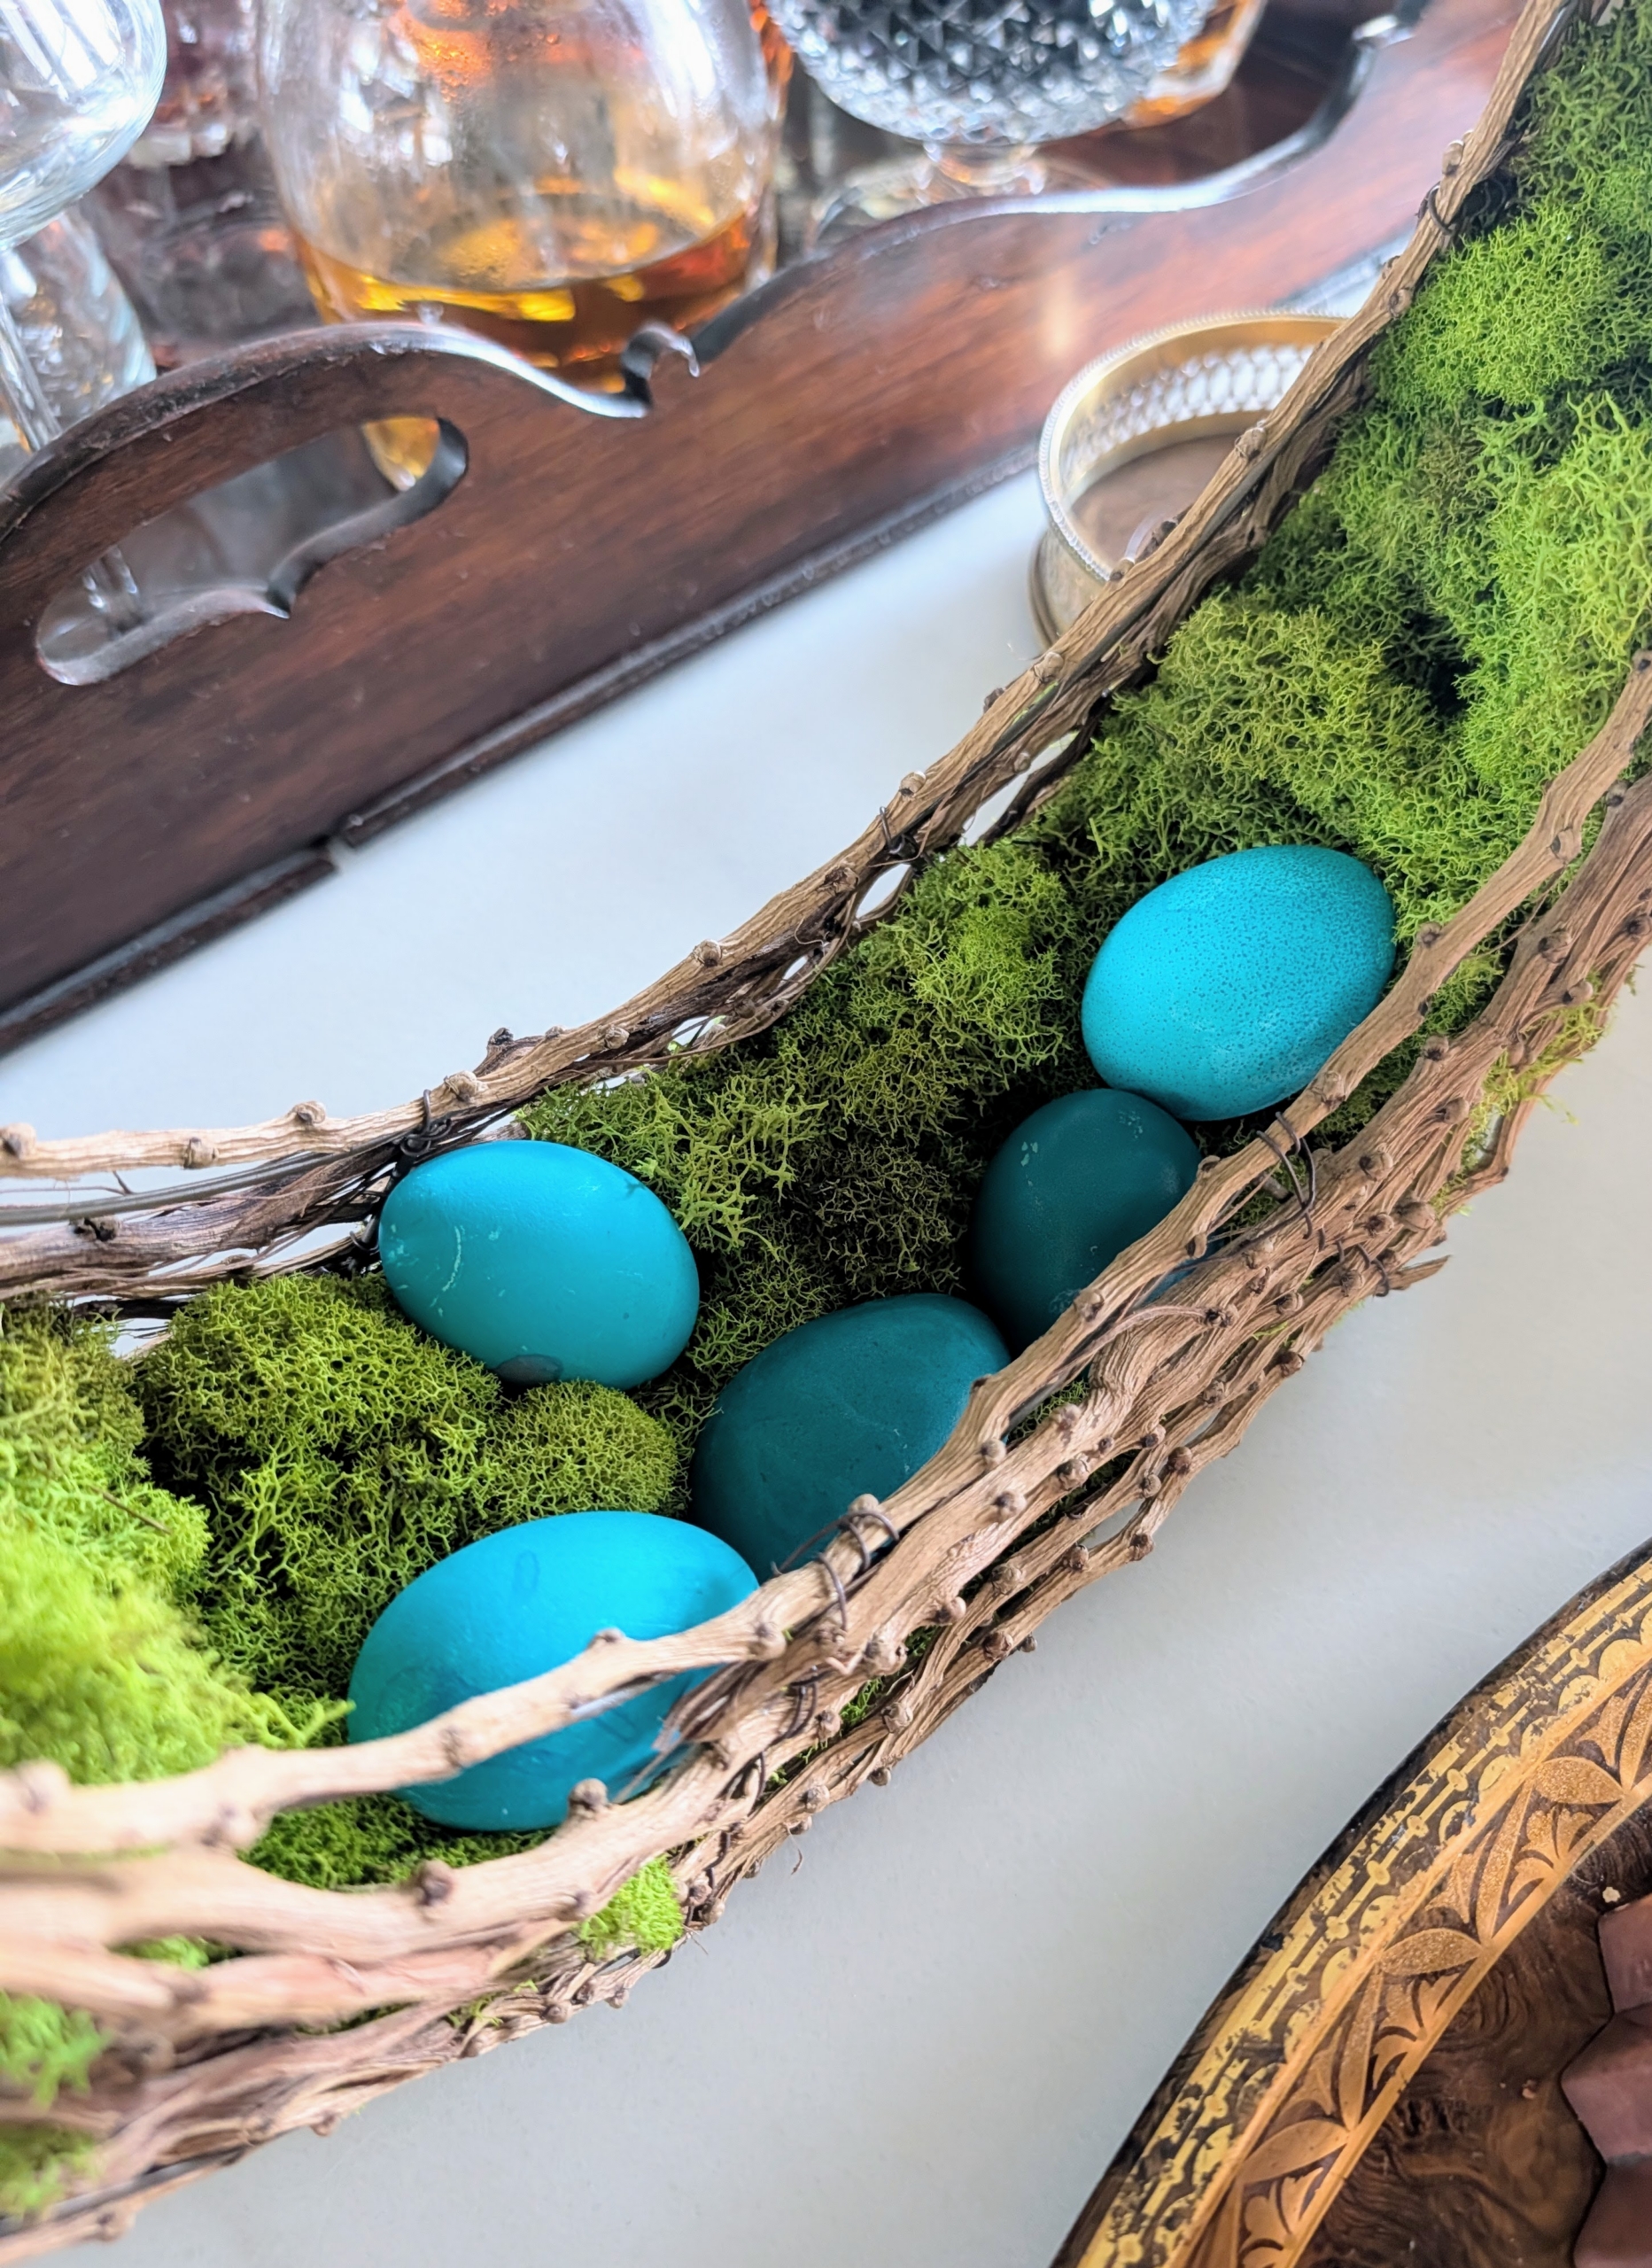
If you can, use natural elements to add a bit of spring to your decorations. This grouping of glass, bunnies, and eggs looks so charming. This is my servery. I often serve beverages from this area whenever I entertain. It is a popular space for guests to gather.
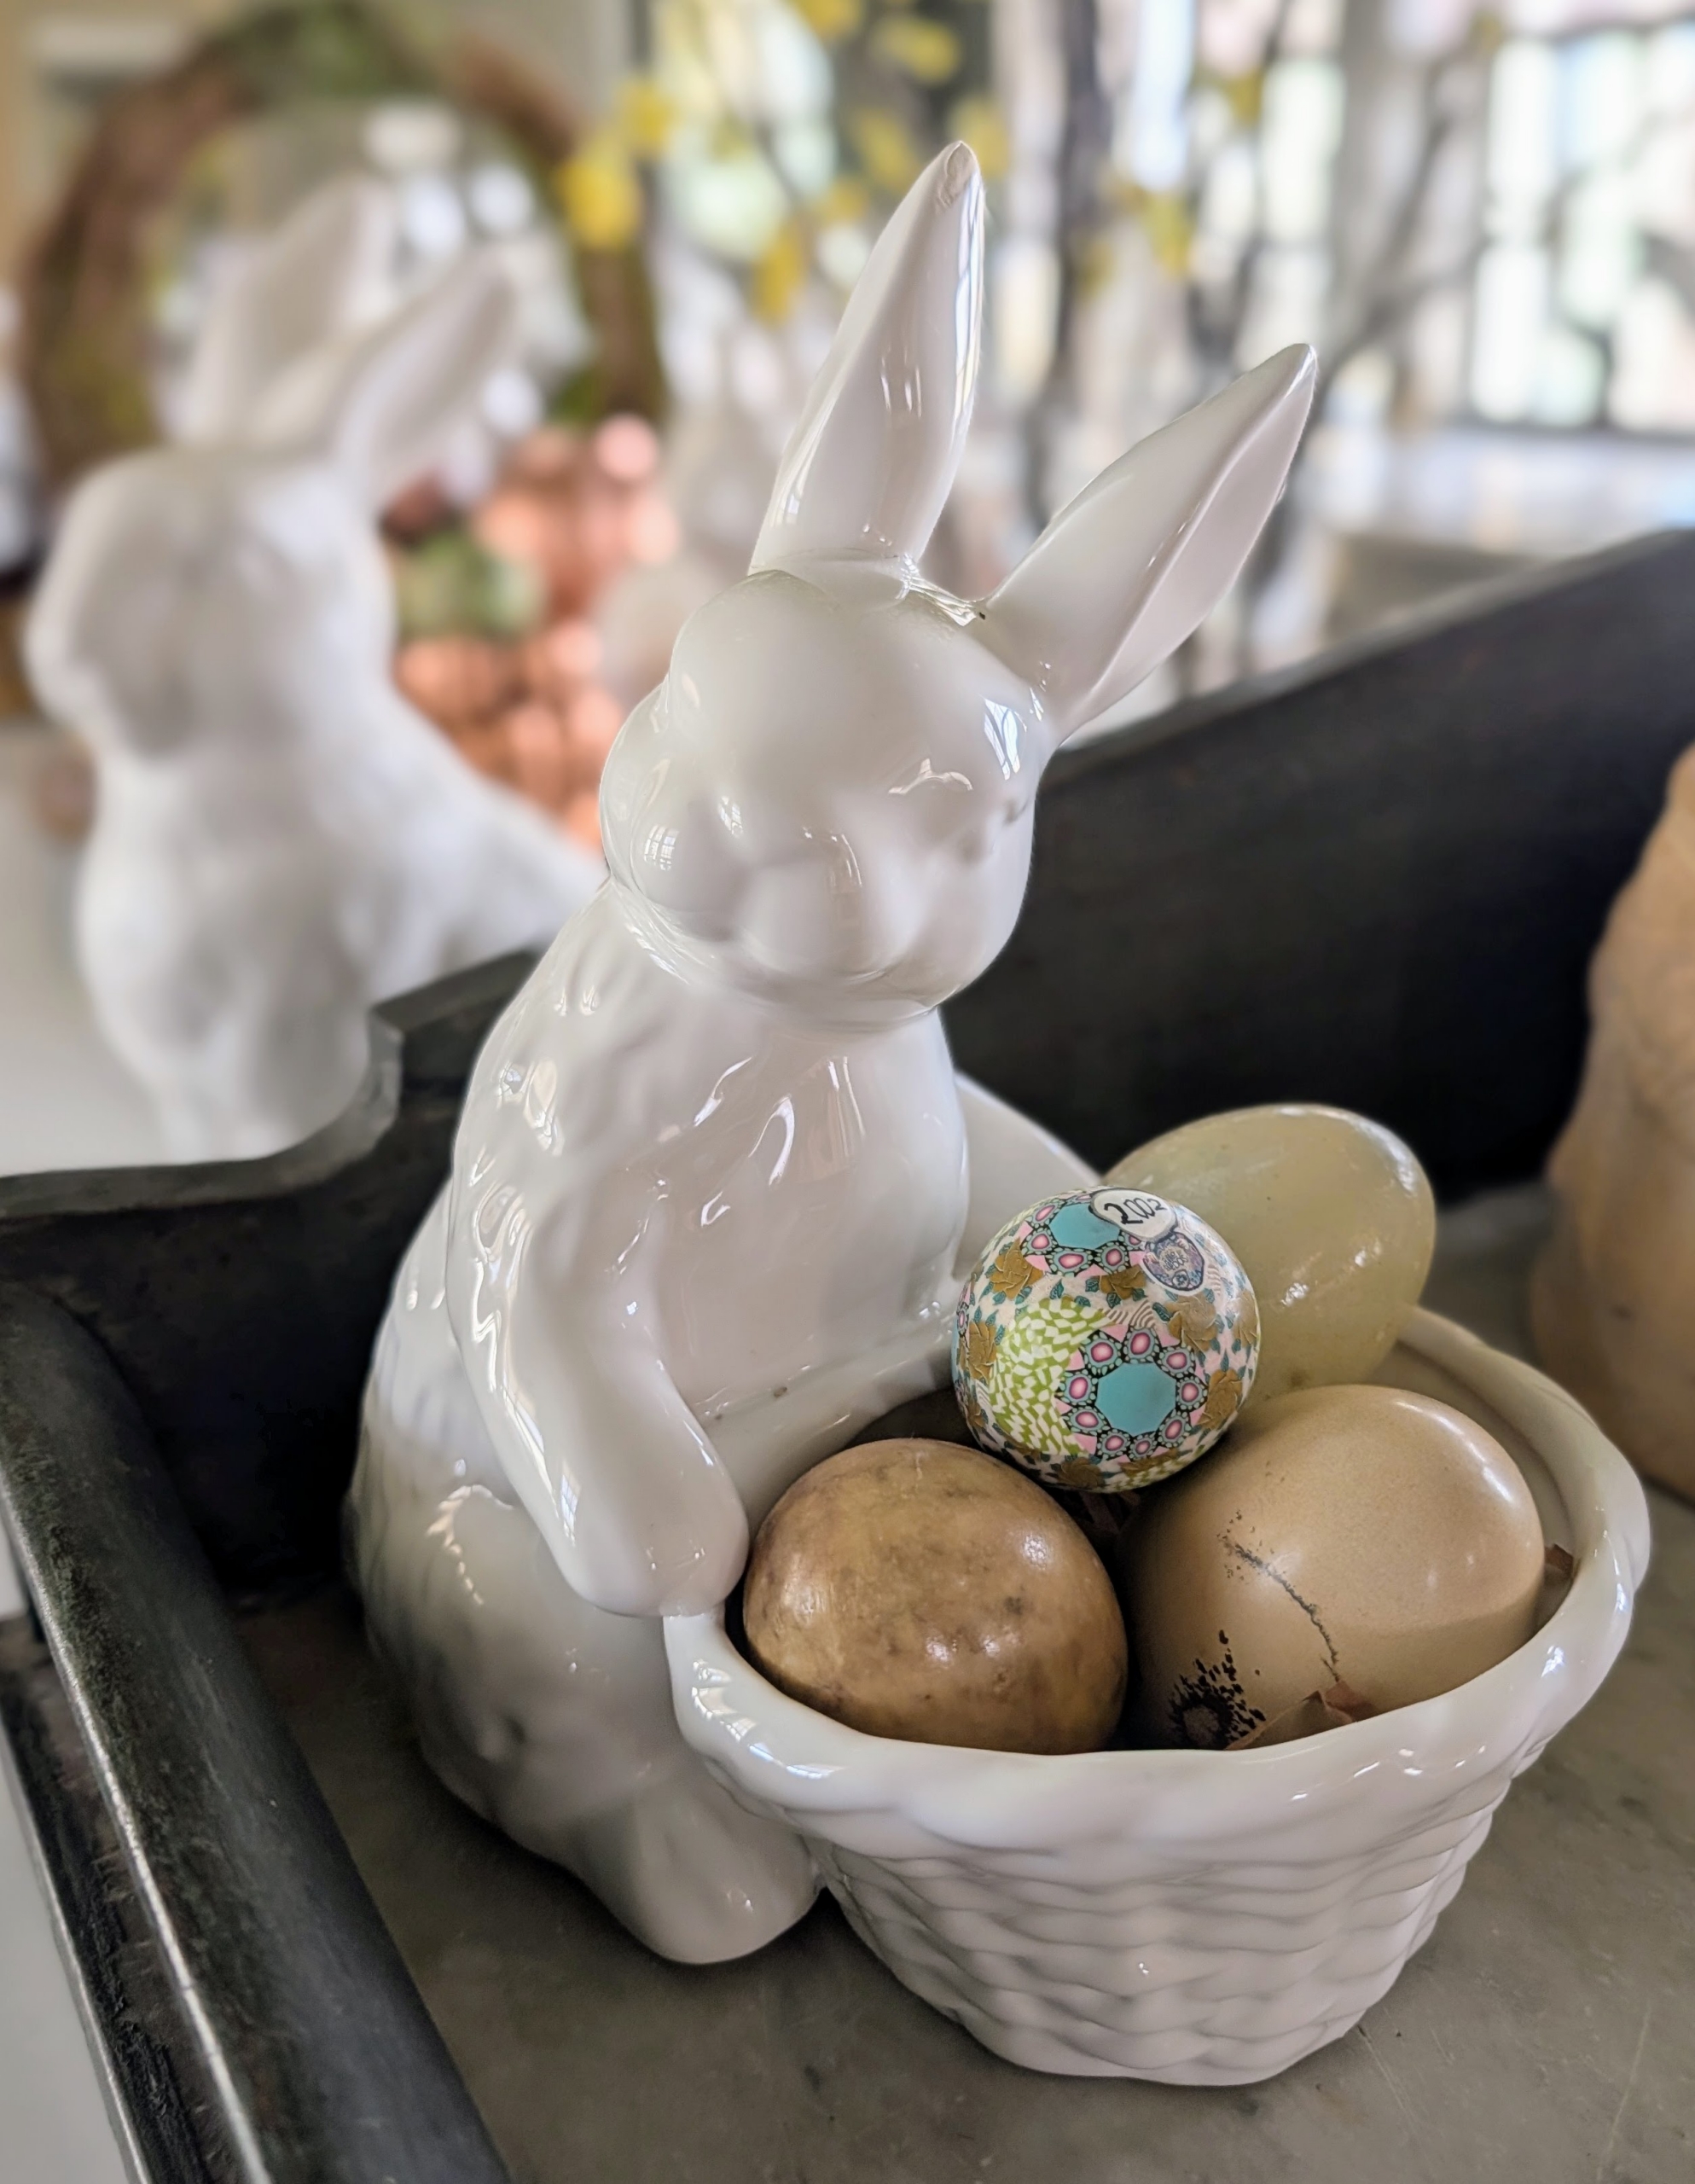
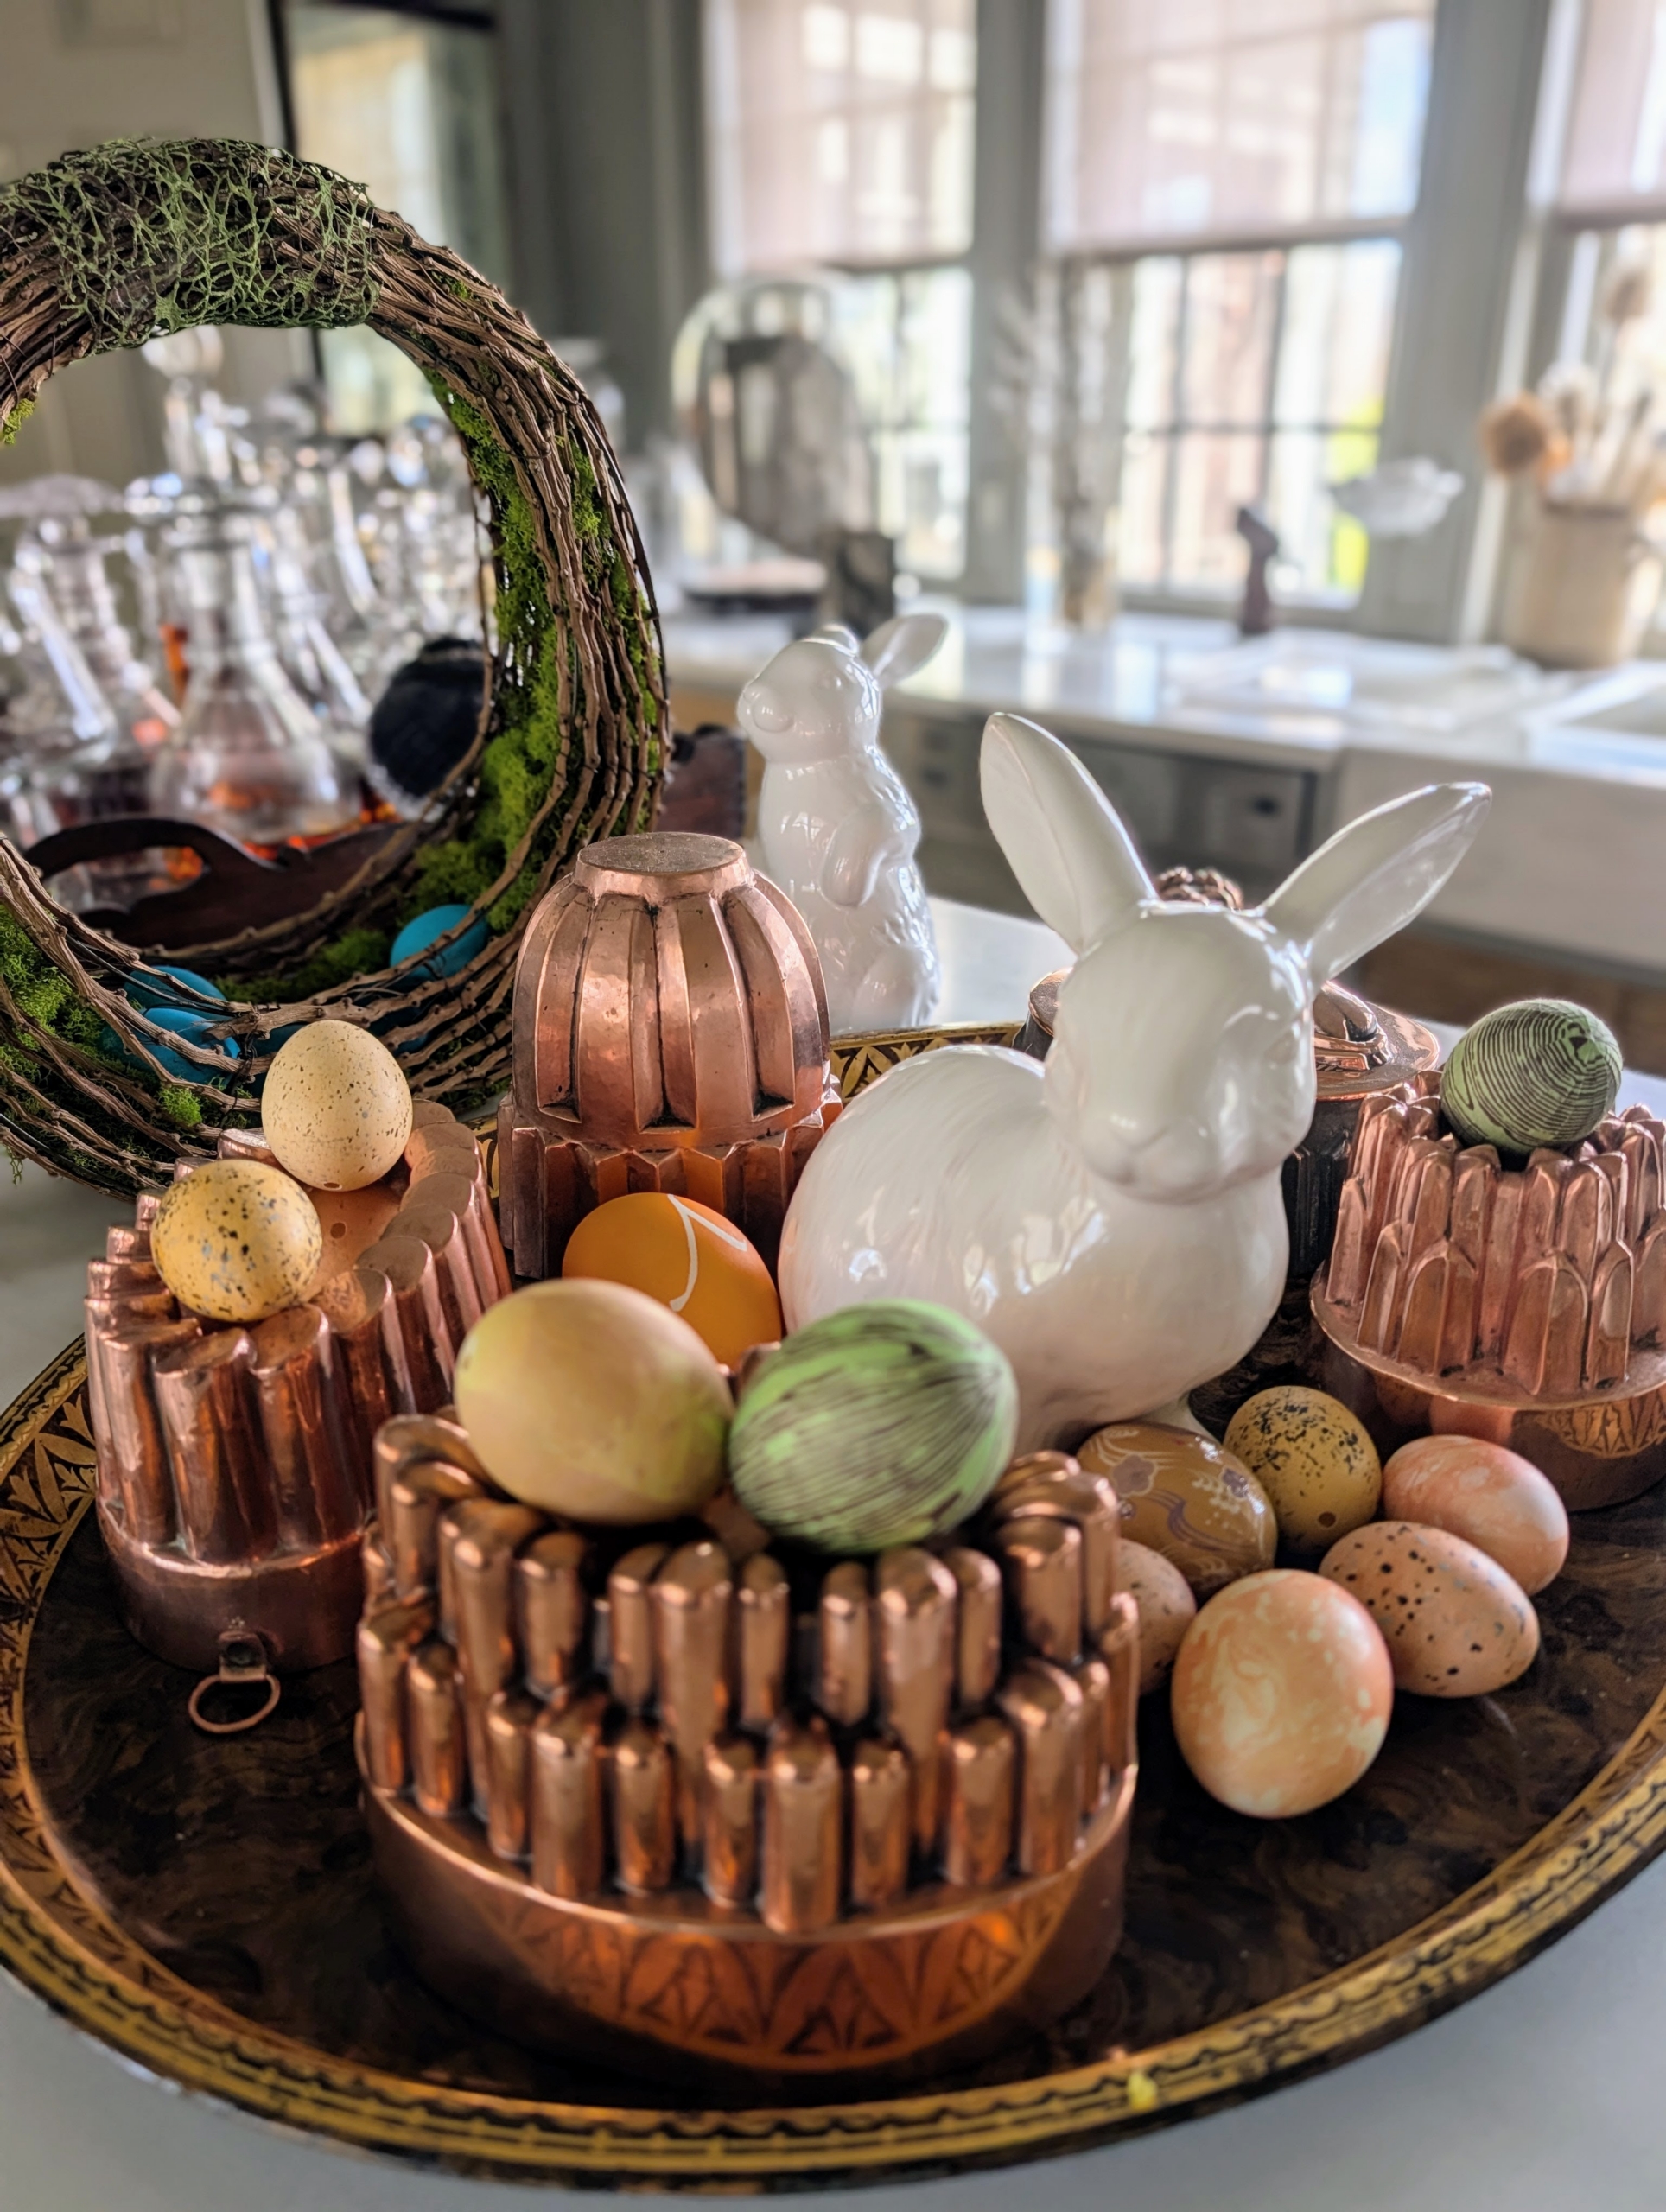
Simple ceramic white bunnies are perfect to show off these colored eggs.
Place eggs on a cake stand under a glass dome and display on a counter.
Or place them in a basket – Enma and I try to make decorations look different every year.
Here are copper molds surrounded by eggs and bunnies. Colorful eggs can make any area stand out. Here are more blown out eggs saved from a previous year. If stored properly, they can last for years and years and years.
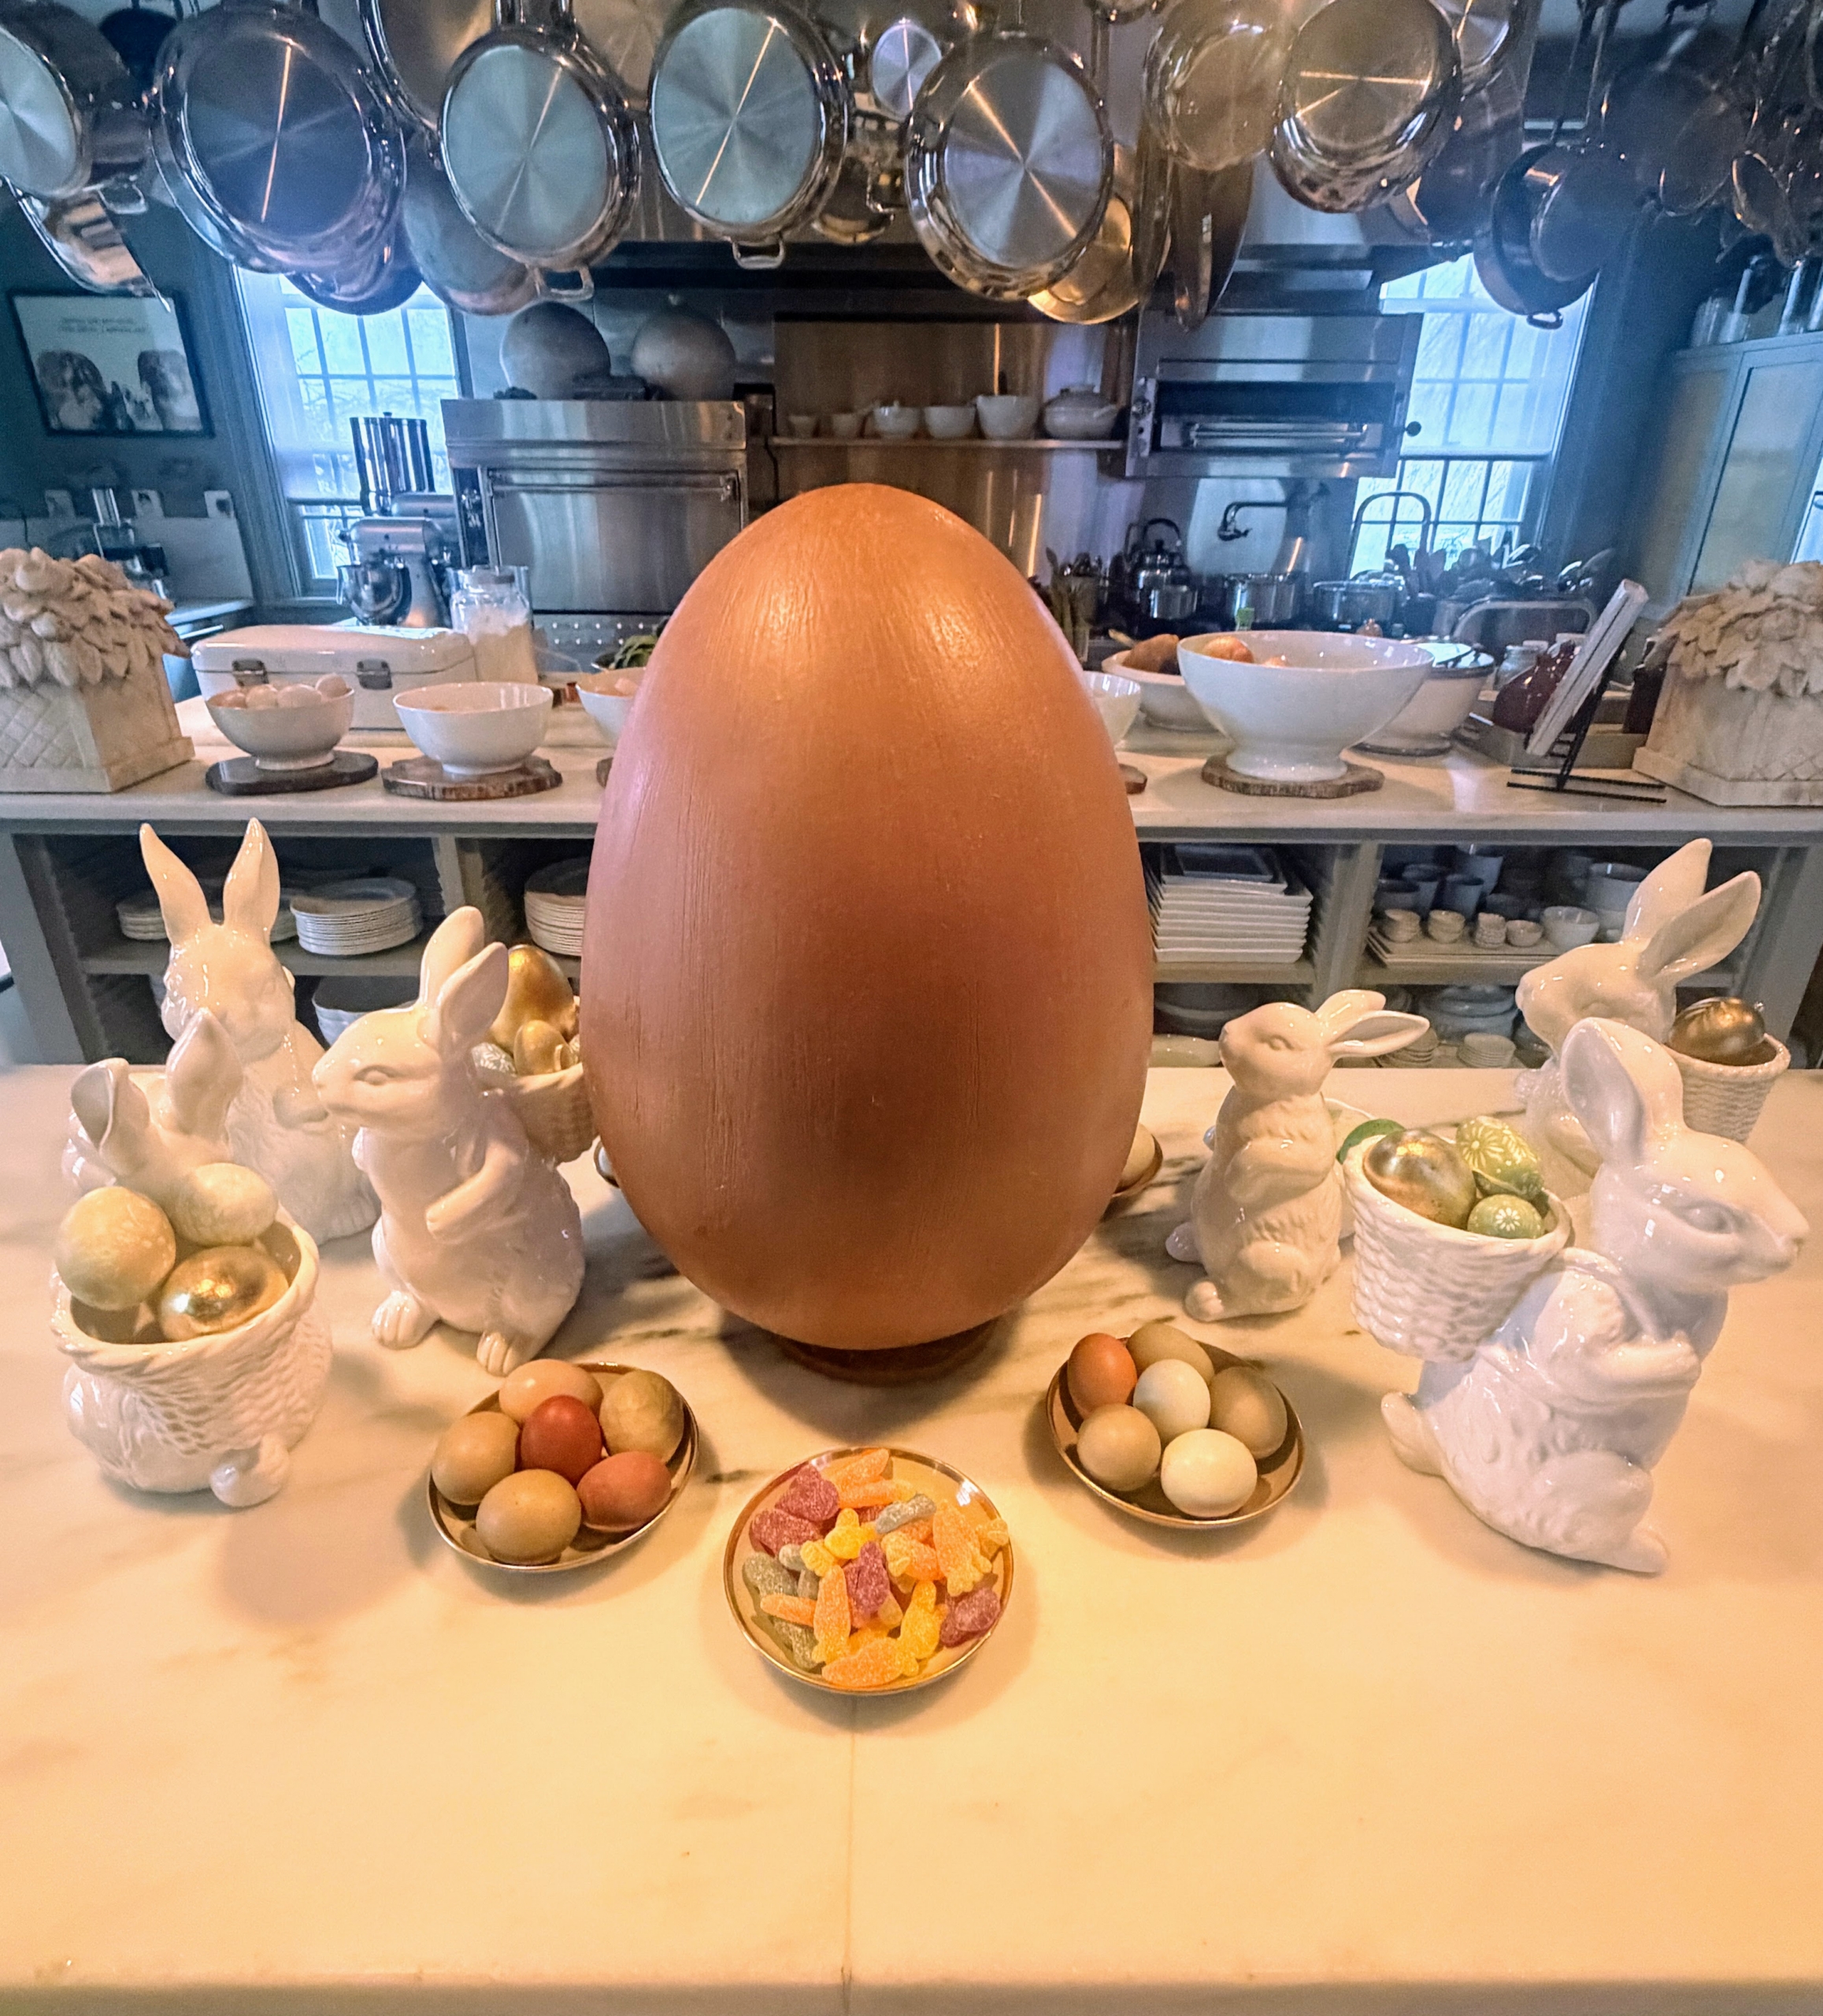
And doesn’t this make your mouth water? It’s a chocolate lover’s delight – a giant chocolate egg from French pastry chef and chocolatier, Jacques Torres. I hope you all enjoyed your Easter weekend. Happy Spring!
Here at my farm, whenever a member of my team returns from vacation I always encourage them to share their photos.
Earlier this year my outdoor grounds crew foreman, Chhiring Sherpa, and his wife, traveled to four beautiful countries in South Asia - Sri Lanka, India, Bhutan, and Chhiring's homeland Nepal. During their trip, they visited various temples and monasteries, toured museums, hiked ancient rock formations, met the the Dalai Lama, and celebrated the Tibetan New Year, Losar, with family and close friends.
Enjoy these photos.
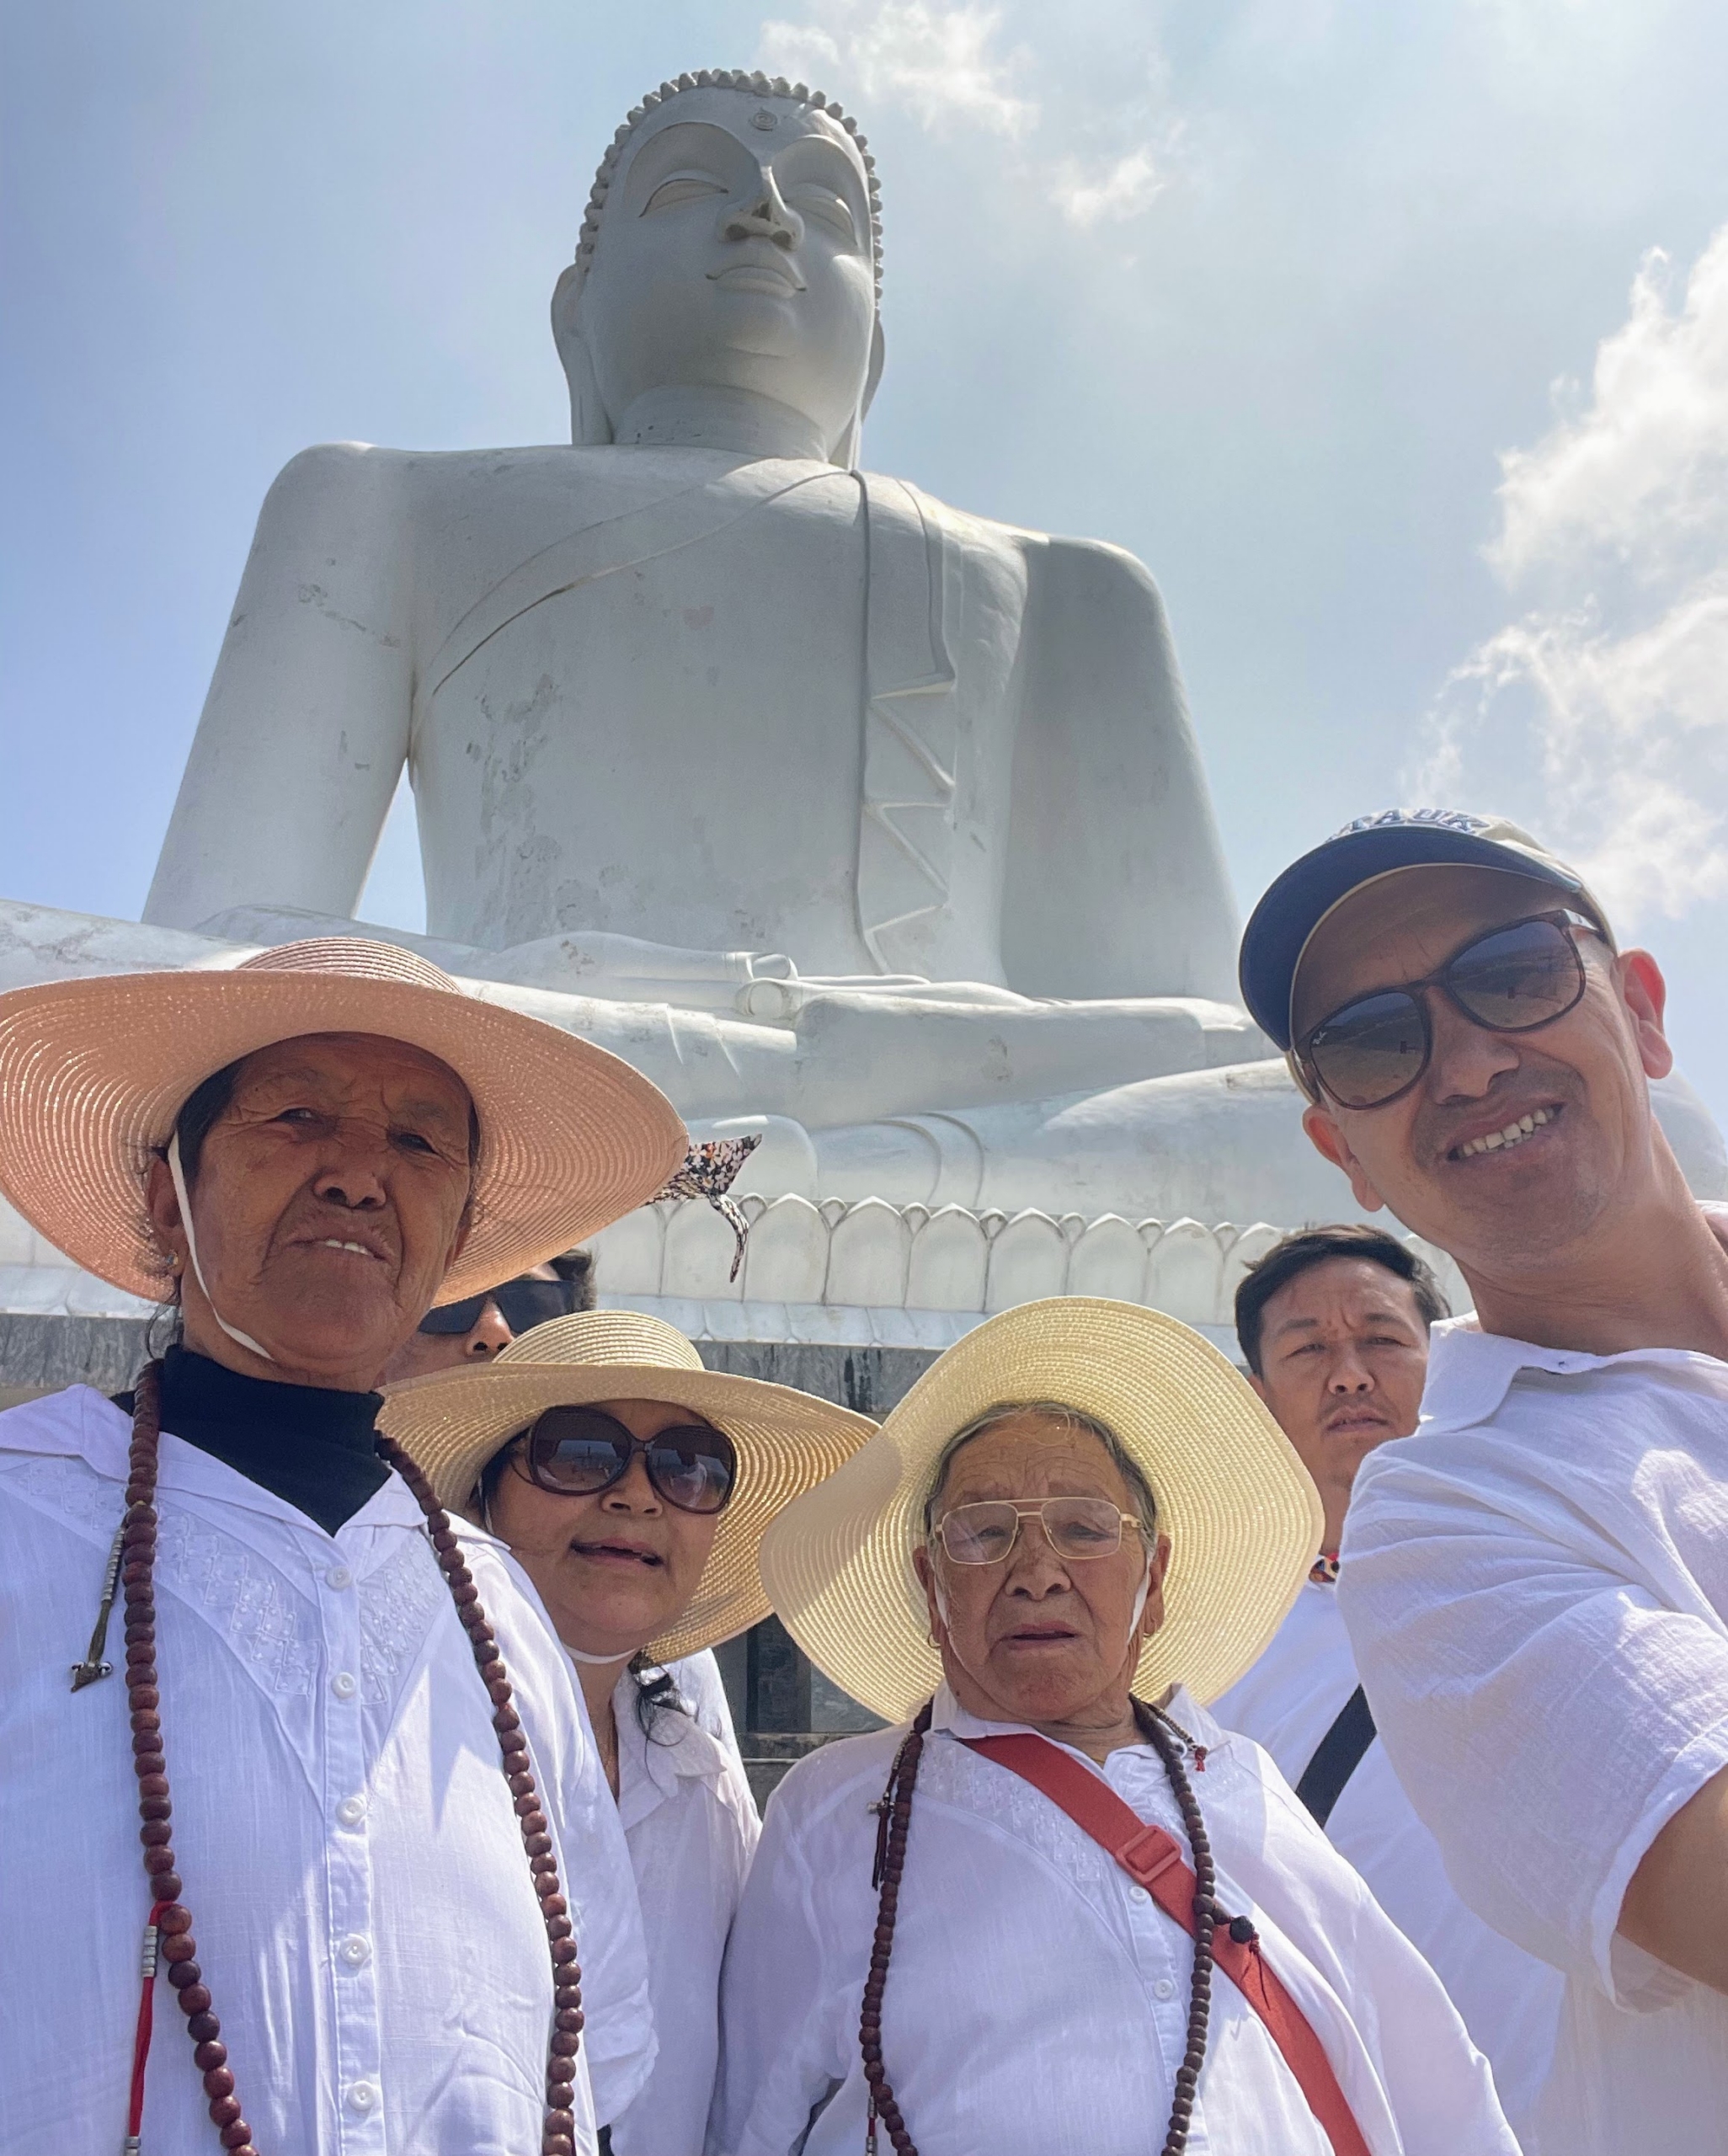
Chhiring’s first stop was Sri Lanka. He and his wife traveled together and met up with family. Here he is with his wife, mother, mother-in-law, and brother in front of the majestic 88-foot white Buddha statue on Elephant Rock, Ethugala.
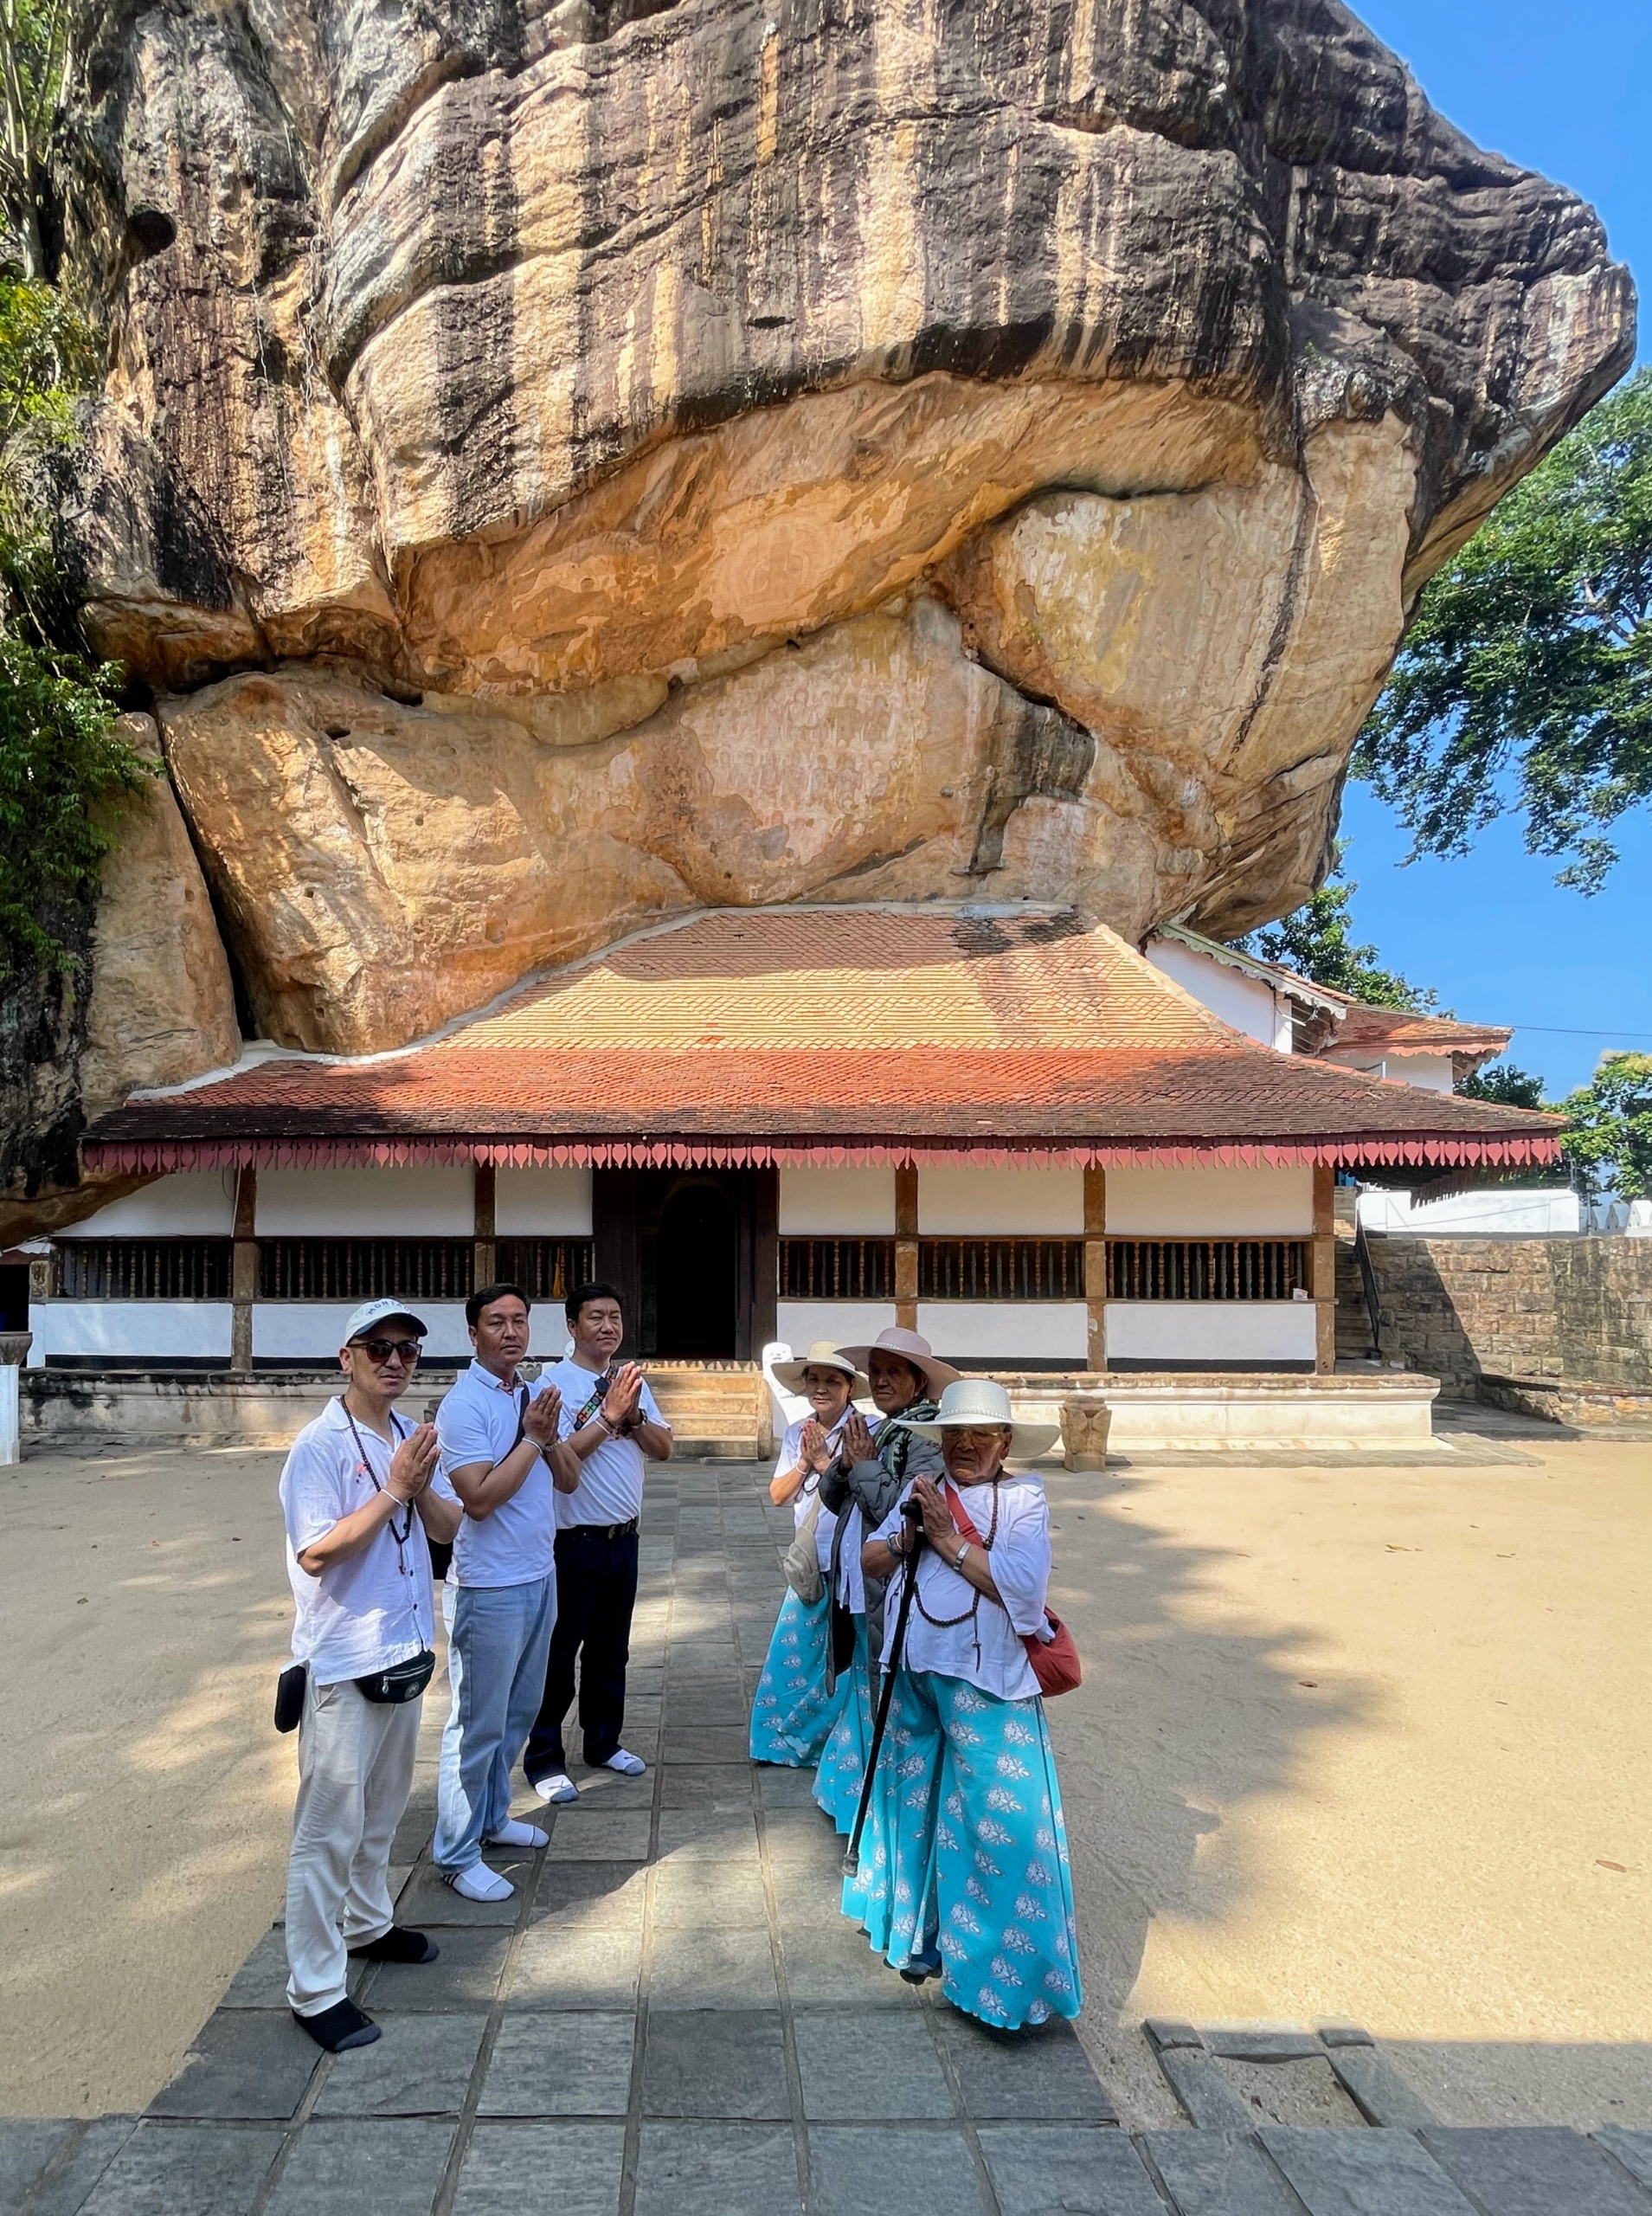
This is the entrance of Ridi Viharaya or Silver Temple, a second century Theravada Buddhist temple in Sri Lanka. It is believed that the silver from this area was what paid for Ruwanweli Maha Saya, one of the country’s largest stupas.
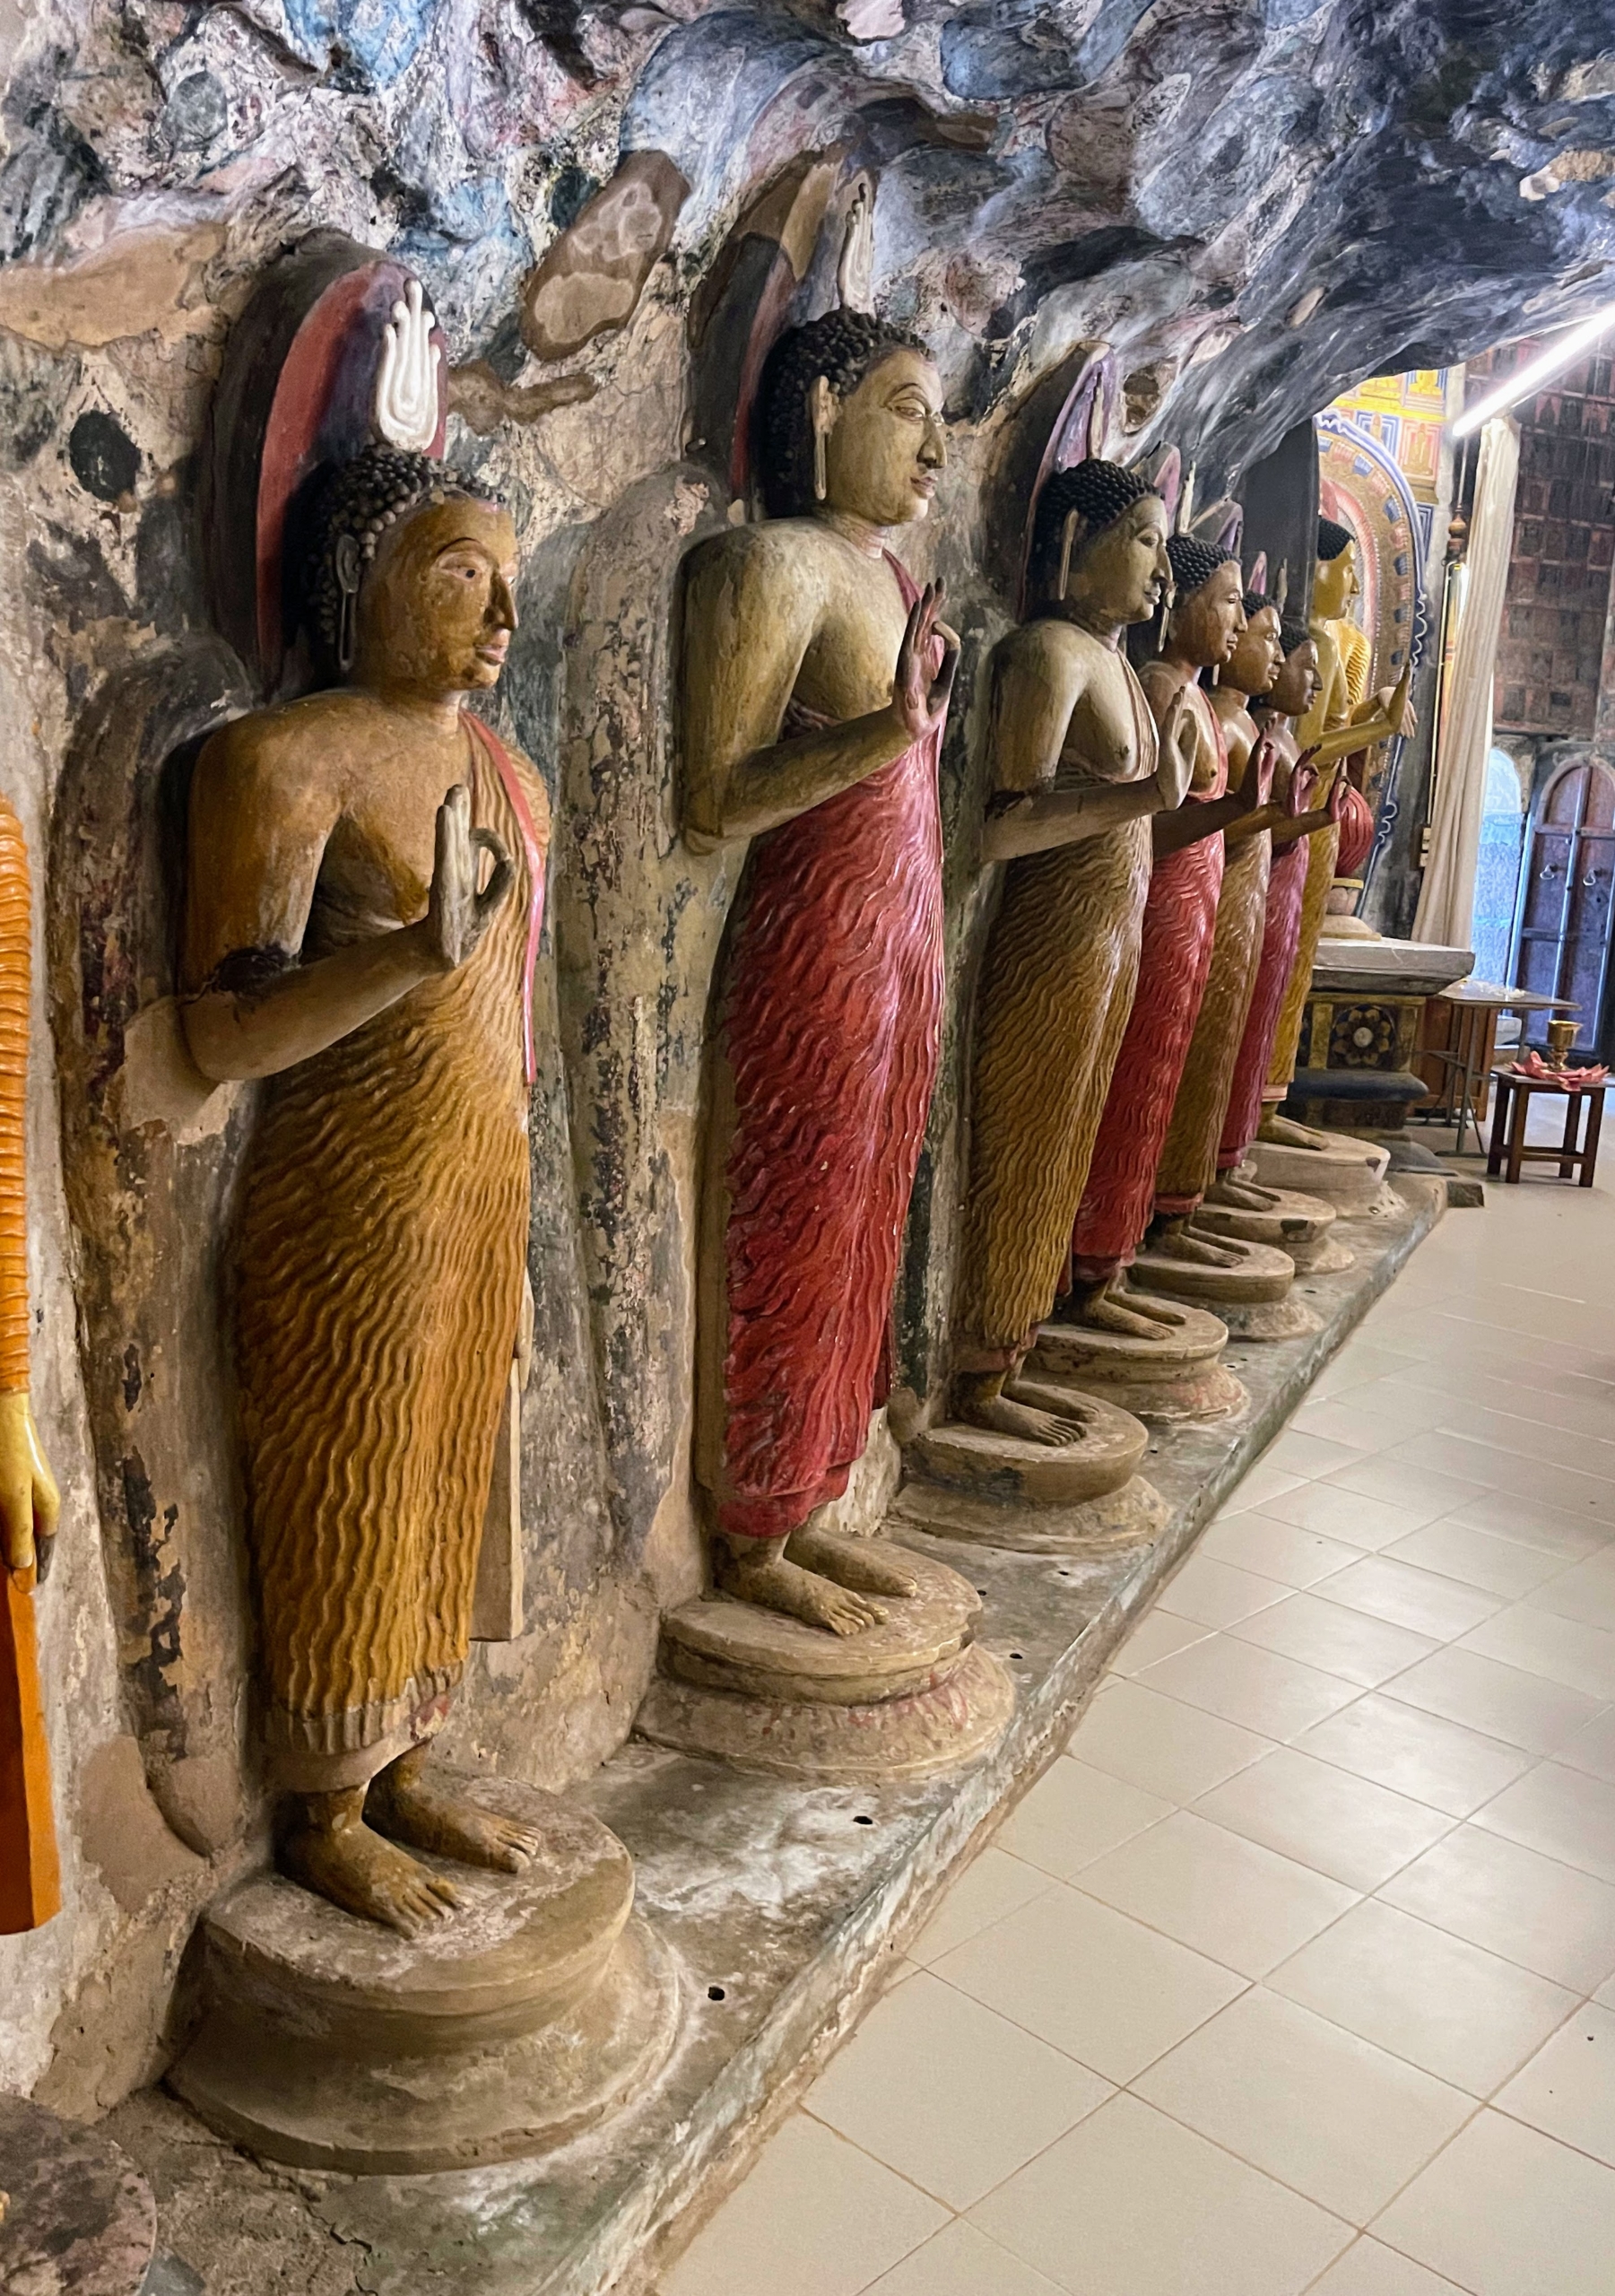
Inside the main temple are Buddharupa statues – all slightly different showing a number of gestures.
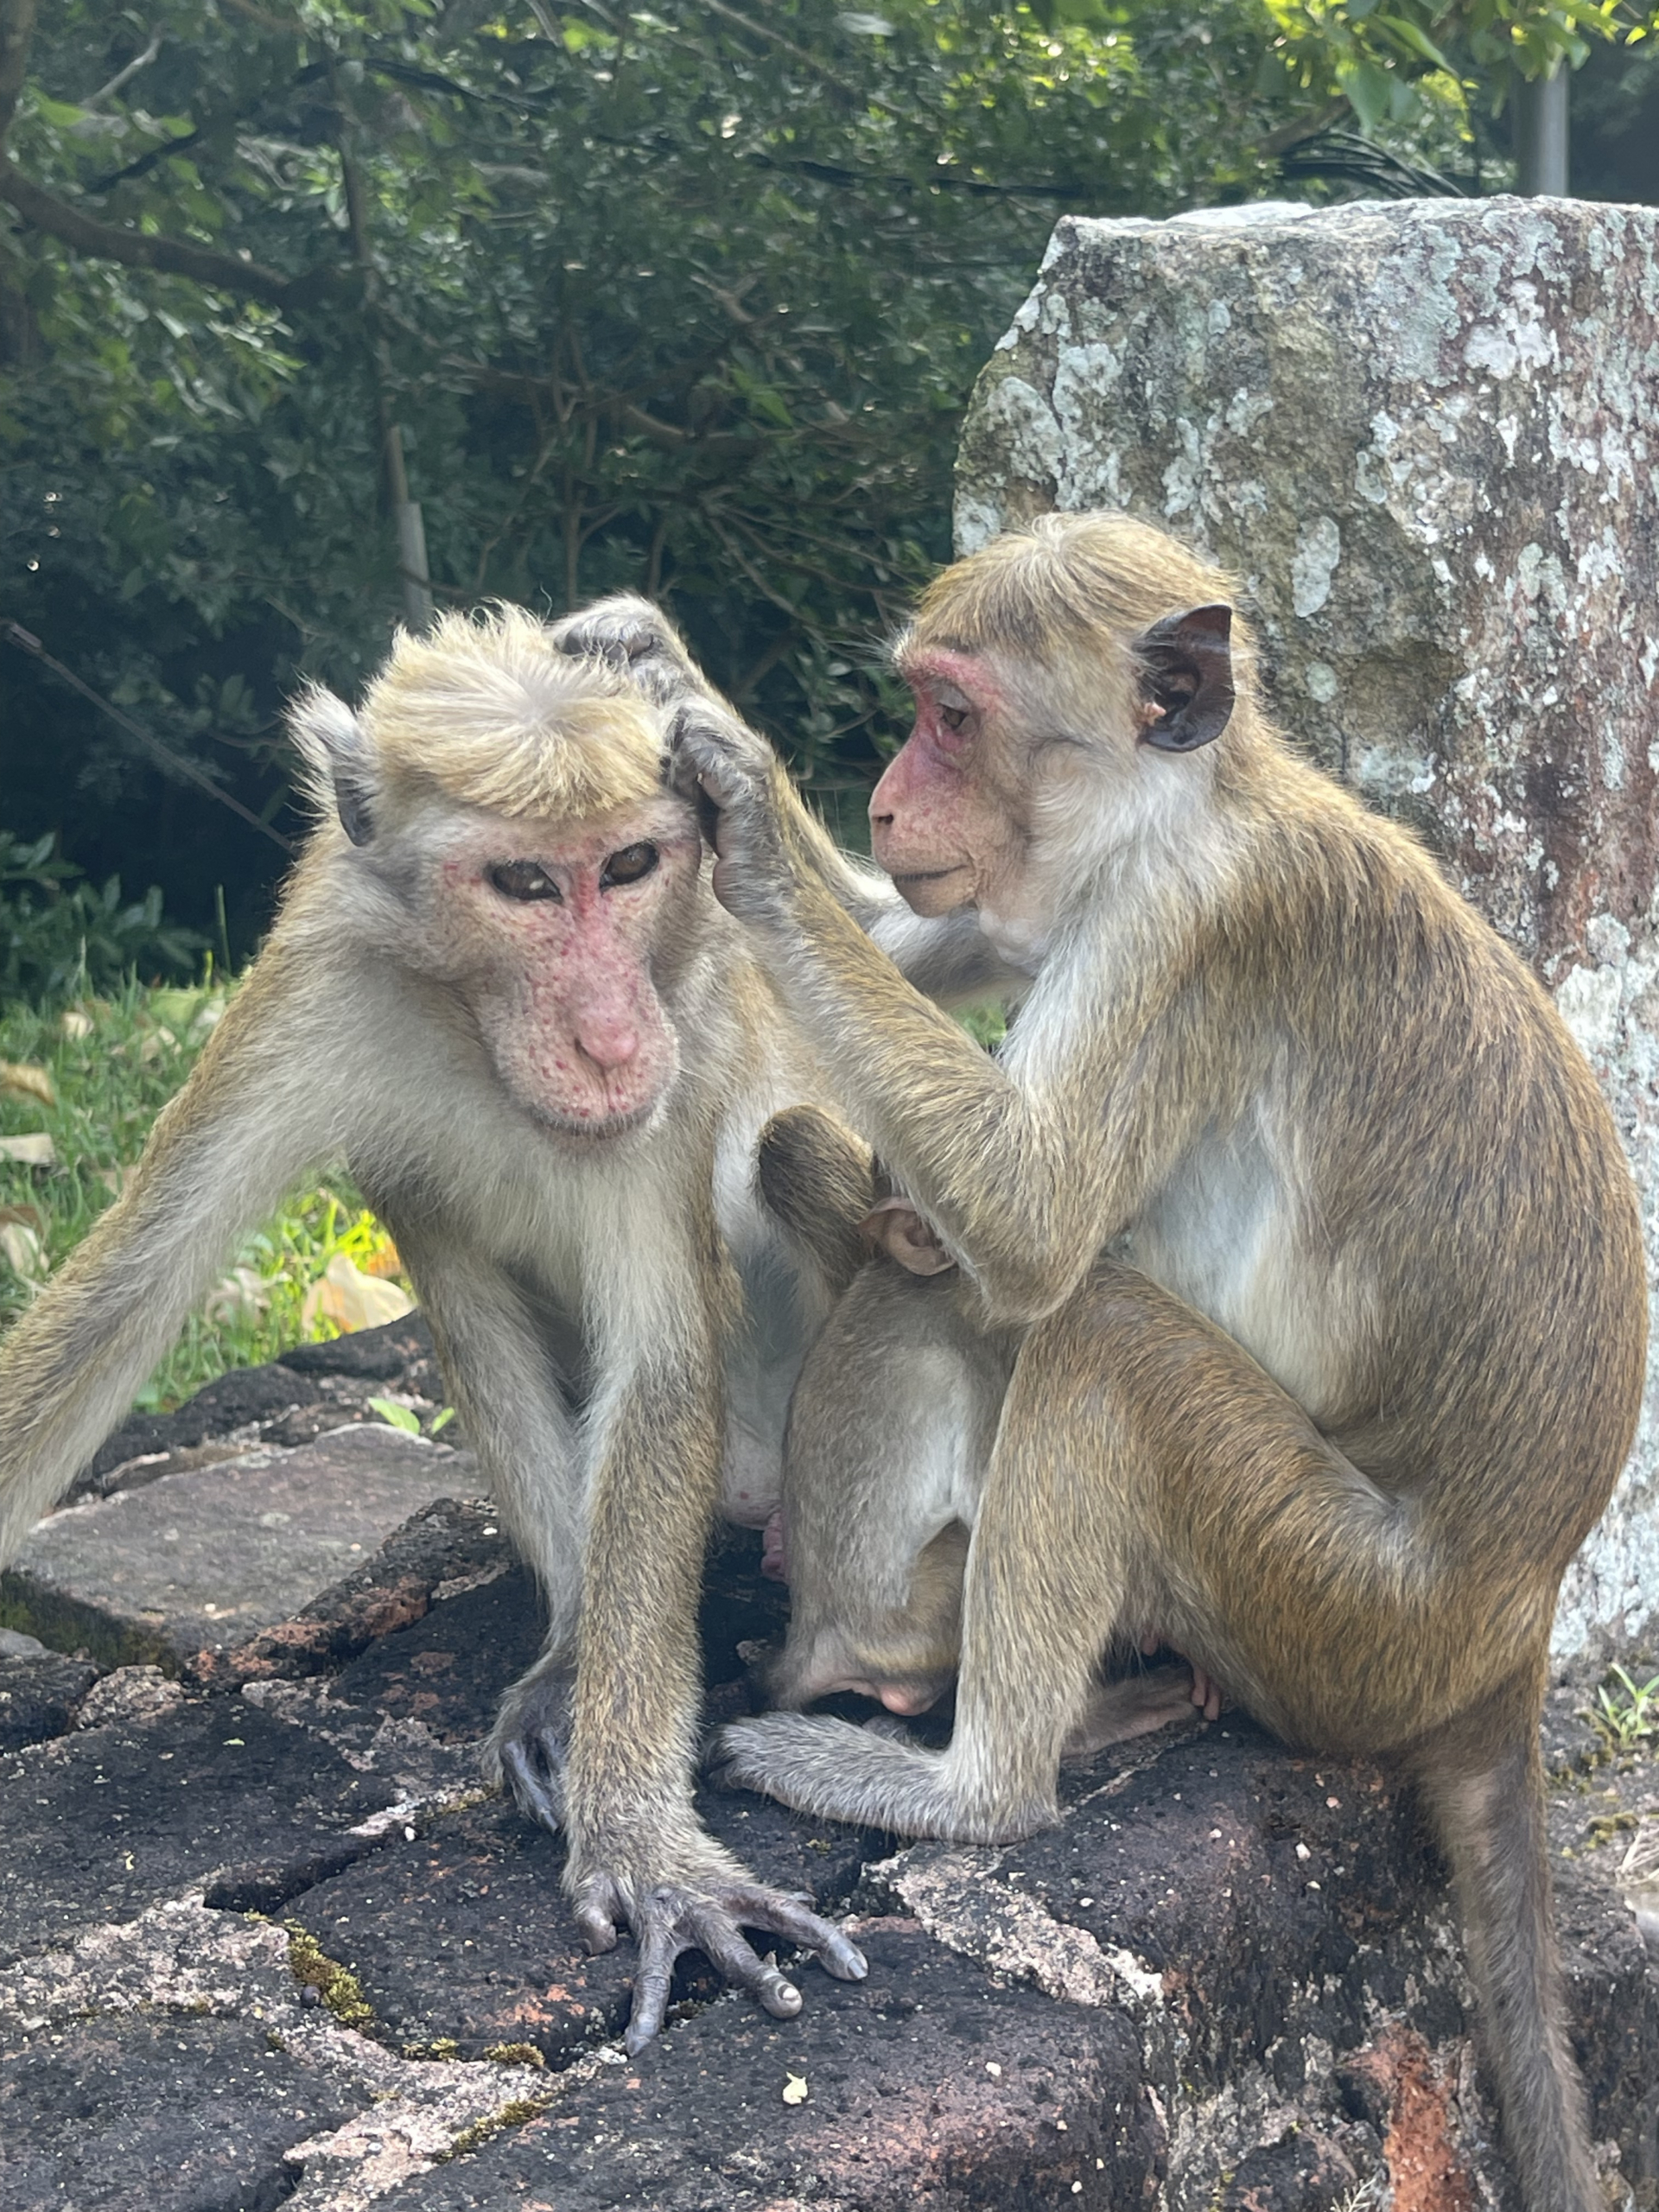
These are temple monkeys, also known as the Toque macaque – reddish brown monkeys endemic to Sri Lanka. They are often seen near Buddhist and Hindu temples where they can interact with visiting humans.
Here is a view of the Ruwanweli Maha Seya Stupa, also known as the Maha Thupa, in Anuradhapura, Sri Lanka. This is one of the world’s tallest ancient monuments standing 338-feet and with a circumference of 951 feet.
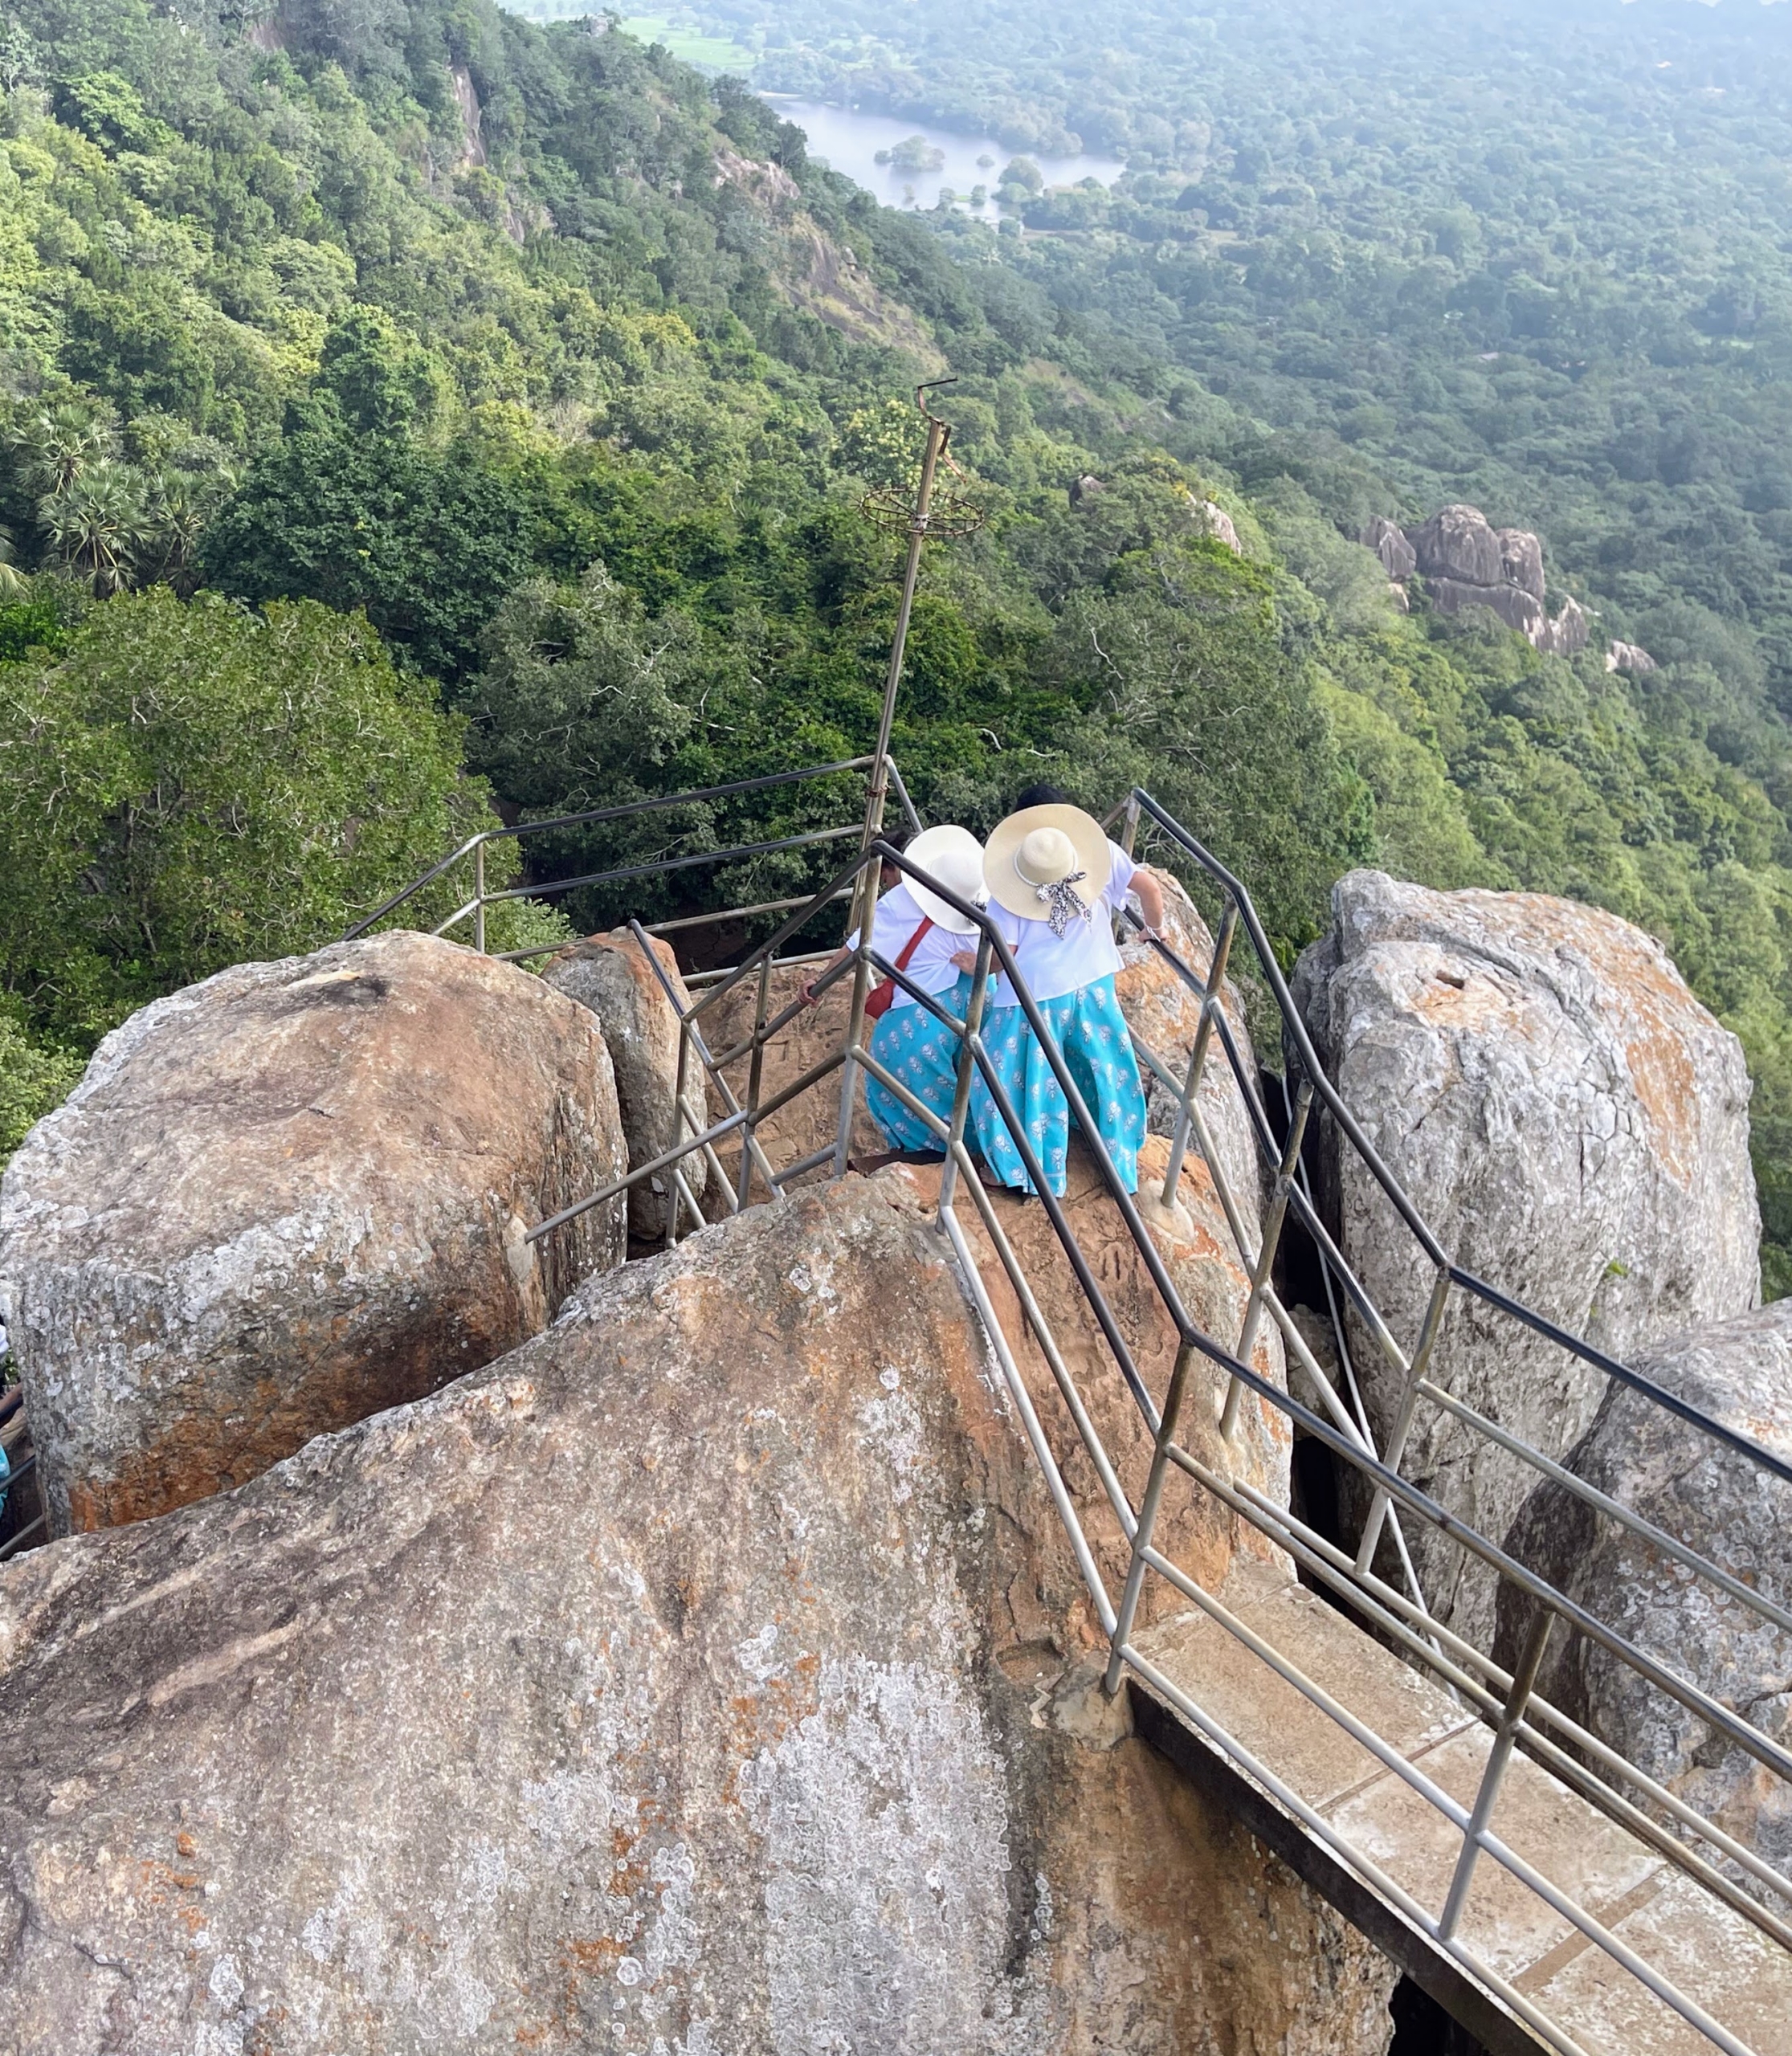
To one side of the stupa is the Mihintale Buddha located on the summit of Mihintale Mountain. It is believed to be the site where the Buddha first preached on the lessons of Buddhism.
One can climb to the statue via a series of rock carved steps.
The climb is tough, but both Chhiring’s mother and mother-in-law made the long trek.
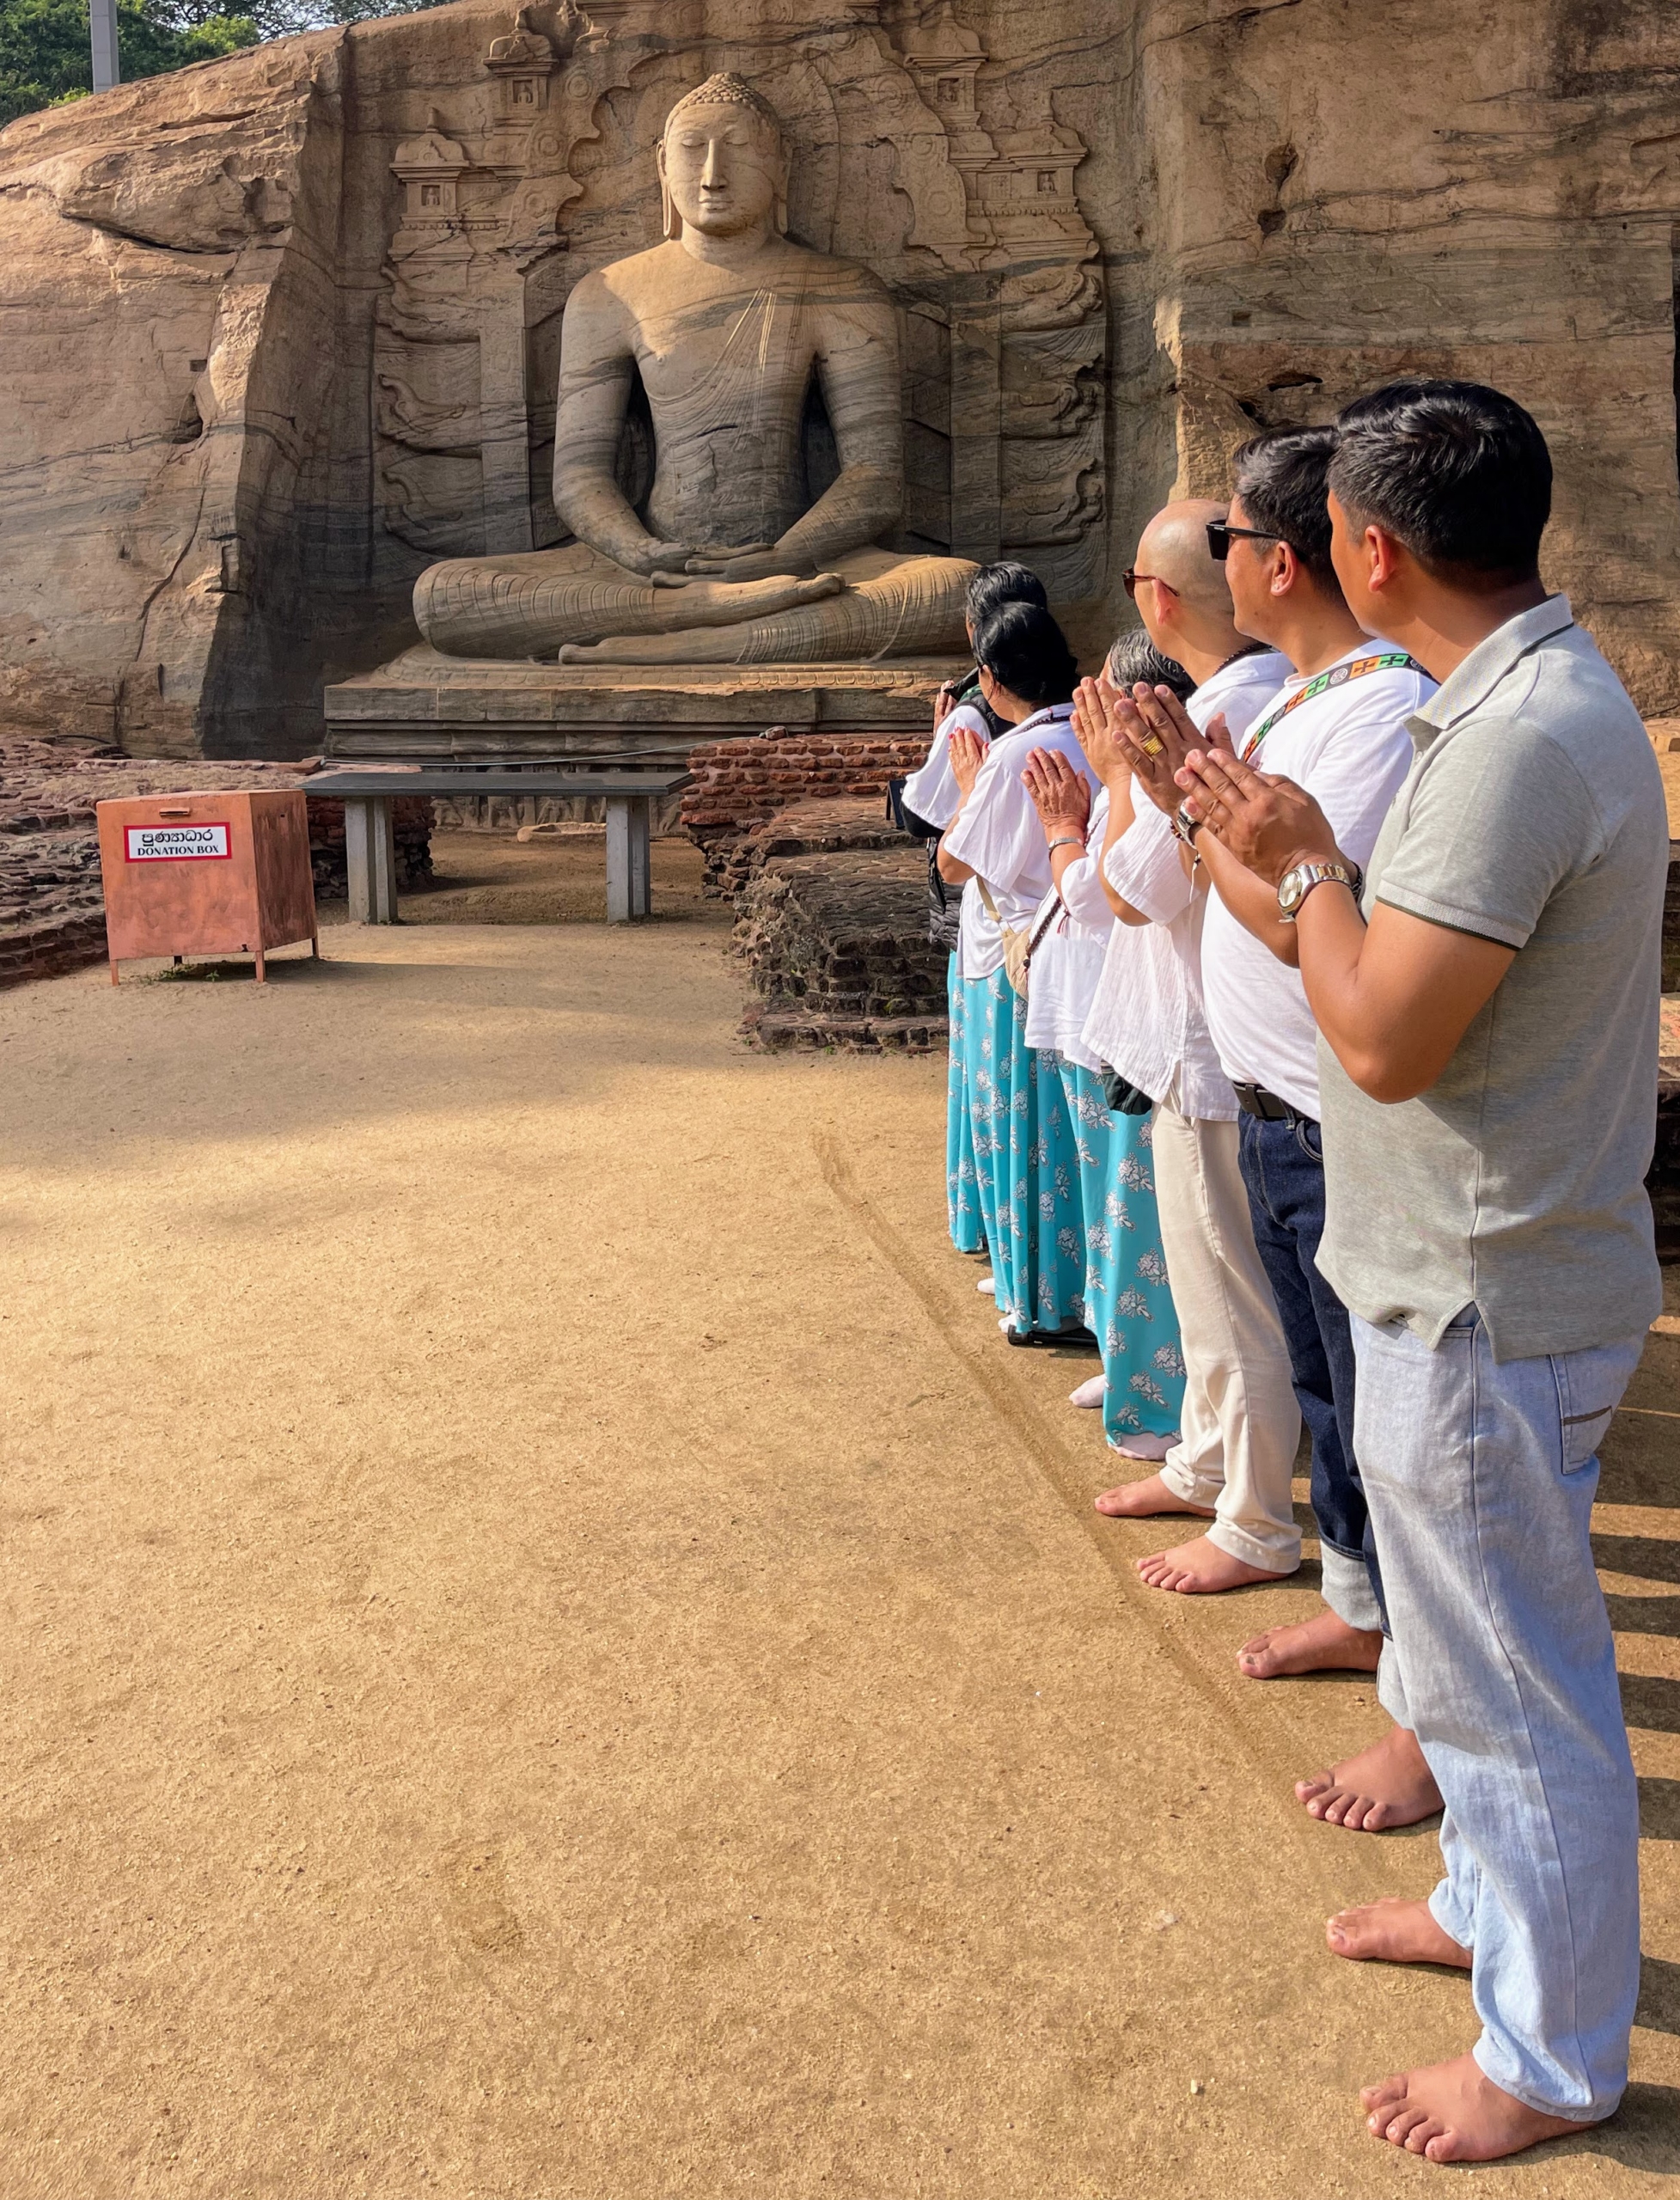
Chhiring and his family also visited Gal Vihara in Polonnaruwa, a stunning series of rock-carved Buddhas made in the 12th century and all carved from a single granite rock face.
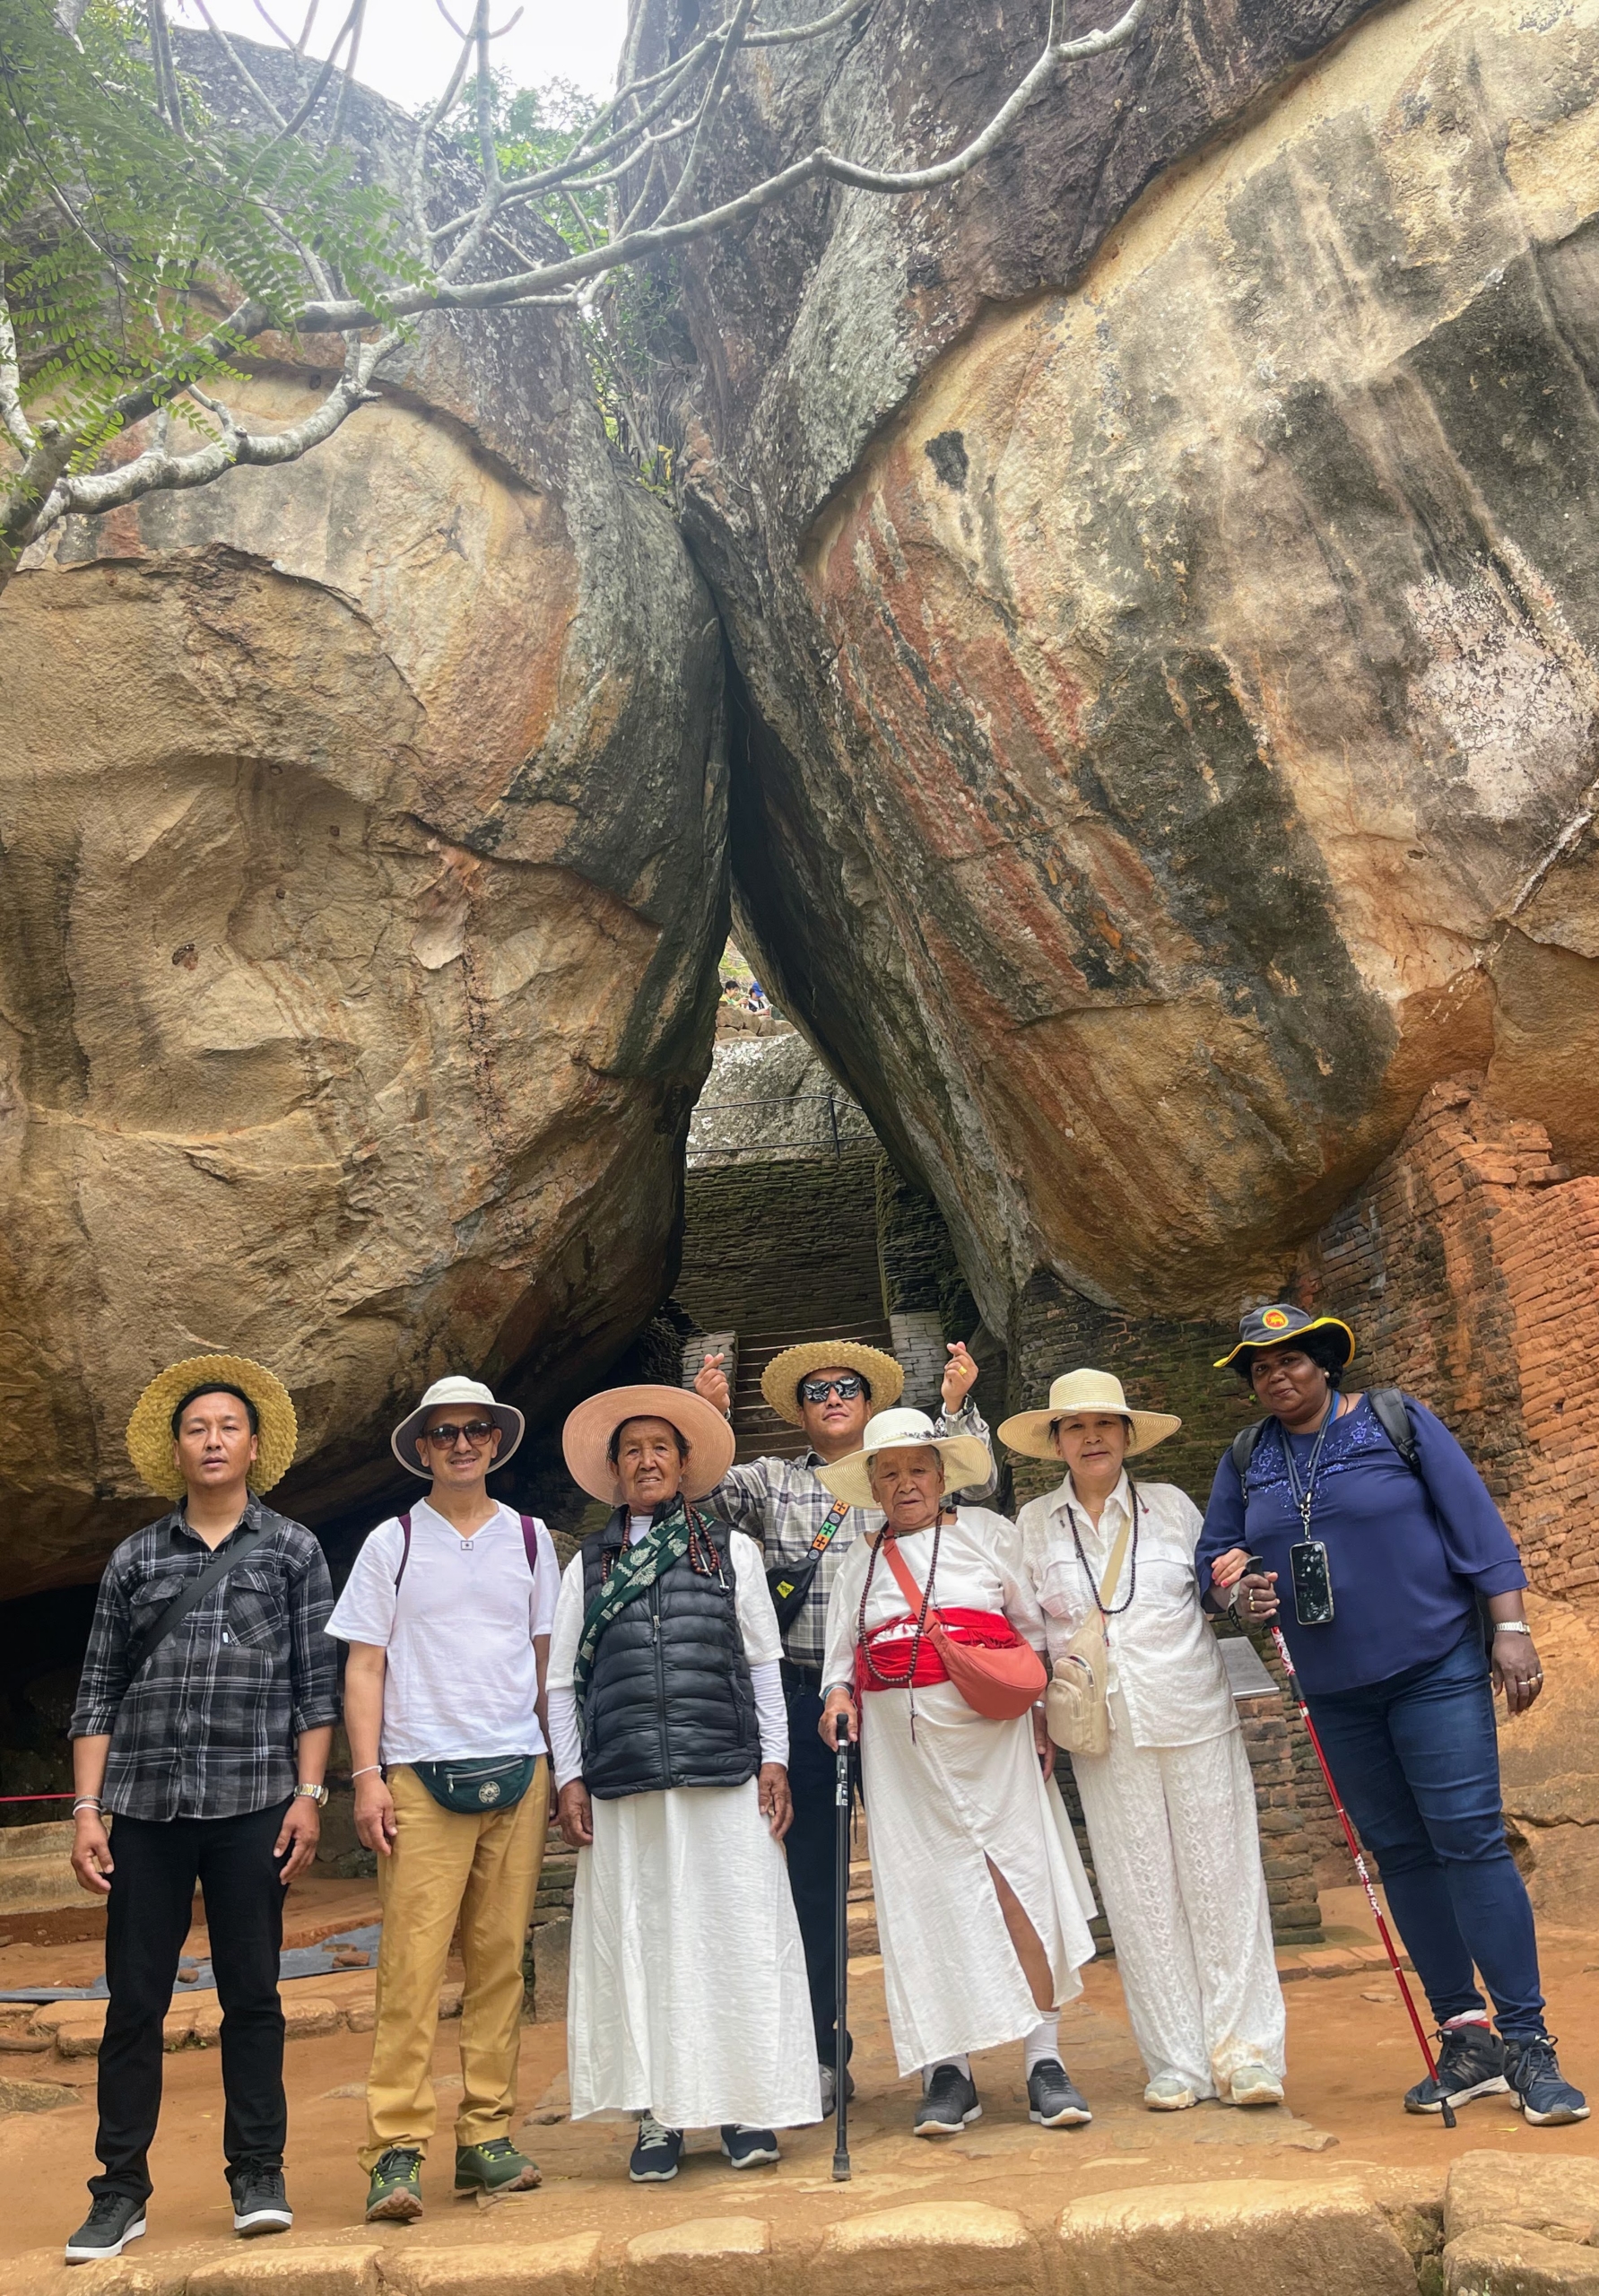
Sigiriya is an ancient rock fortress near Dambulla, Sri Lanka. Here is Chhiring and his family at the base of the rock of Sigiri.
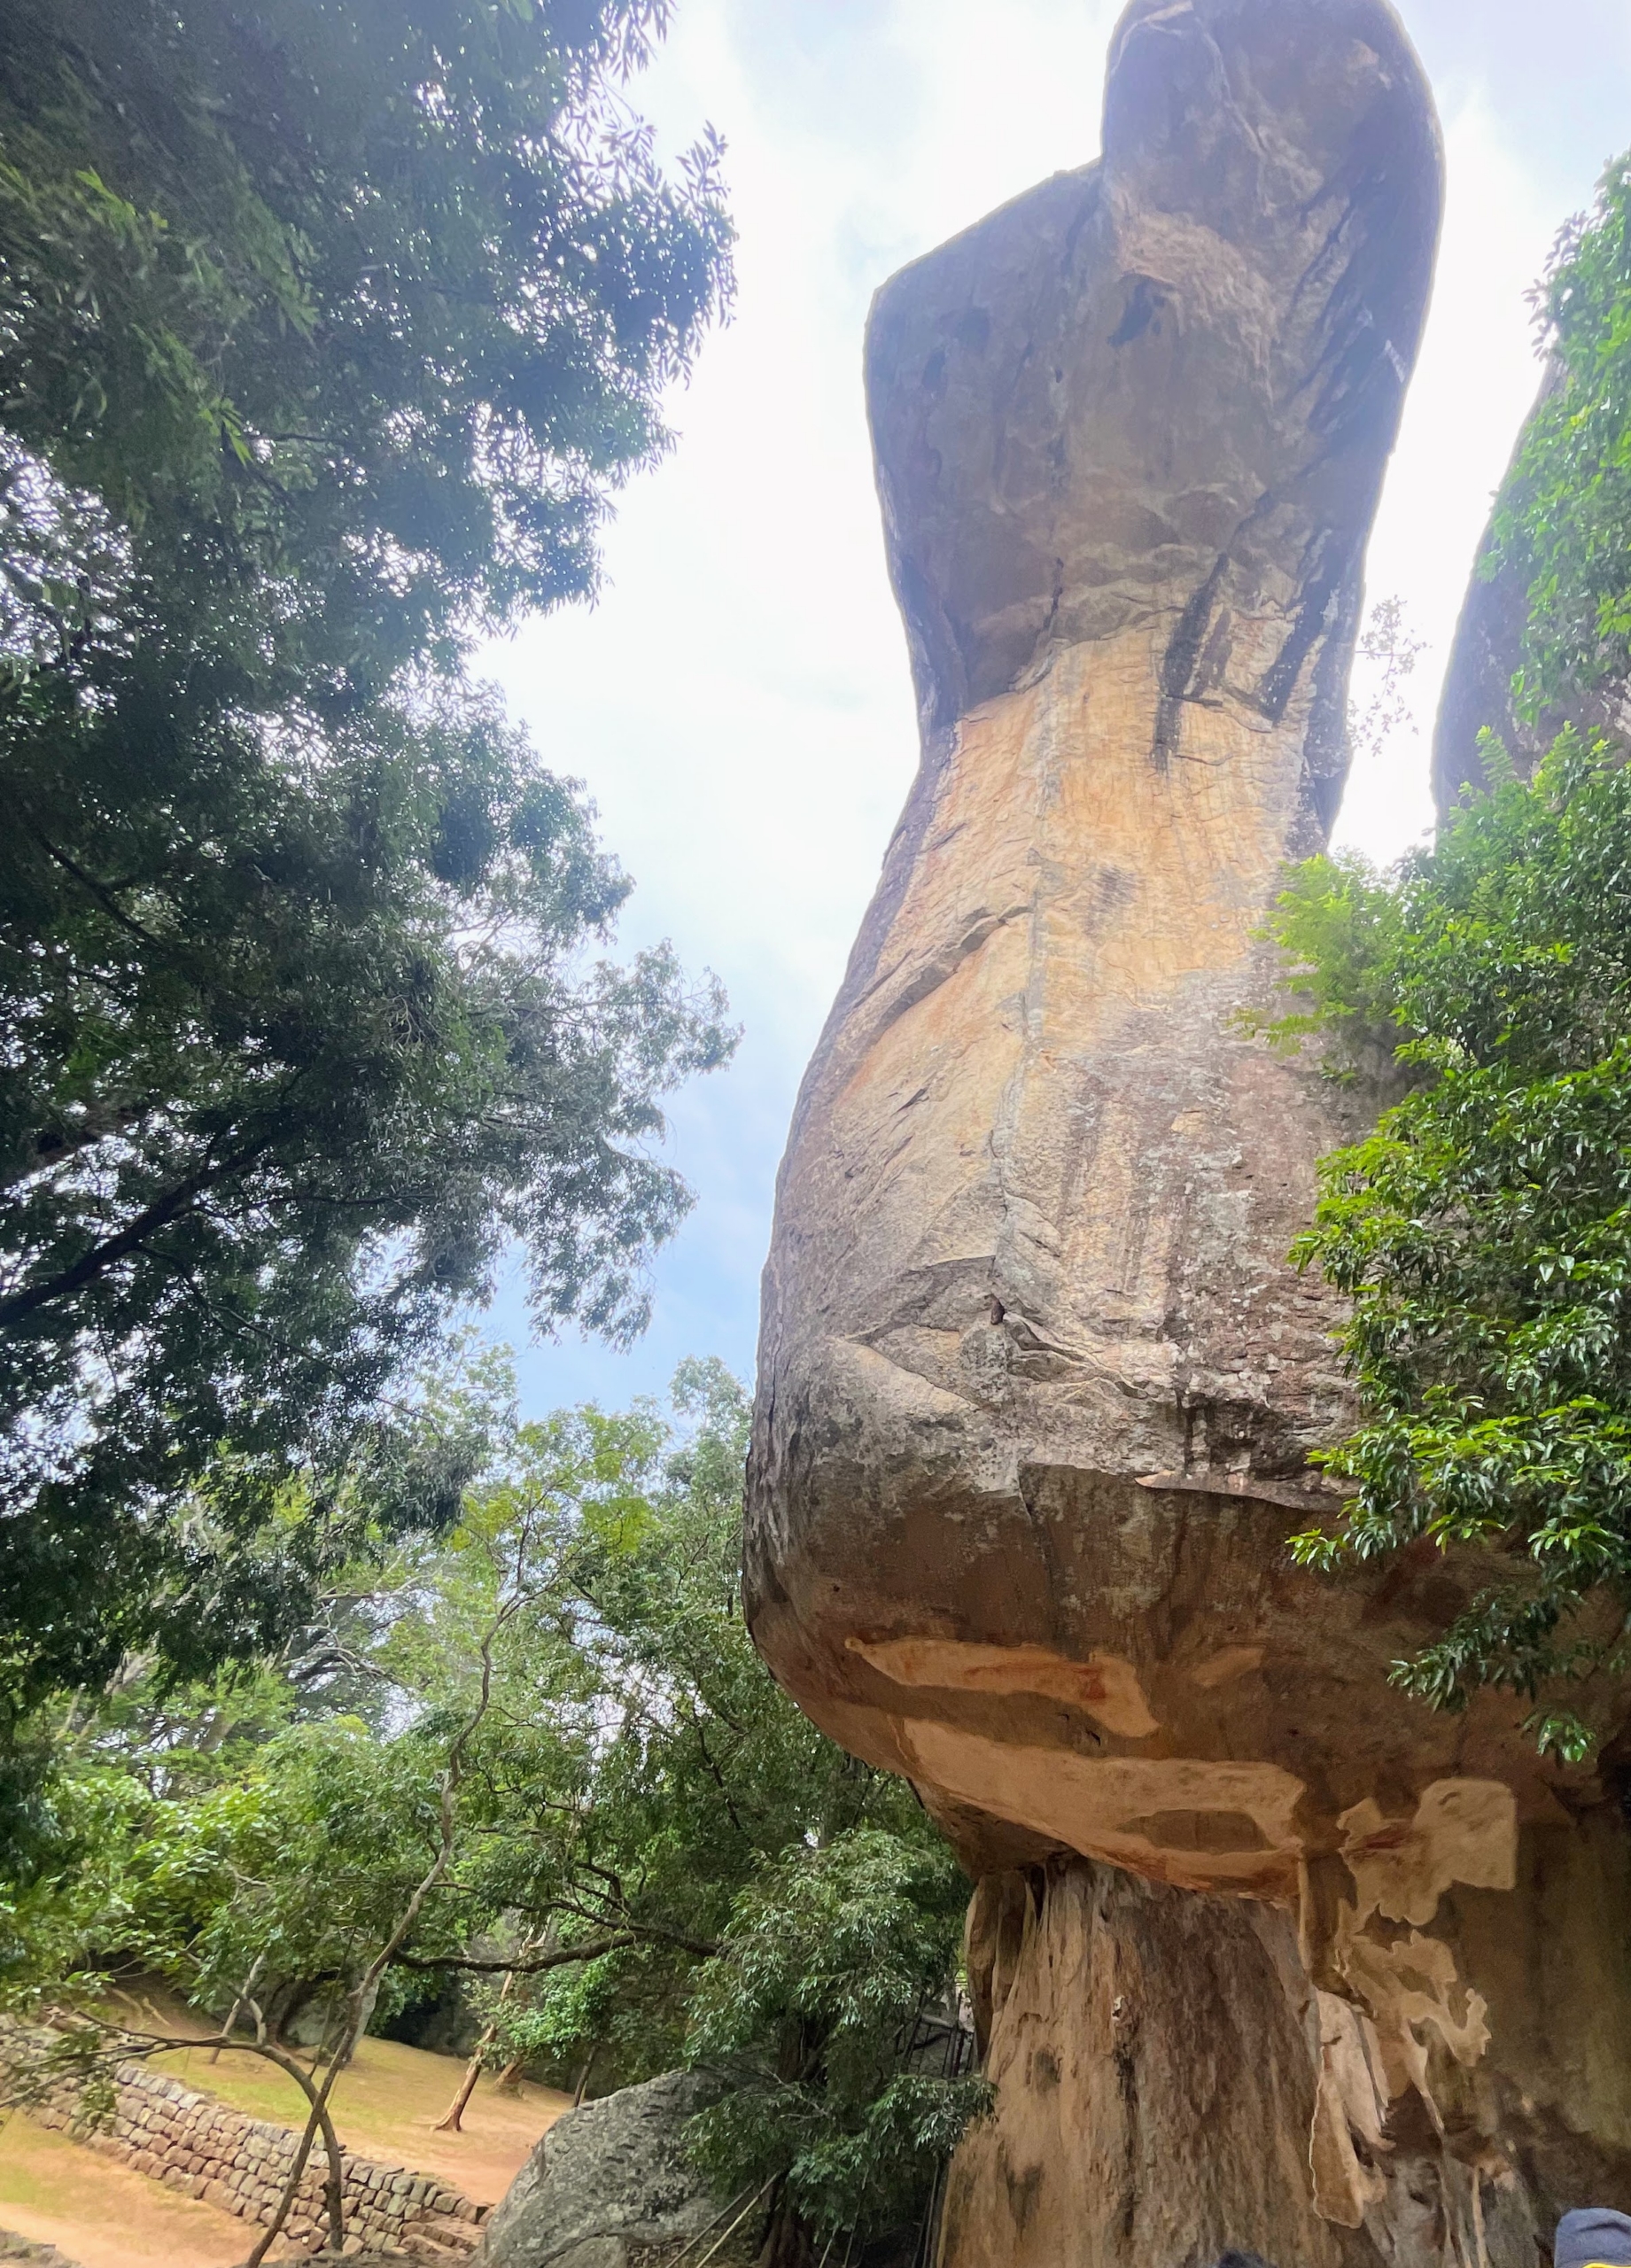
Cobra Hood Cave is a natural geological formation that looks similar to a cobra’s head – also part of the Sigiriya Rock Fortress complex.
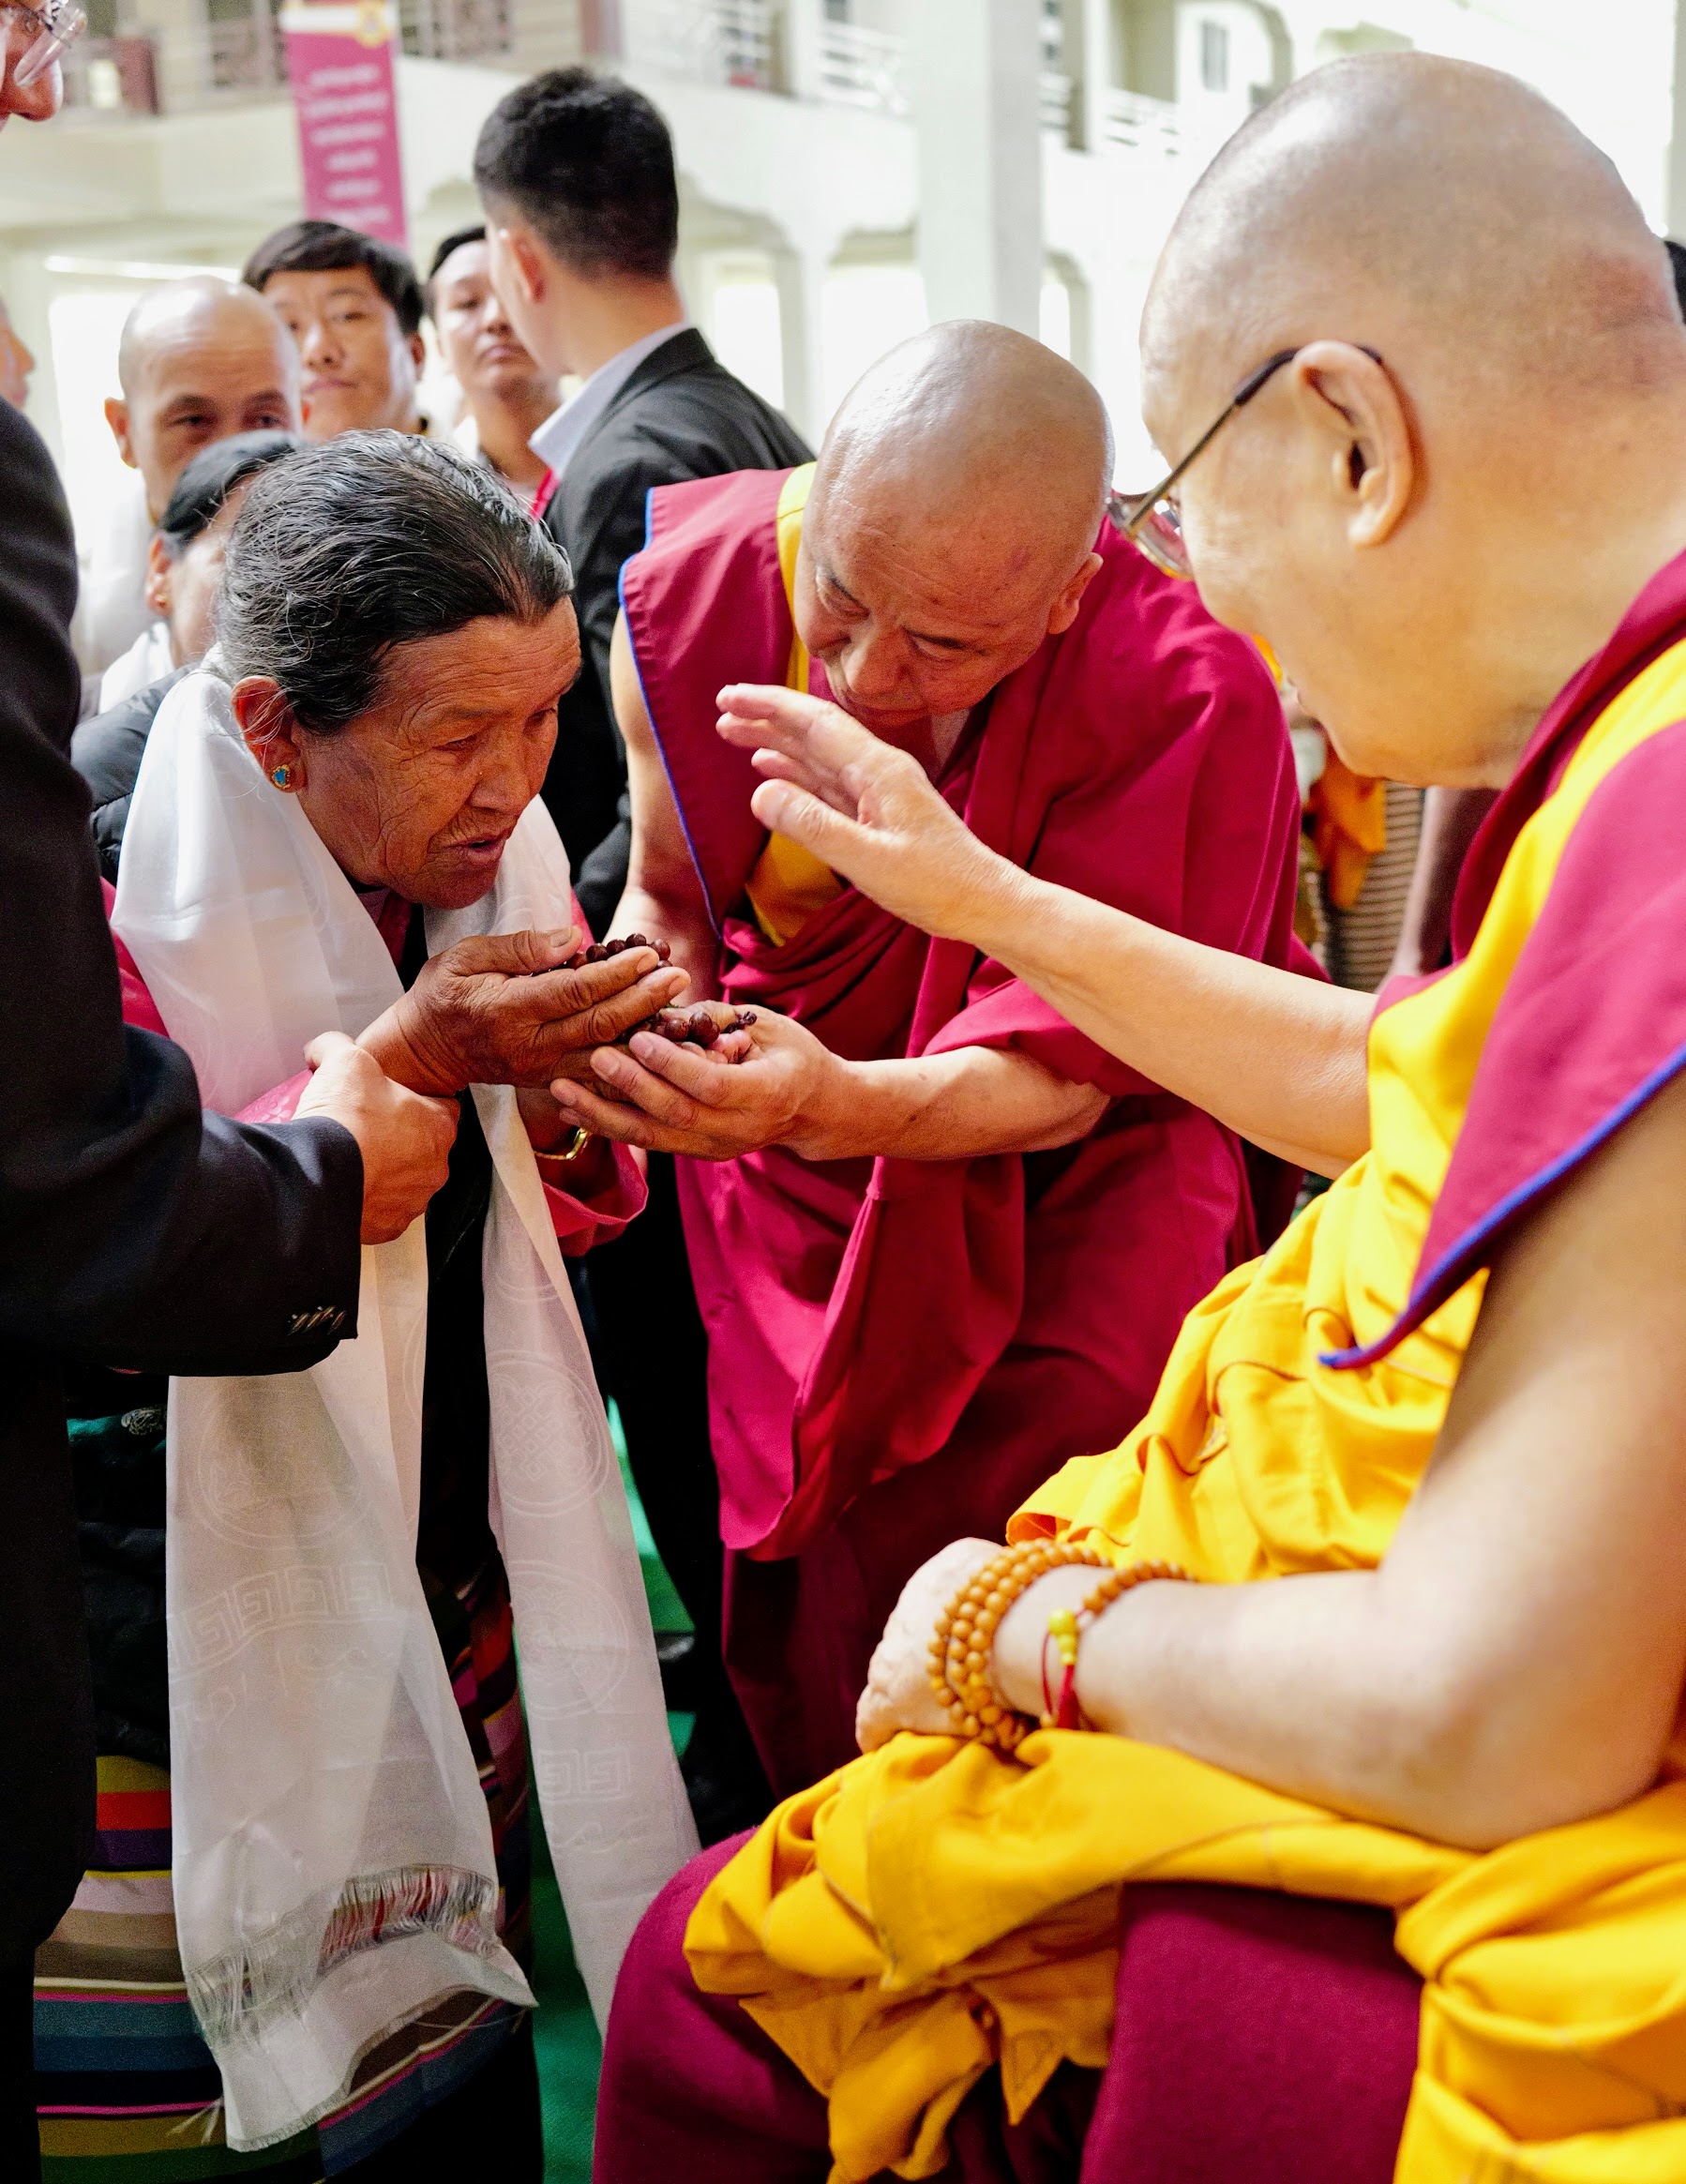
Chhiring also stopped in South India where he was fortunate enough to meet the Dalai Lama, Tenzin Gyatso. Here, Chhiring respectfully asks for blessings and greets him with with the customary bow.
Here is Chhiring’s mother doing the same. What at honor.
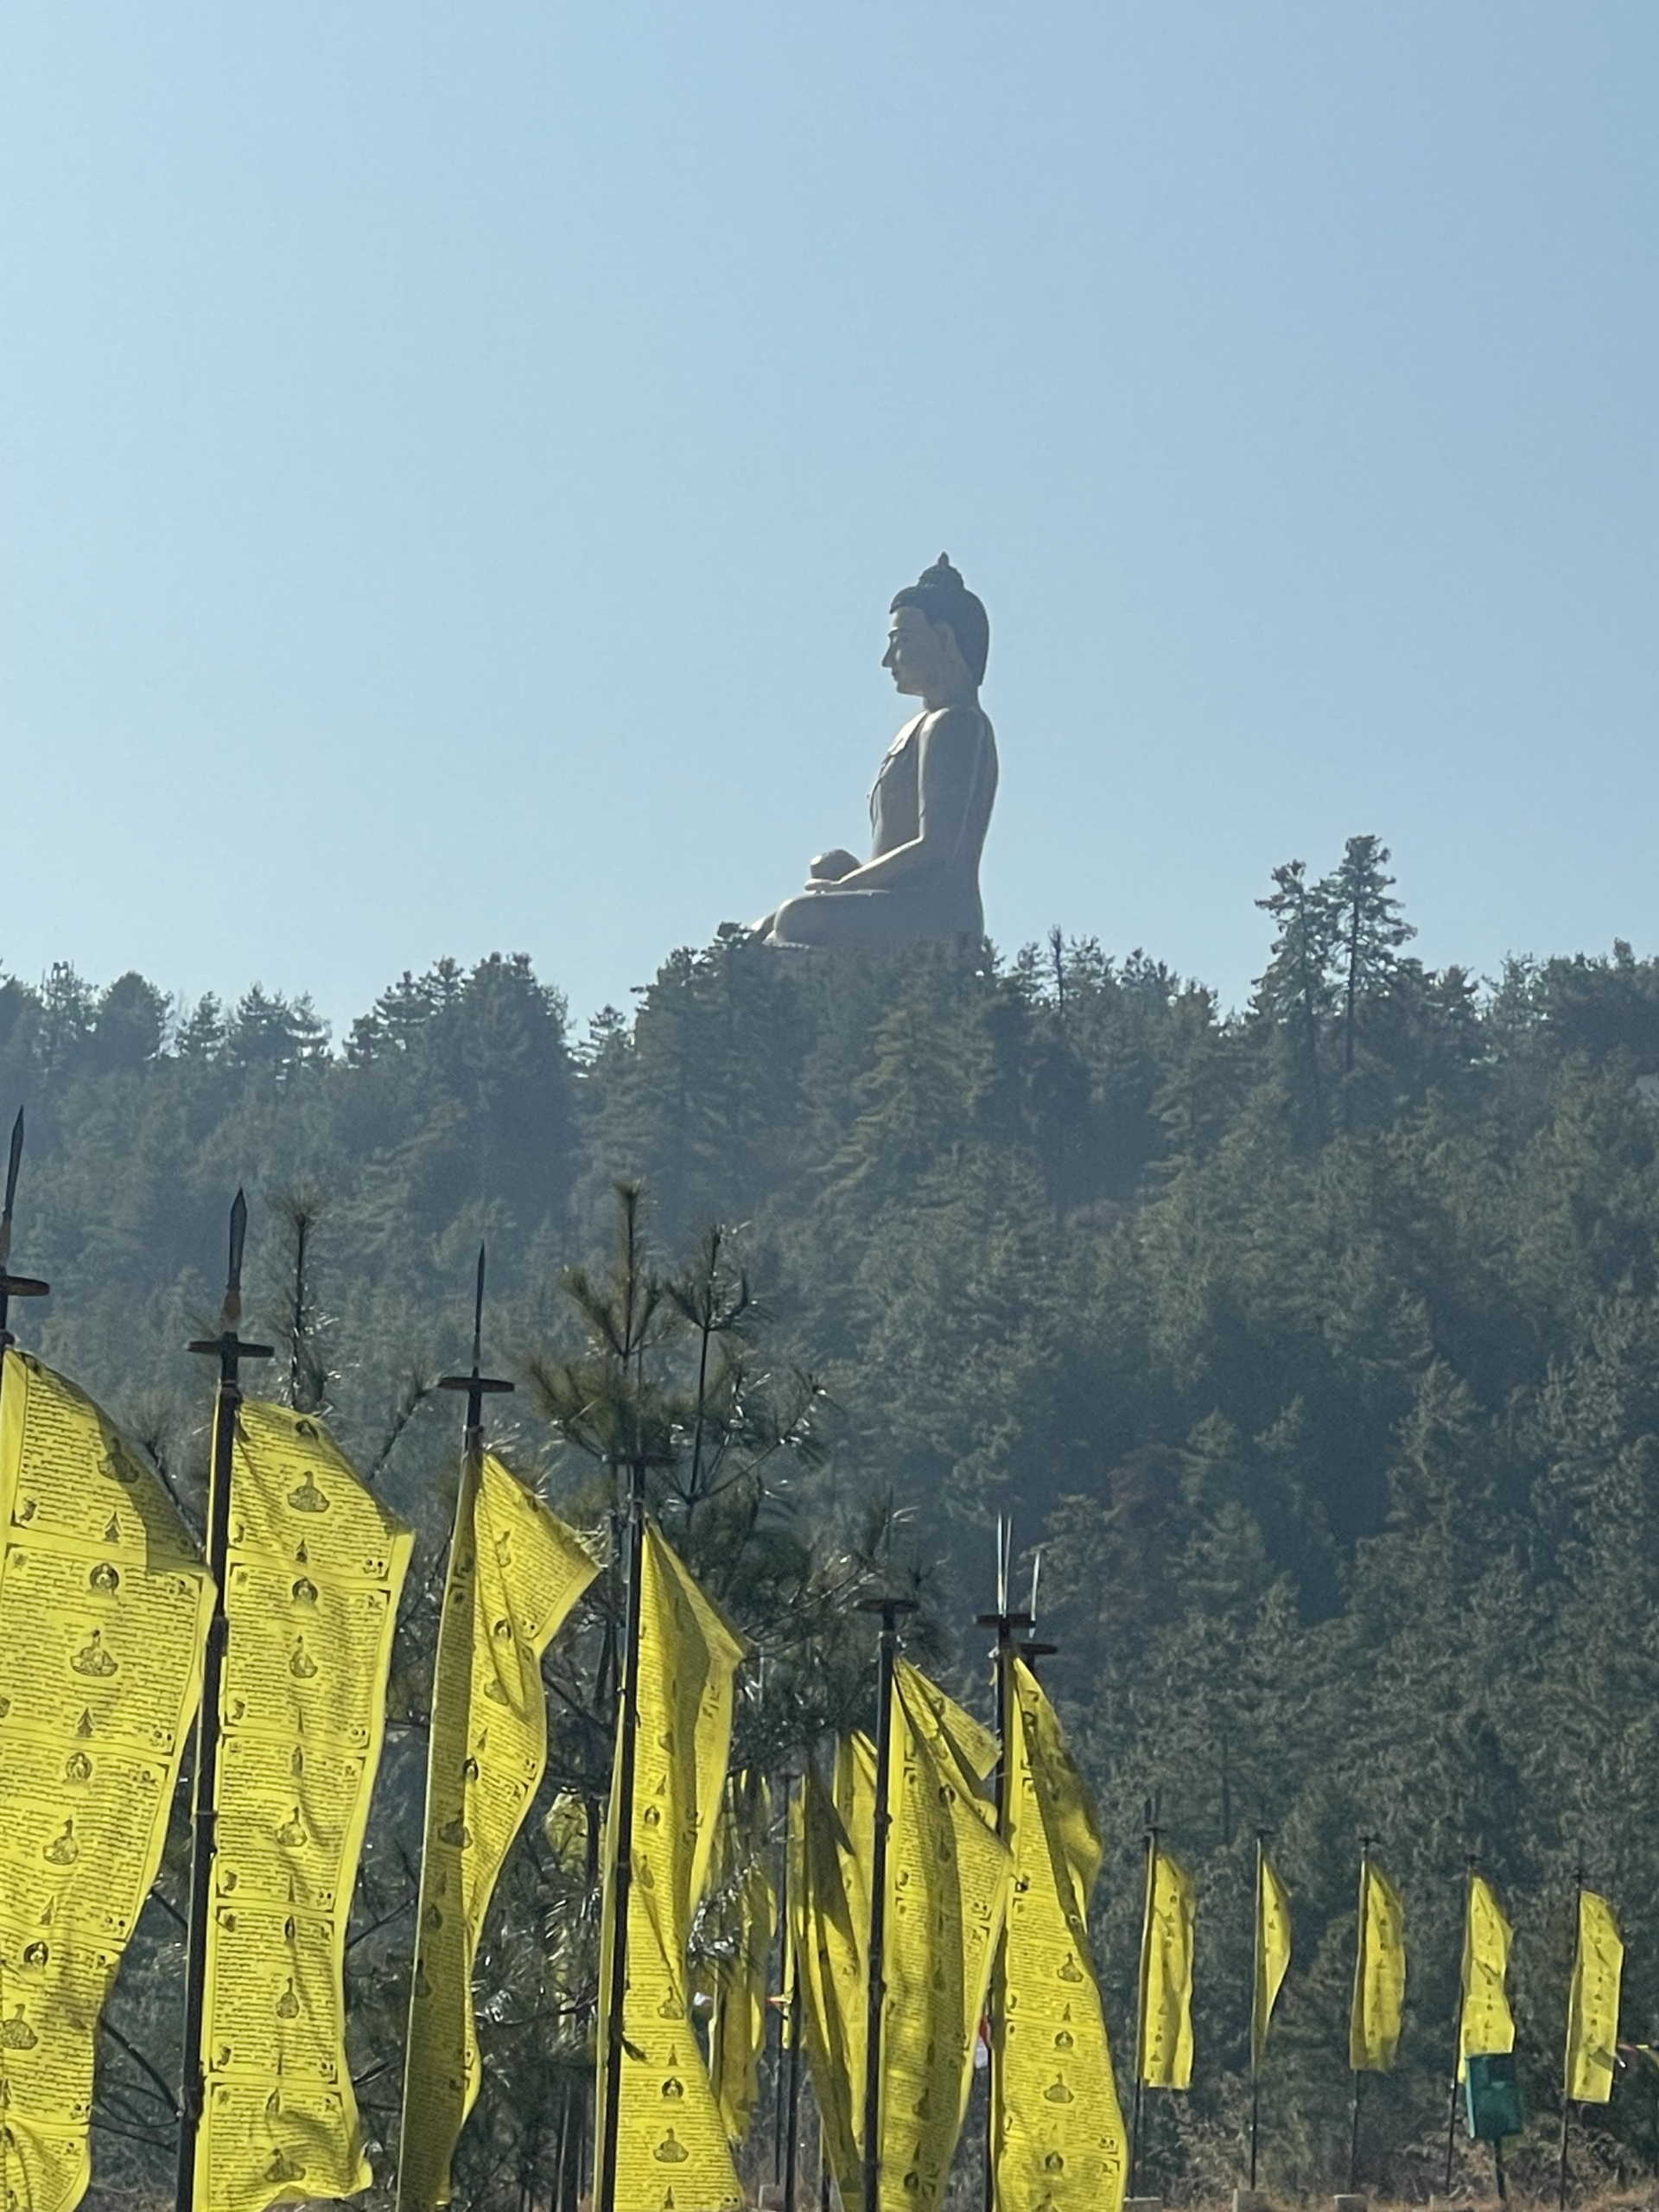
This is the monumental statue of Buddha Dordenma located in Thimphu, Bhutan. It is 169 feet tall and houses more than 125,000 smaller Buddha statues inside. It is one of the largest sitting Buddha statues in the world.
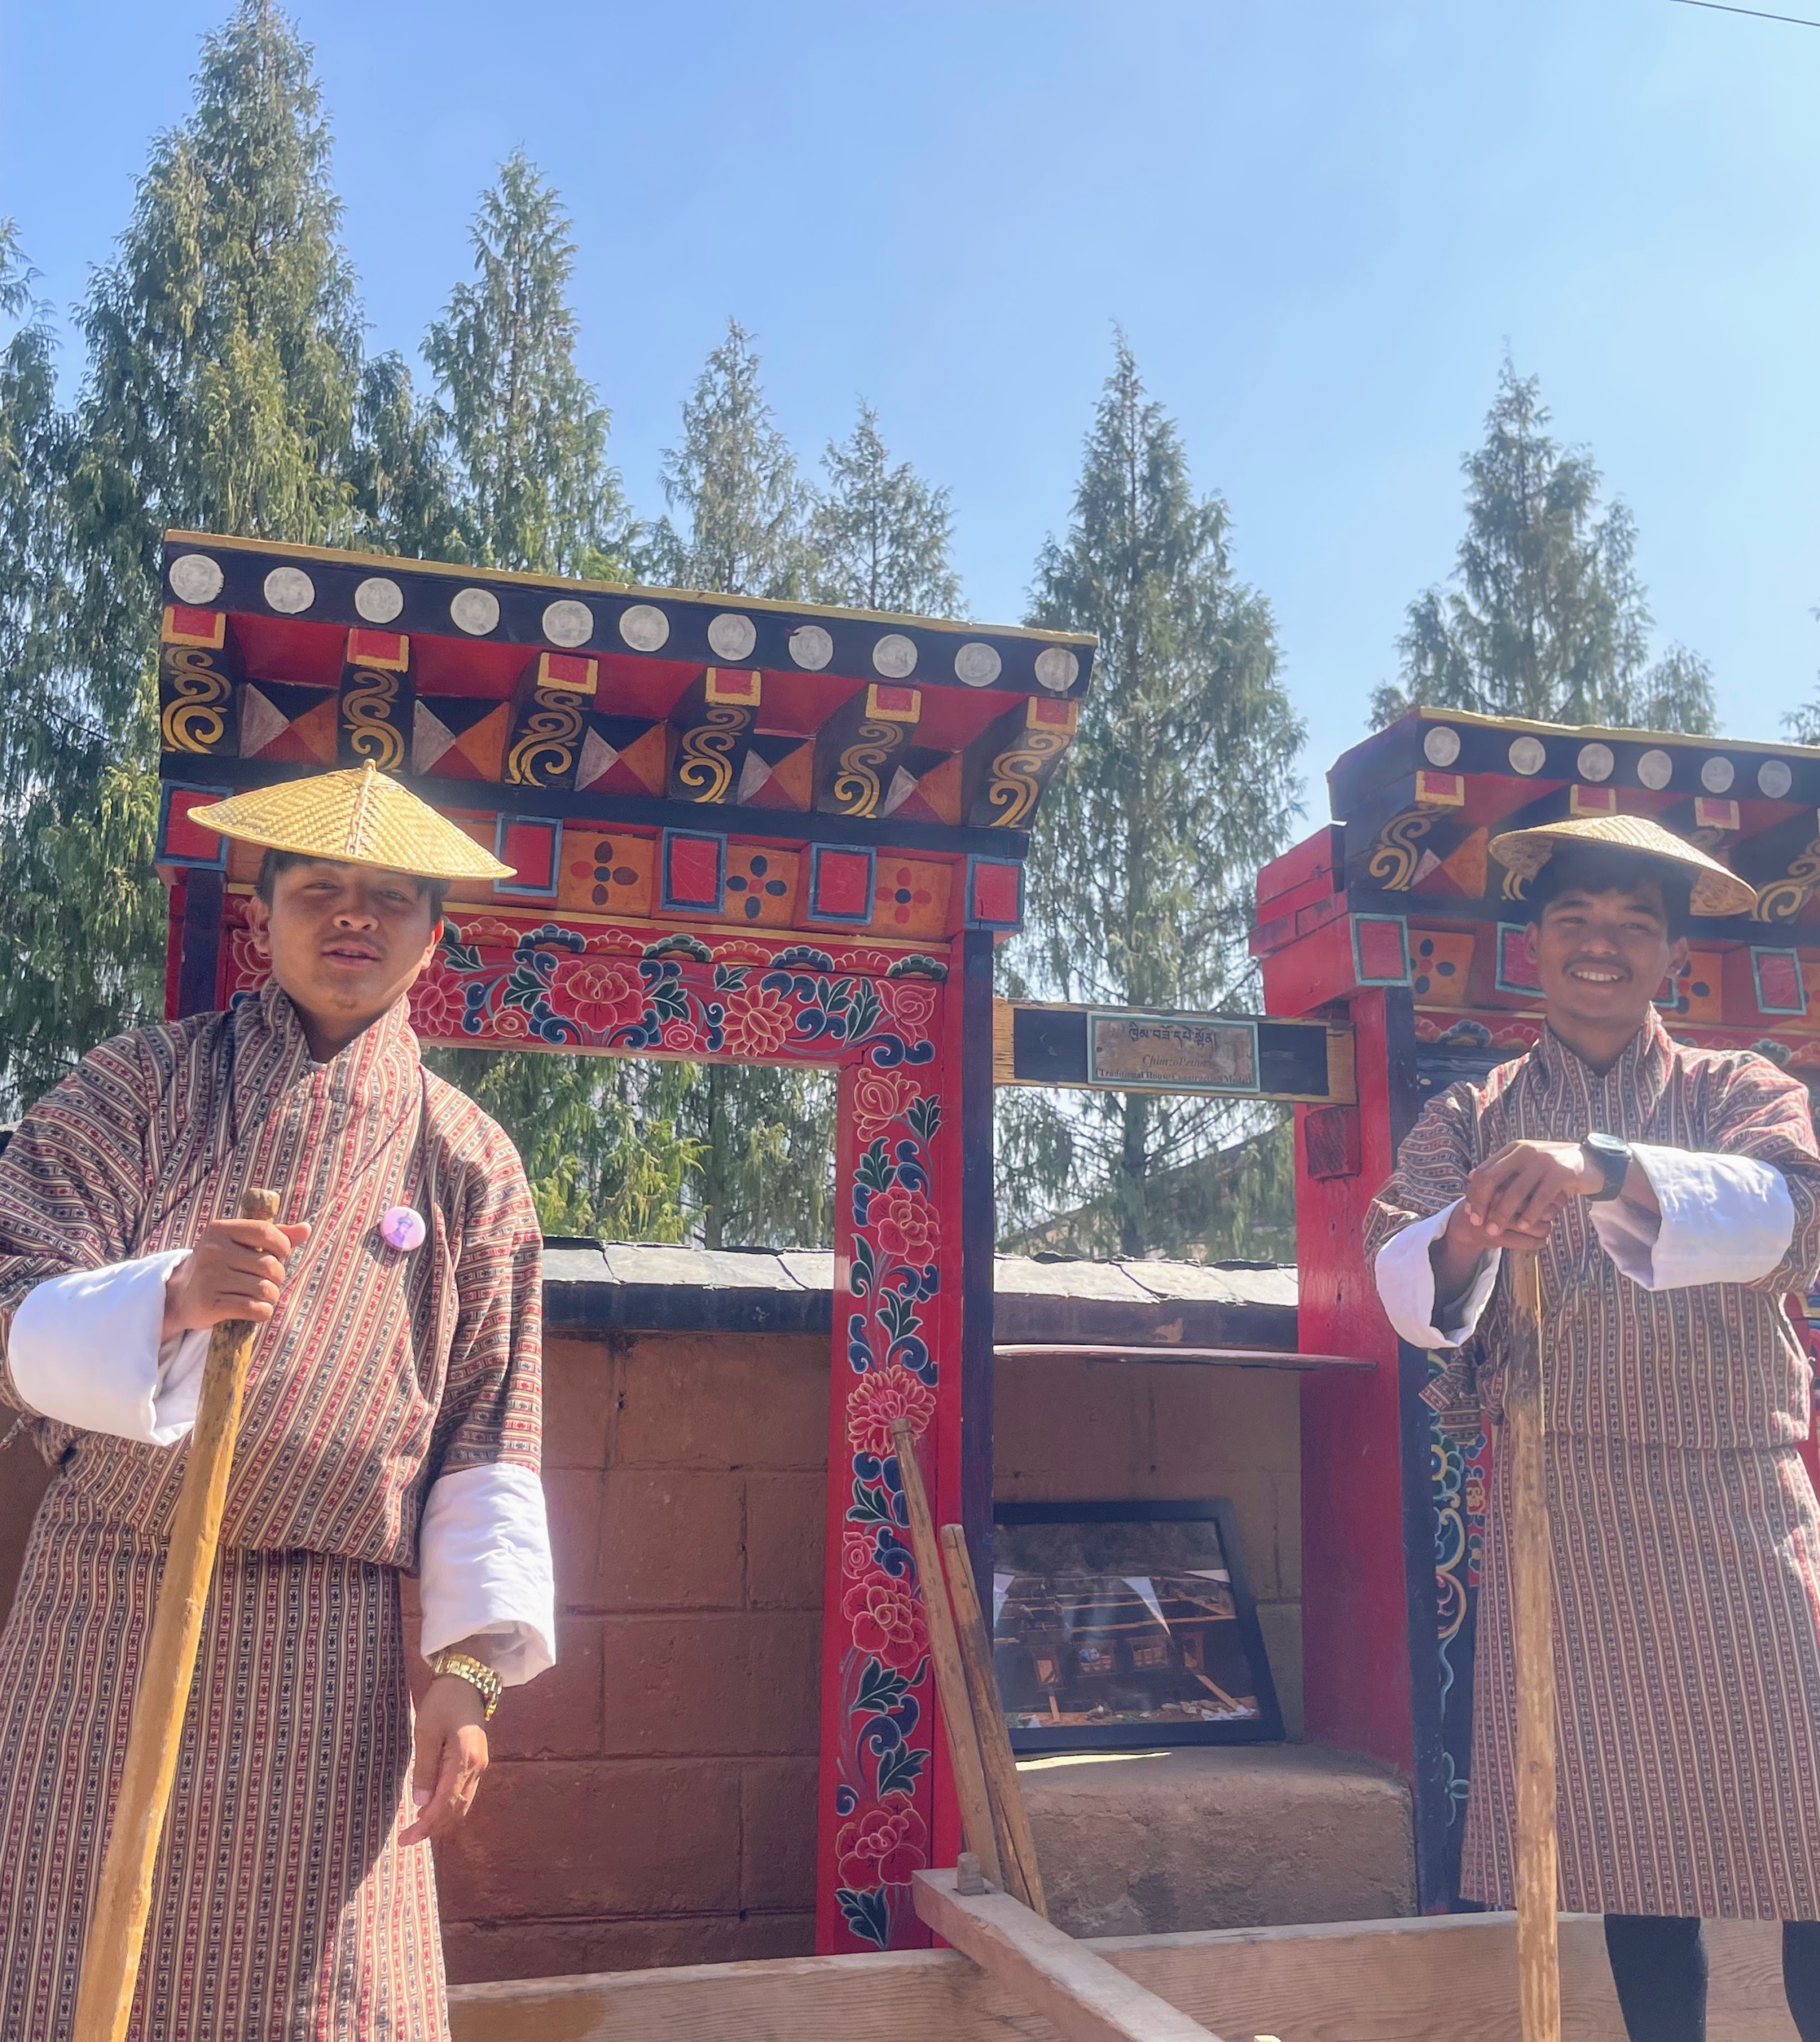
Here are the guards in front of Simply Bhutan, a living museum in Thimpu. The mueum is interactive and allows visitors to experience Bhutanese culture and traditions by trying archery, wearing various attire and participating in classic Bhutanese performances.
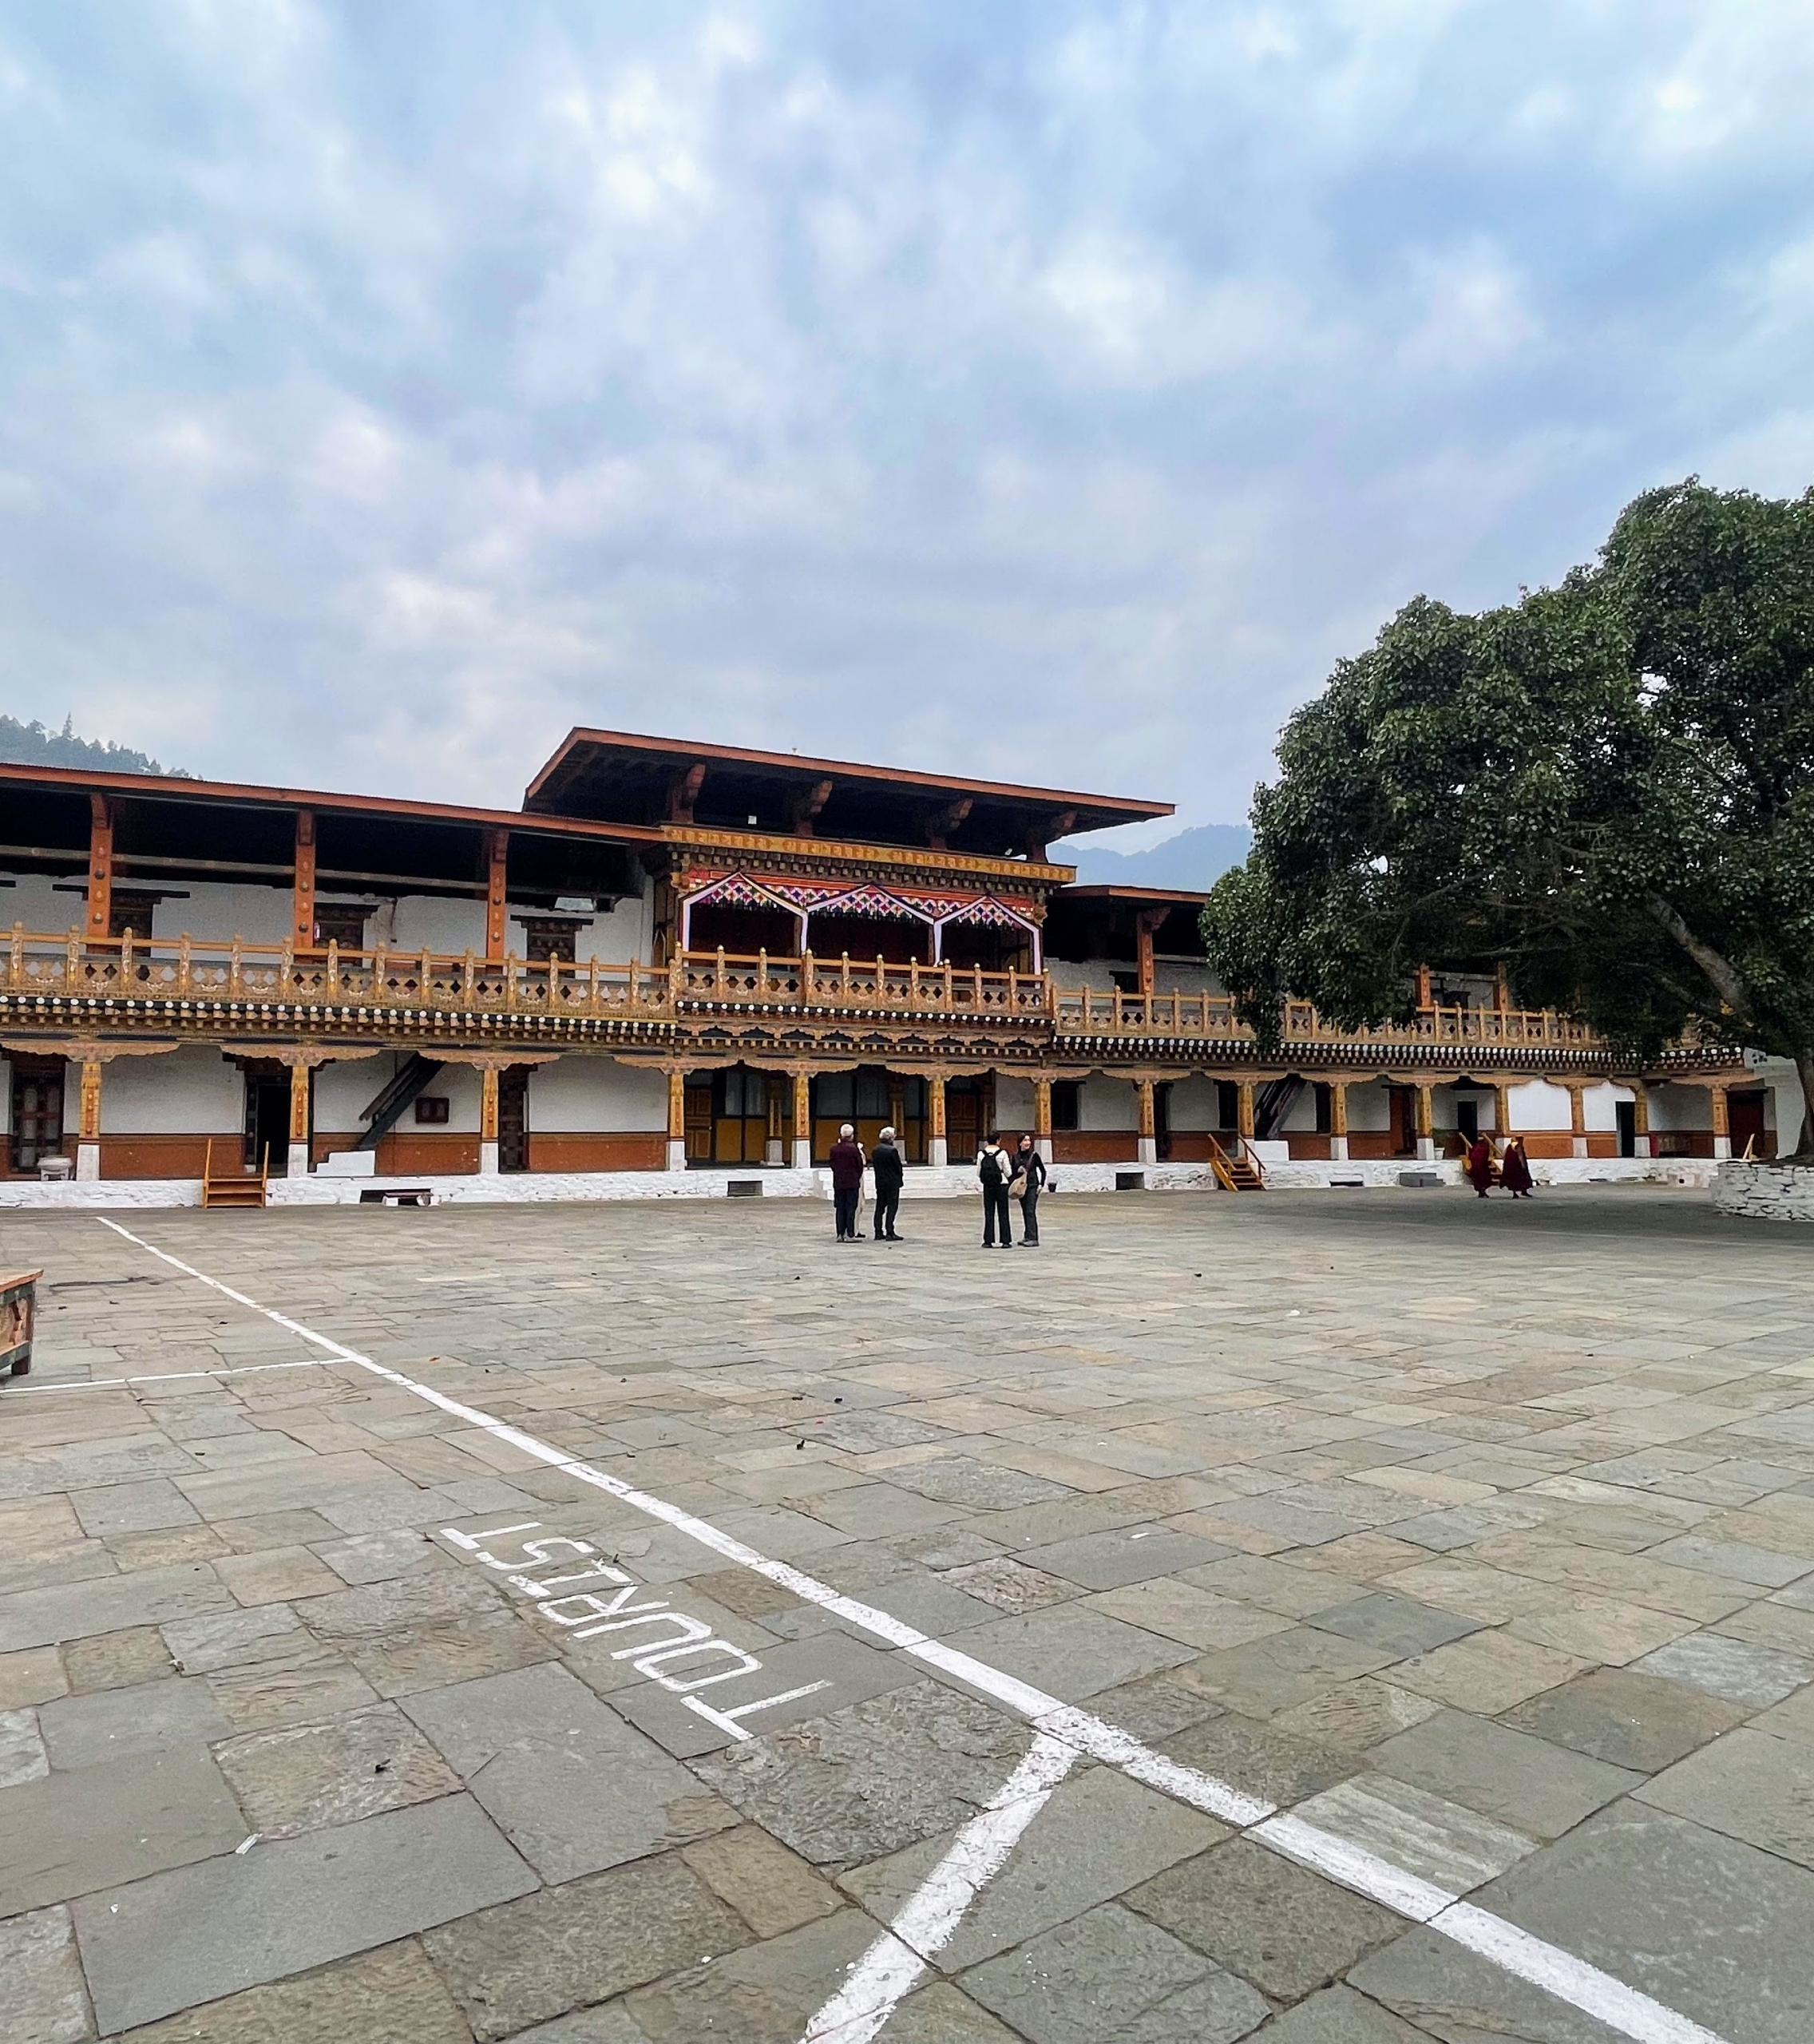
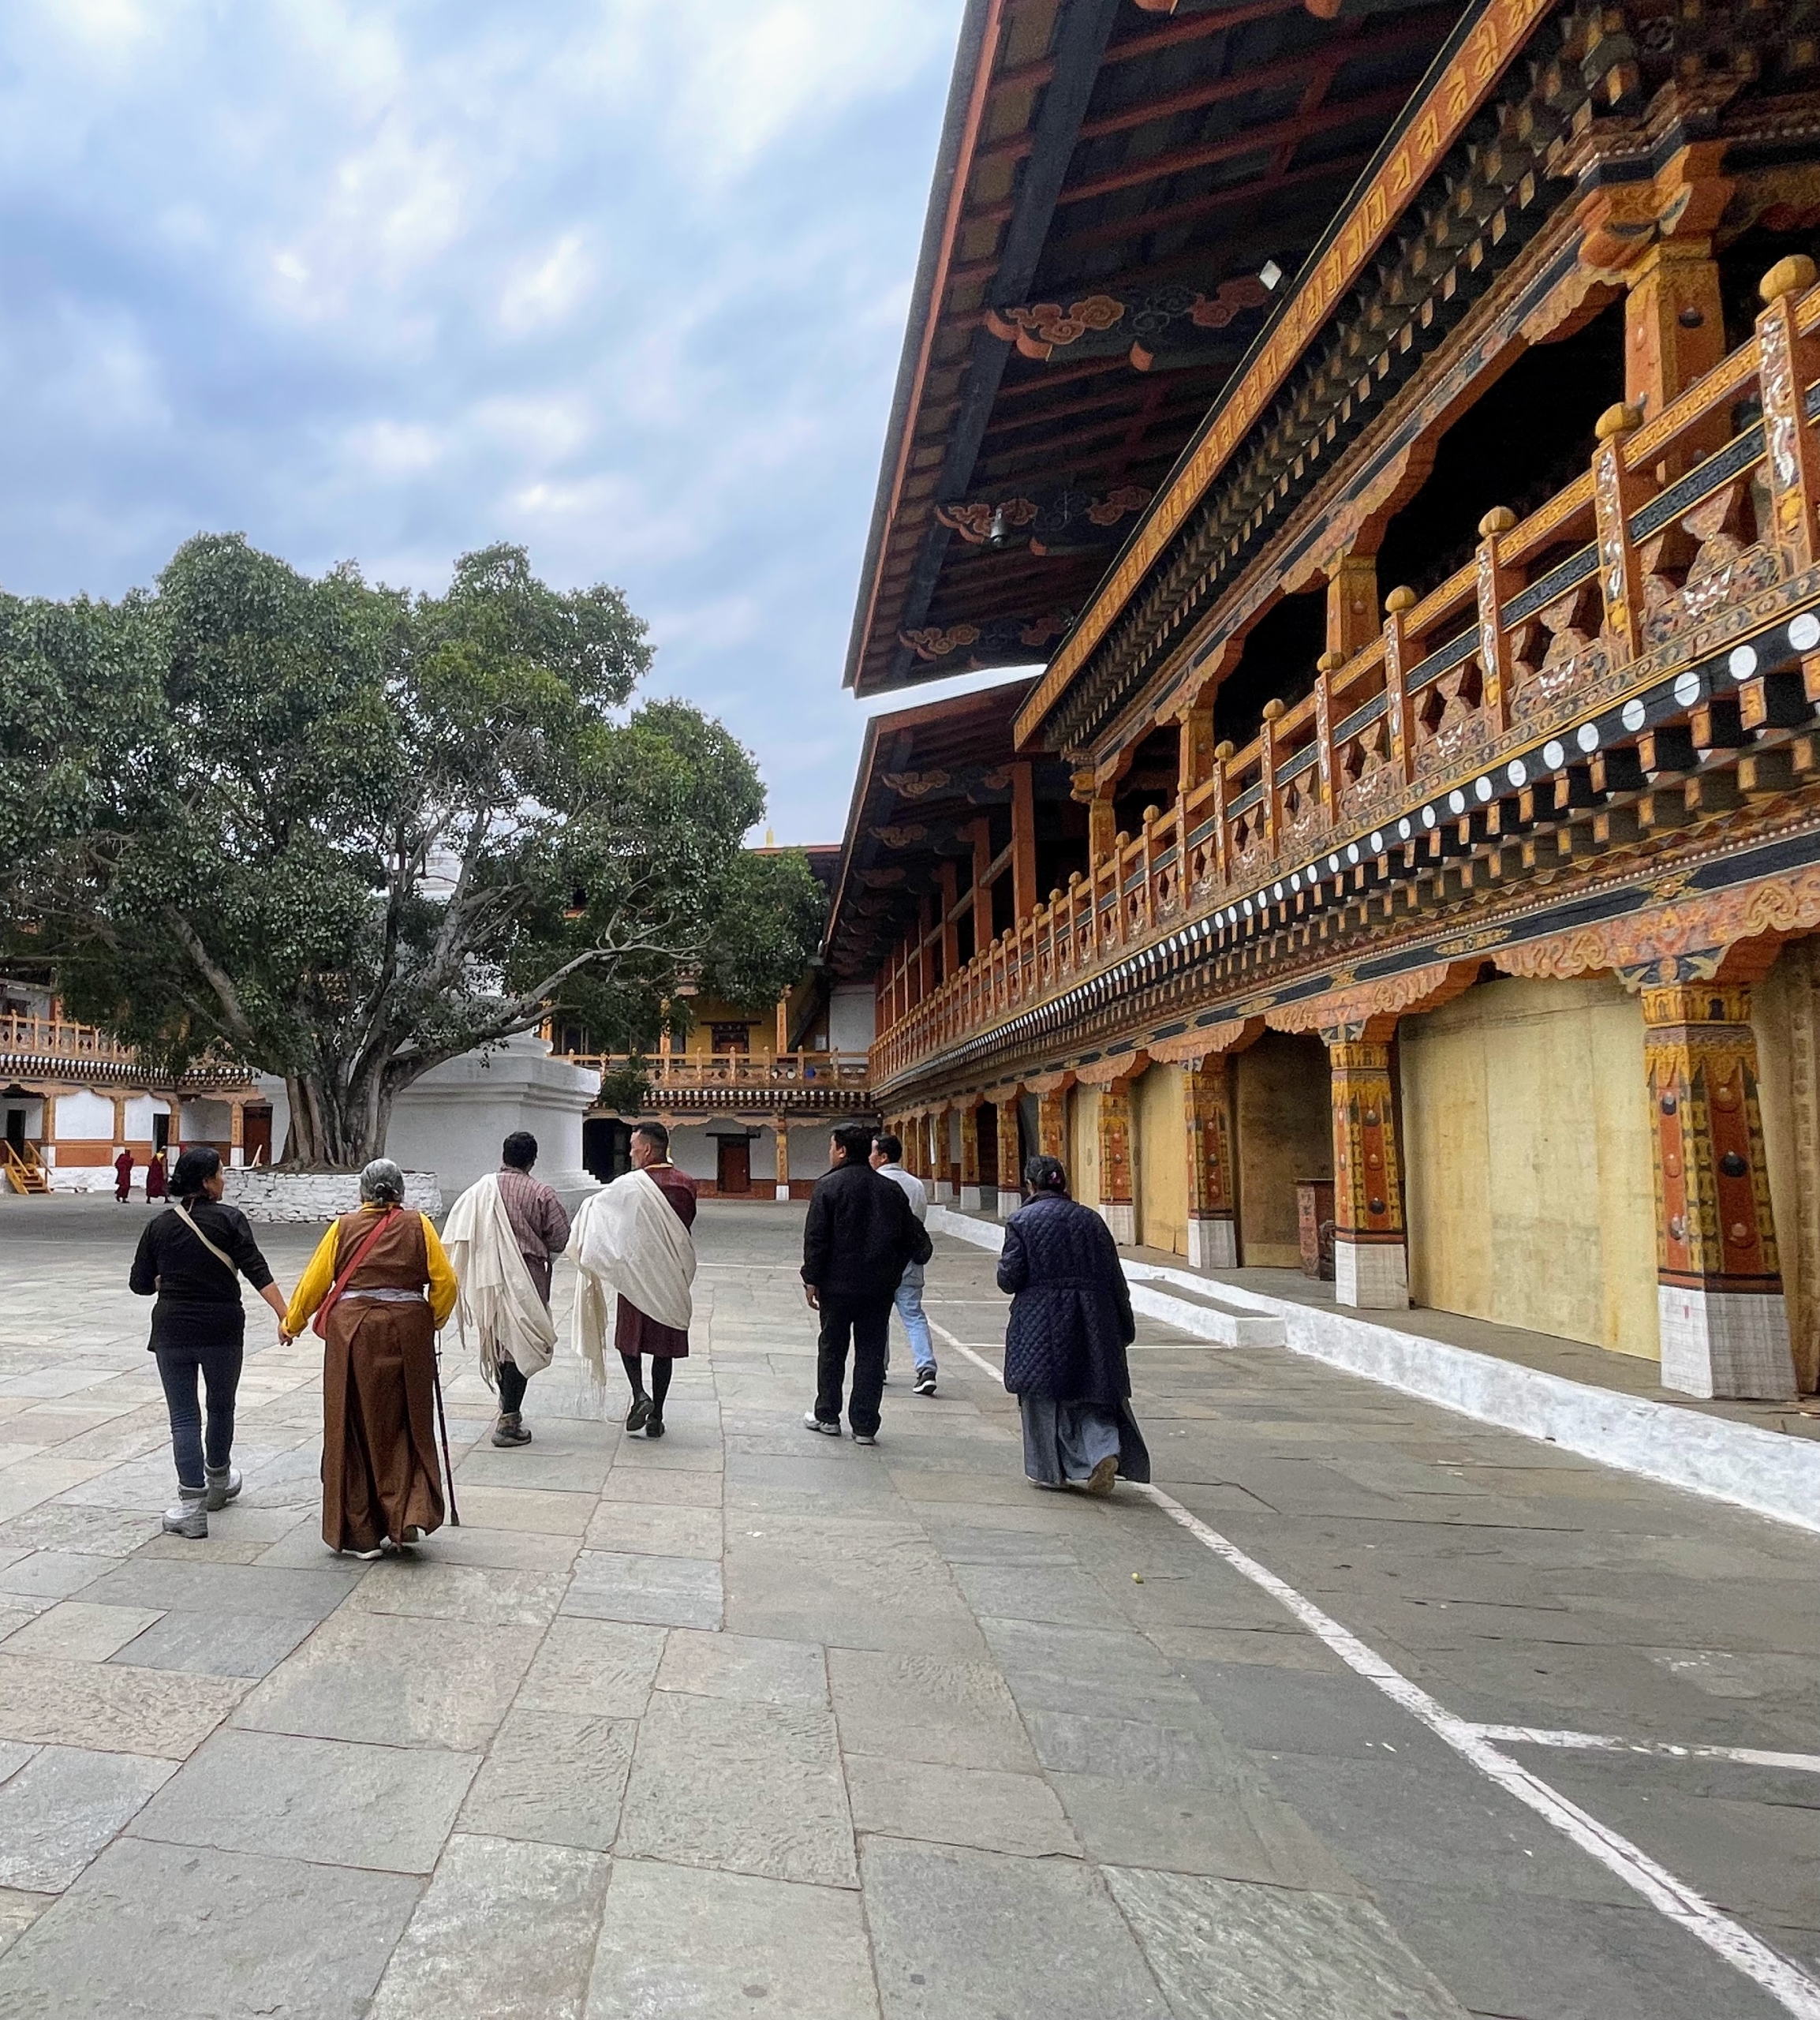
A trip to Bhutan would not be complete without visiting the Punakha Dzong, or Pungthang Dewa Chhenbi Phodrang, “the palace of great happiness or bliss.” This palace houses sacred relics and is the main venue for the coronation of Bhutan leaders.
The Palace grounds and all of Bhutan are extremely clean – it was impressive to walk through the area.
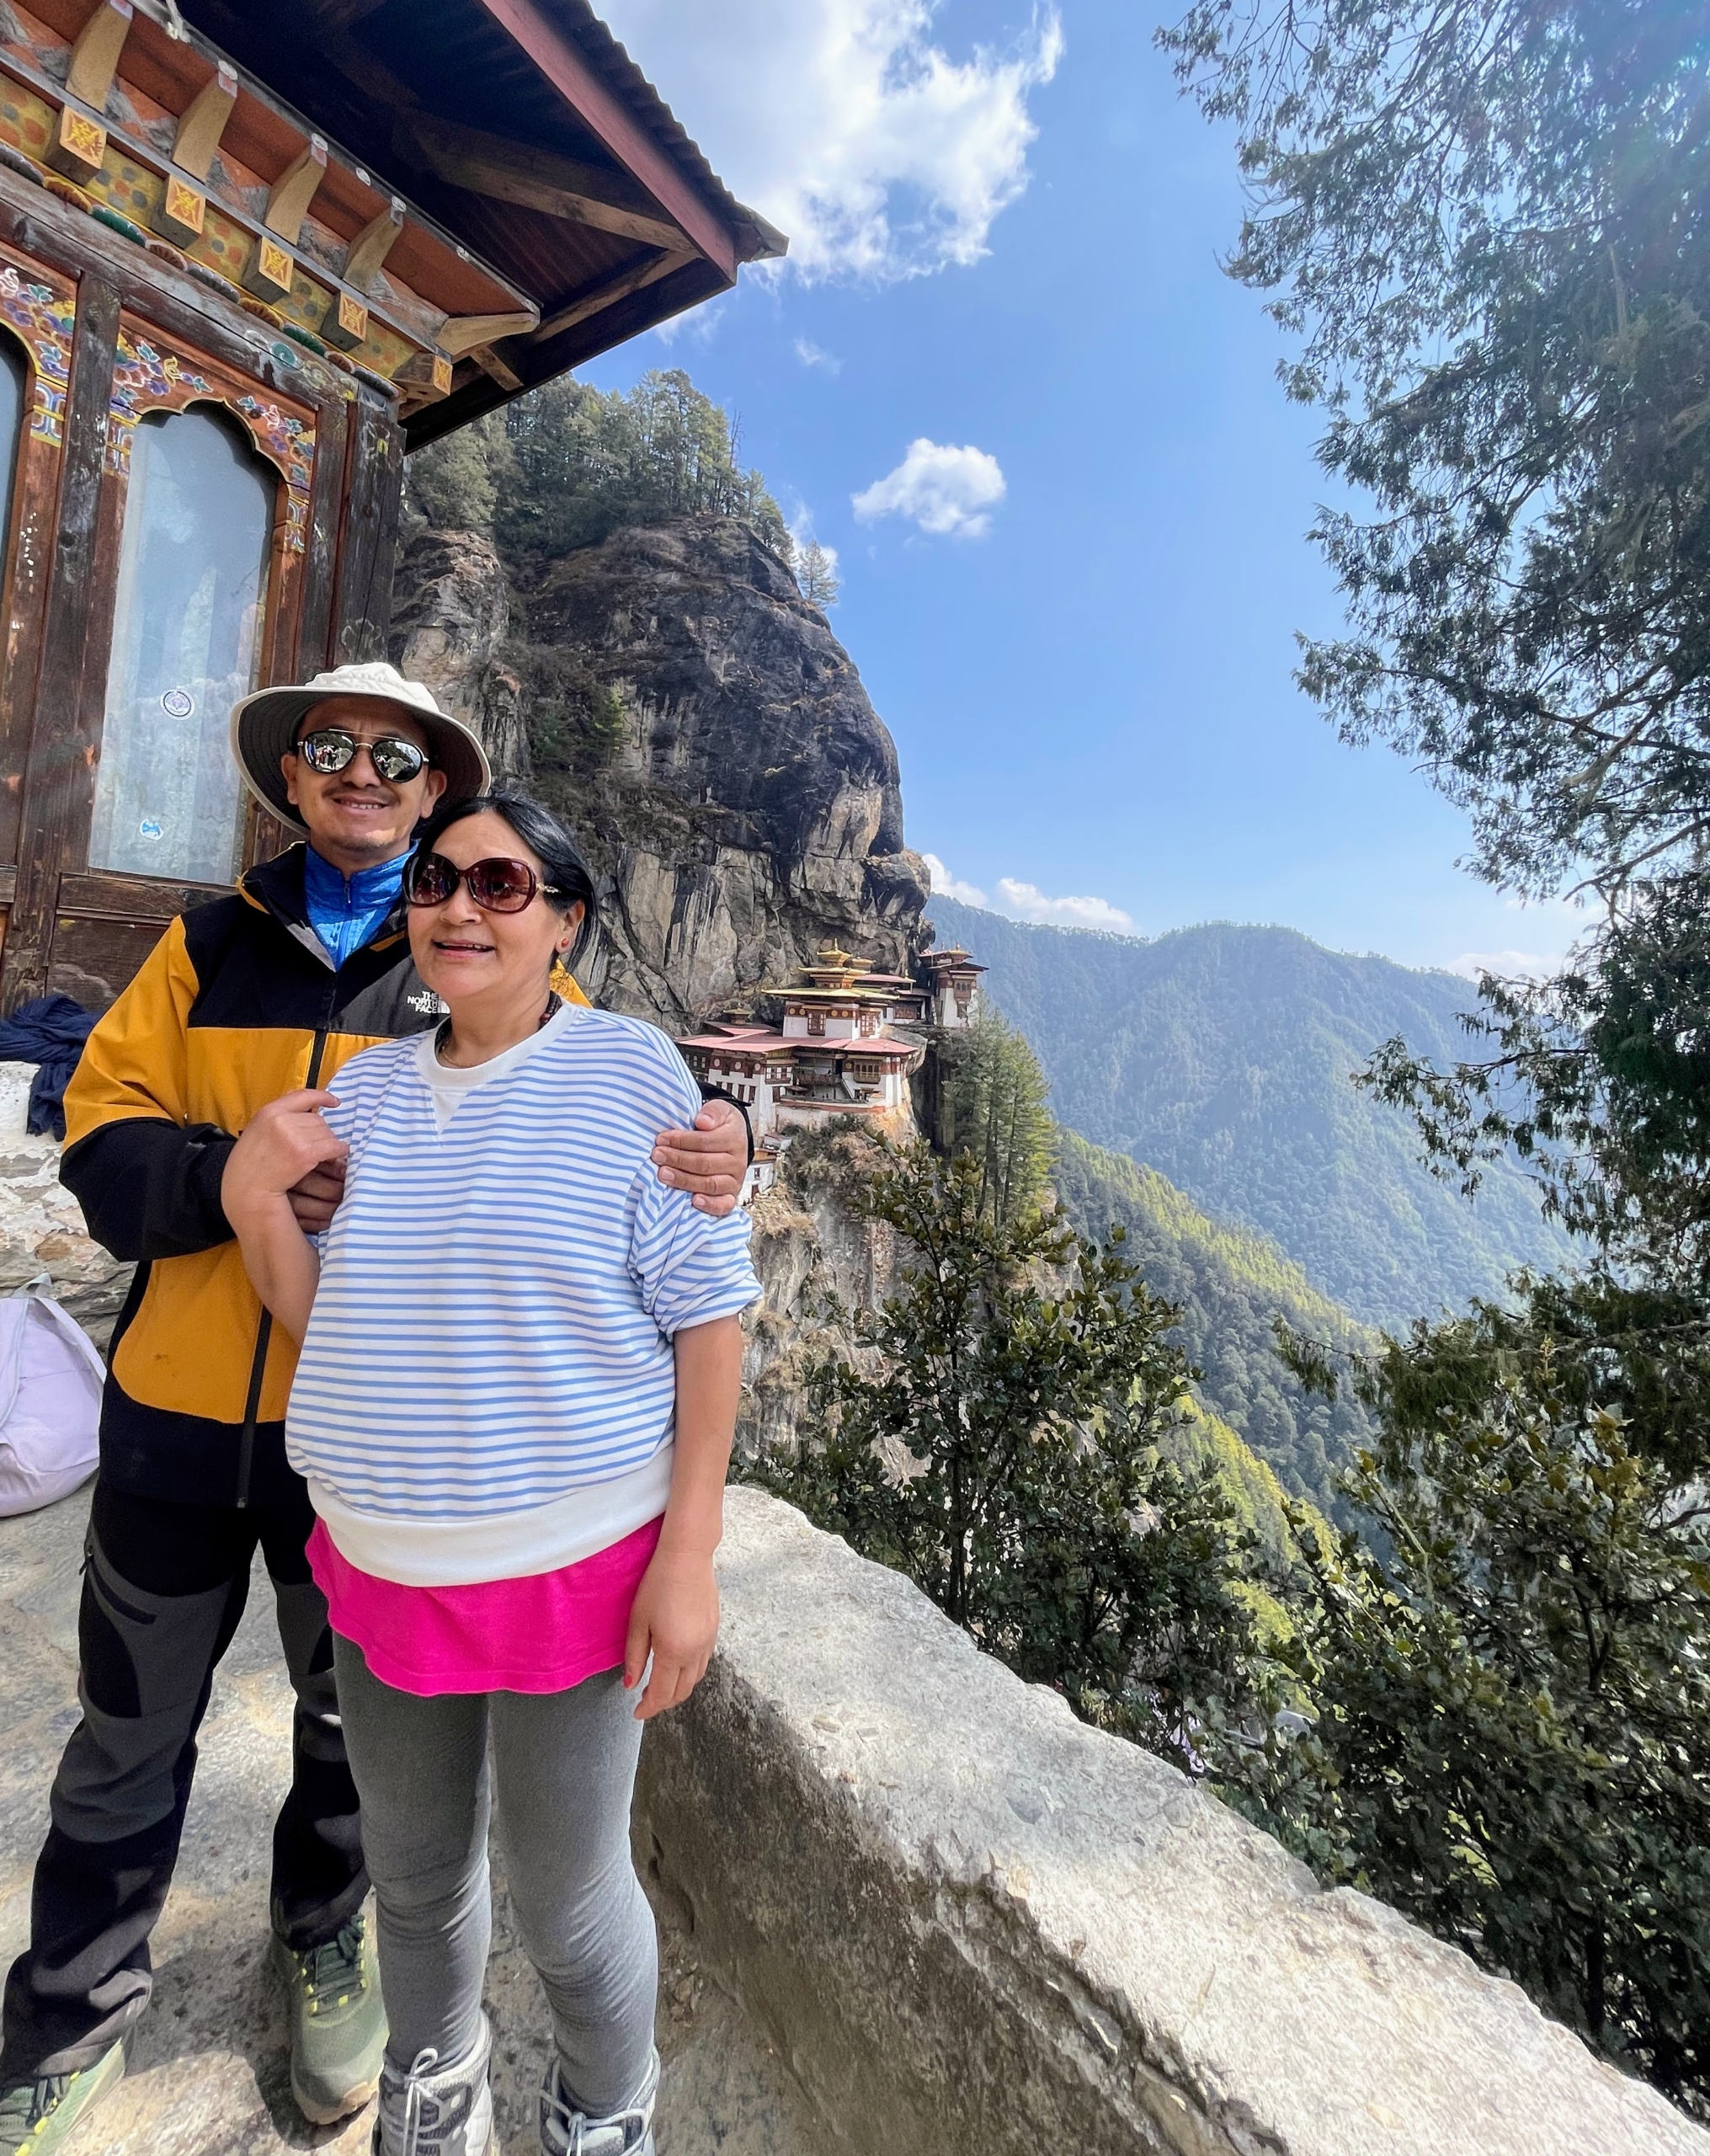
Chhiring and his wife also walked through Paro Taktsang, the Tiger’s Nest. It is located on a cliffside in the upper Paro valley in Bhutan and is a sacred Vajrayana Himalayan Buddhist site for prayer and teachings.
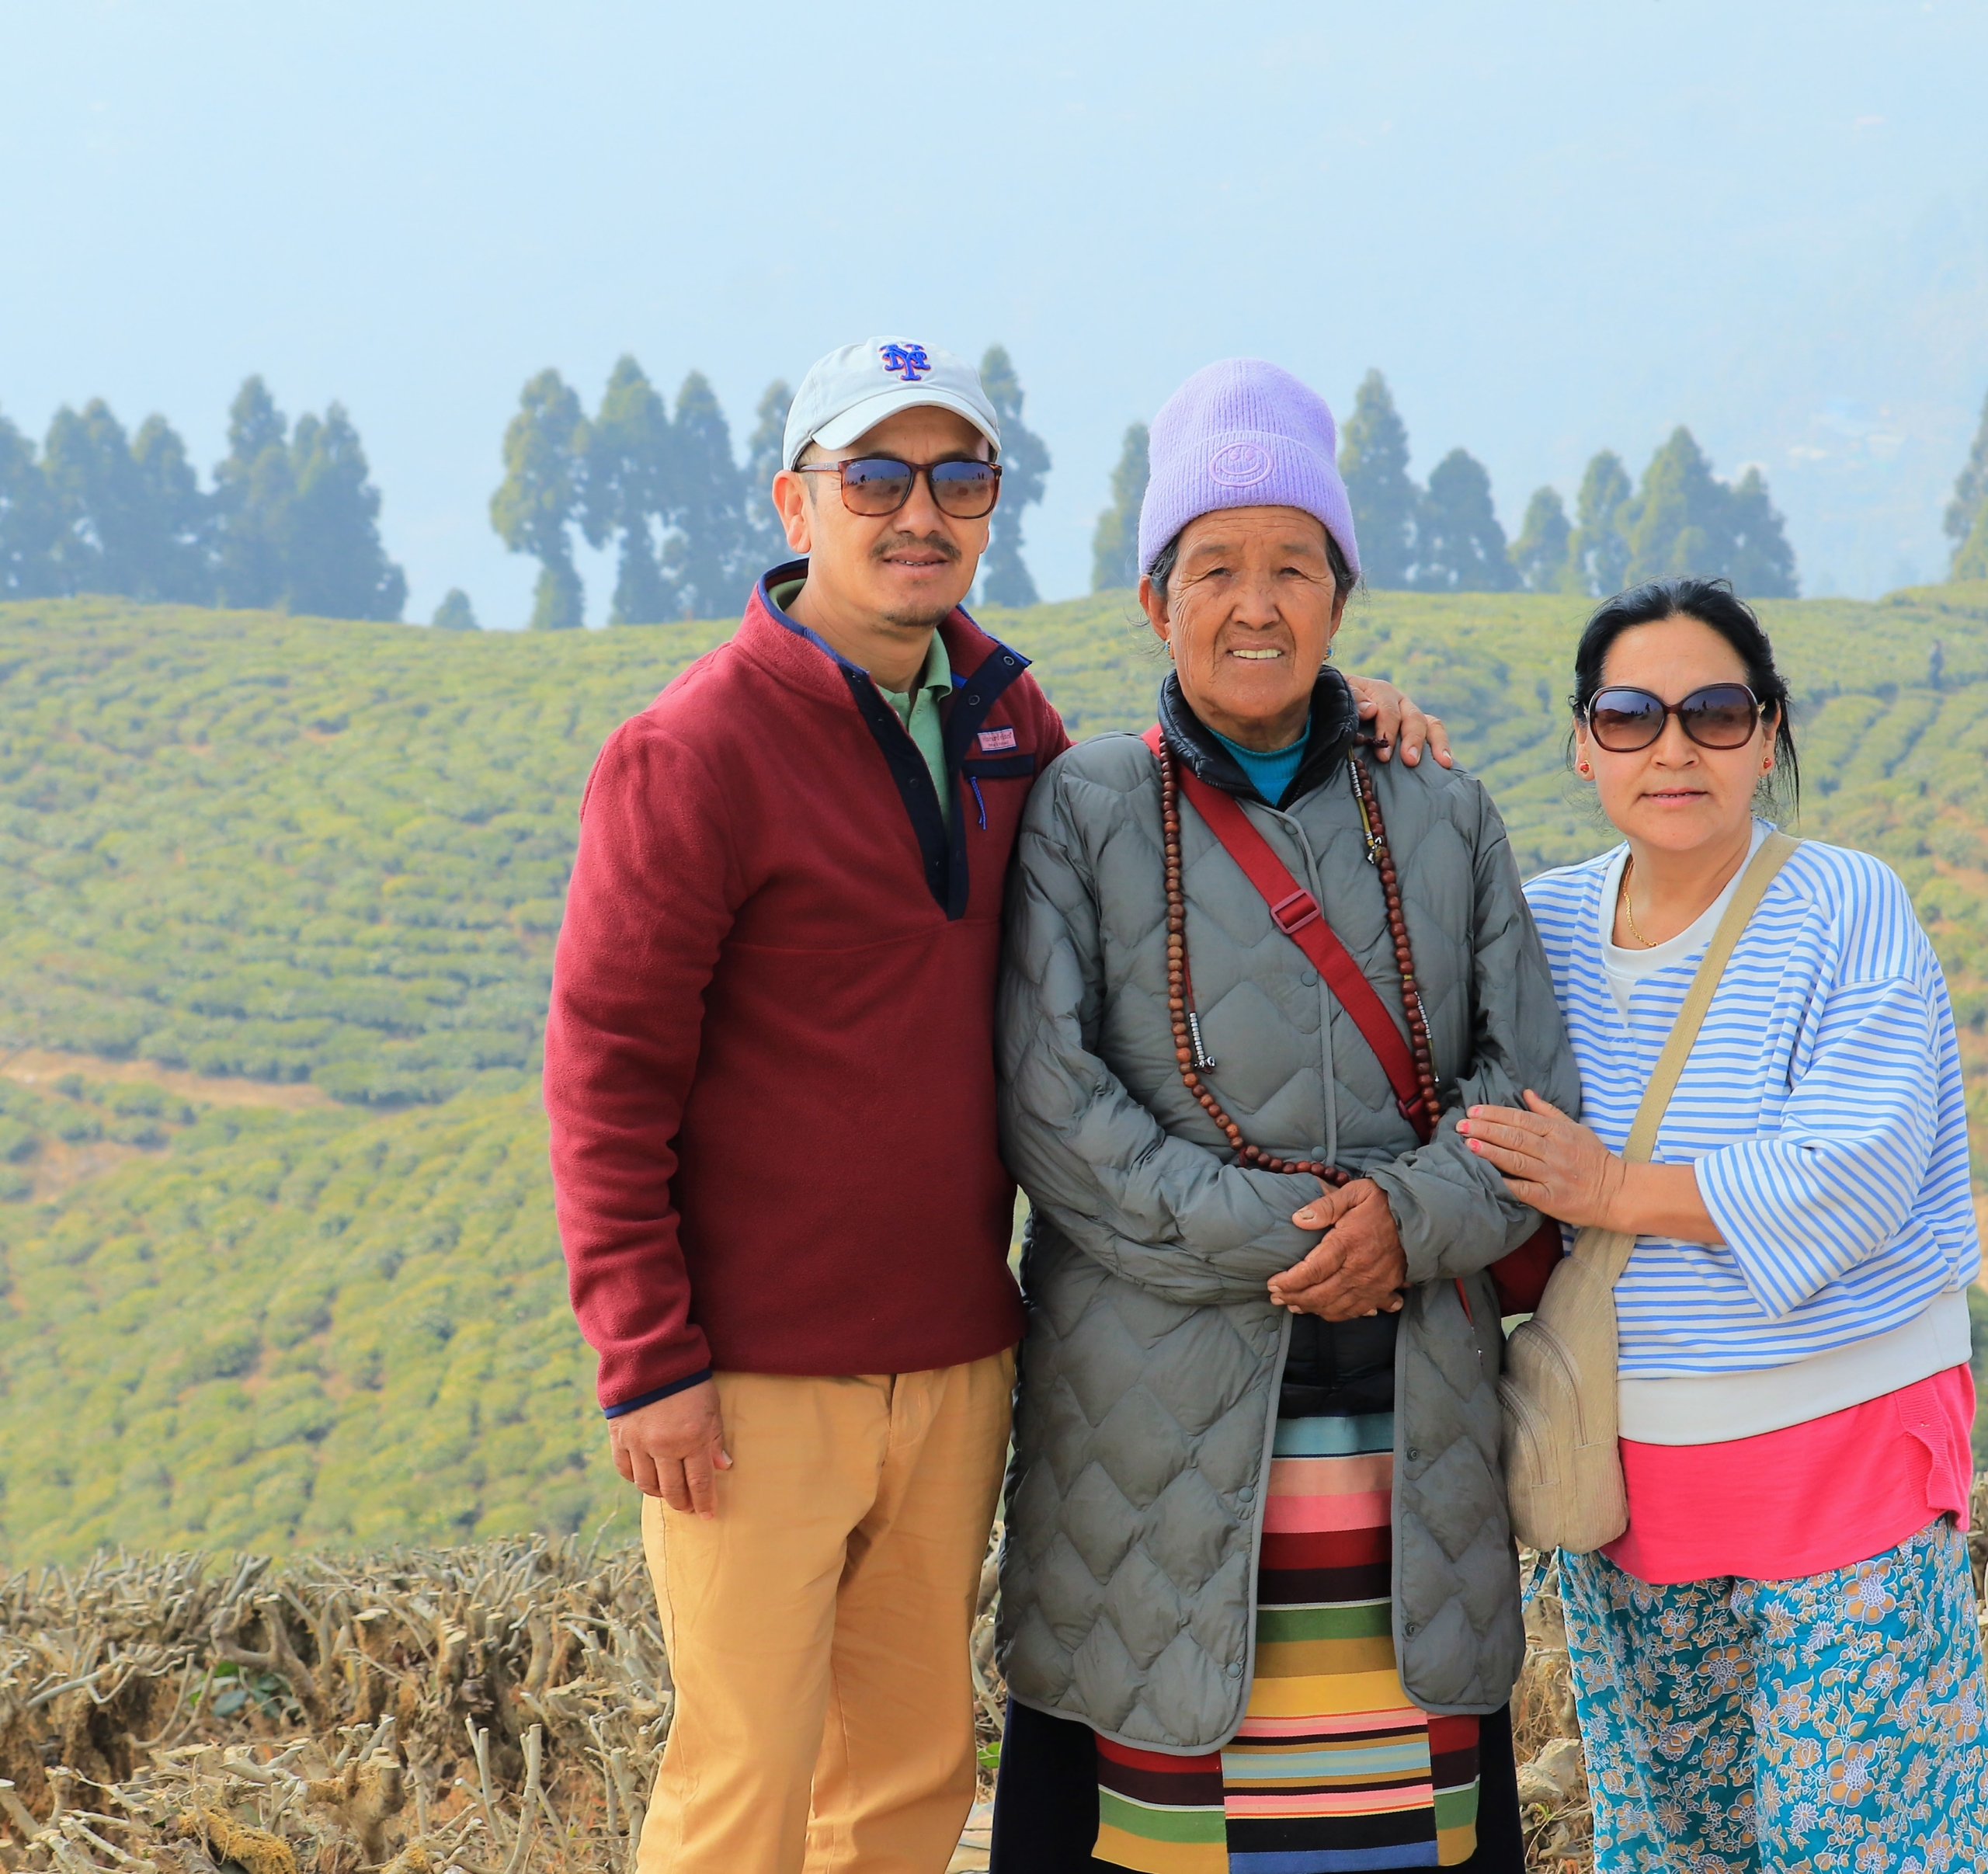
Finally, a visit to Nepal, Chhiring’s homeland. Here he is with his wife and mother in front of one of the the country’s tea gardens, Kanyam, where black, green, and white teas are produced.
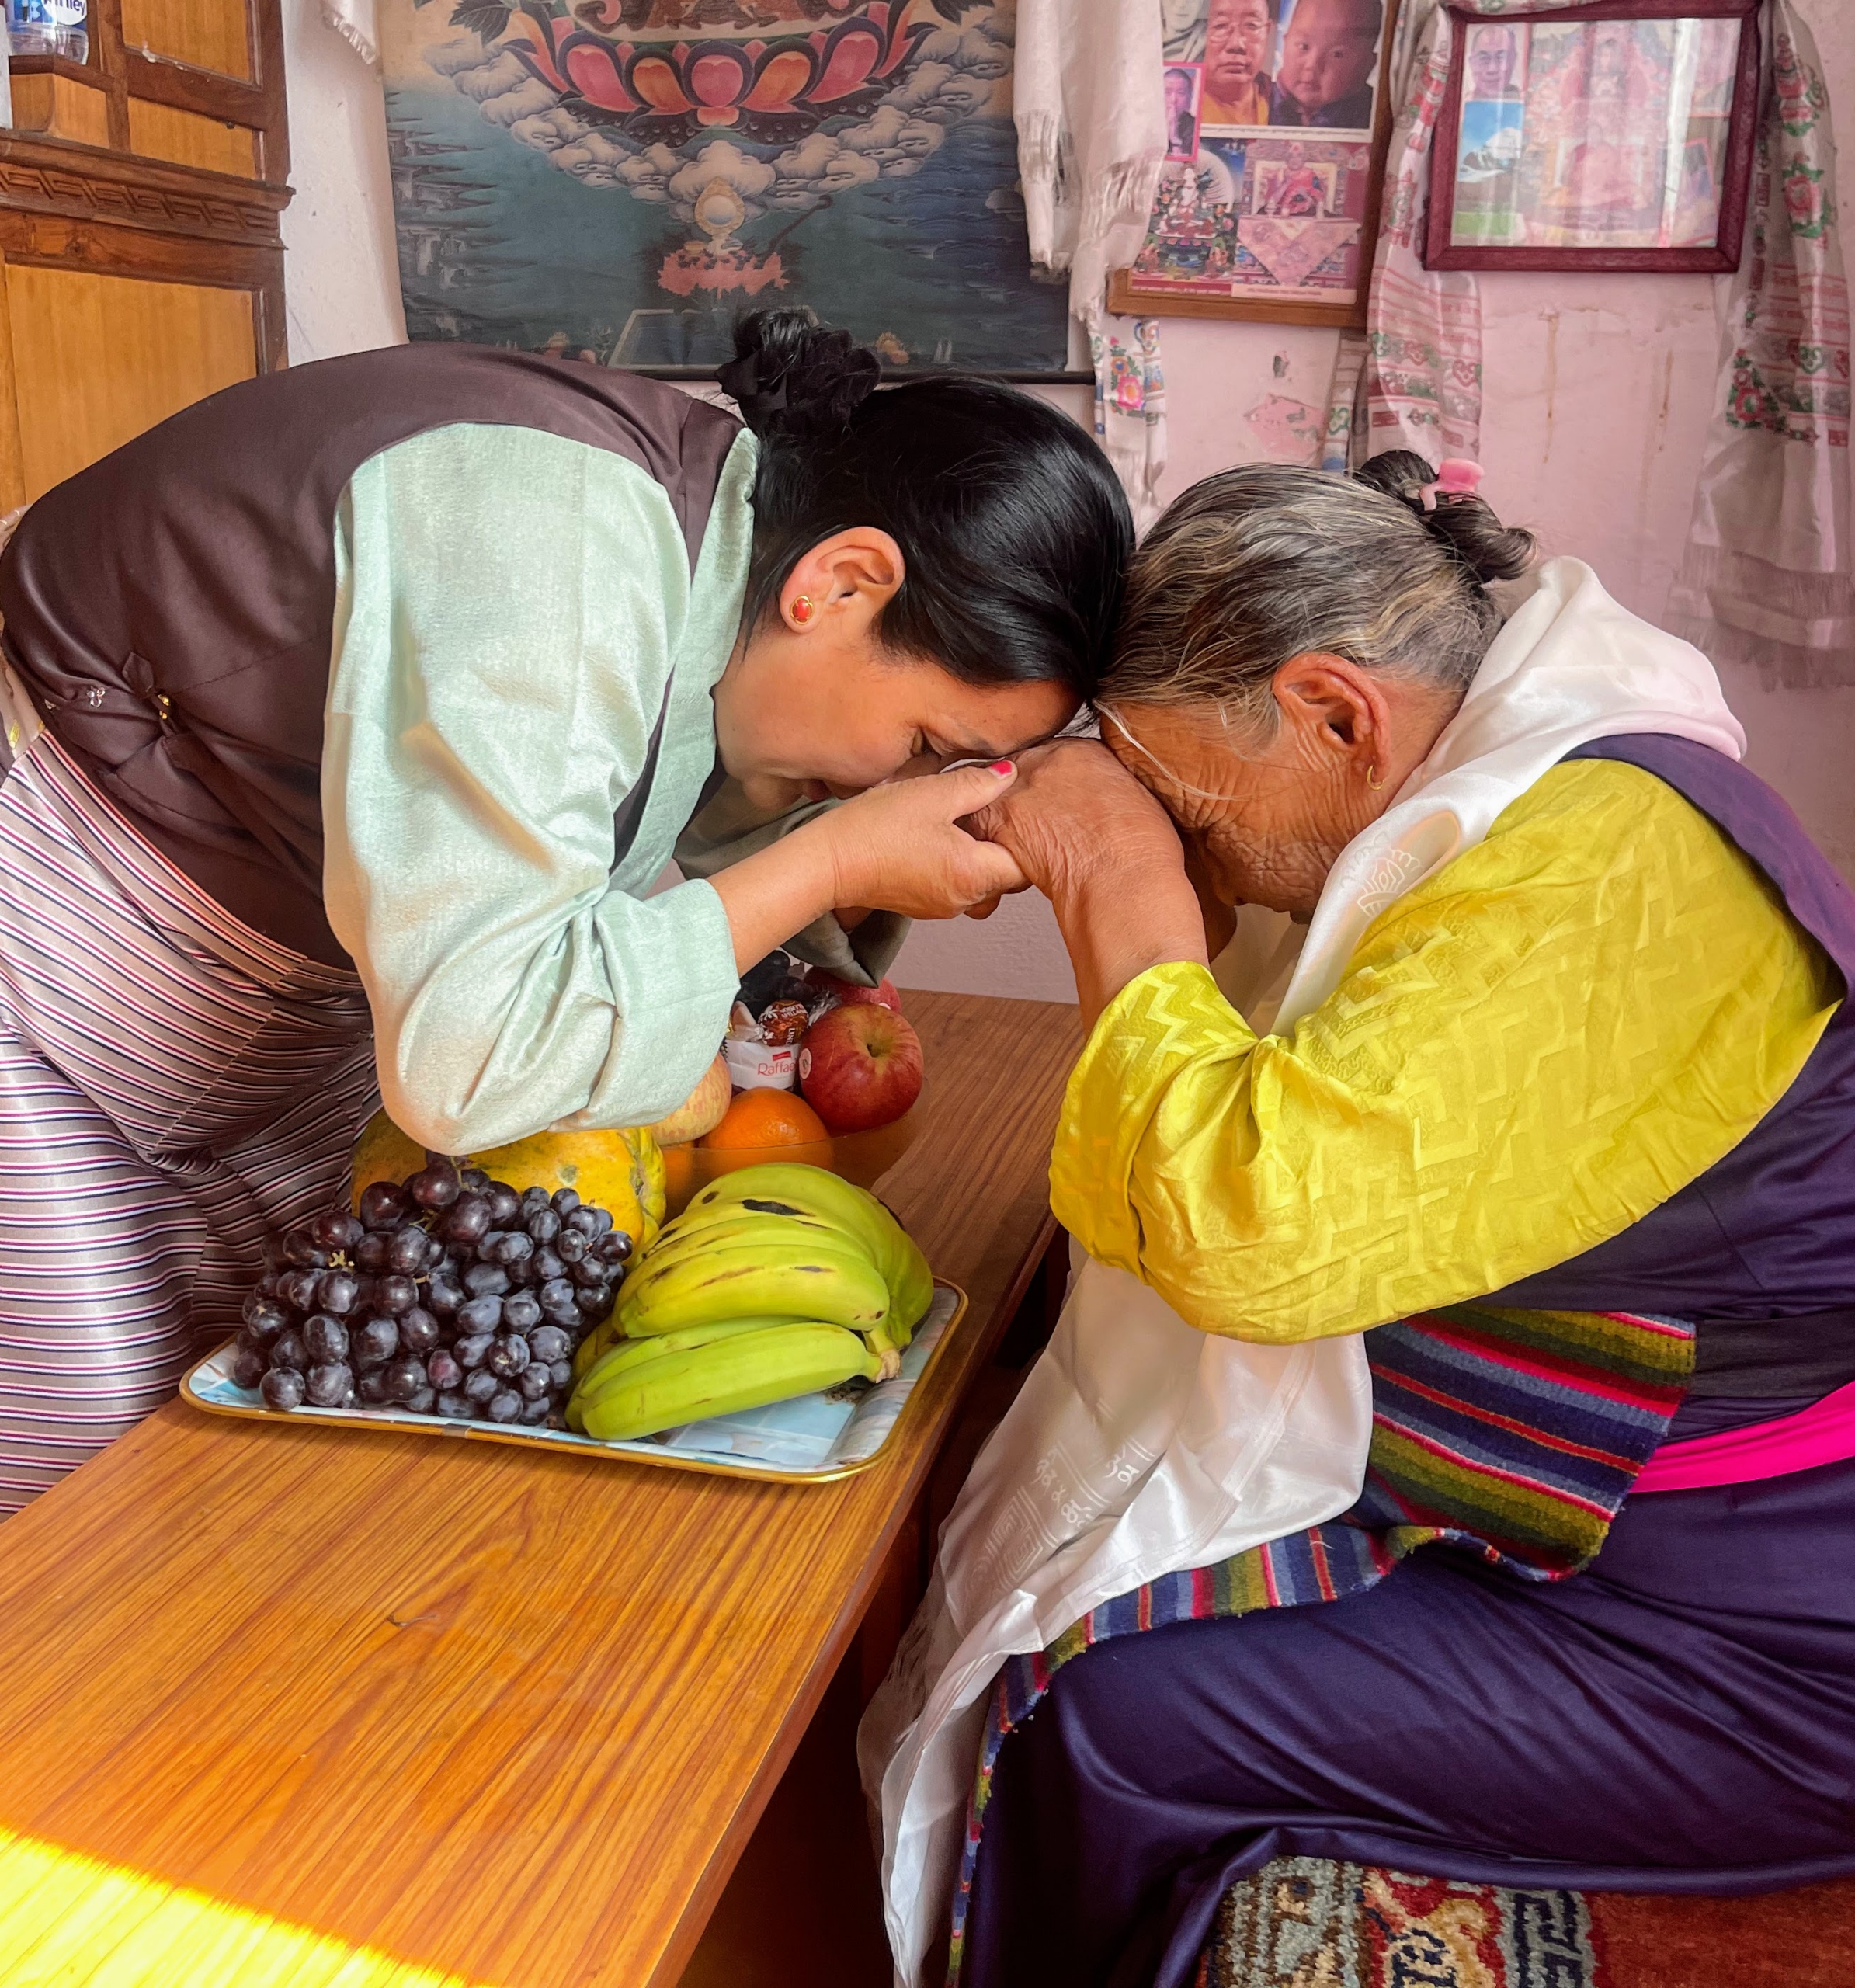
Here, Chhiring’s wife asks for New Year blessings from her mother. The family was happy to spend the holiday at home in Nepal.
And of course, a photo in front of the stunning mountains of the region. What a wonderful trip Chhiring – thanks for sharing these photos with us!
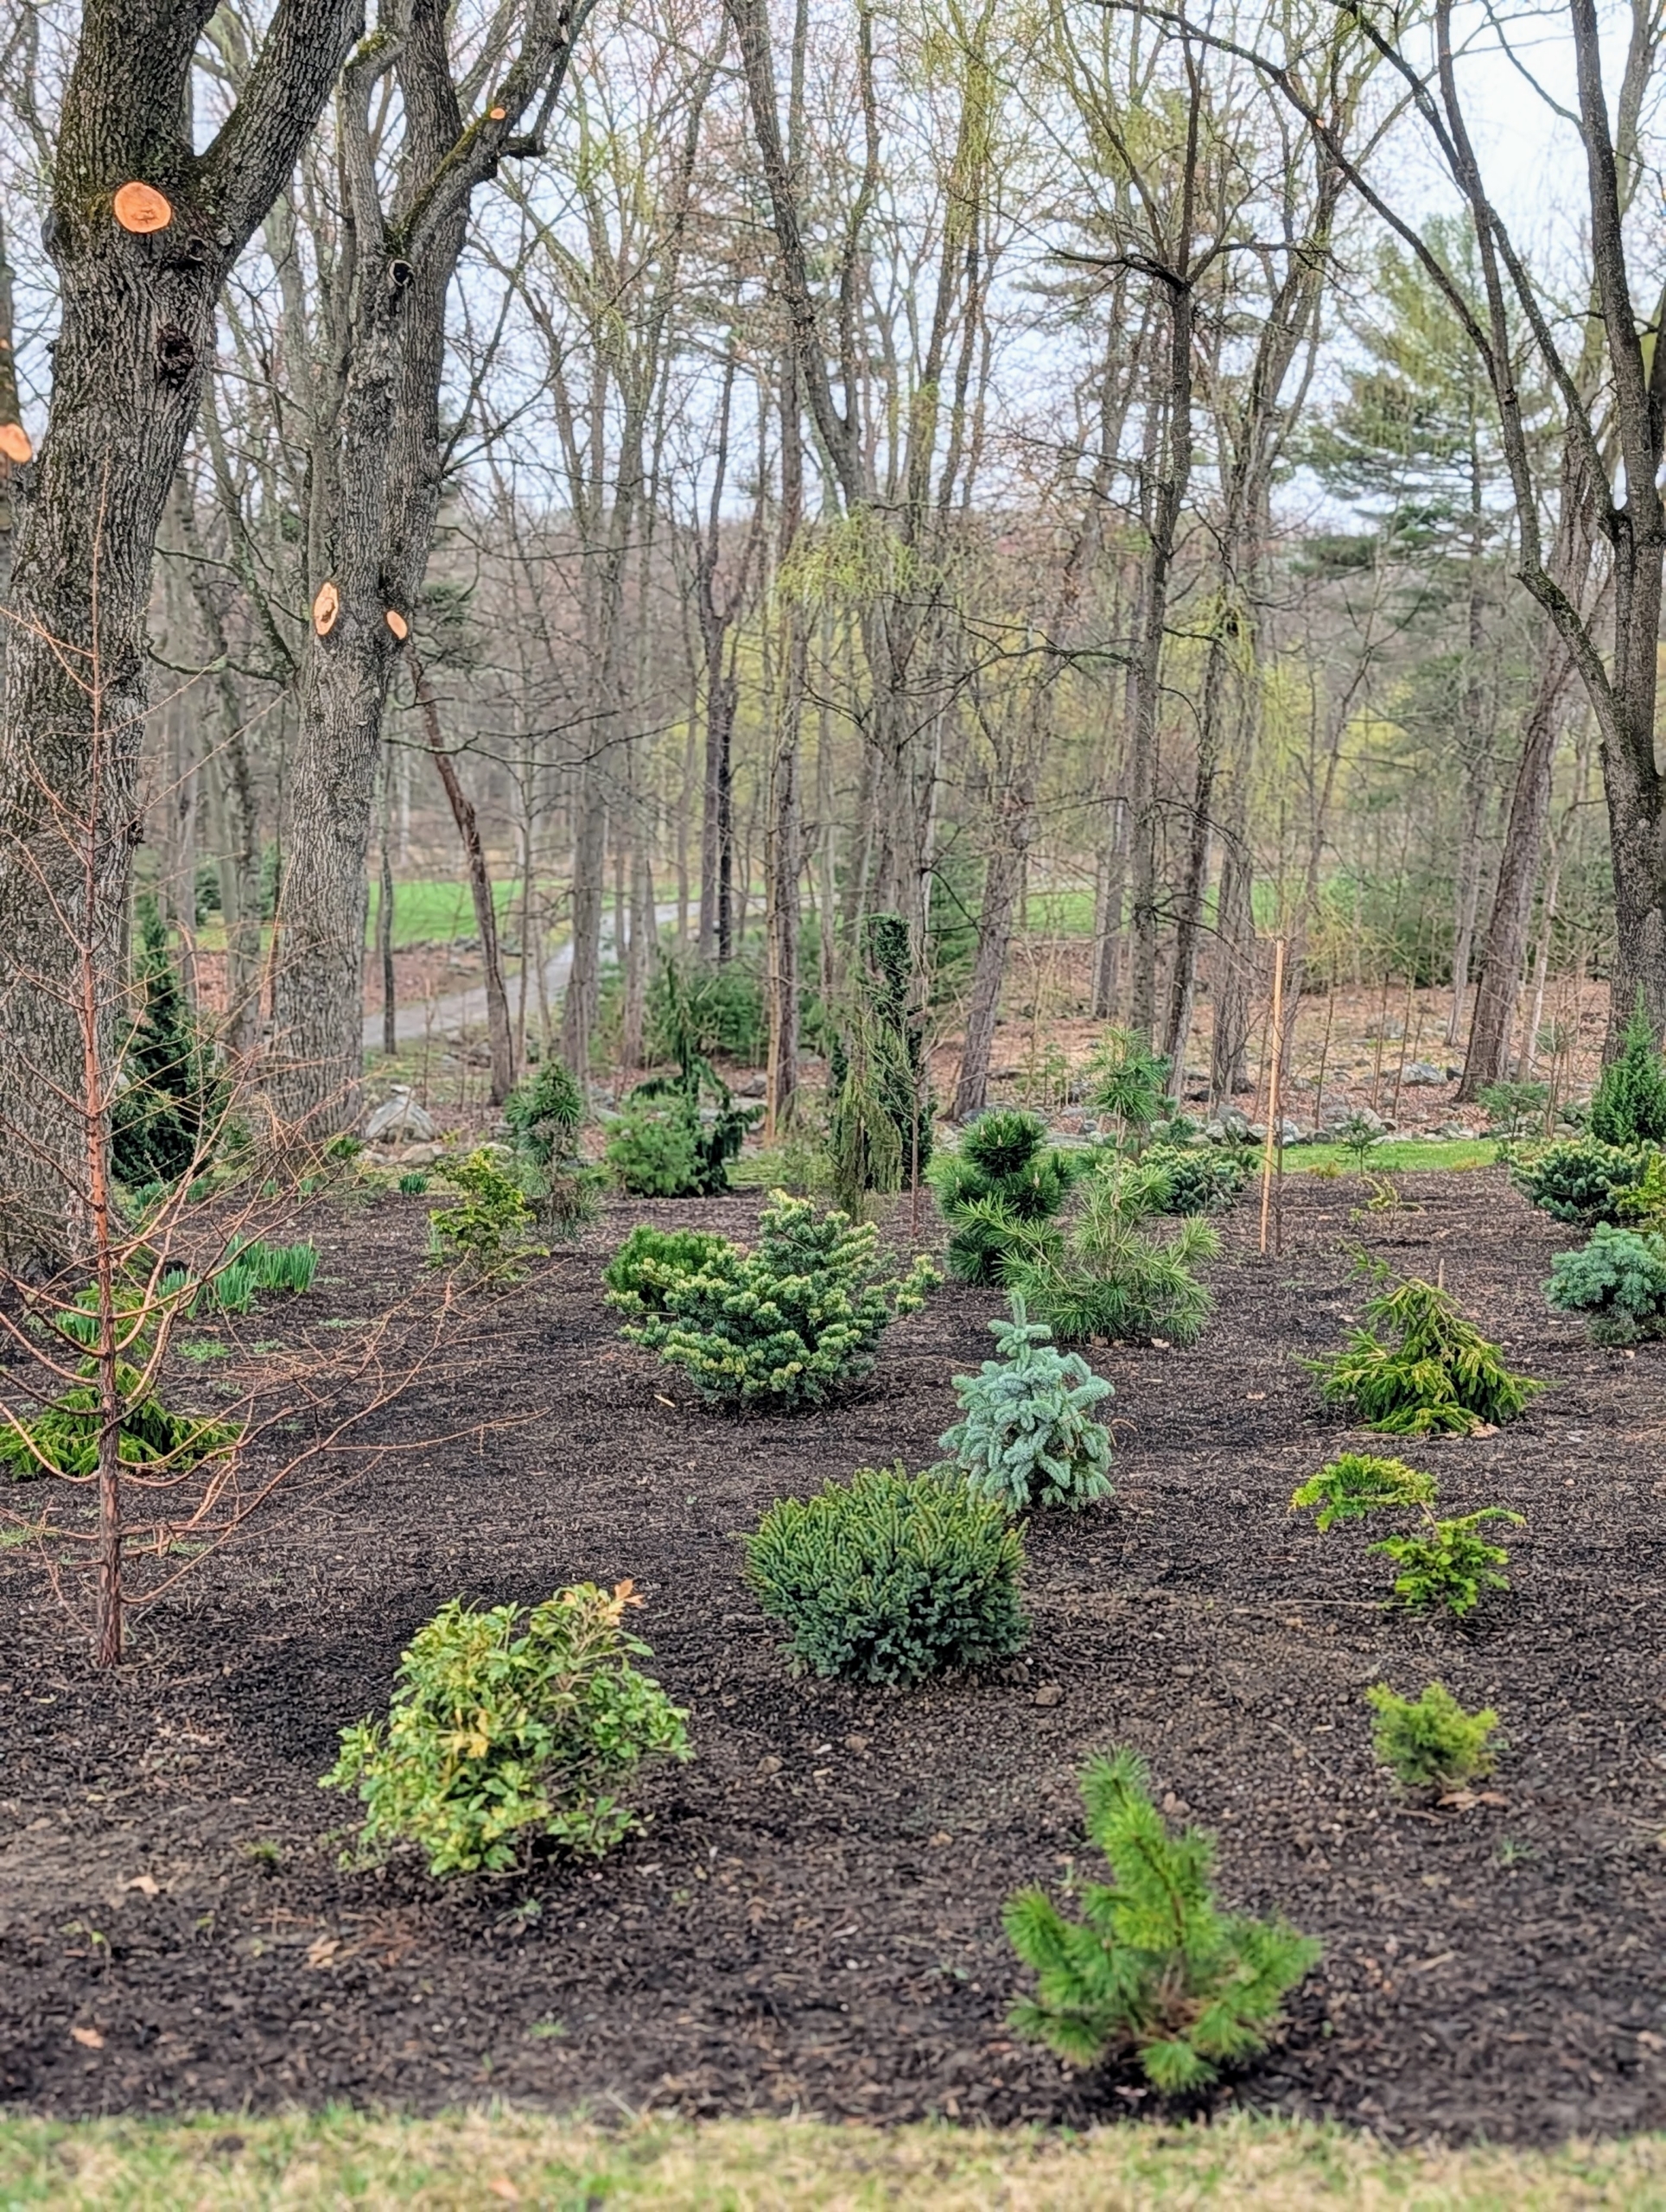
Planting evergreens is a great way to add color and texture in the garden, attract wildlife, and help clean and purify the air.
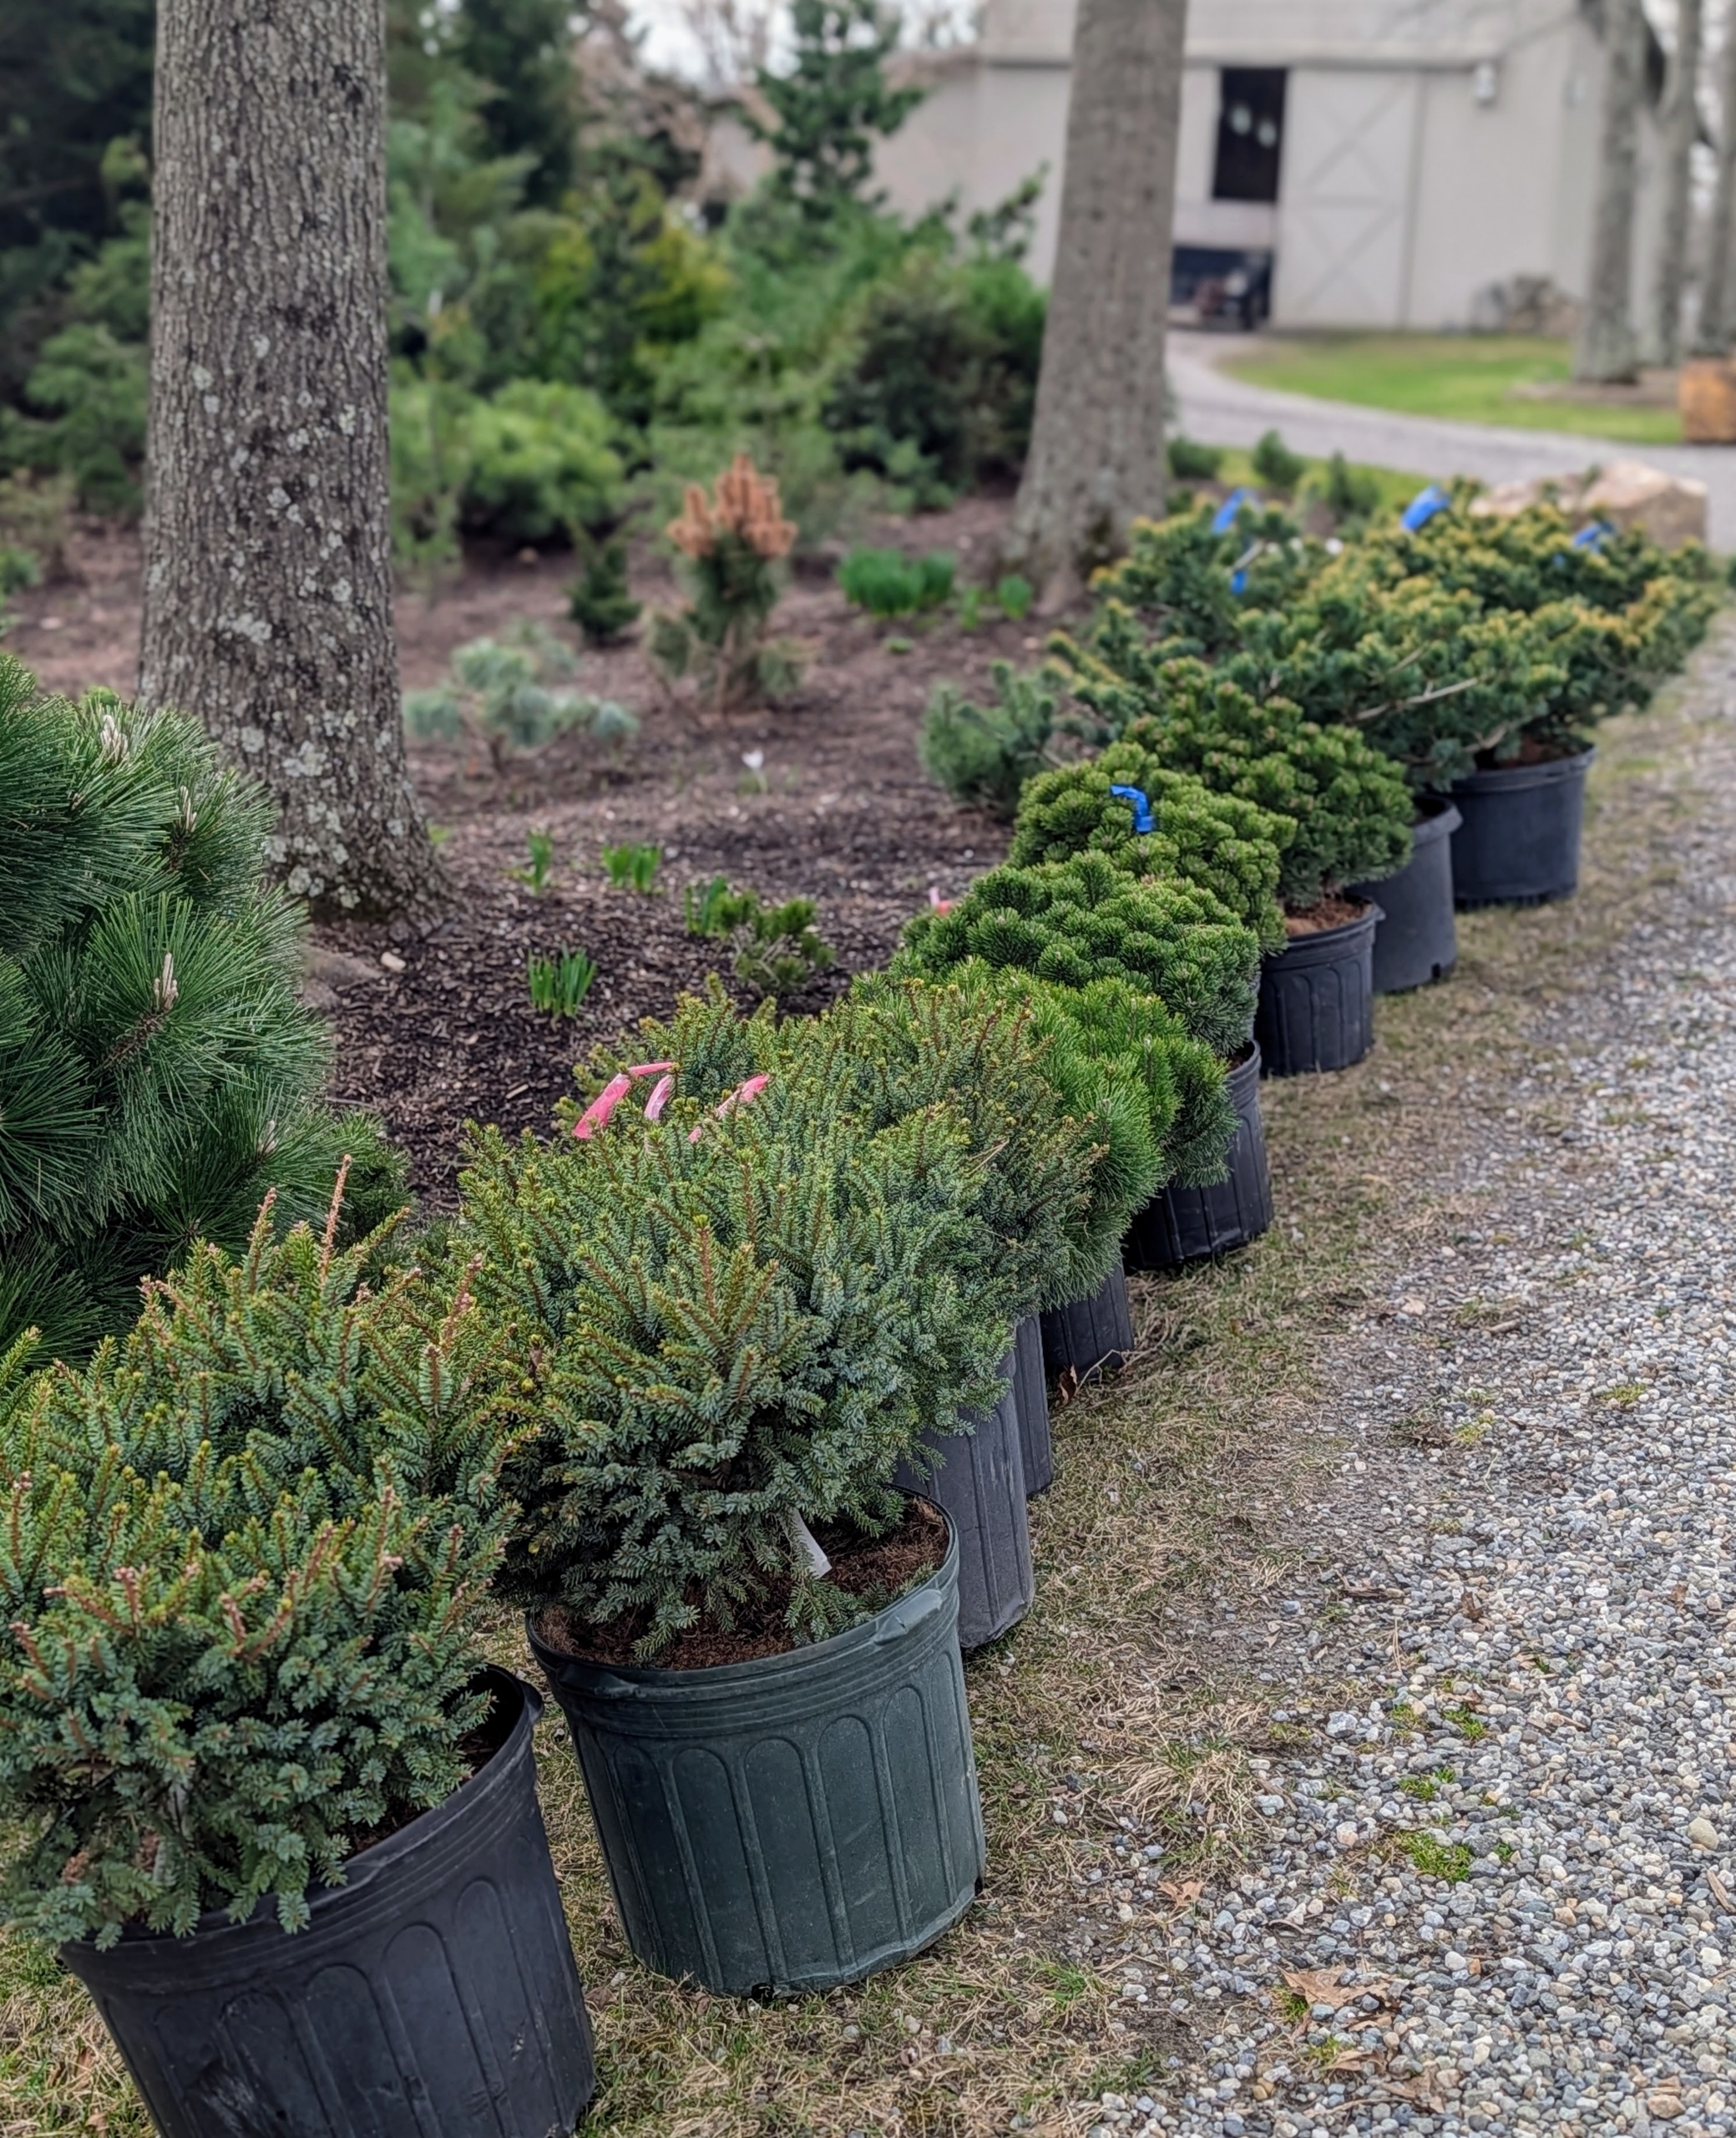
Here at my farm, I have an area I call my pinetum. It's an arboretum of pine trees and other conifers I developed soon after I moved to the property. The trees and shrubs have grown extremely well here, and I continue to plant additional specimens every year. Earlier this week, I purchased a beautiful selection of evergreens from Hardscrabble Farms in North Salem, New York. Among them - a variety of interesting pines, junipers, spruces, and cypresses. Once they arrived, I chose where they would be planted and the crew got to work.
Here are some photos, enjoy.
I am always looking for ways to add more beauty and texture to all my garden beds. One area that is constantly evolving is my pinetum – an arboretum of pine trees and other conifers.
For me, it’s always so exciting to go to a nursery, pick out interesting specimens, and bring home a new selection of plants for the farm.
Once I get them home, the plants are unloaded right away. This is a very healthy juniper. Its upright growth habit and beautiful color make it a great addition to any garden.
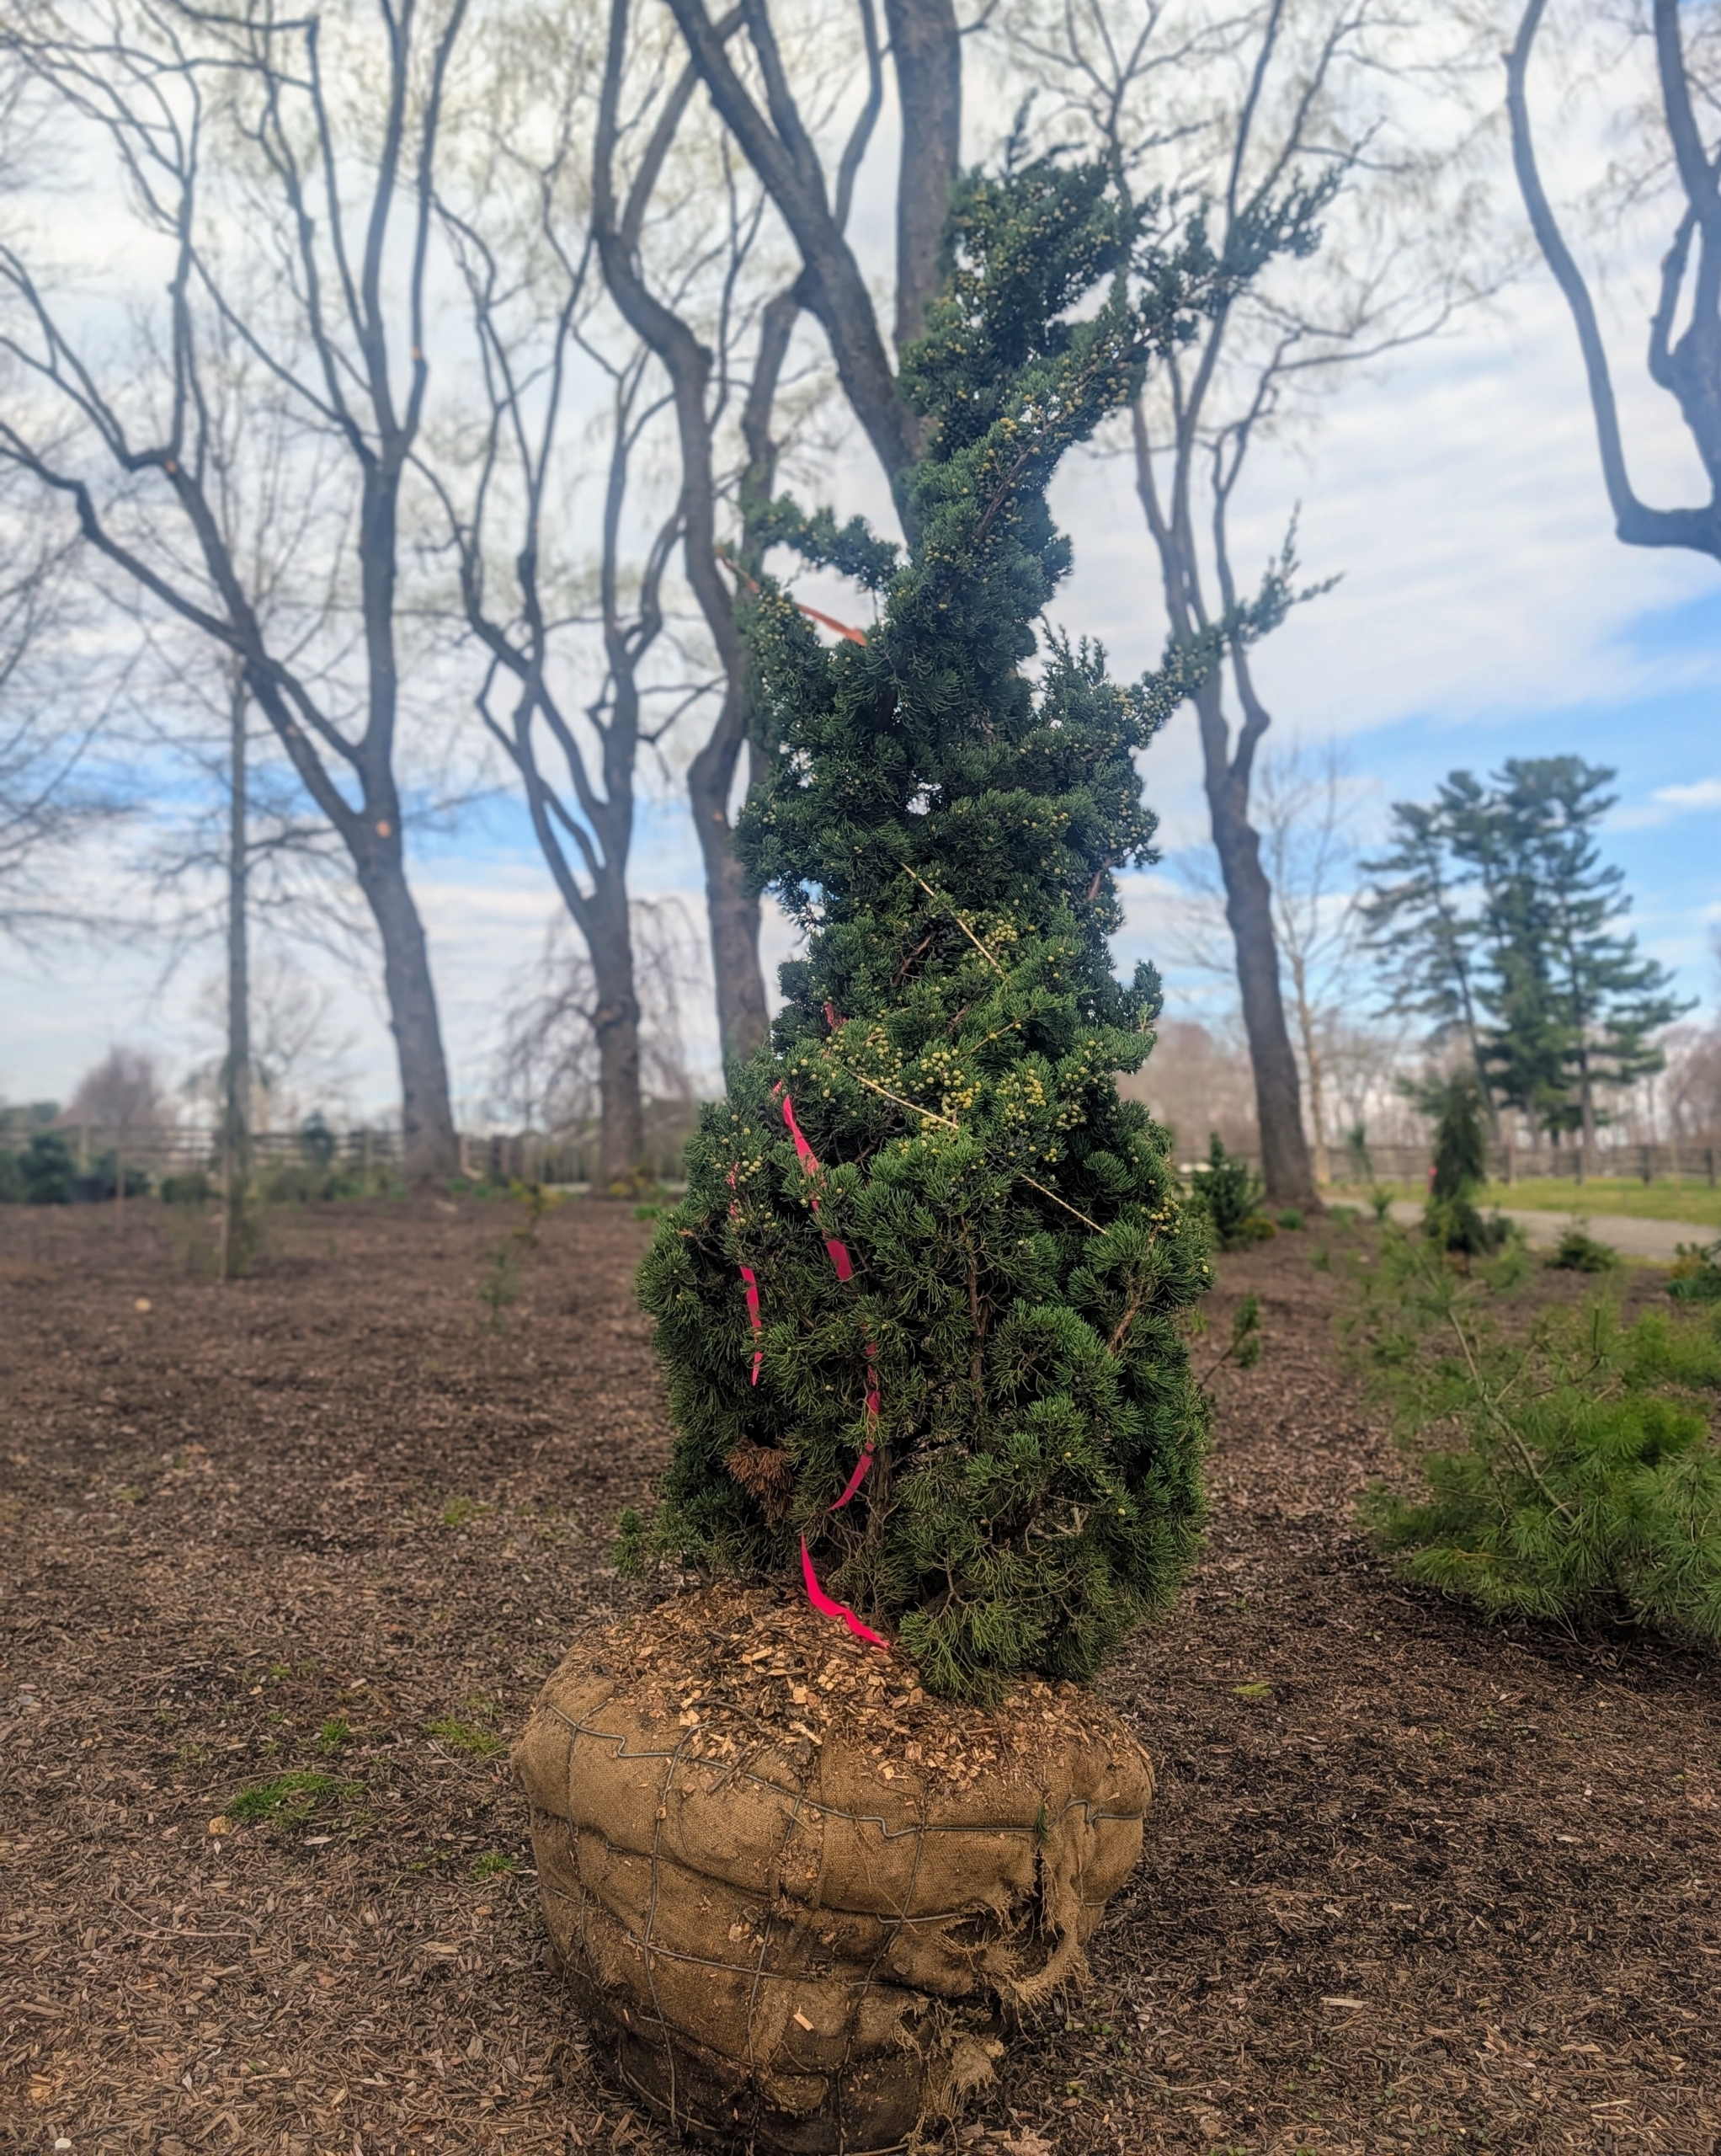
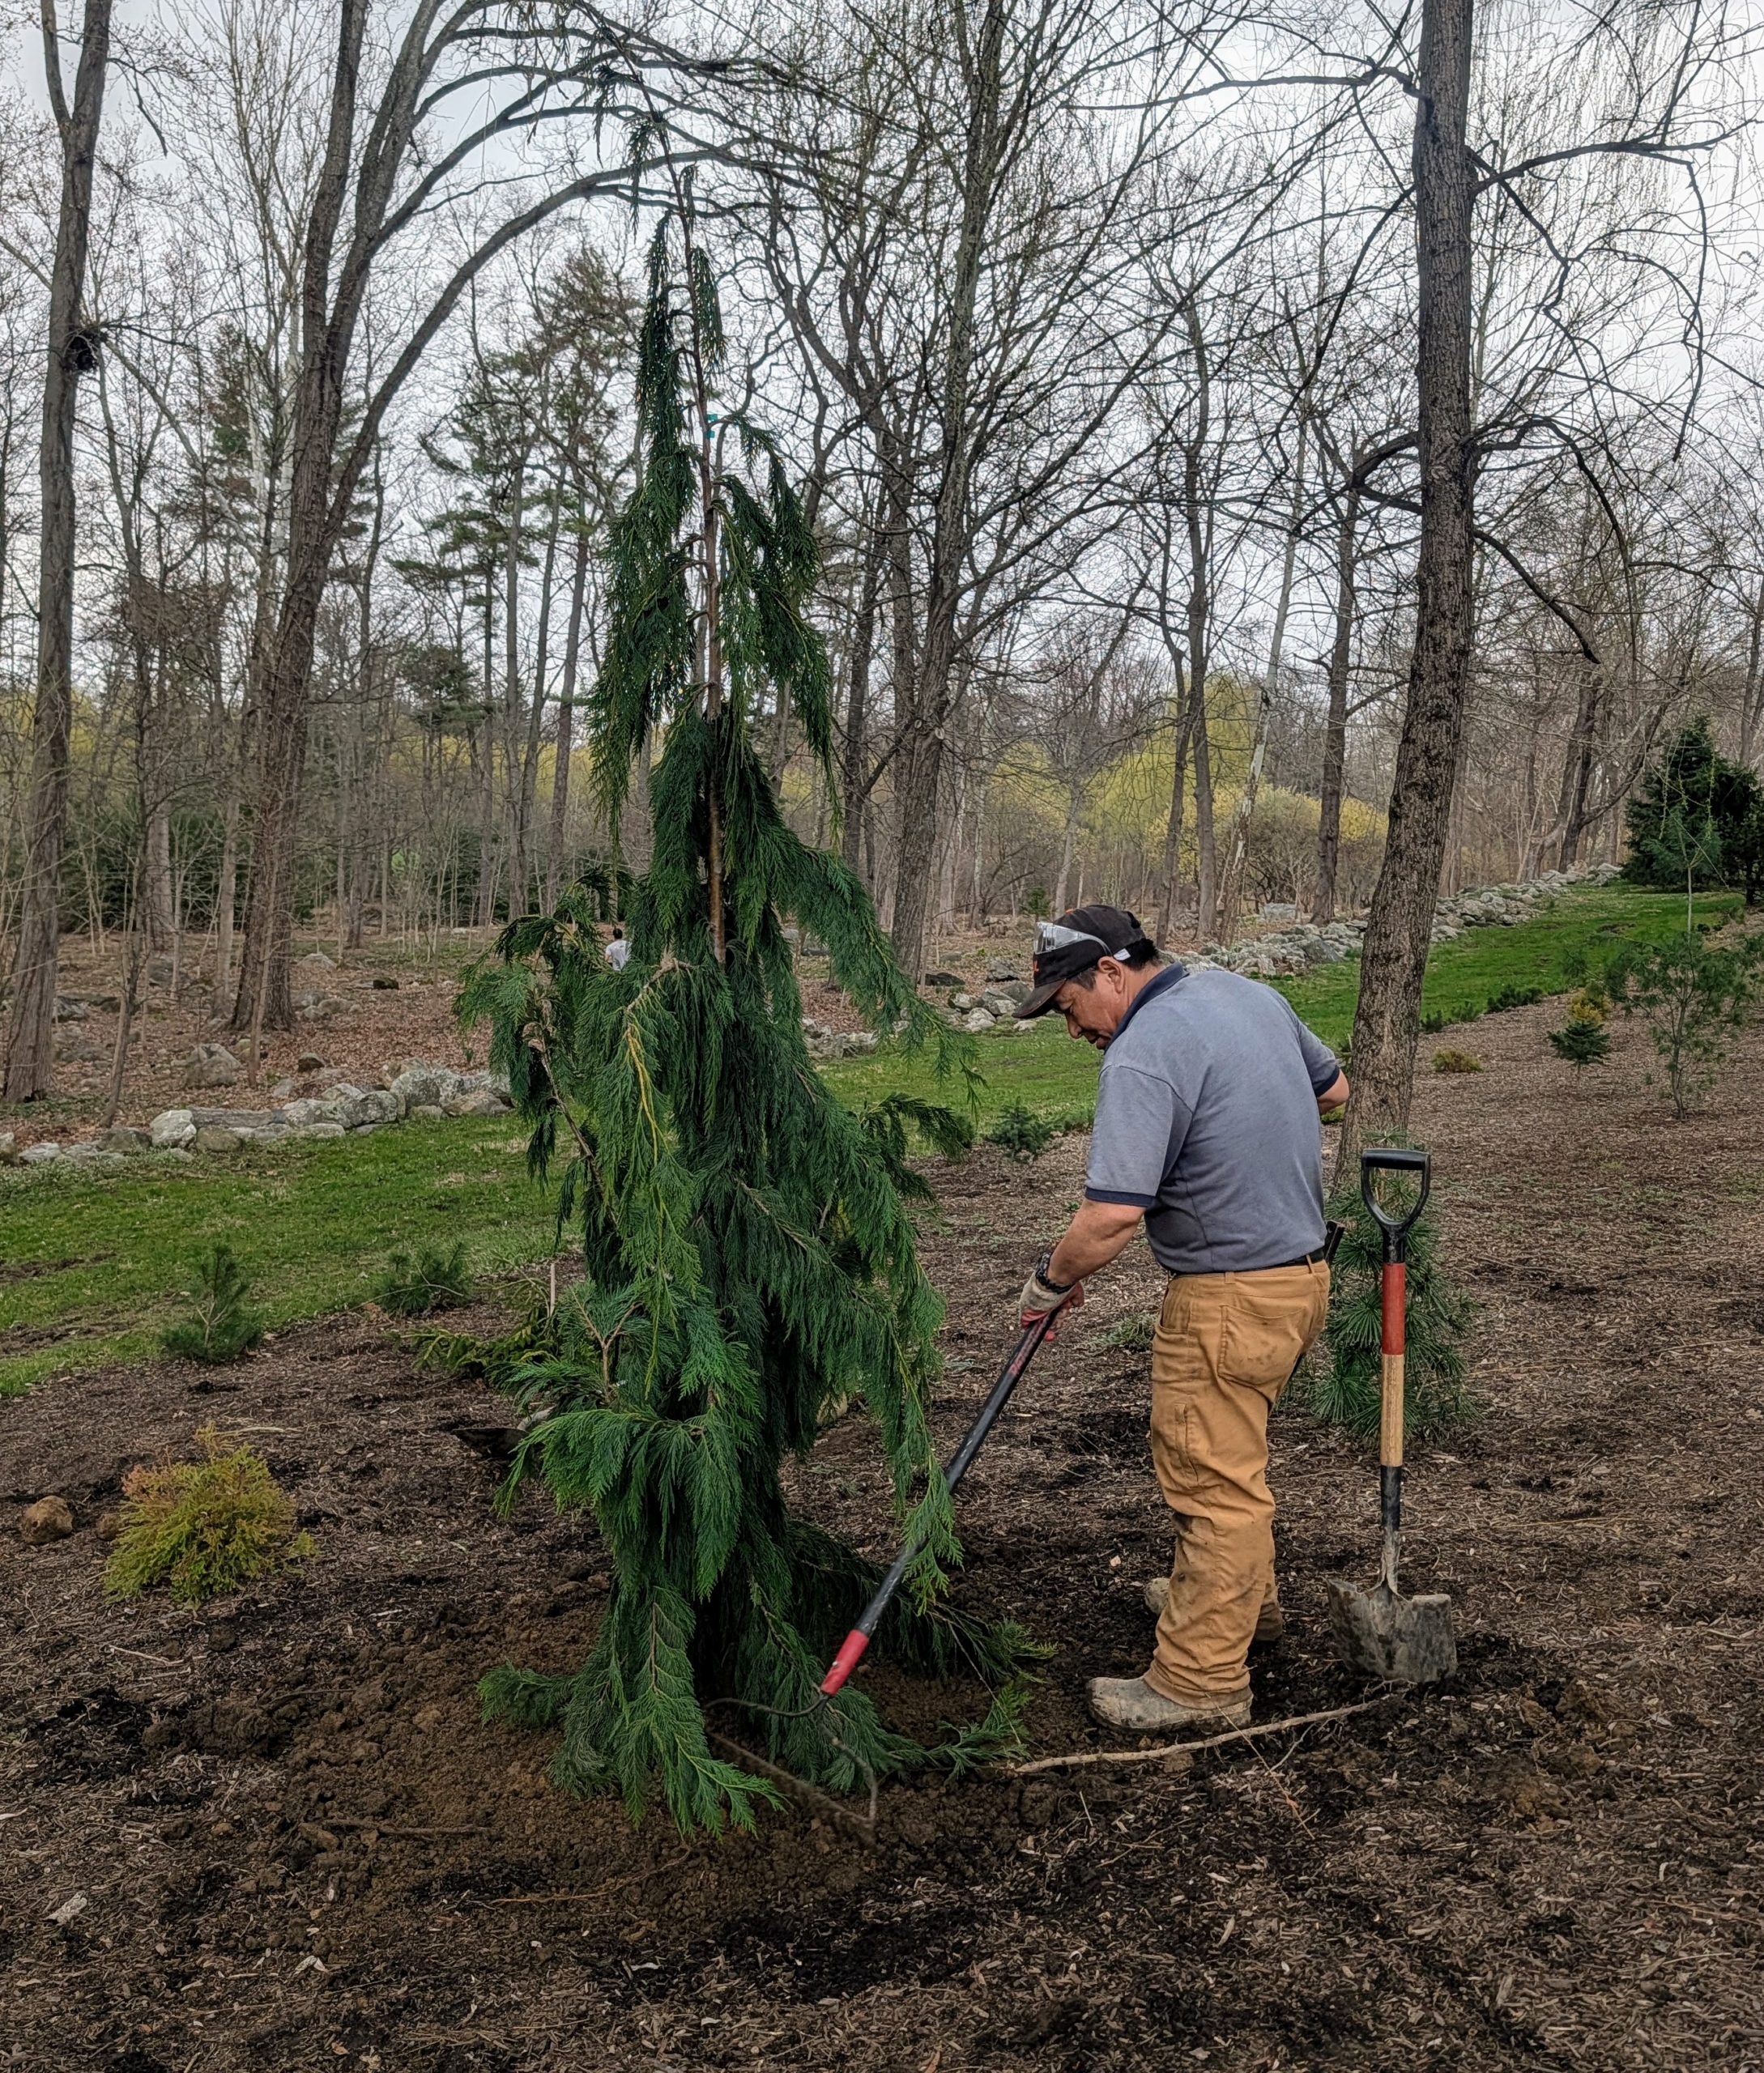
I am happy to place them in their approximate planting positions. My gardeners will also check each individual plant’s space and light needs and adjust accordingly. This is a Picea glauca ‘pendula,’ or weeping white spruce.
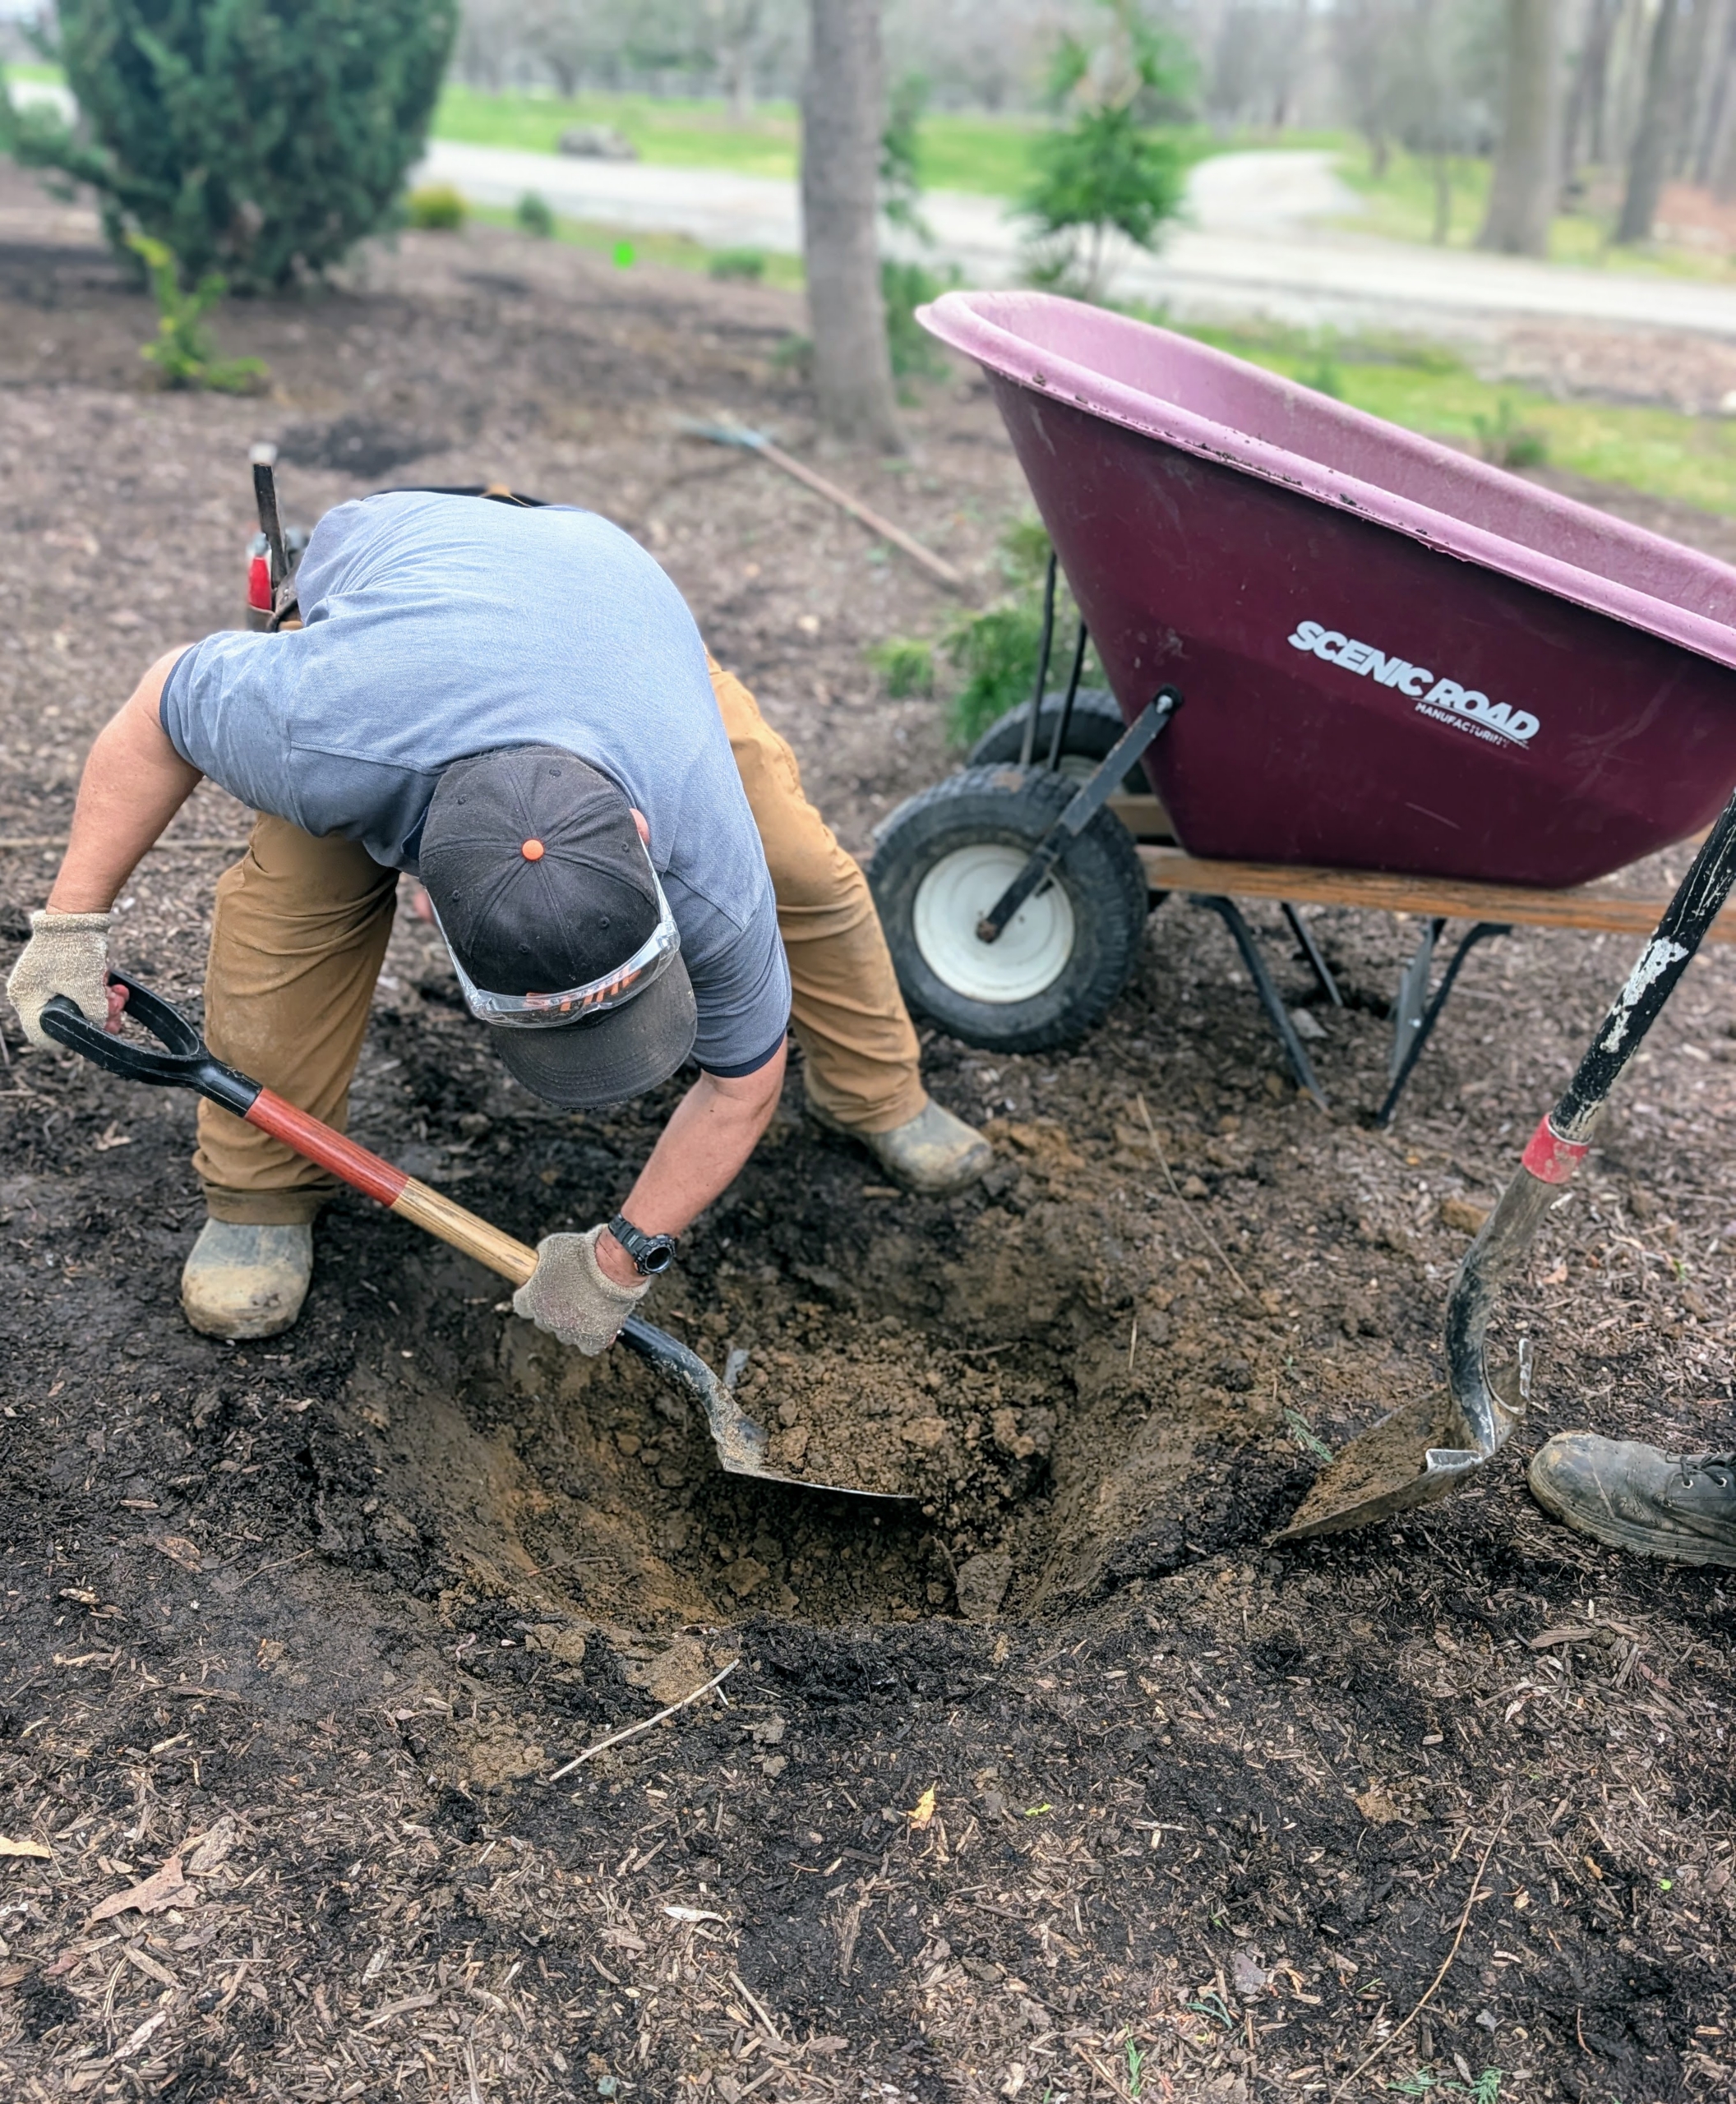
Phurba starts by digging the hole at least twice the size of the plant.
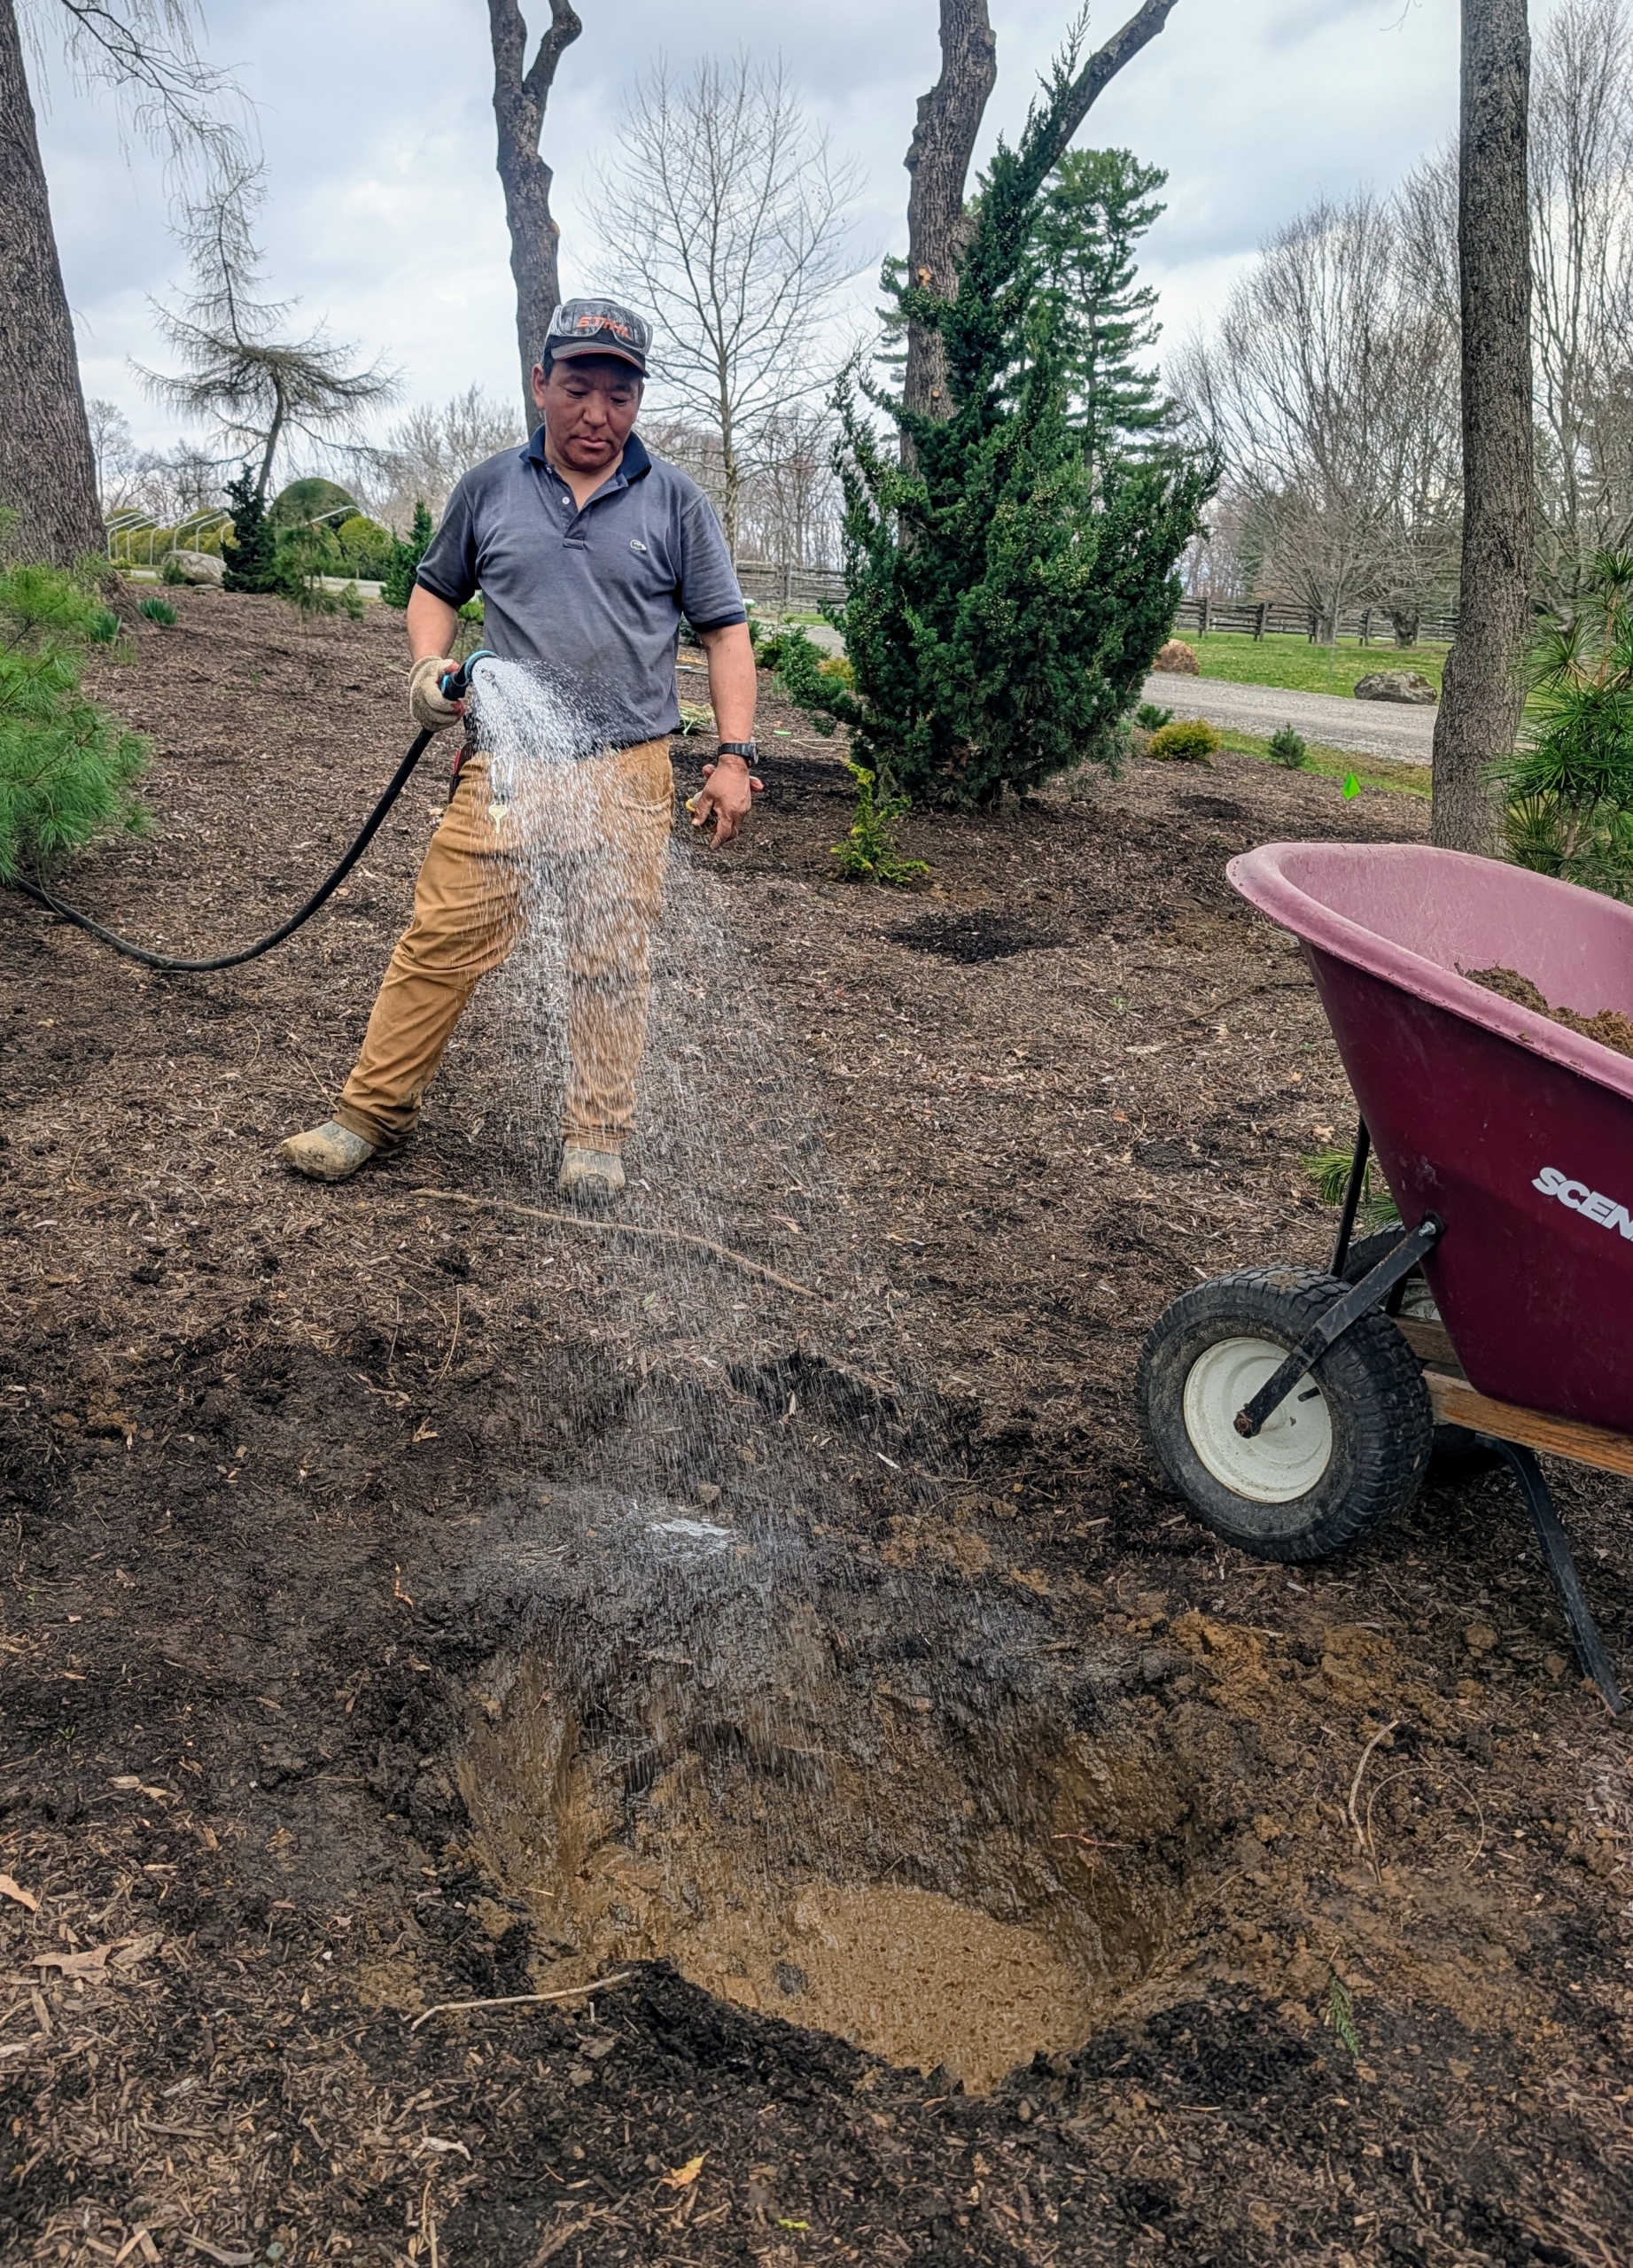
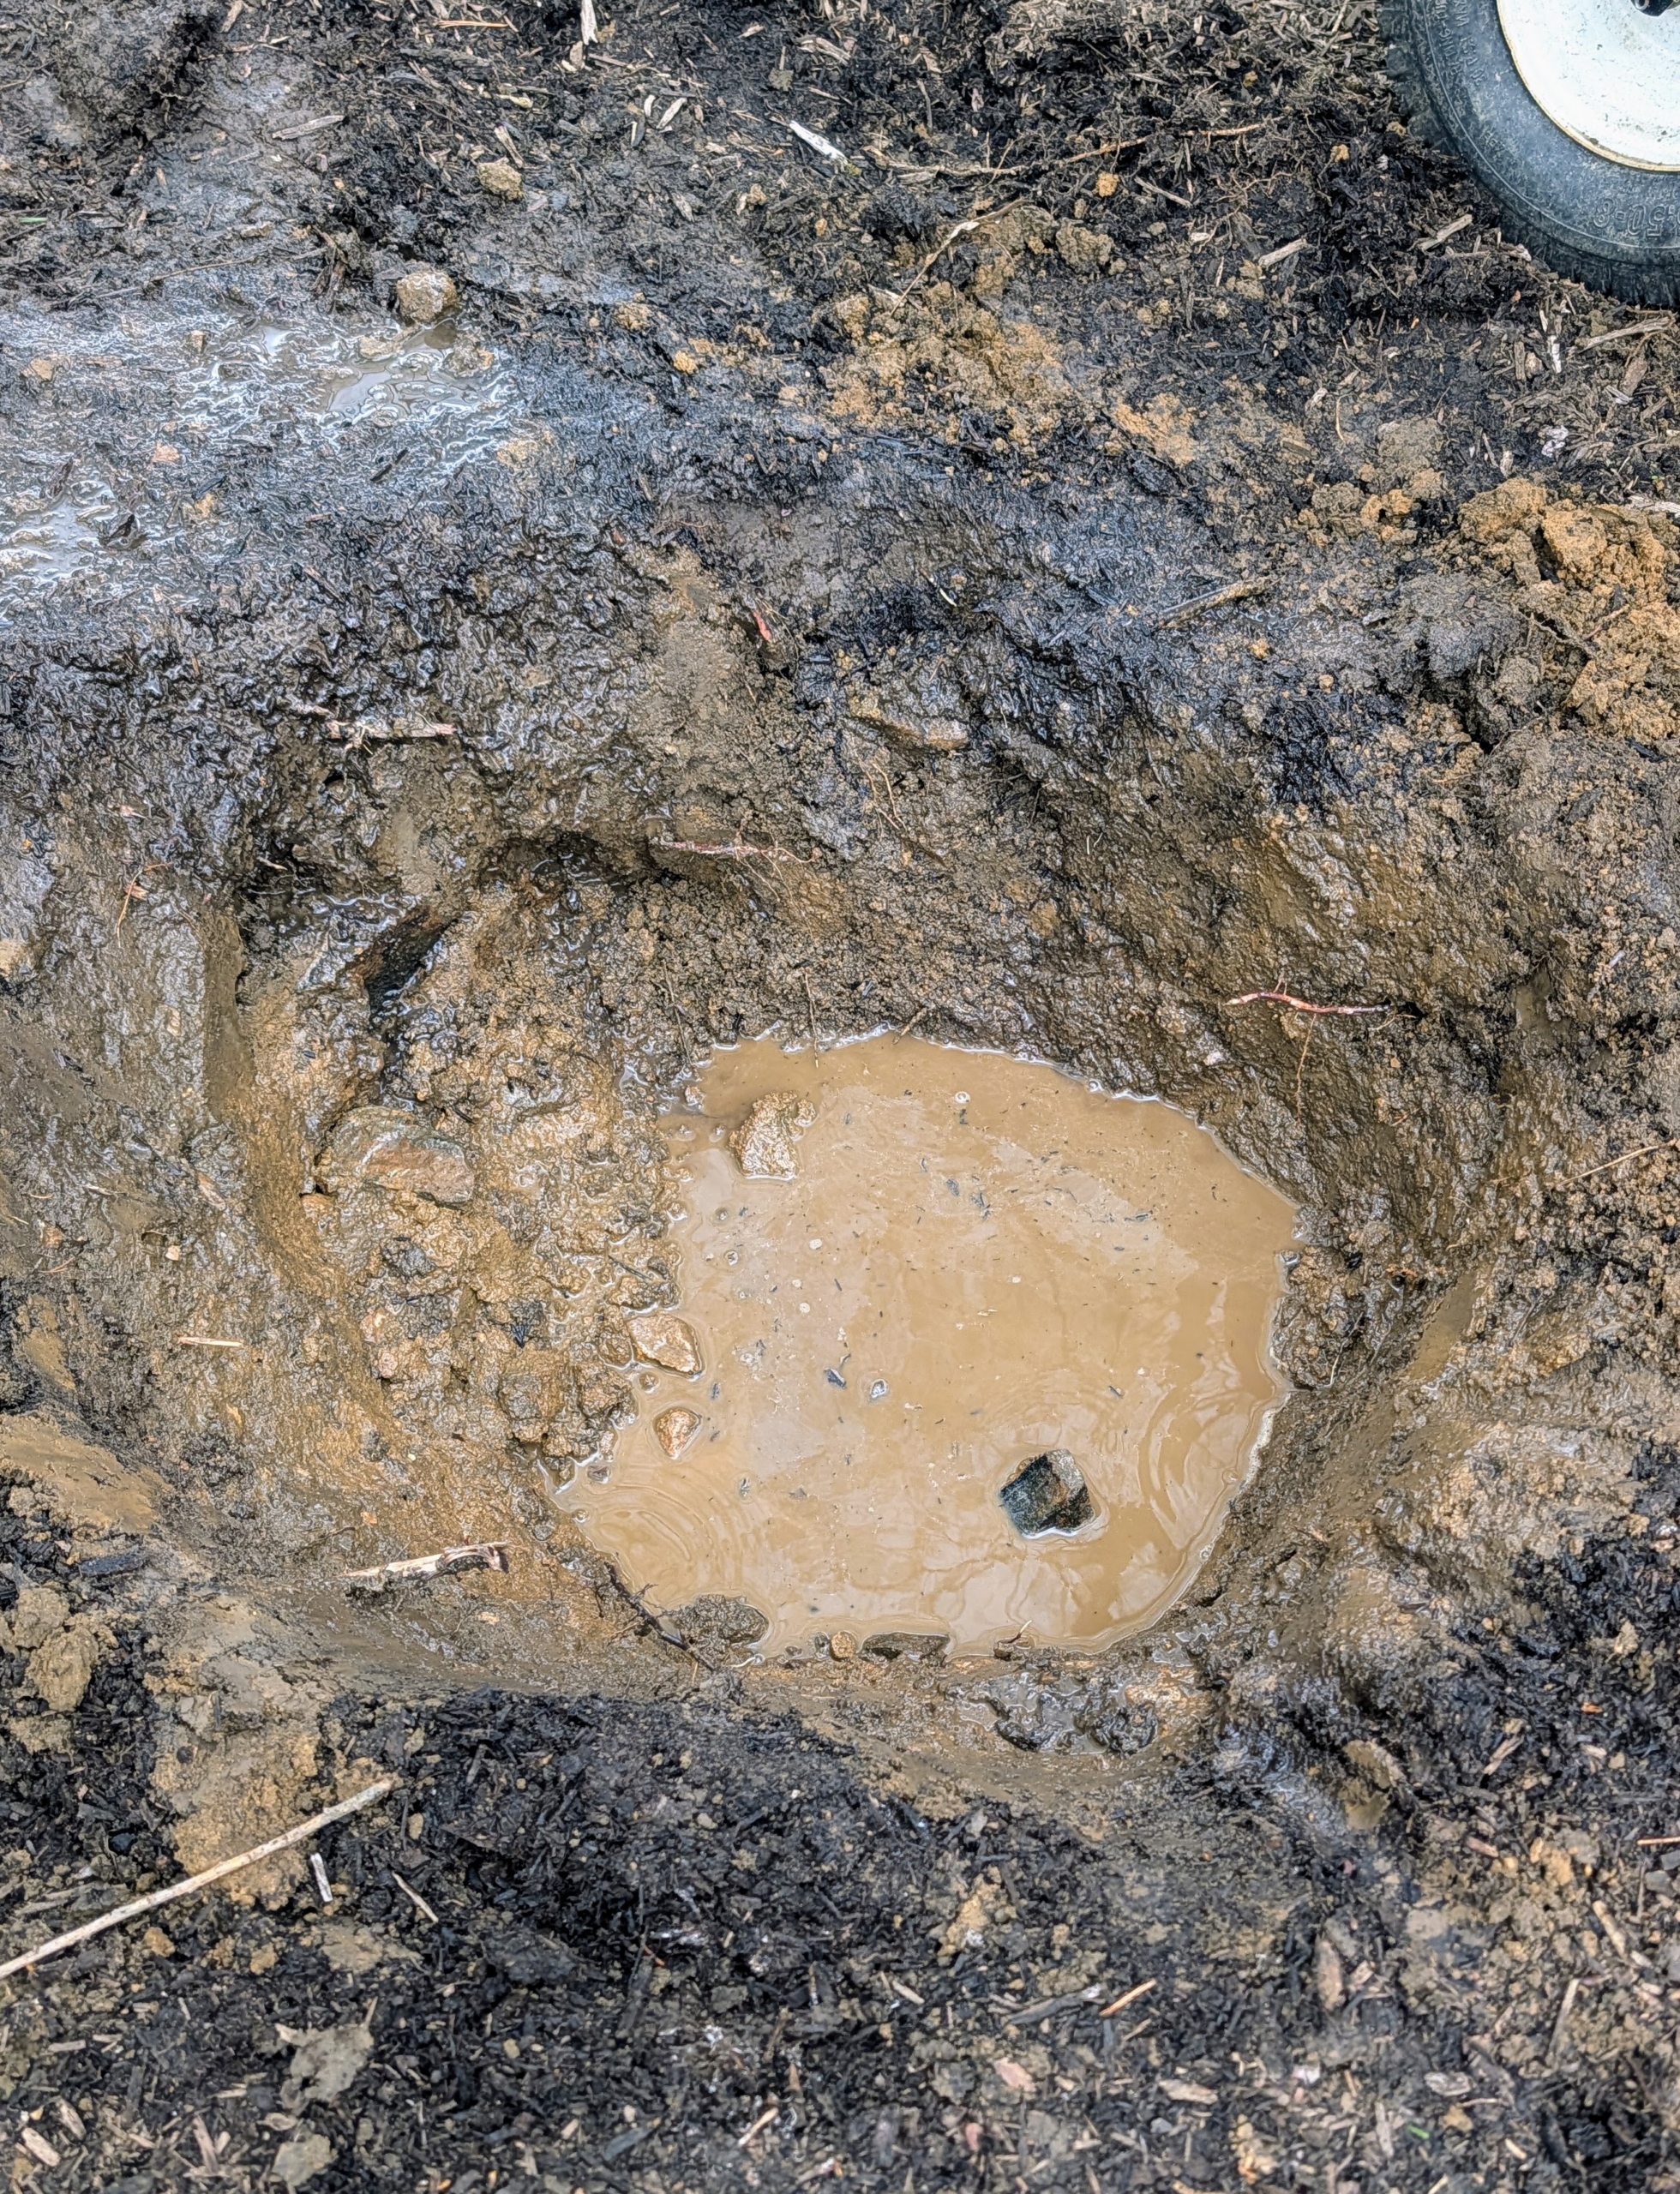
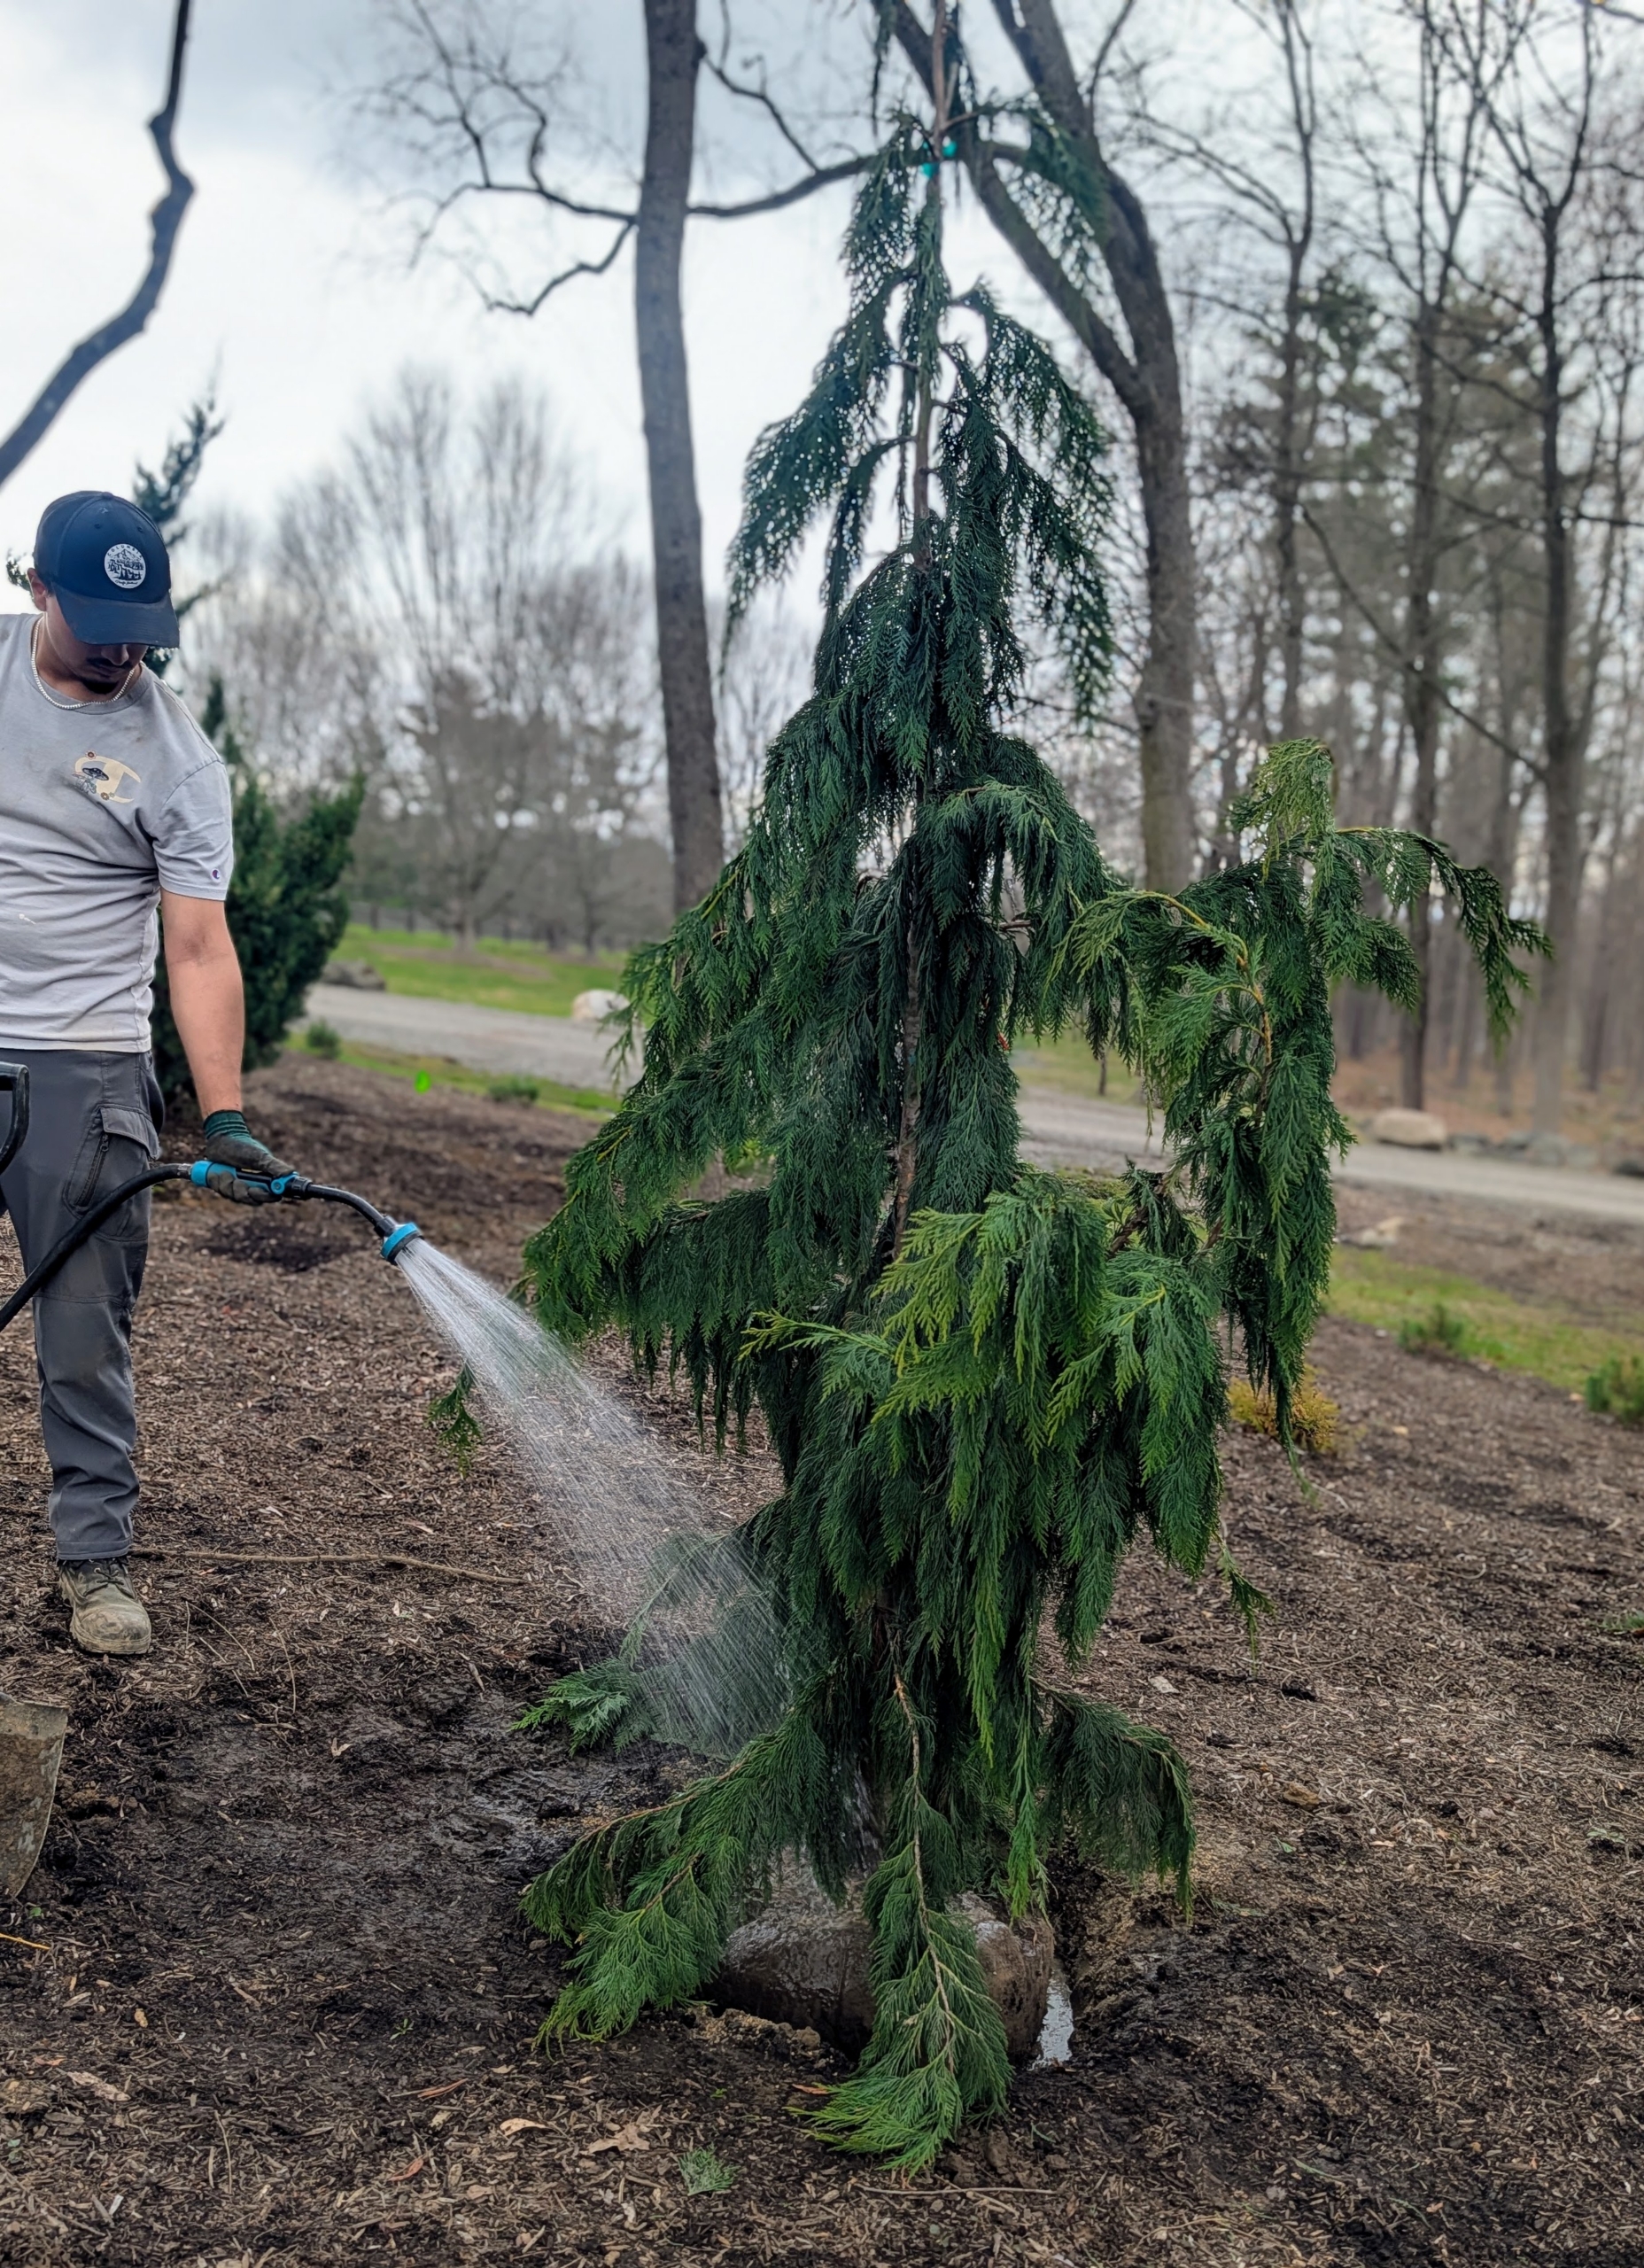
I always instruct my team to fill the hole with water first before planting. This is a good idea even when the ground is already saturated from recent storms.
Filling the hole with water helps settle any loose soil, eliminate air pockets, hydrate the soil around the root ball to encourage roots to spread, and minimizes stress to the tree when it is newly transplanted.
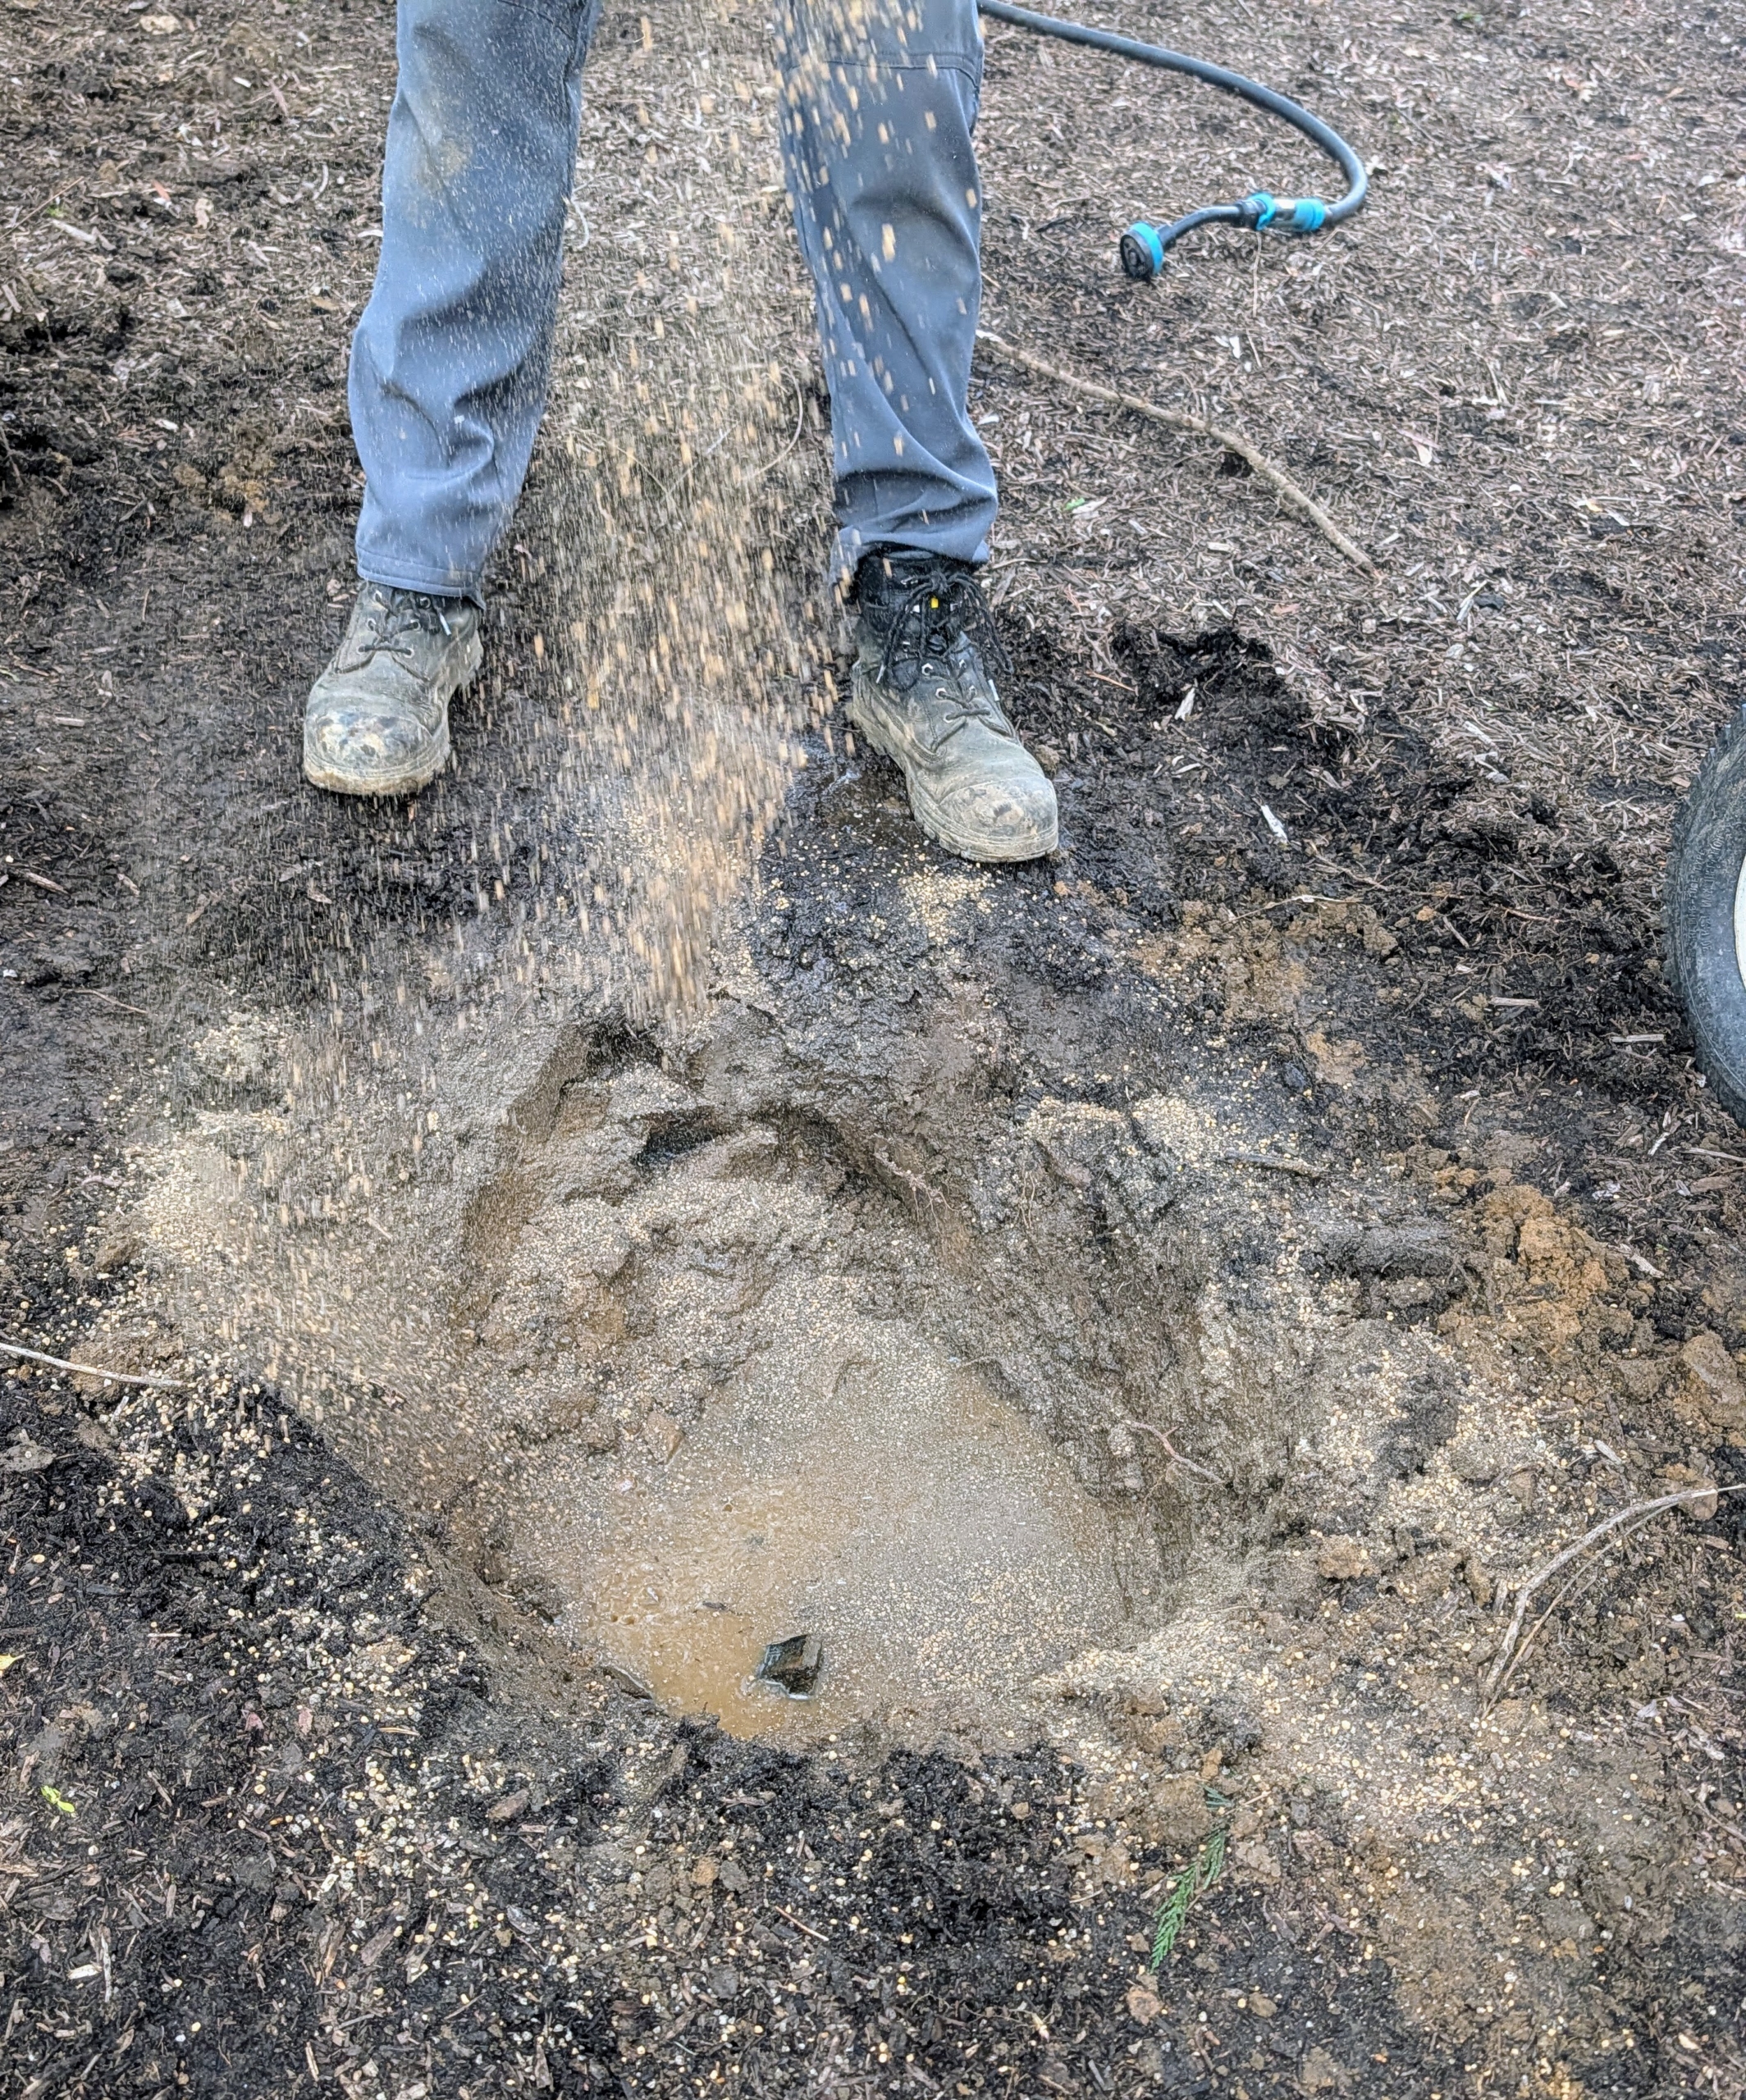
Matthew sprinkles a generous amount of food into the hole and mixes it with the existing wet soil. Remember what I always say, “if you are eating and drinking today, so should your plants.”
I use Miracle-Gro Organic All Purpose Plant Food. It’s good for both outdoor container and in-ground plants and feeds for up to three-months.
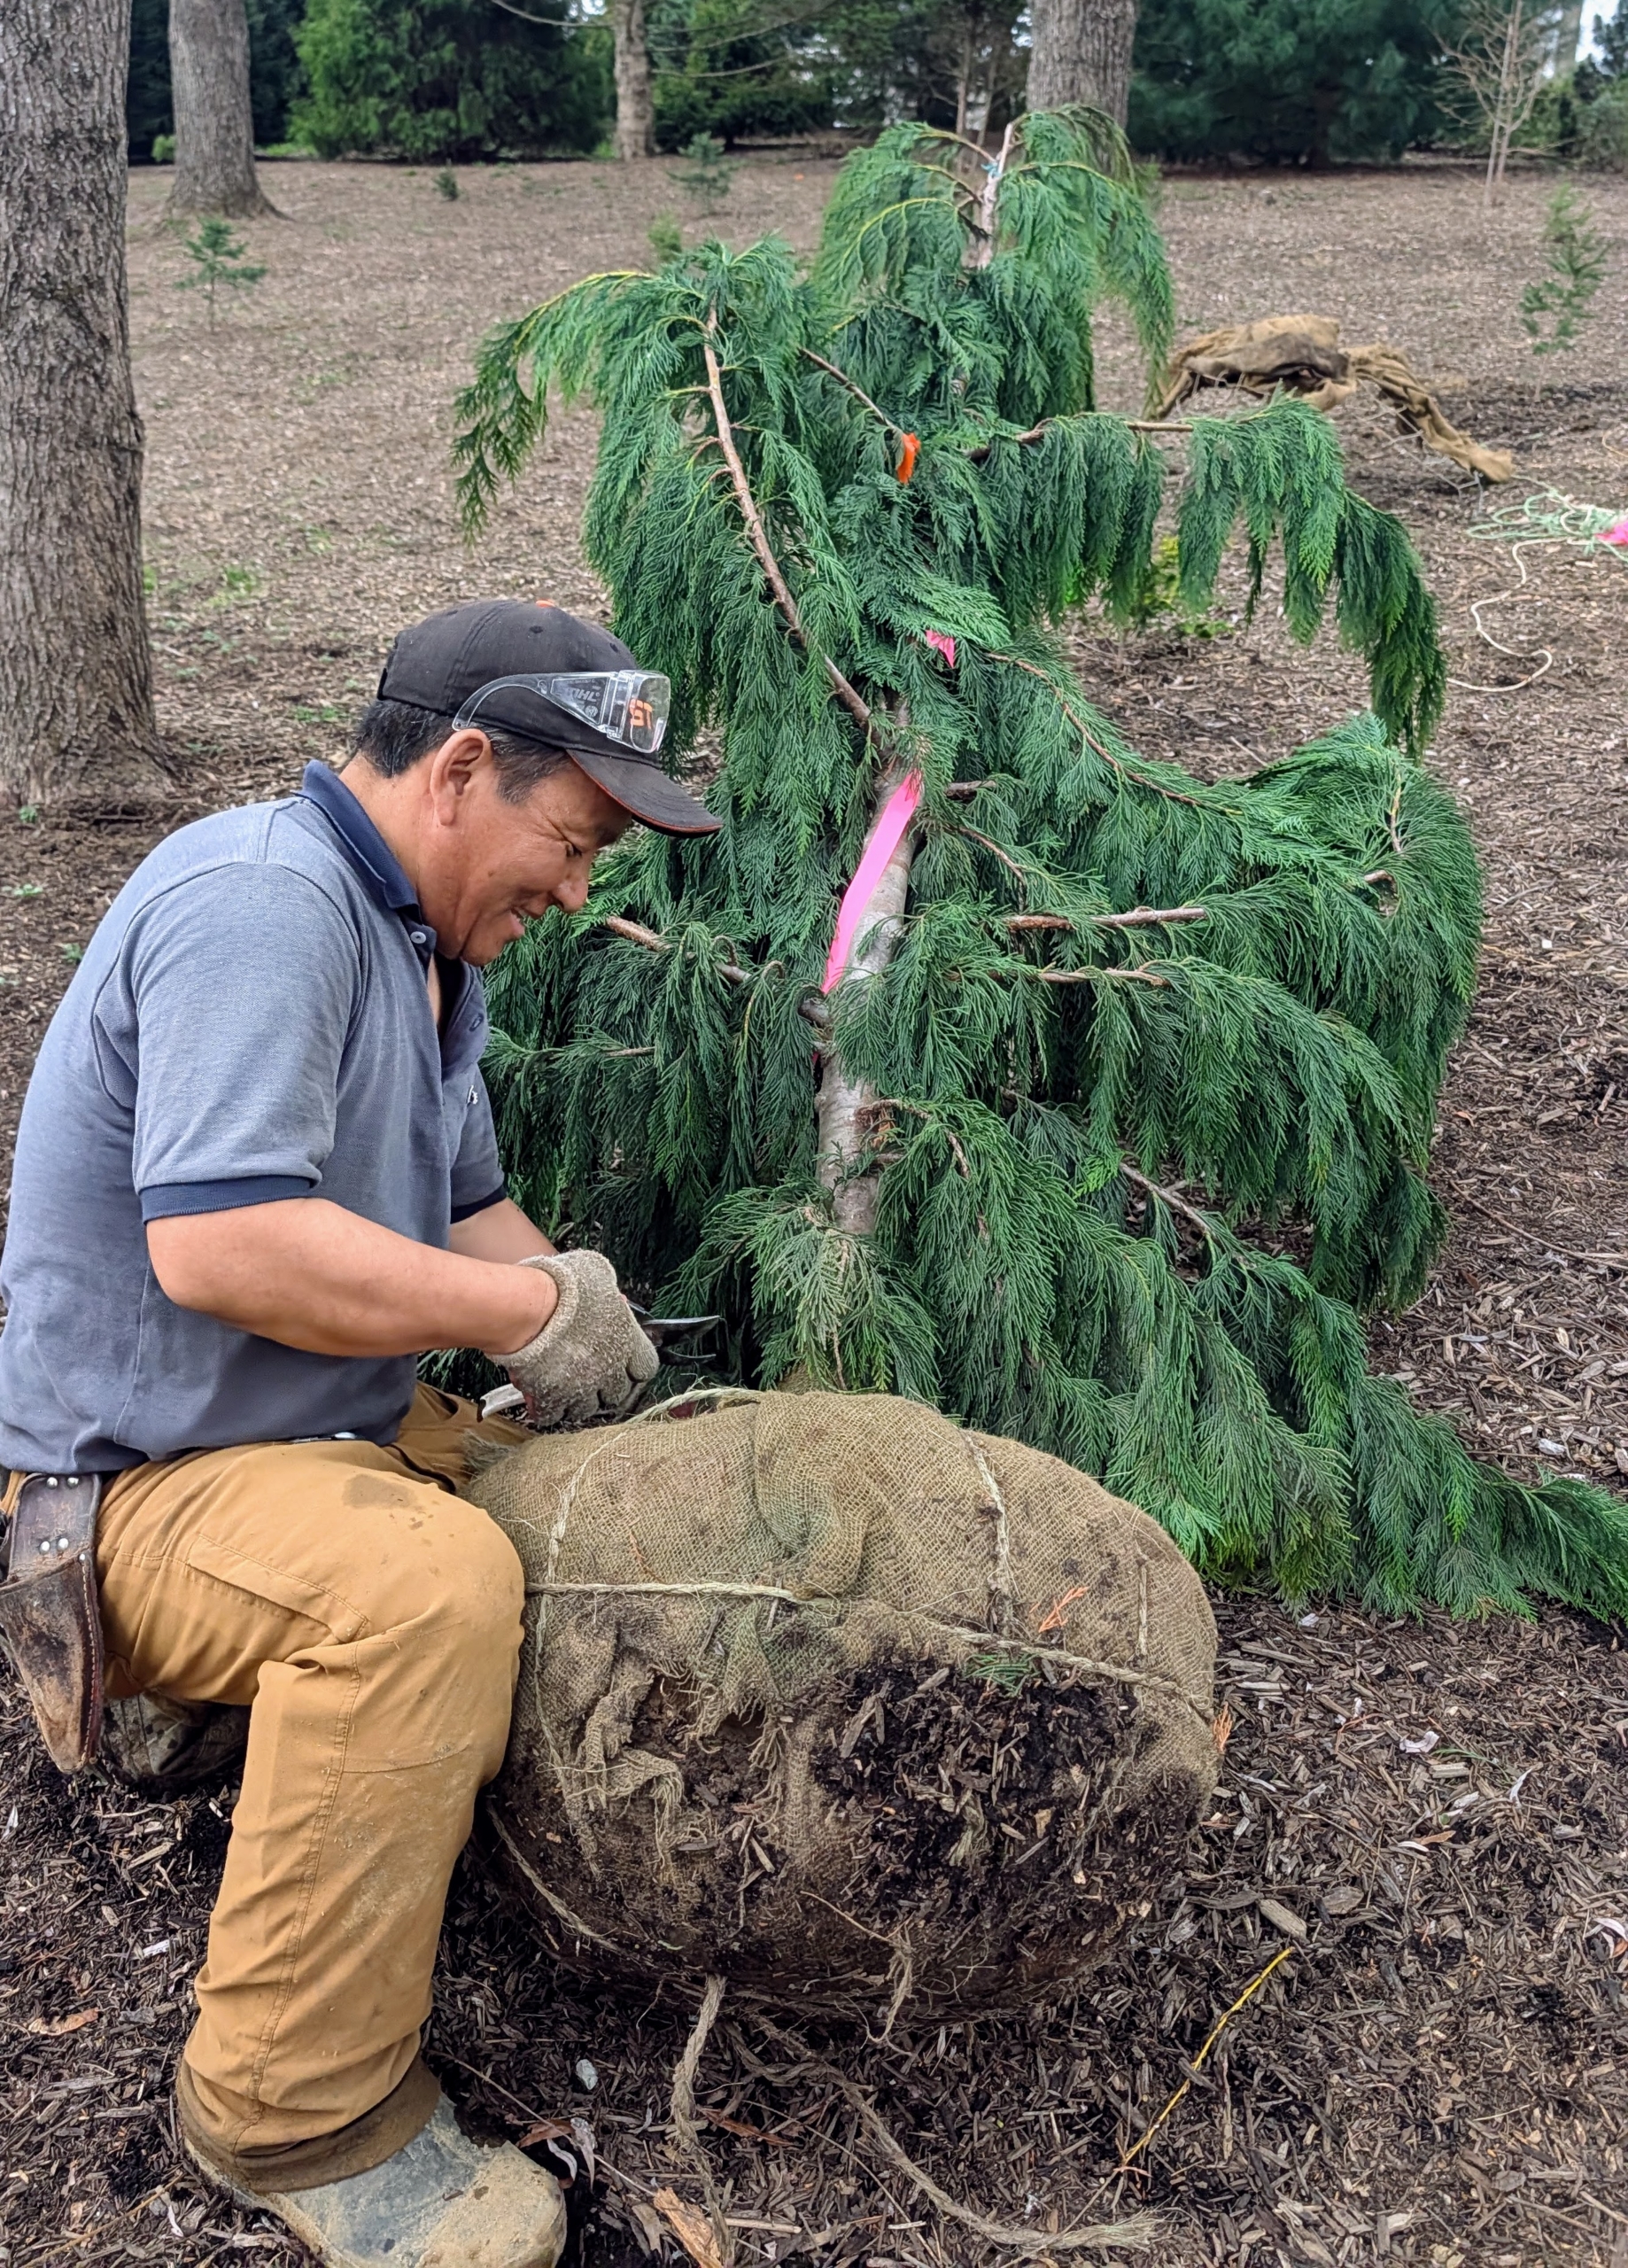
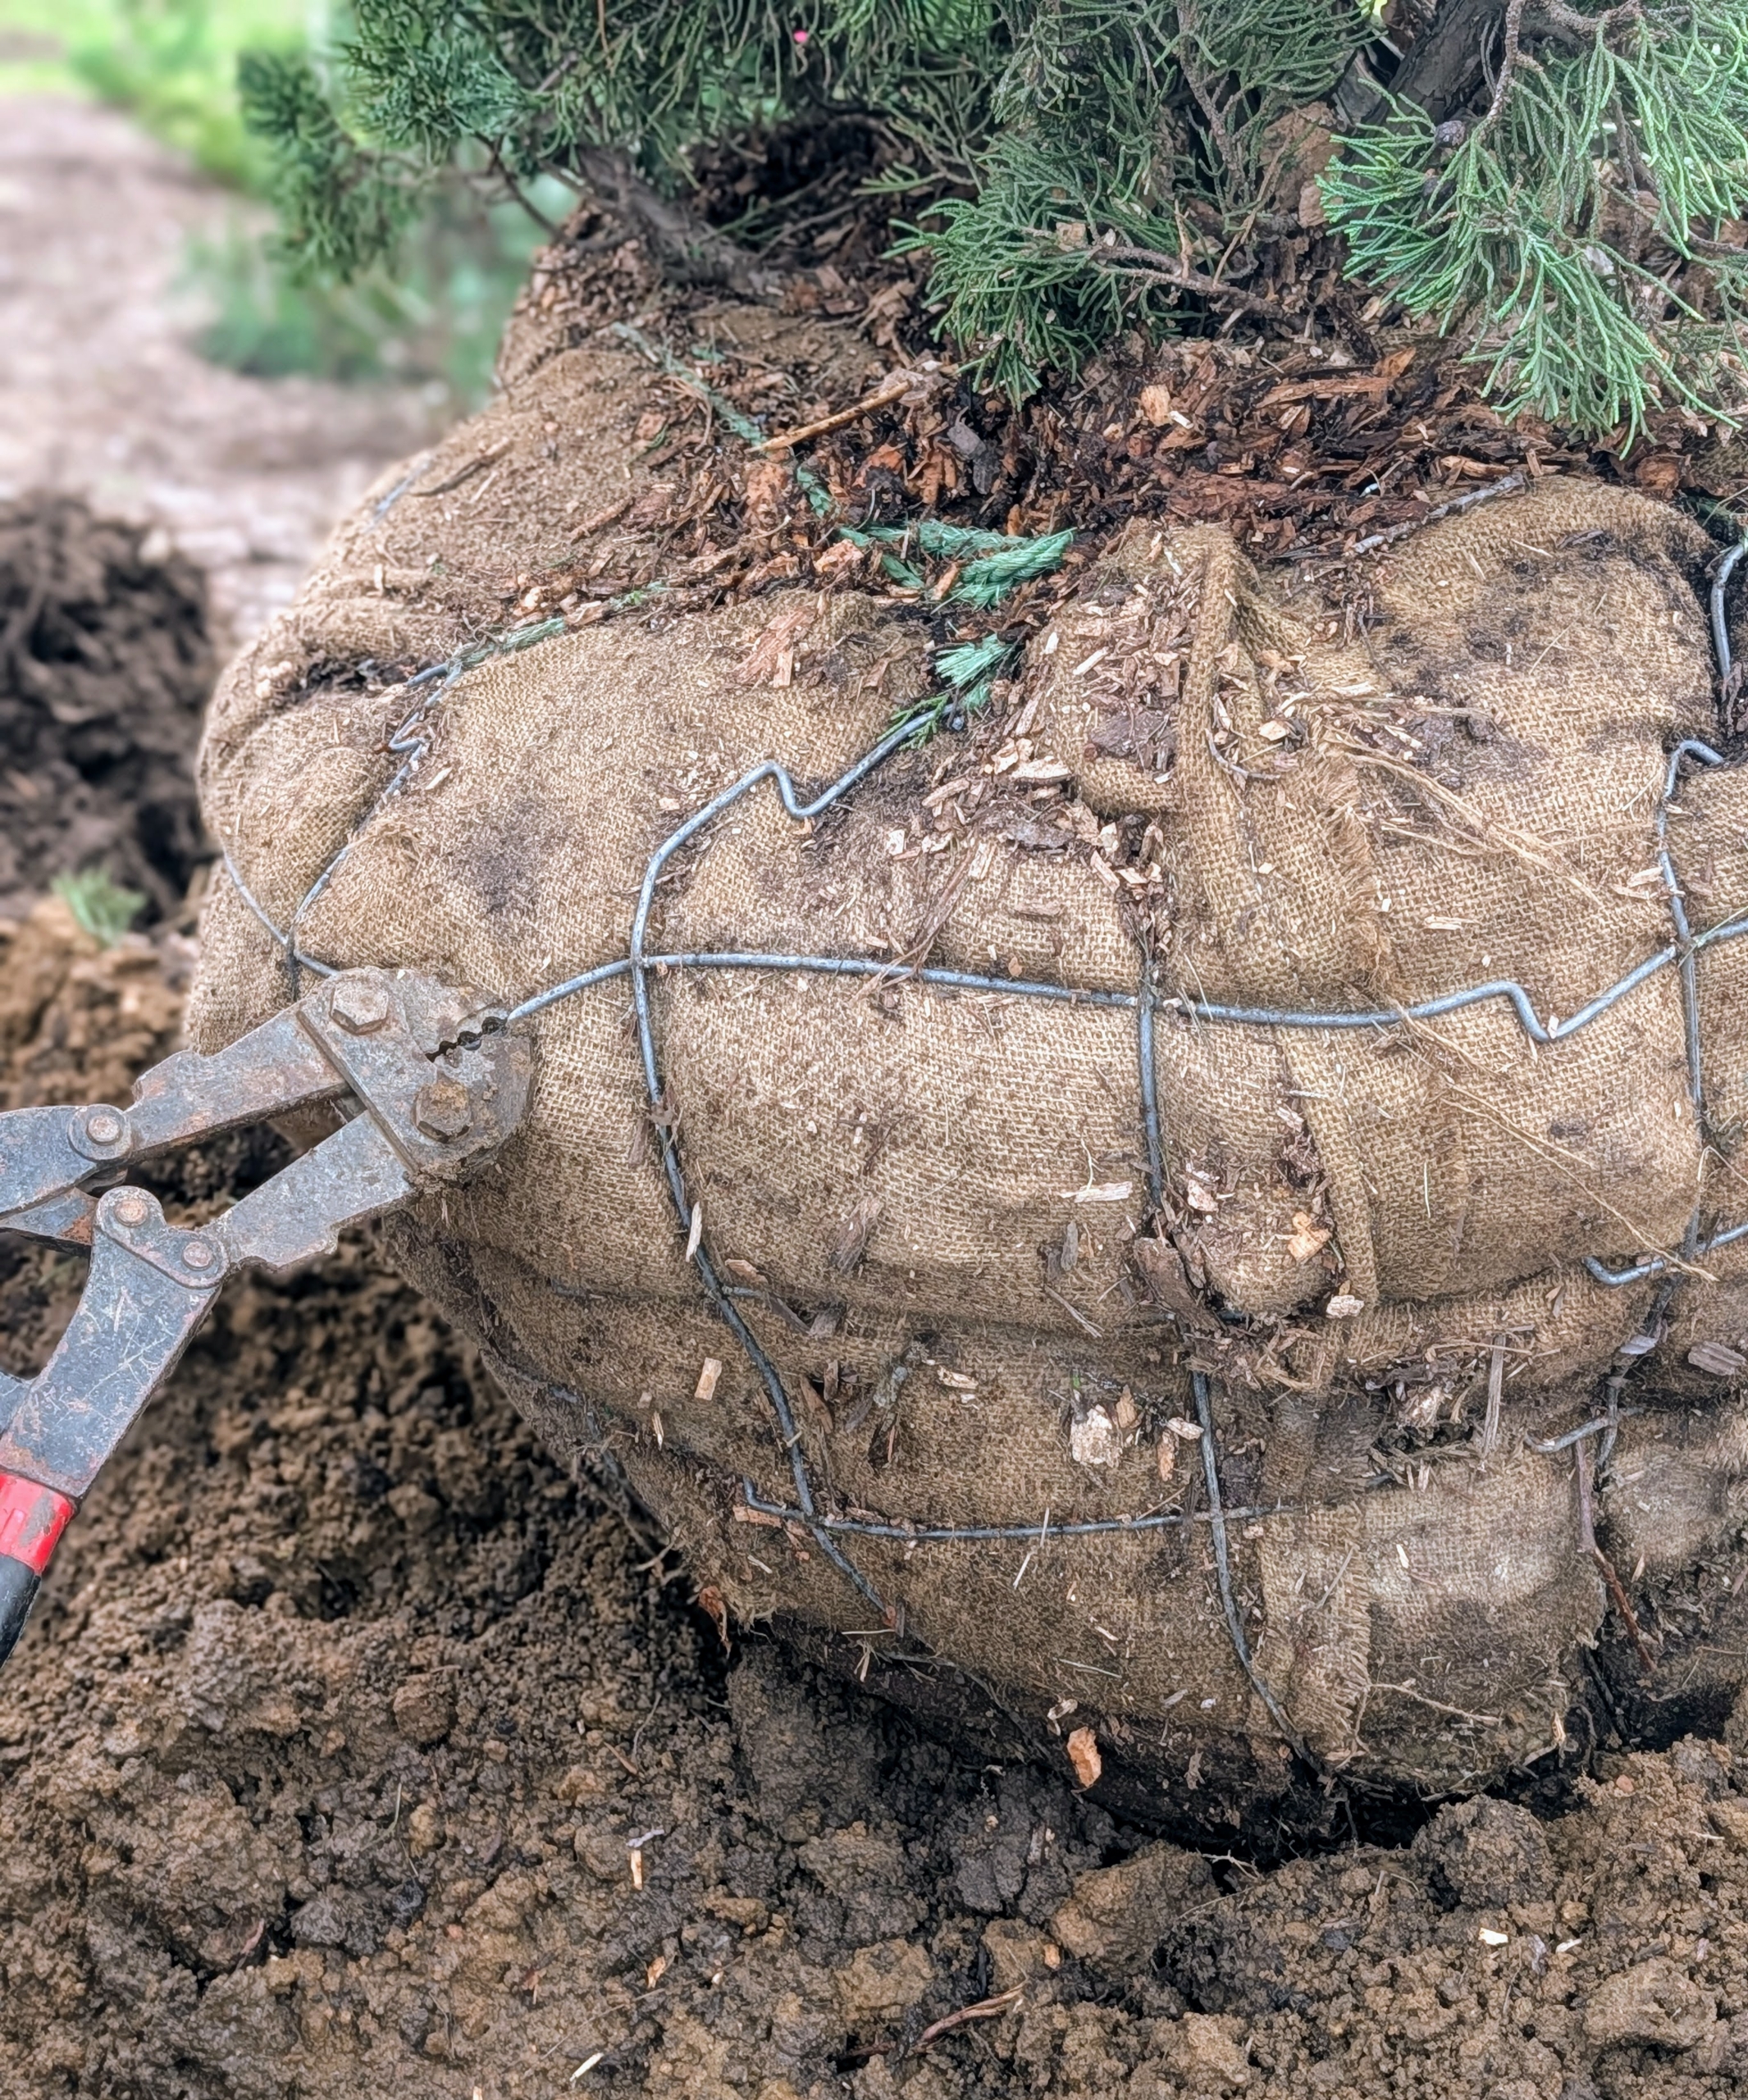
Phurba removes the protective wrapping and any wire or rope from the root ball. If left untouched, these wrapping materials could reduce the ability of a tree’s roots to grow out into the surrounding soil.
Some leave wire and burlap in place; however, I prefer to remove everything, so there is nothing preventing root development.
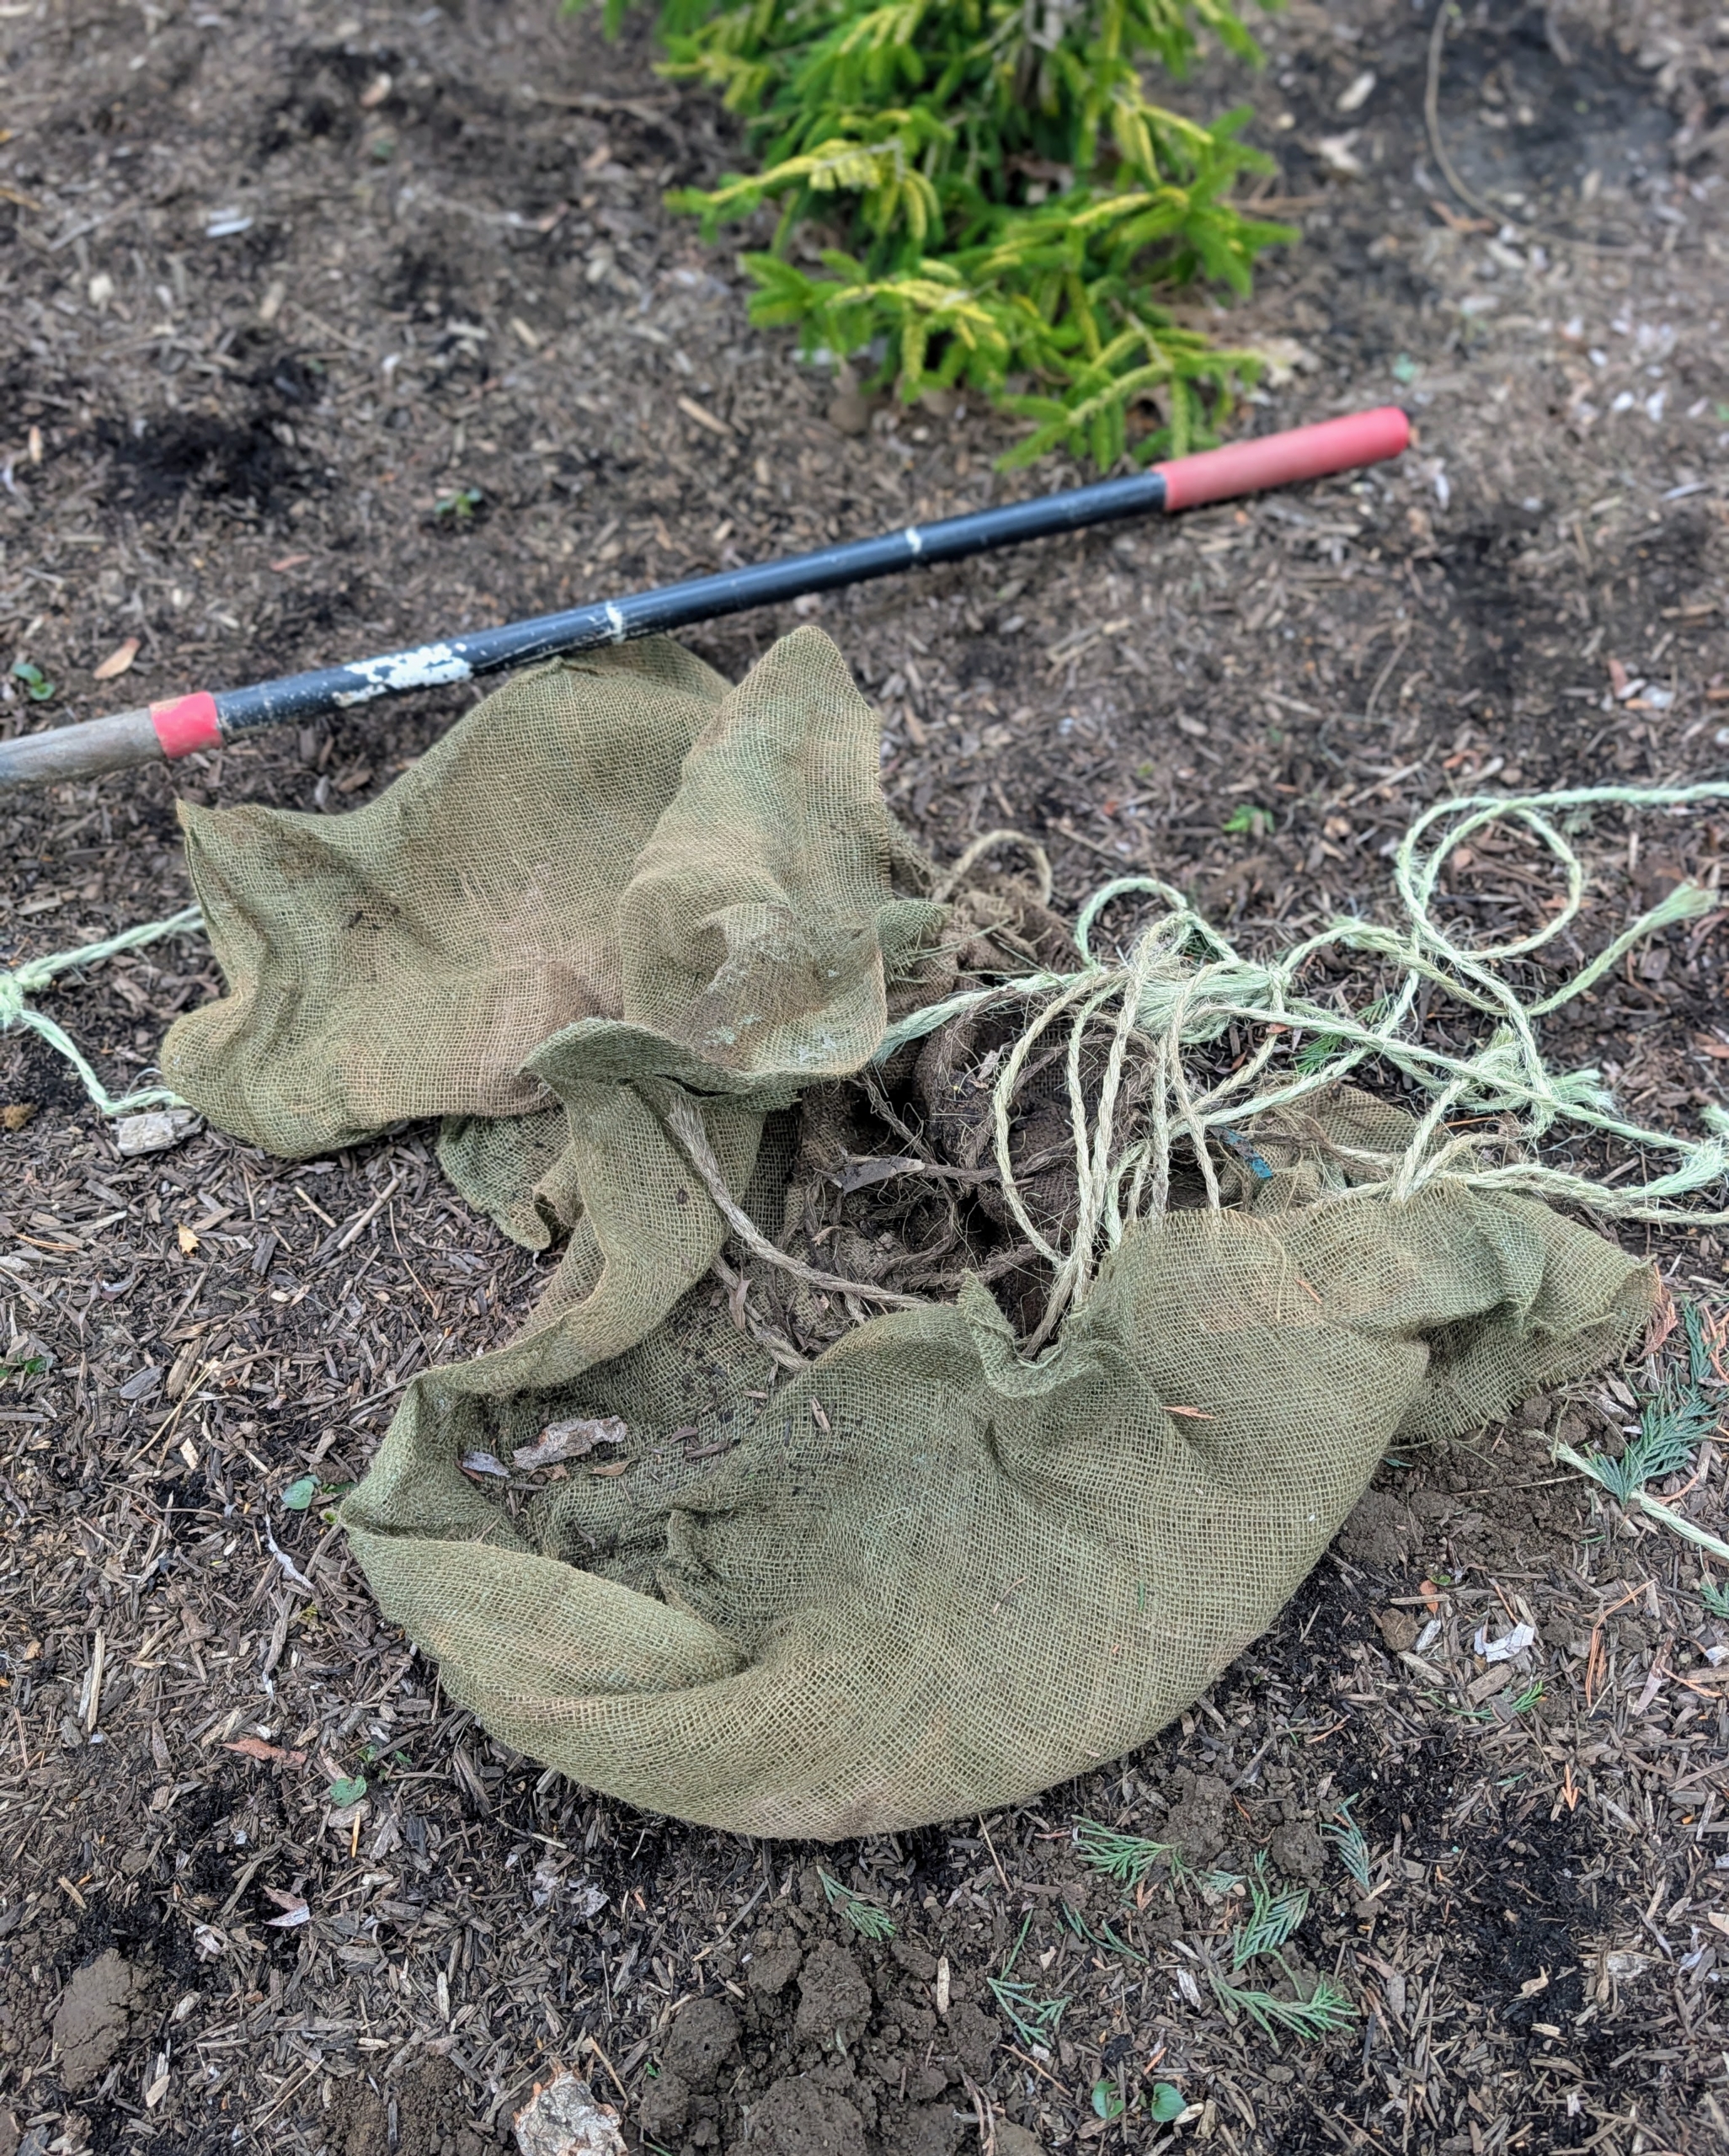
Here is the pile of wrapping from just one tree.
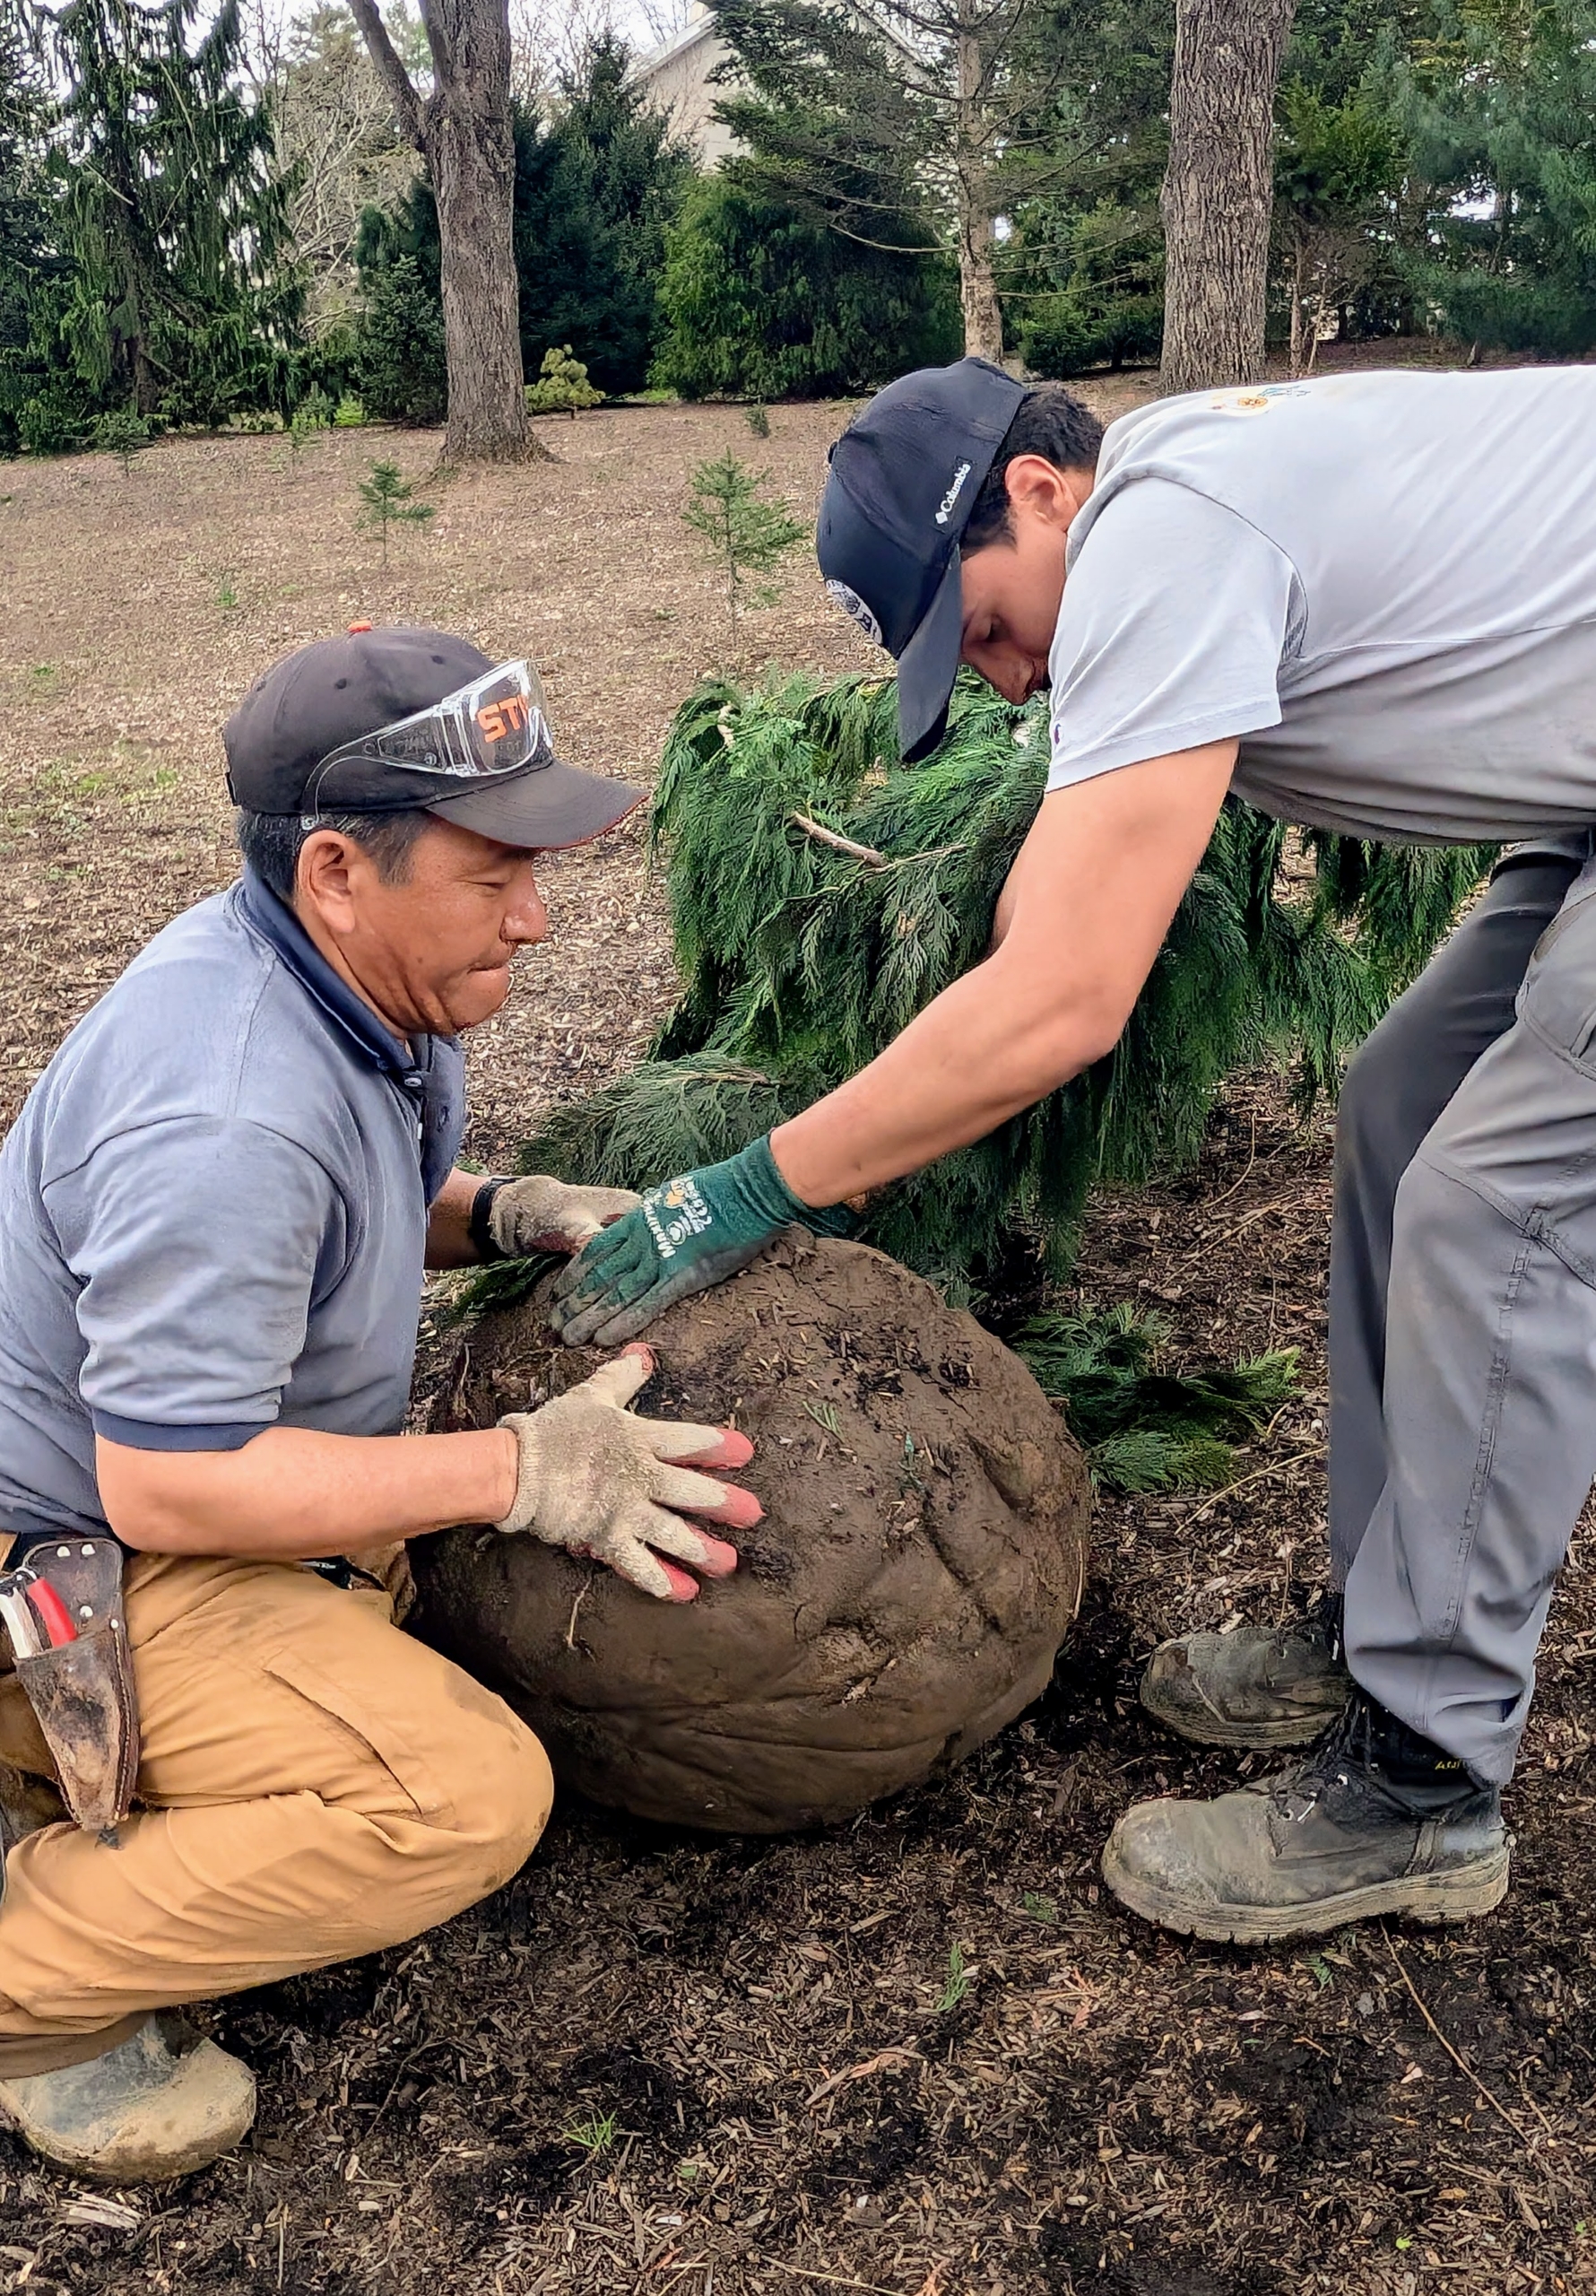
Phurba and Matthew rotate the tree on its root ball closer to the hole and then into it. When moving heavy trees, only hold it by the root ball and the base of the trunk – never by its branches, which could easily break.
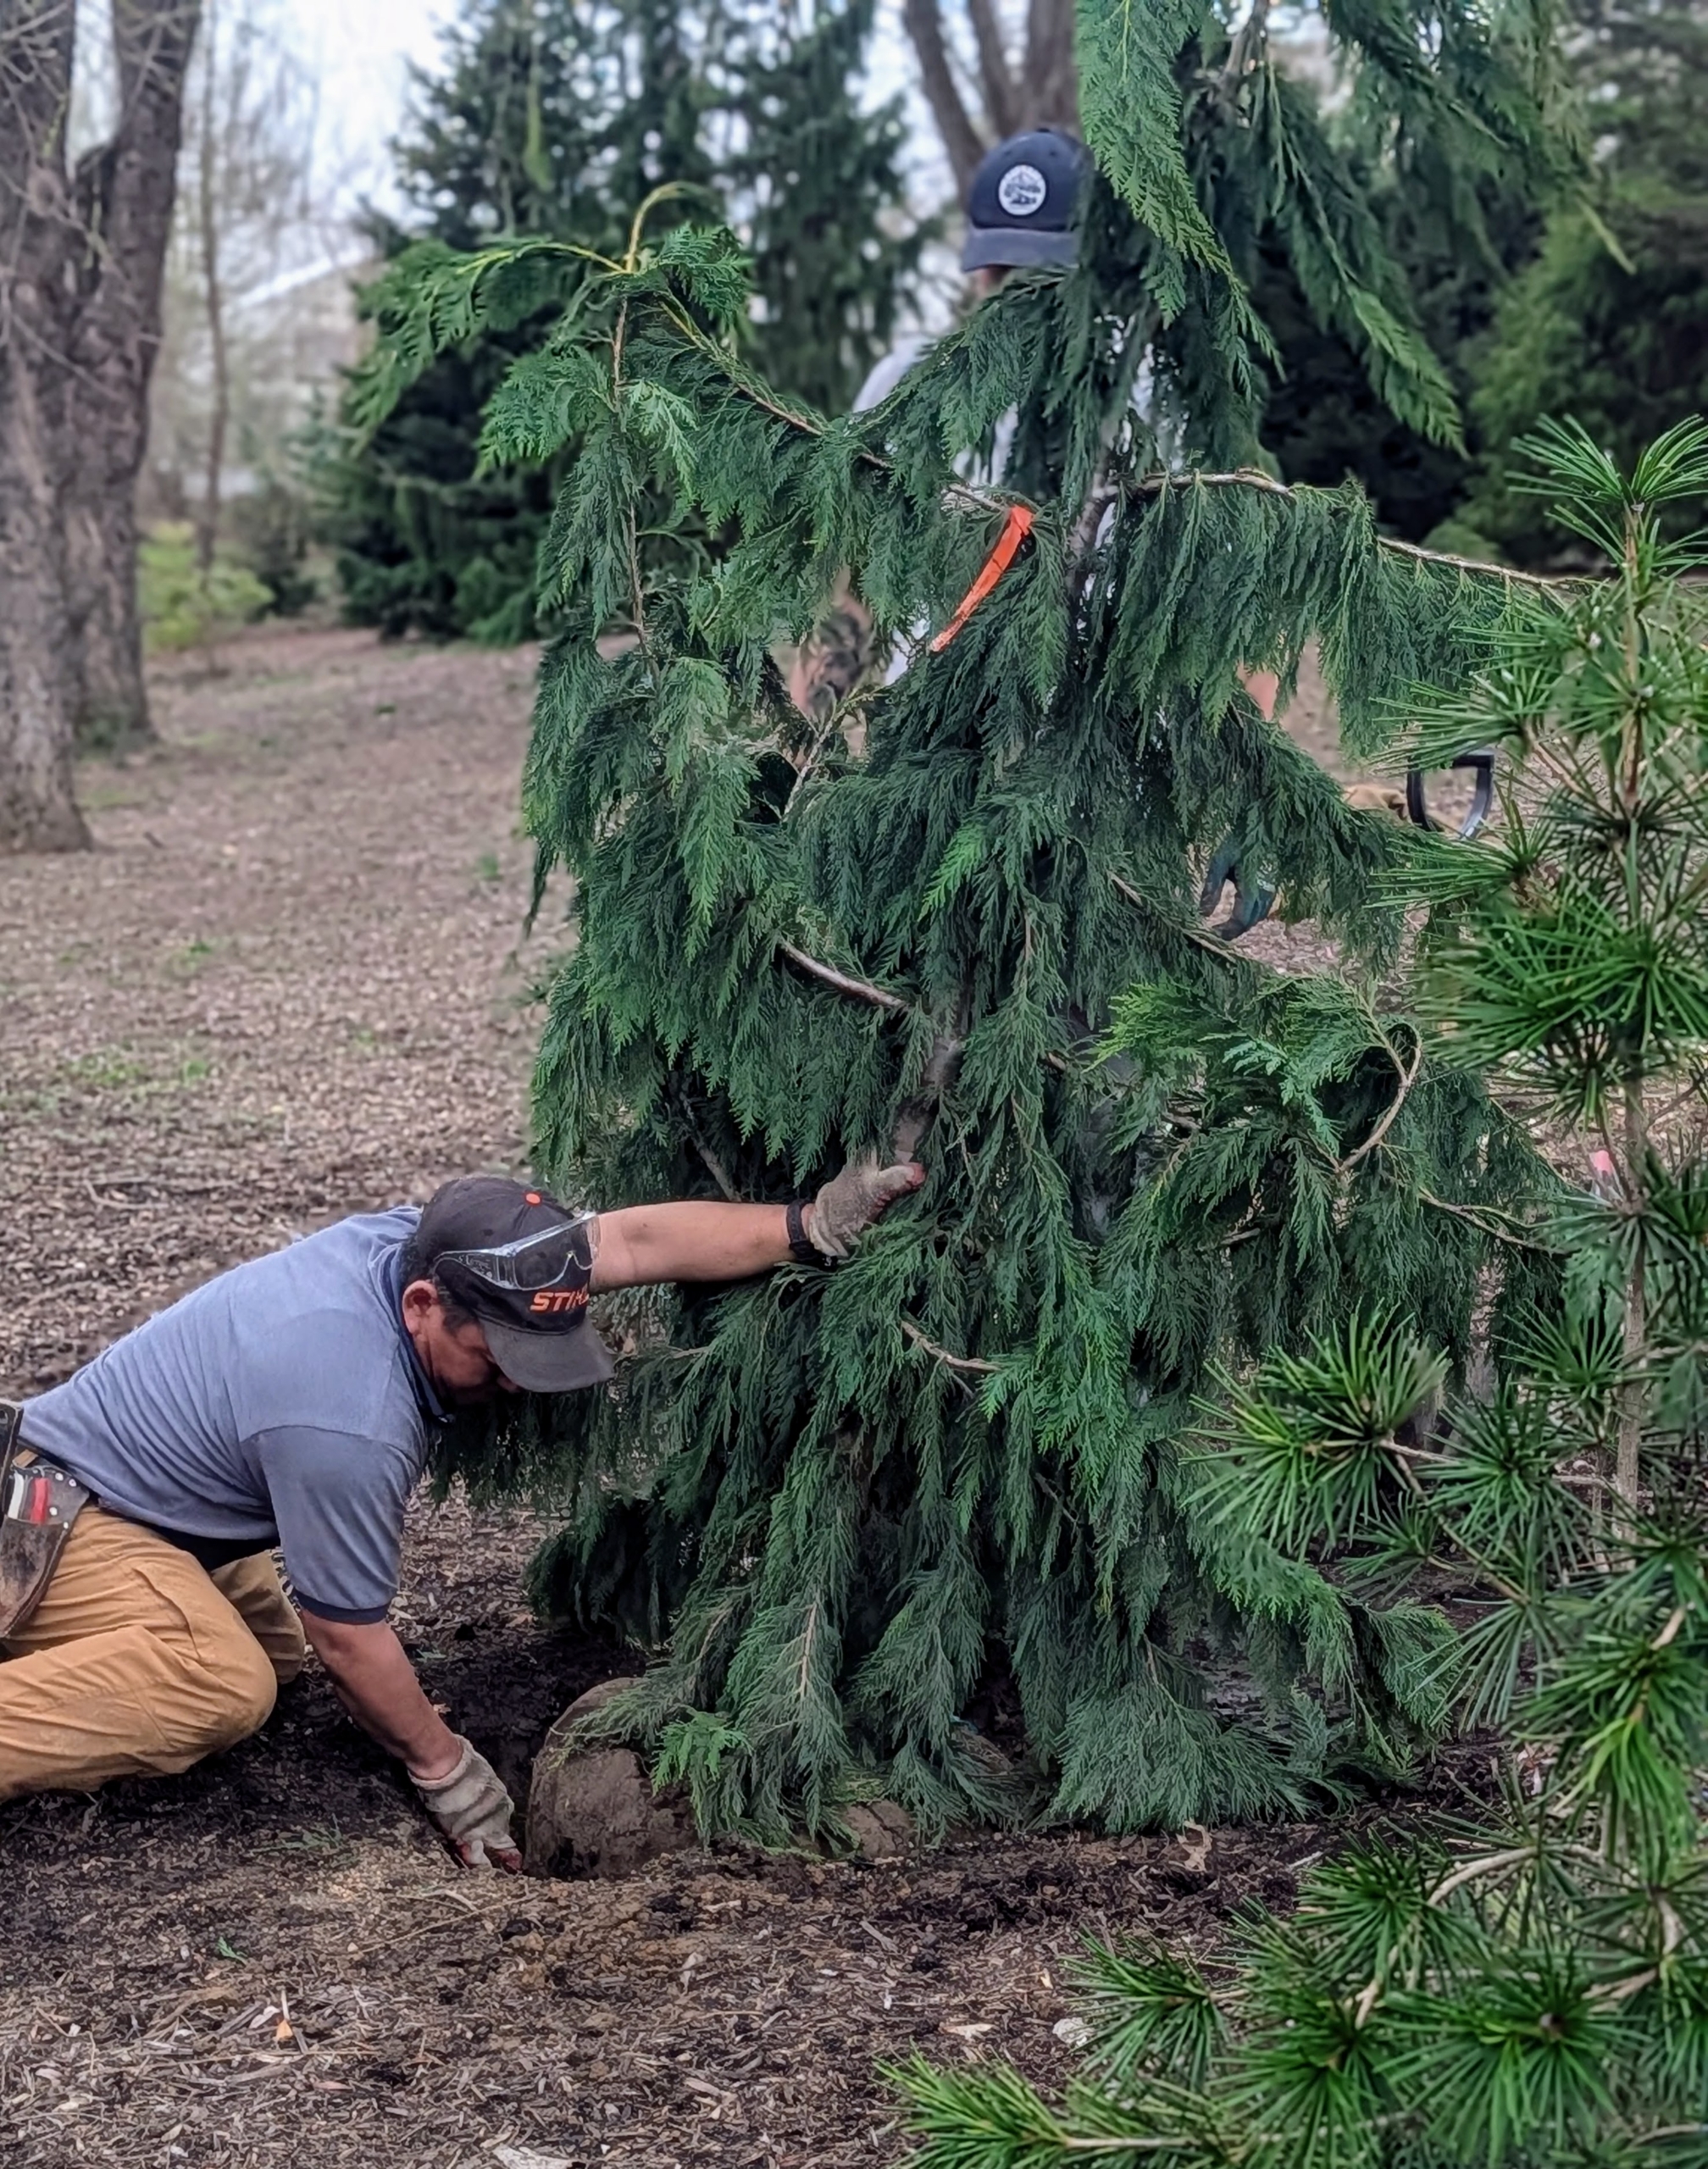
Phurba turns the tree turn the tree until it is stable in the hole and sitting at the proper depth. He also makes certain the best side of the tree is facing out toward the carriage road.
Matthew gives it more water. And remember, it is crucial to “plant bare to the flare,” meaning do not bury above its flare, where the first main roots attach to the trunk. The roots need oxygen to grow. By placing the root flare at or slightly above ground level when planting gives the specimen the best chance for survival and growth.
Phurba backfills the tree, tamps down to establish good contact between the root ball and the soil, and then rakes the area, so it is neat and tidy.
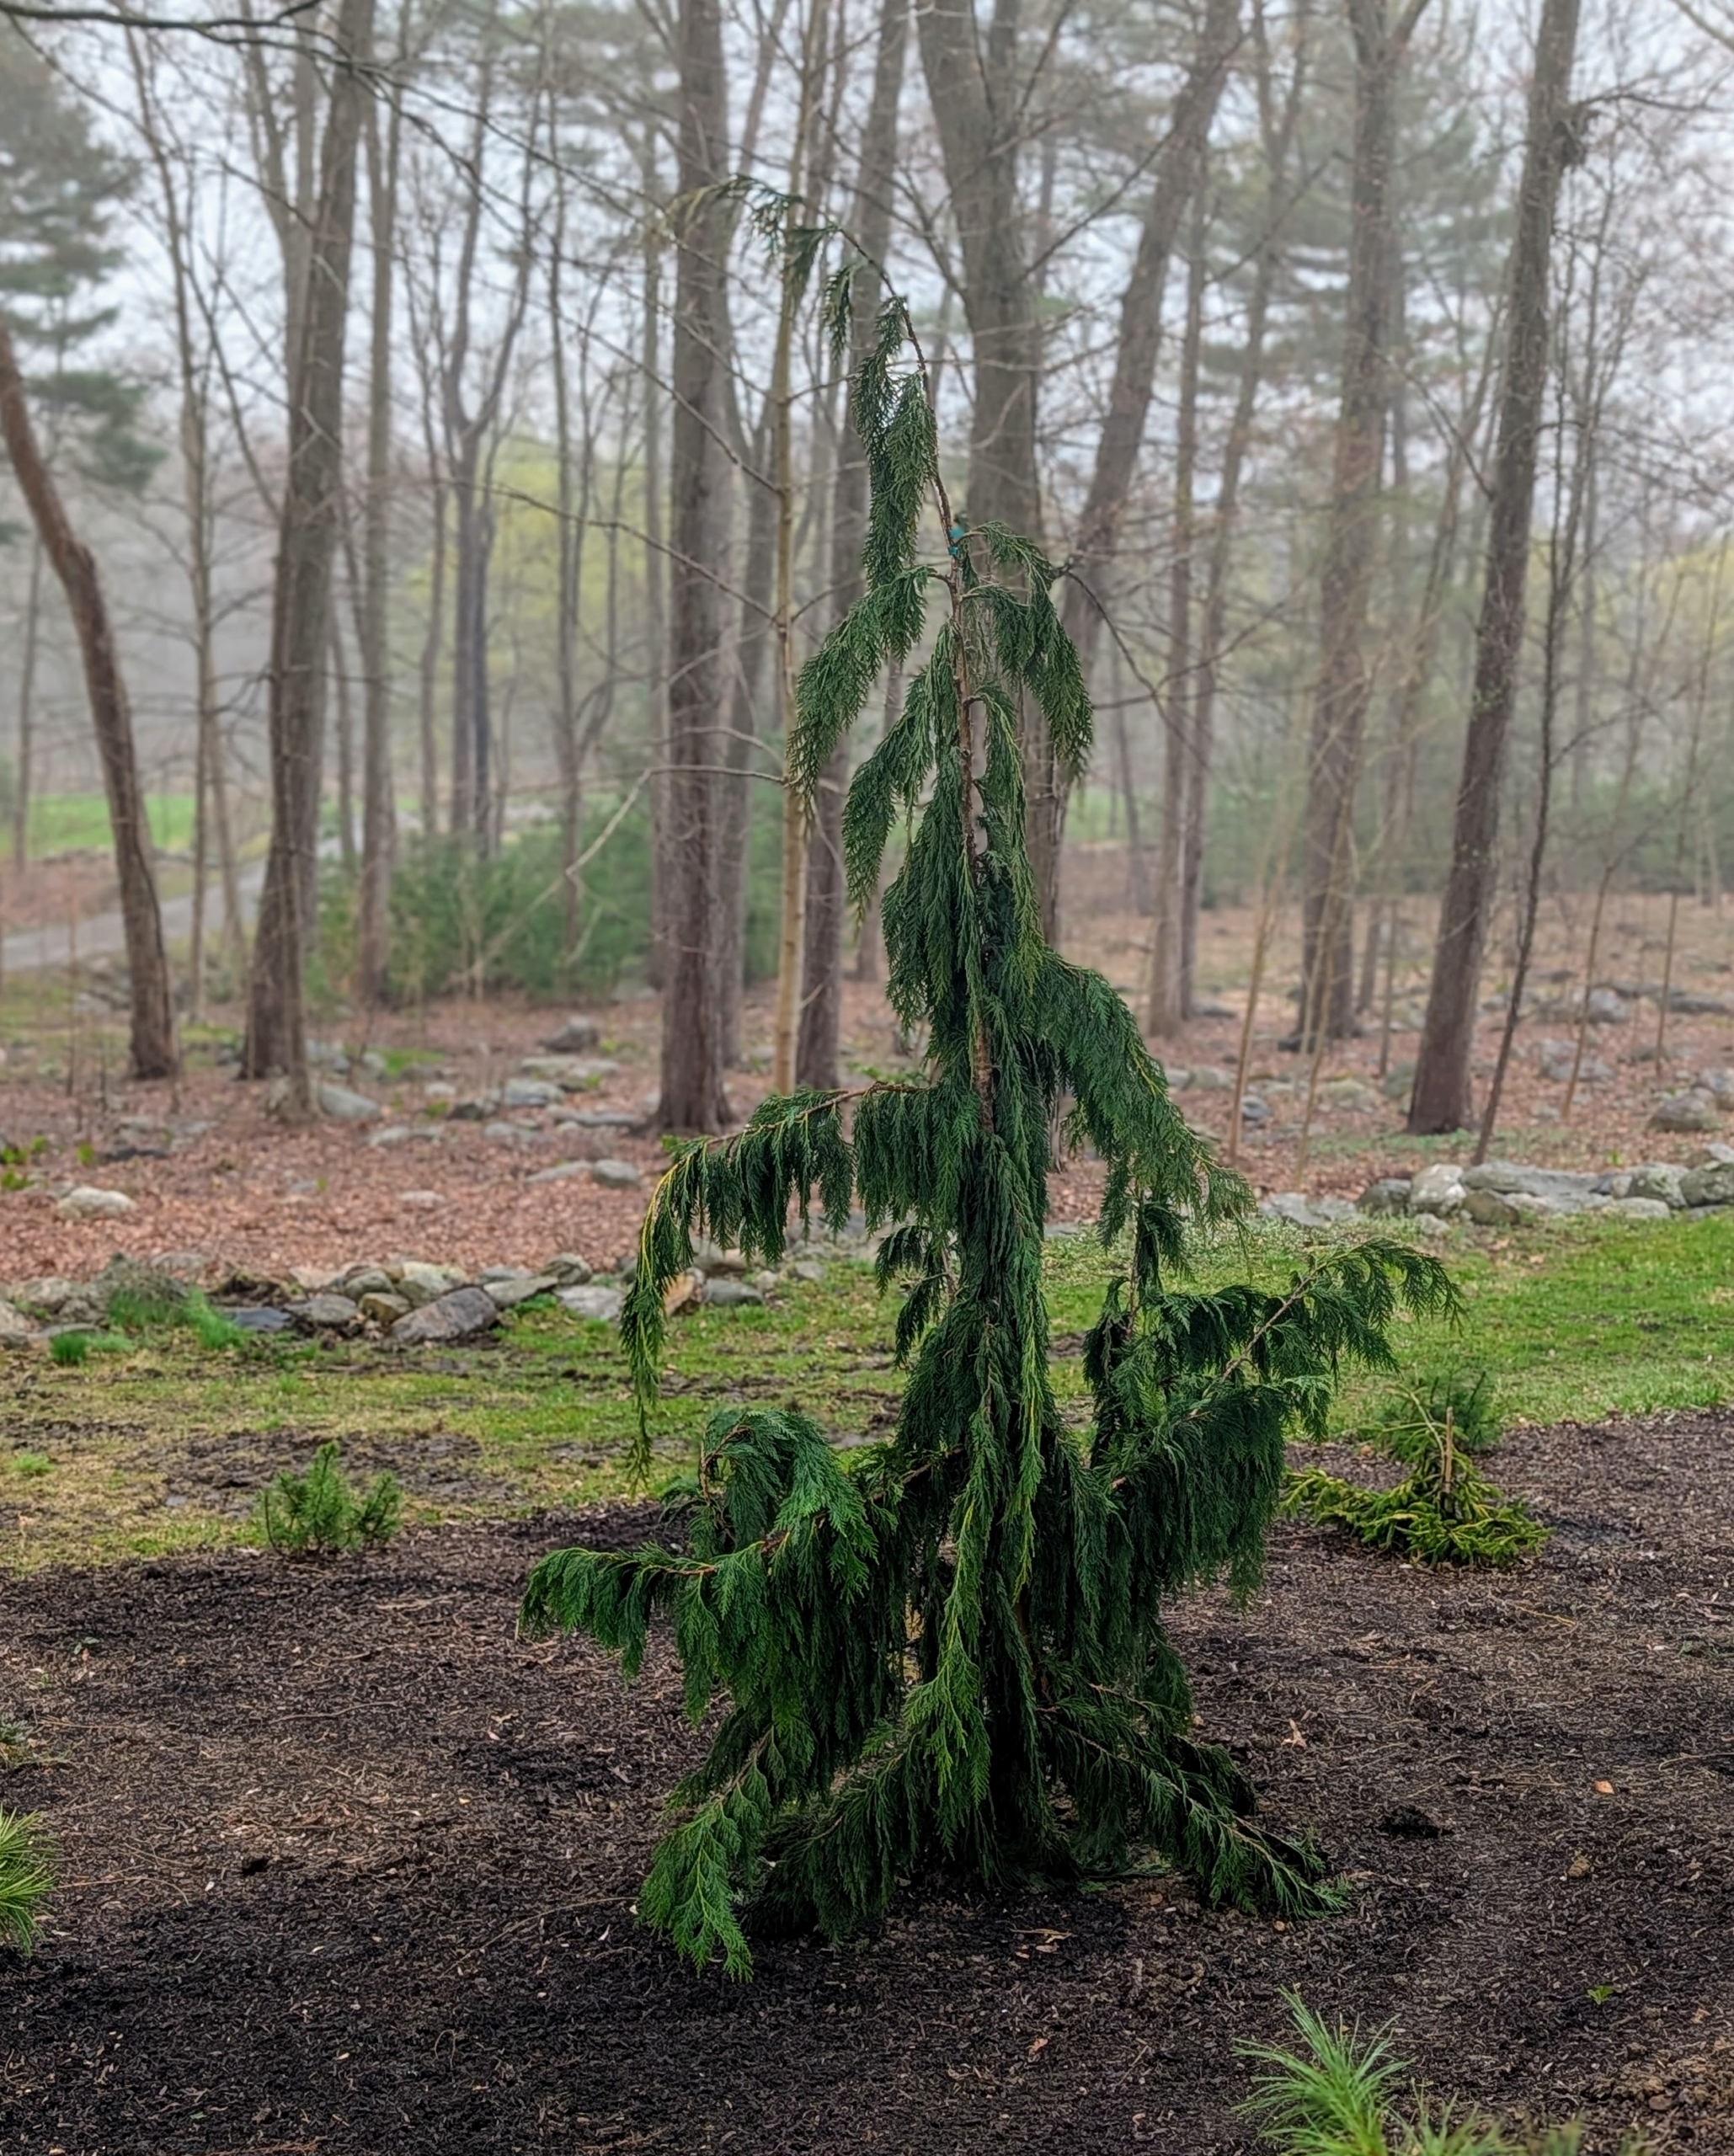
It will thrive in this area under the partial shade of my weeping willows.
I decided these two cypress trees would look great near each other with their lush green foliage.
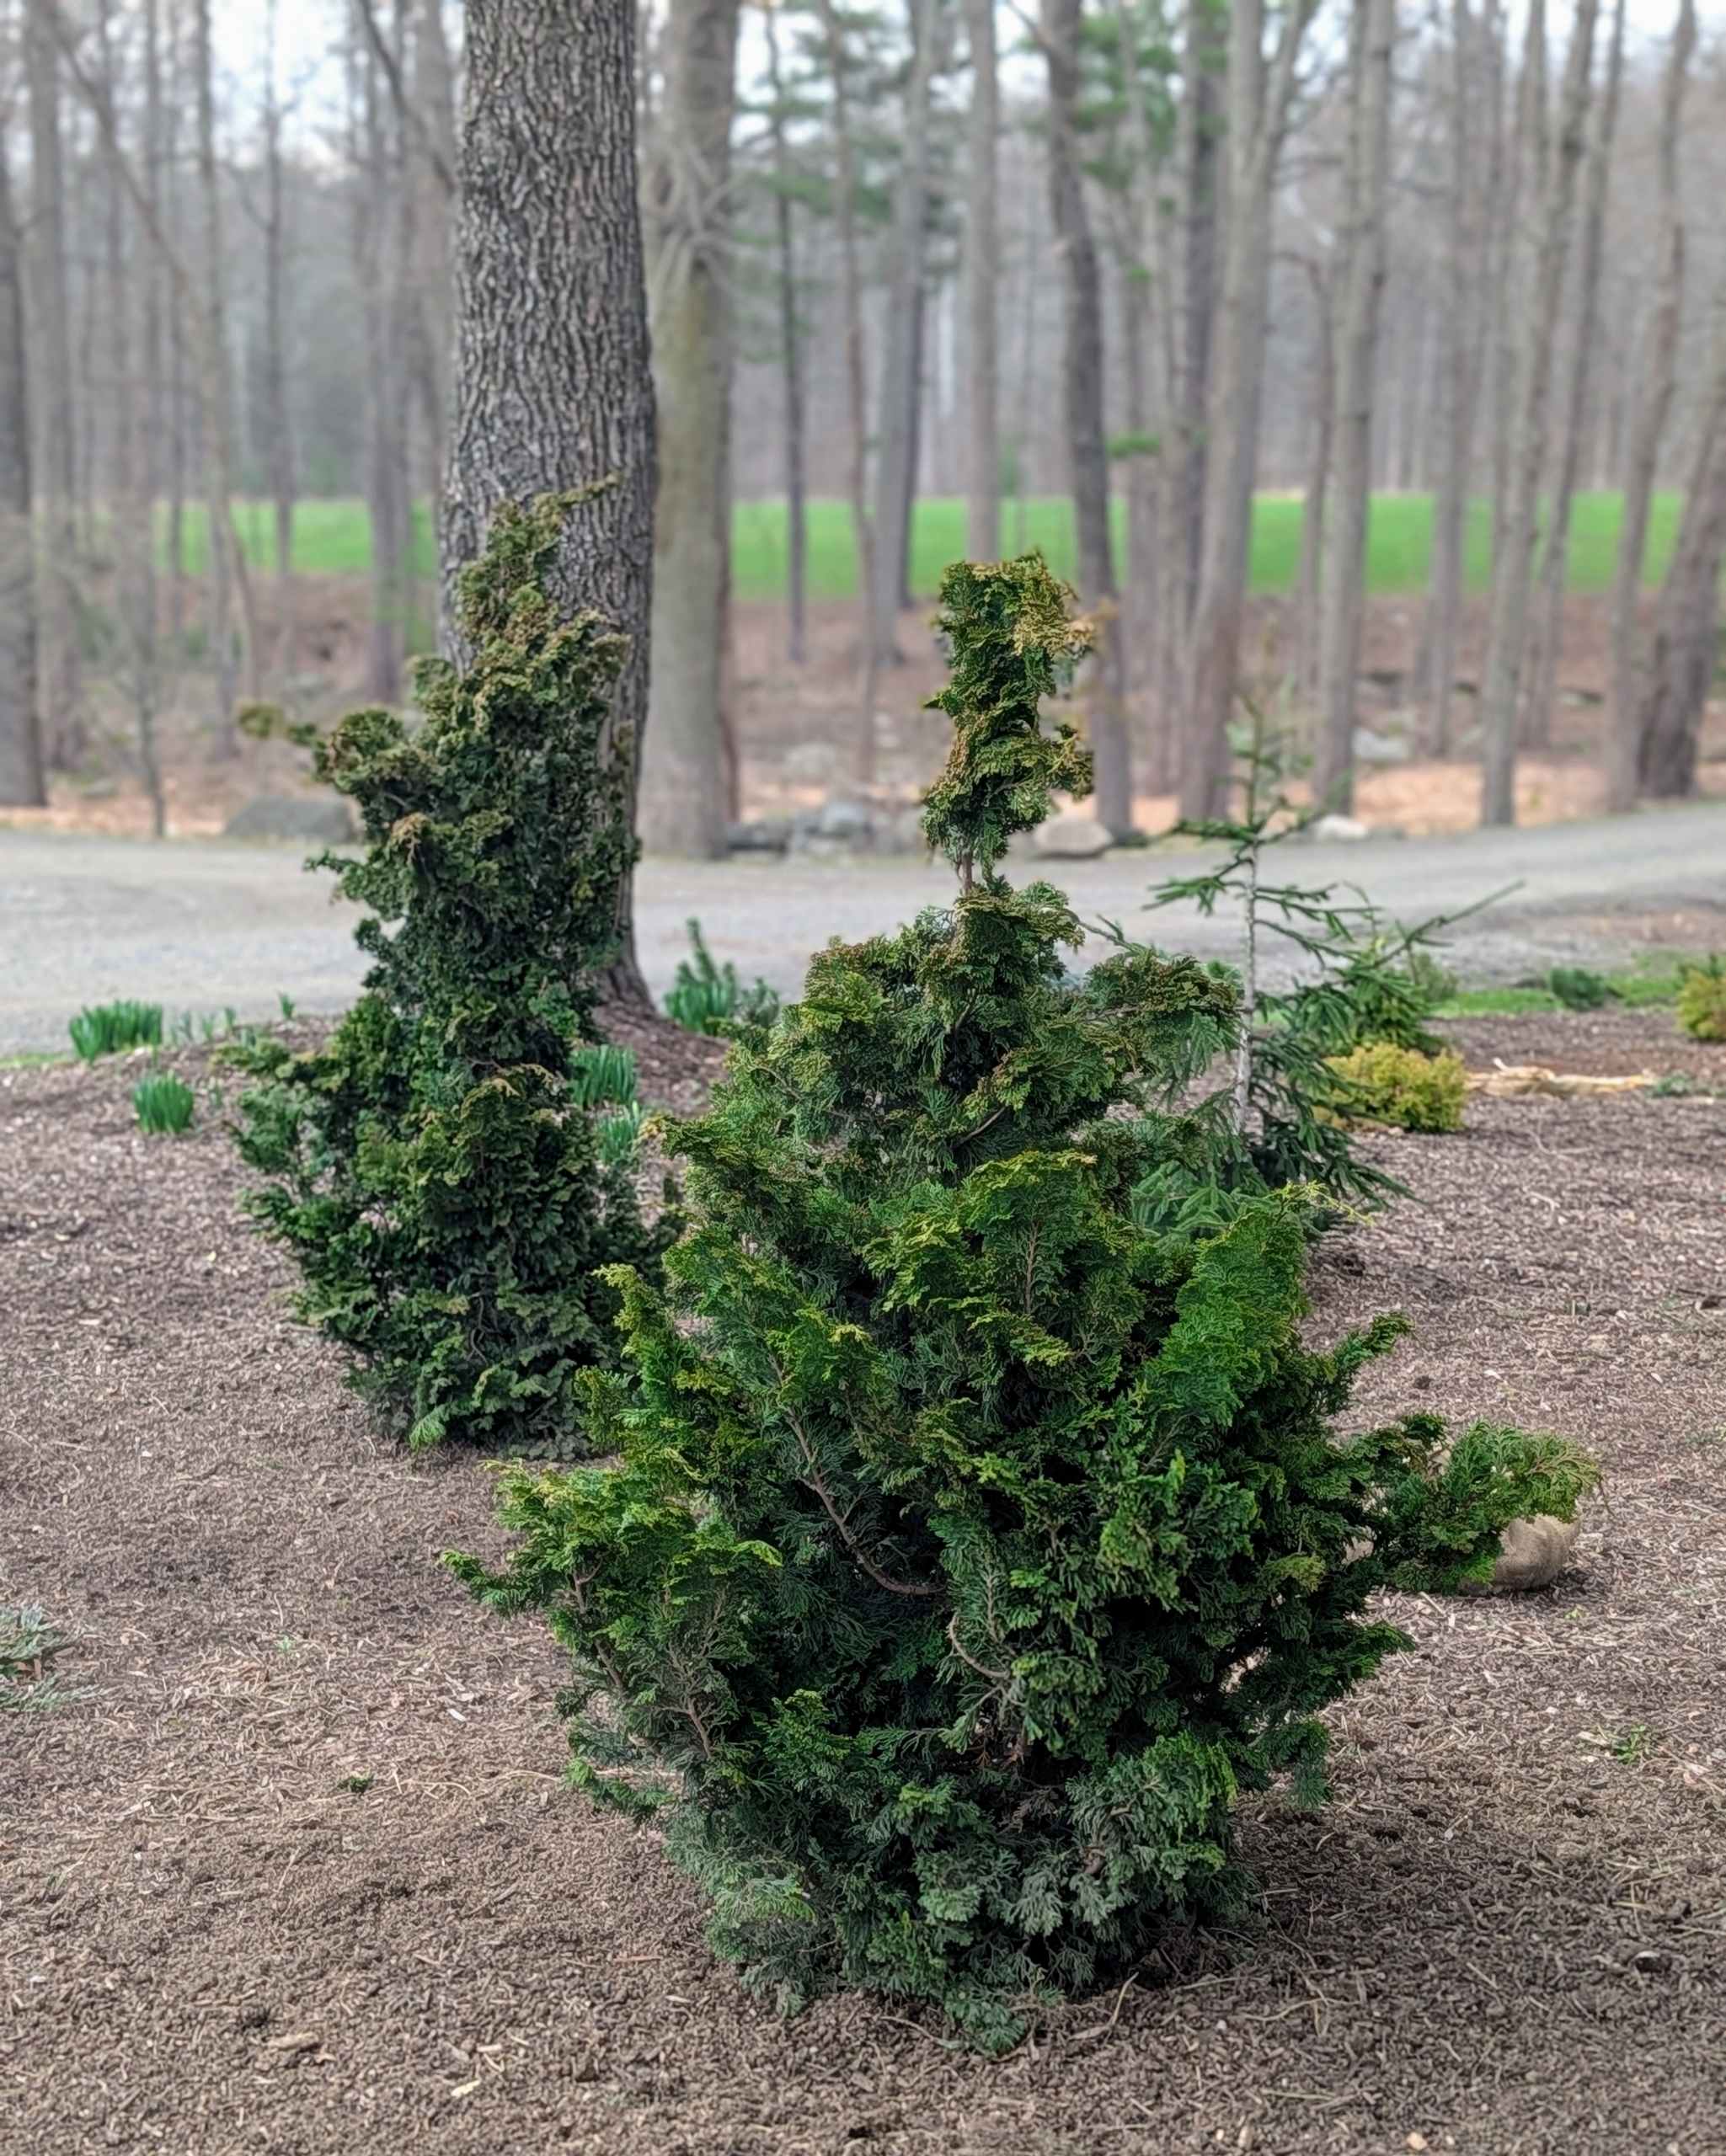
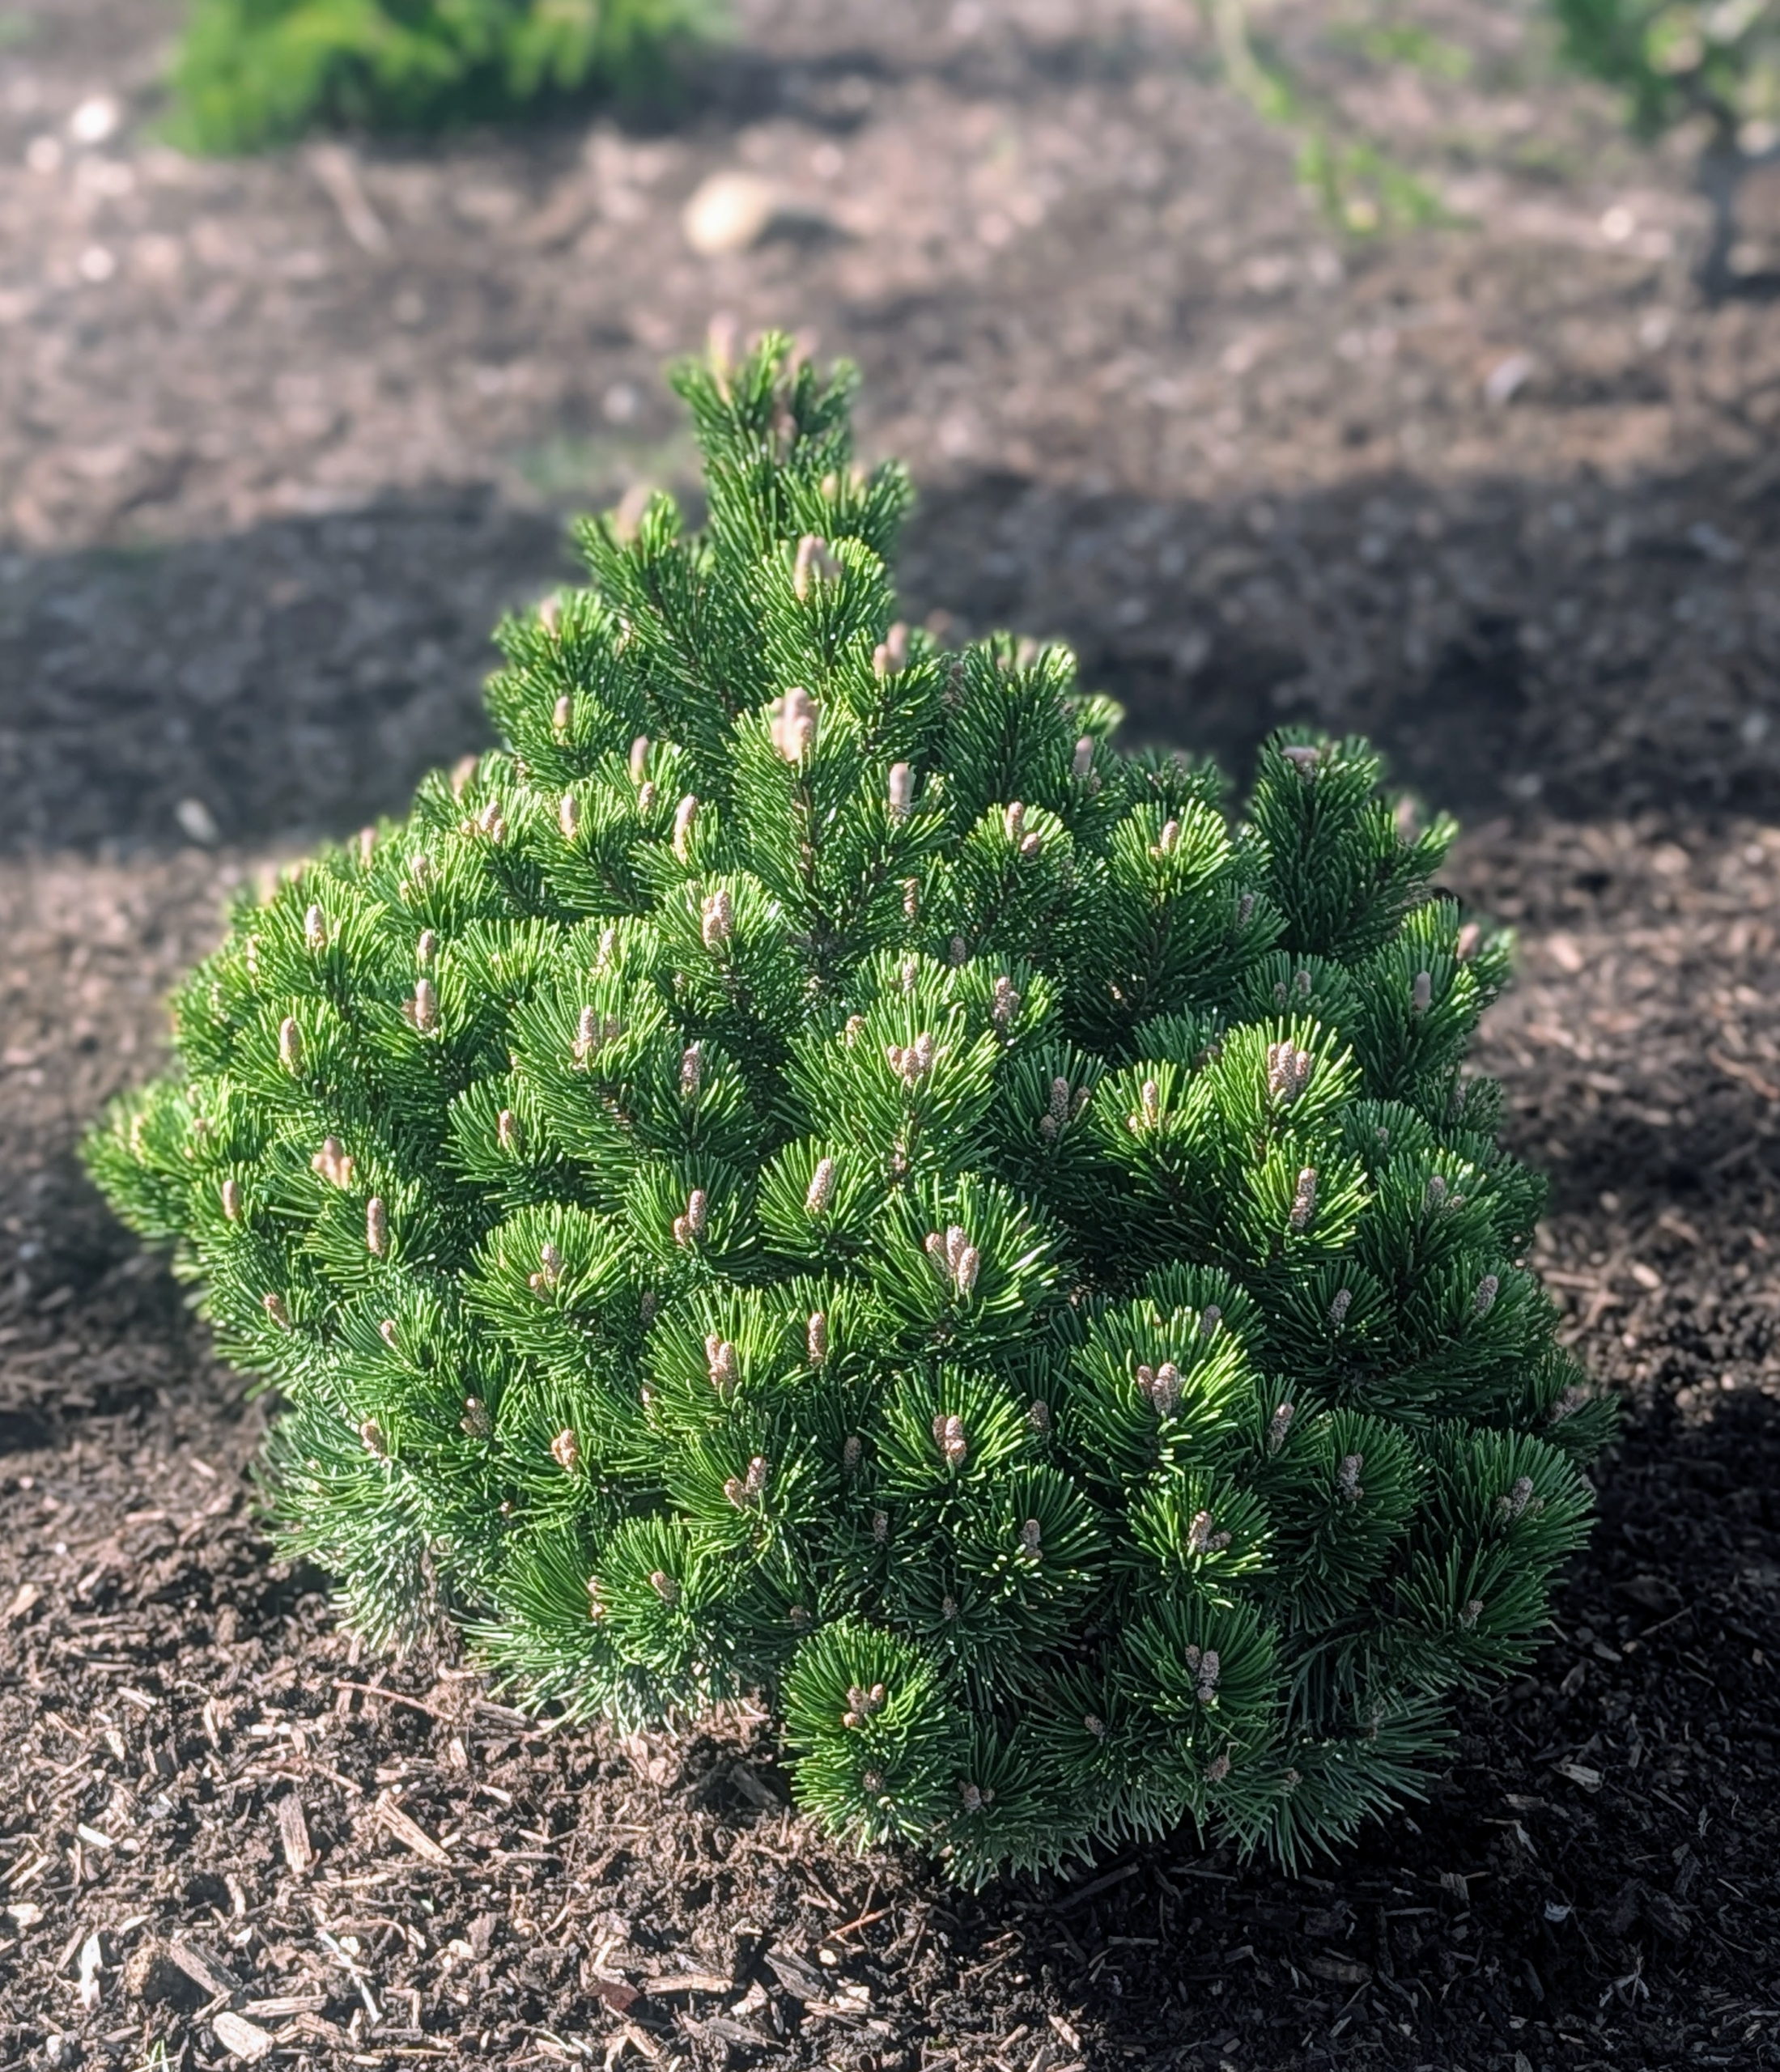
This shrub is Pinus mugo “Sherwood Compacta.” Mugo pines are conifers with dark green needles on dense branches. They’re slow growing and need no pruning to maintain its unique growth habit.
These evergreen trees and shrubs are young and small now, but they will thrive here and fill out this pinetum garden so nicely.