This time of year is great for starting all those lawn maintenance chores.
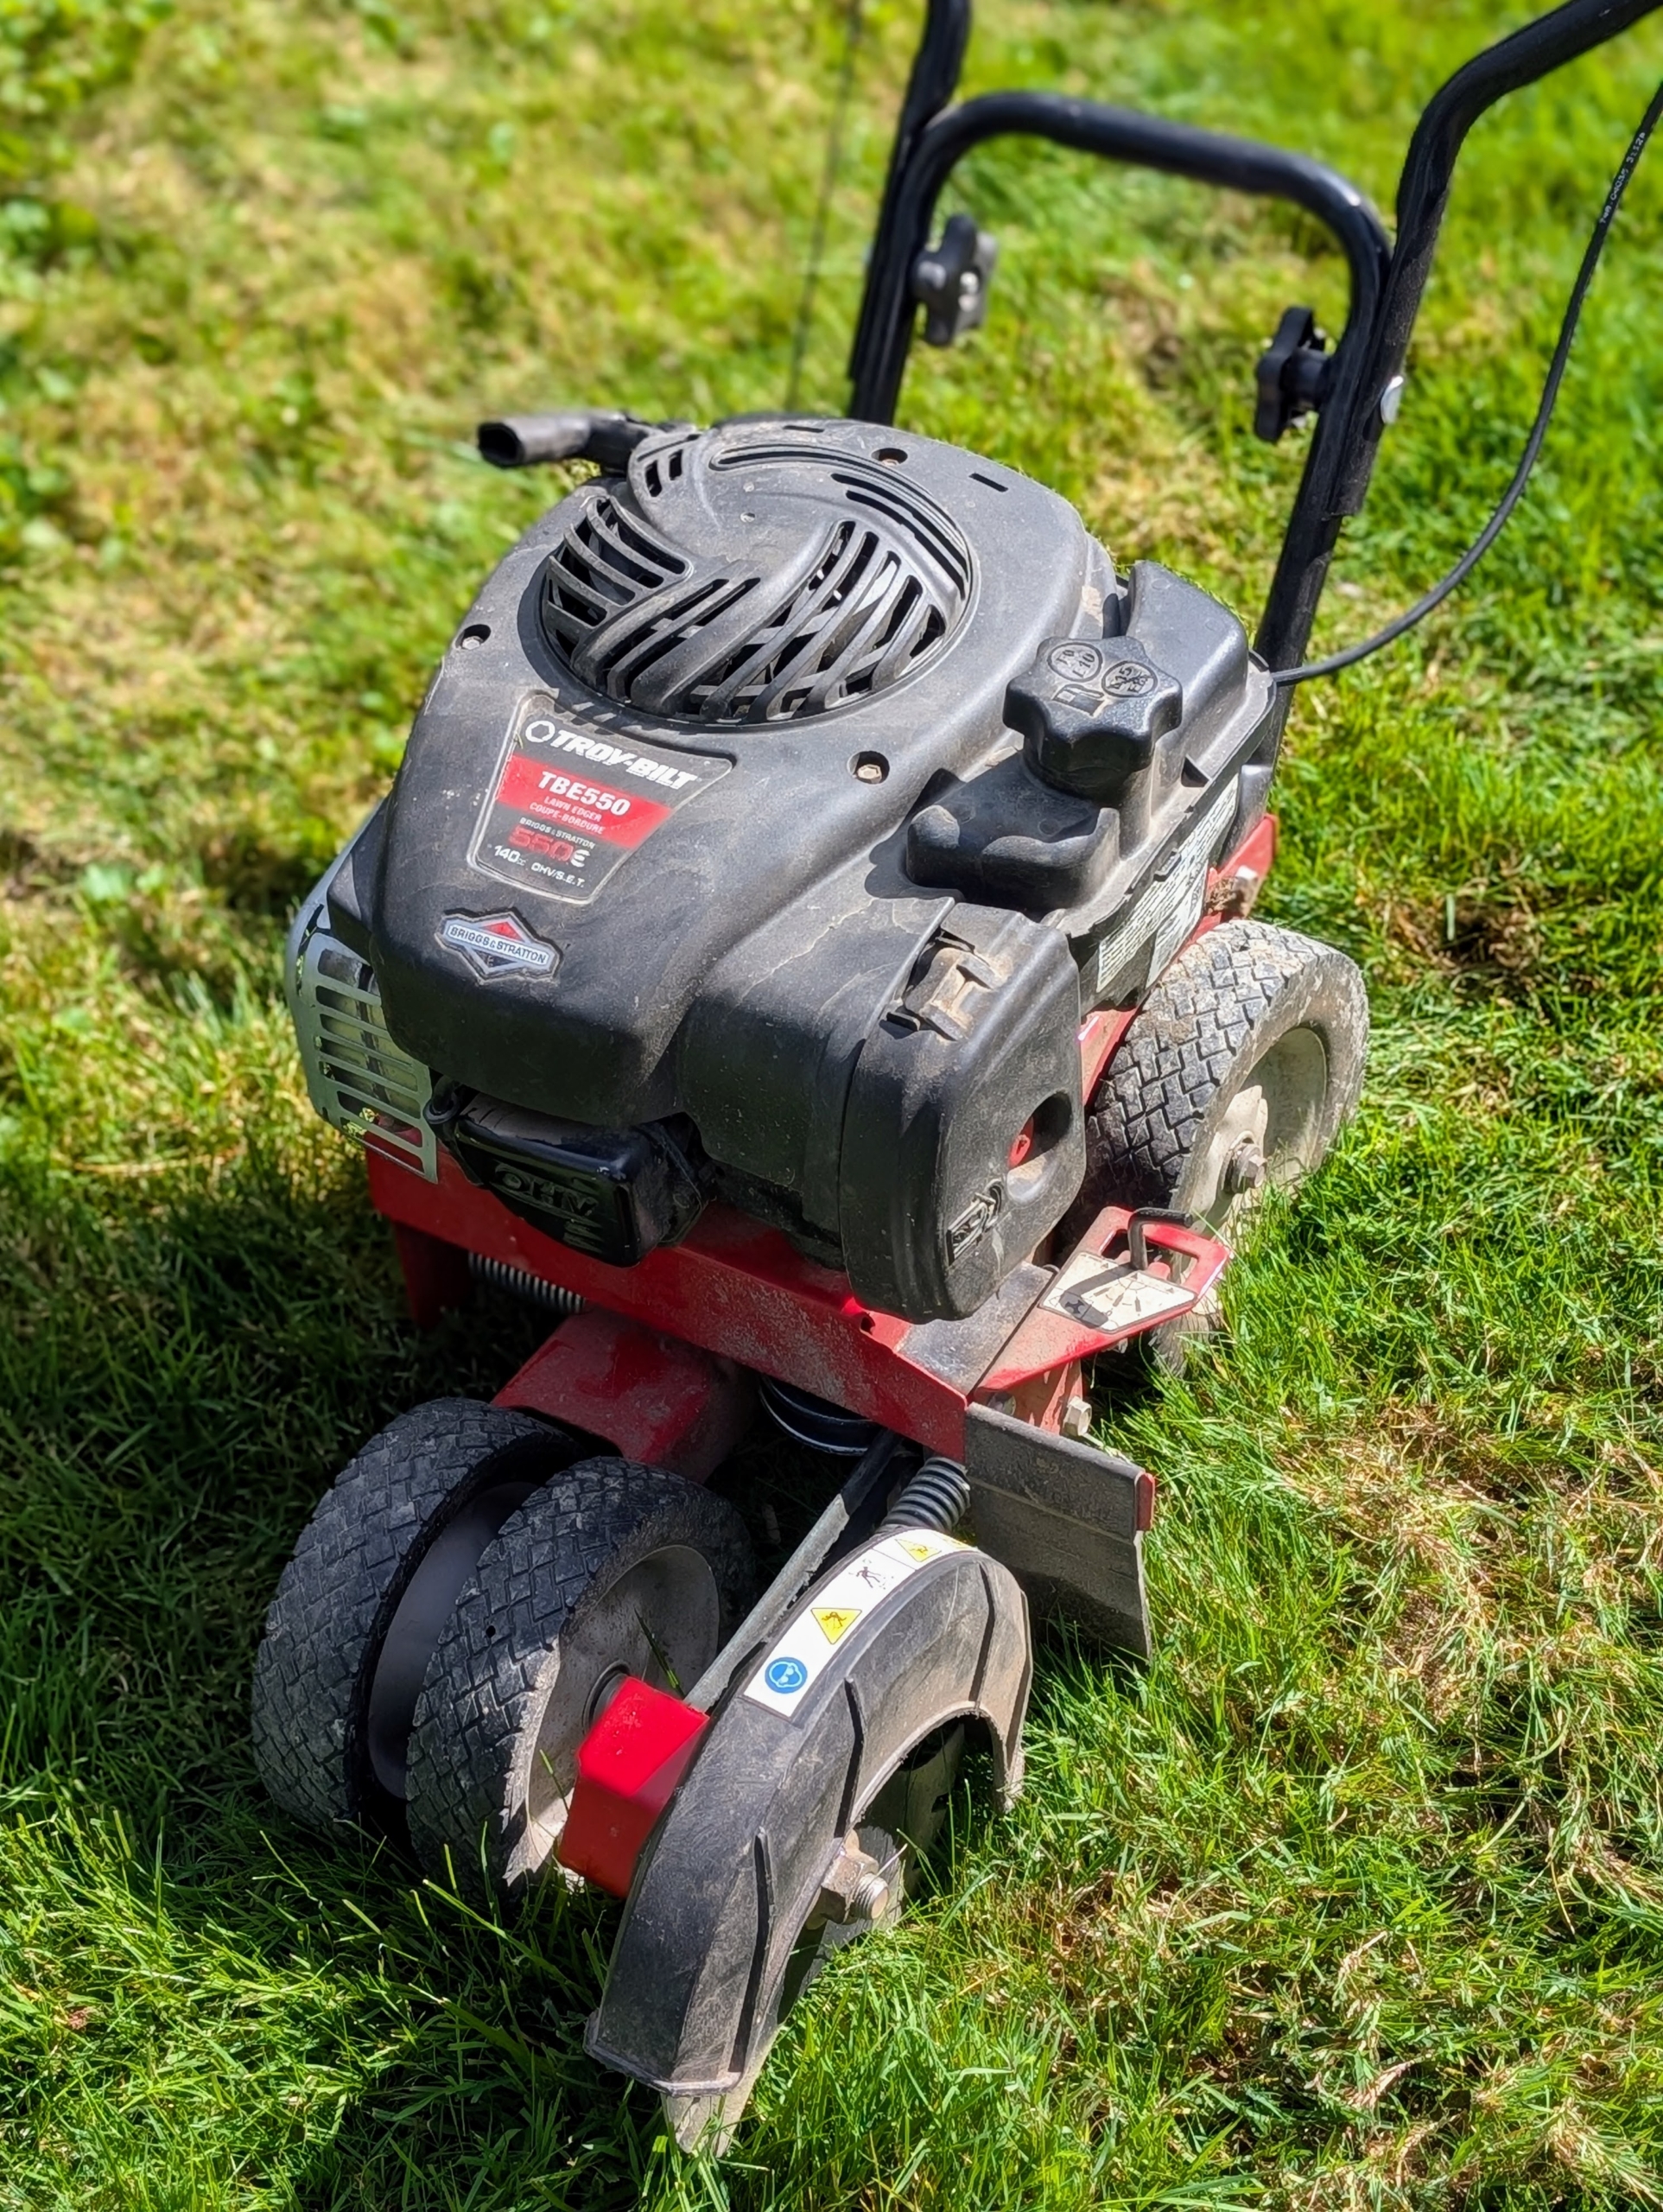
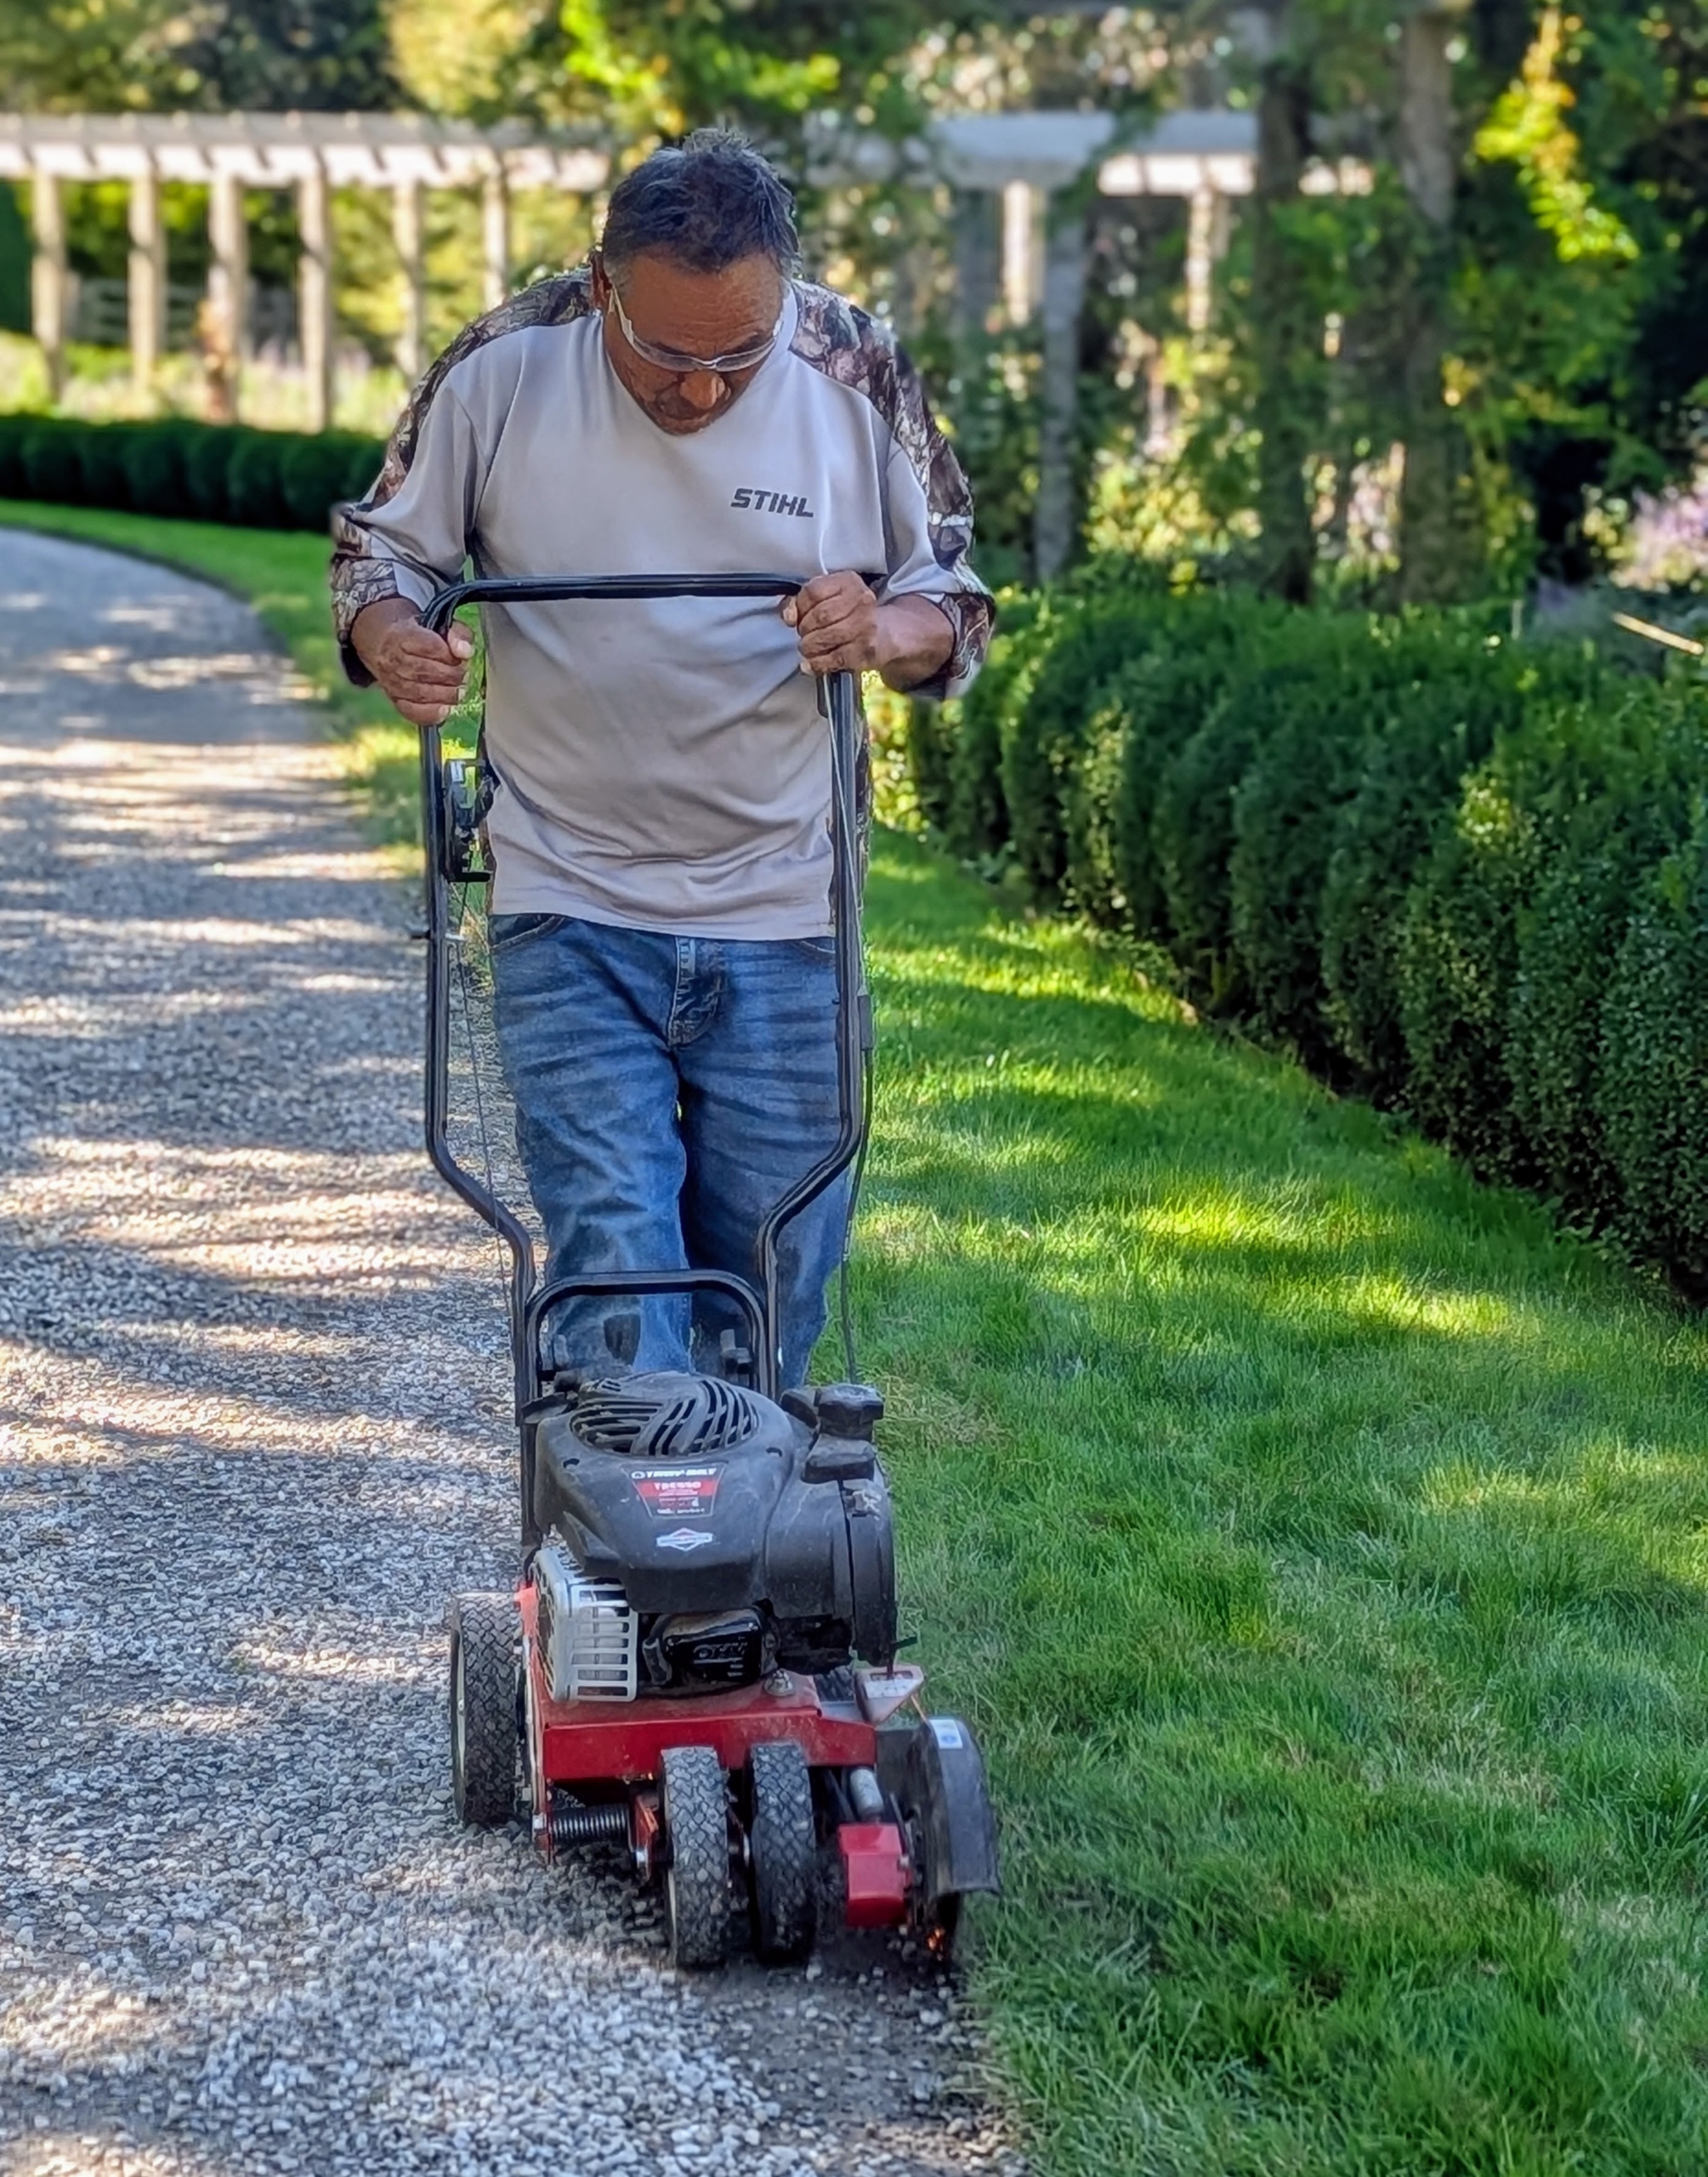
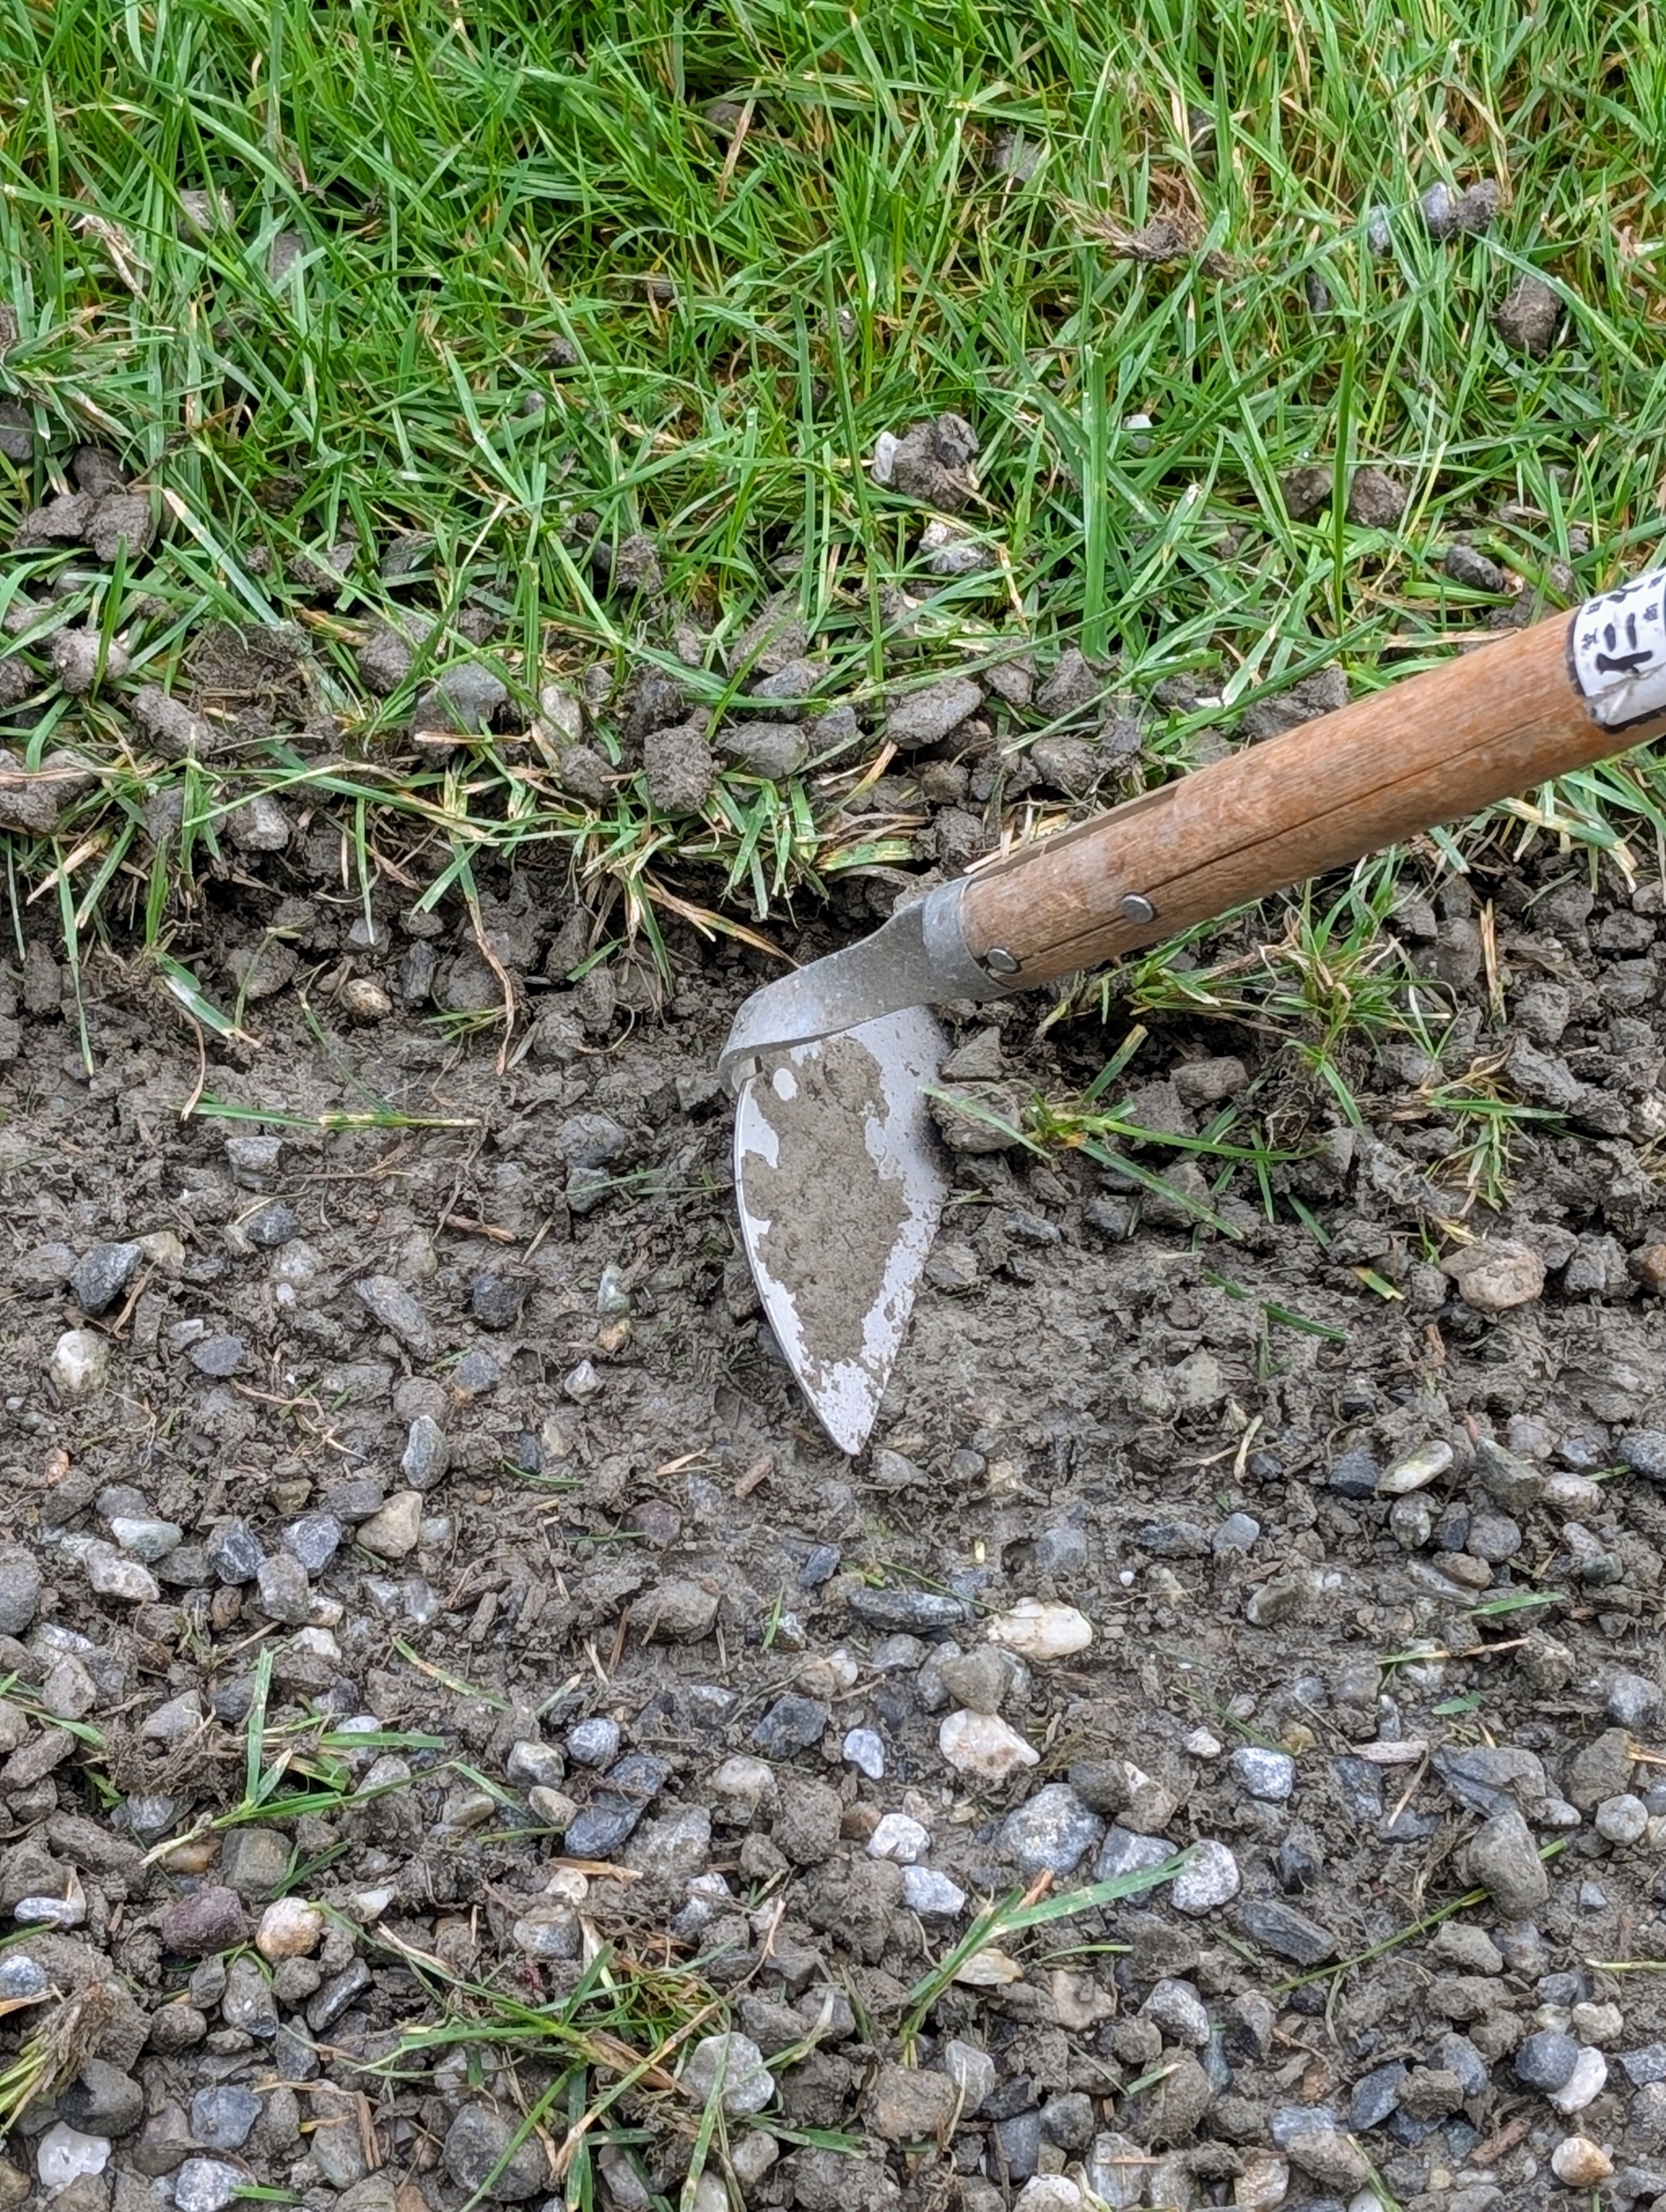
Here at my farm, my outdoor grounds crew is busy edging the carriage roads, so they look crisp and clean - it's a task we do once a year. Edging roads, lawns, and around garden beds can be done manually with a variety of spades or edging type tools, but depending on the size of the space, it can also be very time-consuming. Rotary edgers, powered by gasoline, electricity, or portable battery reduce the time it takes to complete this job. These machines feature a spinning blade that cuts through the turf as the edger is pushed along the road where it meets the grass border. For this chore, I use my Troy-Bilt TBE550 Lawn Edger. It works really well for creating that beautiful, smooth edge.
Enjoy these photos.
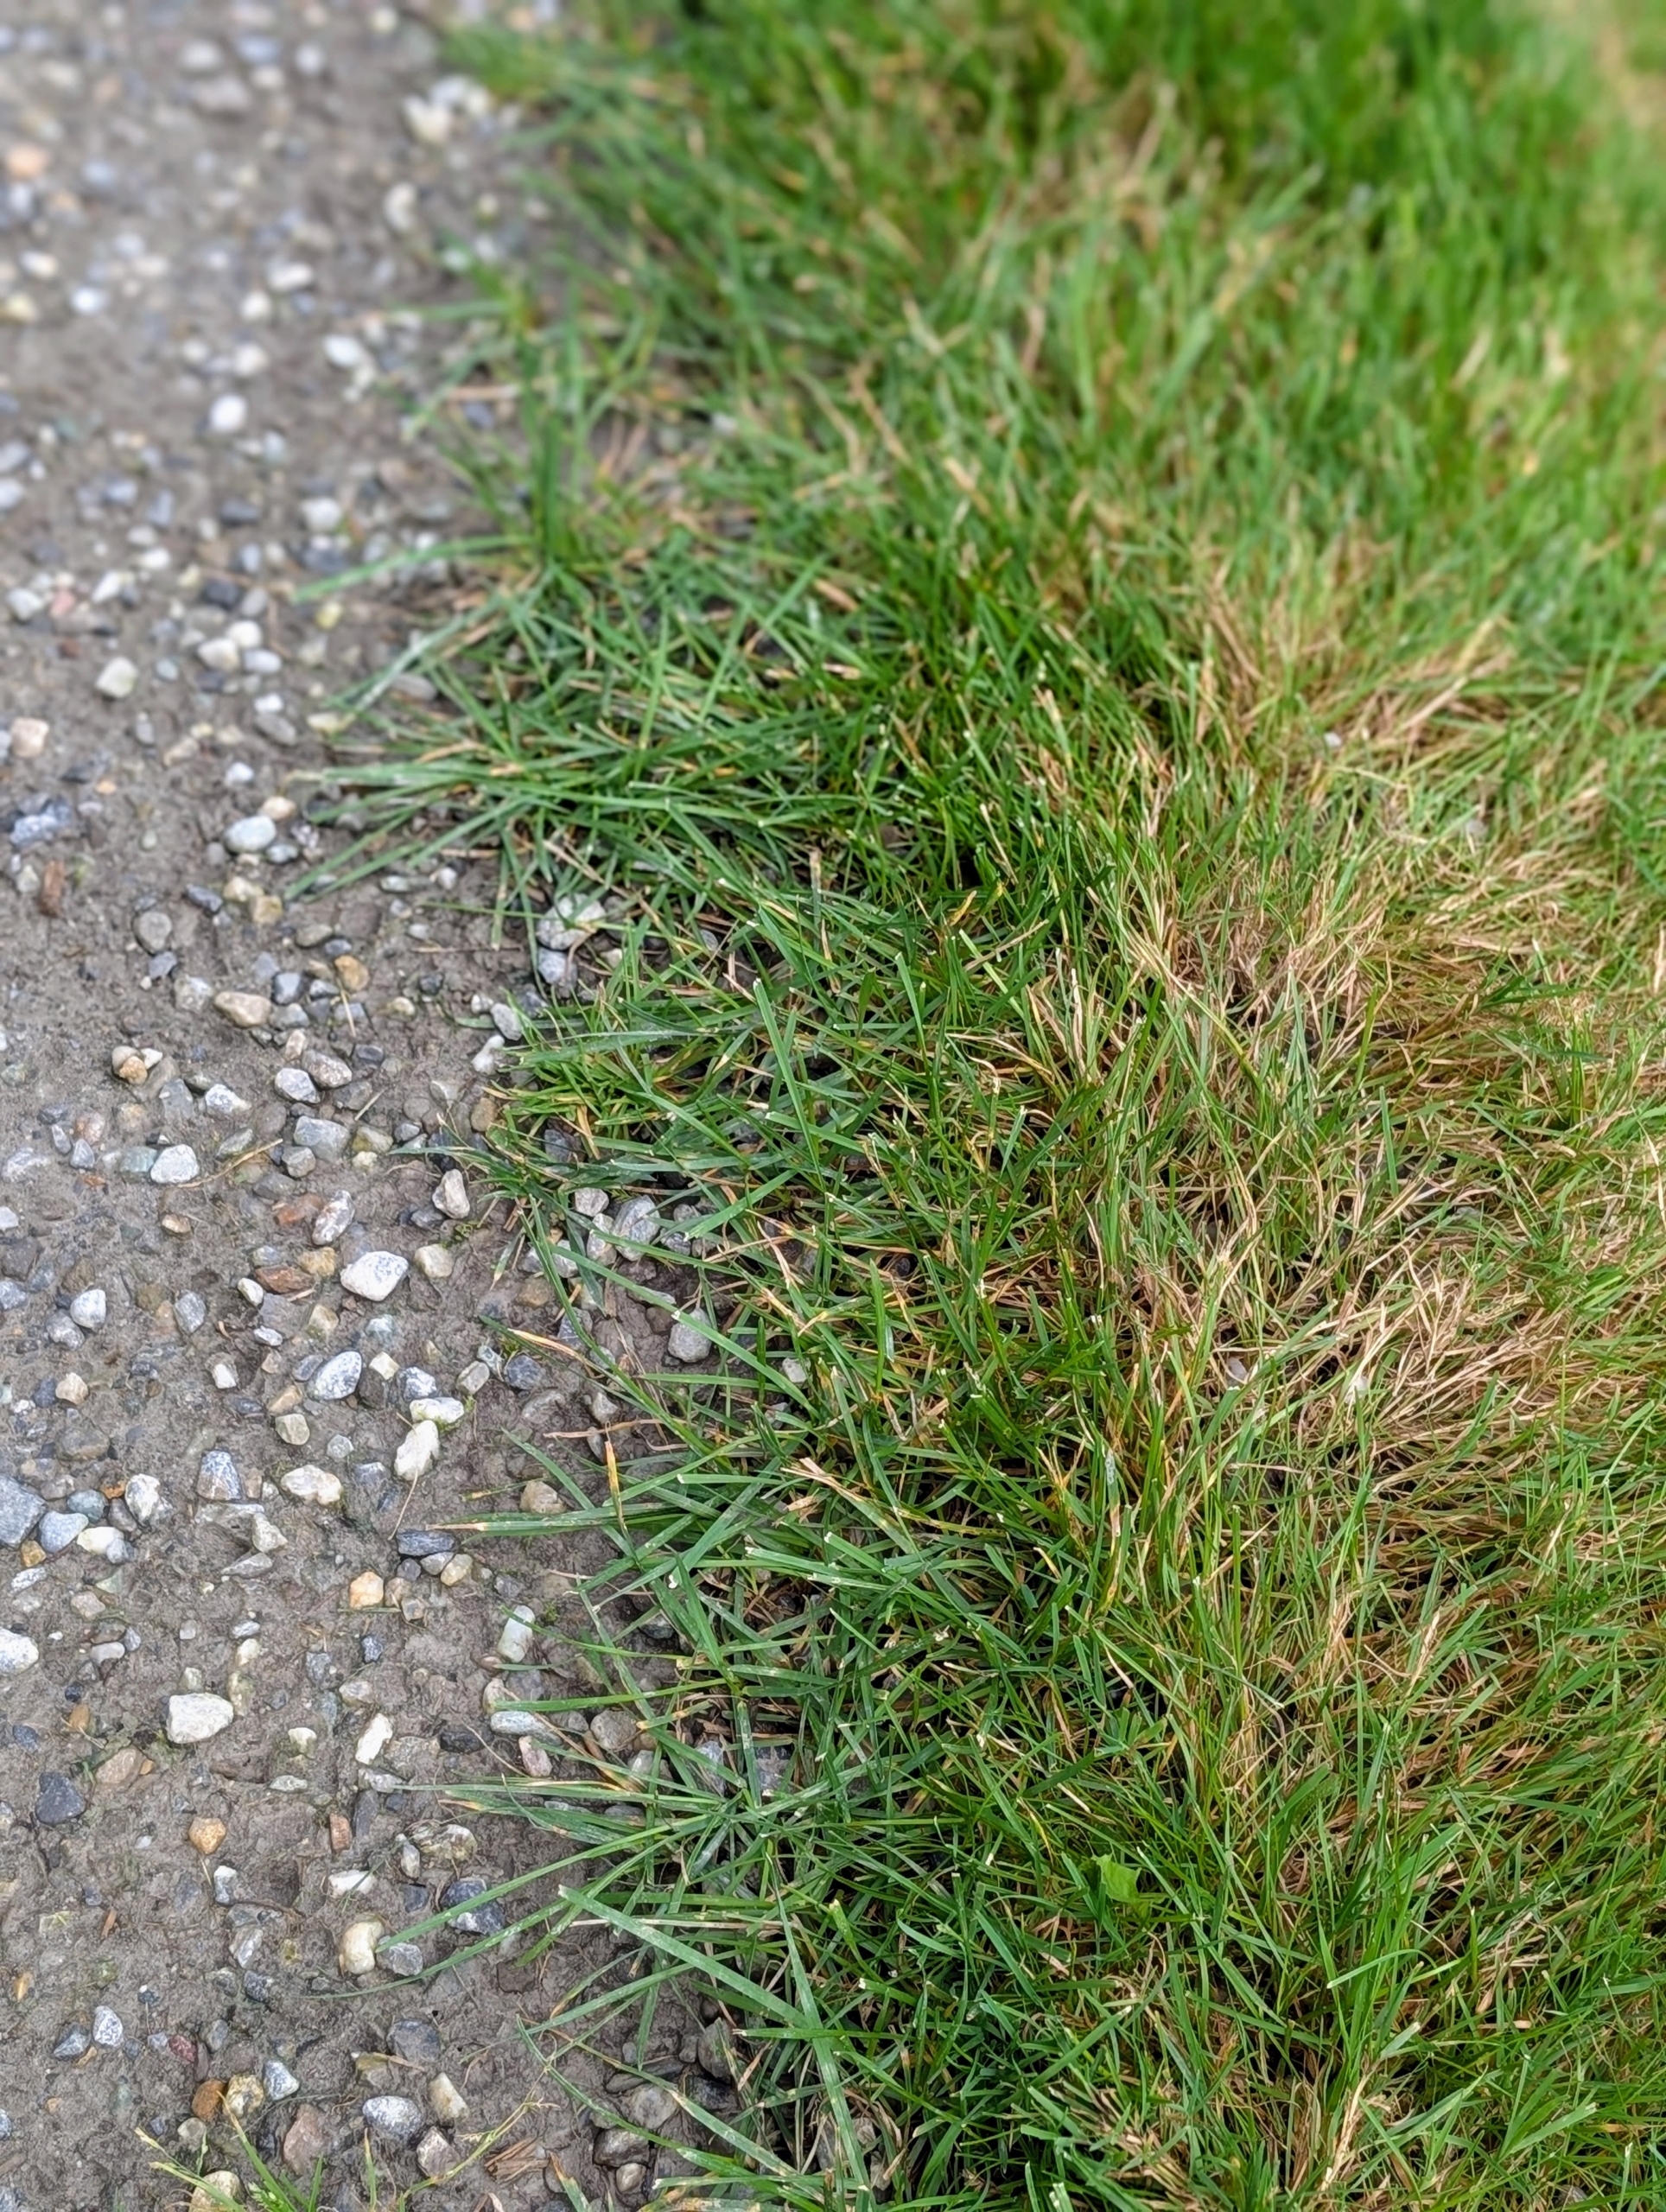
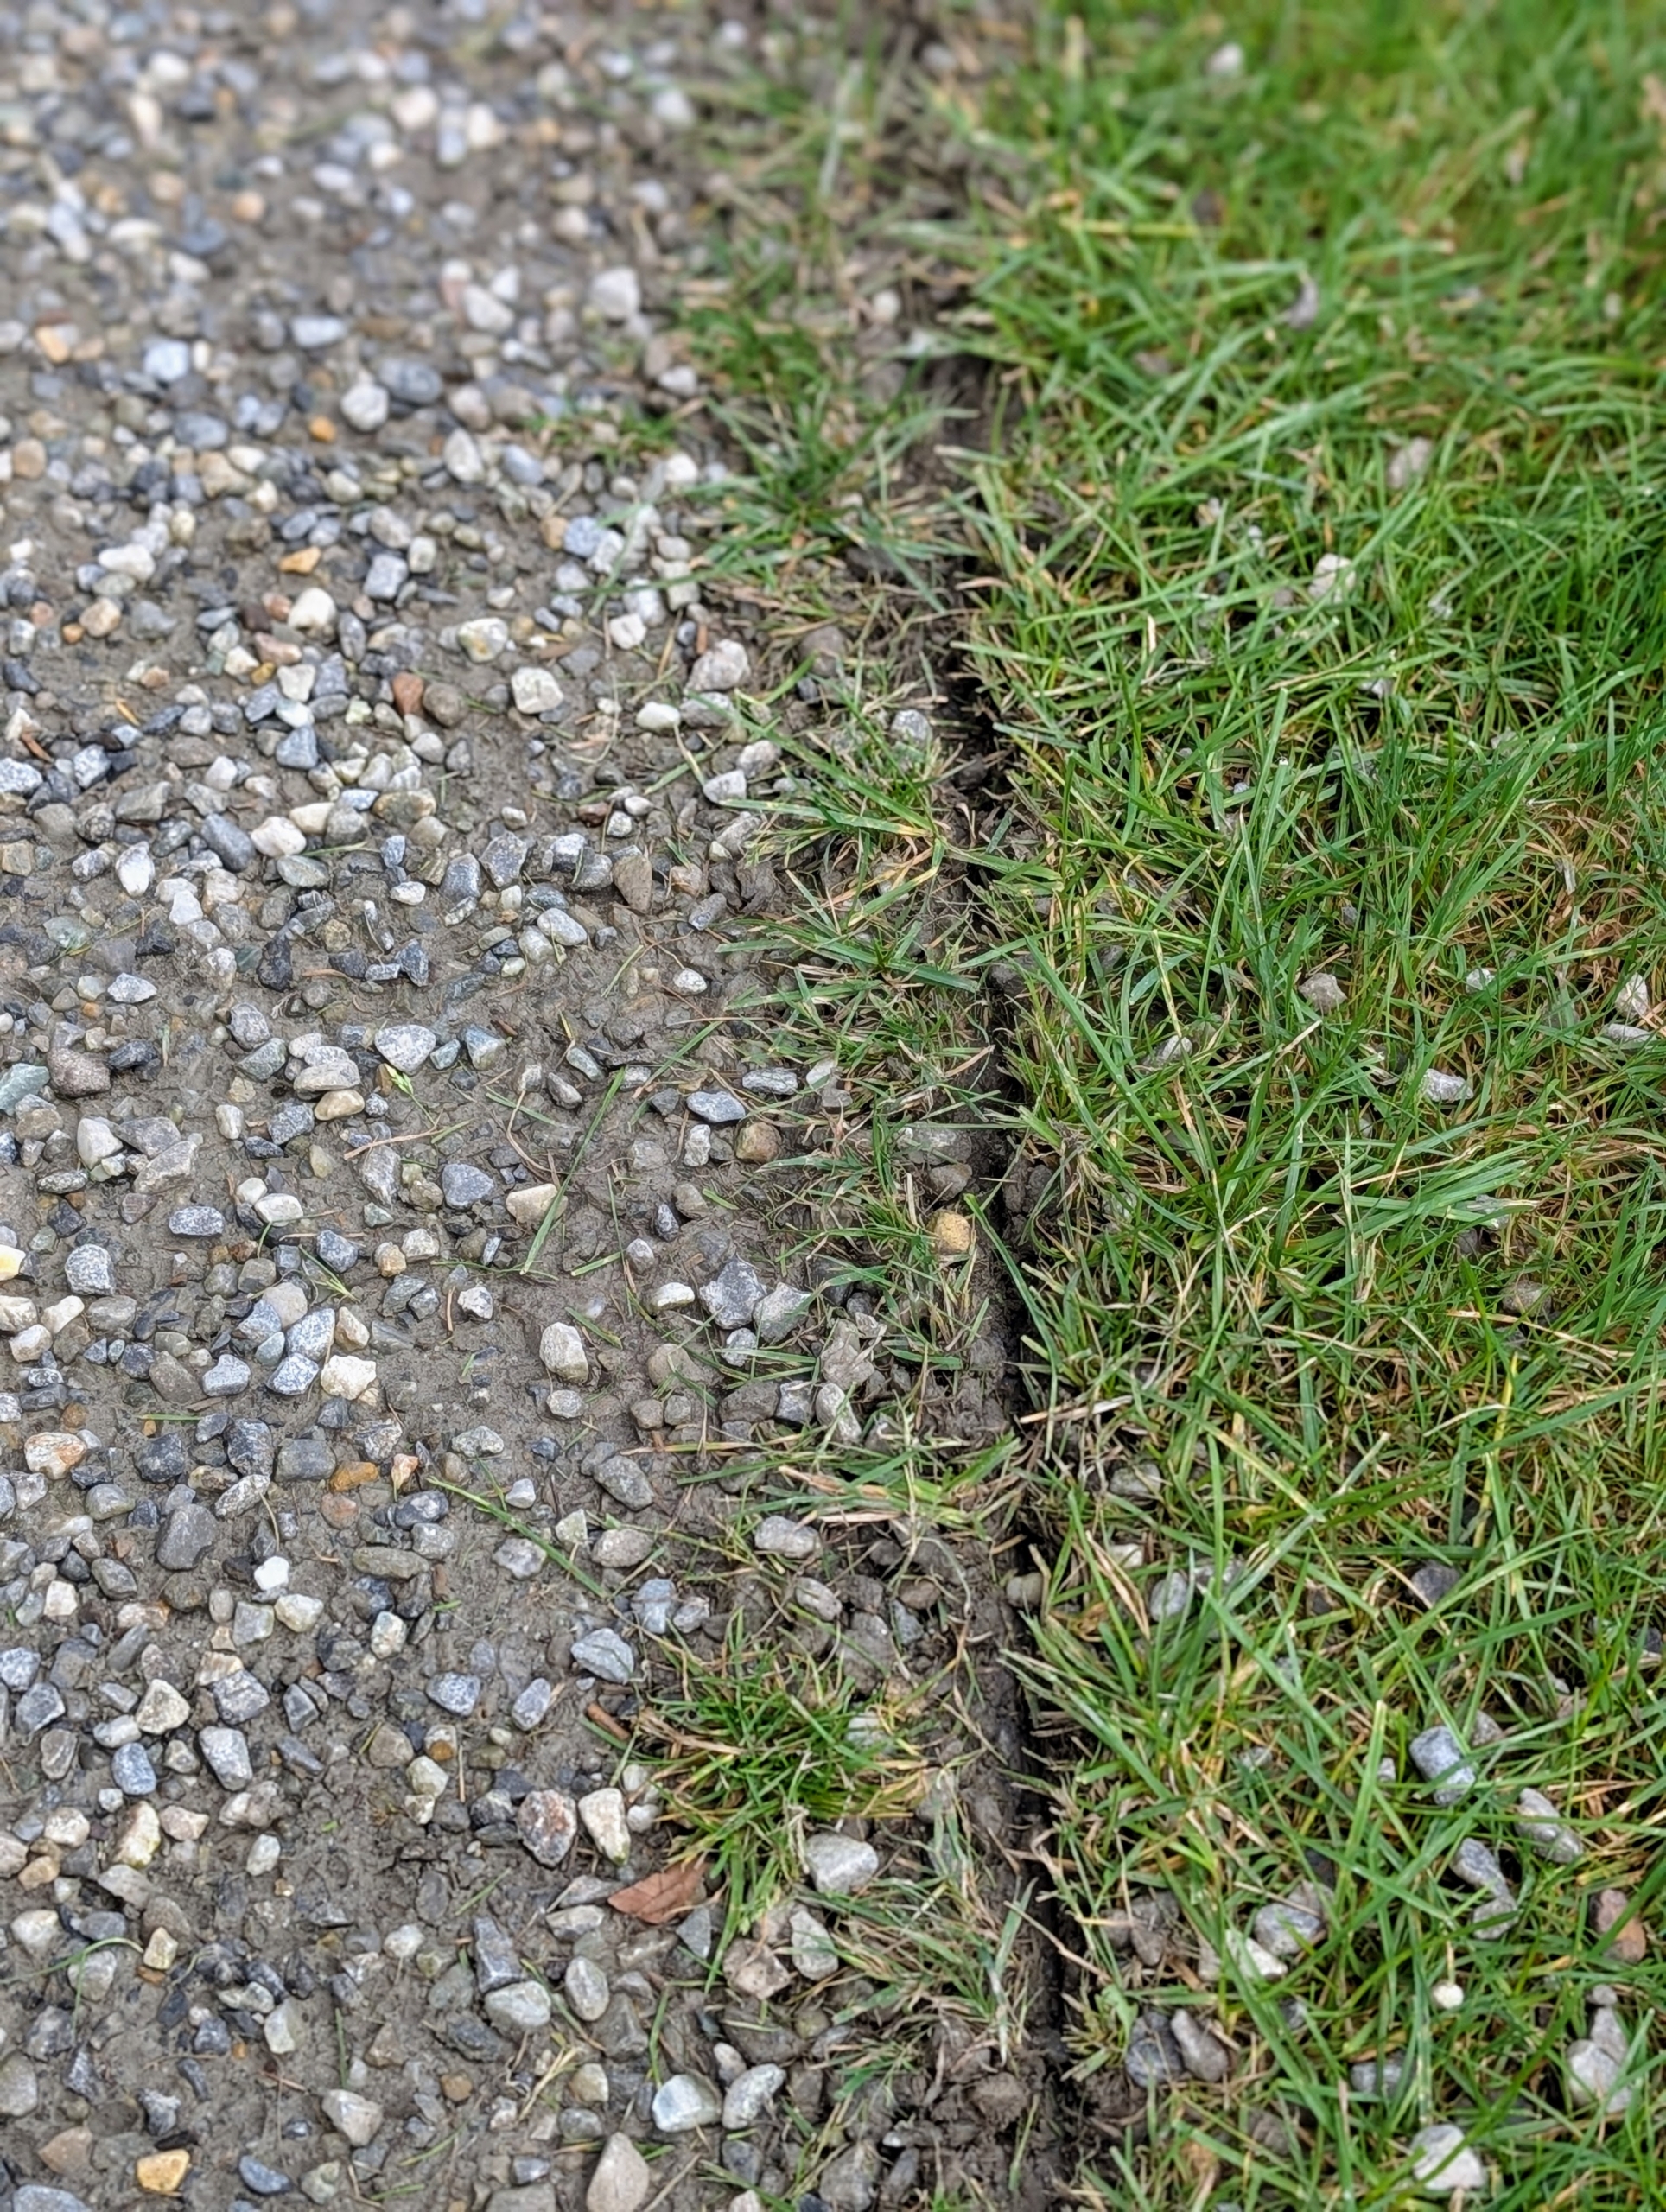
Does your driveway look similar to this – where the grass has grown over the road leaving it messy and unsightly?
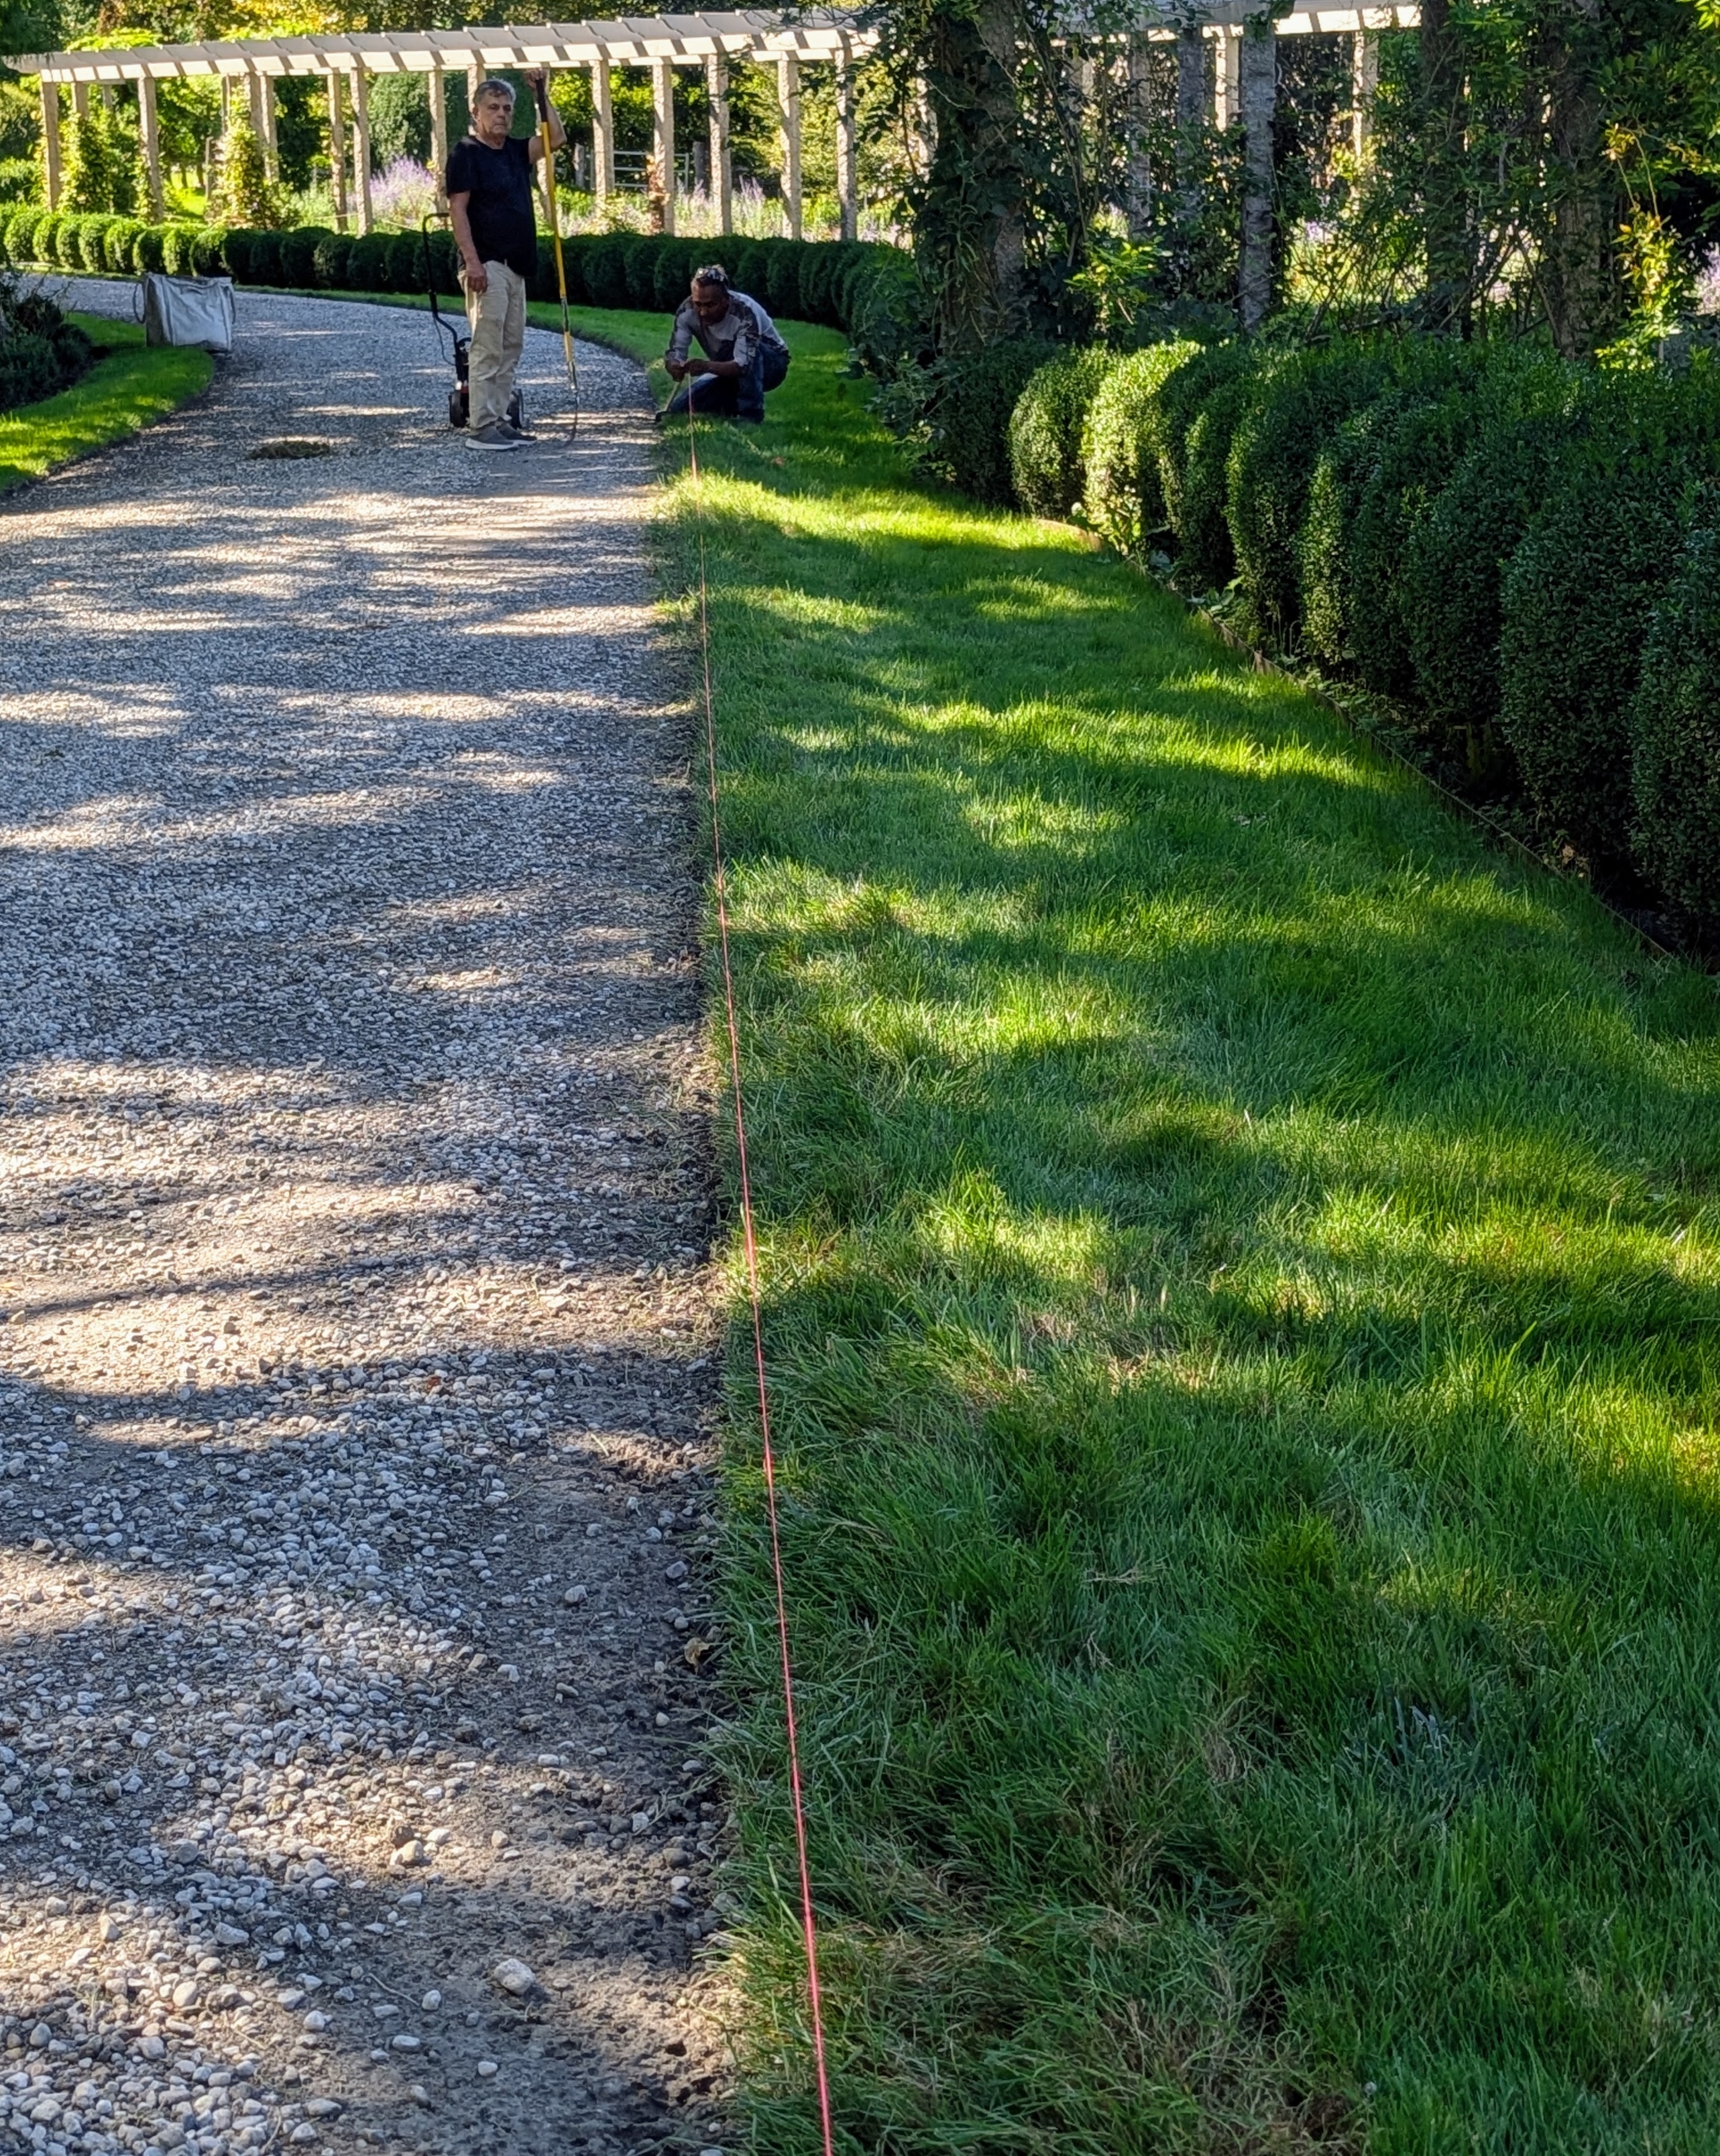
Are there areas where weeds and grass have grown outside the lawn edge? I have four miles of gravel-covered carriage road at my farm. Every spring, I notice how much the grass has grown into the gravel making it difficult to see the exact edge where the carriage road meets the lawn.
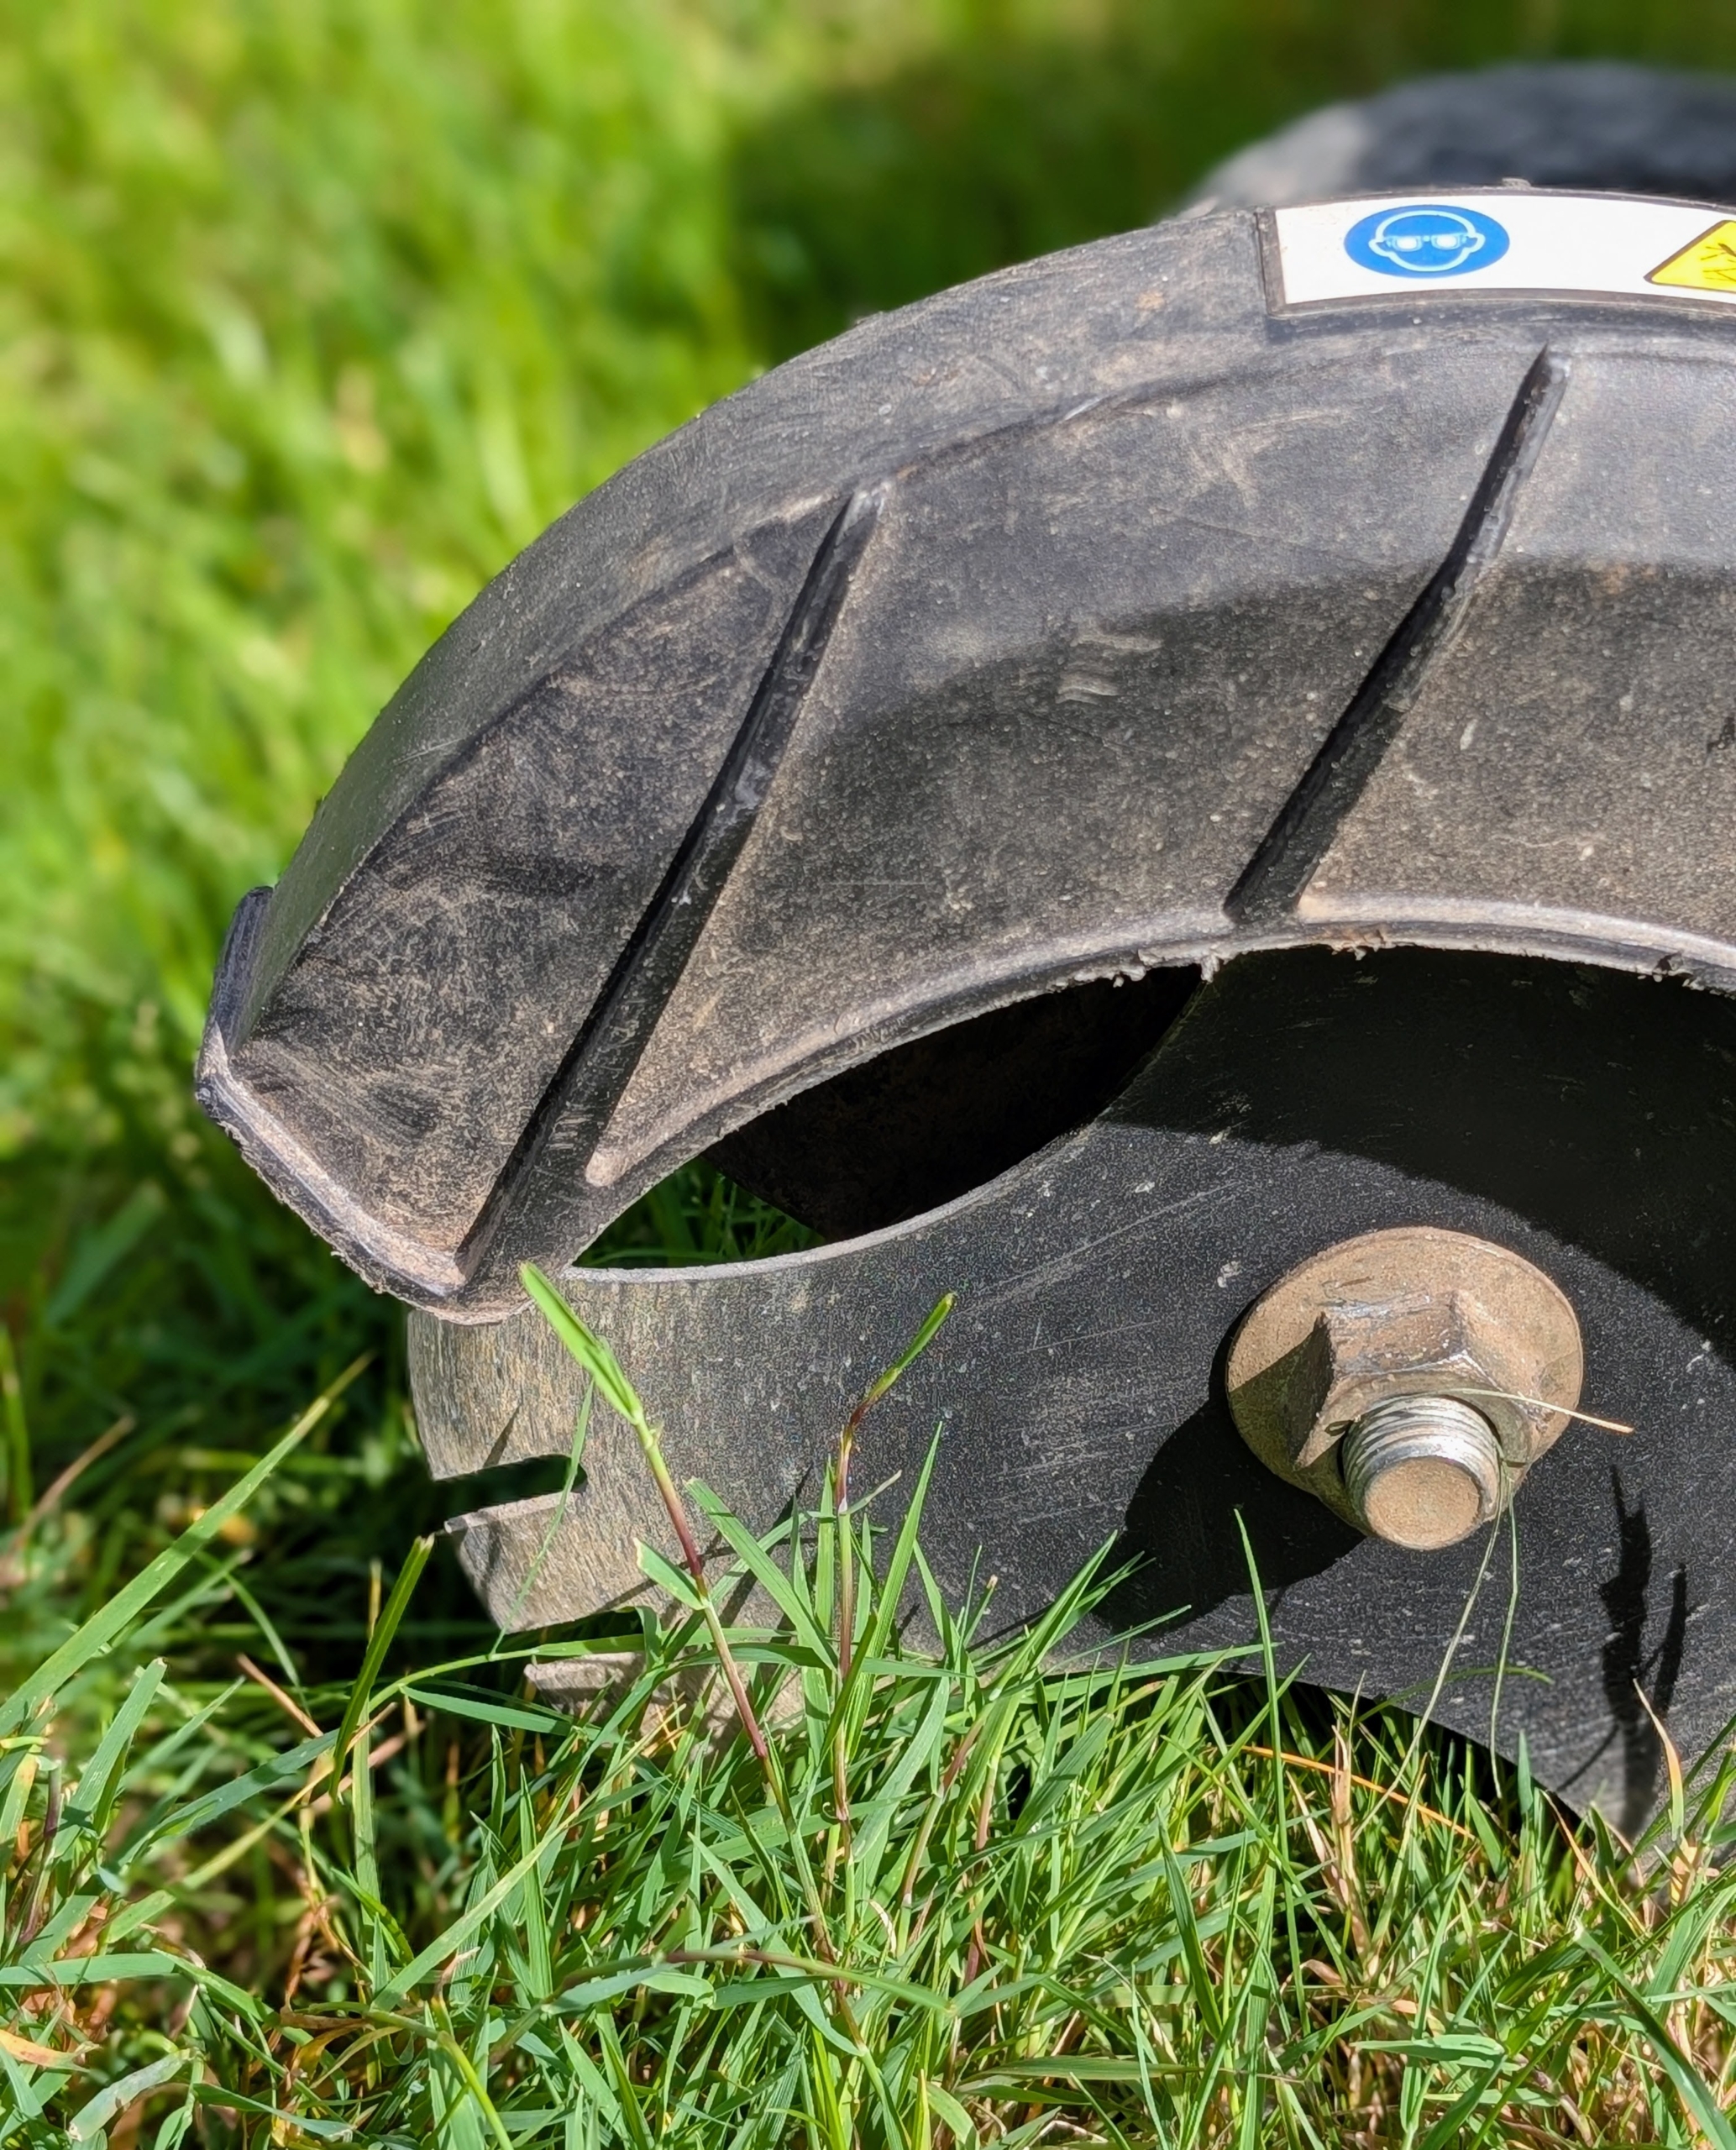
The covered nine-inch triple edge blade is self-sharpening and has three different bevel options for trimming. The machine is also very easy to maneuver and guide.
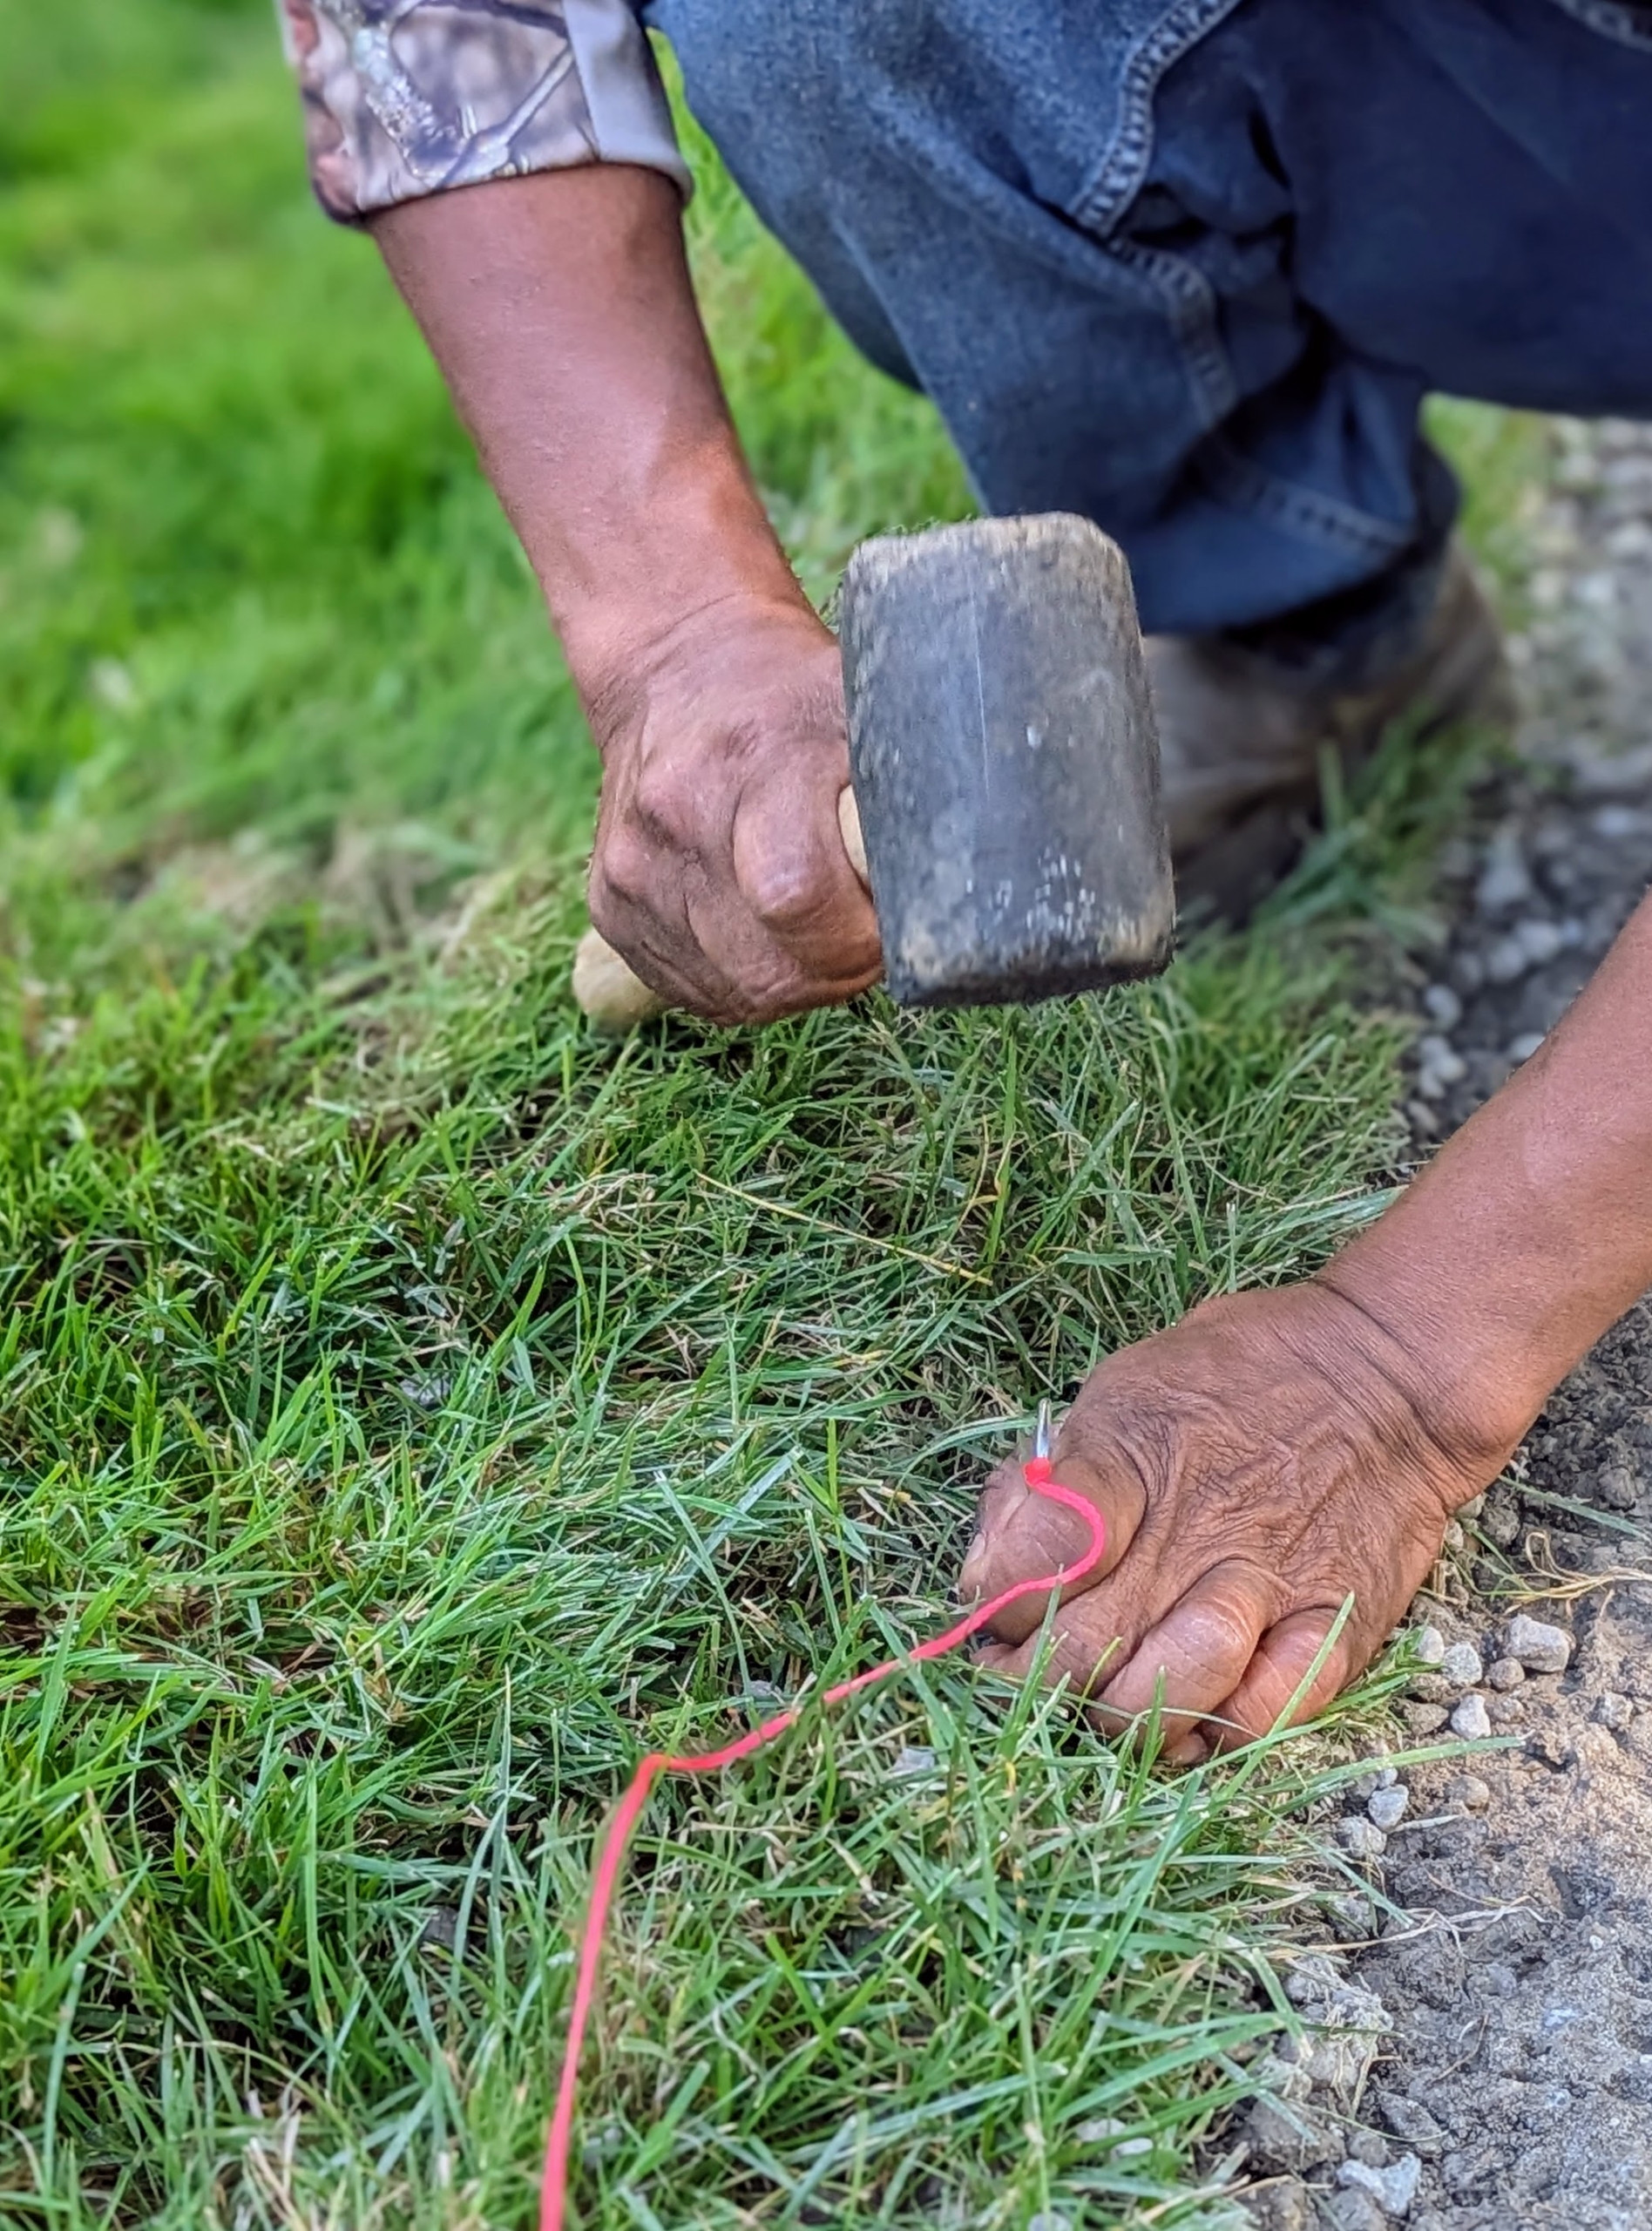
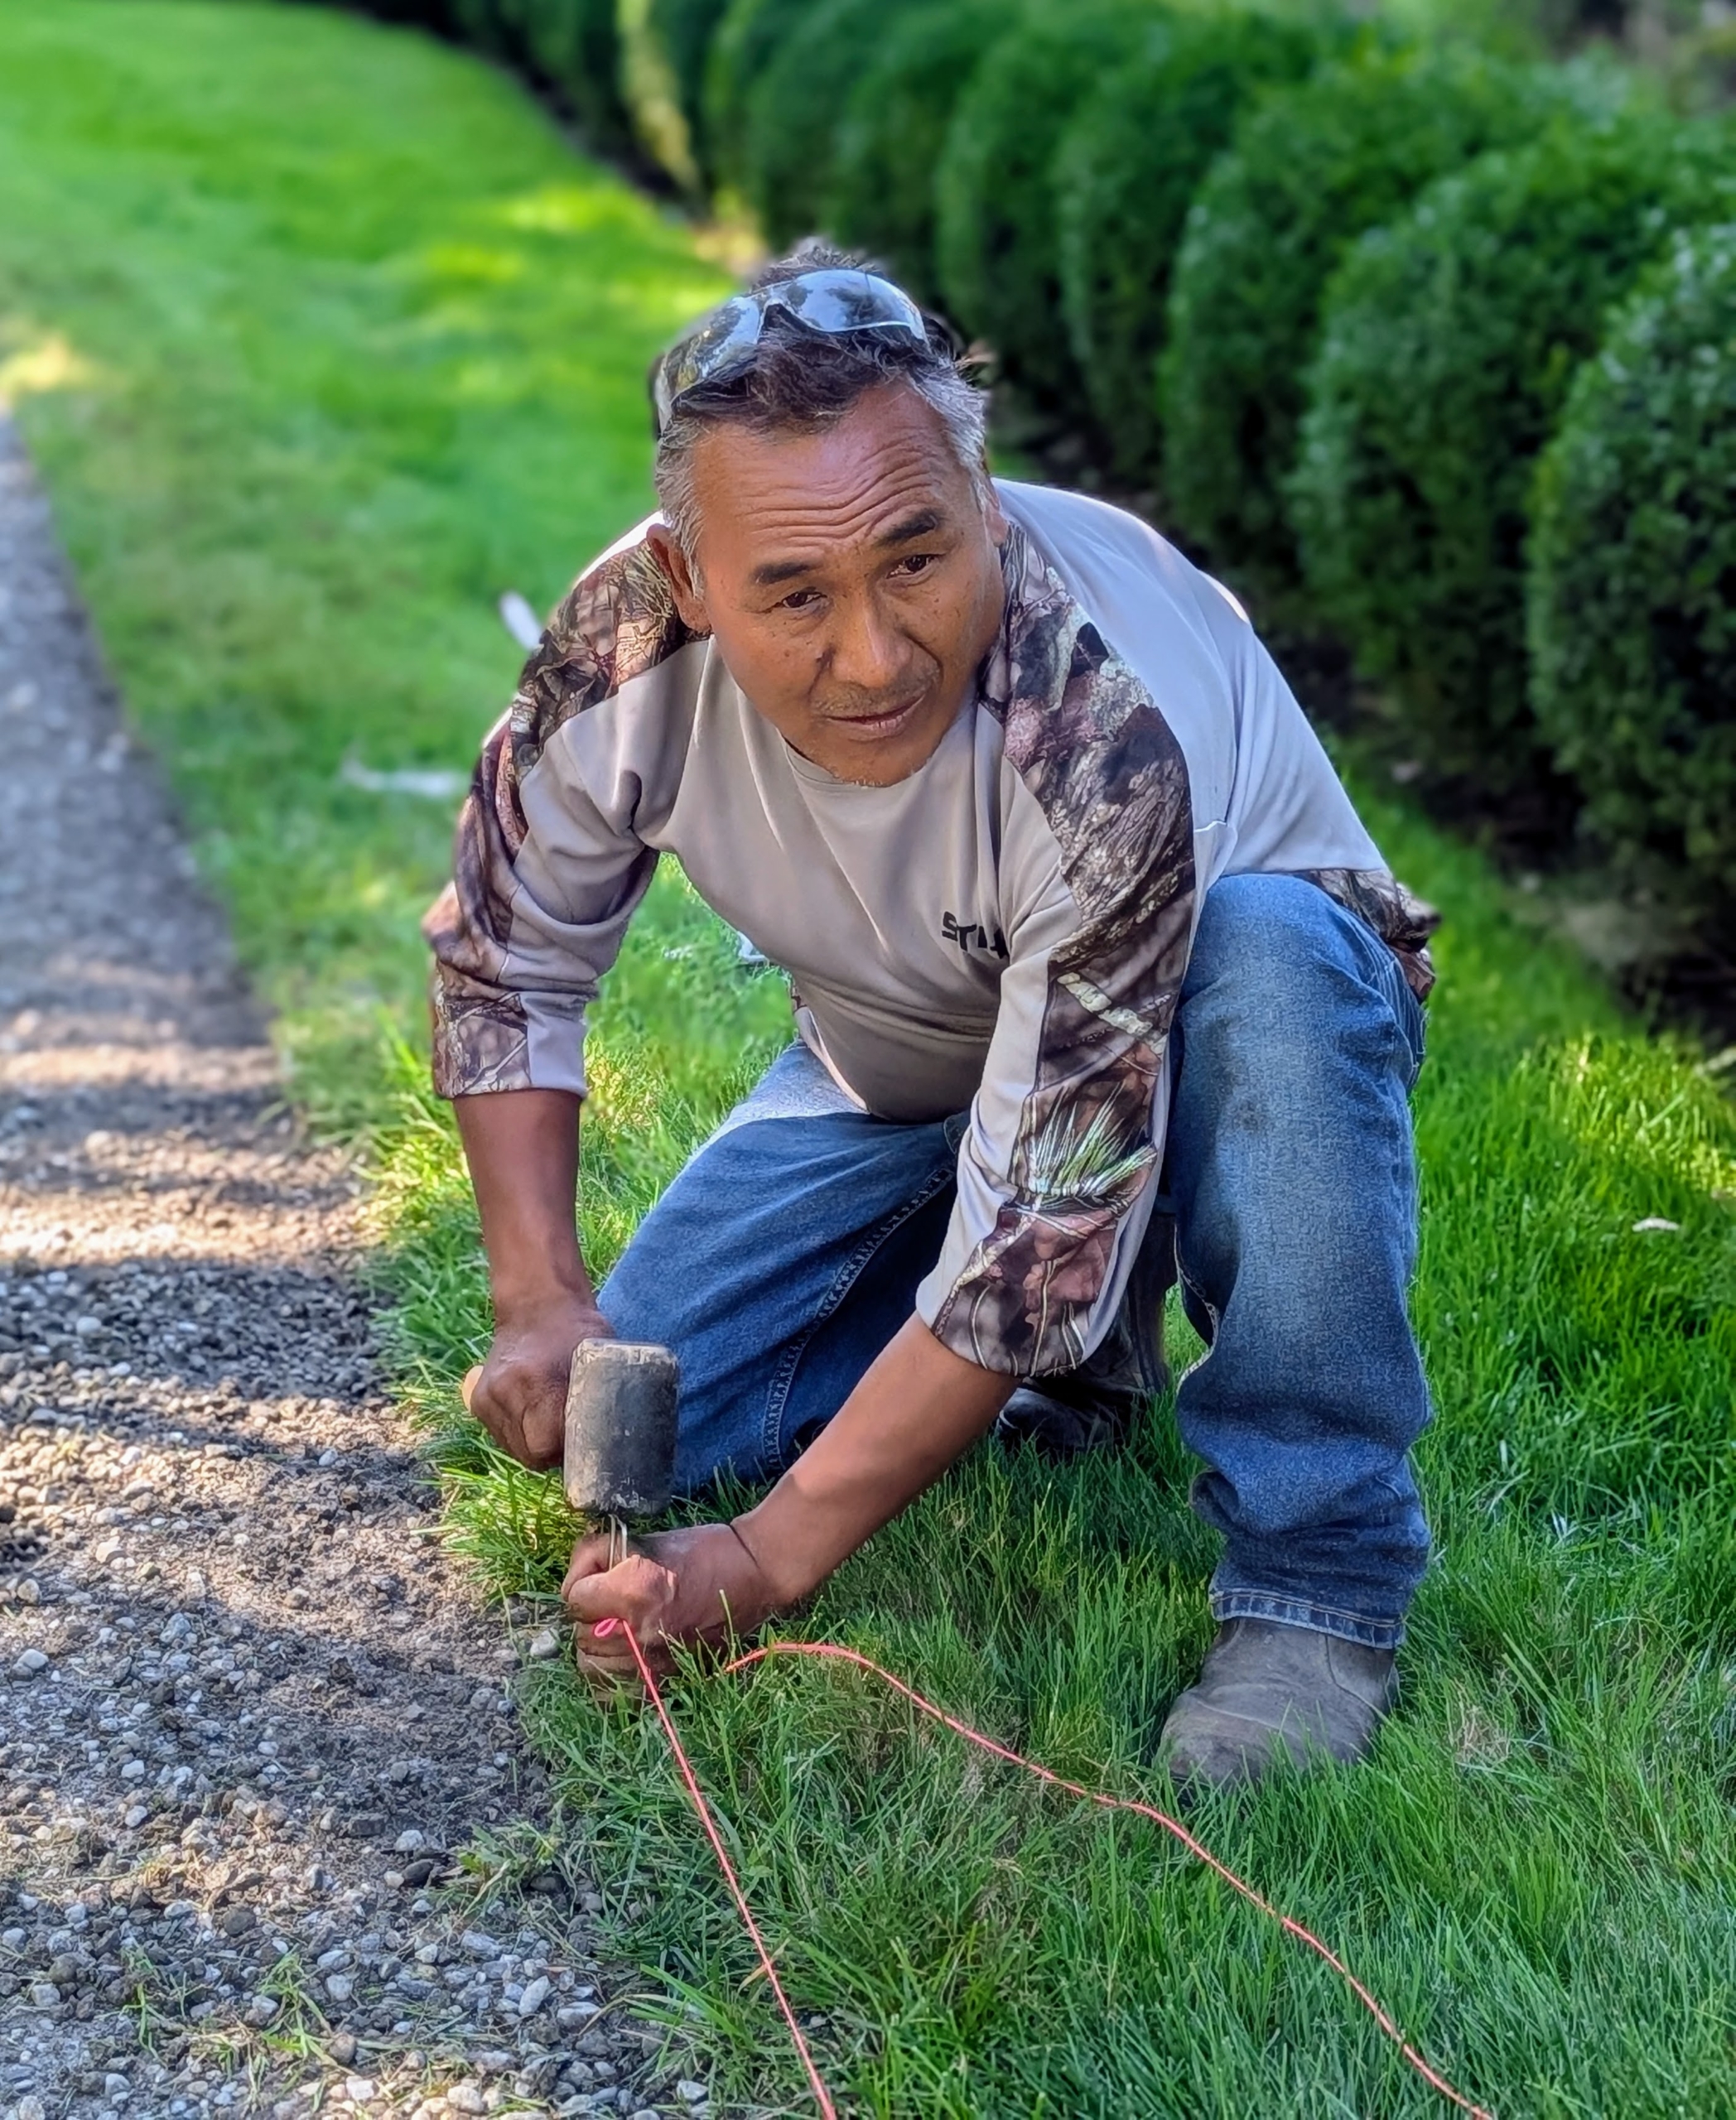
Pete and Fernando use bright colored twine and garden sod staples to mark the straight edge of the lawn where the edger will go. The twine is saved and used over and over for making straight lines for a variety of projects.
Pete puts up the colored twine one section at a time. Once taut, it is easy to see the guiding string for the edger.
Pete hammers in another garden sod staple to anchor the twine at the other end and looks to make sure the twine is aligned straight where he wants it to be.
It’s always important to wear long pants and closed shoes to avoid injury from any flying debris. Edgers can cause small stones to fly up to nearly 10-feet. Pete also wheres eye protection while using this machine. As it is running, Pete listens to the edger to guide the speed. The machine works harder when cutting through the turf and is generally quieter when it finishes.
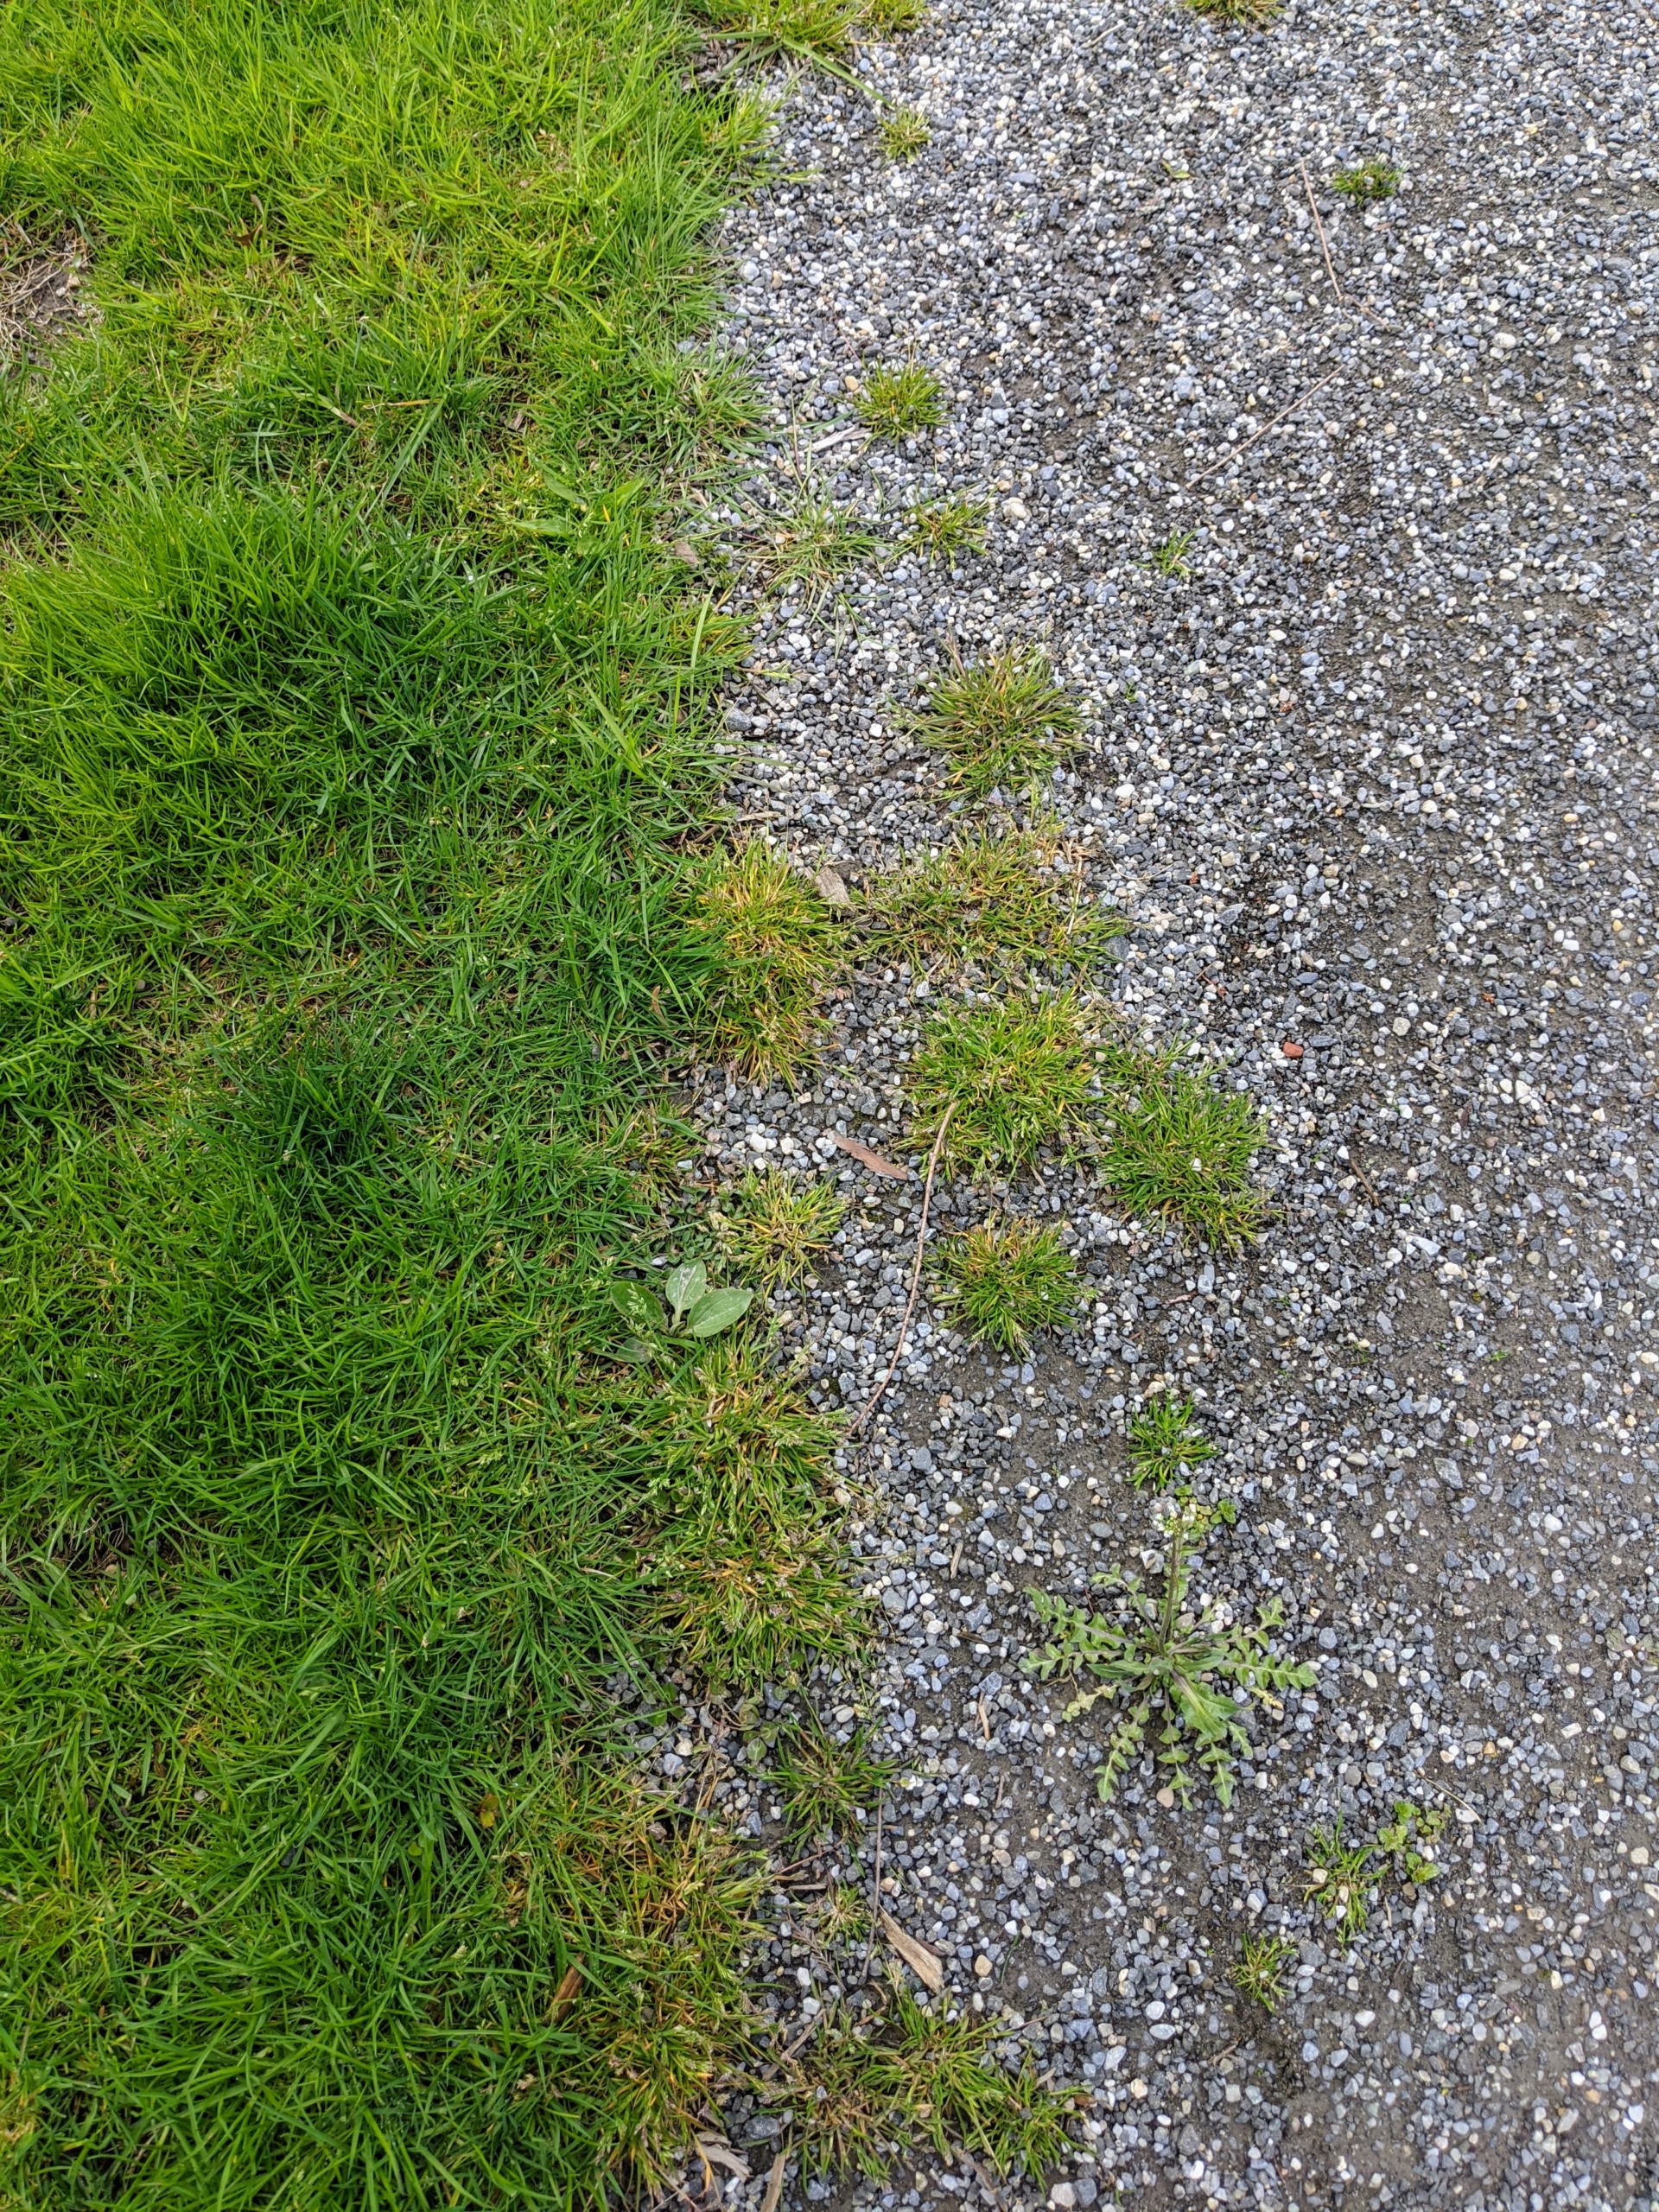
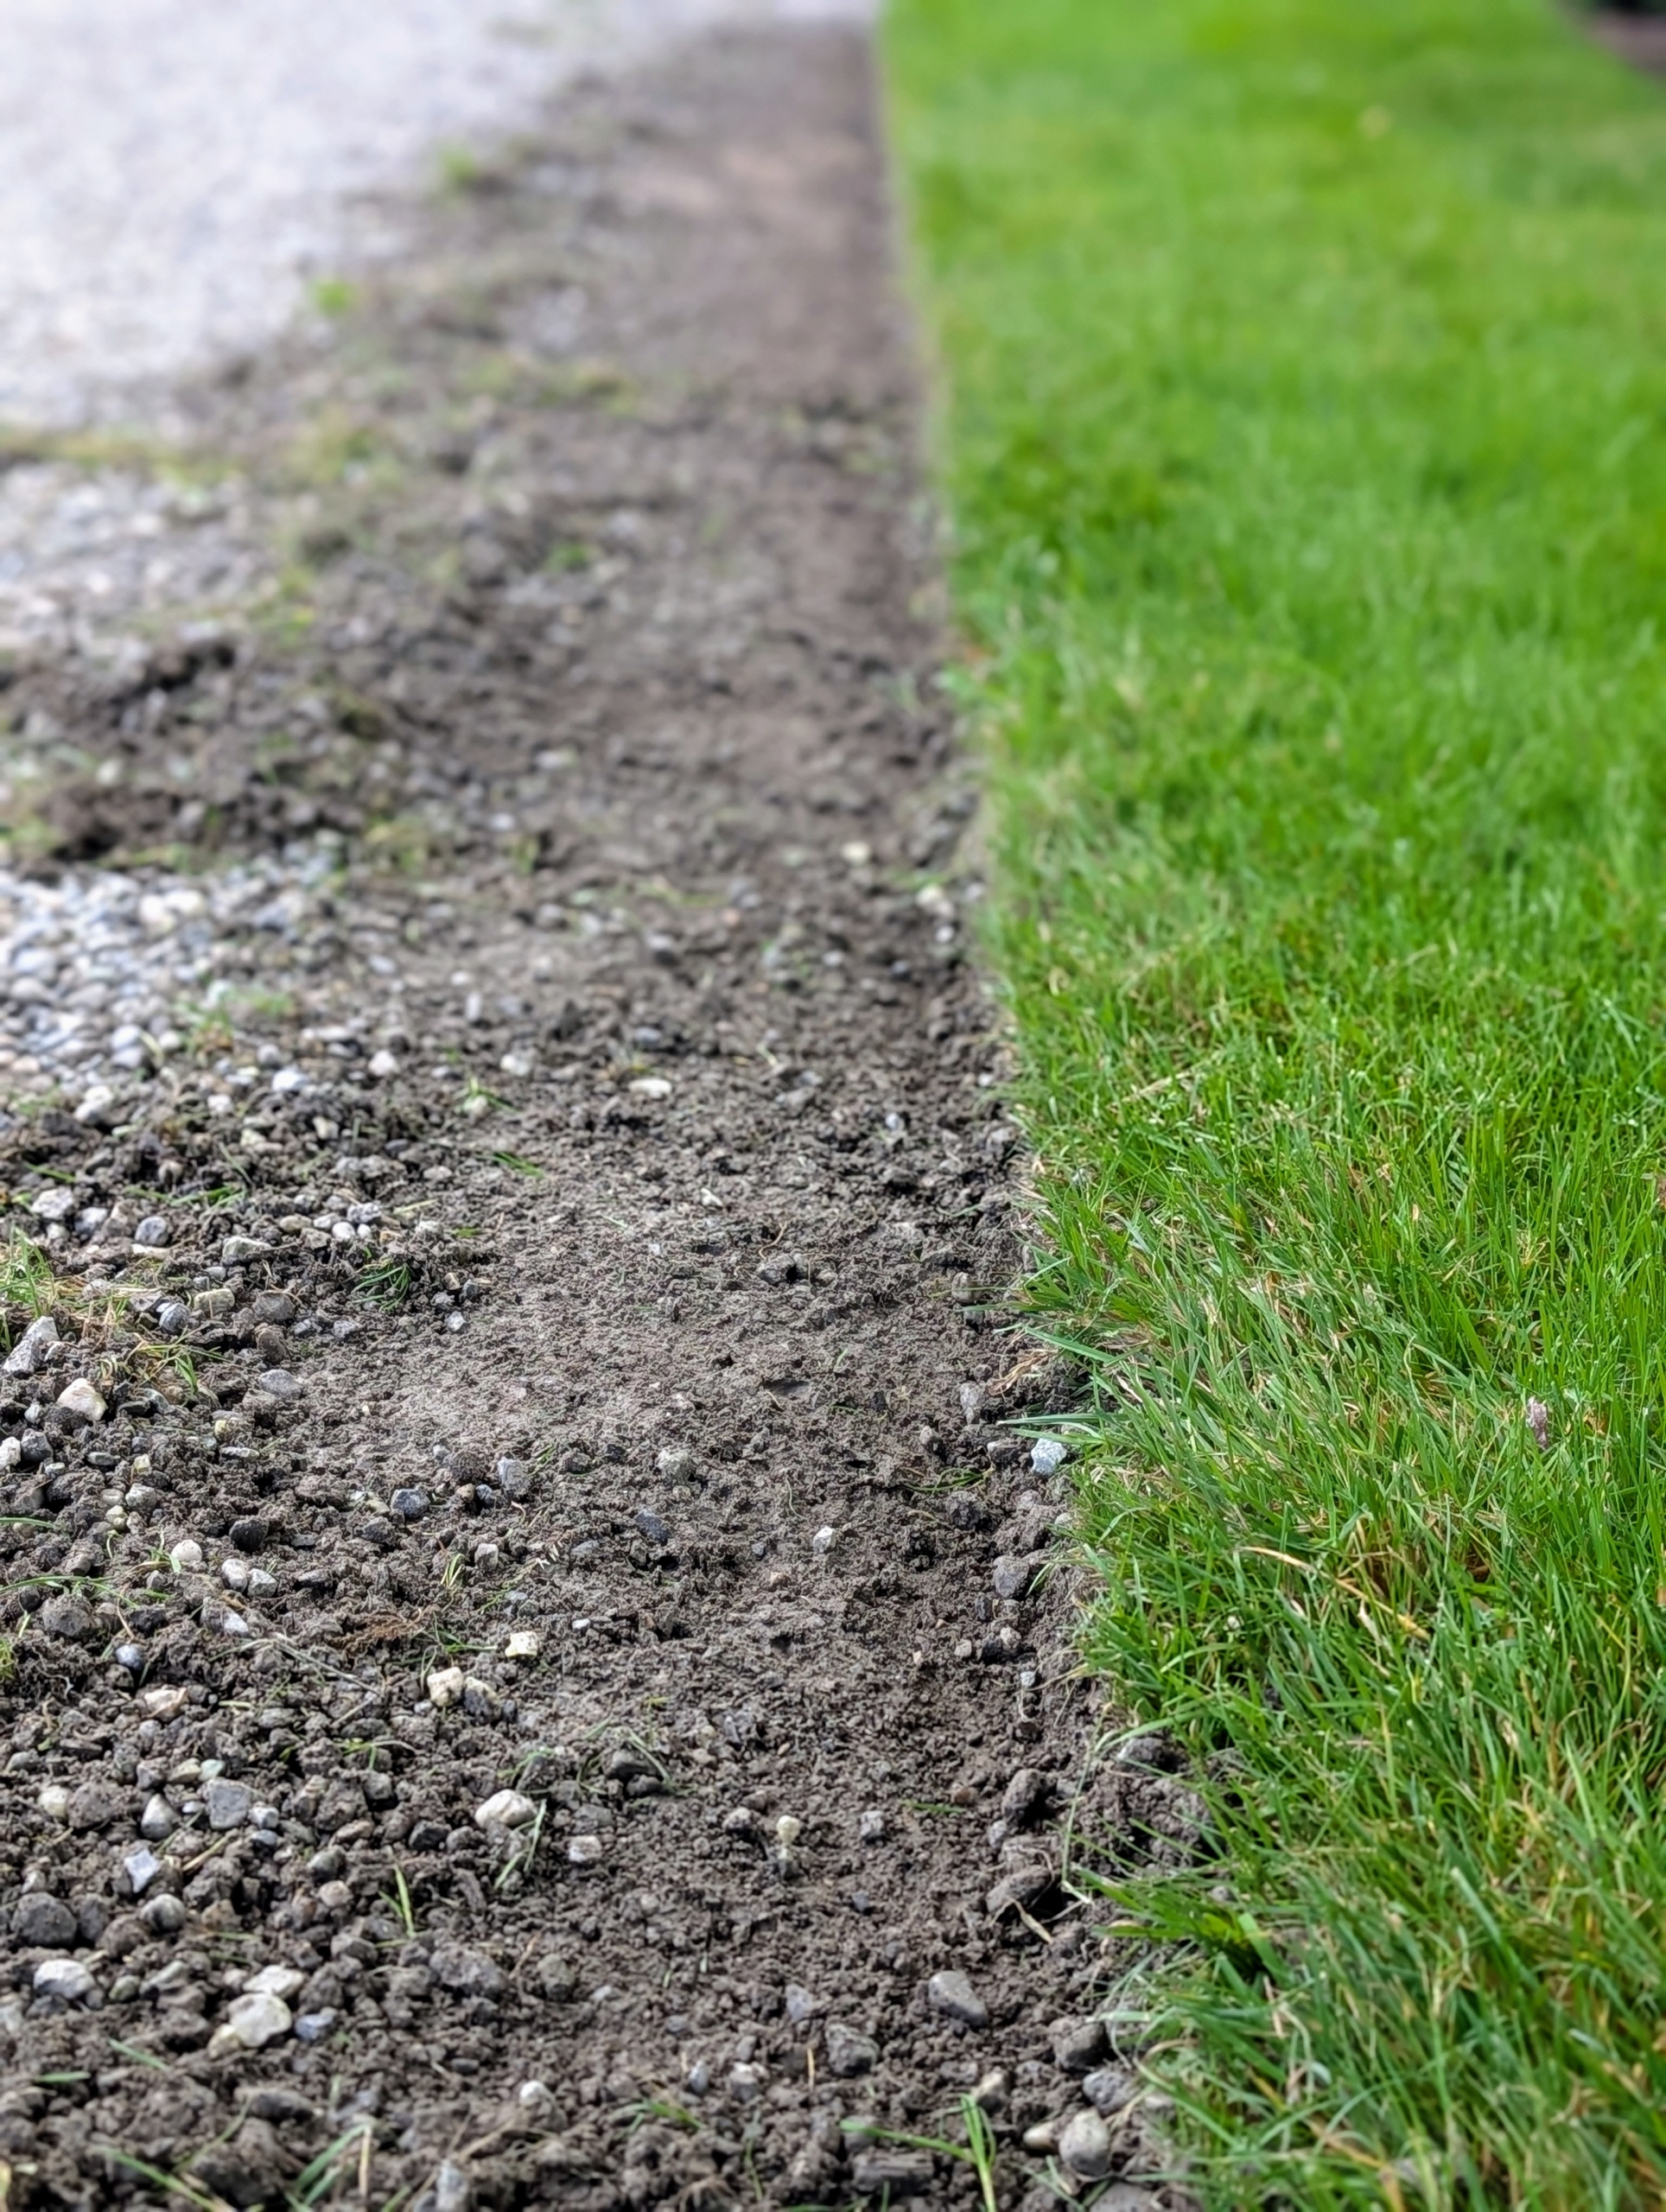
Here is the finished line made by the edger – so clean and crisp. This task can also be done manually with an edging spade, but with the number of roads that need edging around the farm, it is a lot easier to use the powered edger tool. In this section, one can see where the edger has passed and made a clean line through the turf.
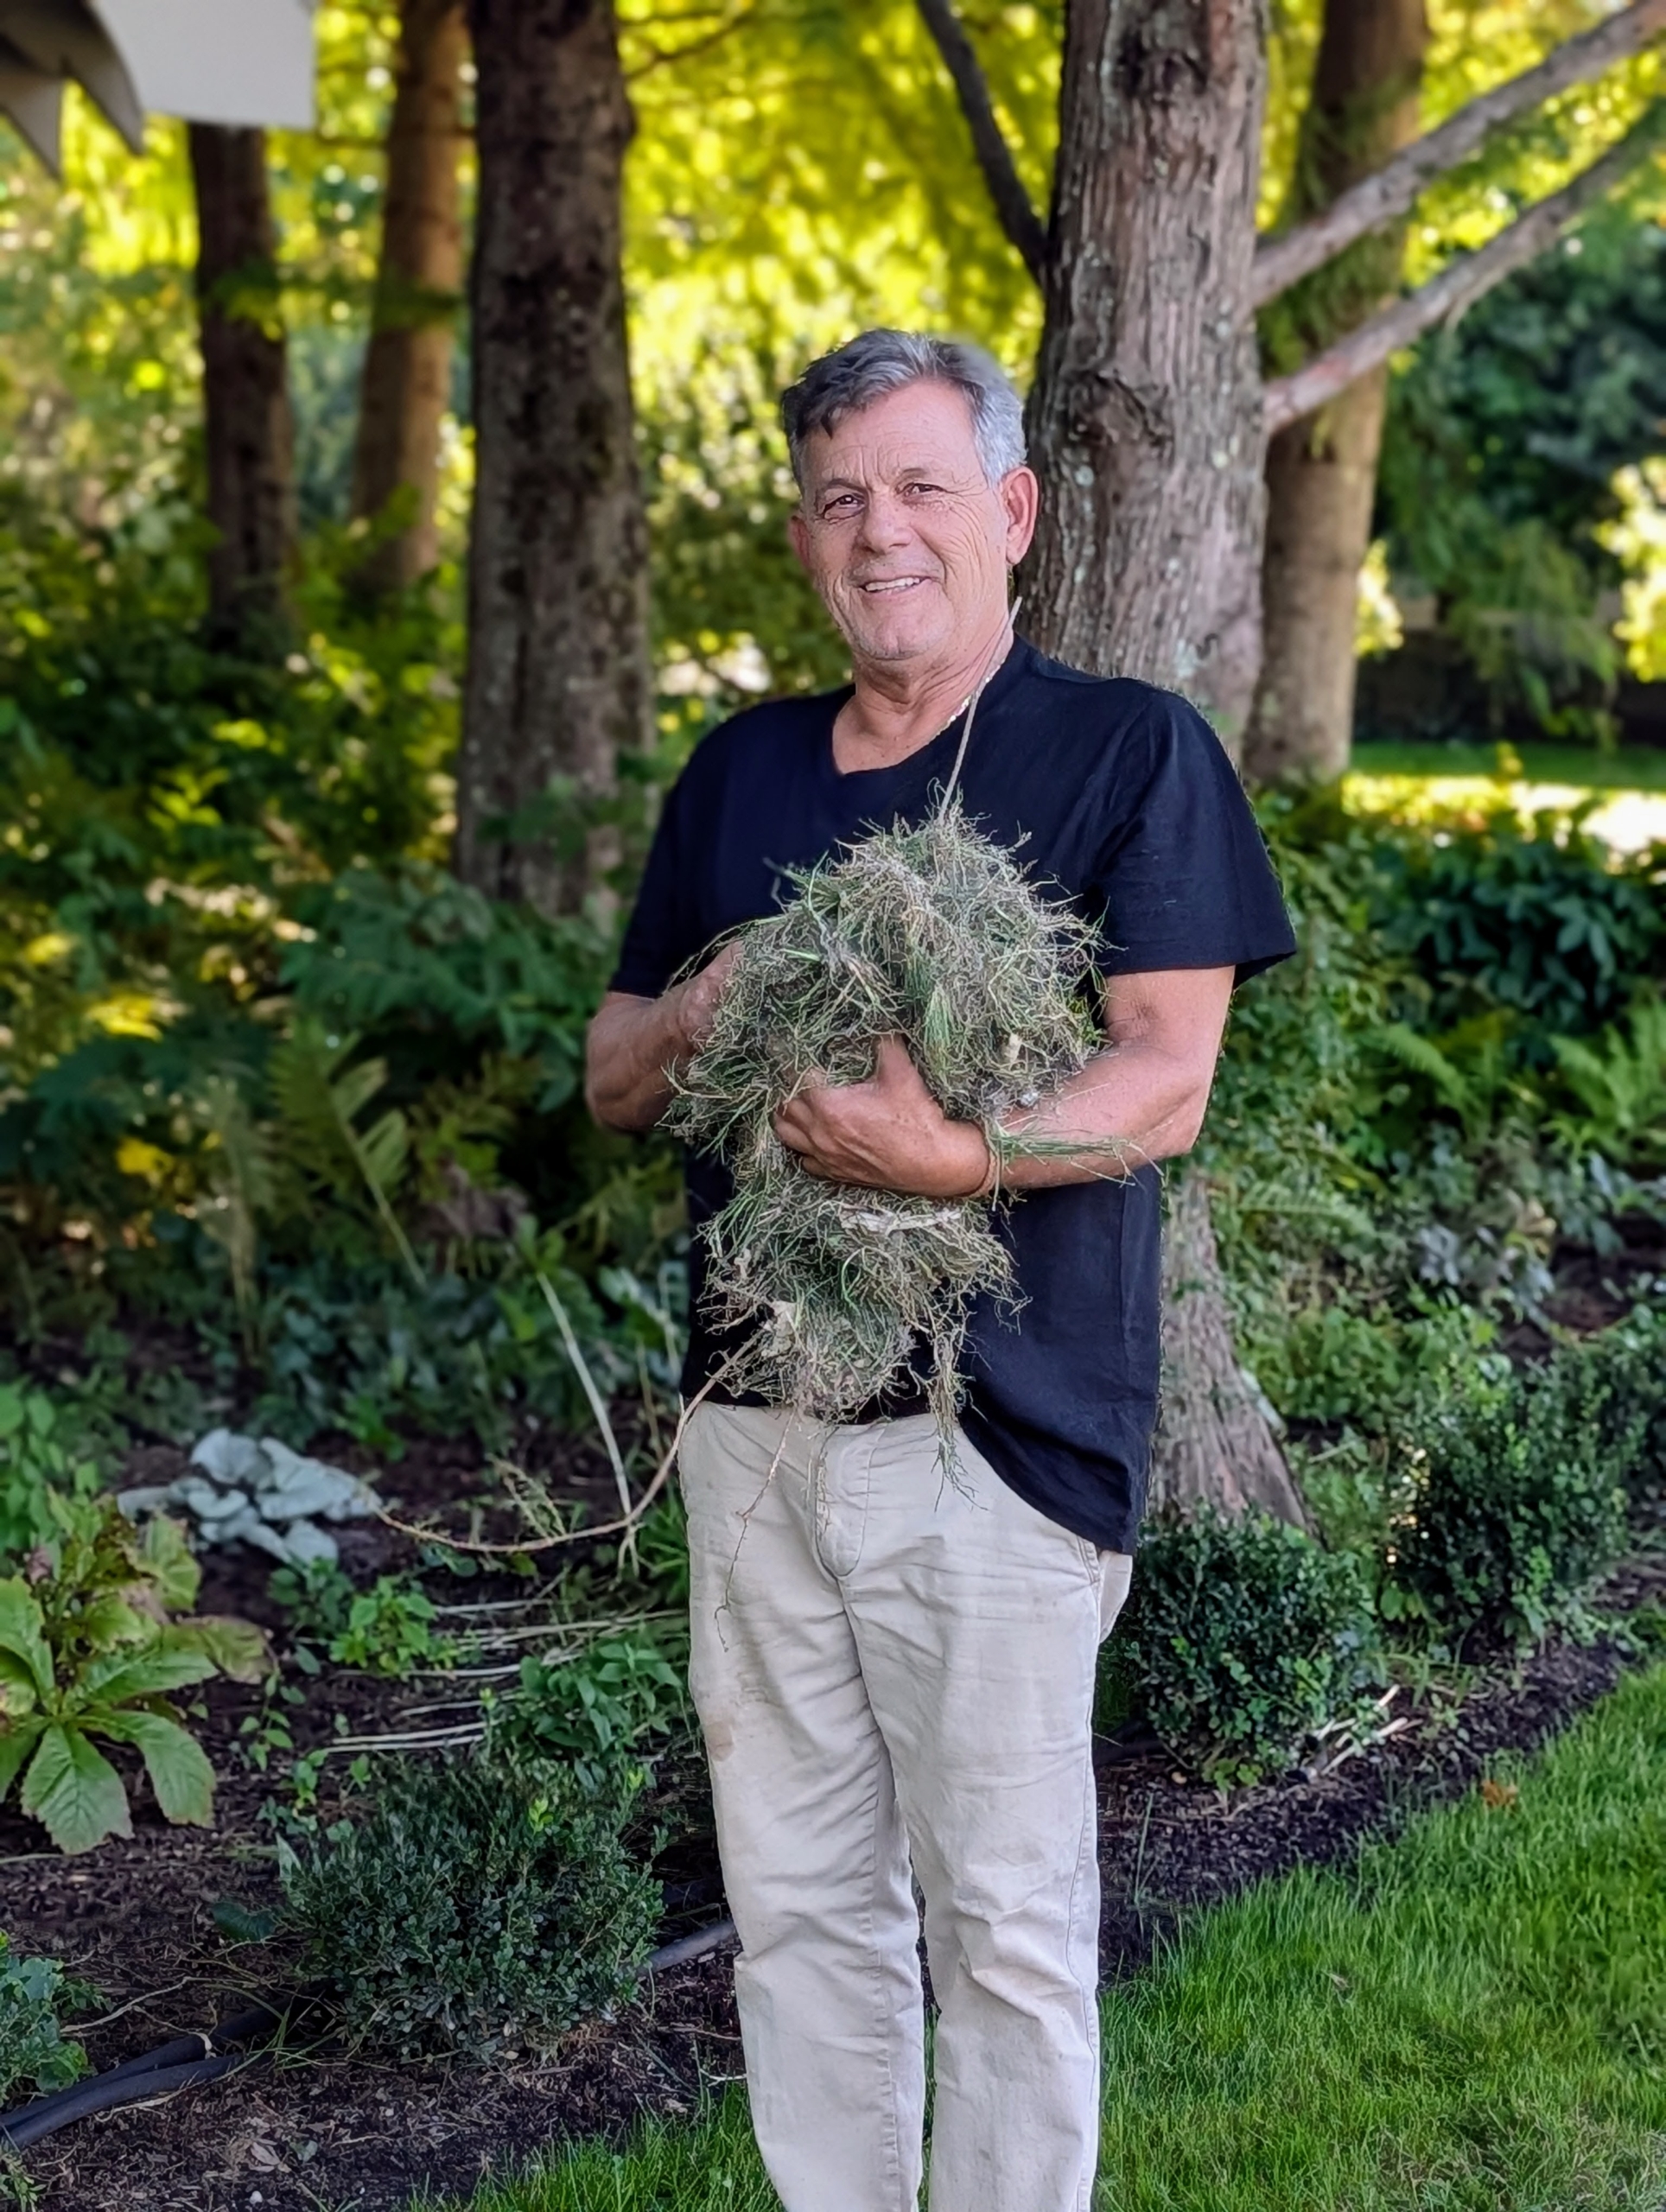
Once a section has been edged, Fernando pulls away the unwanted vegetation between the cut edging line and the lawn using a garden hoe.
Look how much is pulled away. Fernando stops often to check his work. The carriage roads are all about 12-feet wide, which is what it should be after any overgrowth is removed.
This area is alongside my pergola. It looks so different after it is edged.
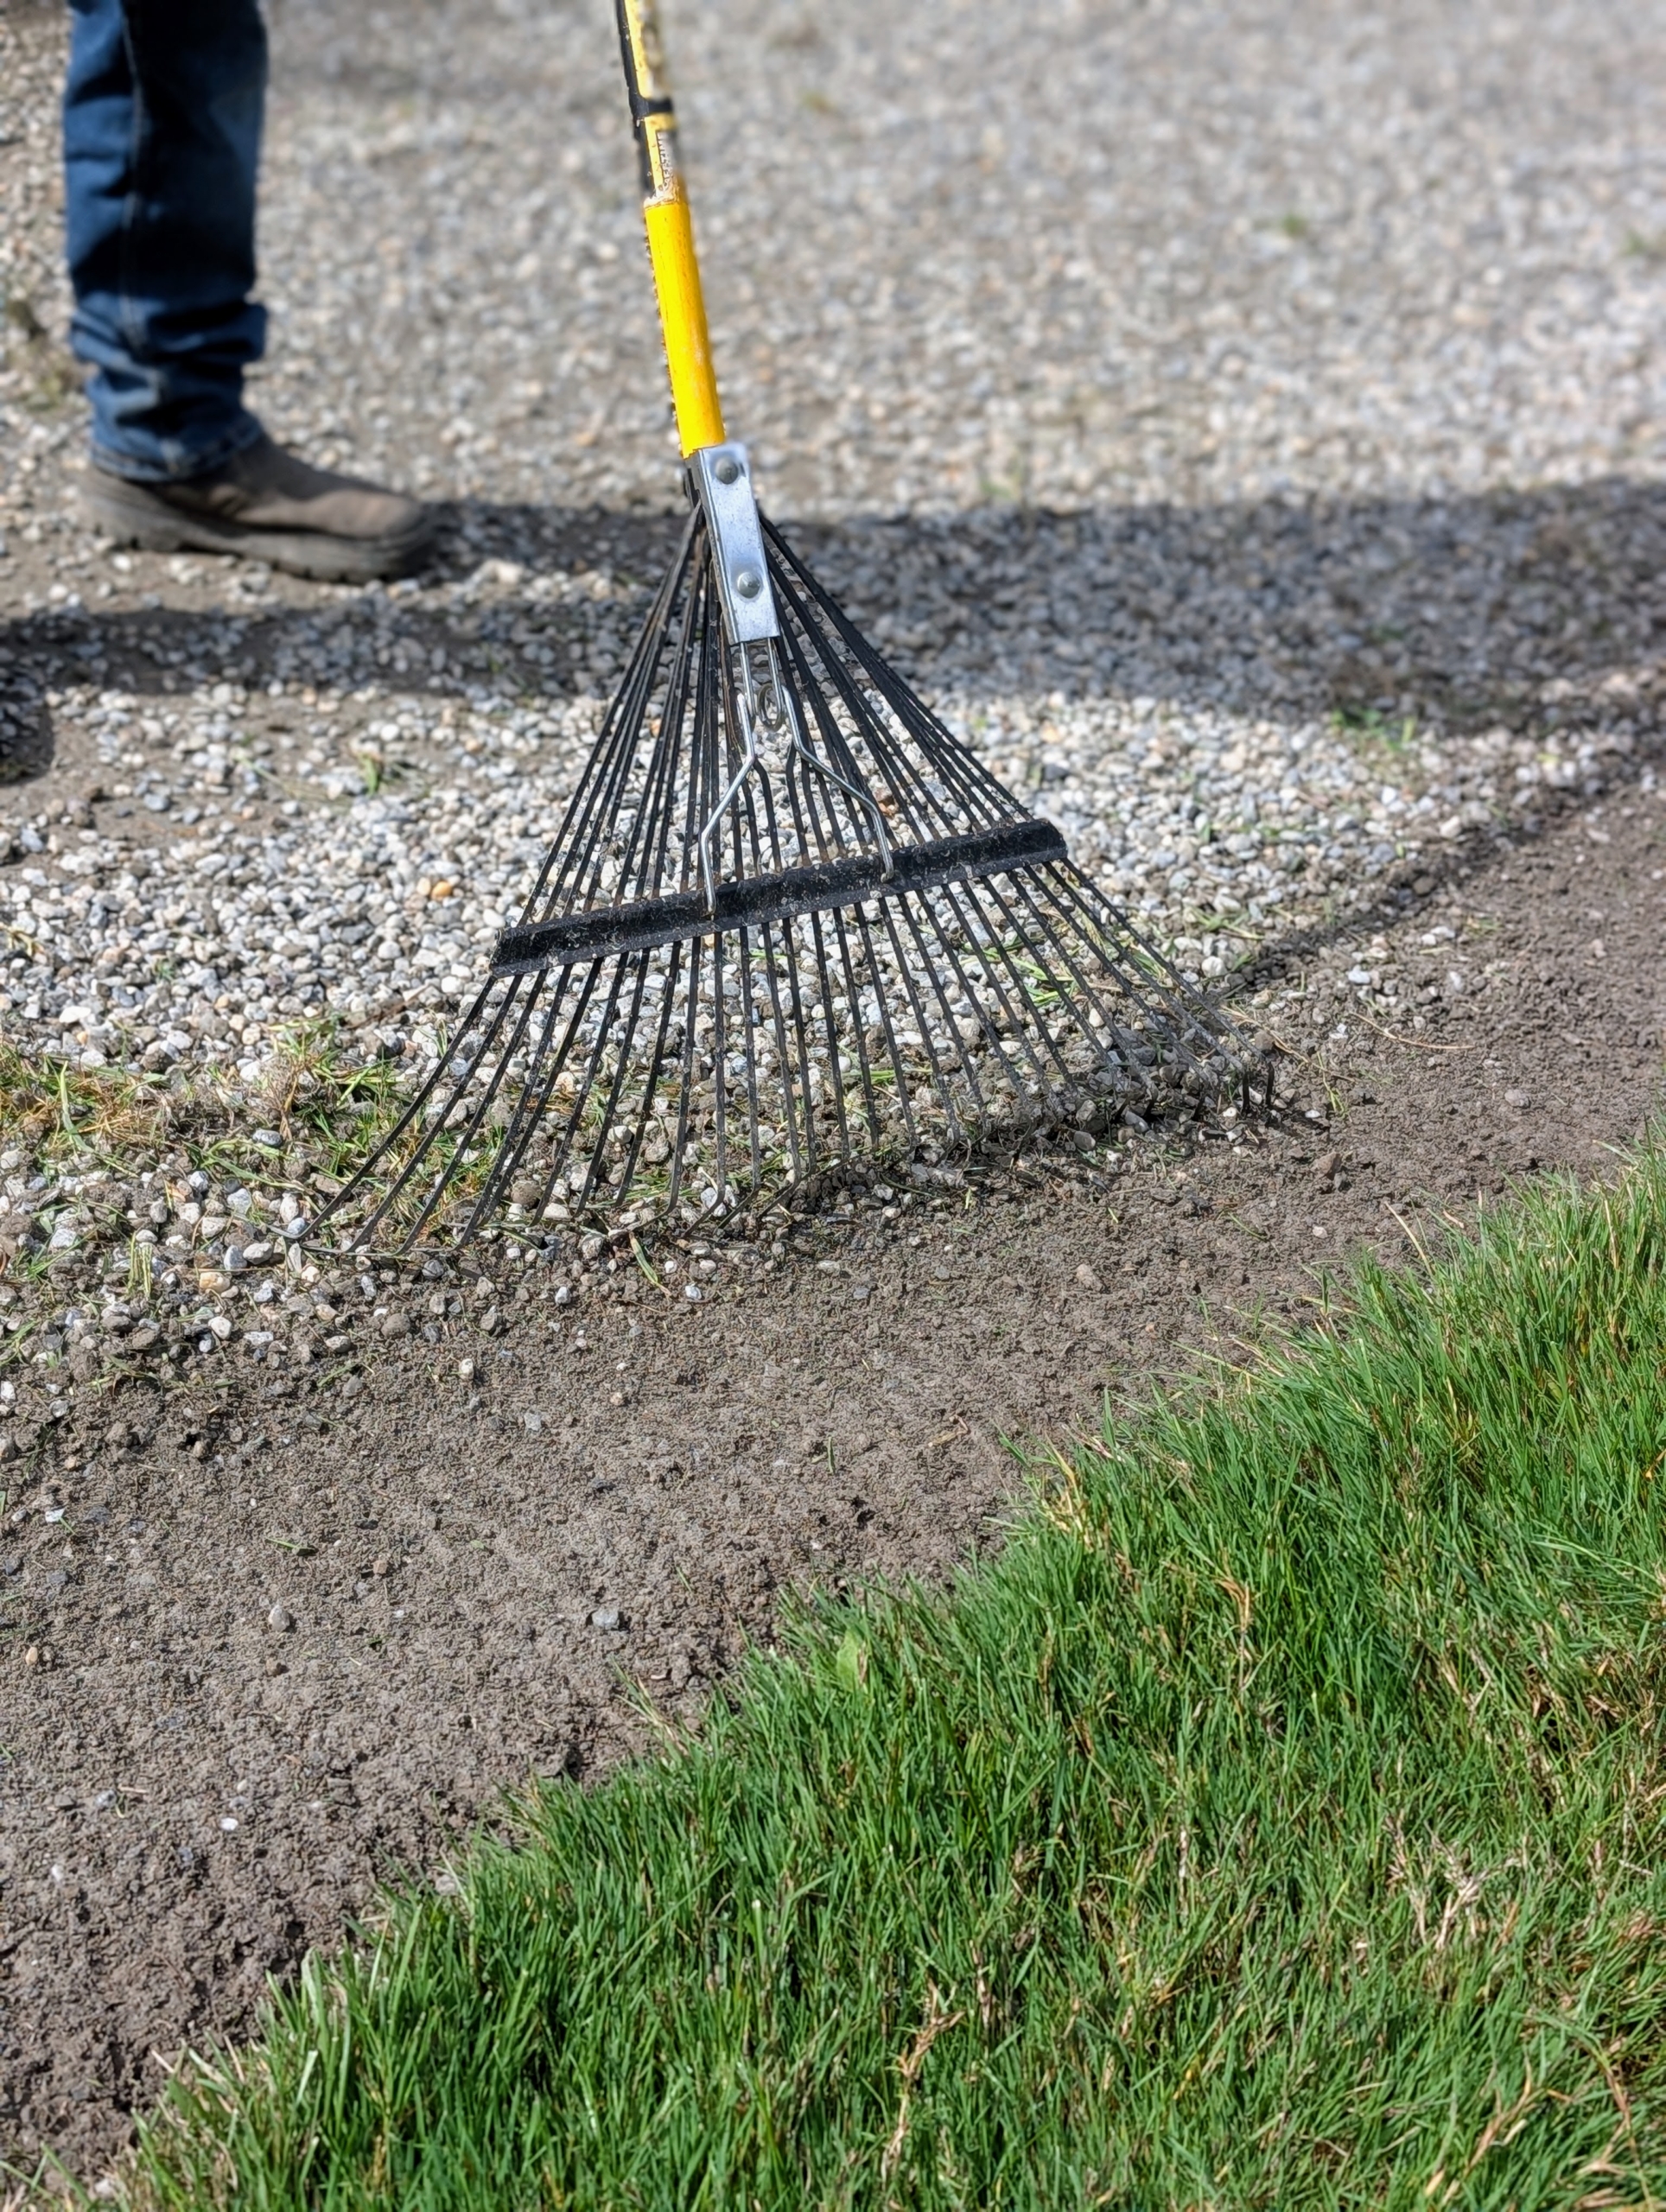
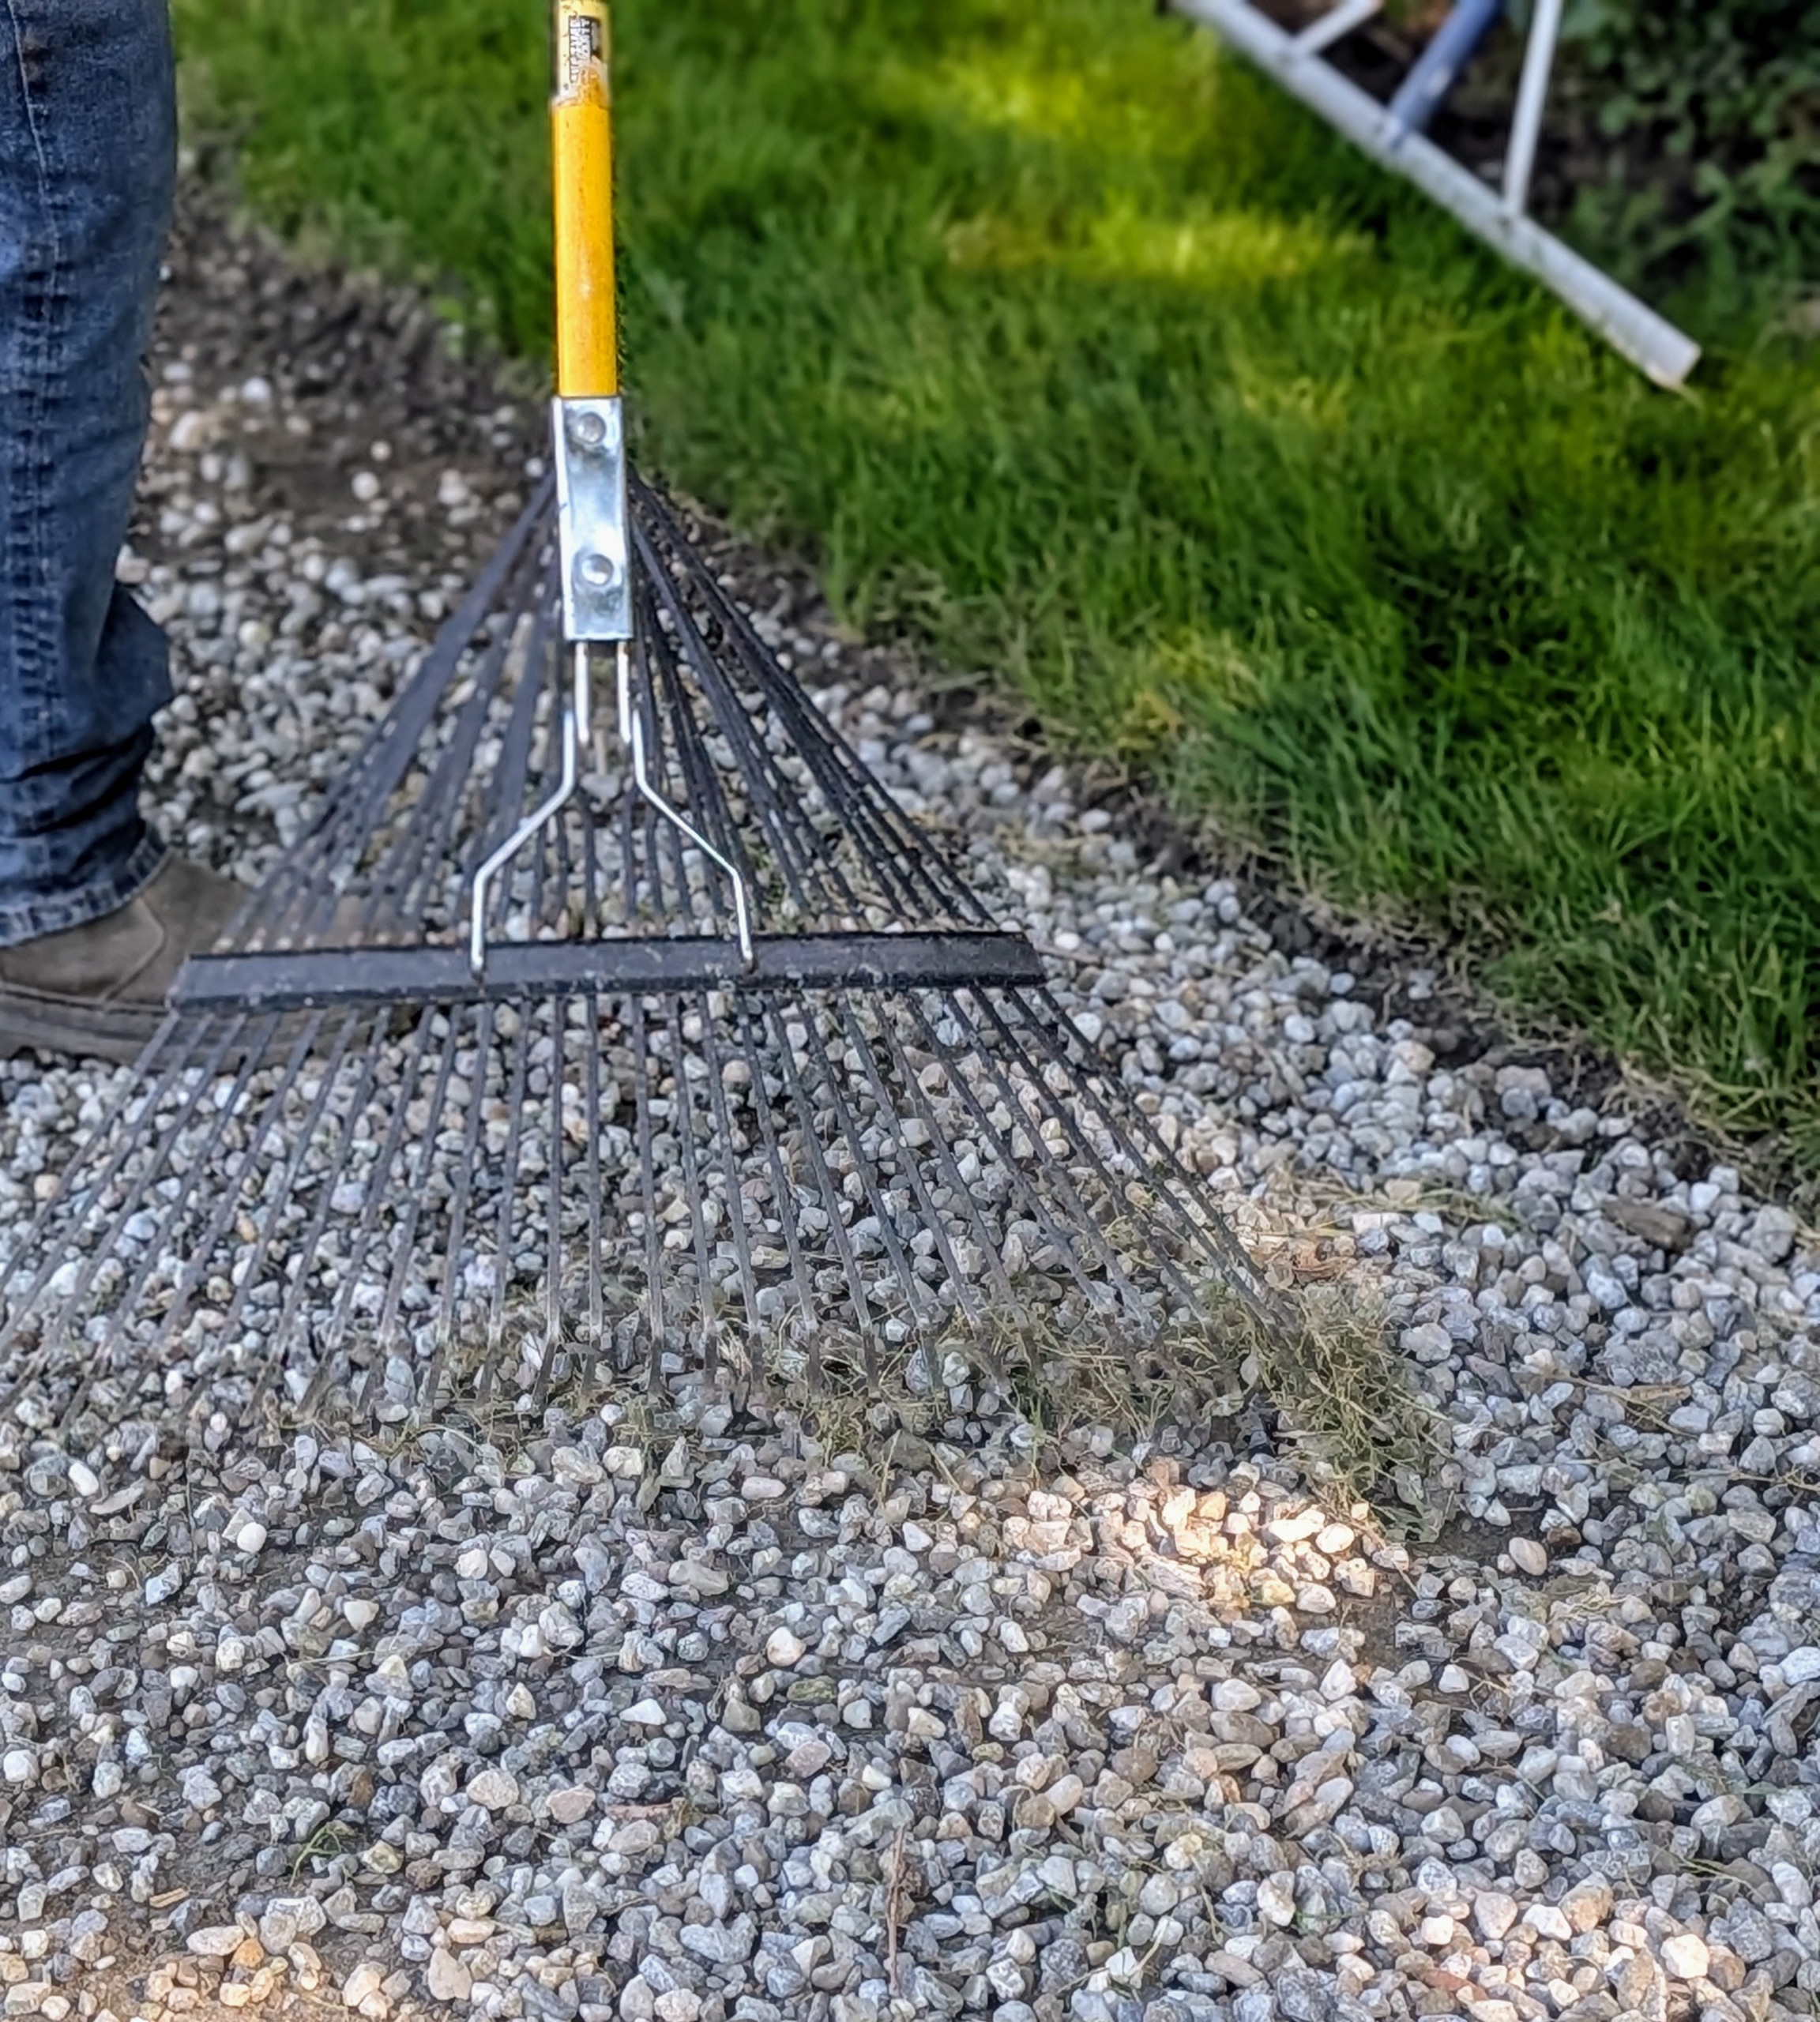
Fernando uses a soft rake to gather all the debris into one place.
And then picks it up by hand.
The soft rake is also very helpful in removing the old, dead grass on top of the gravel.
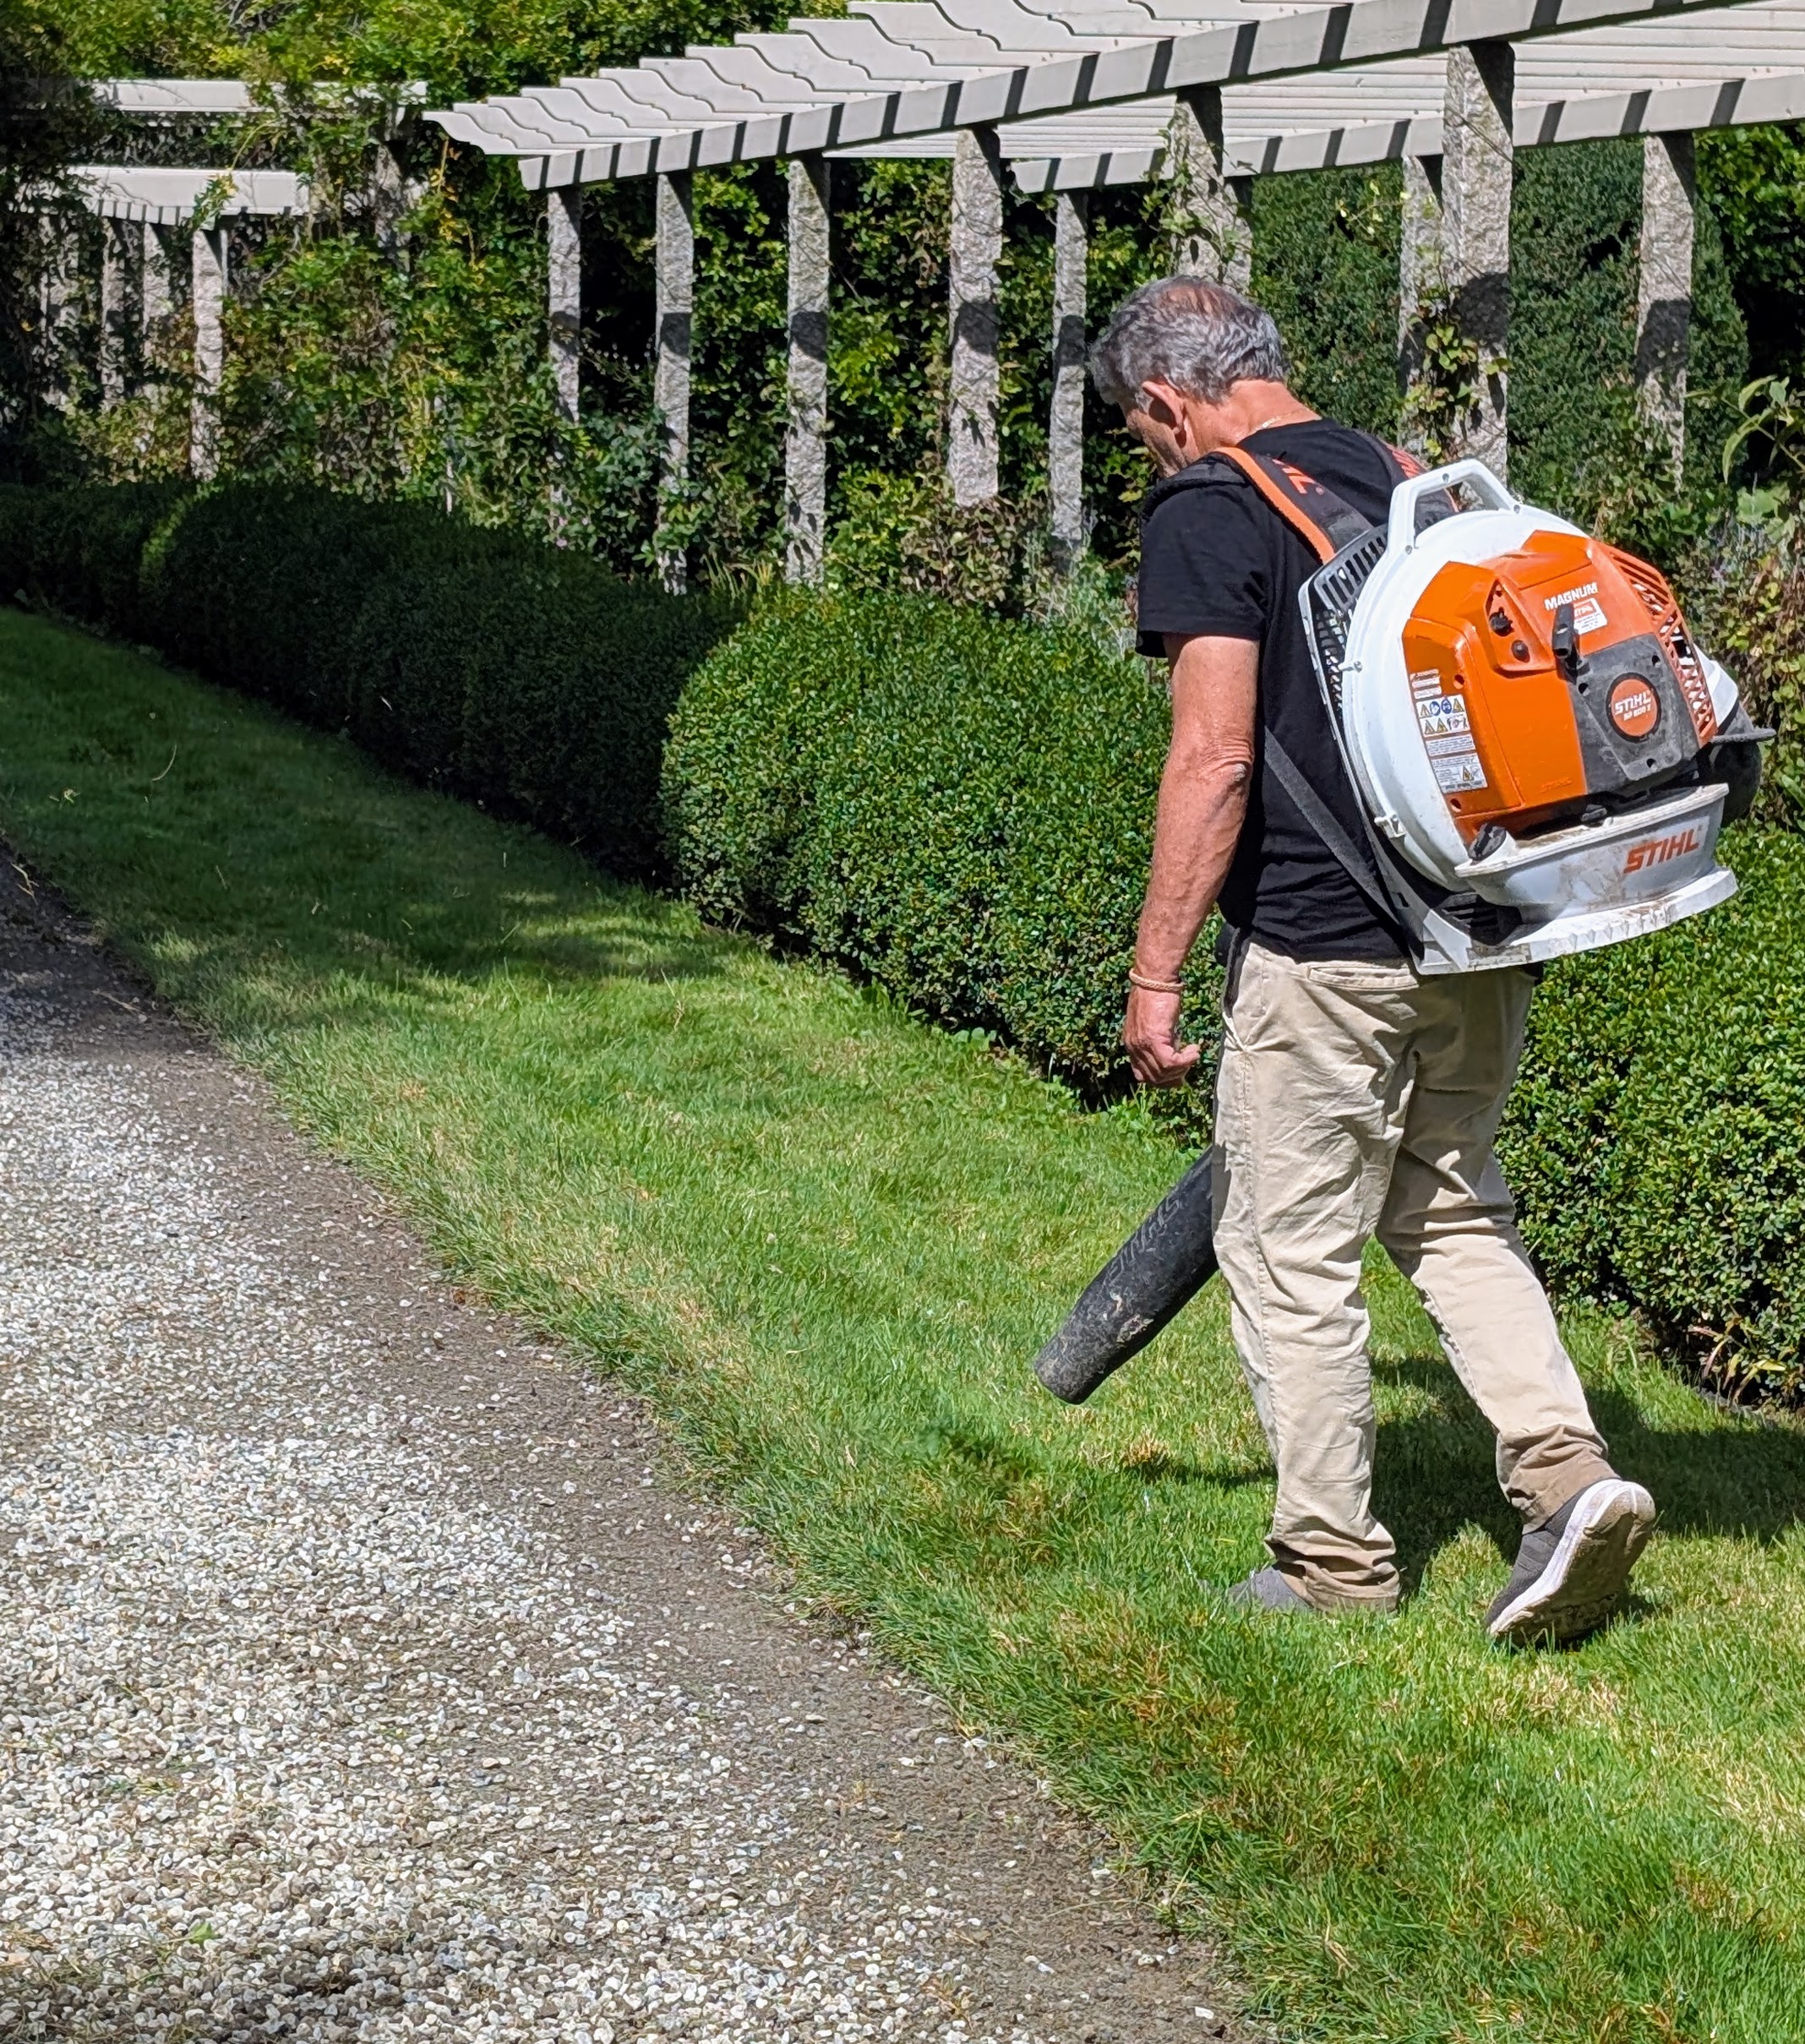
Here, Fernando blows along the road with our STIHL leaf blower to clear any leftover dead leaves or debris on the lawn. He also blows any gravel stones back onto the road. These STIHL blowers are powerful and fuel-efficient. They provide enough rugged power to tackle heavy debris while delivering lower emissions.
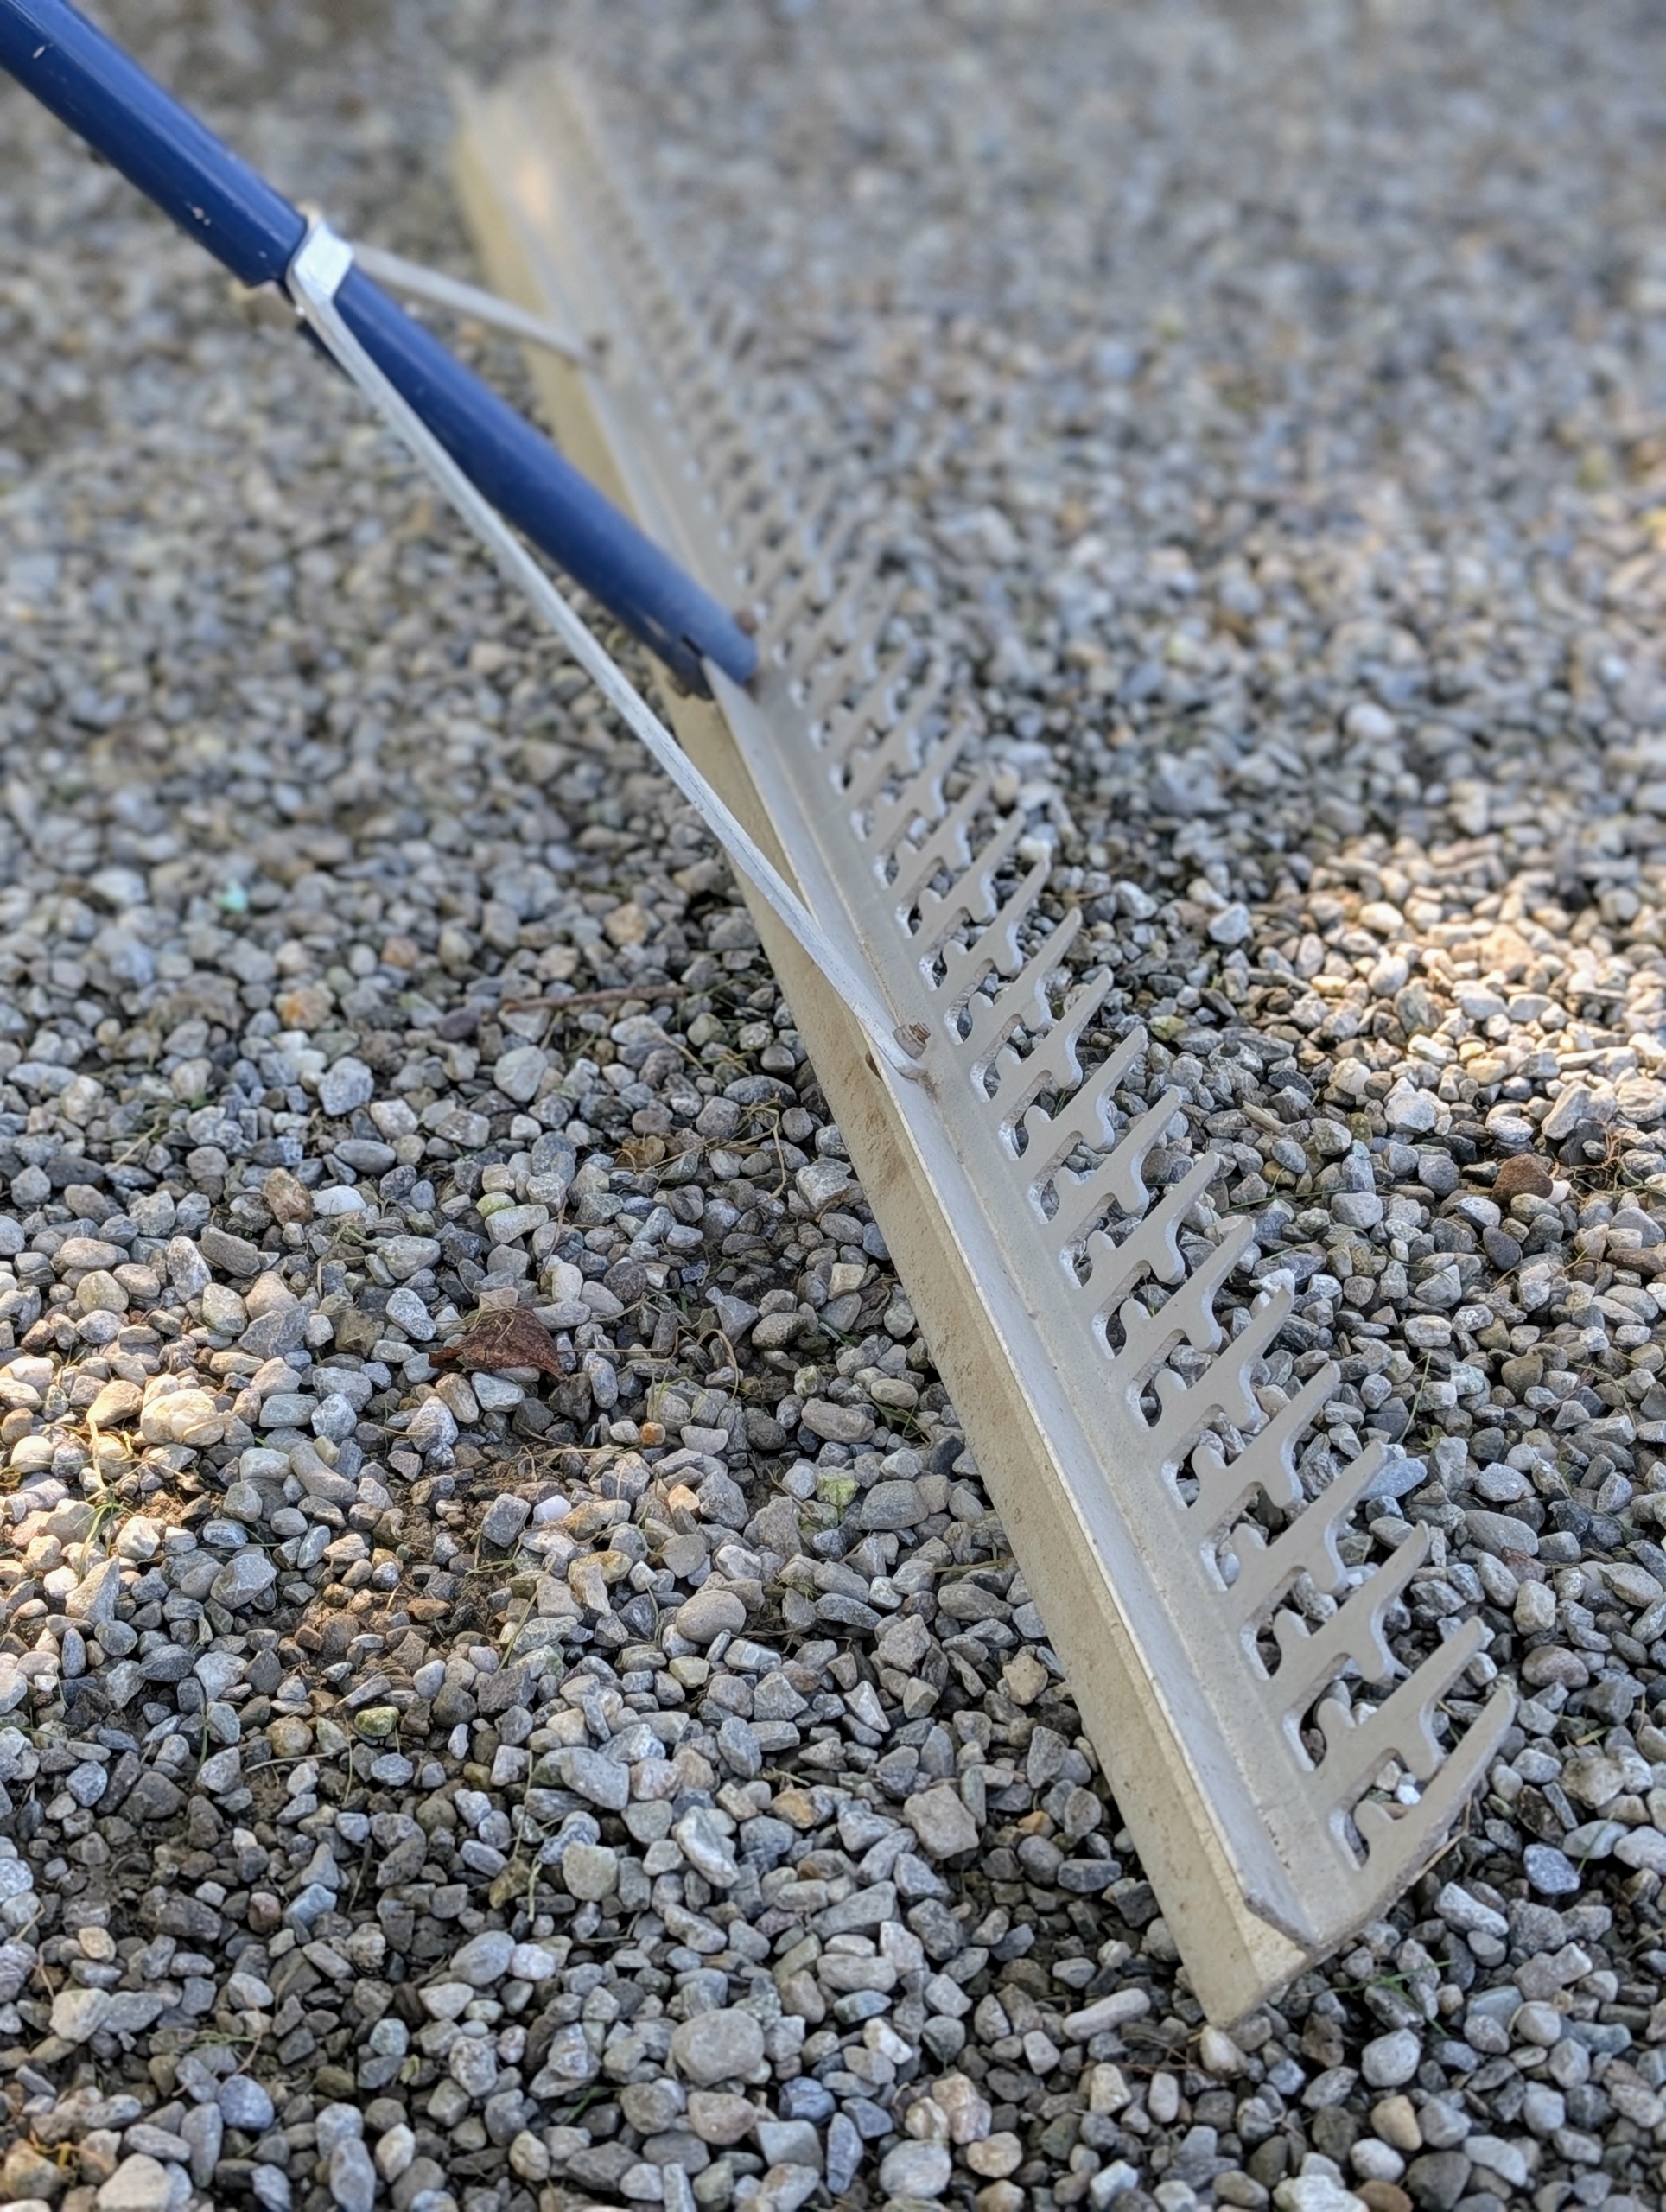
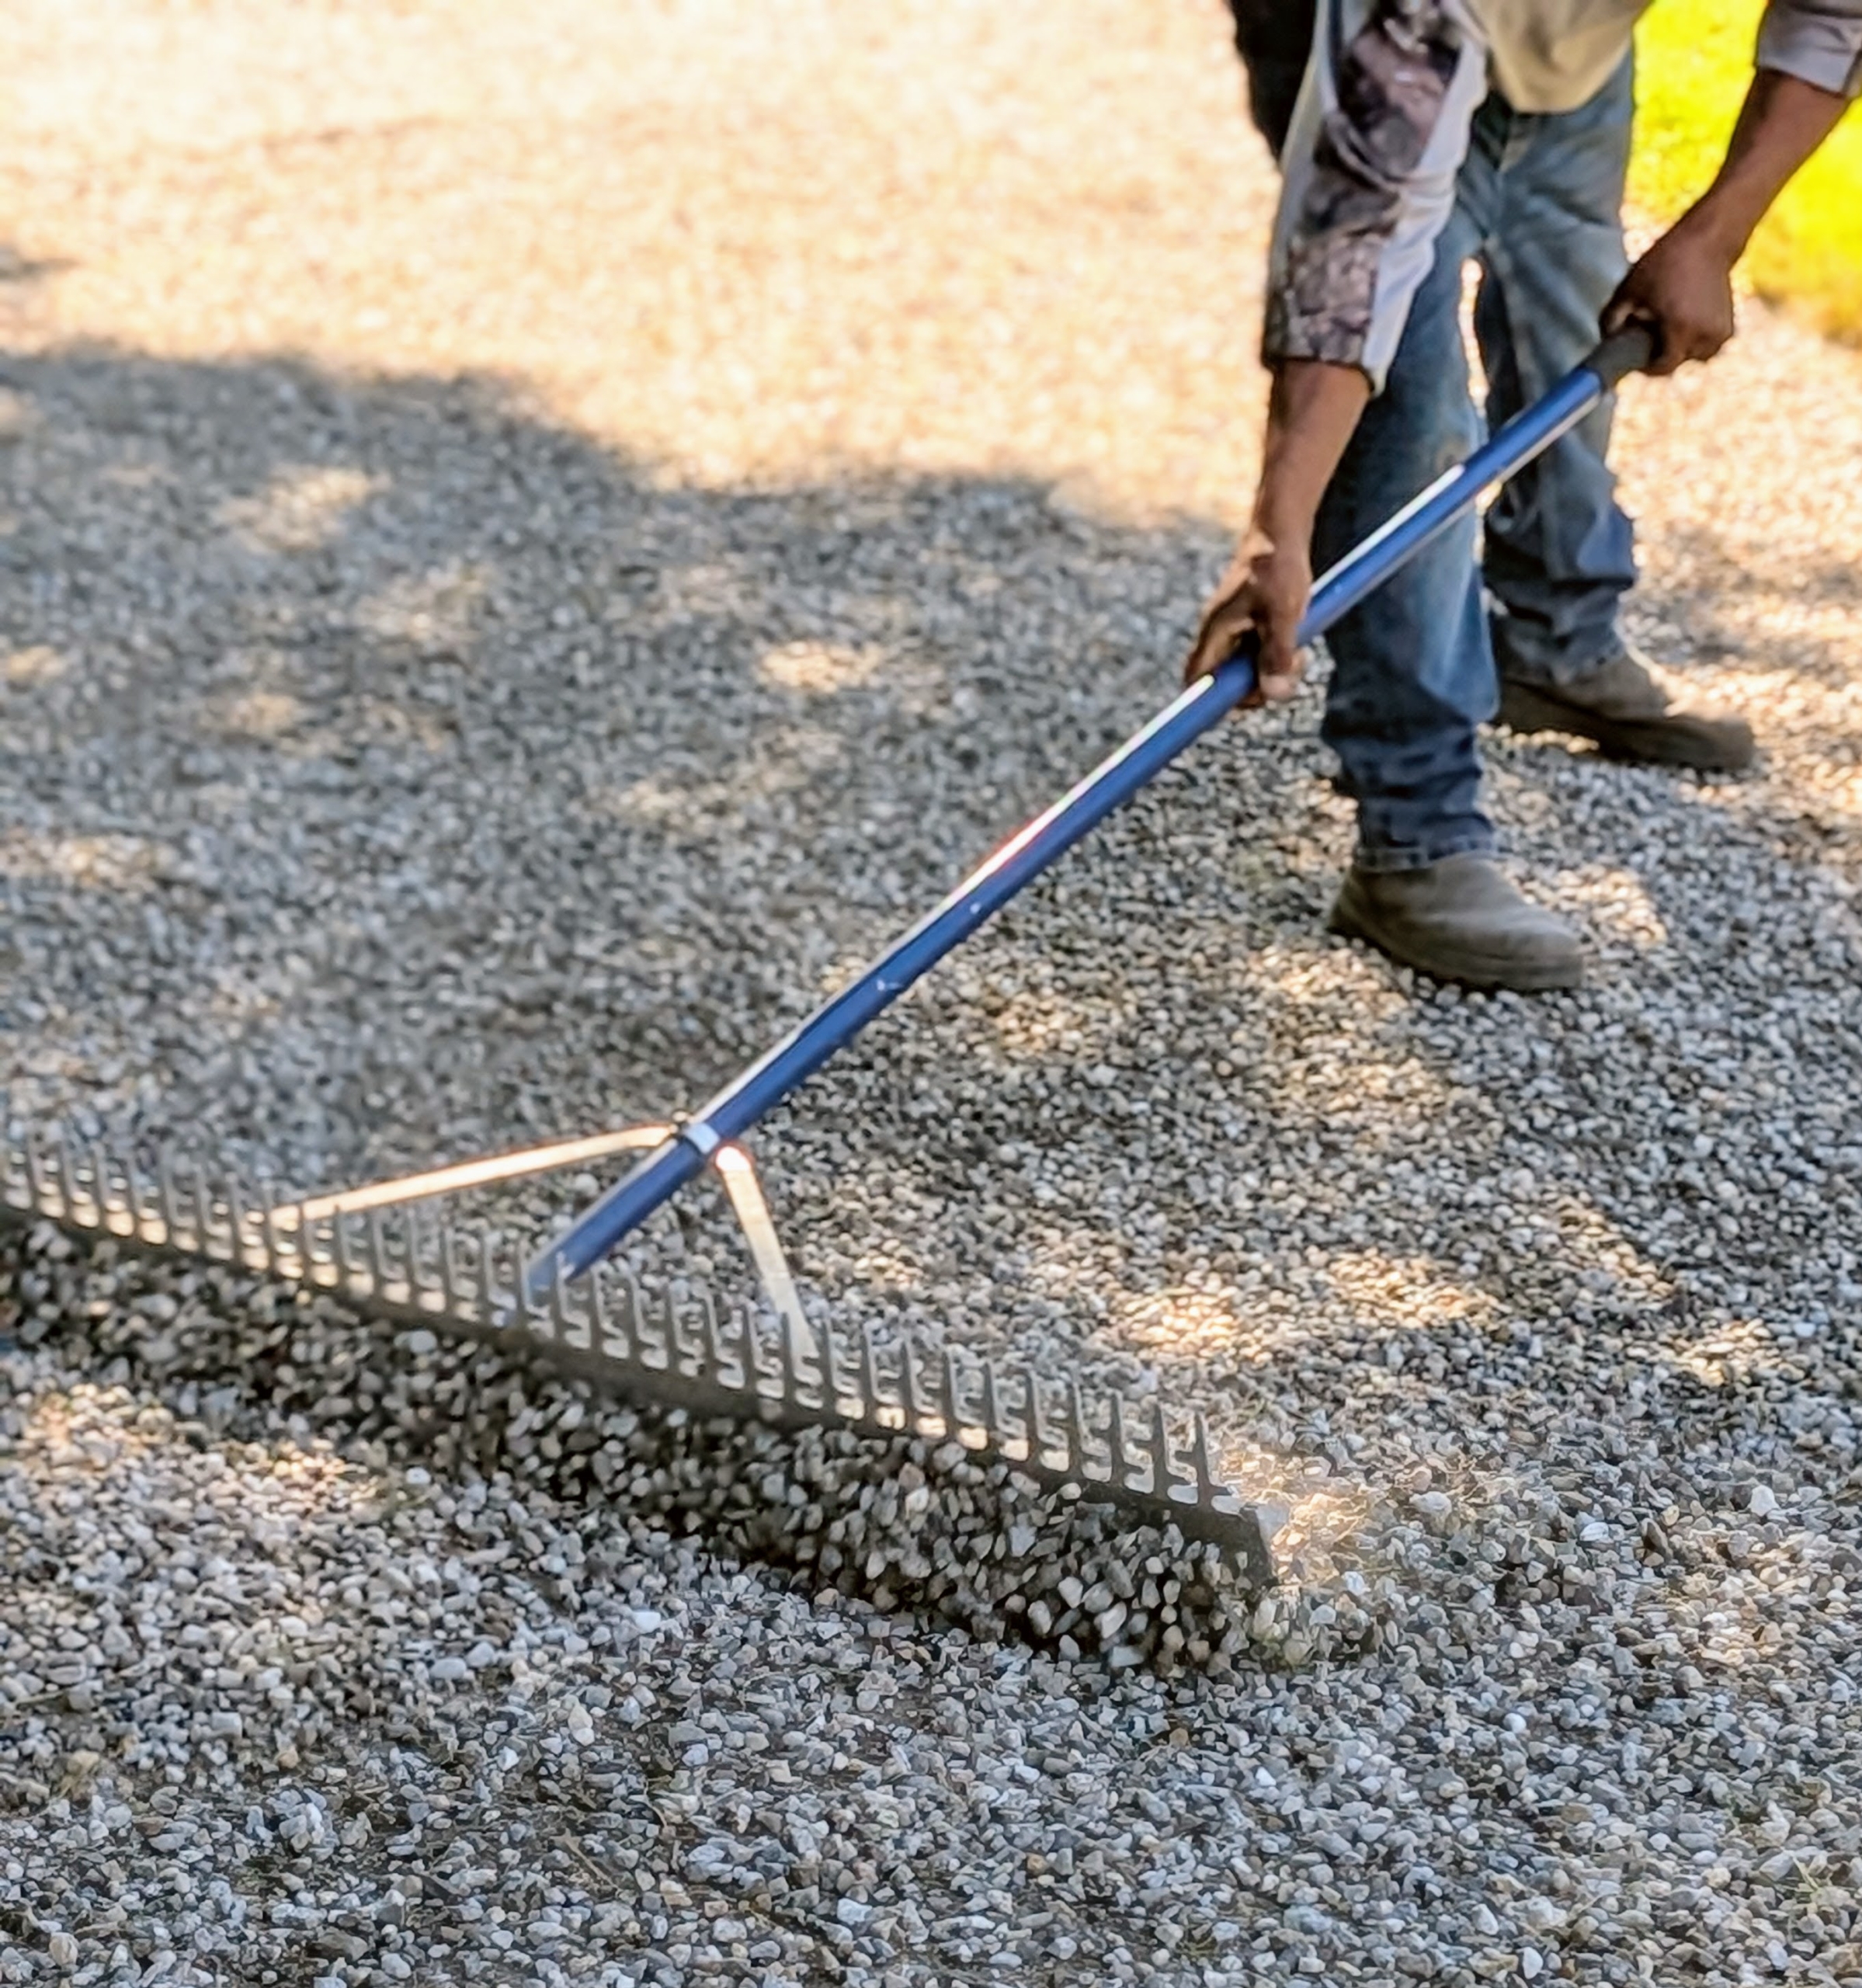
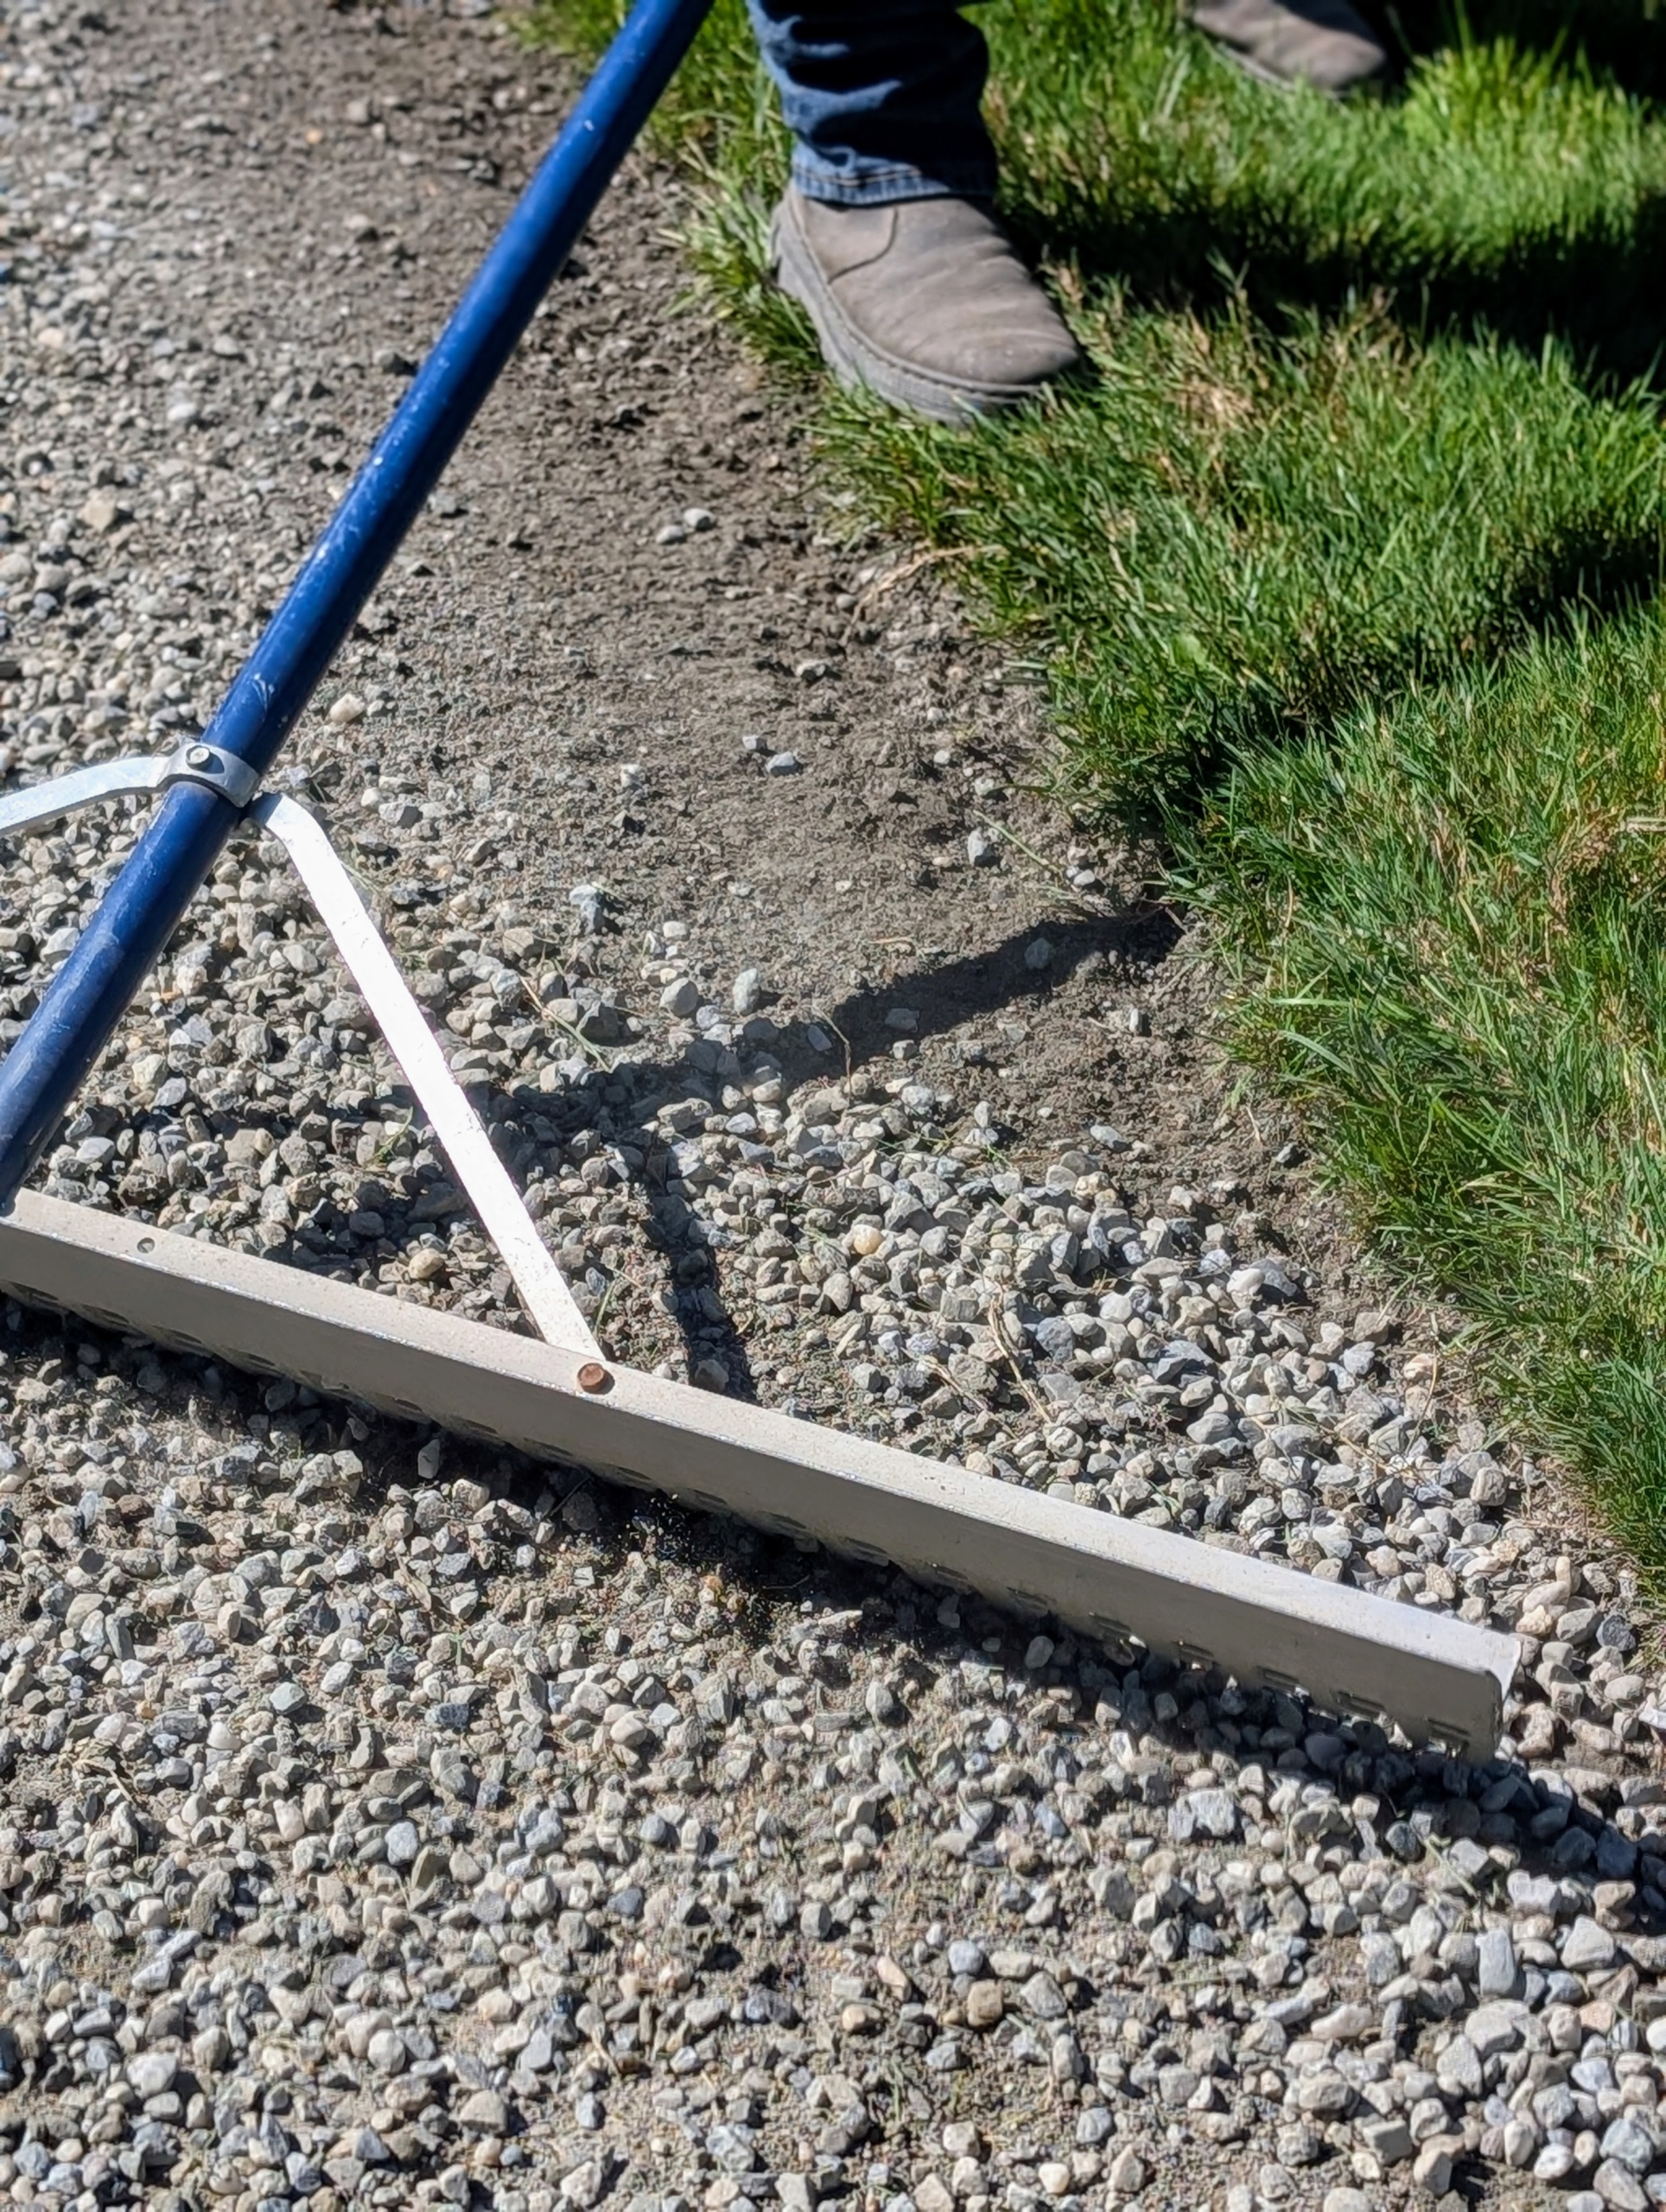
Meanwhile, Pete uses a landscape rake to spread and level the gravel. These rakes have one straight edge and one toothed edge.
He uses the straight edge to move and level. These landscape rakes are easy to find at home improvement shops and some gardening centers.
The toothed edge is used for more detailed work such as pushing the gravel to the edge of the grass so all looks manicured and finished. Gravel roads are attractive, easy to maintain, and accumulate less pollutants over time.
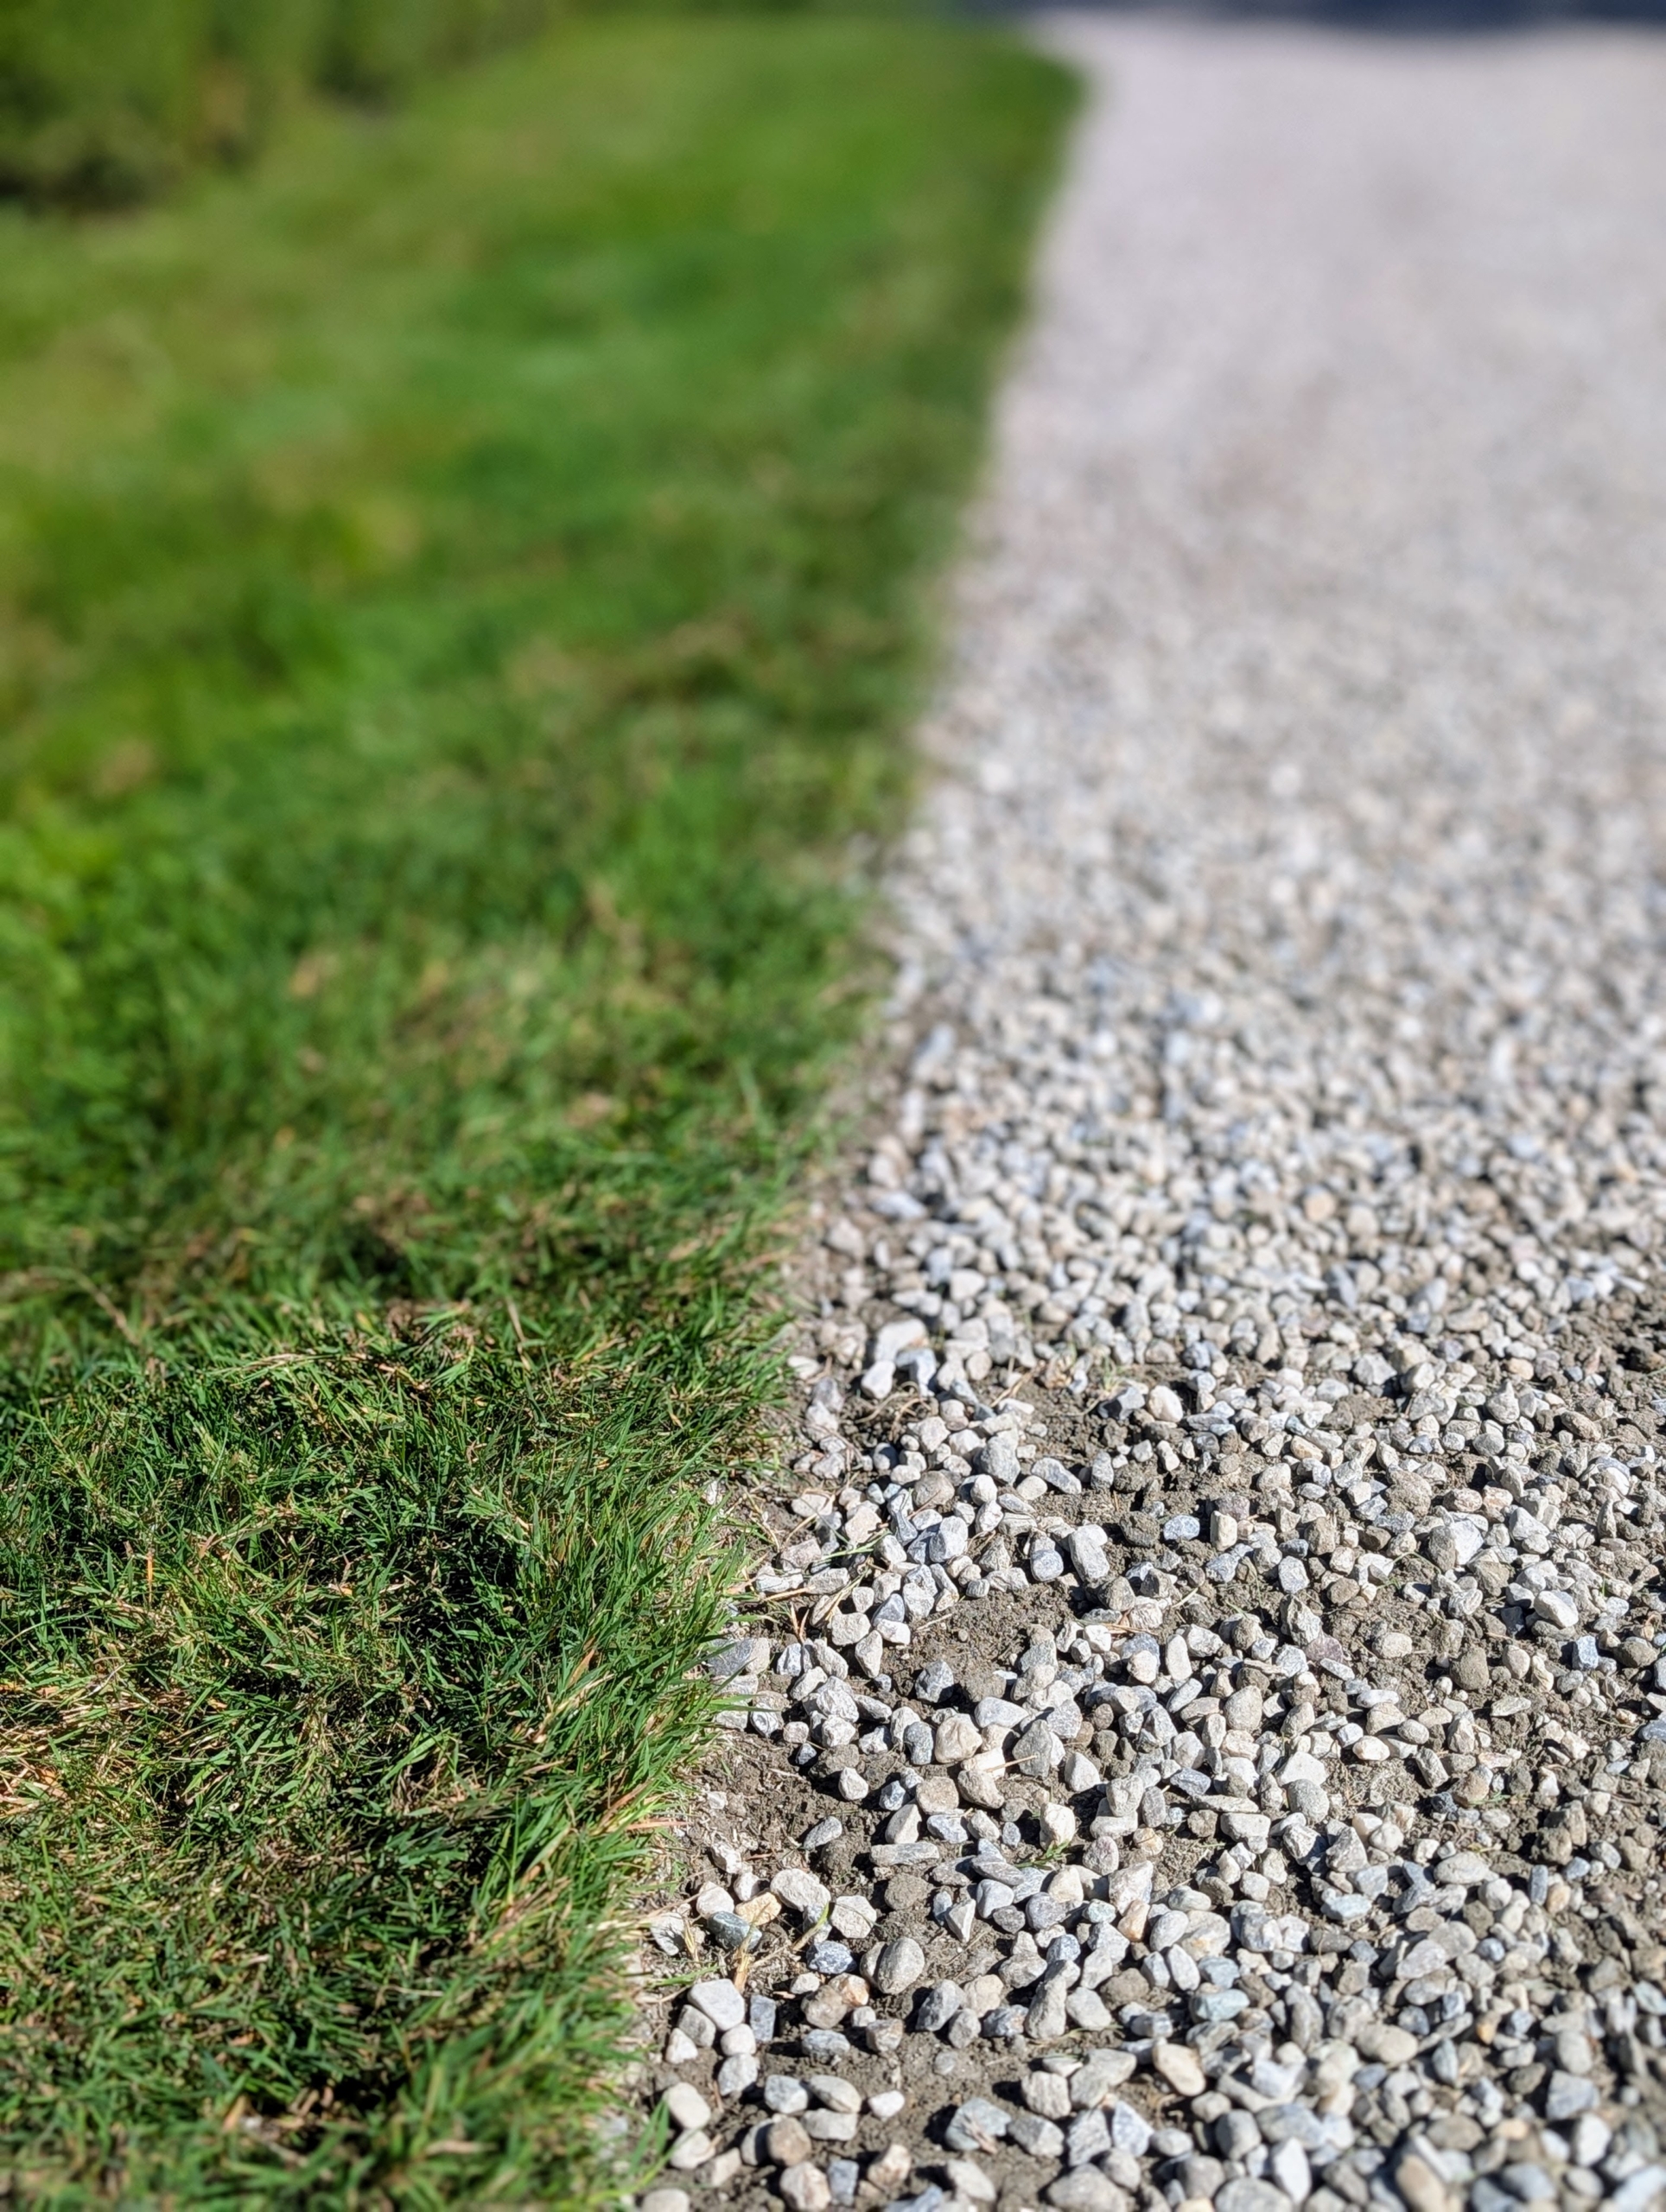
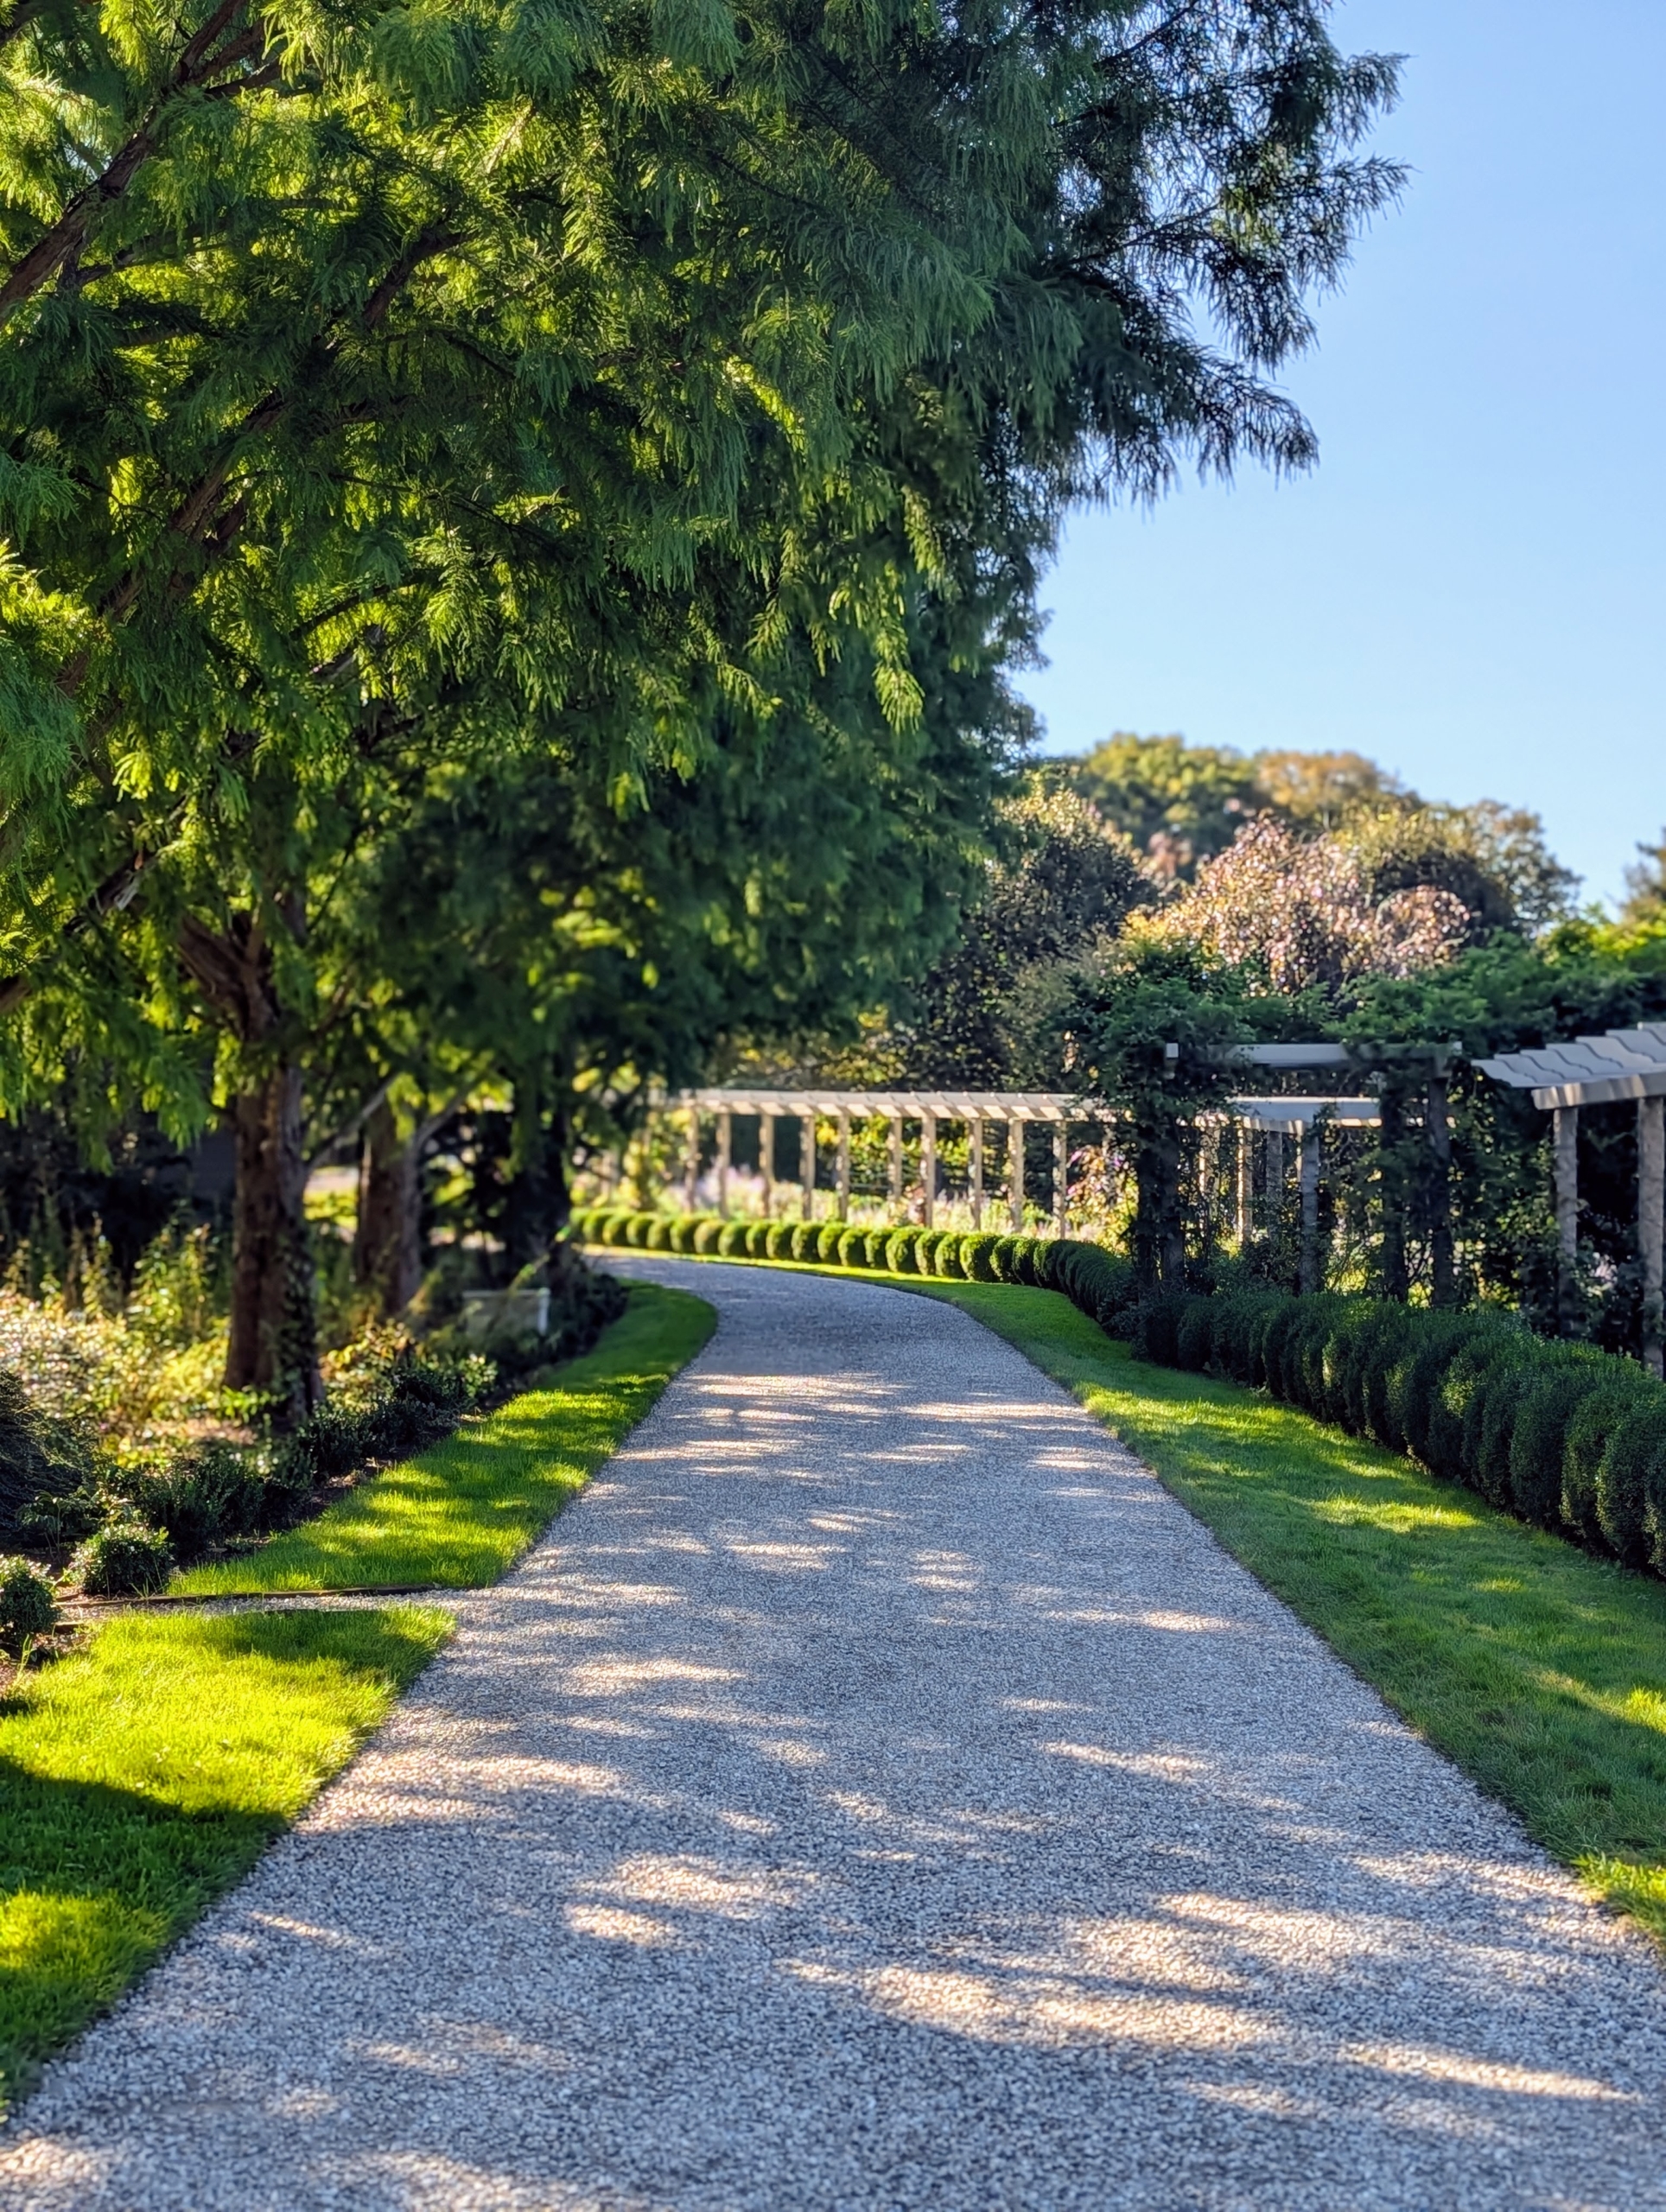
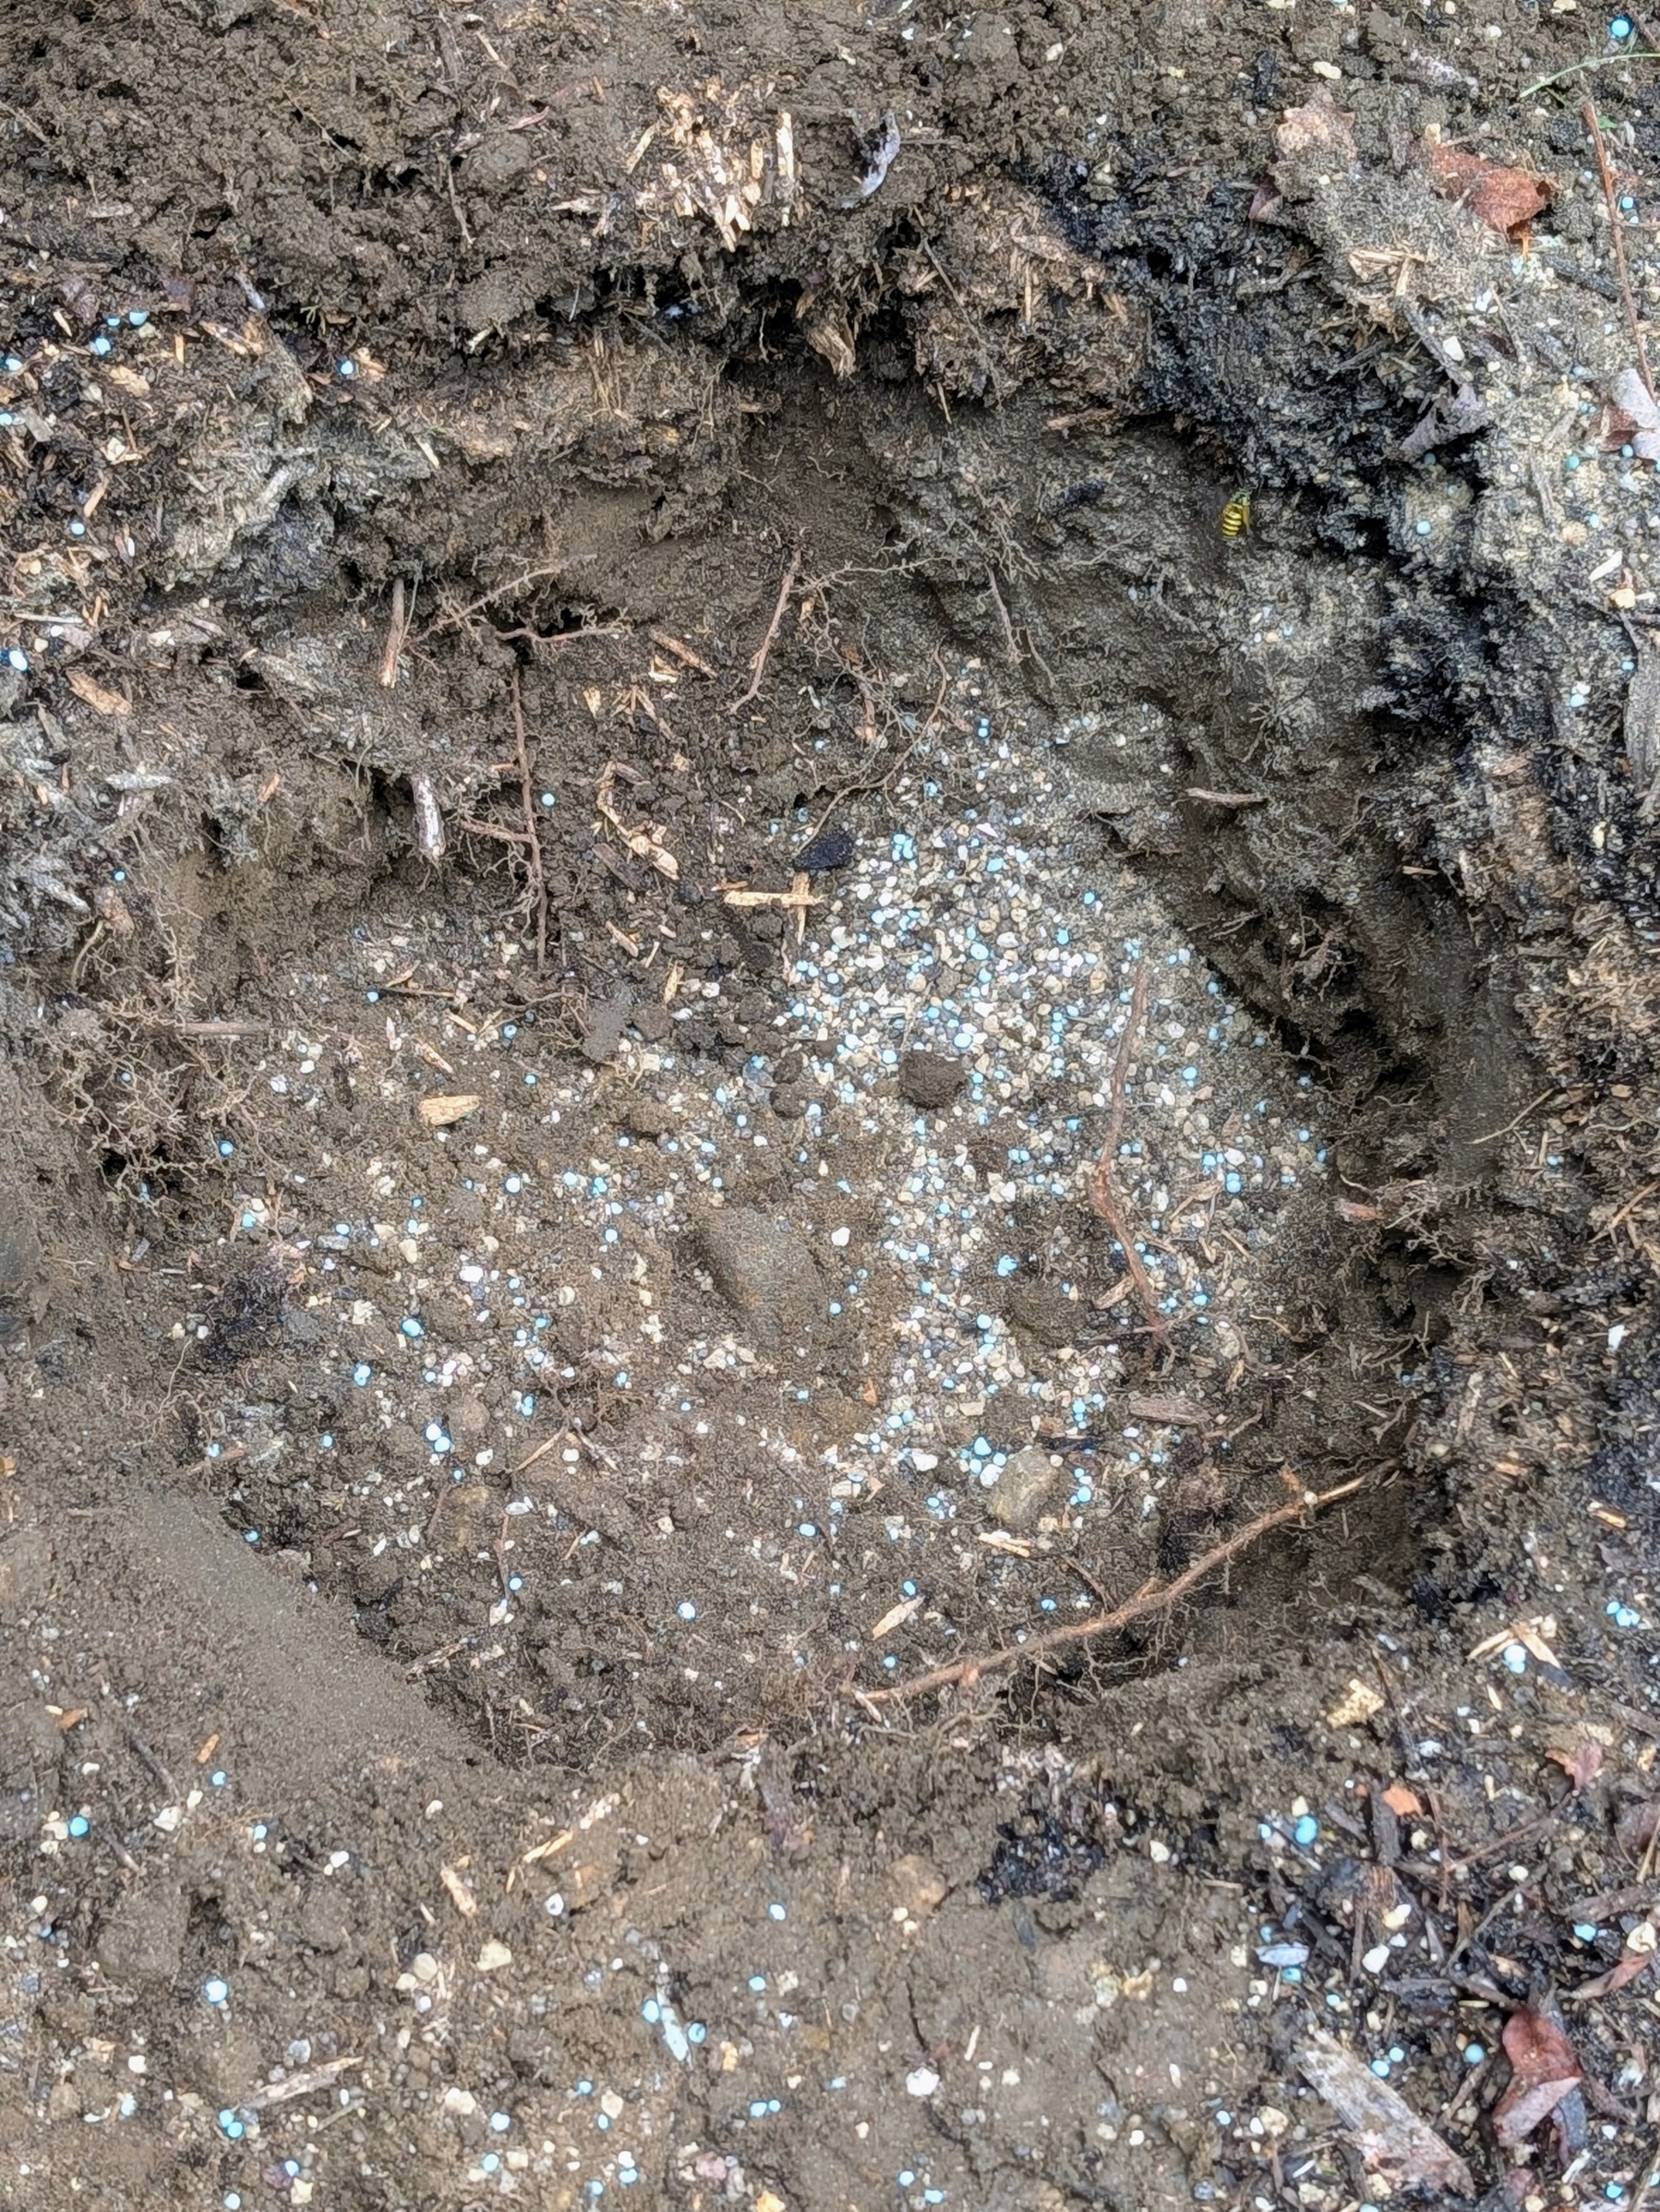
Here’s a finished edge – it looks so straight and clean. It’s important to edge and shape the roads regularly, so they drain properly and look tidy. I like to use native washed stone in a blend of gray tones. This gravel is used all over the farm.
This day was mild with very little wind, so flying dust from the gravel was minimal. After a few hours, this section of carriage road looks completely different with its fresh, sharp edge. There’s a lot more road to edge – keep up the good work, Pete and Fernando!
A good time to plant is when temperatures are mild, so roots can get established without the stress of summer heat.
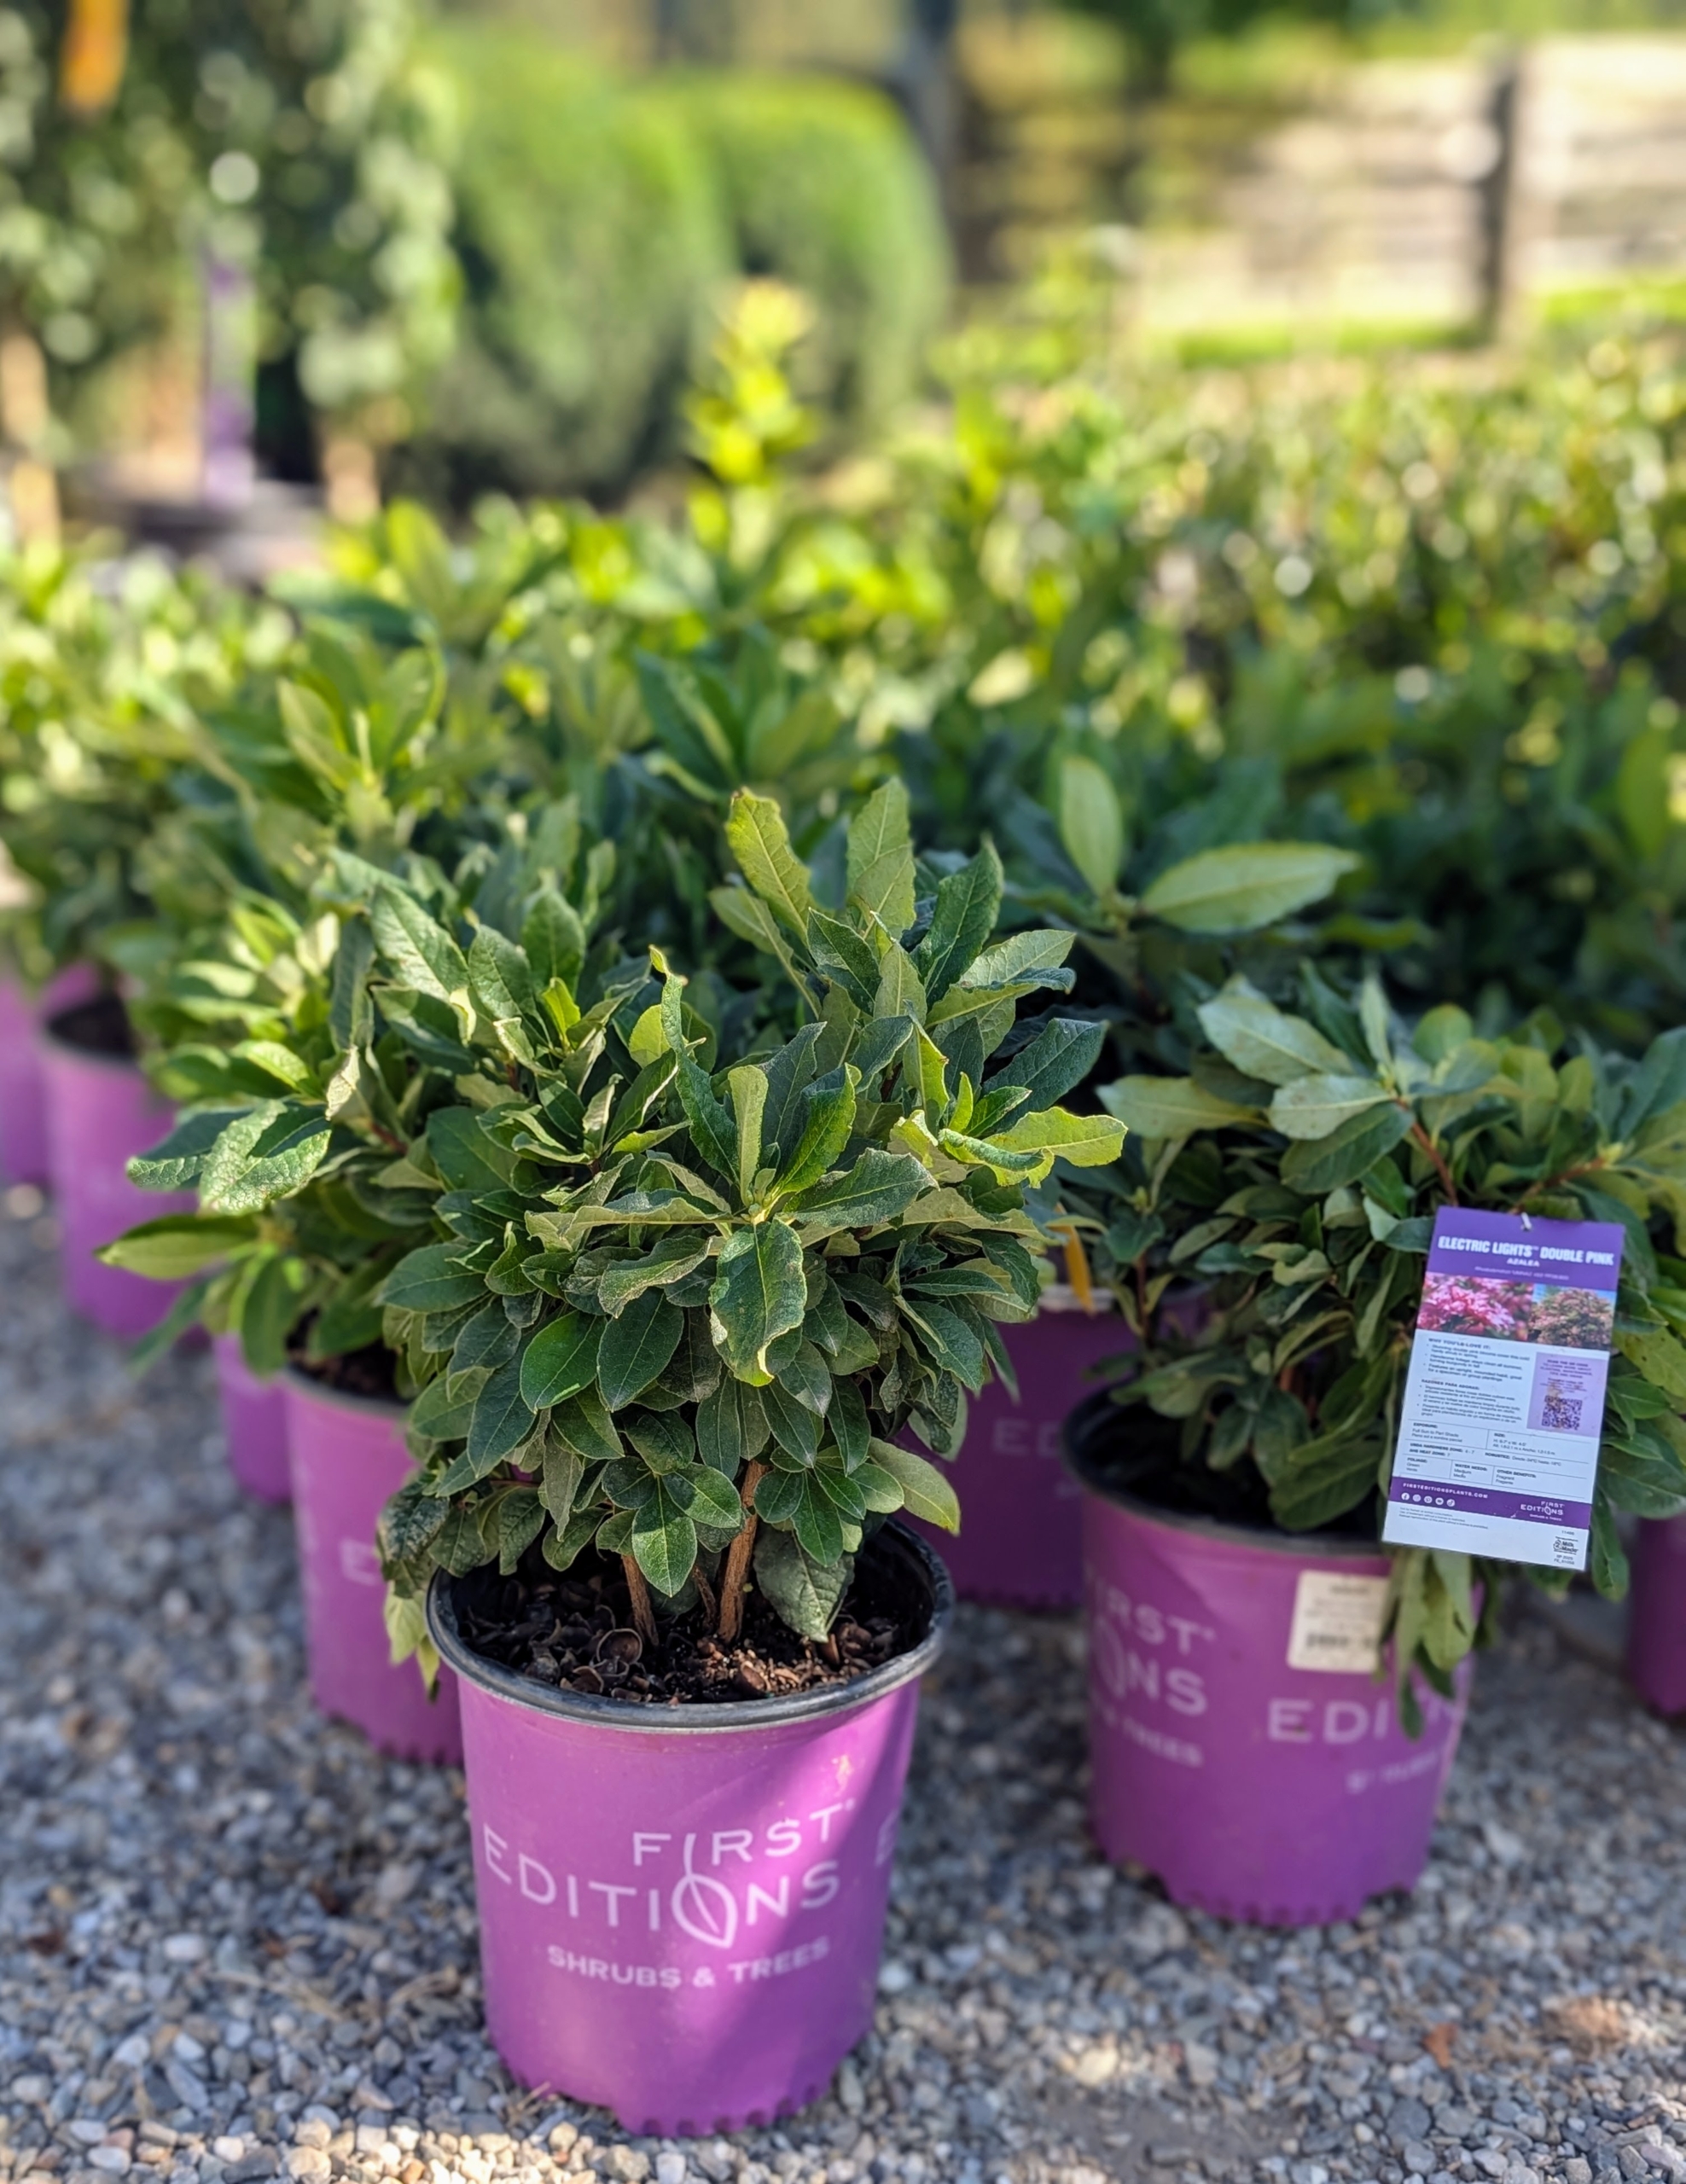
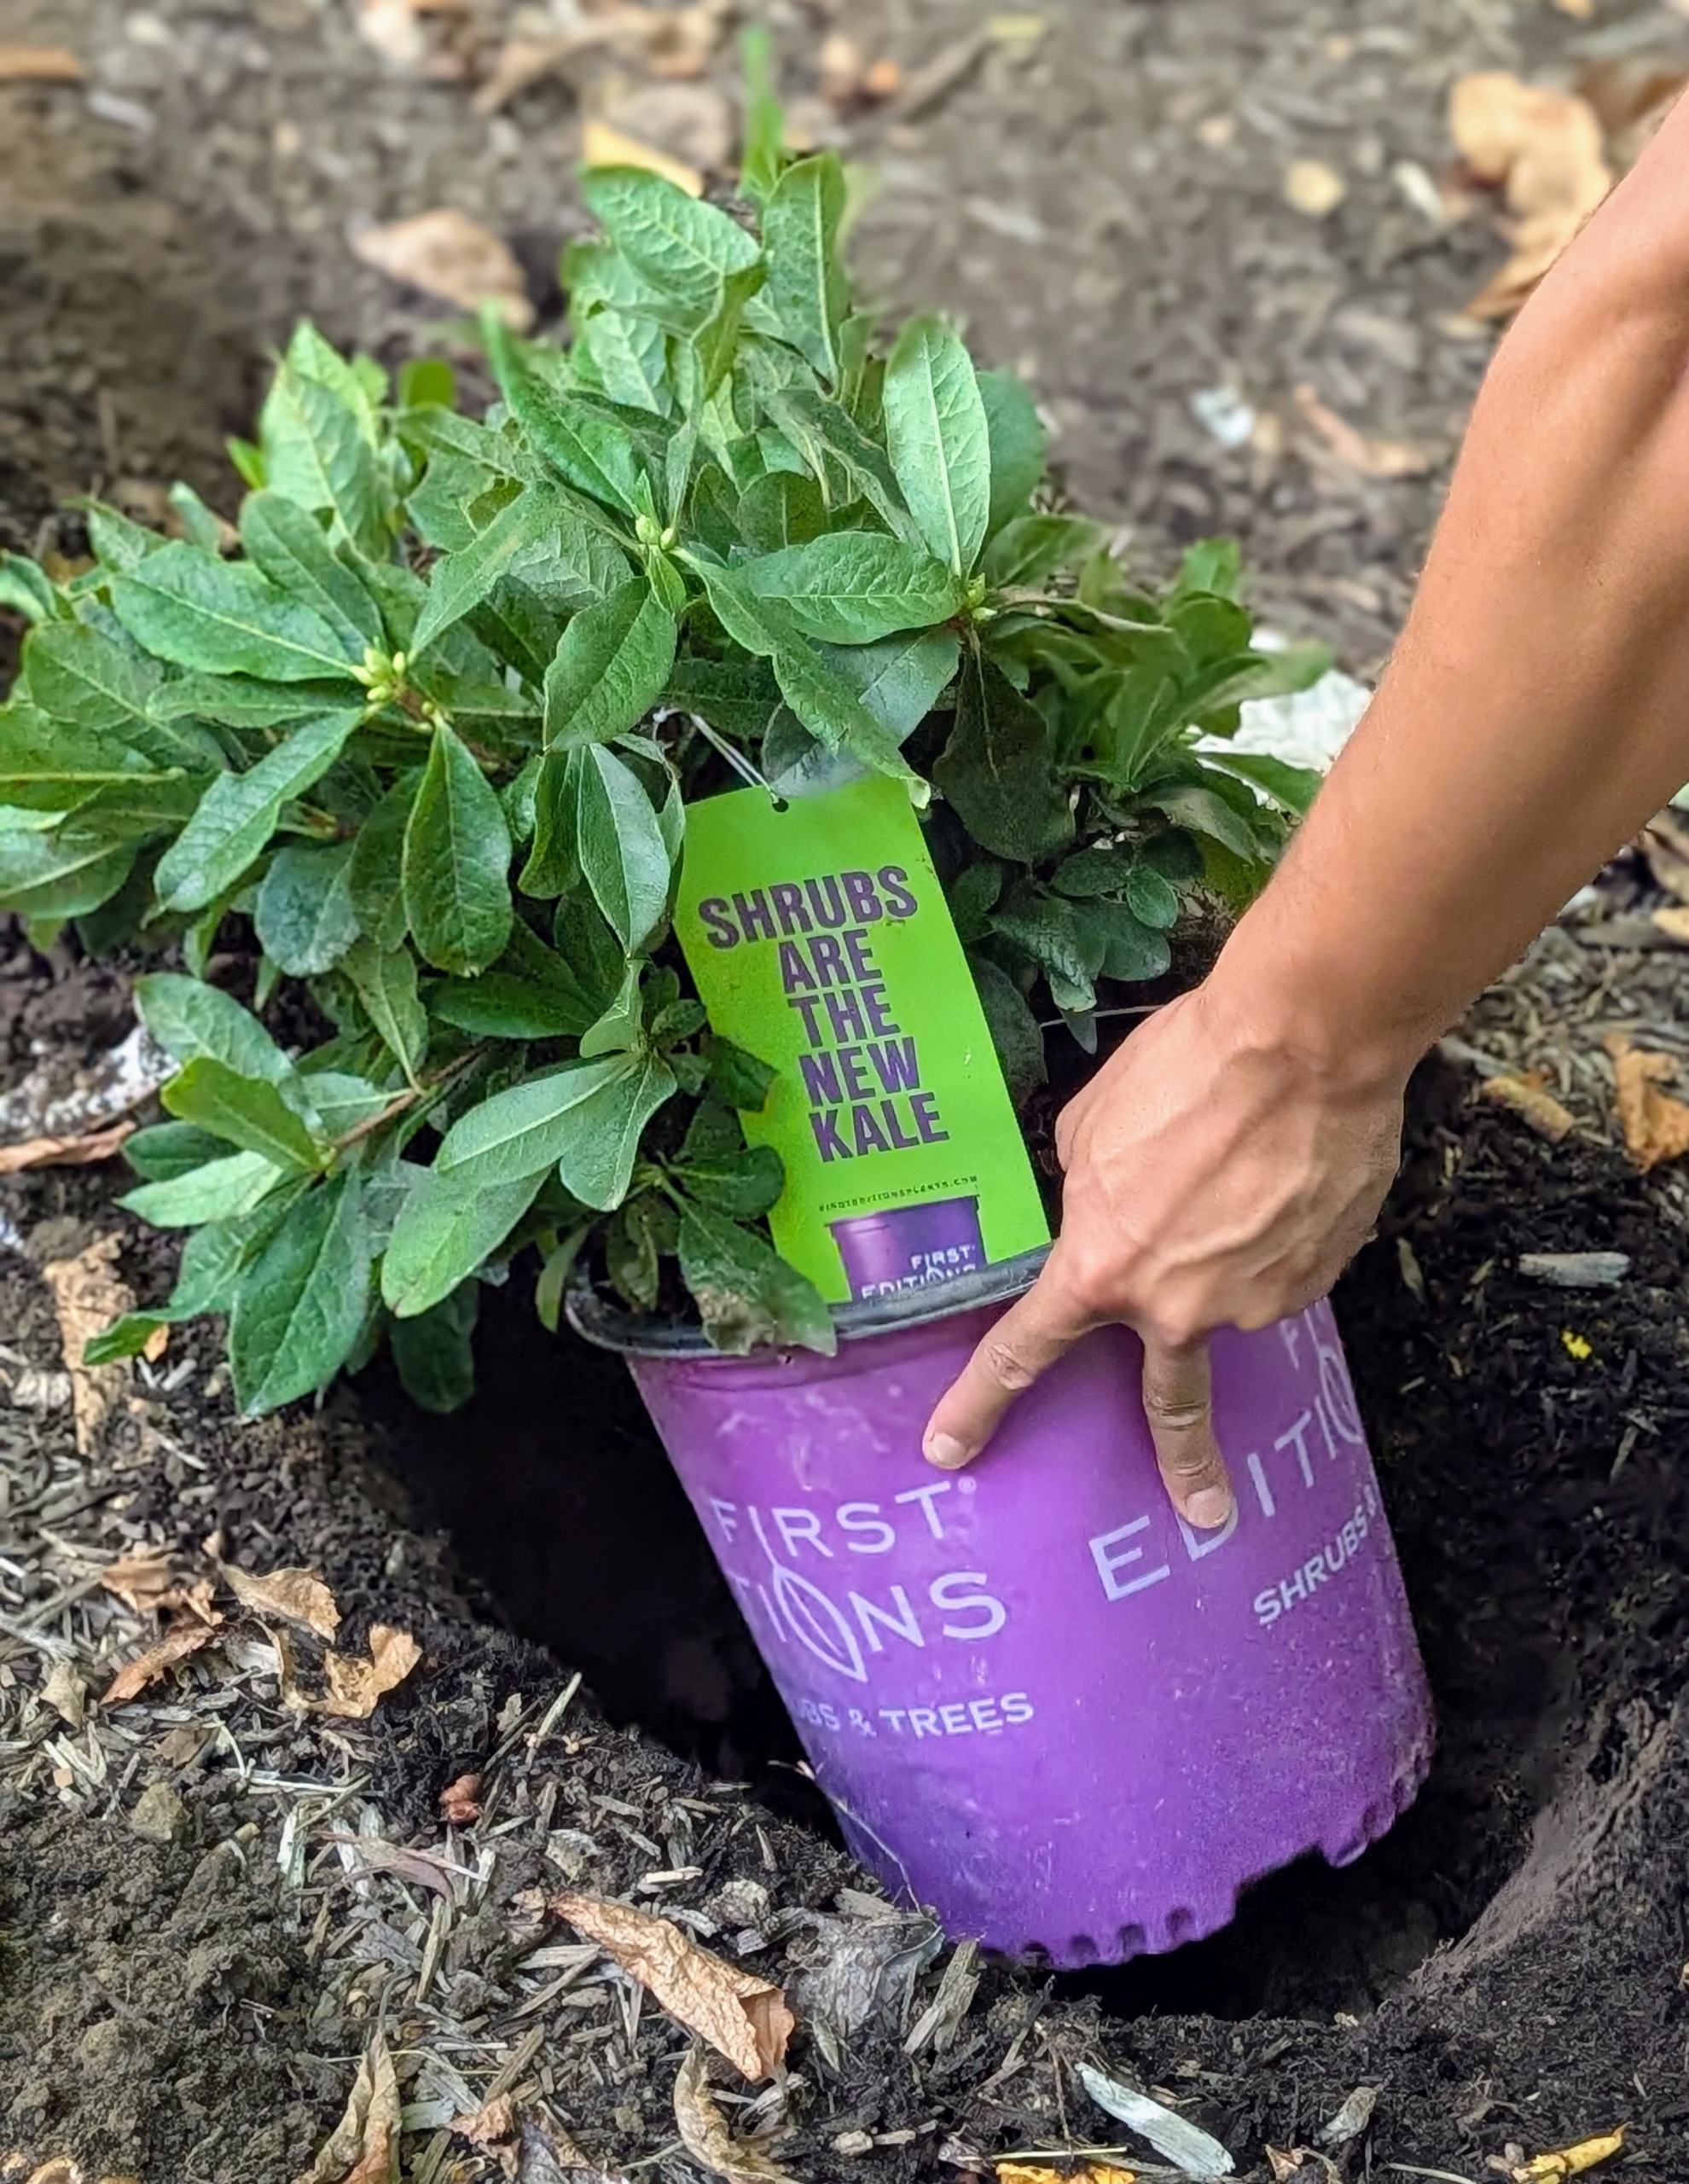
Last week, it was pleasant enough to get some potted azaleas in the ground. The plants came from First Editions Shrubs and Trees, a brand of premium evergreens and perennials from the fifth-generation, family and brand owner Bailey Nurseries in St. Paul, Minnesota. I decided to add the 15 specimens to an existing azalea garden outside my Summer House where I know they will flourish.
Enjoy these photos.
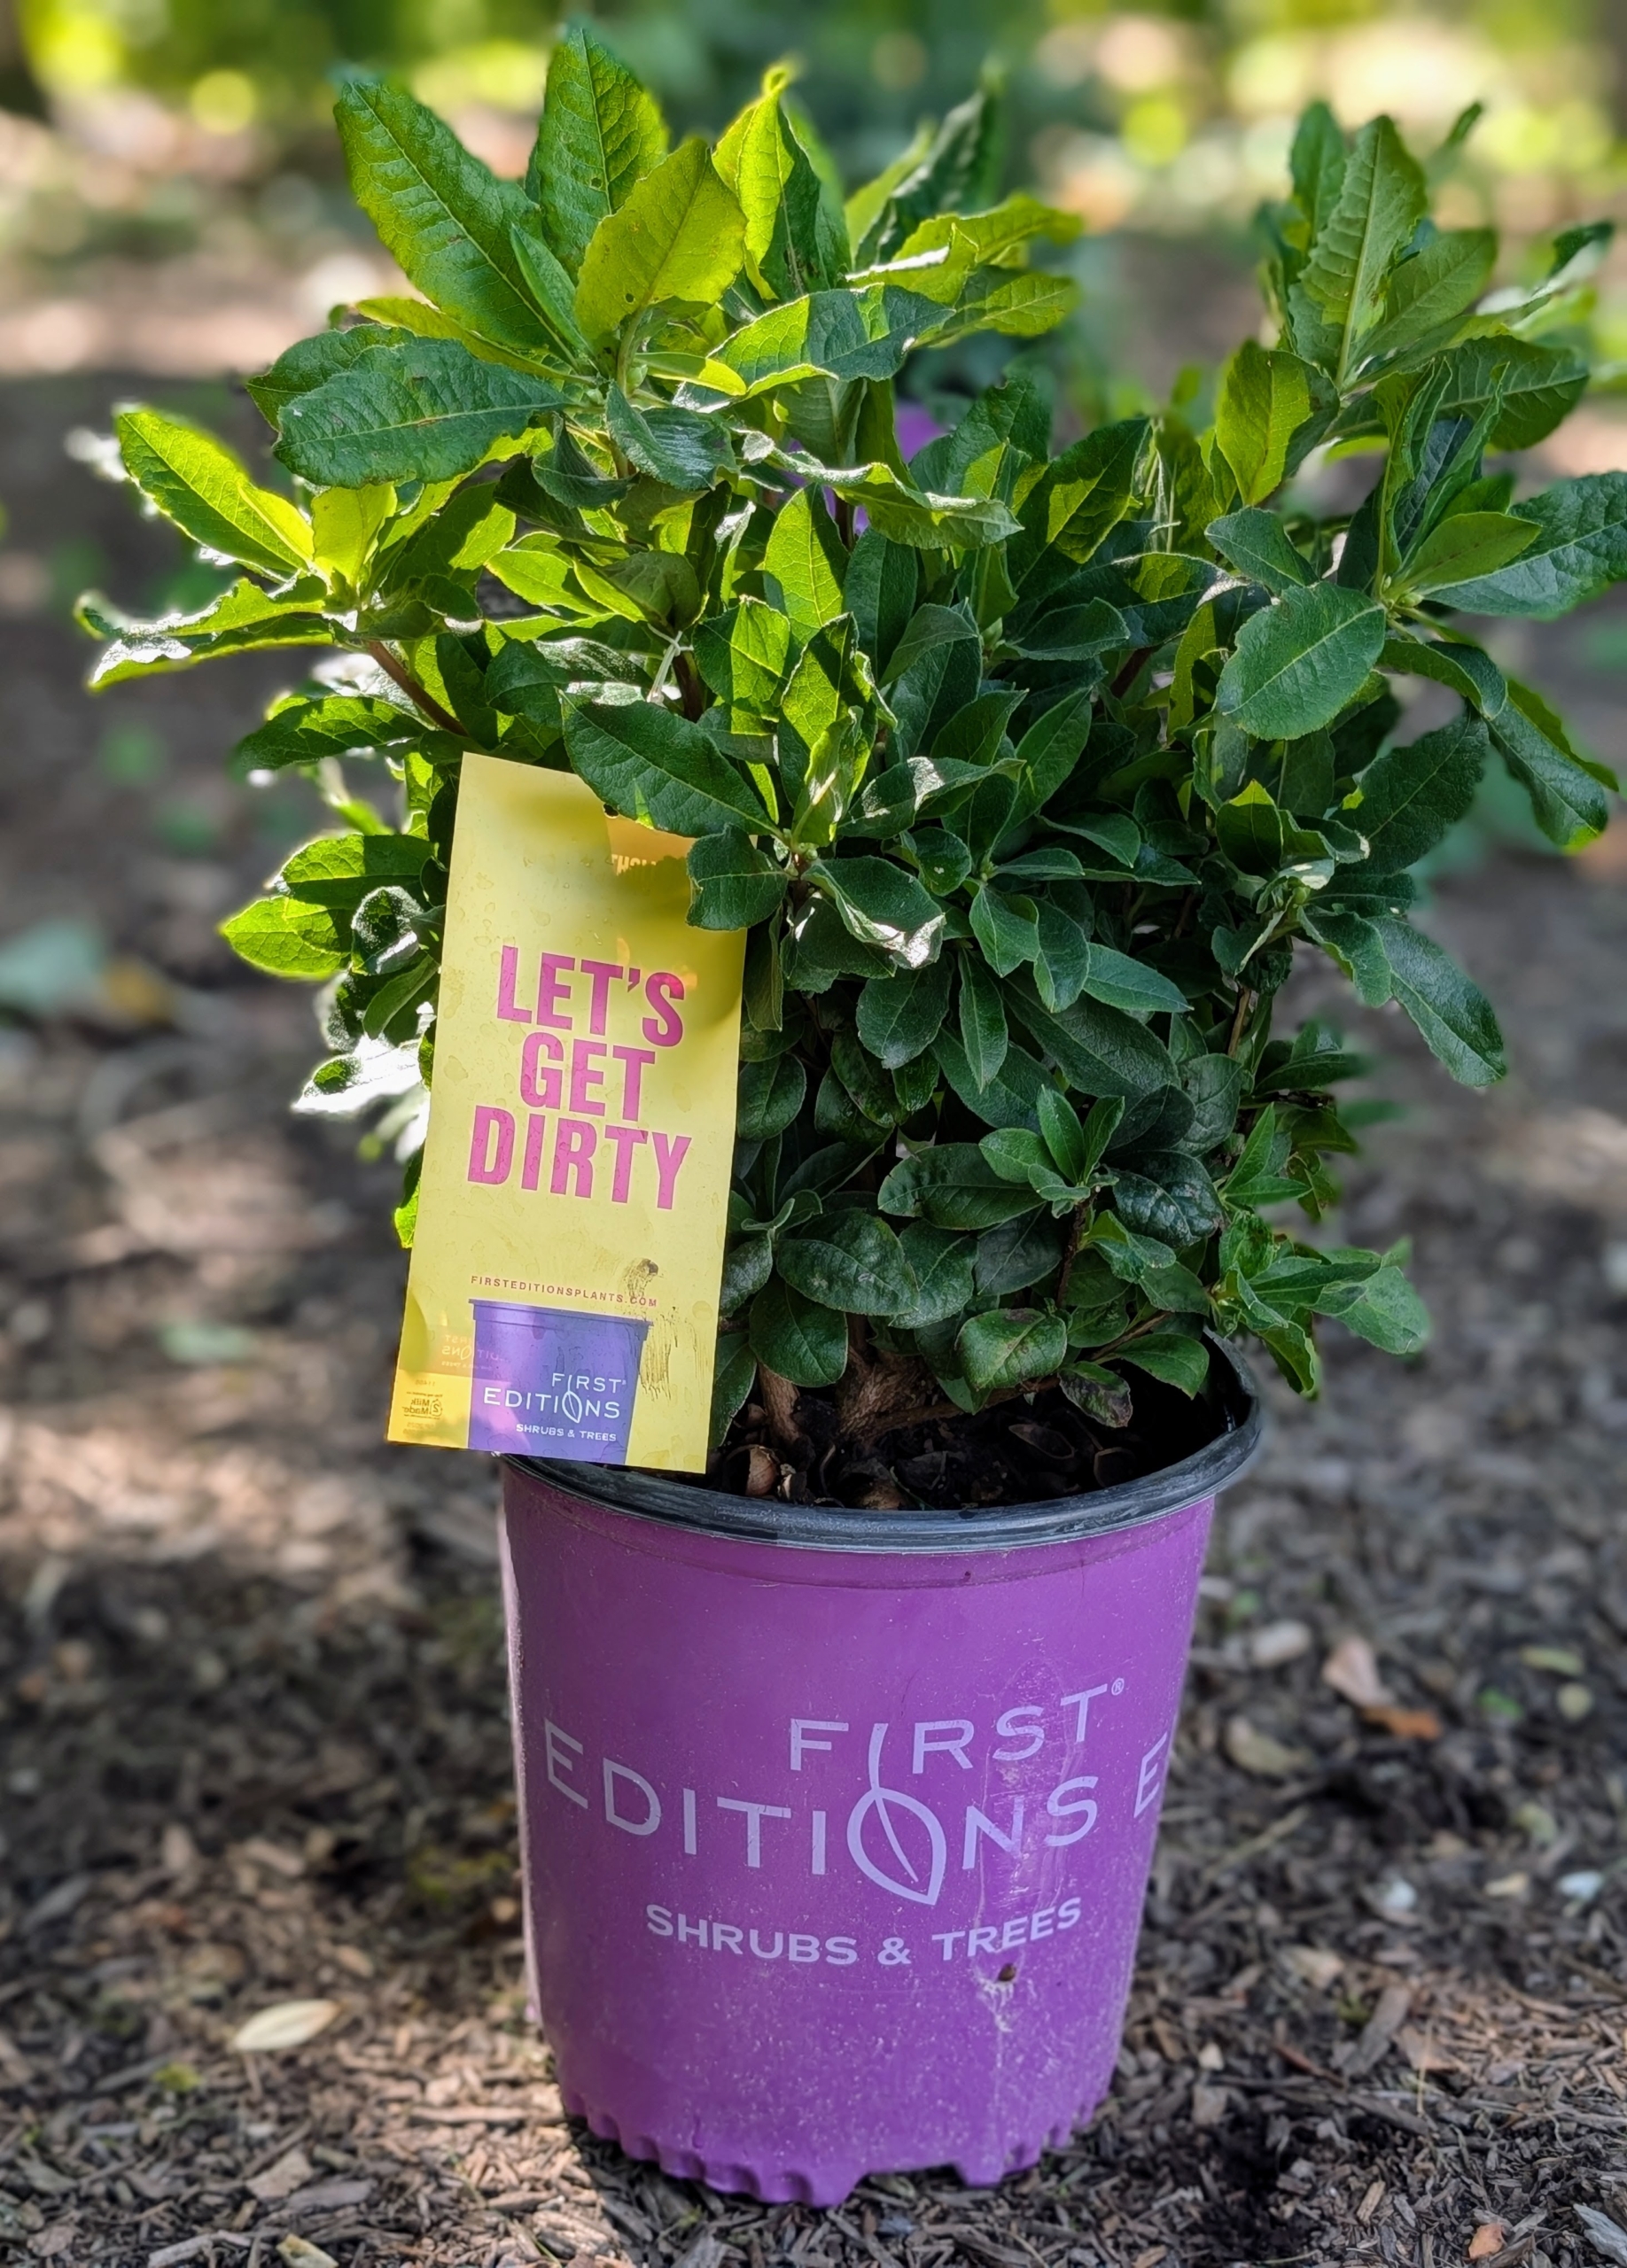
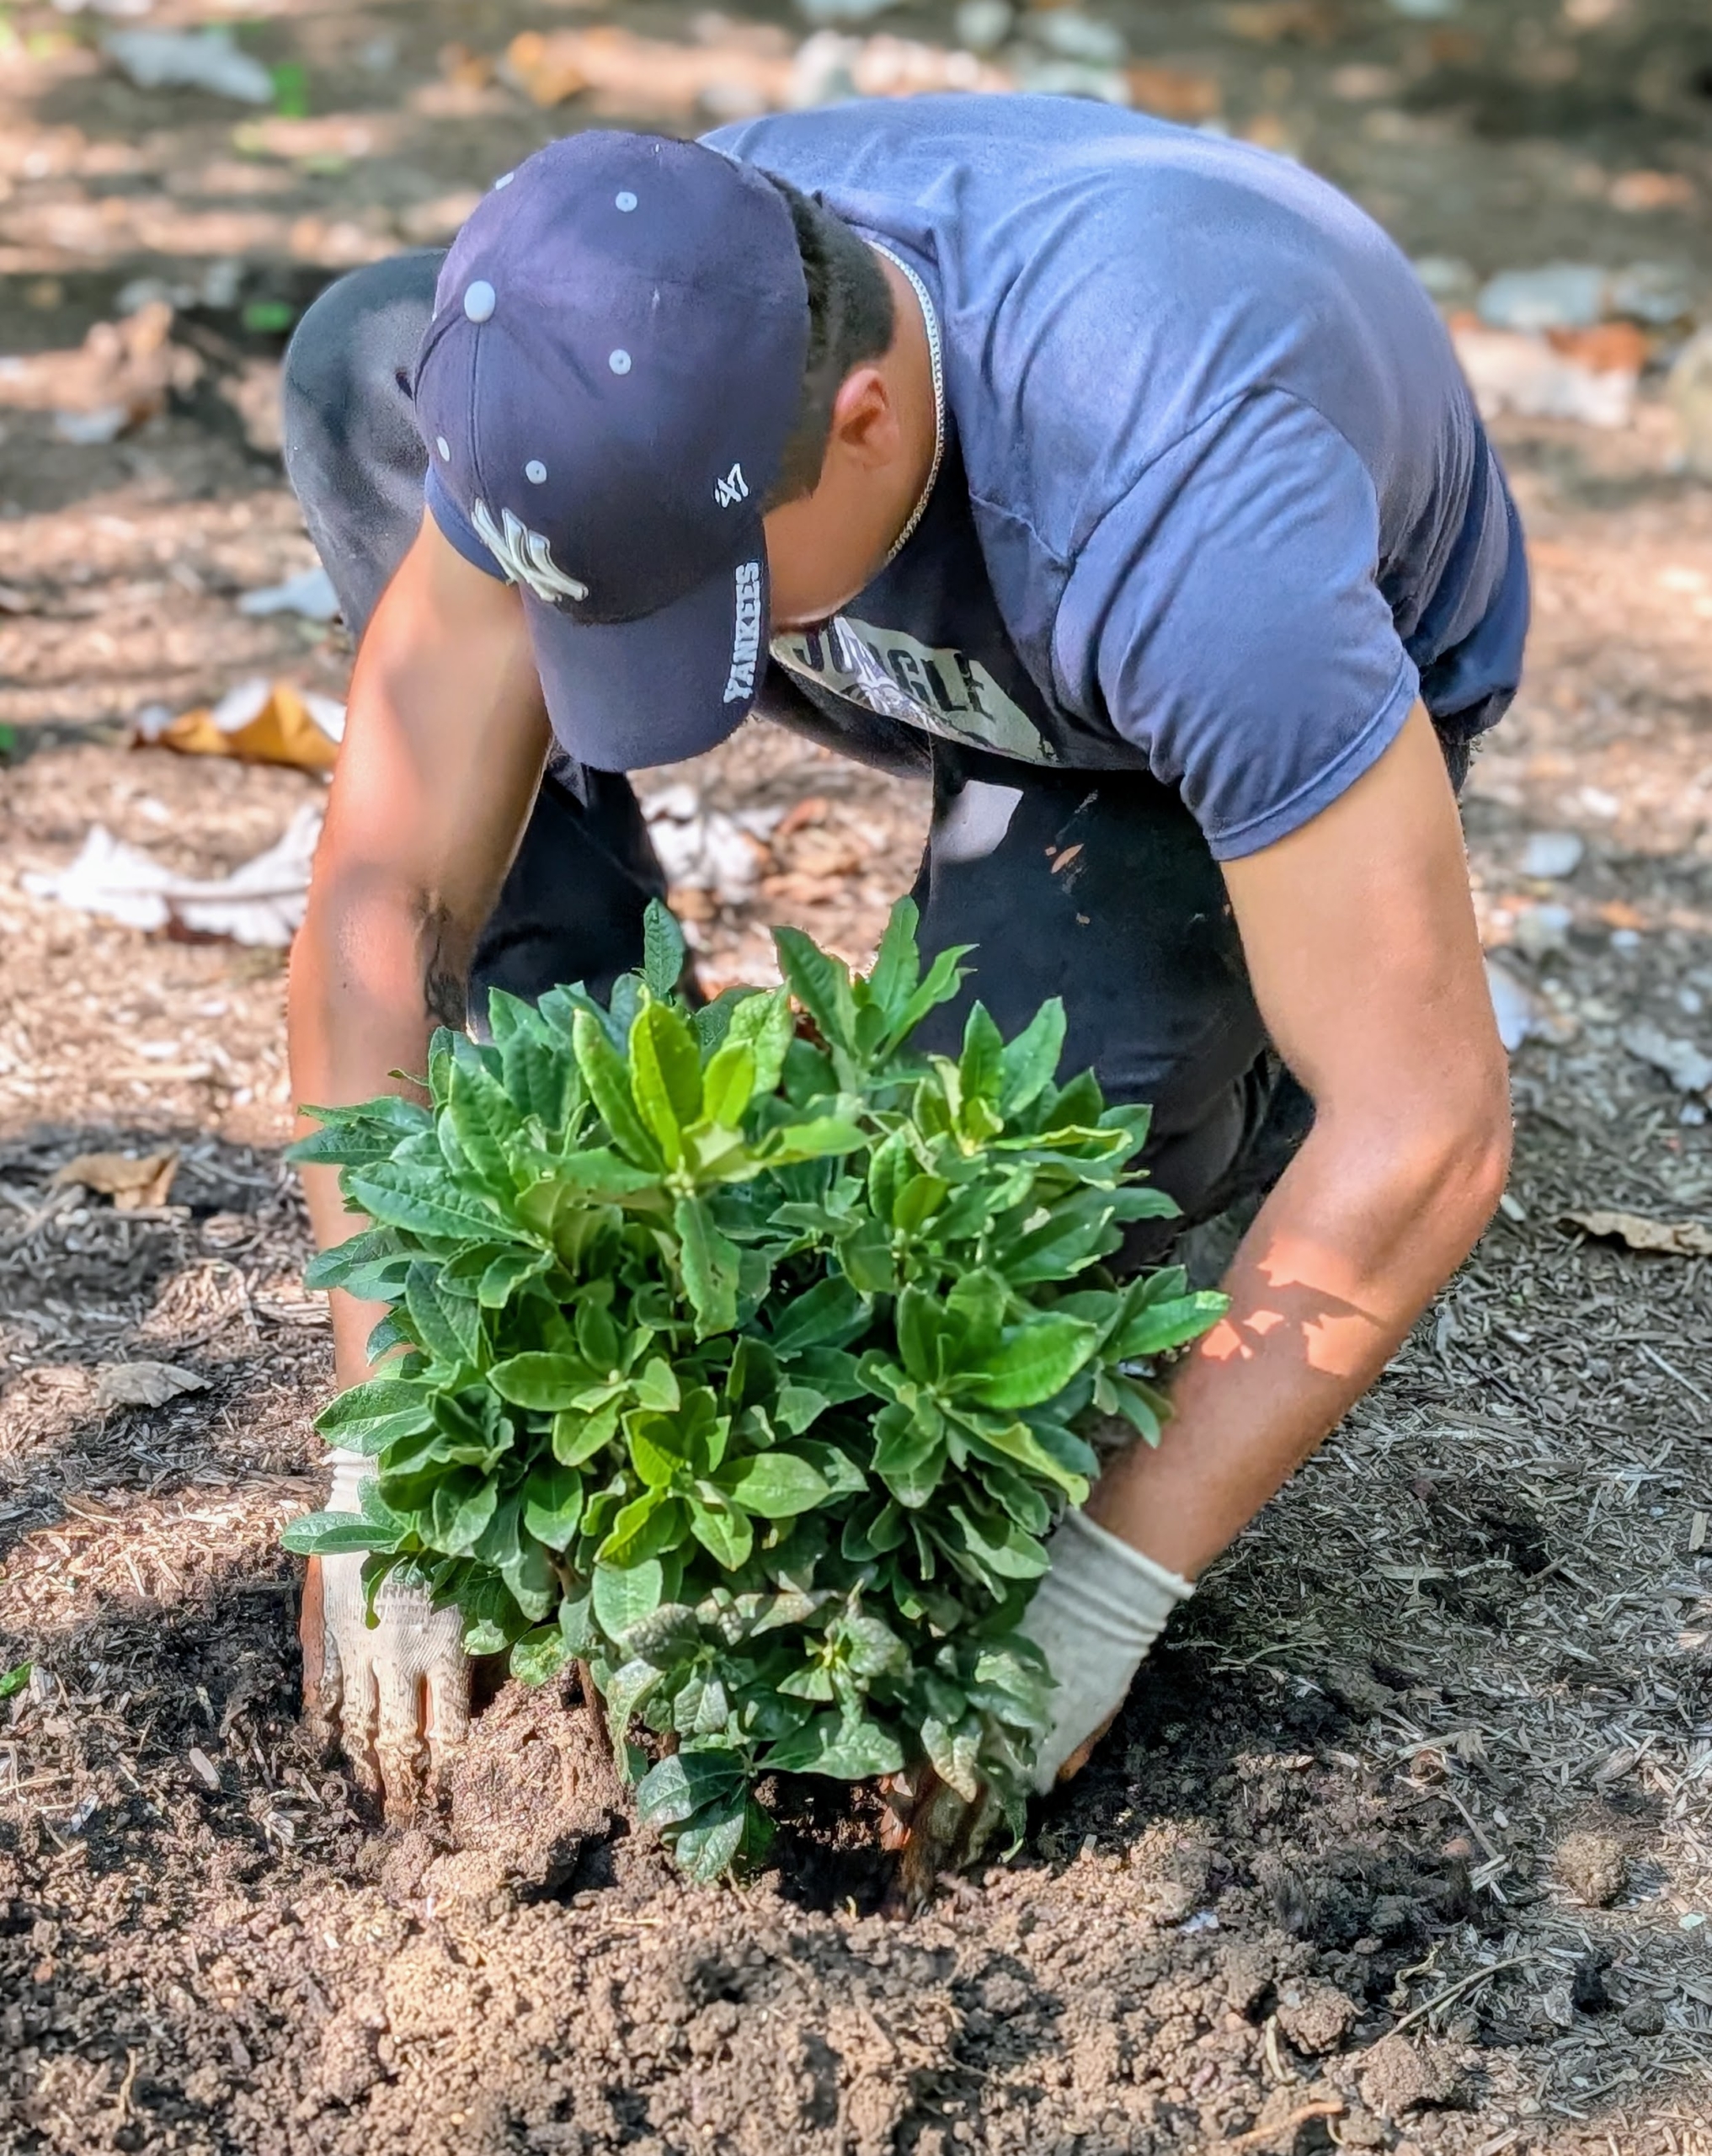
As a serious and curious gardener, I am always looking for ways to add more beauty and texture to all my garden beds, so I was excited when a delivery of plants arrived at my farm from First Editions.
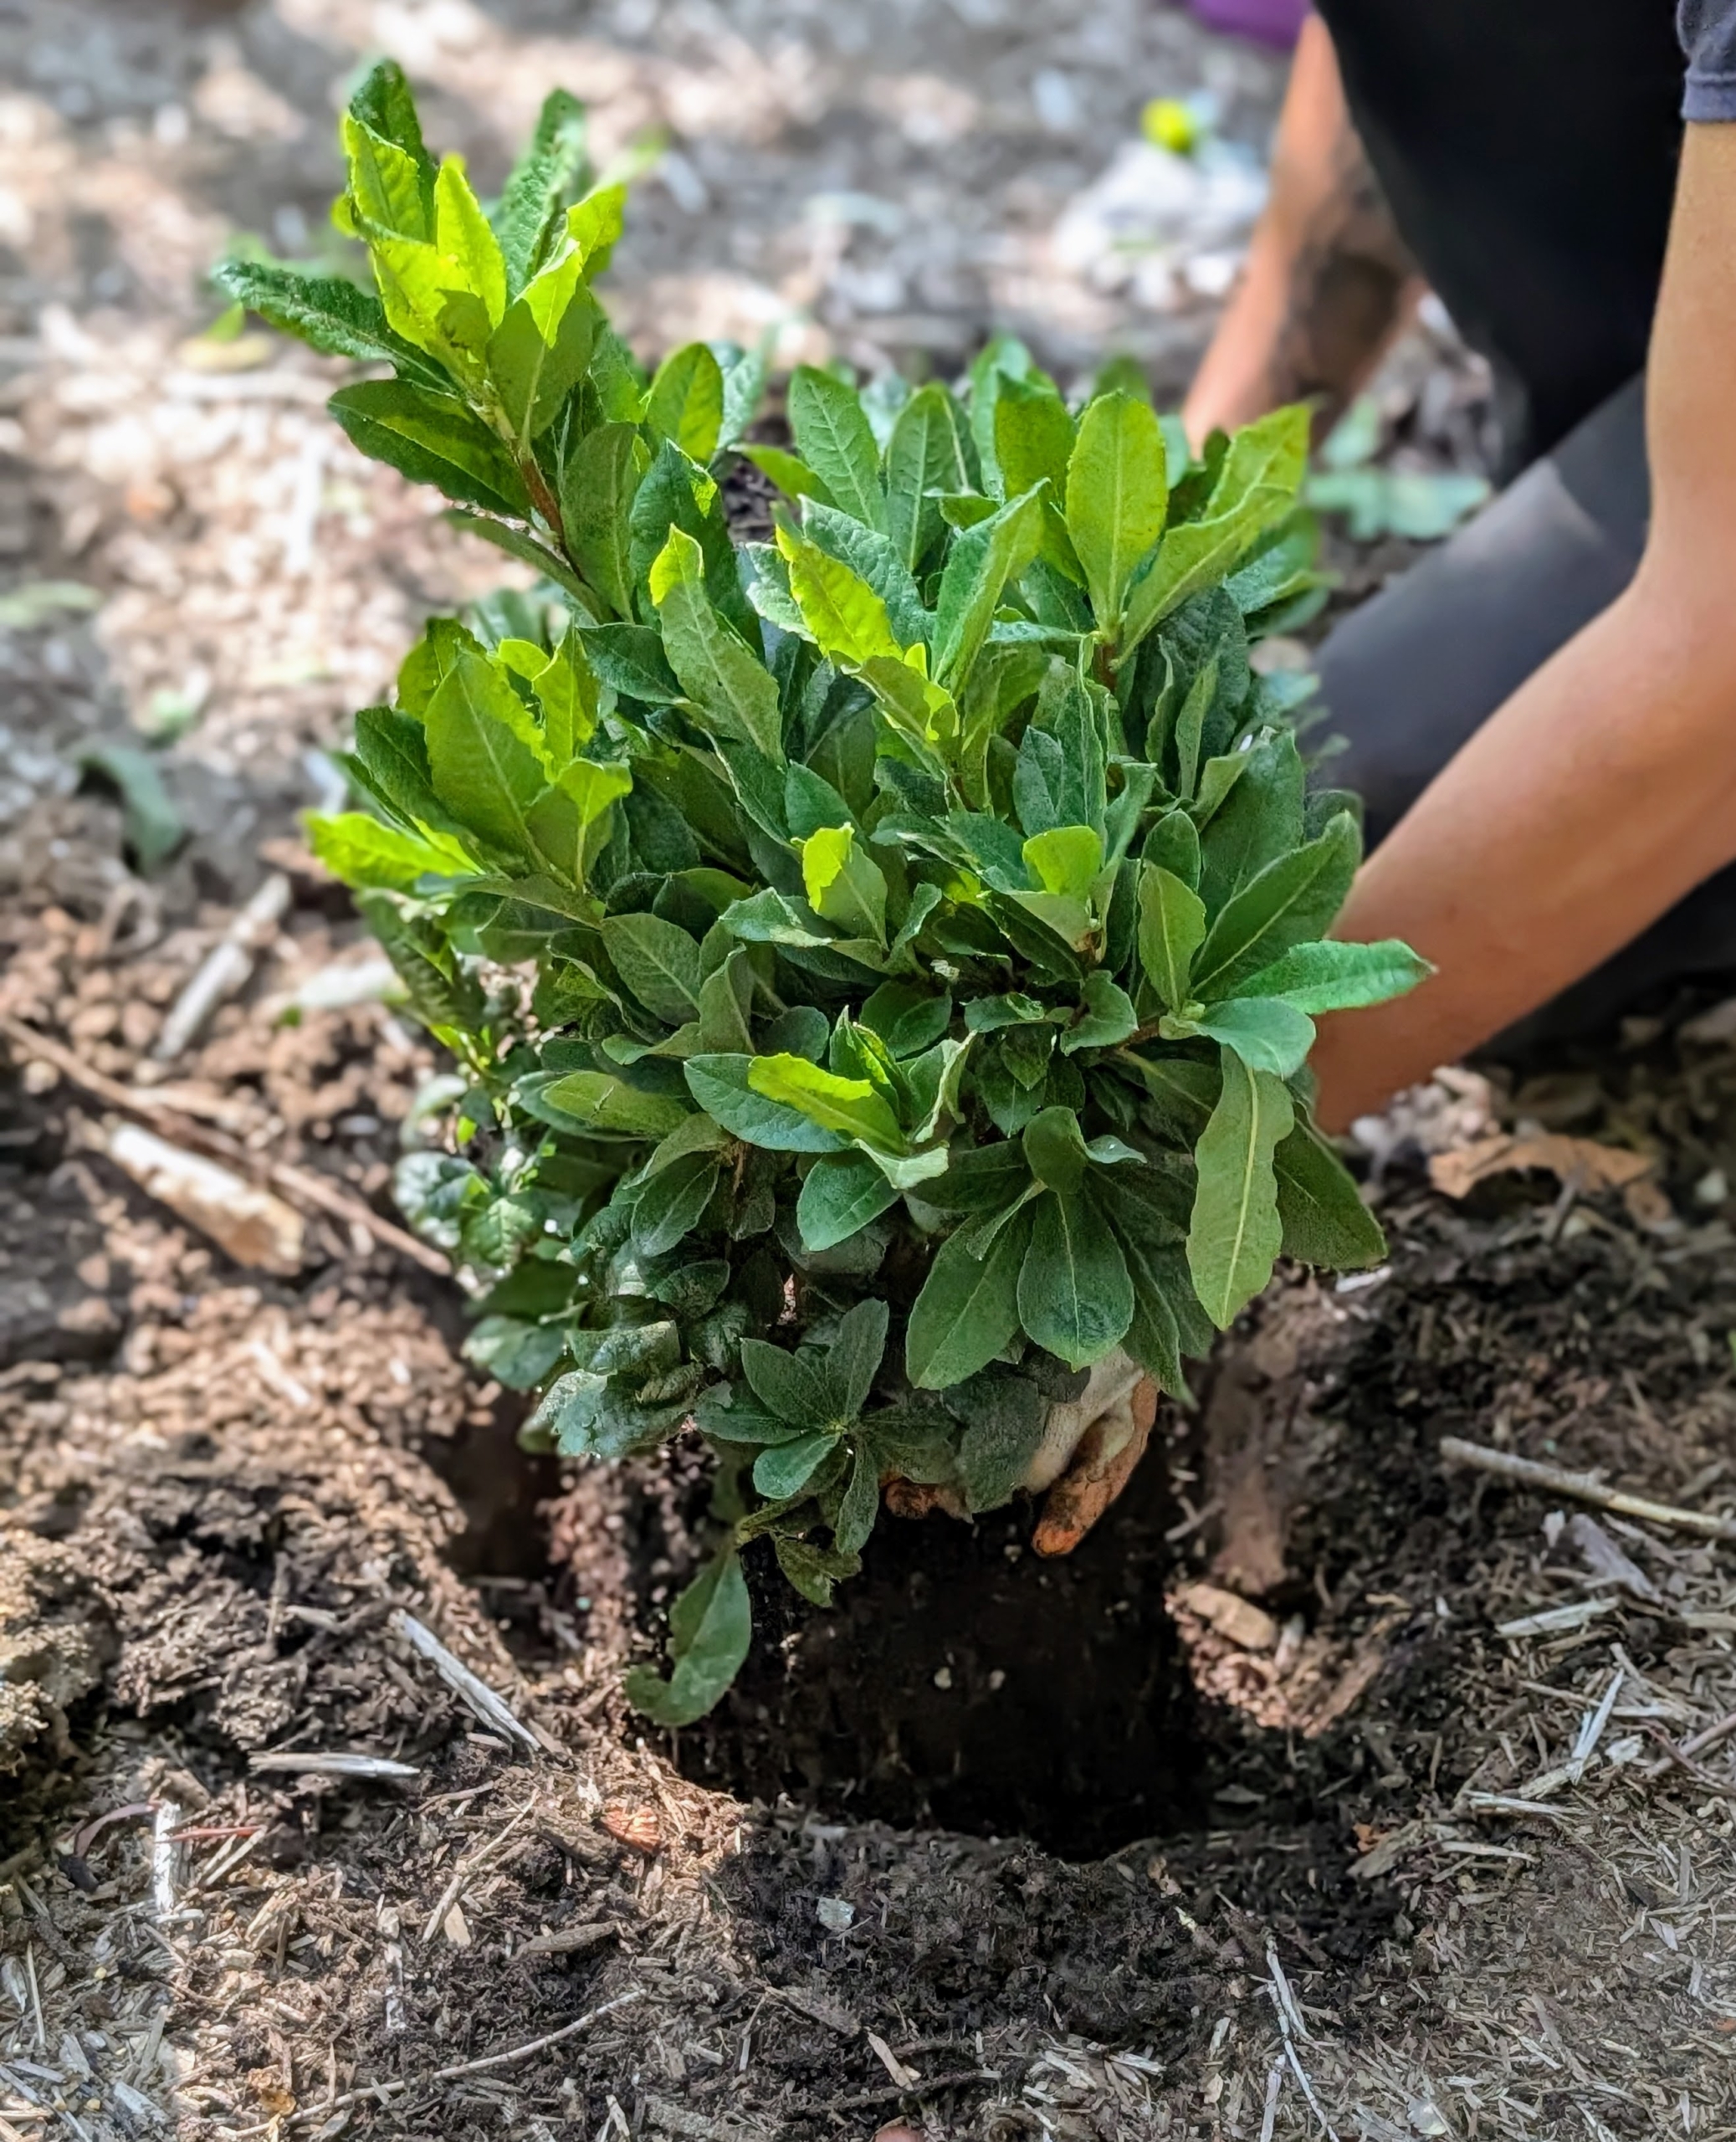
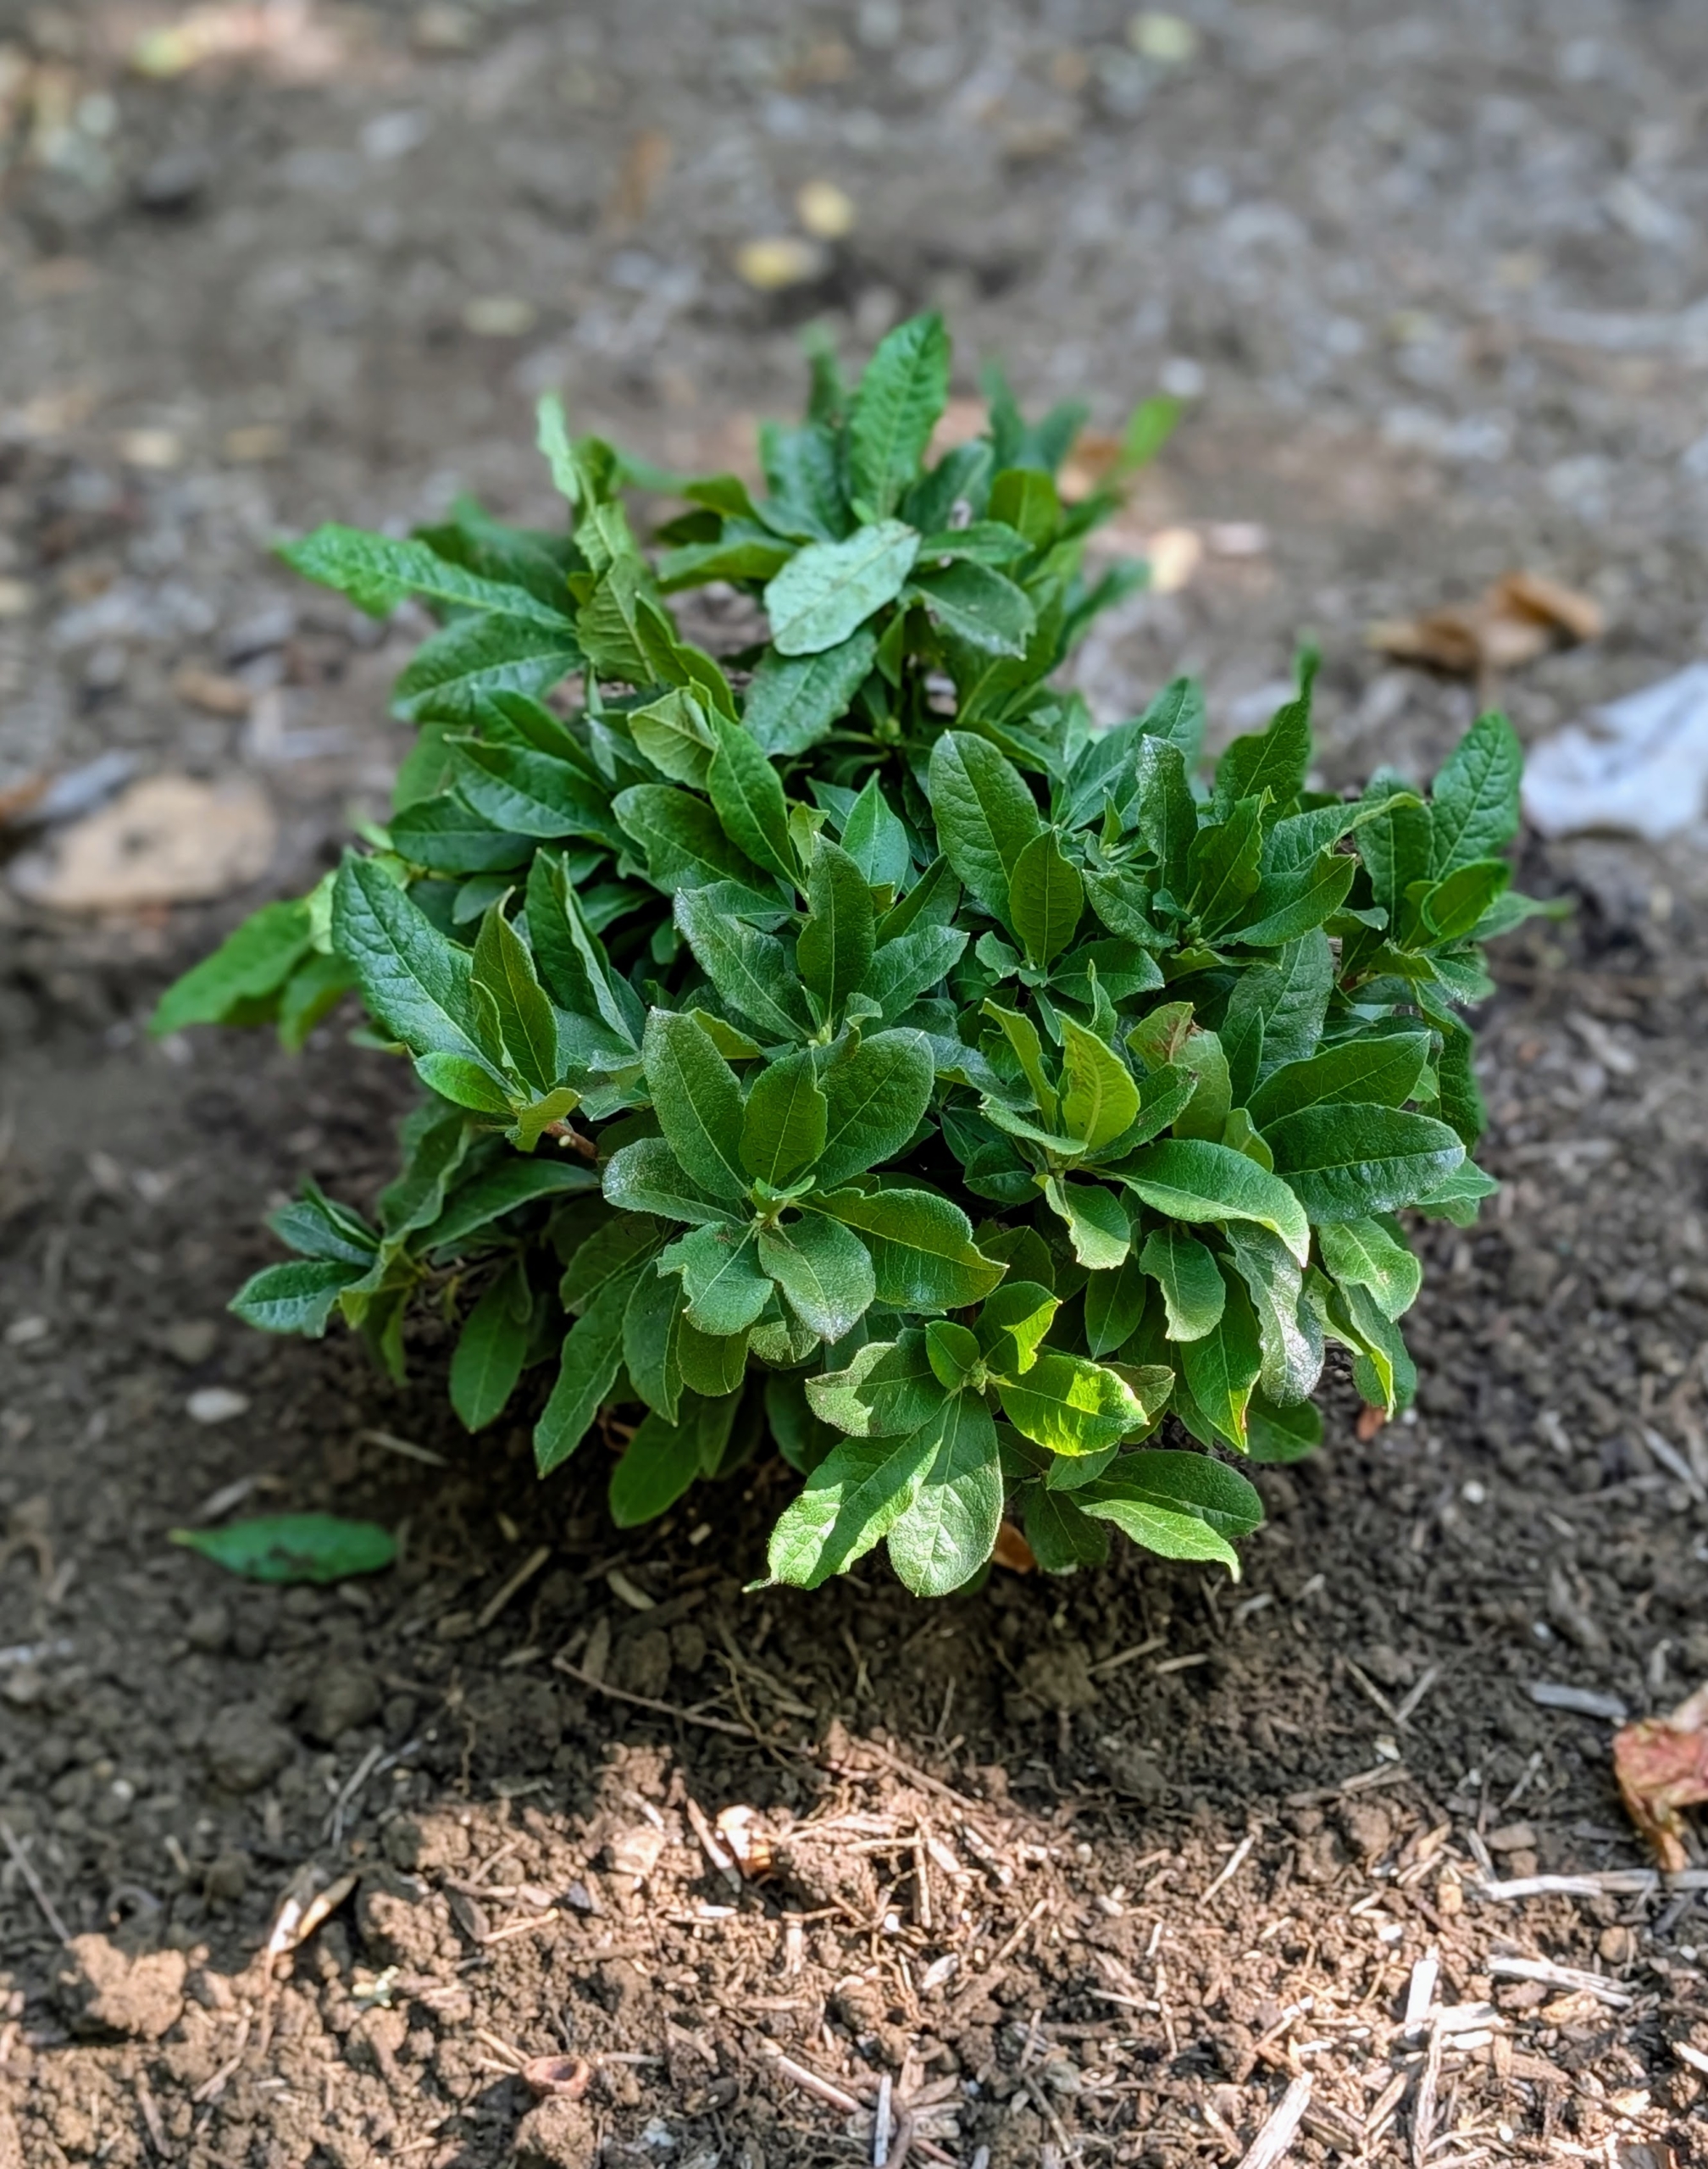
This delivery includes a selection of Electric Lights Red Azaleas. These azaleas are the first true red azaleas for cold climate gardens – they should thrive, here, at my farm.
This variety has deep green foliage and an upright mounding habit.
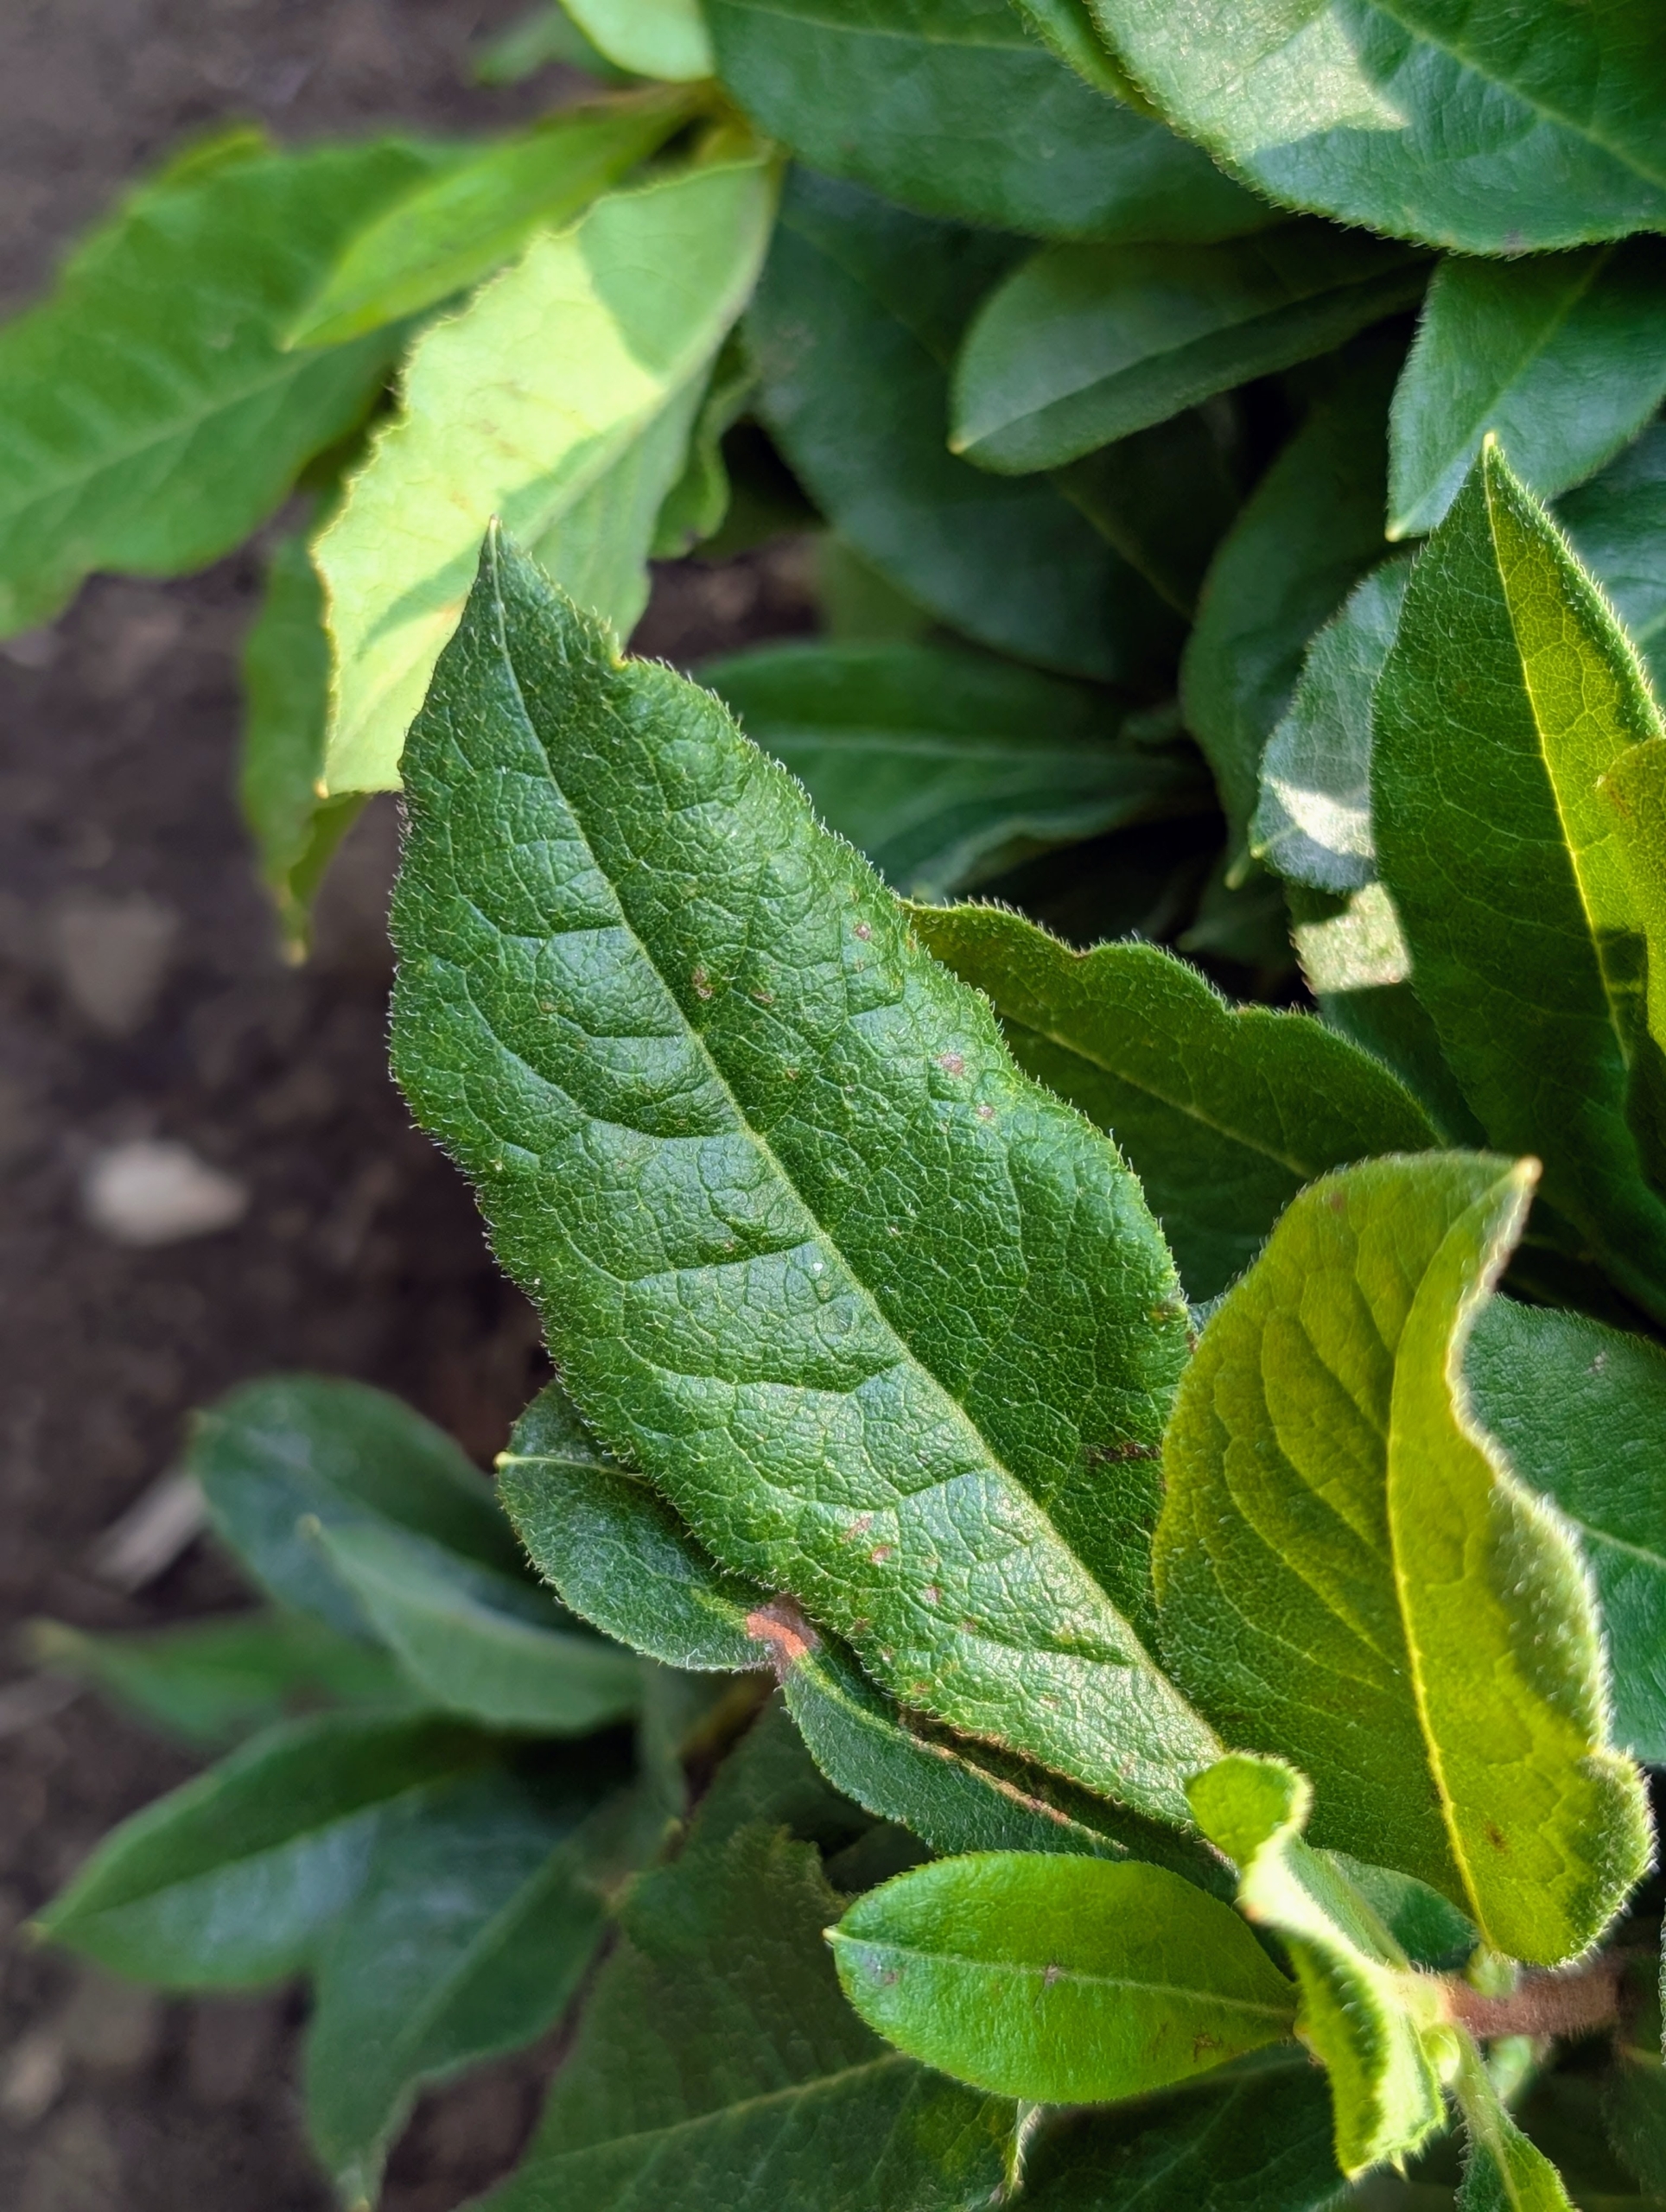
Azalea leaves are typically elliptical or oval-shaped. They also have a glossy finish. The length of azalea leaves ranges from as little as a quarter-inch to more than six inches. Healthy azaleas will be free from any leaf spots or wilting.
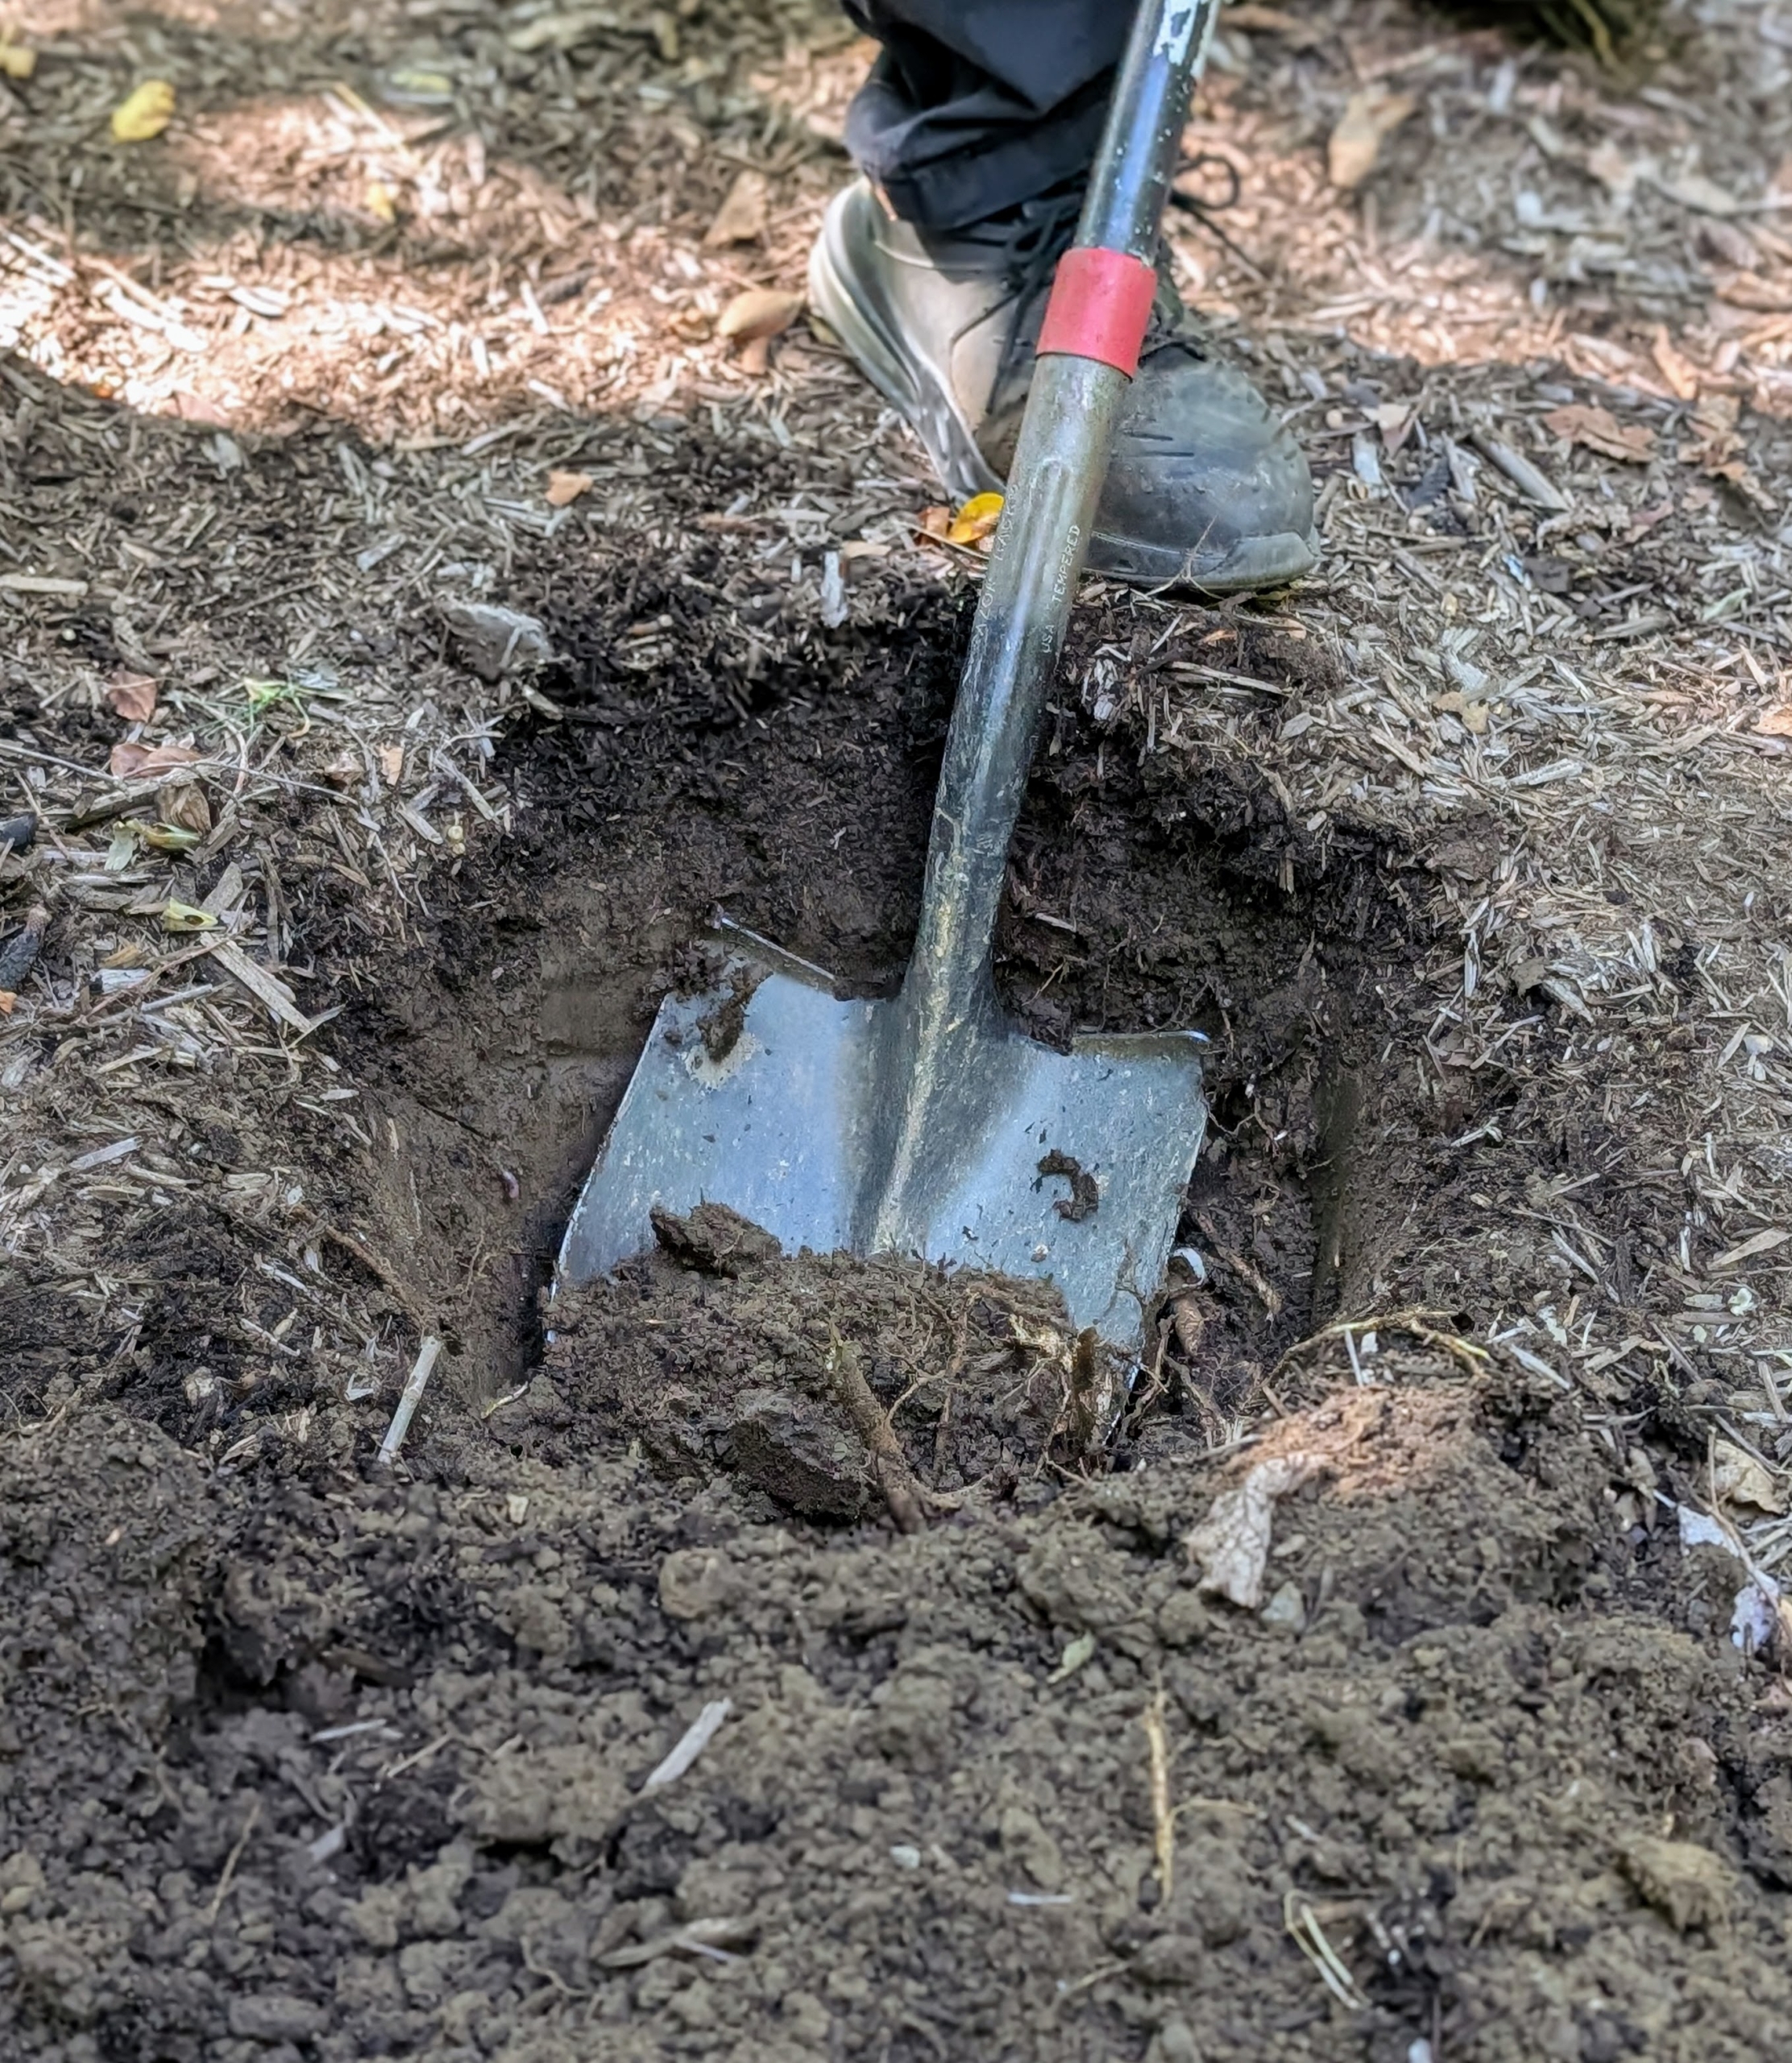
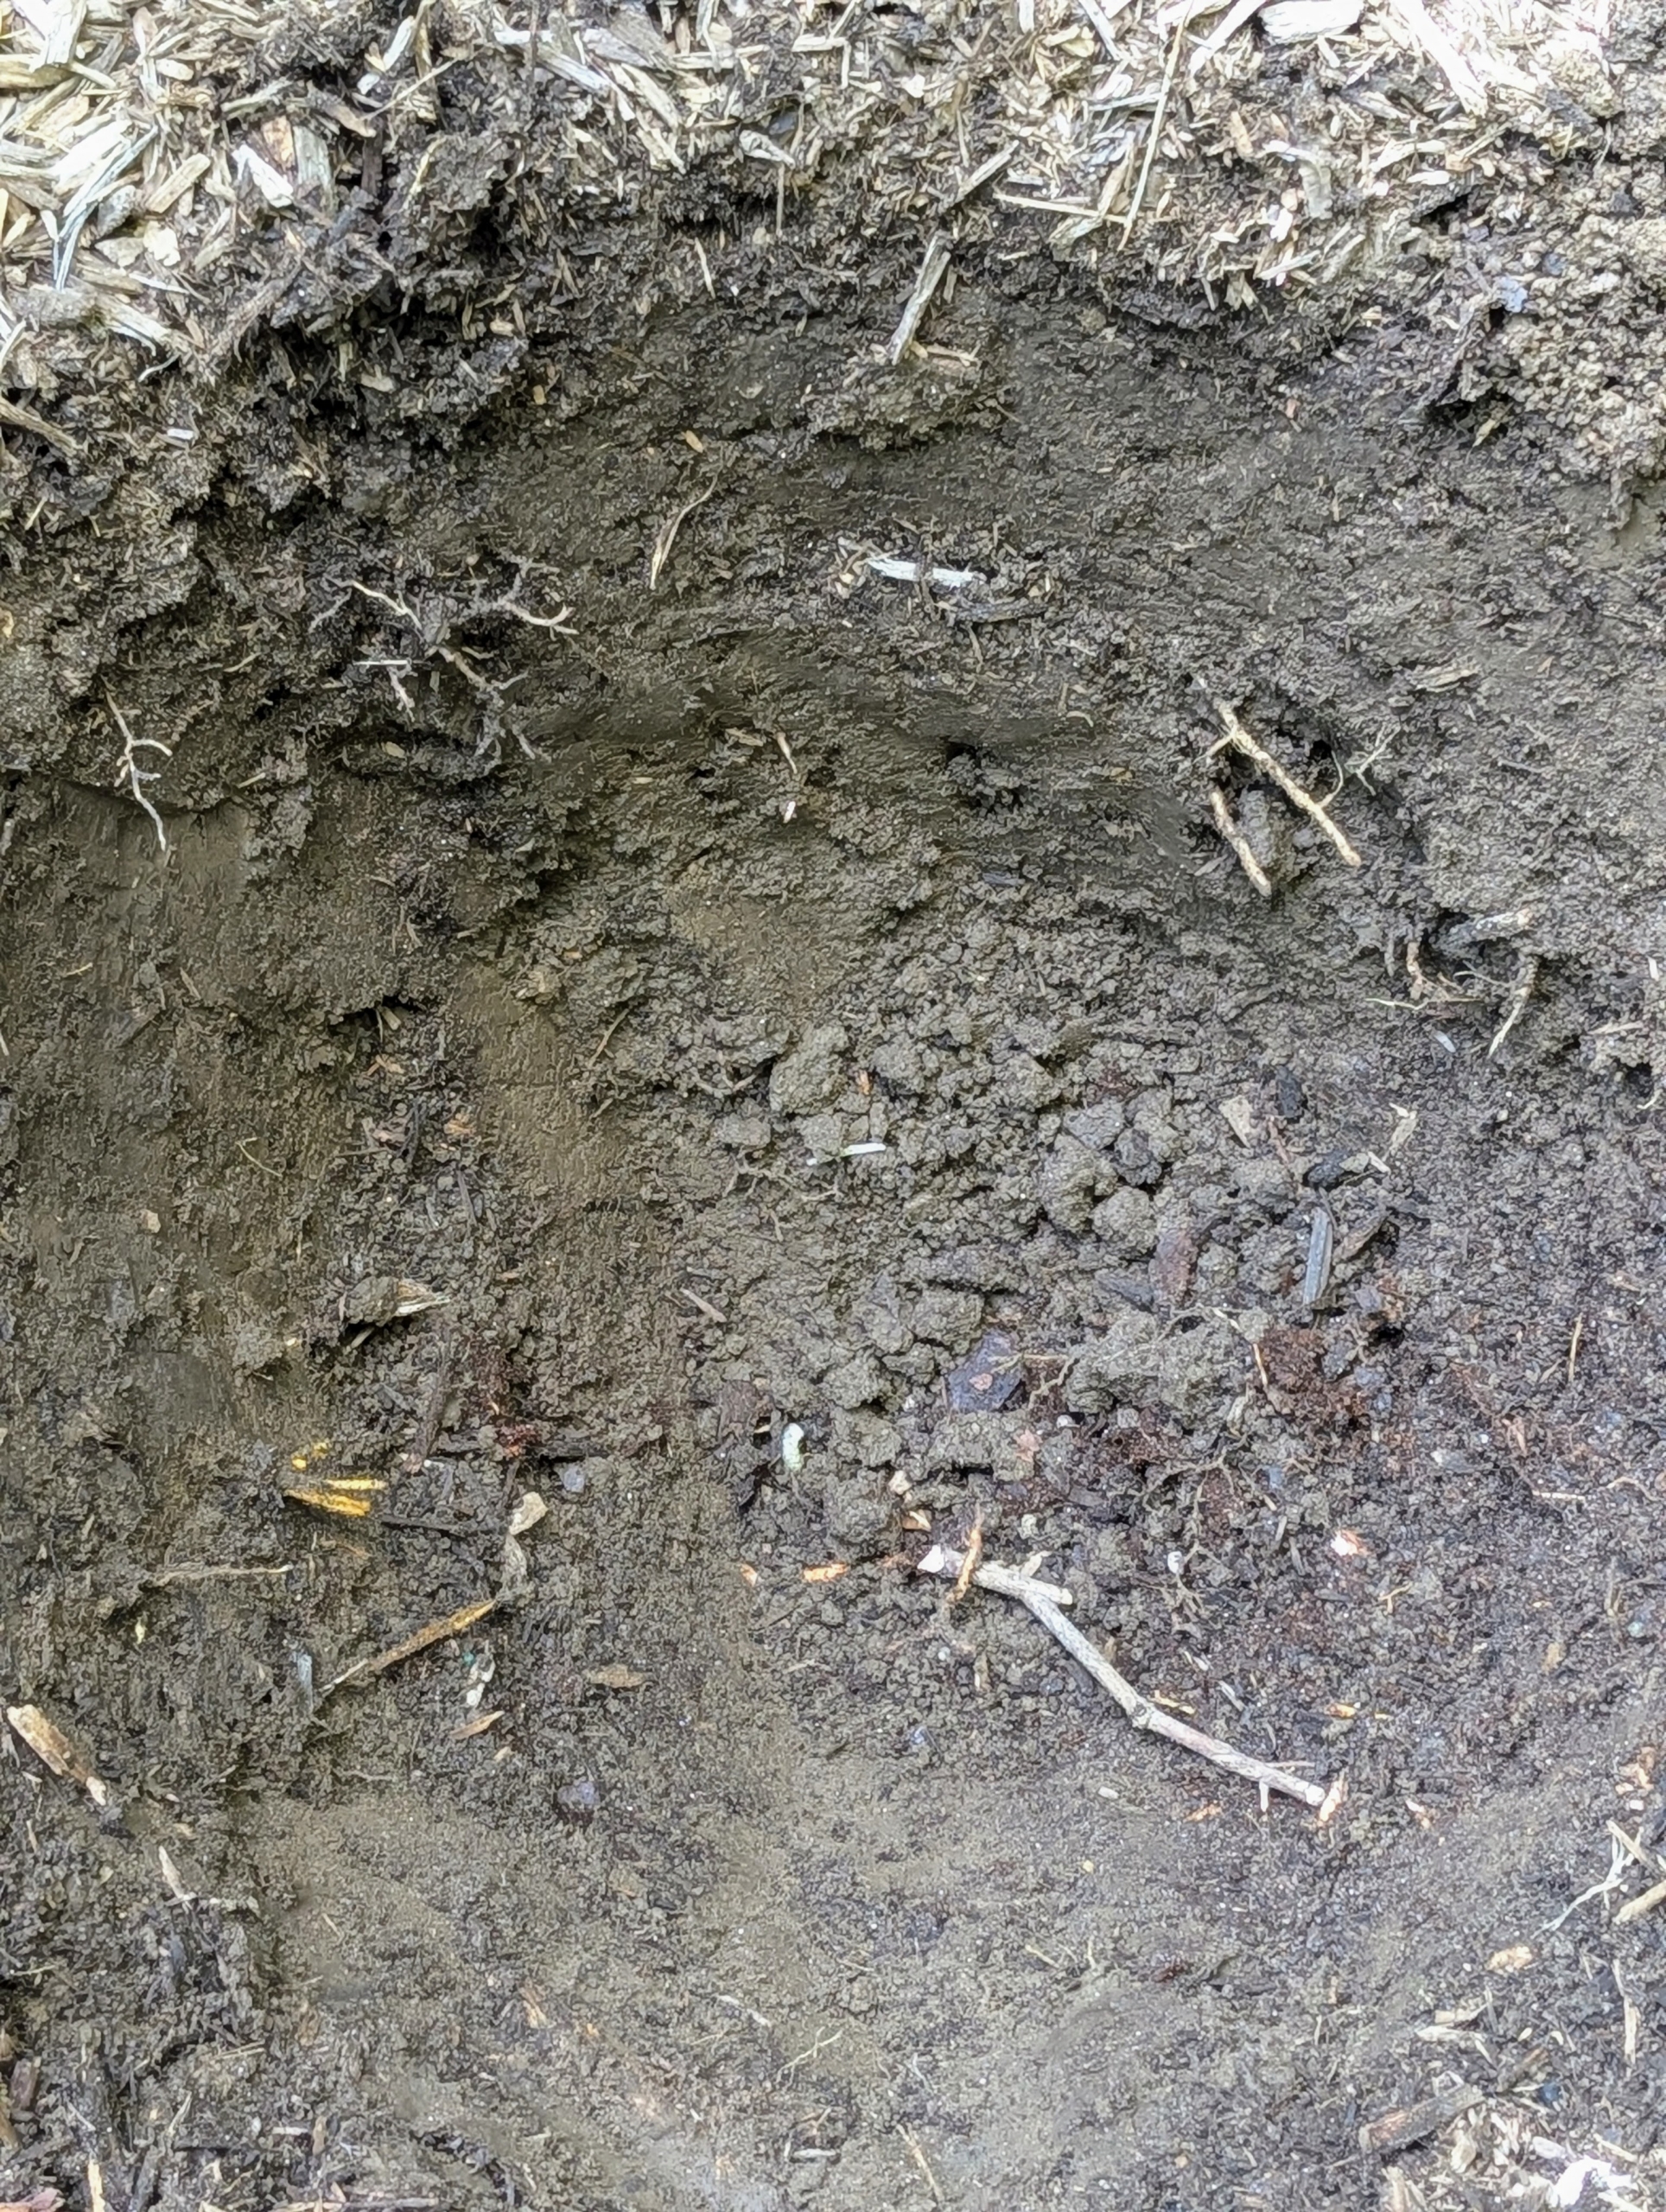
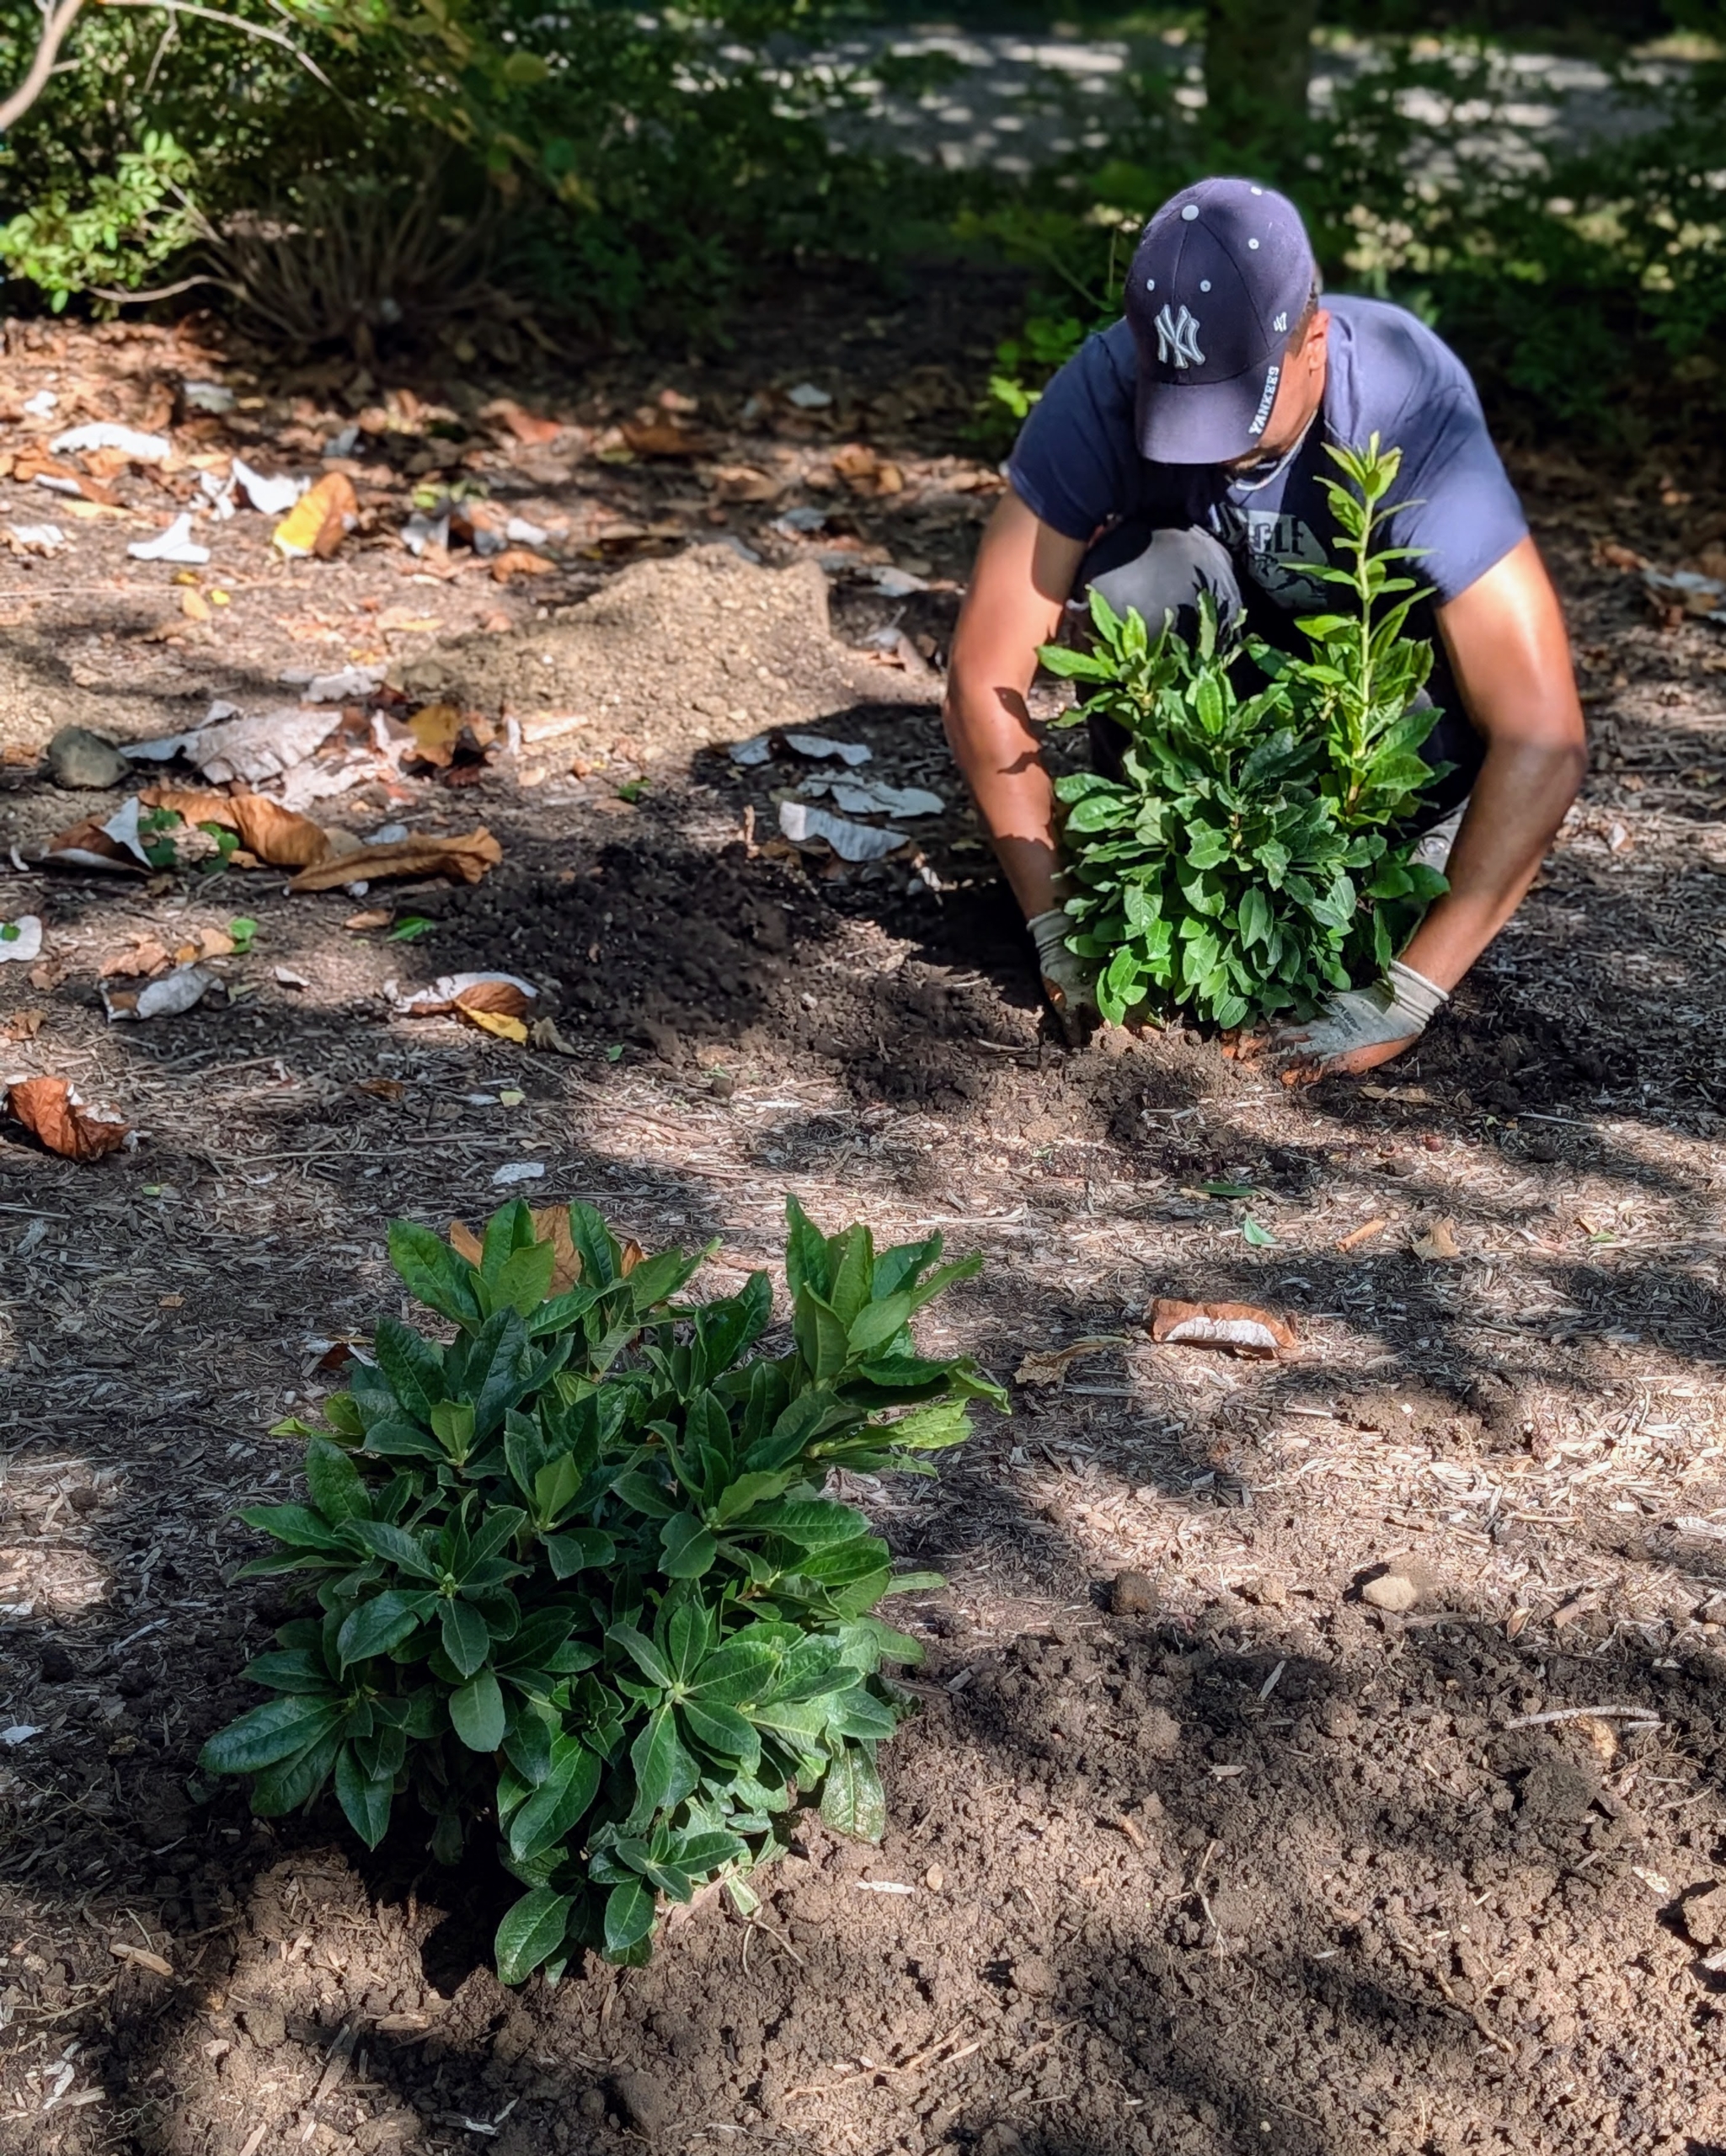
Matt starts by digging all the holes. When planting, dig a hole at least twice the size of the plant. Azaleas thrive in moist, well-drained soils high in organic matter.
The hole sides should be slanted and the hole should be no deeper than the root ball is tall, so it can be placed directly on undisturbed soil. Digging a wide planting hole helps to provide the best opportunity for roots to expand into its new growing environment.
Matt tests the potted plant in the hole to make sure it is deep enough.
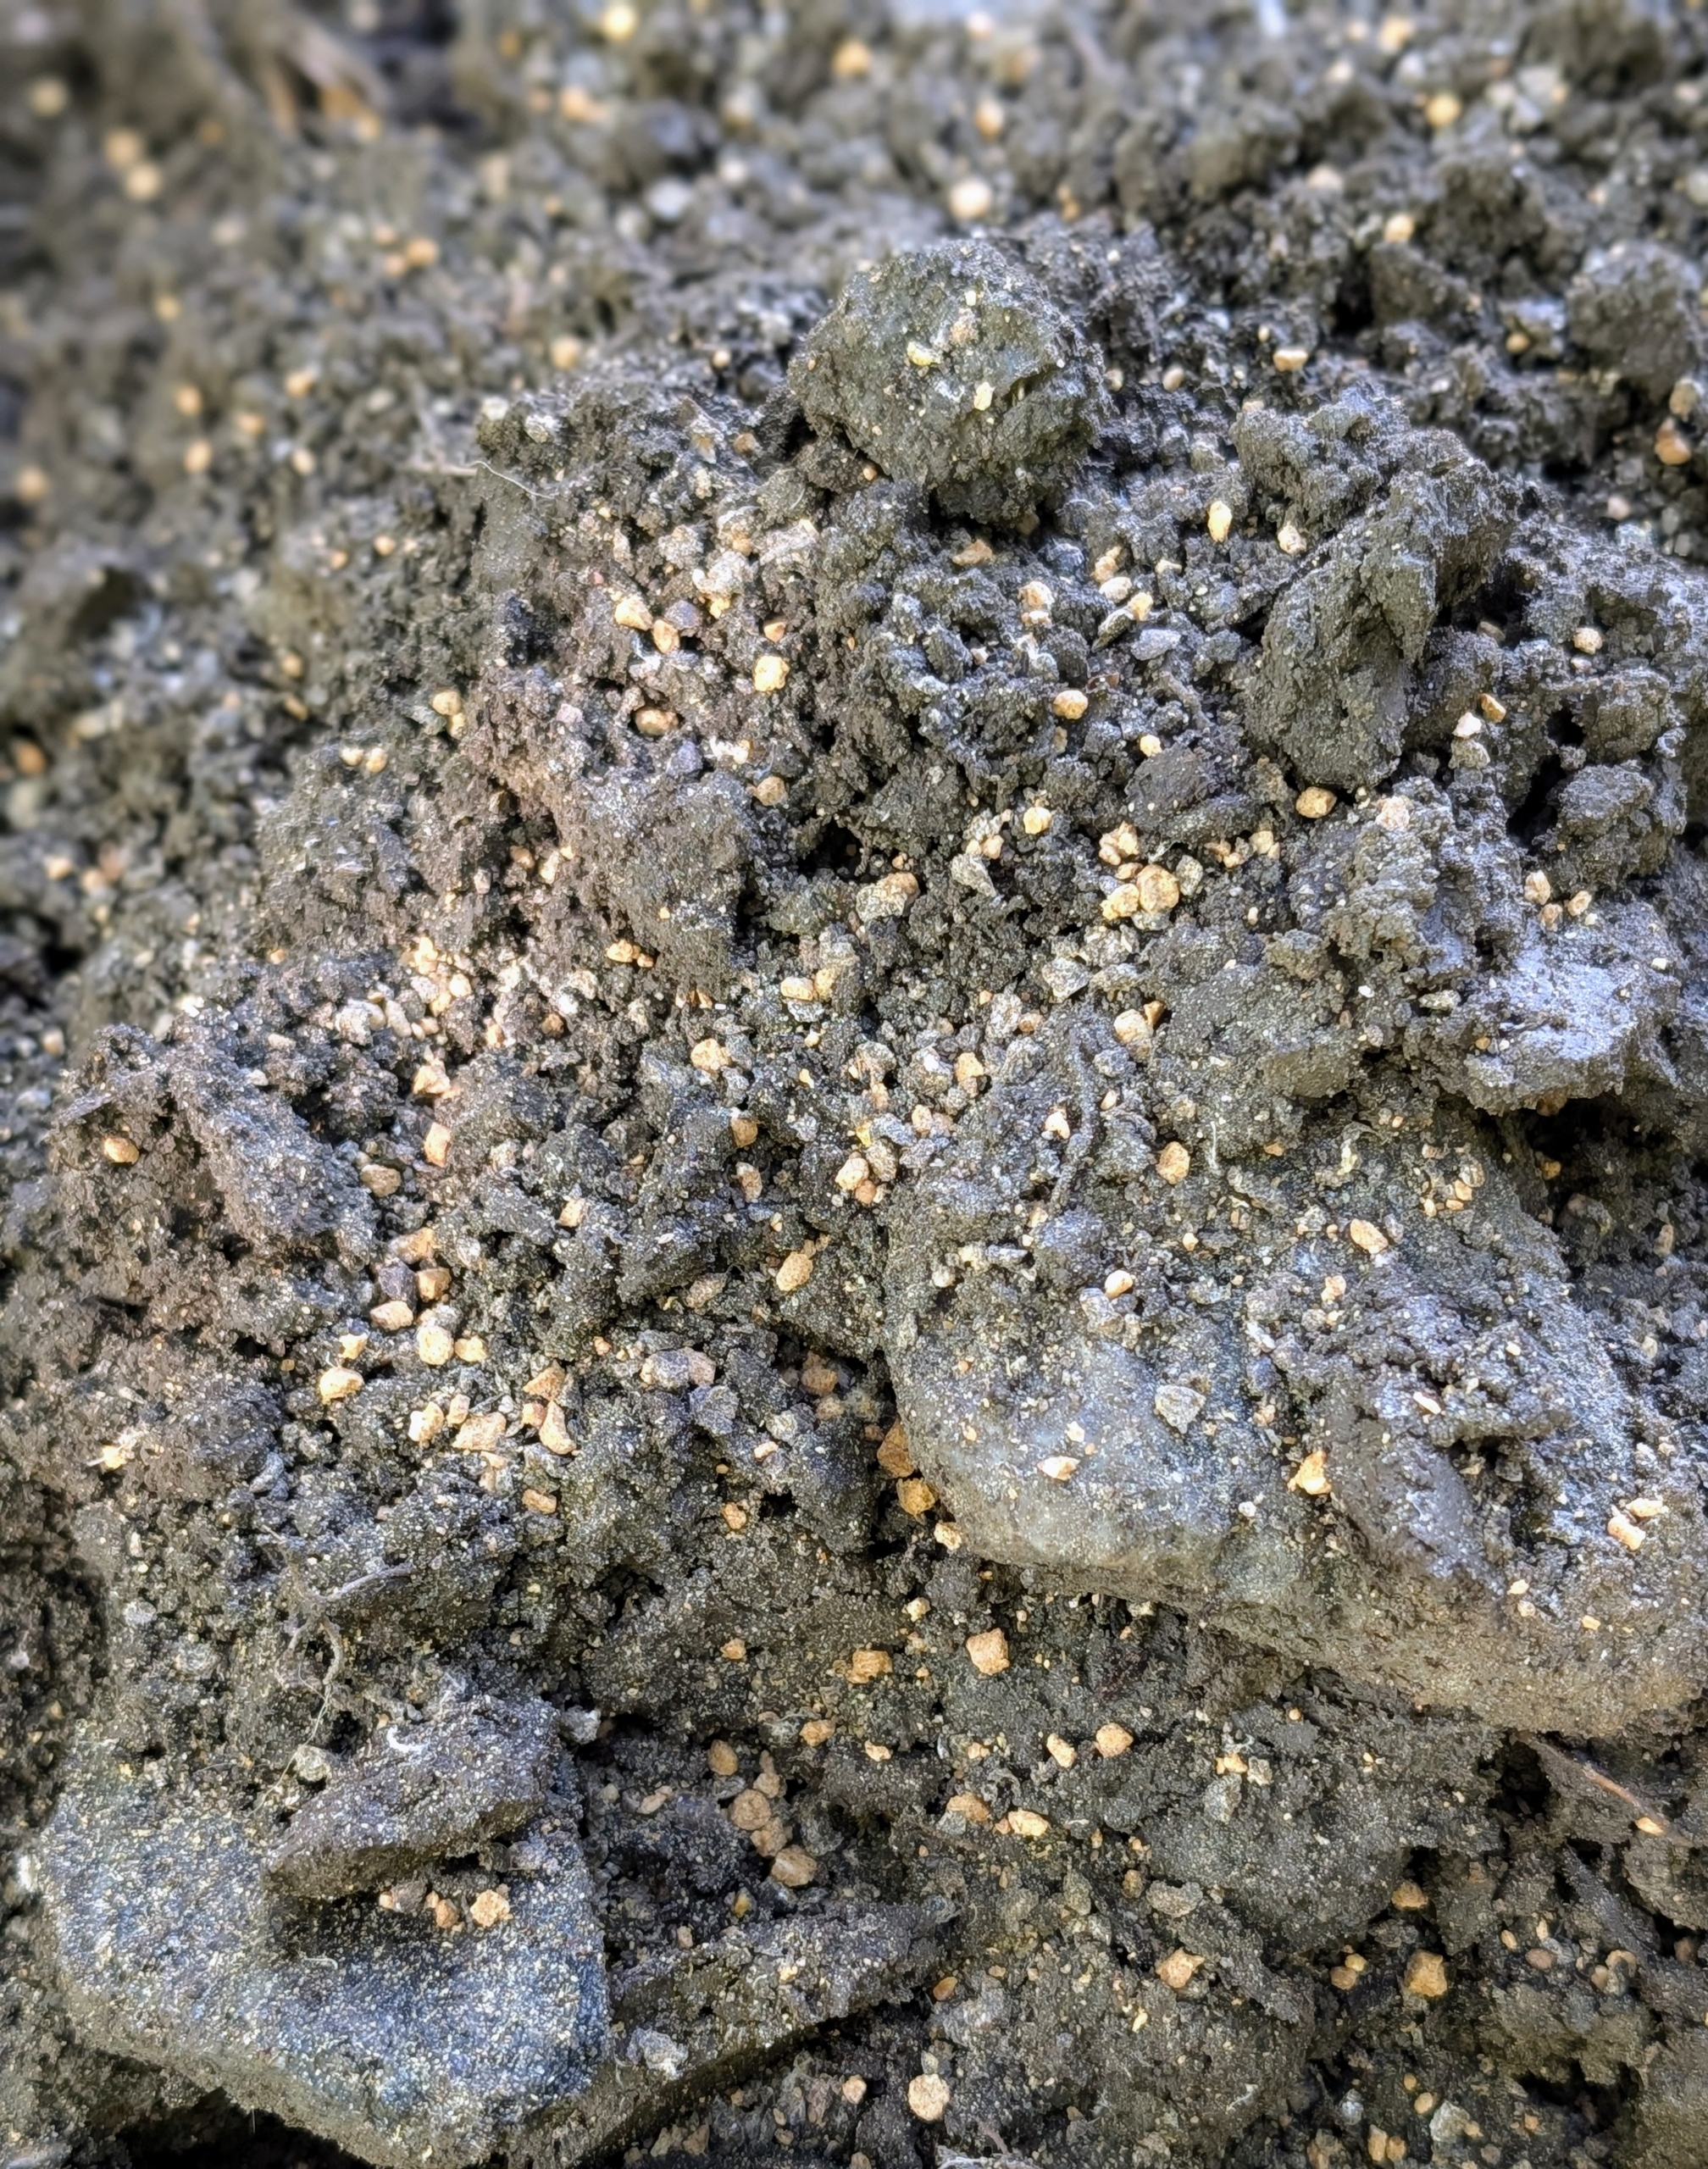
Next, Matt sprinkles a generous handful of good, water-soluble fertilizer to the existing soil.
The food is granular, supports strong root development, and feeds plants for up to three months.
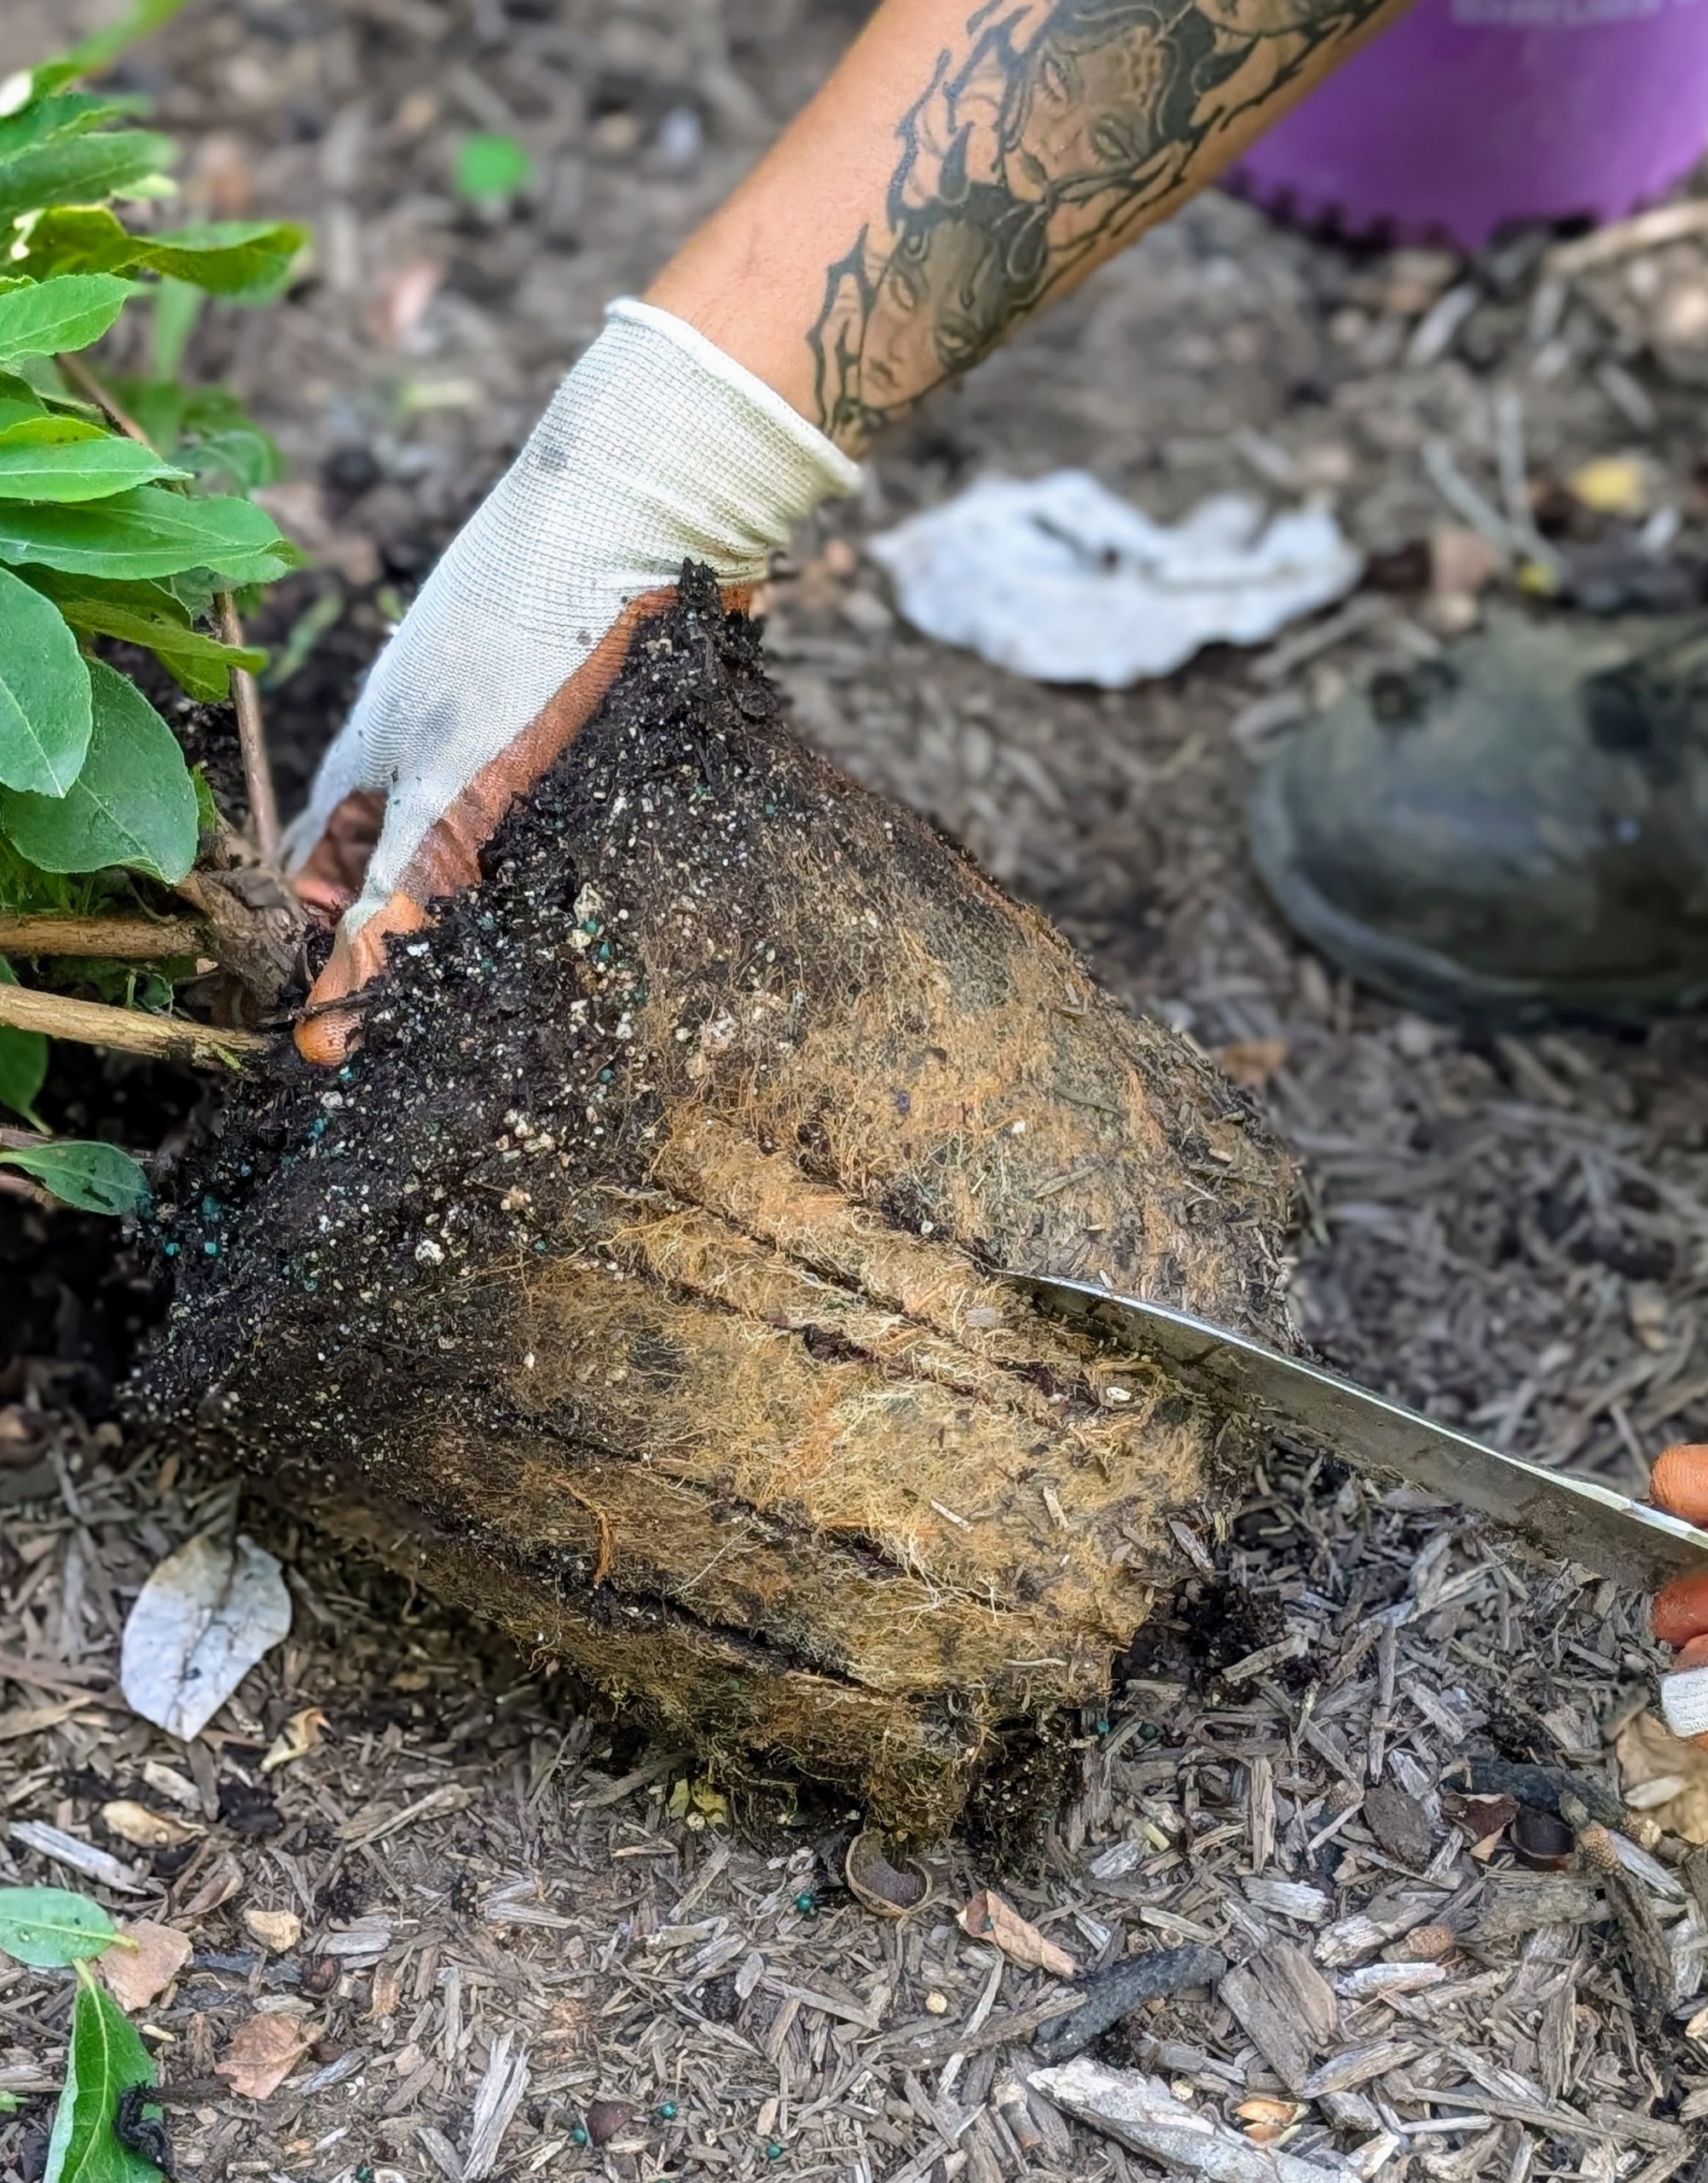
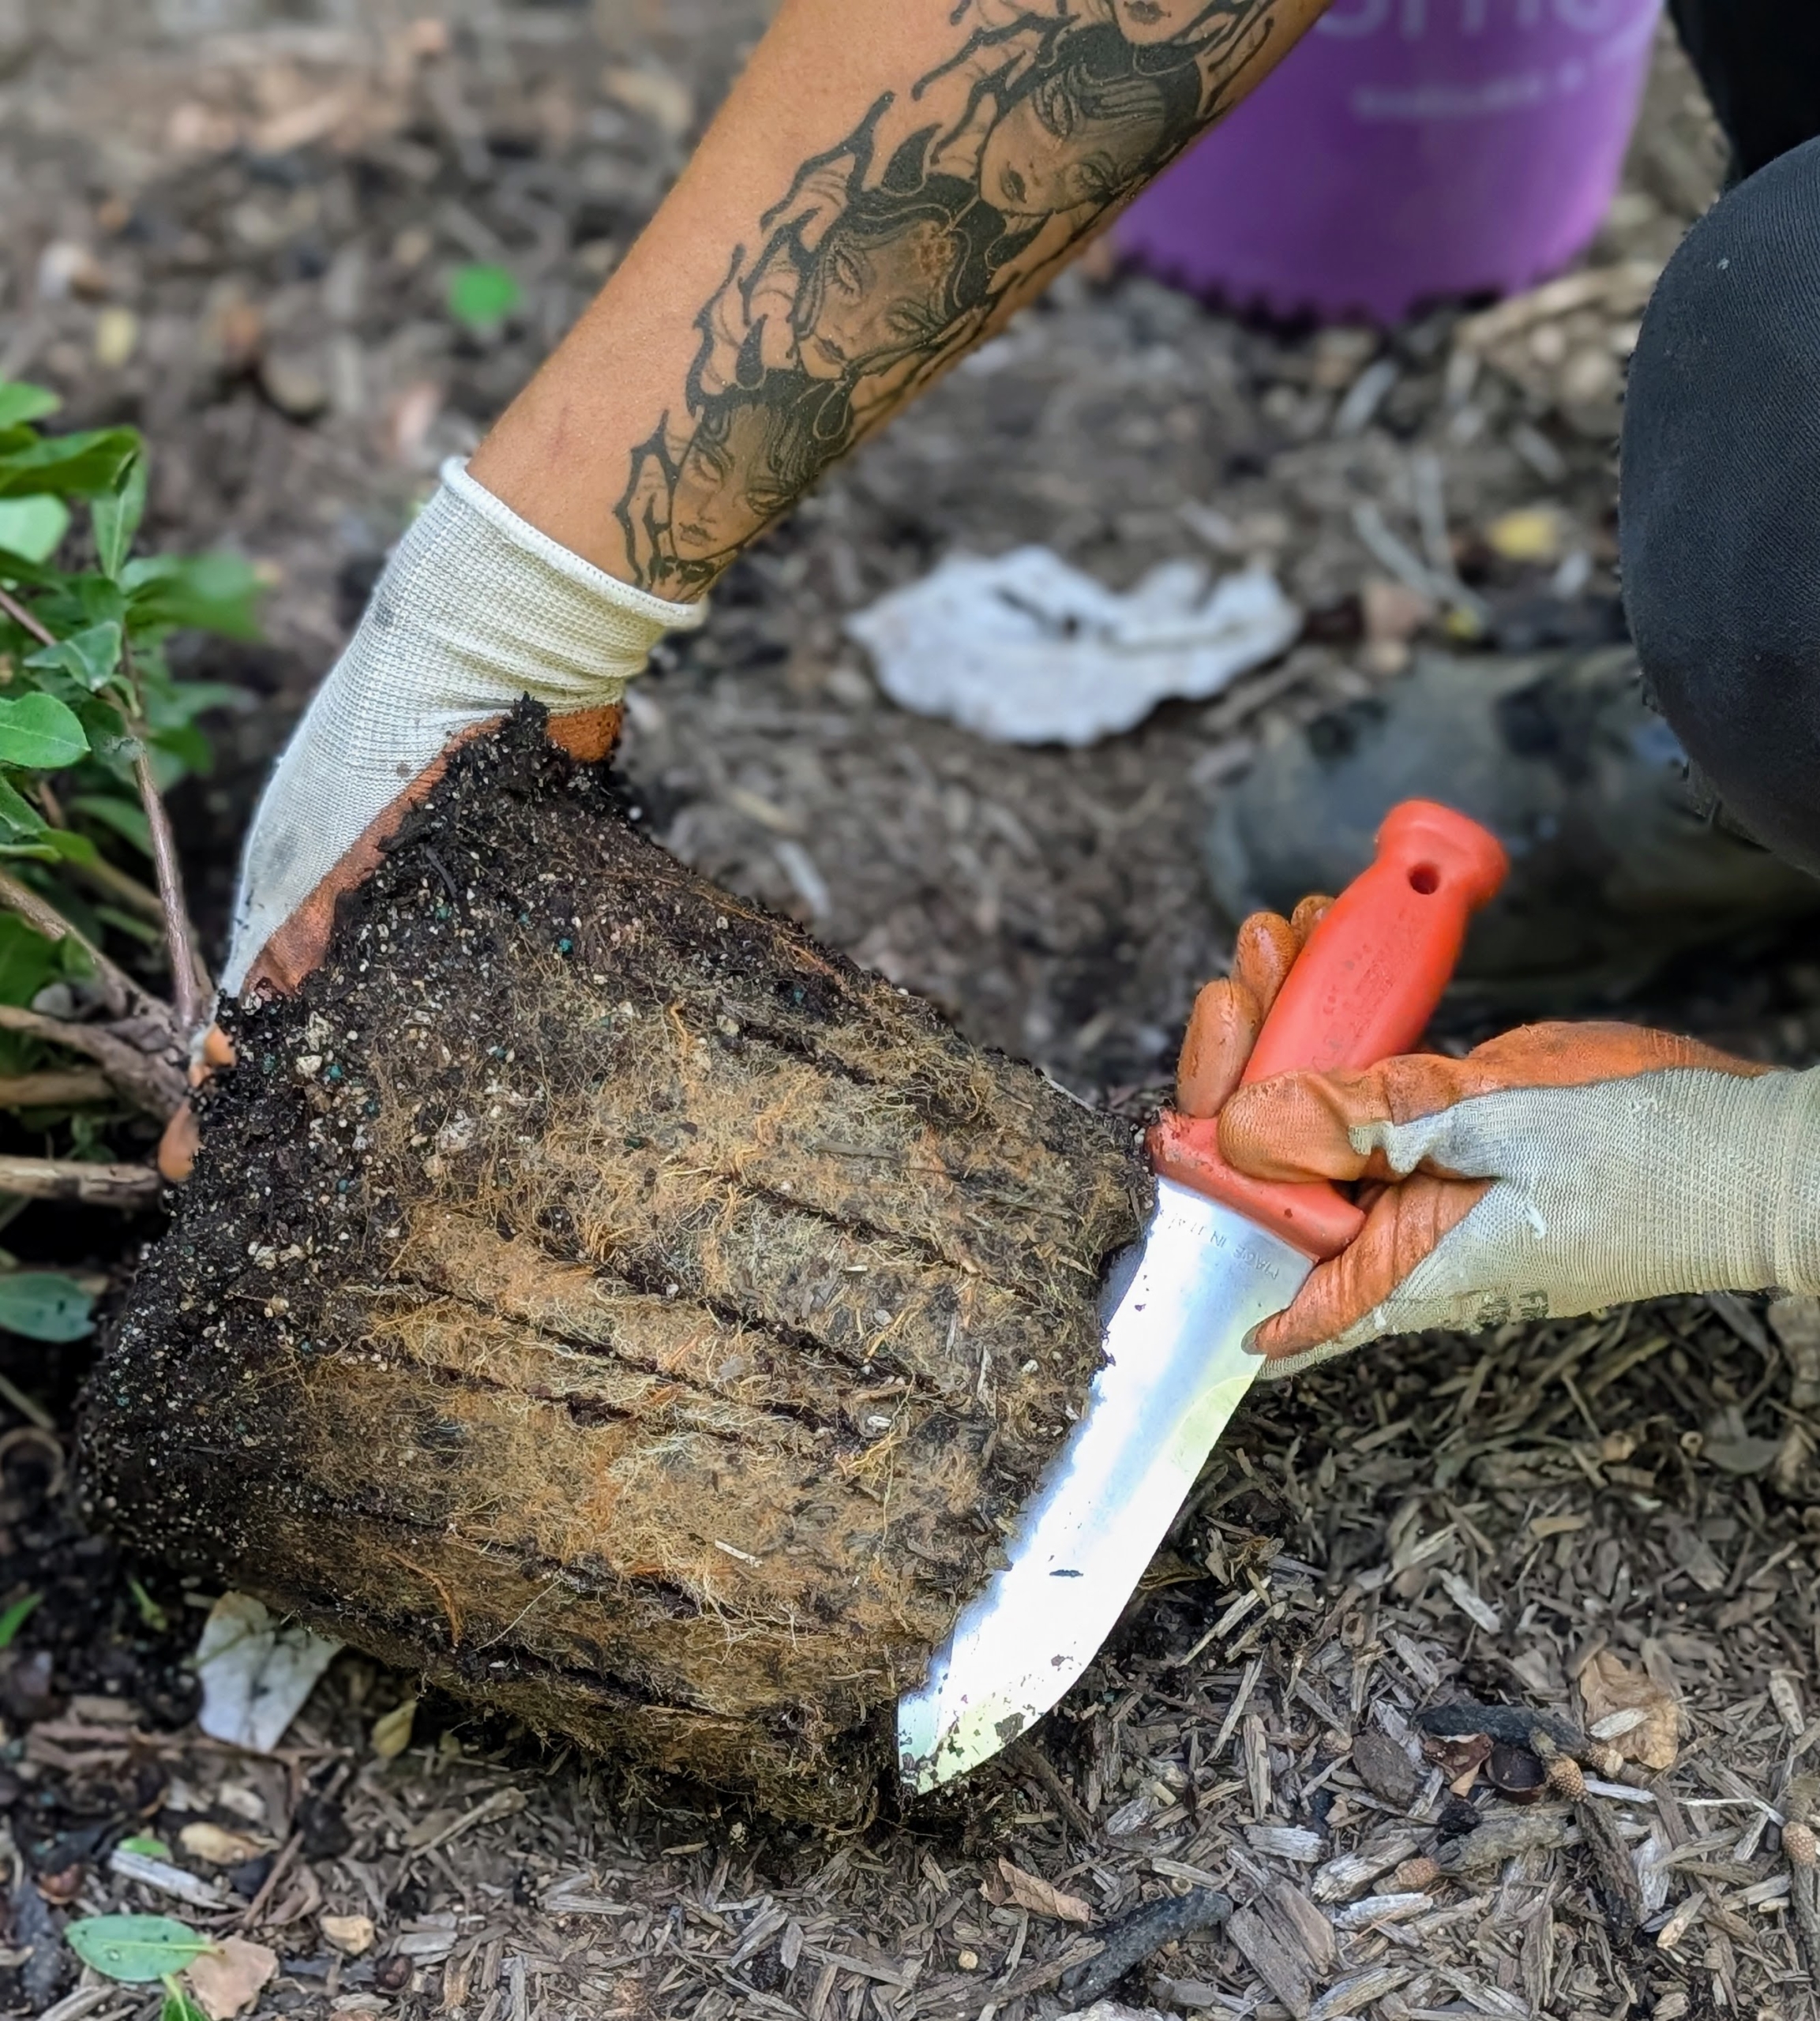
Always scarify before putting plants into the ground. Scarifying stimulates root growth. Essentially, one breaks up small portions of the root ball to loosen the roots a bit and create some beneficial injuries. This helps the plant become established more quickly in its new environment. Matt removes the plant from its pot and using a hori hori, scarifies the sides of the root ball.
Matt does this to the bottom also.
Cuts don’t have to be deep – just enough to cut through the root ball. Don’t be afraid to be a little rough.
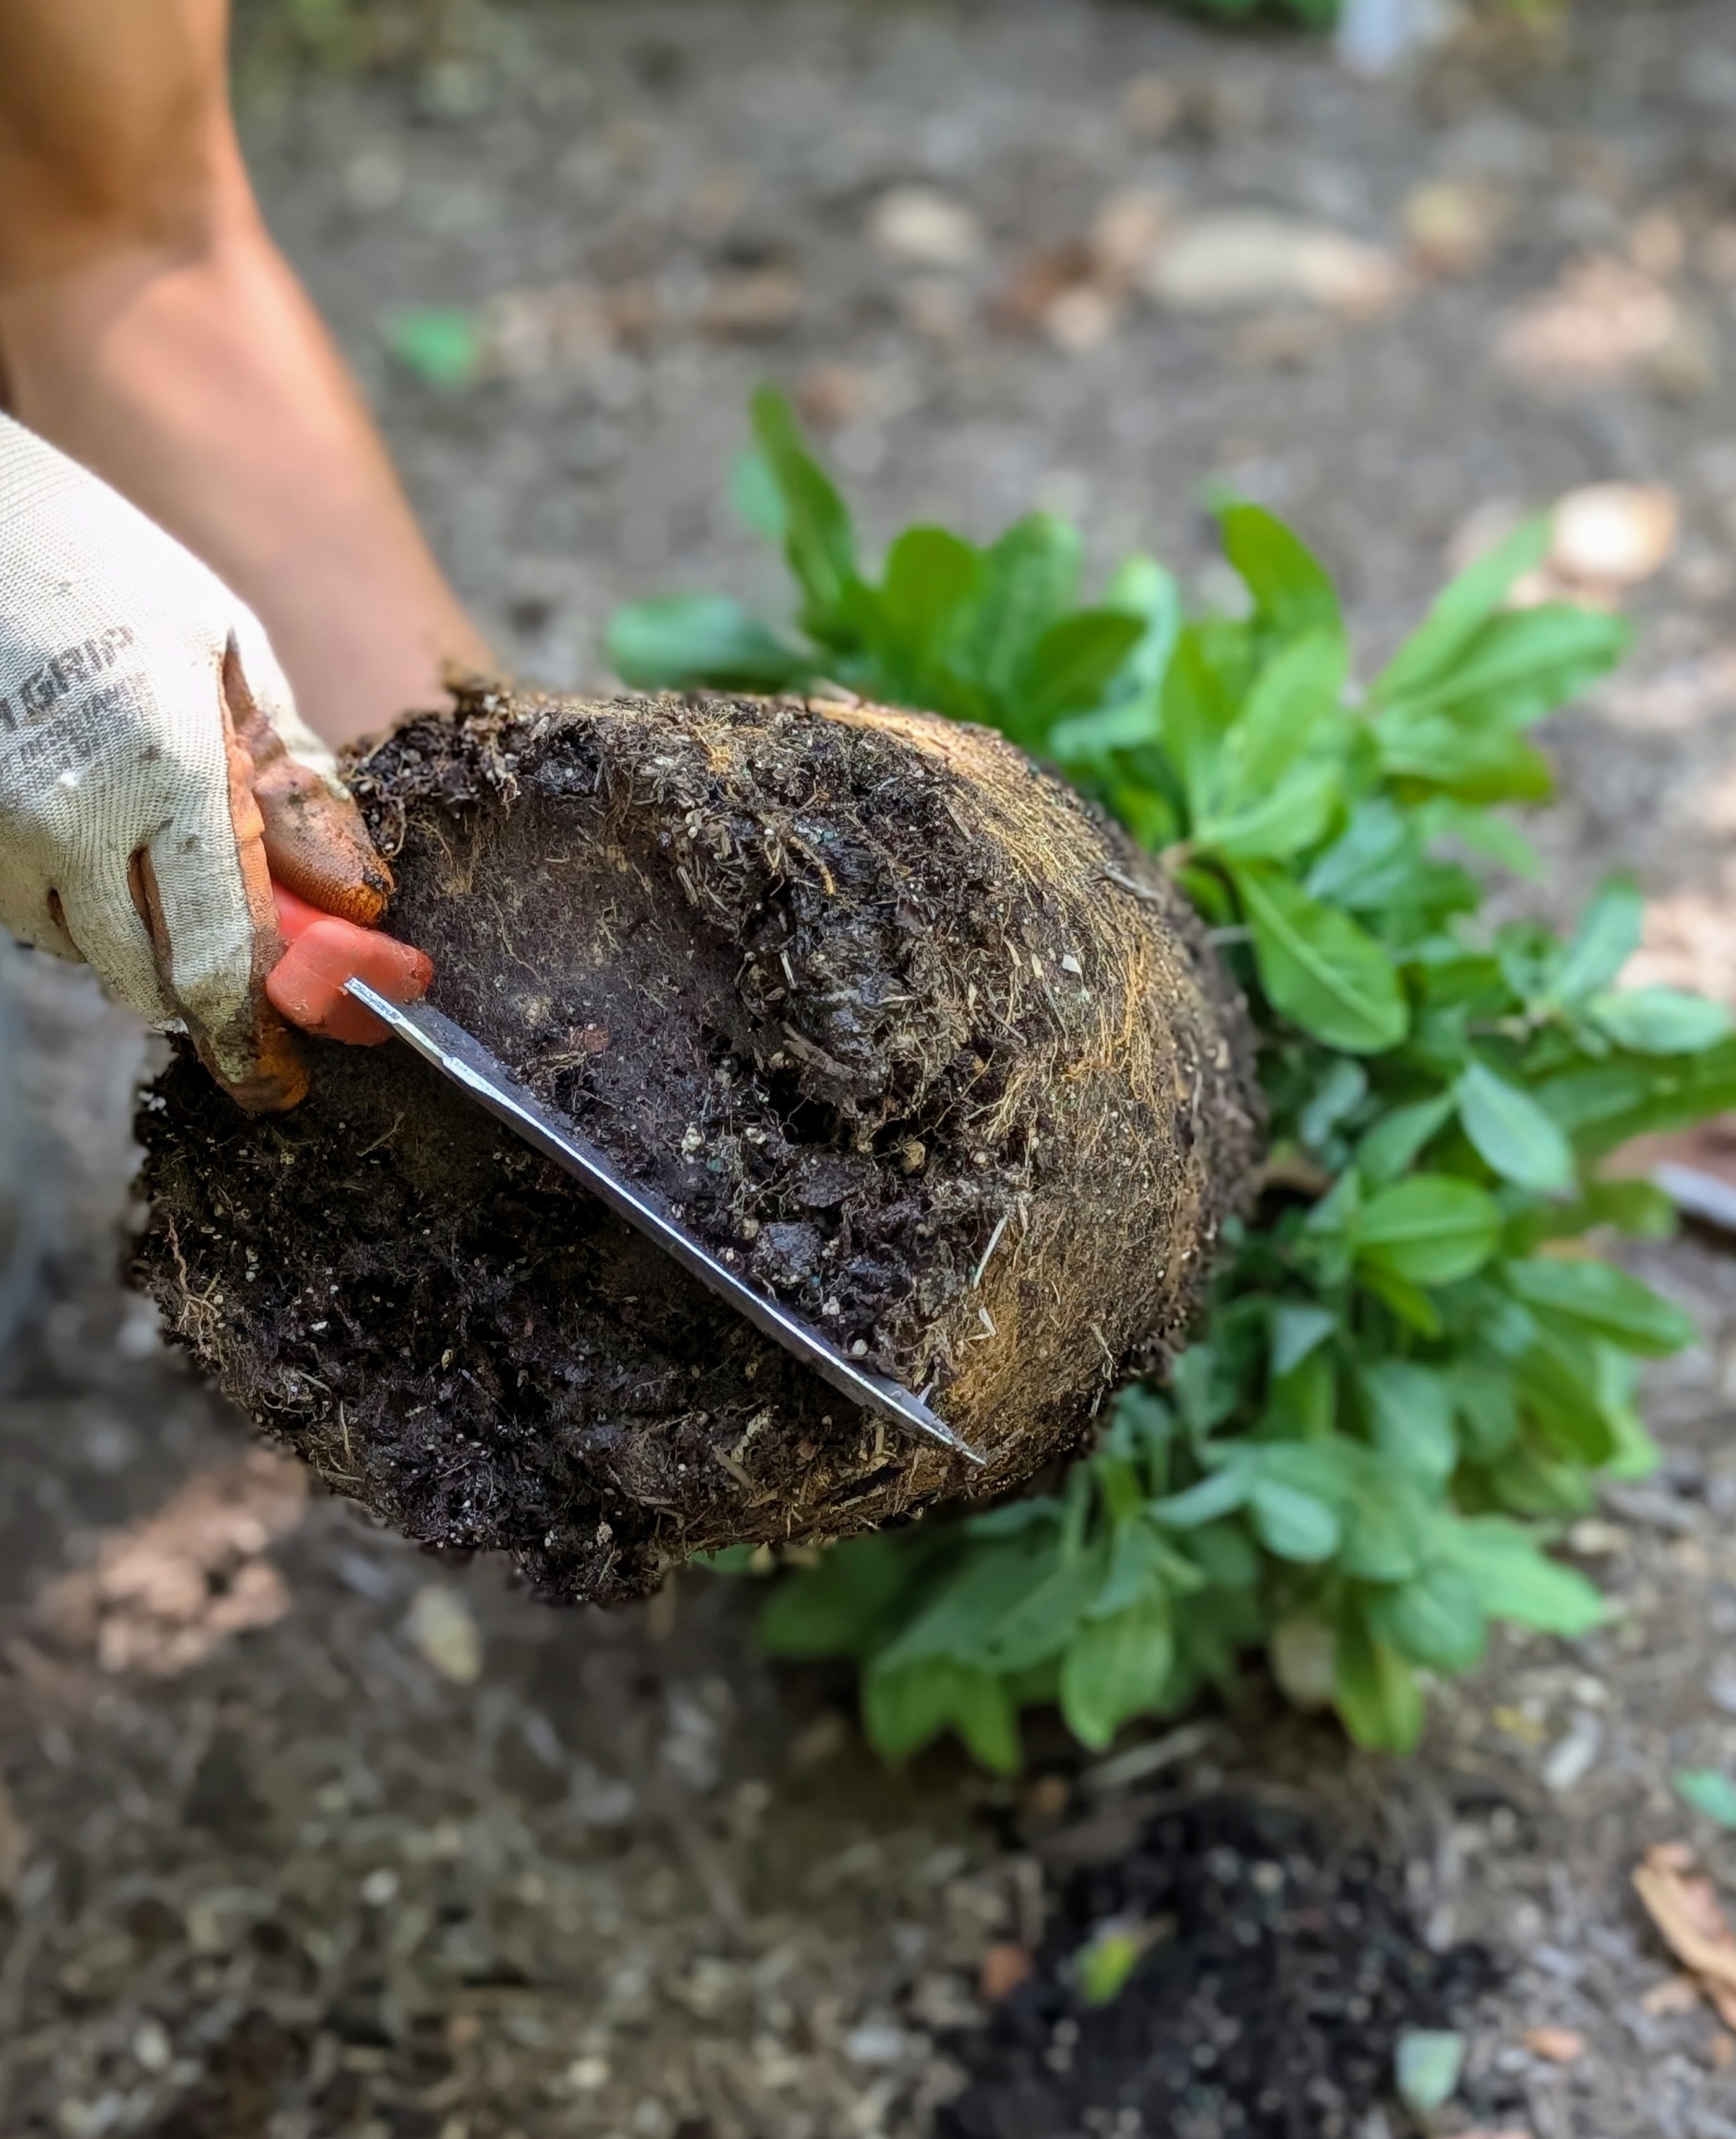
The plant is tested in the hole again and checked to be sure it is at the right depth. This is important. Planting too deep could eventually cause deterioration at the soil line and kill the plant.
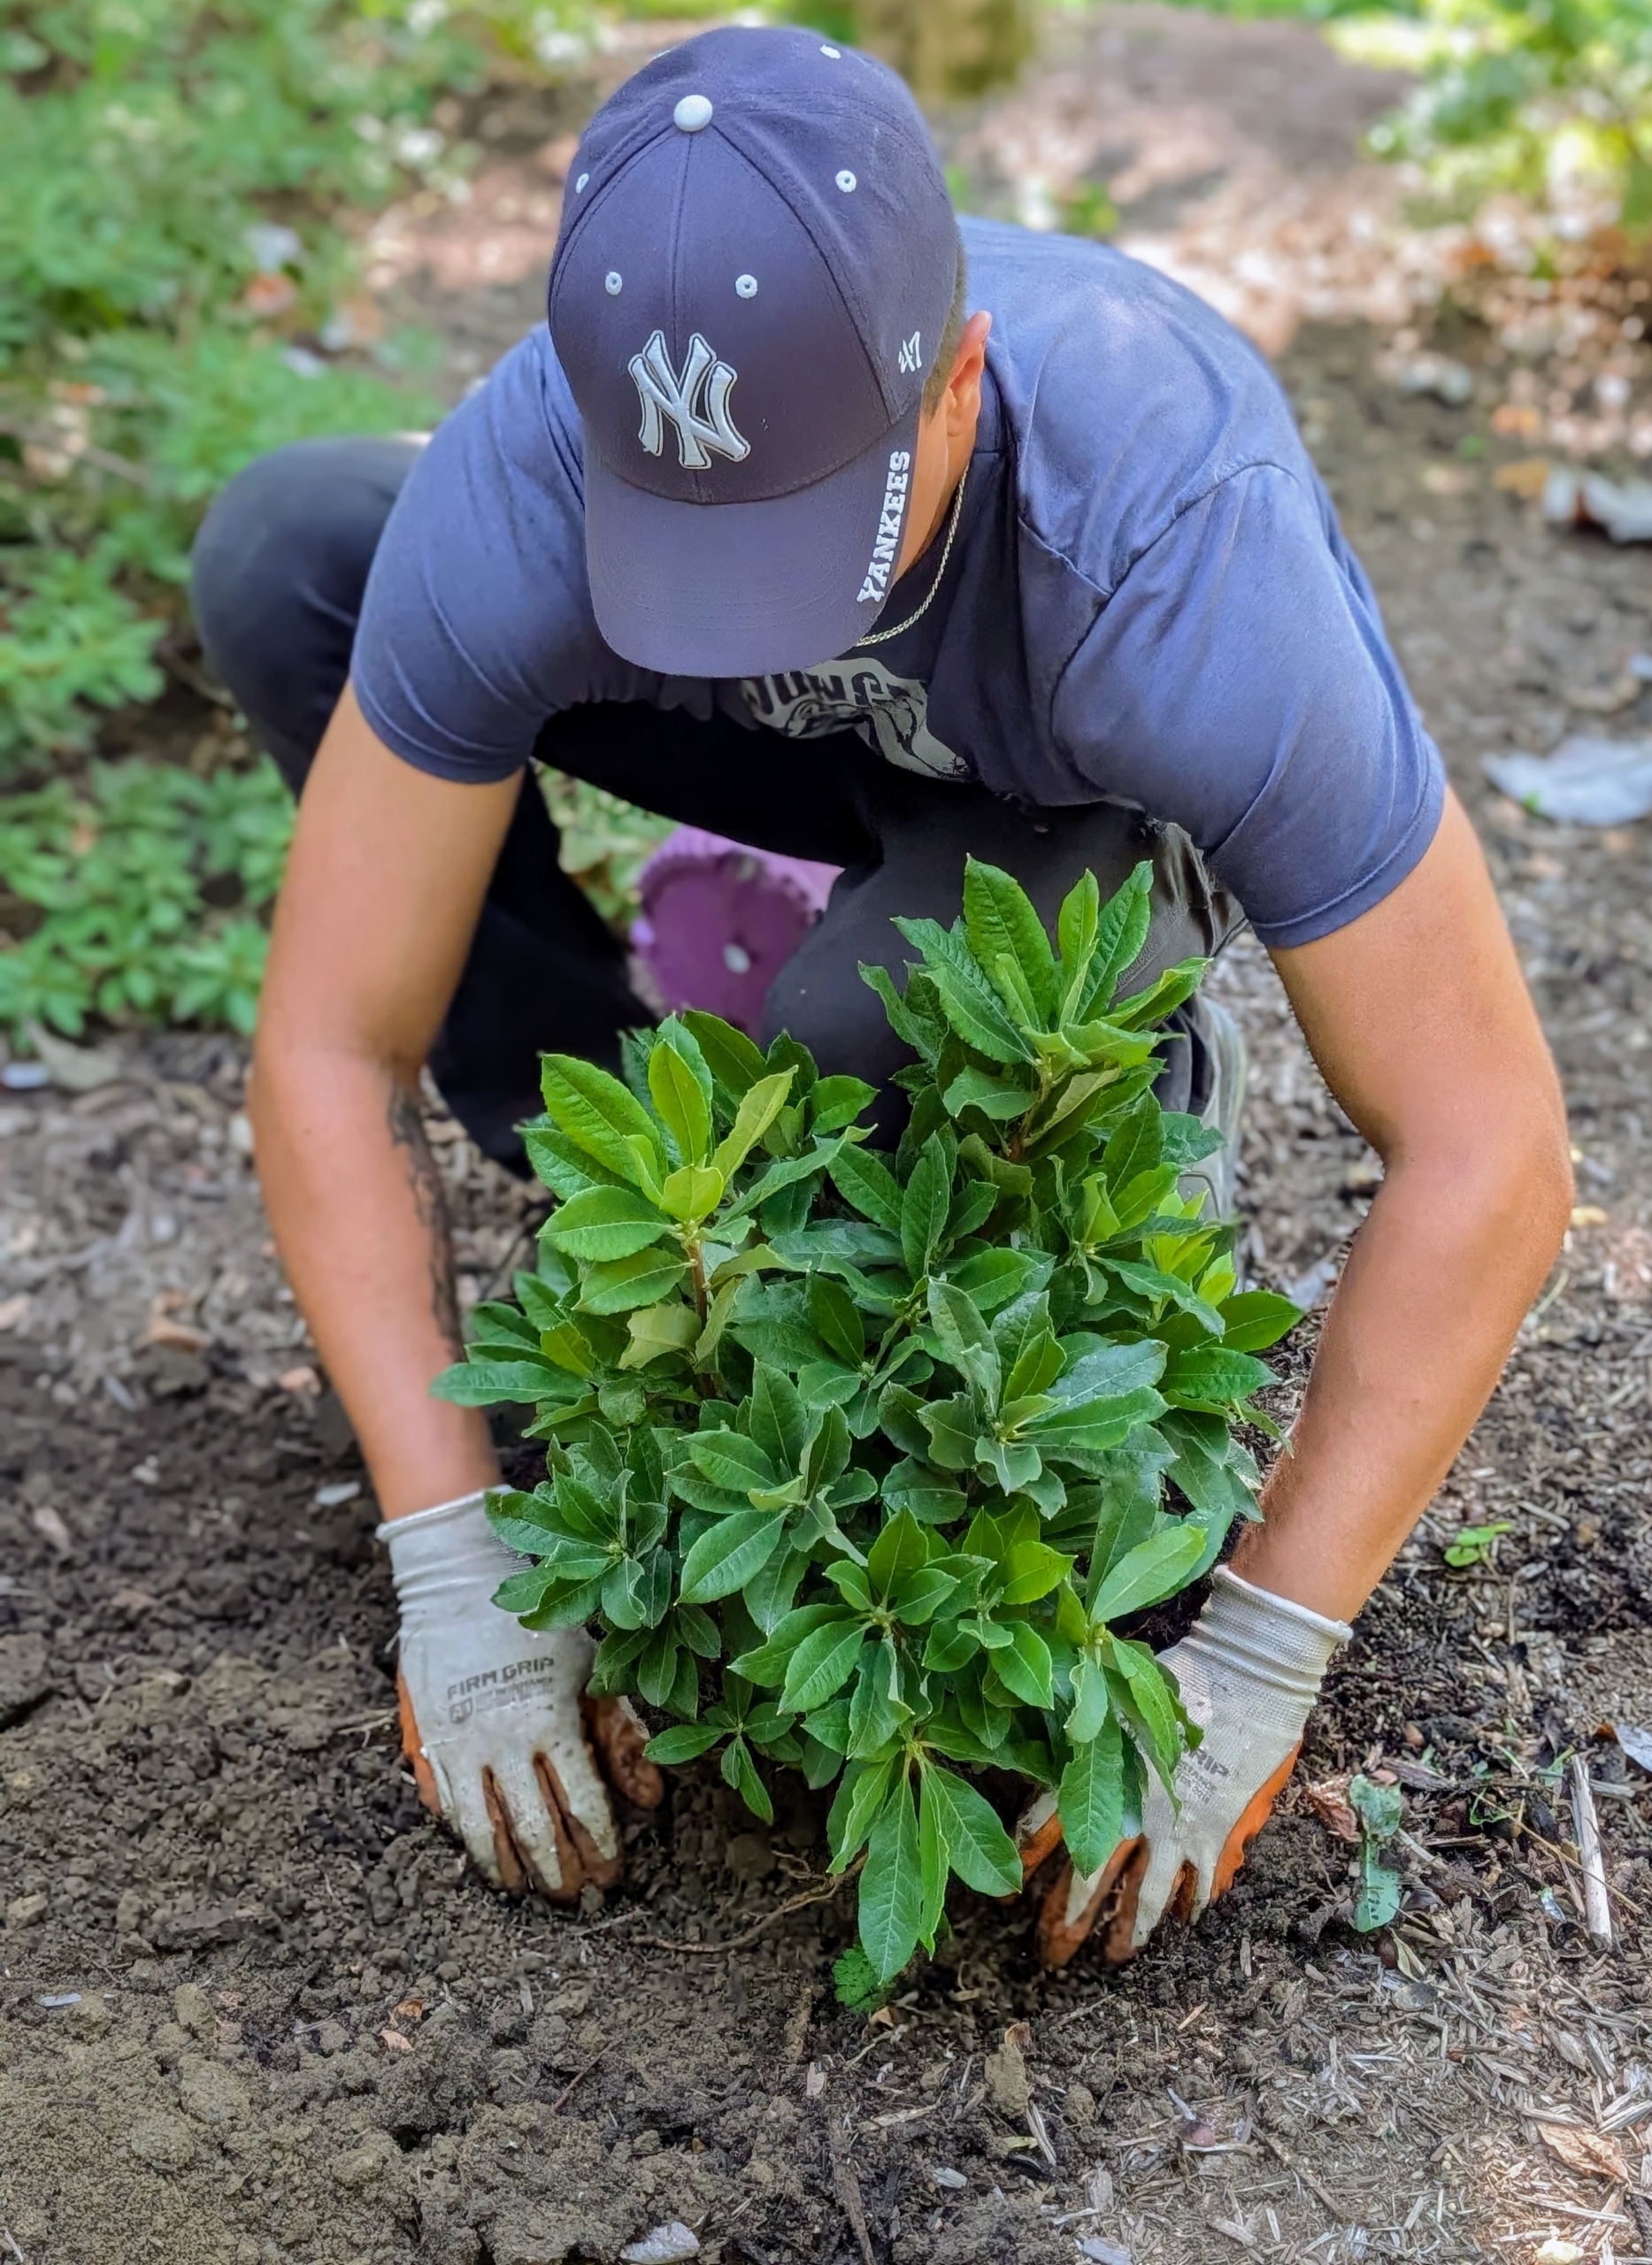
Once Matt is sure the plant is placed properly, the azalea is backfilled. Also ensure the best side is facing the outside – that’s what passers-by will see. Azaleas have short root systems, so they can easily be transplanted in early spring or early fall.
Matt also tamps down to make sure there is good contact between the soil and the root ball.
Azaleas should be planted at least two to four feet apart depending on the variety’s mature size. These will be about three to four feet wide and four to five feet tall.
These azaleas are also fragrant and are sure to be great additions to the garden. I’ll be sure to share more photos when they’re in full bloom next spring. I can’t wait.
Another outdoor chore is checked off my long list - so much is getting done this season.
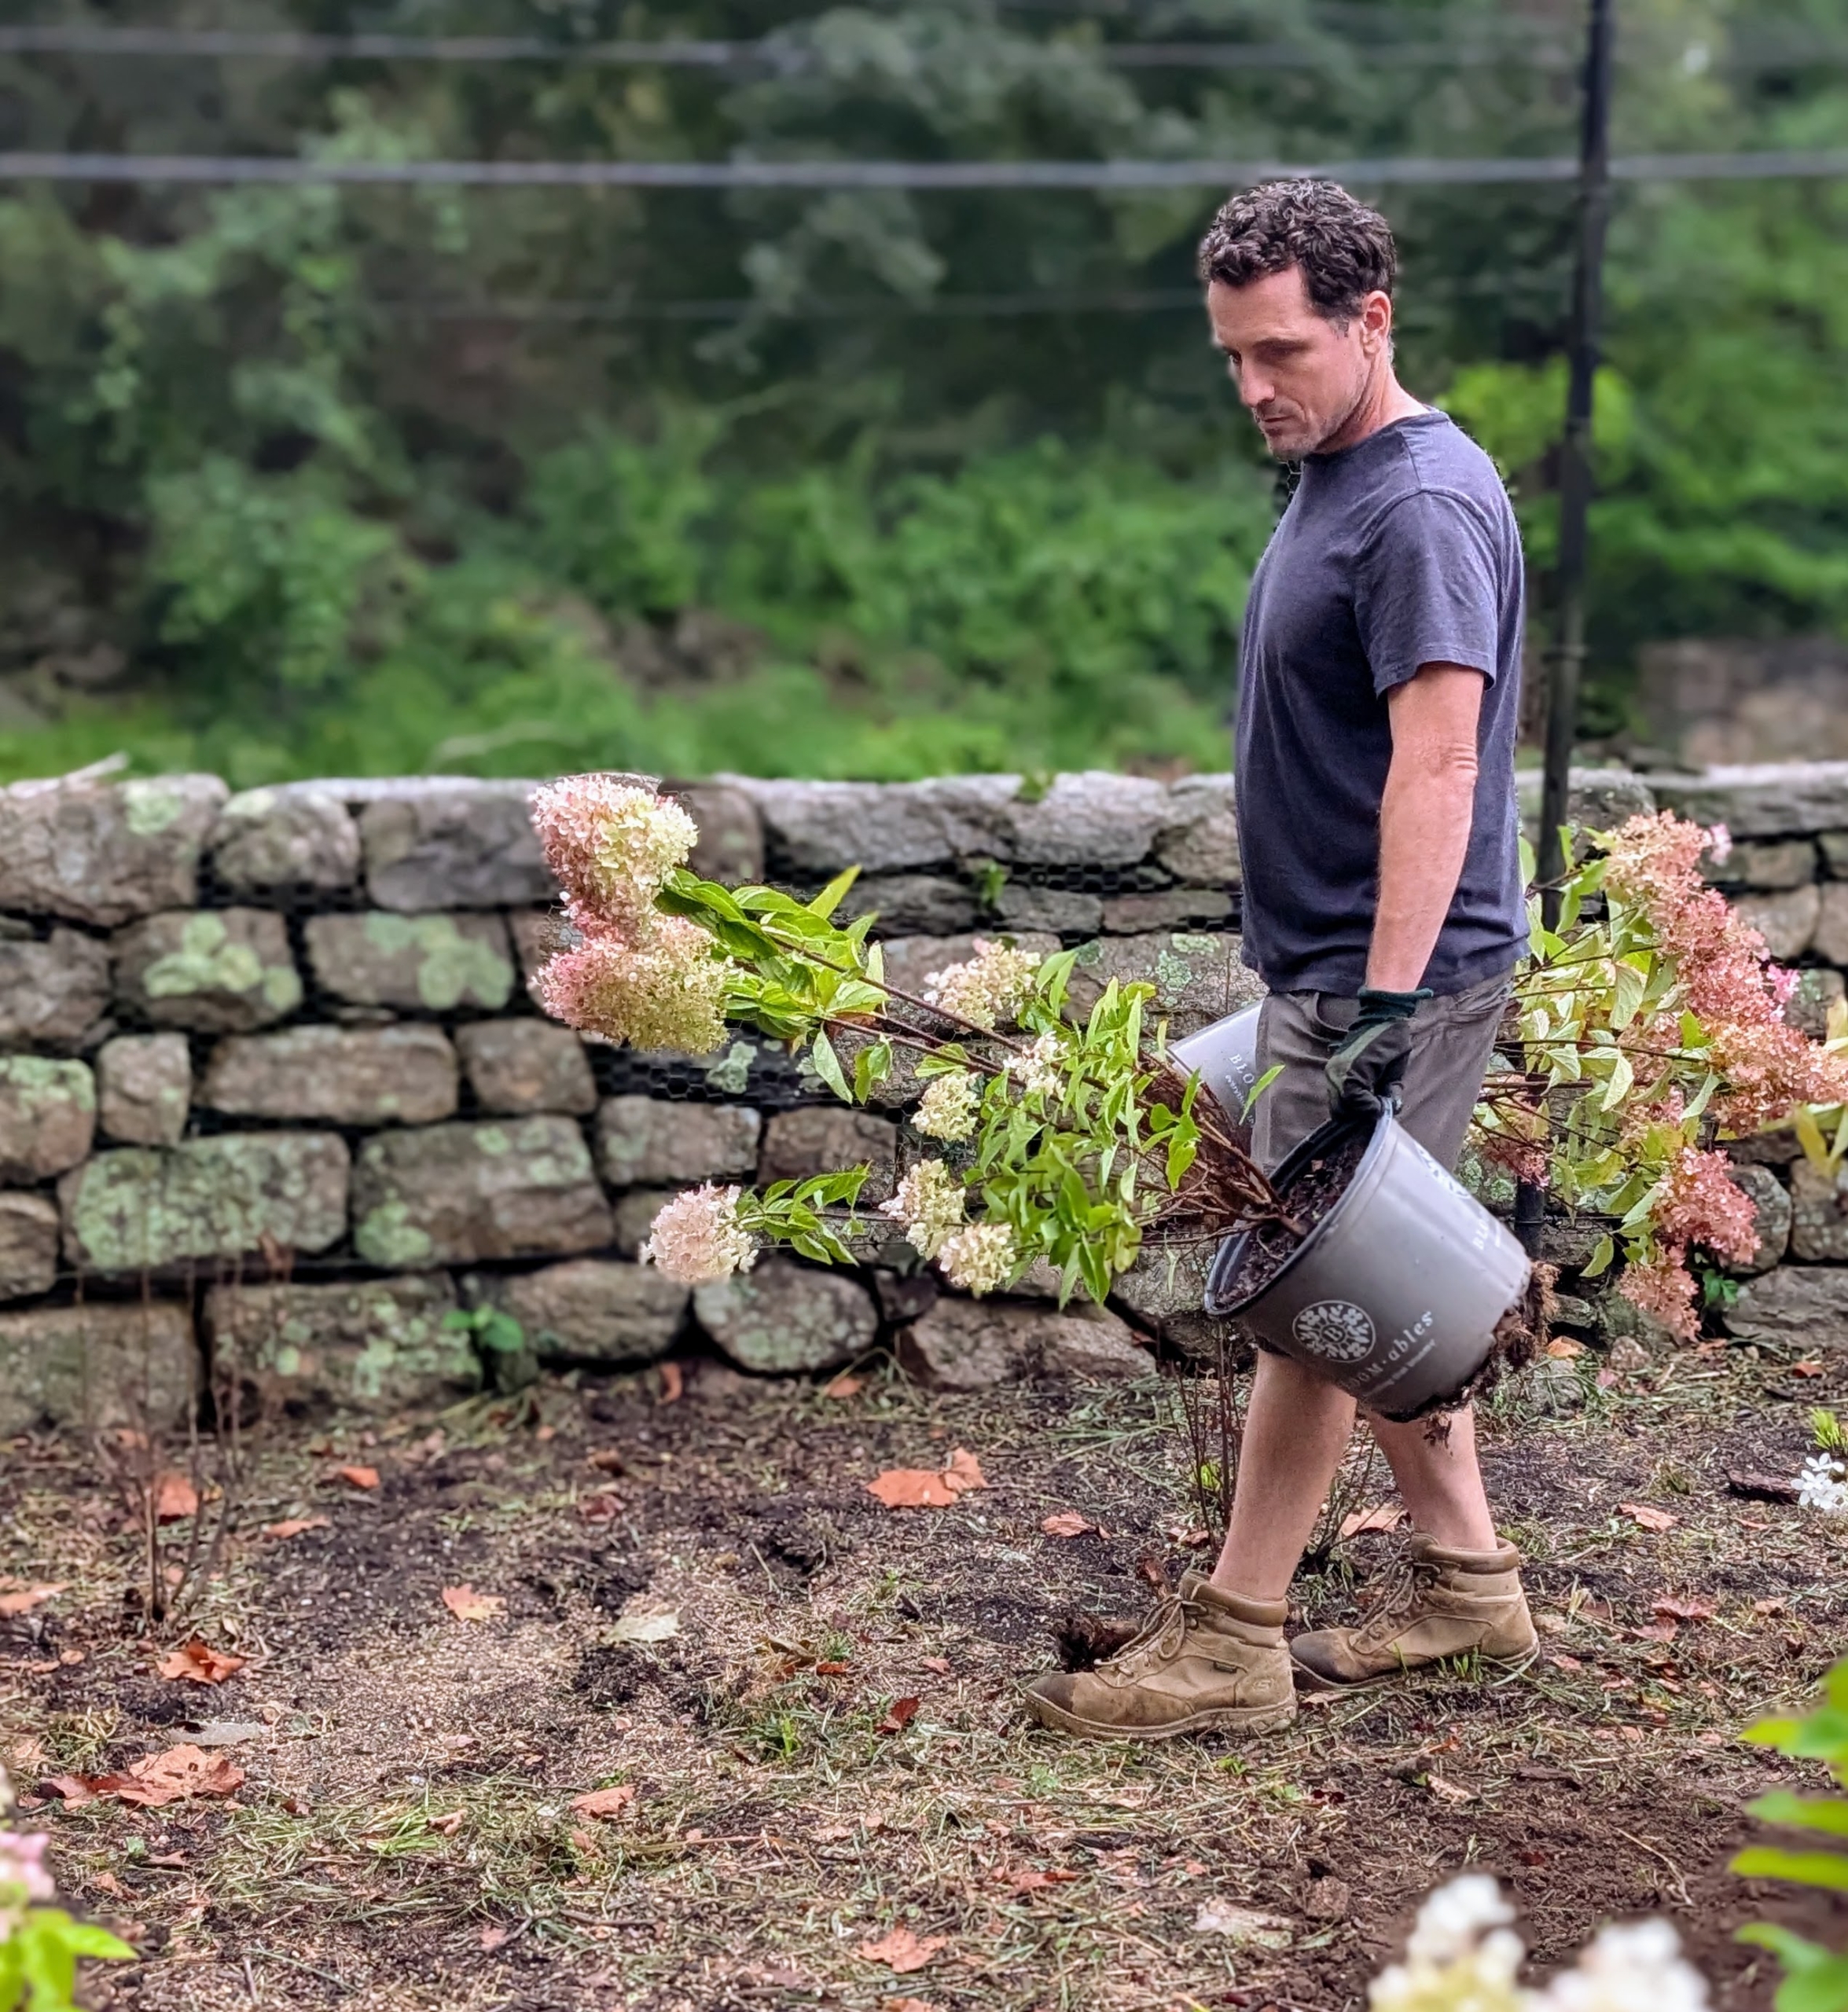
My farm sits on 153 acres of gardens, pastures, and woodlands. Every year, I work hard to design new garden spaces and enhance existing ones. I take into consideration a plant's growing needs and mature size and plant accordingly. This week, I took down some old pussy willows in an area behind my main greenhouse to make room for a a collection of wonderful pink and white hydrangeas from Star Roses and Plants, a company of brands that focuses on breeding and introducing specimens offering longer-lasting, disease resistant blooms. This garden will look so stunning when these plants are mature.
Here are some photos, enjoy.
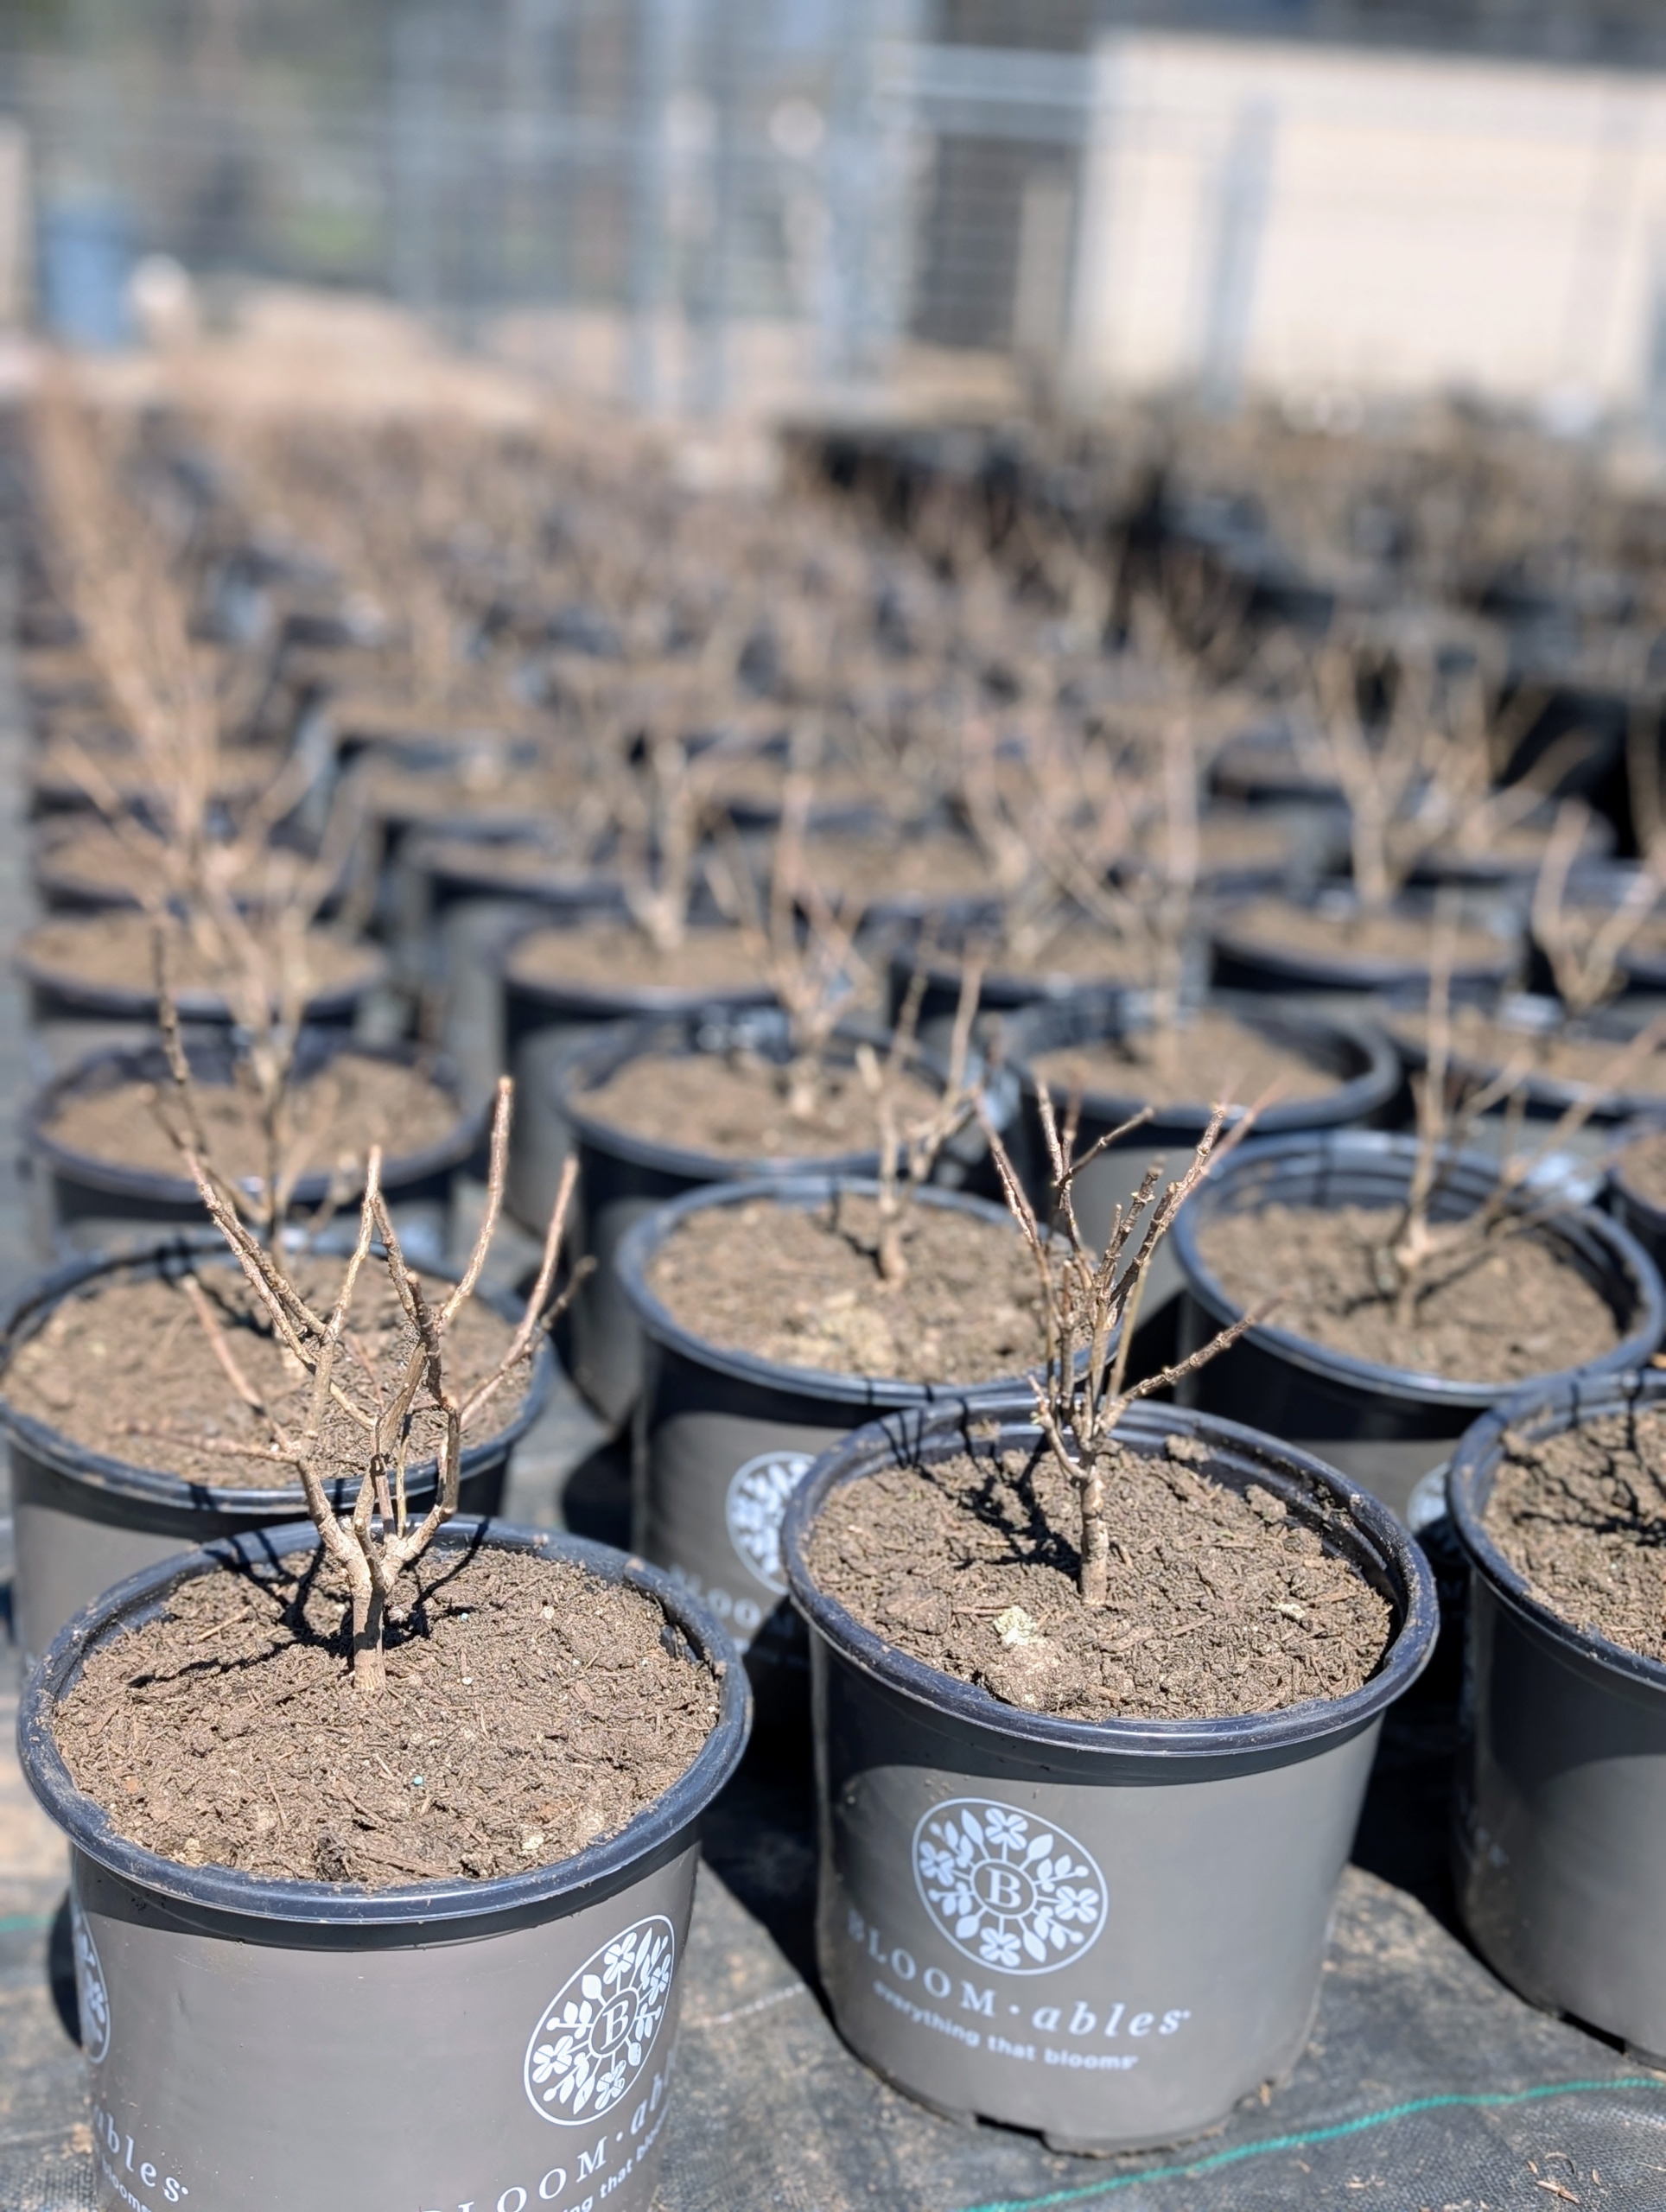
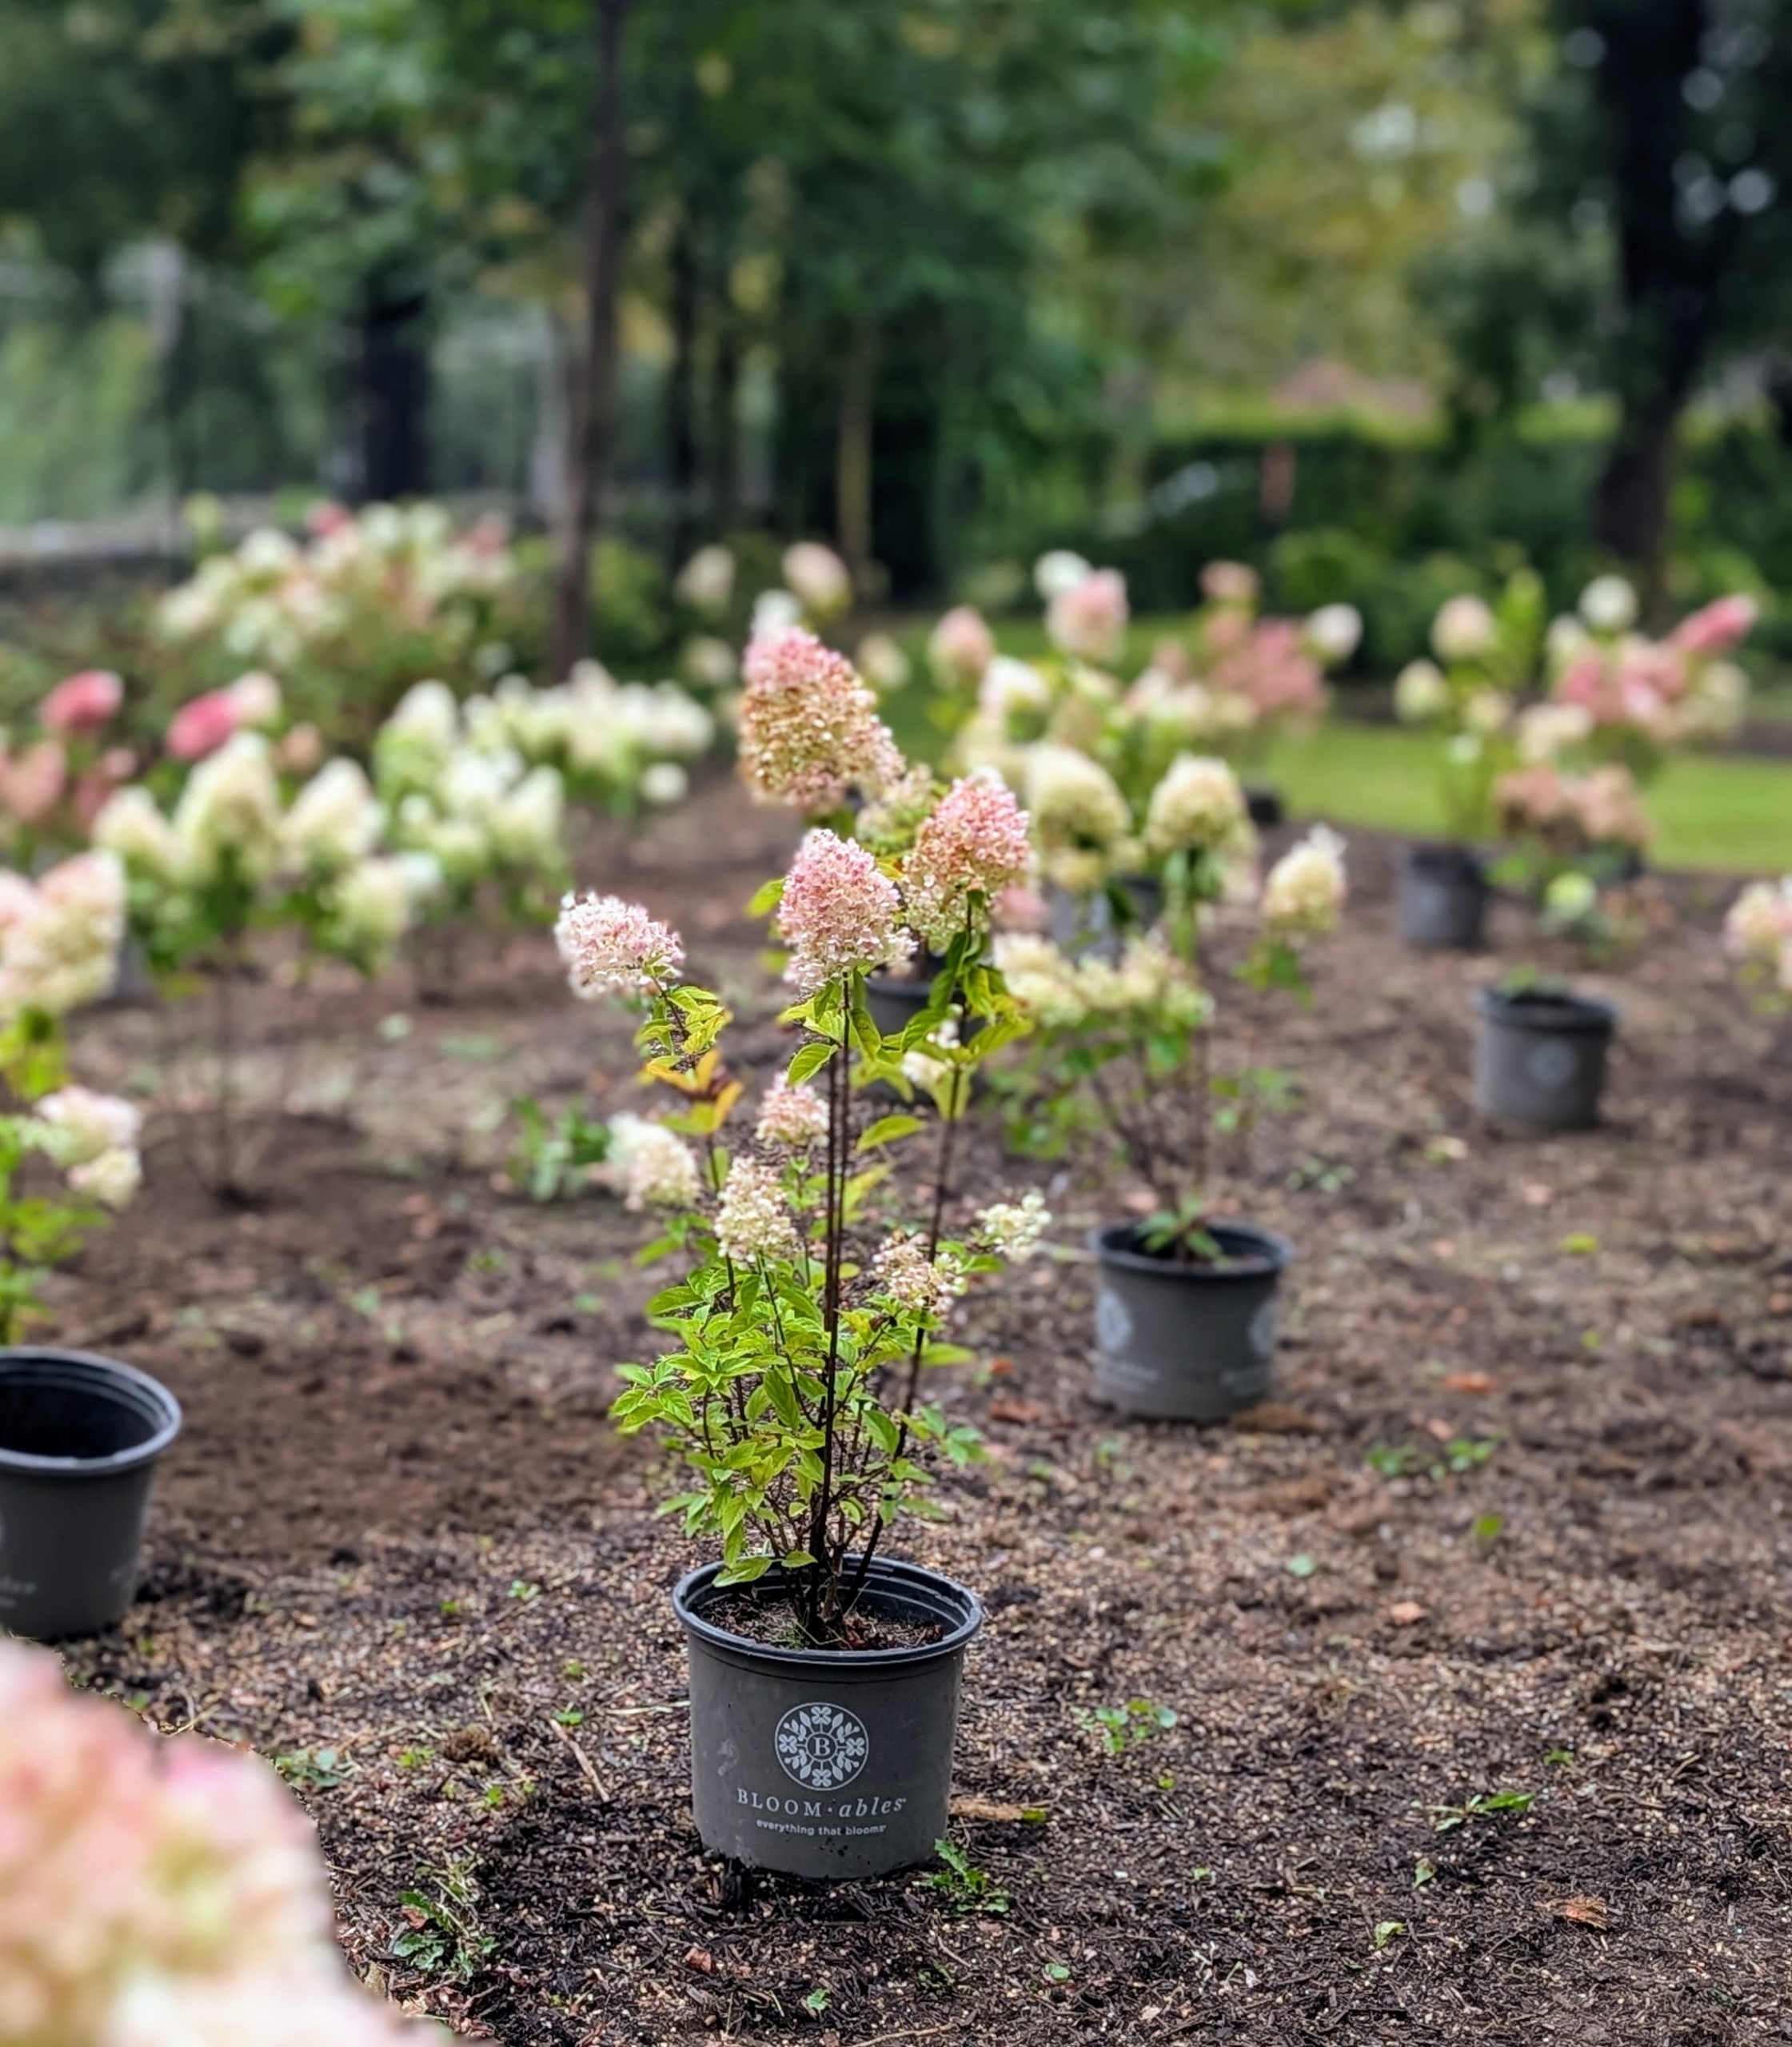
I’m so proud of all the many bare-root plants I am able to nurture here in pots before they are planted in more permanent locations. These bare-roots are Sweet Starlight Hydrangeas, Hydrangea paniculata. Its bright white blooms age from light to dark pink. These were potted up last April.
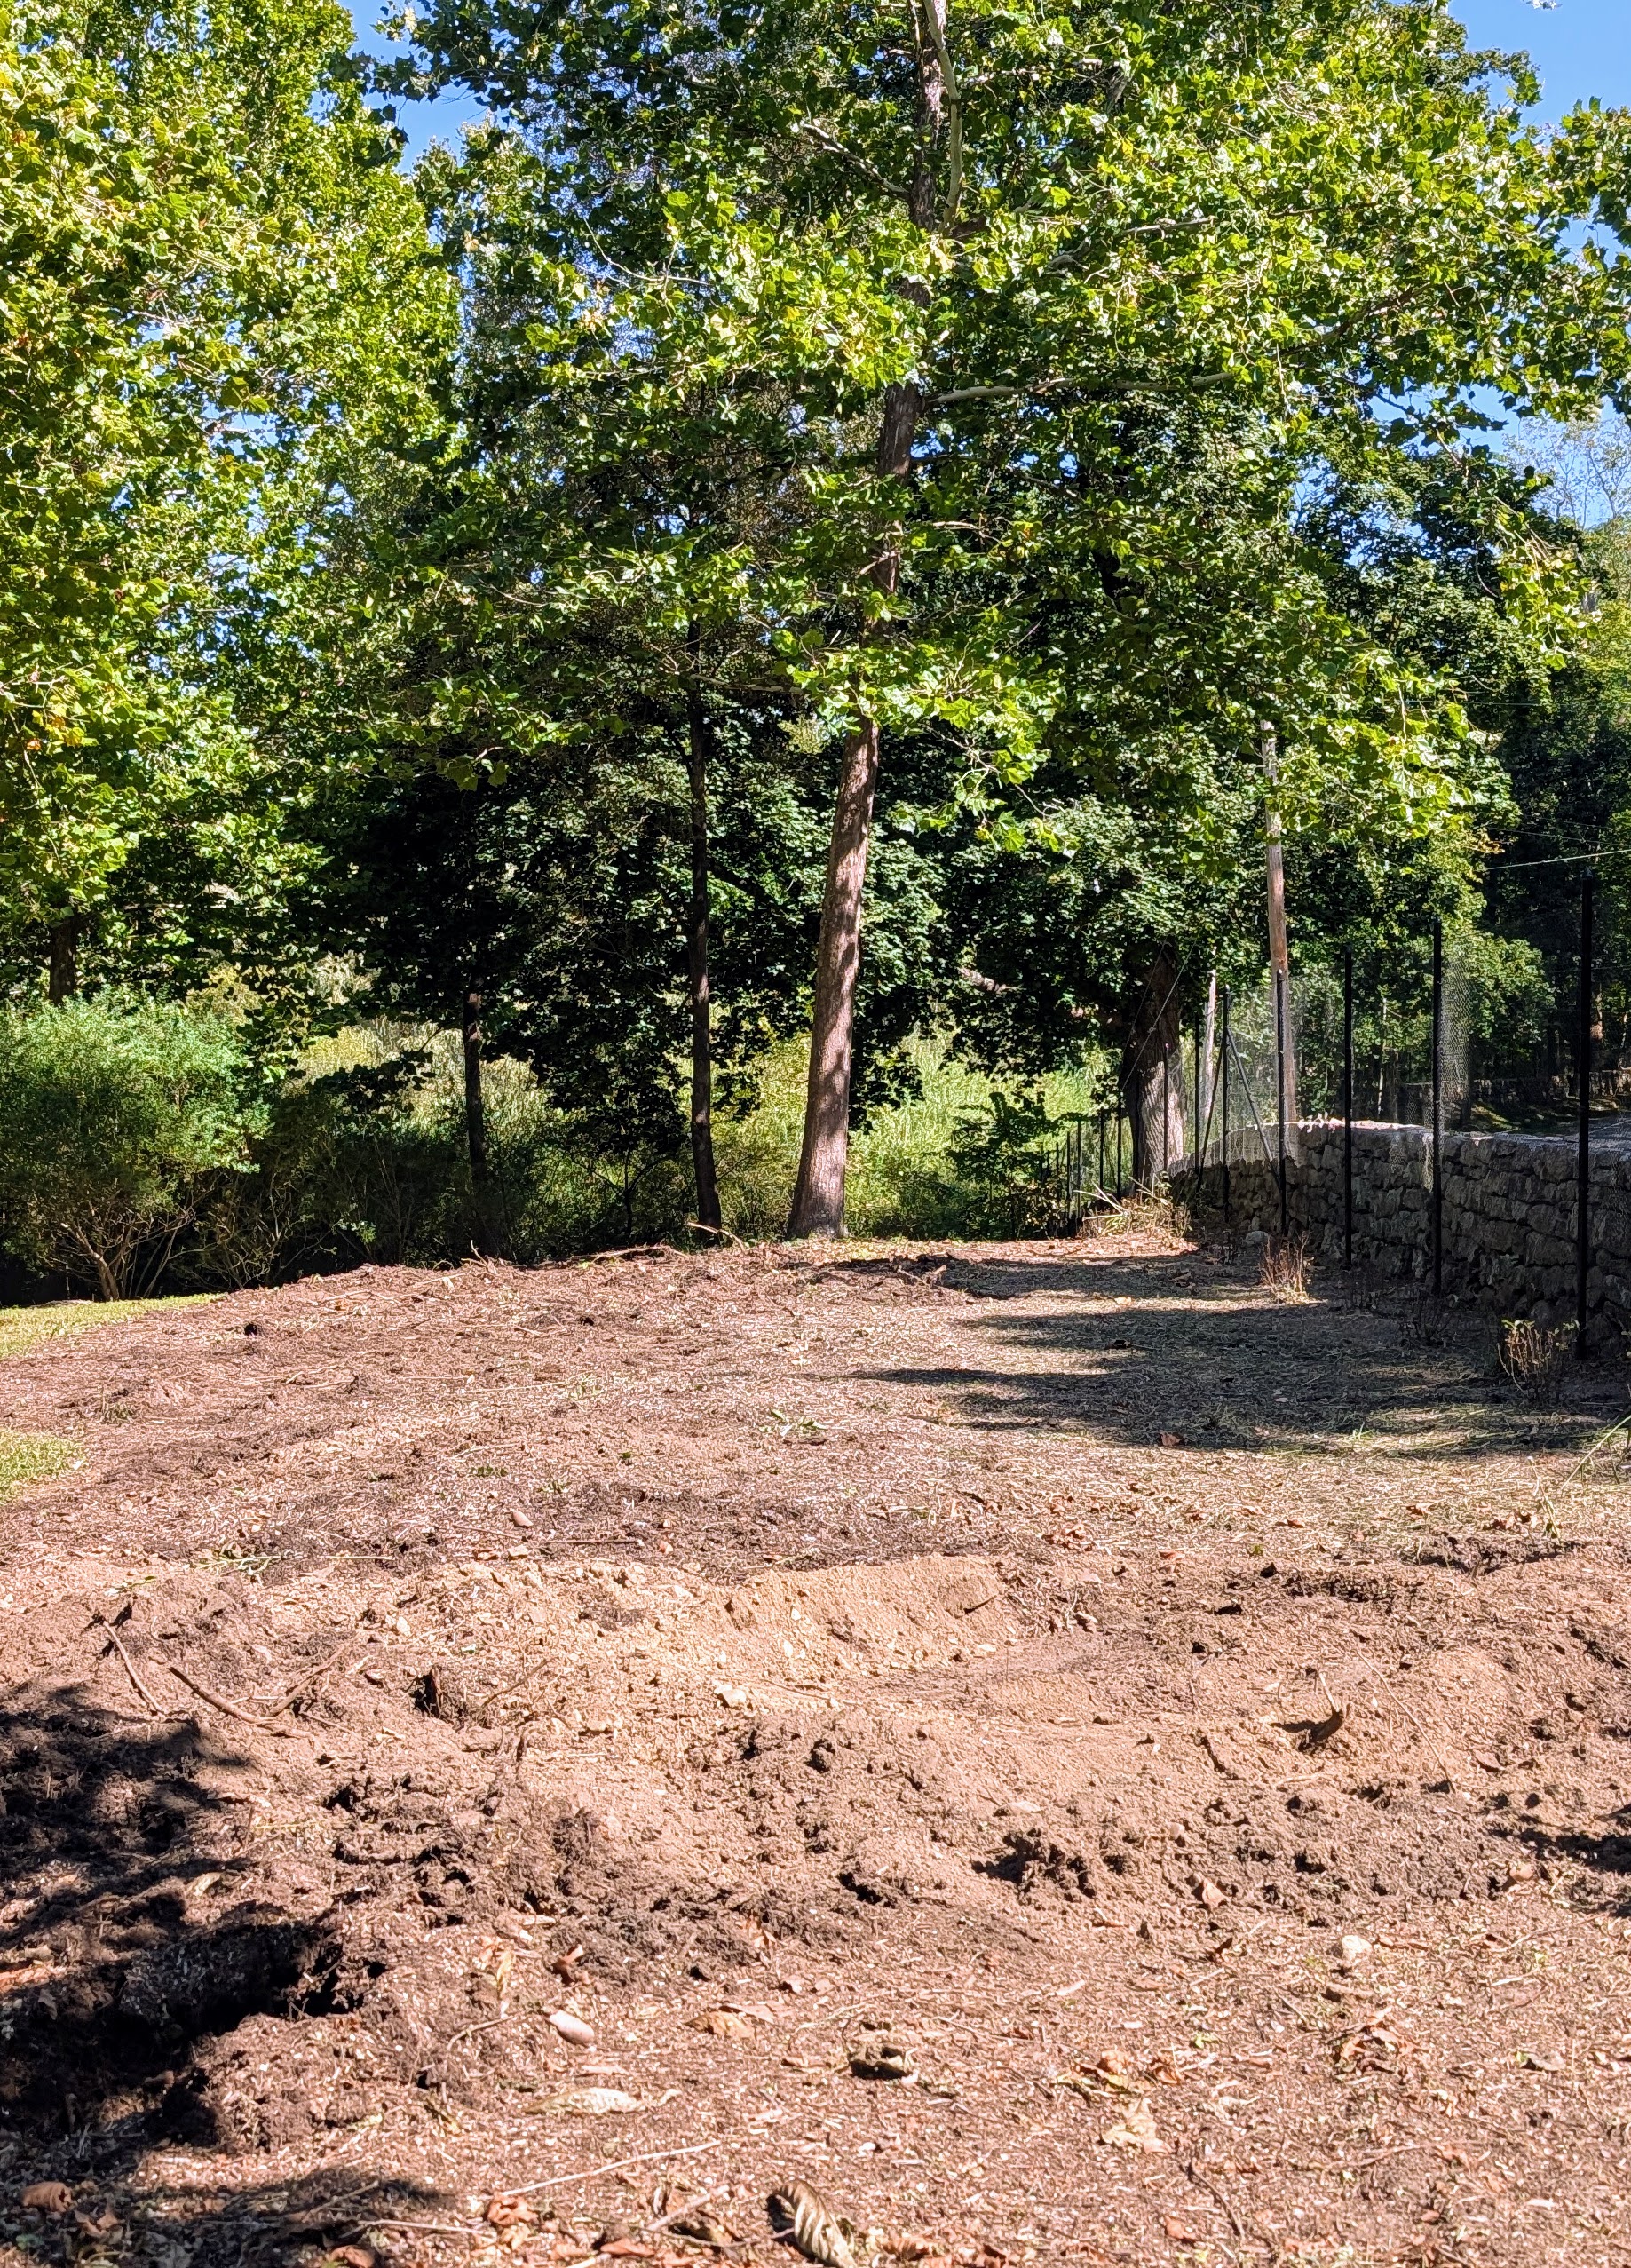
I decided this area behind my main greenhouse needed a change. There were some old willows here that needed replacing. Once the space was cleared, it was leveled and prepared for planting.
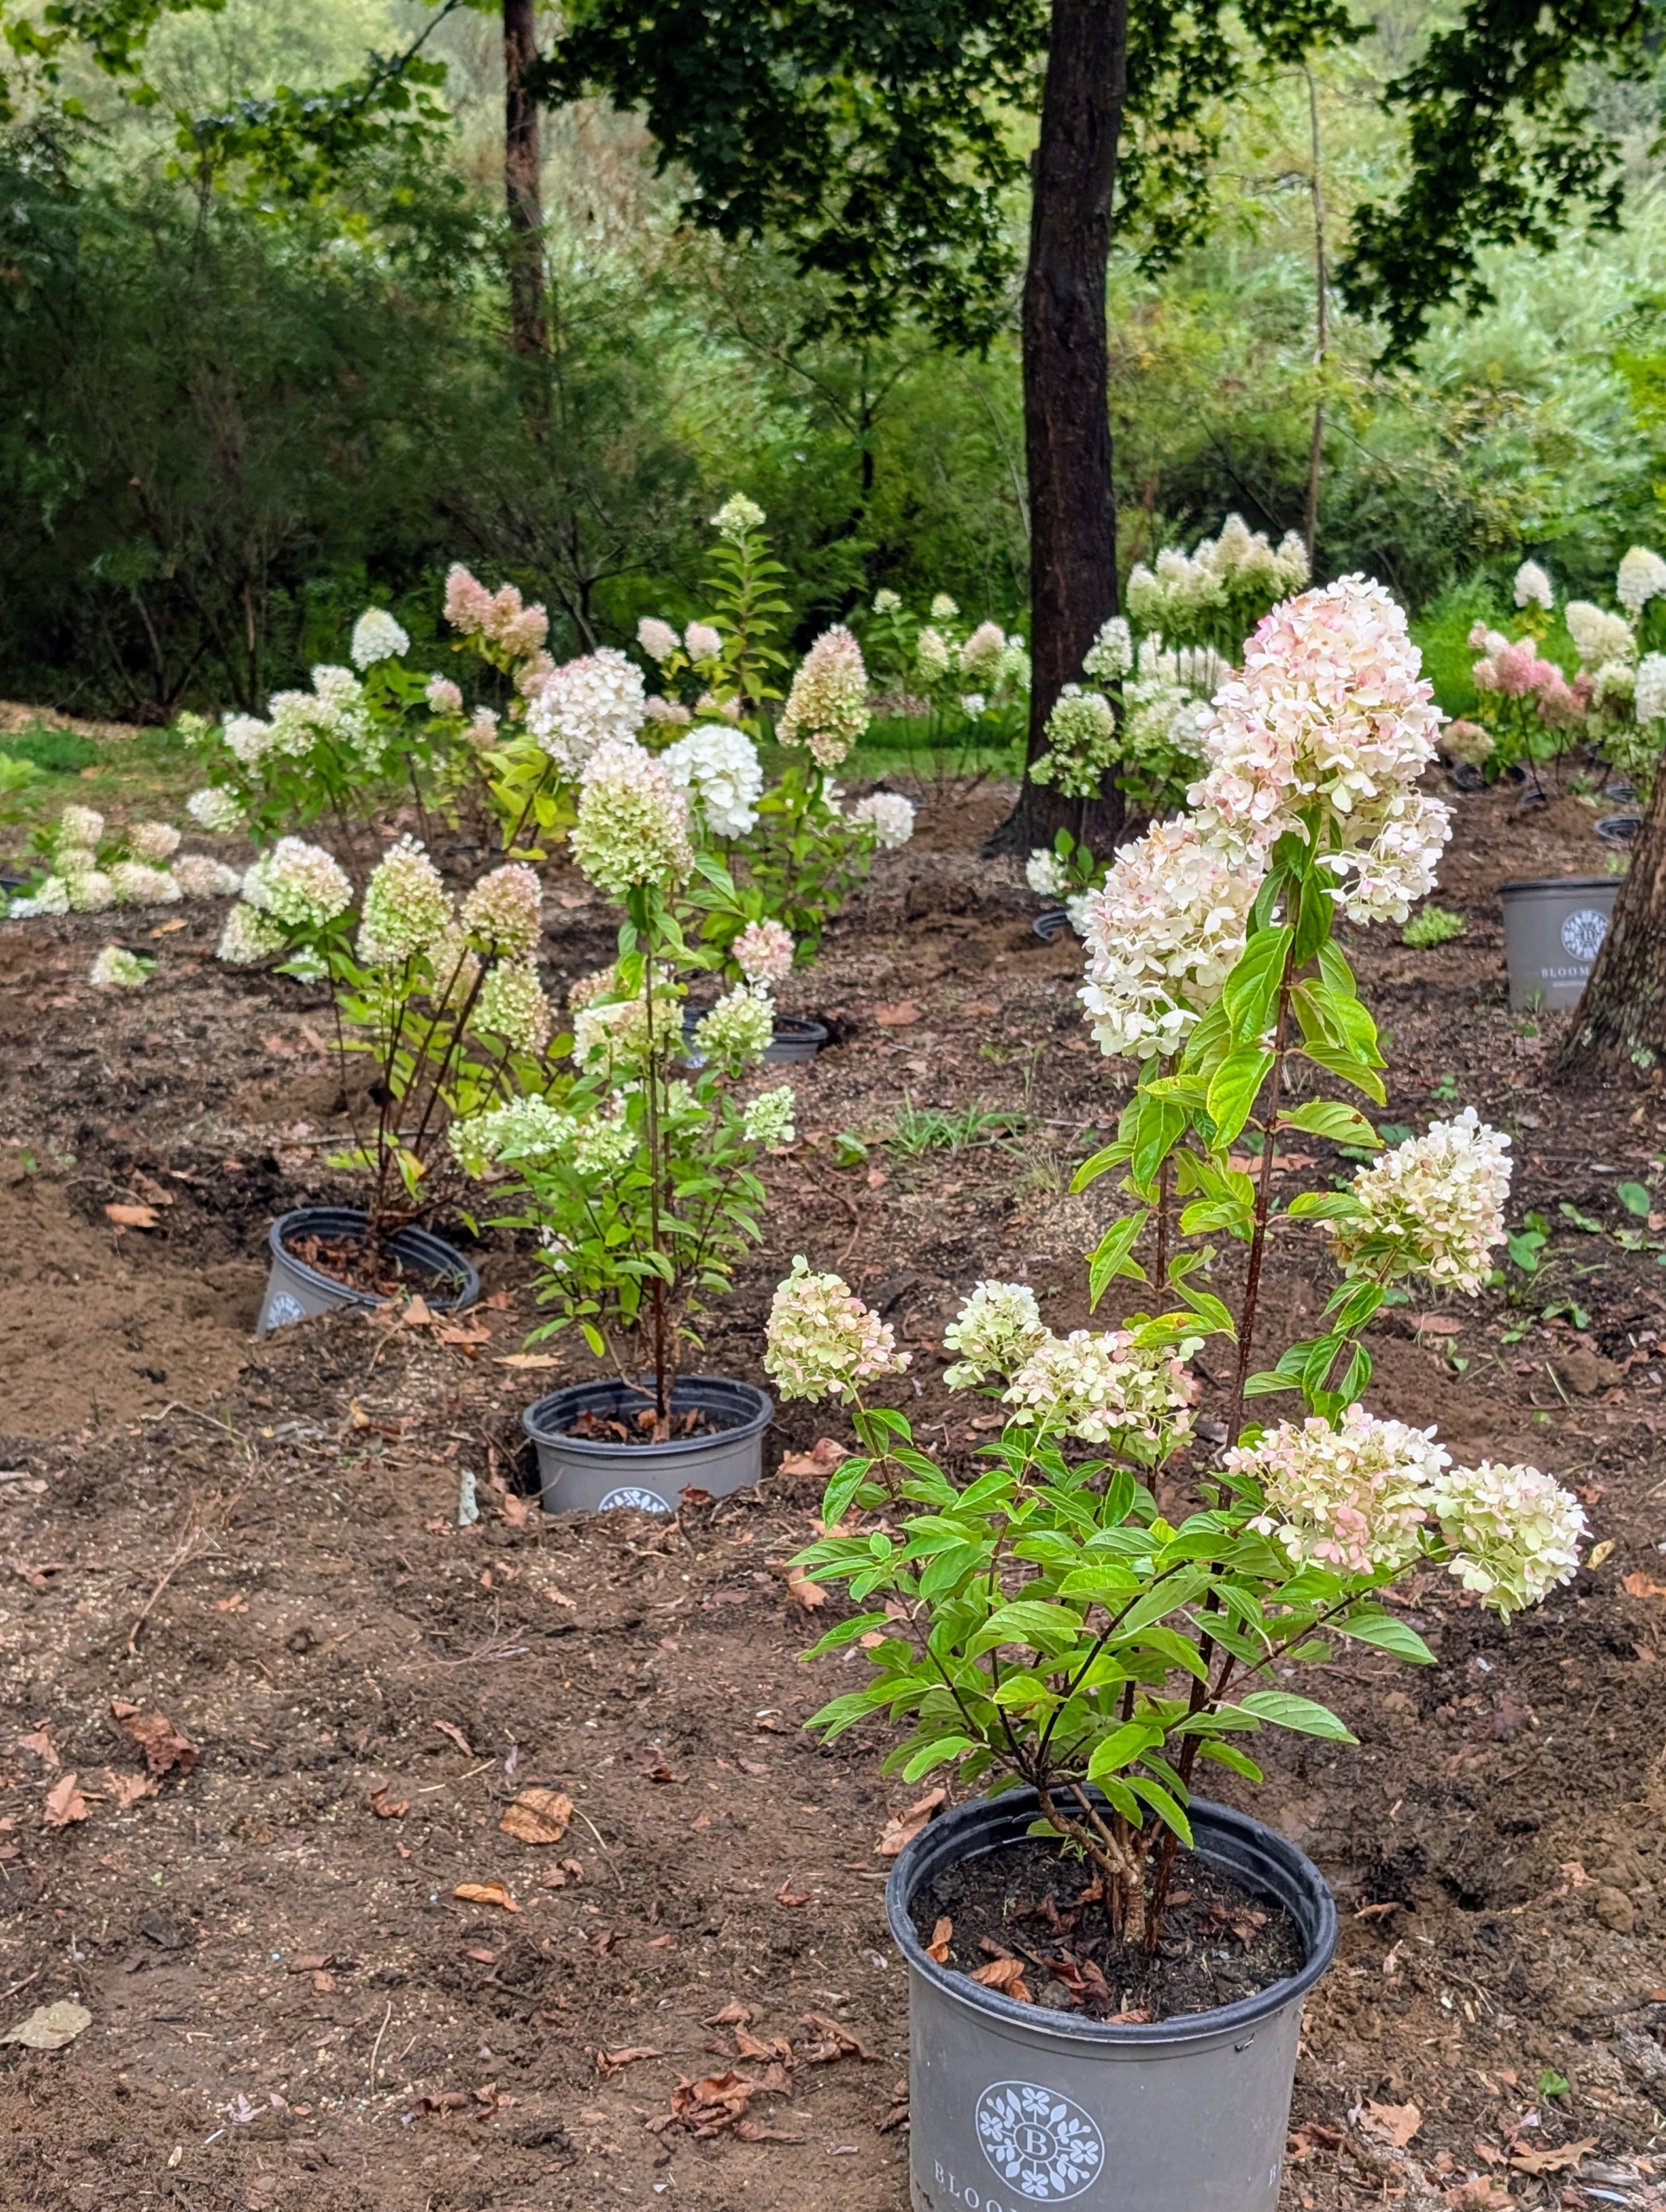
And here are the hydrangeas this week just before planting in this new garden bed.
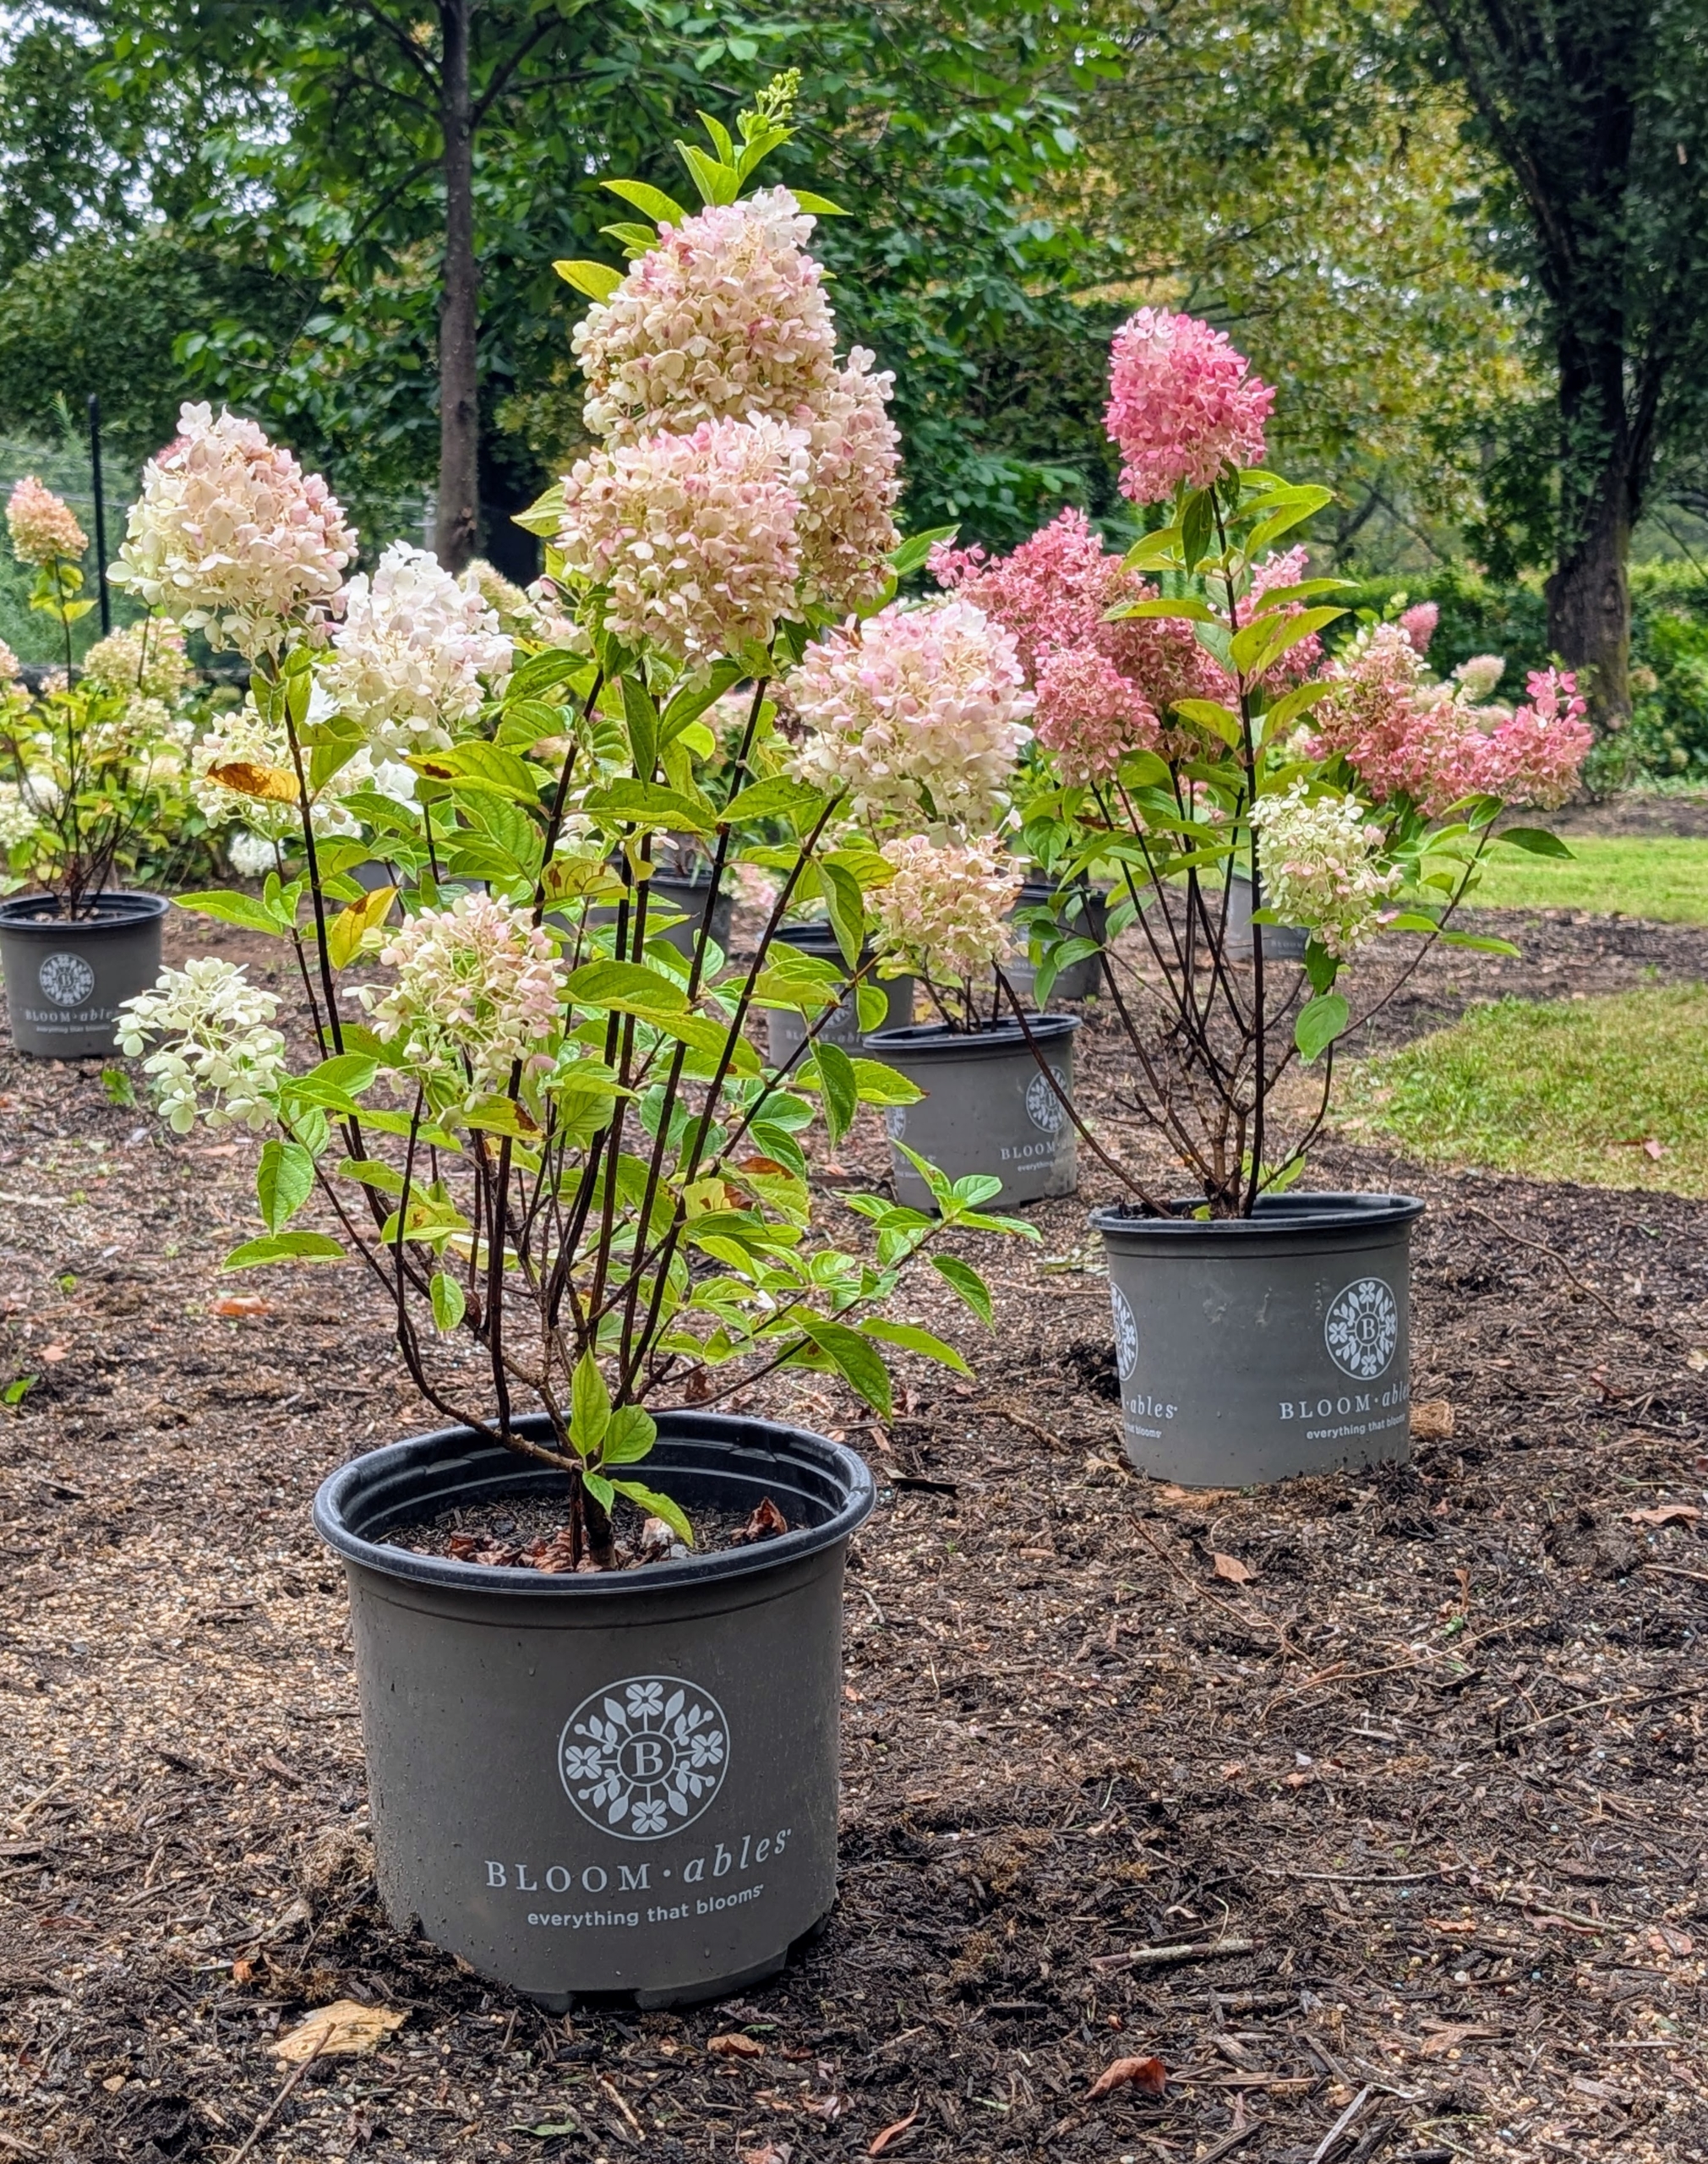
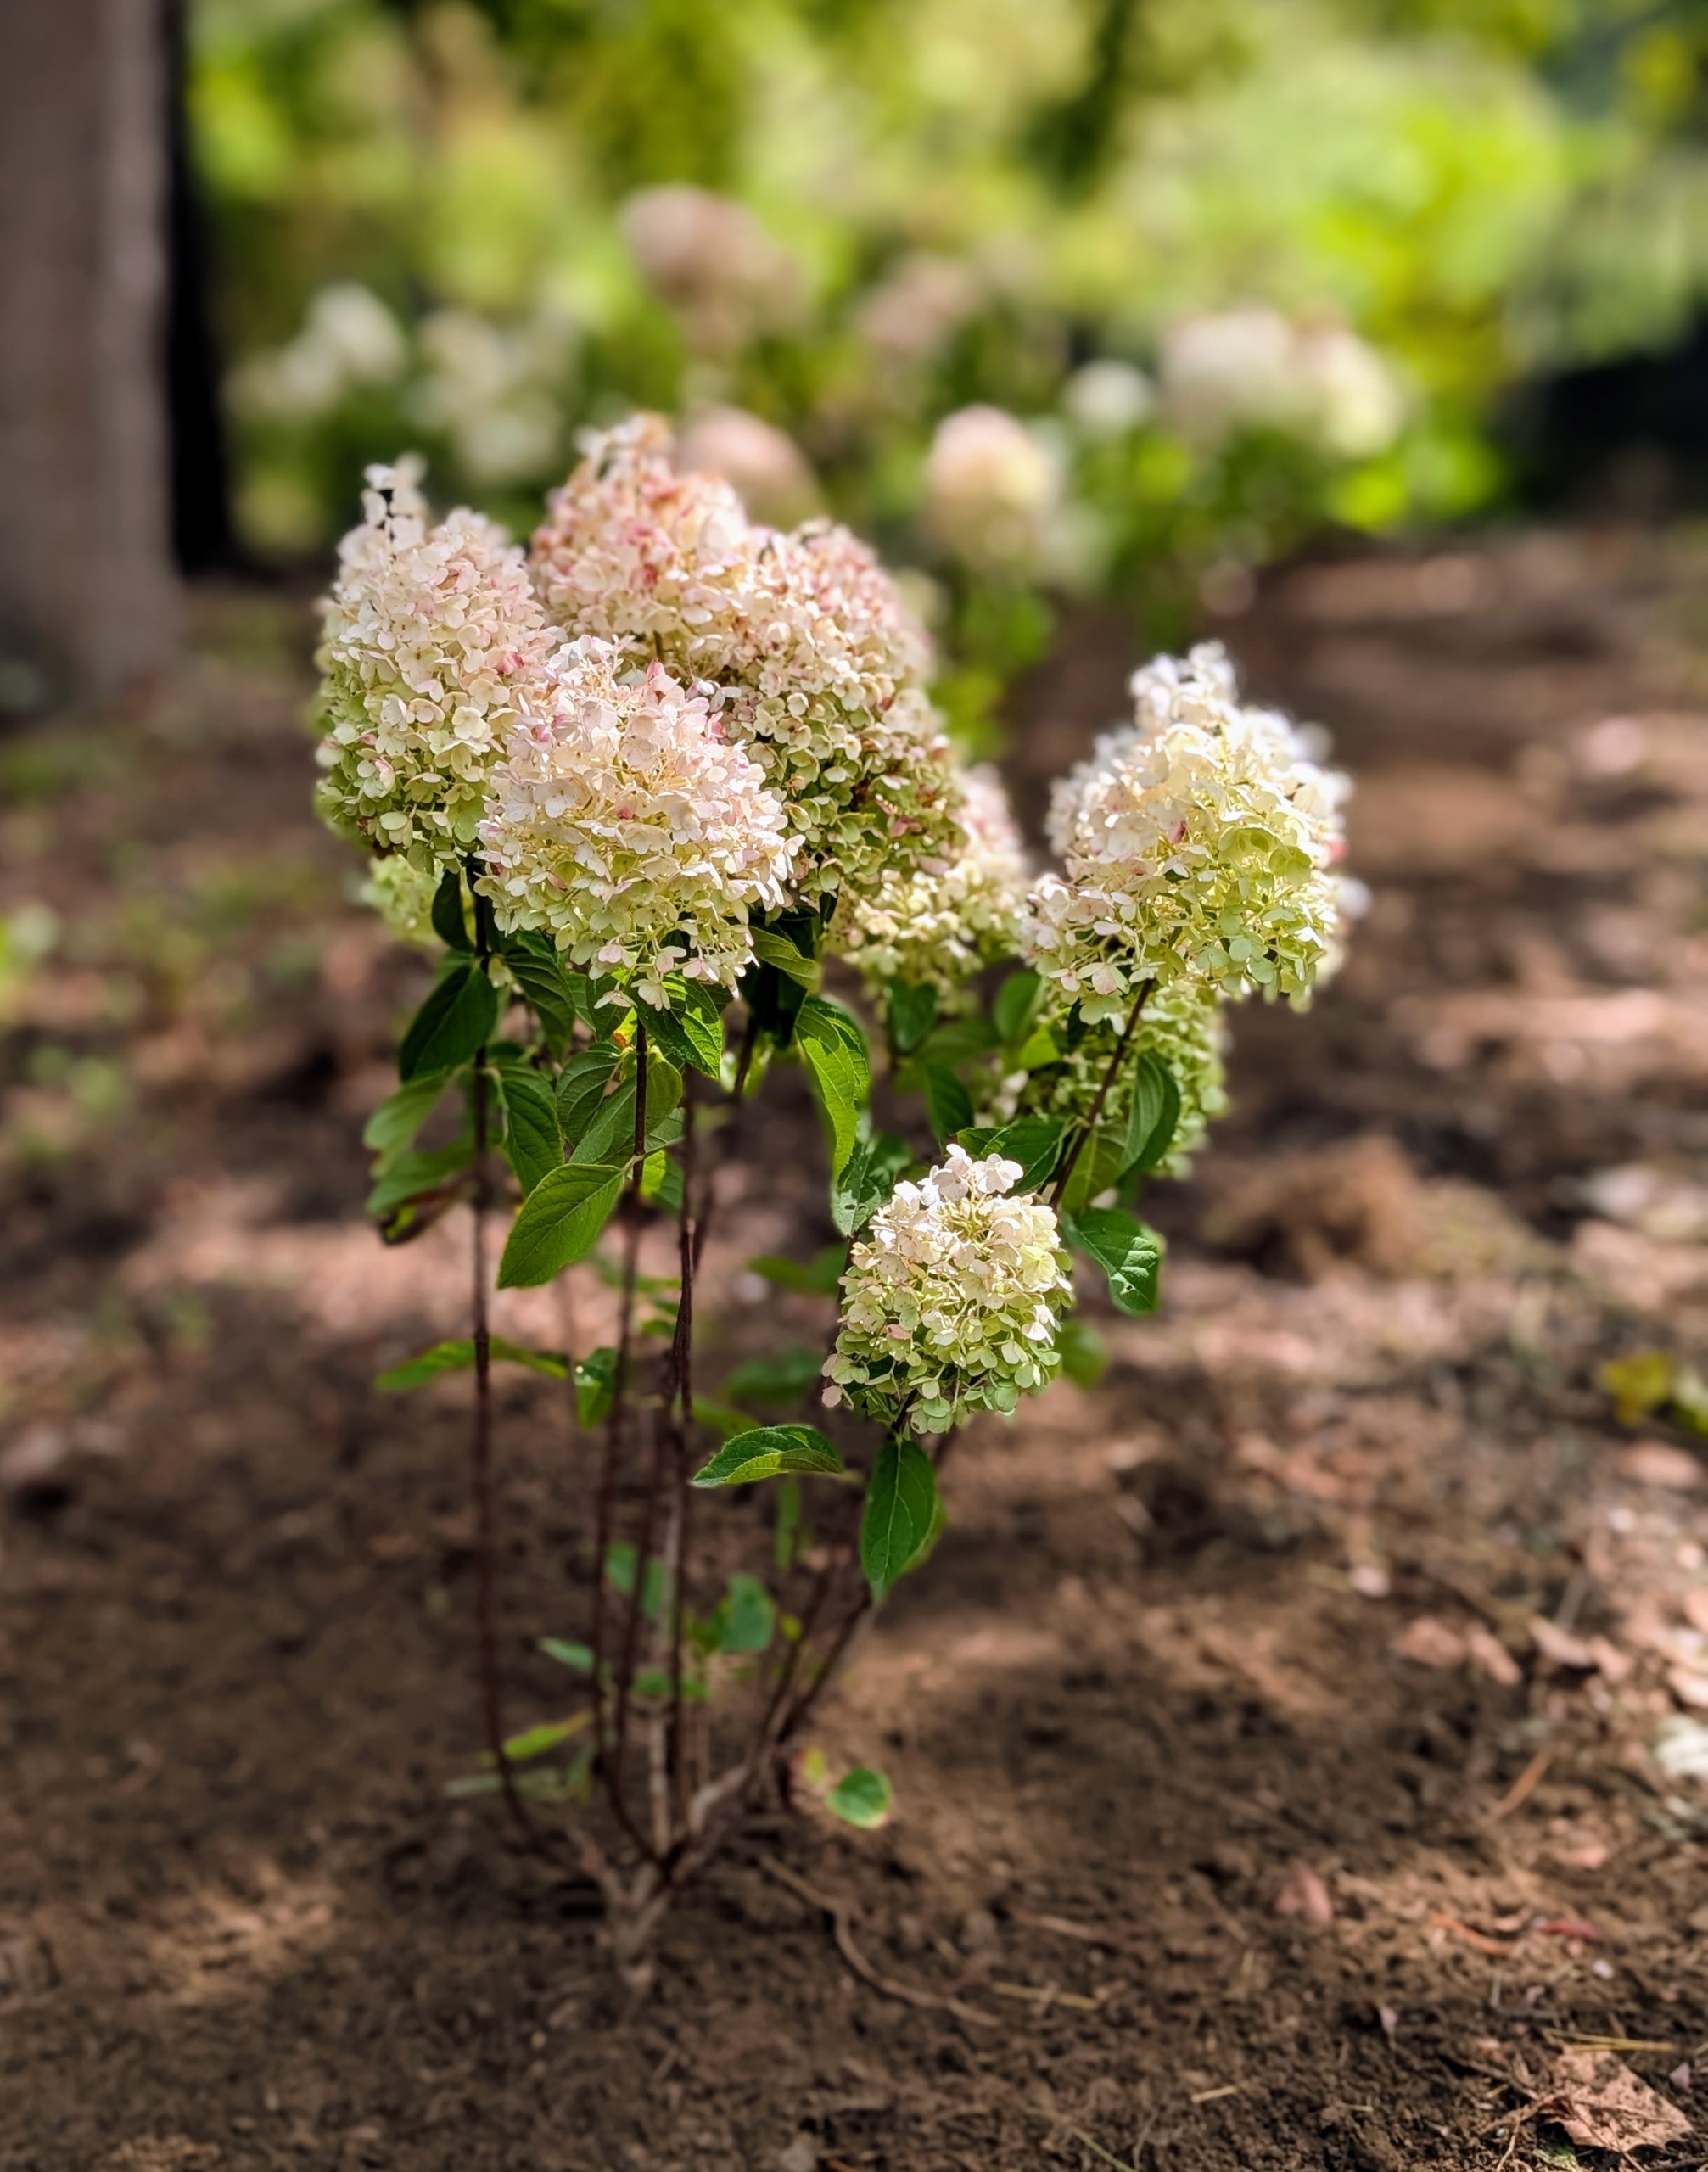
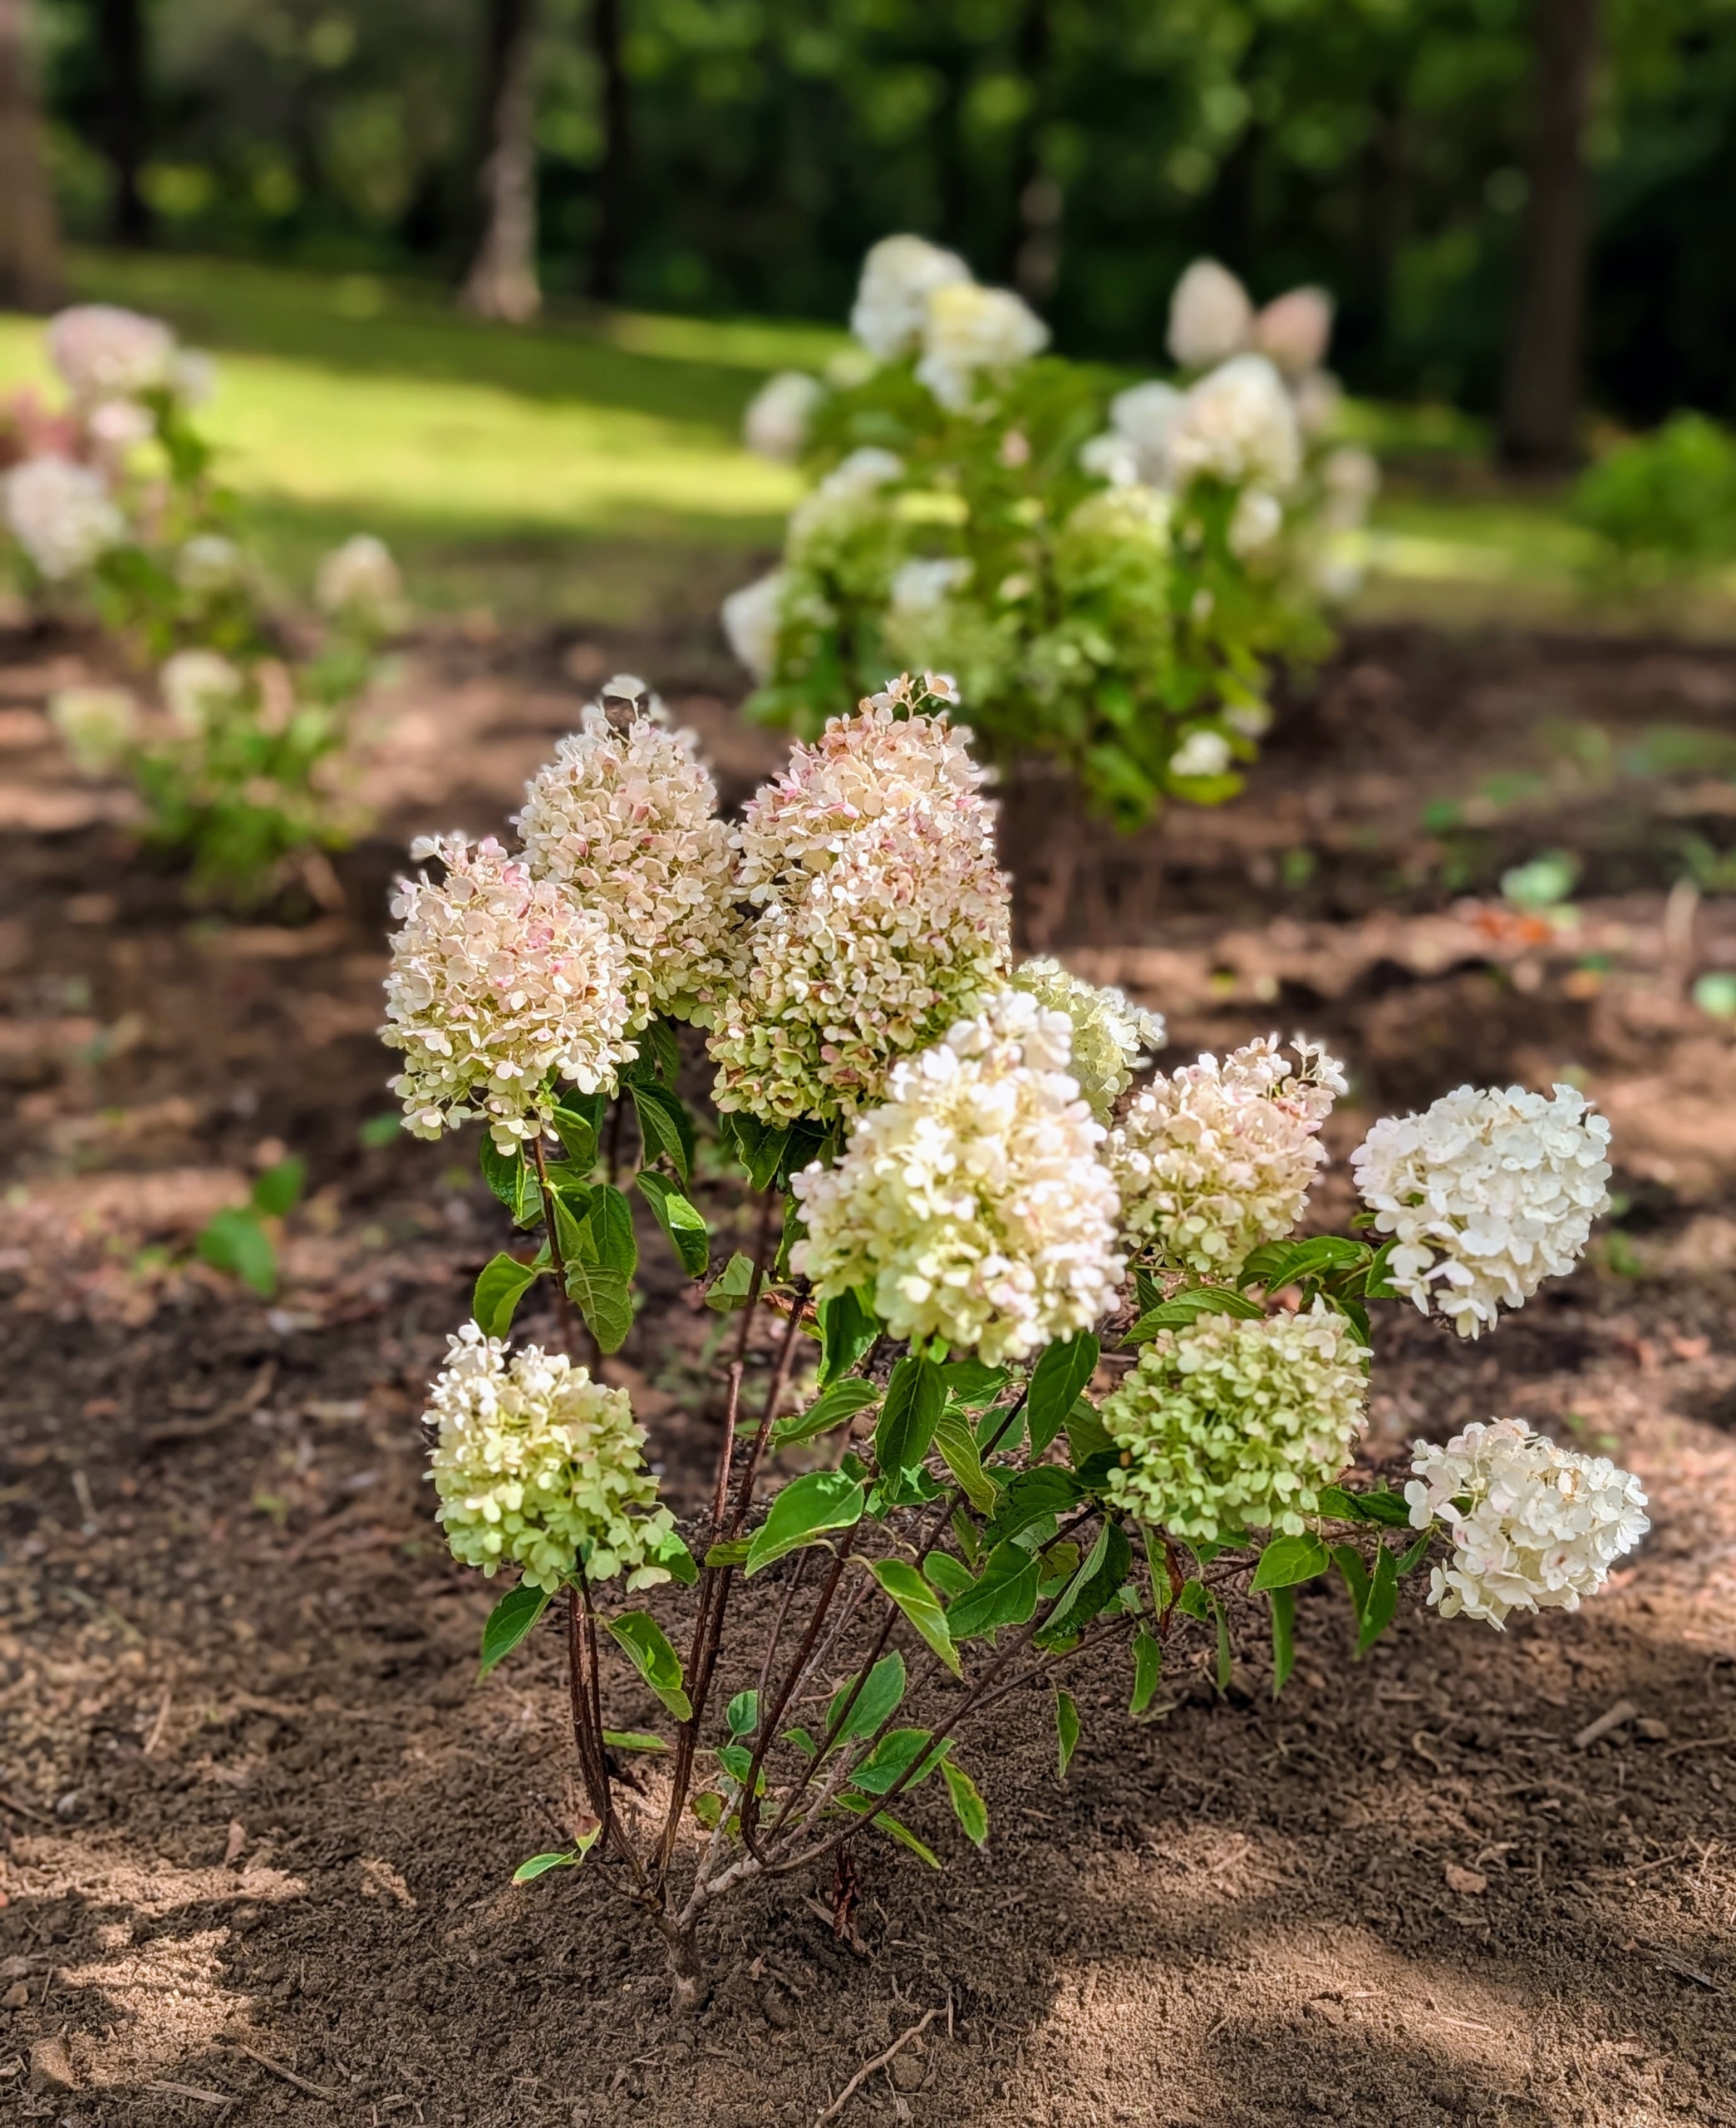
This variety features bright white flower panicles that bloom every year and age from light to dark antique pink. Strong stems keep the showy blooms from flopping over and the compact size fills in nicely when planted in numbers.
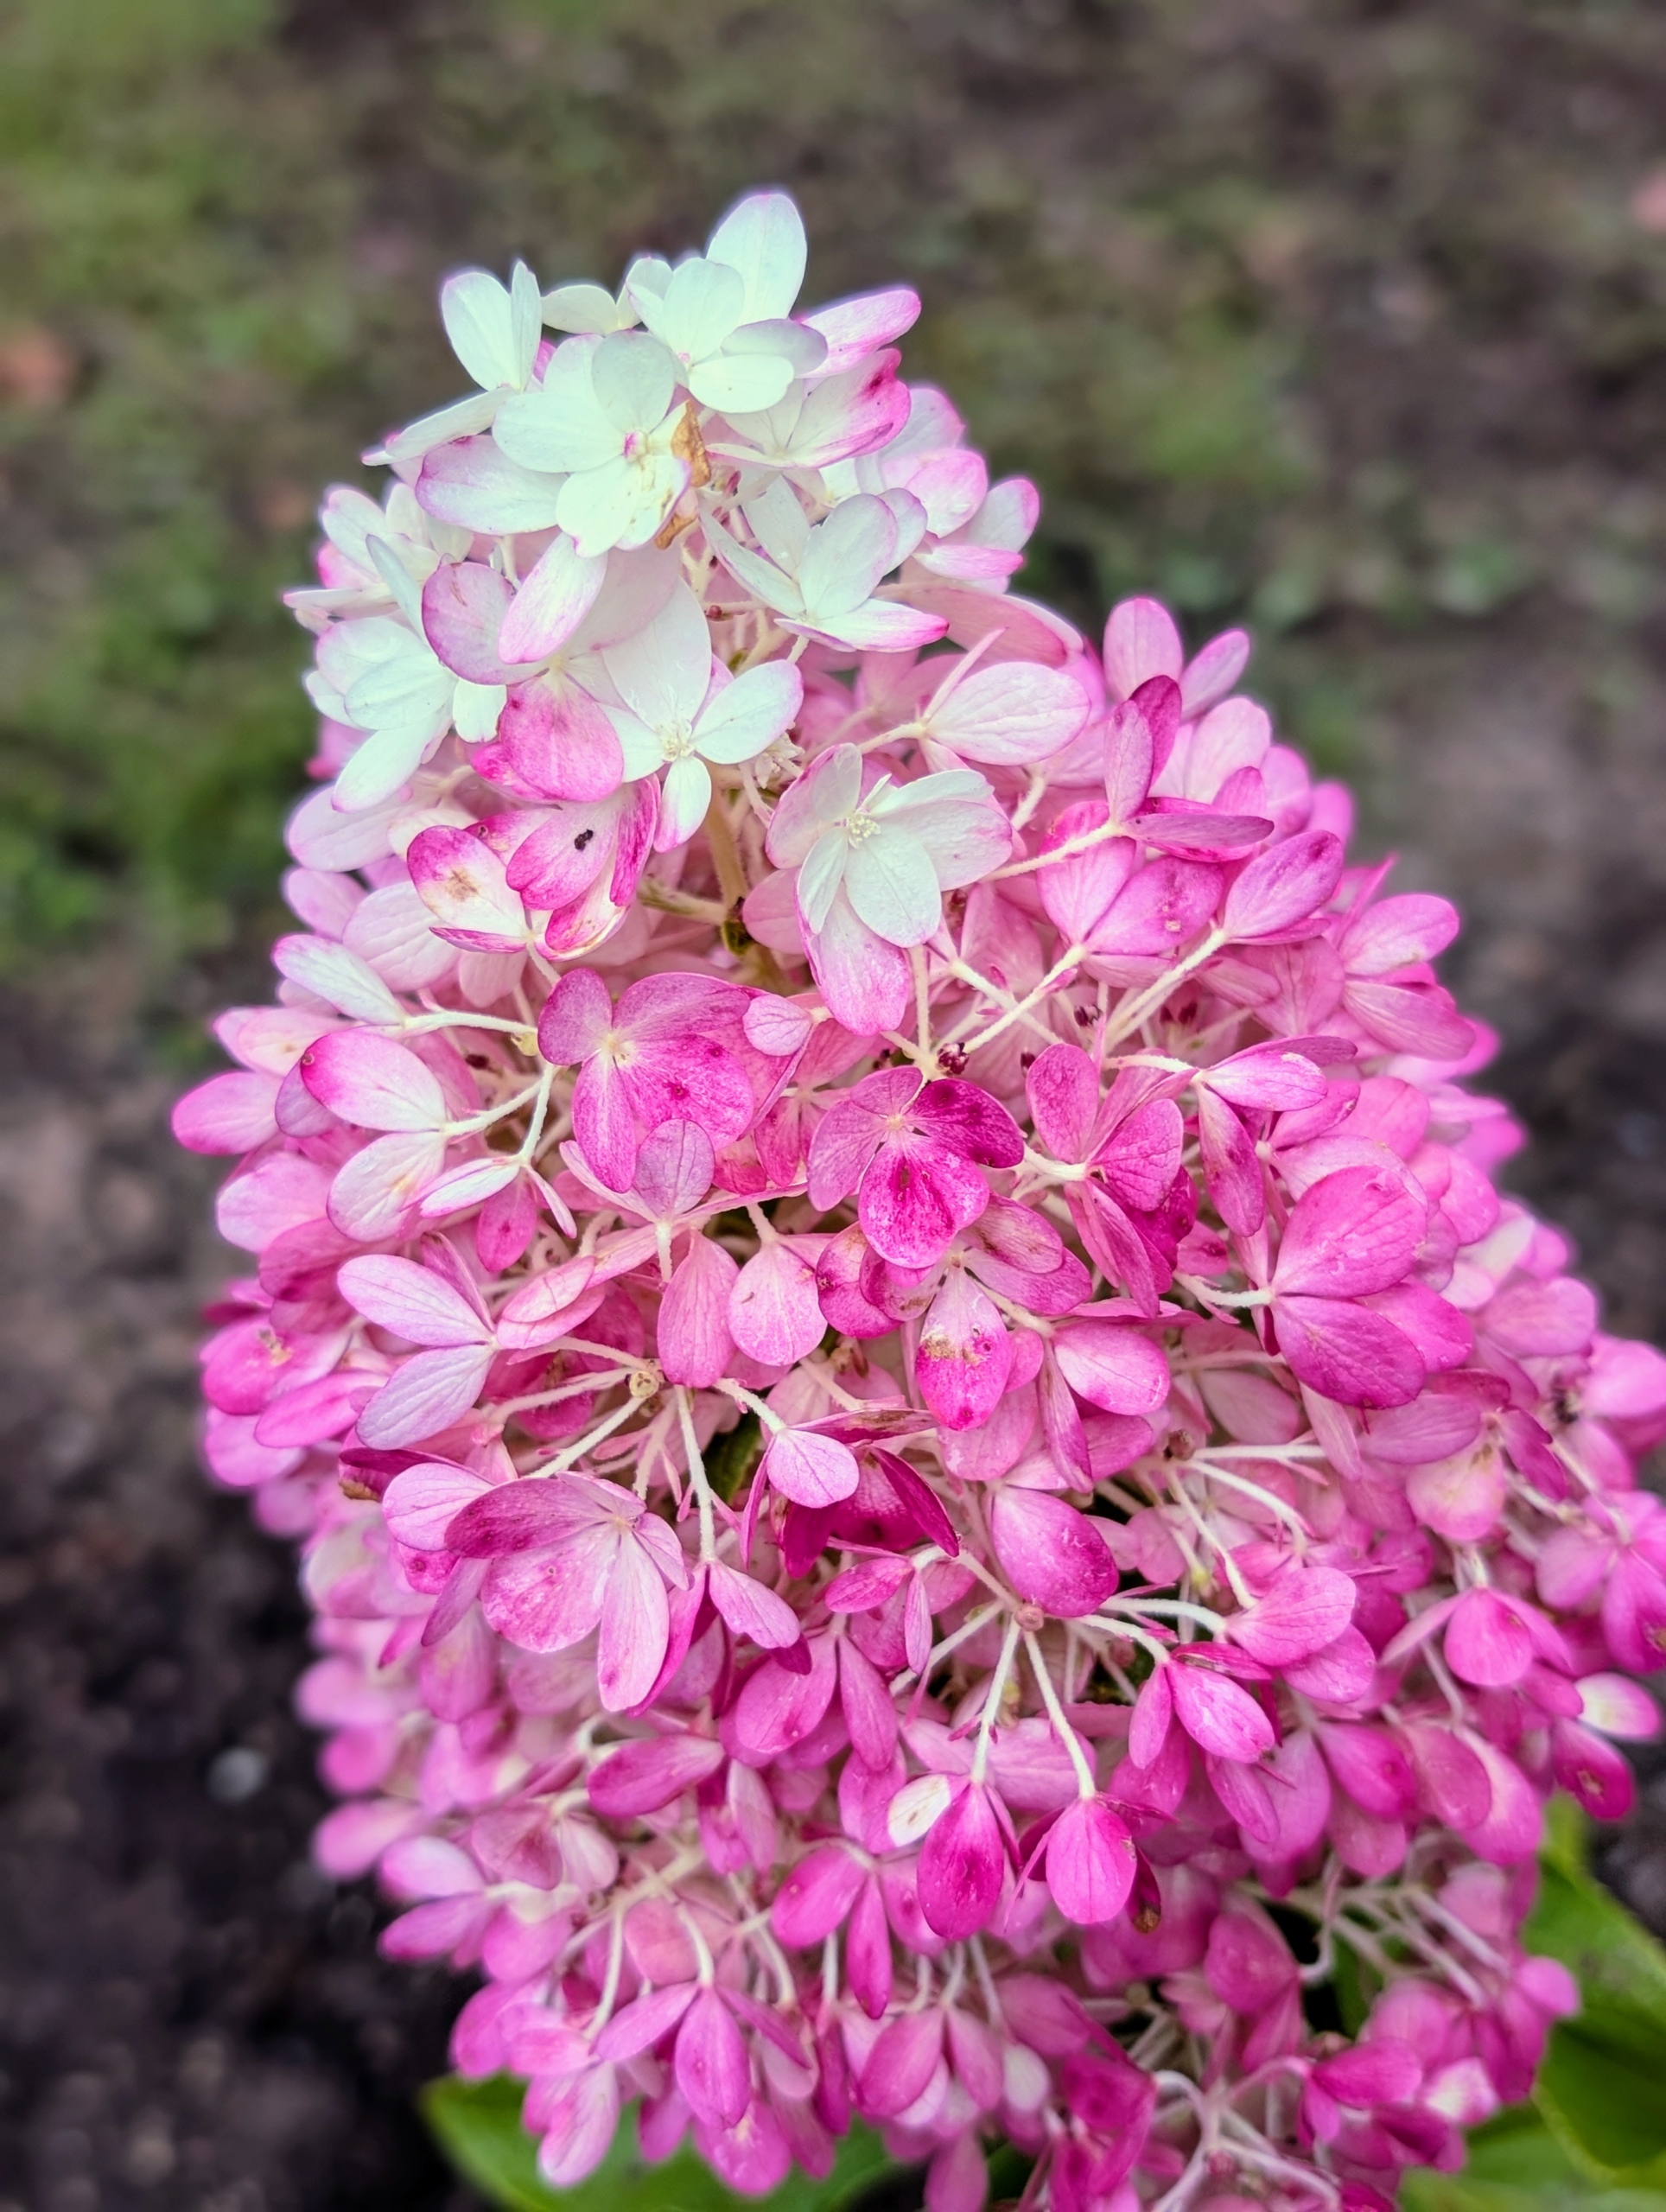
Here’s a closer look at a panicle bloom which contains both light and dark pink.
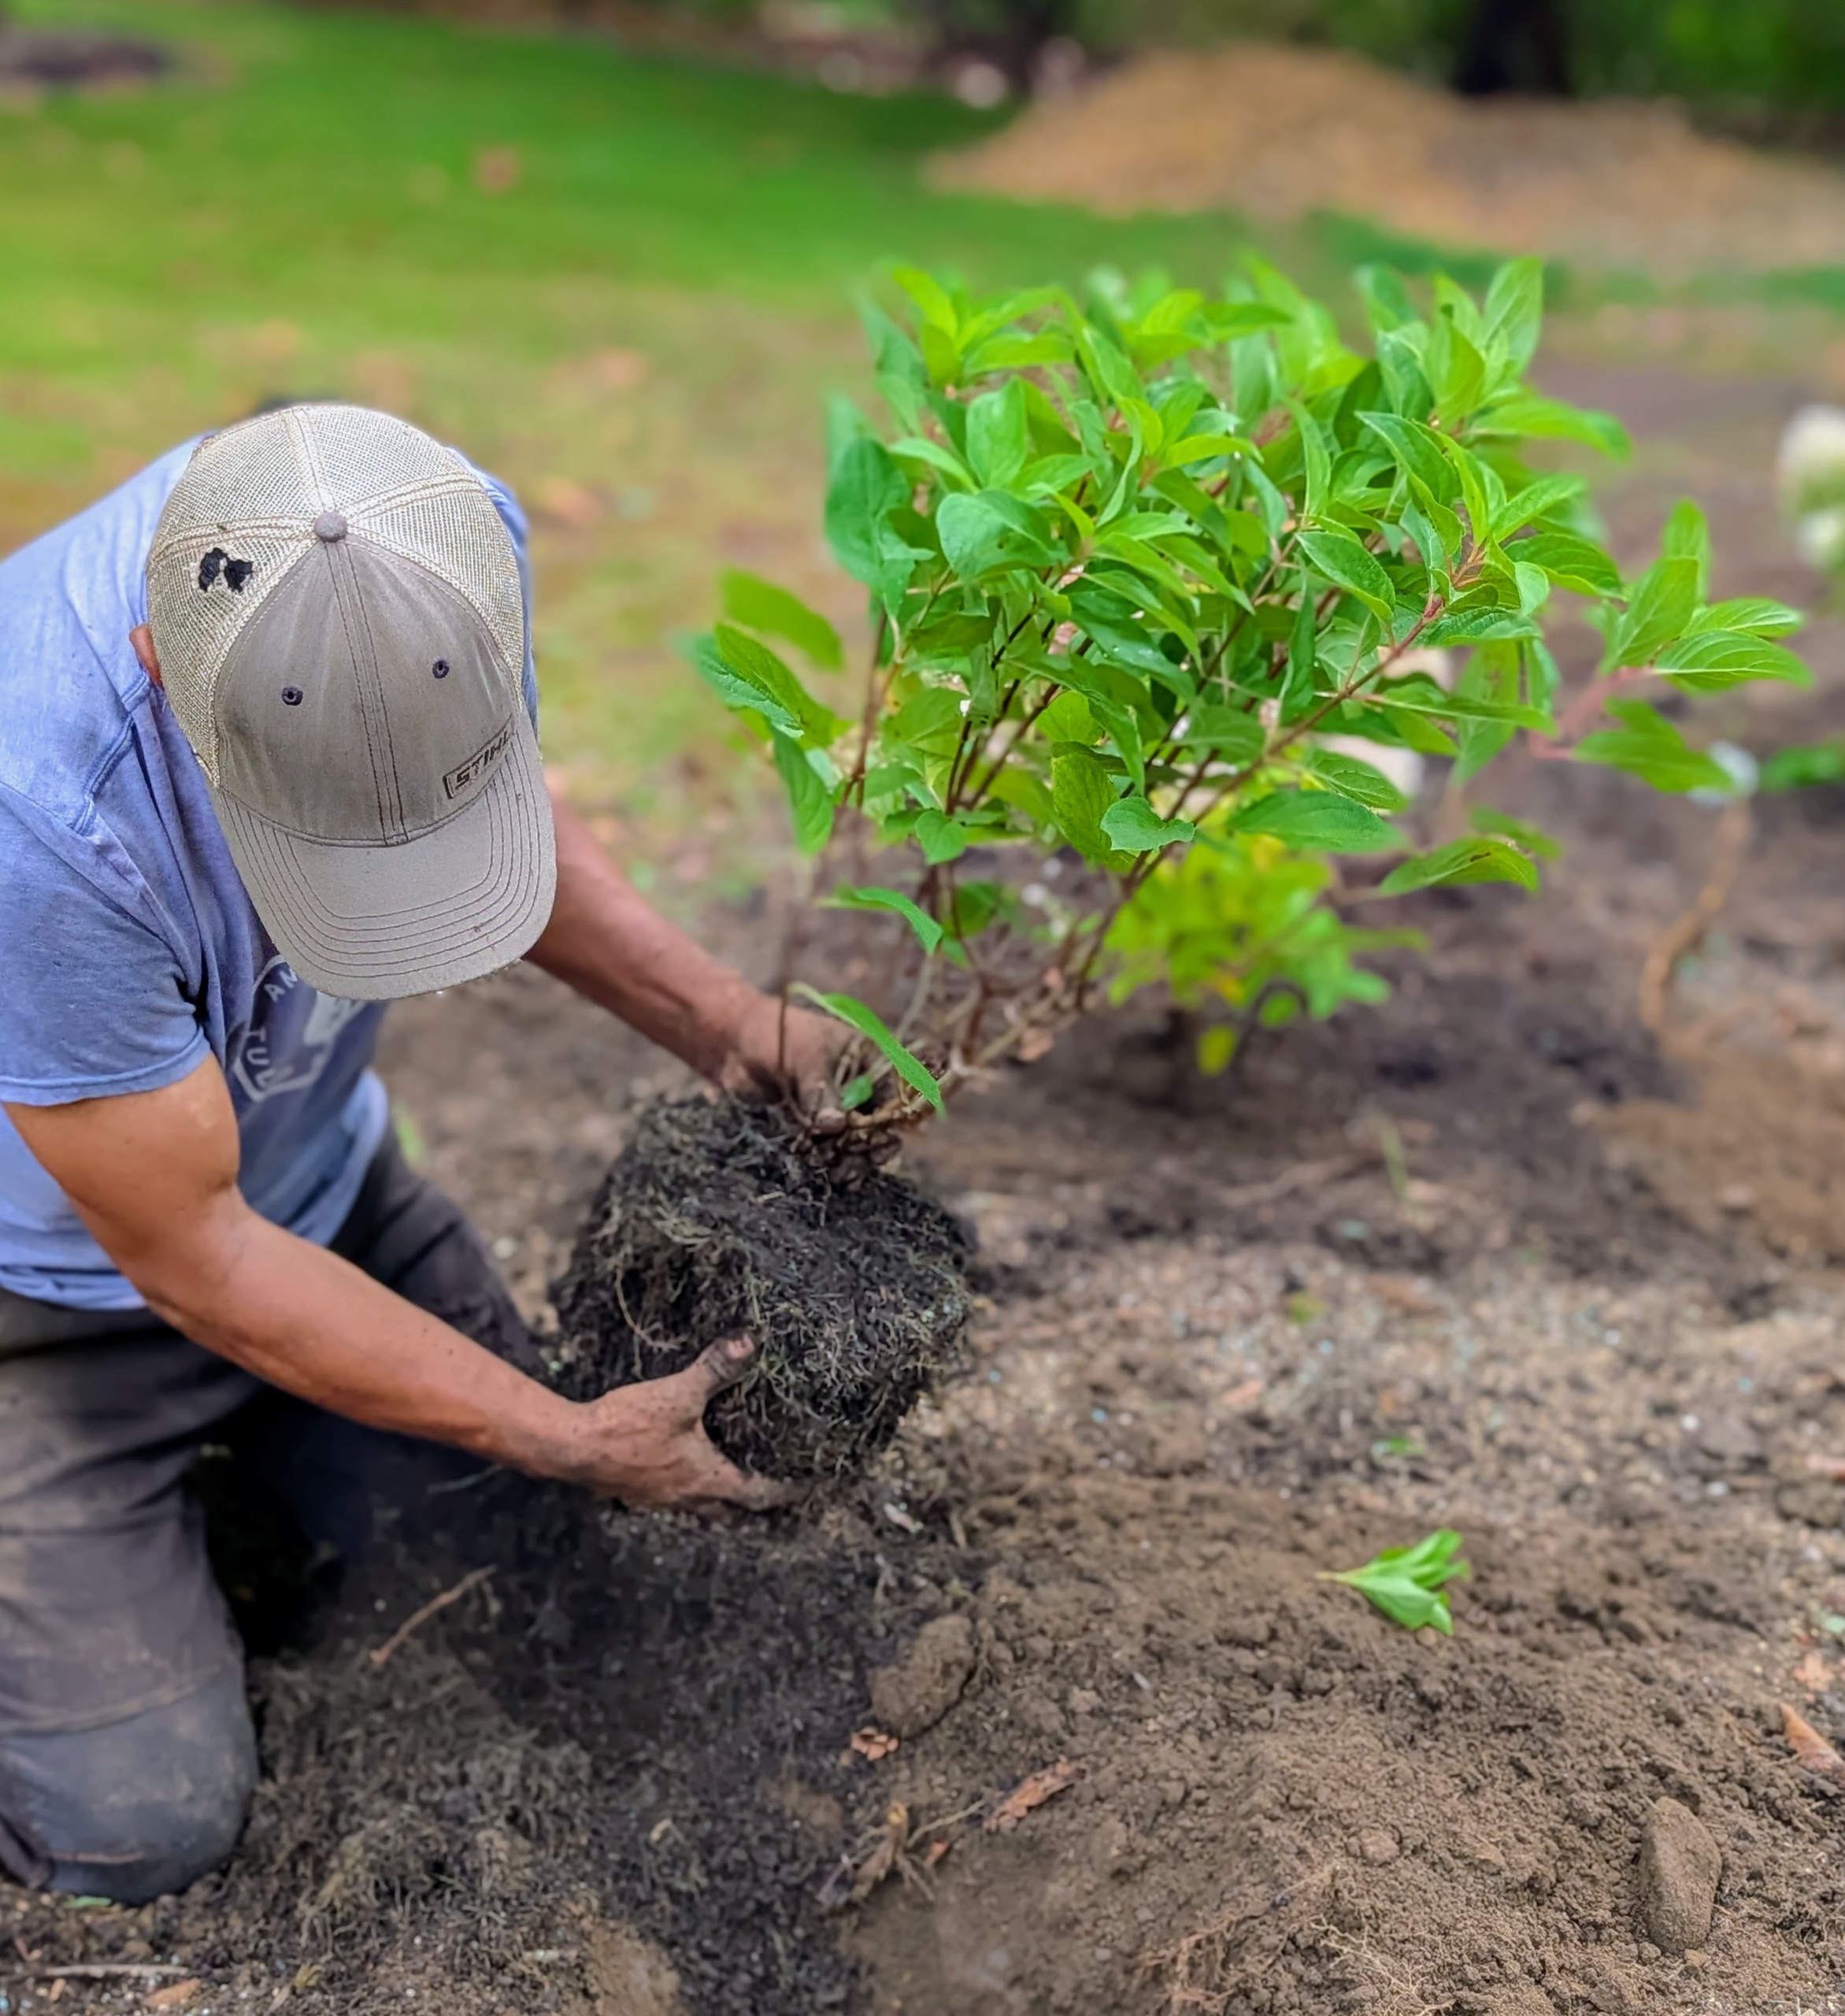
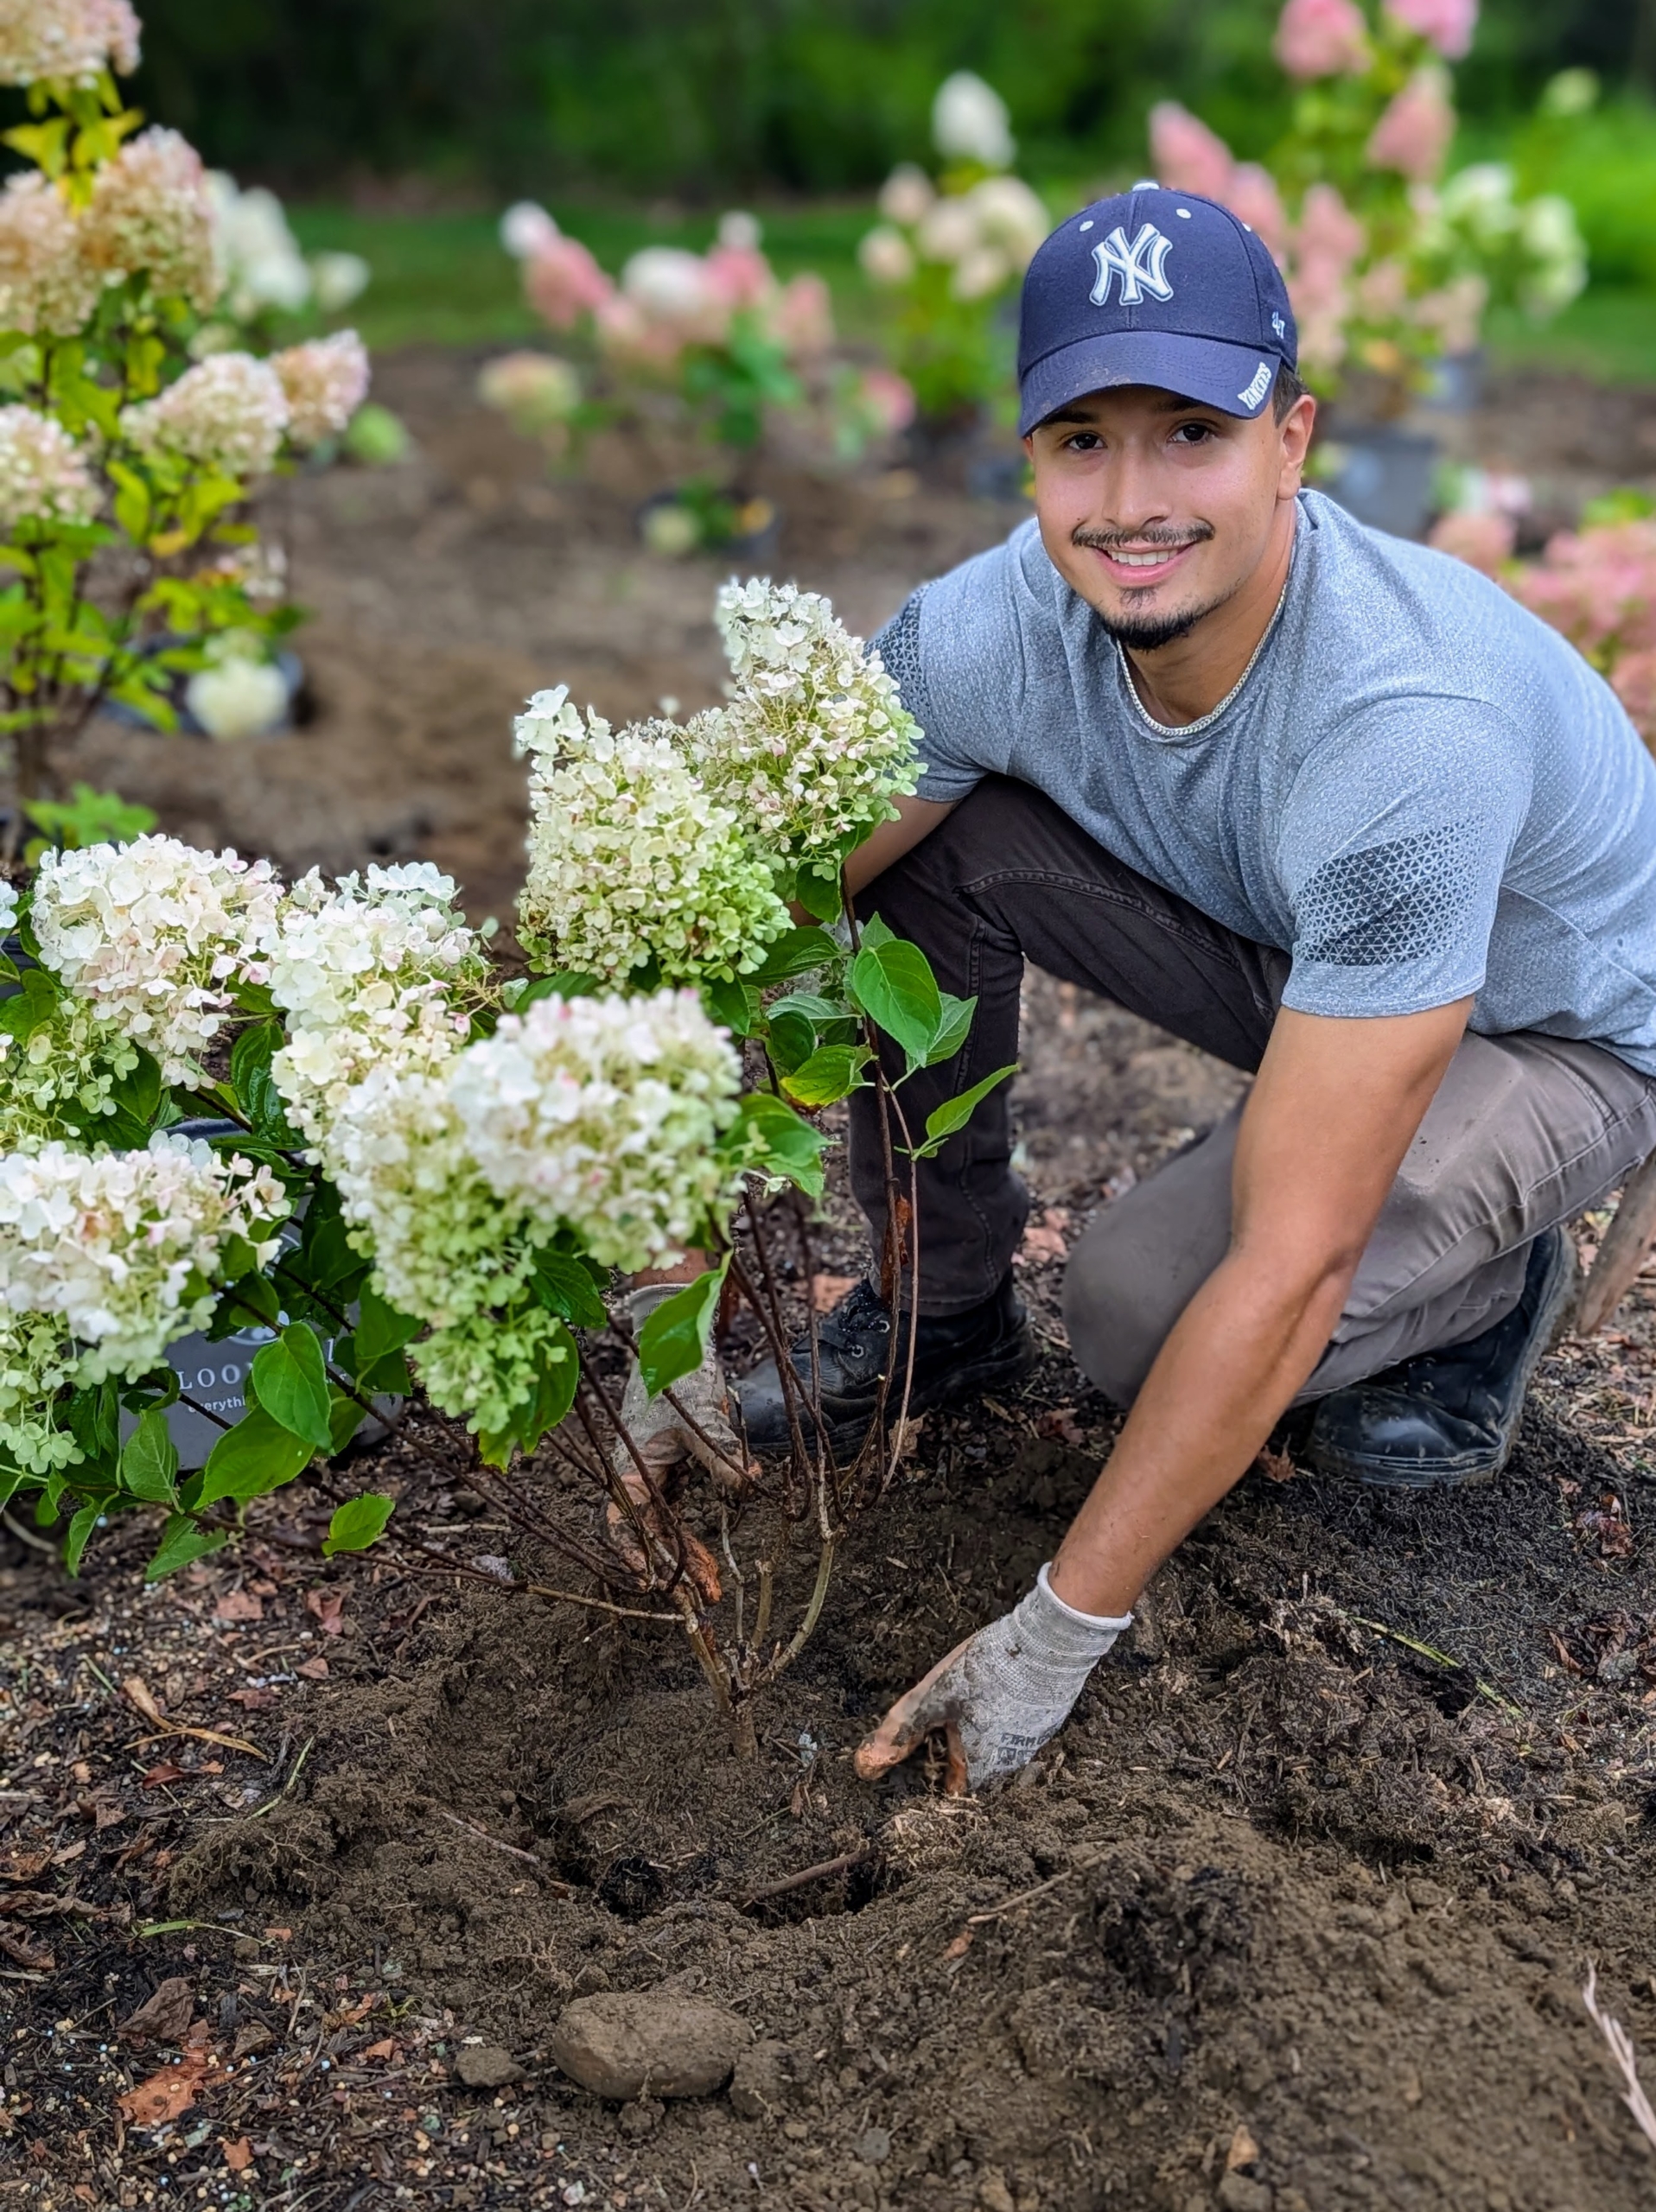
Ryan focuses on placing the plants in the bed. As with all new plants, the potted hydrangeas are carefully positioned where they will be planted to ensure good spacing and arrangement. Hydrangeas should be at least four feet apart when planted in groups.
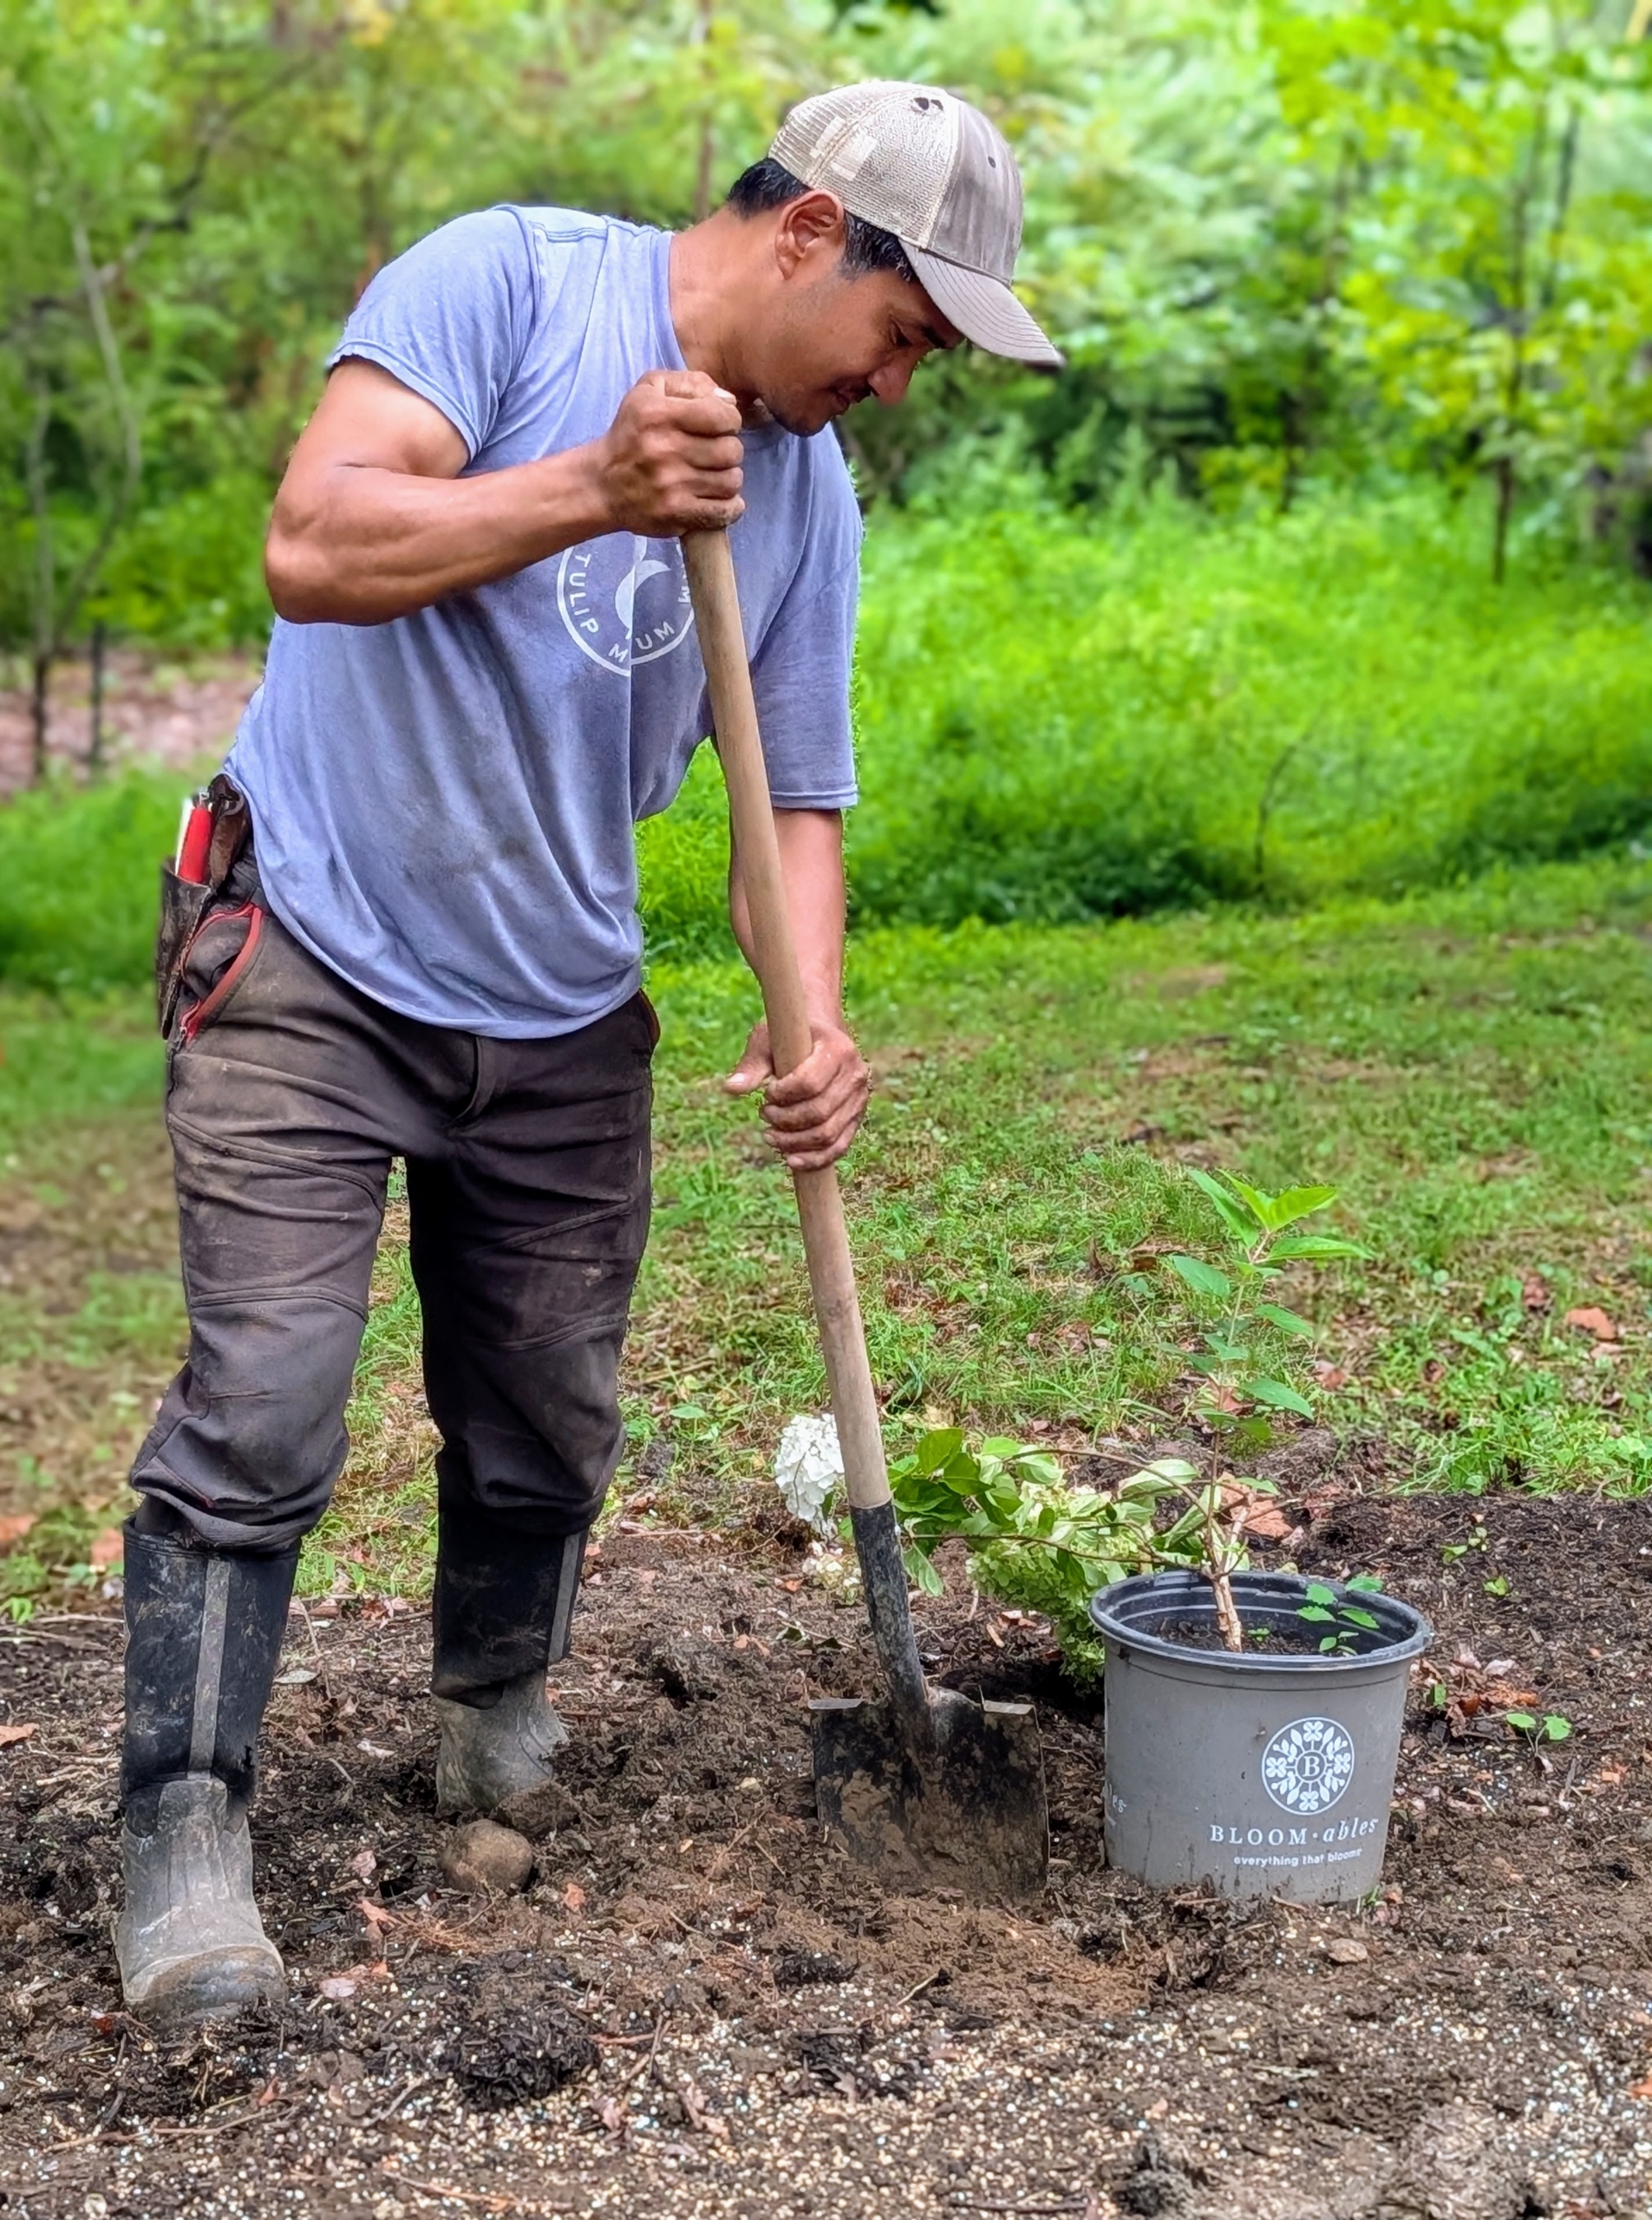
It was all hands on deck to get the 90 hydrangeas planted before lunch. Here’s Pasang digging one of the holes.
The crew works in a production line process. The holes are dug first before any planting begins. Placing the plants in their designated holes also helps to keep track of the holes dug.
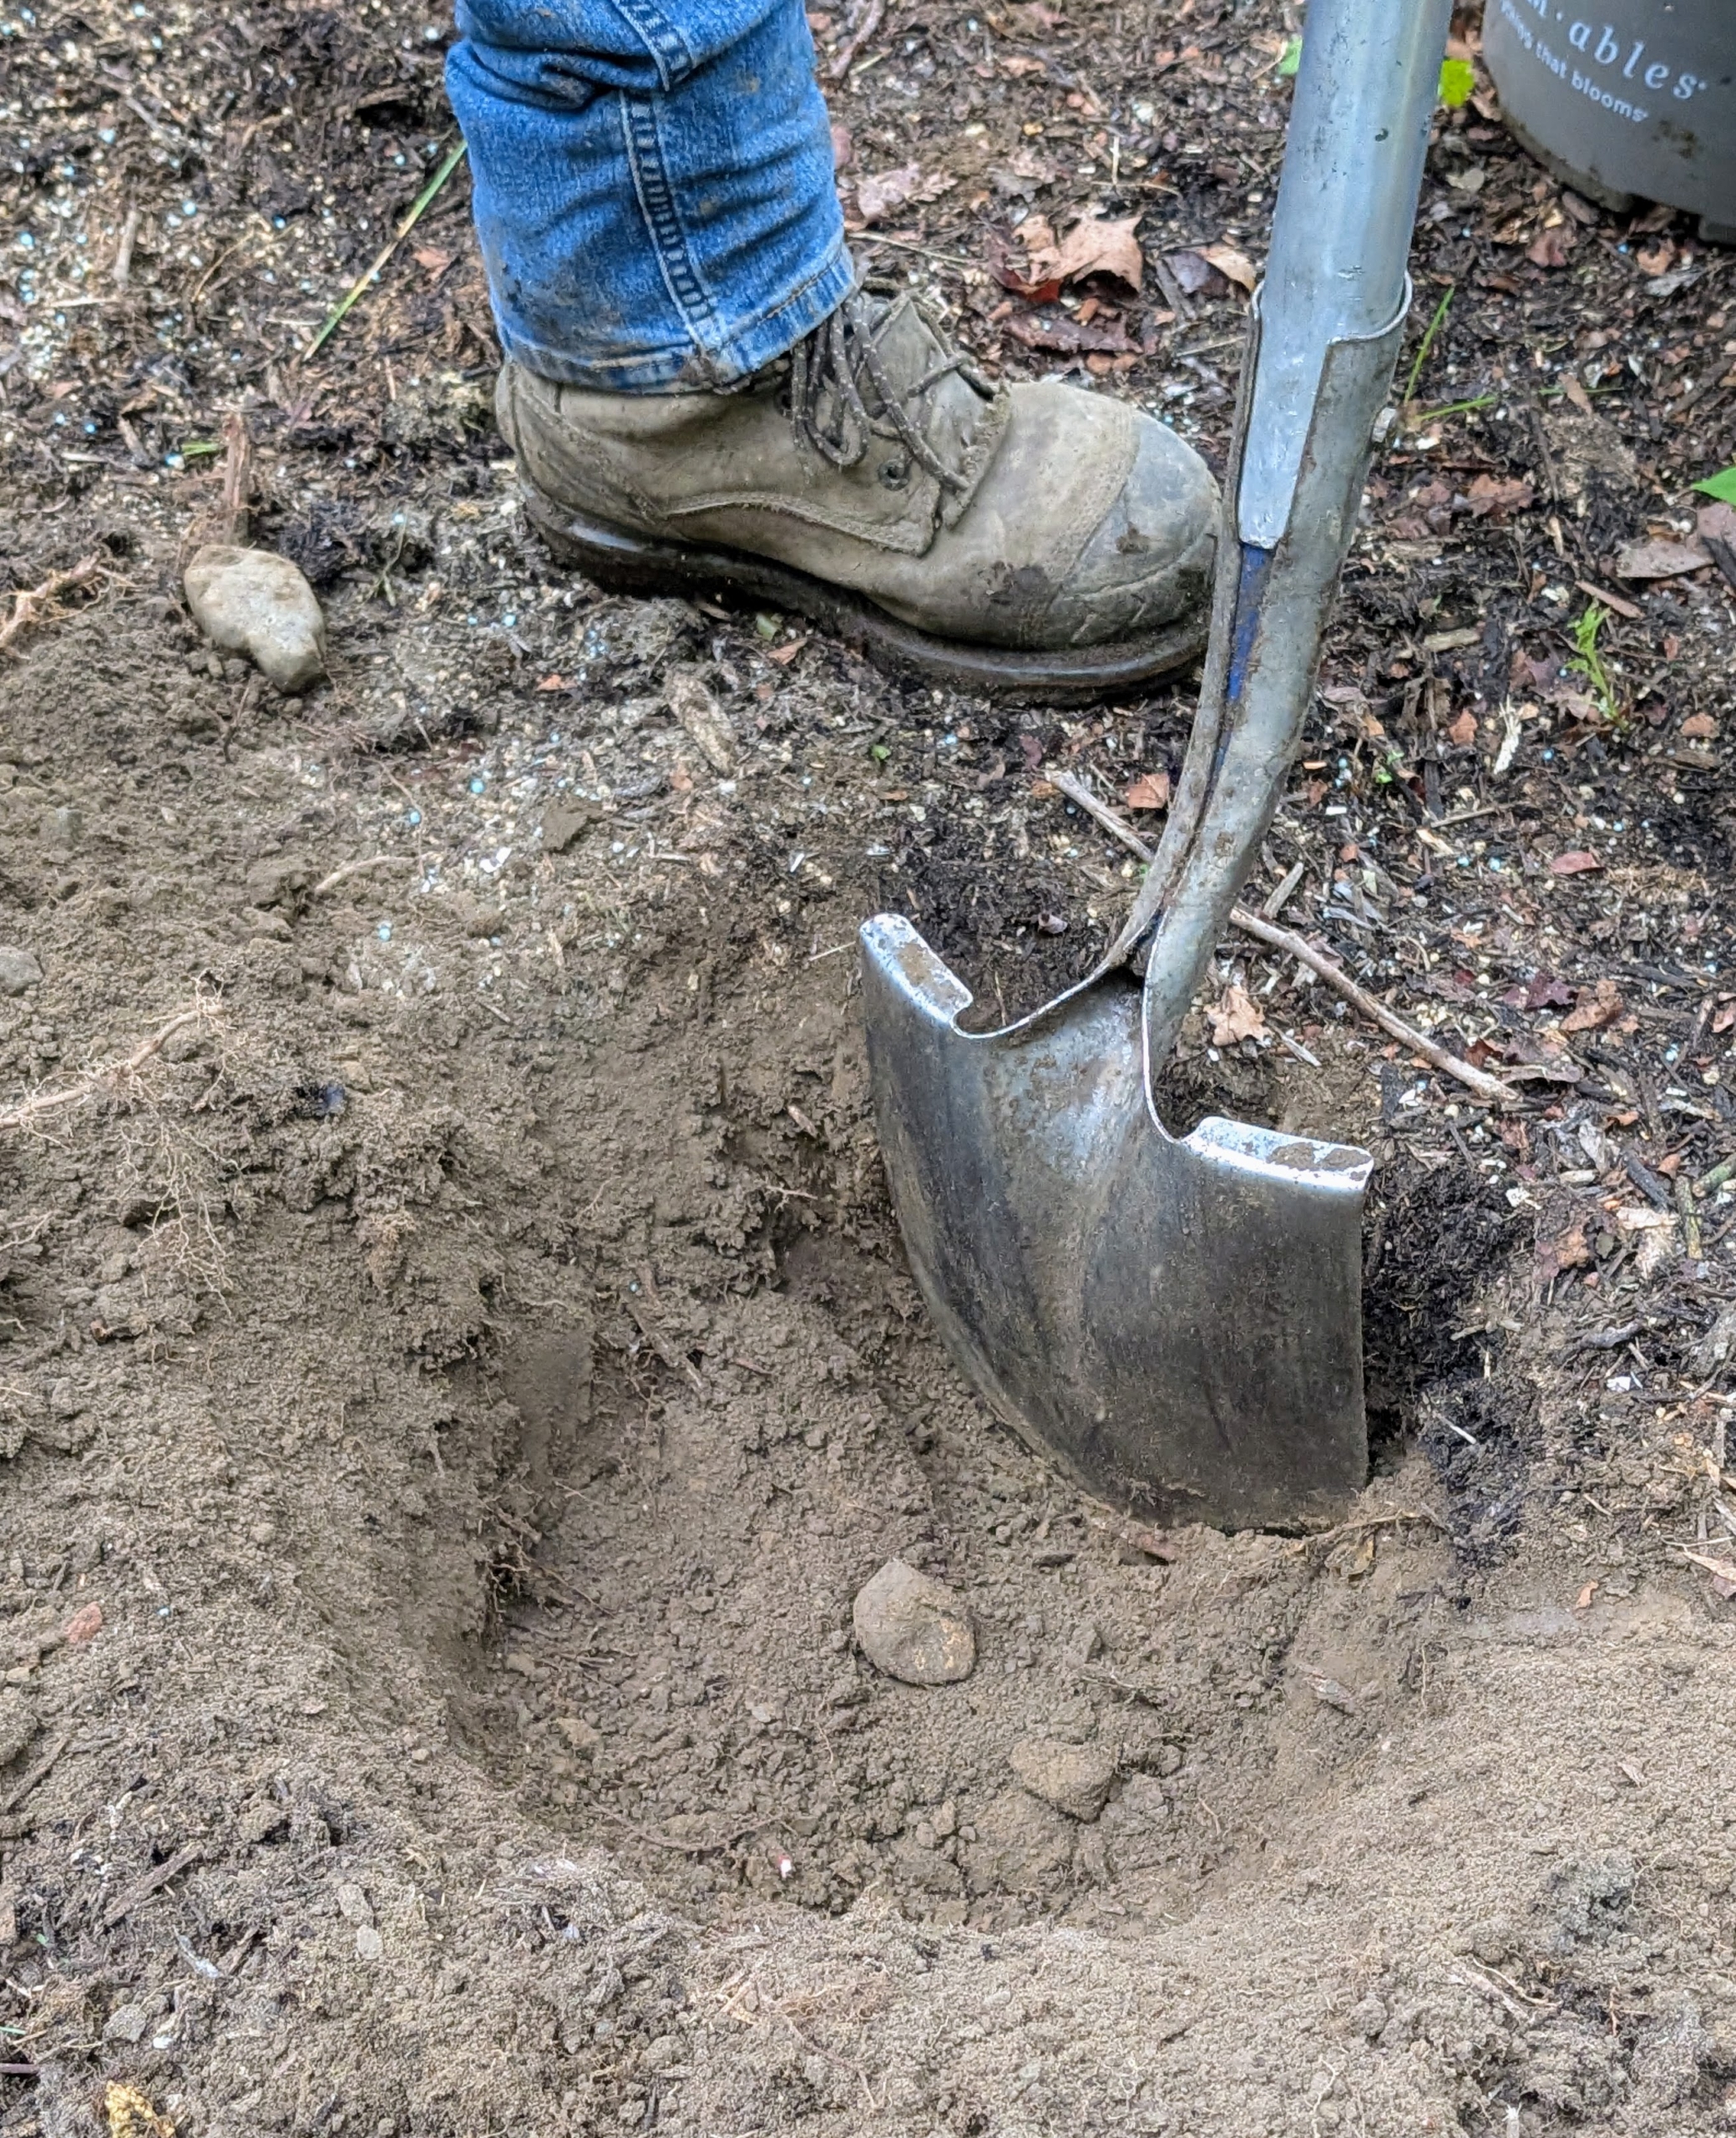
Each hole should always be twice as wide as the plant’s root ball and several inches deeper than the original pot. This ensures that the roots have enough room to grow and spread properly.
Fertilizer is sprinkled generously inside the hole and on the surrounding soil. I use Miracle-Gro fertilizers that help with transplant survival, increase water and nutrient absorption, and encourage vigorous root growth and lush foliage. Ryan also sprinkles fertilizer around the entire bed.
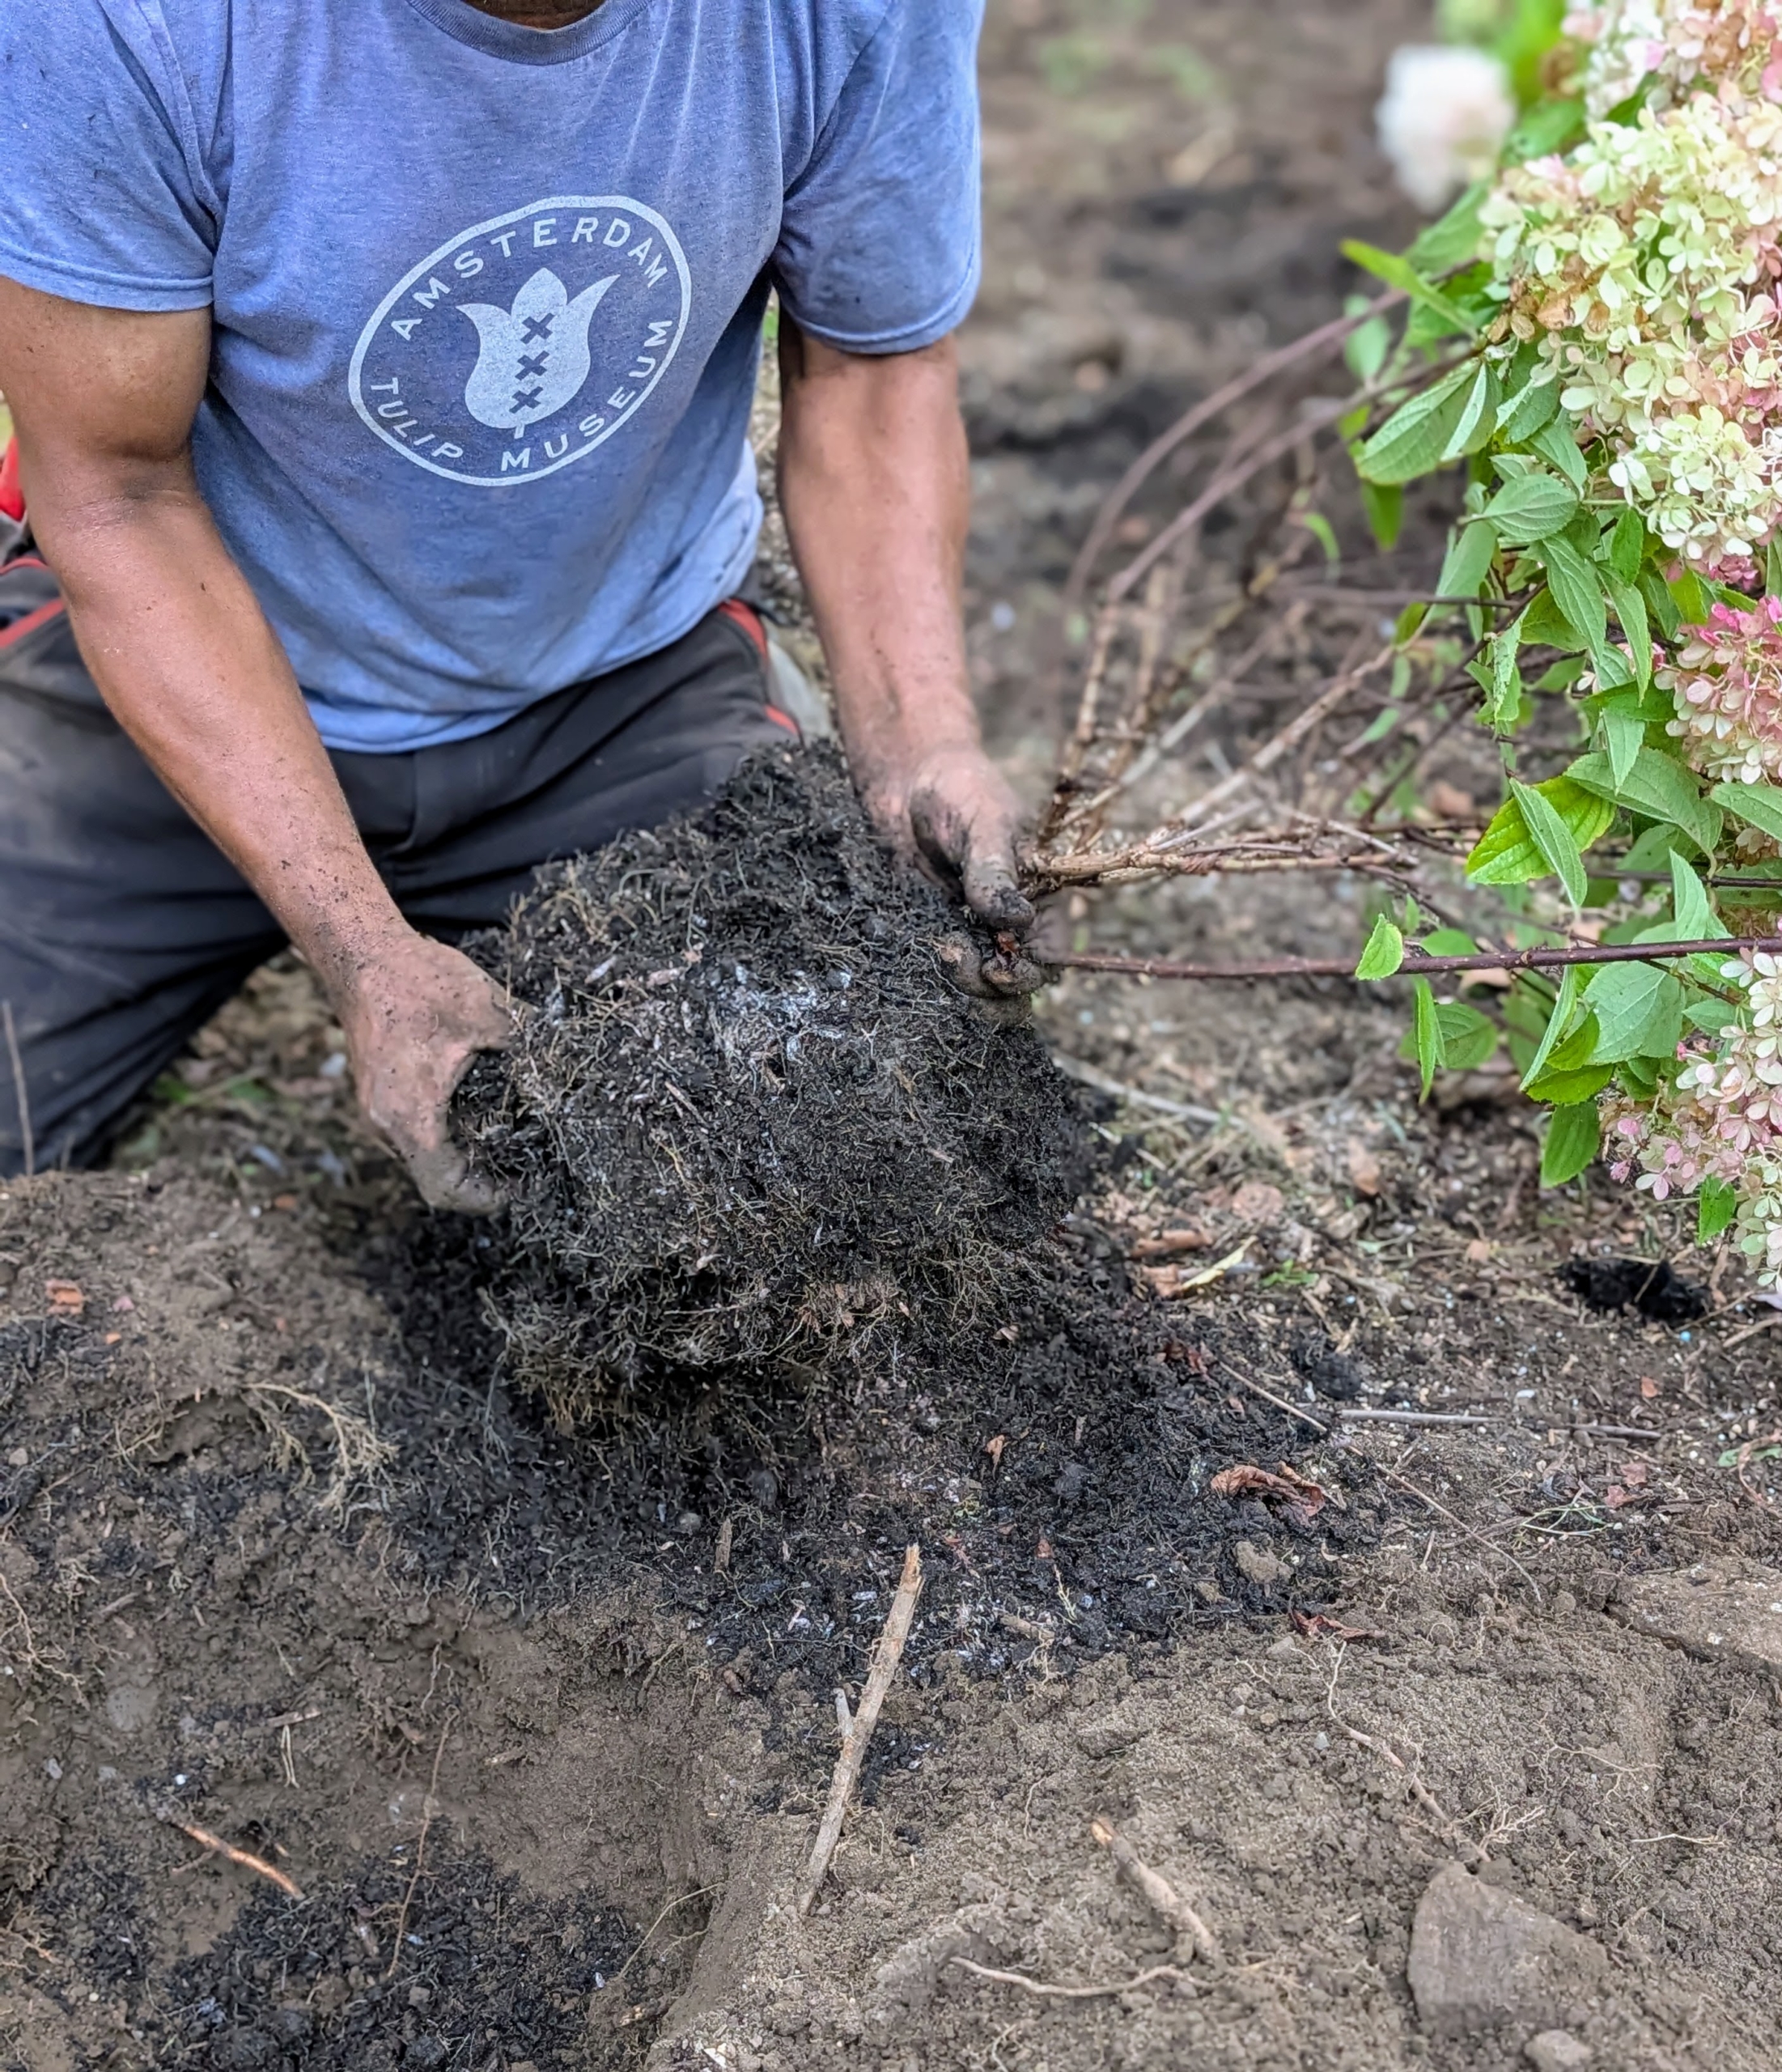
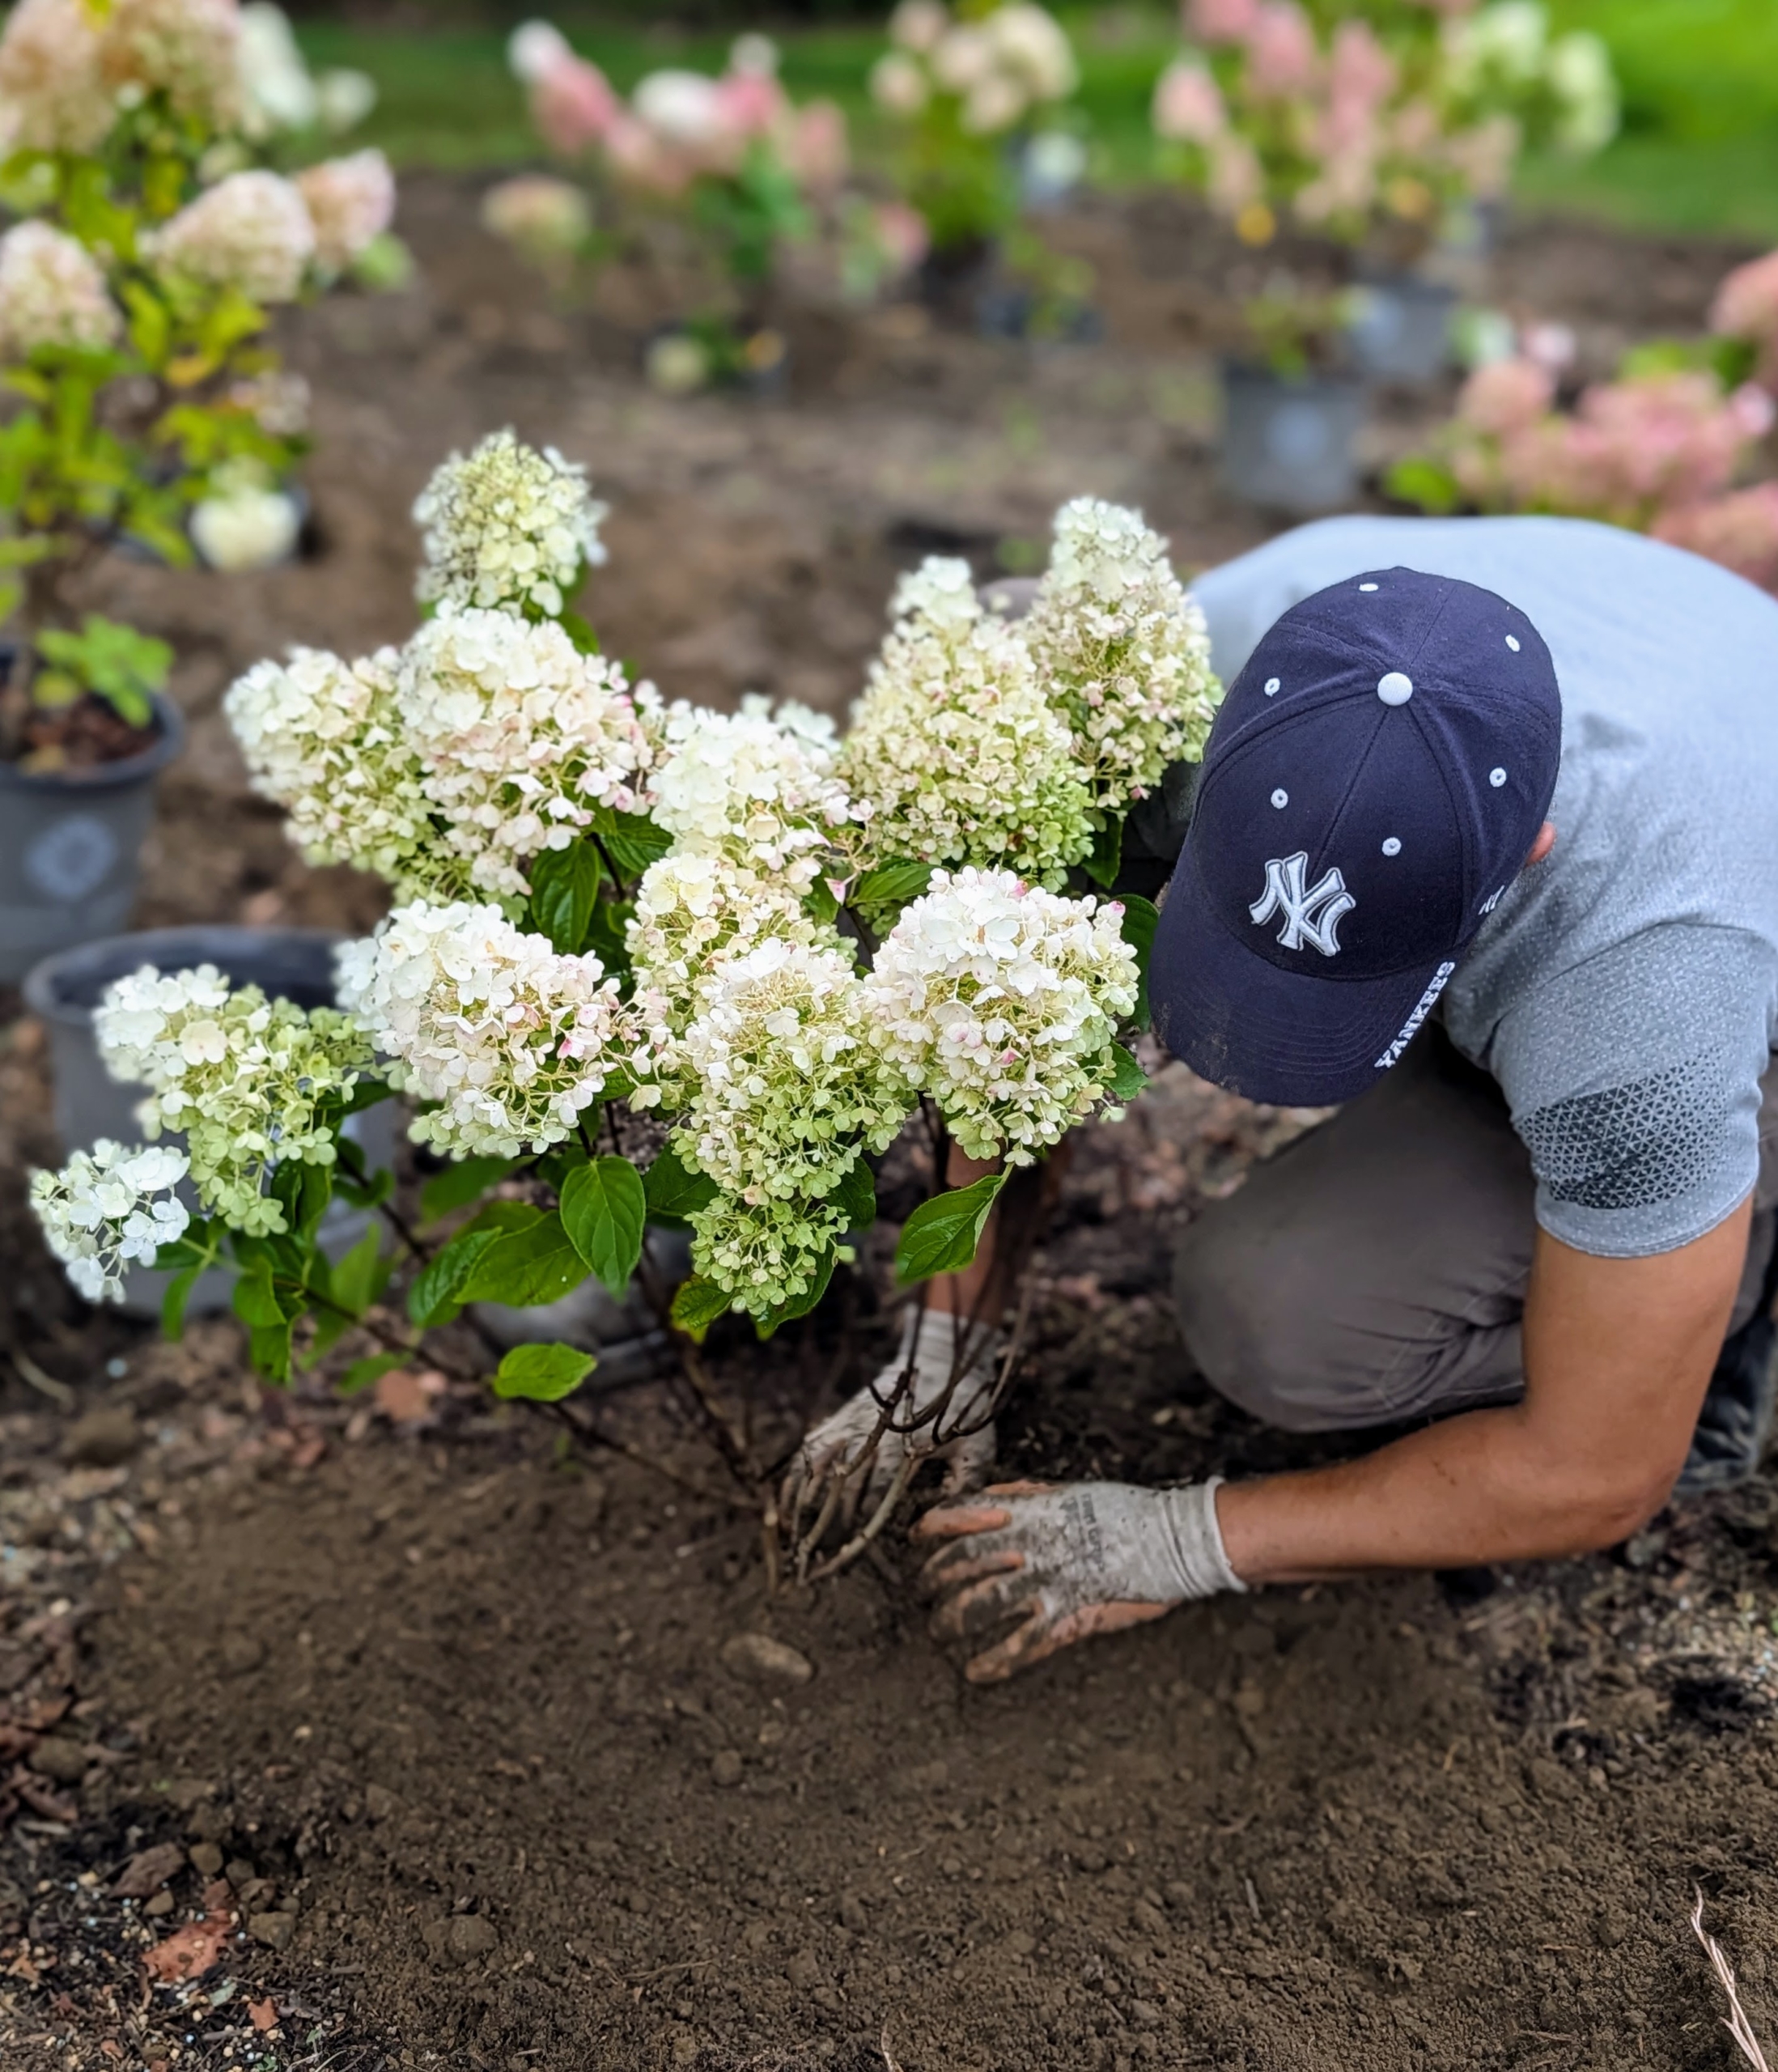
Pasang uses his hands to scarify the root ball and stimulate growth. Since these were just potted last spring, the root ball soil is still soft and easy to break up.
Hydrangeas have a fibrous root system, which means their roots are thin and branch out. The roots allow the plants to absorb water and nutrients from the top layers of soil.
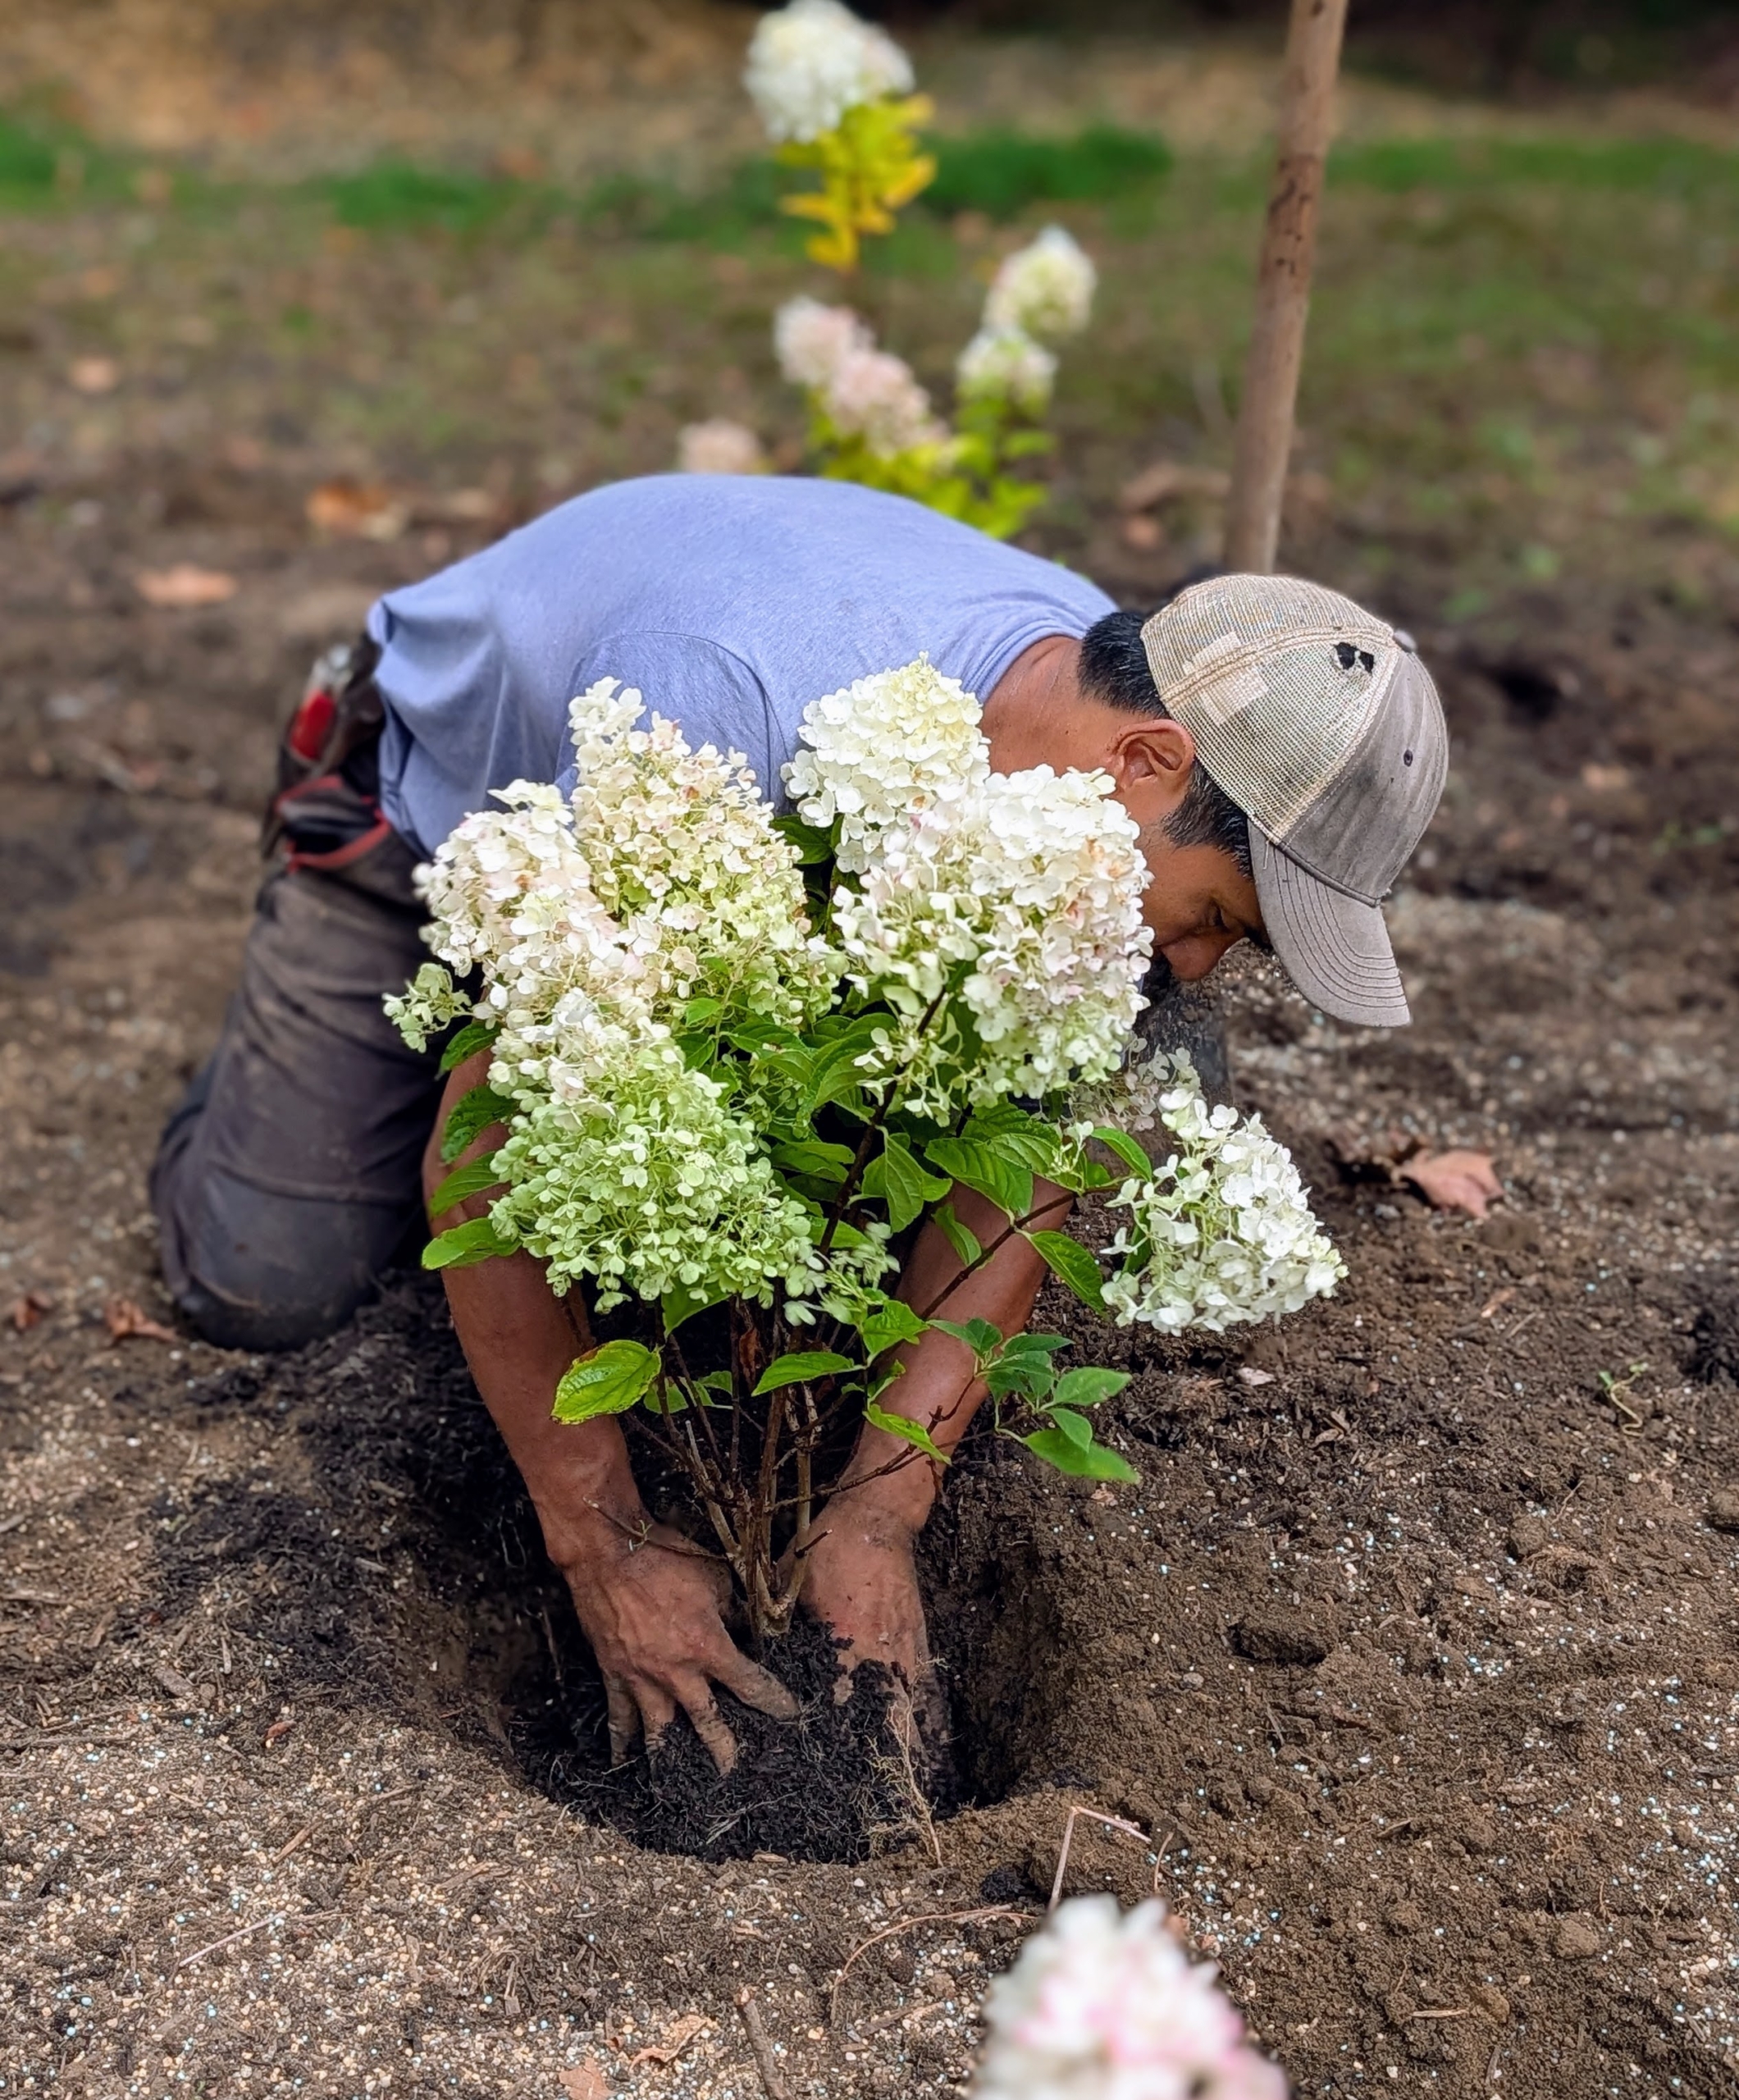
Pasang plants the hydrangea similar to the way it was planted in the pot. Planting them too deep can bury the stems, which can promote root rot.
Nearby, Matthew plants another. The hole is backfilled with the existing soil as well as new composted soil made right here at my farm.
In the ground, the plant should sit at the same depth it was in the pot. Matthew spreads the soil evenly and tamps lightly at the end to ensure good contact.
Remember, perennials like hydrangeas generally grow slowly the first year, faster the second year, and then reach full size in the third year.
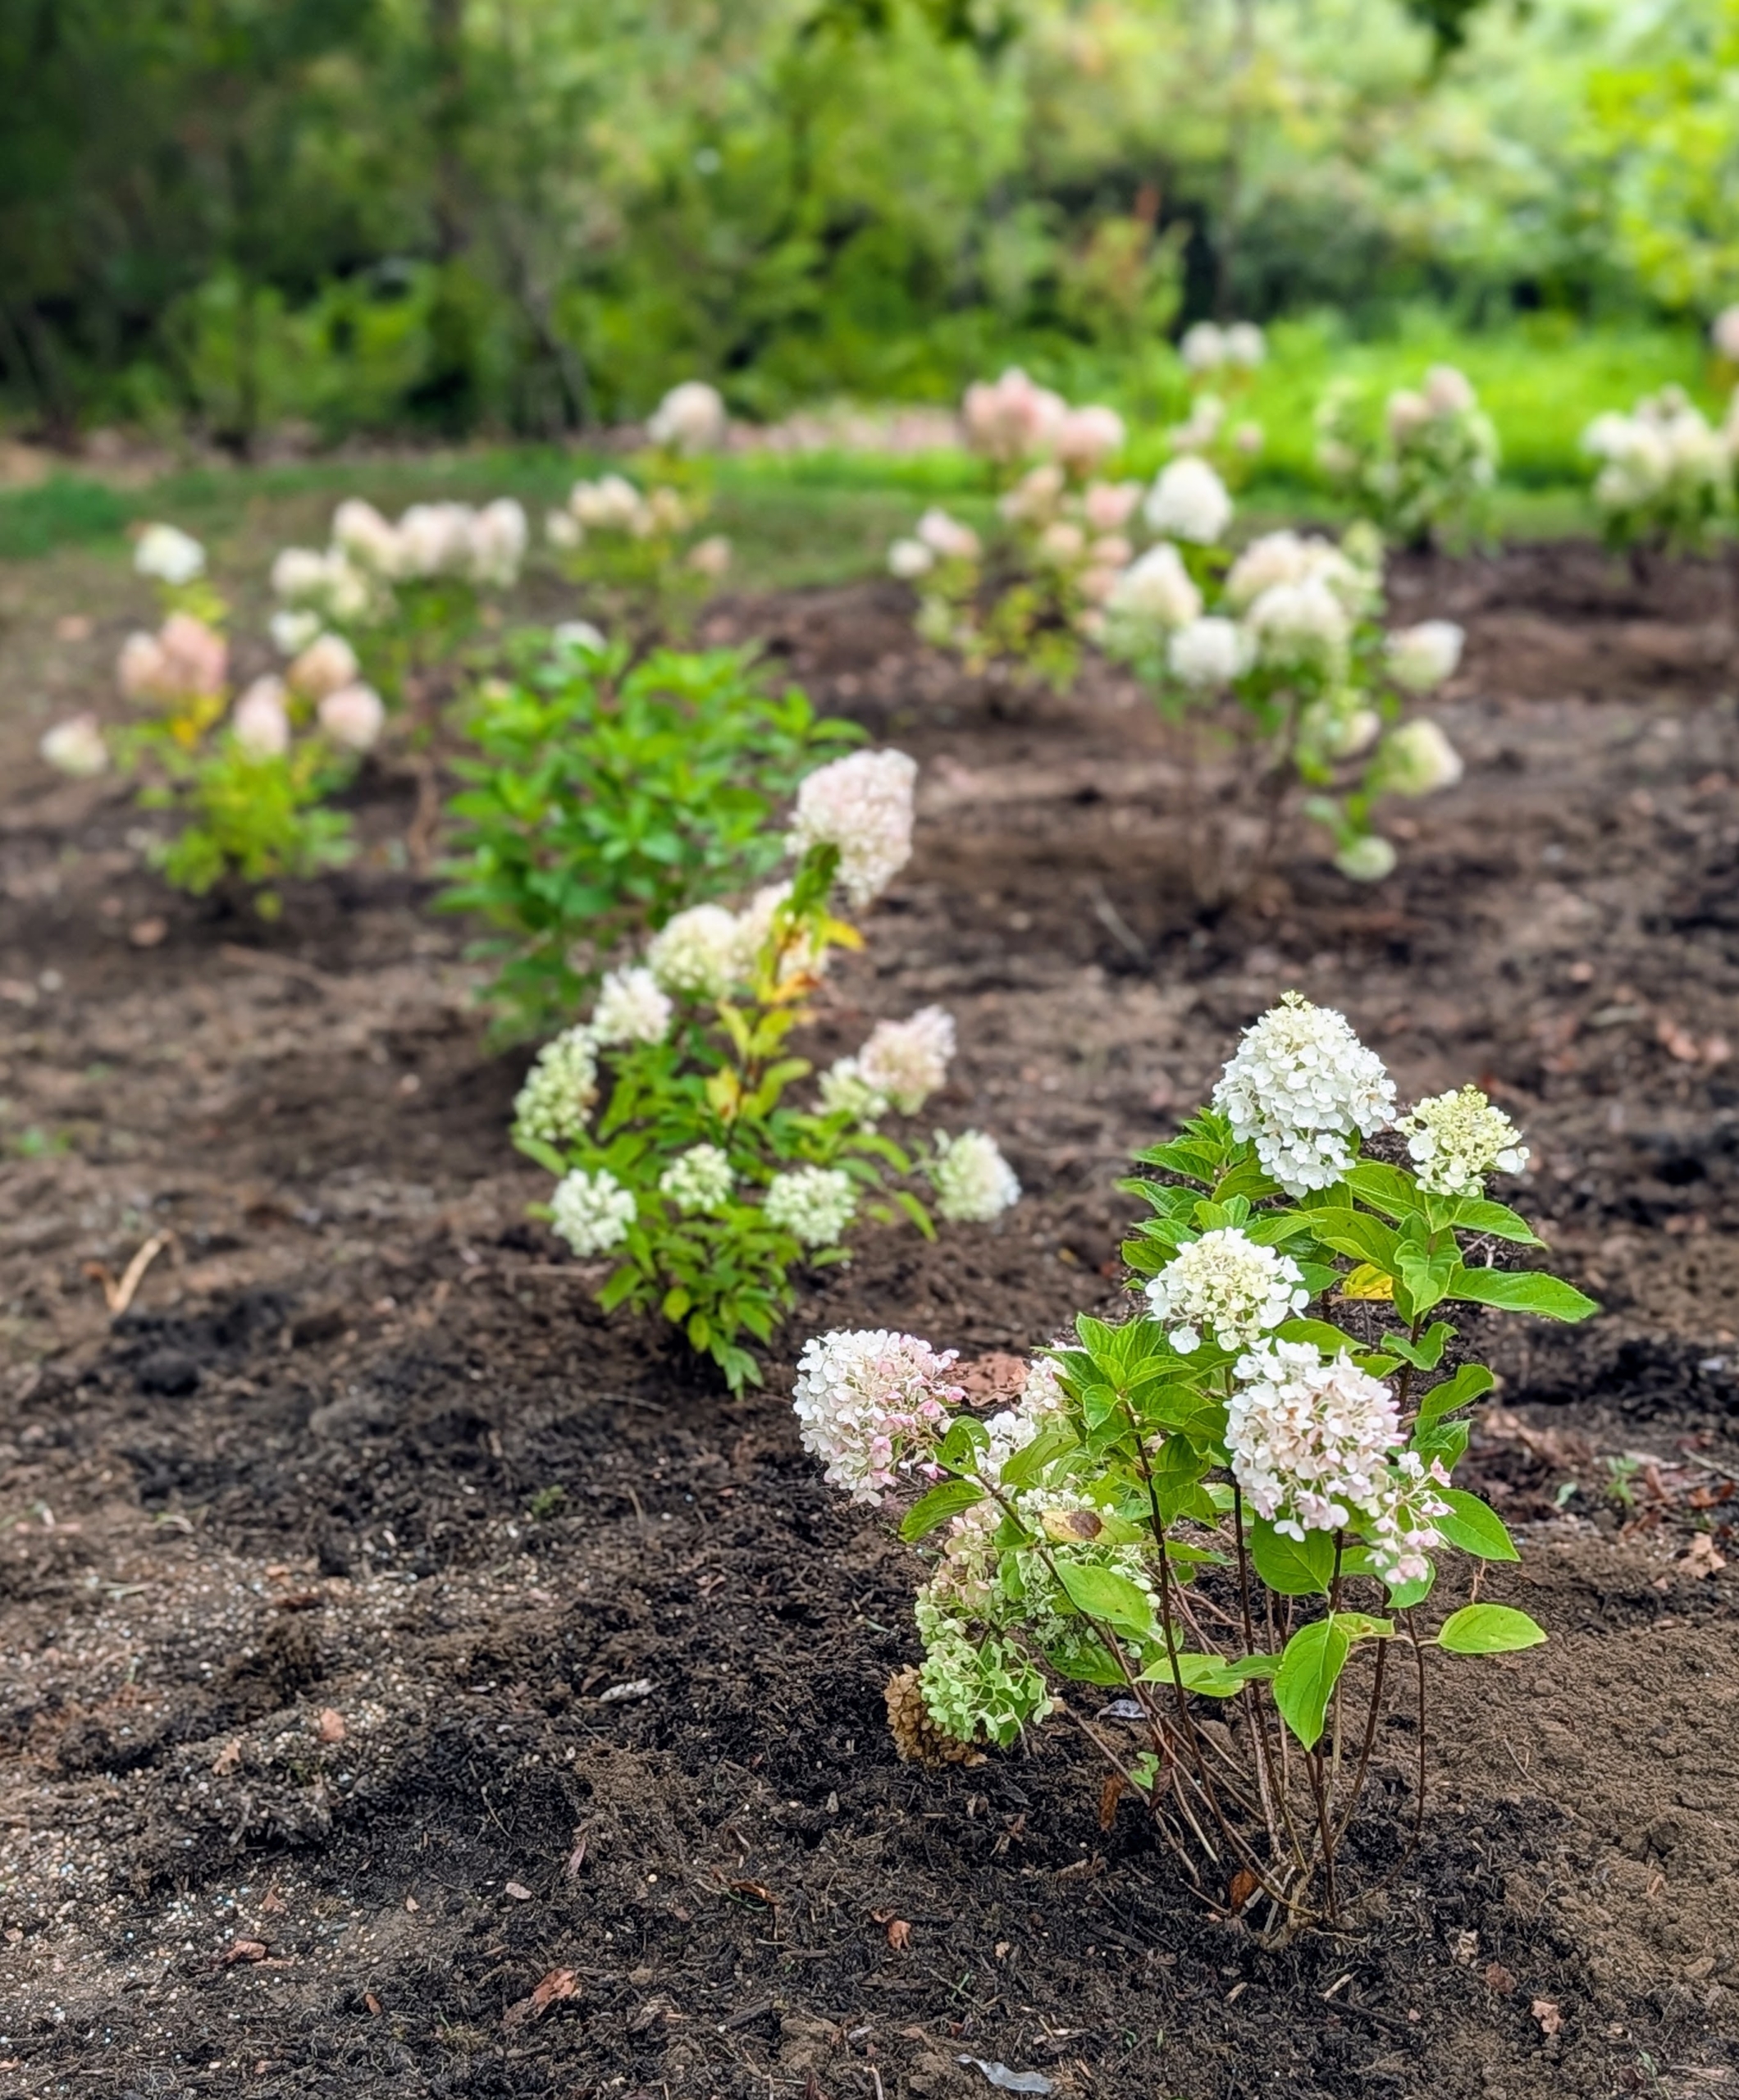
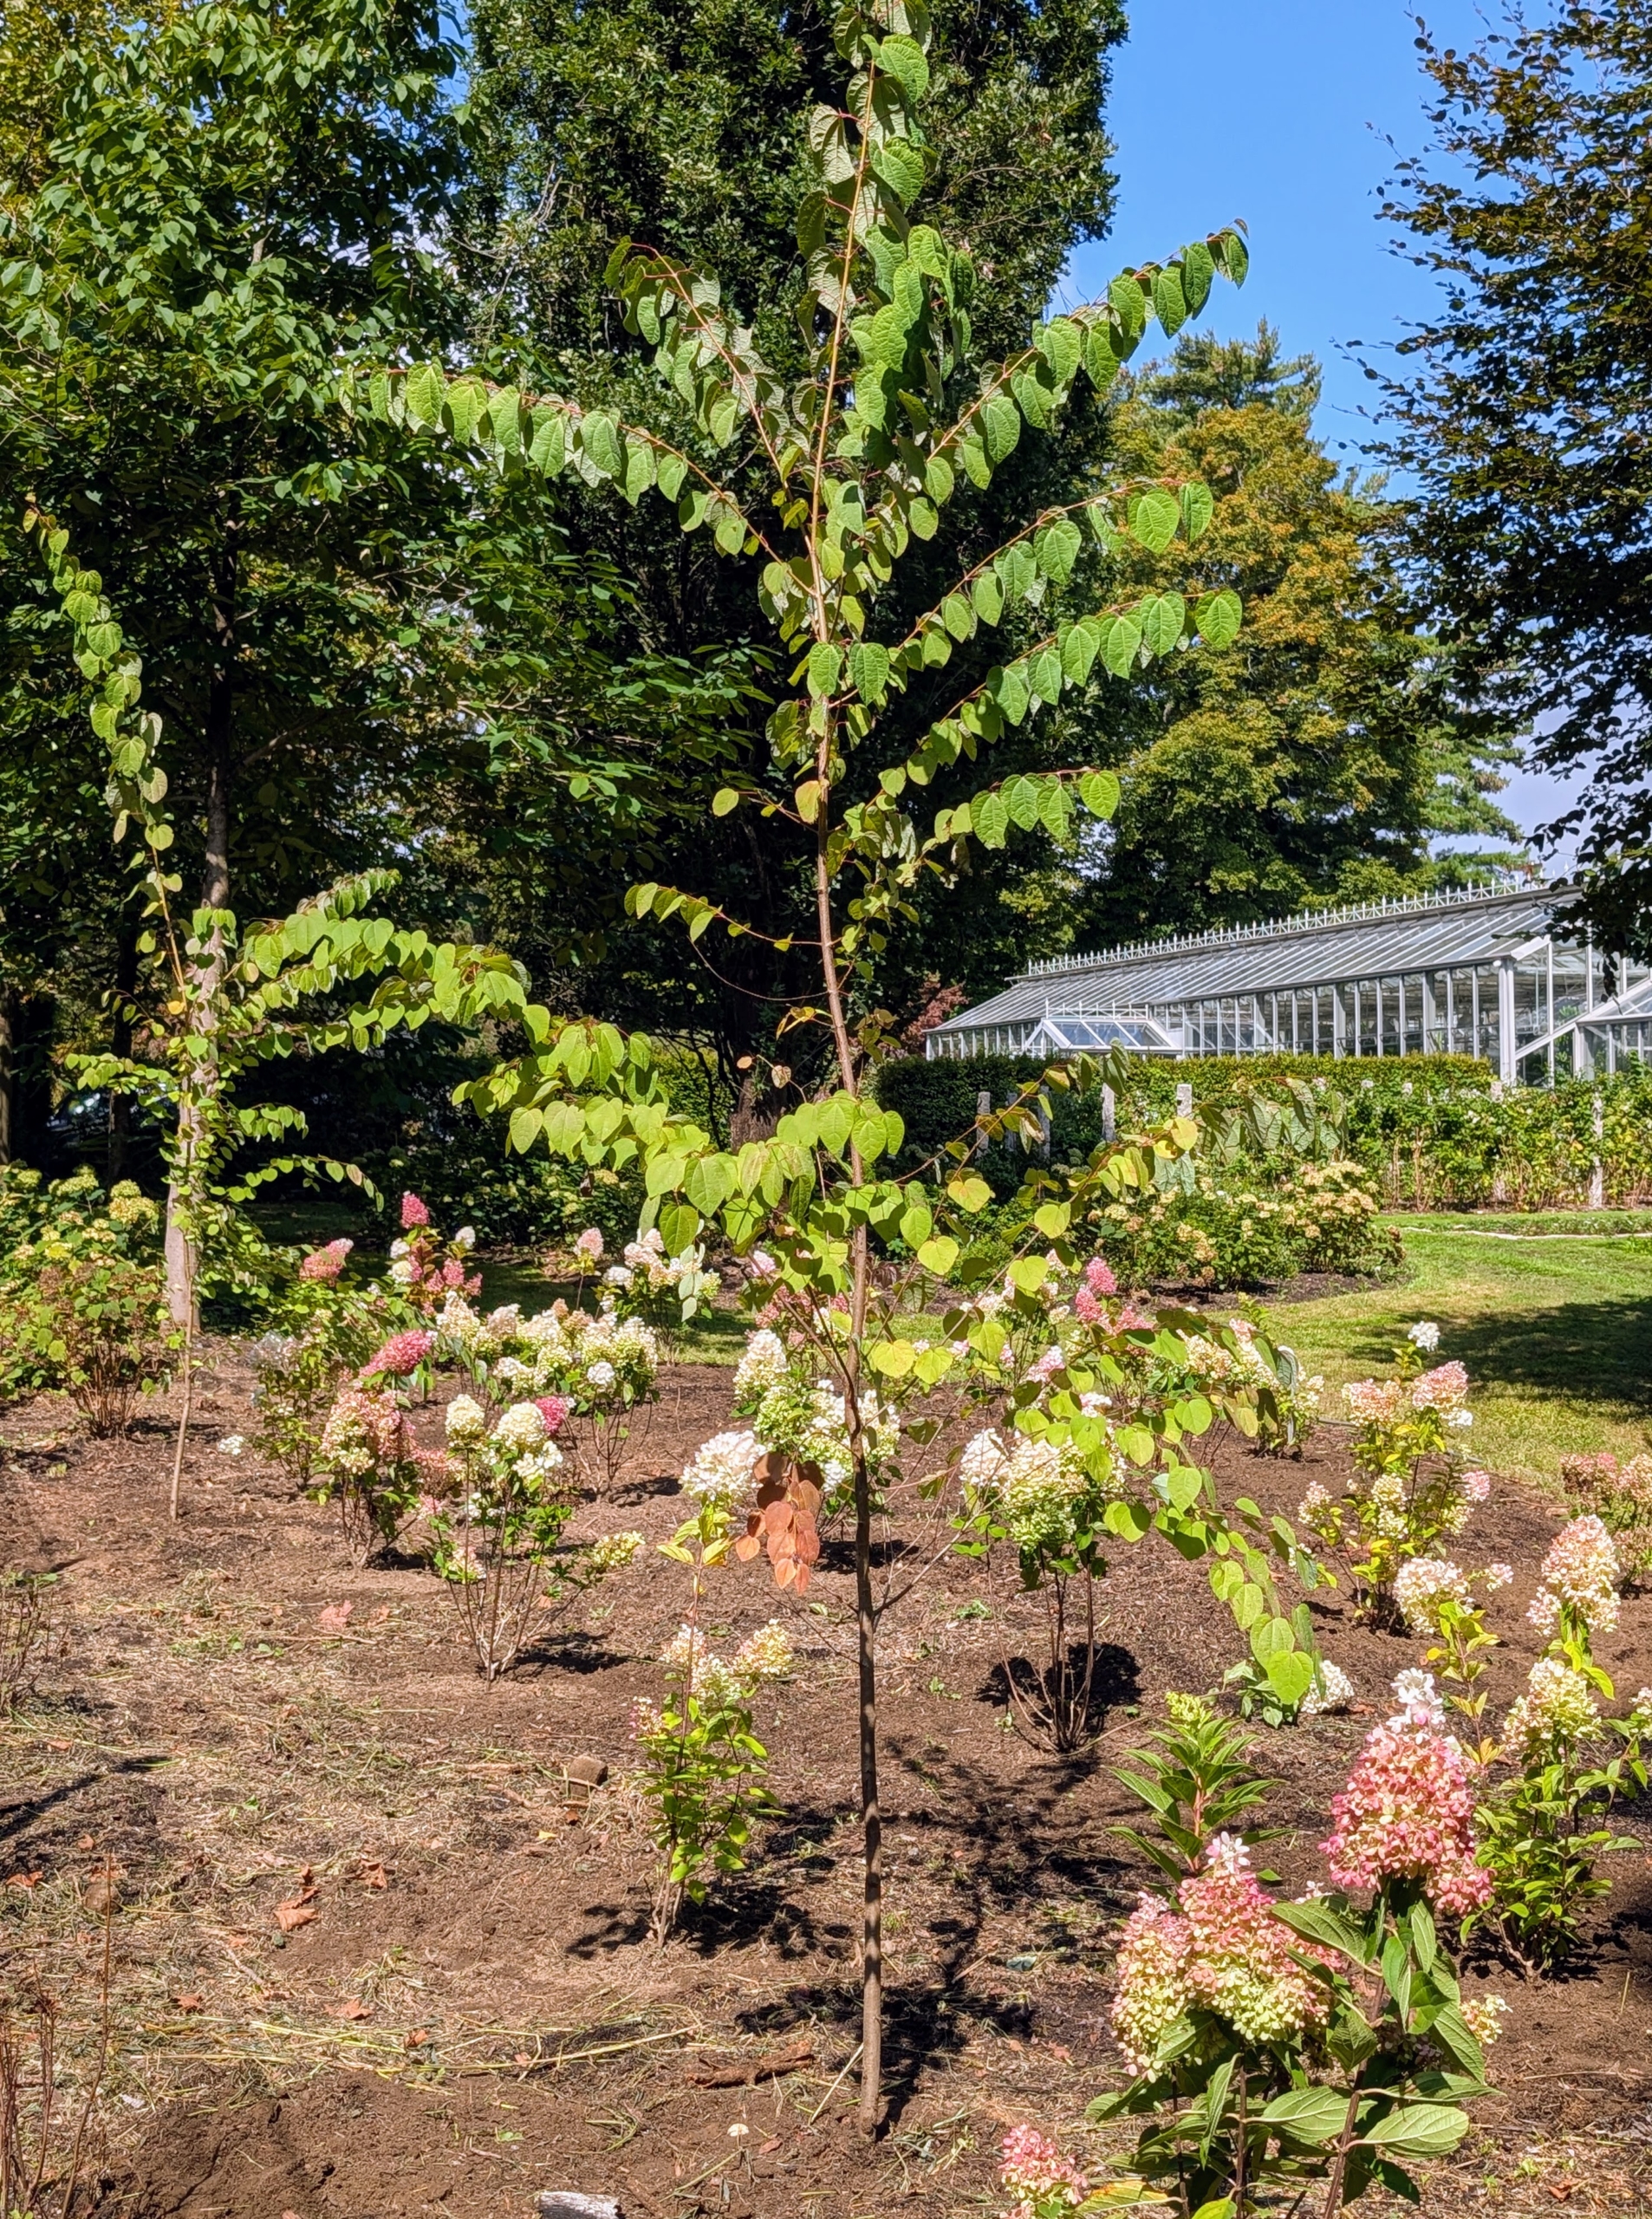
In just a couple of hours, all the hydrangeas are planted and looking great.
Cesar rakes the area, so it is neat and tidy.
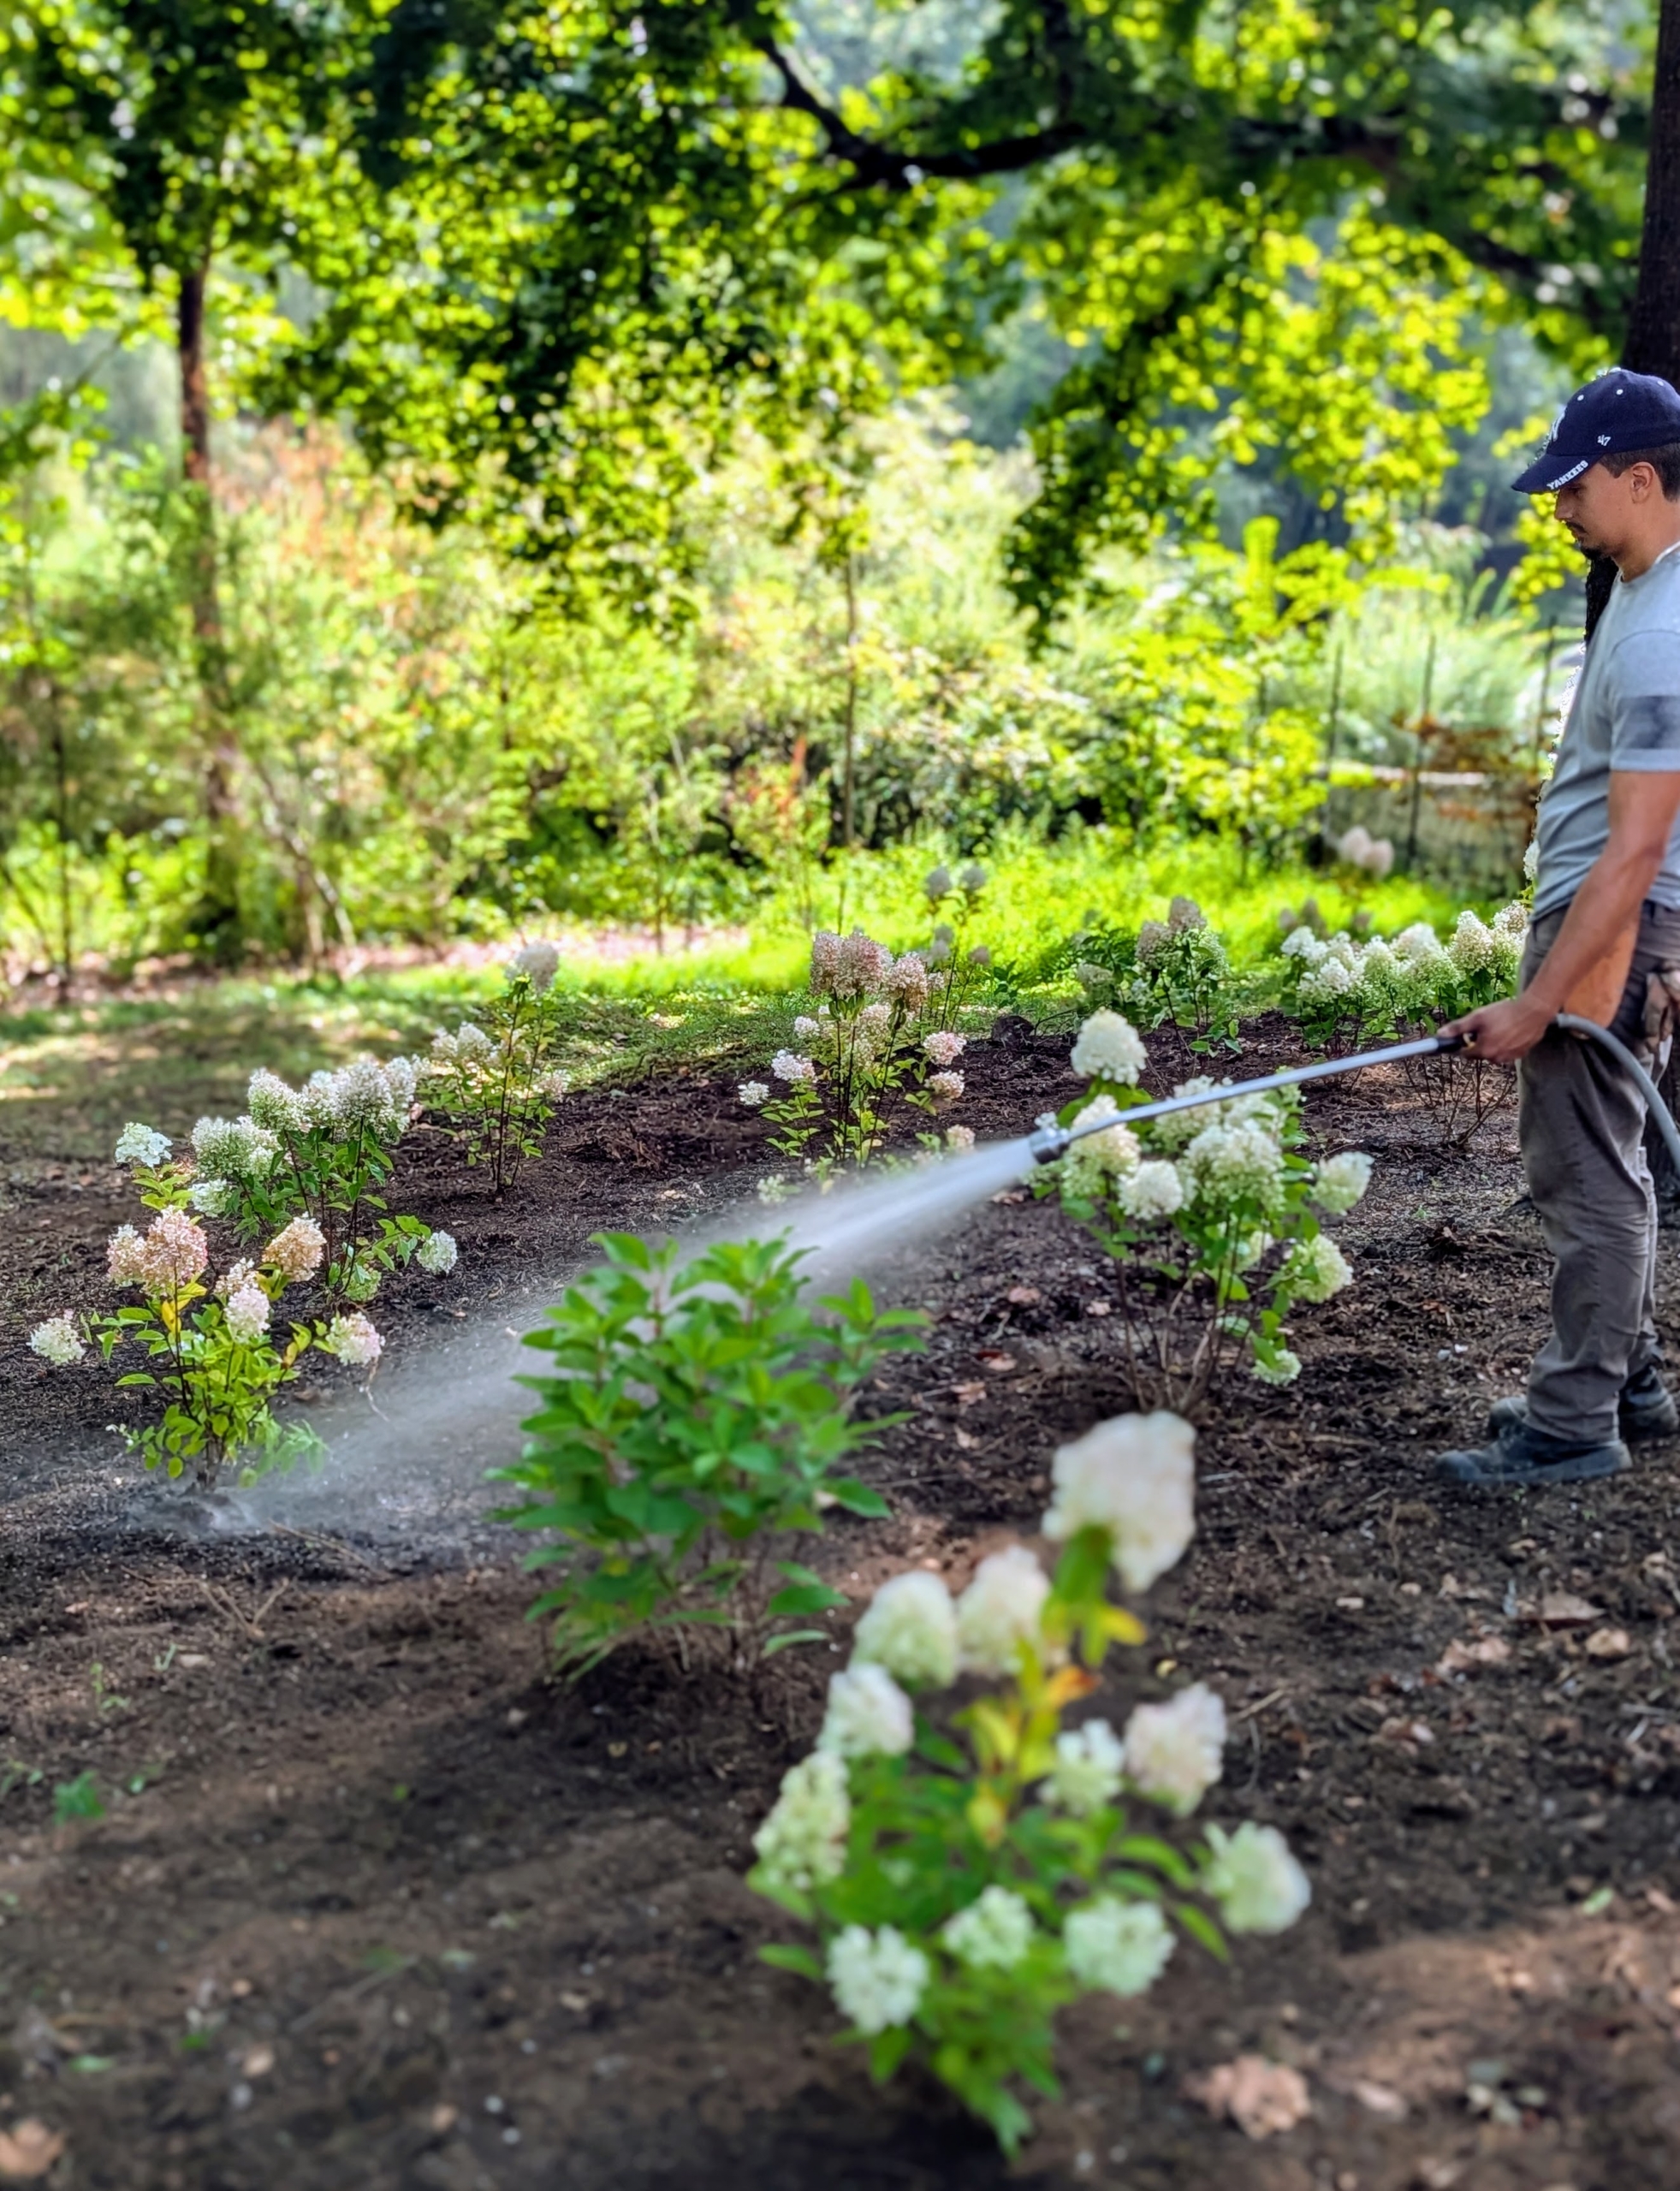
And then Matthew gives each plant a thorough drink.
Hydrangeas prefer full sun to partial shade and moist, well-drained soil. I know these will do so well in this location.
A row of trees was also planted to offer some dappled shade over the hydrangeas once mature. These are katsura trees. what do you think? Following is a short clip showing the bed at the end of the day.