Planting Azaleas from First Editions Shrubs and Trees
A good time to plant is when temperatures are mild, so roots can get established without the stress of summer heat.
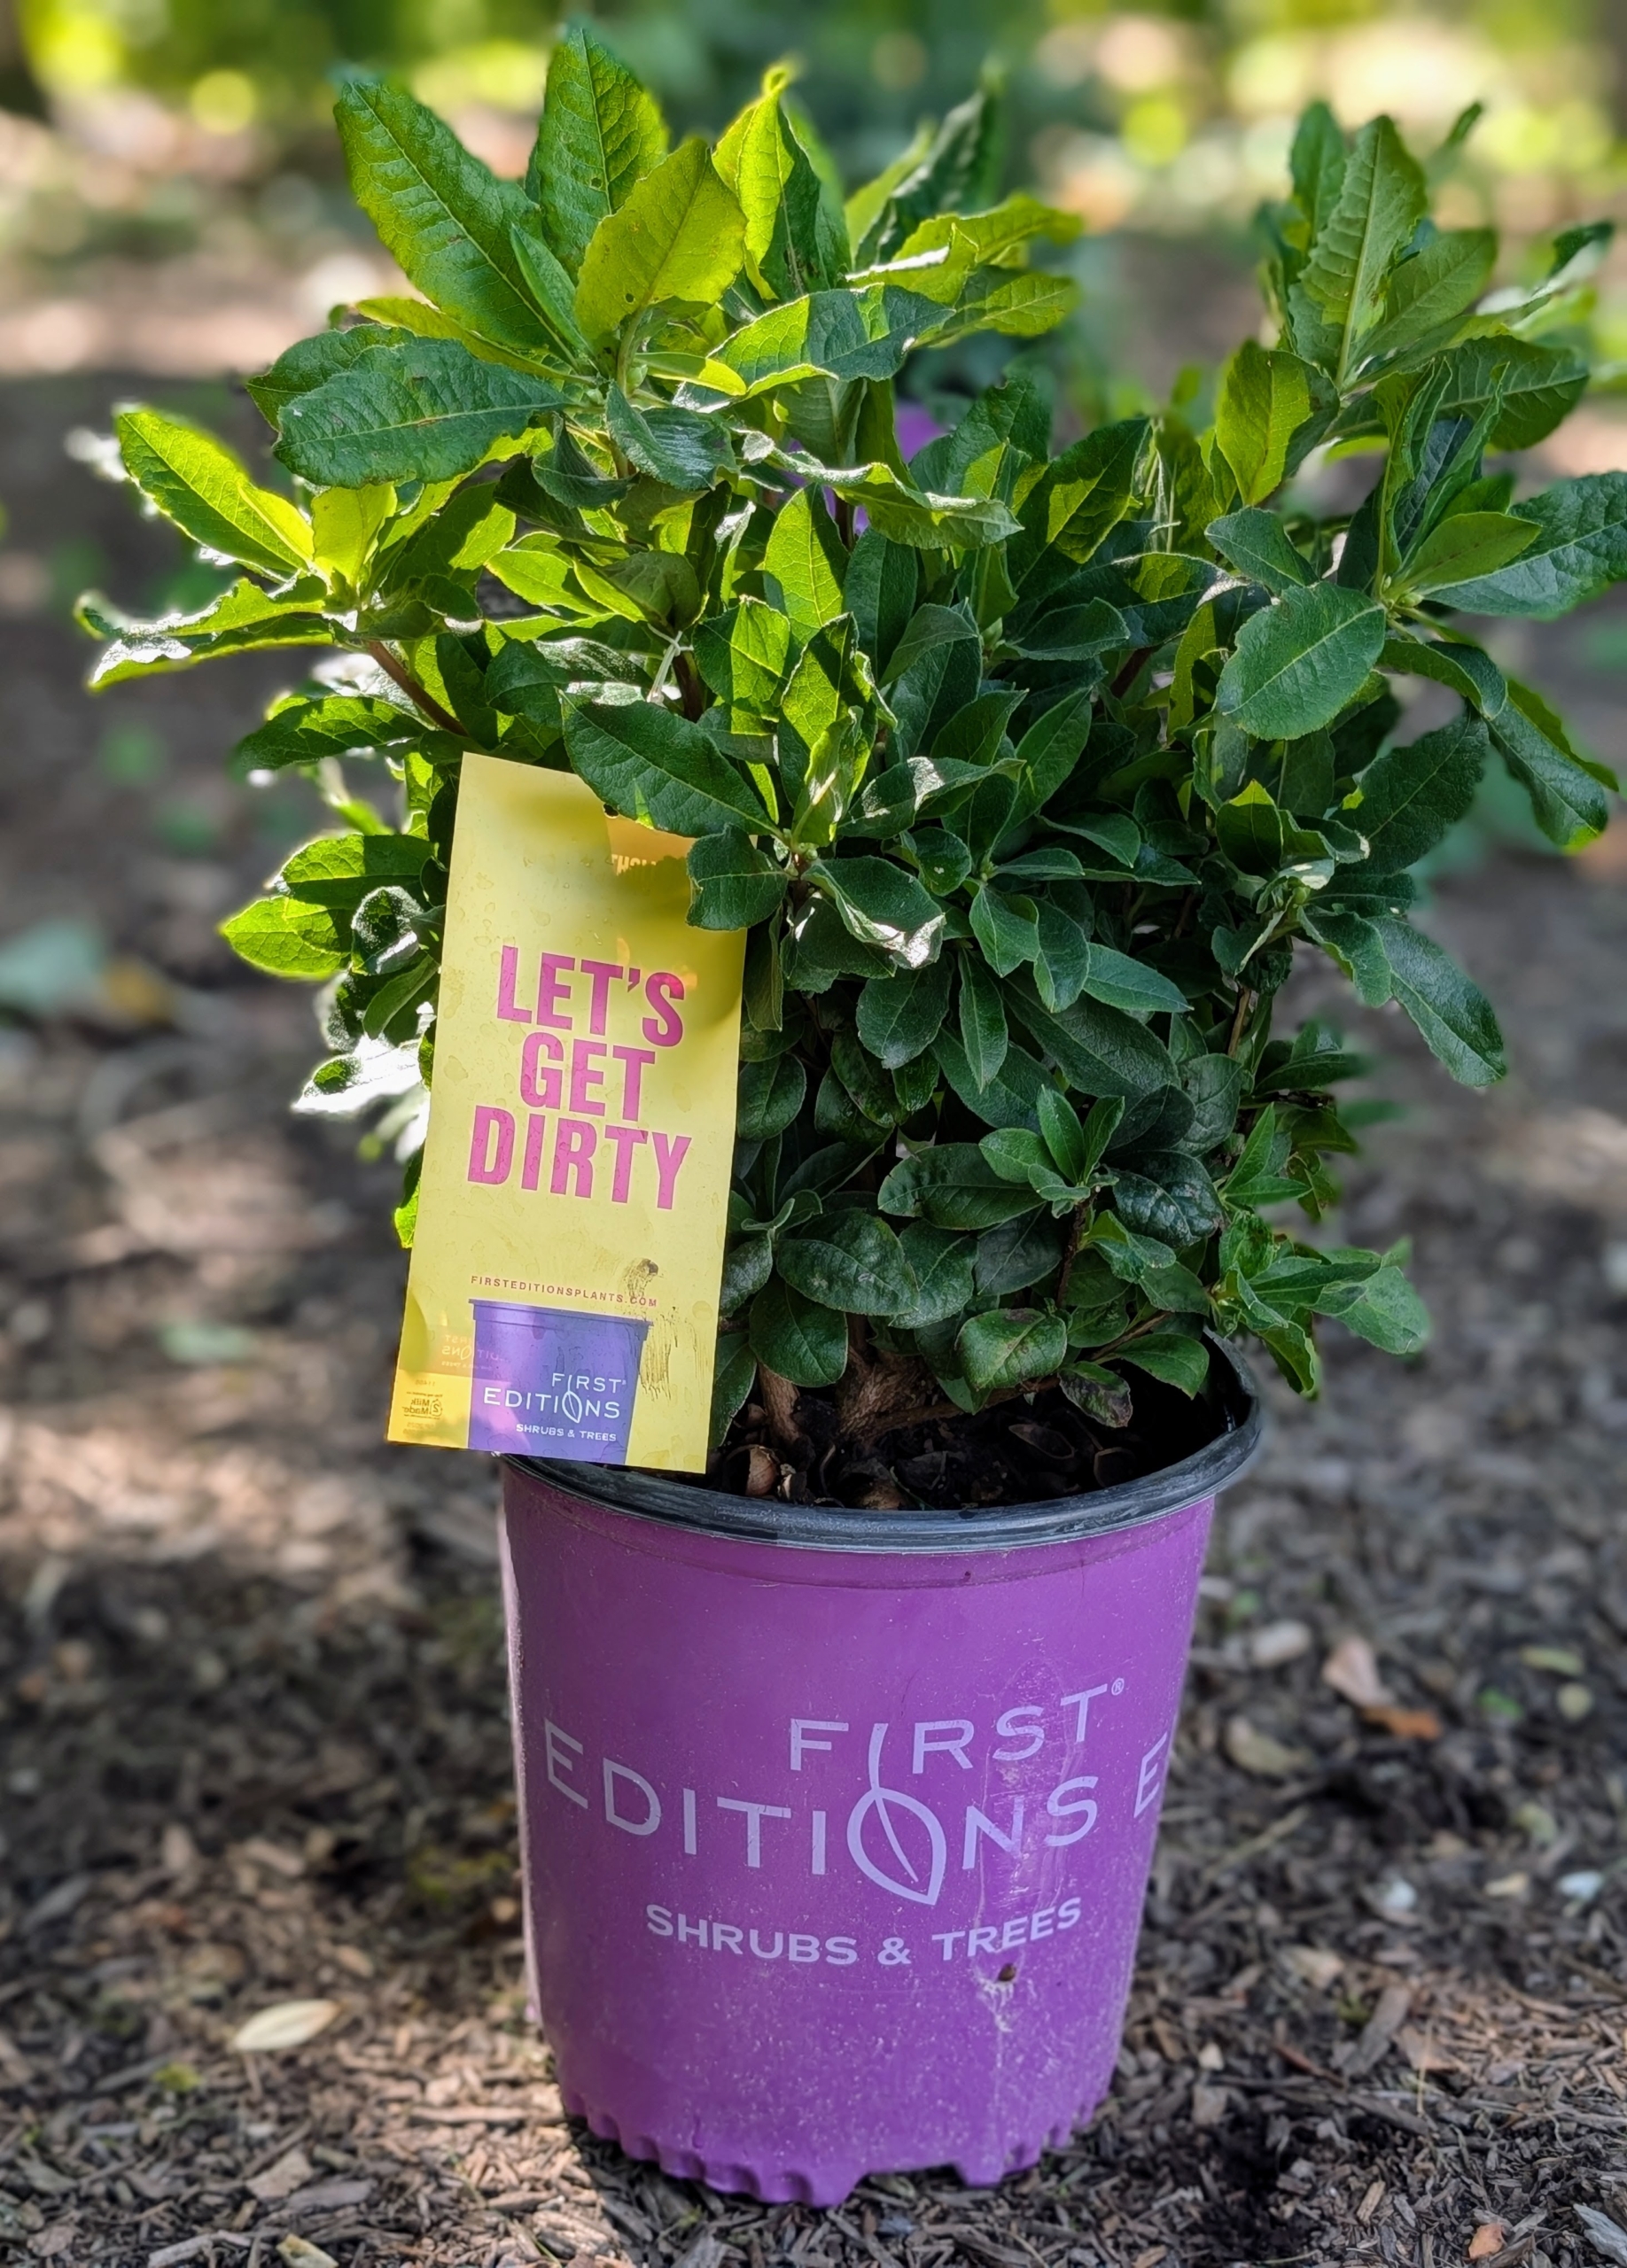
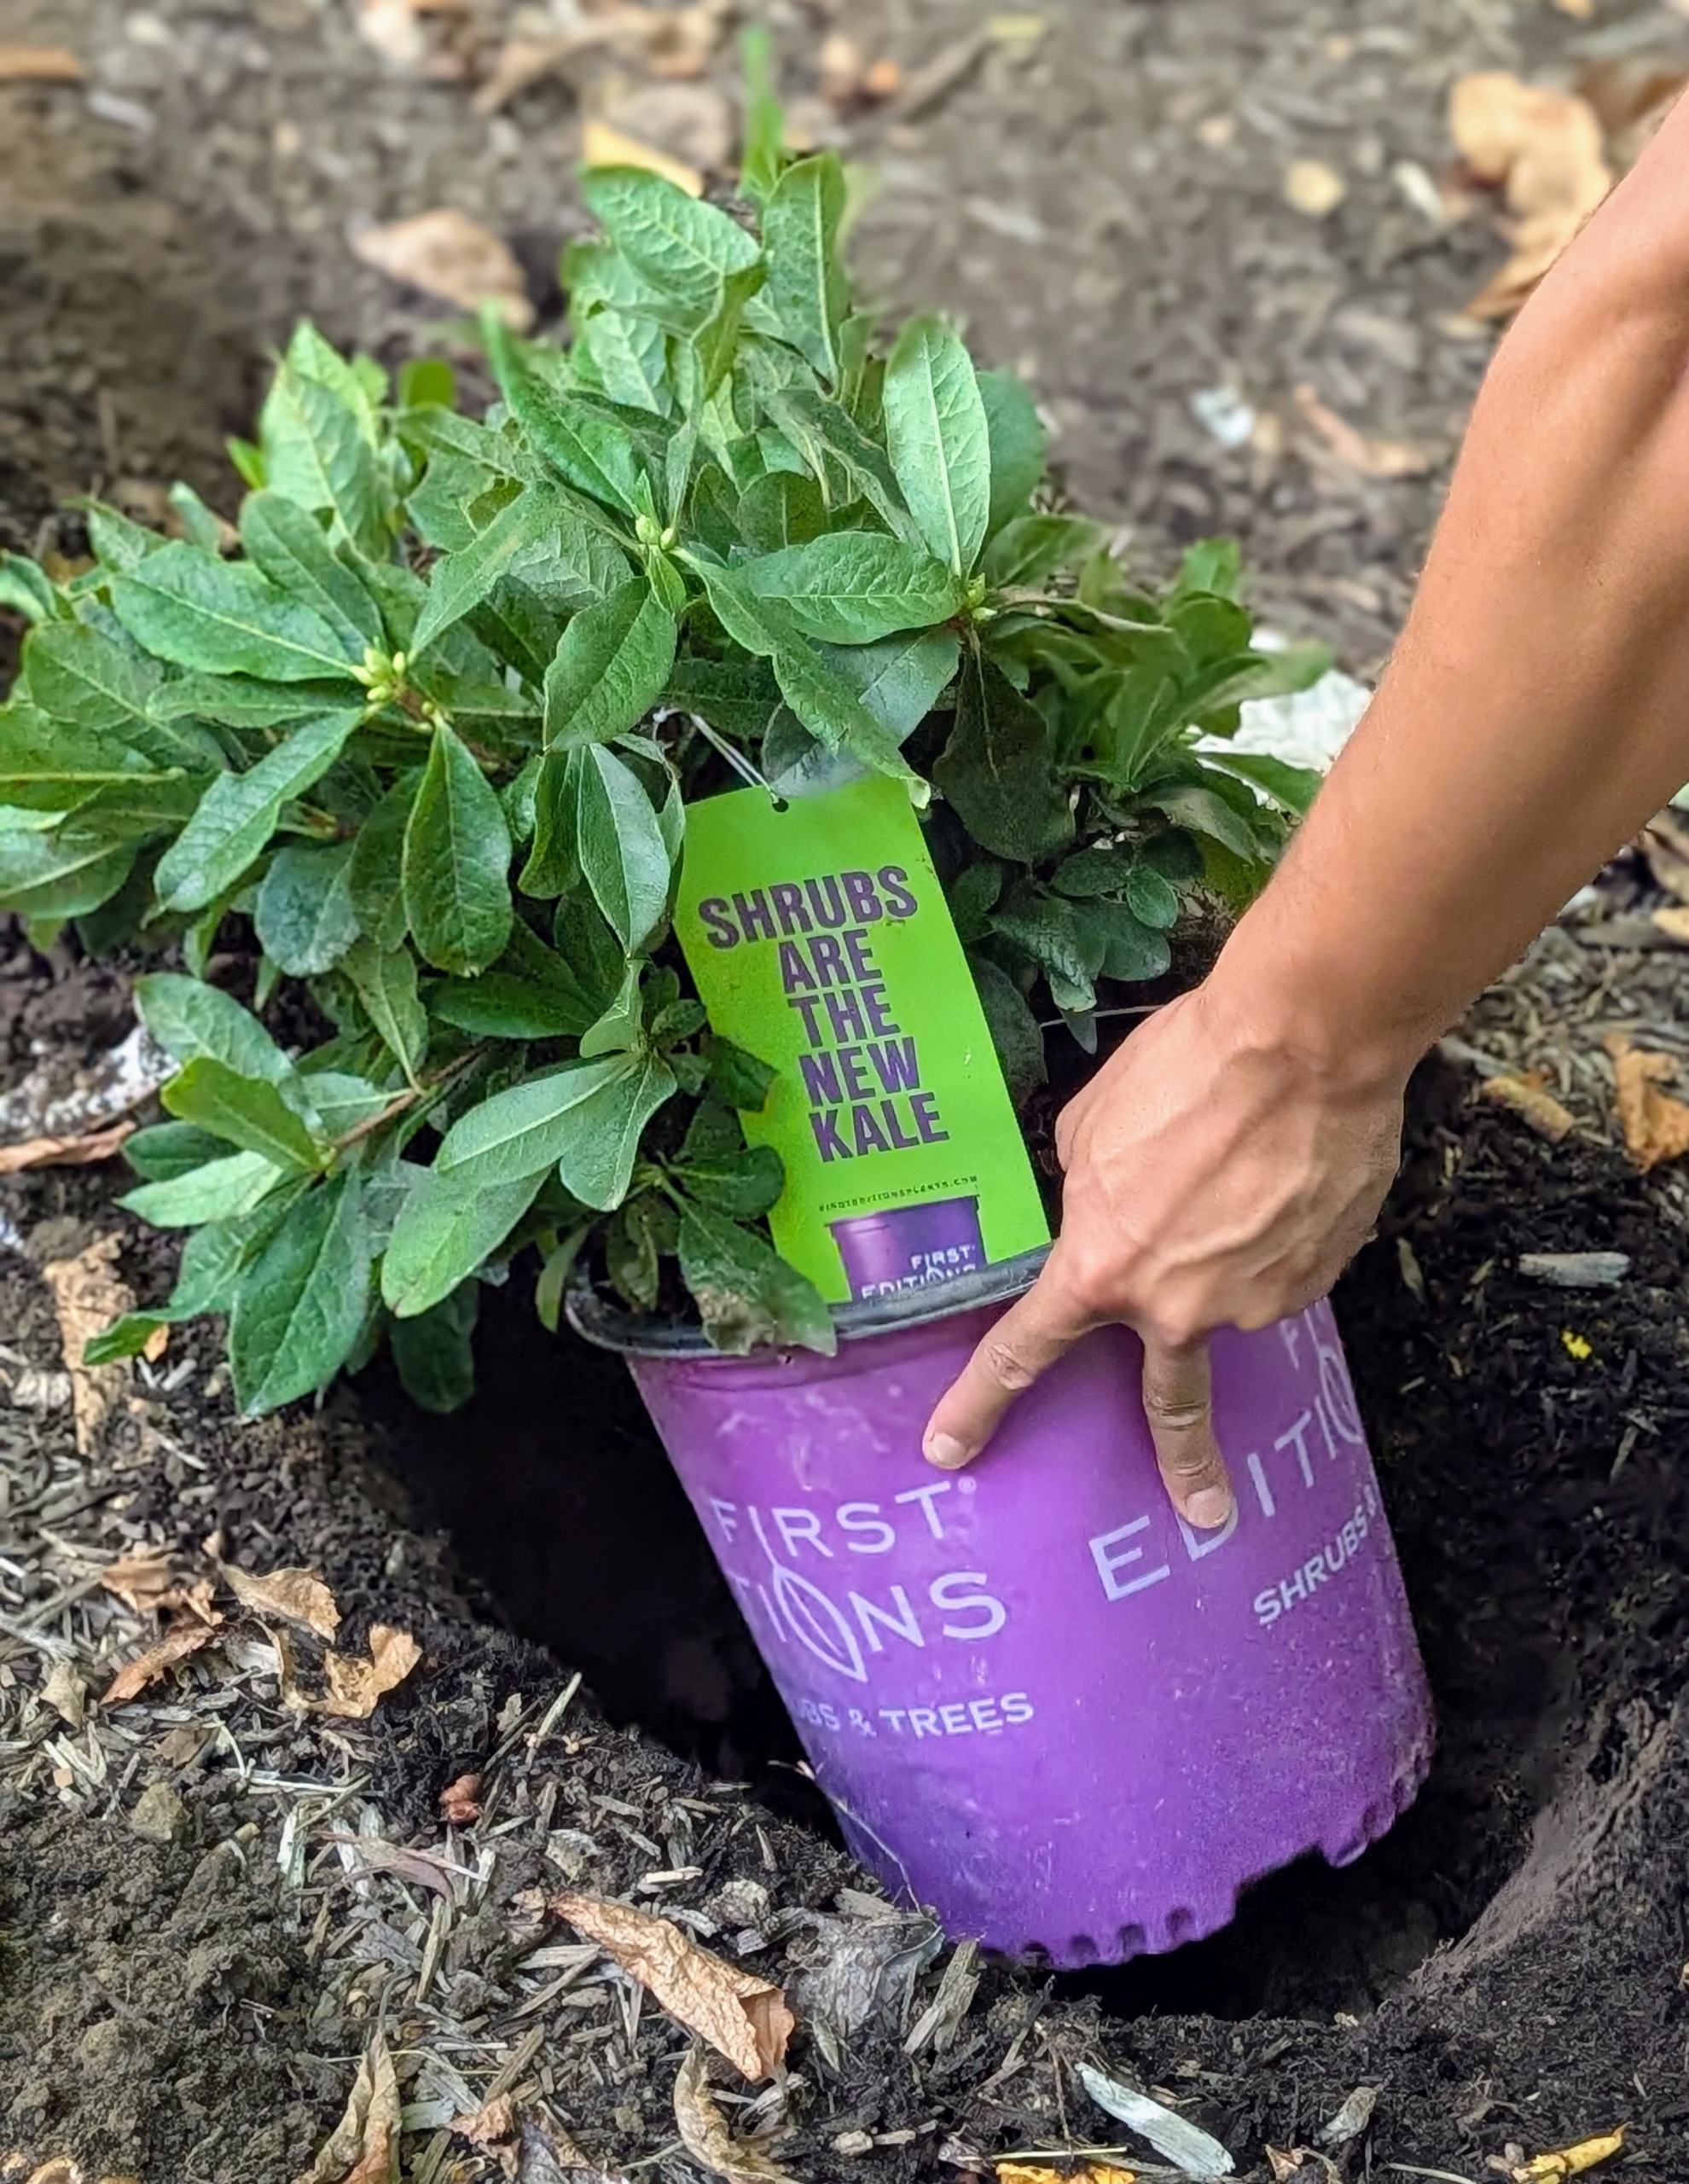
Last week, it was pleasant enough to get some potted azaleas in the ground. The plants came from First Editions Shrubs and Trees, a brand of premium evergreens and perennials from the fifth-generation, family and brand owner Bailey Nurseries in St. Paul, Minnesota. I decided to add the 15 specimens to an existing azalea garden outside my Summer House where I know they will flourish.
Enjoy these photos.
-

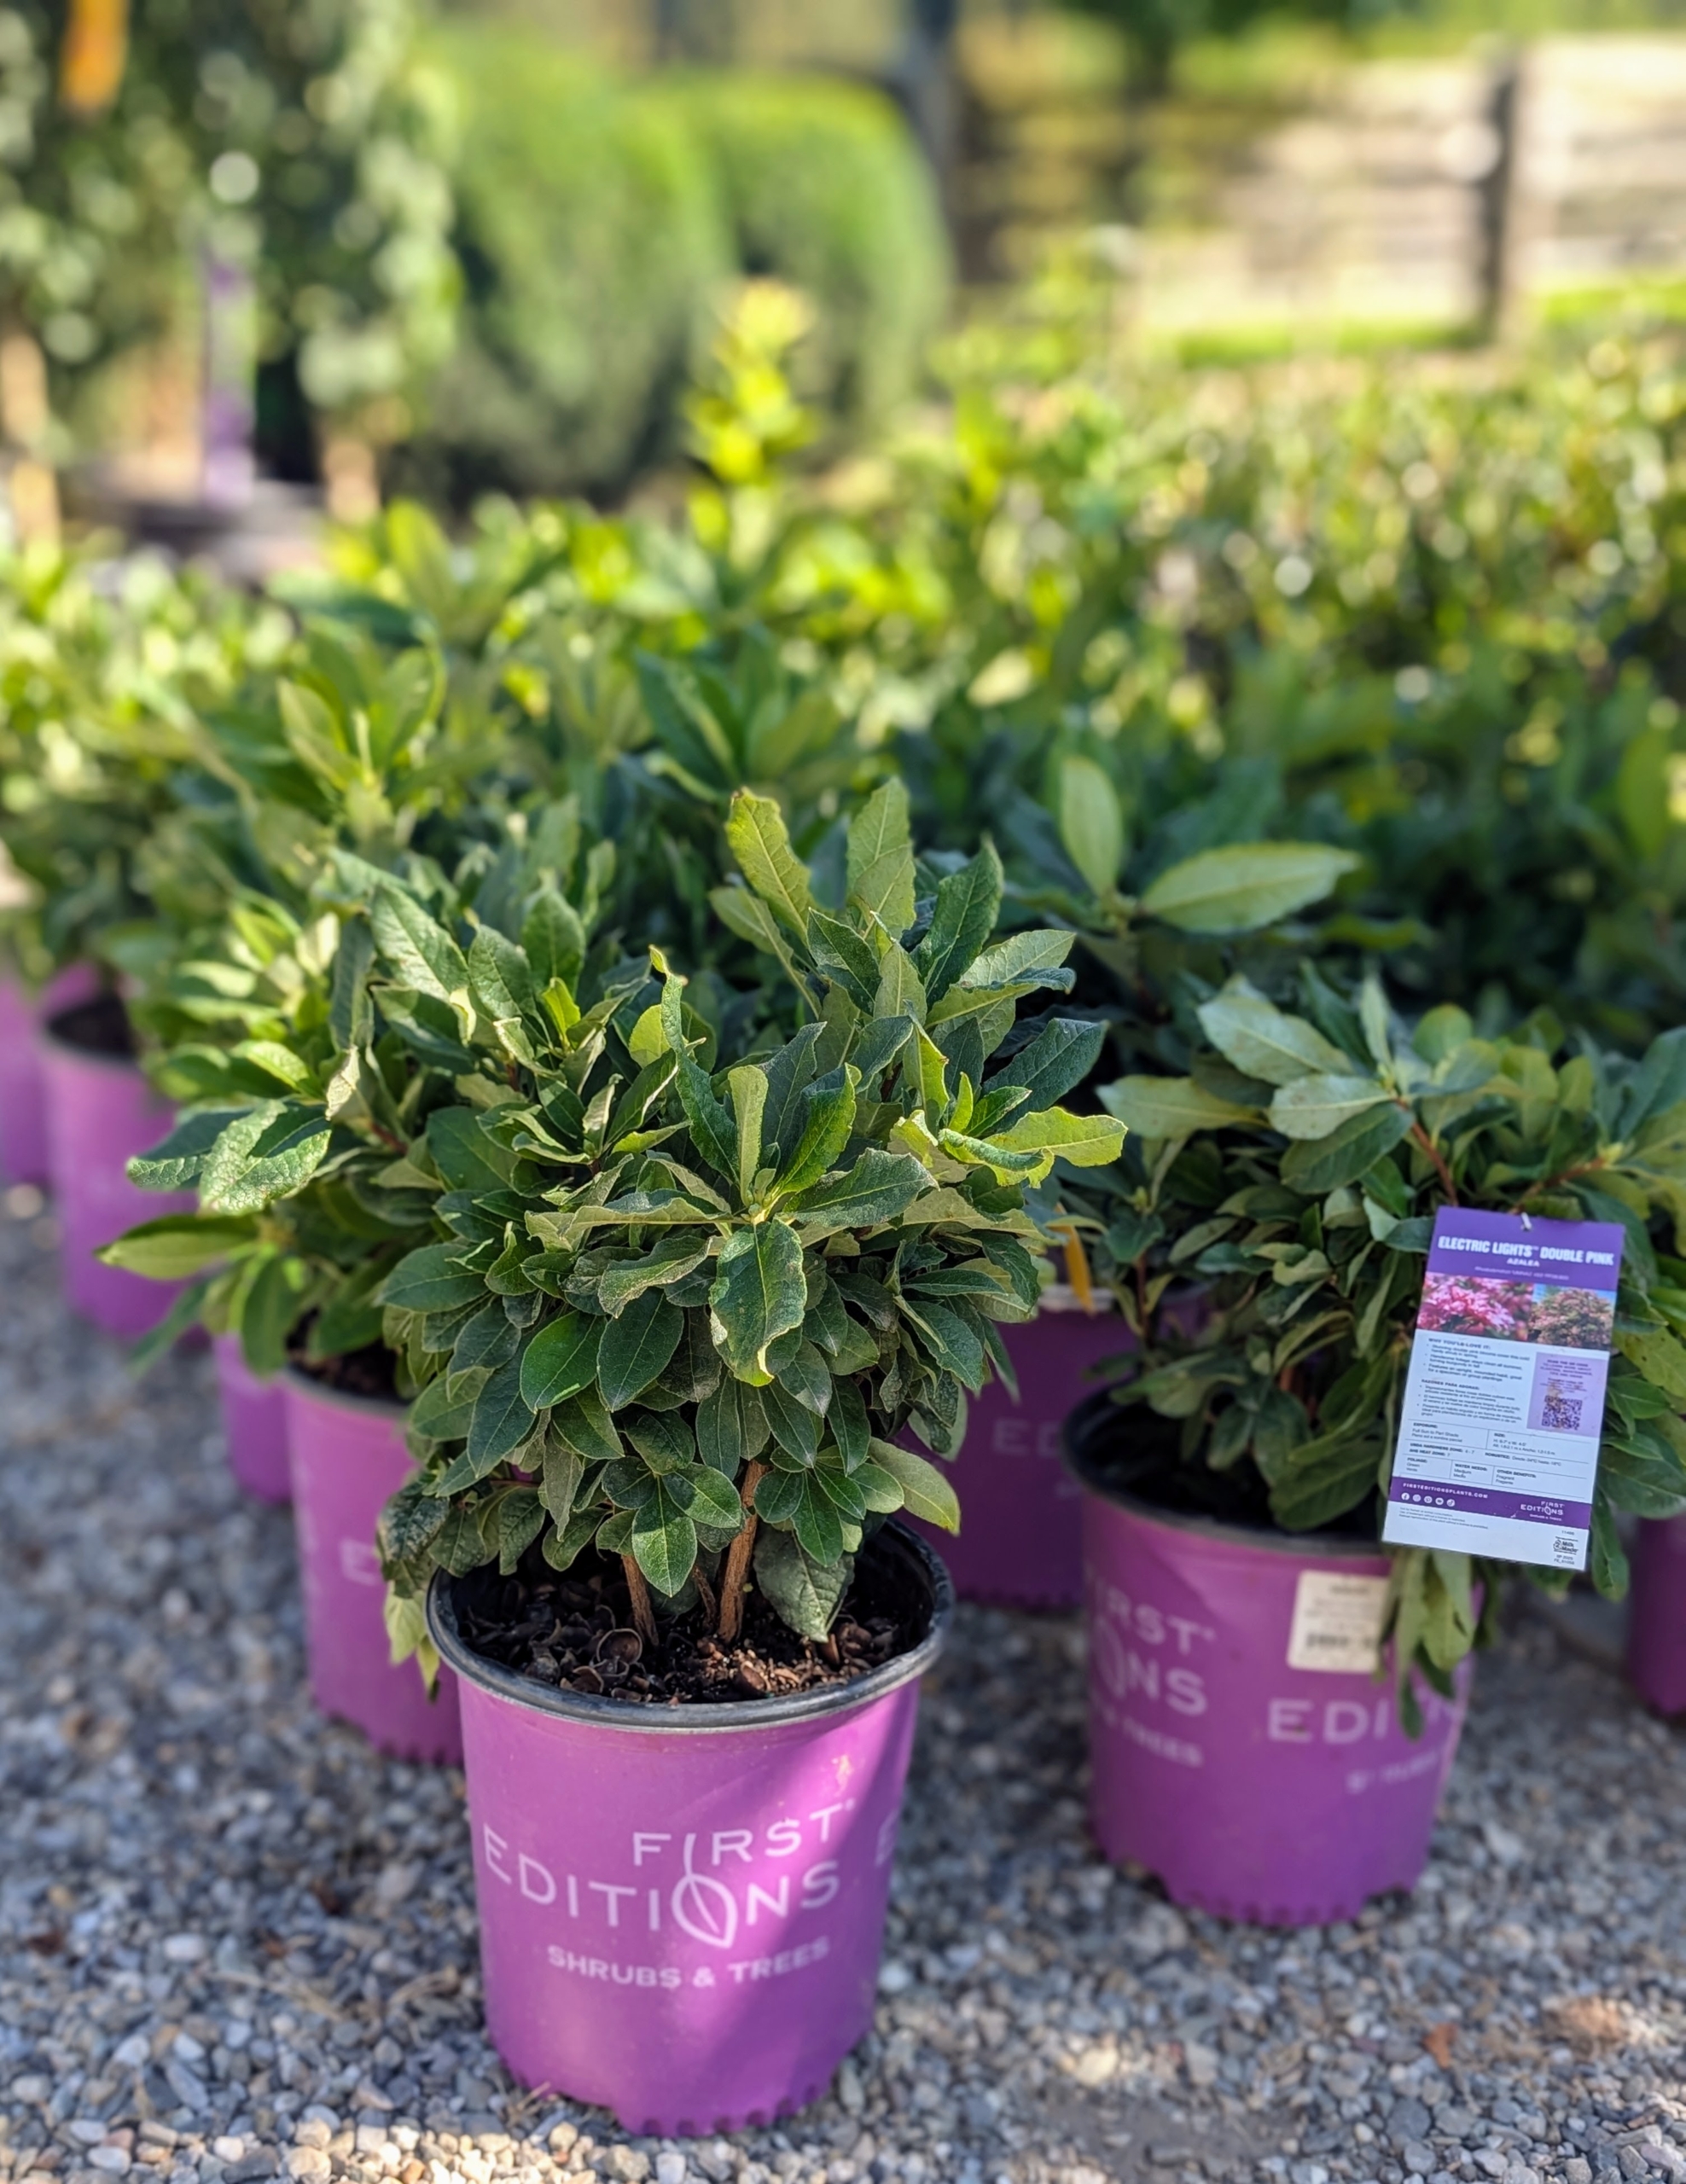
- As a serious and curious gardener, I am always looking for ways to add more beauty and texture to all my garden beds, so I was excited when a delivery of plants arrived at my farm from First Editions.
-
- This delivery includes a selection of Electric Lights Red Azaleas. These azaleas are the first true red azaleas for cold climate gardens – they should thrive, here, at my farm.
-
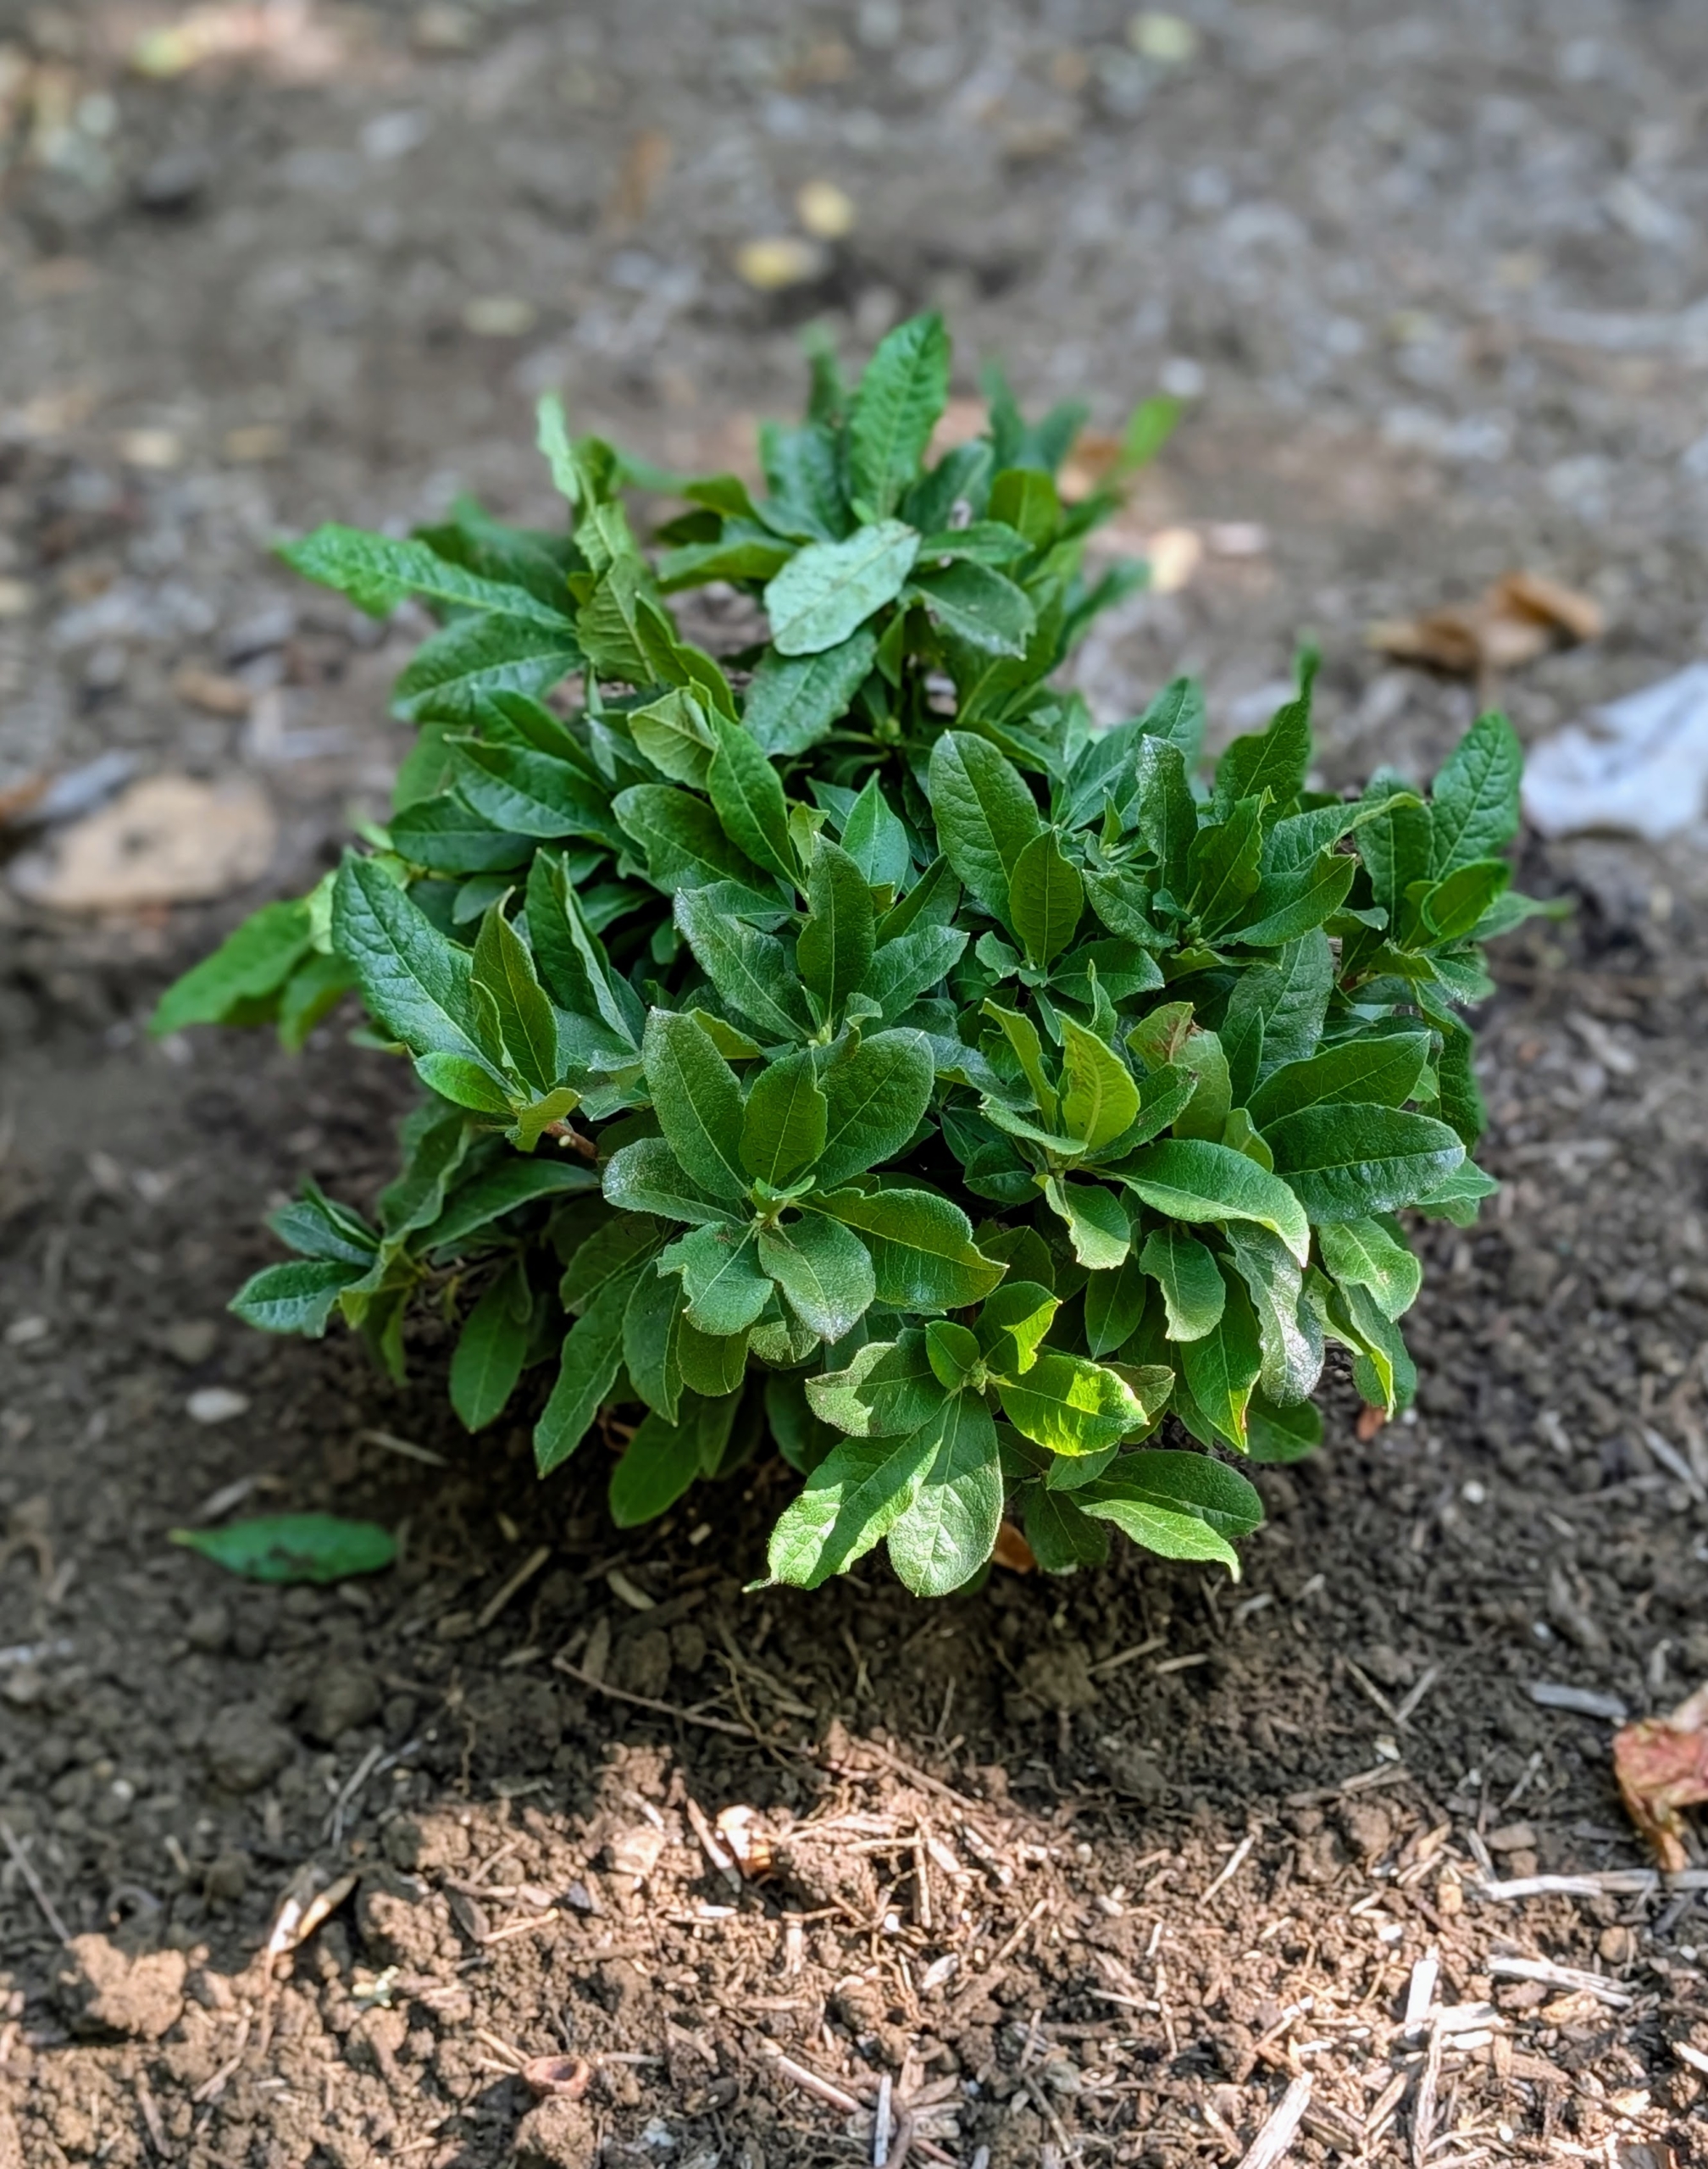
- This variety has deep green foliage and an upright mounding habit.

-
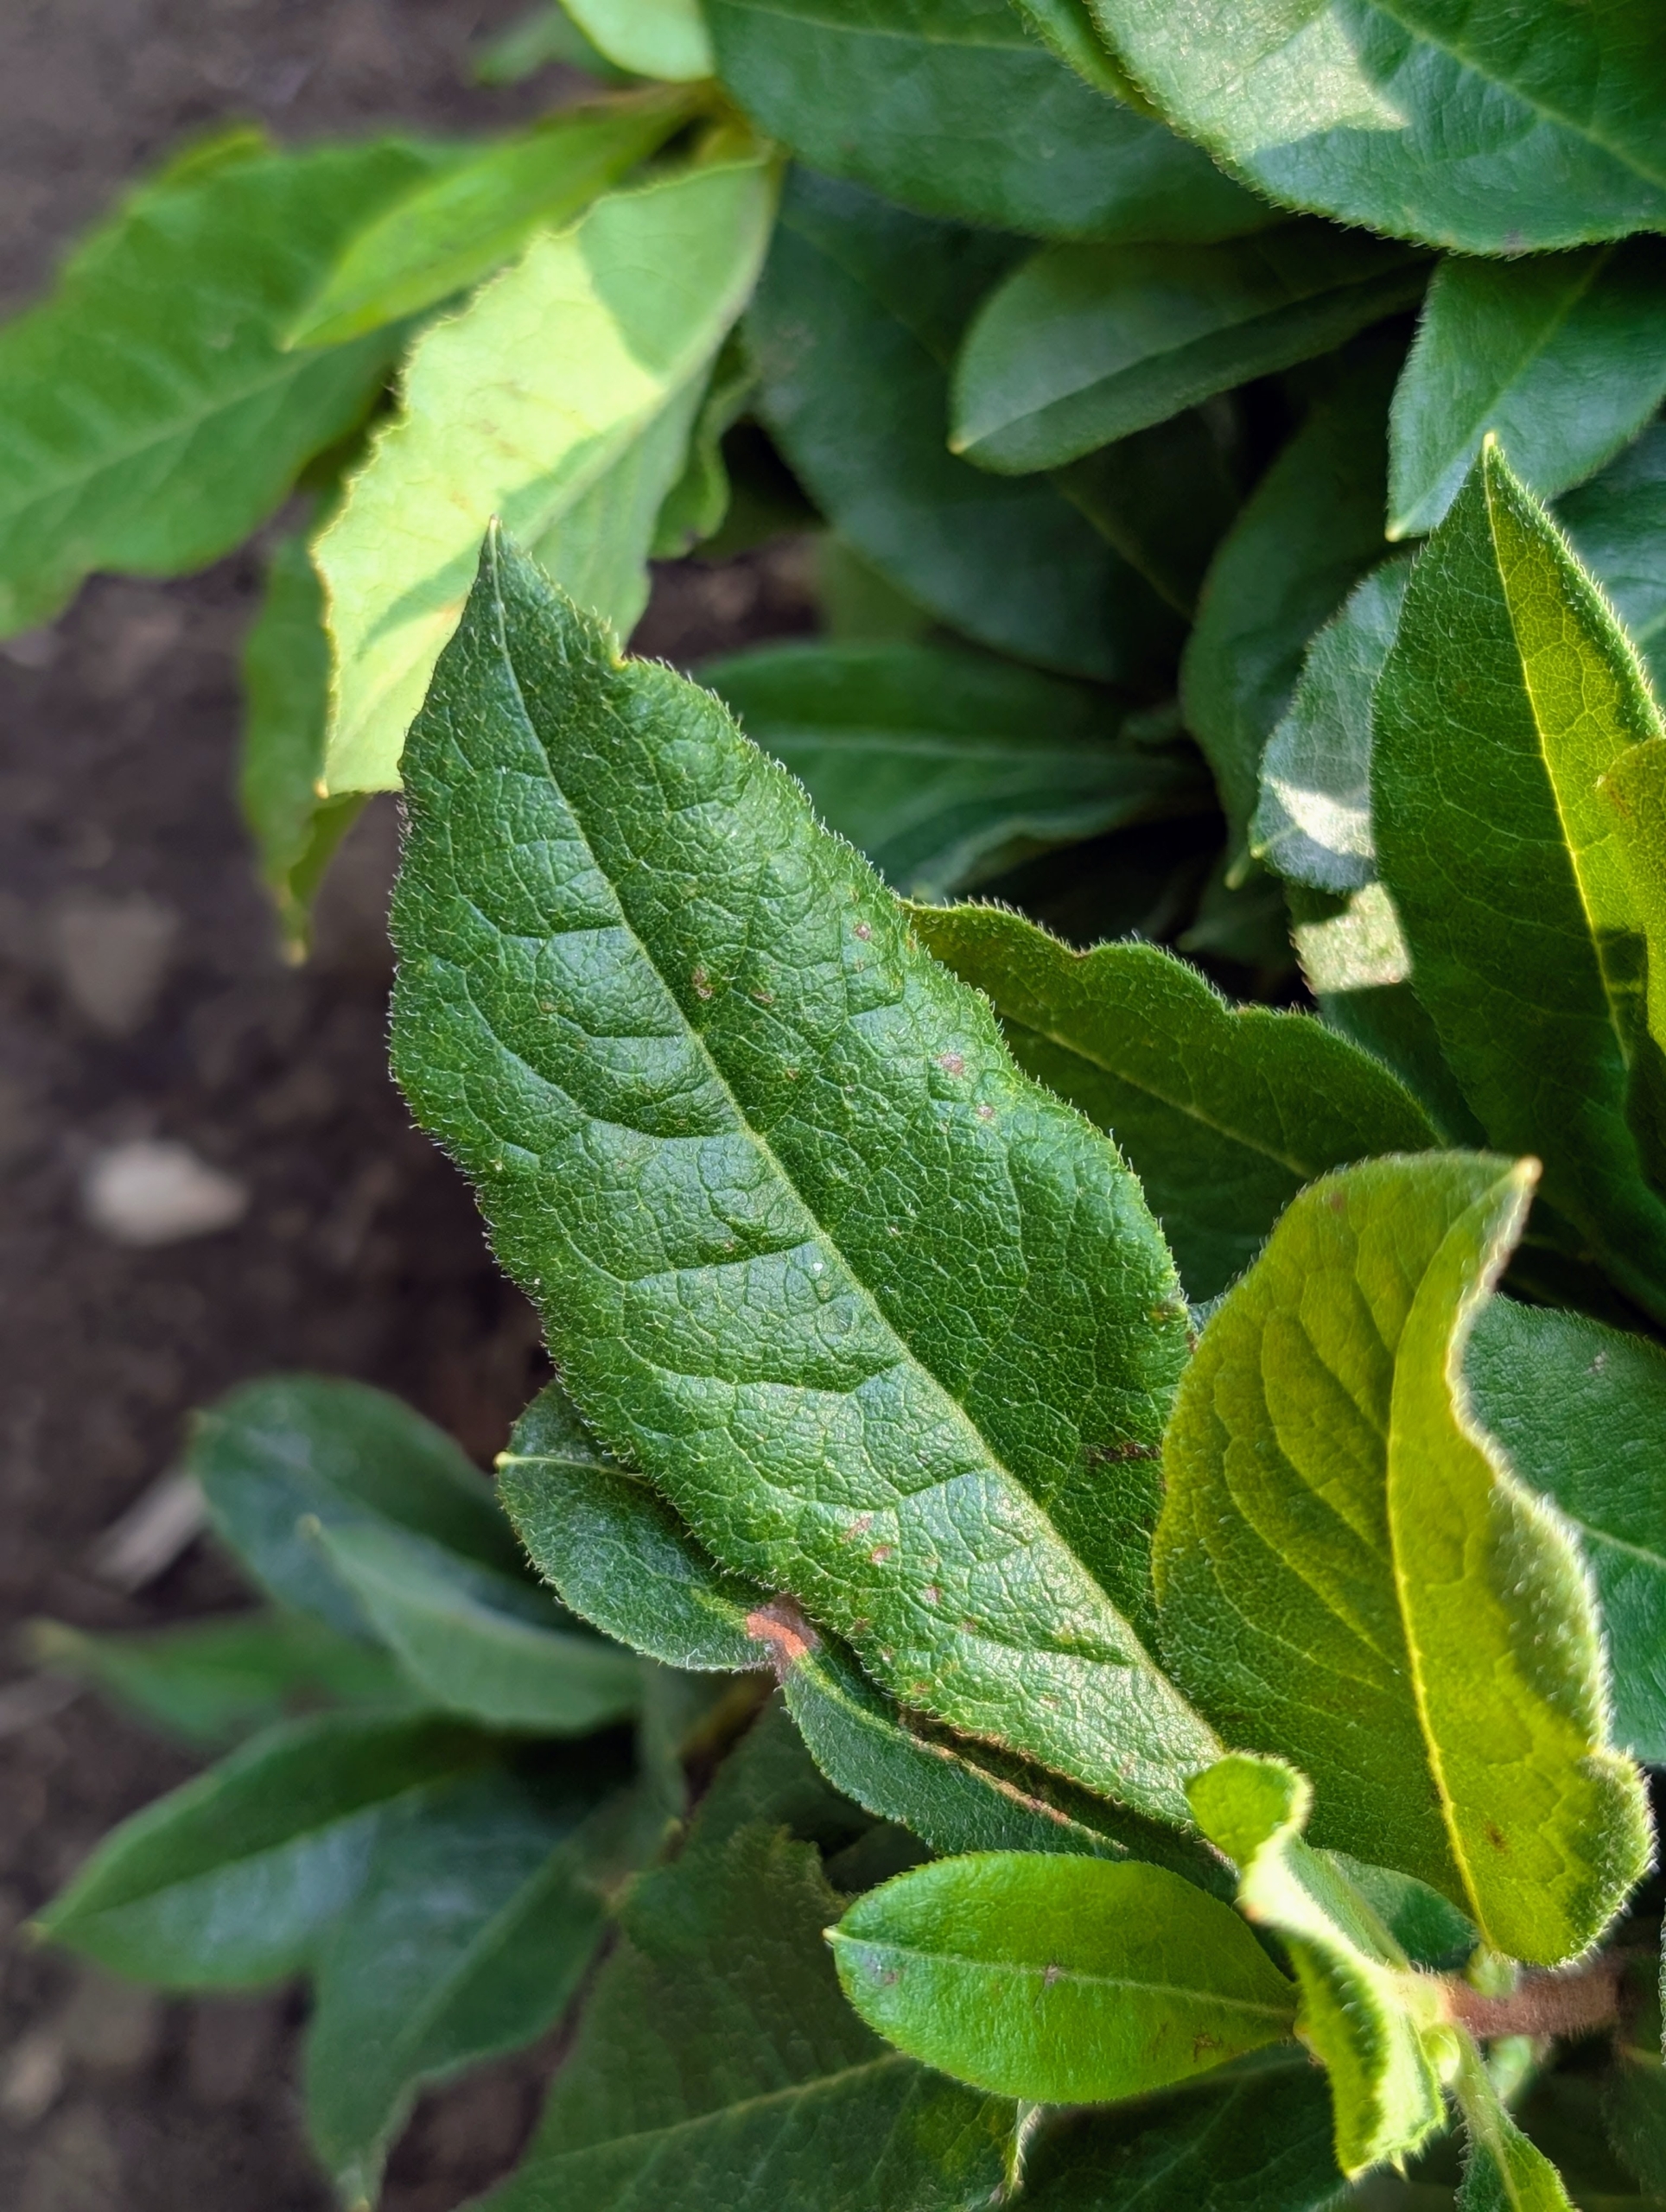
- Azalea leaves are typically elliptical or oval-shaped. They also have a glossy finish. The length of azalea leaves ranges from as little as a quarter-inch to more than six inches. Healthy azaleas will be free from any leaf spots or wilting.
-
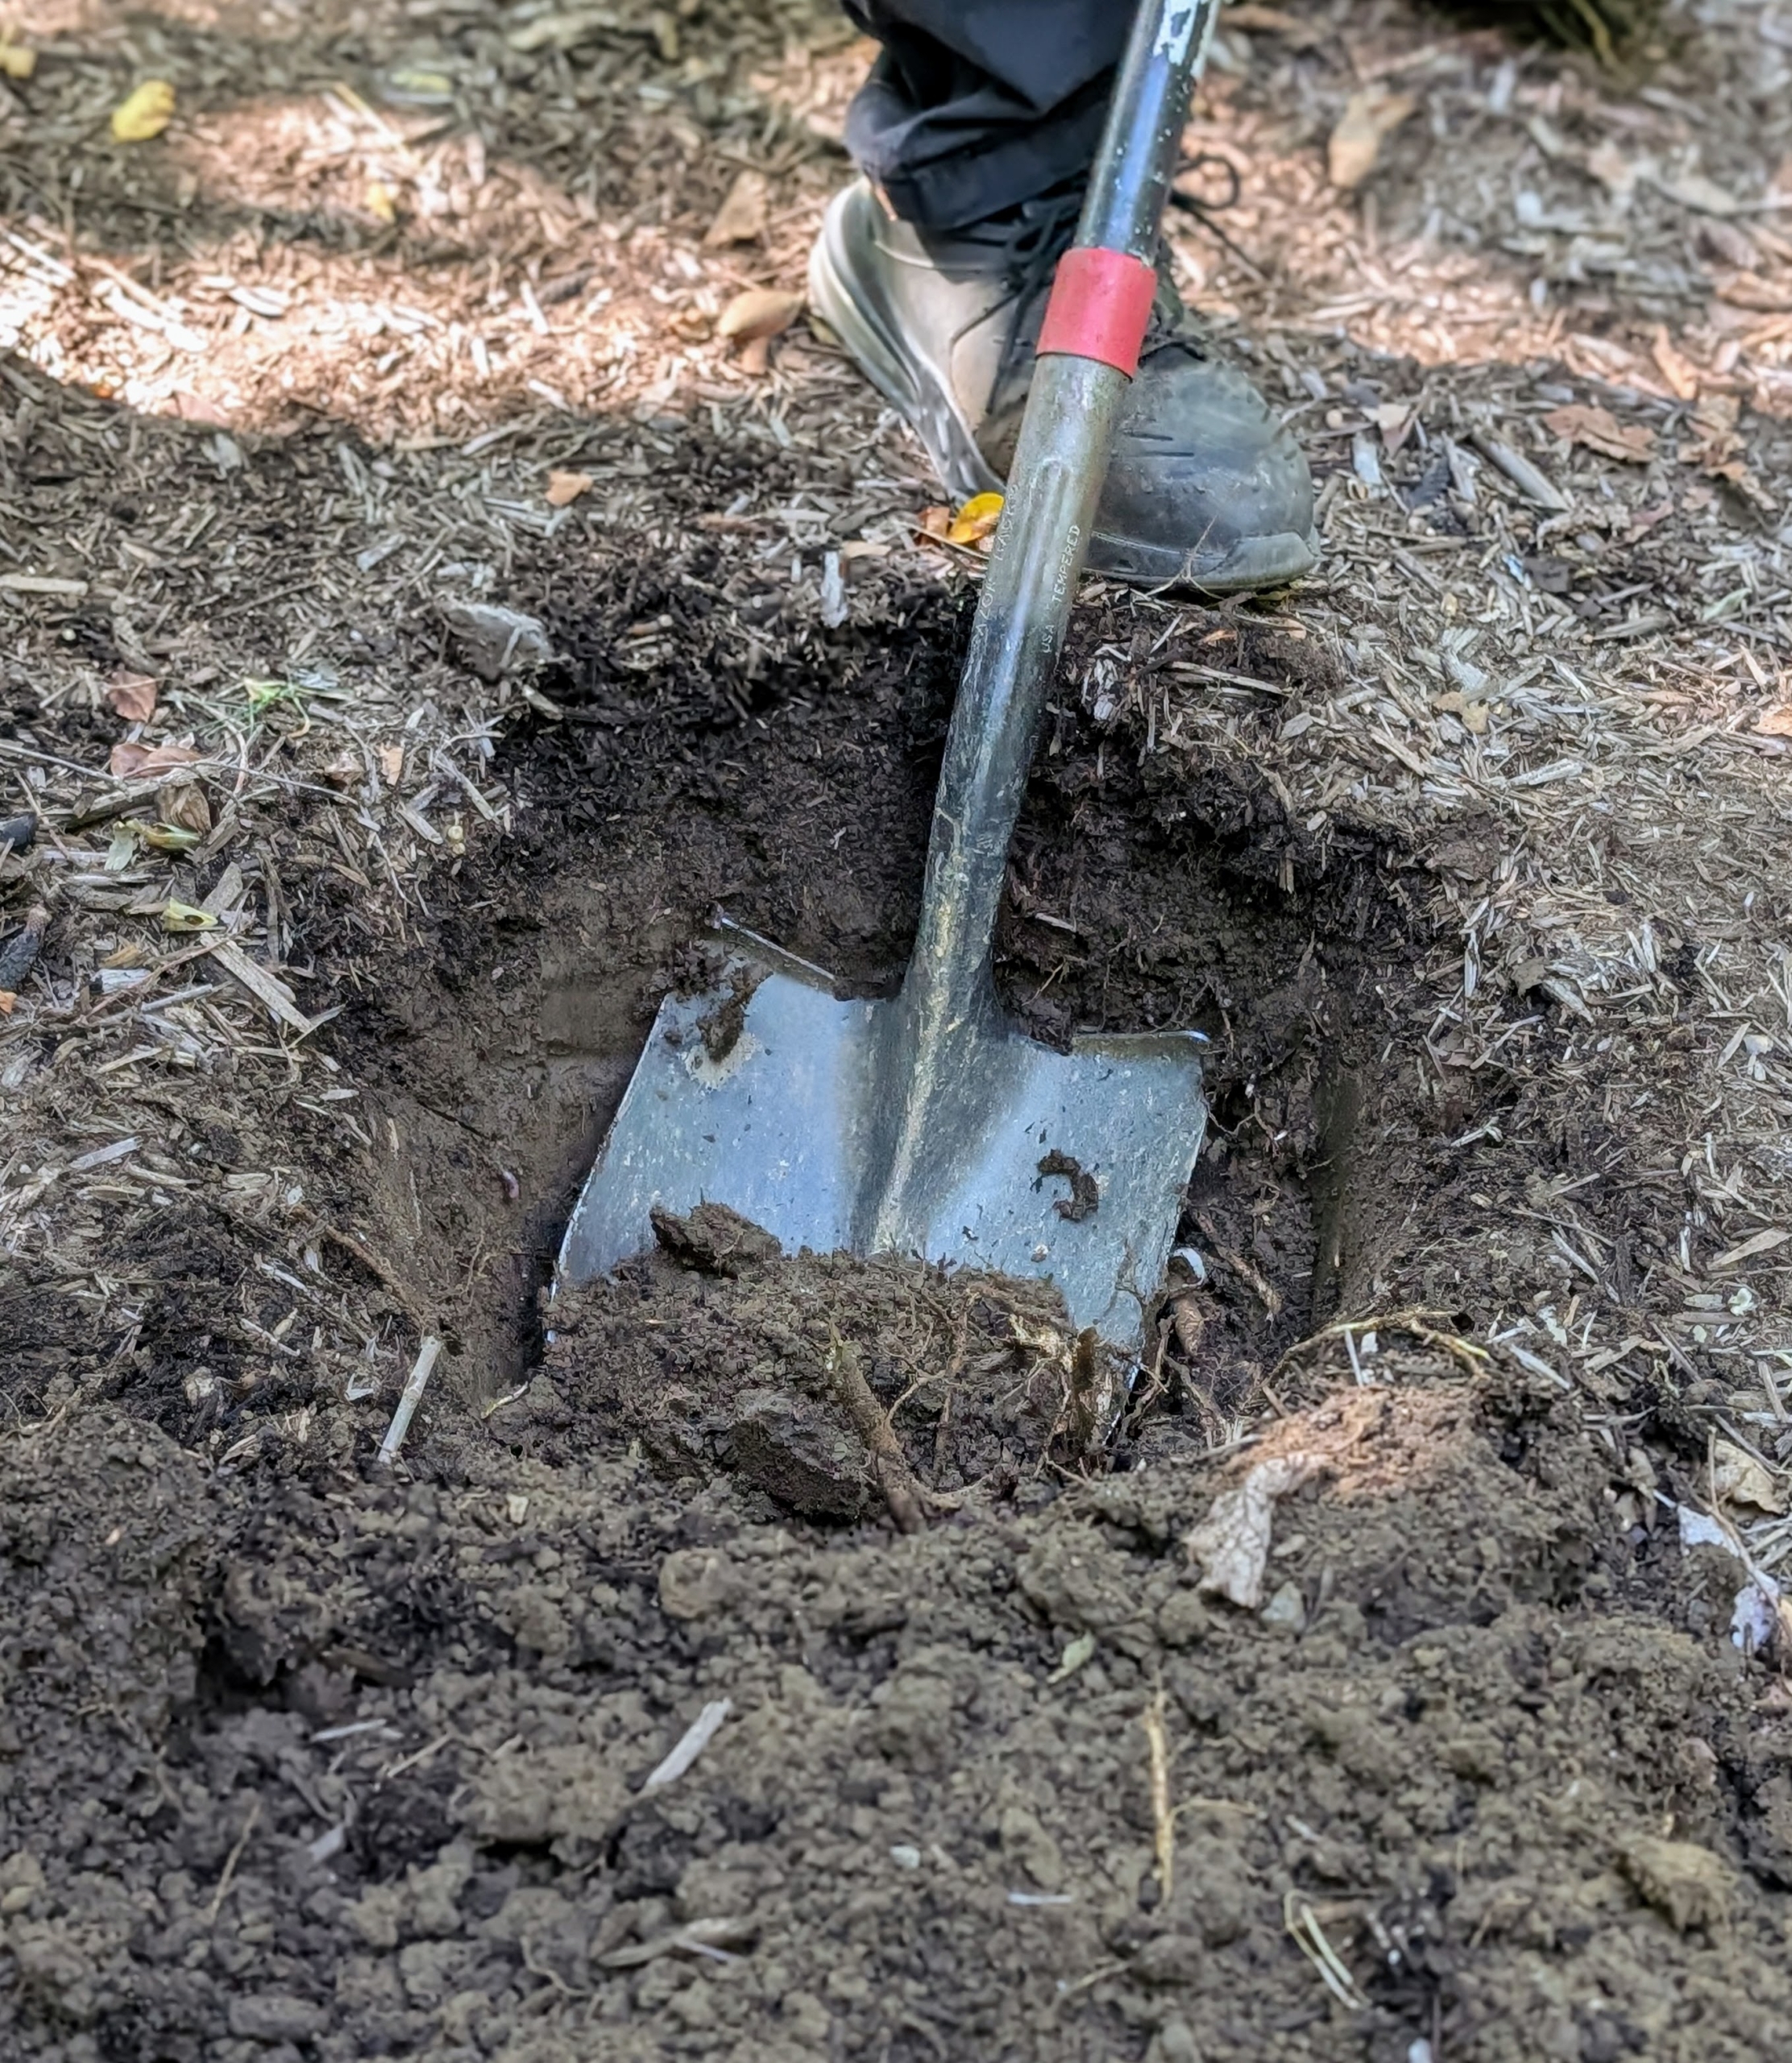
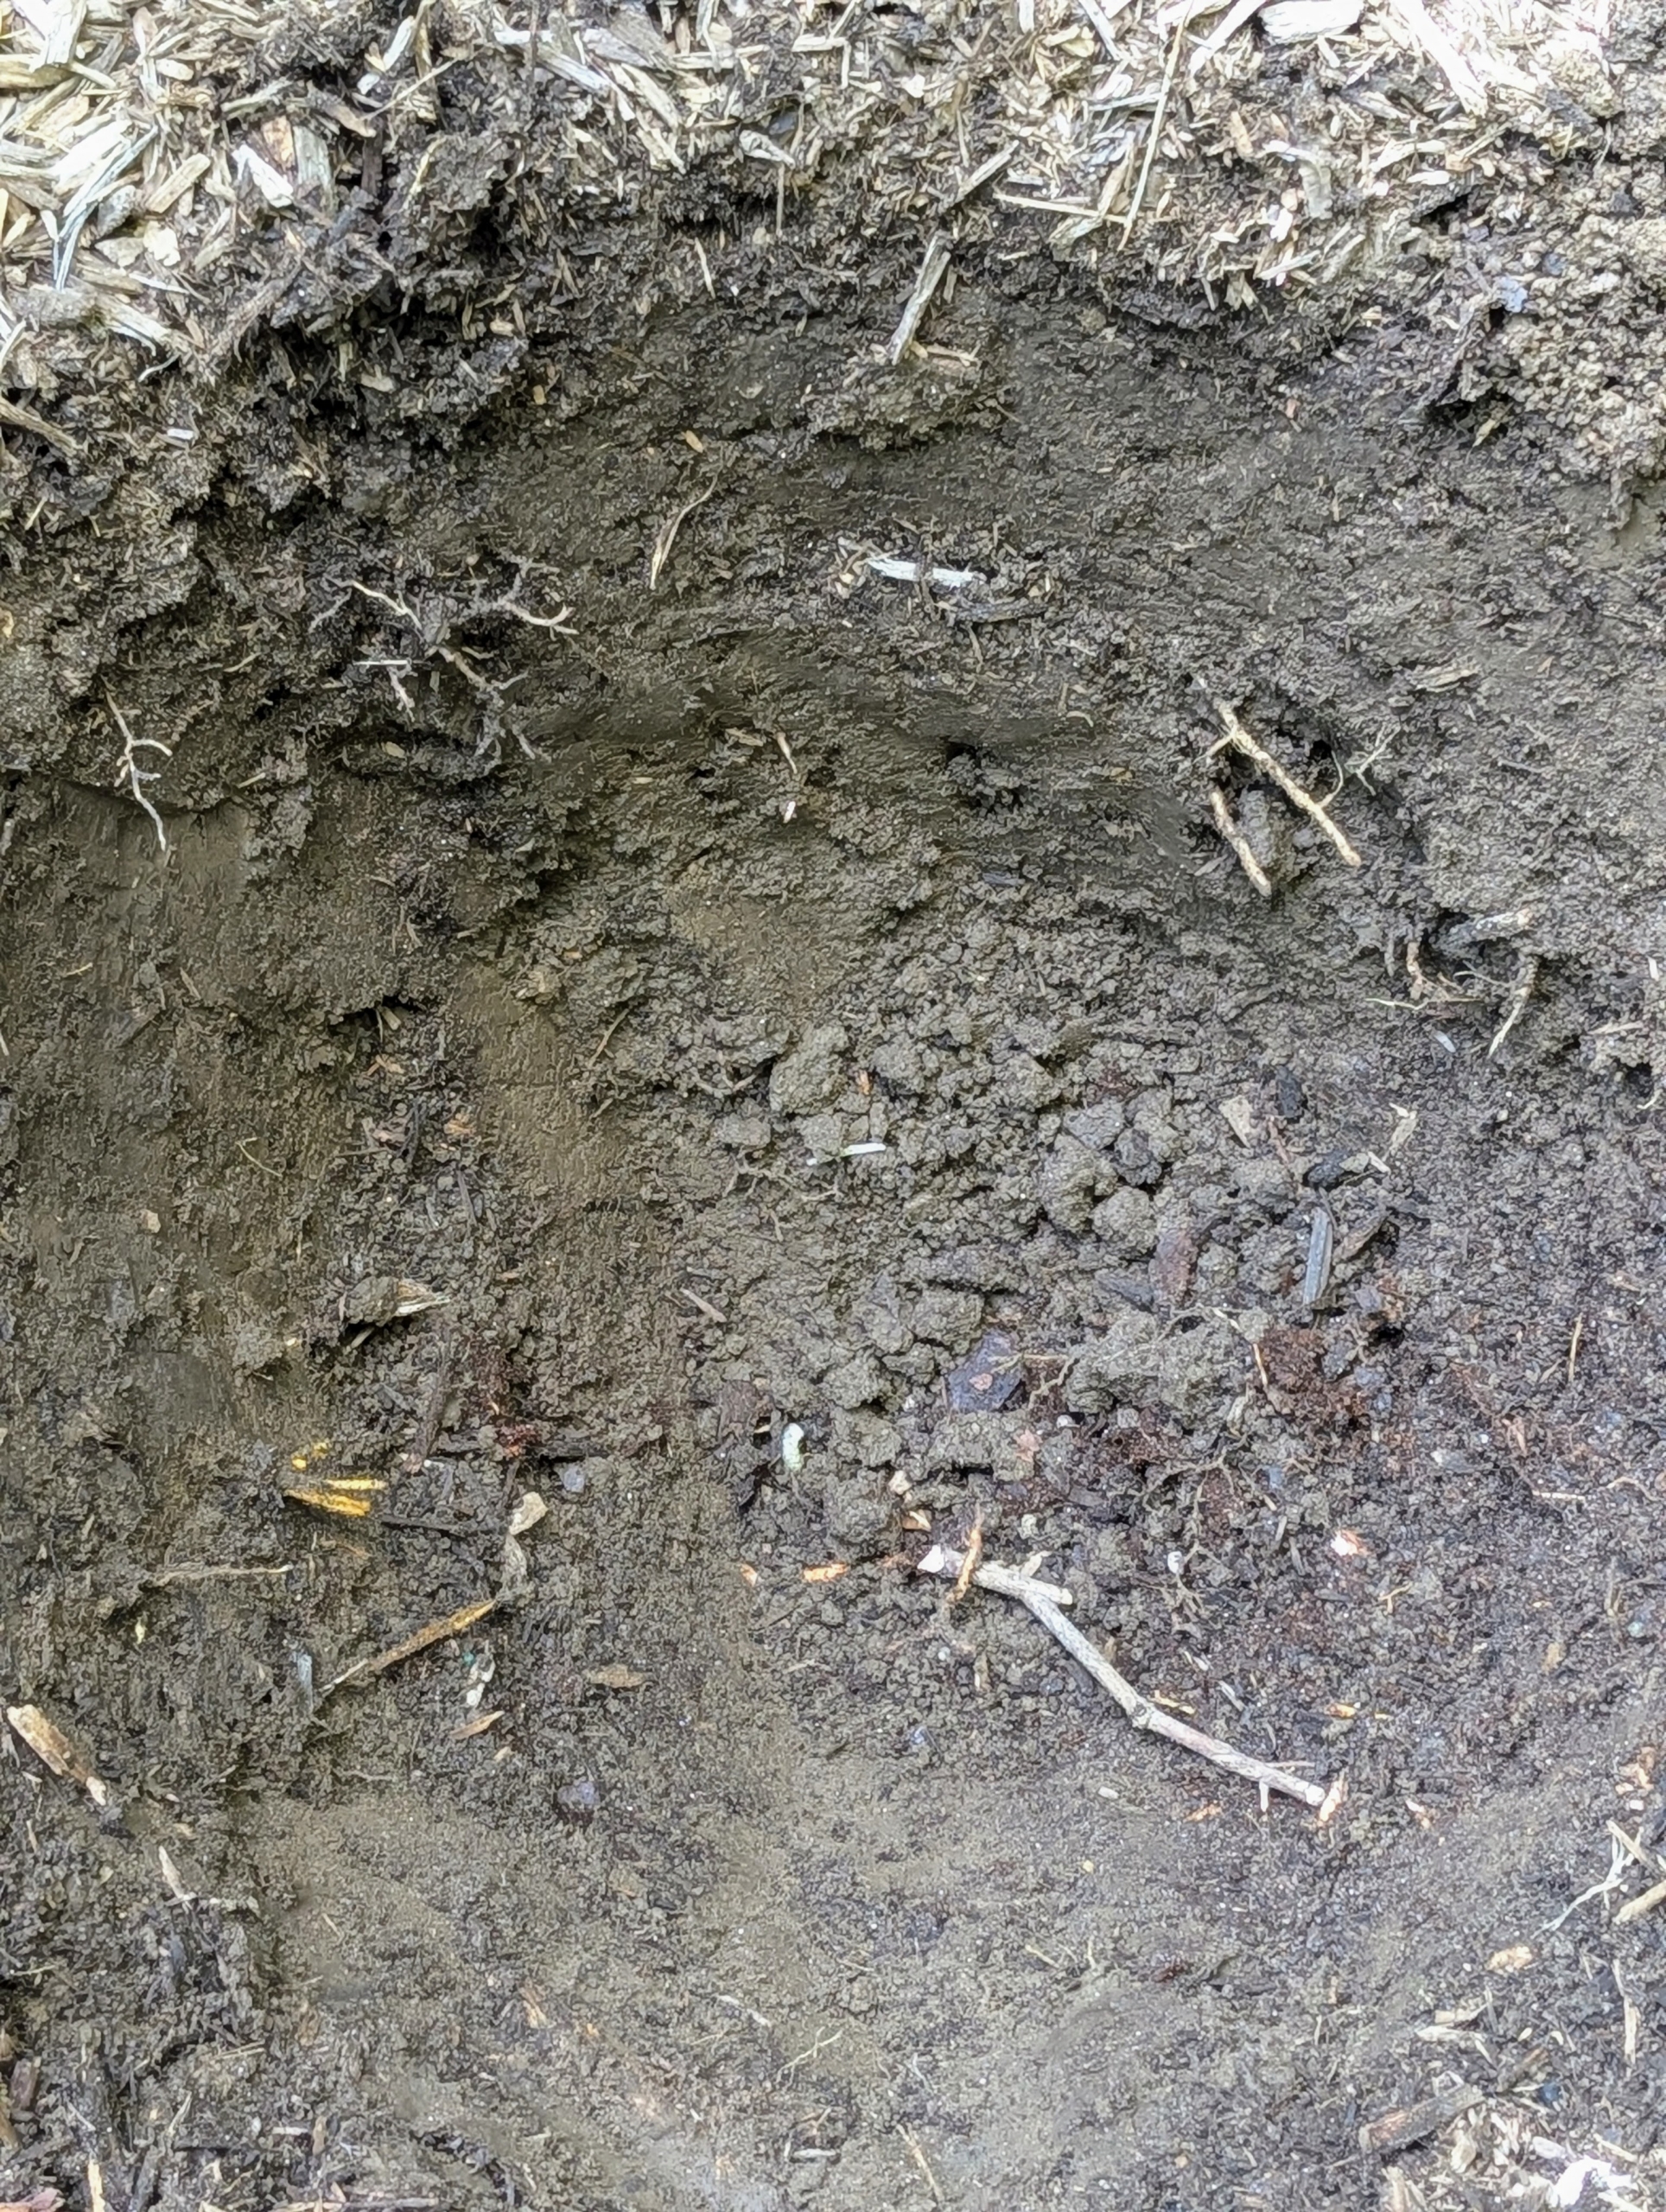
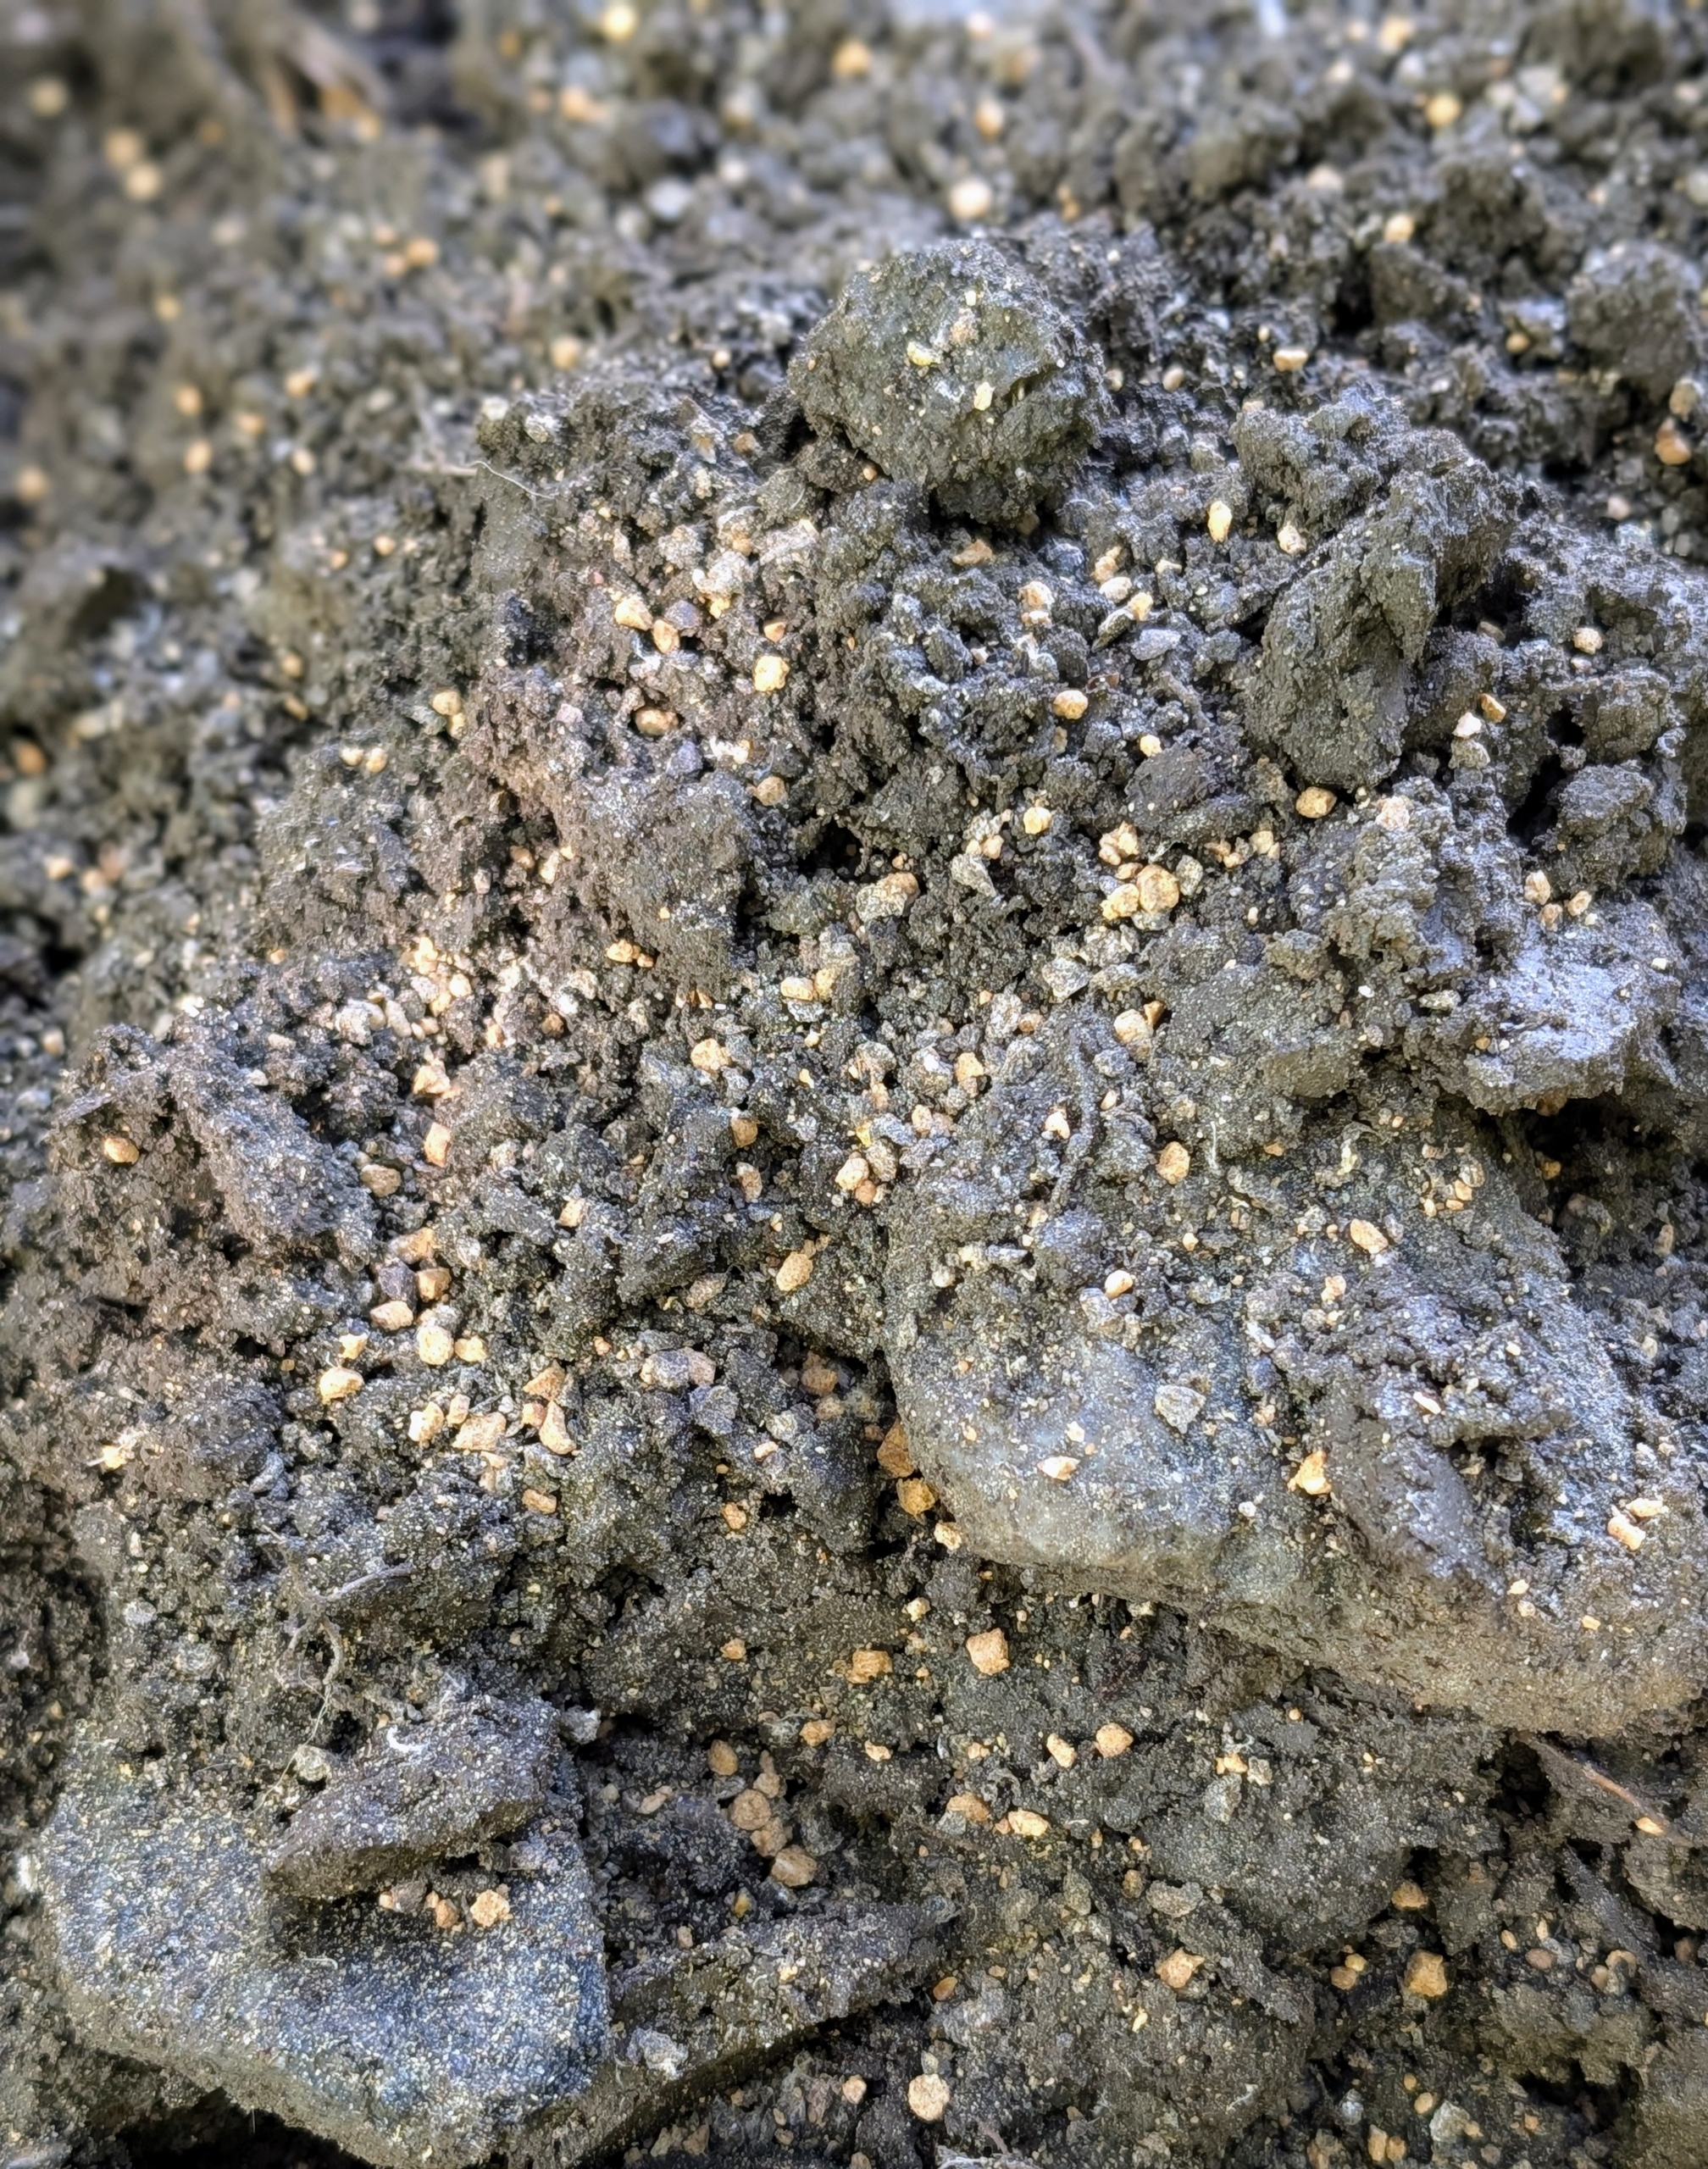
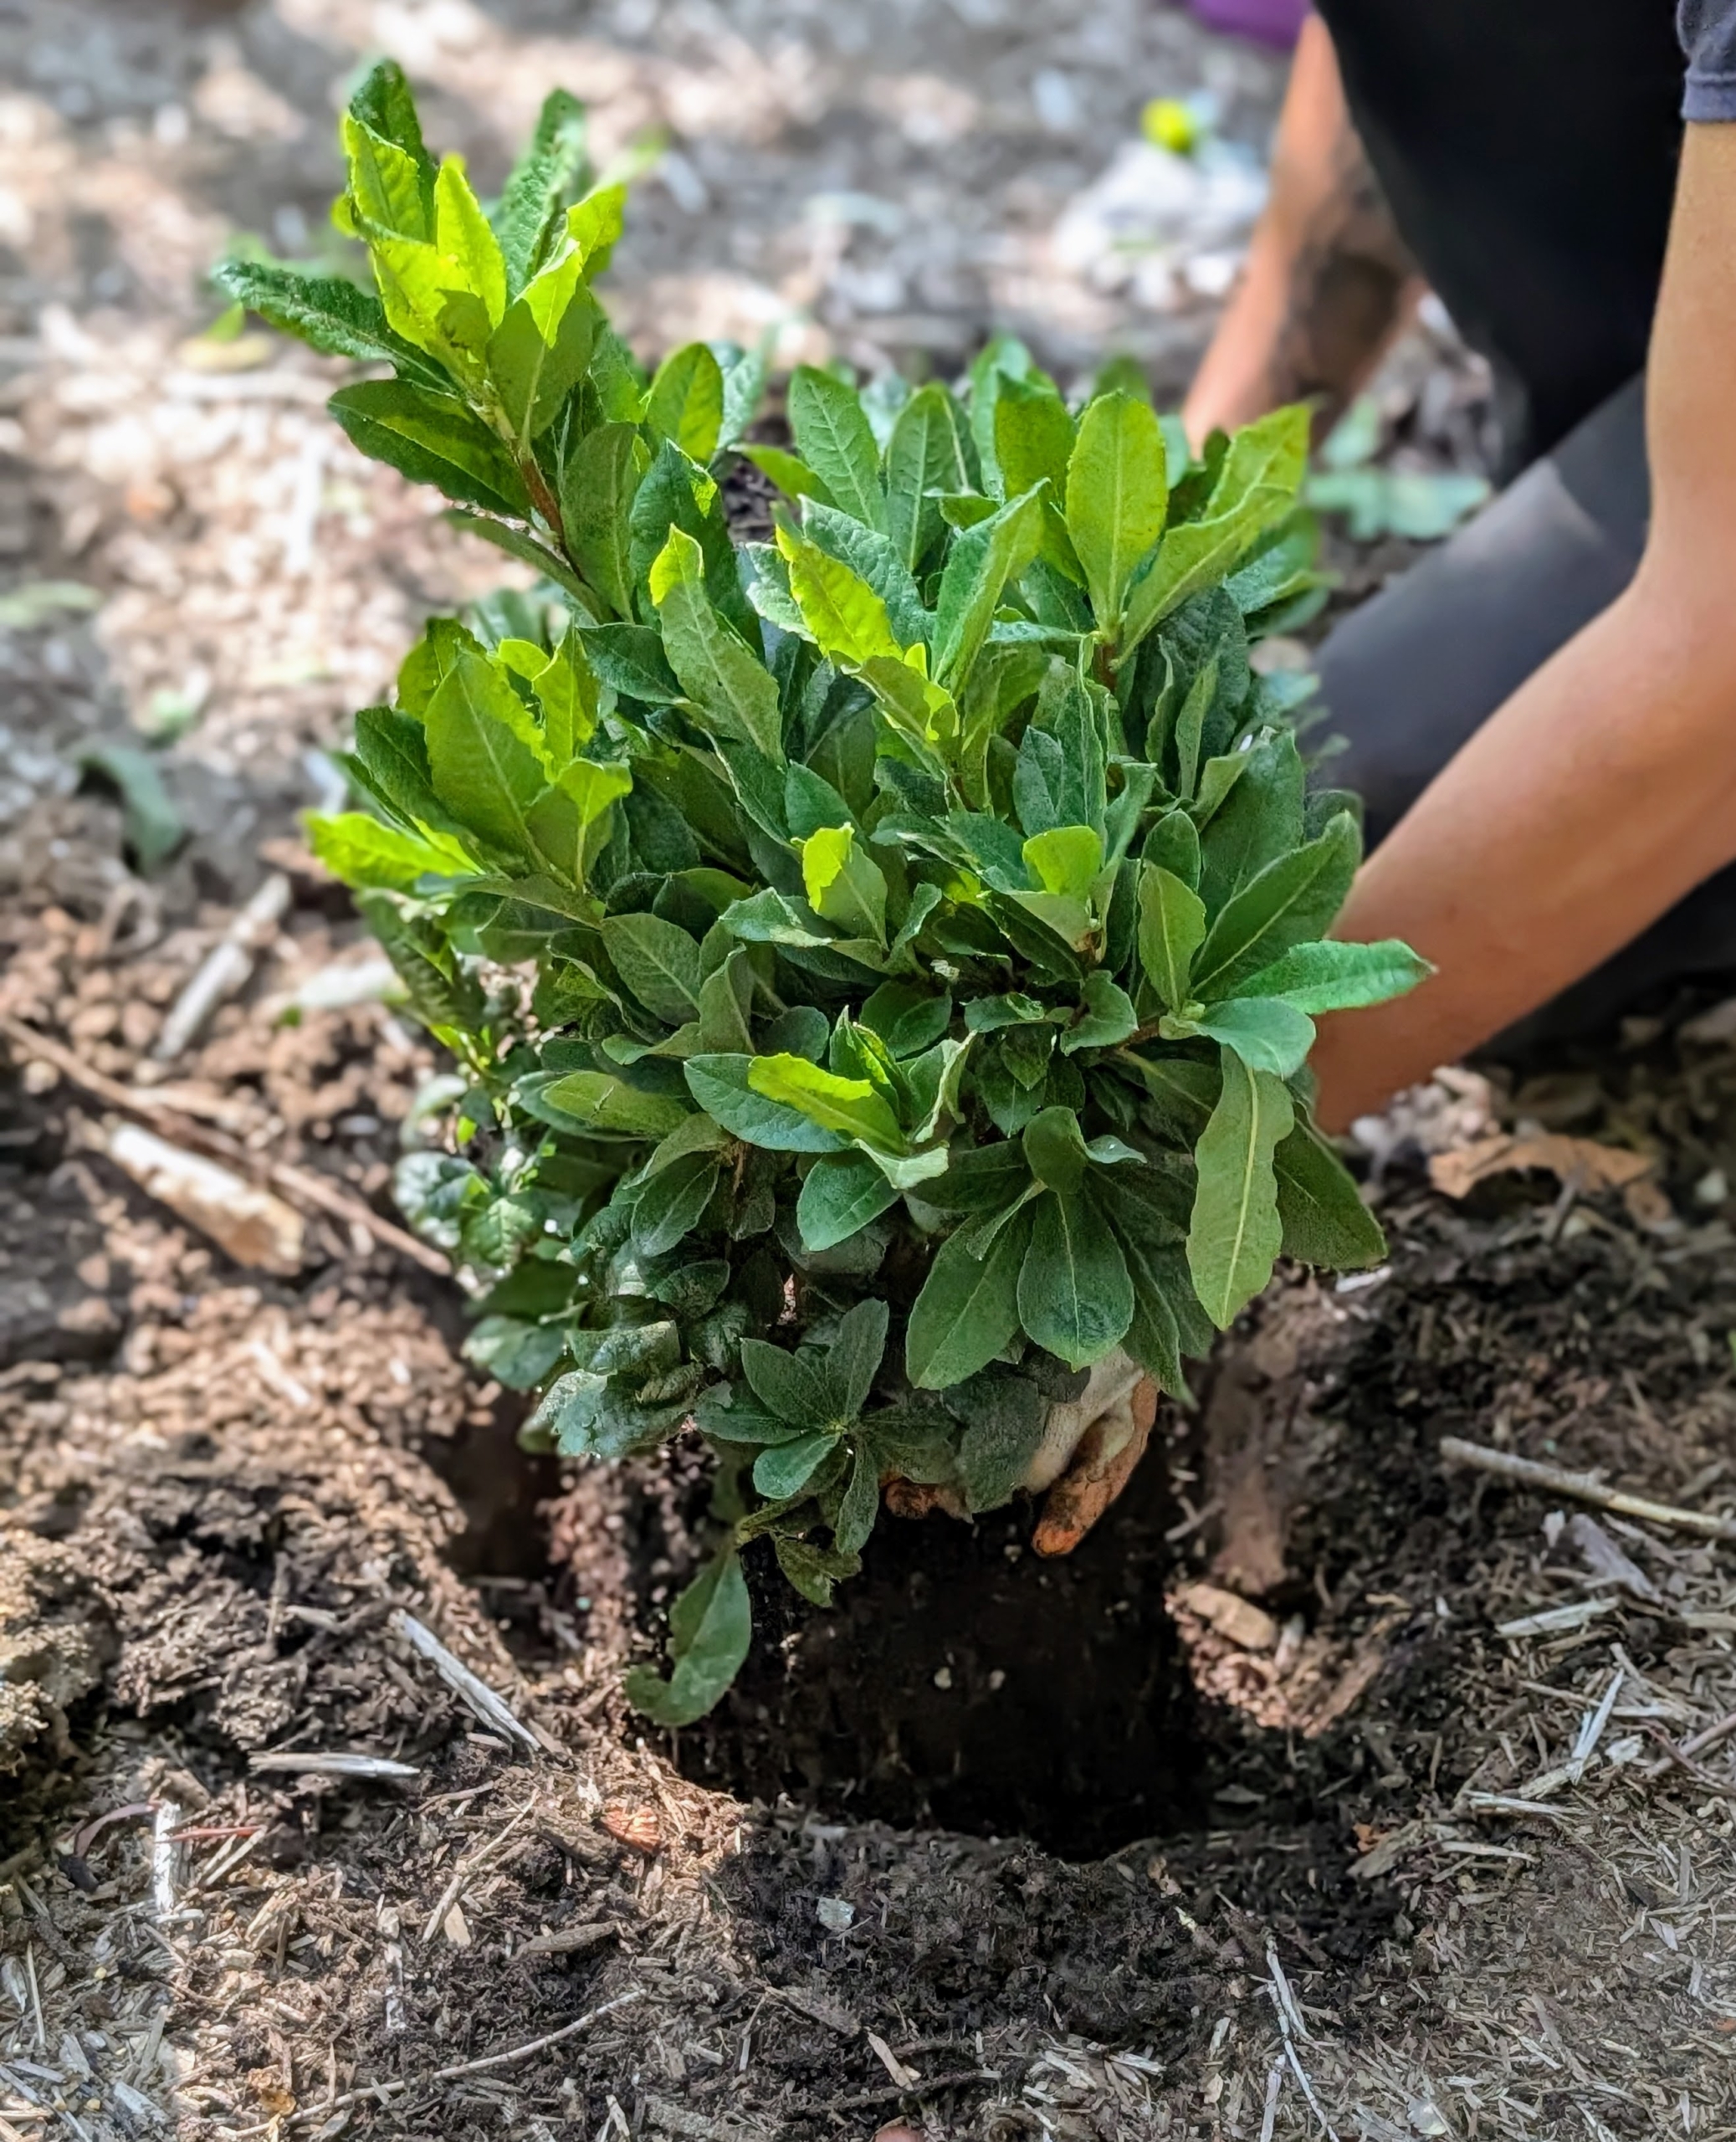
- Matt starts by digging all the holes. When planting, dig a hole at least twice the size of the plant. Azaleas thrive in moist, well-drained soils high in organic matter.
-
- The hole sides should be slanted and the hole should be no deeper than the root ball is tall, so it can be placed directly on undisturbed soil. Digging a wide planting hole helps to provide the best opportunity for roots to expand into its new growing environment.
-
- Matt tests the potted plant in the hole to make sure it is deep enough.
-
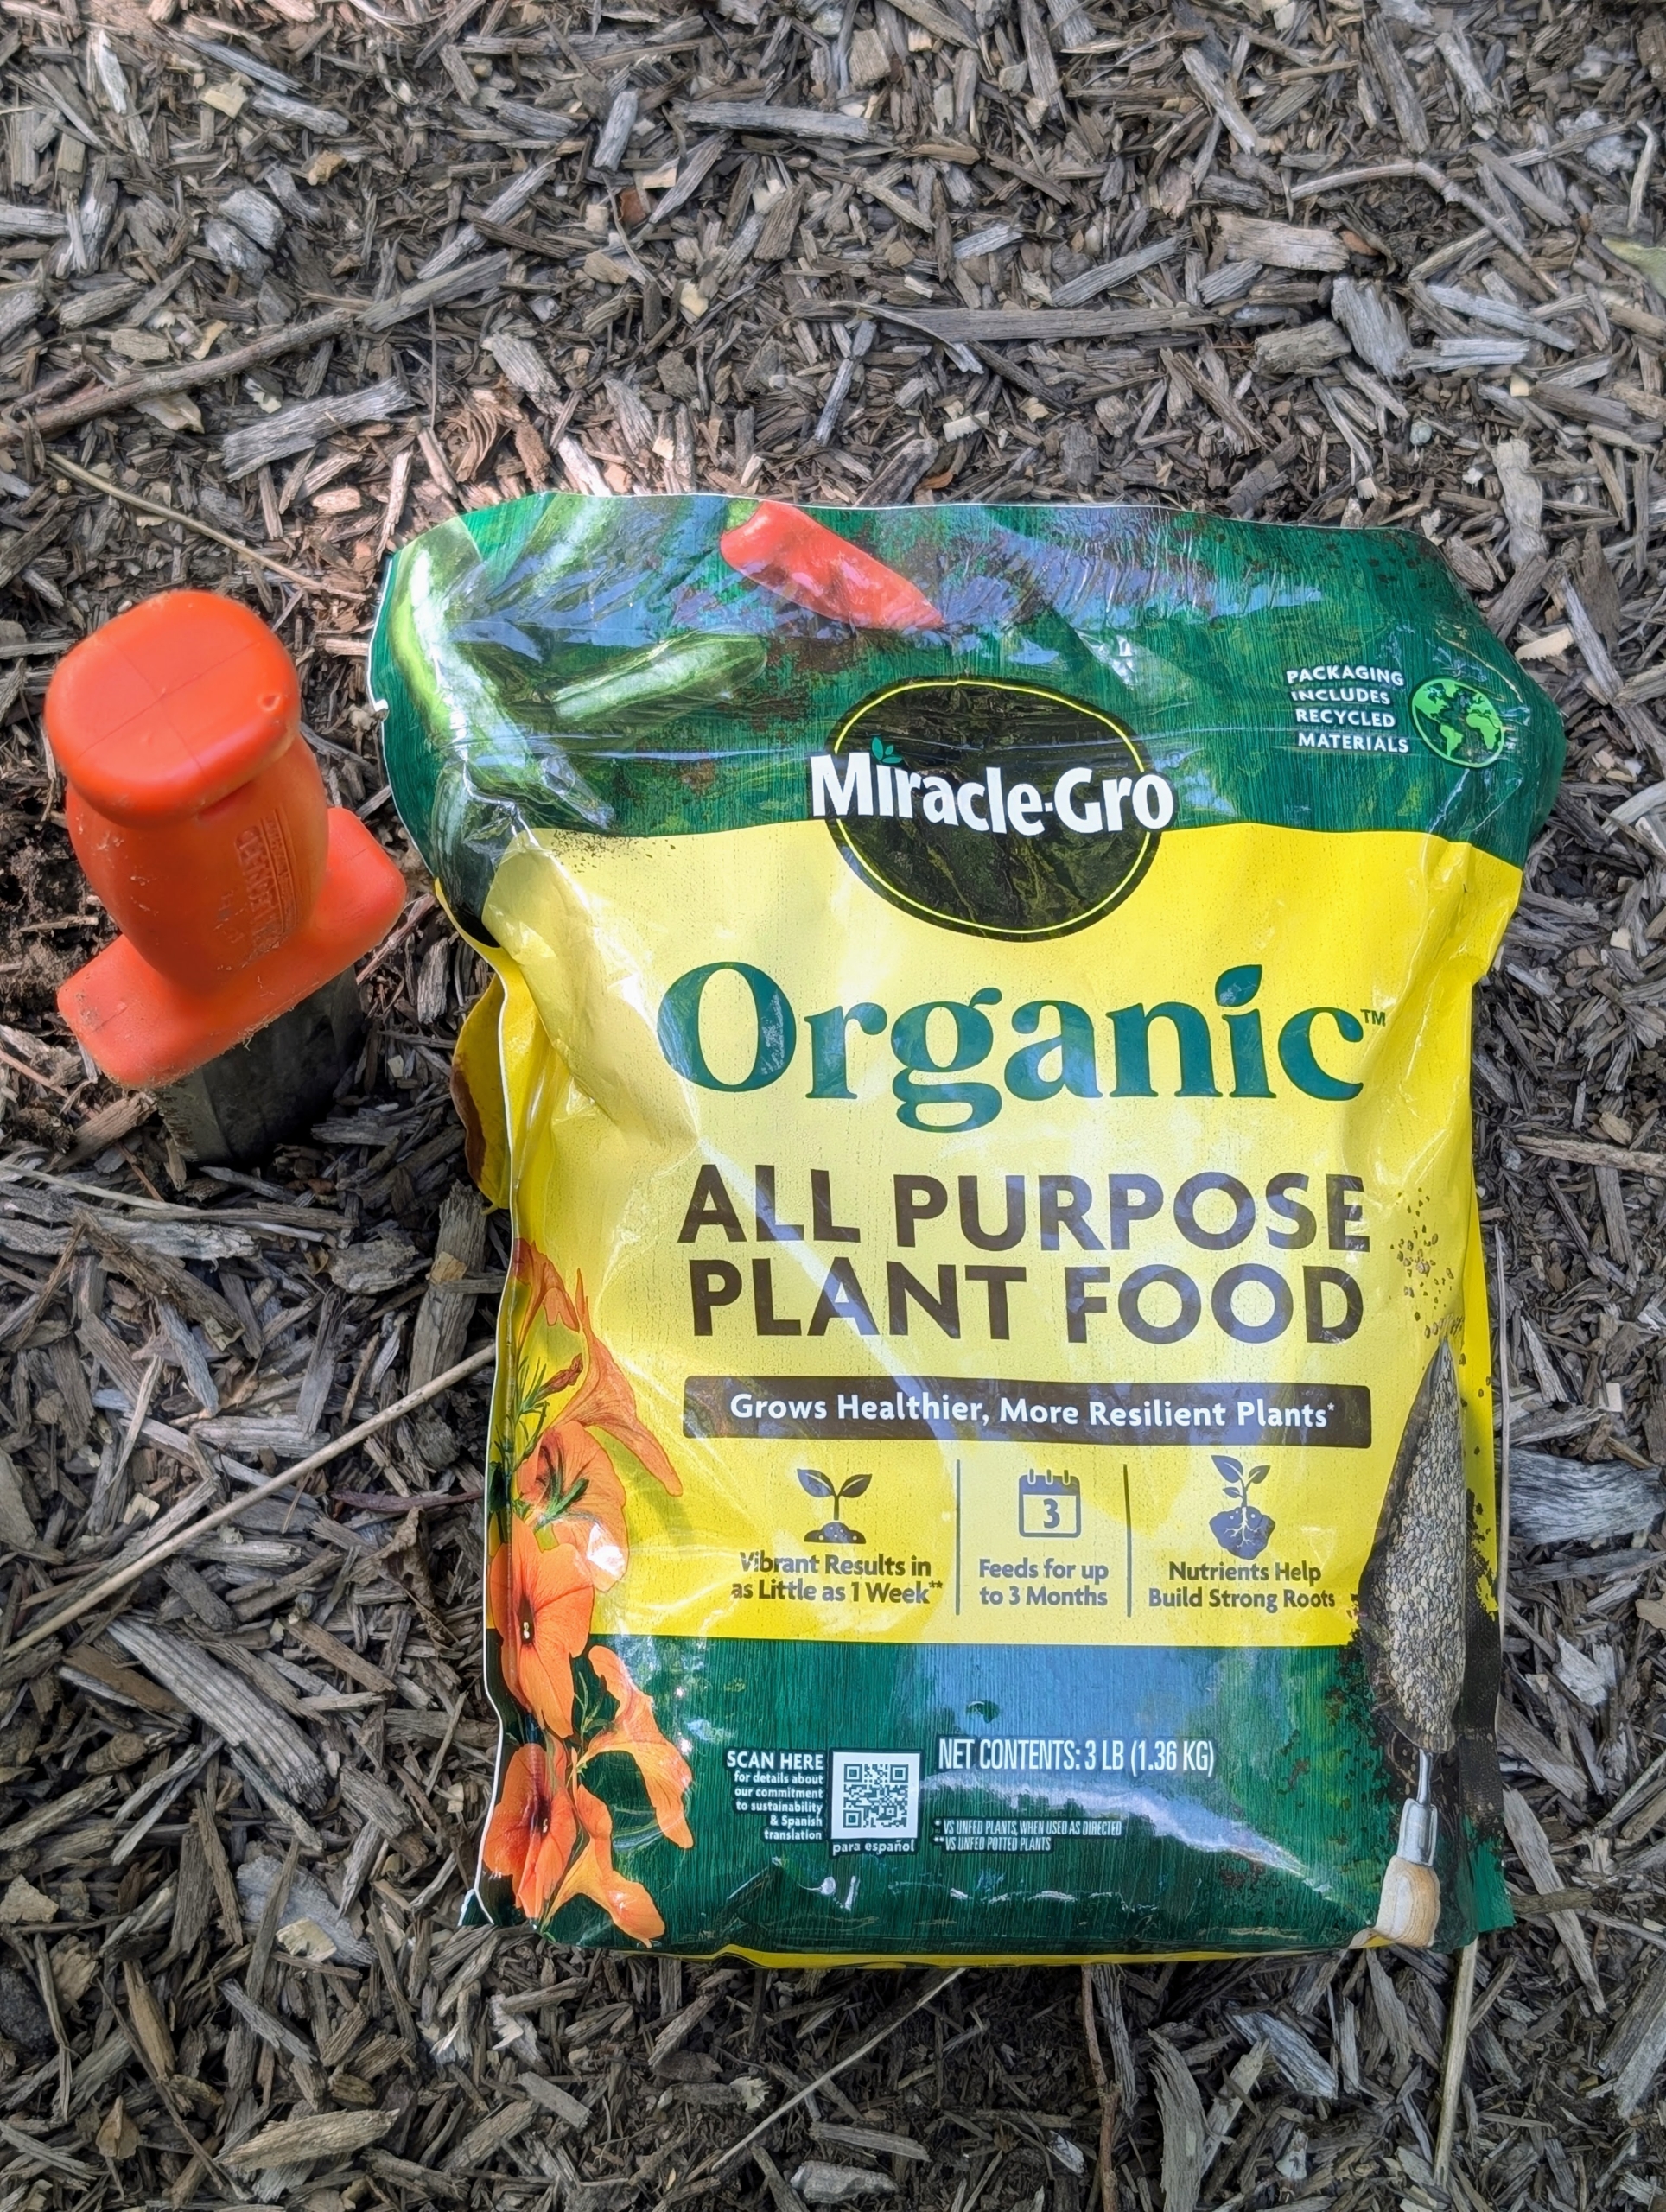
- Next, Matt sprinkles a generous handful of good, water-soluble fertilizer to the existing soil.

-
- I use Miracle-Gro Organic All Purpose Plant Food. It’s full of essential nutrients and won’t burn the plants.
-
- The food is granular, supports strong root development, and feeds plants for up to three months.
-
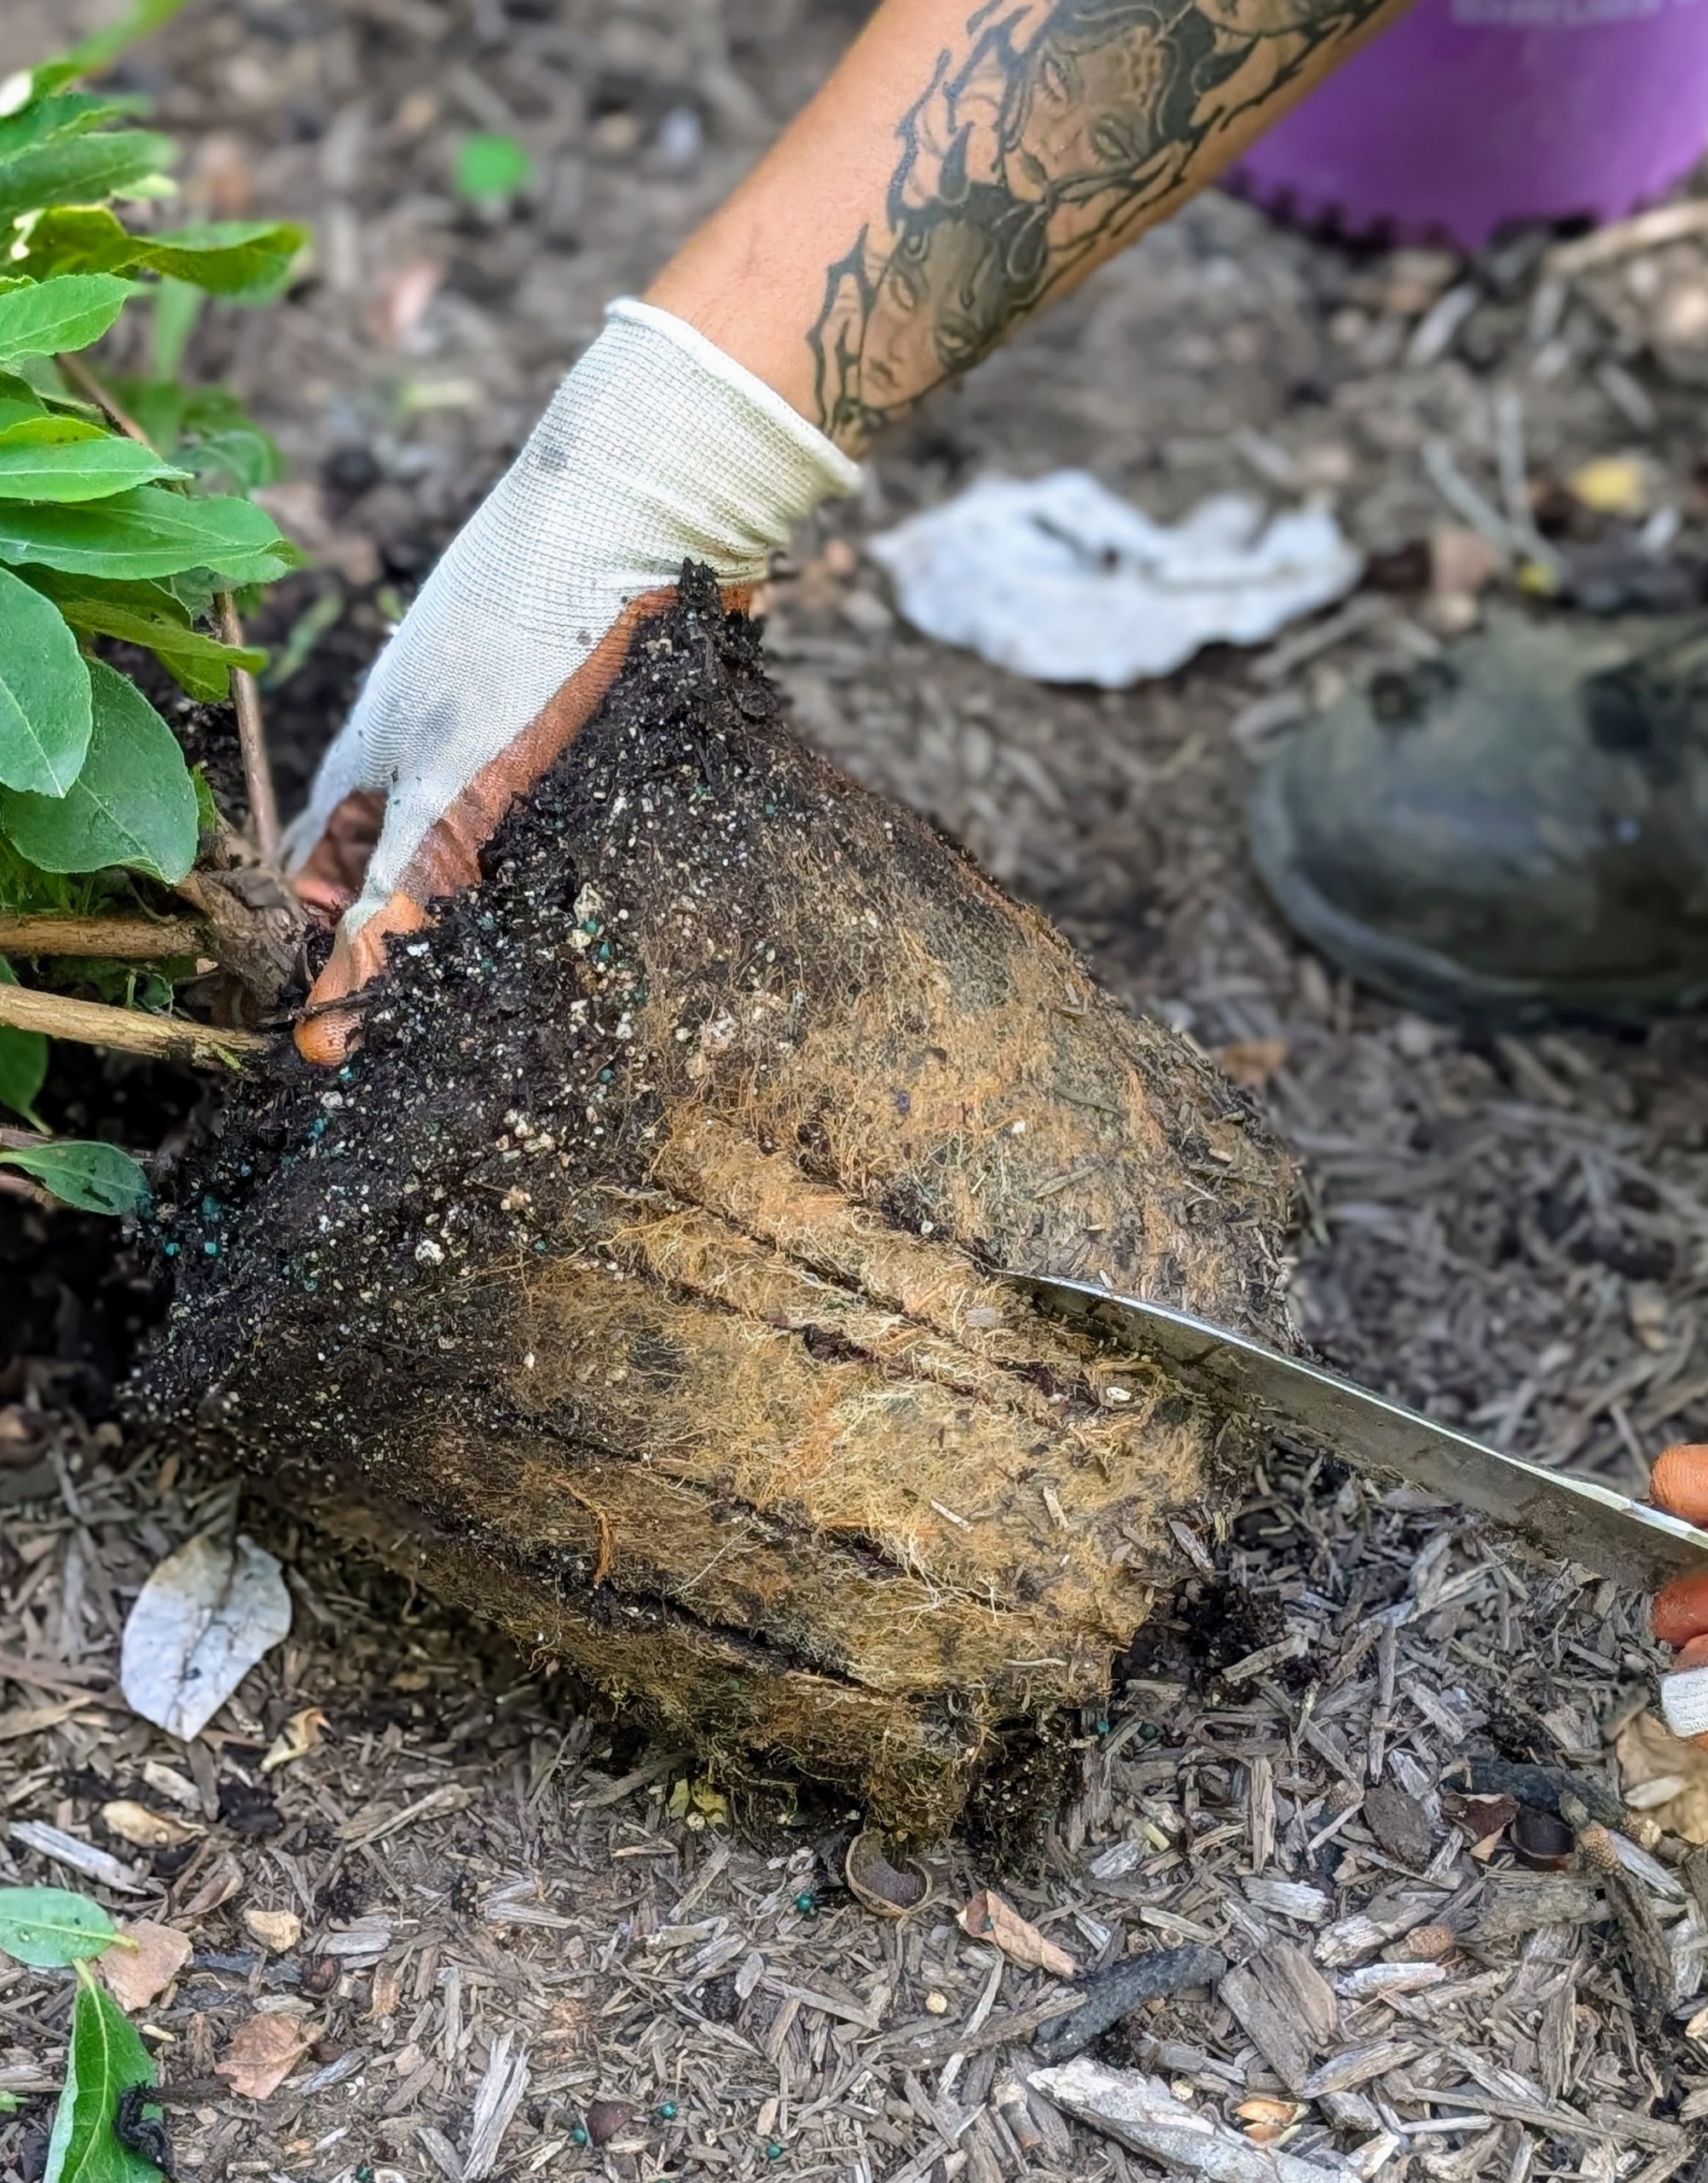
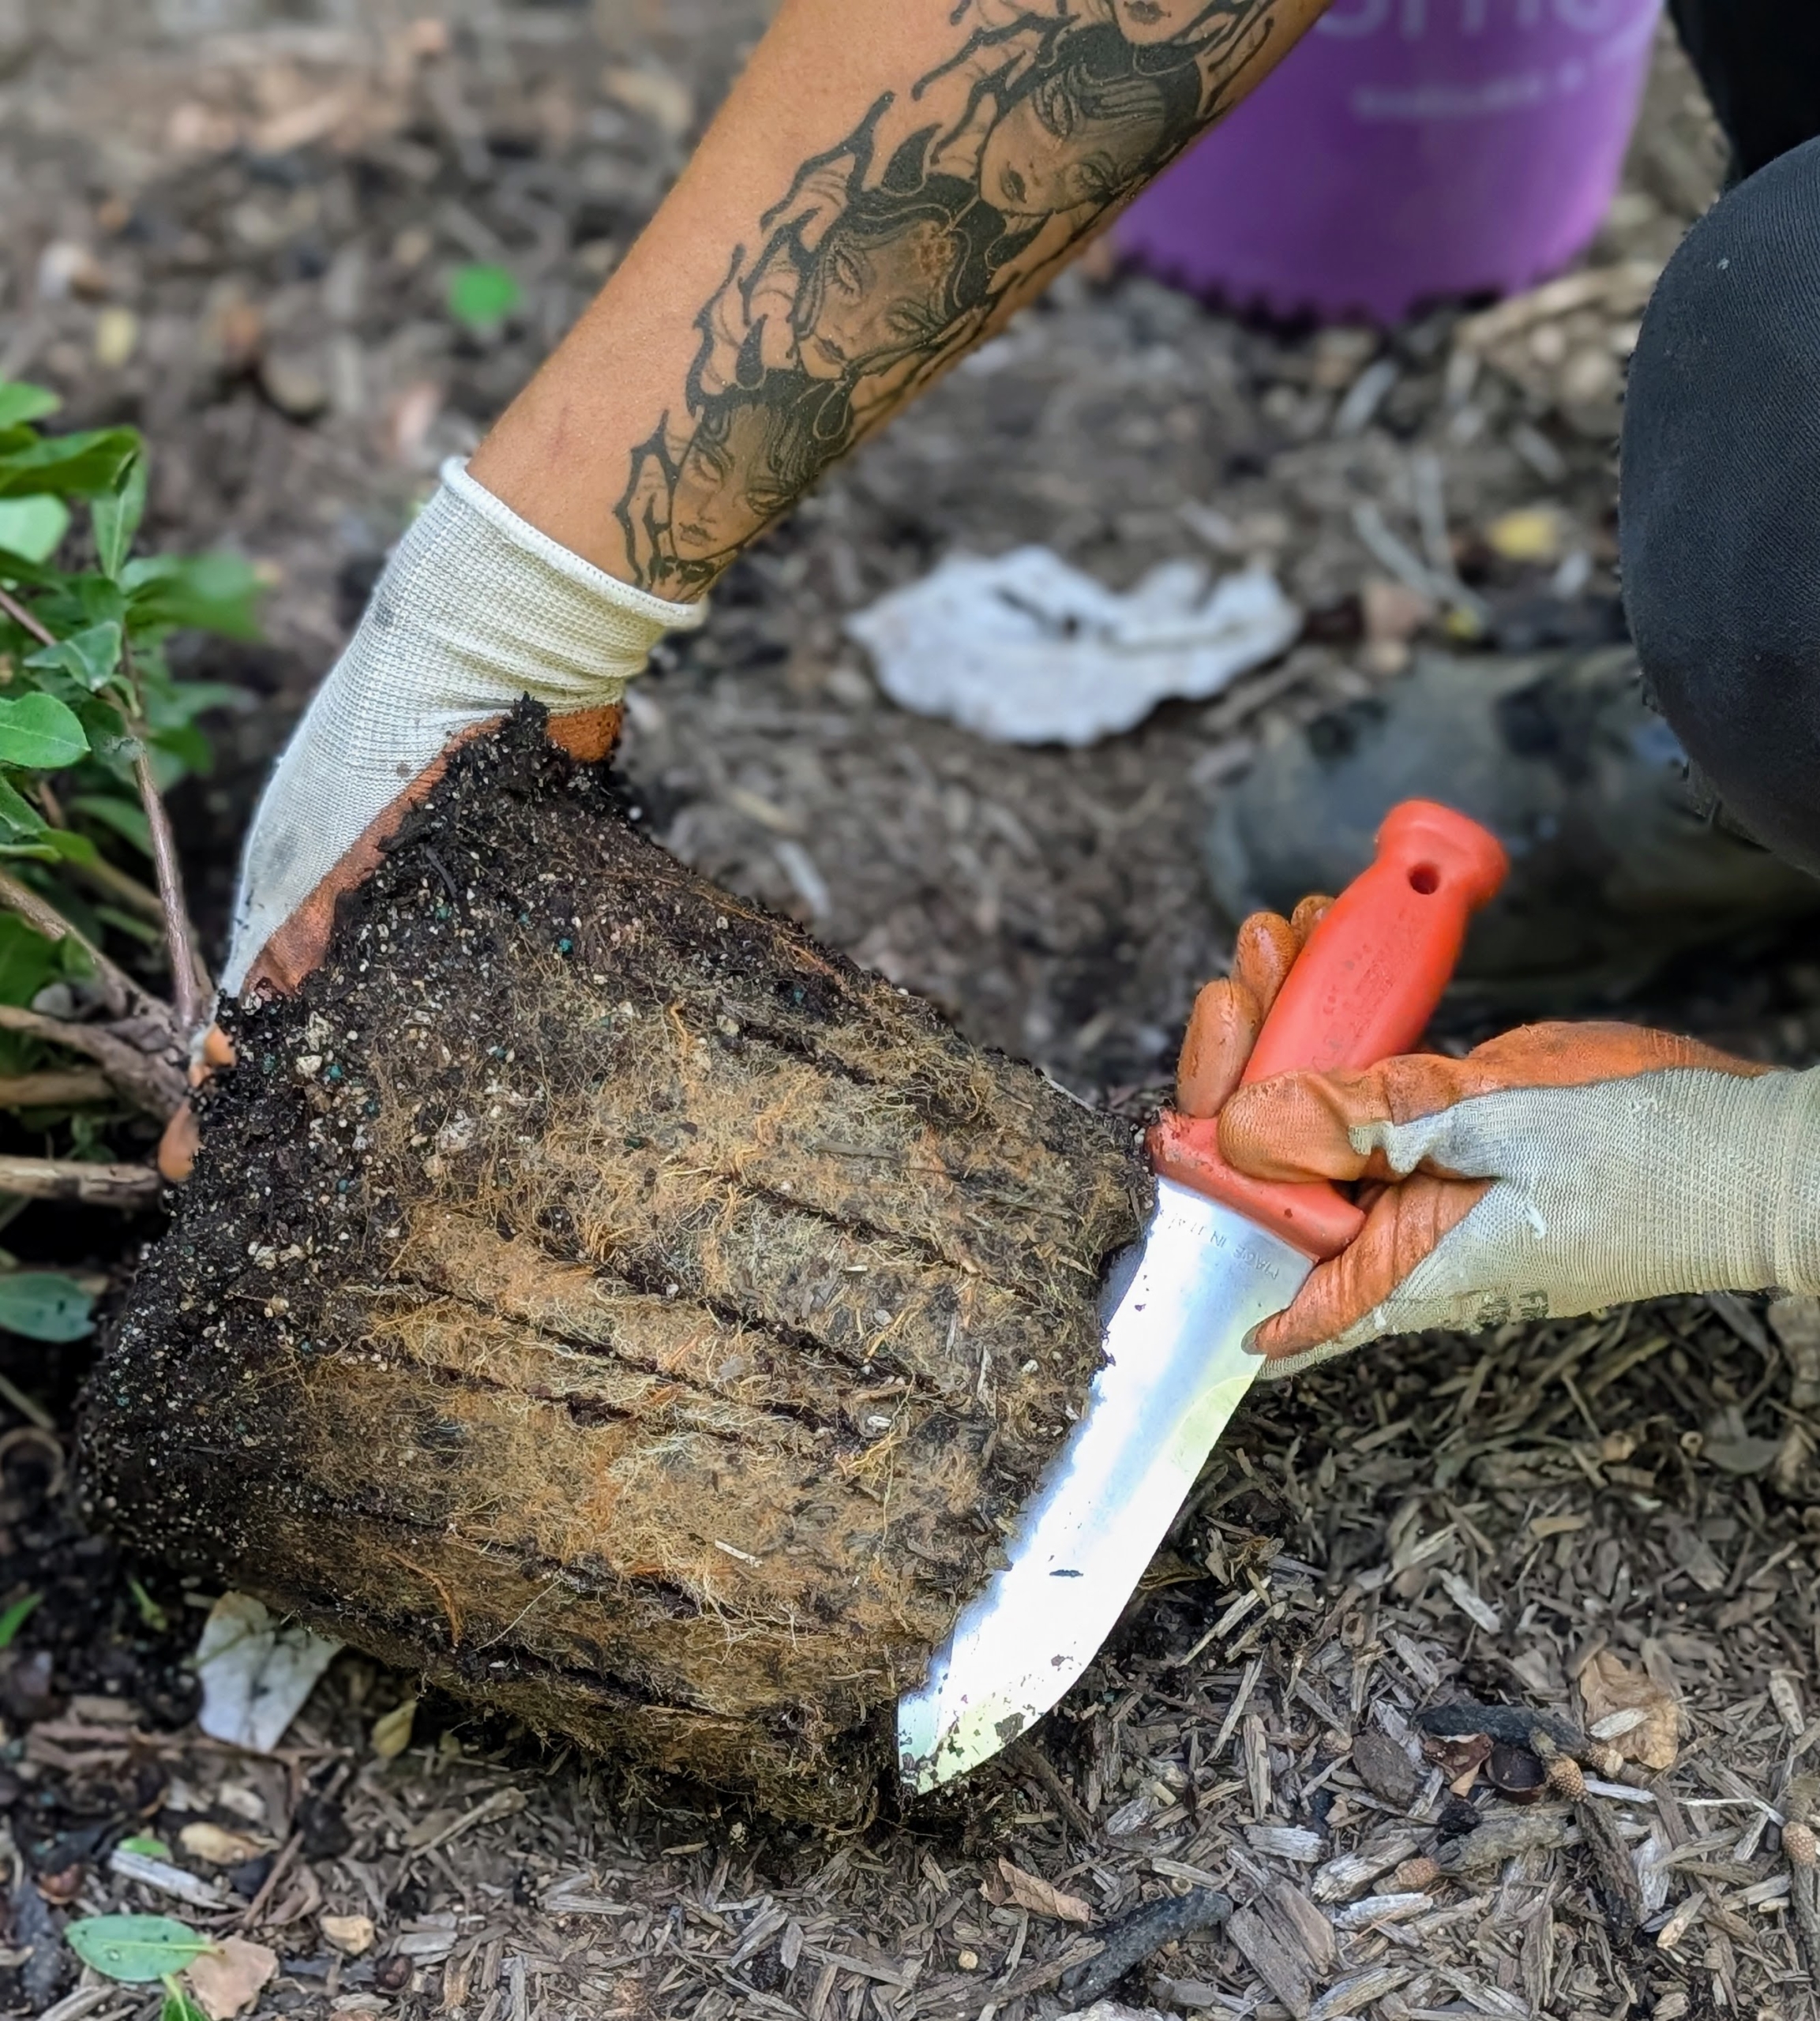
- Always scarify before putting plants into the ground. Scarifying stimulates root growth. Essentially, one breaks up small portions of the root ball to loosen the roots a bit and create some beneficial injuries. This helps the plant become established more quickly in its new environment. Matt removes the plant from its pot and using a hori hori, scarifies the sides of the root ball.
-
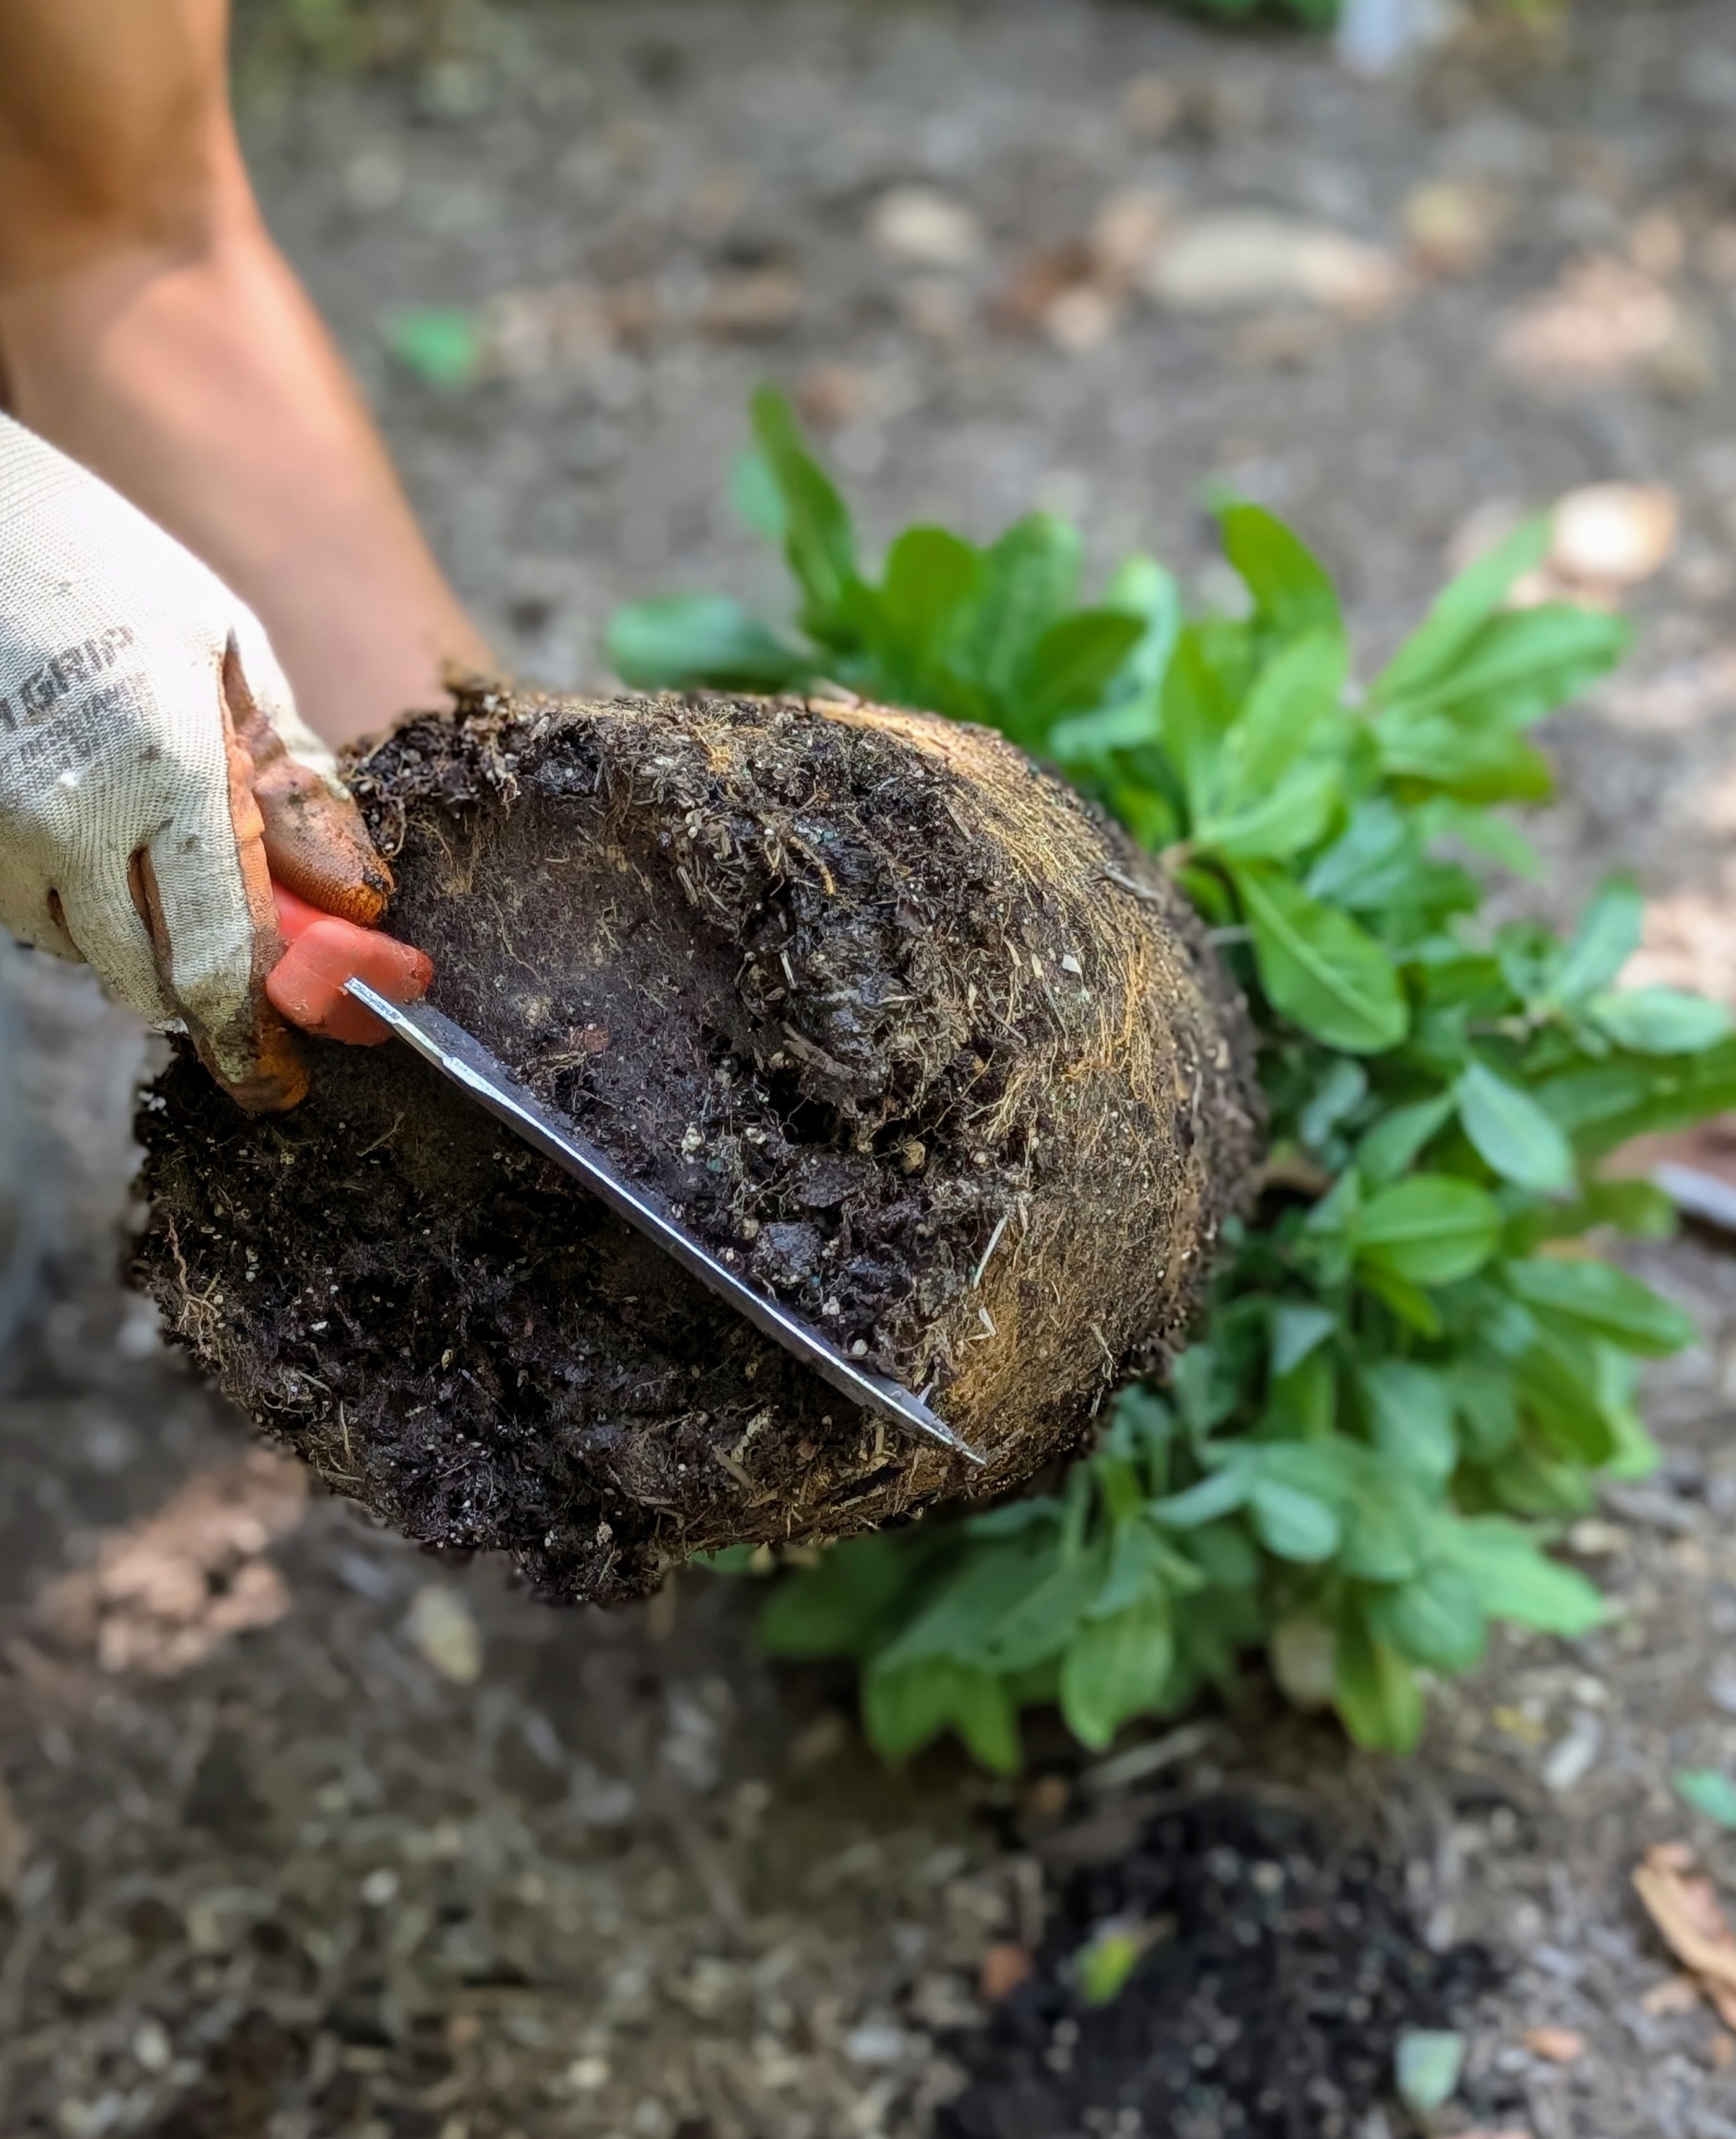
- Matt does this to the bottom also.
-
- Cuts don’t have to be deep – just enough to cut through the root ball. Don’t be afraid to be a little rough.
-
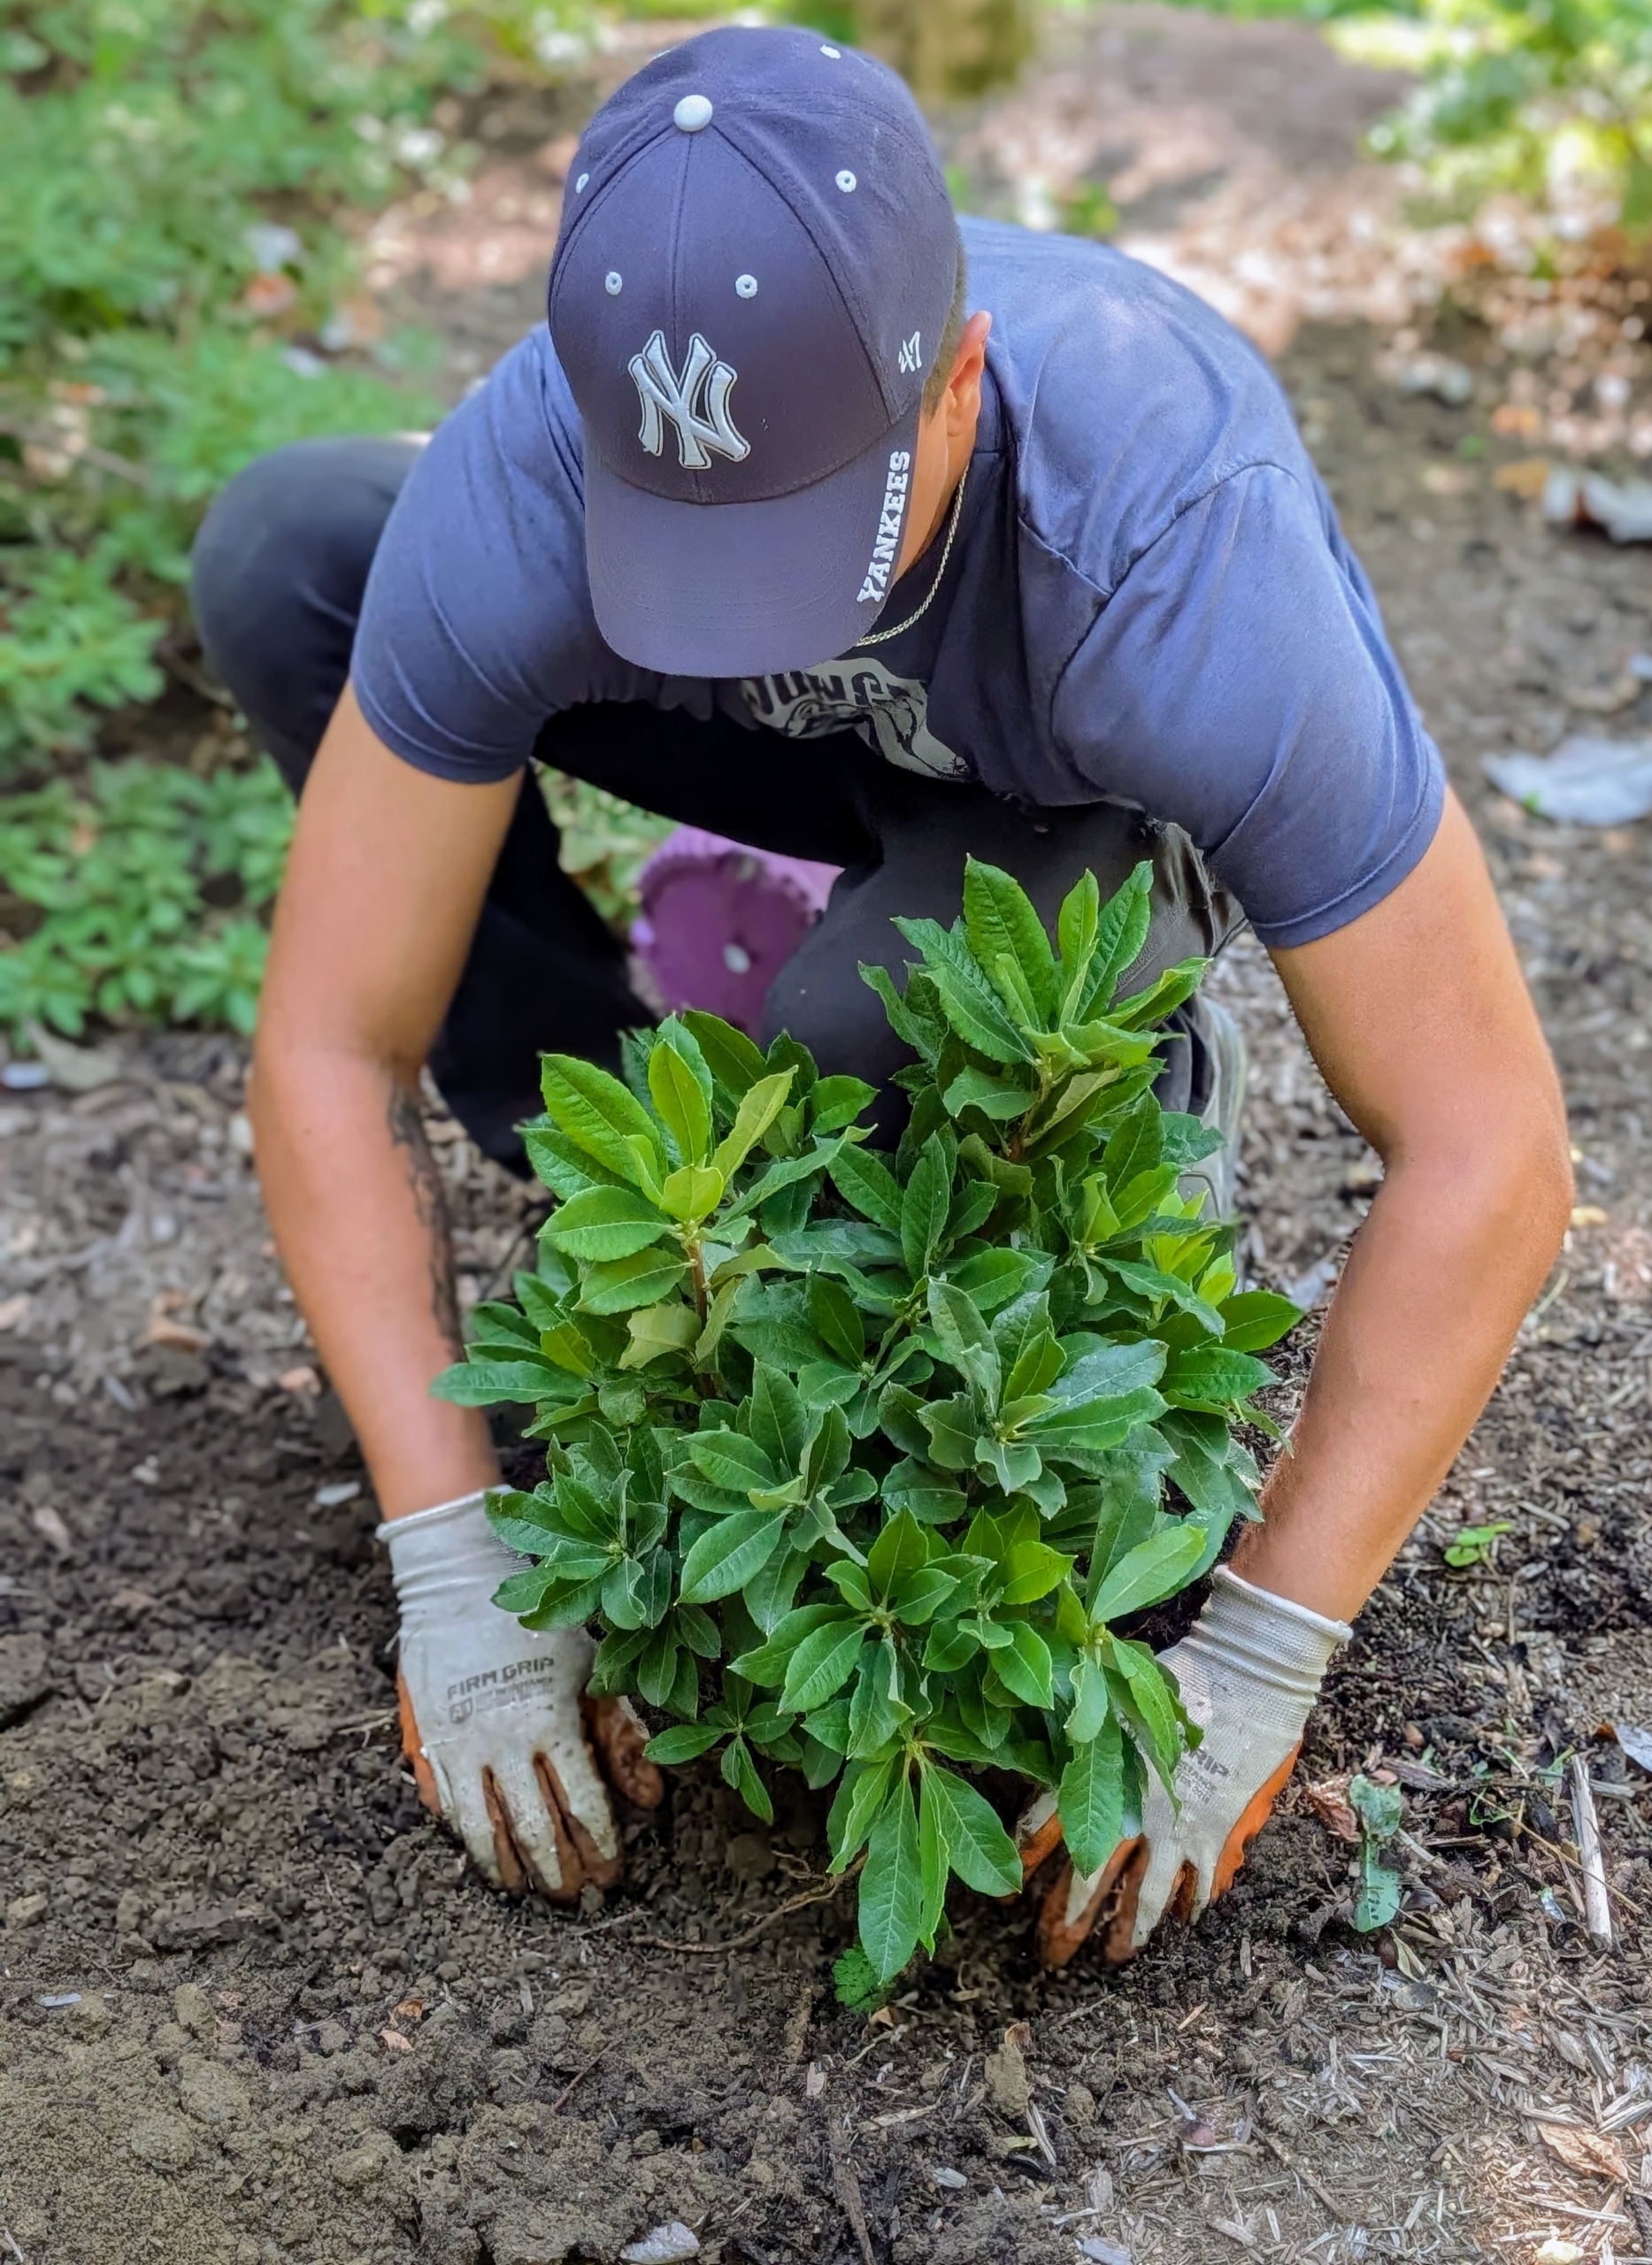
- The plant is tested in the hole again and checked to be sure it is at the right depth. This is important. Planting too deep could eventually cause deterioration at the soil line and kill the plant.
-
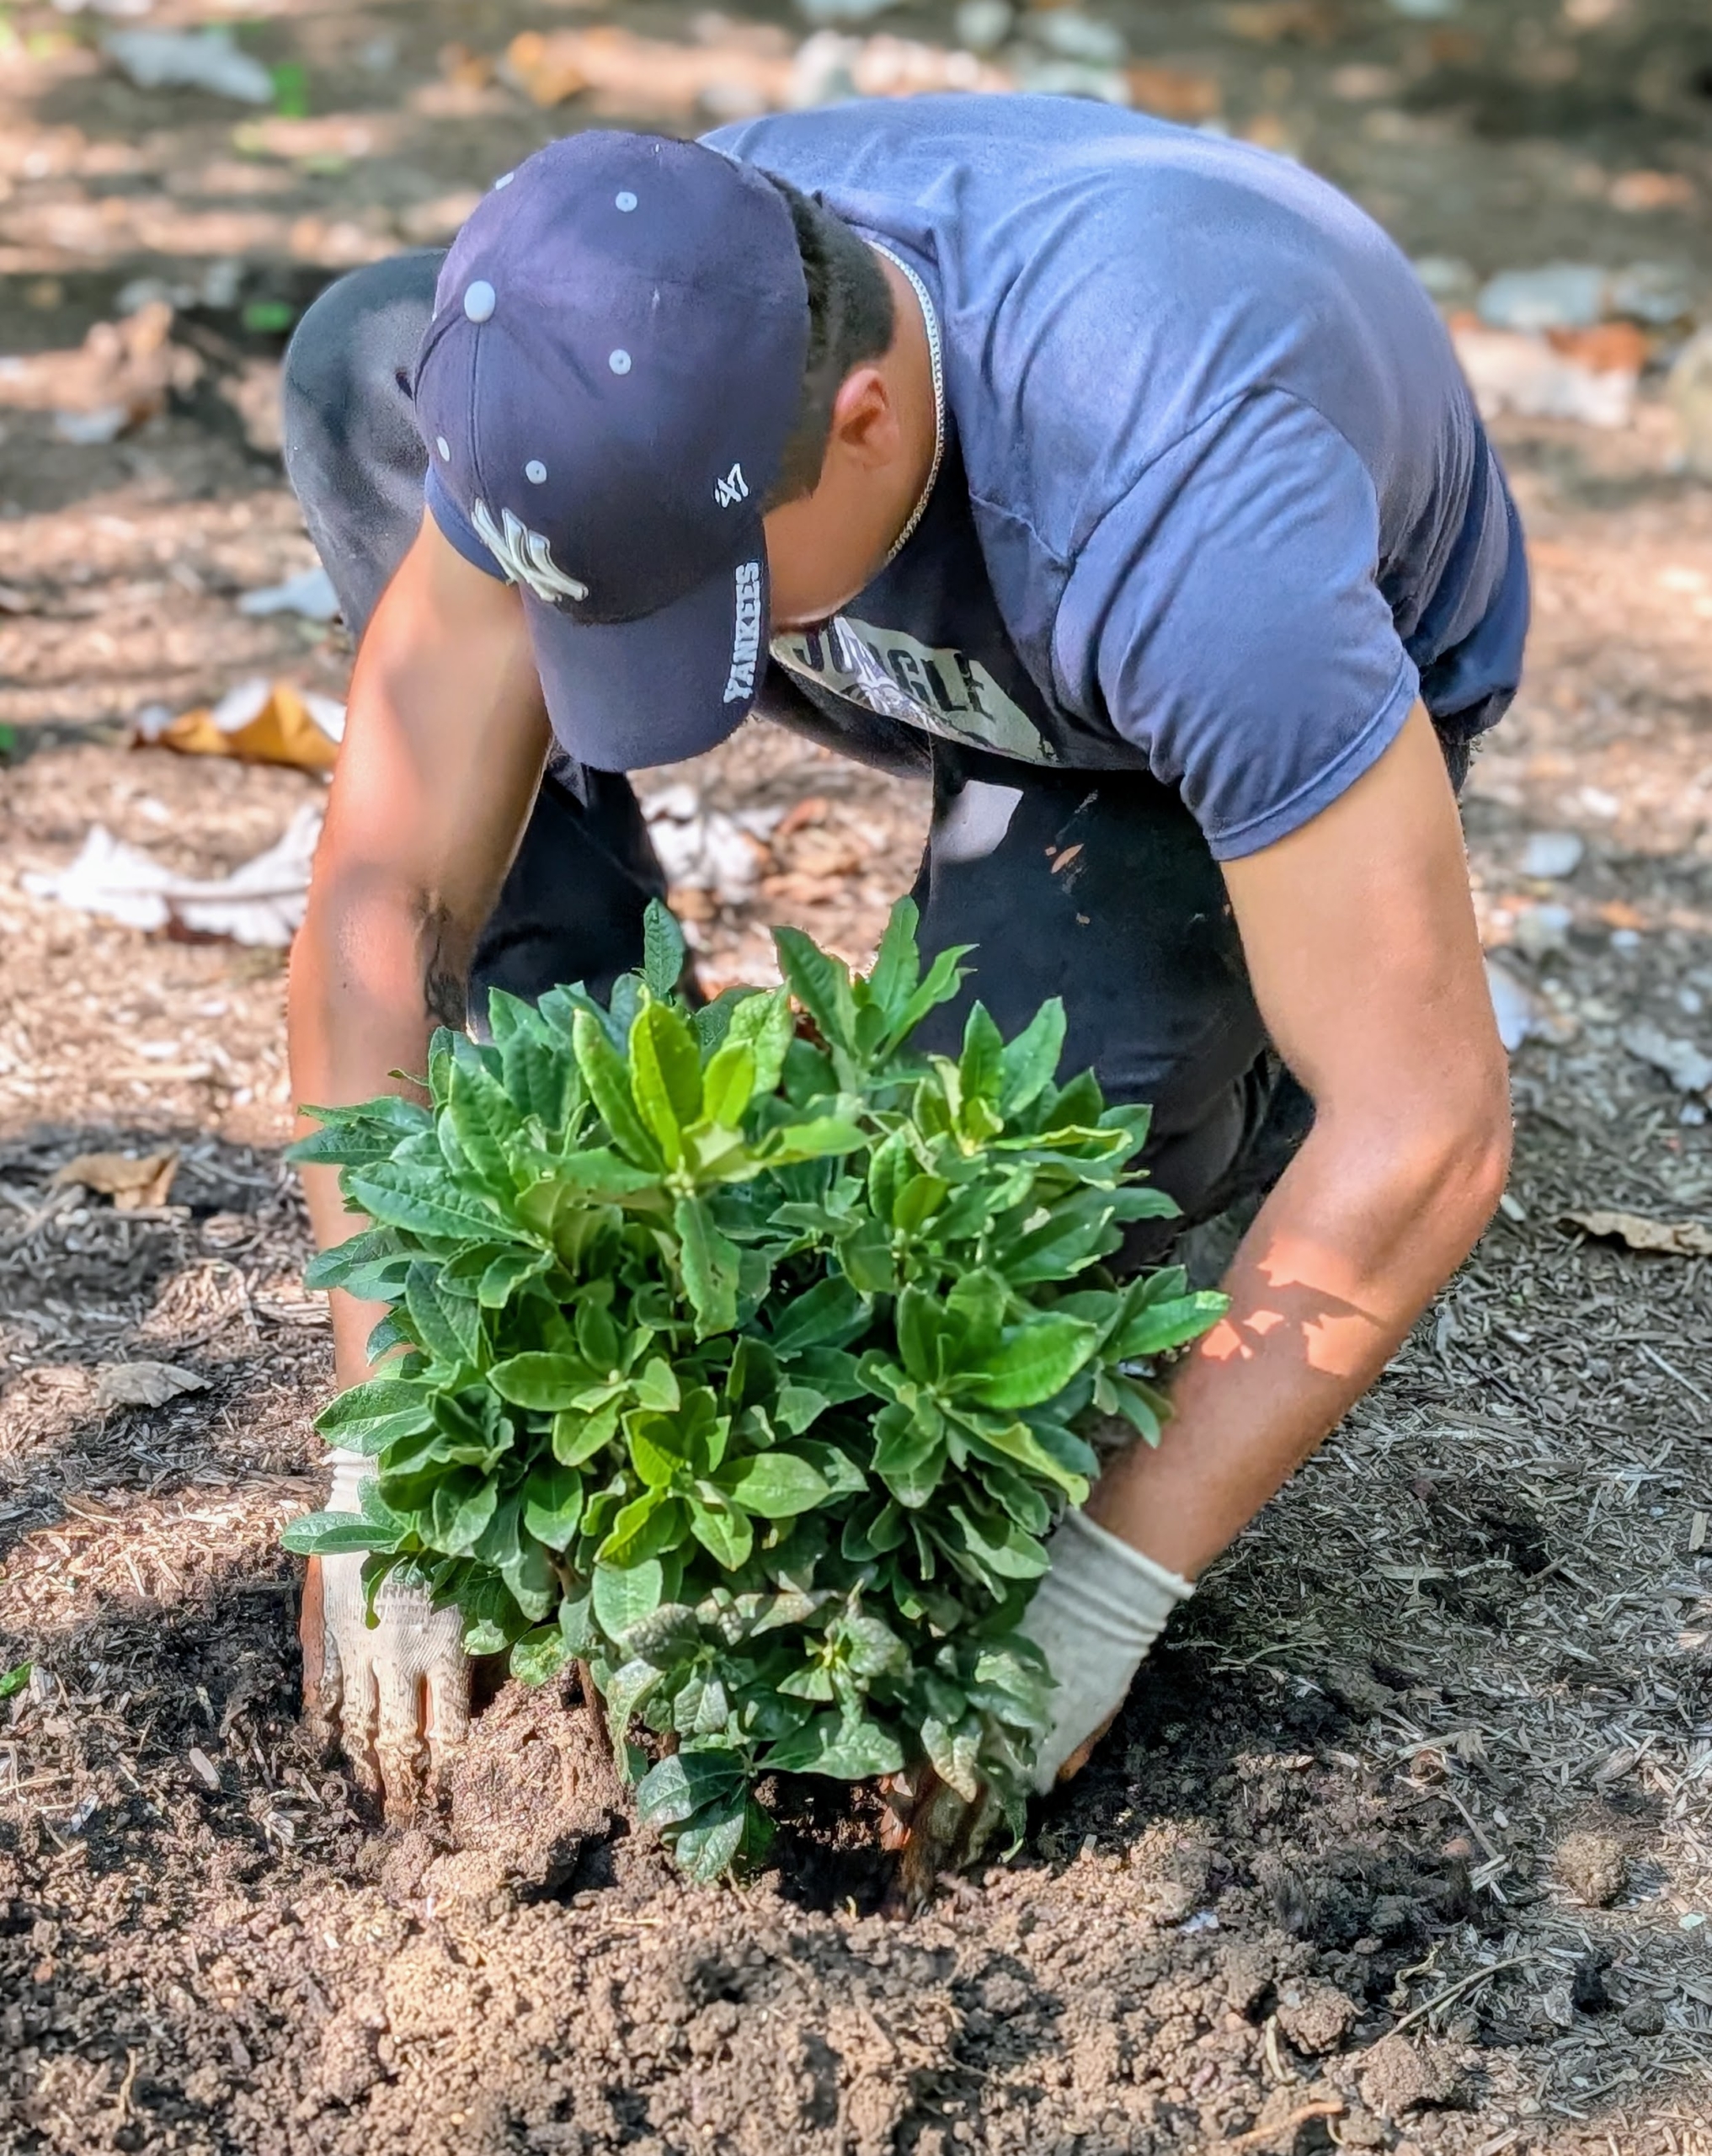
- Once Matt is sure the plant is placed properly, the azalea is backfilled. Also ensure the best side is facing the outside – that’s what passers-by will see. Azaleas have short root systems, so they can easily be transplanted in early spring or early fall.
-
- Matt also tamps down to make sure there is good contact between the soil and the root ball.
-
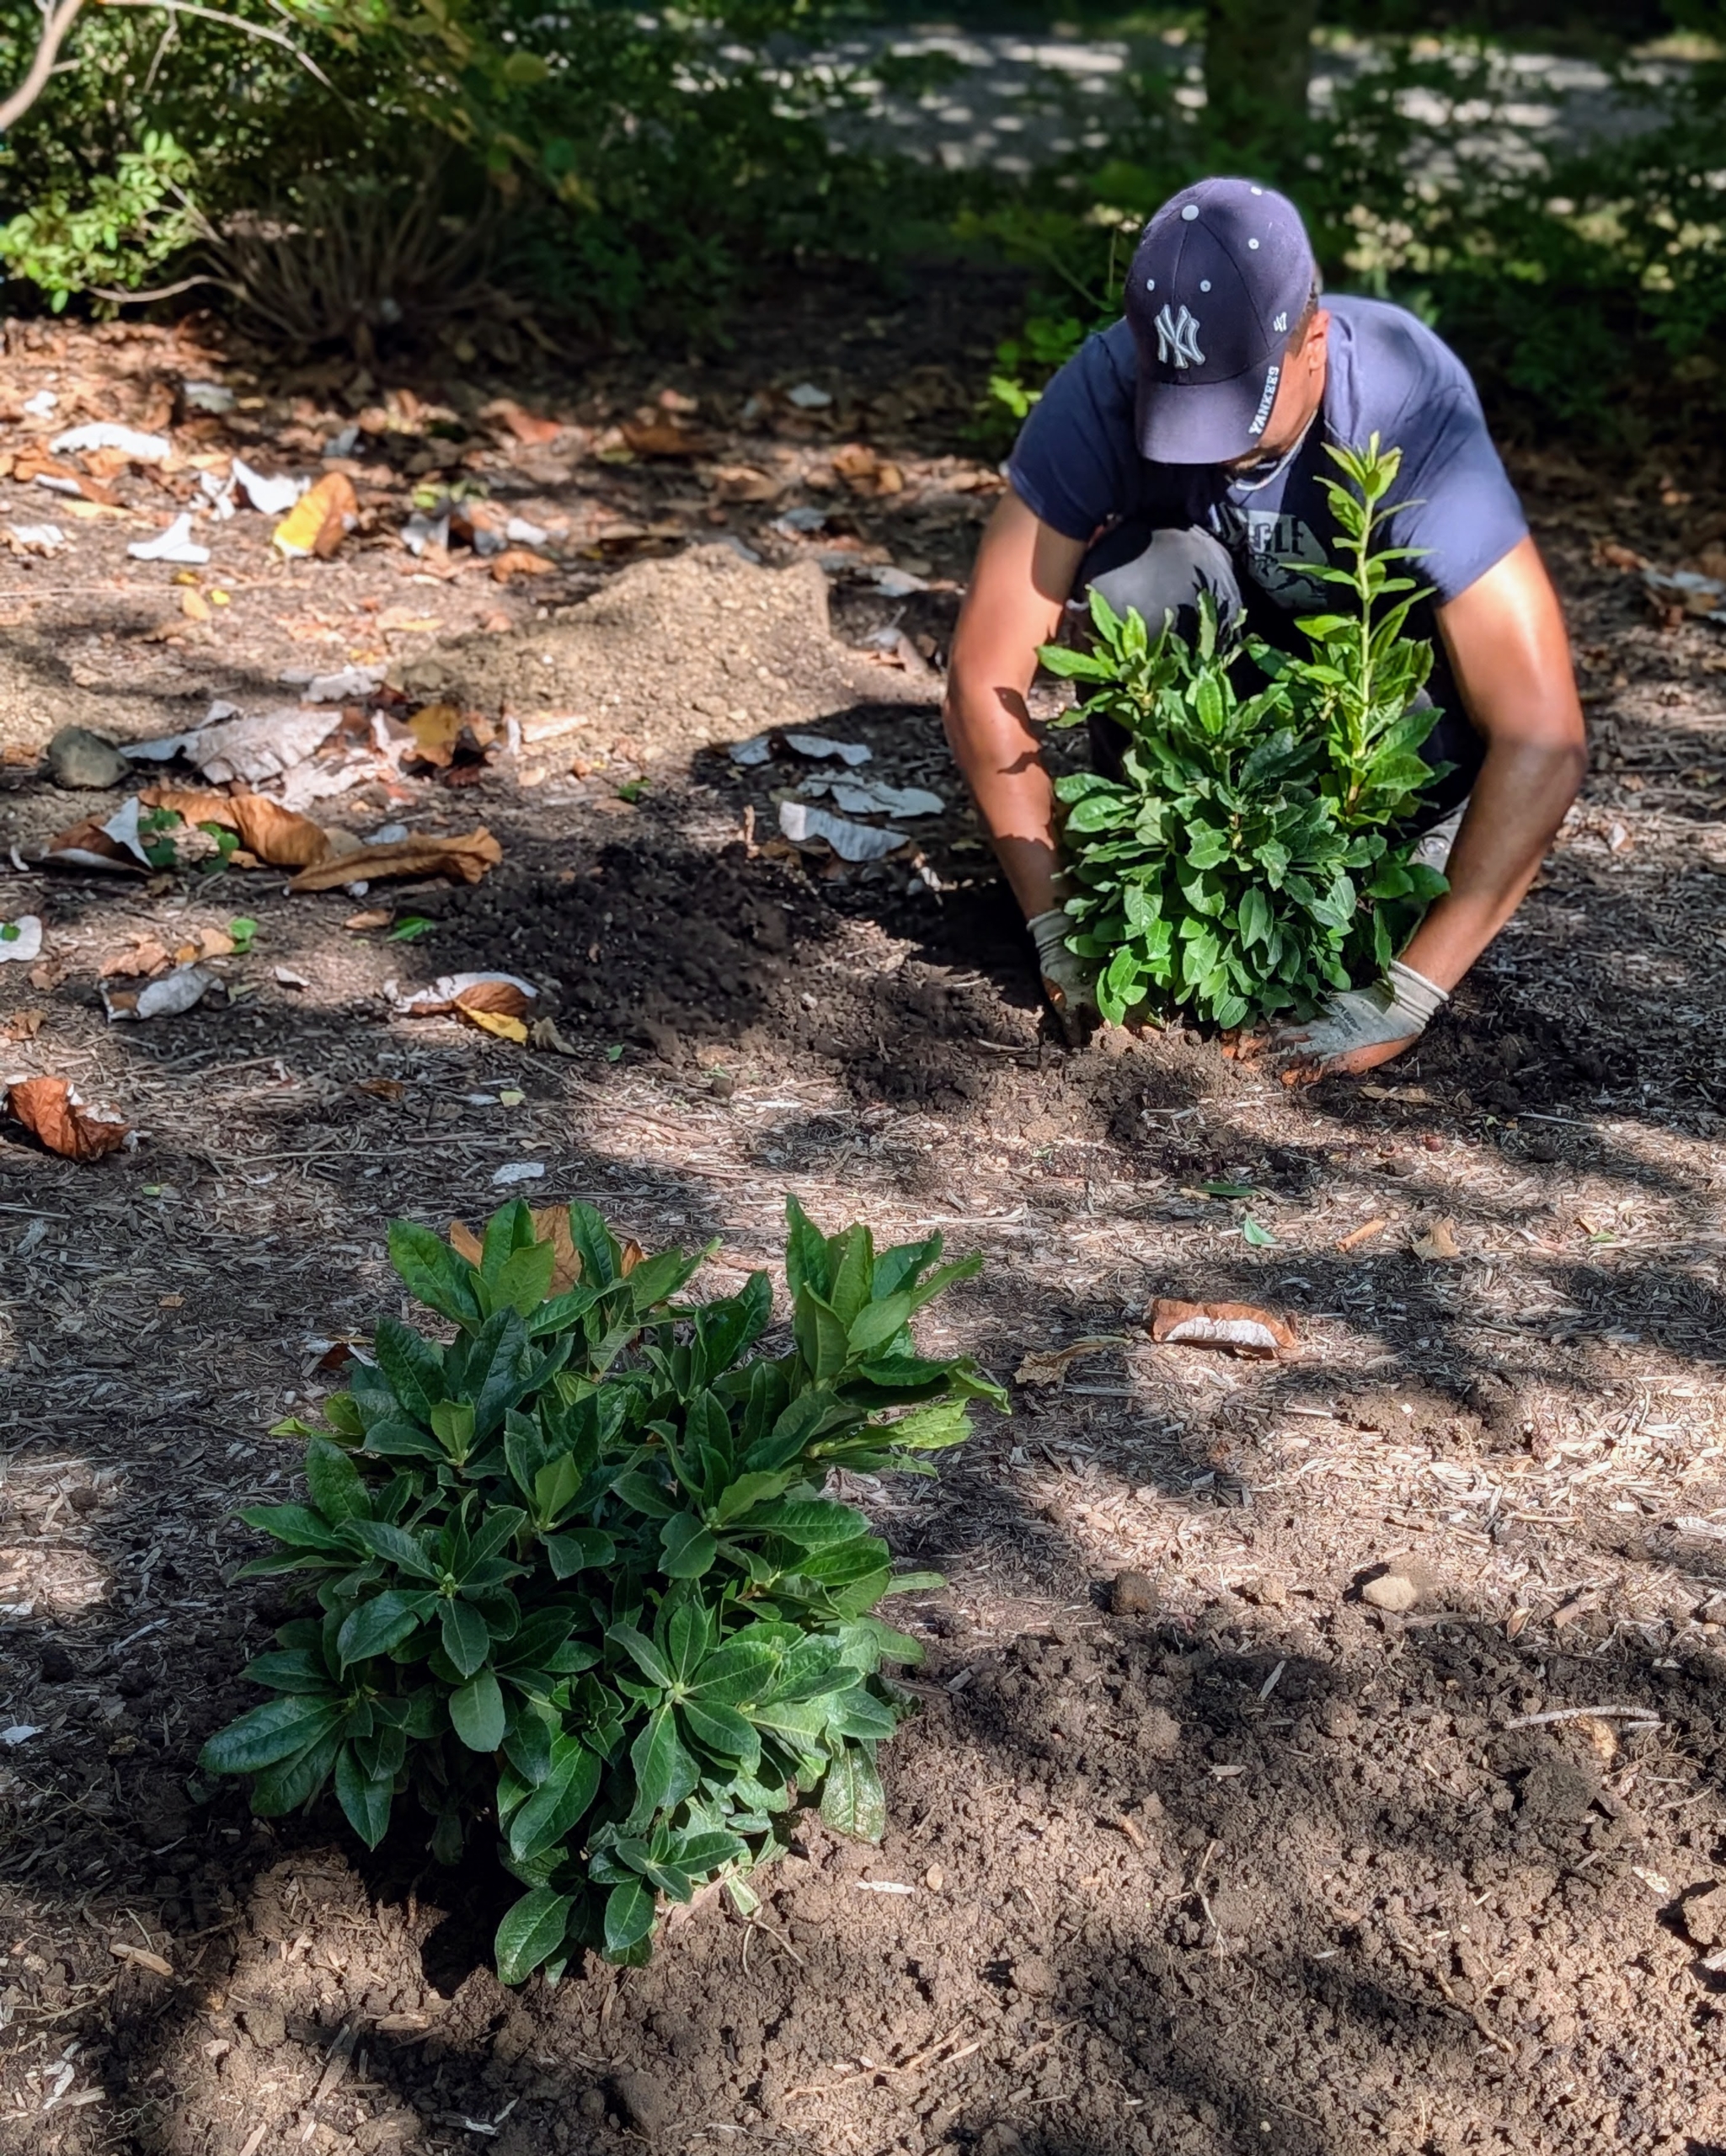
- Azaleas should be planted at least two to four feet apart depending on the variety’s mature size. These will be about three to four feet wide and four to five feet tall.
-
- These azaleas are also fragrant and are sure to be great additions to the garden. I’ll be sure to share more photos when they’re in full bloom next spring. I can’t wait.