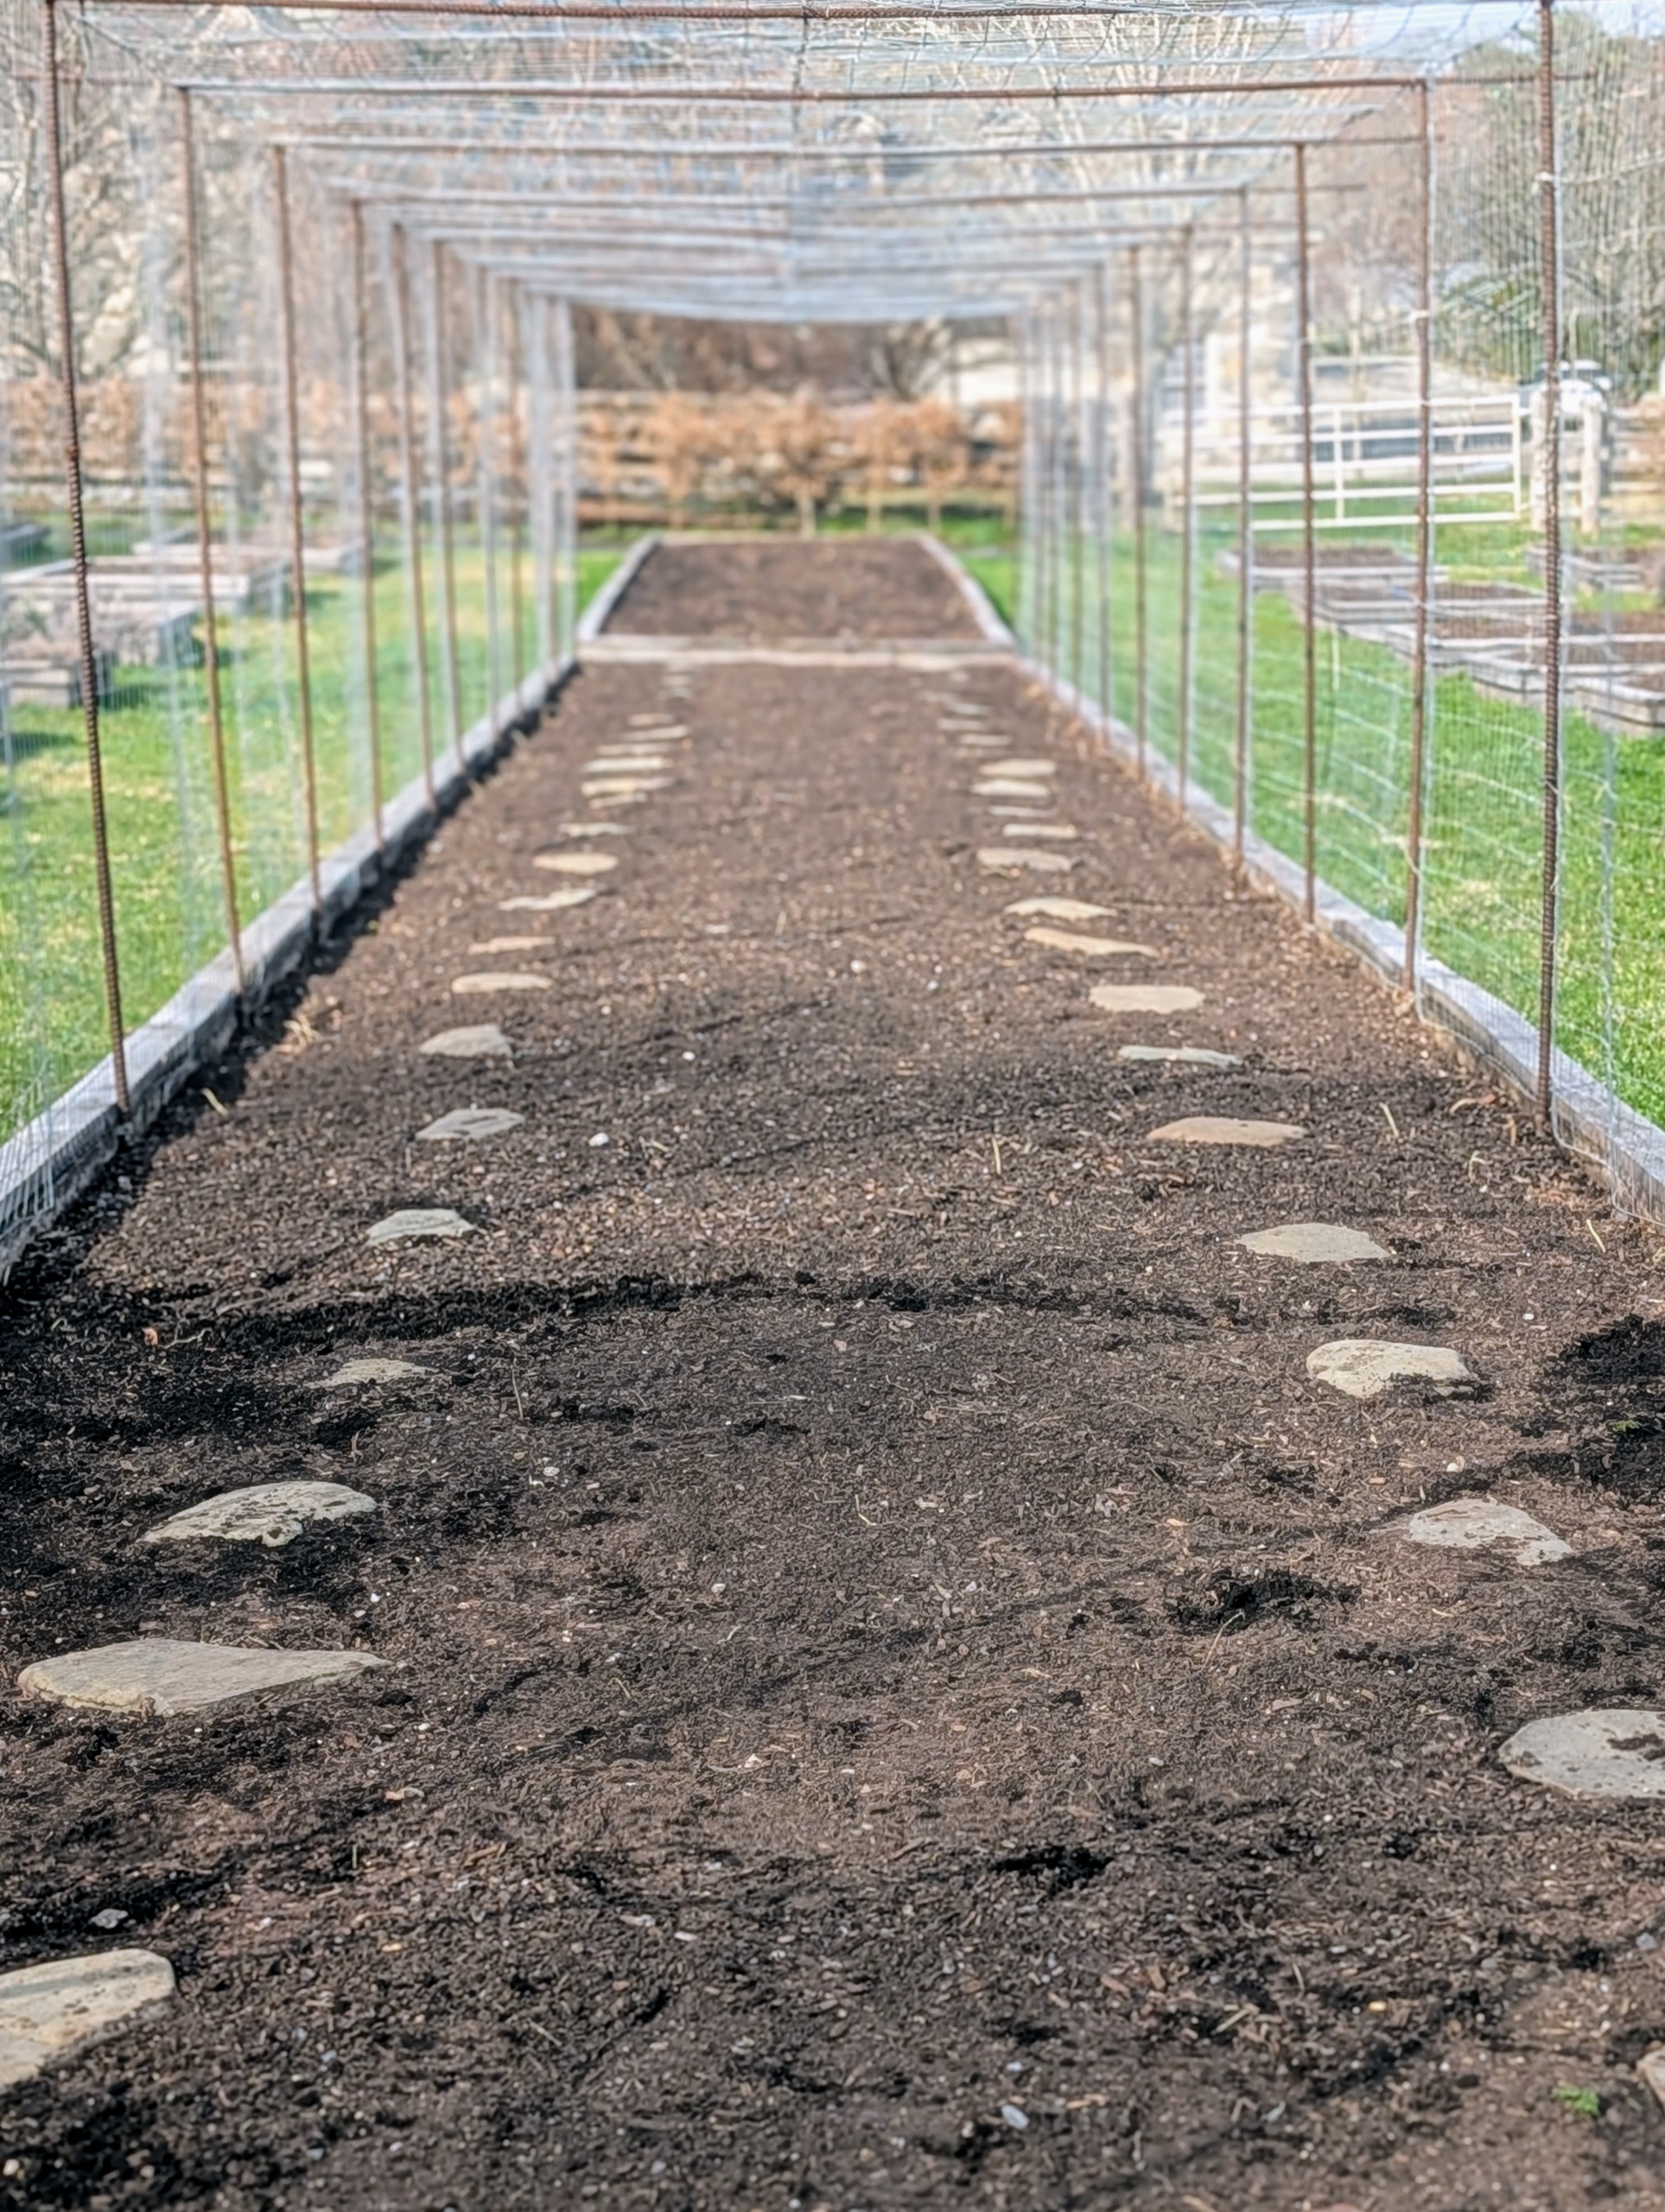
Planting evergreens is a great way to add color and texture in the garden, attract wildlife, and help clean and purify the air.
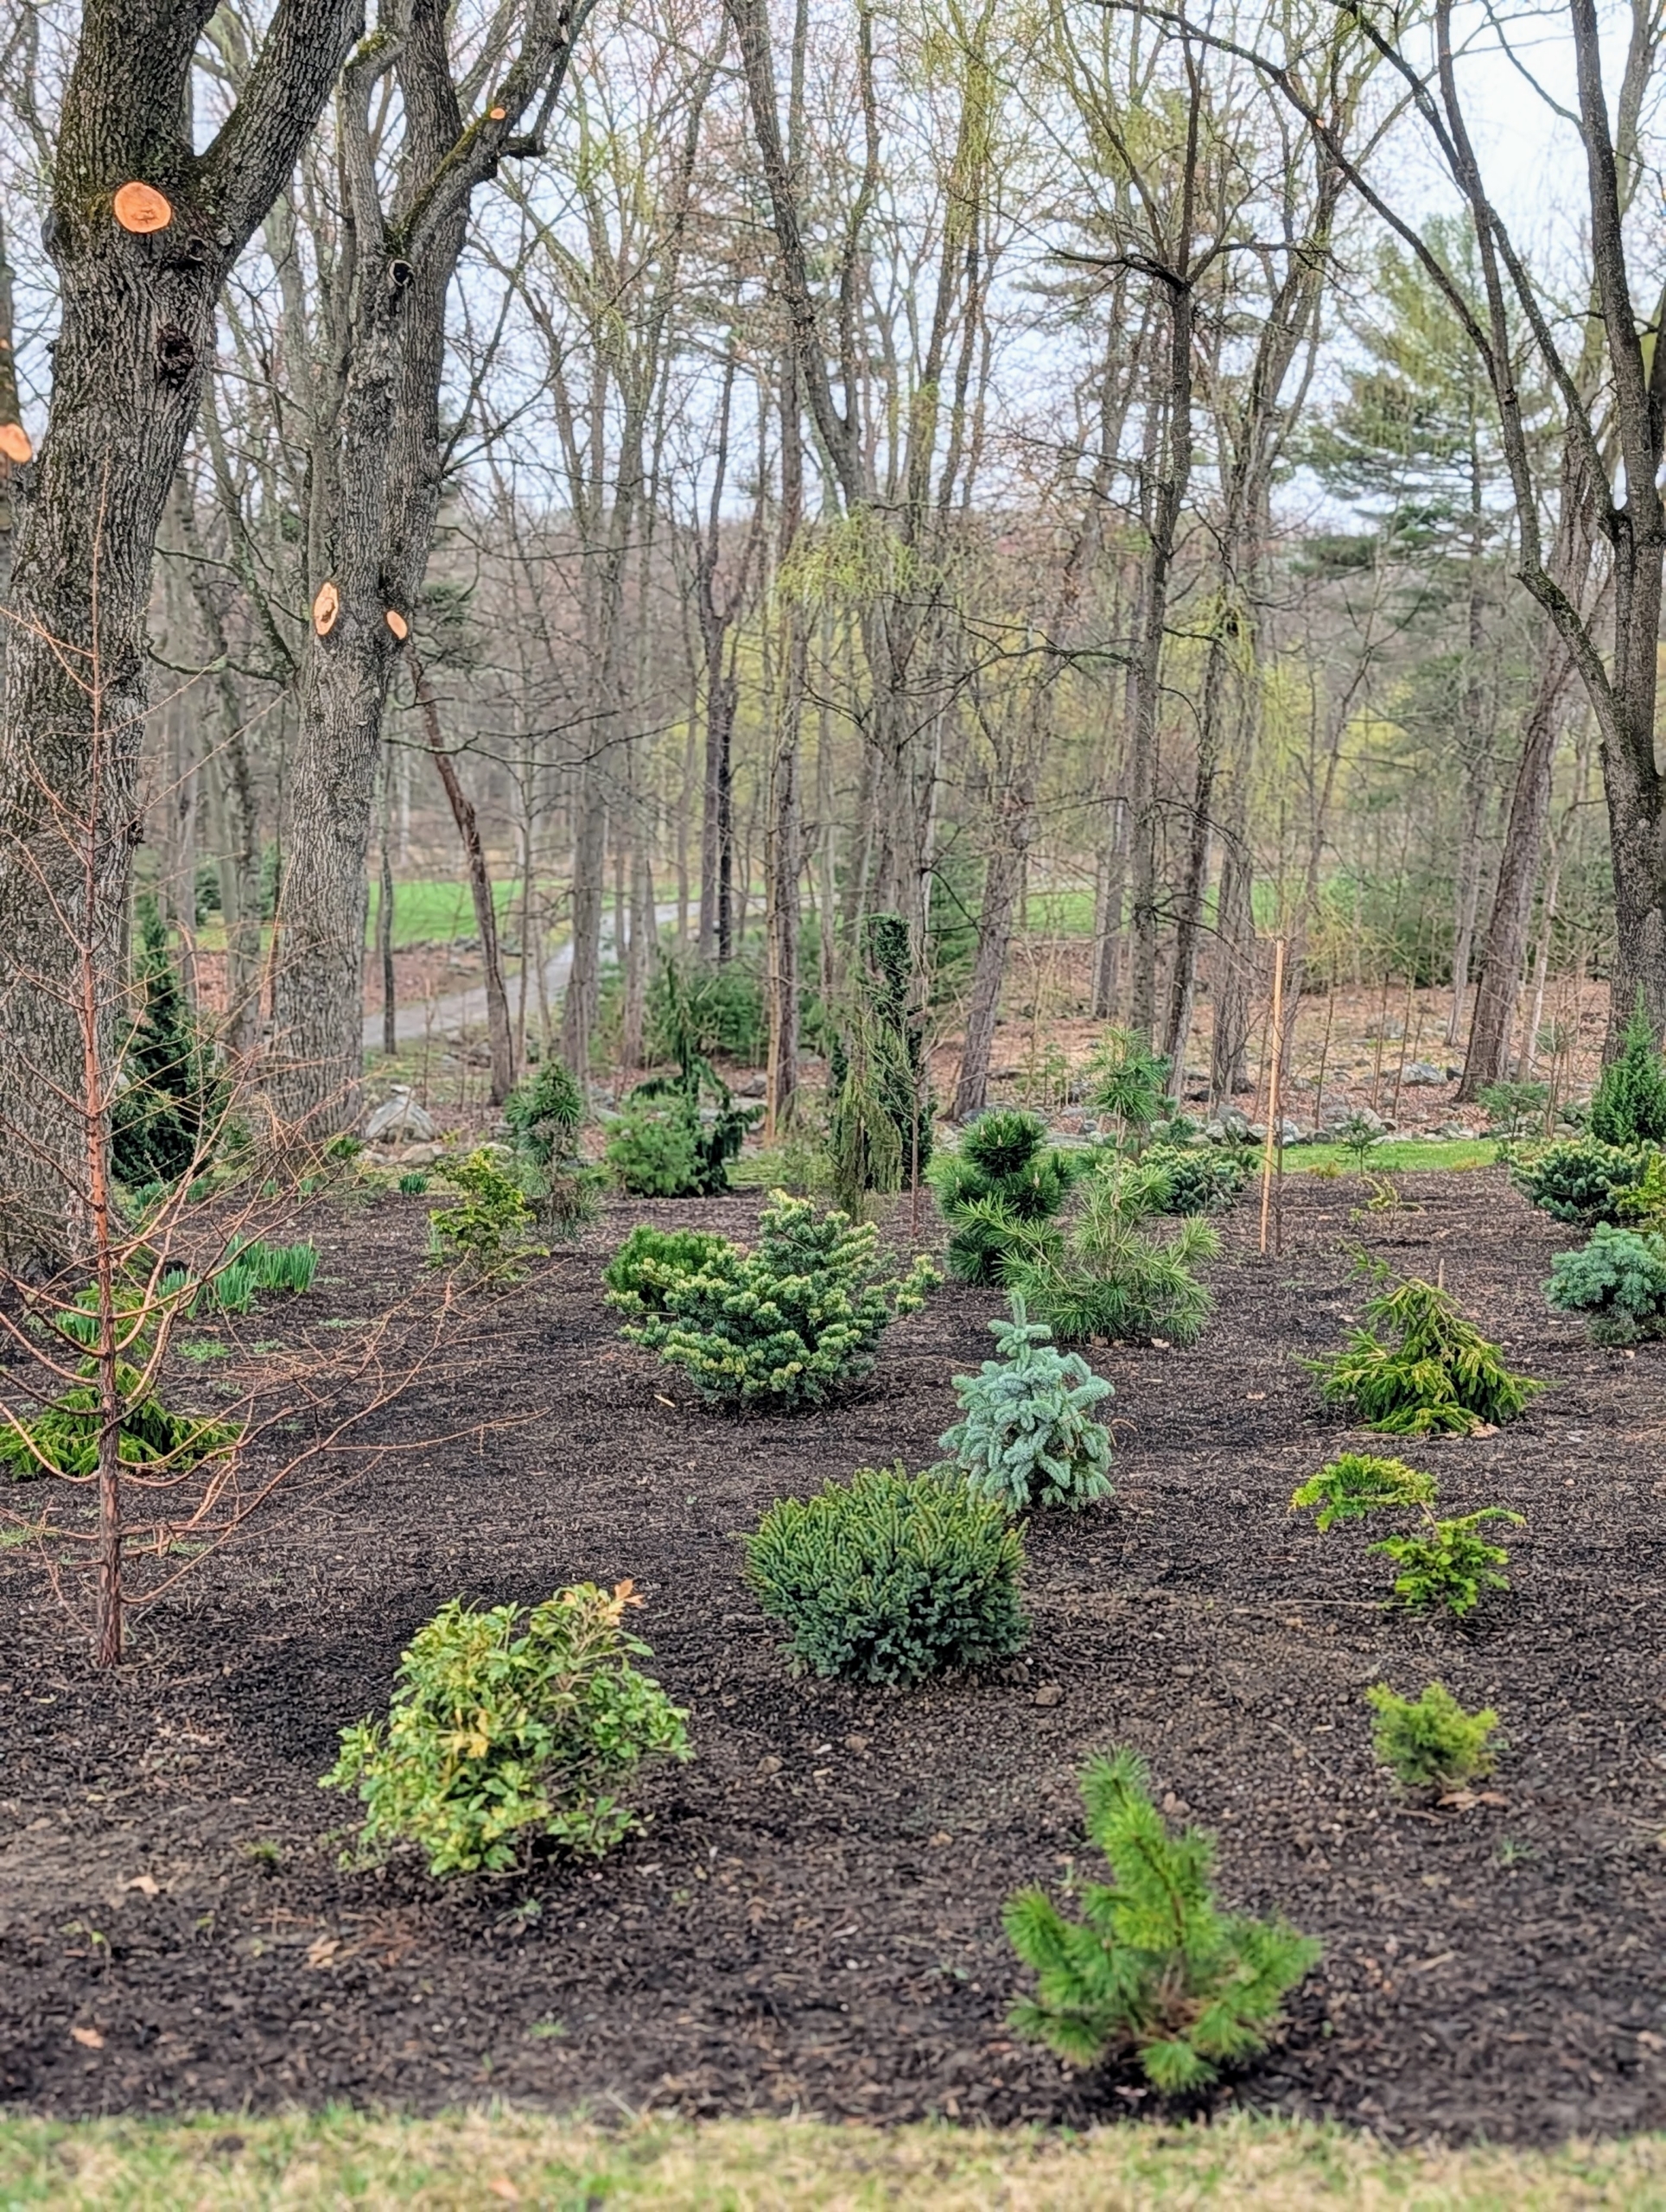
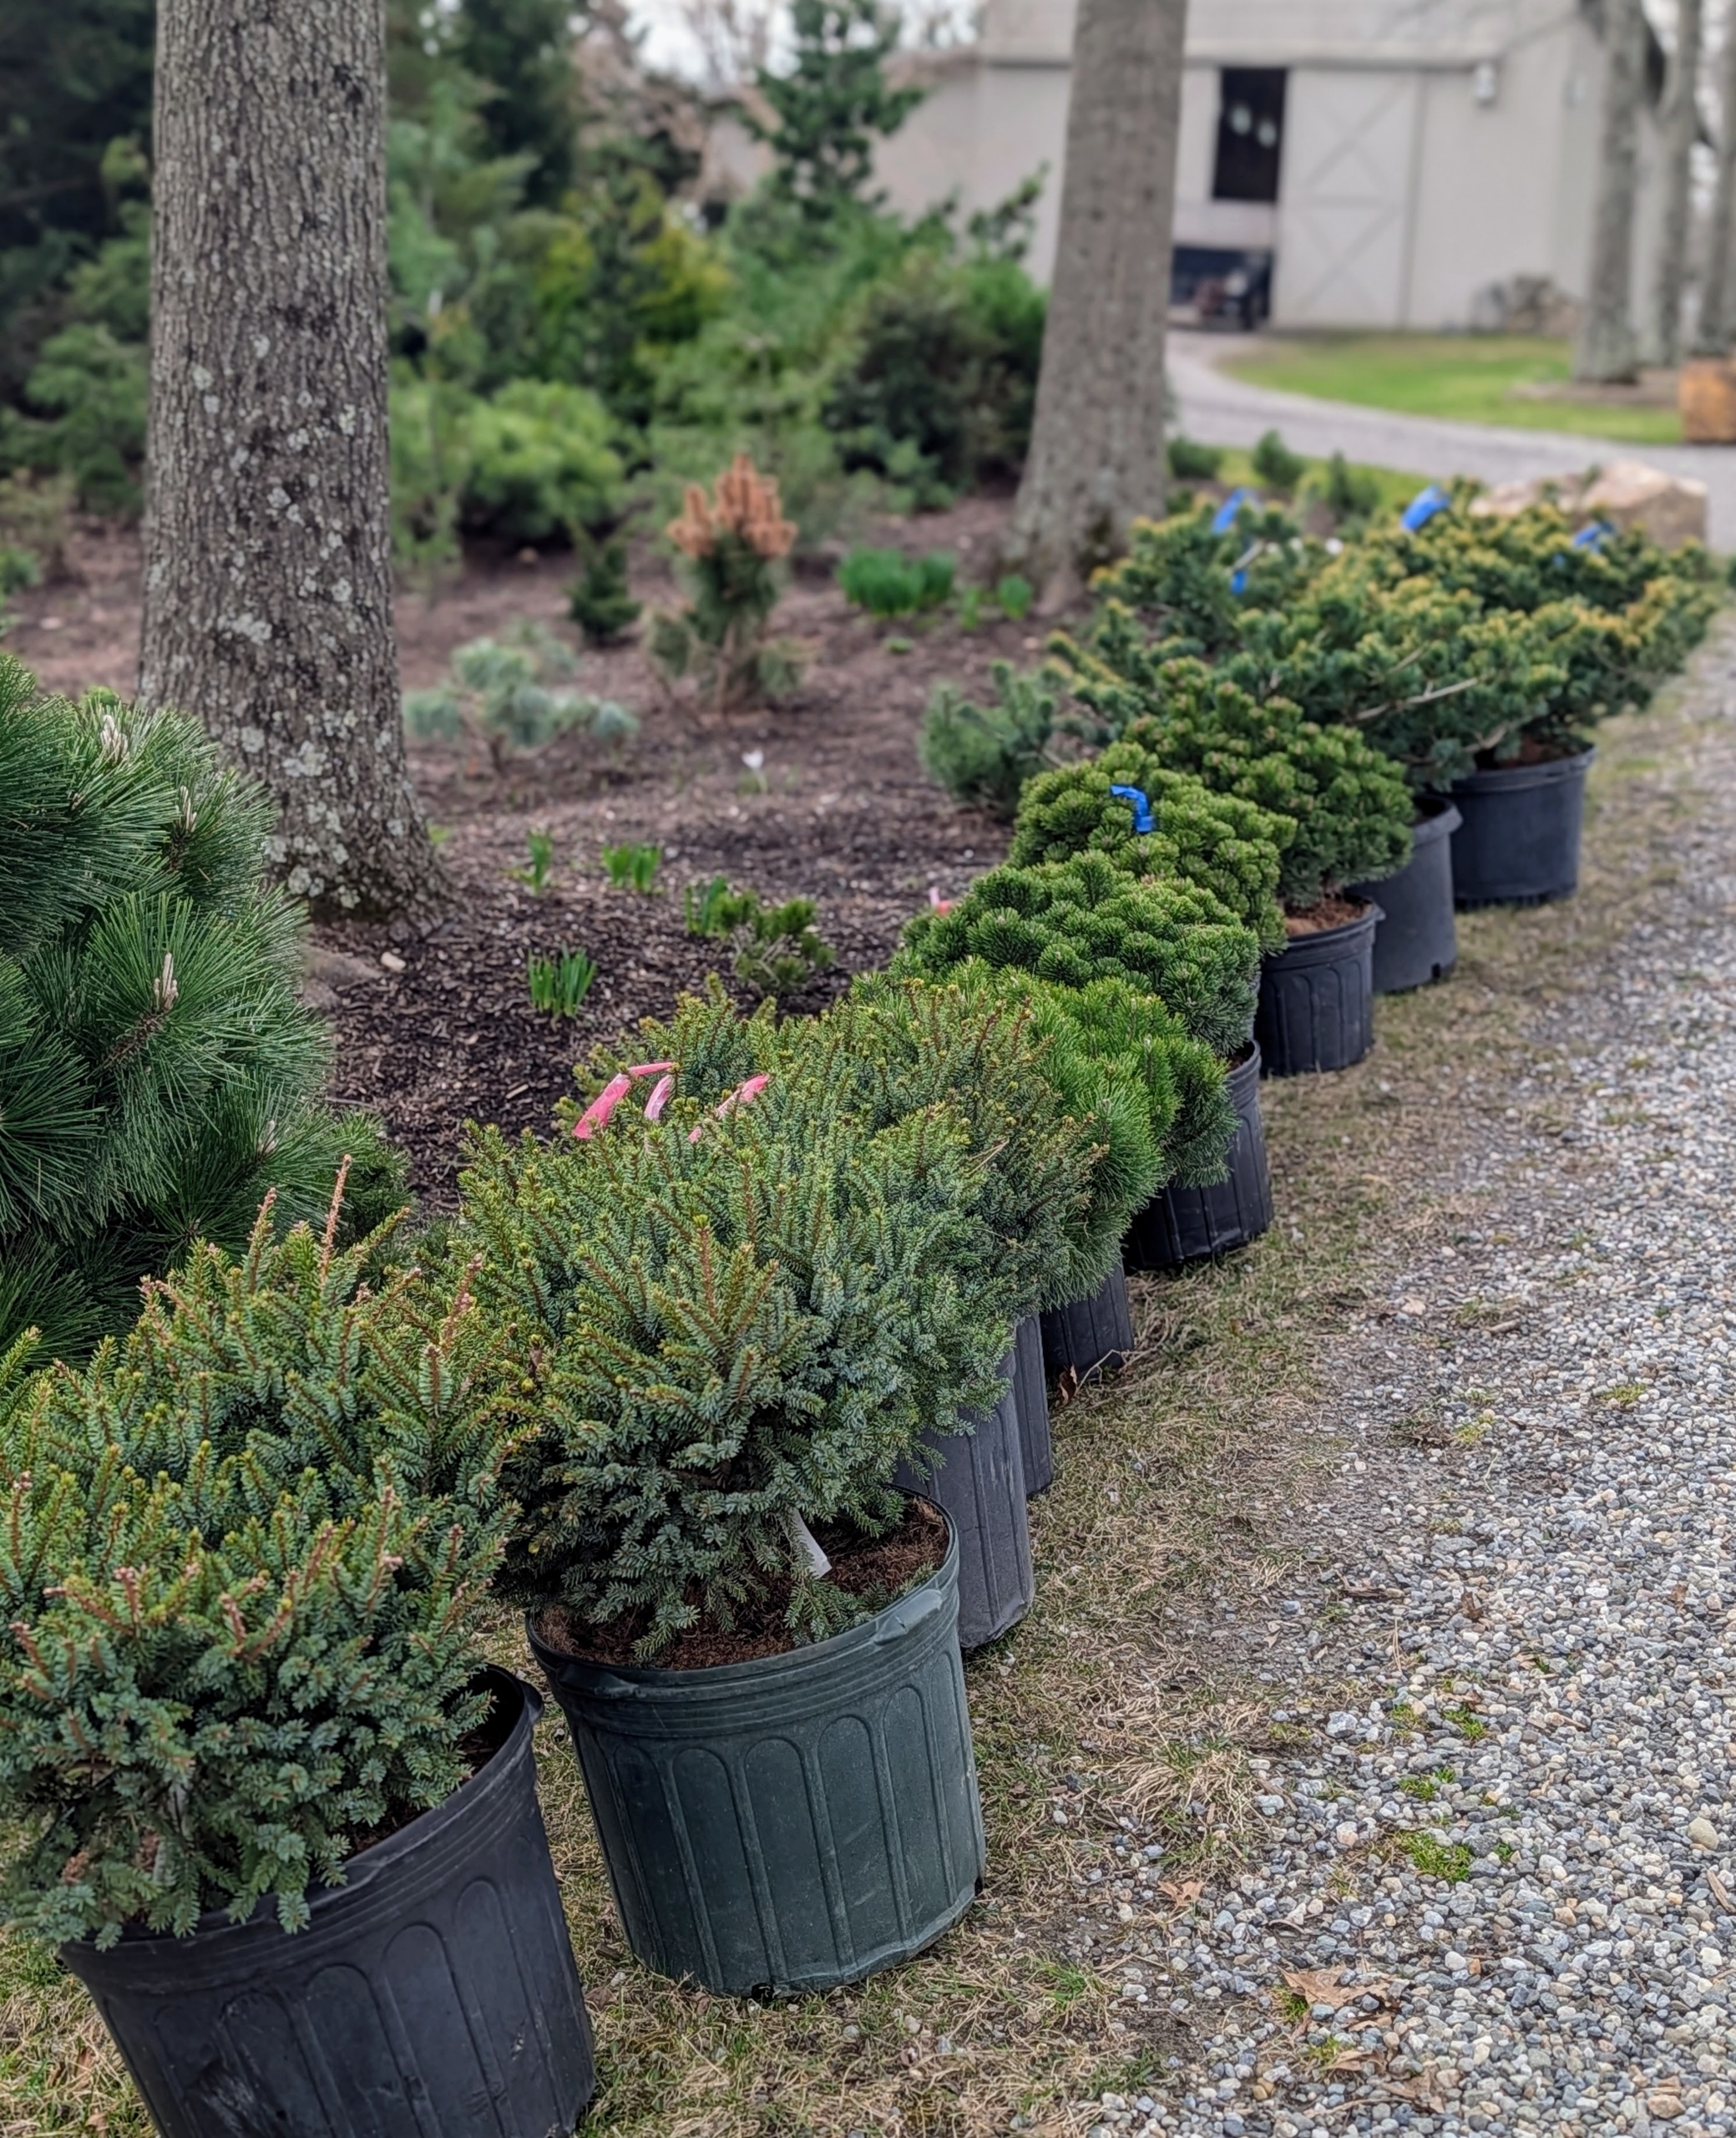
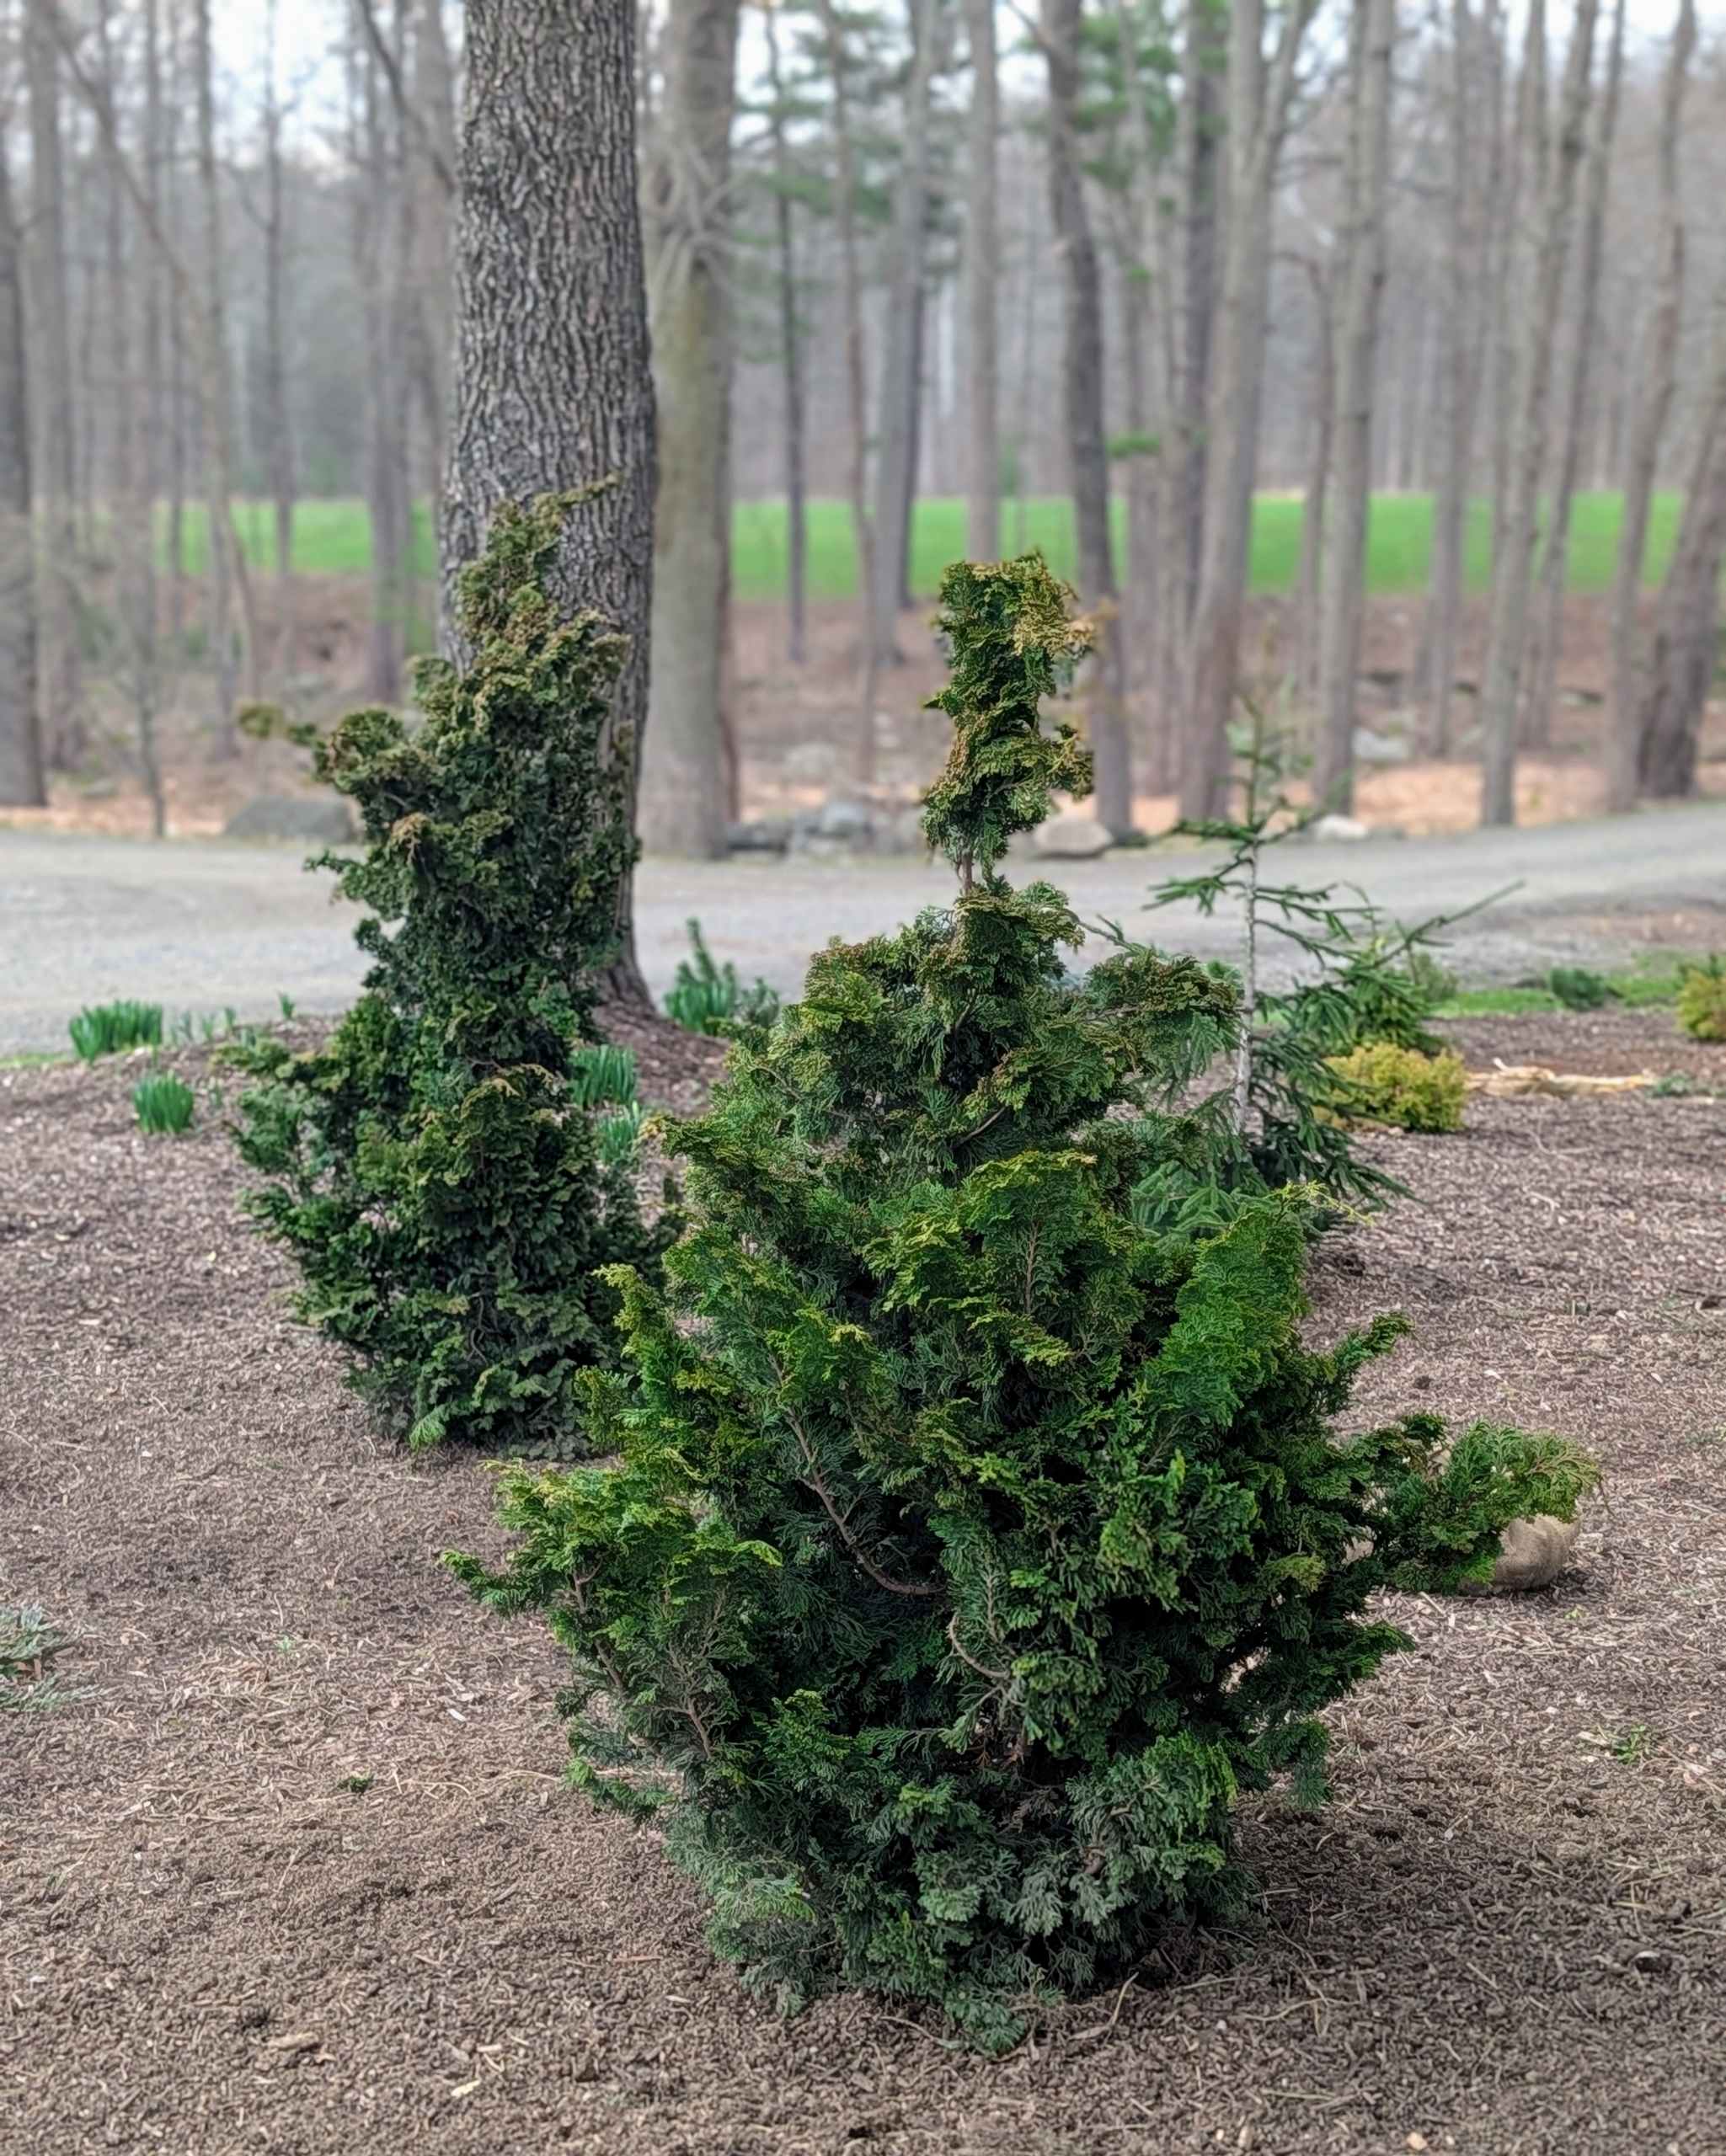
Here at my farm, I have an area I call my pinetum. It's an arboretum of pine trees and other conifers I developed soon after I moved to the property. The trees and shrubs have grown extremely well here, and I continue to plant additional specimens every year. Earlier this week, I purchased a beautiful selection of evergreens from Hardscrabble Farms in North Salem, New York. Among them - a variety of interesting pines, junipers, spruces, and cypresses. Once they arrived, I chose where they would be planted and the crew got to work.
Here are some photos, enjoy.
I am always looking for ways to add more beauty and texture to all my garden beds. One area that is constantly evolving is my pinetum – an arboretum of pine trees and other conifers.
For me, it’s always so exciting to go to a nursery, pick out interesting specimens, and bring home a new selection of plants for the farm.
Once I get them home, the plants are unloaded right away. This is a very healthy juniper. Its upright growth habit and beautiful color make it a great addition to any garden.
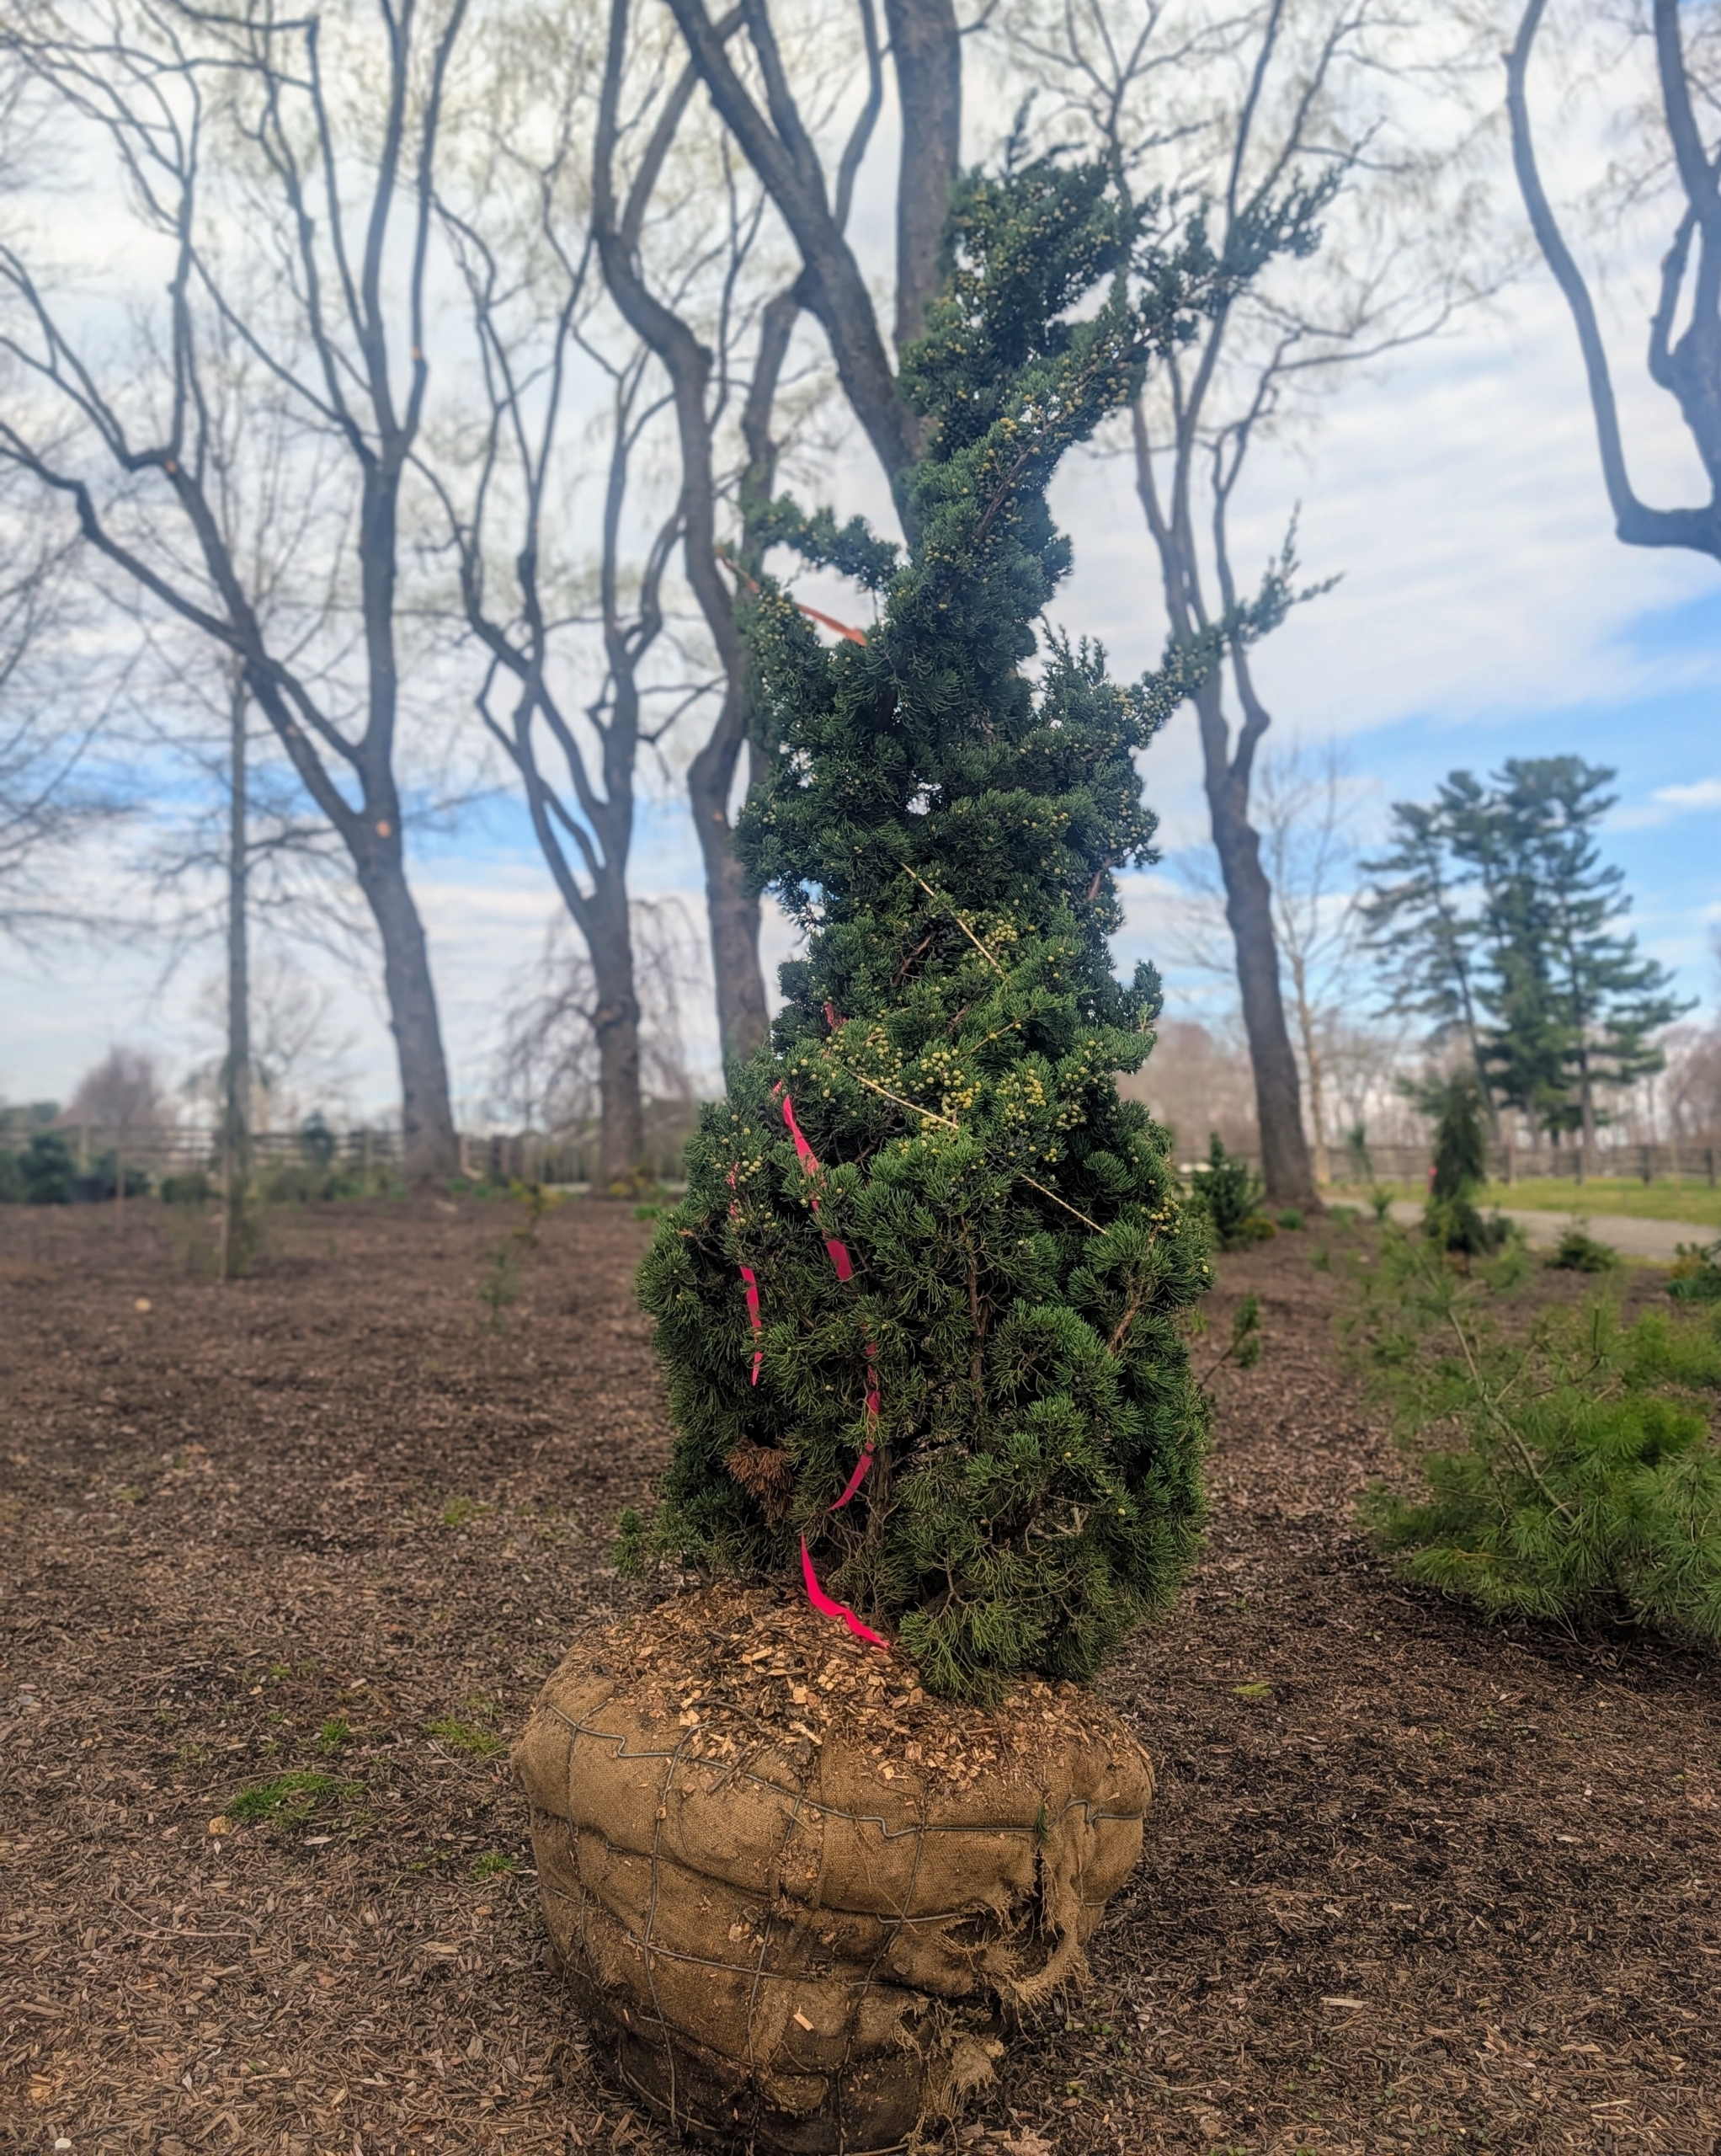
I am happy to place them in their approximate planting positions. My gardeners will also check each individual plant’s space and light needs and adjust accordingly. This is a Picea glauca ‘pendula,’ or weeping white spruce.
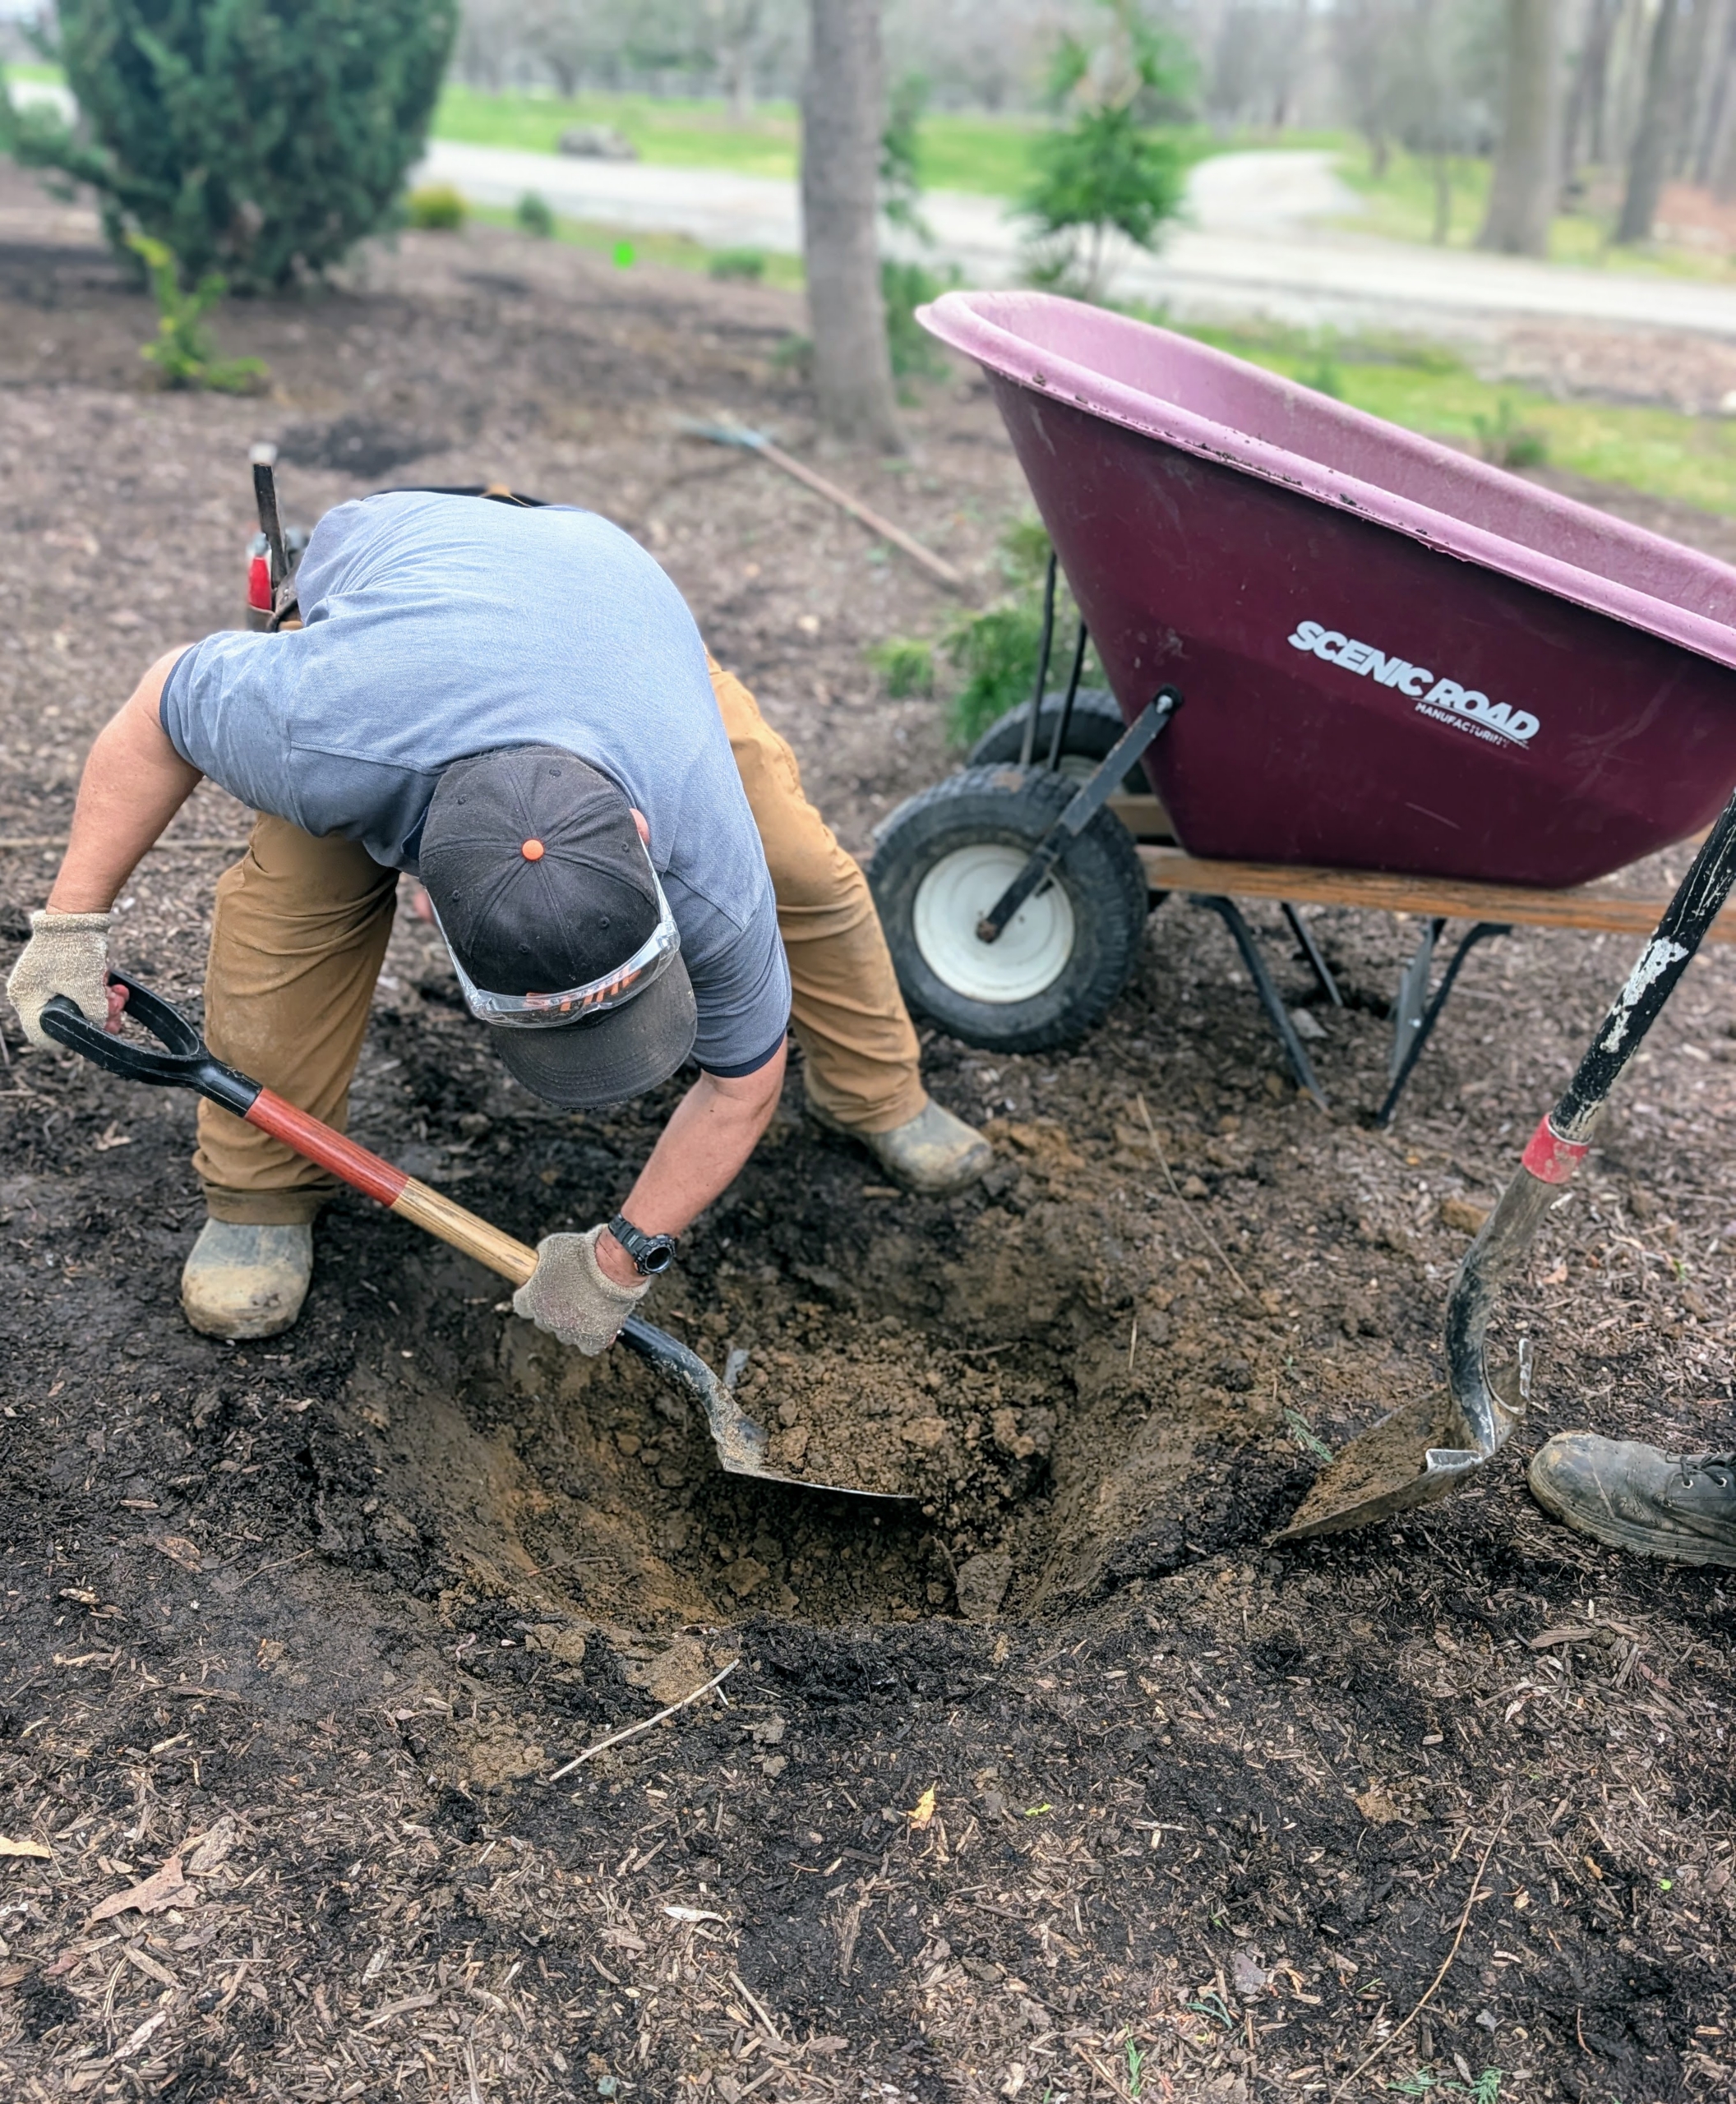
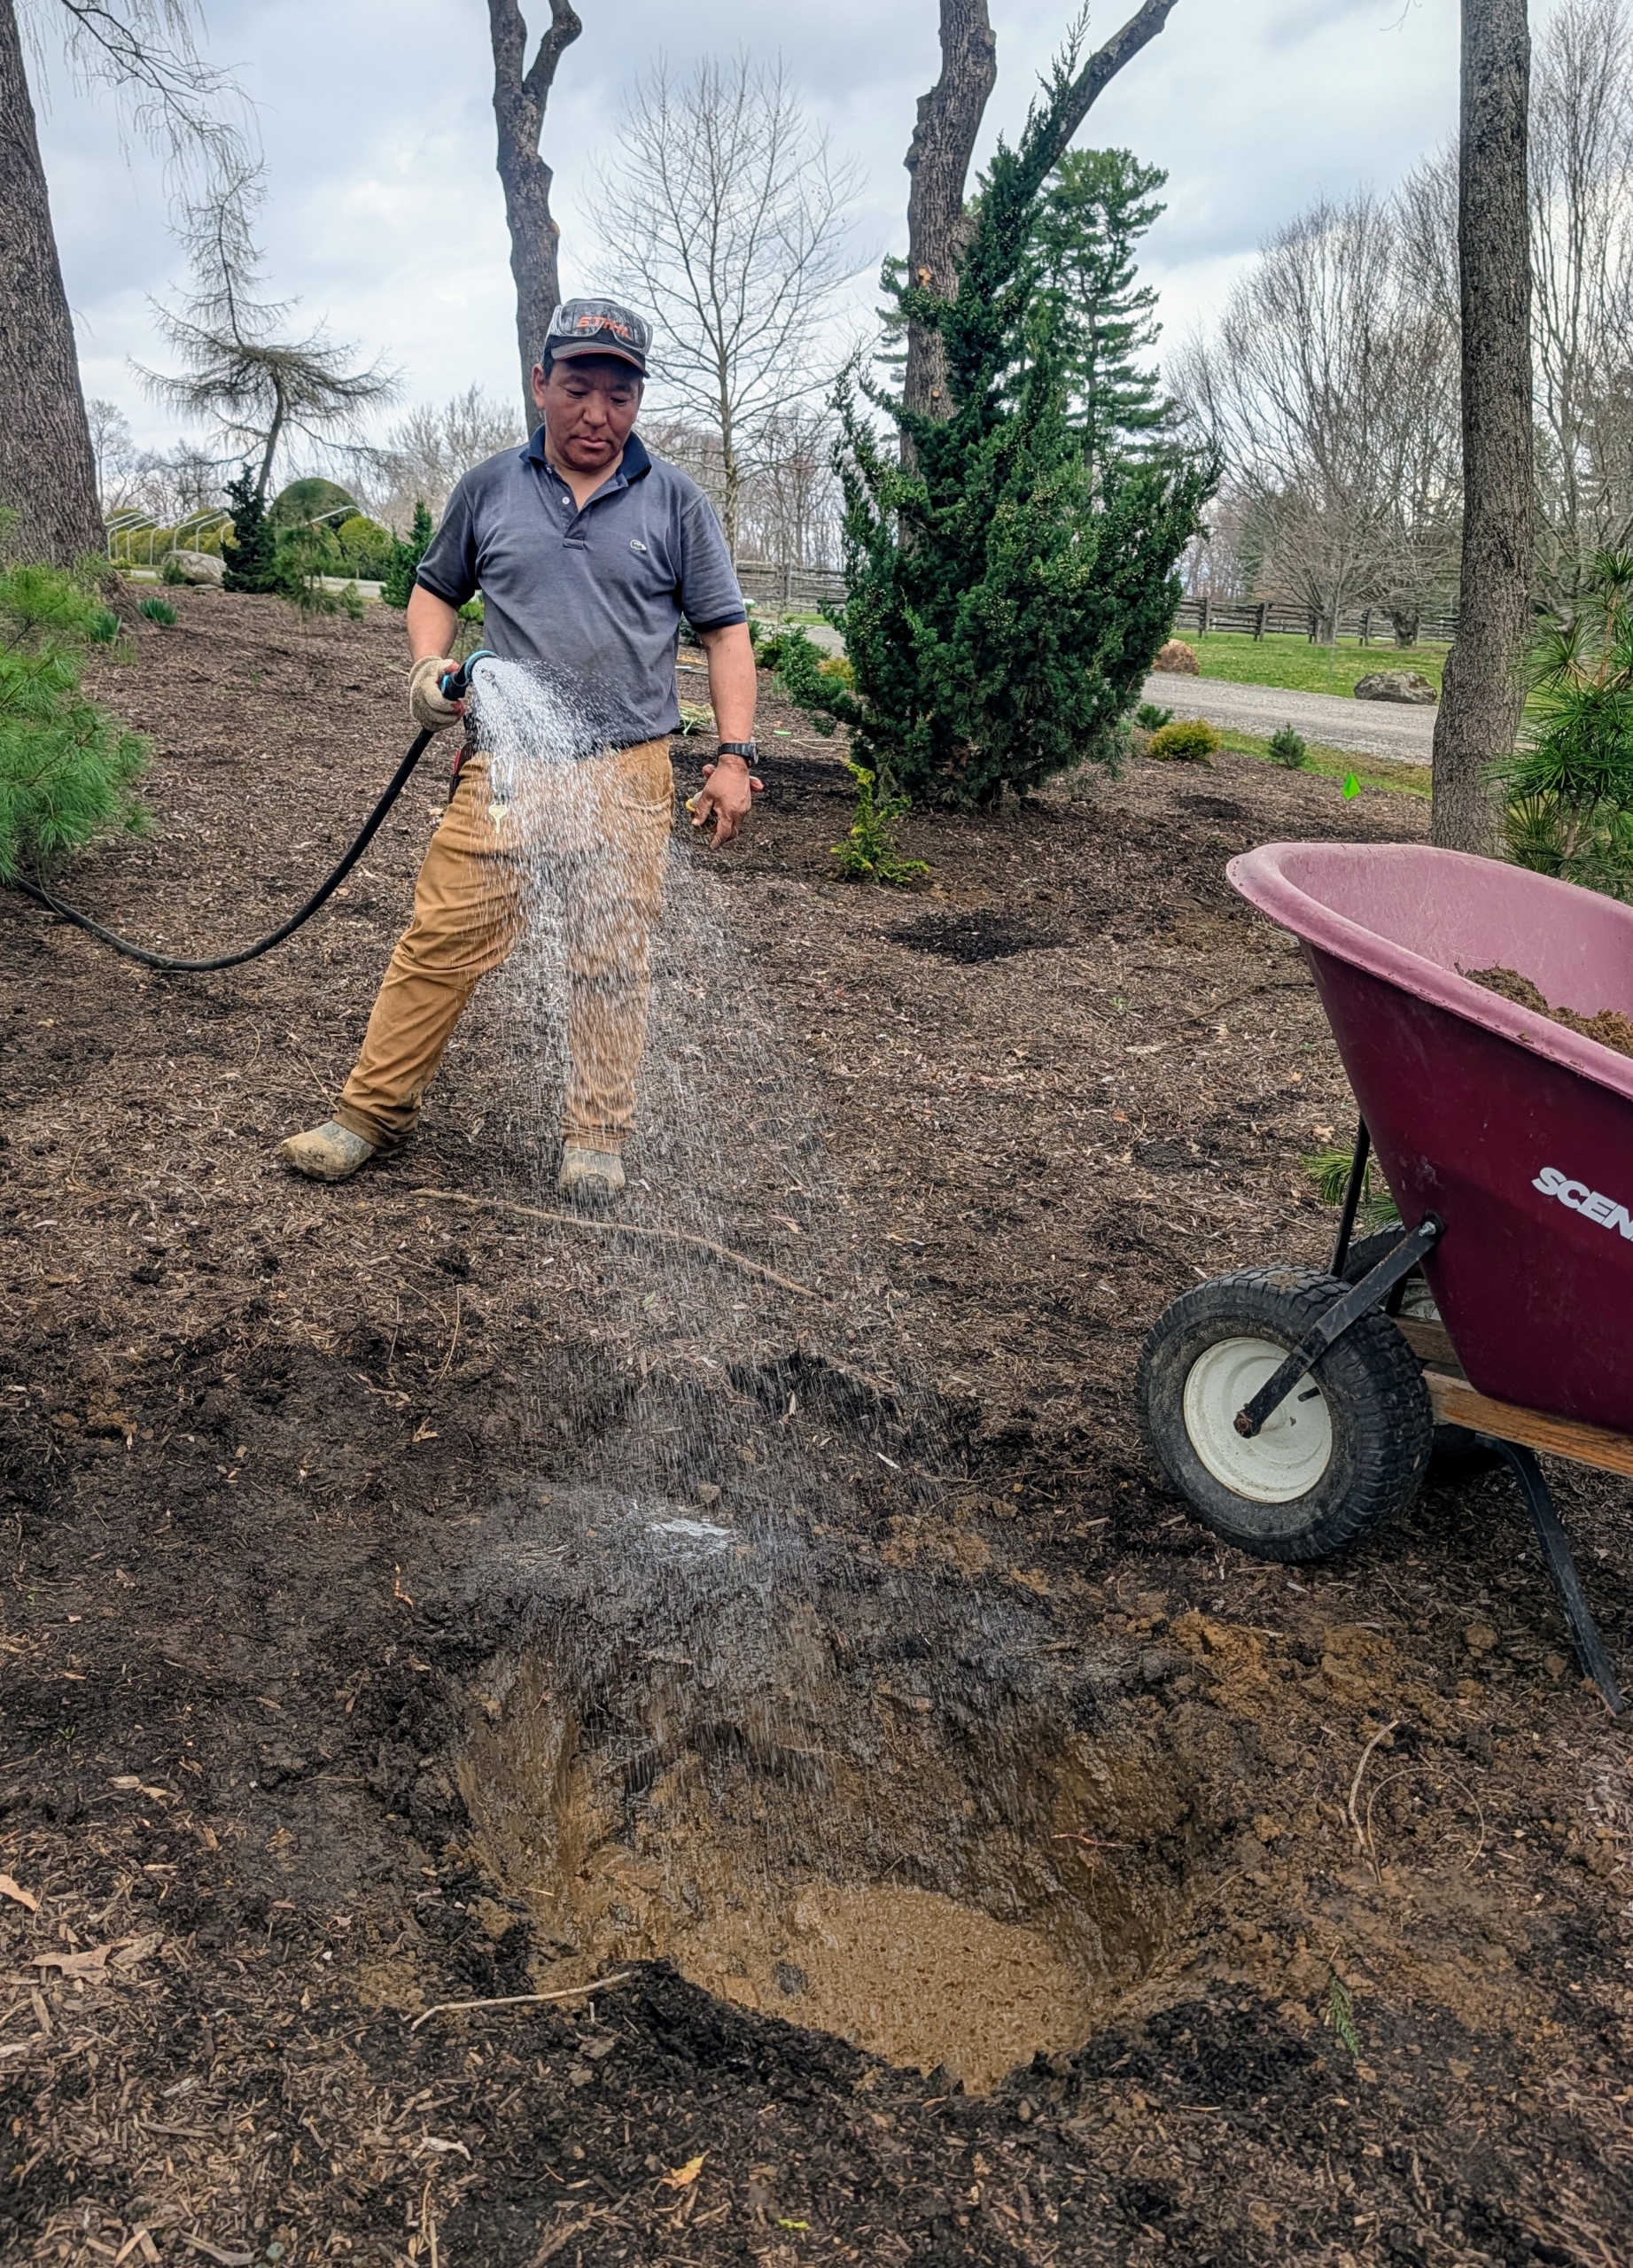
Phurba starts by digging the hole at least twice the size of the plant.
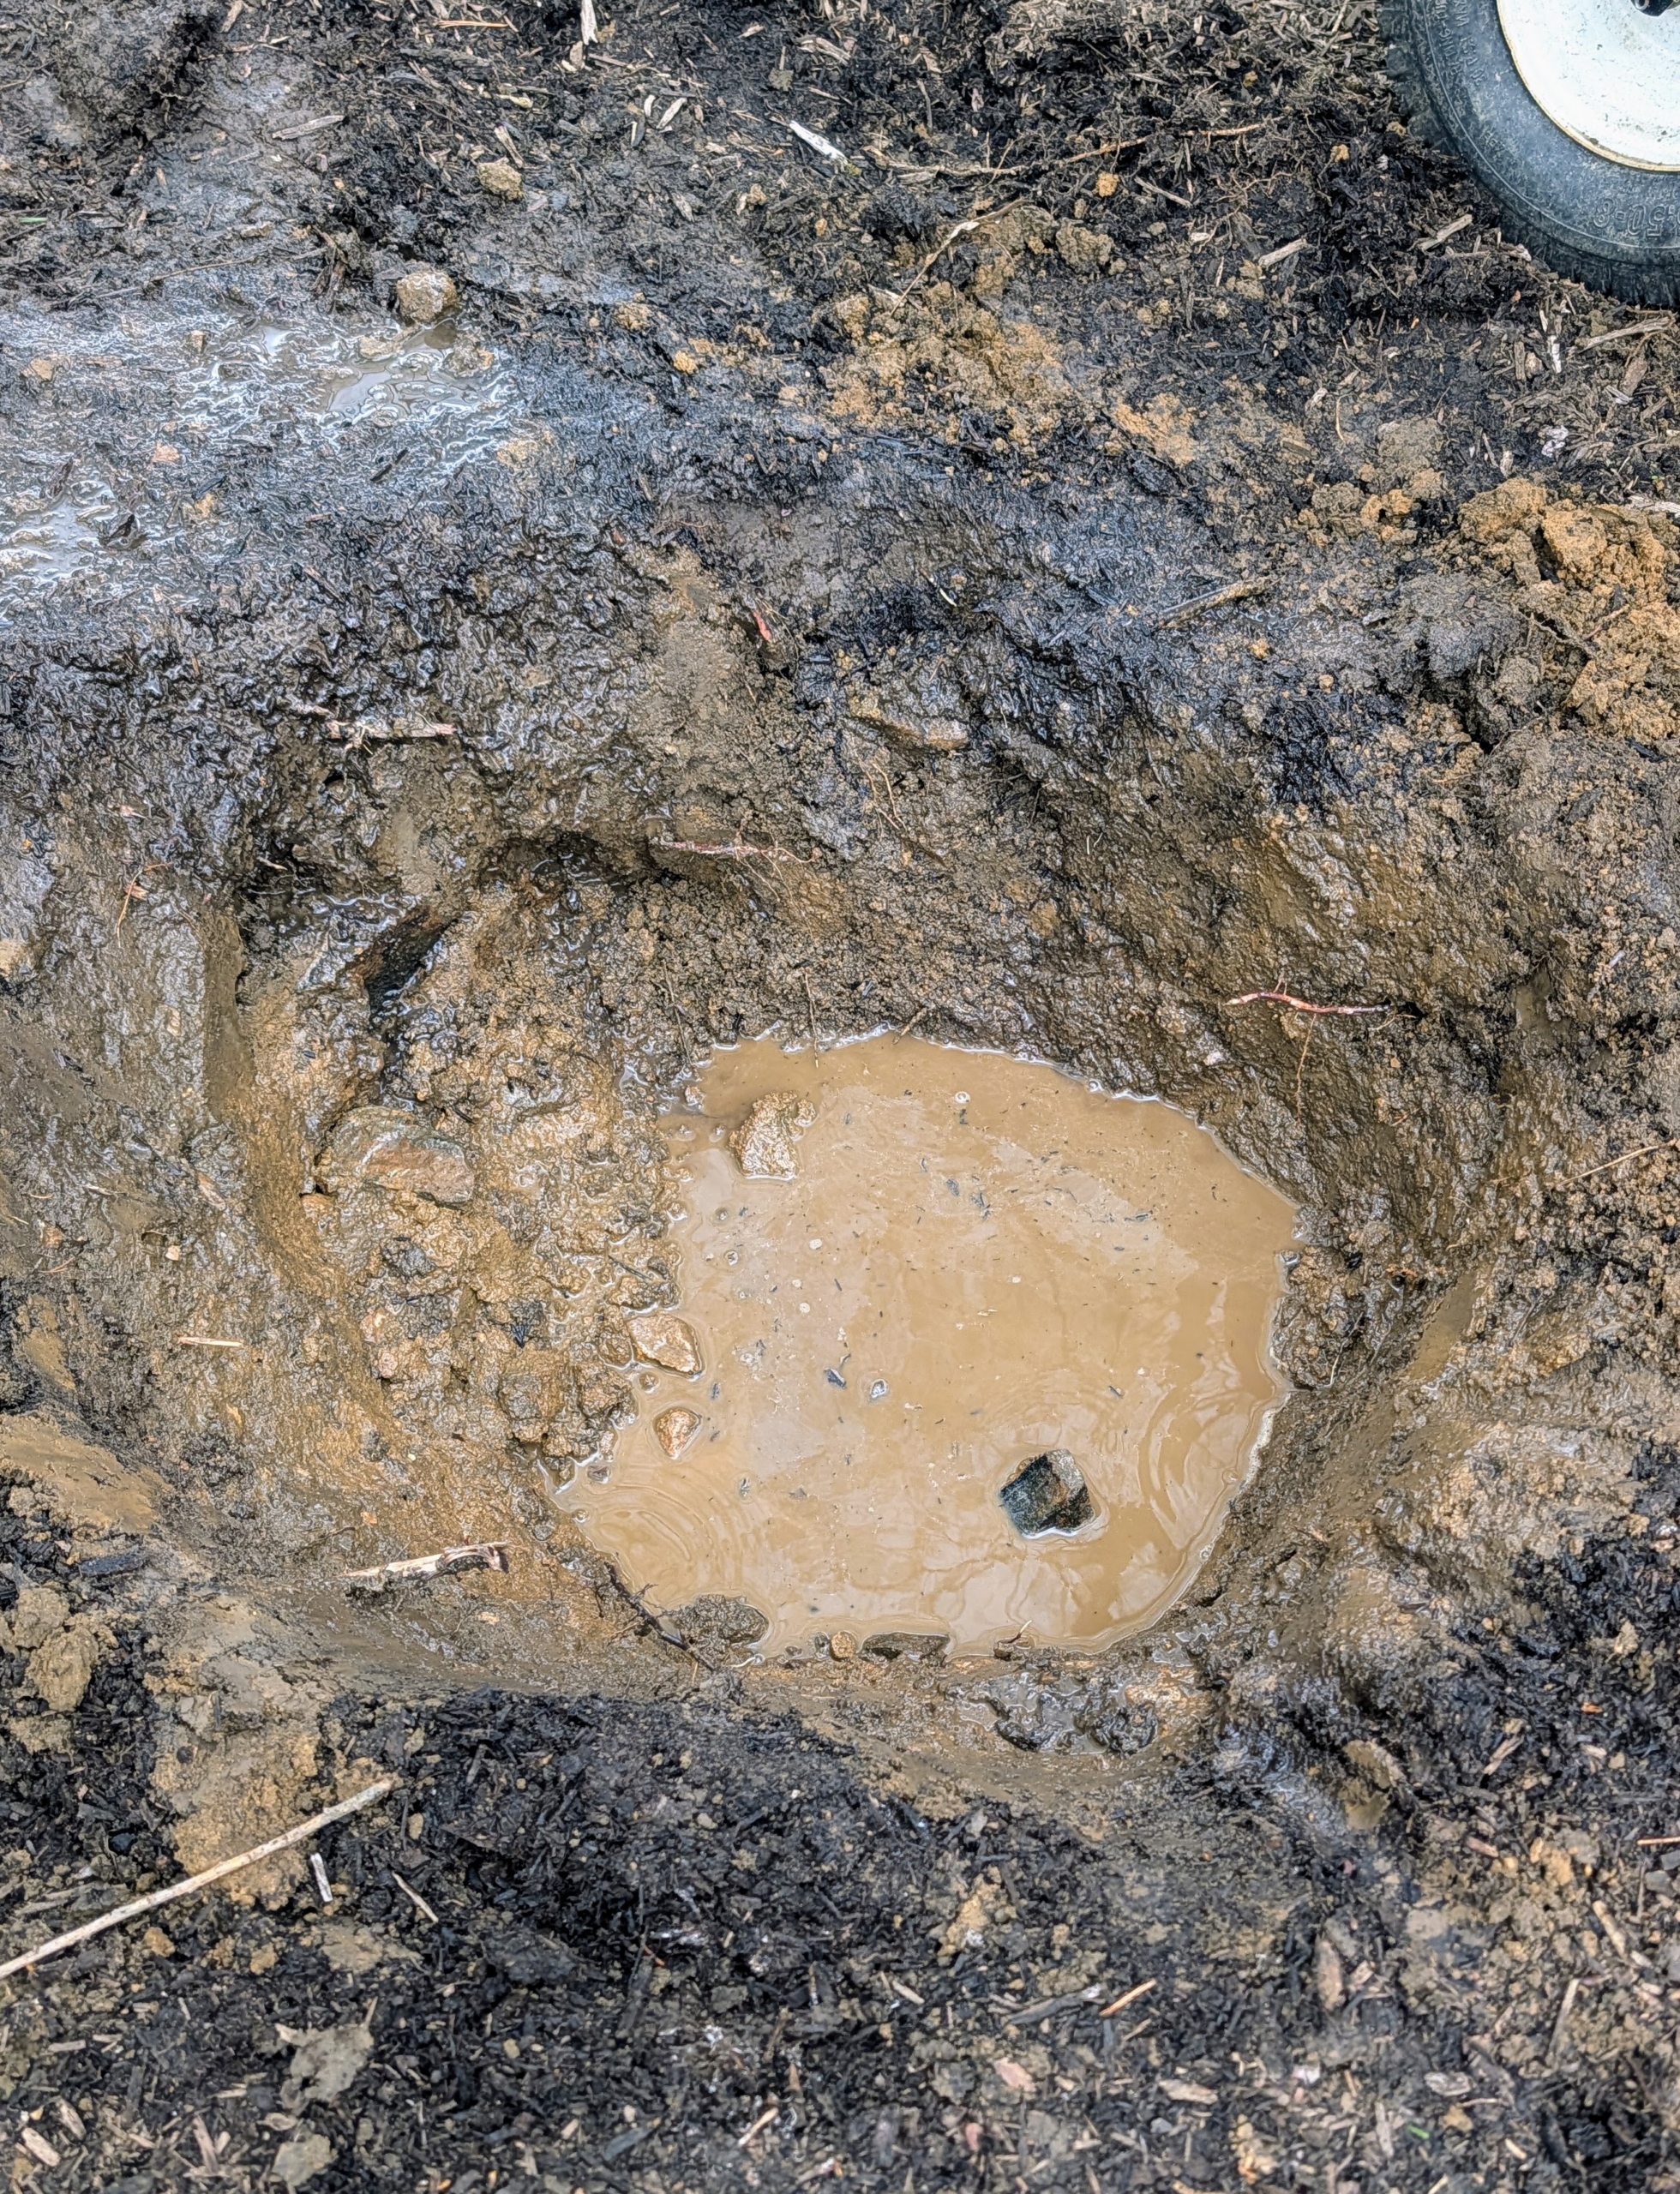
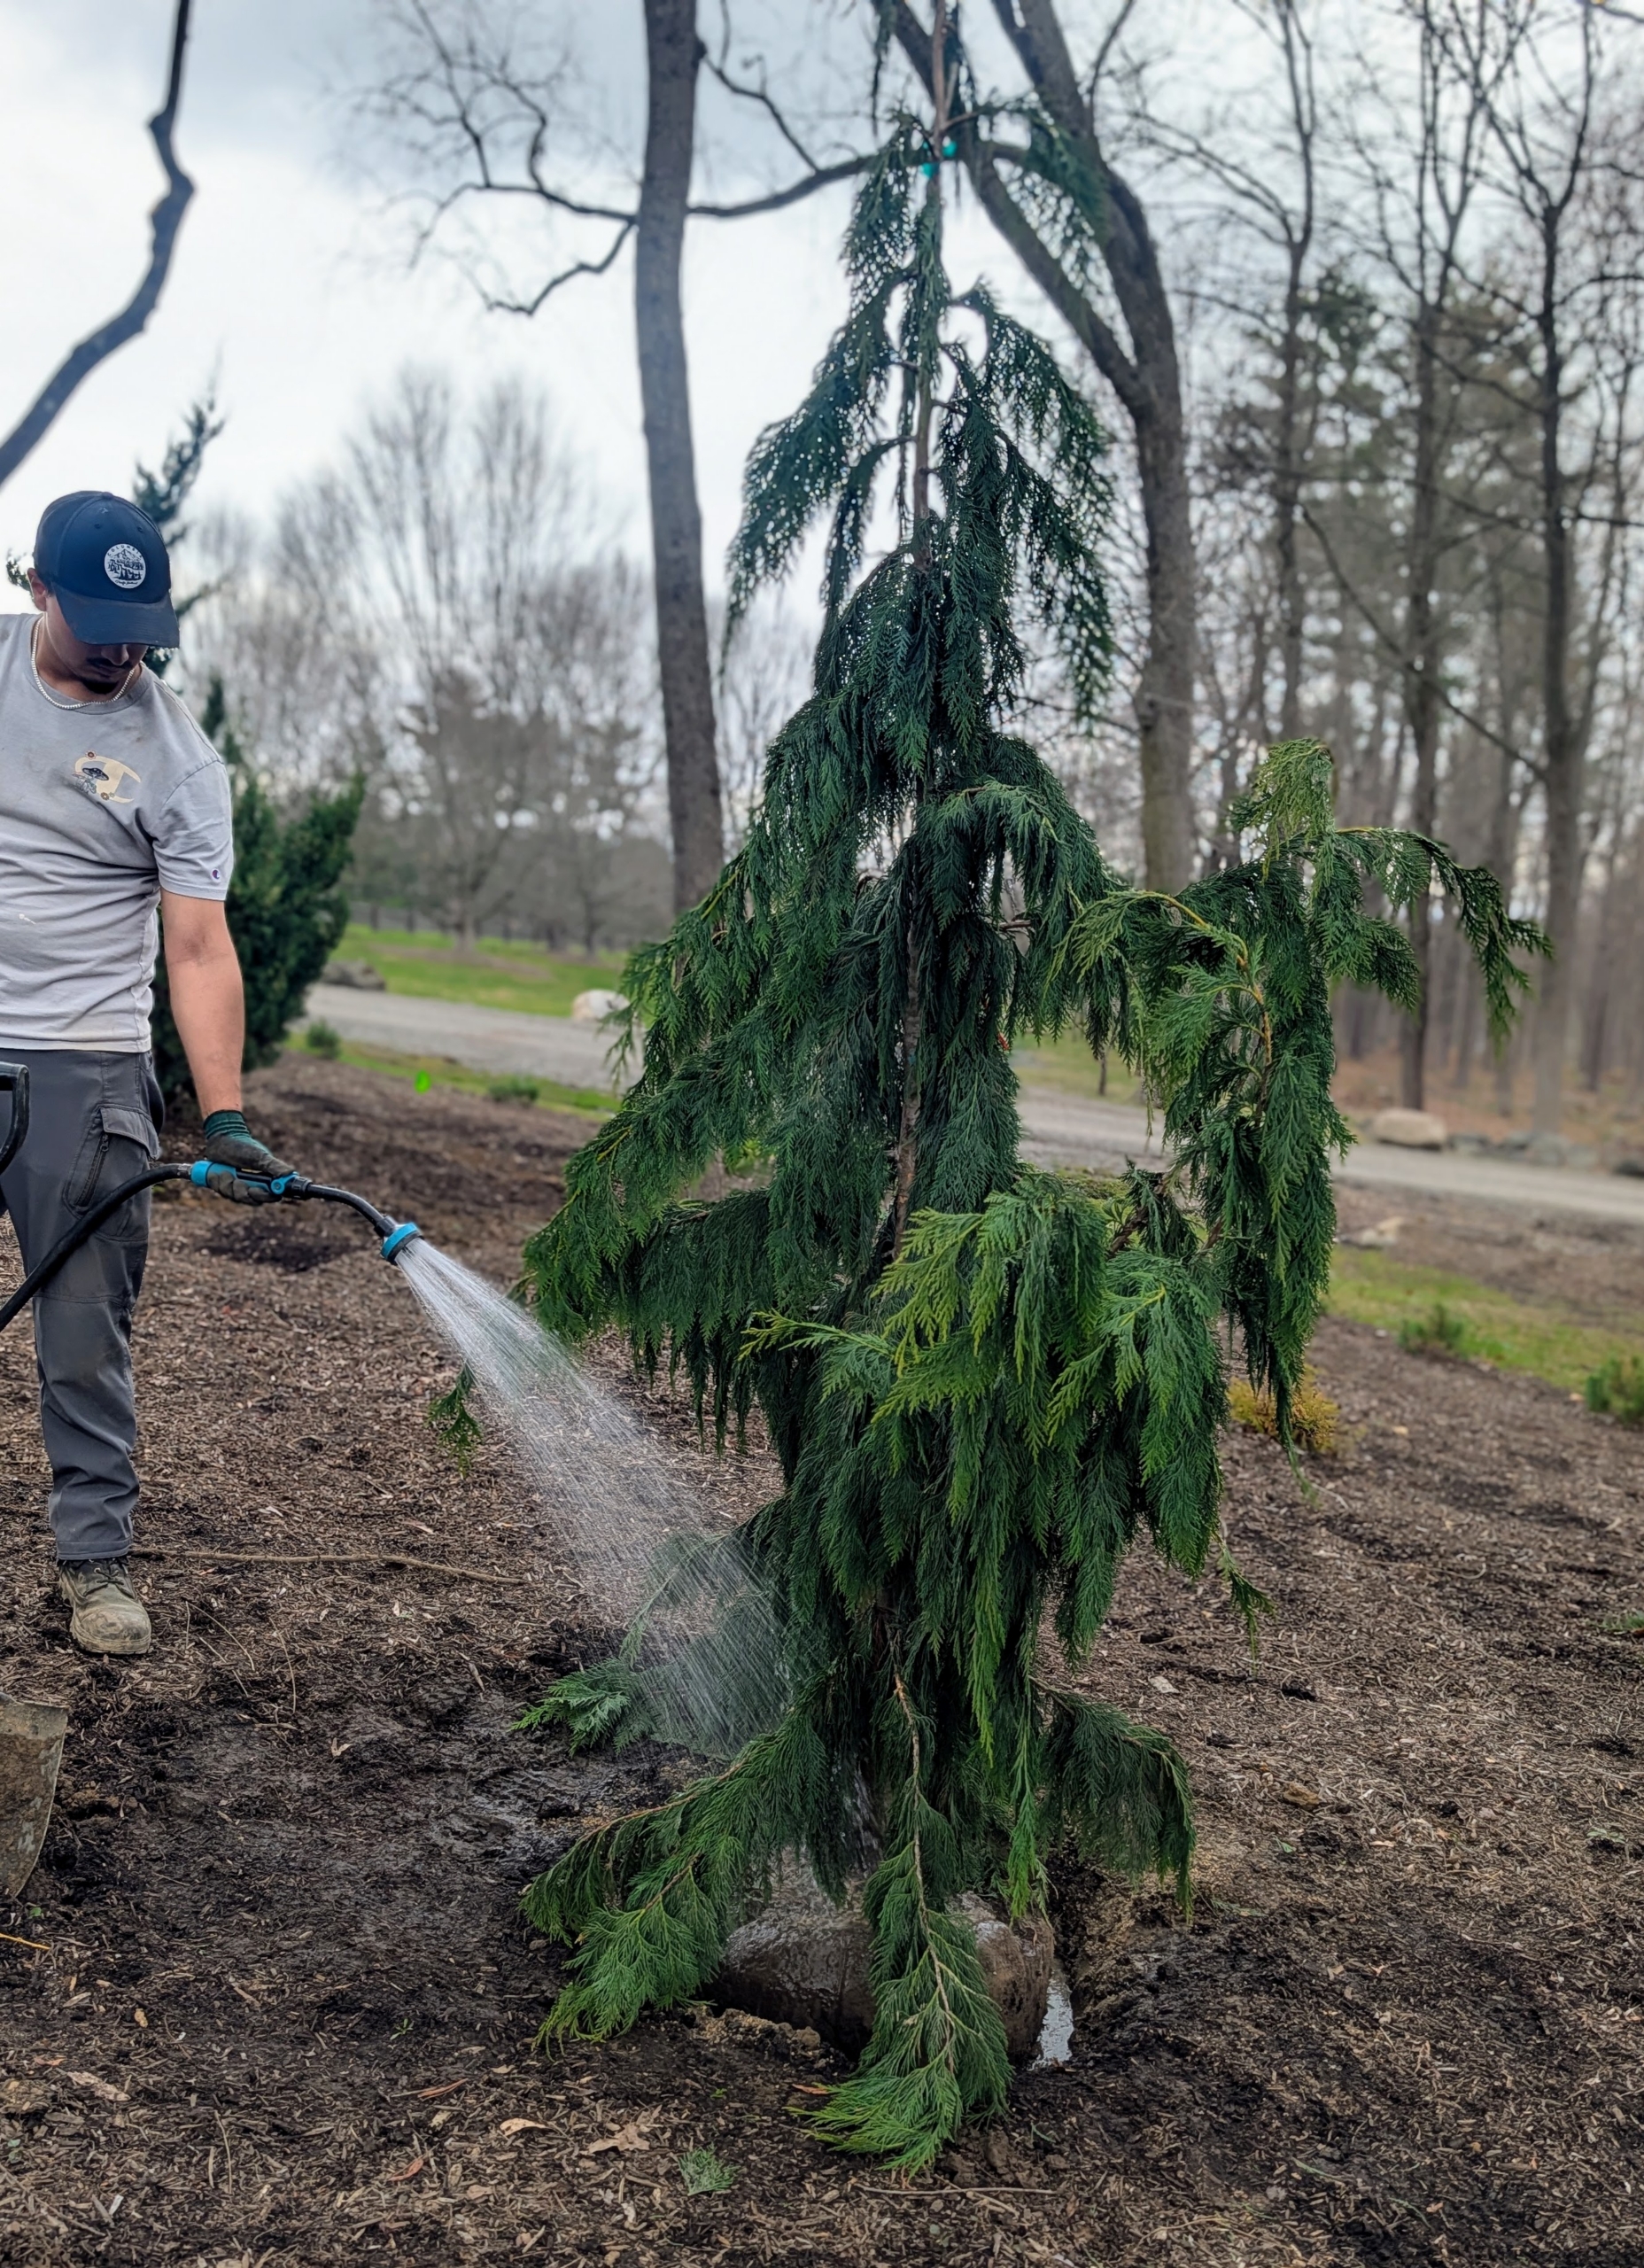
I always instruct my team to fill the hole with water first before planting. This is a good idea even when the ground is already saturated from recent storms.
Filling the hole with water helps settle any loose soil, eliminate air pockets, hydrate the soil around the root ball to encourage roots to spread, and minimizes stress to the tree when it is newly transplanted.
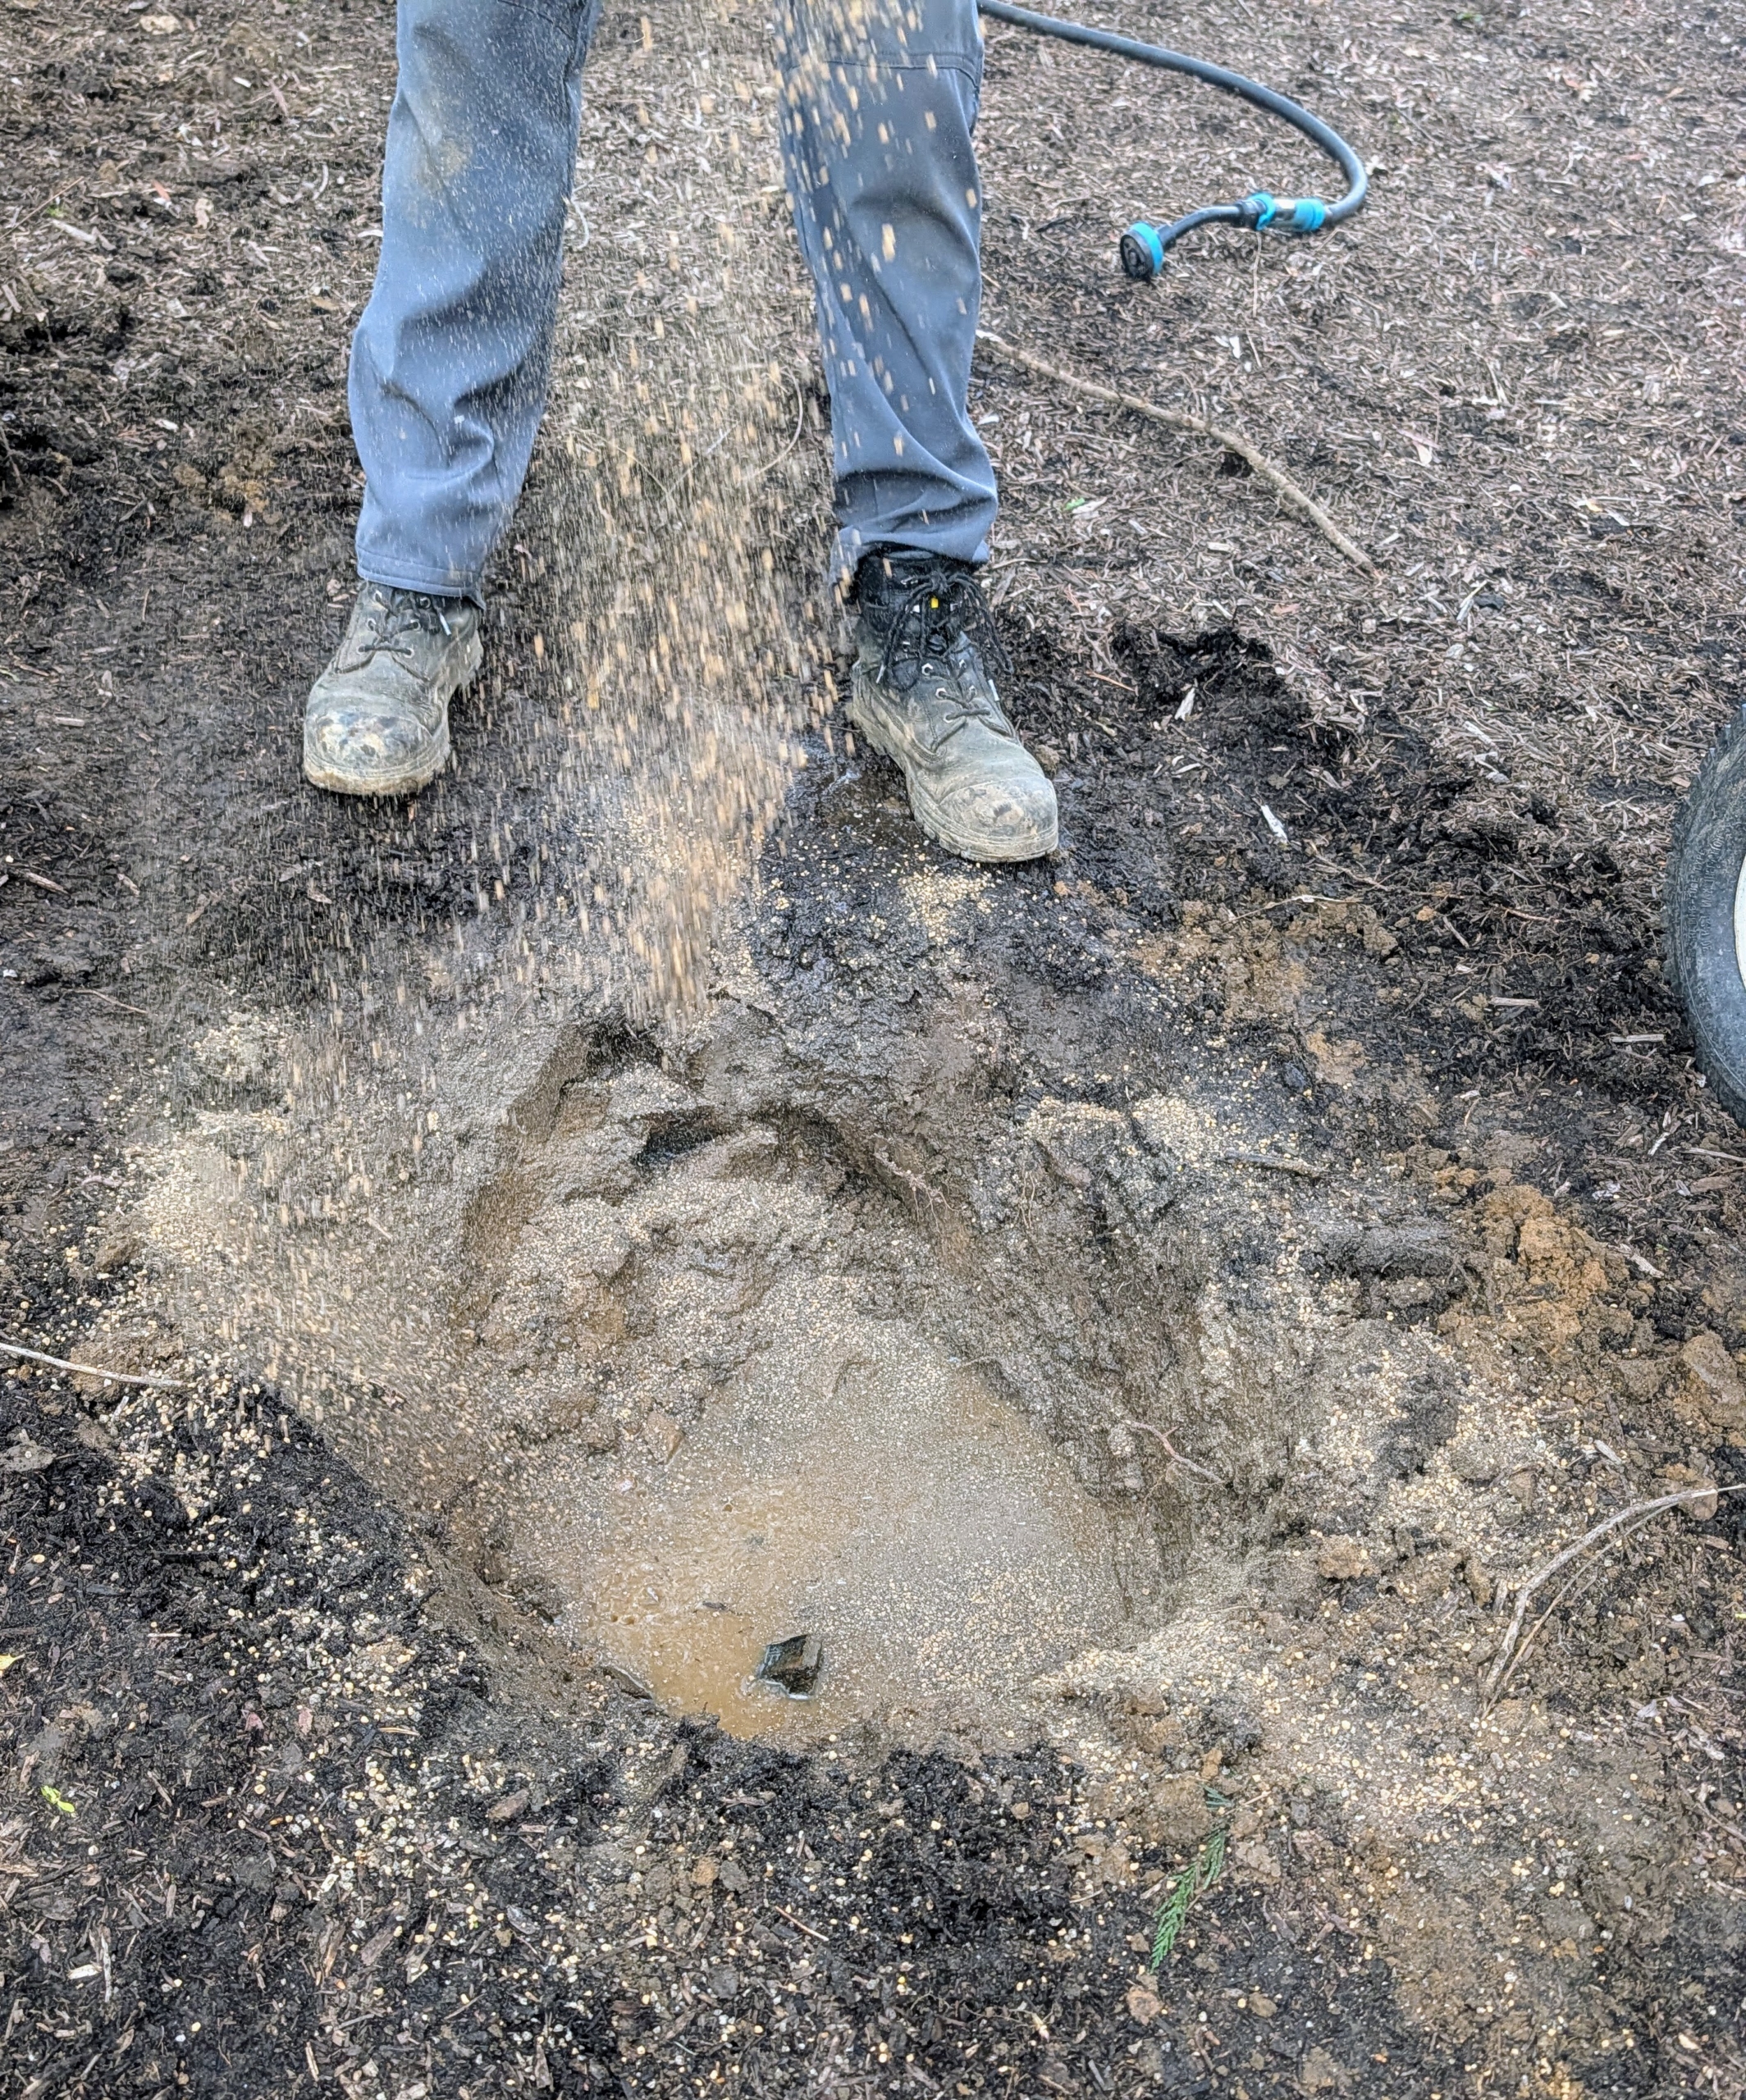
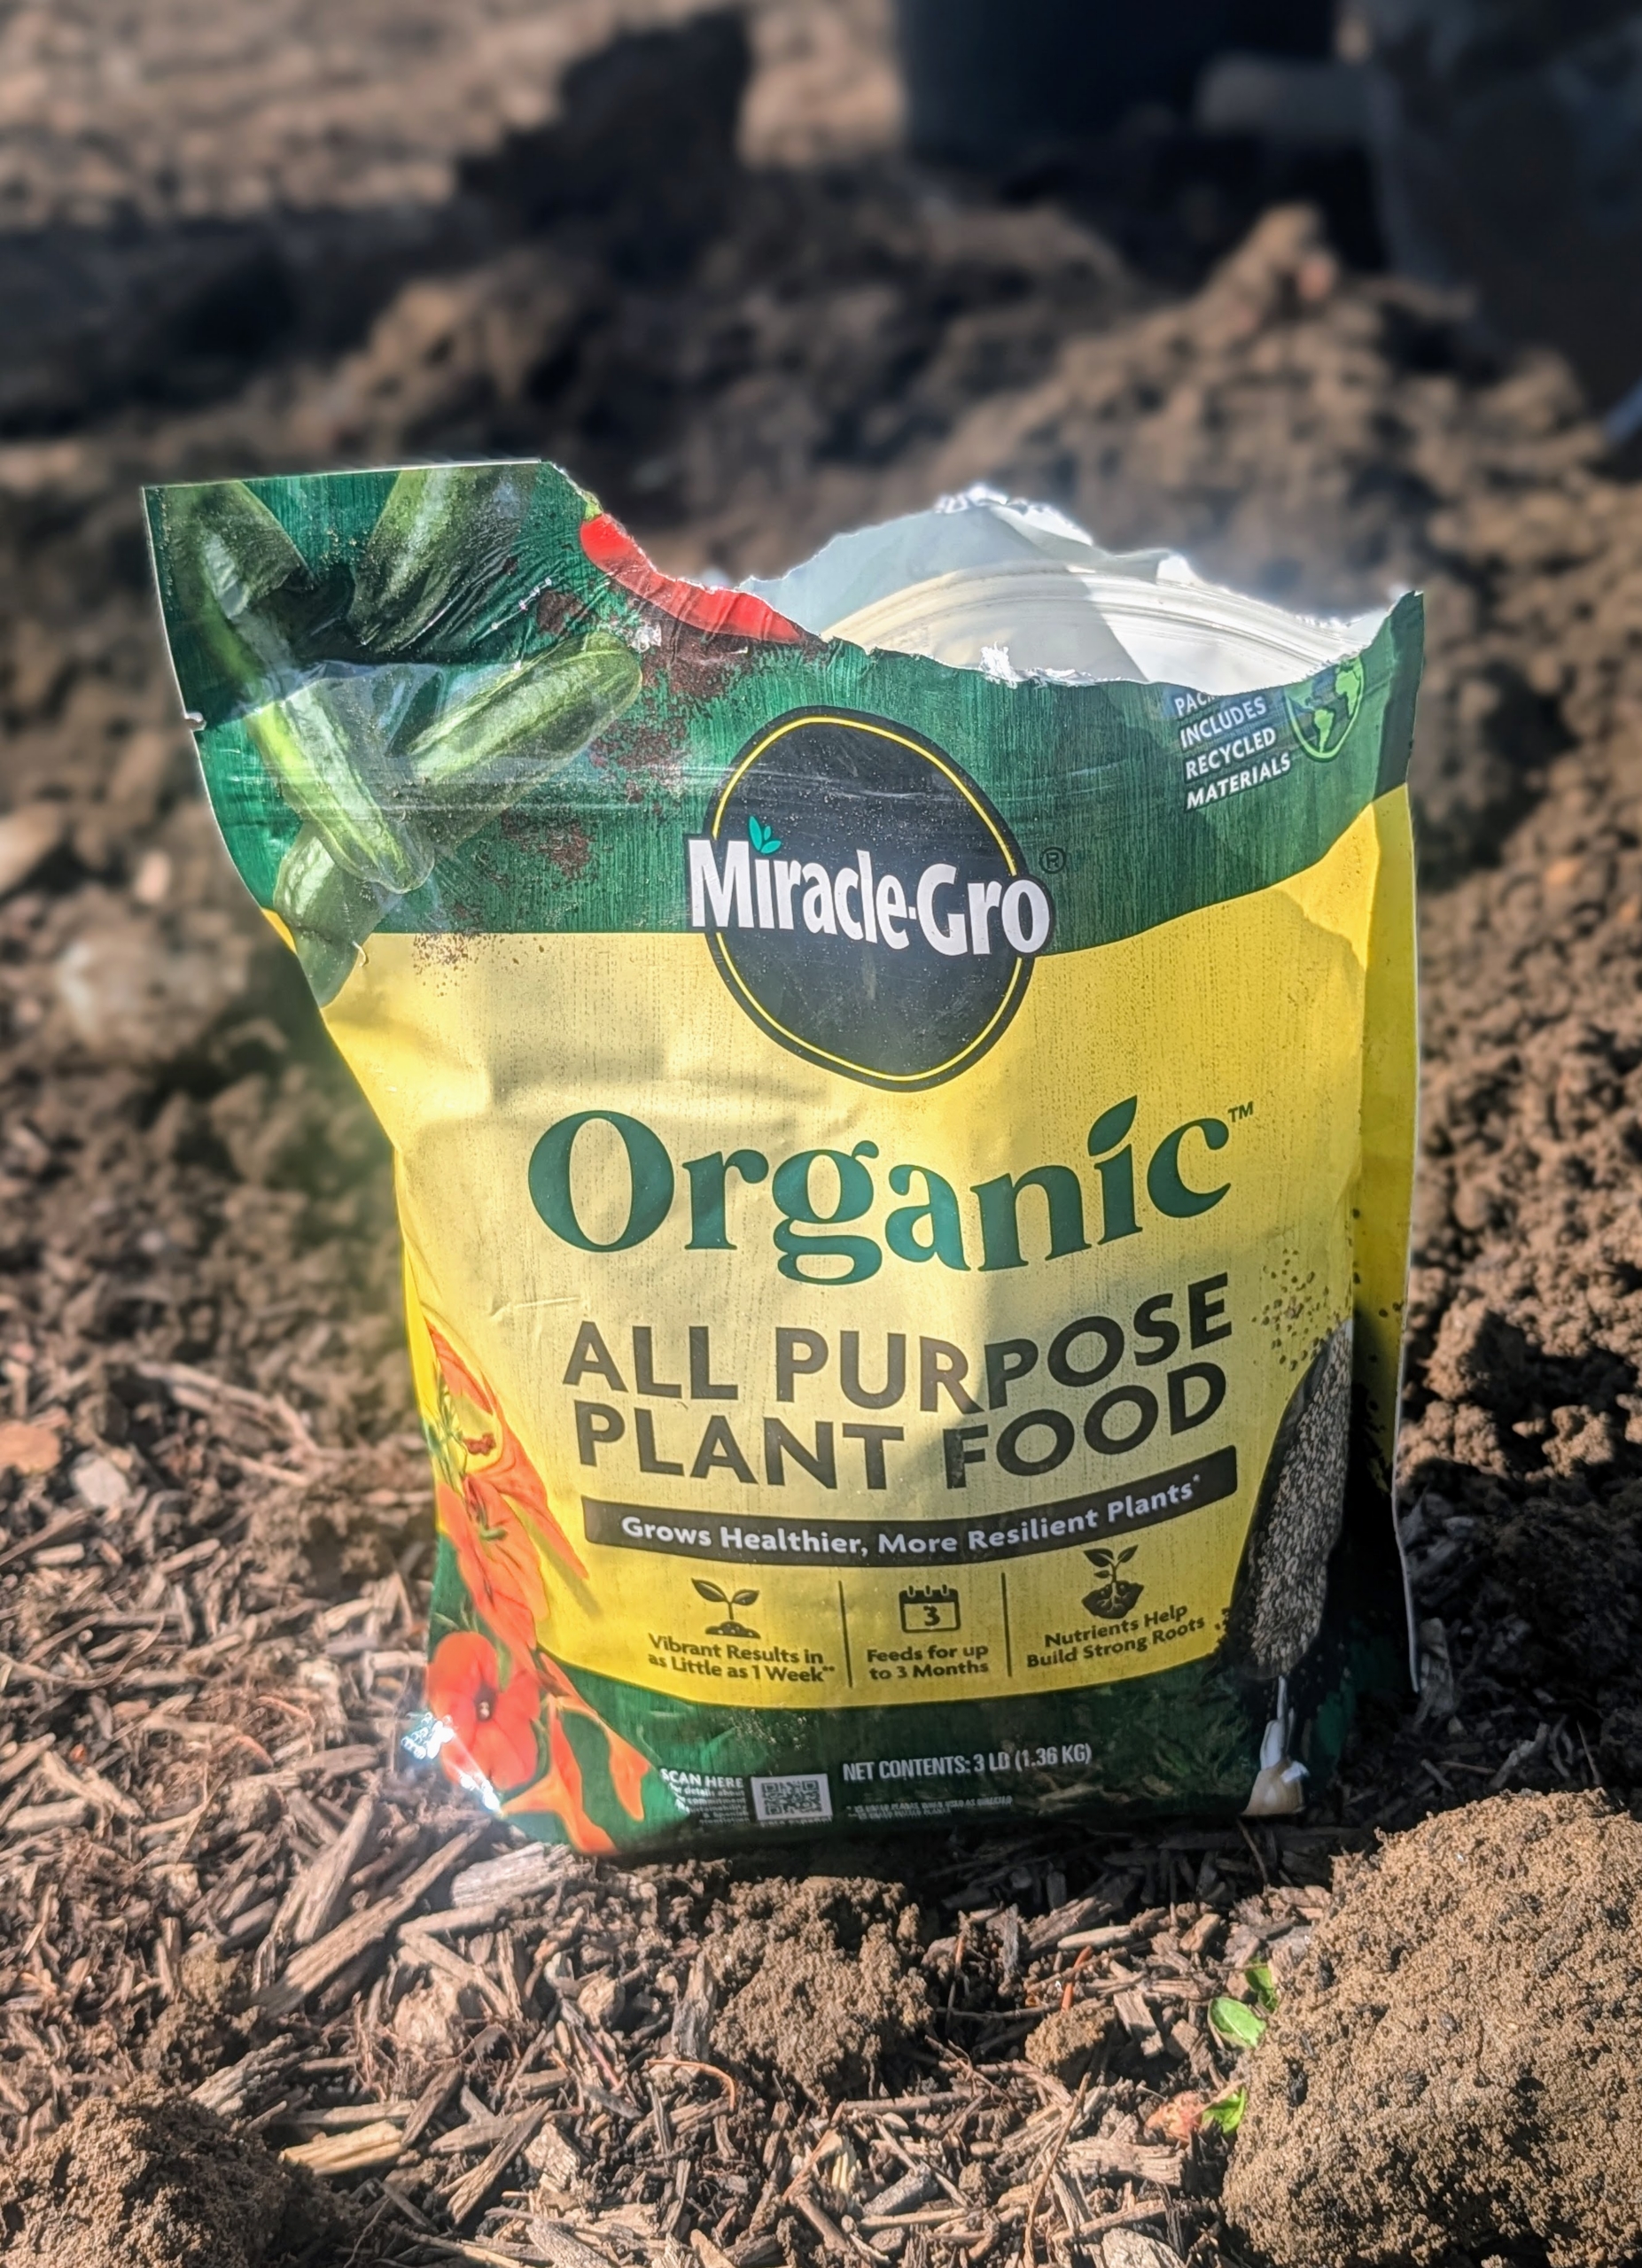
Matthew sprinkles a generous amount of food into the hole and mixes it with the existing wet soil. Remember what I always say, “if you are eating and drinking today, so should your plants.”
I use Miracle-Gro Organic All Purpose Plant Food. It’s good for both outdoor container and in-ground plants and feeds for up to three-months.
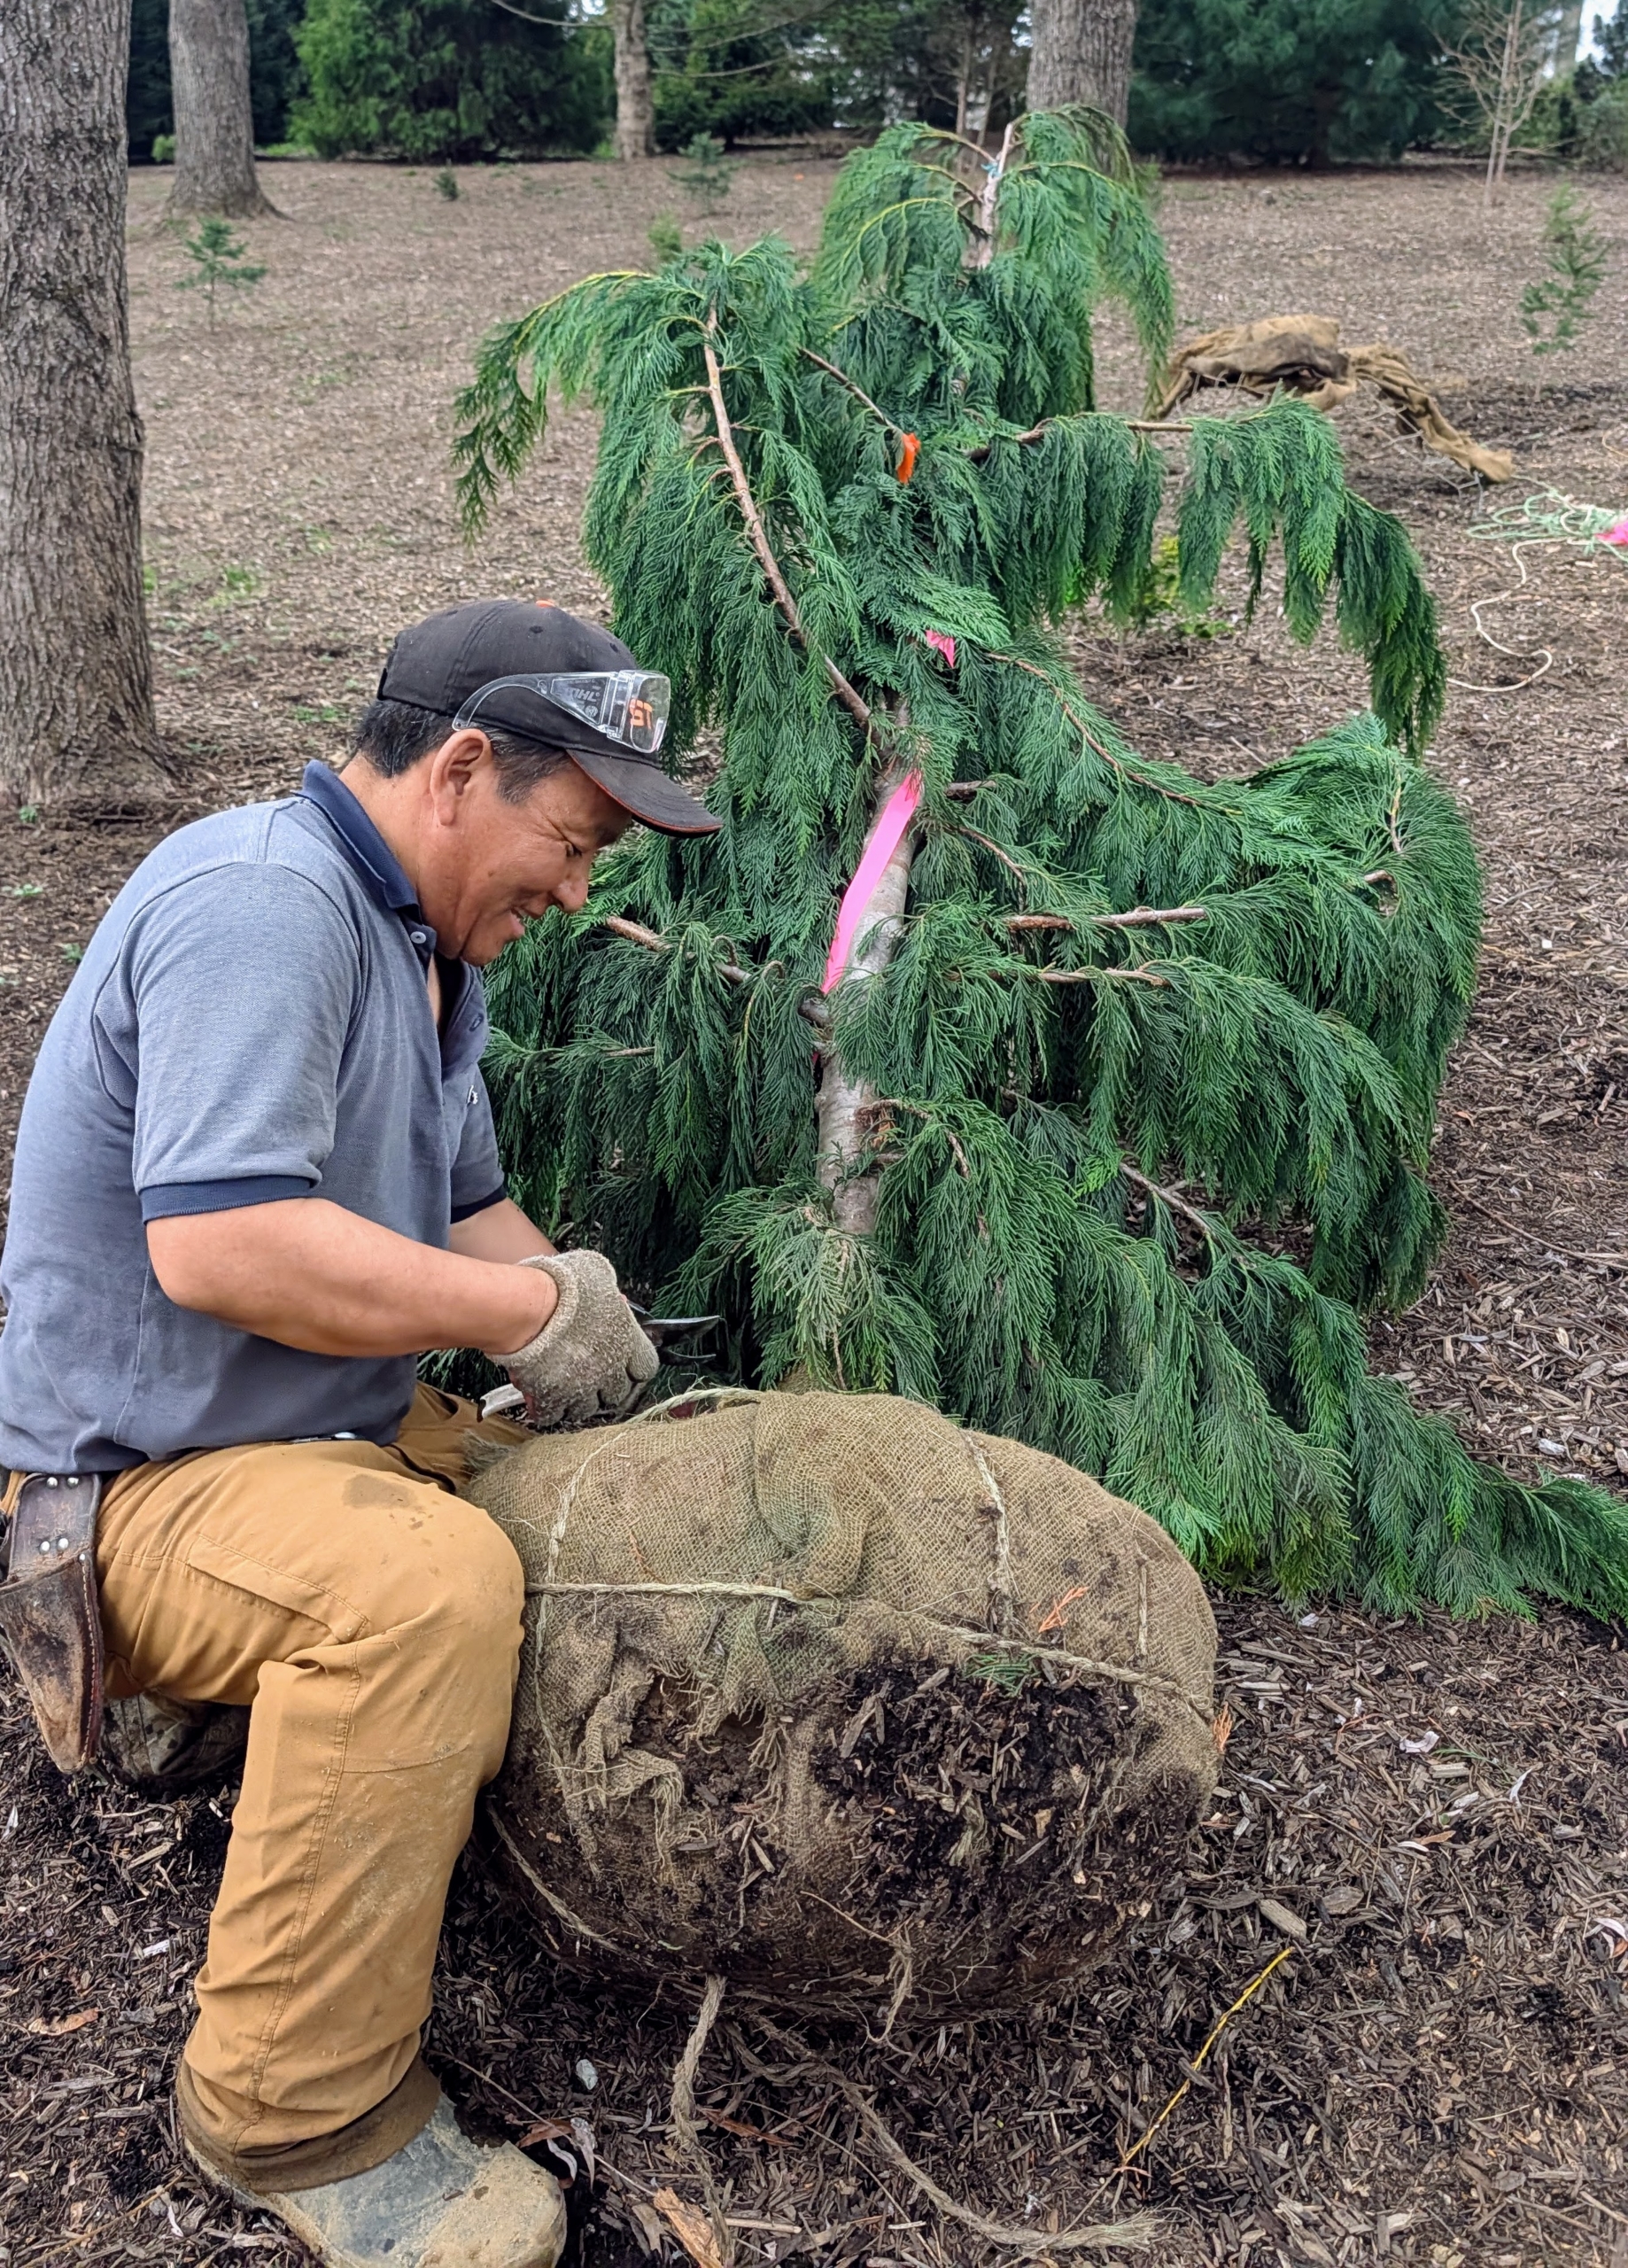
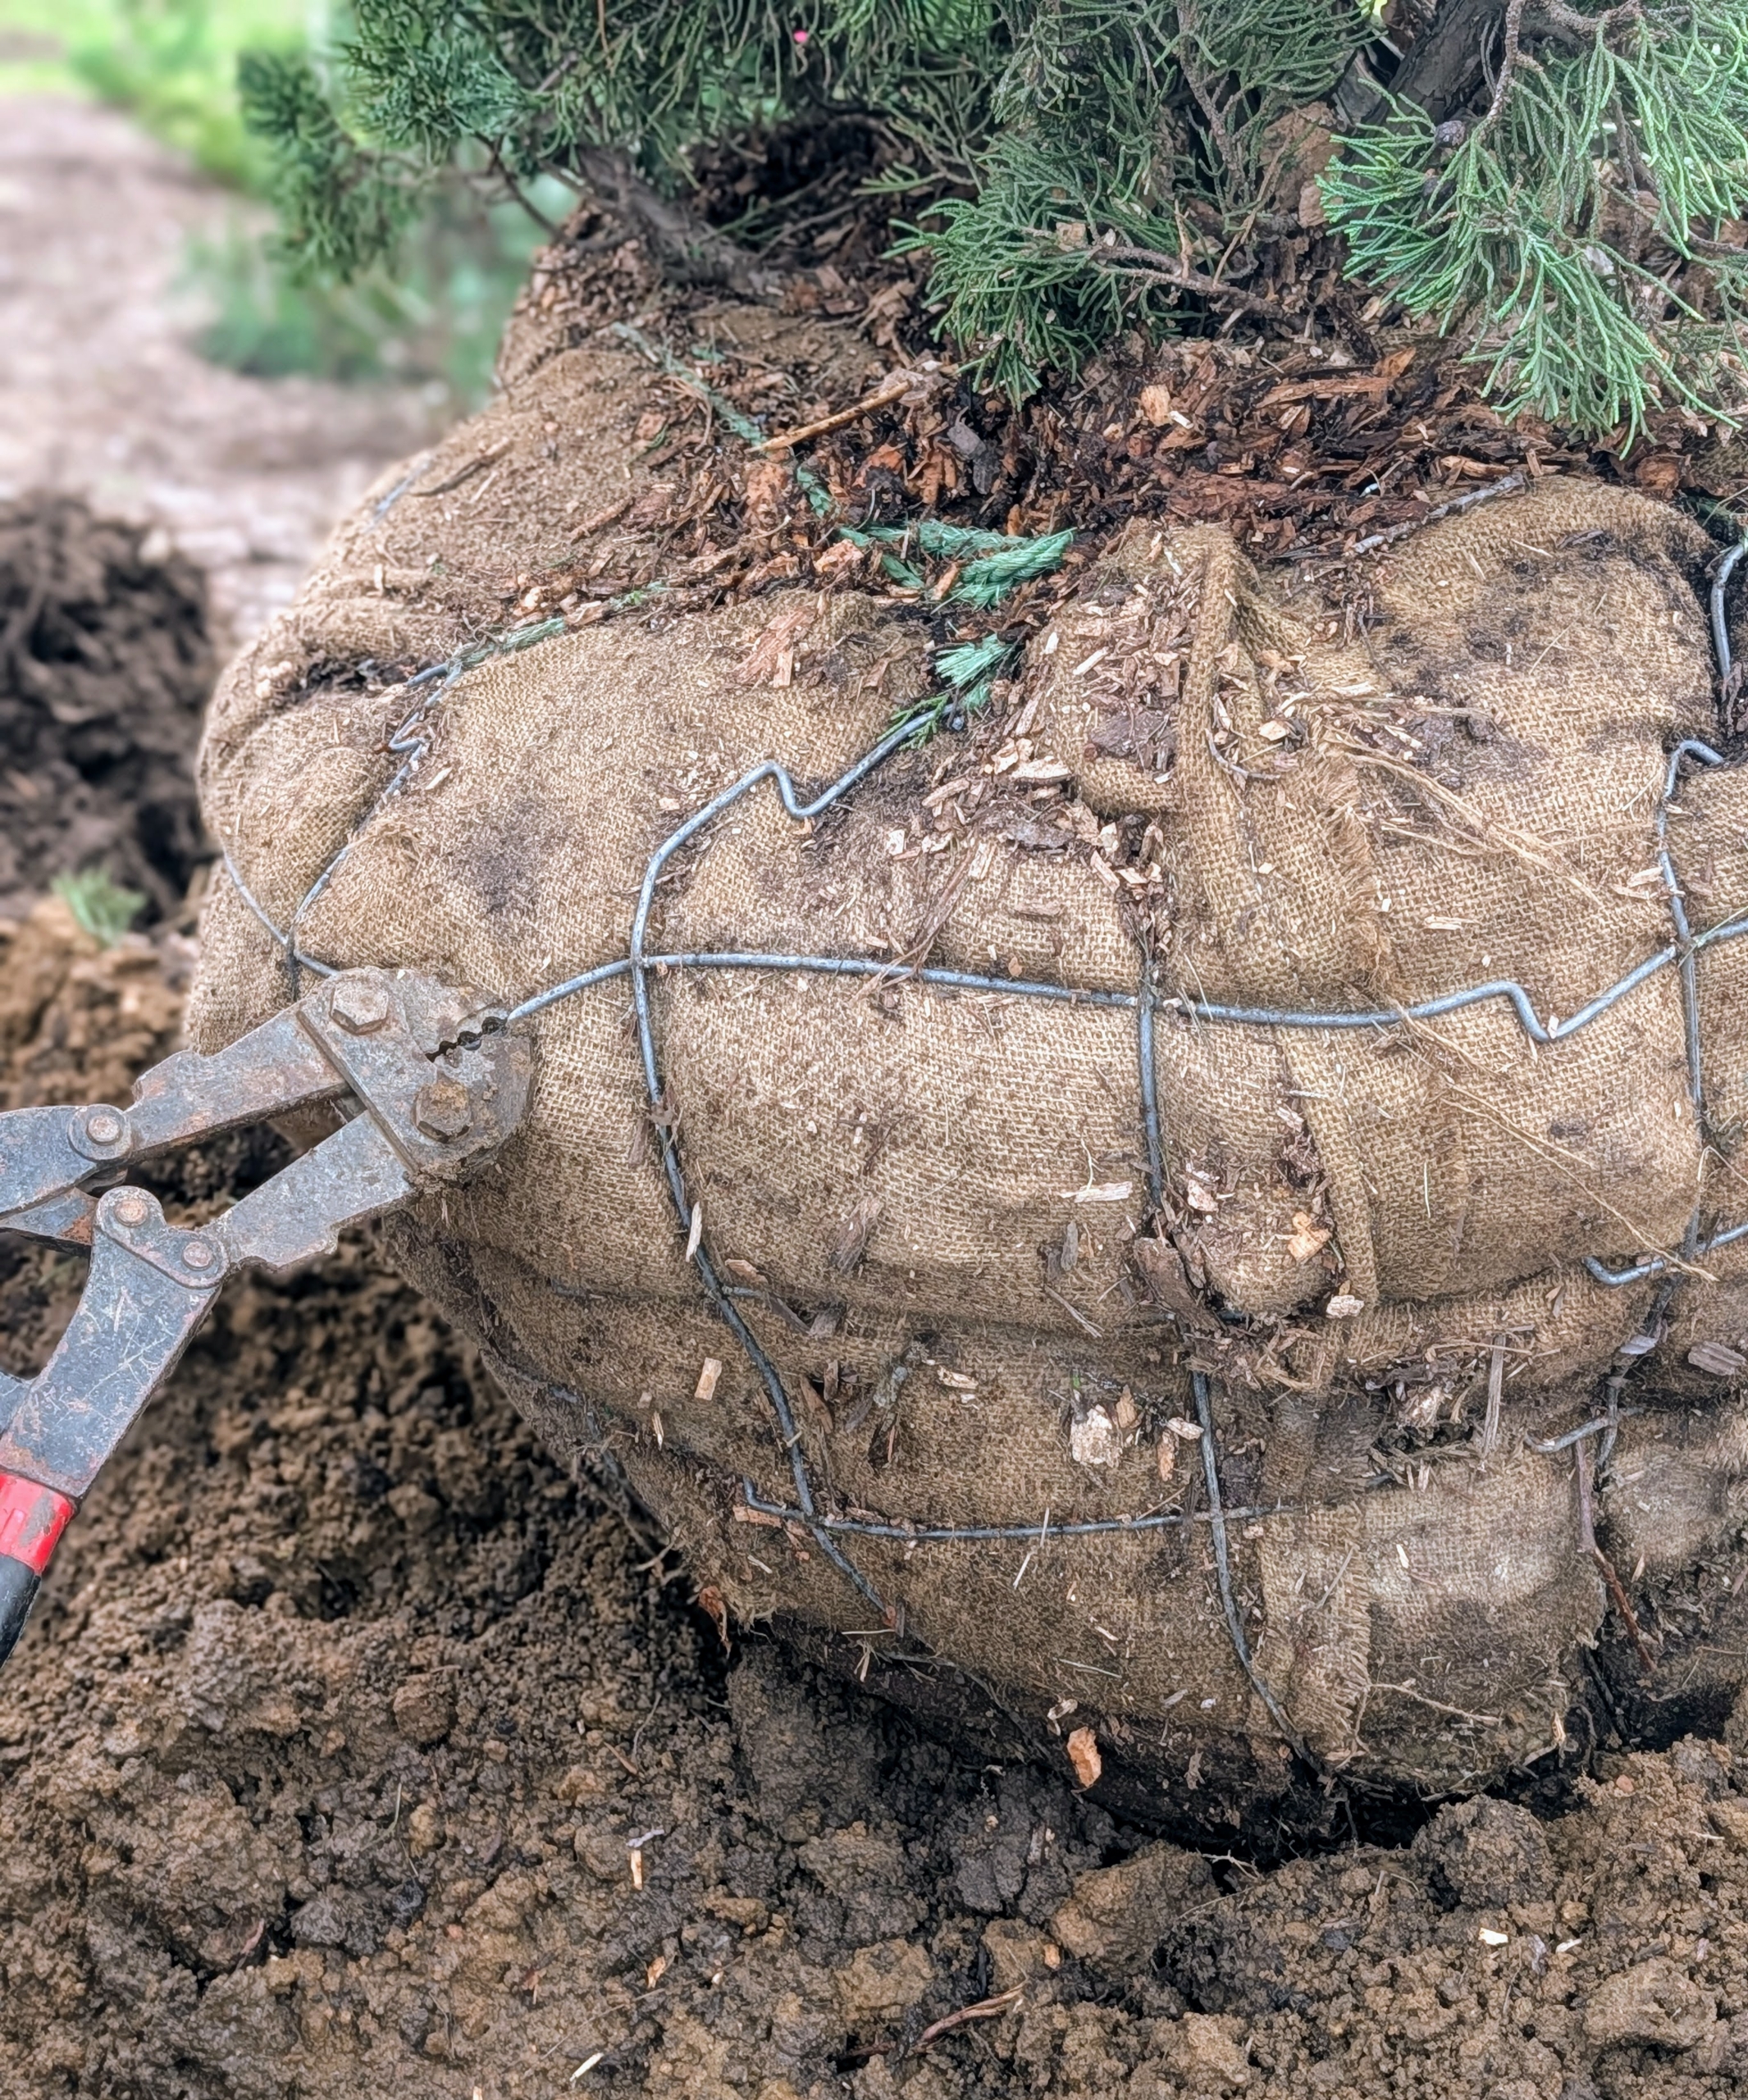
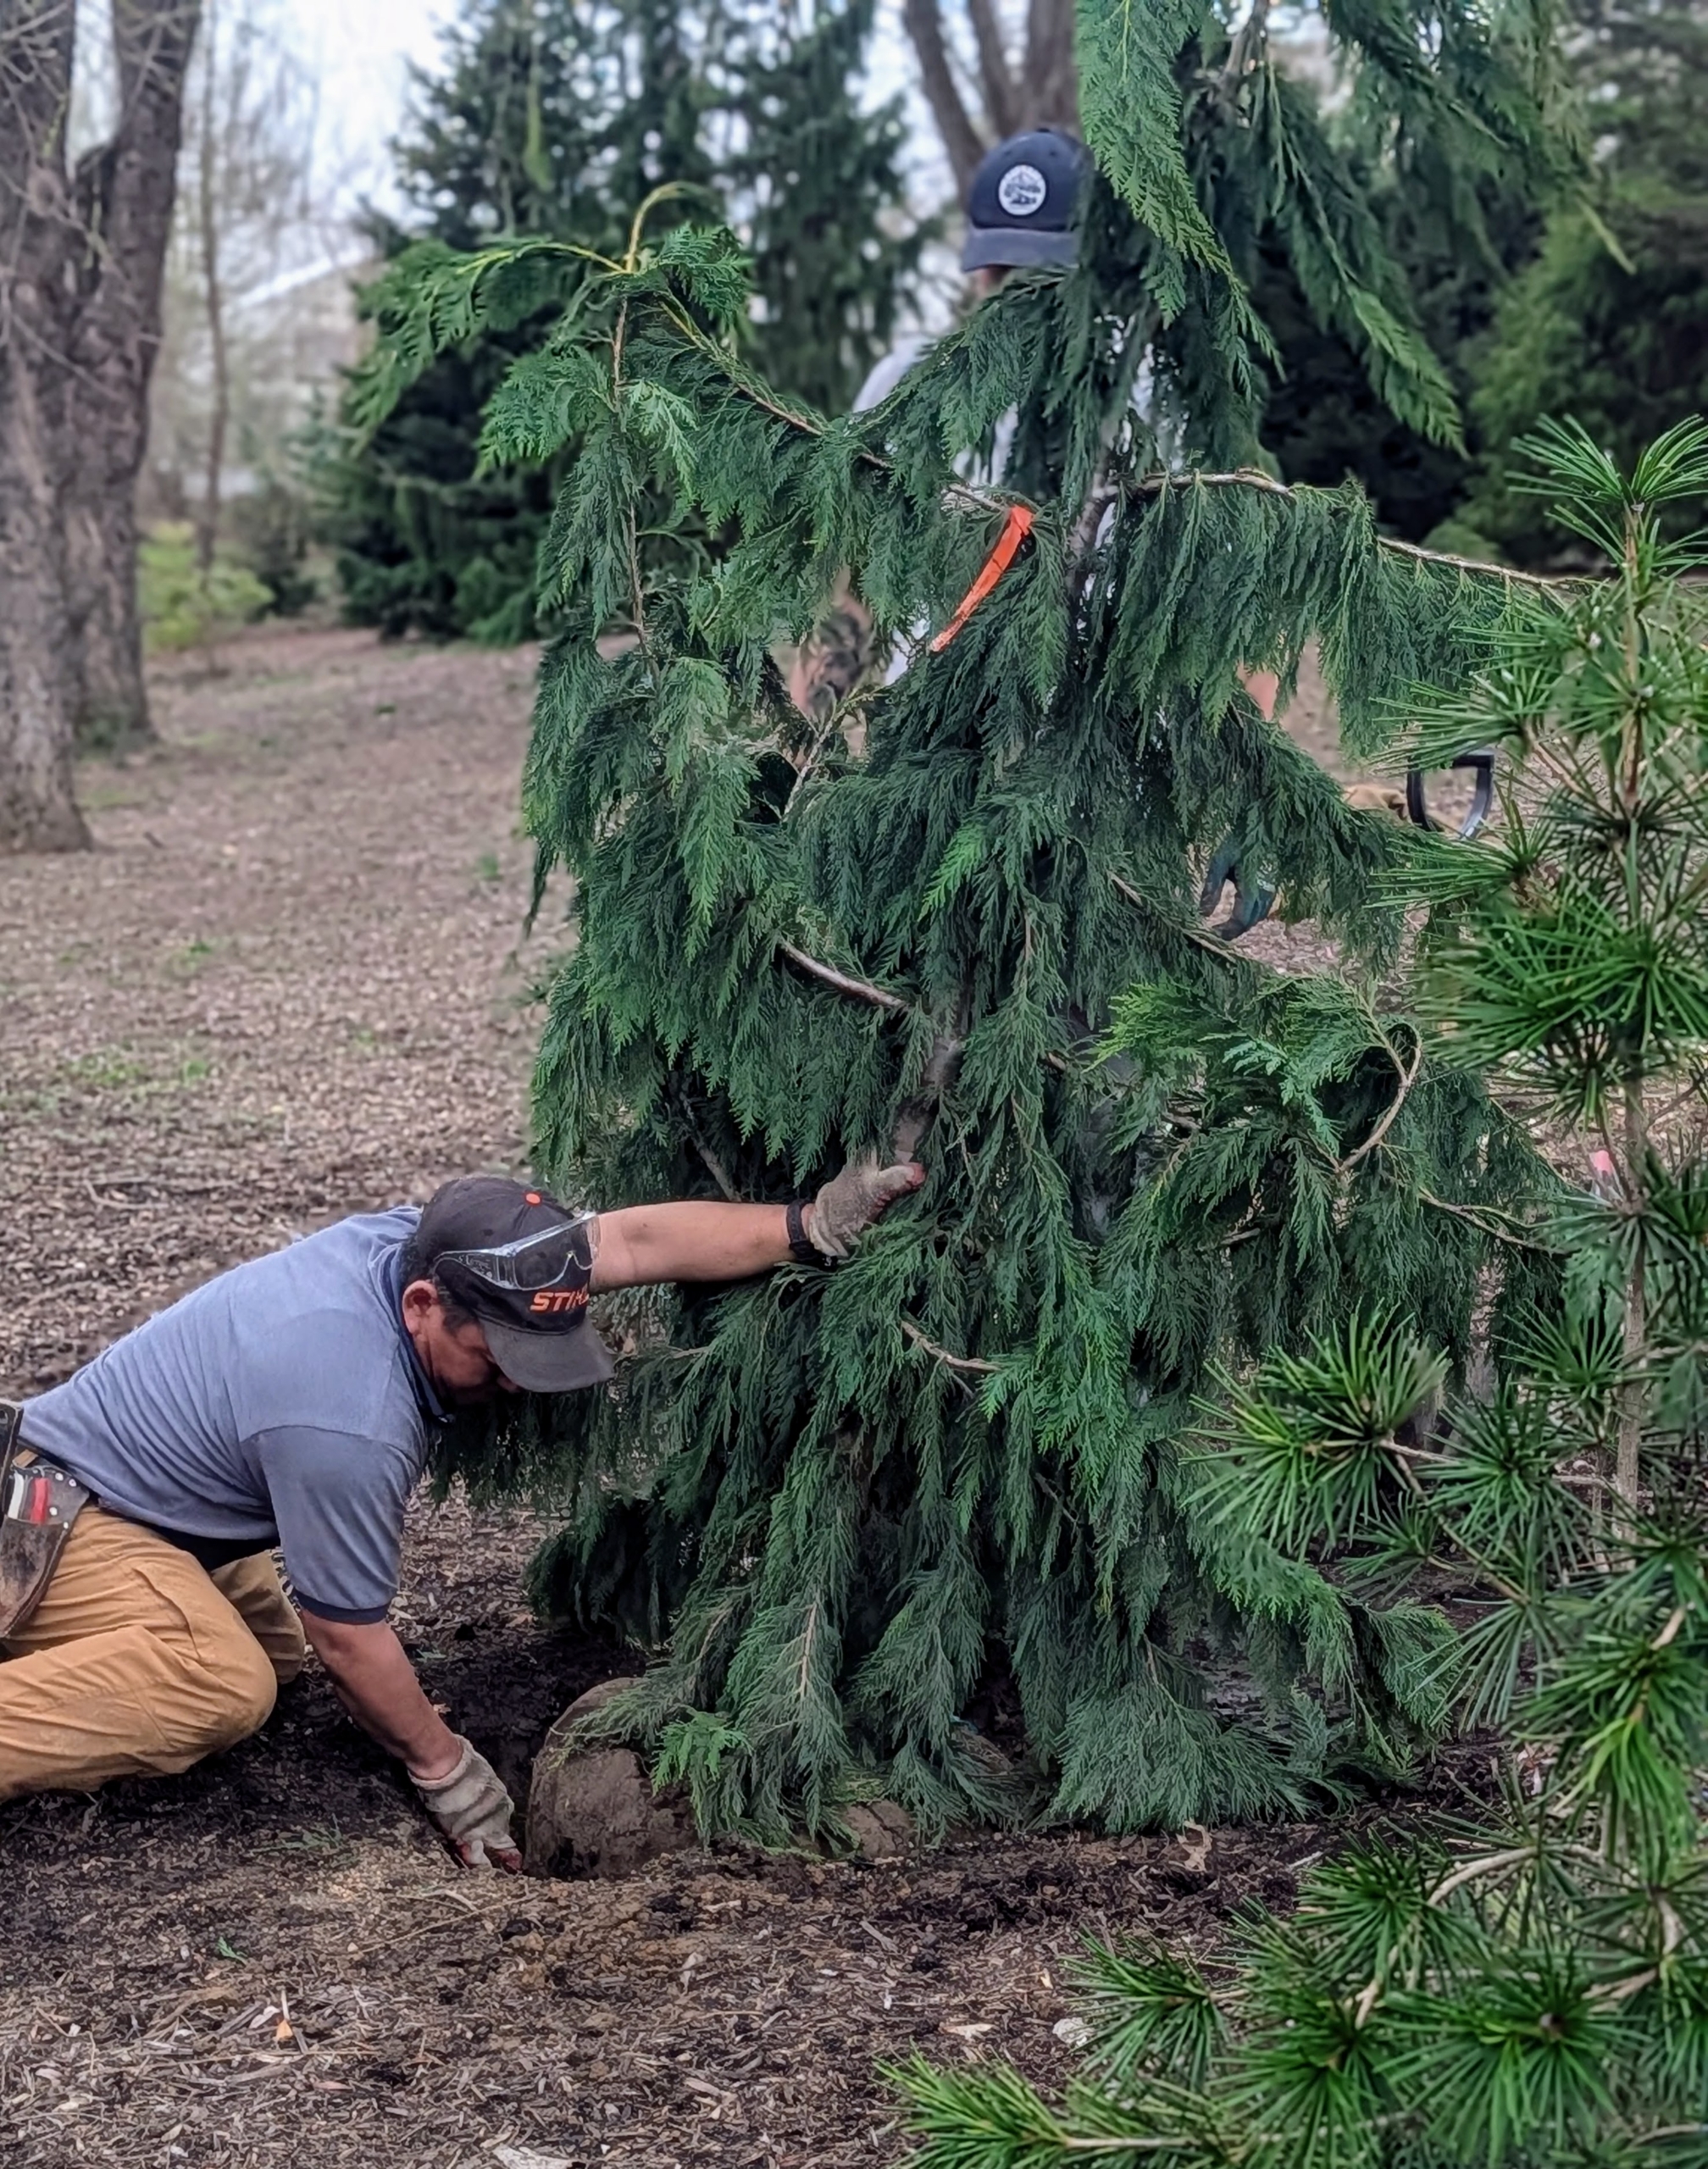
Phurba removes the protective wrapping and any wire or rope from the root ball. If left untouched, these wrapping materials could reduce the ability of a tree’s roots to grow out into the surrounding soil.
Some leave wire and burlap in place; however, I prefer to remove everything, so there is nothing preventing root development.
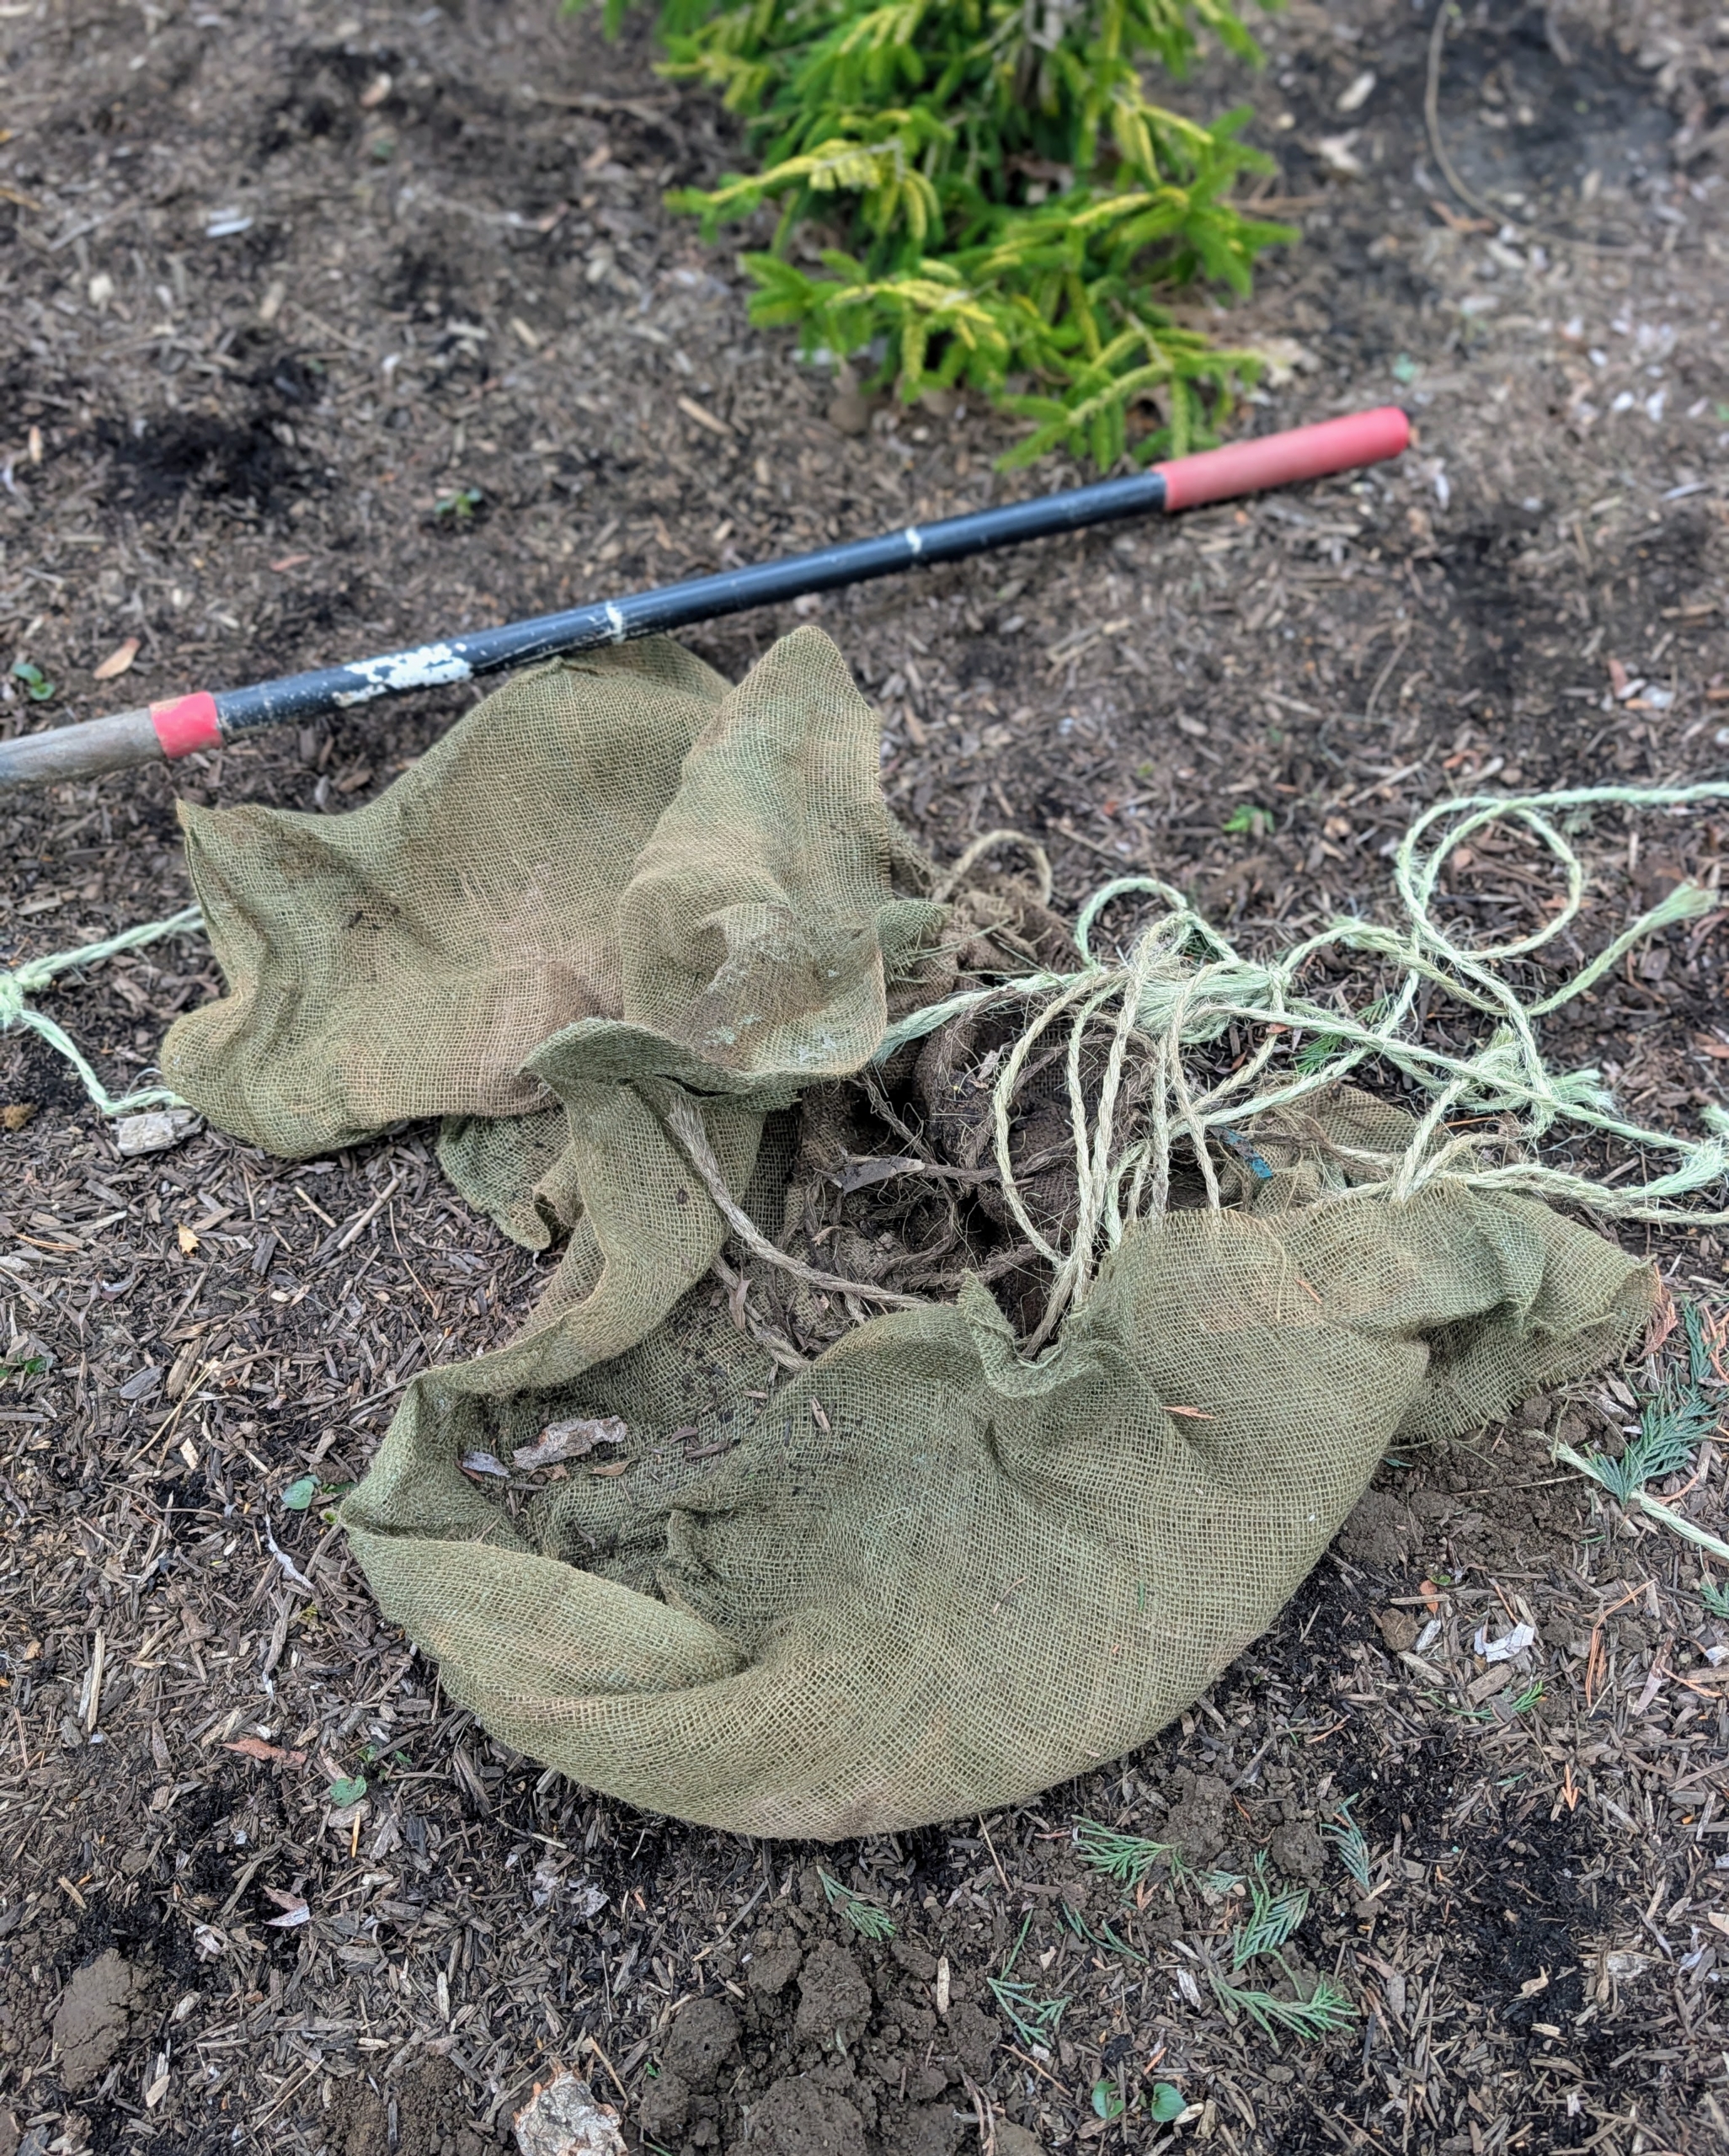
Here is the pile of wrapping from just one tree.
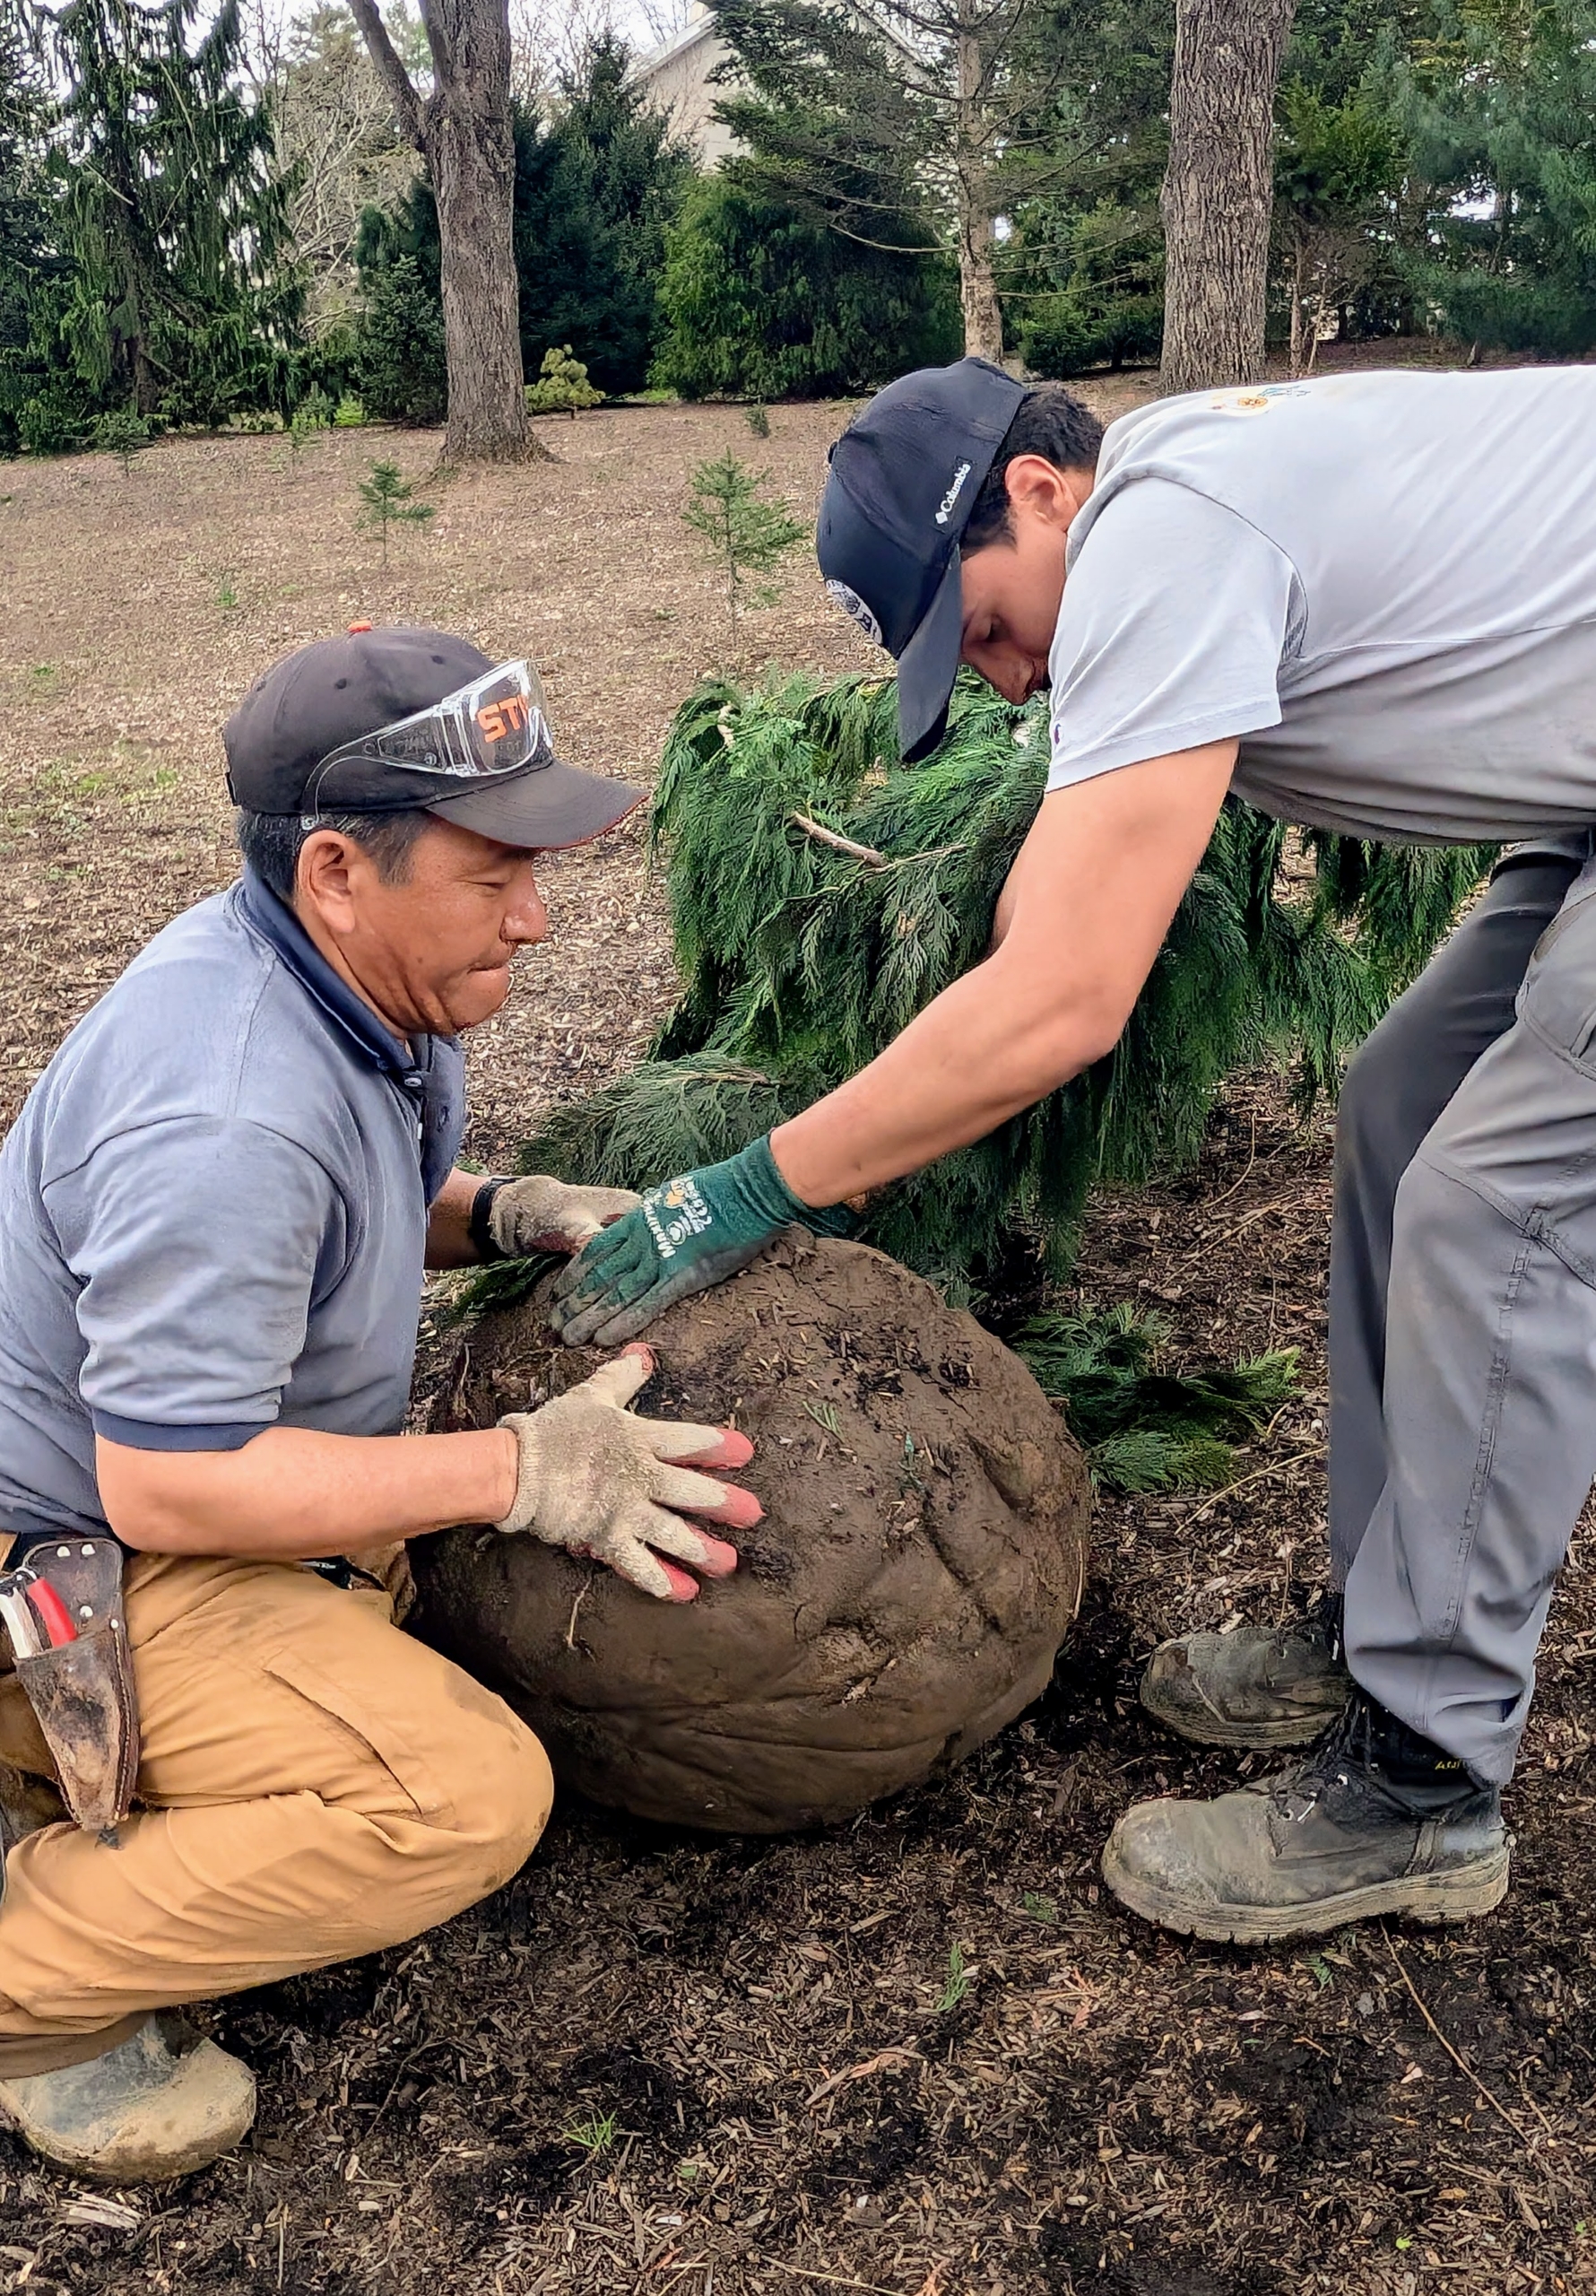
Phurba and Matthew rotate the tree on its root ball closer to the hole and then into it. When moving heavy trees, only hold it by the root ball and the base of the trunk – never by its branches, which could easily break.
Phurba turns the tree turn the tree until it is stable in the hole and sitting at the proper depth. He also makes certain the best side of the tree is facing out toward the carriage road.
Matthew gives it more water. And remember, it is crucial to “plant bare to the flare,” meaning do not bury above its flare, where the first main roots attach to the trunk. The roots need oxygen to grow. By placing the root flare at or slightly above ground level when planting gives the specimen the best chance for survival and growth.
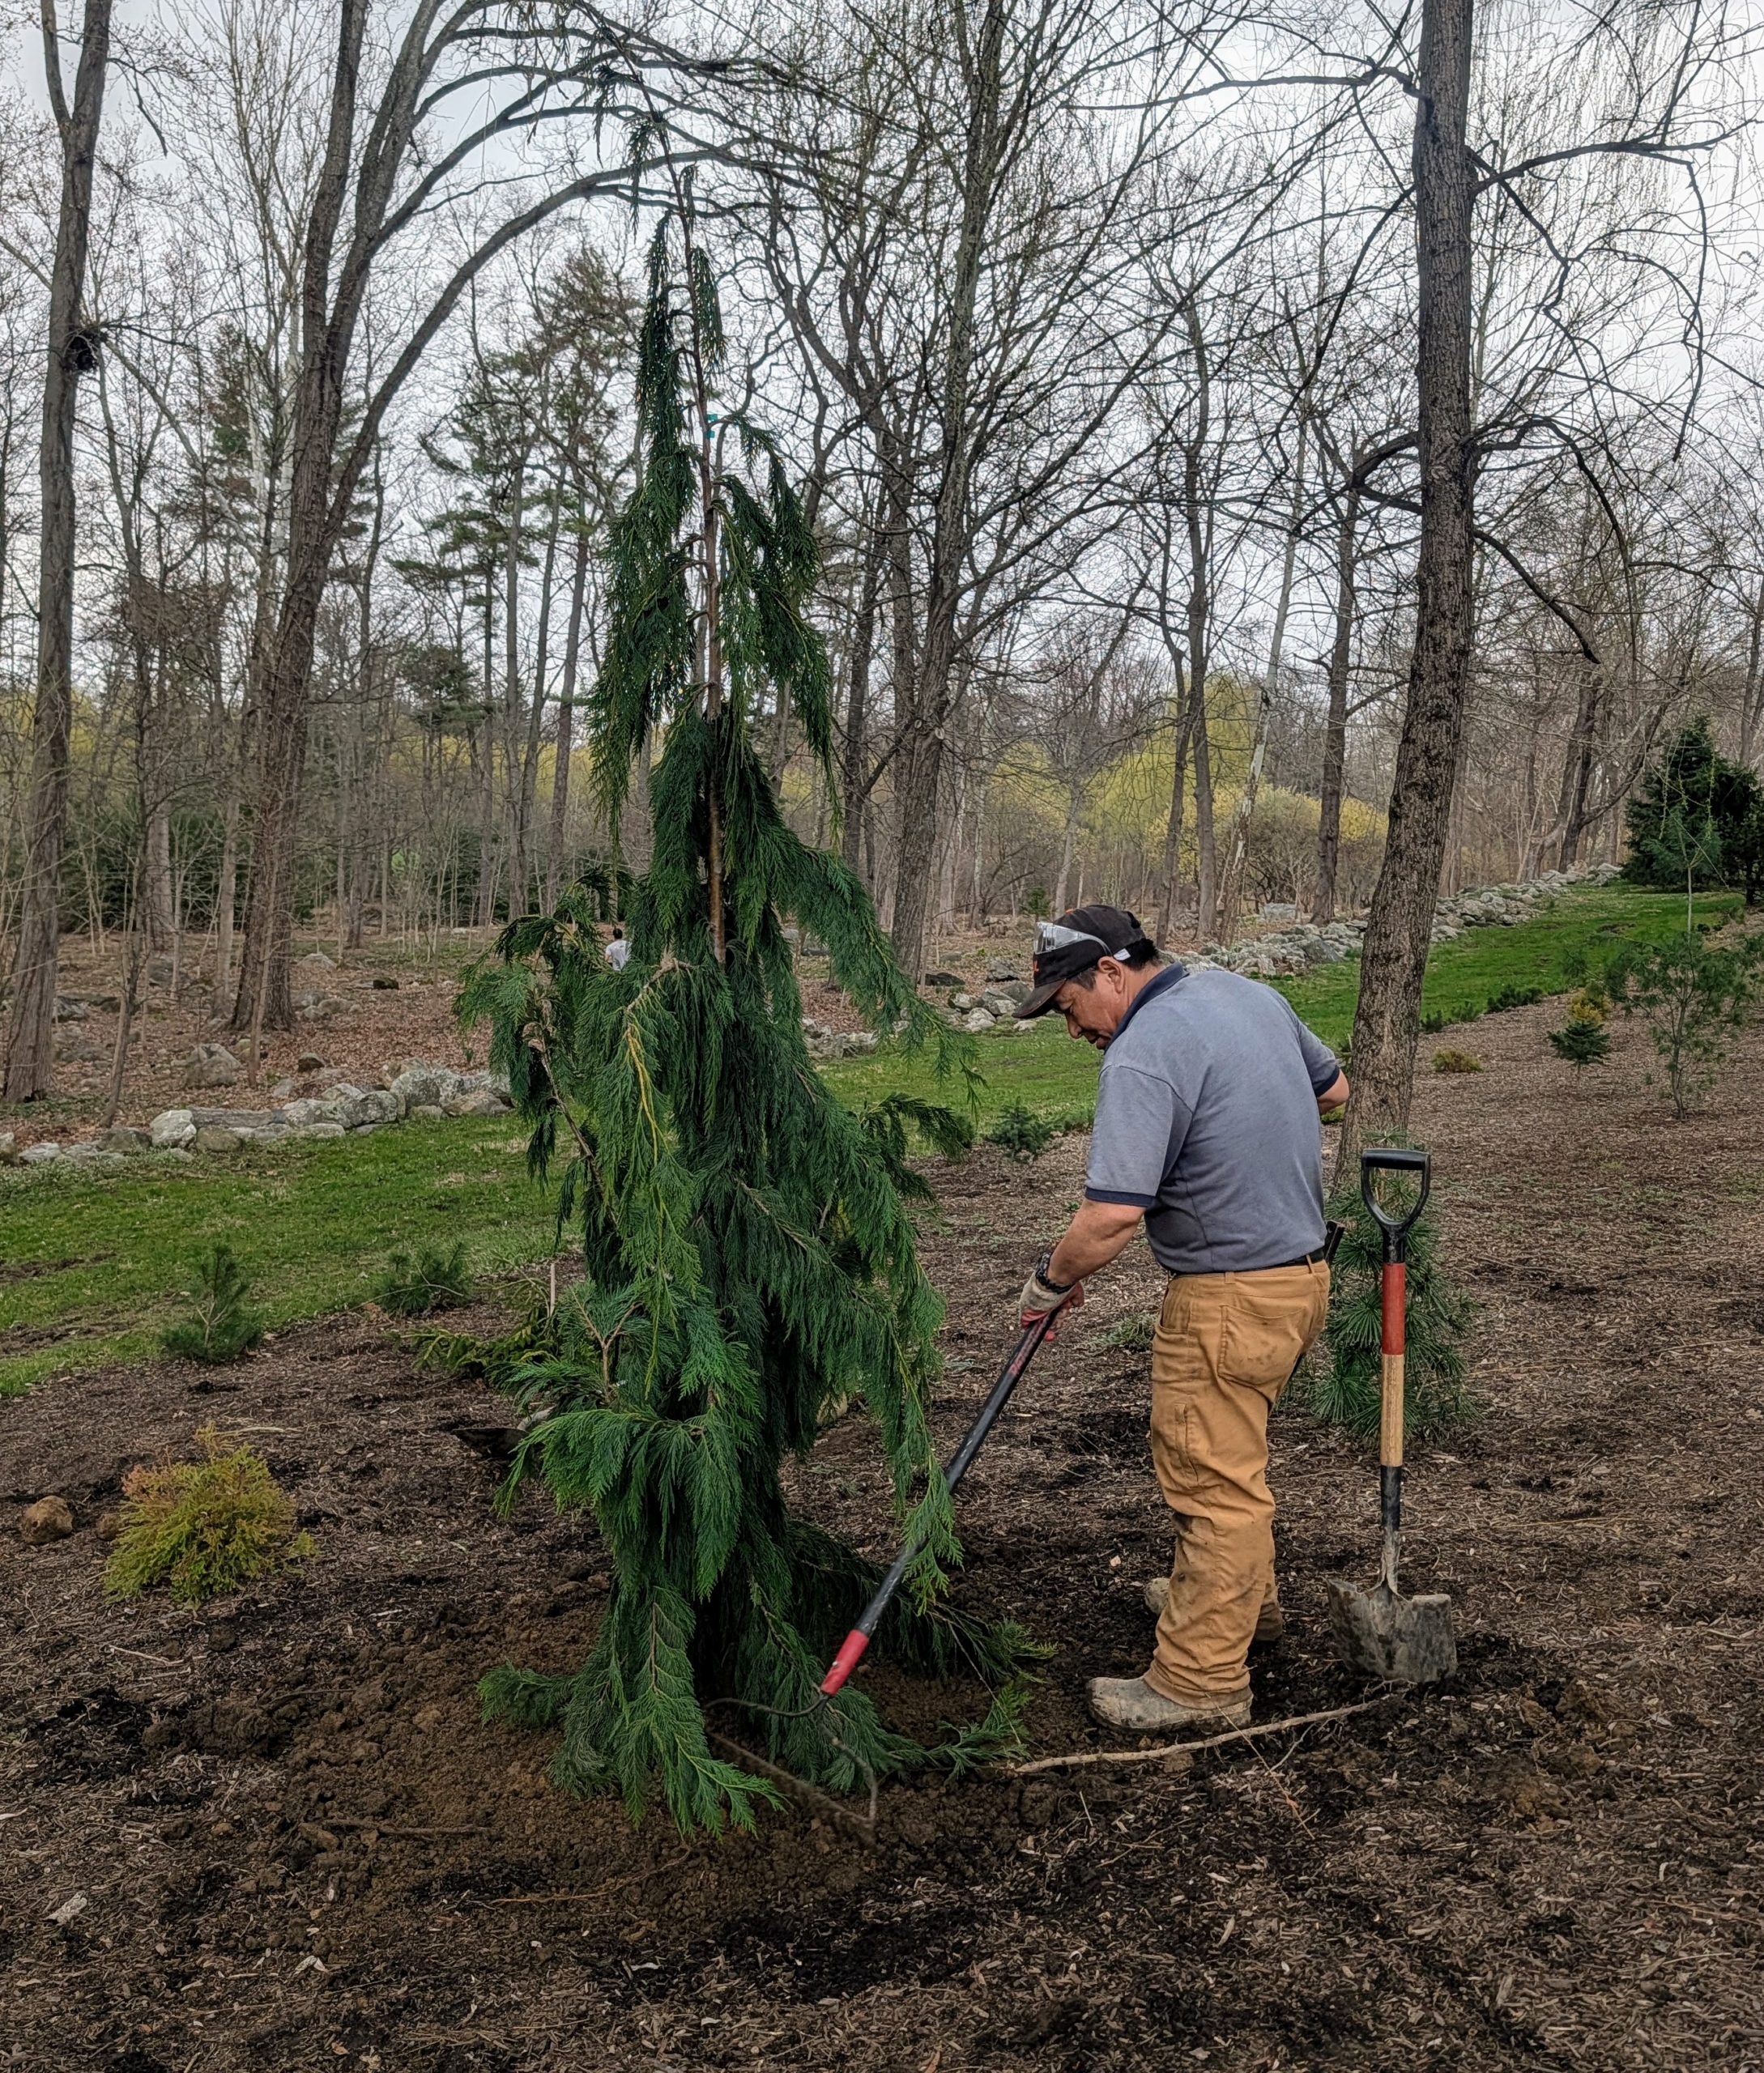
Phurba backfills the tree, tamps down to establish good contact between the root ball and the soil, and then rakes the area, so it is neat and tidy.
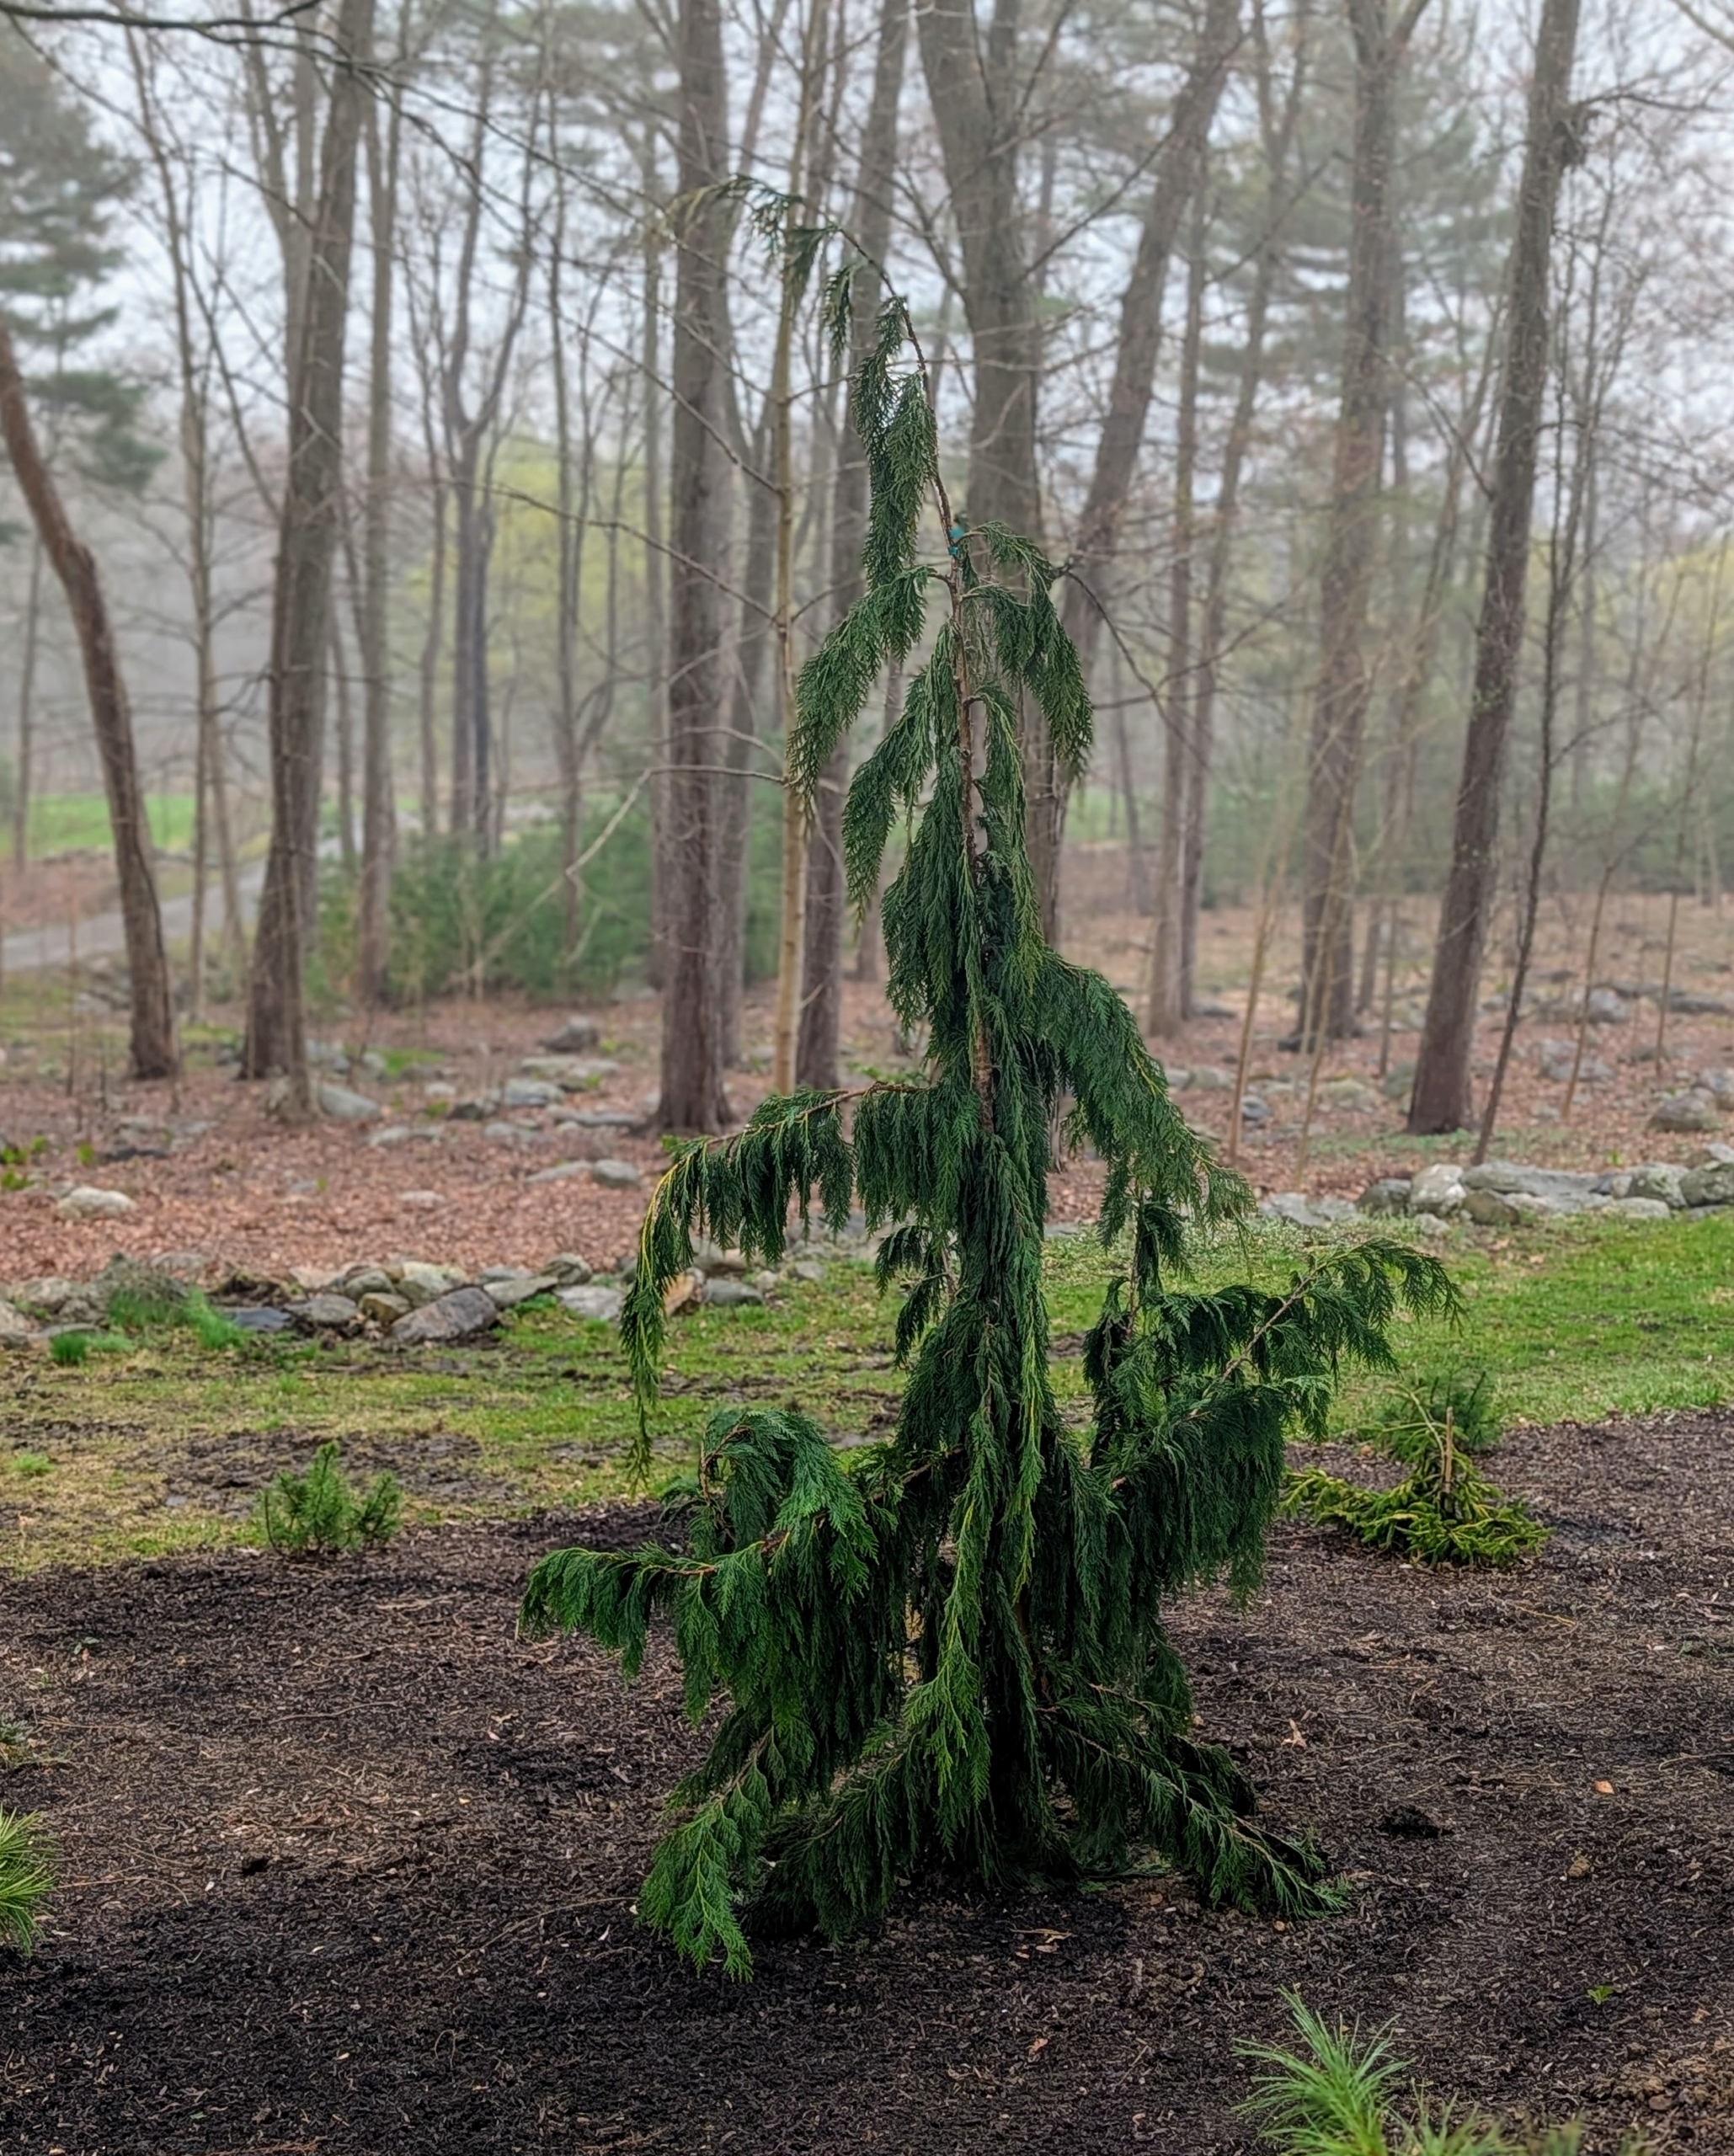
It will thrive in this area under the partial shade of my weeping willows.
I decided these two cypress trees would look great near each other with their lush green foliage.
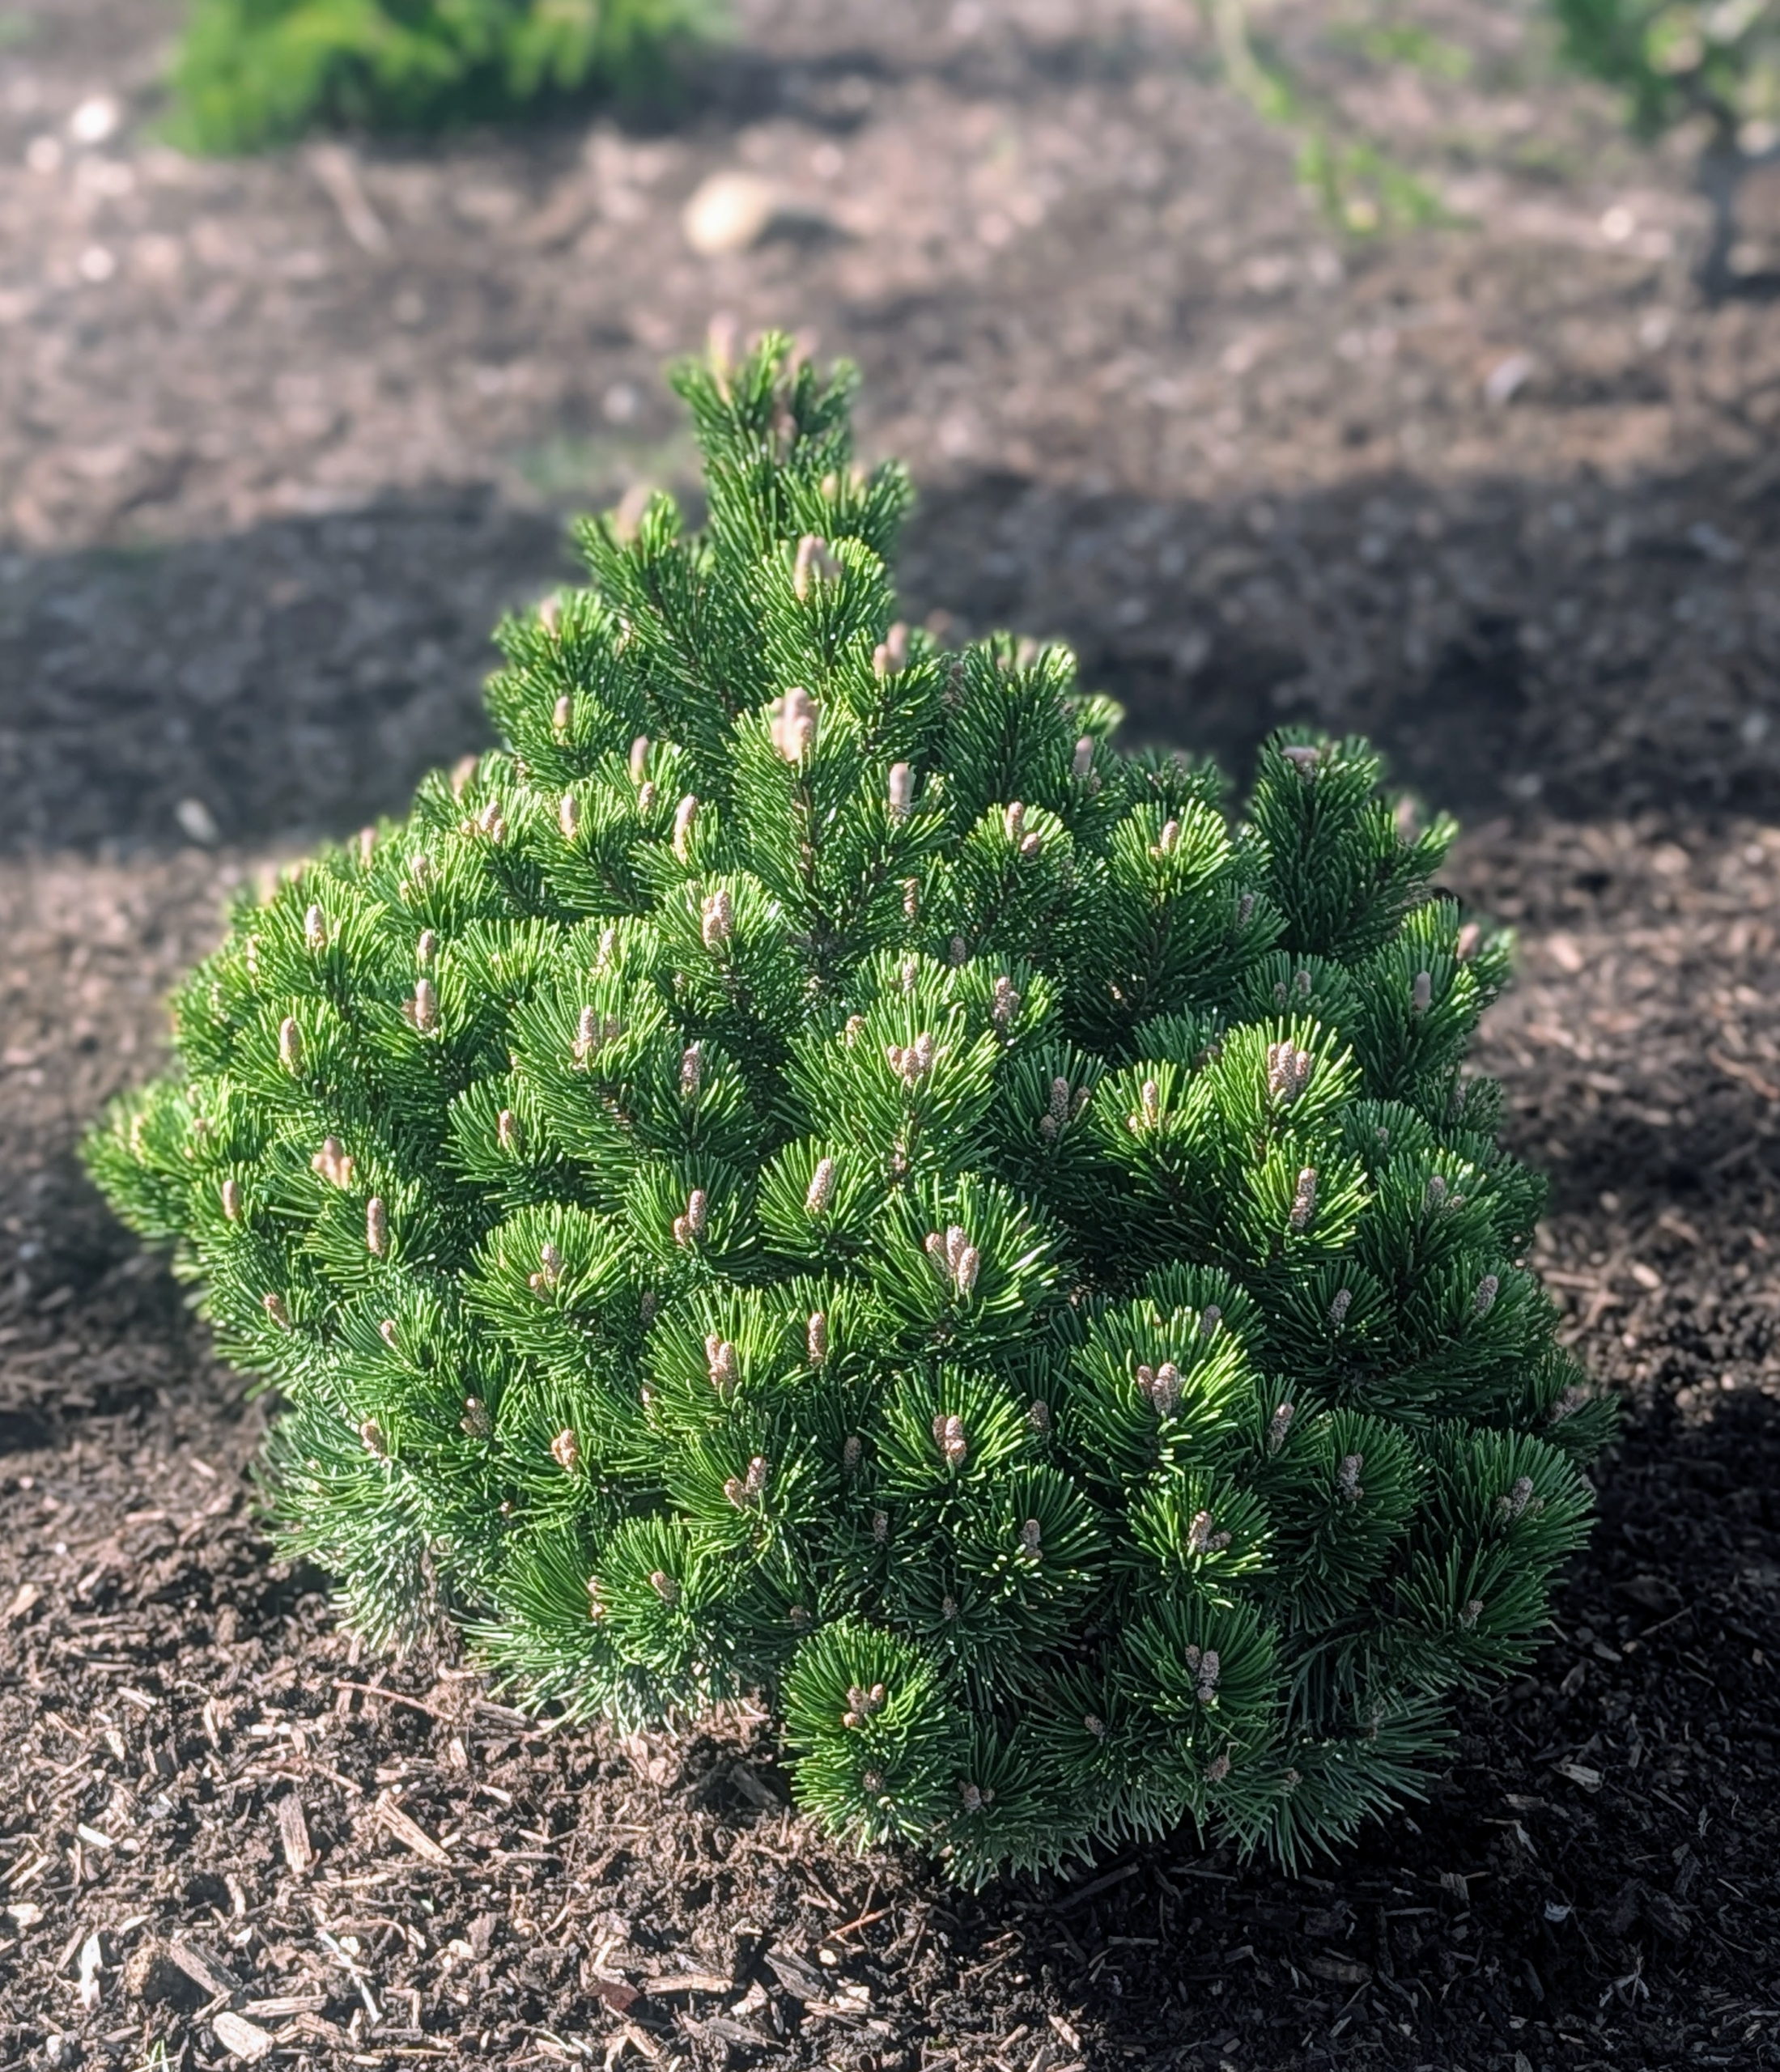
This shrub is Pinus mugo “Sherwood Compacta.” Mugo pines are conifers with dark green needles on dense branches. They’re slow growing and need no pruning to maintain its unique growth habit.
These evergreen trees and shrubs are young and small now, but they will thrive here and fill out this pinetum garden so nicely.
All of us here at my farm are thinking about the spring gardens. In fact, the season’s first peas are already in the ground.
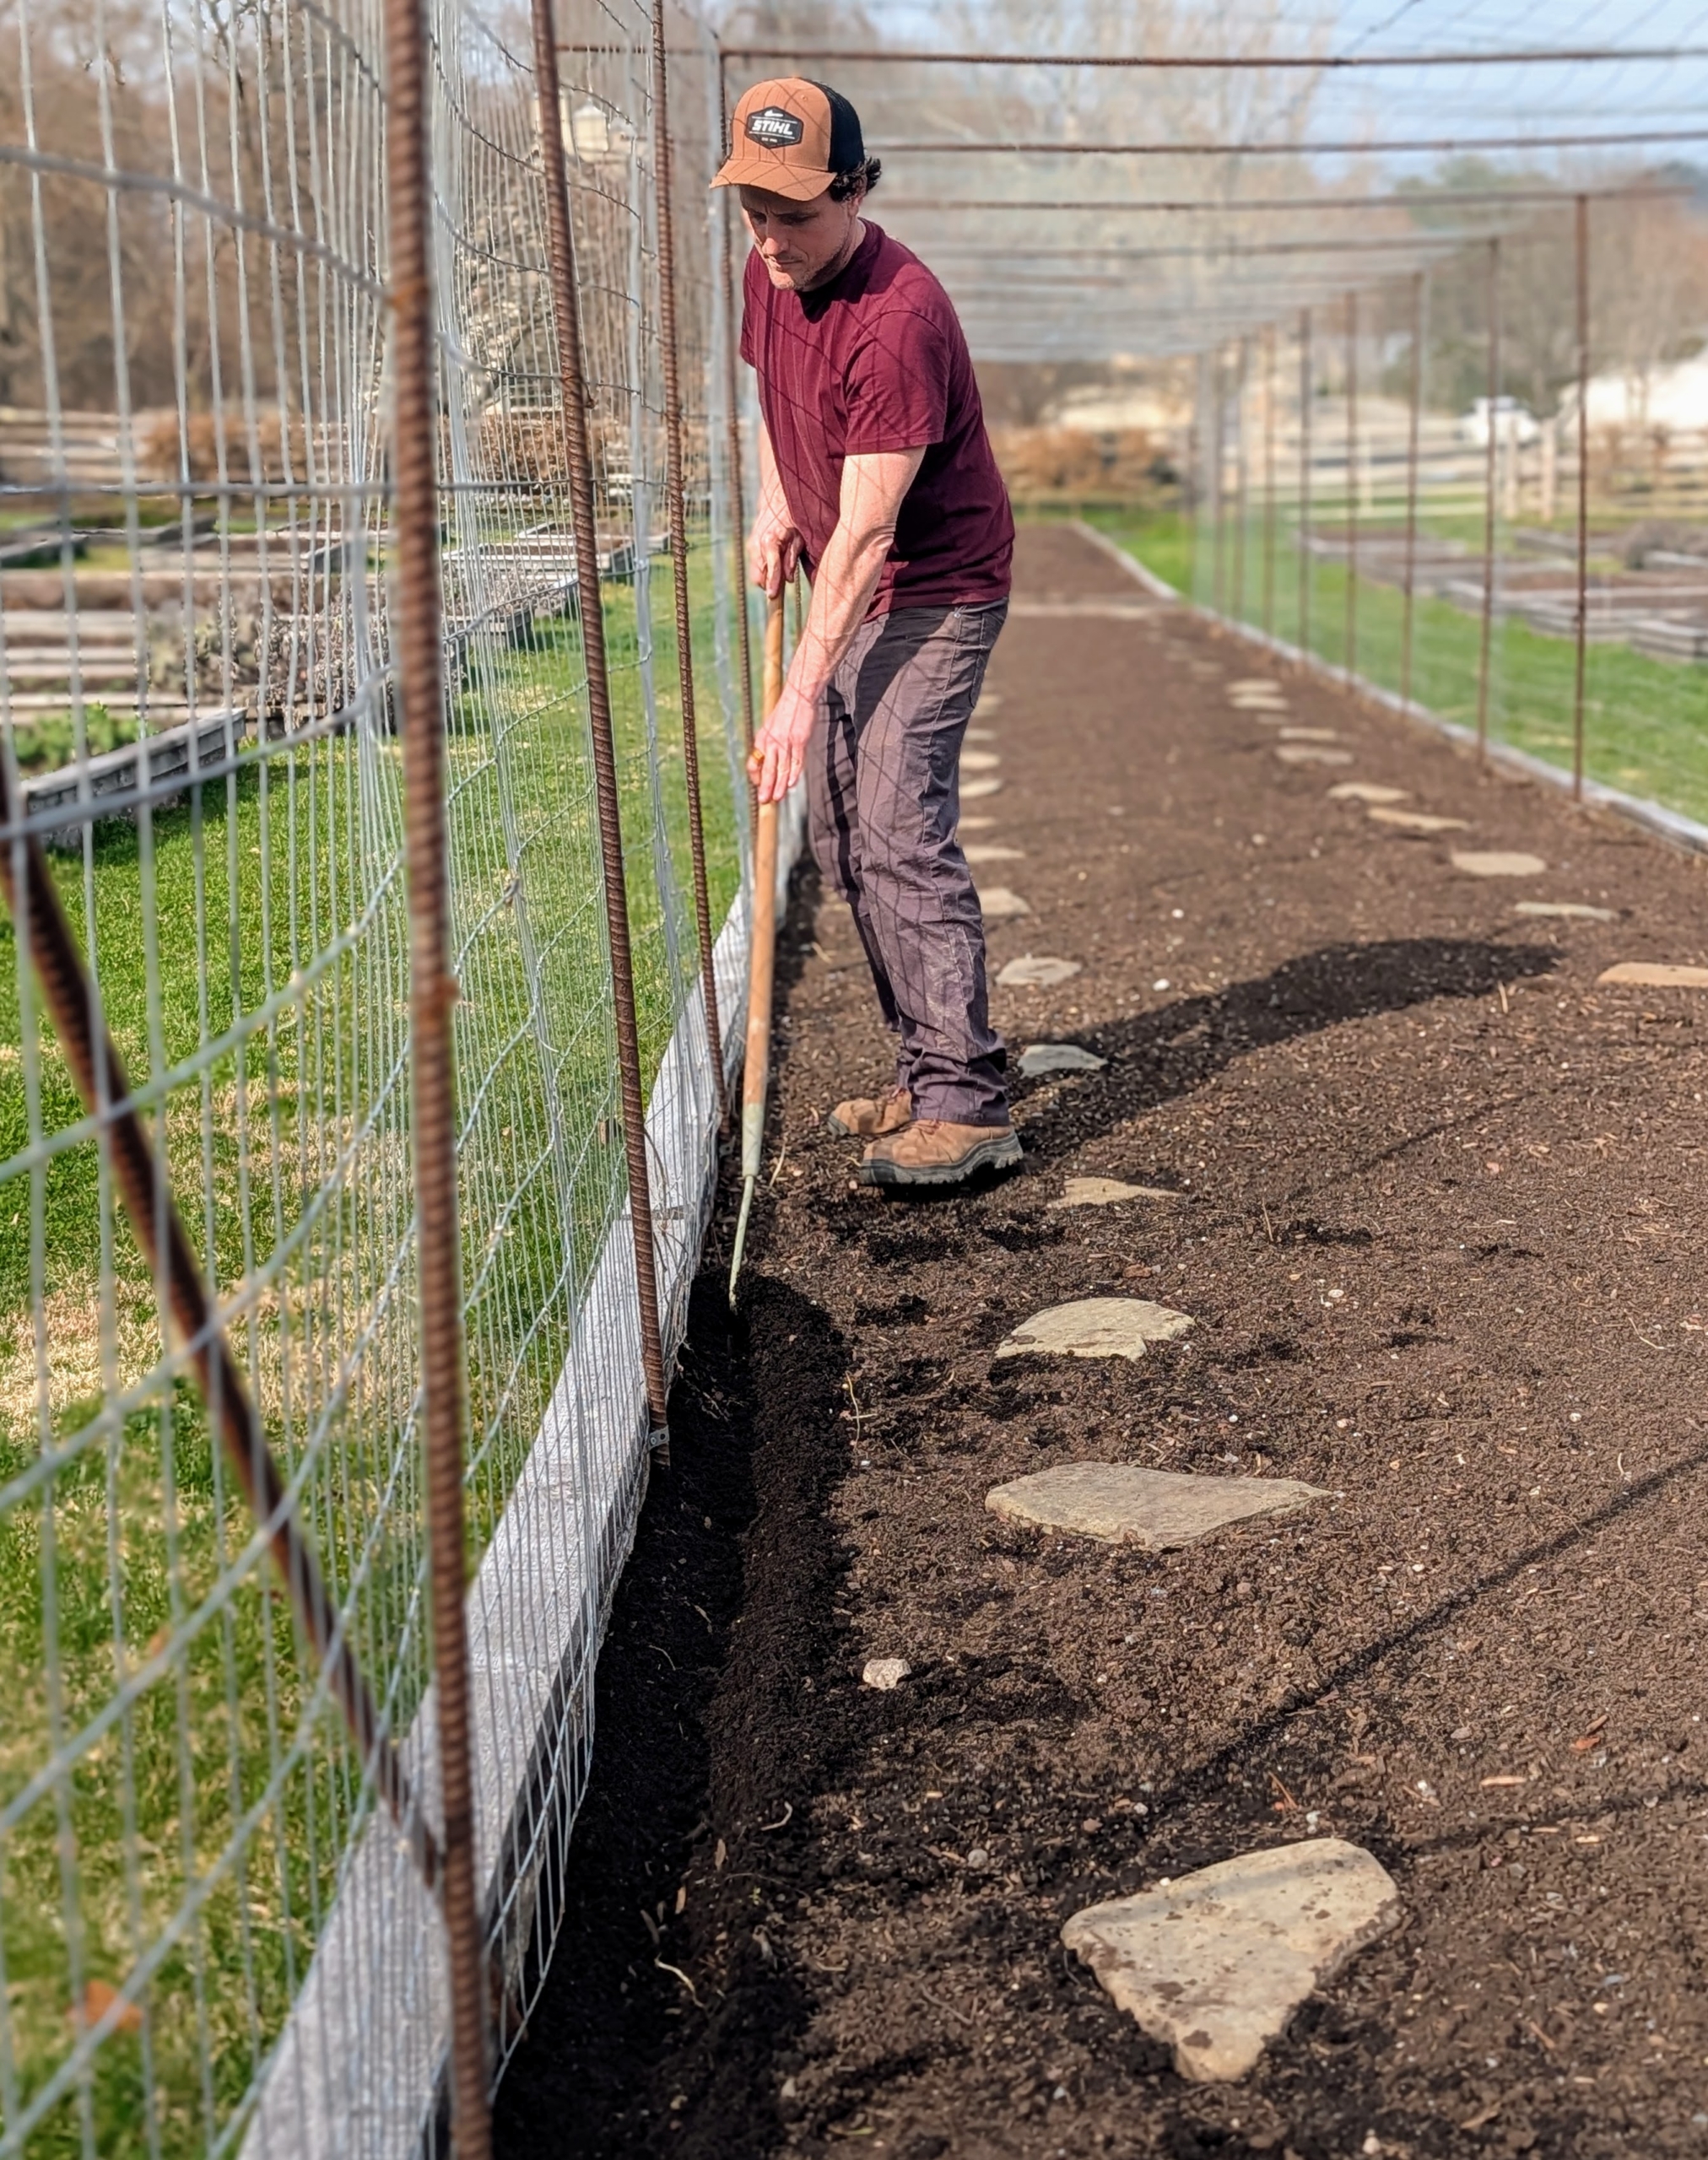
Peas thrive in cool weather, and young plants can even tolerate light frosts. It’s important to plant peas as soon as possible in spring in order to get a full harvest before hot summer temperatures arrive. Yesterday, my head gardener, Ryan McCallister, planted several varieties of shelling peas and edible pods along two sides of a fenced bed in the vegetable garden.
Here are some photos, enjoy.
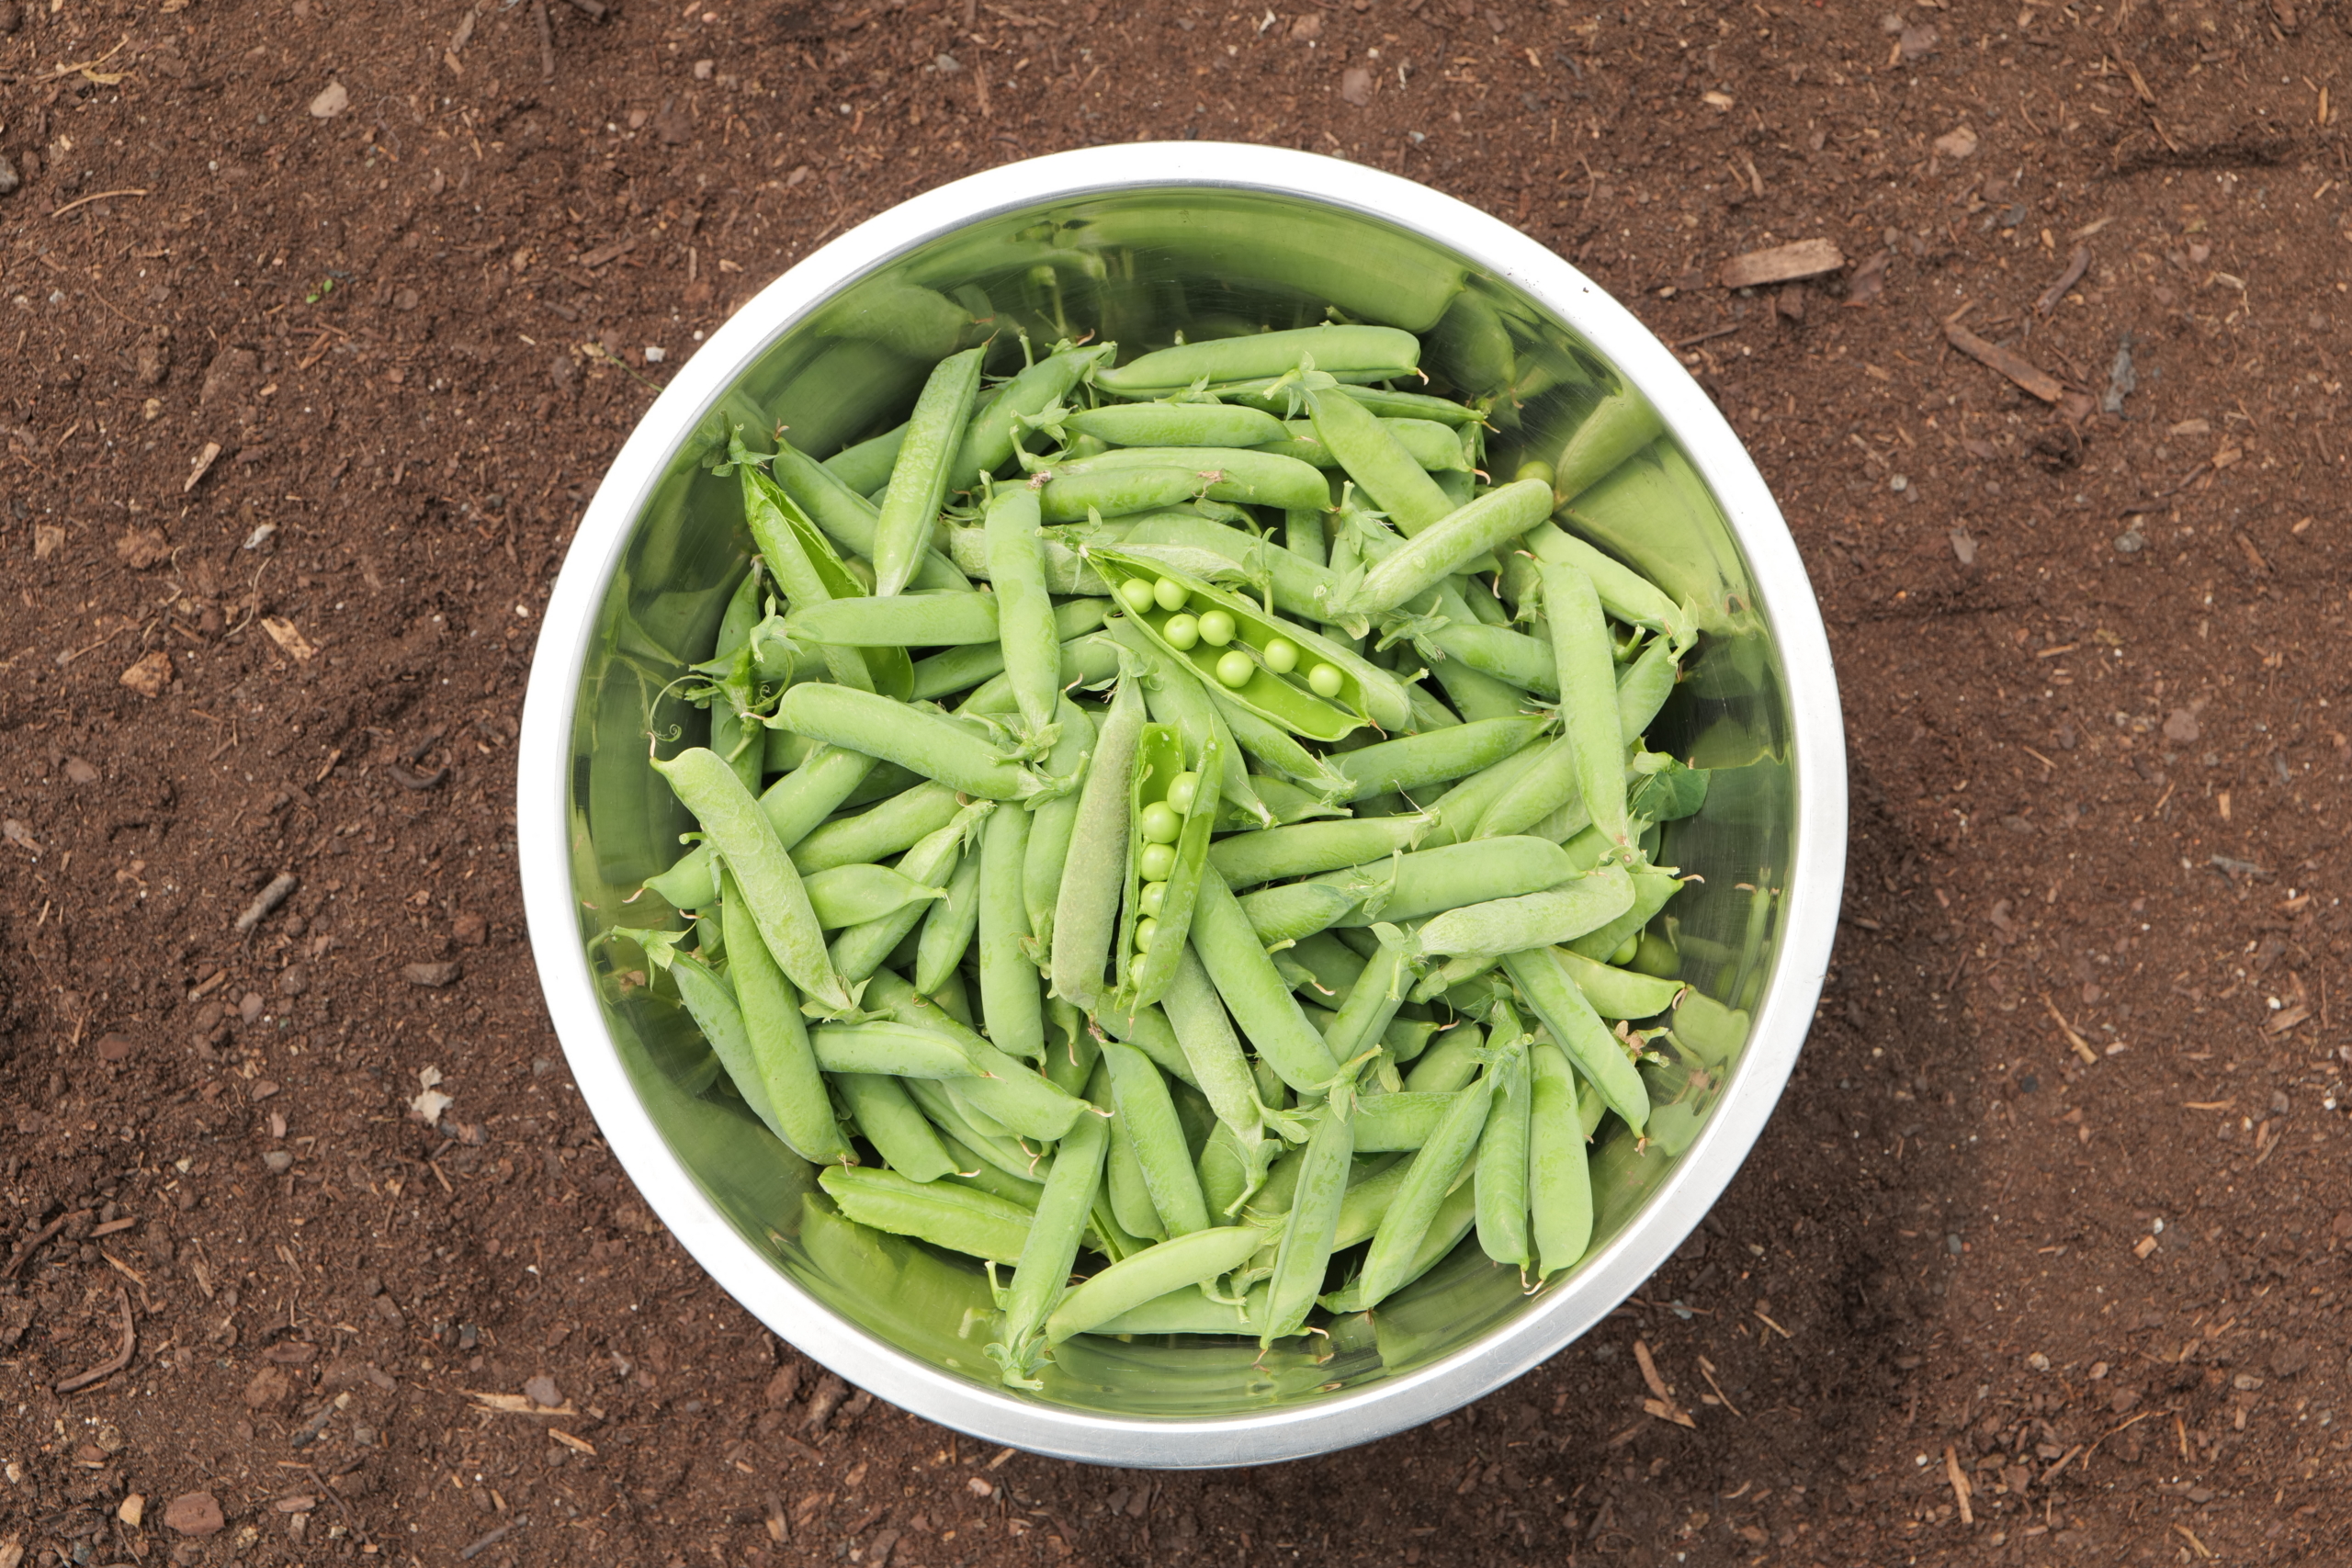
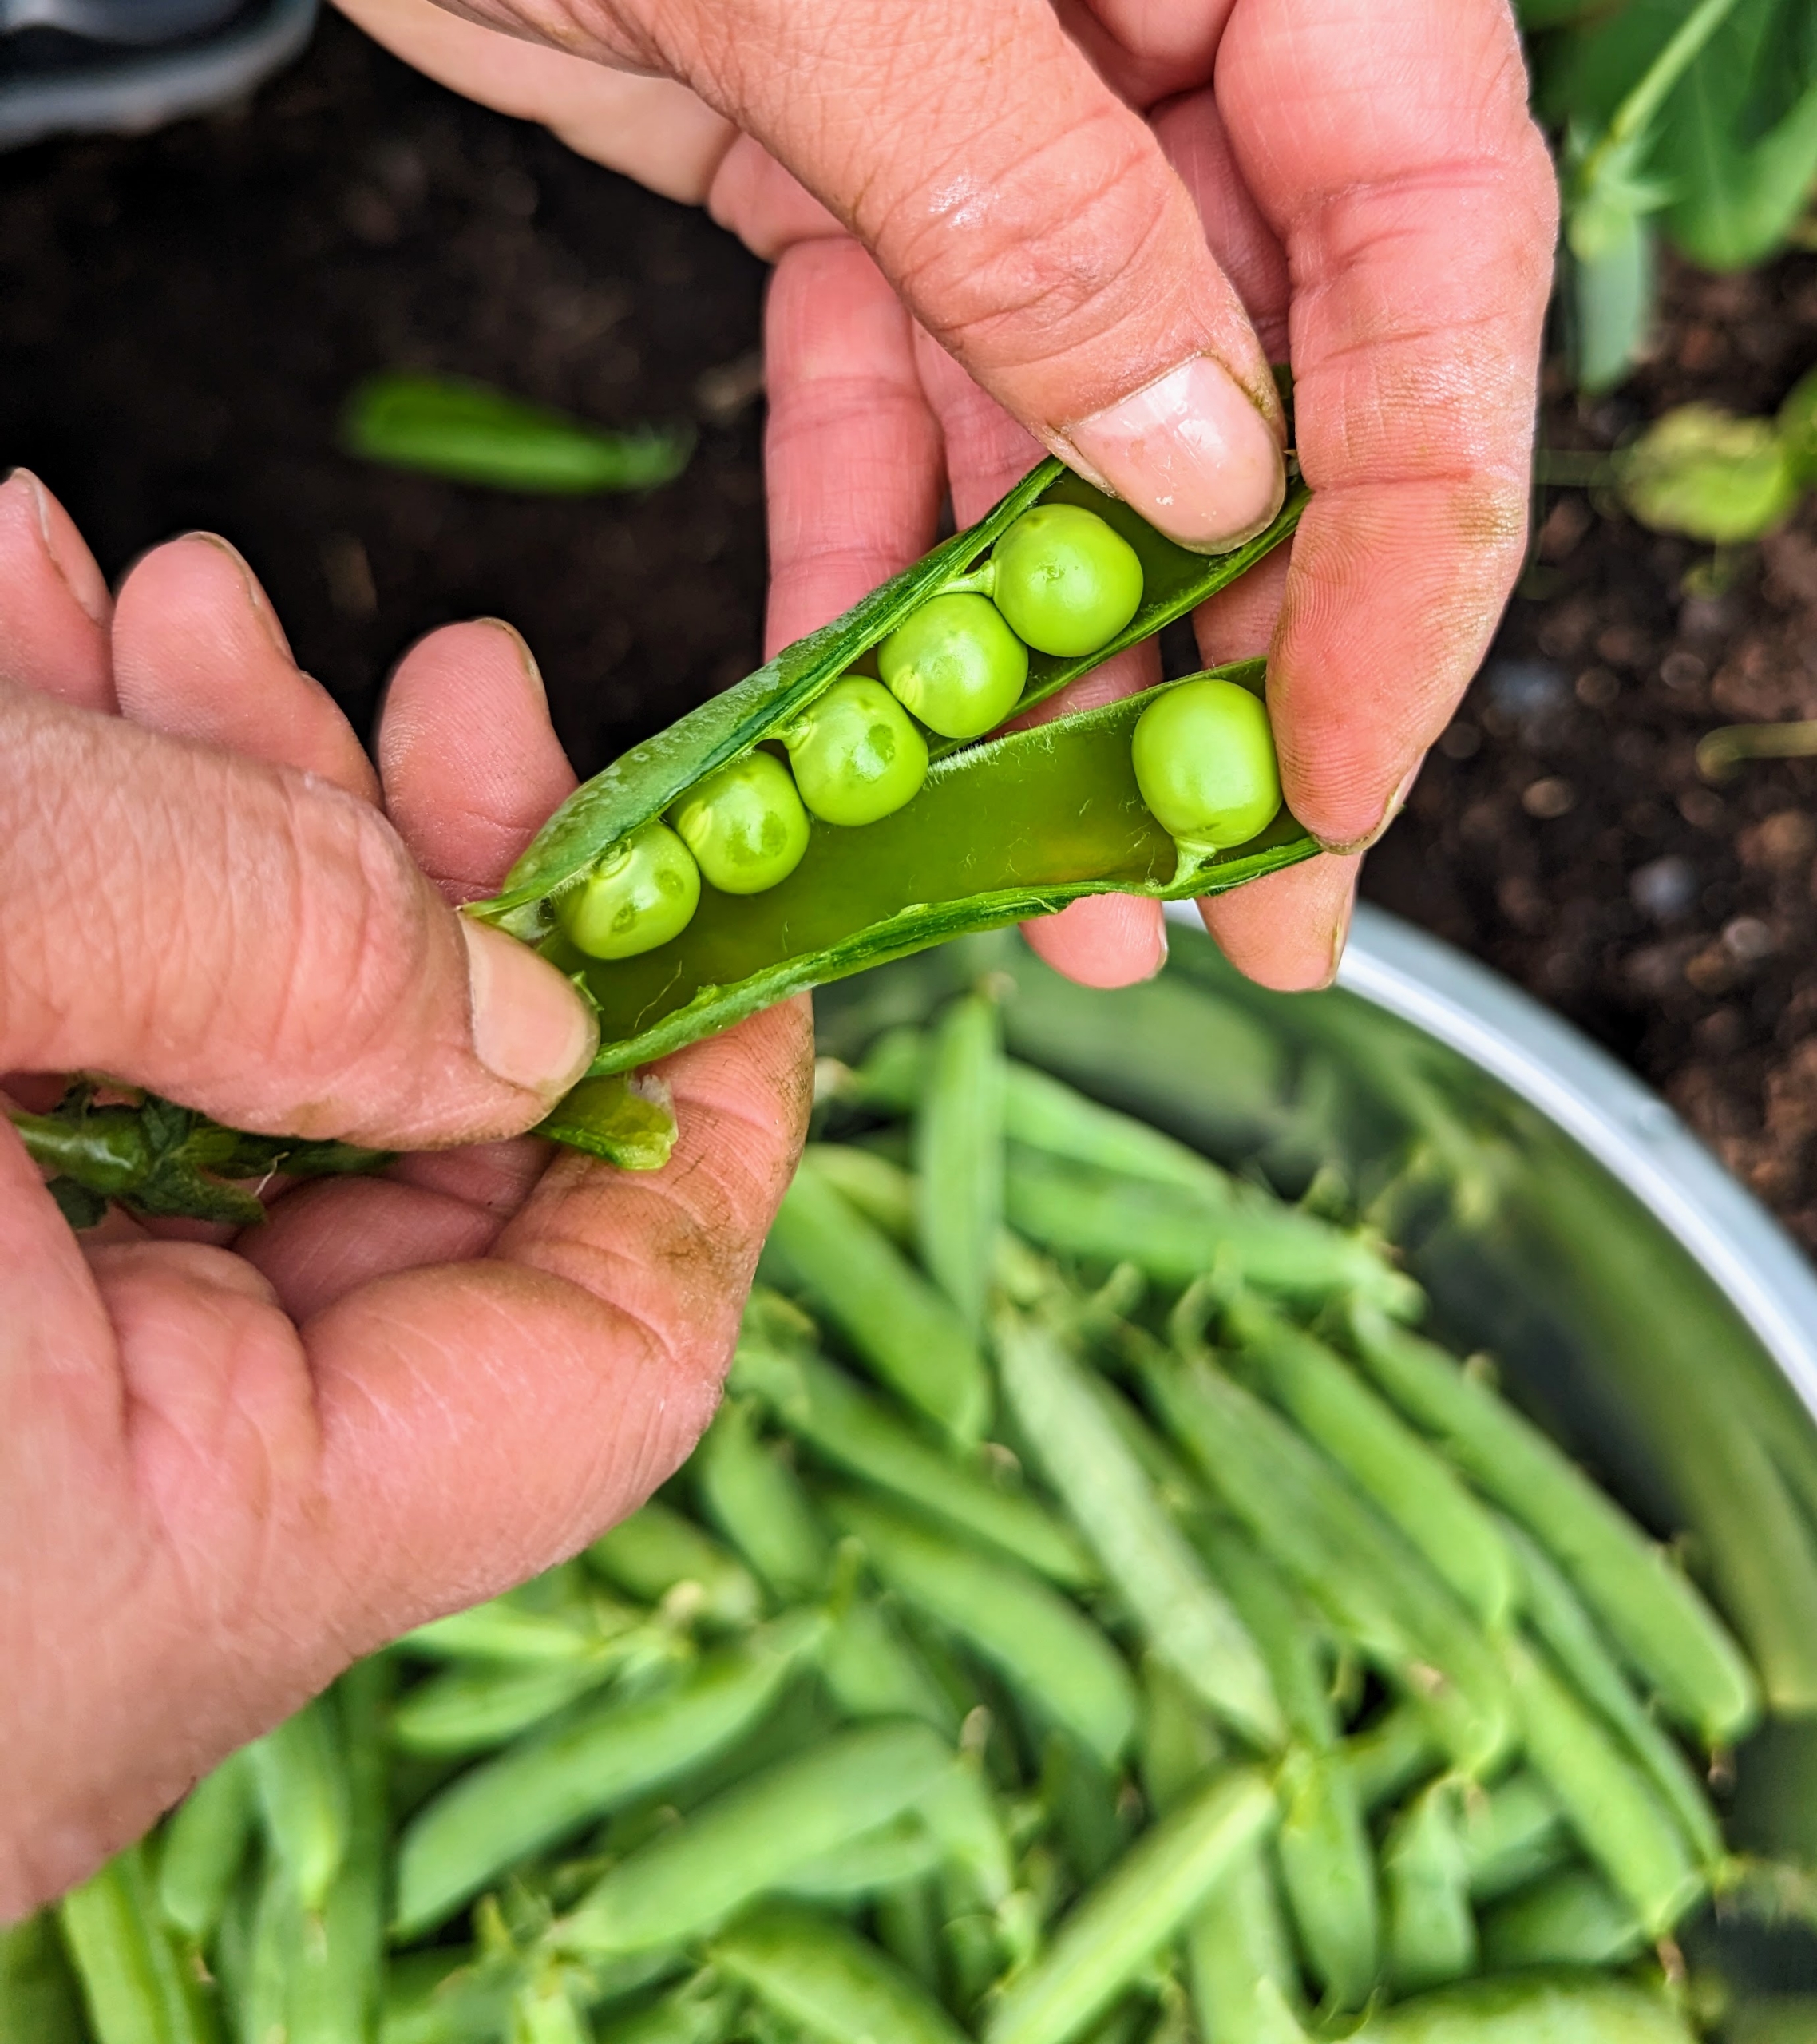
Snow, snap, and shelling peas are all members of the legume family. Snow peas are also known as Chinese pea pods. They are flat with very small peas inside, and the whole pod is edible. Snap peas are a cross between snow peas and shelling peas – the whole pod is eaten and has a crunchy texture and very sweet flavor. Shelling peas are also sometimes called garden peas, sweet peas or English peas. The pods are firm and rounded, and the round peas inside need to be removed, or shelled, before eating. The peas are sweet and may be eaten raw or cooked.
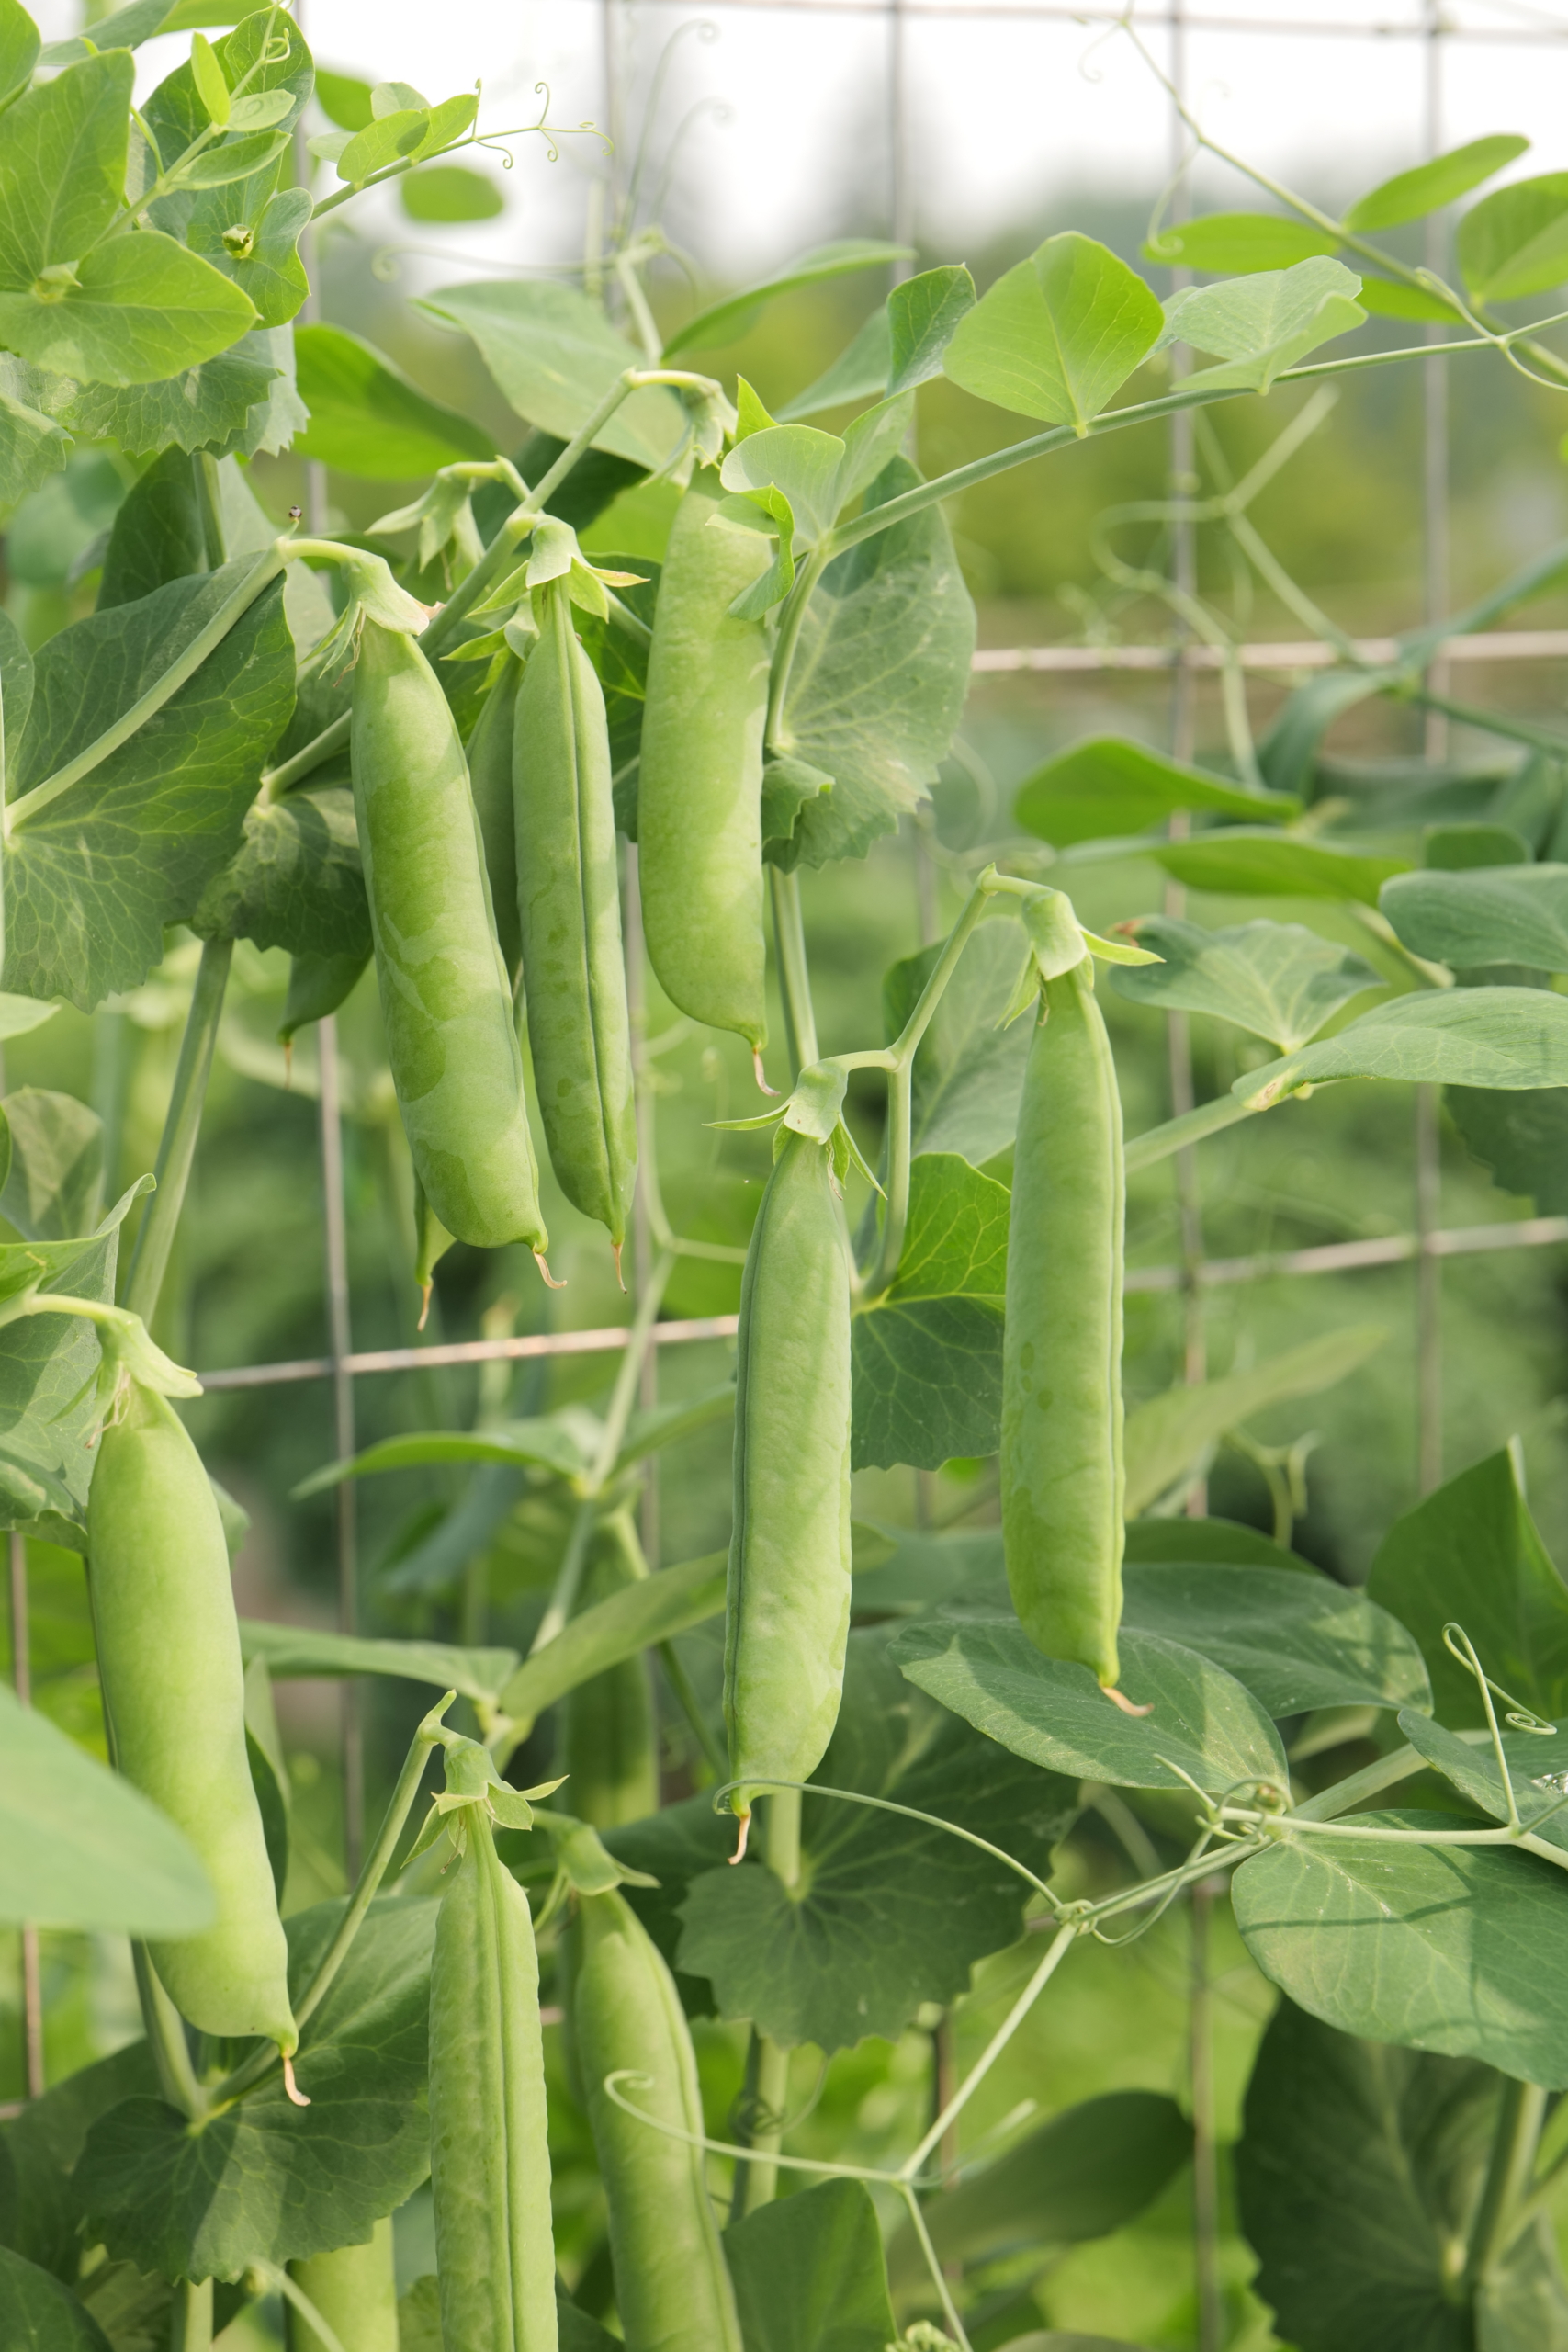
Peas grow vertically and hang from tendrils latched on trellis structures. I have always grown peas in my garden.
These are shelling peas. The pods can range in size from four to 15-centimeters long and about one-and-a-half to two-and-a-half centimeters wide. Each pod contains between two and 10-peas.
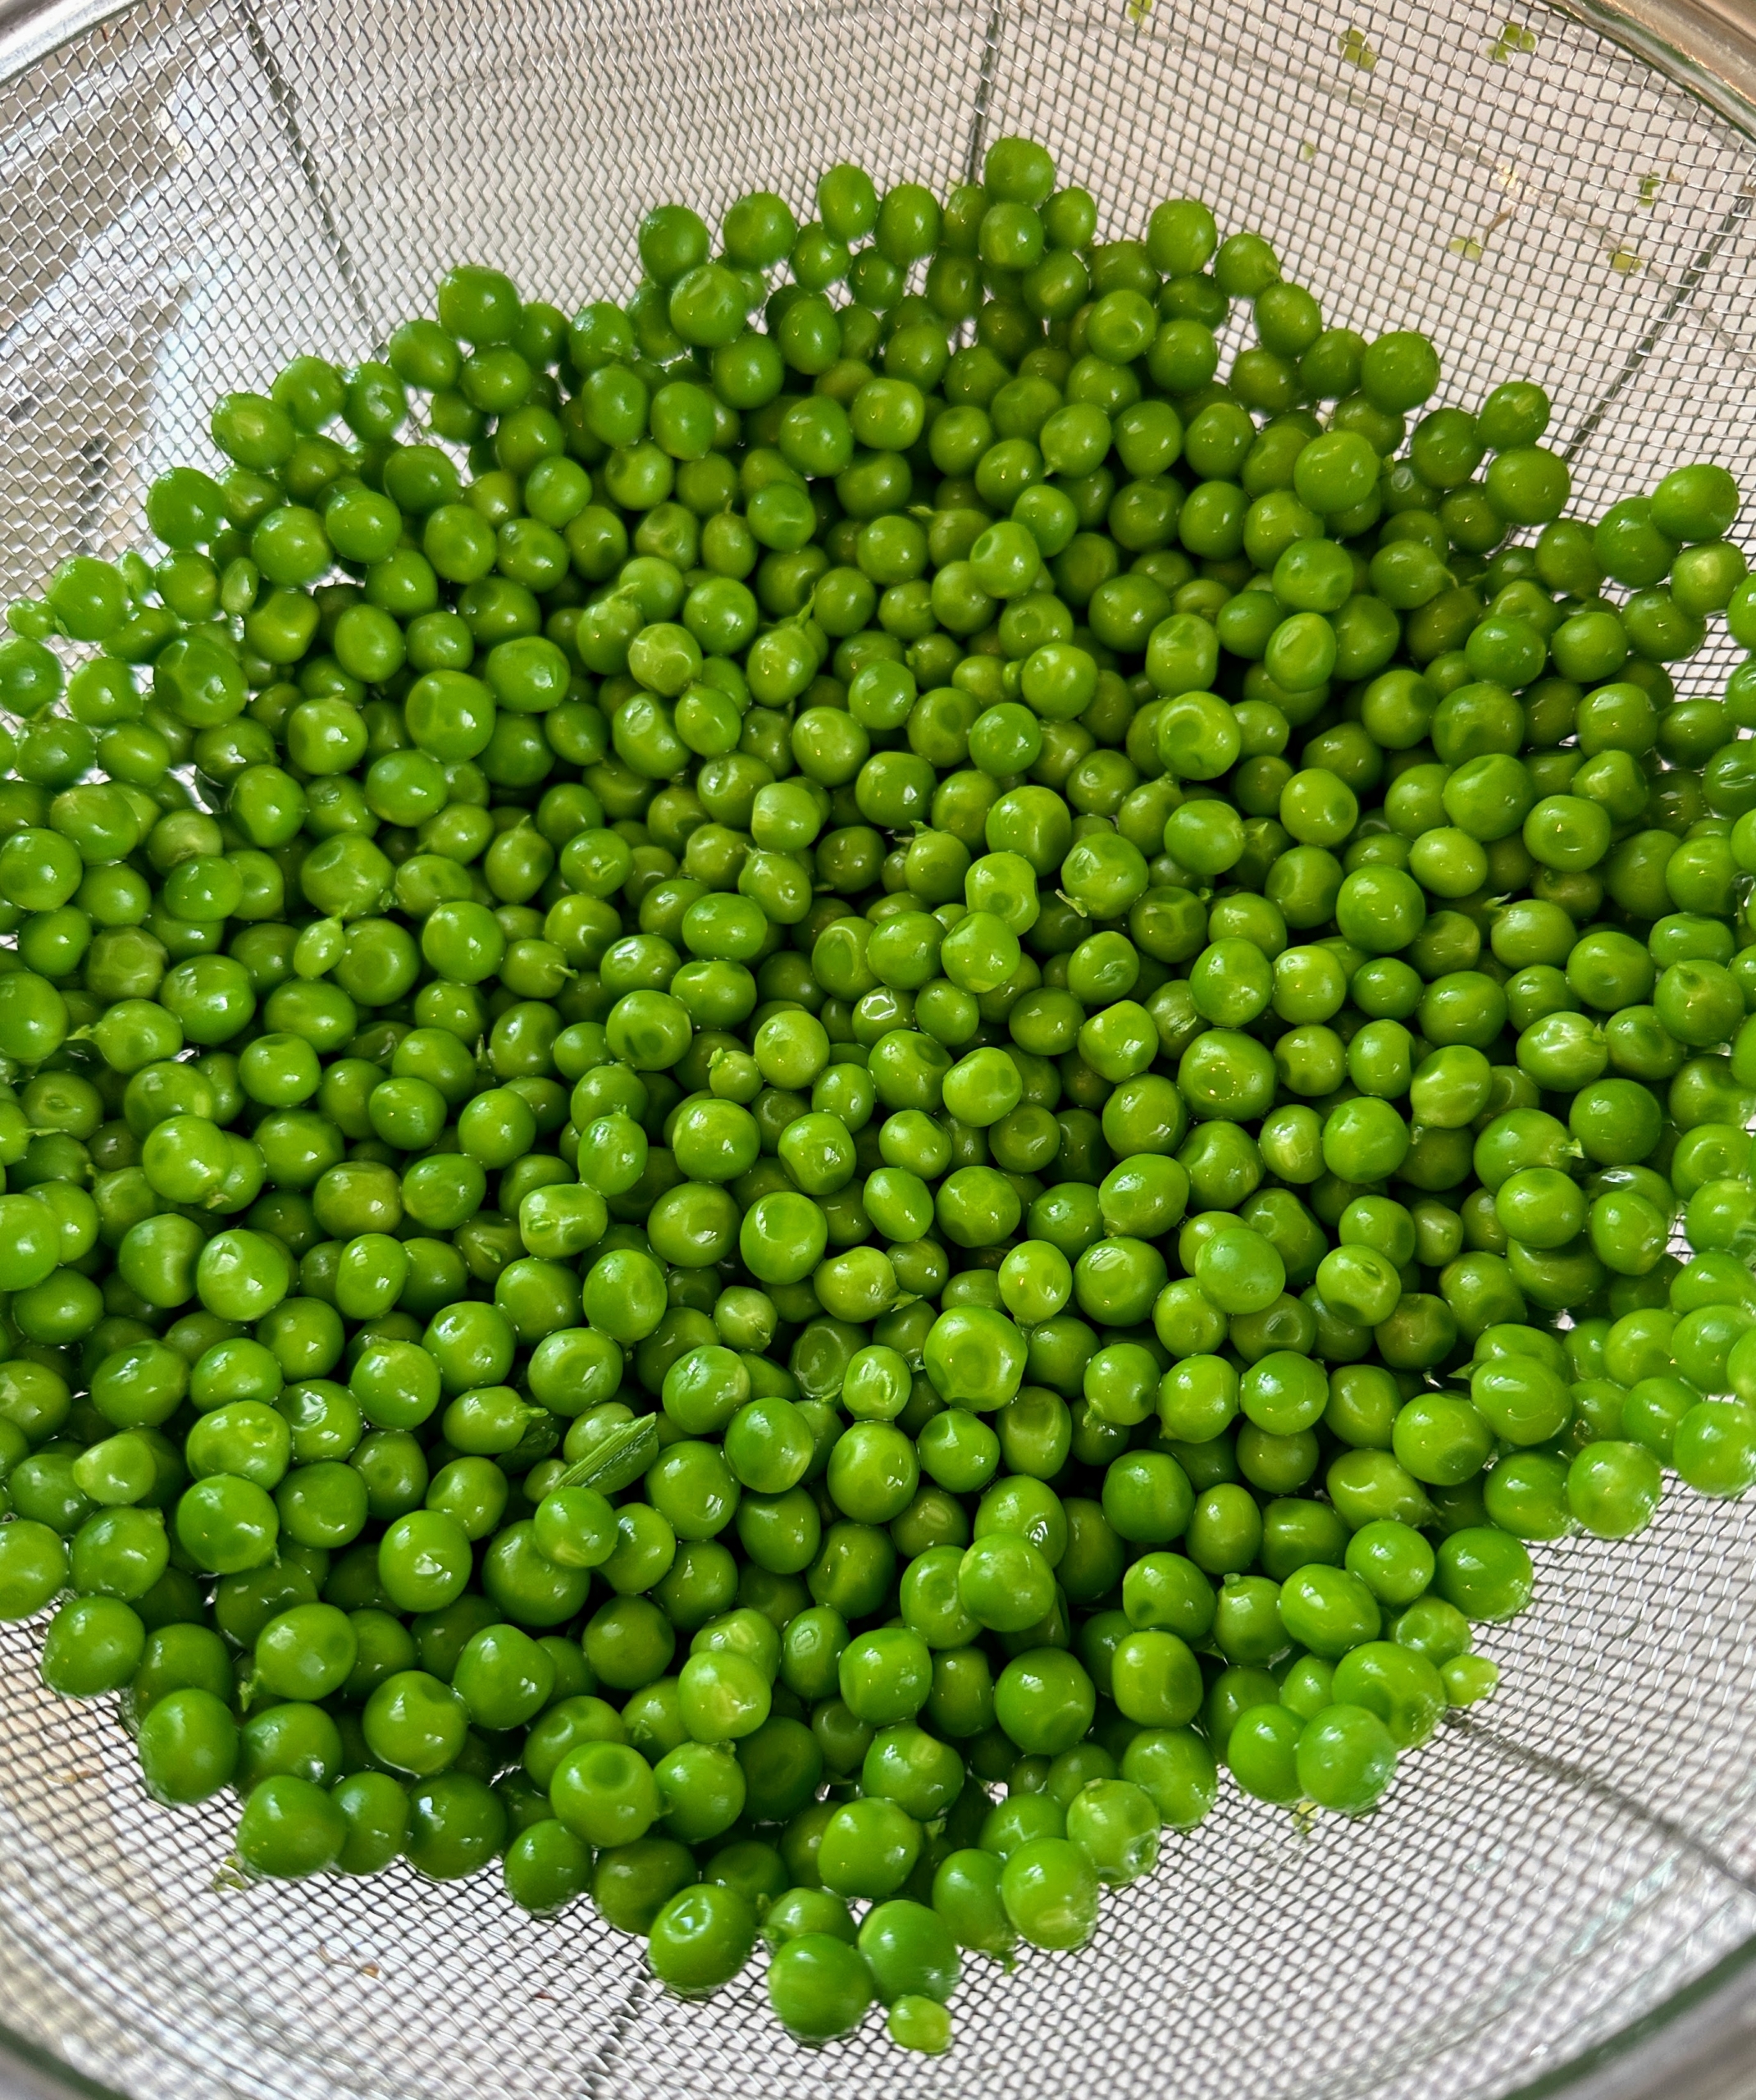
Peas are packed with nutrition – high in protein and fiber.
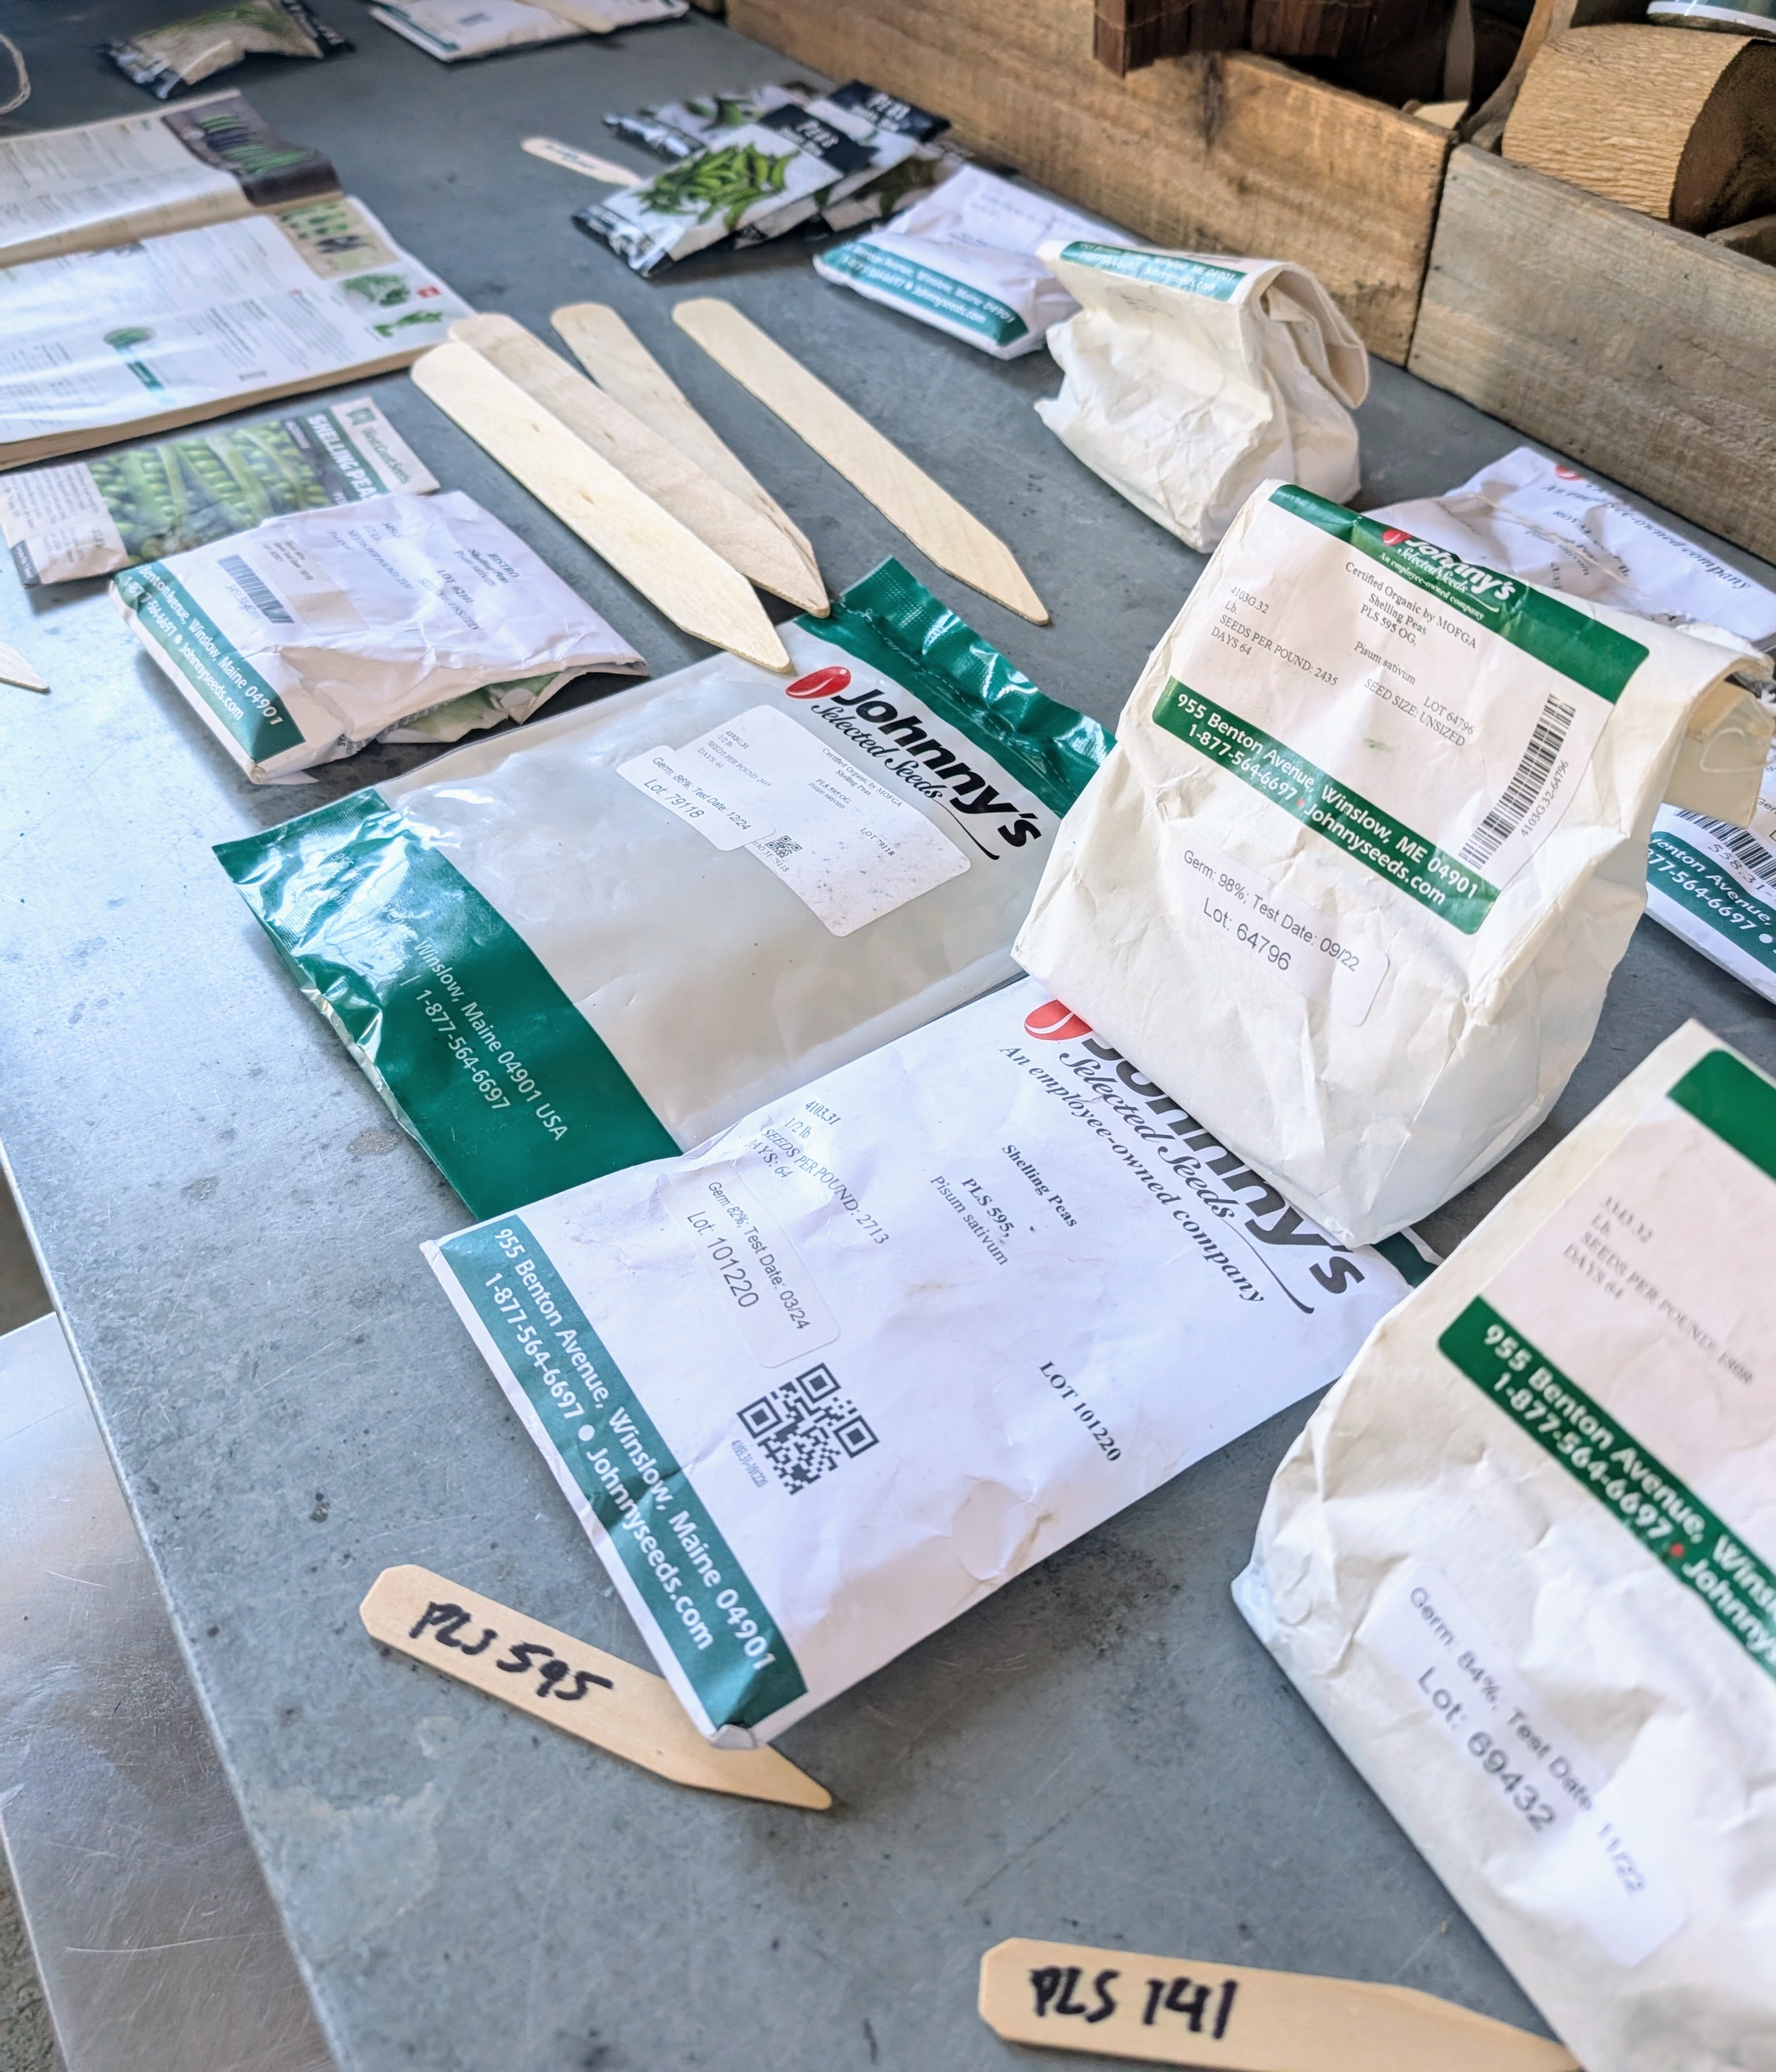
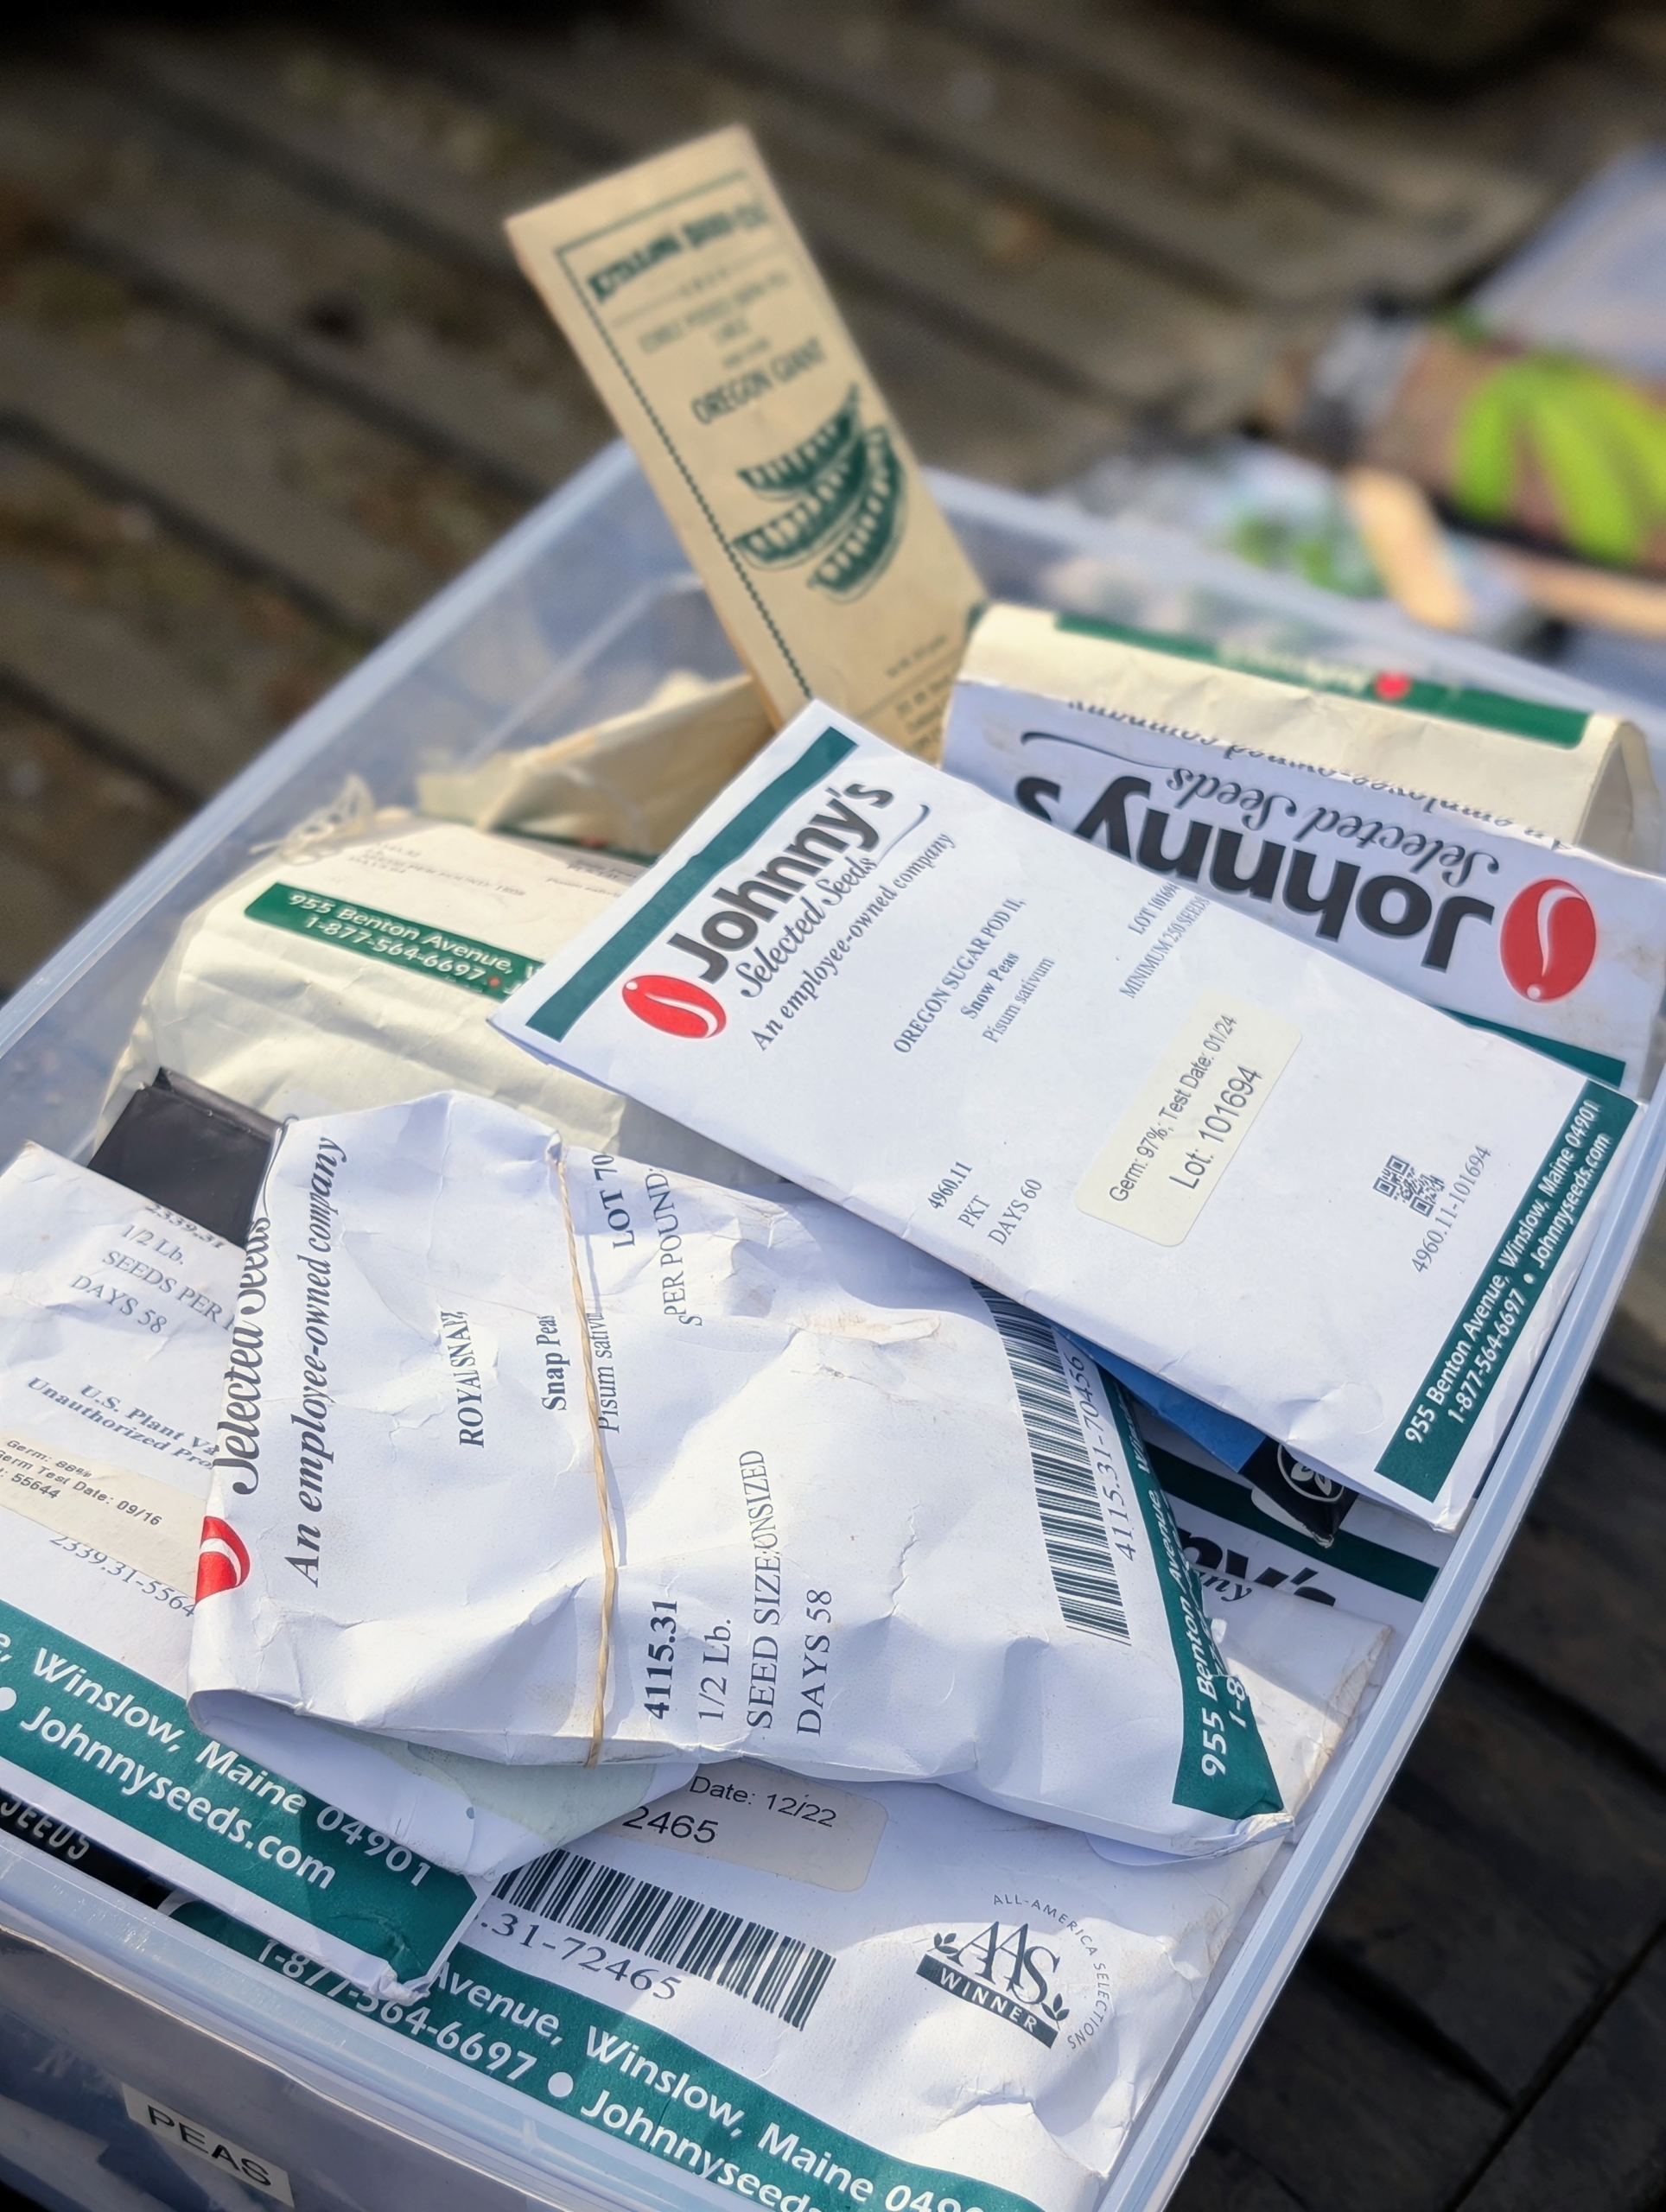
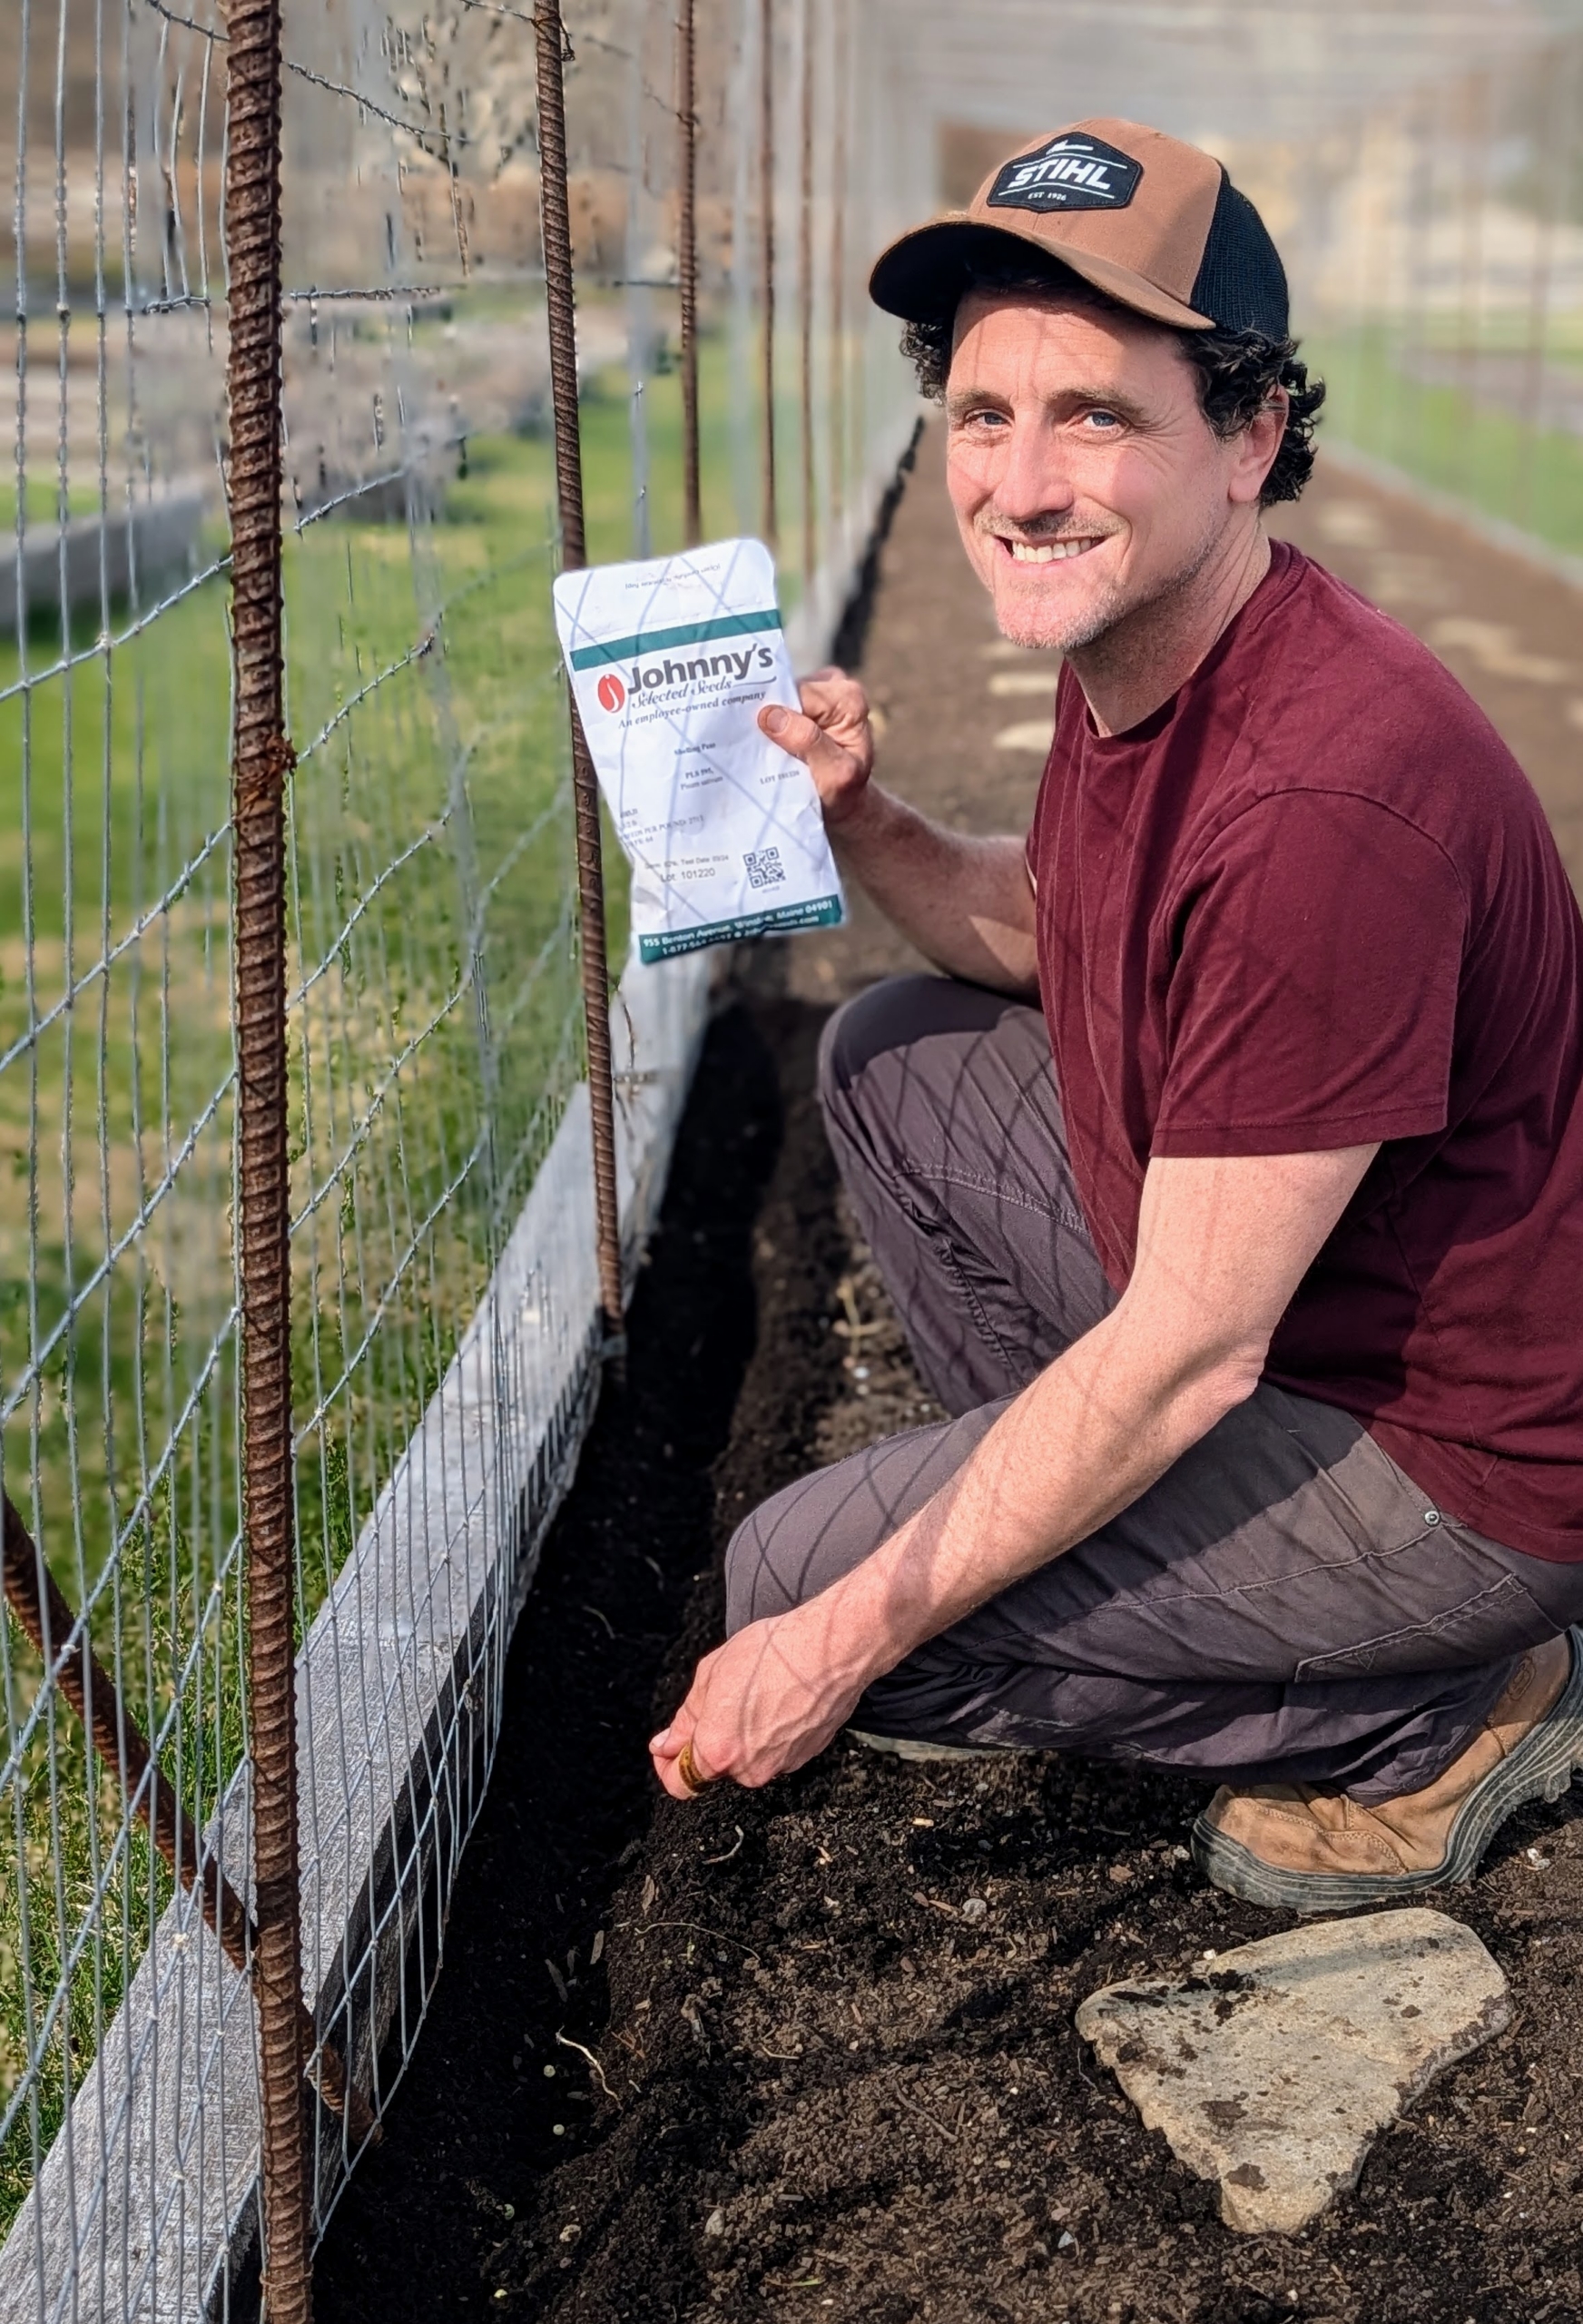
This season’s peas are from Johnny’s Selected Seeds, a source I have used for many years. Johnny’s Selected seeds is a privately held, employee-owned organic seed producer in Maine. Johnny’s offers hundreds of varieties of organic vegetable, herb, flower, fruit and farm seeds, along with all sorts of gardening supplies and accessories.
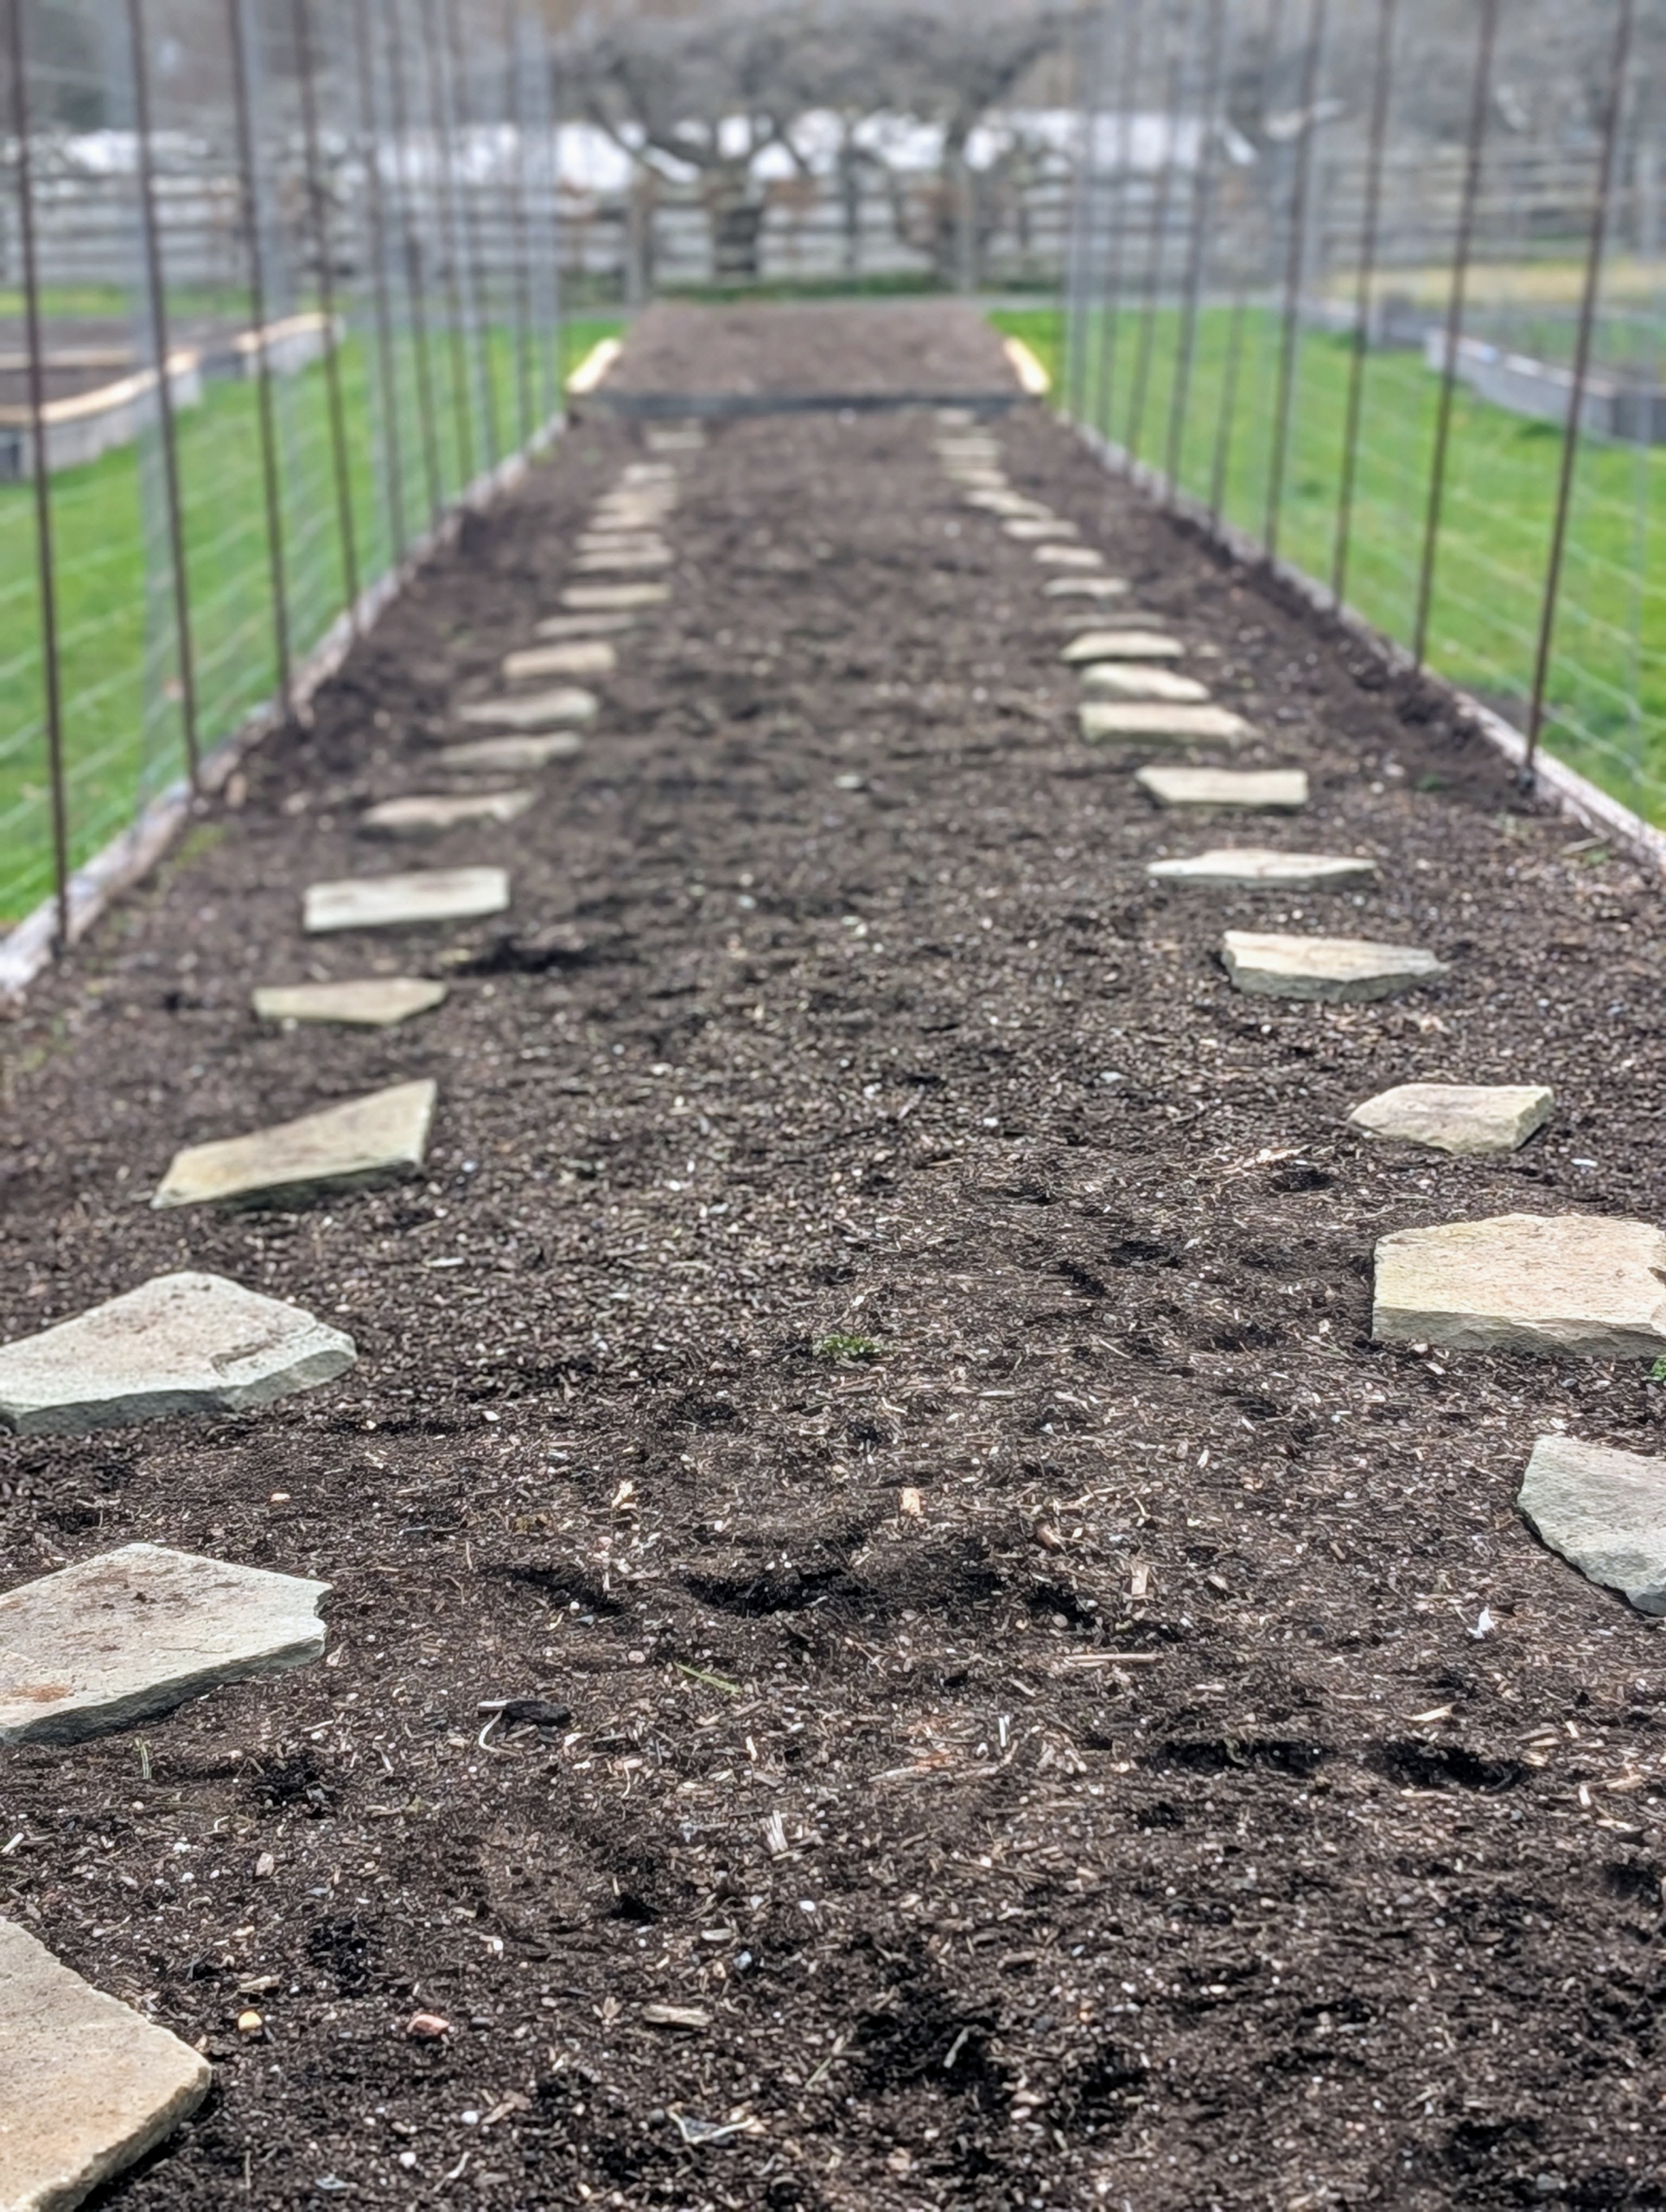
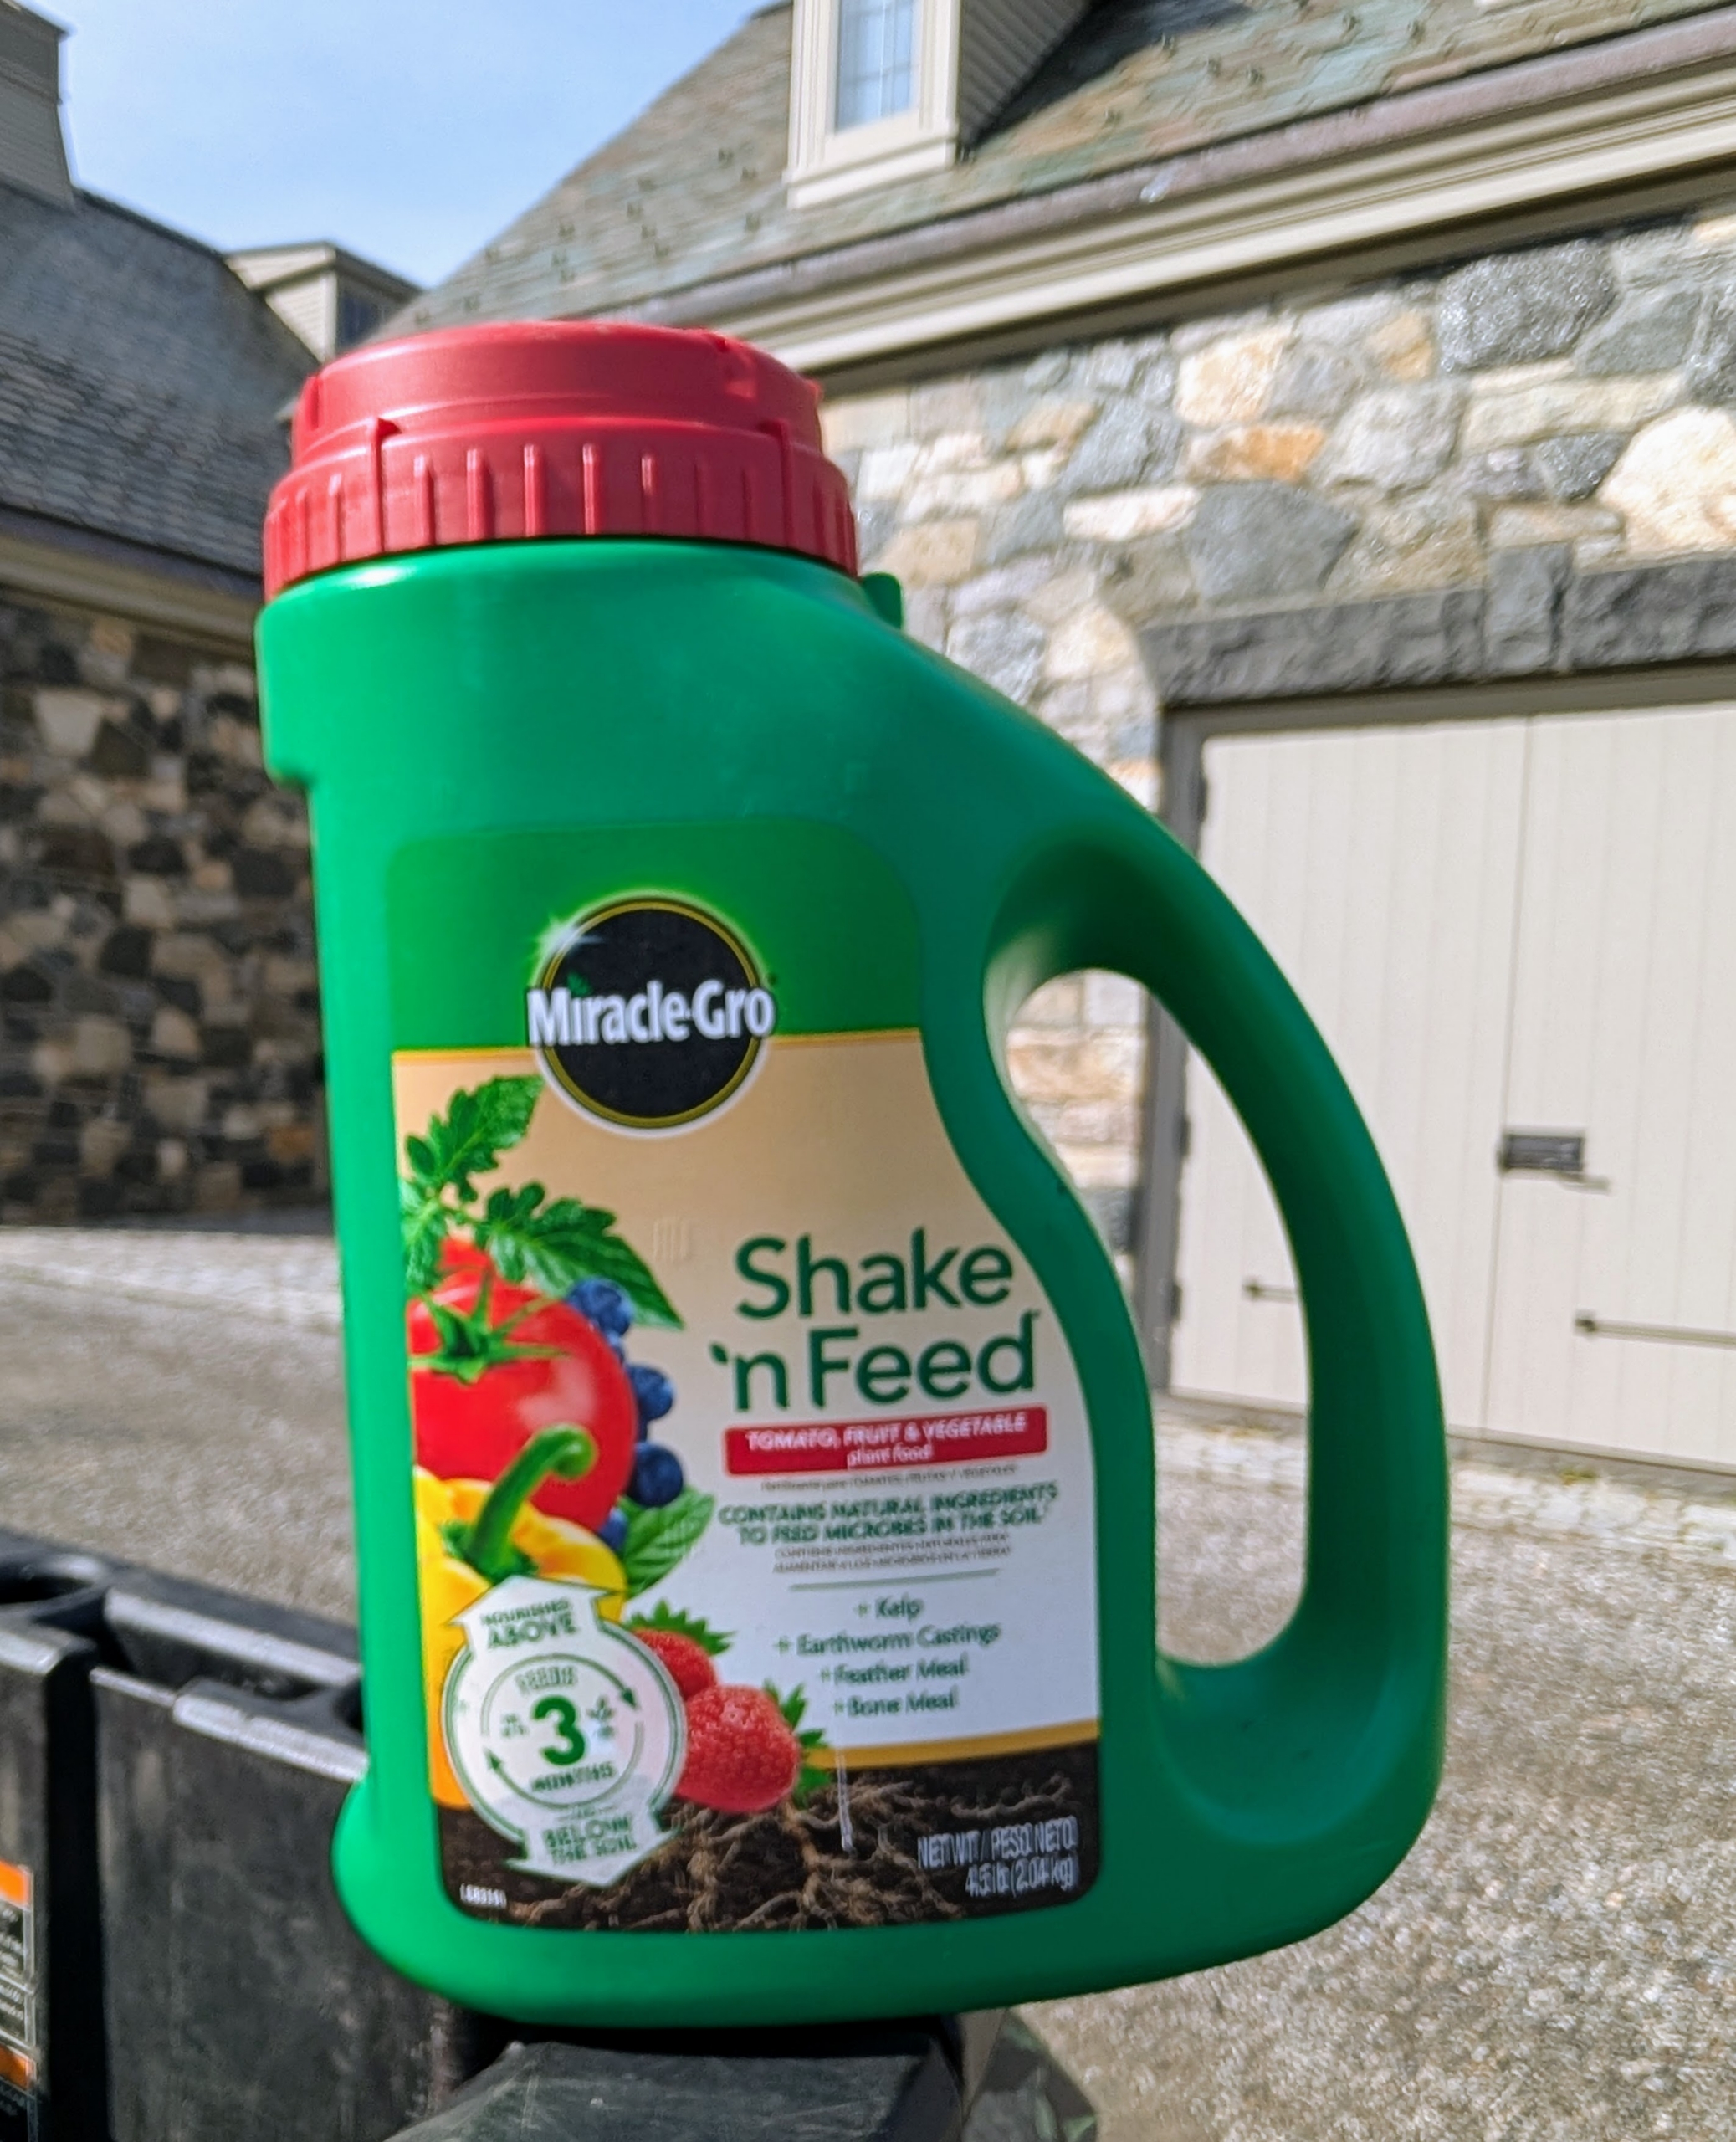
Out in my vegetable garden, the large center bed is already prepared for planting peas – it’s been raked and fed. I always plant them in this bed so the pea vines can climb up the trellis fencing.
The soil is fed with Miracle-Gro Shake ‘n Feed Tomato, Fruit & Vegetable Plant Food.
Ryan selects those varieties that have done well here in my garden.
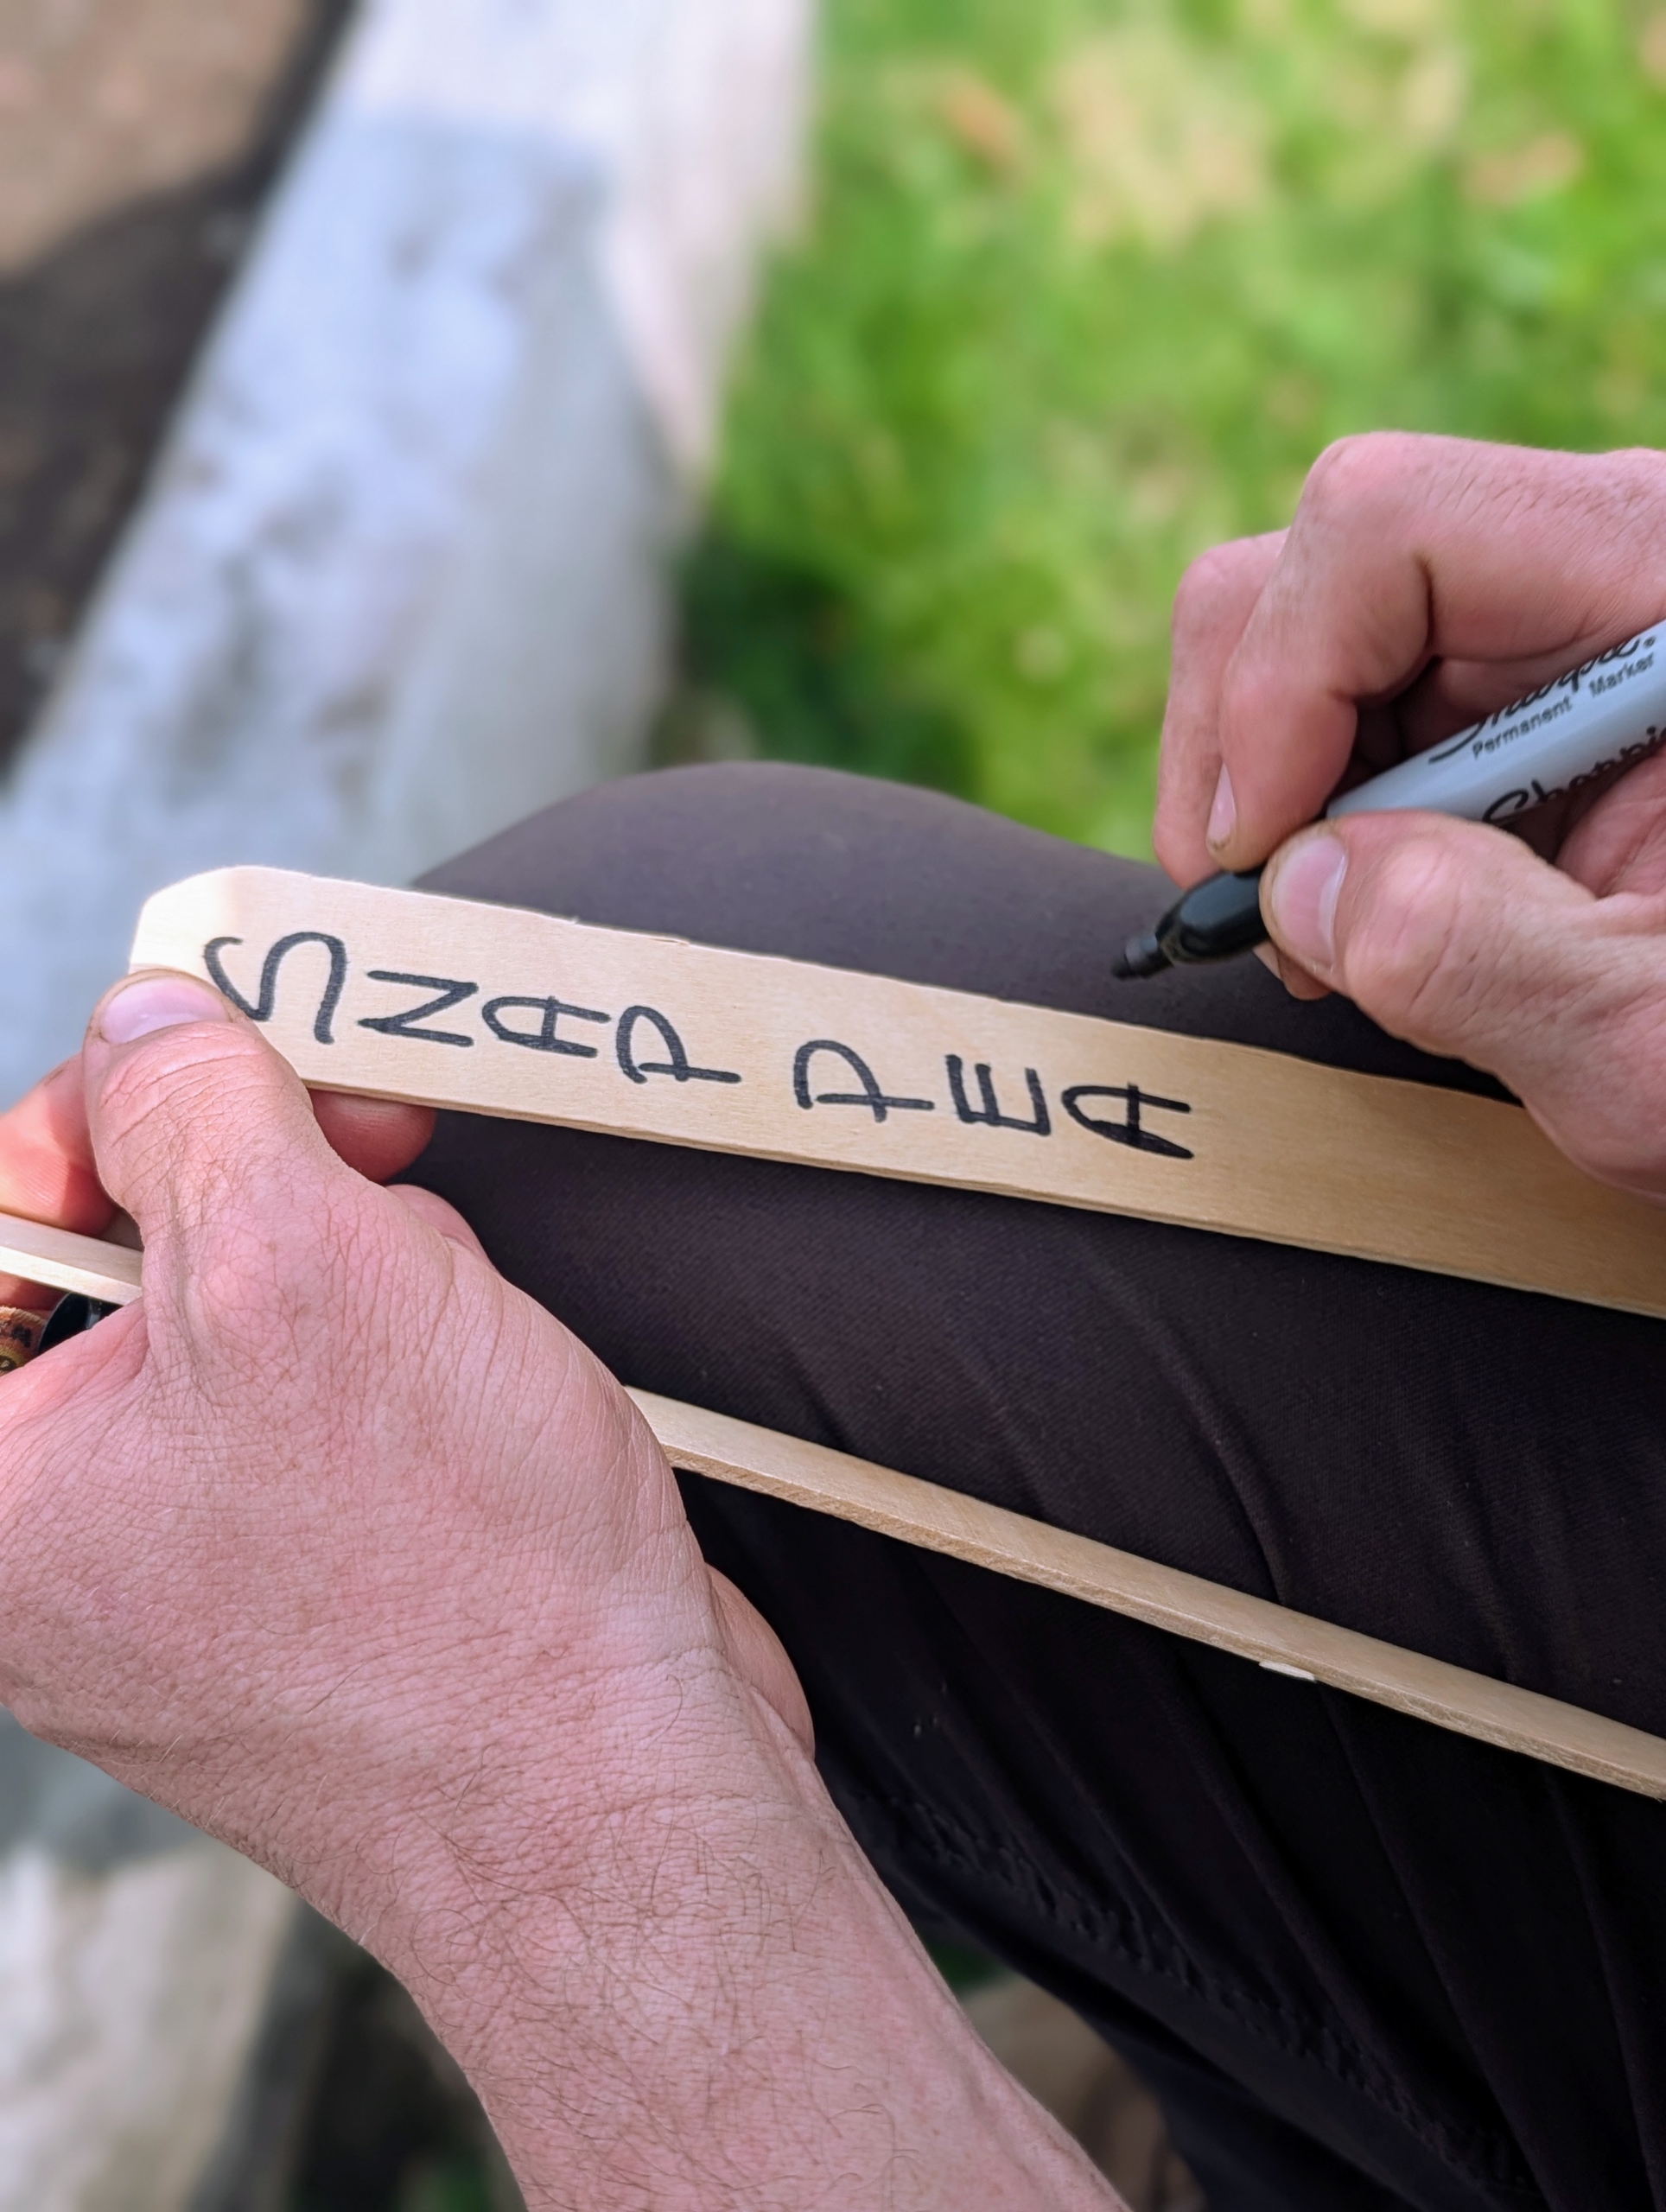
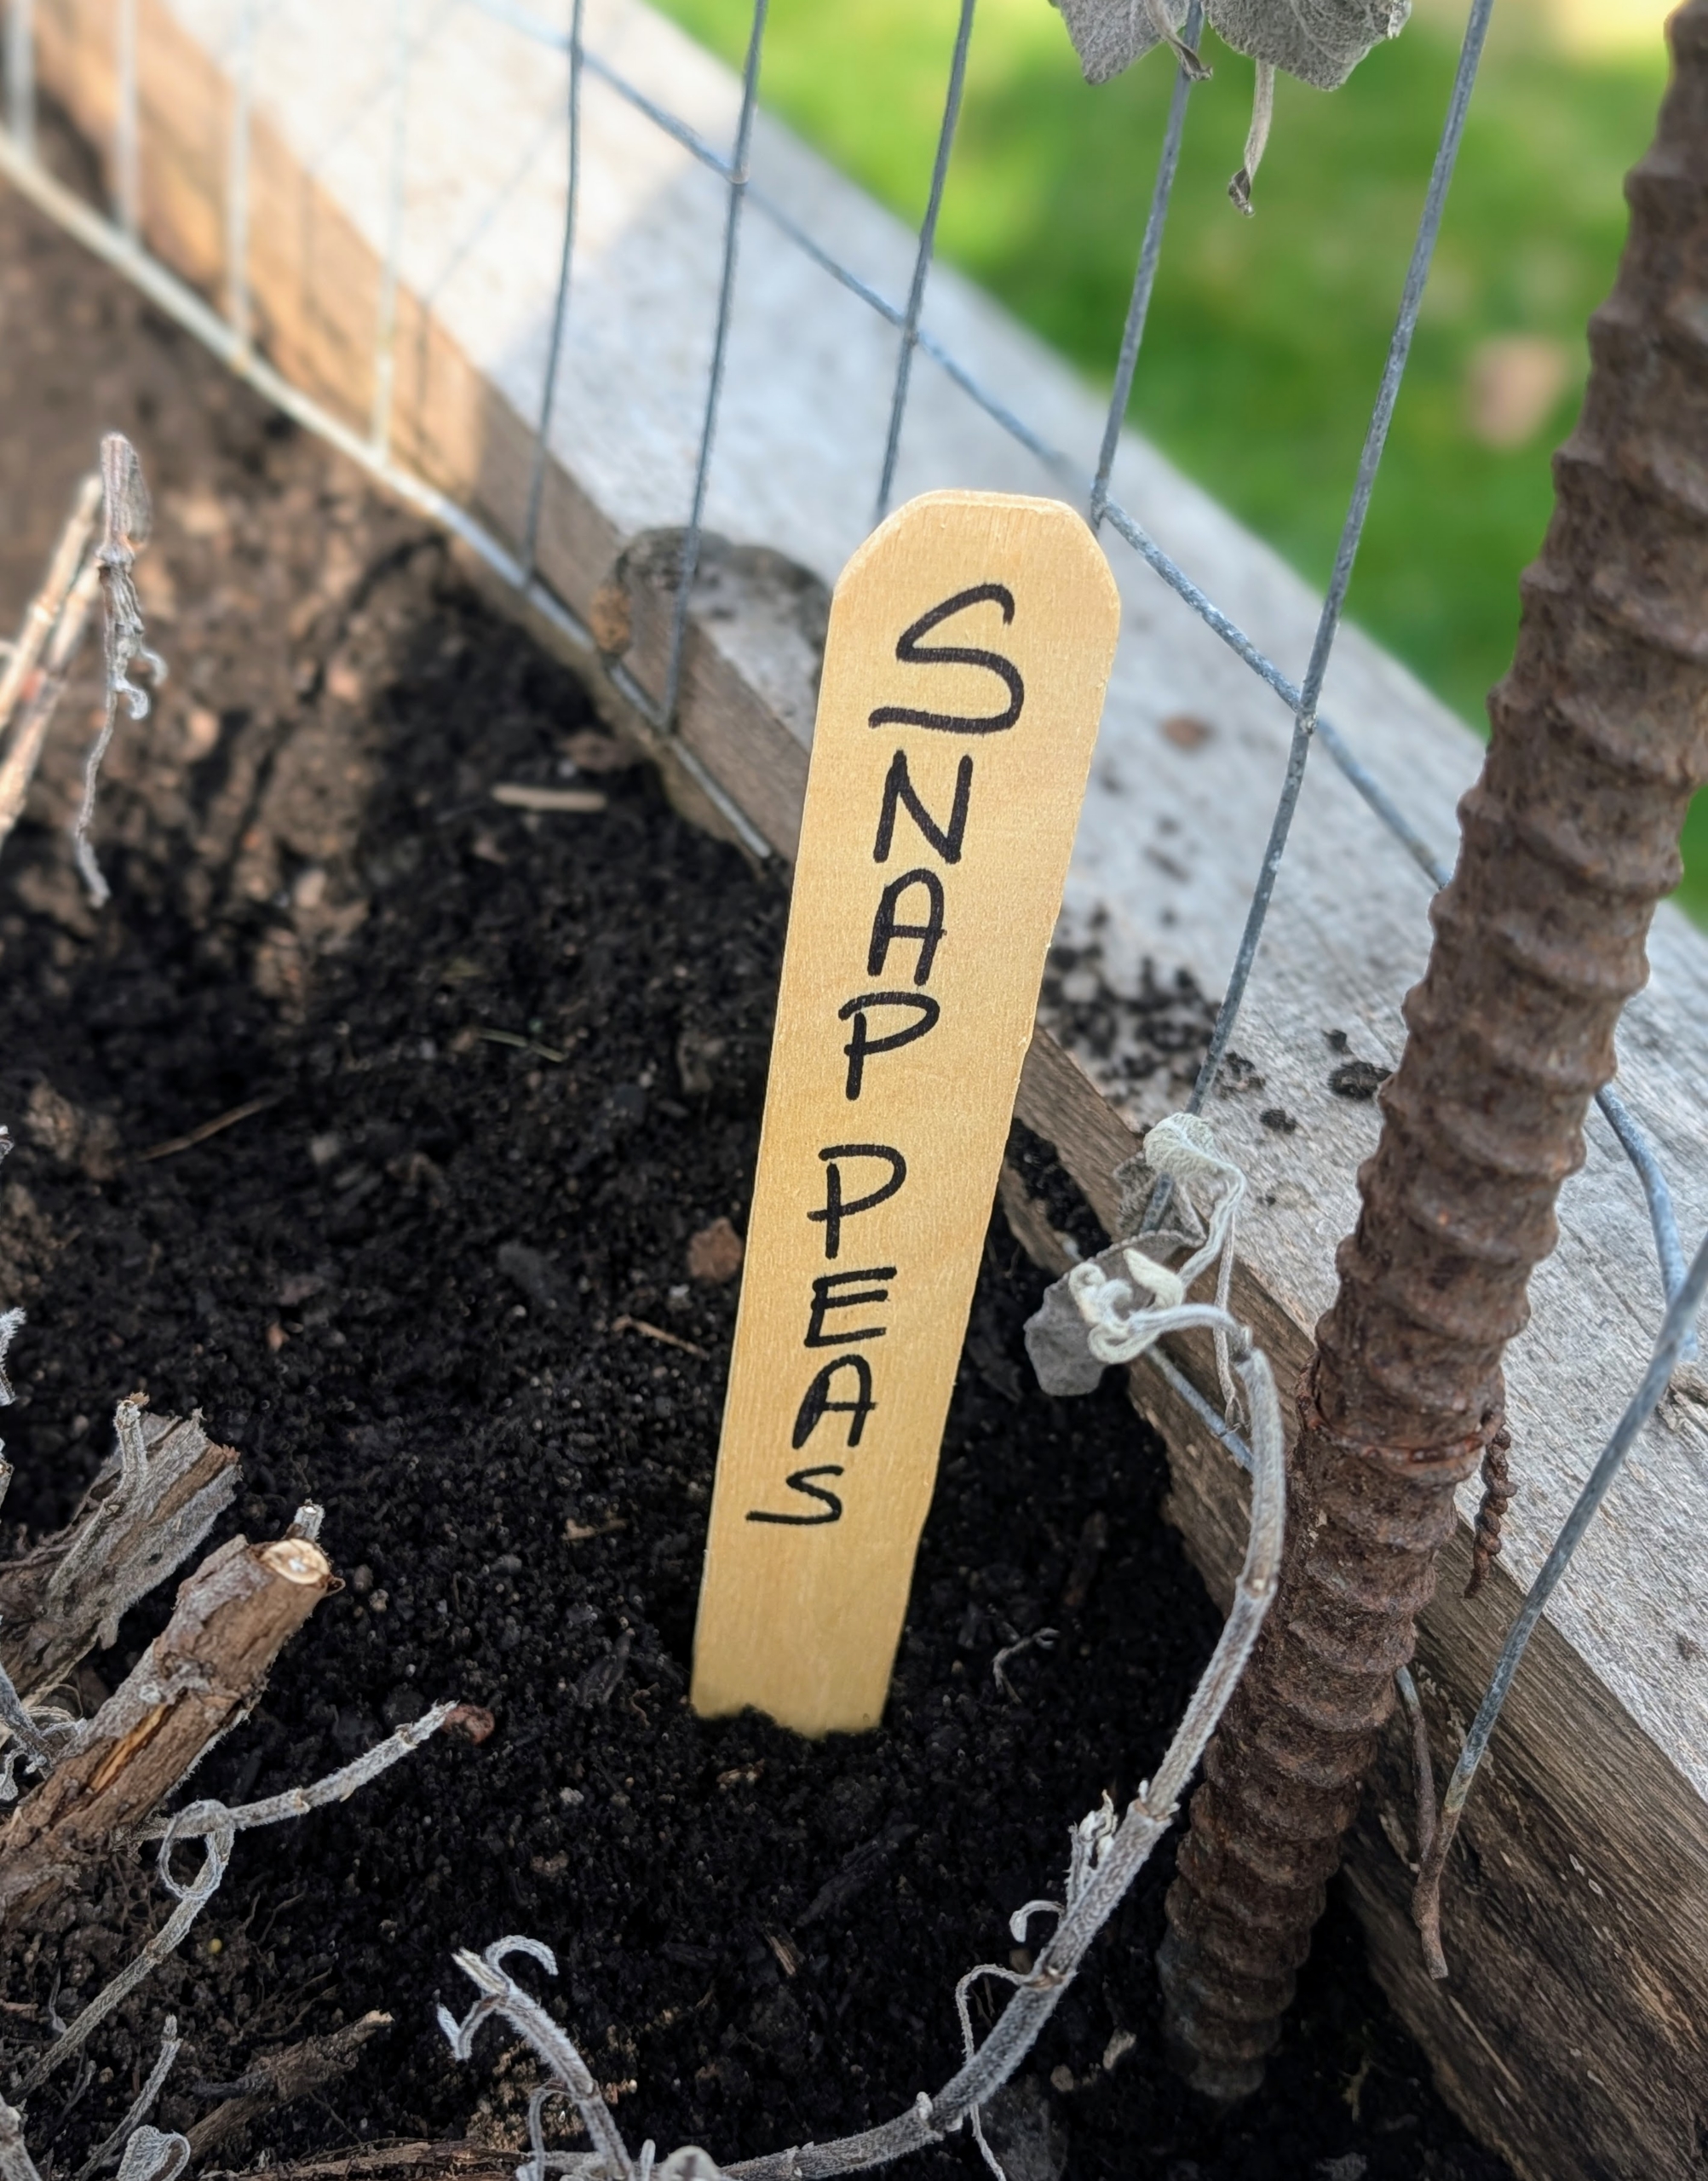
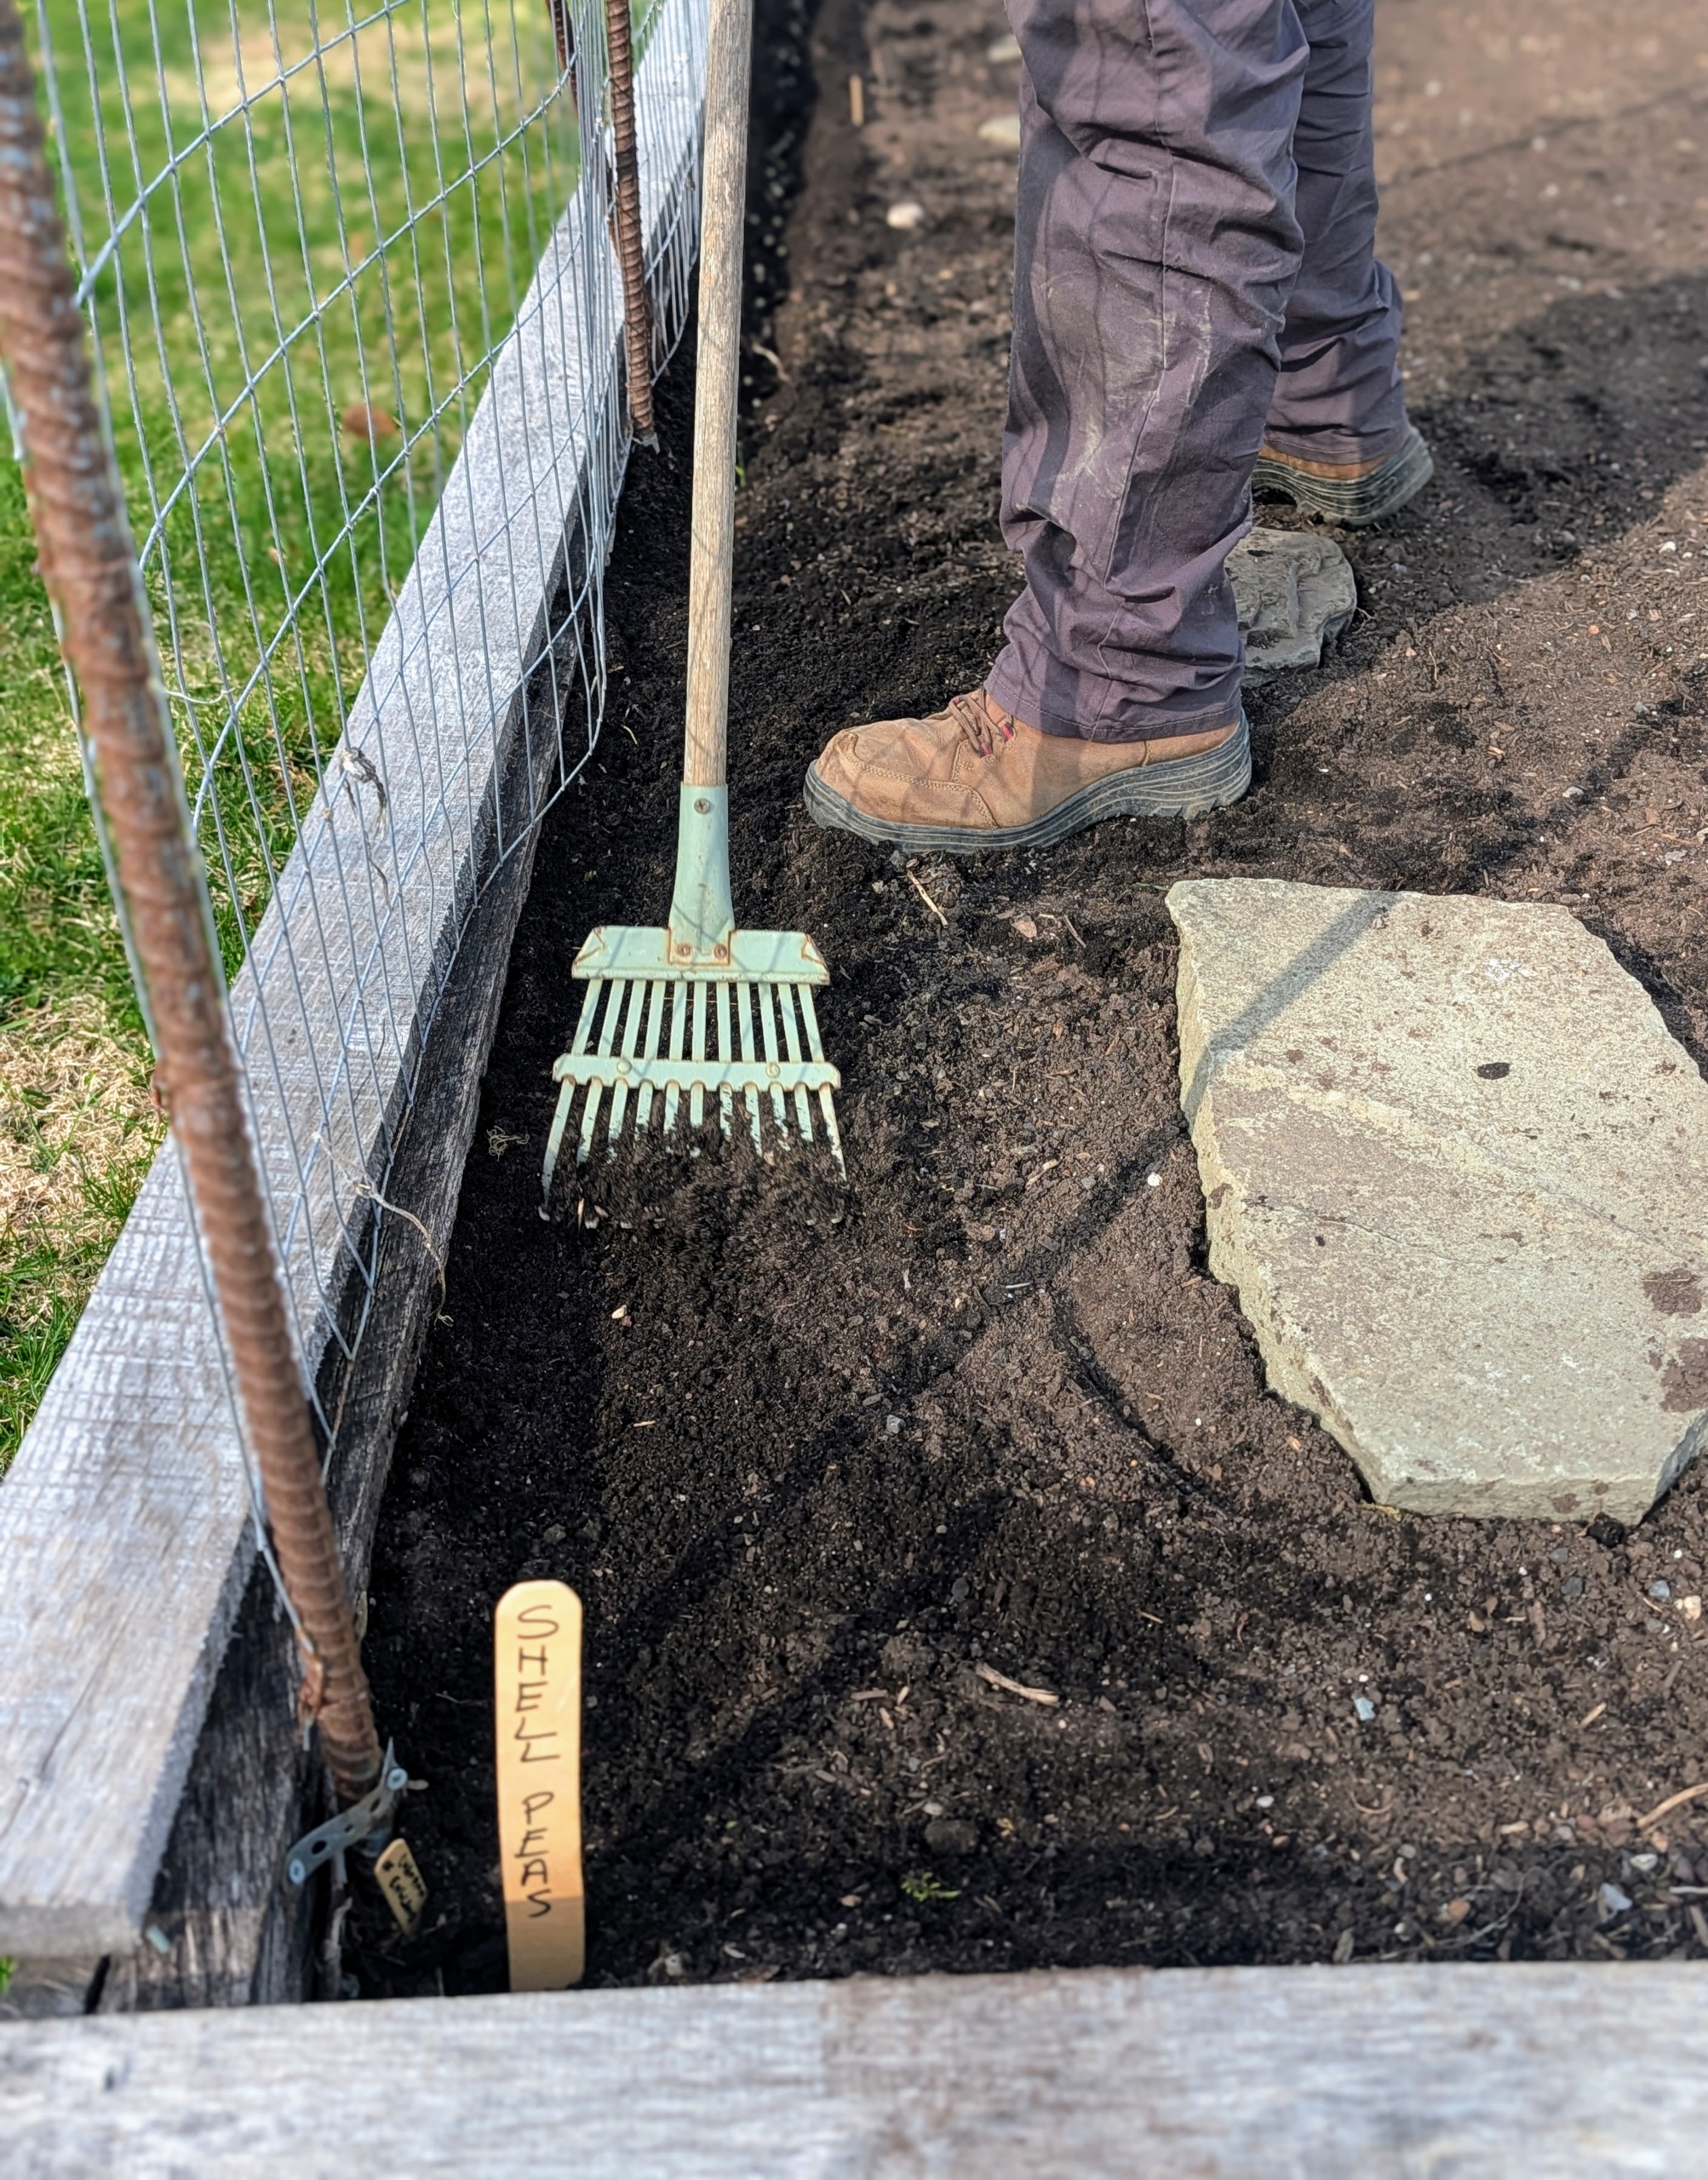
He writes out the type of peas on large wooden markers – also available through Johnny’s Selected Seeds. Variety names will be on smaller wooden markers.
The markers are placed at the edge of the bed – one side for snap, the other for shelling.
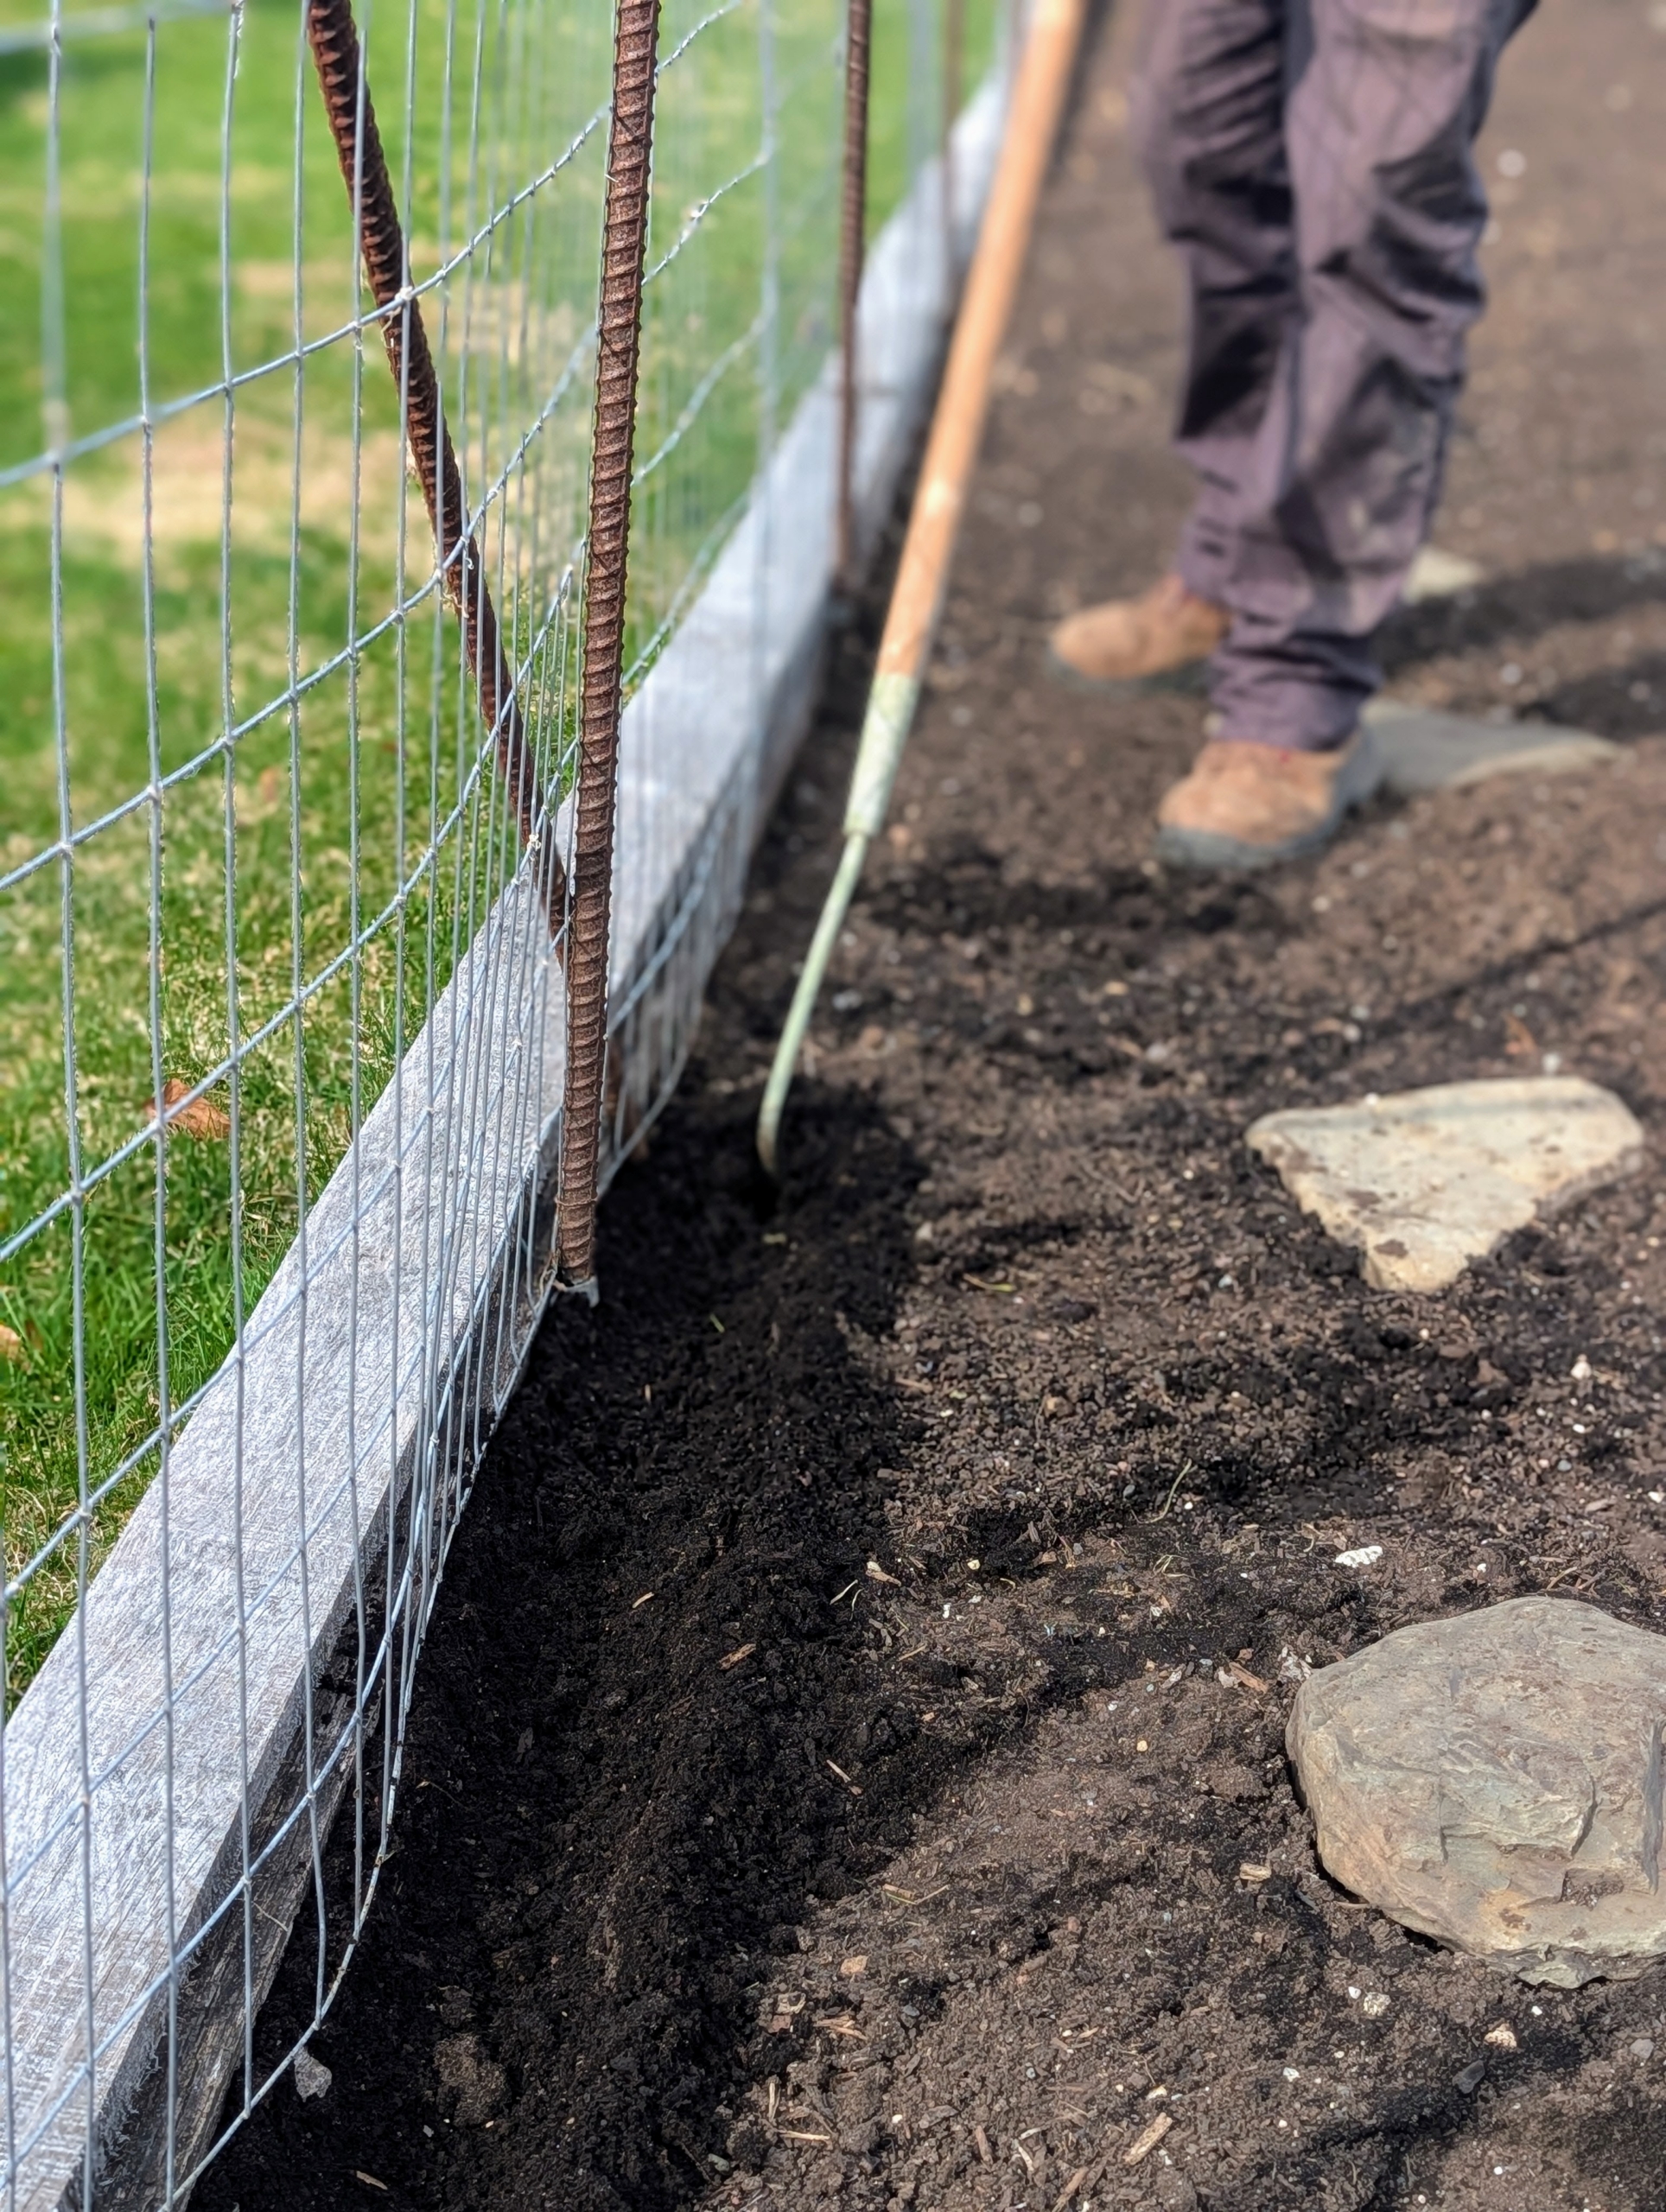
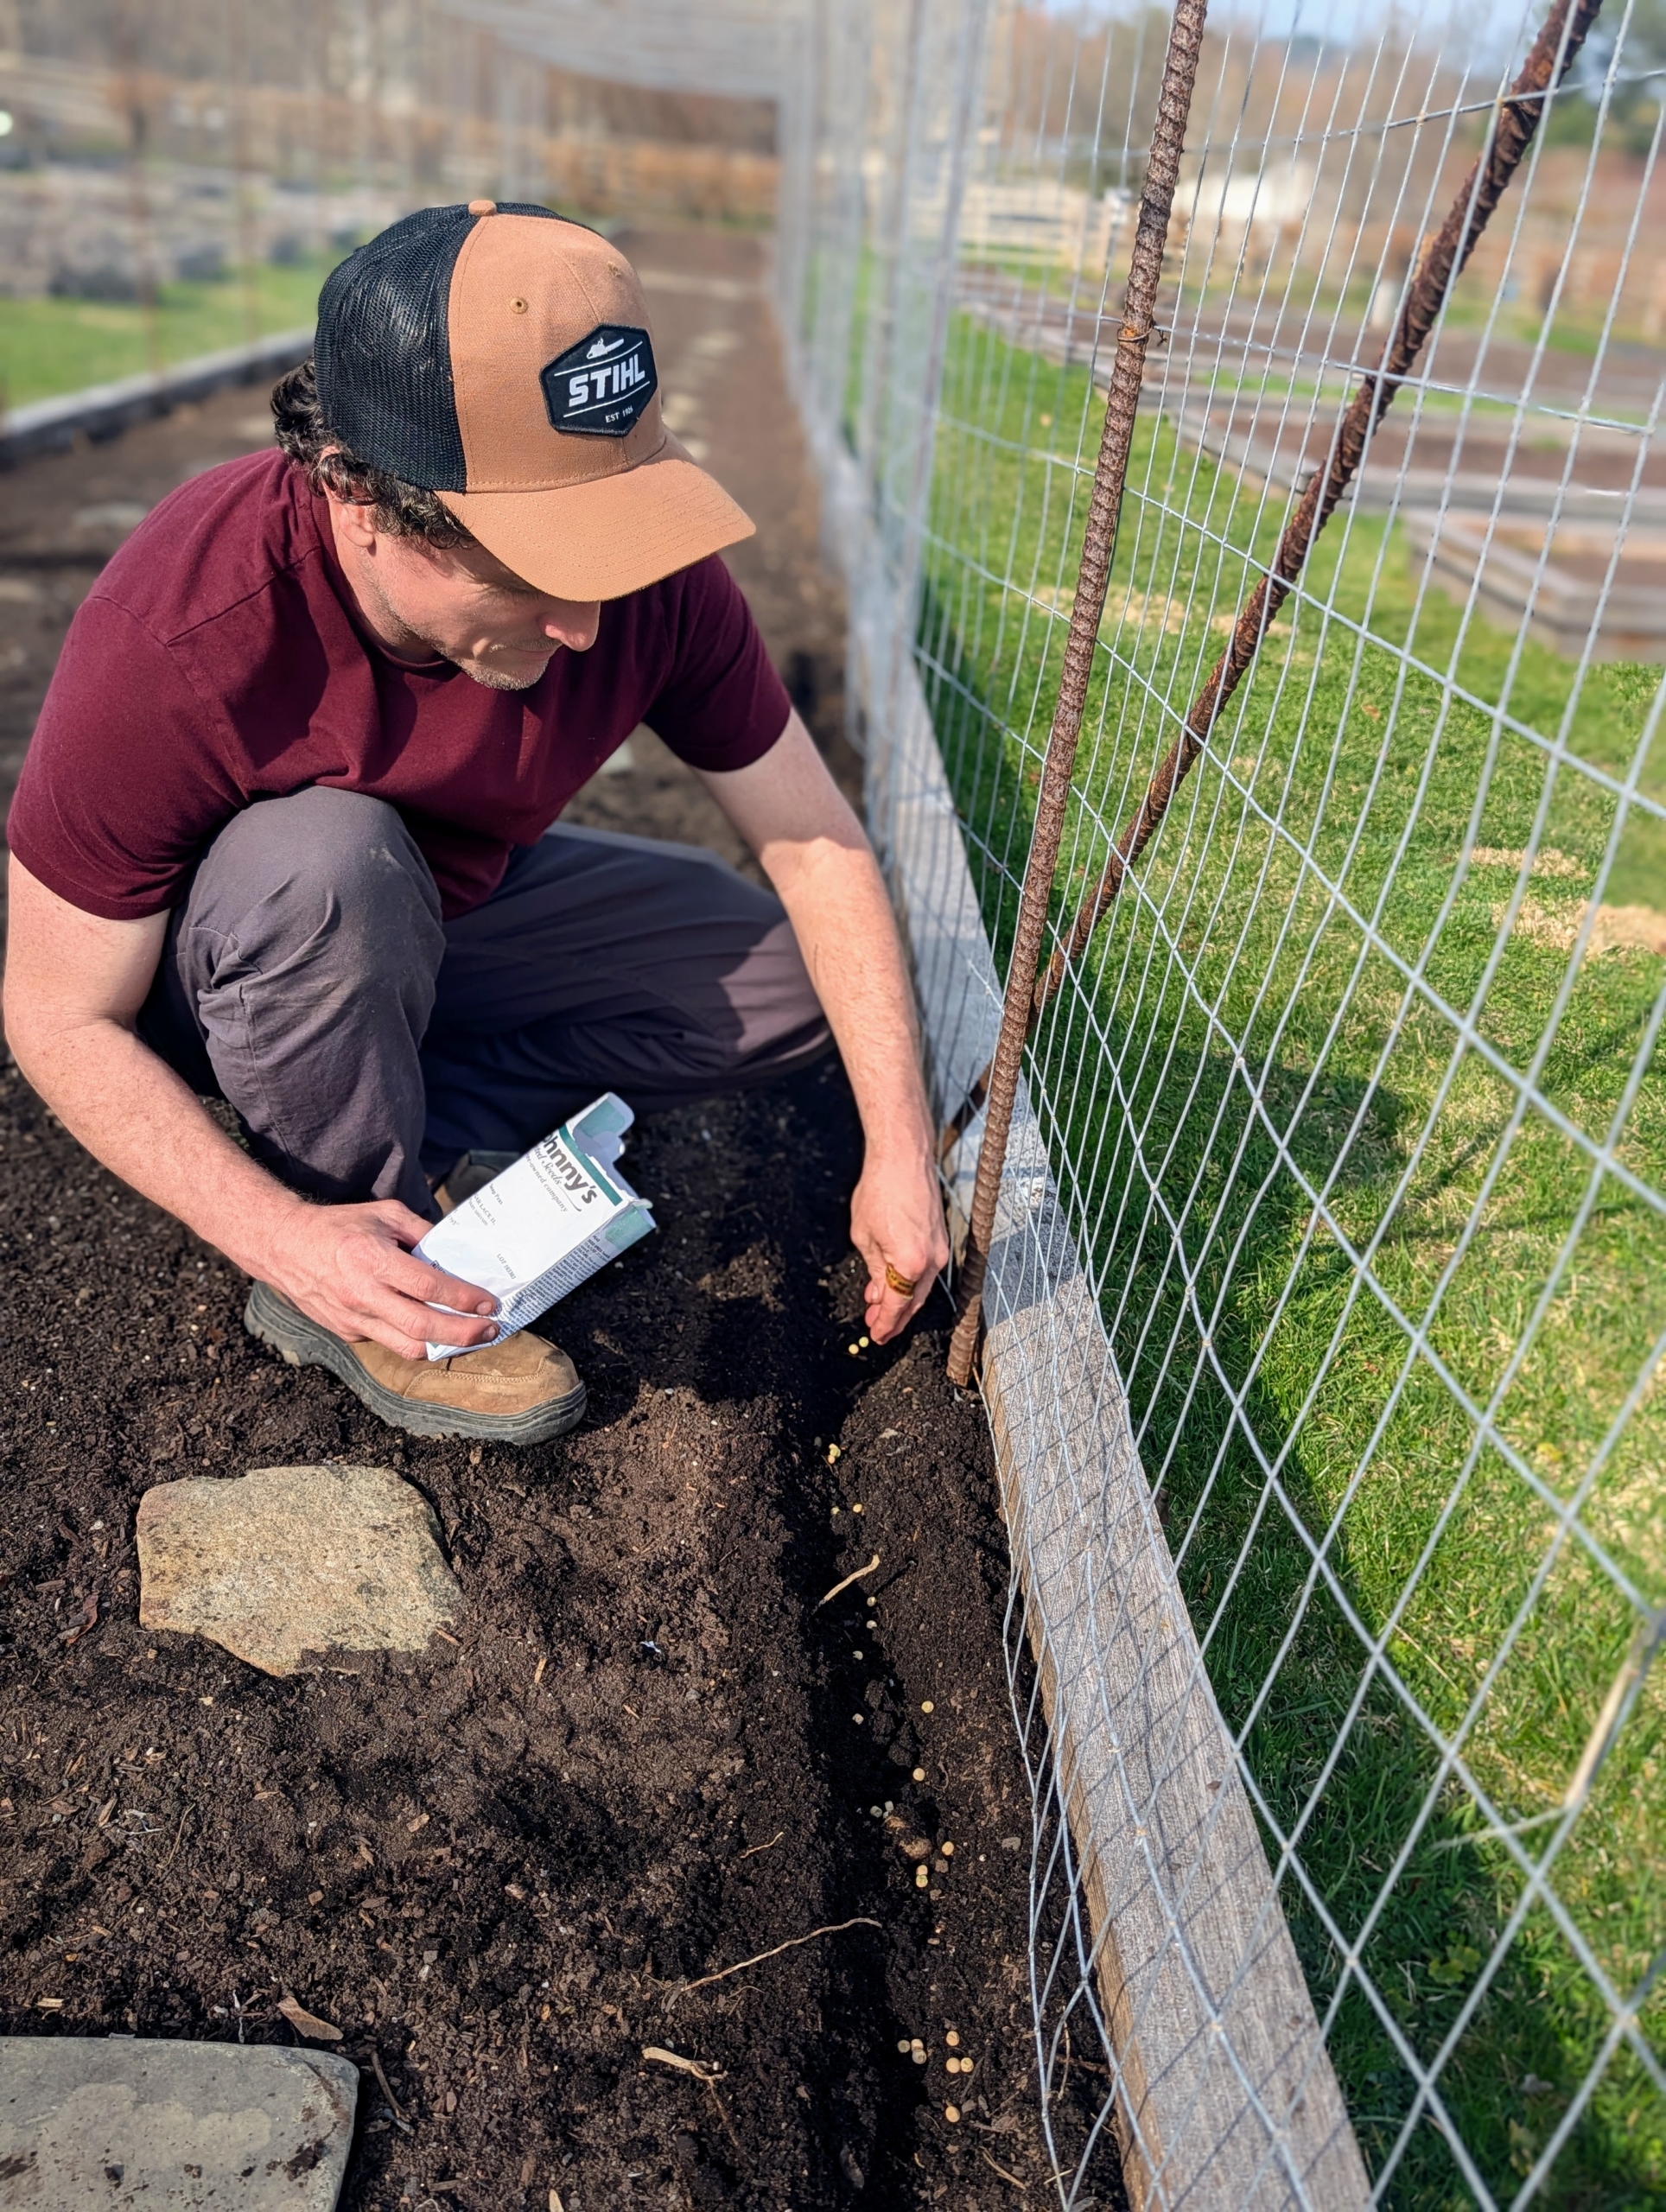
Ryan starts by digging a shallow furrow in the soil using a hoe. The furrows don’t have to be deep – two inches will work nicely.
Peas do much better when given some kind of support such as a fence or a trellis. Since the furrow is up against this fence, the pea vines should find the supportive wire very easily.
These peas are planted in a sunny location in well-draining soil from Miracle-Gro.
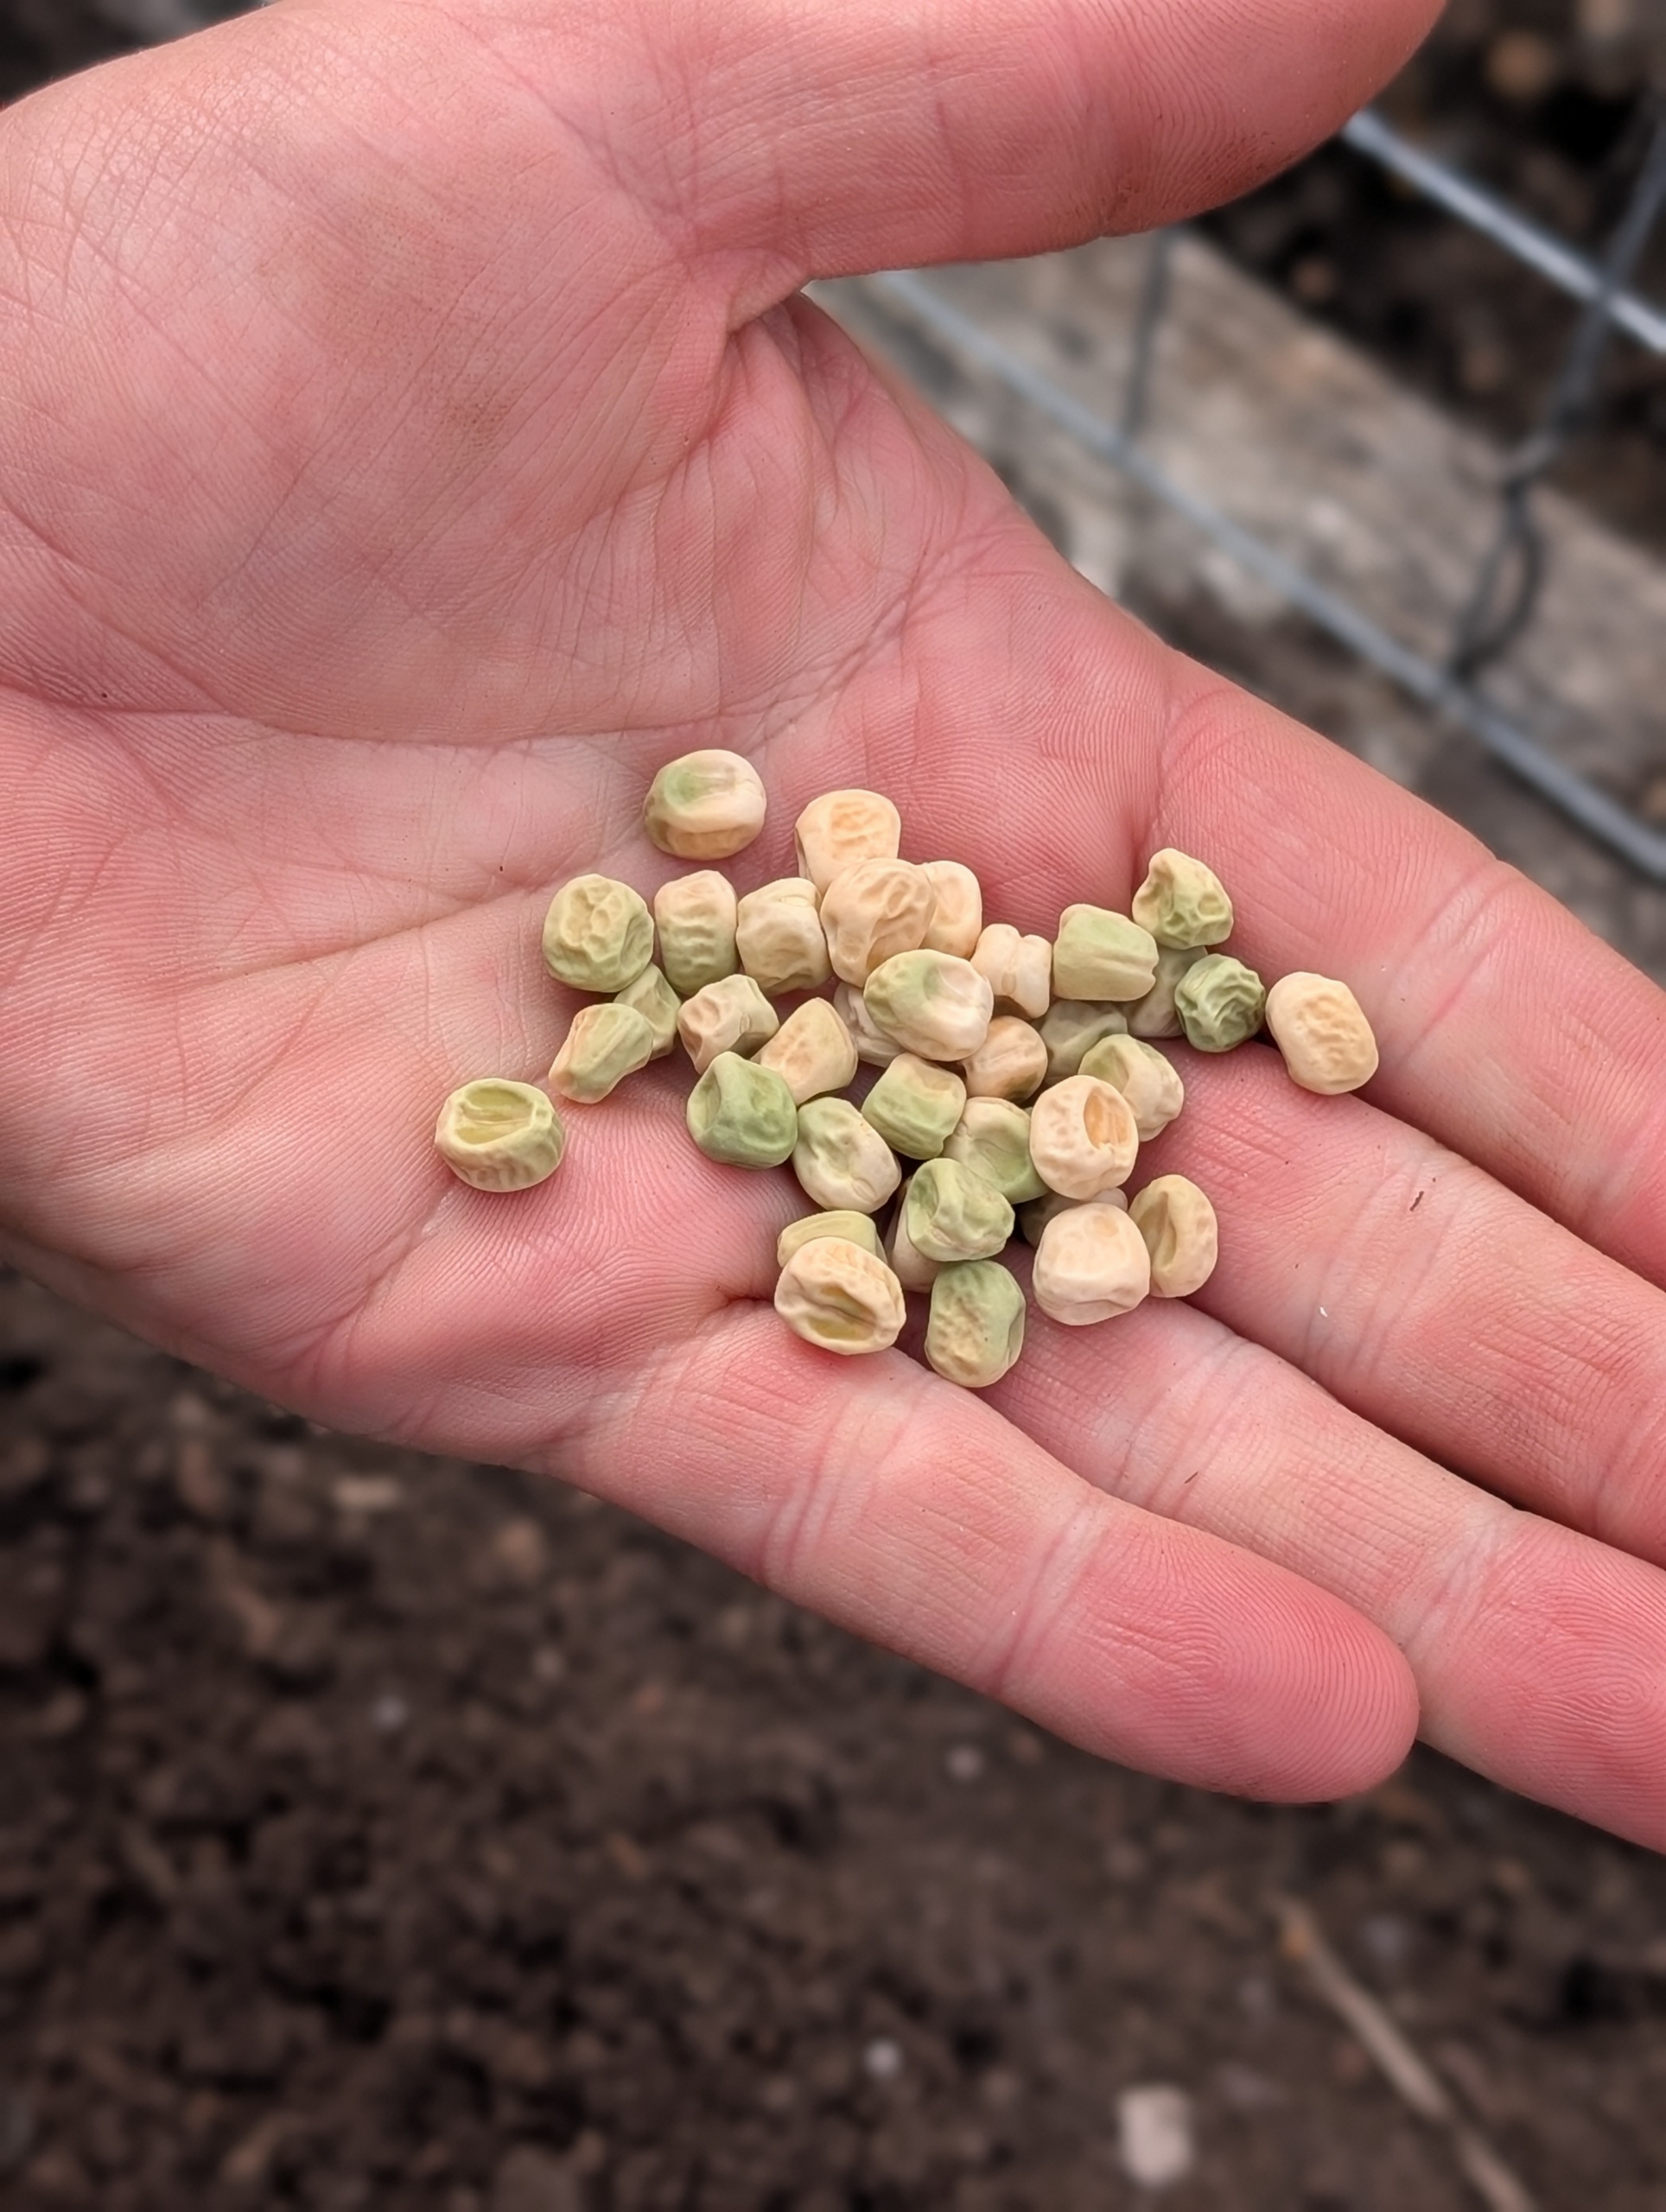
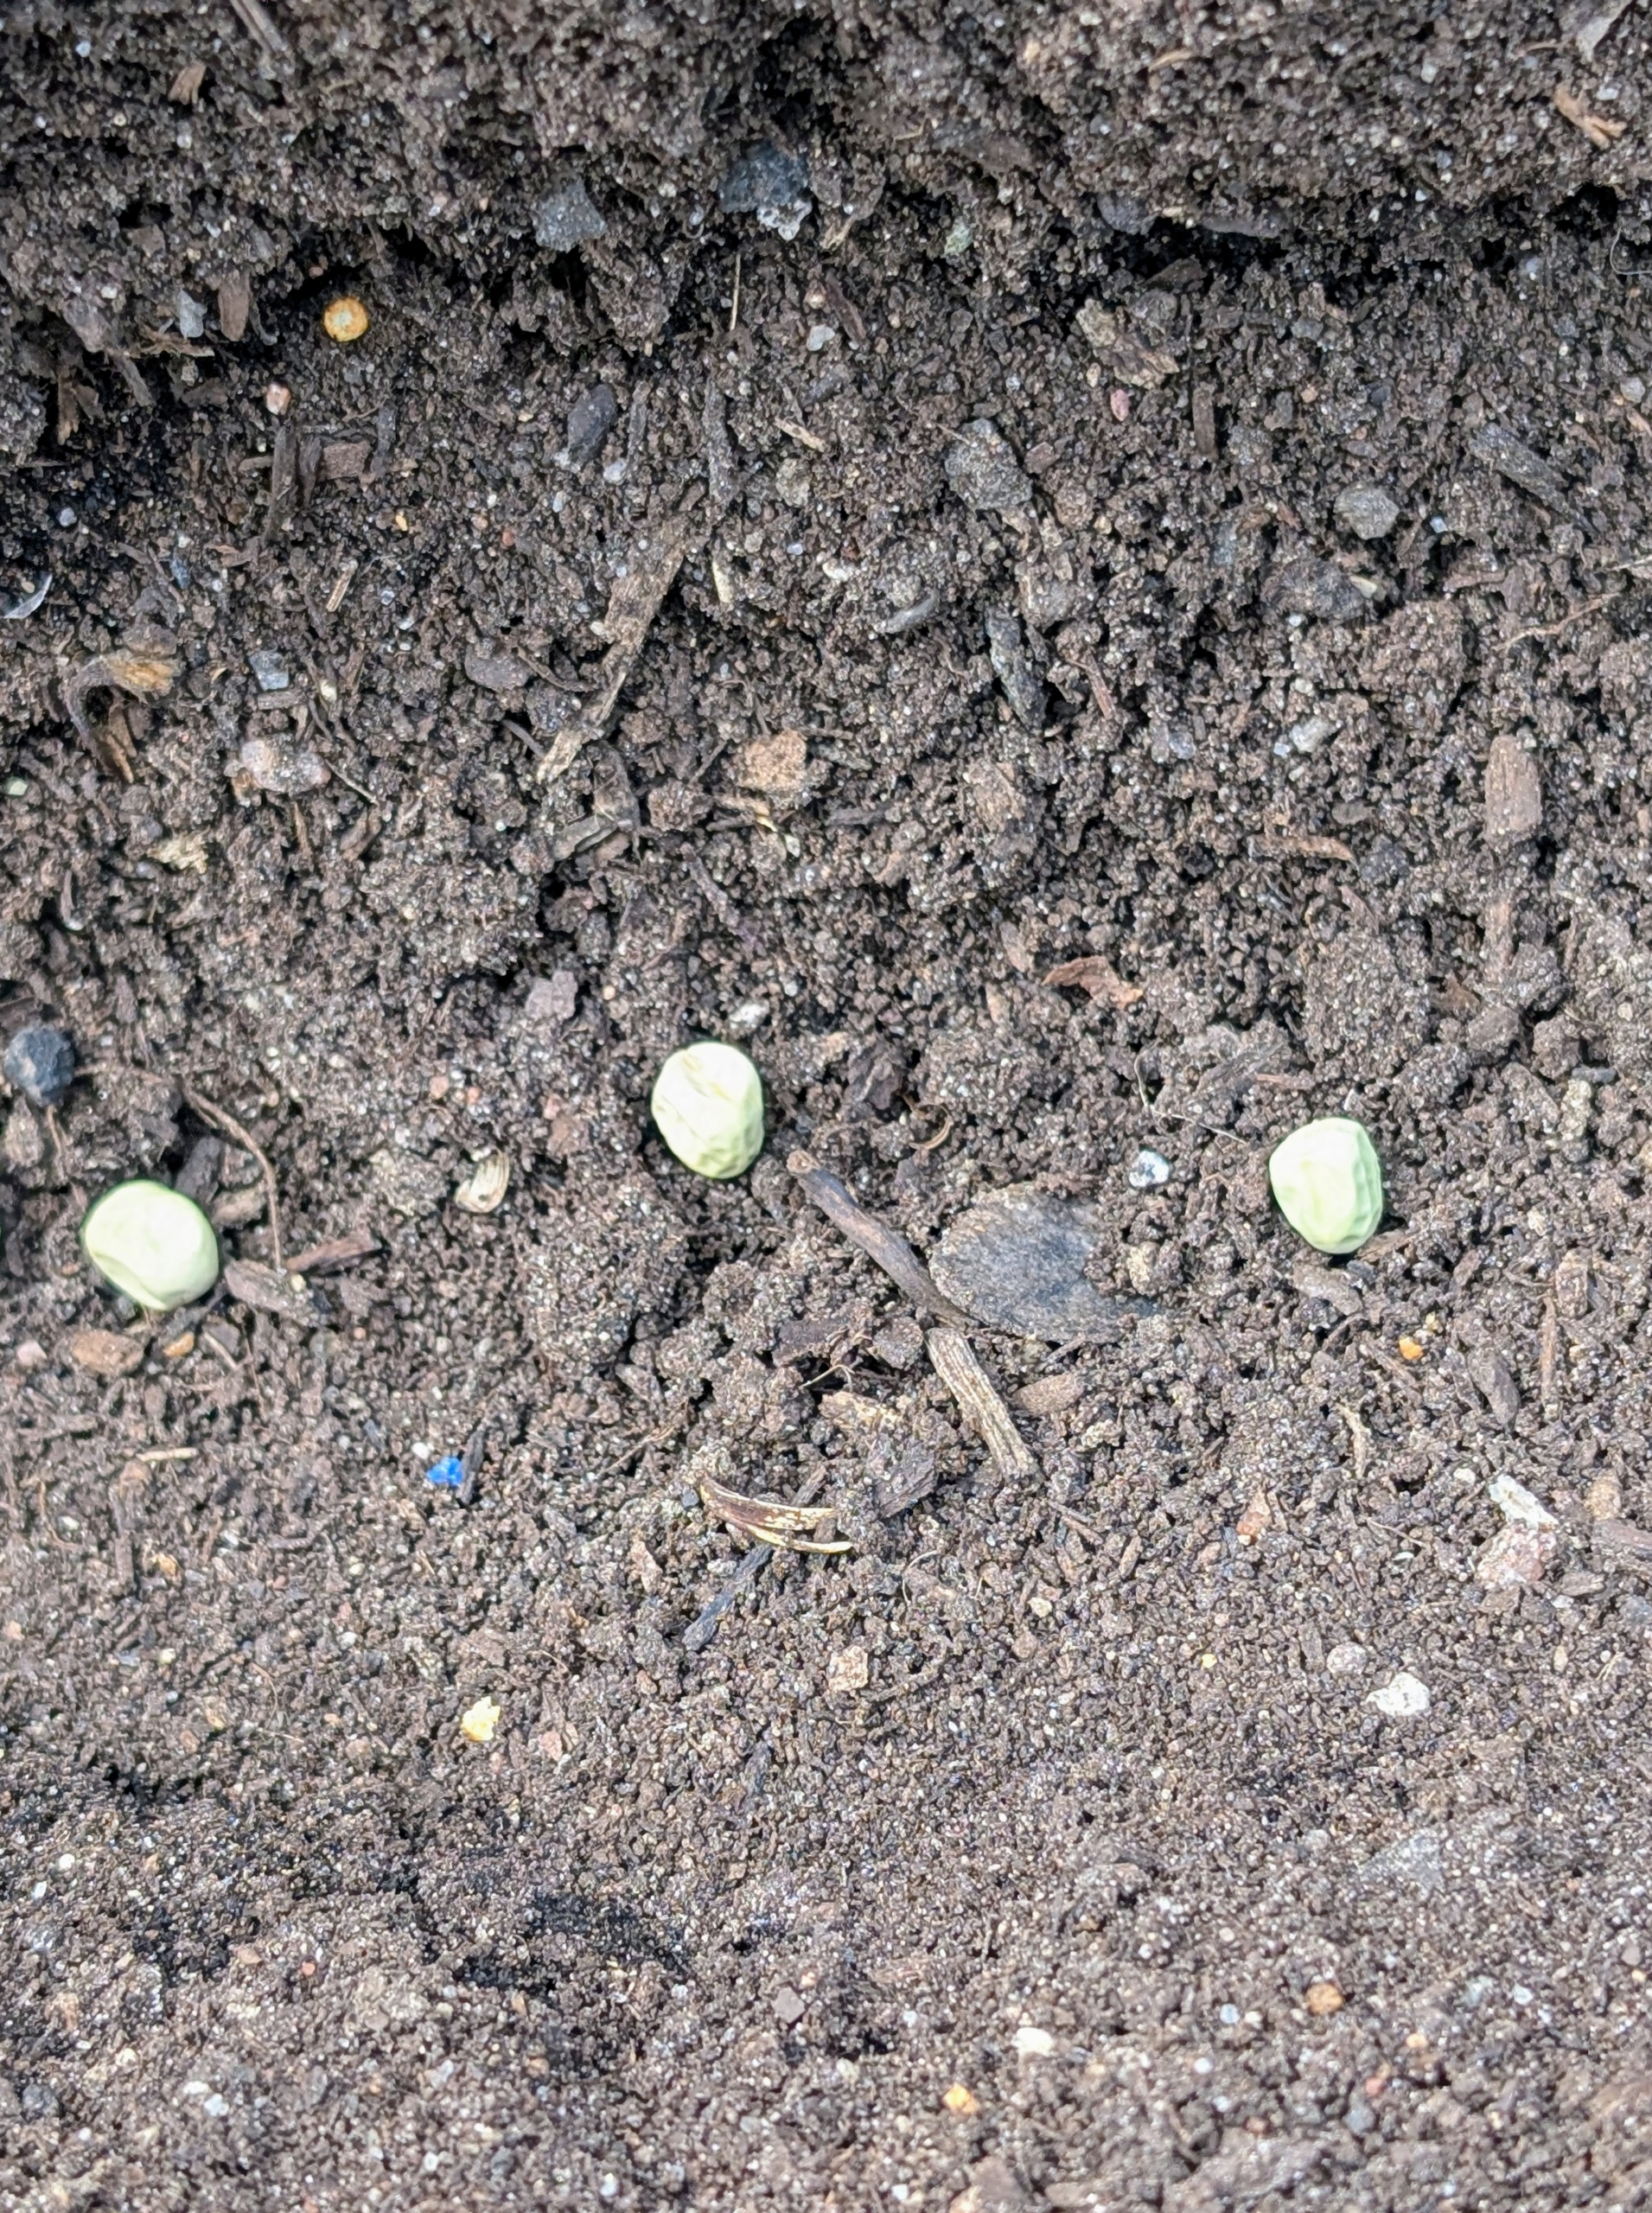
The pea seeds are hard, wrinkled, and inedible.
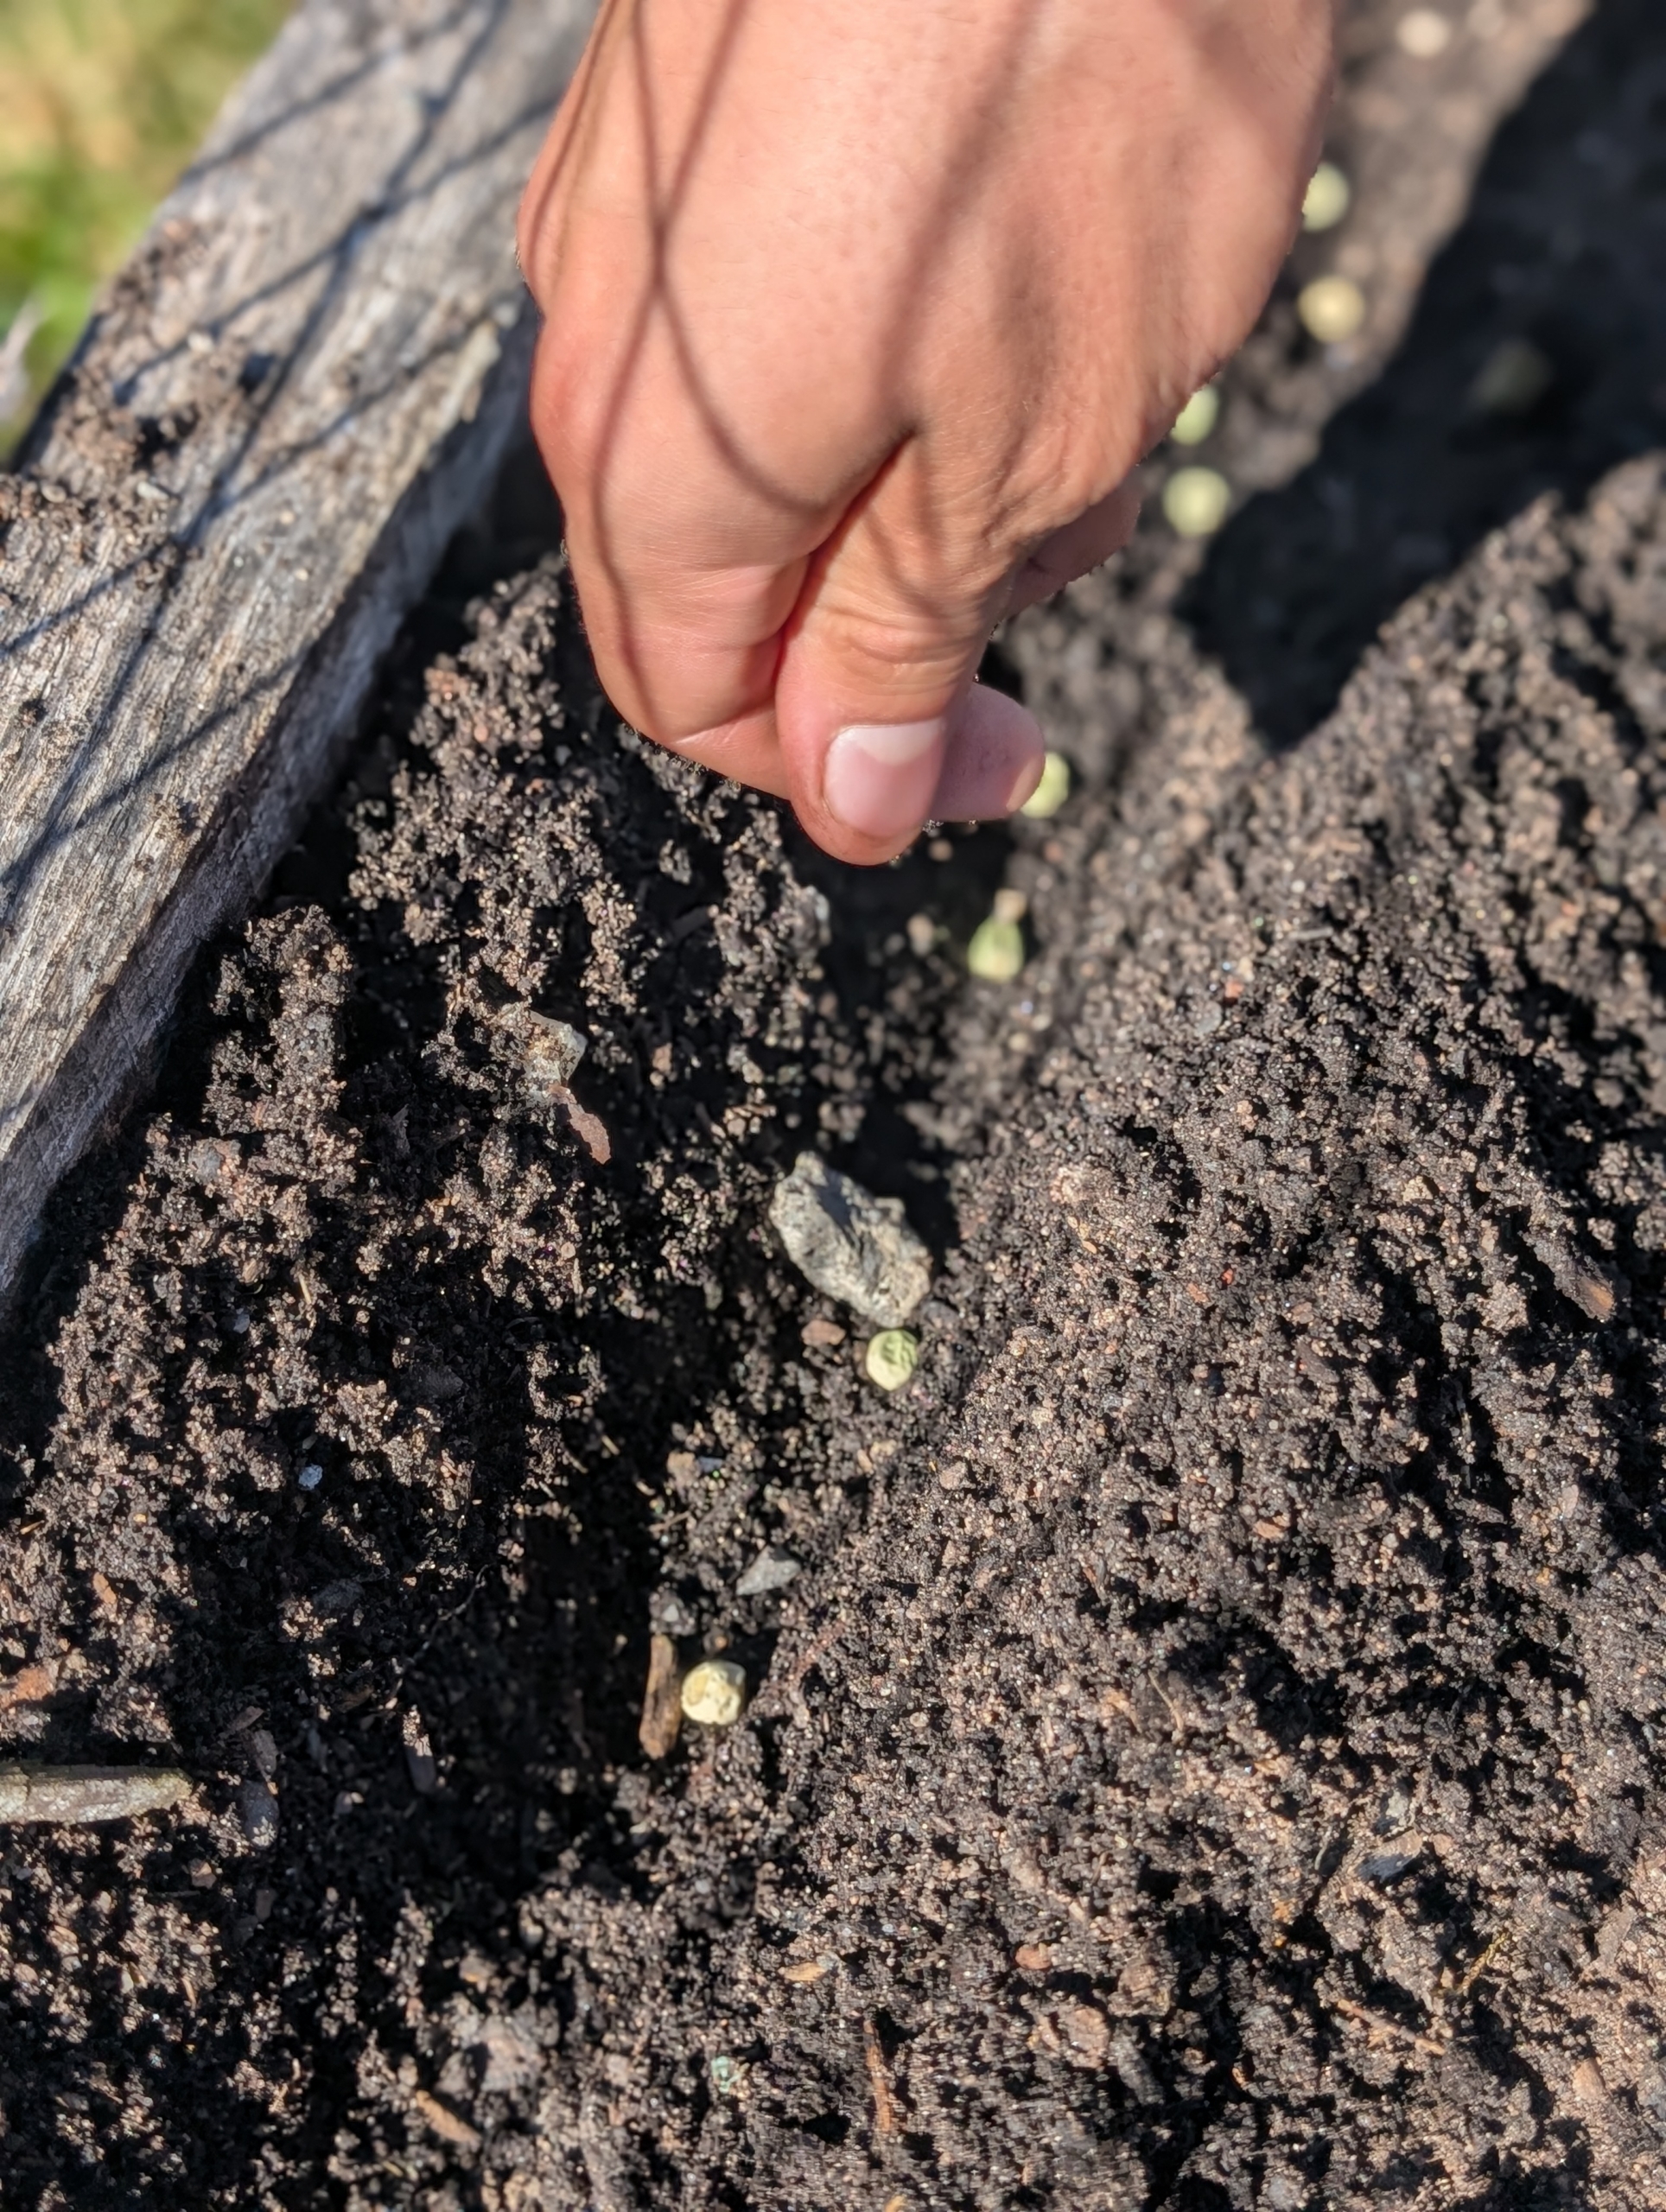
Ryan drops the seeds into the furrow about one to two-inches apart.
Here, one can see the seeds well-placed in the furrow. Sow pea seeds four to six weeks before the last spring frost, when soil temperatures reach 45-degrees Fahrenheit.
A single pea plant can produce between 50 and 200 peas, depending on the variety and care.
Ryan carefully drops the snap peas into the furrow on the opposite side of the fence, so it’s clear which peas are which when harvested.
Once all the seeds are in the ground, Ryan uses the back of a soft rake to cover them.
The peas will be watered deeply once a week and should be ready to pick around mid-June to early July. Happy gardening!
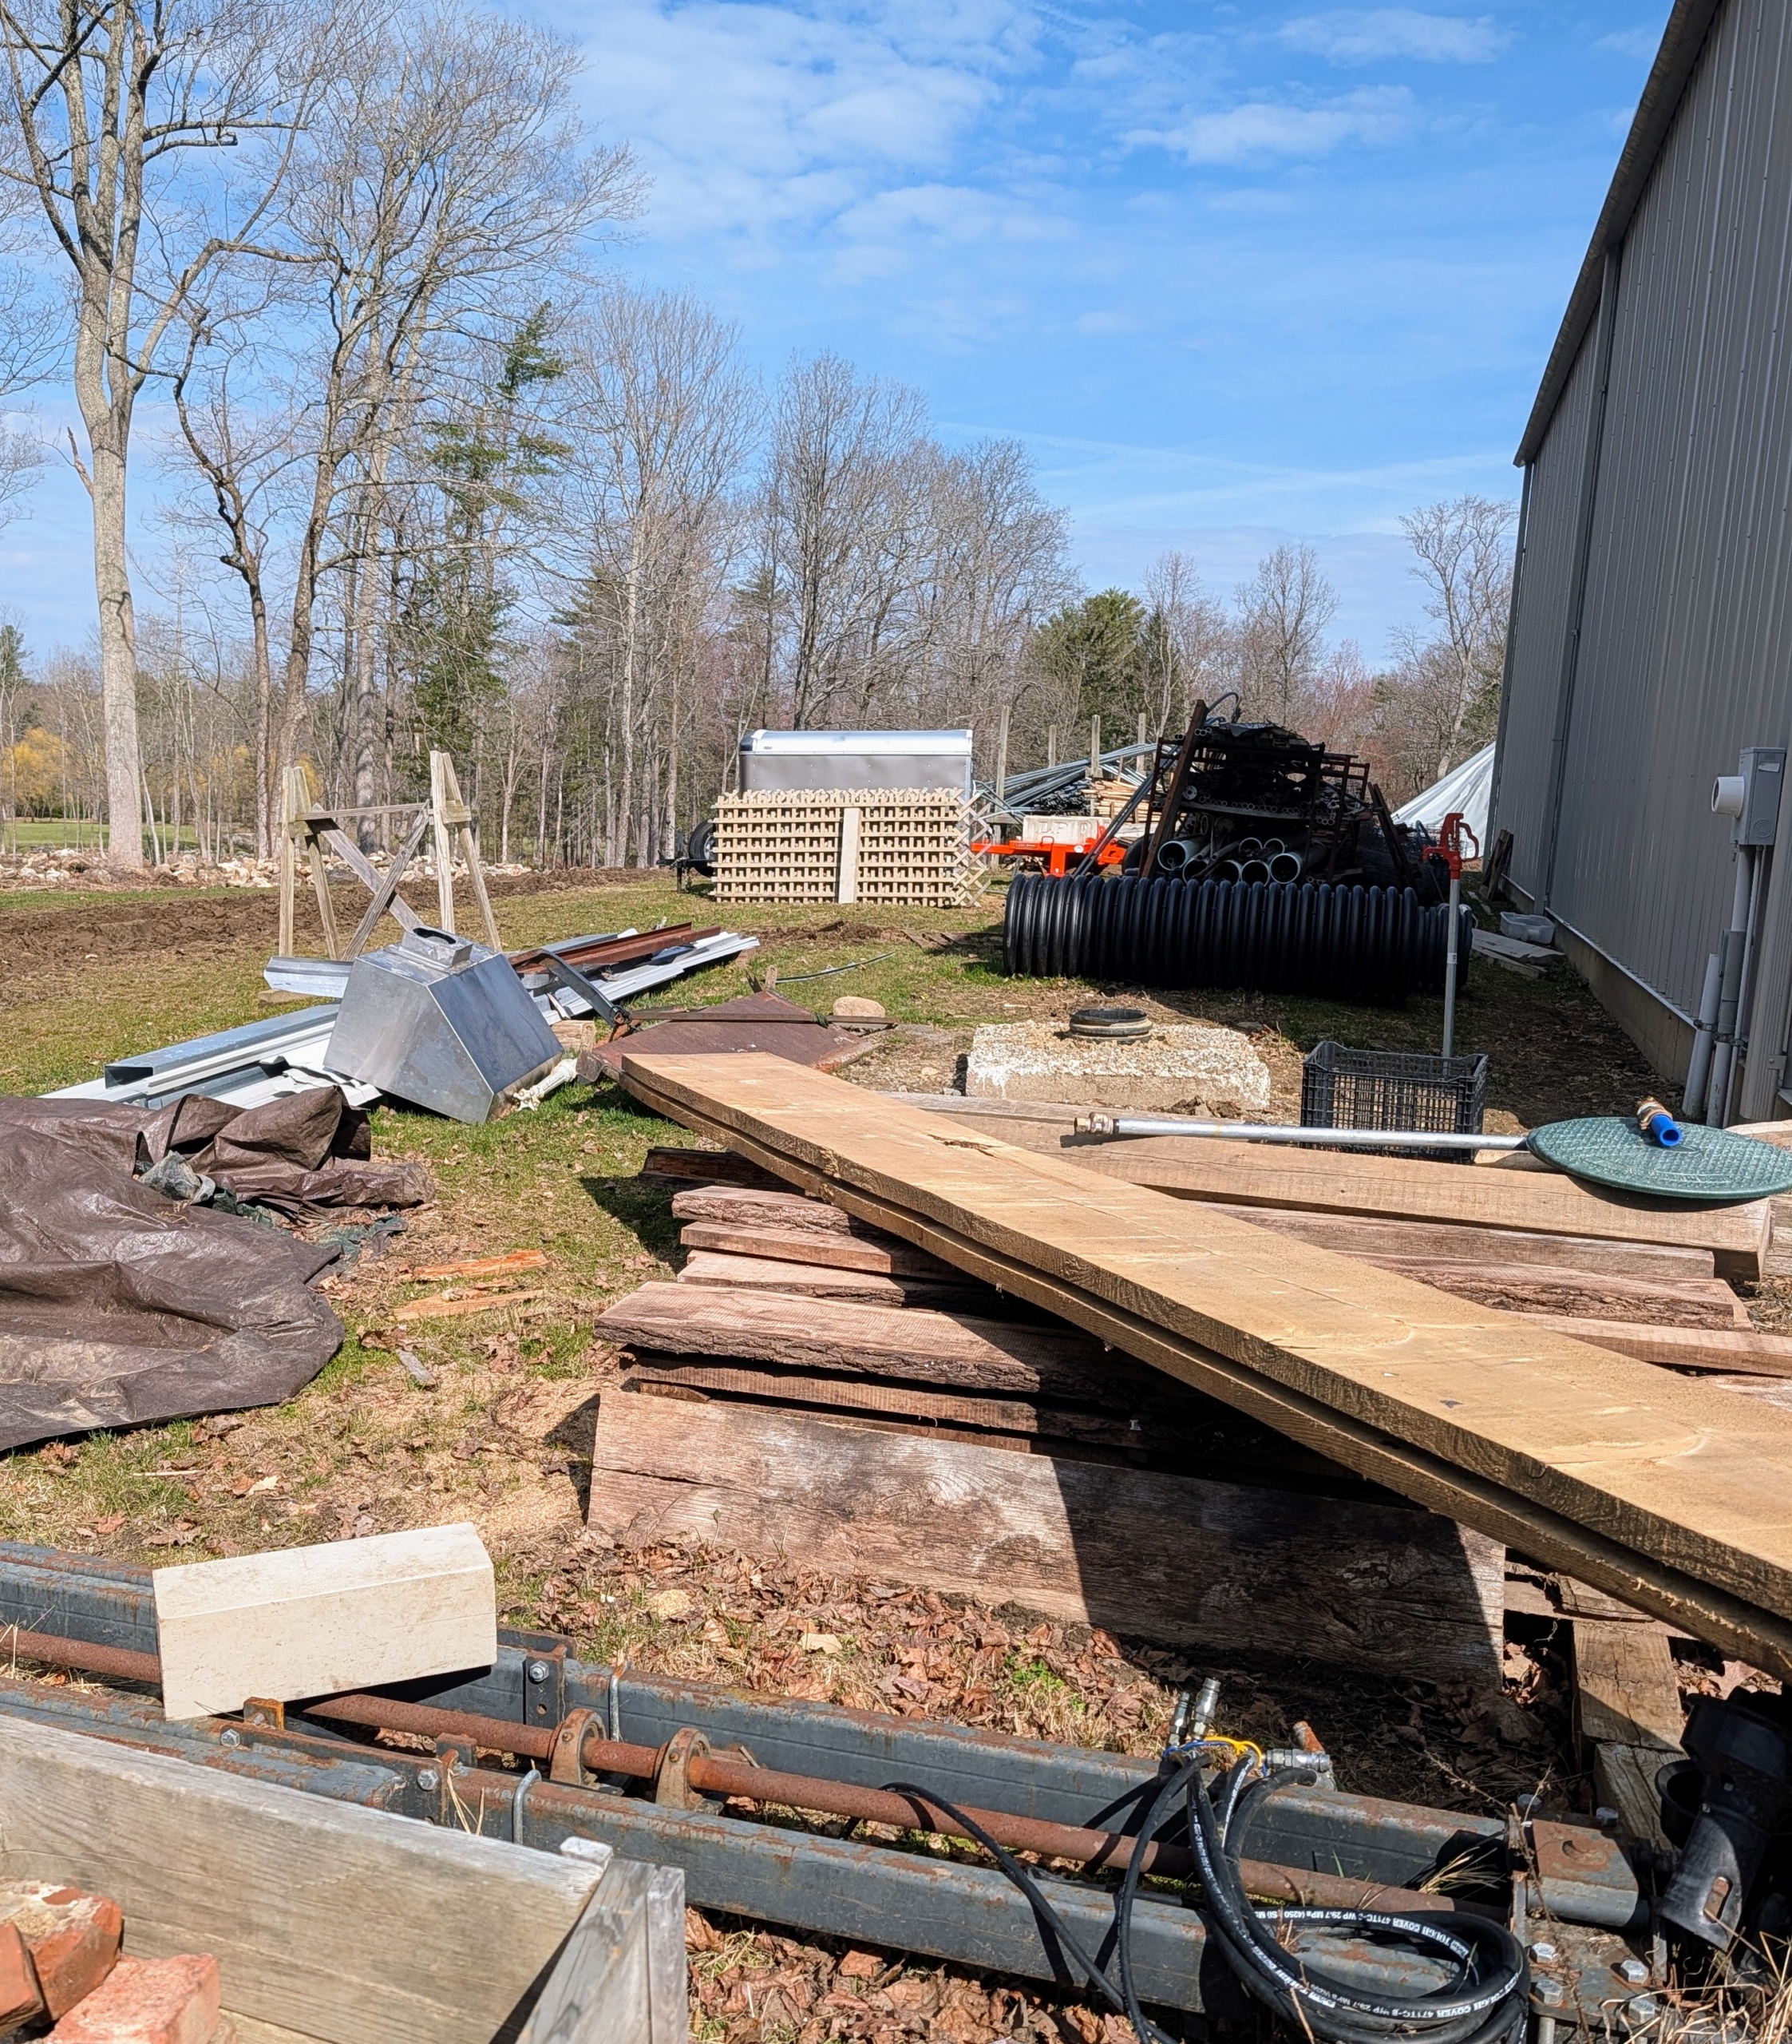
It's always rewarding to repurpose materials and put them to good use around my farm.
Now that the weather is warmer, I asked Pete Sherpa from my outdoor grounds crew to clean and organize an area in the back of one of my fields where I store various building materials including wooden stakes and boards, metal framing for our protective burlap structures, spare wire fencing, etc. Soon after starting the project Pete found an old concrete slab once used as a base for an automatic horse waterer and thought it would make a good foundation for the outdoor faucet in this space.
Enjoy these photos.
Do you have a storage shed or space where you keep spare lumber and other materials? Is it all in order? This area is located just behind my compost yard. Once a year, I like to go through it and take stock of what is there, what is usable, and what needs to be disposed.
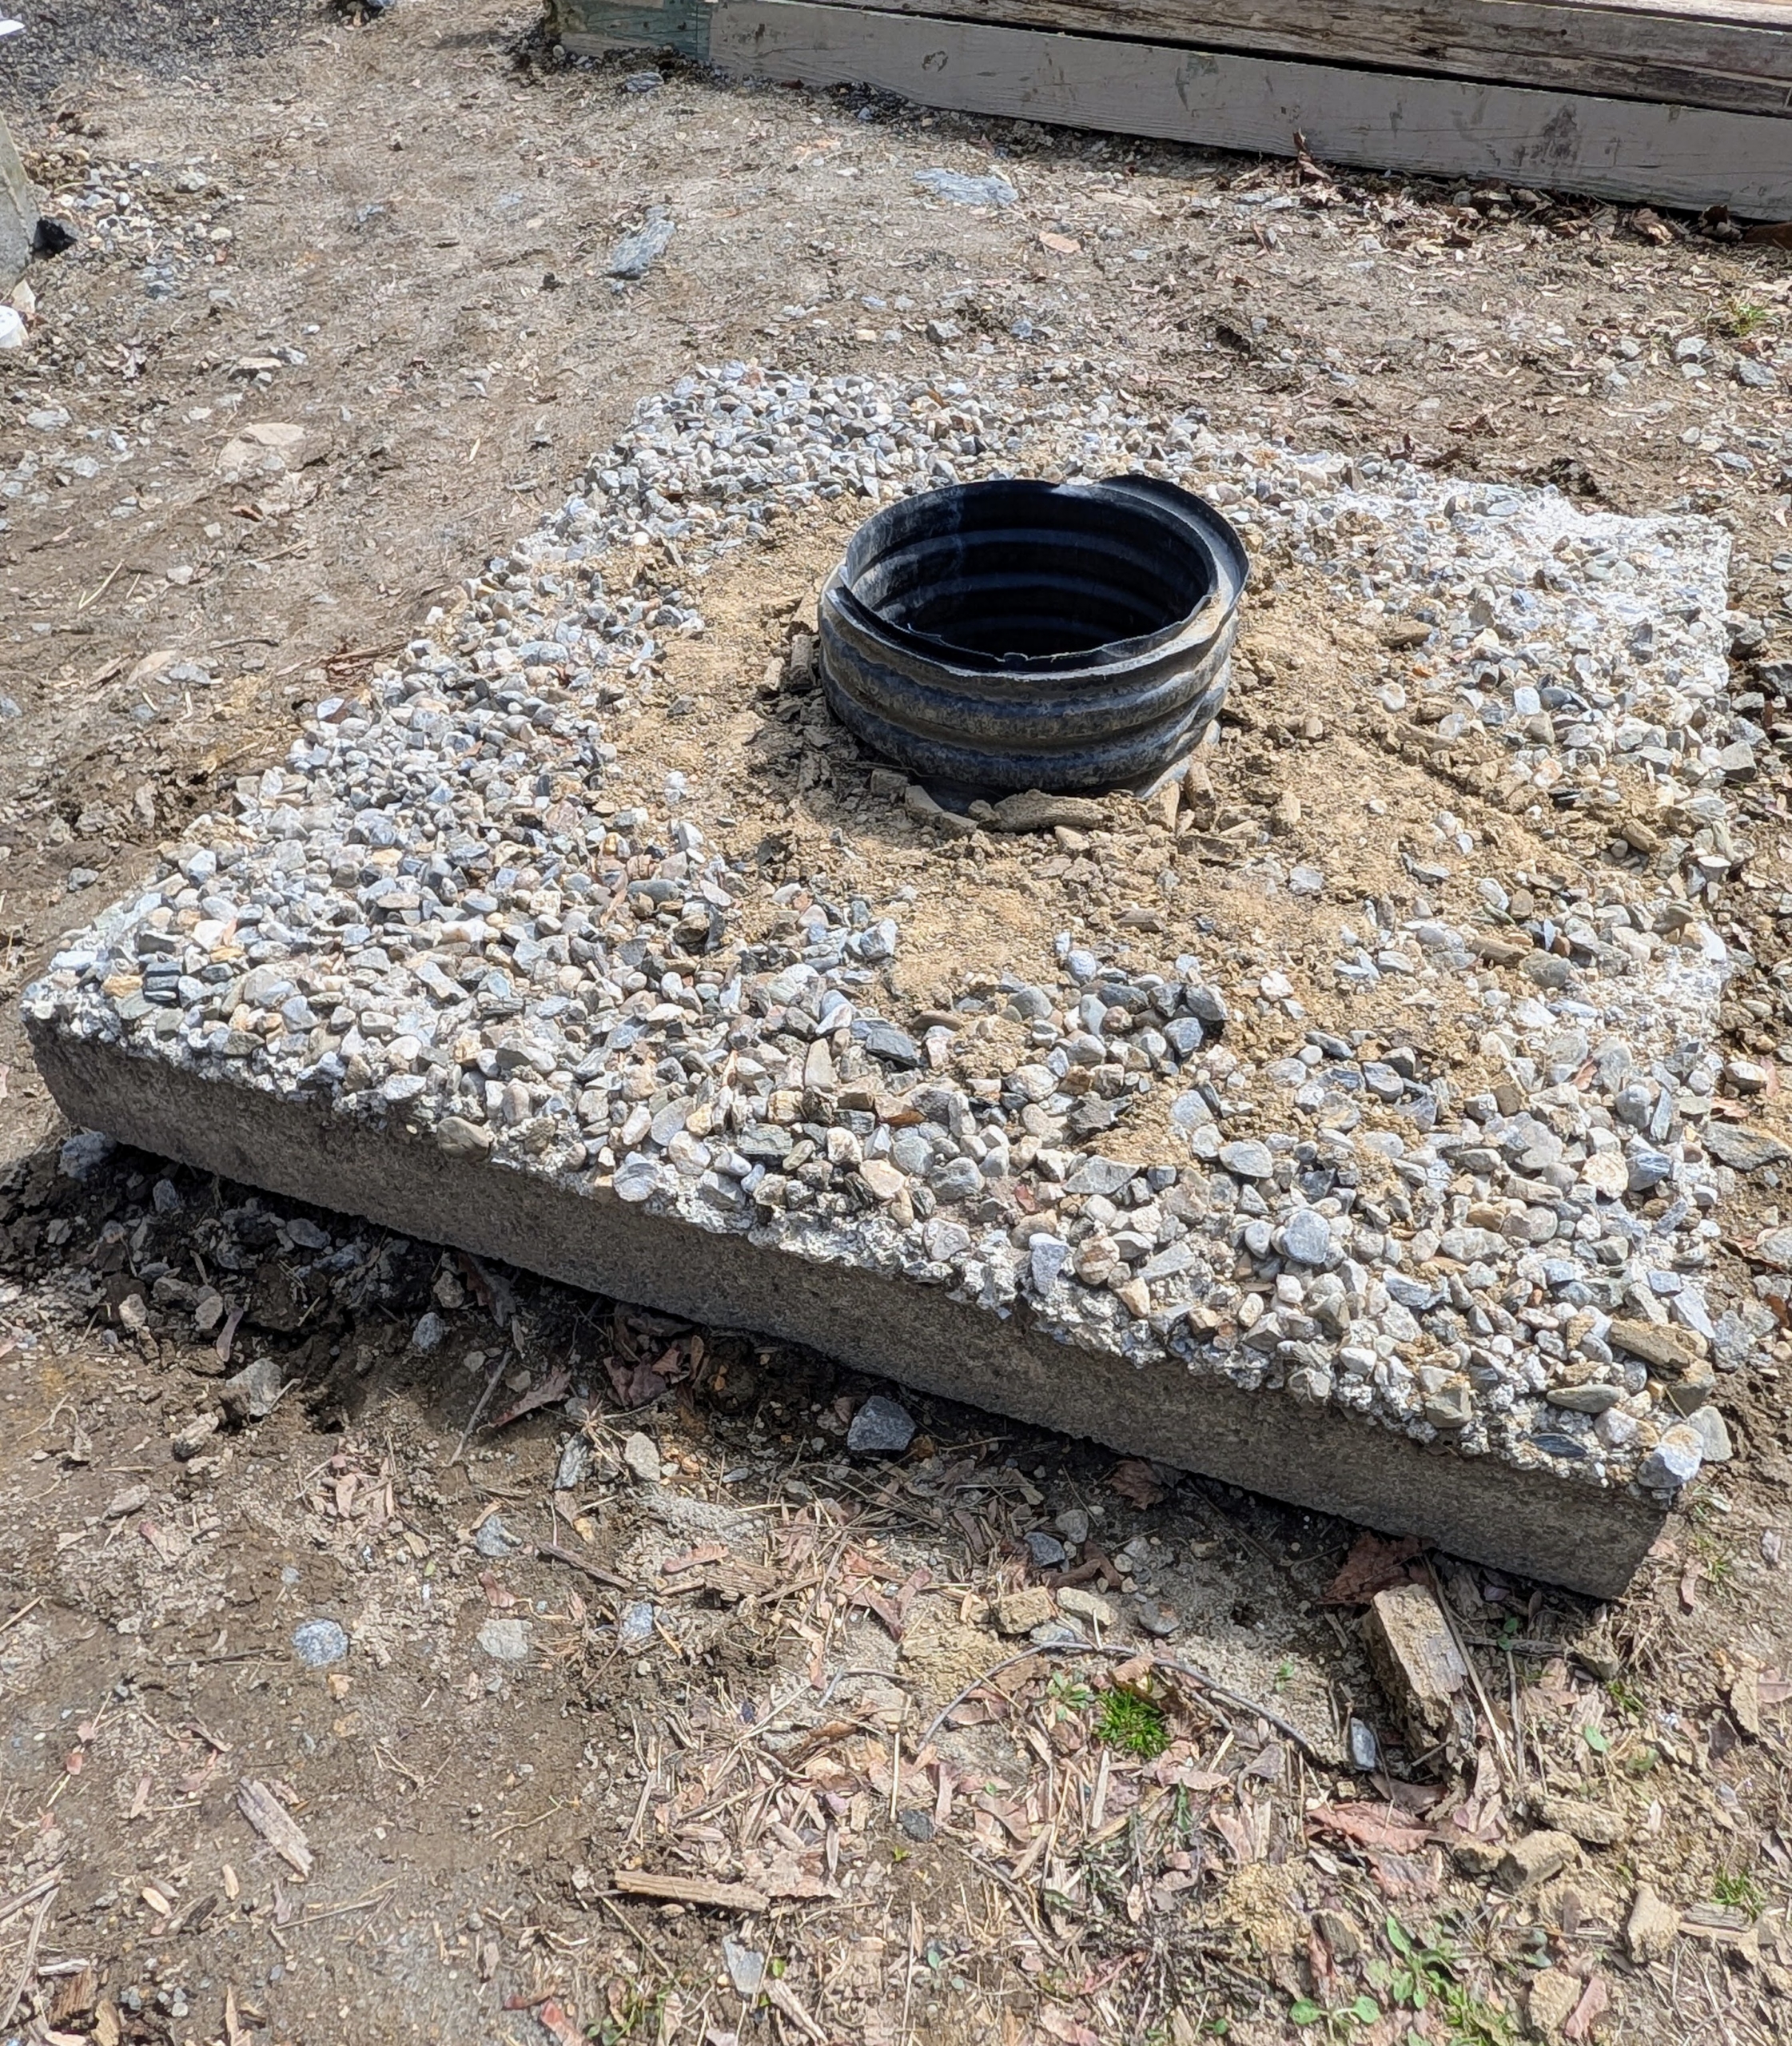
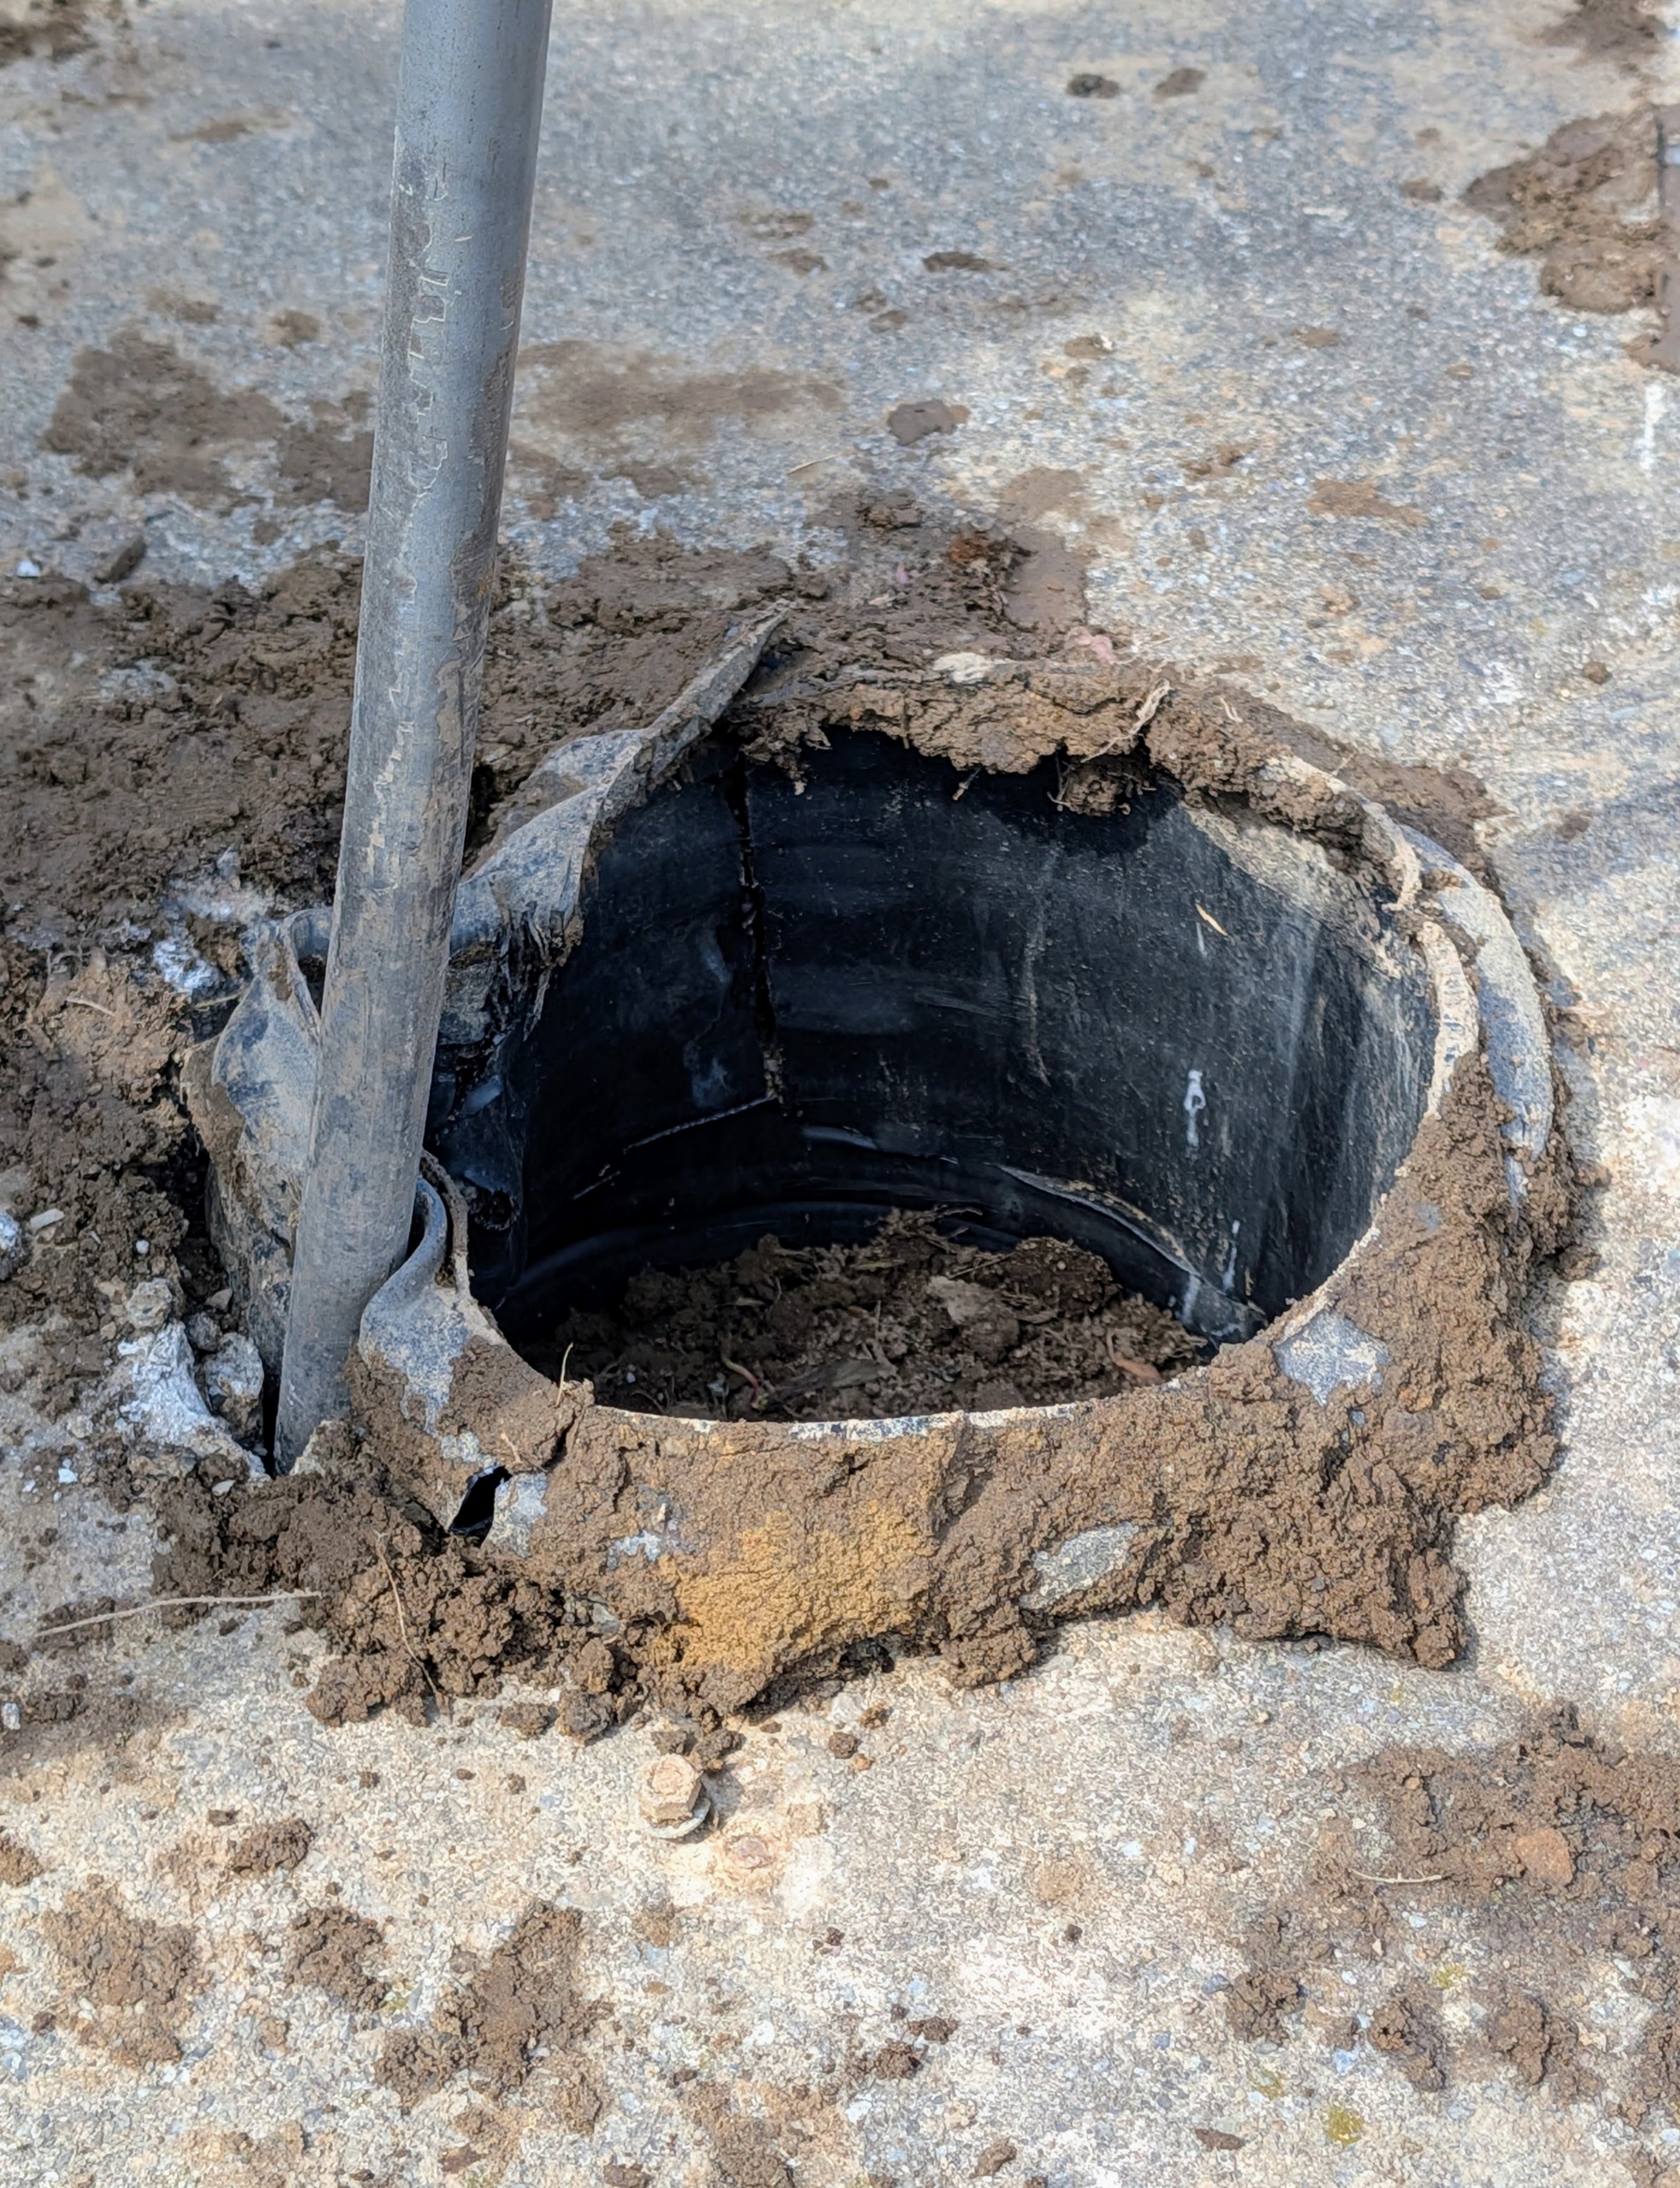
Underneath some lumber, Pete found this four foot square piece of concrete once located in one of my paddocks and used as the foundation of an automatic equine water source – one of those things I saved “just in case” it could be reused.
In the center was a hole lined with a piece of industrial drainage piping.
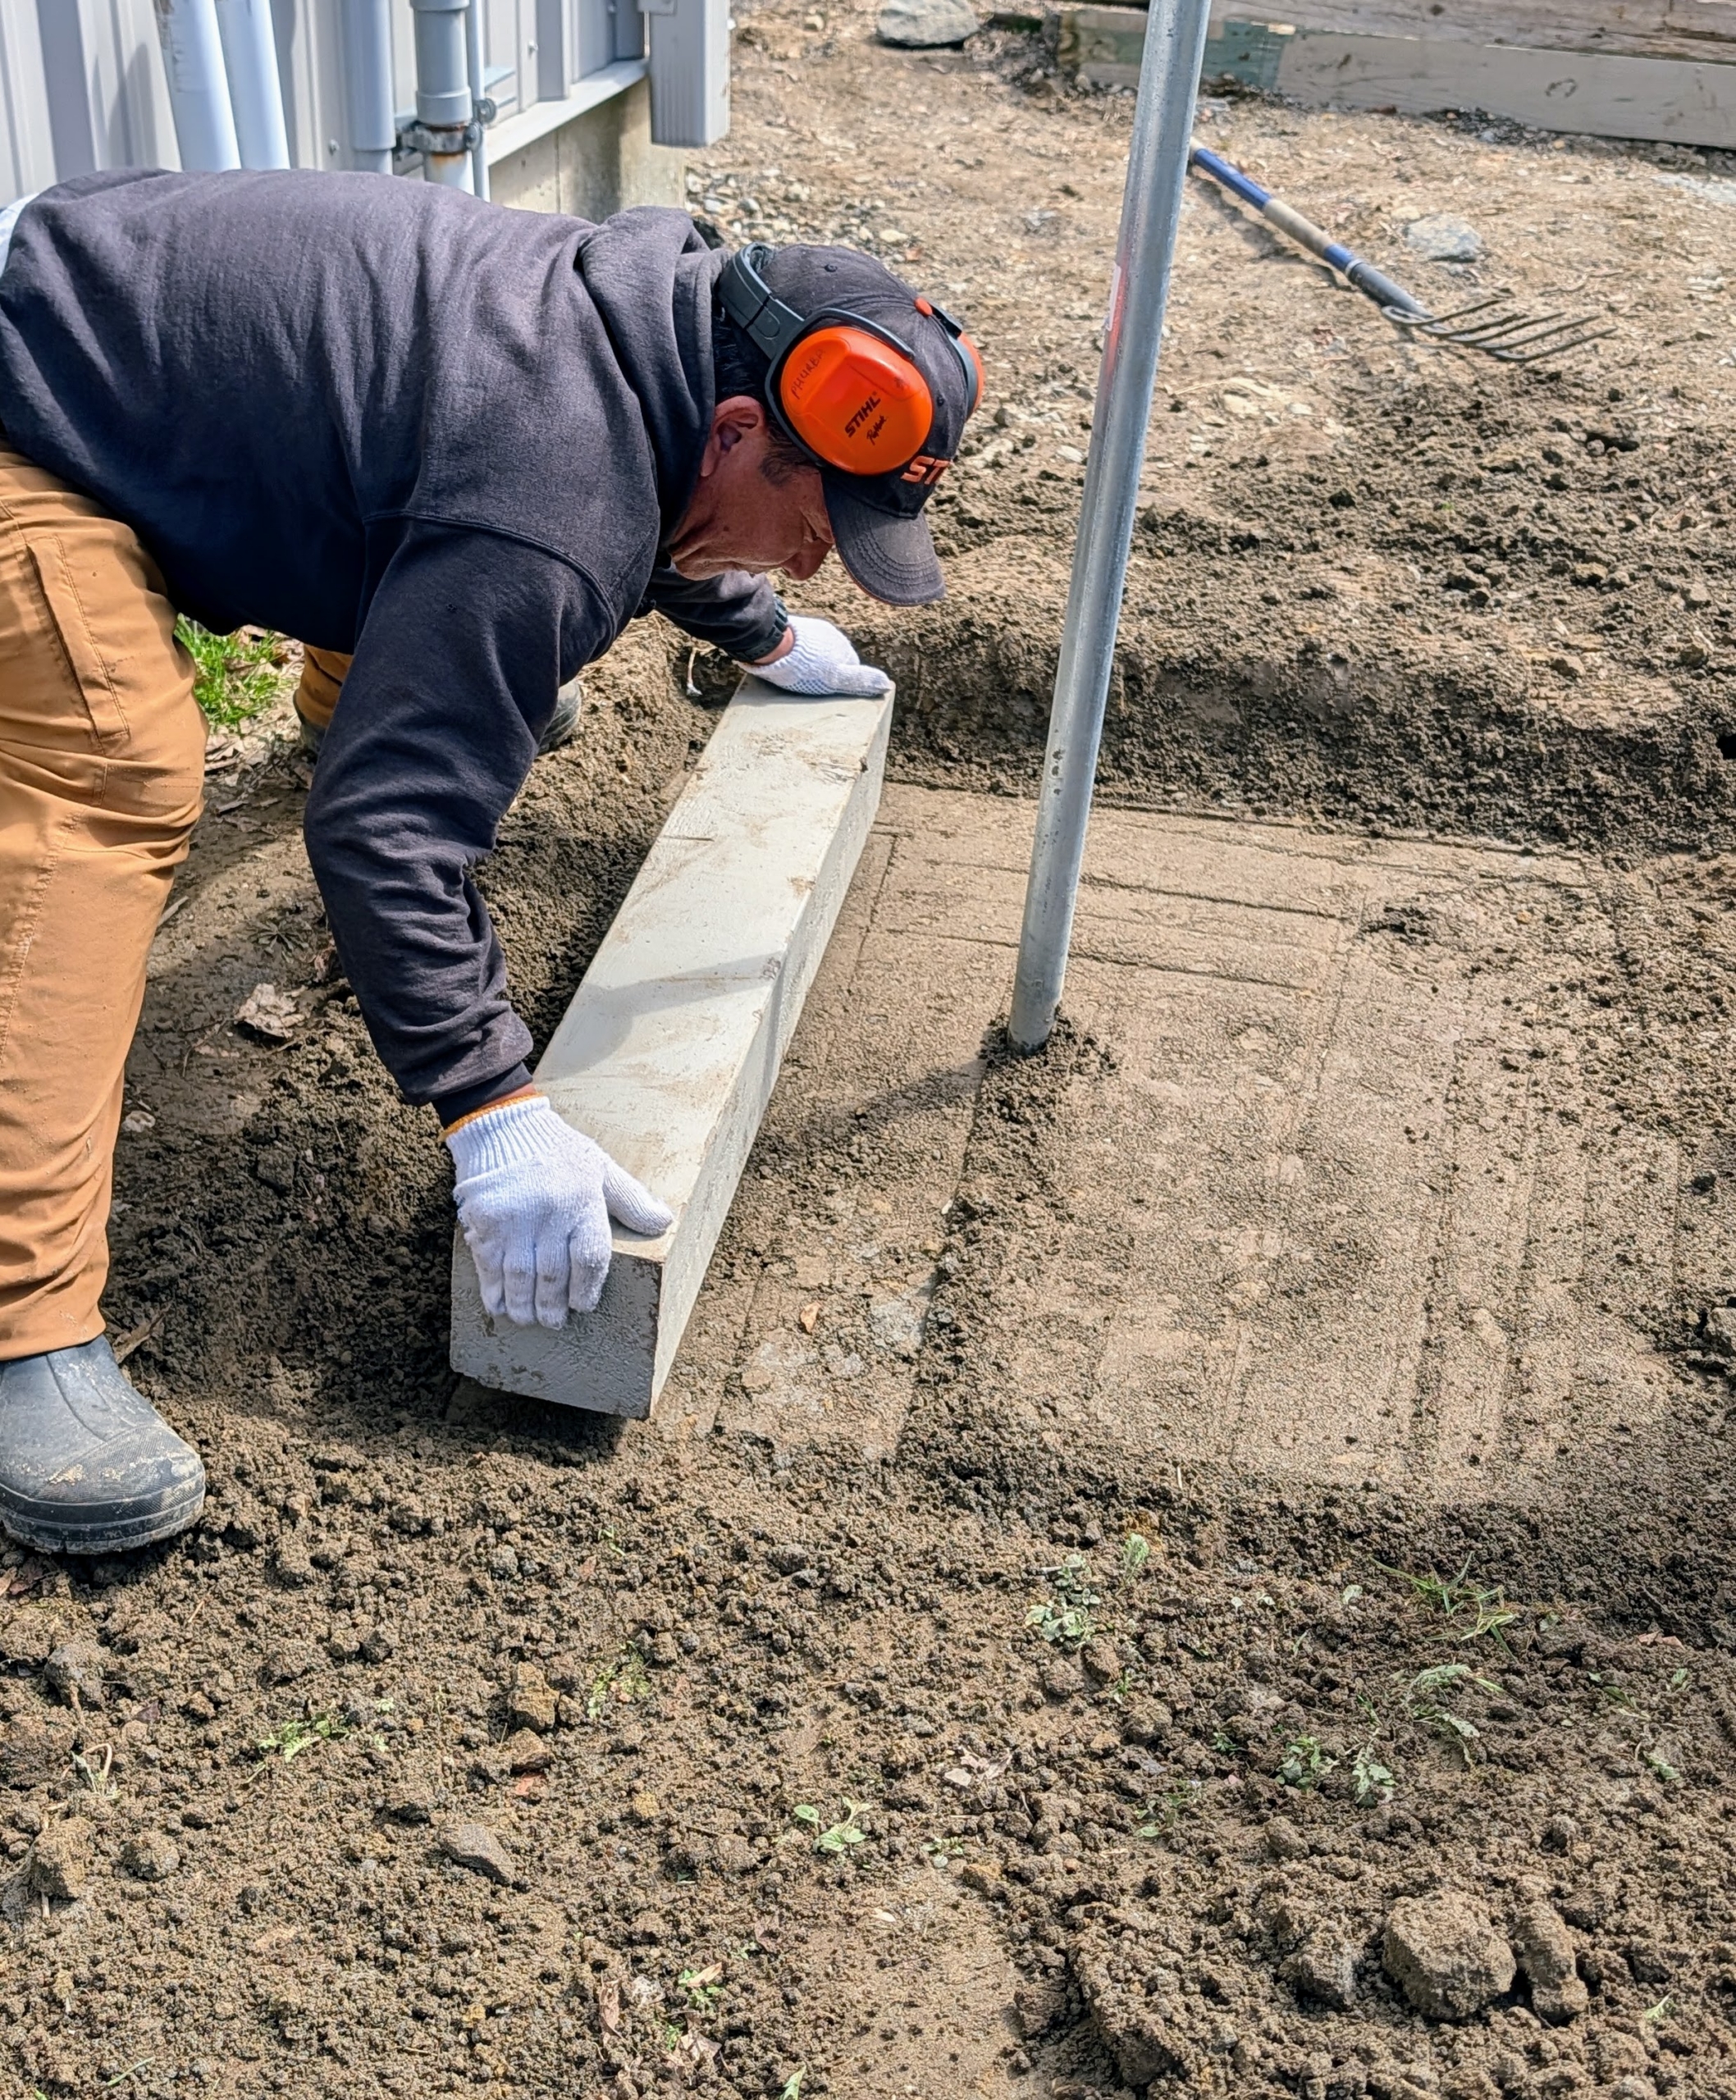
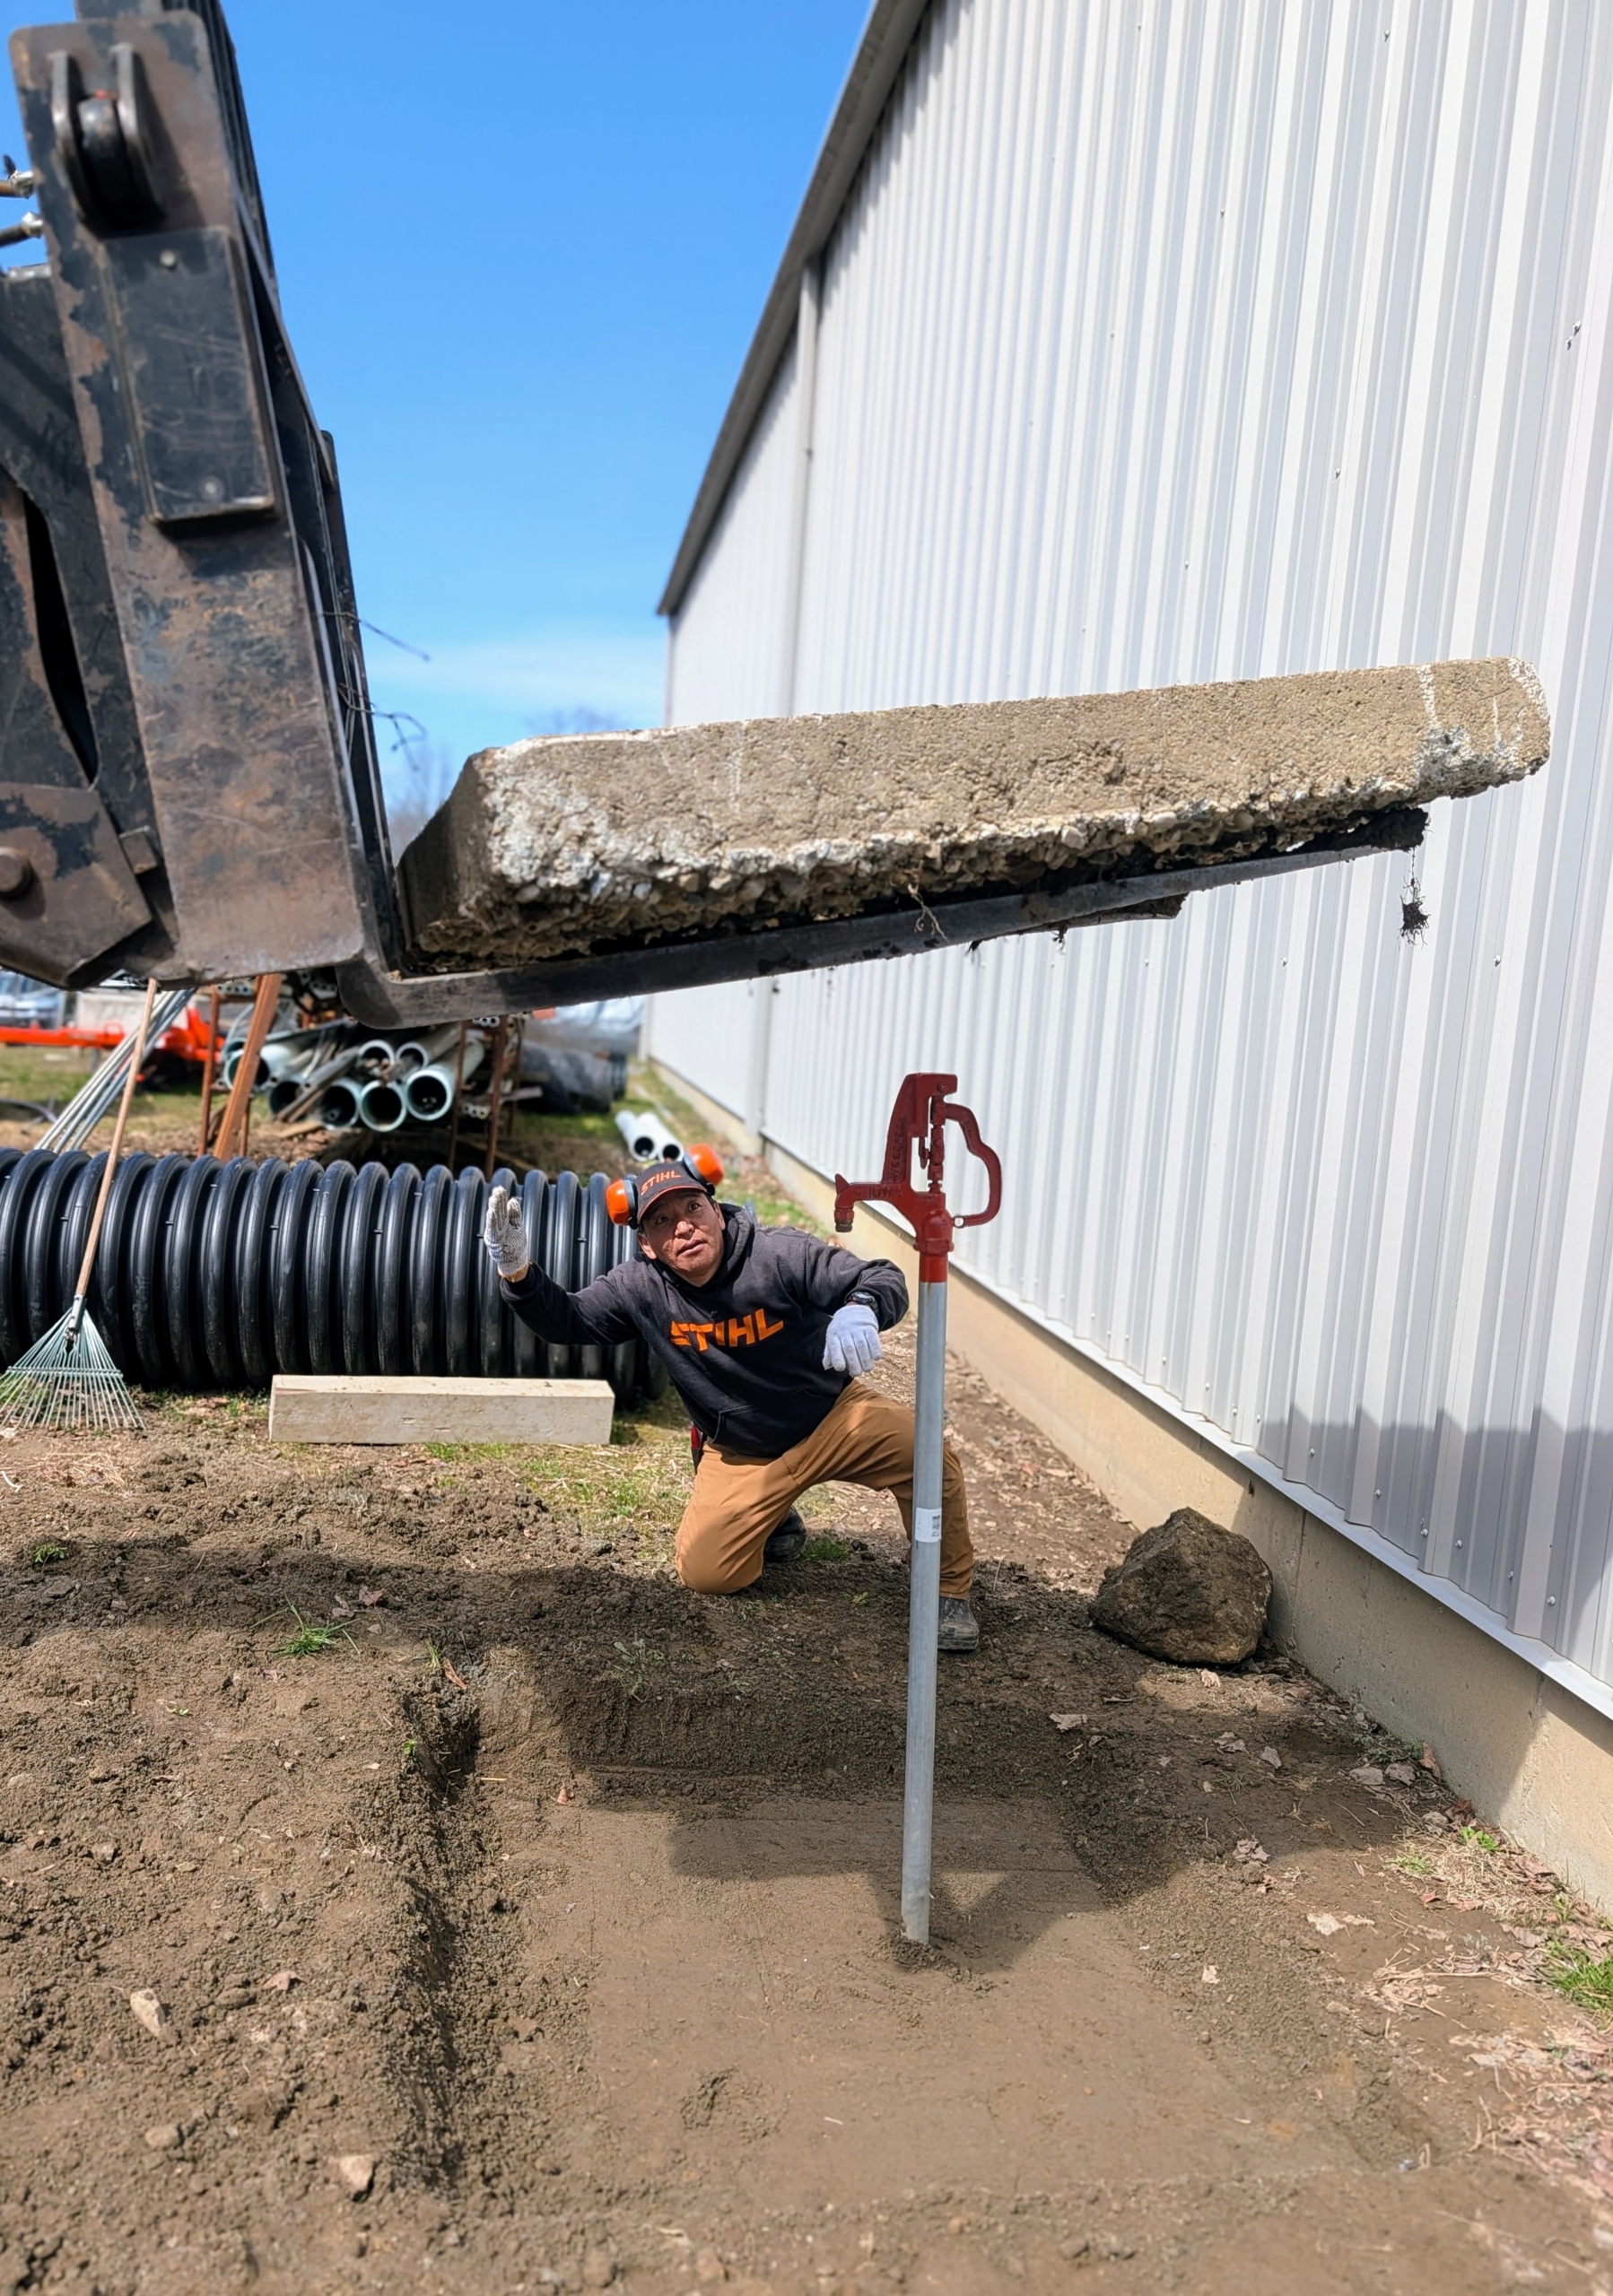
Pete thought it would work well as a base for this existing free standing hose bib. Here’s Phurba digging a level space to fit the concrete square.
The new base would provide a place to stand and store a hose. It will also keep mud from ponding around the faucet.
But the area must first be prepped. Pete rakes any stones away from the space.
He also goes over it with a four foot wide gravel rake.
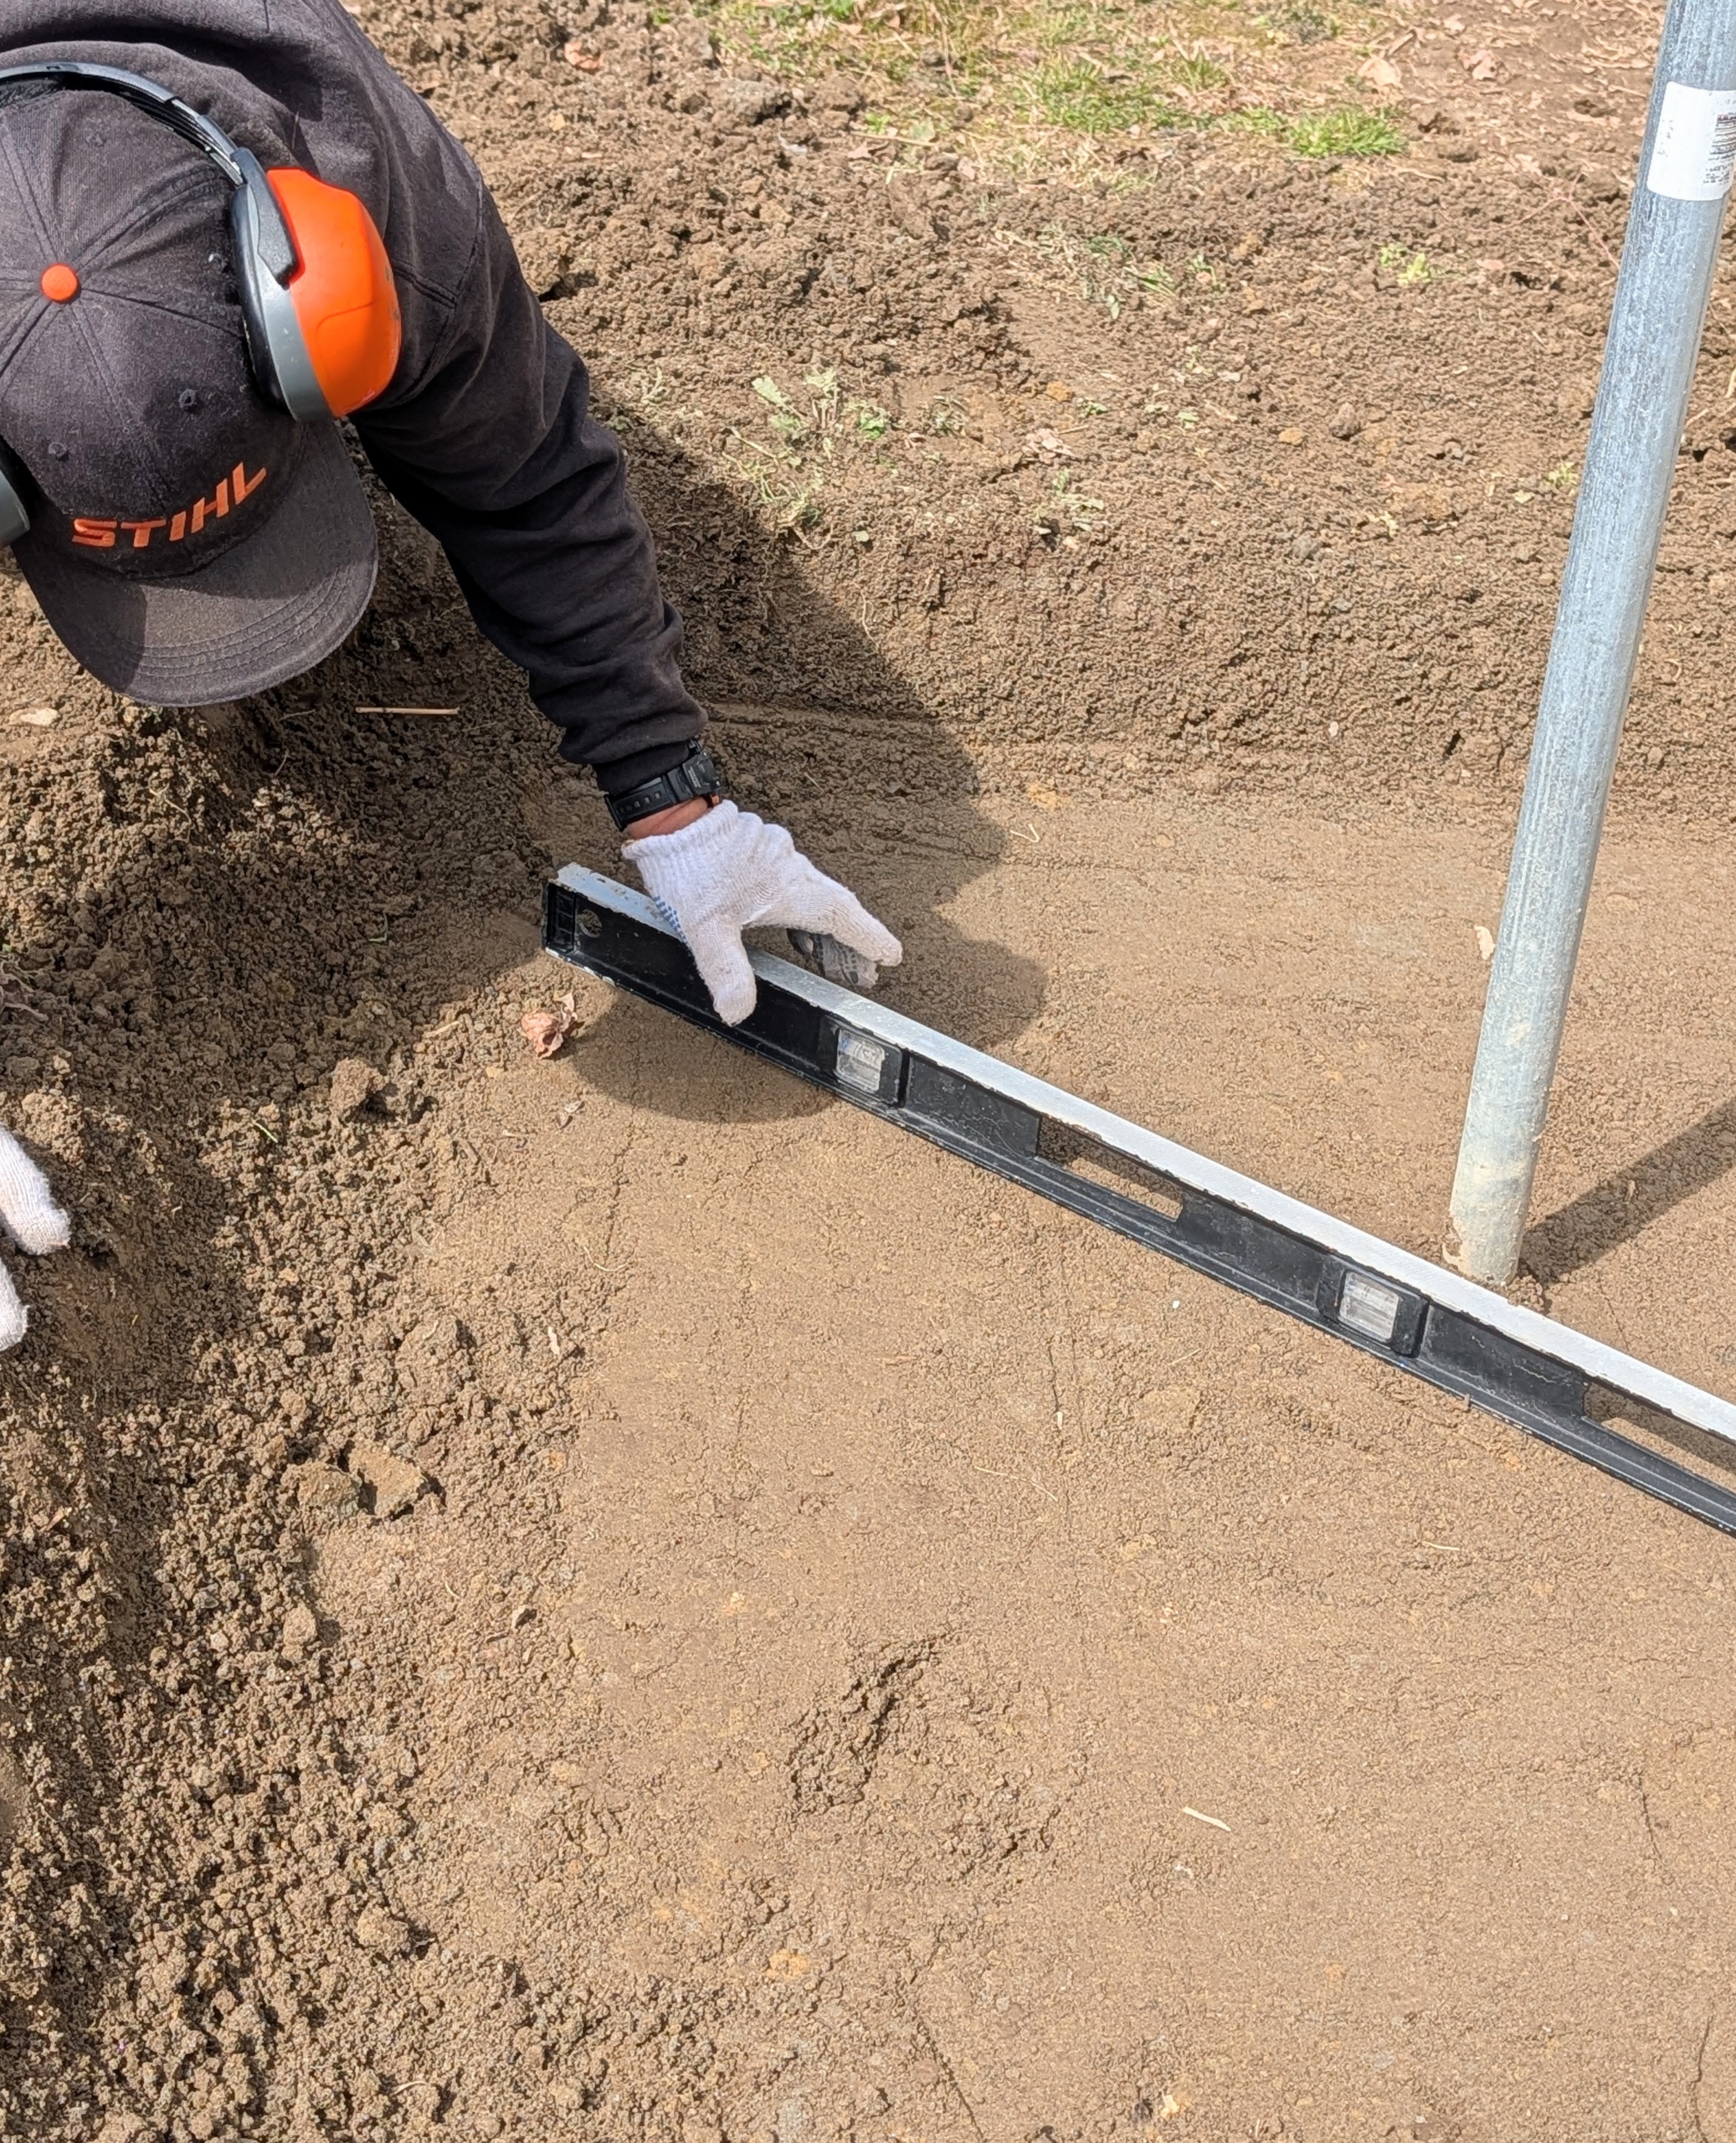
Phurba uses a four foot long piece of wood to tamp down on the soil.
And then the area is checked for level. It must be perfectly level for the concrete to sit properly in the space.
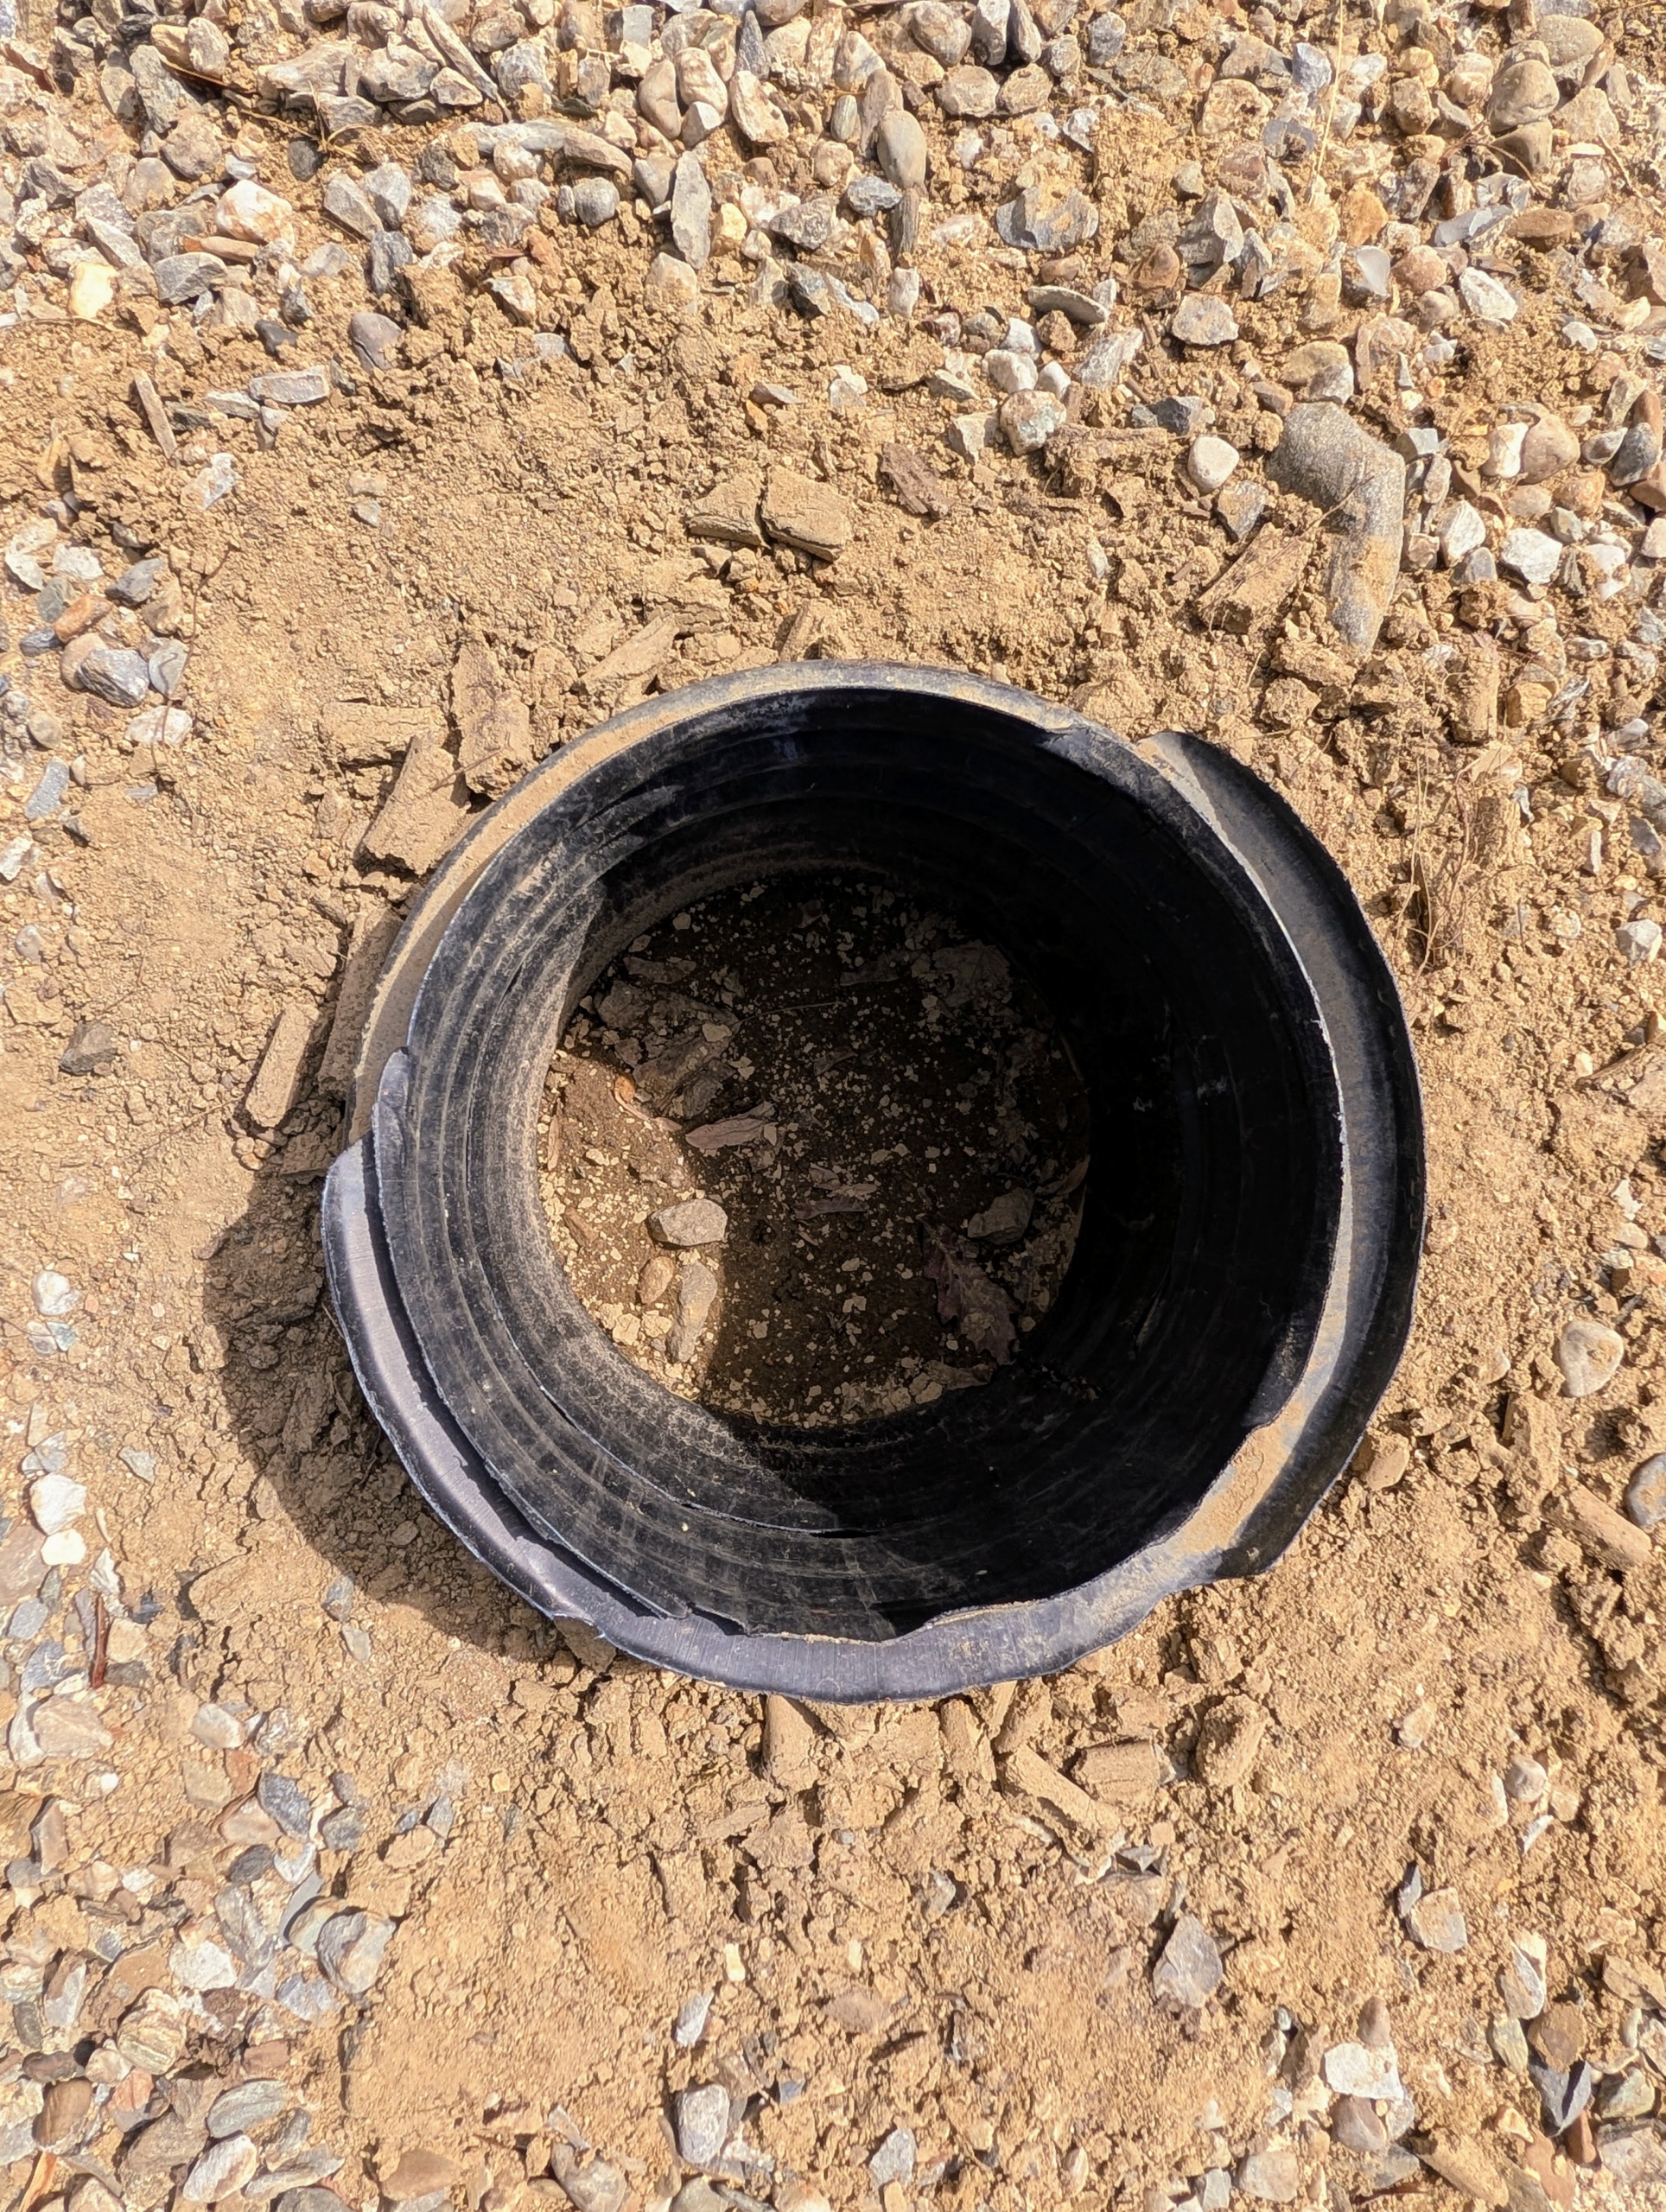
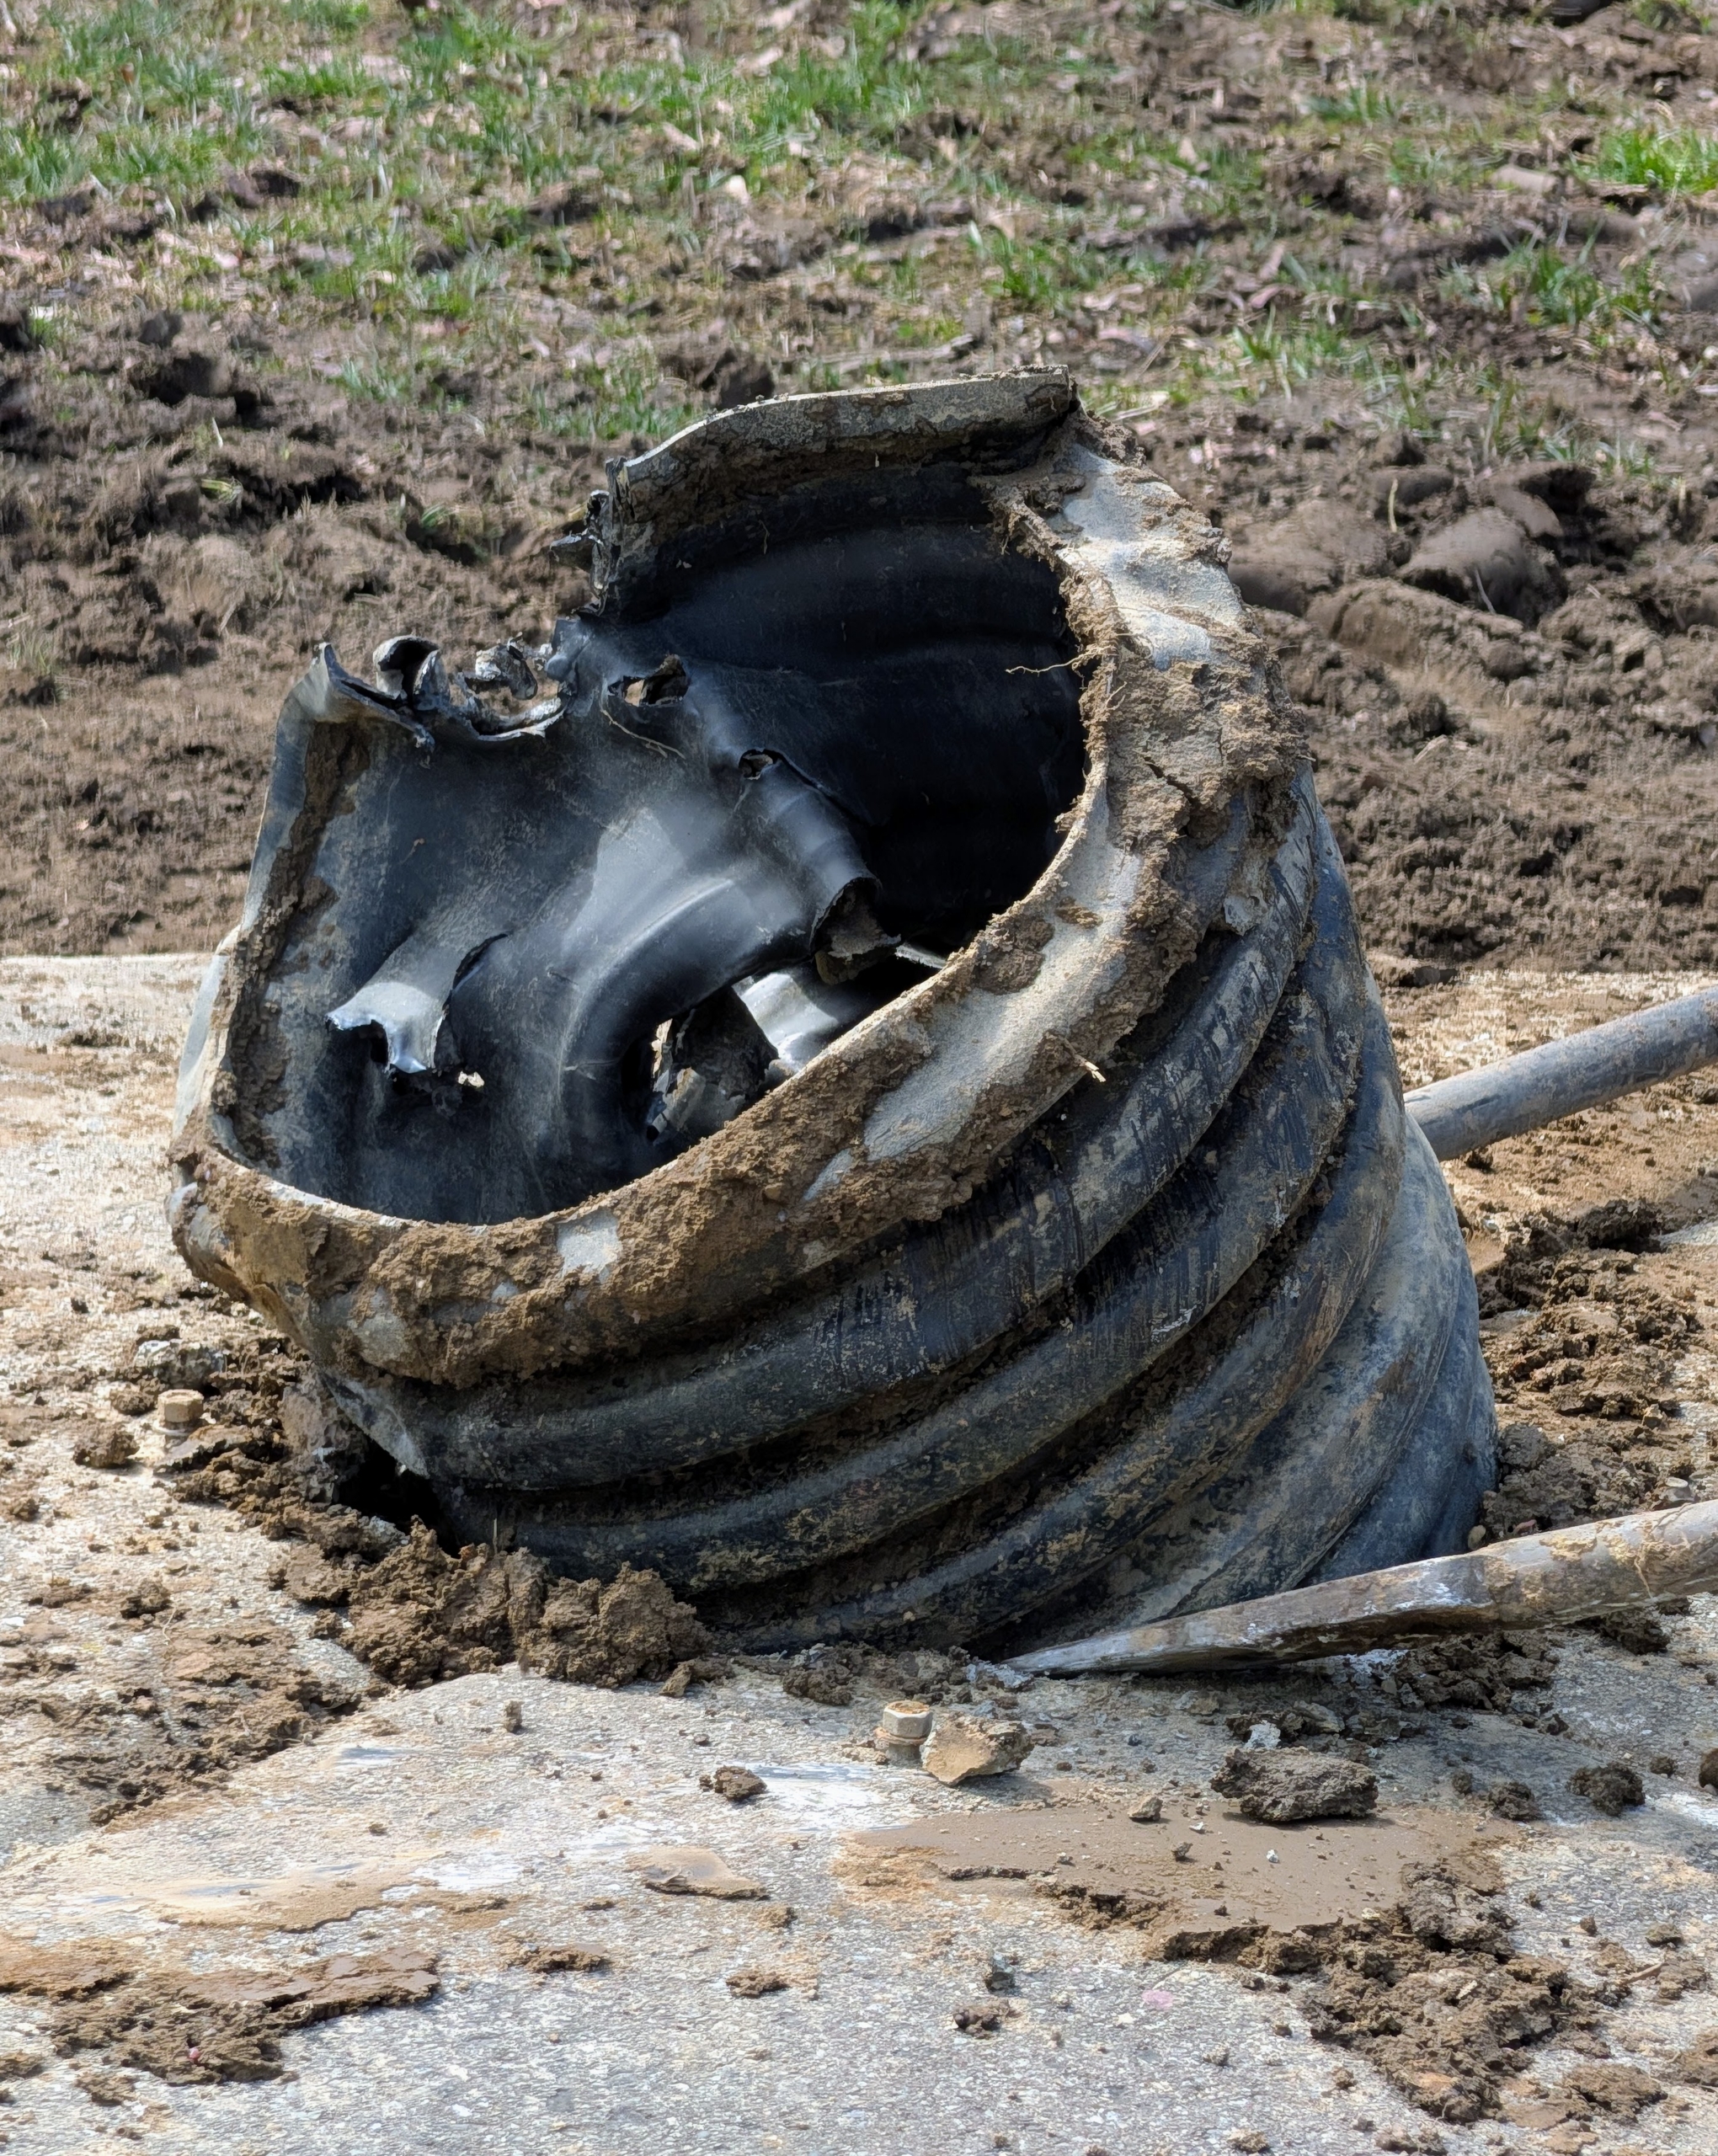
Meanwhile, using a steel digging bar Pete removes the underground drainage pipe from center of the piece.
It takes some elbow grease to remove, but in a few minutes, it’s out and discarded.
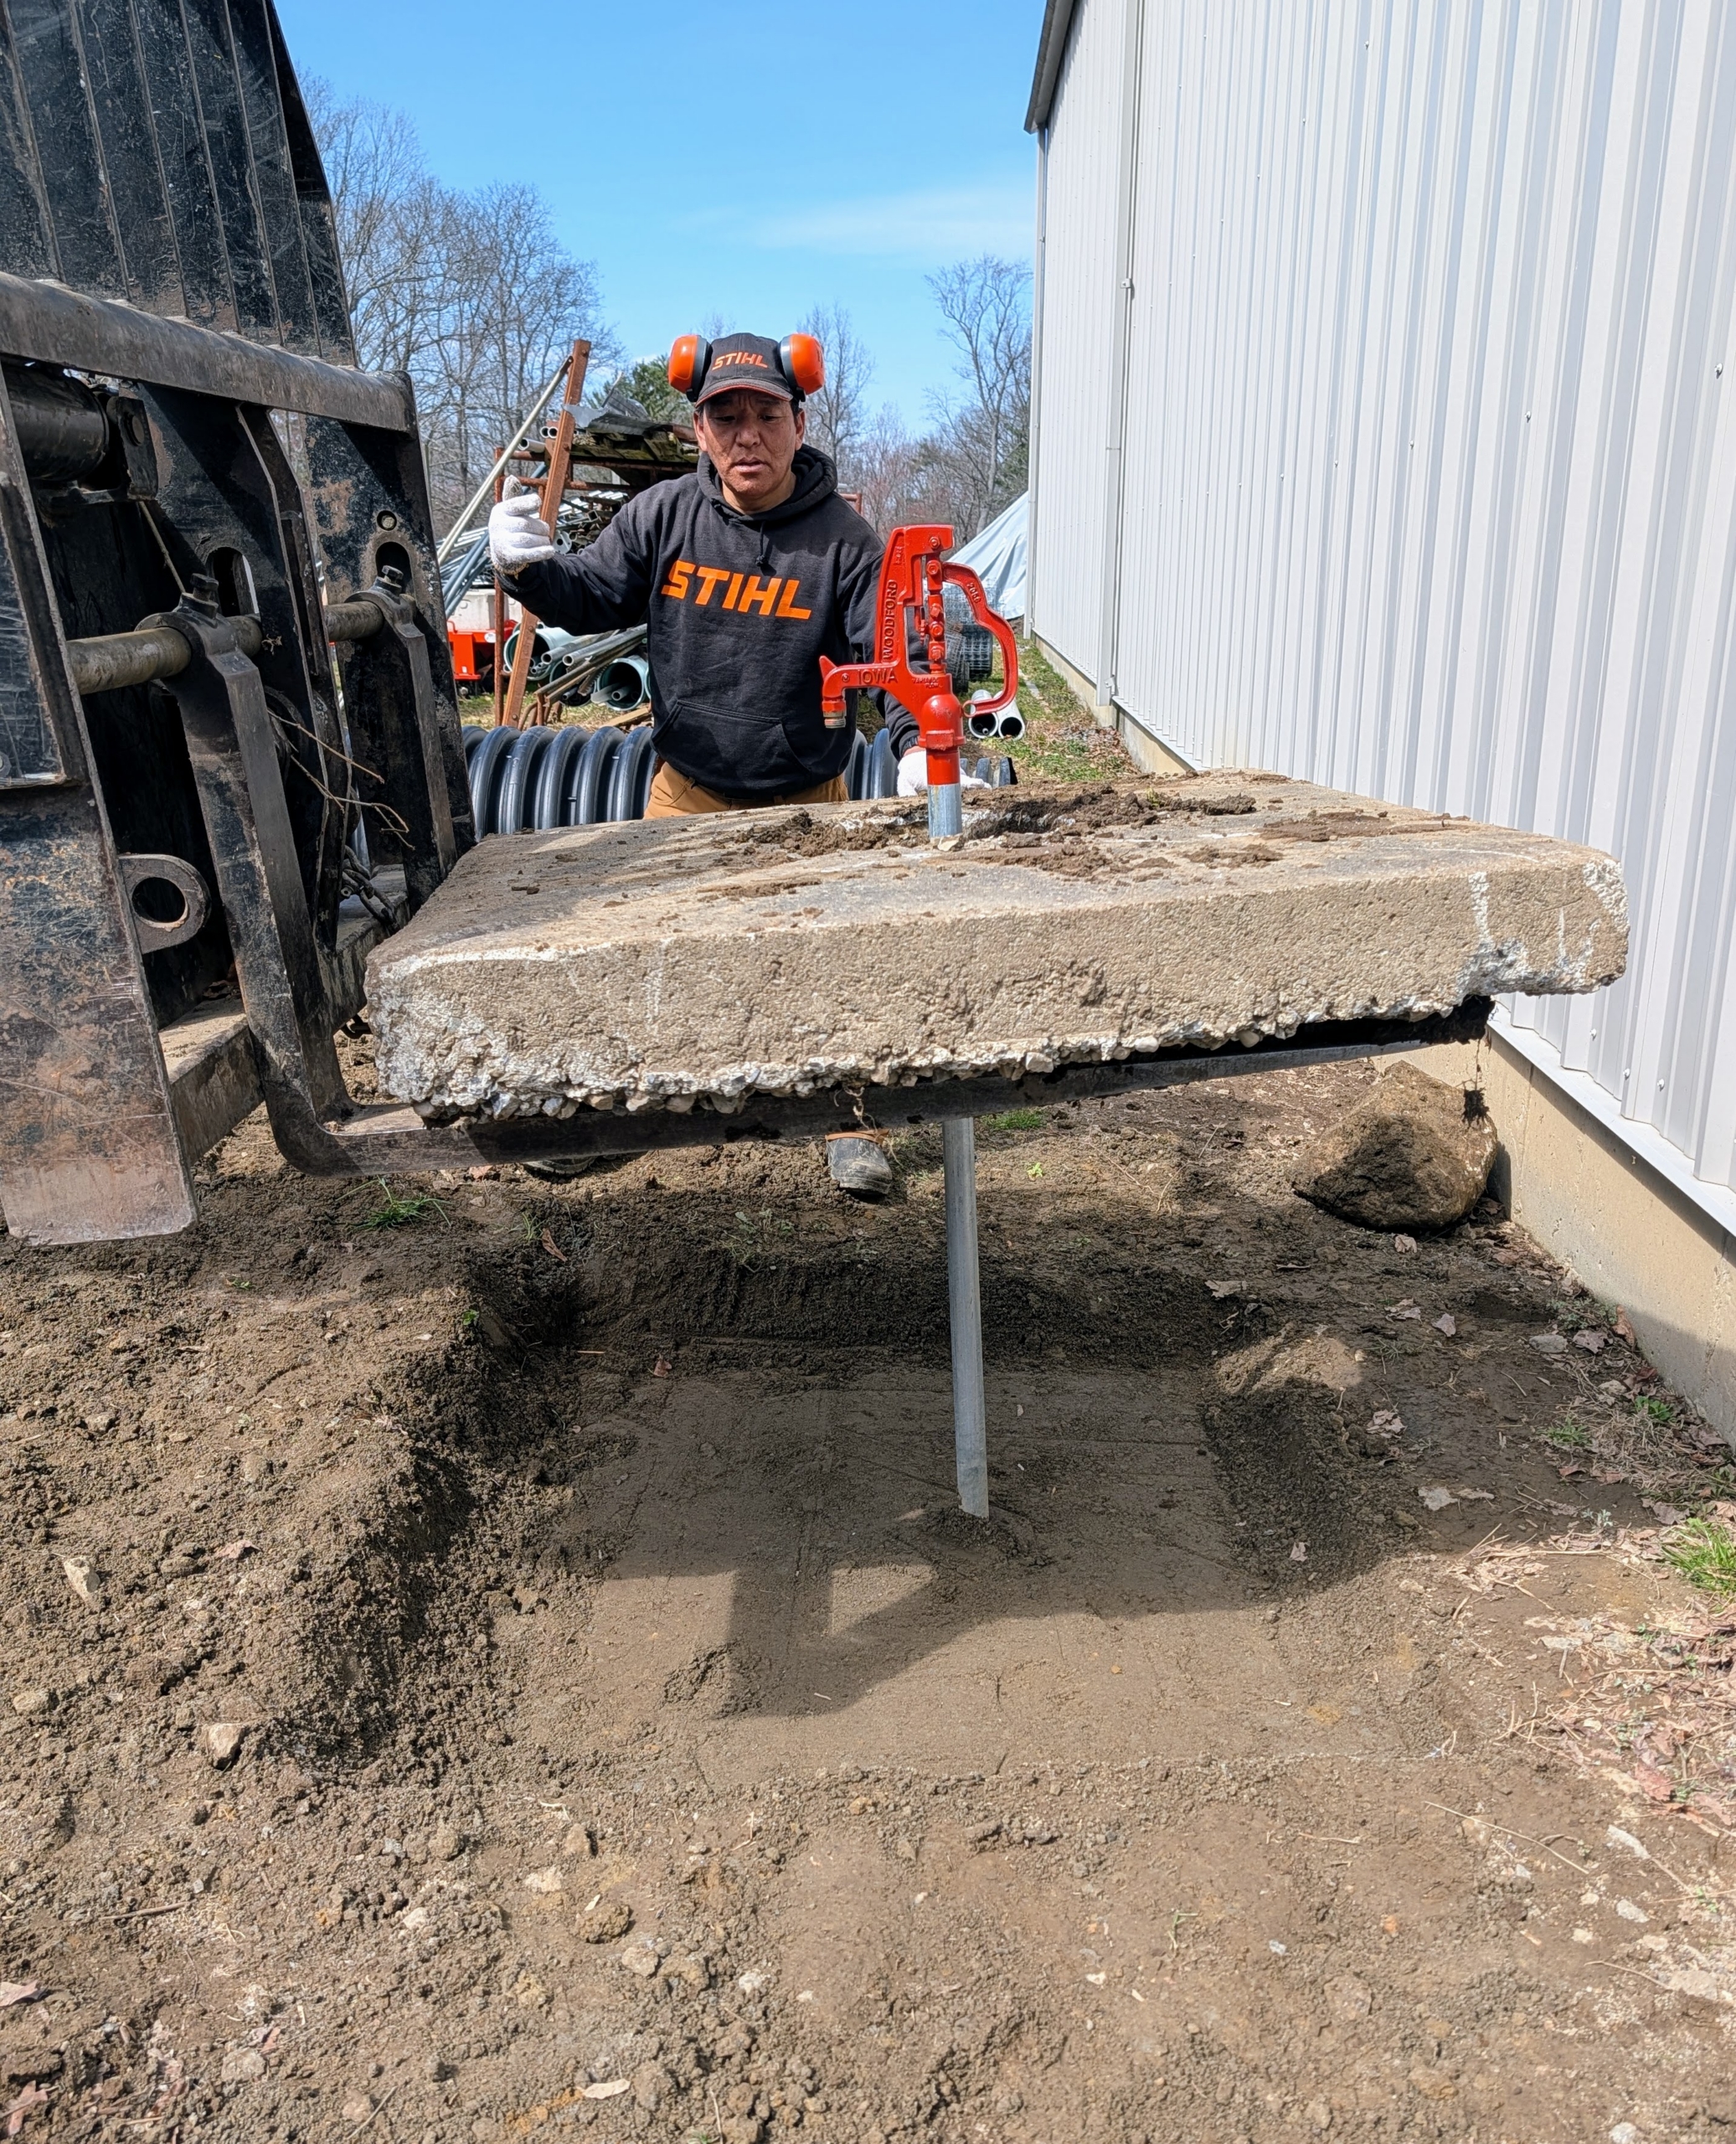
Next, Pete uses the fork of the Hi-Lo to transport the concrete to the faucet.
With Phurba on the side to direct Pete’s positioning, the square is carefully positioned with the center hole just above the faucet.
And then it is slowly lowered into position.
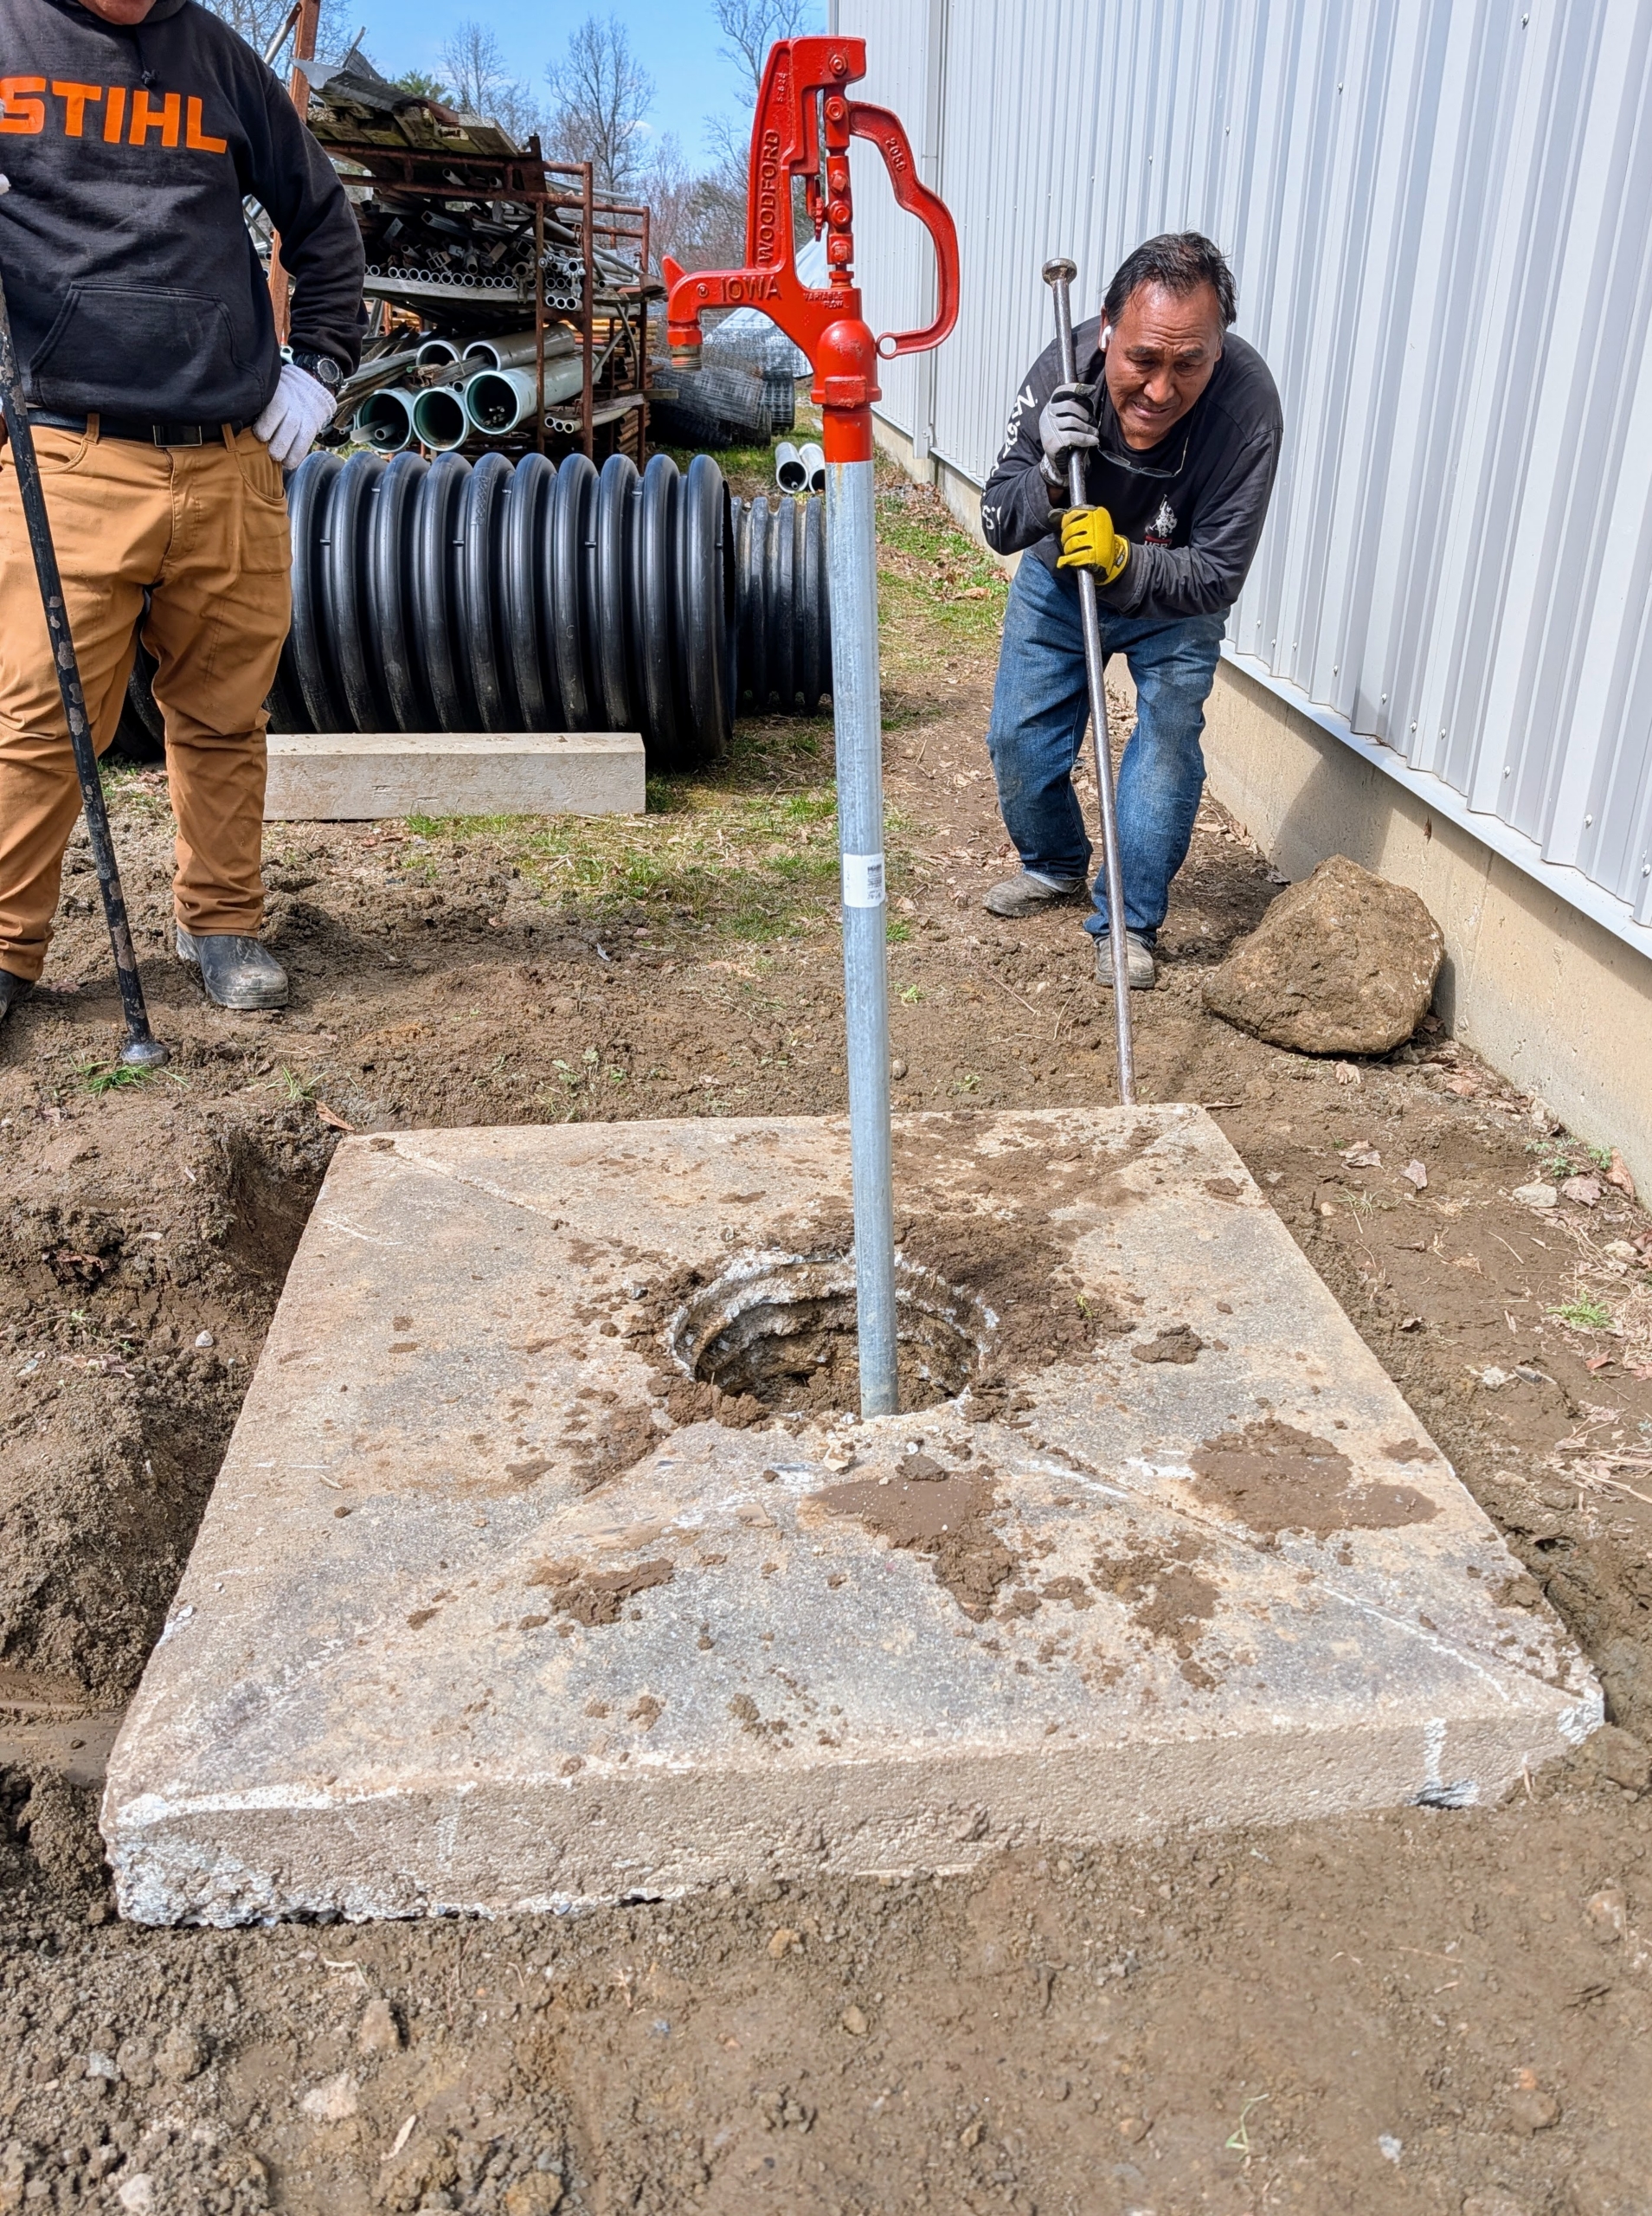
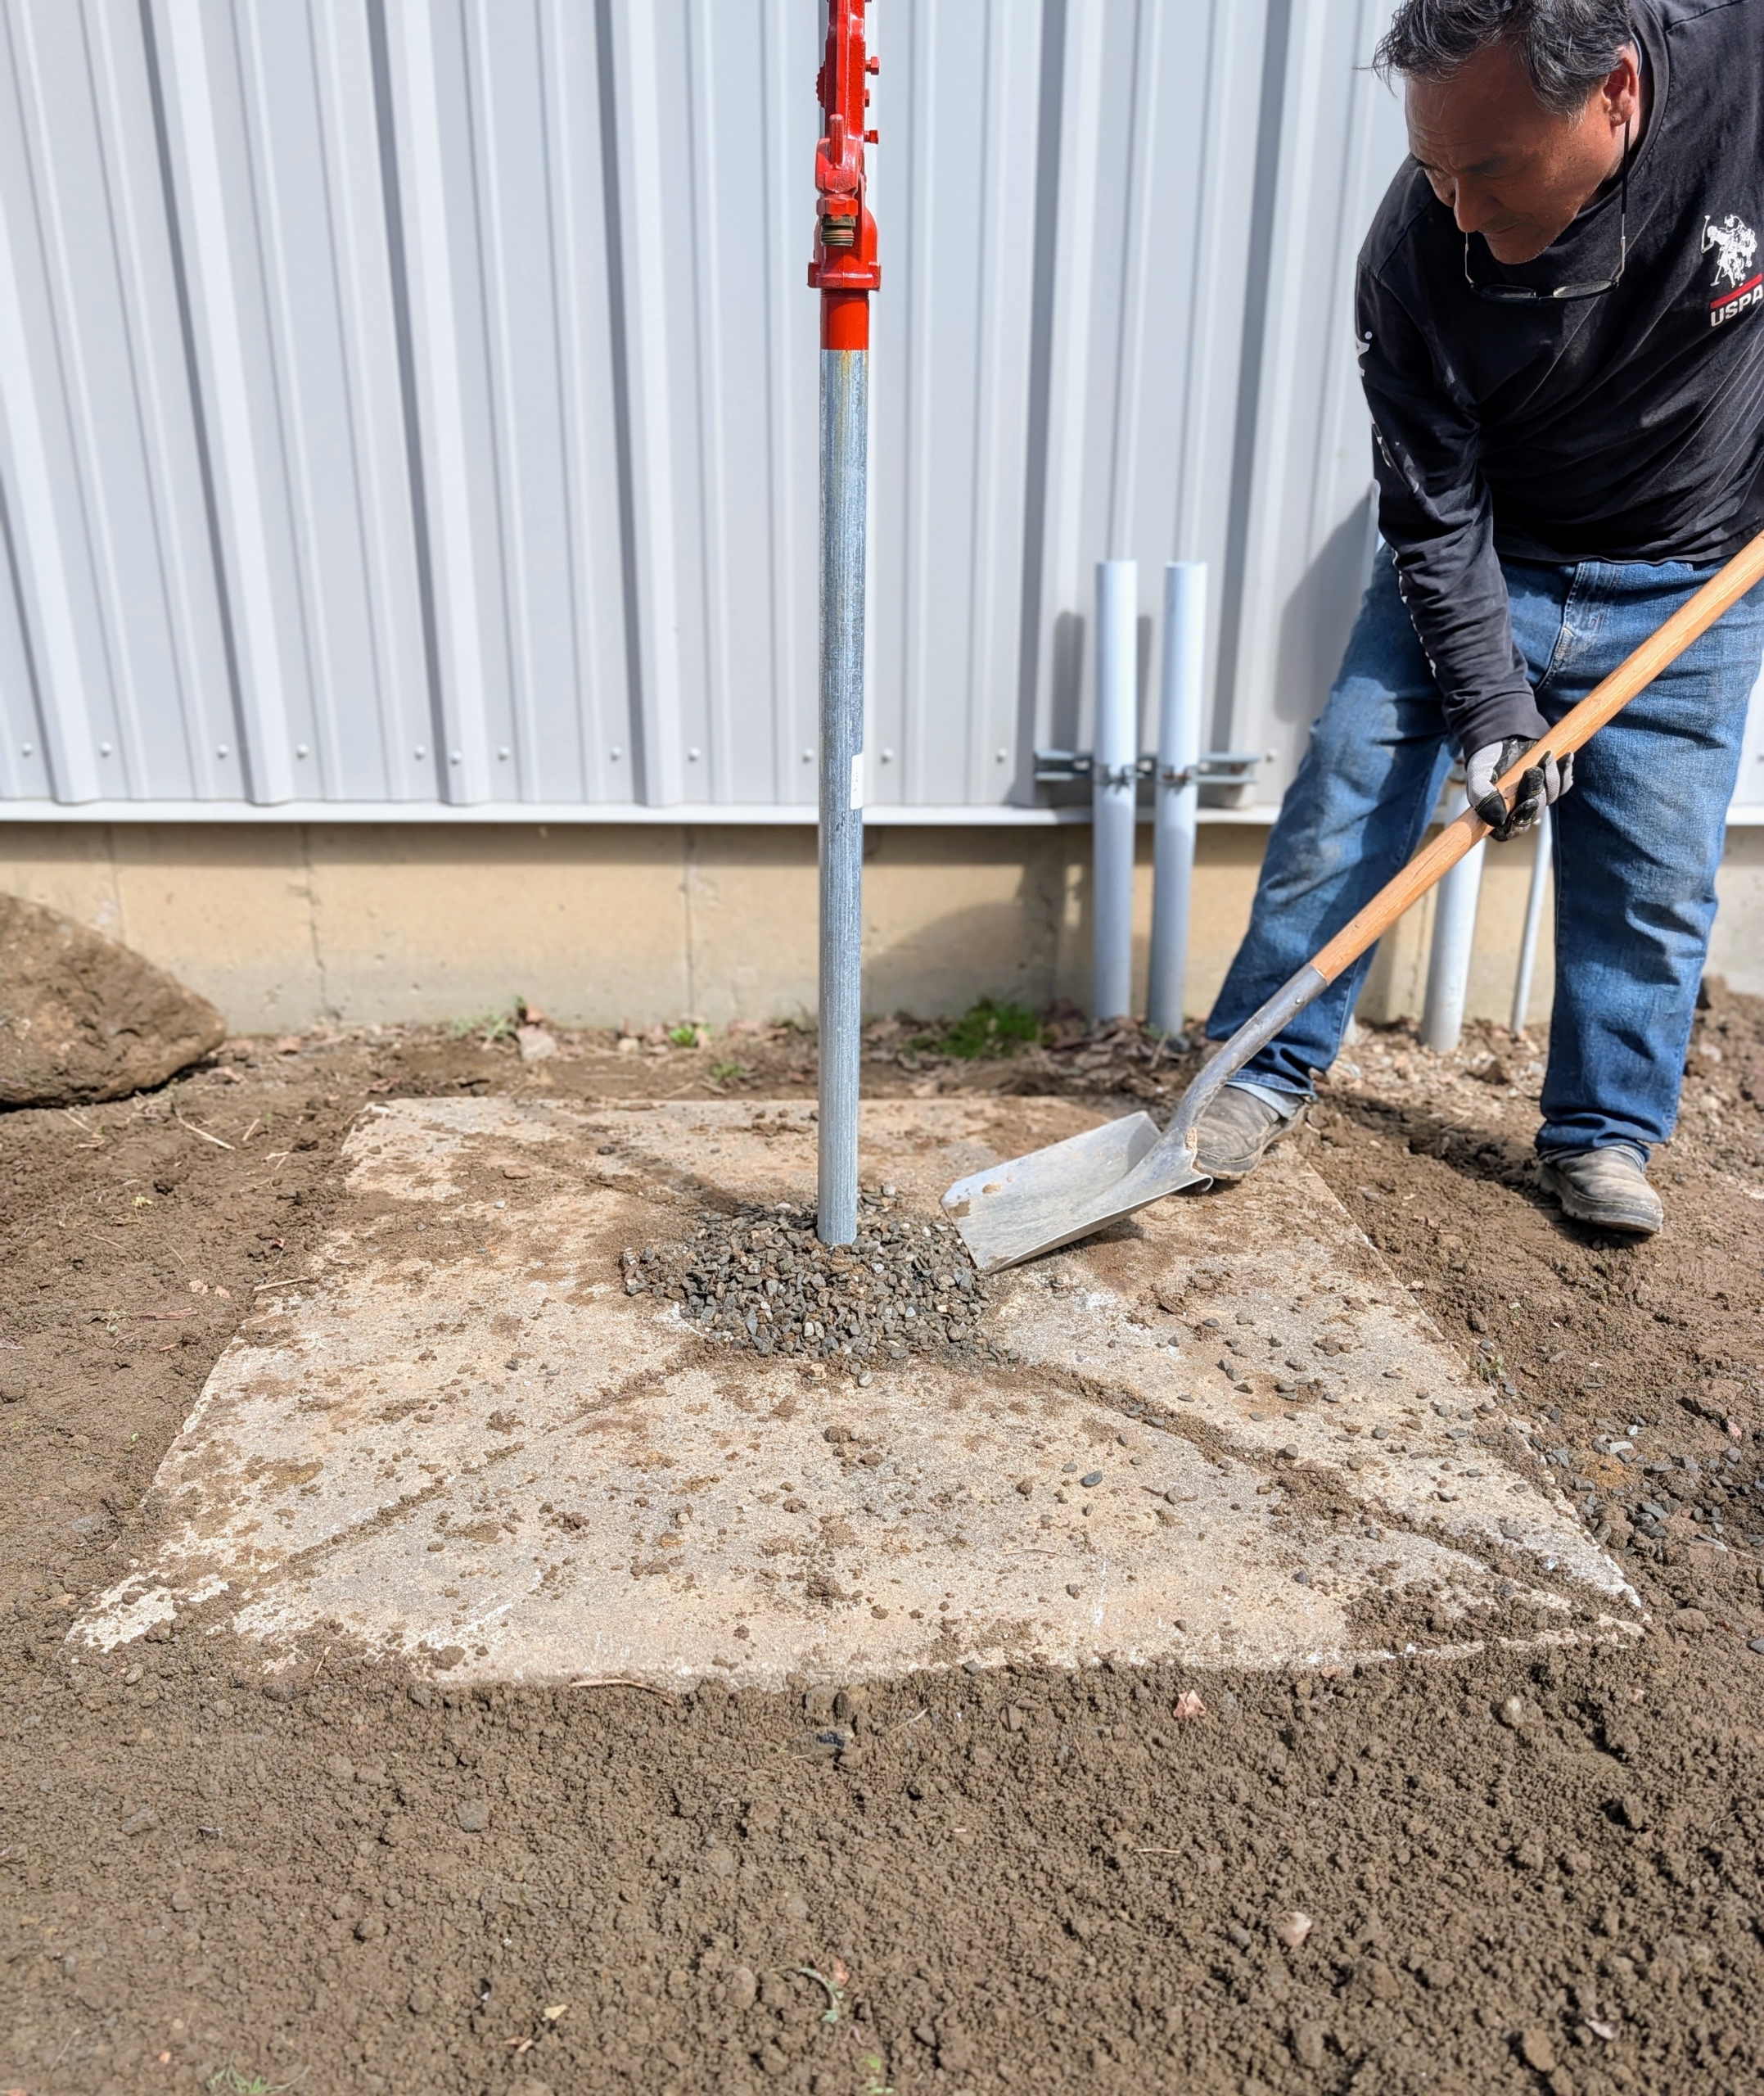
Pete uses the digging bar to make sure the piece is completely straight.
Next, he uses the gravel rake to move the soil snug around the base.
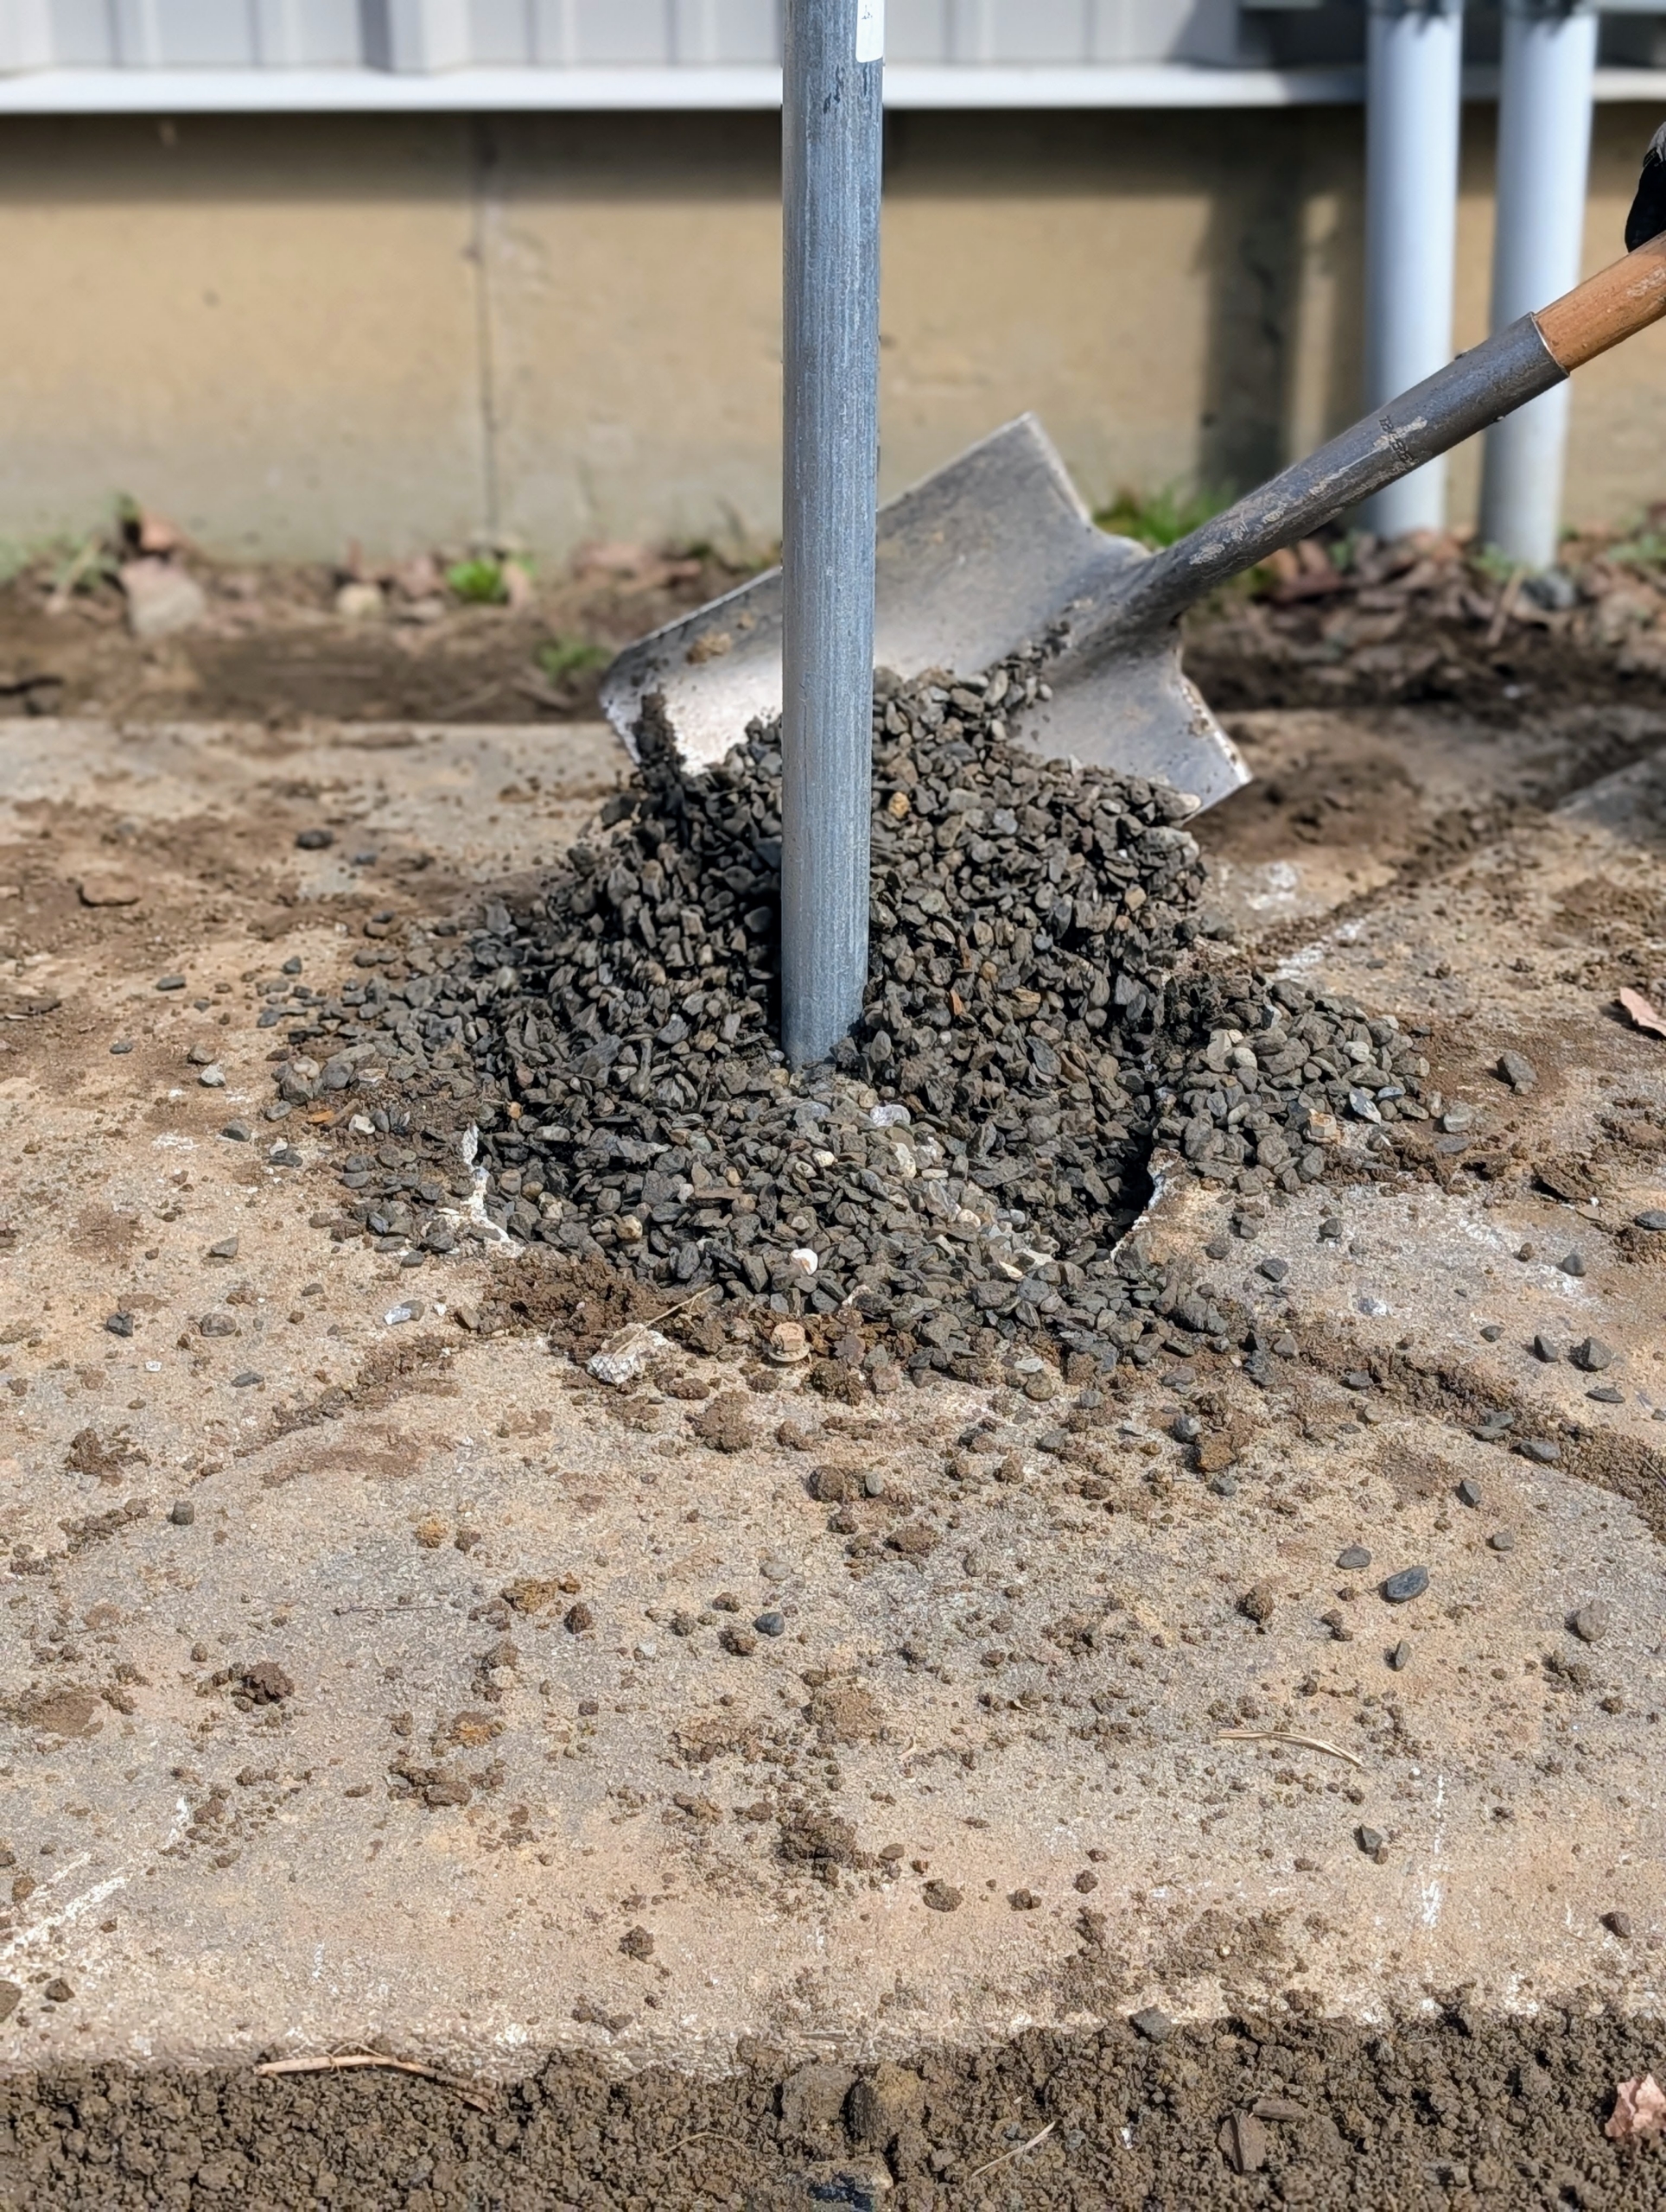
He surrounds the faucet pipe with gravel to keep it sturdy in place.
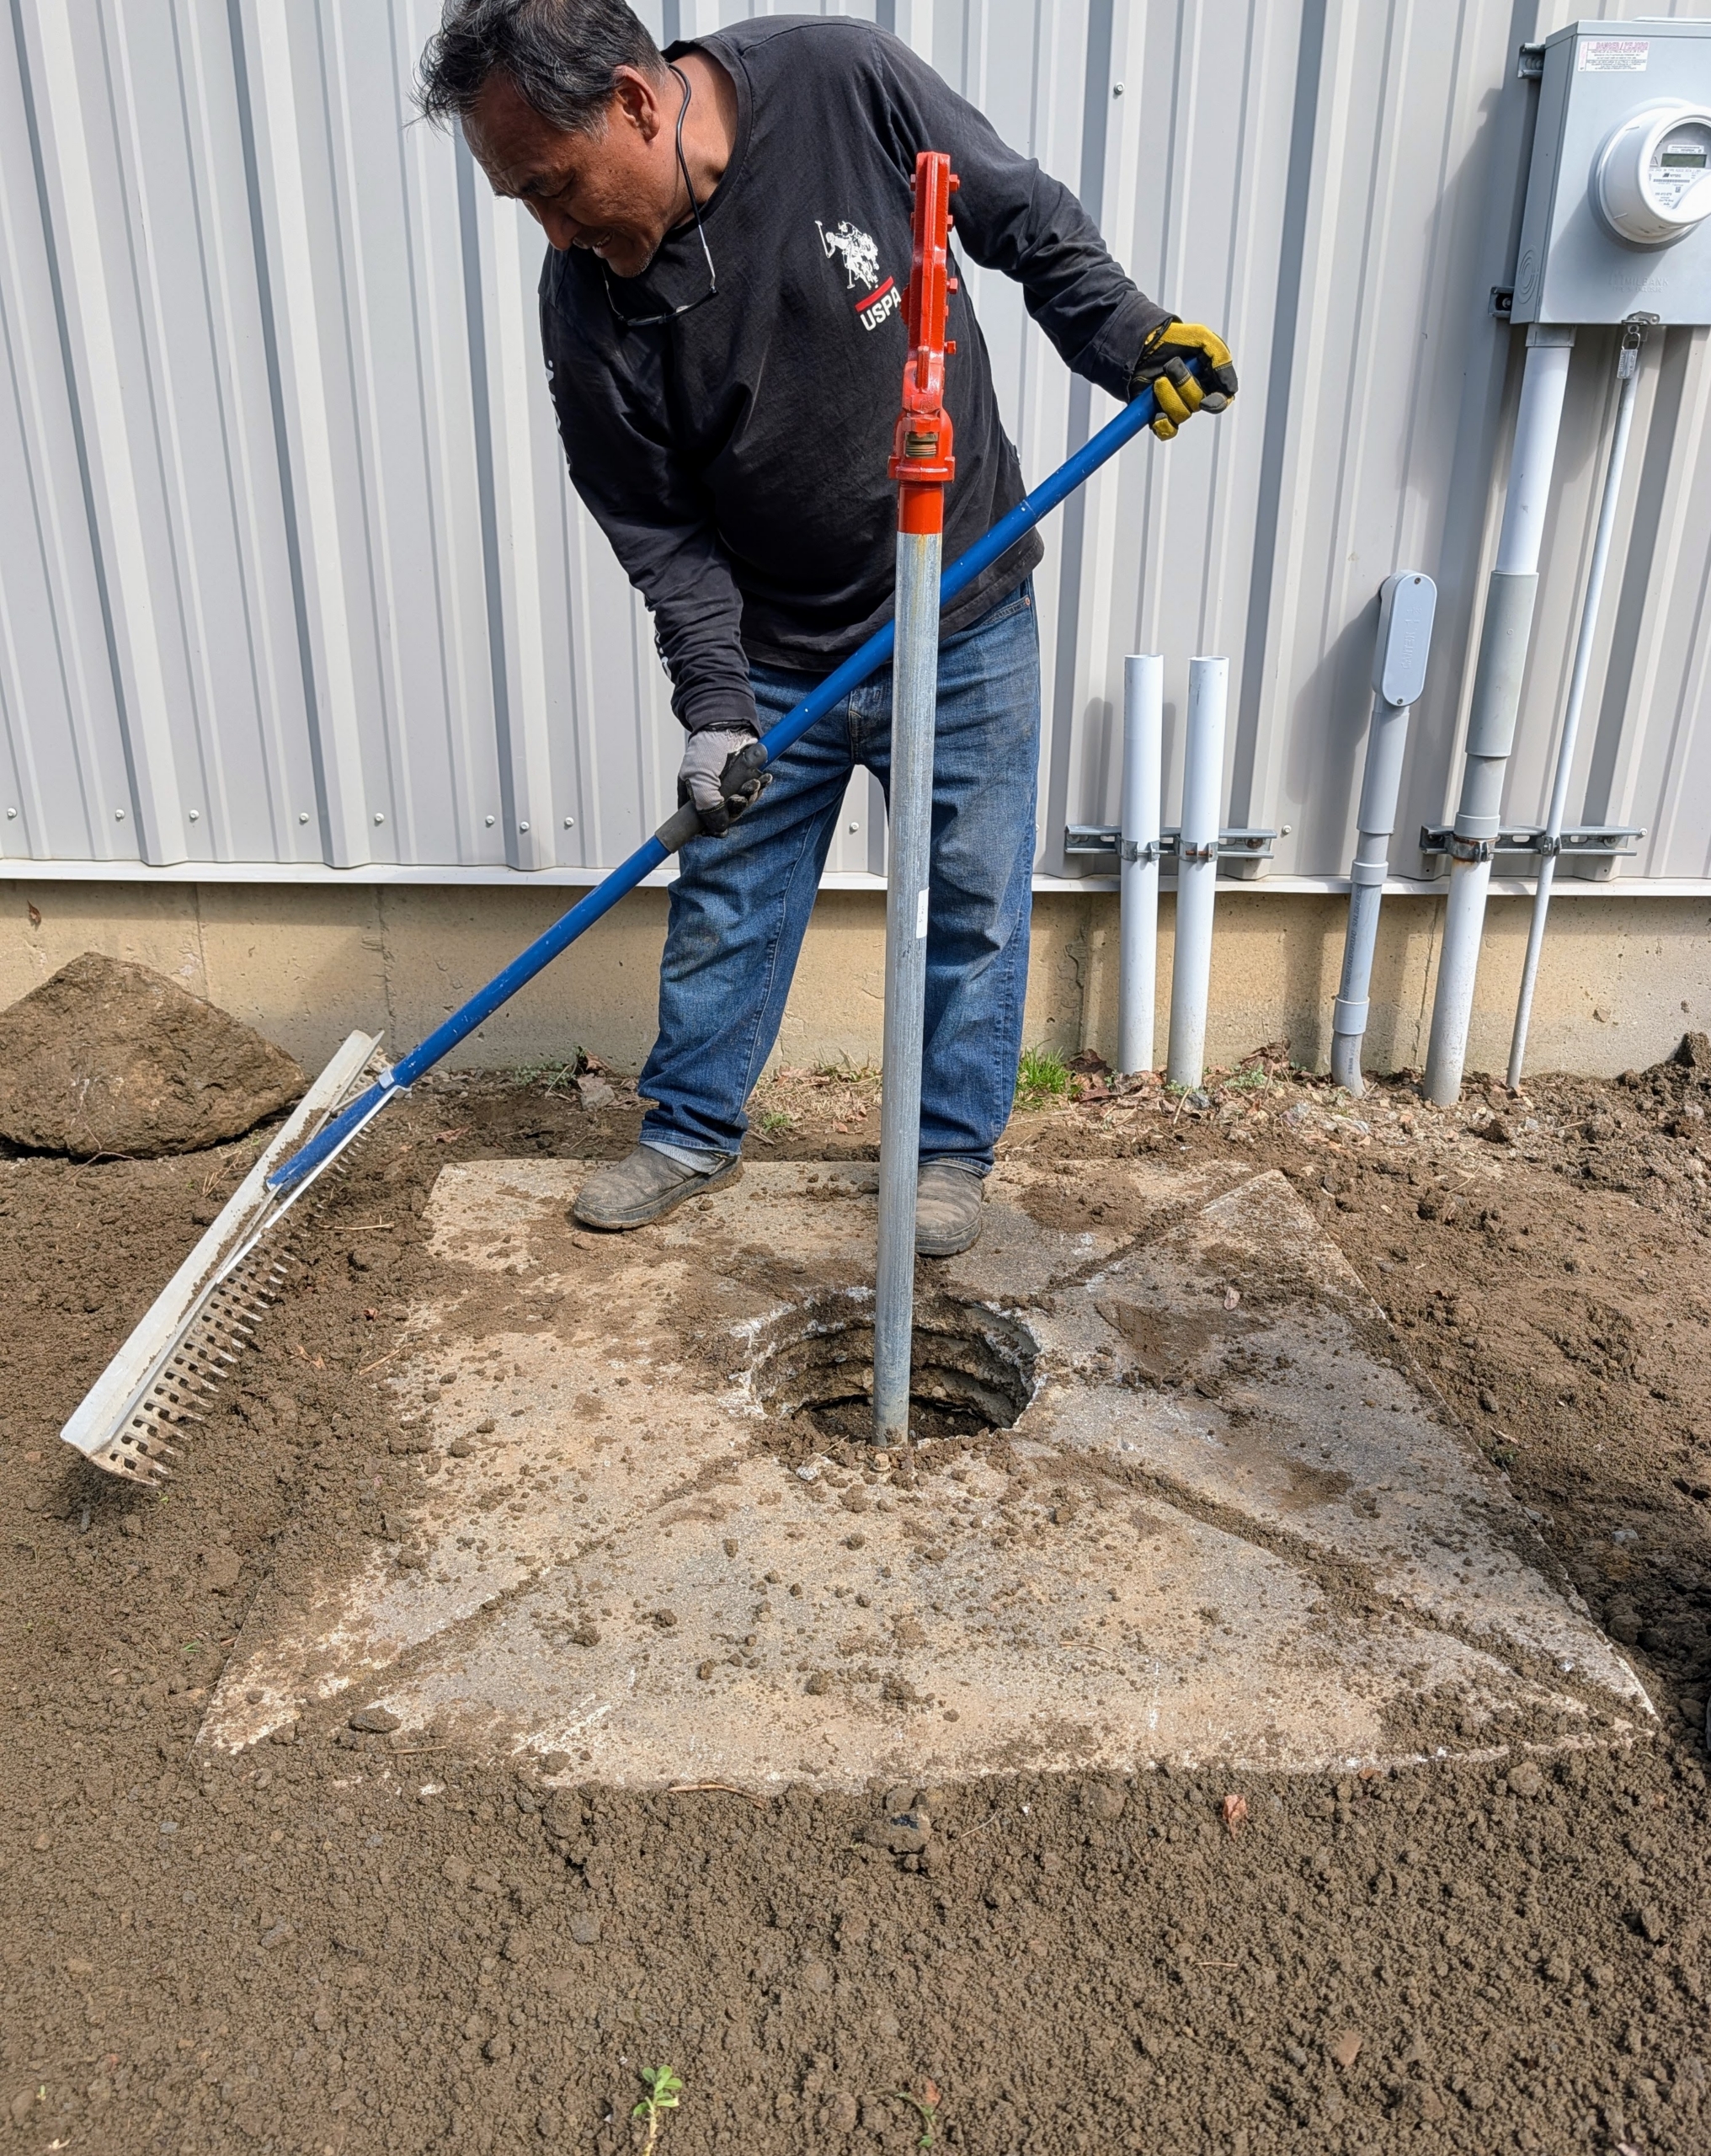
And then tamps down lightly to ensure the gravel is settled.
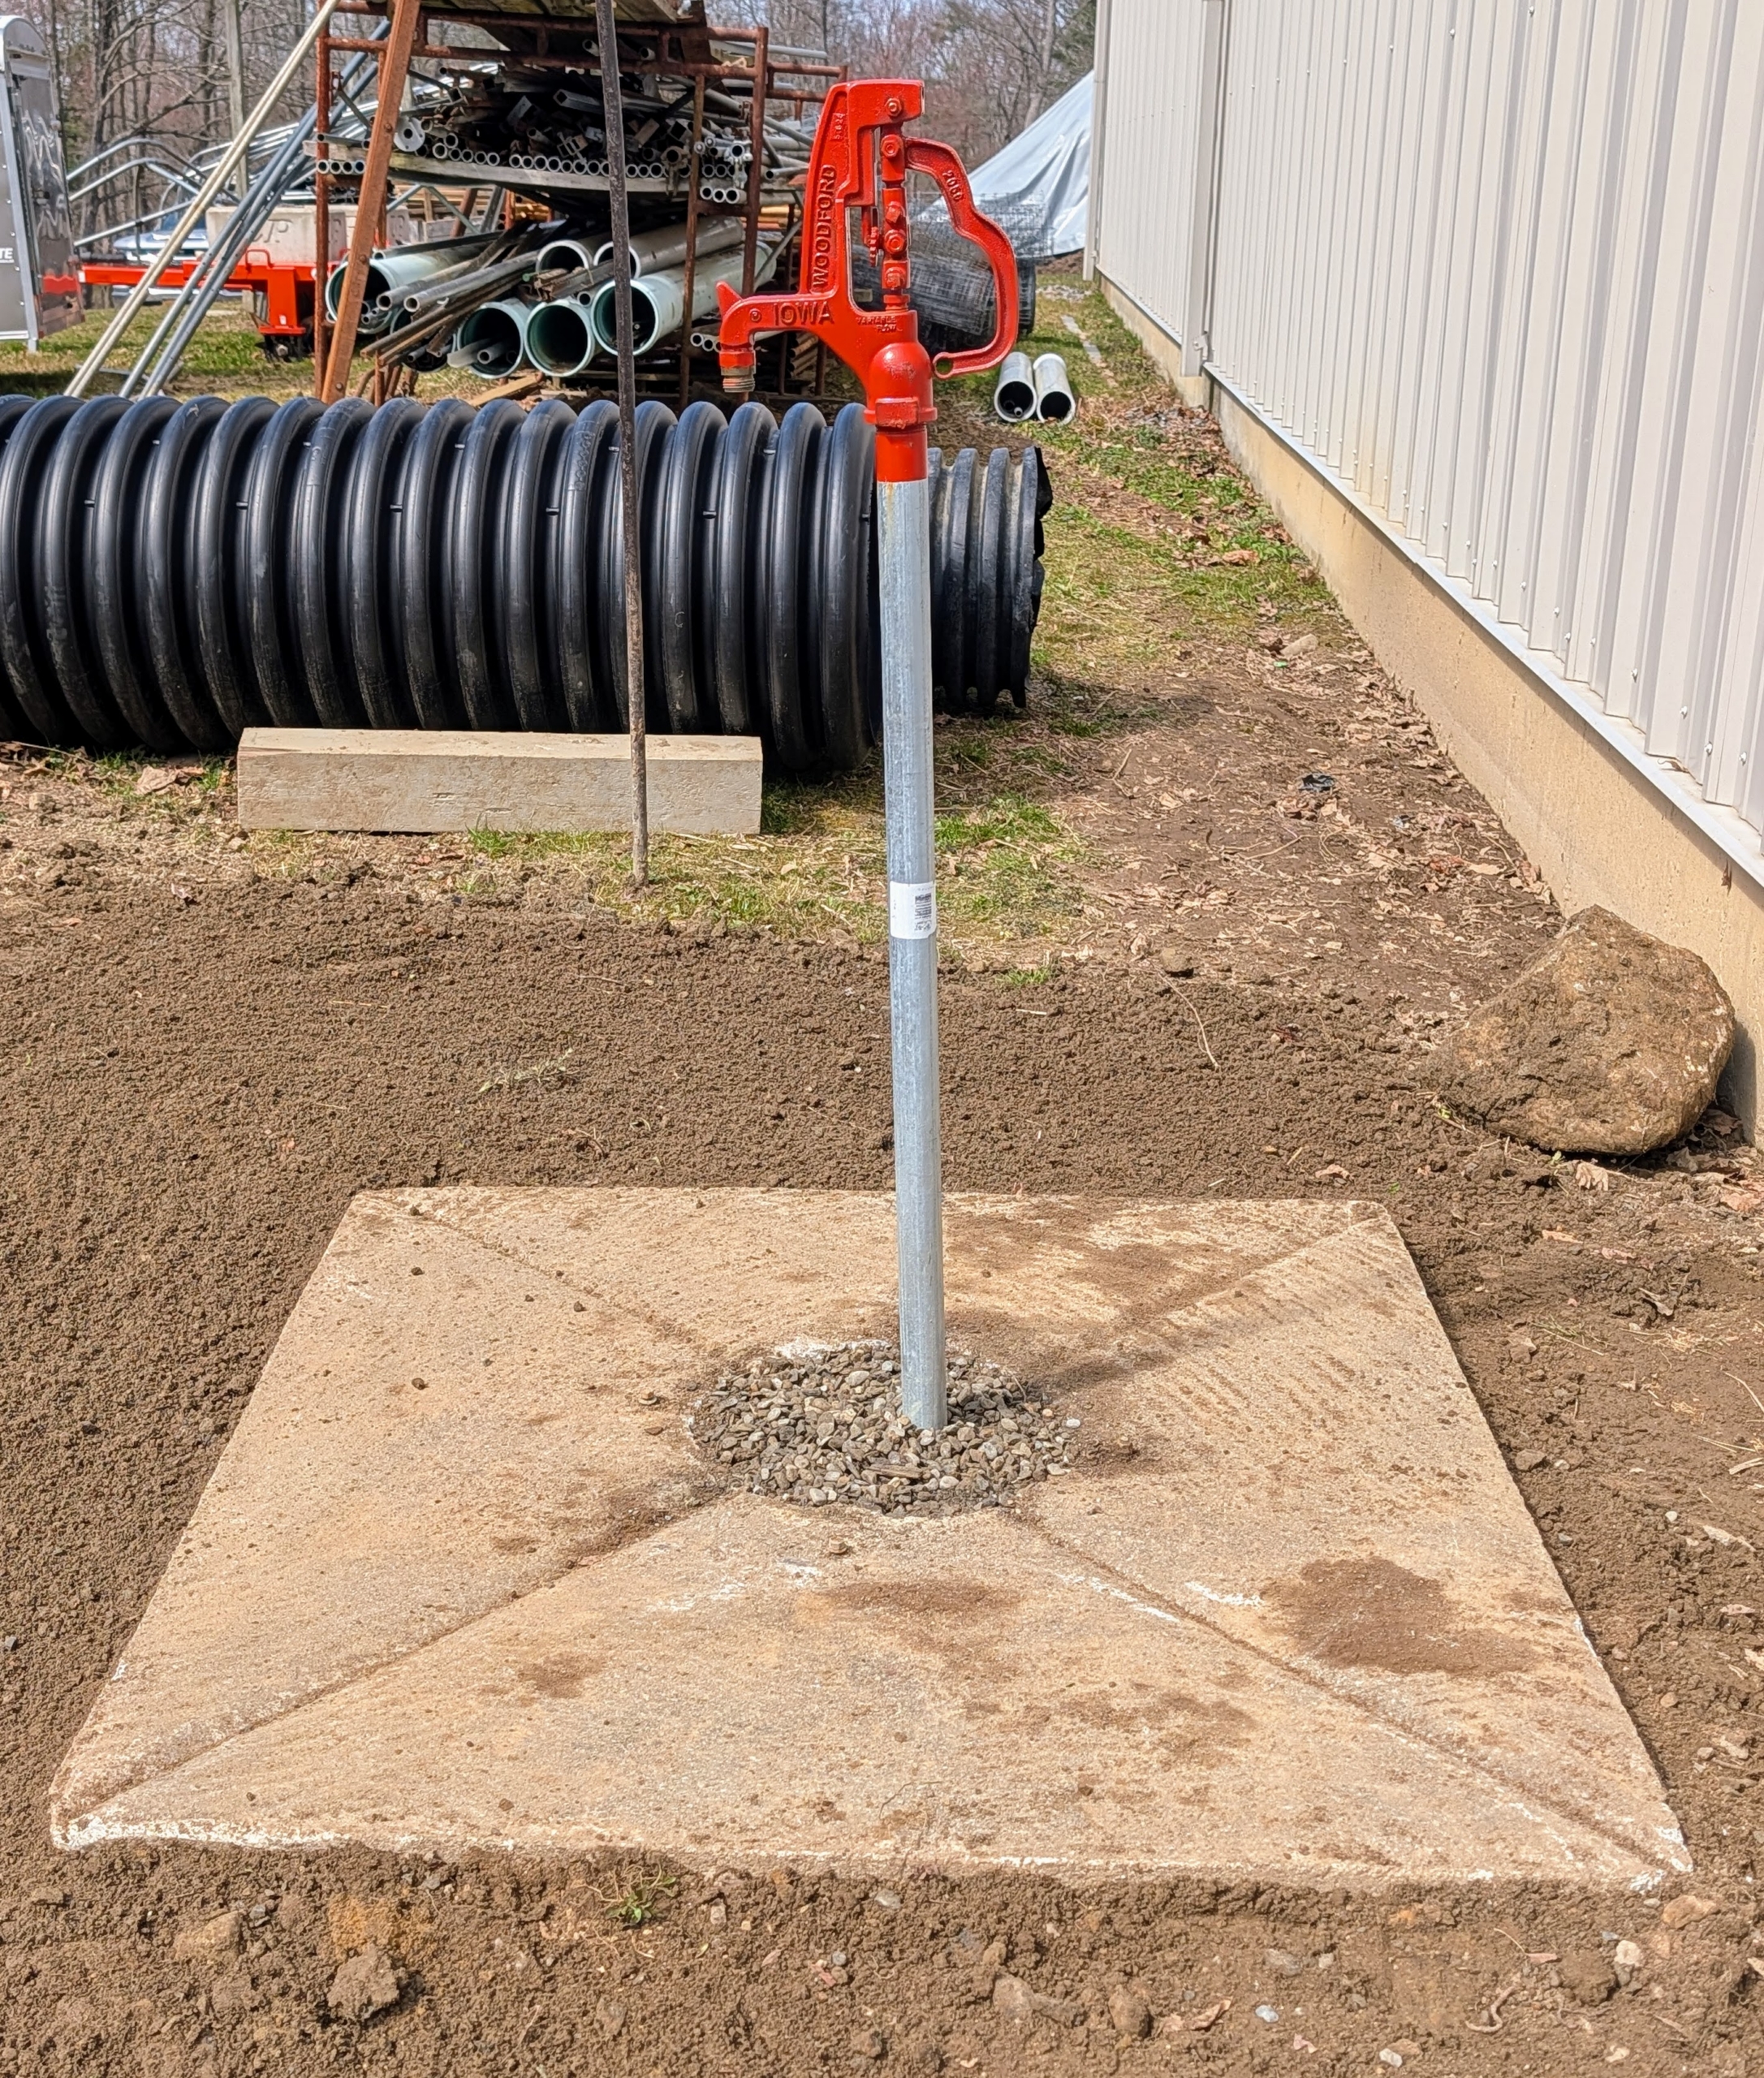
It looks so much better – as if it was always there. If you’re doing some spring cleaning around your home, take a look at what you have – you may just find something you can reuse and repurpose.