

Picking This Year's Garlic
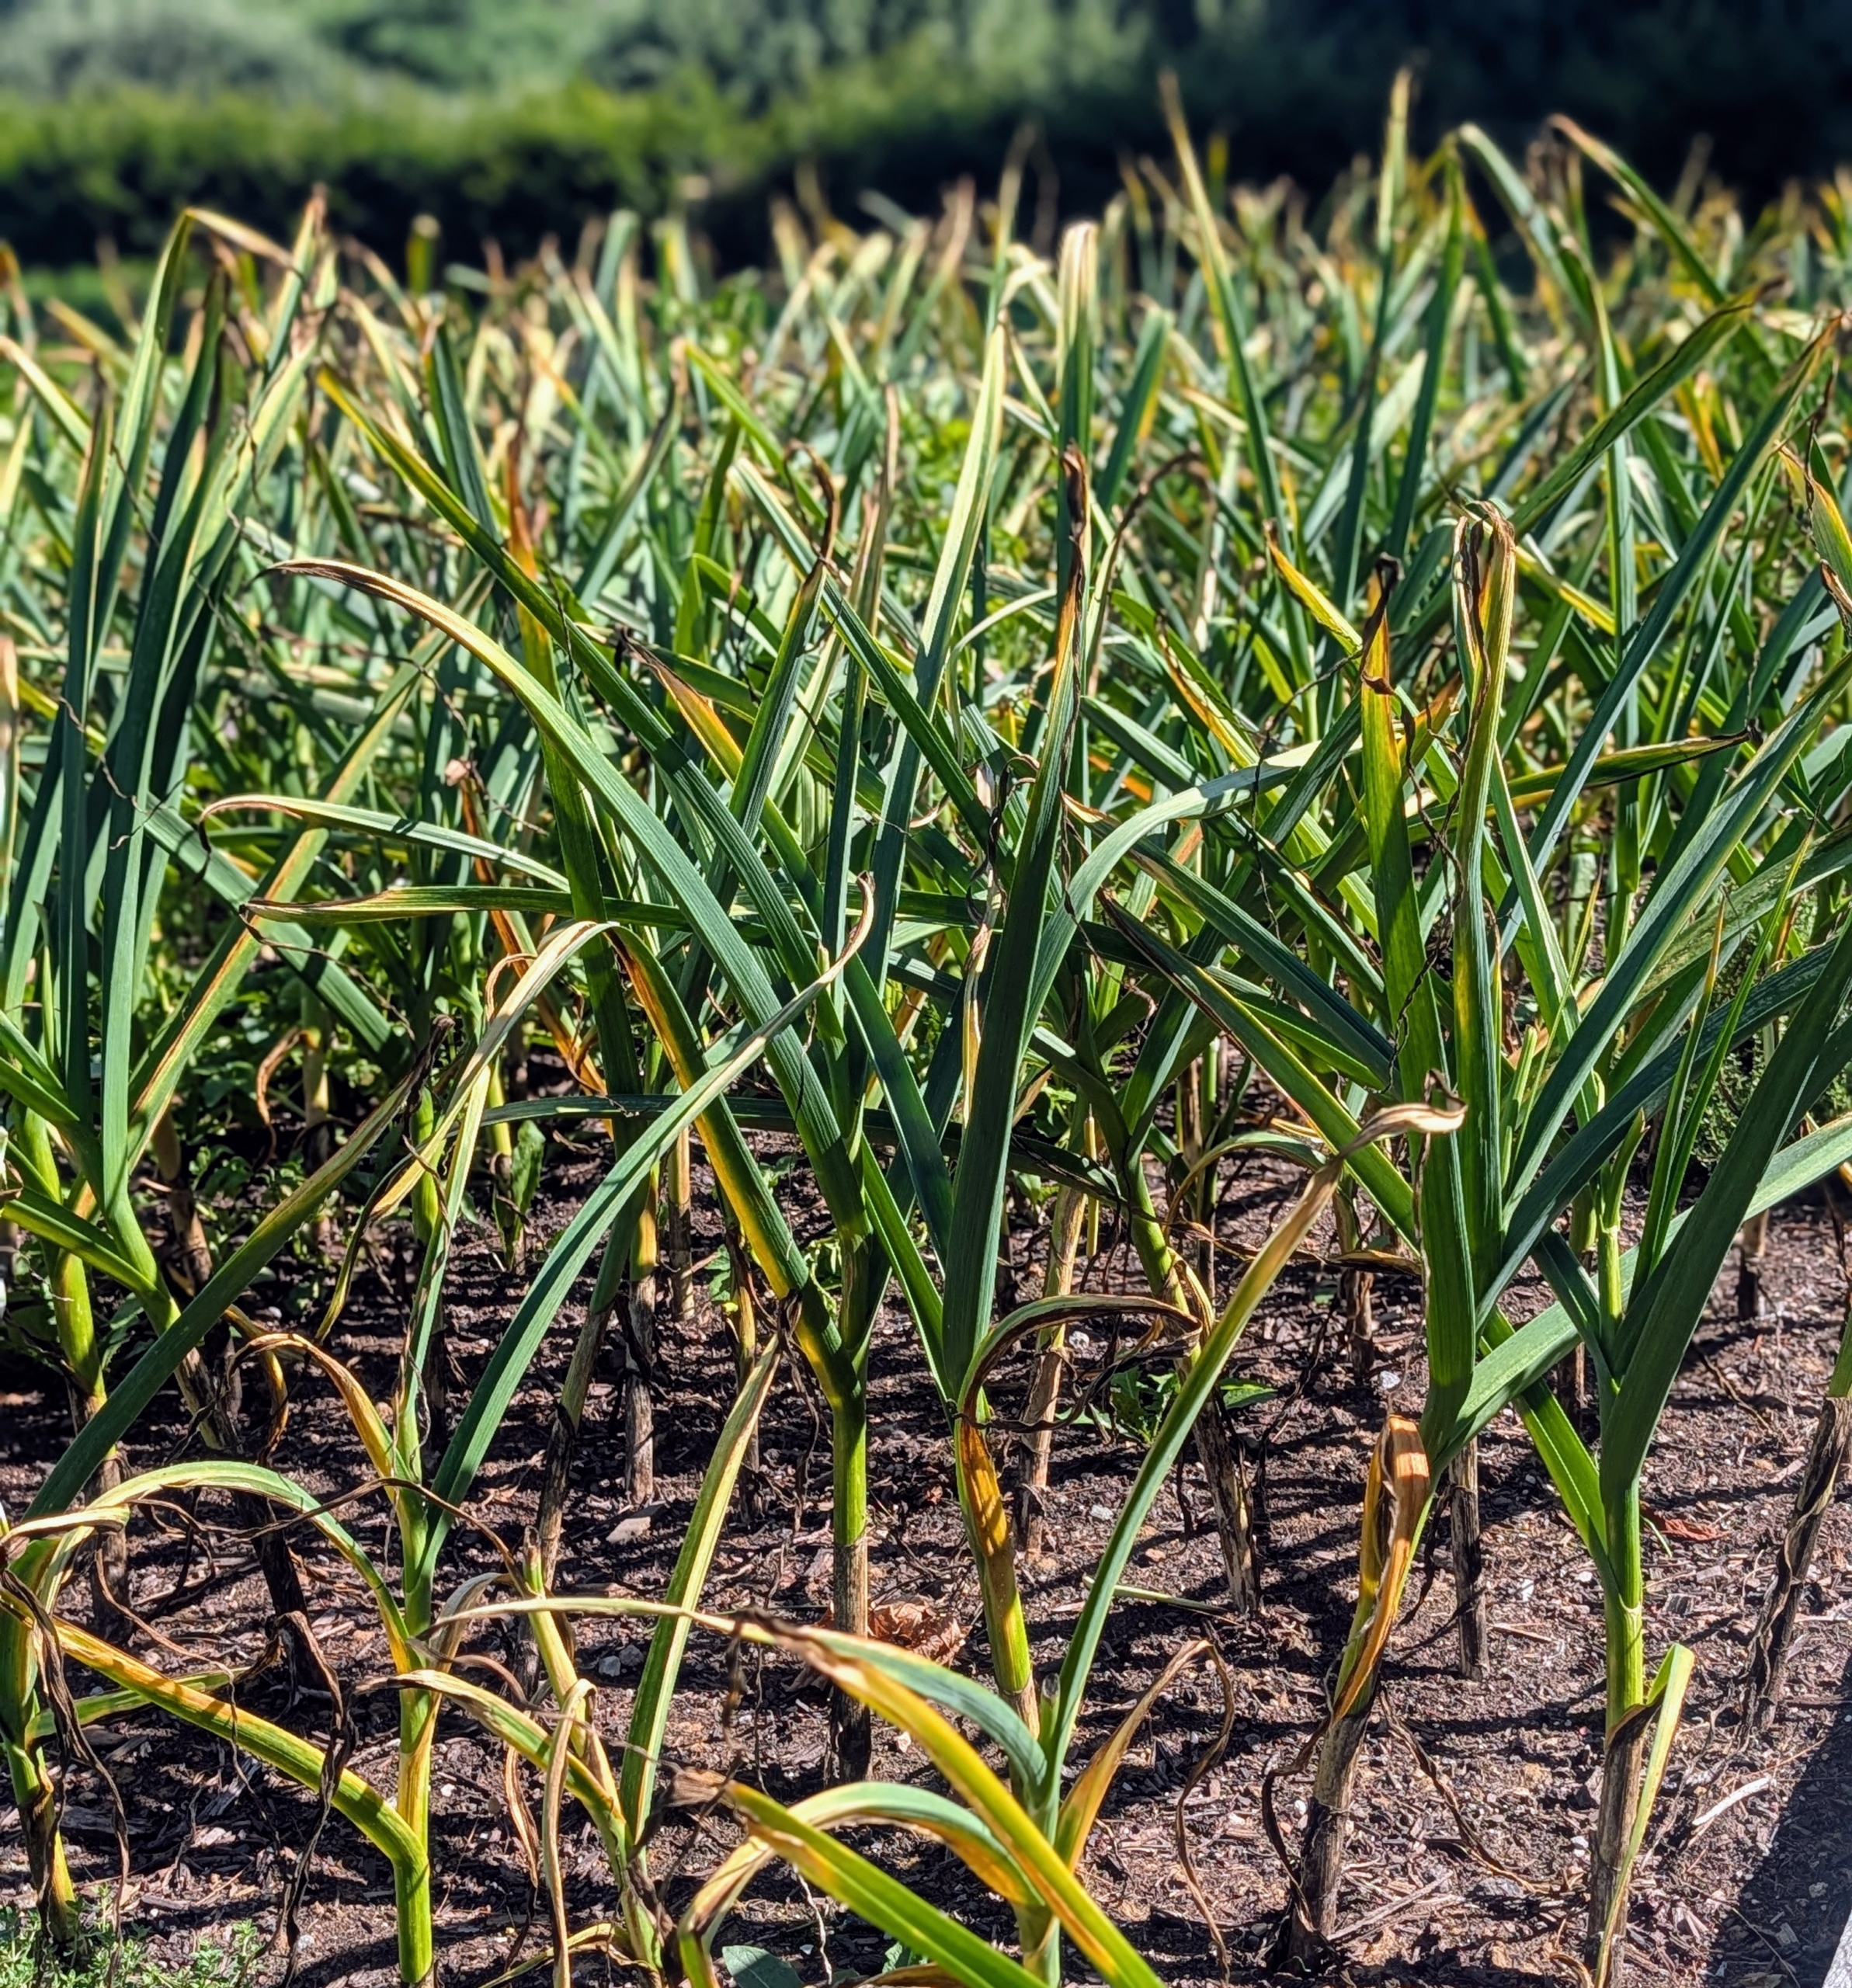
Here on my farm, July is garlic picking time. The bulbs are ready to dig when the lower leaves begin to dry and turn brown, while the upper leaves remain green and the soil is dry.
Knowing exactly when to harvest garlic is key. Pick it too early, and the cloves will be small and underdeveloped. Wait too long, and the bulbs begin to split apart, leaving them more susceptible to decay. Yesterday, my gardeners harvested the entire crop - the softnecks, which produce long-lasting bulbs with many cloves around a soft center stem, and the hardnecks, which are noted for their stiff central stalk, fewer cloves, relatively short shelf life, and intriguingly complex flavors. And all from our friends at Keene Garlic, a family-owned farm in Wisconsin.
Here are some photos.
-

- My gardeners waited for a dry day to harvest – this allows the soil to dry out, helps to prevent rot, and makes it much easier to pull the stalks and bulbs from the ground. The main harvest time is usually July through mid-August.
-
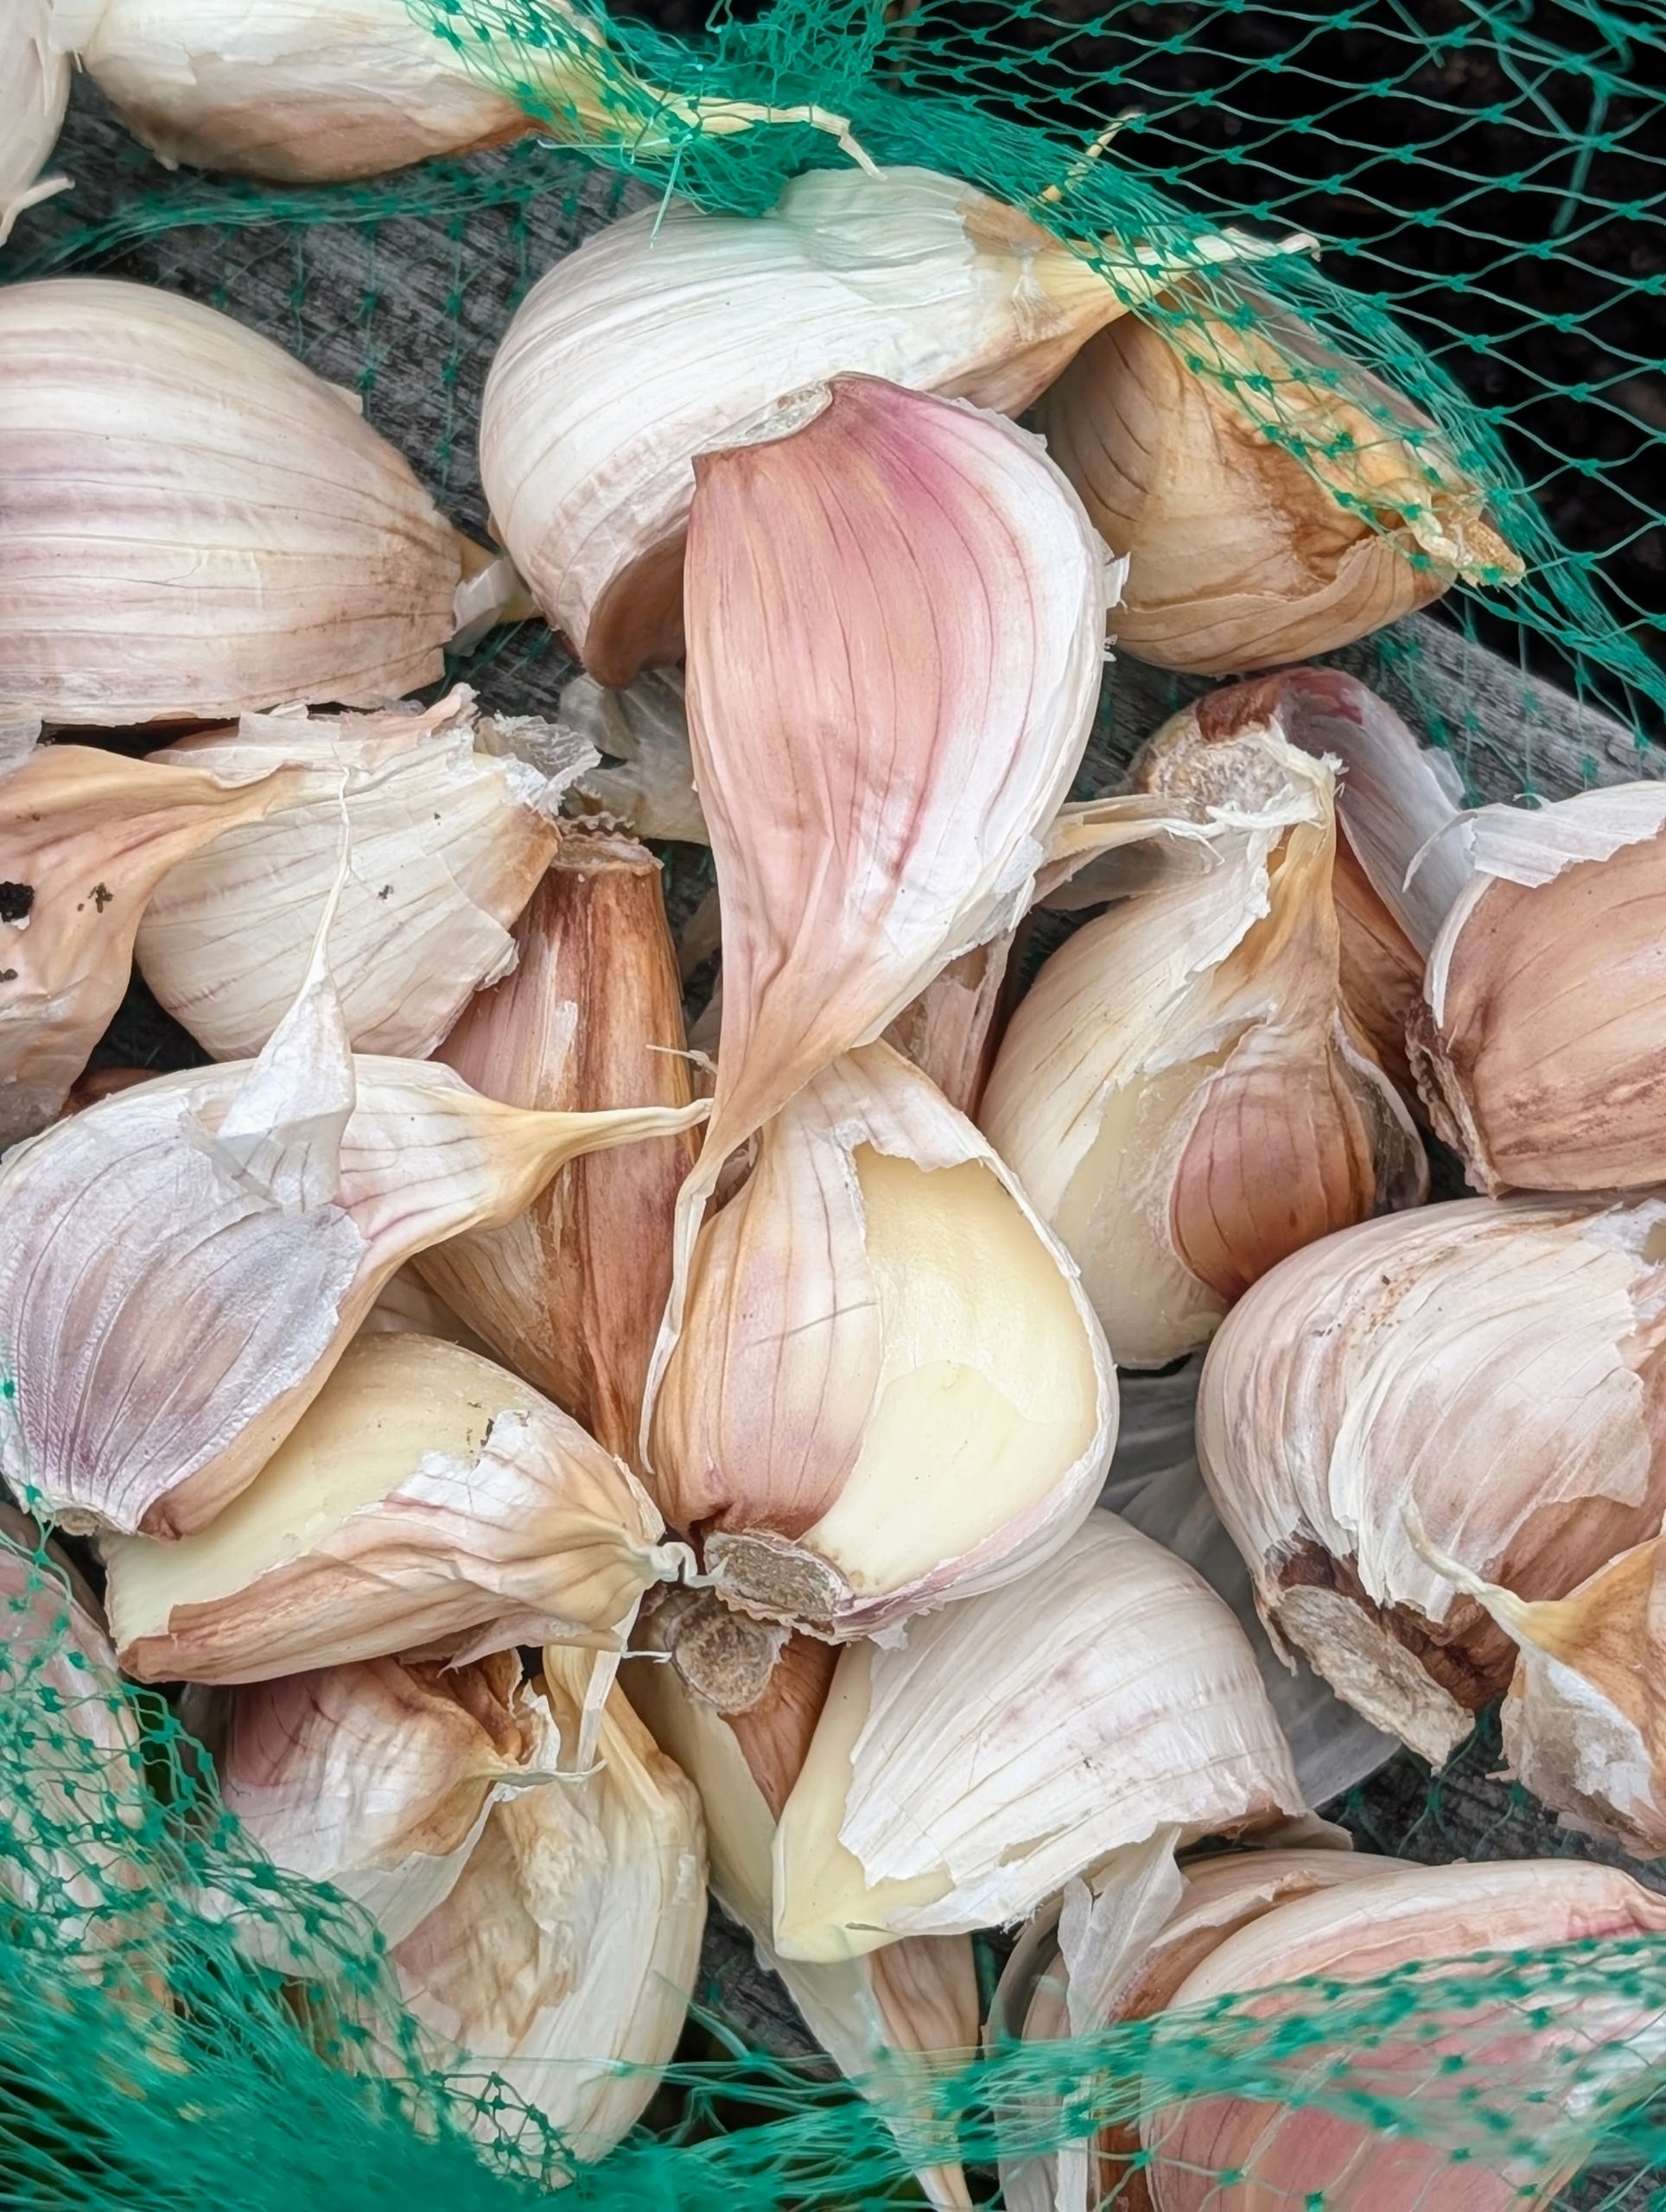
- Garlic is planted in the fall. I’ve been planting Keene Garlic for quite some time and am always pleased with their growth and taste. The next several photos were taken last October.
-
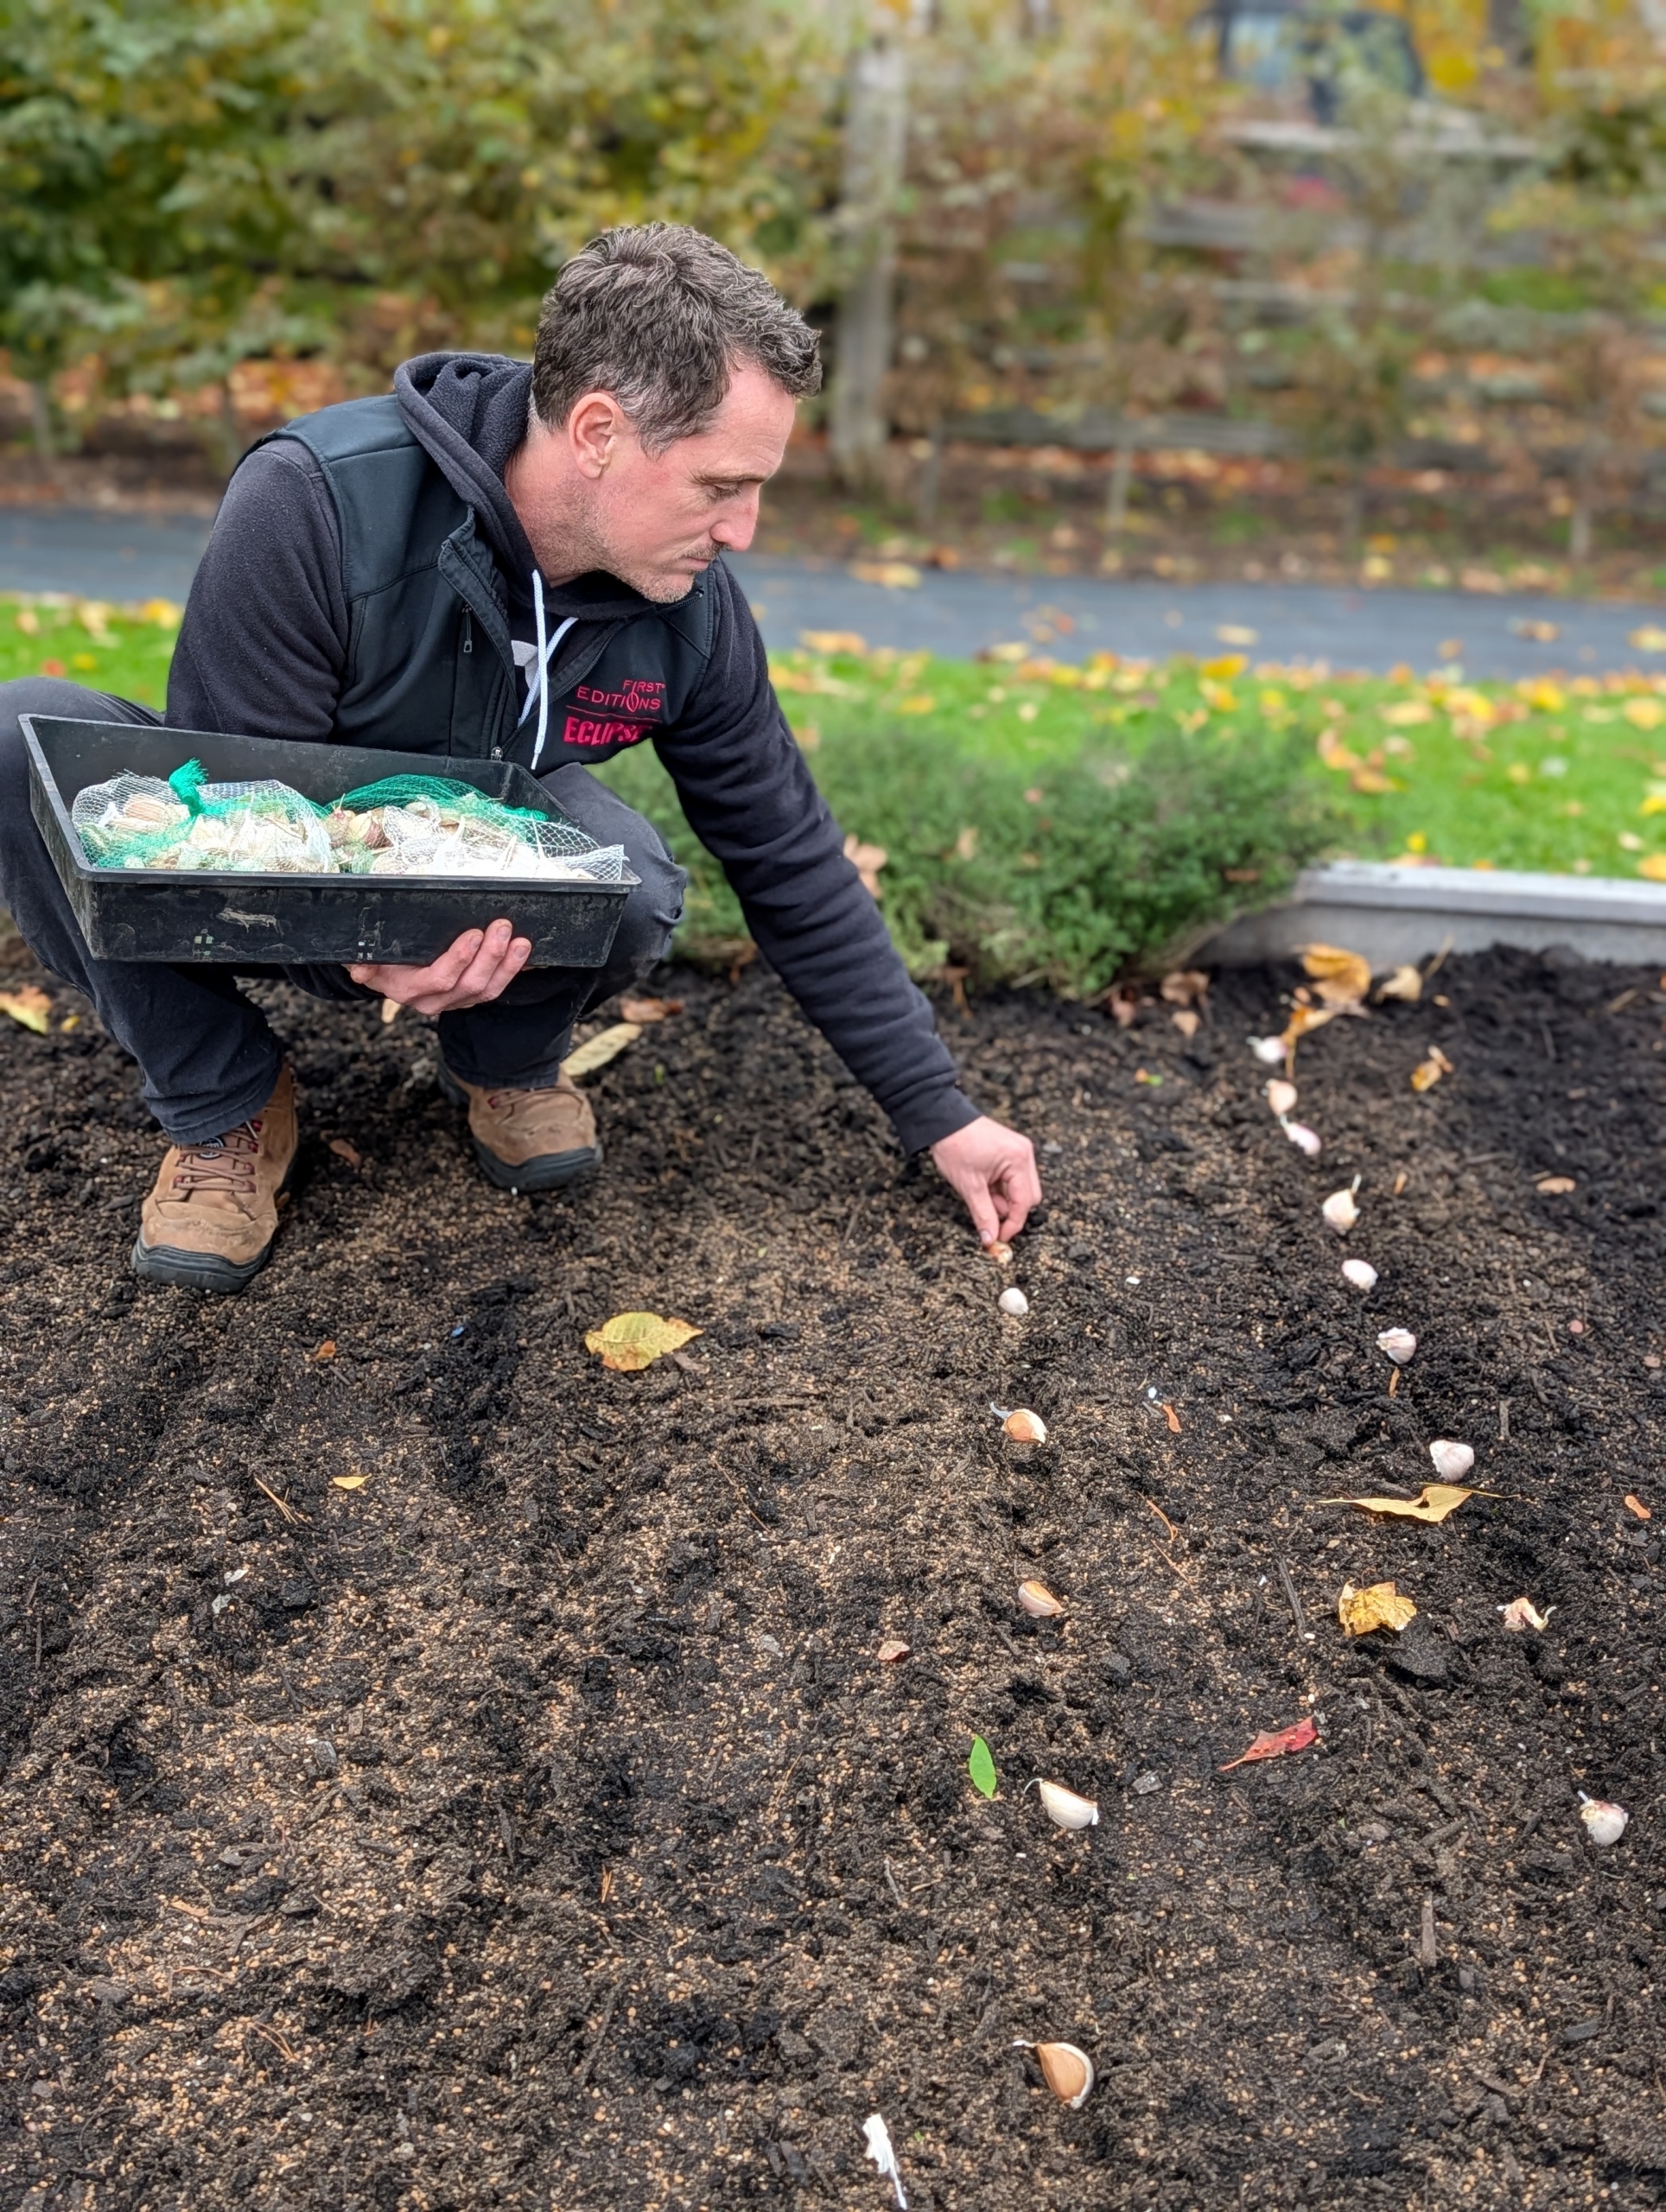
- The majority of garlic in the US is planted before the ground freezes. When planting multiple rows of garlic, the rows are at least one-foot apart.
-
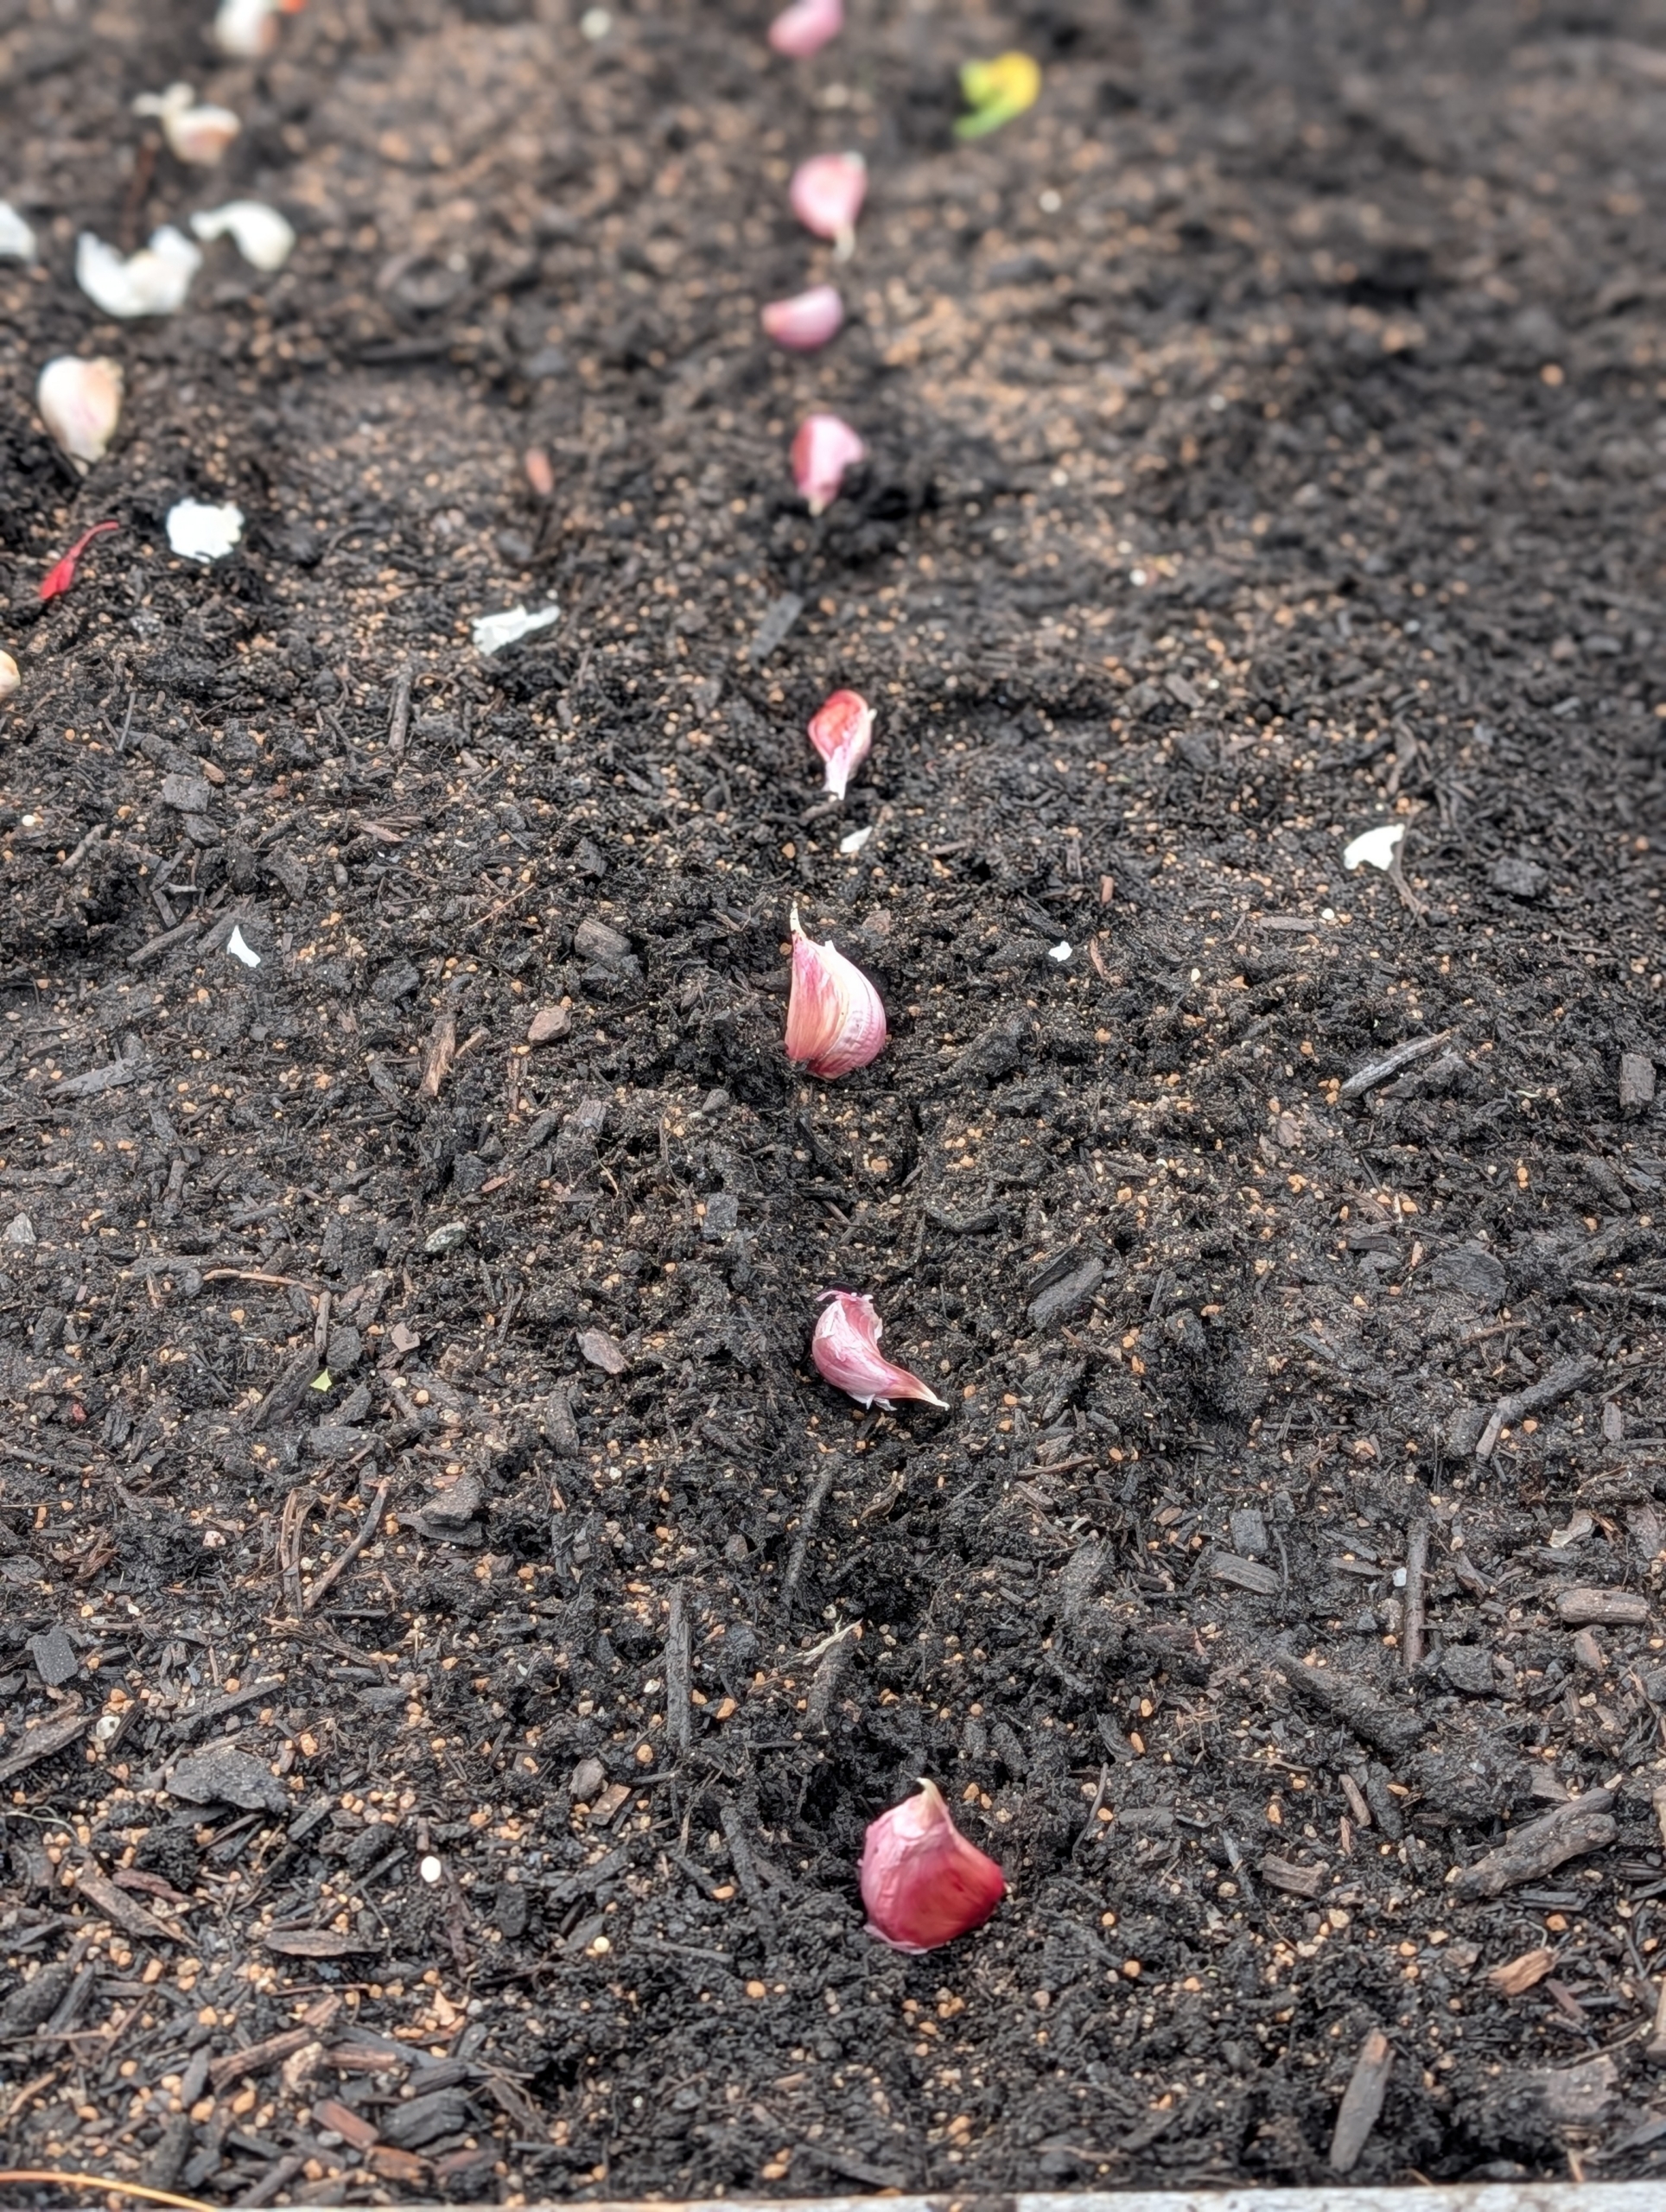
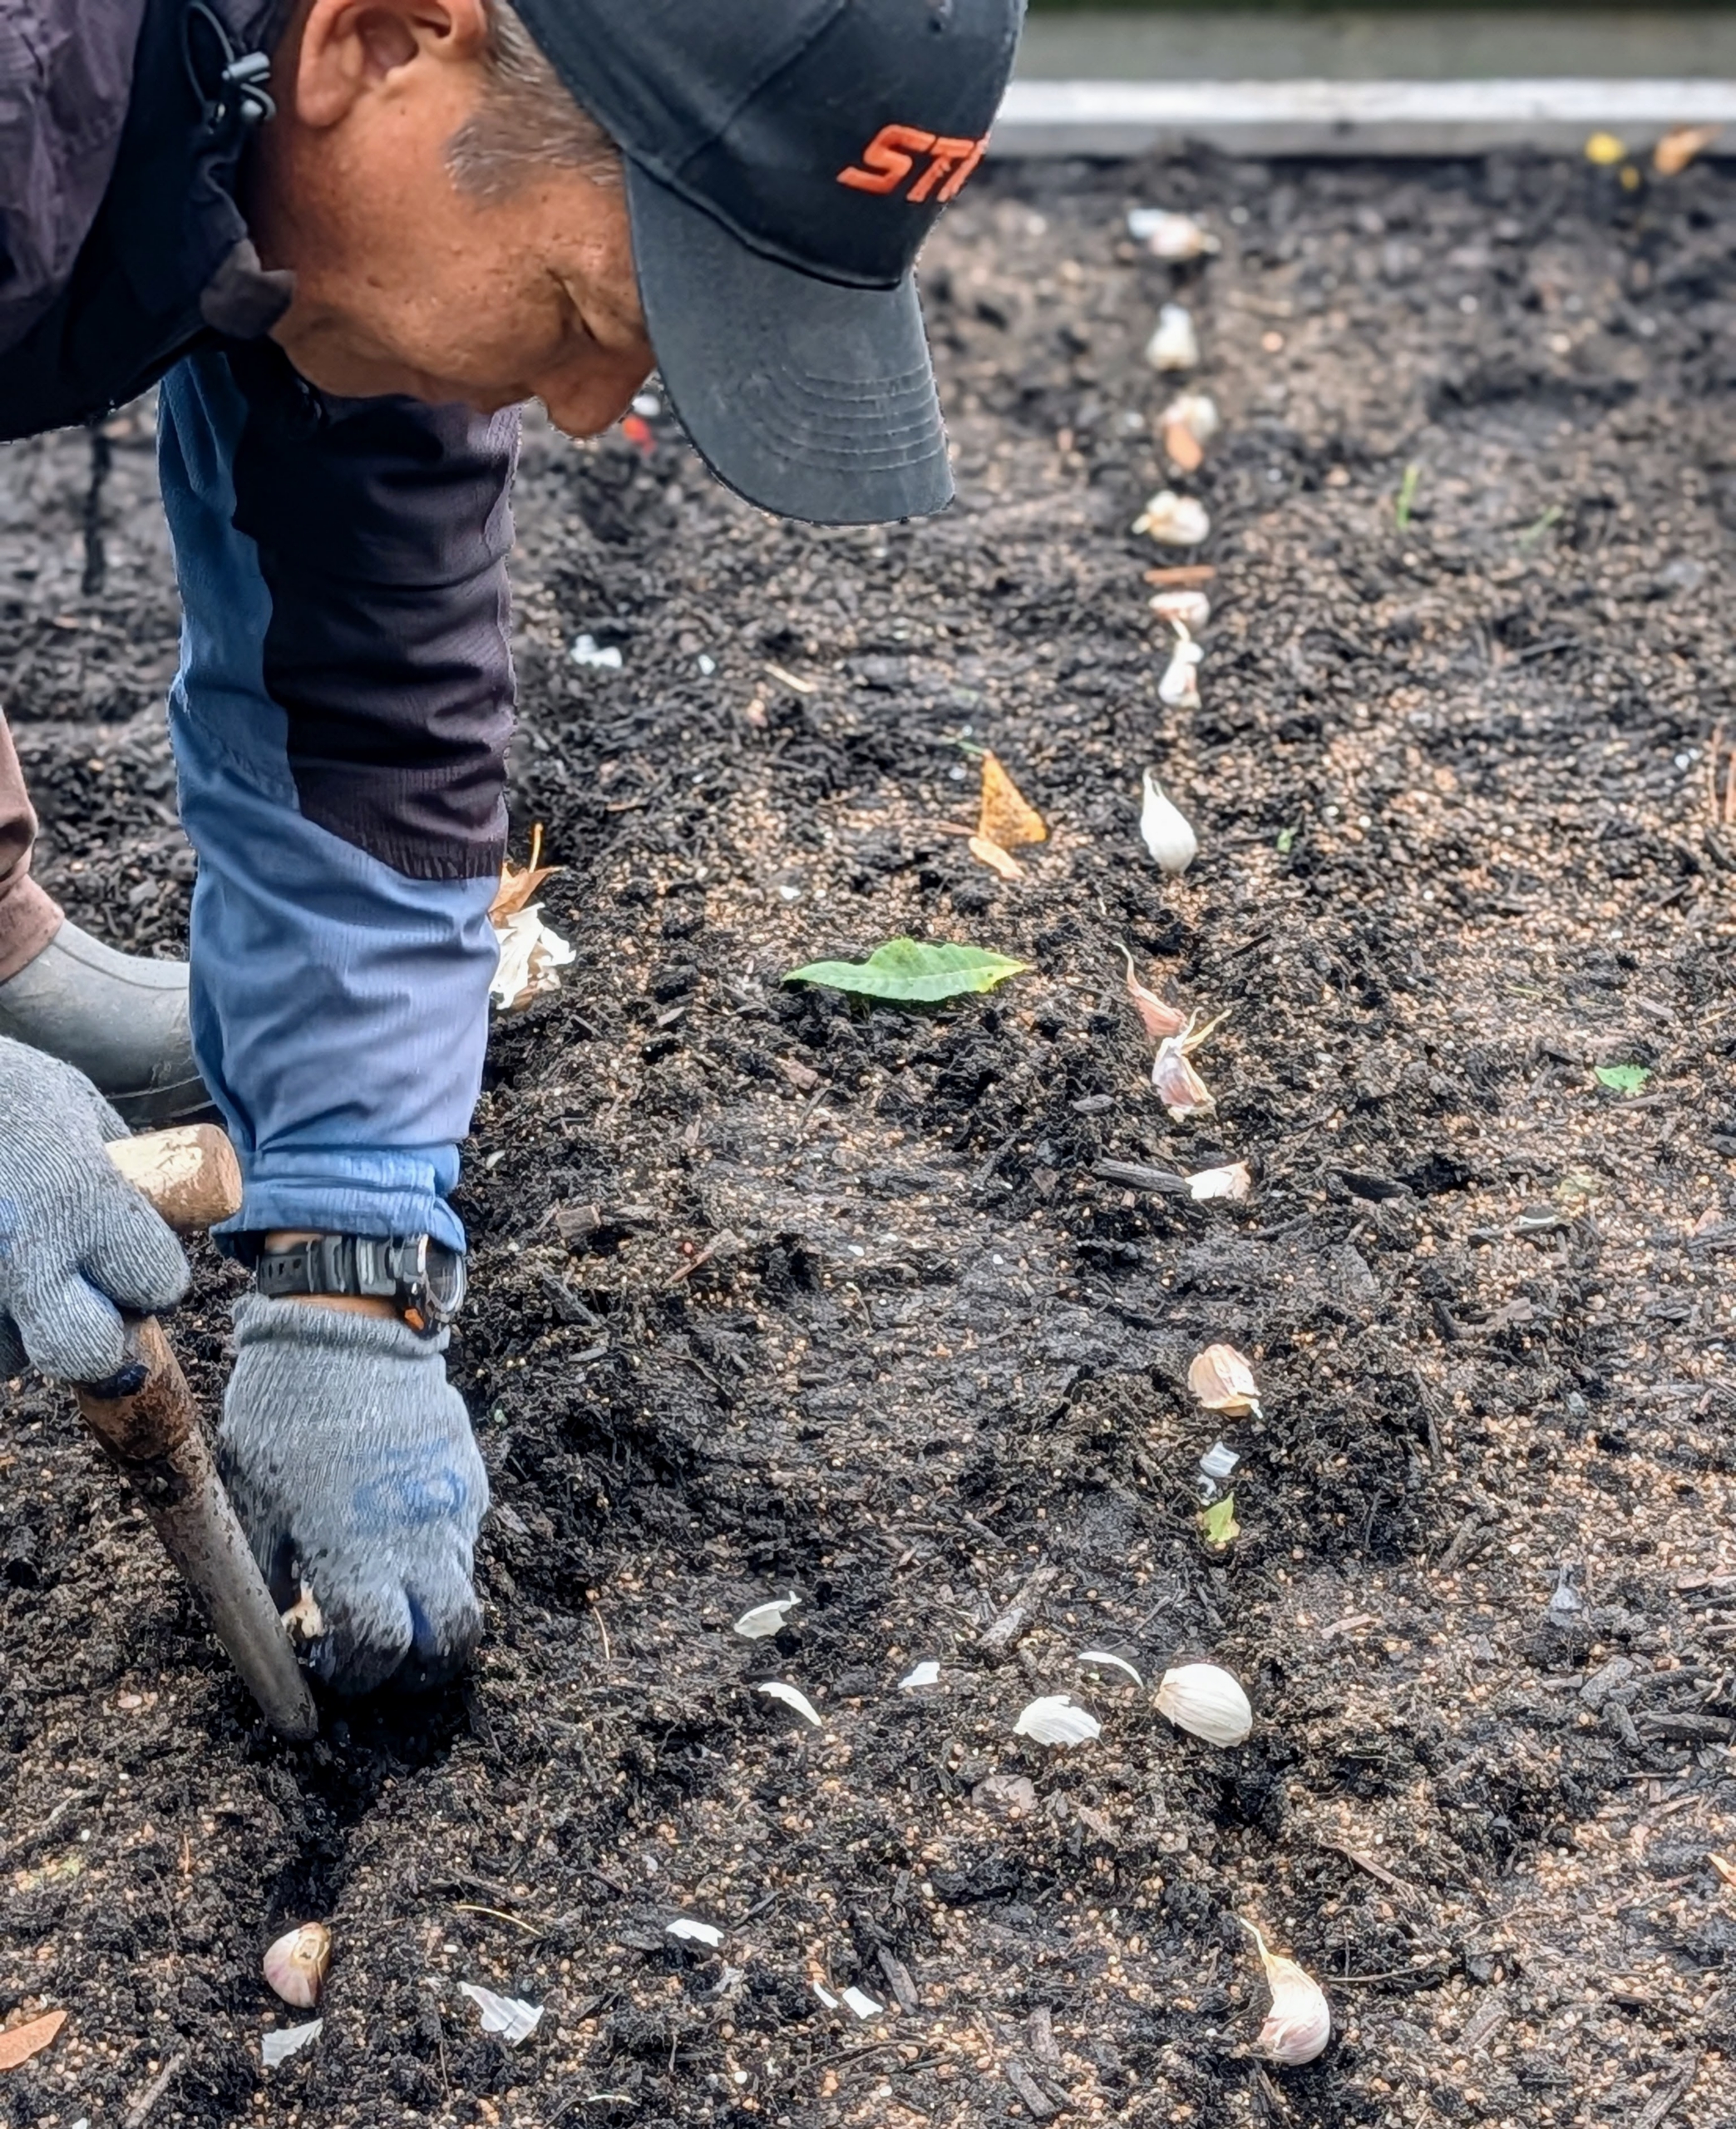
- It is also important to give each clove enough room to grow and develop. These are at least two to three inches from each other.
-
- And then the garlic is pushed several inches into the ground using a bulb planting dibber.
-
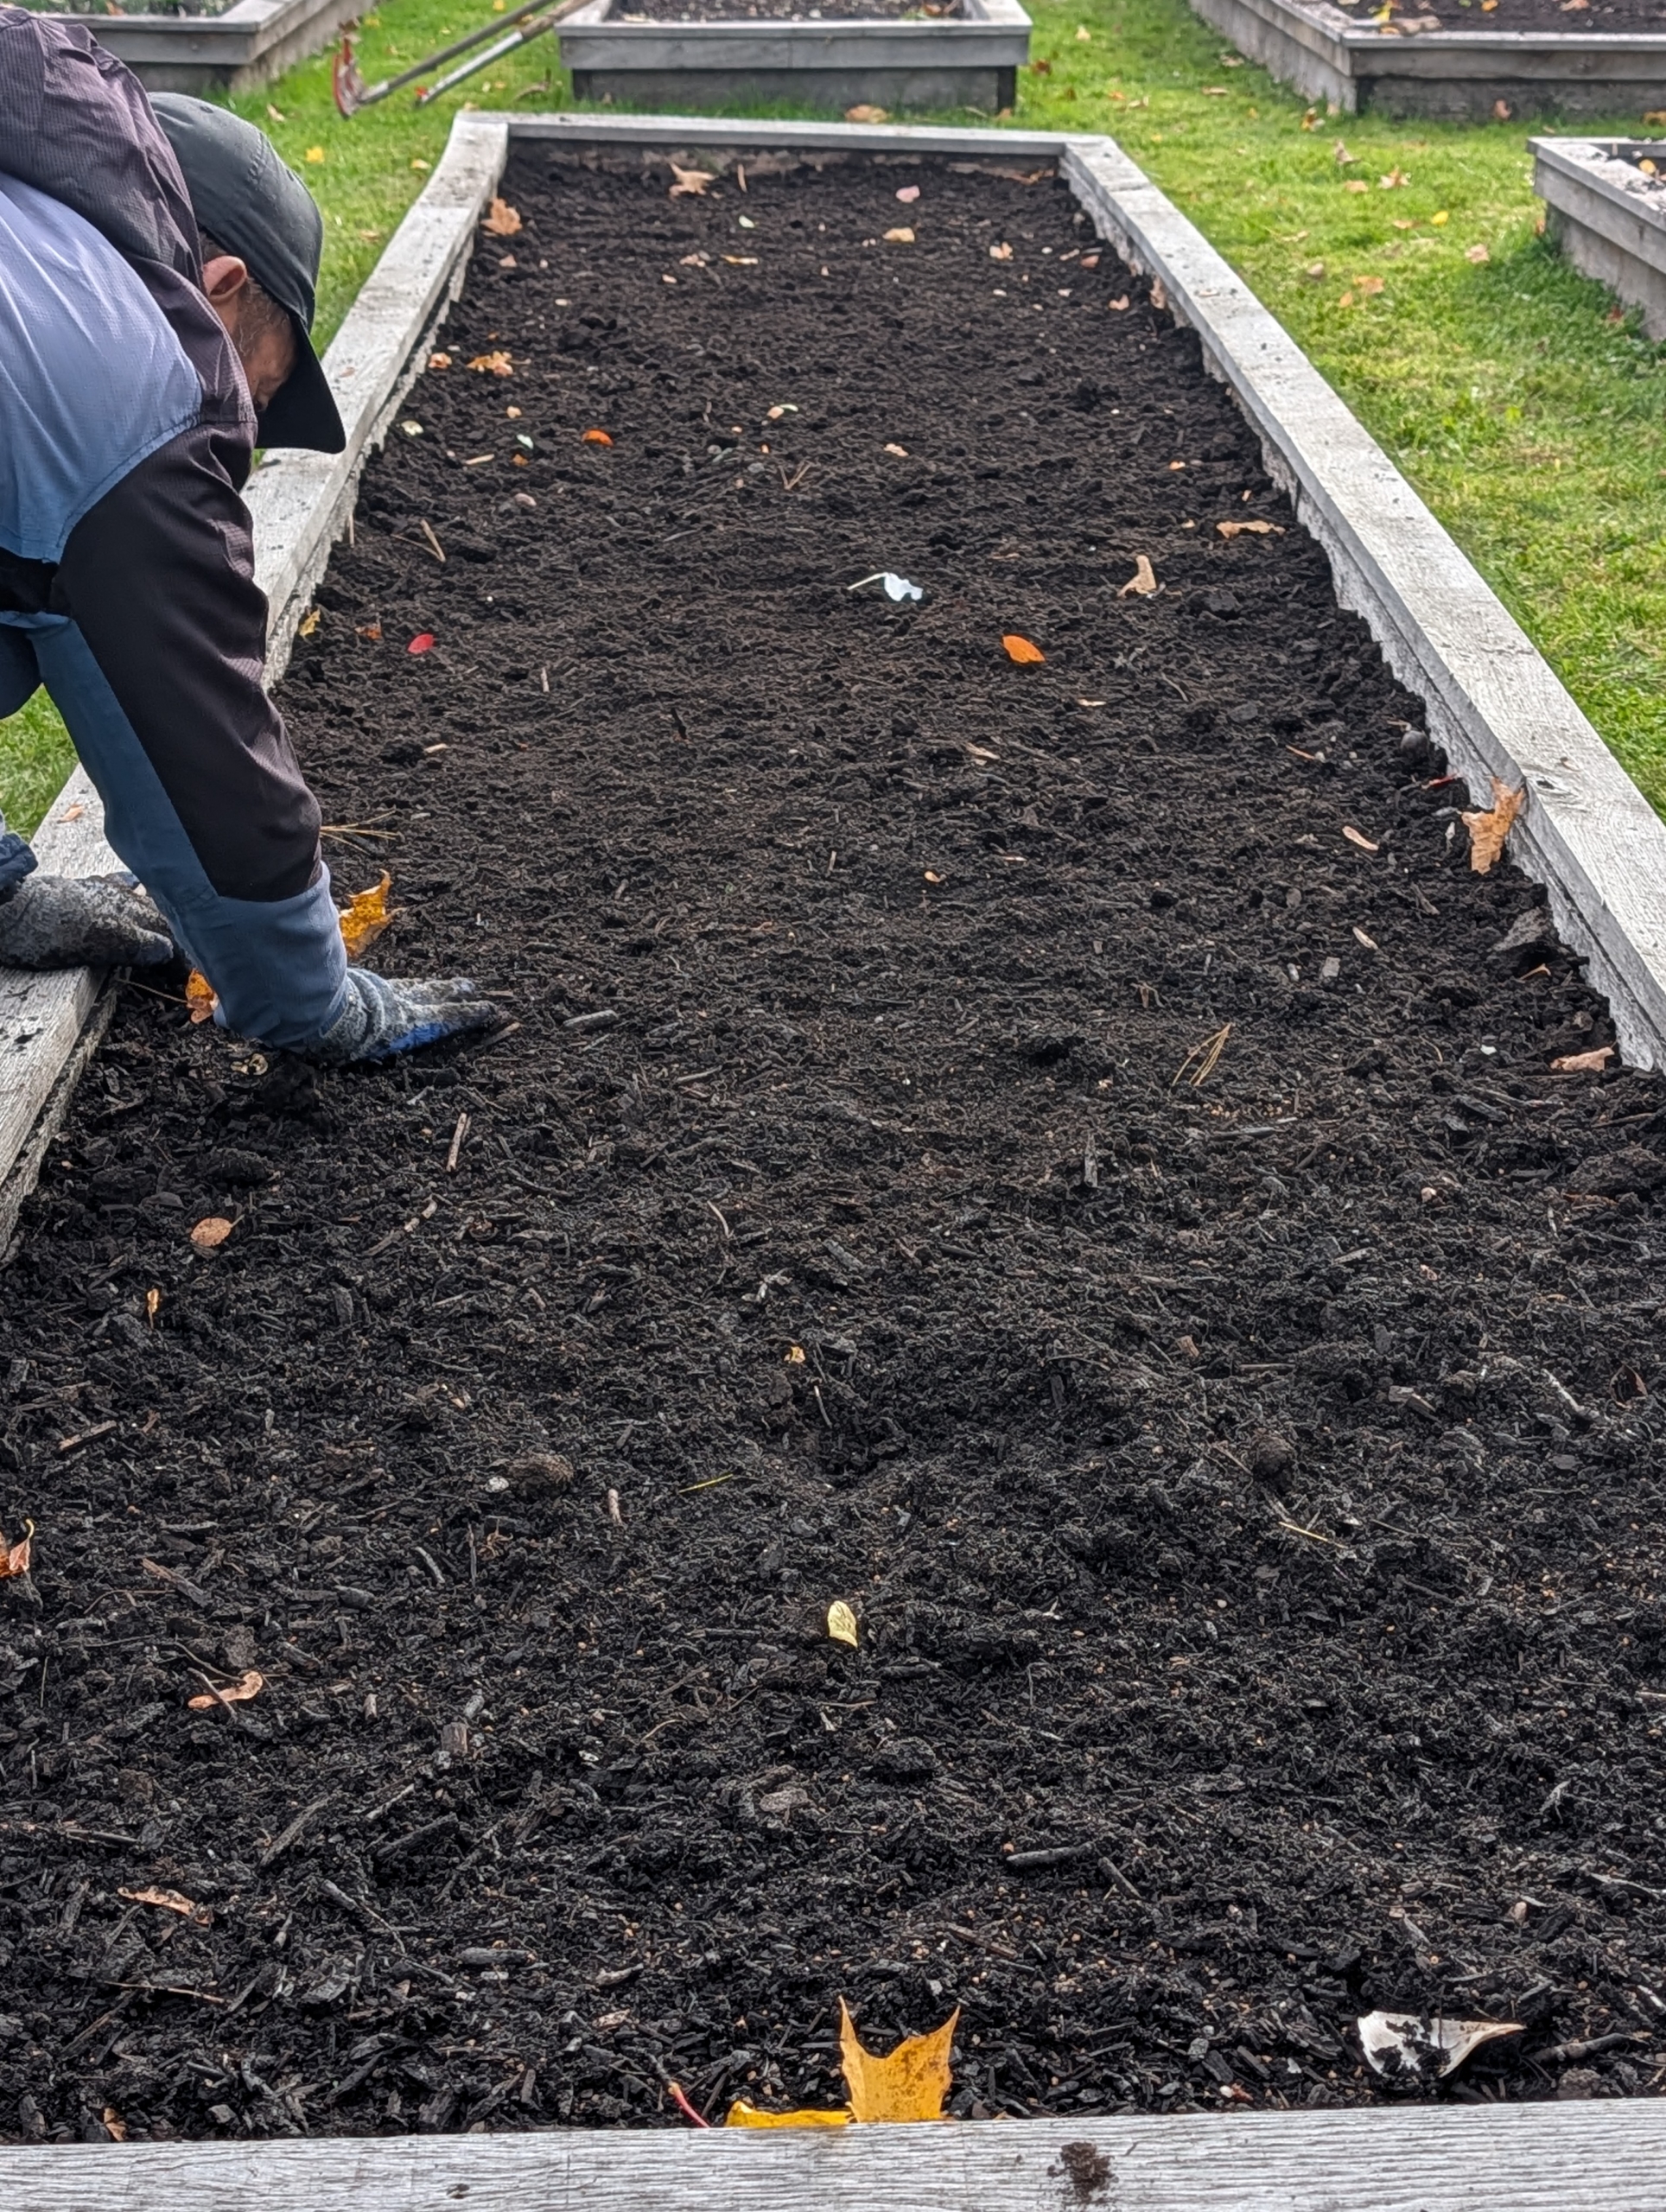
- The holes and garlic bulbs are covered and the garlic is left to grow. Garlic loves a rich fertile loam soil or a silty loam soil. It also grows best in an area that drains well – the cloves can rot if they sit in water or mud.
-
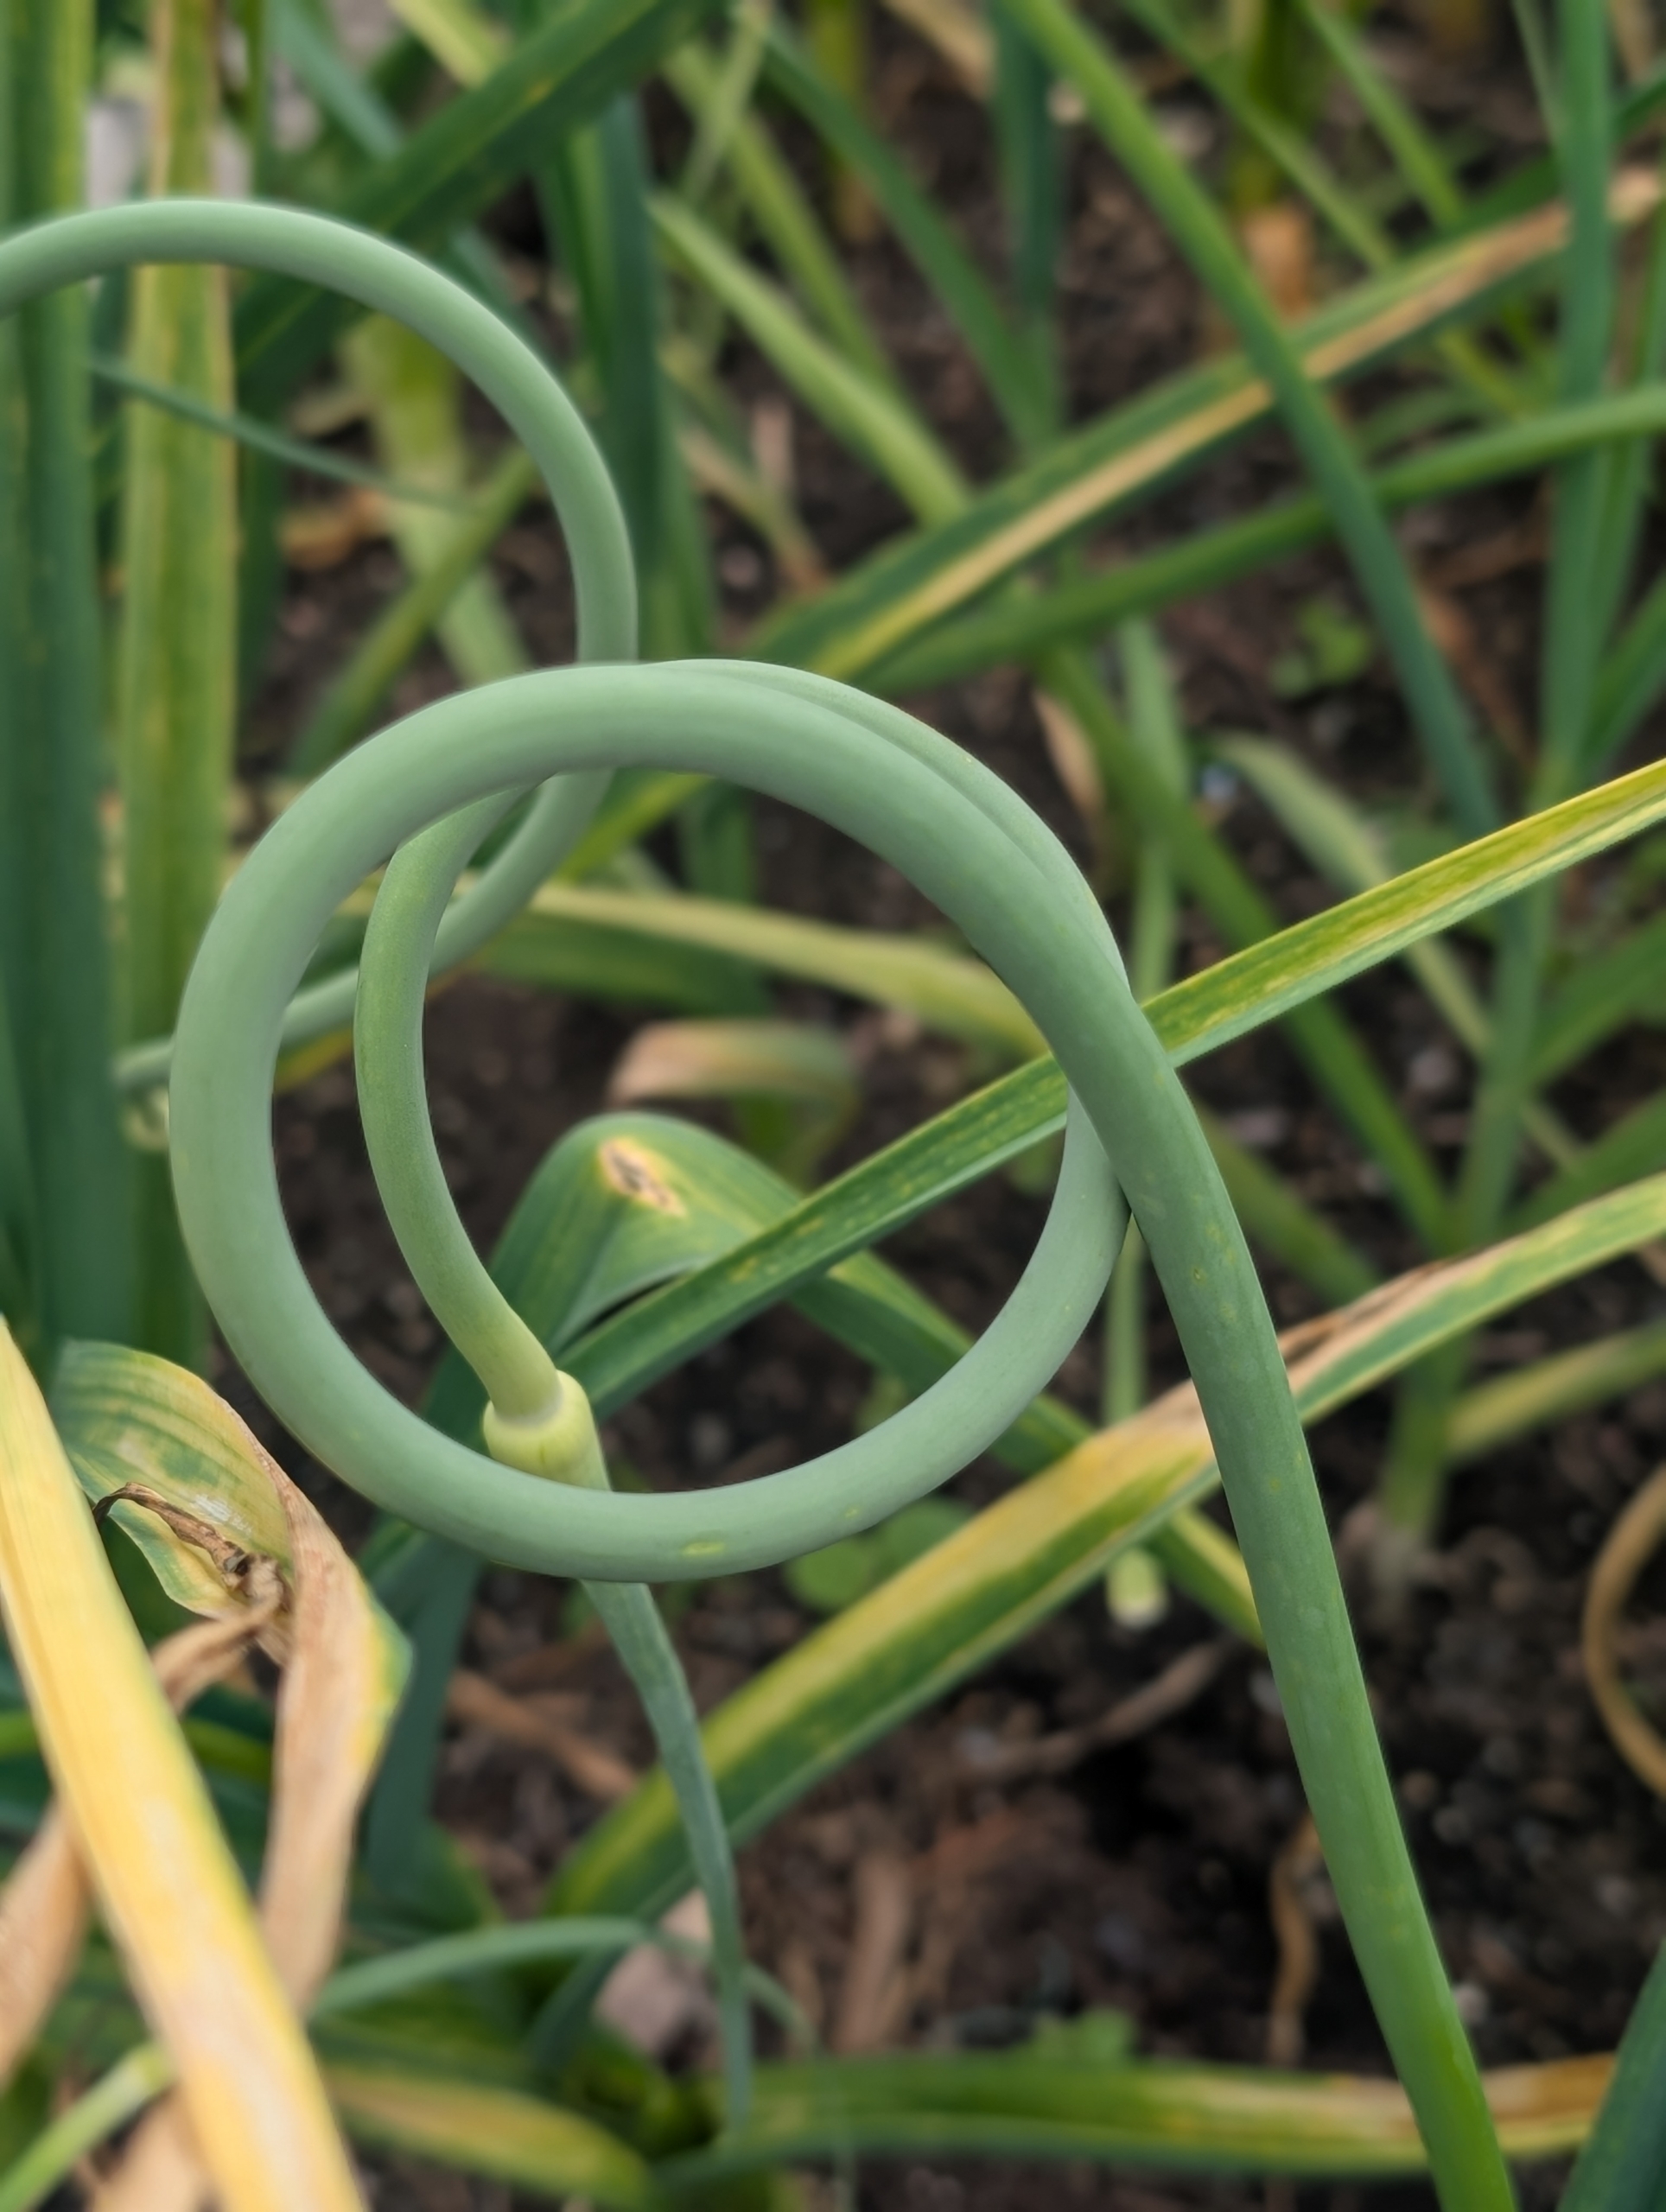
- By mid-June, the scapes appear. Garlic scapes are the flower buds of the garlic plants. They’re ready about a month before the actual garlic bulbs. Scapes are delicious and can be used just like garlic. Scapes can be cut when the center stalks are completely formed and the ends are curled.
-
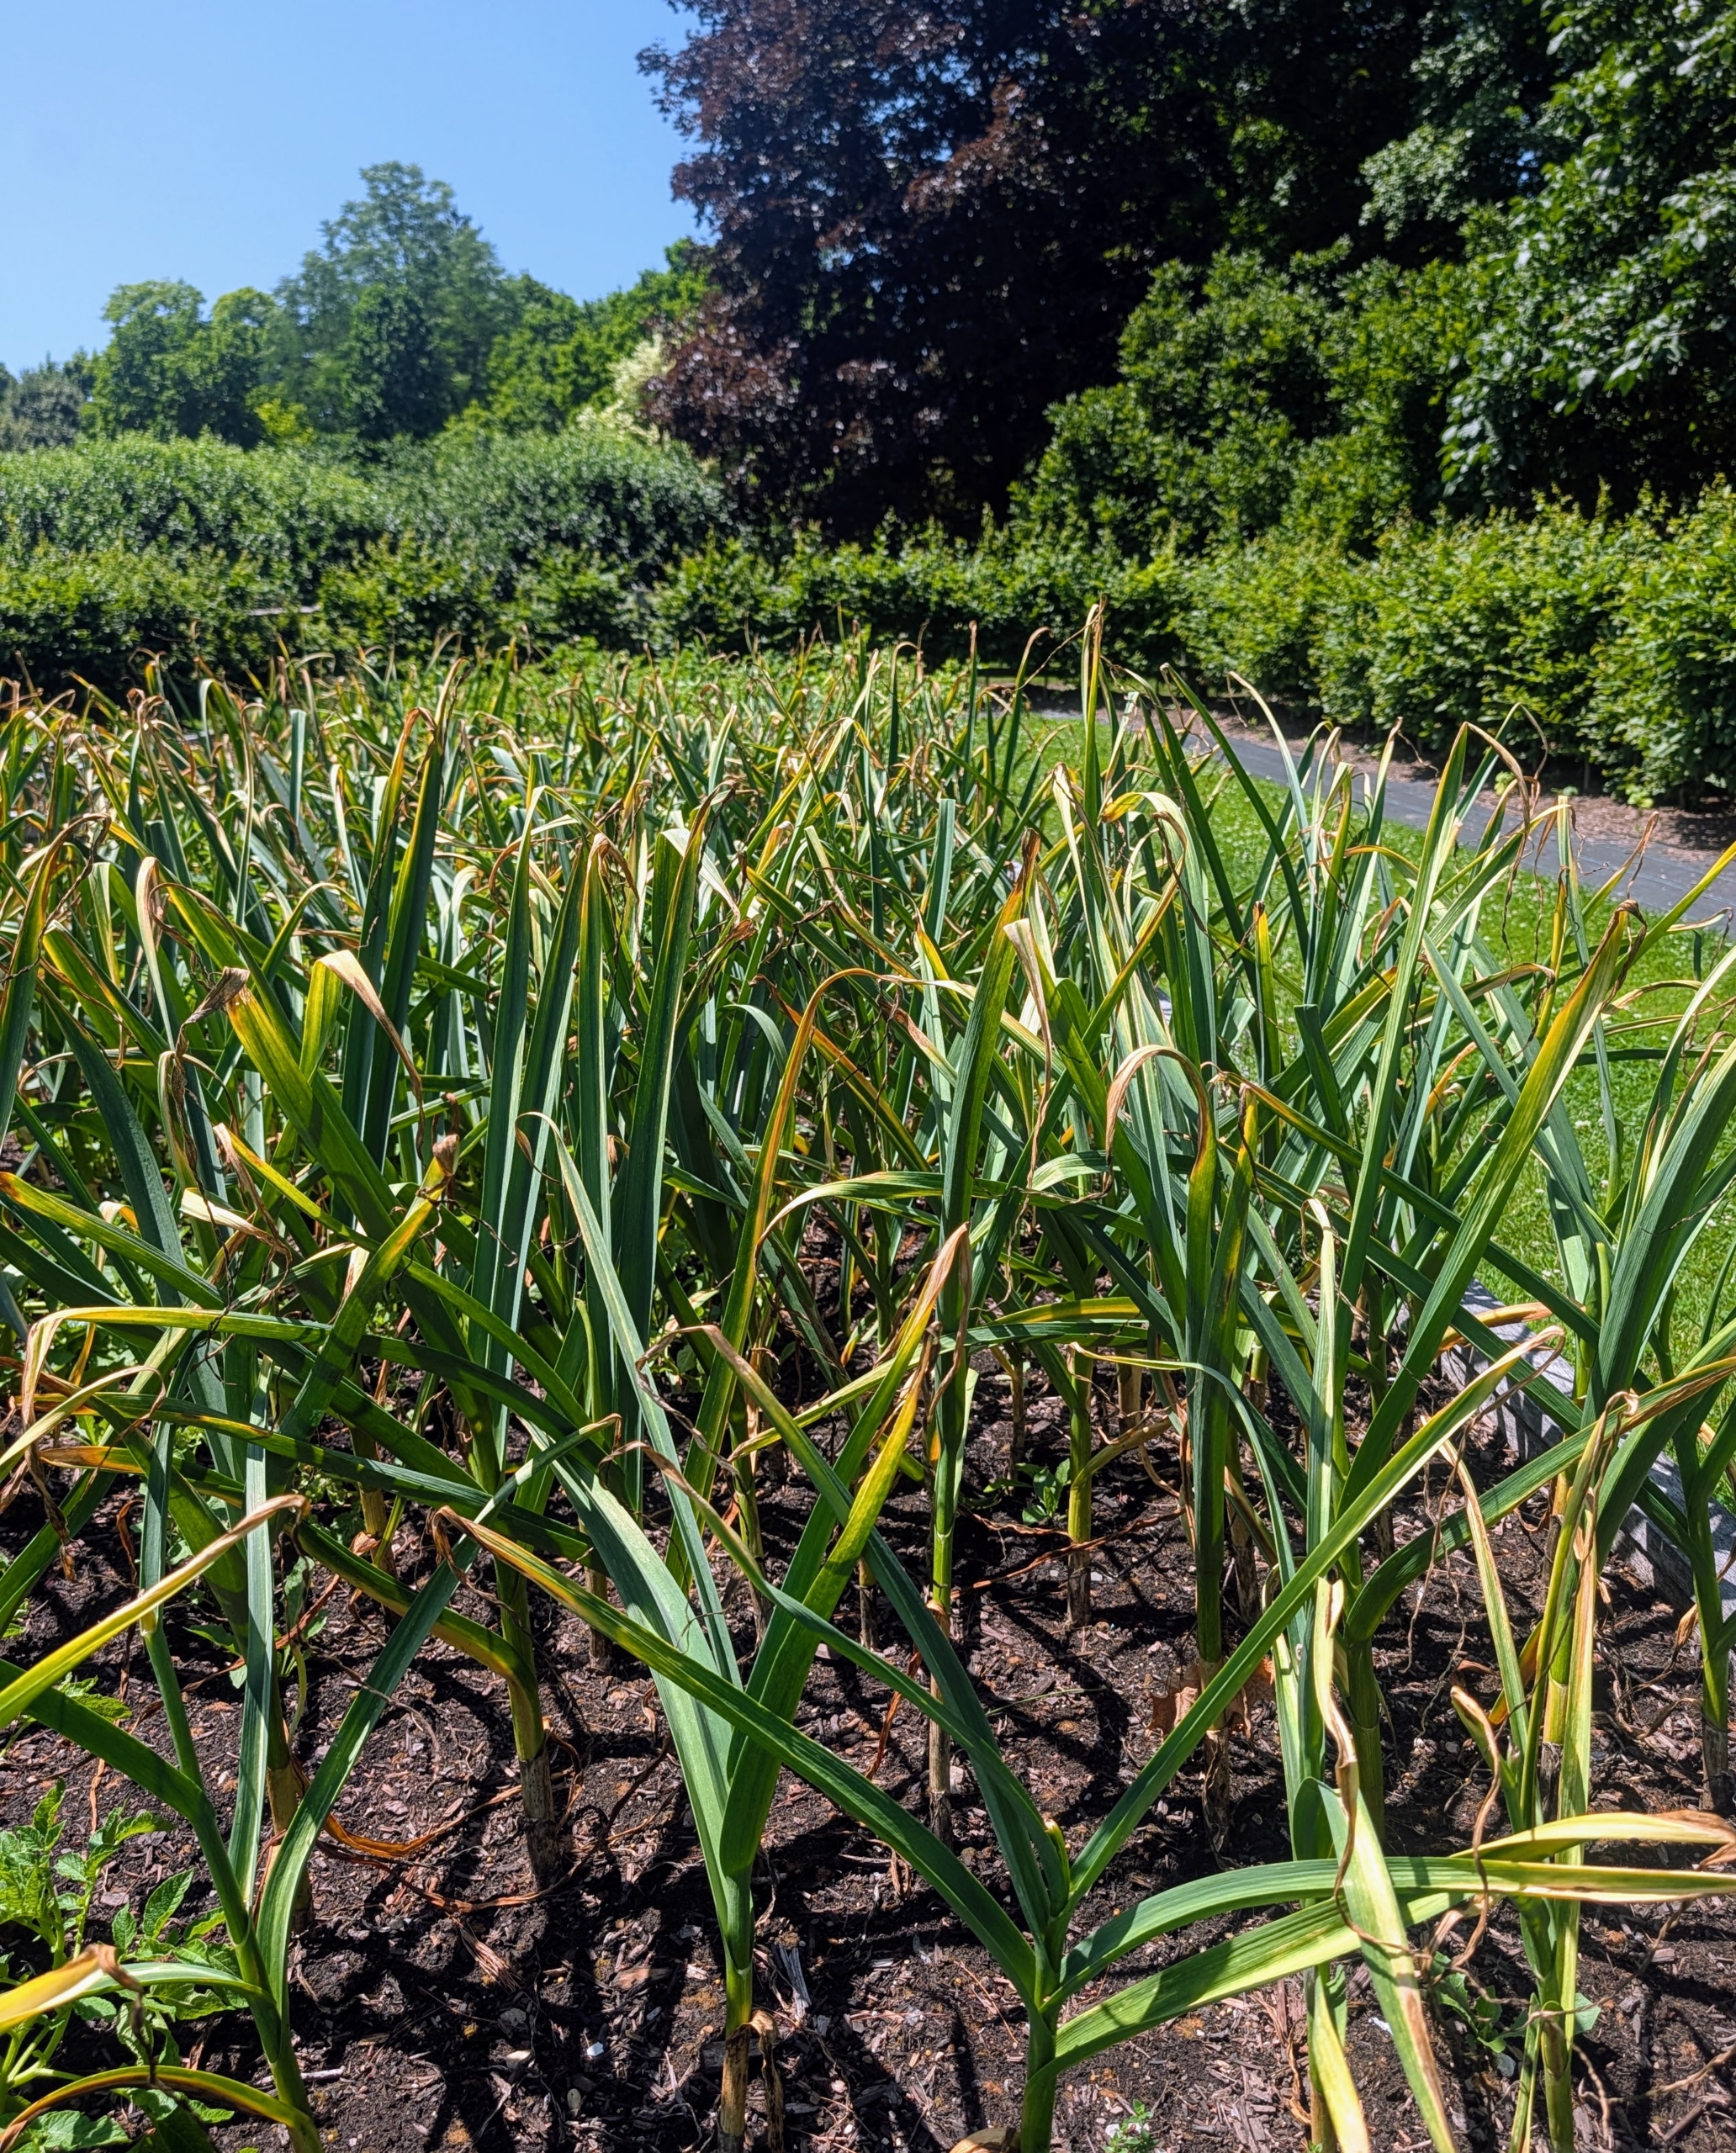
- And like clock work, a few weeks later the garlic leaves begin to brown.
-
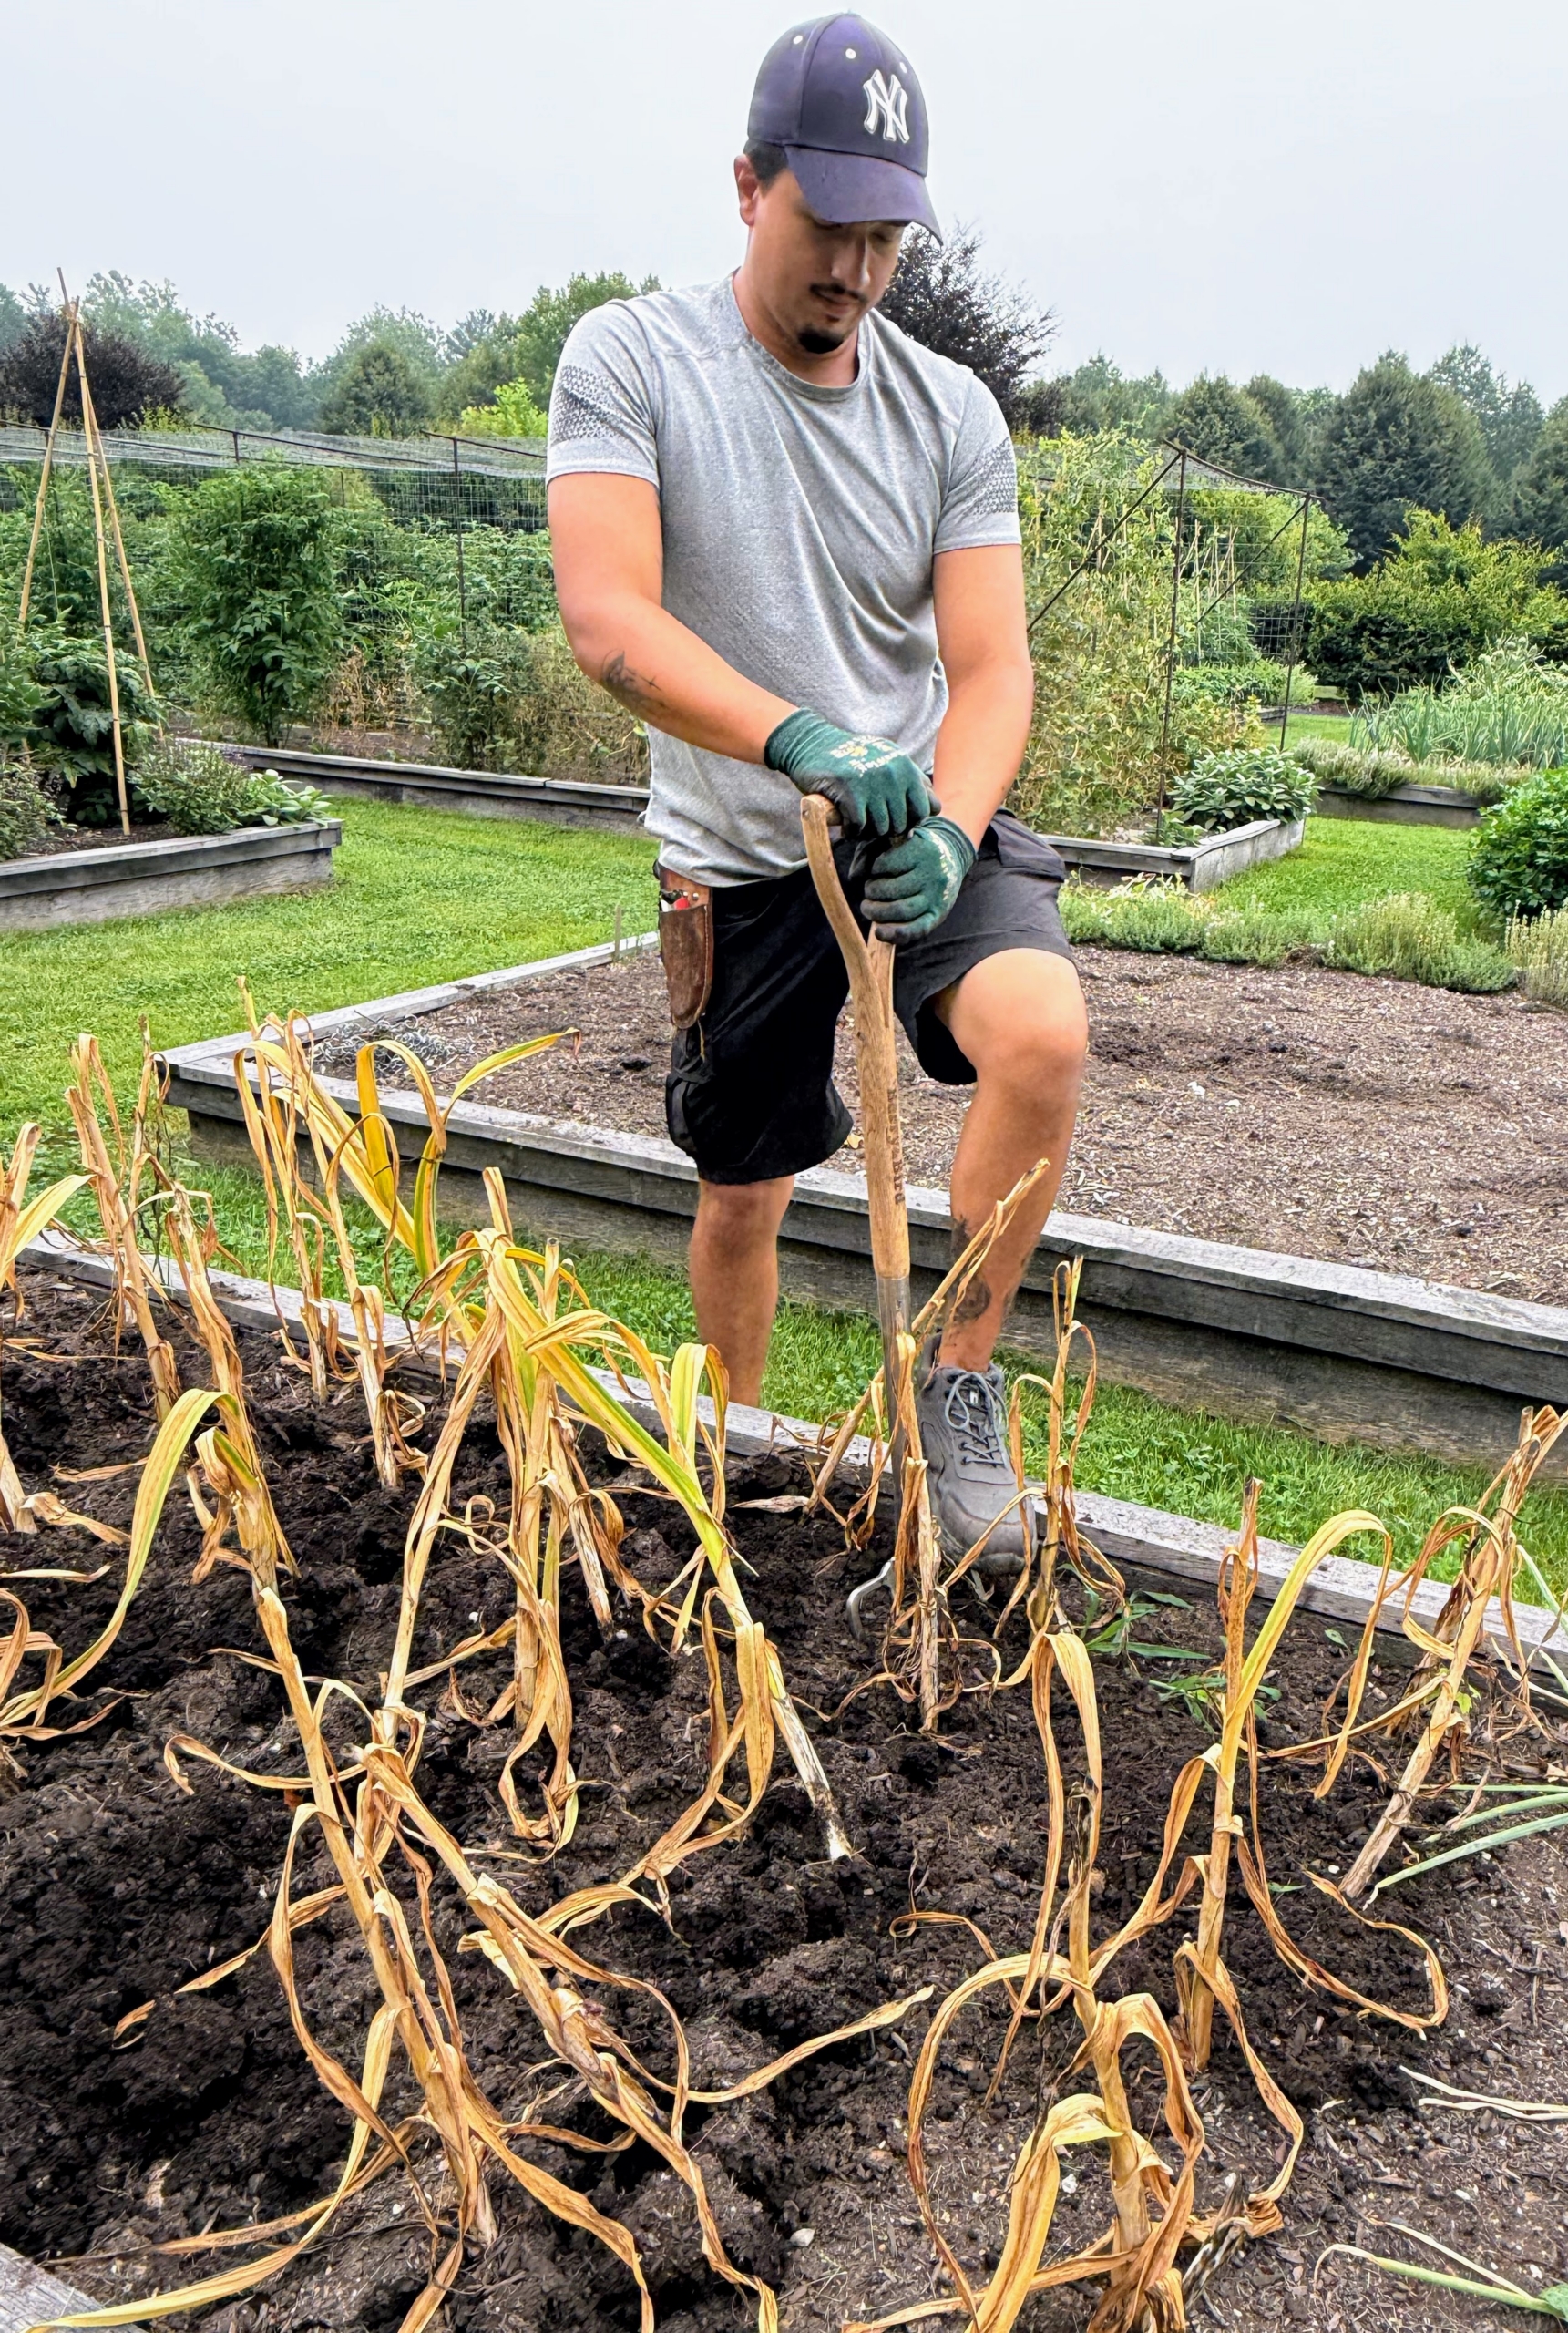
- Yesterday was a good, dry day to harvest garlic. Matthew uses a pitch fork to gently loosen the soil in between the garlic stems.
-
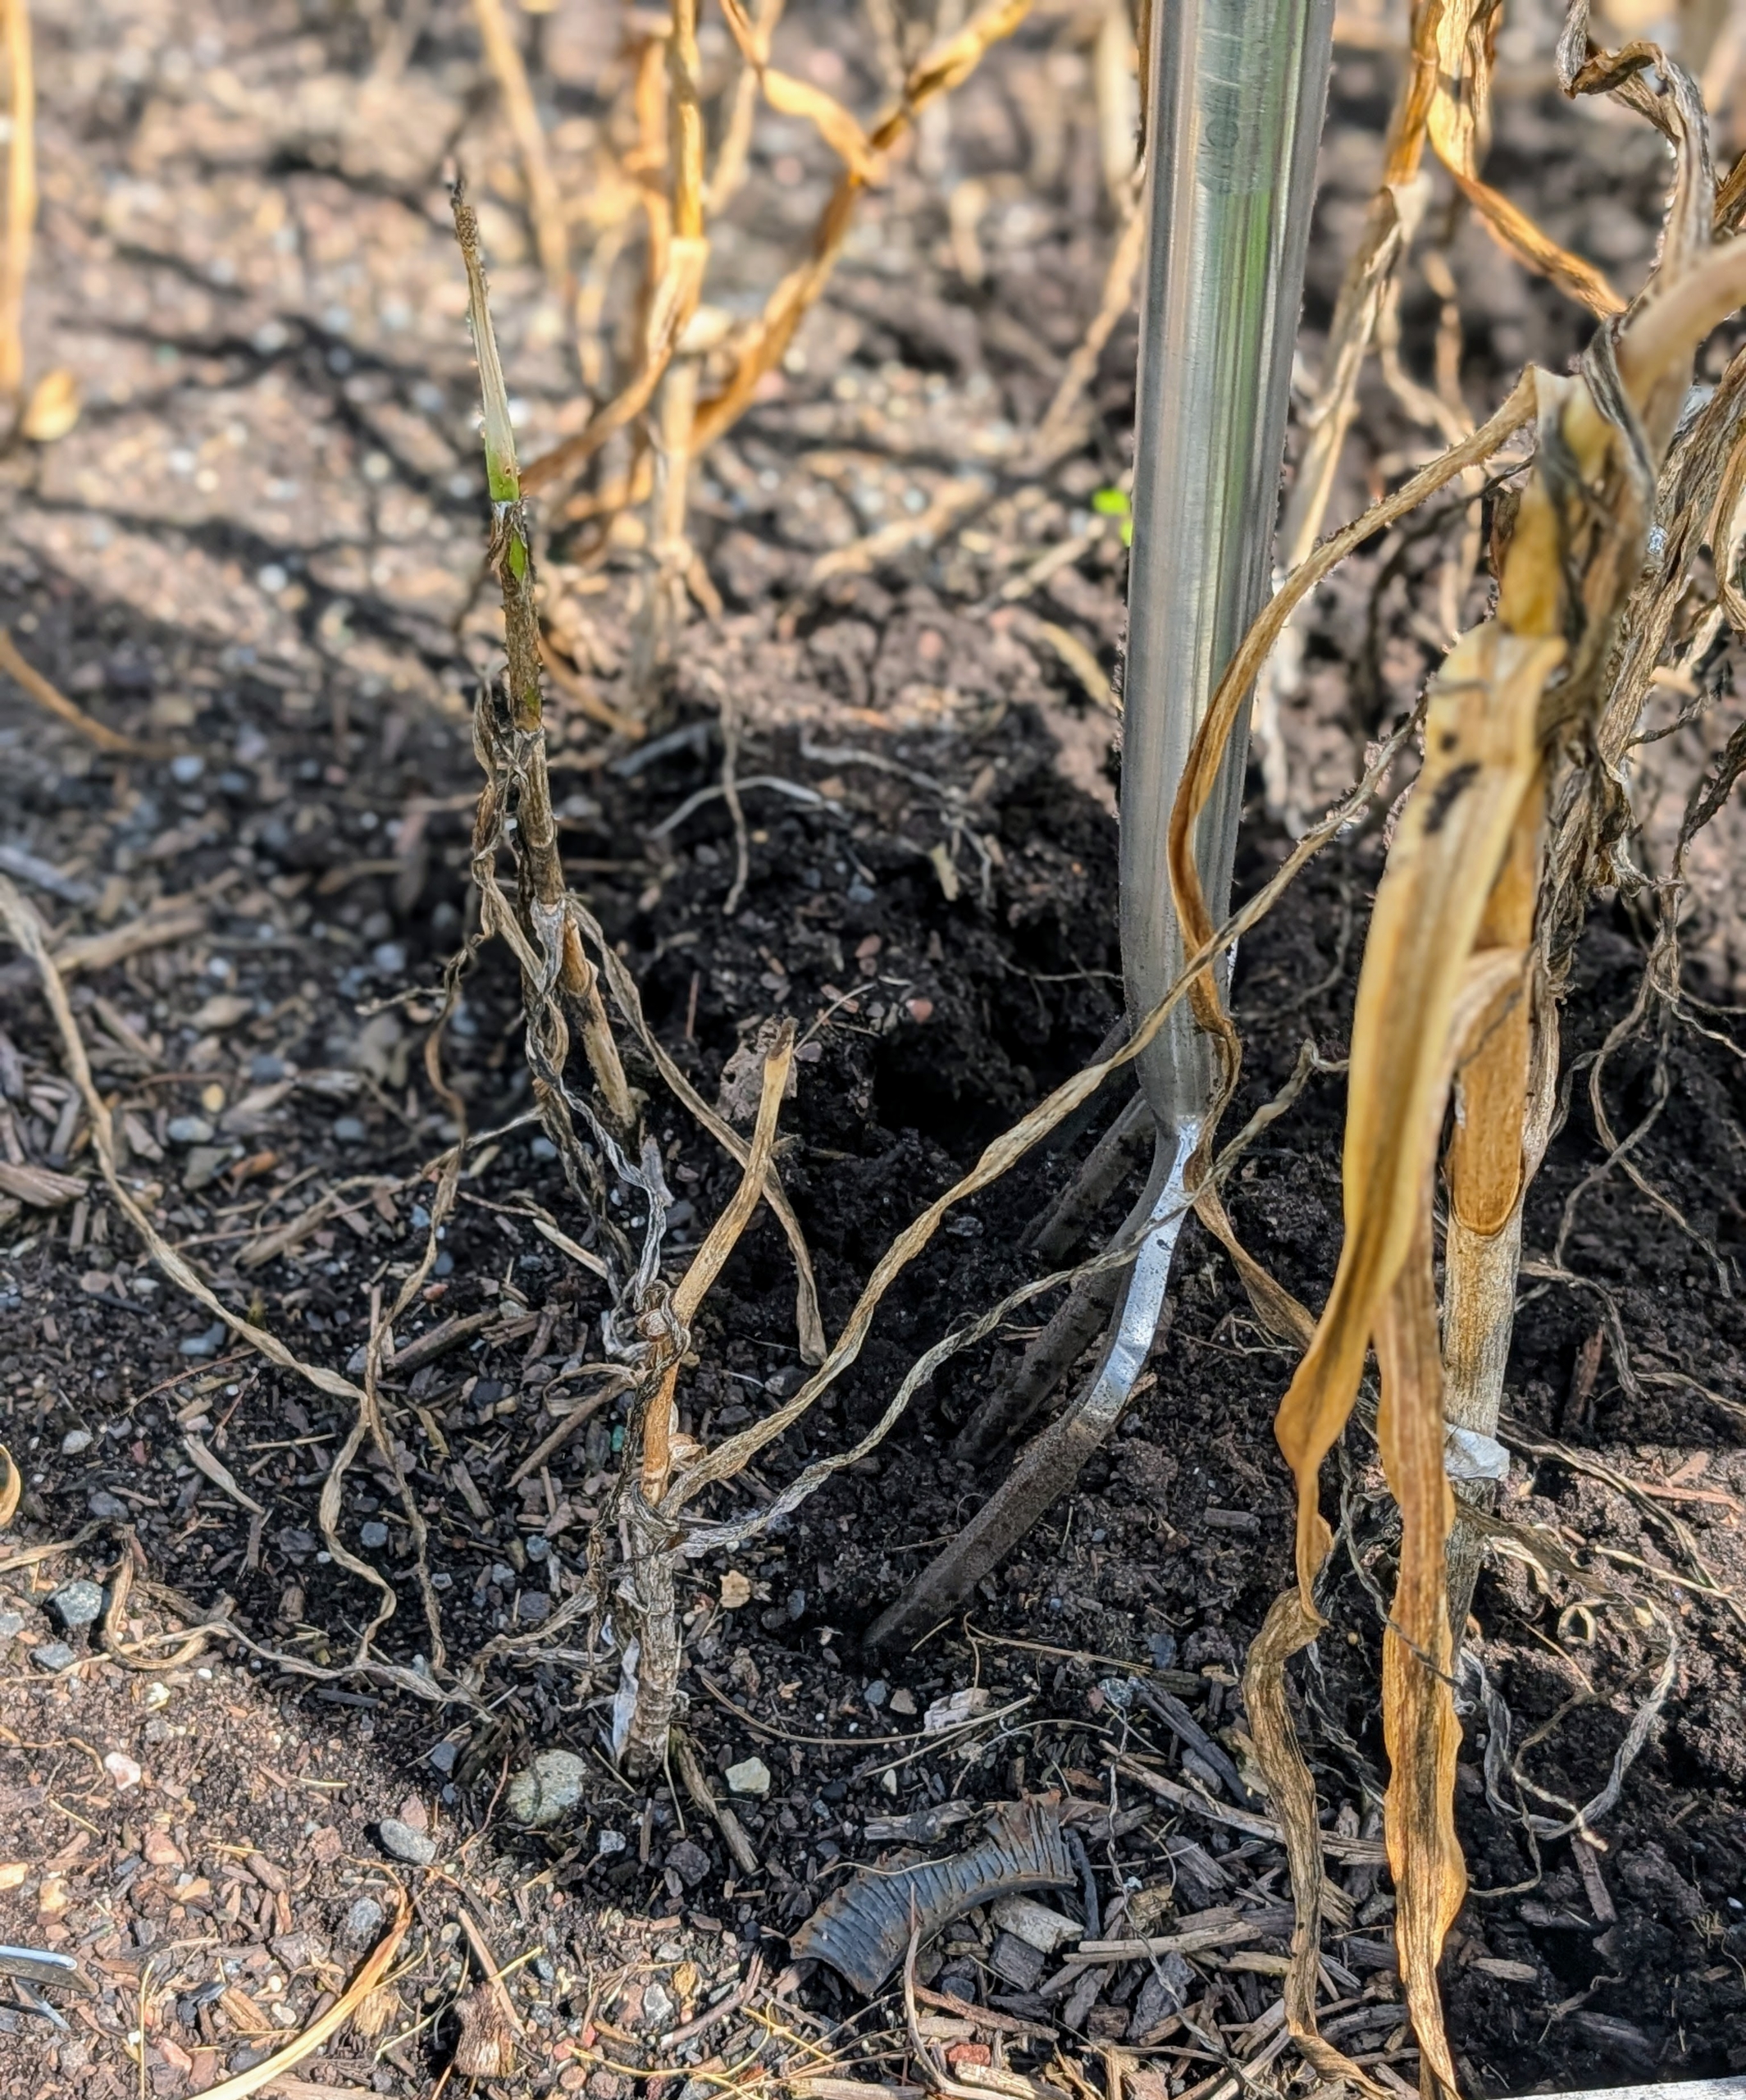
- Matthew is careful where he places the fork so as not to pierce any of the garlic heads.
-
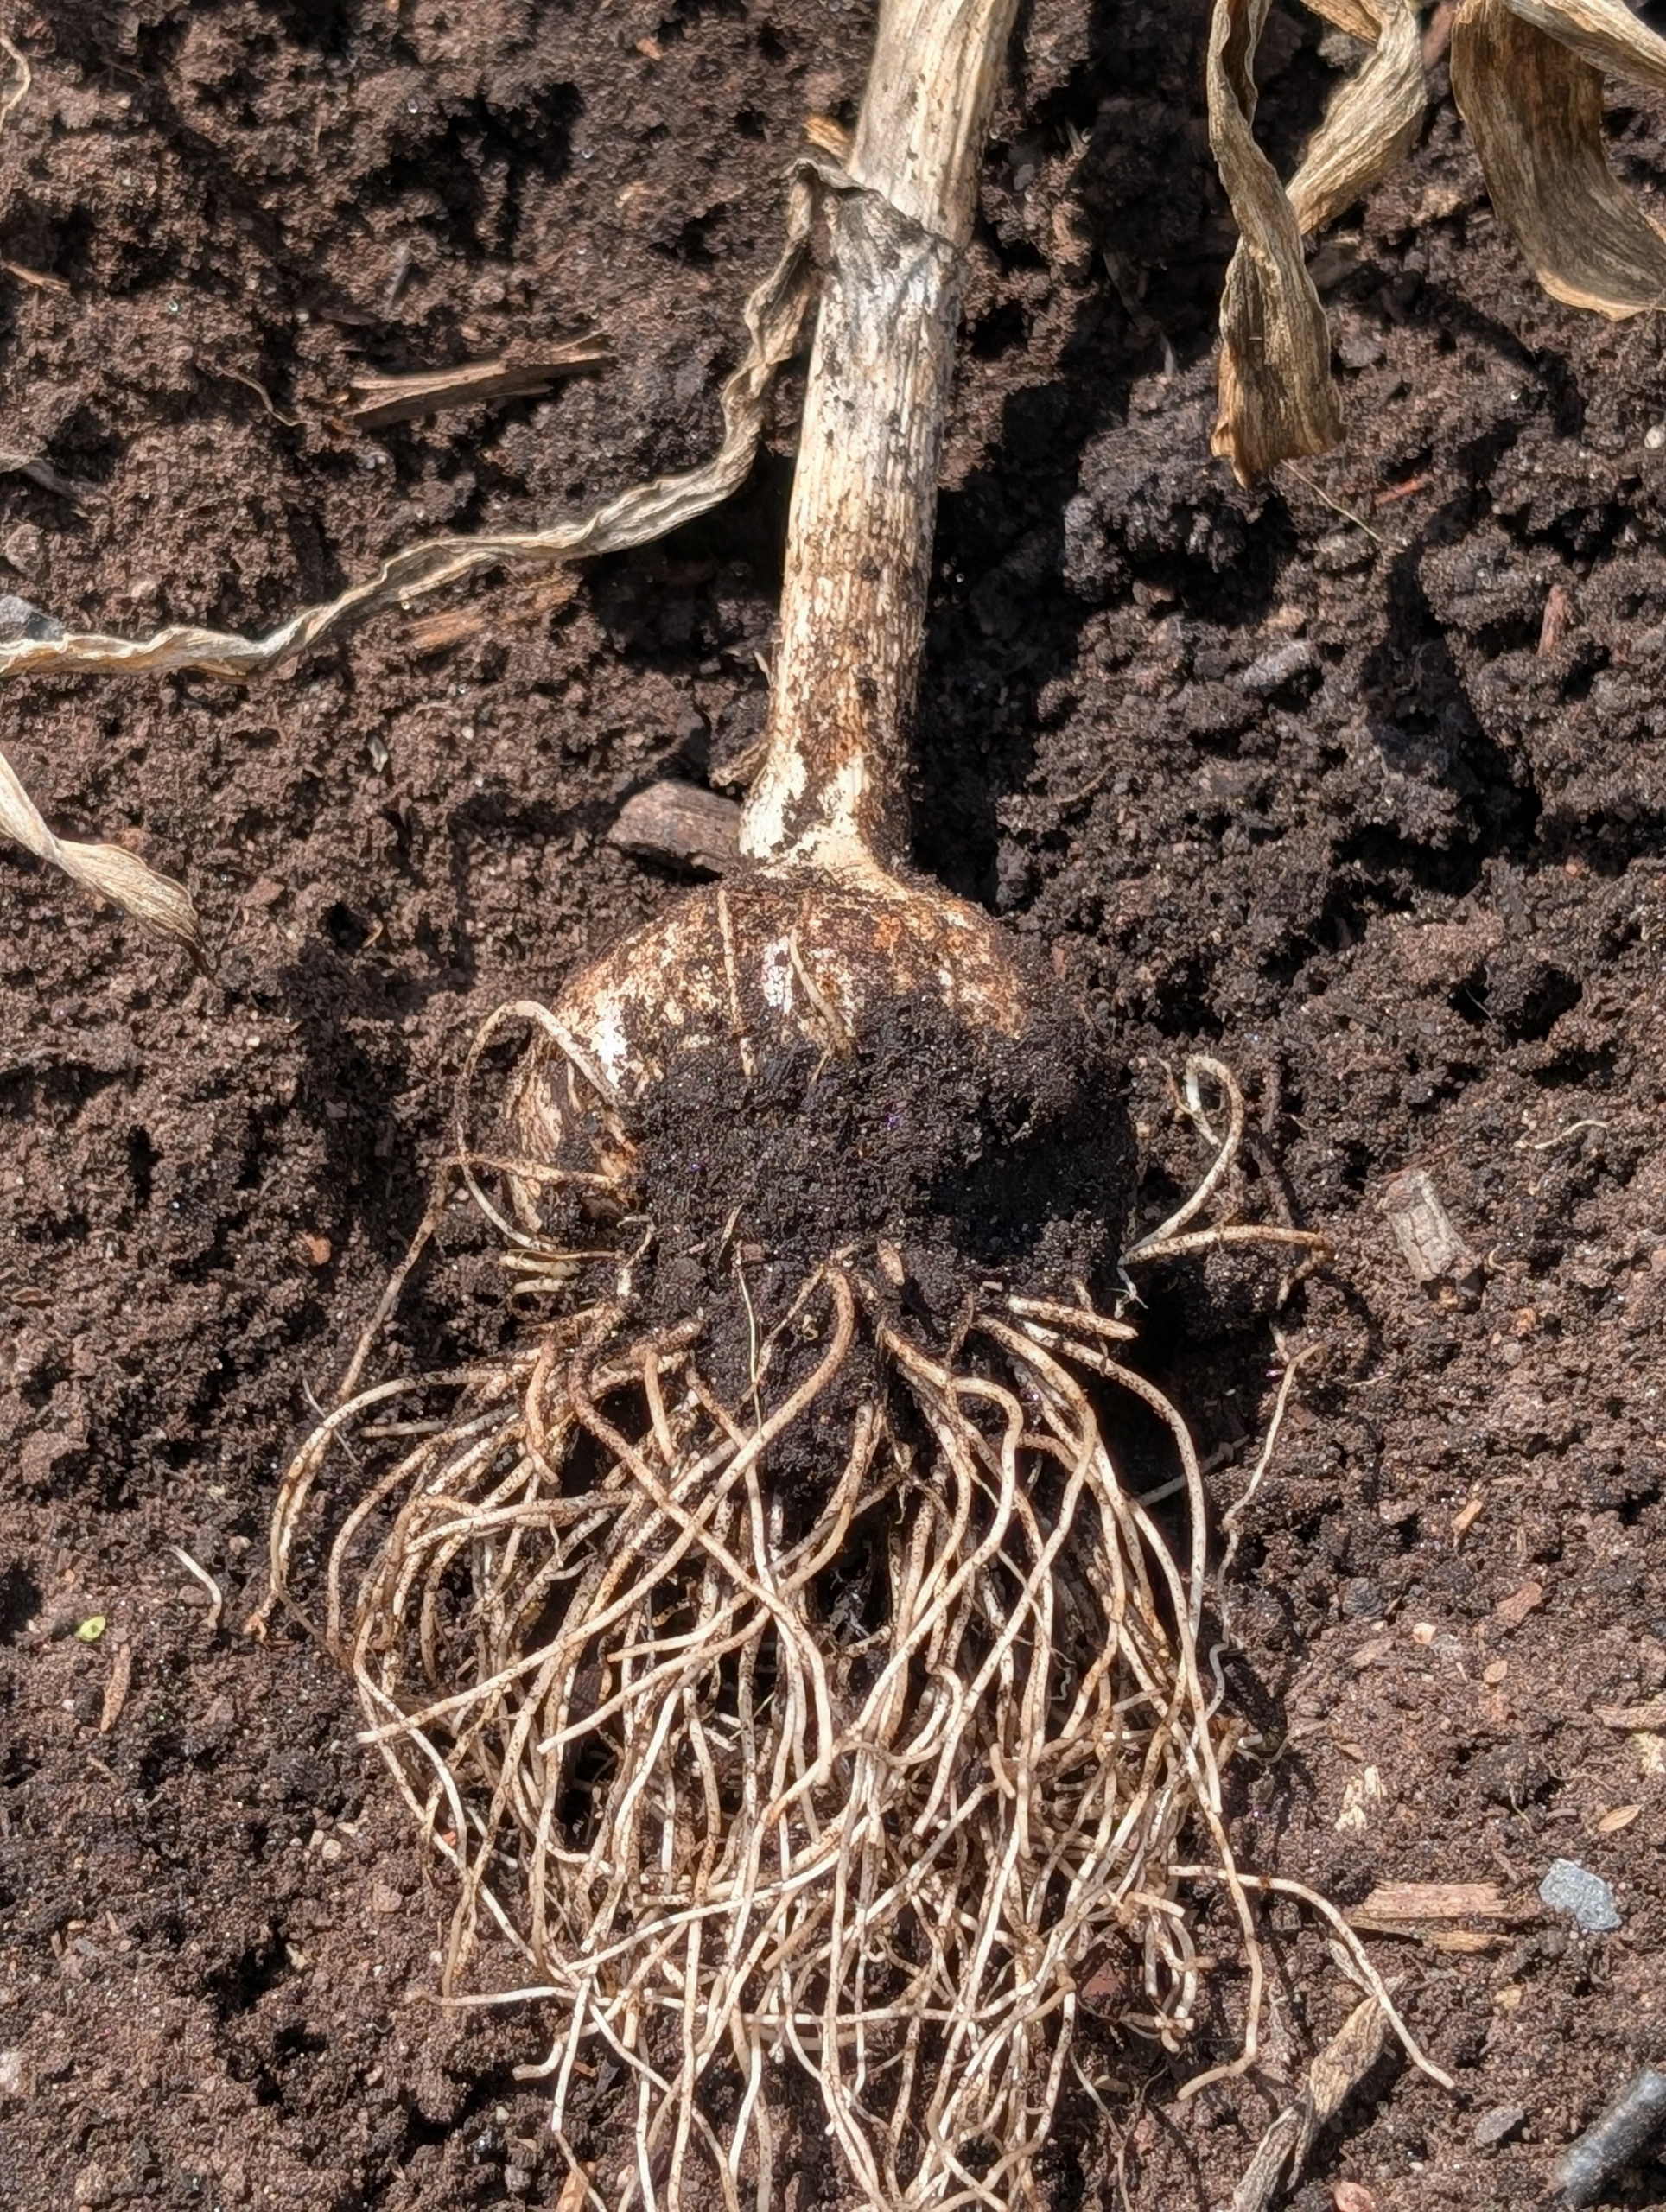
- Each garlic is pulled out from the base of the leaves so that the head comes out completely.
-
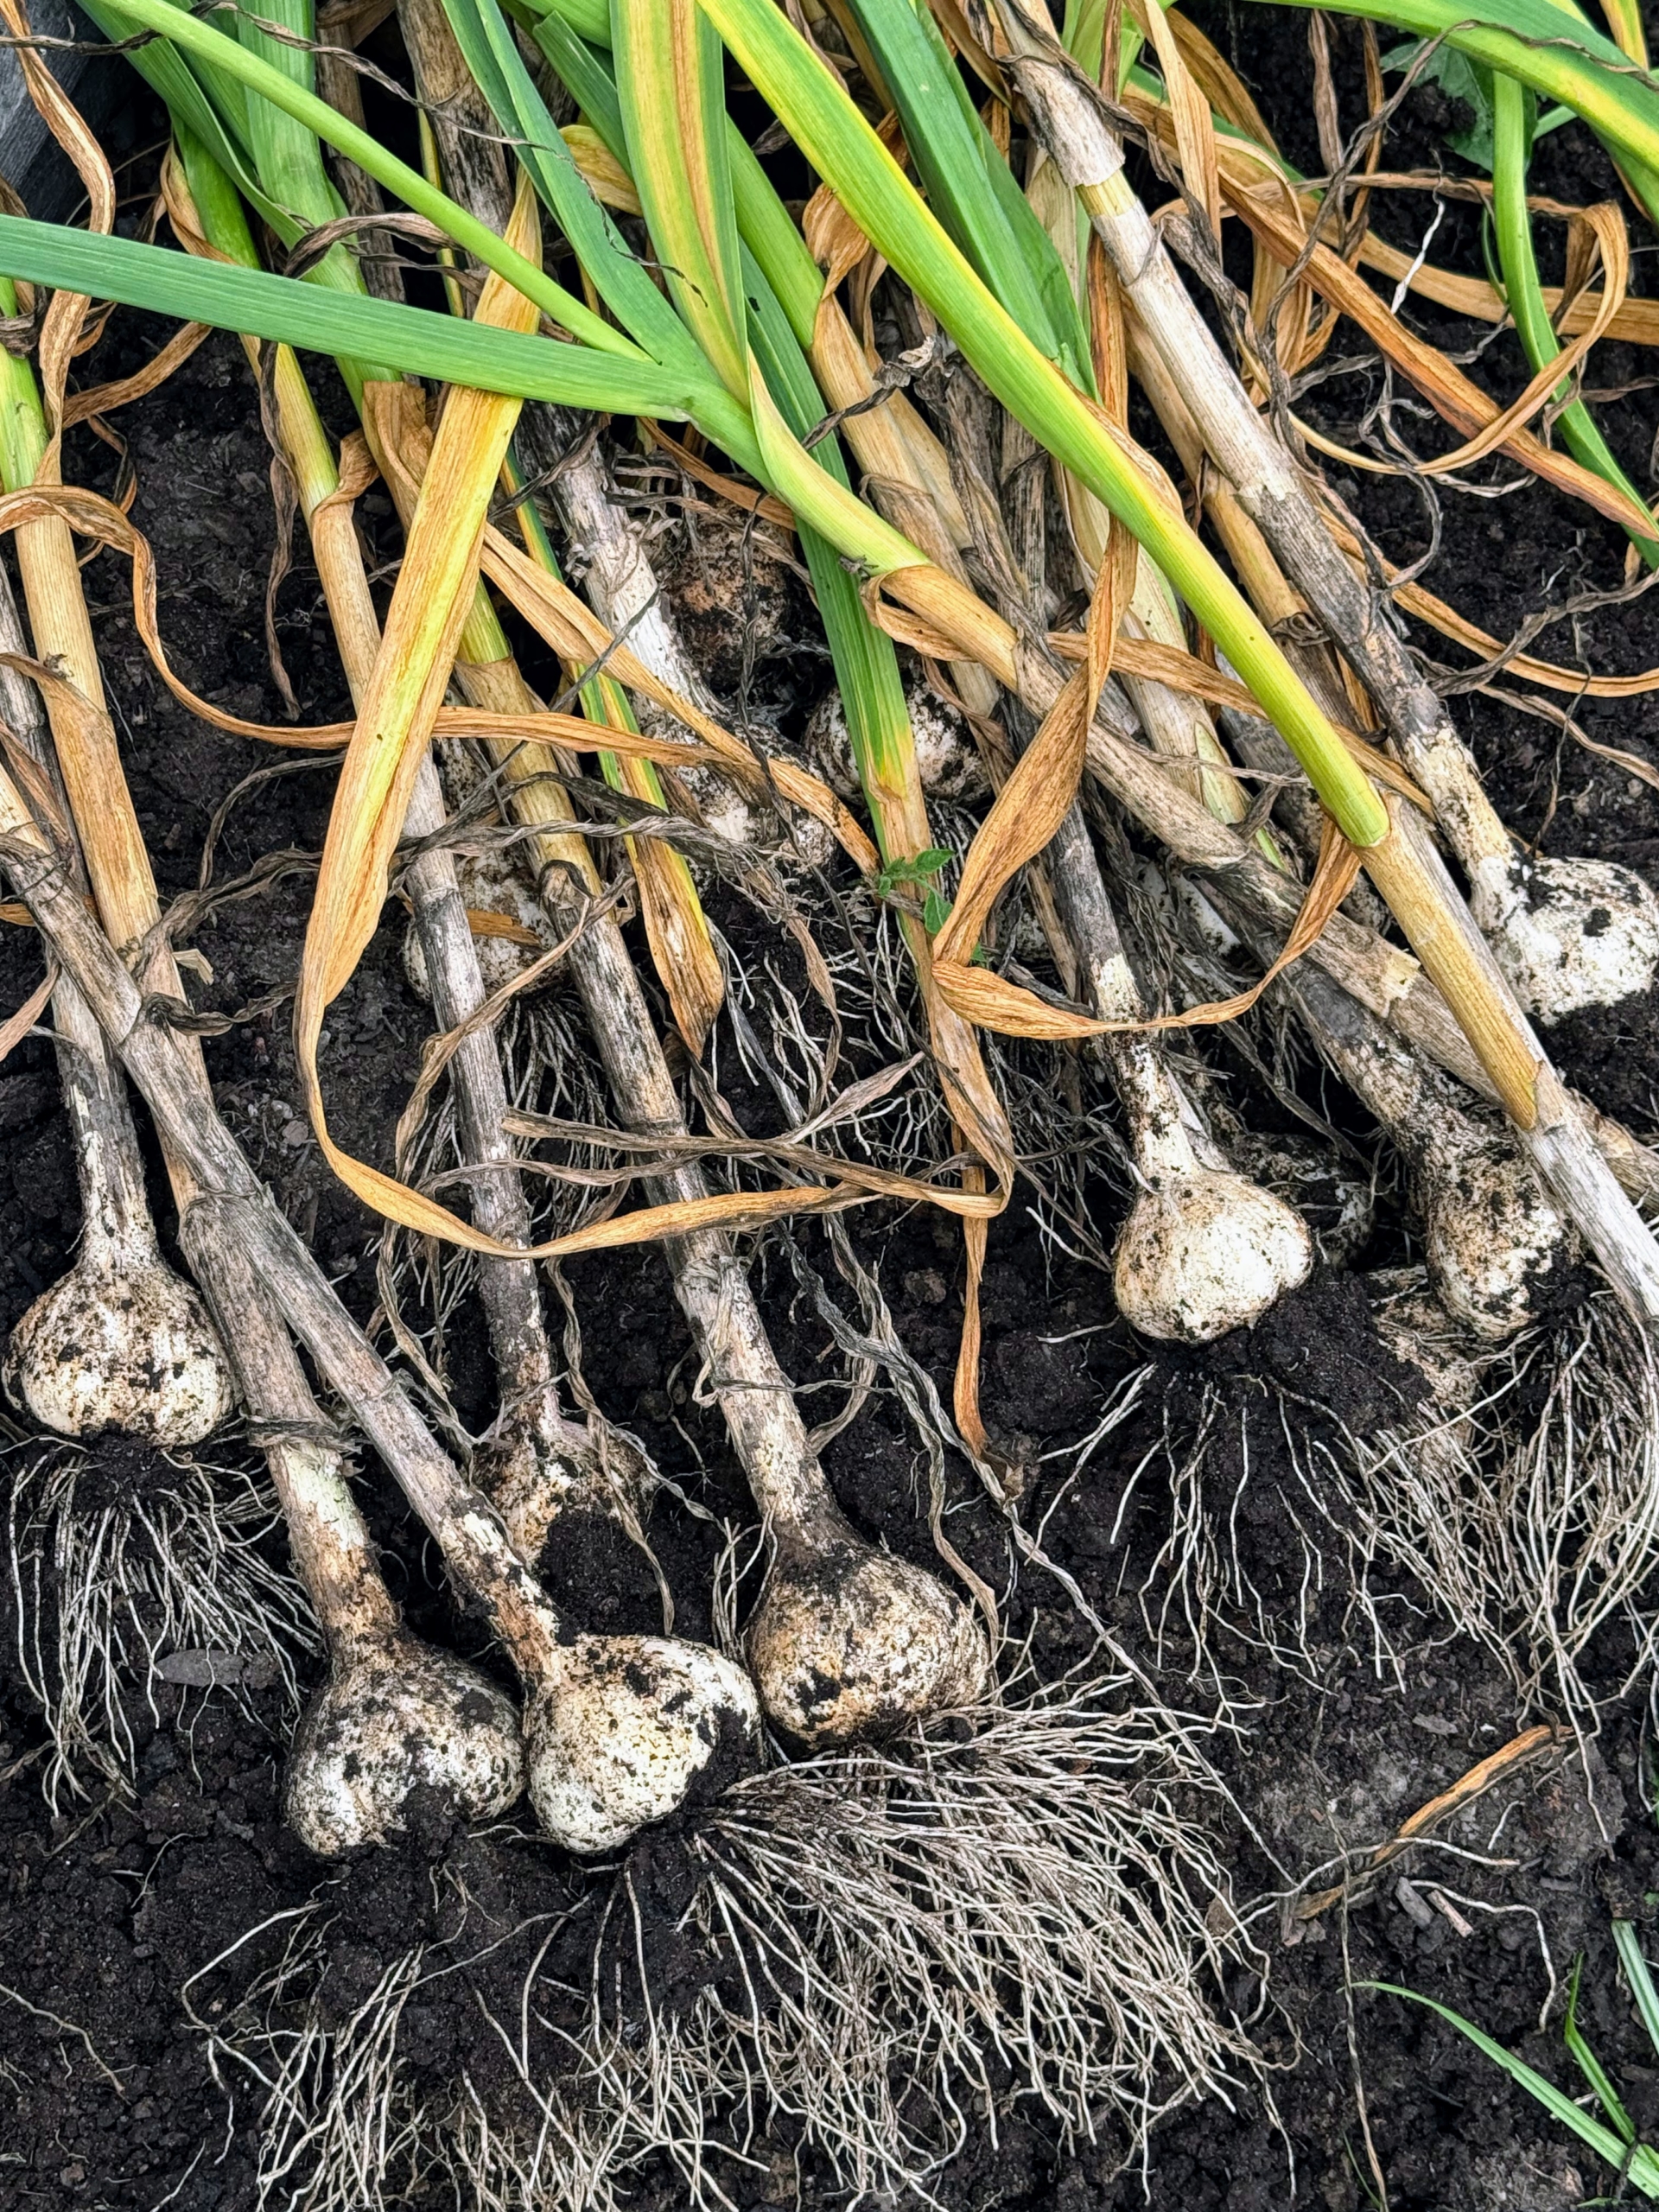
- As Matthew continues to loosen the soil, Ryan picks the garlic – it’s a very systematic process. It doesn’t take long before many heads are removed from the soil.
-
- The whole garlic is called a ‘head’, a ‘bulb’, or a ‘knob.‘ Each small, individual segment of a garlic head is a clove. Garlic is both delicious and nutritious. It is known to lower cholesterol, decrease the risk of coronary artery disease, and is an excellent source of minerals and vitamins, such as vitamins B6 and C.
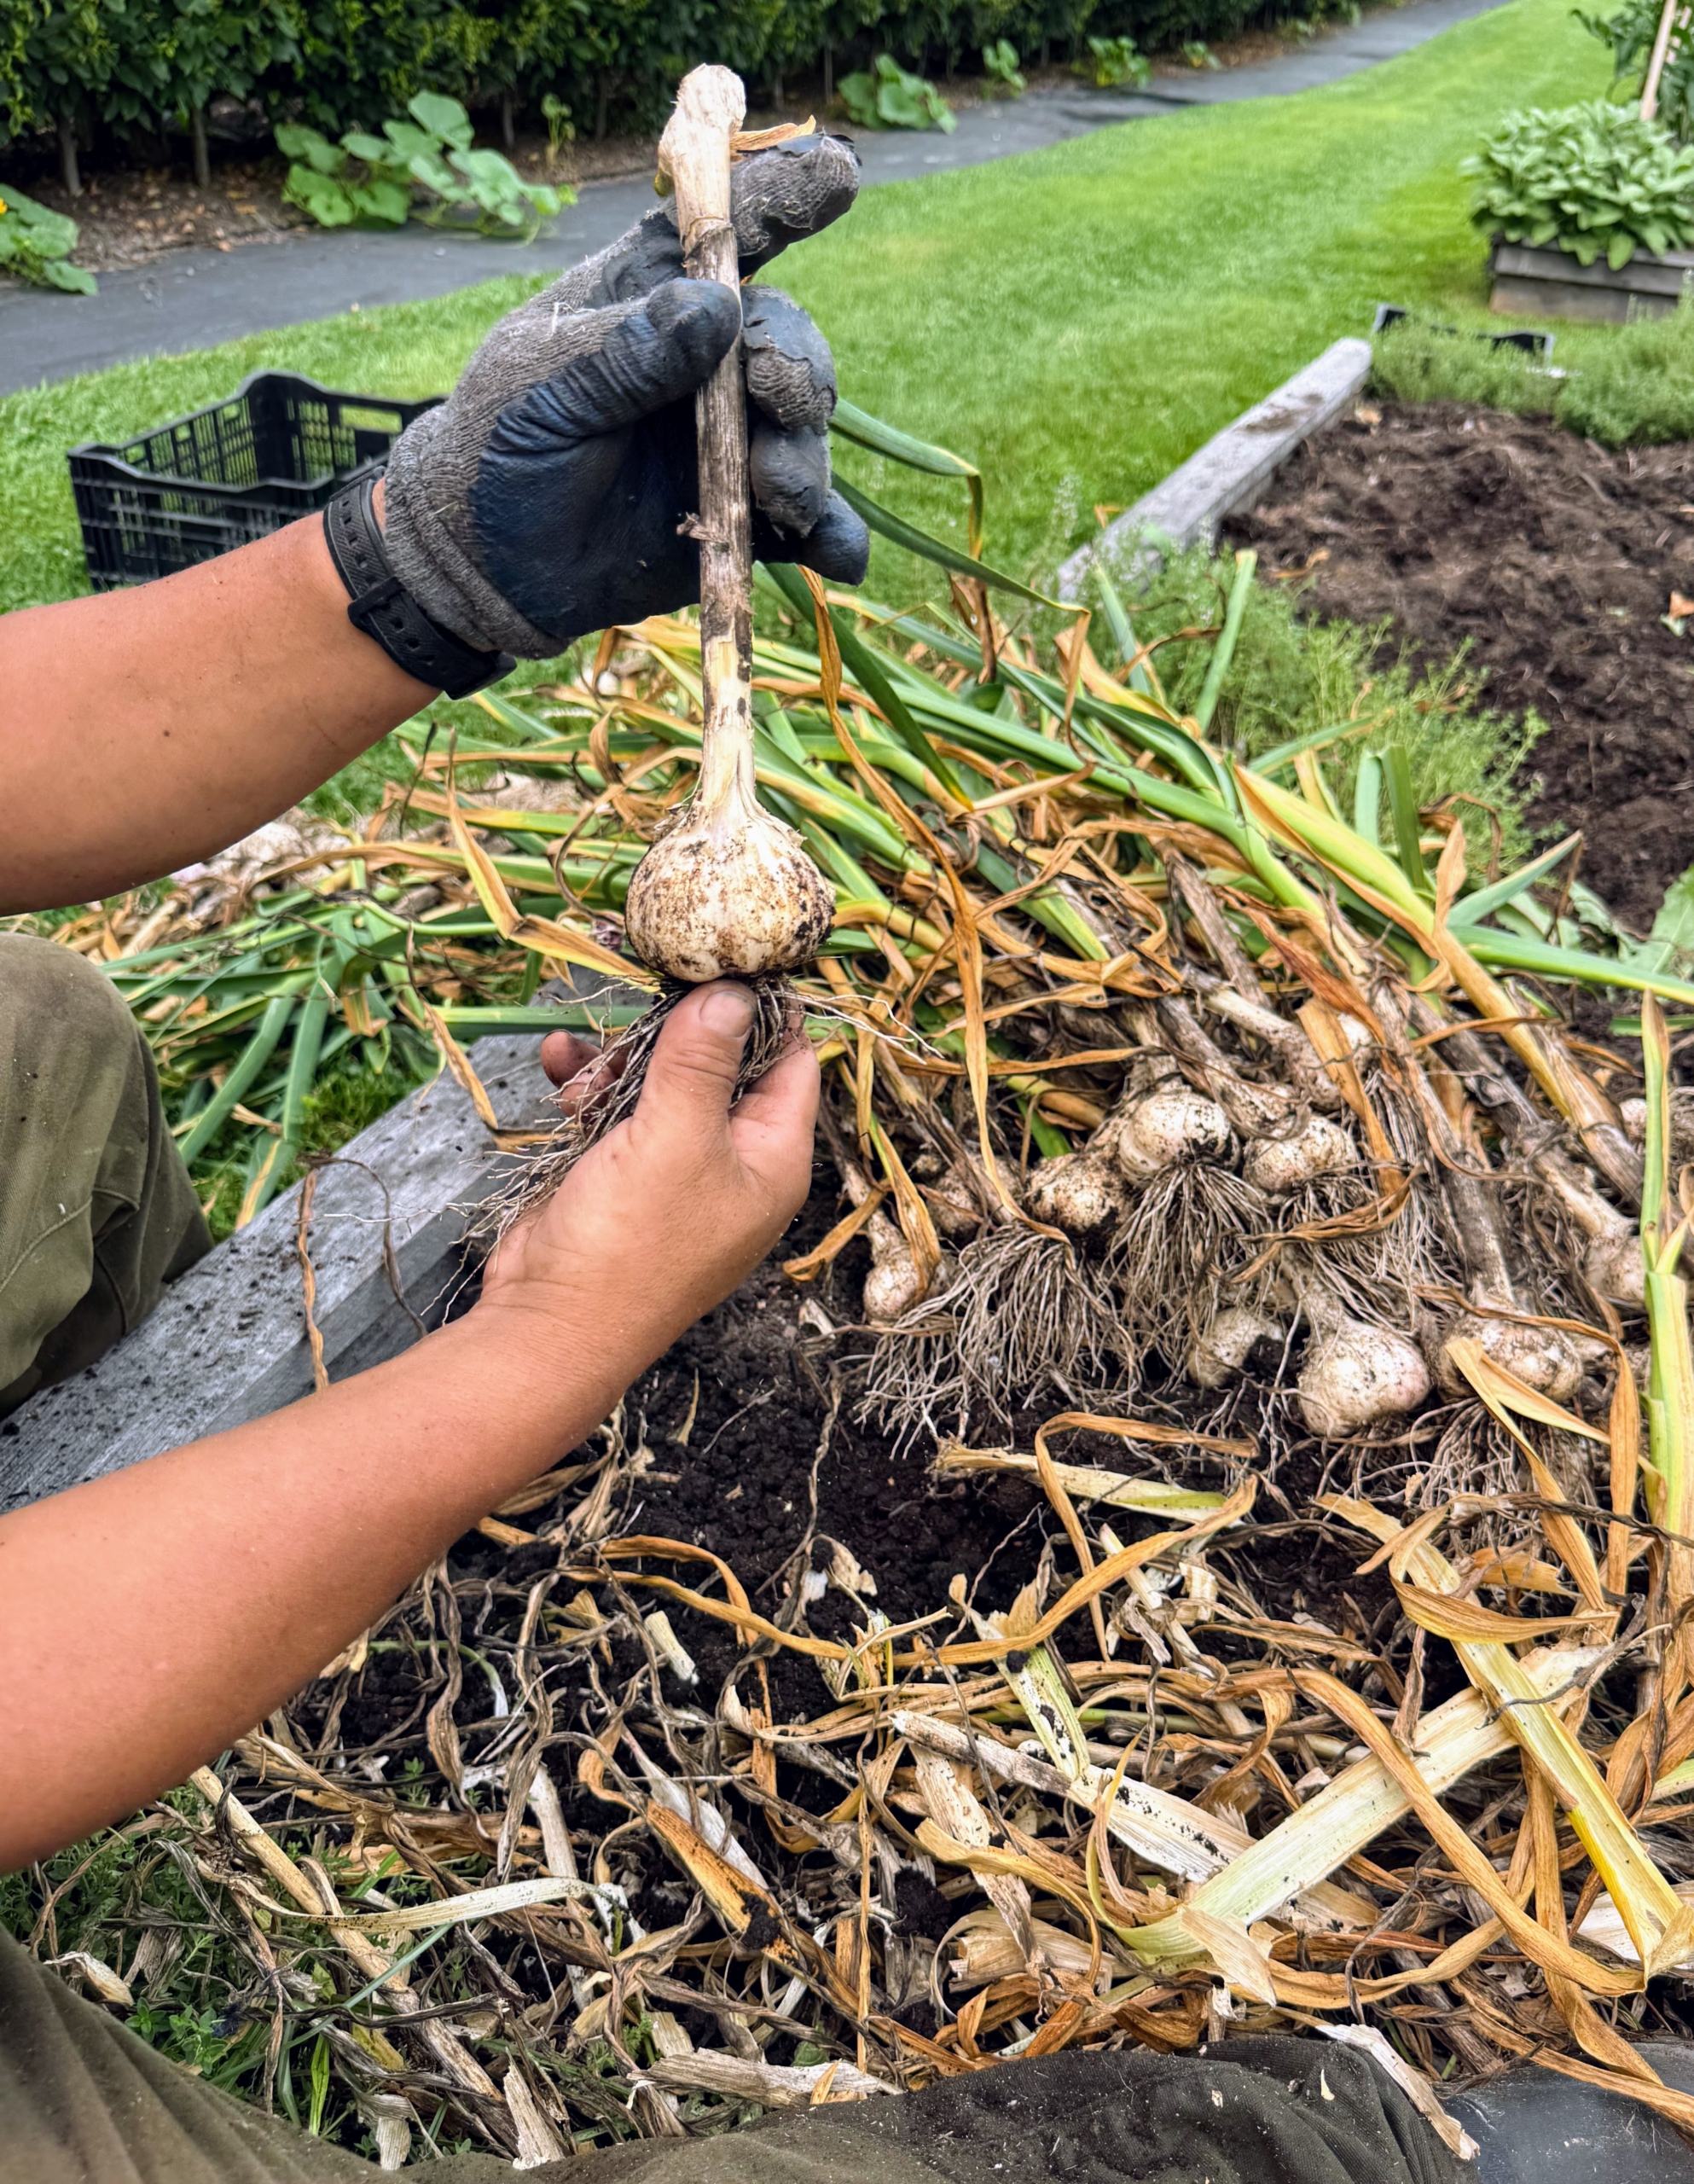
-
- The next step is to prepare the garlic for curing. Matthew cuts off the bottom roots.
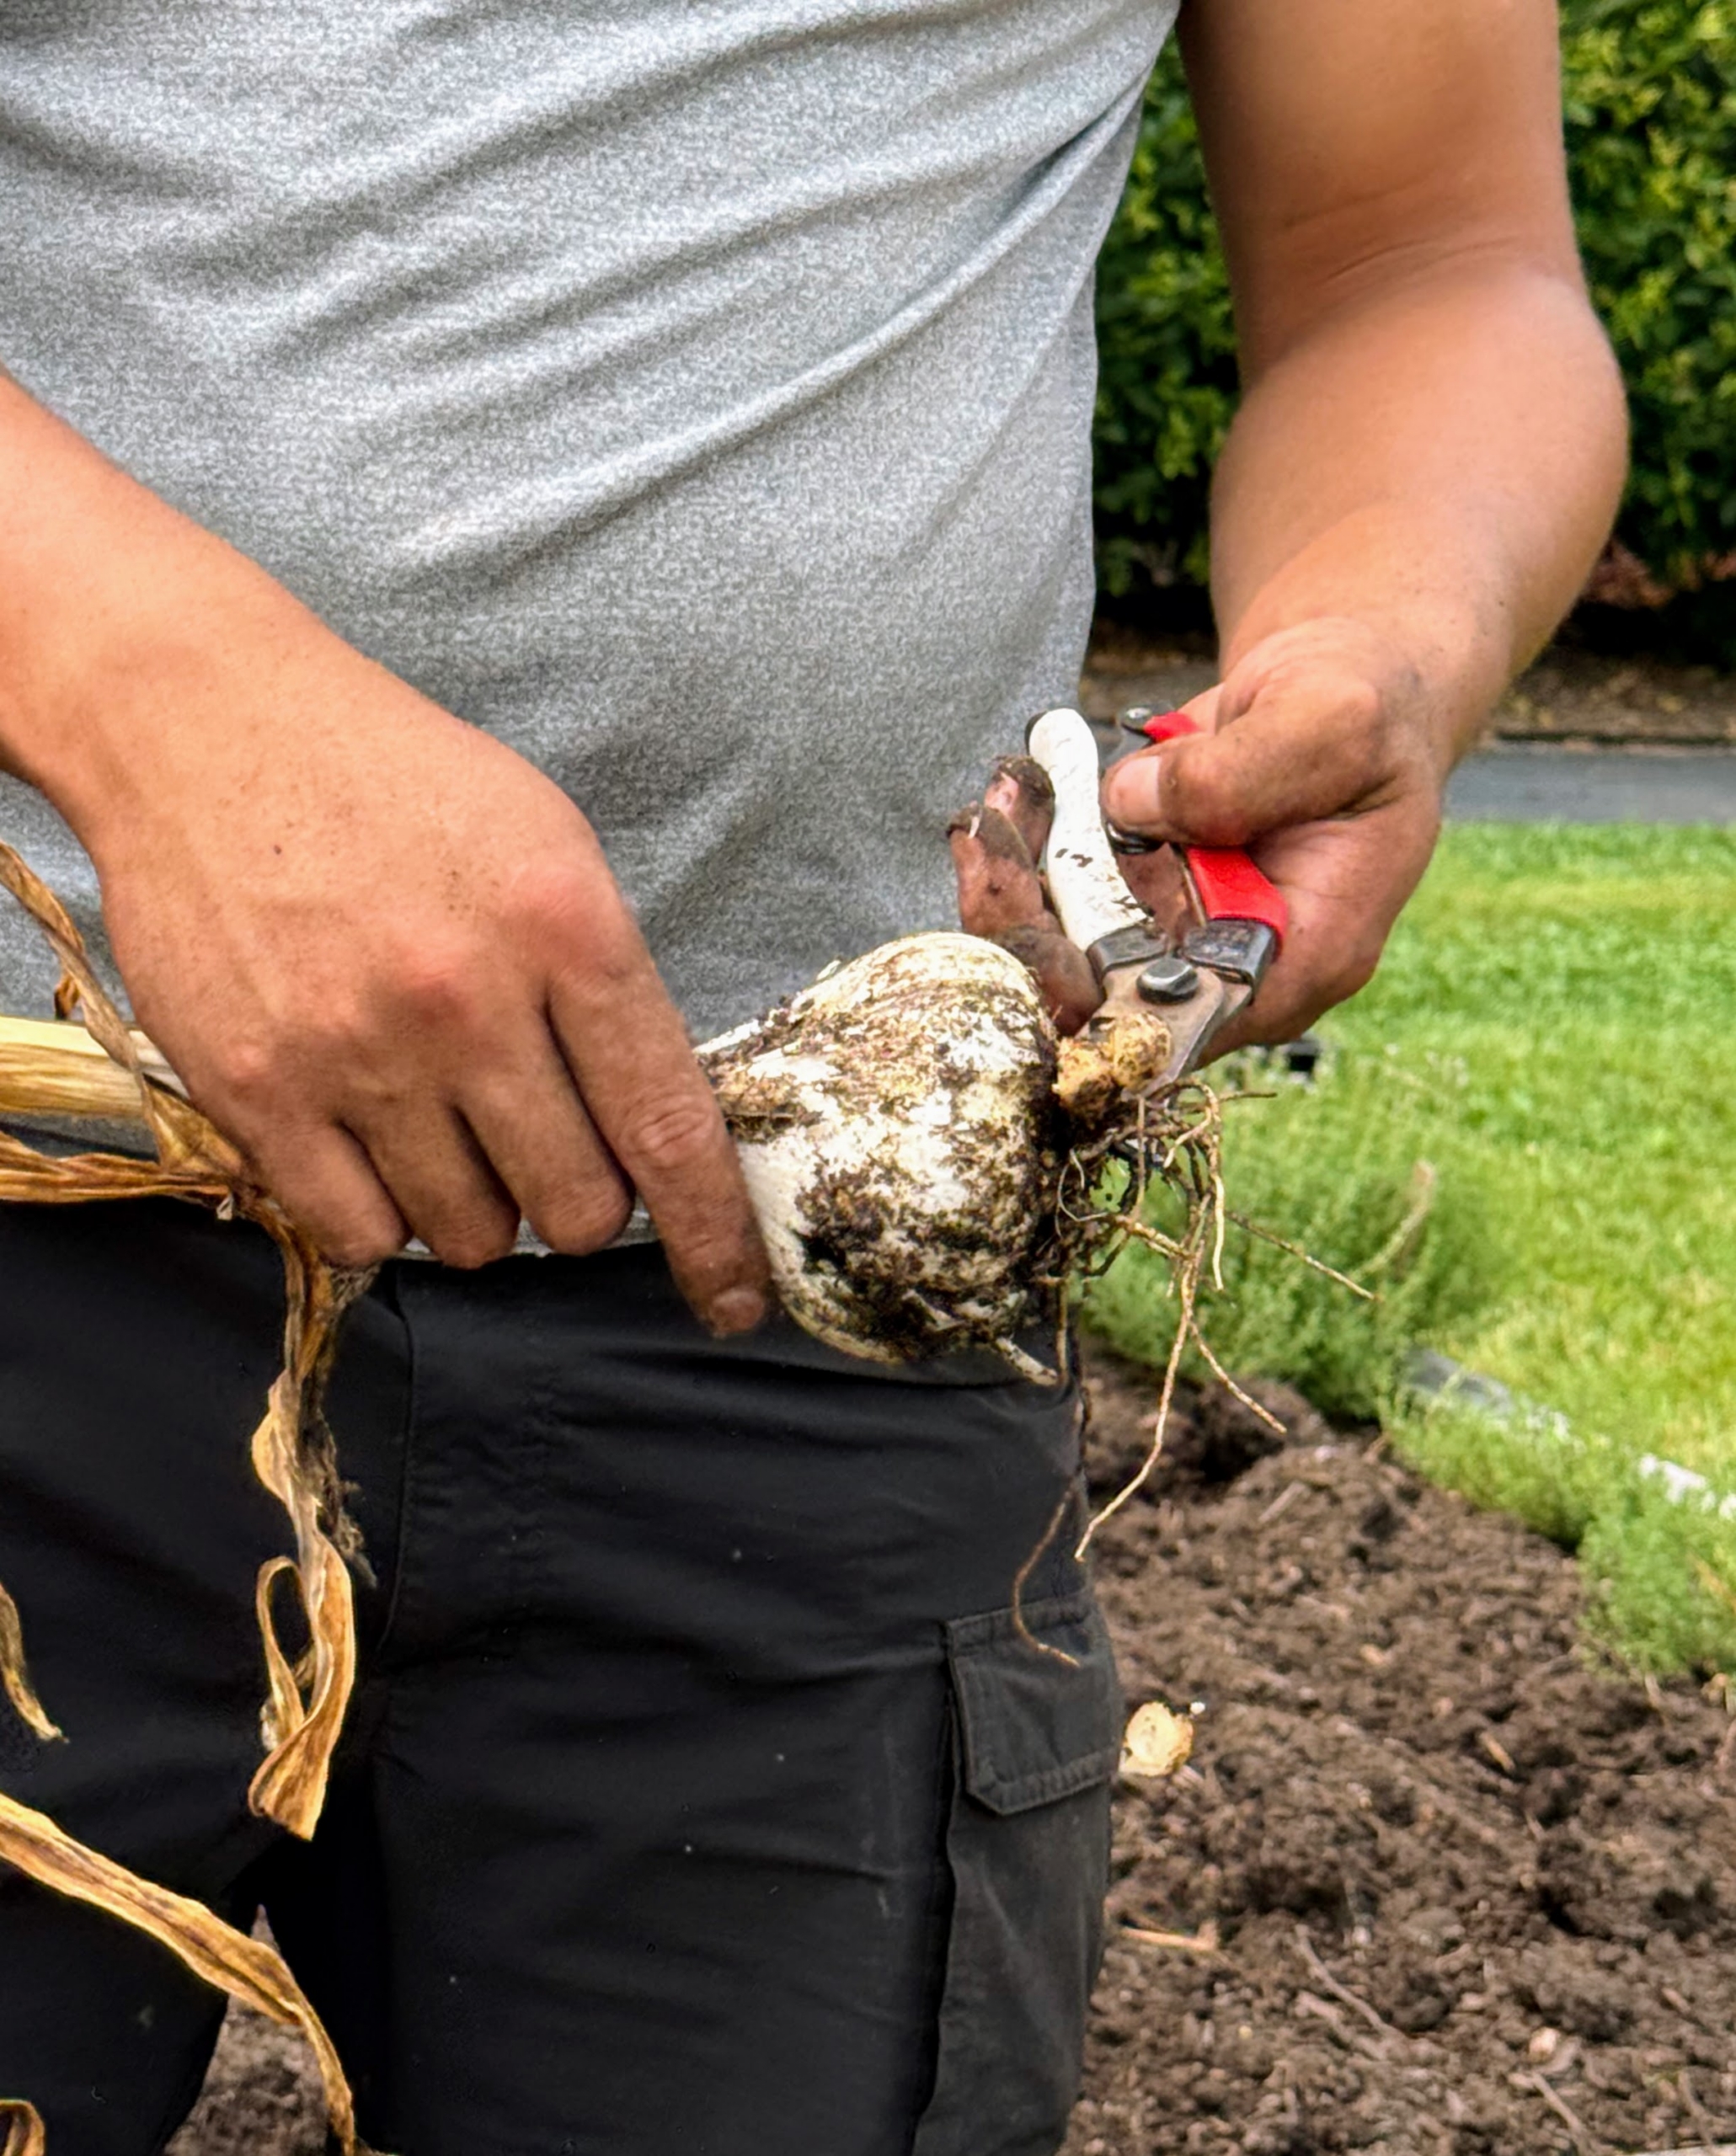
-
- The top of each stalk is also trimmed and the first layer of skin removed. Trimming the stalks makes it easier to store and keeps them neat and uniform.
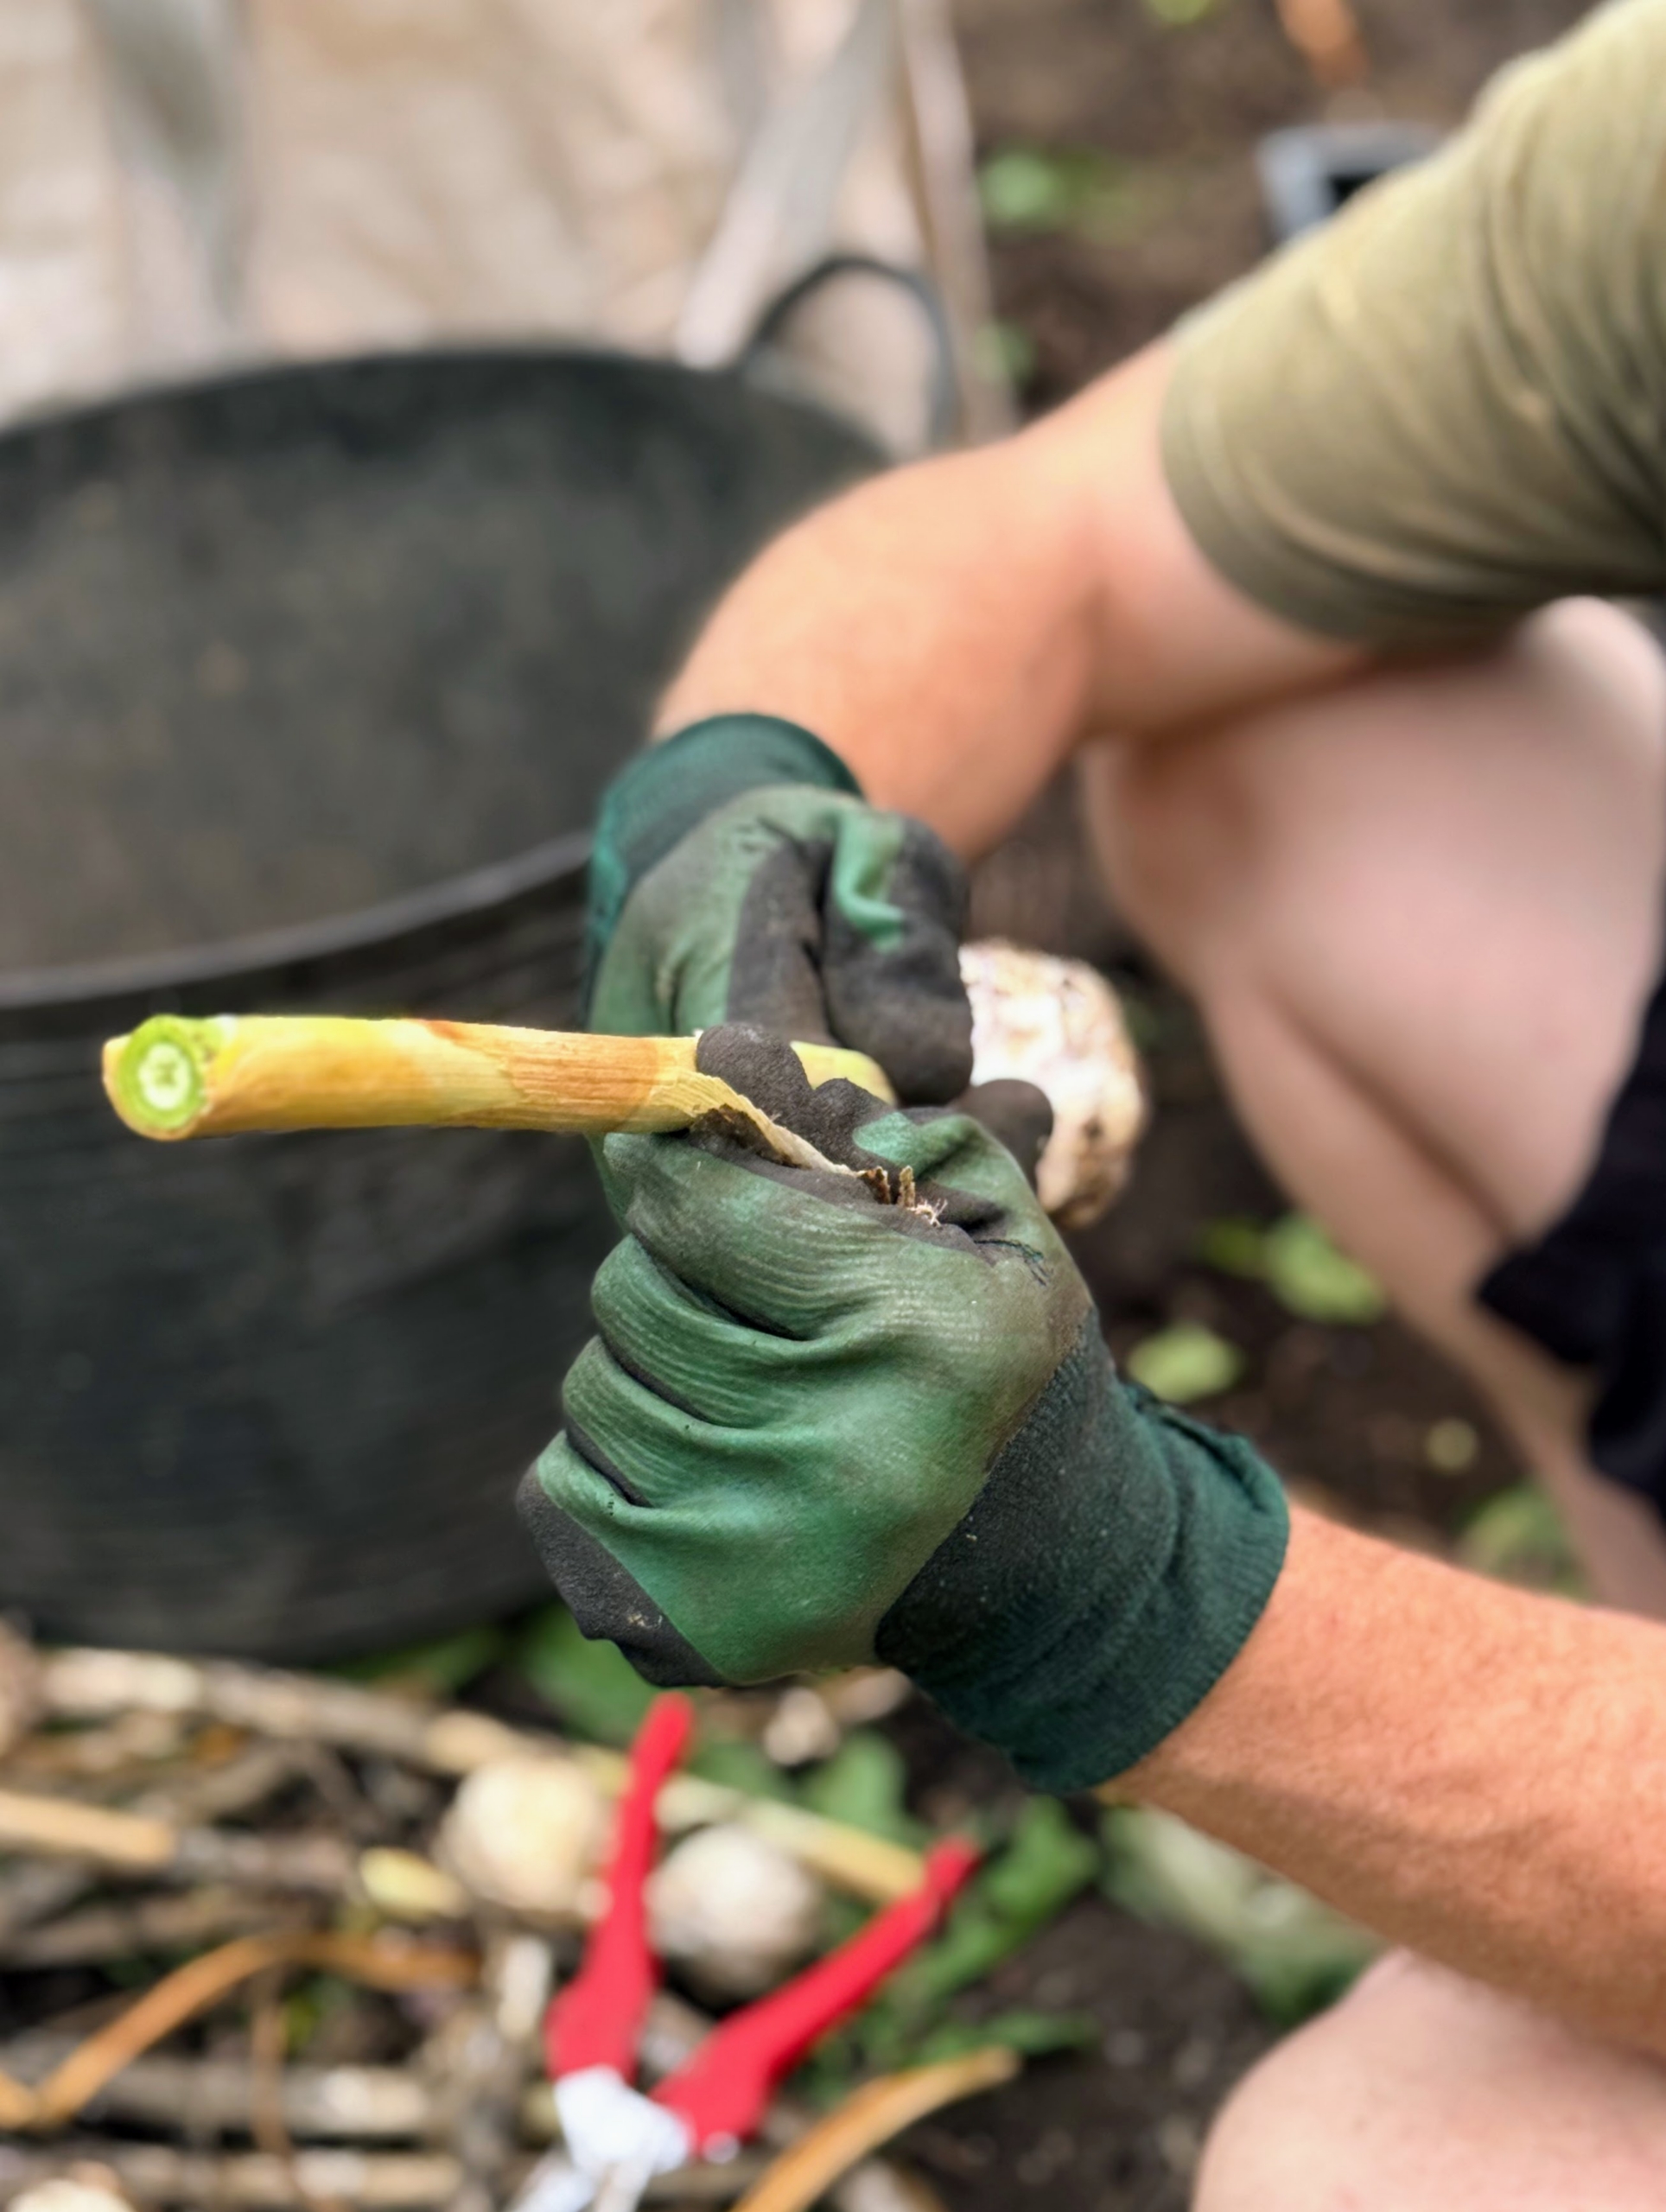
-
- Here is a very clean garlic head ready cure.
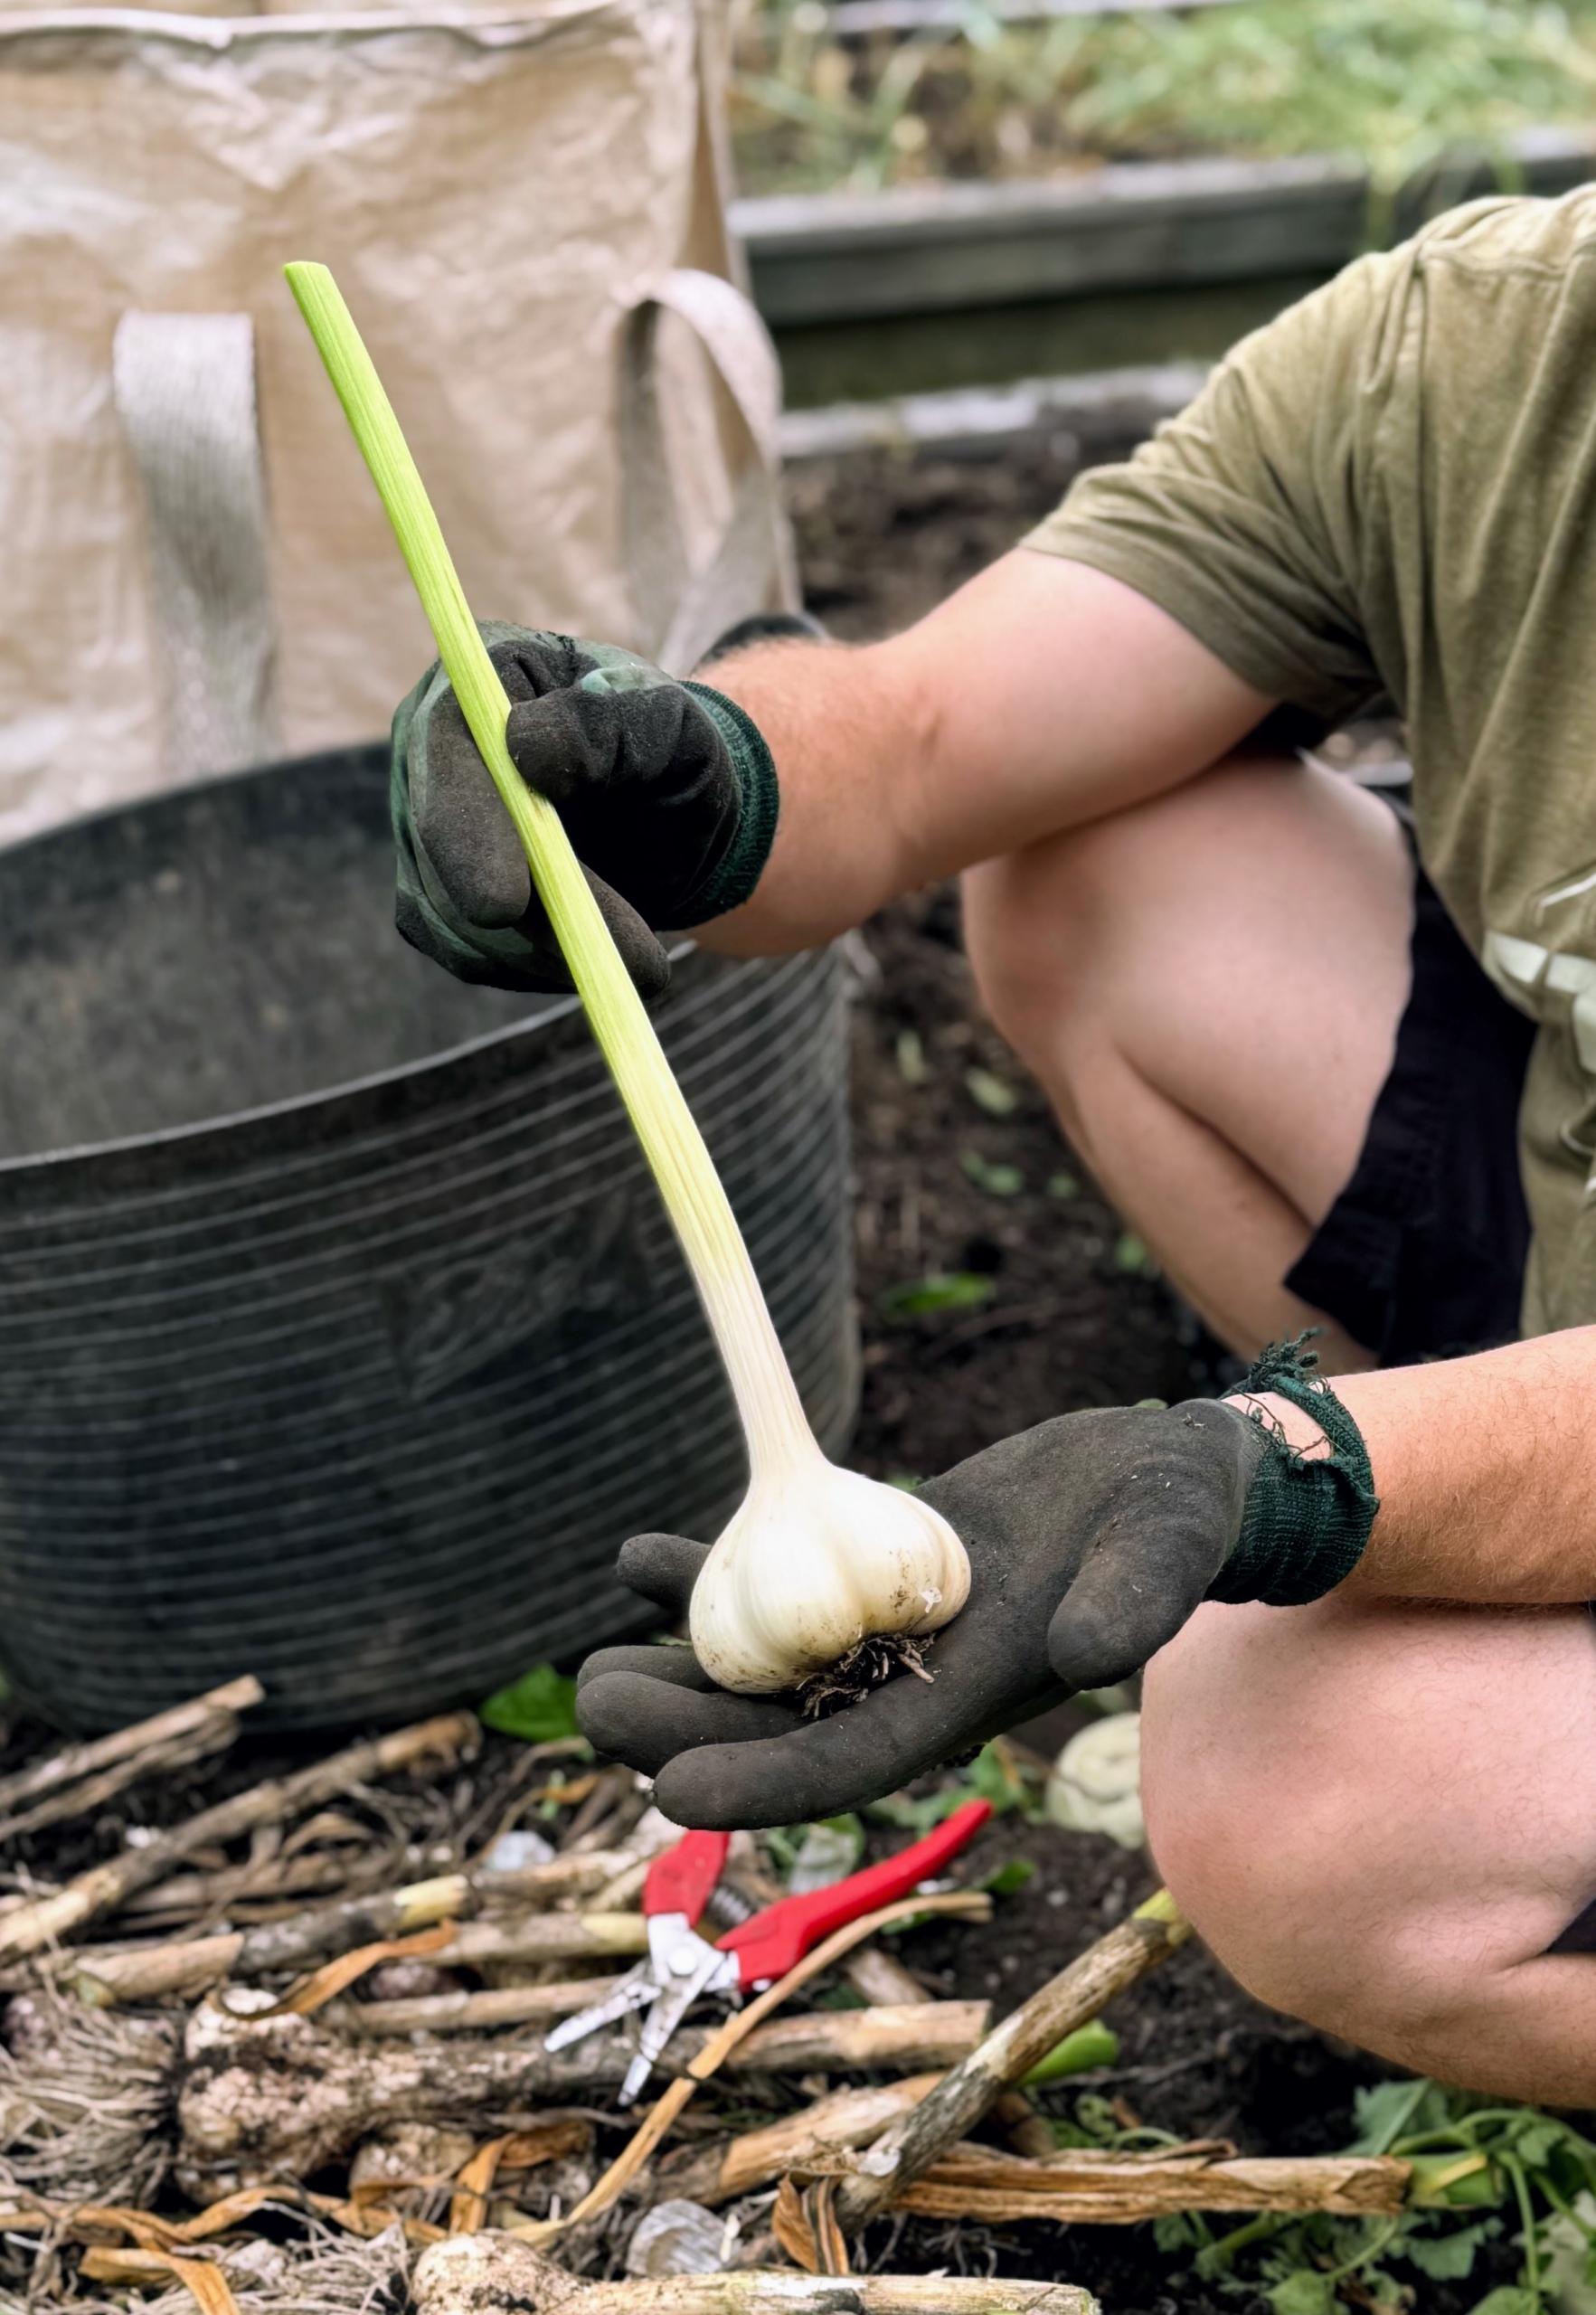
-
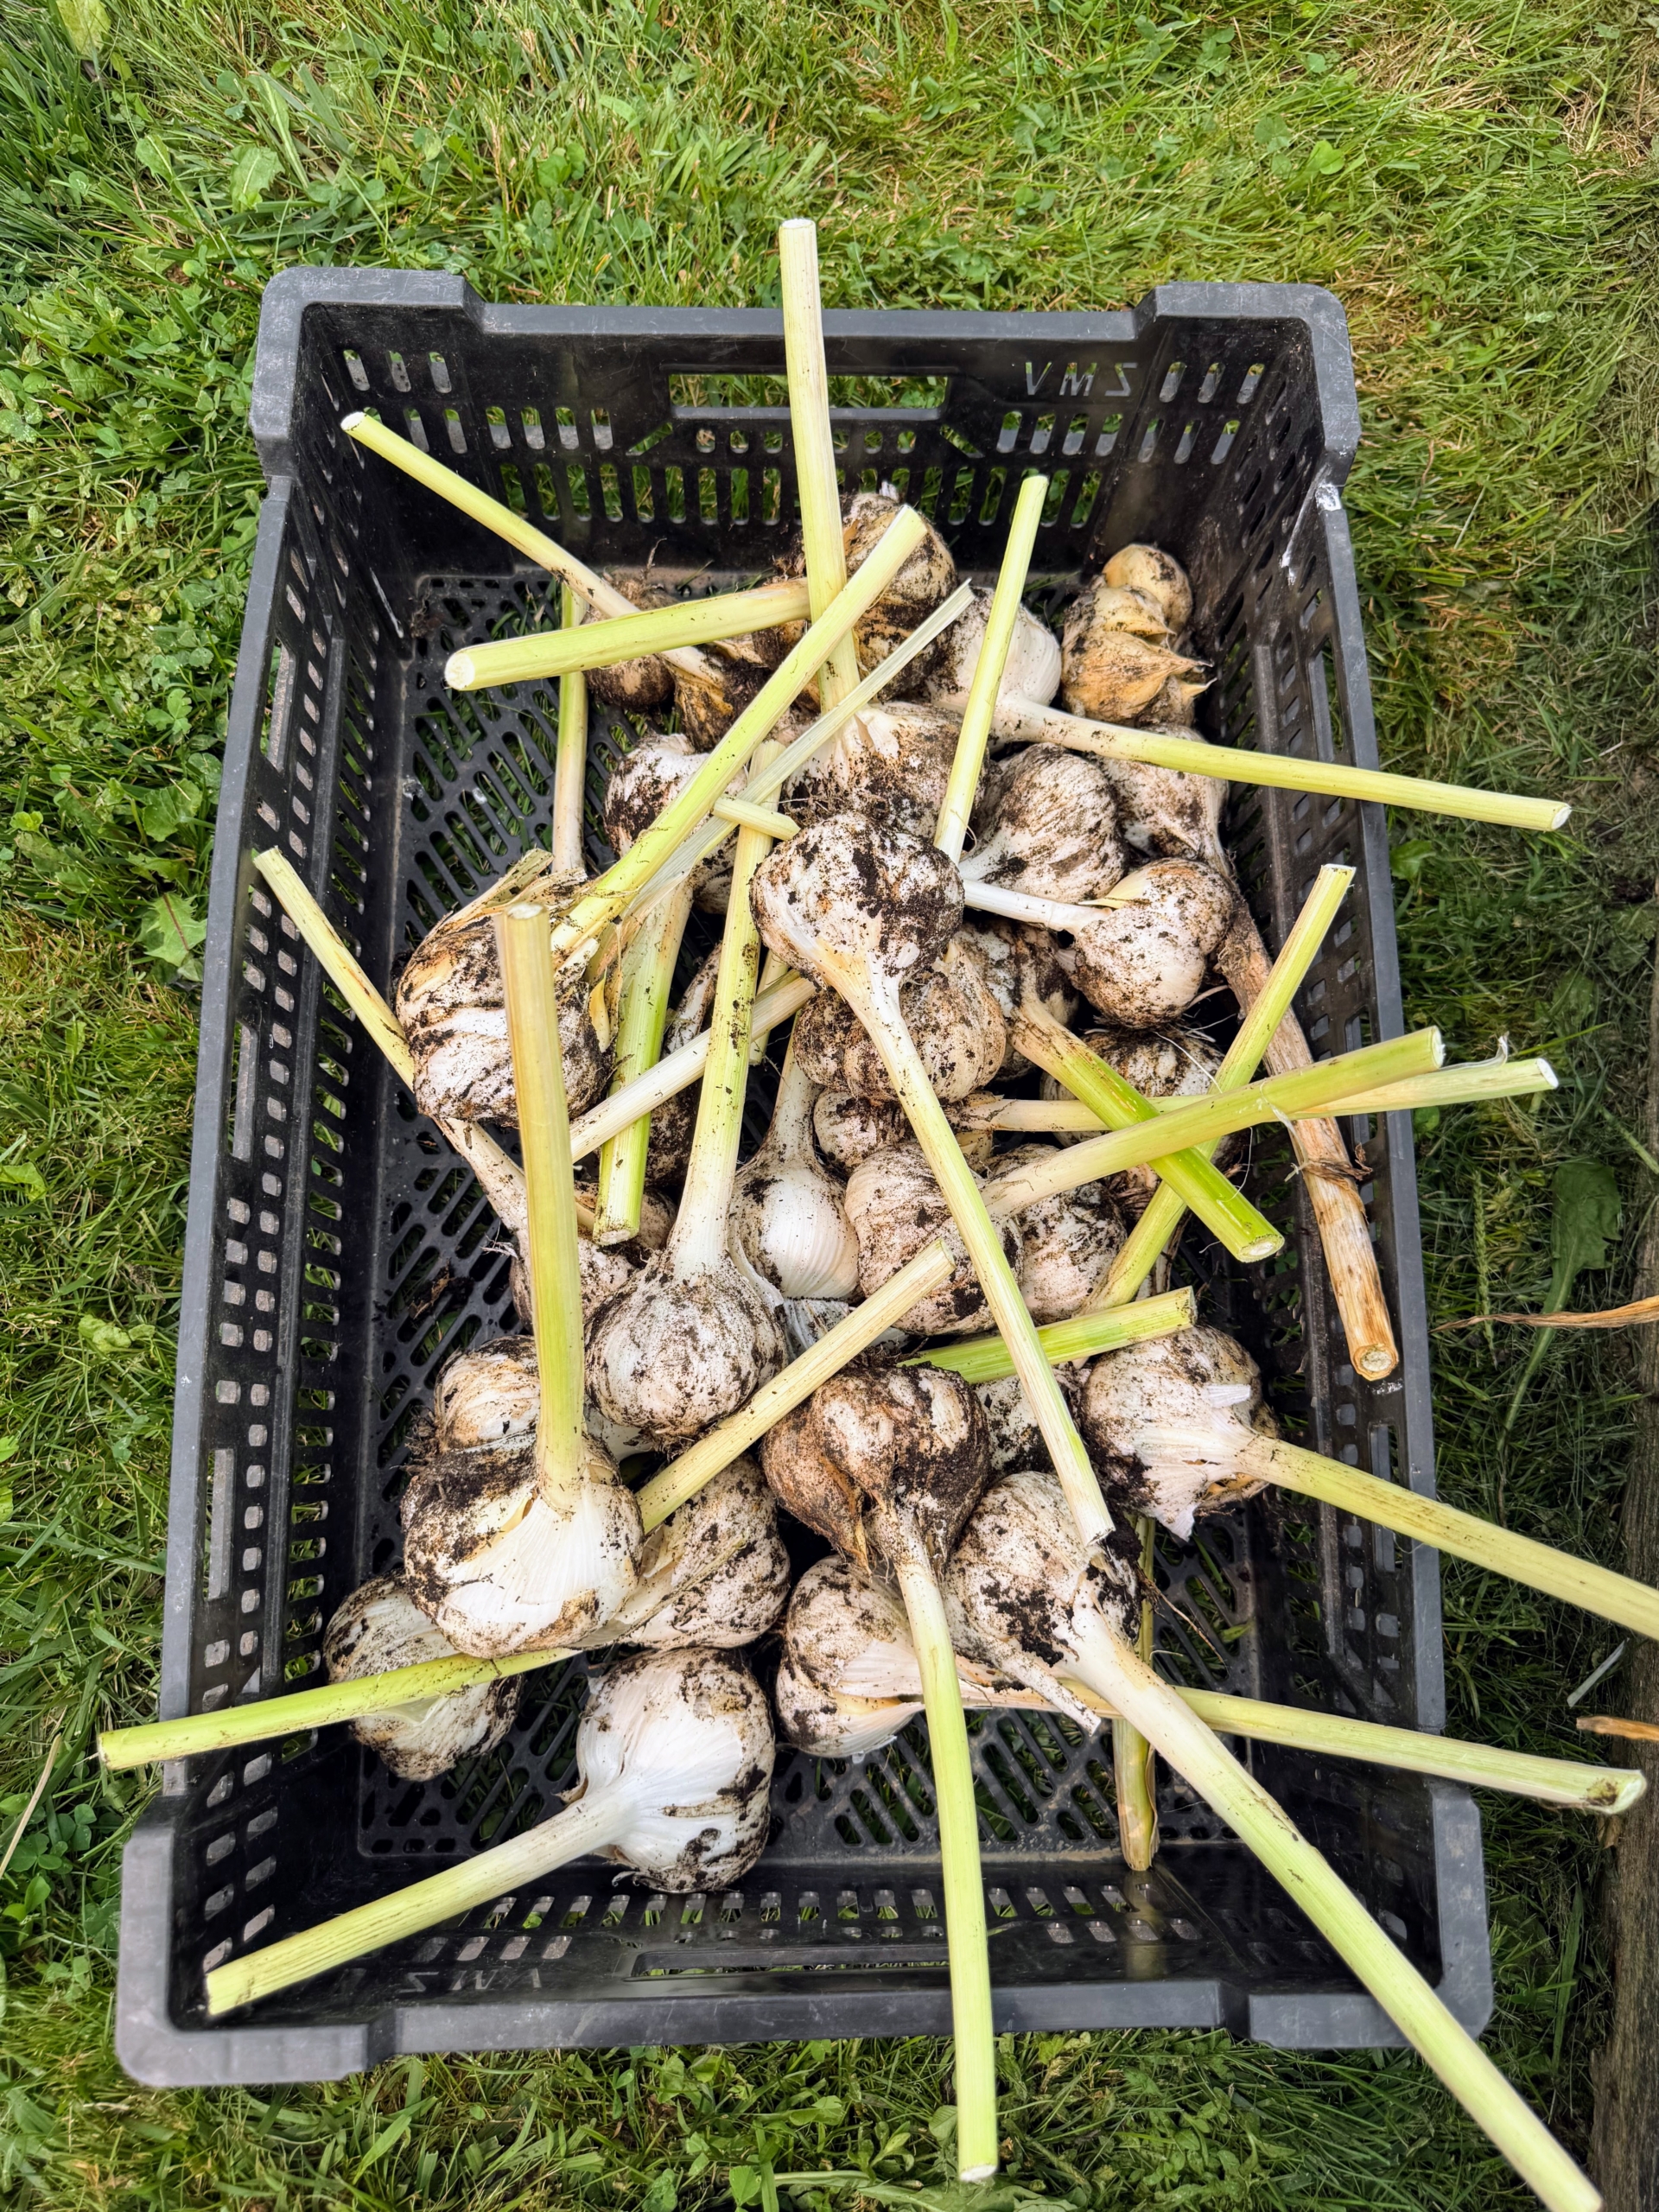
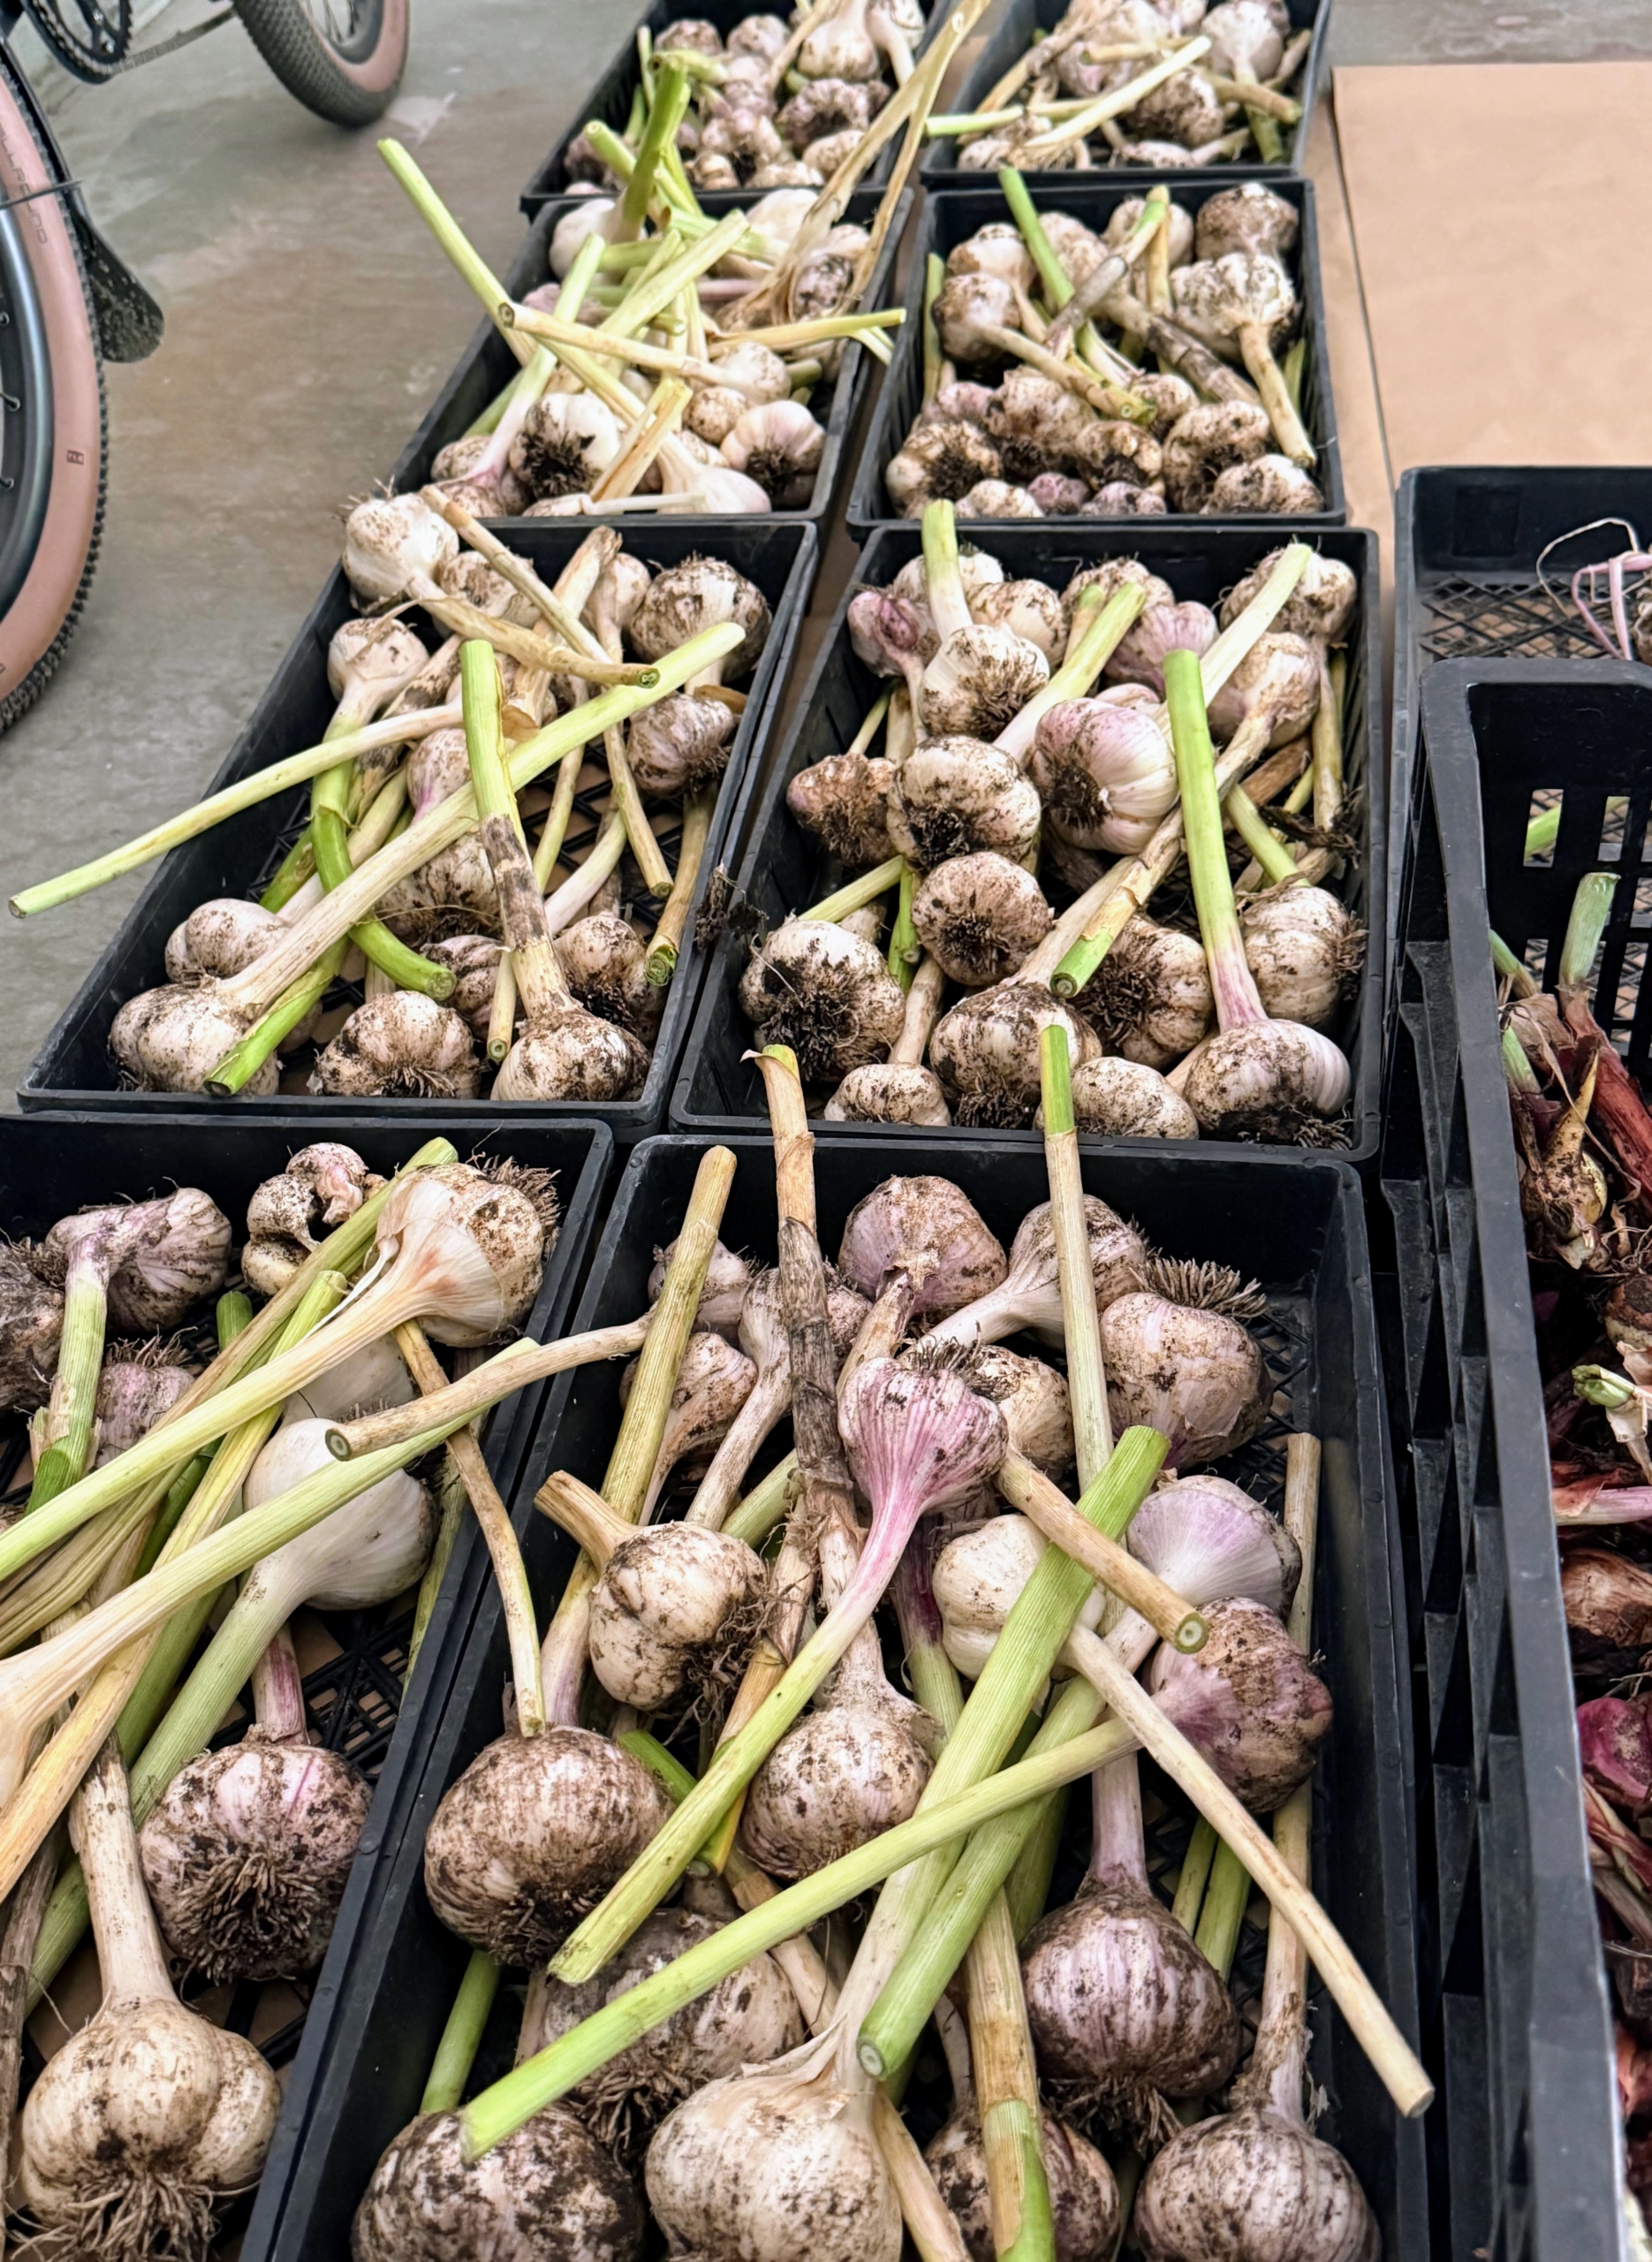
- After cleaning and trimming, the garlic is put into crates.
-
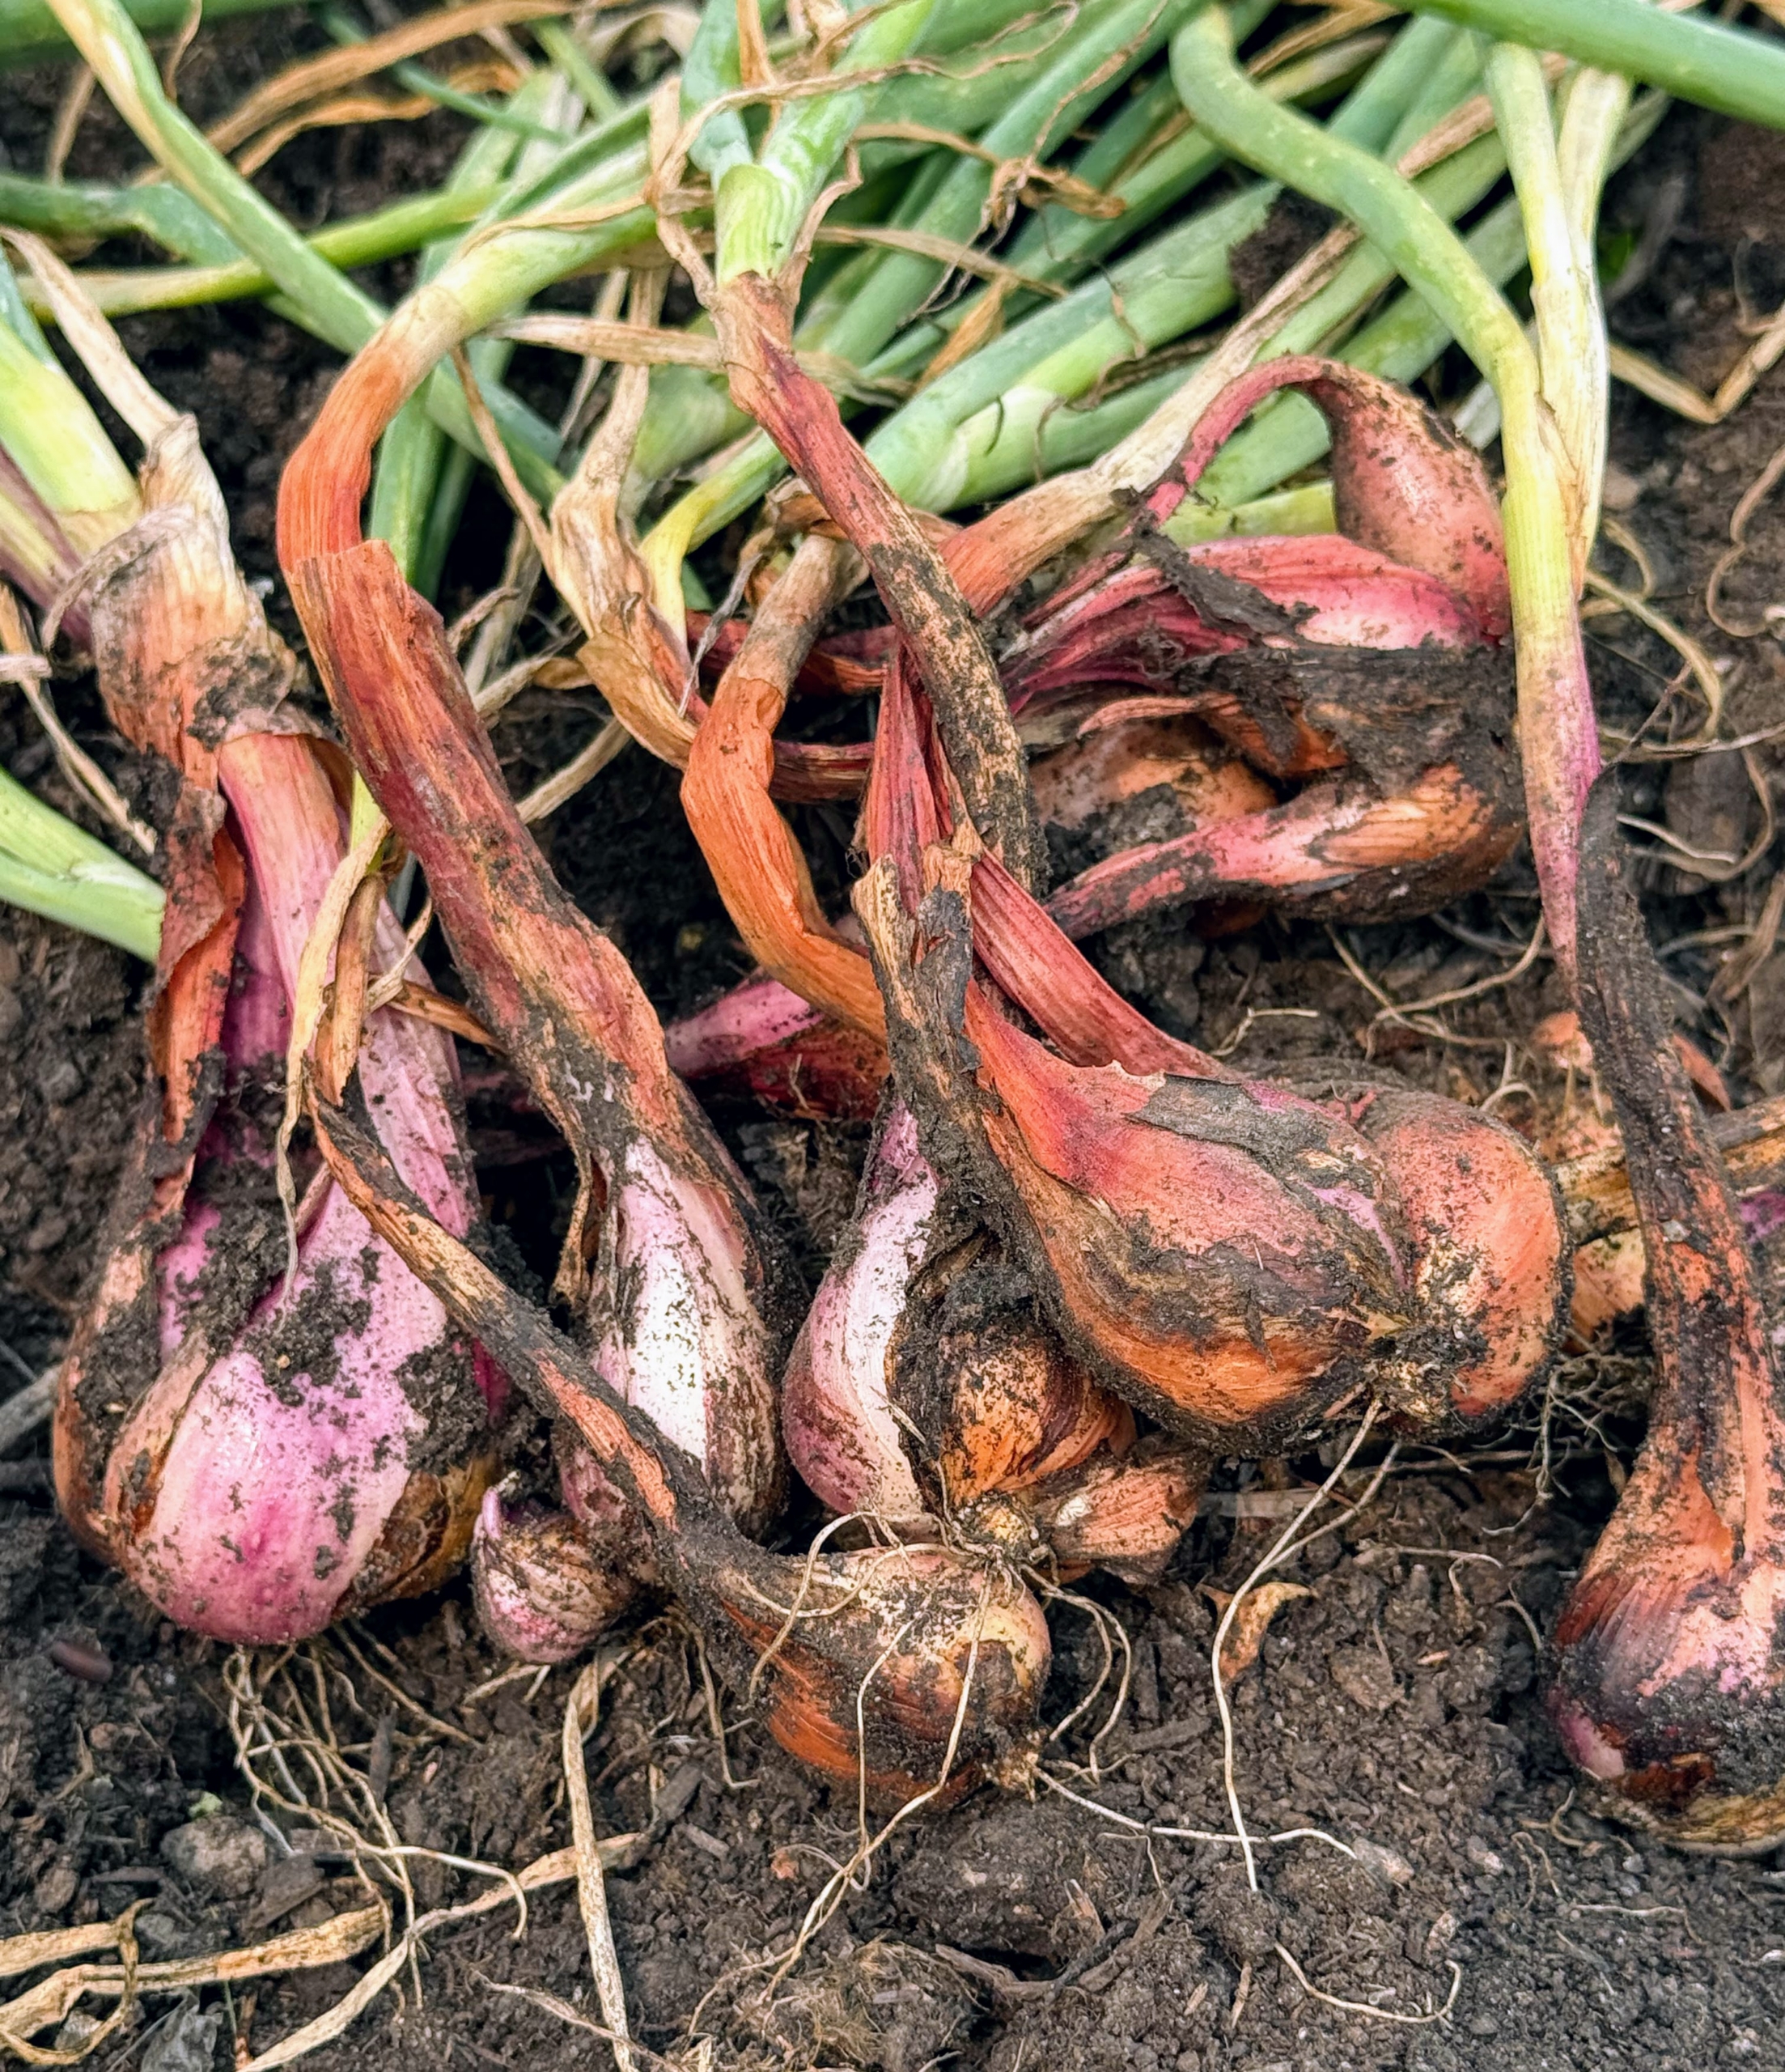
- Here are some harvested shallots. A shallot is a small, onion-like bulb from the allium family, known for its mild, sweet, and slightly pungent flavor.
-
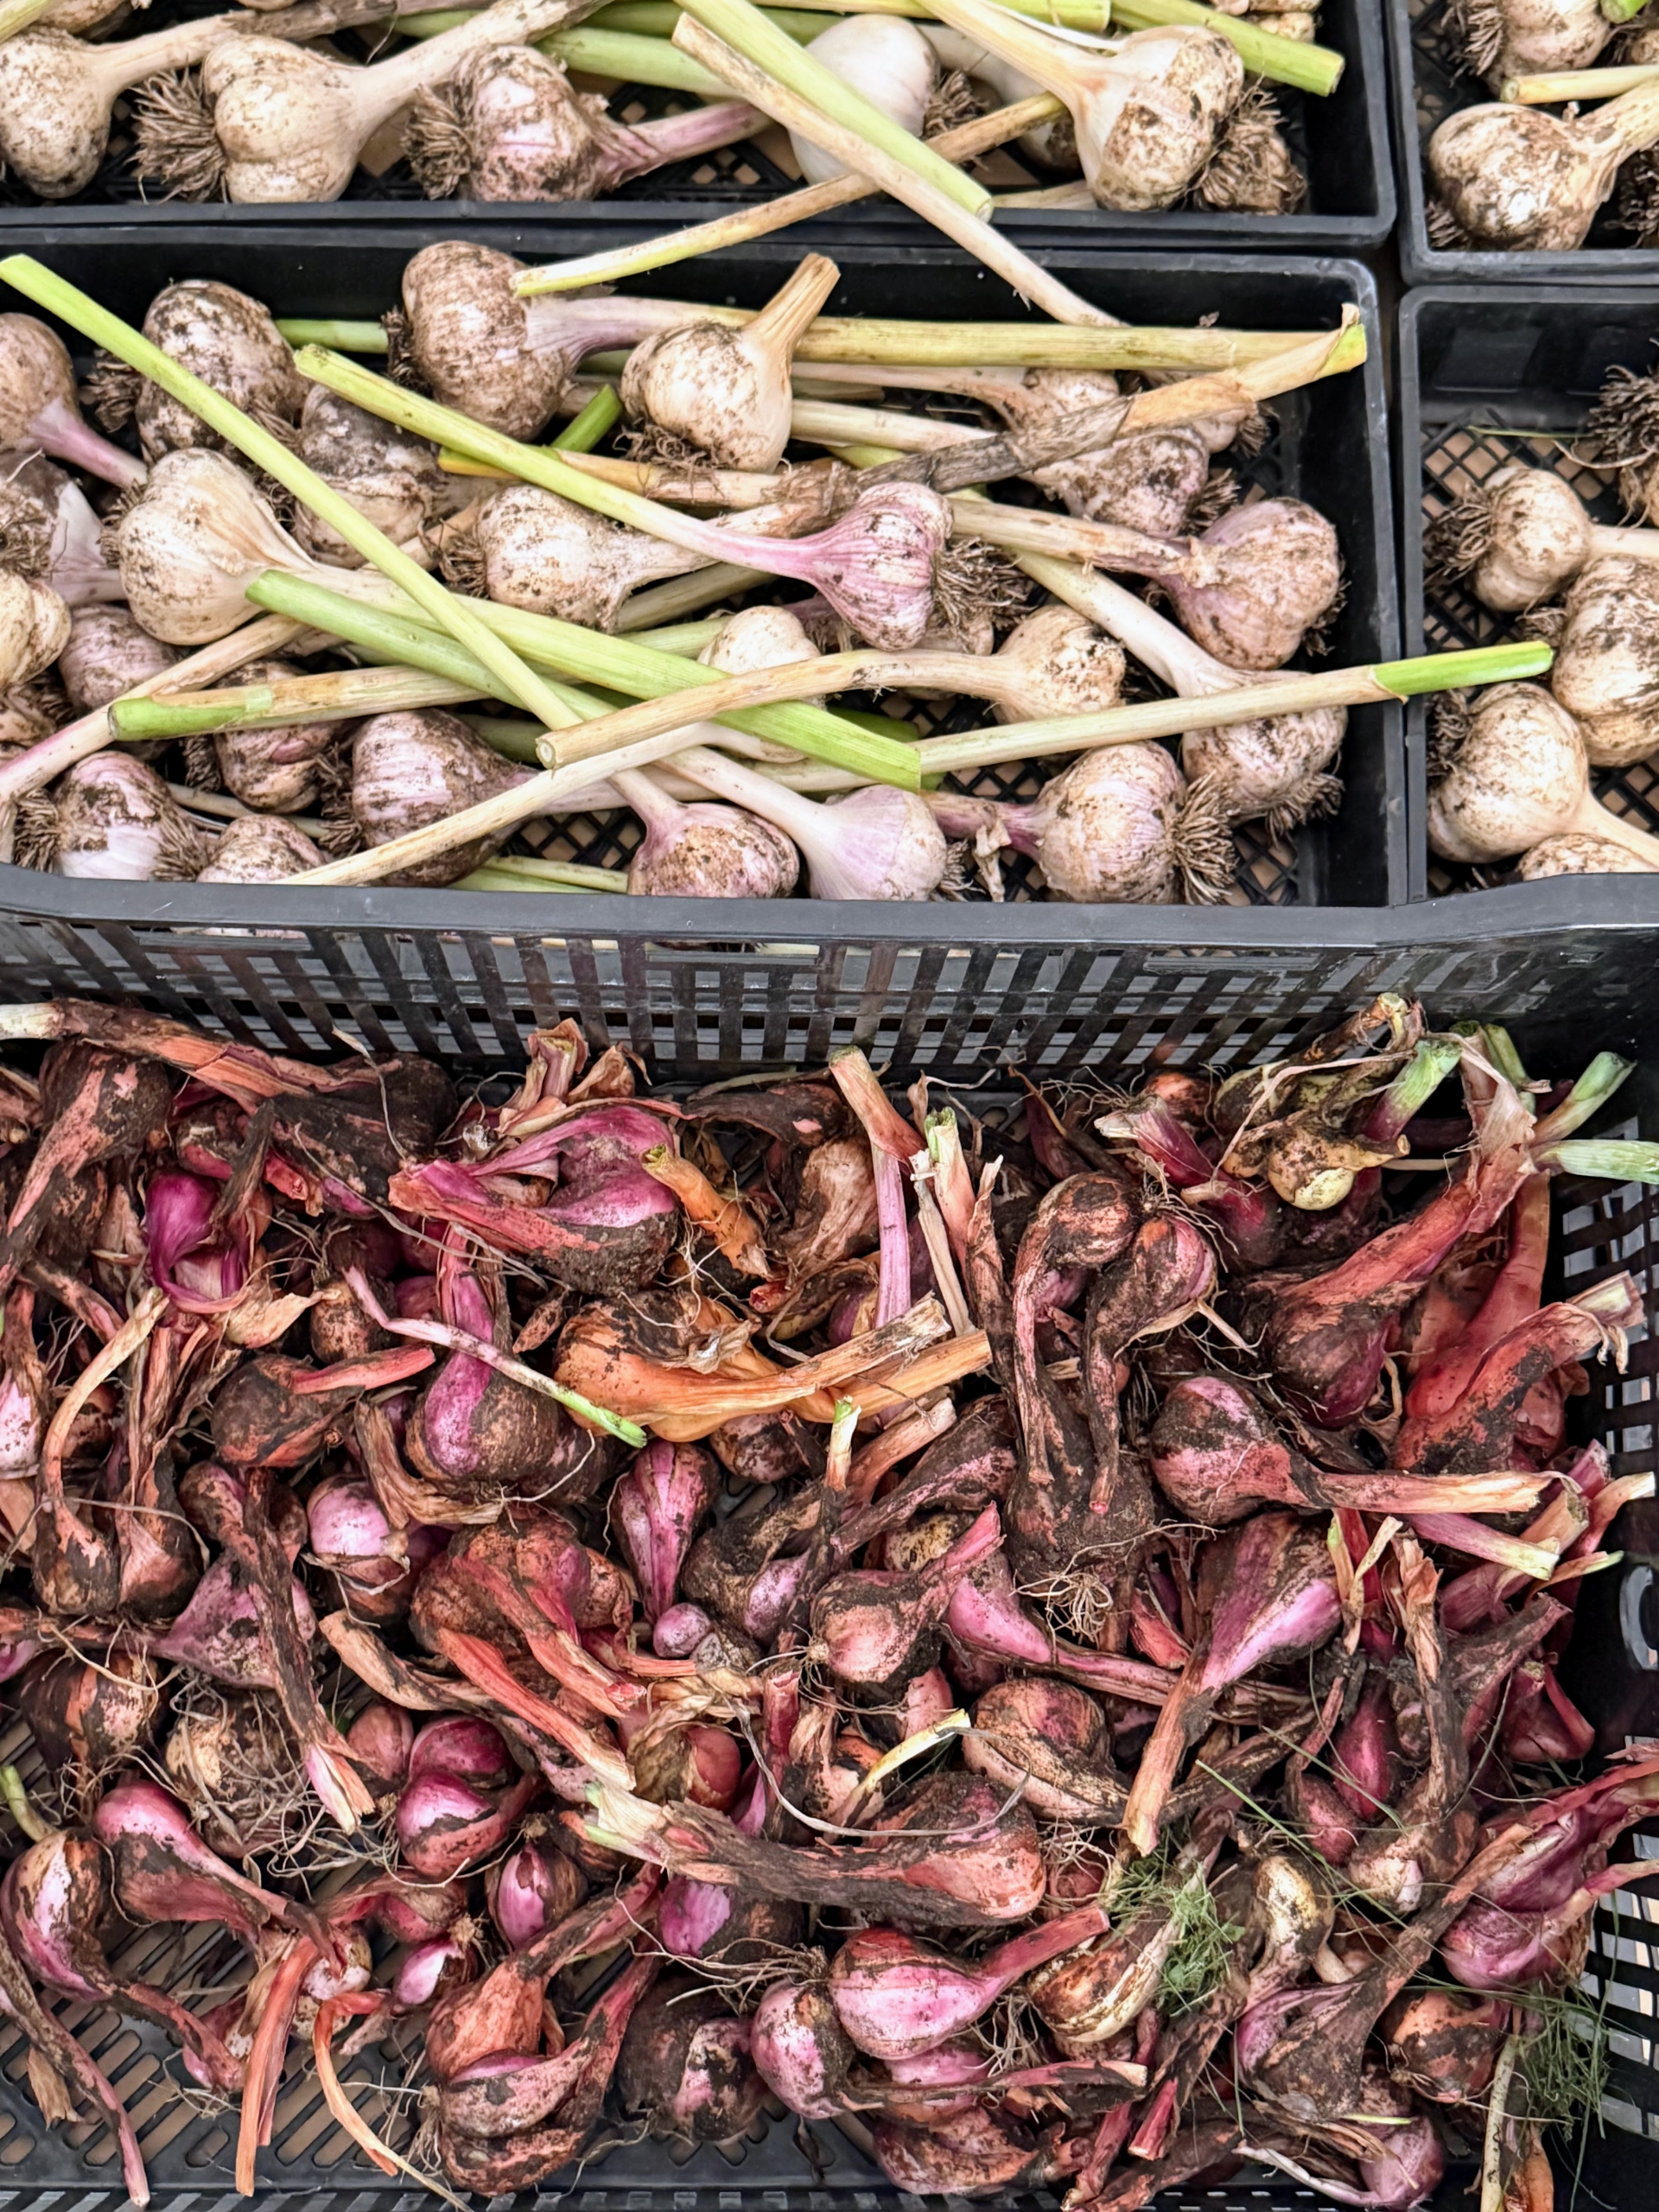
- By day’s end, crates are filled with garlic and shallots.
-
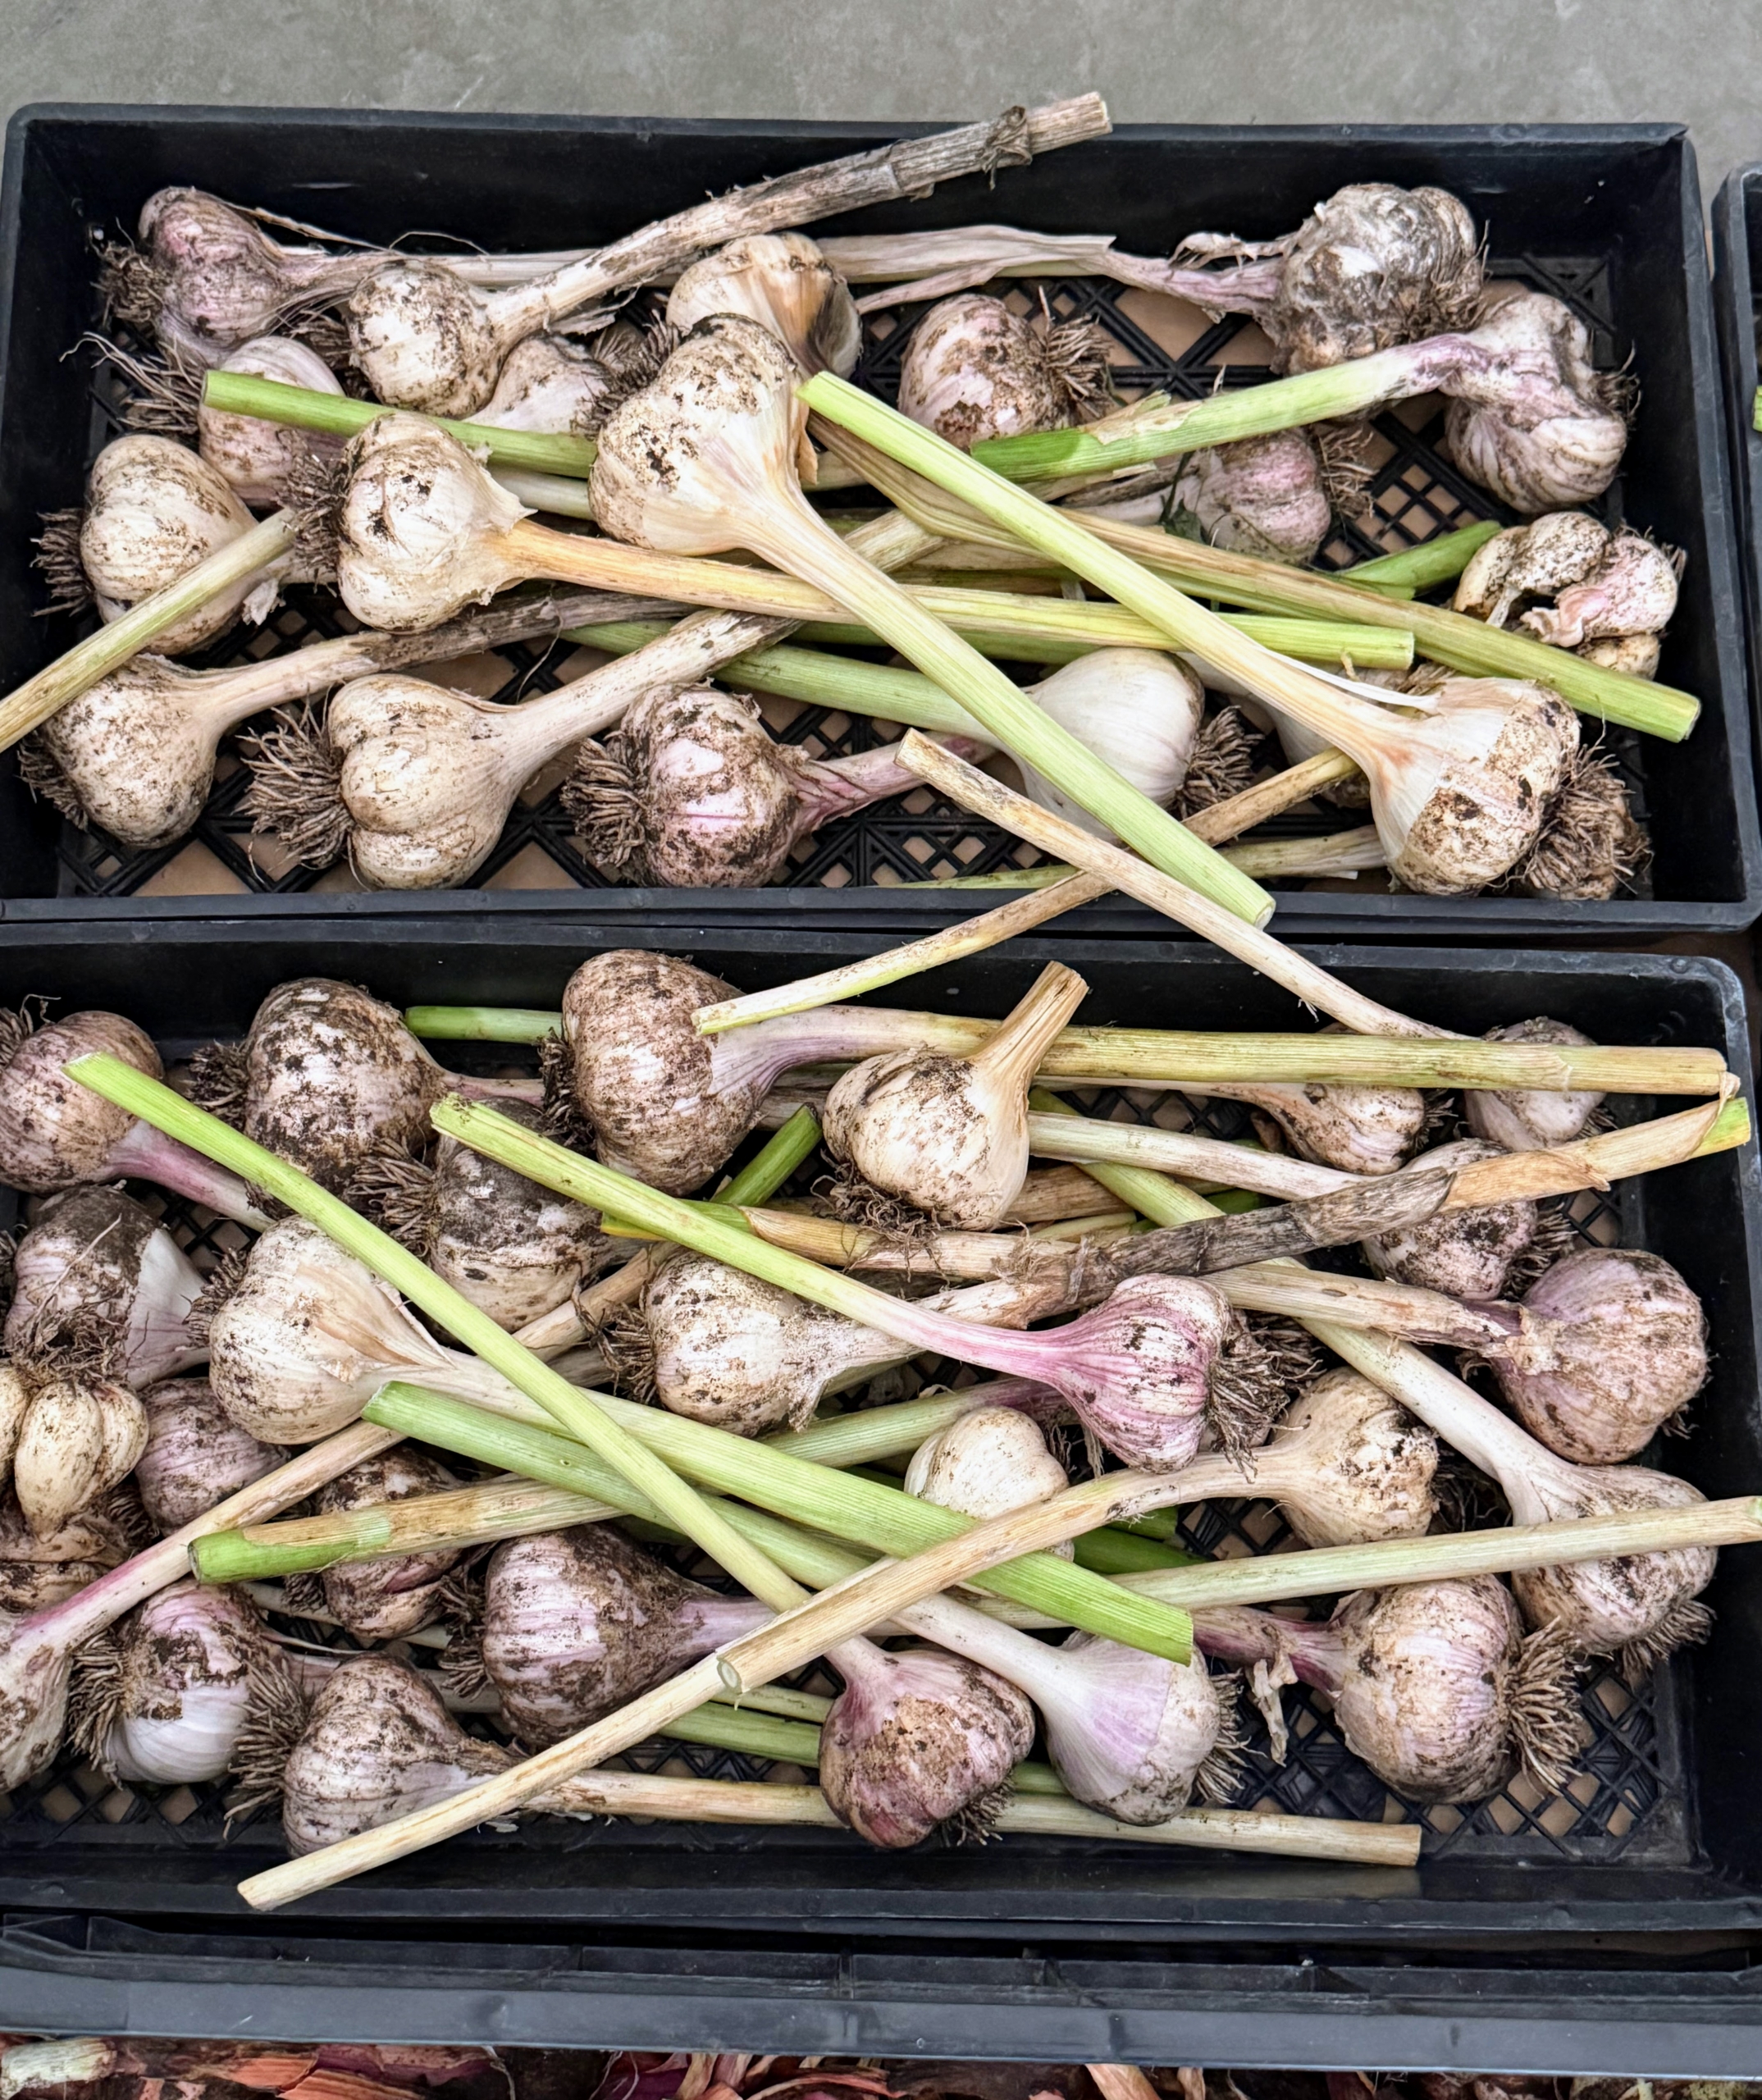
- This is not ready to eat just yet. It must still dry. Curing is a process of letting the garlic dry in preparation for long-term storage. There’s no need to wash garlic – the point is to completely dry them out. Well-cured, well-wrapped garlic bulbs will keep six to eight months or longer.
-
- The best storage temperature for garlic is between 60 and 70 degrees Fahrenheit, with low humidity at about 60-percent – and never store garlic in the refrigerator. I will soon have lots of delicious garlic to use and share.
 Martha Pins


 Martha Tweets

