

Second Cut of Hay 2026, Part I
Here at my farm, we've been enjoying a stretch of dry, sunny, warm weather with light winds and low humidity - all ideal for the multi-day process of haymaking.
Hay is harvested forage that must be dried and cured after it is cut in the field. For best nutritional value, most hay is cut during the late bud or early bloom stage. This week, my grounds crew is cutting, tedding, raking, and baling the hay. The first cut was done in June, but this second cut is especially impressive: greener, denser, and packed with protein. My horses are going to love it.
Here are some photos, enjoy.
-

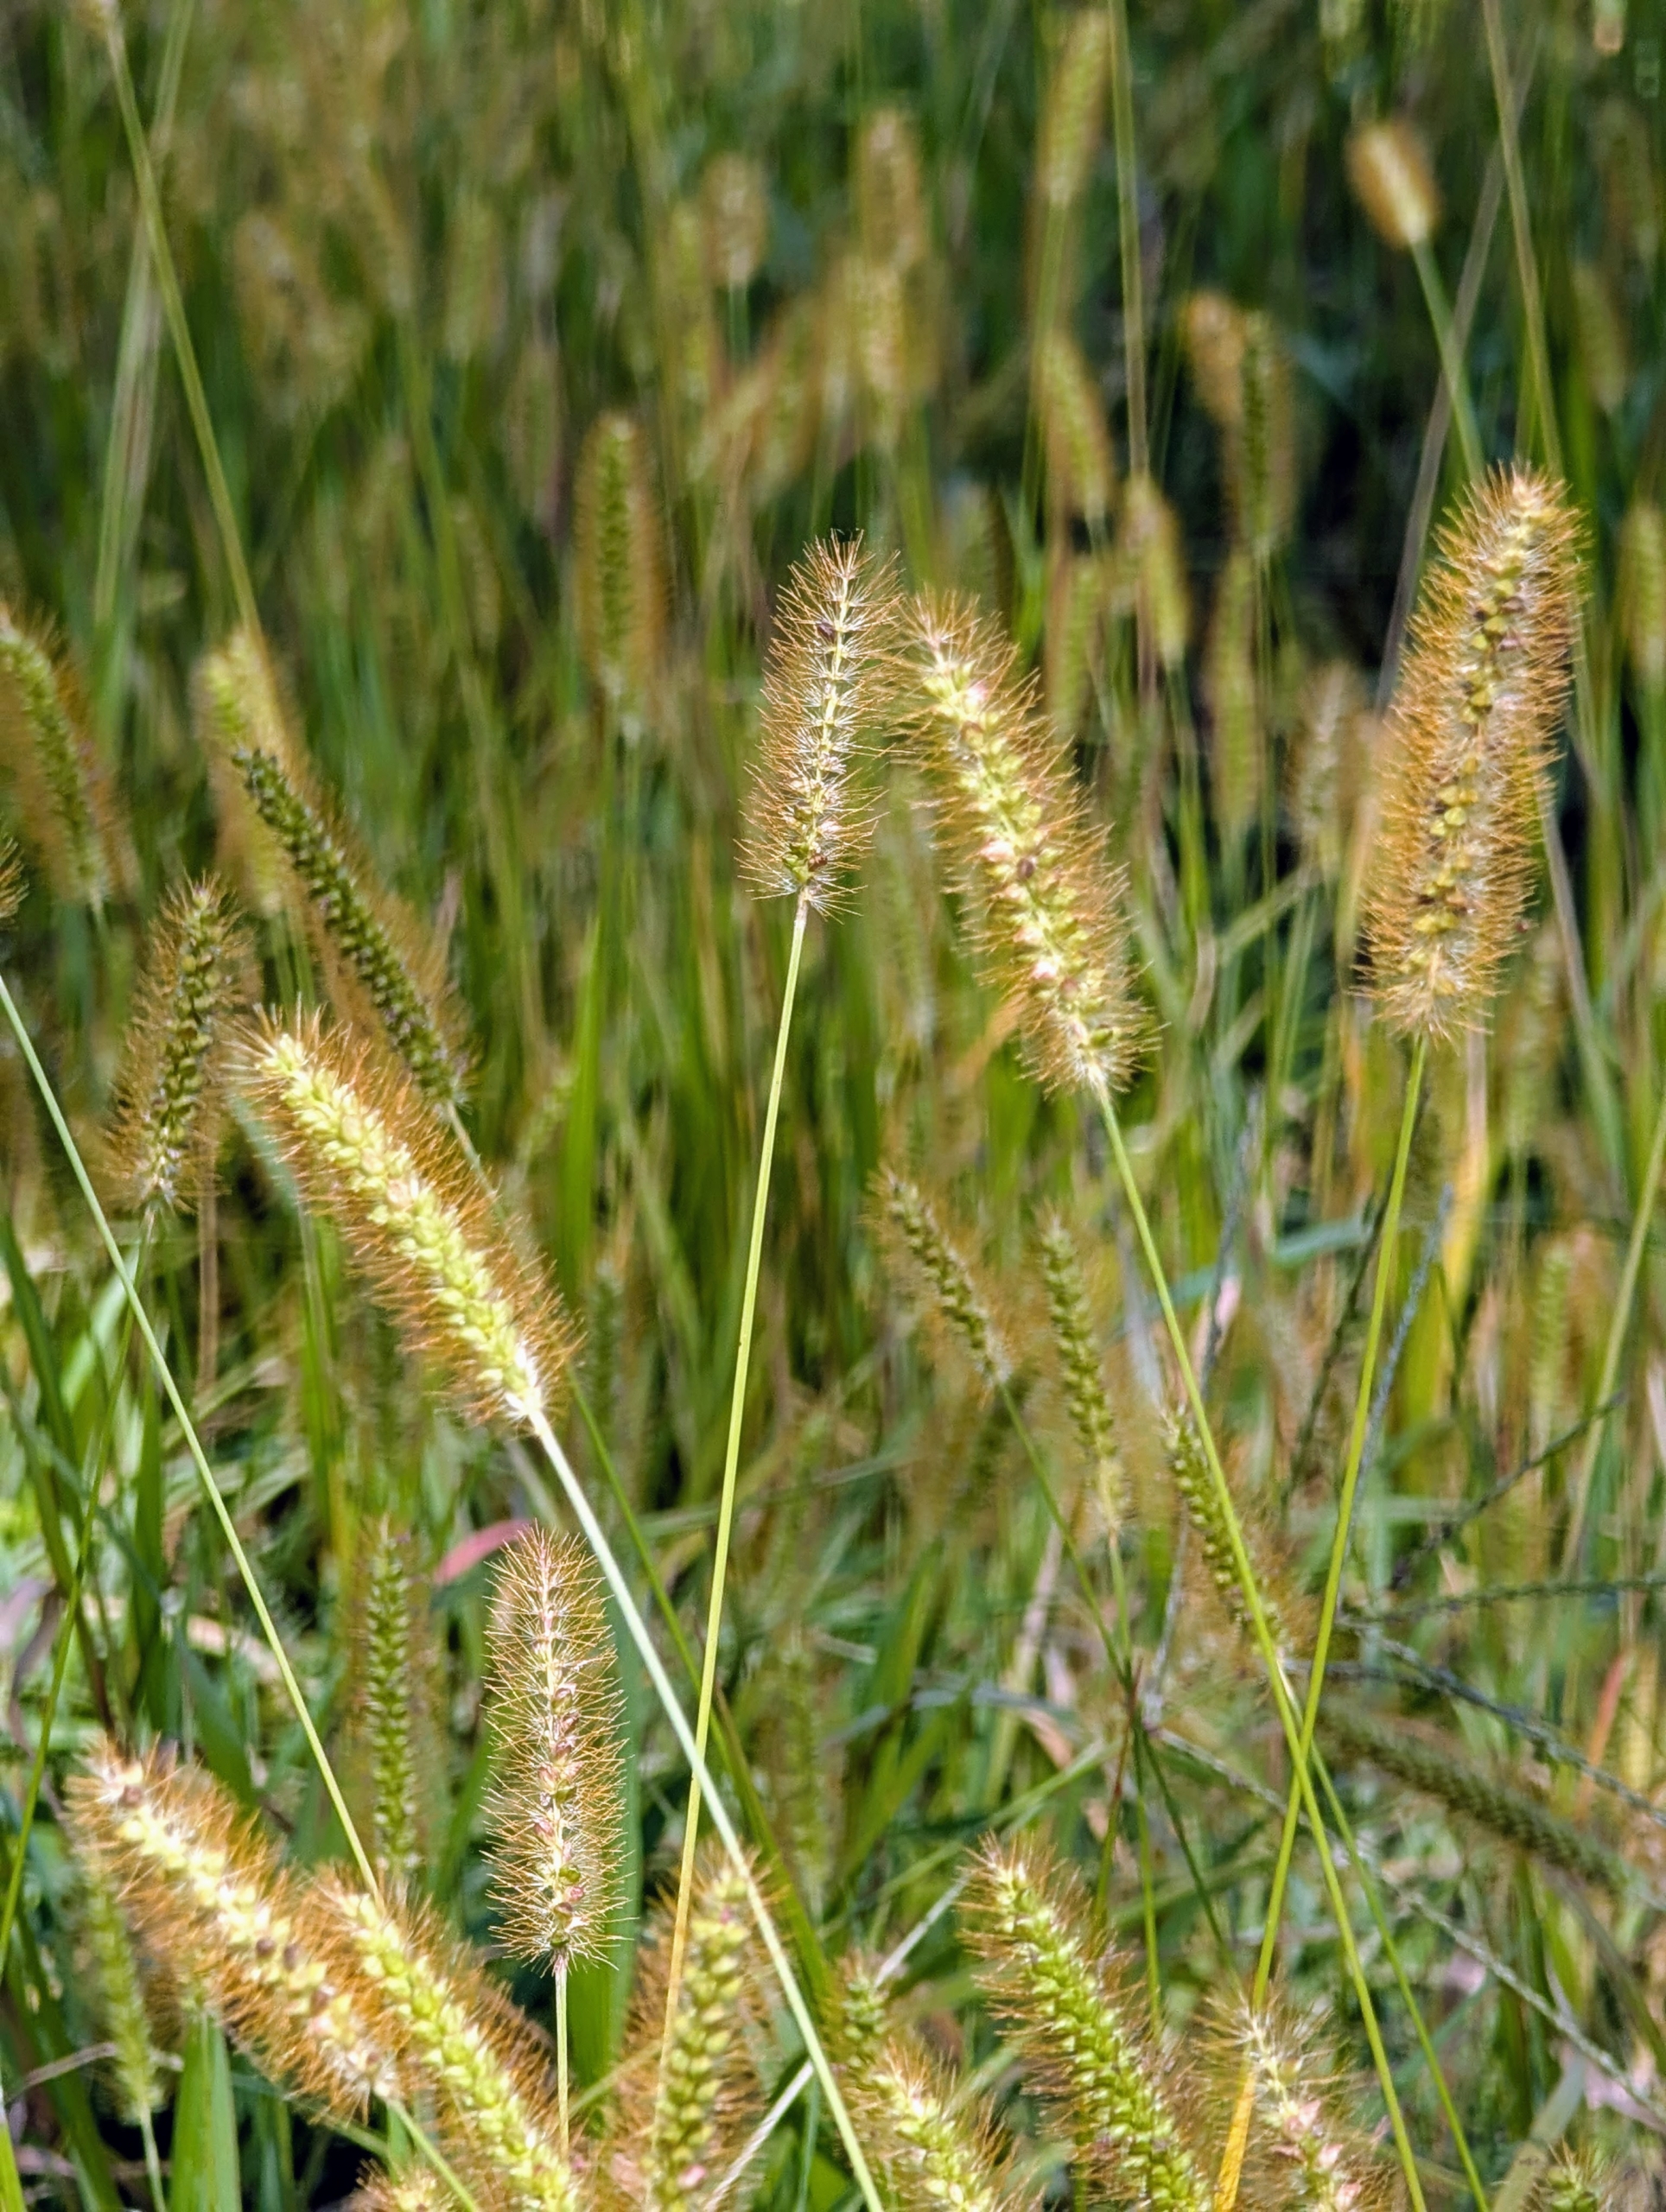
- Timing is everything when cutting the hay crop. We hope for at least several days of good, dry, warm weather, so we can work in the fields and guarantee a good harvest.
-
- My outdoor grounds crew foreman, Chhiring Sherpa, and Helen Peparo, my stable manager, keep track of the weather during hay cutting time. It’s crucial they select the best days for this process.
-
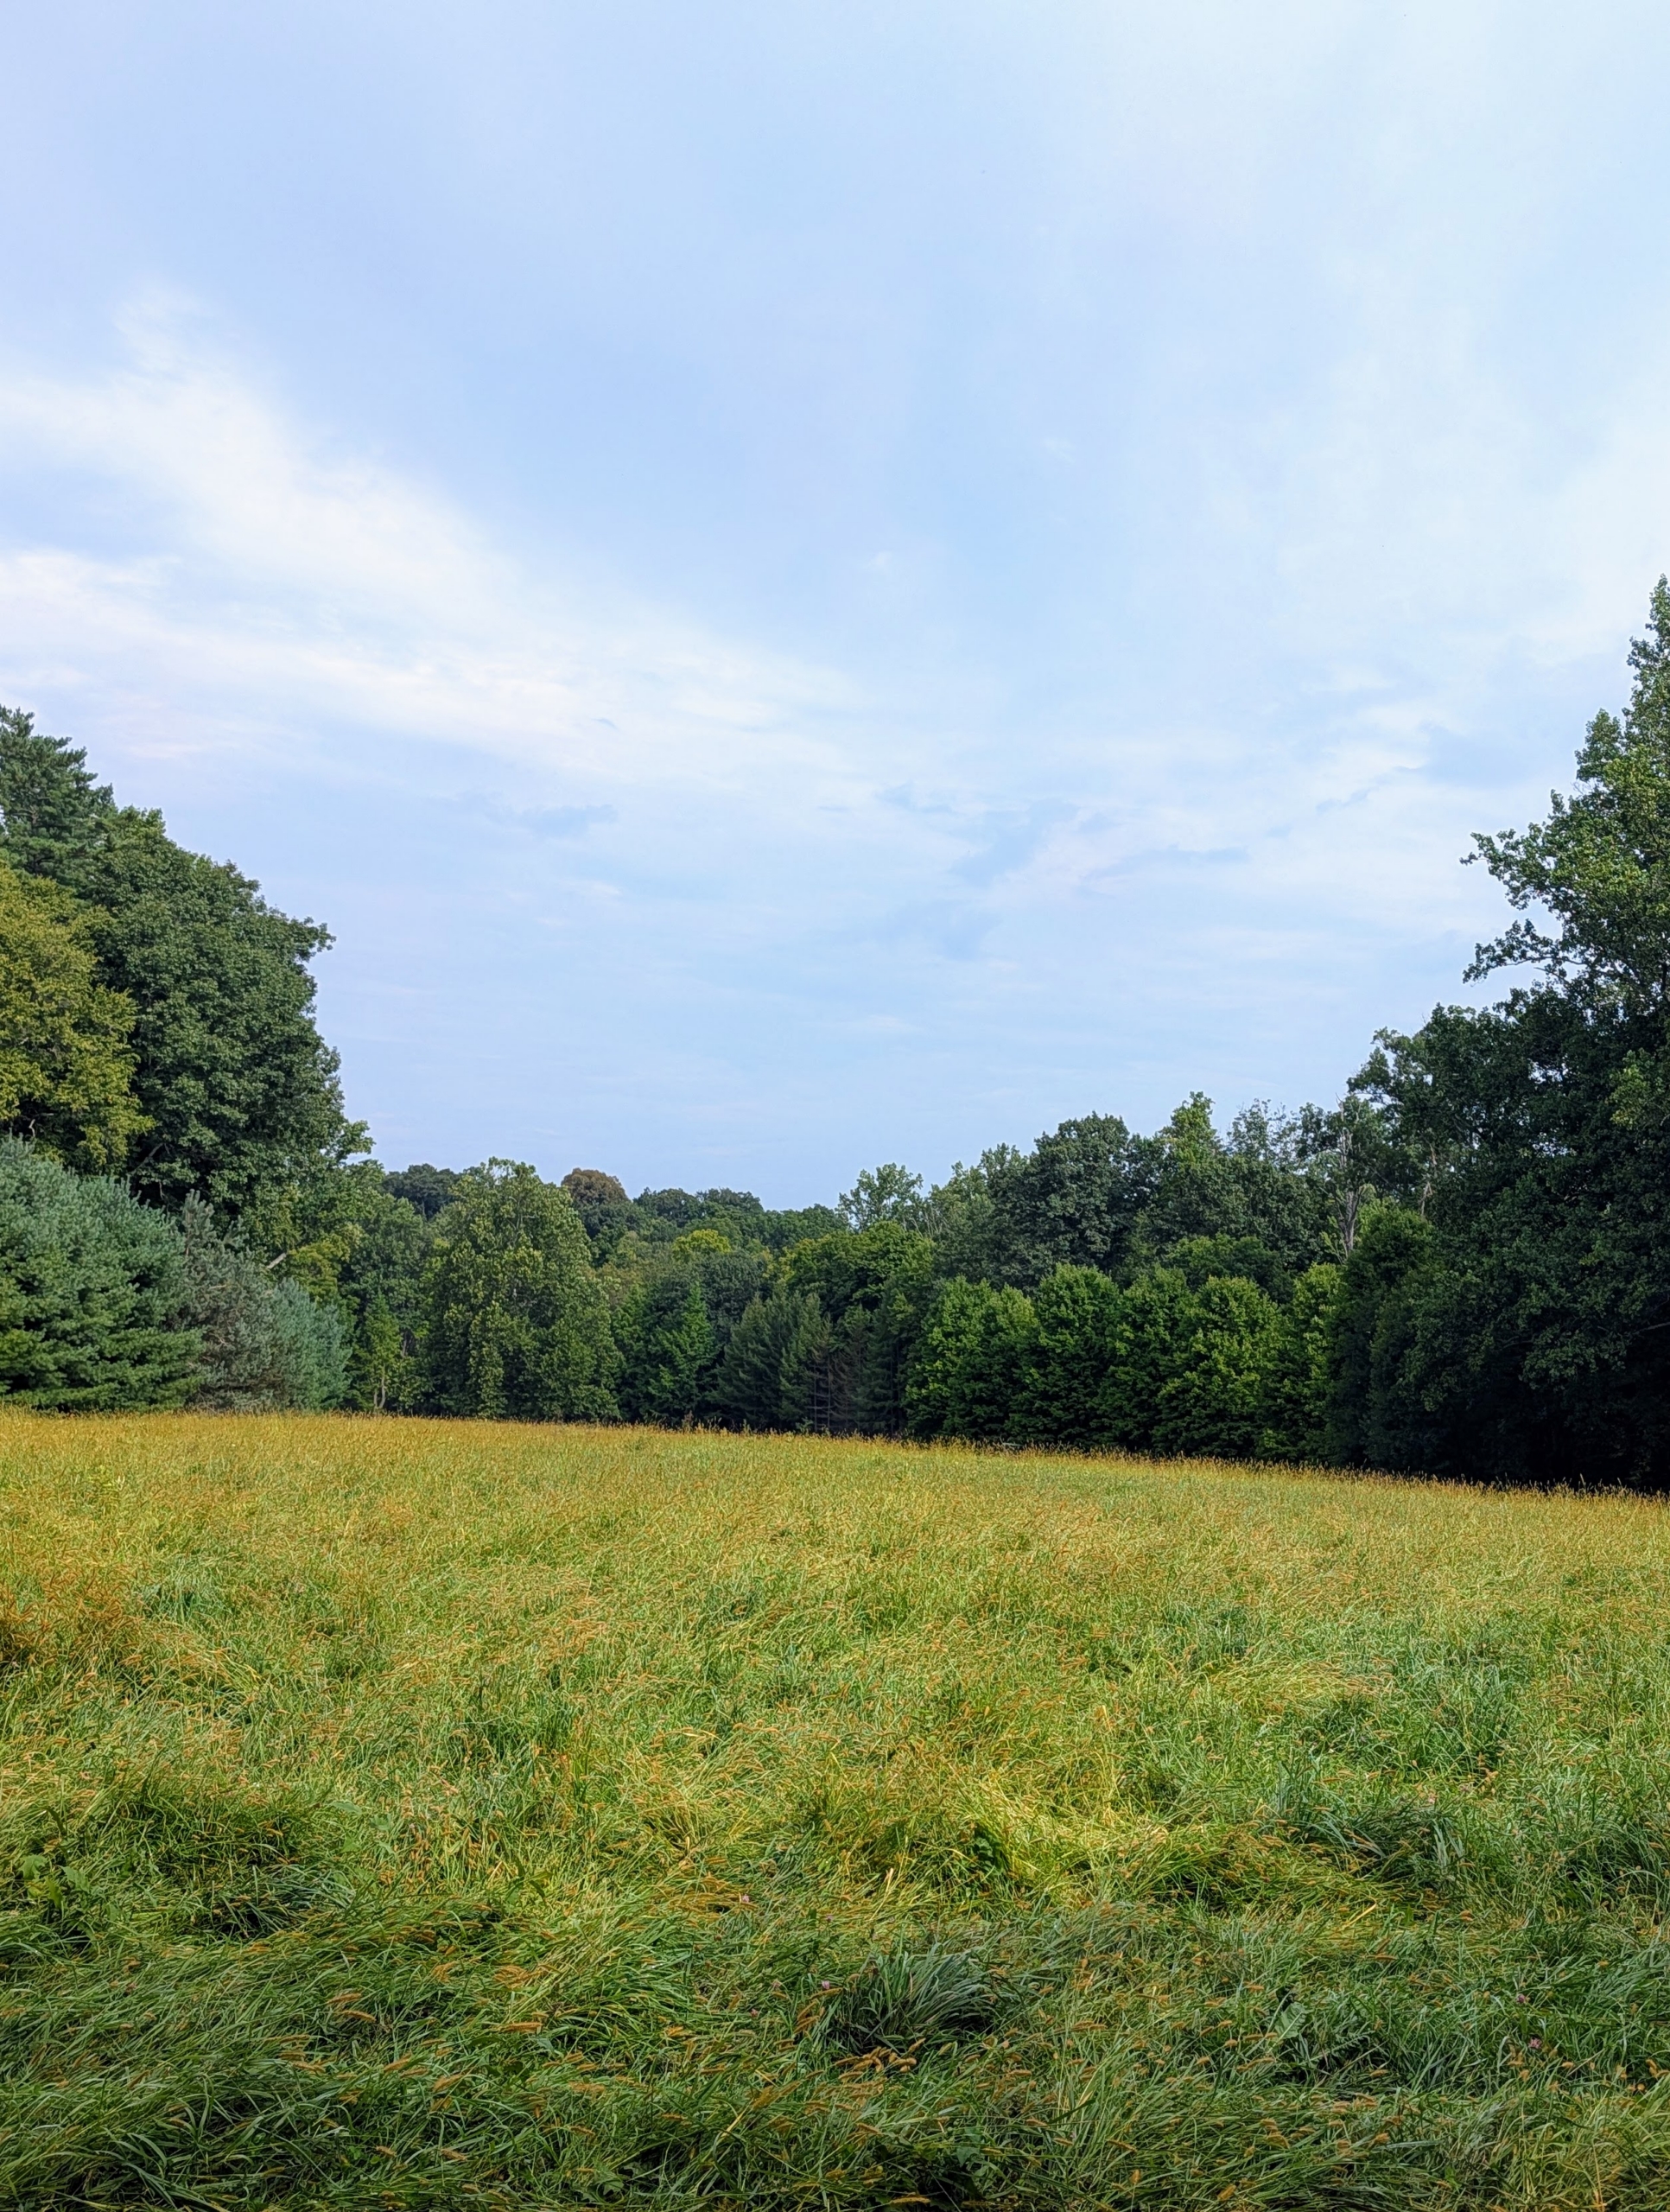
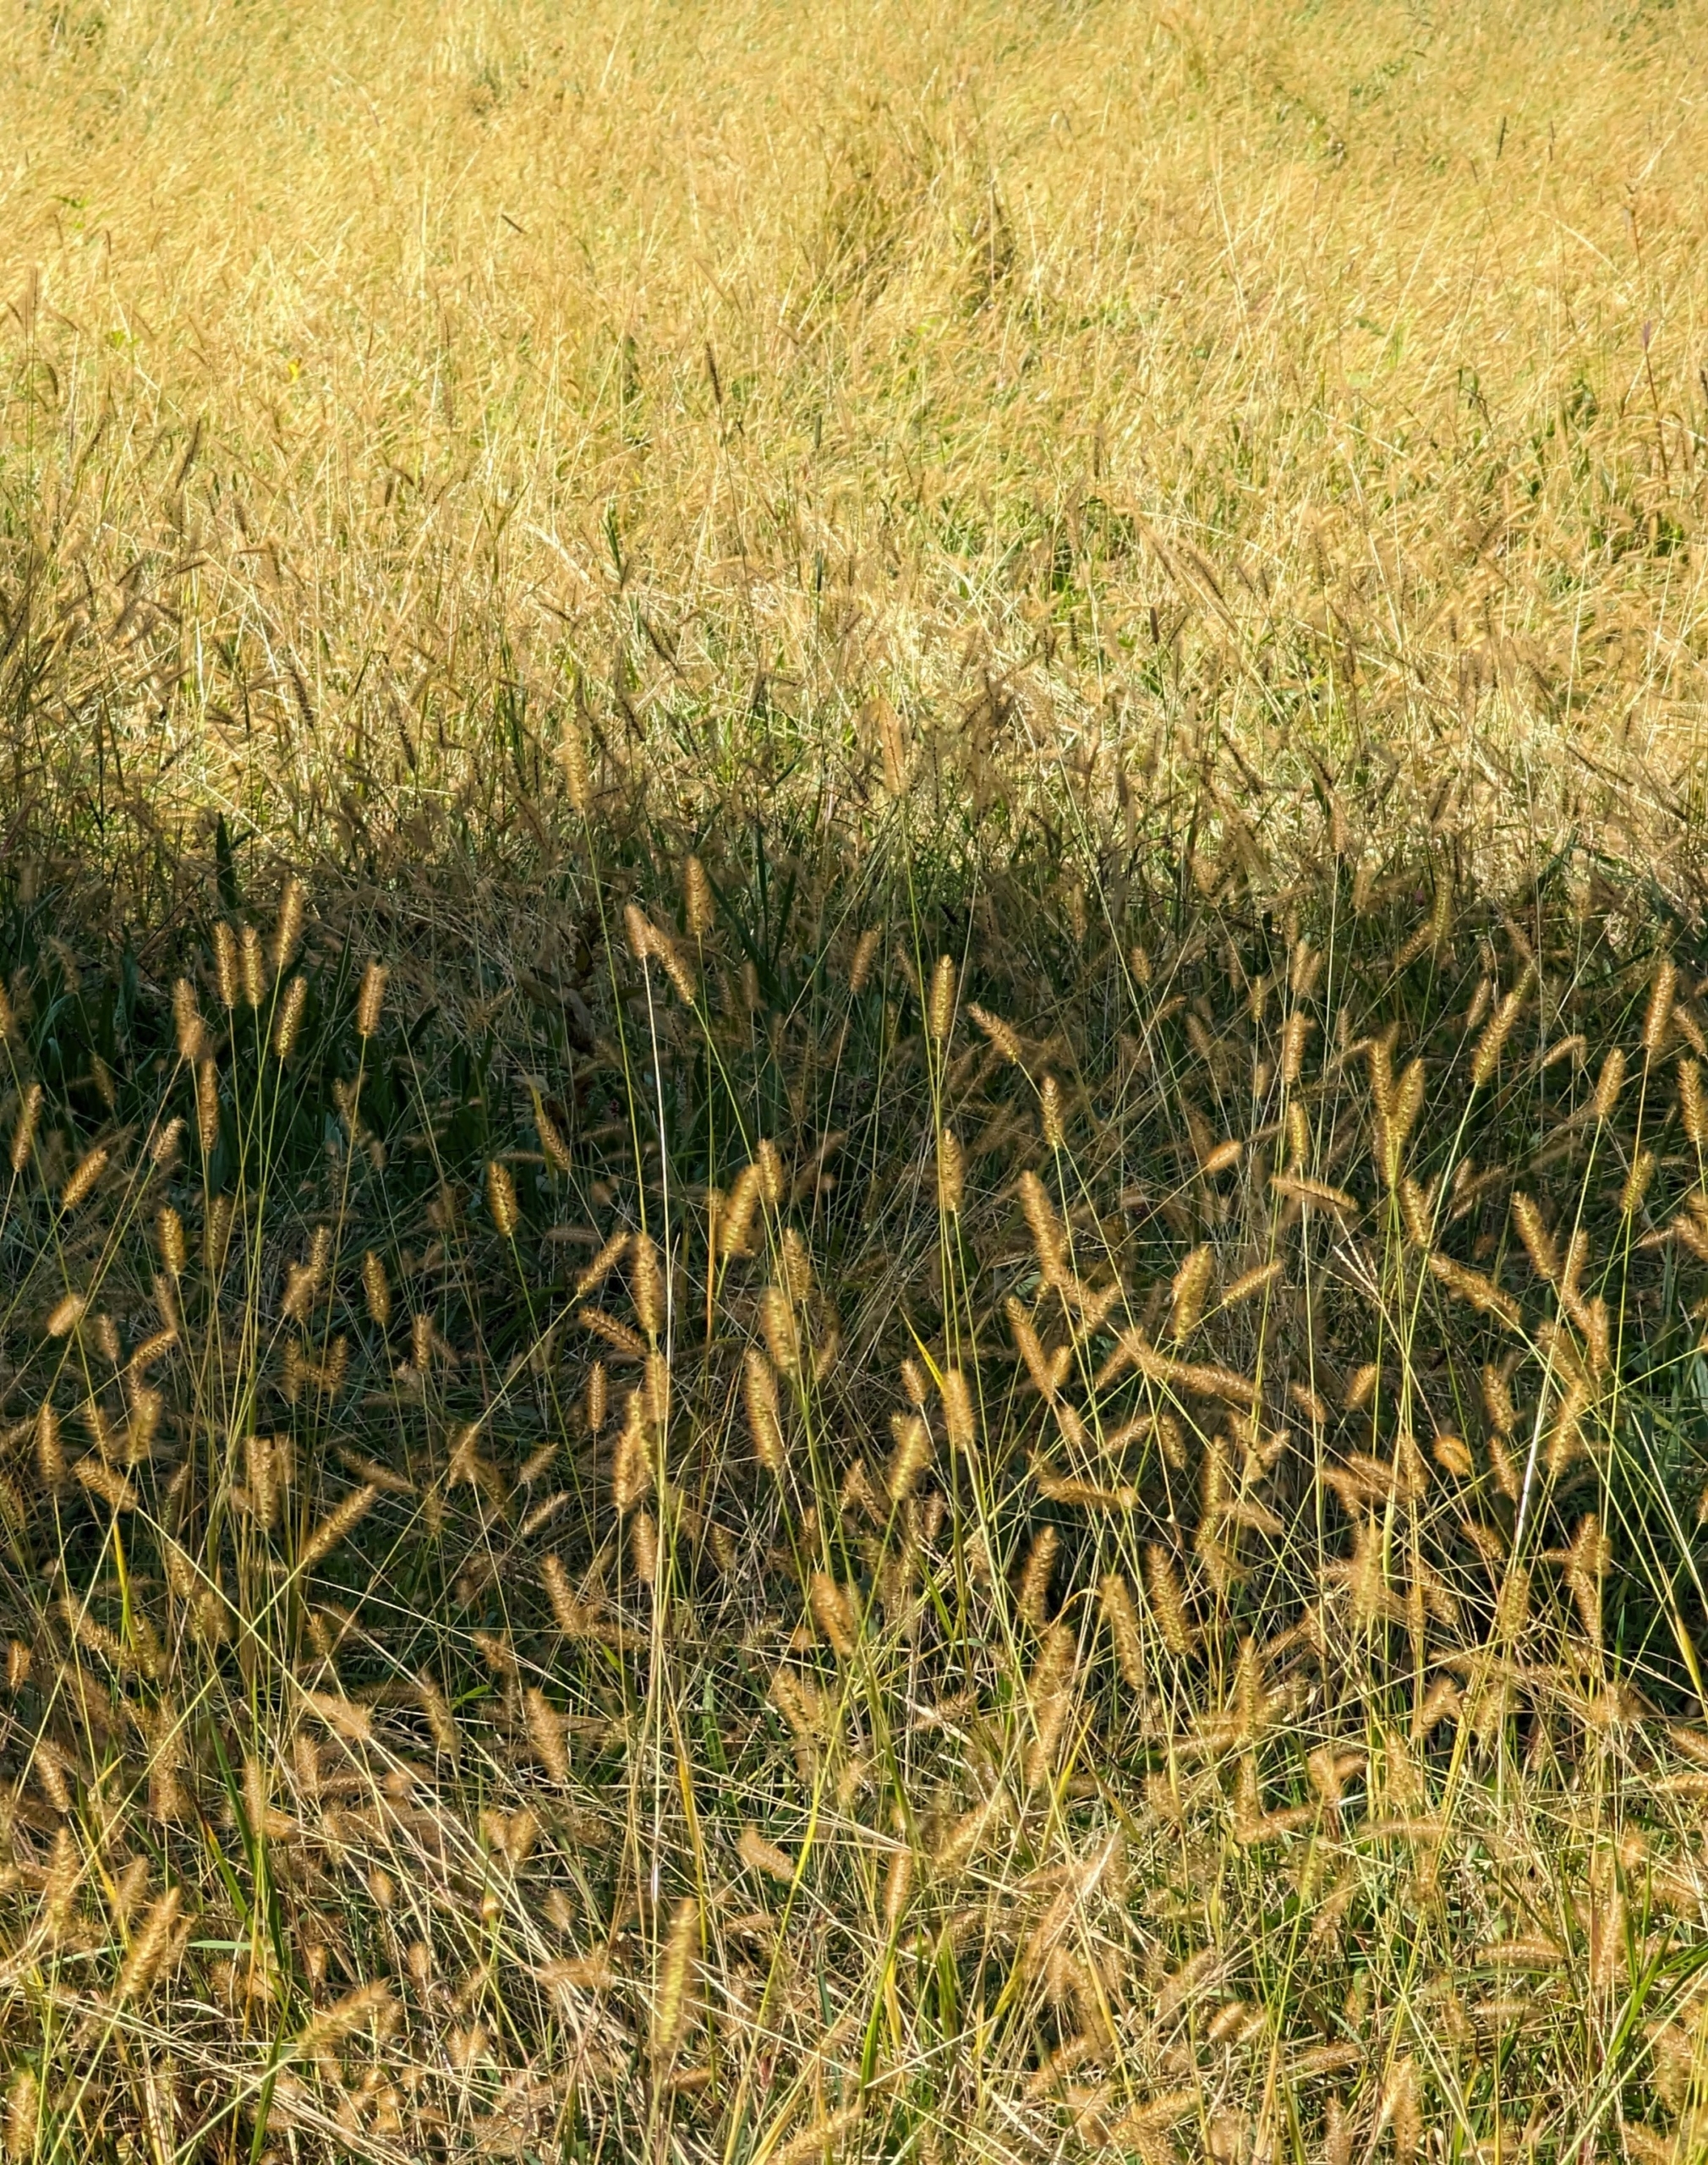
- When the hay is ready, it is typically 12 to 16 inches above the ground. The stems are finer, and the overall texture is smoother. At this stage, the plants are still in a growth phase, so the hay will be high in protein, digestible, and palatable for my horses.
-
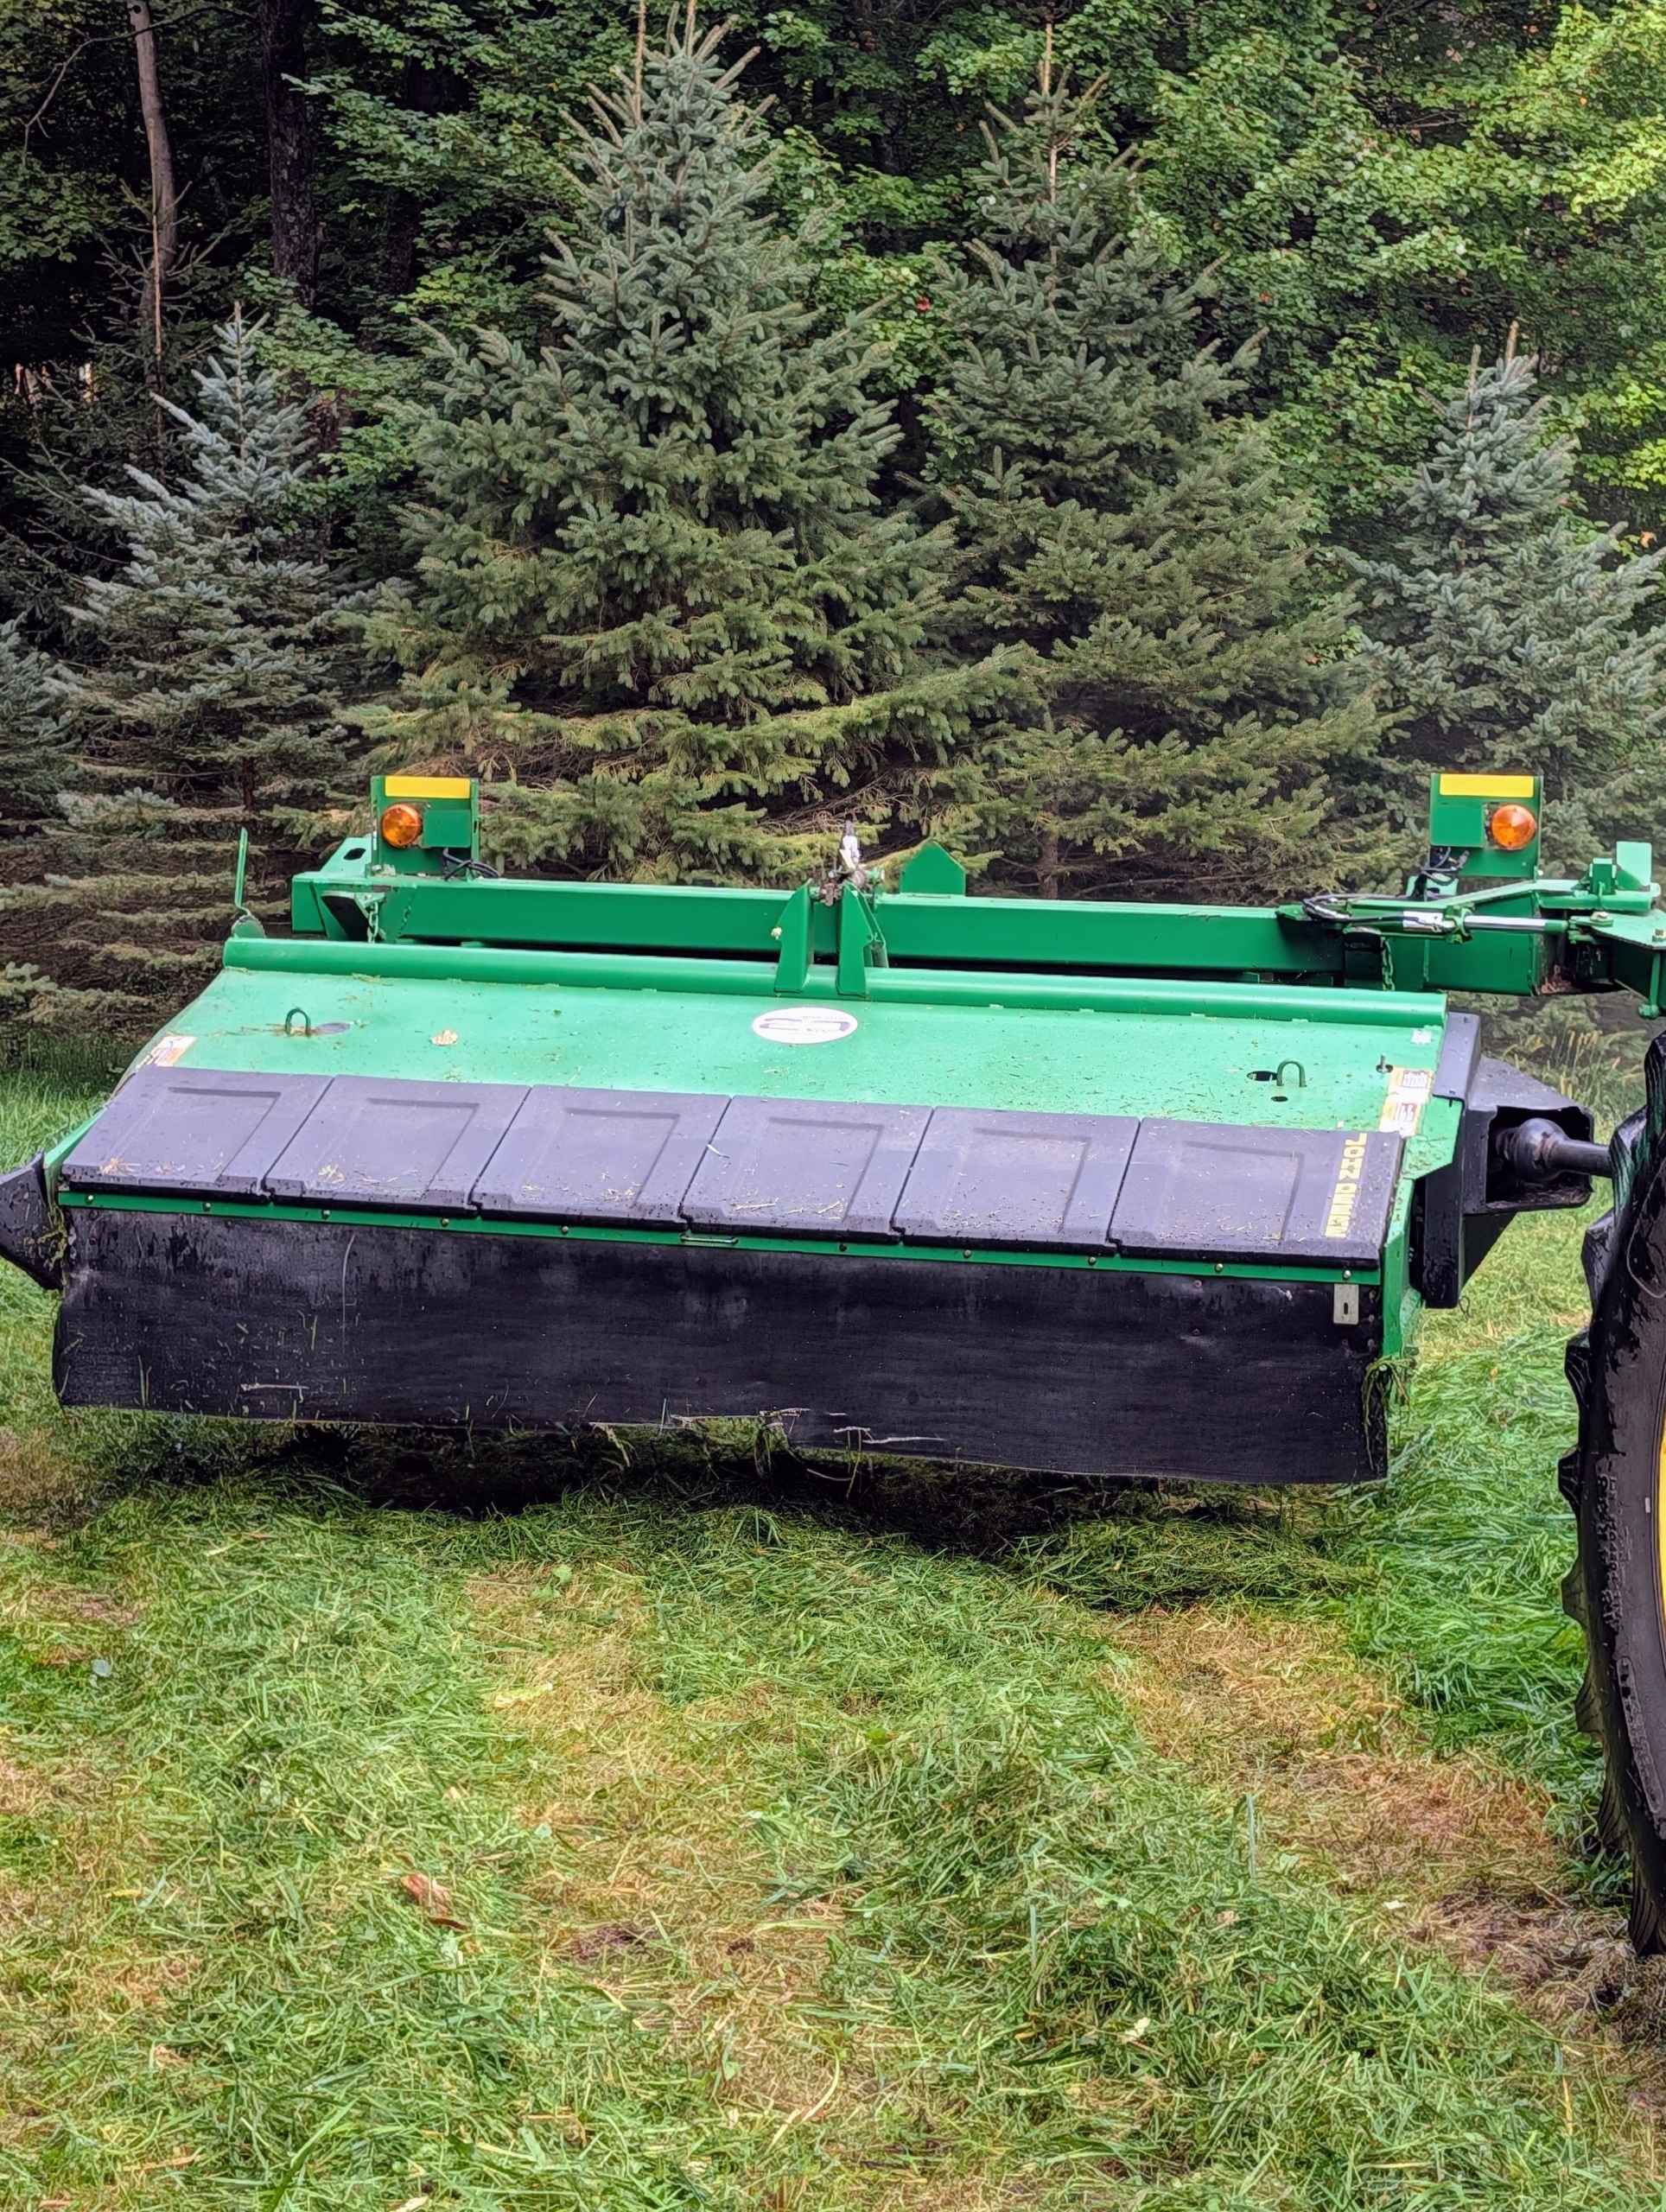
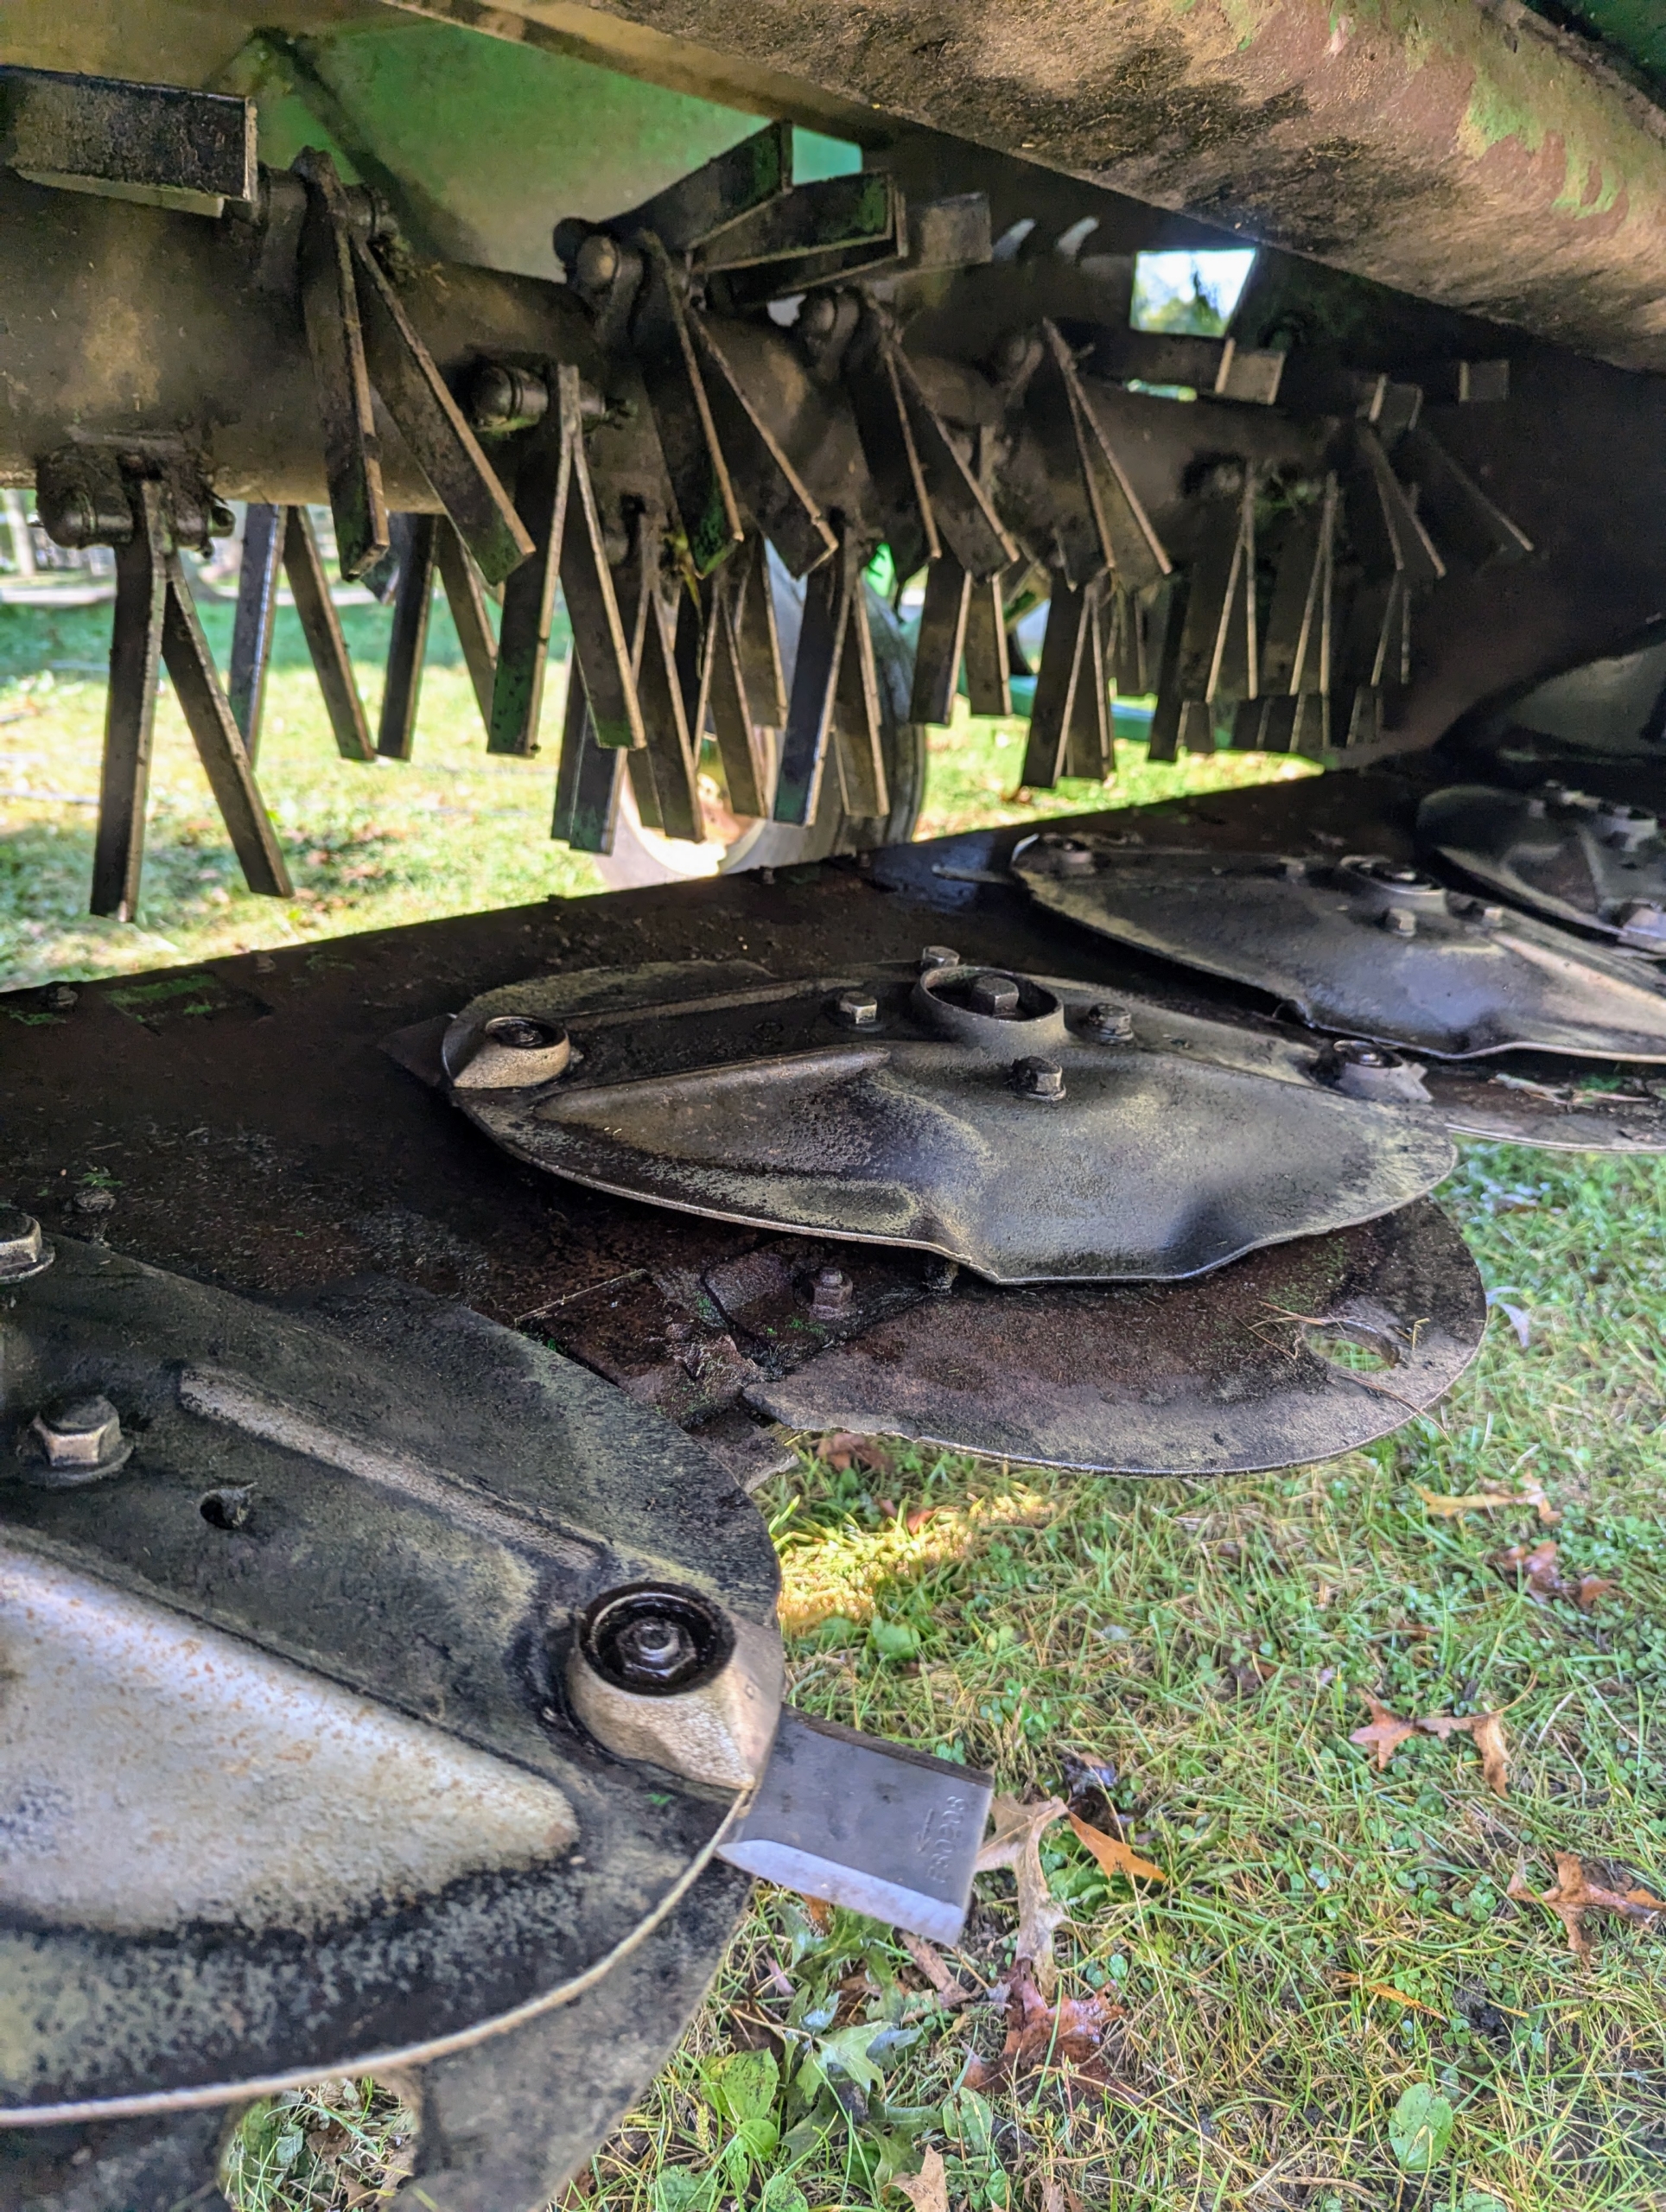
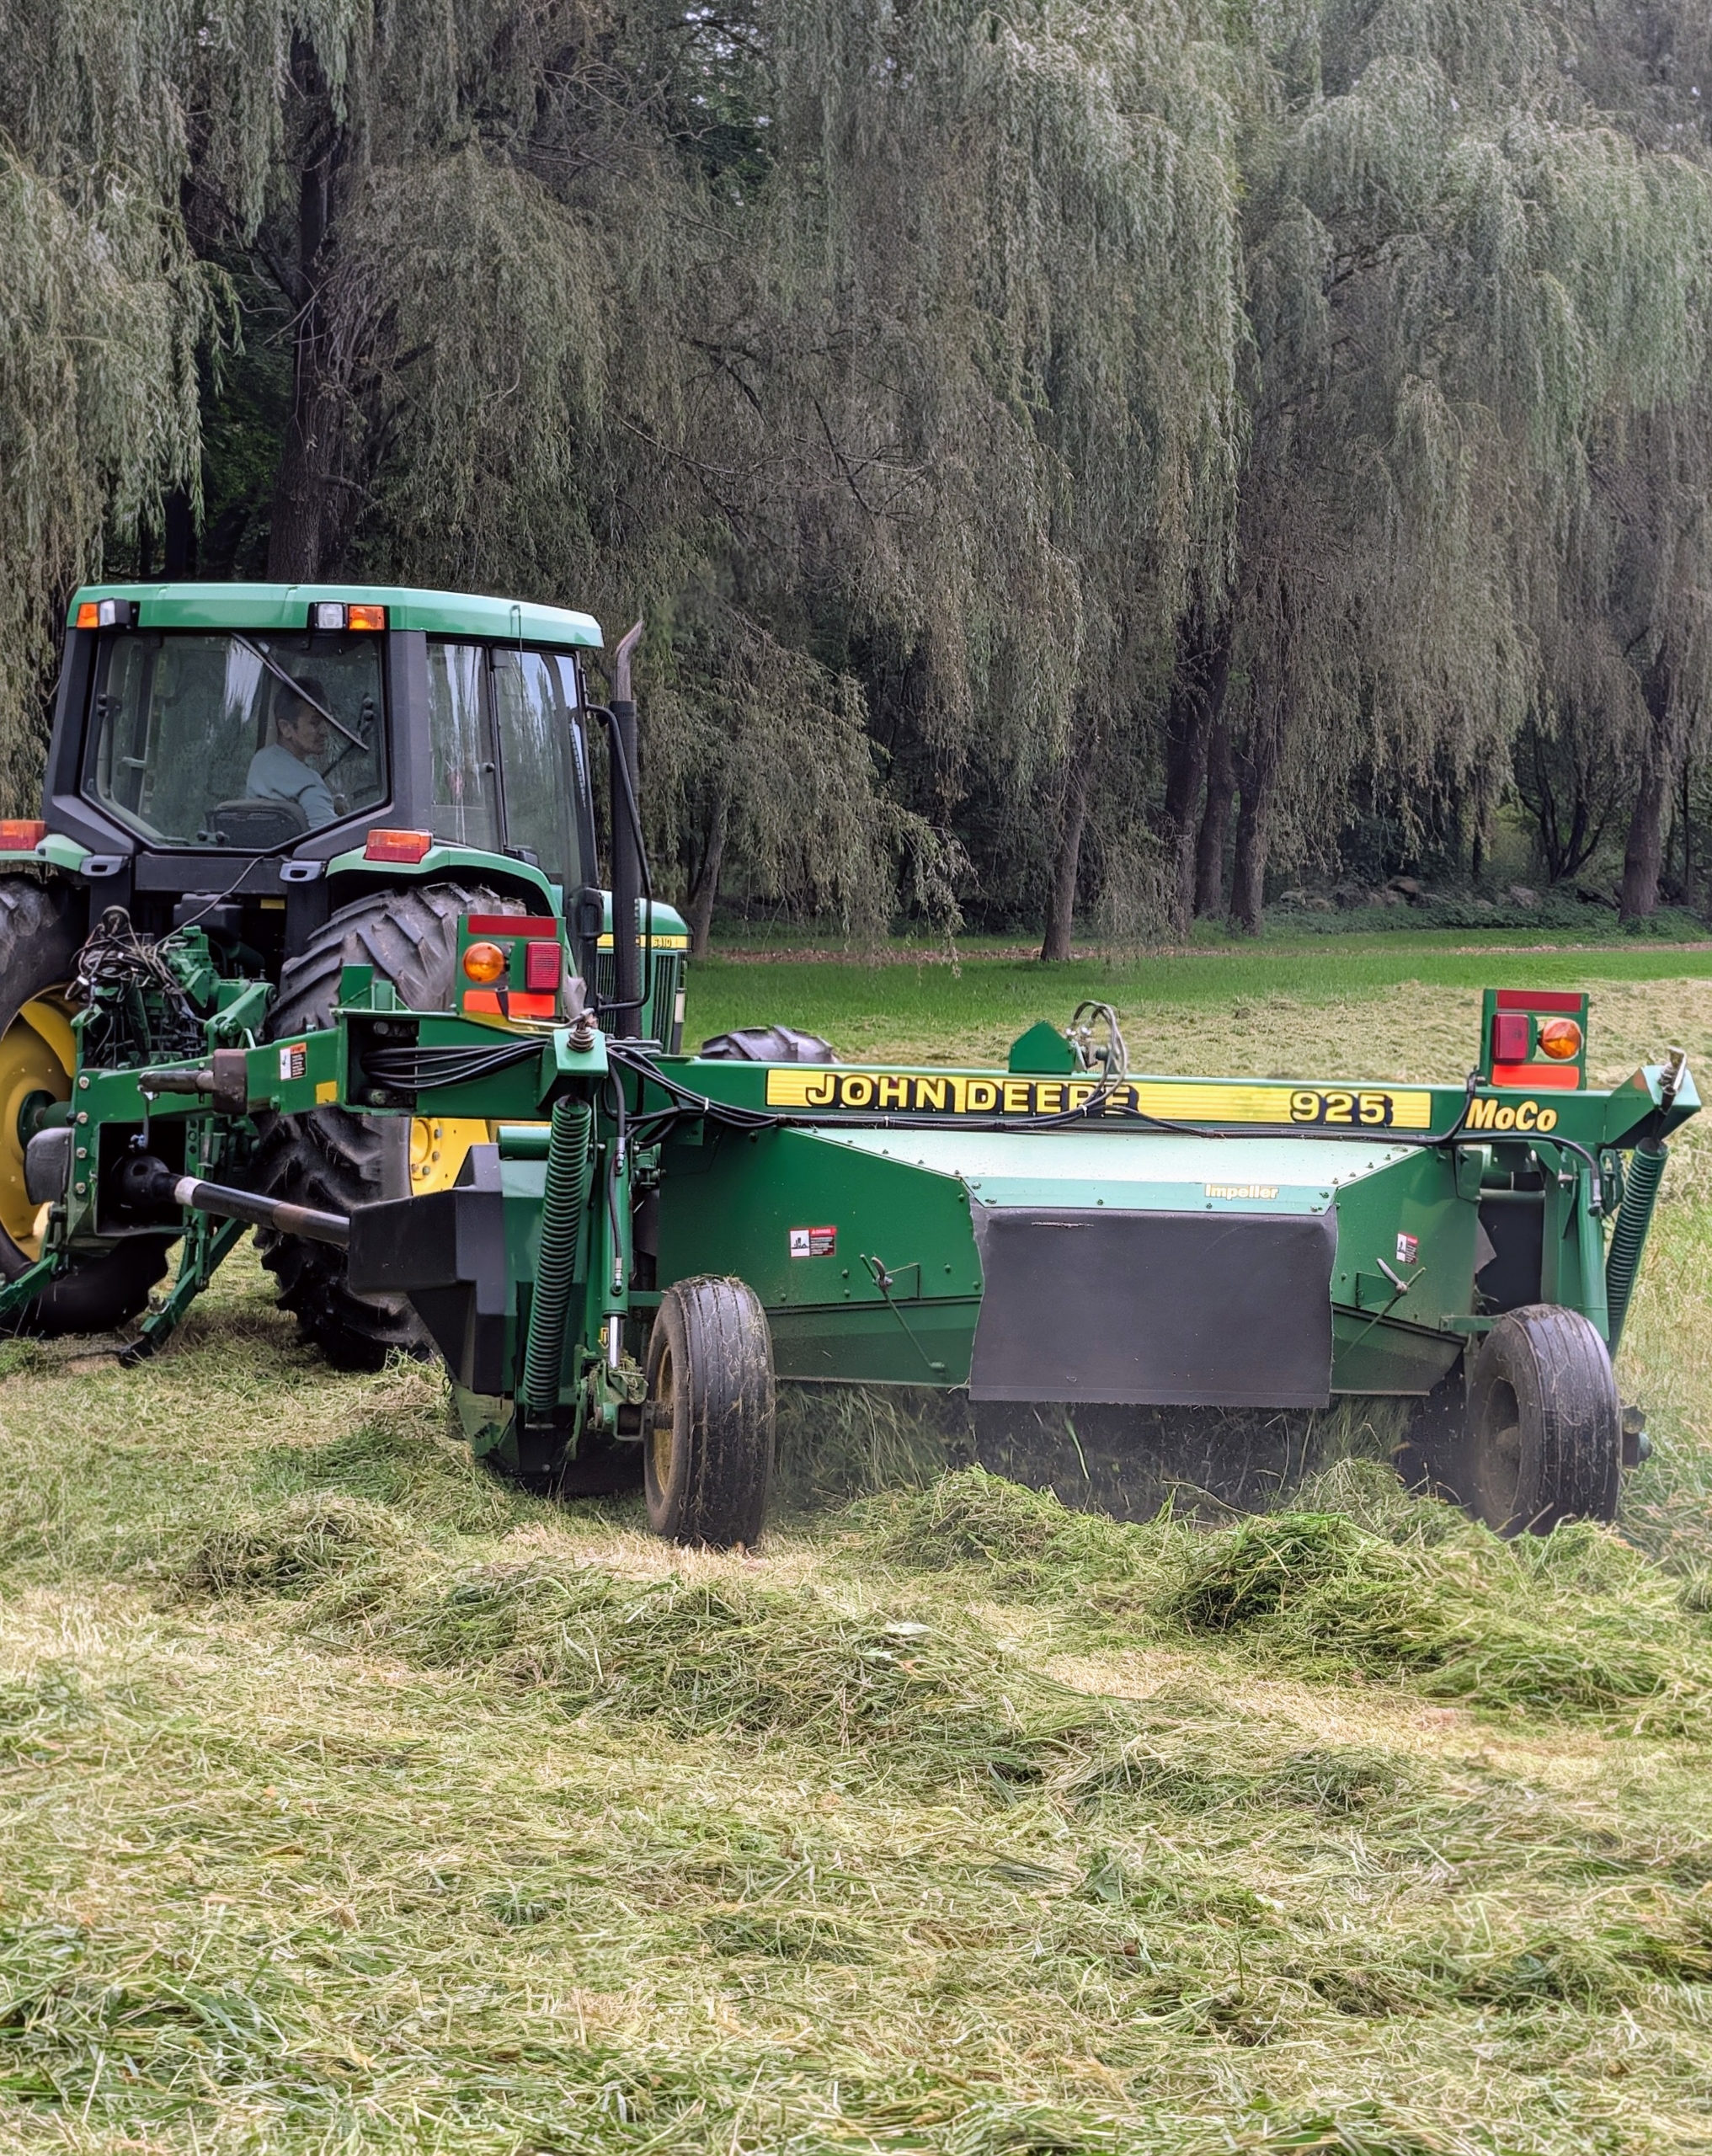
- This is my mower-conditioner. It cuts, crimps, and crushes the hay to promote faster and more even drying.
-
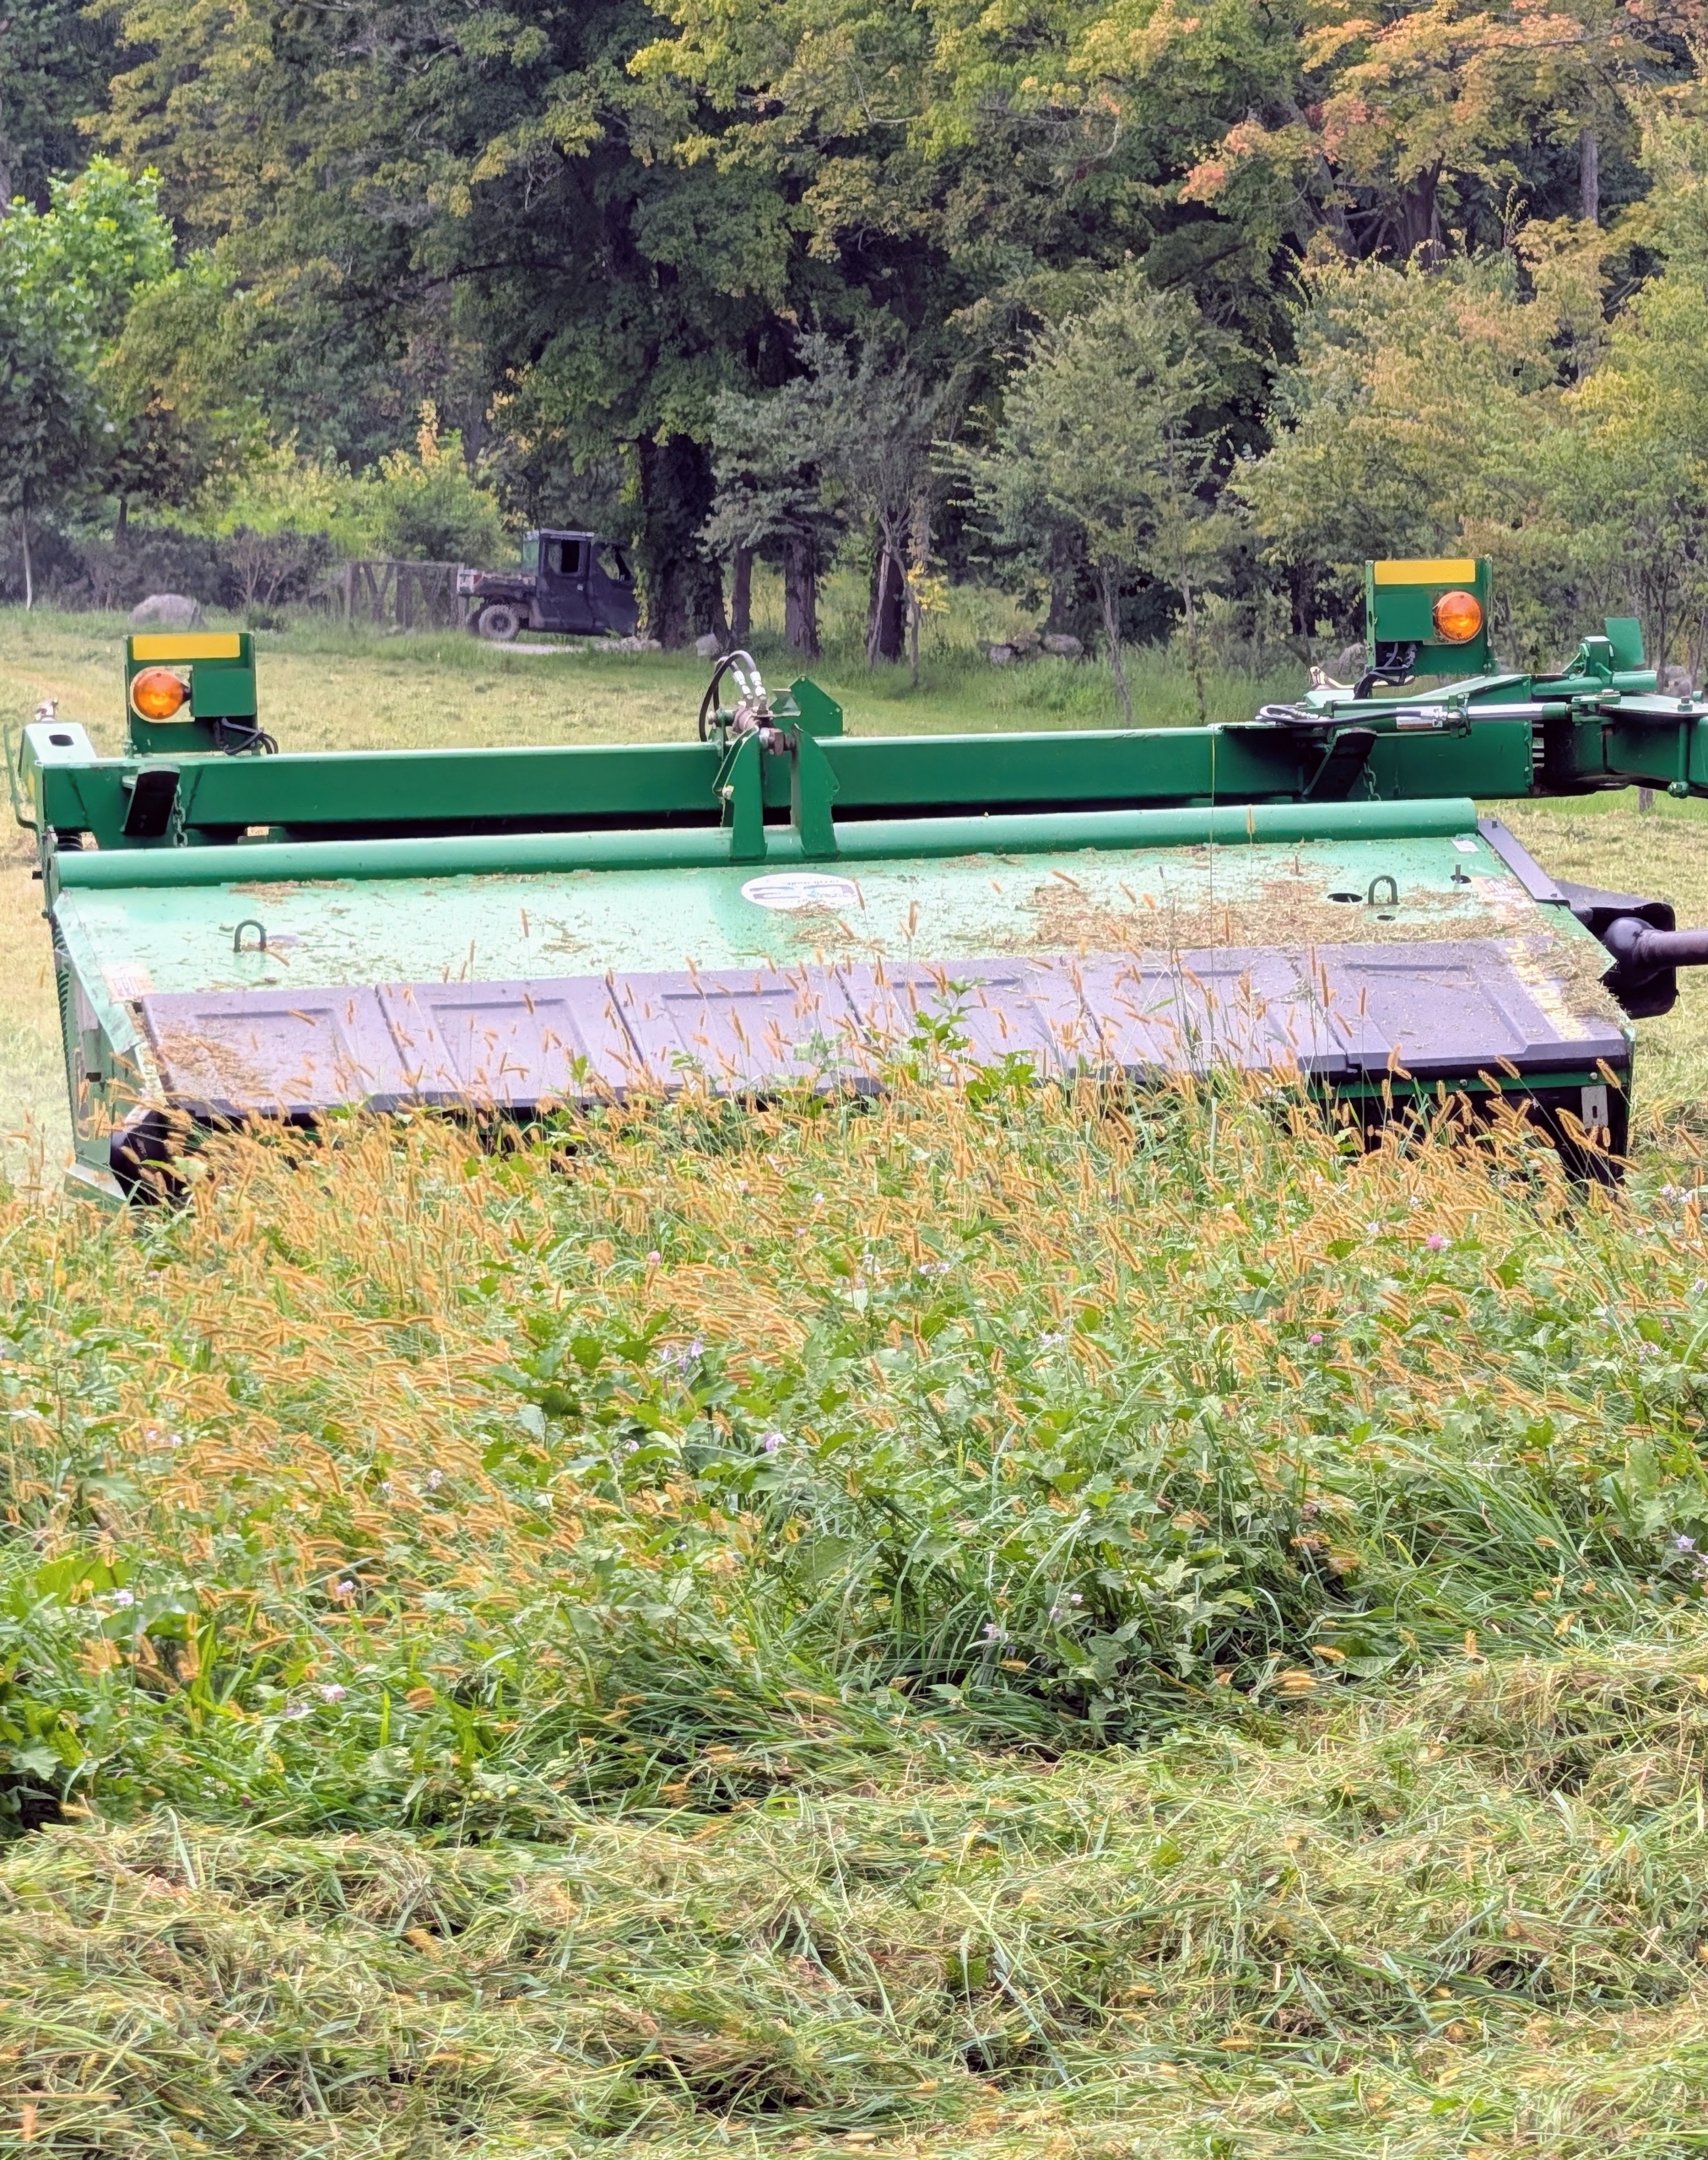
- The discs and blades are located behind the machine’s protective shield.
-
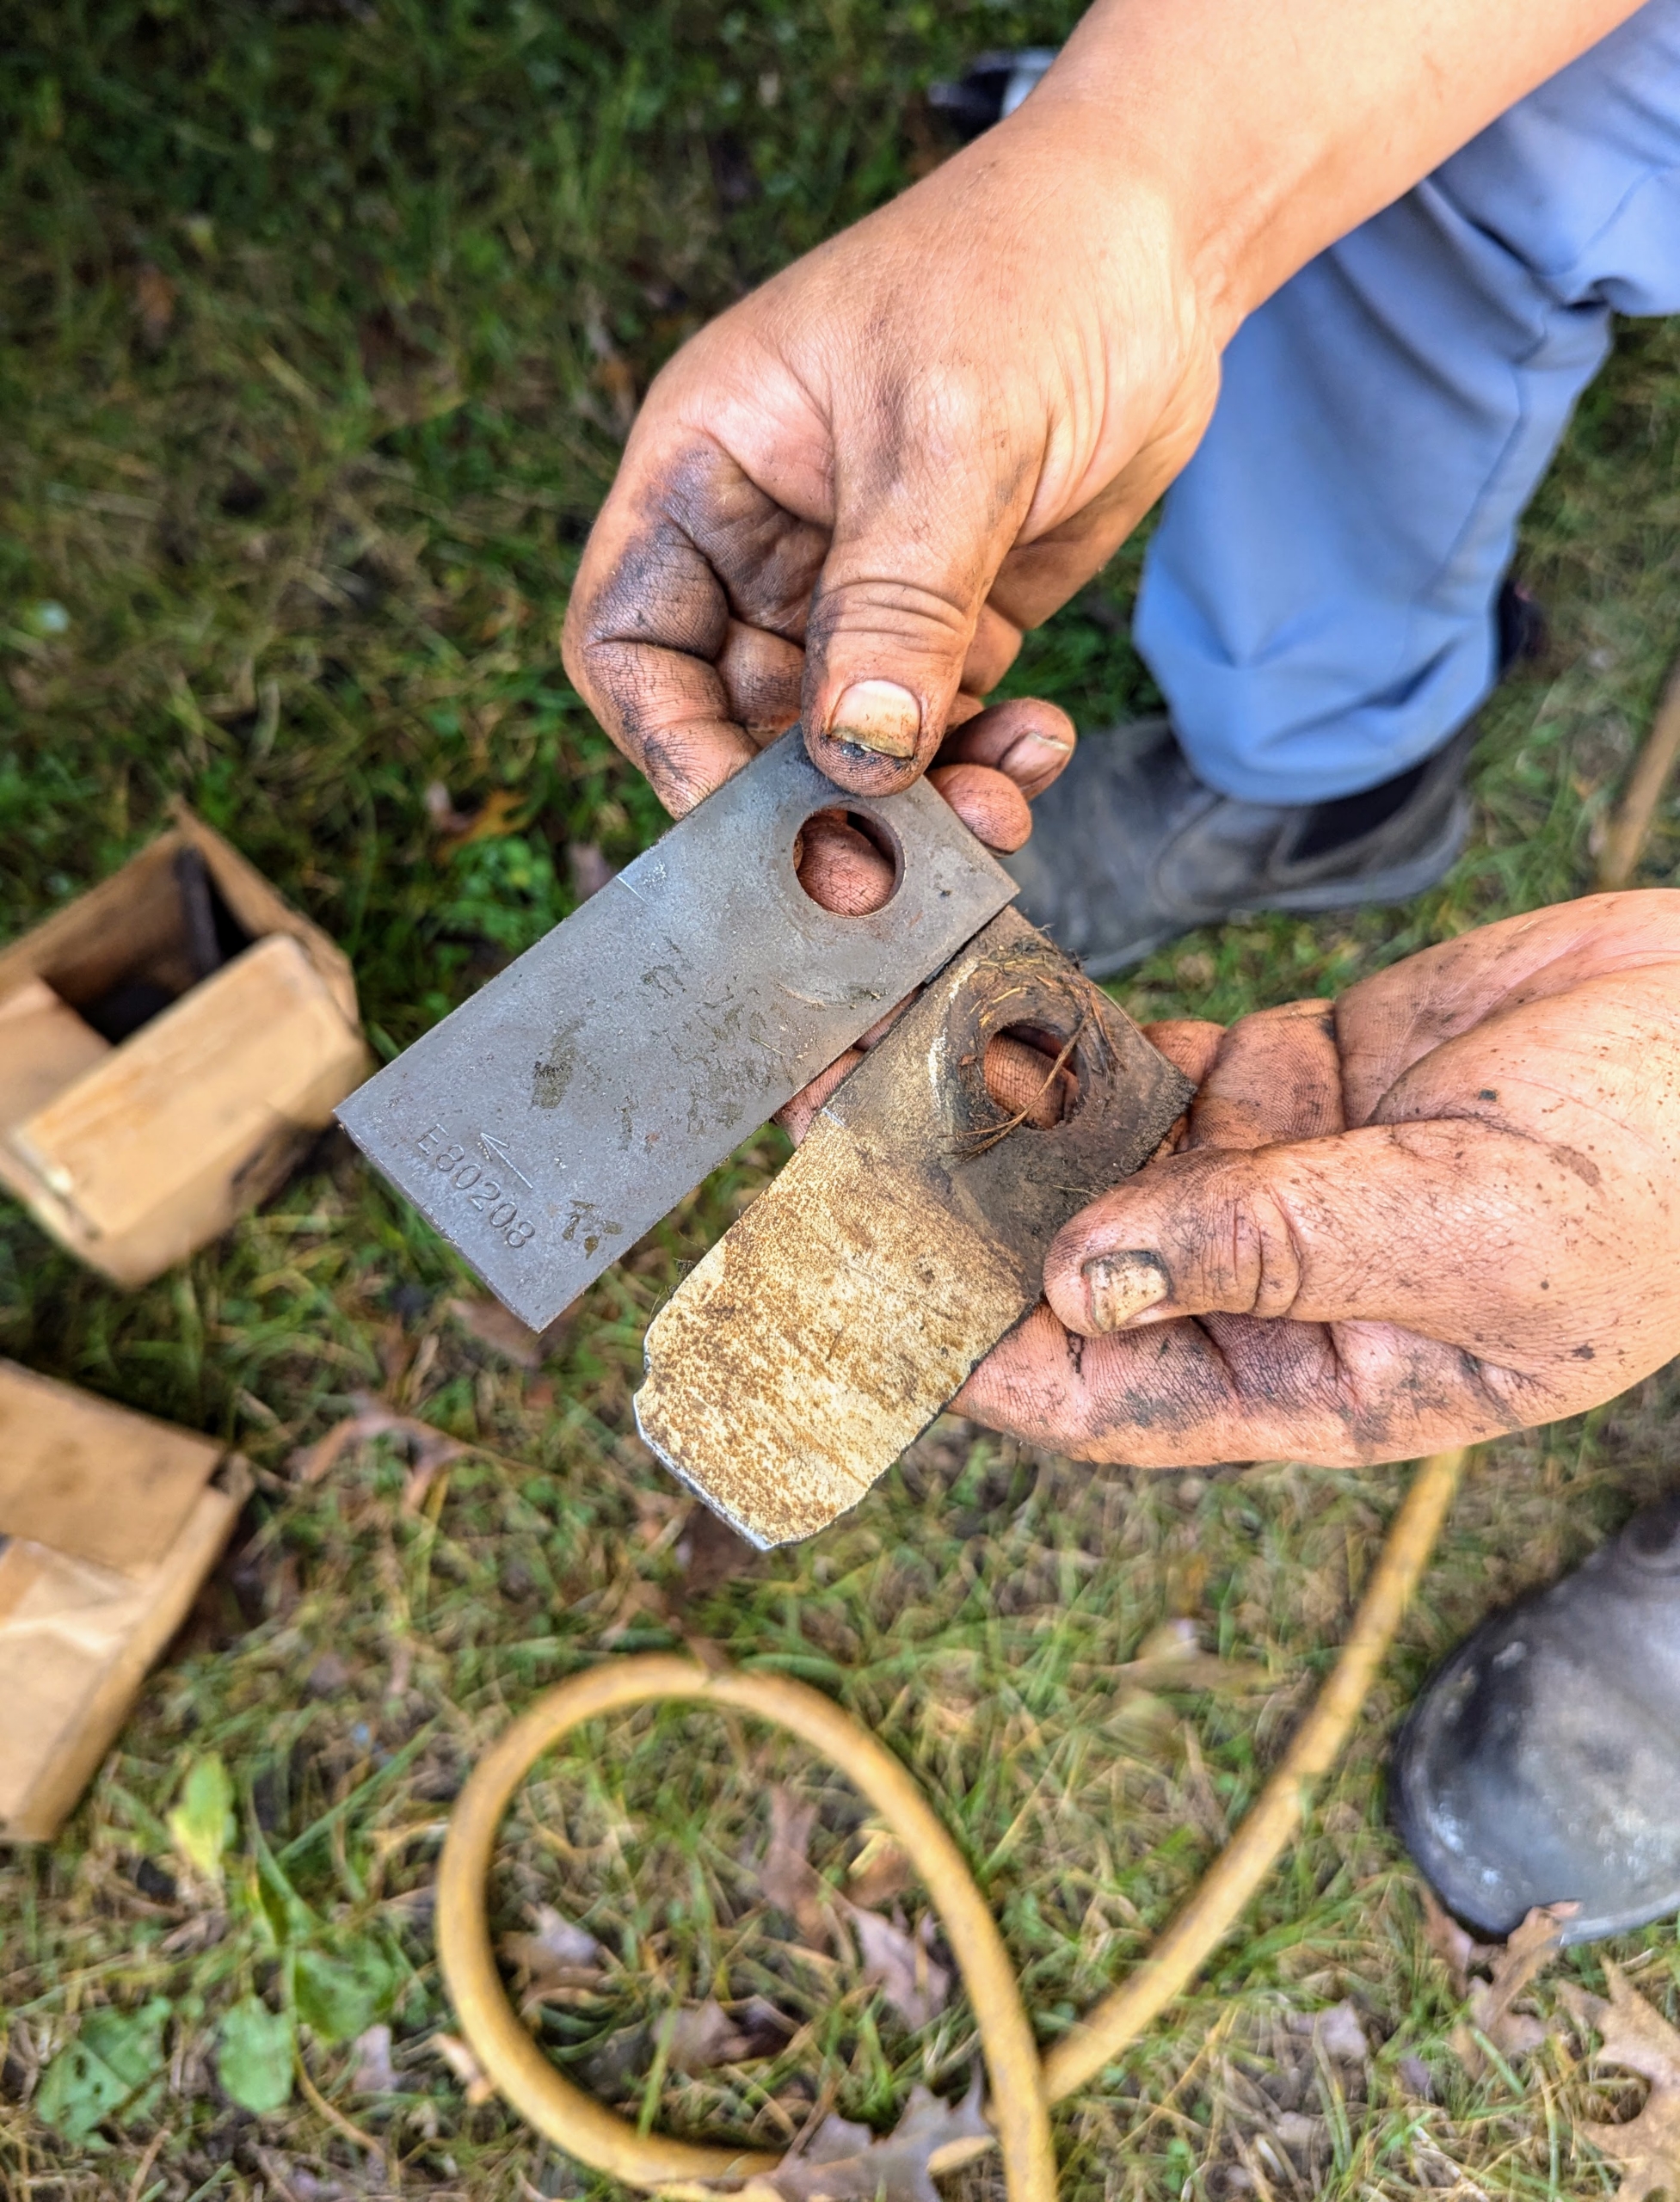
- Before using, Chhiring checks the blades. Here are two blades – one new and one that needed replacing.
-
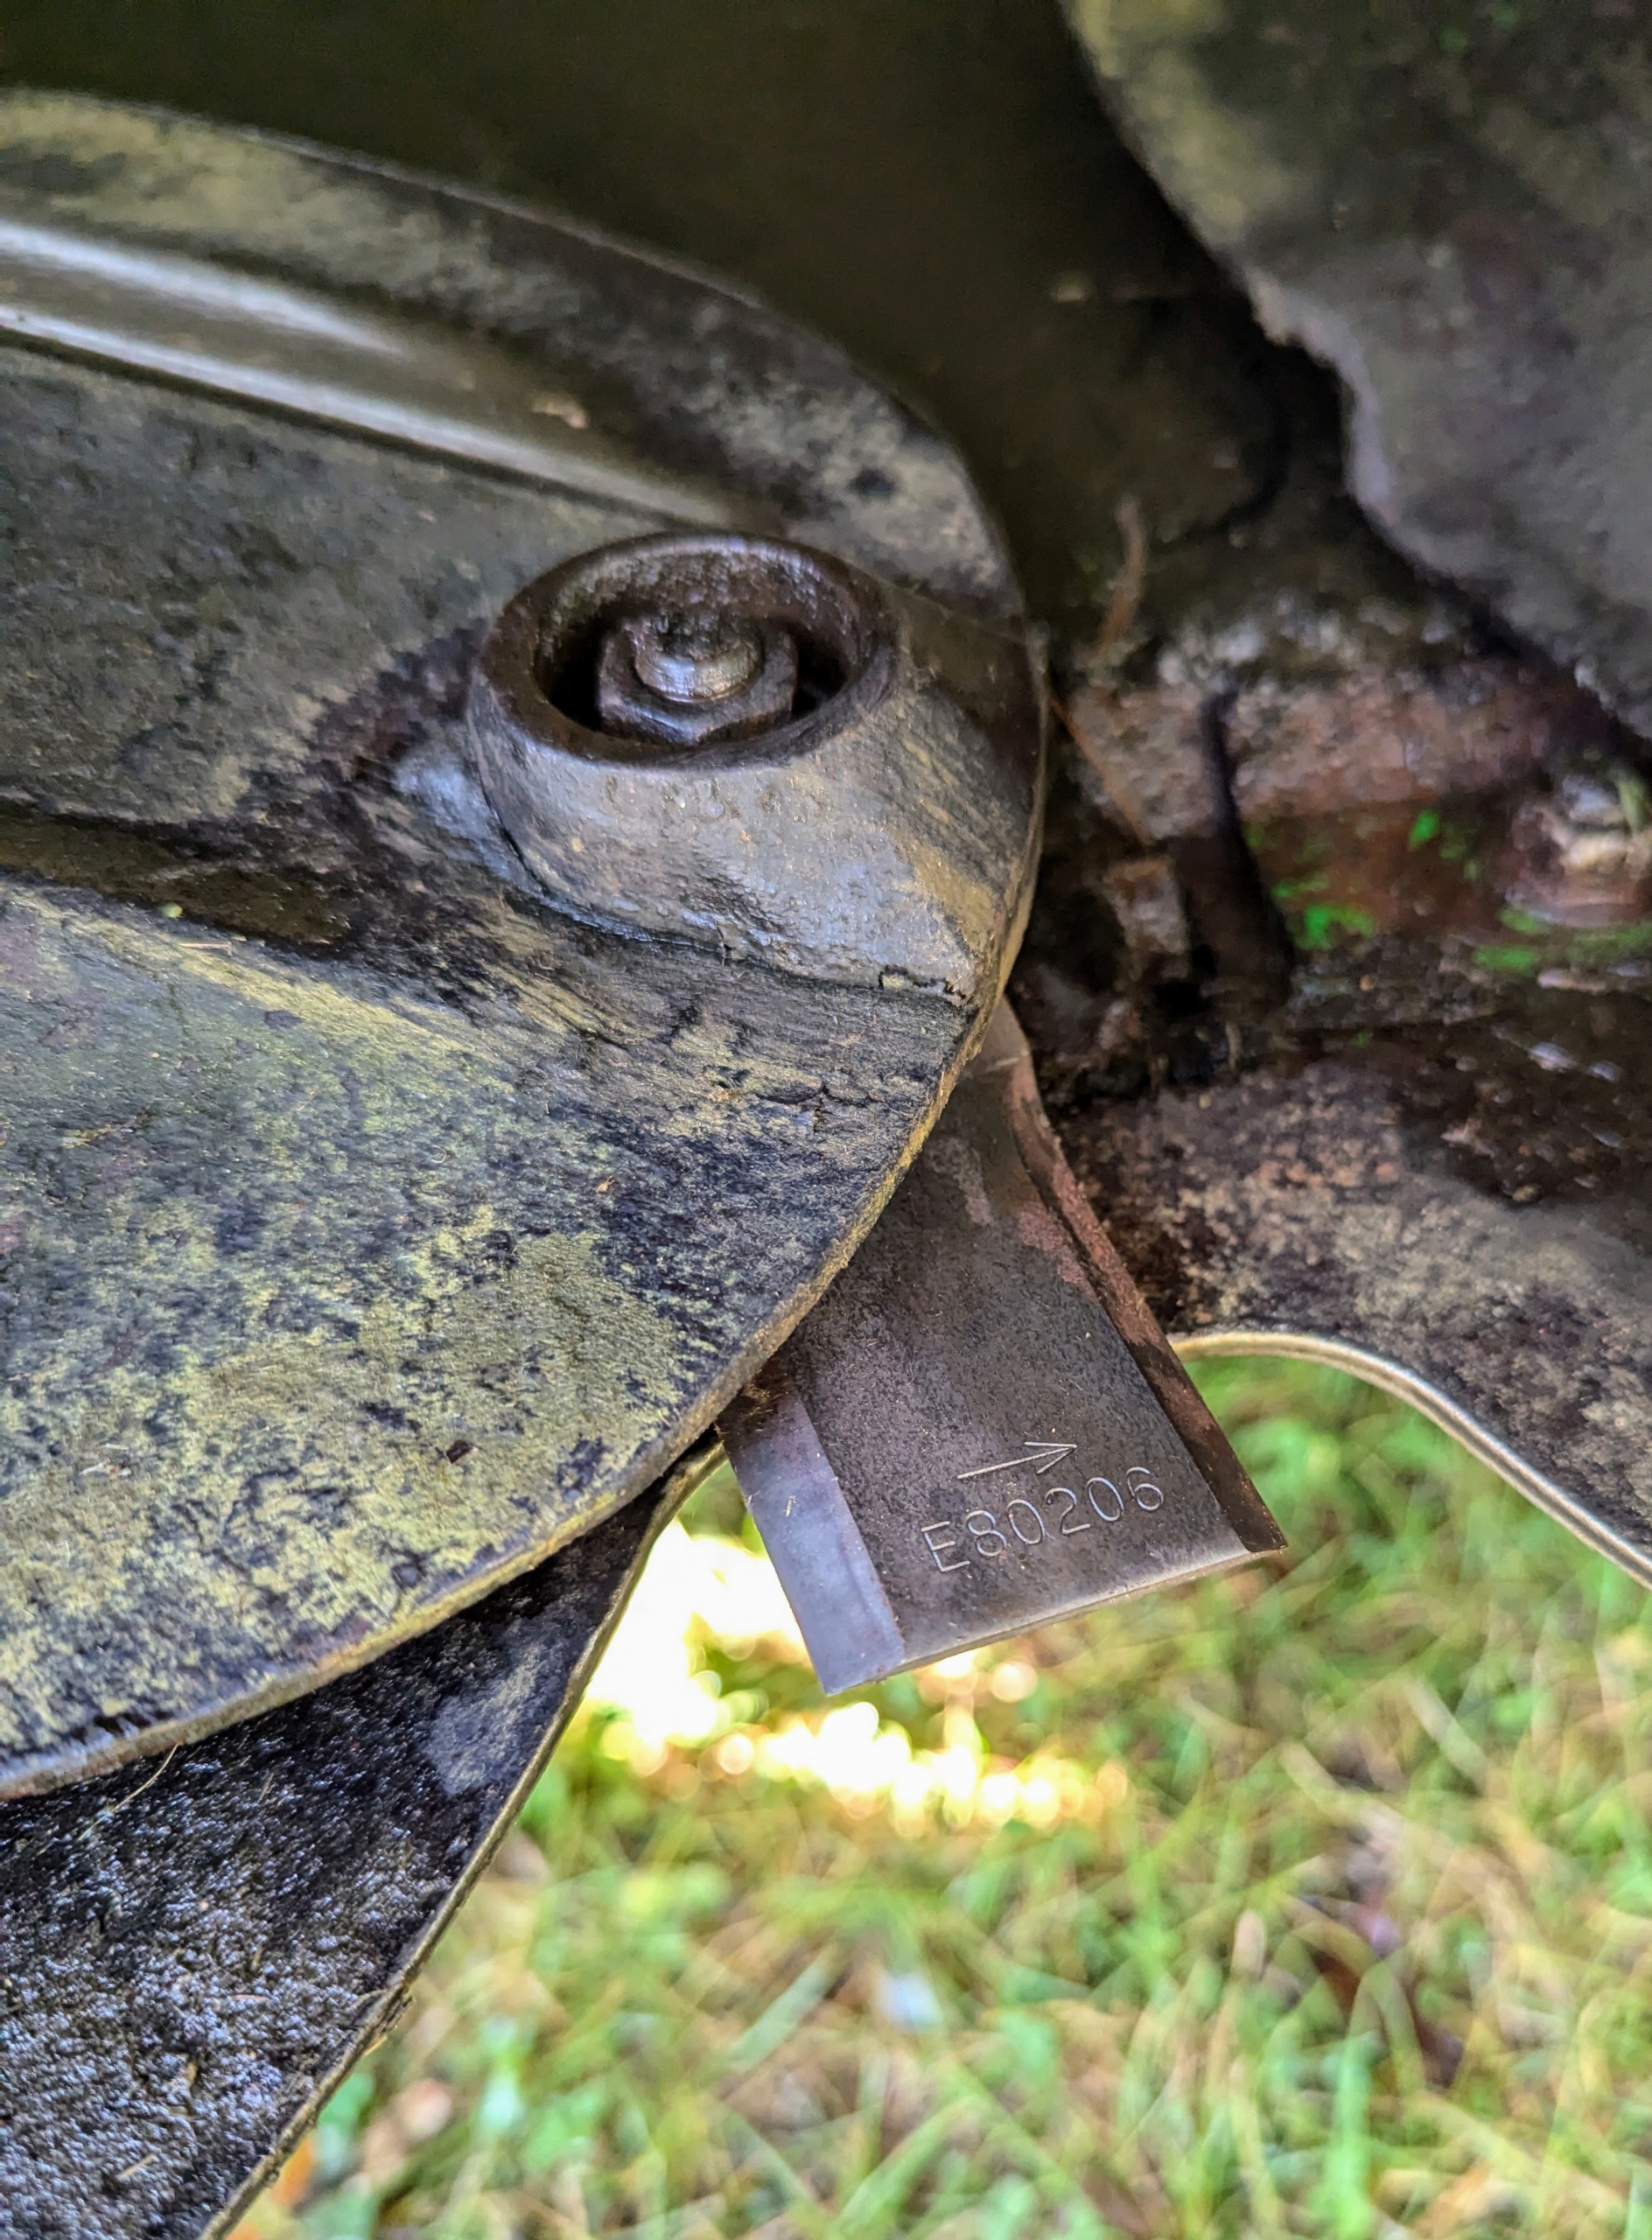
- Each blade can be used twice – usually for the first and then the second cut of hay in the season.
-
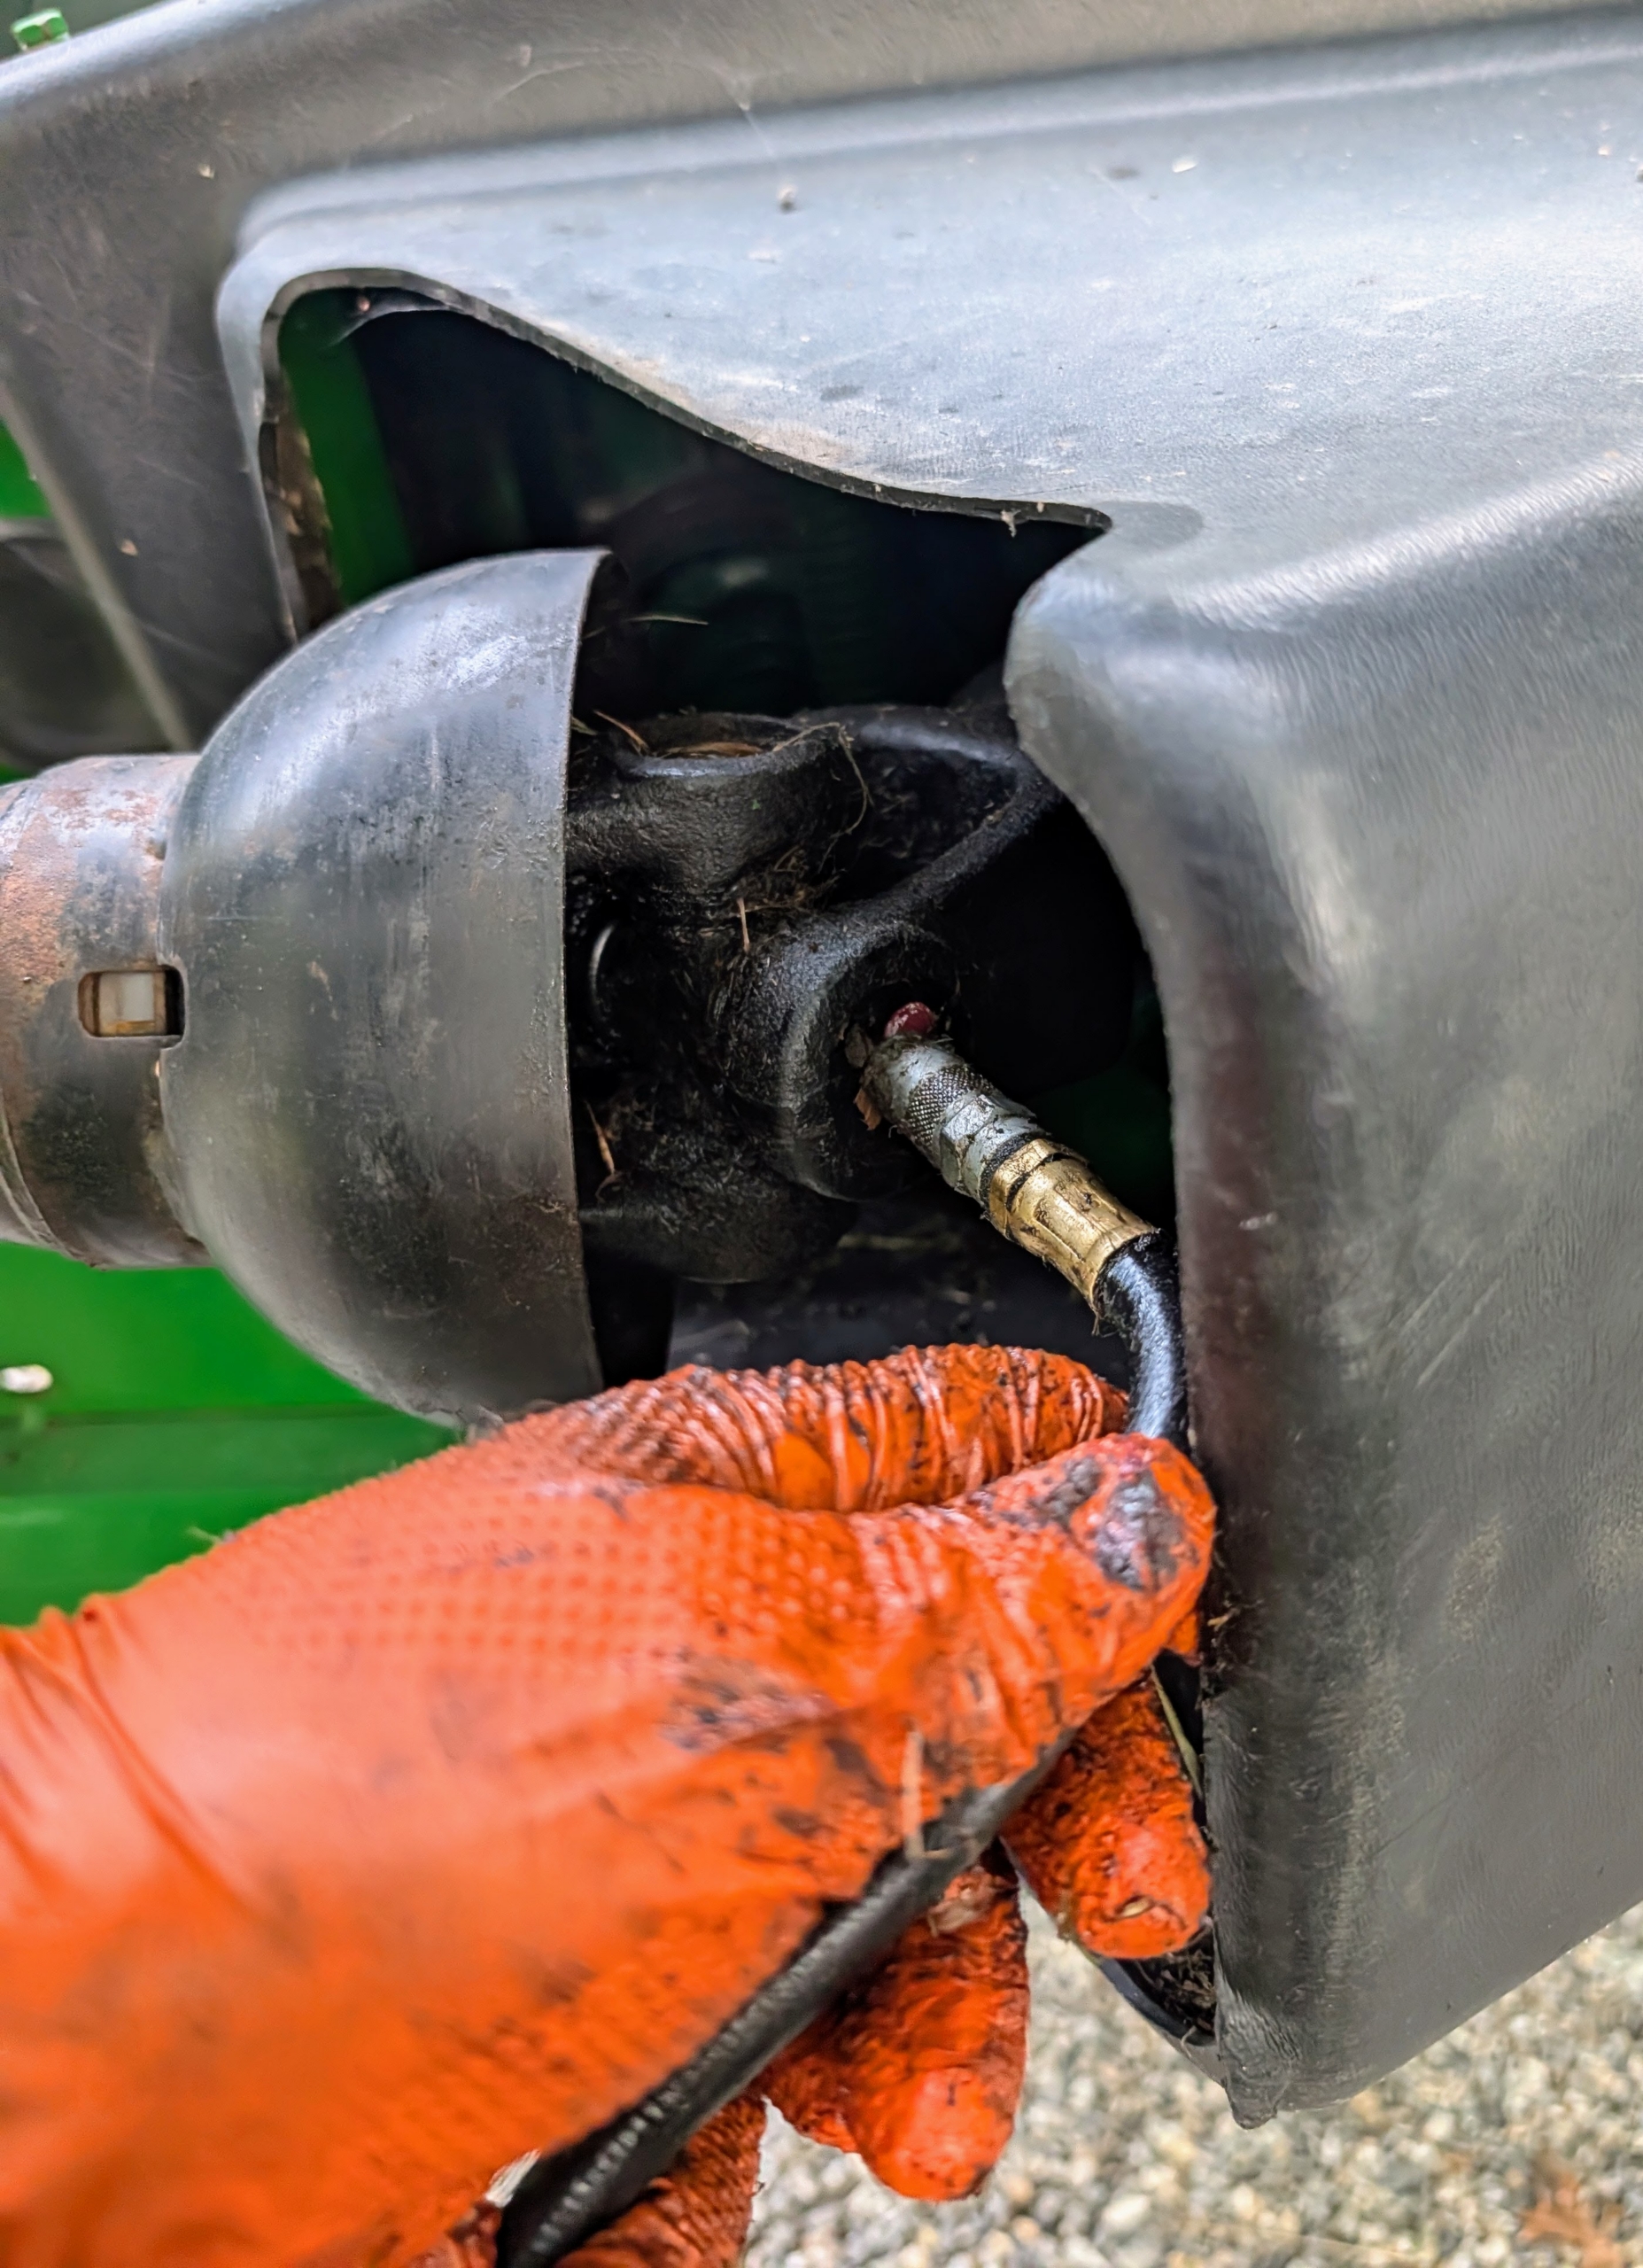
- Chhiring also checks all the joints and makes sure they are well-greased.
-
- On cutting day, Chhiring goes around the fields counter clockwise cutting all the hay. The process of cutting should take about an hour per field. I have three large fields.
-
- The hay goes through the machine and processes the hay one wide strip at a time.
-
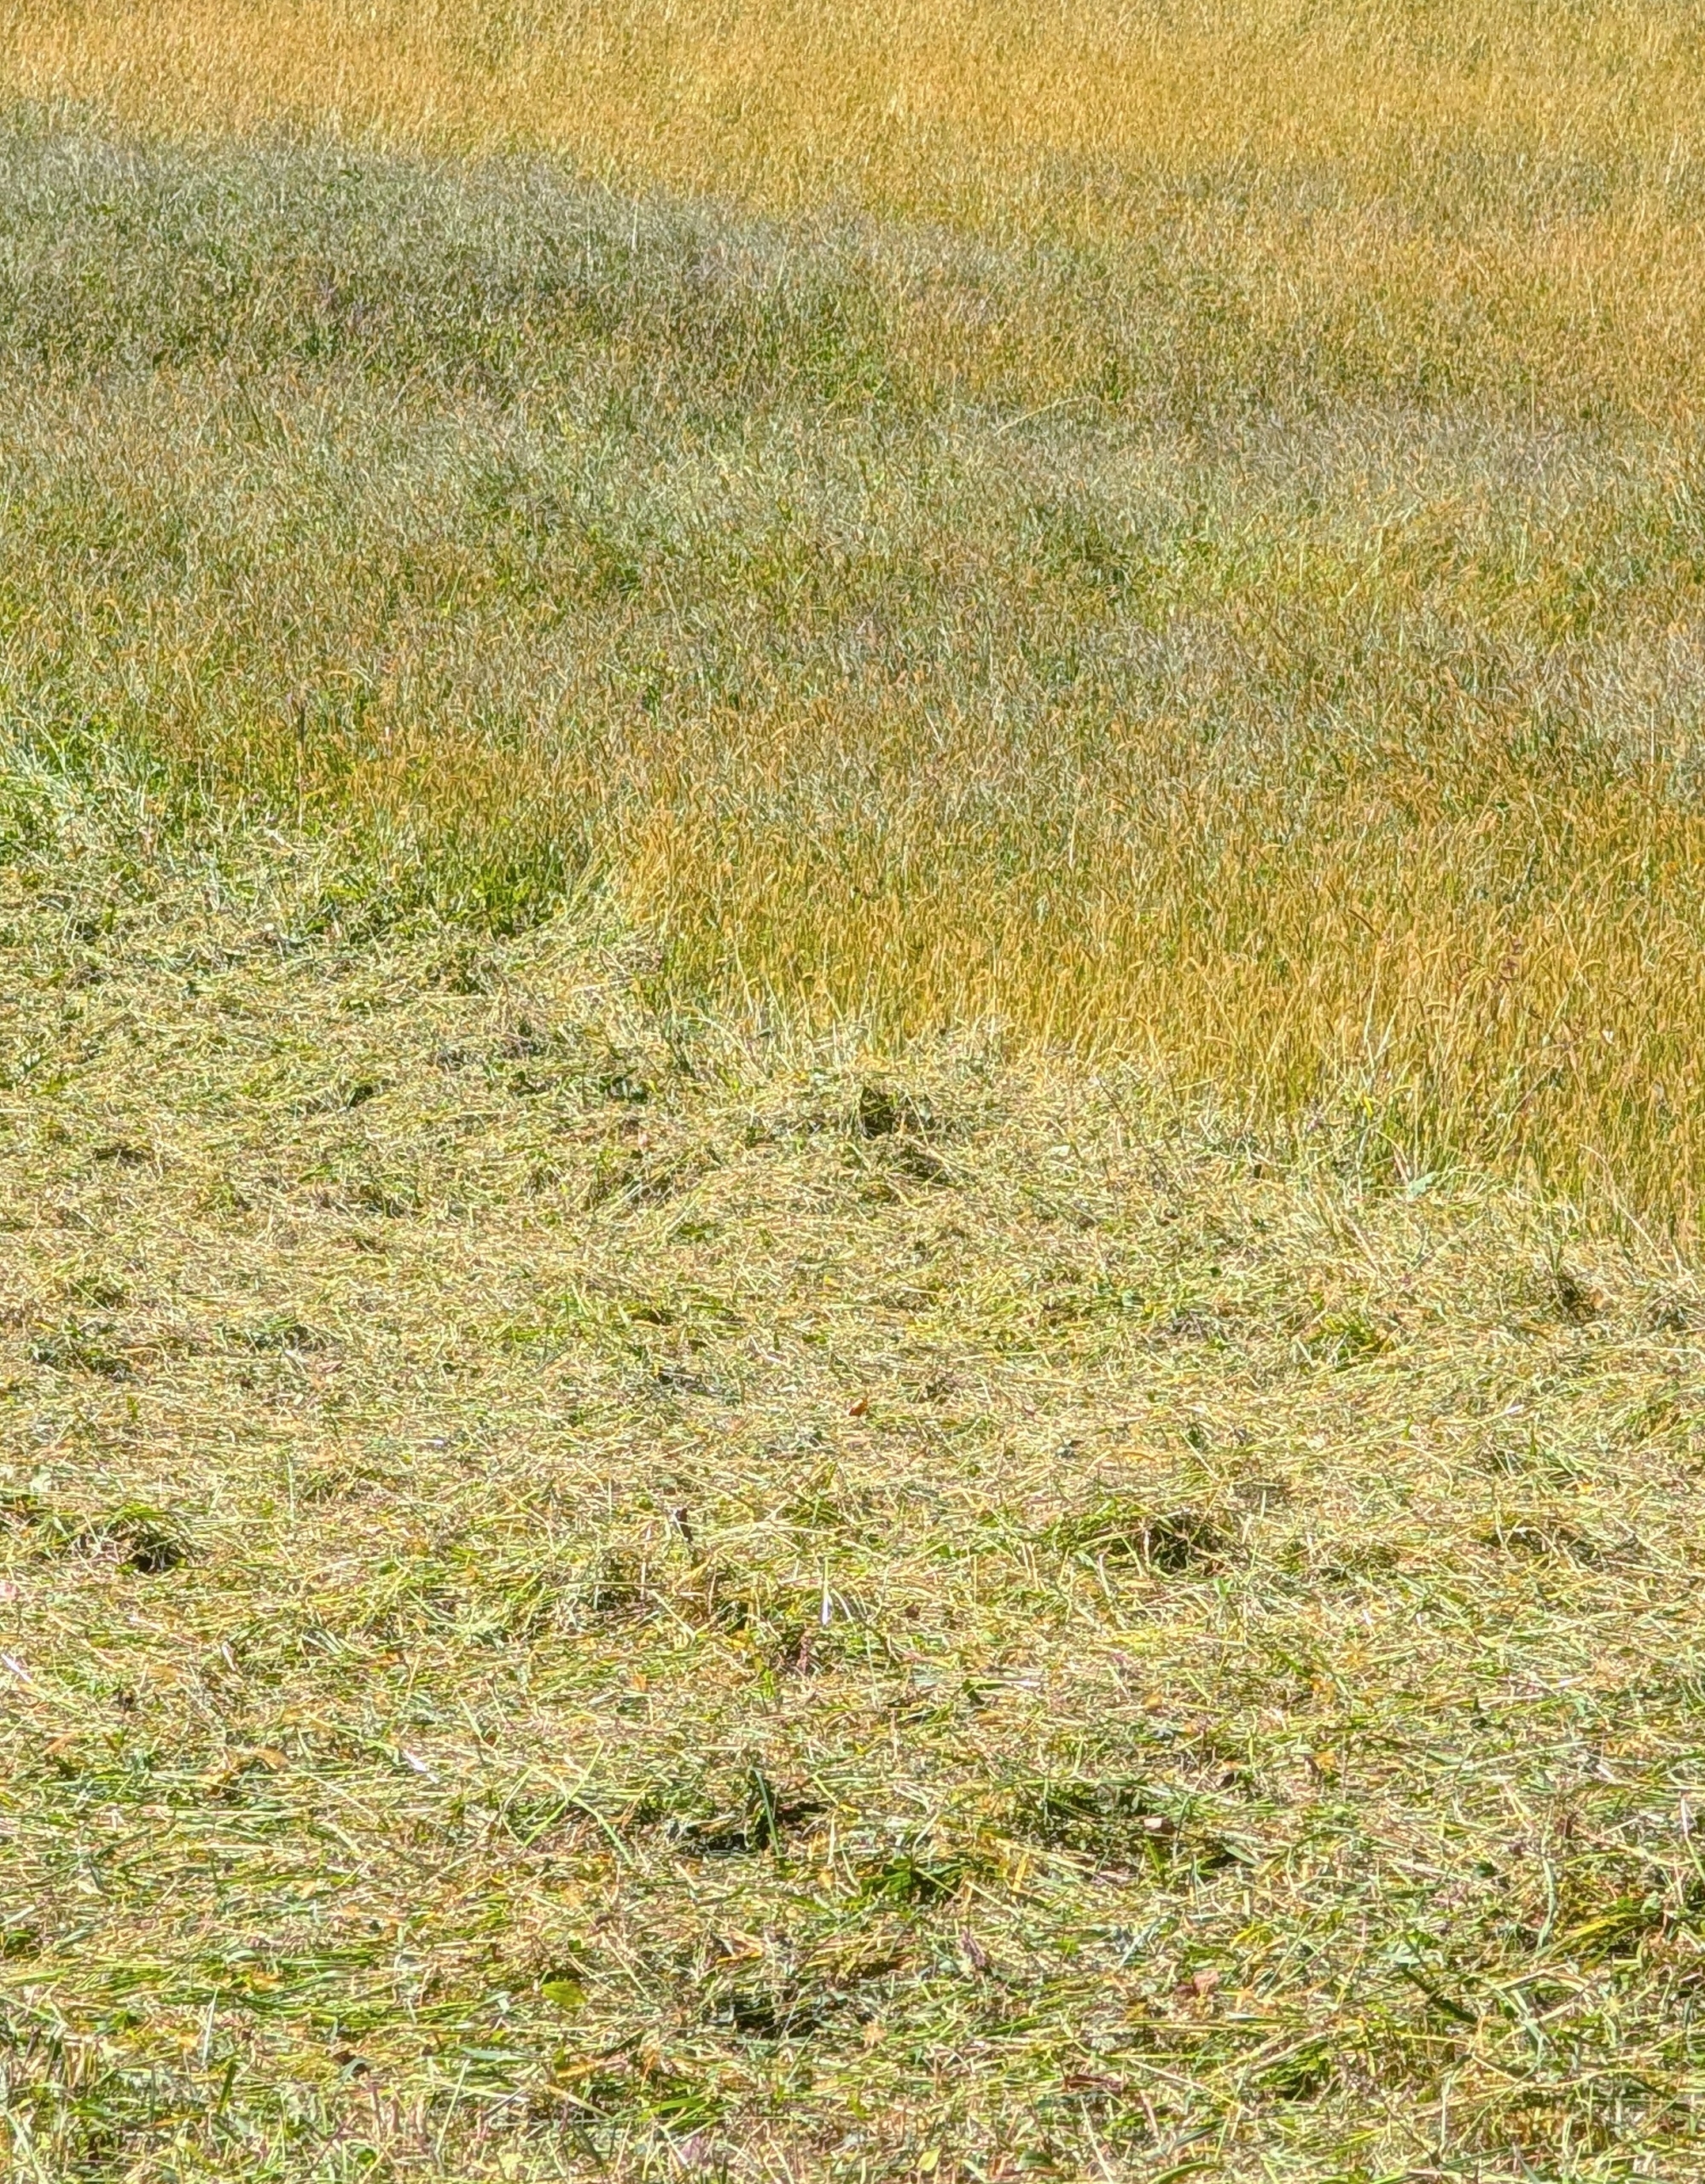
- Here, one can see what has been cut and what Chhiring still has to do. It is important that Chhiring moves slowly enough to get every area of the hay field cut. He does not want to miss any bit.
-
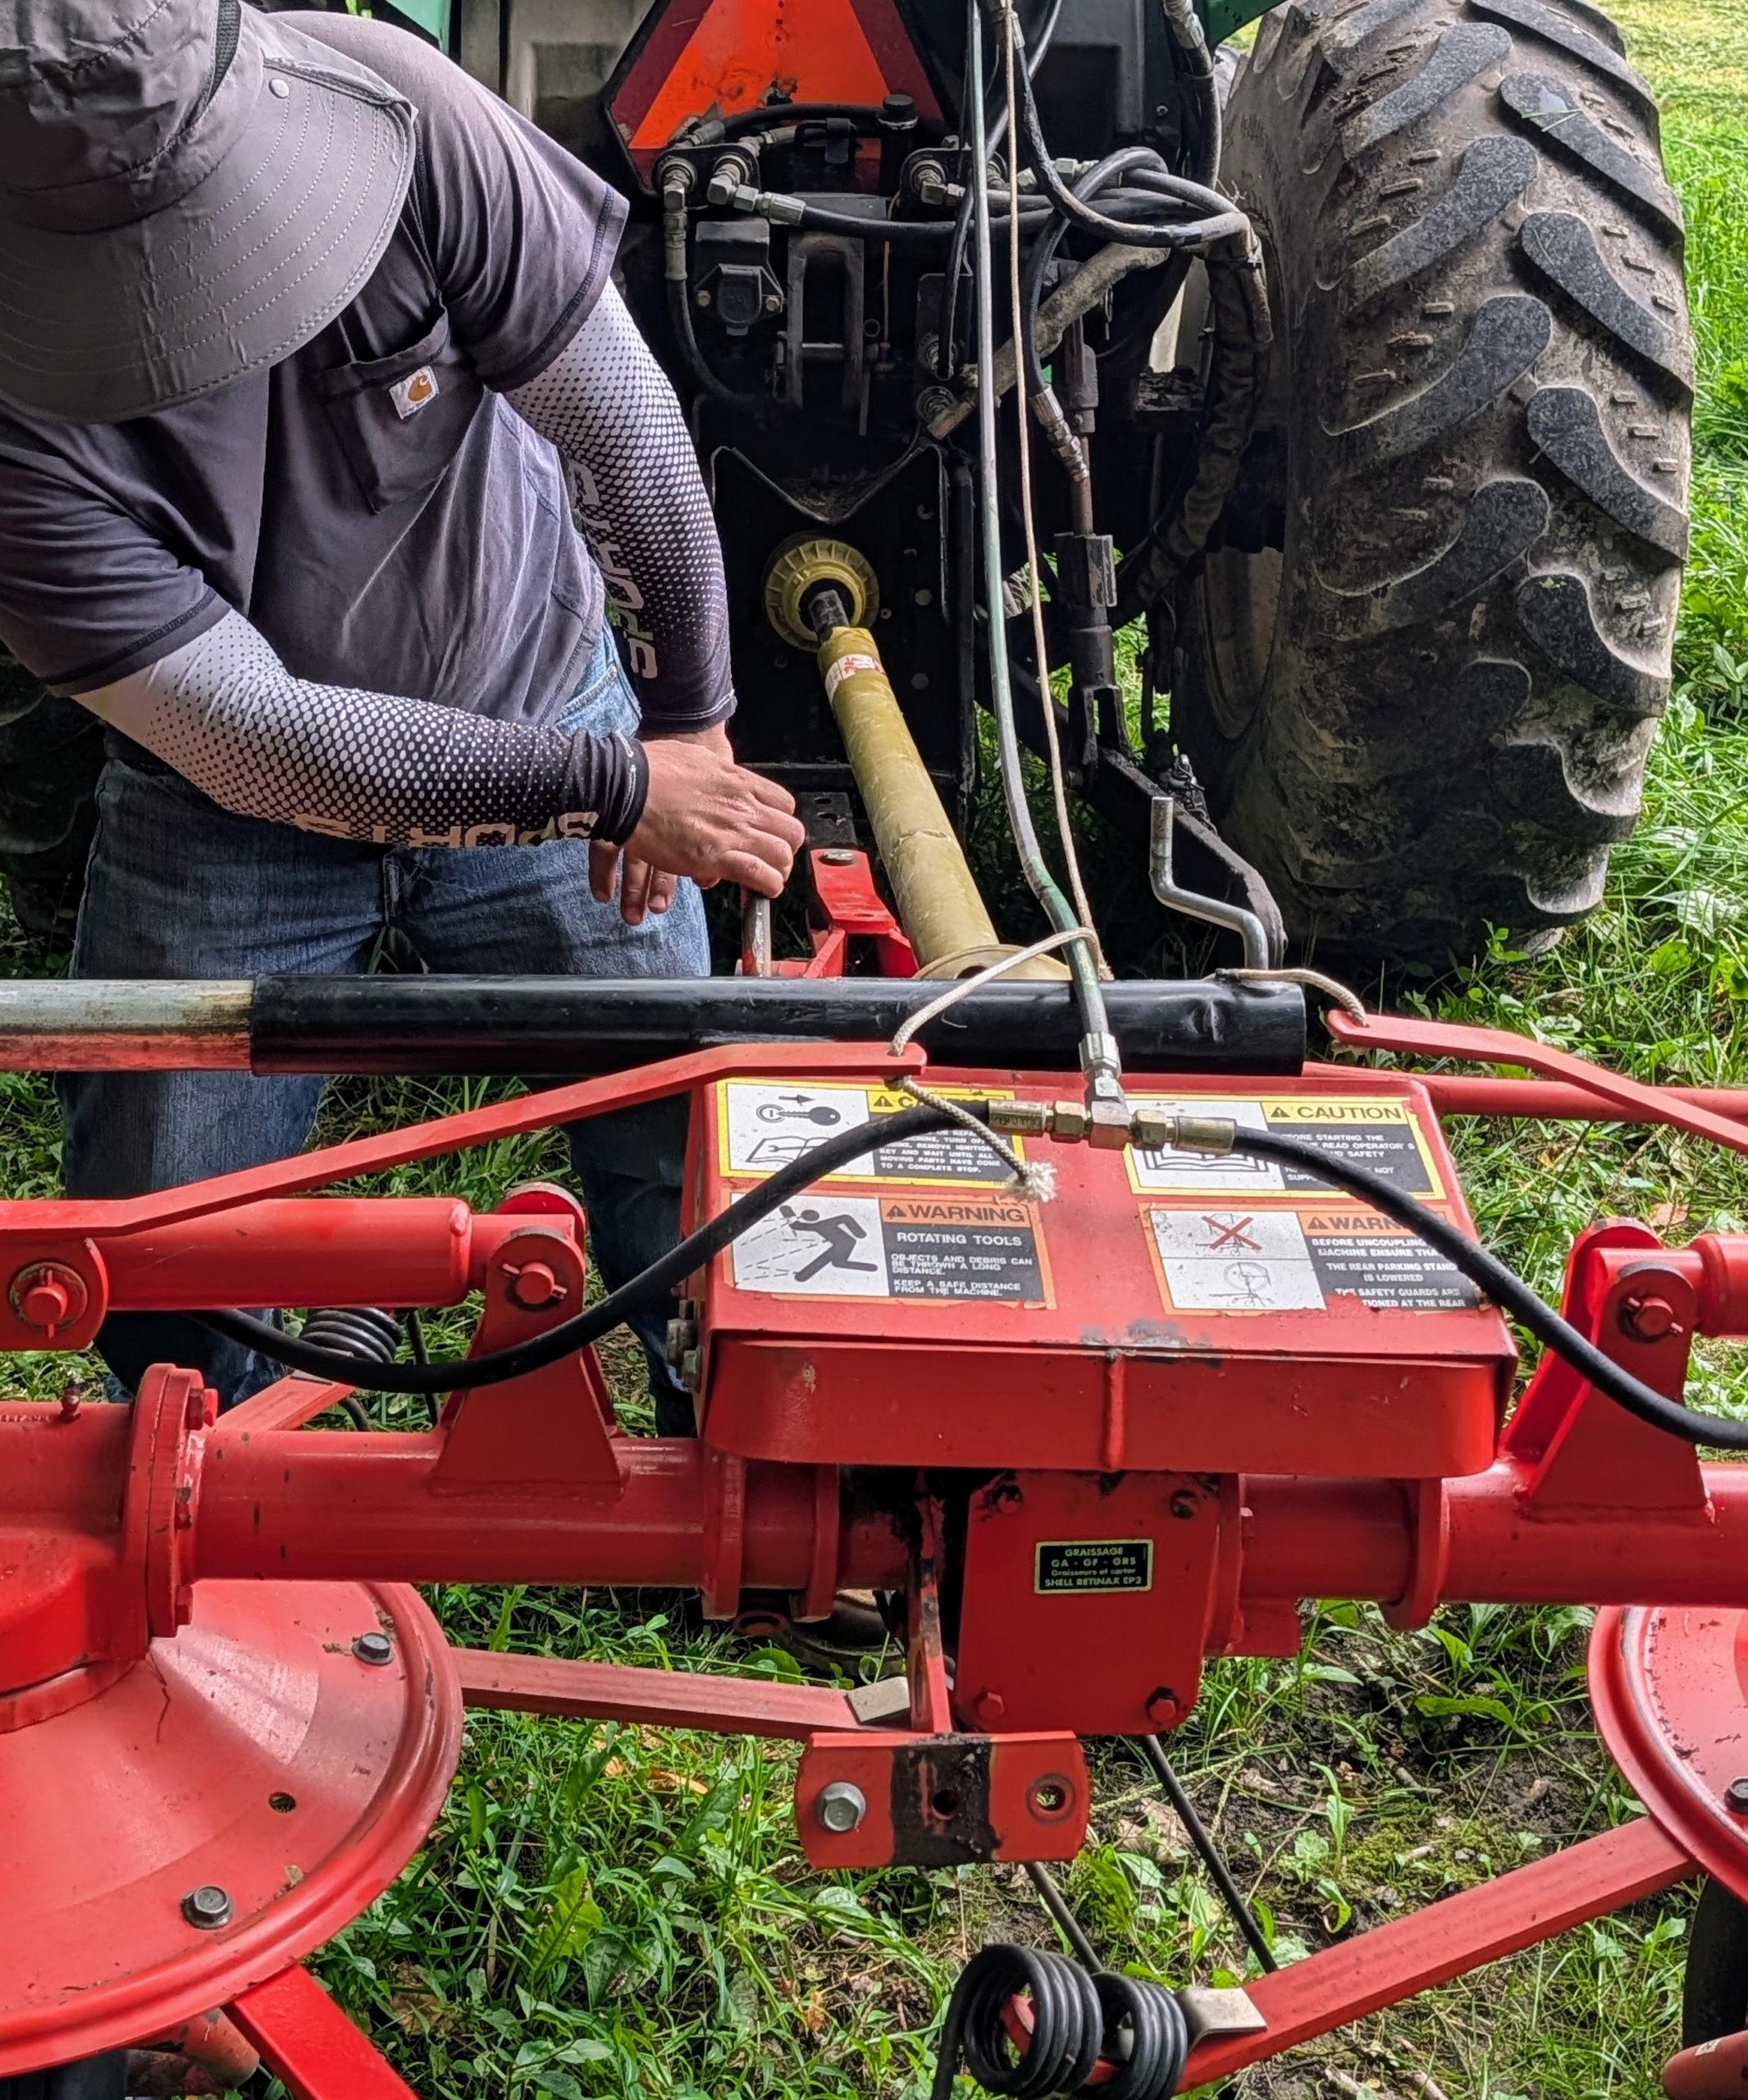
- Here’s Jimmy preparing what is called the tedder for the next phase of the process.
-
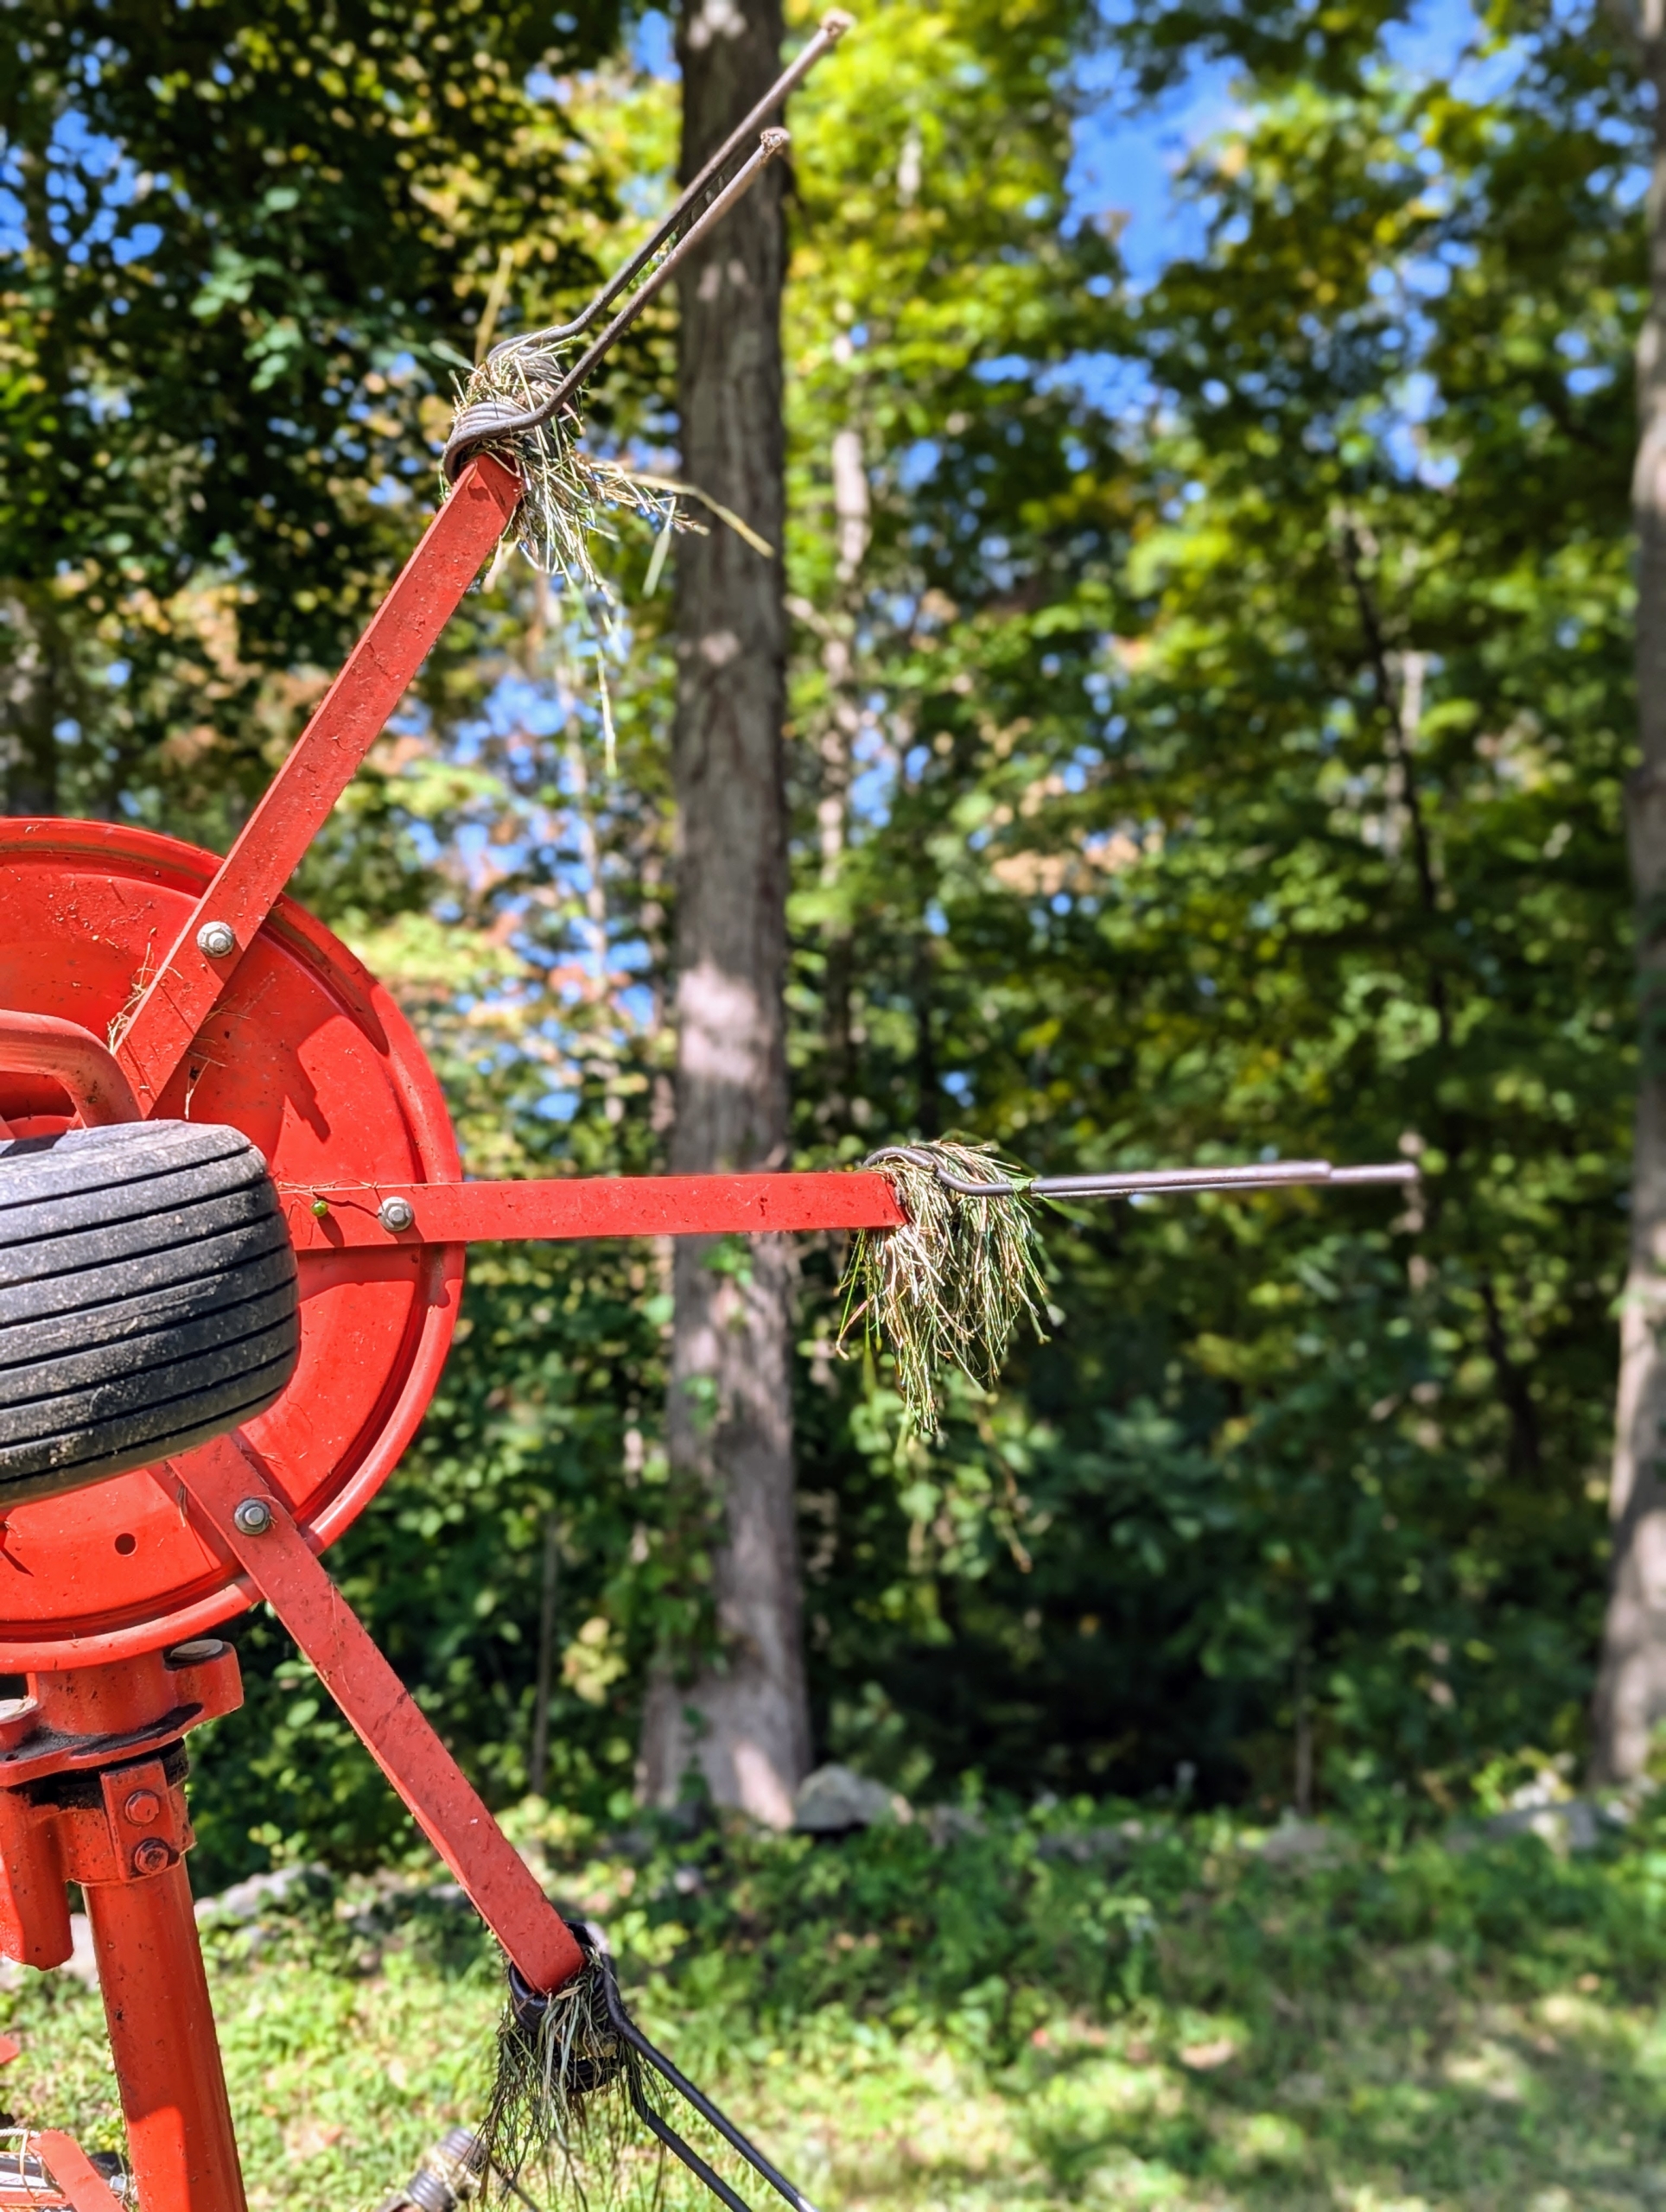
- A hay tedder spreads and fluffs the hay in a uniform swath. It uses a rotary motion to grab the hay with spinning tines that cast it out the back of the machine.
-
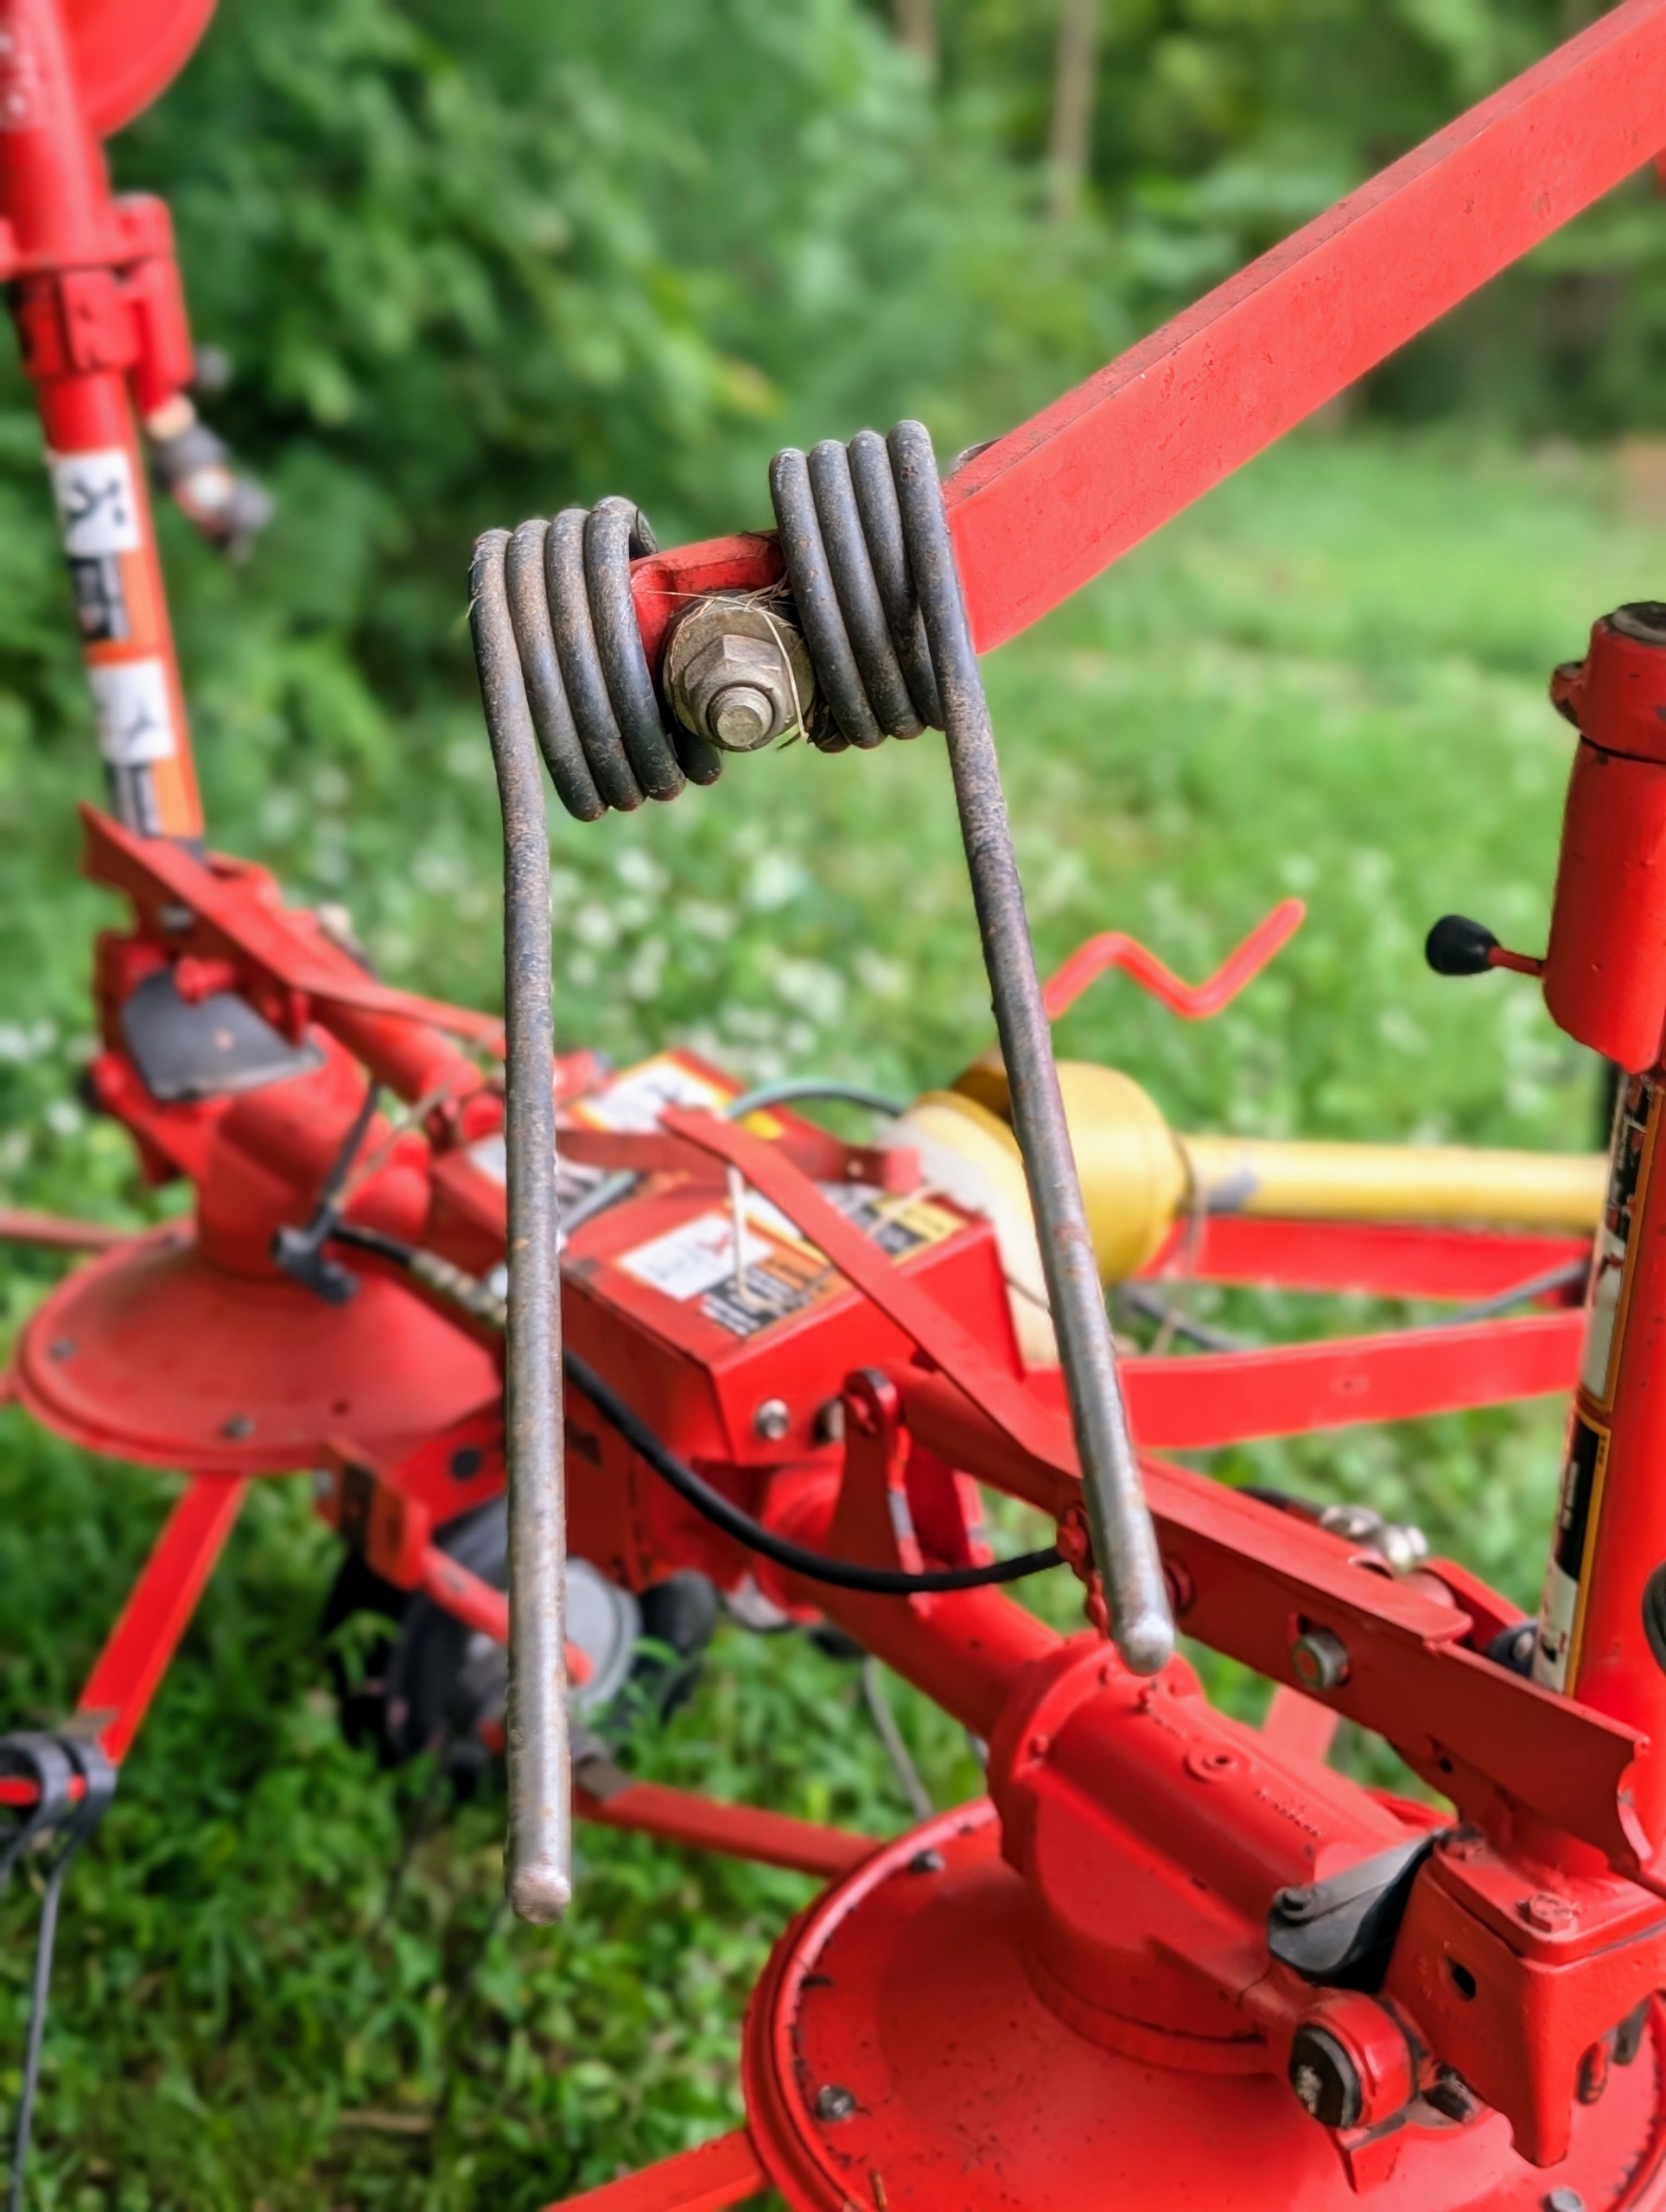
- Here is one of the tines that picks up and flips the hay.
-
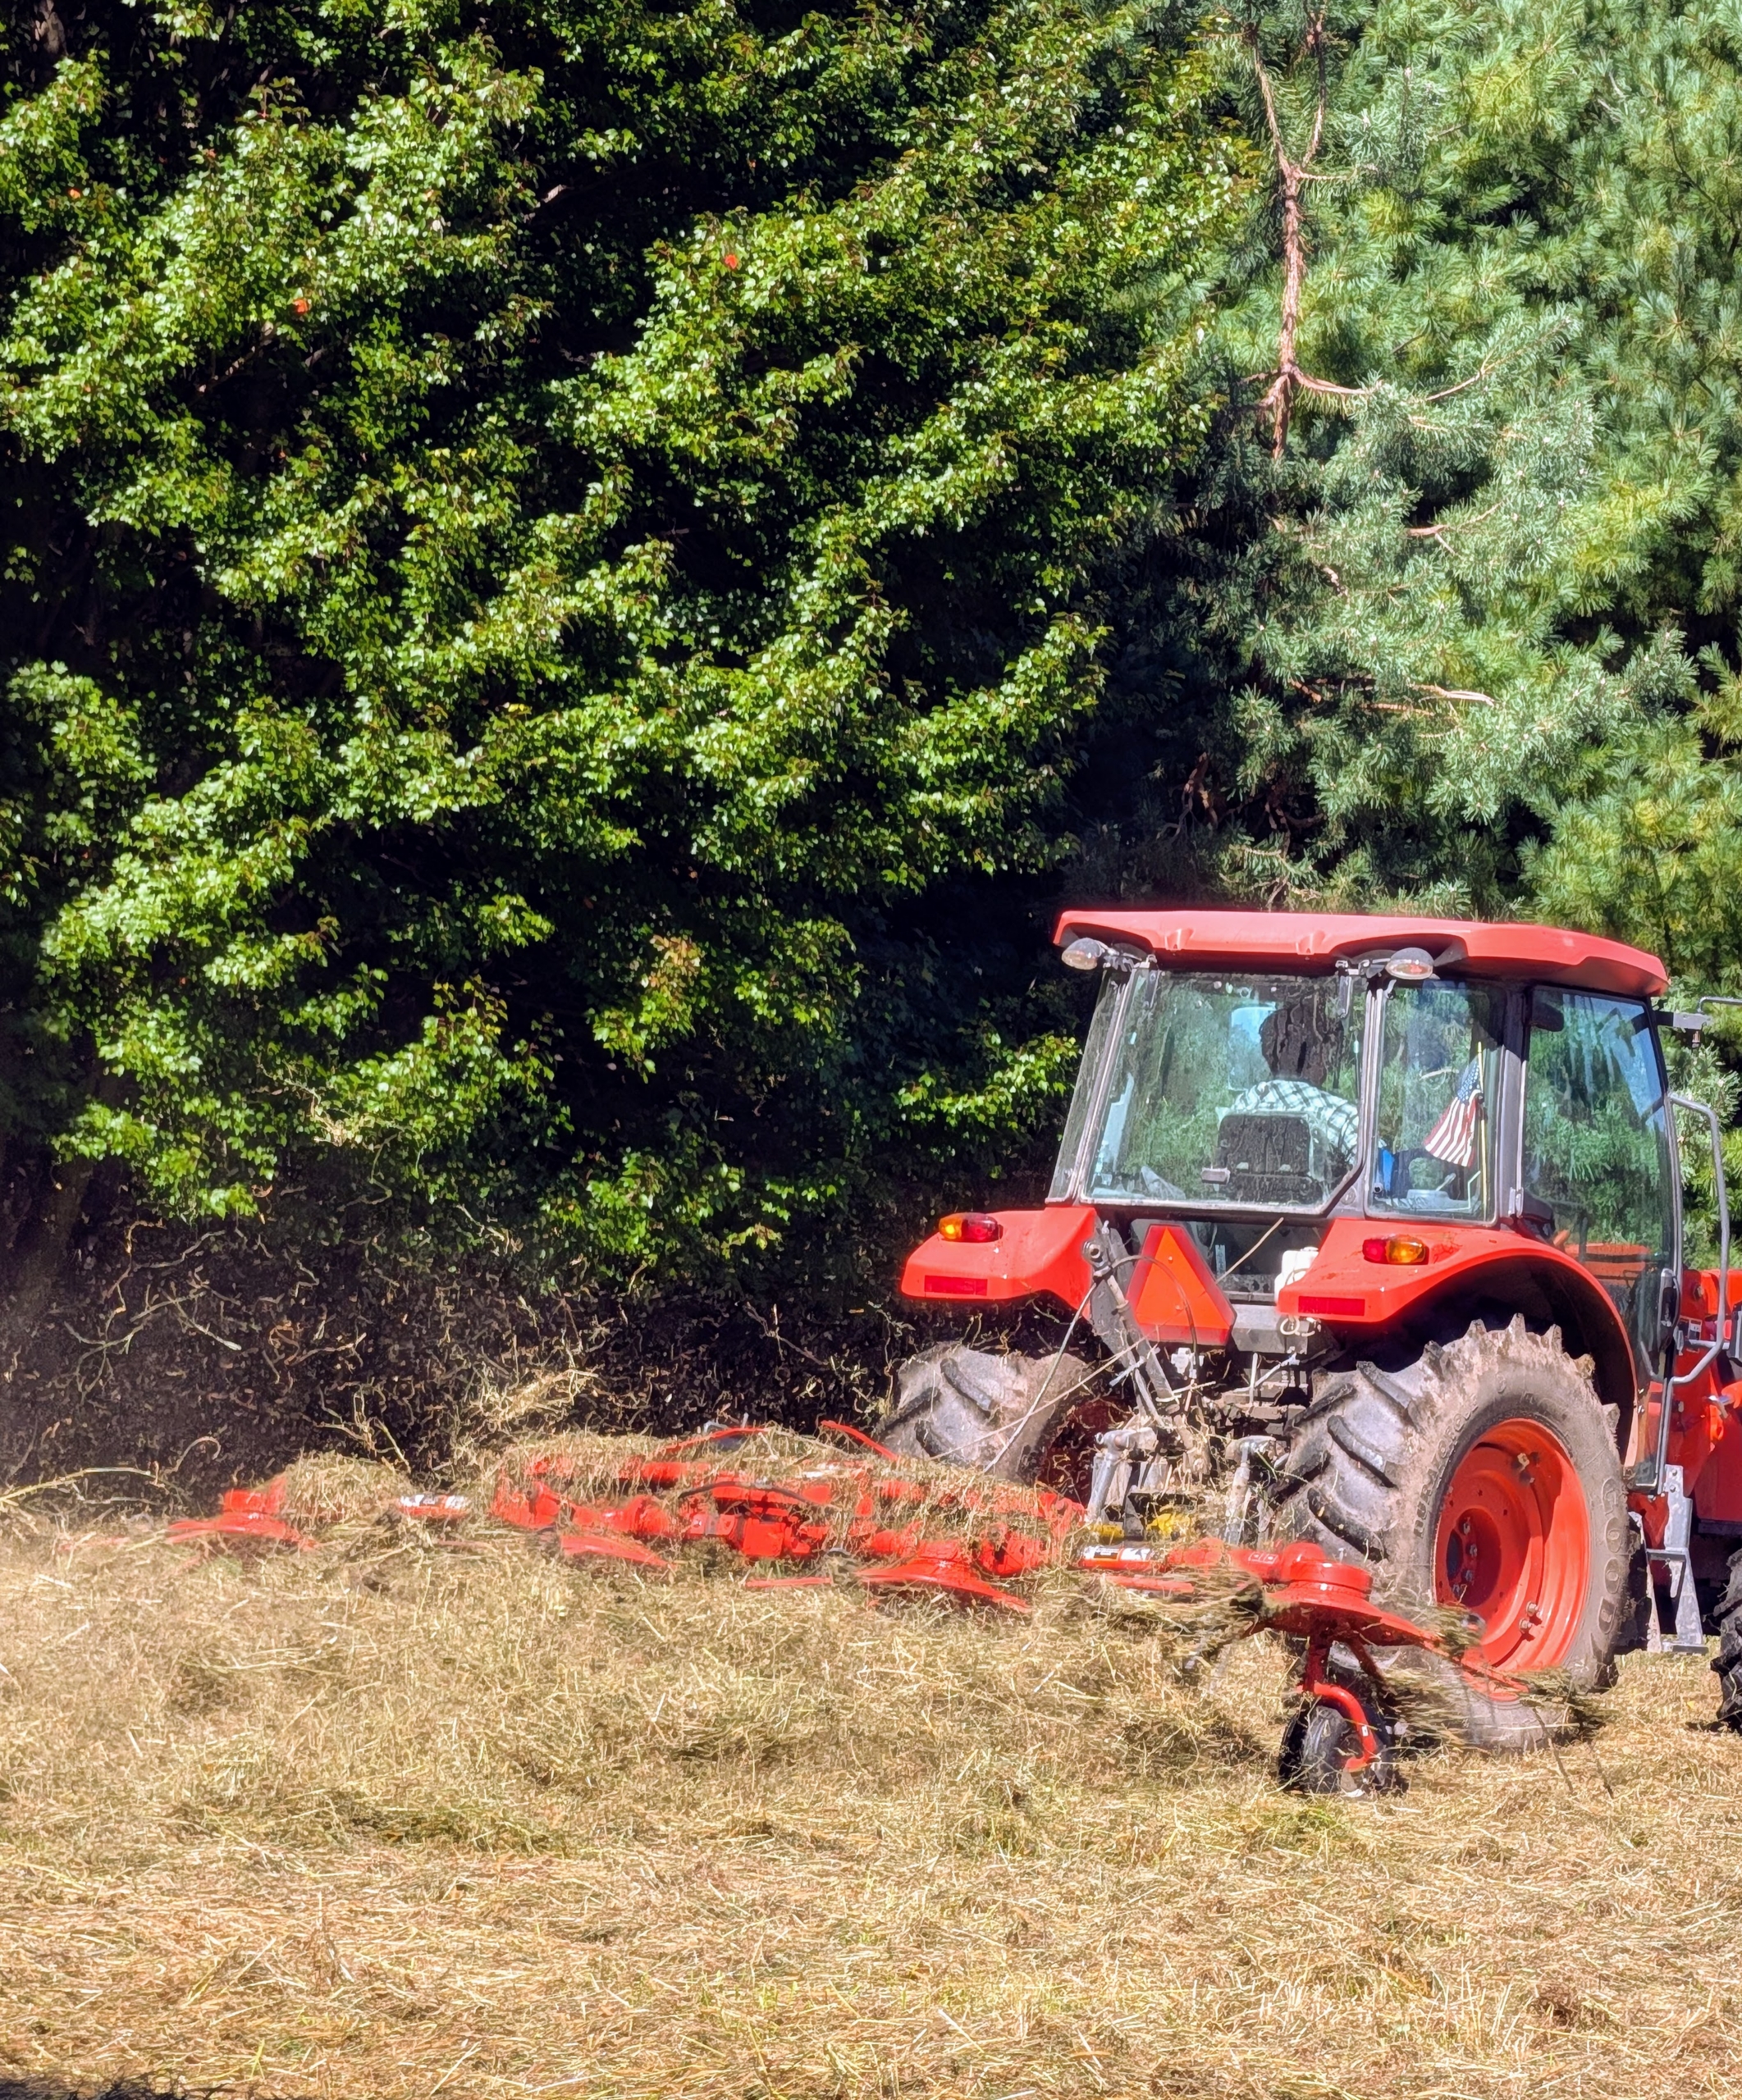
- This part of the process allows air circulation for drying and is crucial for conditioning the hay so it is ready for harvest. Chhiring and Jimmy like to fluff each field at least twice.
-
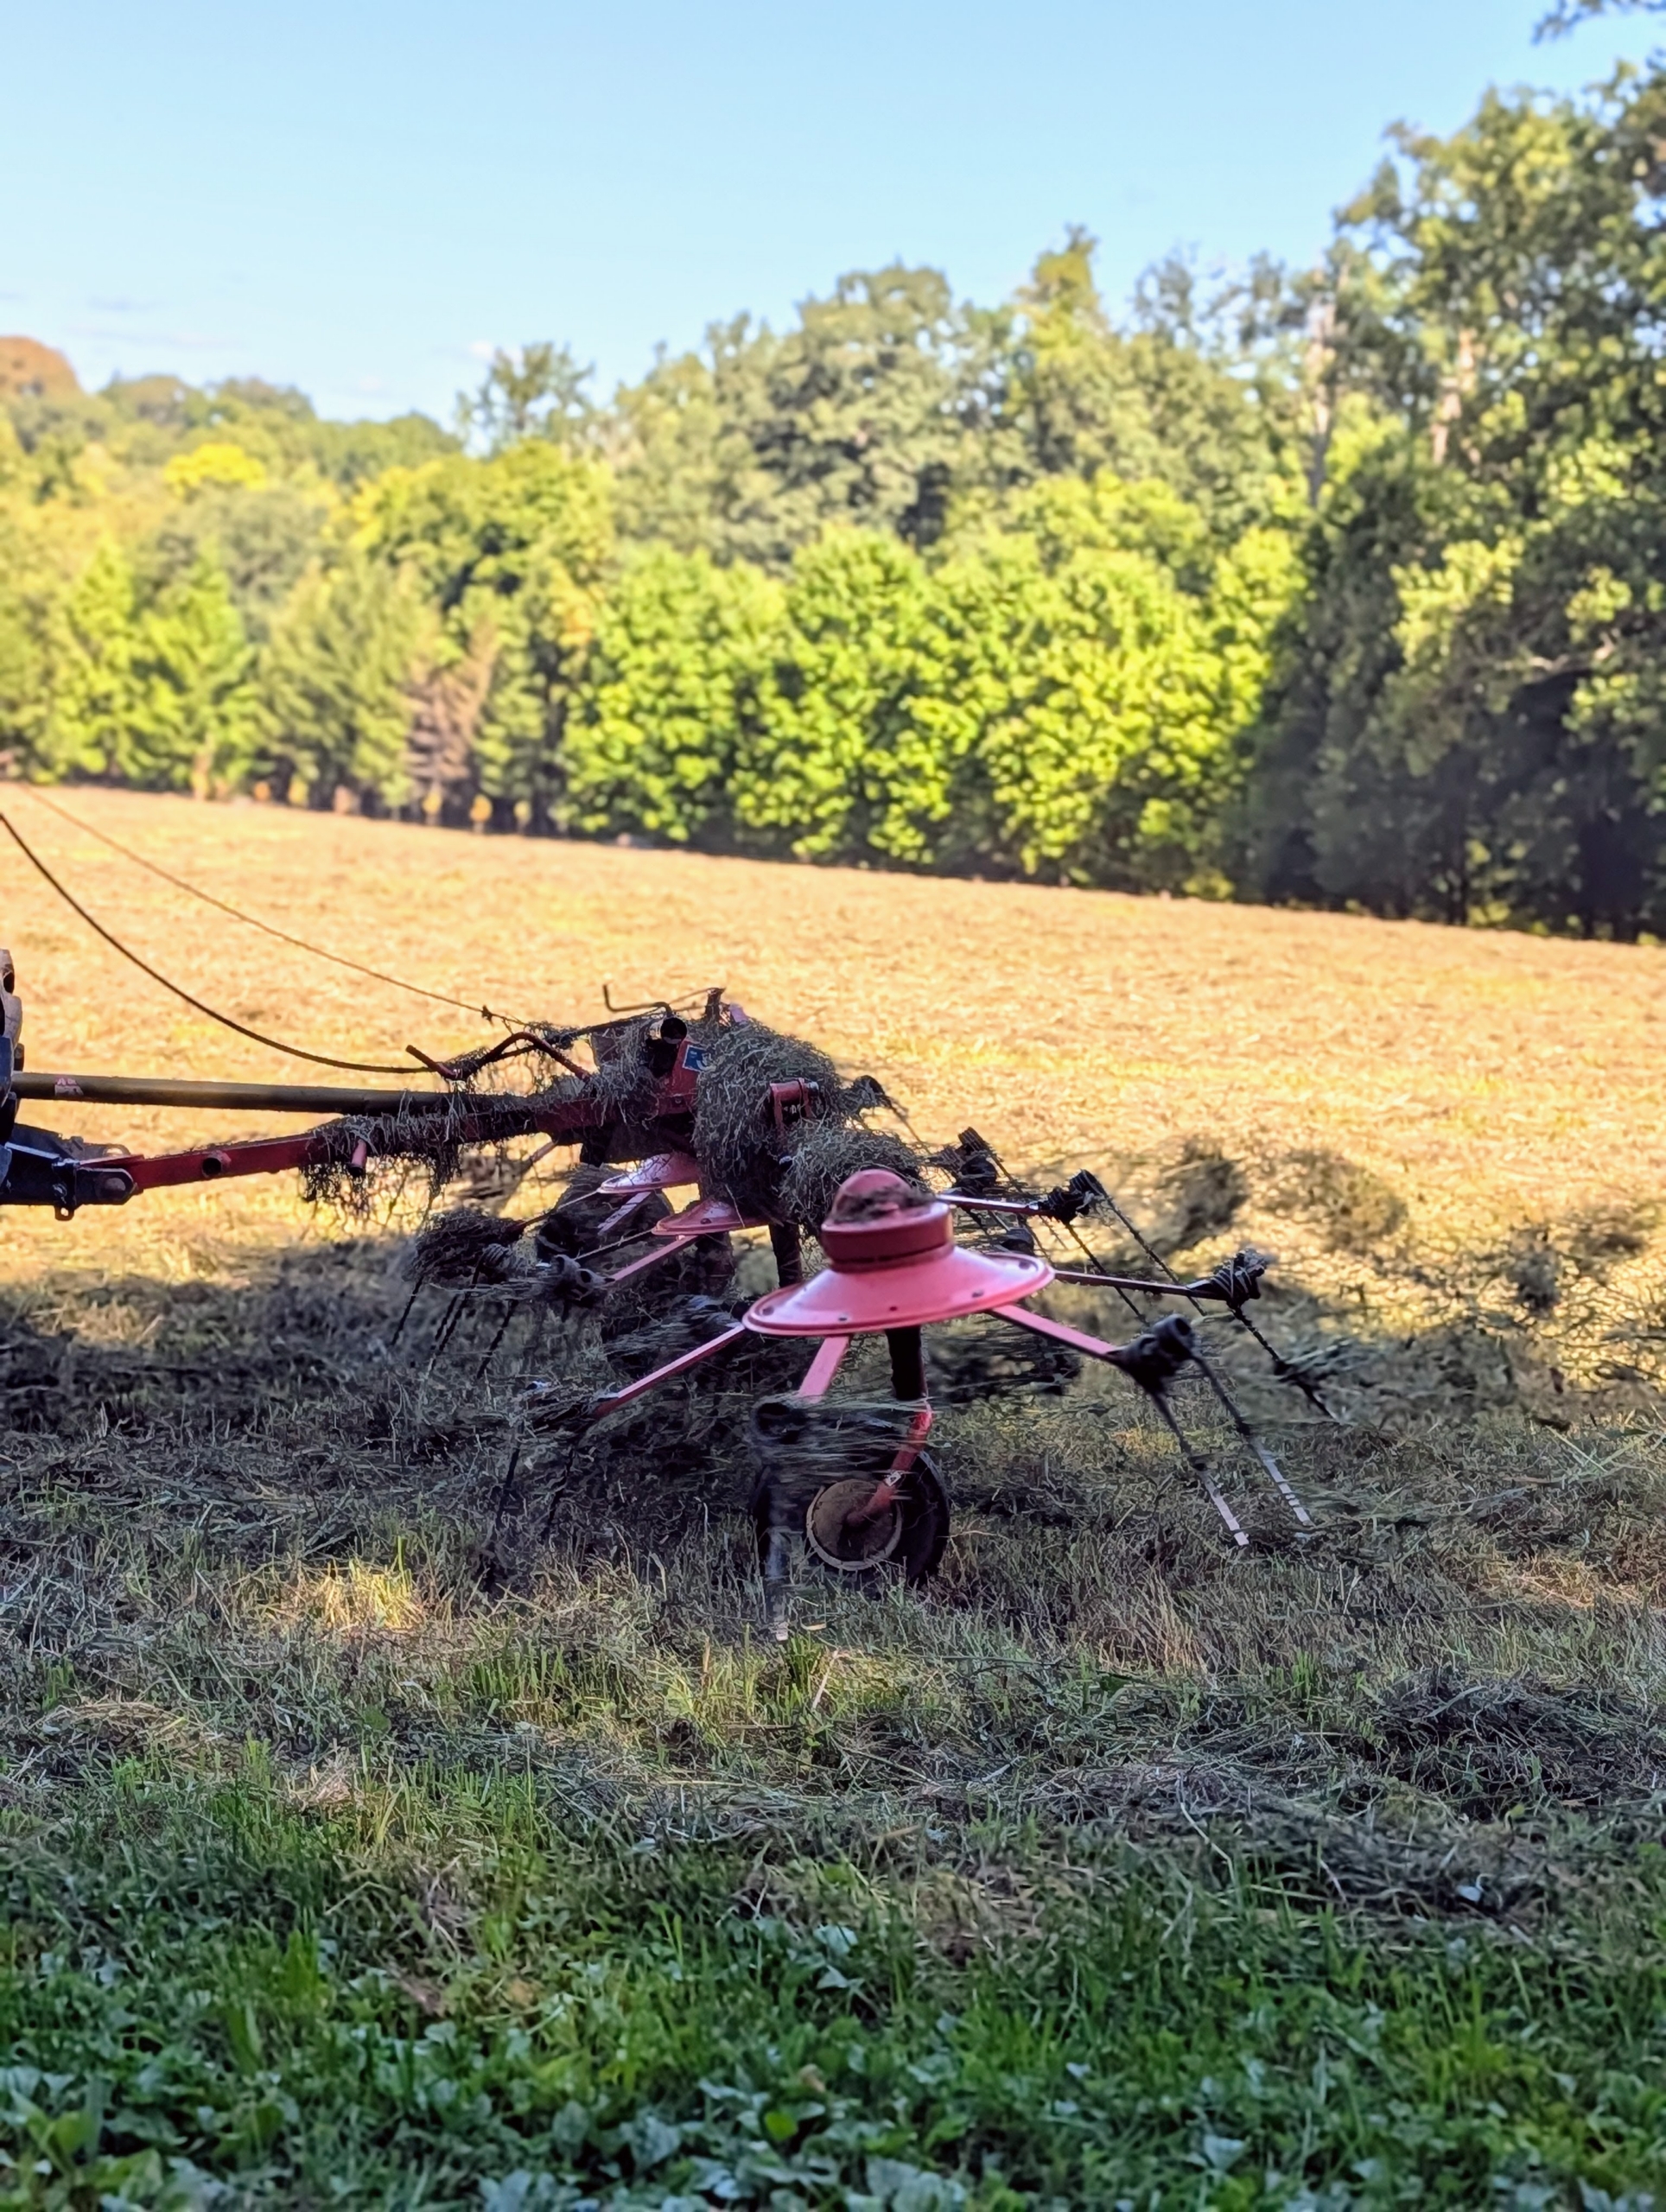
- Jimmy must drive through the field, carefully watching that he has flipped everything that was cut.
-
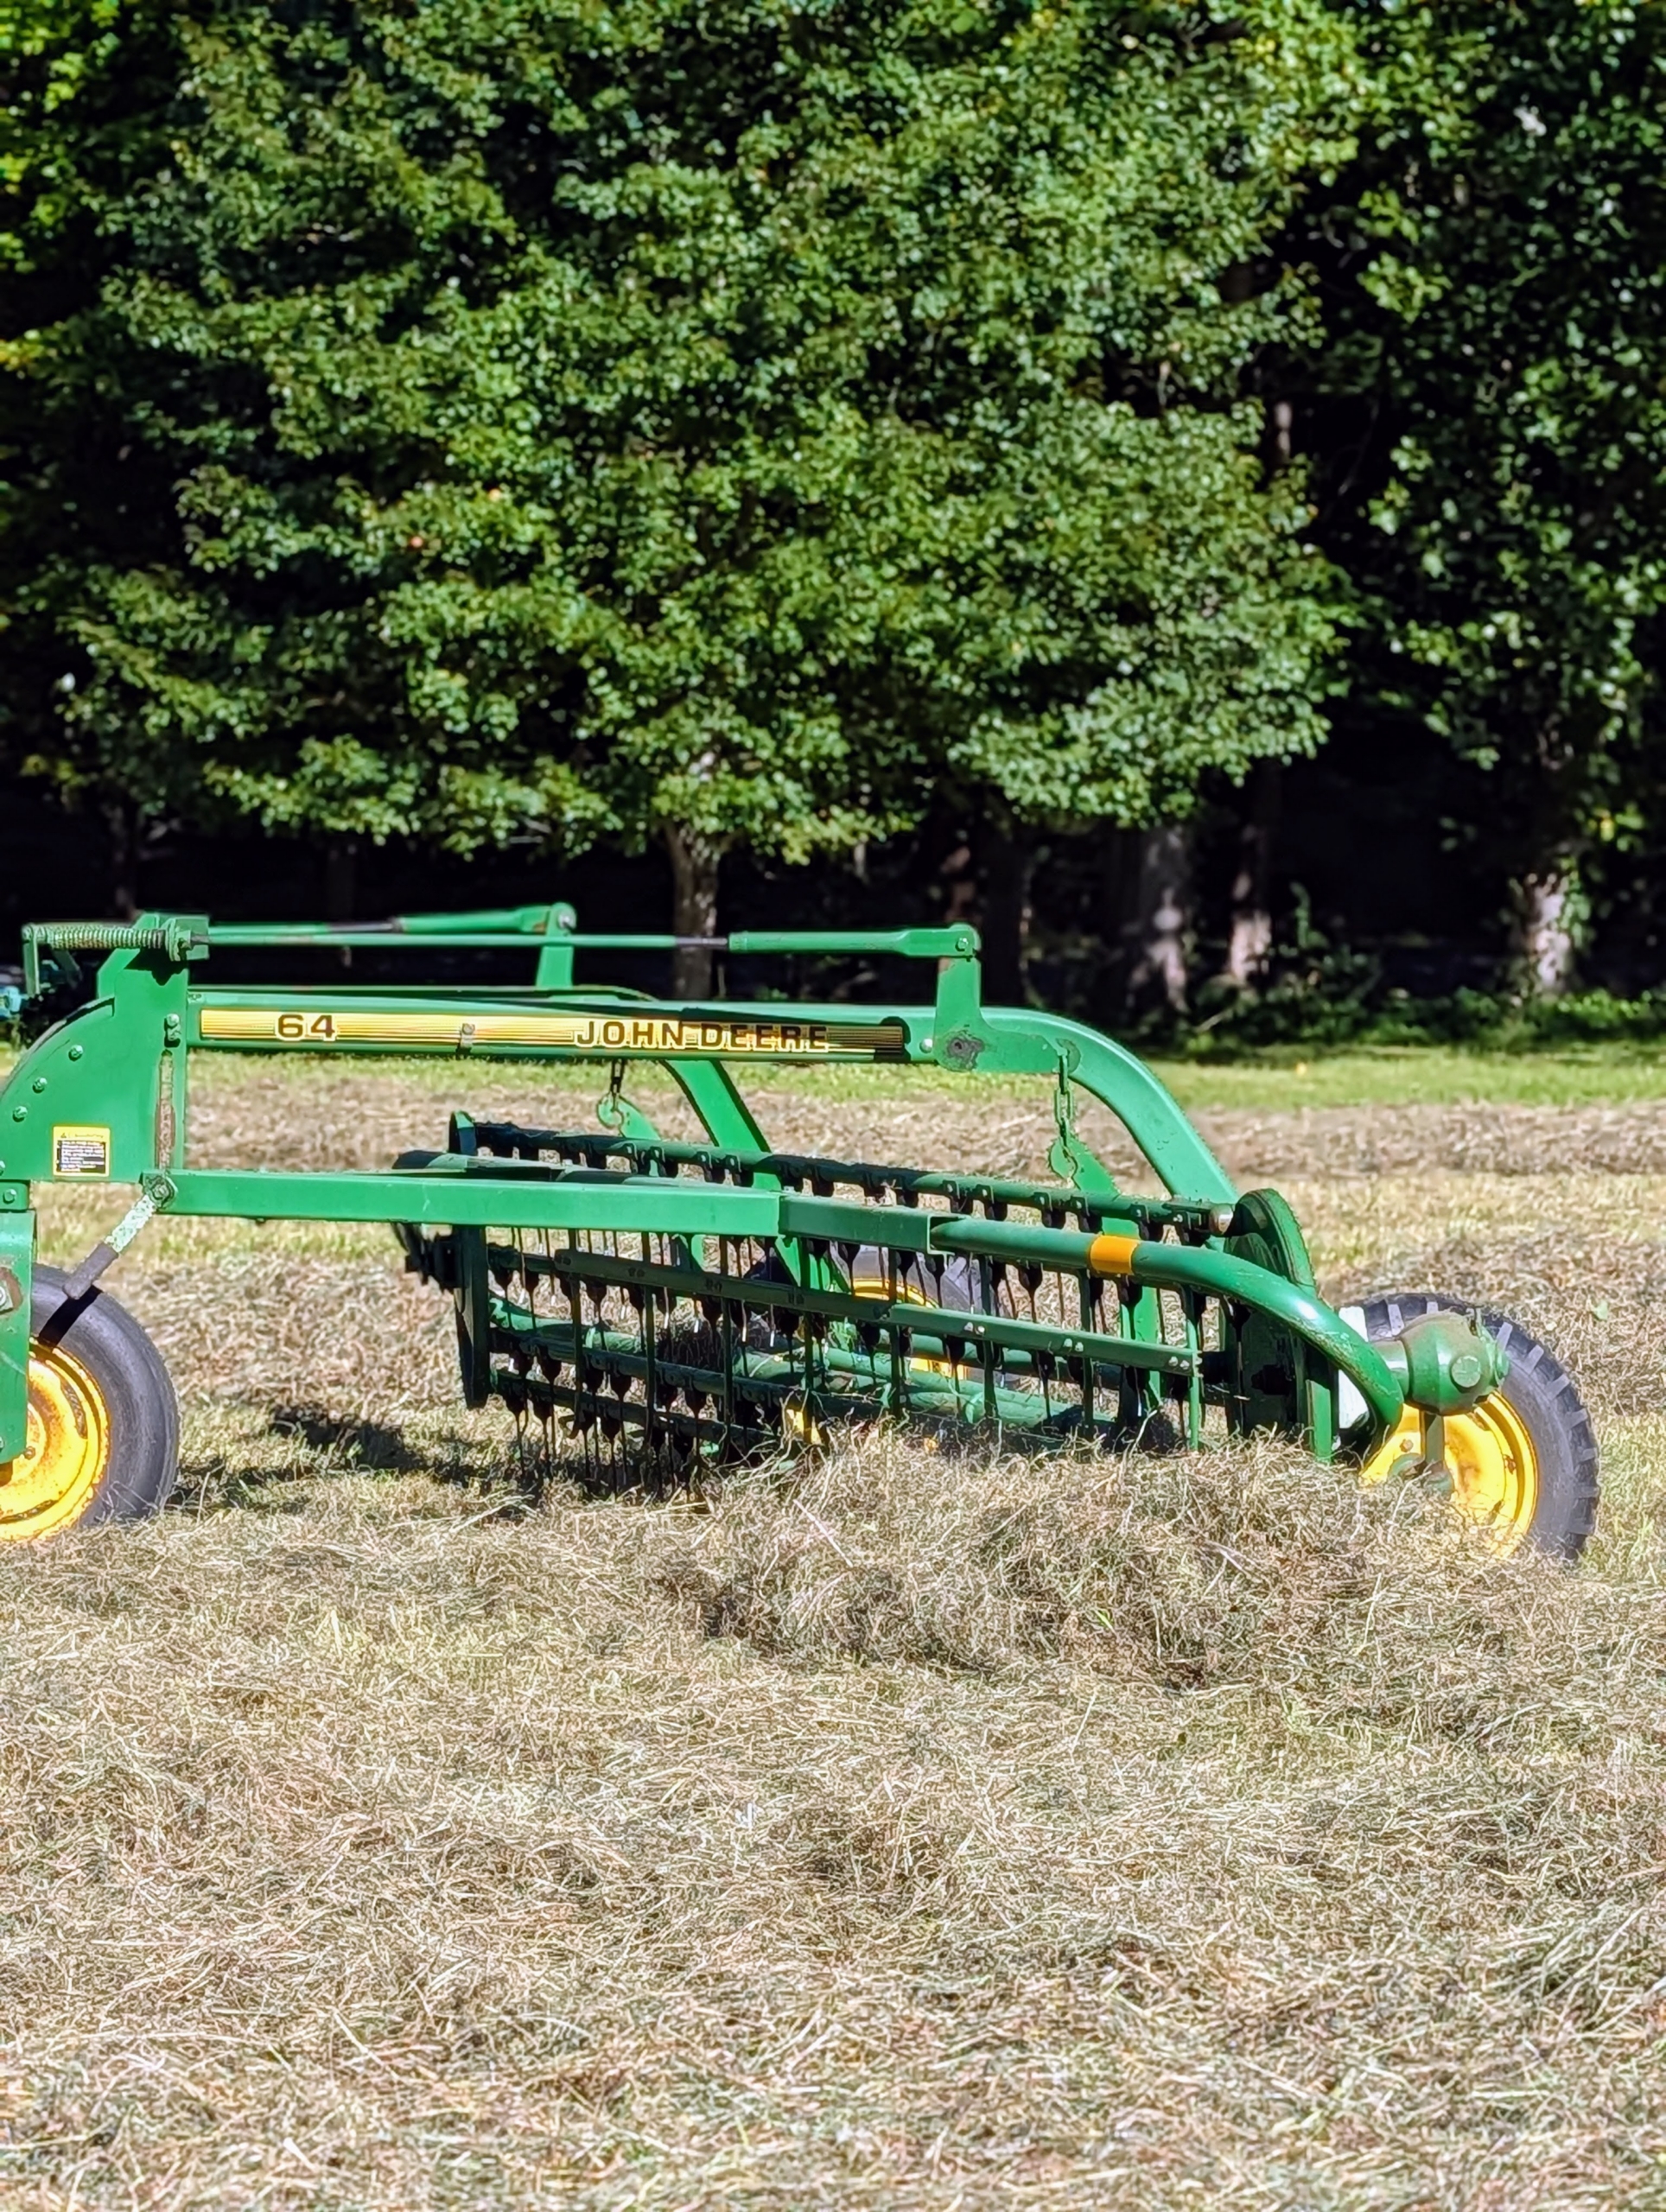
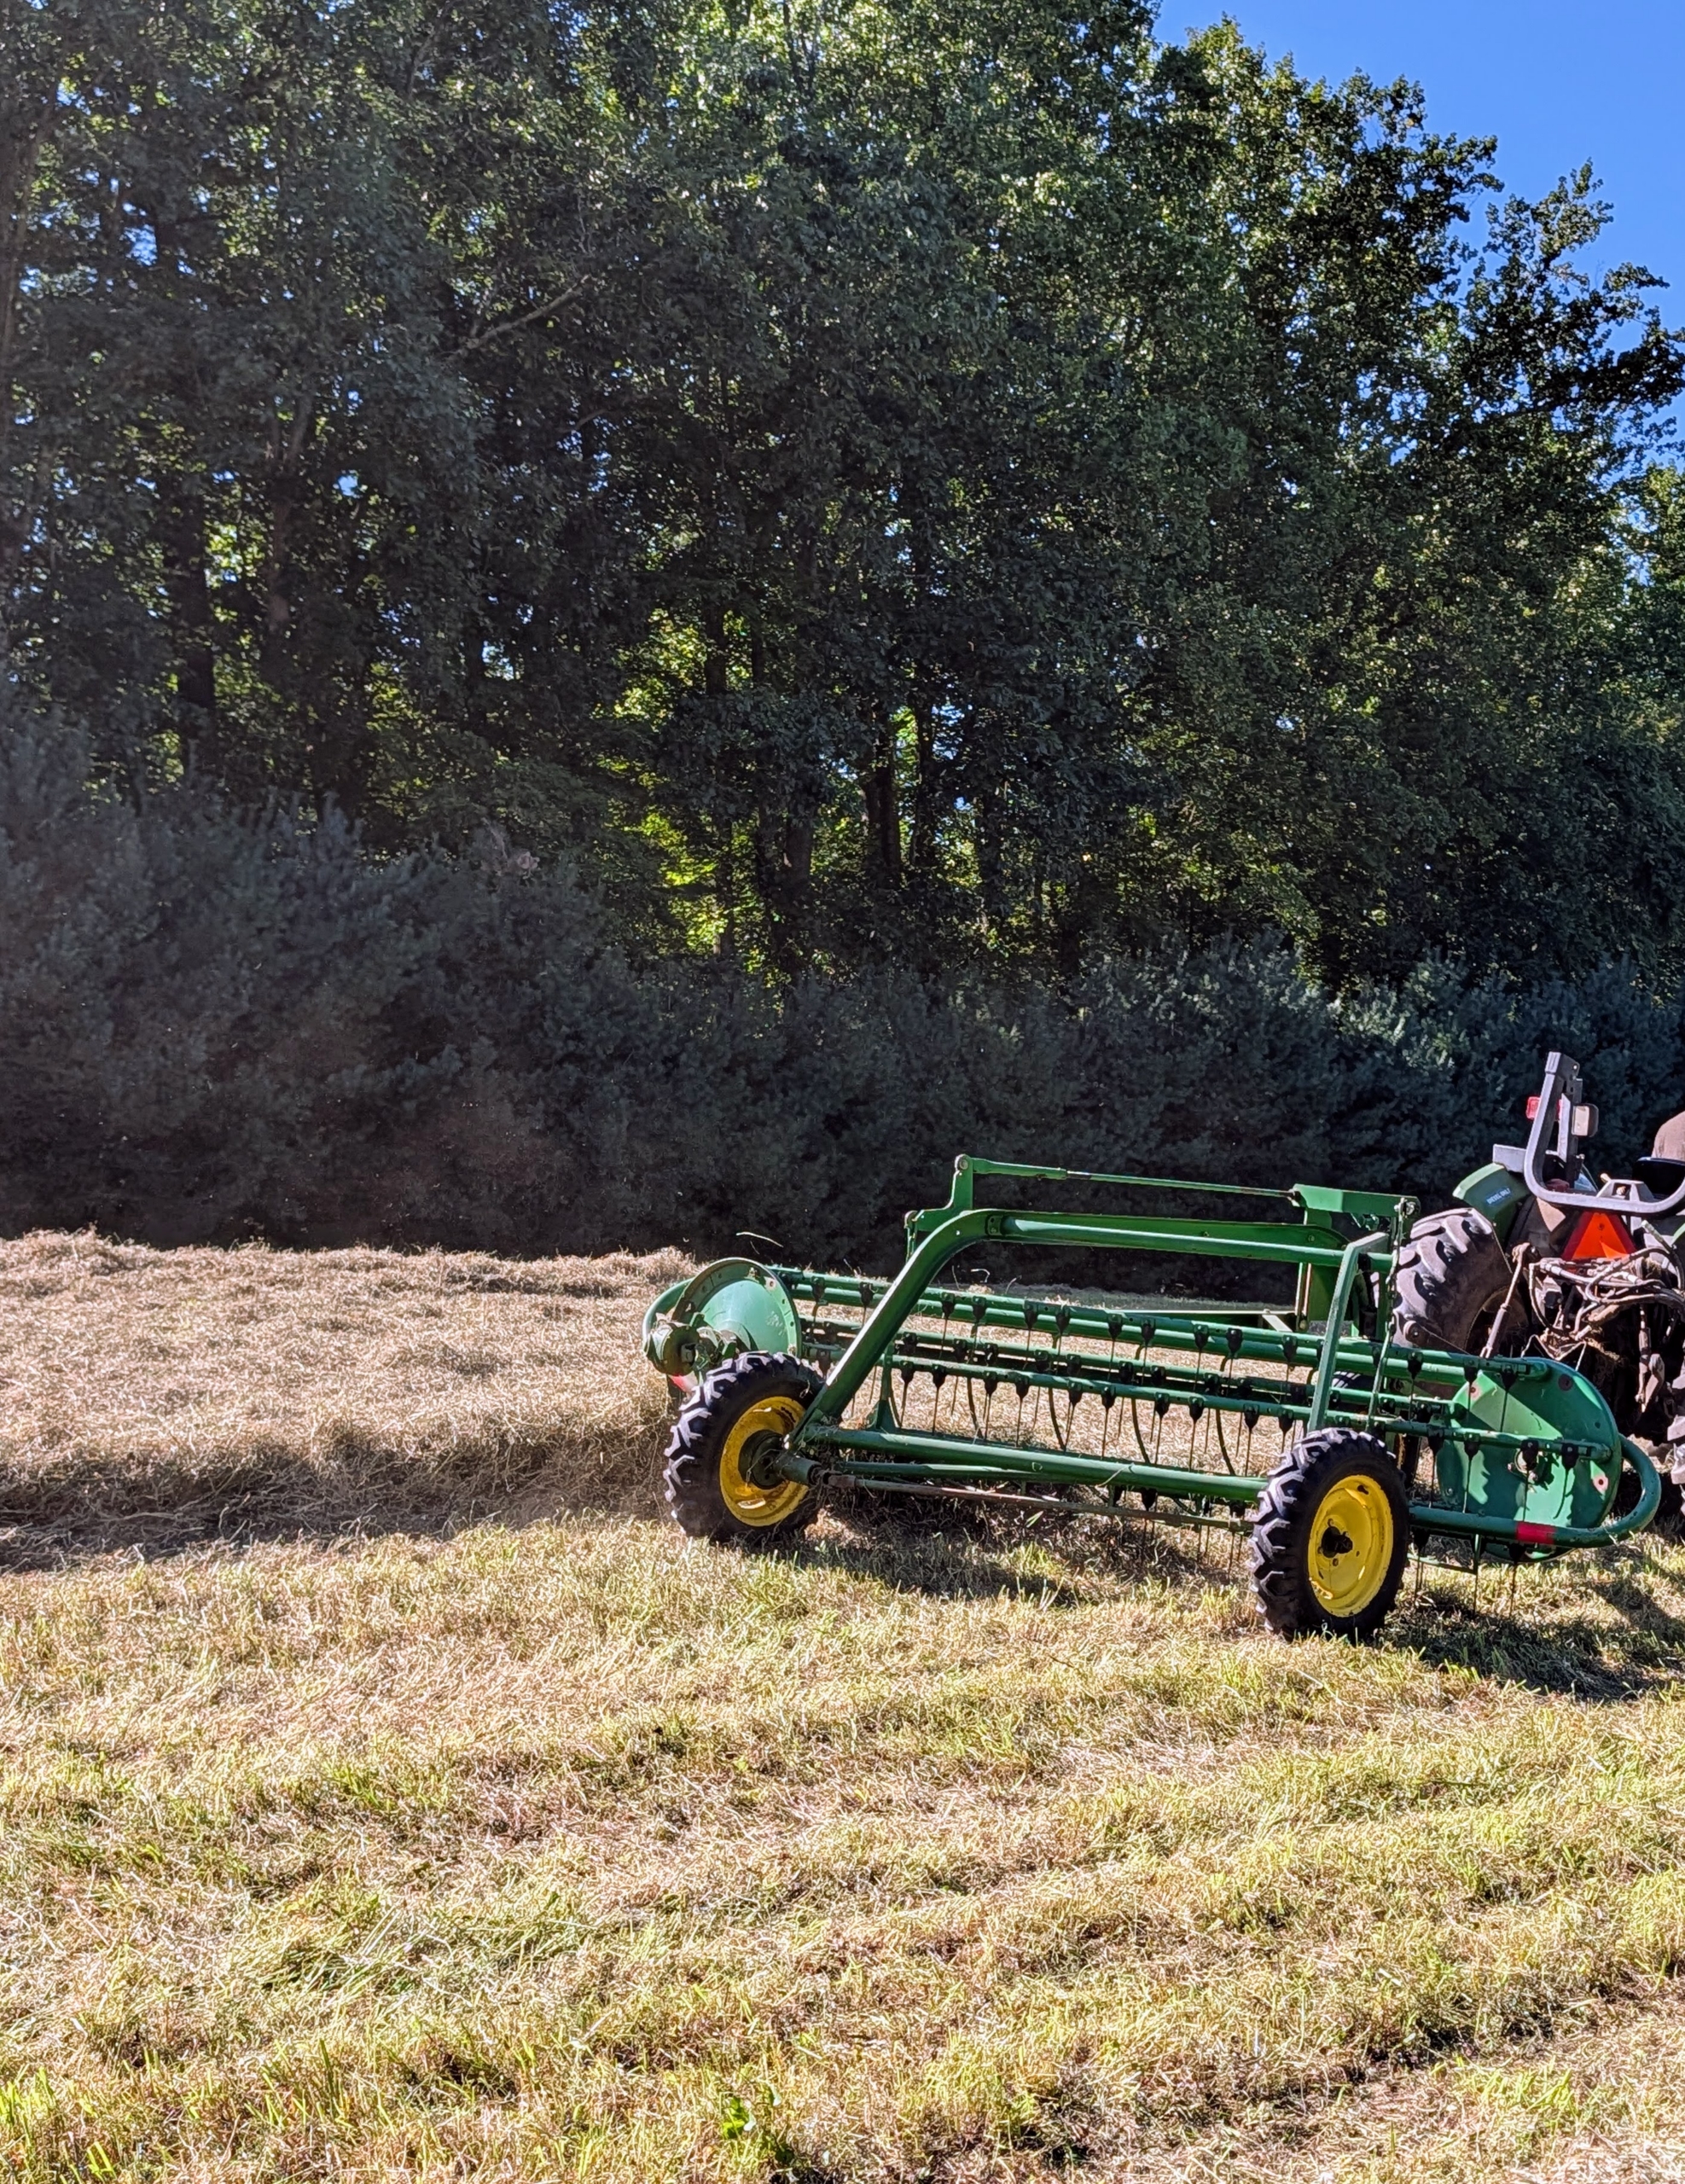
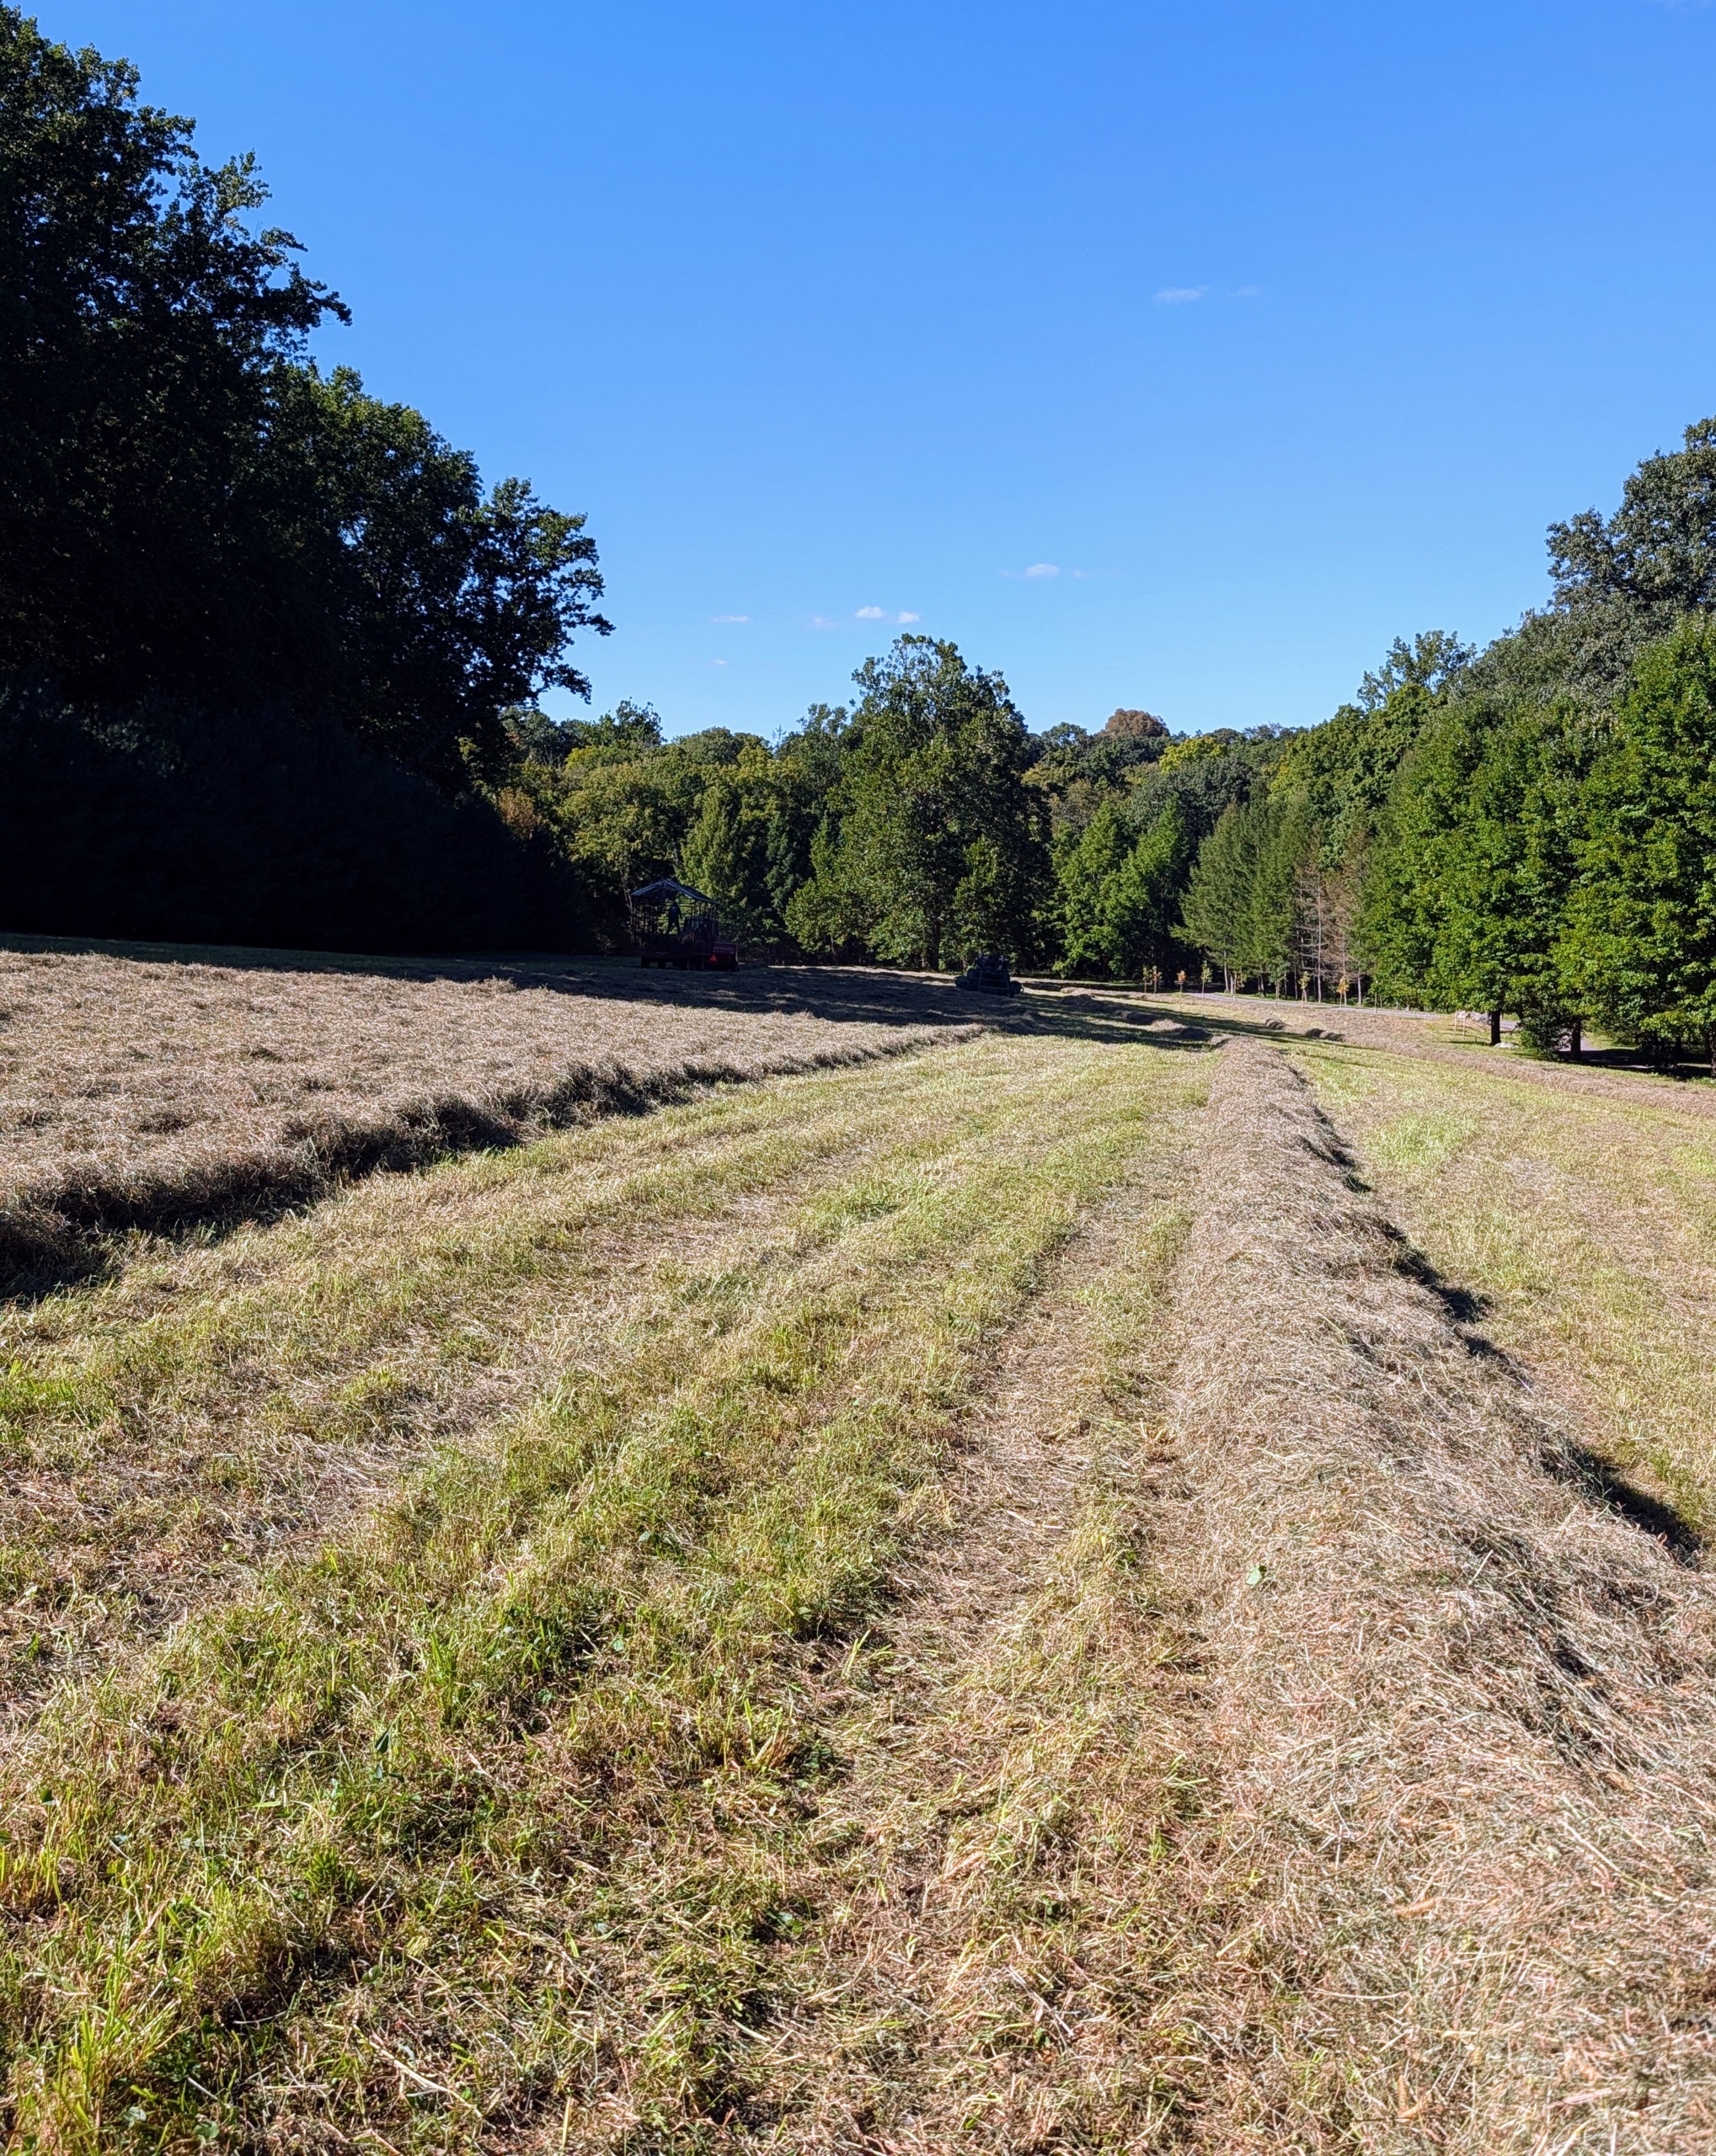
- Next, windrows are made out of the dry, cut hay. Windrows are rows of hay raked up and shaped before being baled. Attached to a tractor, Phurba pulls the bar rake at an angle and makes windrows from the tedded hay.
-
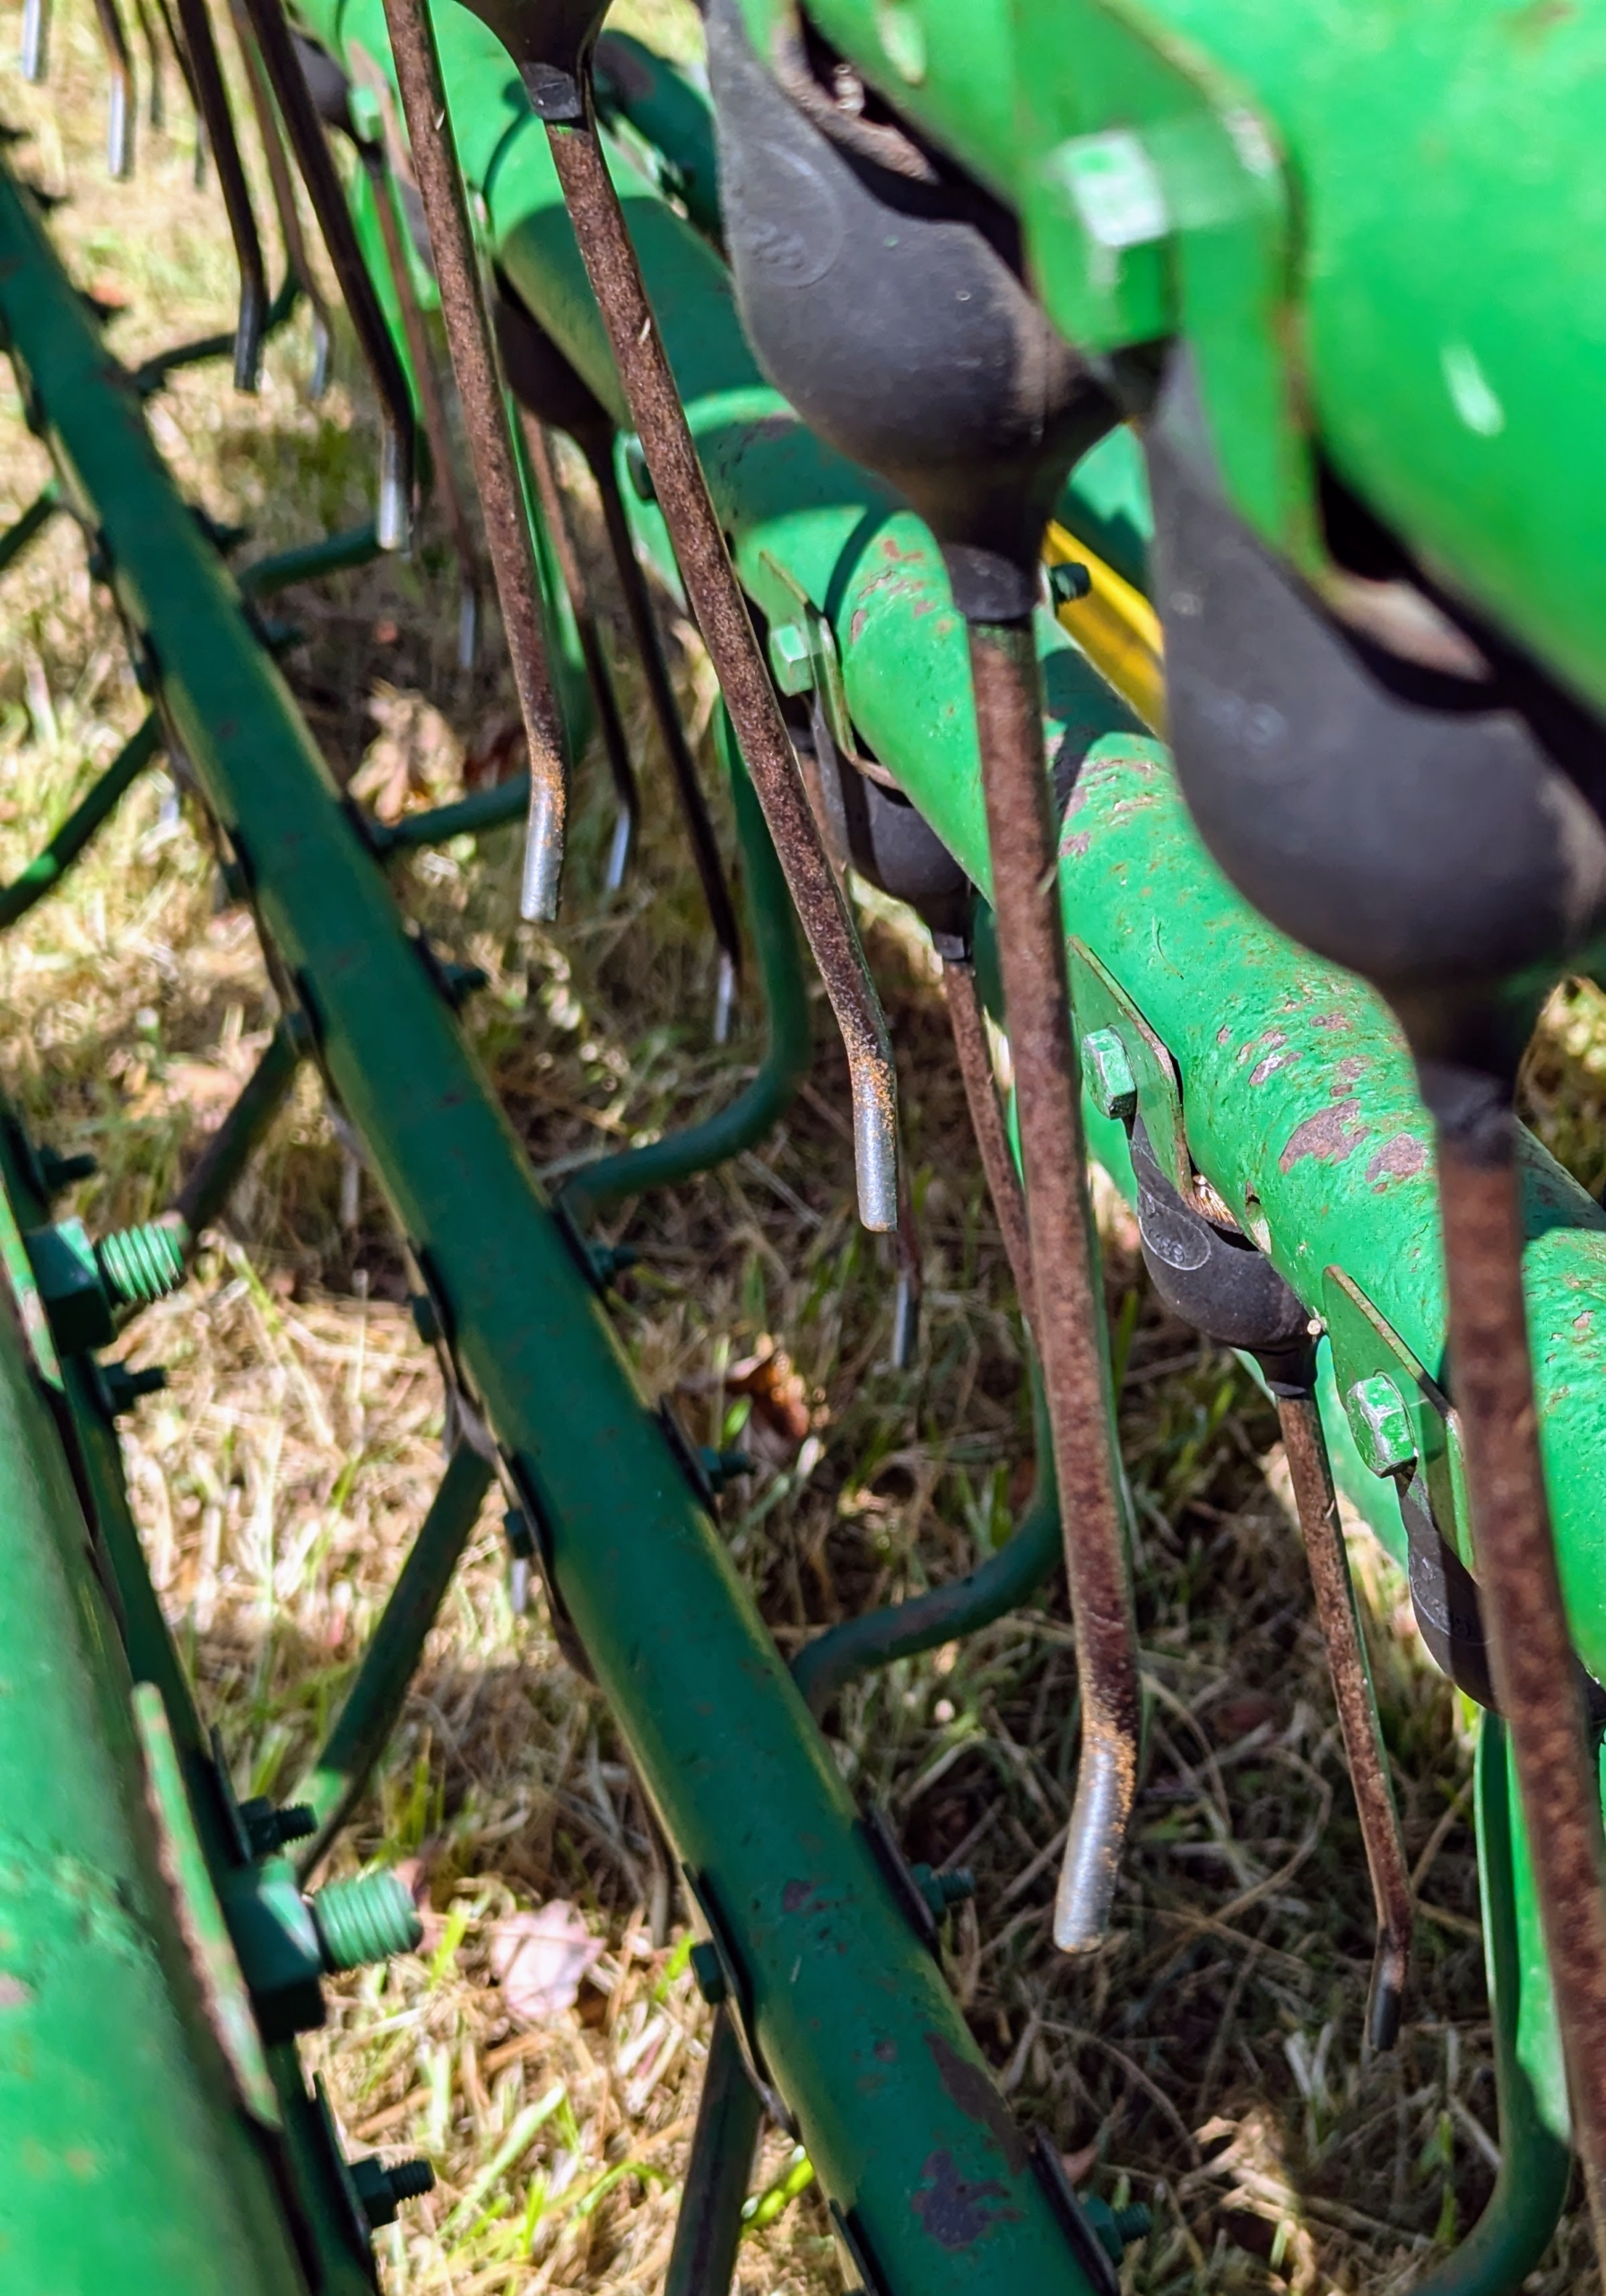
- This apparatus uses pins to spread, turn, and gather cut or dried hay in the field.
-
- The bar rake, also known as a basket rake is hydraulically driven. This rake allows for consistent movement across the fields making well-shaped windrows.
-
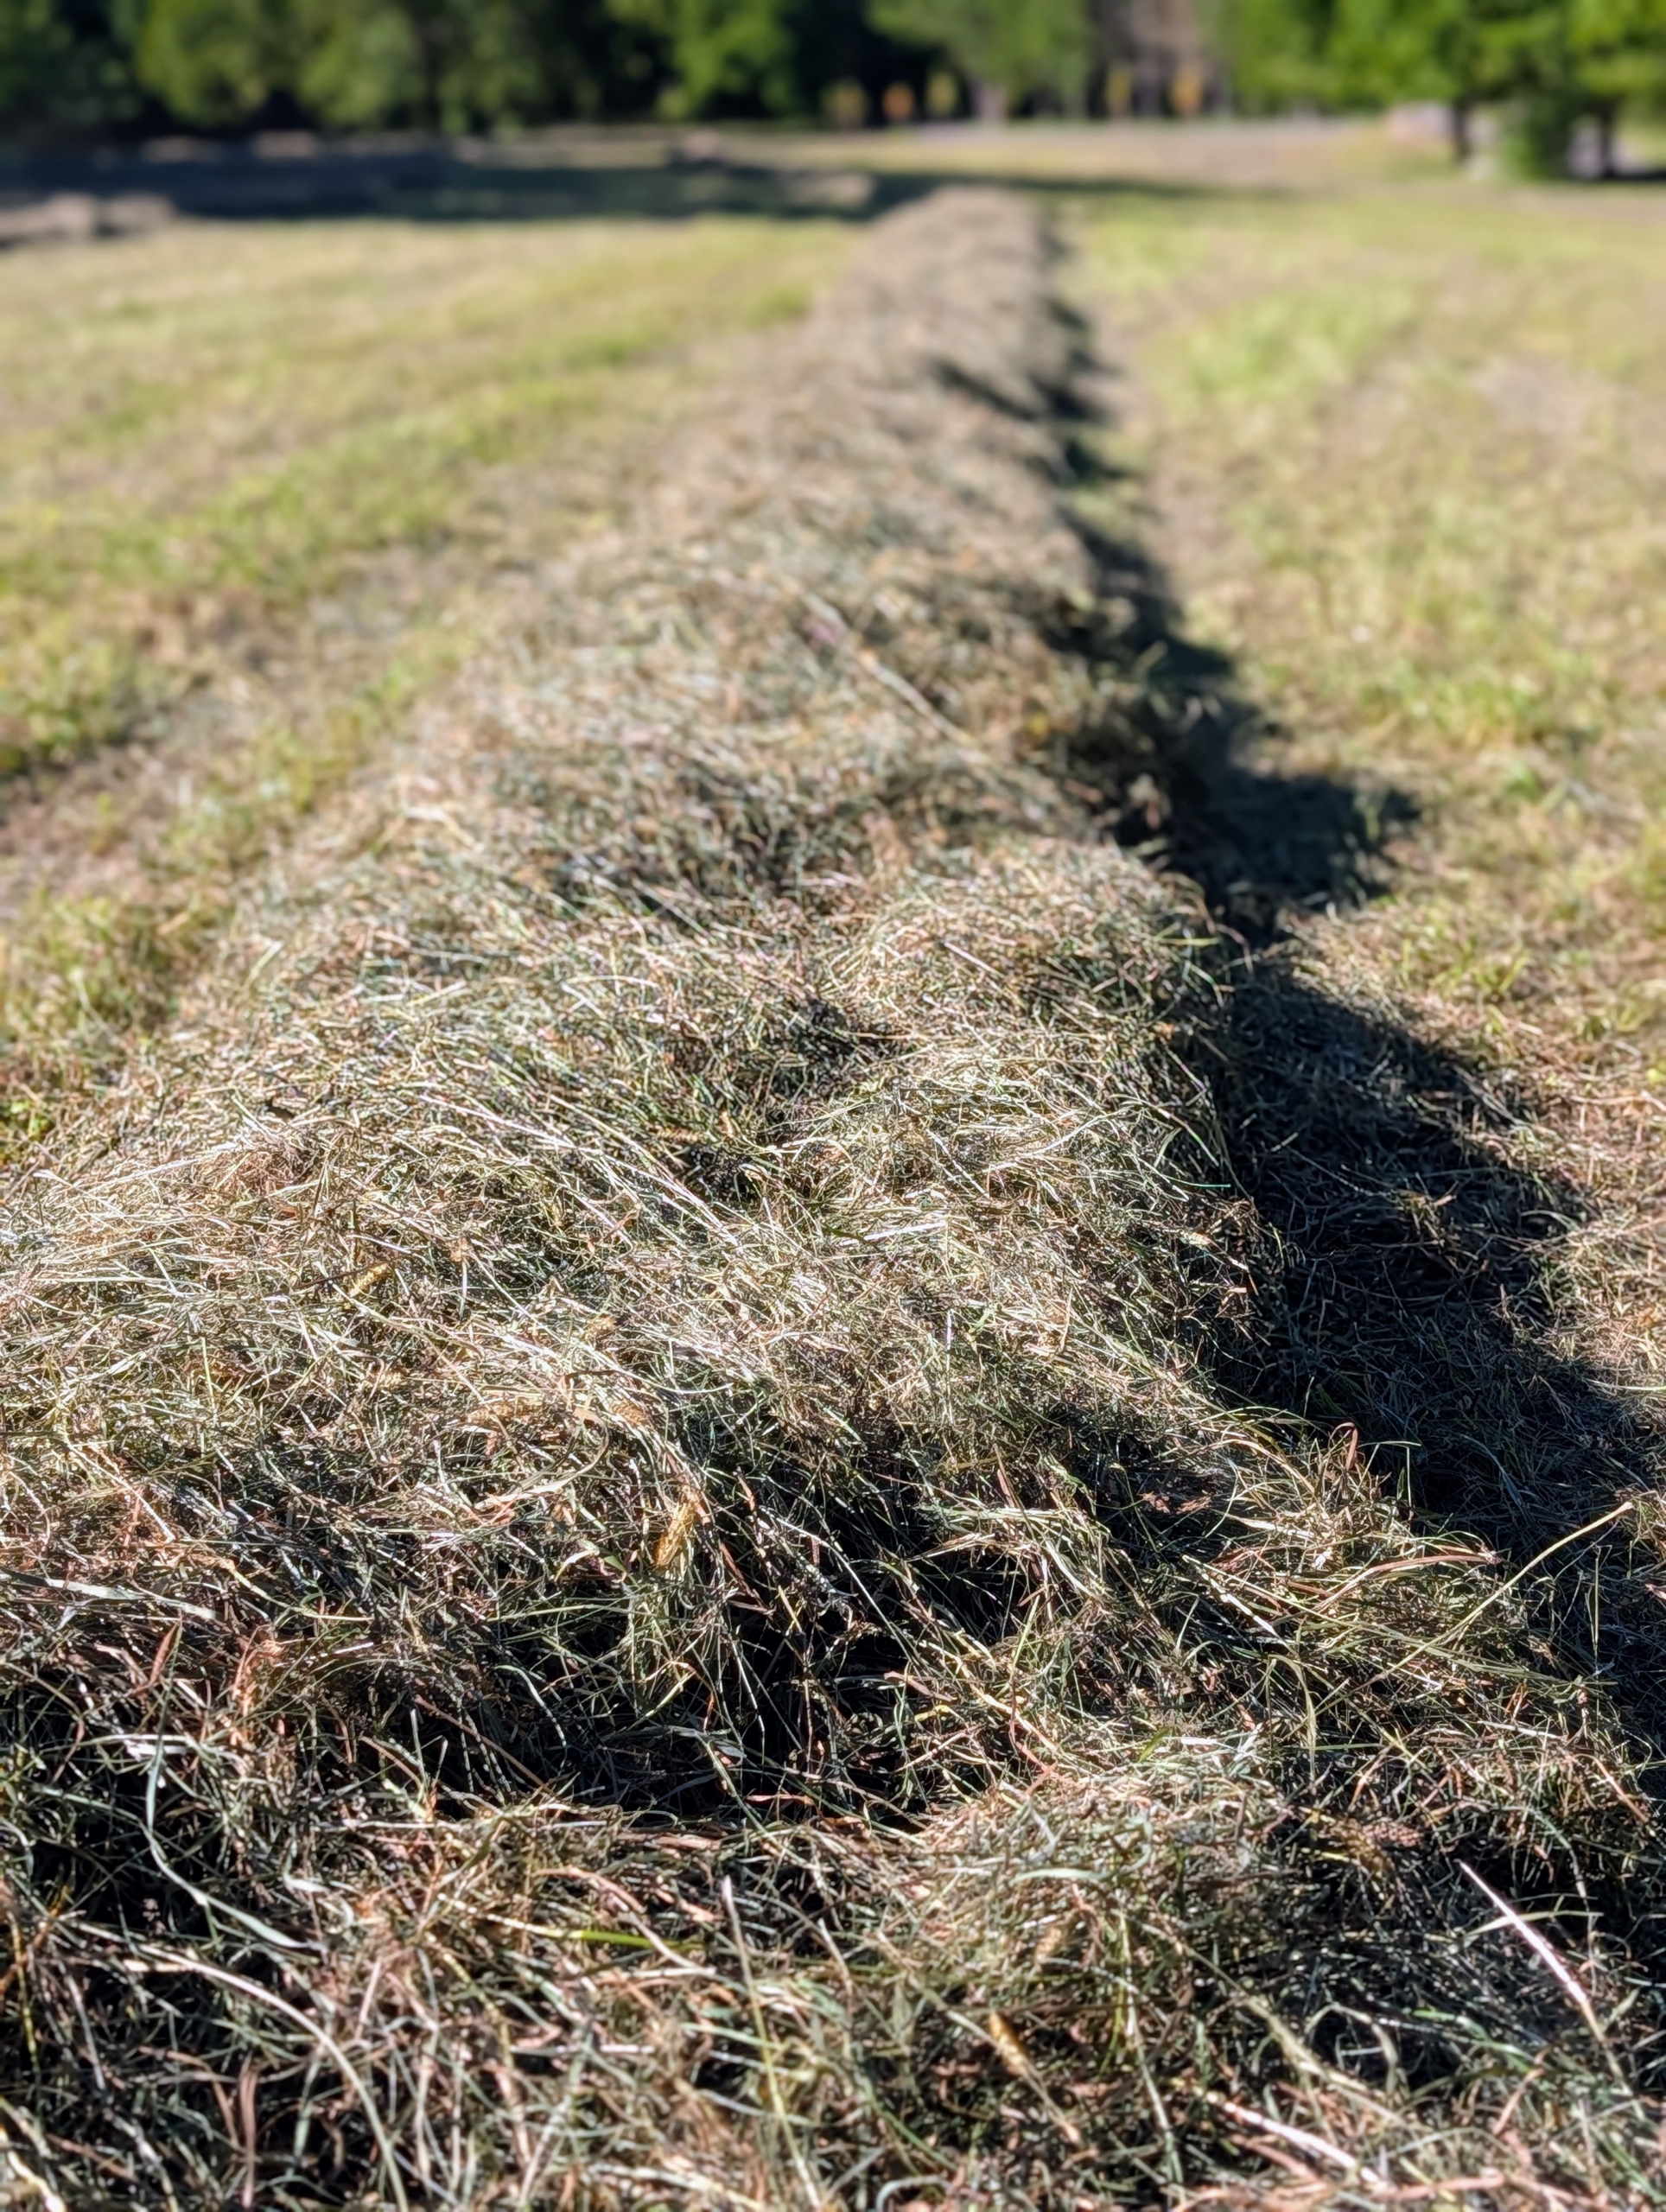
- My fields are all planted with a mixture of timothy, orchard grass, Kentucky bluegrass, ryegrass, and clover. This is a well-shaped windrow.
-
- Once several rows of windrows are made, the hay baling can begin!
-
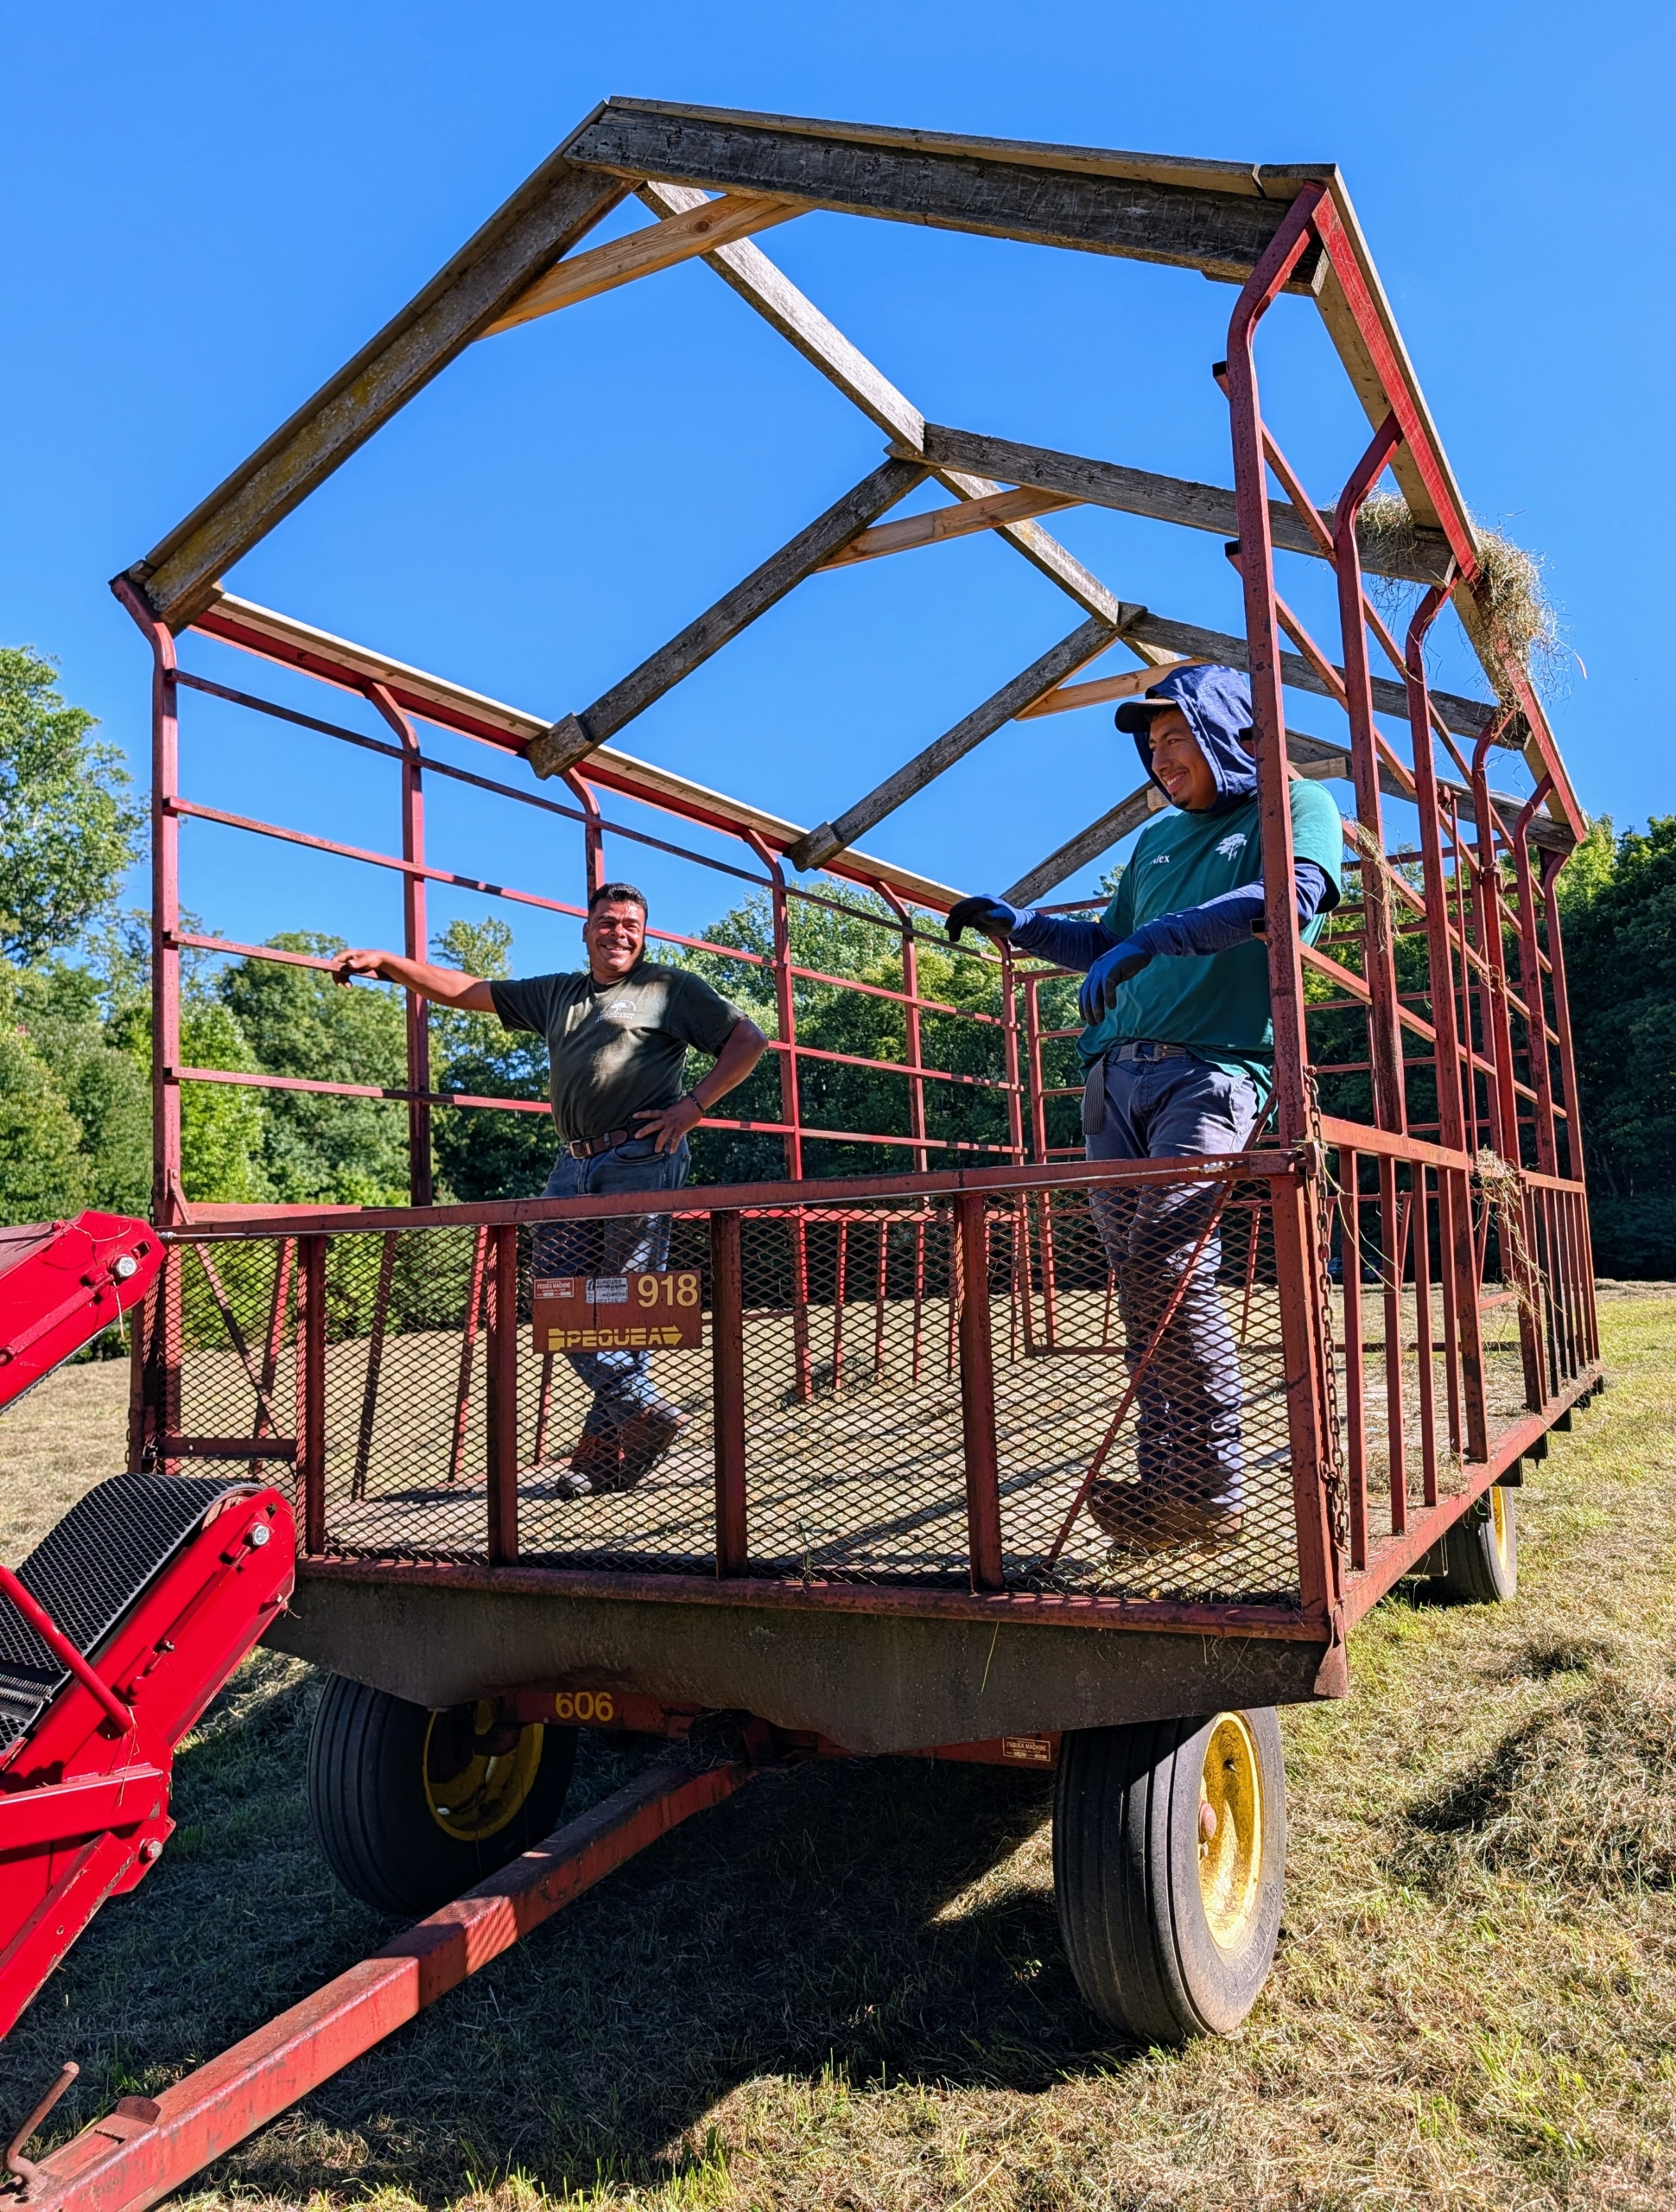
- Ready? In my next blog – what it takes to bale, stack, and store my hay!
 Martha Pins


 Martha Tweets

