
Protecting My Outdoor Planters with Burlap
The annual burlap project continues here at my New York farm, where my ornamental planters and other garden objects are being prepared for winter.
For years, I’ve wrapped my boxwood shrubs and hedges in burlap to help prevent their branches from splaying or breaking under the weight of snow and ice. I take similar care to protect my outdoor containers and garden ornaments from winter’s harsh elements. Repeated freezing and thawing can cause stone and cement to crack or crumble, particularly in antique pieces. This time of year, all my outdoor planters, birdbaths, stanchions, and other vulnerable objects are carefully covered in burlap, just like my living specimens.
Enjoy these photos.
-

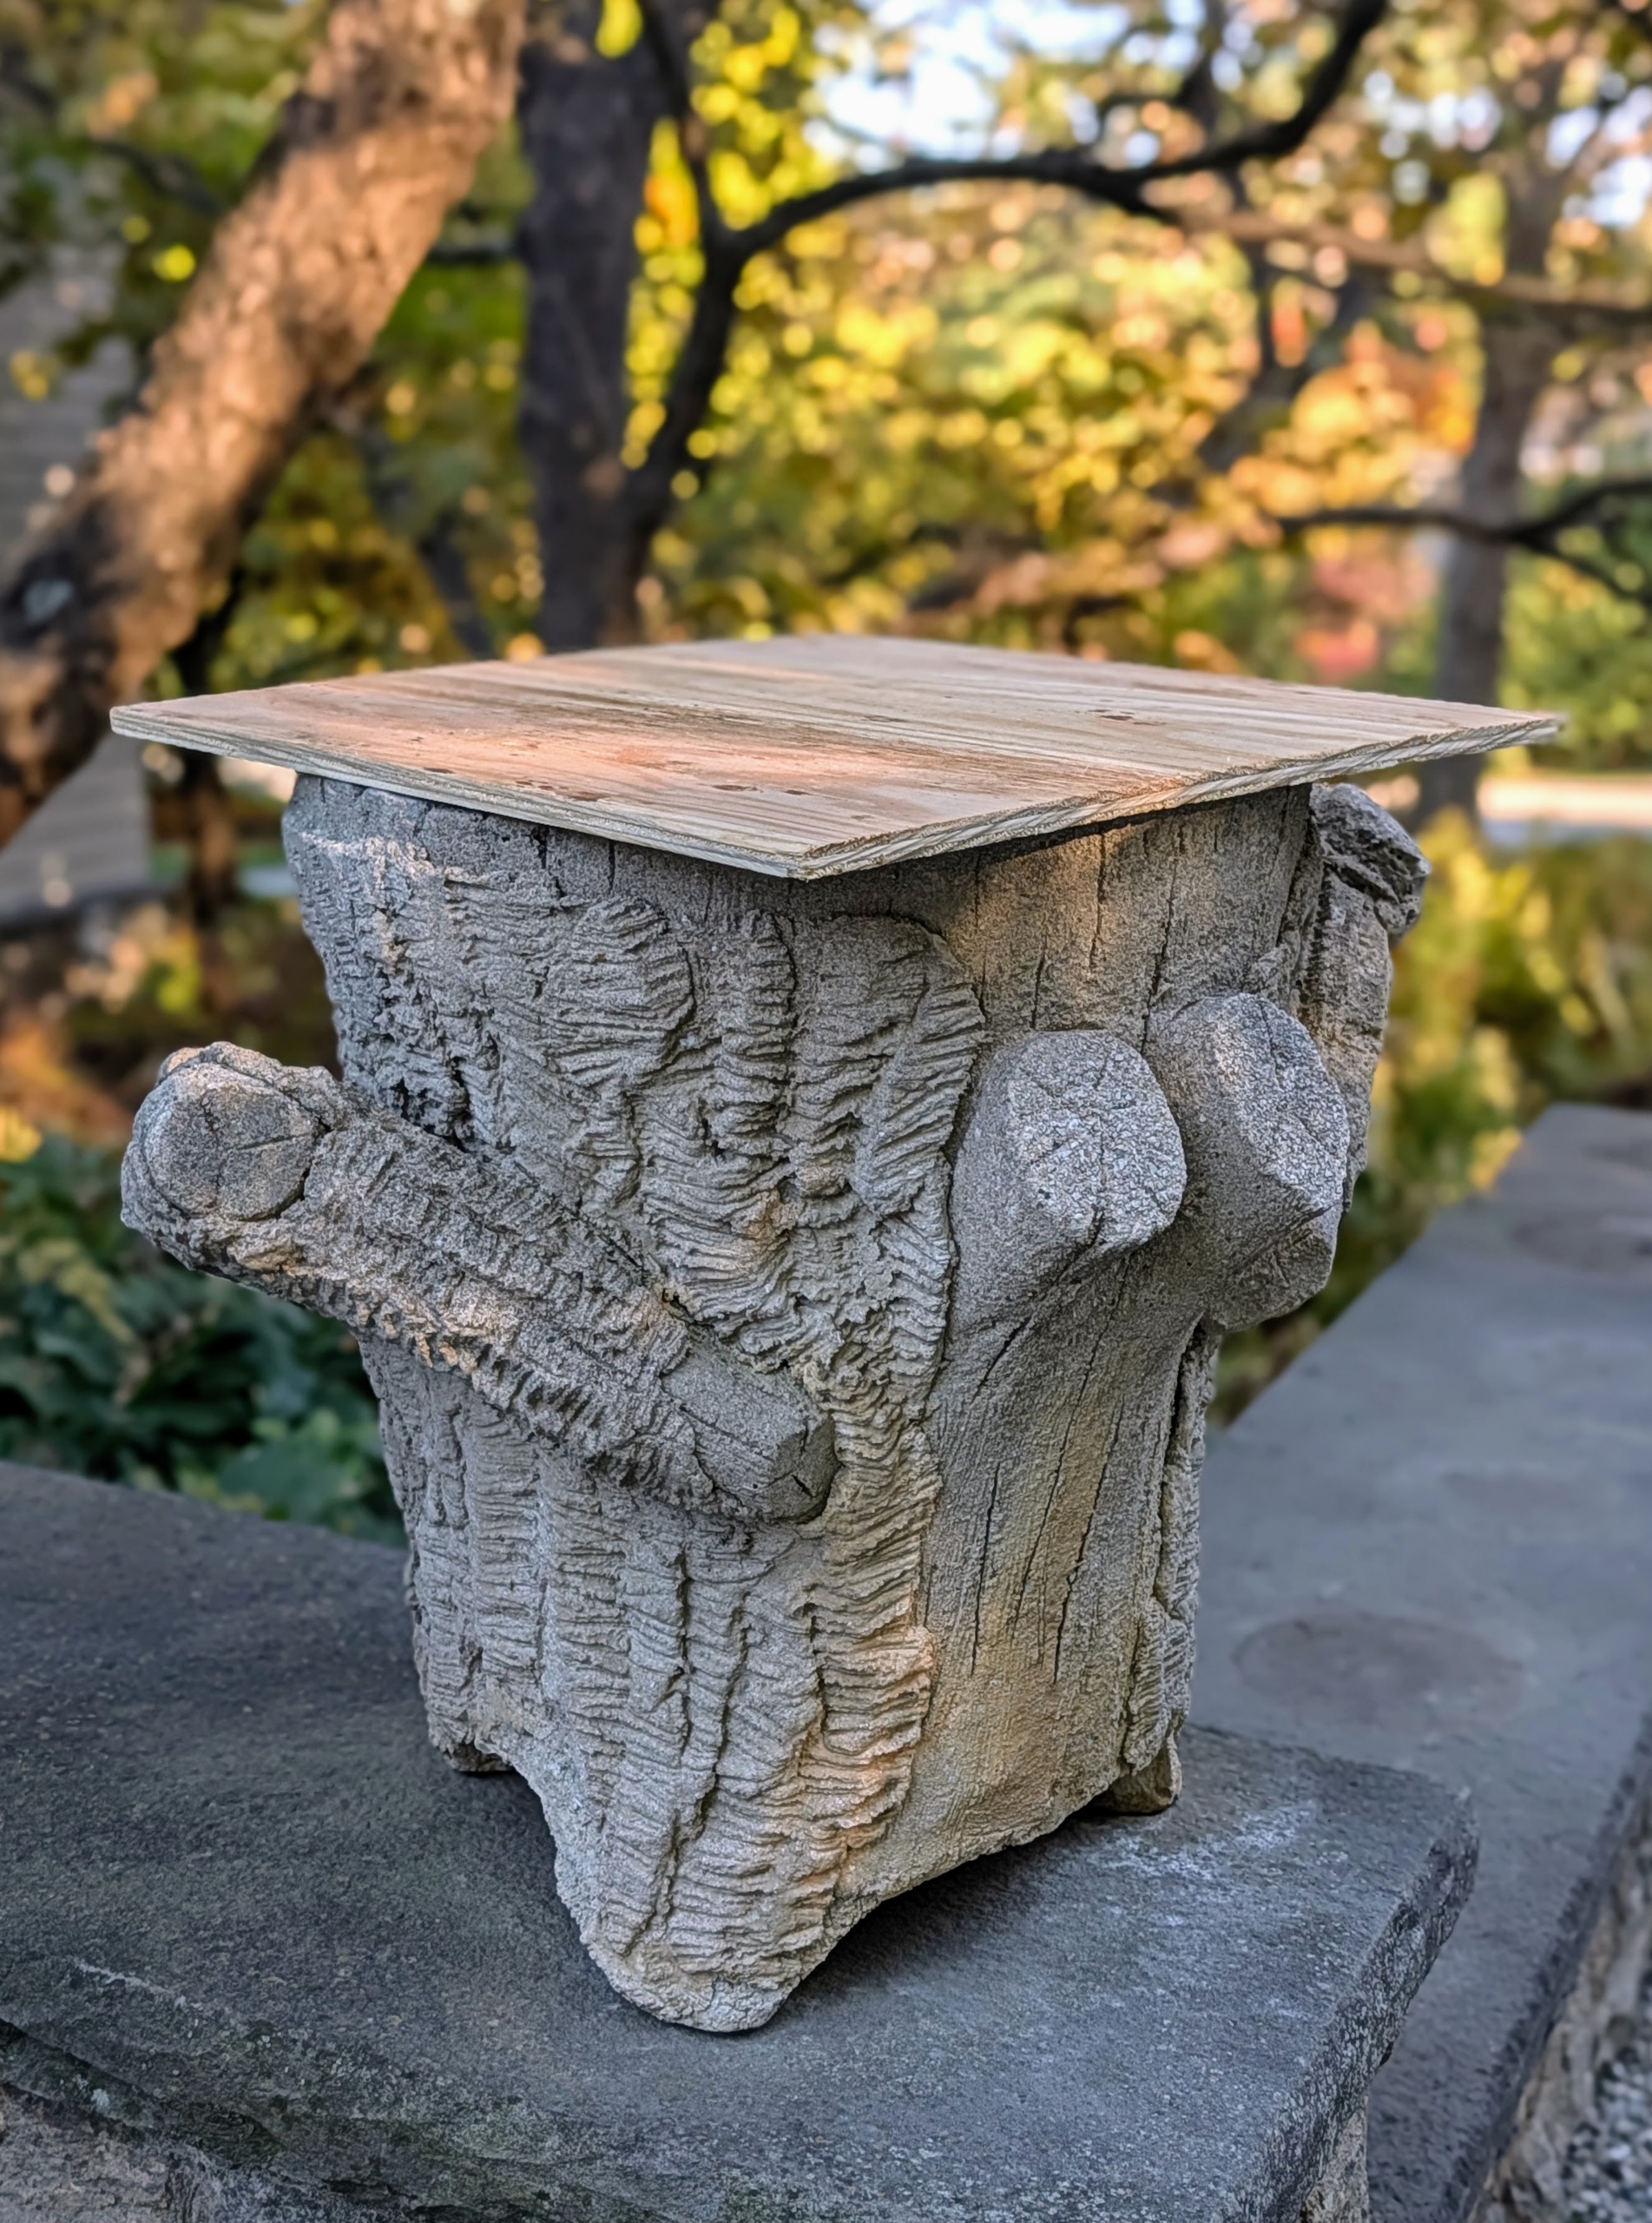
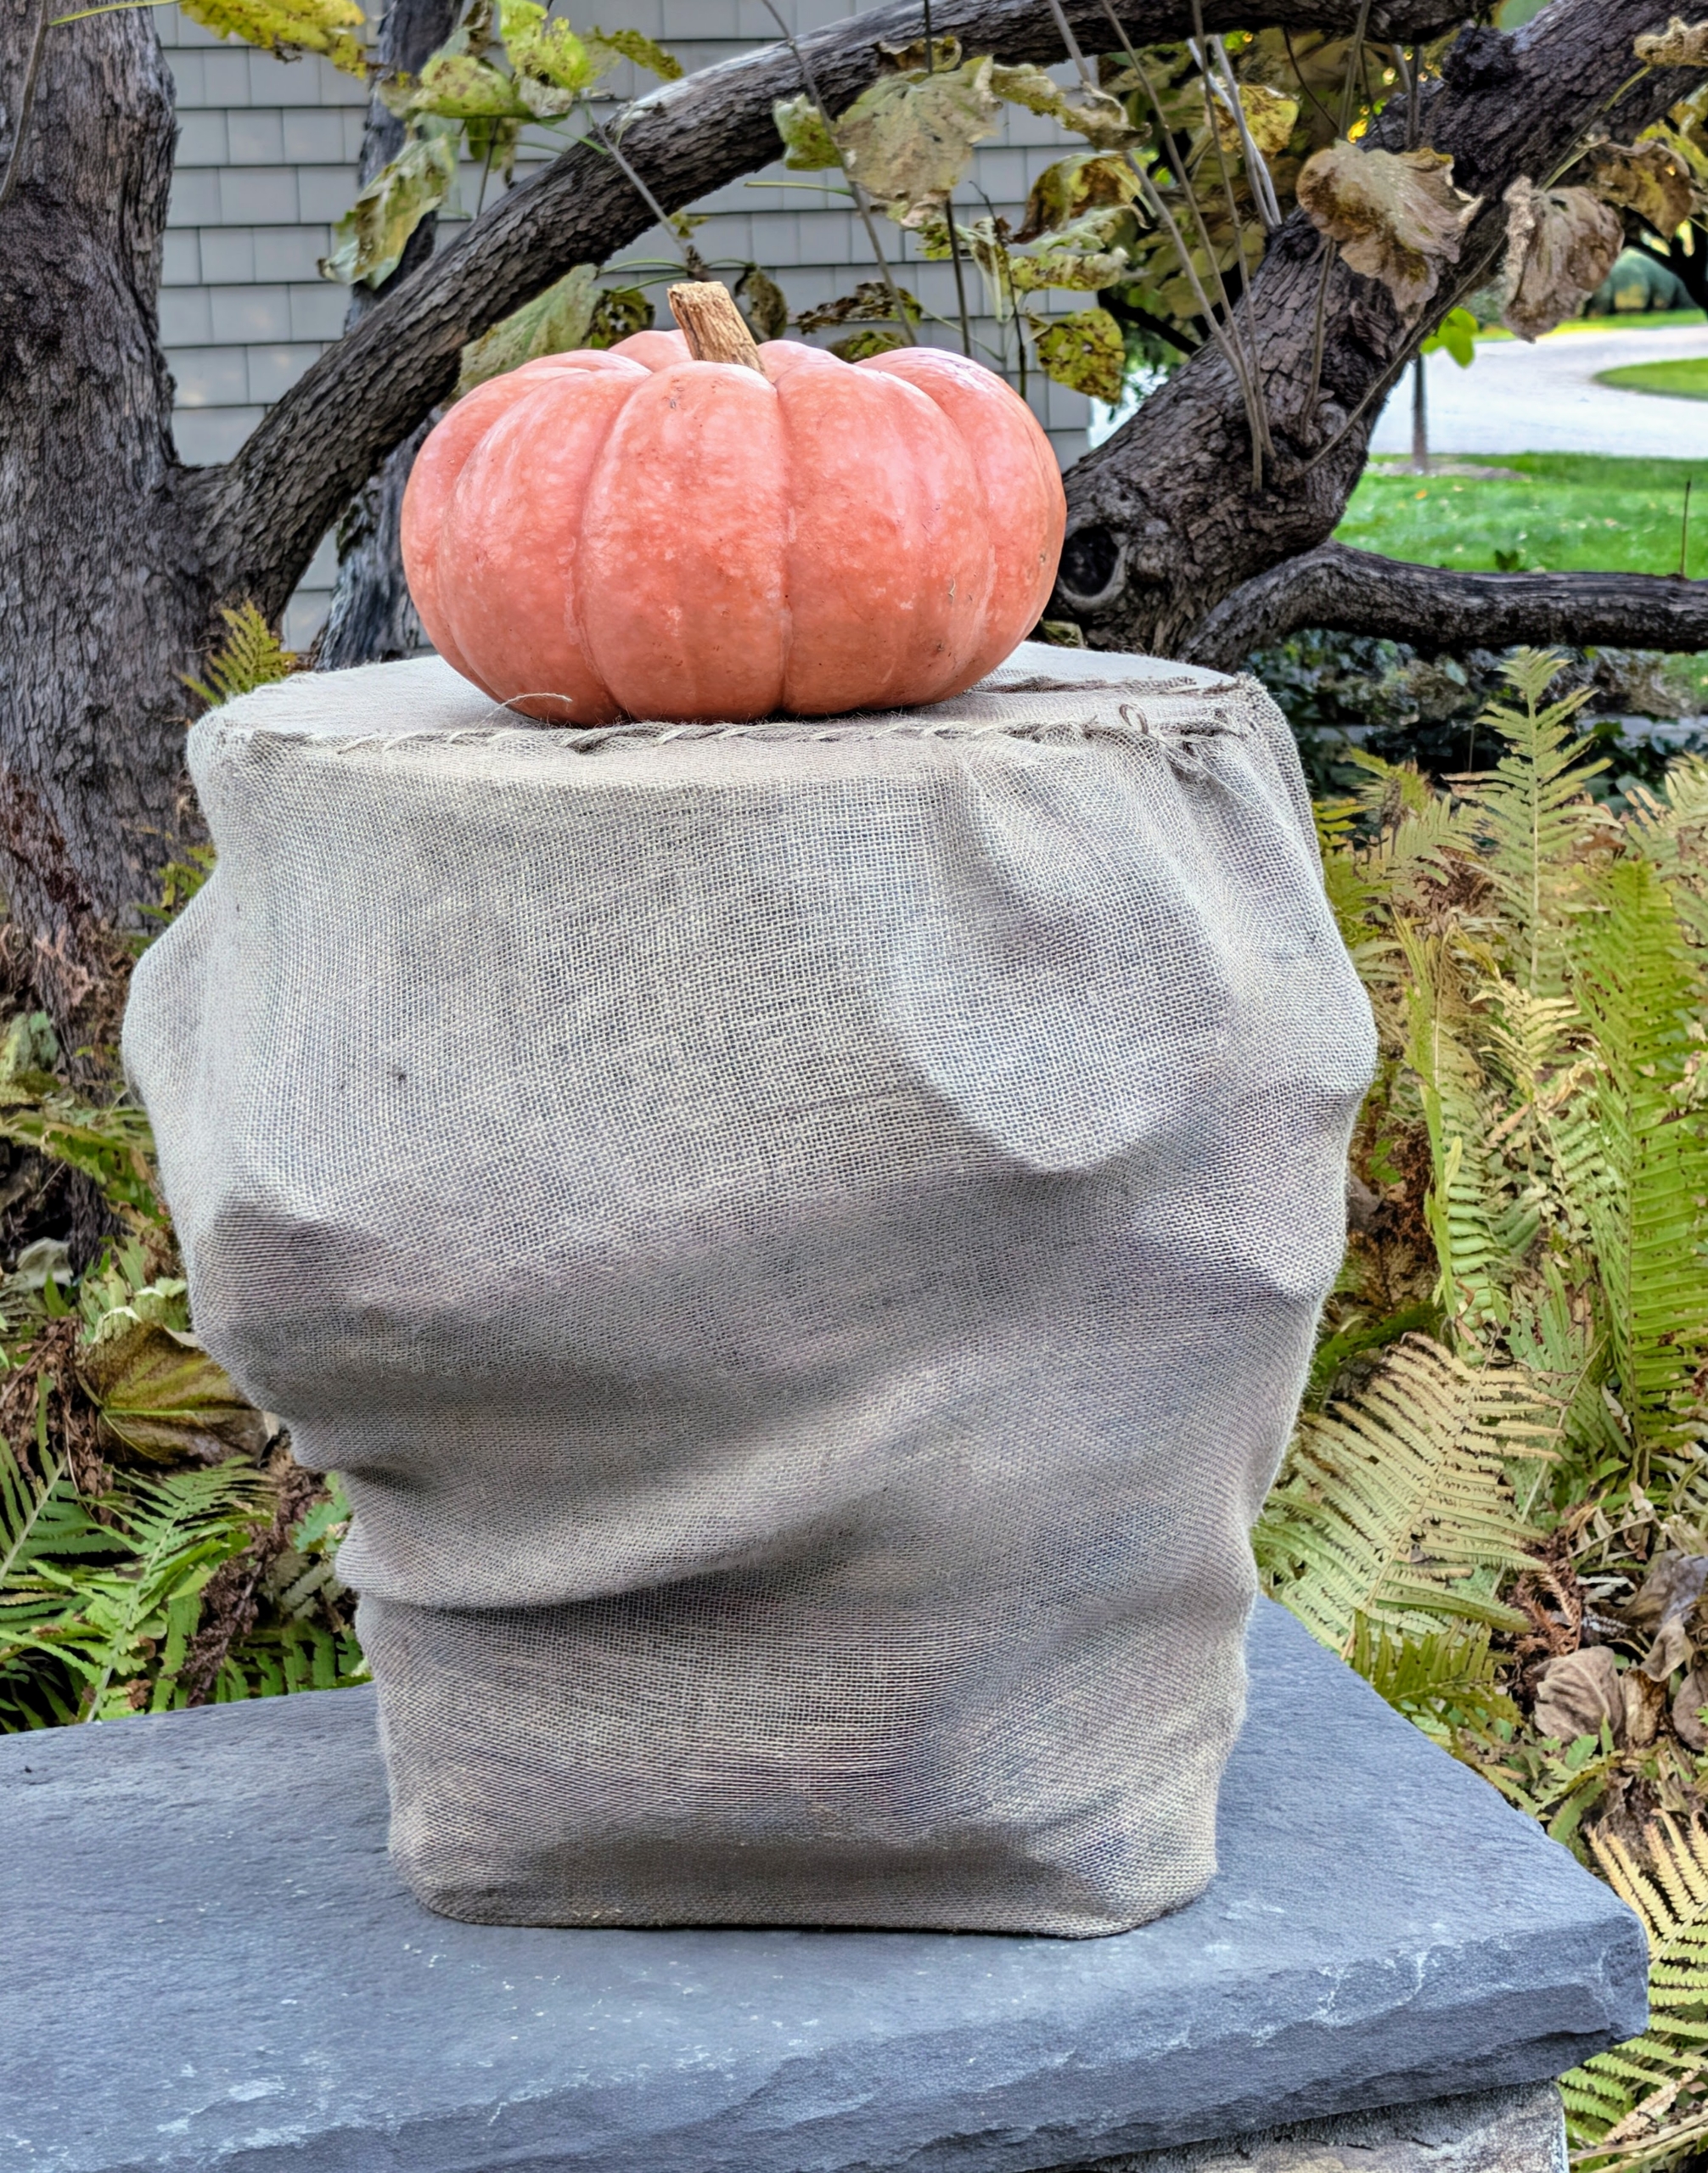
- I have many outdoor containers and garden ornaments that are covered and protected with burlap and kept in their respected locations for the duration of the cold season. This is one of two faux bois planters on the stone ledge outside my carport. A piece of plywood is on top ready to be measured and cut to fit.
-
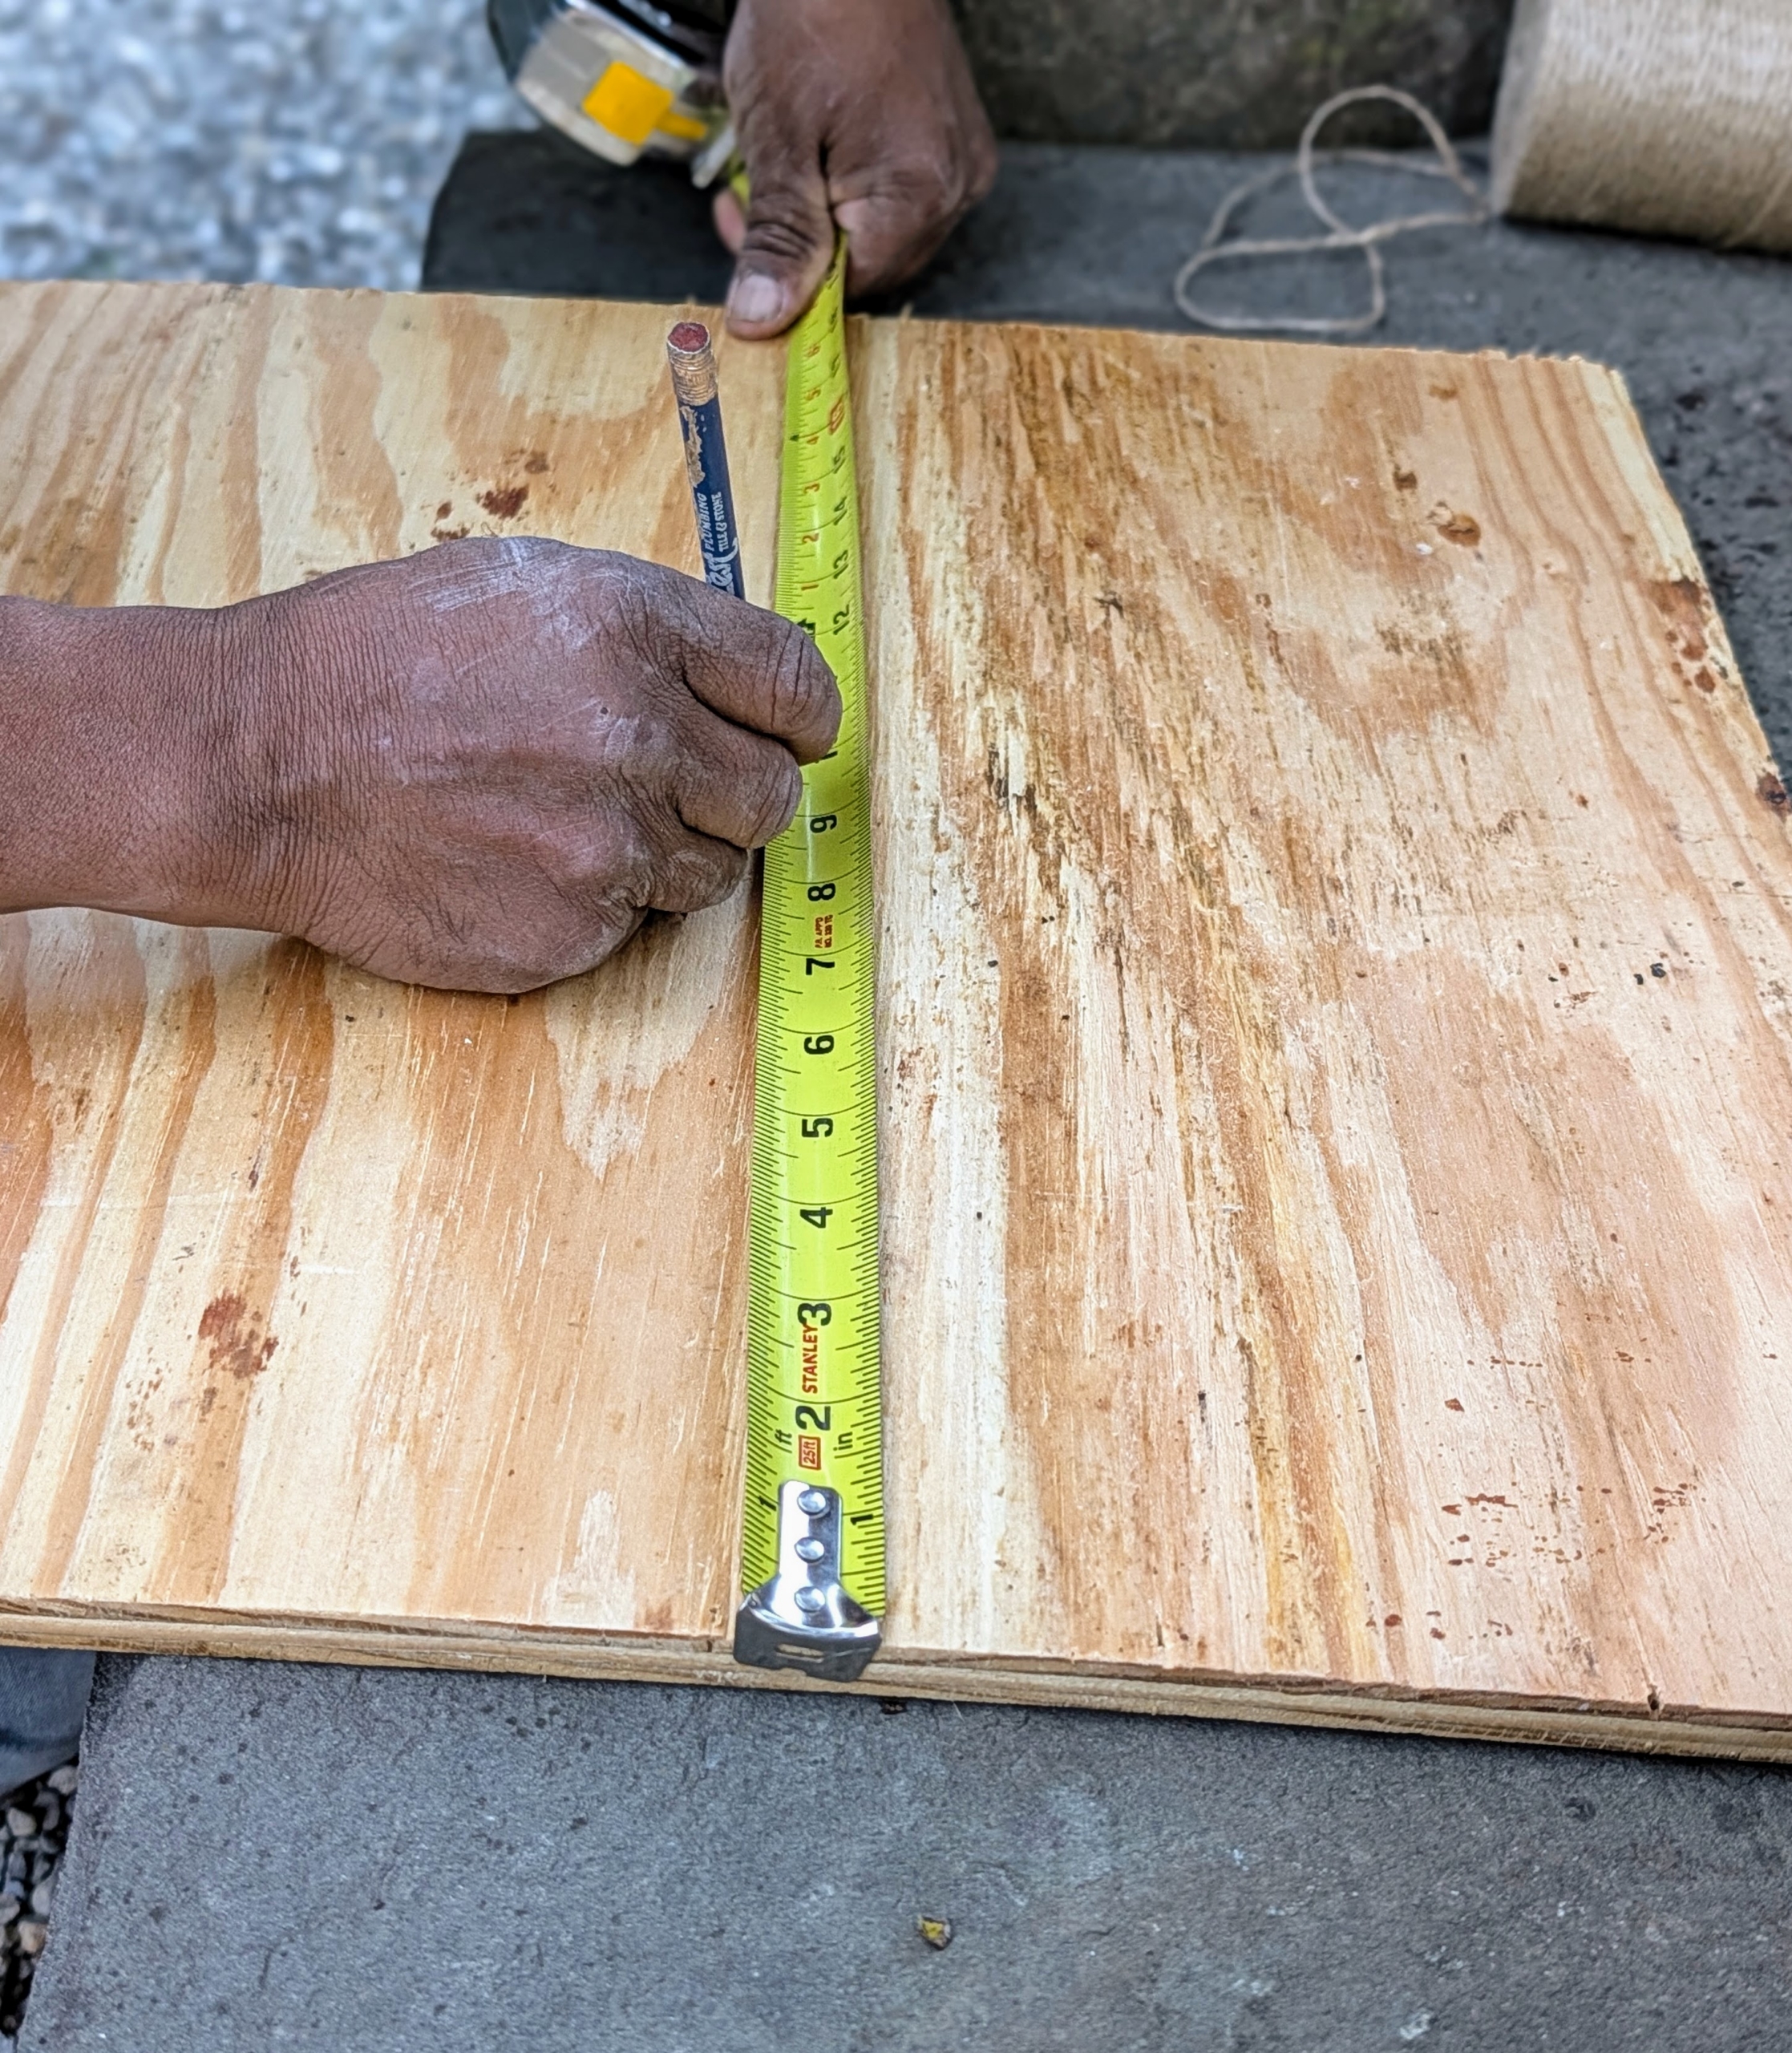
- The crew cuts spare plywood into custom lids to fit over various pieces. Pete measures the diameter of pot’s top and then marks it on the plywood before cutting.
-
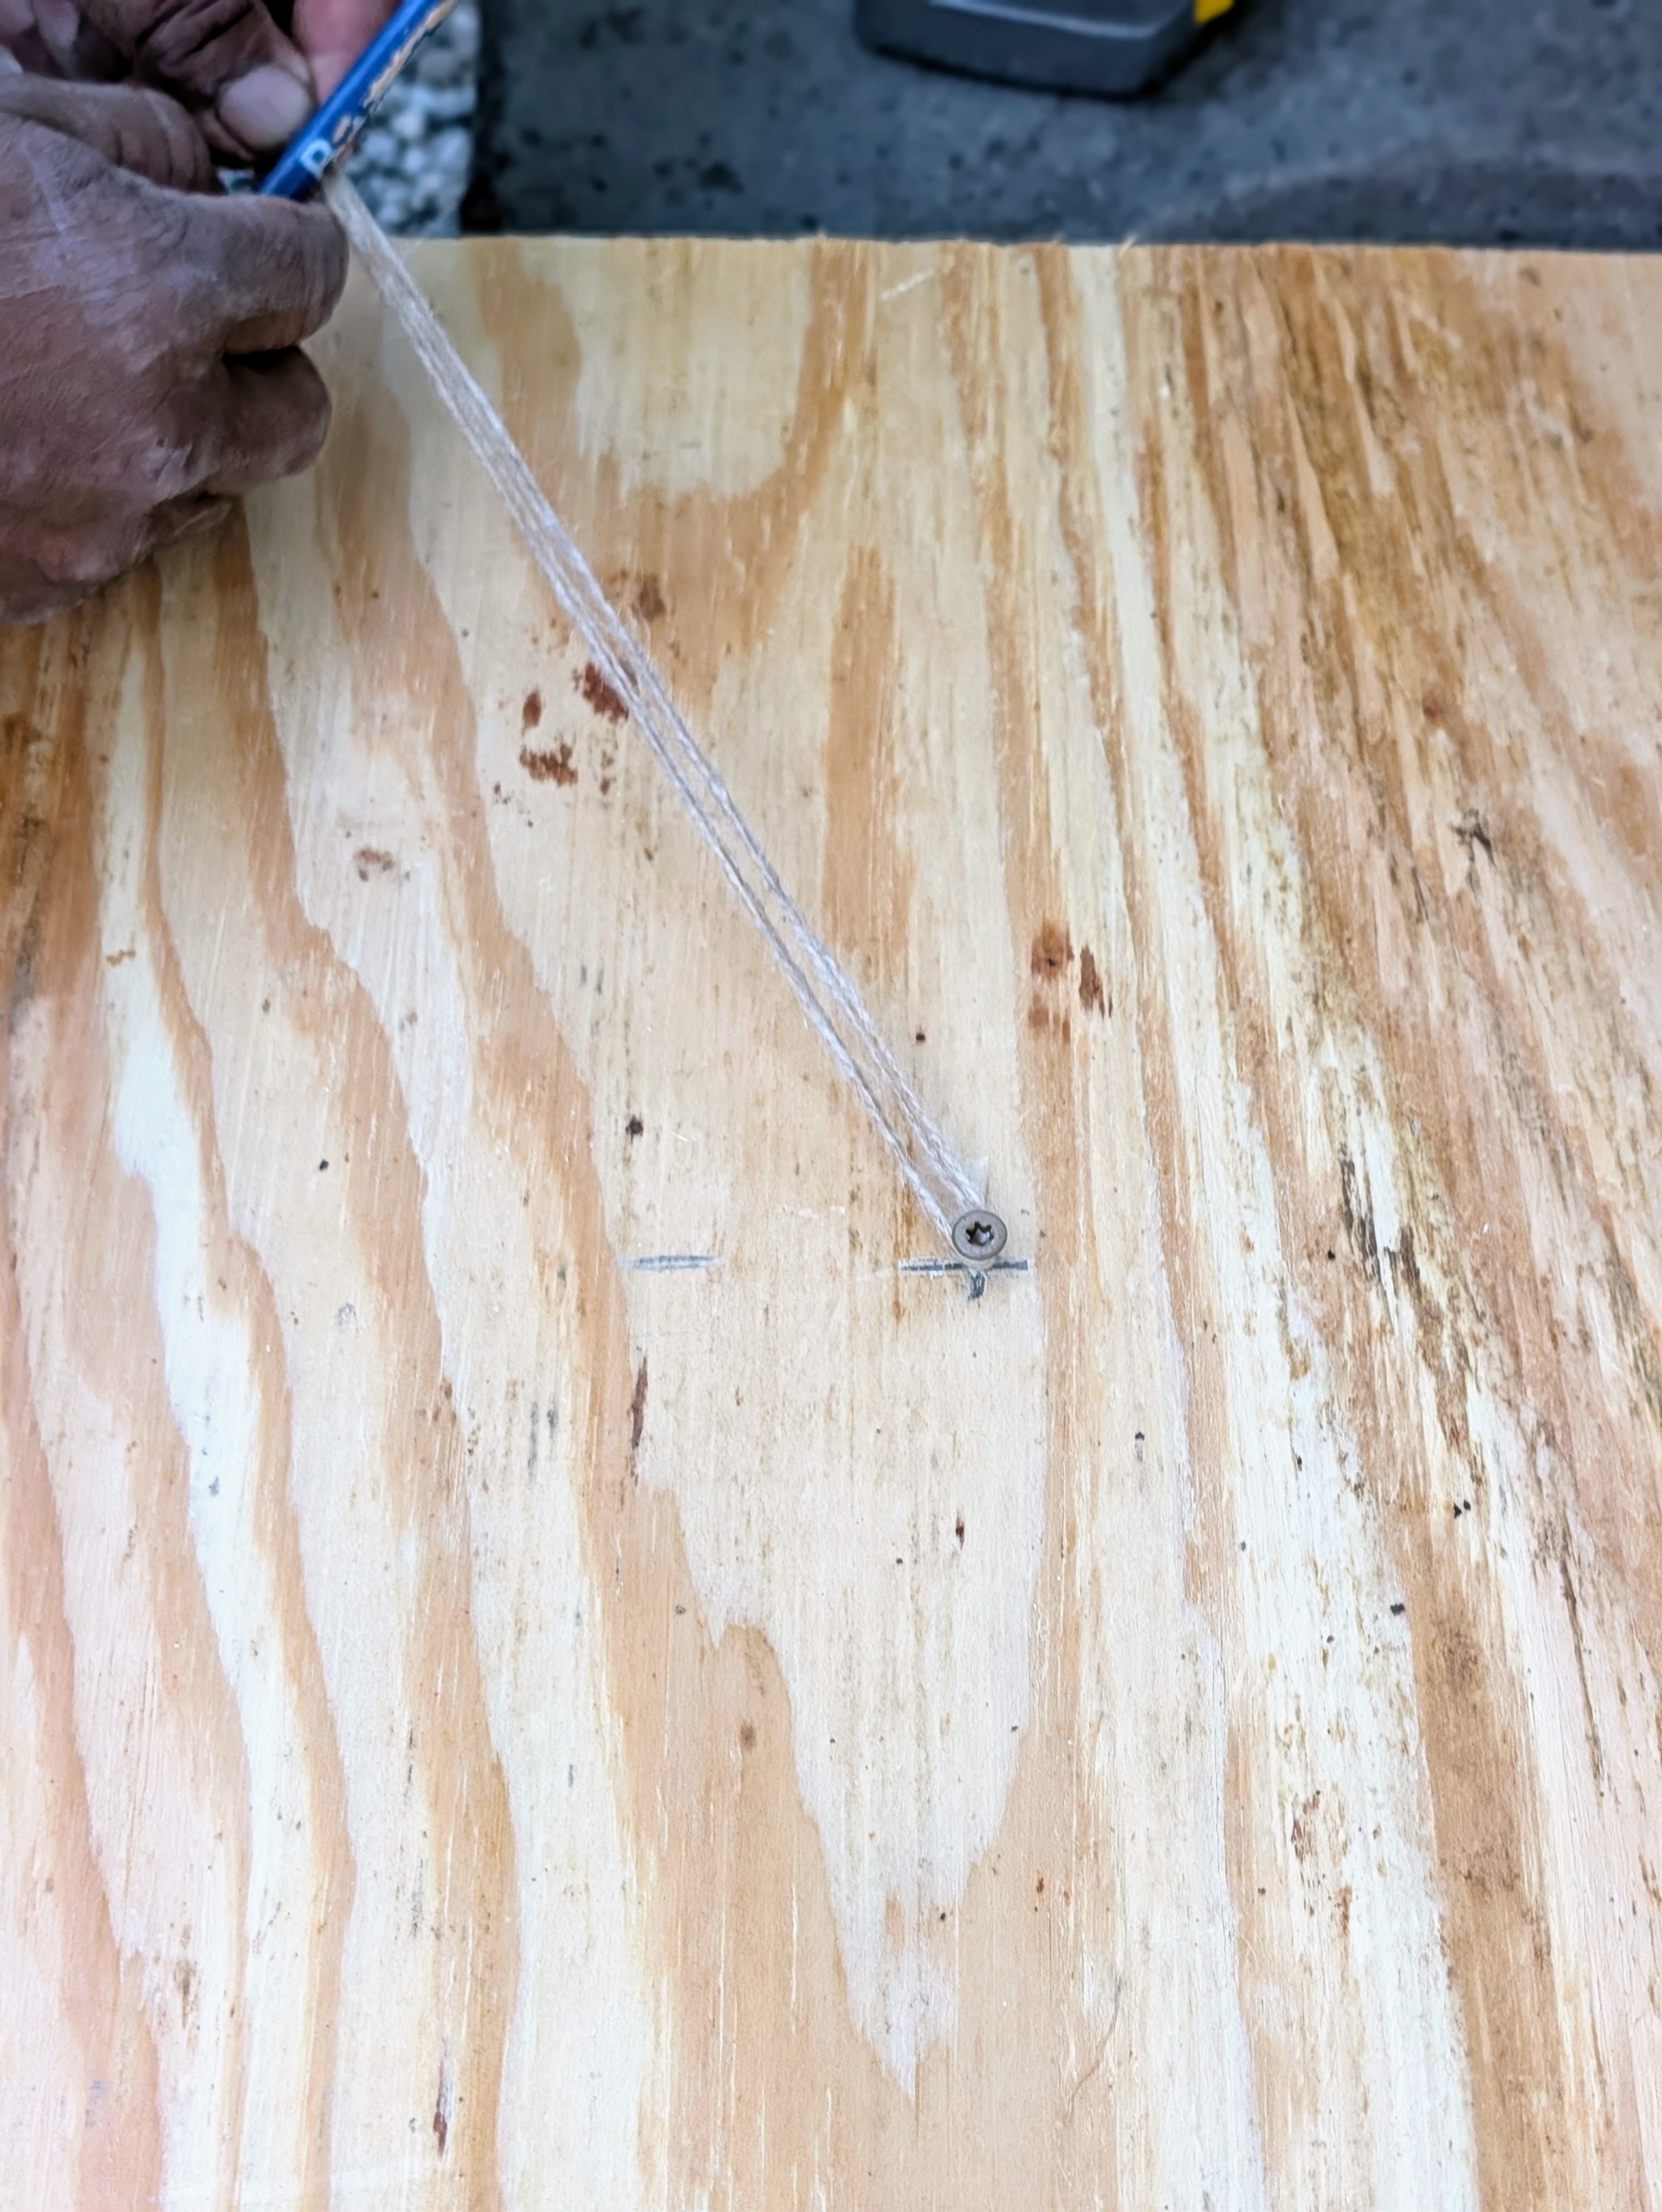
- Here he uses the center mark and some twine to draw a perfect circle.
-
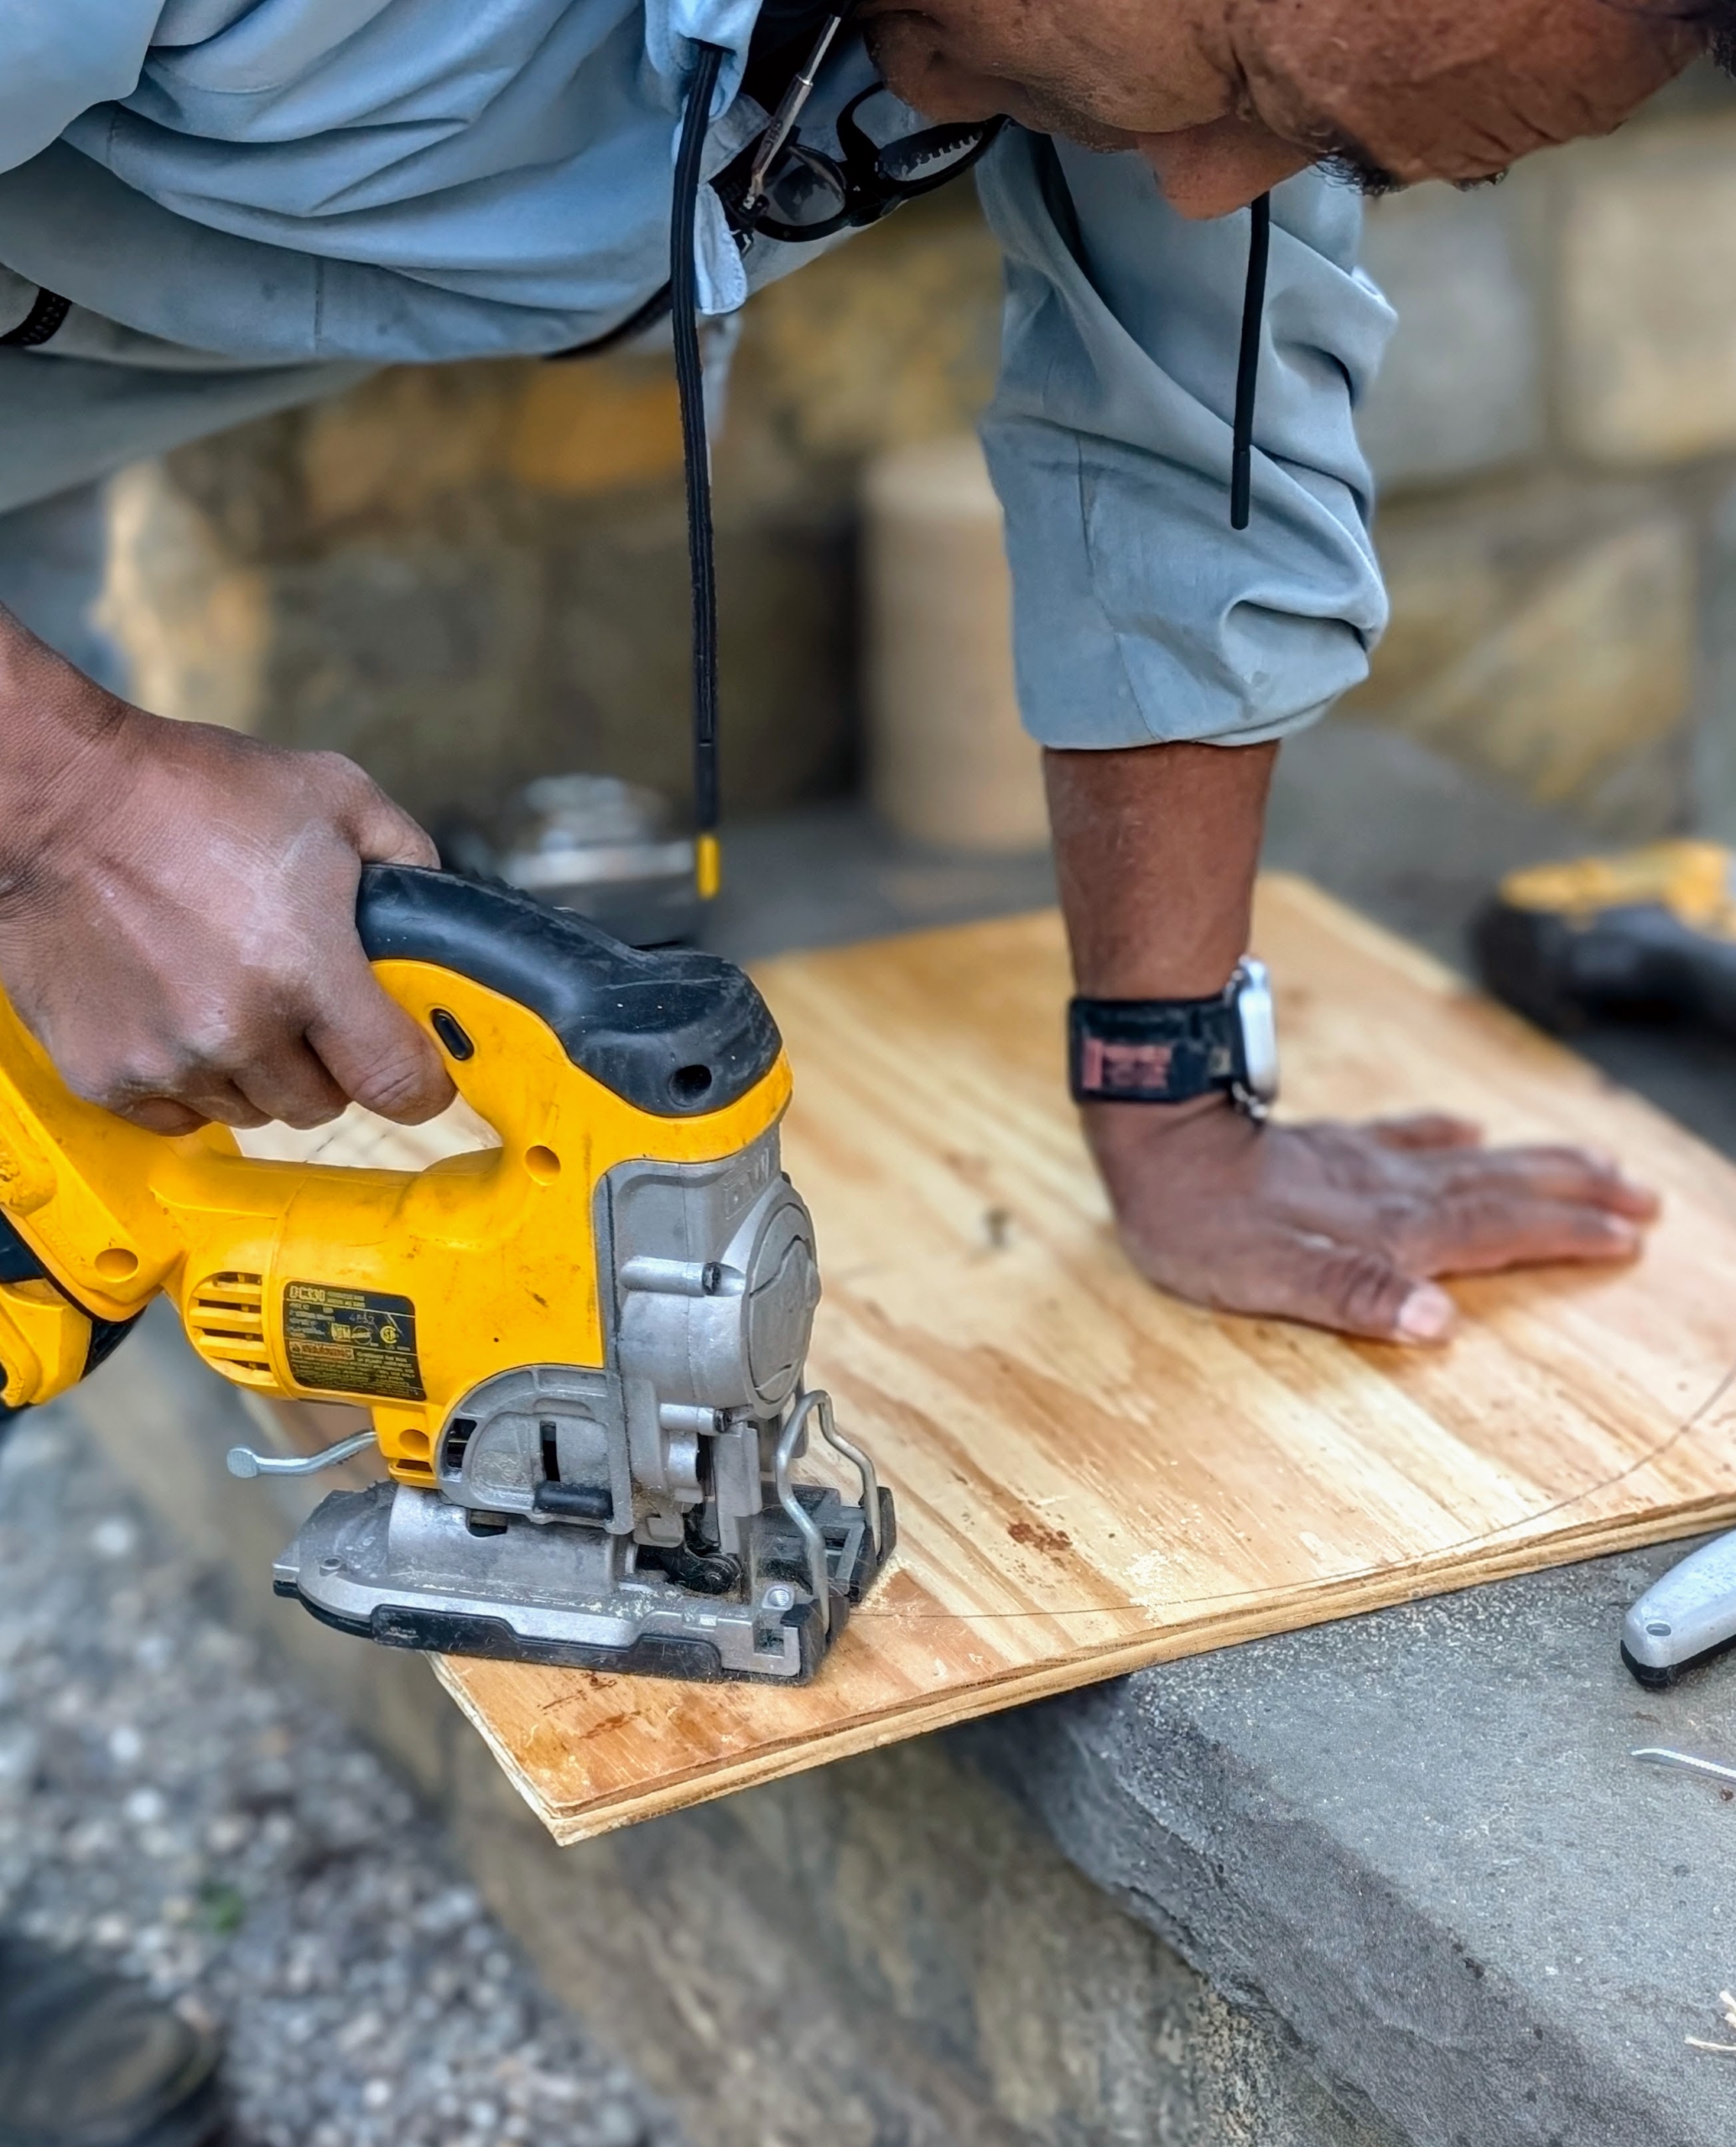
- And then carefully cuts the plywood to size.
-
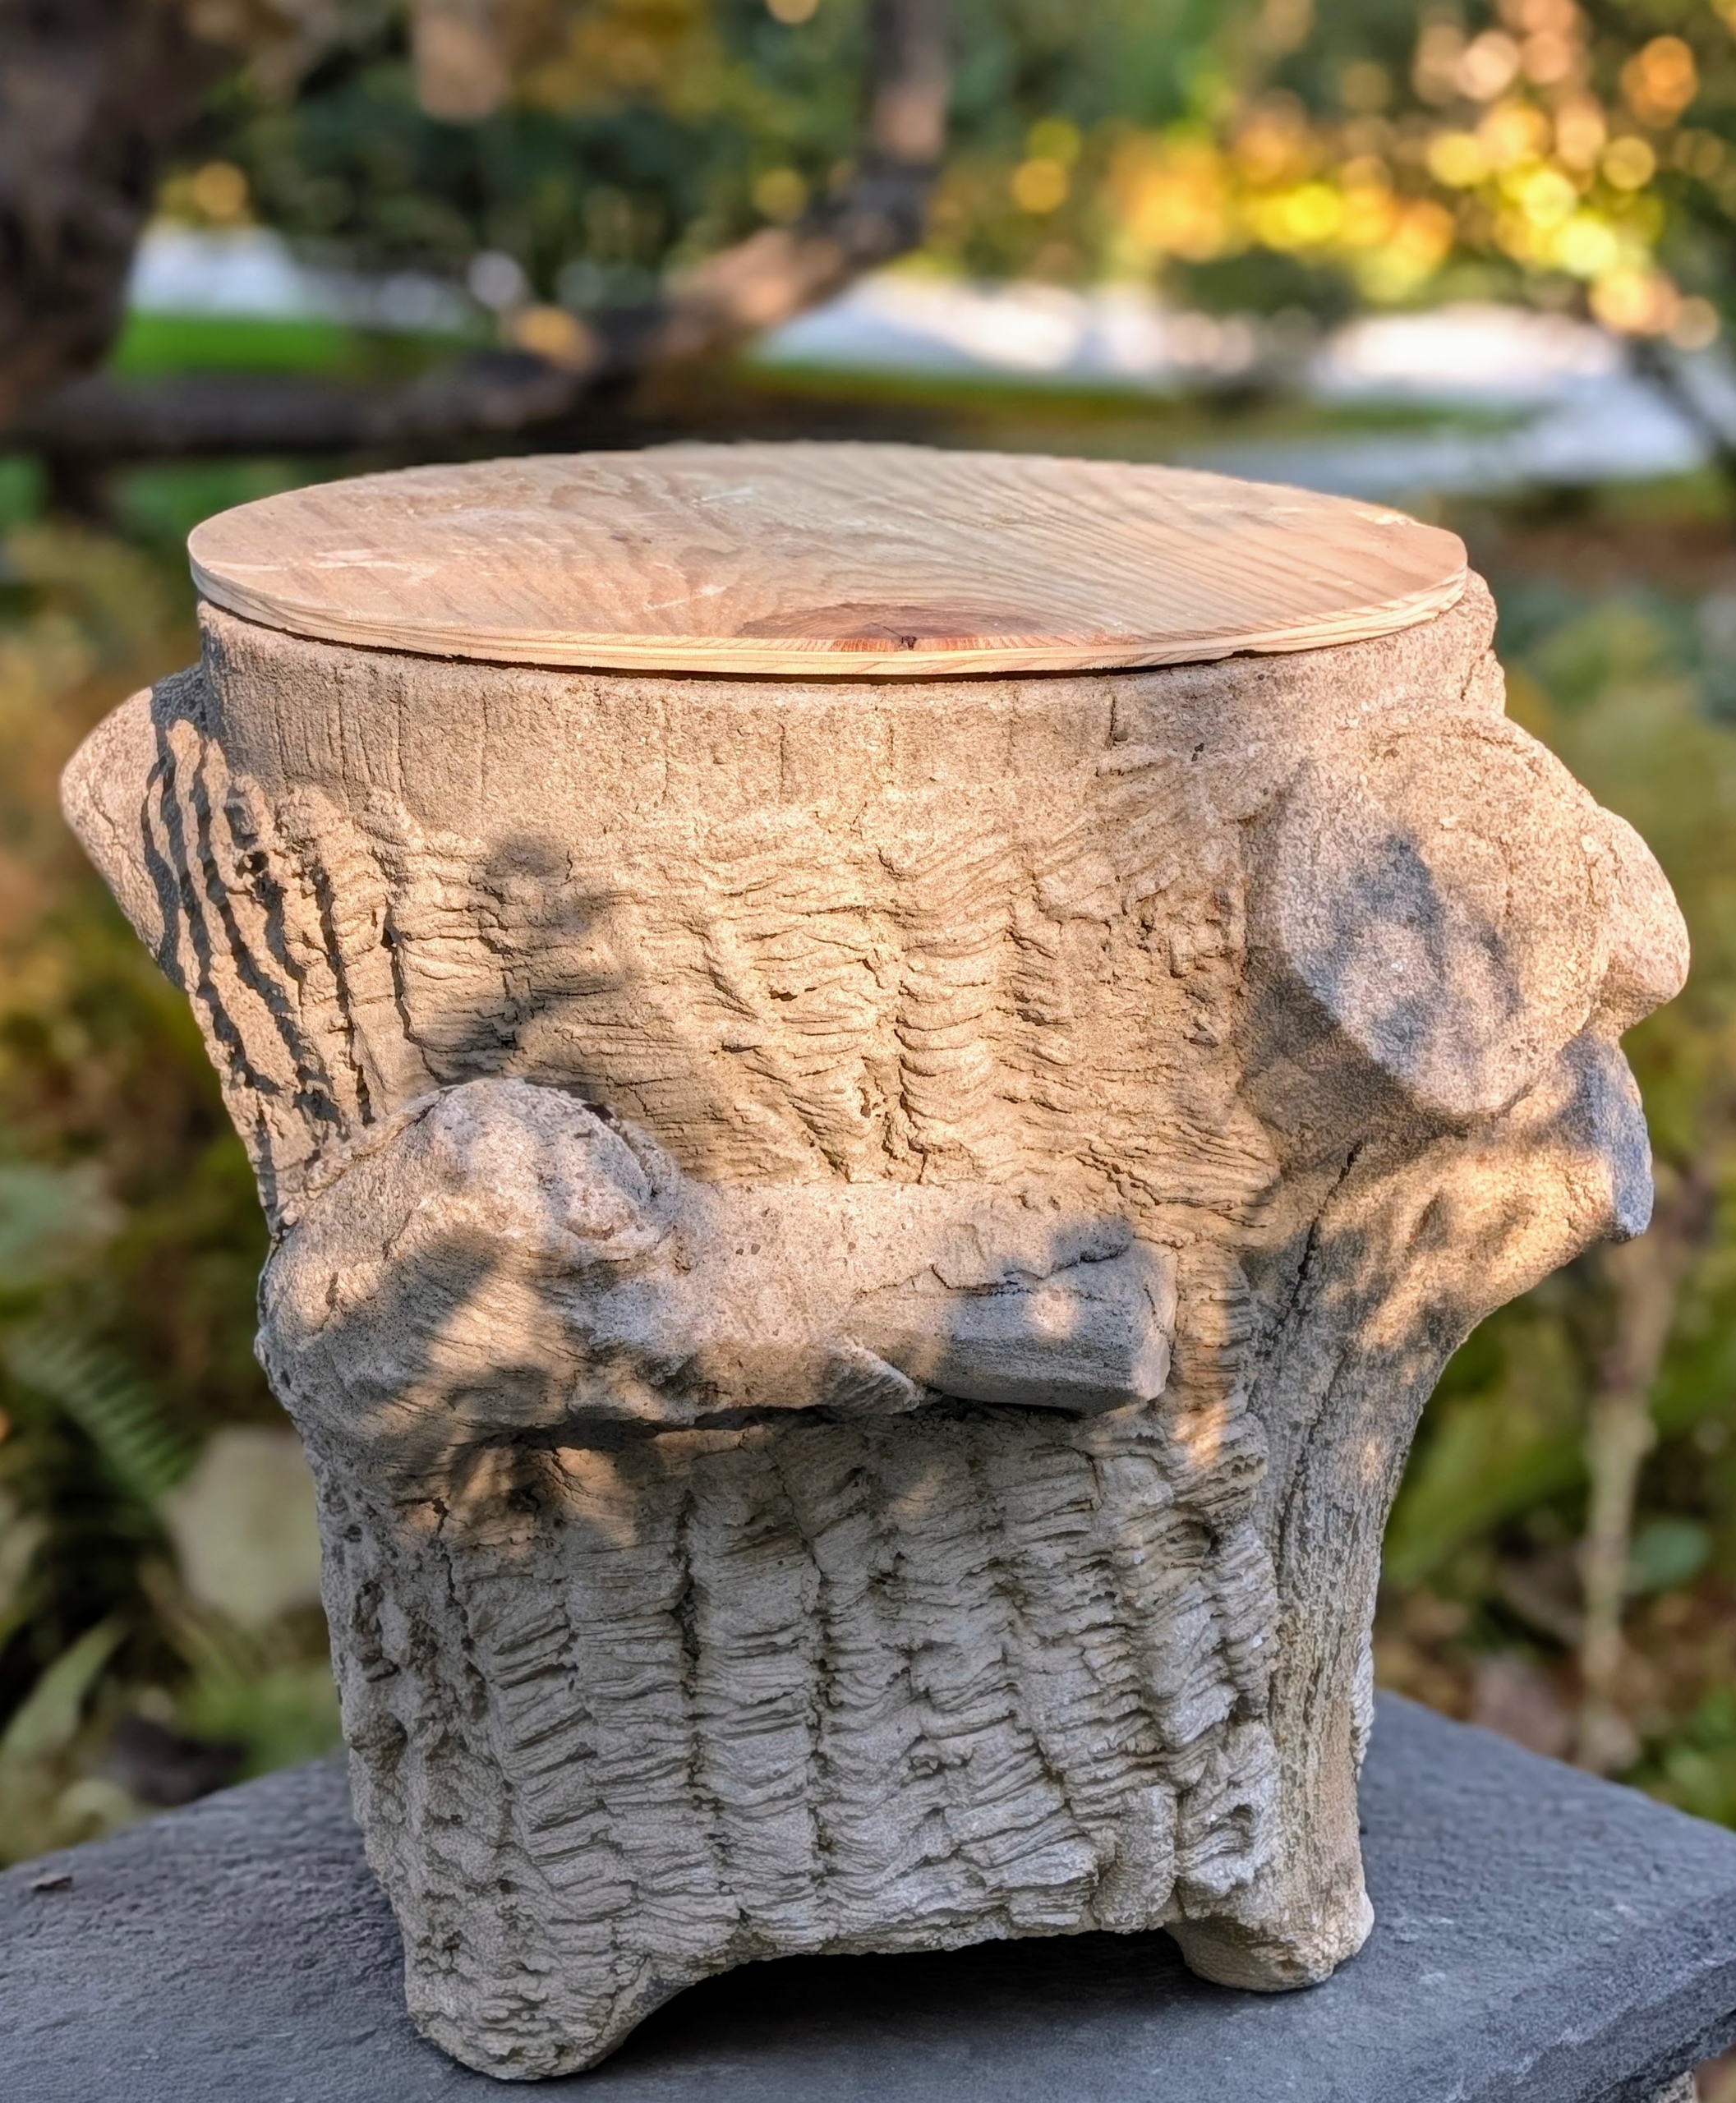
- It’s perfect. The wood top fits right over the pot’s hole resting on the edges of the container.
-
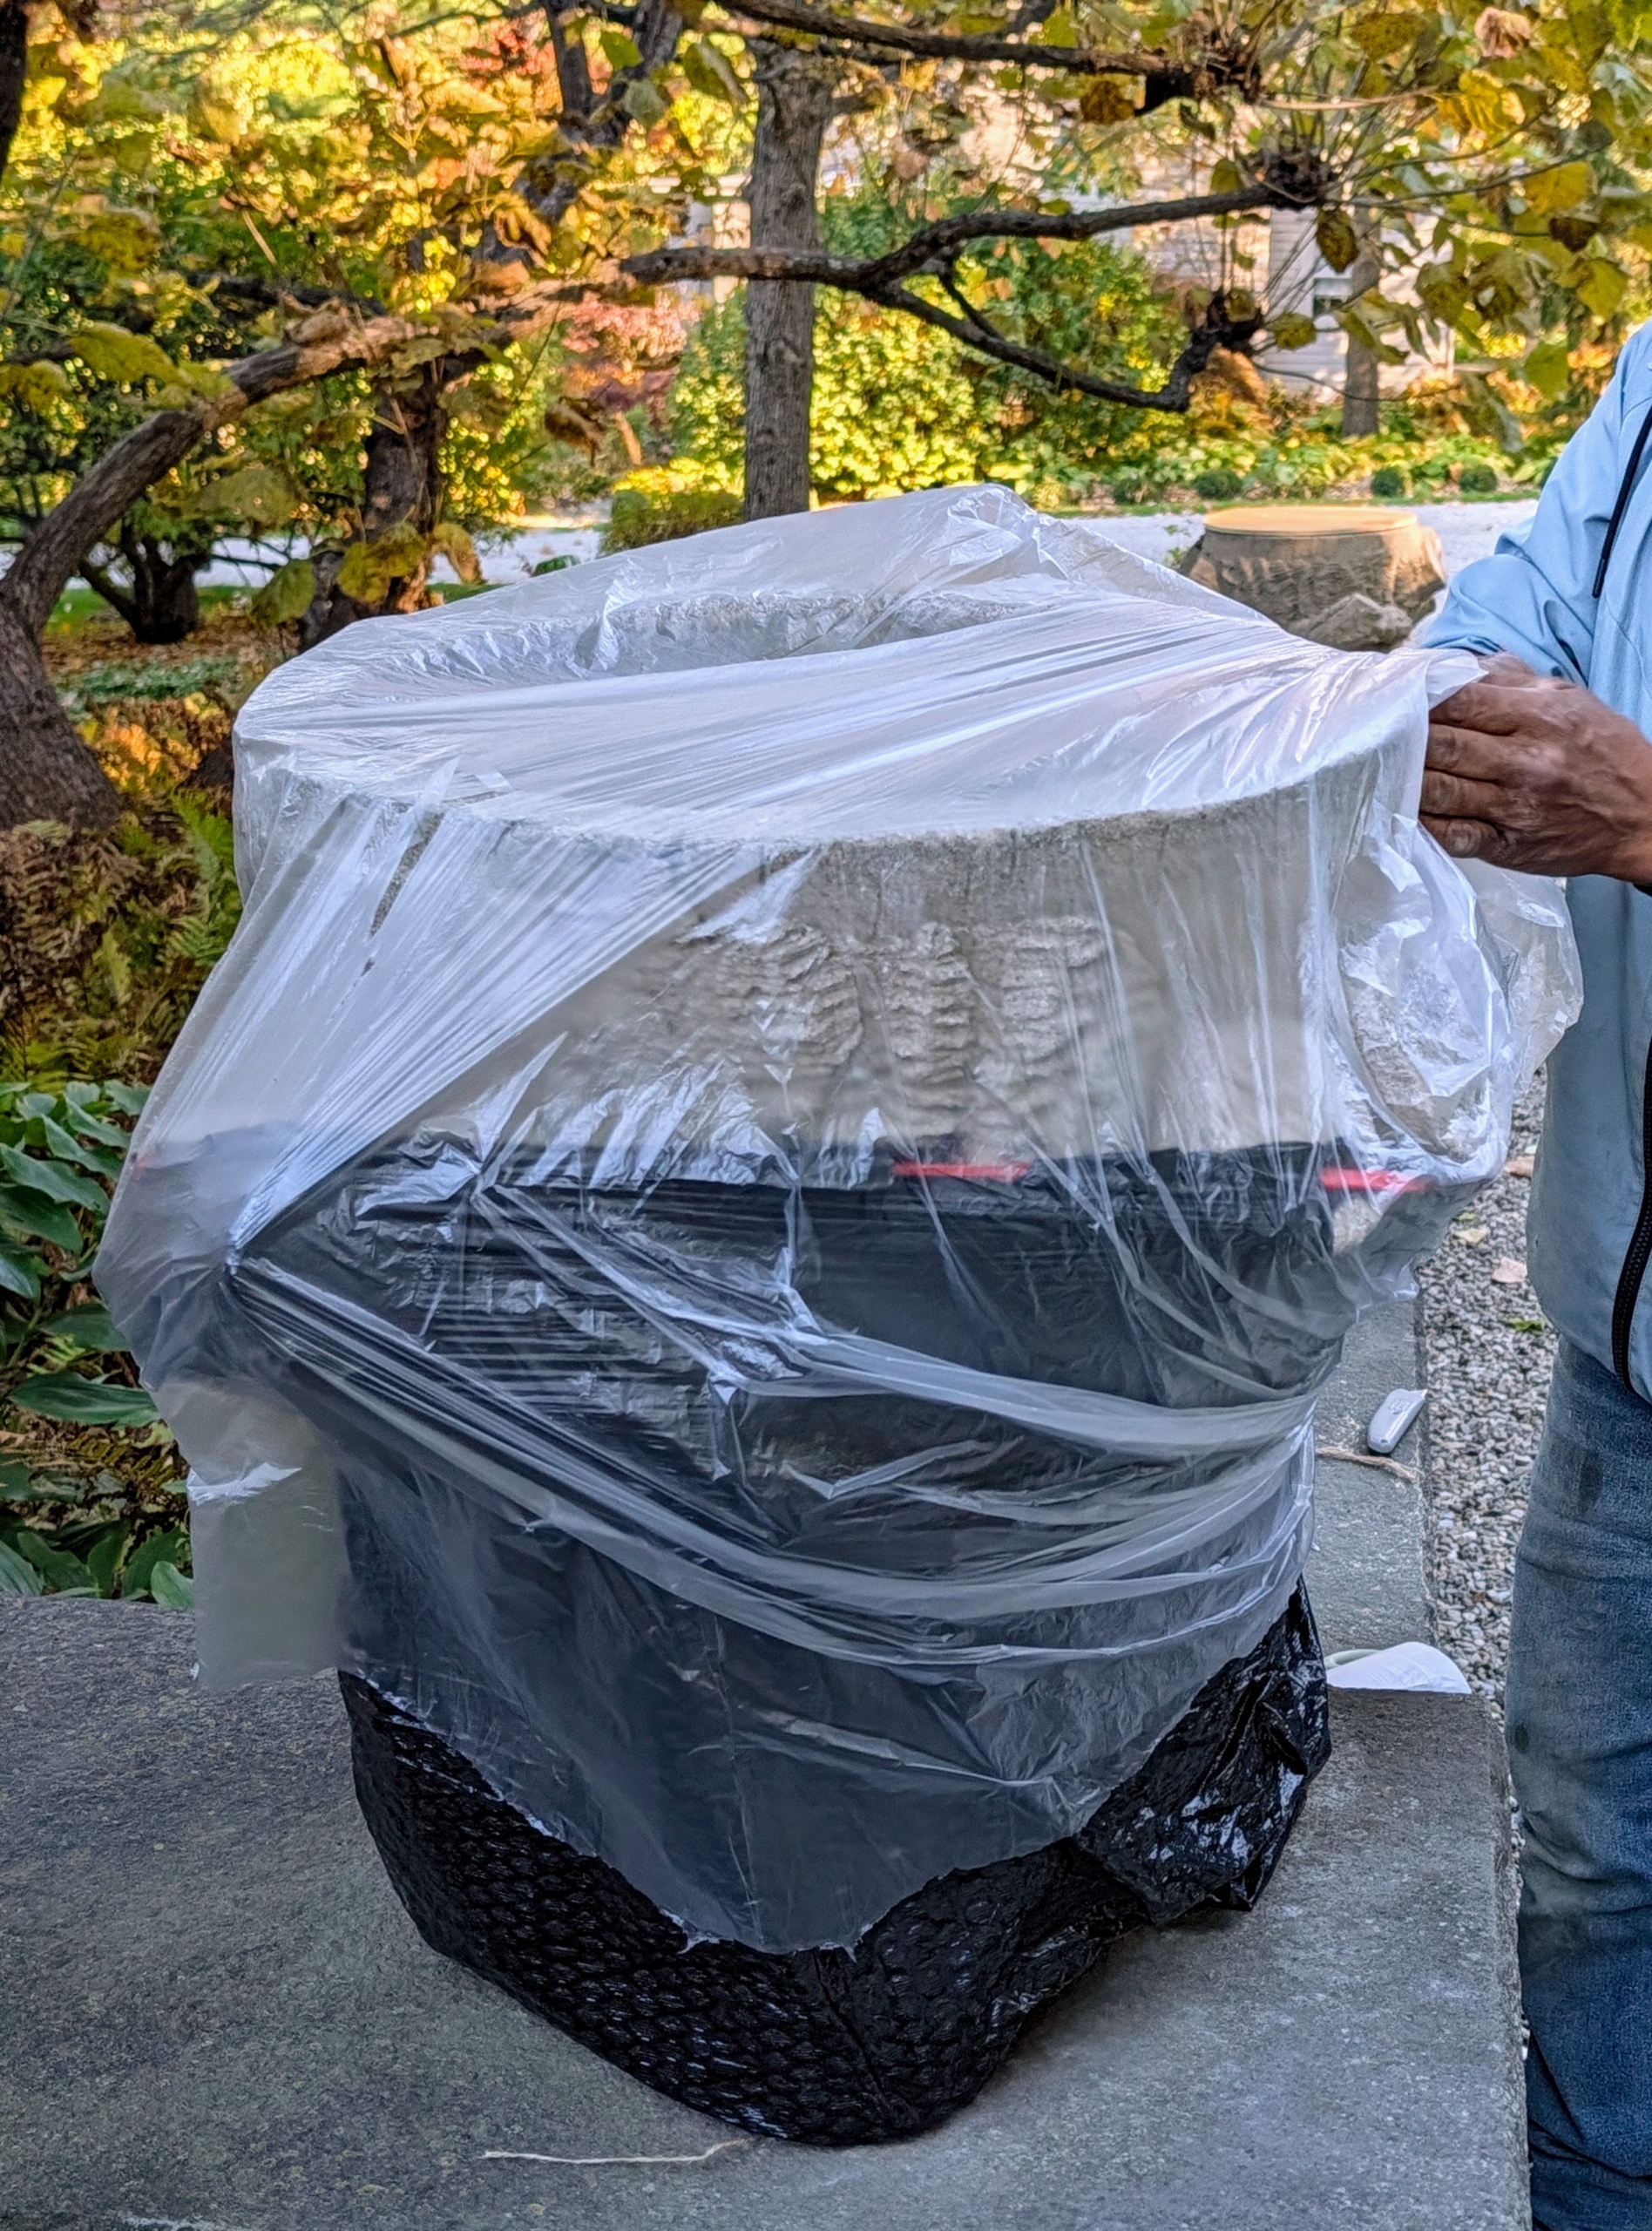
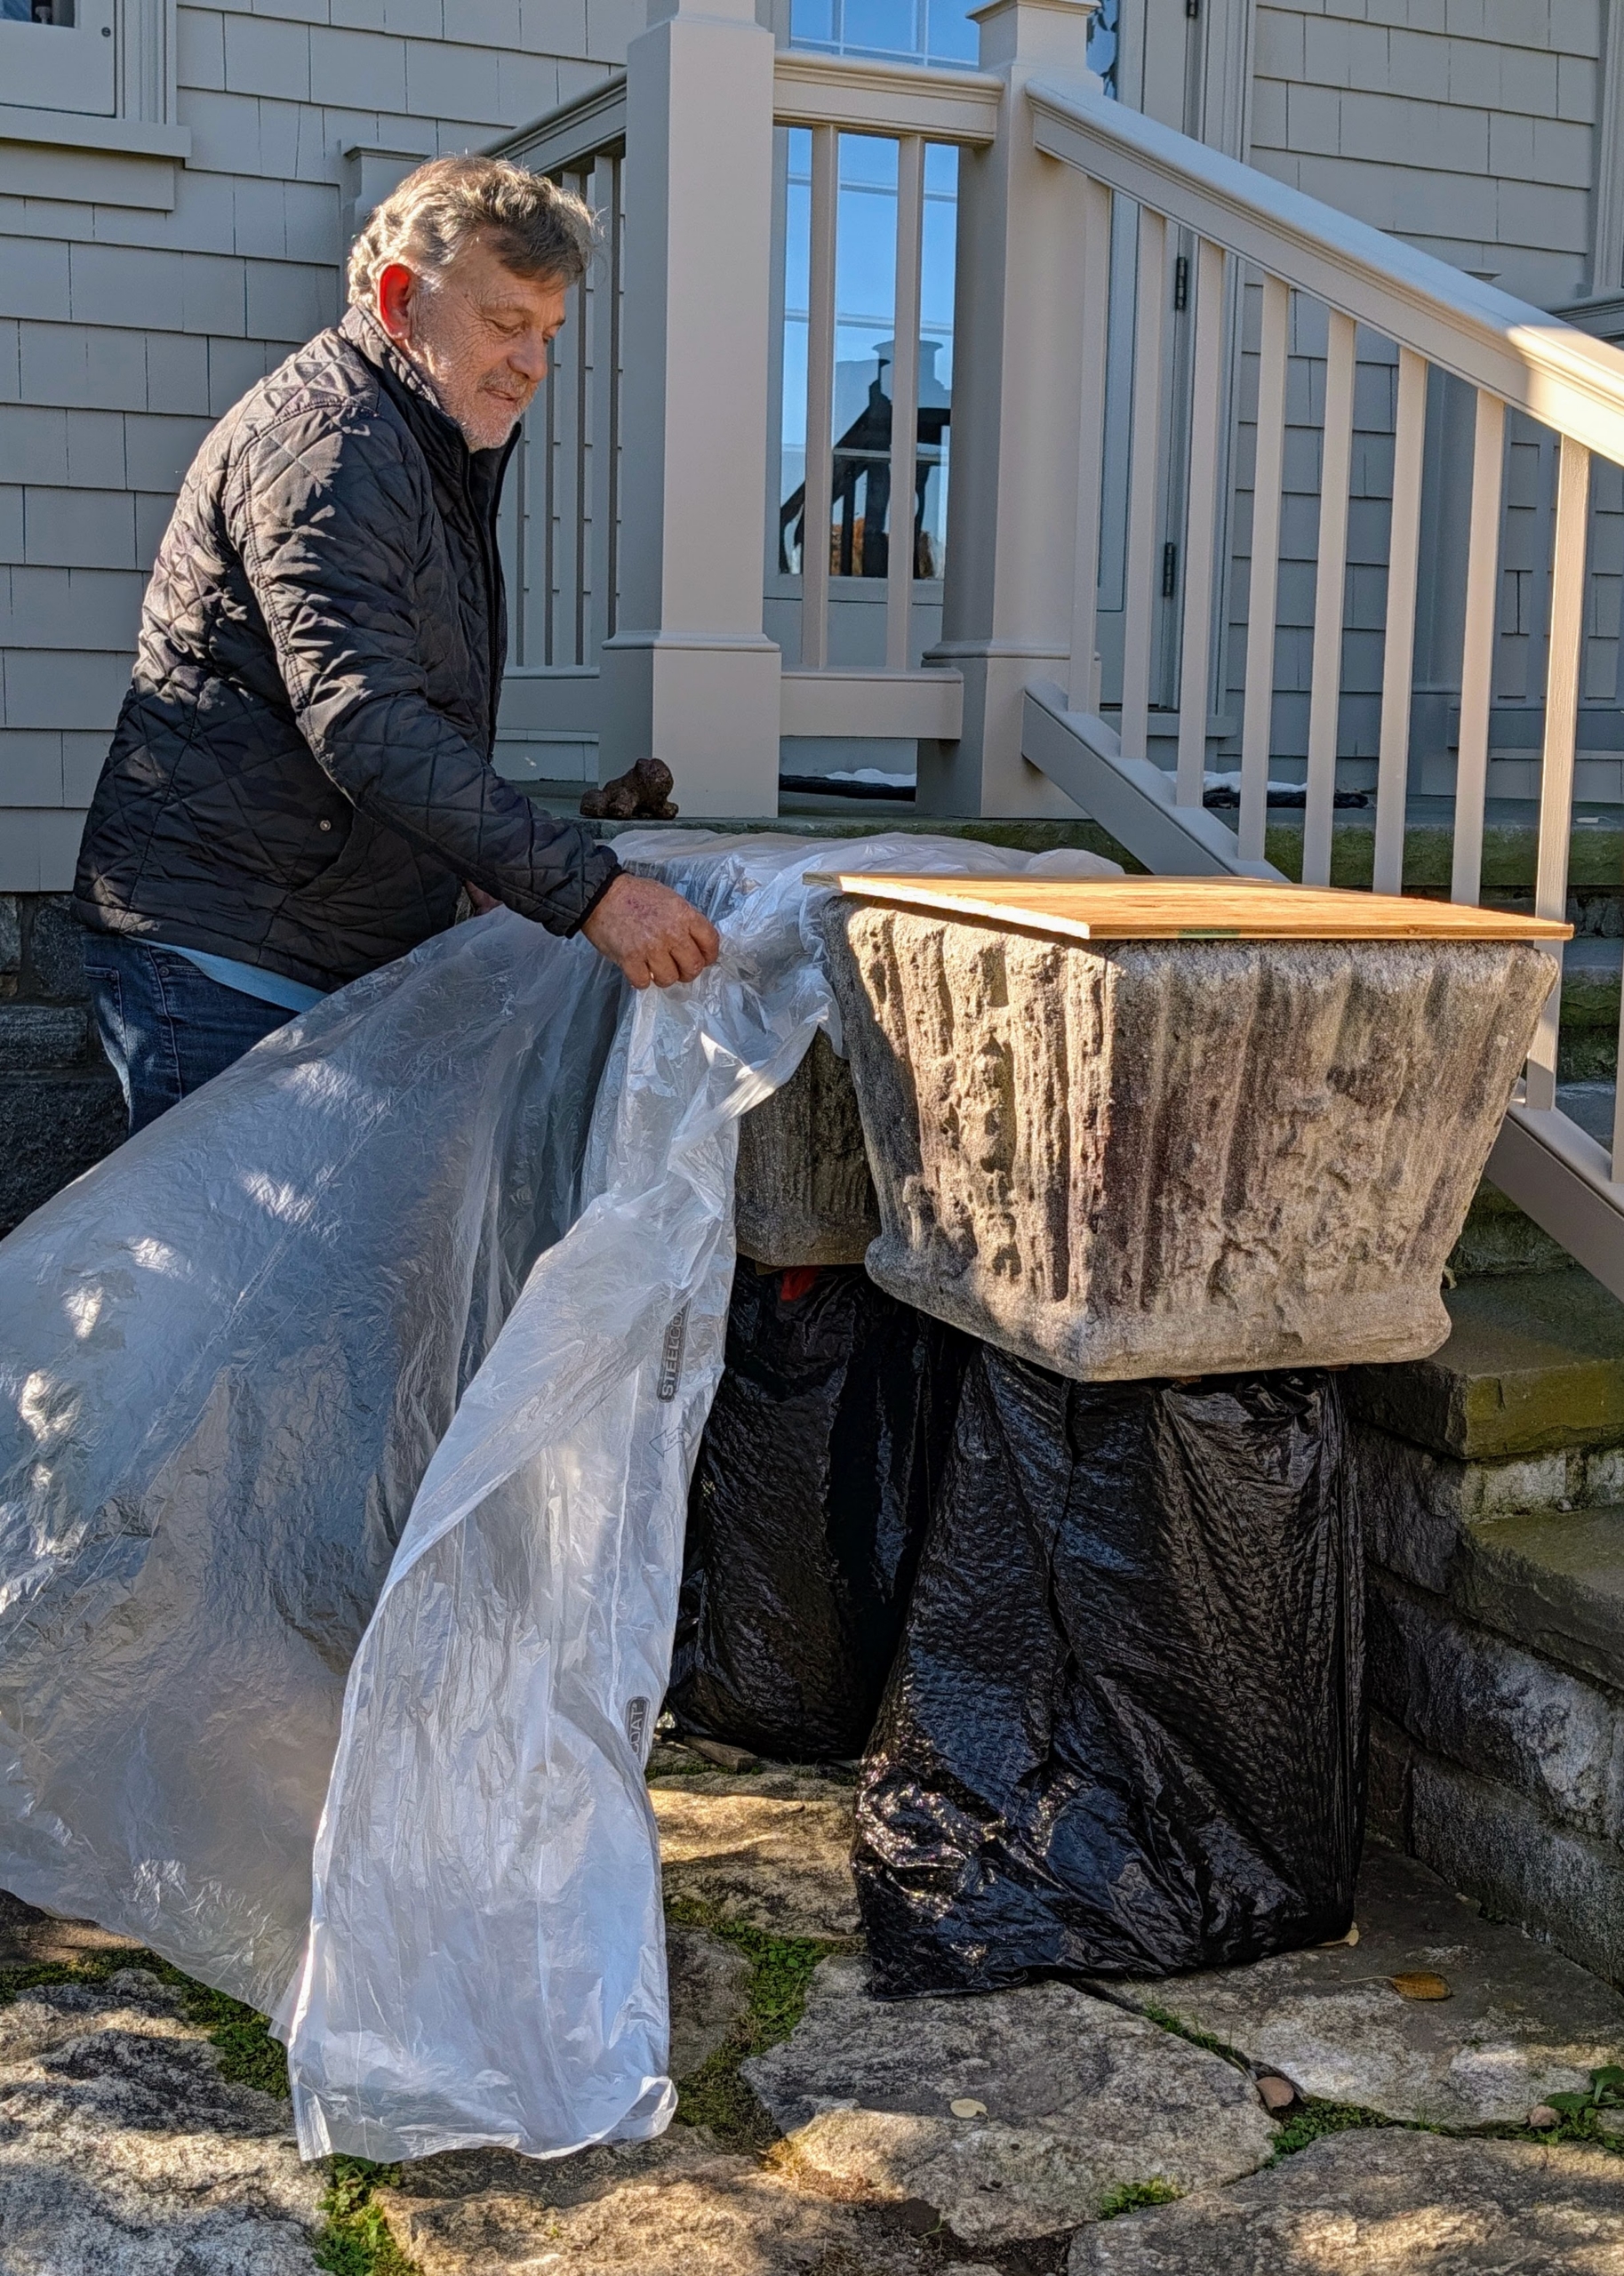
- The planter is then carefully covered in plastic. I instructed Pete to make sure he wraps everything completely – that means underneath it as well. The black plastic is a regular garbage bag, which is easy to use on smaller vessels.
-
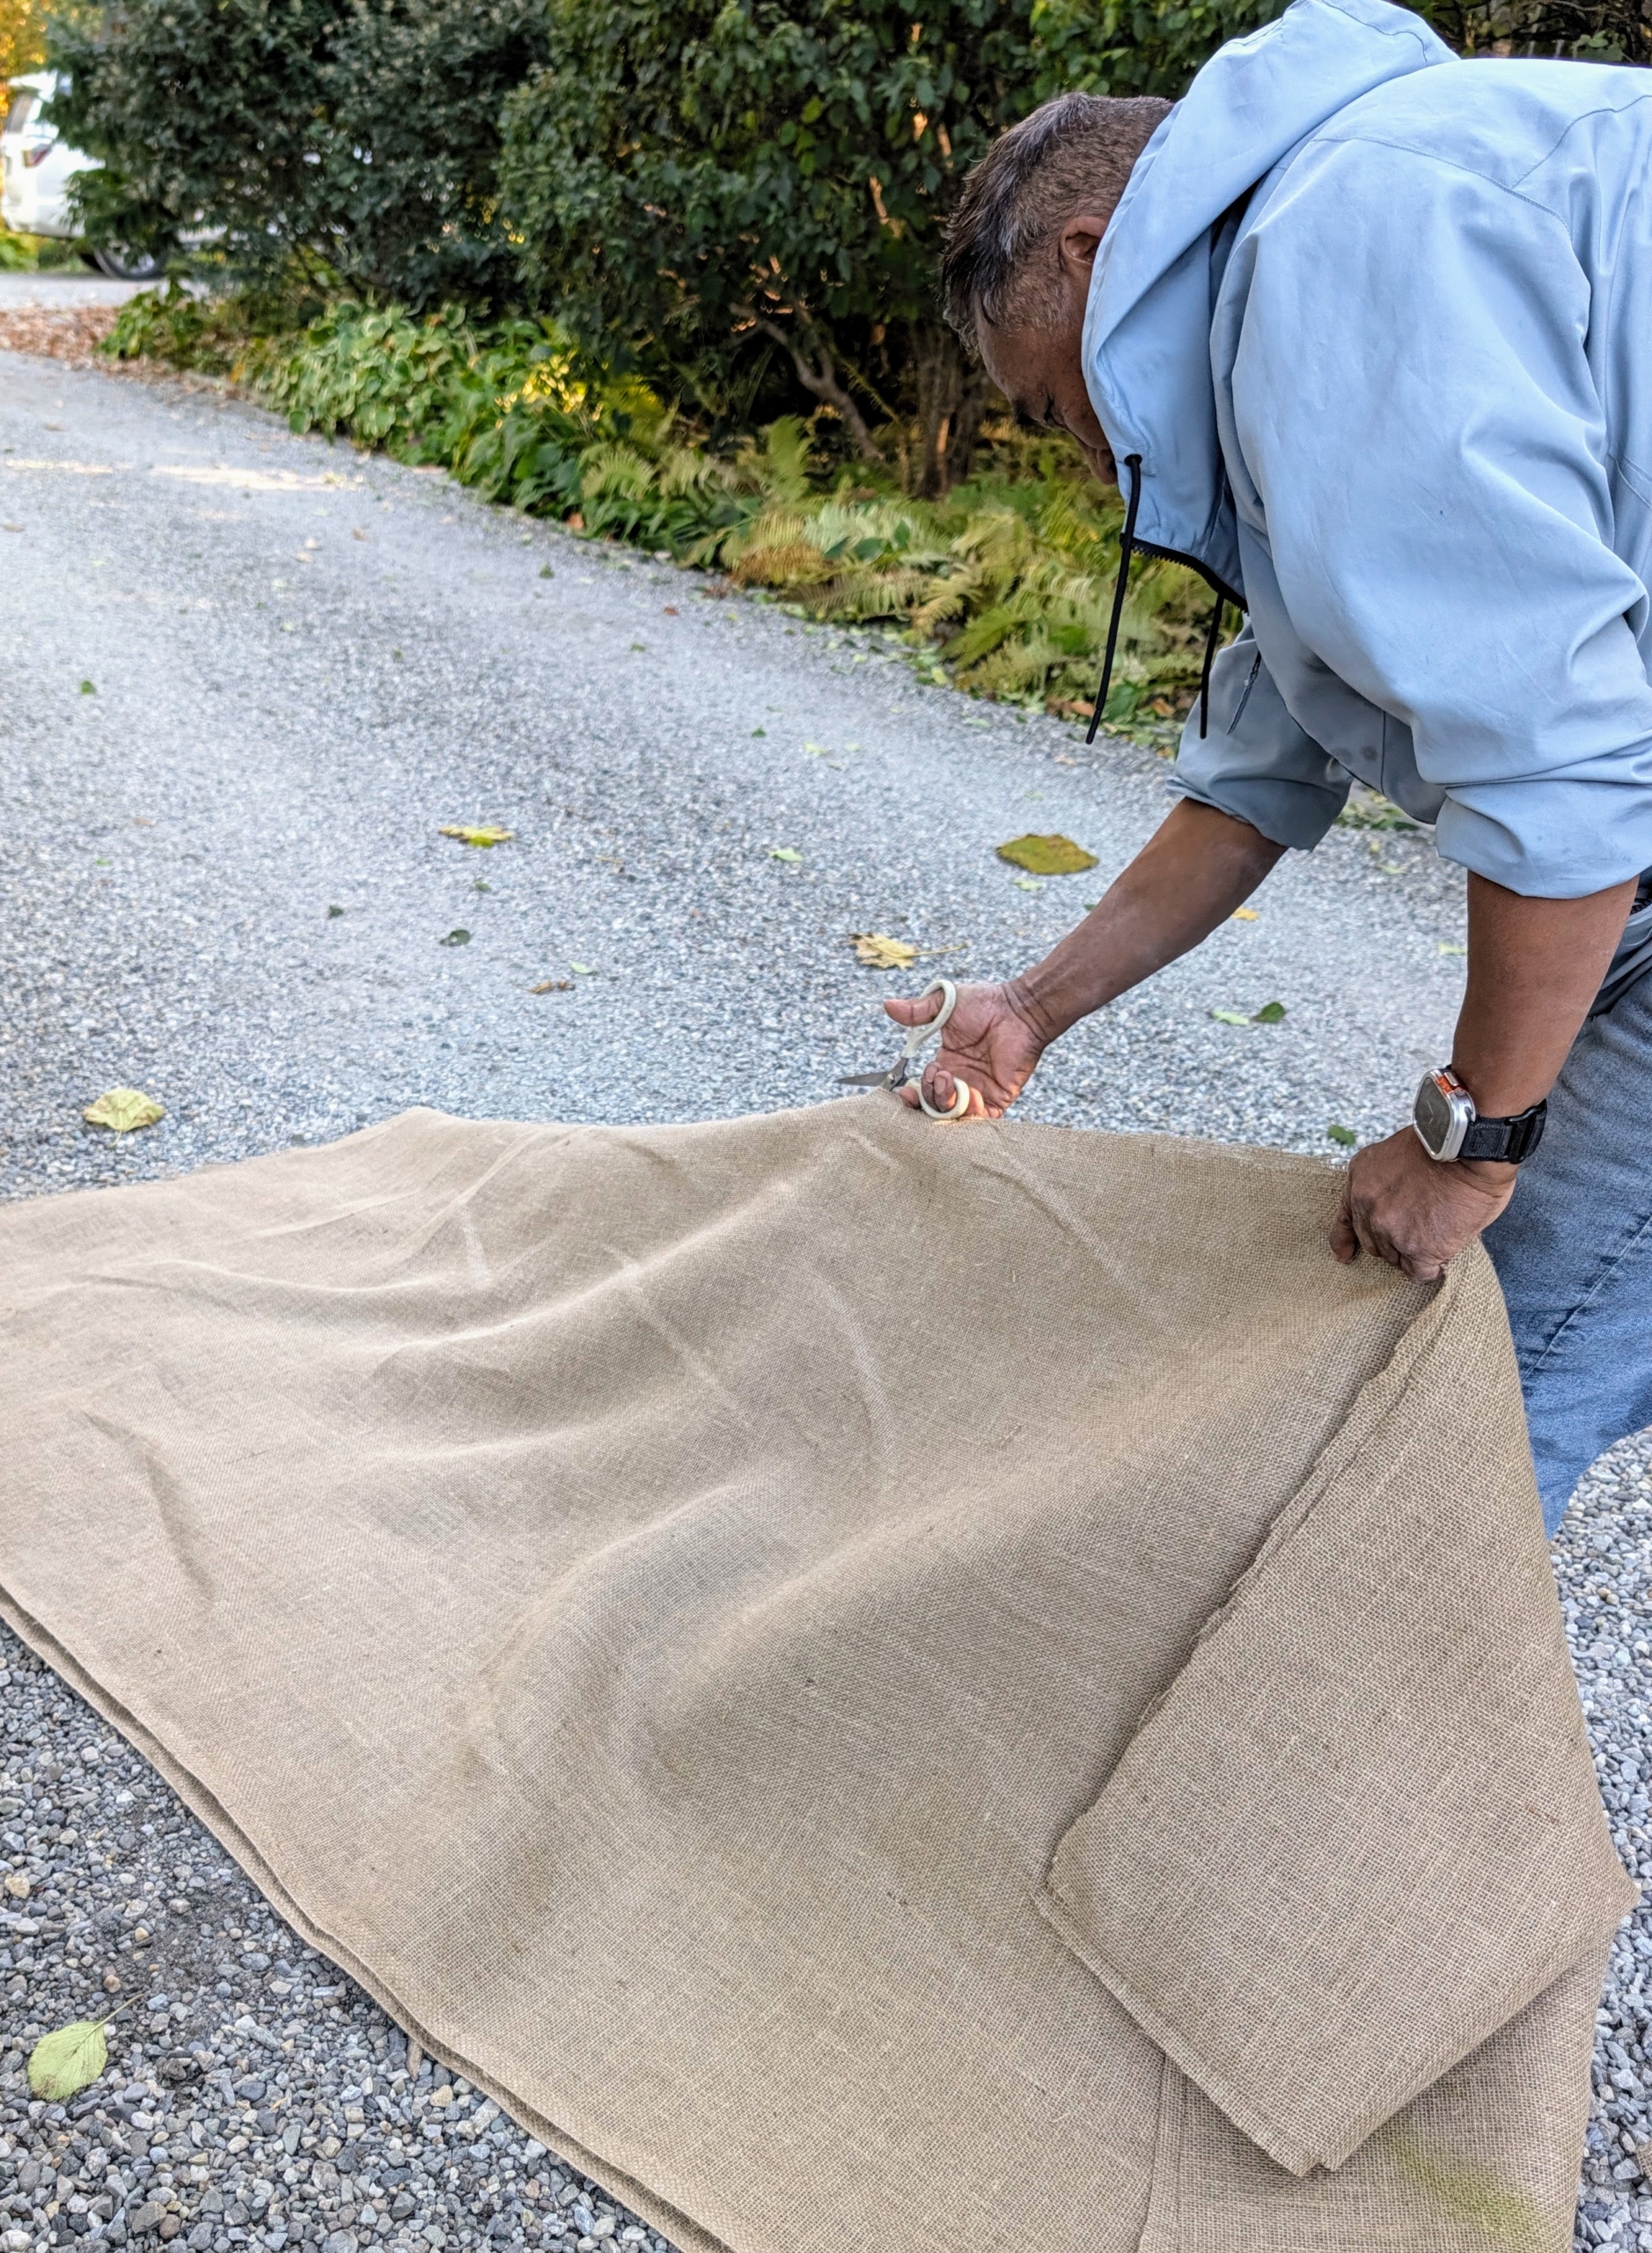
- When possible, my crew reuses burlap from seasons past; however, it is also available in giant rolls of 40-inches or 60-inches wide. Pete cuts the burlap fabric to fit – one piece that can completely wrap around the urn. He doubles up the fabric to accommodate two.
-
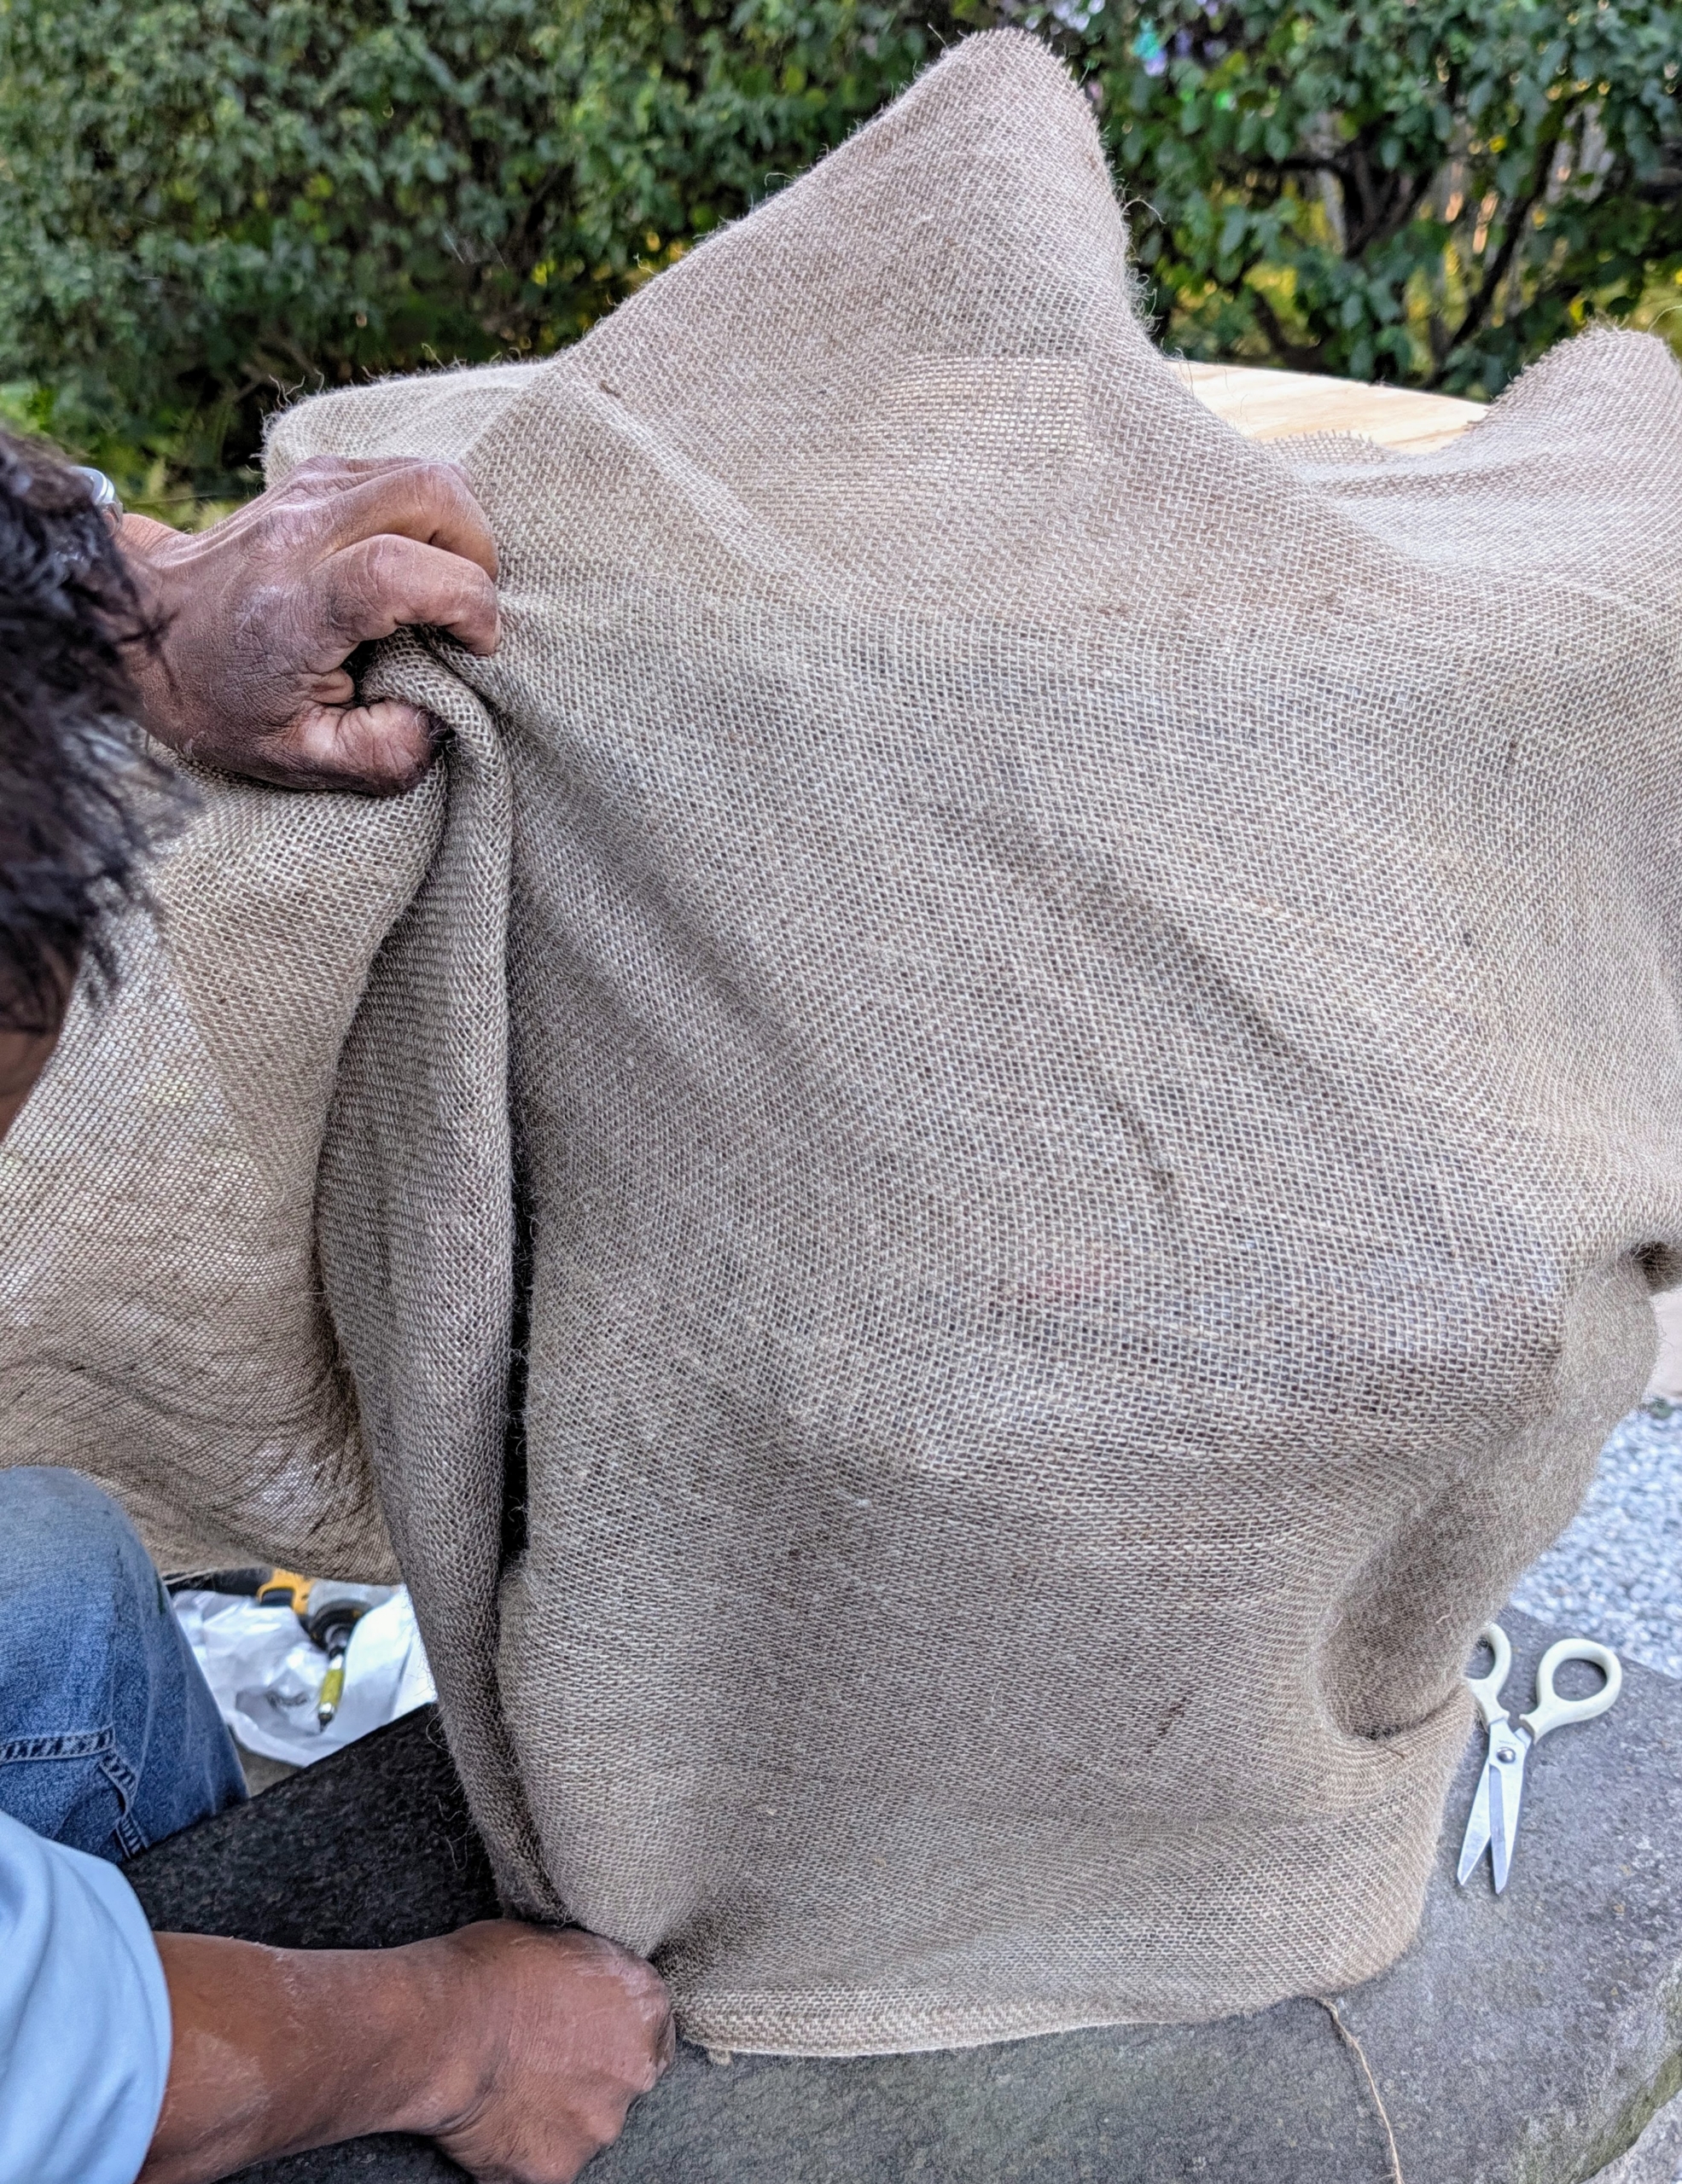
- The burlap is wrapped around the entire piece. Burlap is so useful for many gardening projects – it is inexpensive, biodegradable, and the color and texture of burlap is so pretty to use.
-
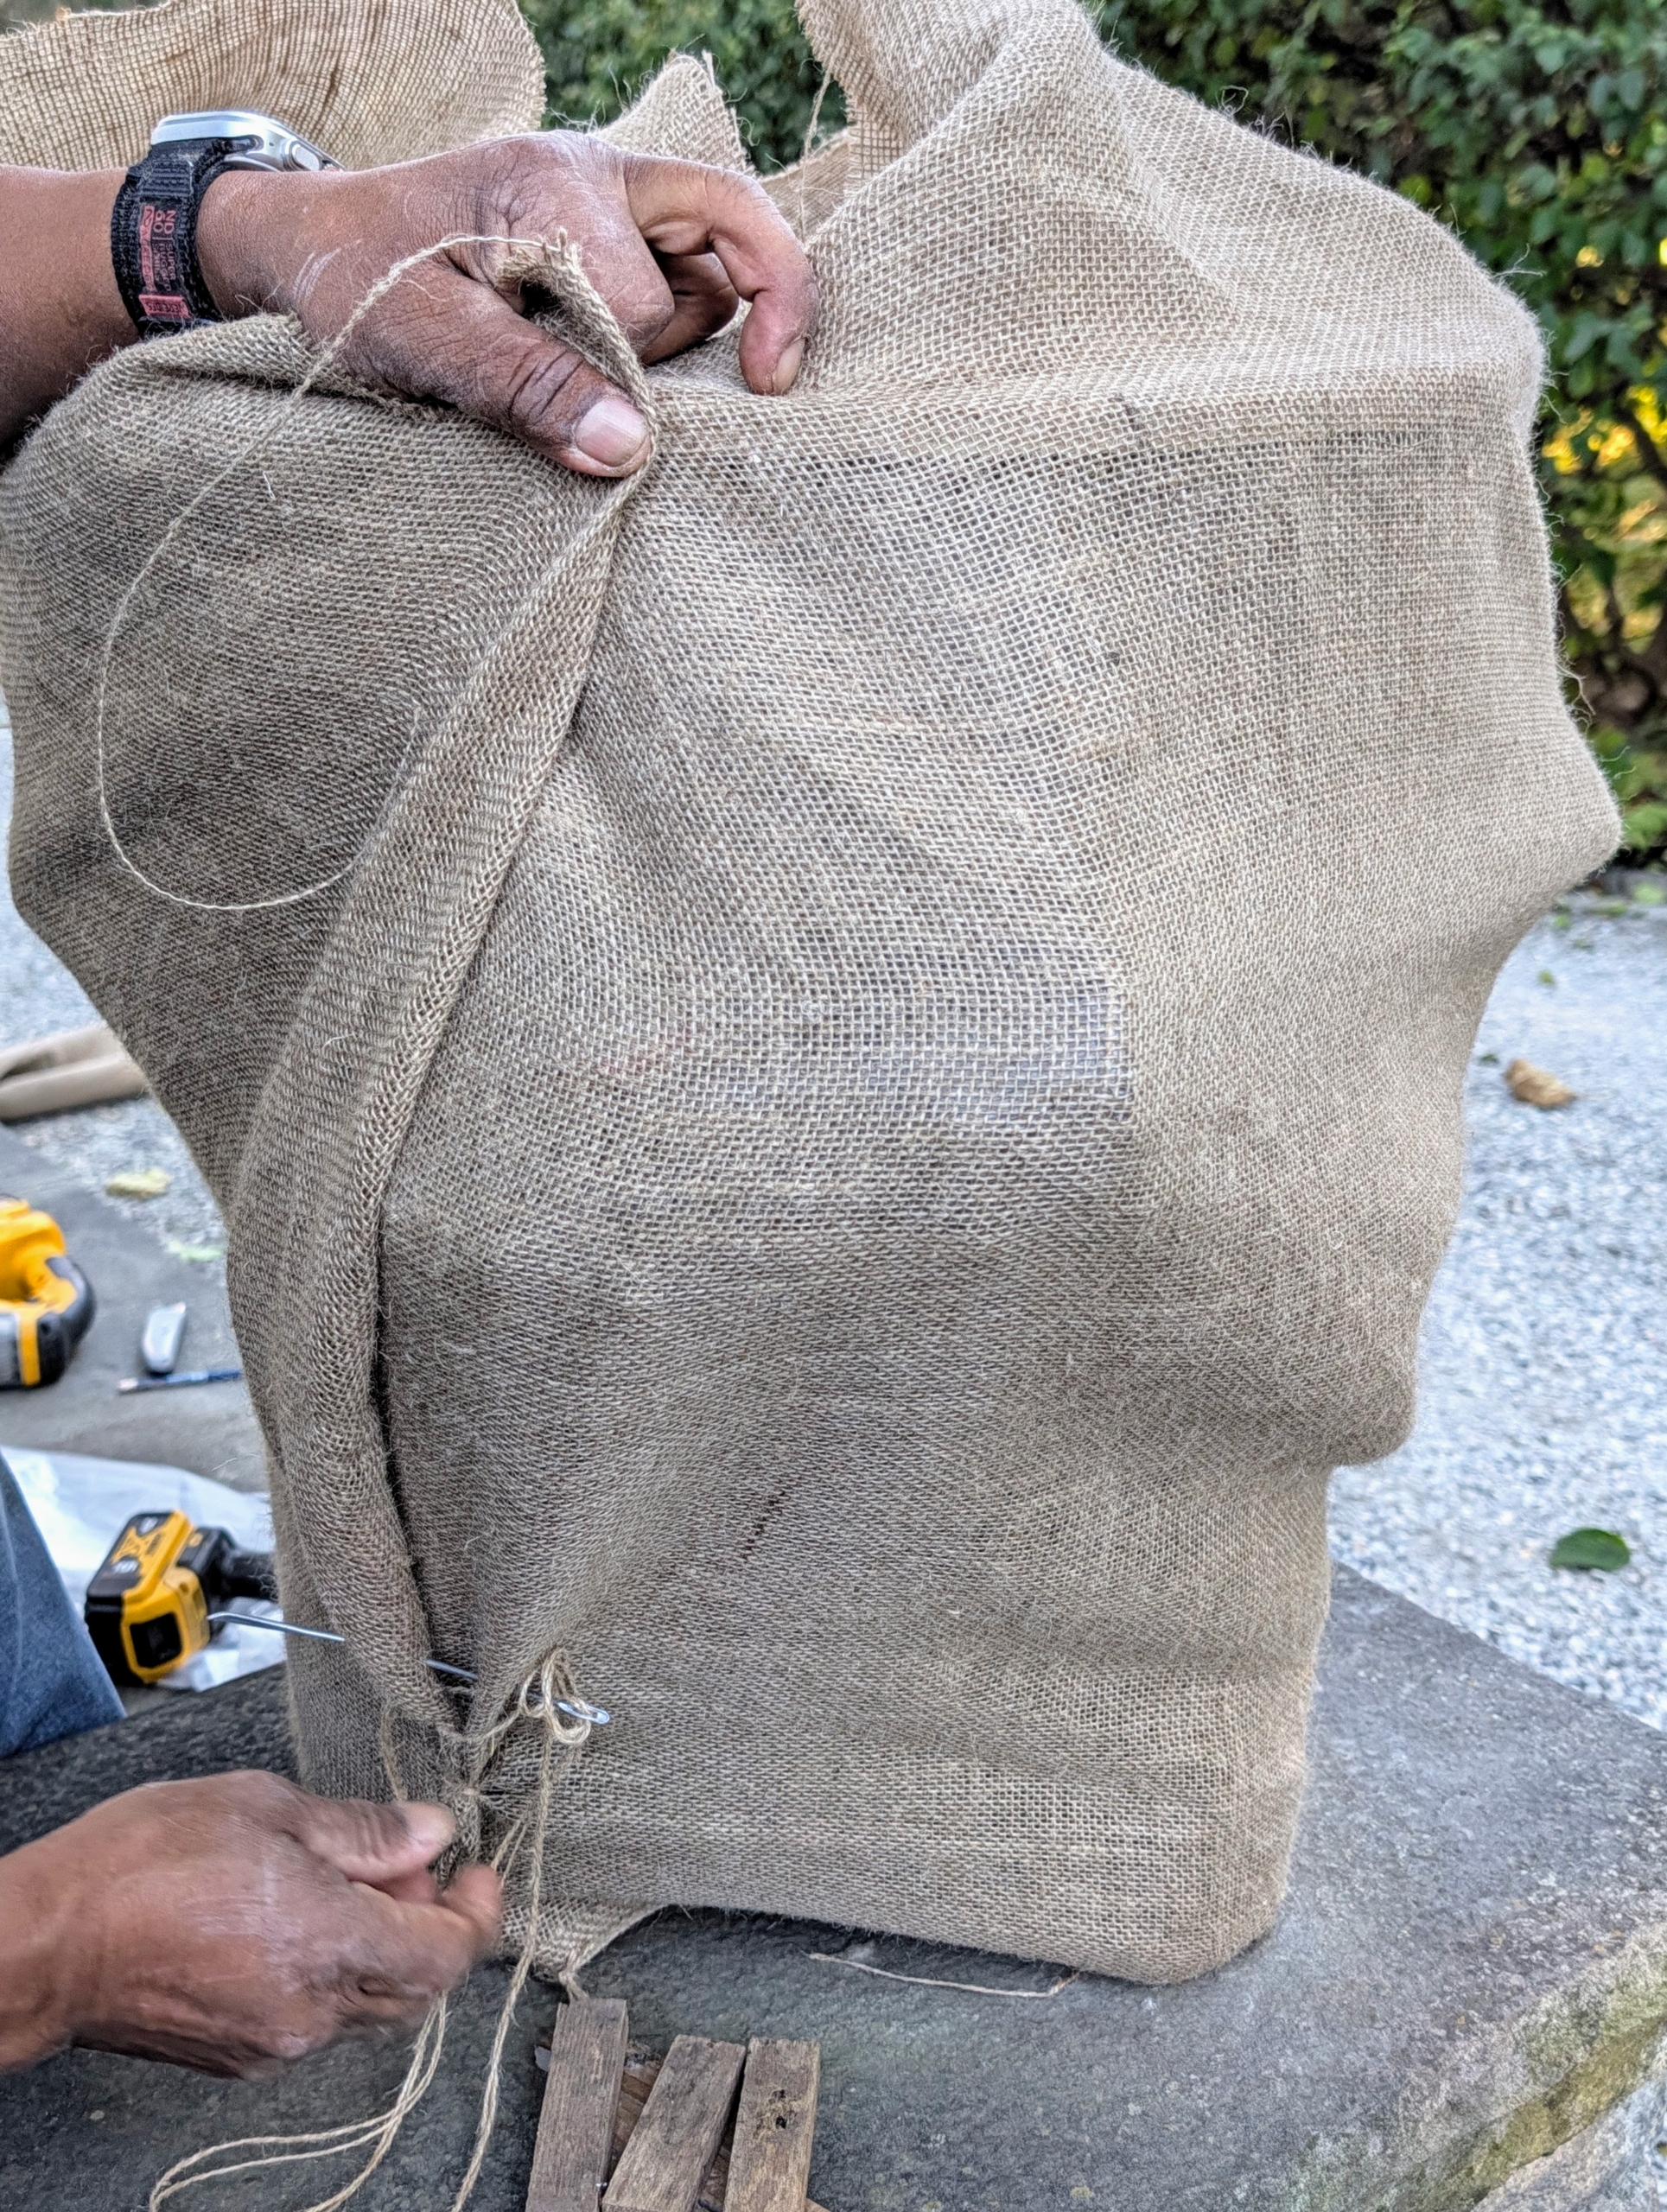
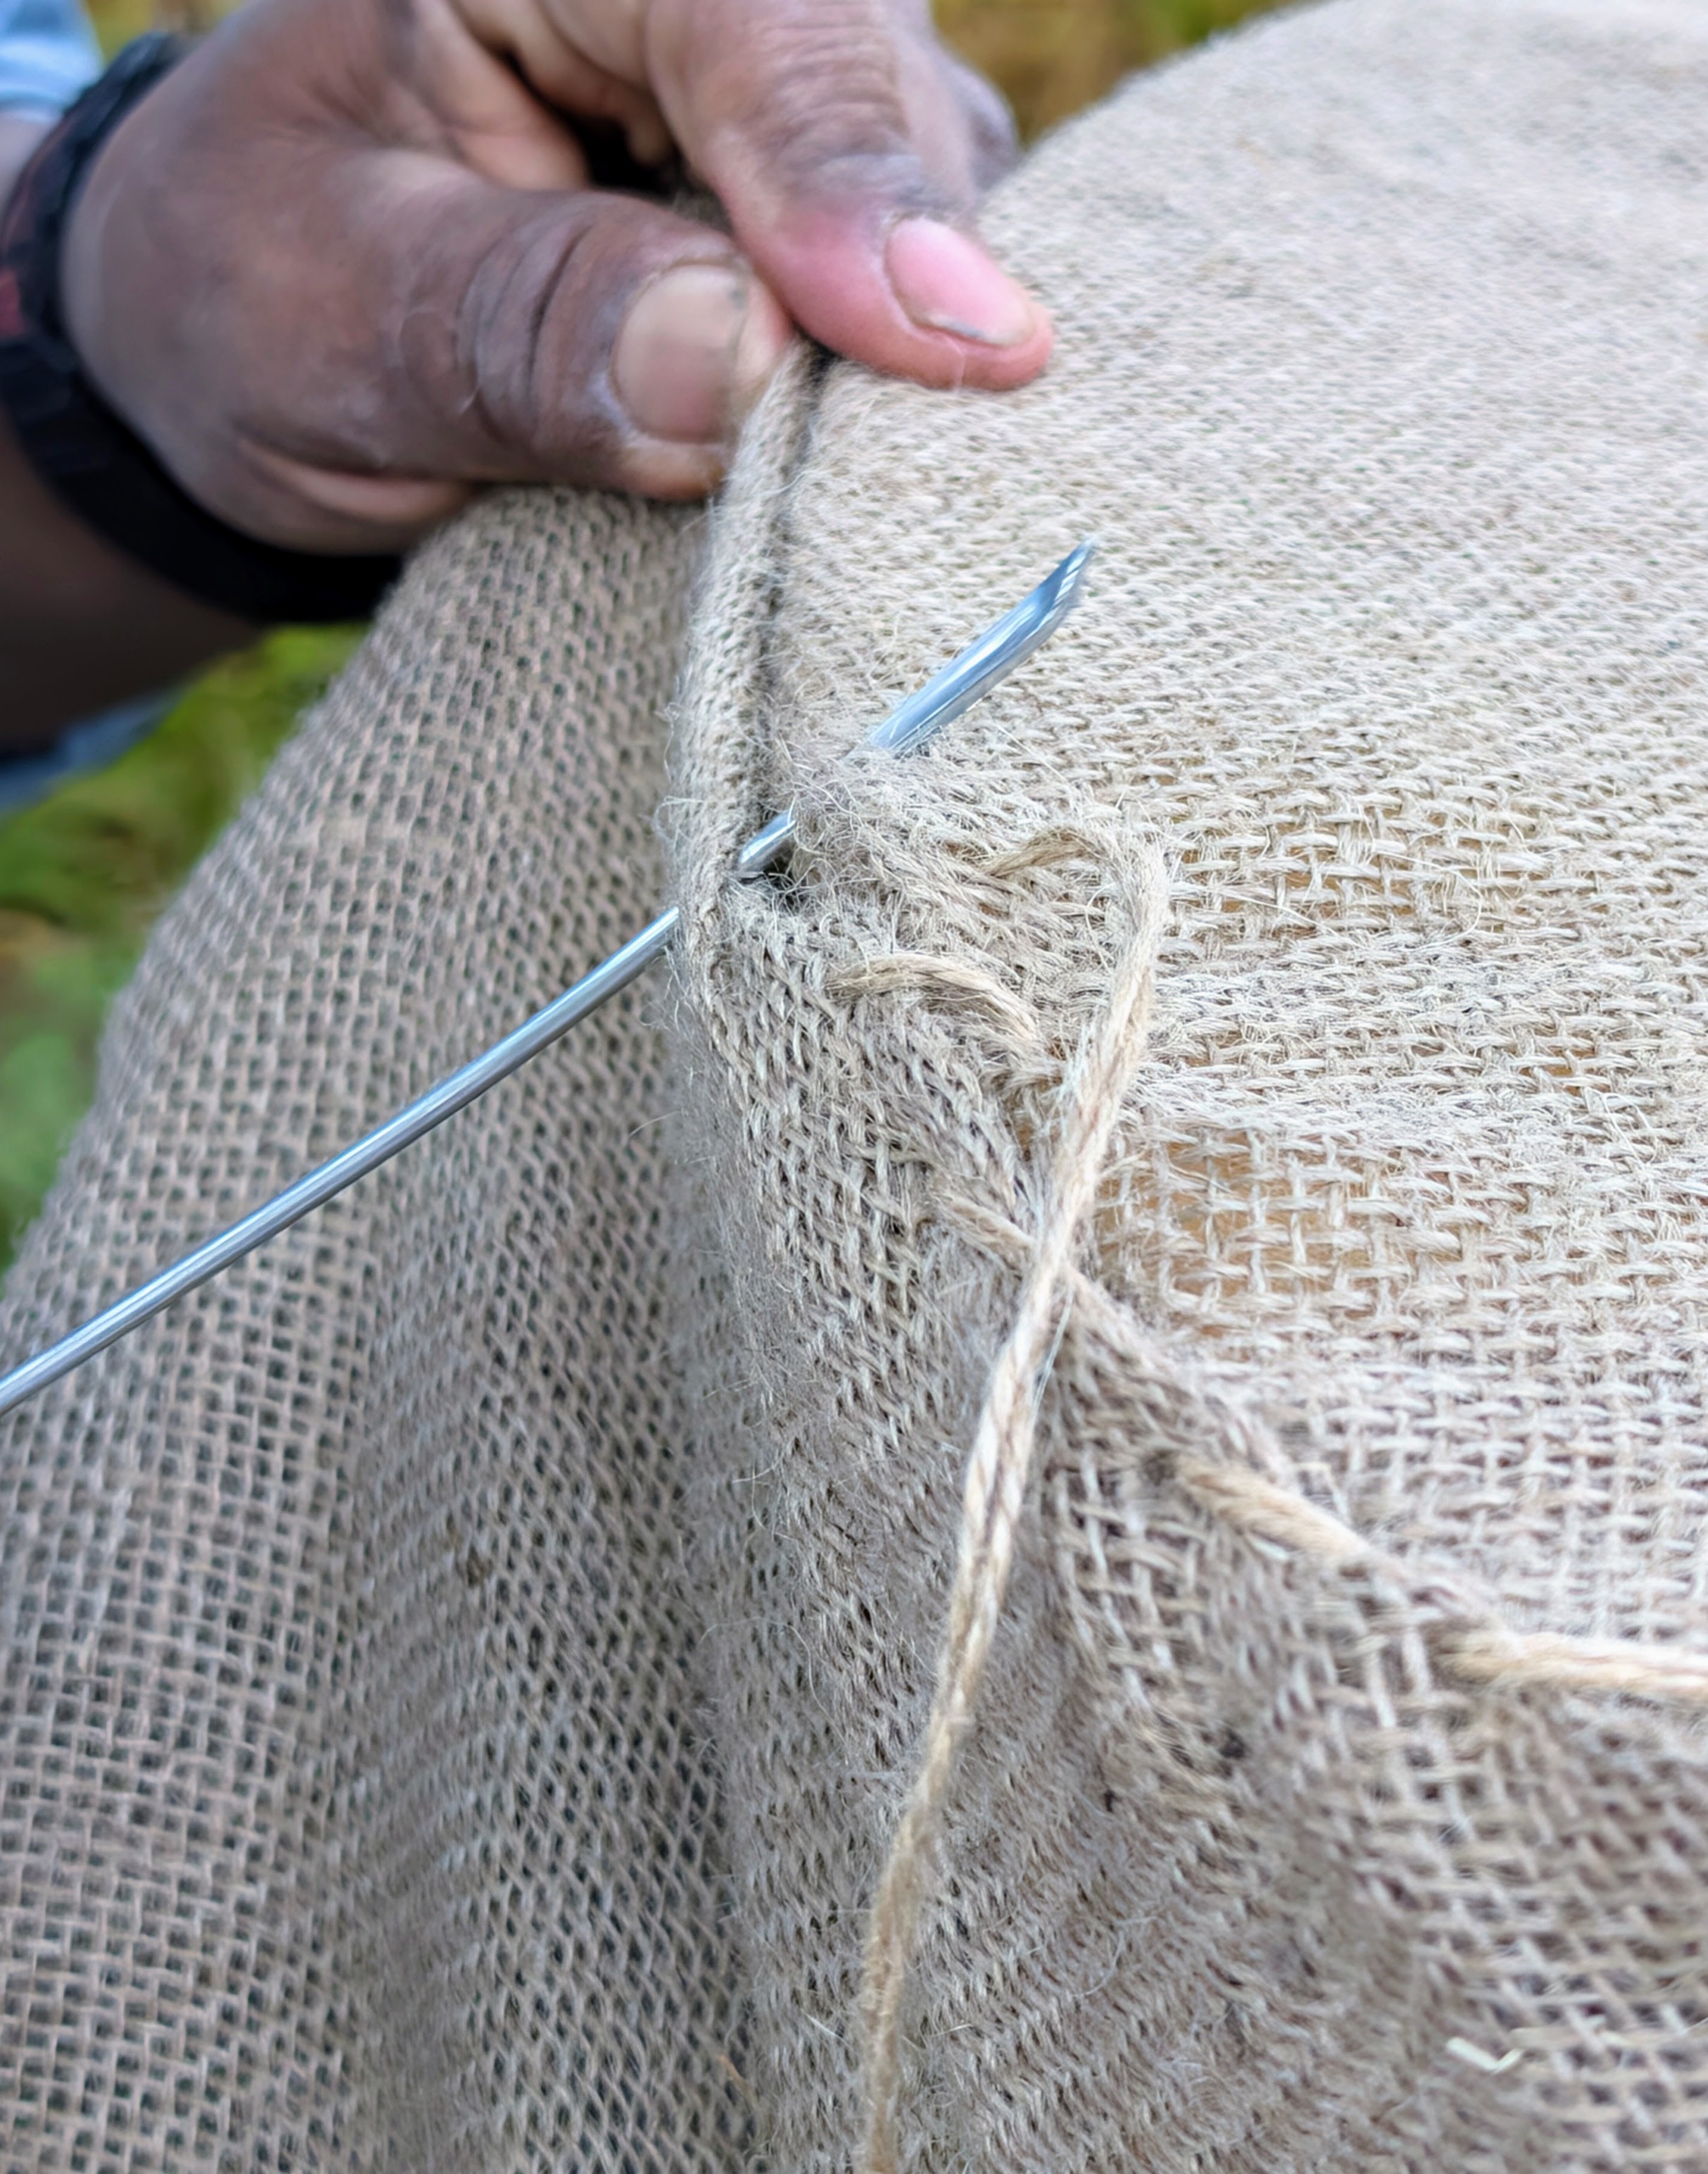
- He makes small stitches and knots to keep the burlap in place. And then Pete sews the edge closed. The burlap should be sewn tightly, but with some space for air circulation. Because the burlap is exposed to the elements for several months, Pete does this task very carefully.
-
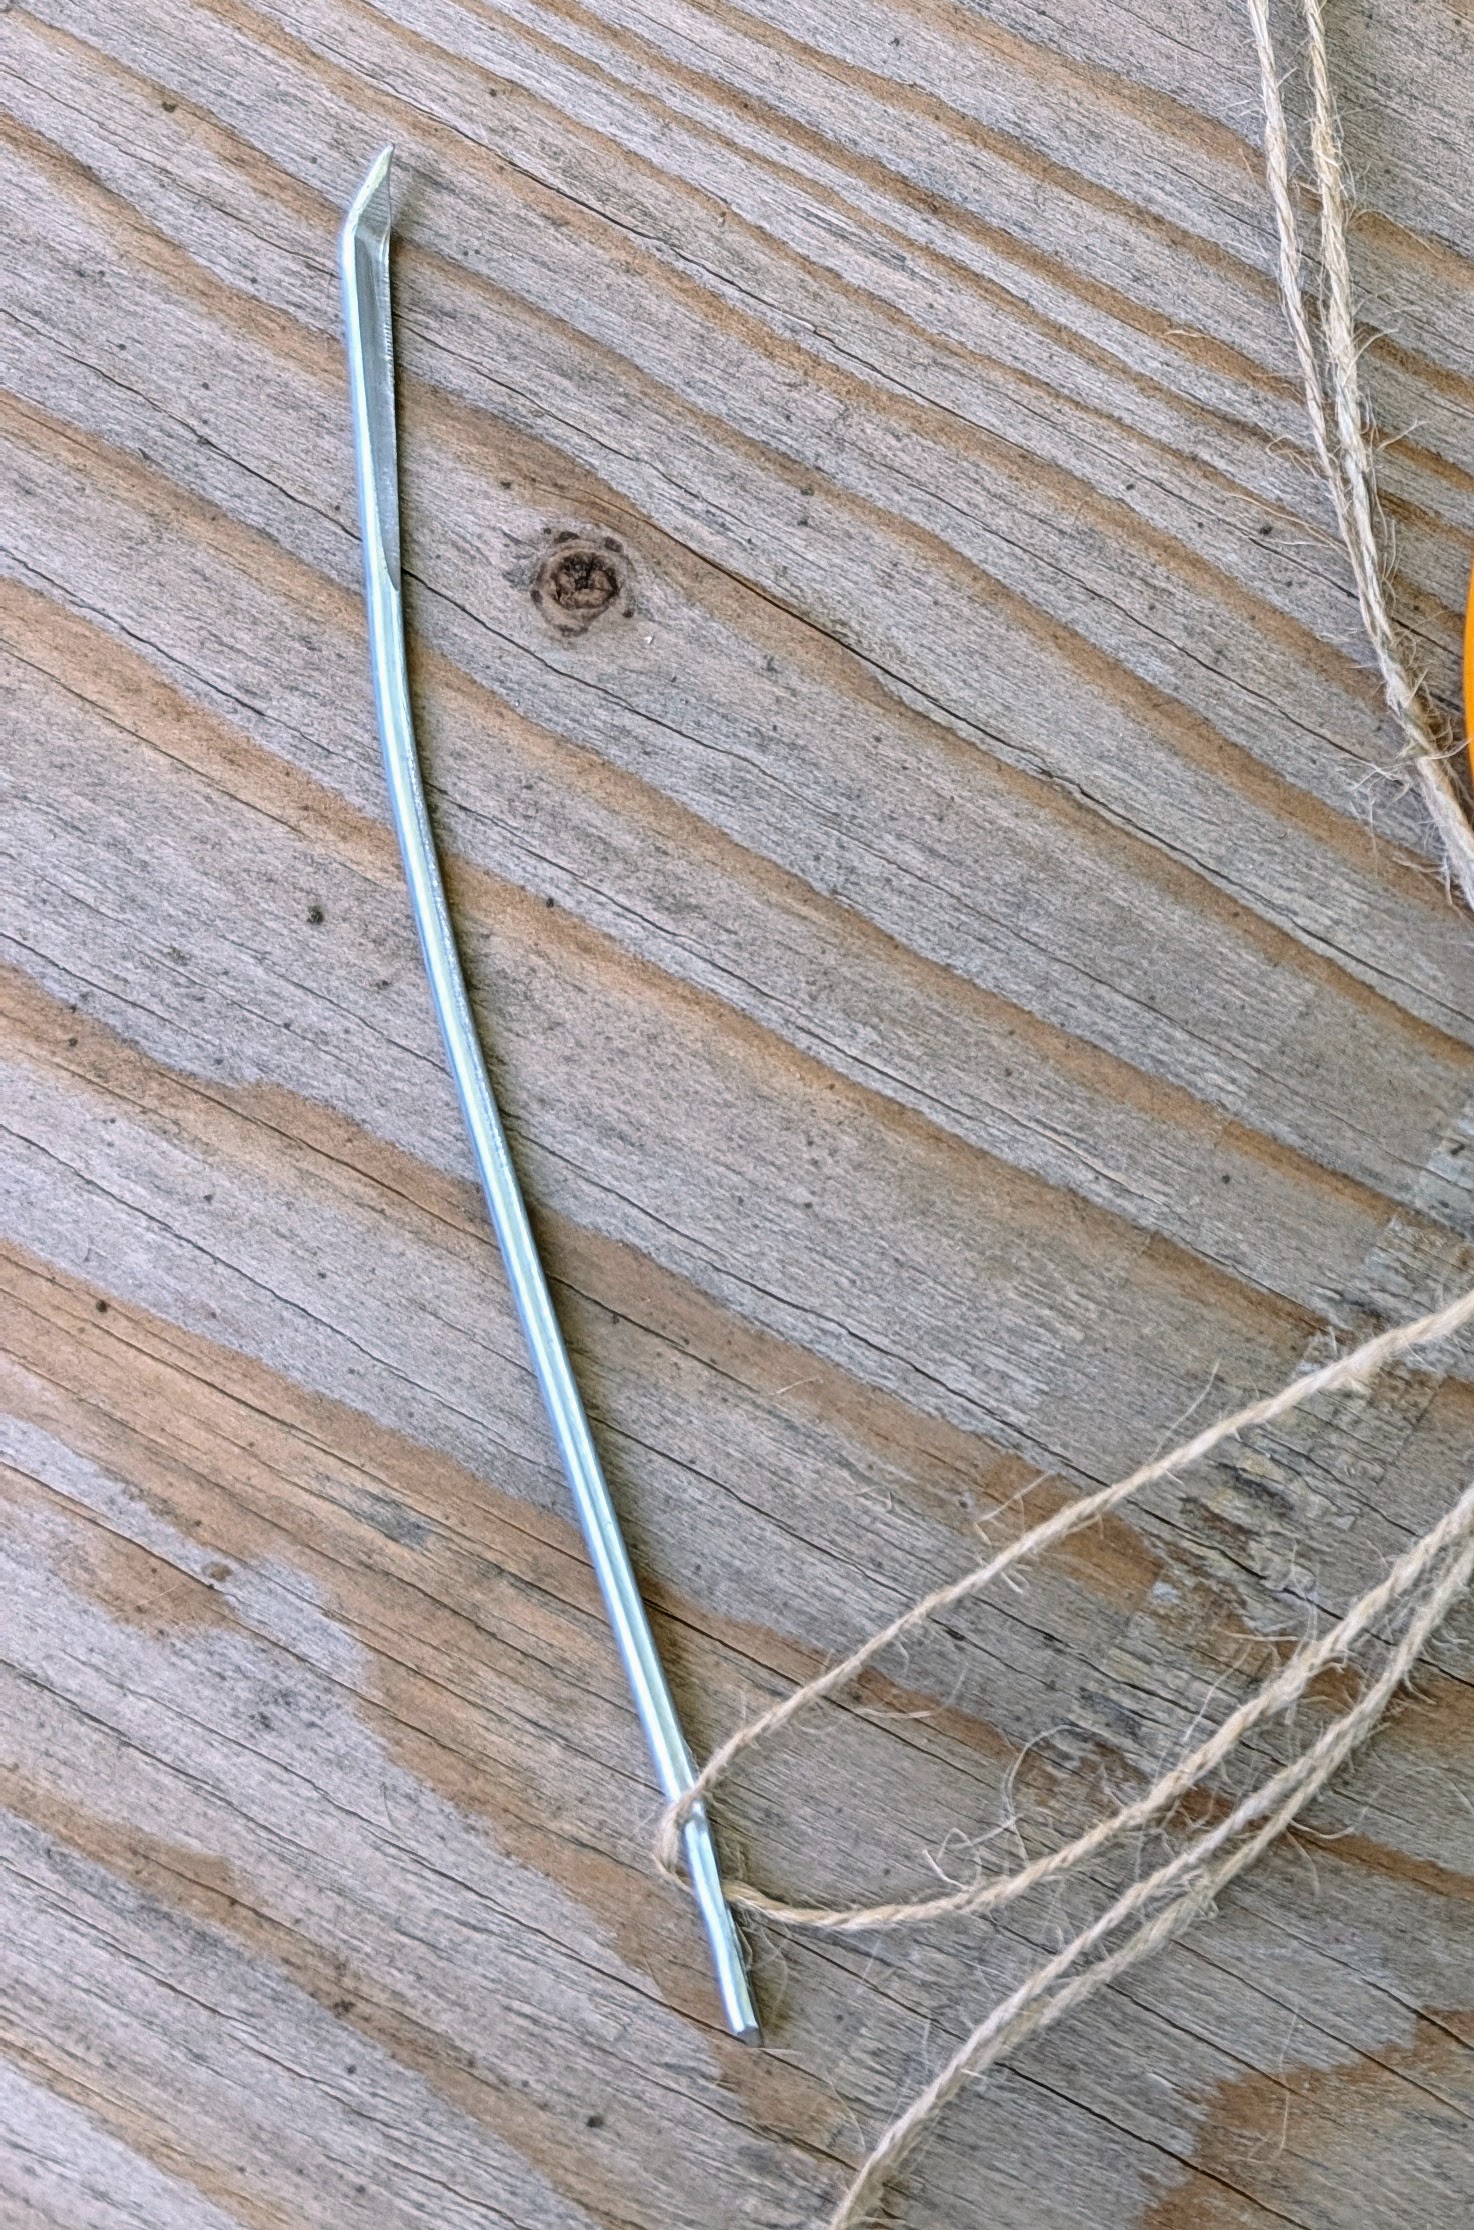
- To complete all the burlap projects, the tools are simple – we use five-inch long craft needles specifically made for working with jute. These needles have large eyes and bent tips. Every member of my outdoor grounds crew has a needle.
-
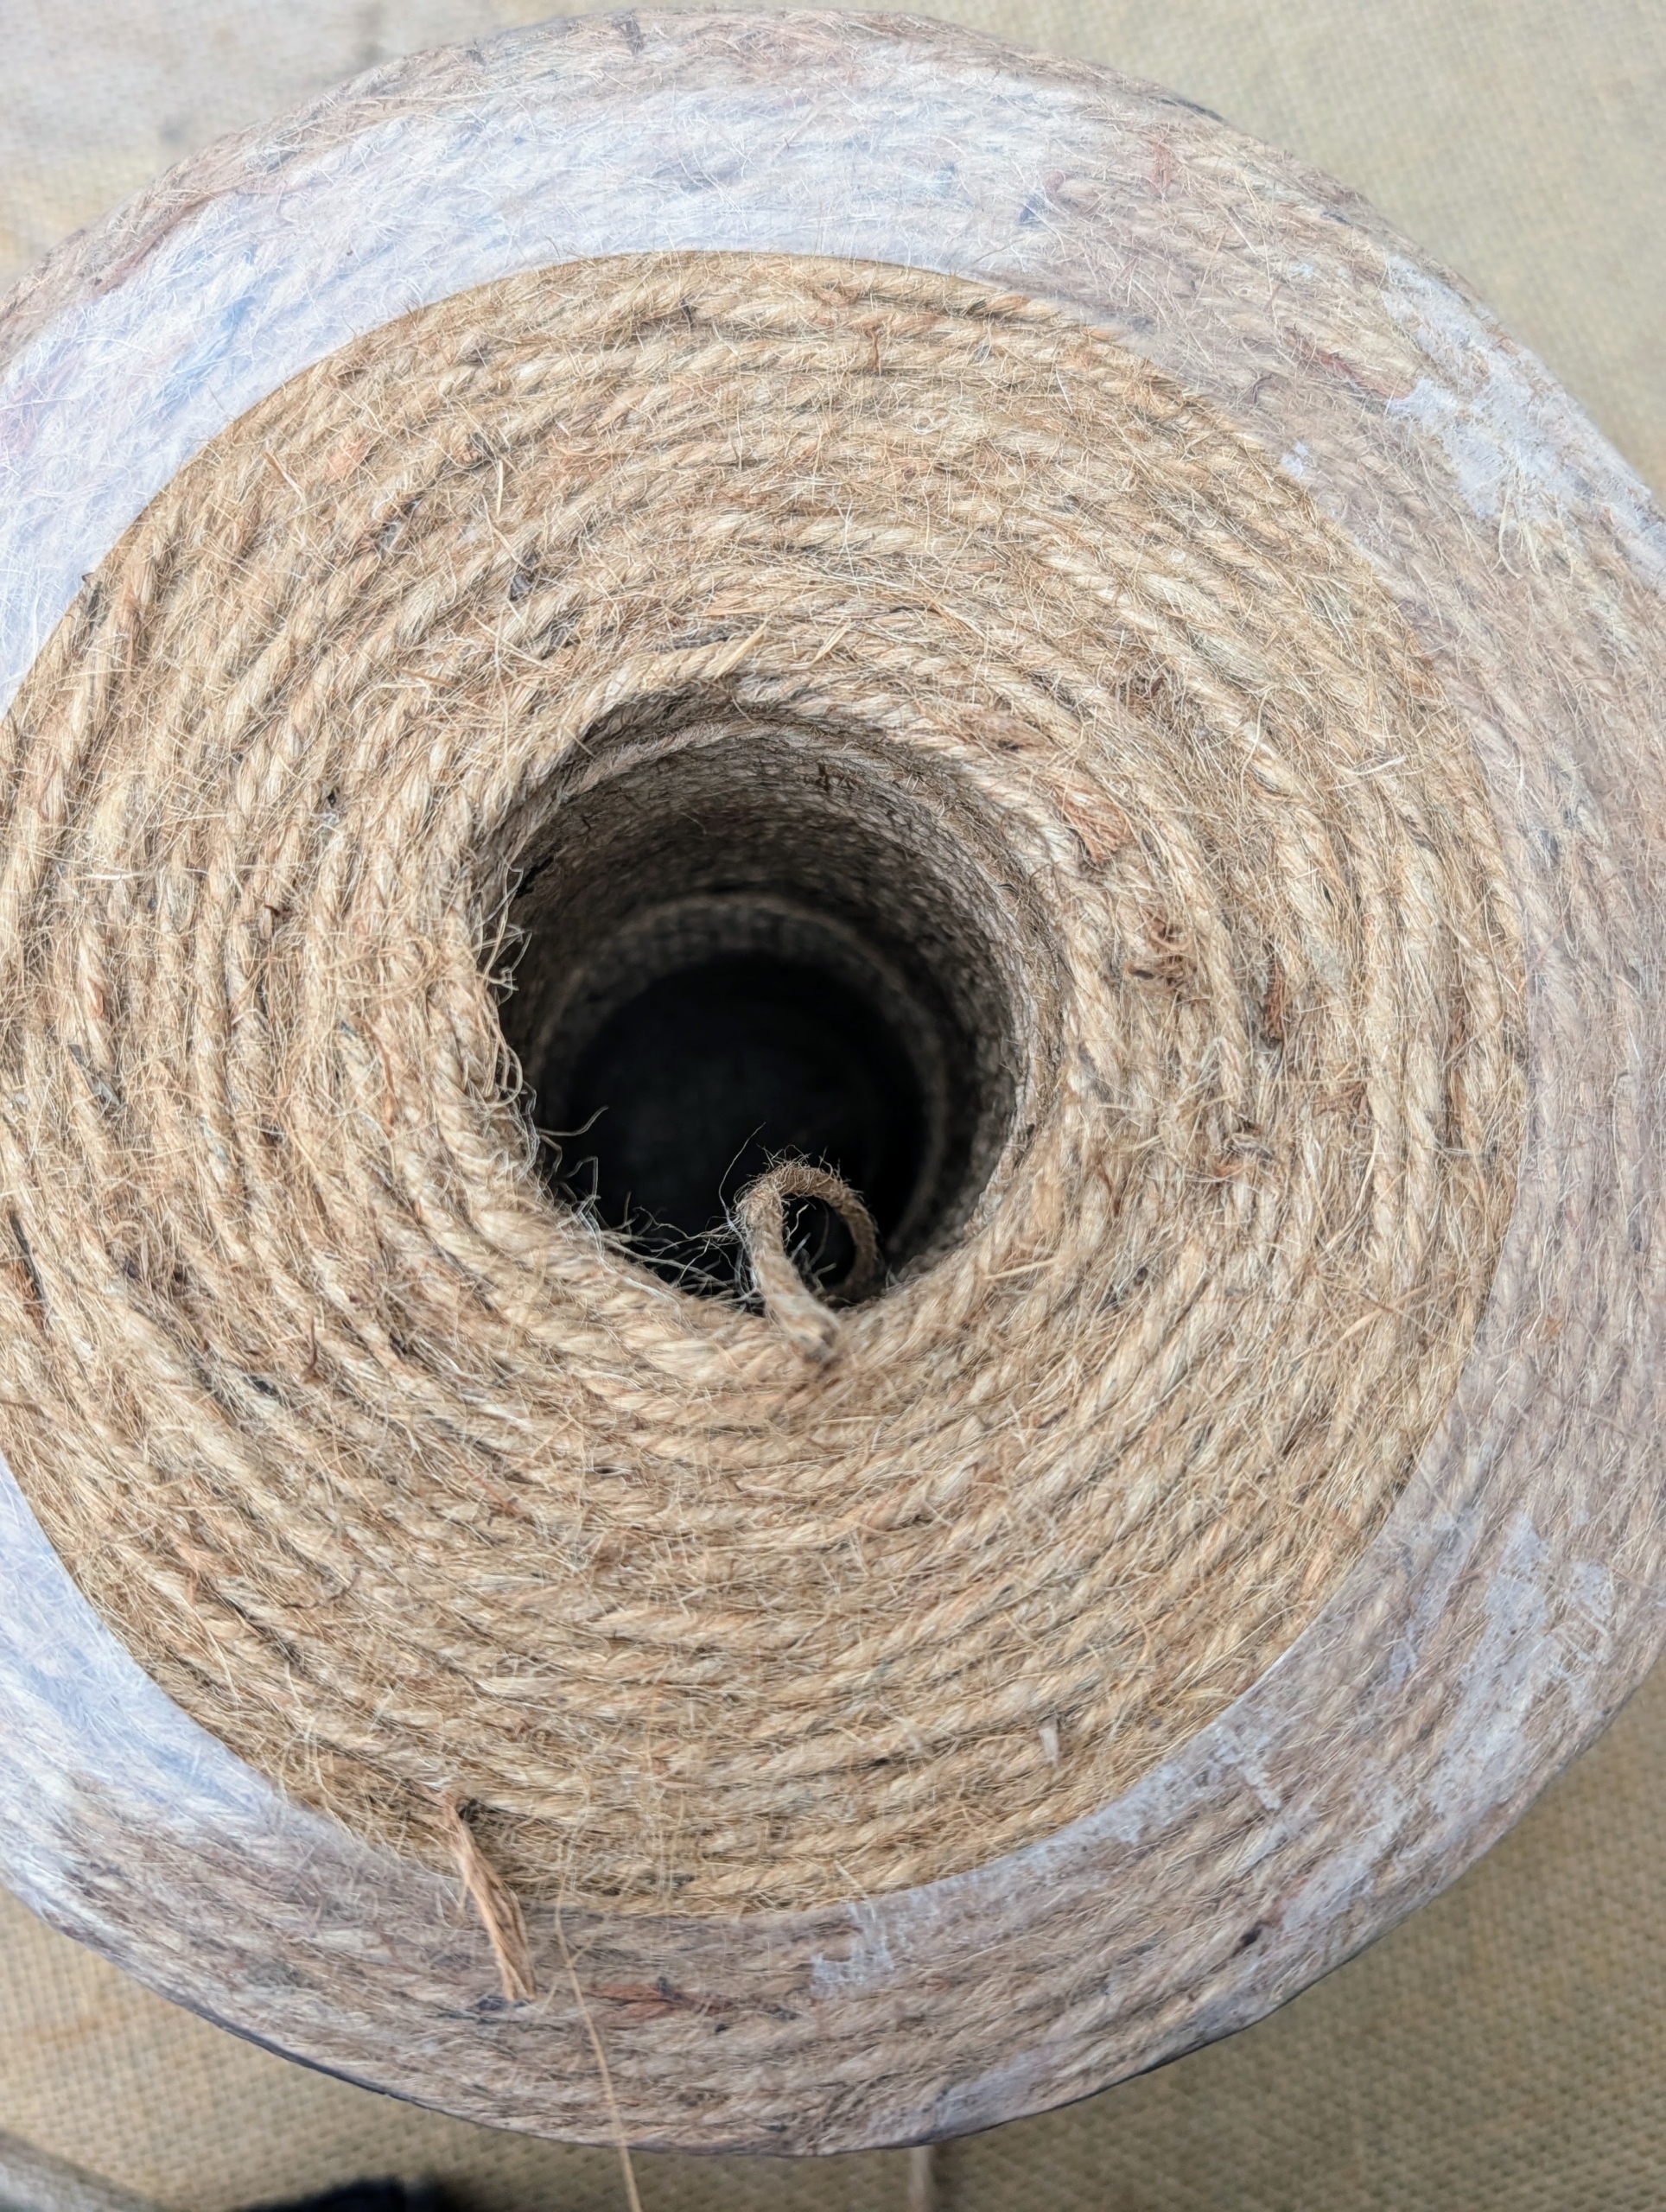
- We also use jute twine. It is all natural and the same color as the burlap.
-
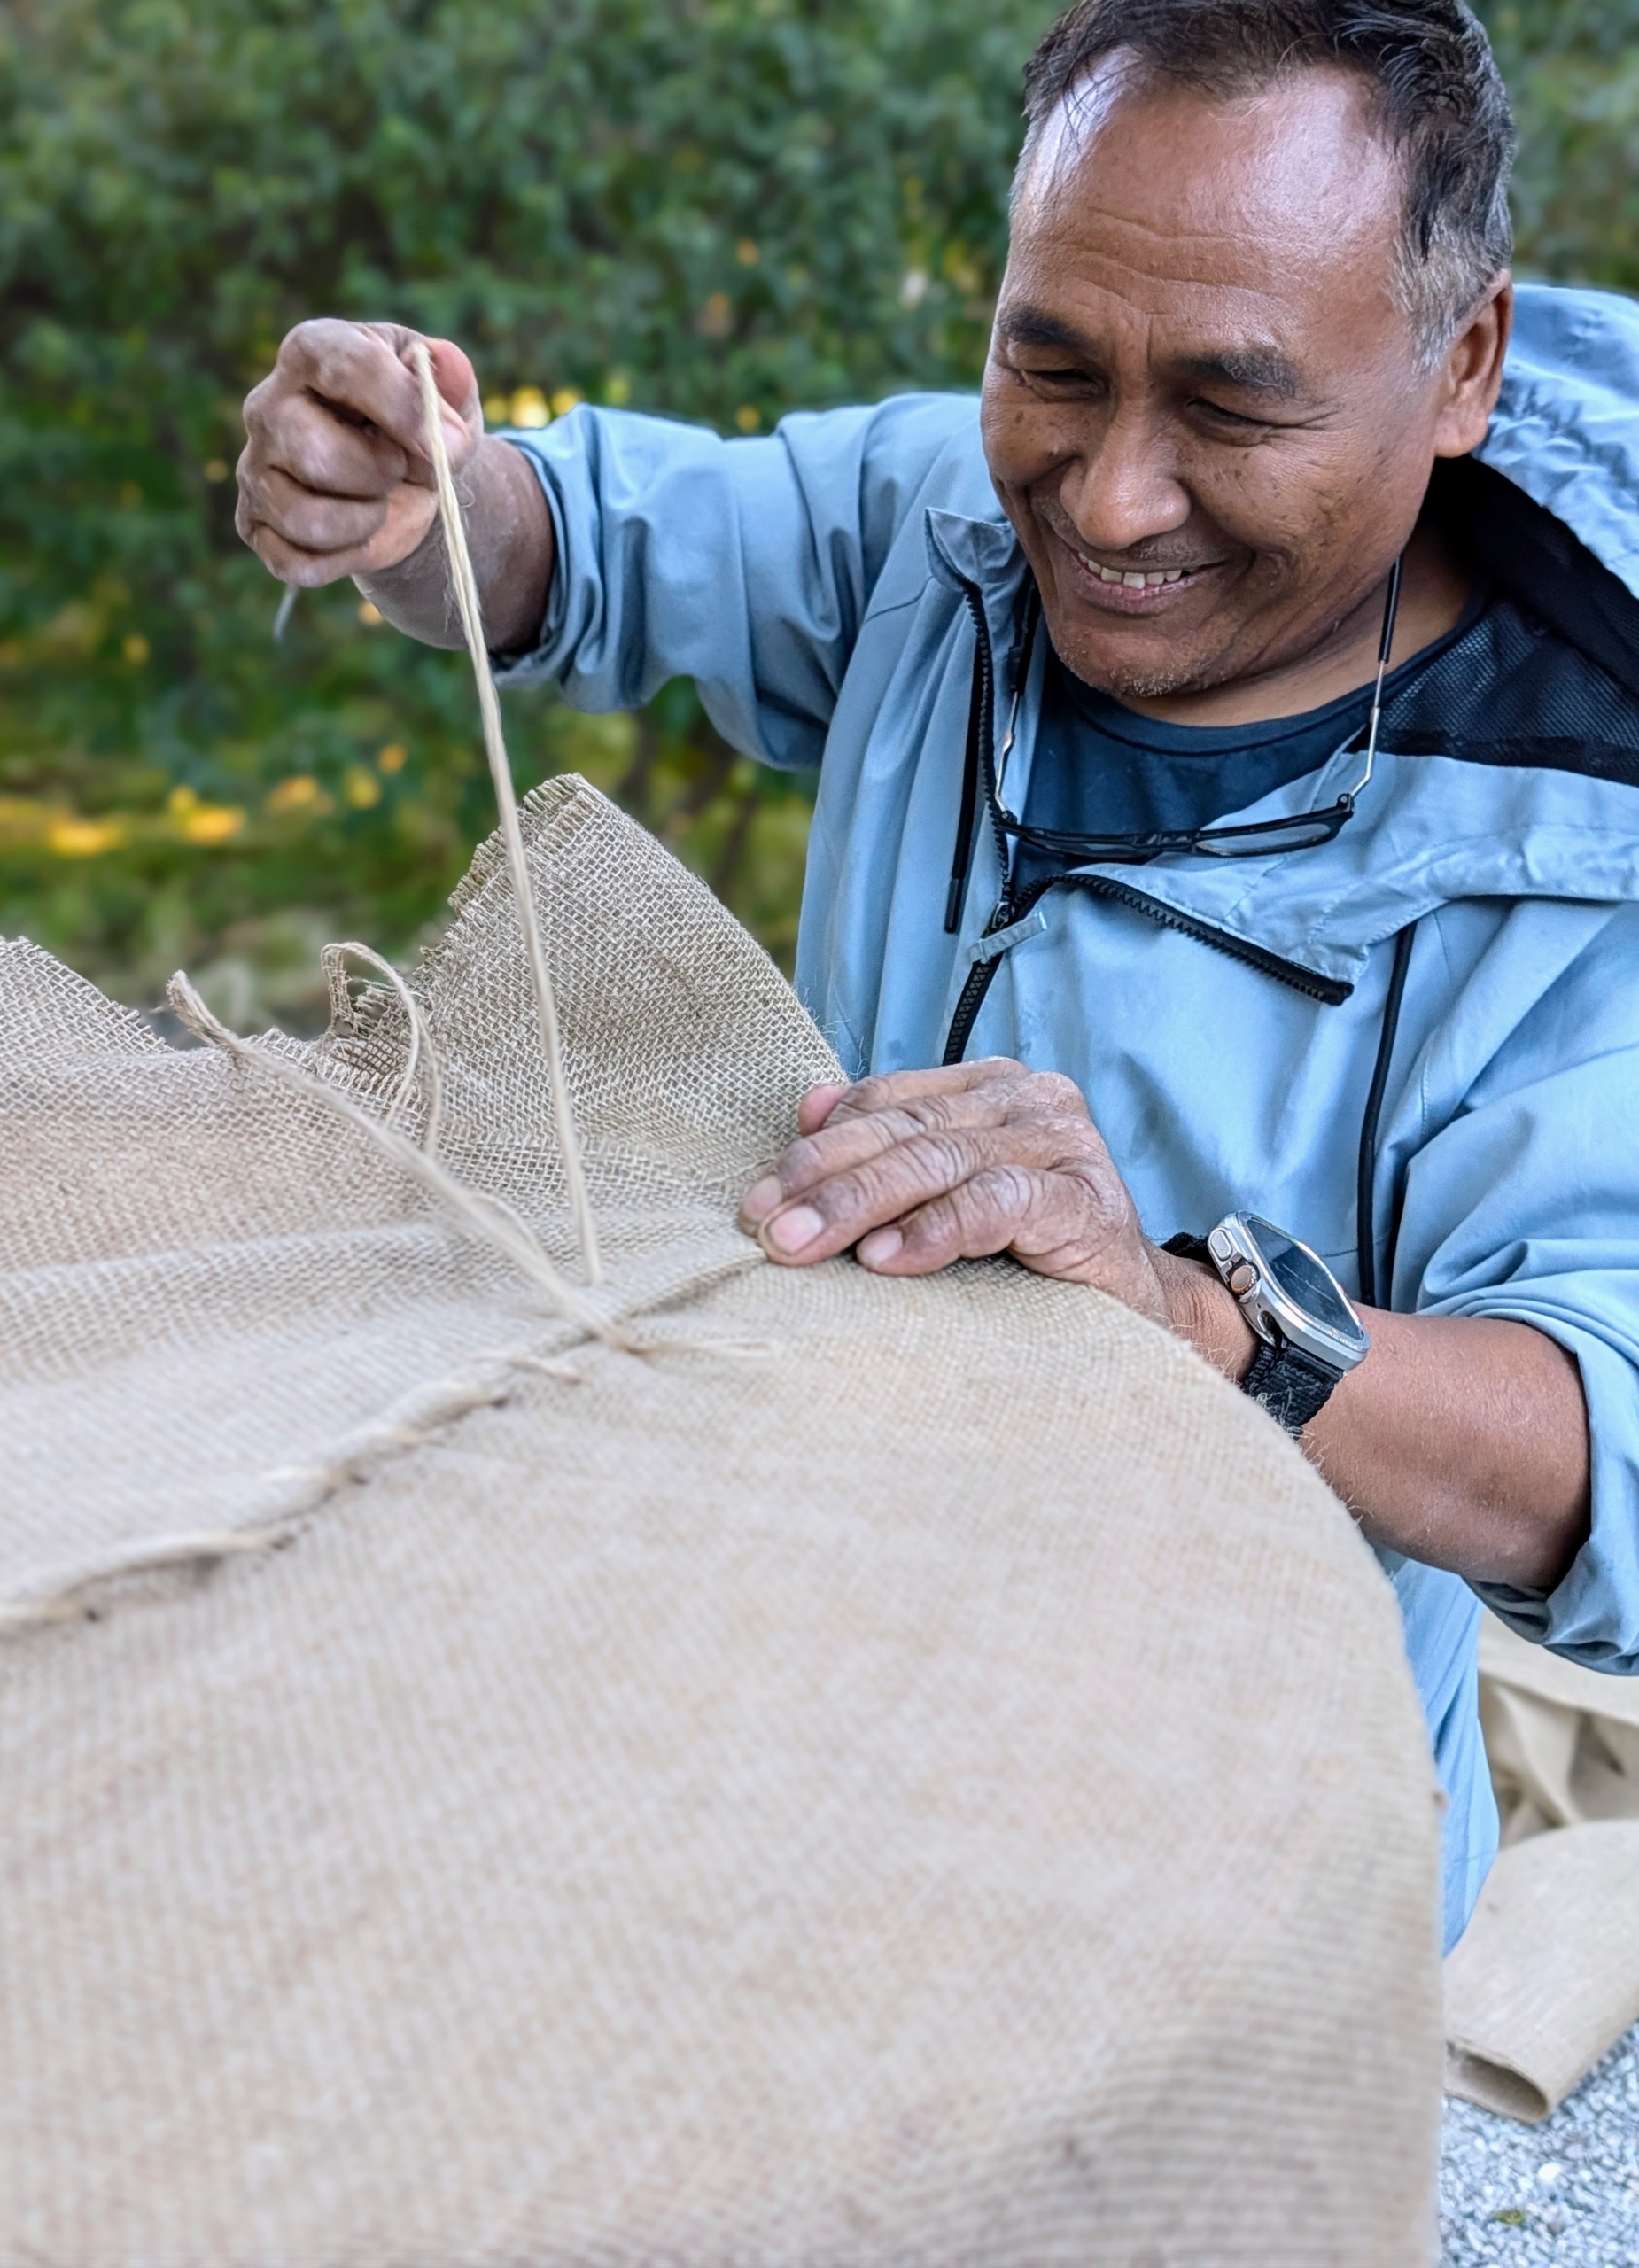
- After the side edge, Pete sews the top closed, tucking the excess burlap in and pulling taut as he goes.
-
- The sewing gets better and better every year.
-
- A pumpkin decorates the top when finished. My faux bois planters will now be well protected until spring.
-
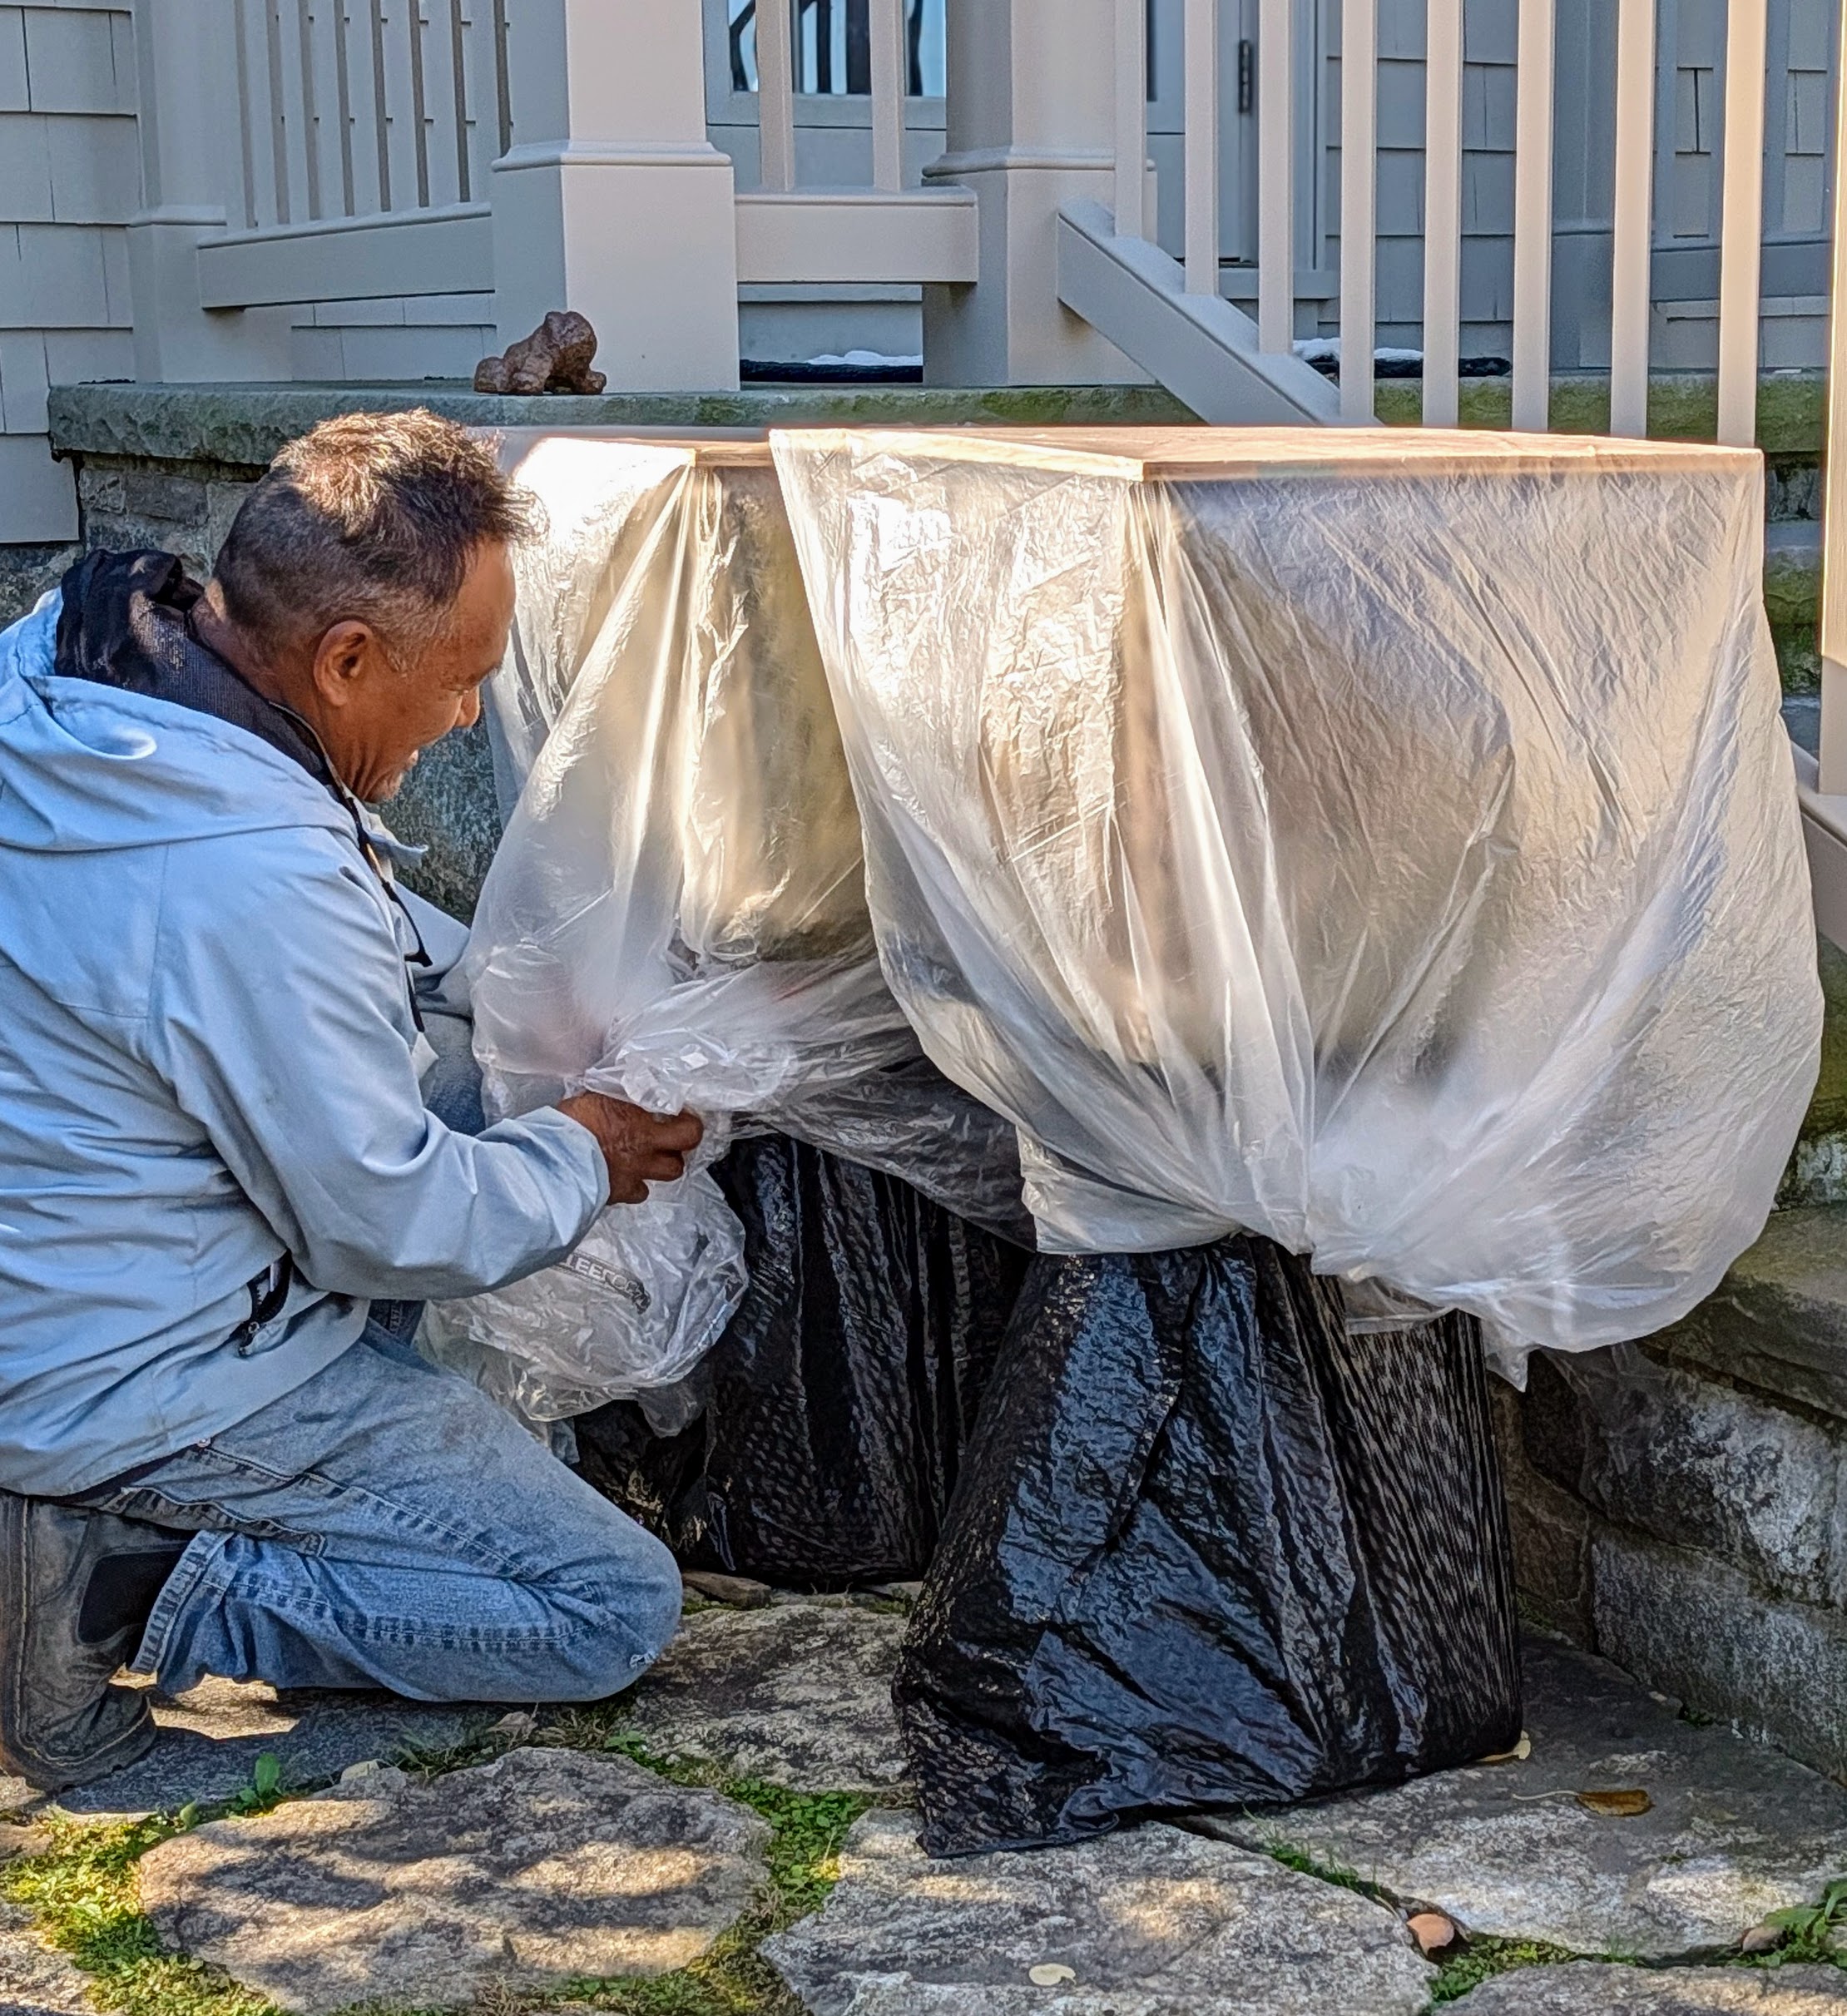
- Meanwhile, Fernando places plastic under and on top of these planters outside my Winter House kitchen.
-
- Here, Pete tucks in and secures the plastic, so every part of the urns are covered.
-
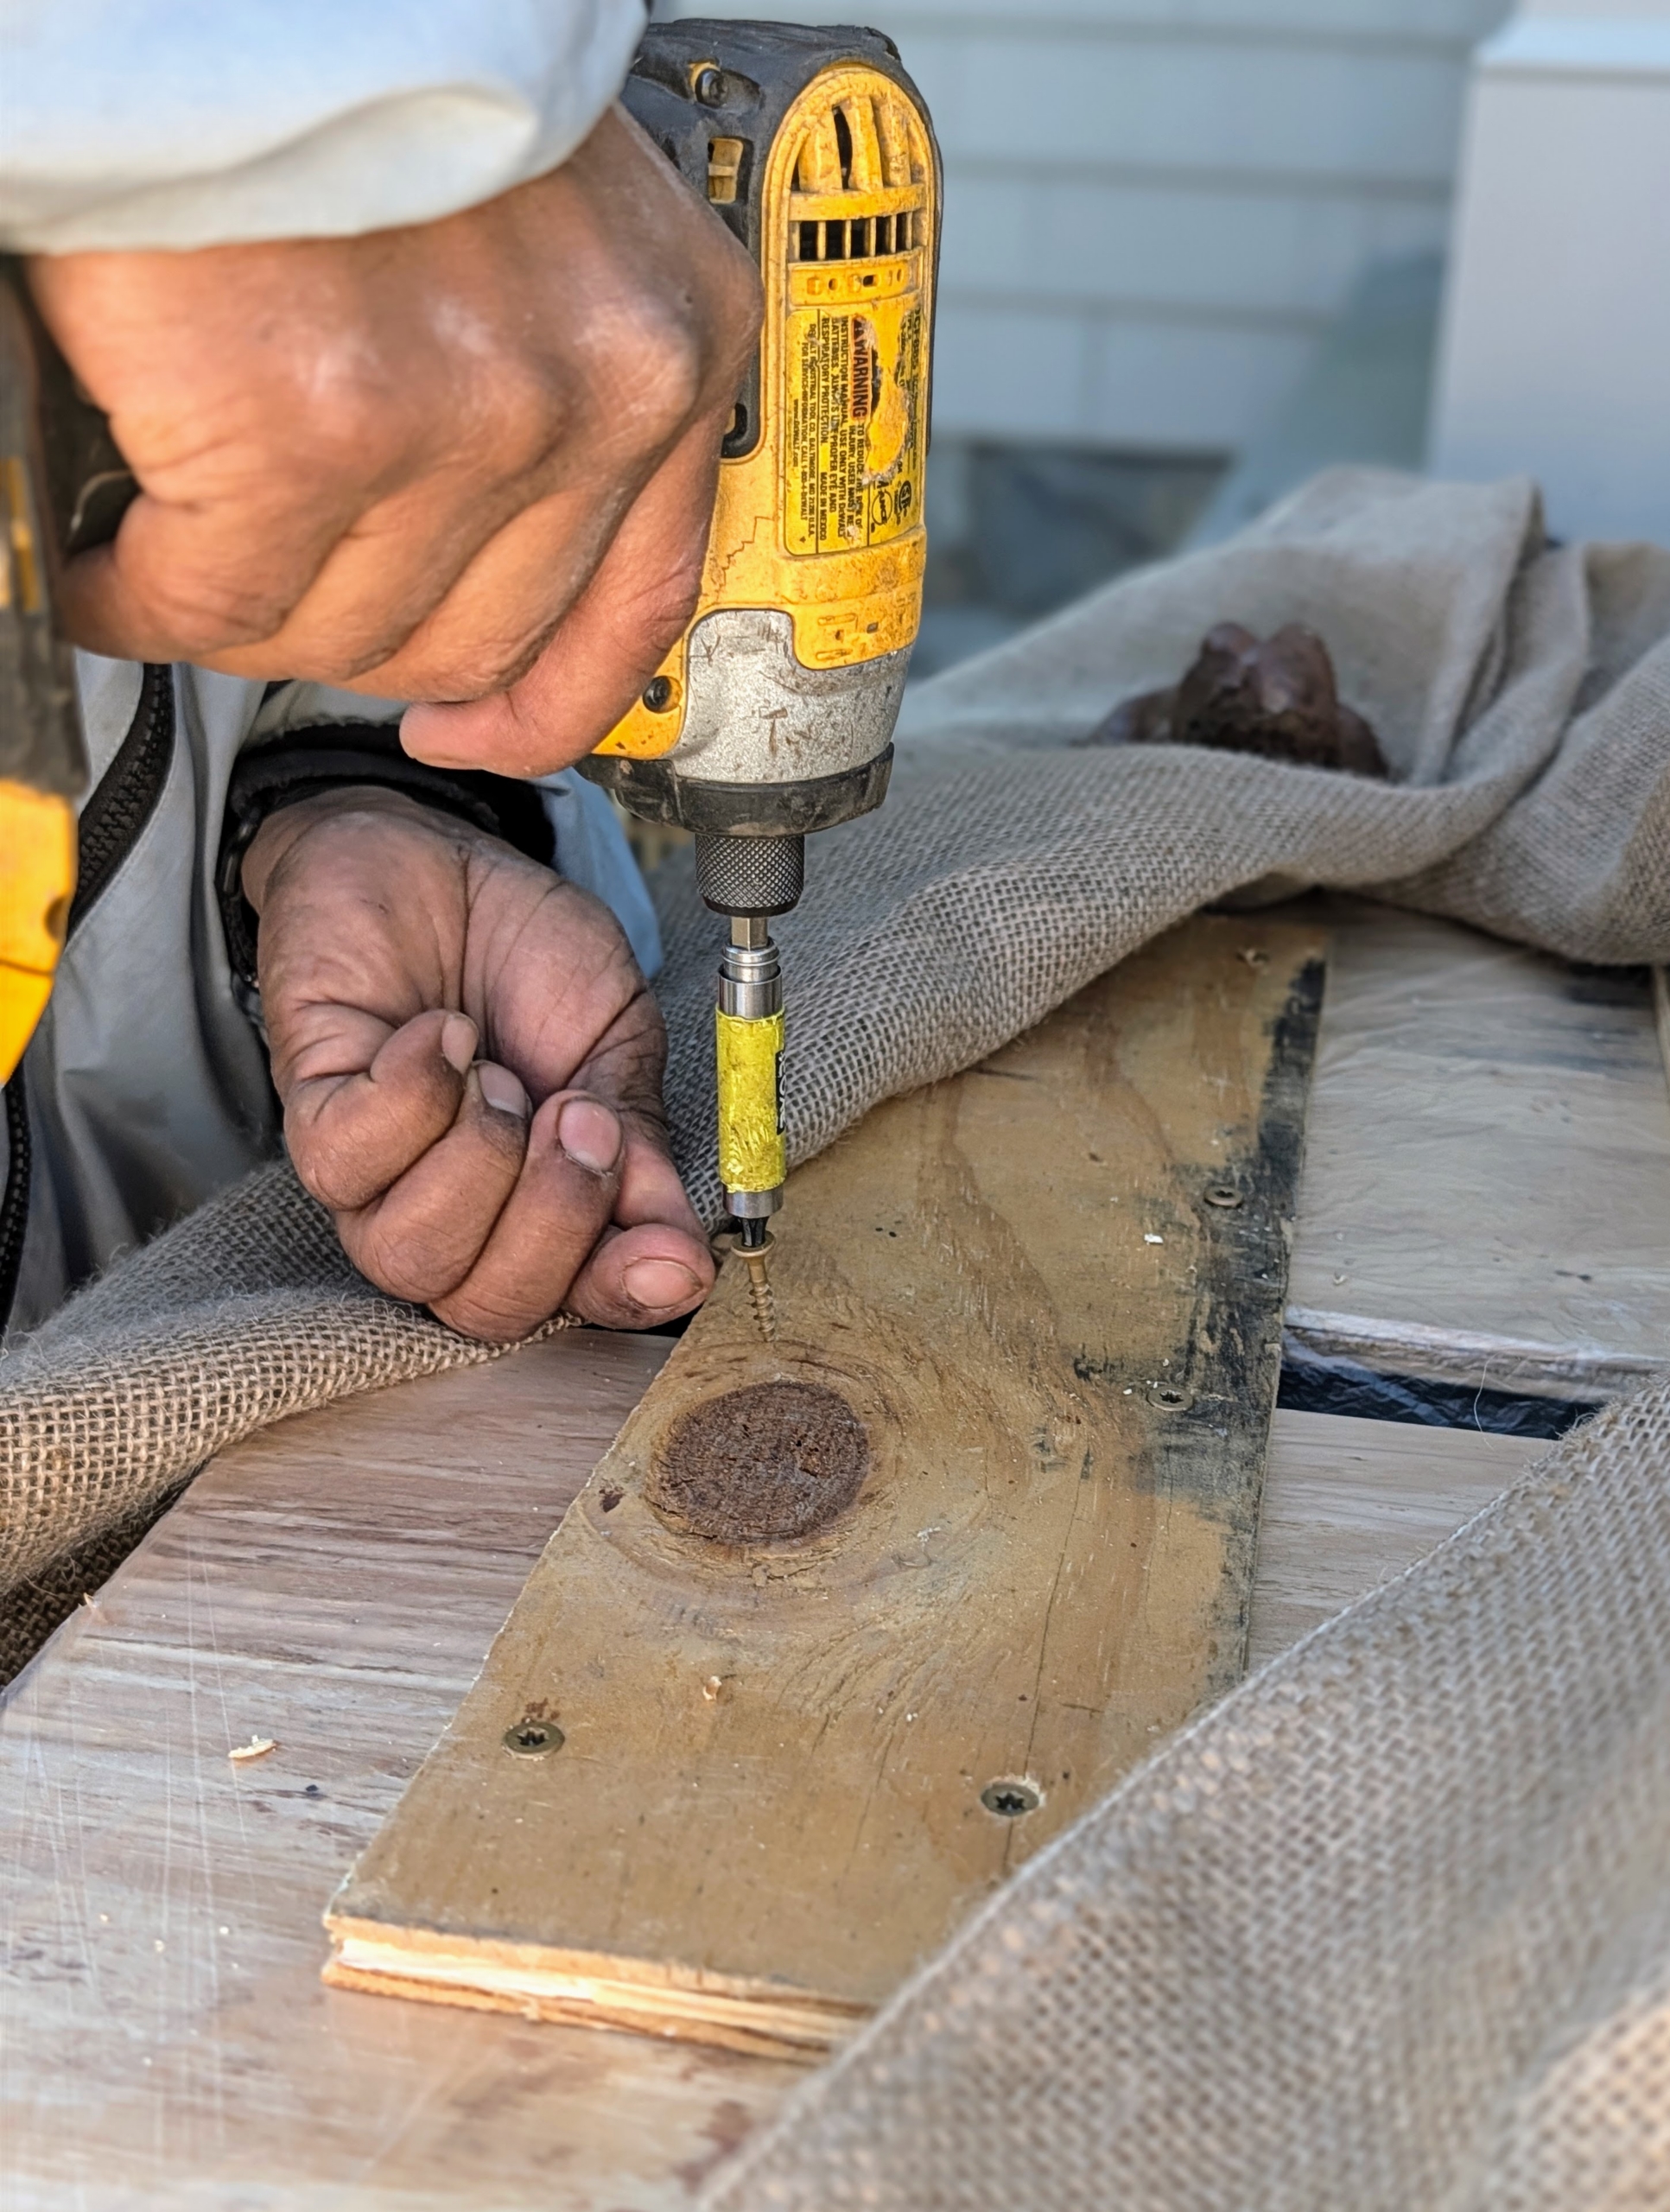
- Once plywood is cut and fit on top, Pete also connects both pieces with another cut of wood, so they do not move.
-
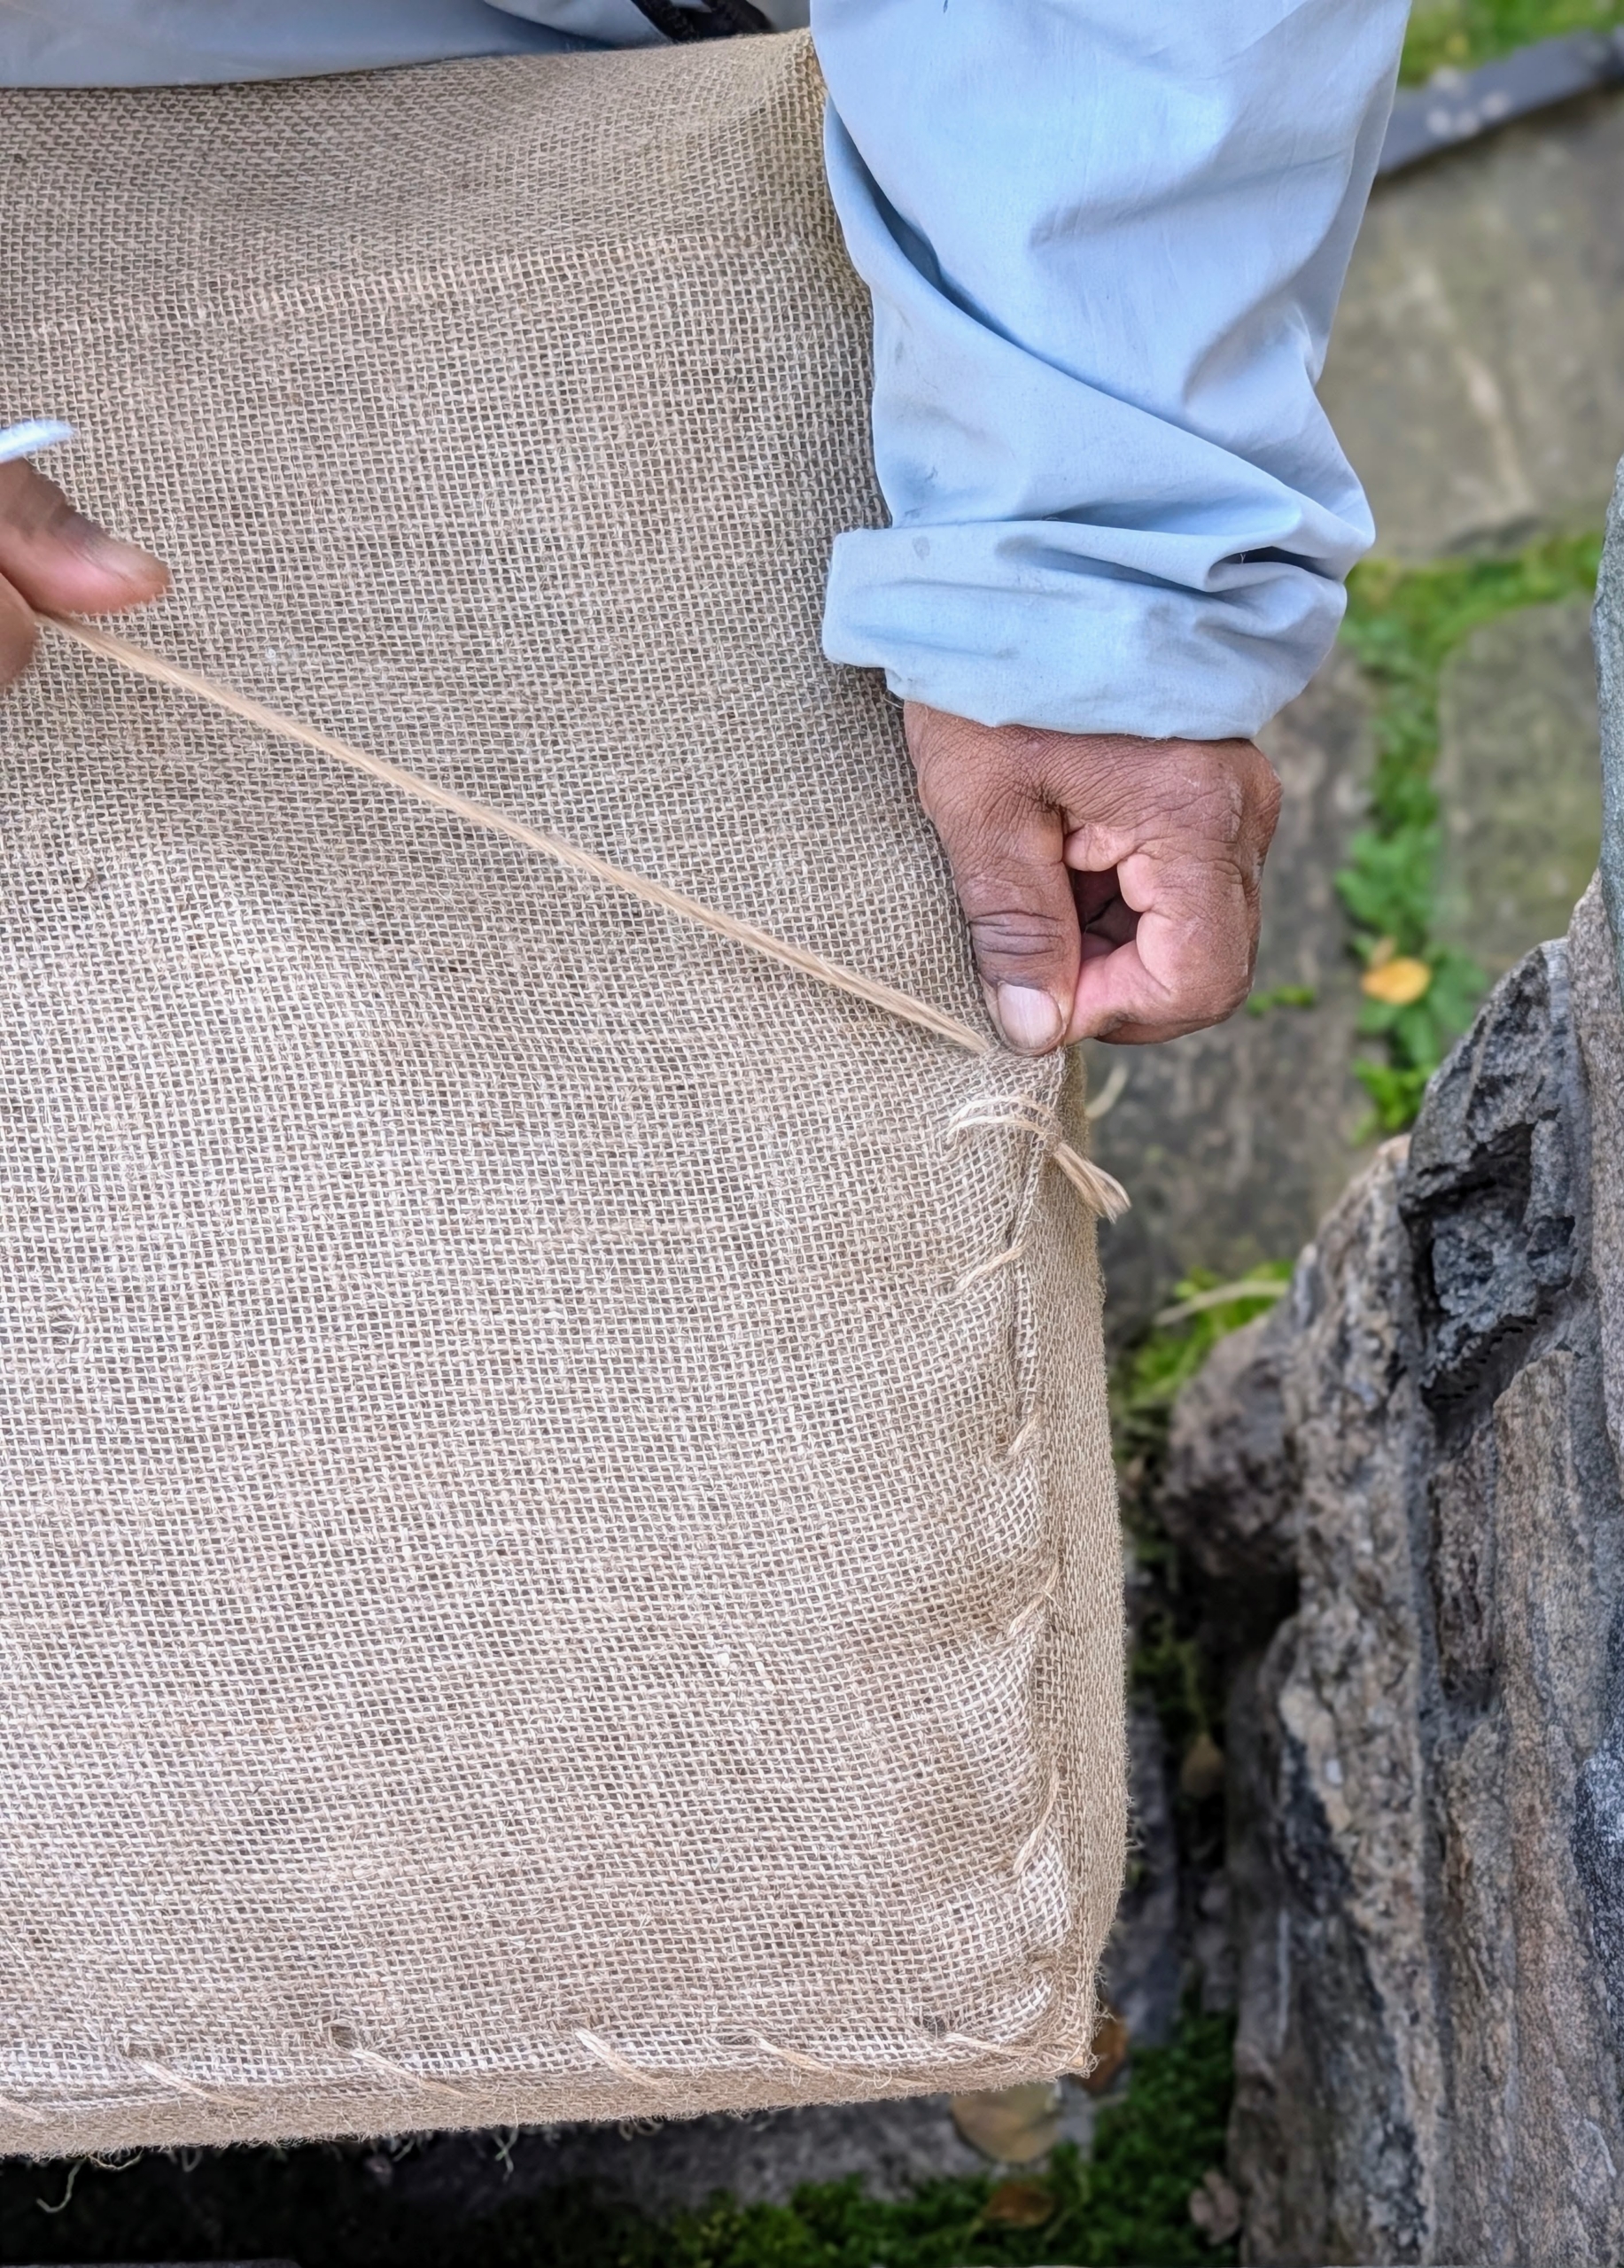
- And then the sewing can begin. Pete wraps two together, tucking and pulling to keep it all tight and tidy.
-
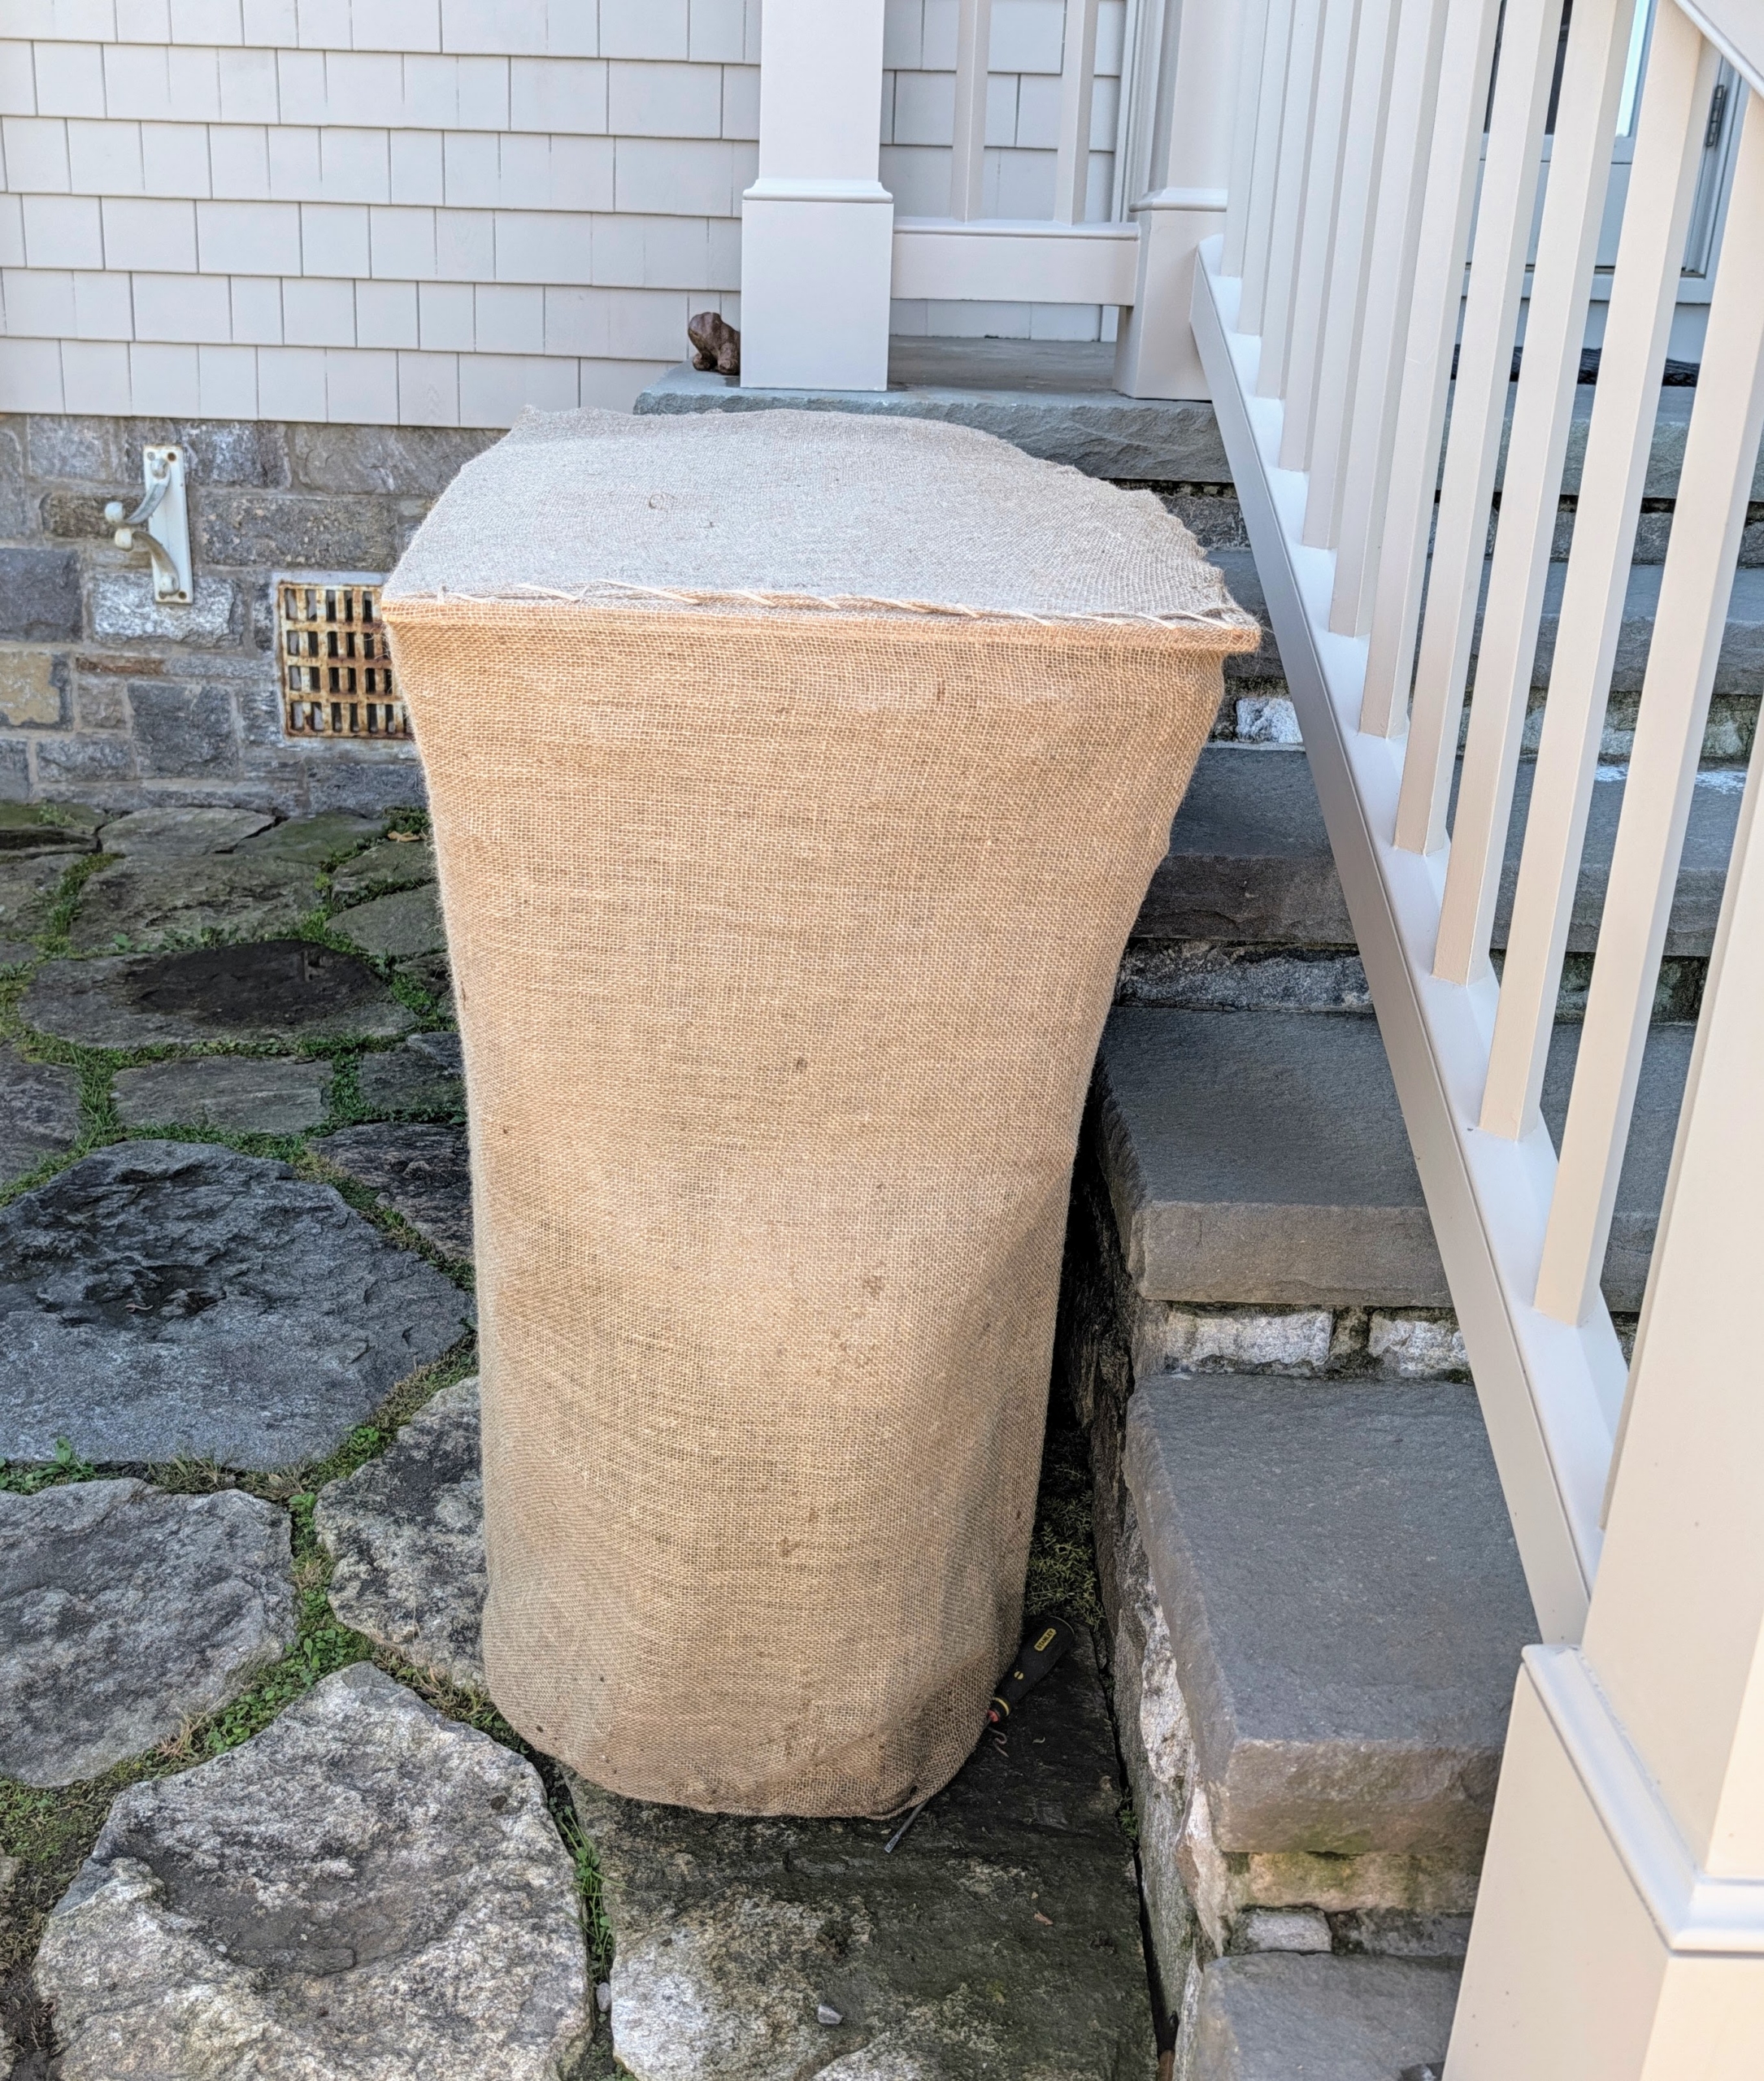
- Here they are all wrapped.
-
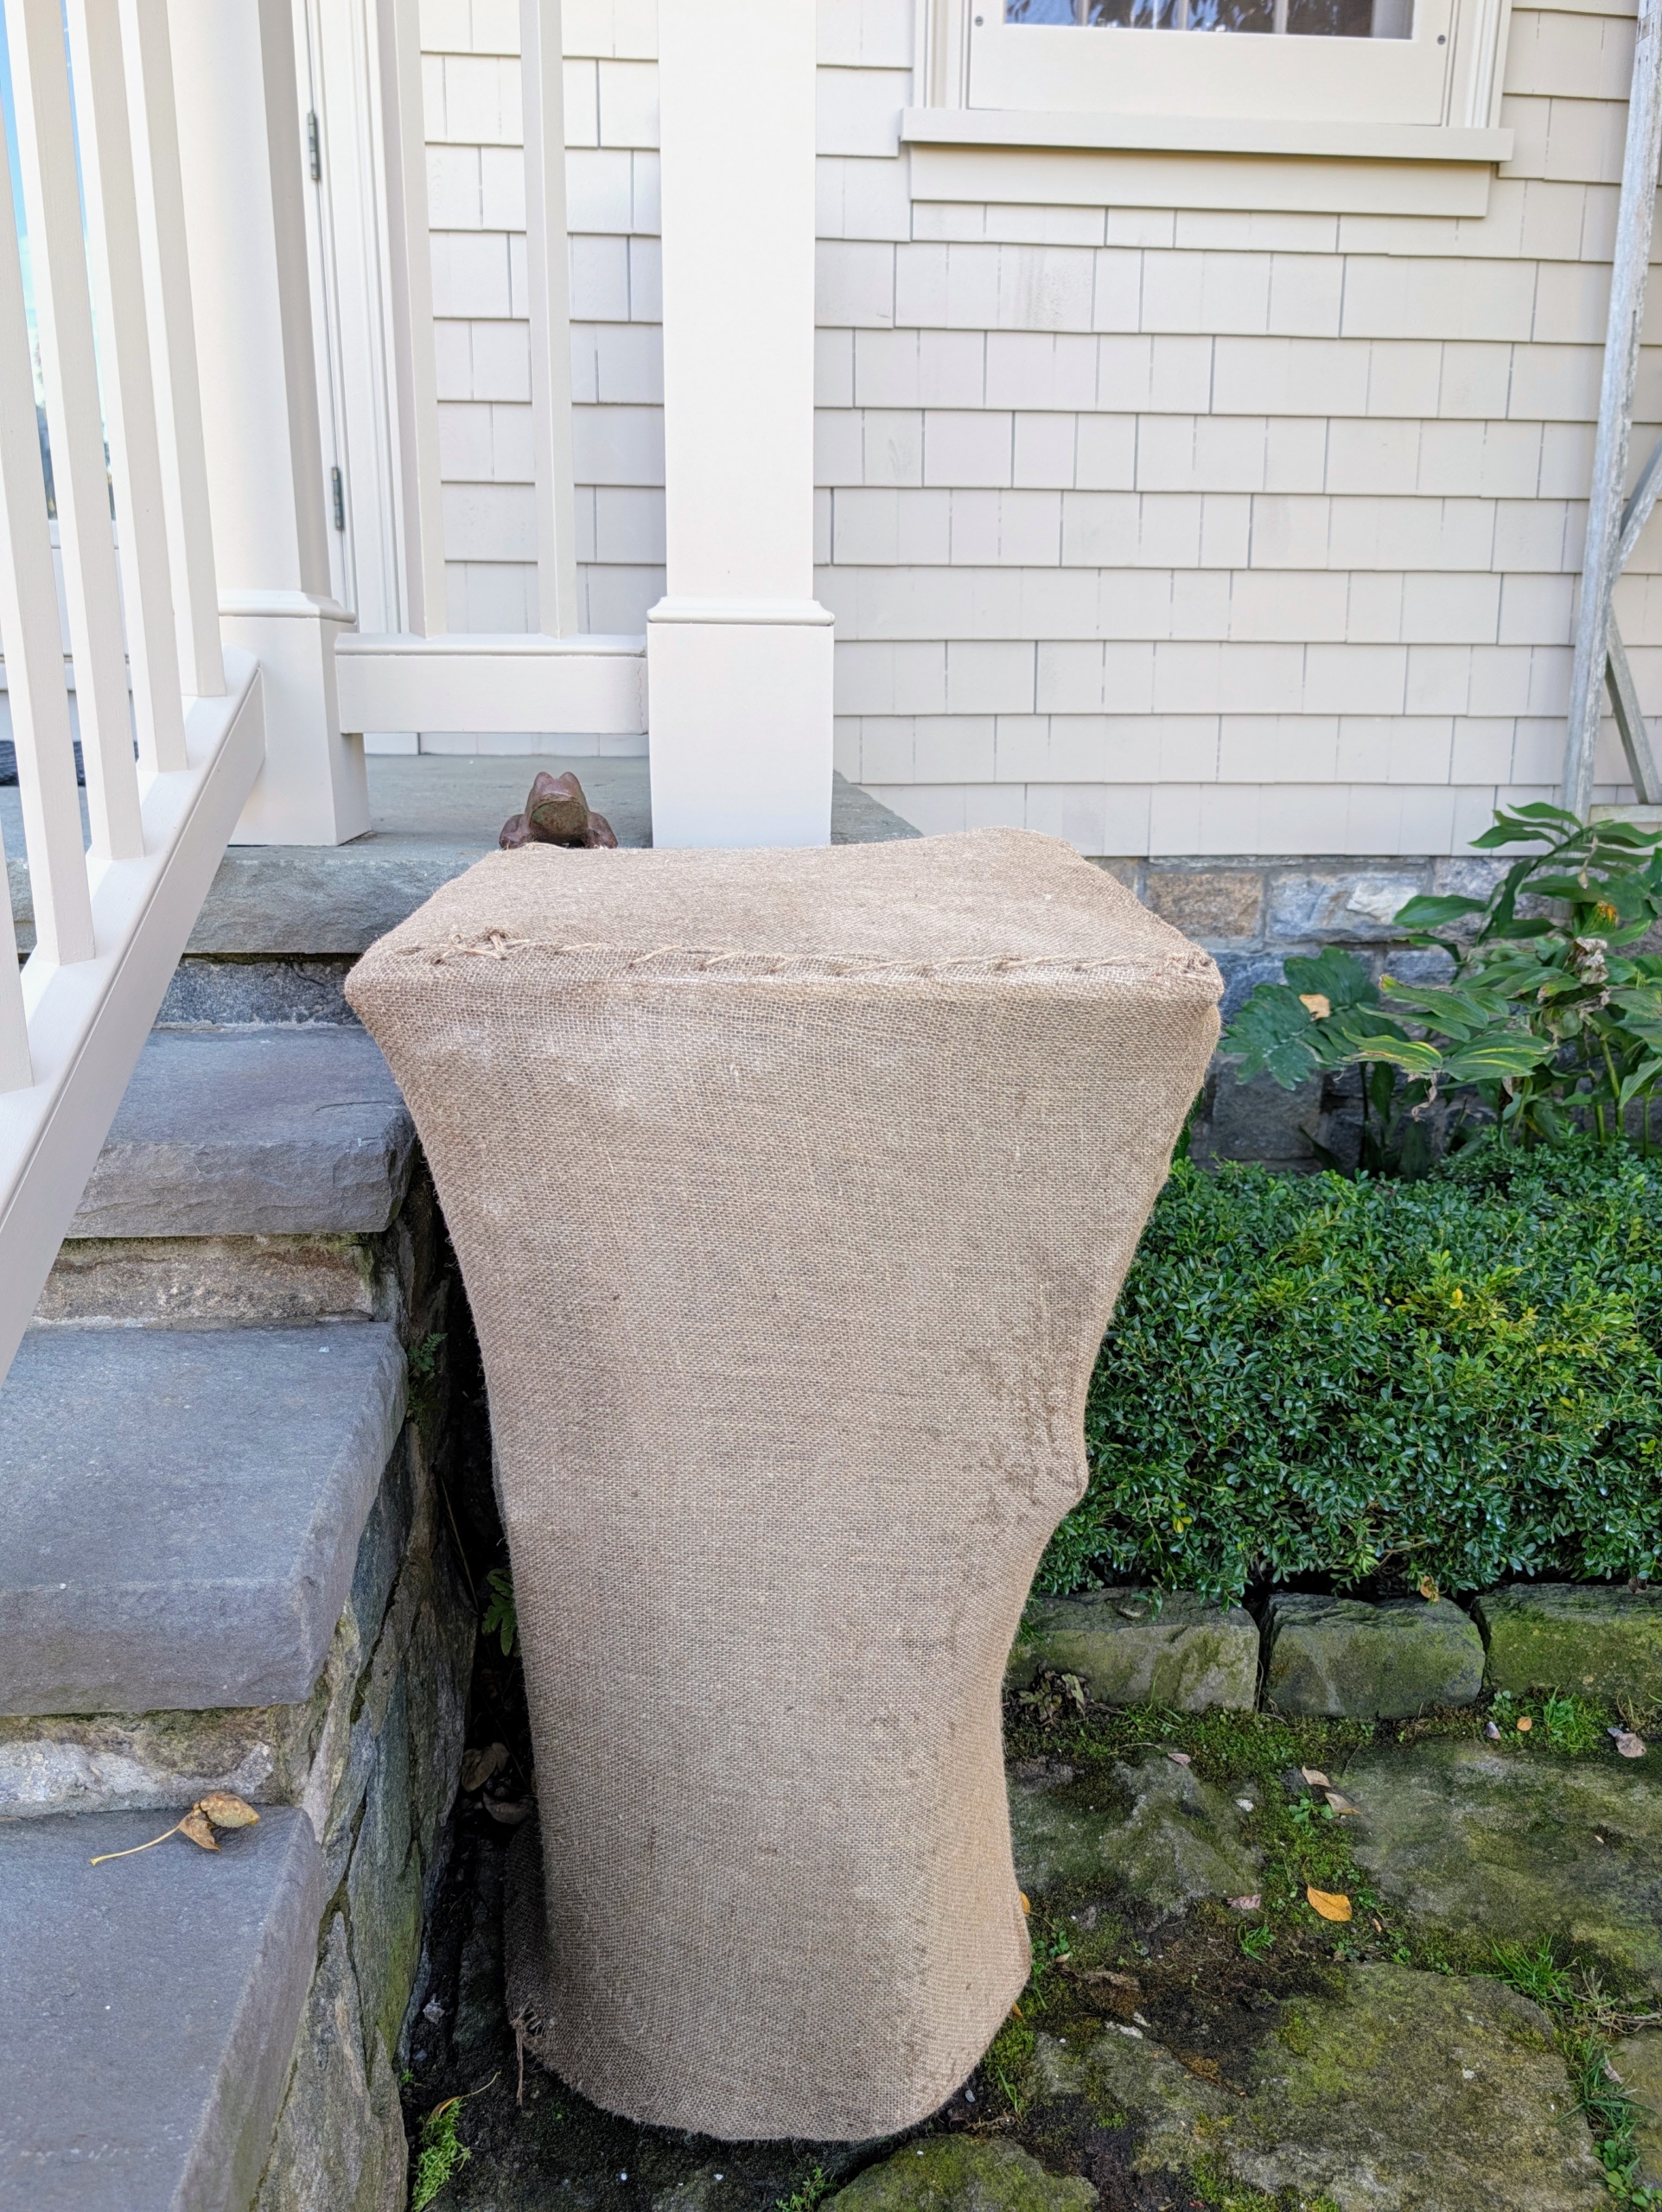
- There are three of the same planters in all – here’s one on the other side of the stairs, also finished.
-
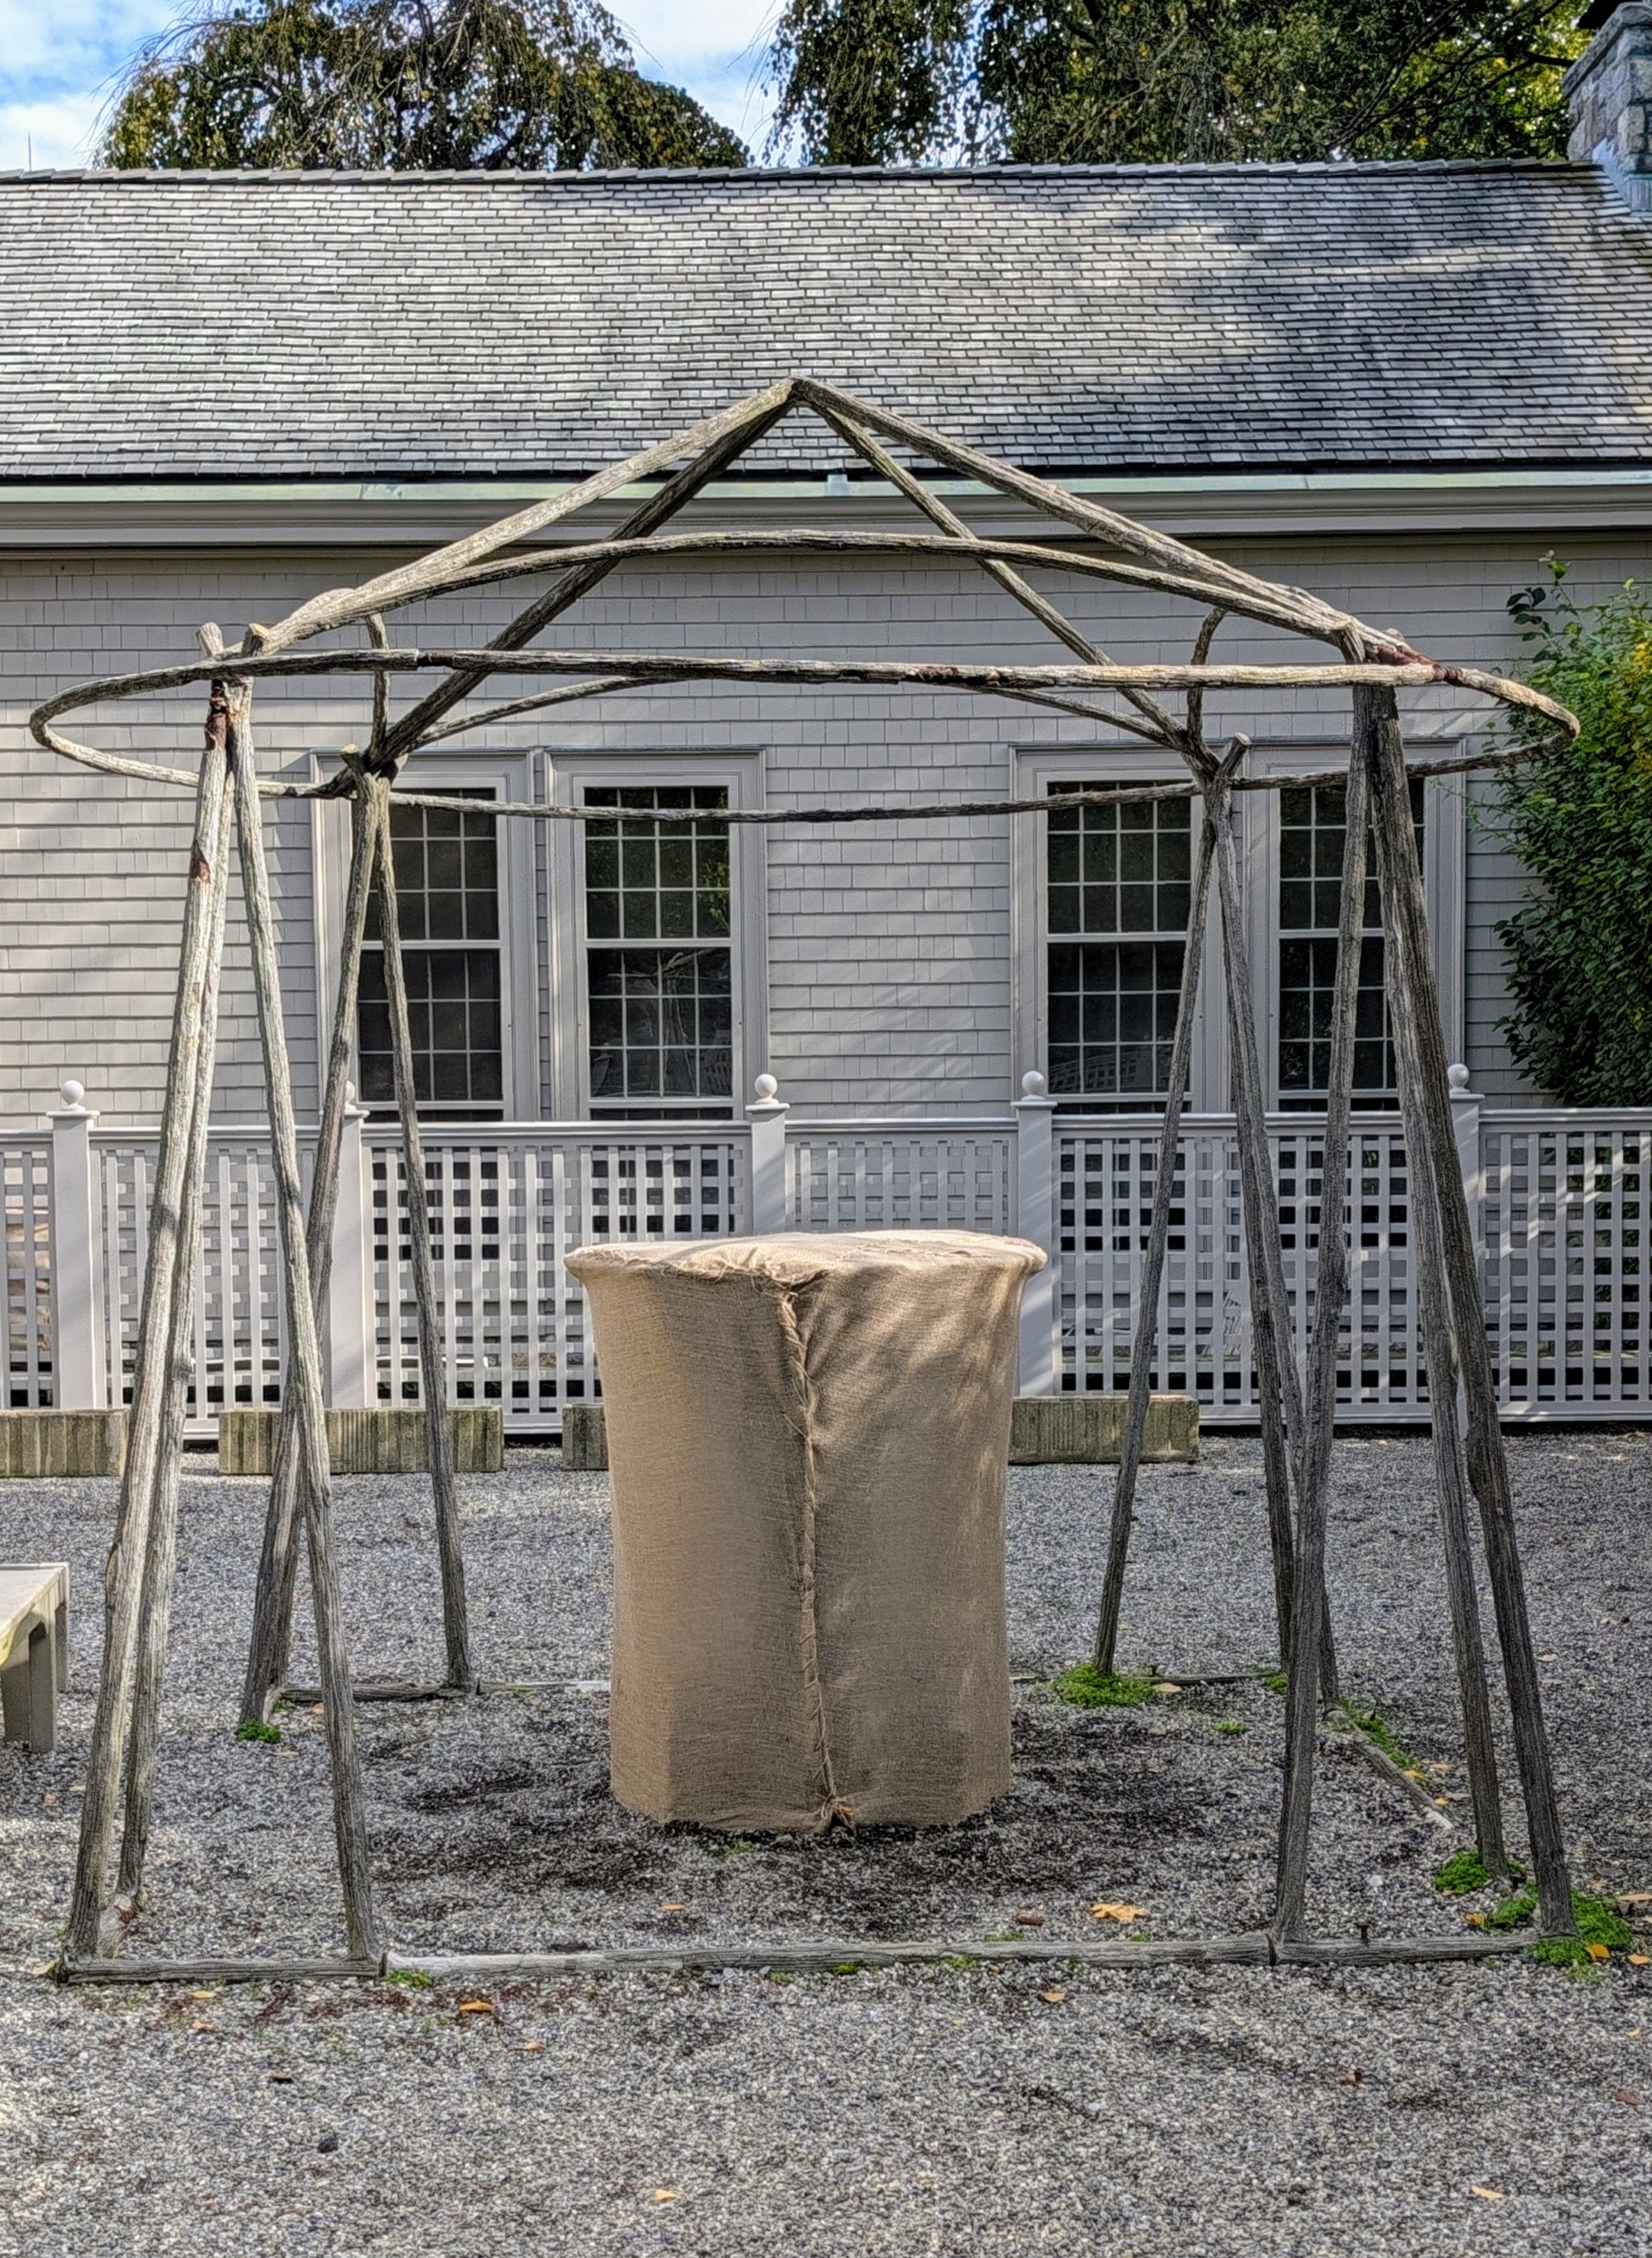
- Pete and Fernando also wrapped the big stone birdbath in the courtyard behind my Winter House.
-
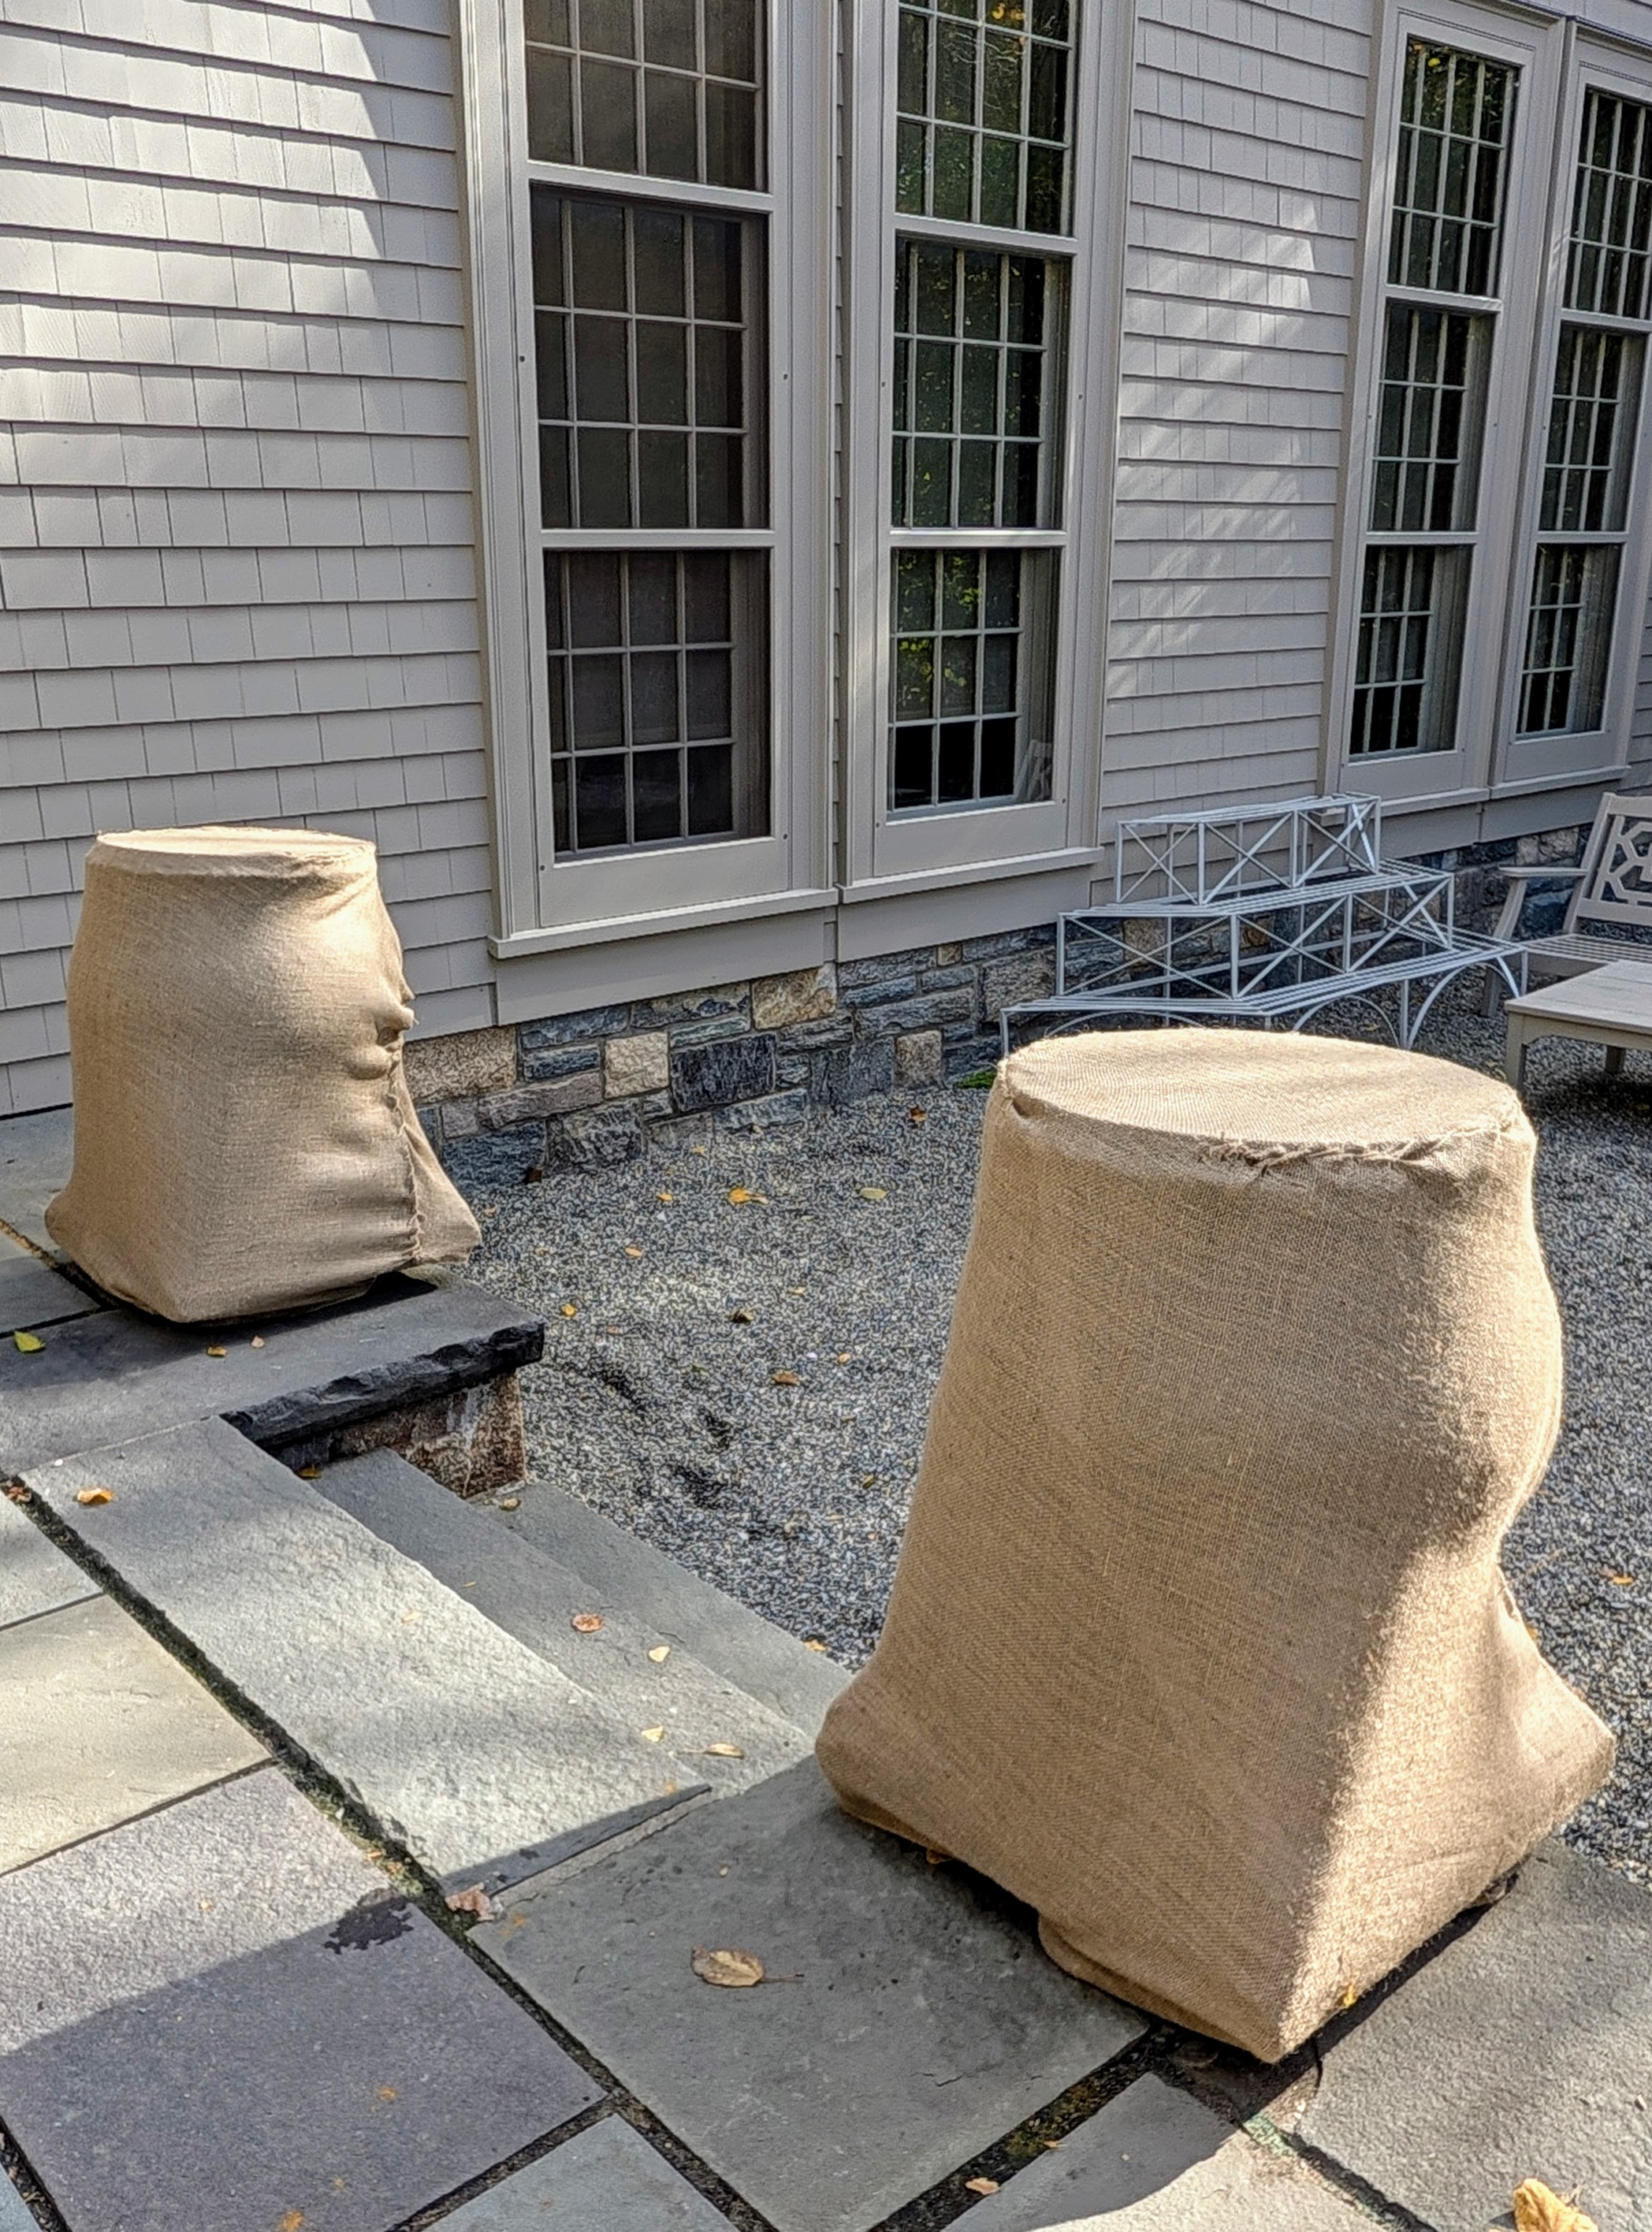
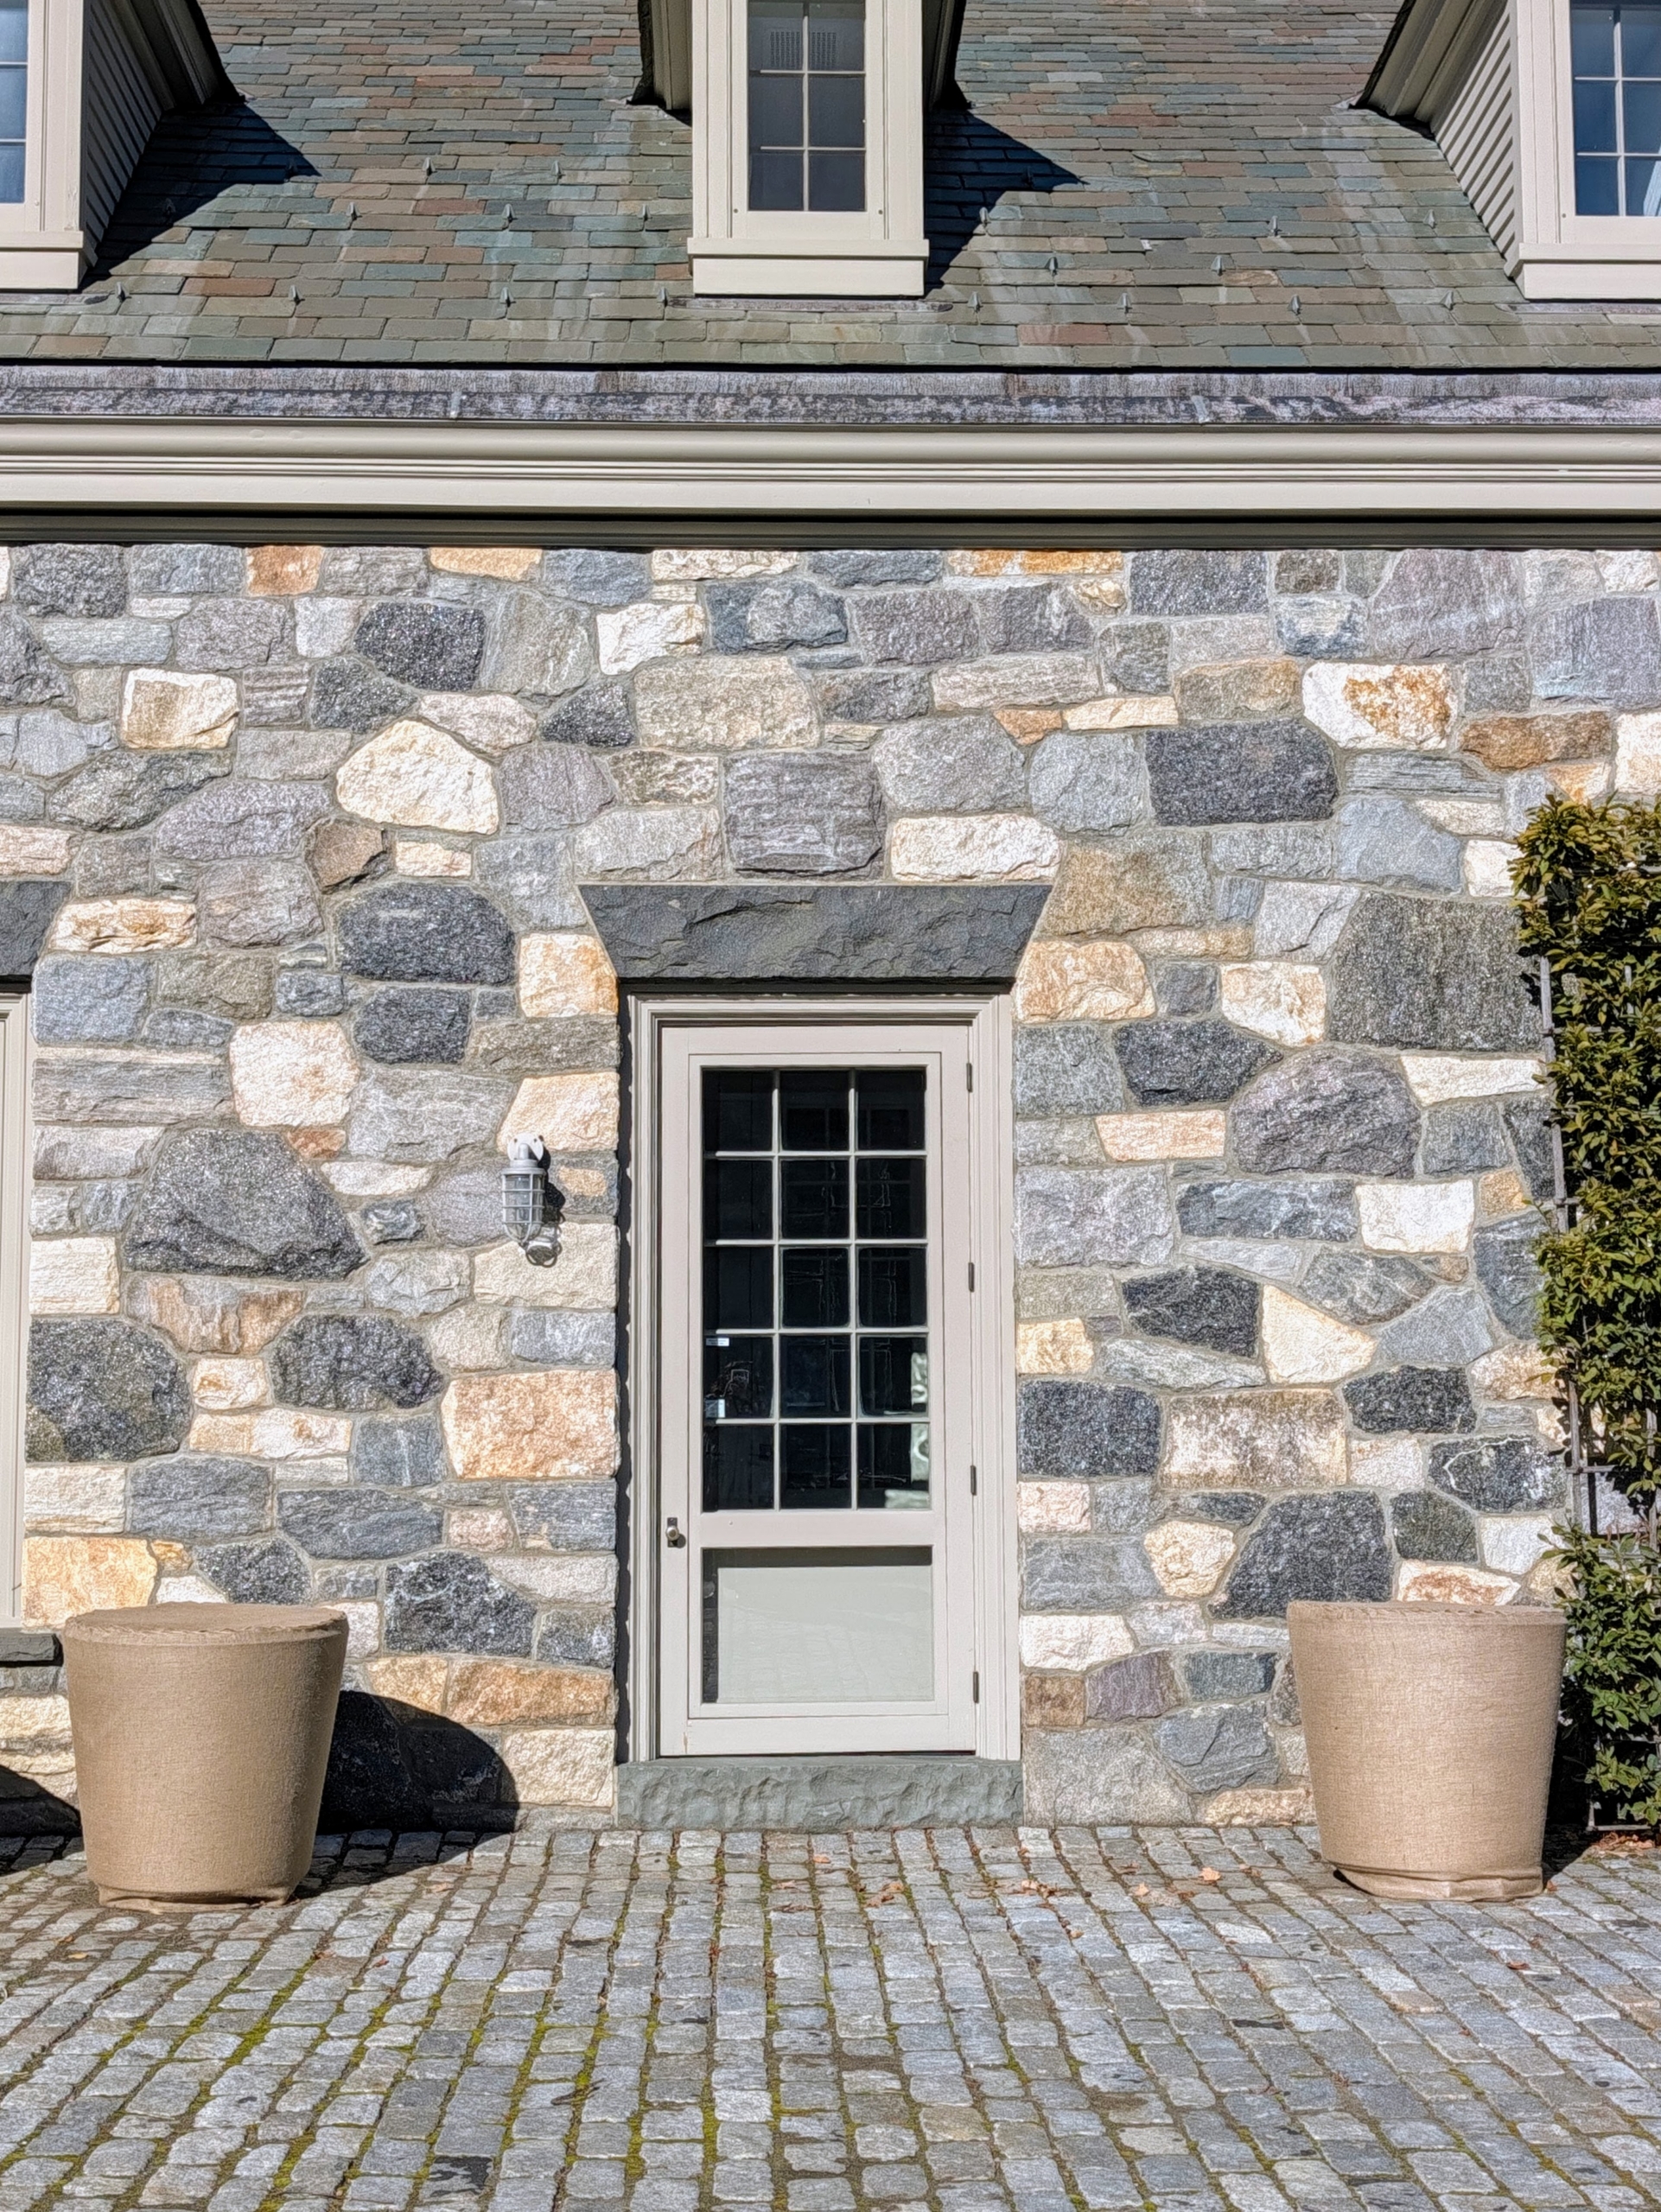
- Pete also wrapped these two planters in the same area.
-
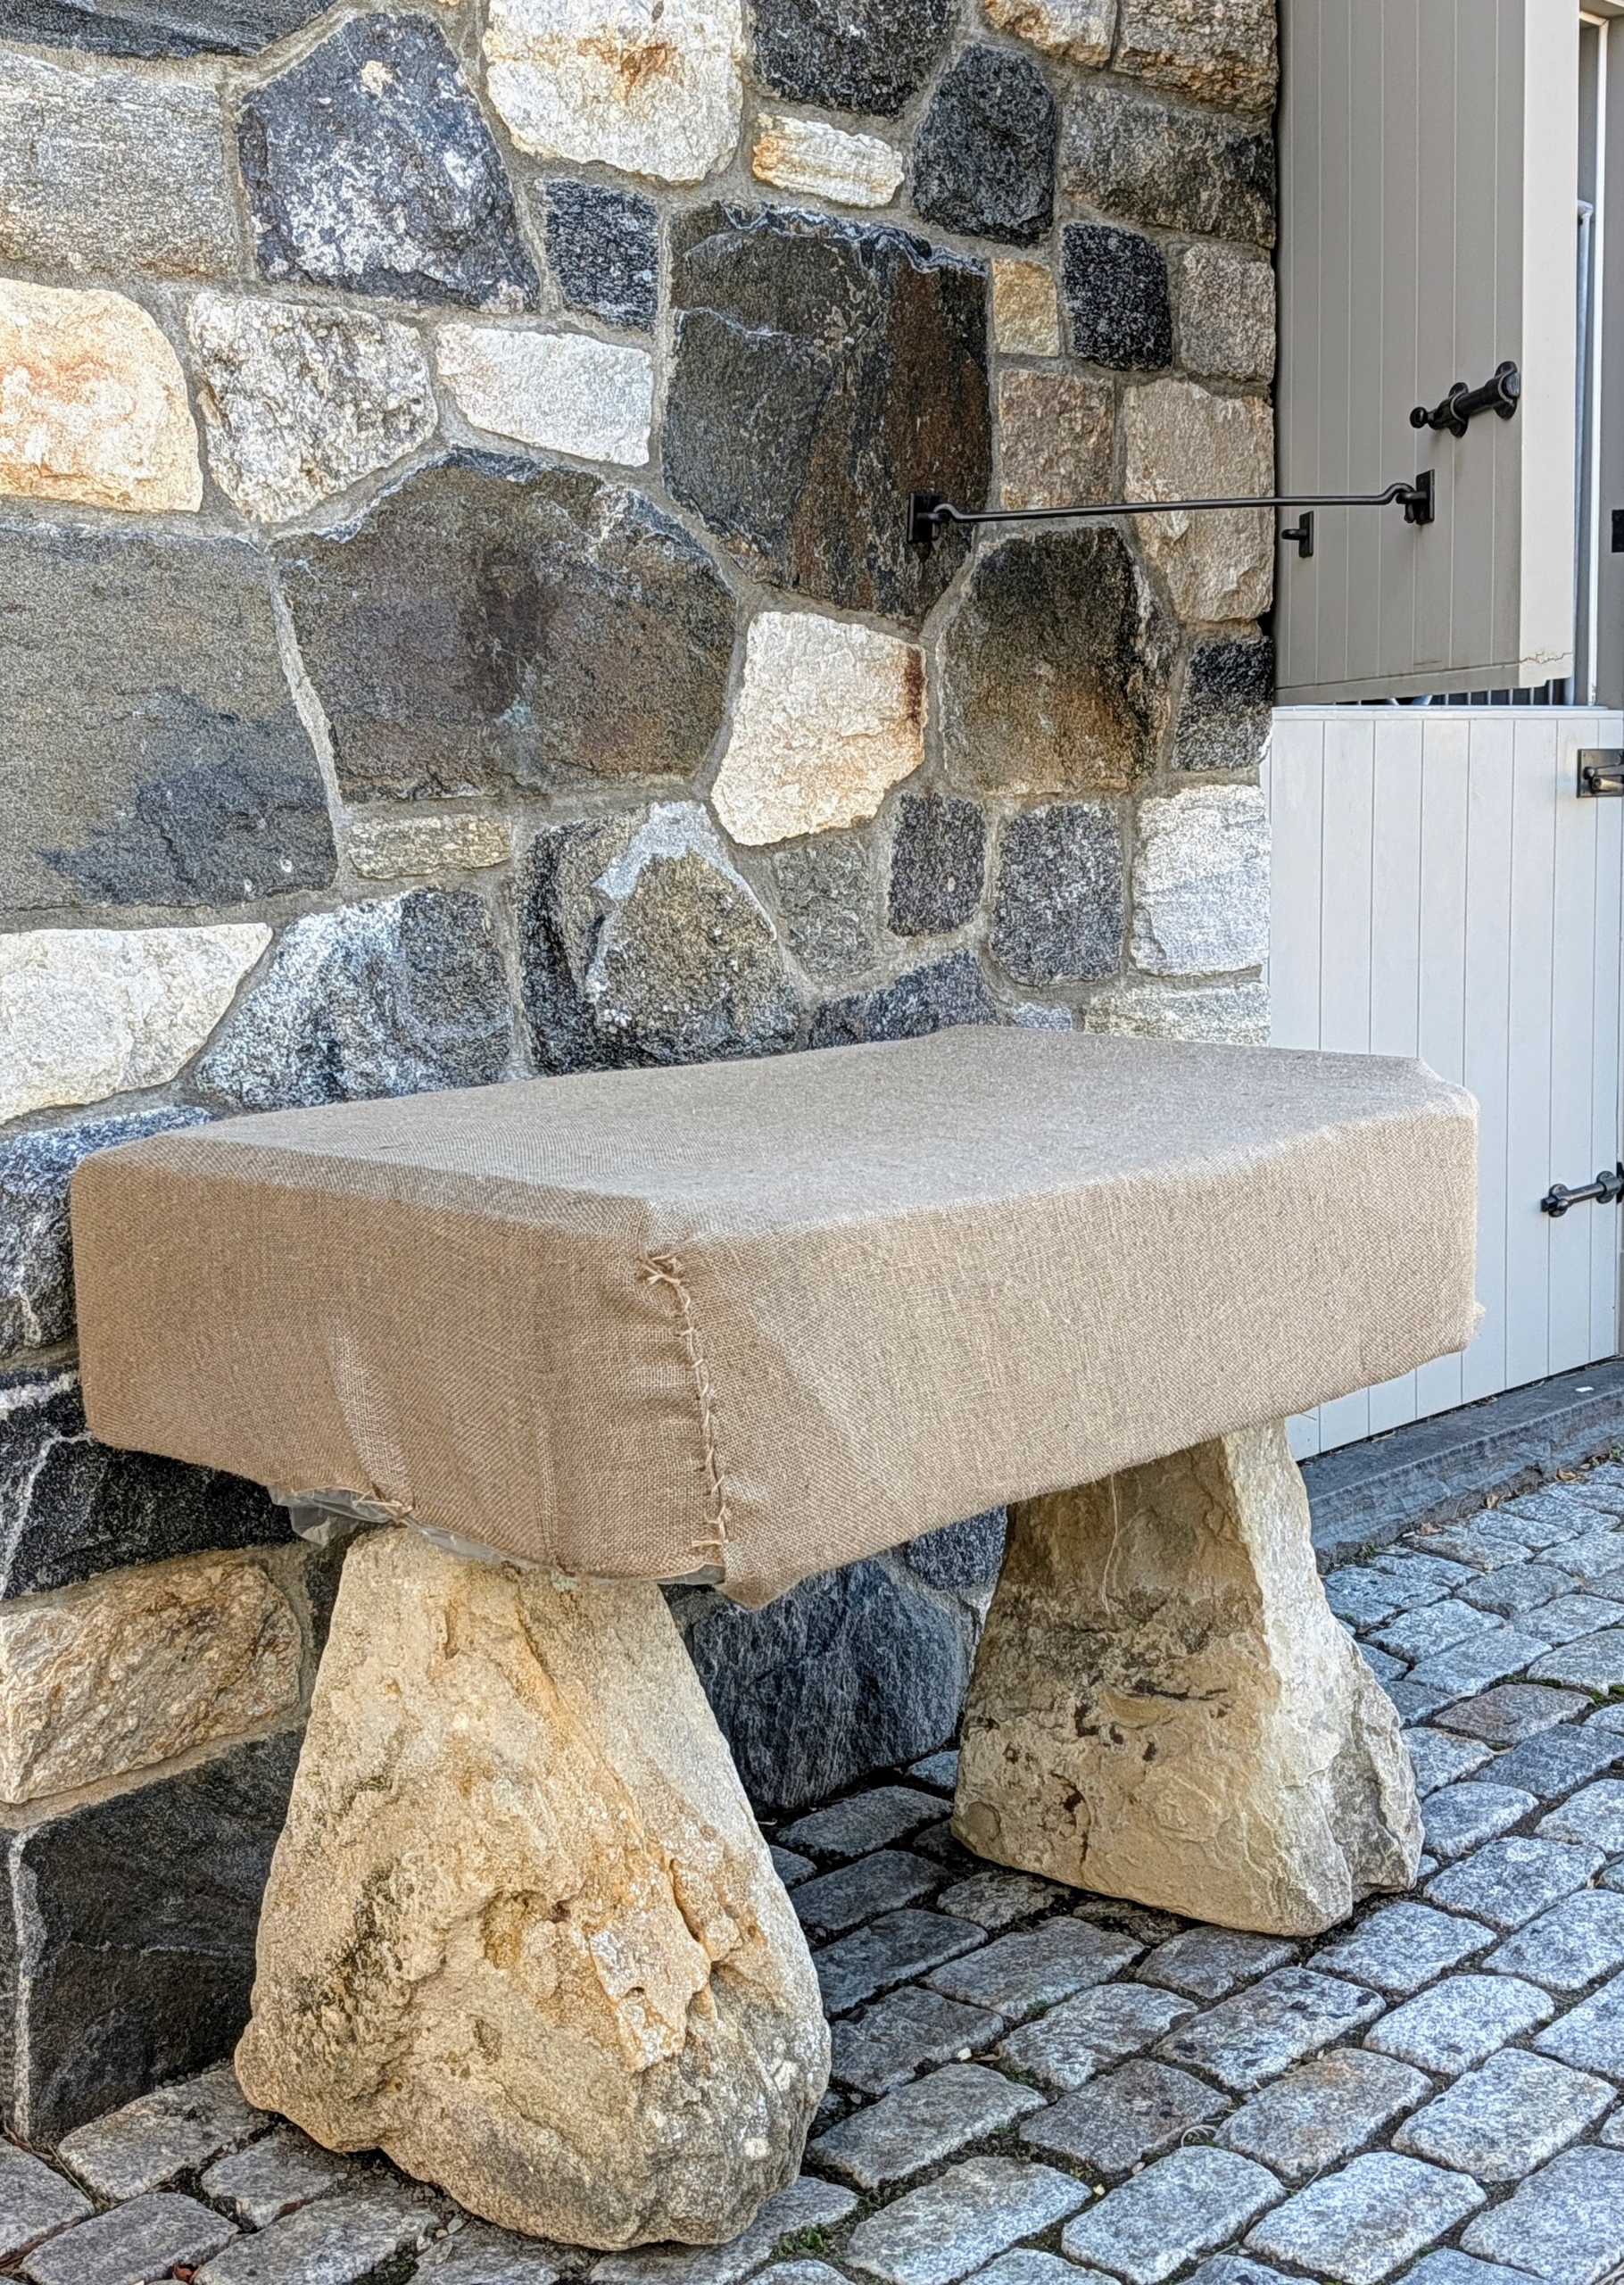
- Here’s a stone trough outside the barn doors of my stable – it, too, is covered with burlap.
-
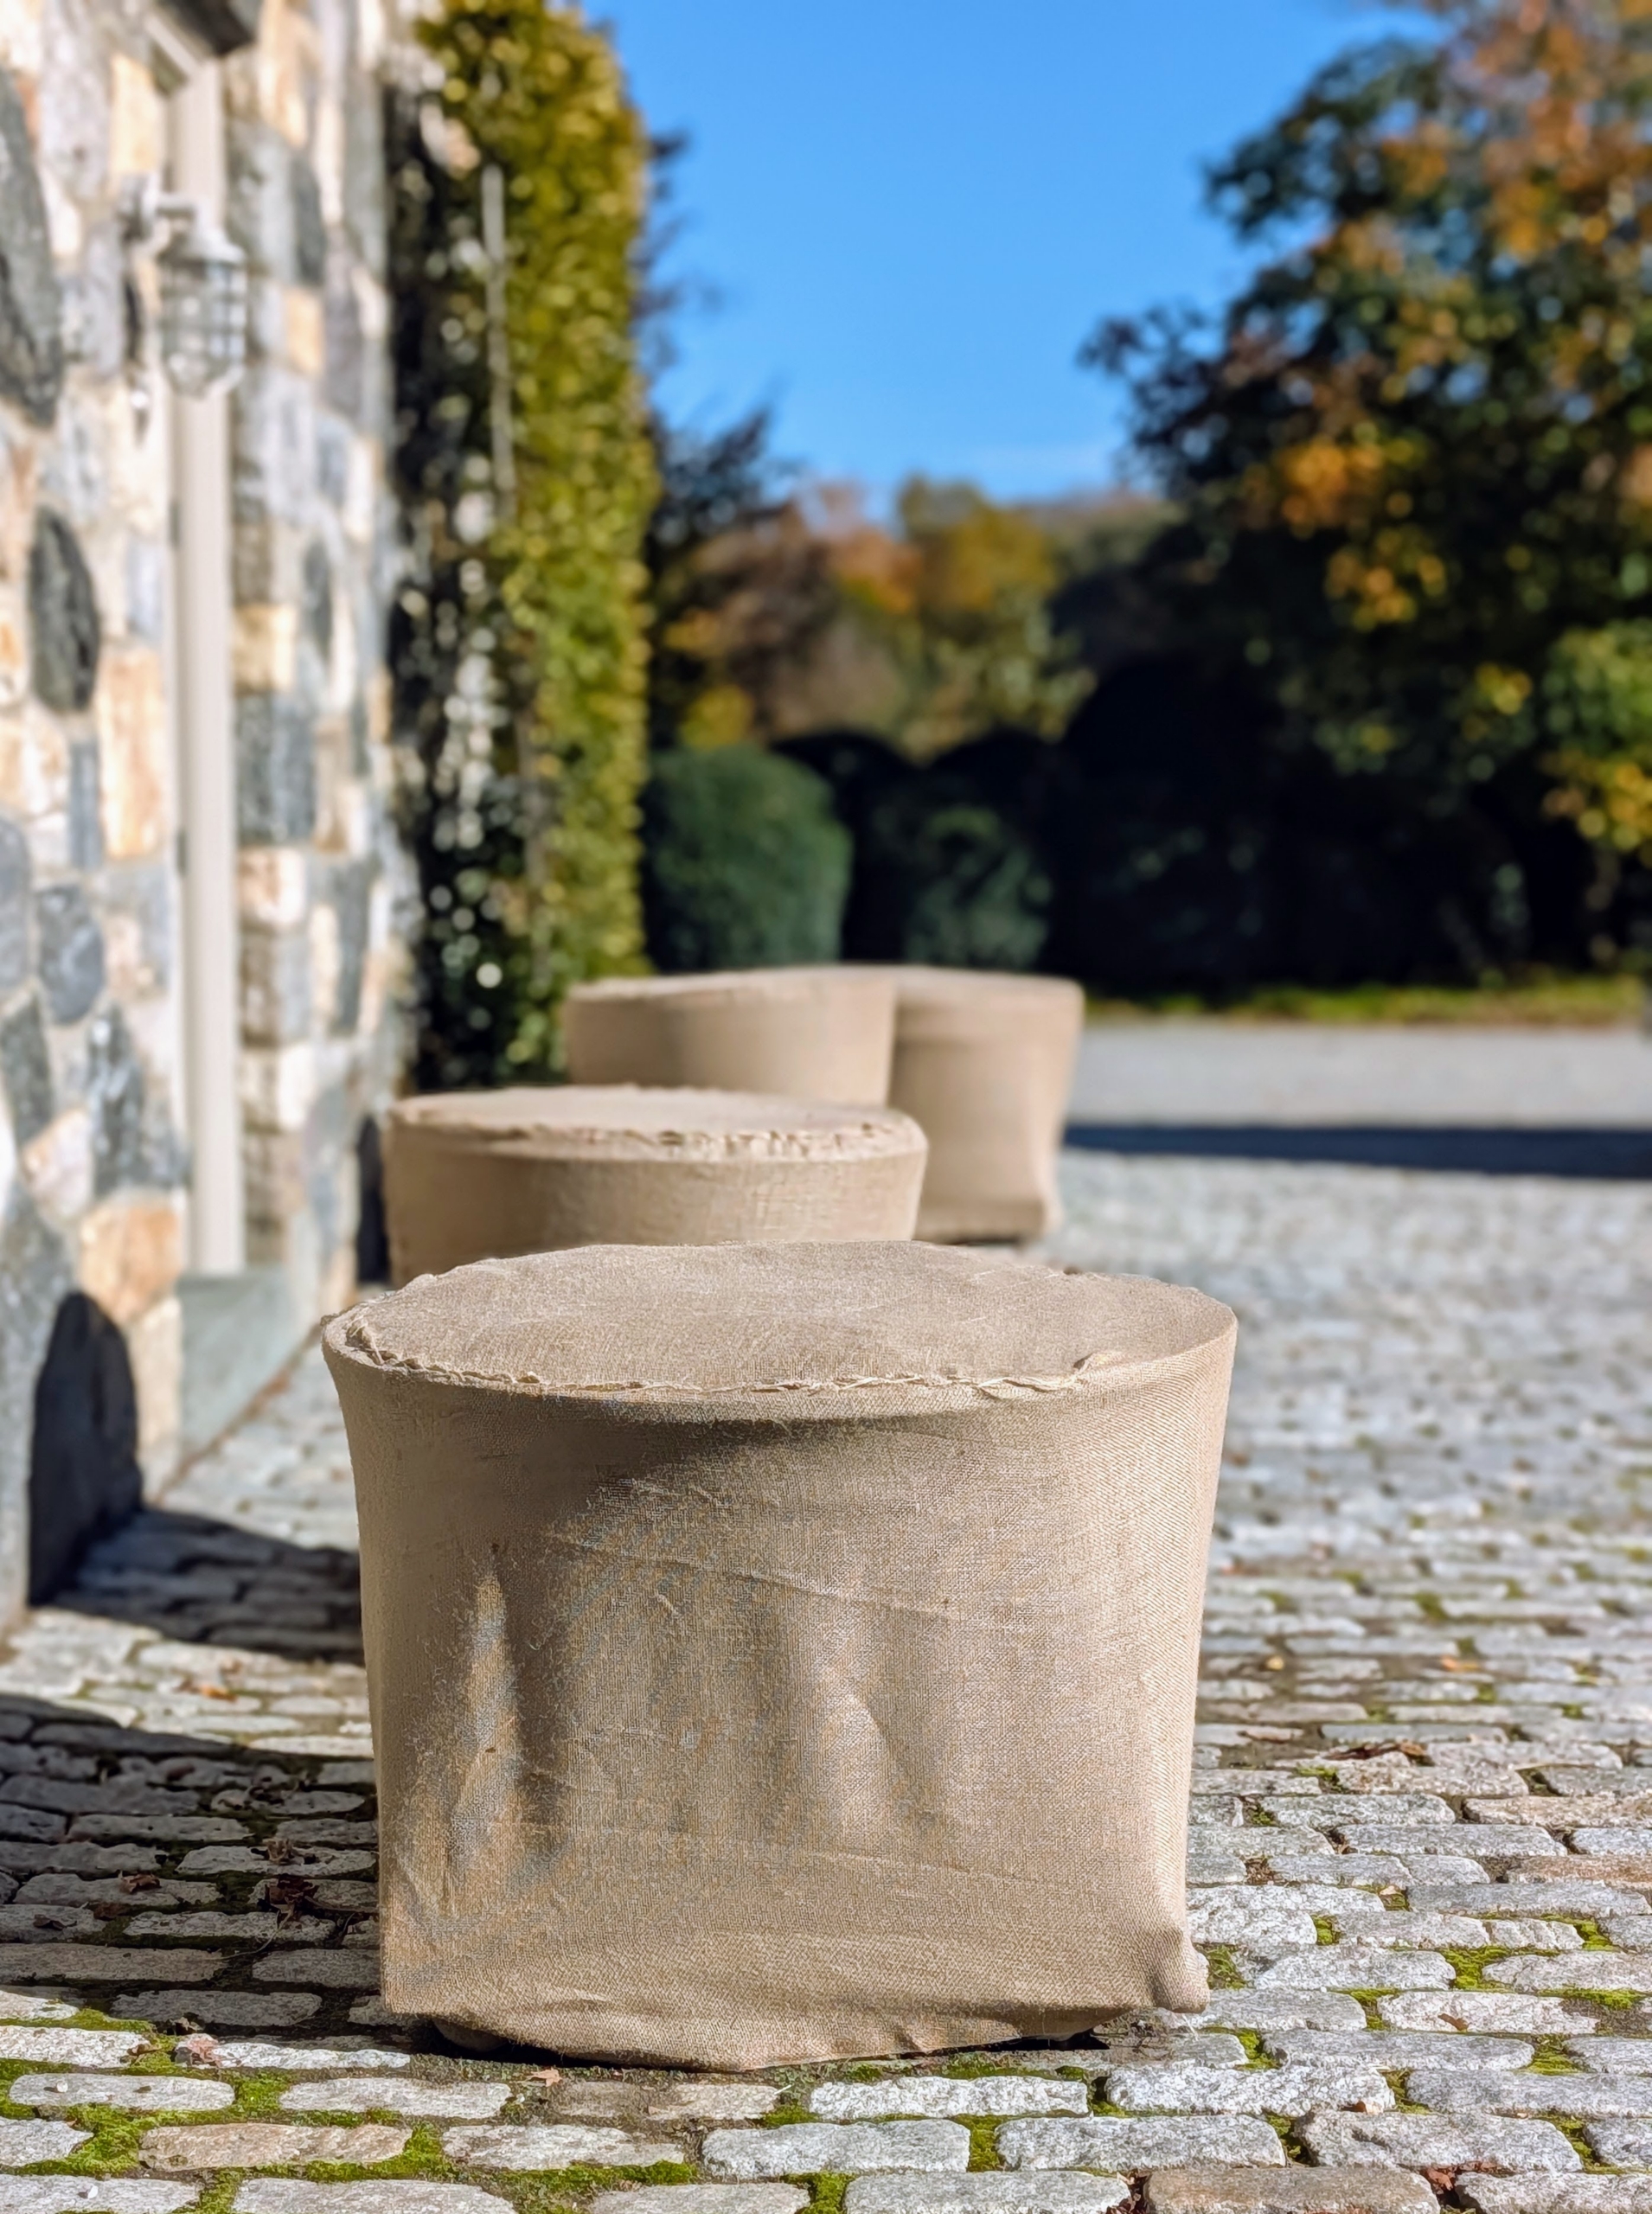
- And so is this group of birdbaths and planters that sit outside my offices in the same stable complex – all wrapped for the season.
-
- There is still so much “burlapping” to do around the farm. All the many boxwood shrubs and hedges will all be covered in the weeks ahead. Wait, follow, and see.
 Martha Pins


 Martha Tweets


