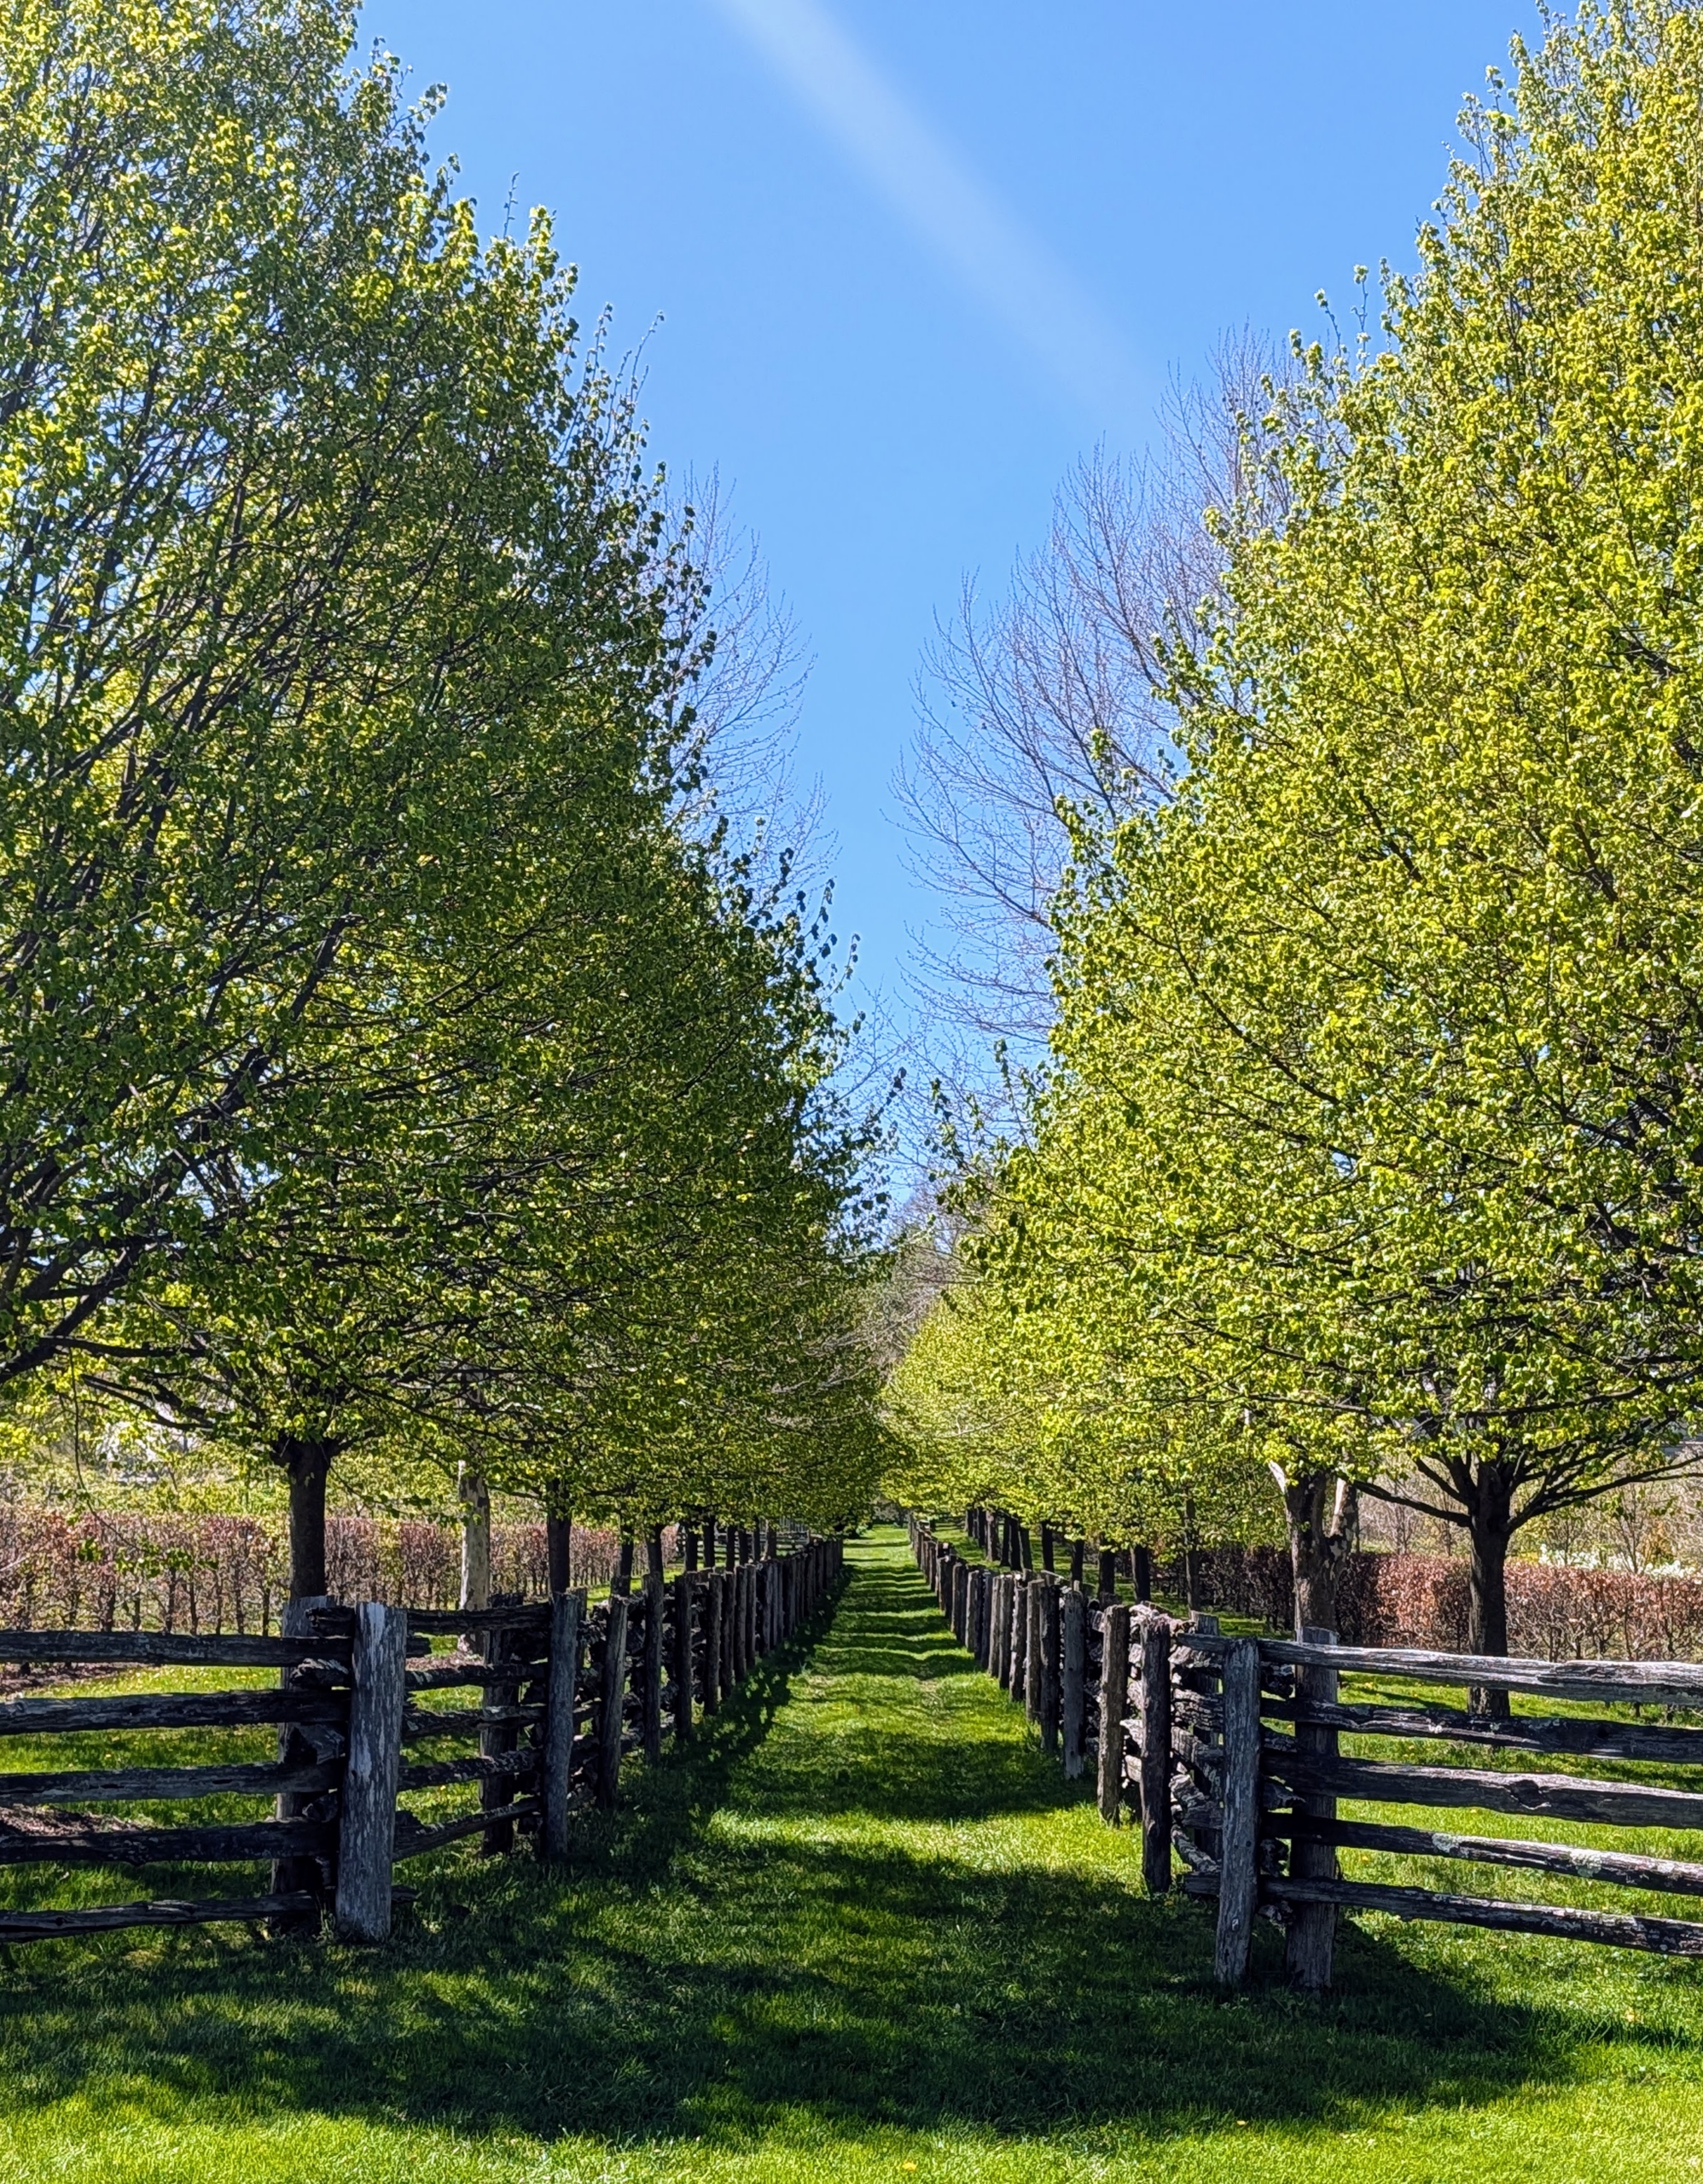
We’ve been pretty lucky here at the farm - we've had some rain, but for the most part the weather has been mild enough to continue our long list of outdoor chores.
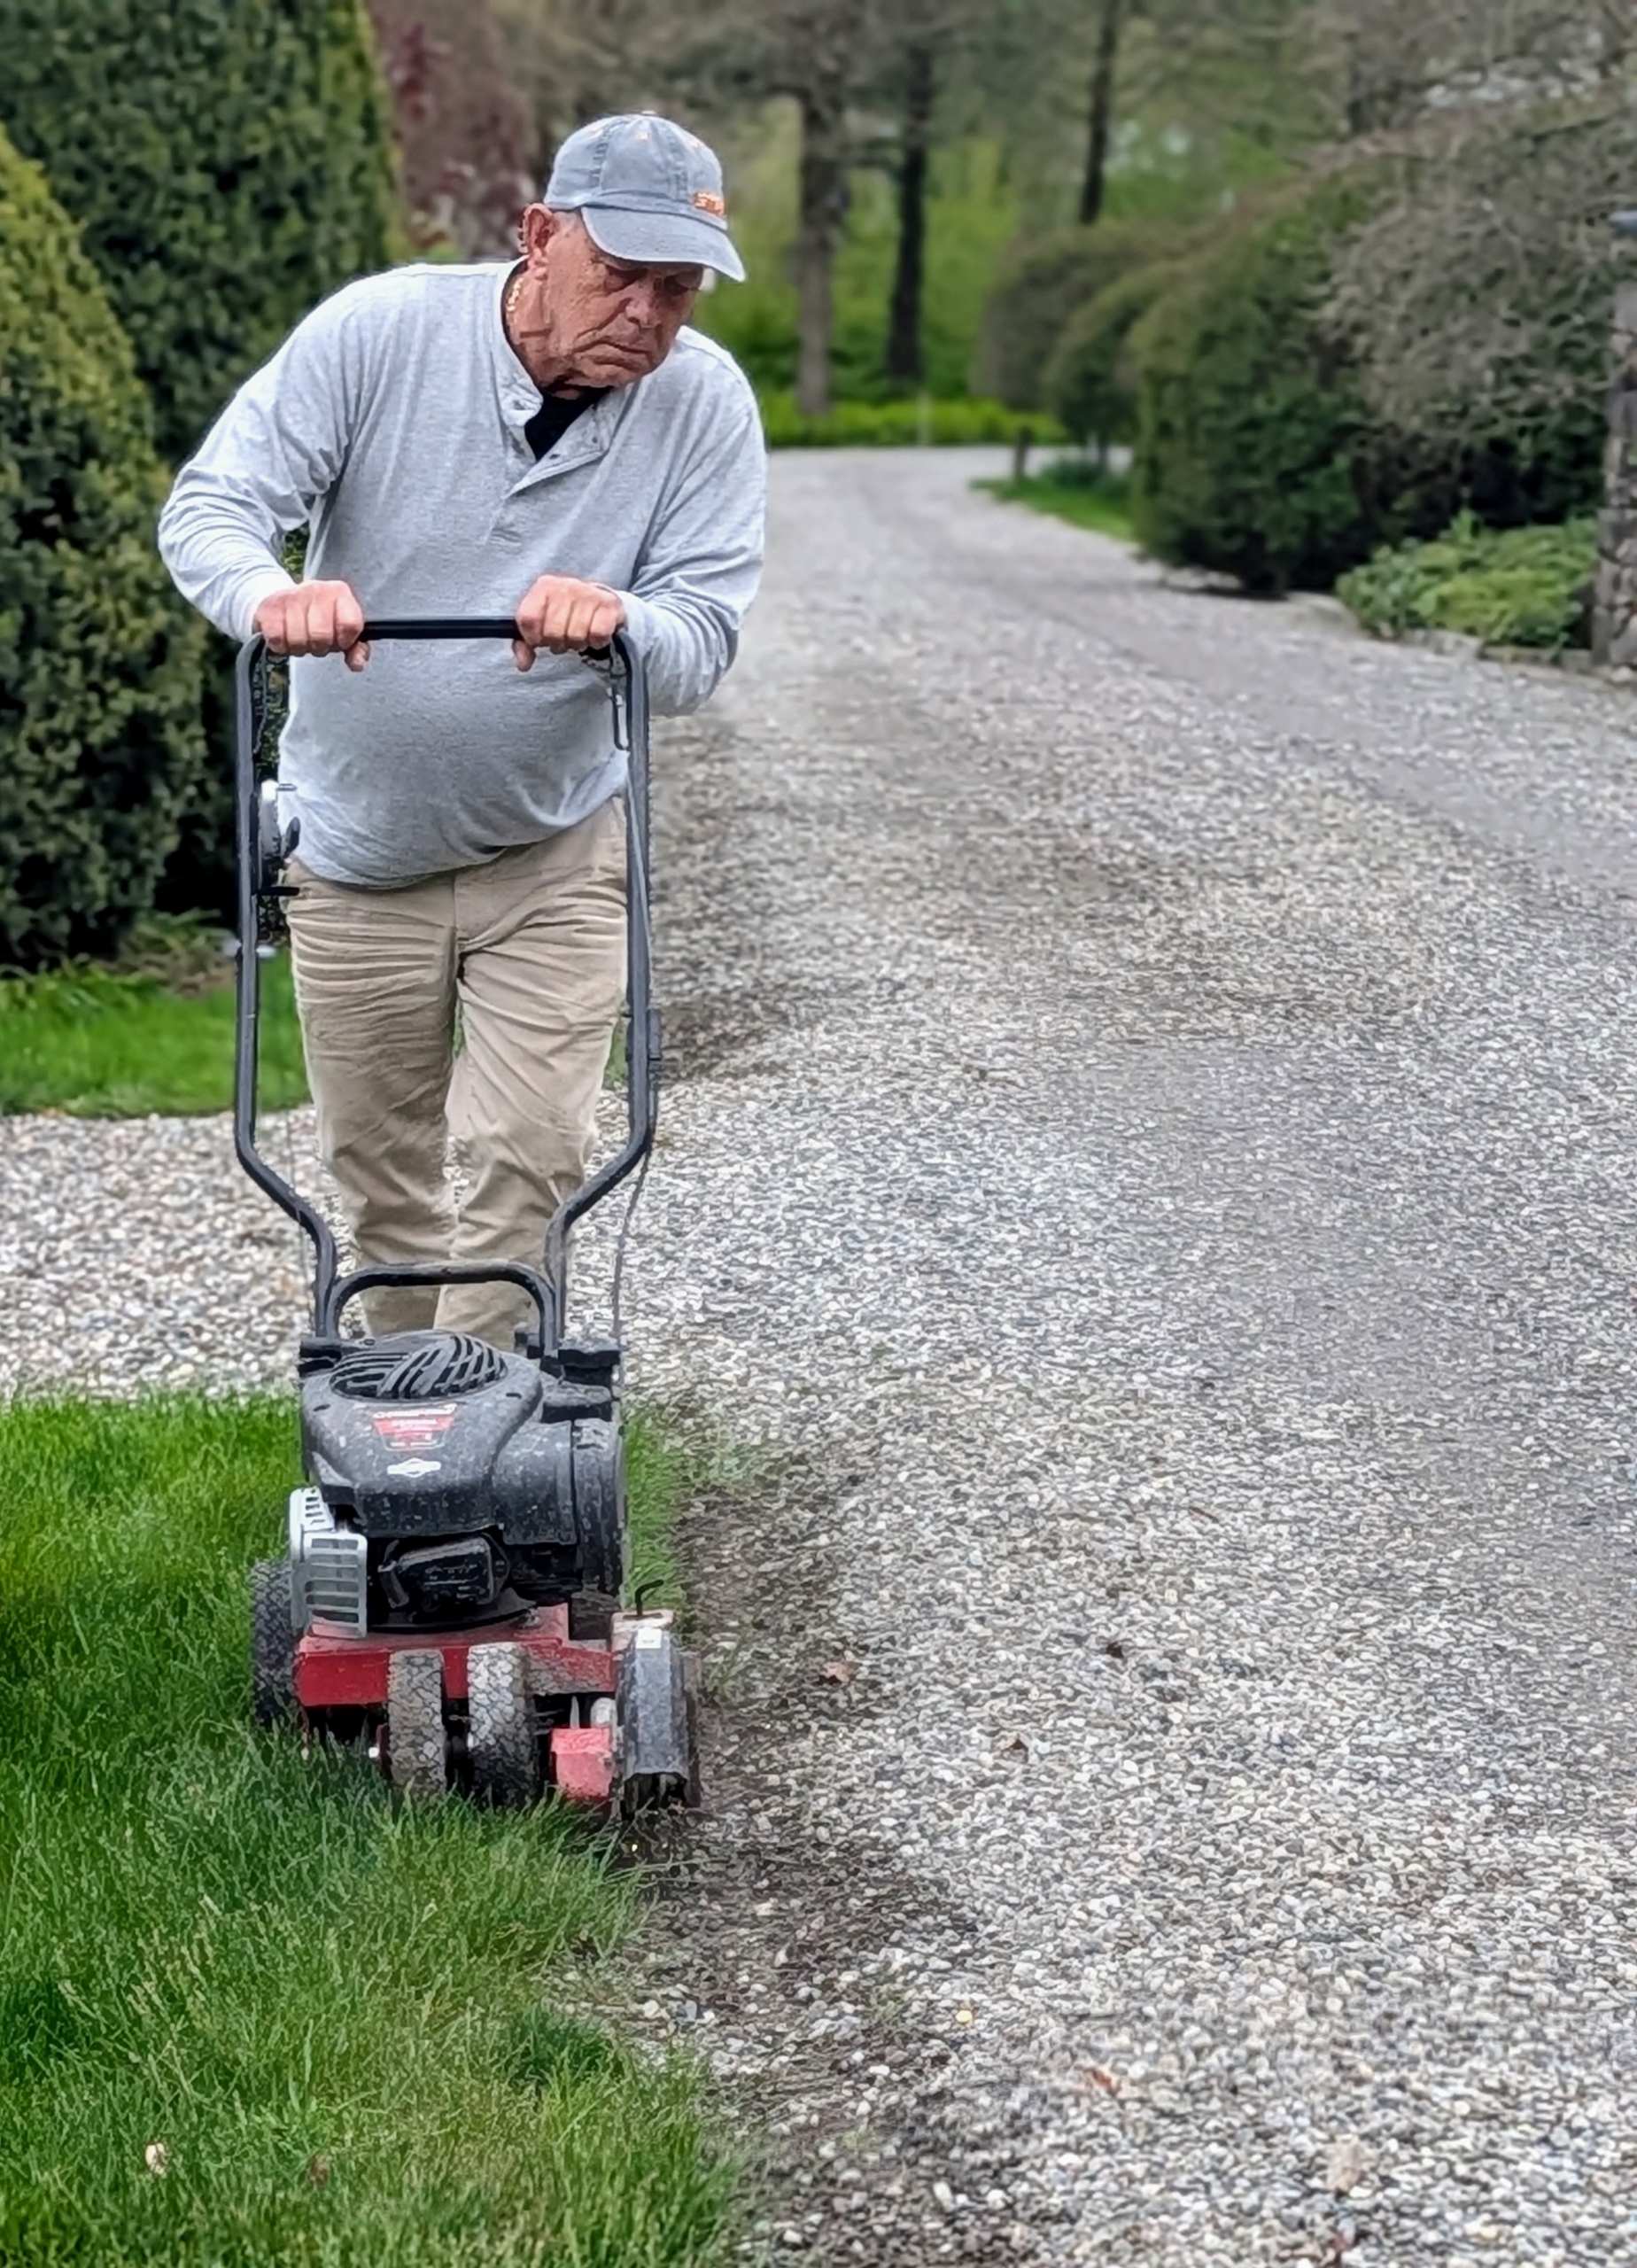
And there's a lot to do. My outdoor grounds crew is busy with many projects including mulching all the garden beds, planting the vegetable crops, edging the carriage roads, reseeding, and mowing the lawns.
Here's a glimpse of some of the many jobs getting done. Enjoy these photos.
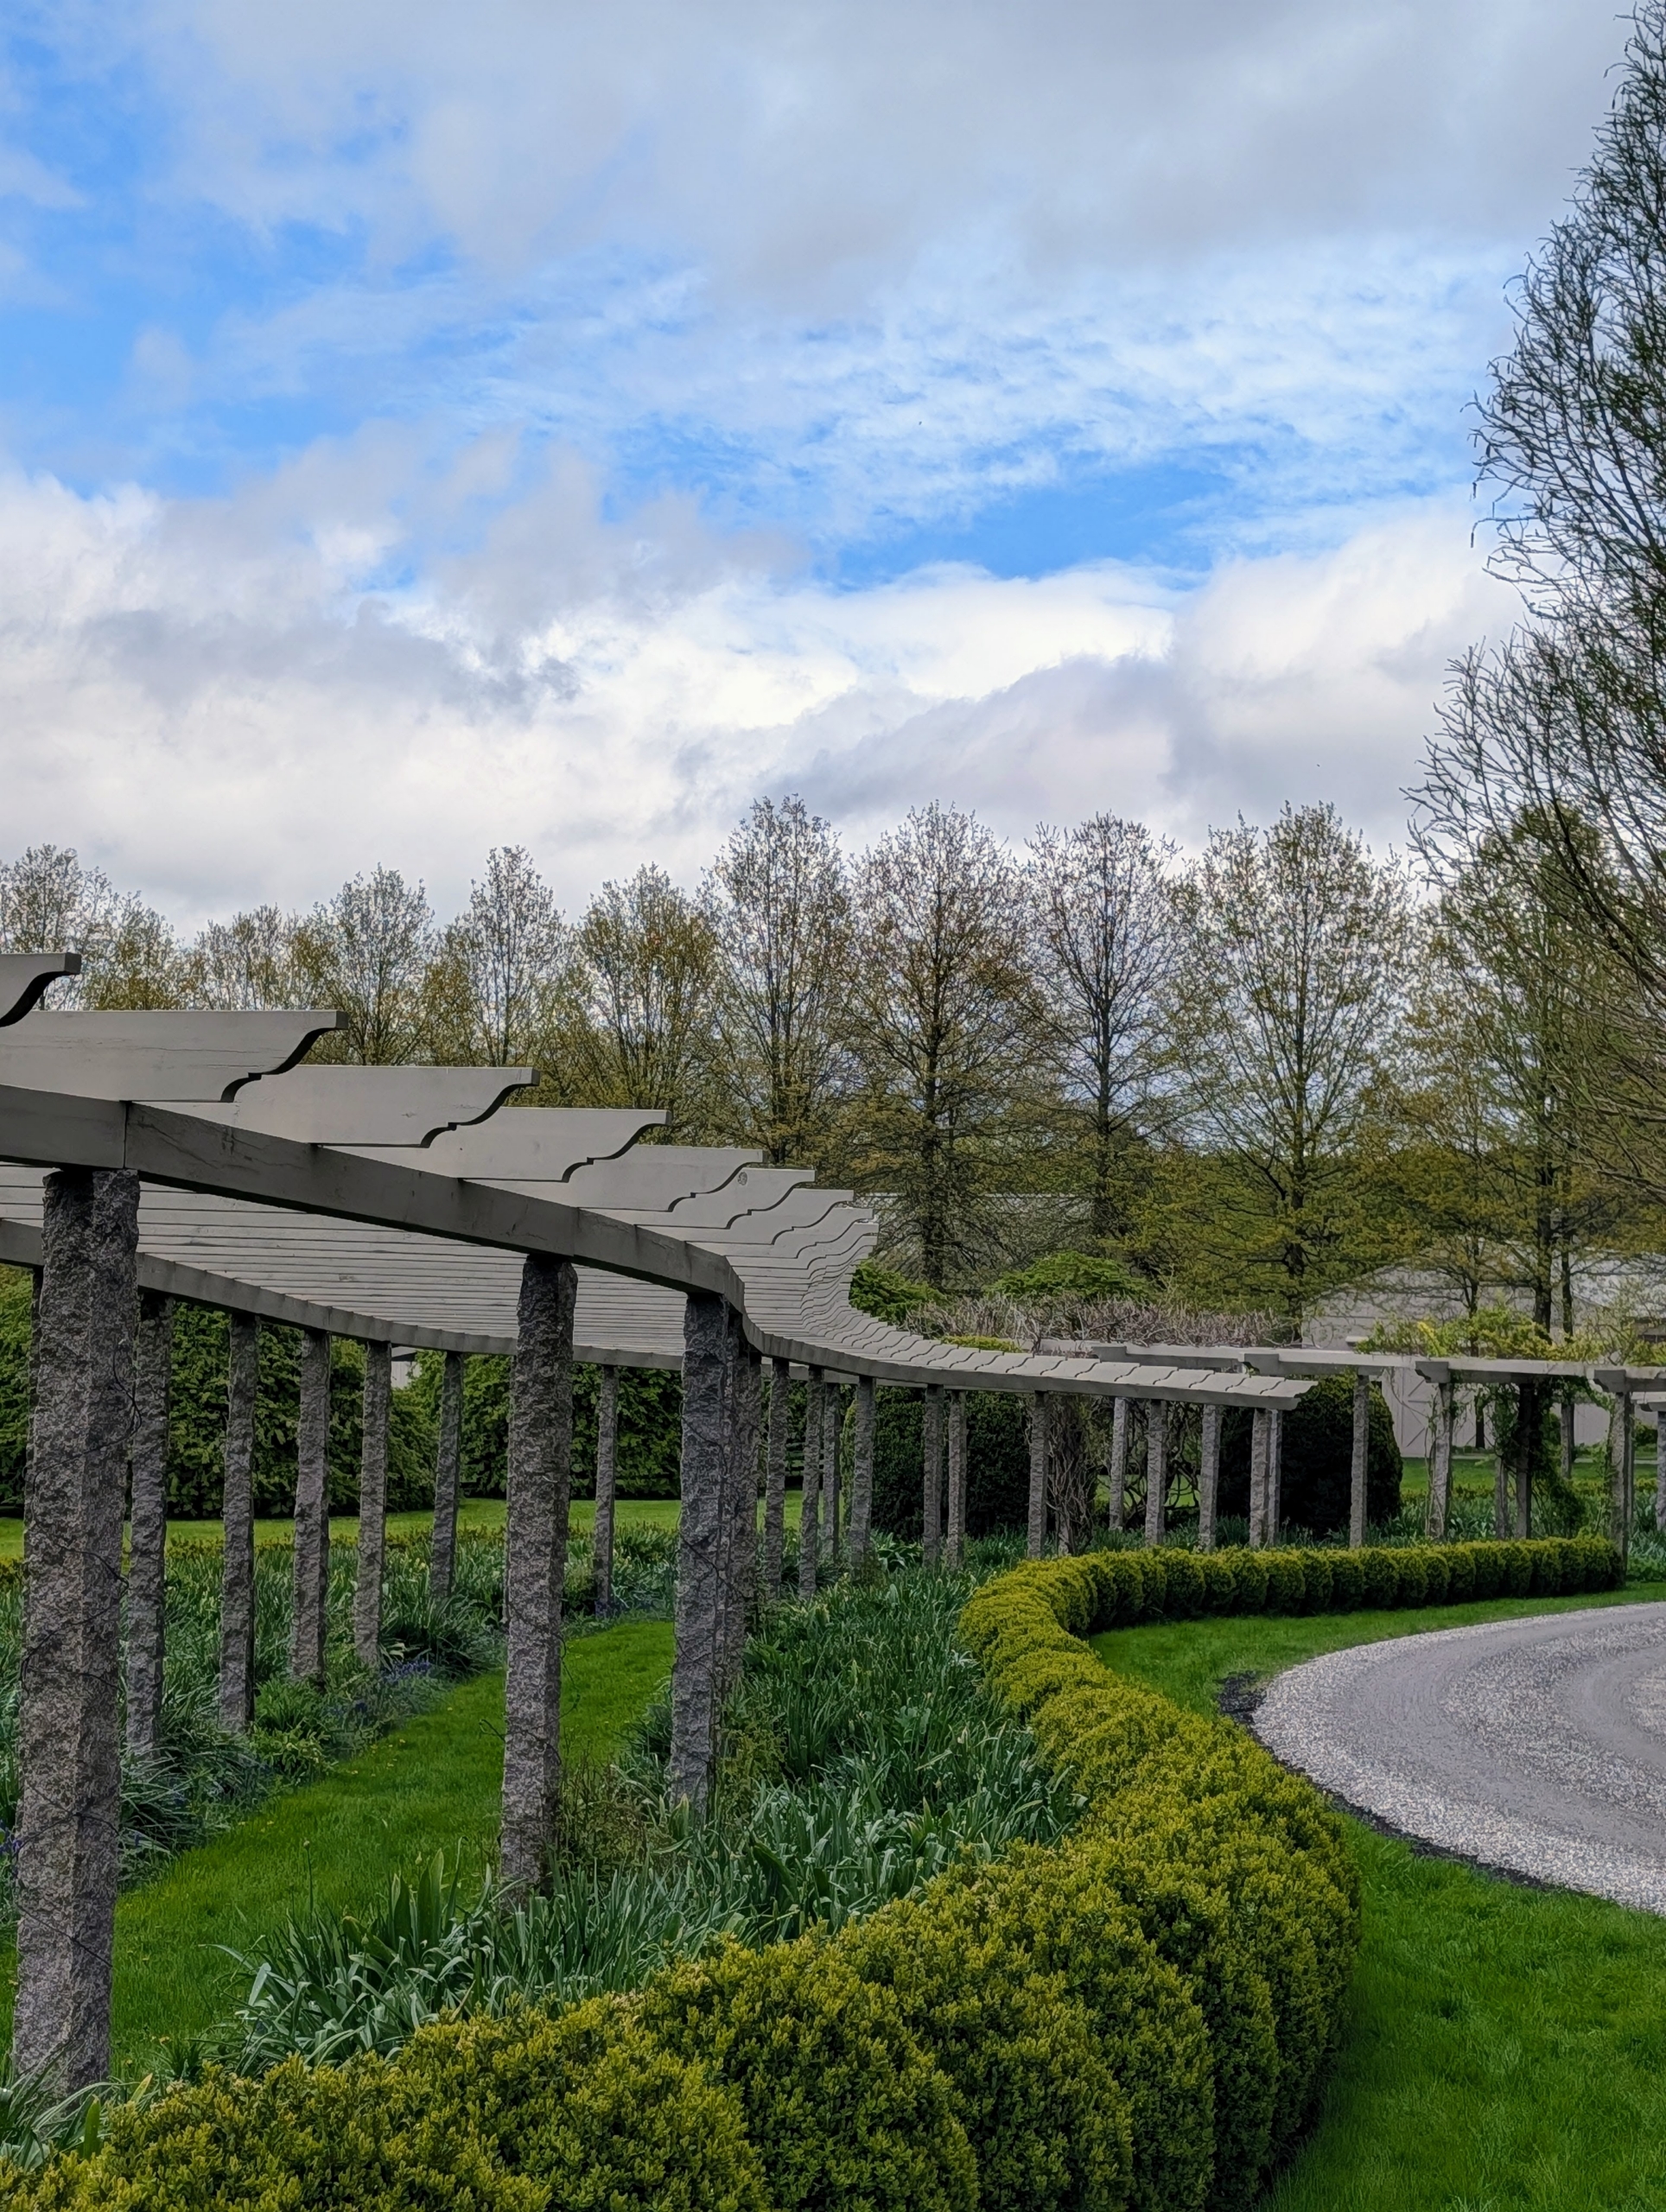
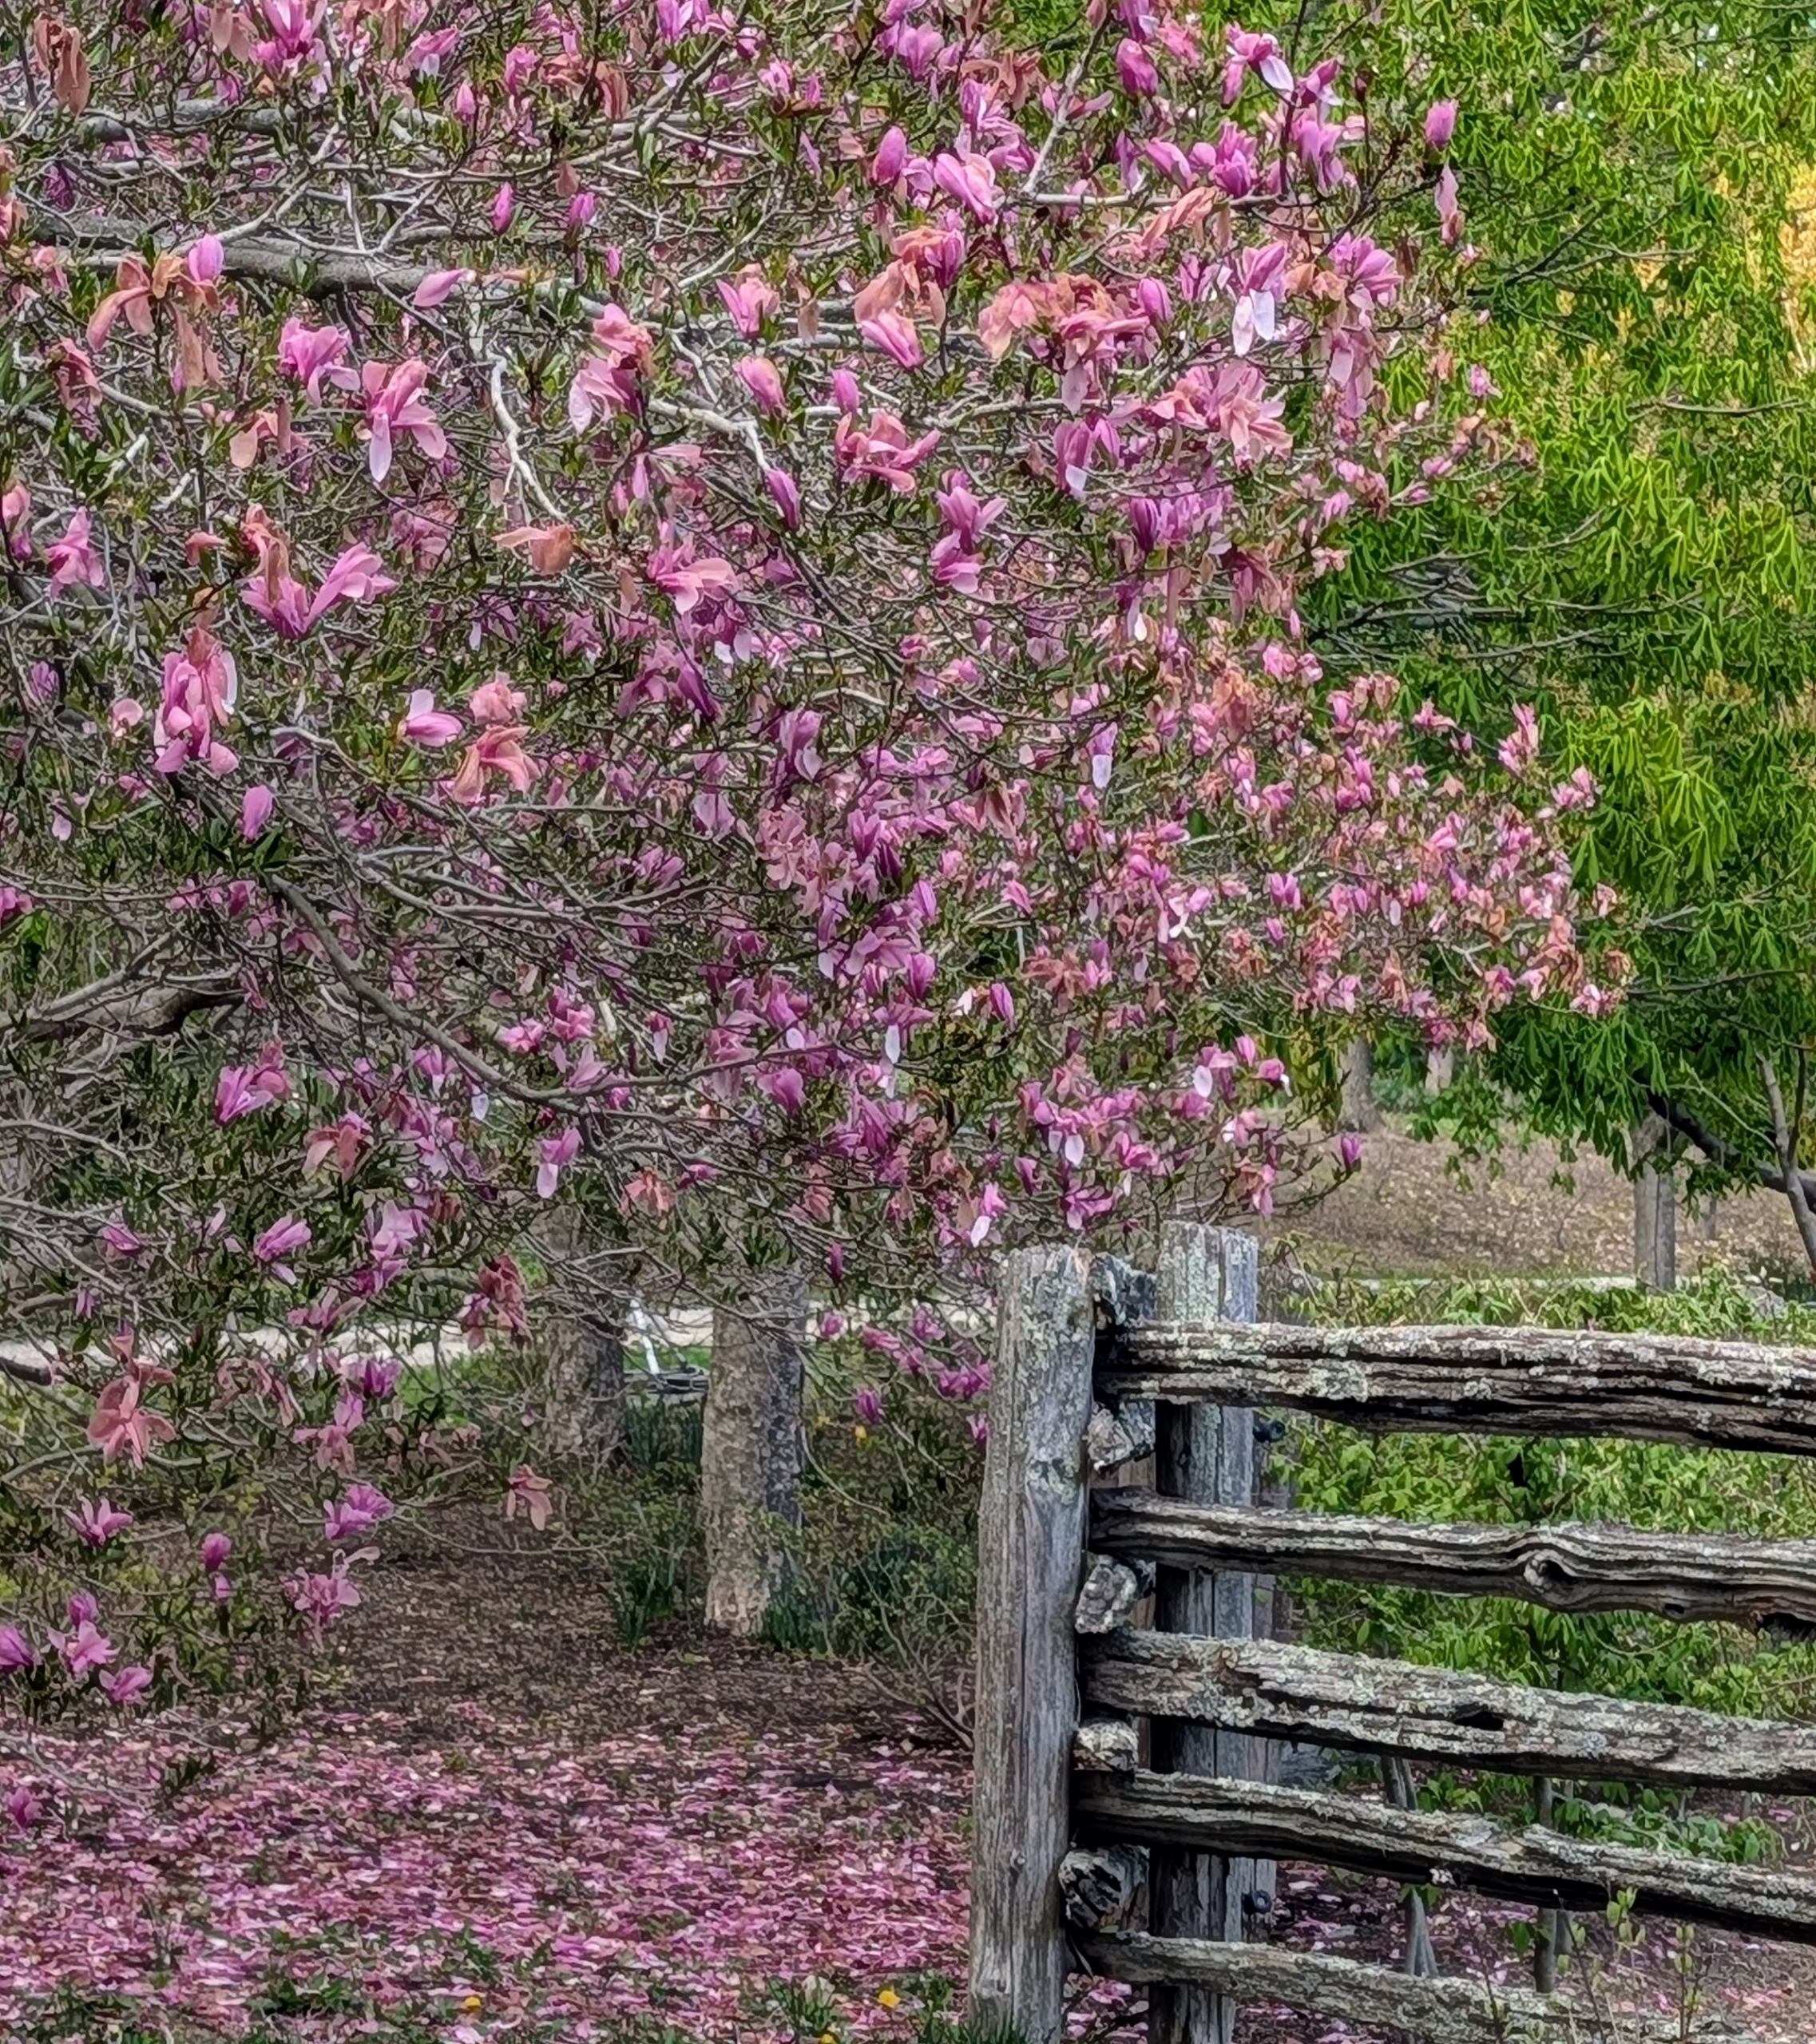
On this day, the skies cleared up just enough so my outdoor grounds crew and gardening team could continue some much needed jobs around the farm. The gardens are growing so nicely and so fast – my pergola beds will be full of gorgeous color in just a few weeks.
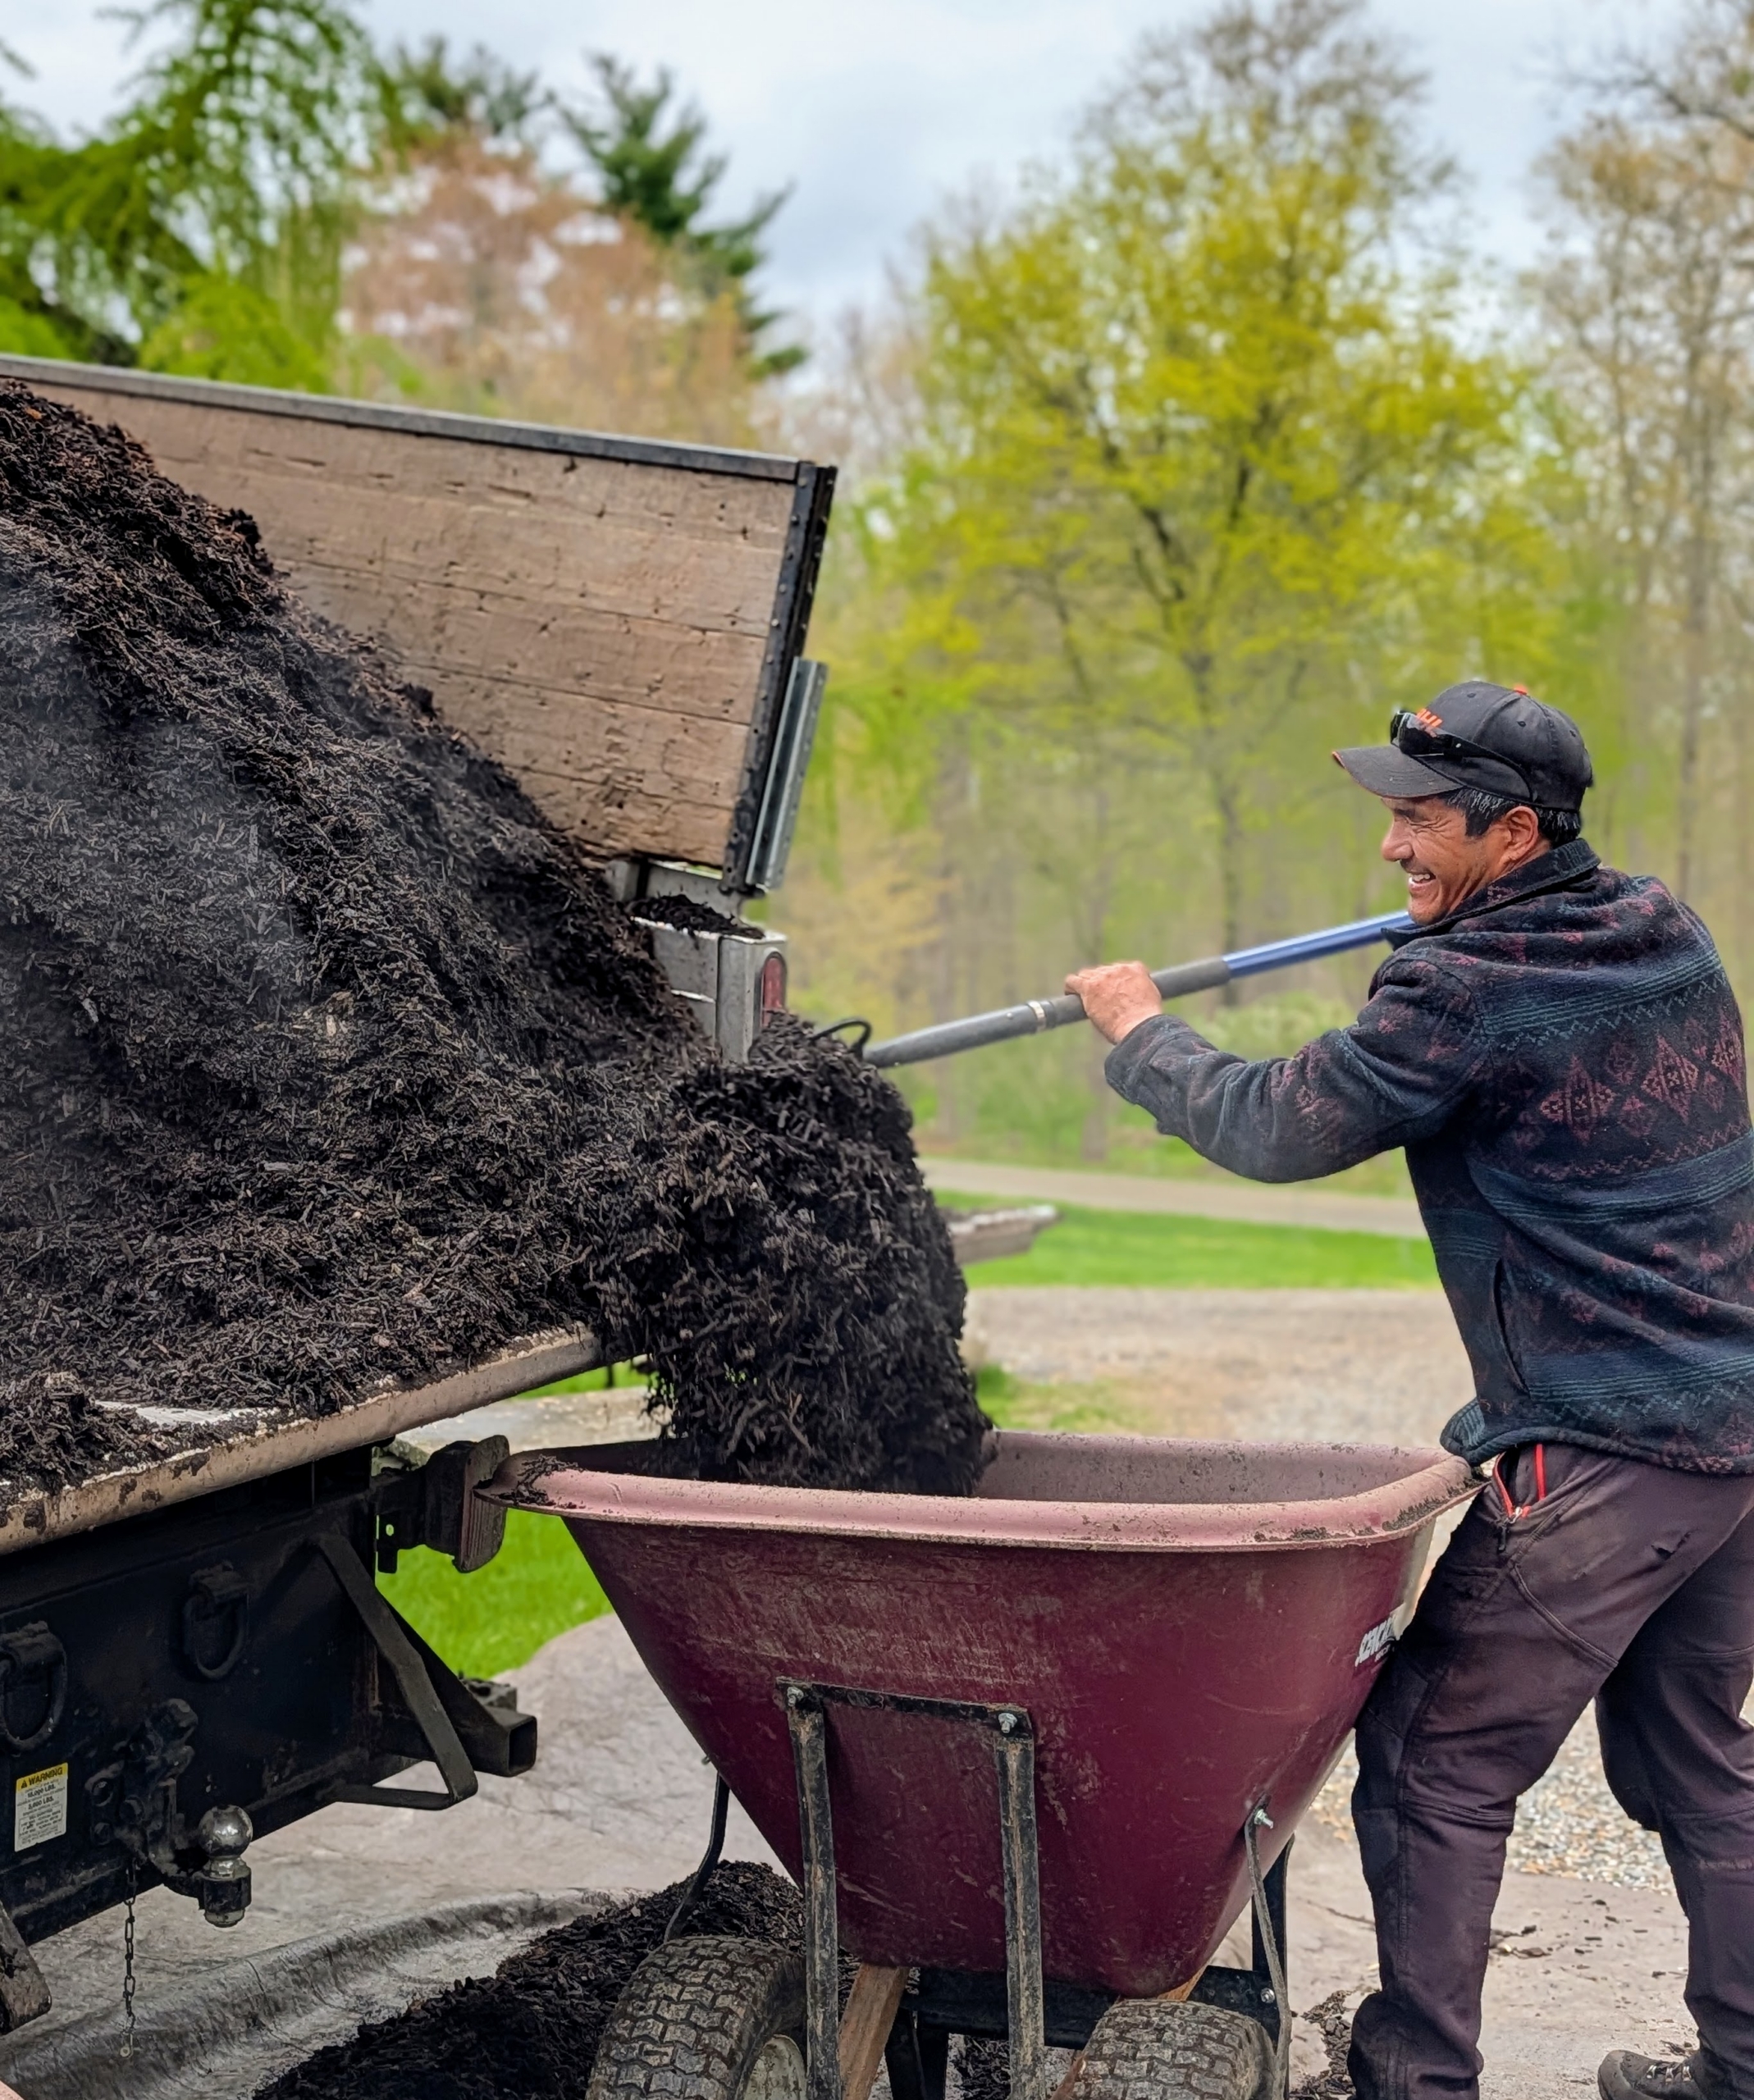
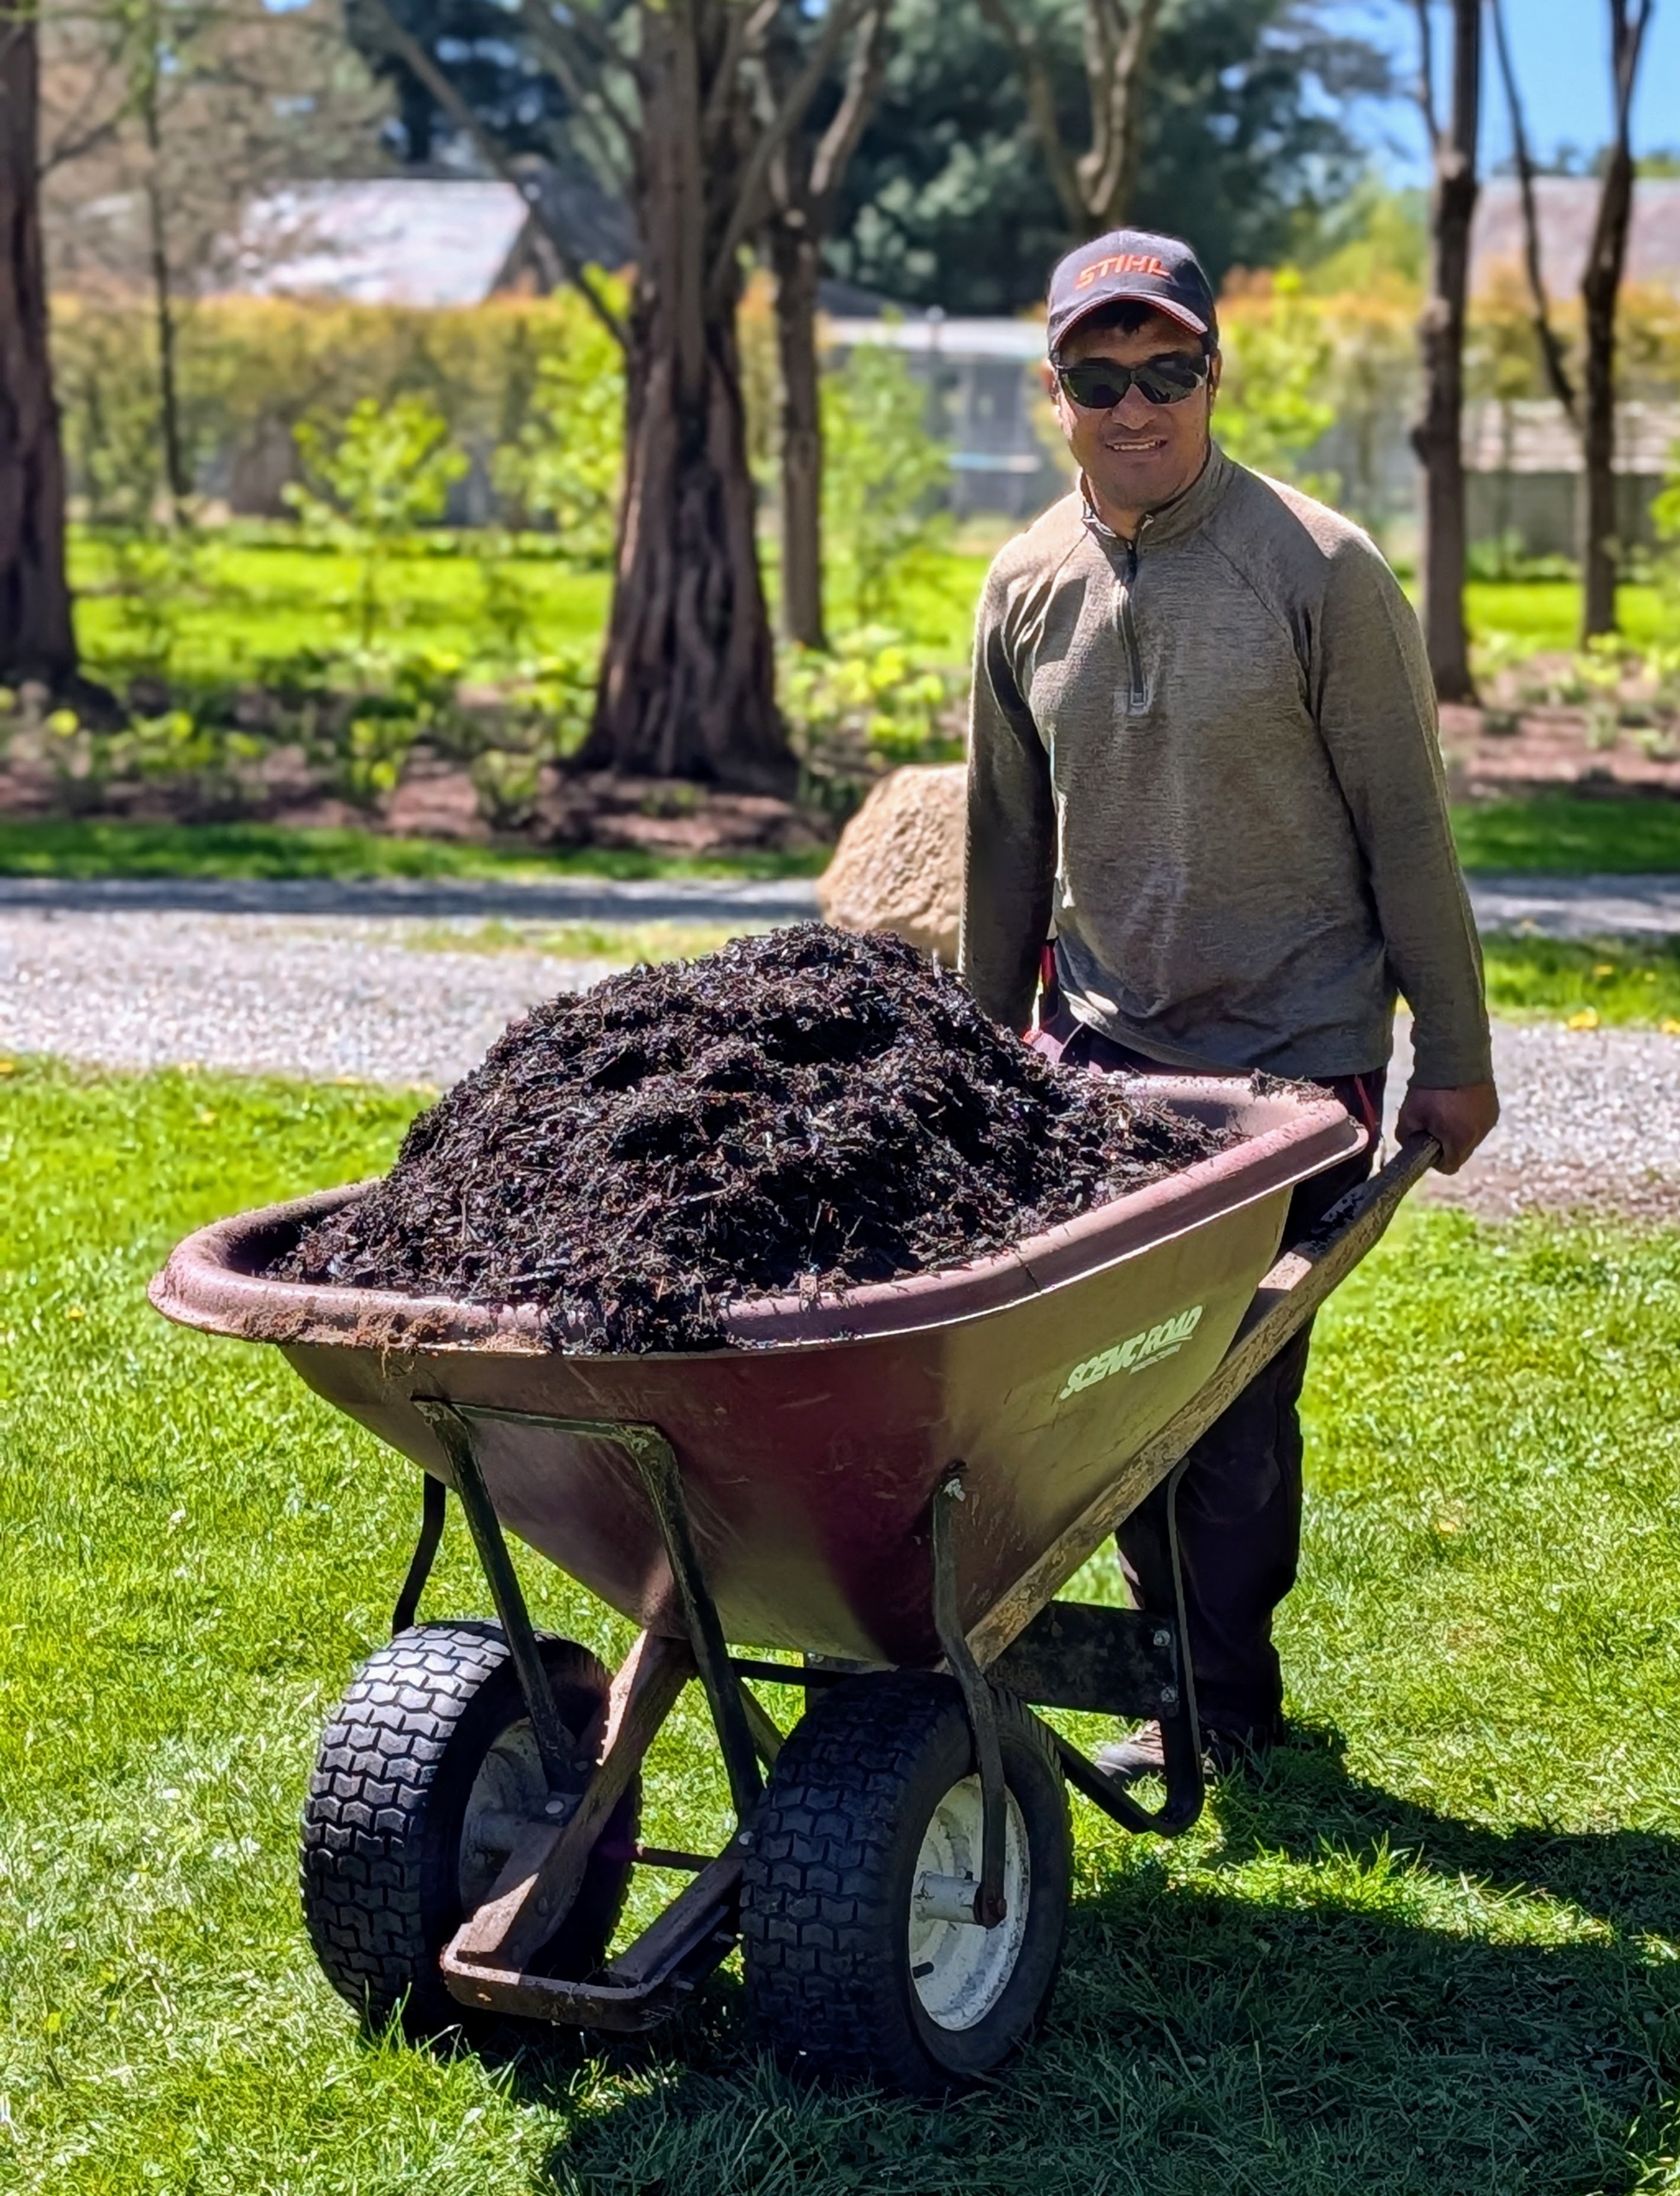
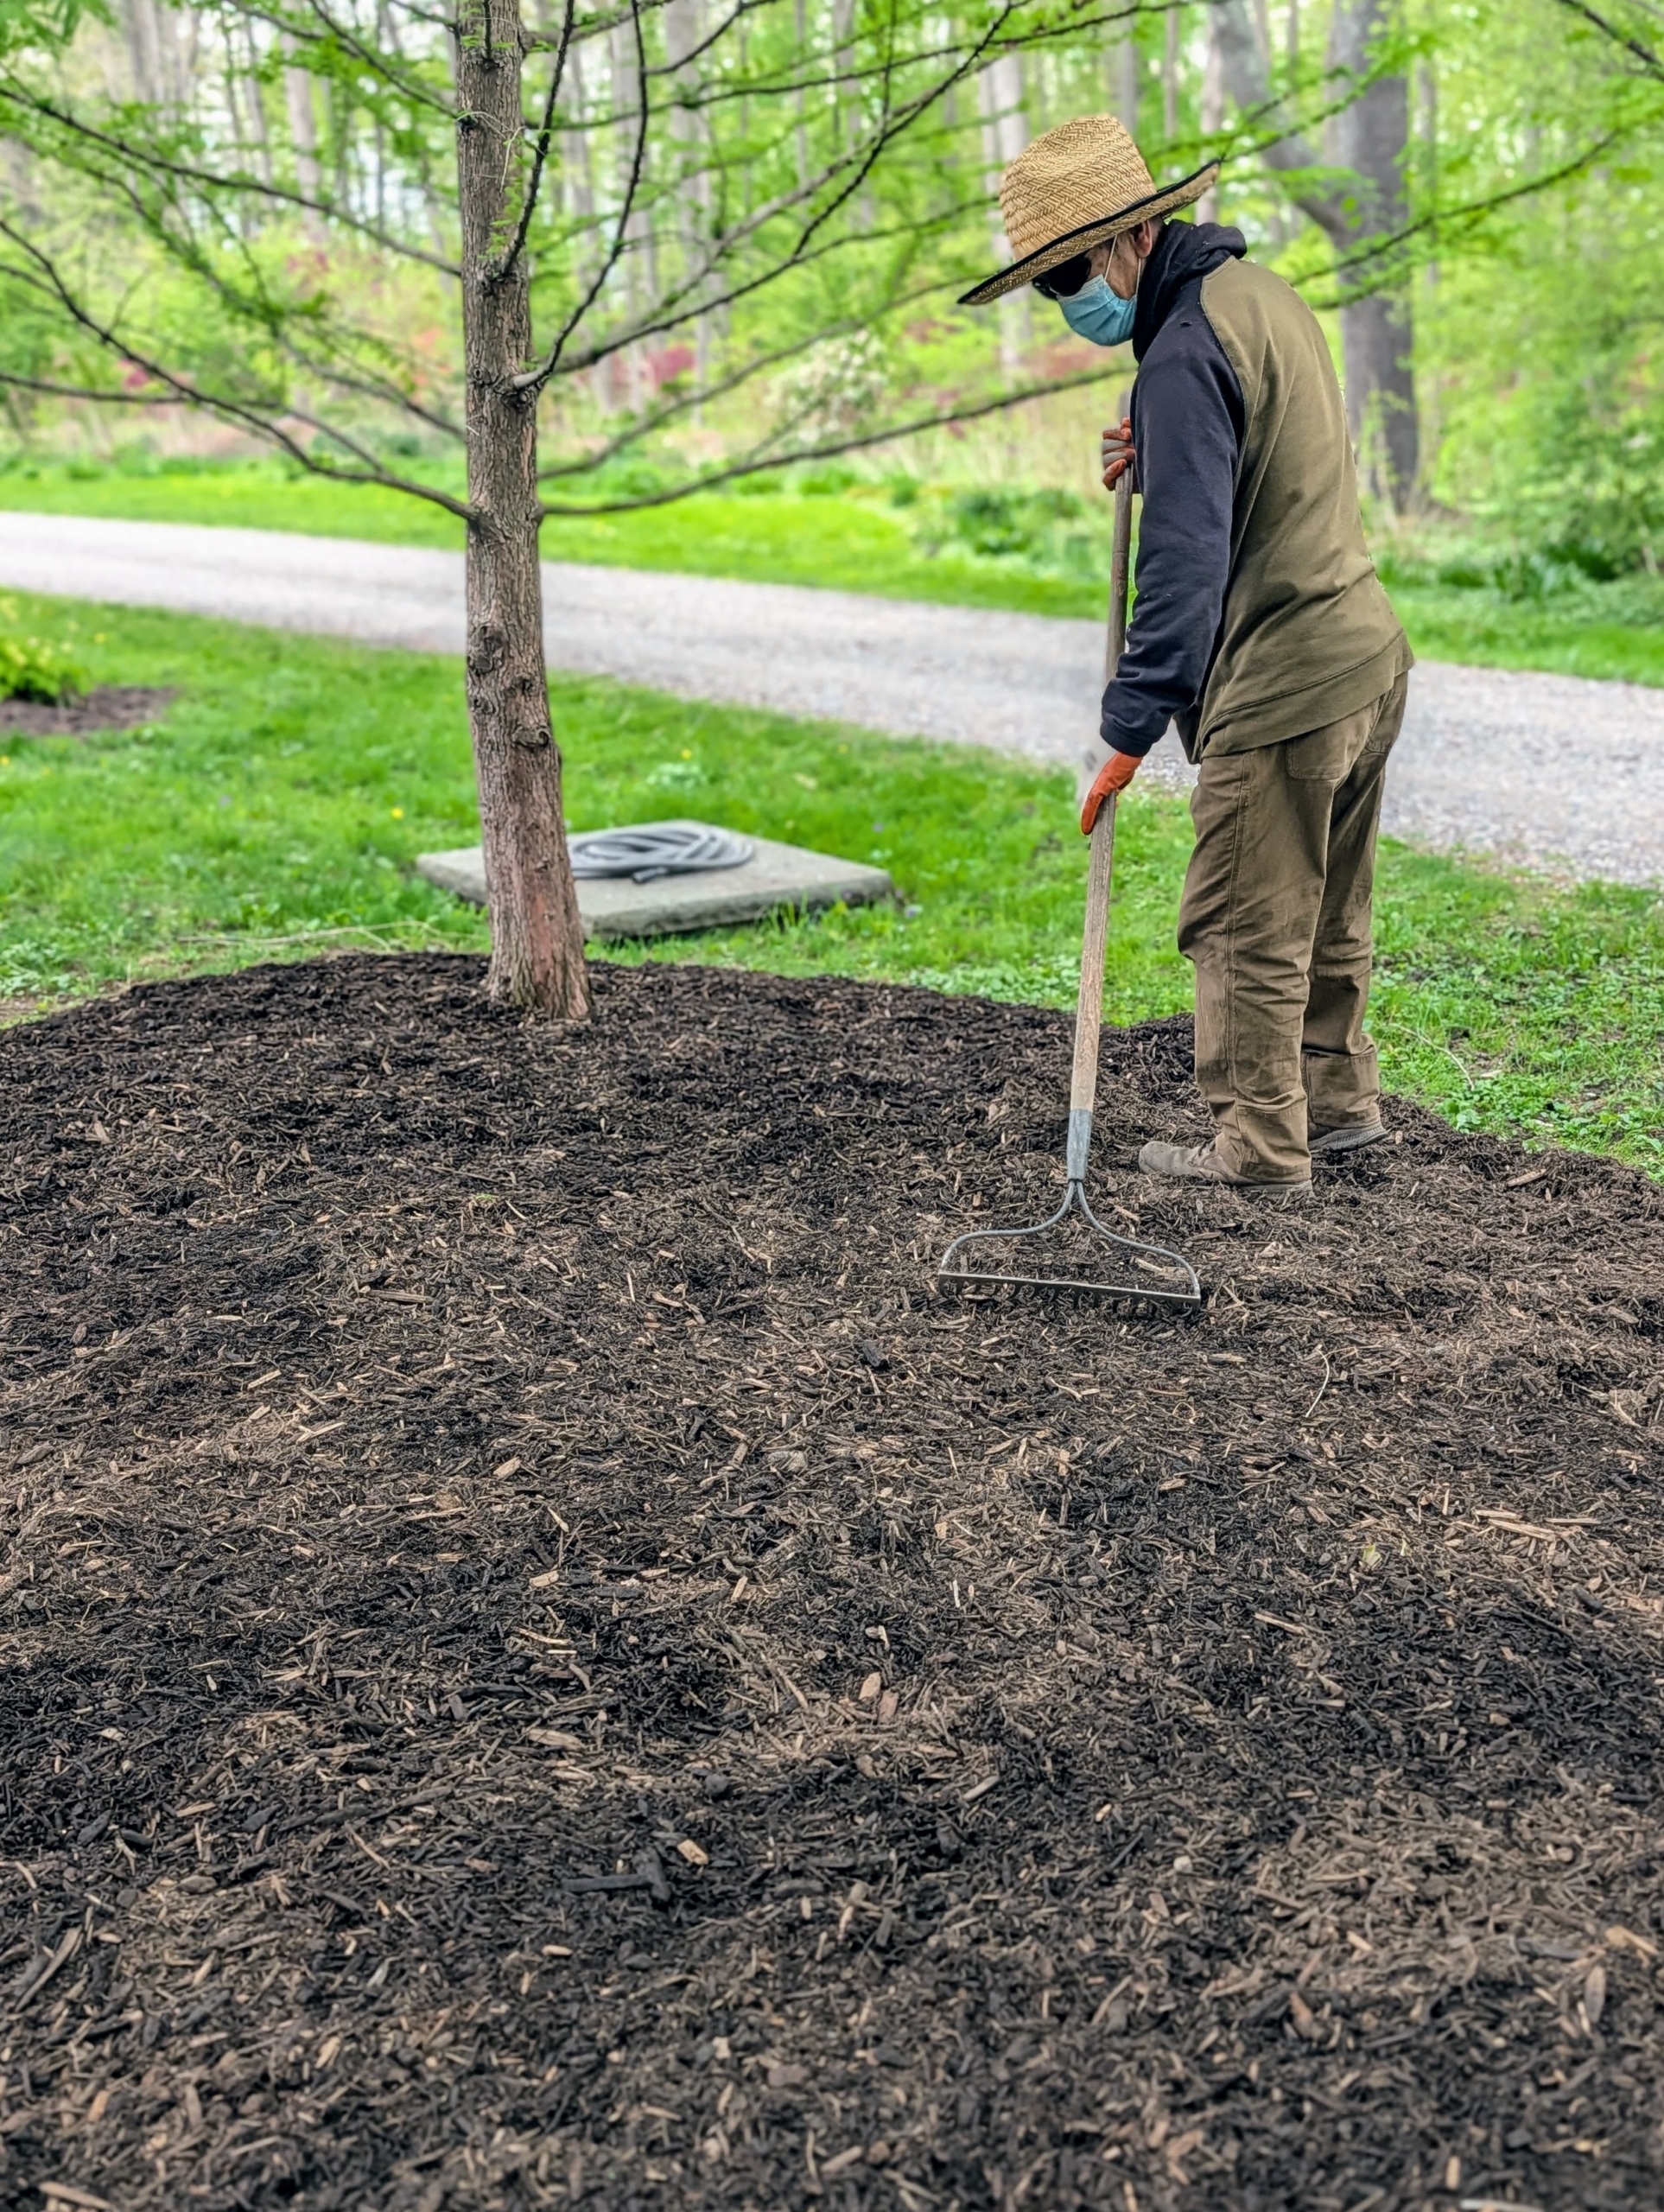
This time of year, my outdoor grounds crew is very busy mulching and composting the garden beds. Here, Pasang is filling the wheelbarrow with mulch for my pinetum.
It looks so wonderful with a new layer of mulch. Mulching the garden is one of the easiest ways to improve a garden’s health, retain soil moisture, suppress weeds, and enhance plant growth.
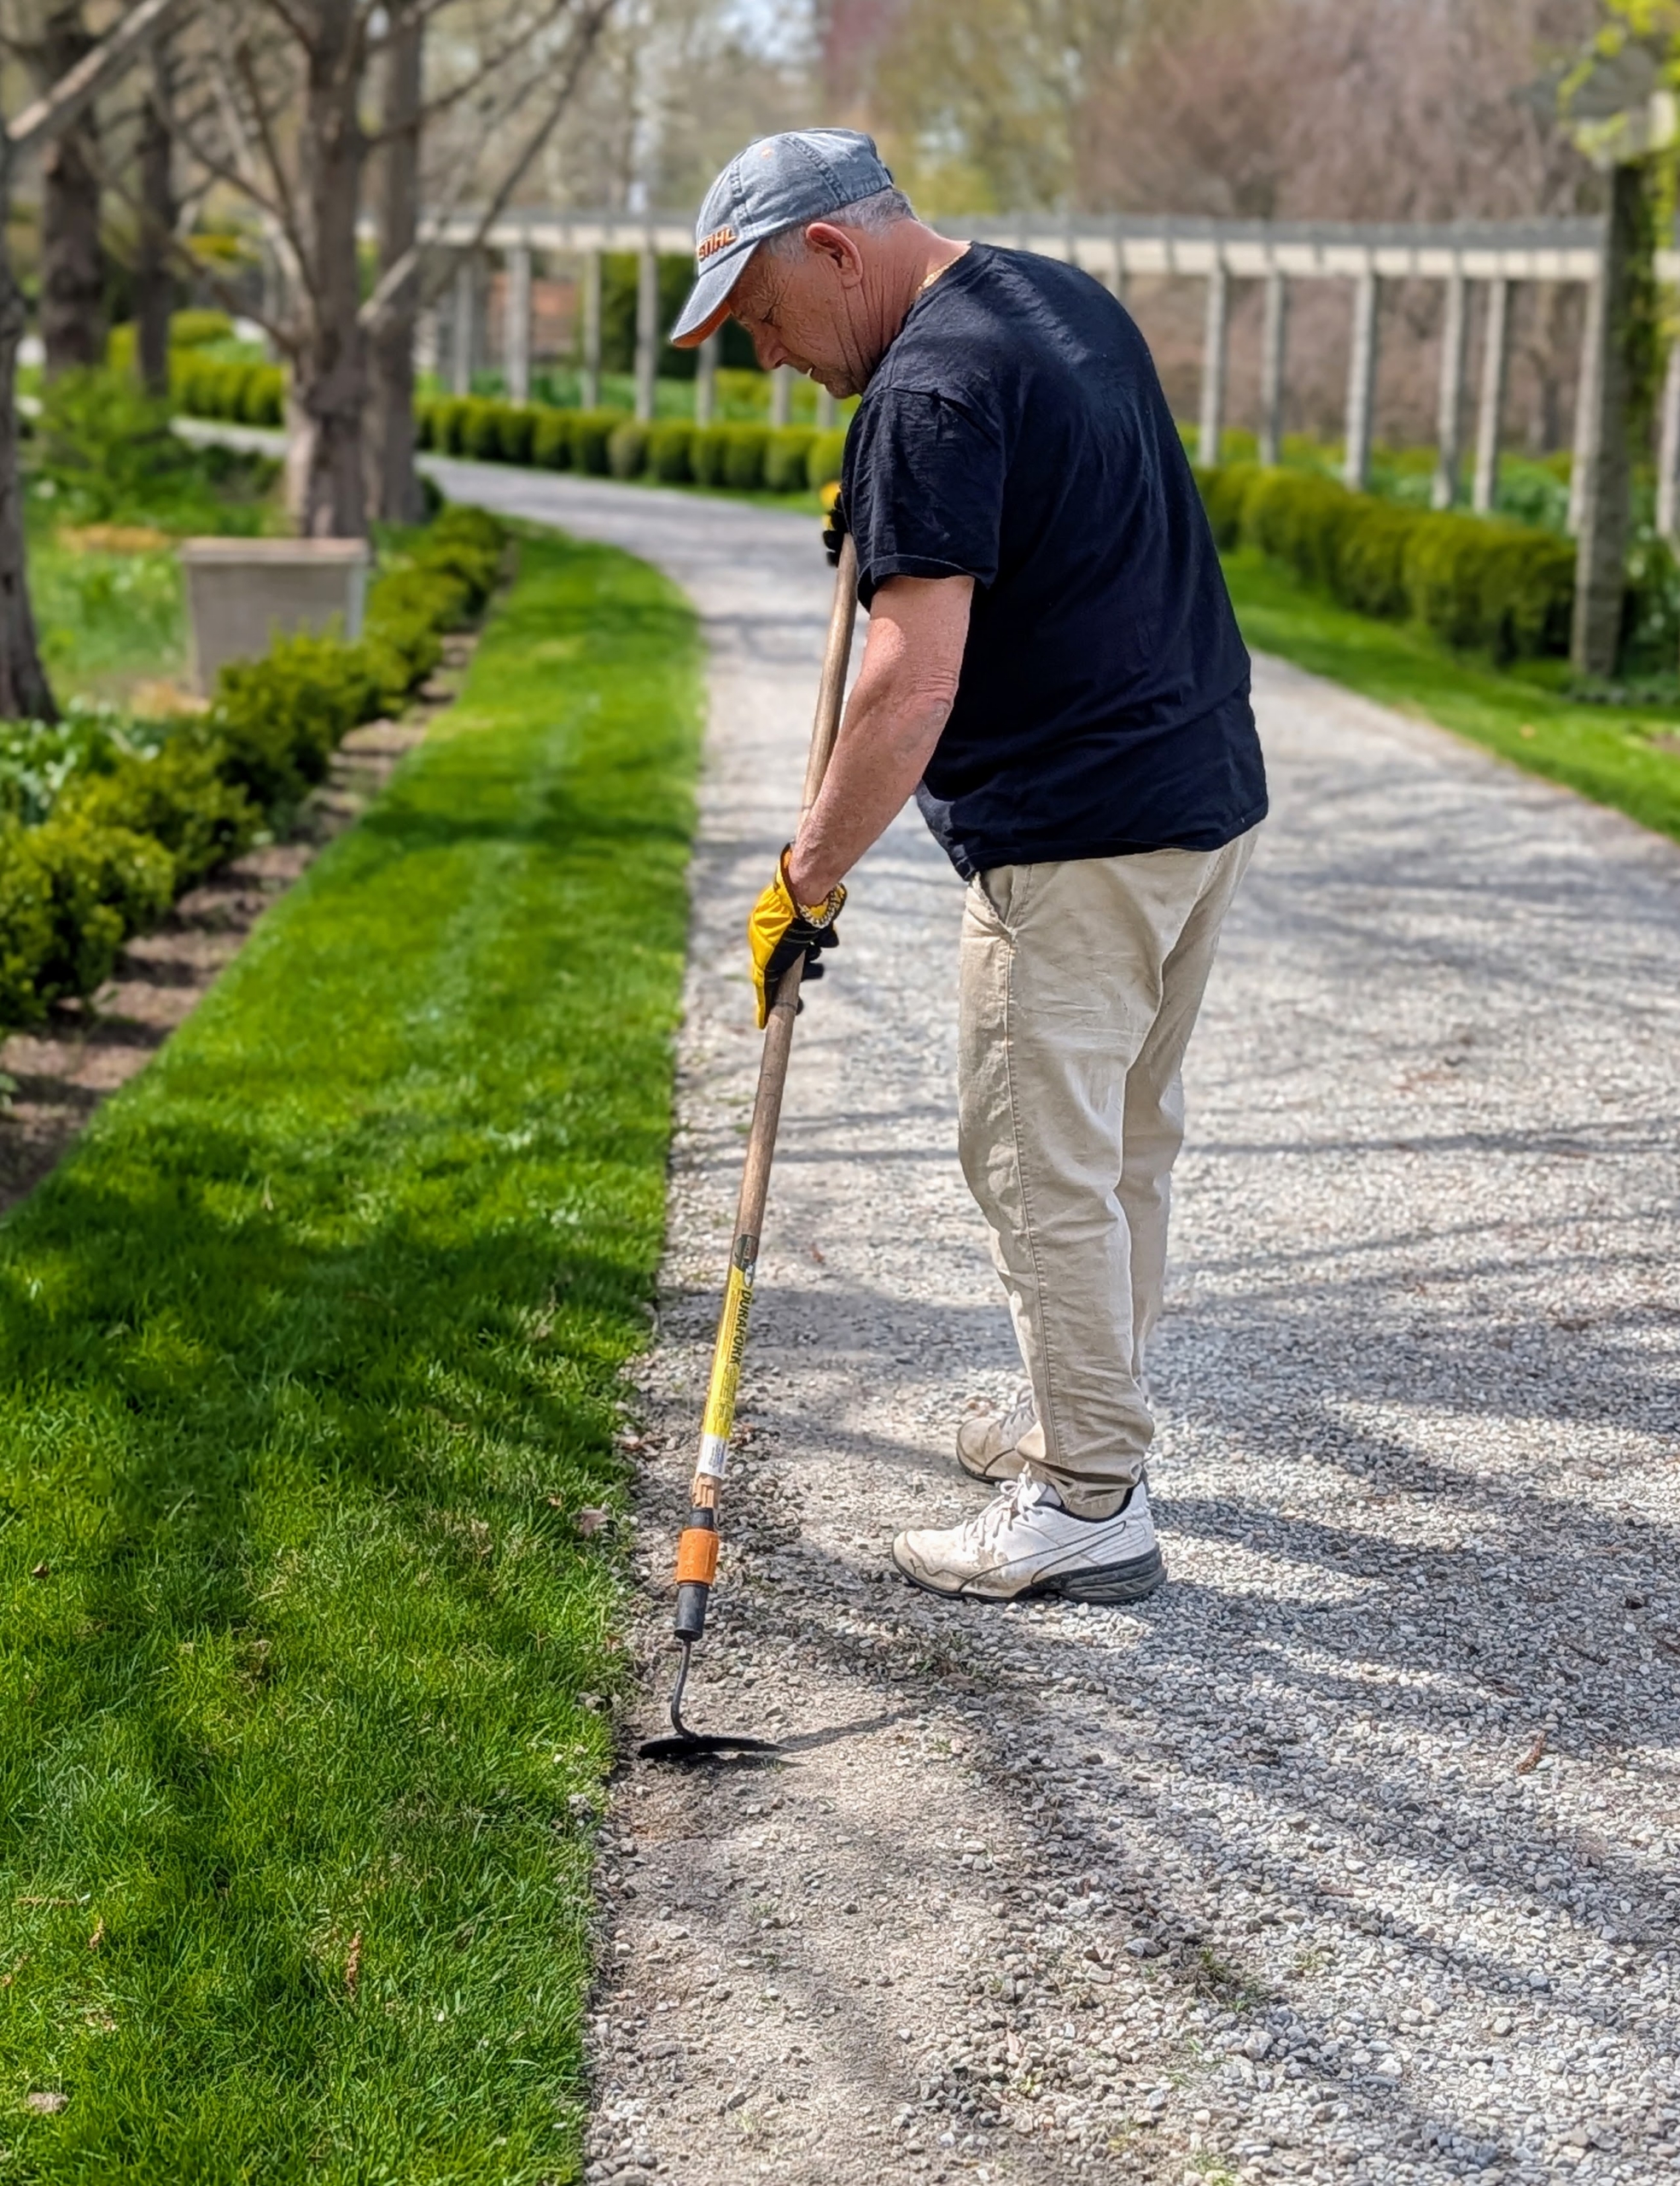
Along the carriage road near my Winter House, Fernando edges the roads – a task we do once a year. Rotary edgers, powered by gasoline, electricity, or portable battery reduce the time it takes to complete this job. These machines feature a spinning blade that cuts through the turf as the edger is pushed along the road where it meets the grass border.
After the edge is cut, Fernando uses a hoe to scrape the unwanted grass, leaving a nice straight edge.
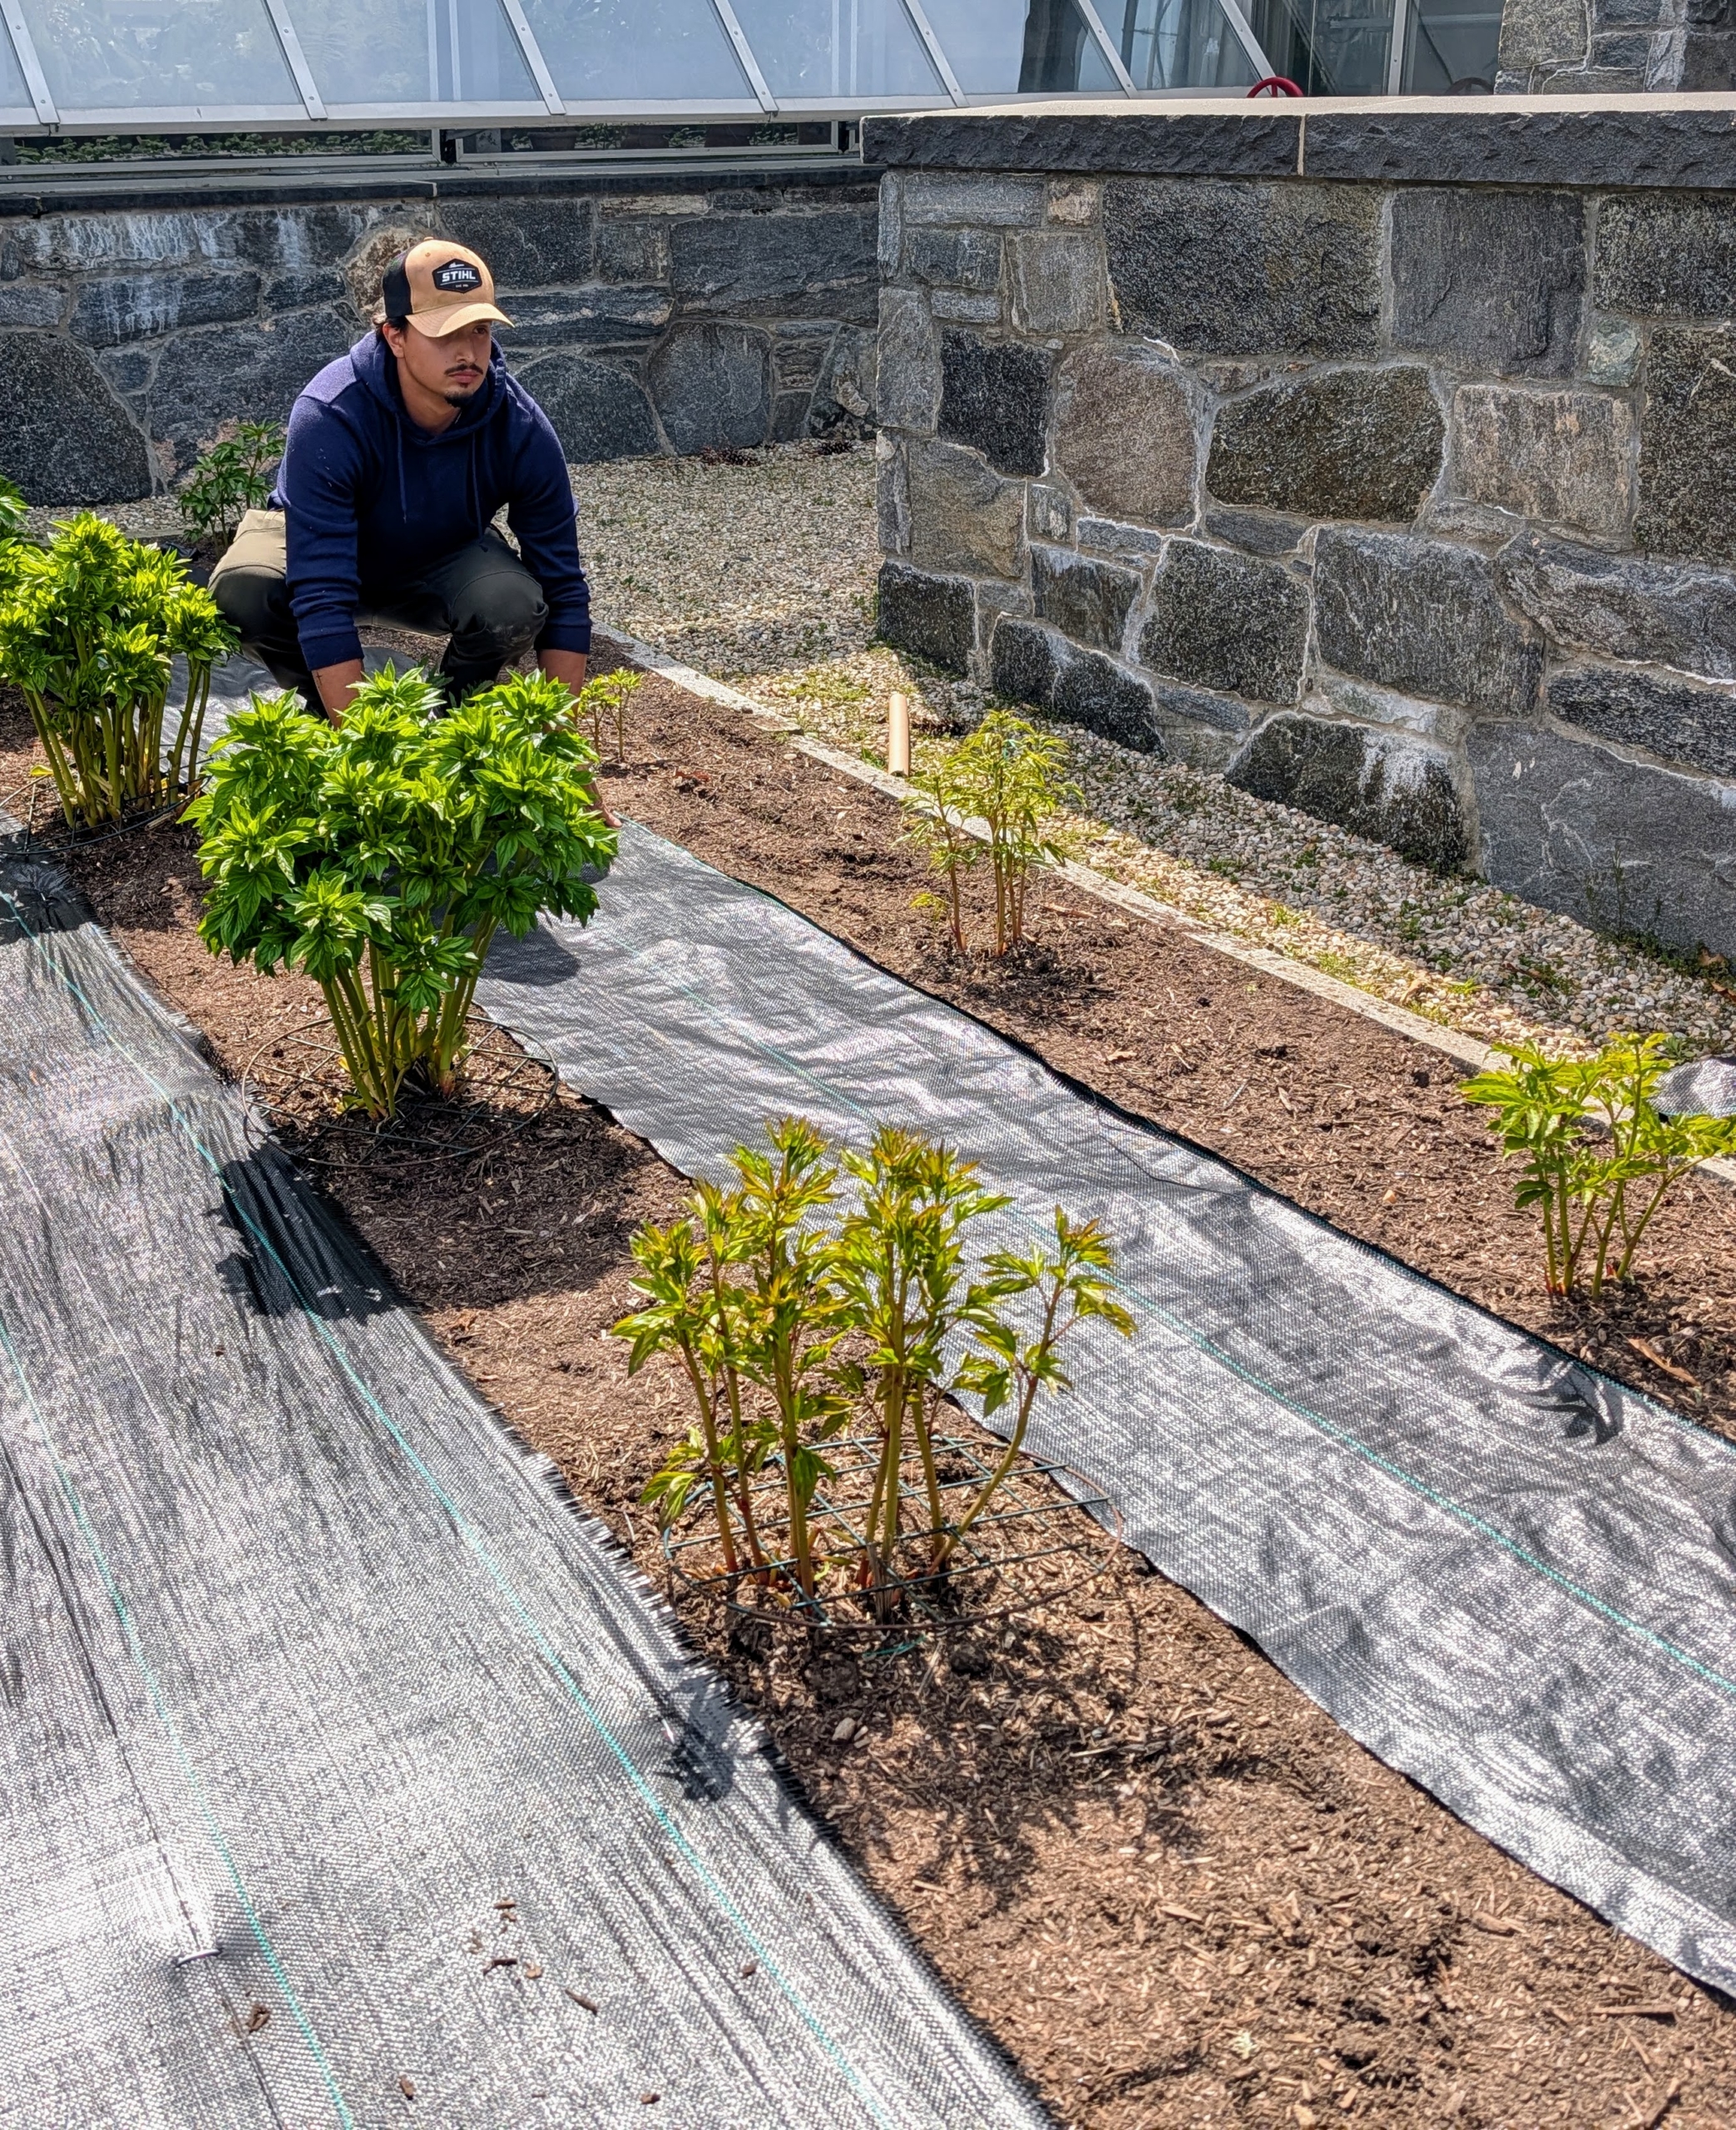
Outside my main greenhouse, Matthew puts down weed cloth in between the rows of peonies.
The same is done in between my rows of raspberries.
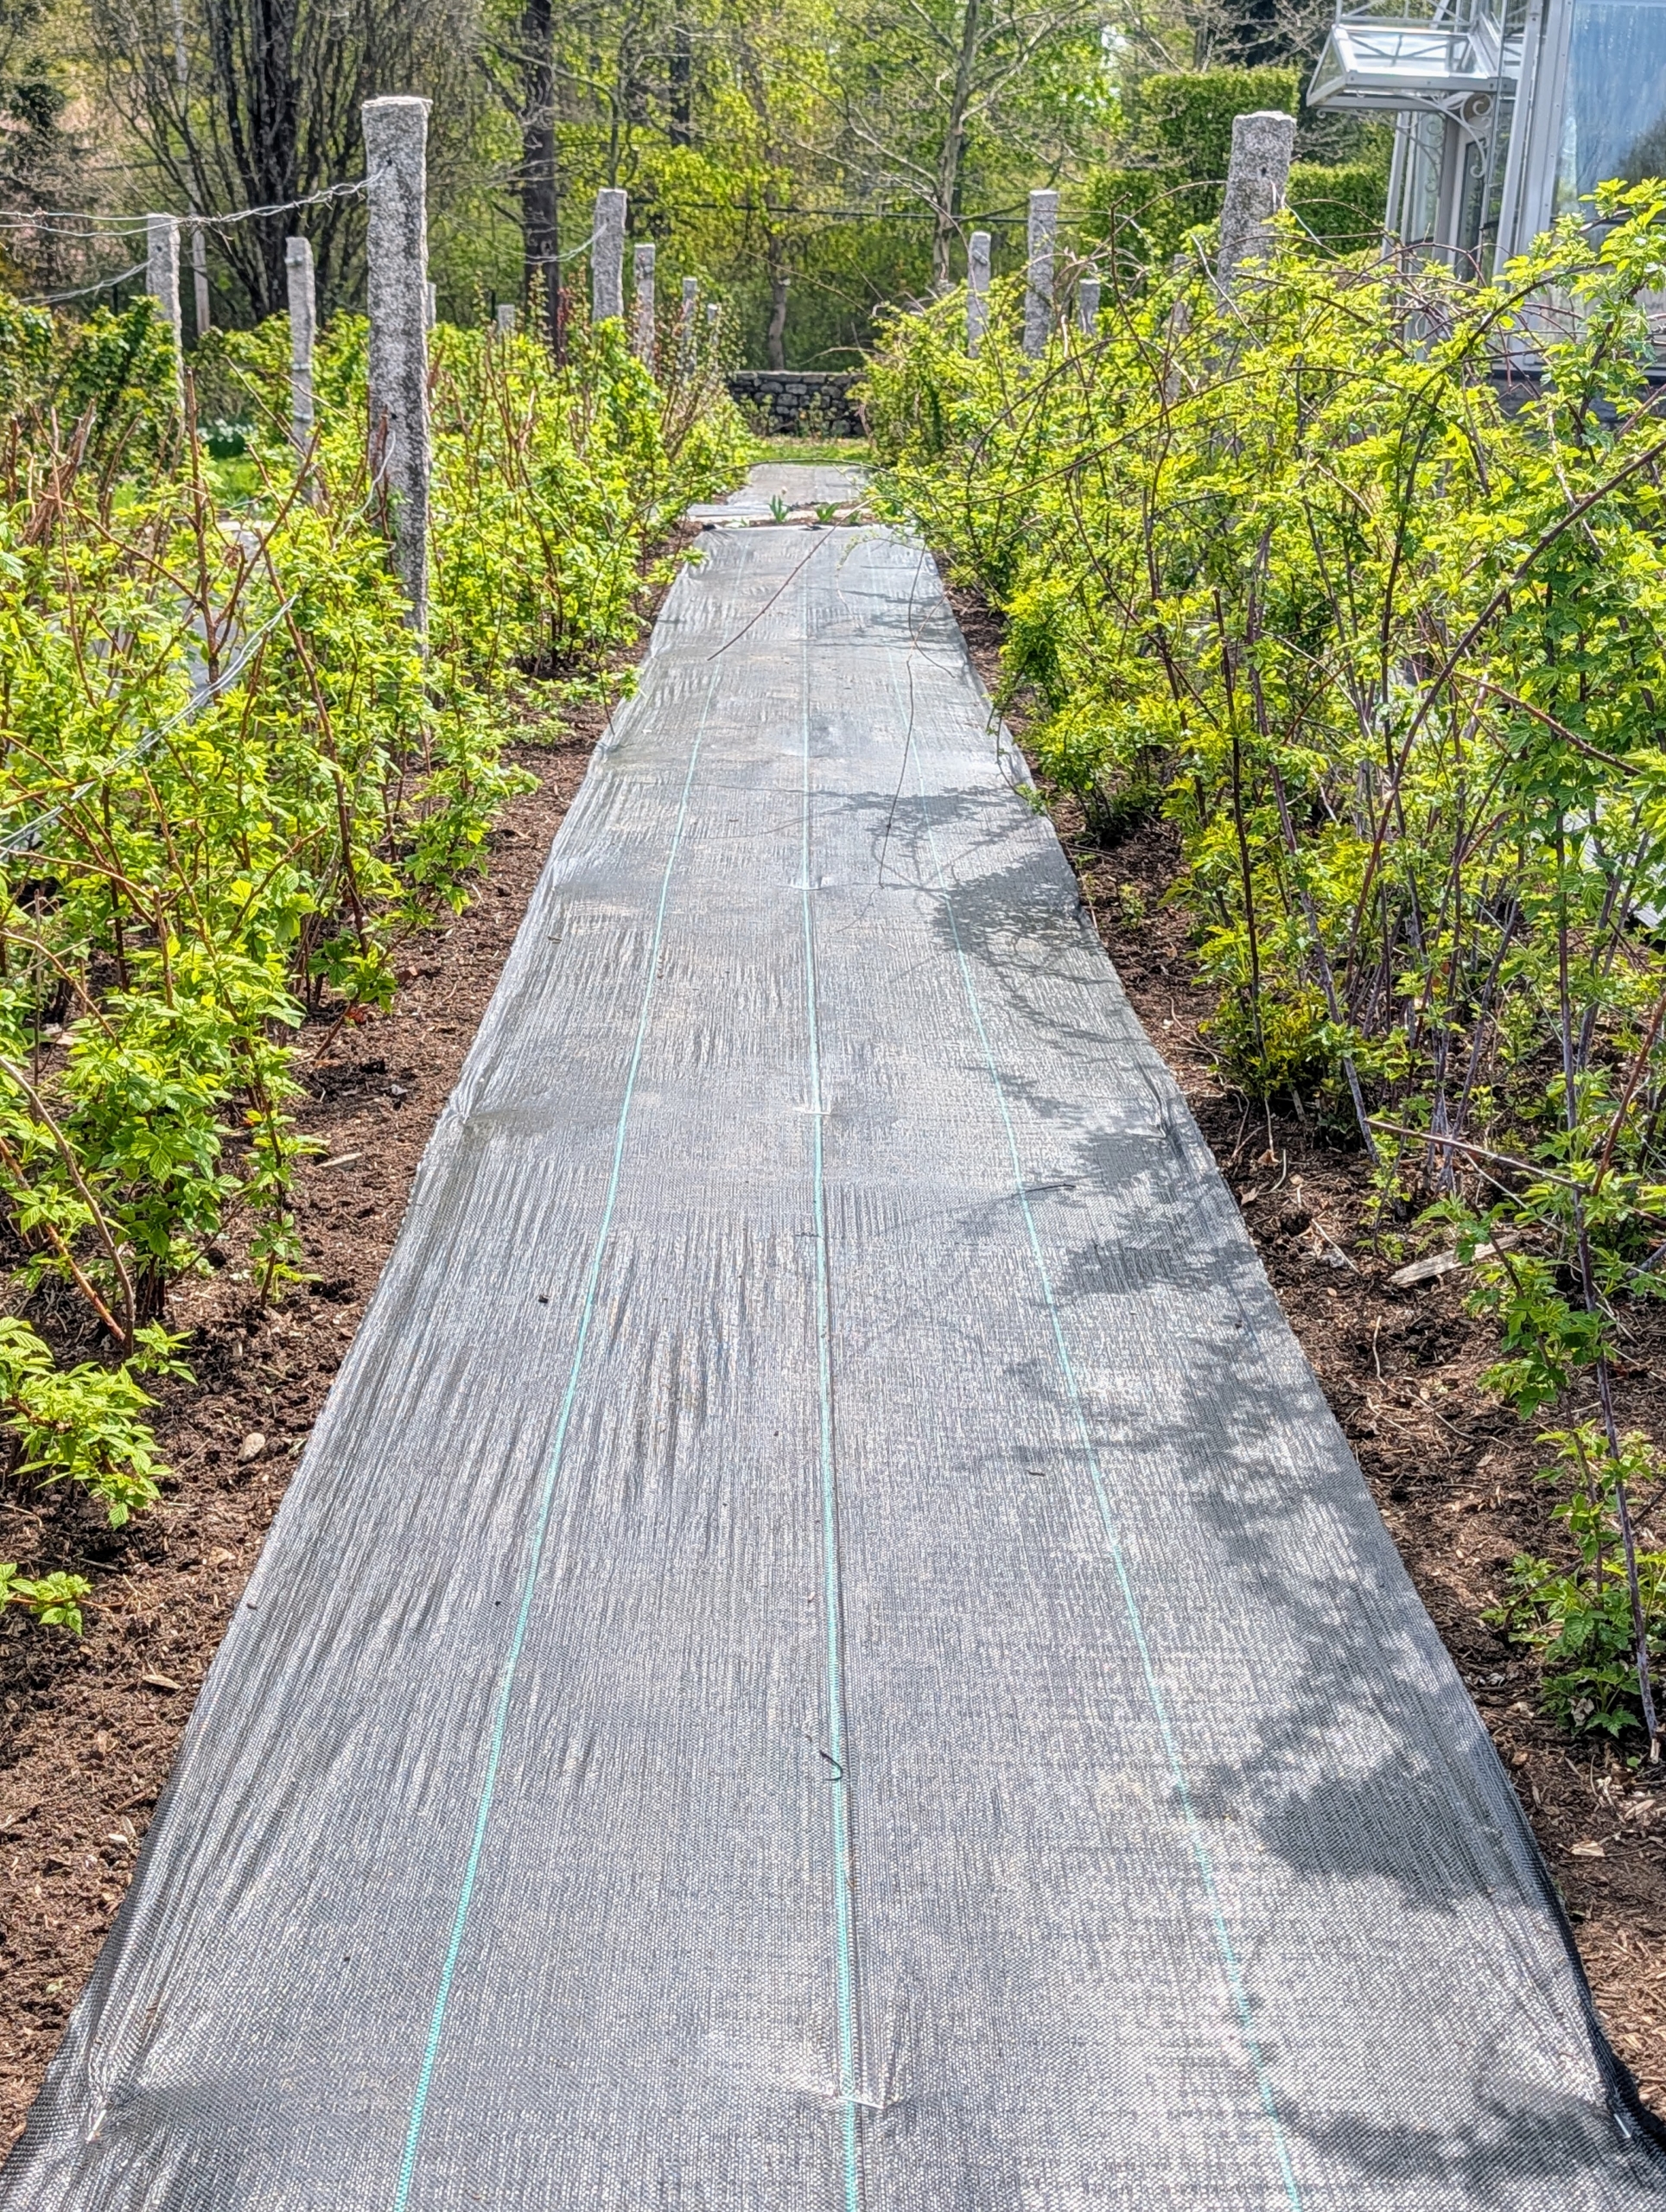
Chhiring then covers the weed cloth with a two to three inch layer of mulch.
Here’s is what it looks like after mulching. These areas should be much easier to maintain this year.
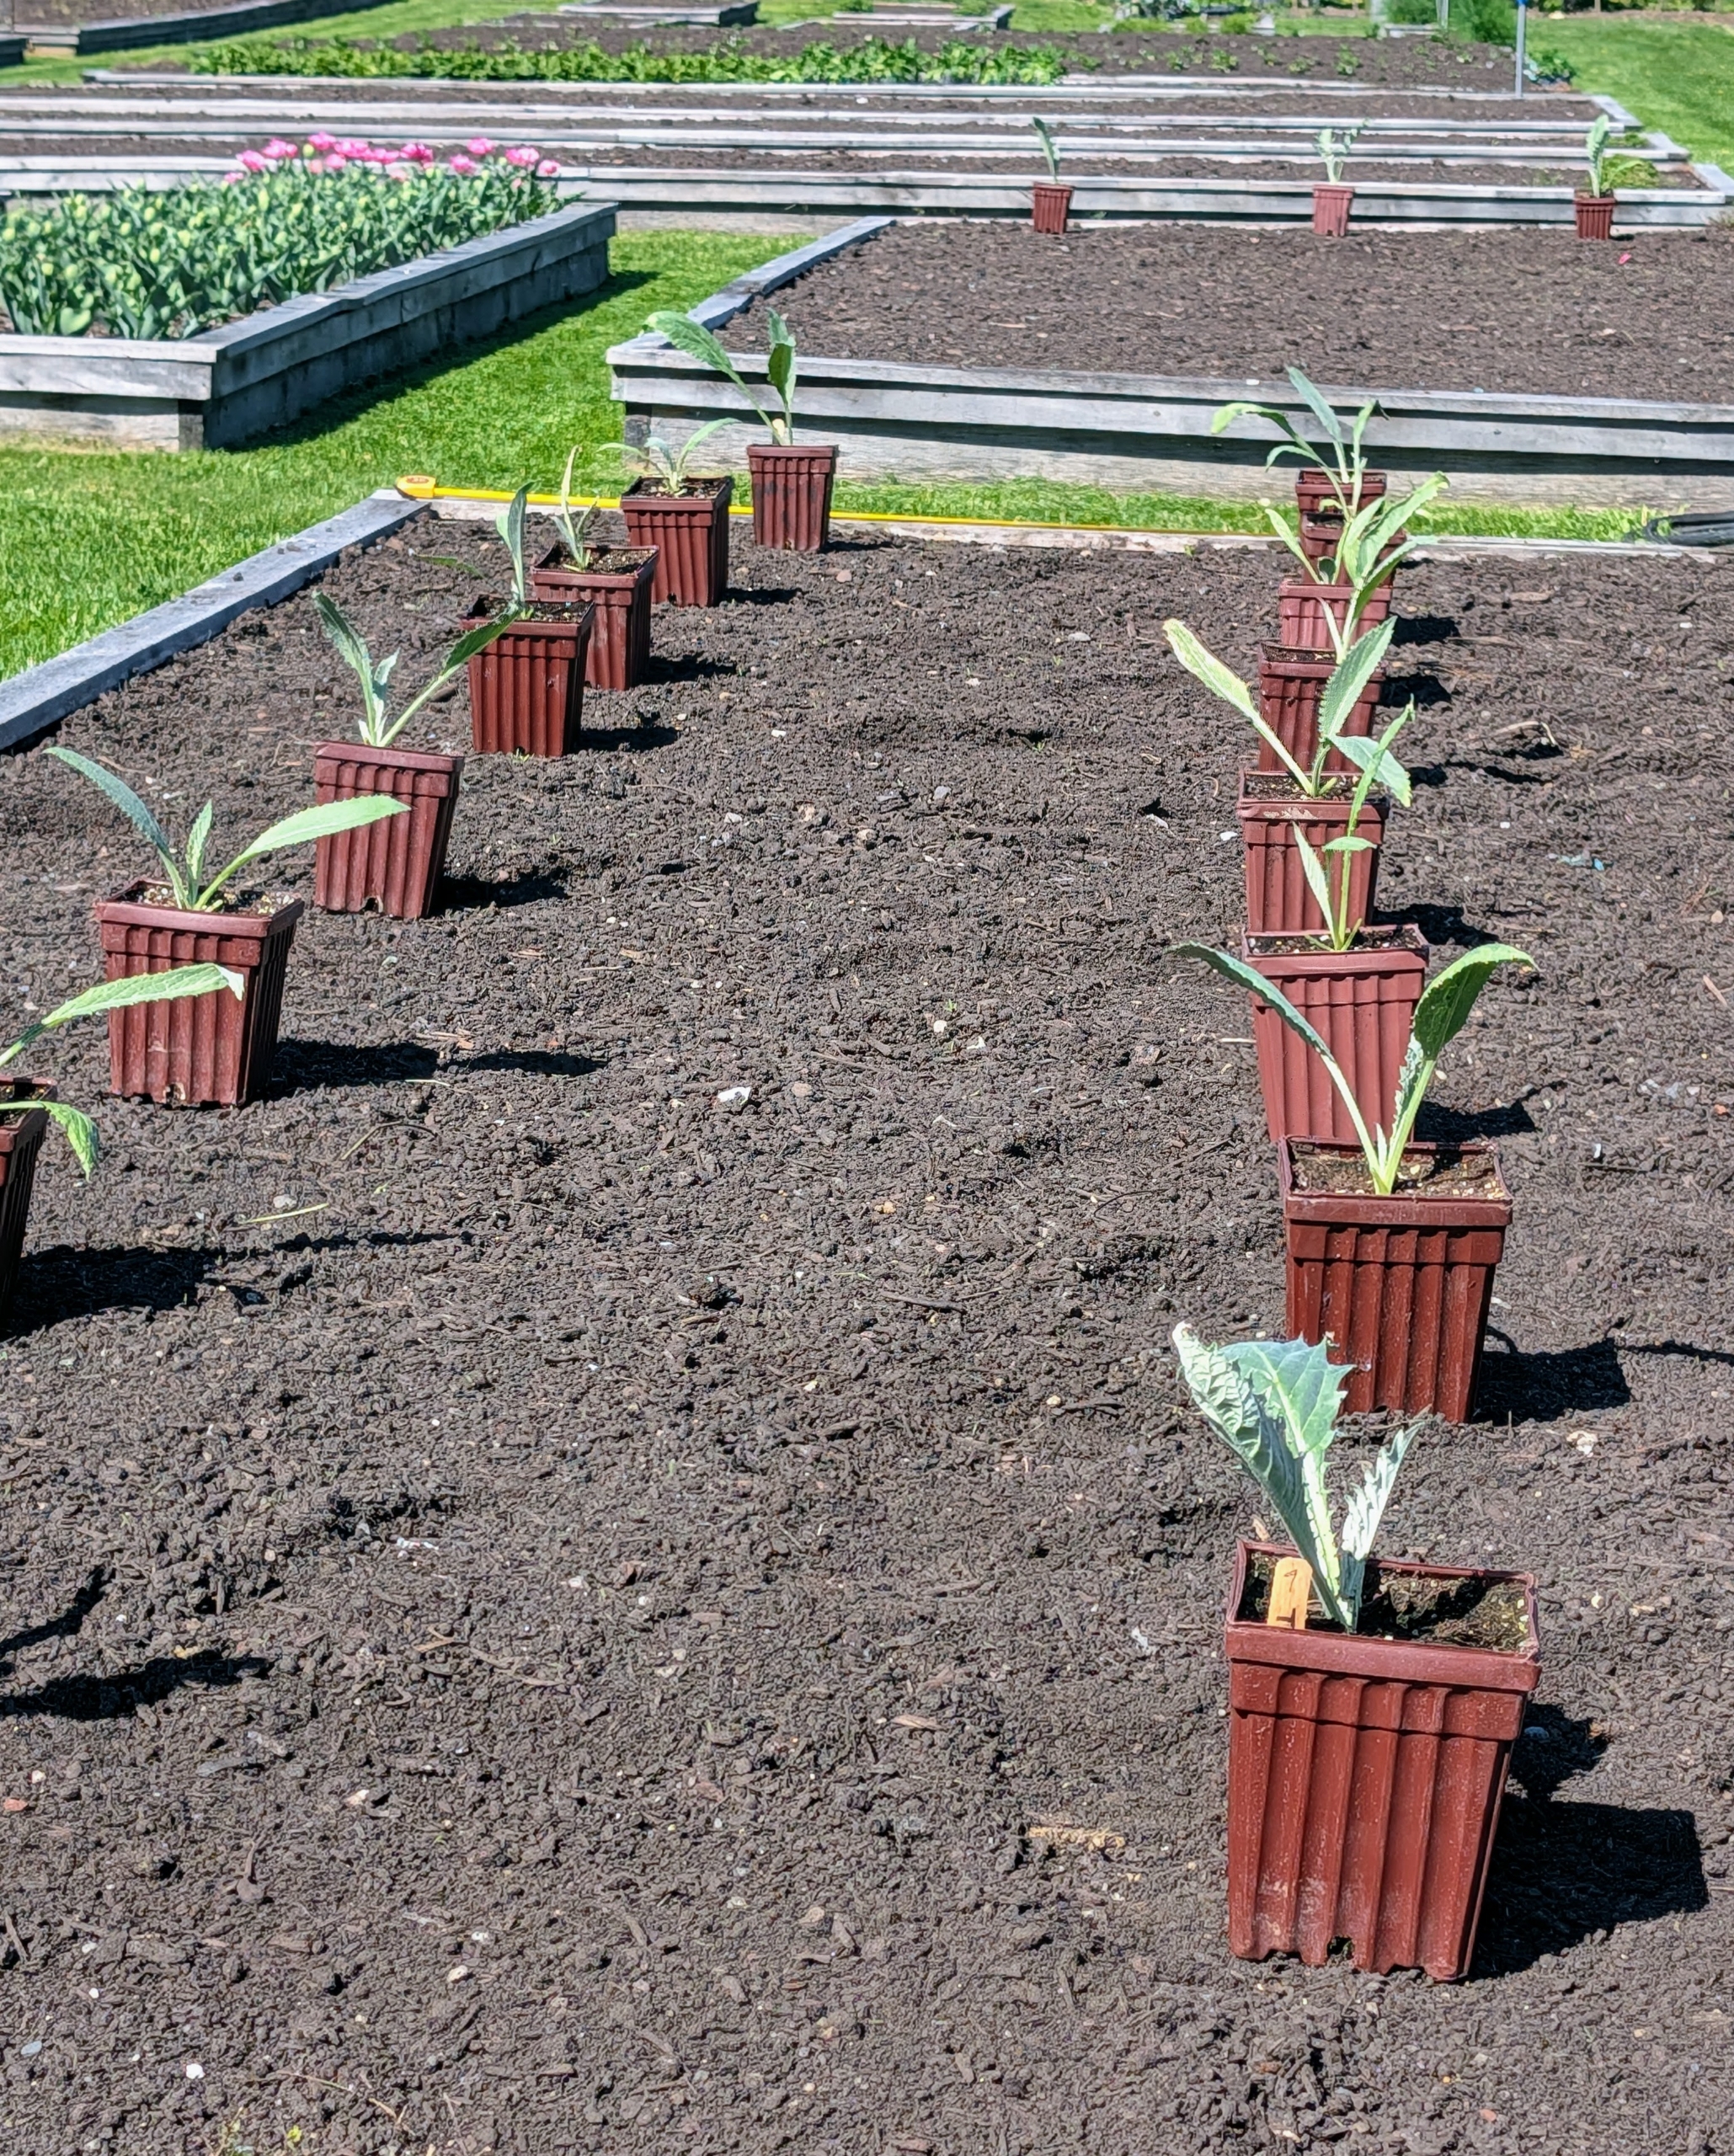
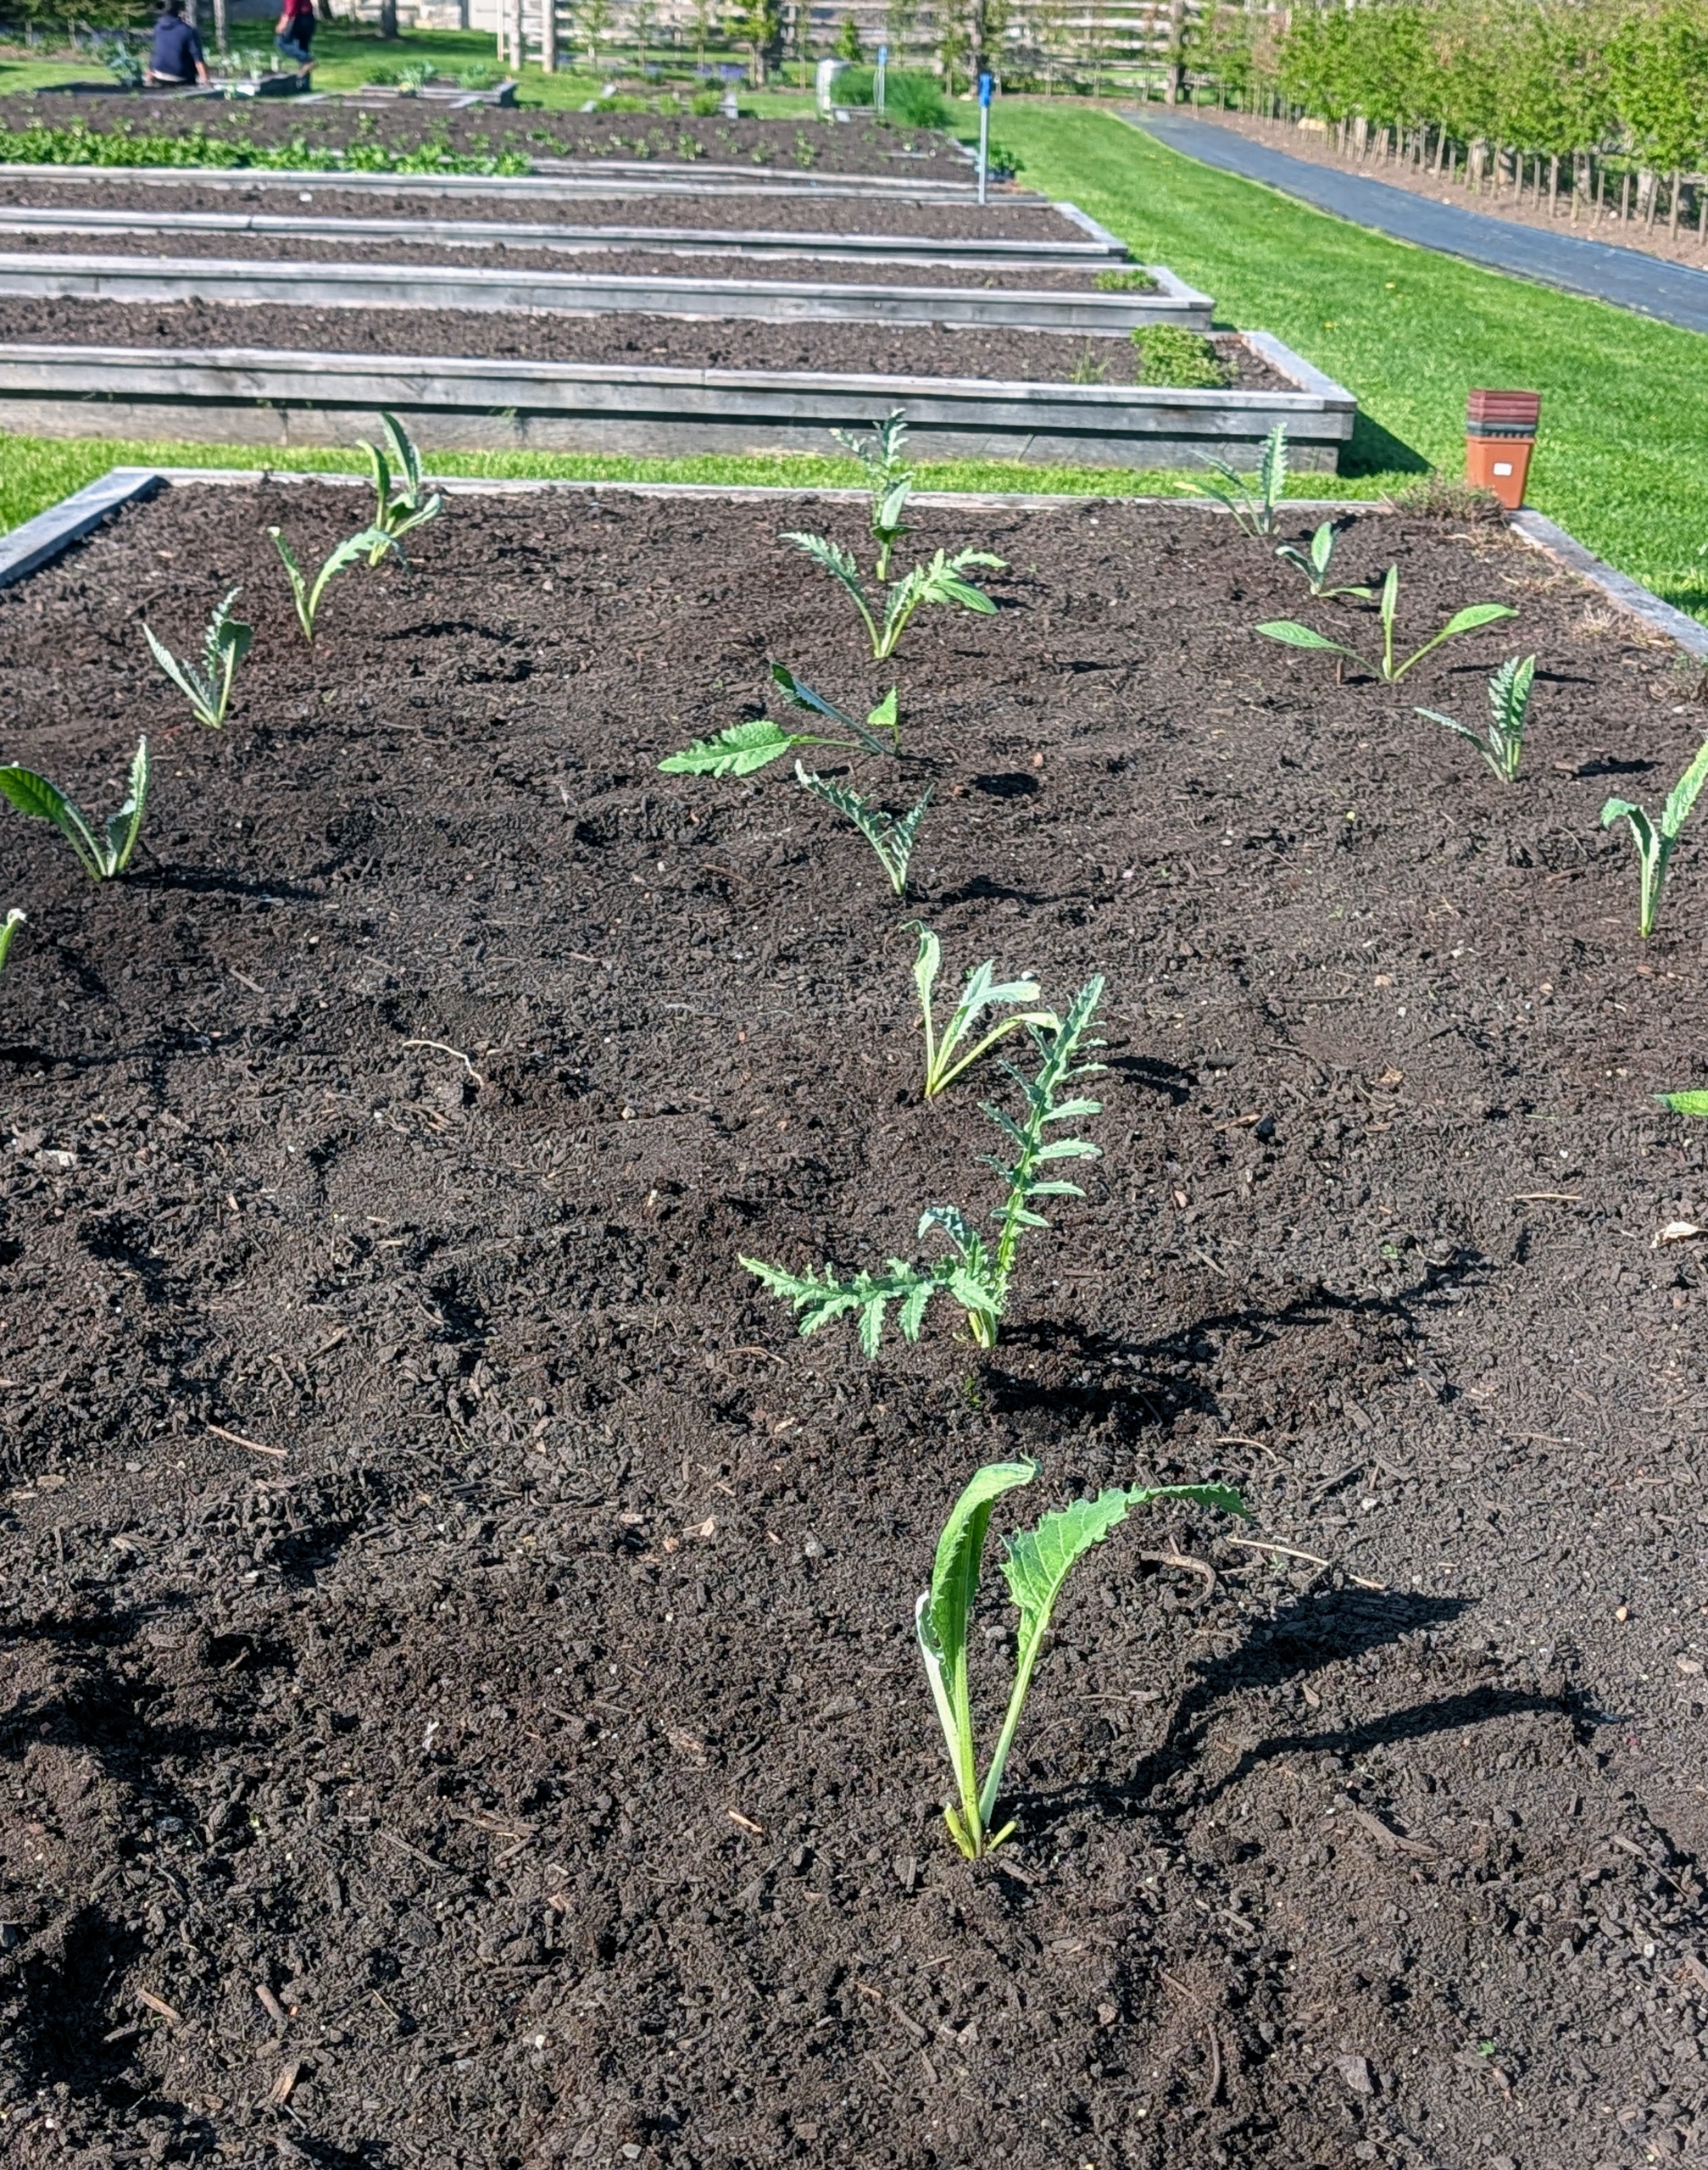
In the vegetable garden, Ryan is filling all the beds with wonderful crops started from seed in my greenhouse. This is the artichoke bed. Ryan places the potted plants where they should be planted based on specific spacing needs.
These plants are so healthy – we should have some harvestable artichokes in about 80 to 100 days.
Matthew also plants some of the cabbages in the garden. I always grow red cabbage, green cabbage, and Savoy cabbage in my garden.
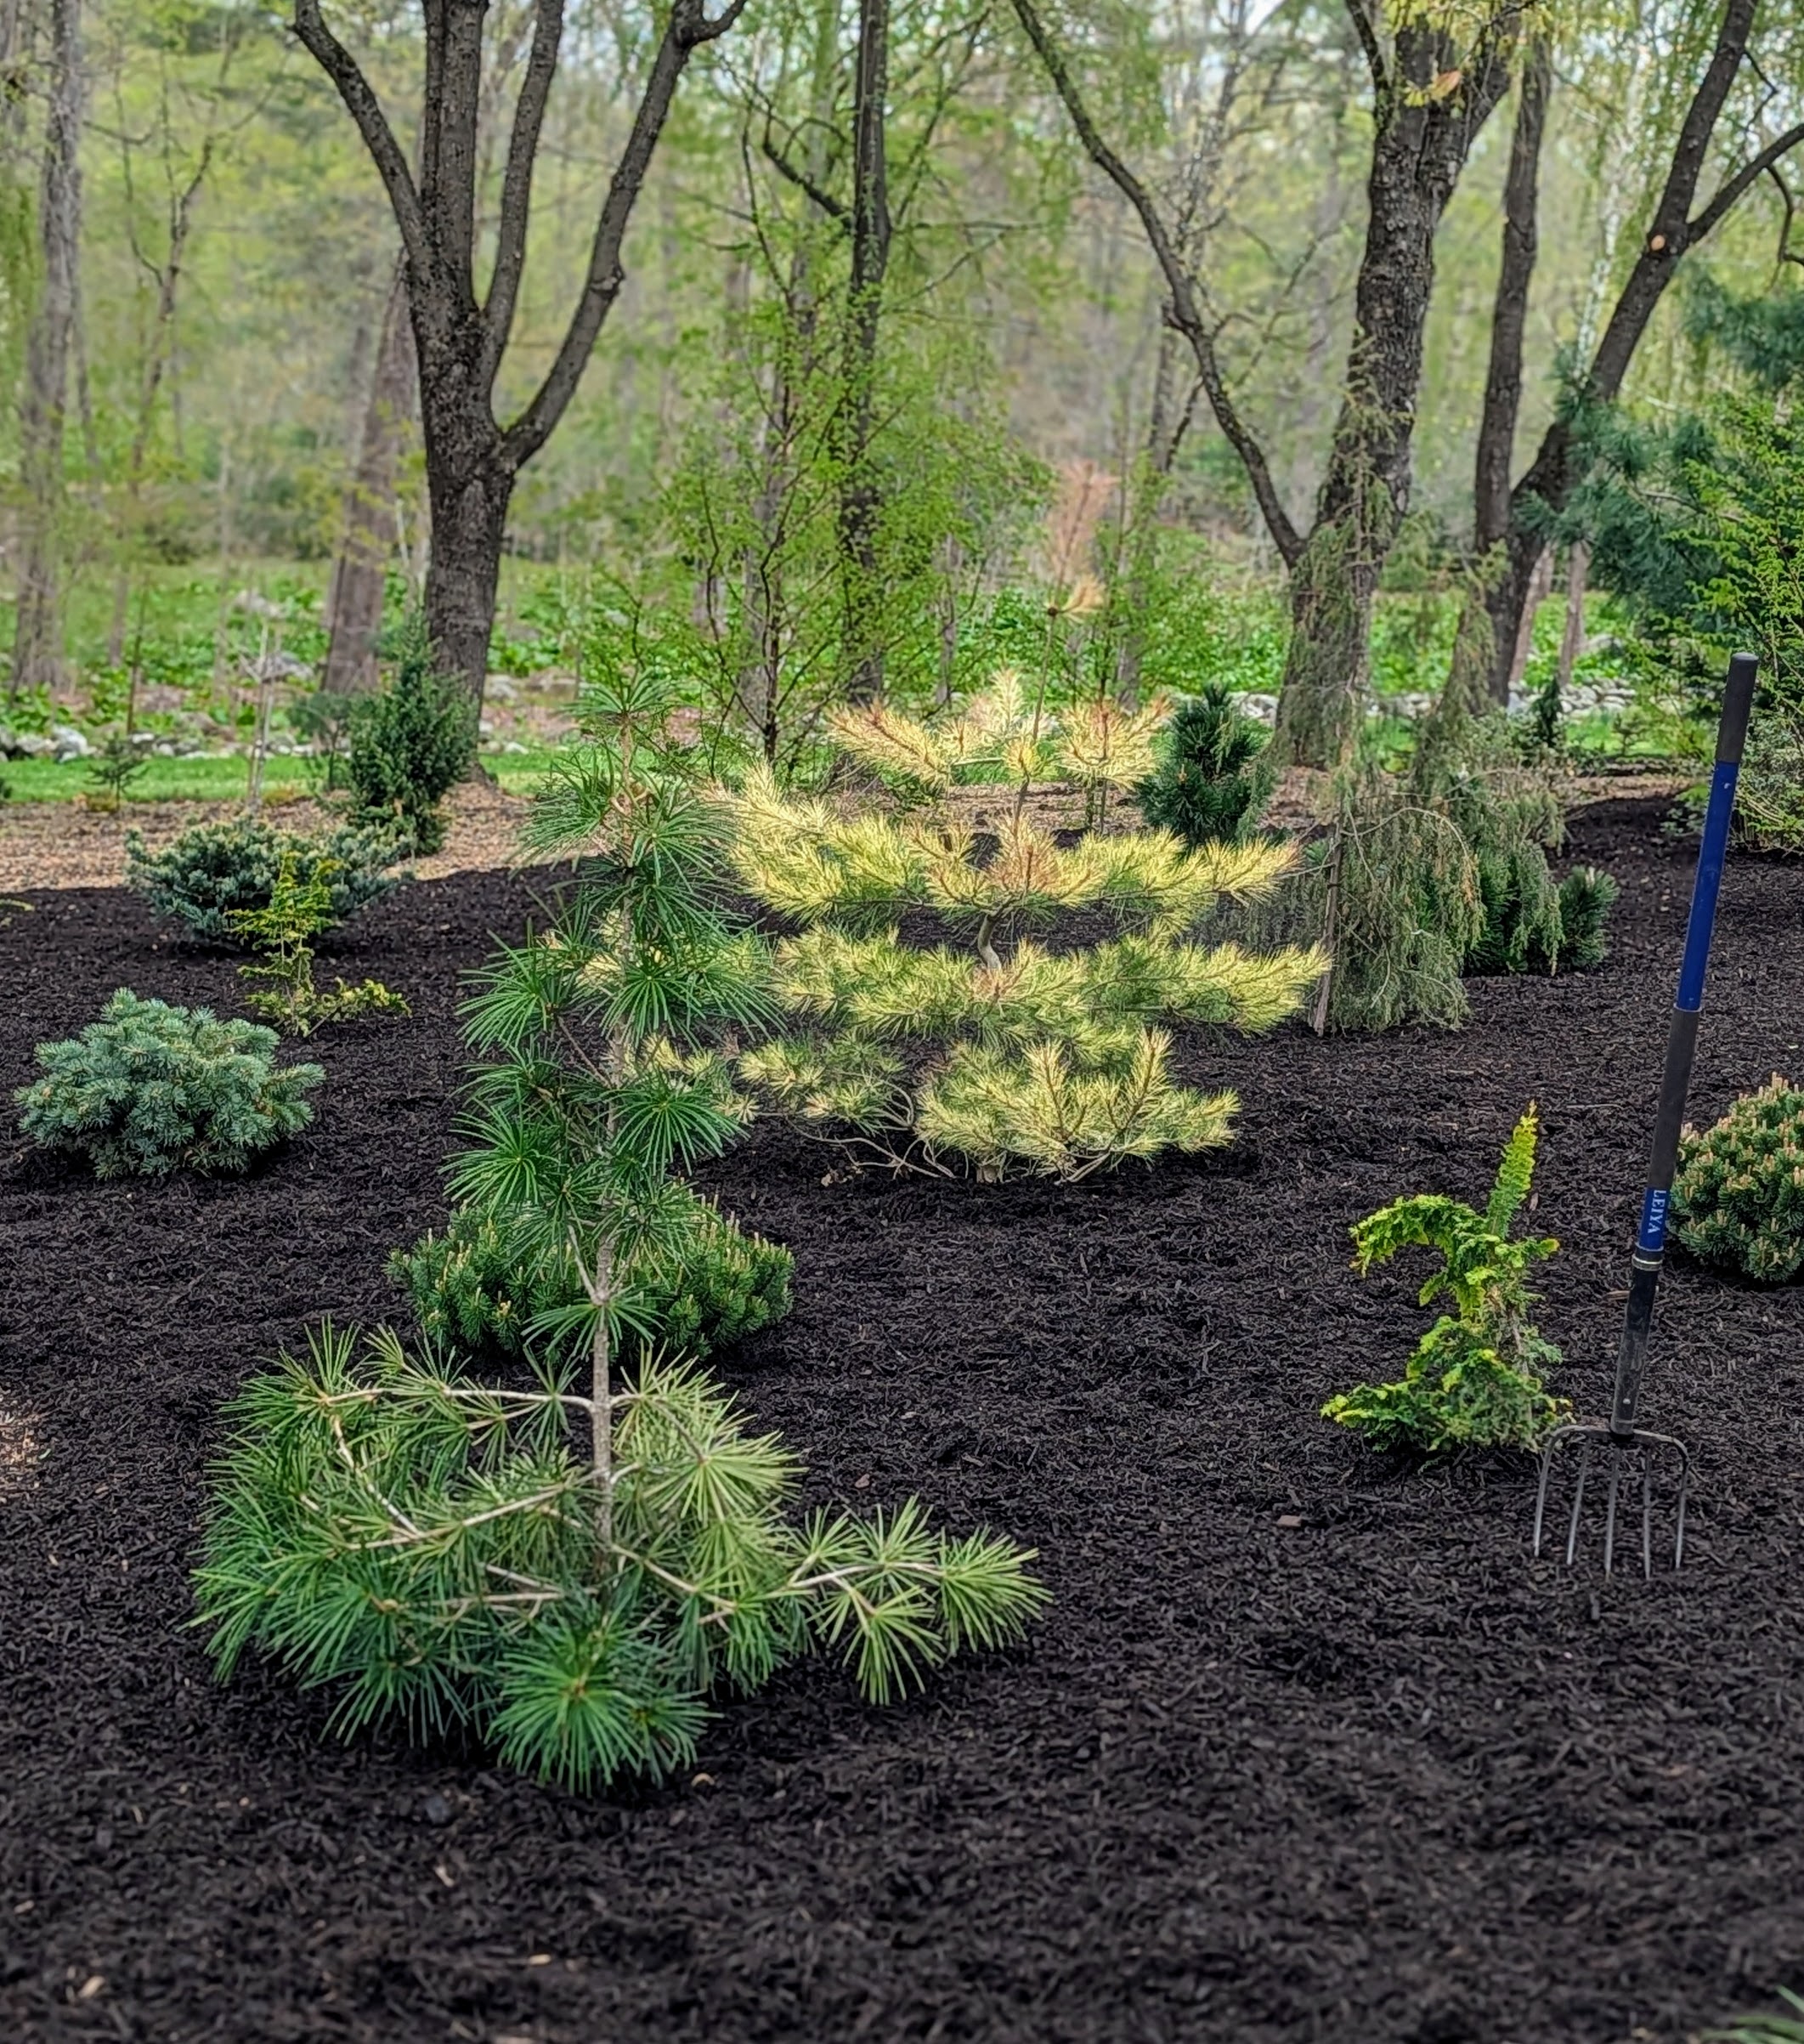
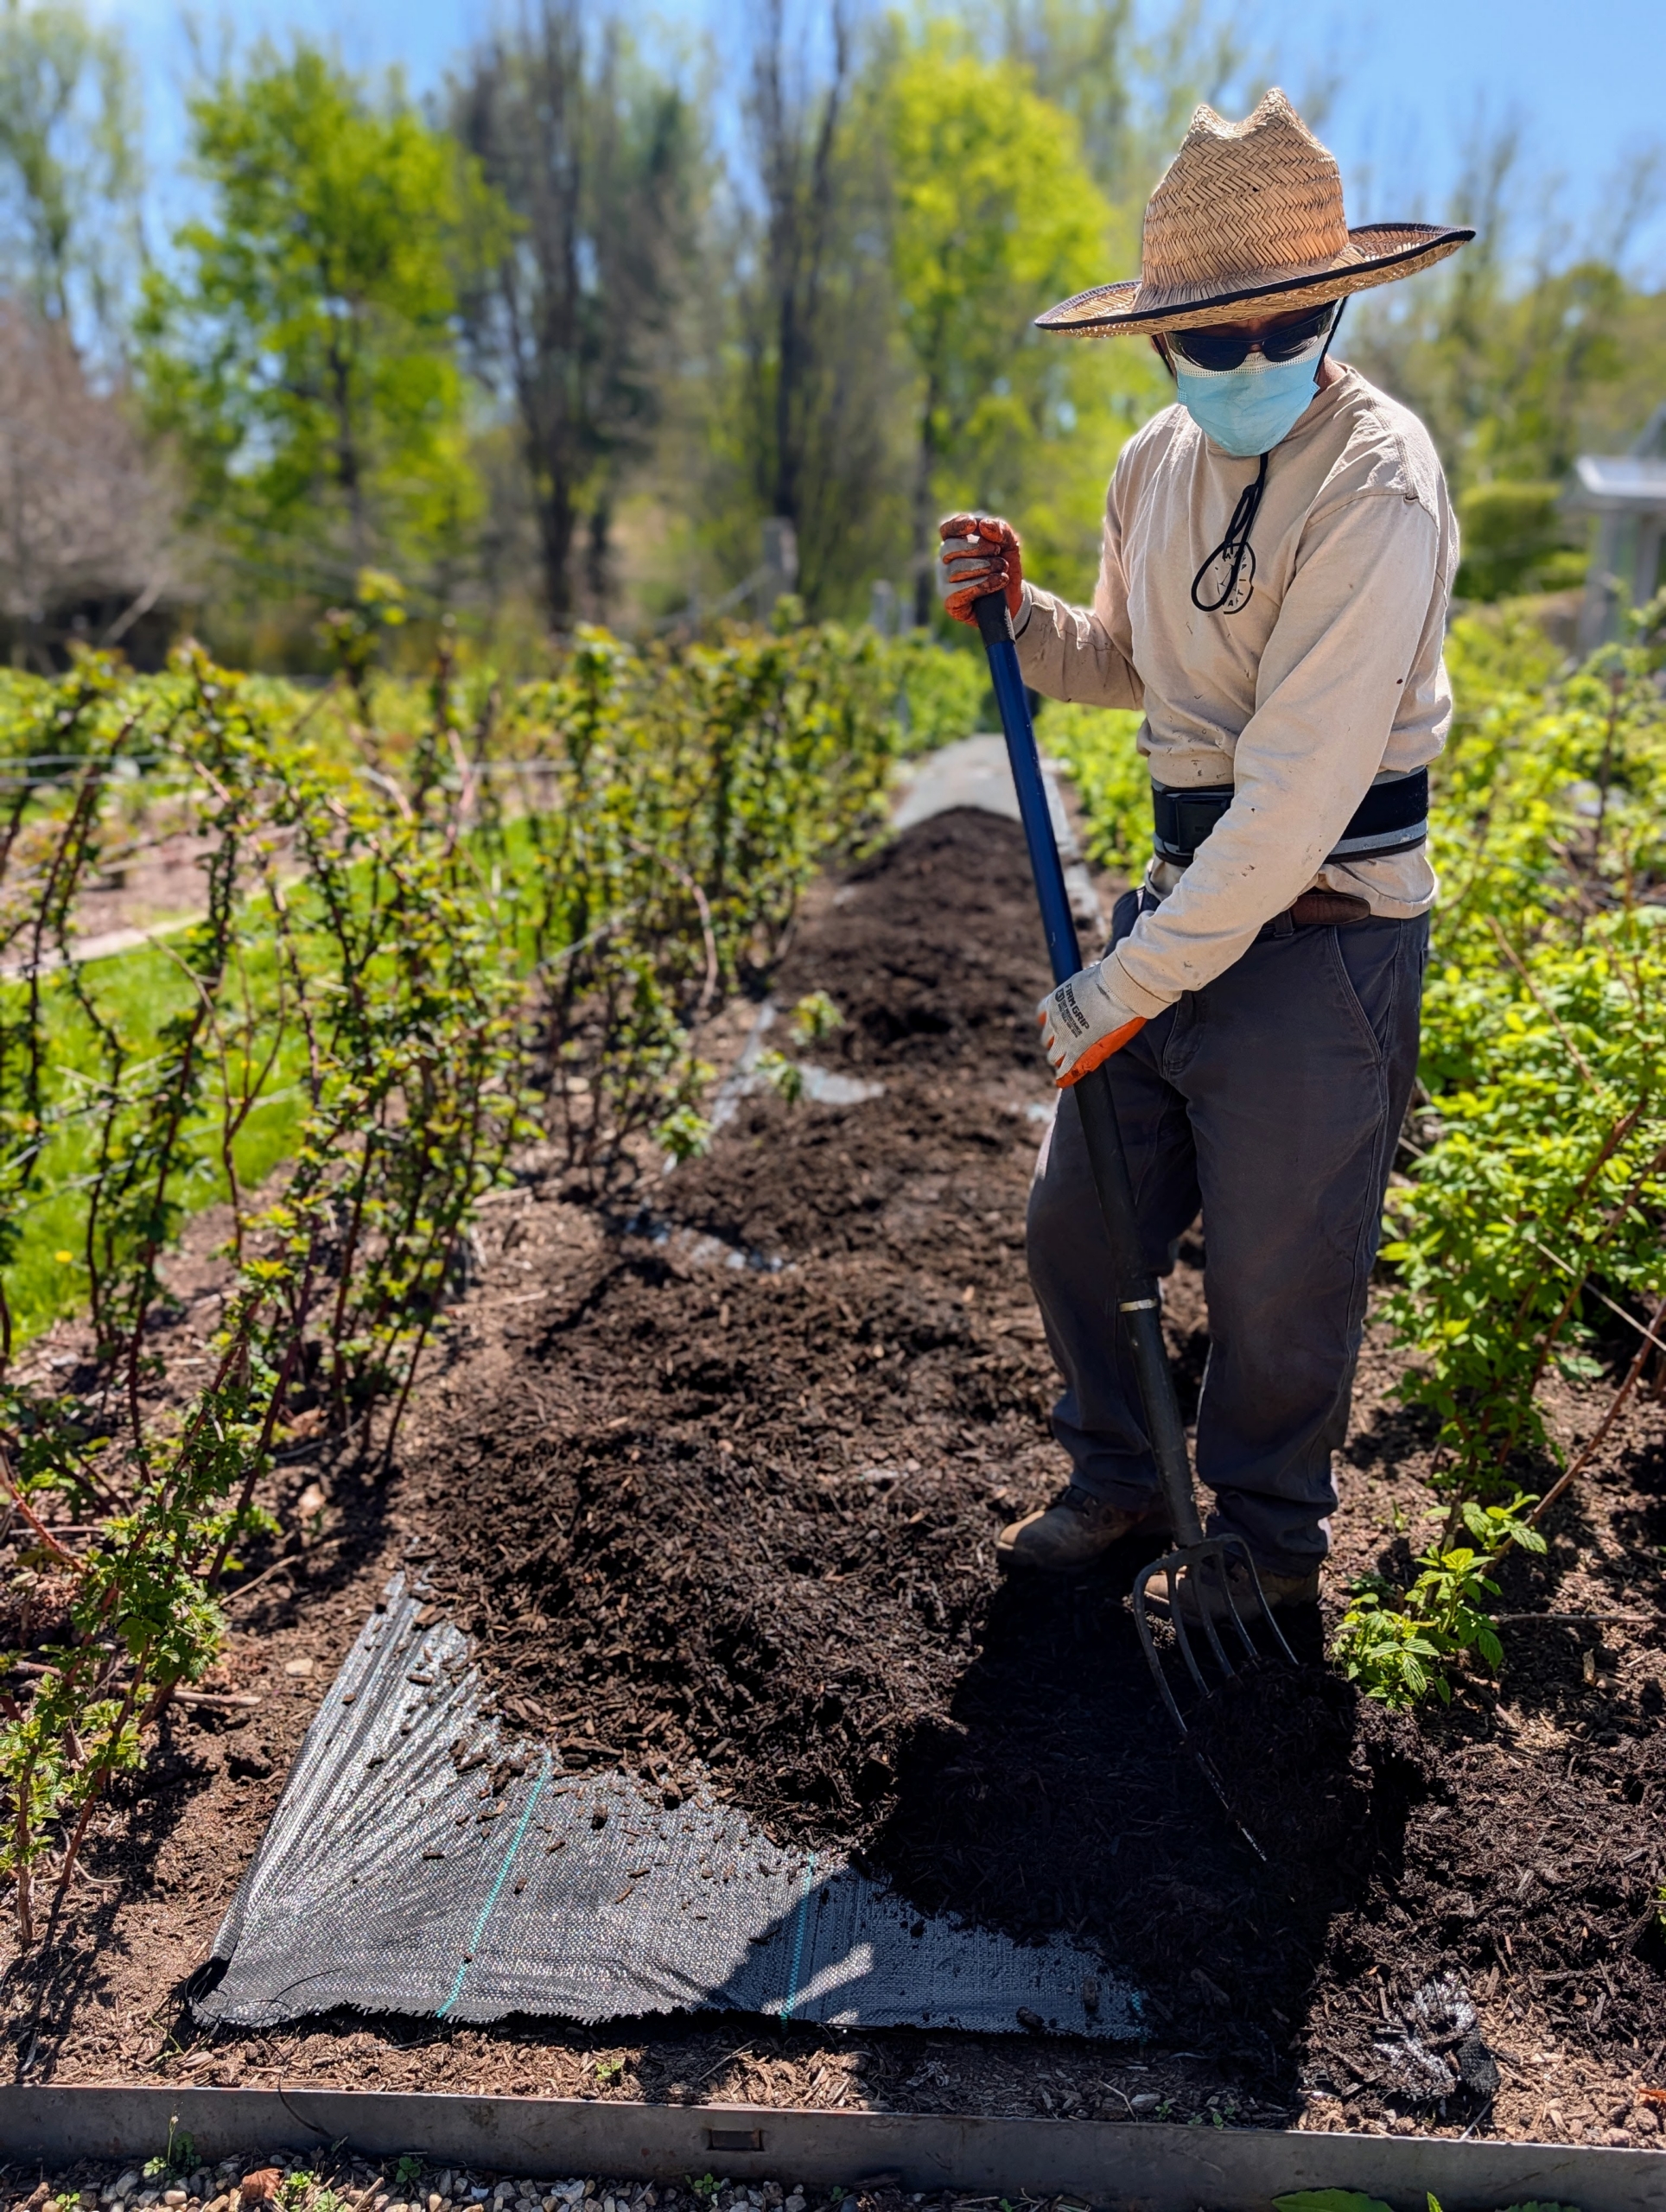
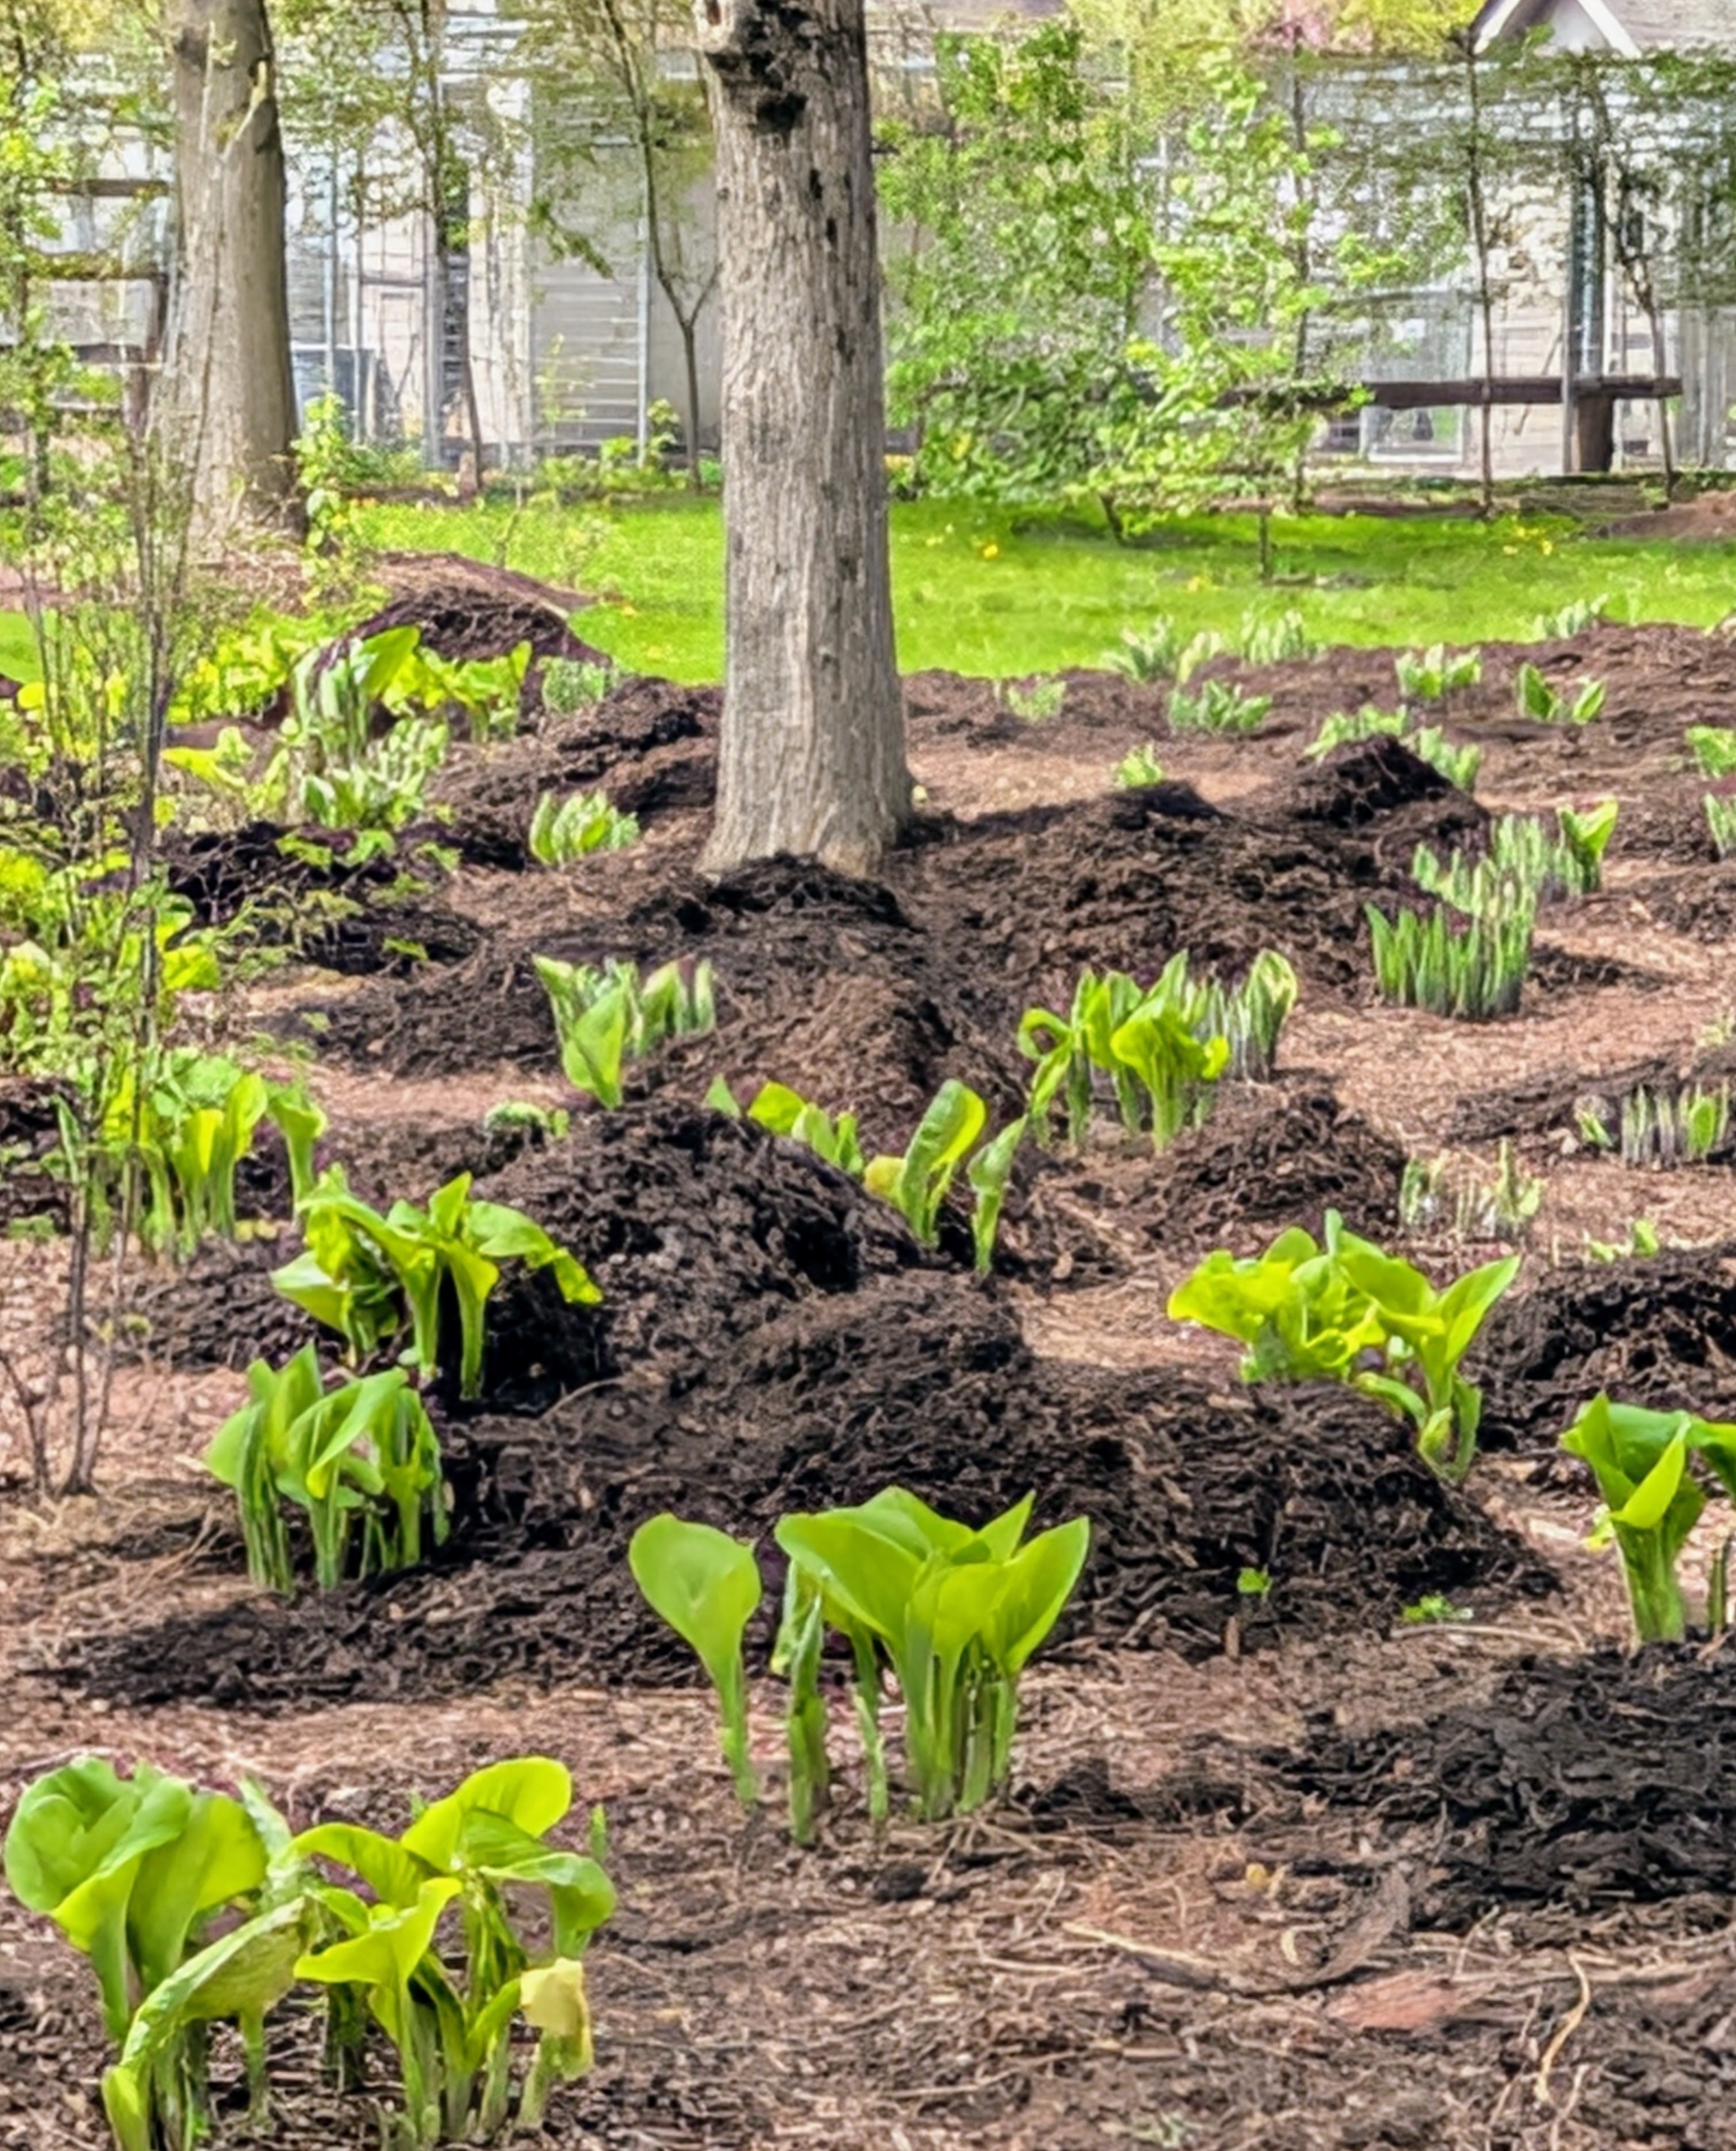
Here, Pasang is working in the hosta garden down near my chicken coops. I am so proud of all the mulch and compost I make here at the farm. There is always more than enough to use in the garden beds.
When mulching, manageable piles are dropped in the bed first.
And then each one is carefully spread out and raked around the various plants and trees.
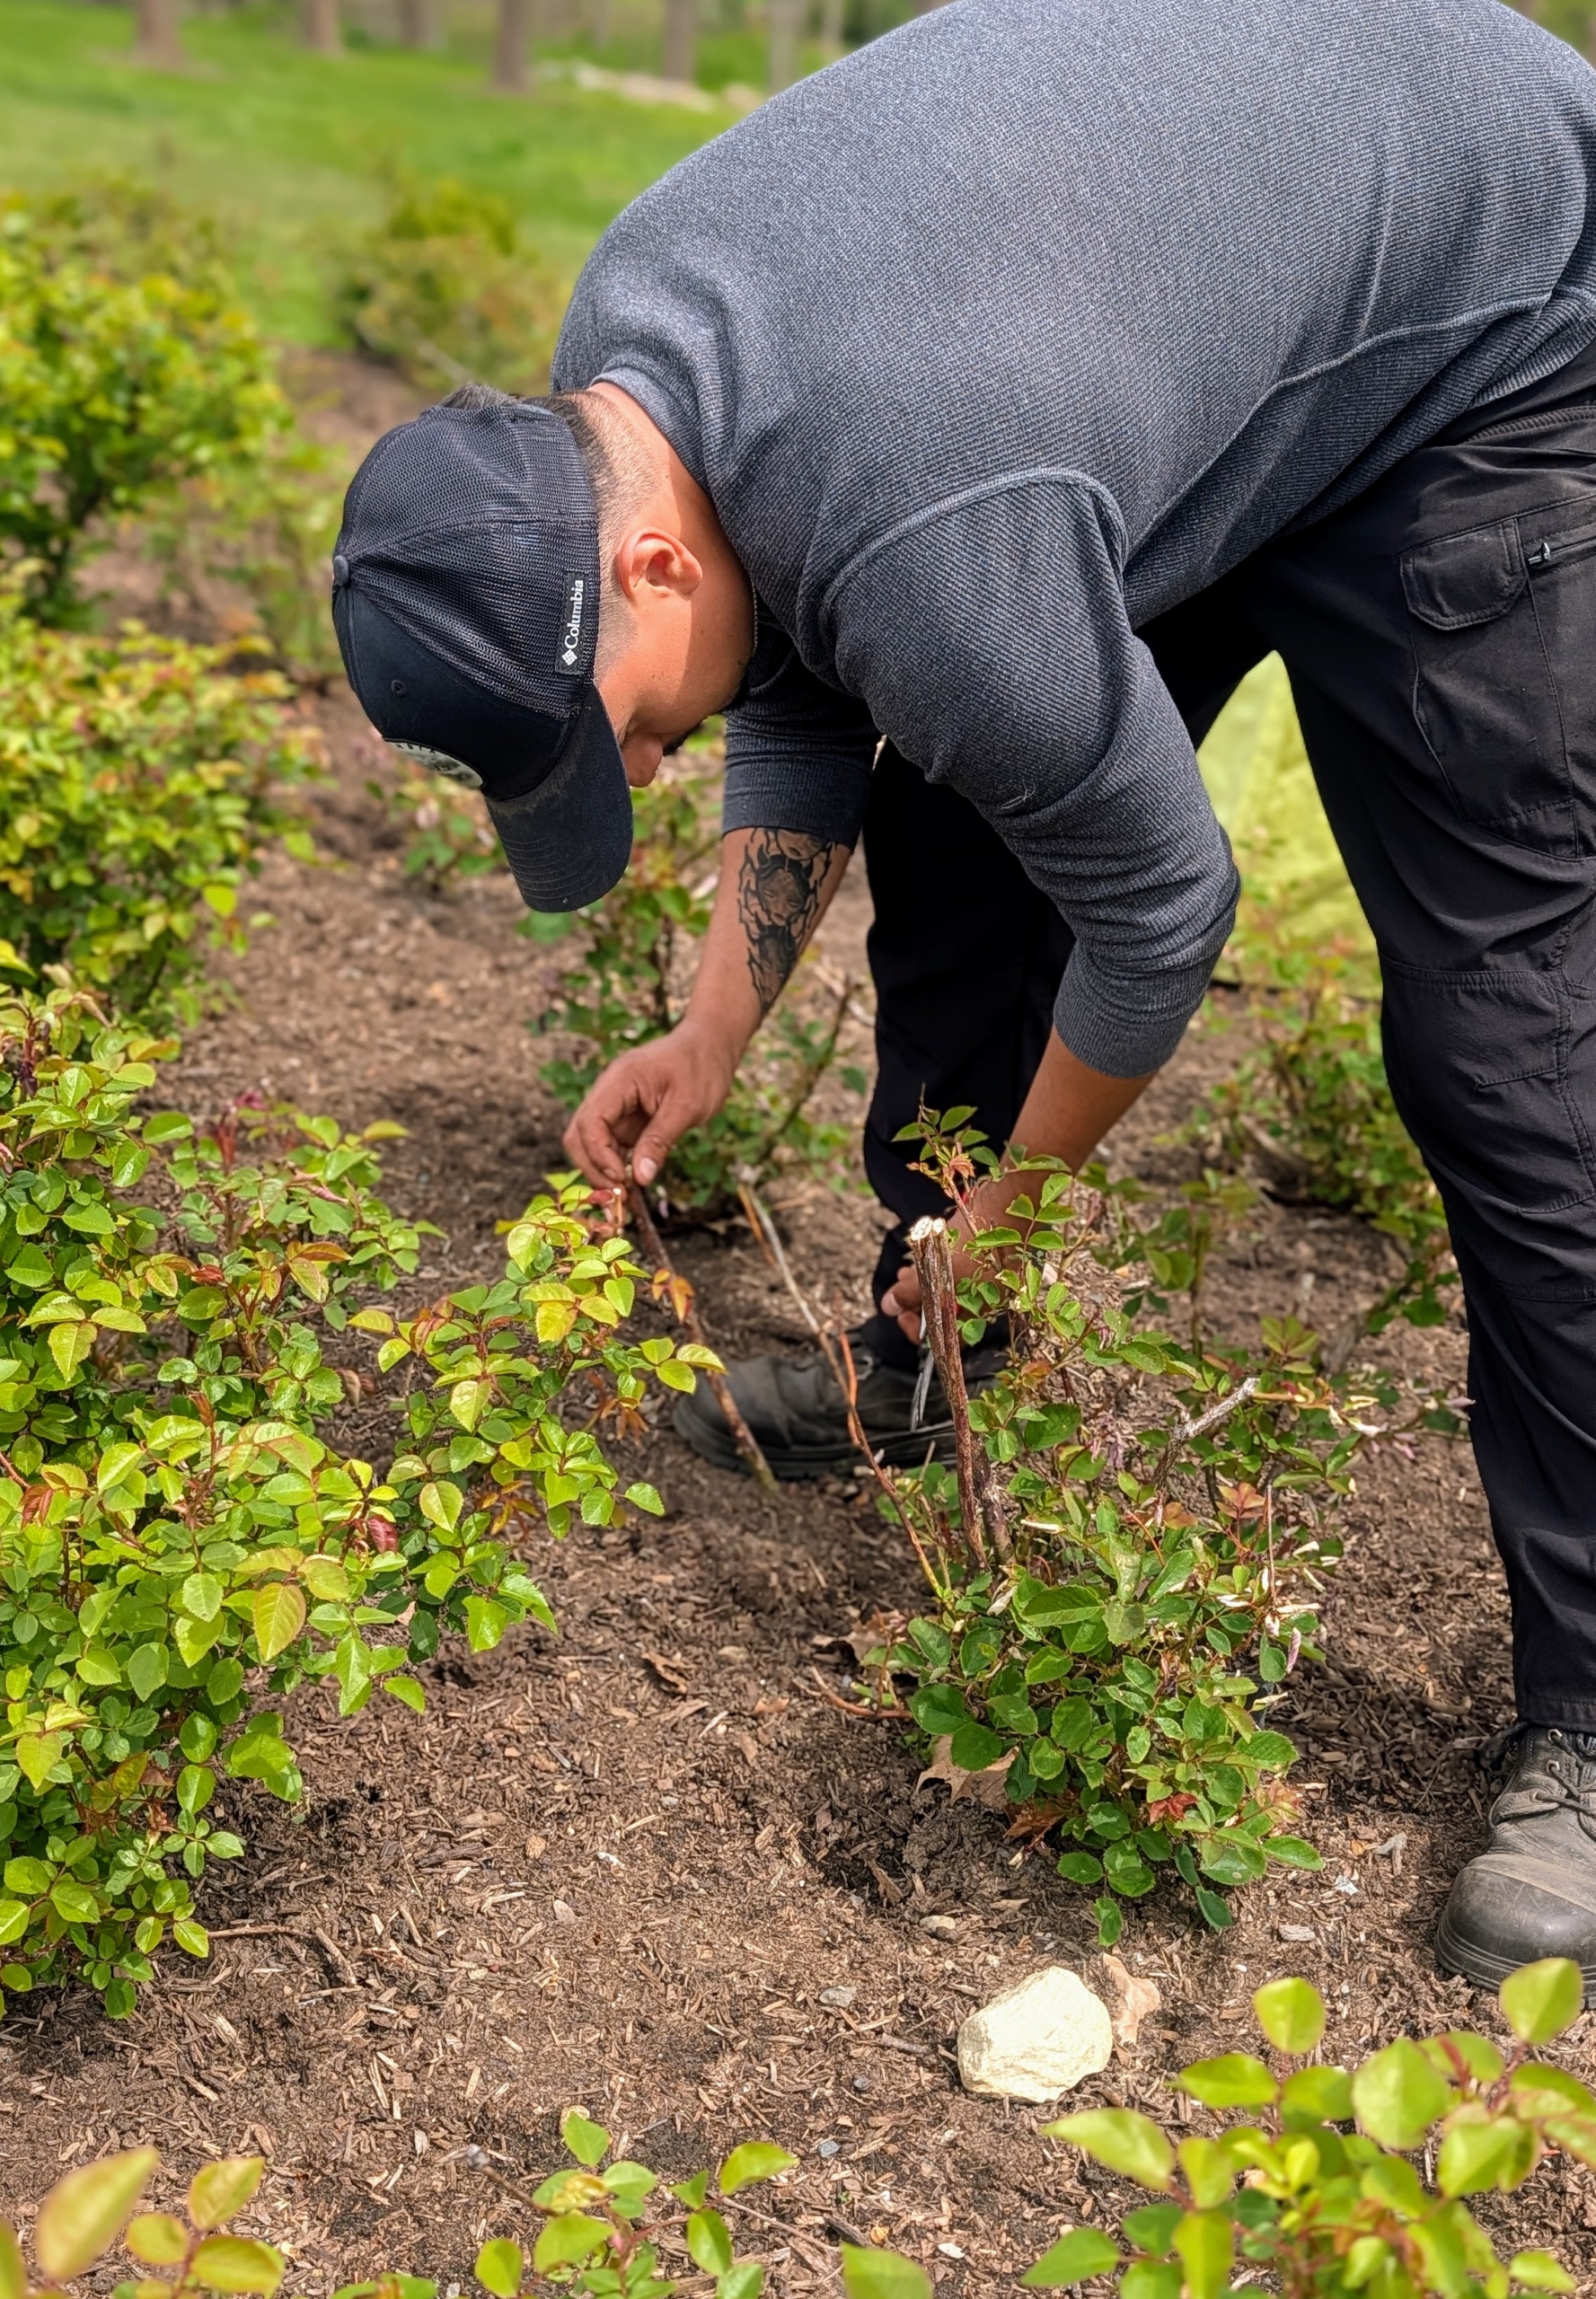
Matthew moves on to the roses – a personal favorite for him. Here he is grooming the bushes in my formal rose garden and trimming out all the dead wood.
Cesar takes care of all my birds. It’s a big job, but he loves the peafowl, pheasants, geese, chickens and turkeys. This day is cleaning day for all the coops.
Phurba is in my large flower cutting garden removing all the pesky early season weeds.
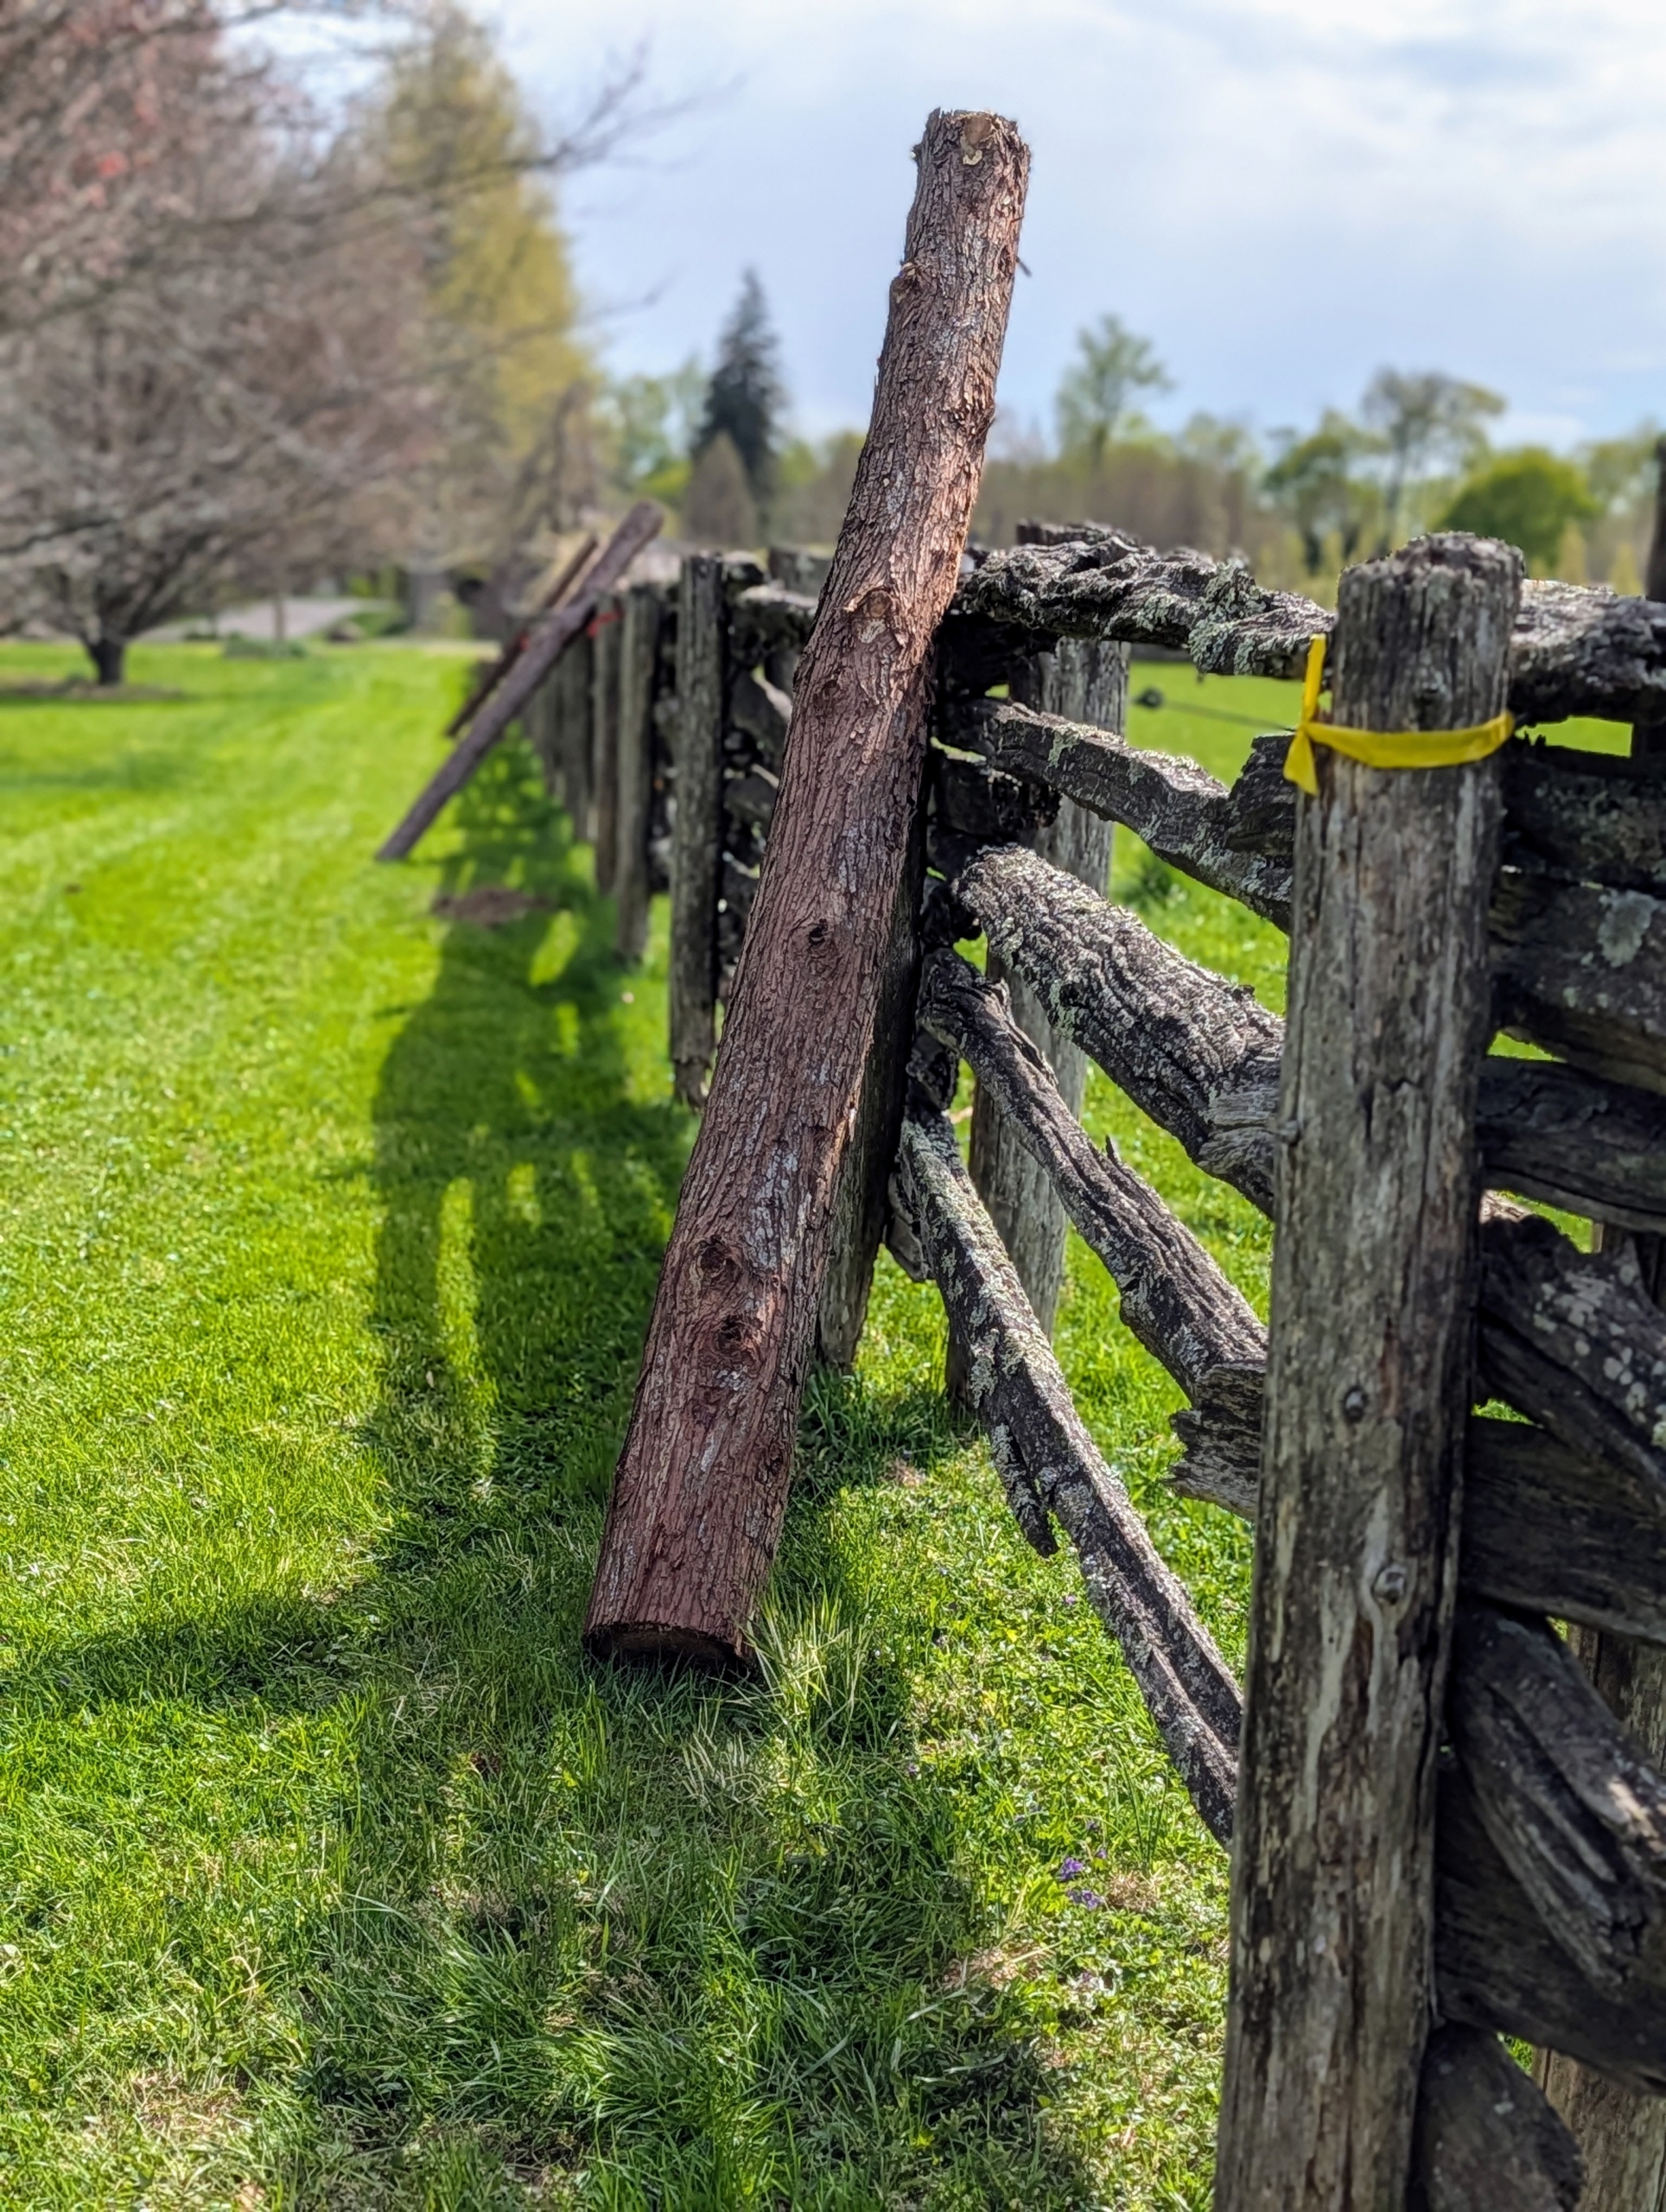
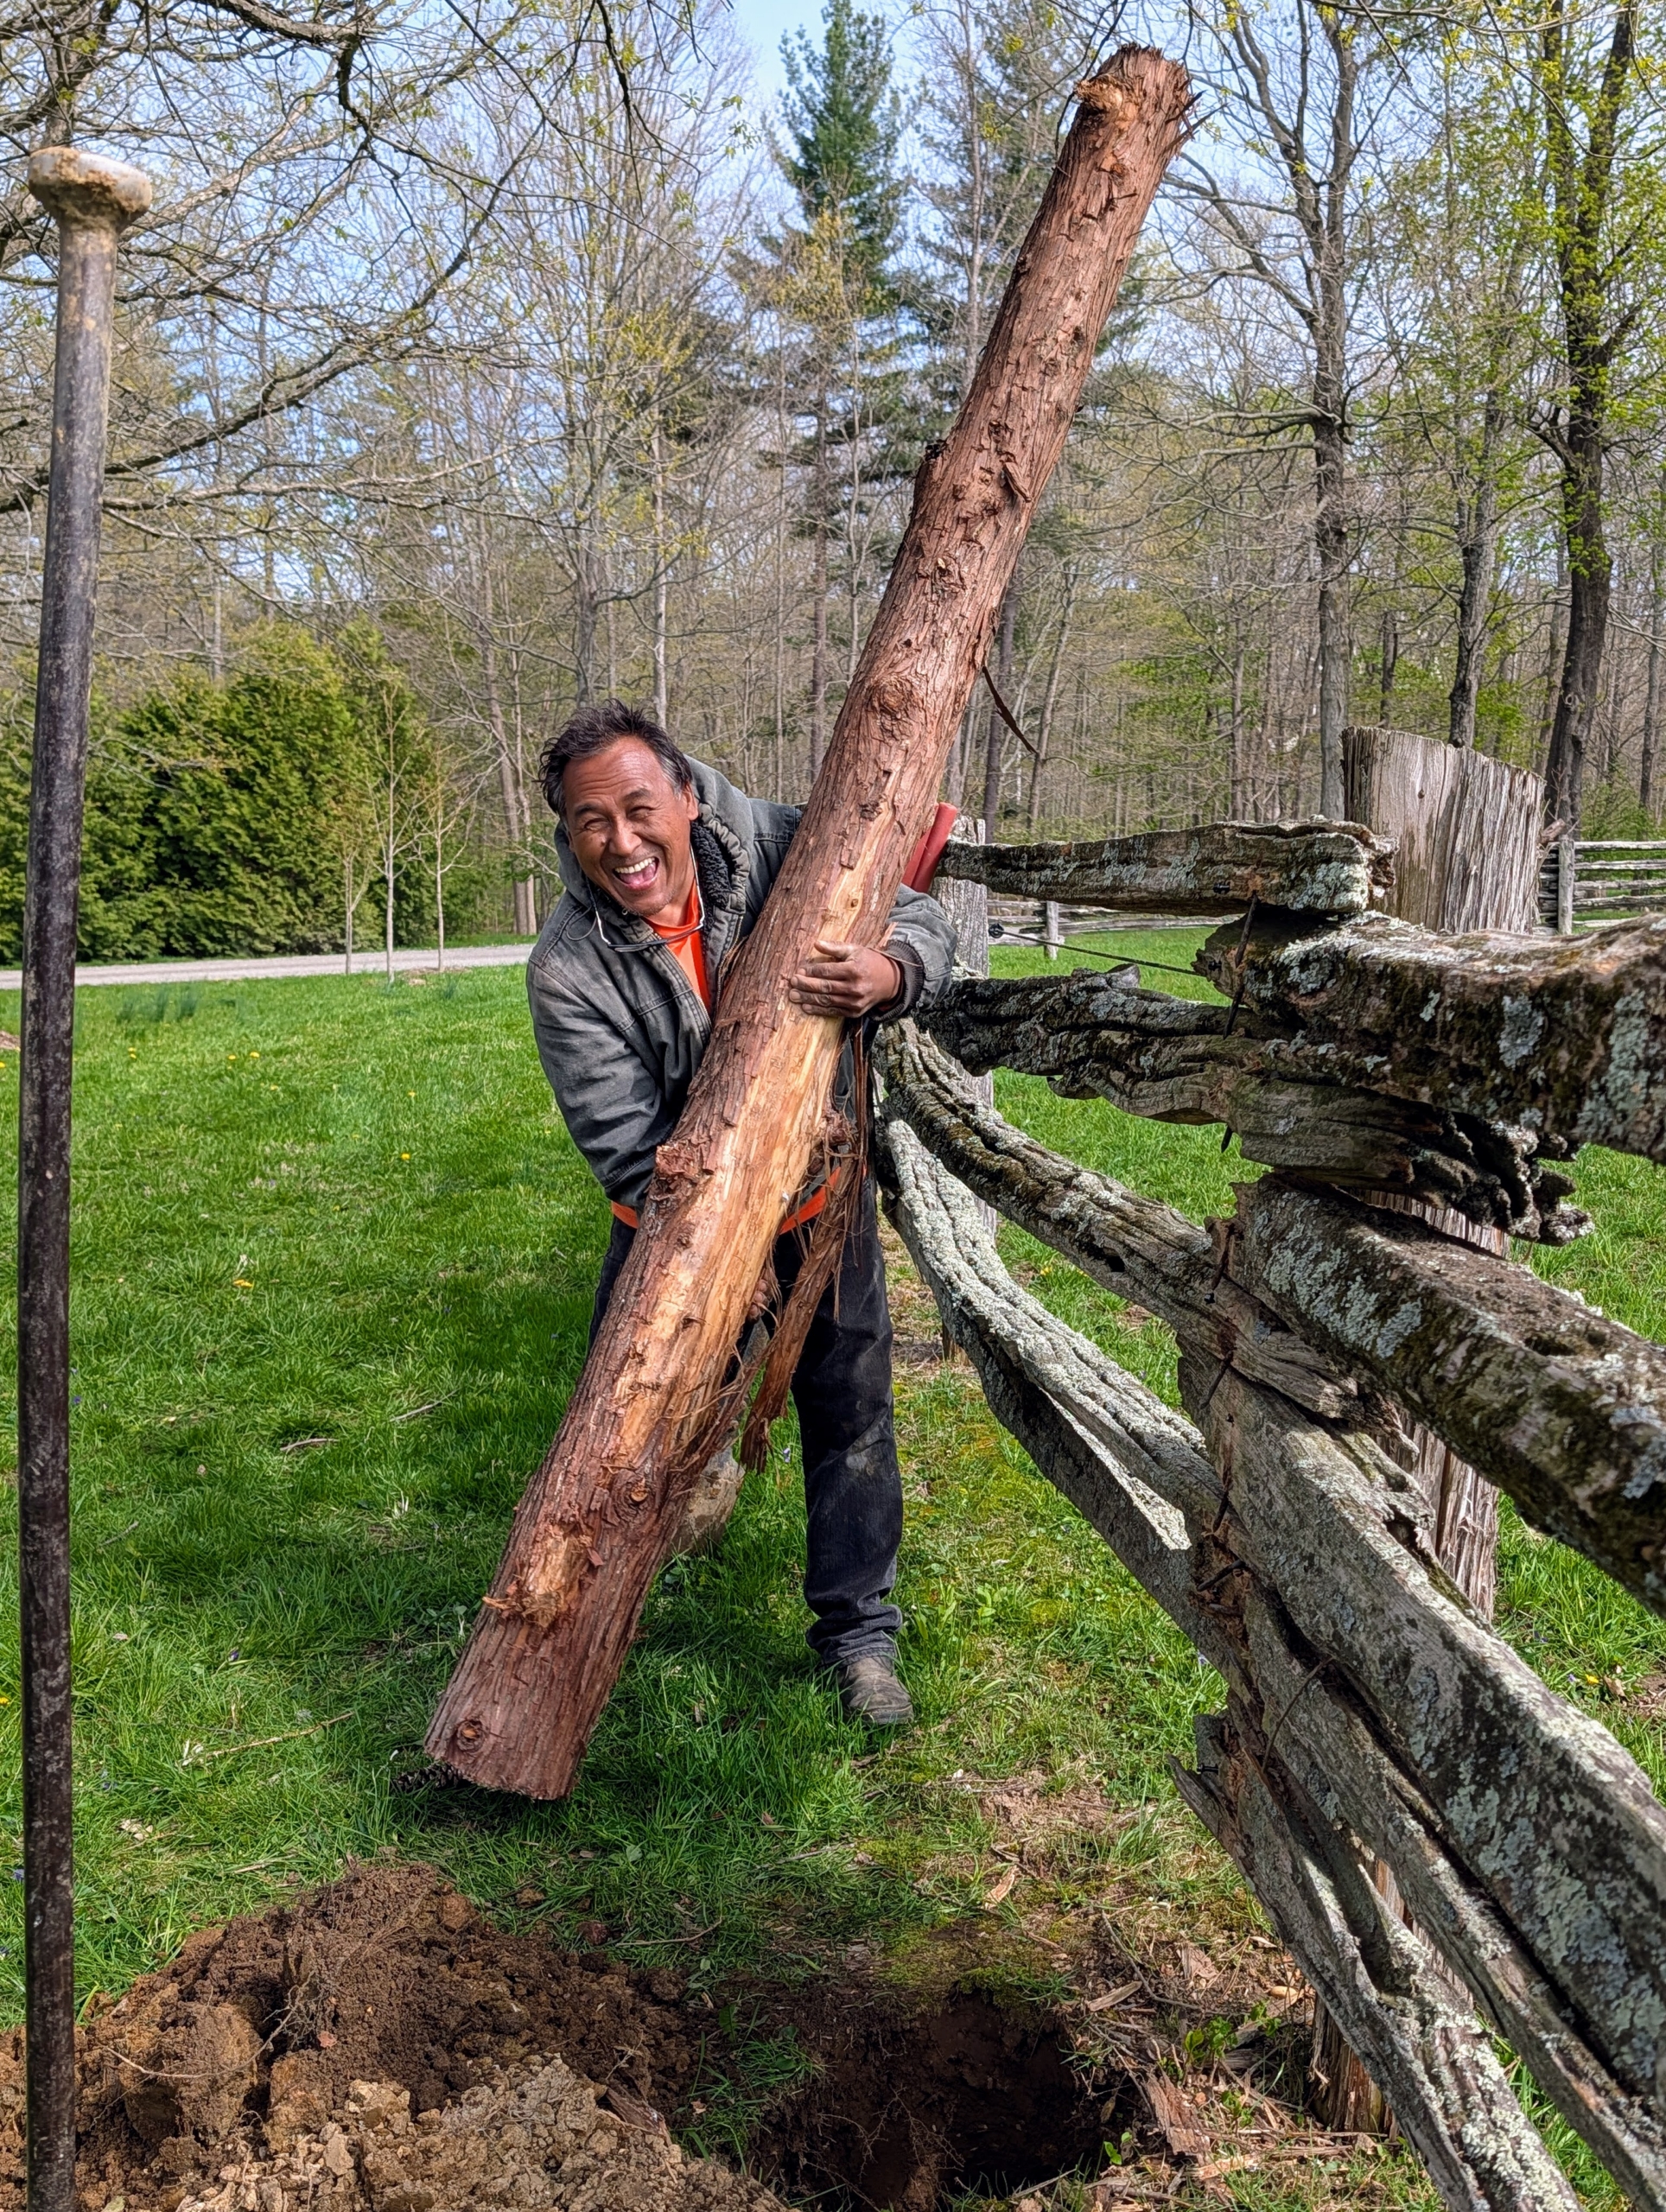
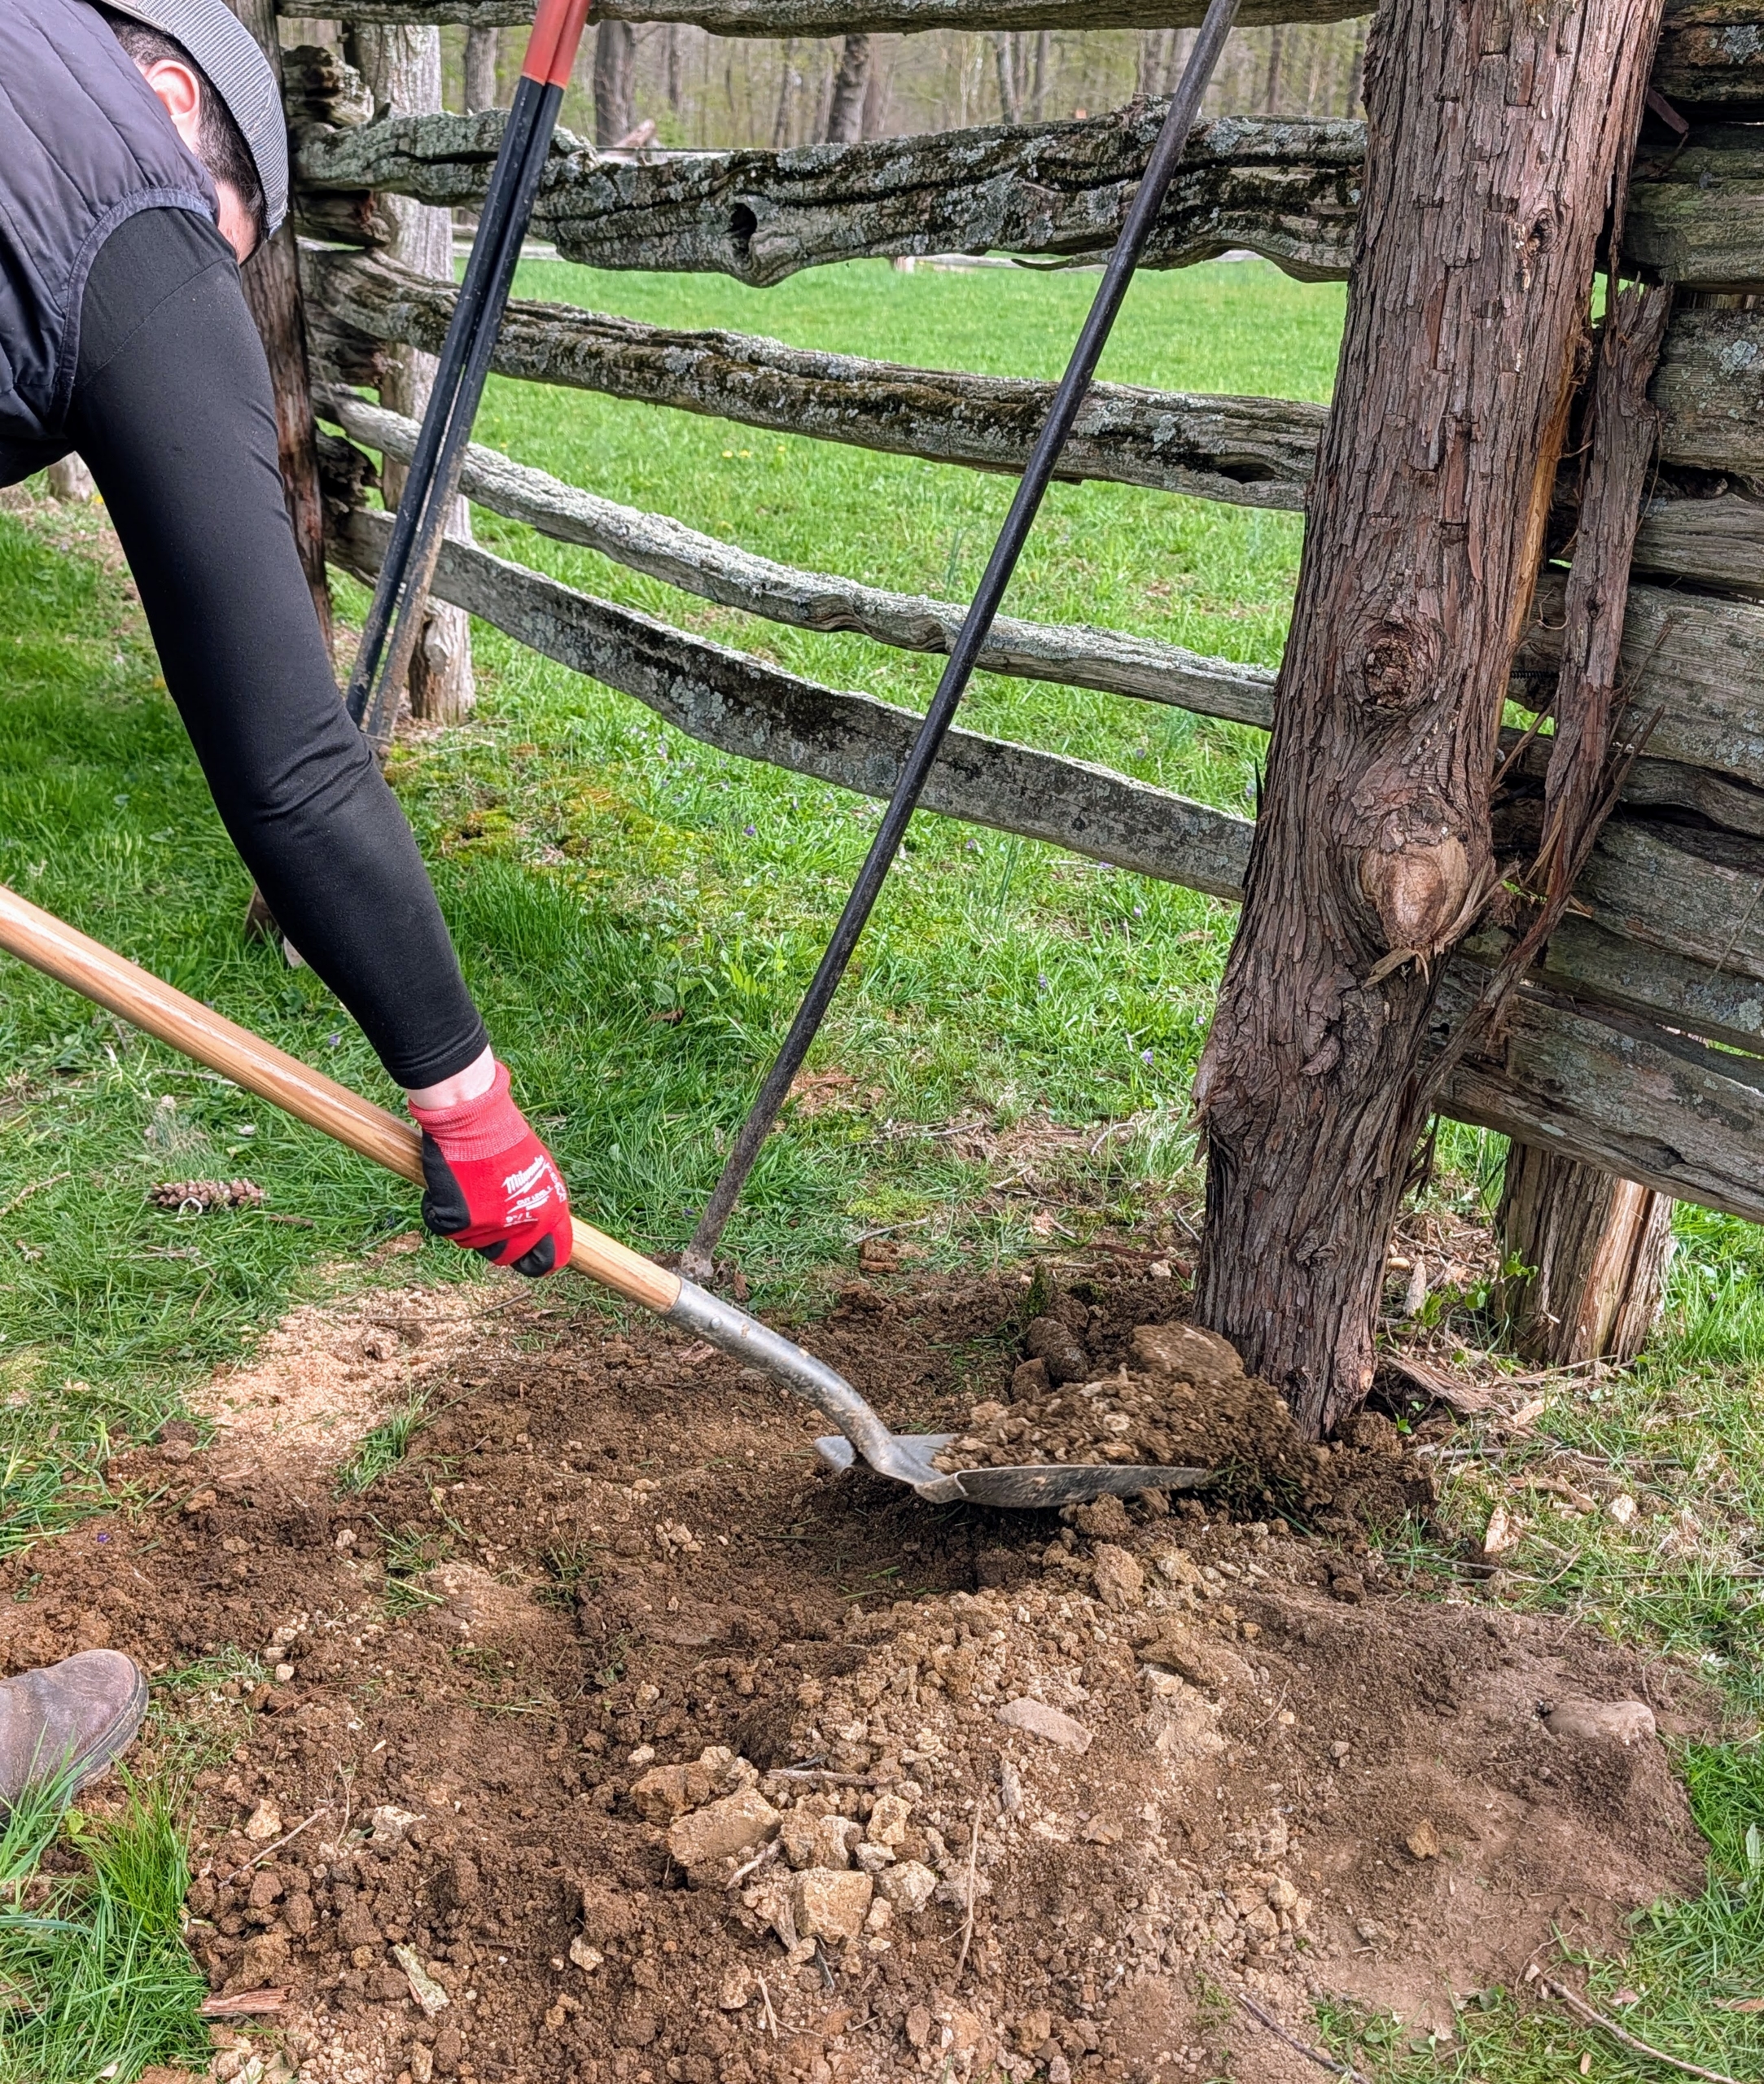
On this day, Justin is helping with the big job of replacing some of the timeworn posts supporting my antique fencing.
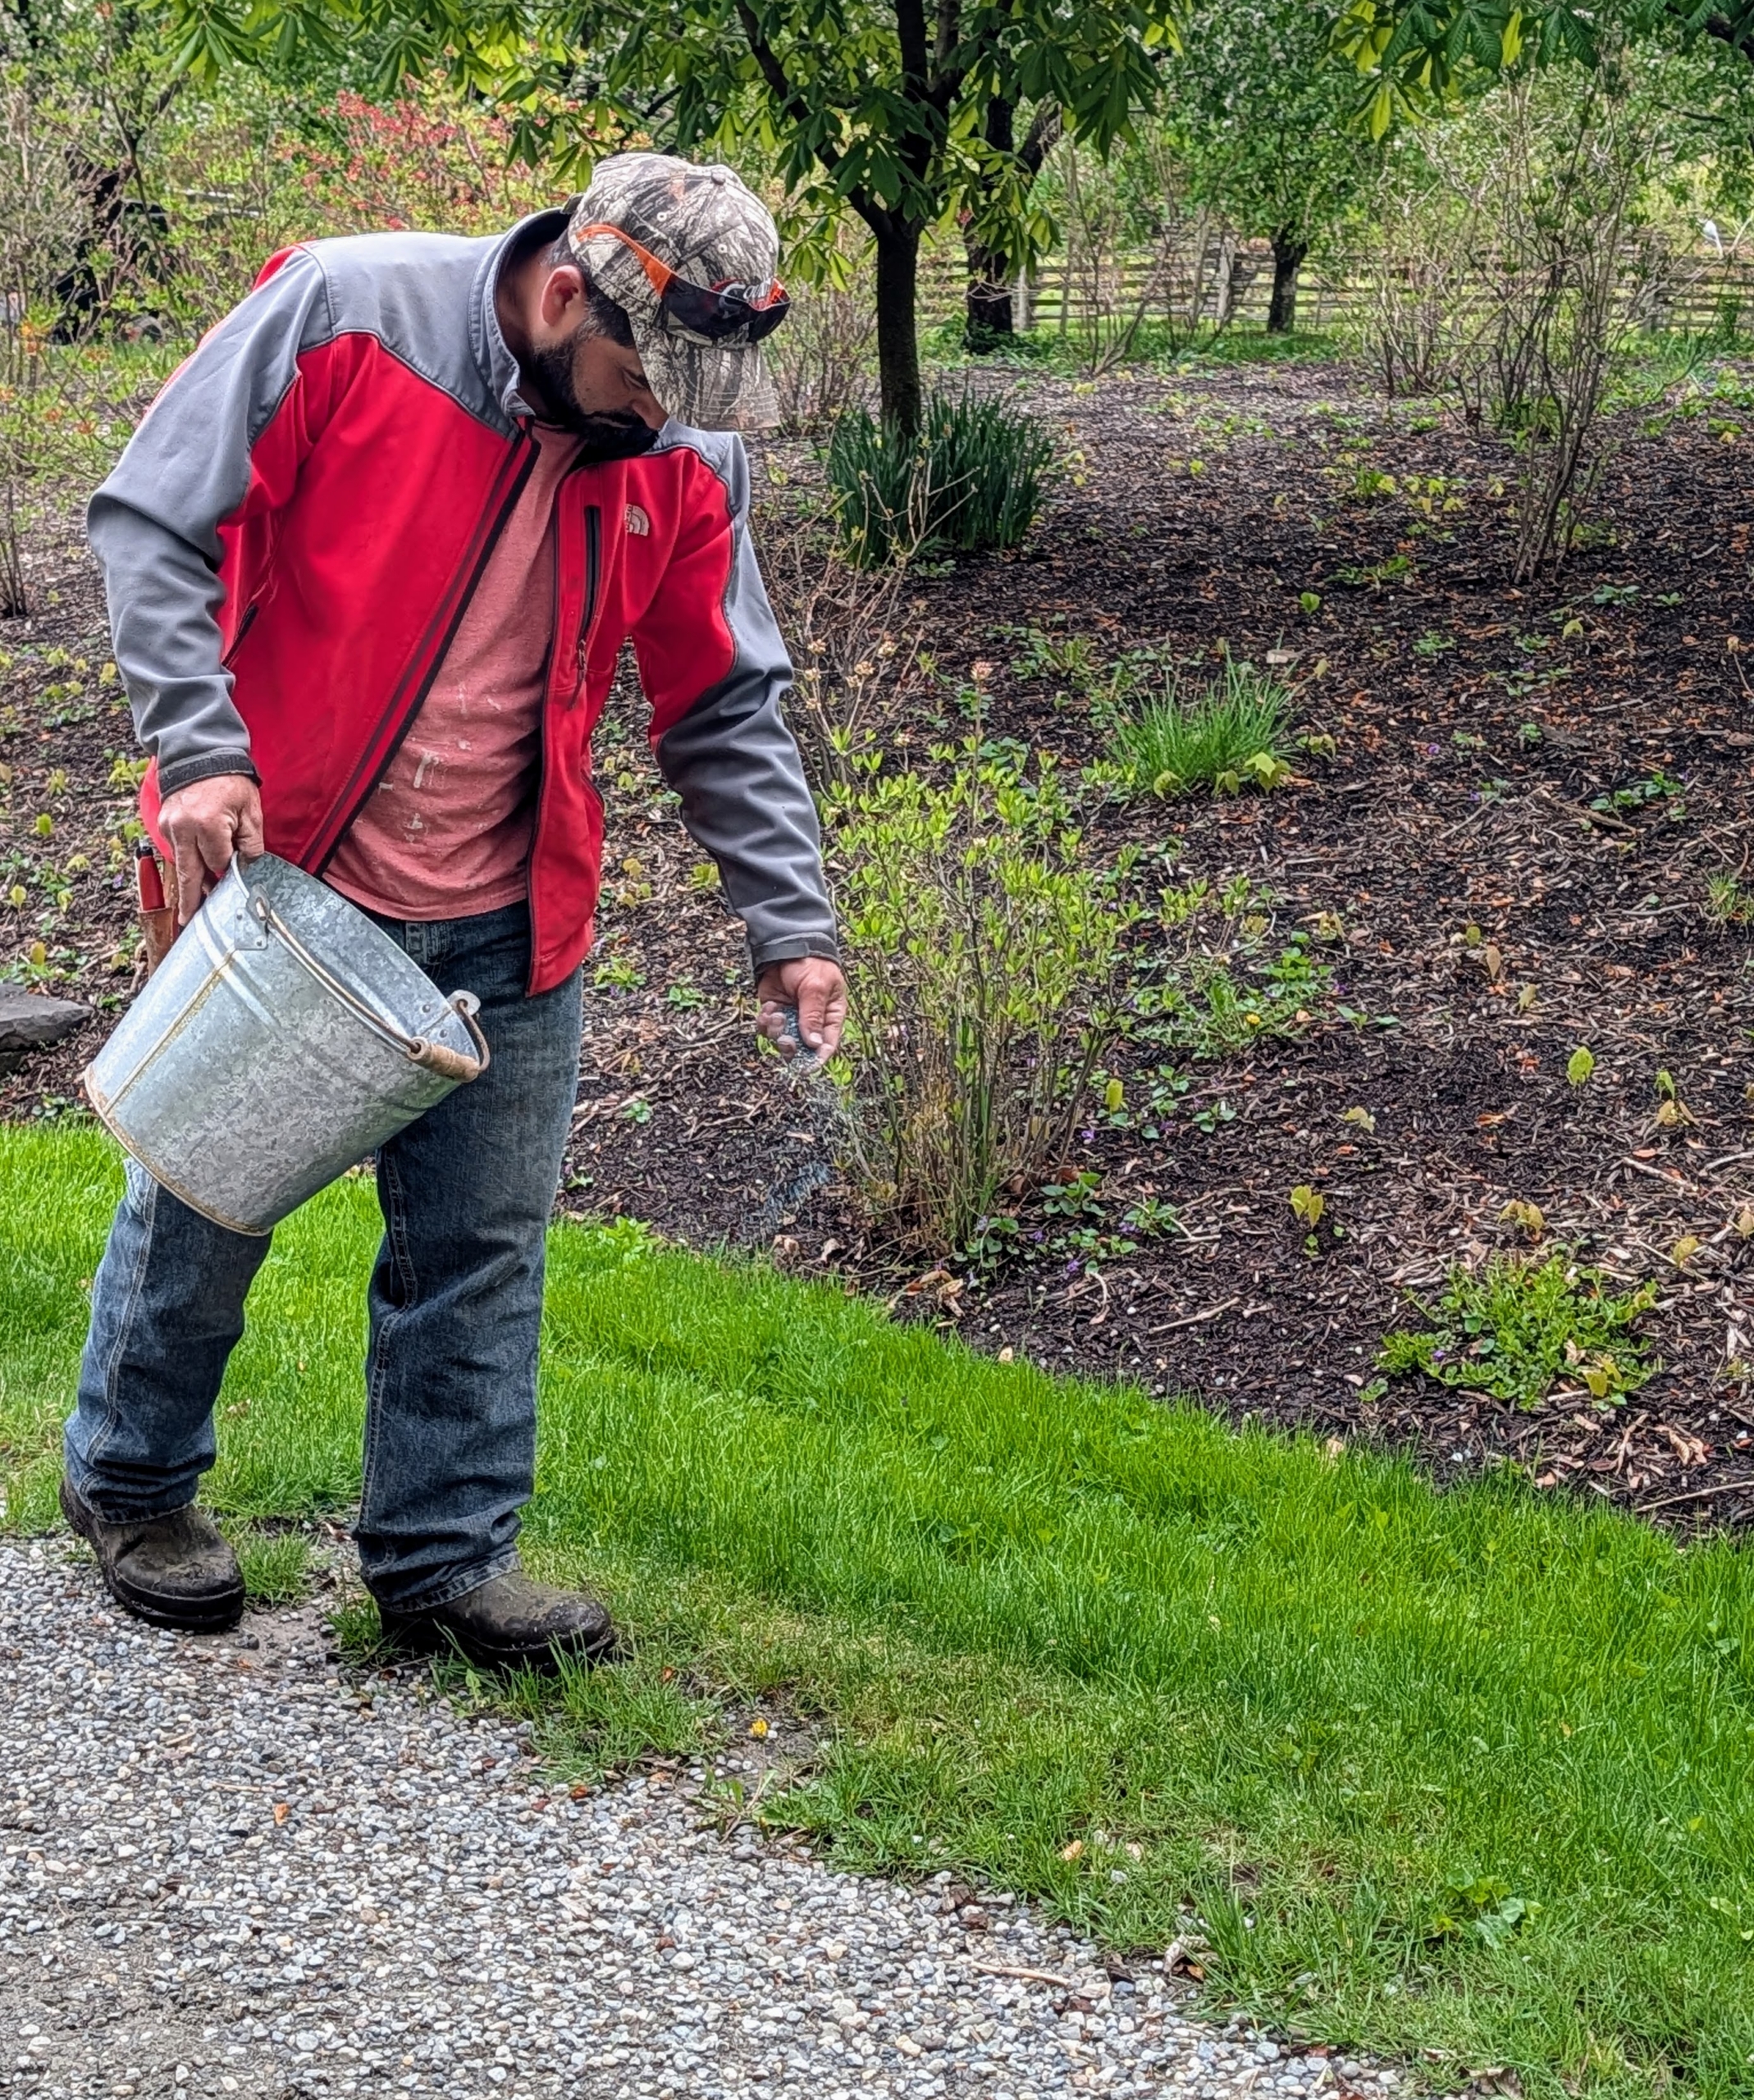
And here’s Adan reseeding bare areas around the farm.
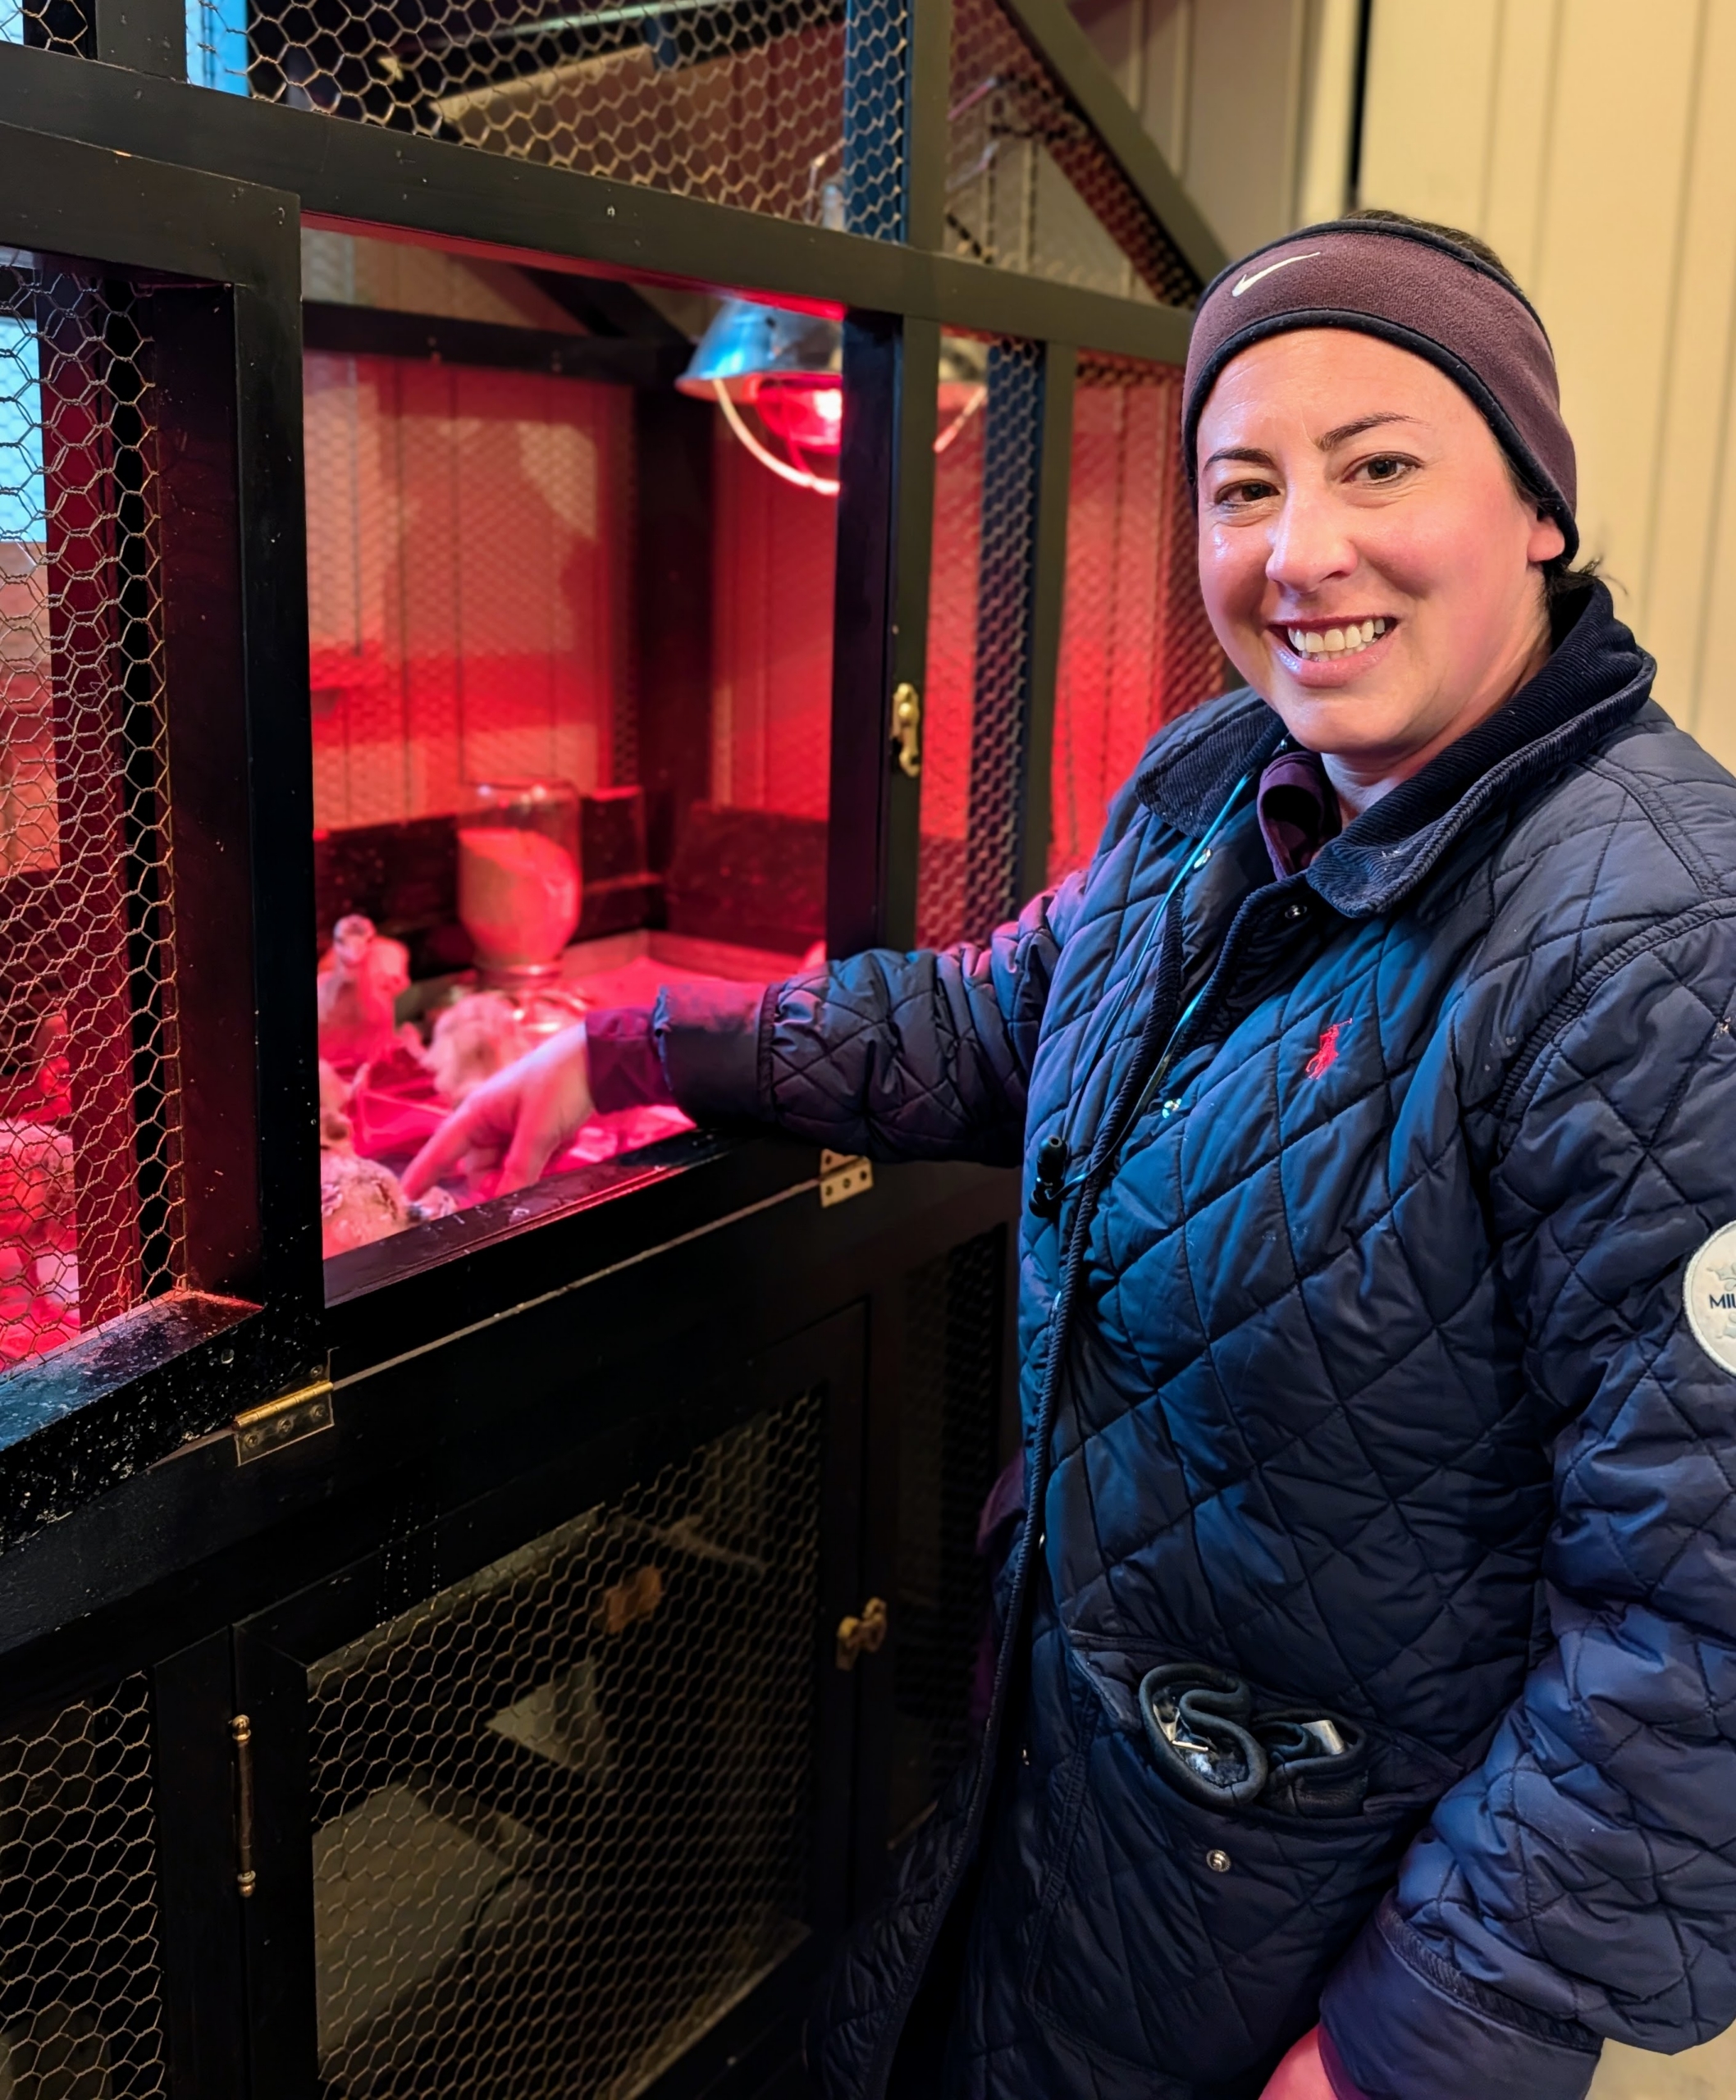
Helen is in the feed room checking on the youngest residents at my farm – all the chicks.
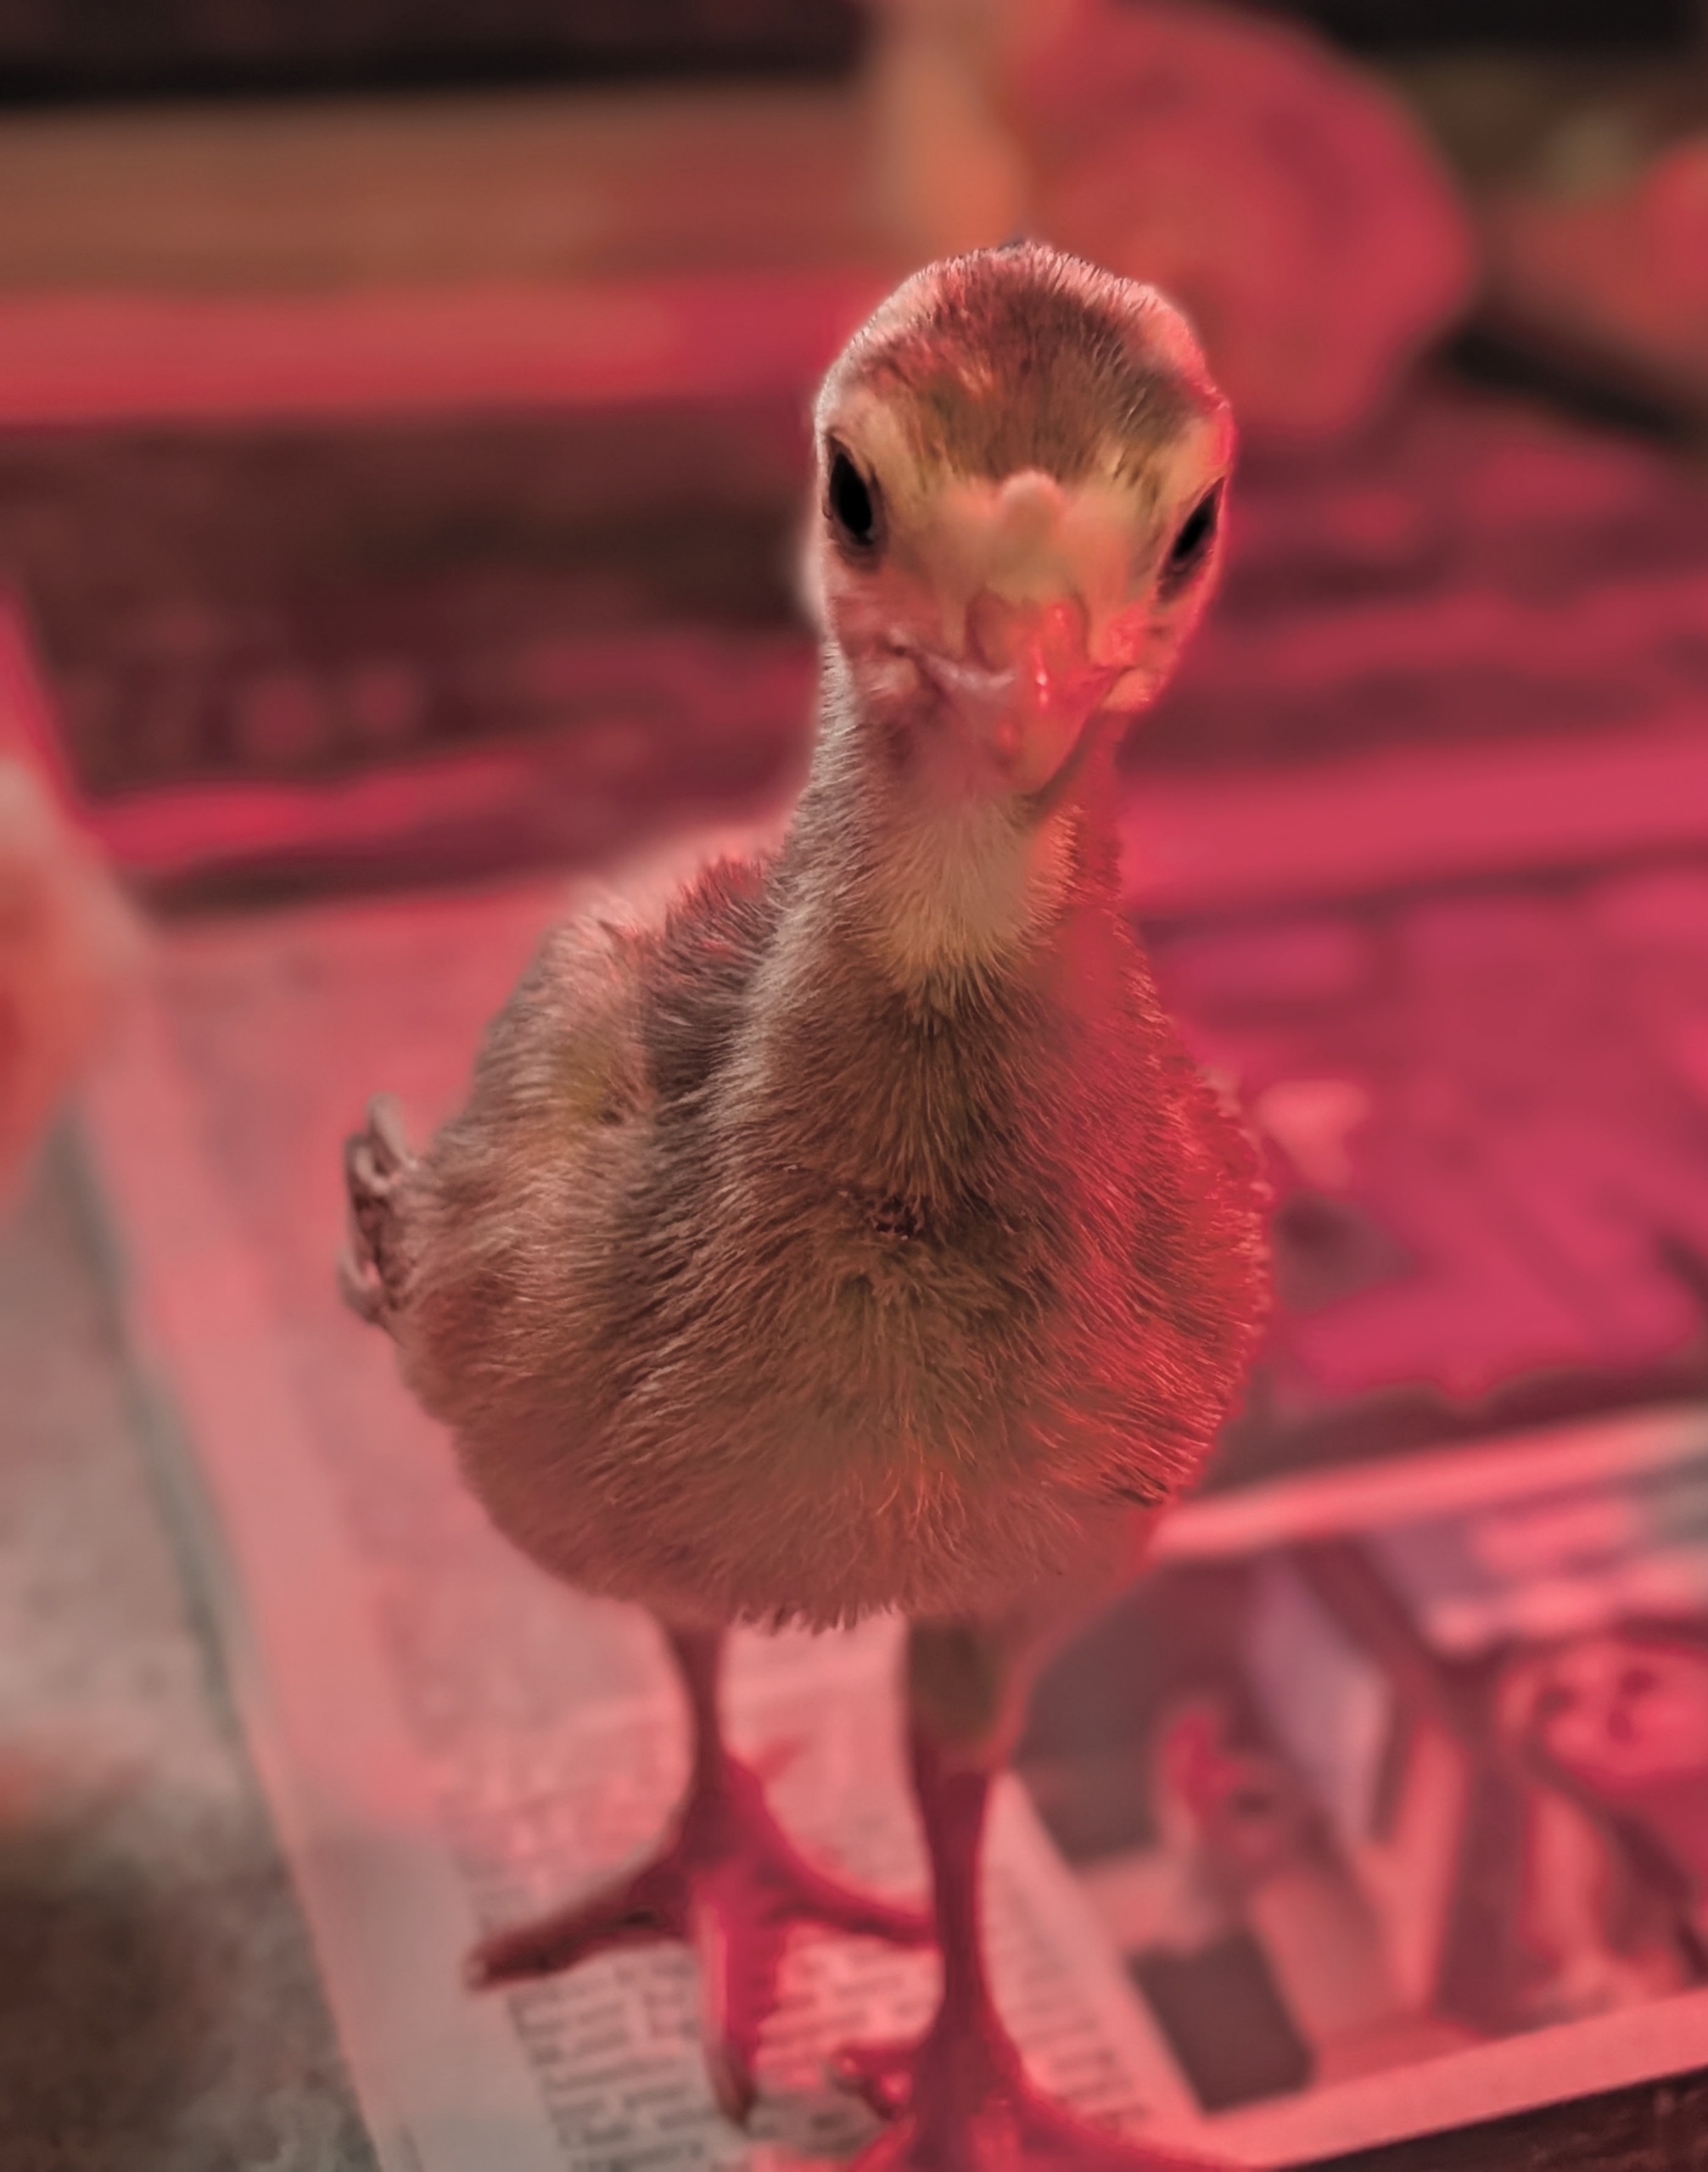
Here is one of my baby turkeys – getting bigger every day. It’s always busy here at my farm, but my hardworking crew is getting it all done!
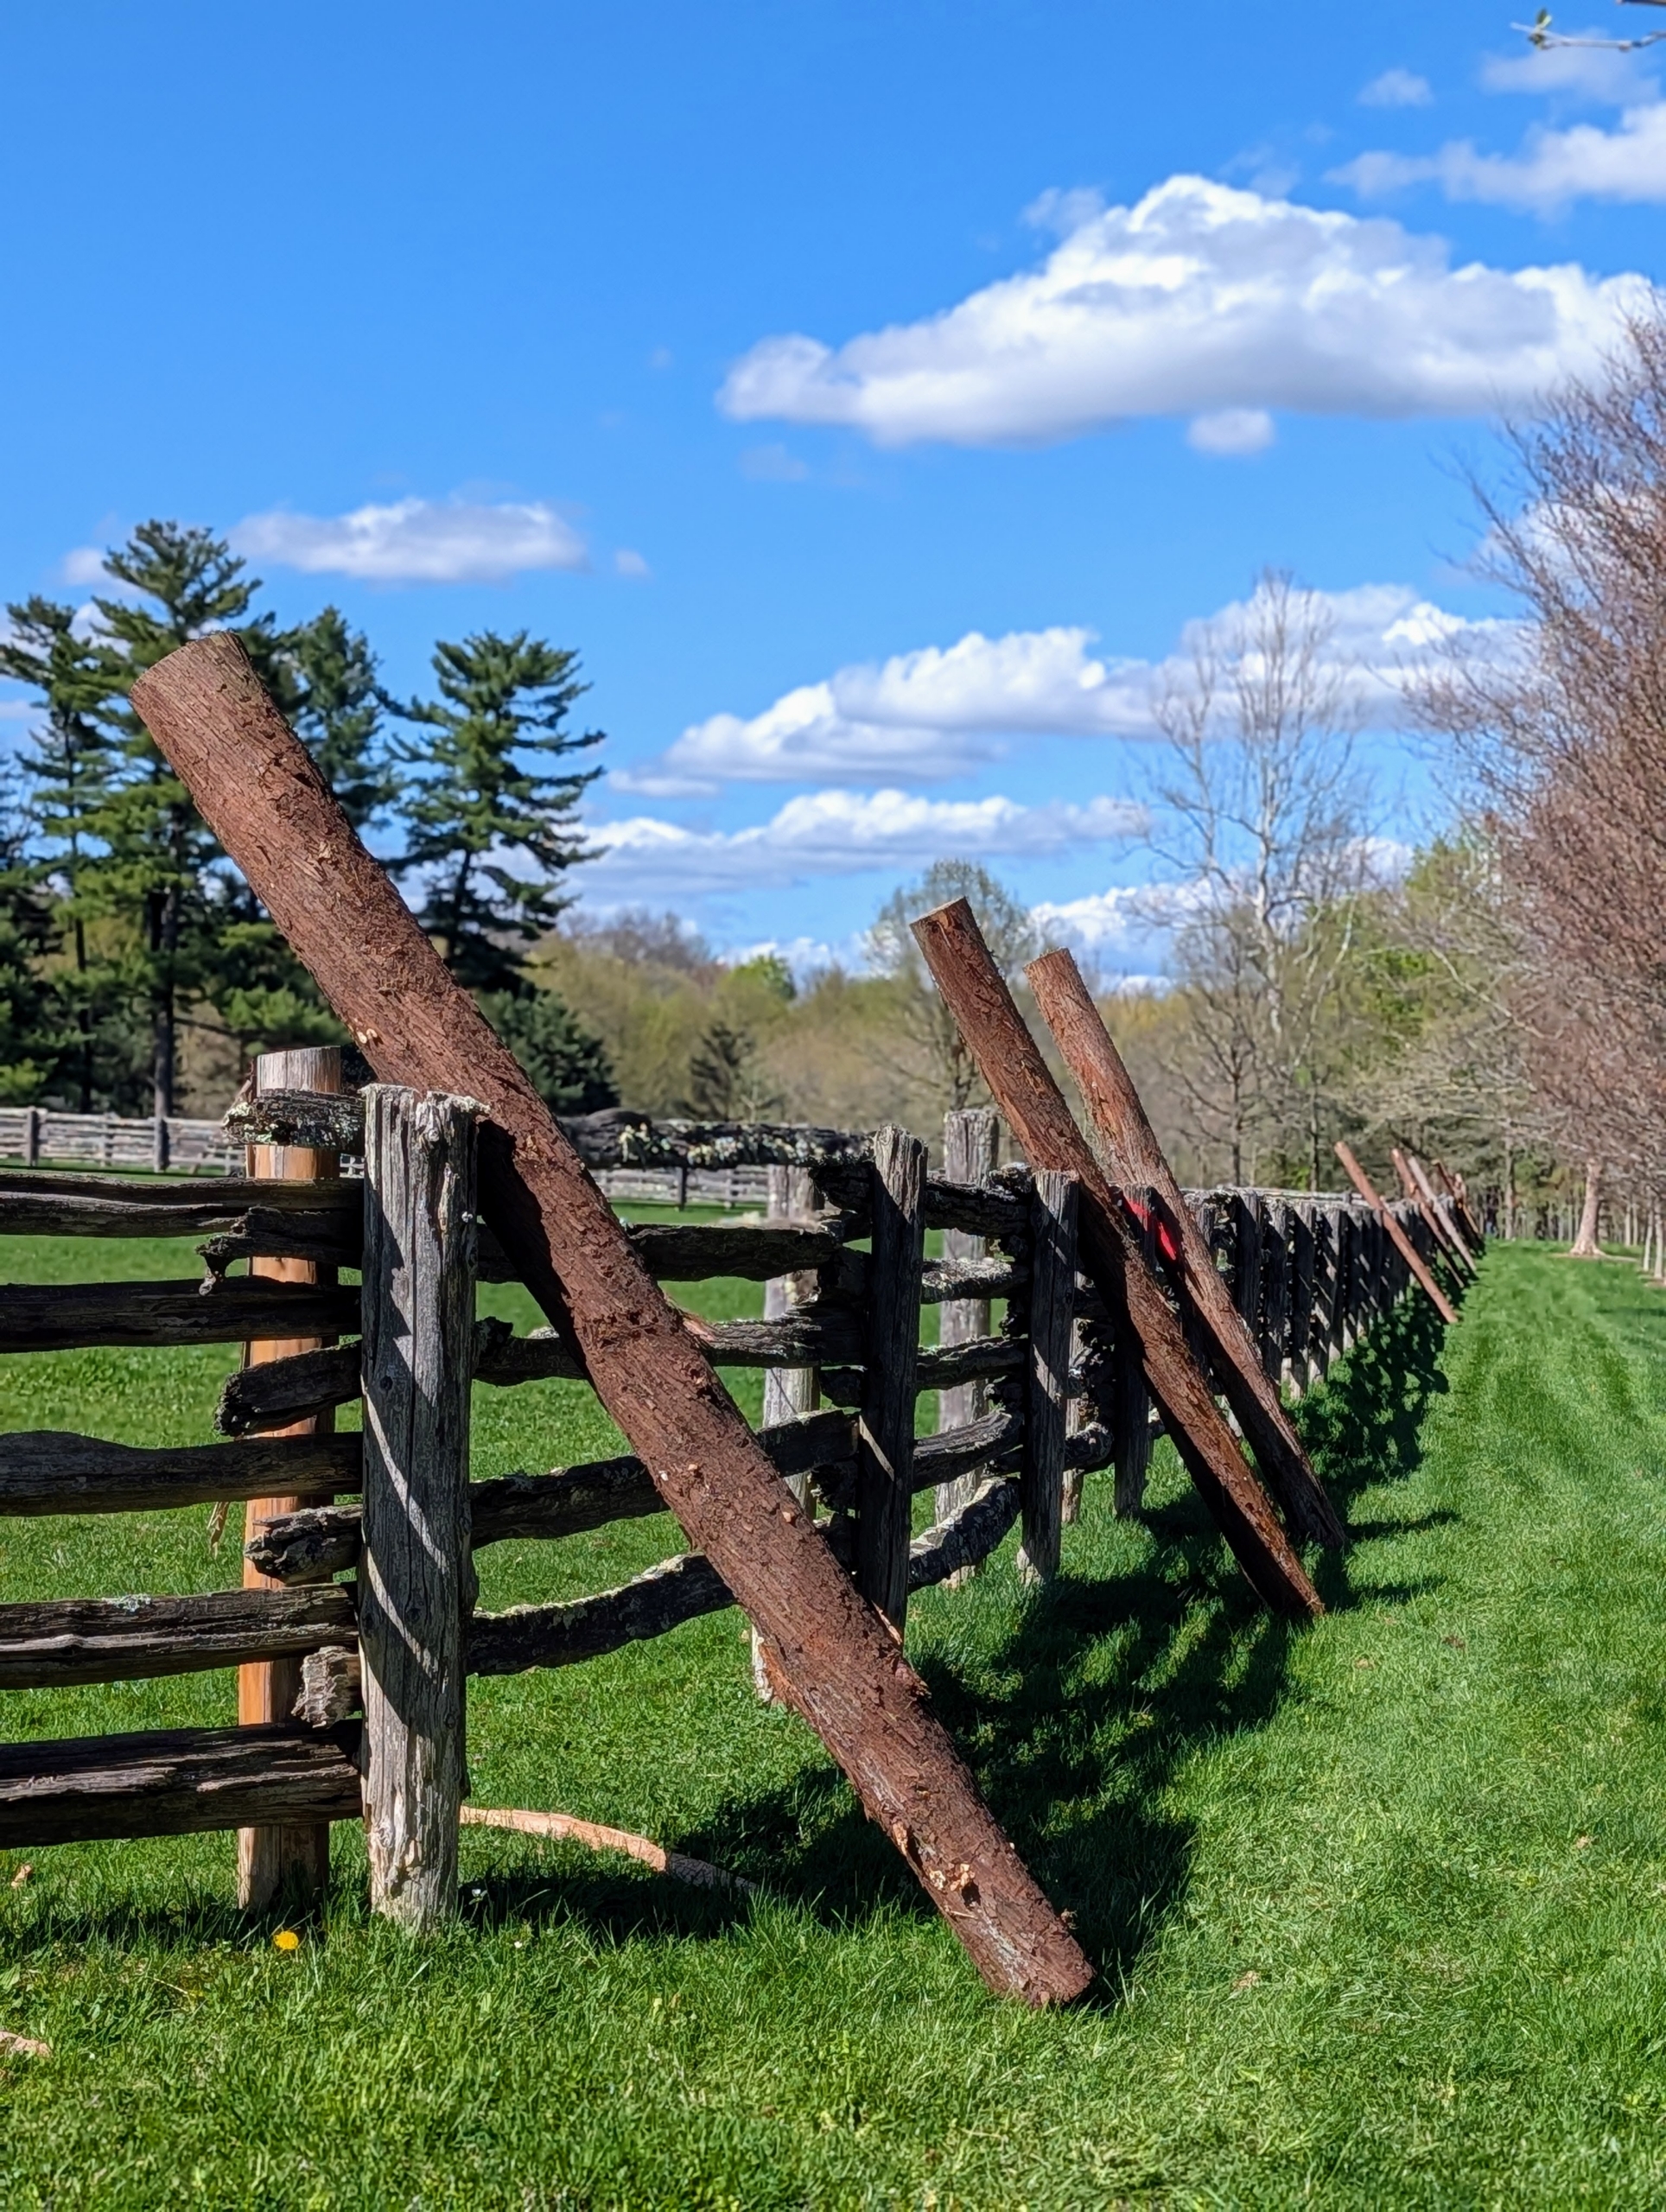
It takes a lot of work to maintain the beautiful fencing at my farm.
My pasture fencing is made from 125-year-old white spruce railings I purchased in Canada. When the fences were built, I used new cedar uprights to support them. They've held up very well over the years, but many are now deteriorated and need replacing. Pete Sherpa, a longtime member of my outdoor grounds crew, takes on the task whenever he can. It's a tedious process and has to be done by hand so as not to damage the antique wood.
Here are some photos, enjoy.
I have lots of fencing here at my farm. It surrounds my horse paddocks, my orchard, my vegetable garden, and various other trees. The antique railings were constructed into a split rail fence and are in good shape, but many of the cedar uprights are deteriorated, wobbly, and no longer support the railings as they should.
This fence surrounds my half-acre vegetable garden. This corner is located just under one of my pink magnolia trees. The railings are sandwiched between two cedar posts buried deep into the ground.
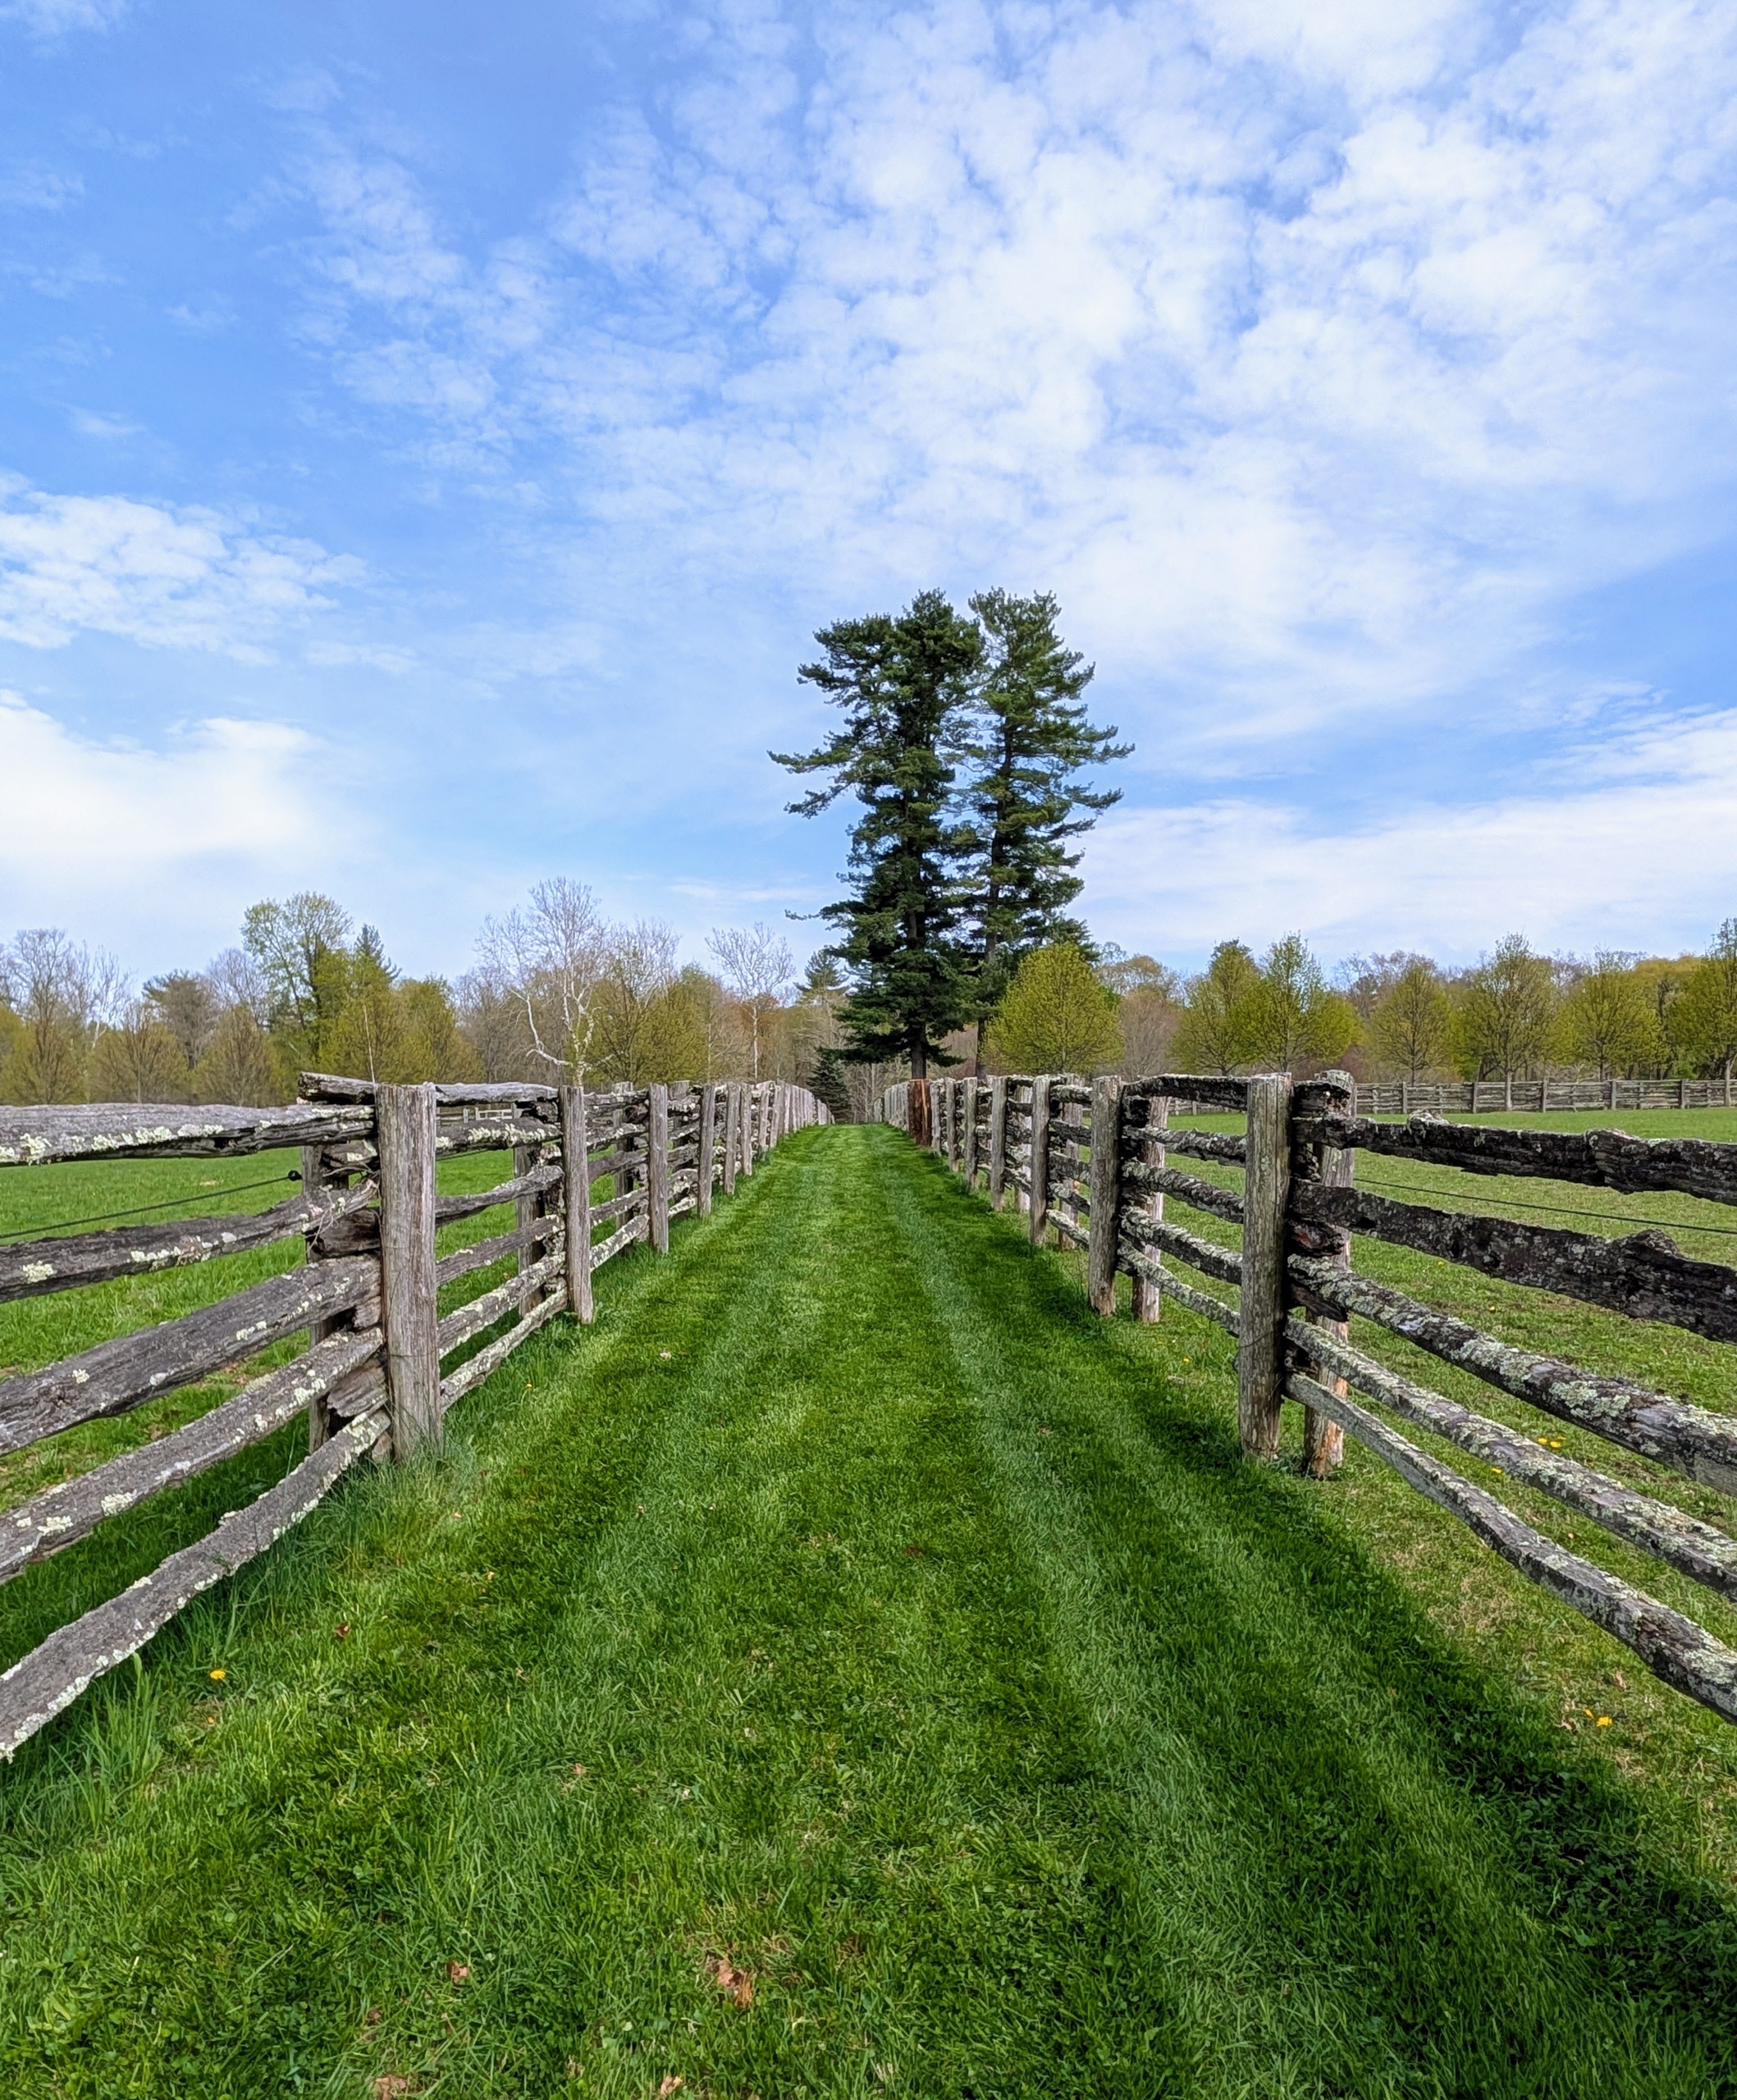
Here is the fencing on one side of my allée of pin oaks. This was once a horse pasture and now surrounds my orchard. Many of you have commented on how much you admire these fences – I love them too!
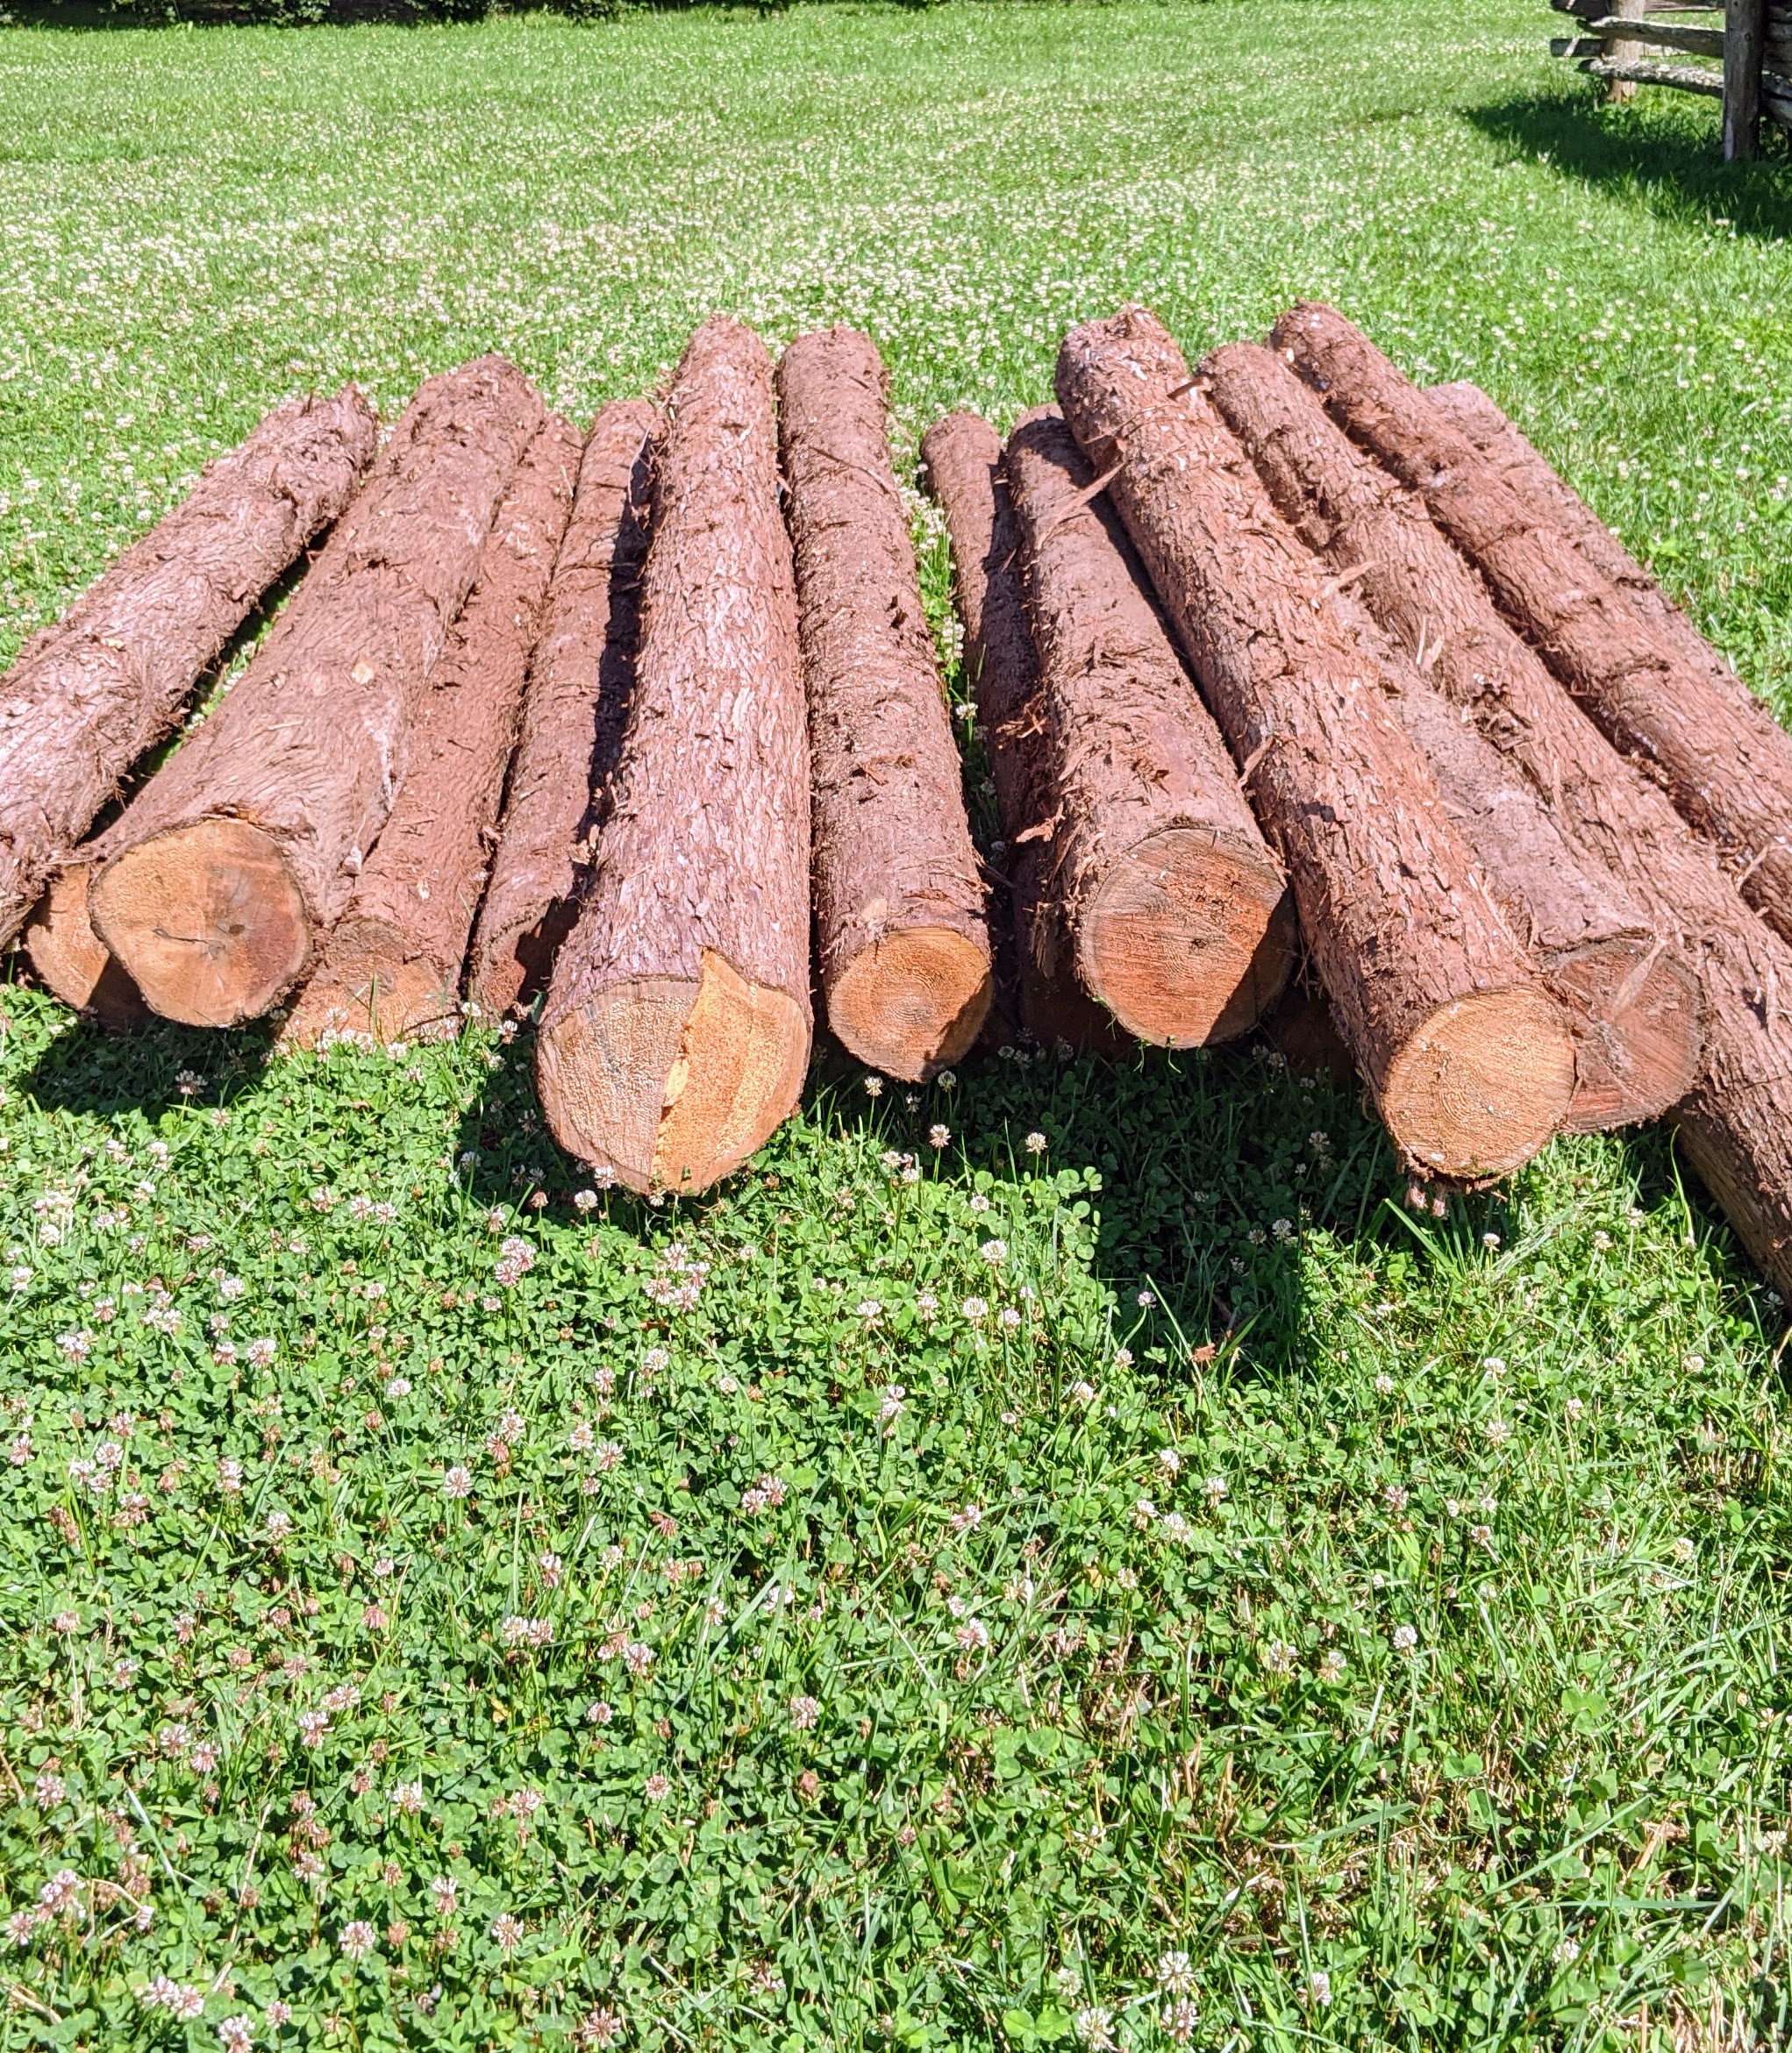
Cedar logs are available at lumber yards. Here are new cedar logs piled nearby for easy access.
One by one they are placed next to the old posts being removed.
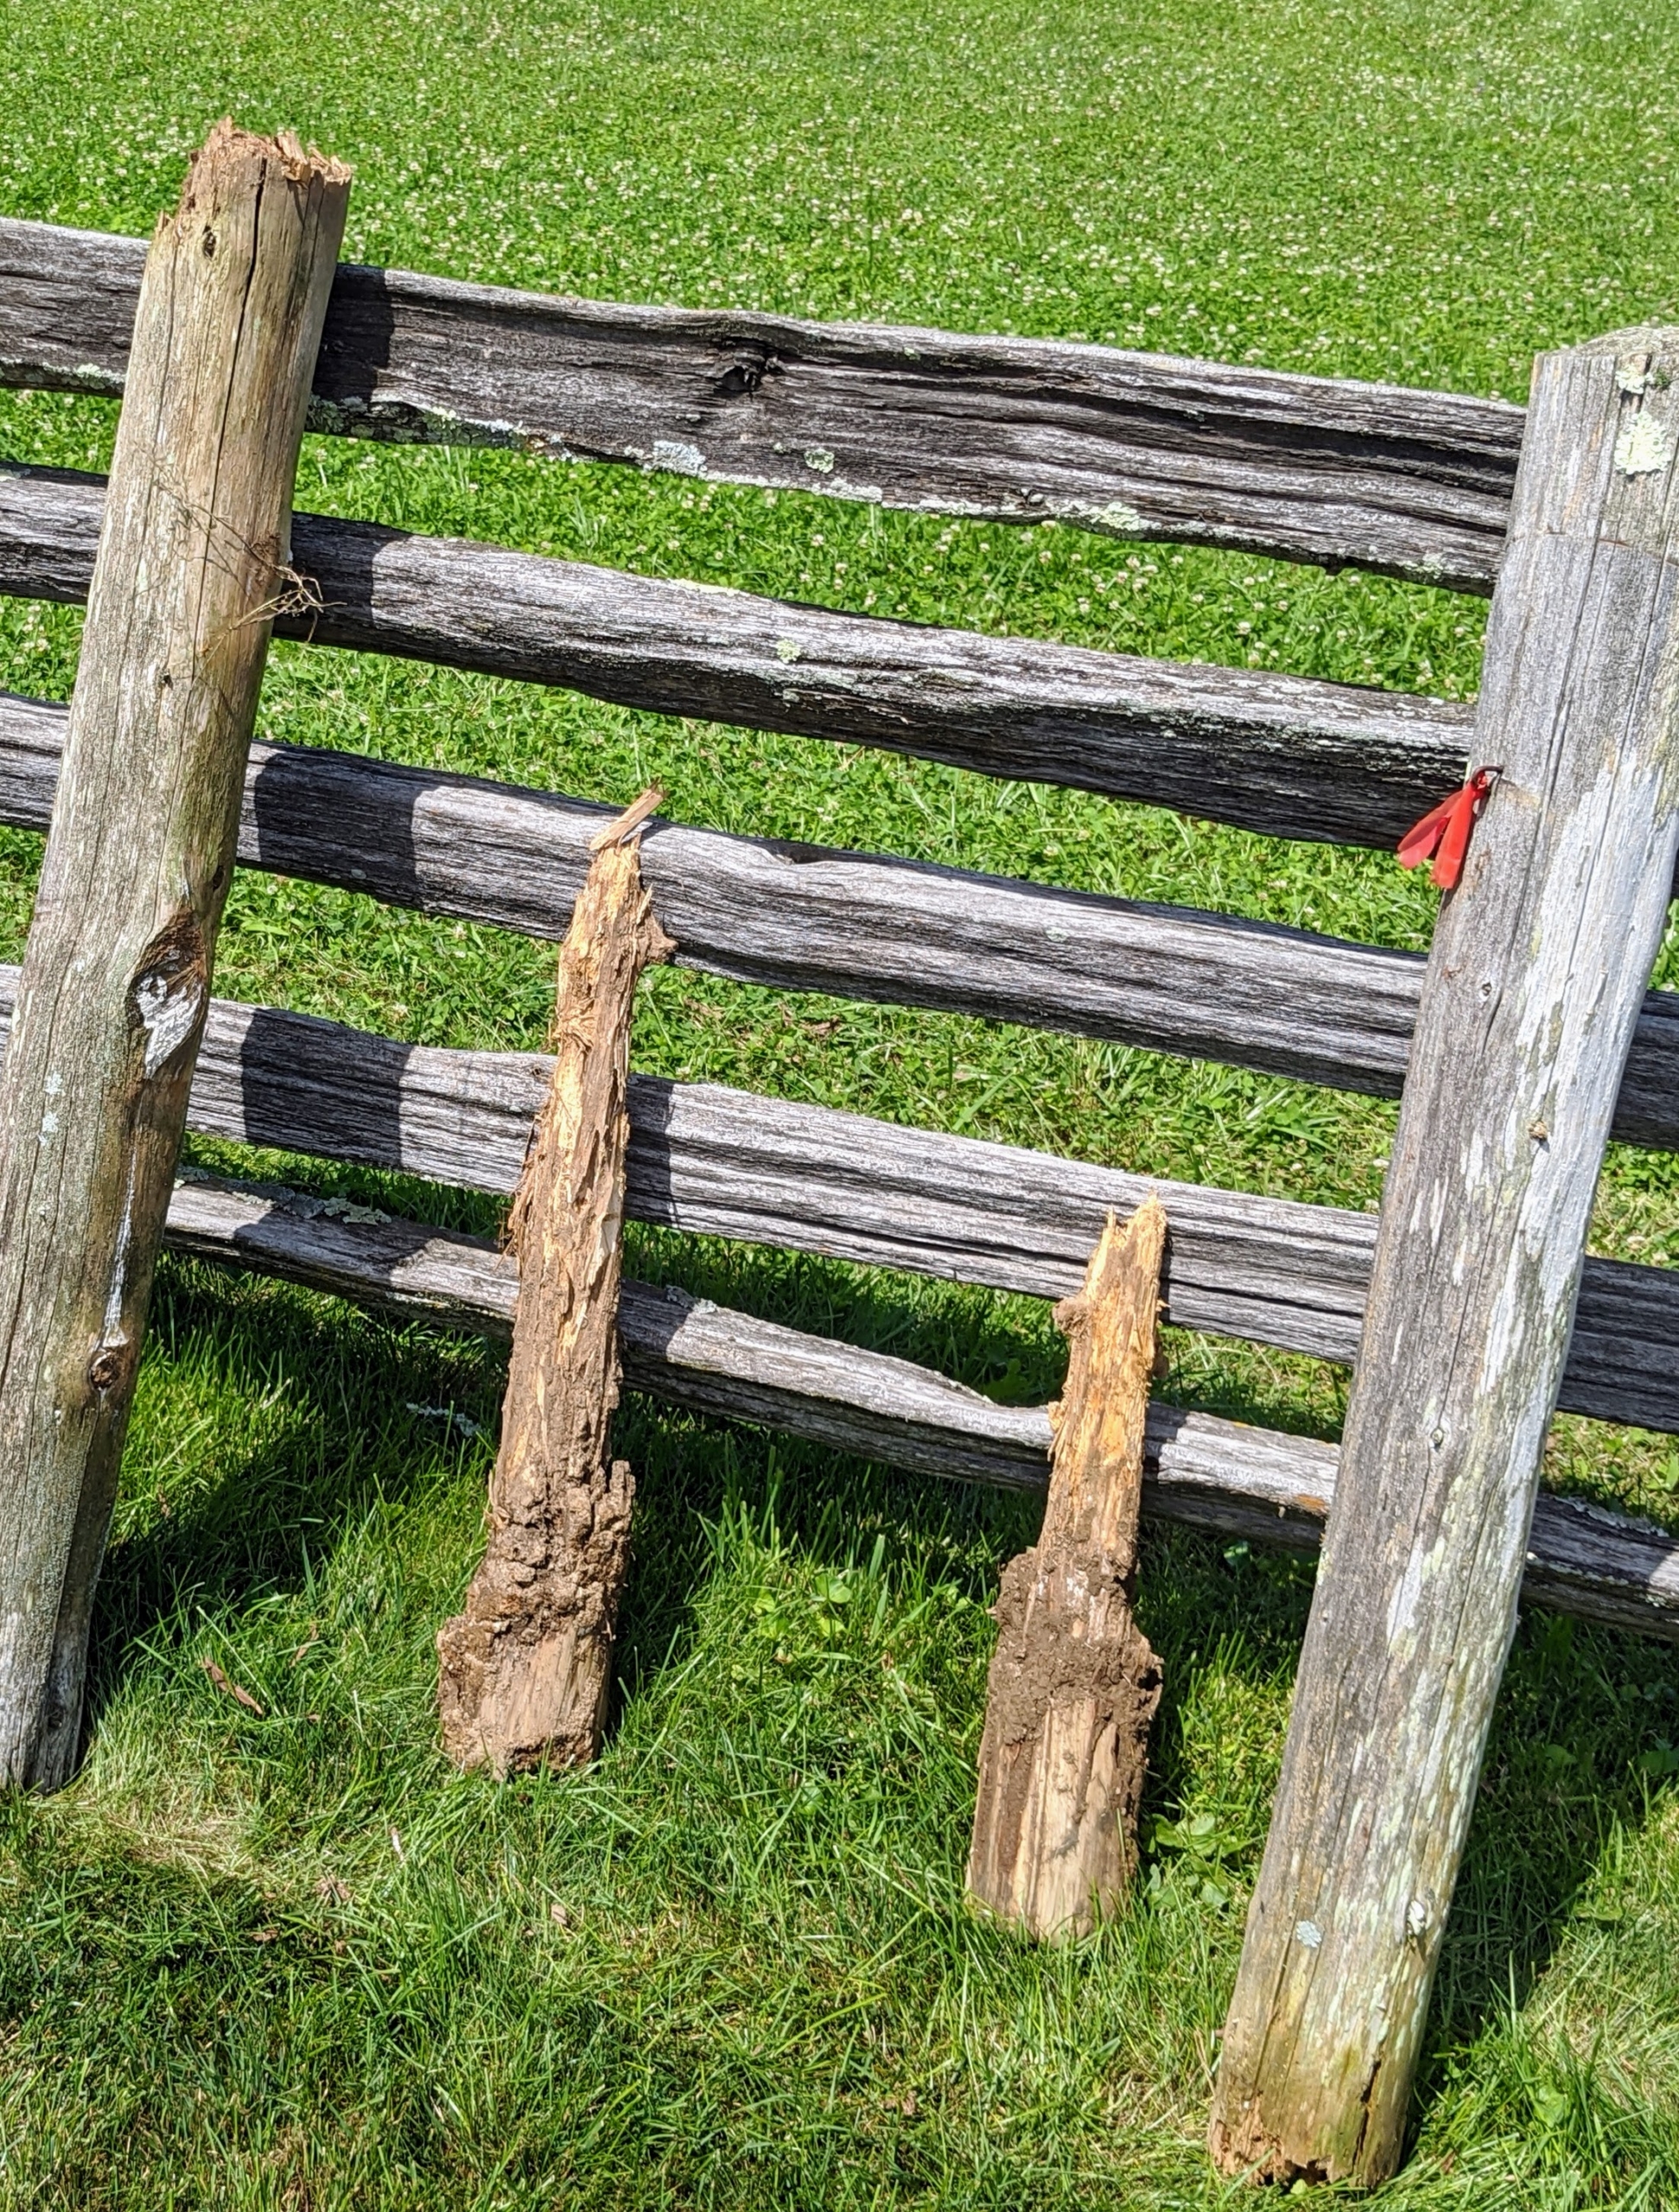
Posts are periodically checked for sturdiness. Those posts that need replacing are marked with brightly colored tree tape.
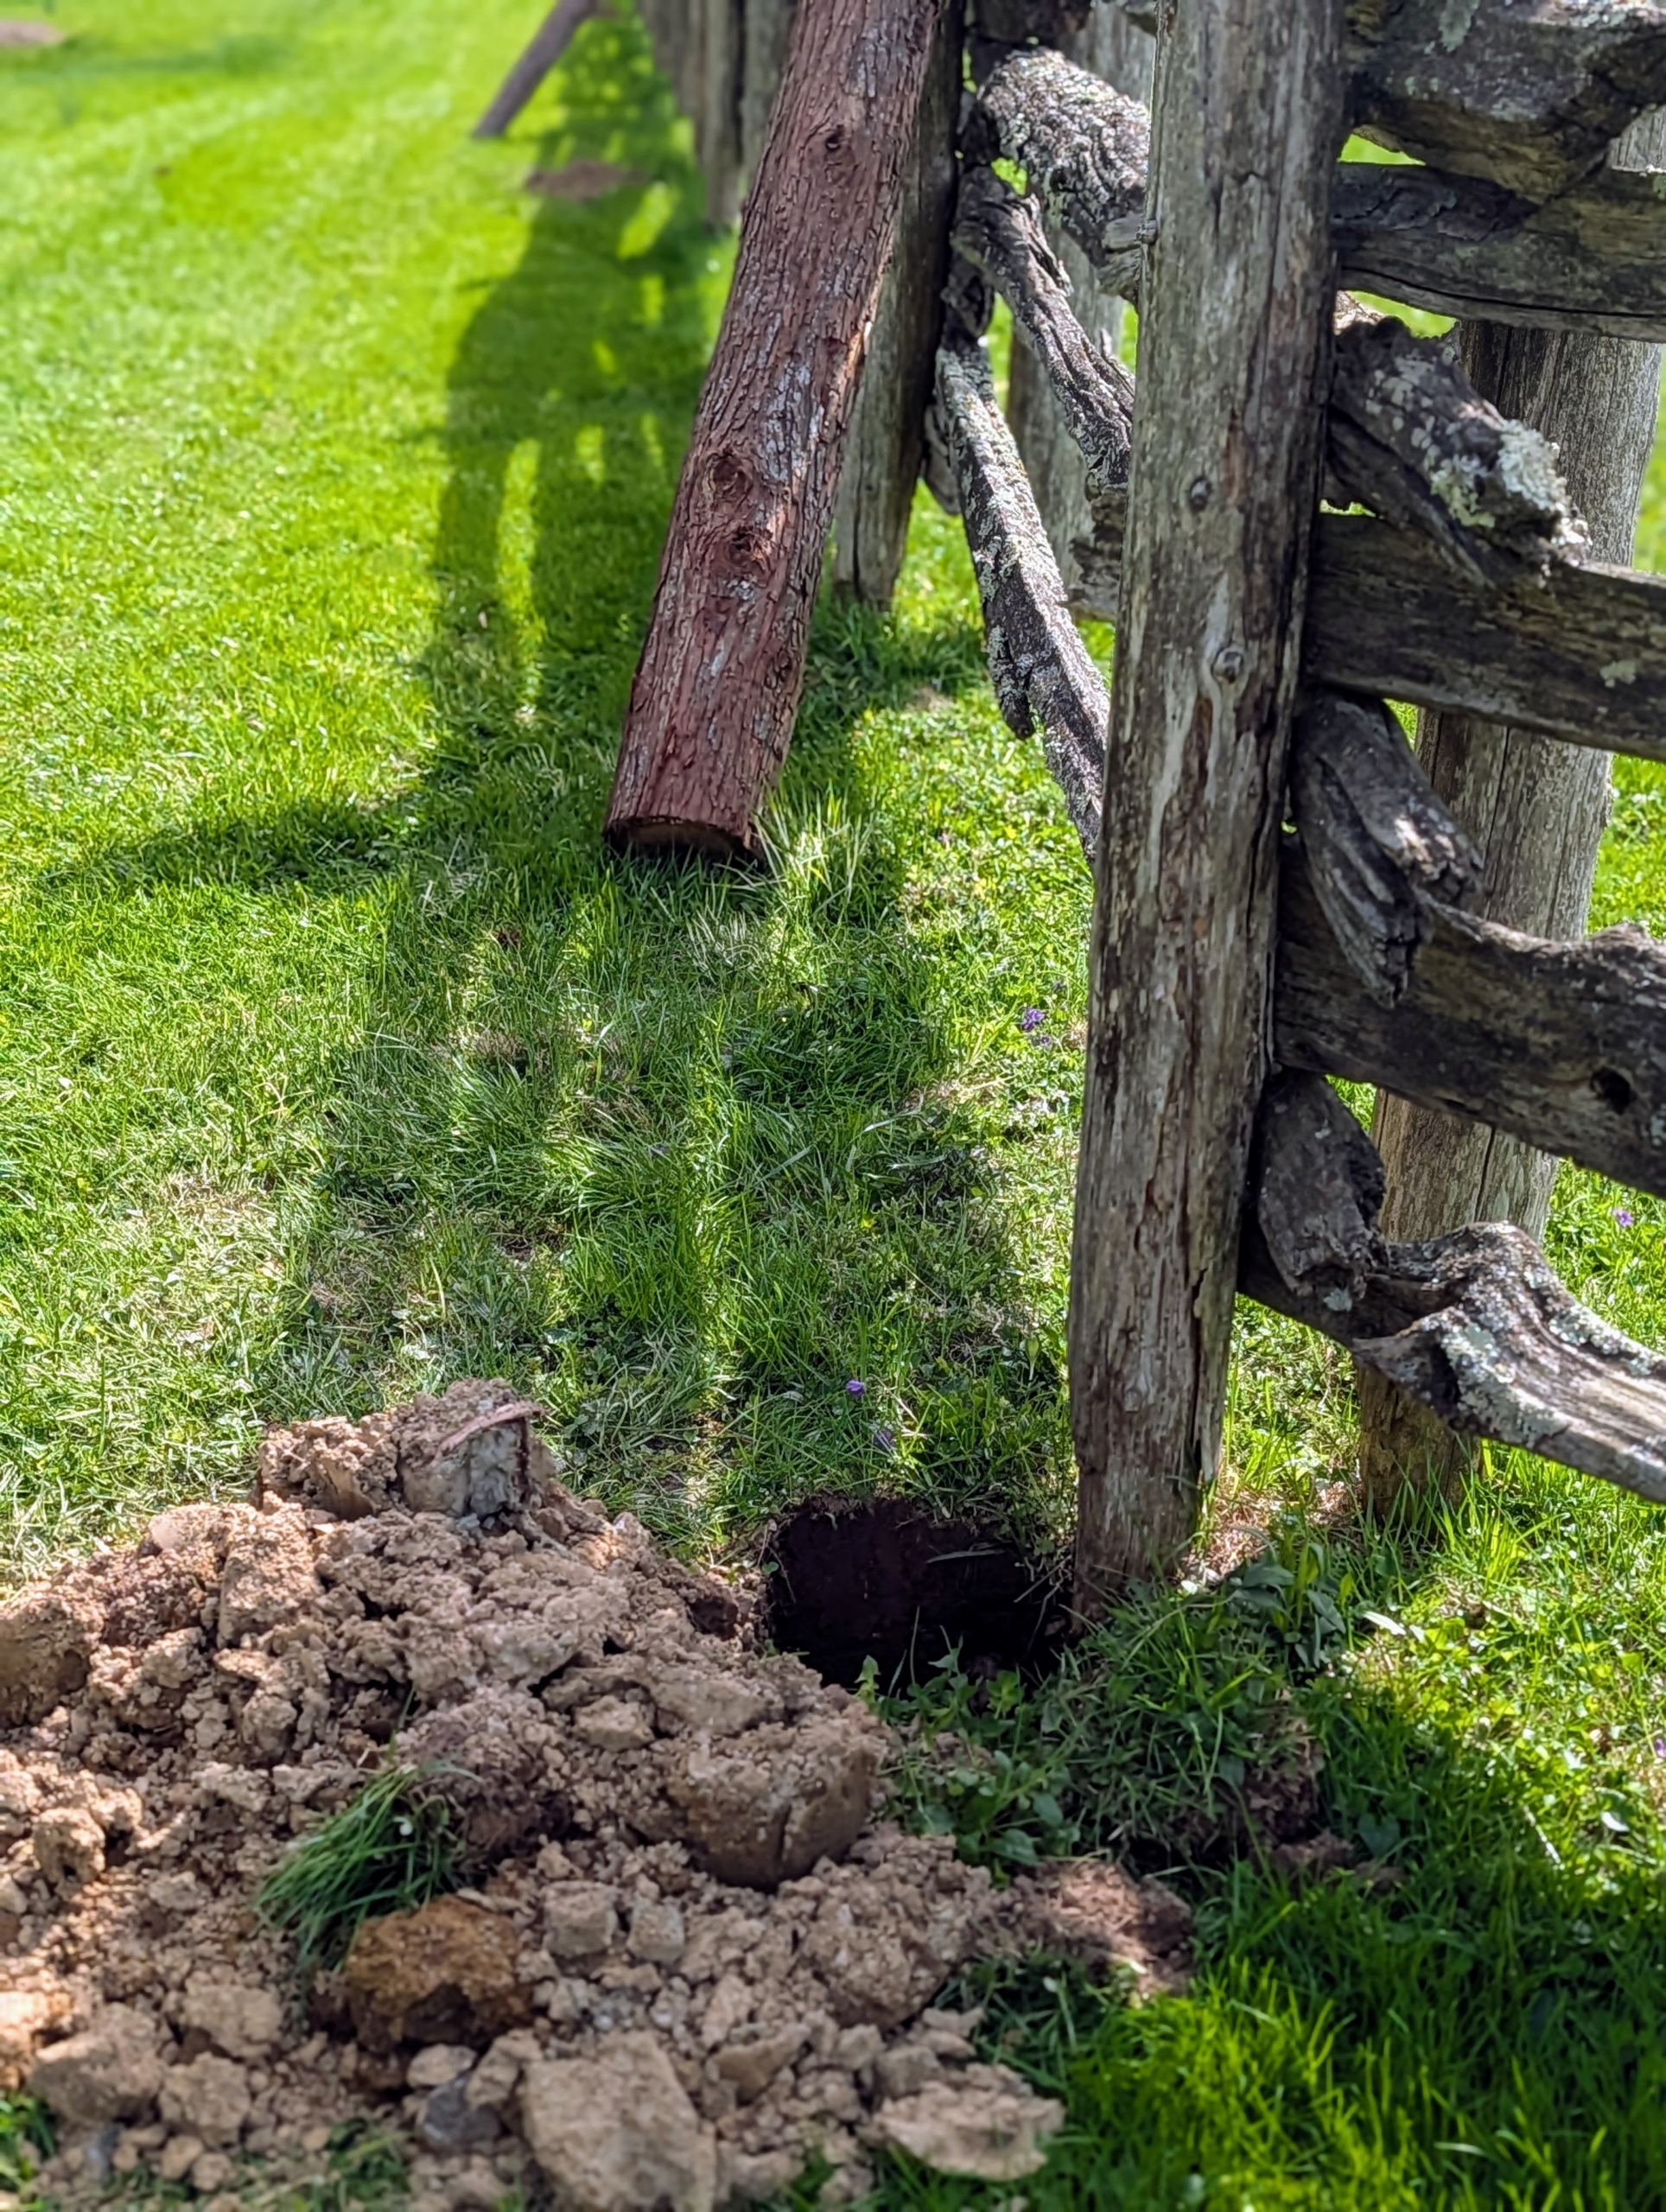
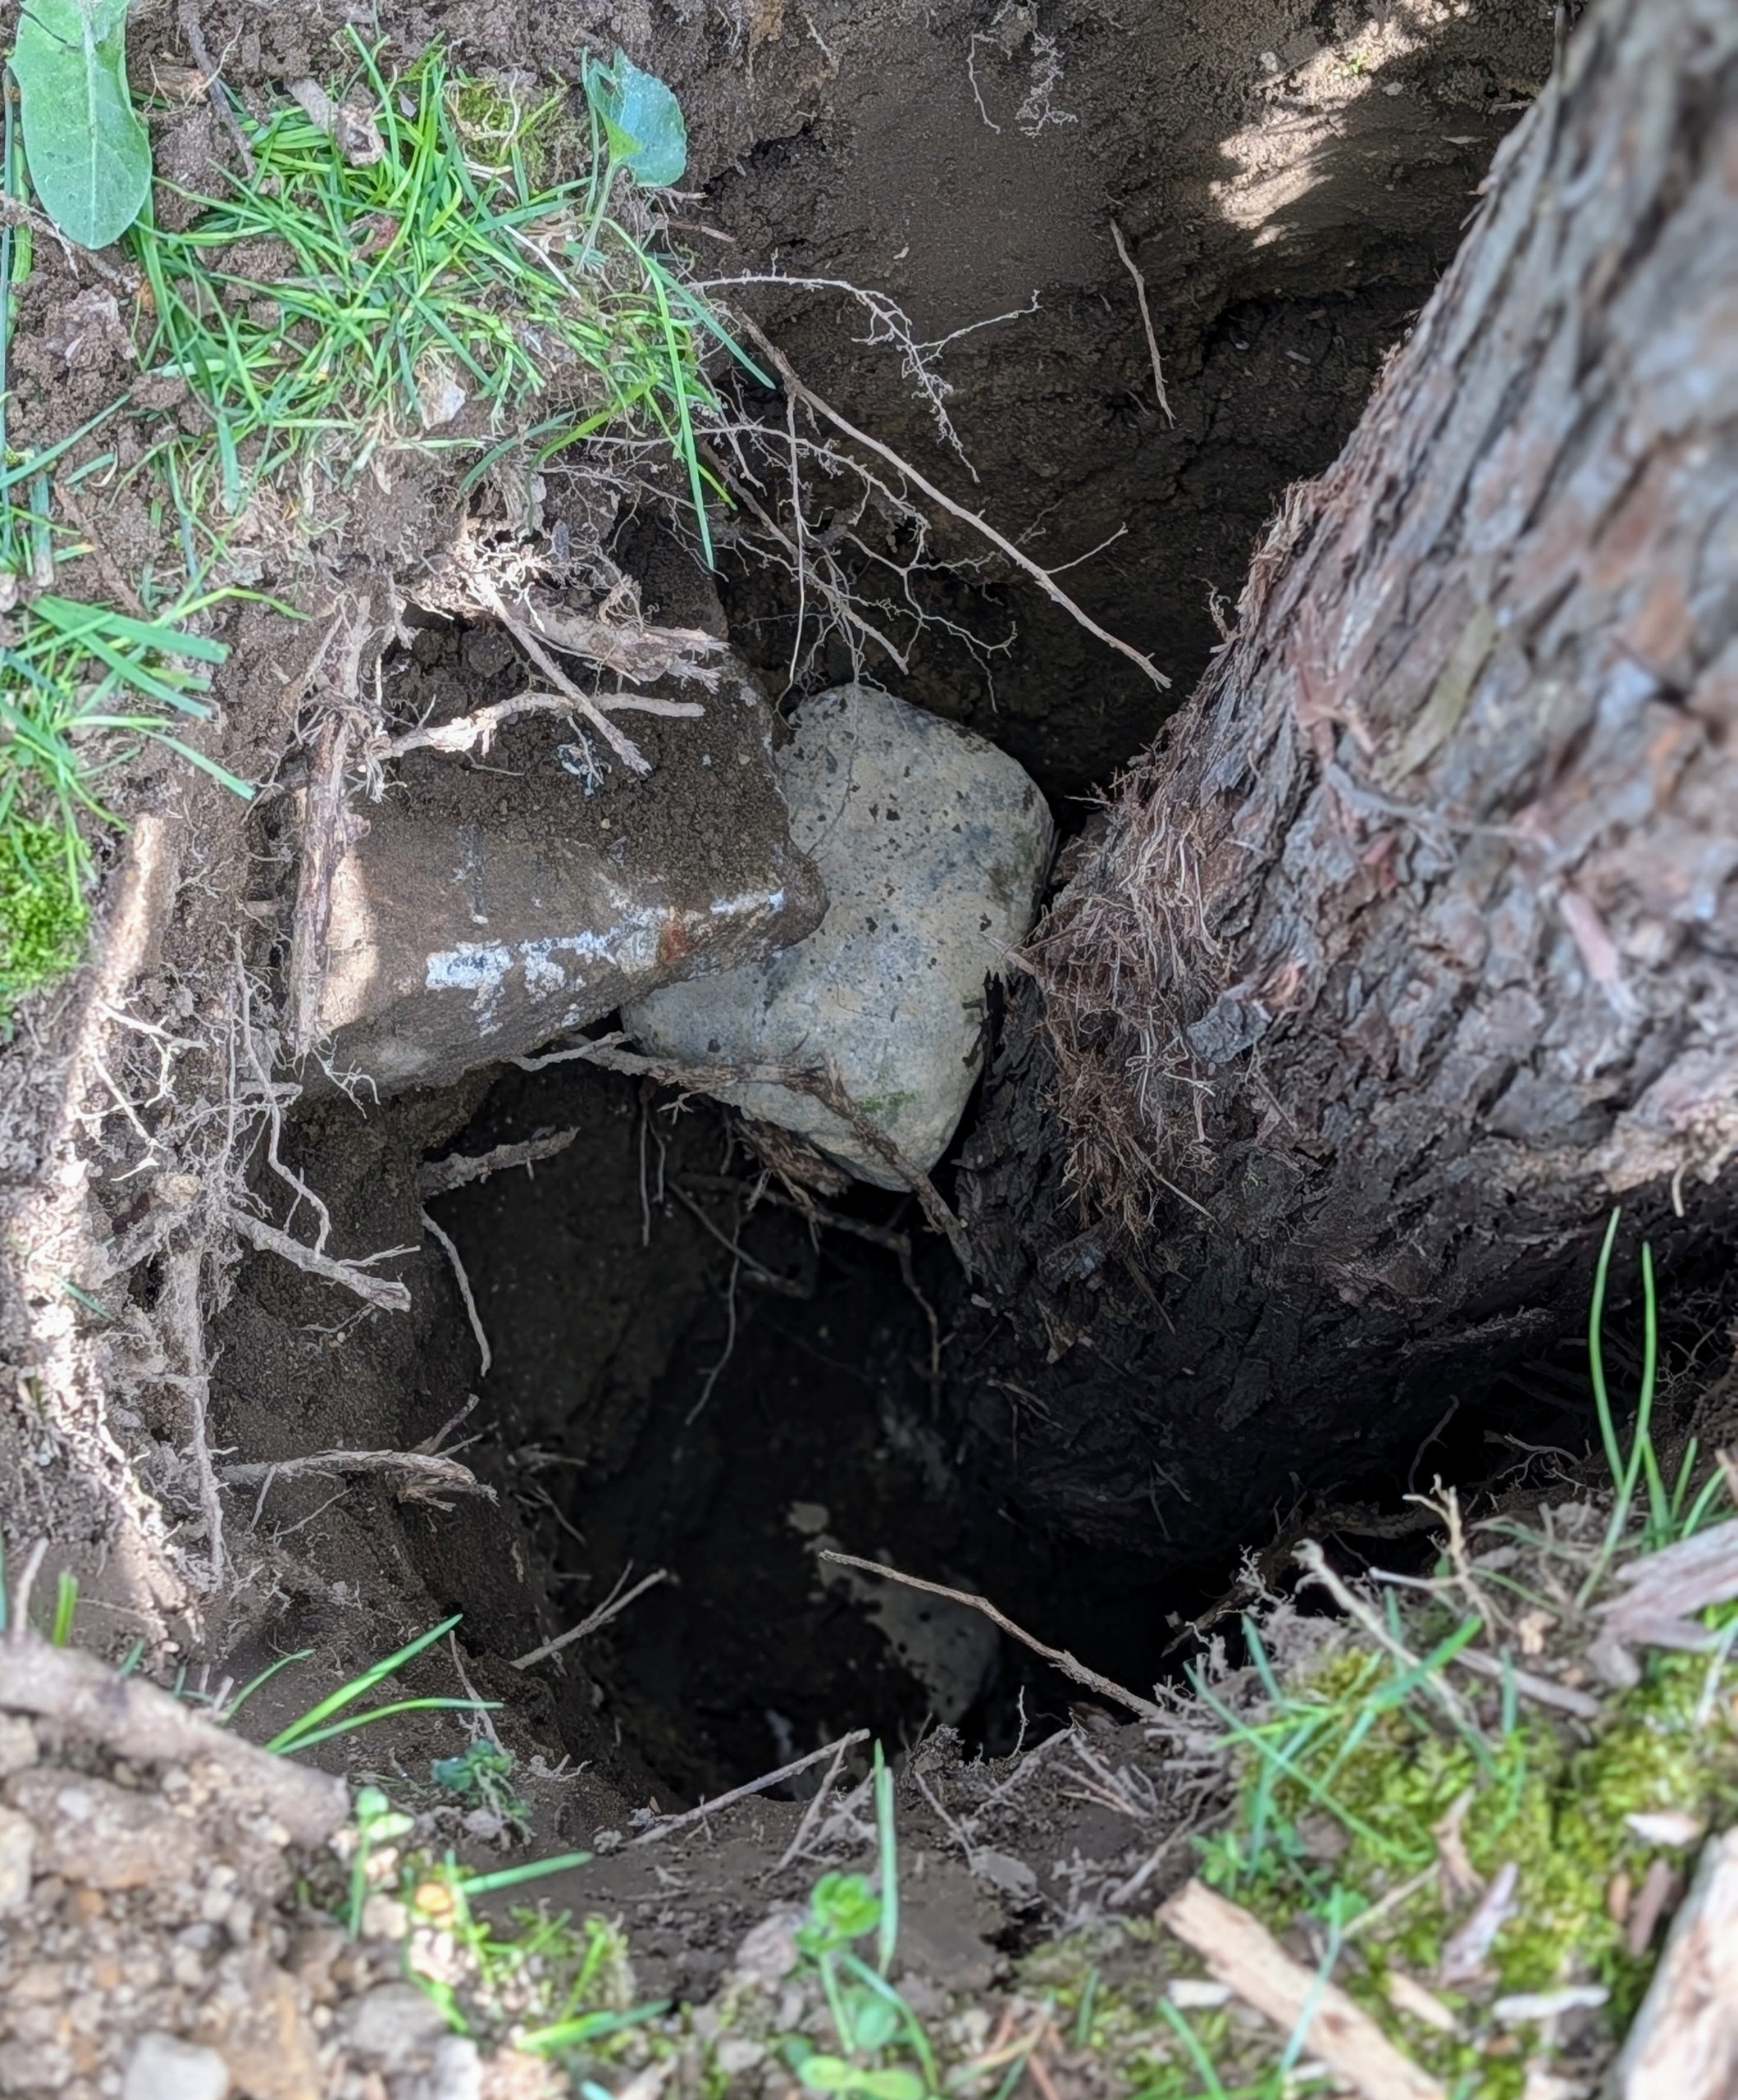
Here is an old post just removed from its hole. Notice how the bottom has deteriorated.
Some of the uprights were so worn, they broke during the removal process. These old posts will be chipped and repurposed as top dressing in the woodlands at a later time.
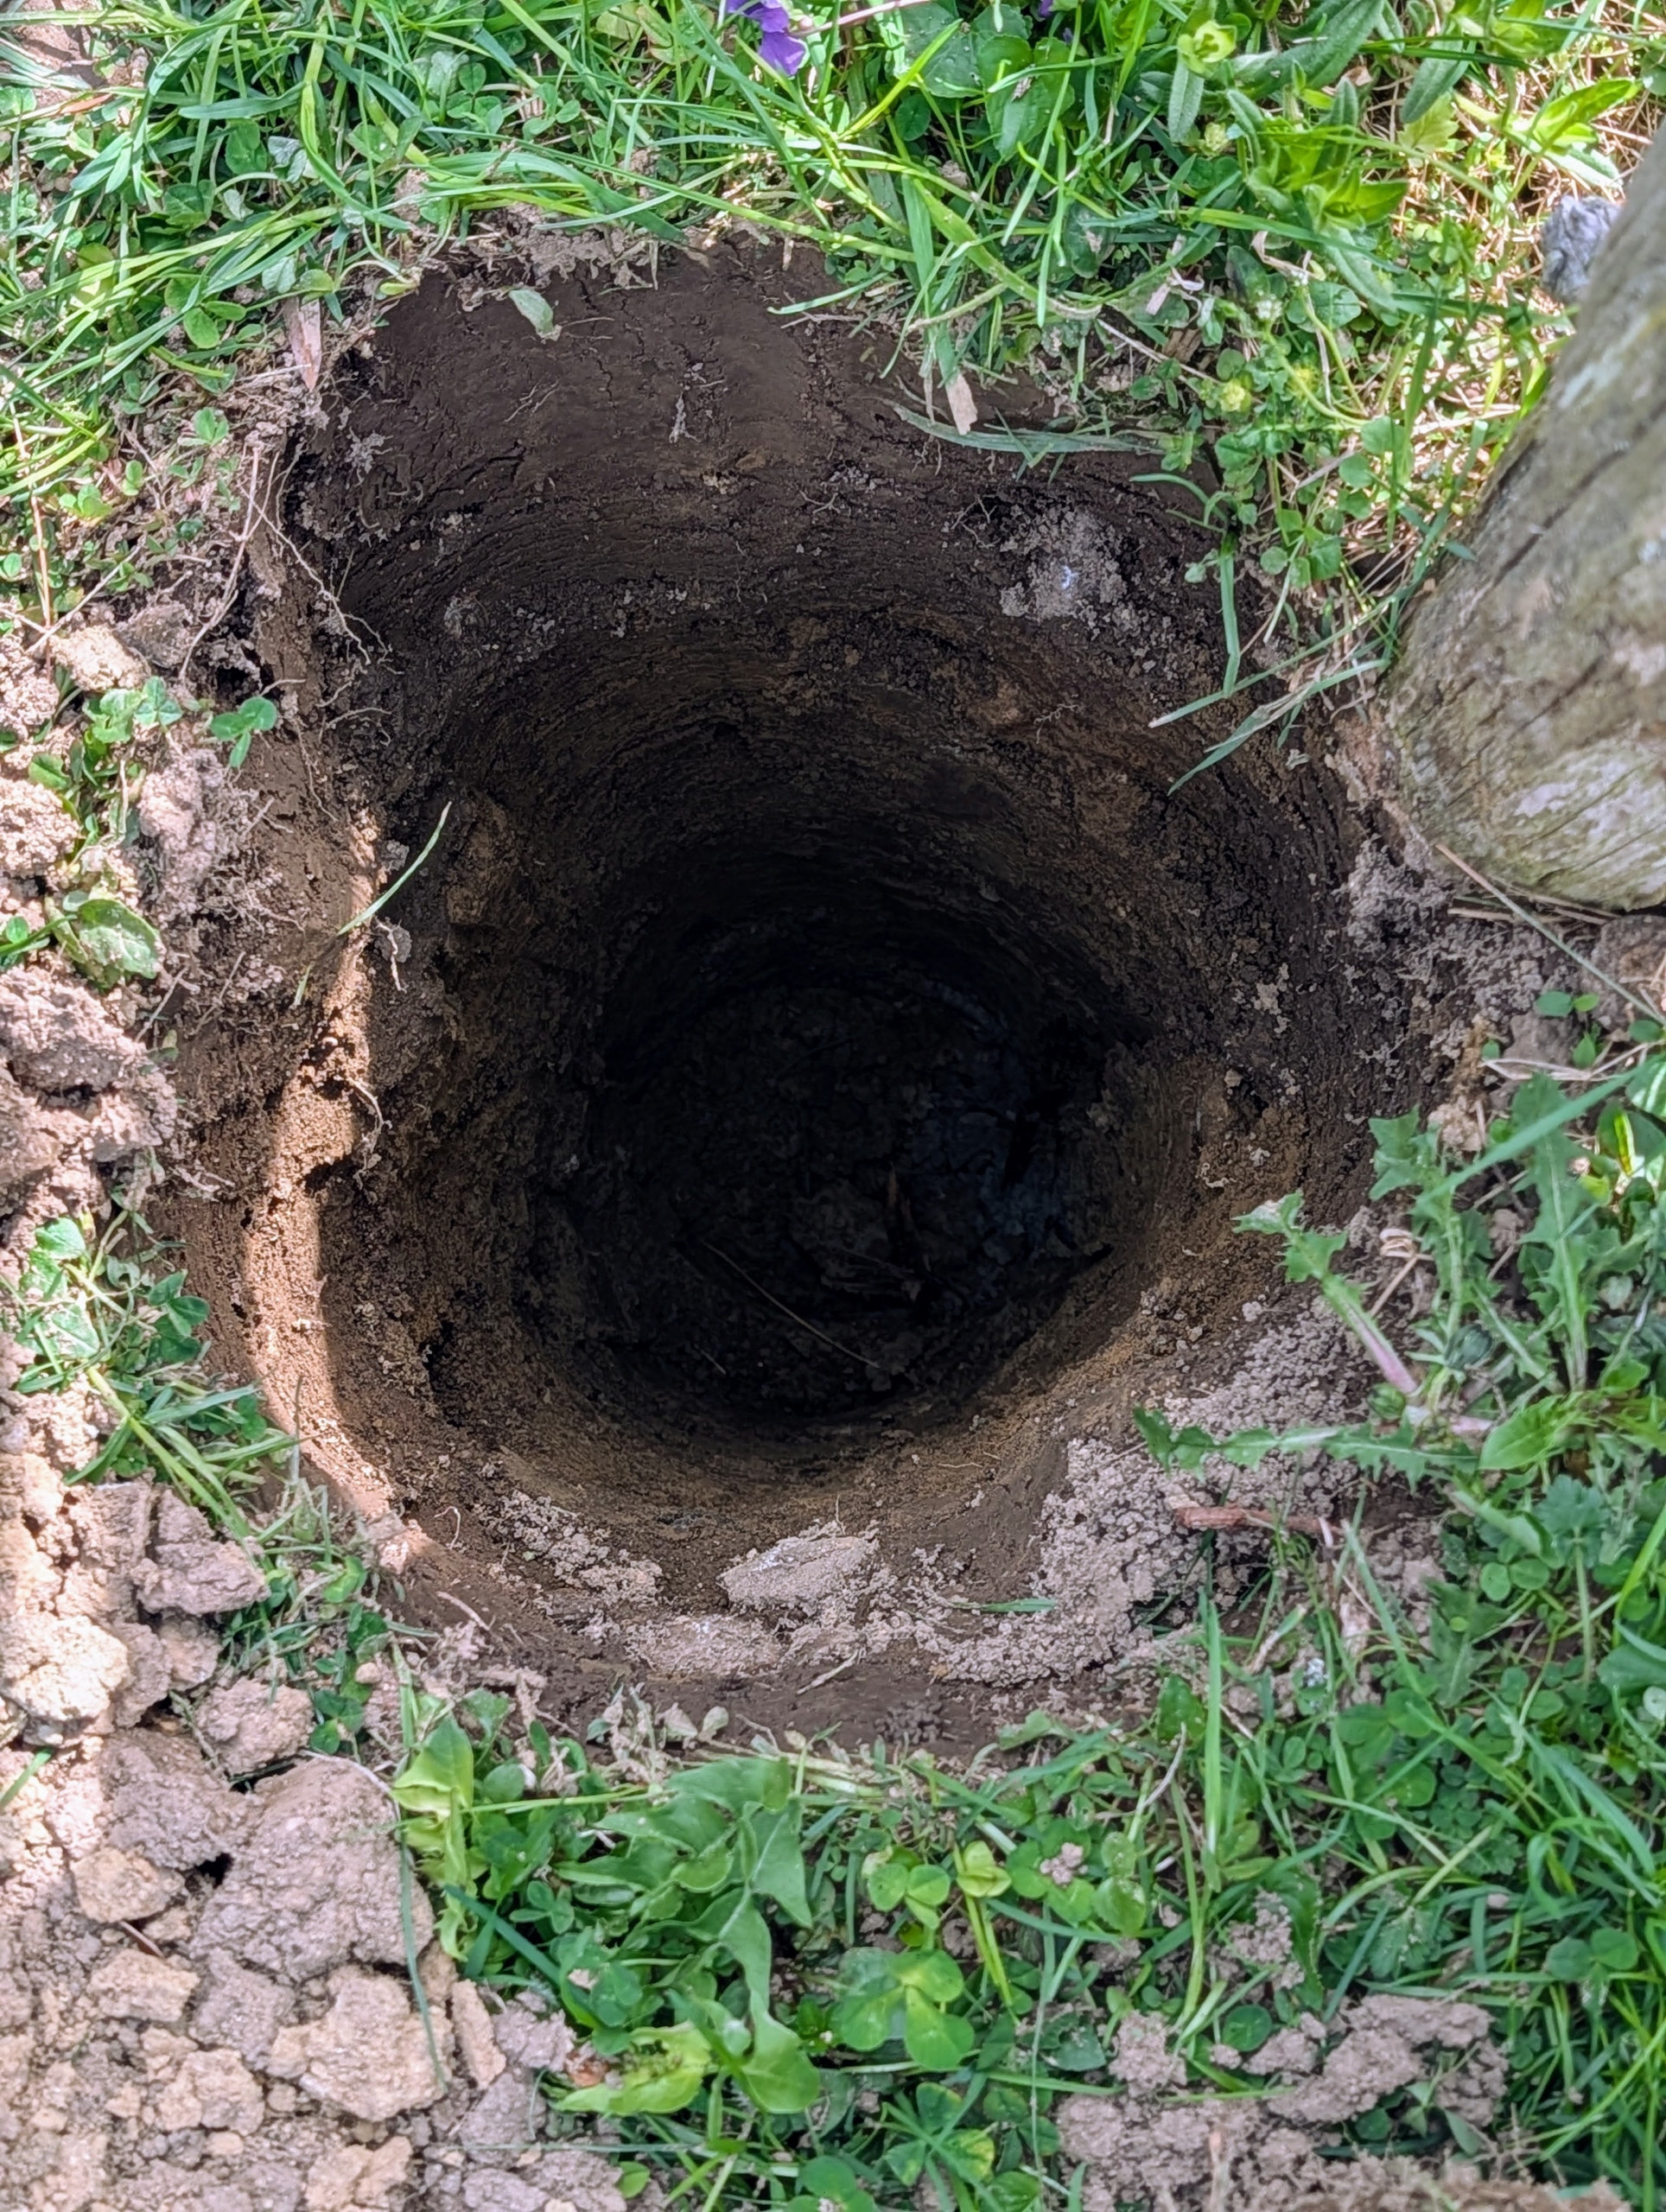
The existing holes are checked for proper depth and adjusted as needed. They need to be deep and narrow in order to accommodate the fence posts.
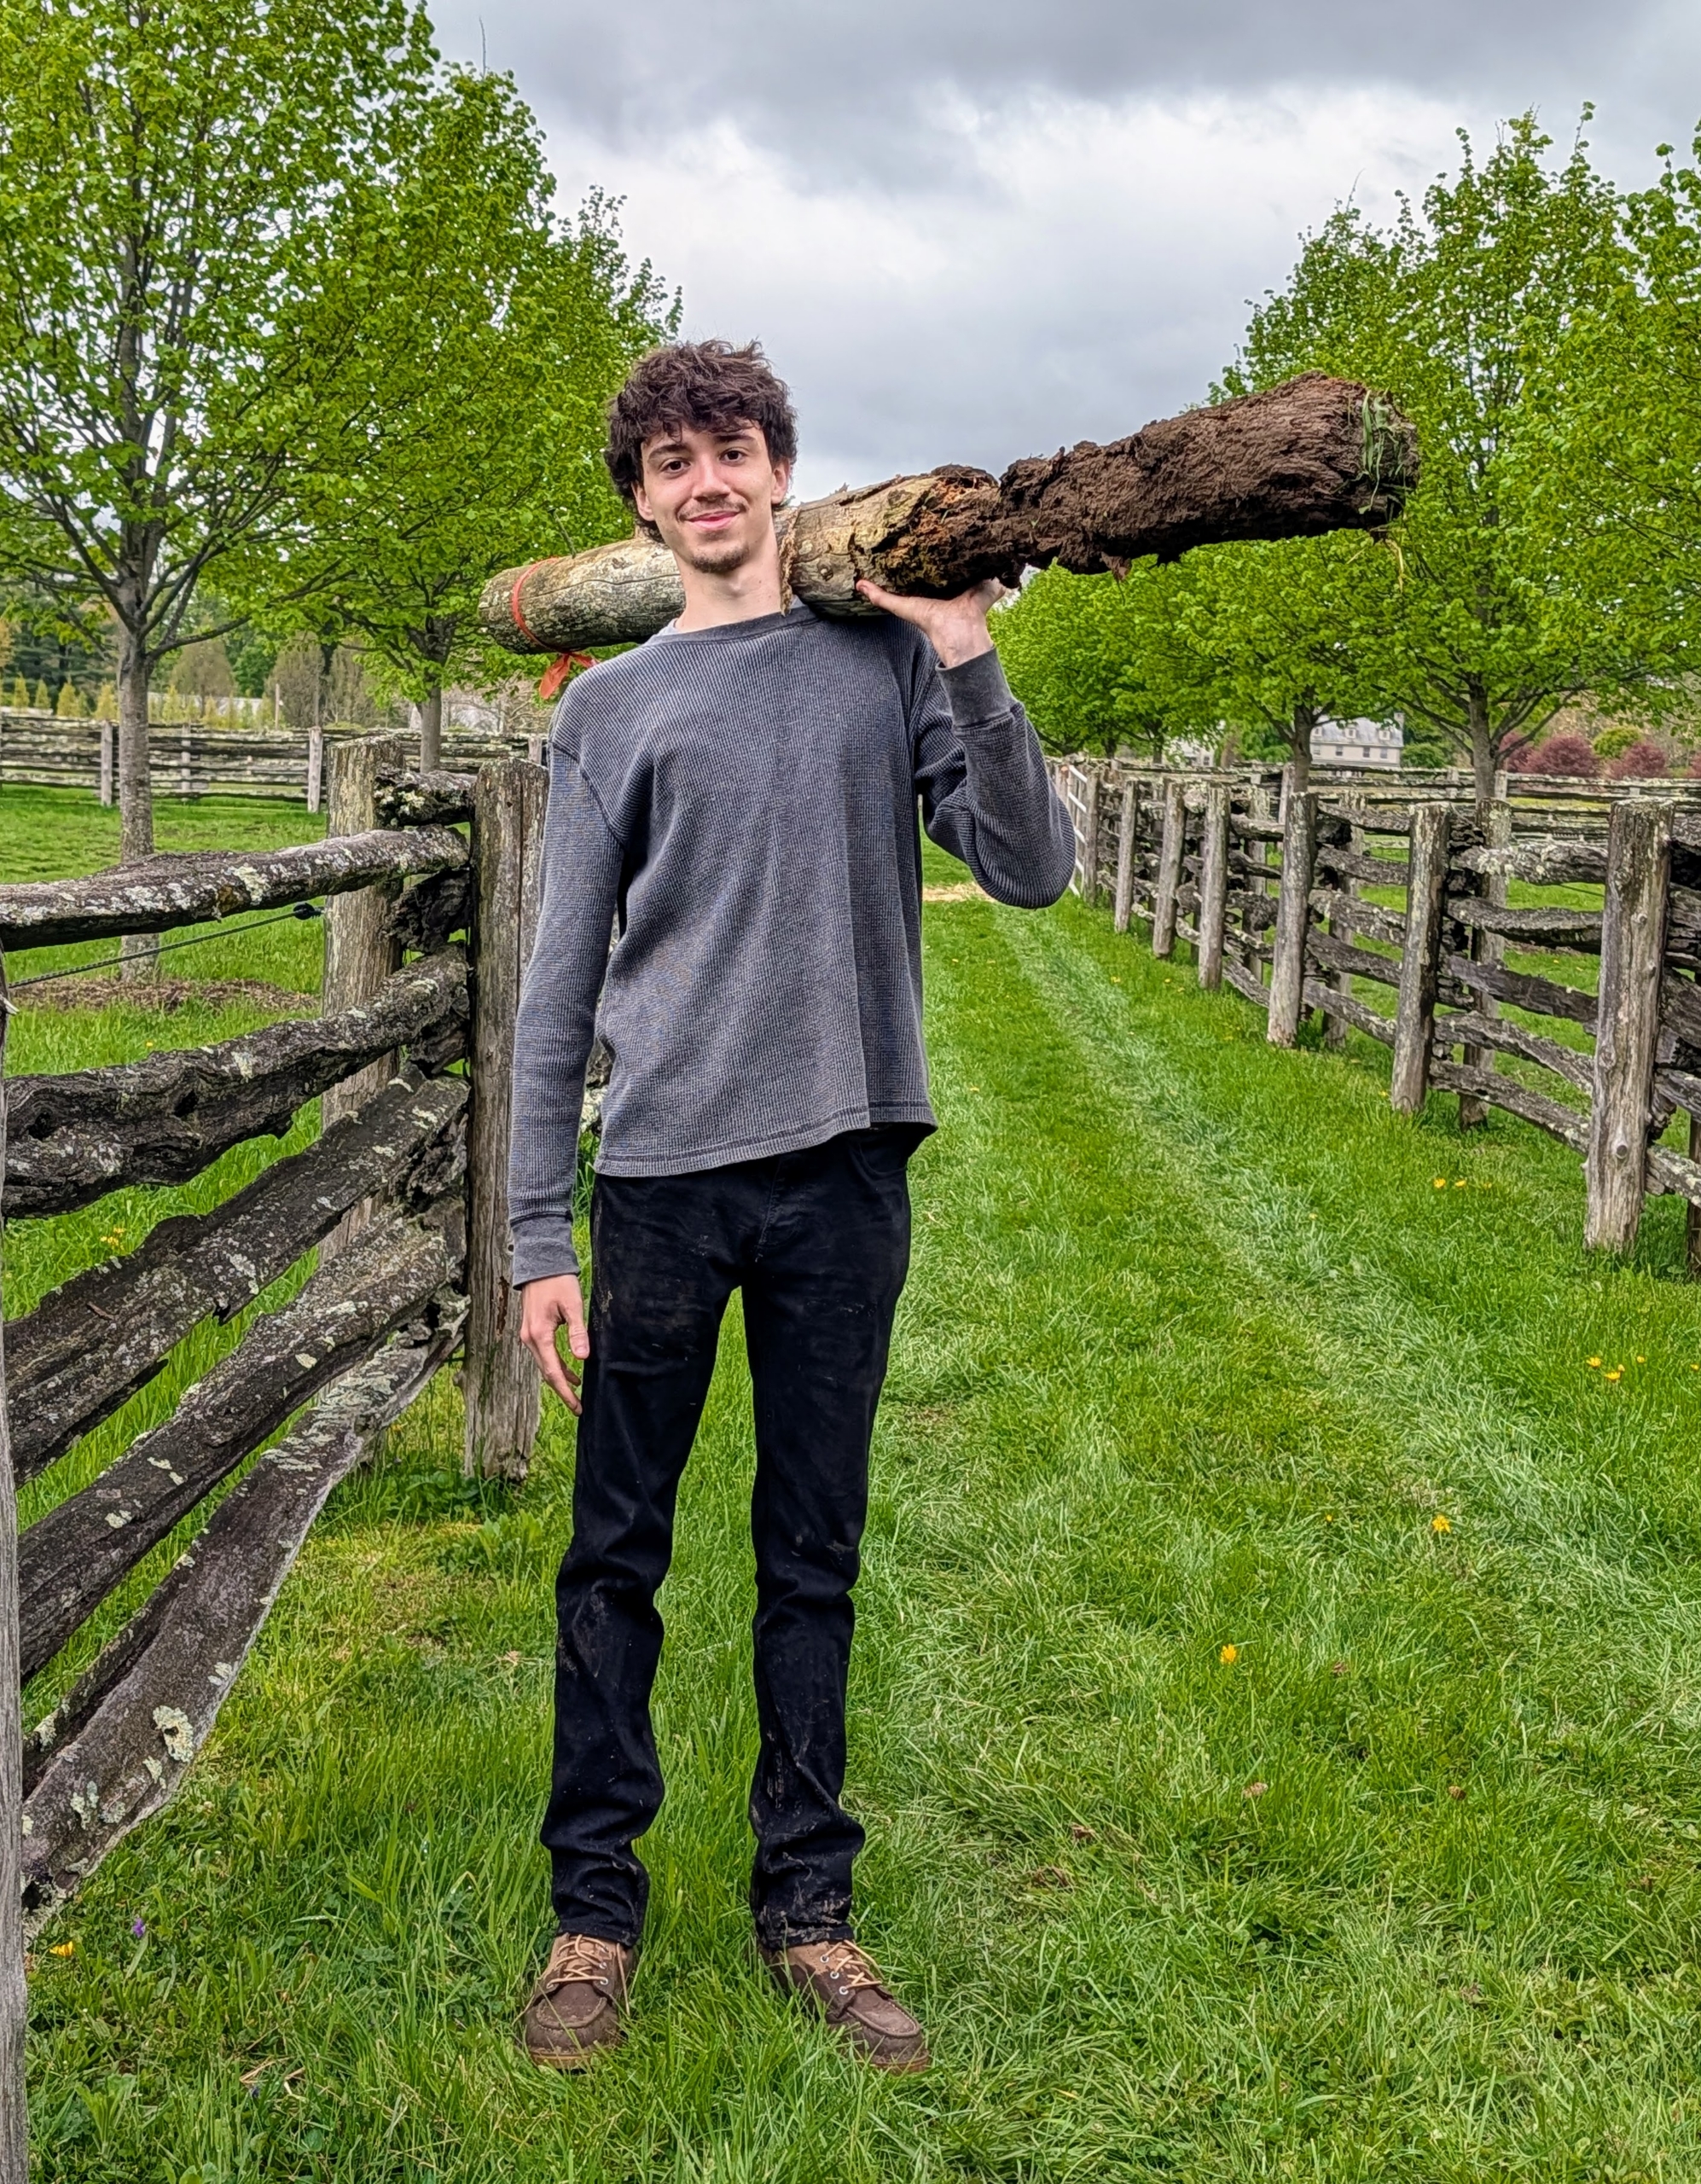
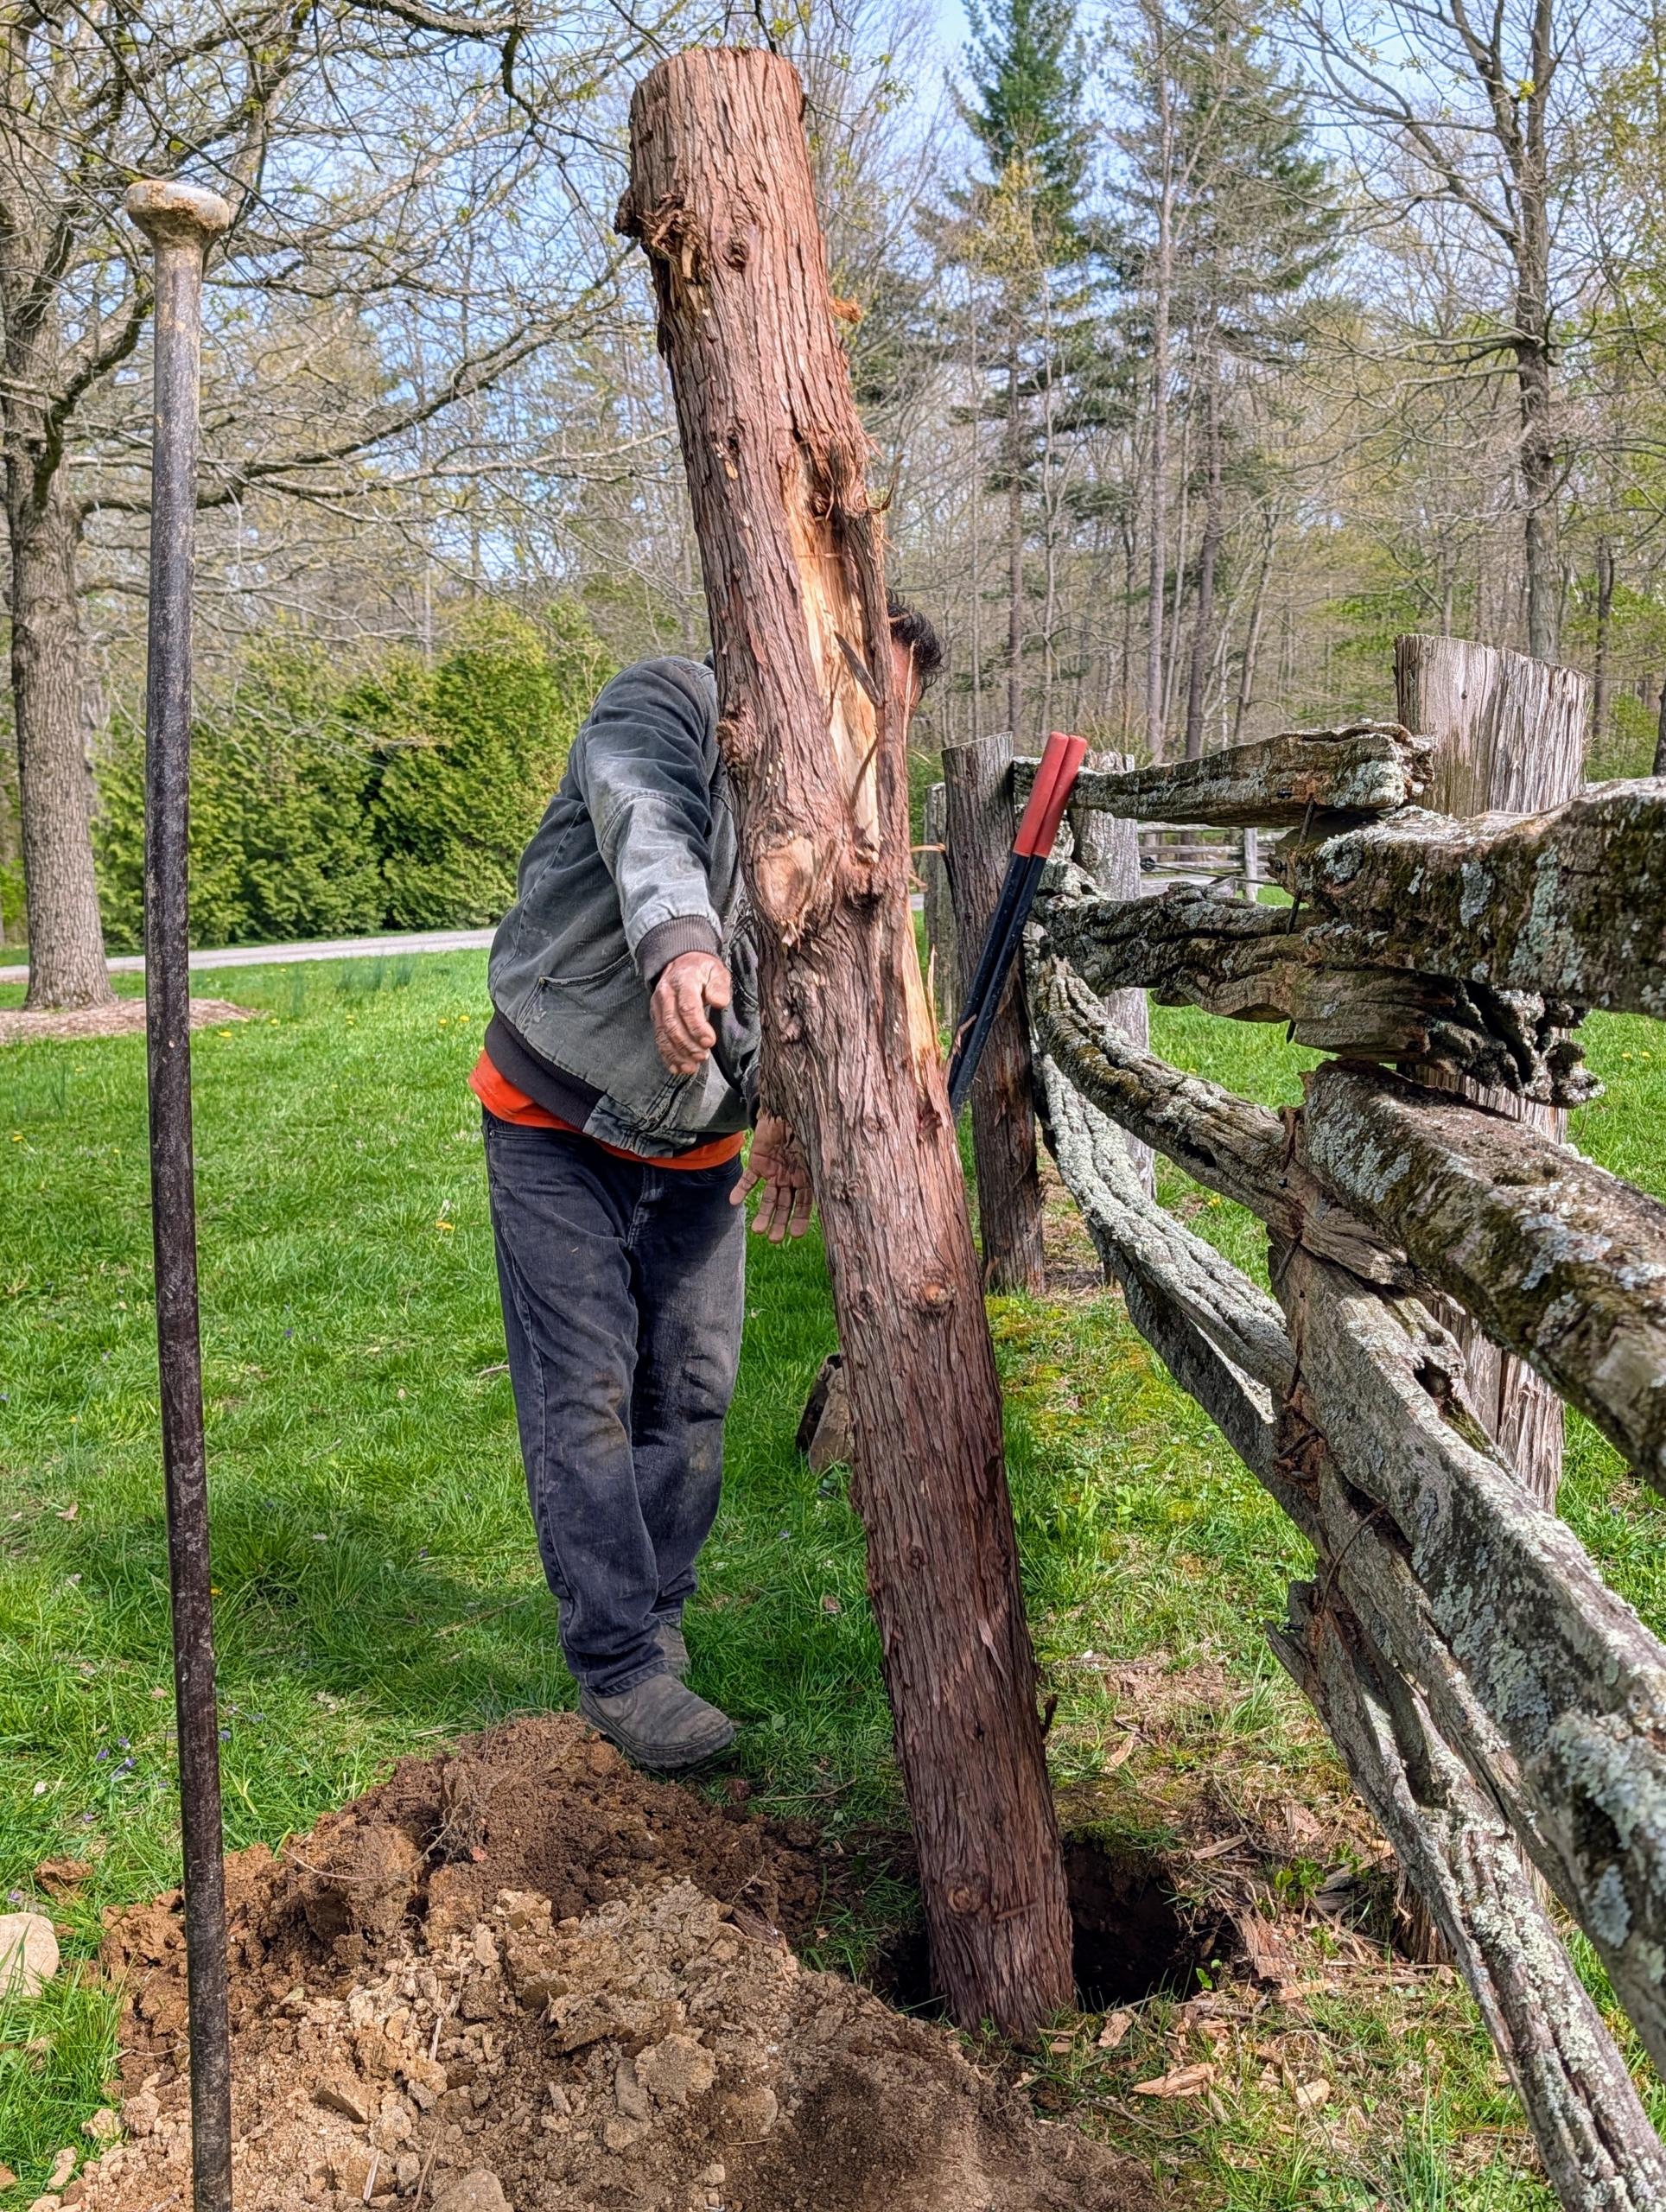
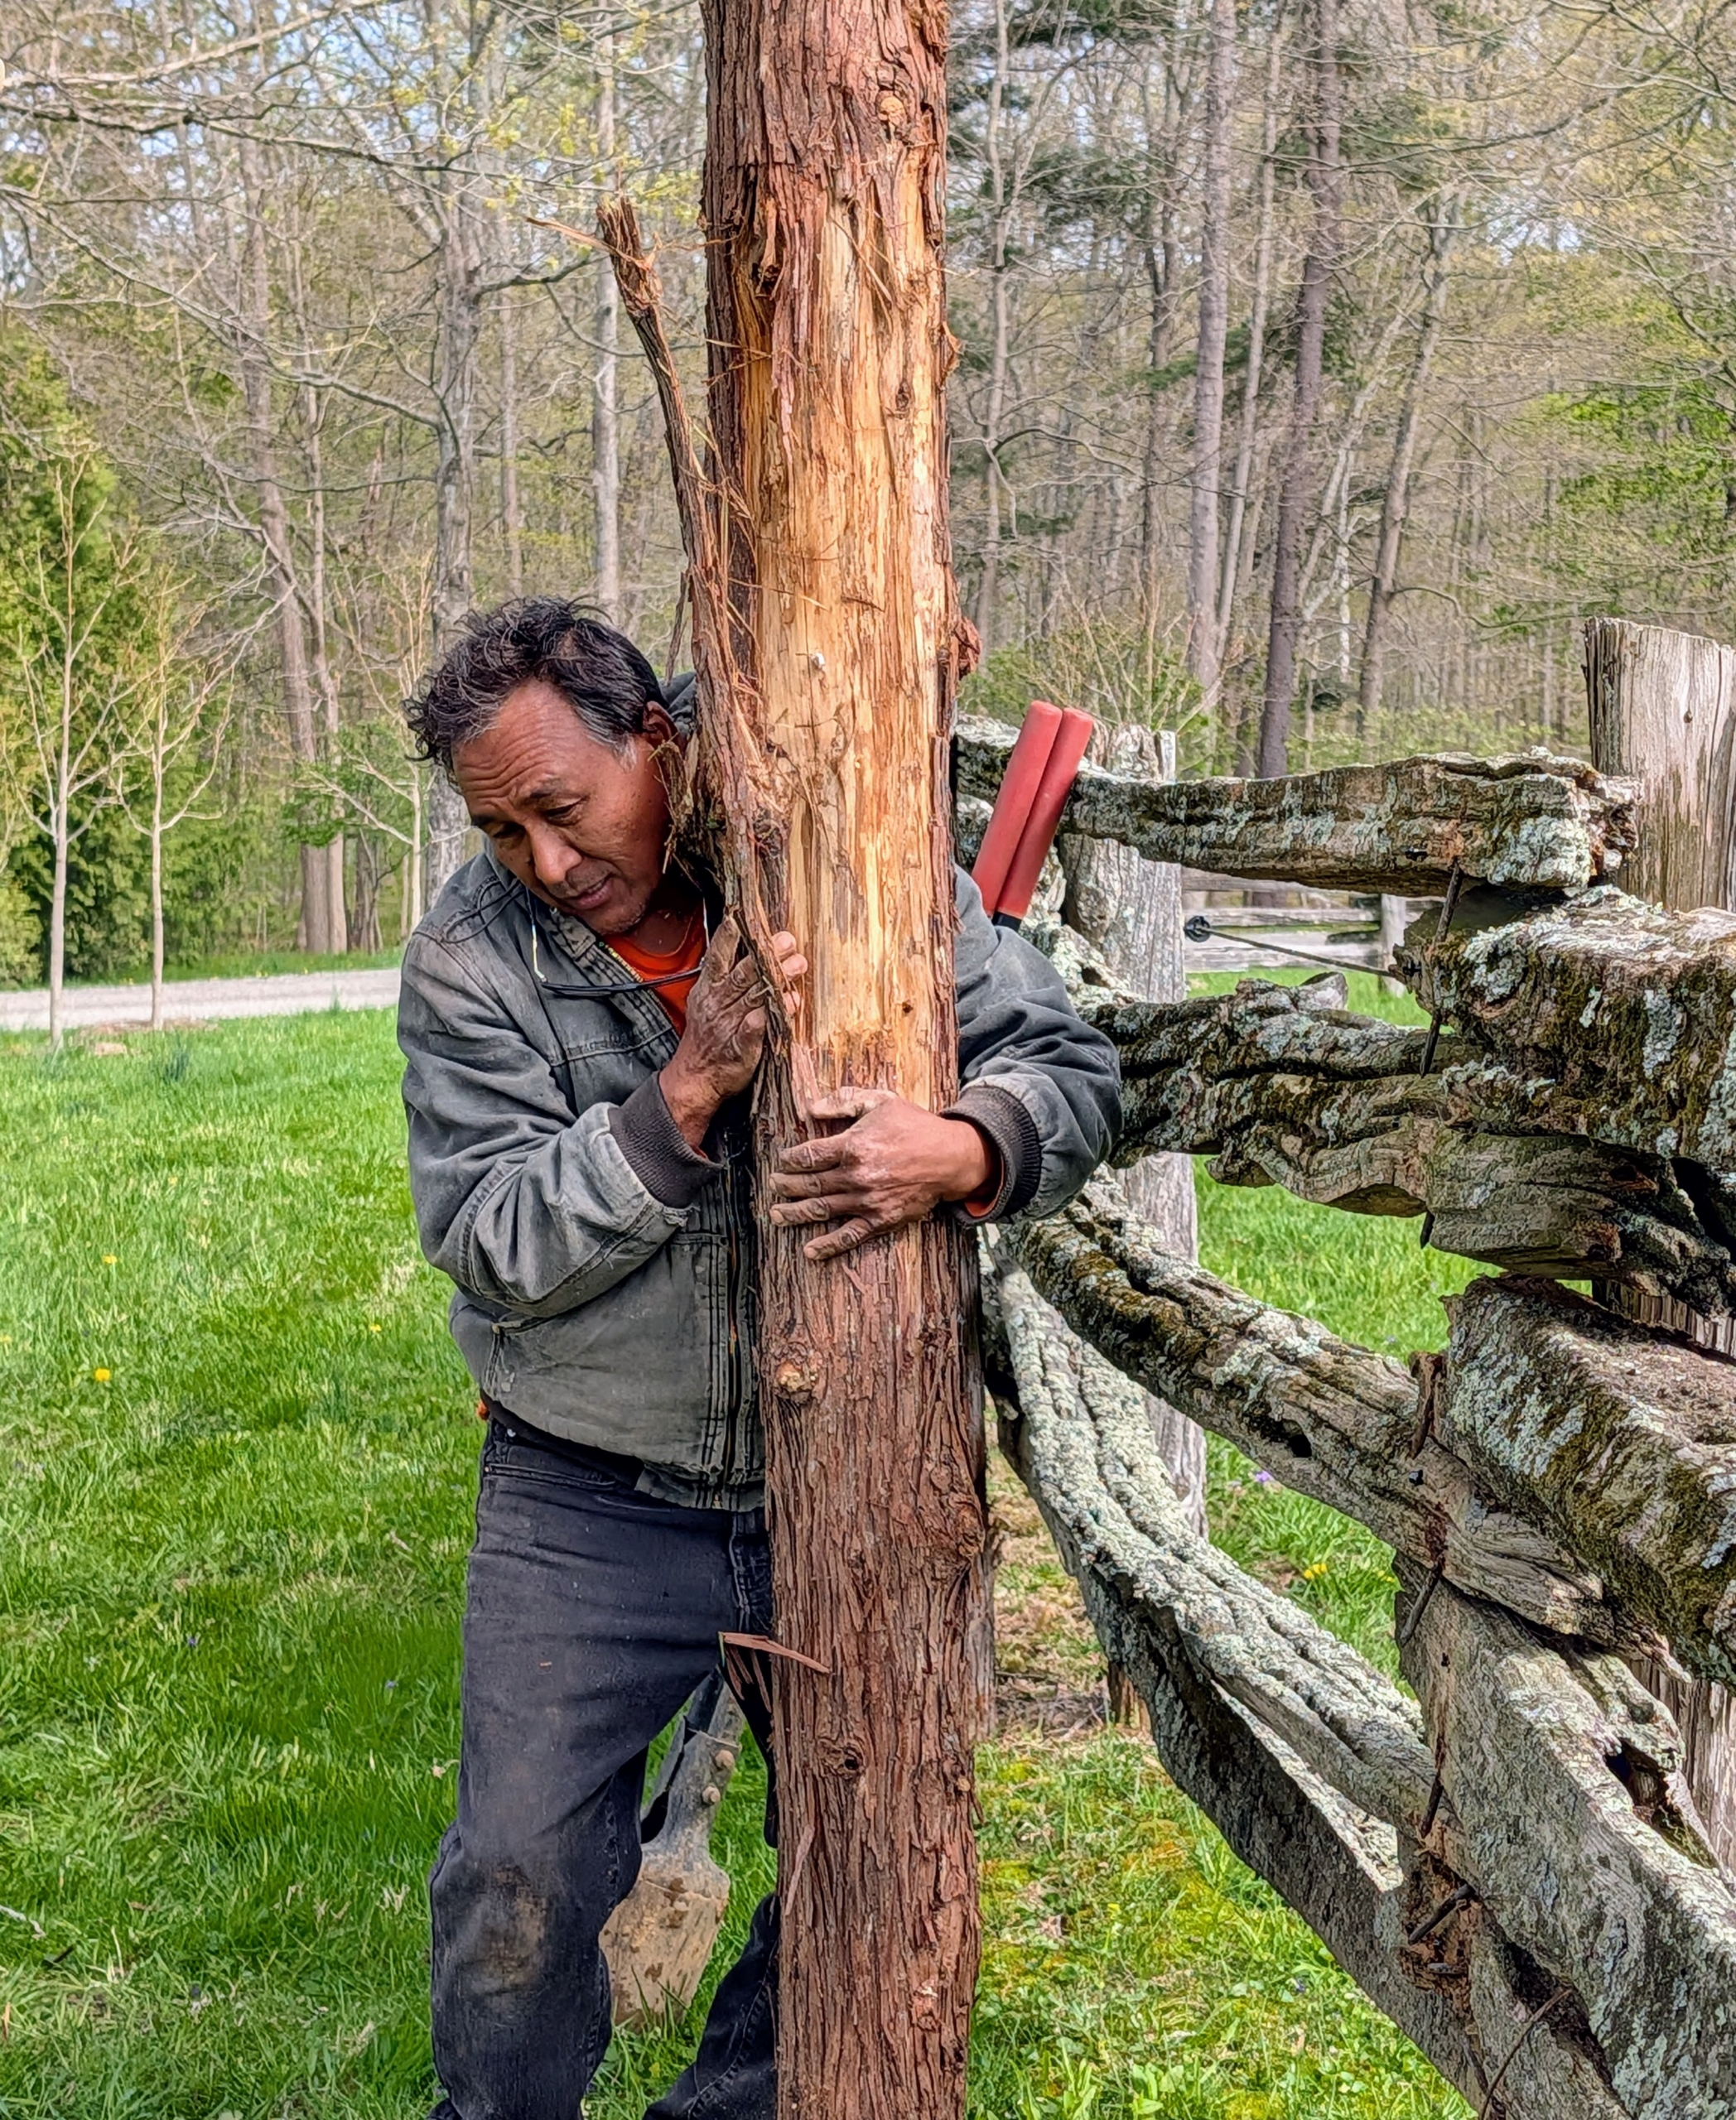
Here’s Pete carrying the new log to the hole. For Pete, it doesn’t even seem heavy, does it Pete?
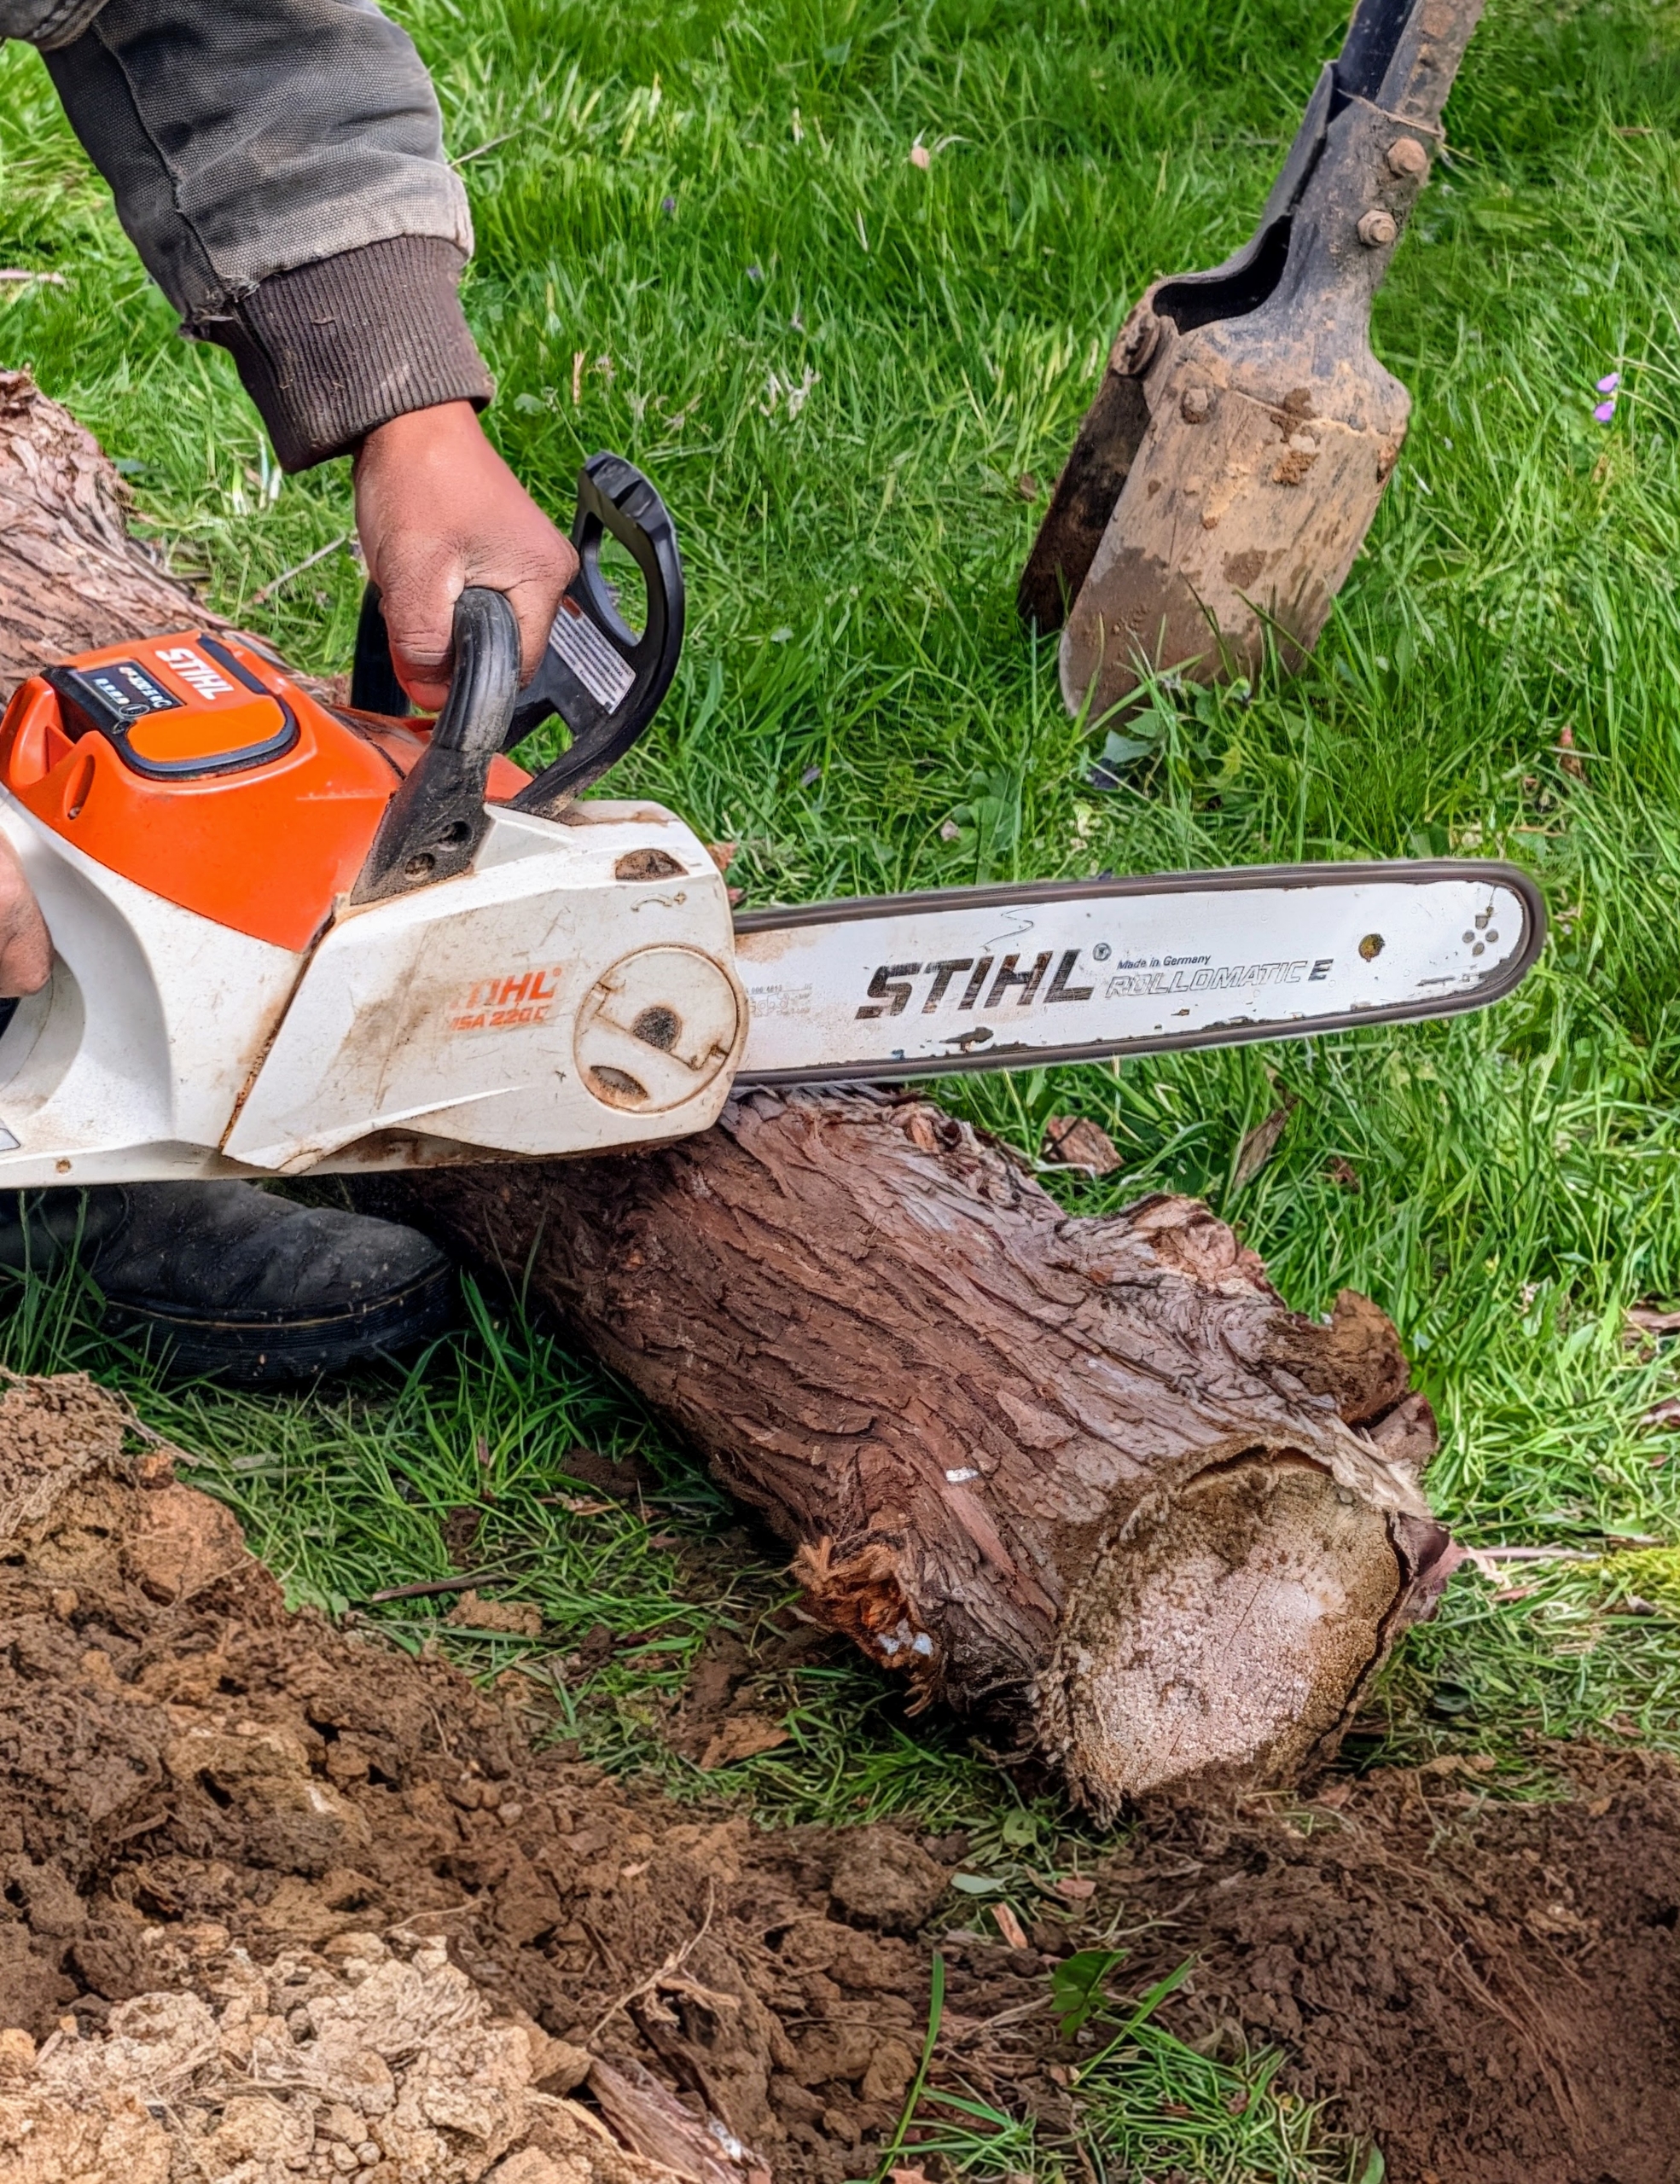
Pete places the new cedar log into the hole and checks its height above ground. It needs a little trimming to match the others.
He uses our STIHL chainsaw. STIHL designed and built its first electric chain saw in 1926 and 100 years later, it is still one of its best pieces of equipment. I’ve been using STIHL tools for a long time.
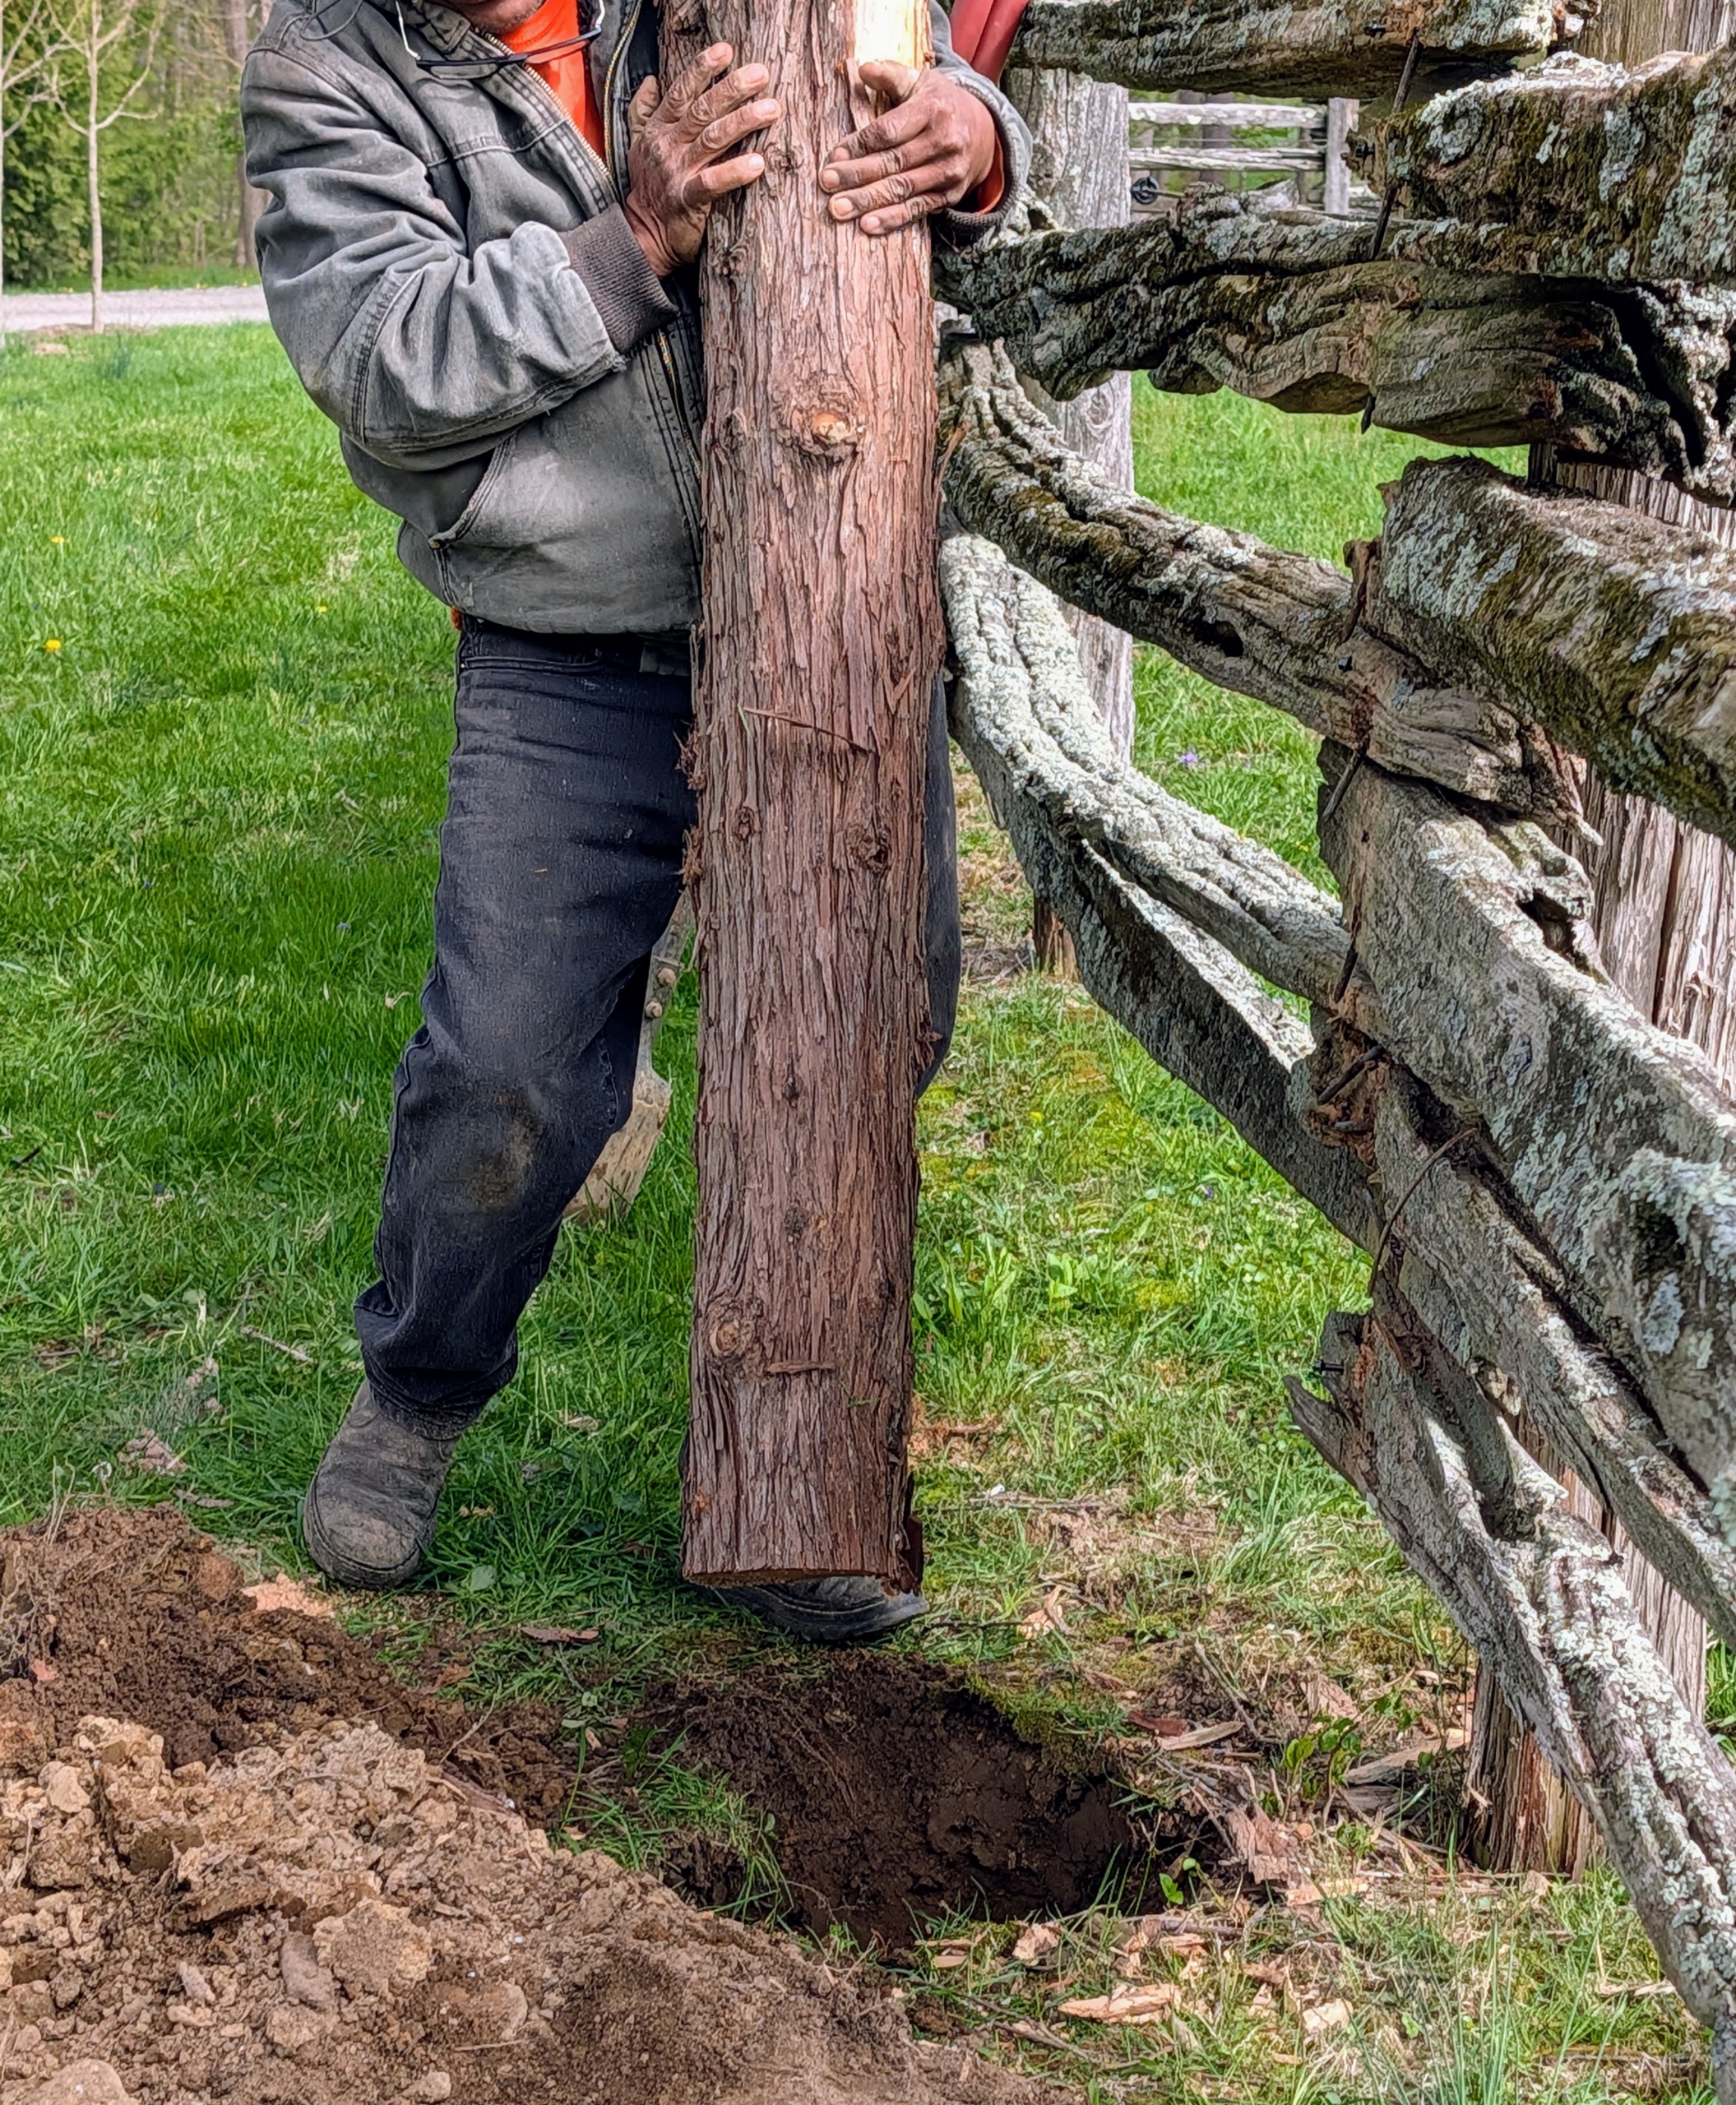
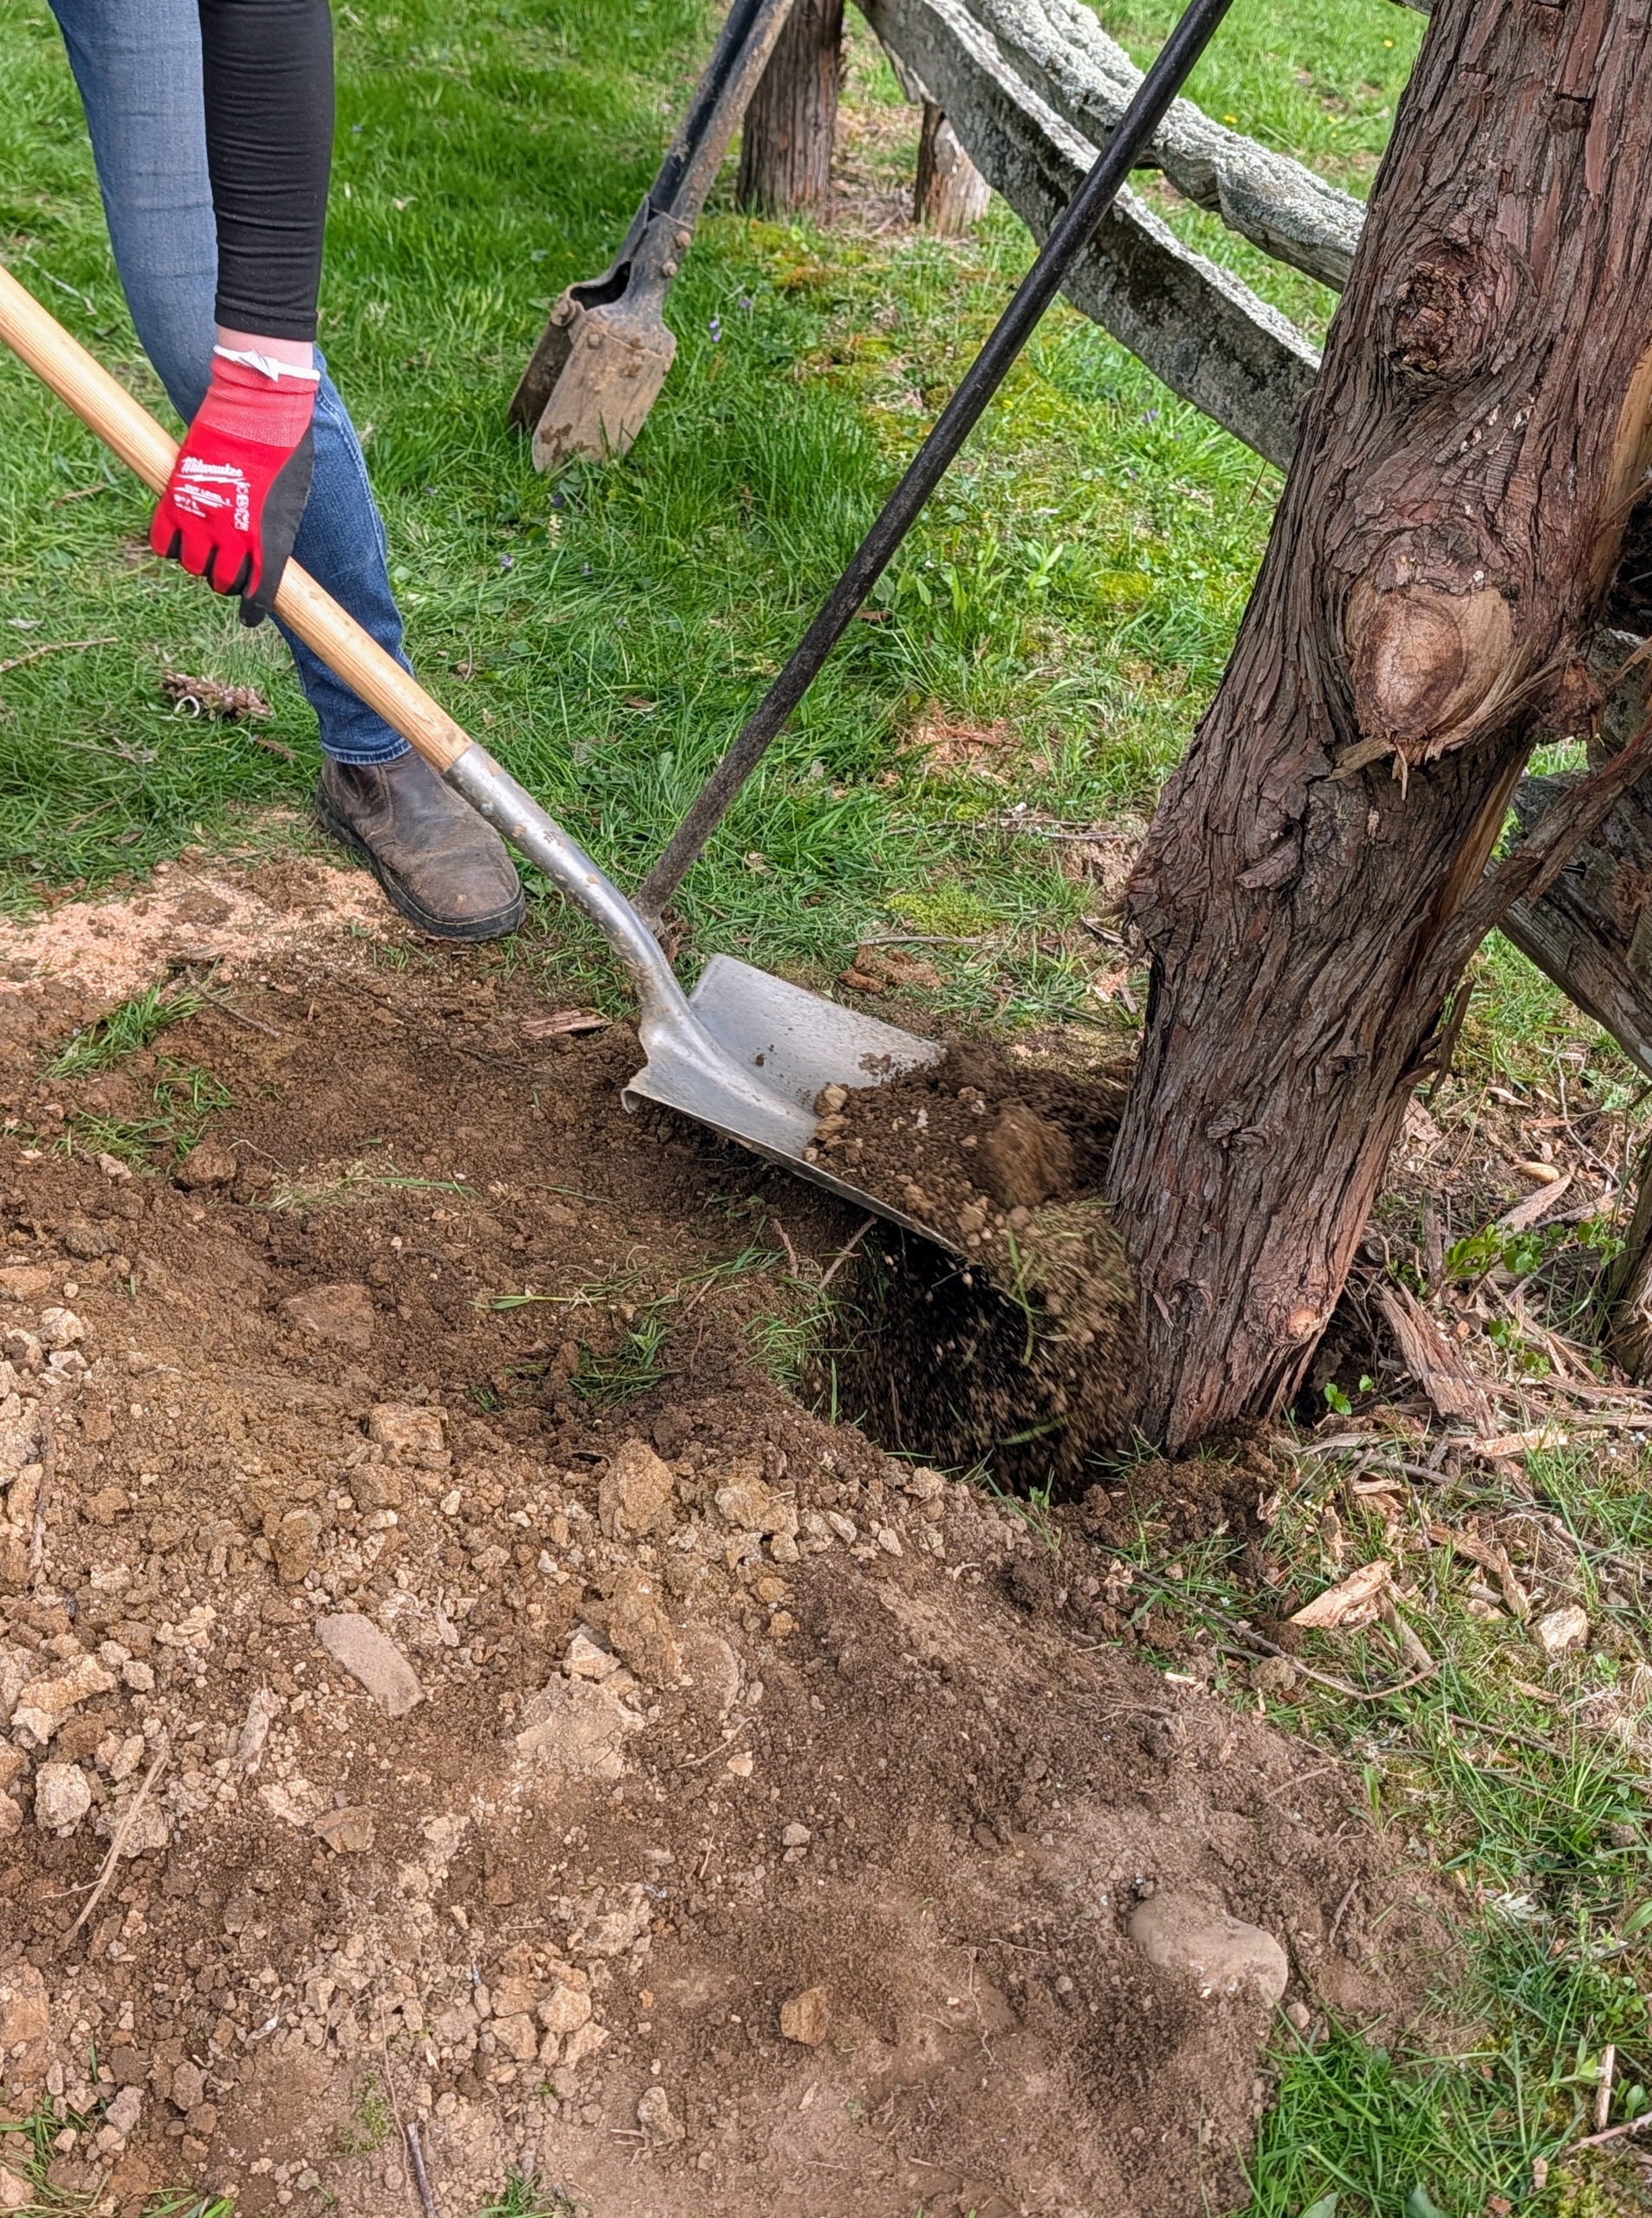
And then back it goes into the designated hole. Each hole is more than three feet deep. The new posts will be very secure here – and no cement is needed.
Once a new post is positioned, Pete and adjusts it for level and turns the post so that the nicest side faces out.
Rocks are dropped in for extra tightness and security around the post.
And here, backfilling begins.
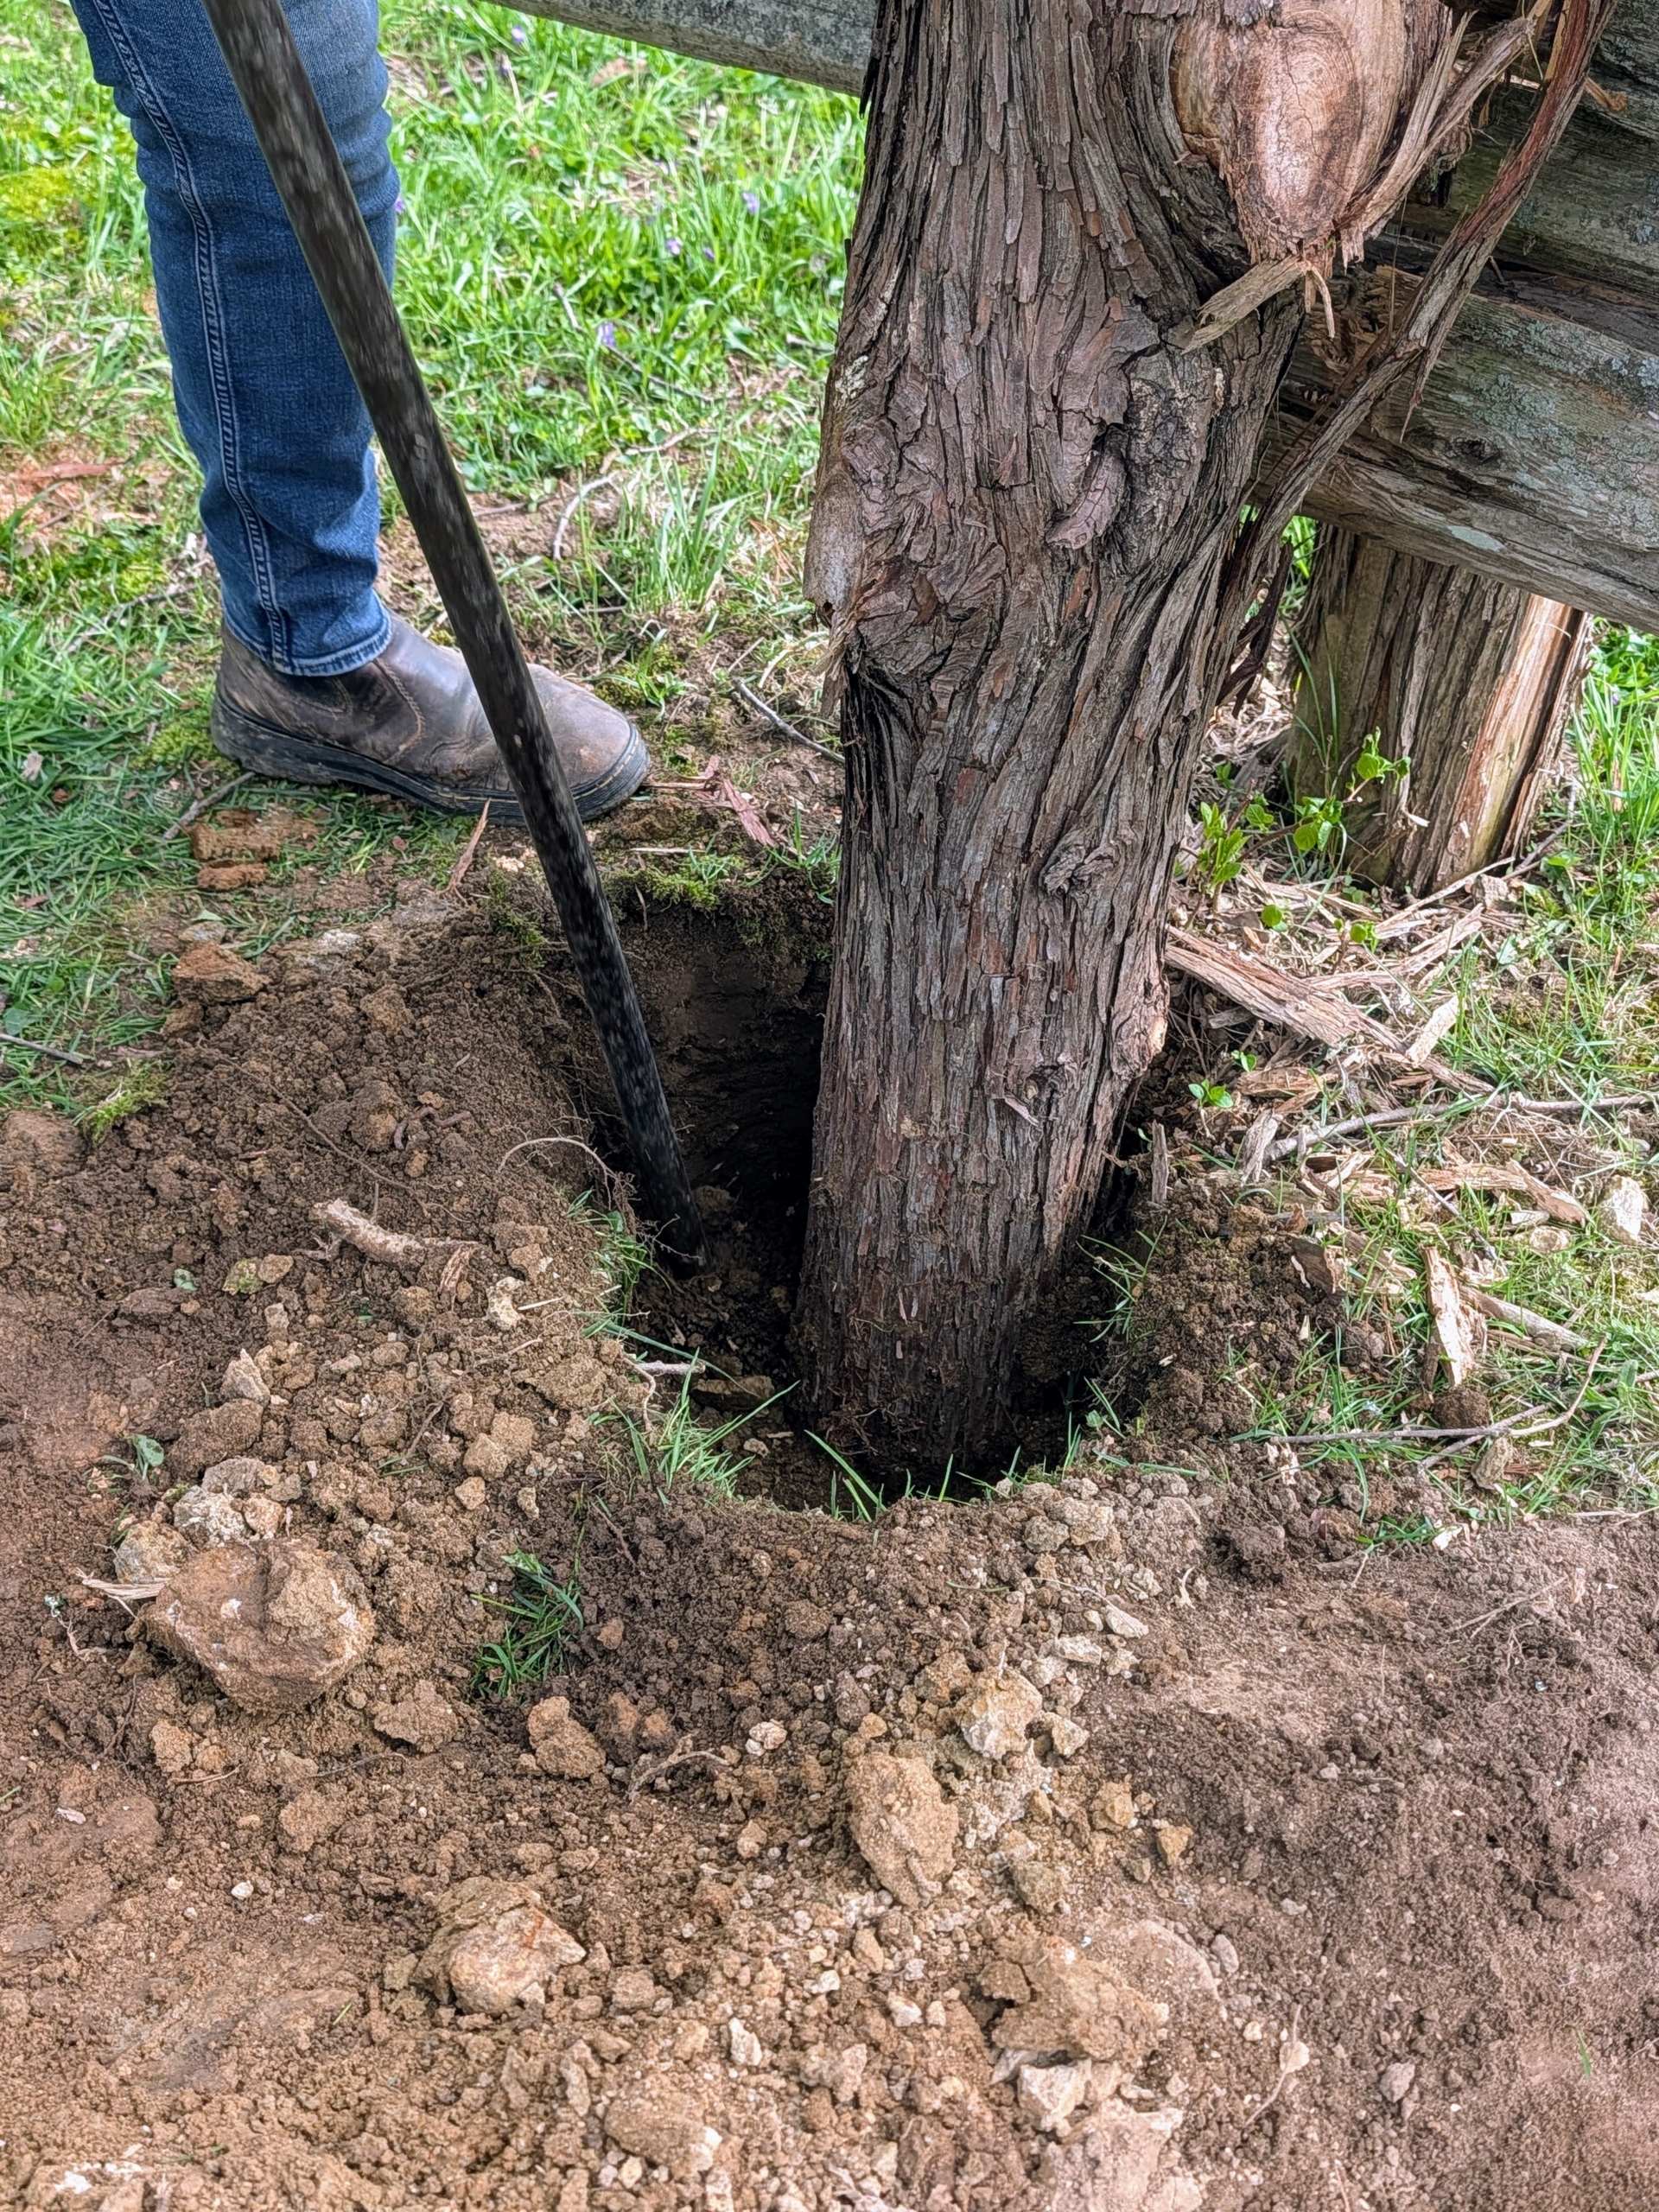
When the hole is filled half way, Pete uses a tamping bar to pack the soil tightly.
And then it is backfilled completely.
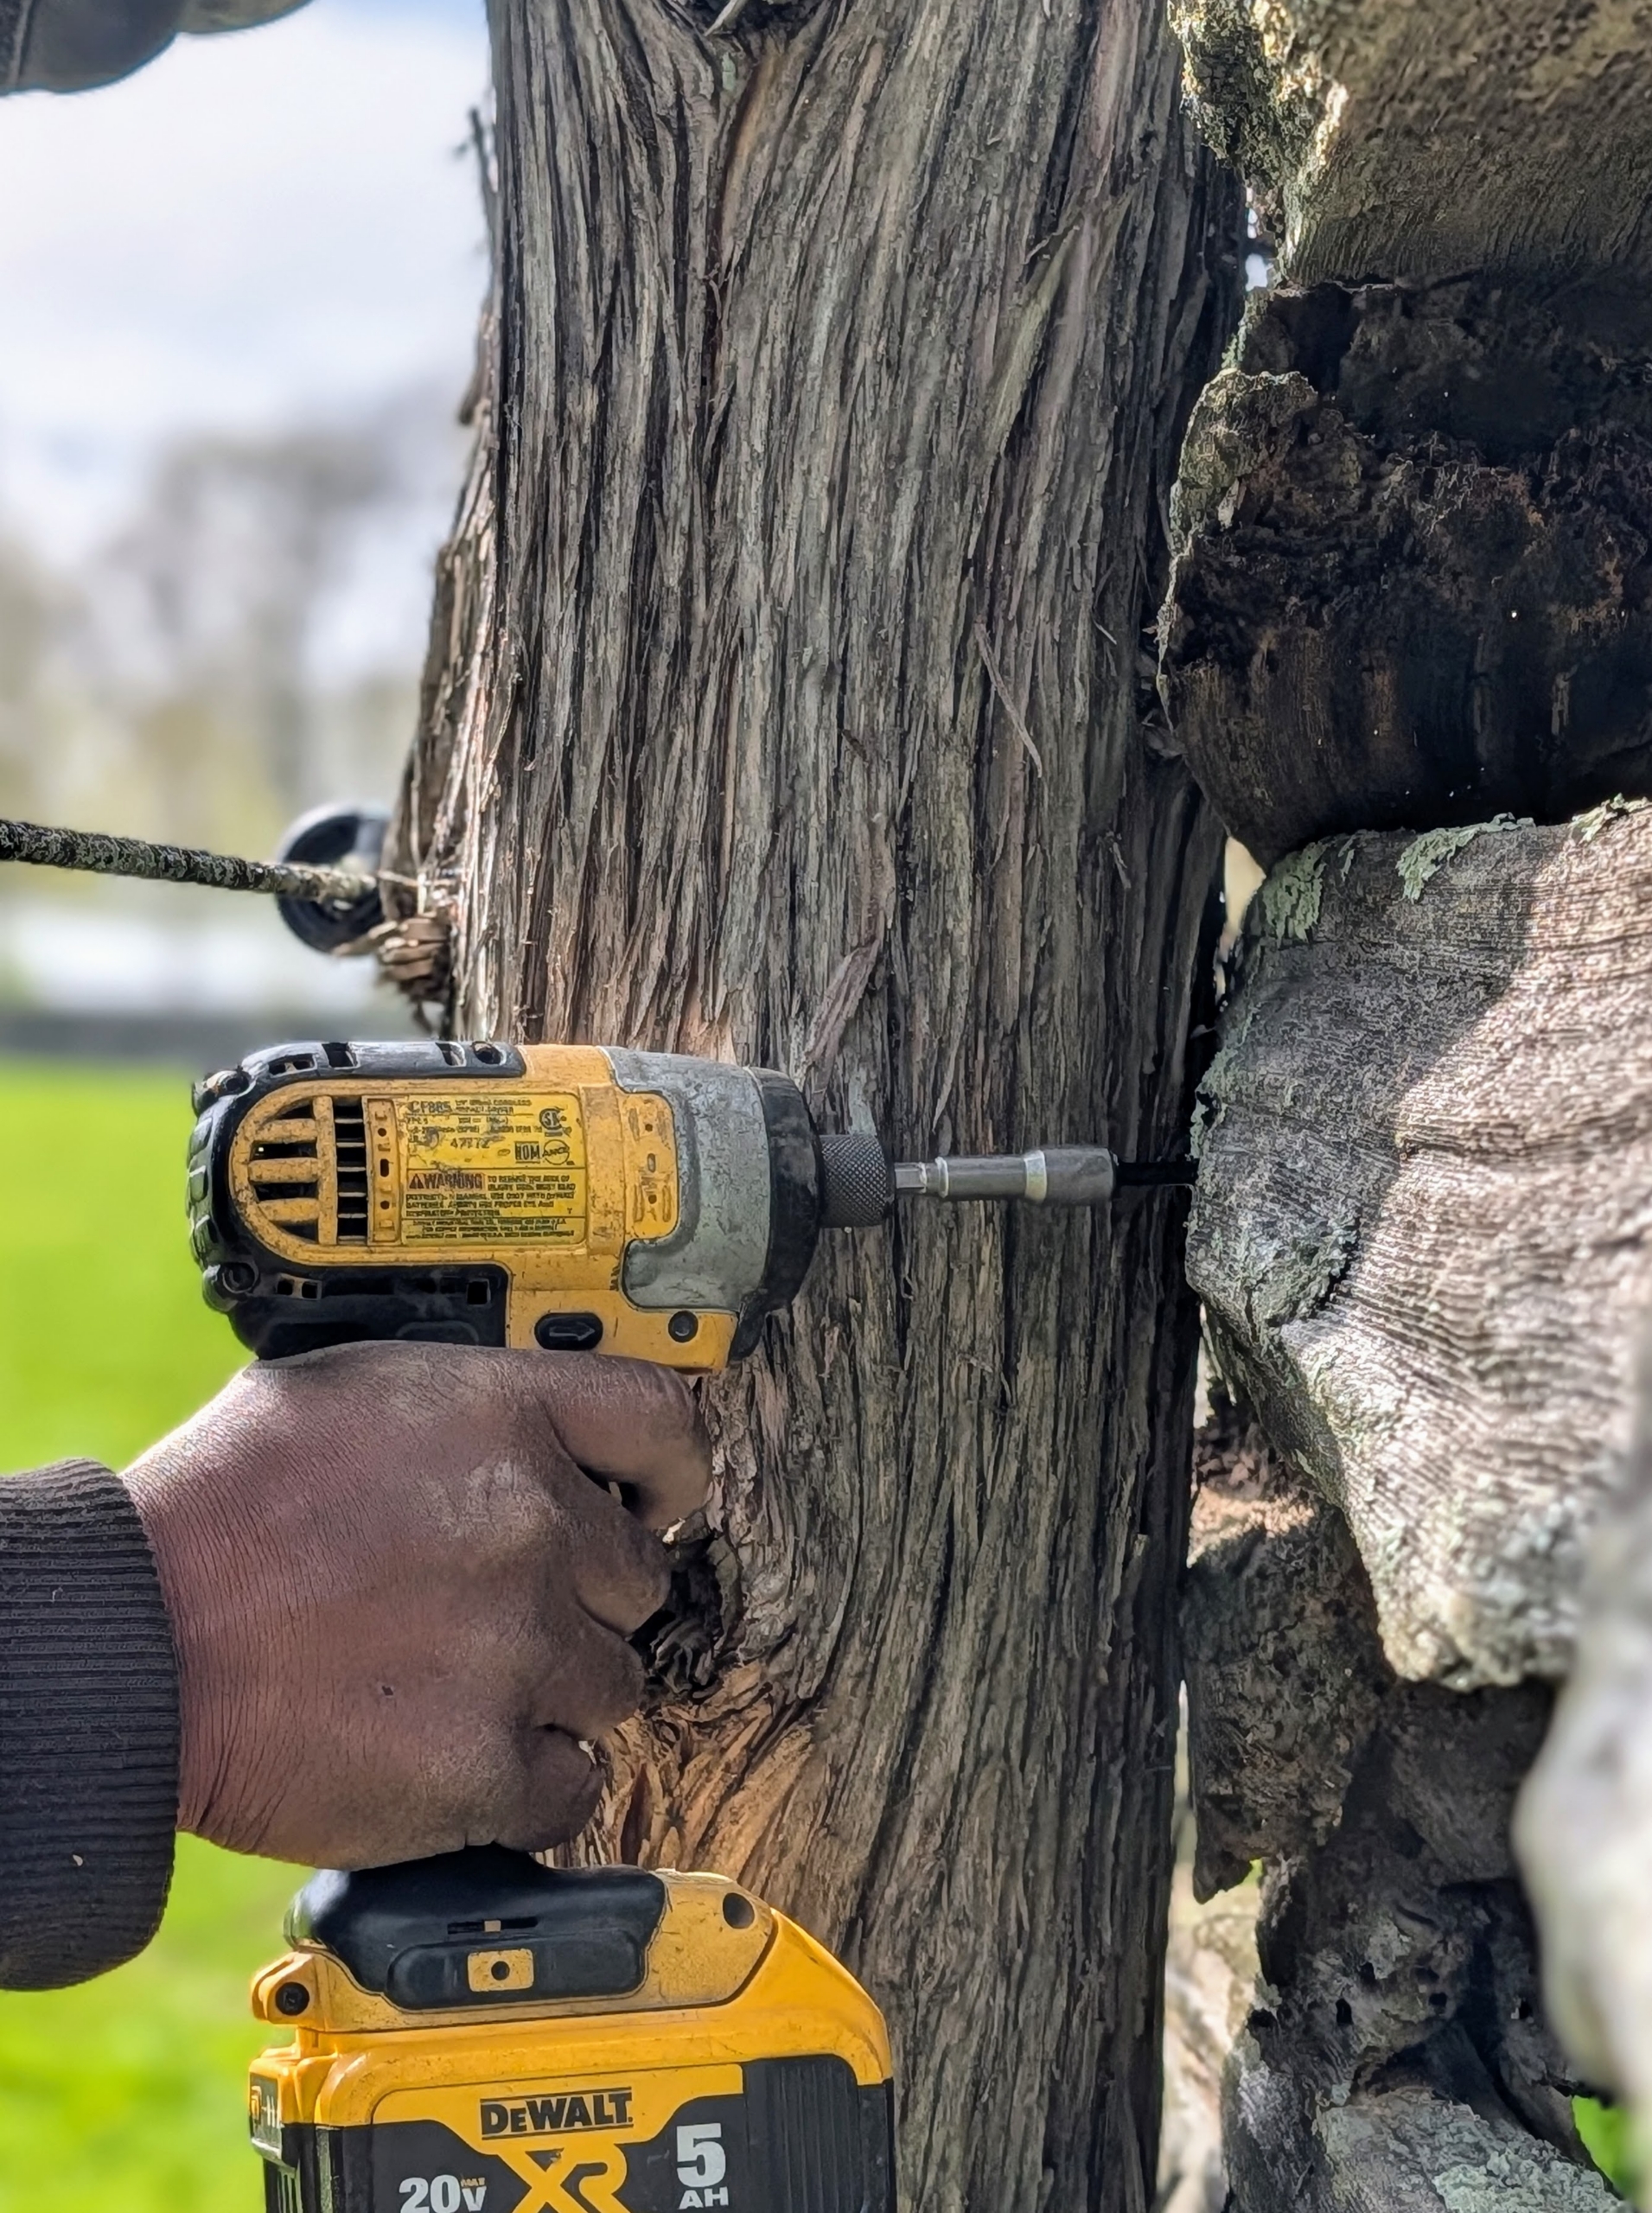
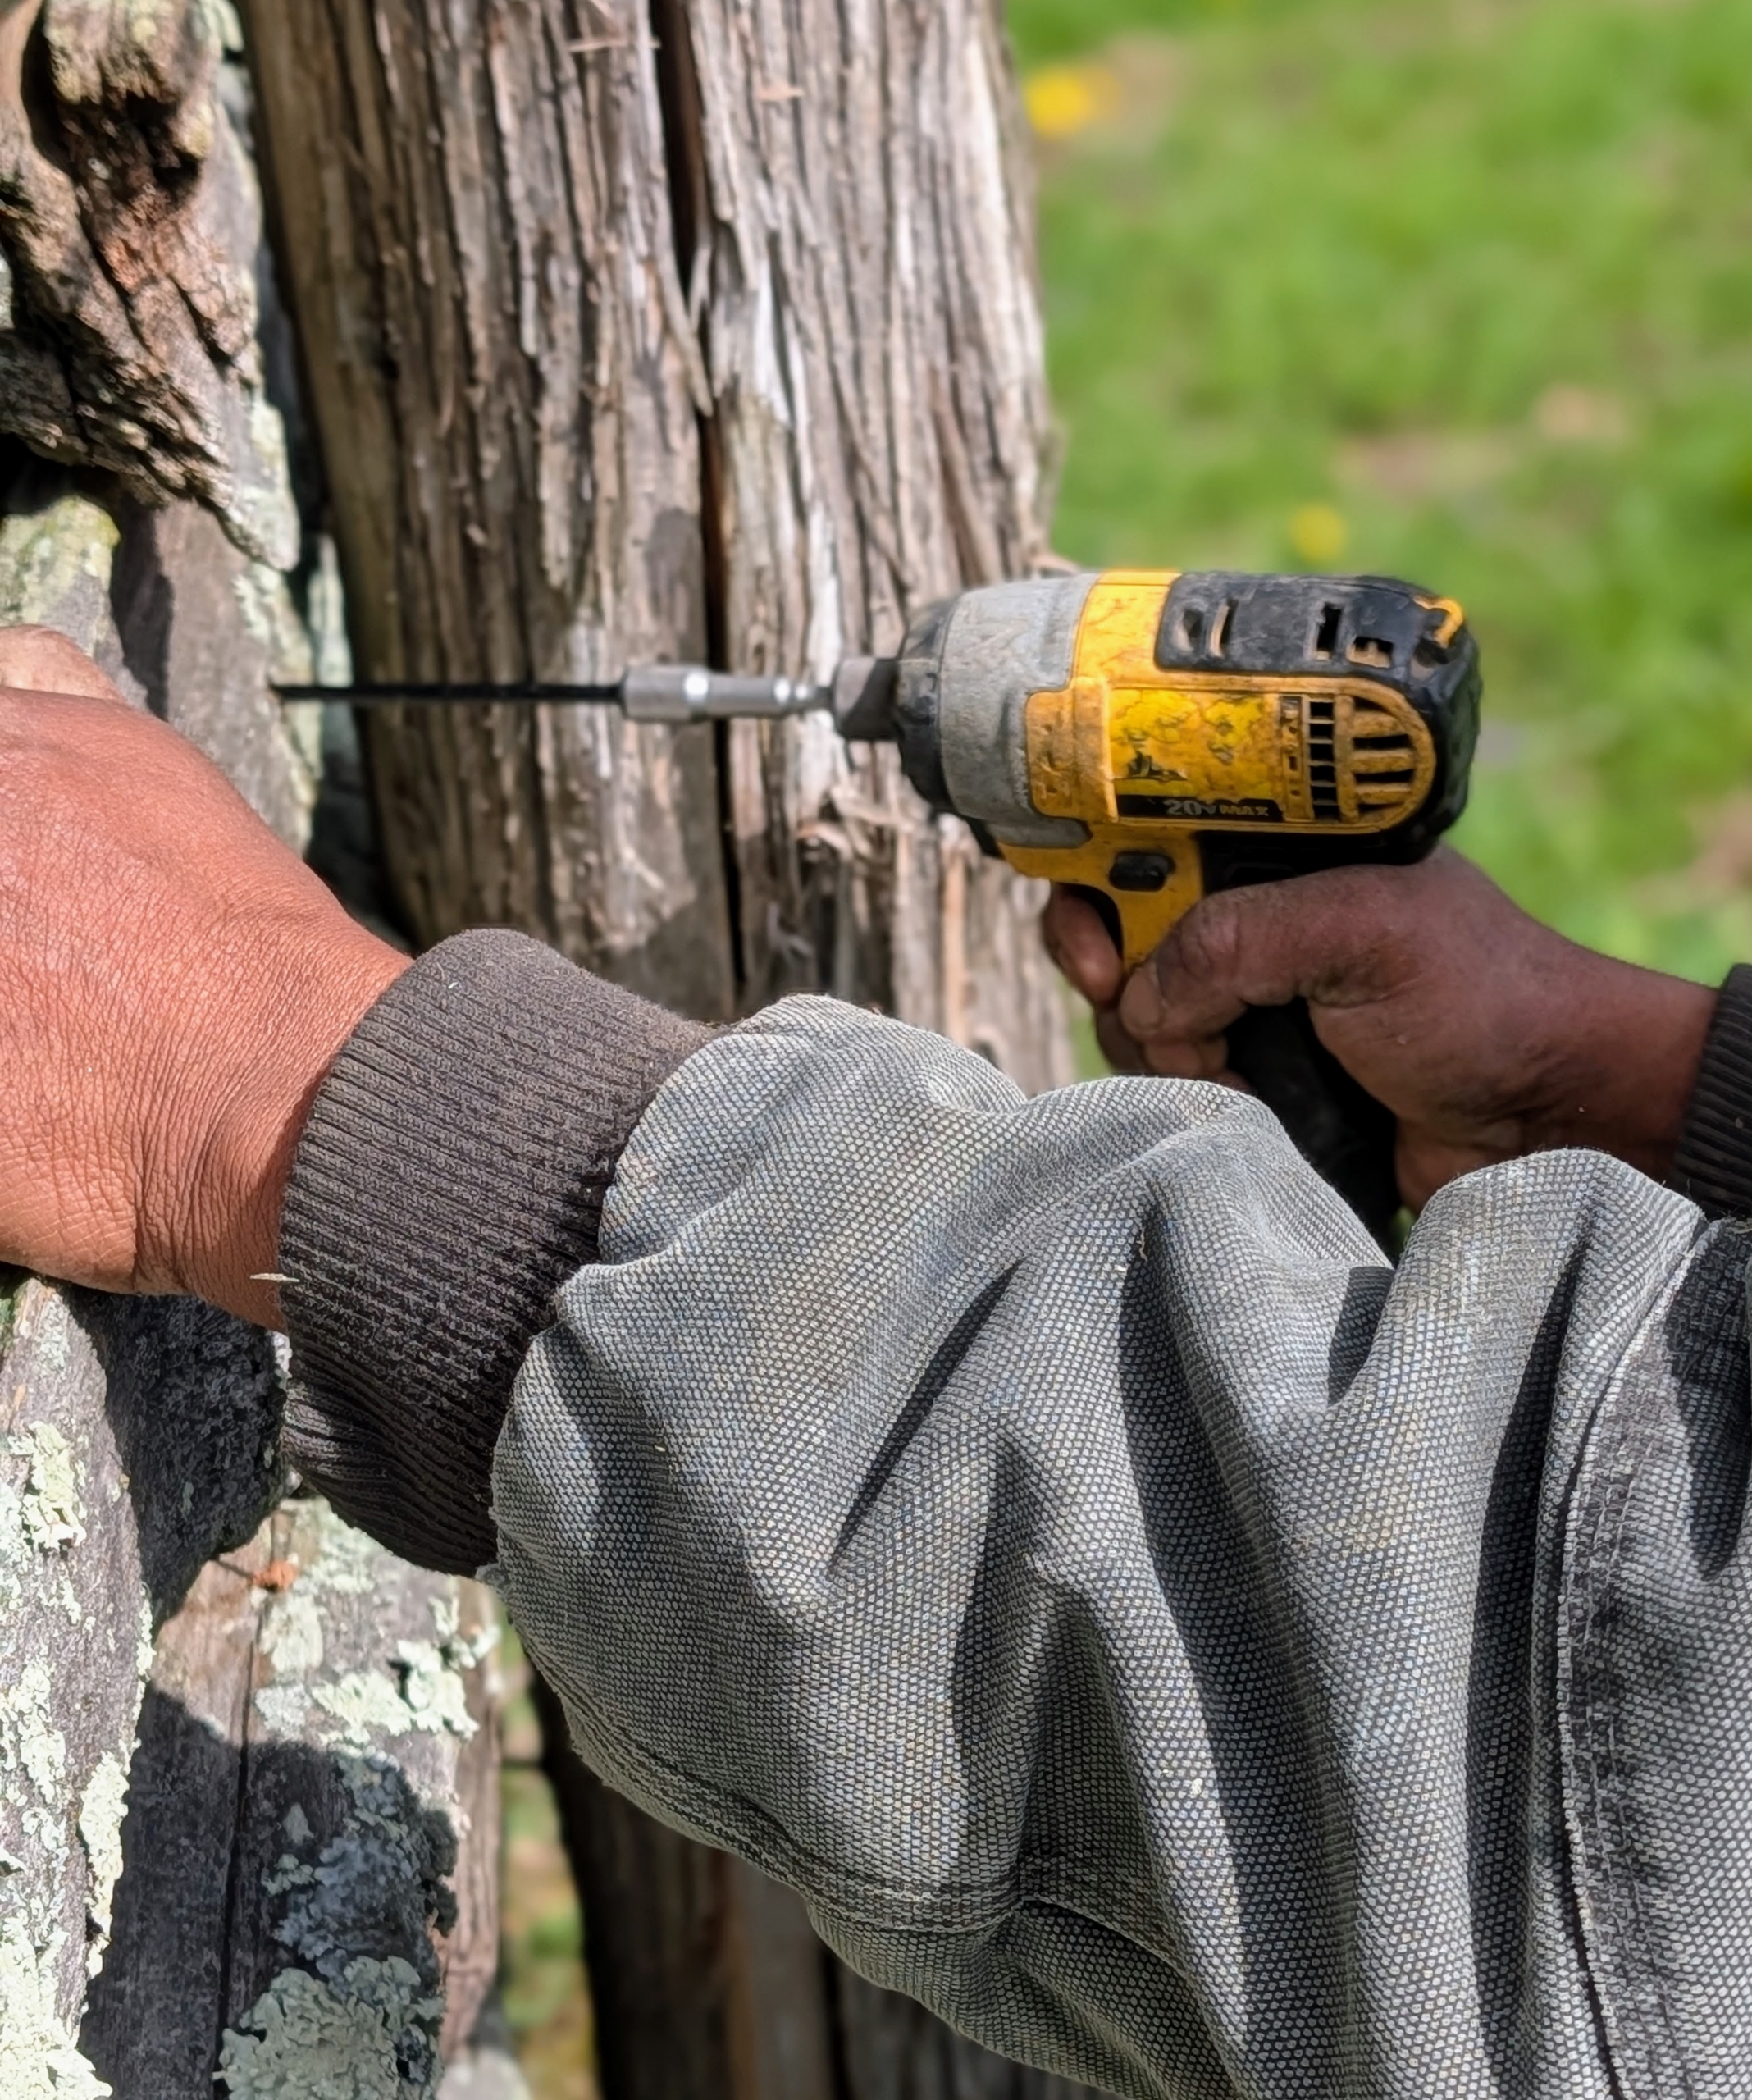
The new upright is secured with four-inch screws to keep it in line with the railings and the other posts.
Pete secures several screws to ensure it is well connected.
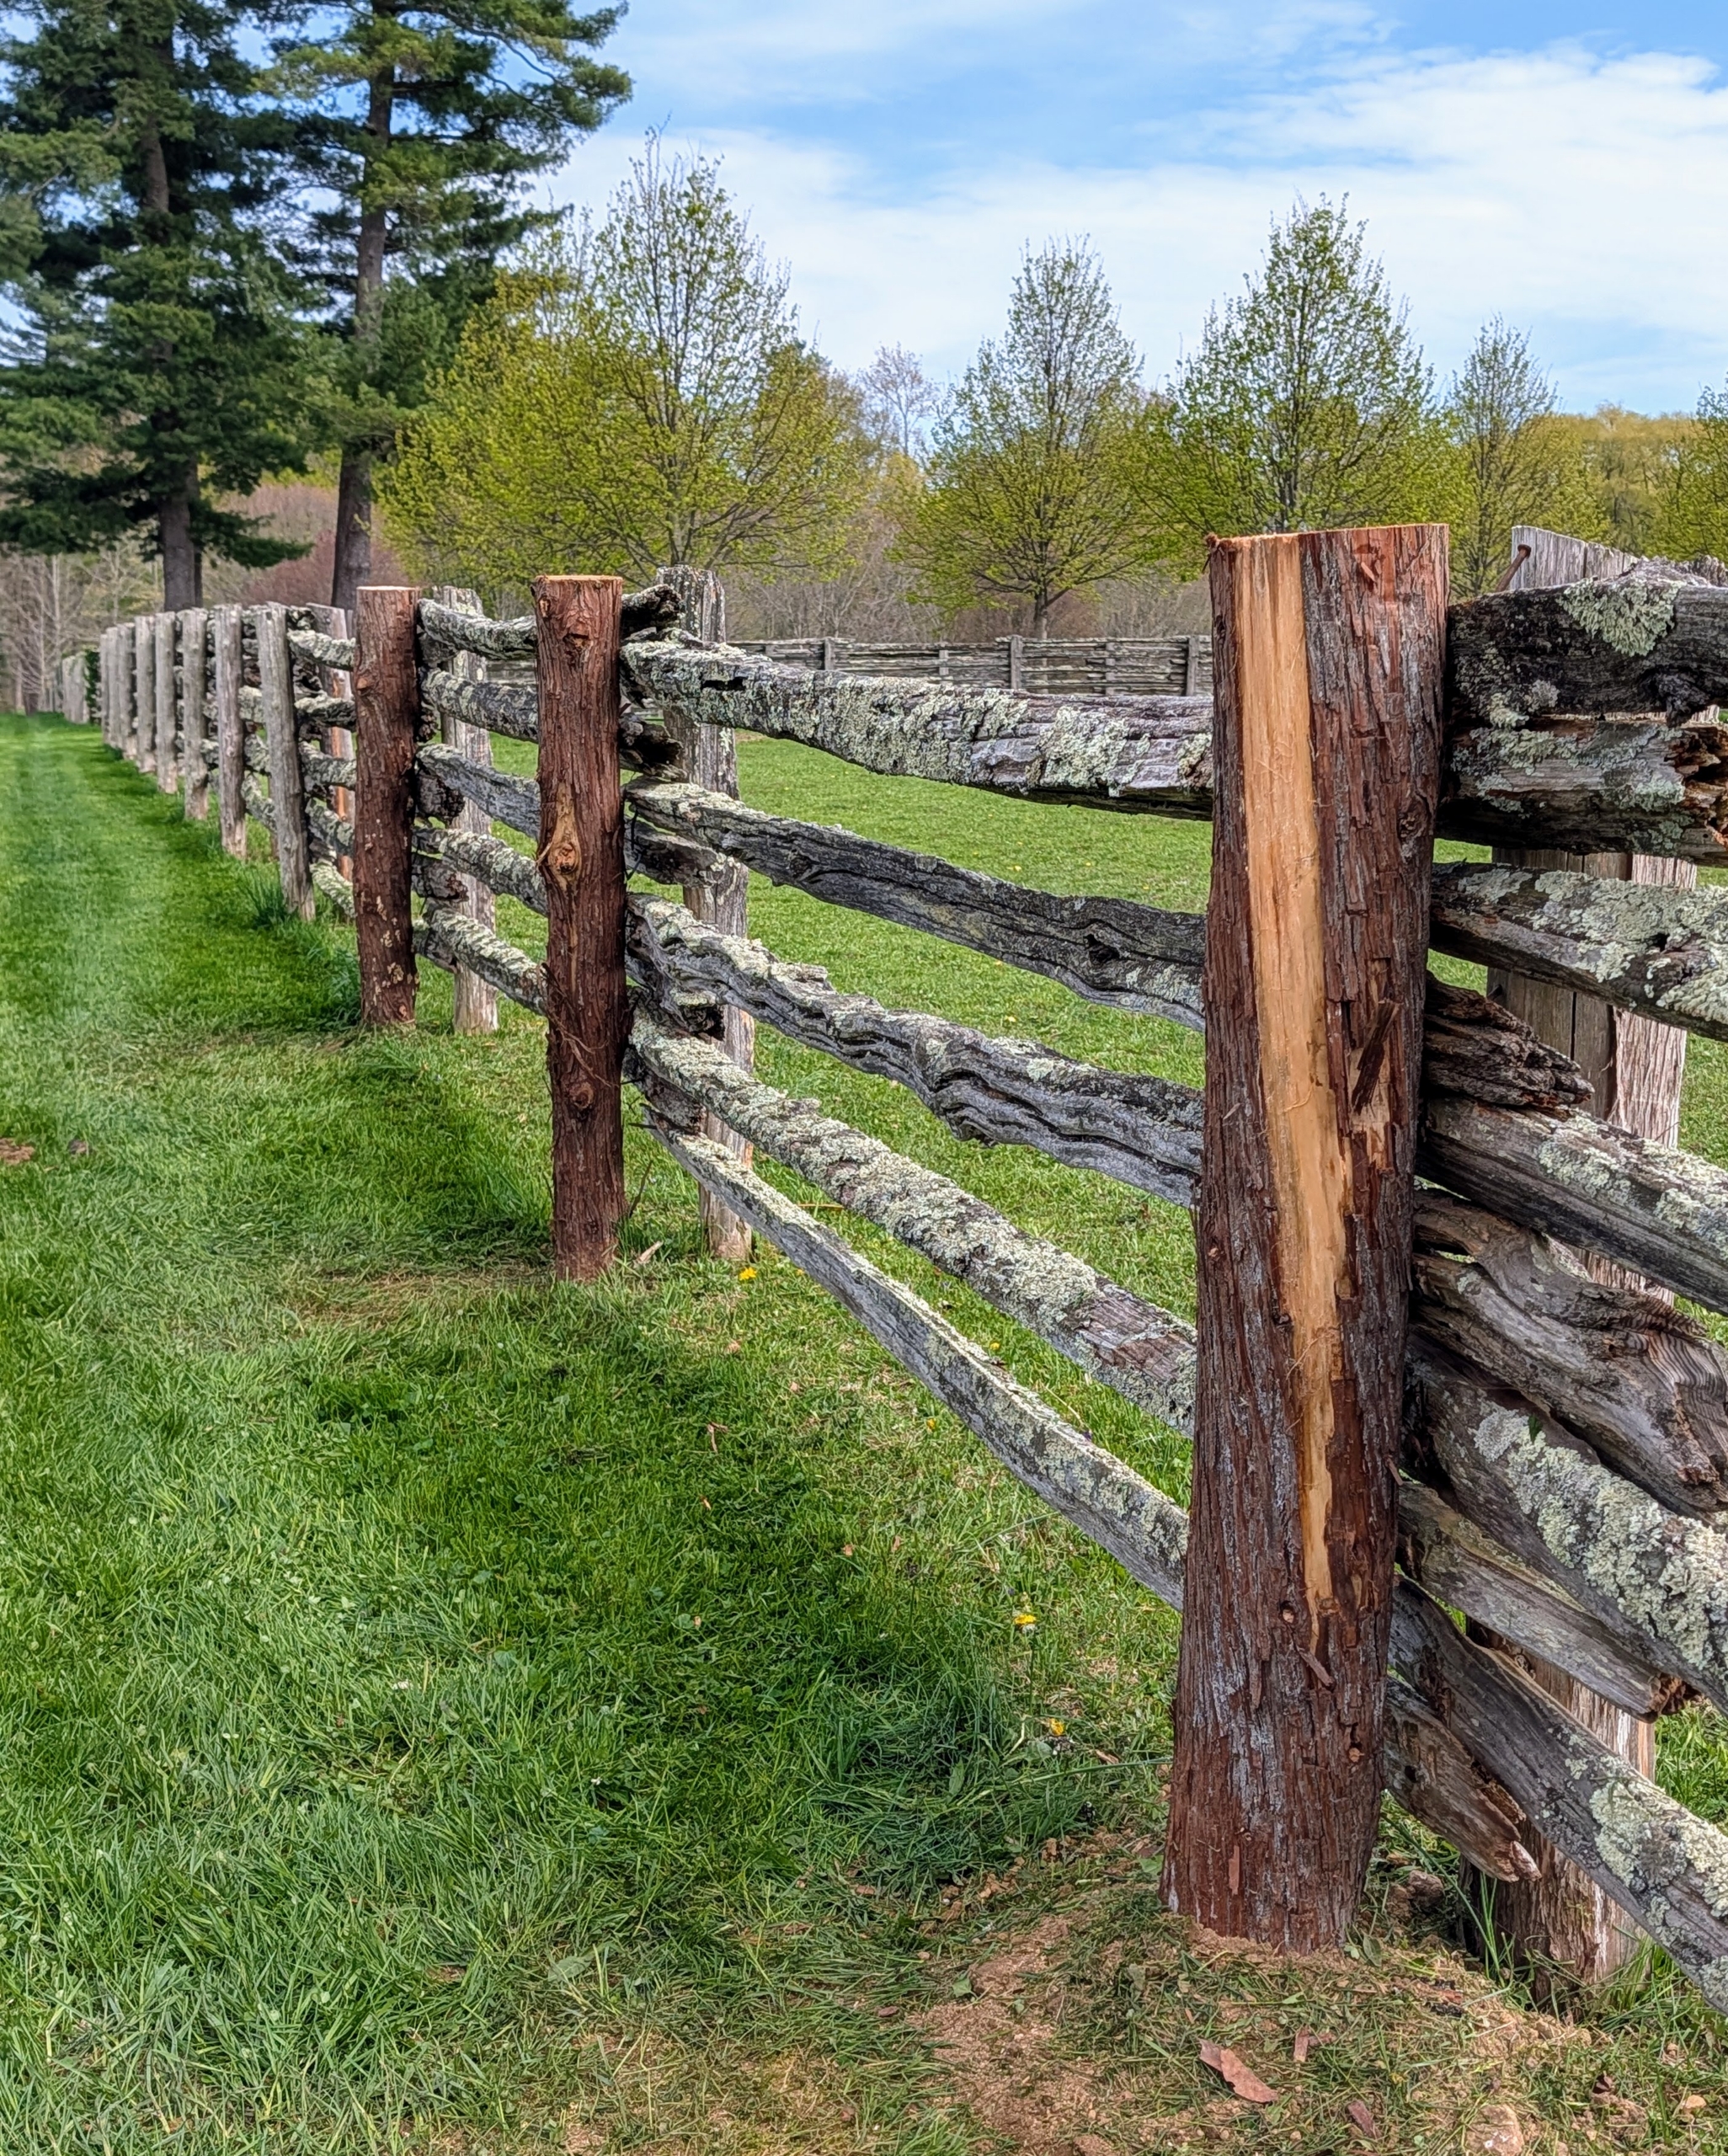
Here, one can see which posts were replaced. This project will take some time to complete with all the fencing on the property, but we’re making good progress.
Cedar is extremely durable and holds up well to outdoor weather conditions. The new posts should last about 15 years or more, keeping my horses, pony, and donkeys safe in their enclosures.
Among the many benefits of growing one's own flowers - they can be enjoyed both inside and out.
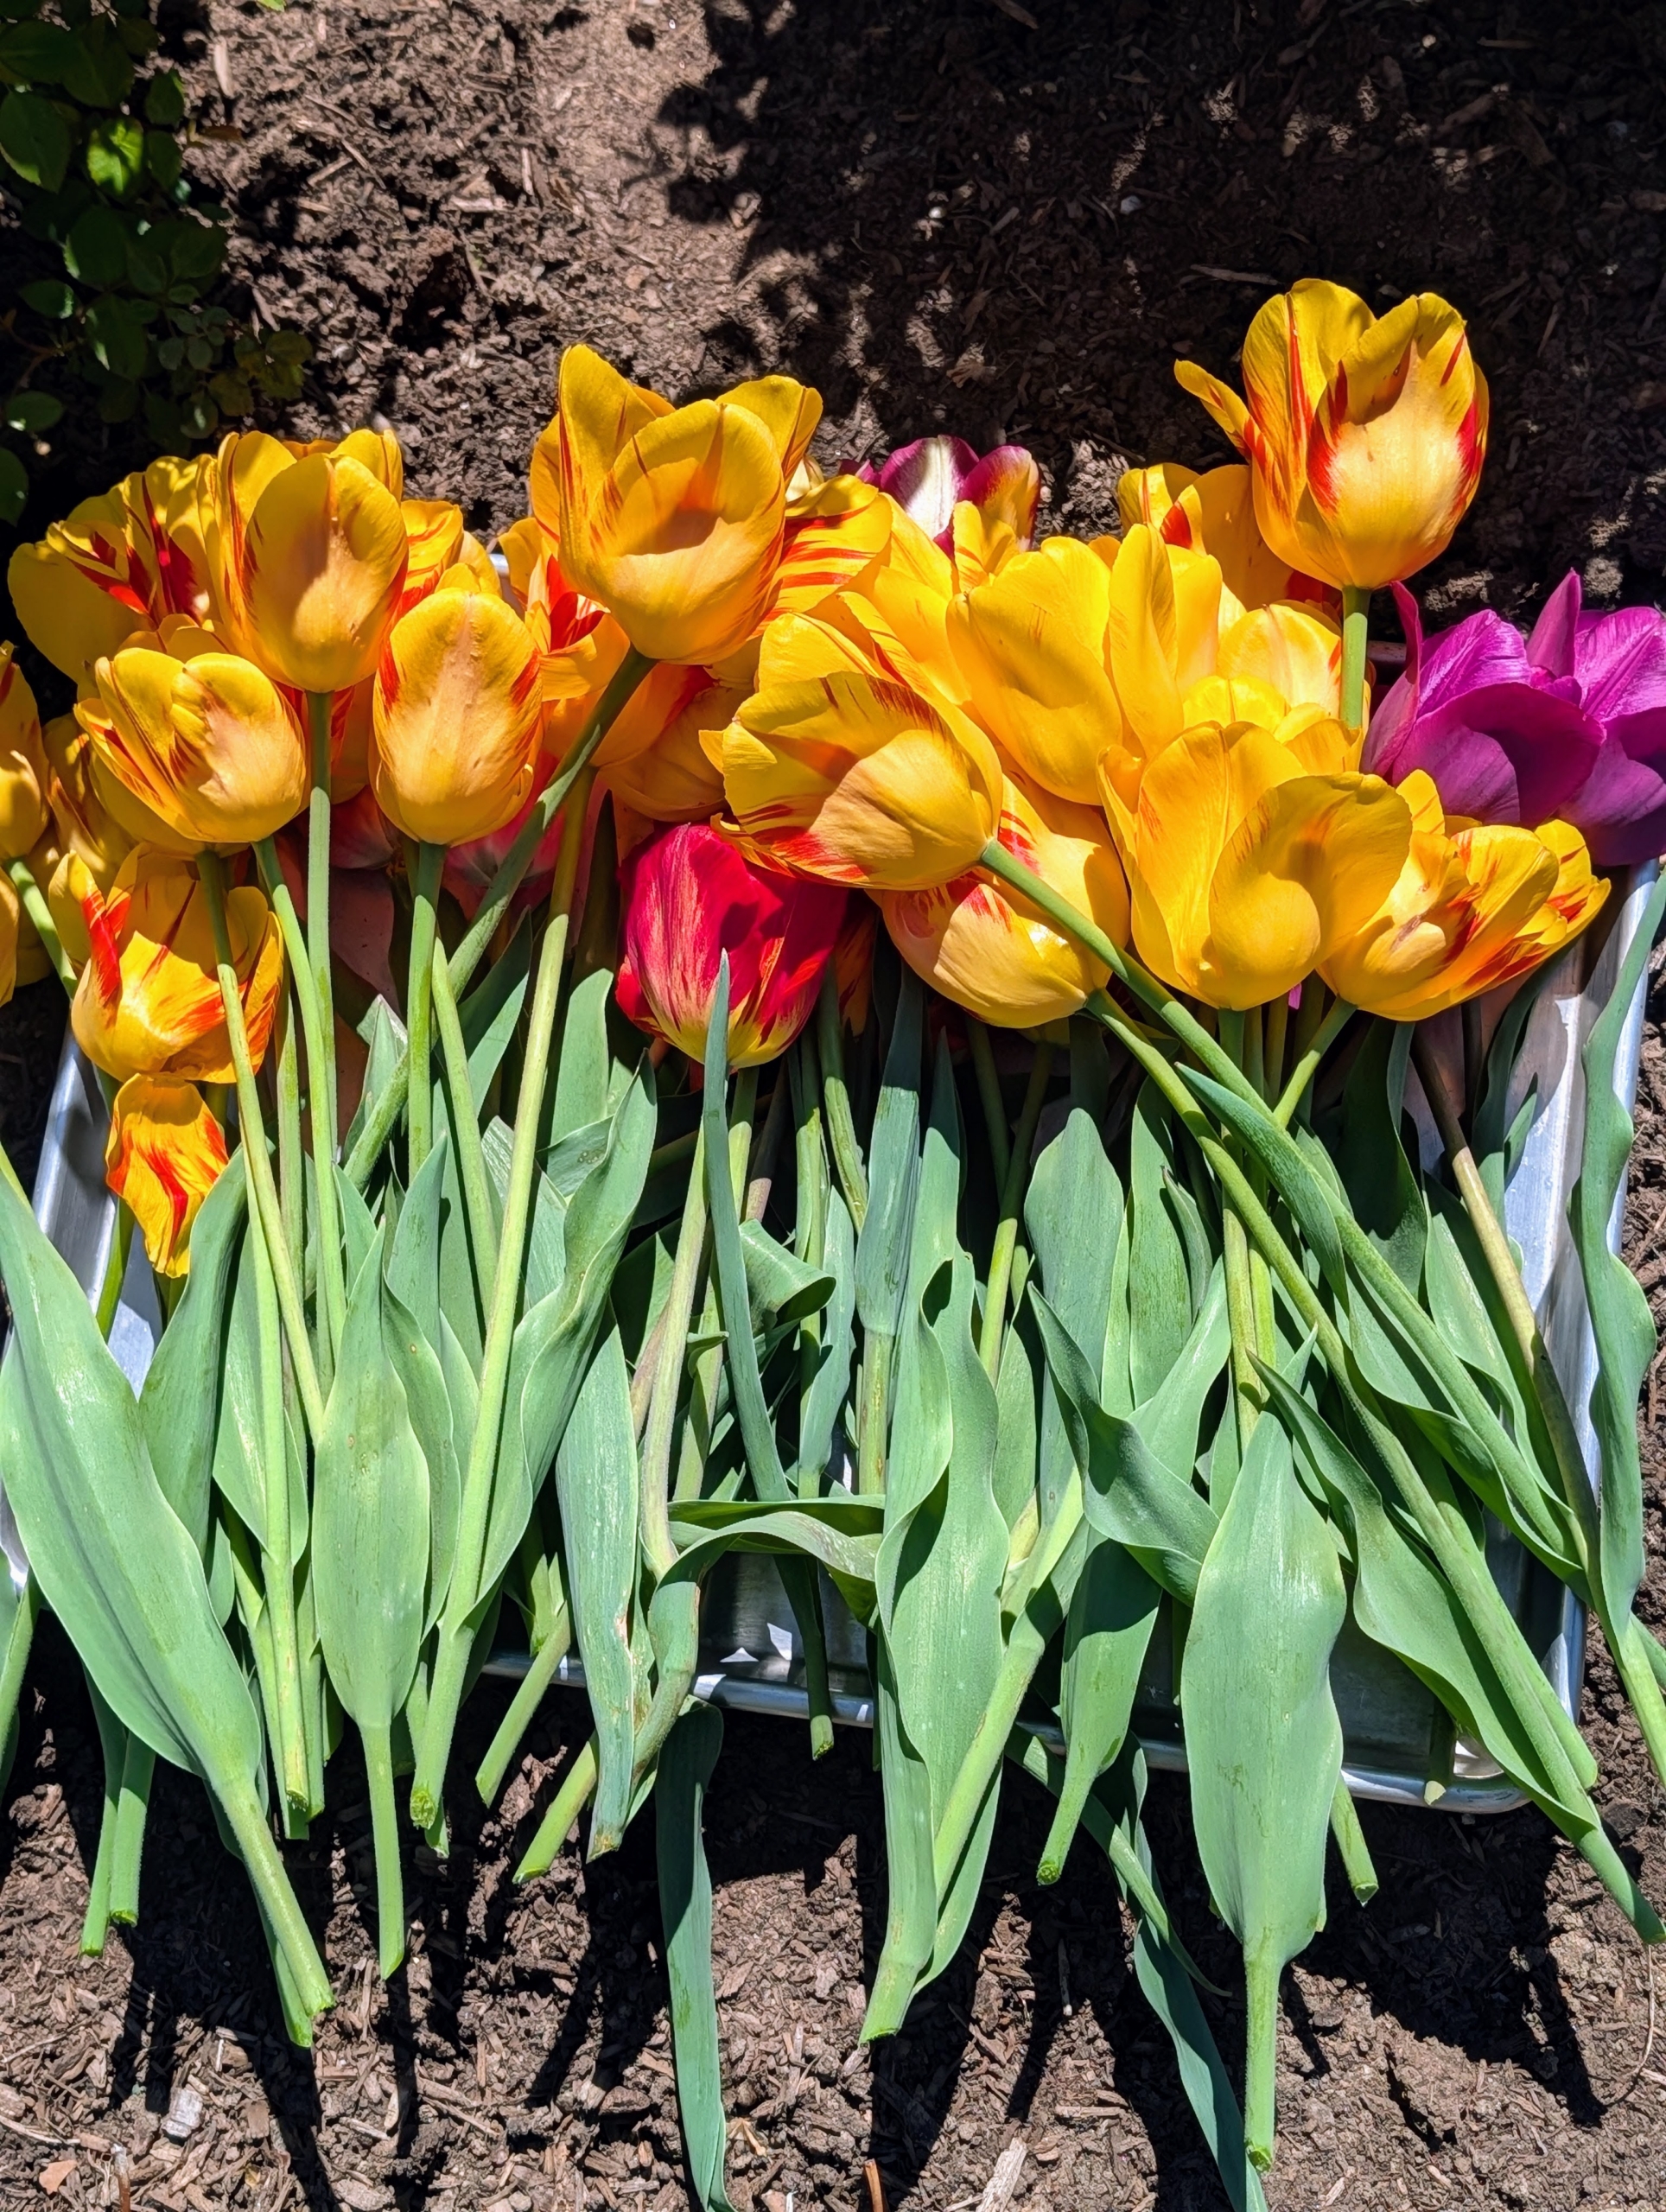
It's always so nice to walk through the gardens and see a multitude of beautiful and colorful blooms. I also love cutting fresh flowers to display in my home. Recently, my housekeeper Elvira Rojas brought in some beautiful spring tulips - so loved for their tall, straight stems, graceful leaves, and bright, cheery blooms.
Enjoy these photos and tips.
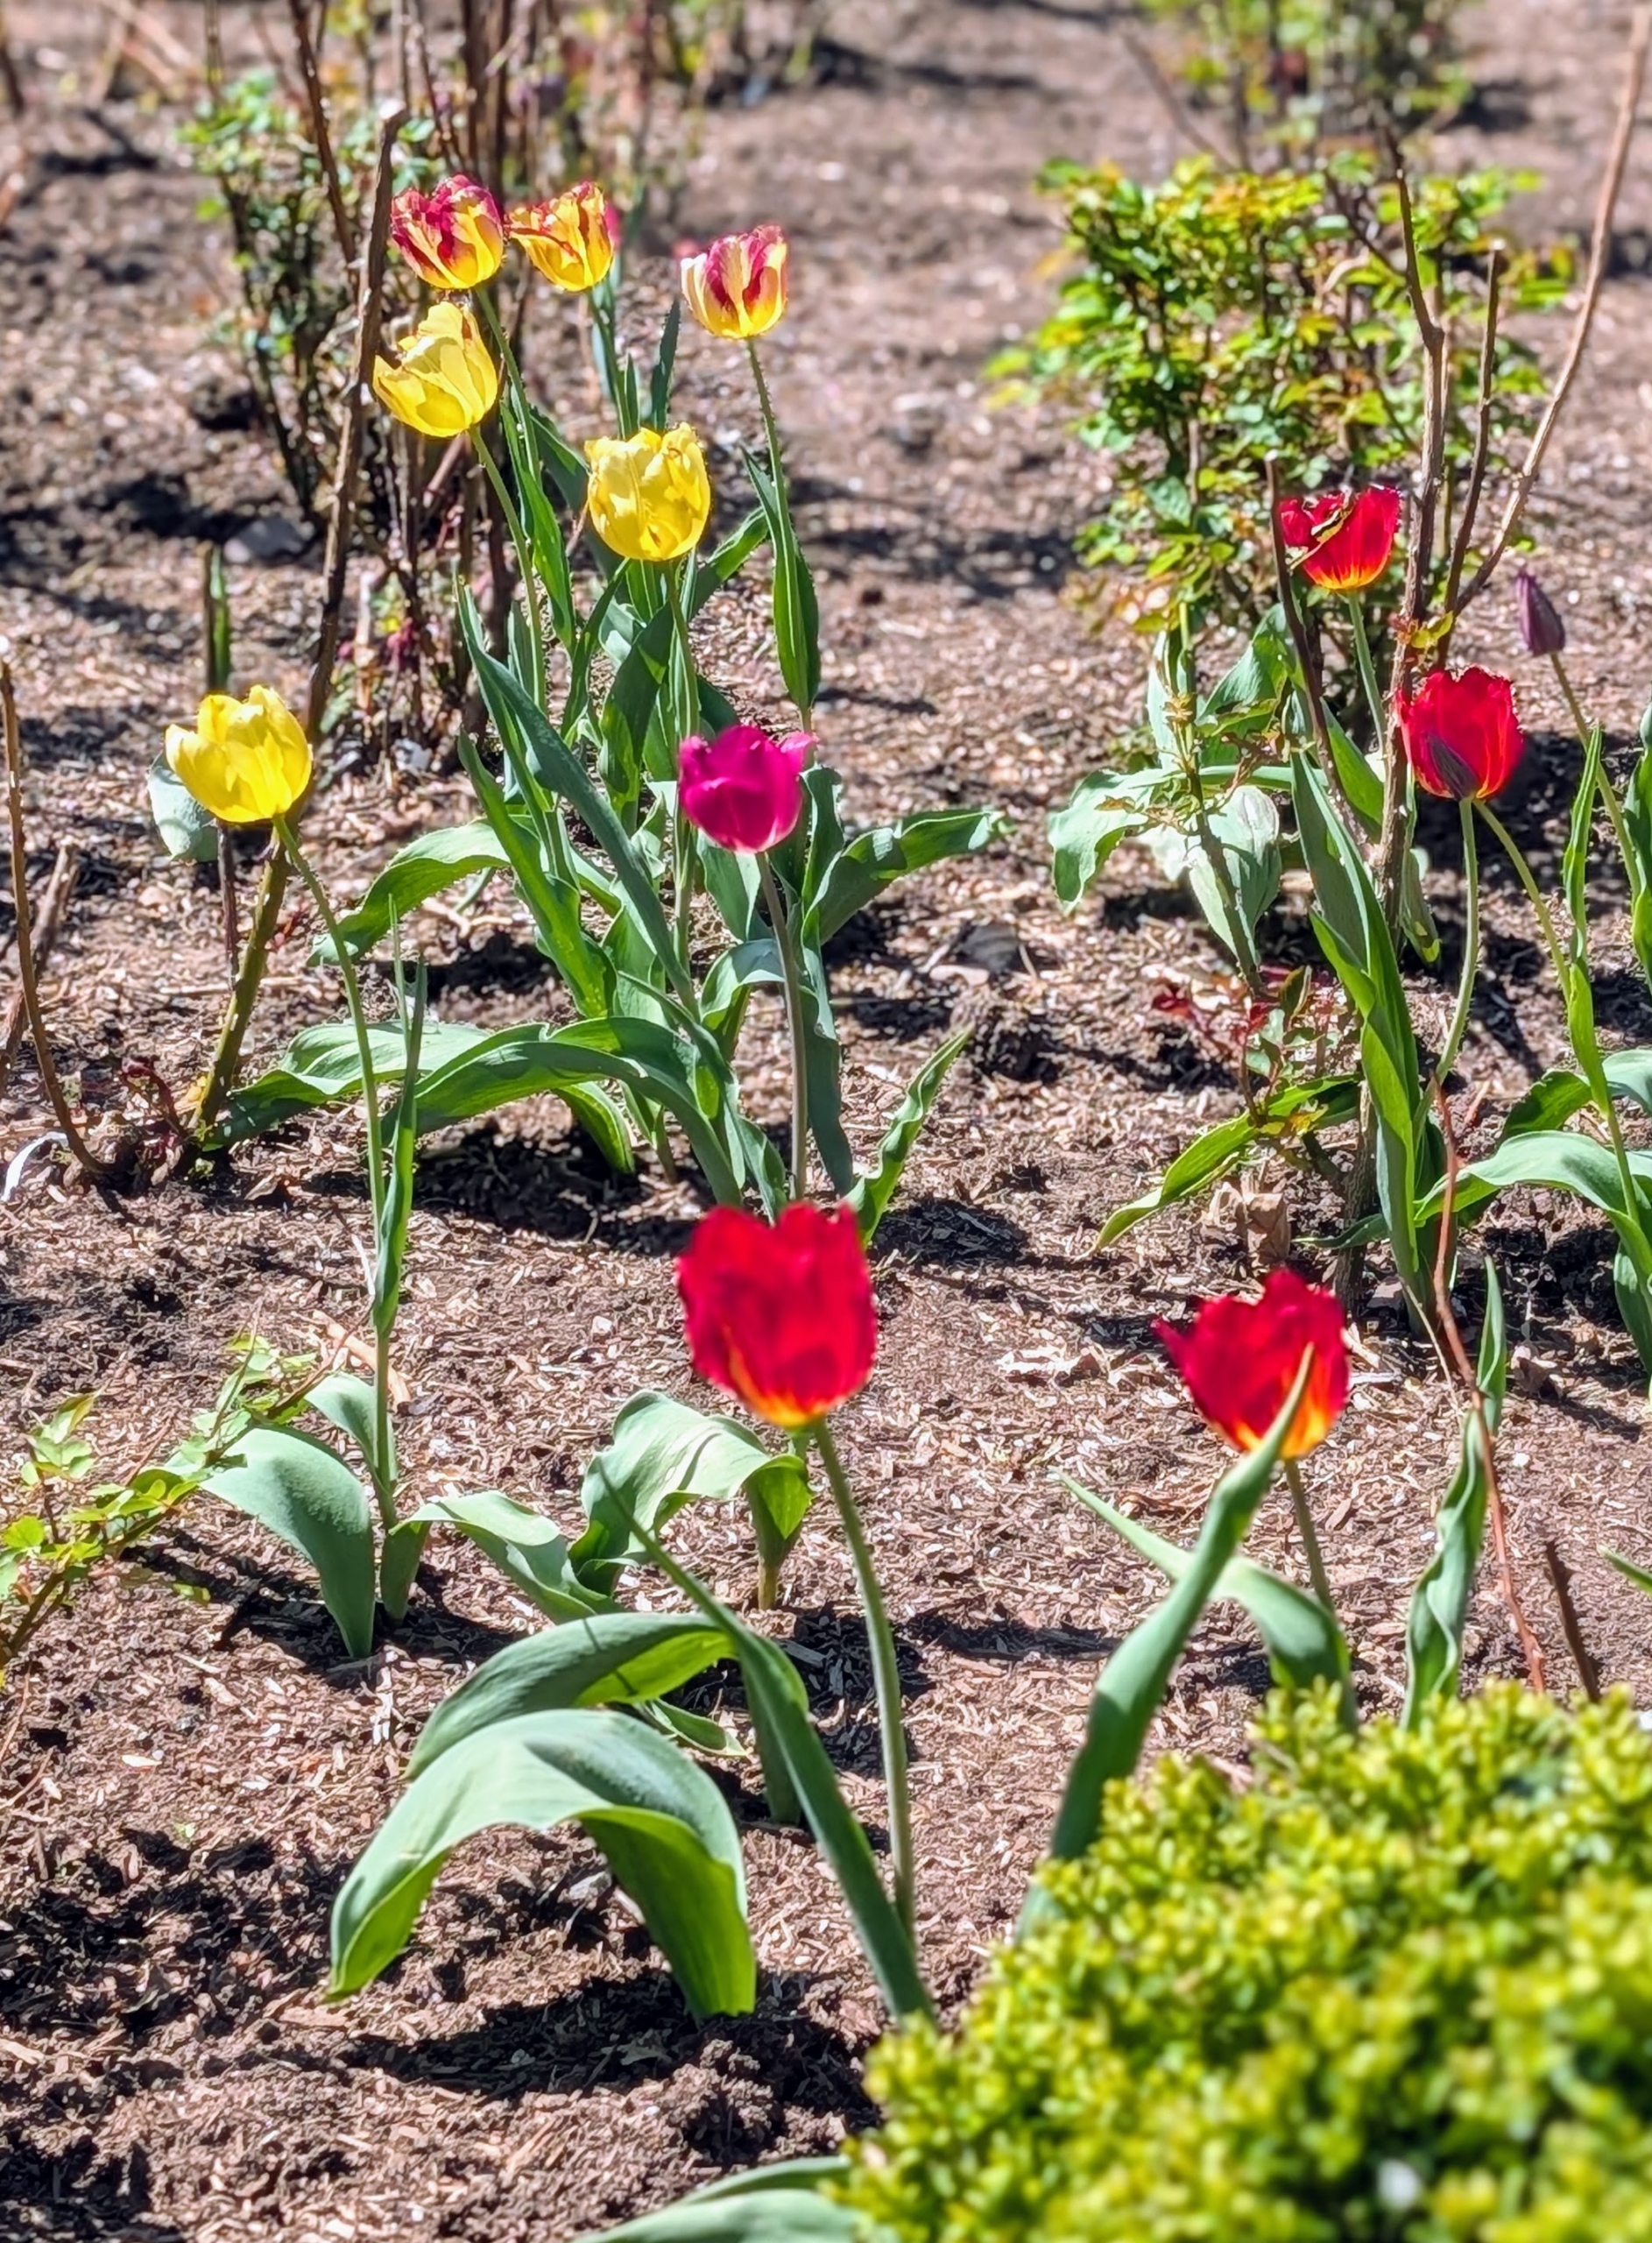
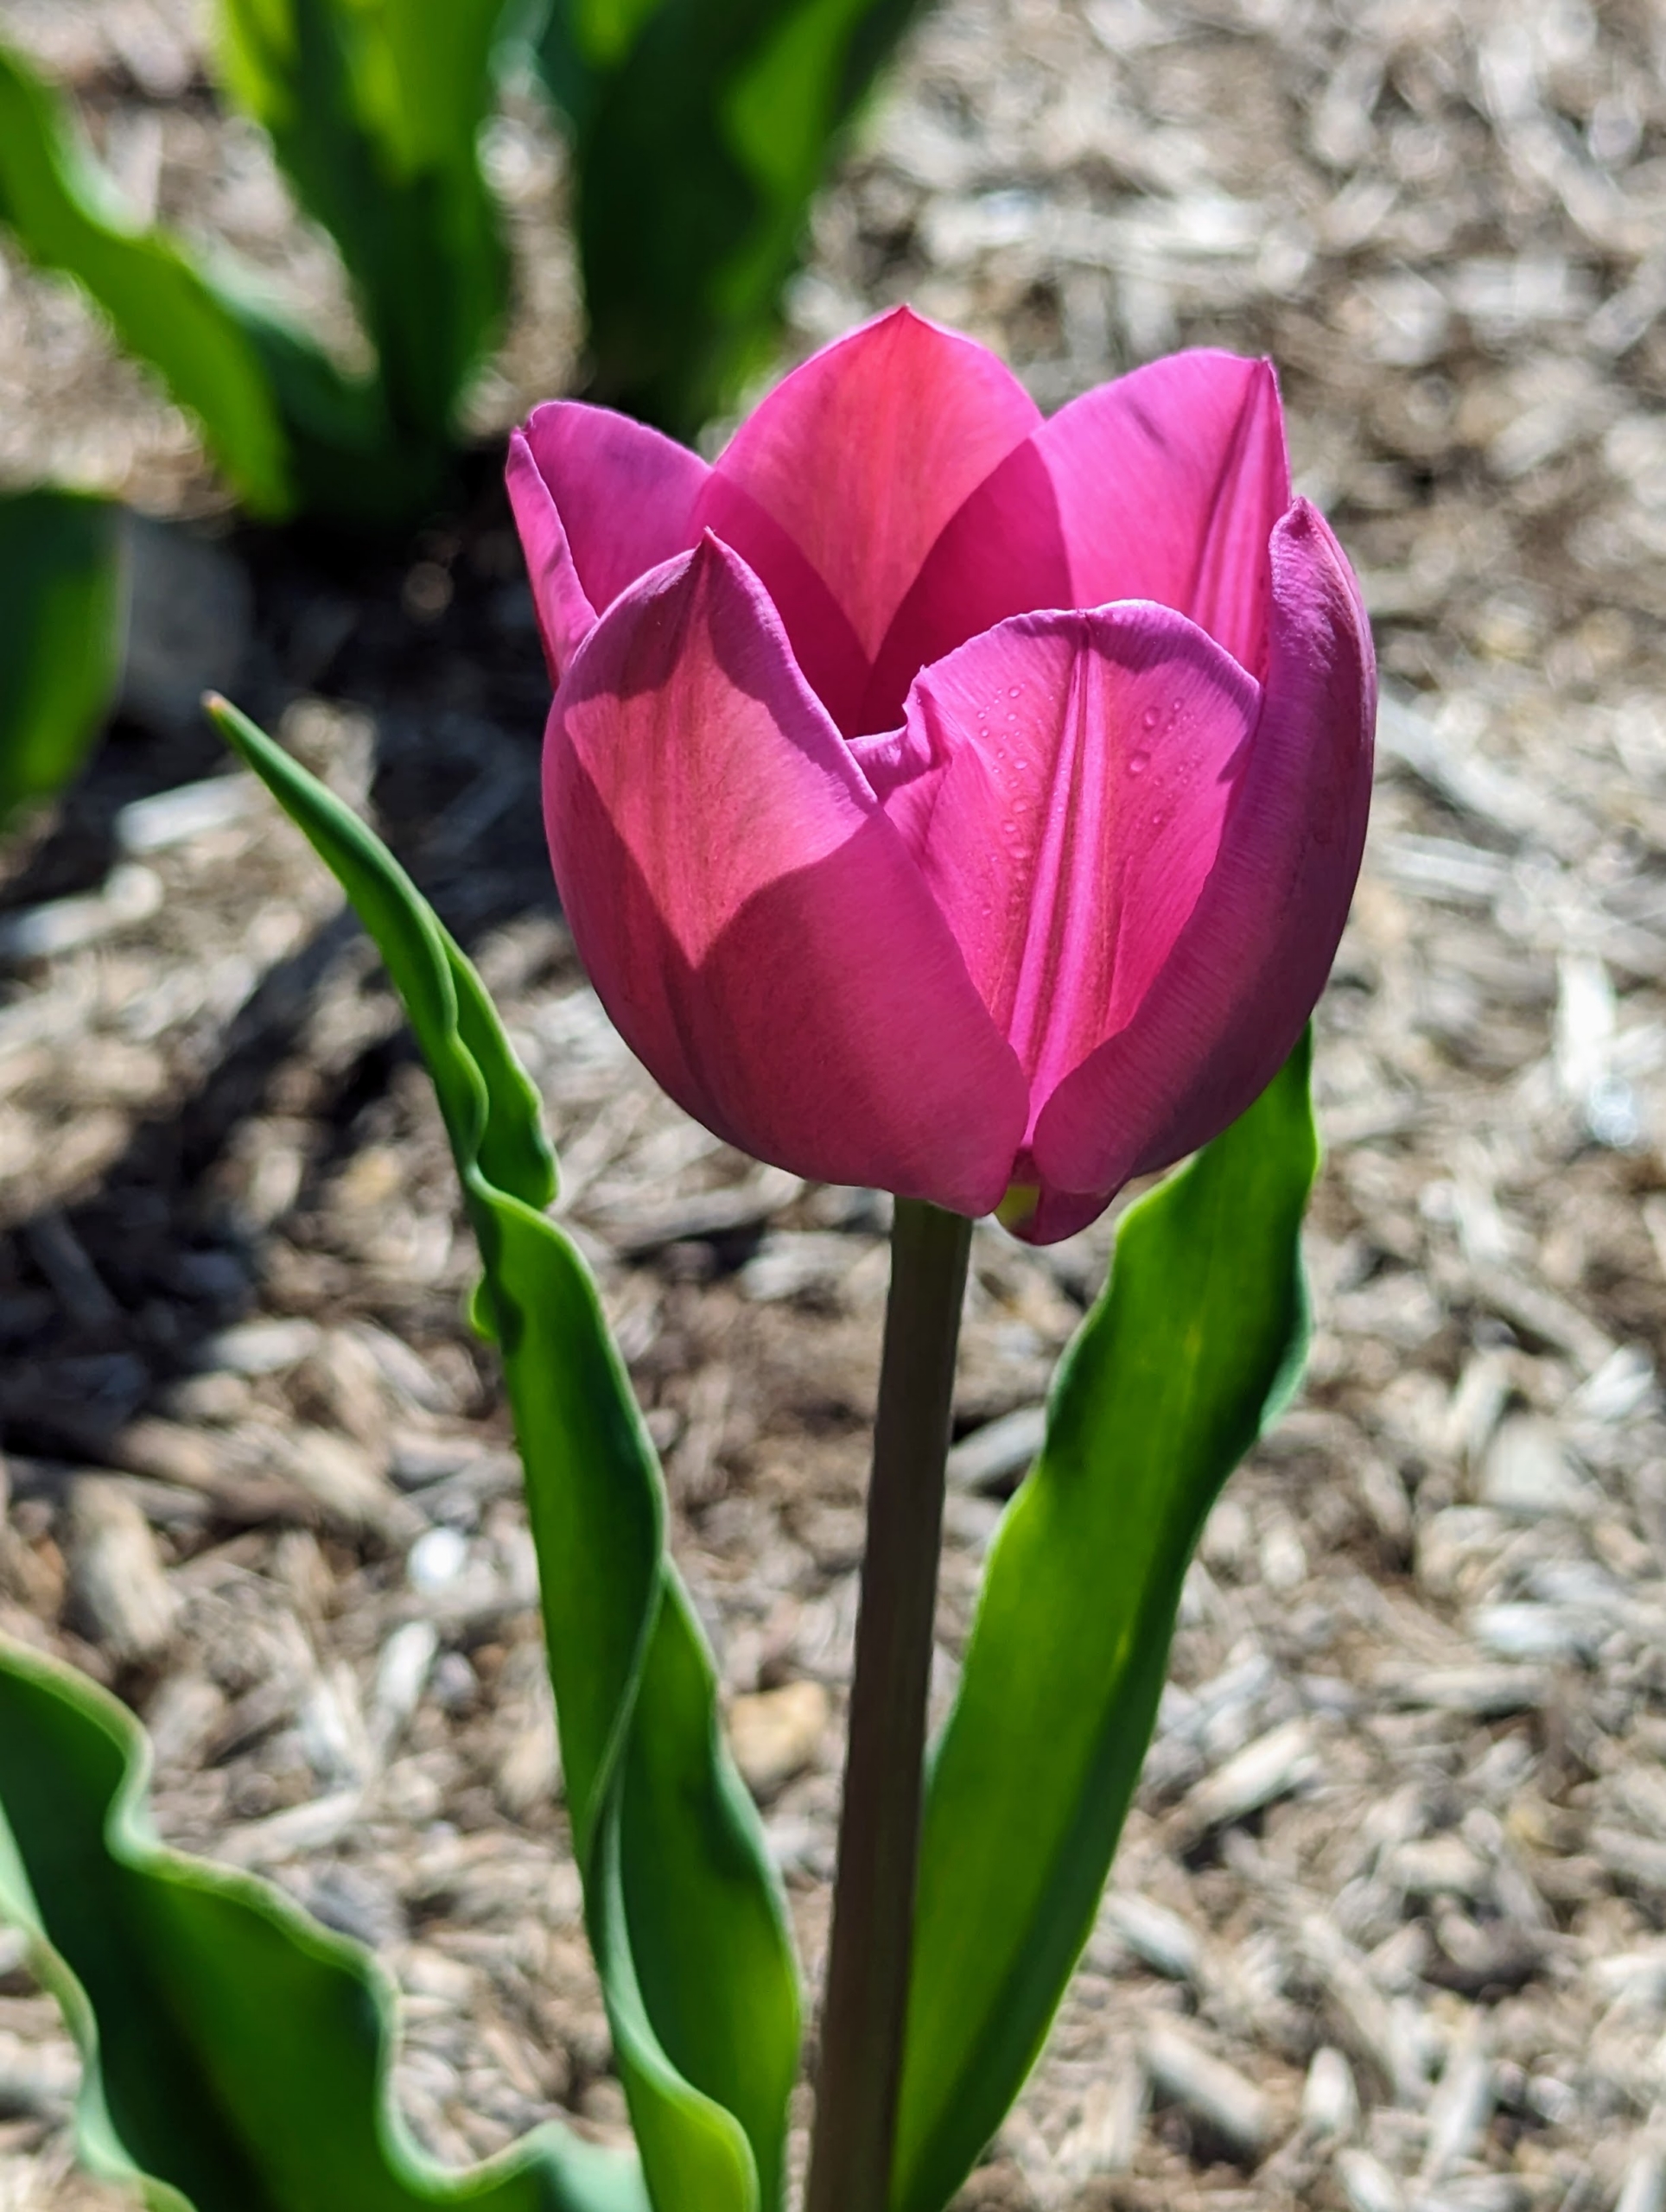
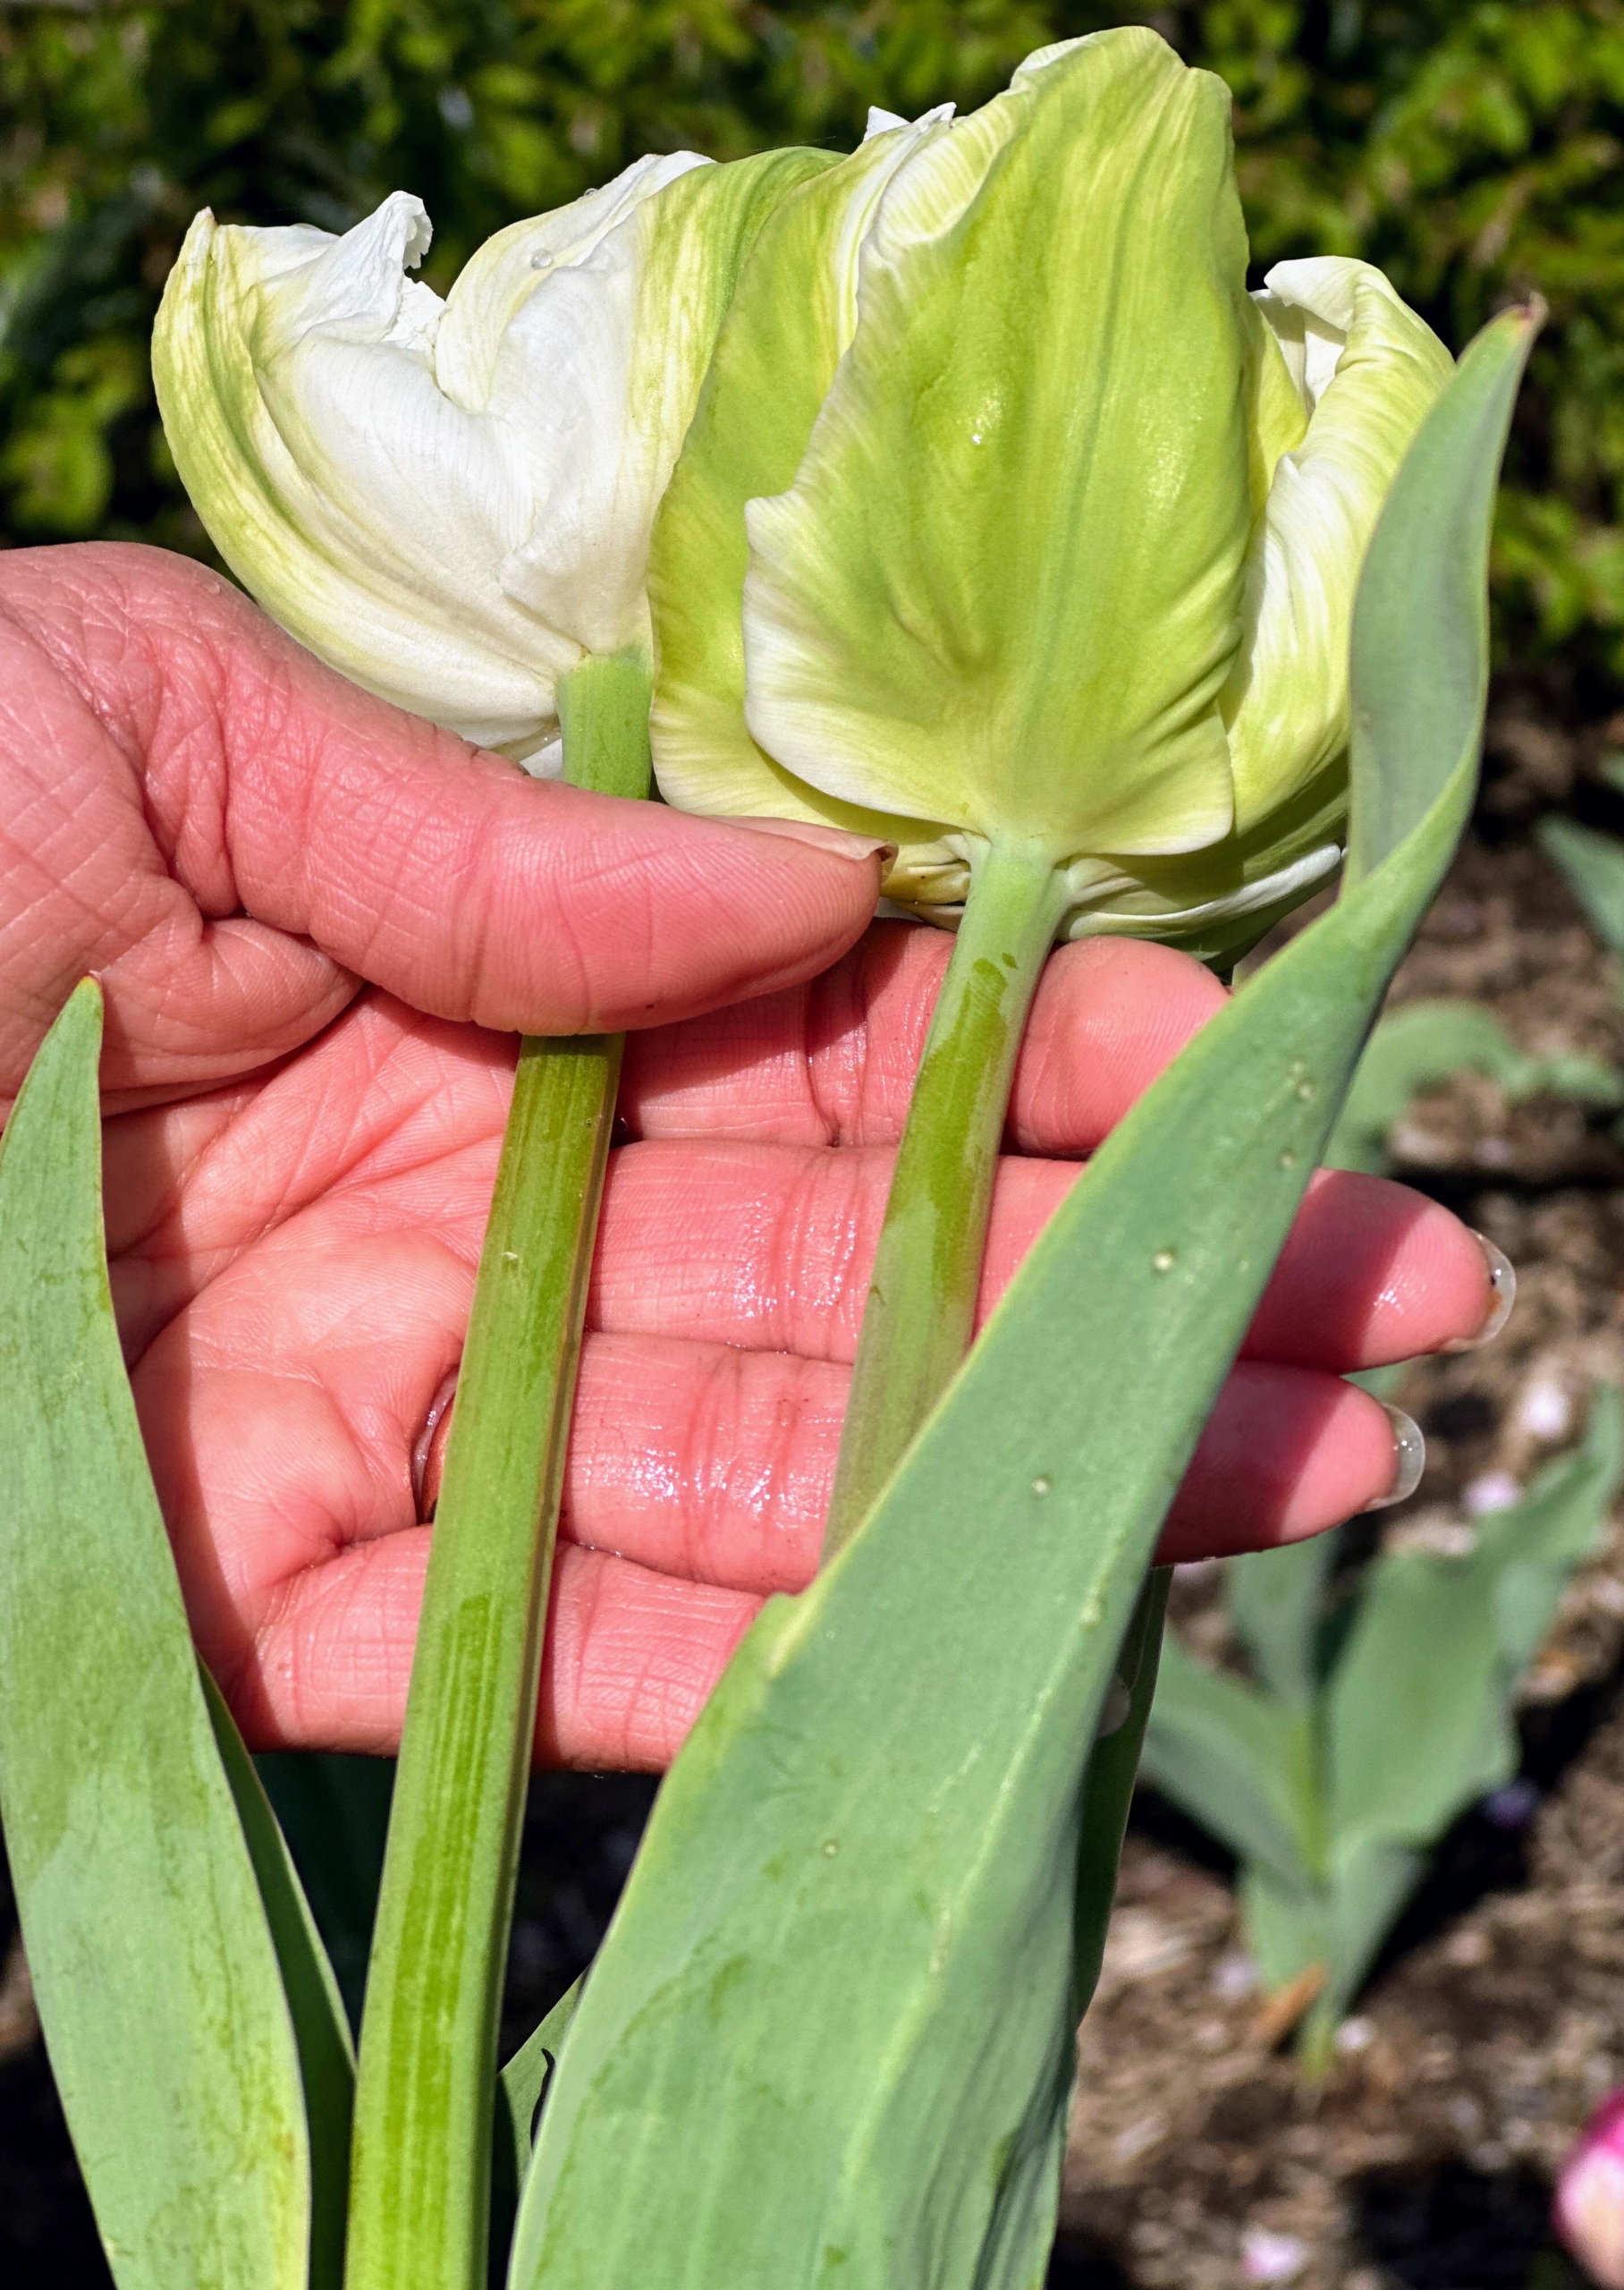
Hard not to love fresh, colorful spring tulips. They come in a large variety of shapes, sizes, colors, and forms. Some are traditional and cup-shaped, some have fringed petals, others have pointed ones, and some are full of fanciful ruffles. Some varieties even carry a soft, subtle scent.
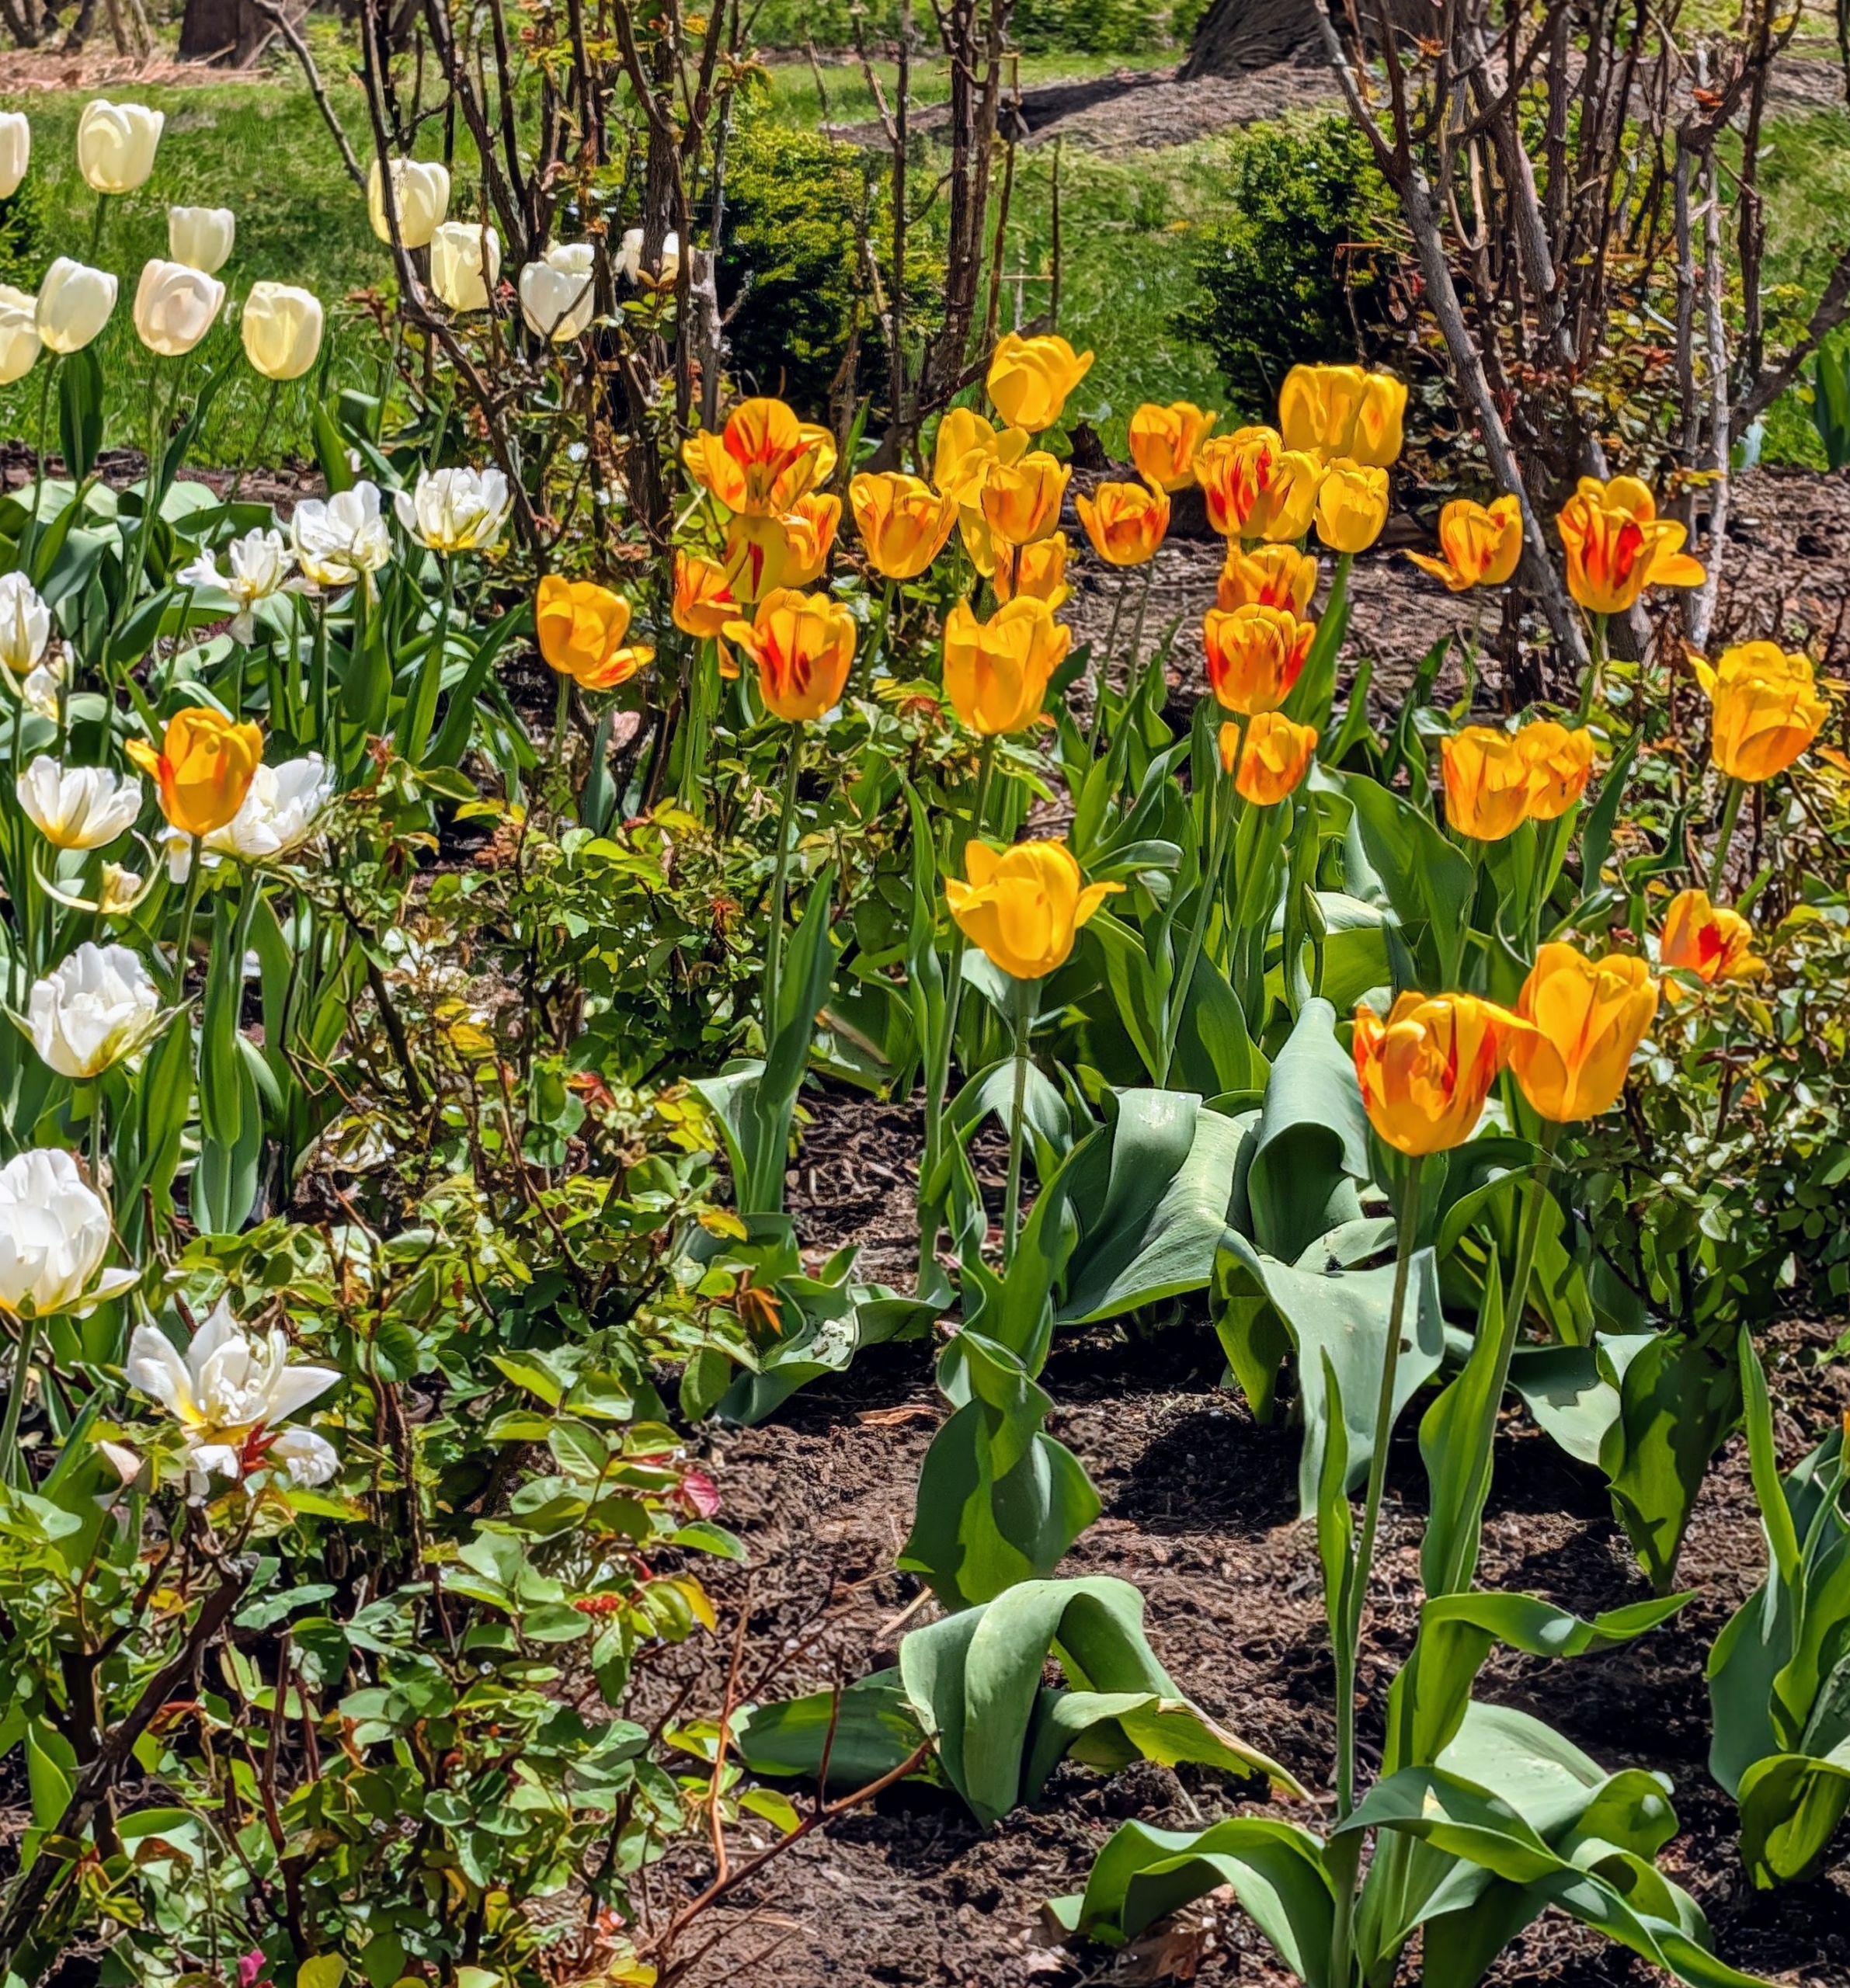
Tulips typically begin emerging from the ground in late winter or early spring. I have tulips growing in many areas around my farm including several beds of my vegetable garden, in my flower cutting garden, and in this bed behind my main greenhouse.
In 2015, this garden was dedicated entirely to tulips. I eventually turned this space into a rose garden, but some tulips continue to pop up every spring.
Although closely associated with Holland, tulips were first cultivated in Turkey. The name tulip is believed to be derived from the Turkish word for turbans, “tulbend,” because of their resemblance.
Garden tulips thrive in sunny areas with well-drained soil. They also need cold winters, where they can get 12 to 16 weeks with temperatures between 35 and 45 degrees Fahrenheit to trigger proper root development and flower formation.
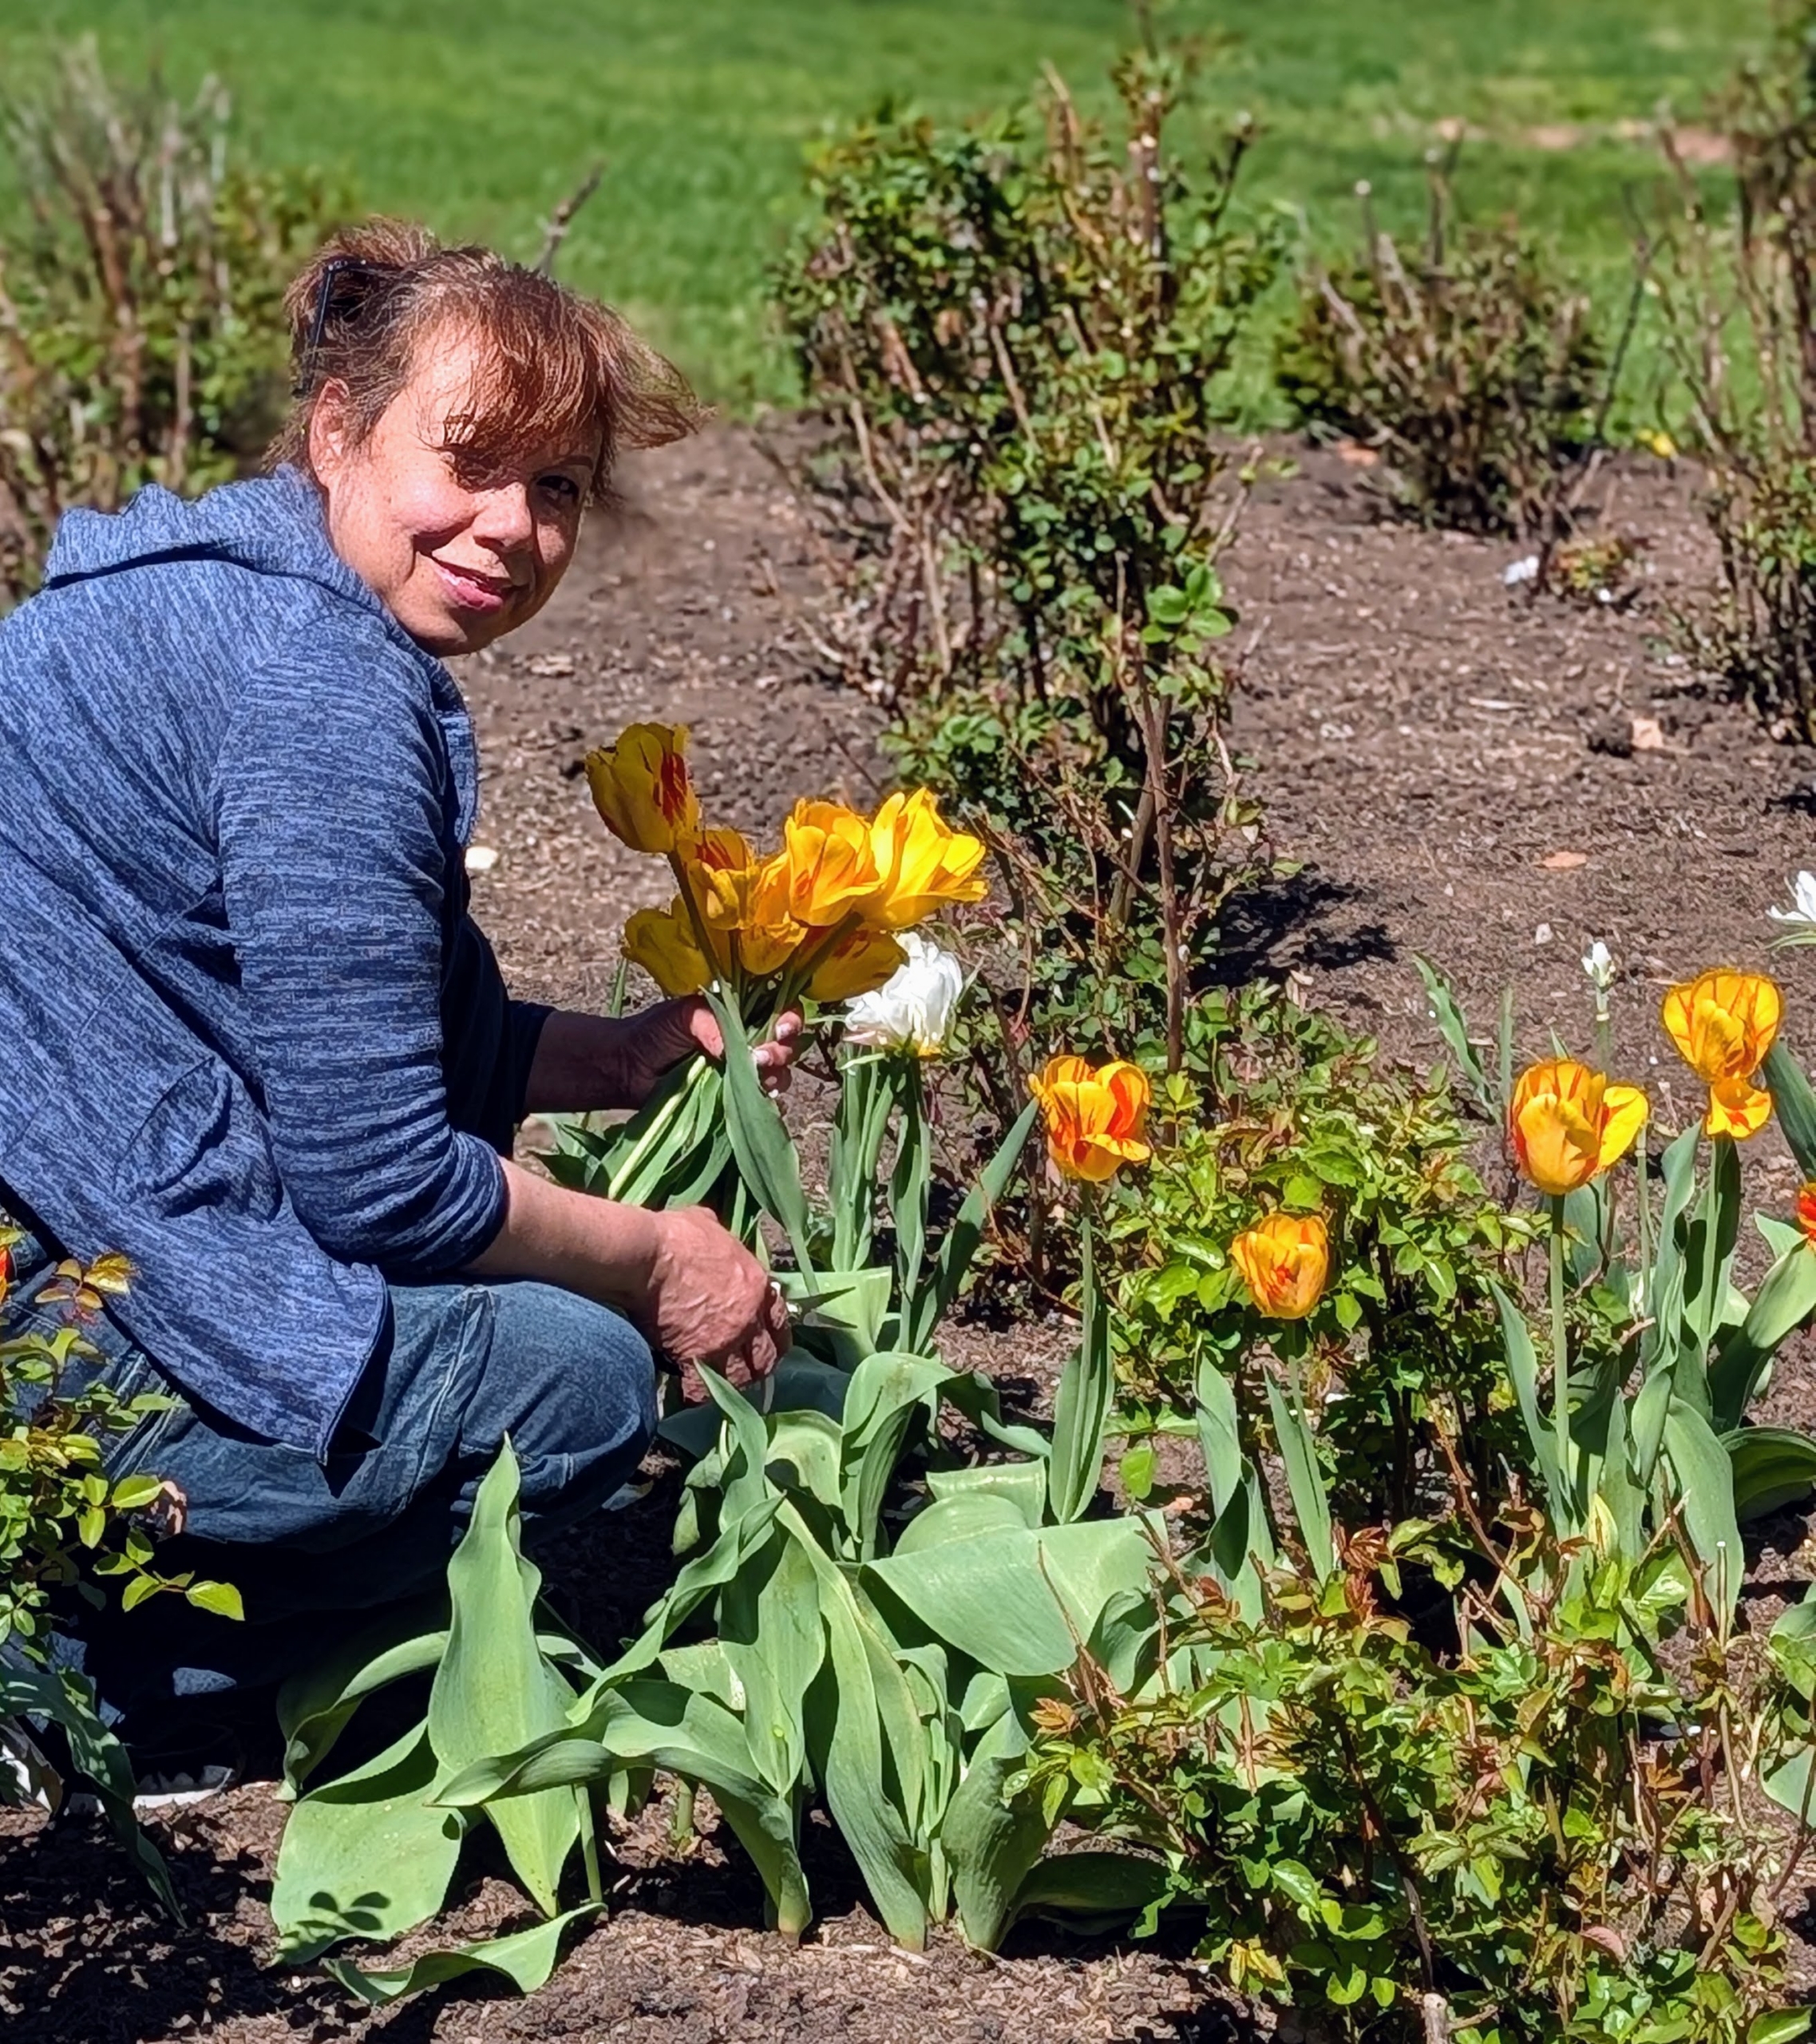
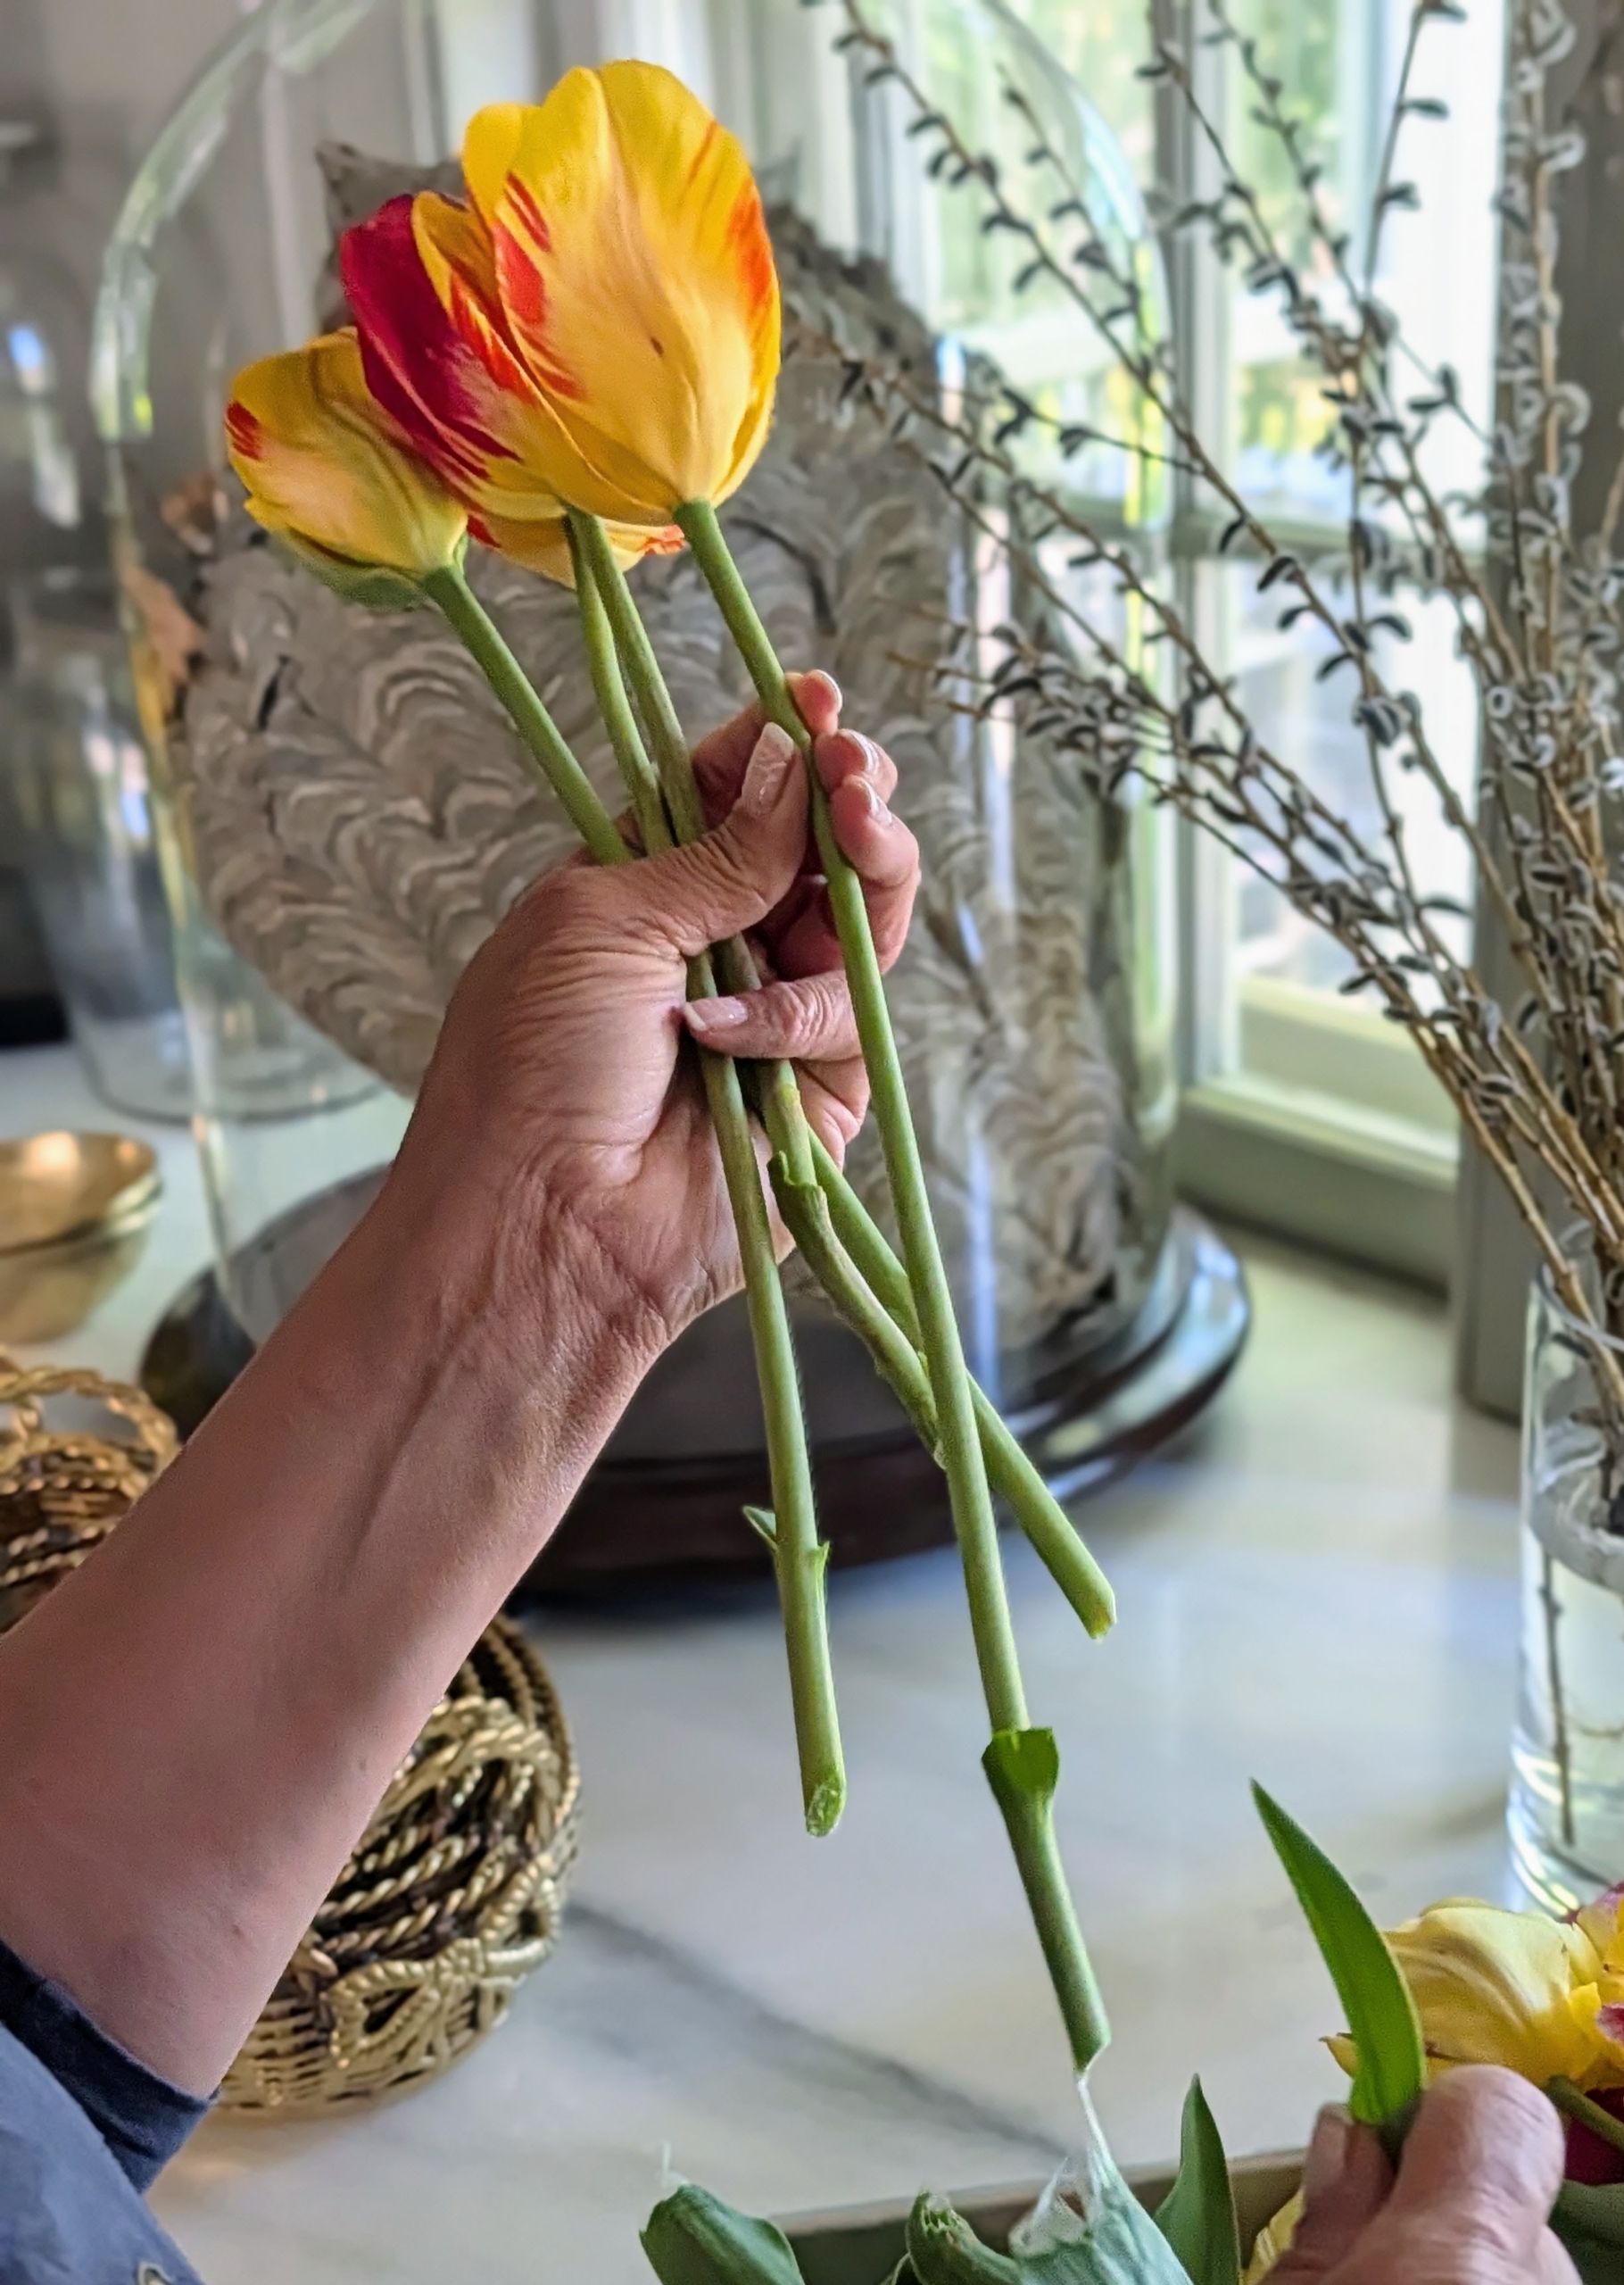
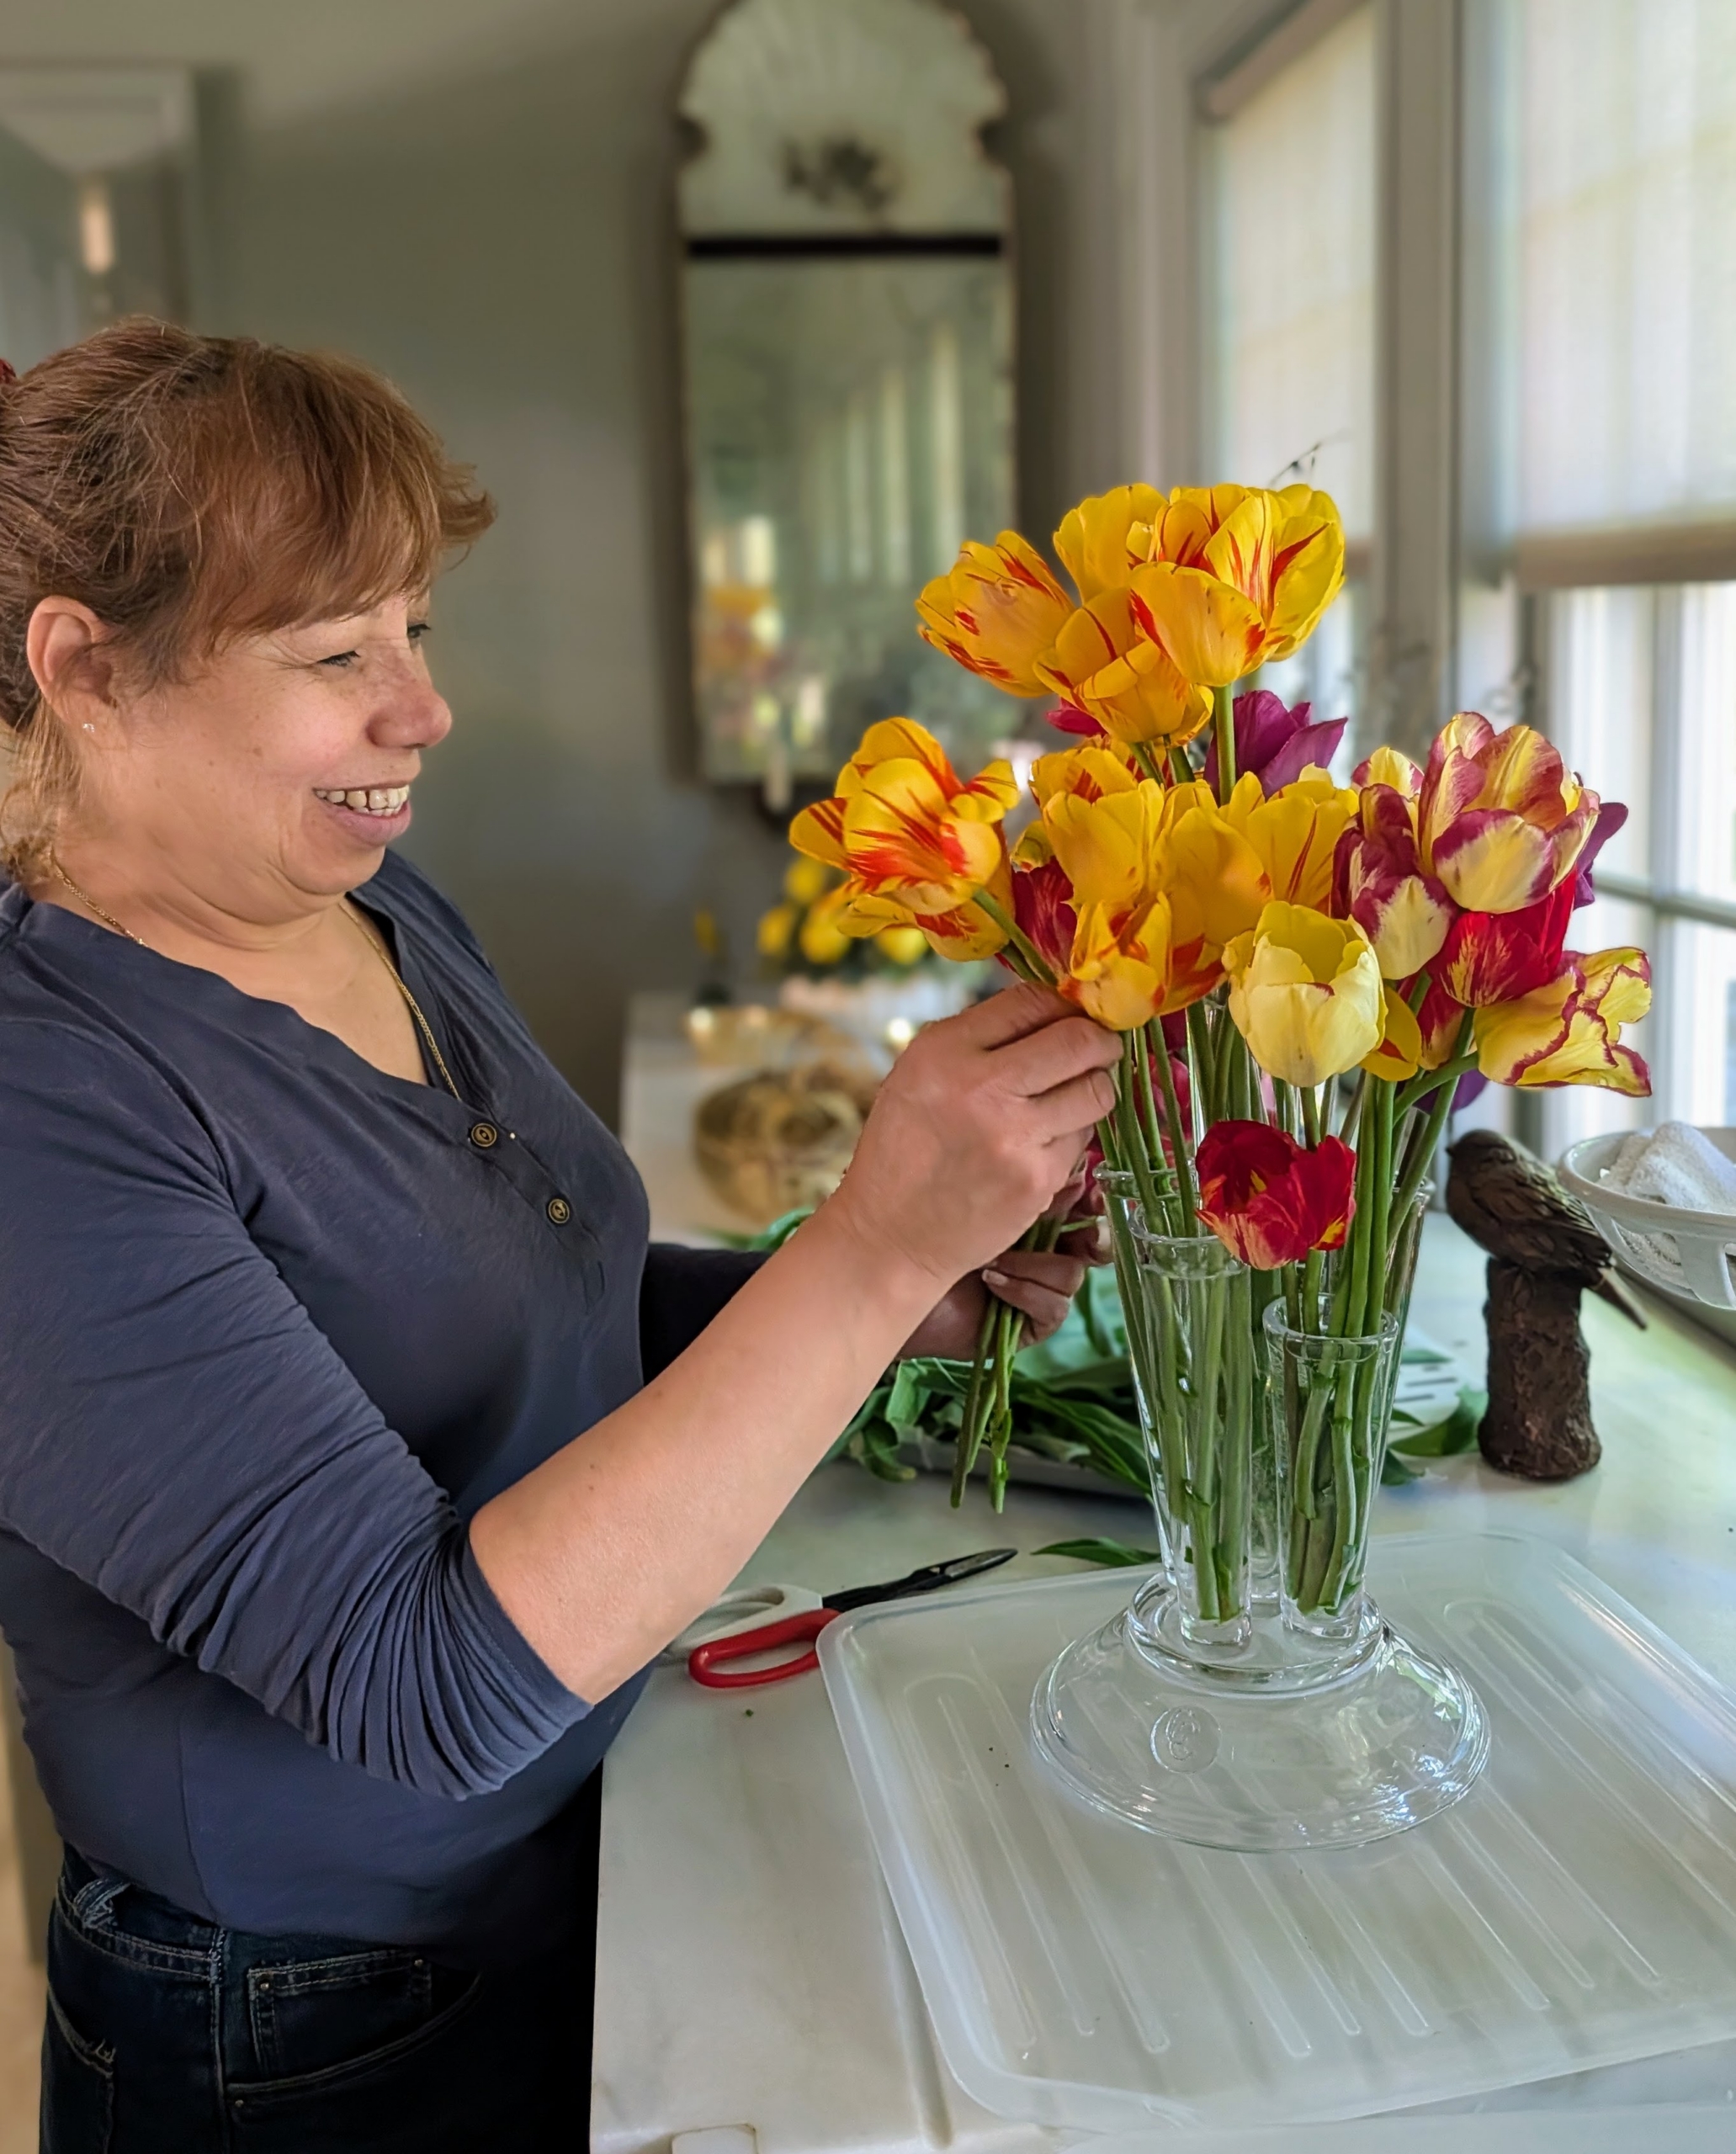
Here’s Elvira cutting some of the tulips to bring indoors. If possible, cut tulips when the buds show full color but are not yet completely open – this will allow for the longest vase life.
And cut flowers in the early morning or late evening when stems are fully hydrated and sugars are at their peak. And always use clean, sharp shears.
Cut the tulips at the base of the stem at a 45-degree angle to provide the largest surface area for water uptake while in the vase.
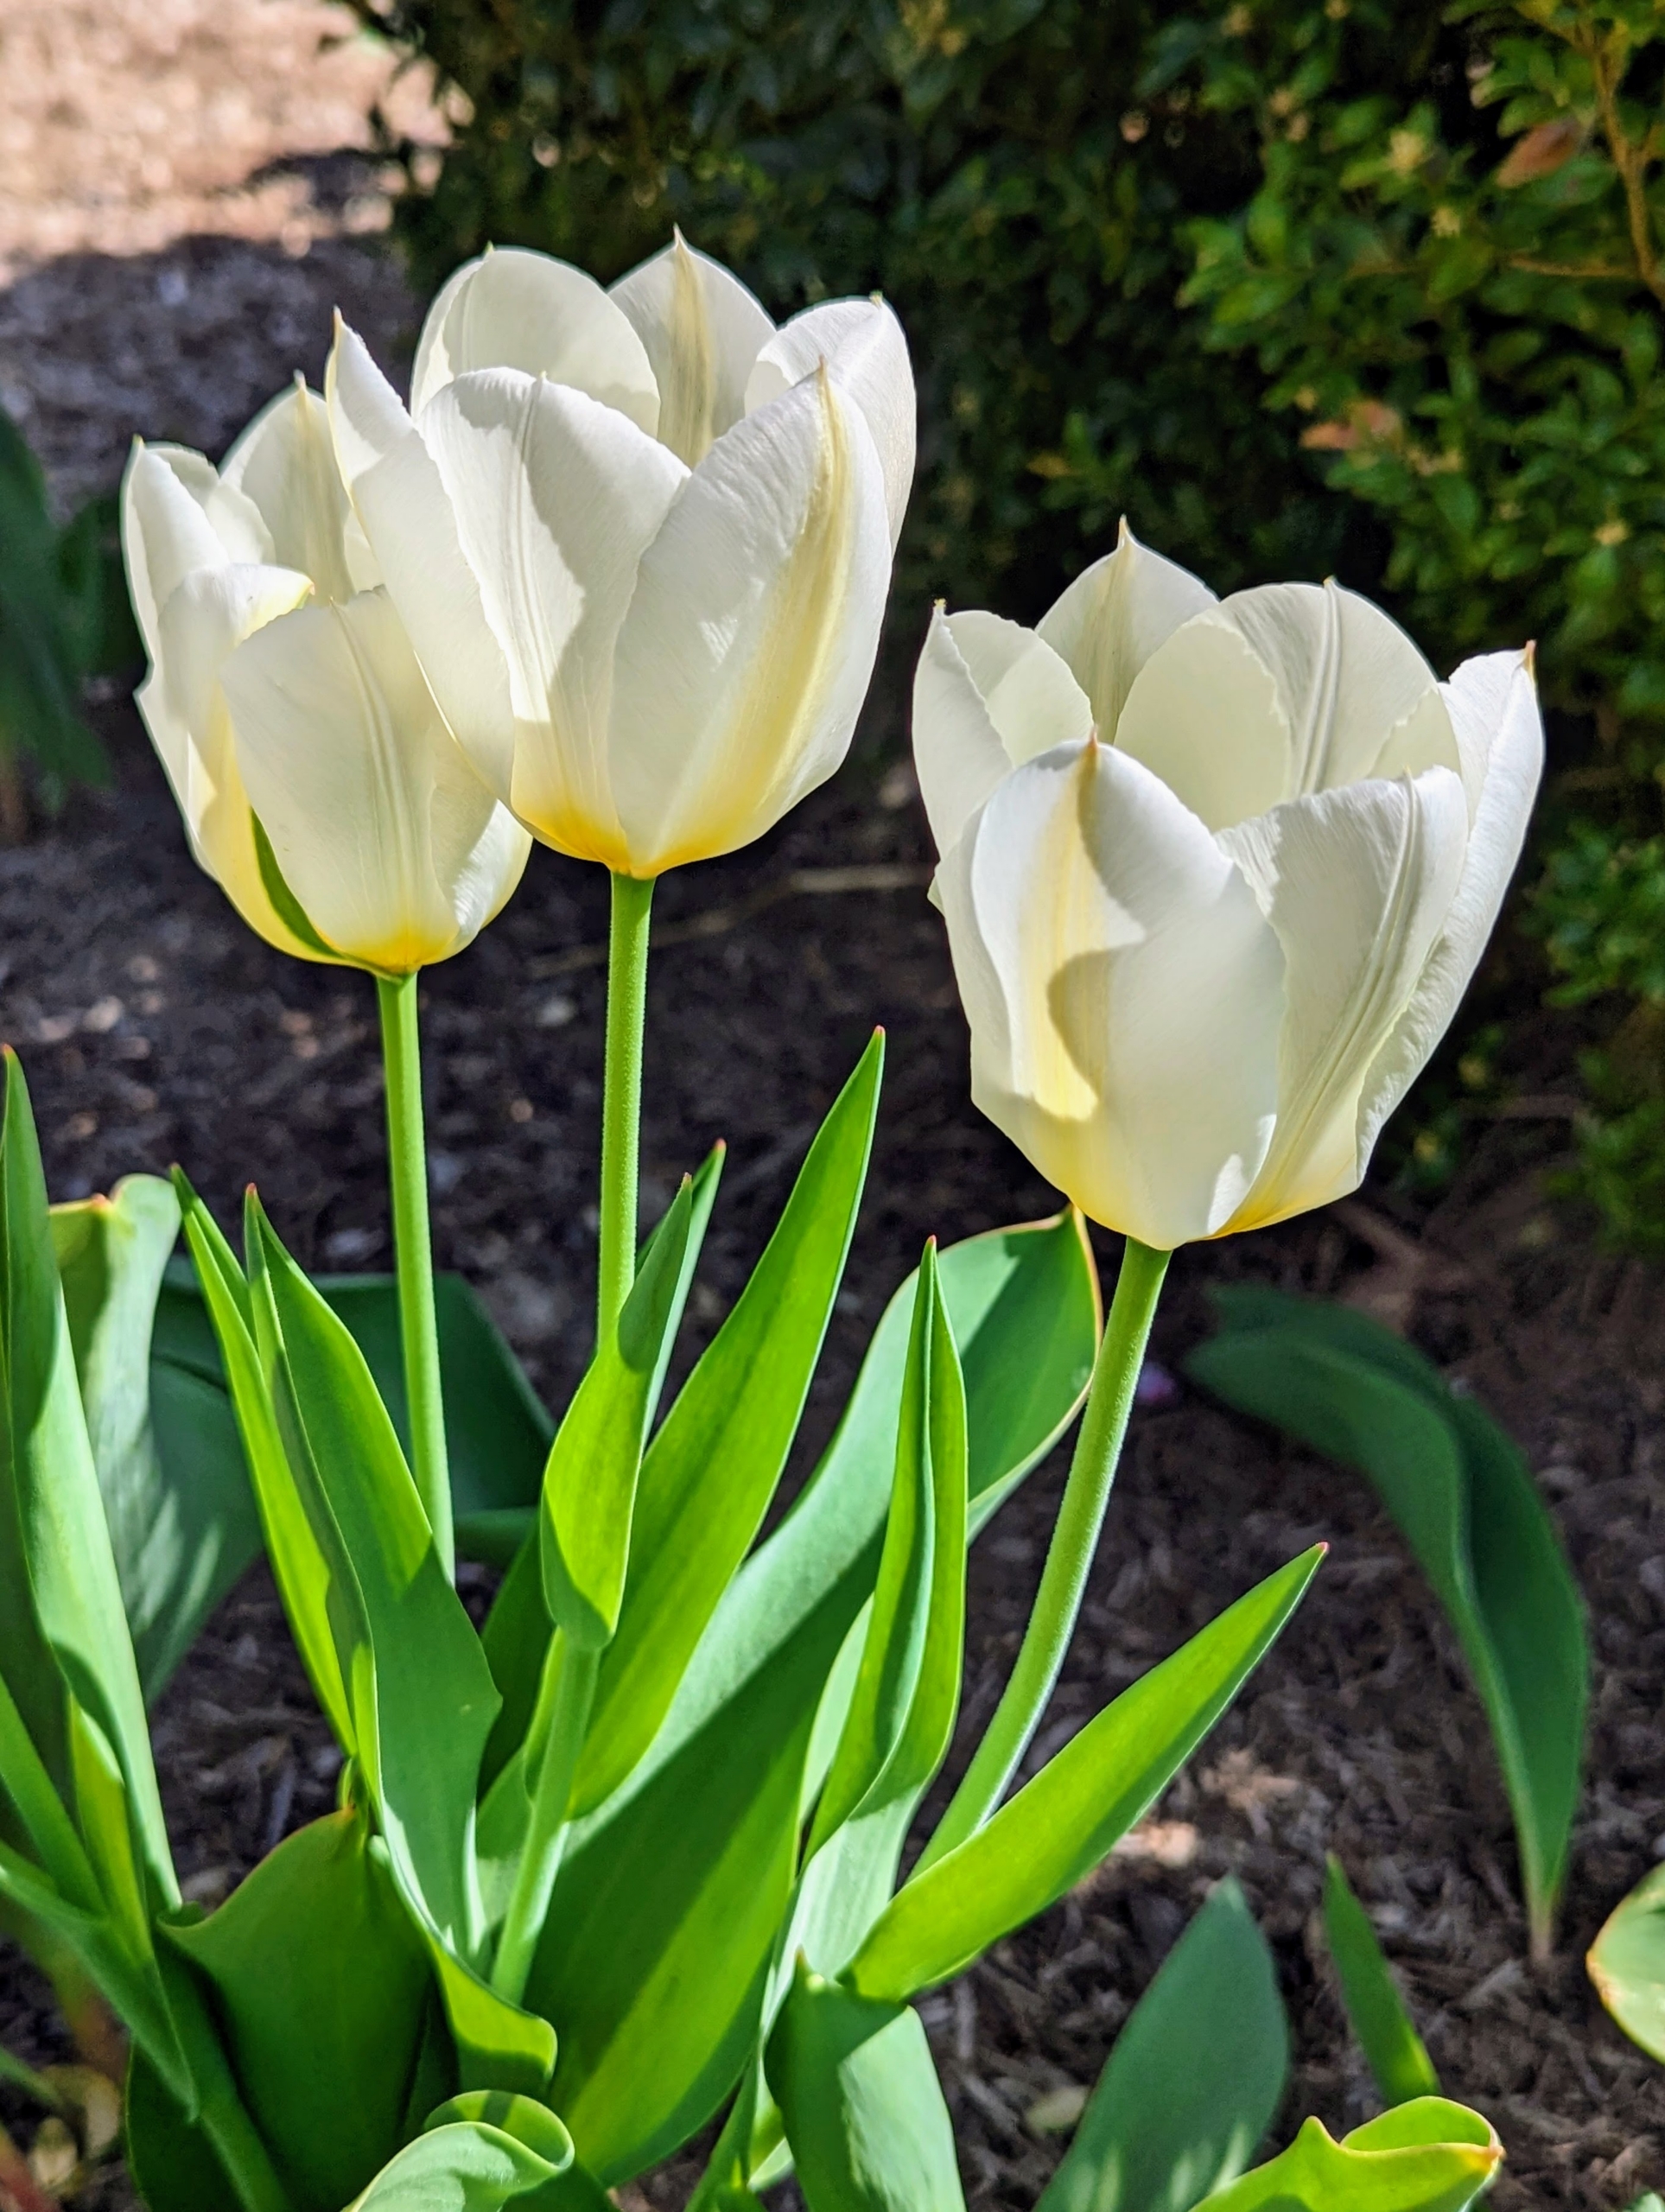
Elvira also picks some white tulips.
As soon as the flowers are brought in, vases are filled and arranging begins. I use cool, fresh water and only fill about two thirds to avoid over-submerging. More water can be added later if needed.
Putting tulips and other flowers in water soon after cutting prevents stems from sealing, which can slow water uptake and reduce freshness.
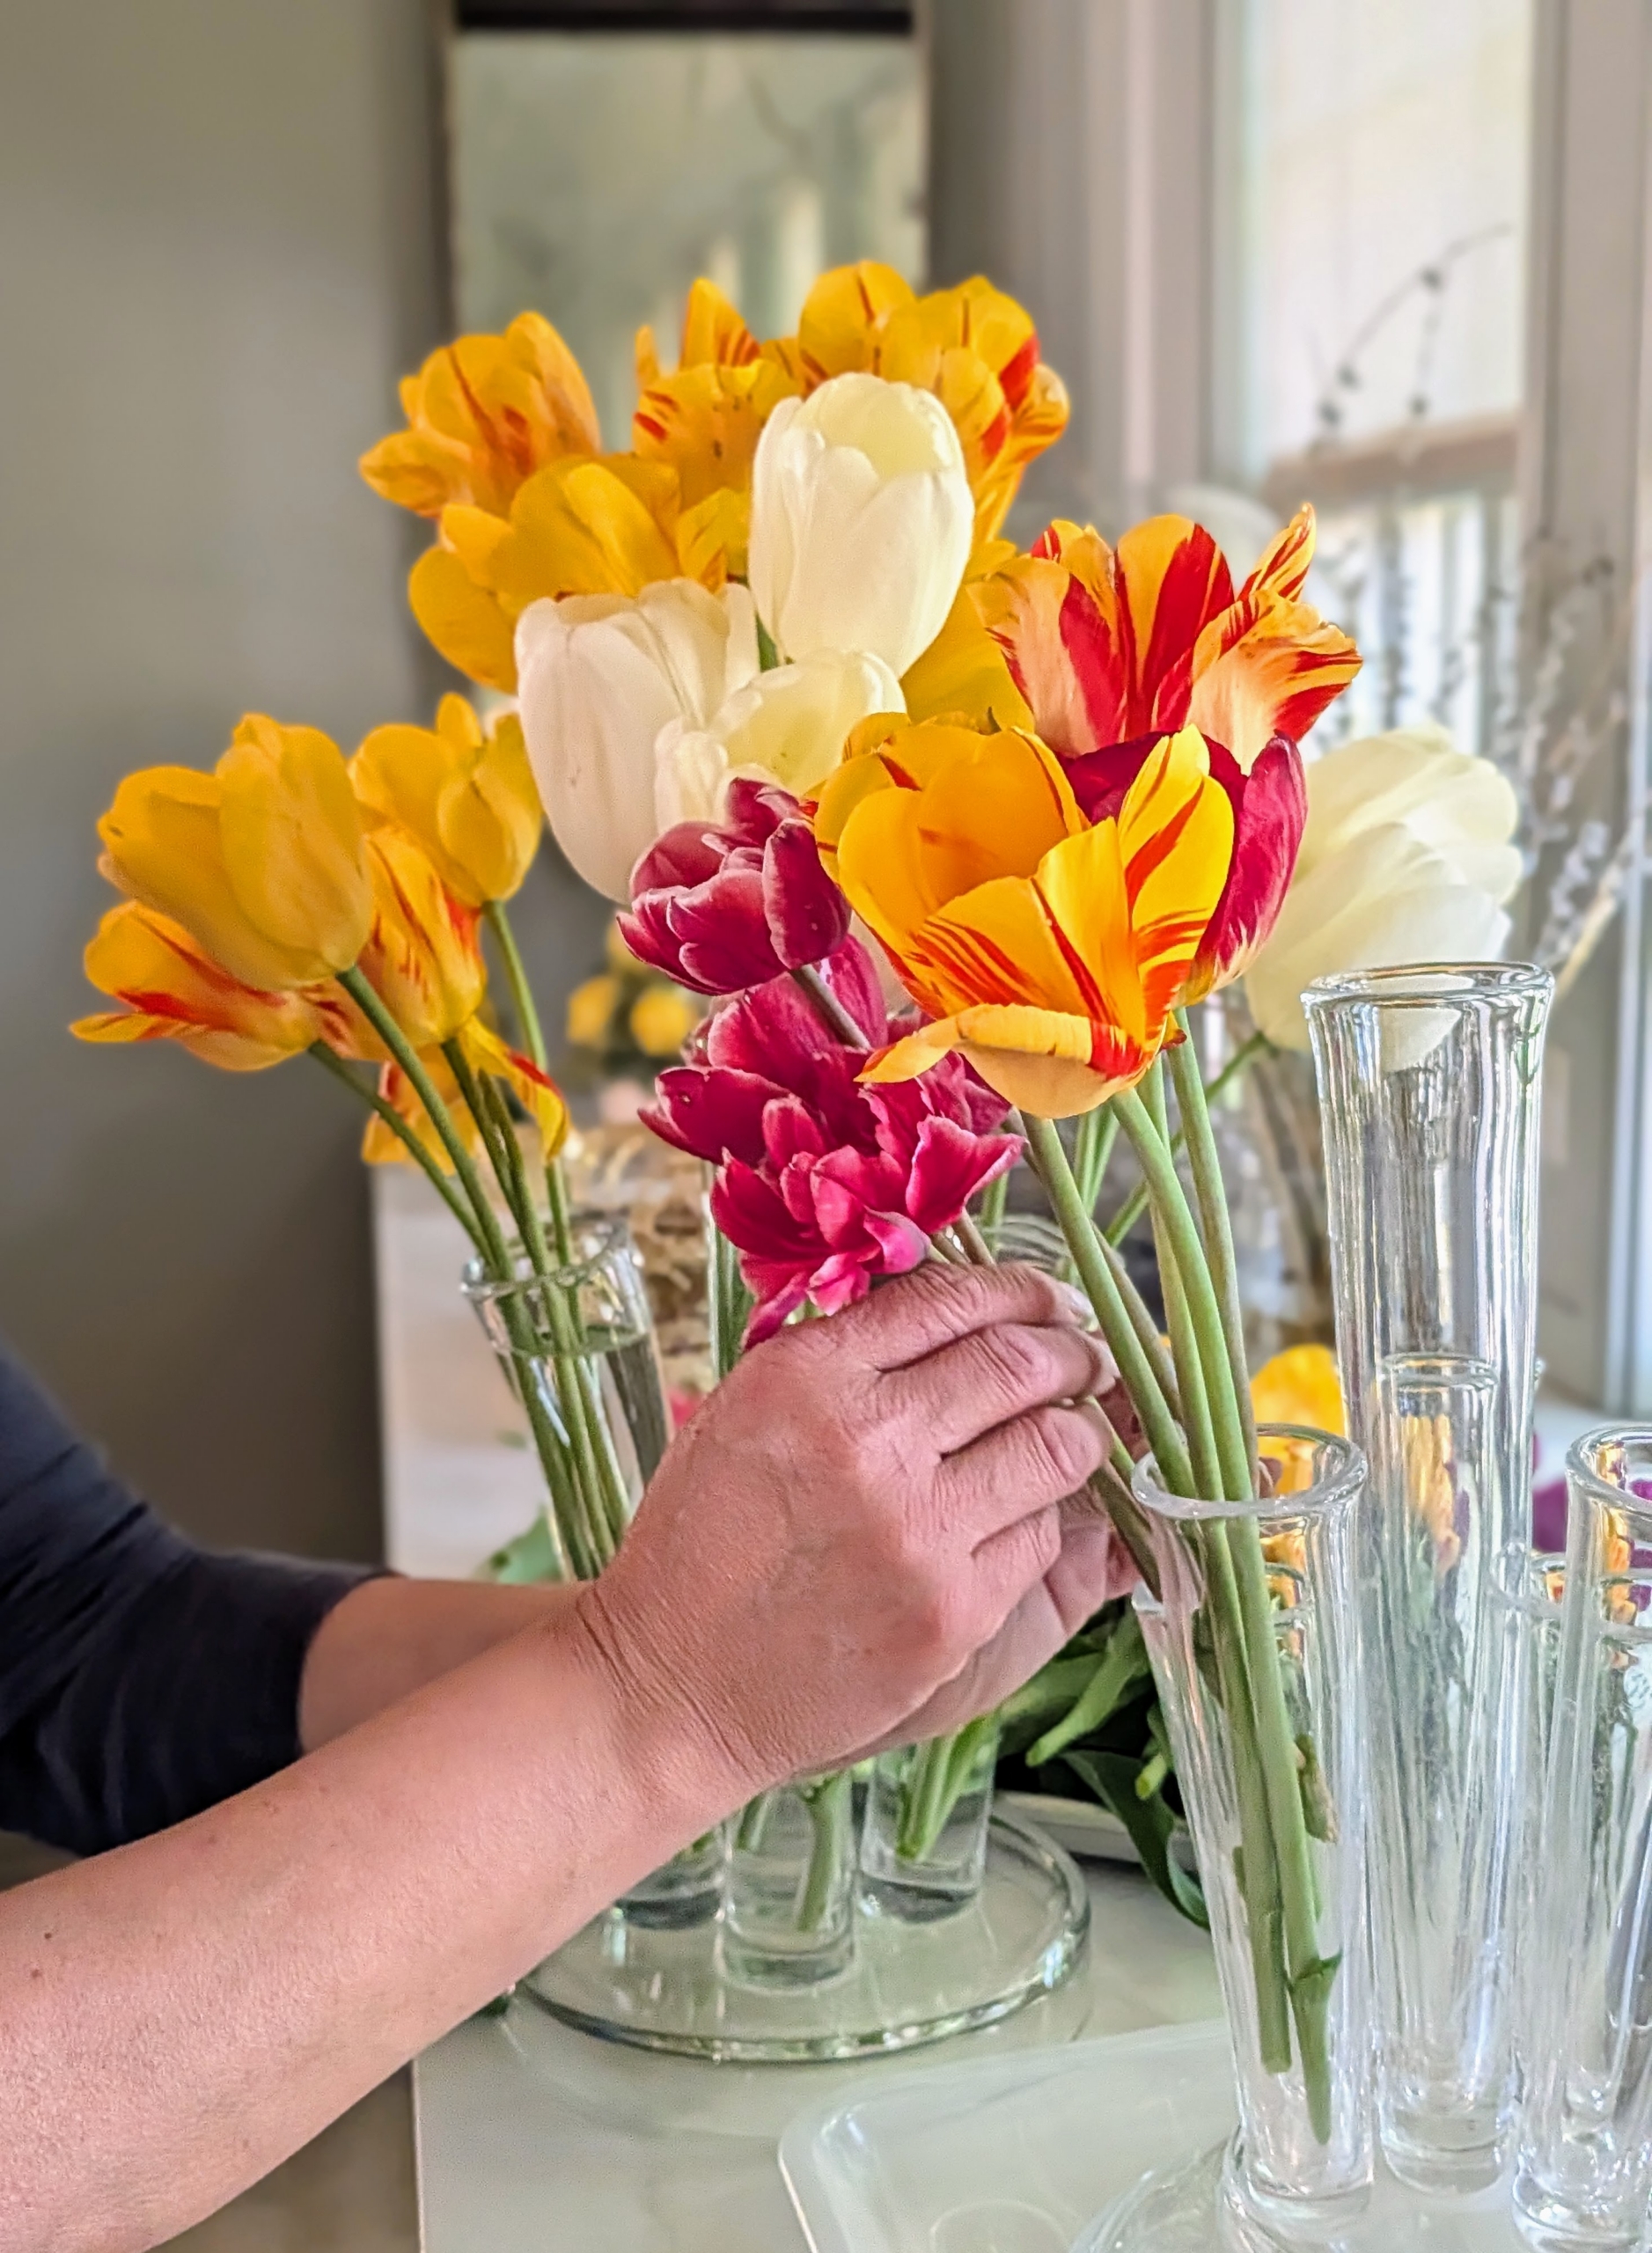
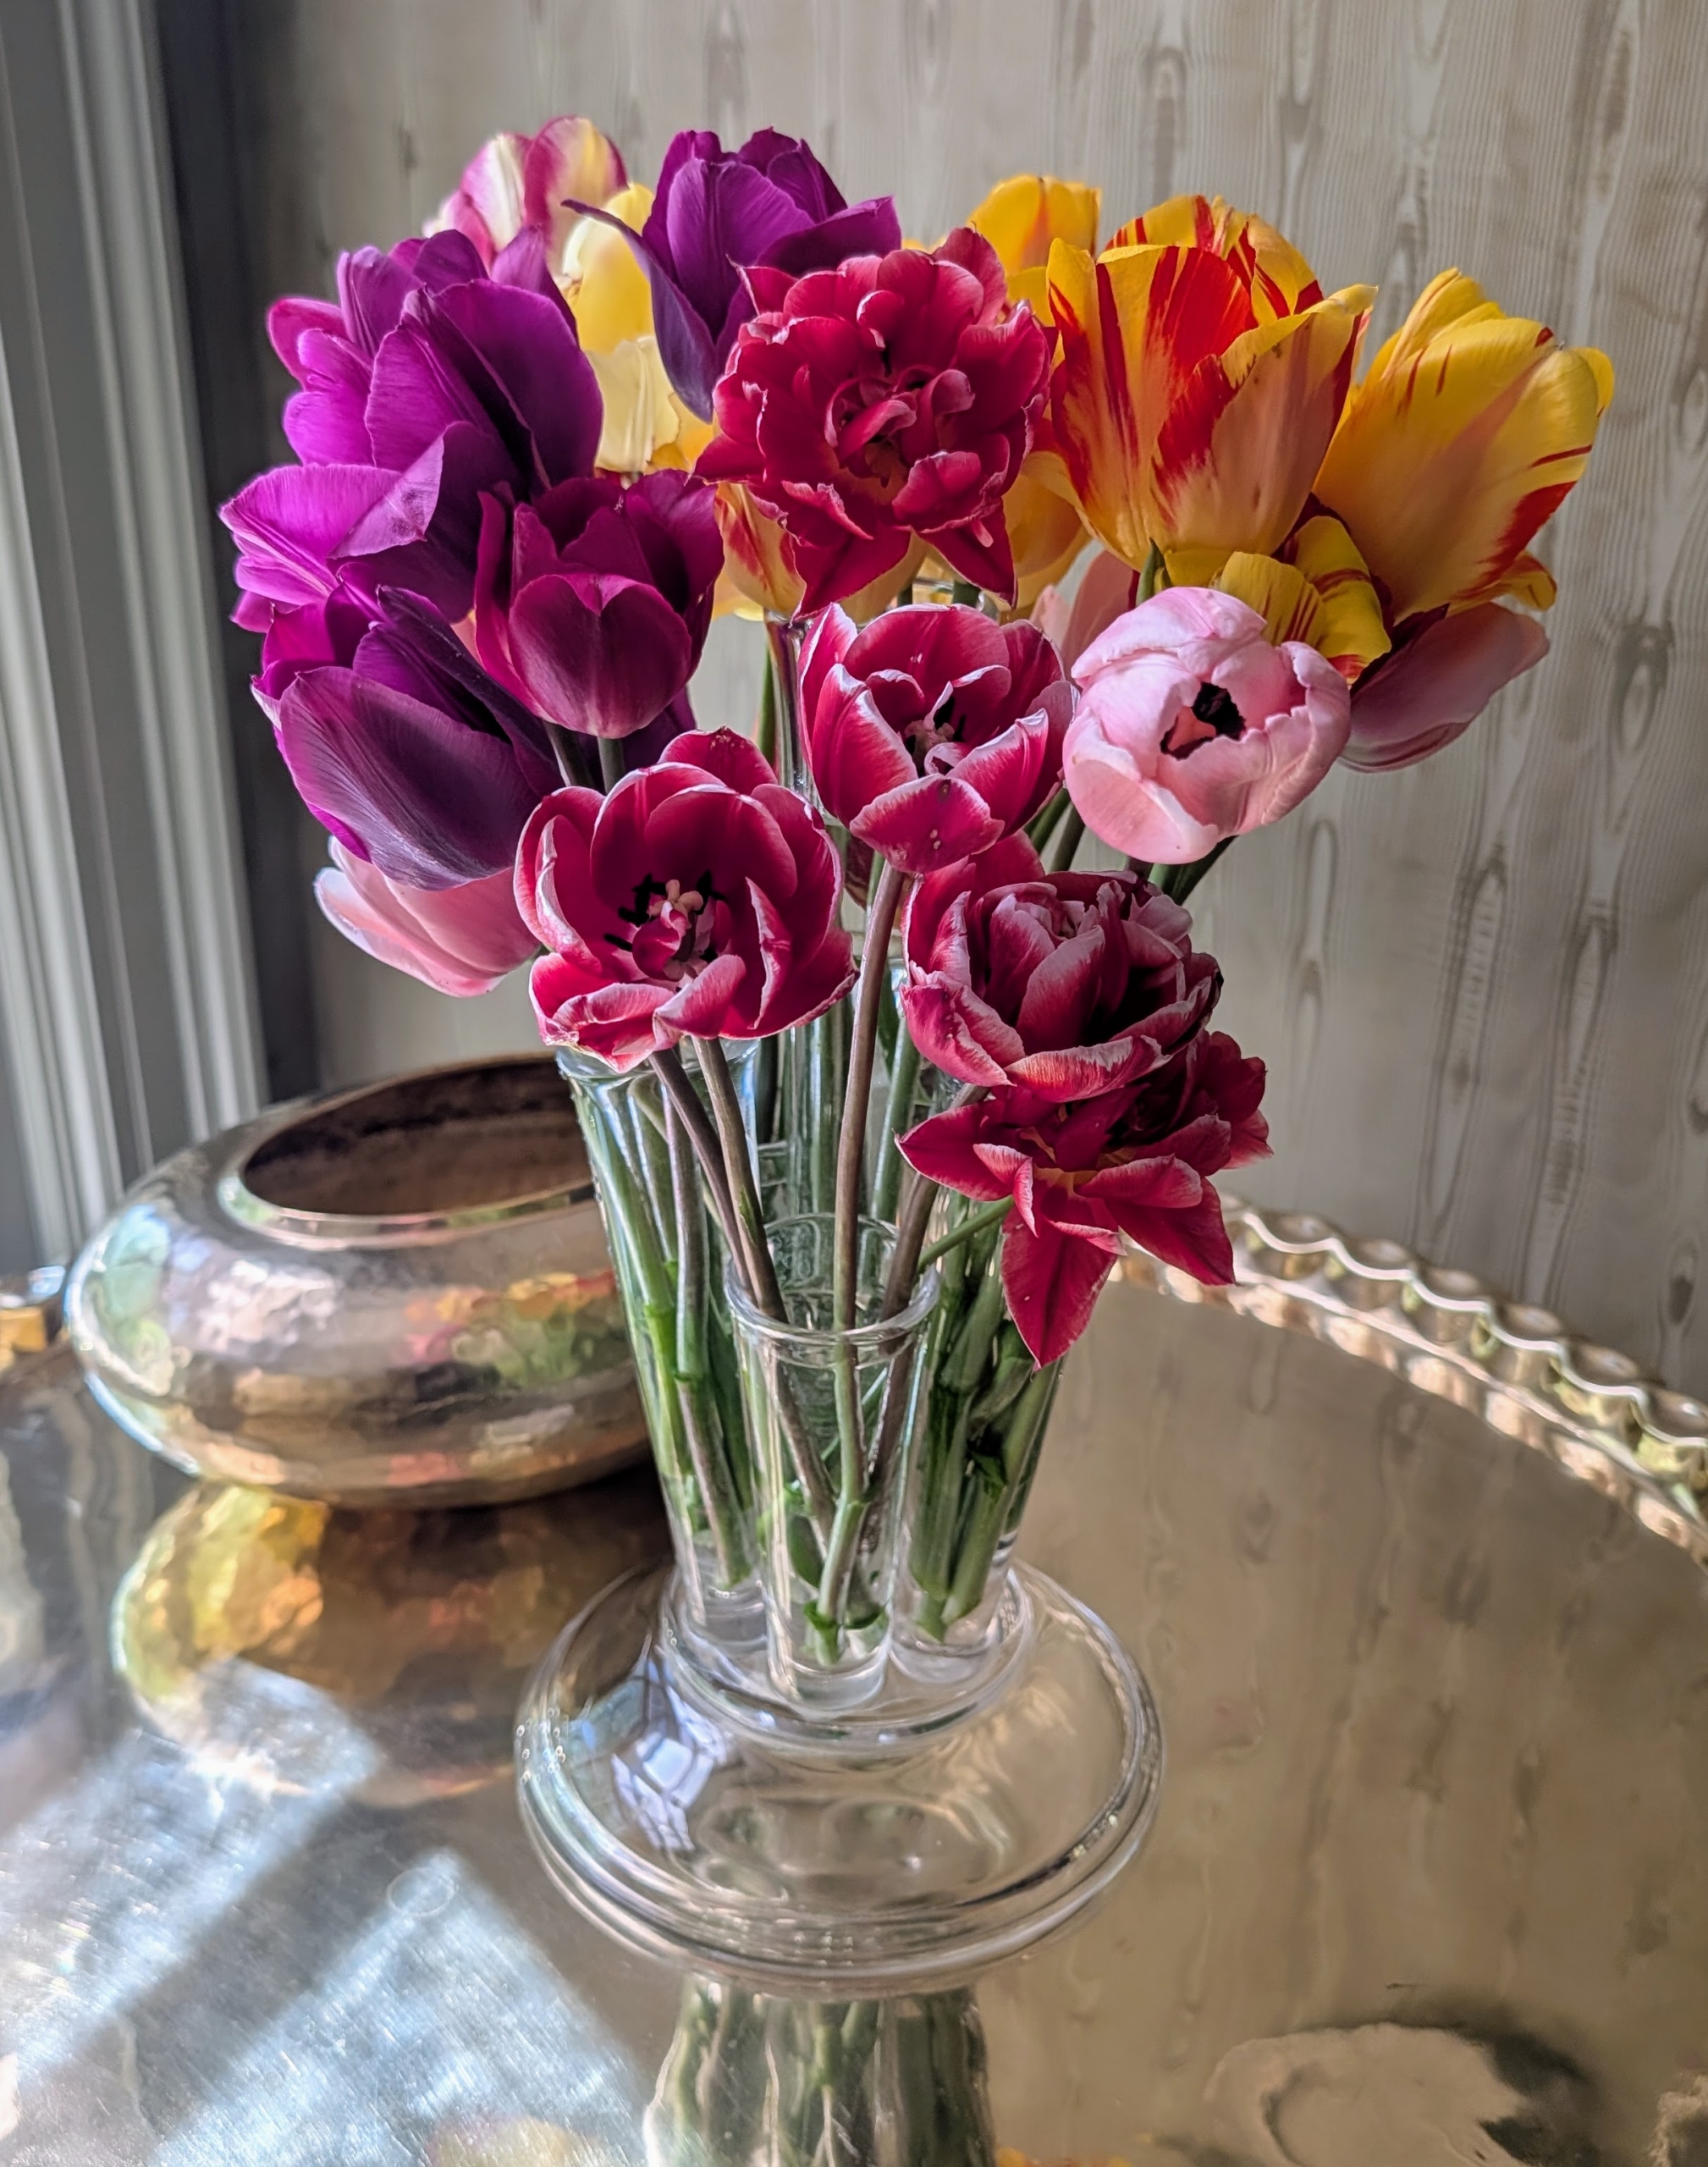
I like to keep similar colors and varieties together, but tulips can be mixed depending on preference.
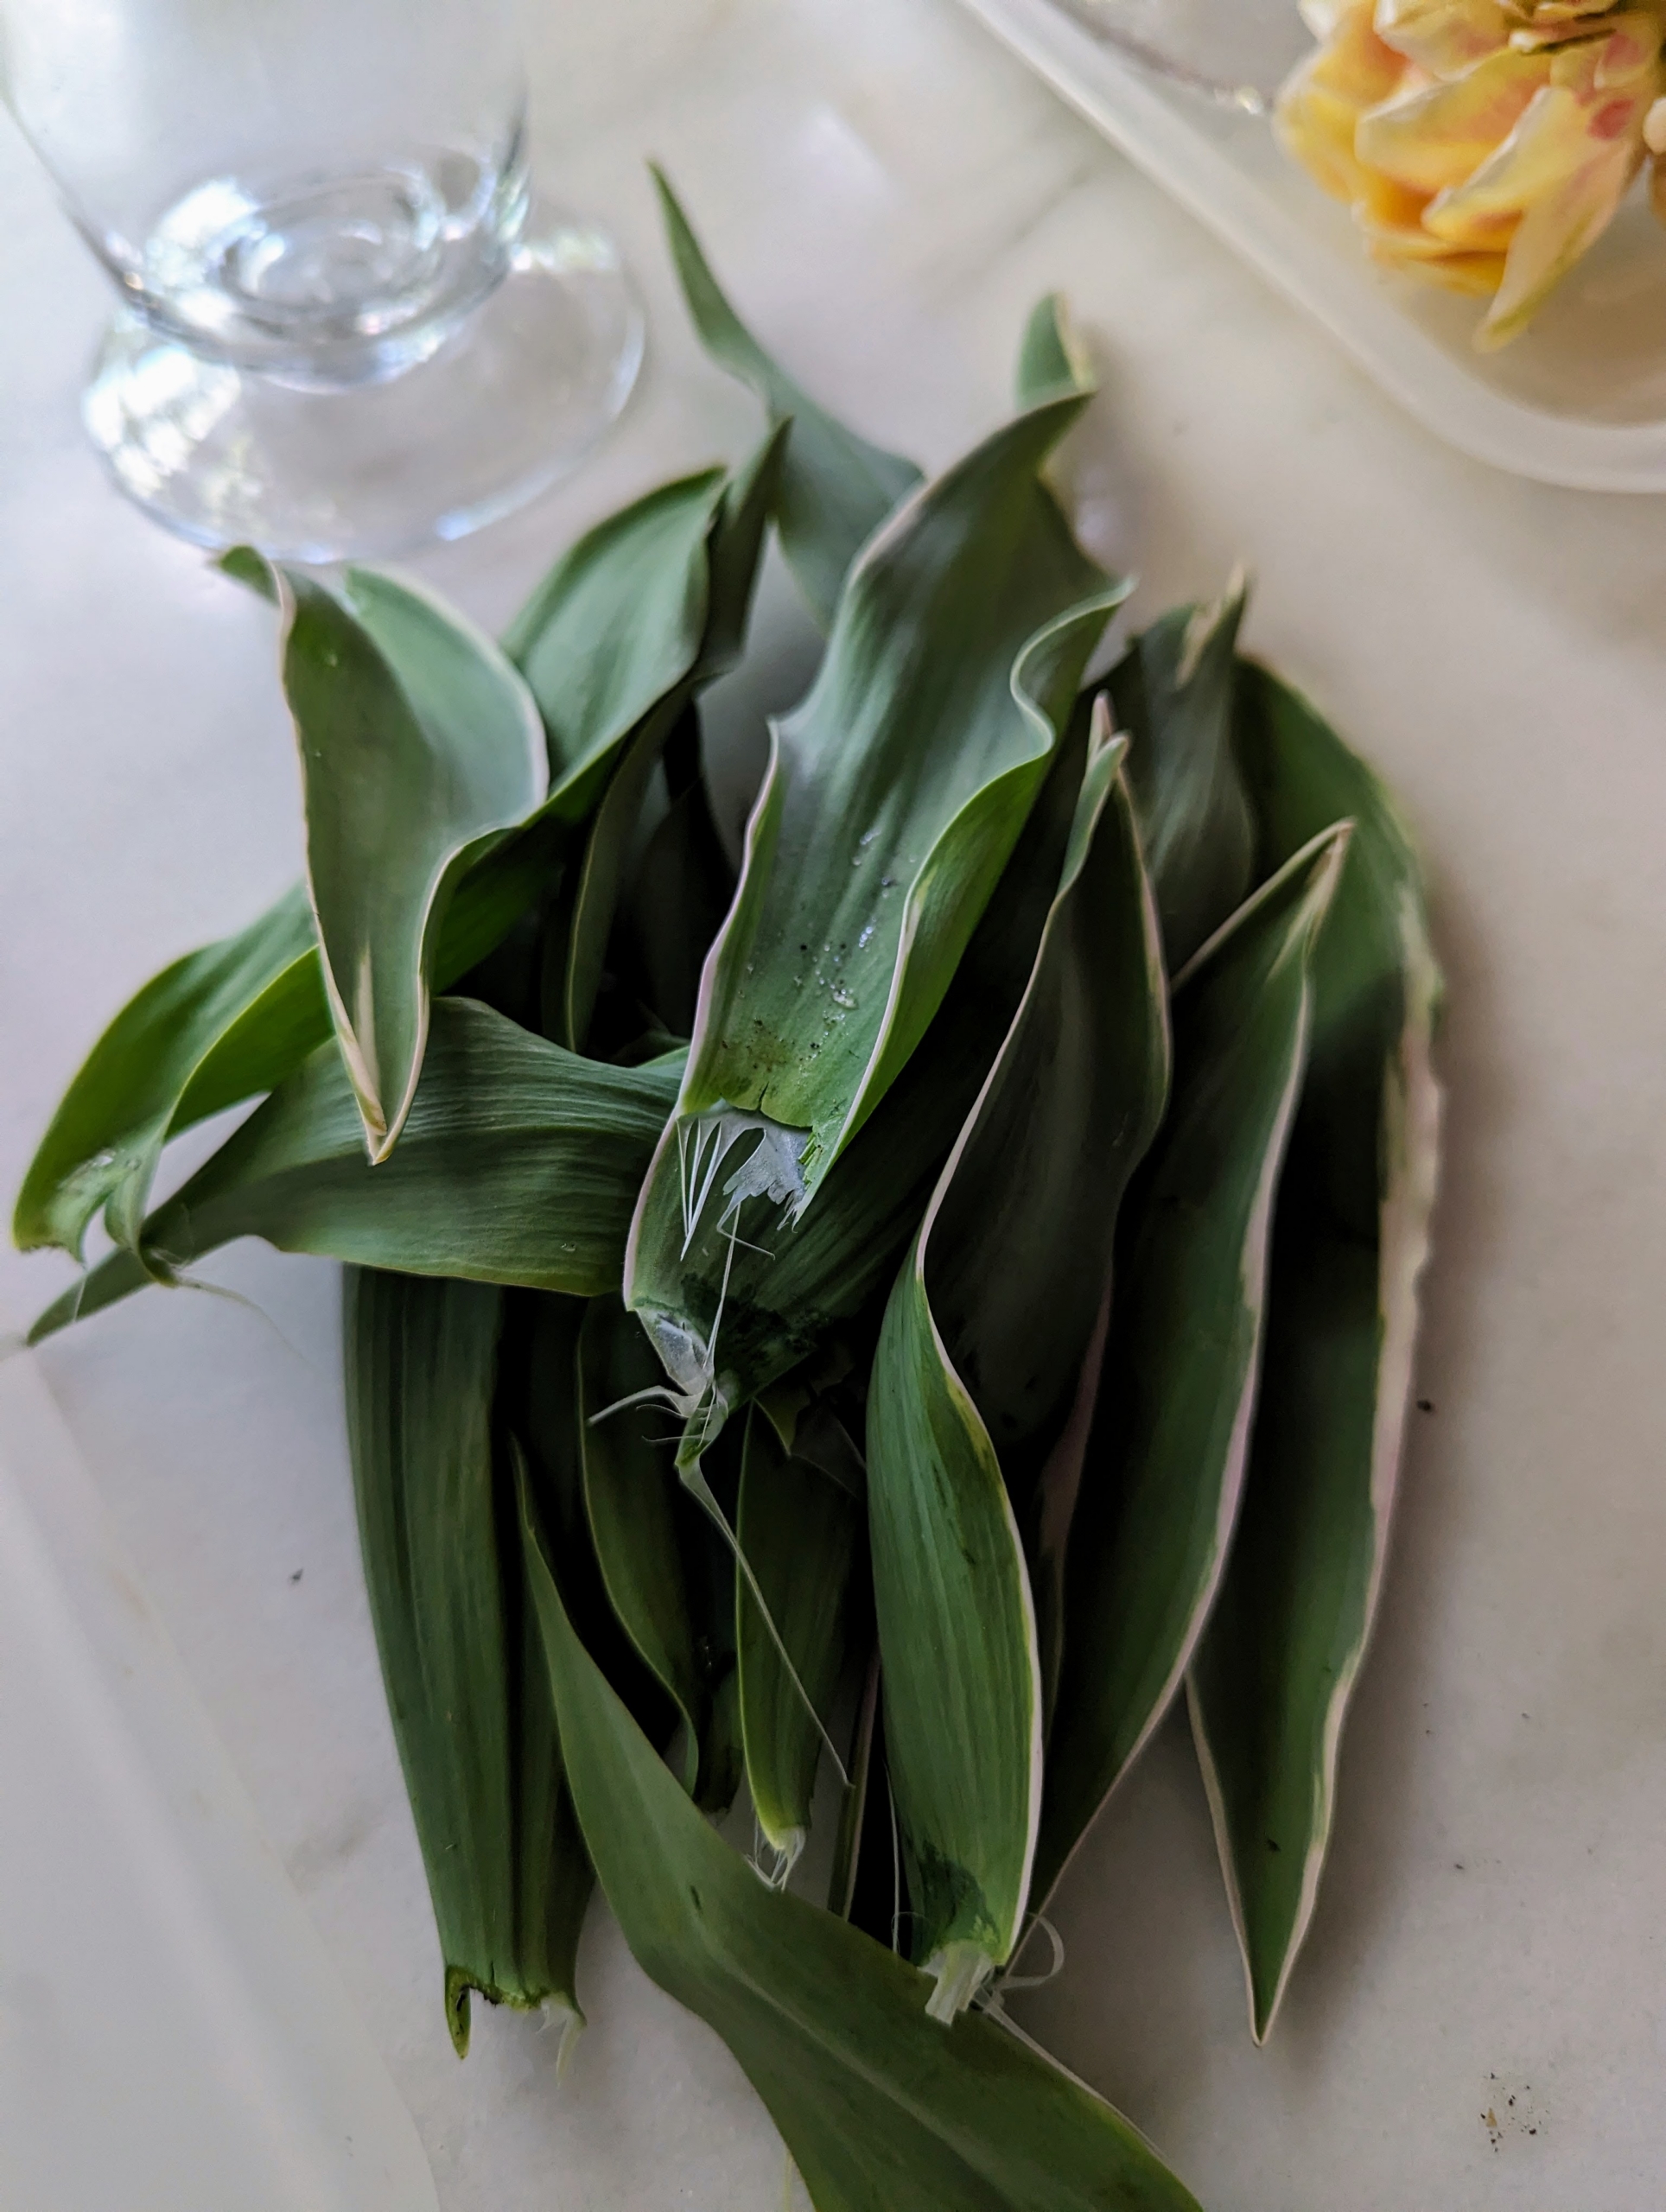
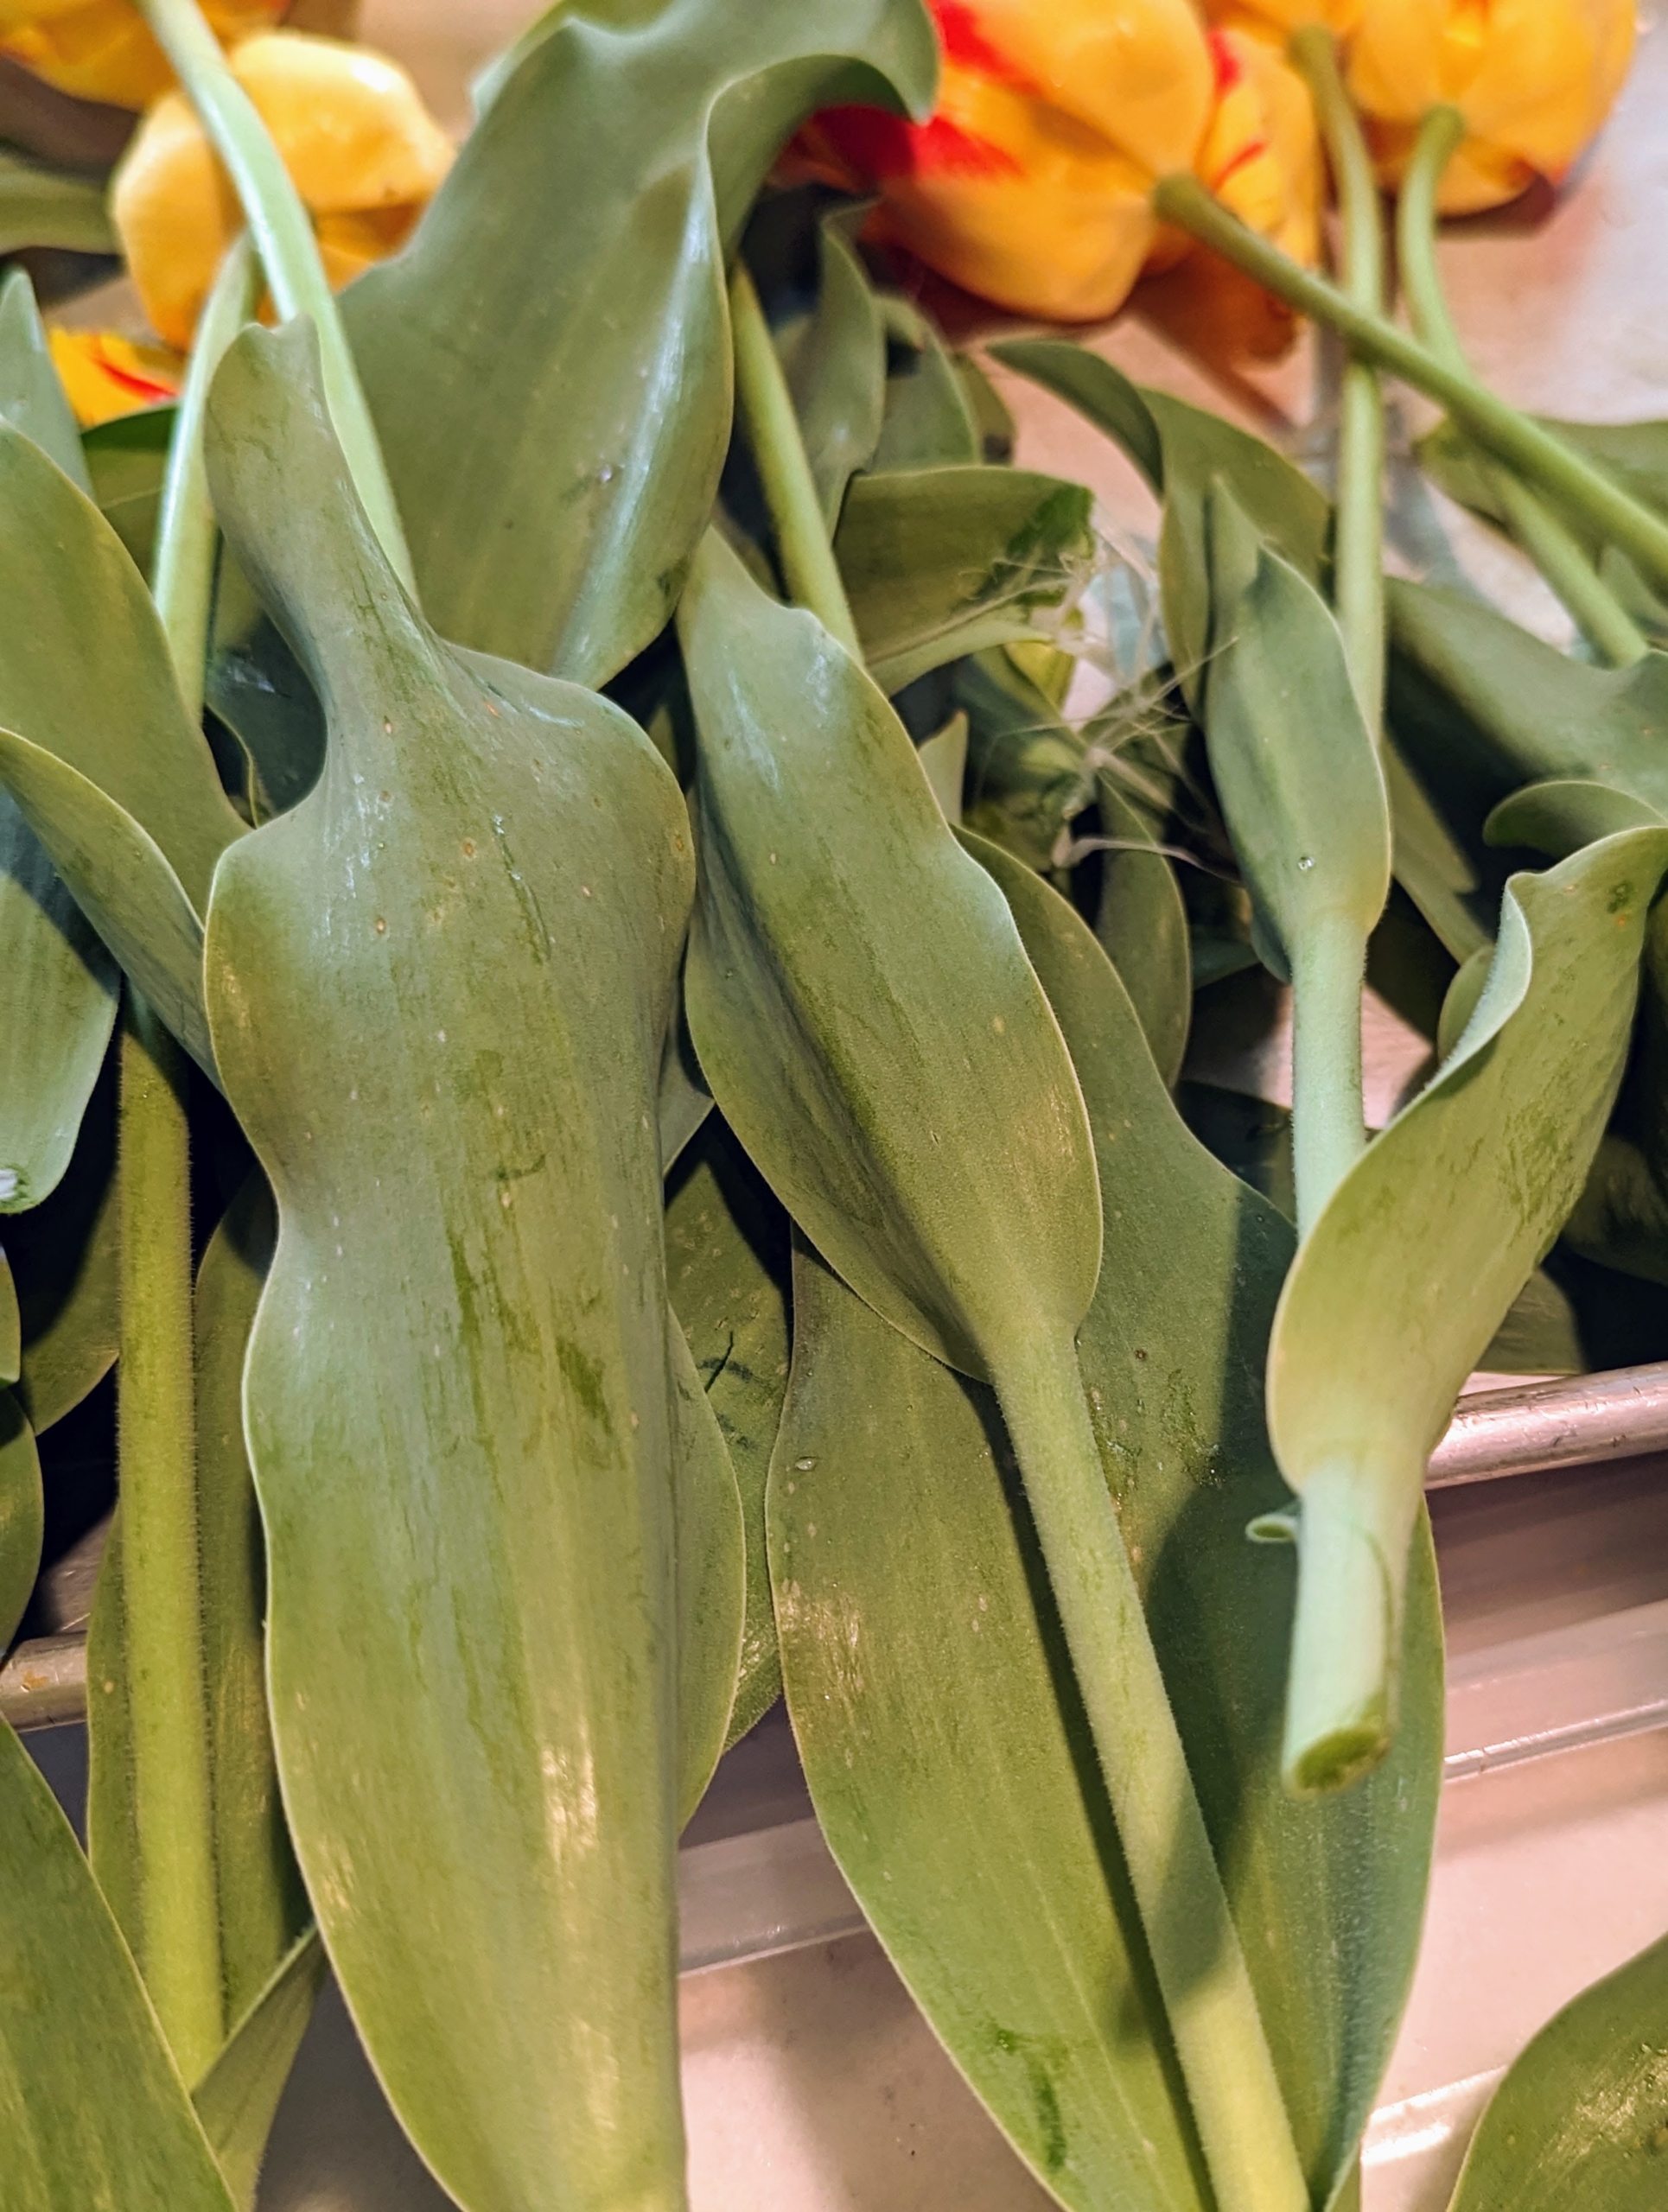
Any leaves that would sit below the waterline should be removed to keep the flowers fresh and prevent bacteria from growing.
To remove the leaves, gently pull them back and peel them away from the stem.
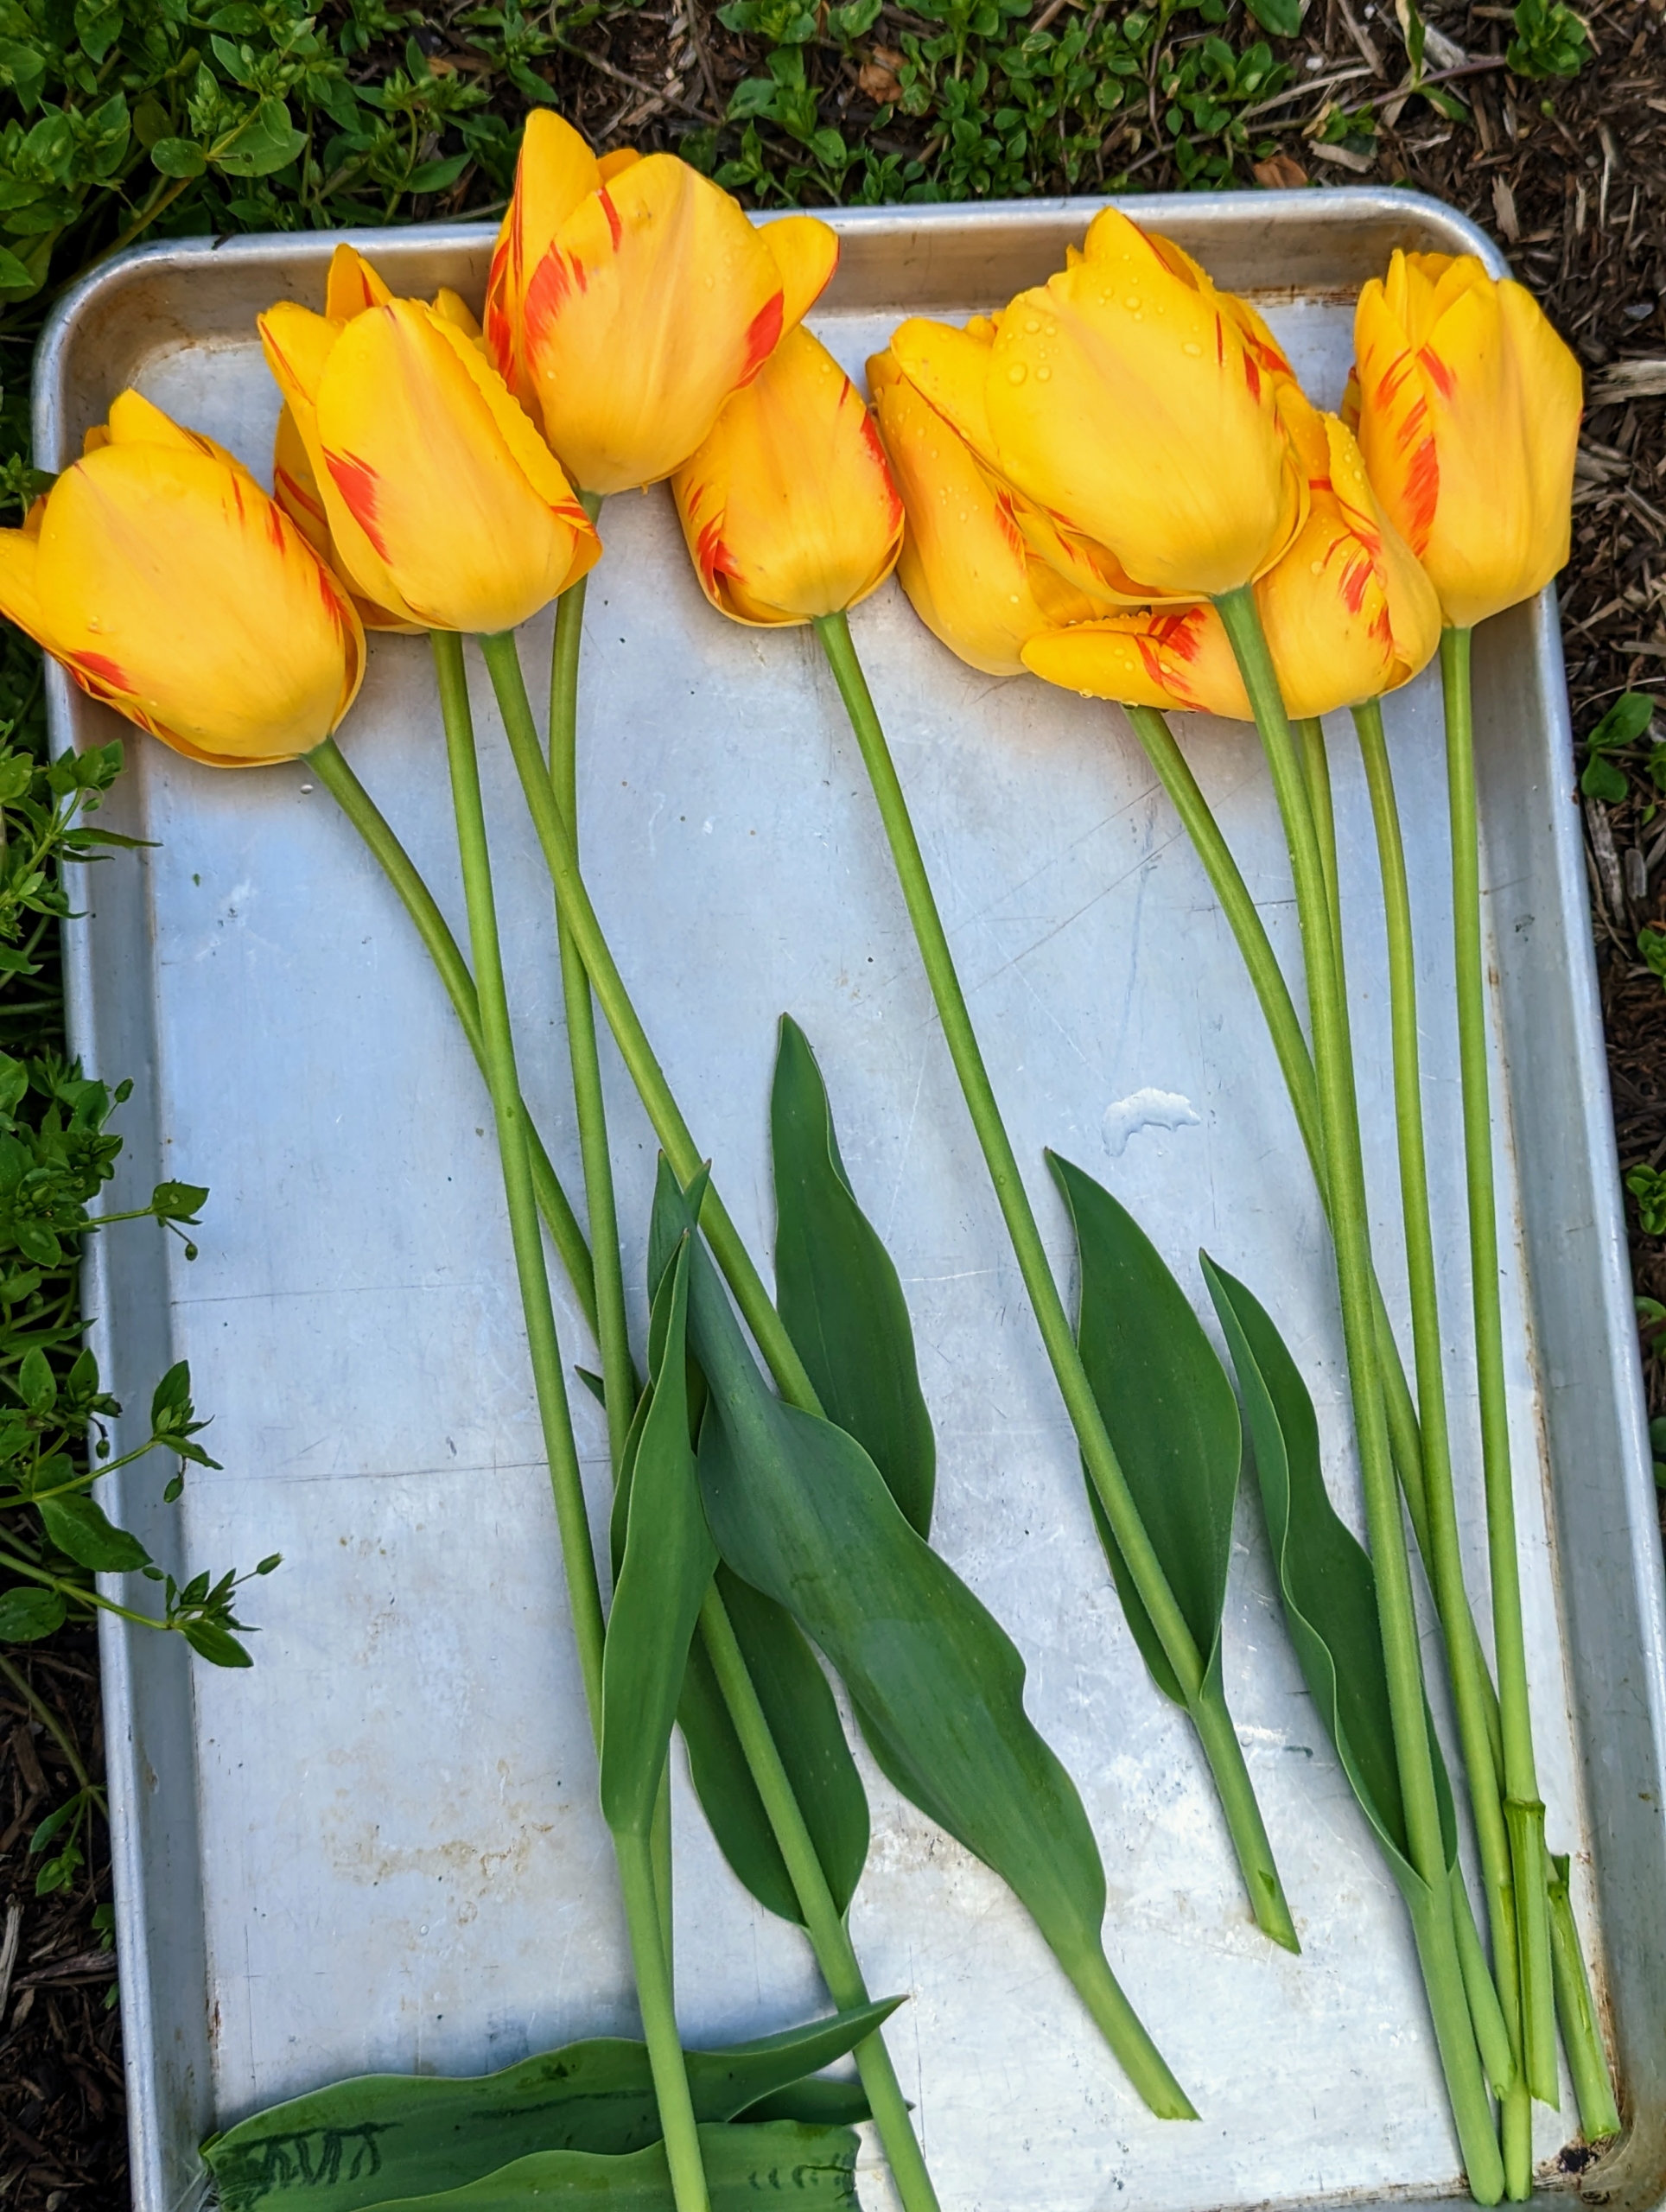
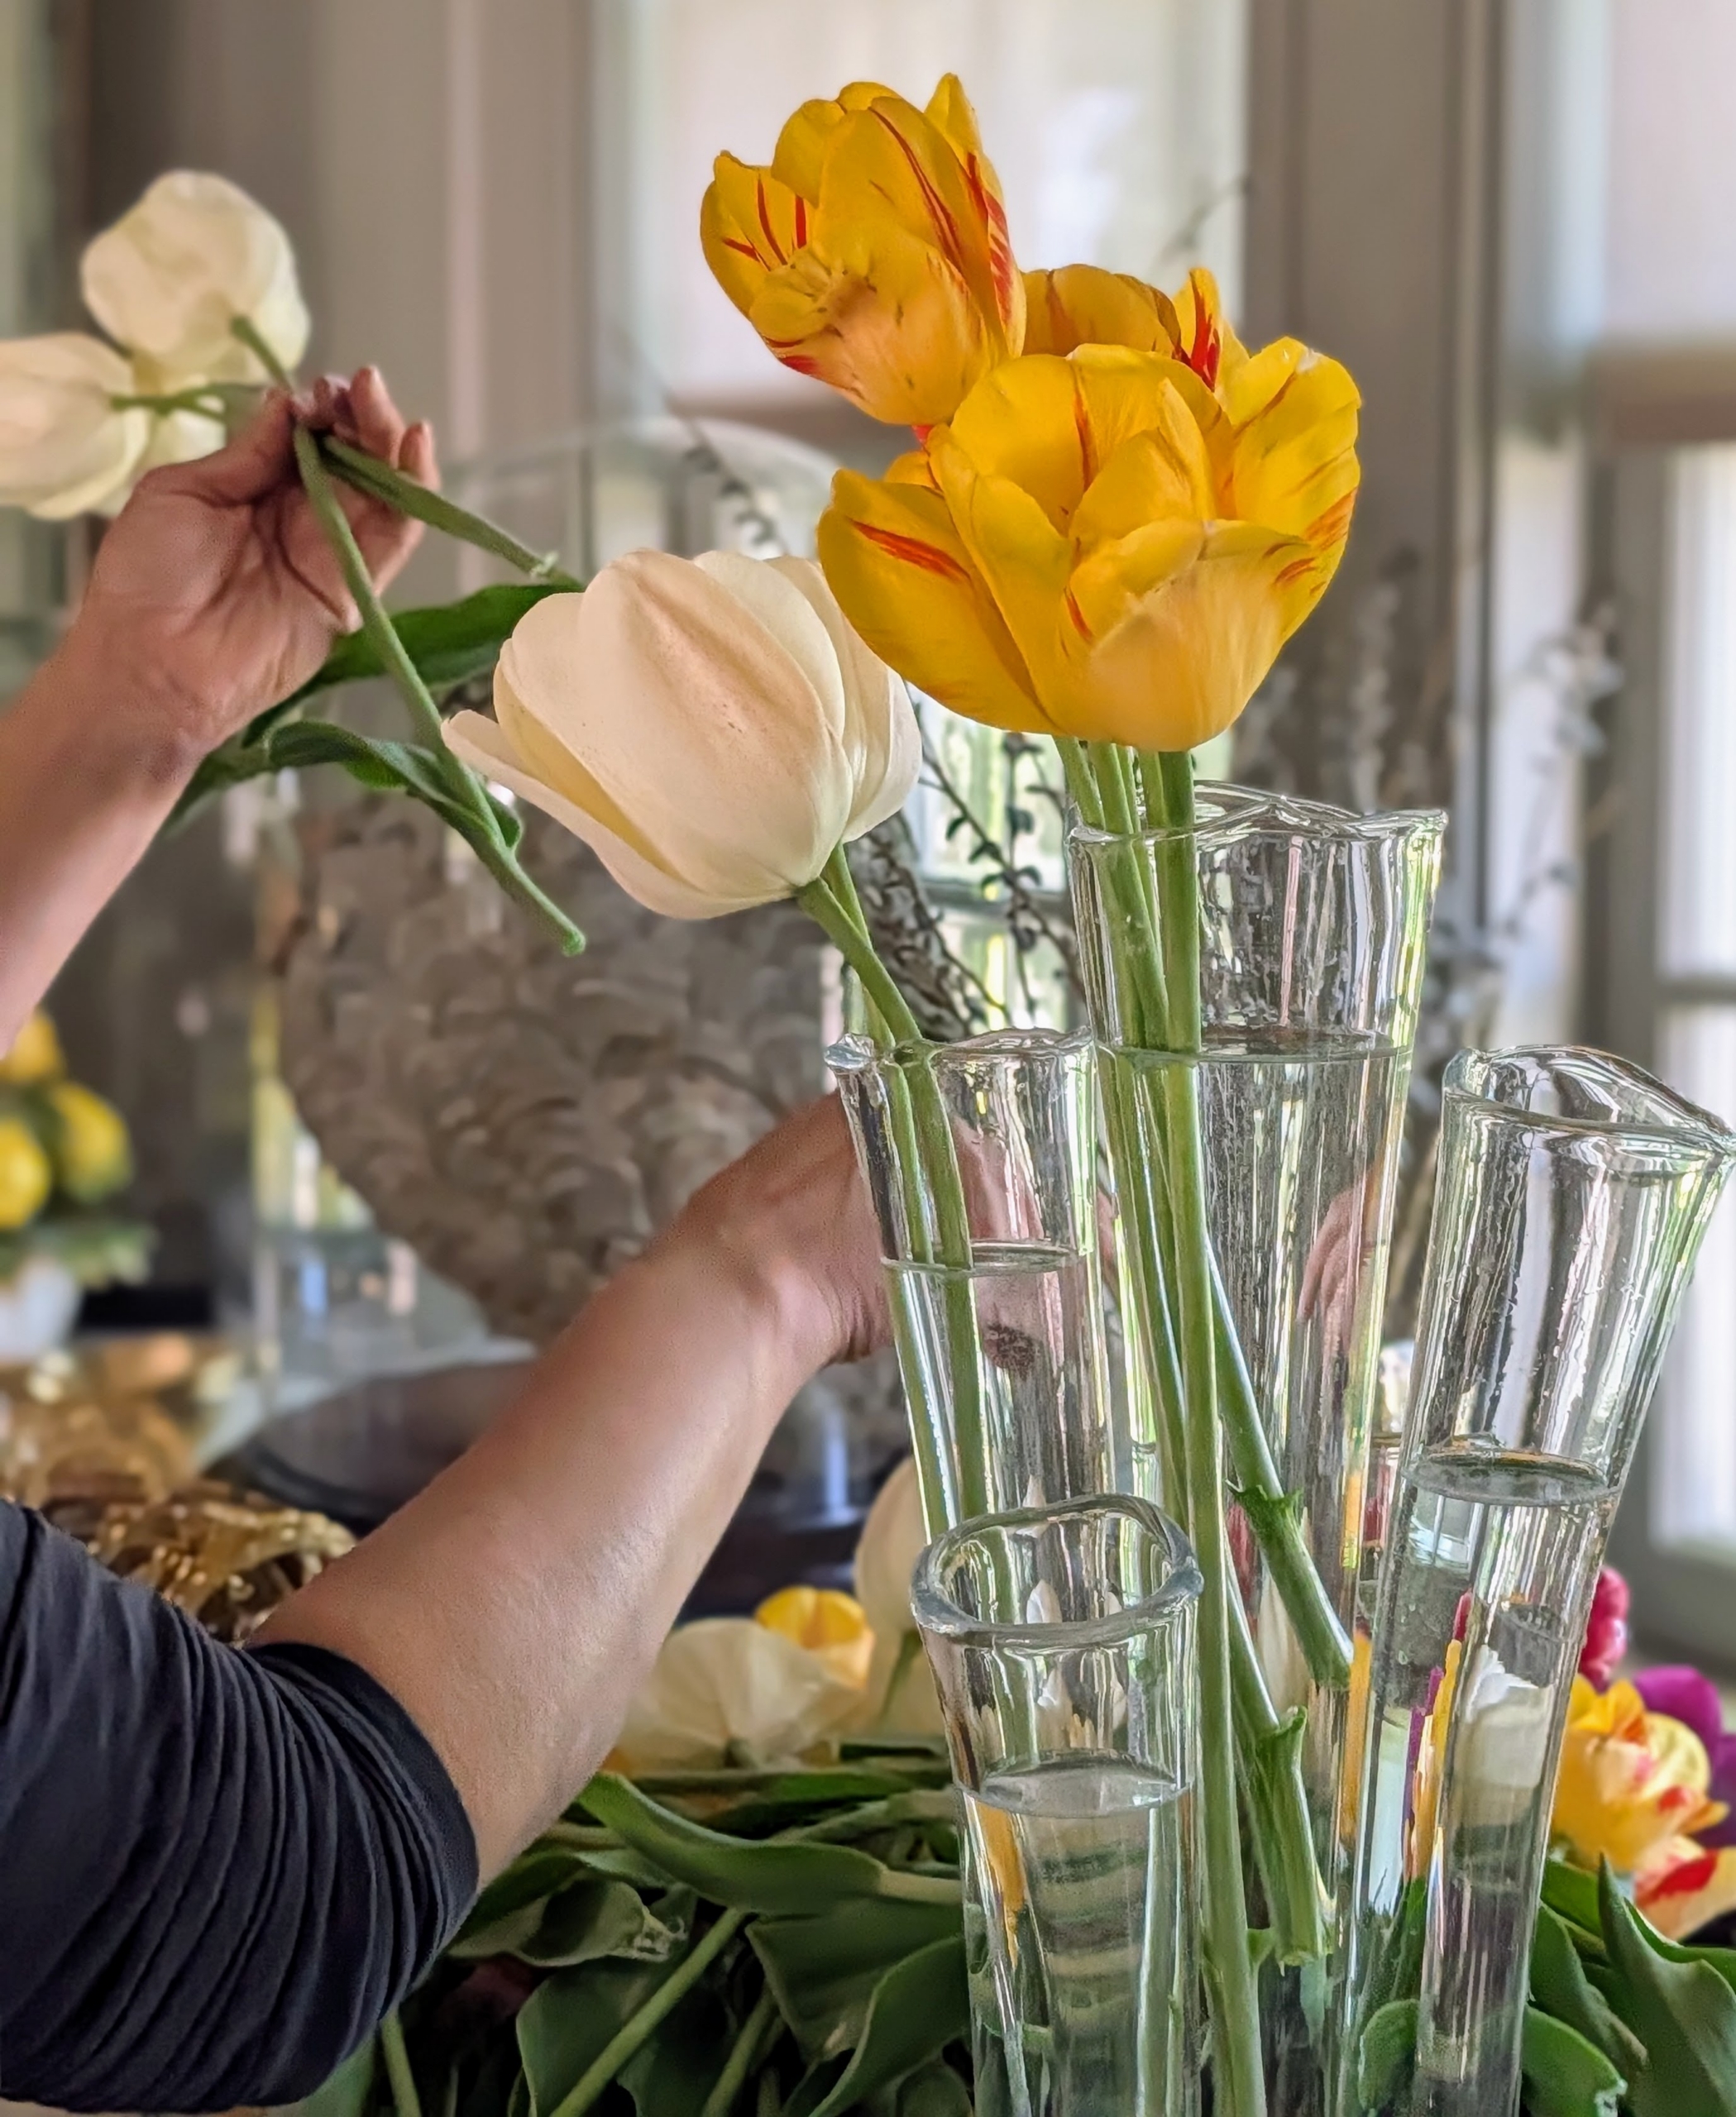
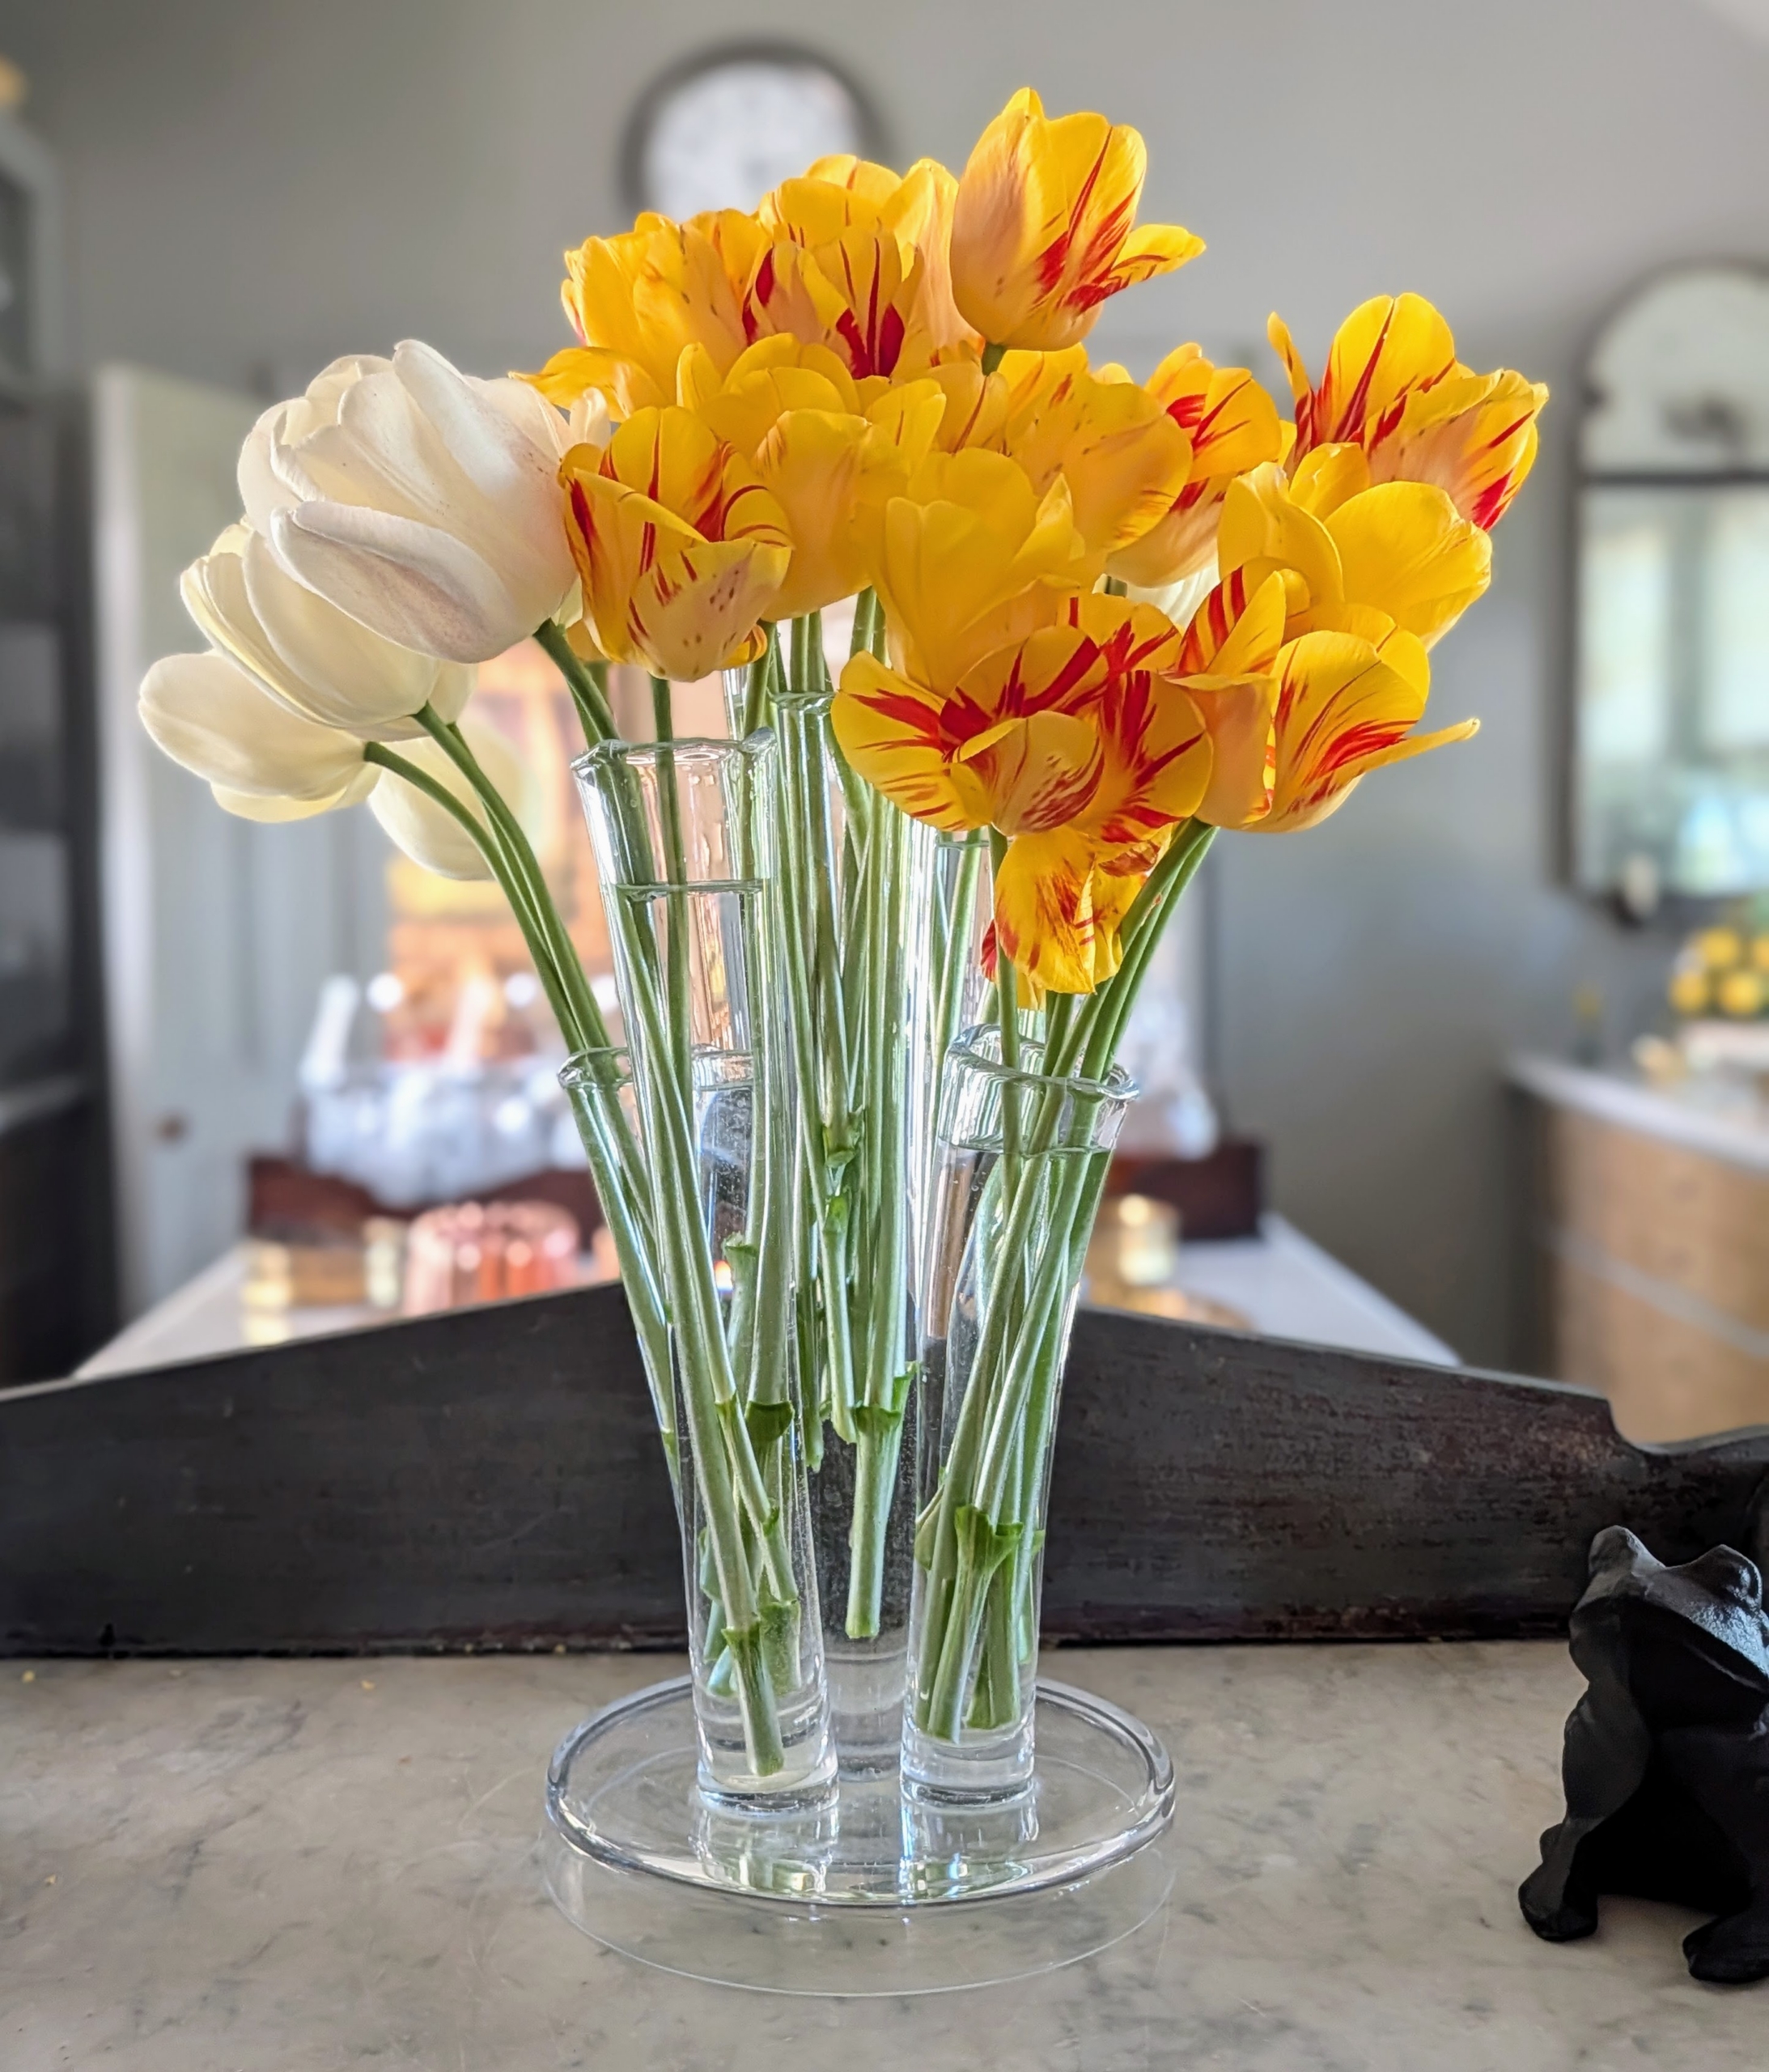
These yellow tulips with bright red streaks are striking for cut arrangements.
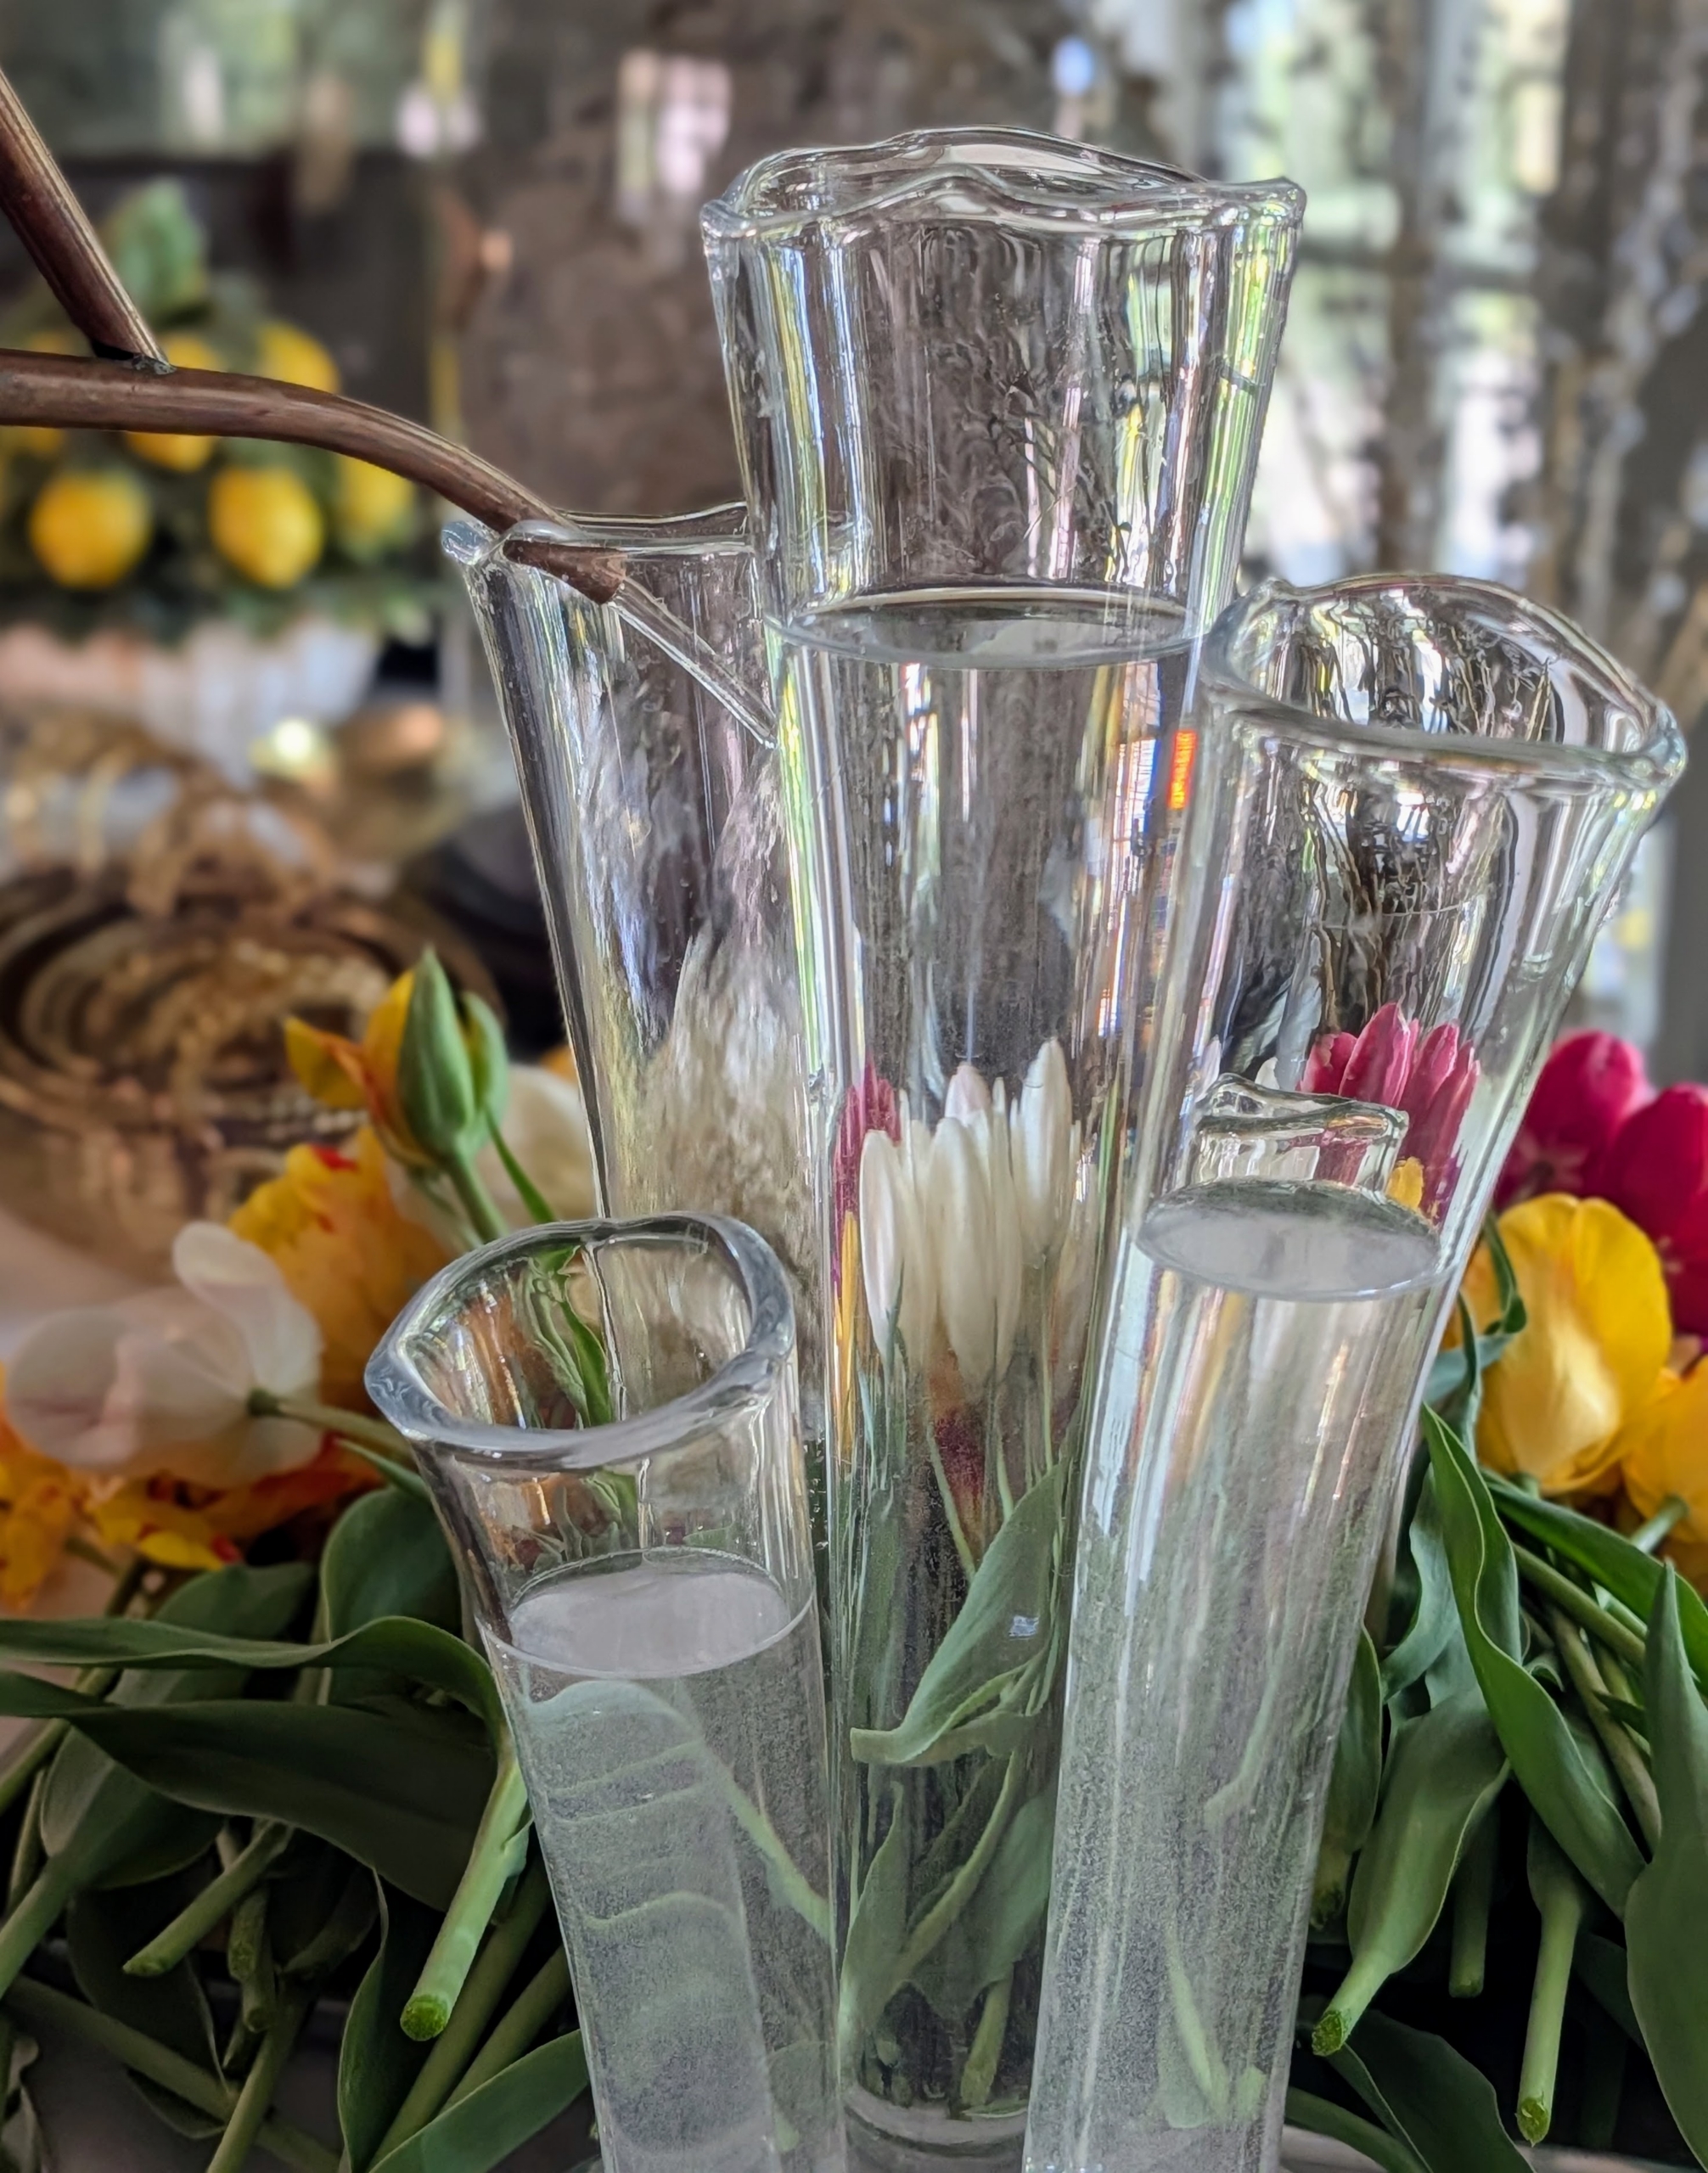
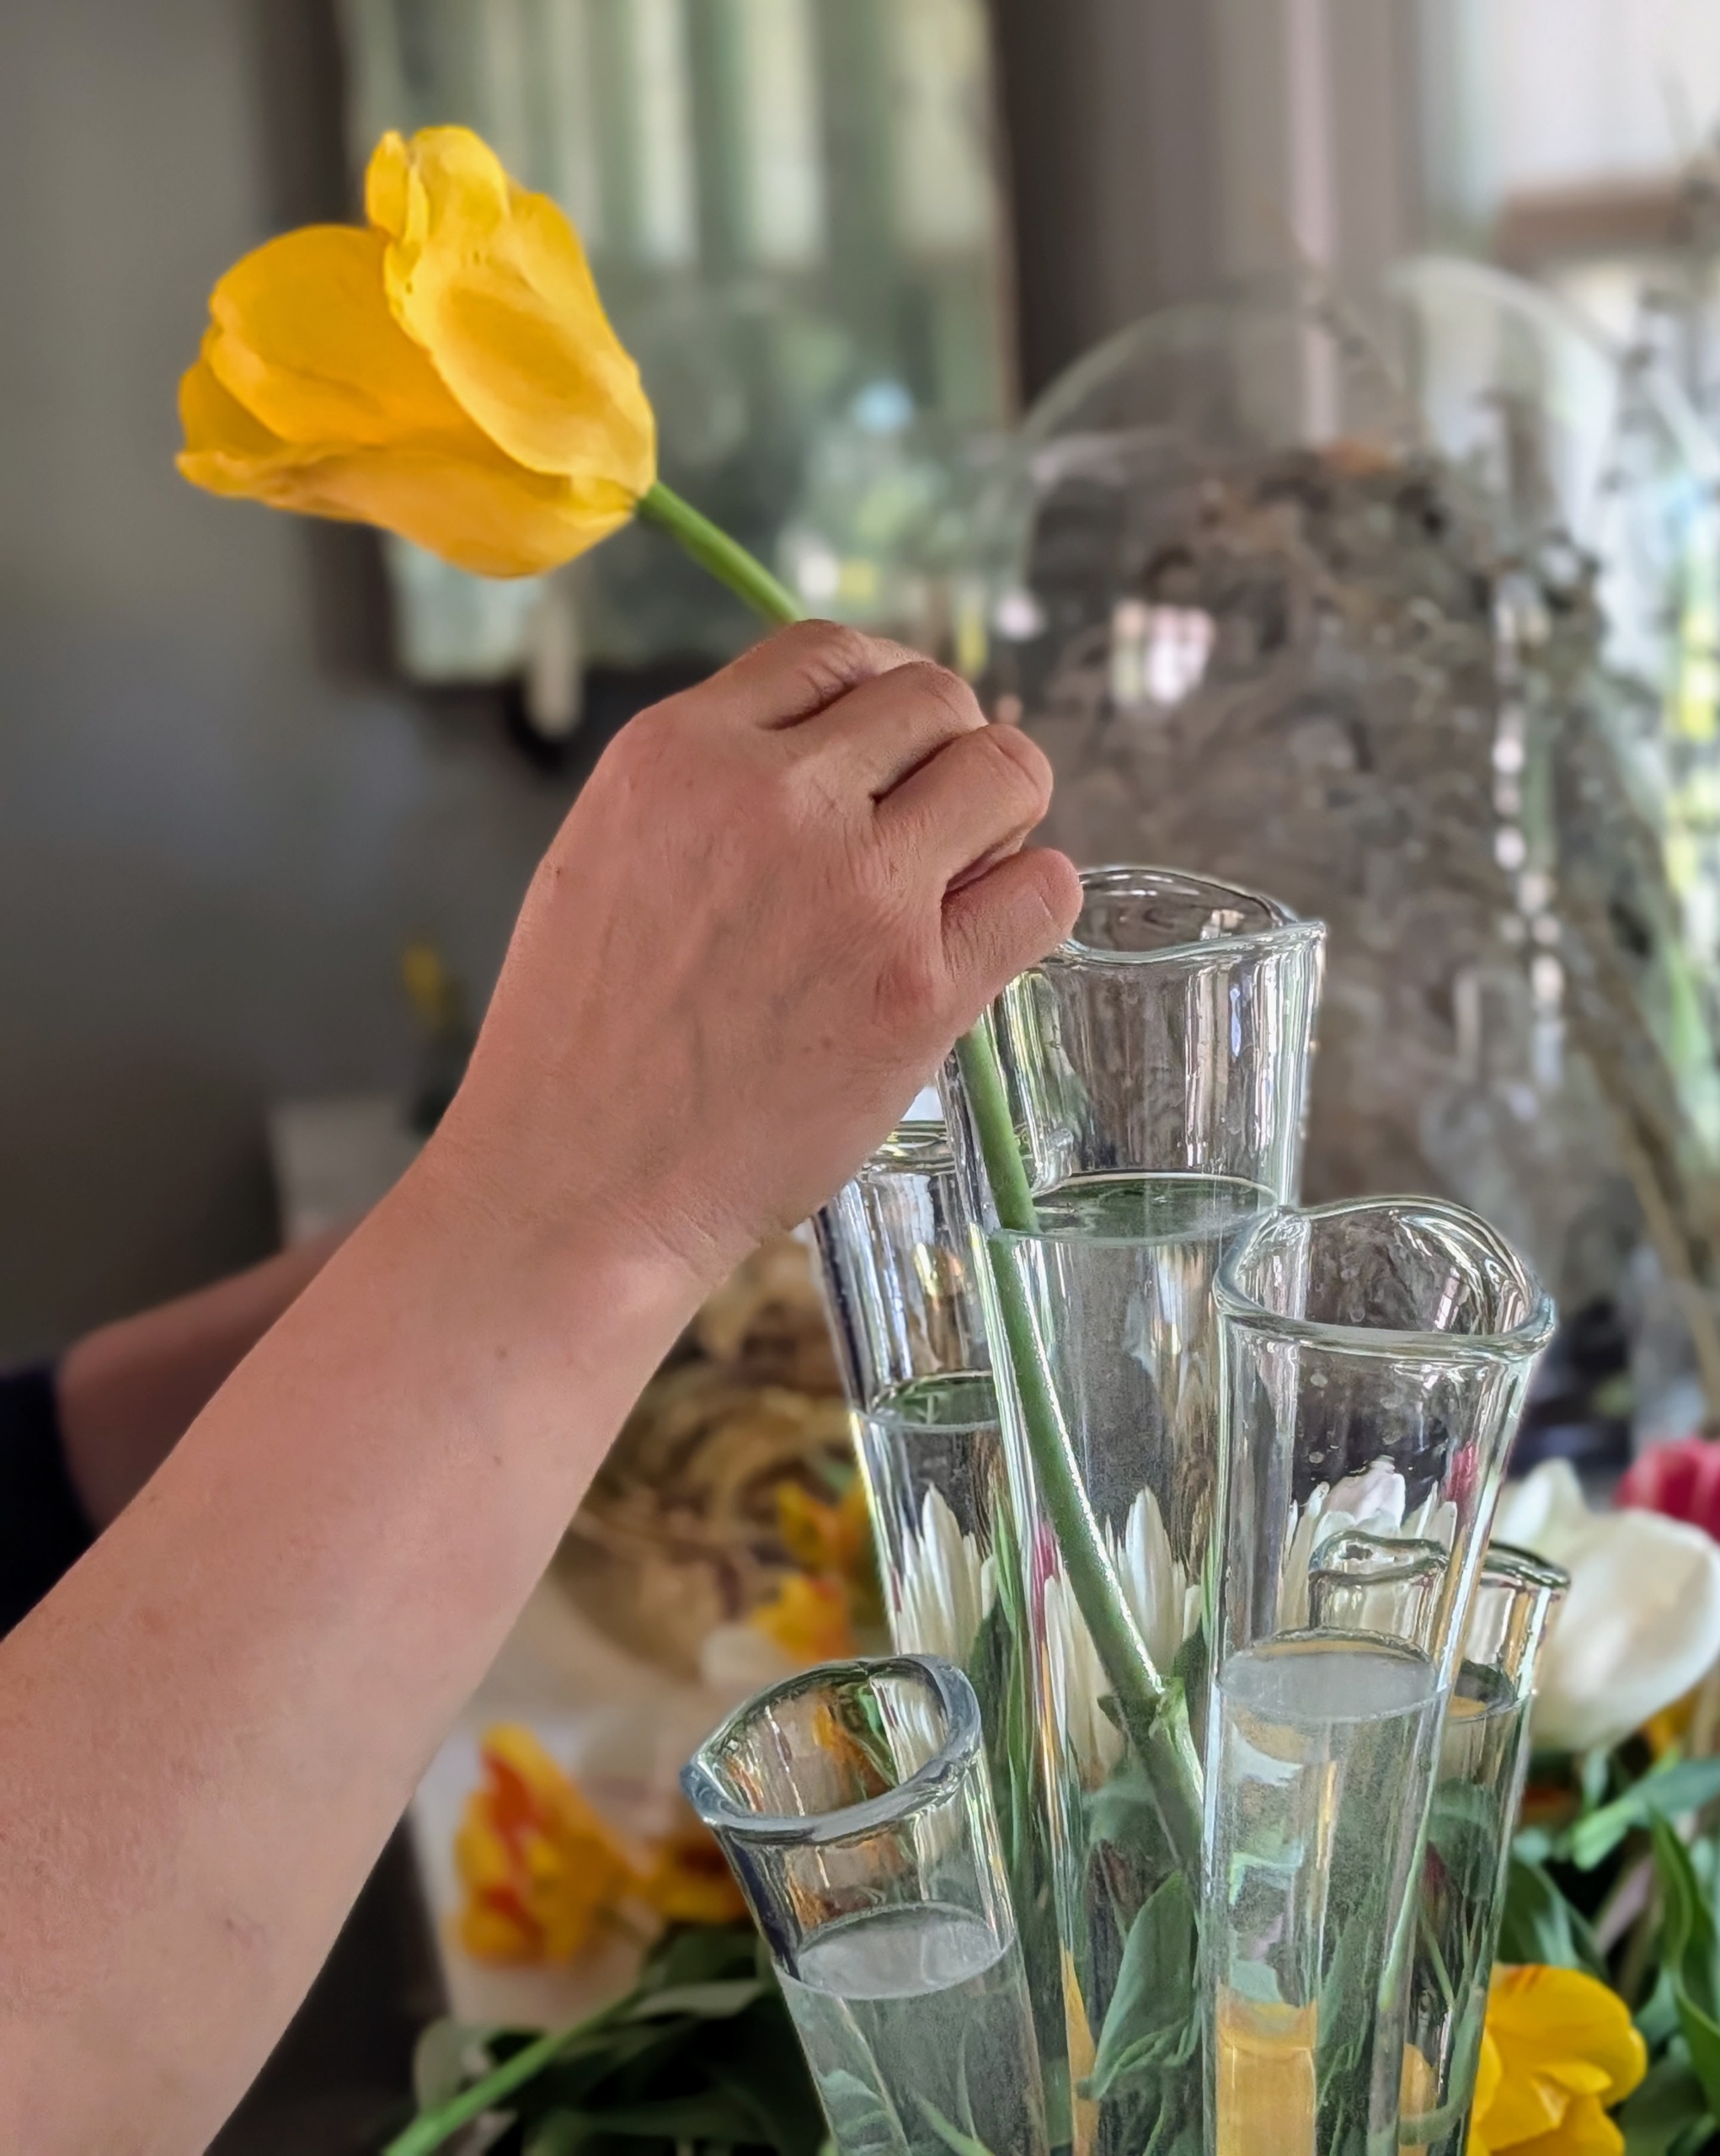
My antique glass finger vases work well for tulips because they support the tall stems.
Elvira mixes white with these yellow tulips. Tulips have been hybridized in just about every color except blue. Most tulips have one flower per stem, but there are some multi-flowered varieties.
And do you know… tulips follow the sun even when they’re in a vase? Watch them. Tulips also continue to grow even after they’ve been cut.
Elvira looks at the arrangement from all sides and fills in any holes. This arrangement looks full and beautiful.
This arrangement is placed on this counter in my servery, where I can see them every day on my way to the kitchen.
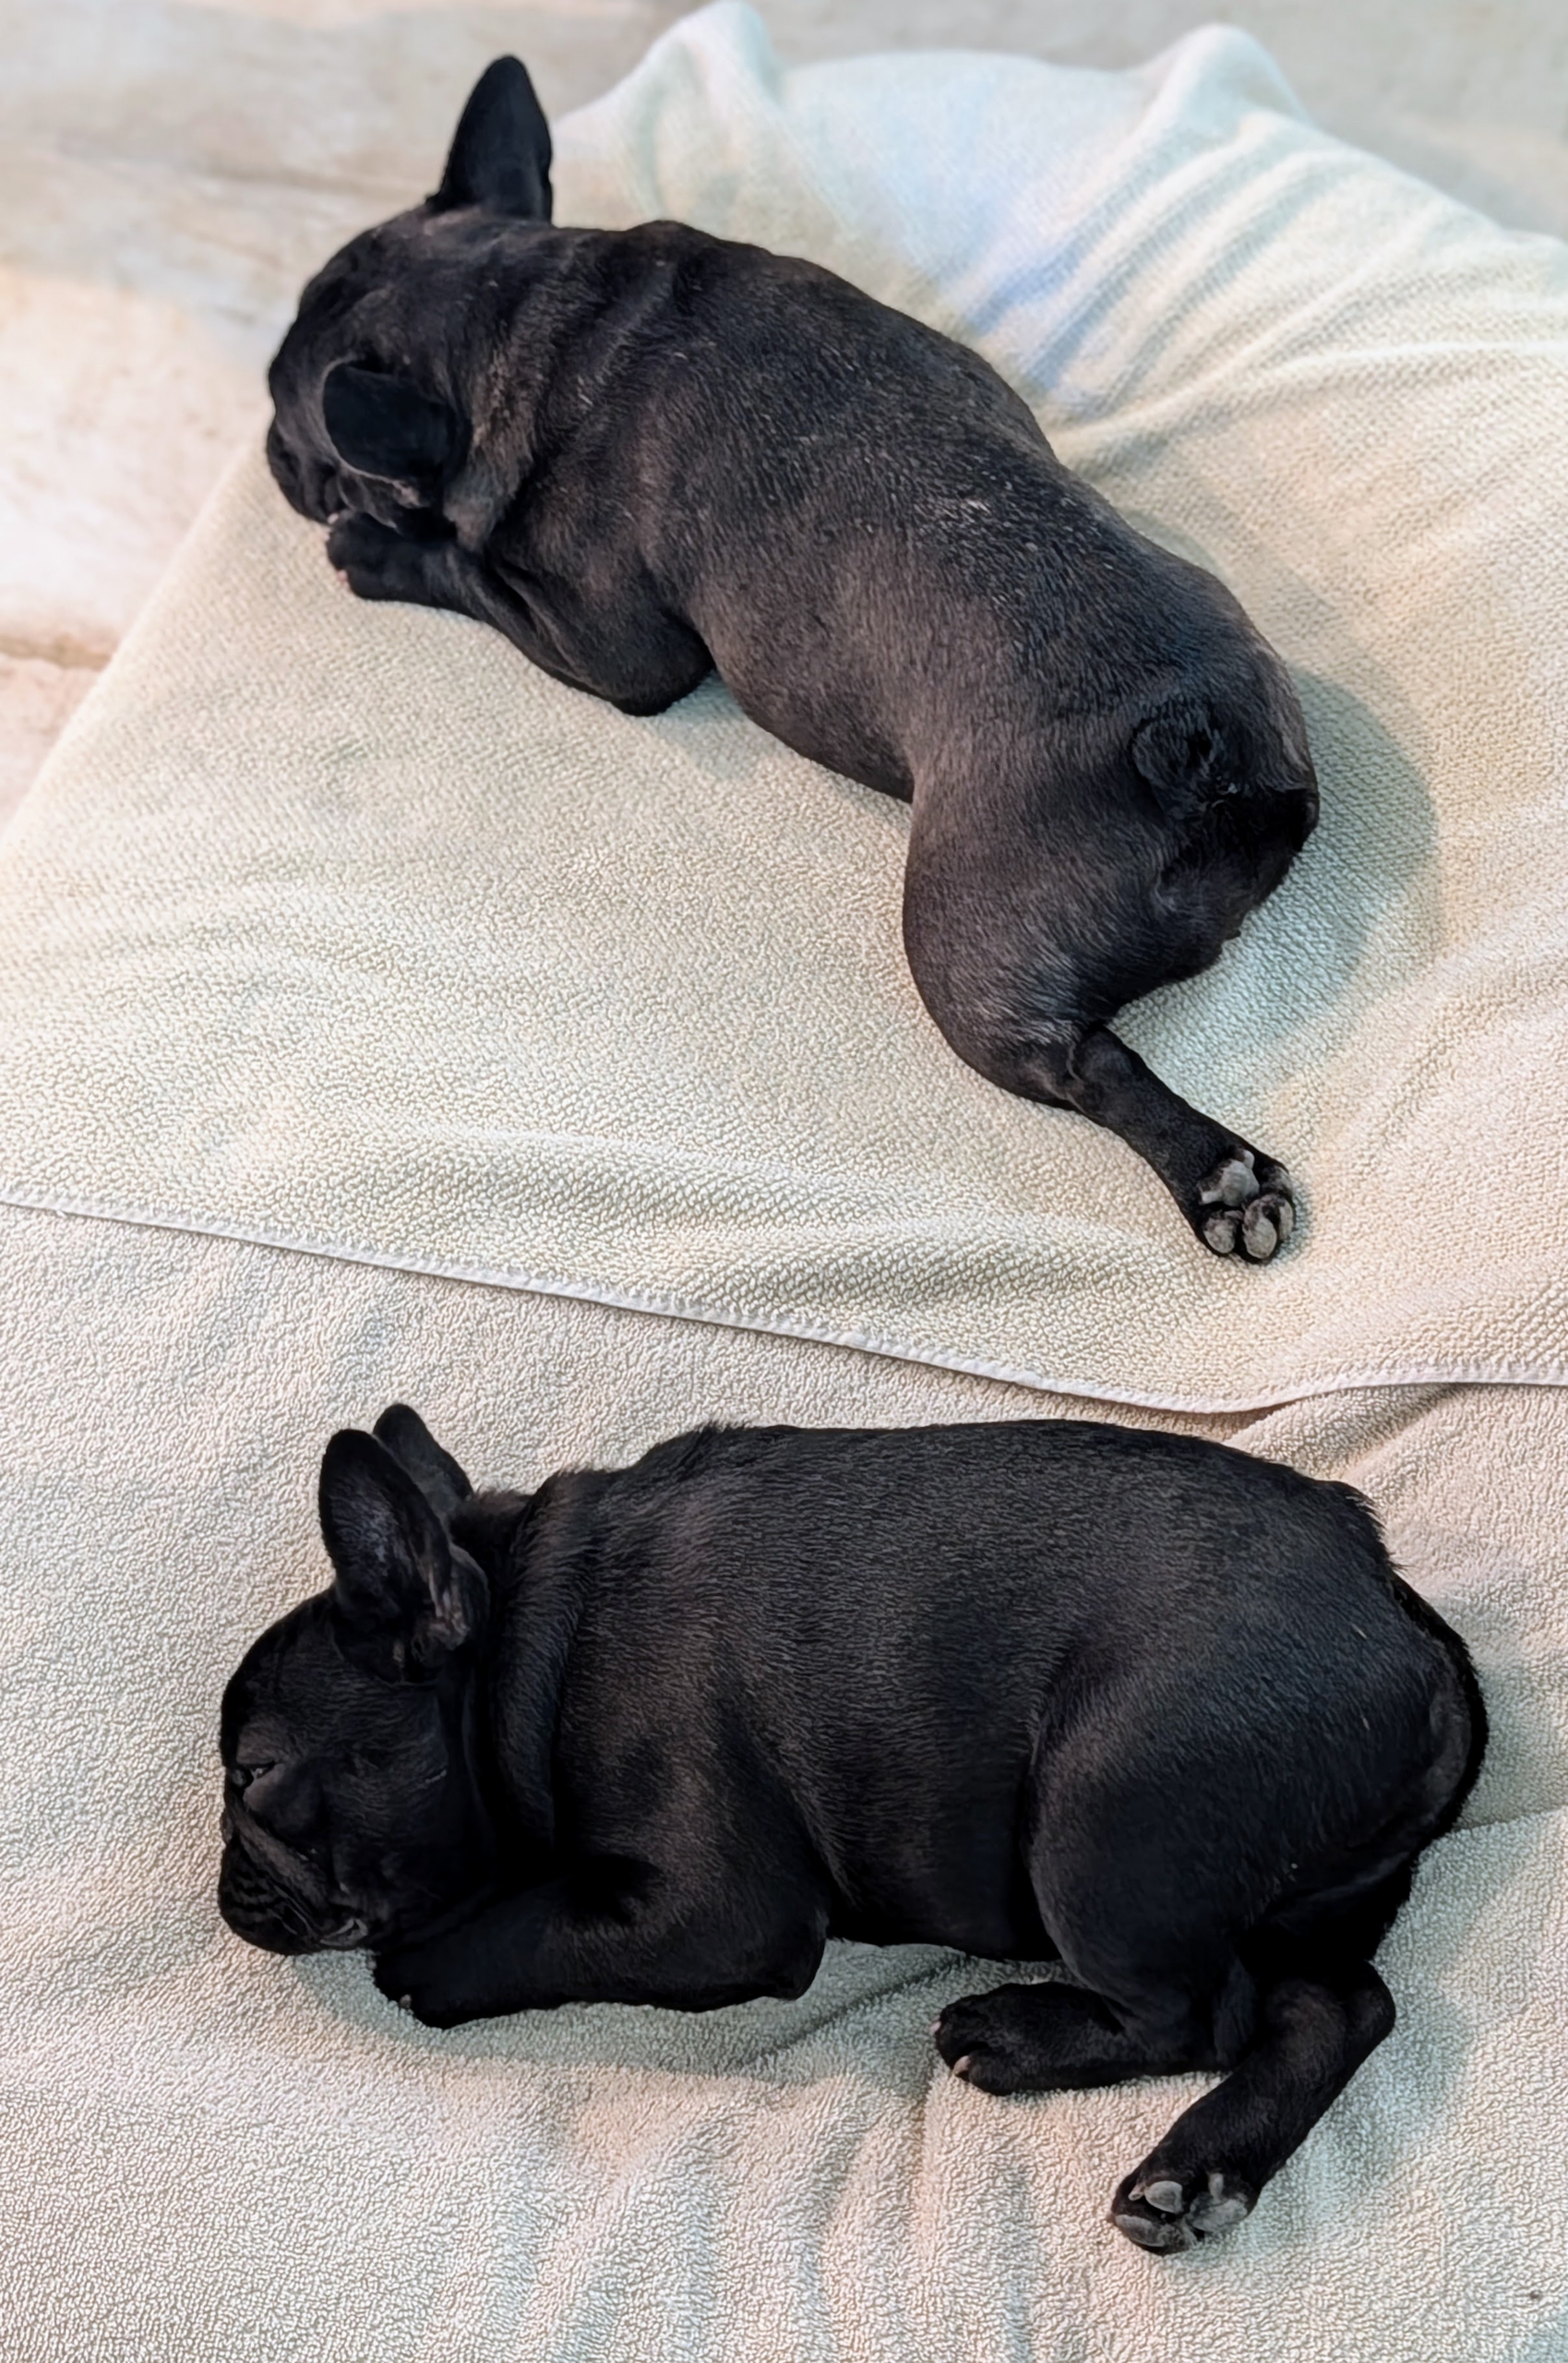
Mother Luna Mona and daughter Half Moon nap nearby – flowers don’t interest them too much.
These tulips are displayed in my sitting room on a brass tray table. Keep cut flowers in a cool area as heat reduces the bloom time. I hope you can bring some flowers inside from the garden and enjoy the beautiful spring blooms.