Do you know... some vegetables taste even better after a frost? Many root vegetables are best when harvested in colder weather.
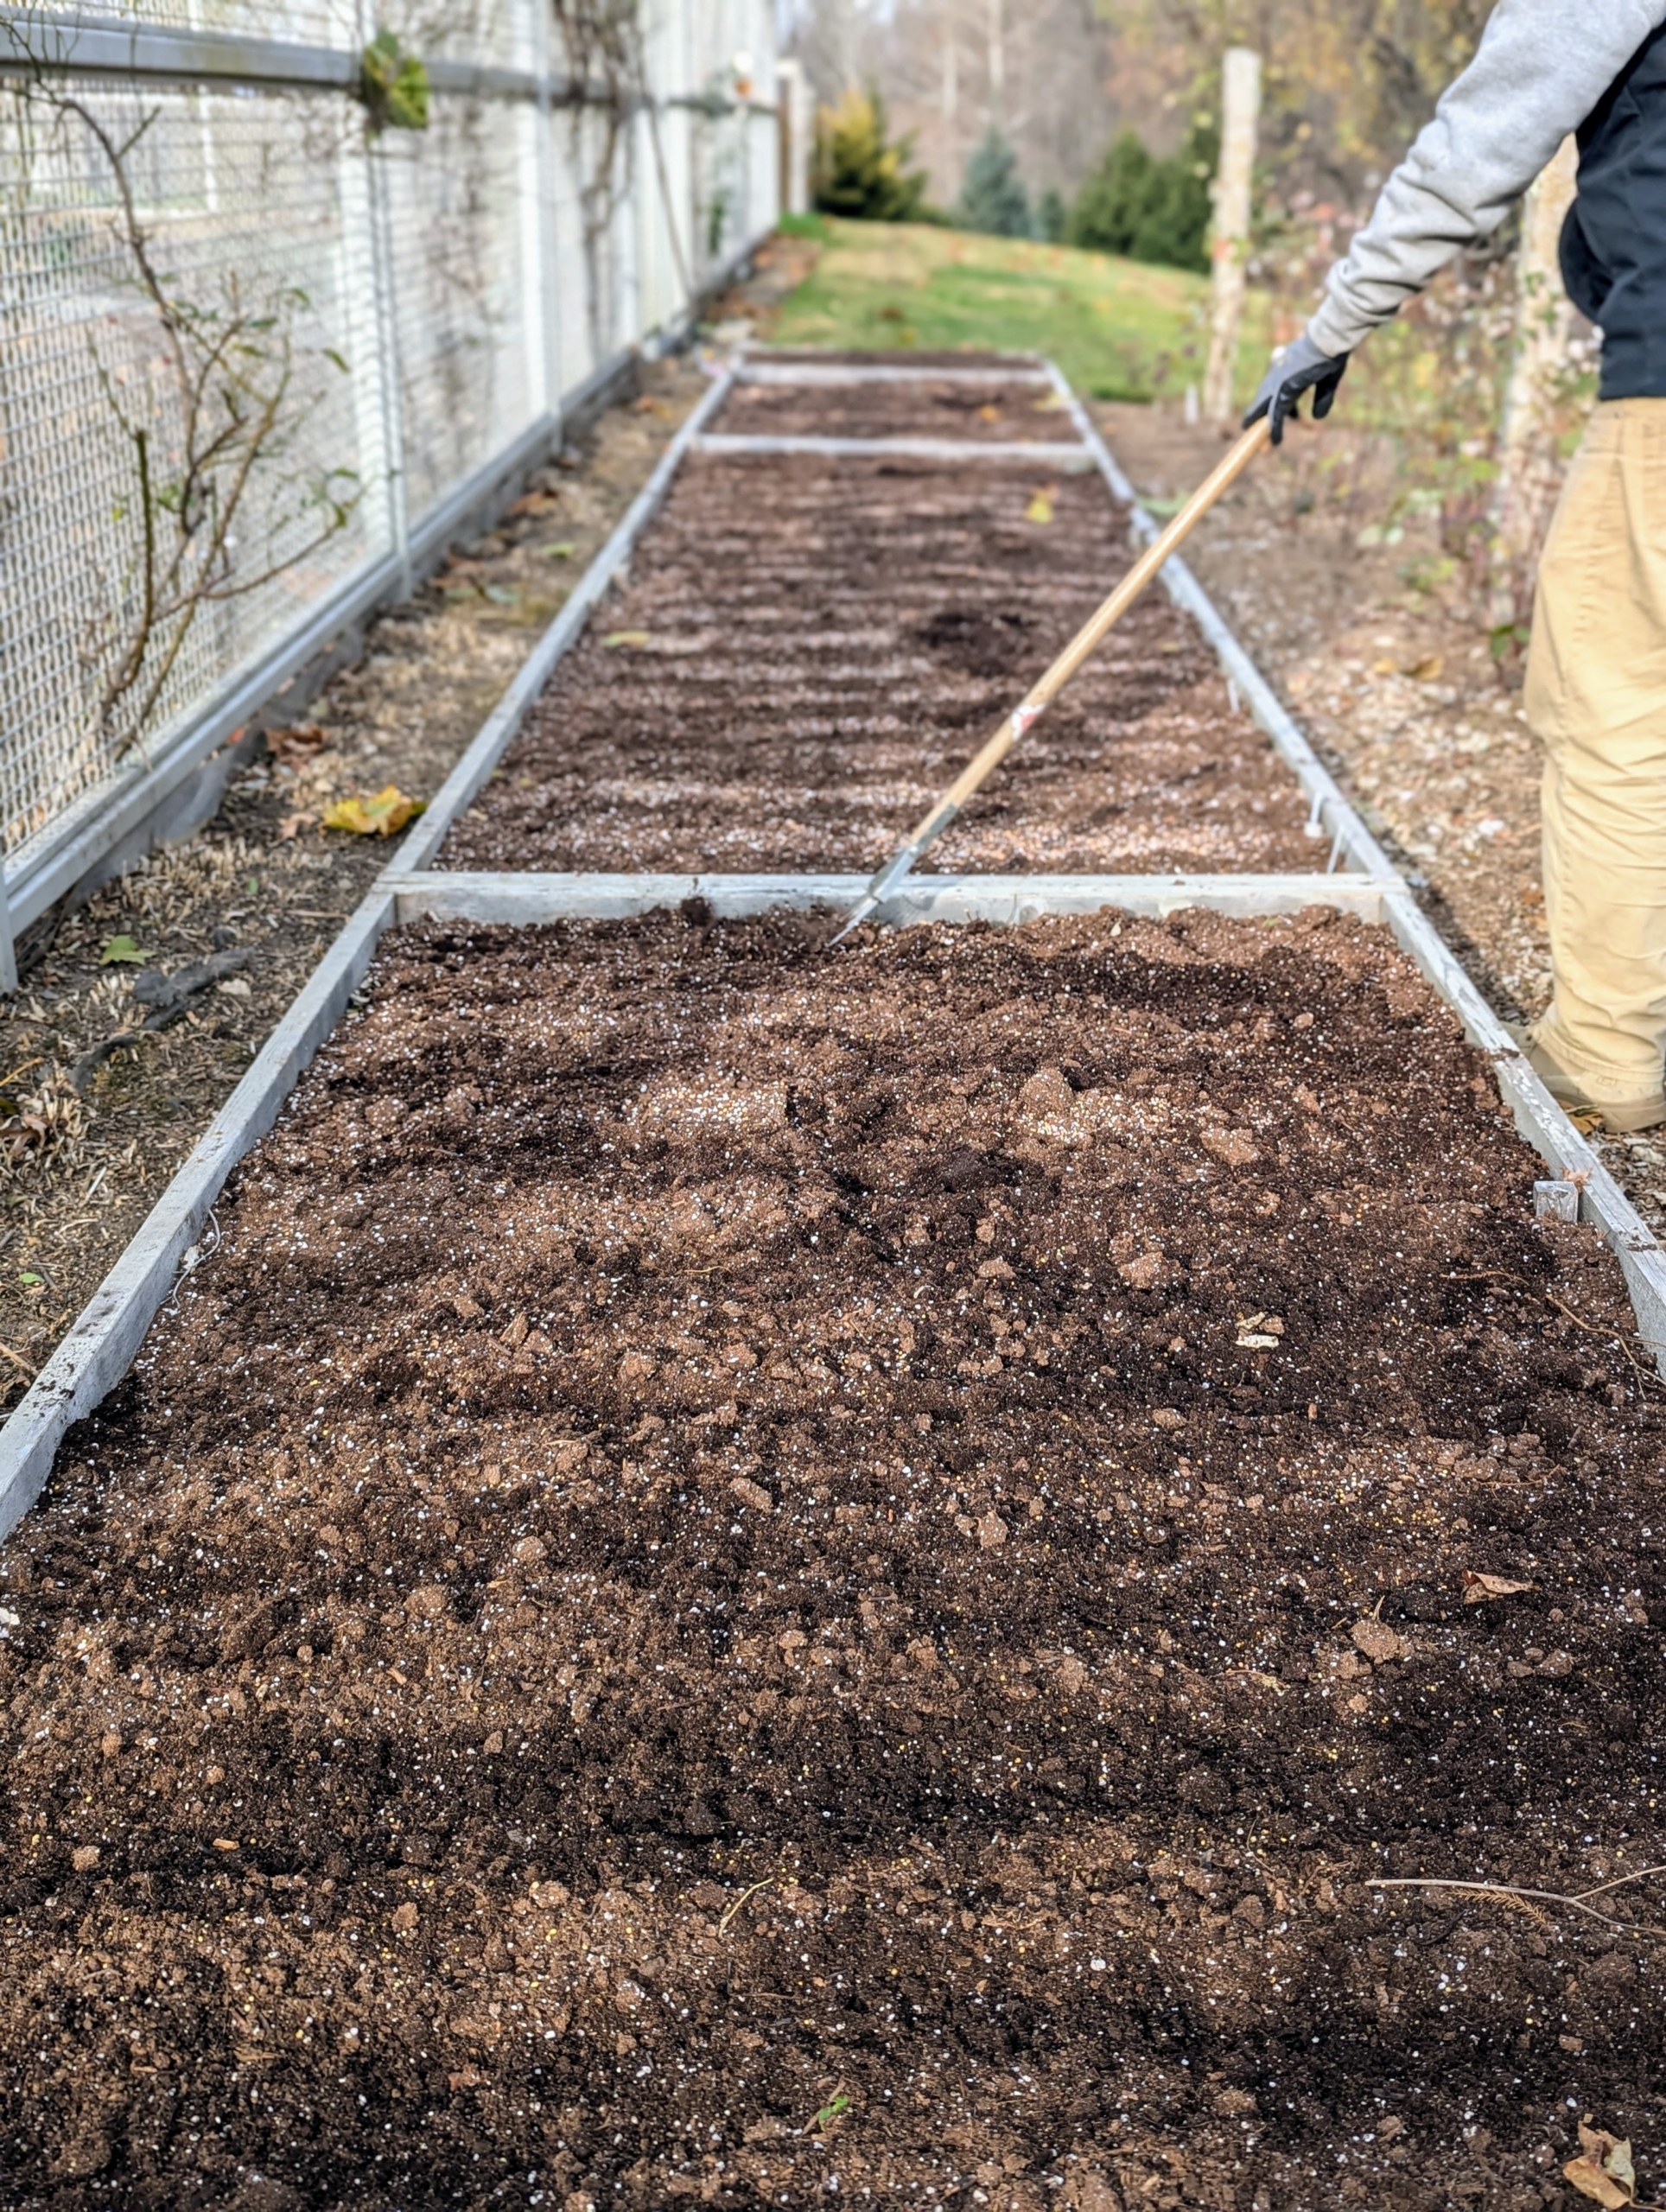
Here at my farm, many of the raised beds in my vegetable garden have been cleared and cleaned for winter, but a few beds still continue to thrive with fall carrots, parsnips, and one of my favorites, celeriac. These vegetables take the longest to reach maturity - about four months, but when they're finally picked, they're so delicious.
Enjoy these photos.
My half acre garden has produced bounties of wonderful vegetables this year. Even now that the weather is colder, we’re still able to harvest delicious organic produce.
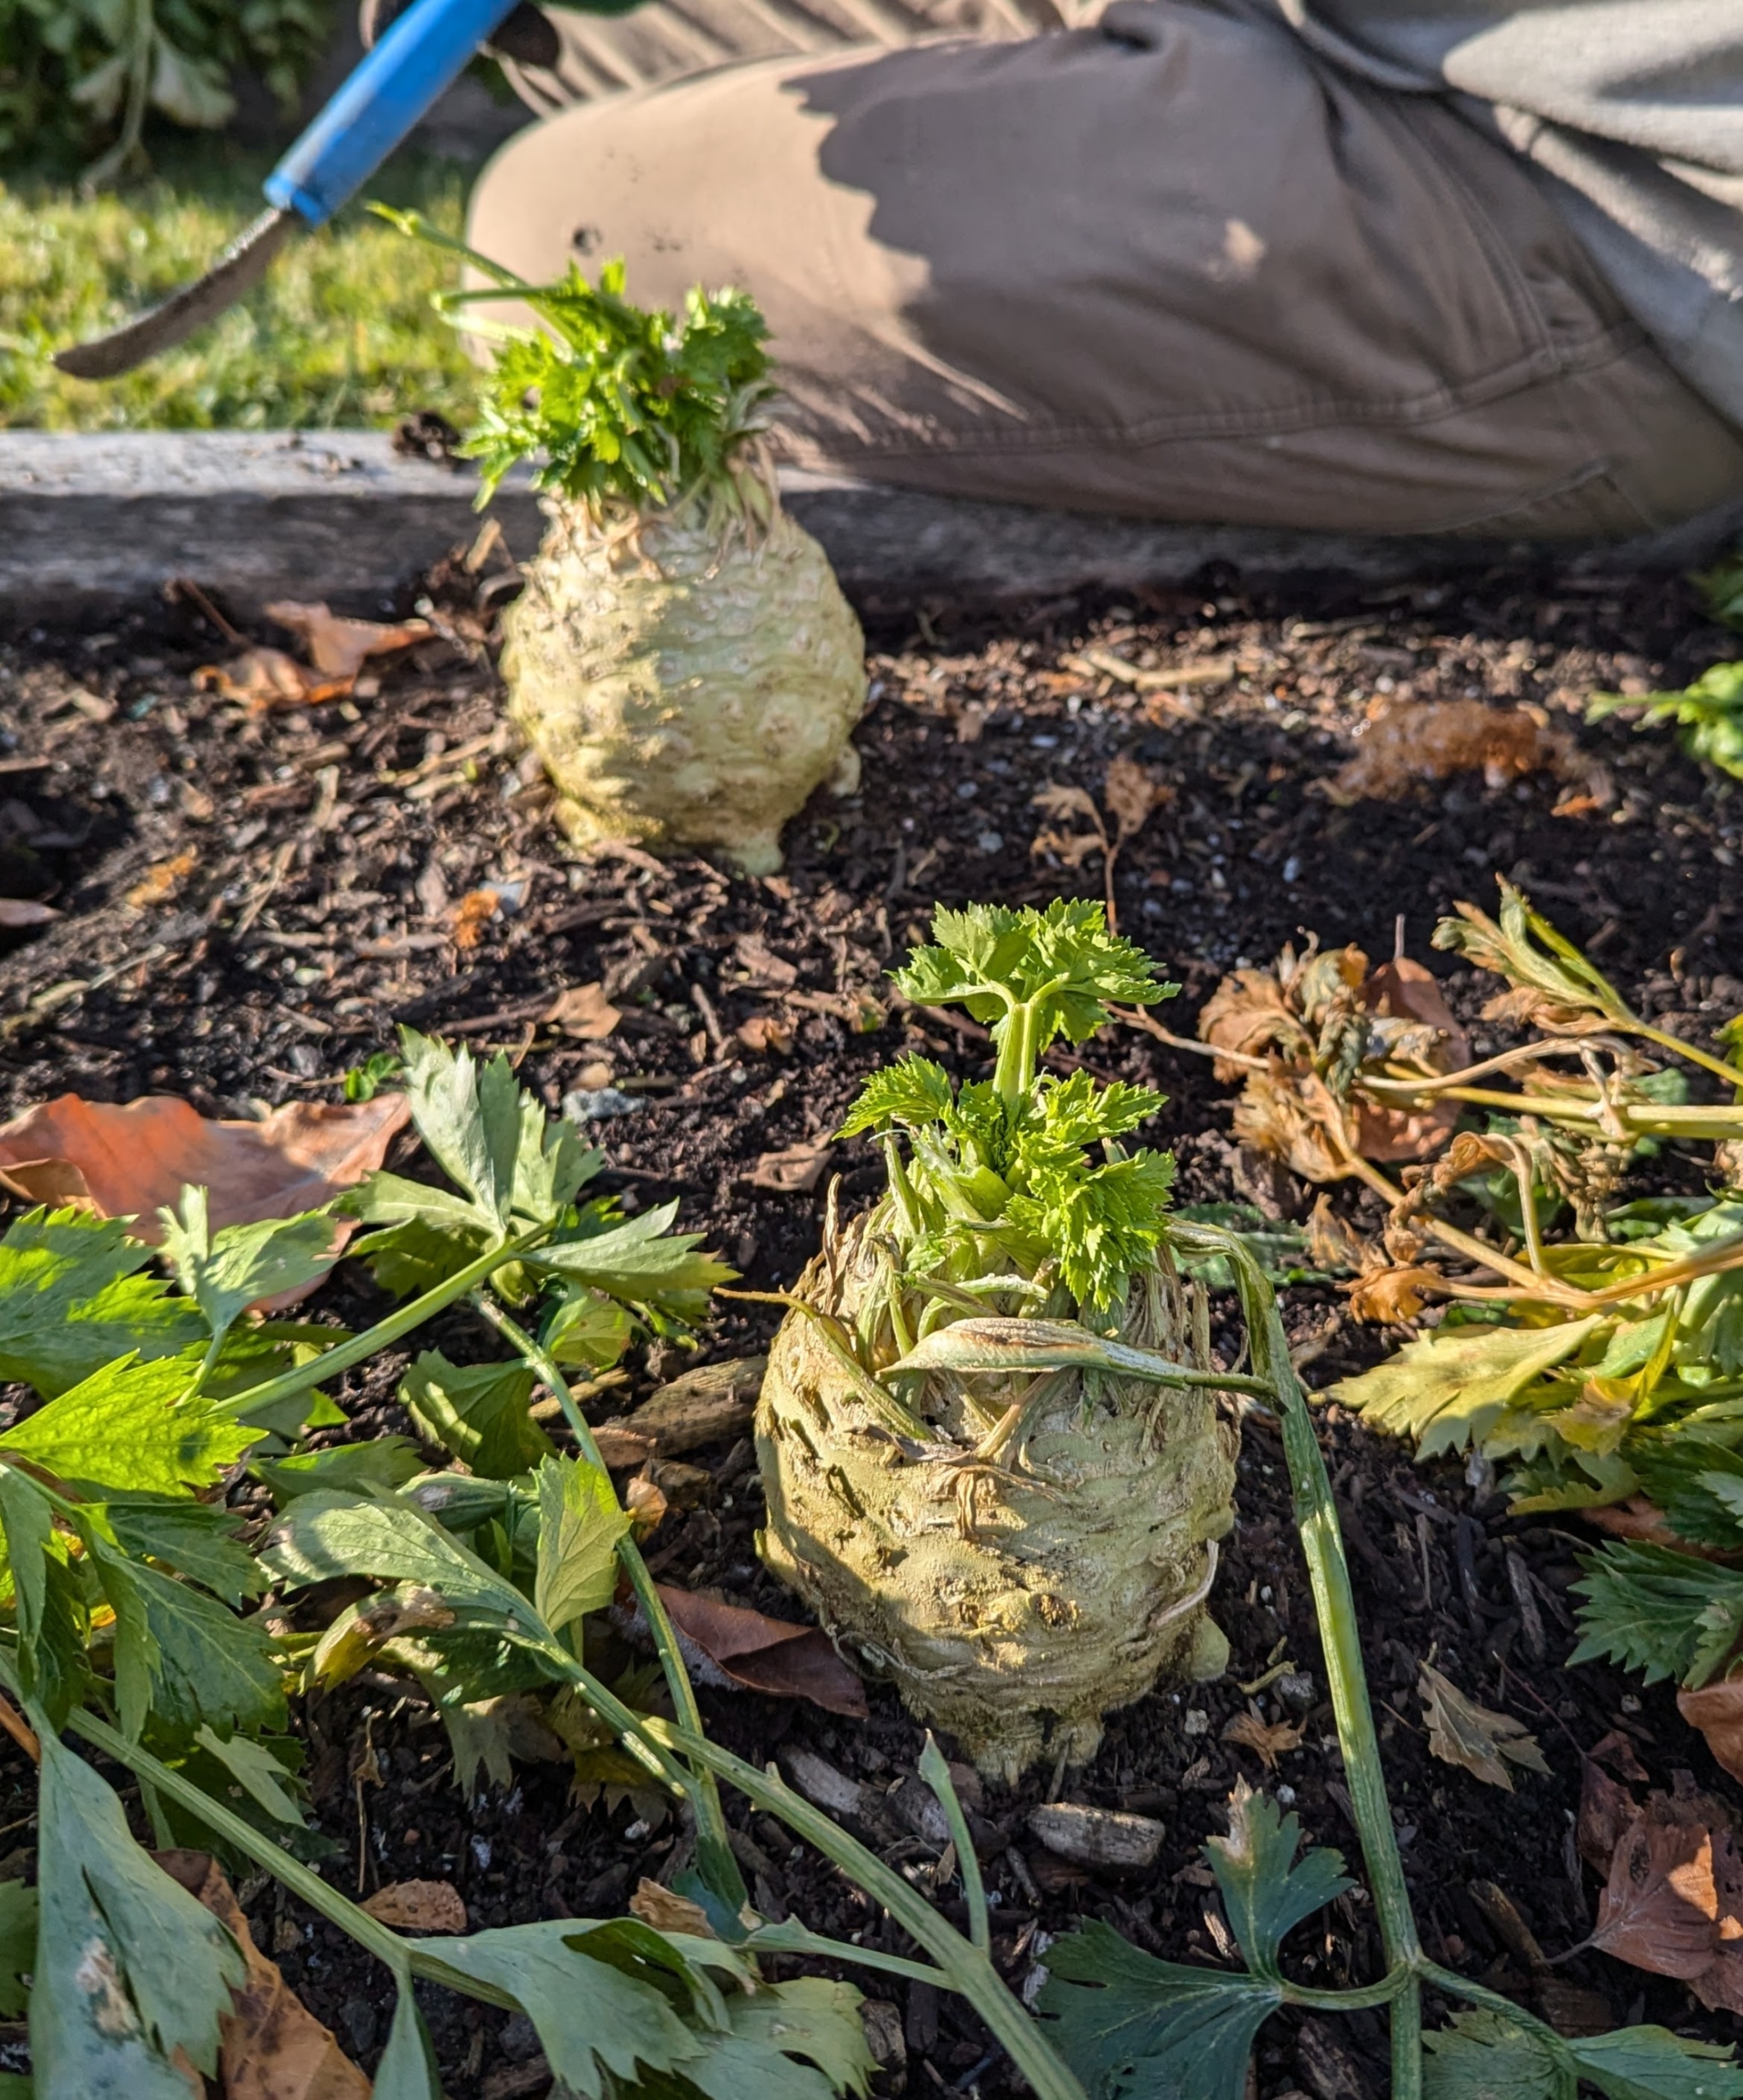
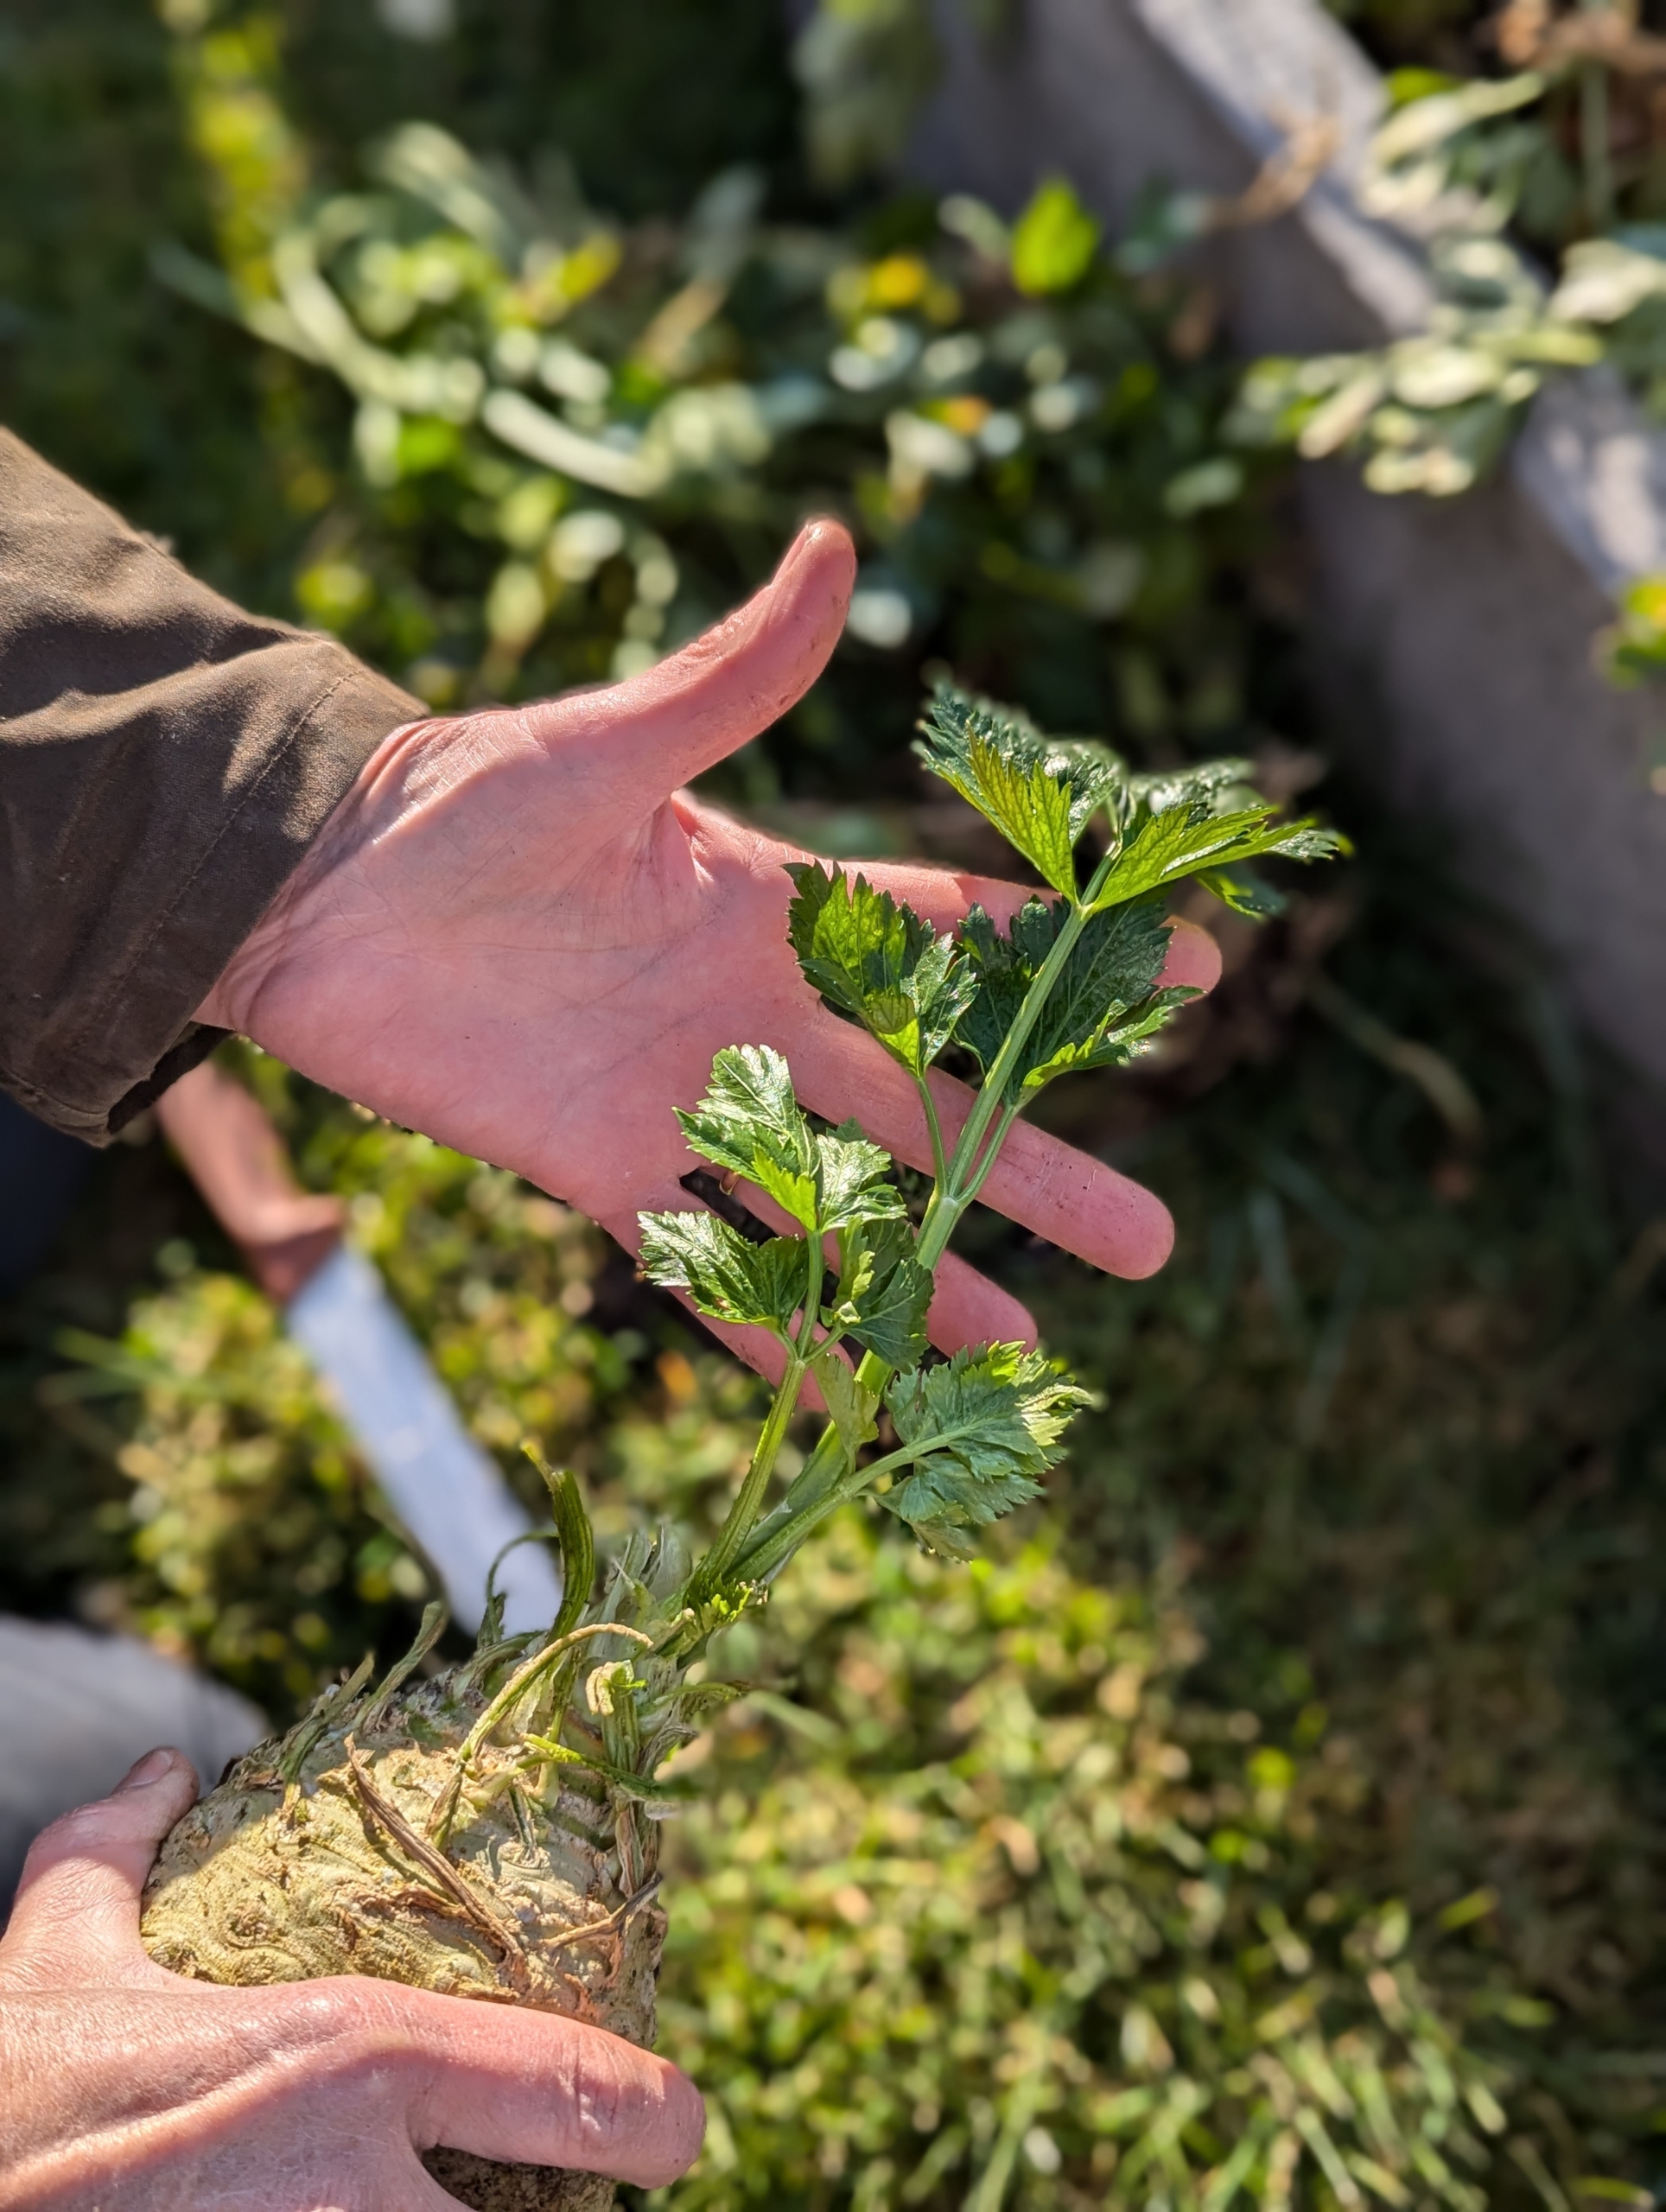
Among them, celeriac – also known as celery root, knob celery, and turnip-rooted celery. It is a variety of celery; however, while celery is grown for its succulent stalk and foliage, celeriac is cultivated for its edible and bulbous stem or hypocotyl, and shoots.
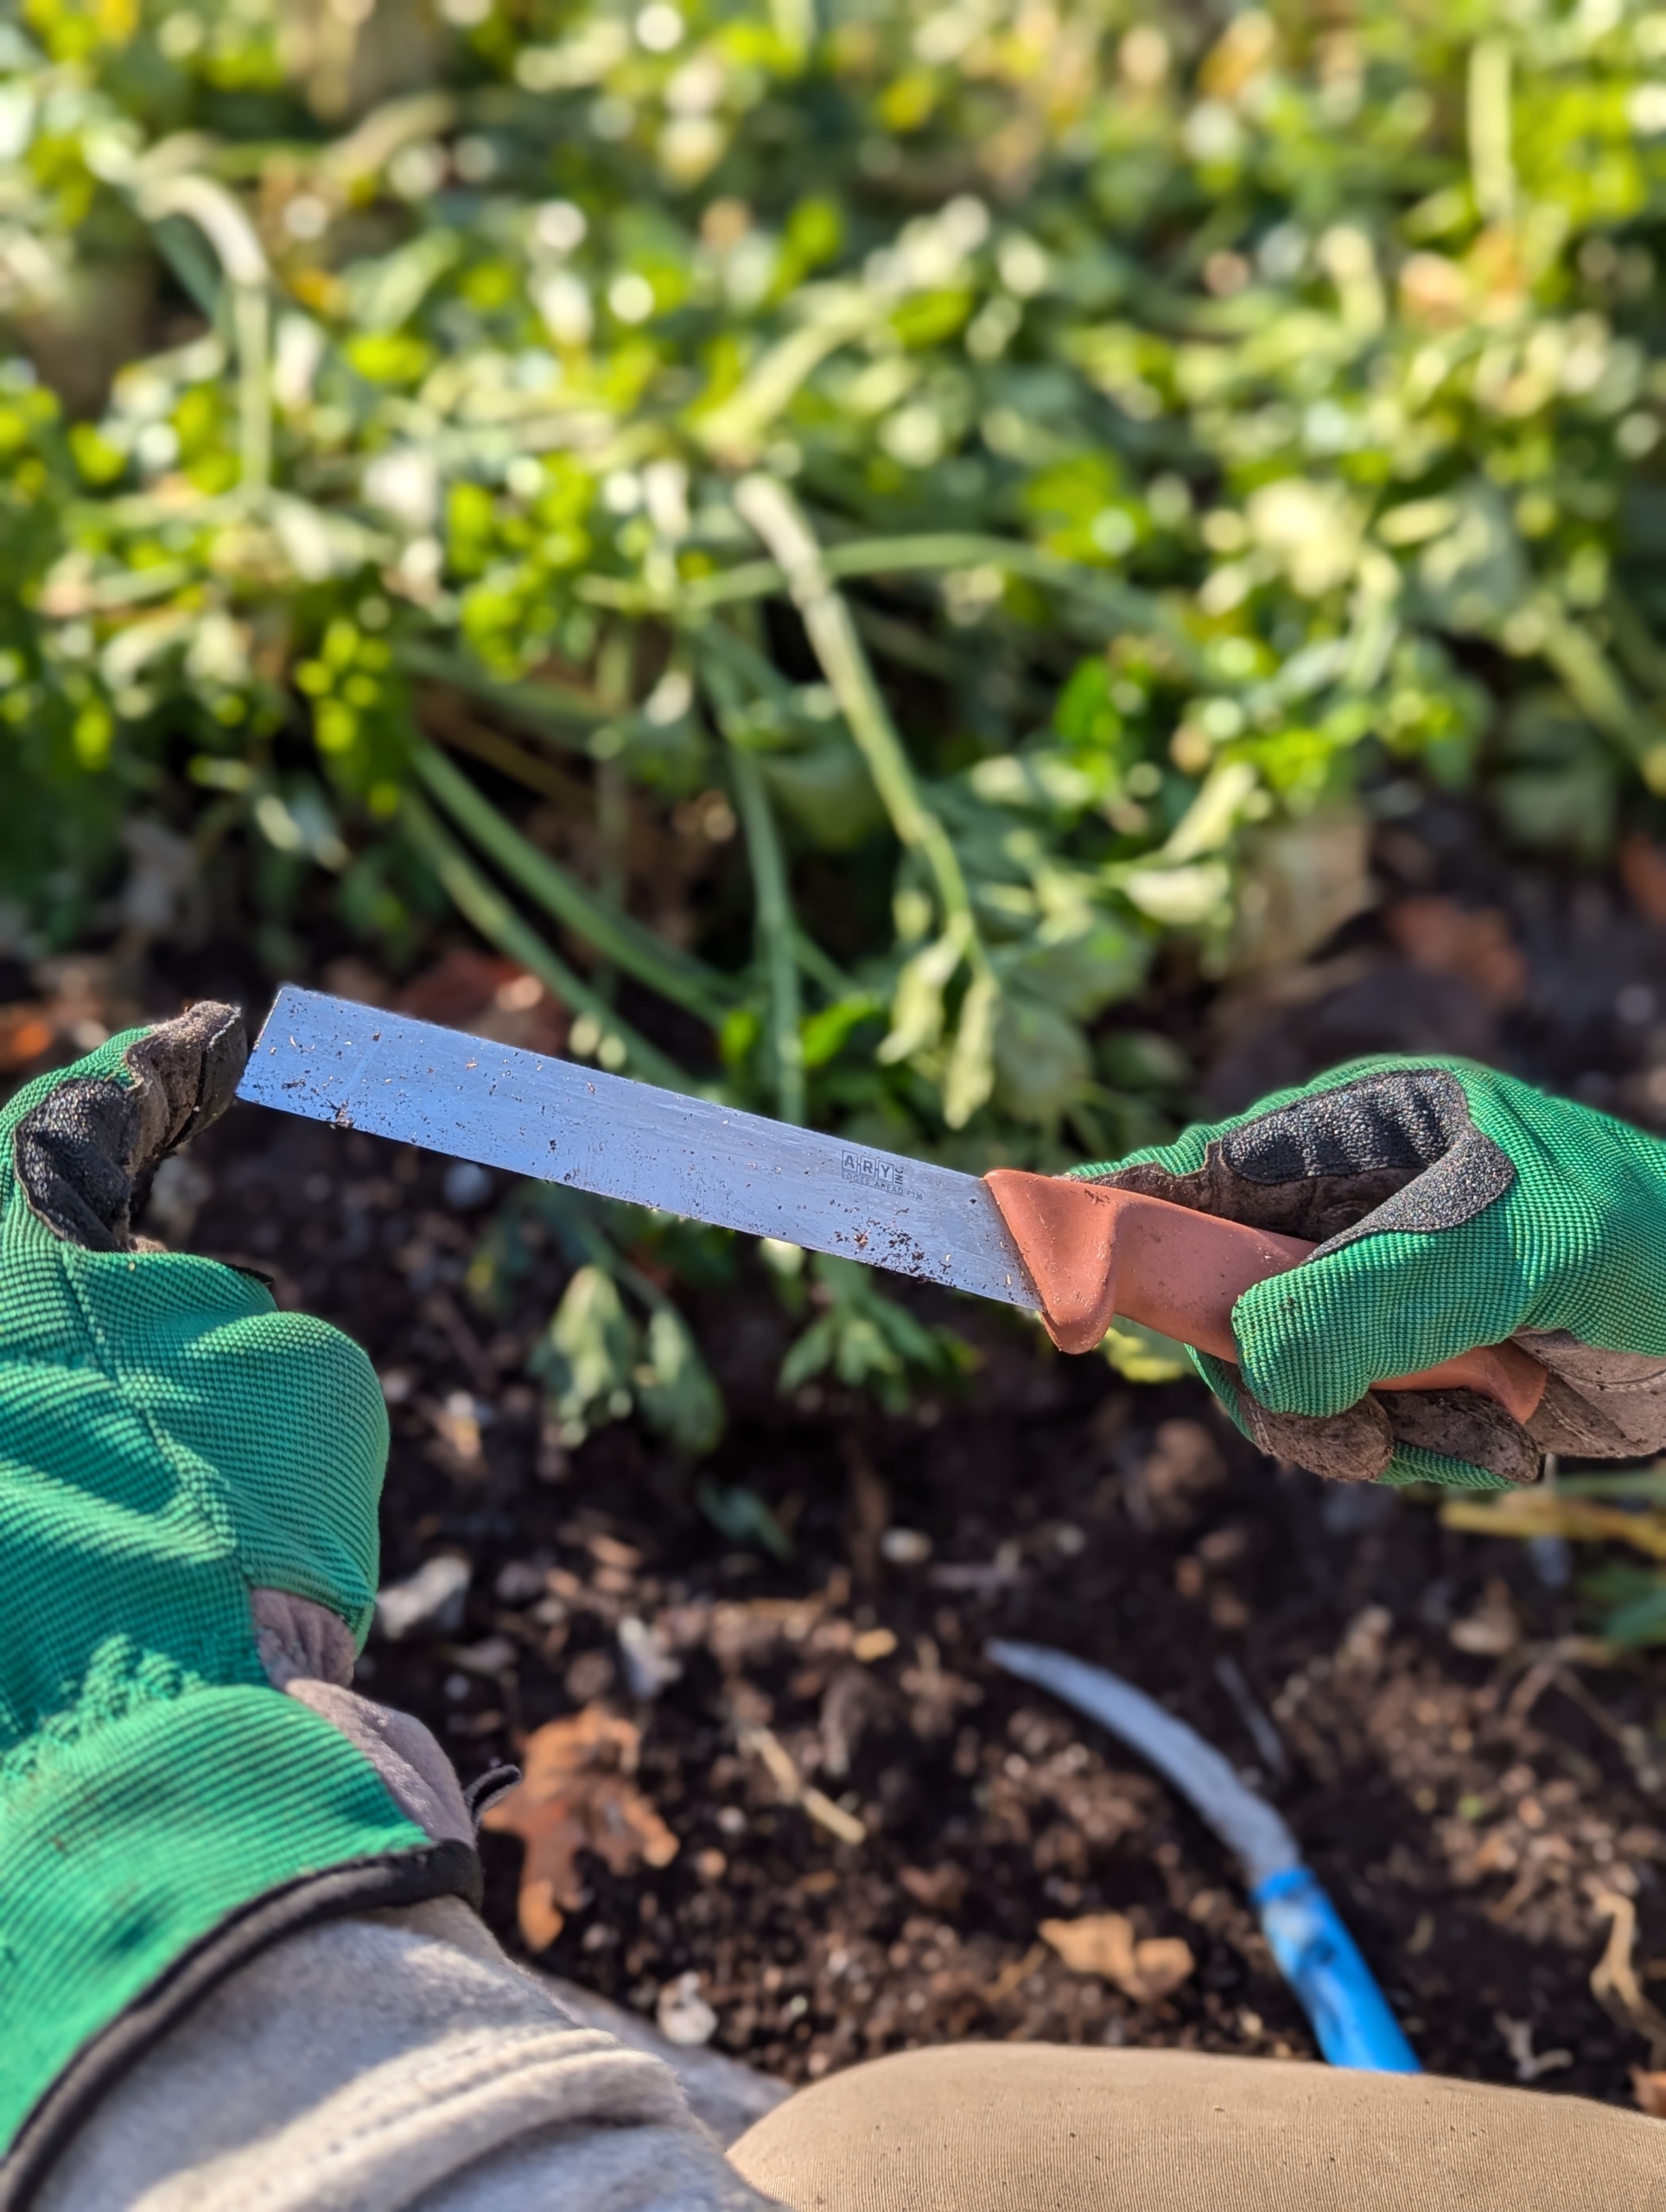
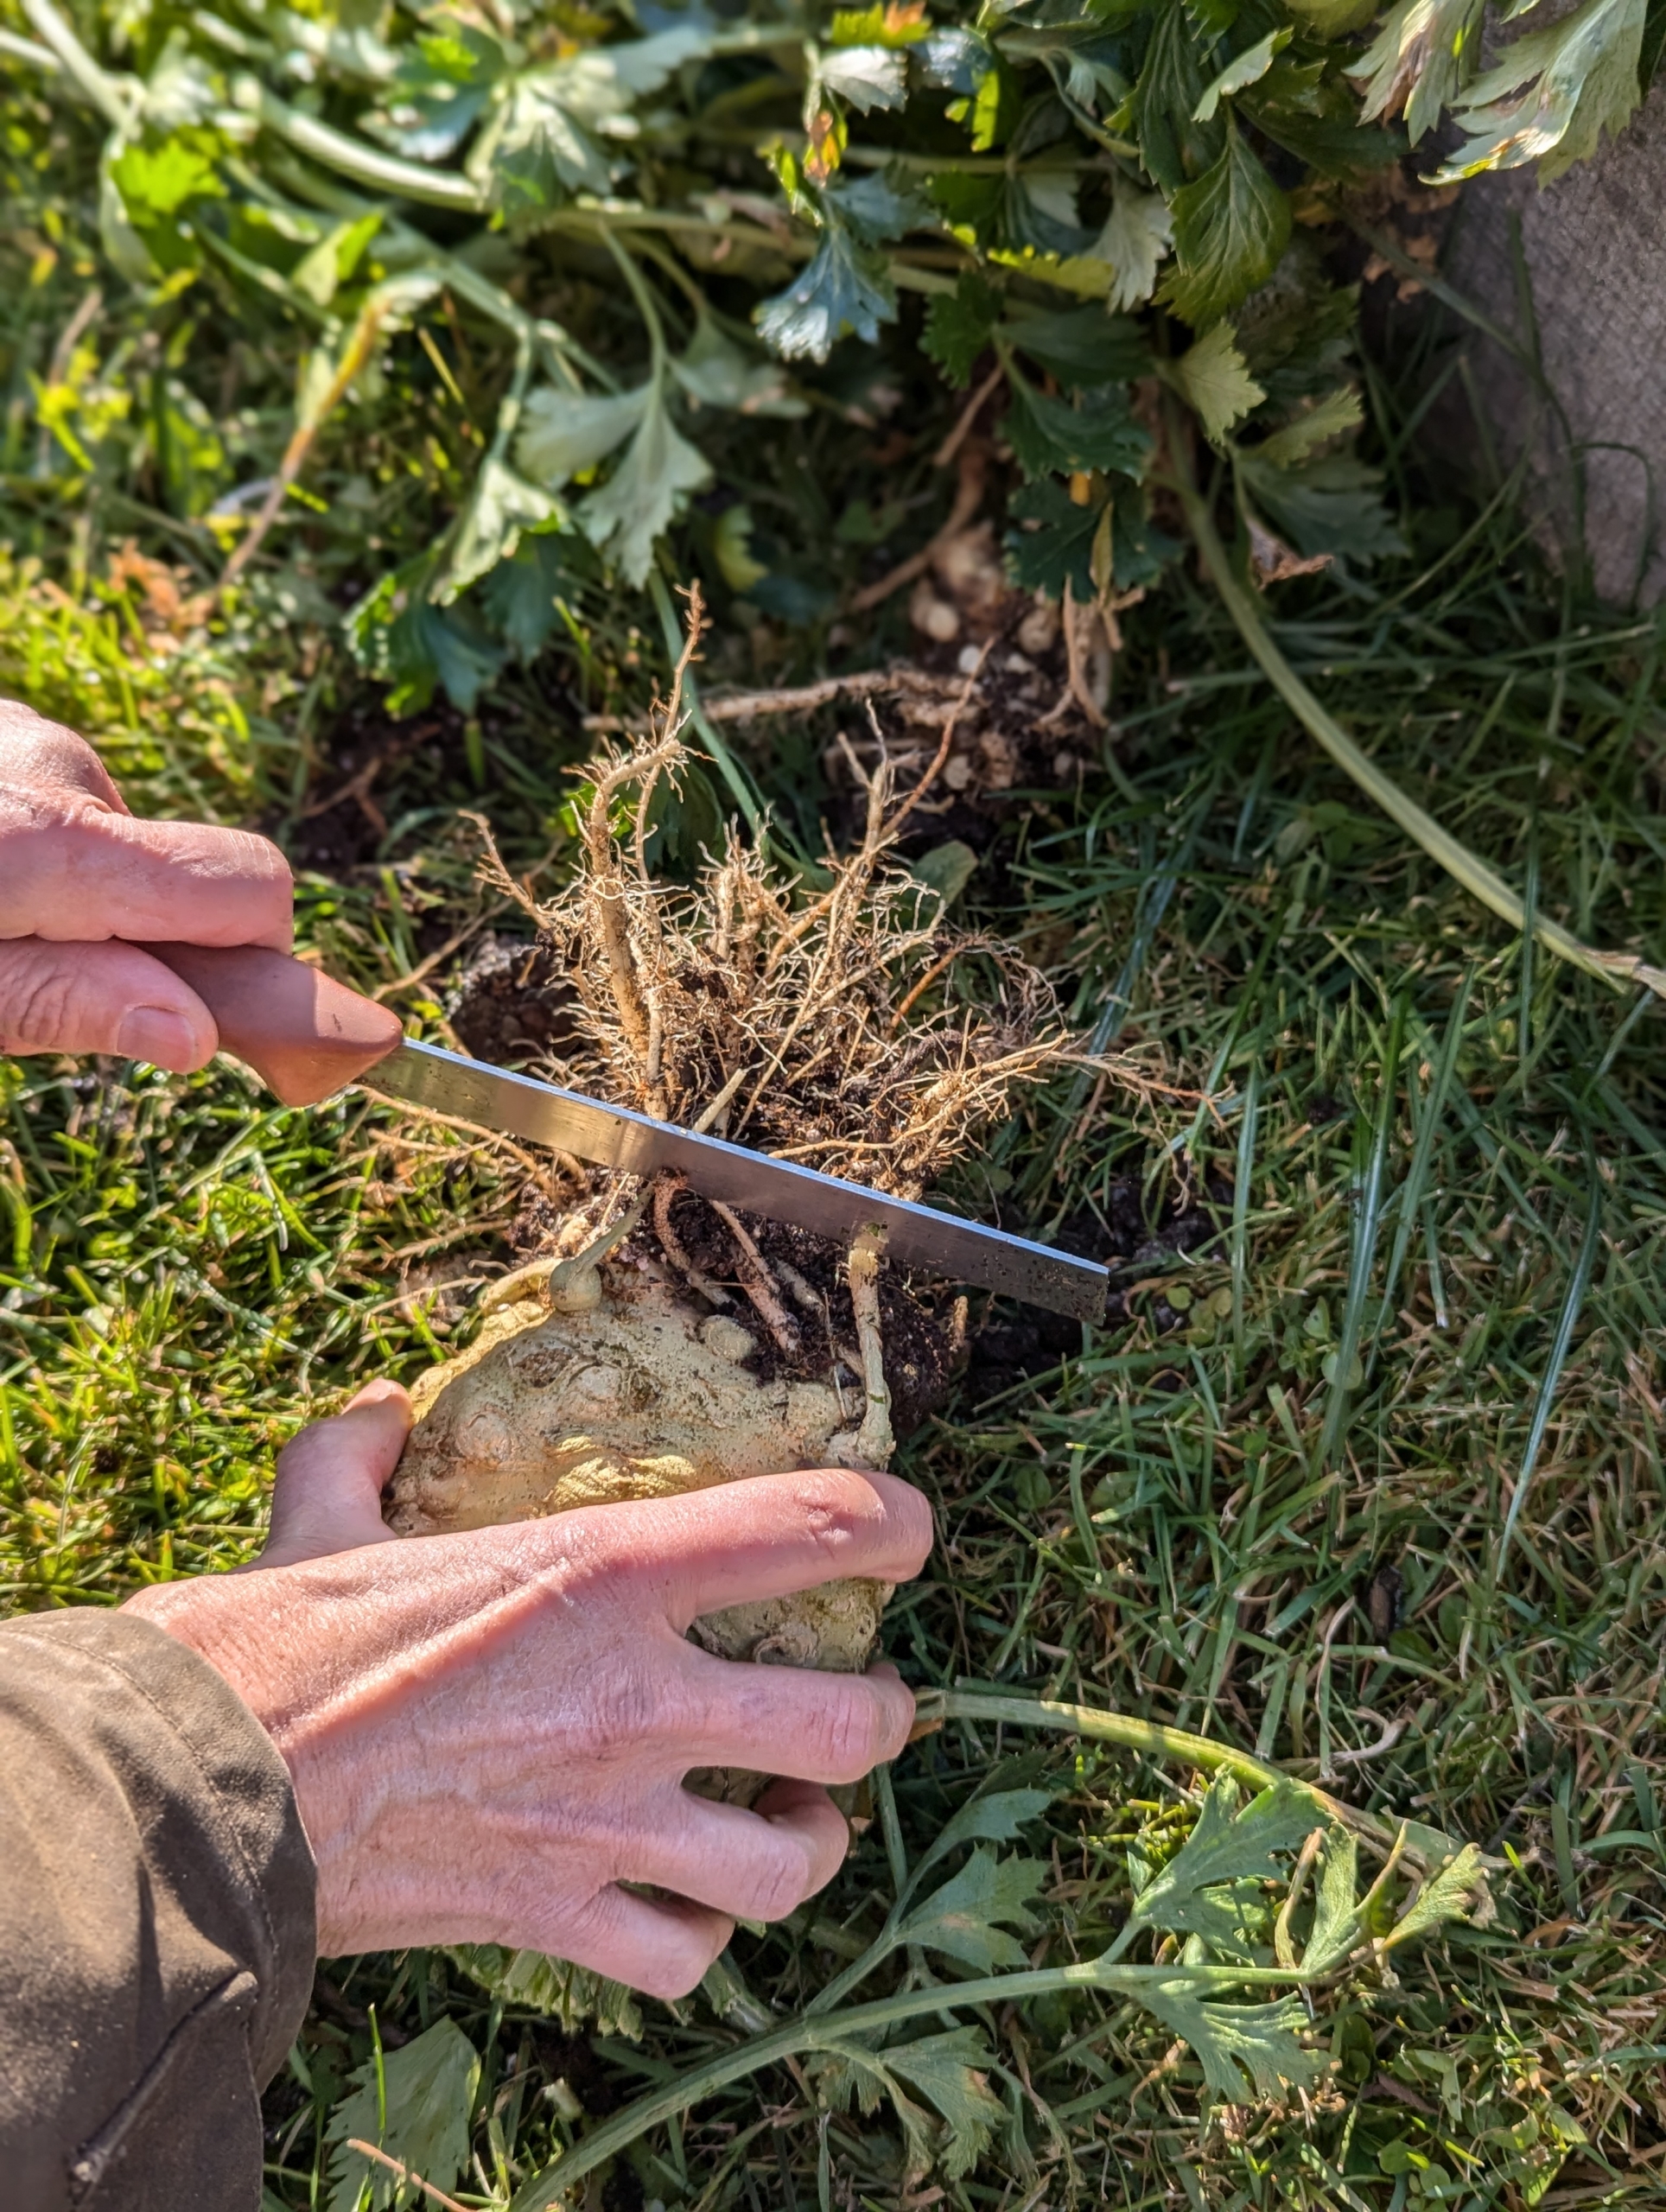
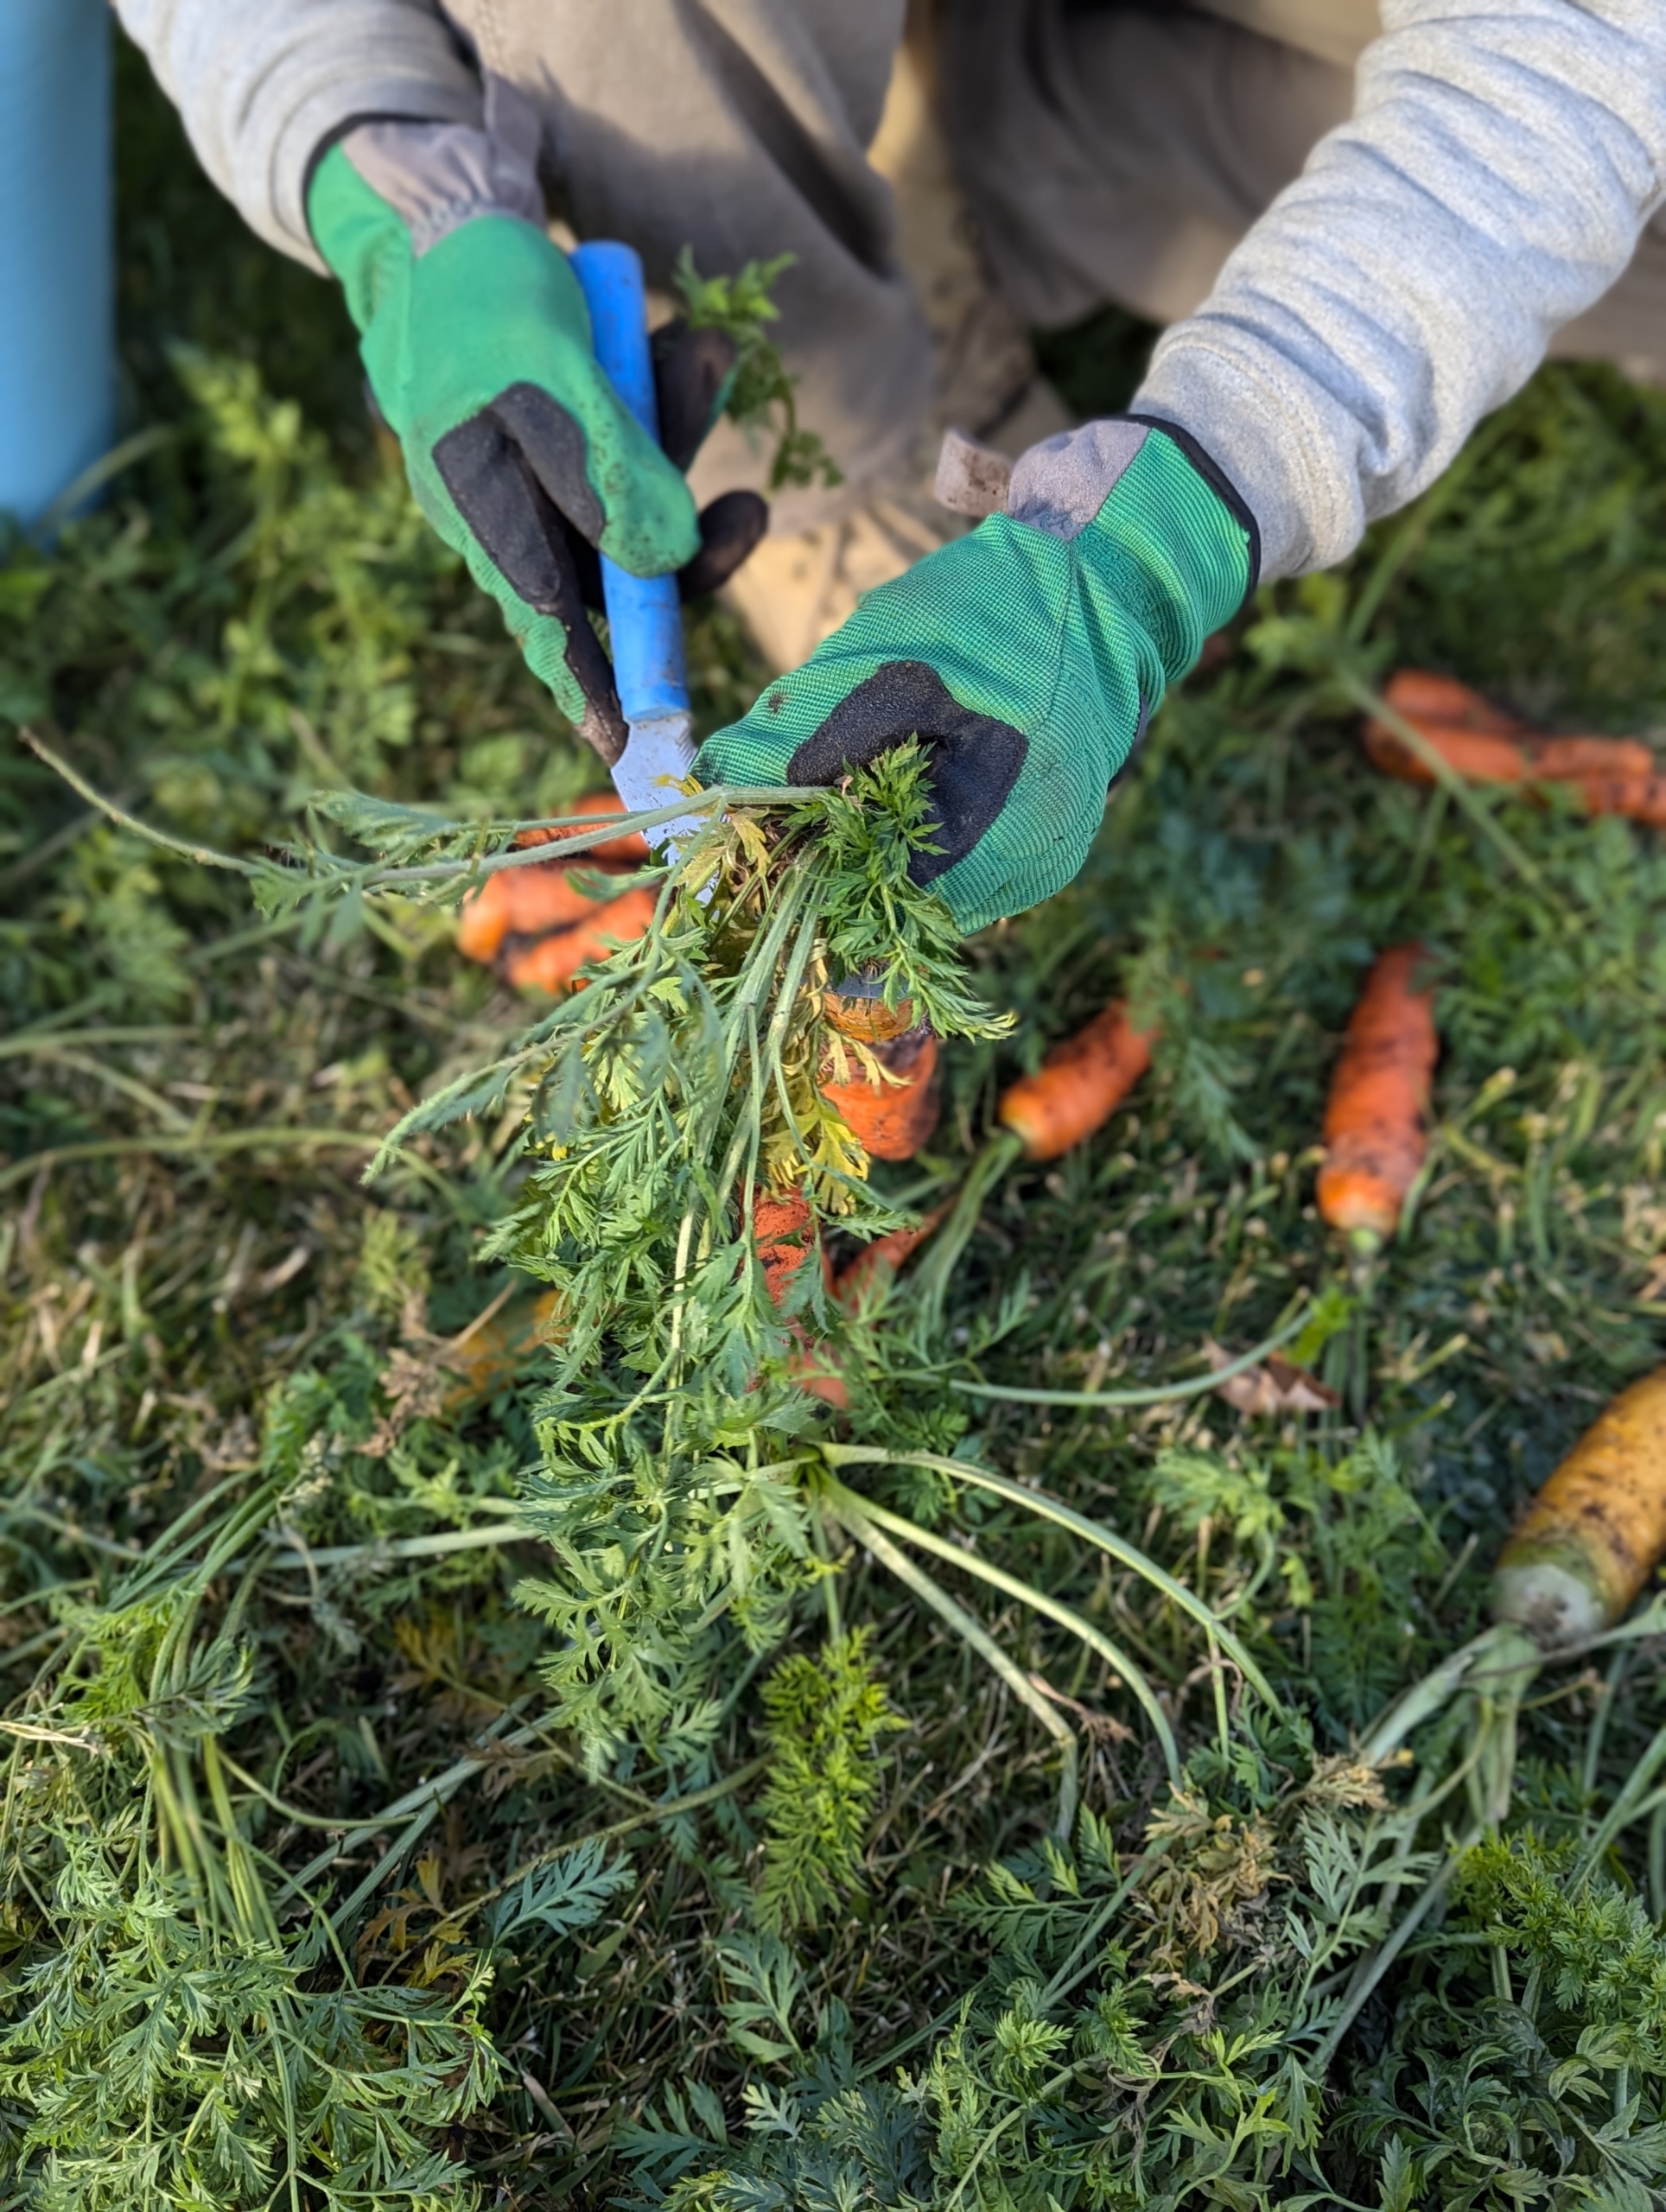
Ryan uses this straight edged harvesting knife to cut off the long leafy stalks and reveal the celeriac.
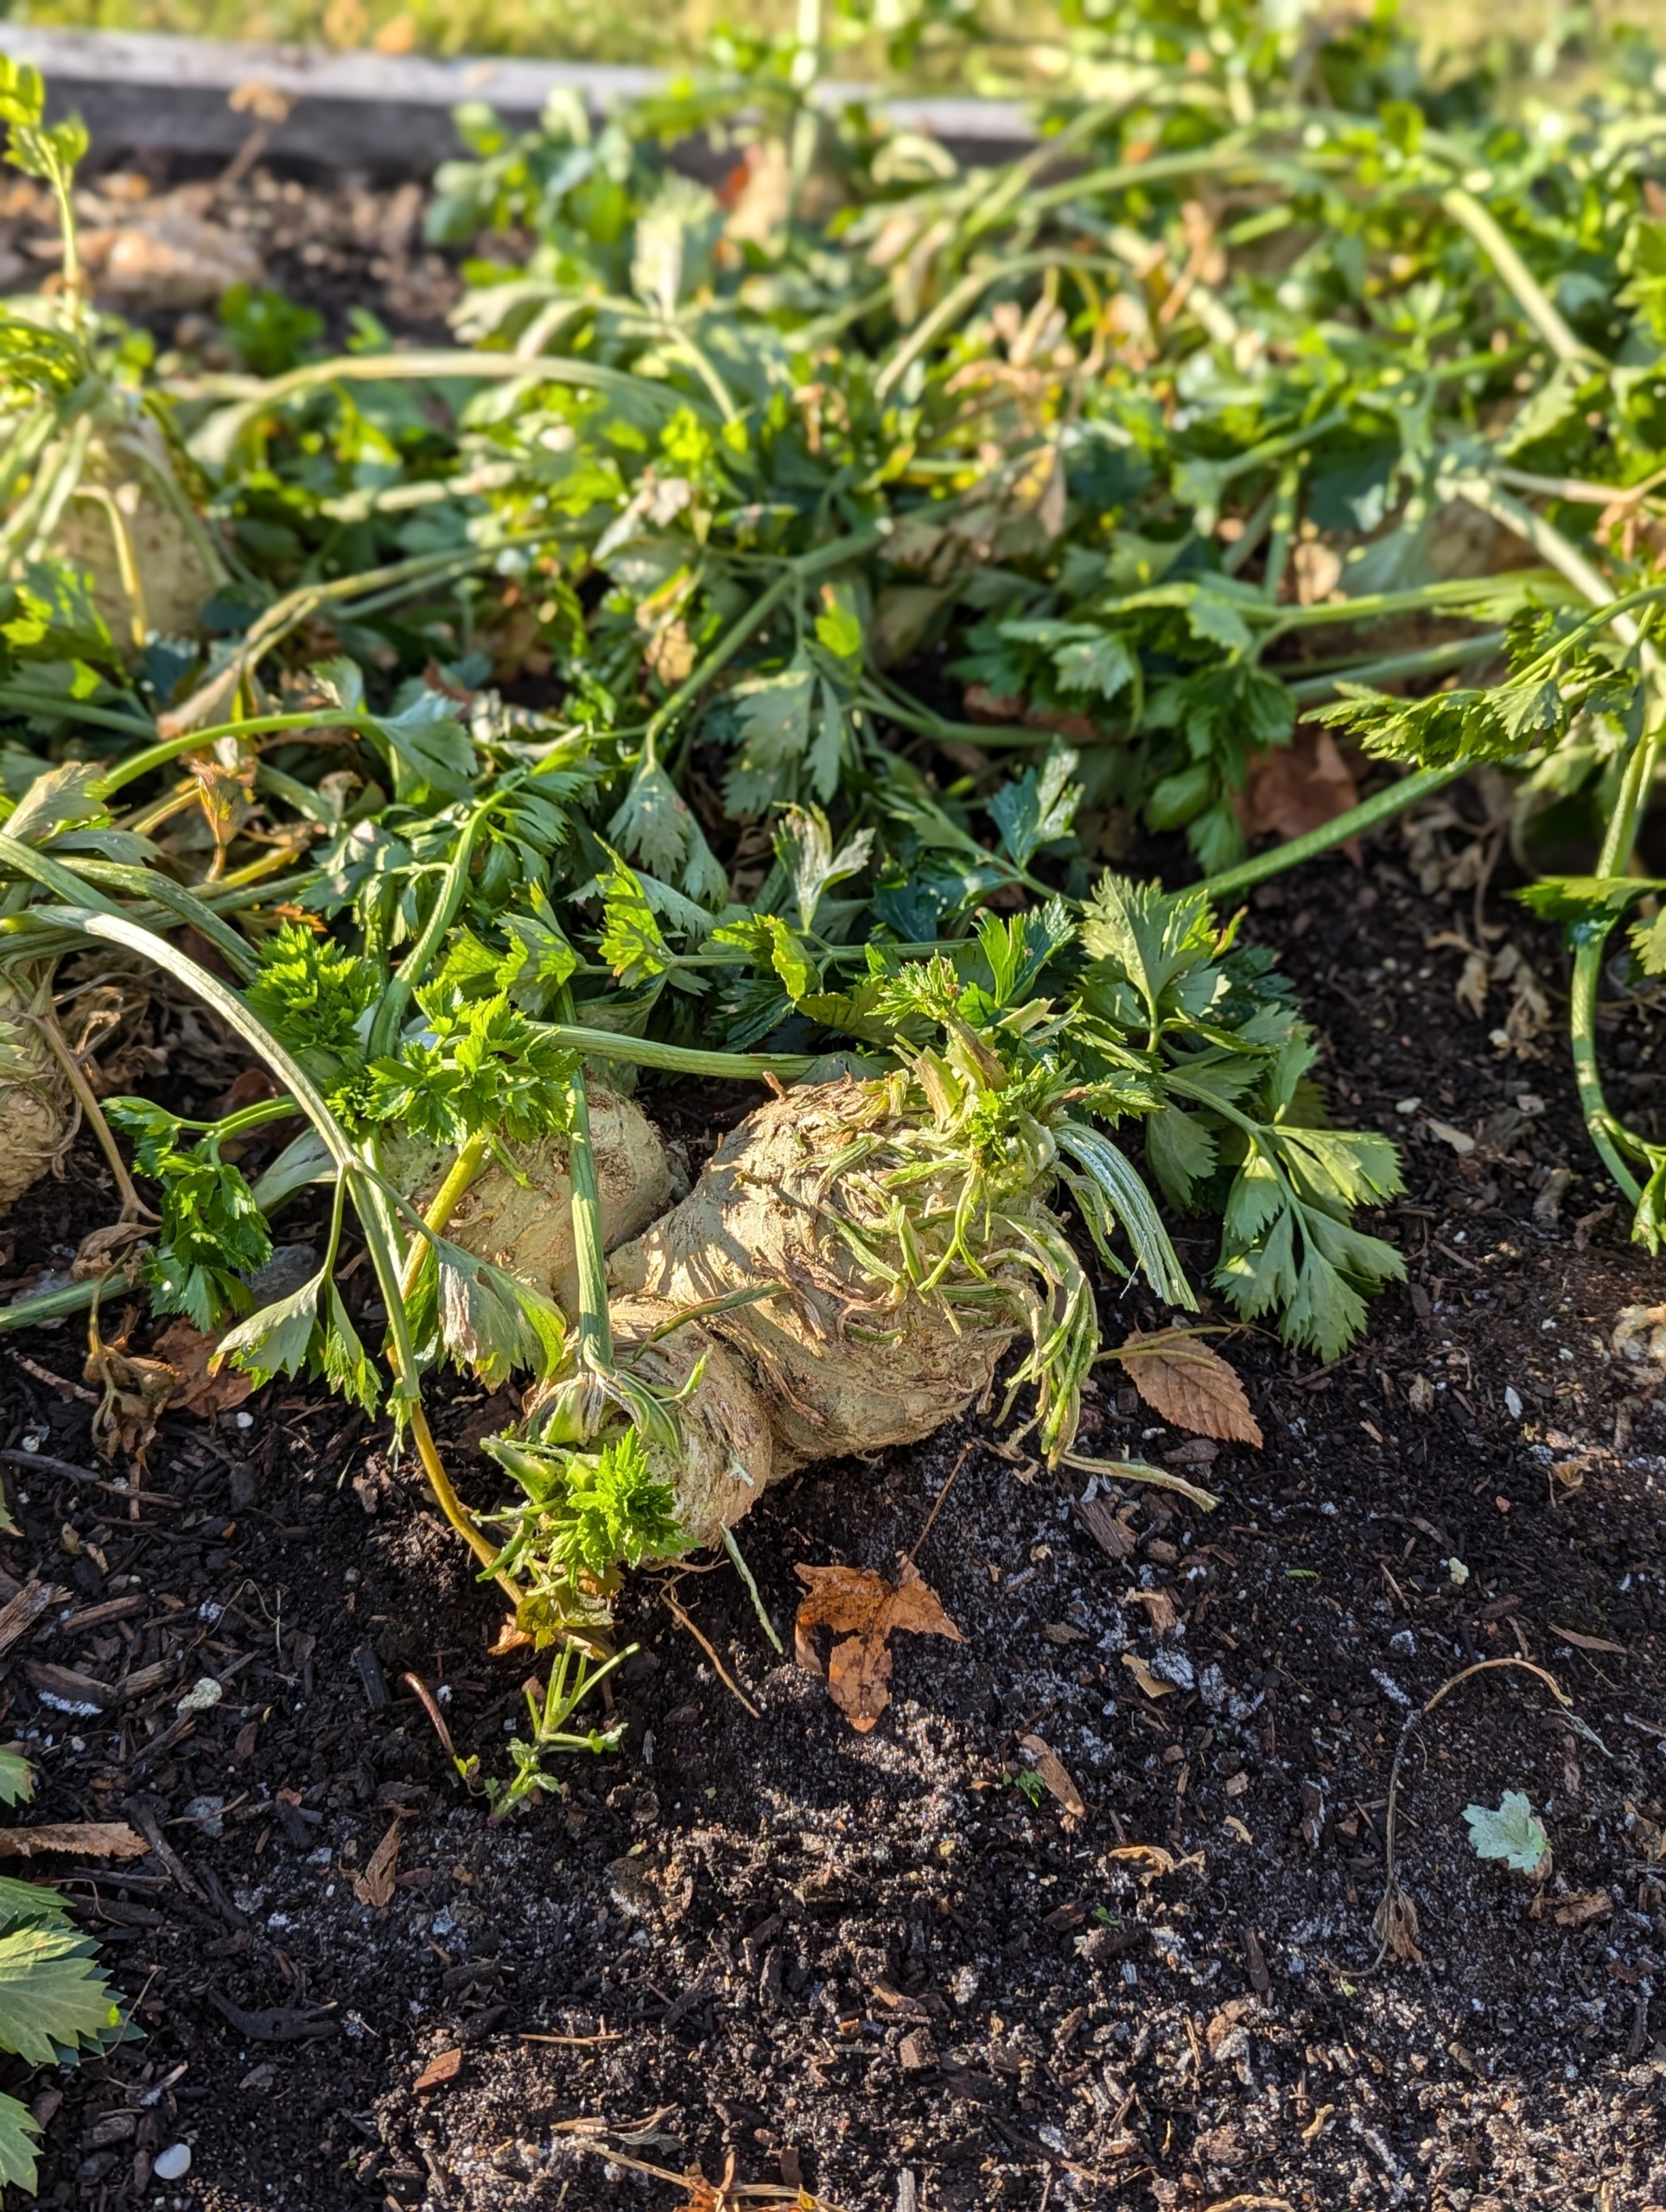
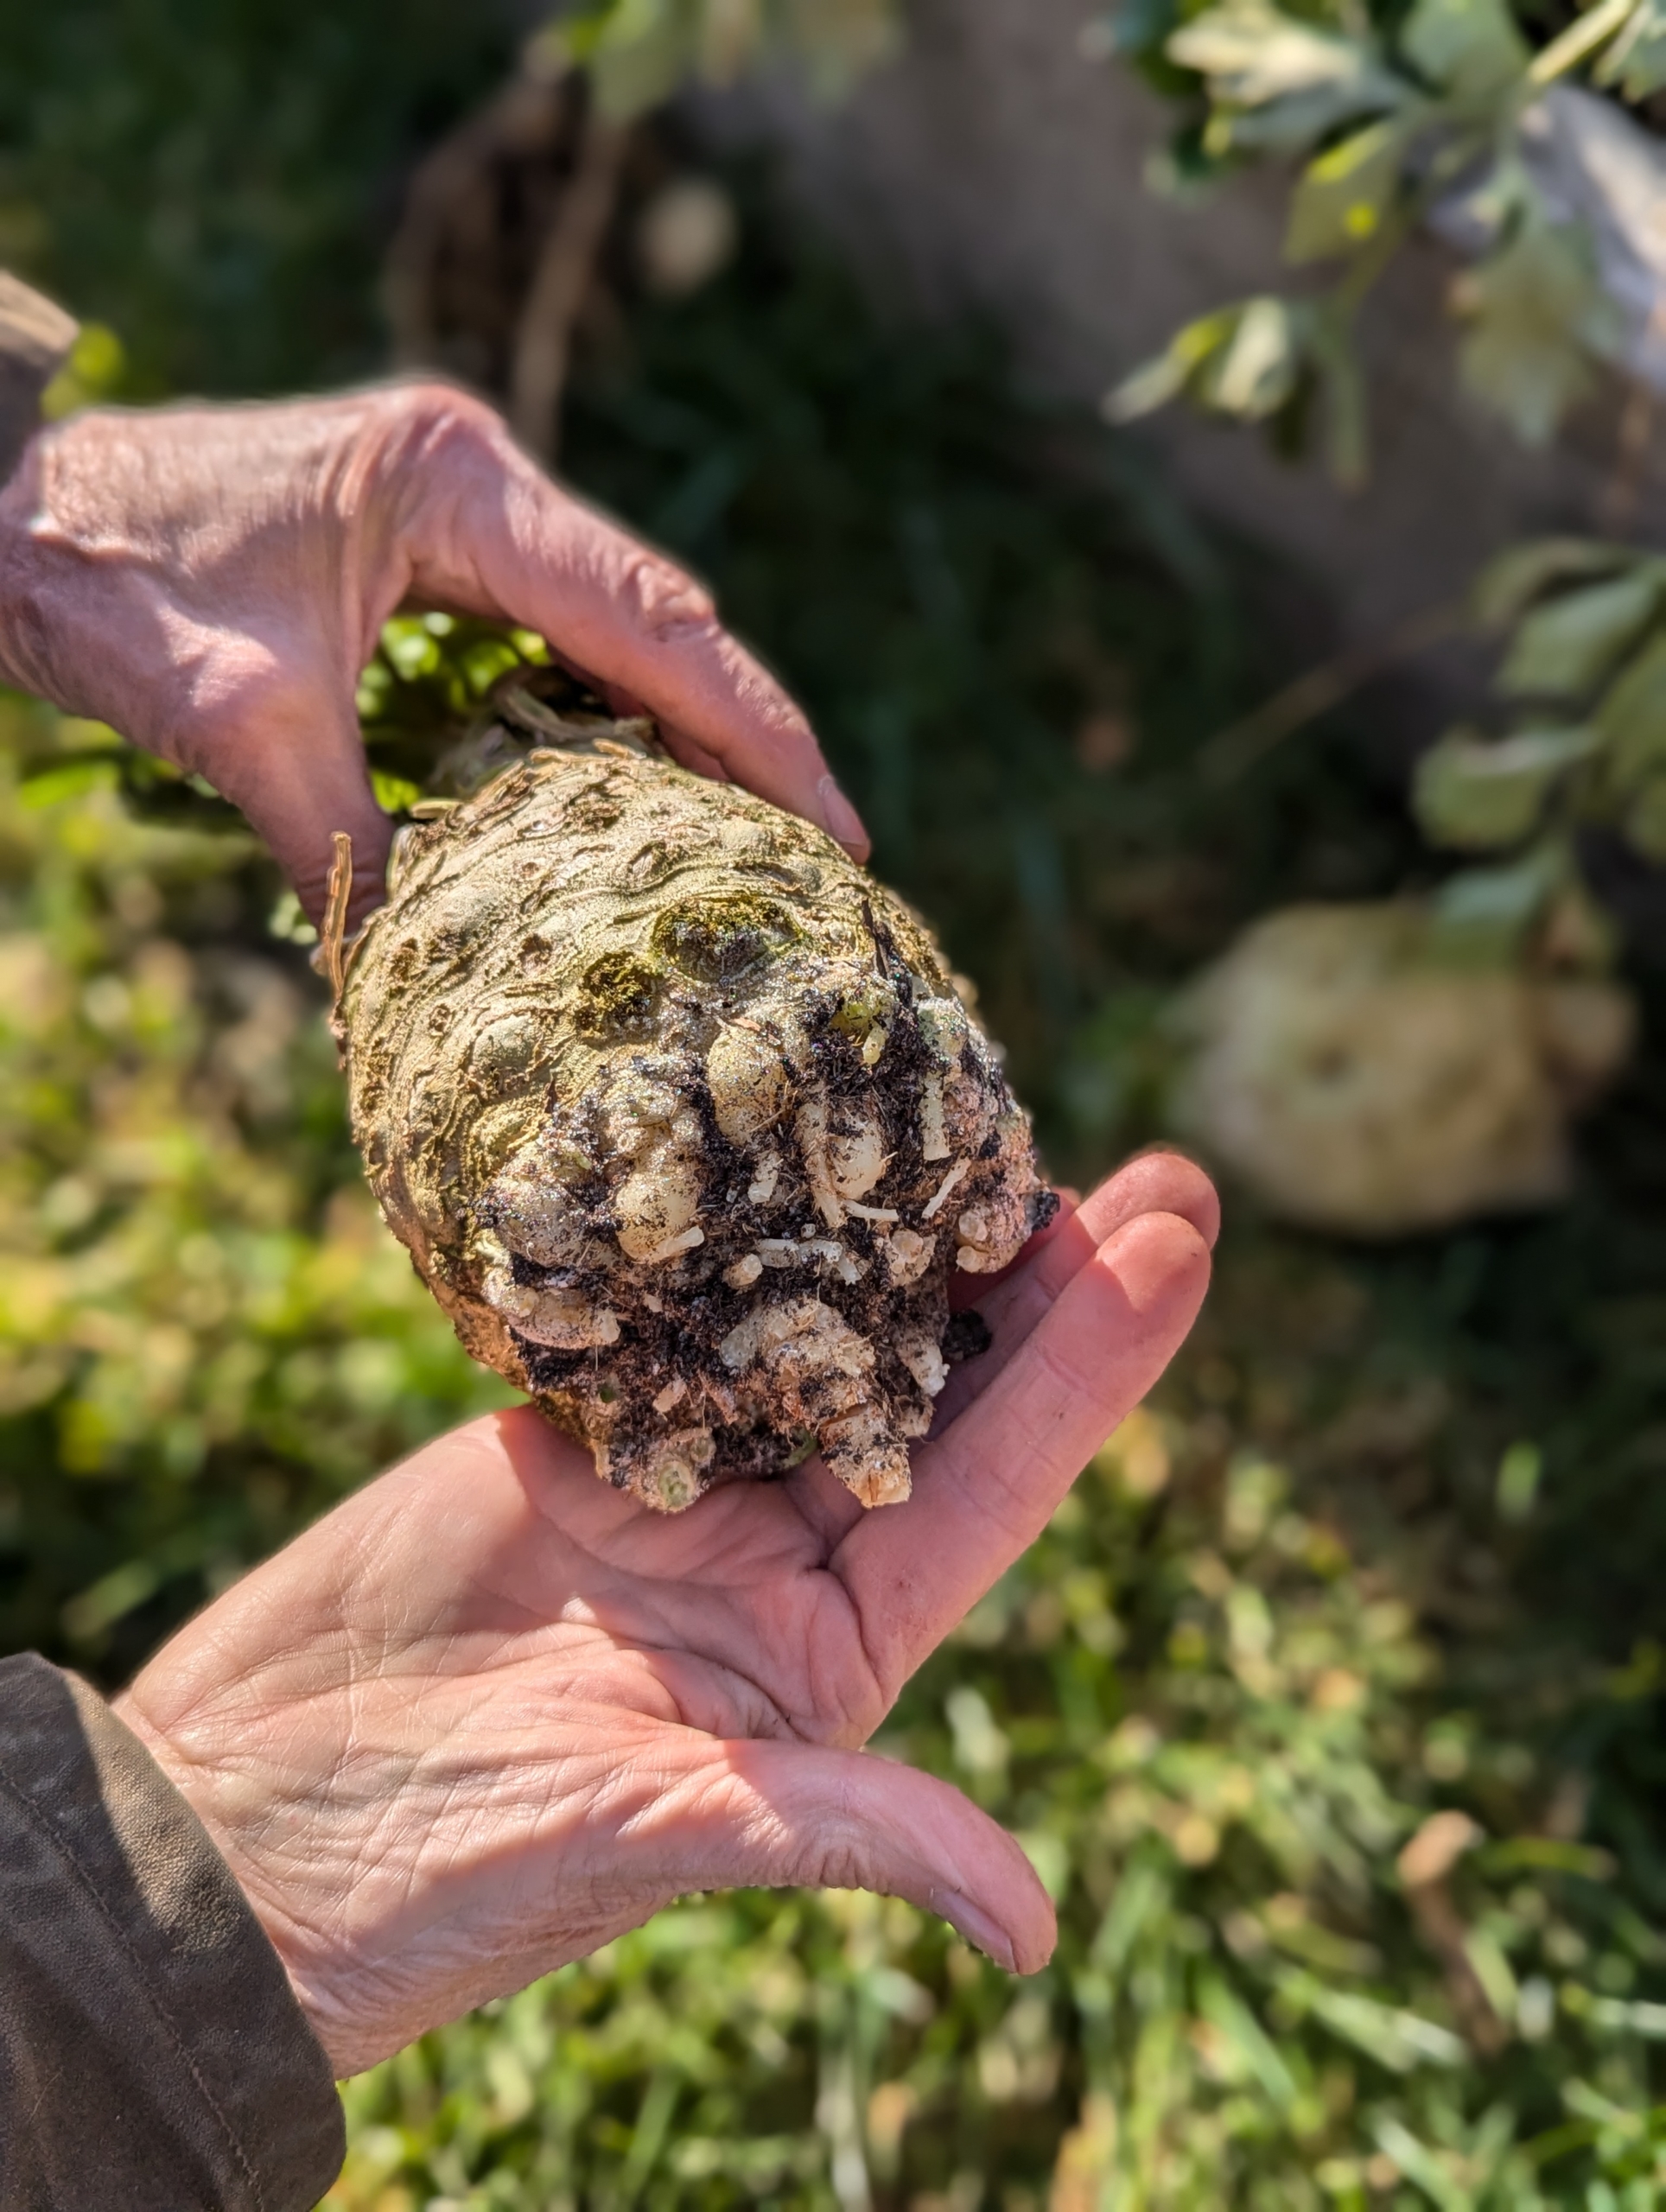
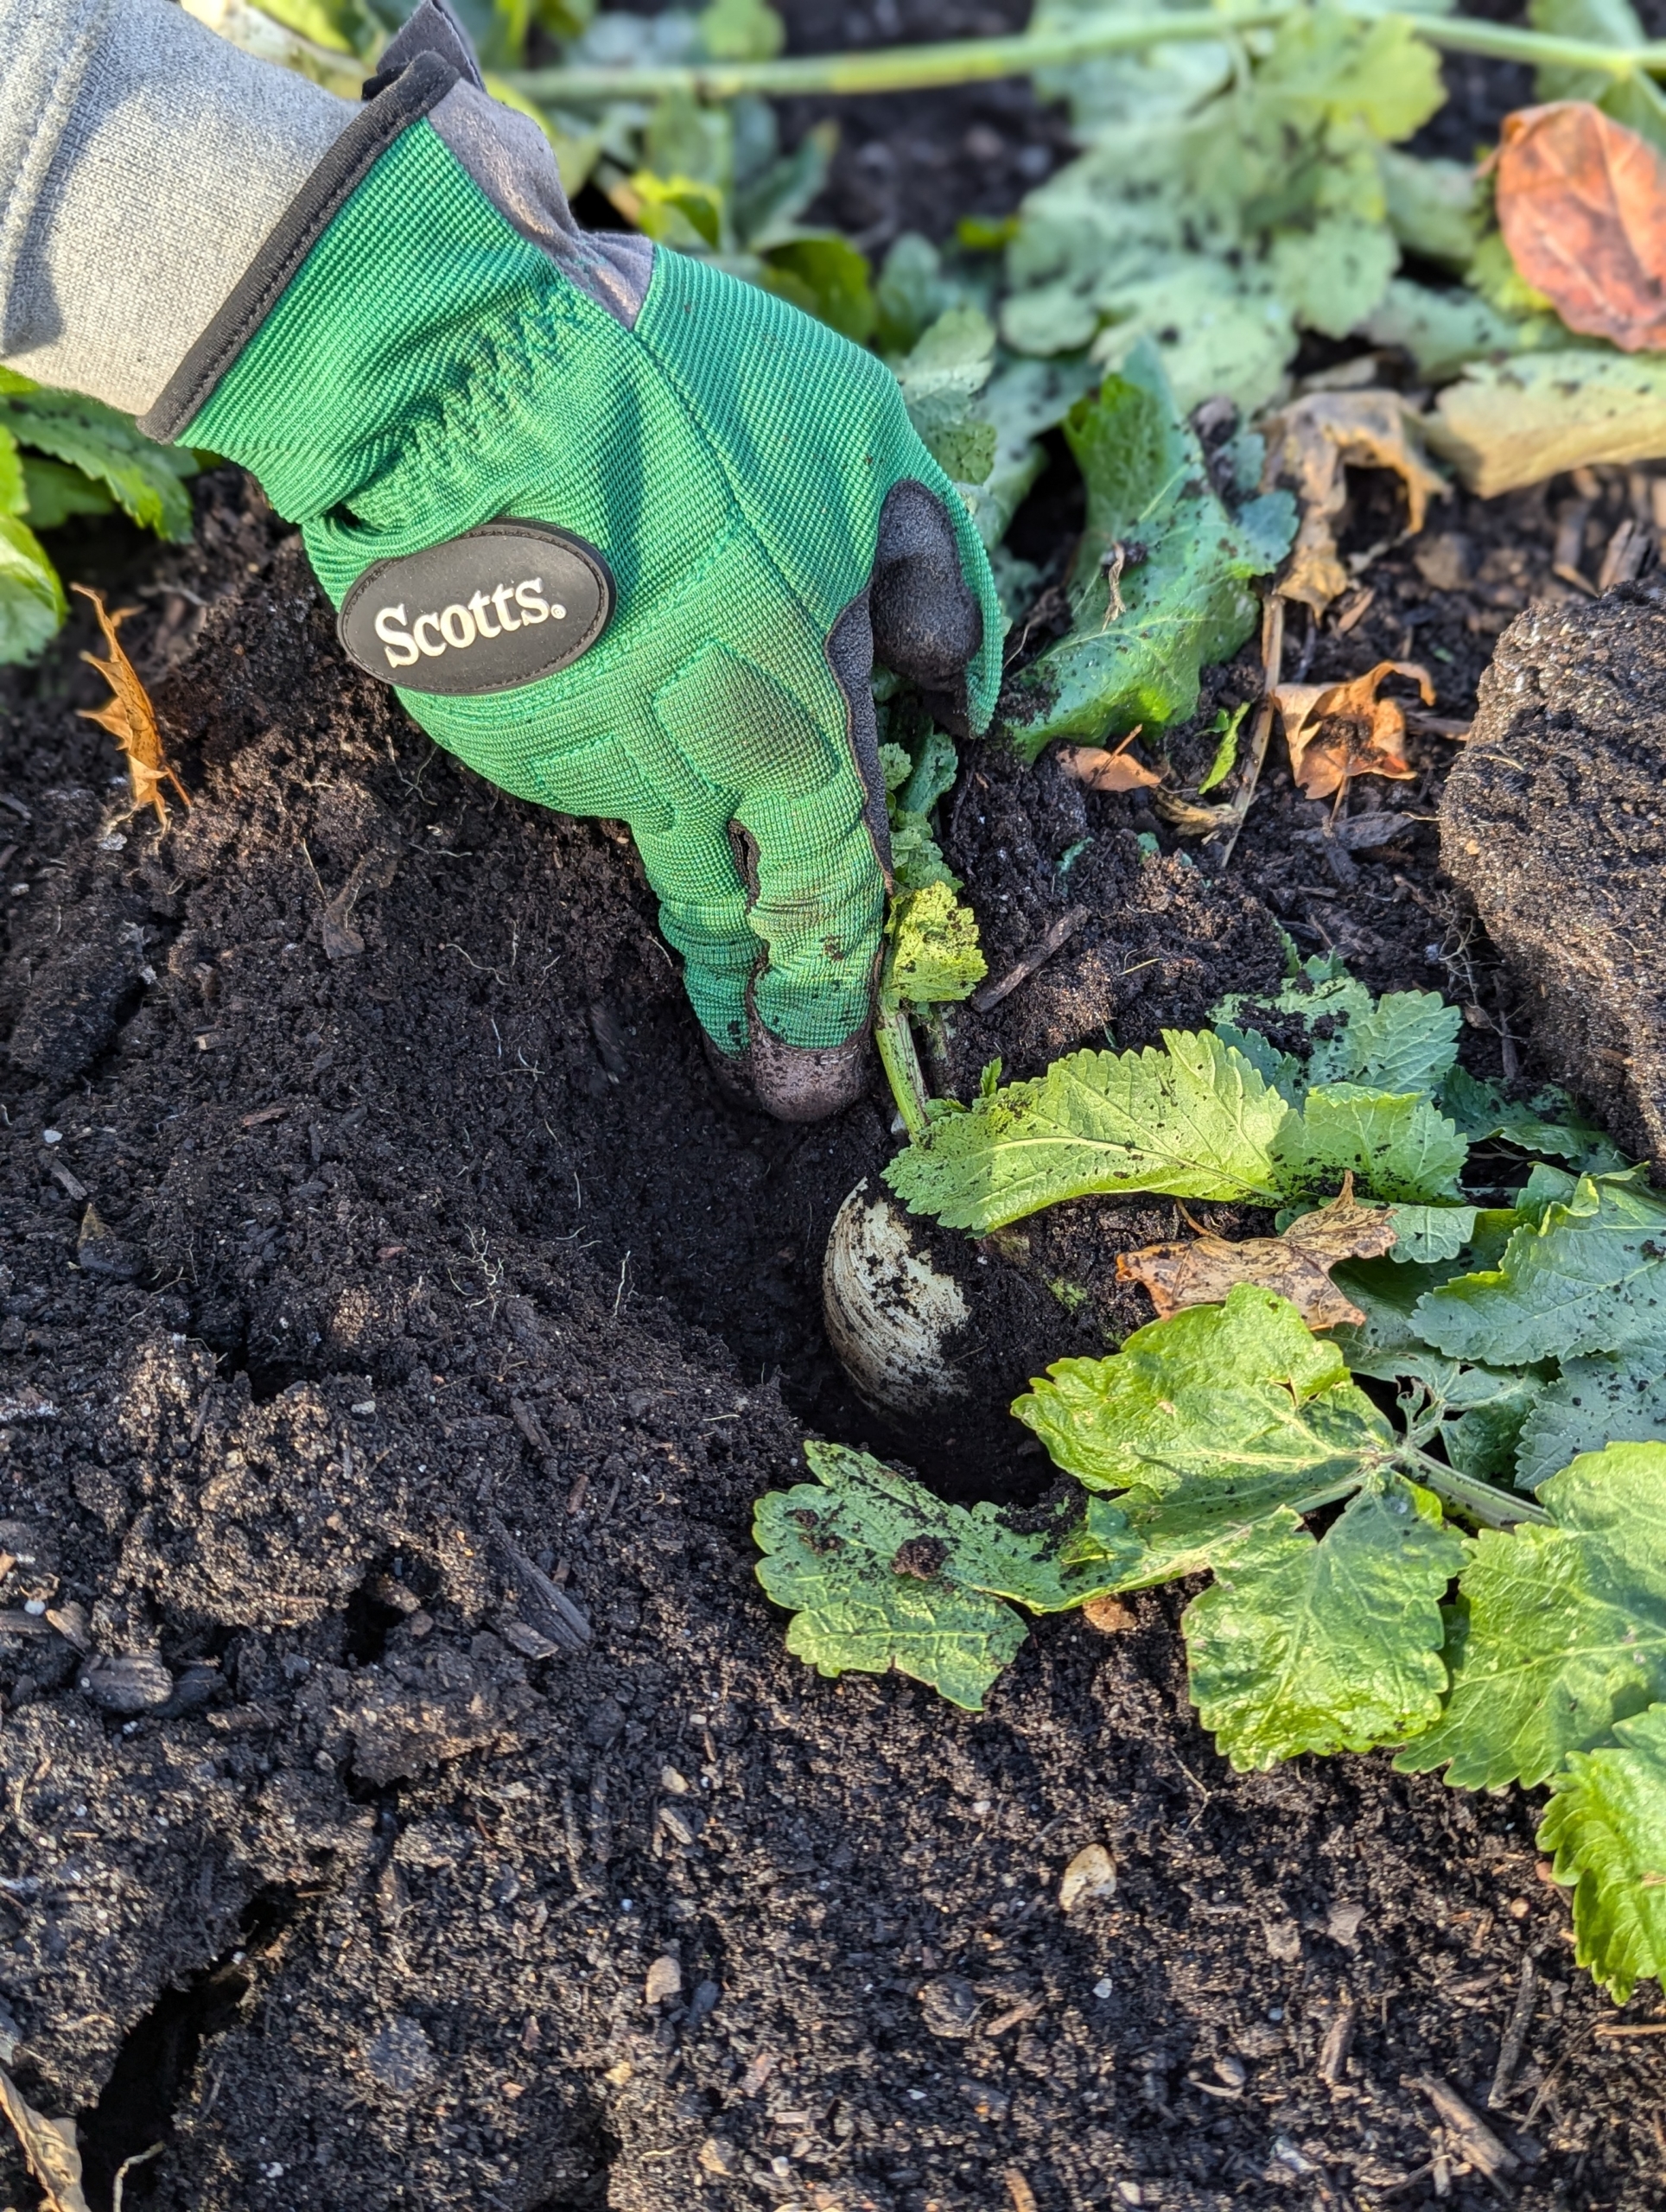
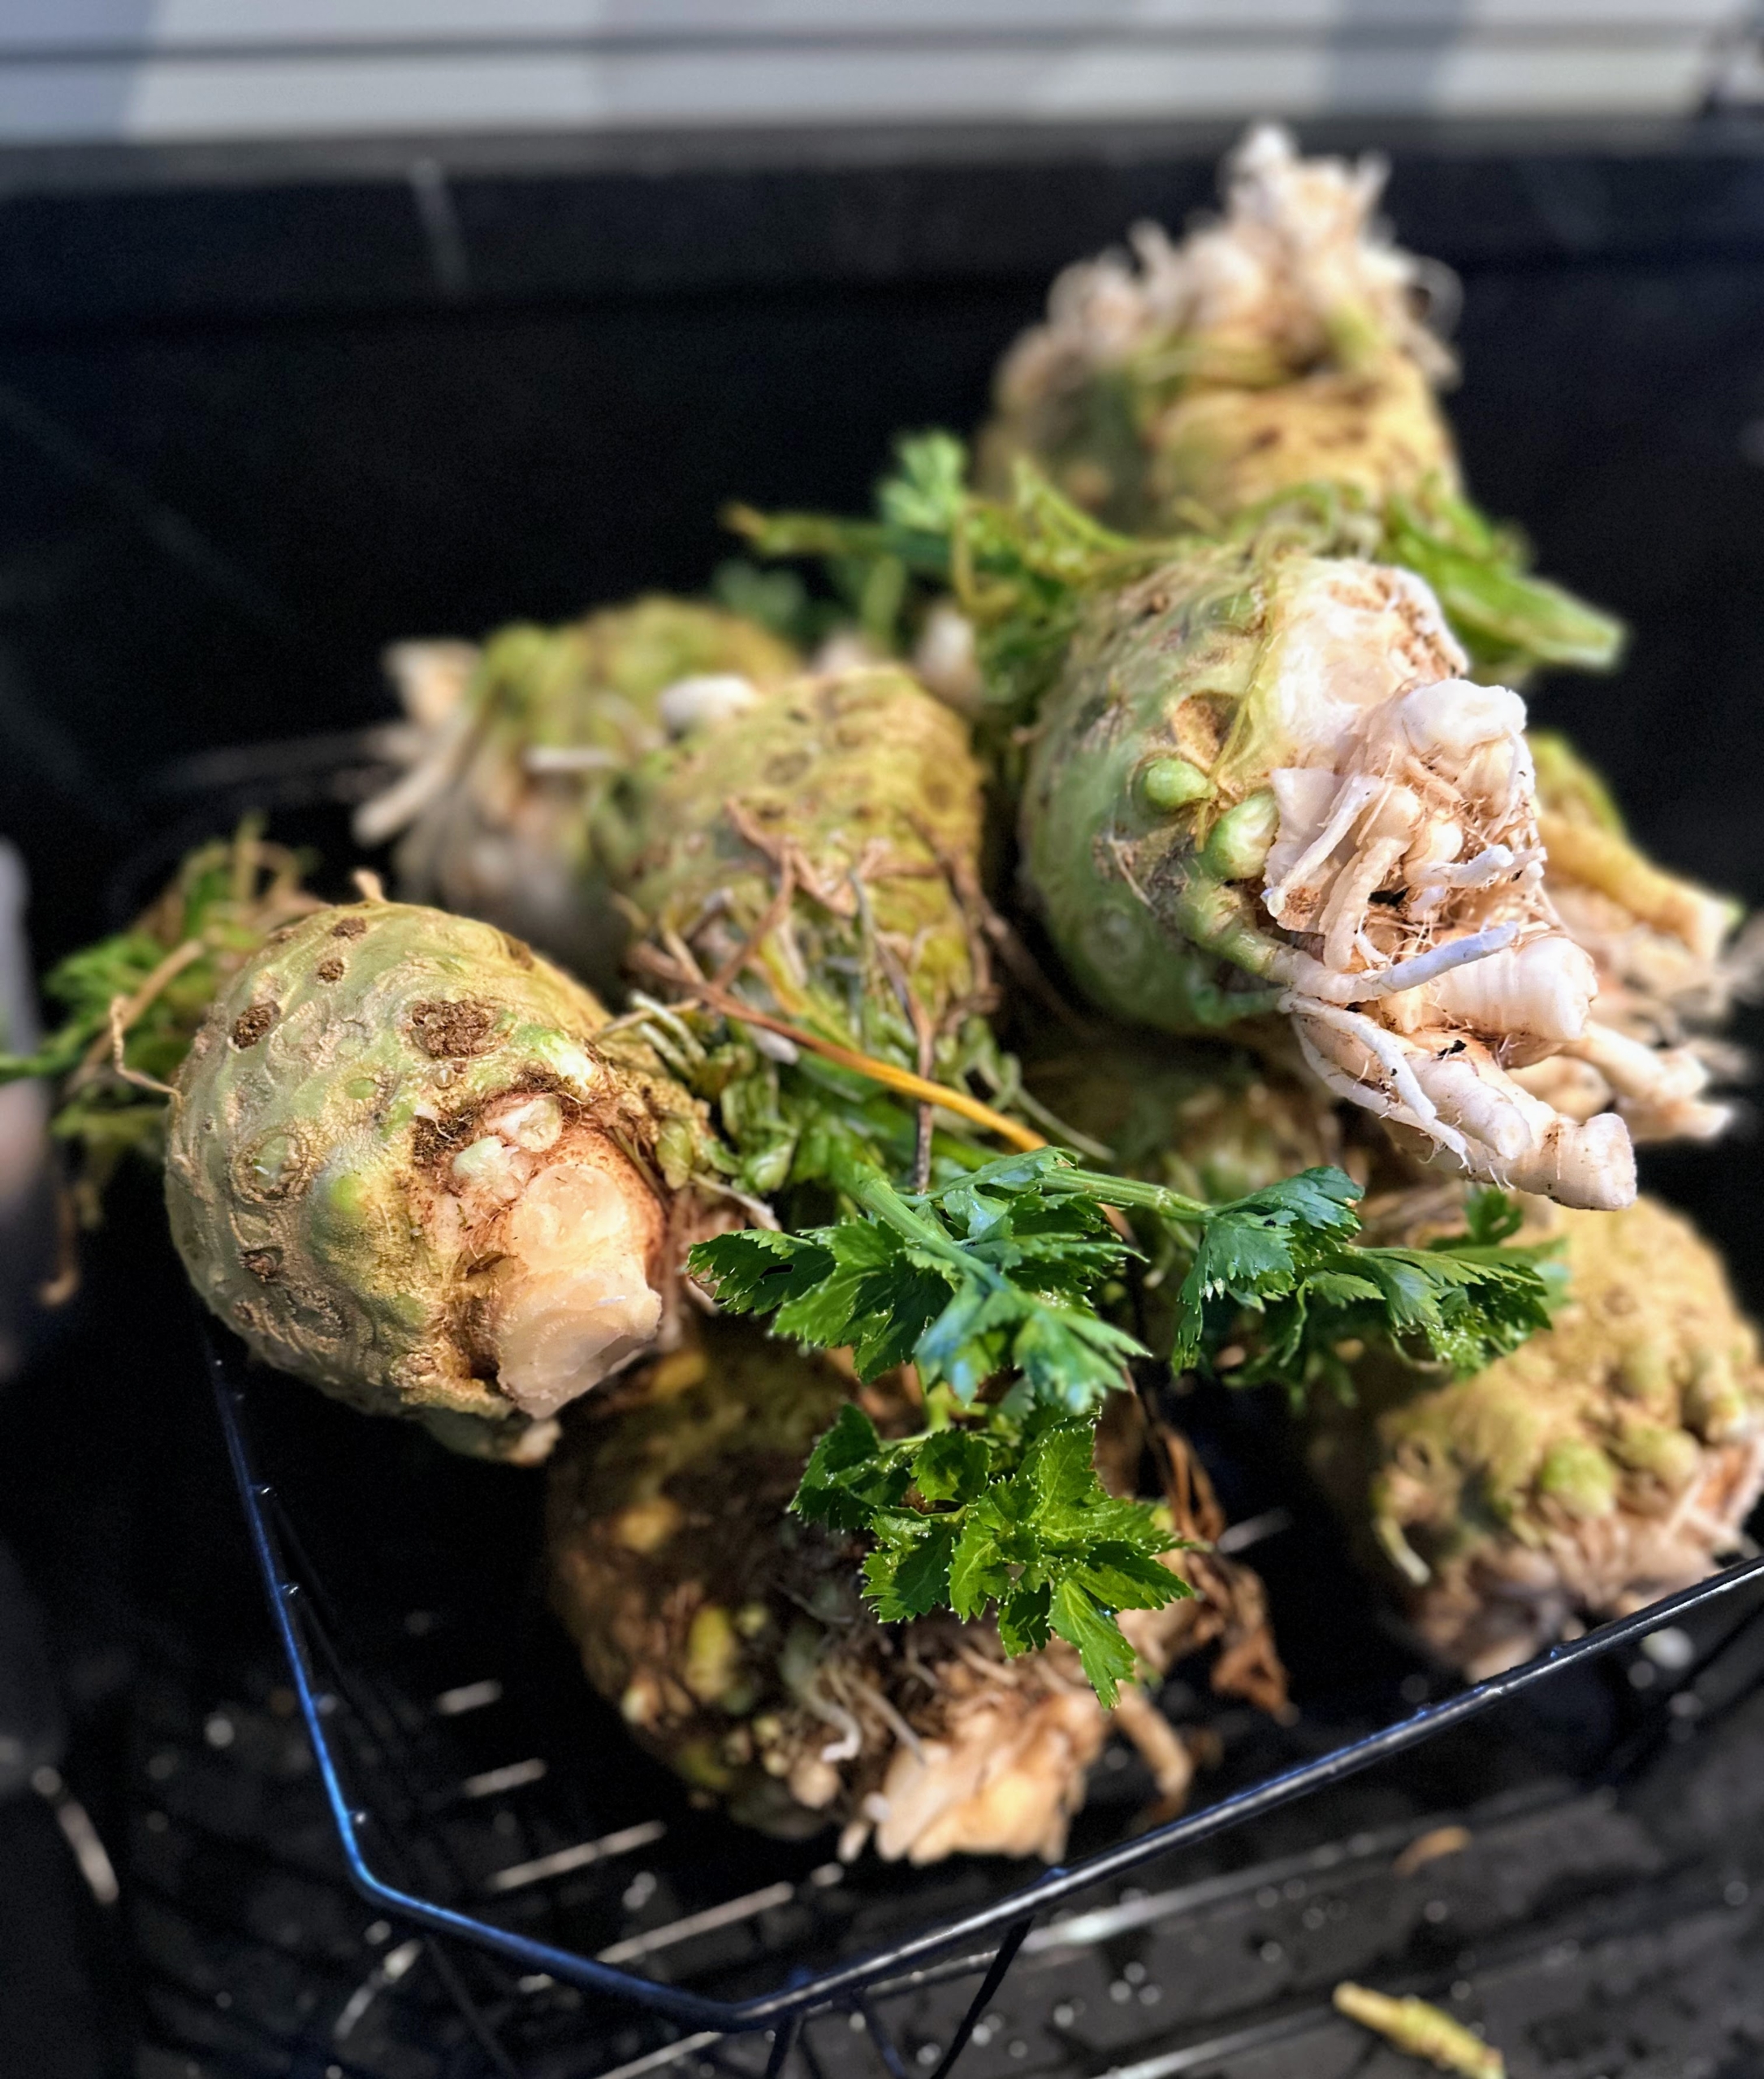
Celeriac has many small roots, so it is sometimes hard to pull from the ground. Once picked, Wendy cuts off the stringy roots from the bottom of the celeriac ball.
The celeriac should be clean of any roots at the bottom. These vegetables are big – about the size of one’s palm. The flavor is very mild, slightly sweet and nutty, and doesn’t have any bitterness.
The leaves of celeriac are also edible and can be chopped finely and used as a garnish or to flavor soups and stocks.
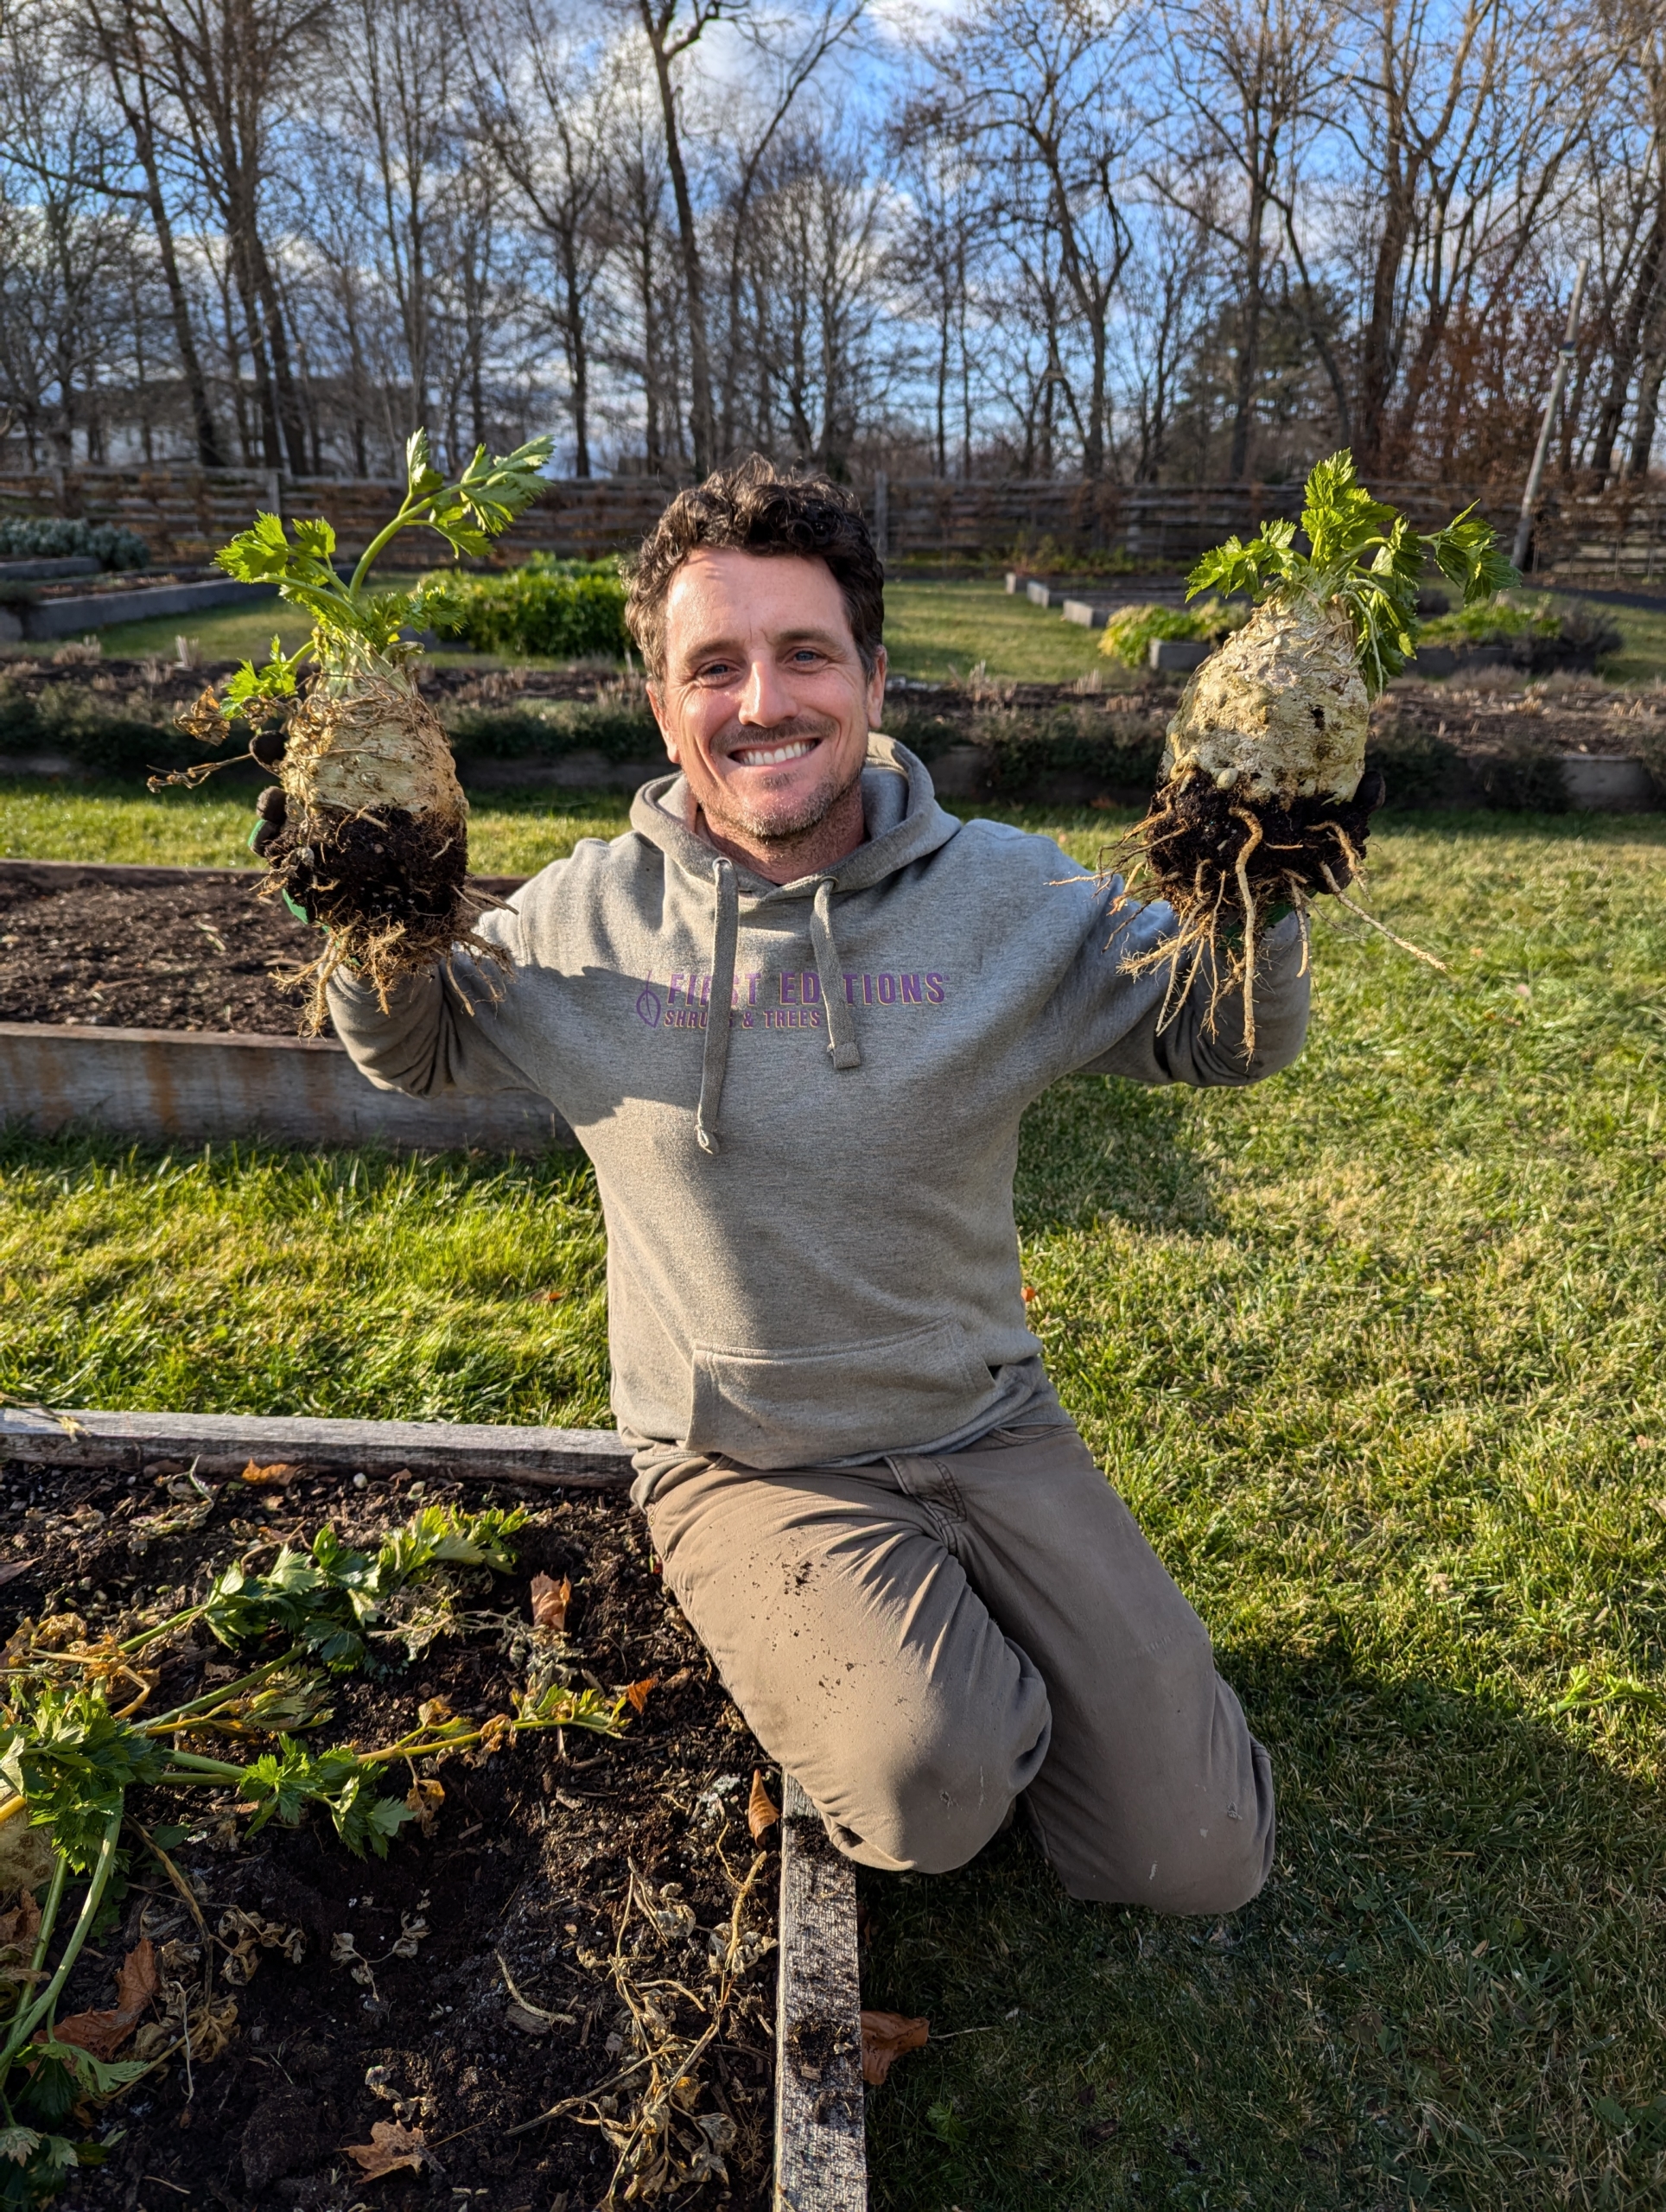
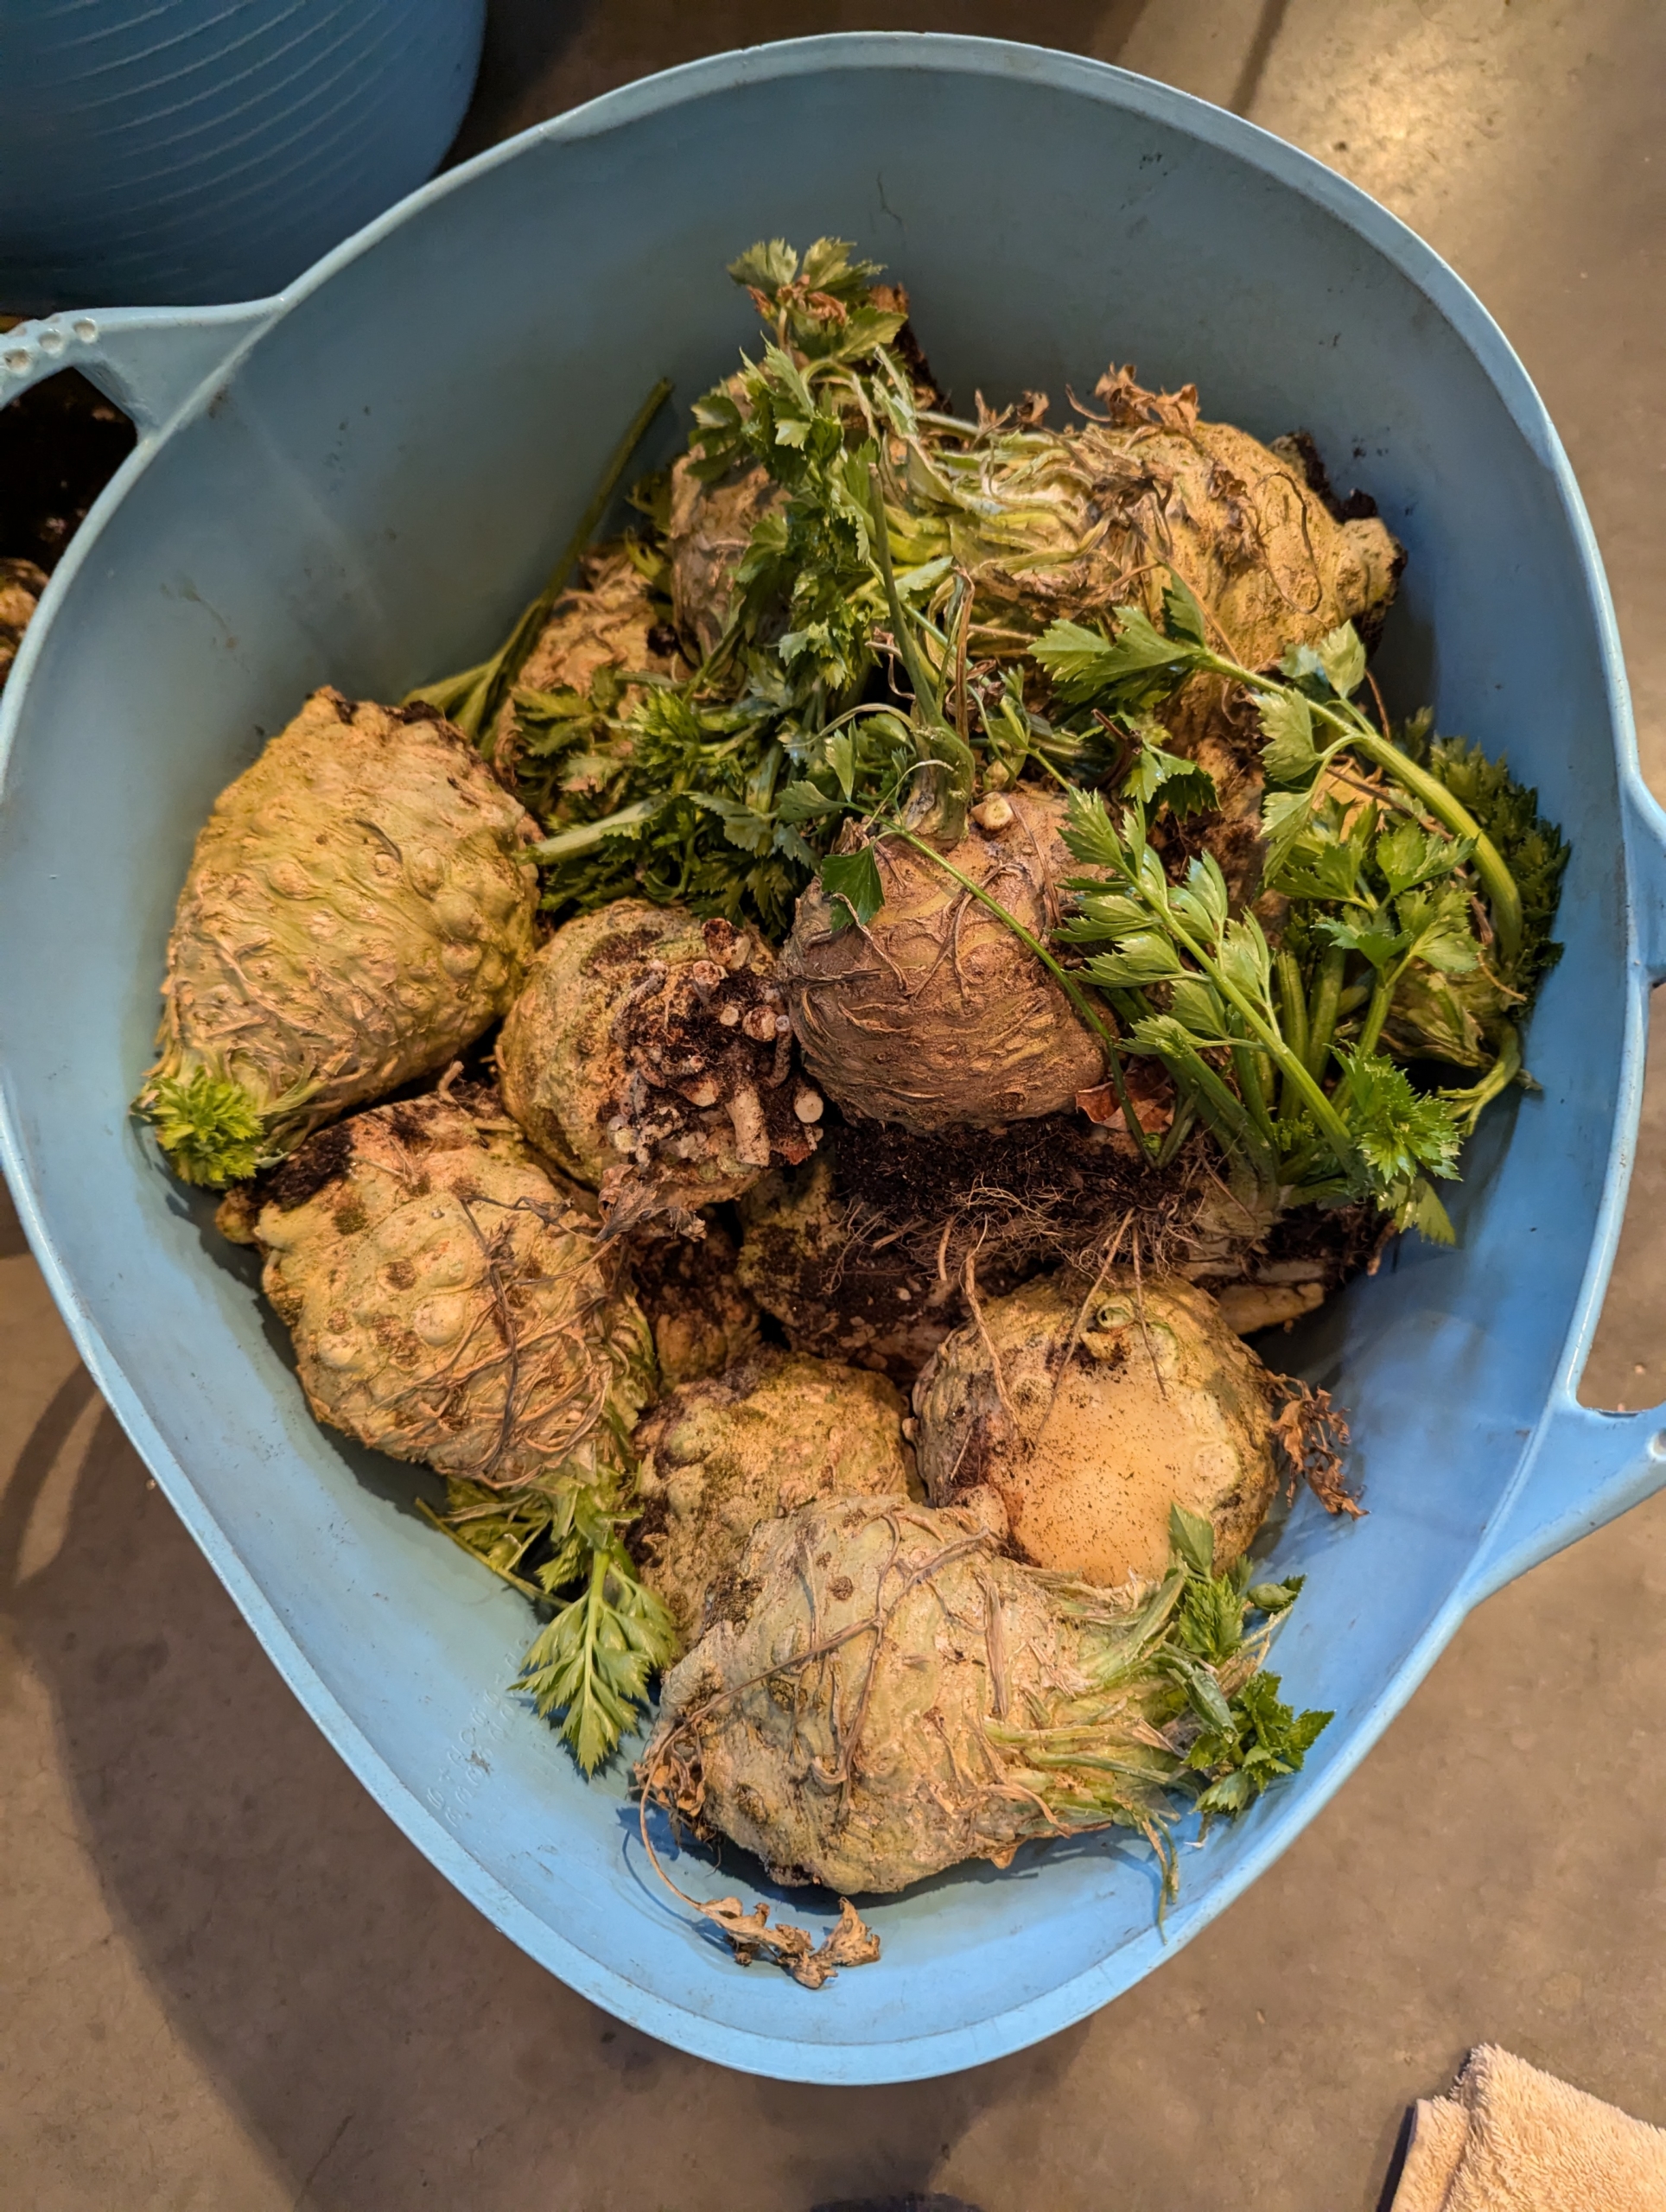
Ryan and Wendy harvested an entire bed and a half of delicious celeriac.
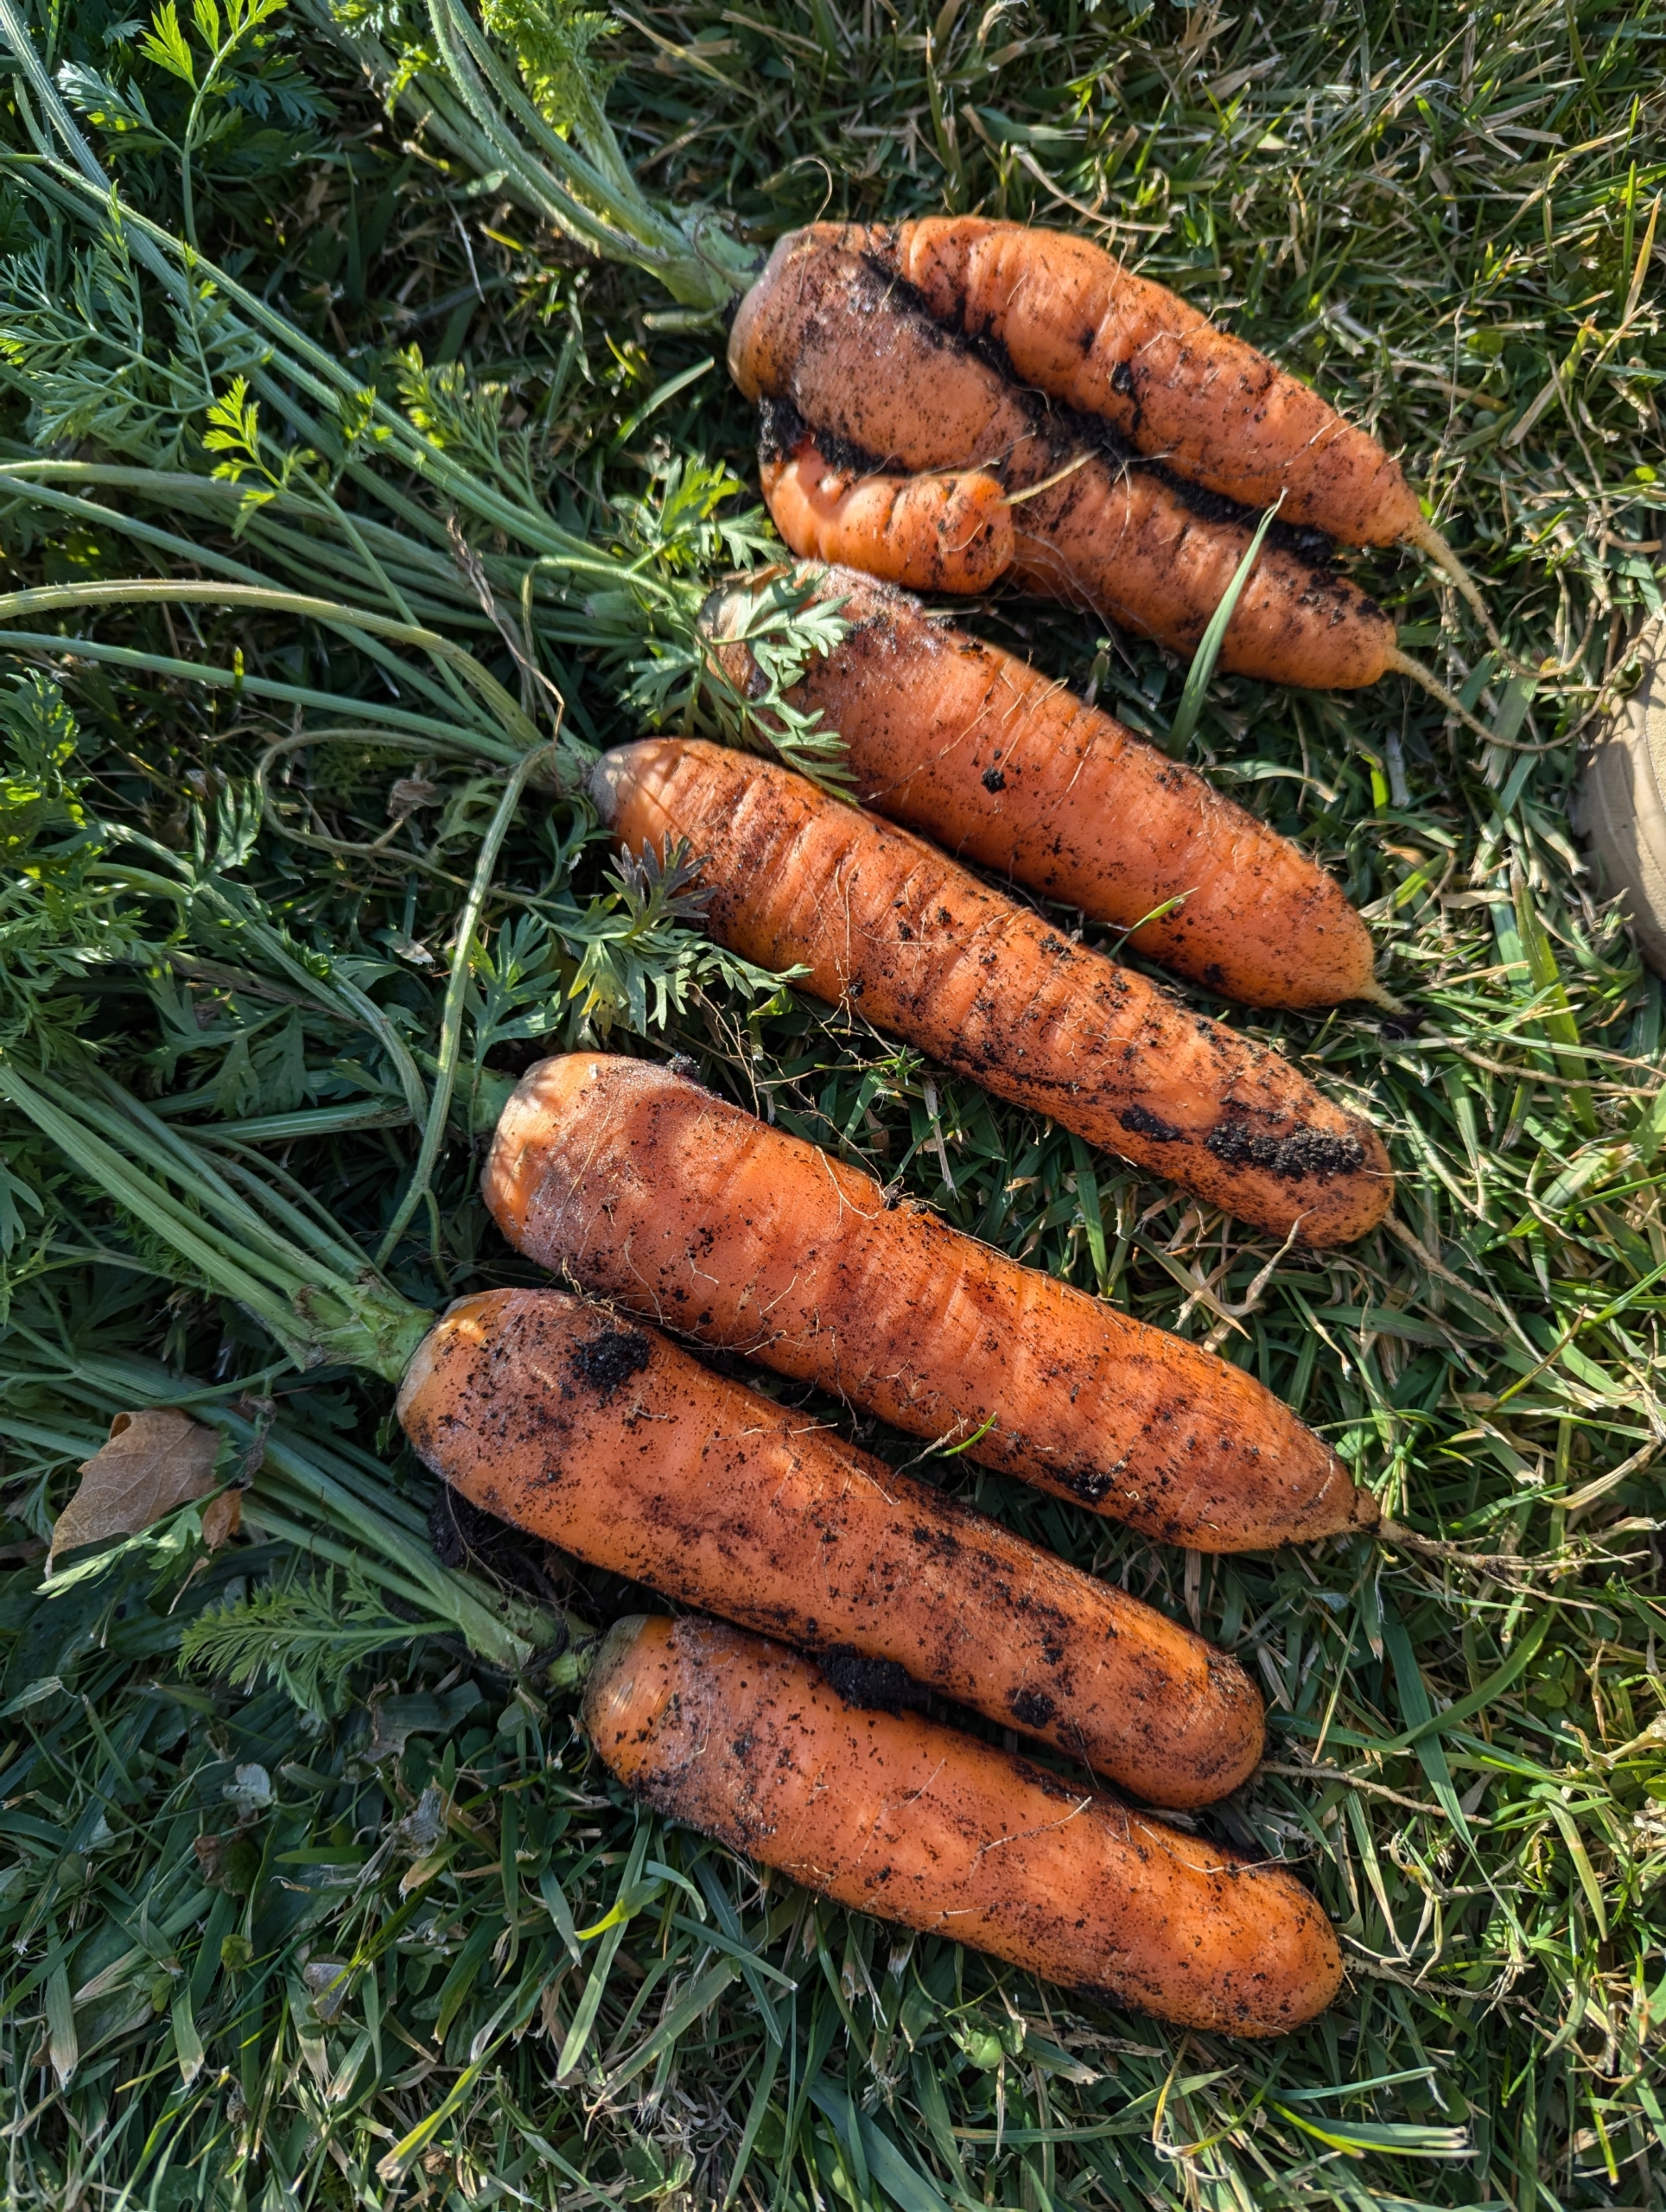
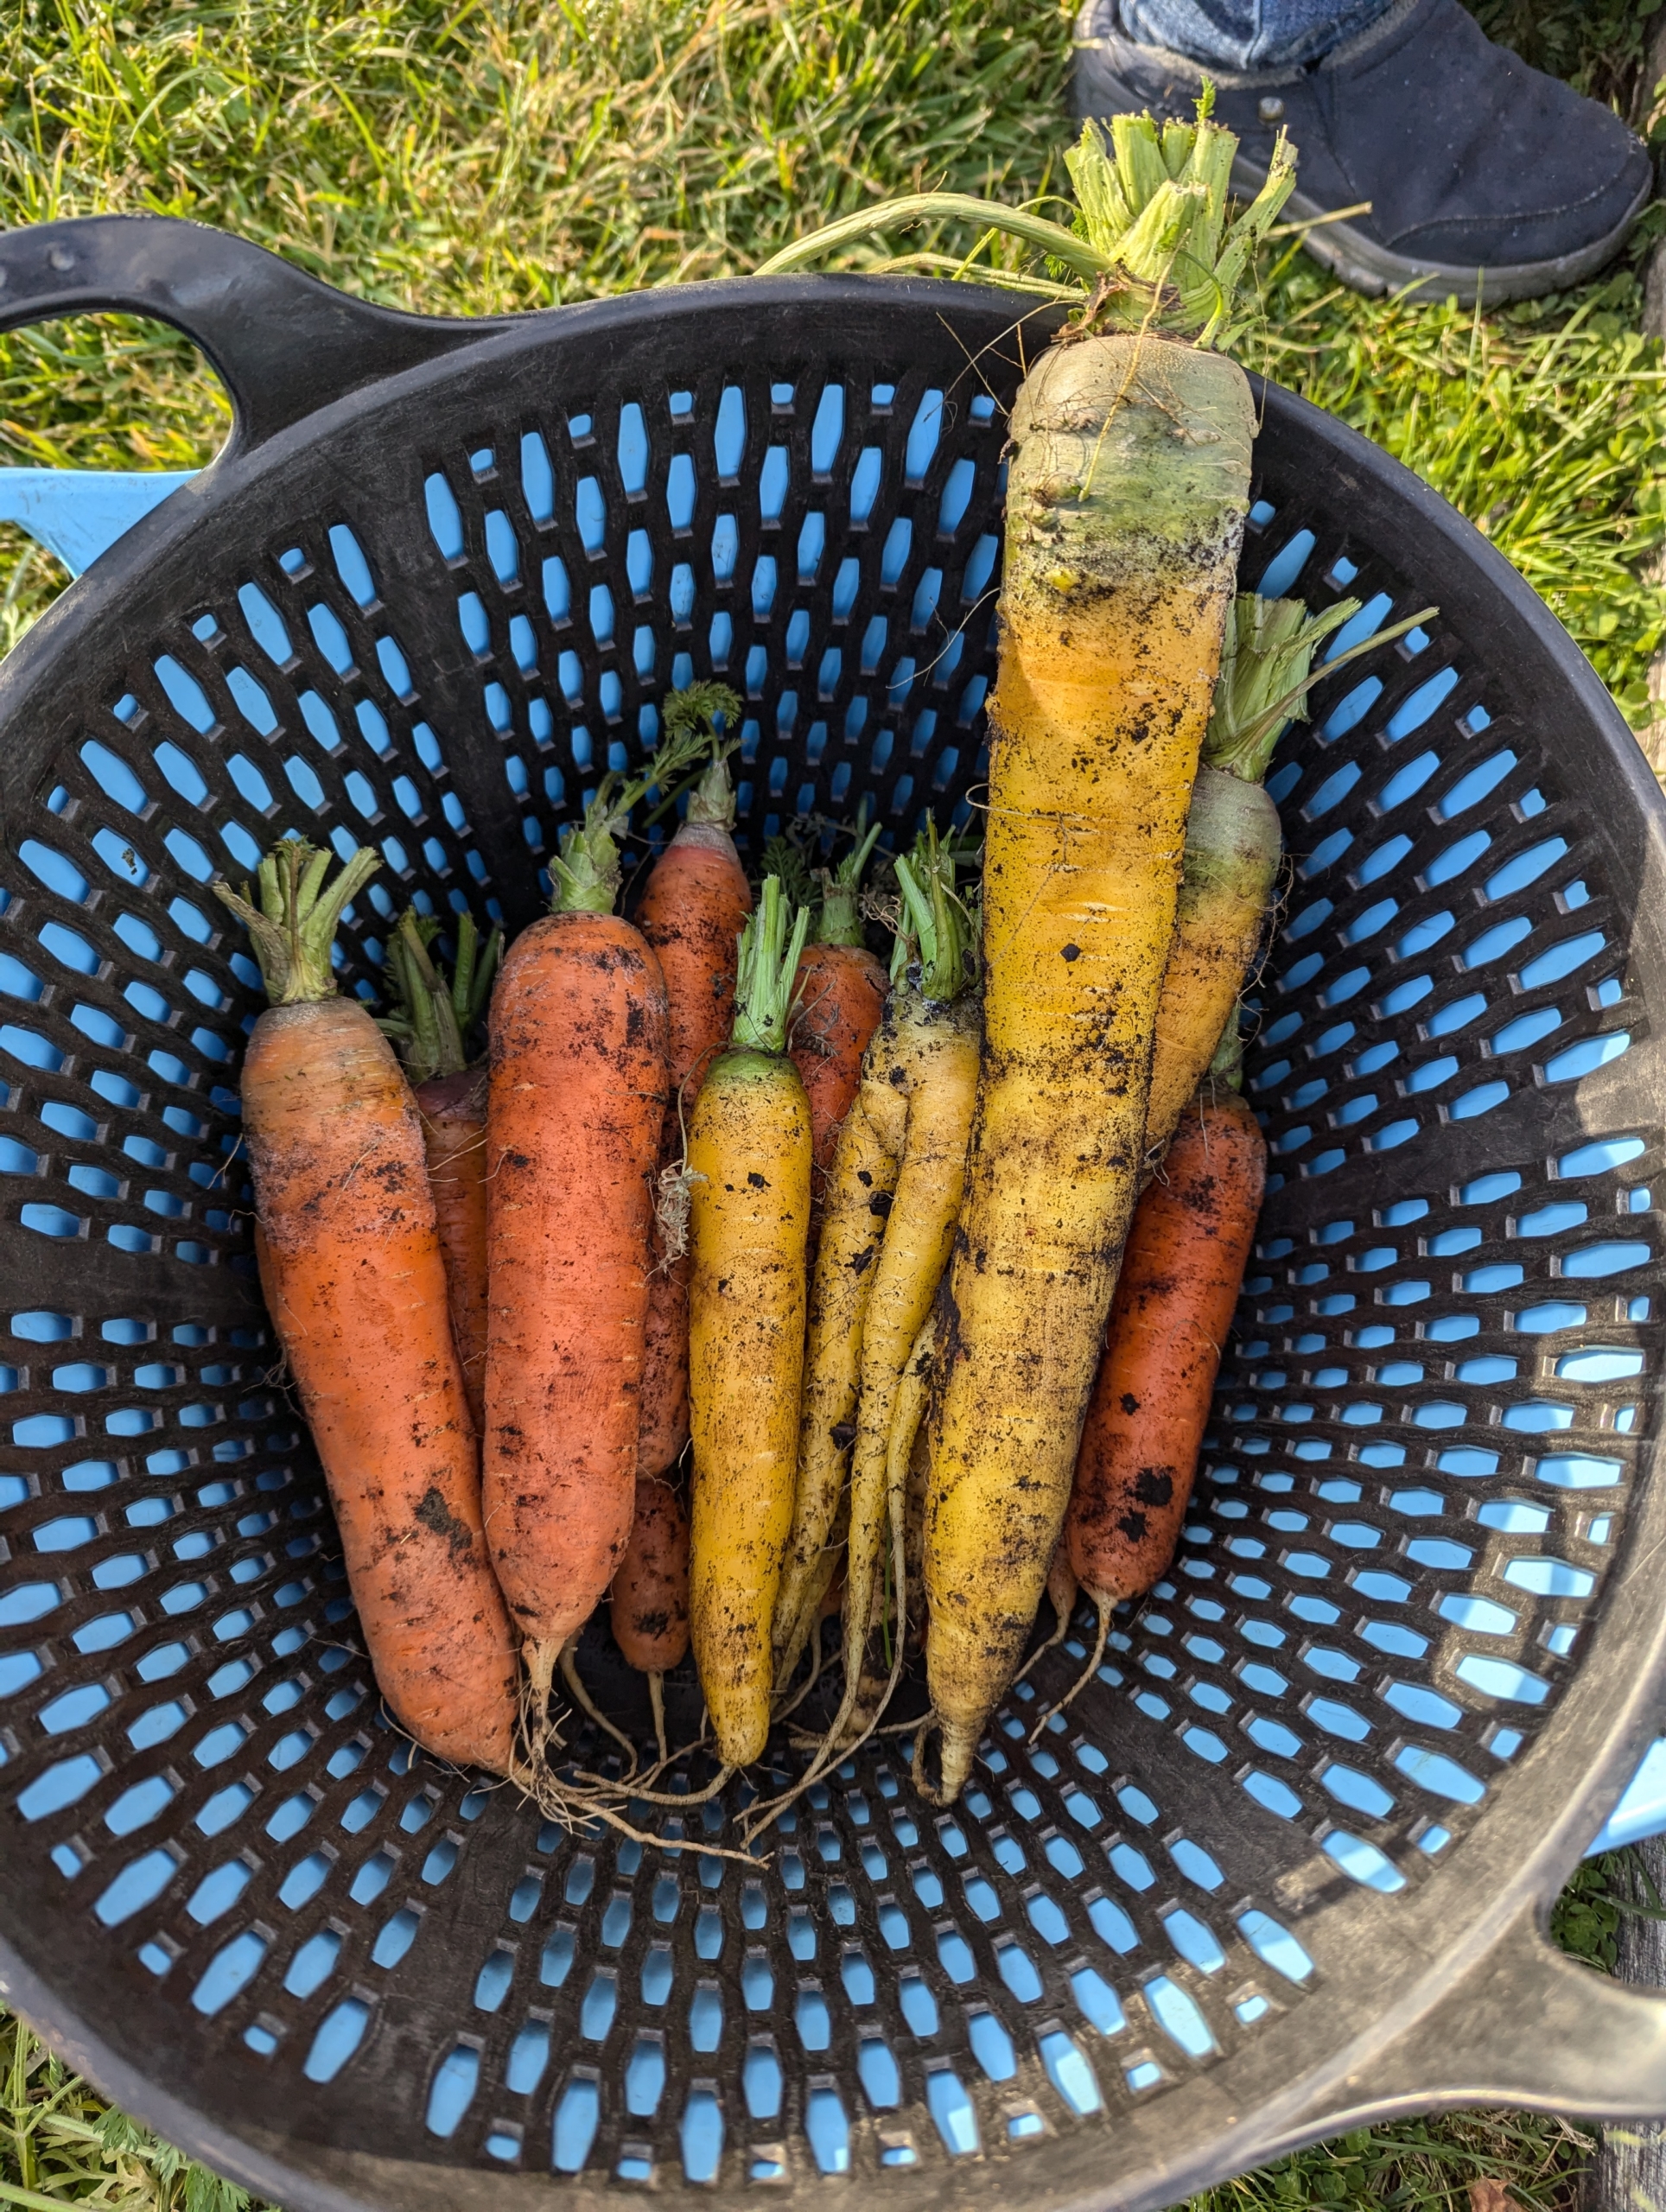
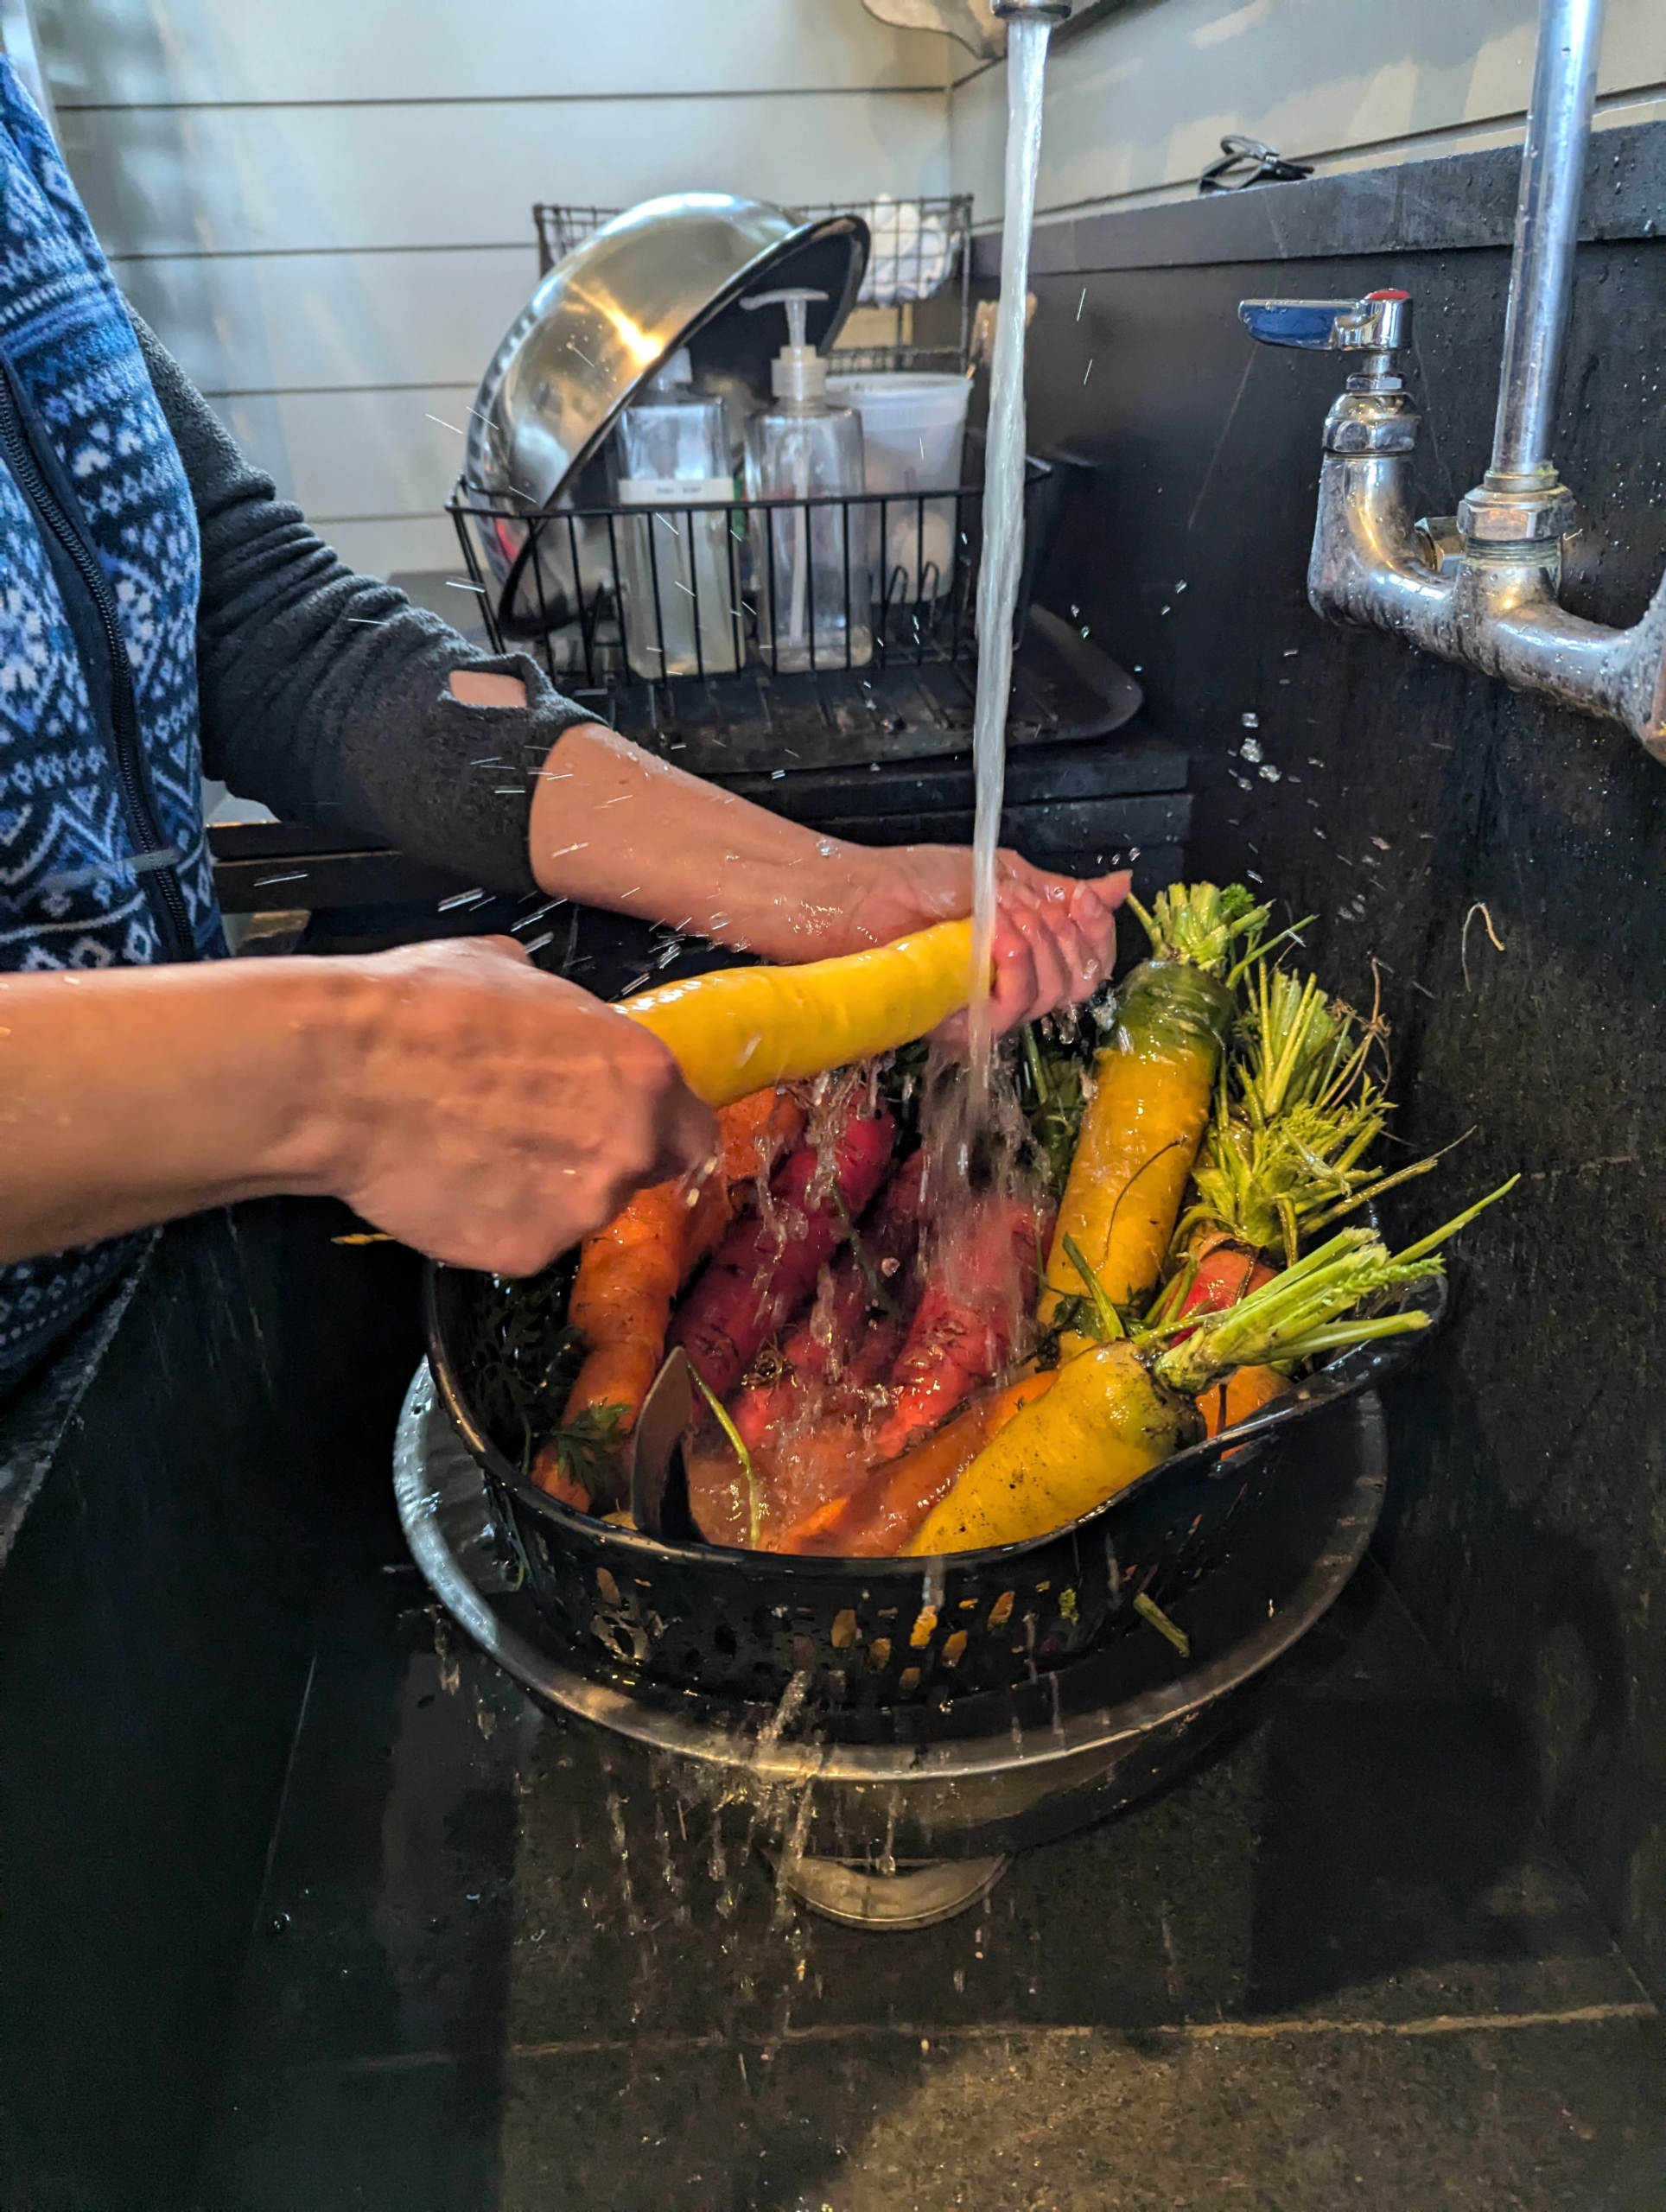
They also picked a good number of autumn carrots. These are sweeter than summer carrots because they matured in cooler conditions. Carrots convert stored starches into sugars to protect themselves from freezing. This process makes them sweeter and tastier.
Ryan cuts off the tops leaving about two to three inches on each carrot.
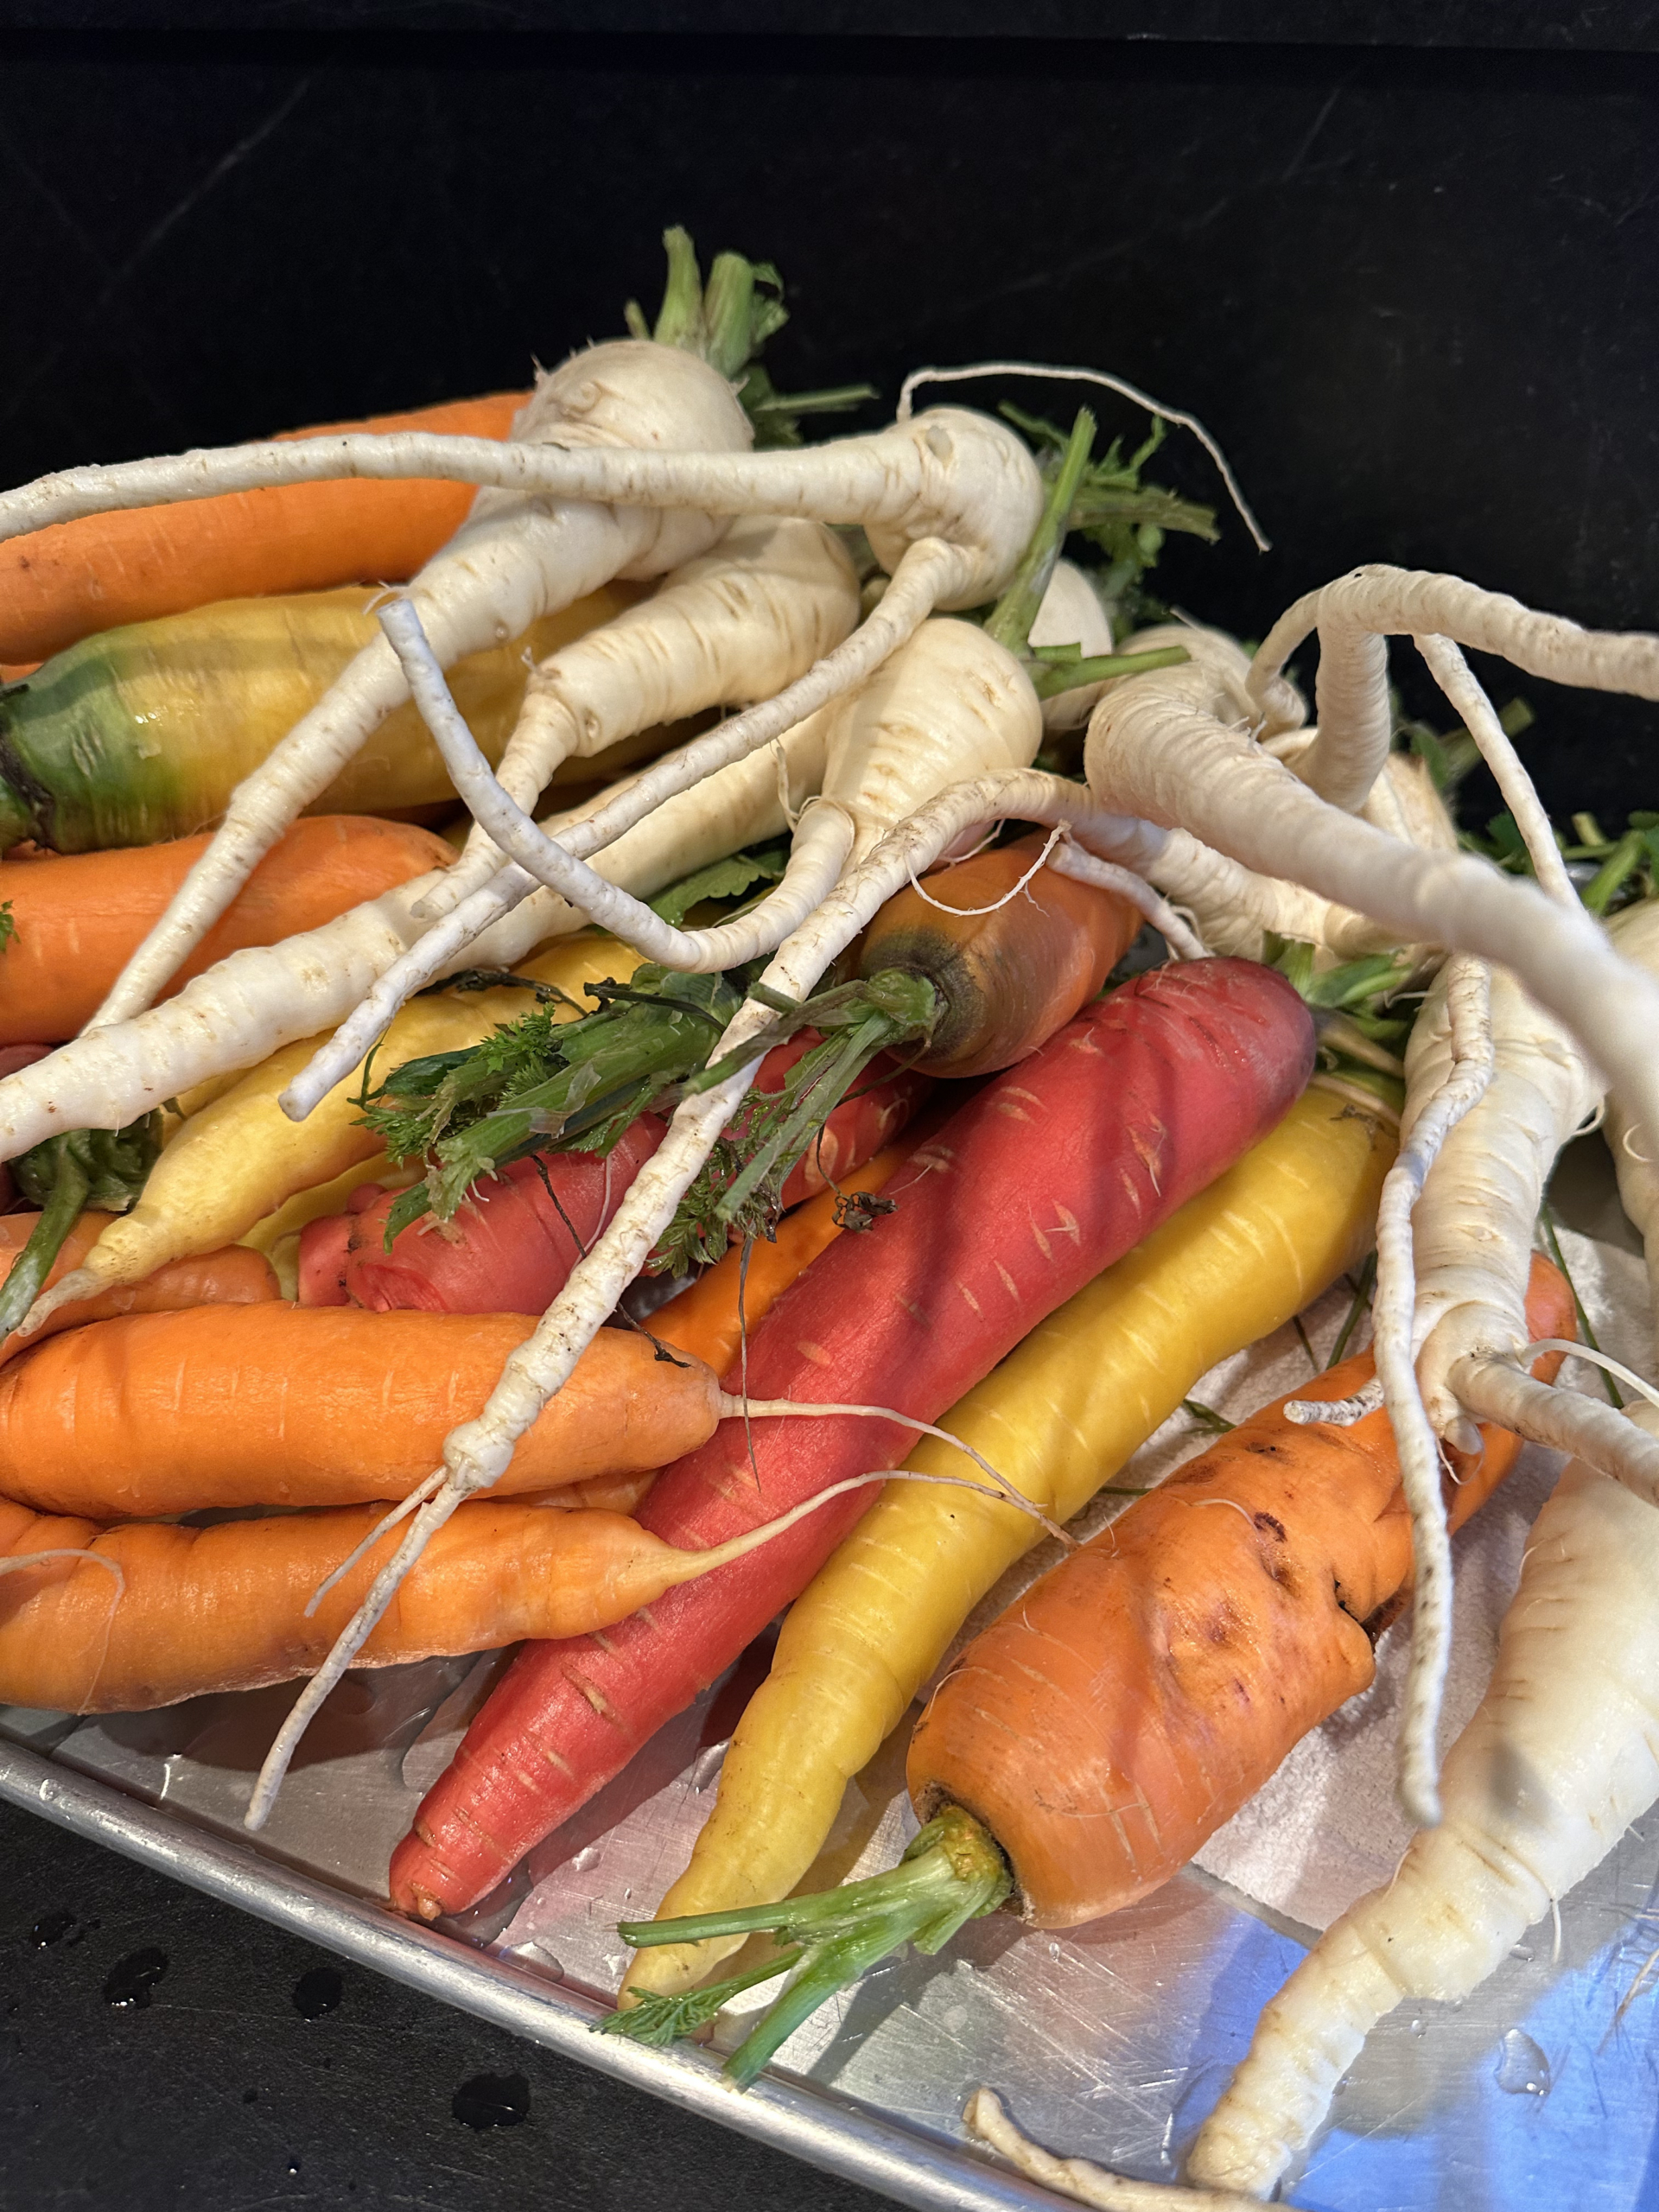
Carrots come in many colors, including orange, purple, red, white, and yellow.
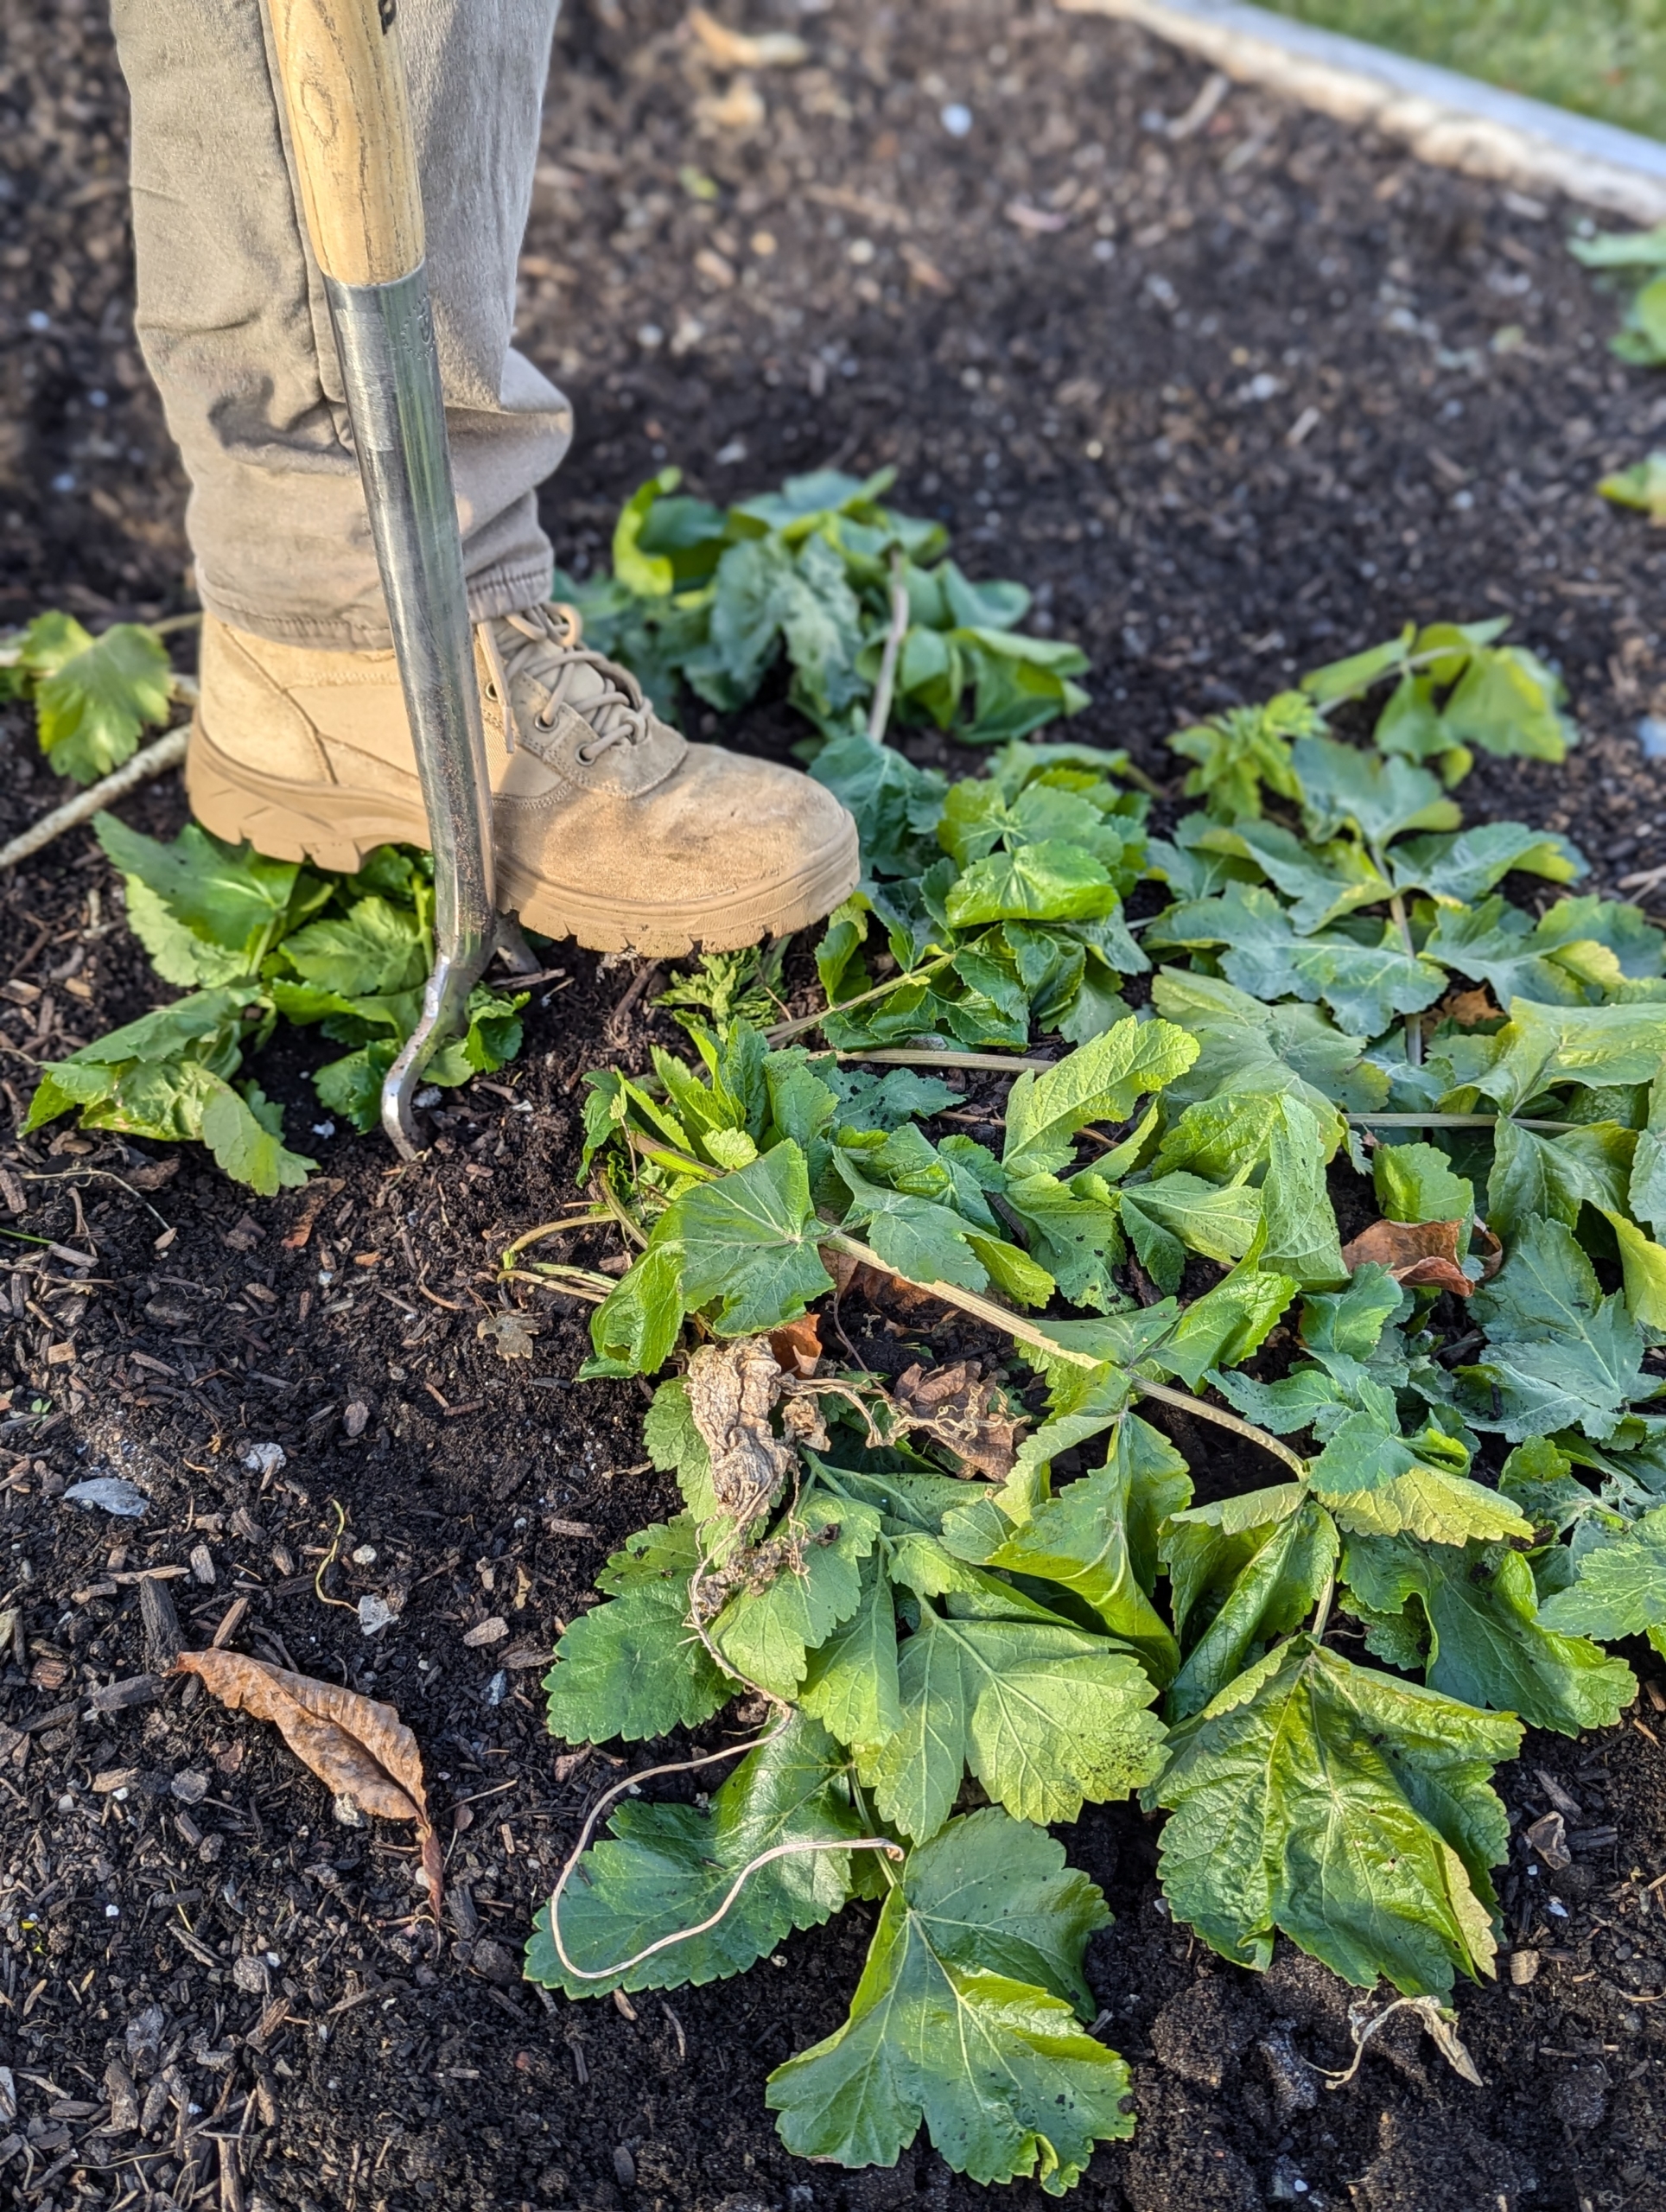
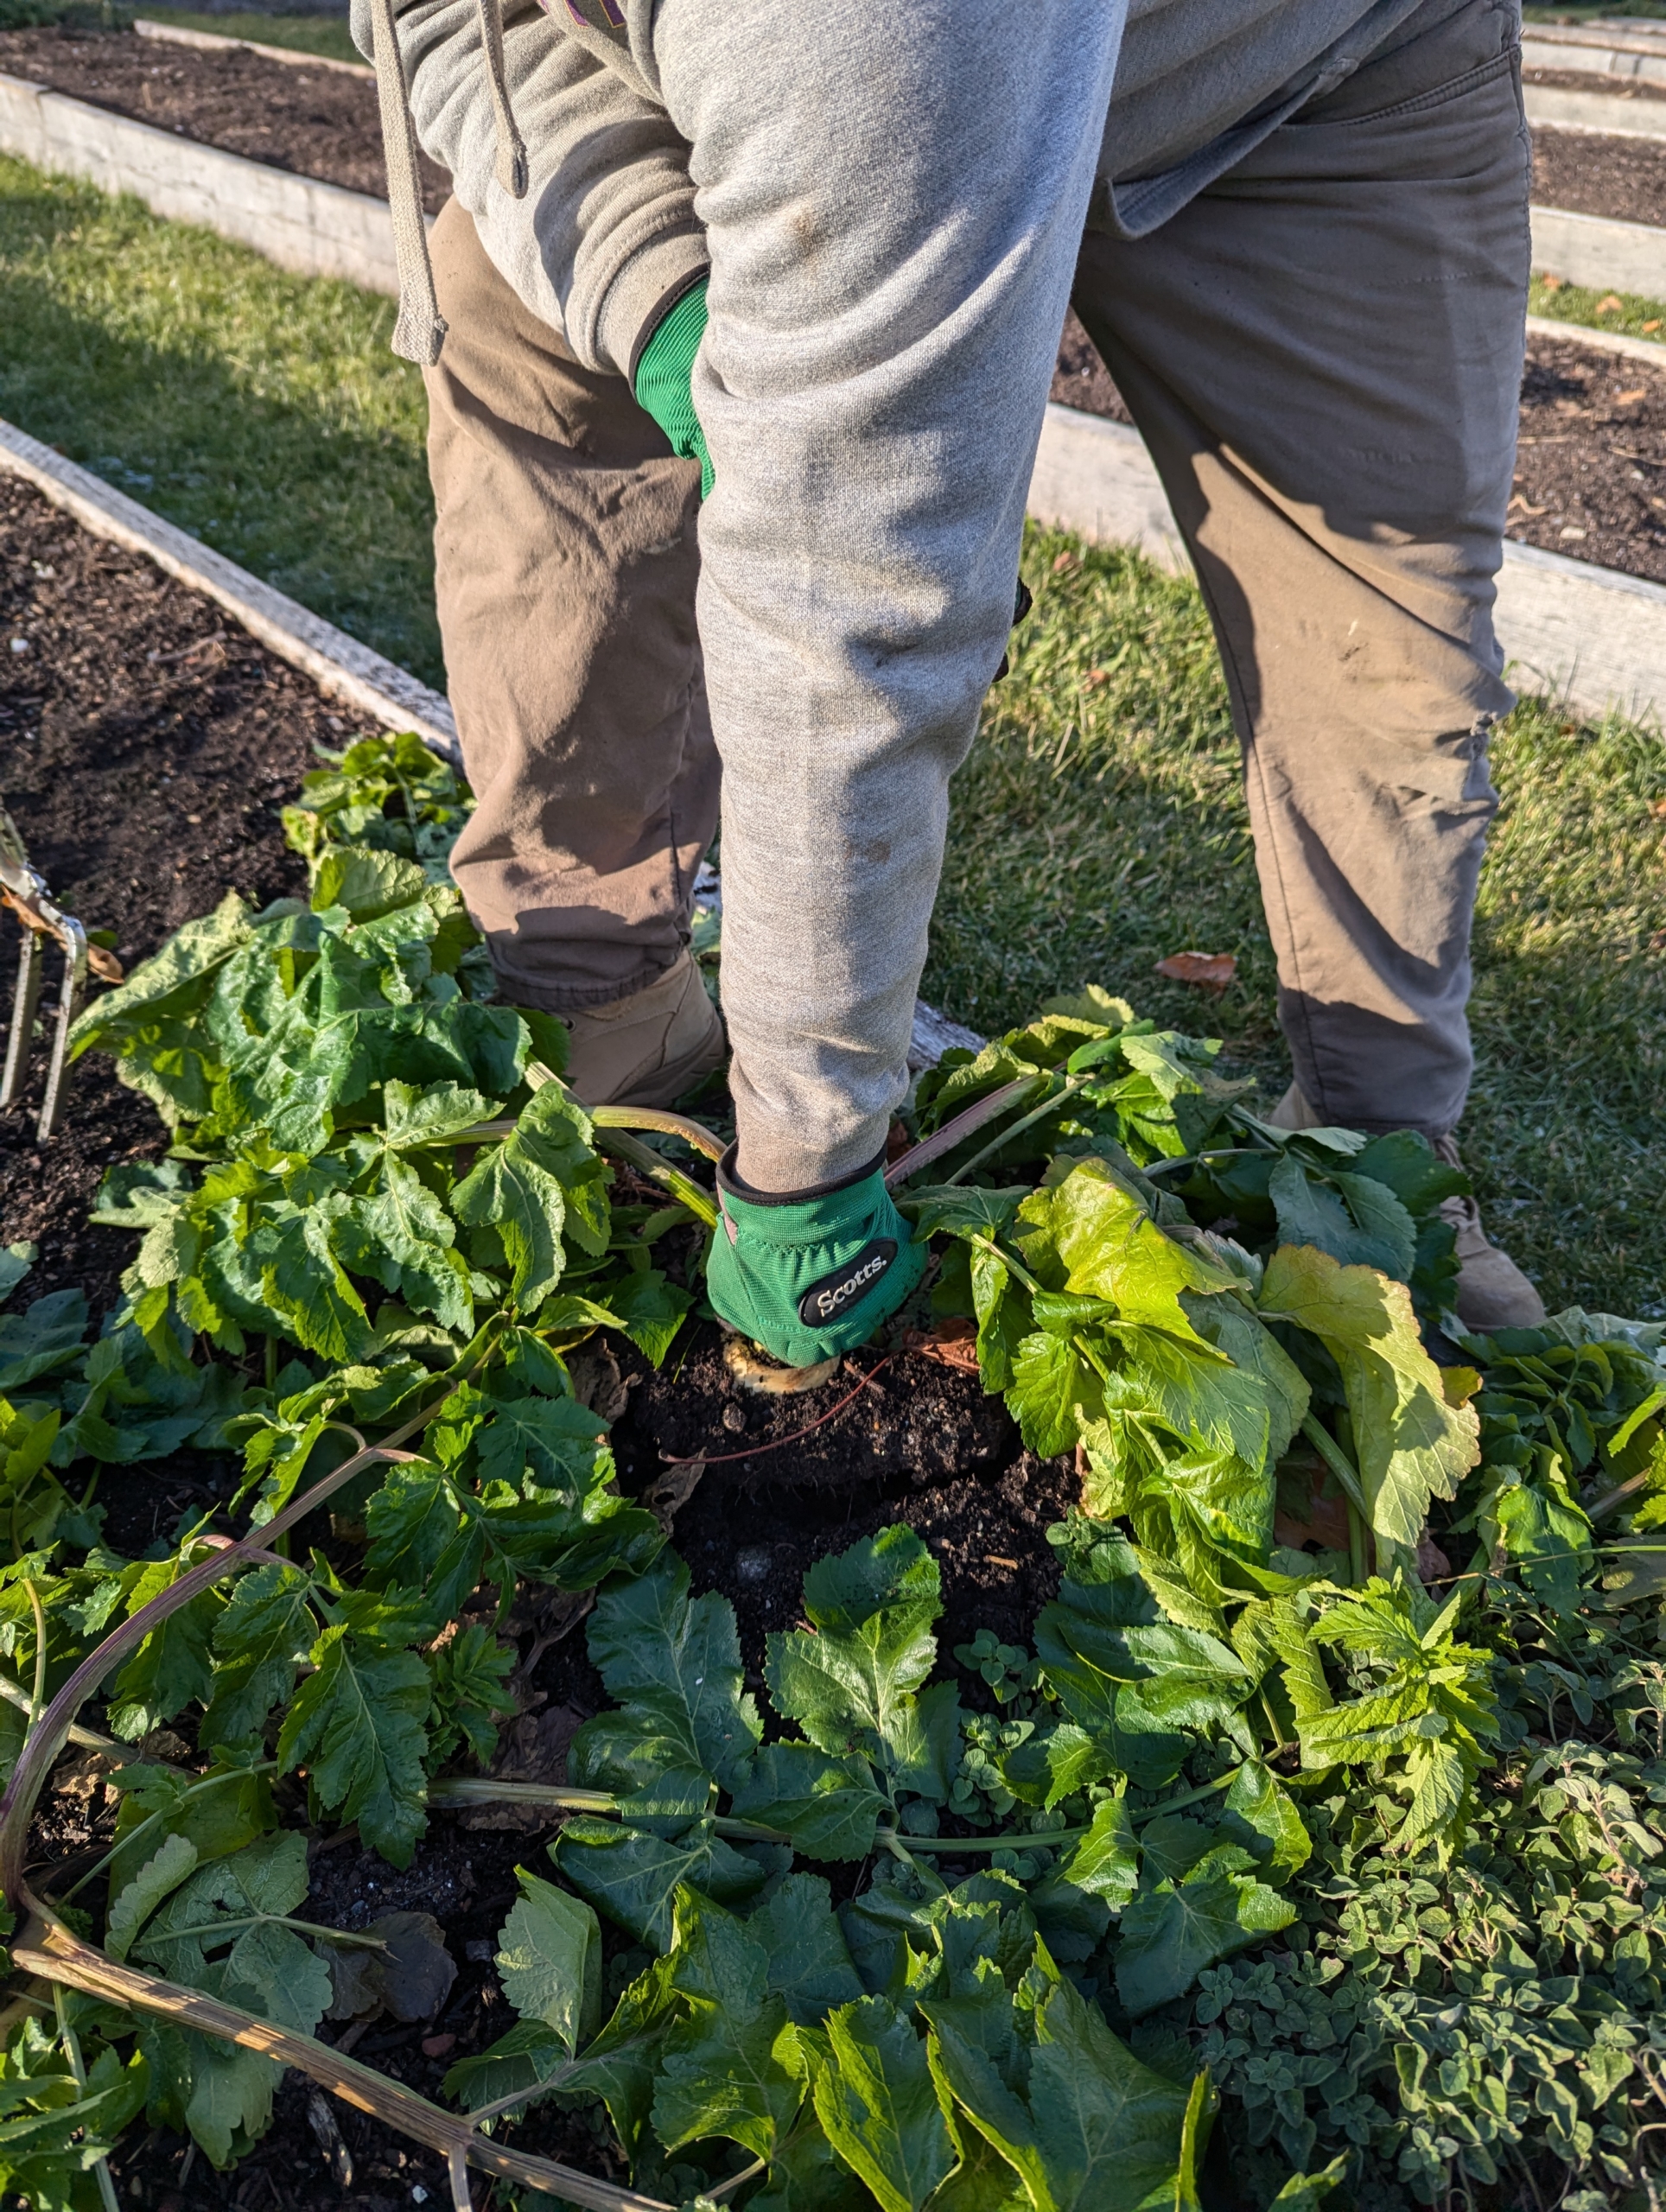
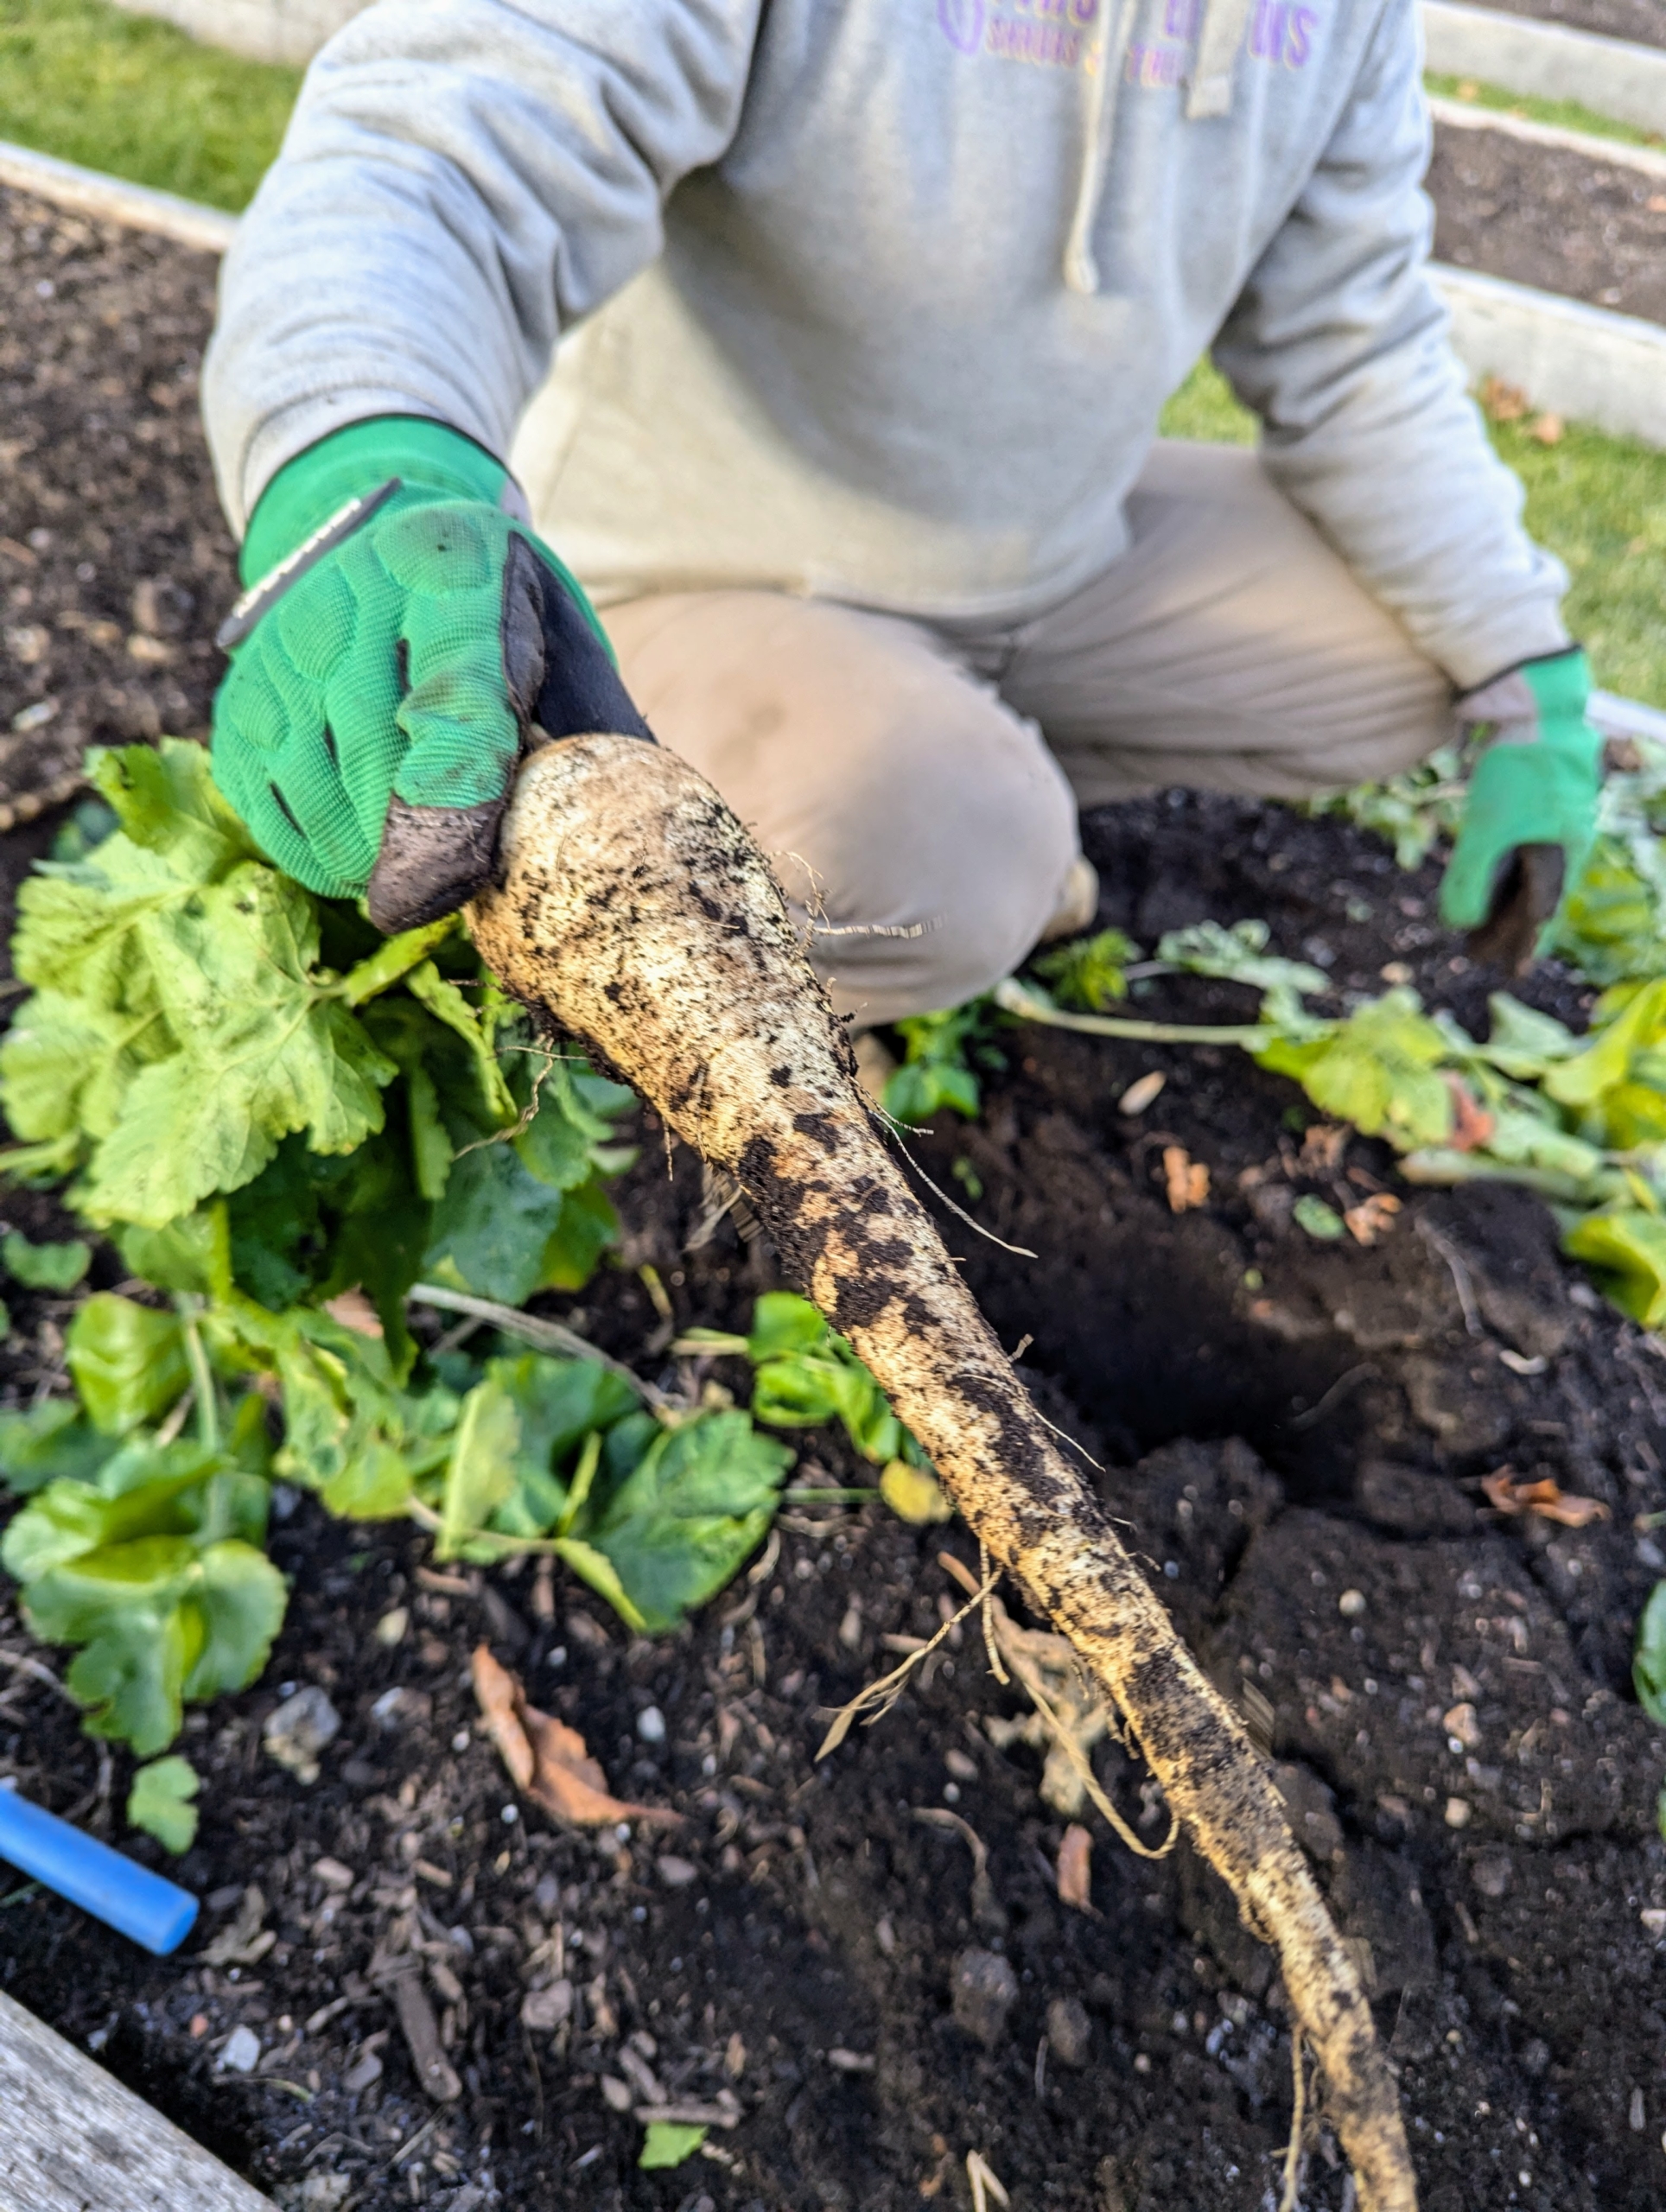
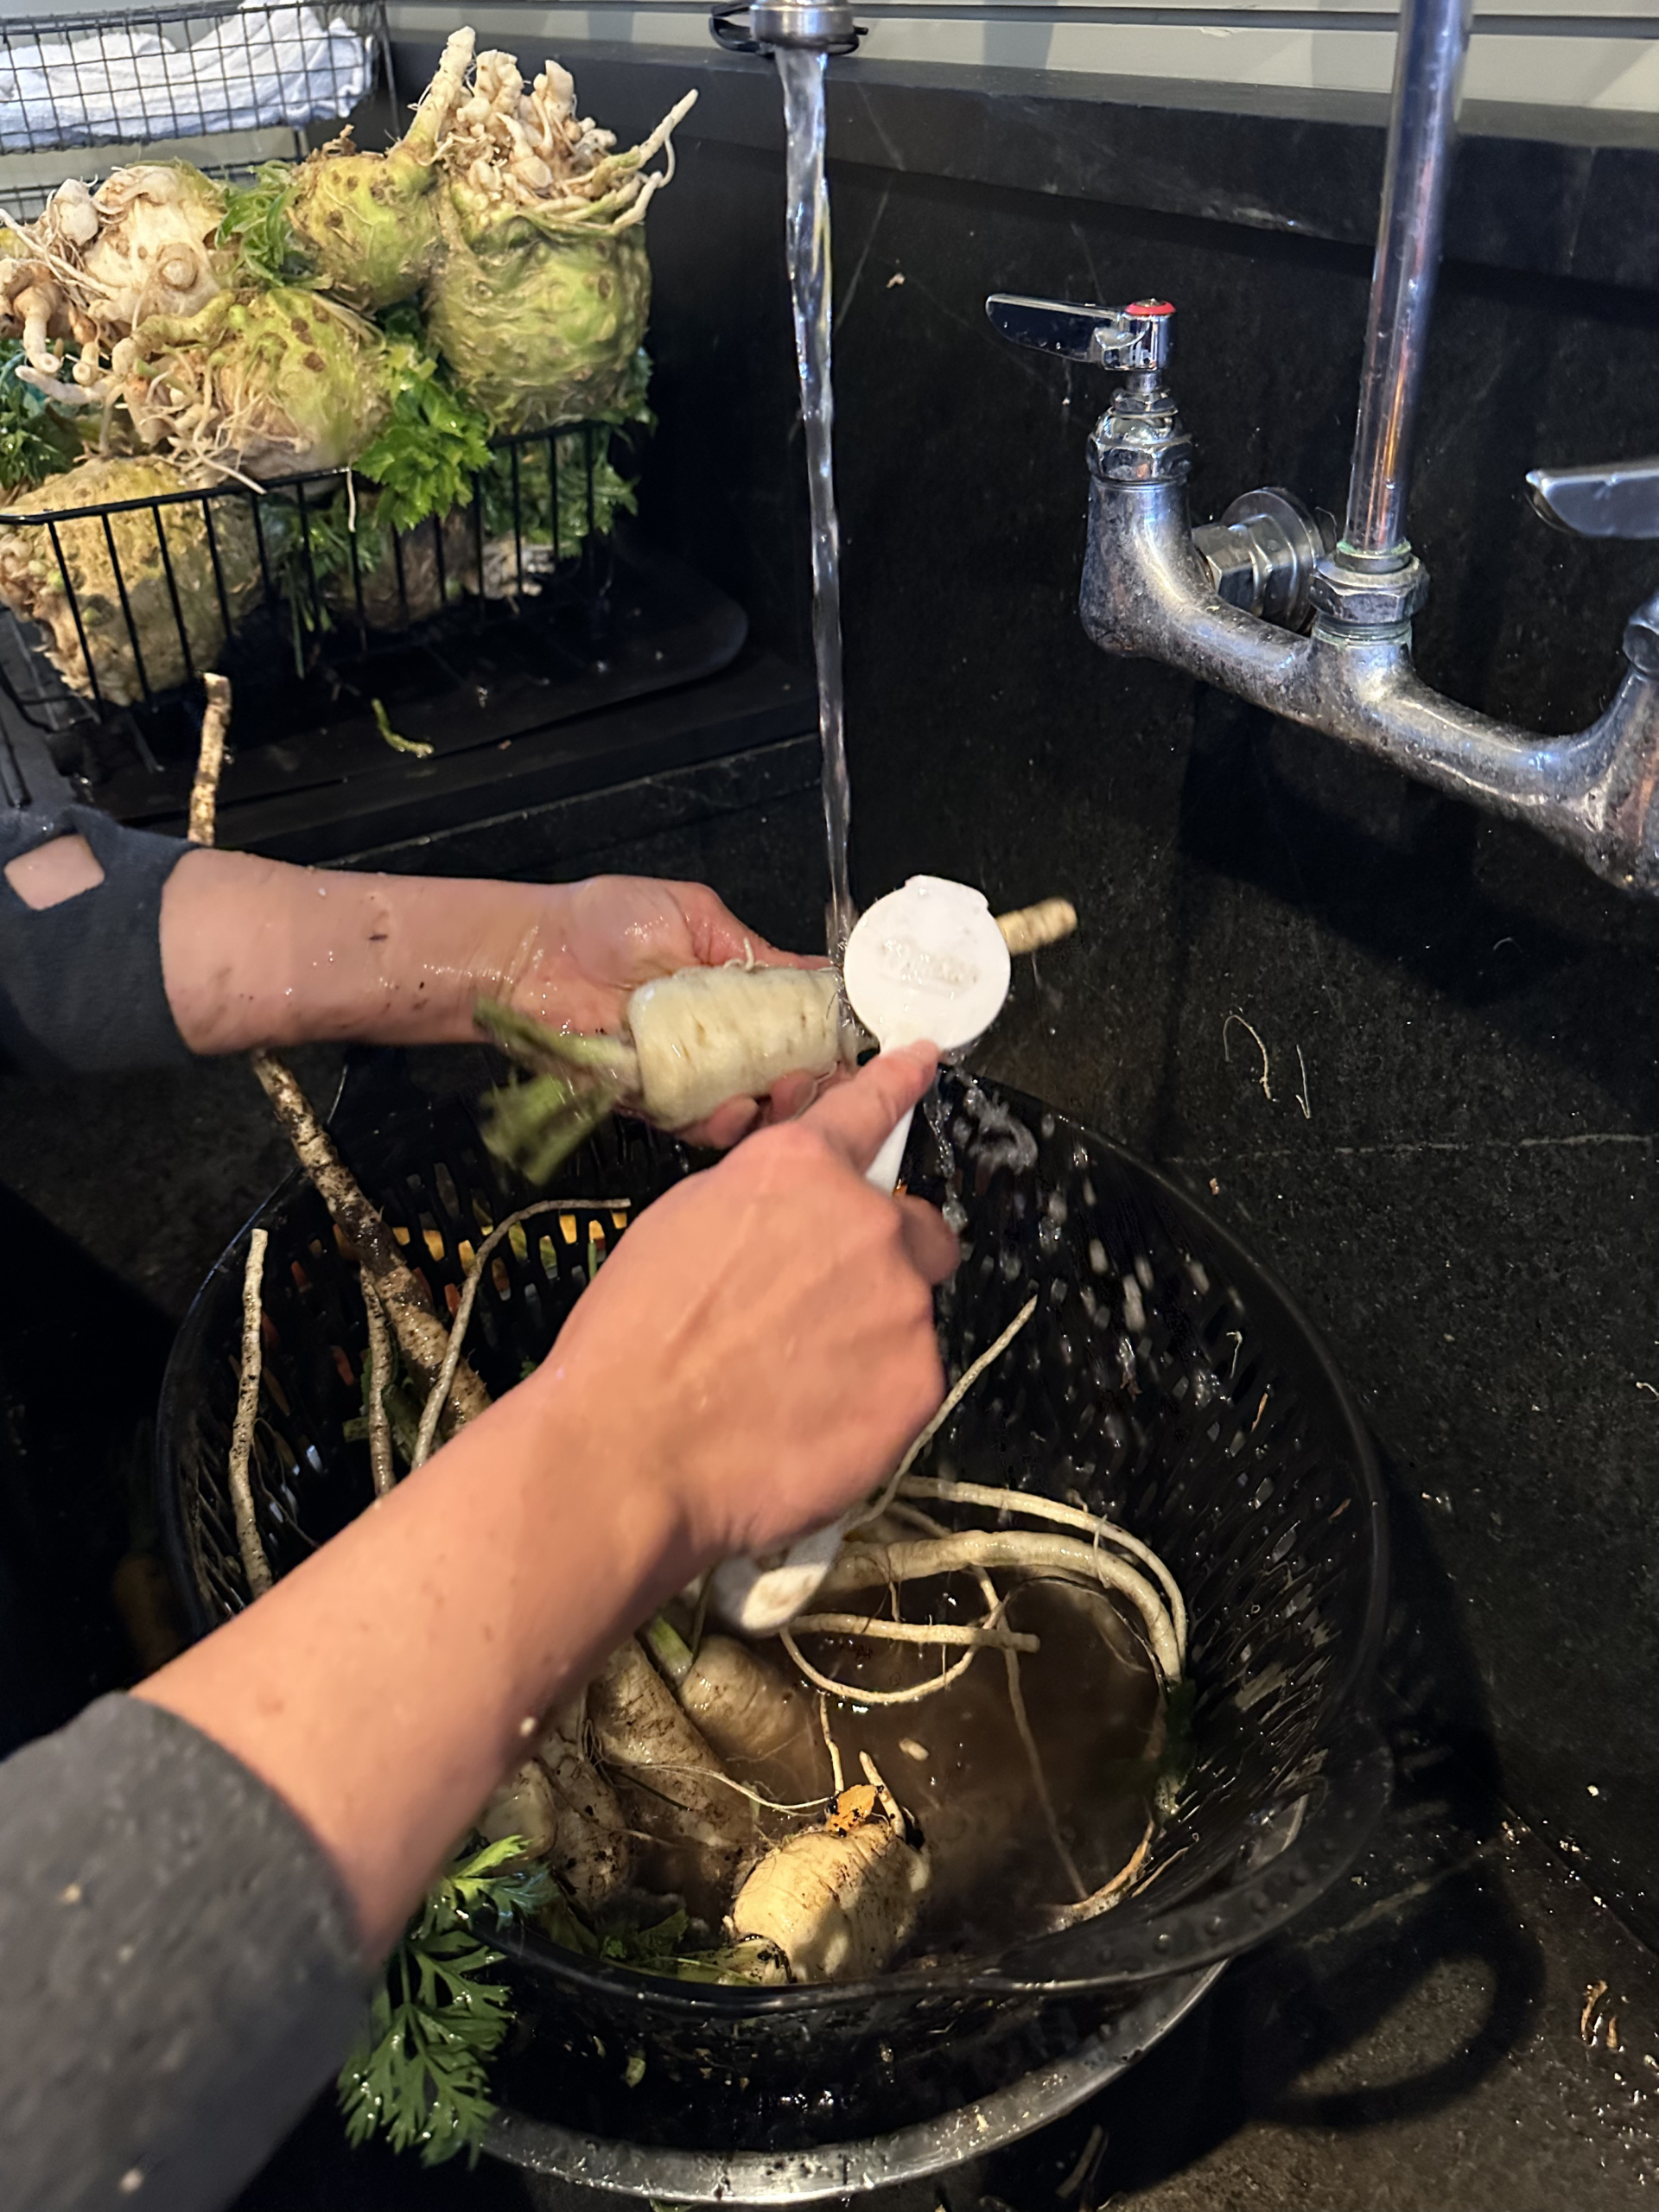
Next, Ryan moves to another bed to loosen the parsnips from the soil. Ryan is careful when he uses the pitchfork – one does not want to pierce the parsnips if possible.
Once the soil surrounding the parsnips is loosened, Ryan pulls each parsnip carefully, much like harvesting carrots.
Here, a glimpse of what is to come out – looks like a big parsnip.
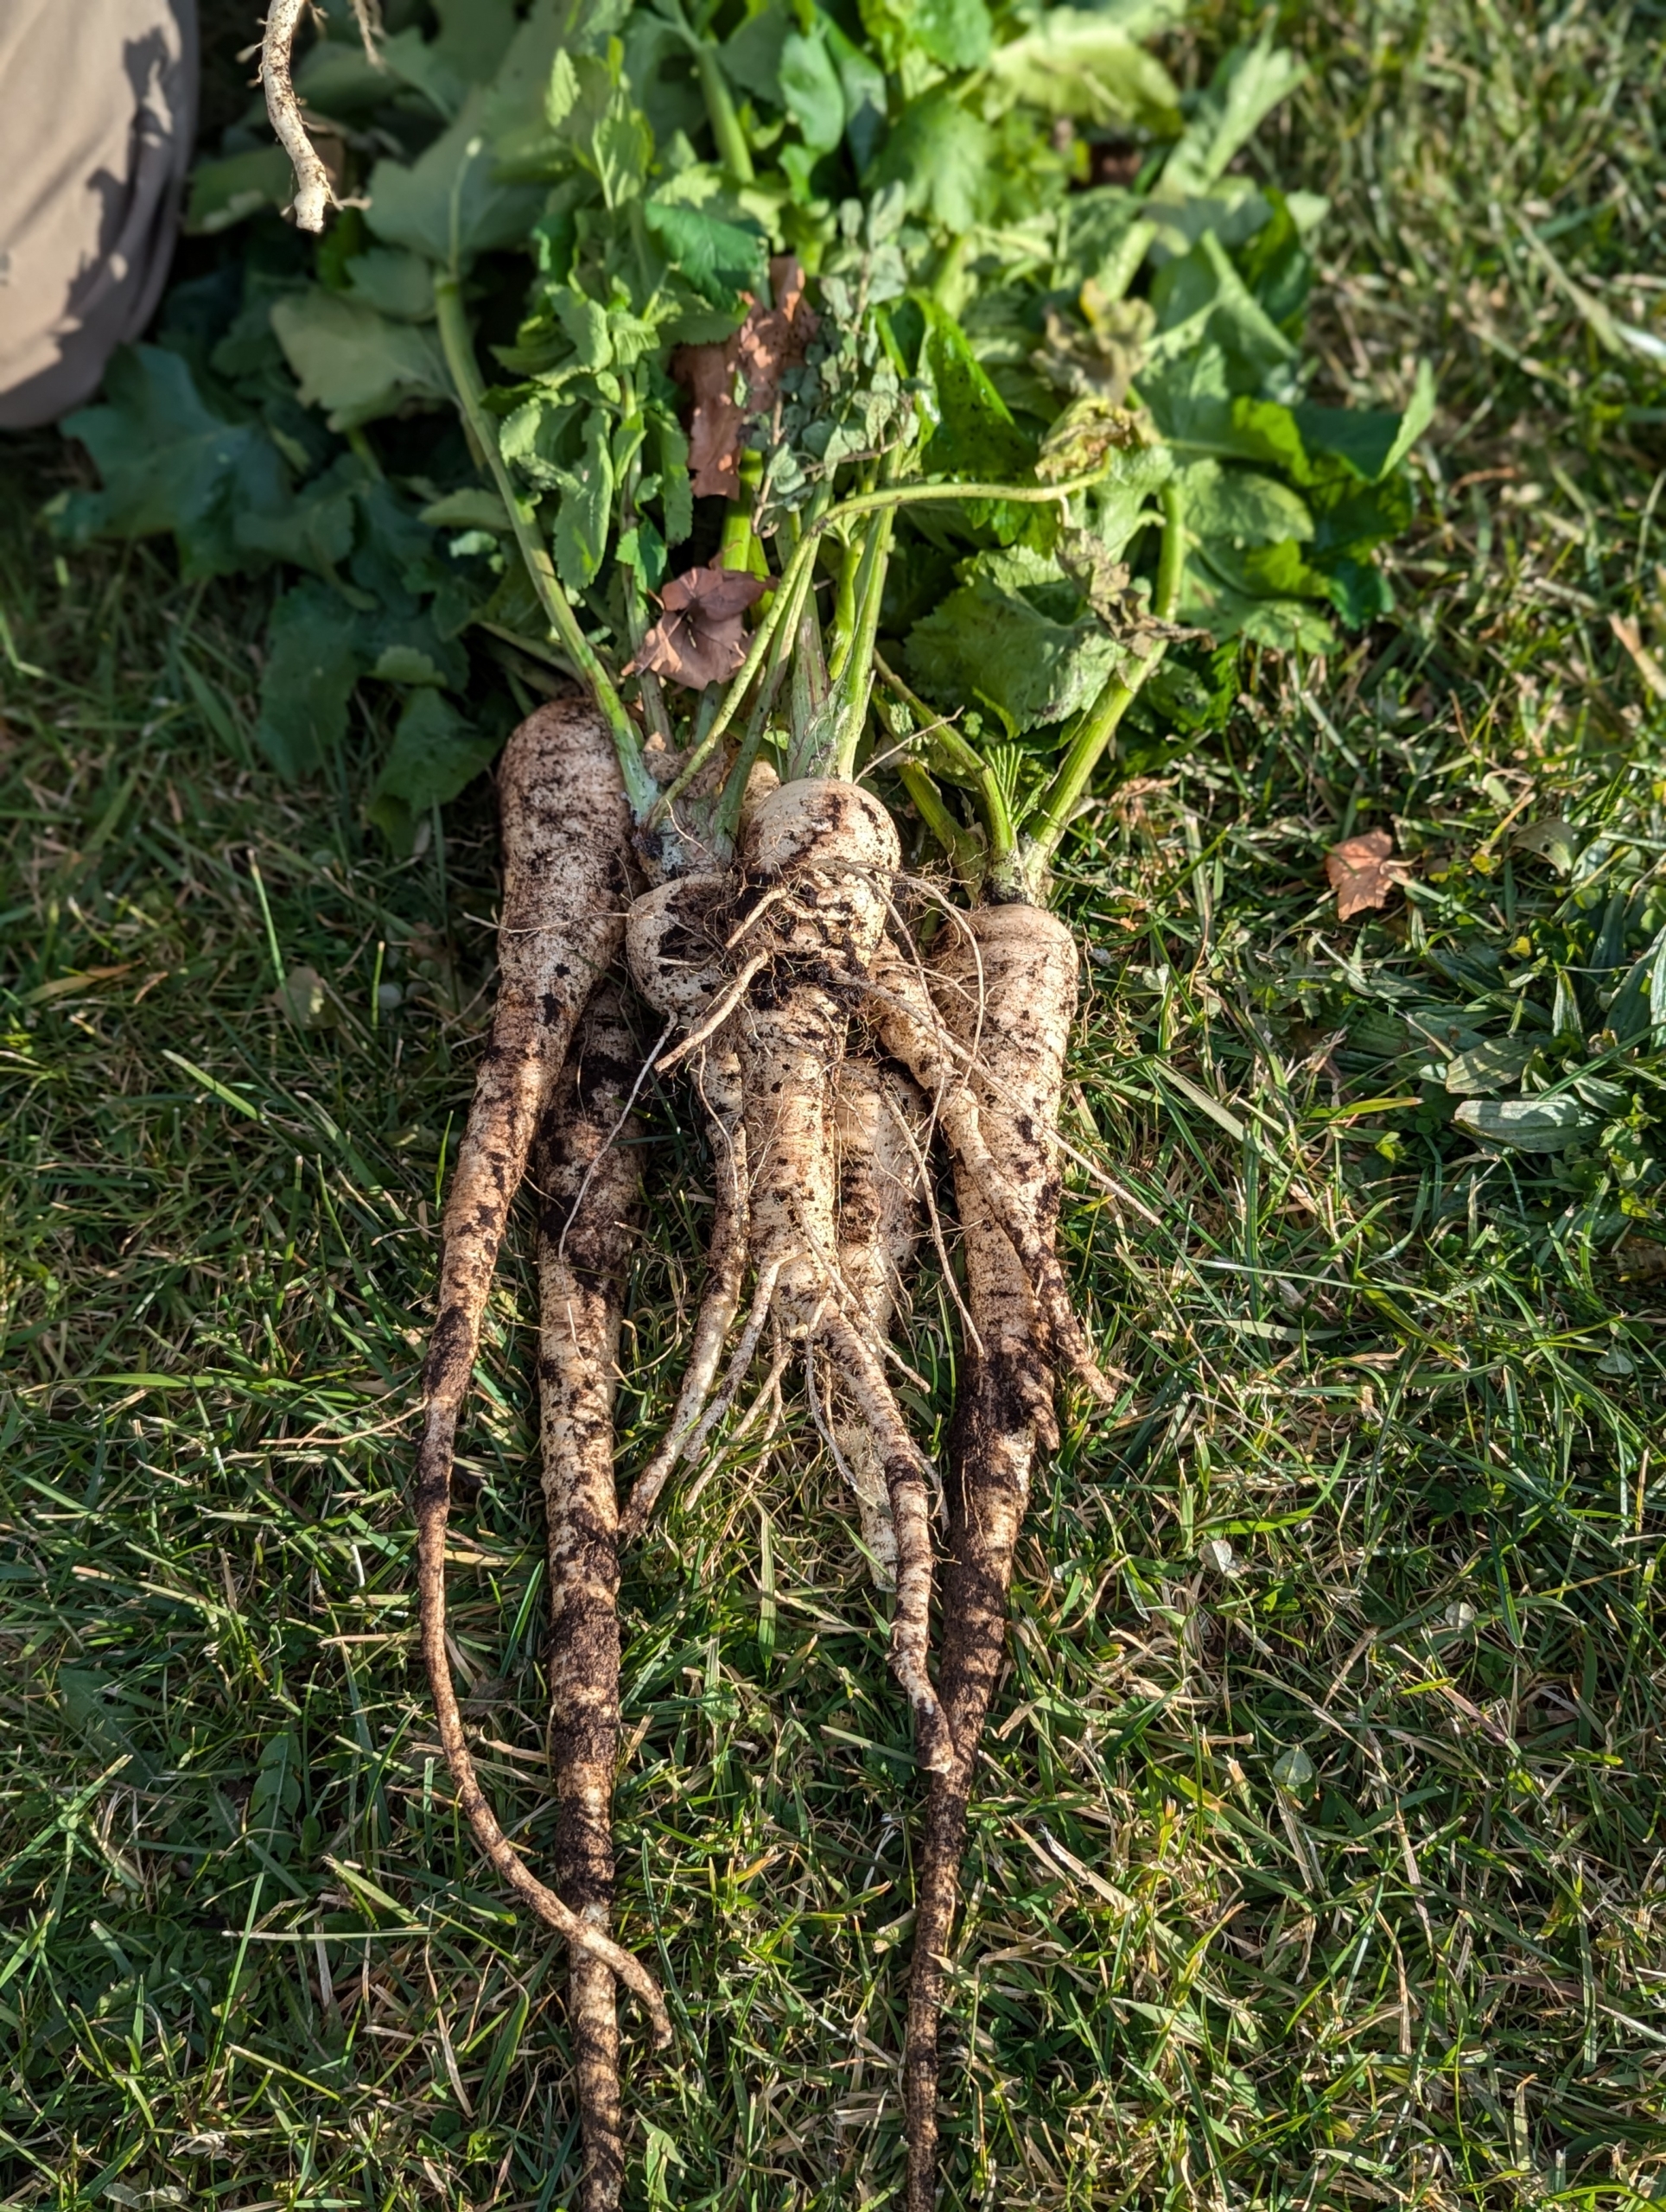
The parsnip is closely related to carrot and parsley, all belonging to the flowering plant family Apiaceae.
Parsnips have broad, hairless, ovate, compound pinnate leaves, up to six inches in length. These leaves and the stems can also be eaten or used to flavor soups and stews. Parsnips that are about eight to 10-inches long are the best tasting. They have thicker skin and a woodier center compared to carrots, but they are delicious cooked.
All the freshly picked vegetables are brought up to my flower room where they are cleaned and stored.
Elvira washes all the soil off the carrots – a good rinse is all these need.
When cleaning parsnips, wash them under cool running water using a vegetable brush. Never use soap. Once they are clean, they can be wrapped in paper towel and stored in the refrigerator for up to two weeks.
What a bounty of colorful and flavorful vegetables. They’ll be stored in the refrigerator until I can cook them.
Celeriac is a concentrated source of many nutrients, including vitamins C, K, B6, potassium, phosphorous, and fiber. I will make some delicious soup out of these. The celeriac is also scrubbed thoroughly and placed into the refrigerator. I am always so excited to see what comes out of the garden. If you haven’t tasted them yet, give parsnips and celeriac a try – you’ll be glad you did.
It's late autumn, but have you started thinking about next year's flower garden? Here at my farm, I've planted the first seeds outdoors.
I sow thousands of seeds every year - all those wonderful seeds I enjoy purchasing during my travels, and seeds I order from favorite sources. Some are considered "cool season flowers," or those that can withstand the cooler temperatures when planted in the fall. Their roots take hold and become firmly established before winter and then emerge as new growth once the soil warms in spring. Not long ago I asked my head gardener, Ryan McCallister, to plant an unused cold frame bed with flower seeds such as lupines, foxgloves, and poppies.
Here are some photos, enjoy.
This raised bed behind my main greenhouse was previously used as a cold frame. A cold frame is a transparent-roofed enclosure, built low to the ground that utilizes solar energy and insulation to create a microclimate suitable for growing or overwintering plants. The glass cover made out of old windows broke, but I kept the bed for planting cool season flowers.
I love purchasing all kinds of seeds. I get my seeds from many different sources, such as trusted seed producers, garden shops I visit when traveling, or from friends who share their favorite seed varieties.
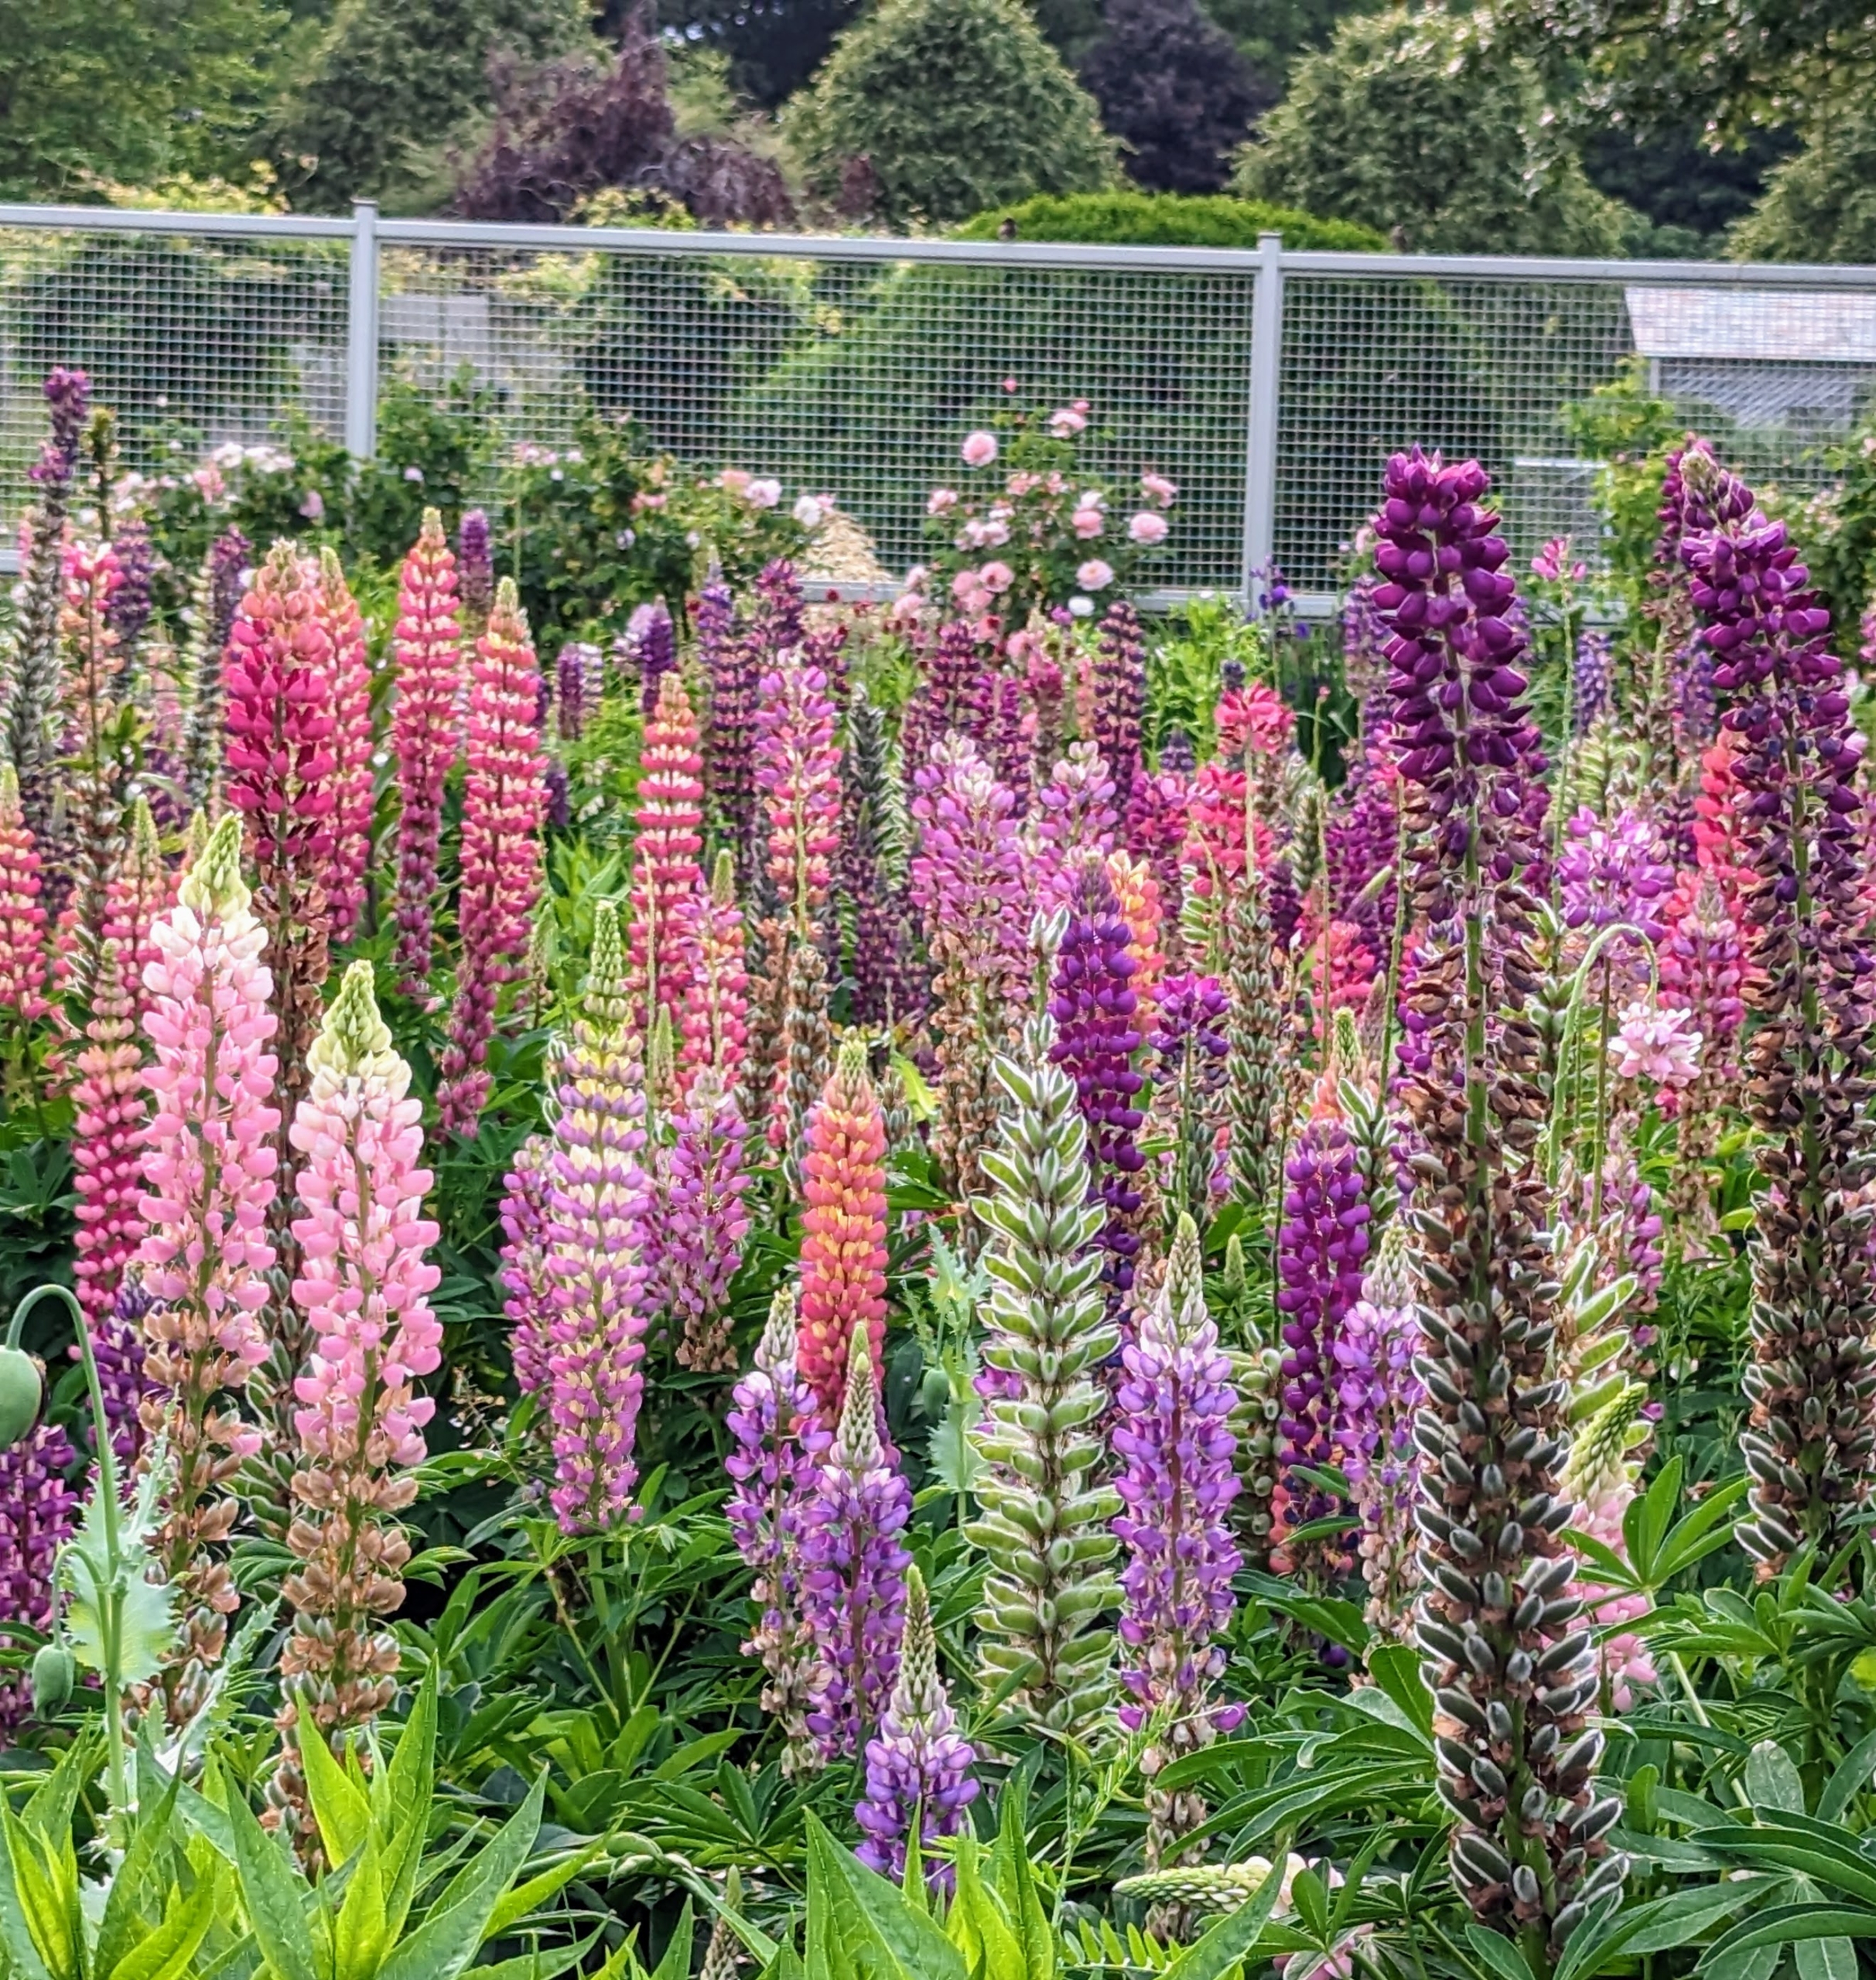
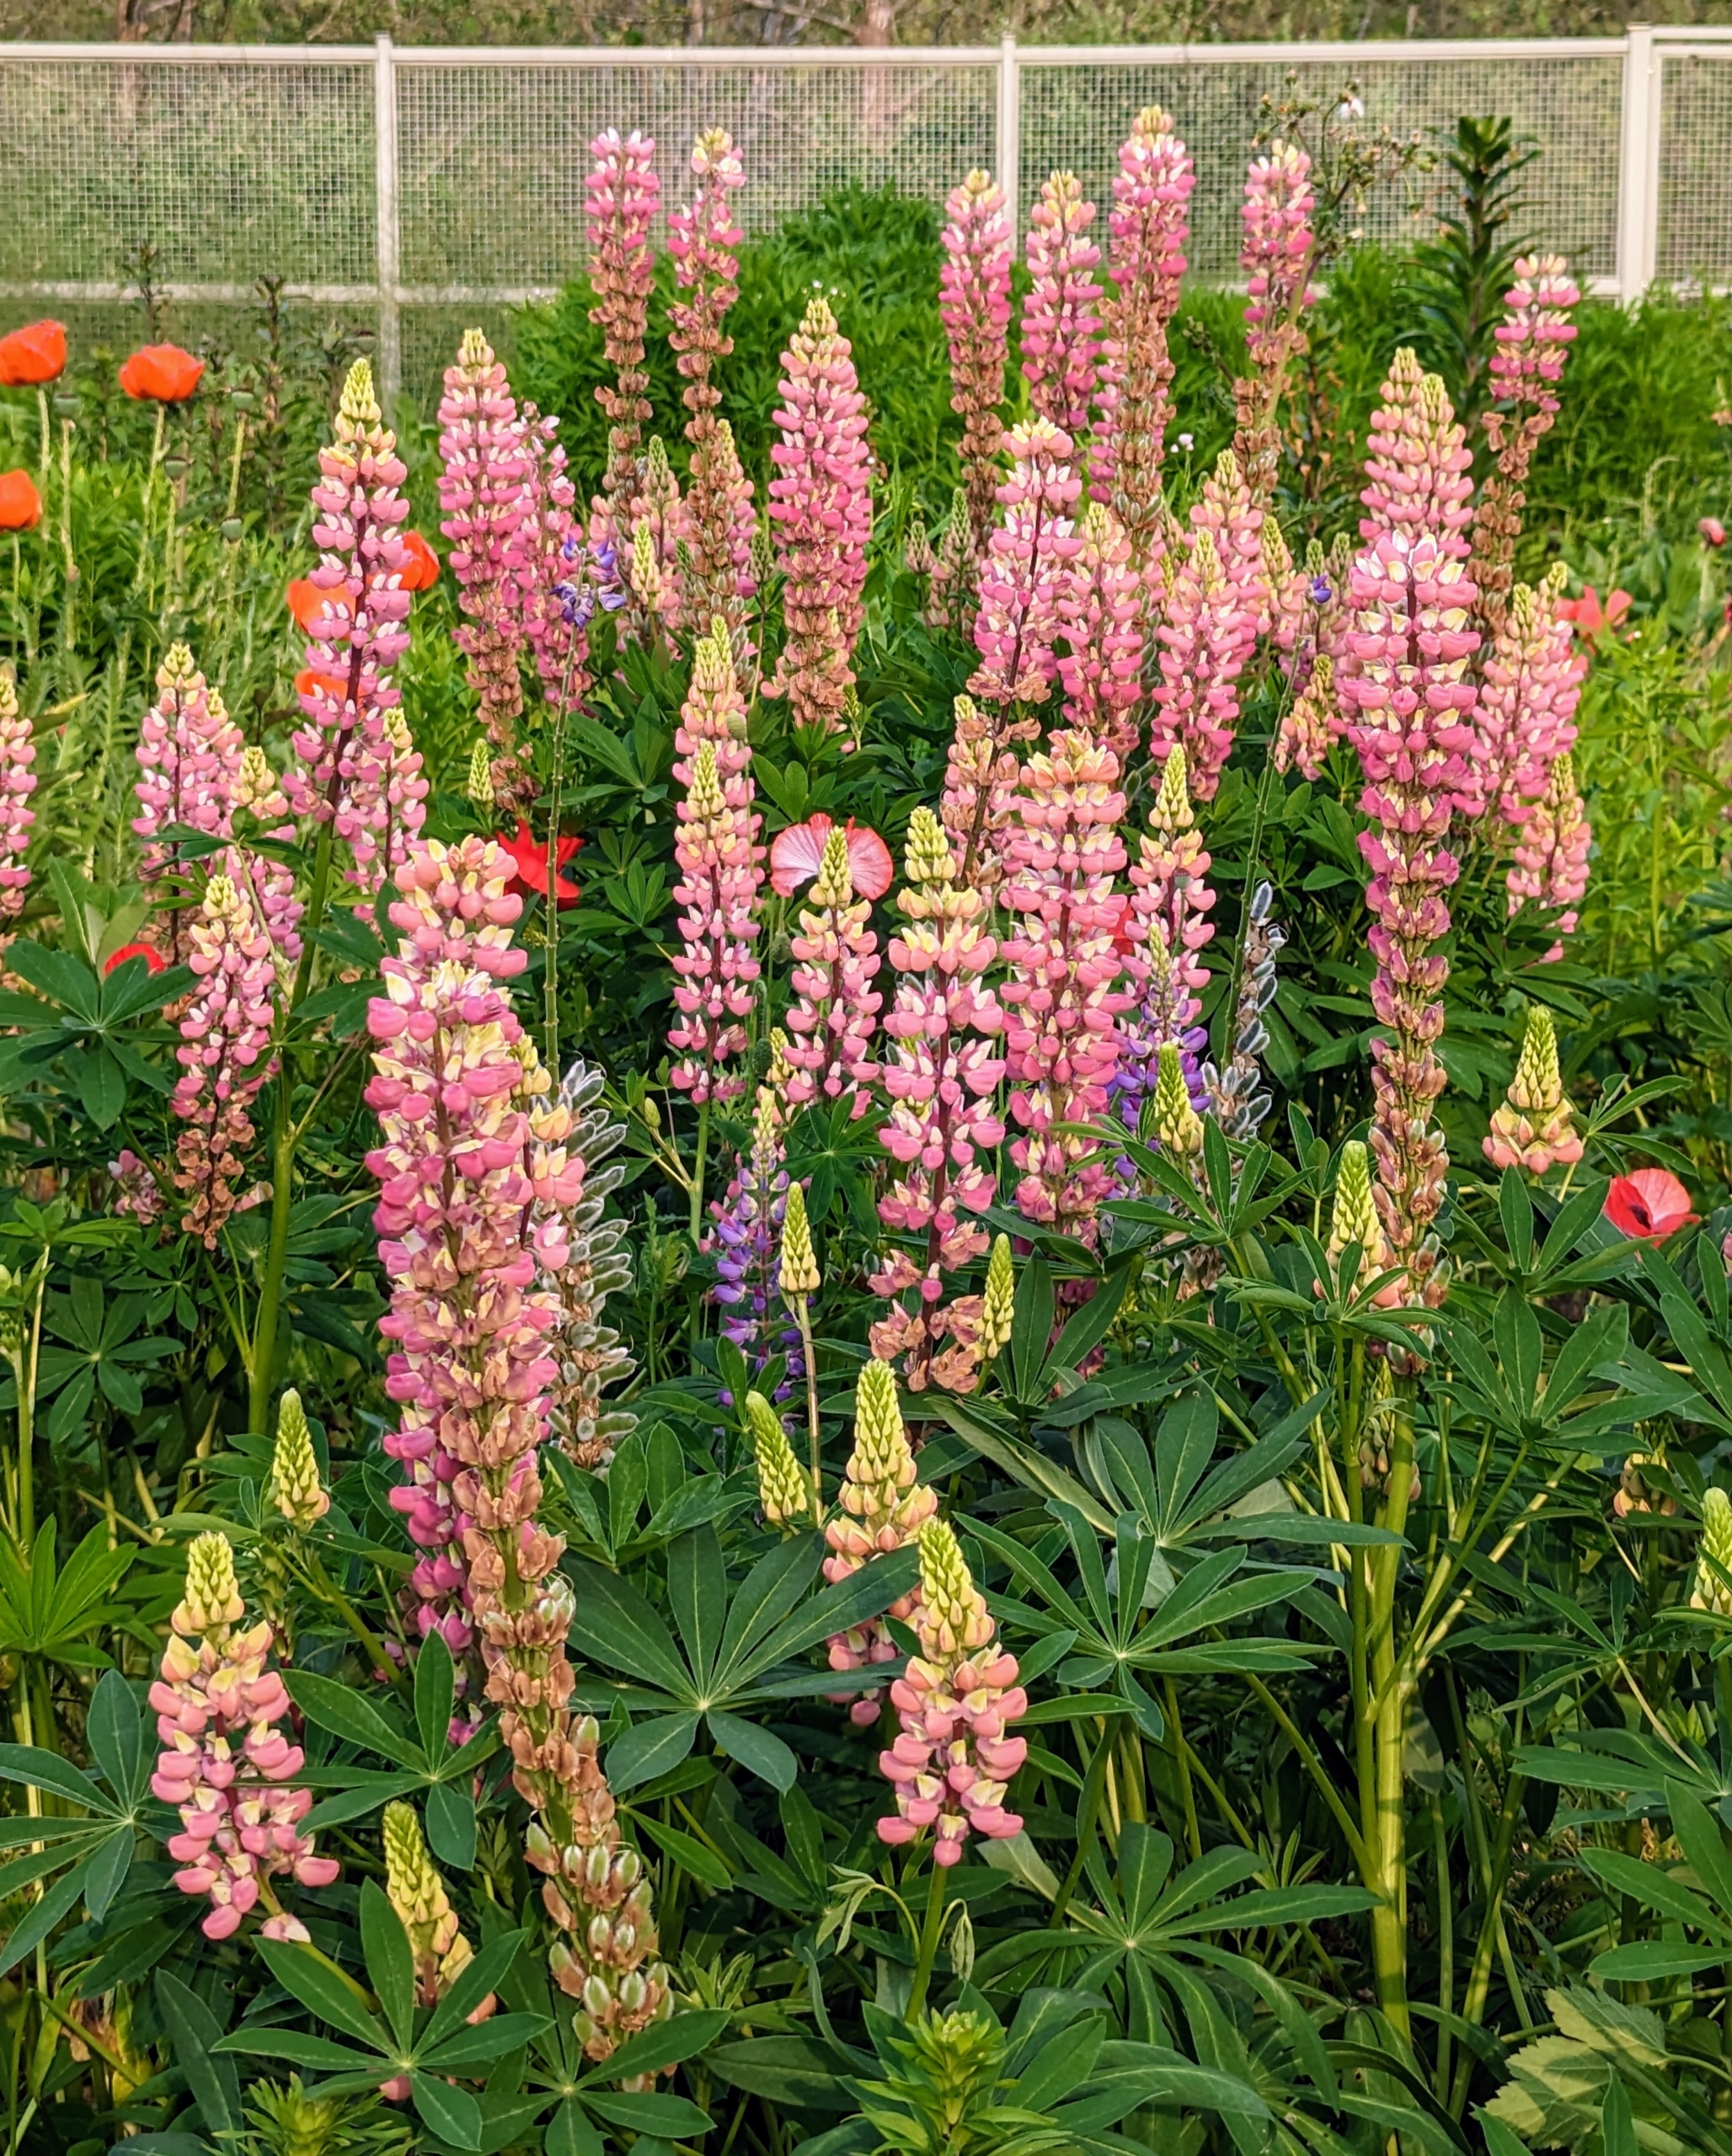
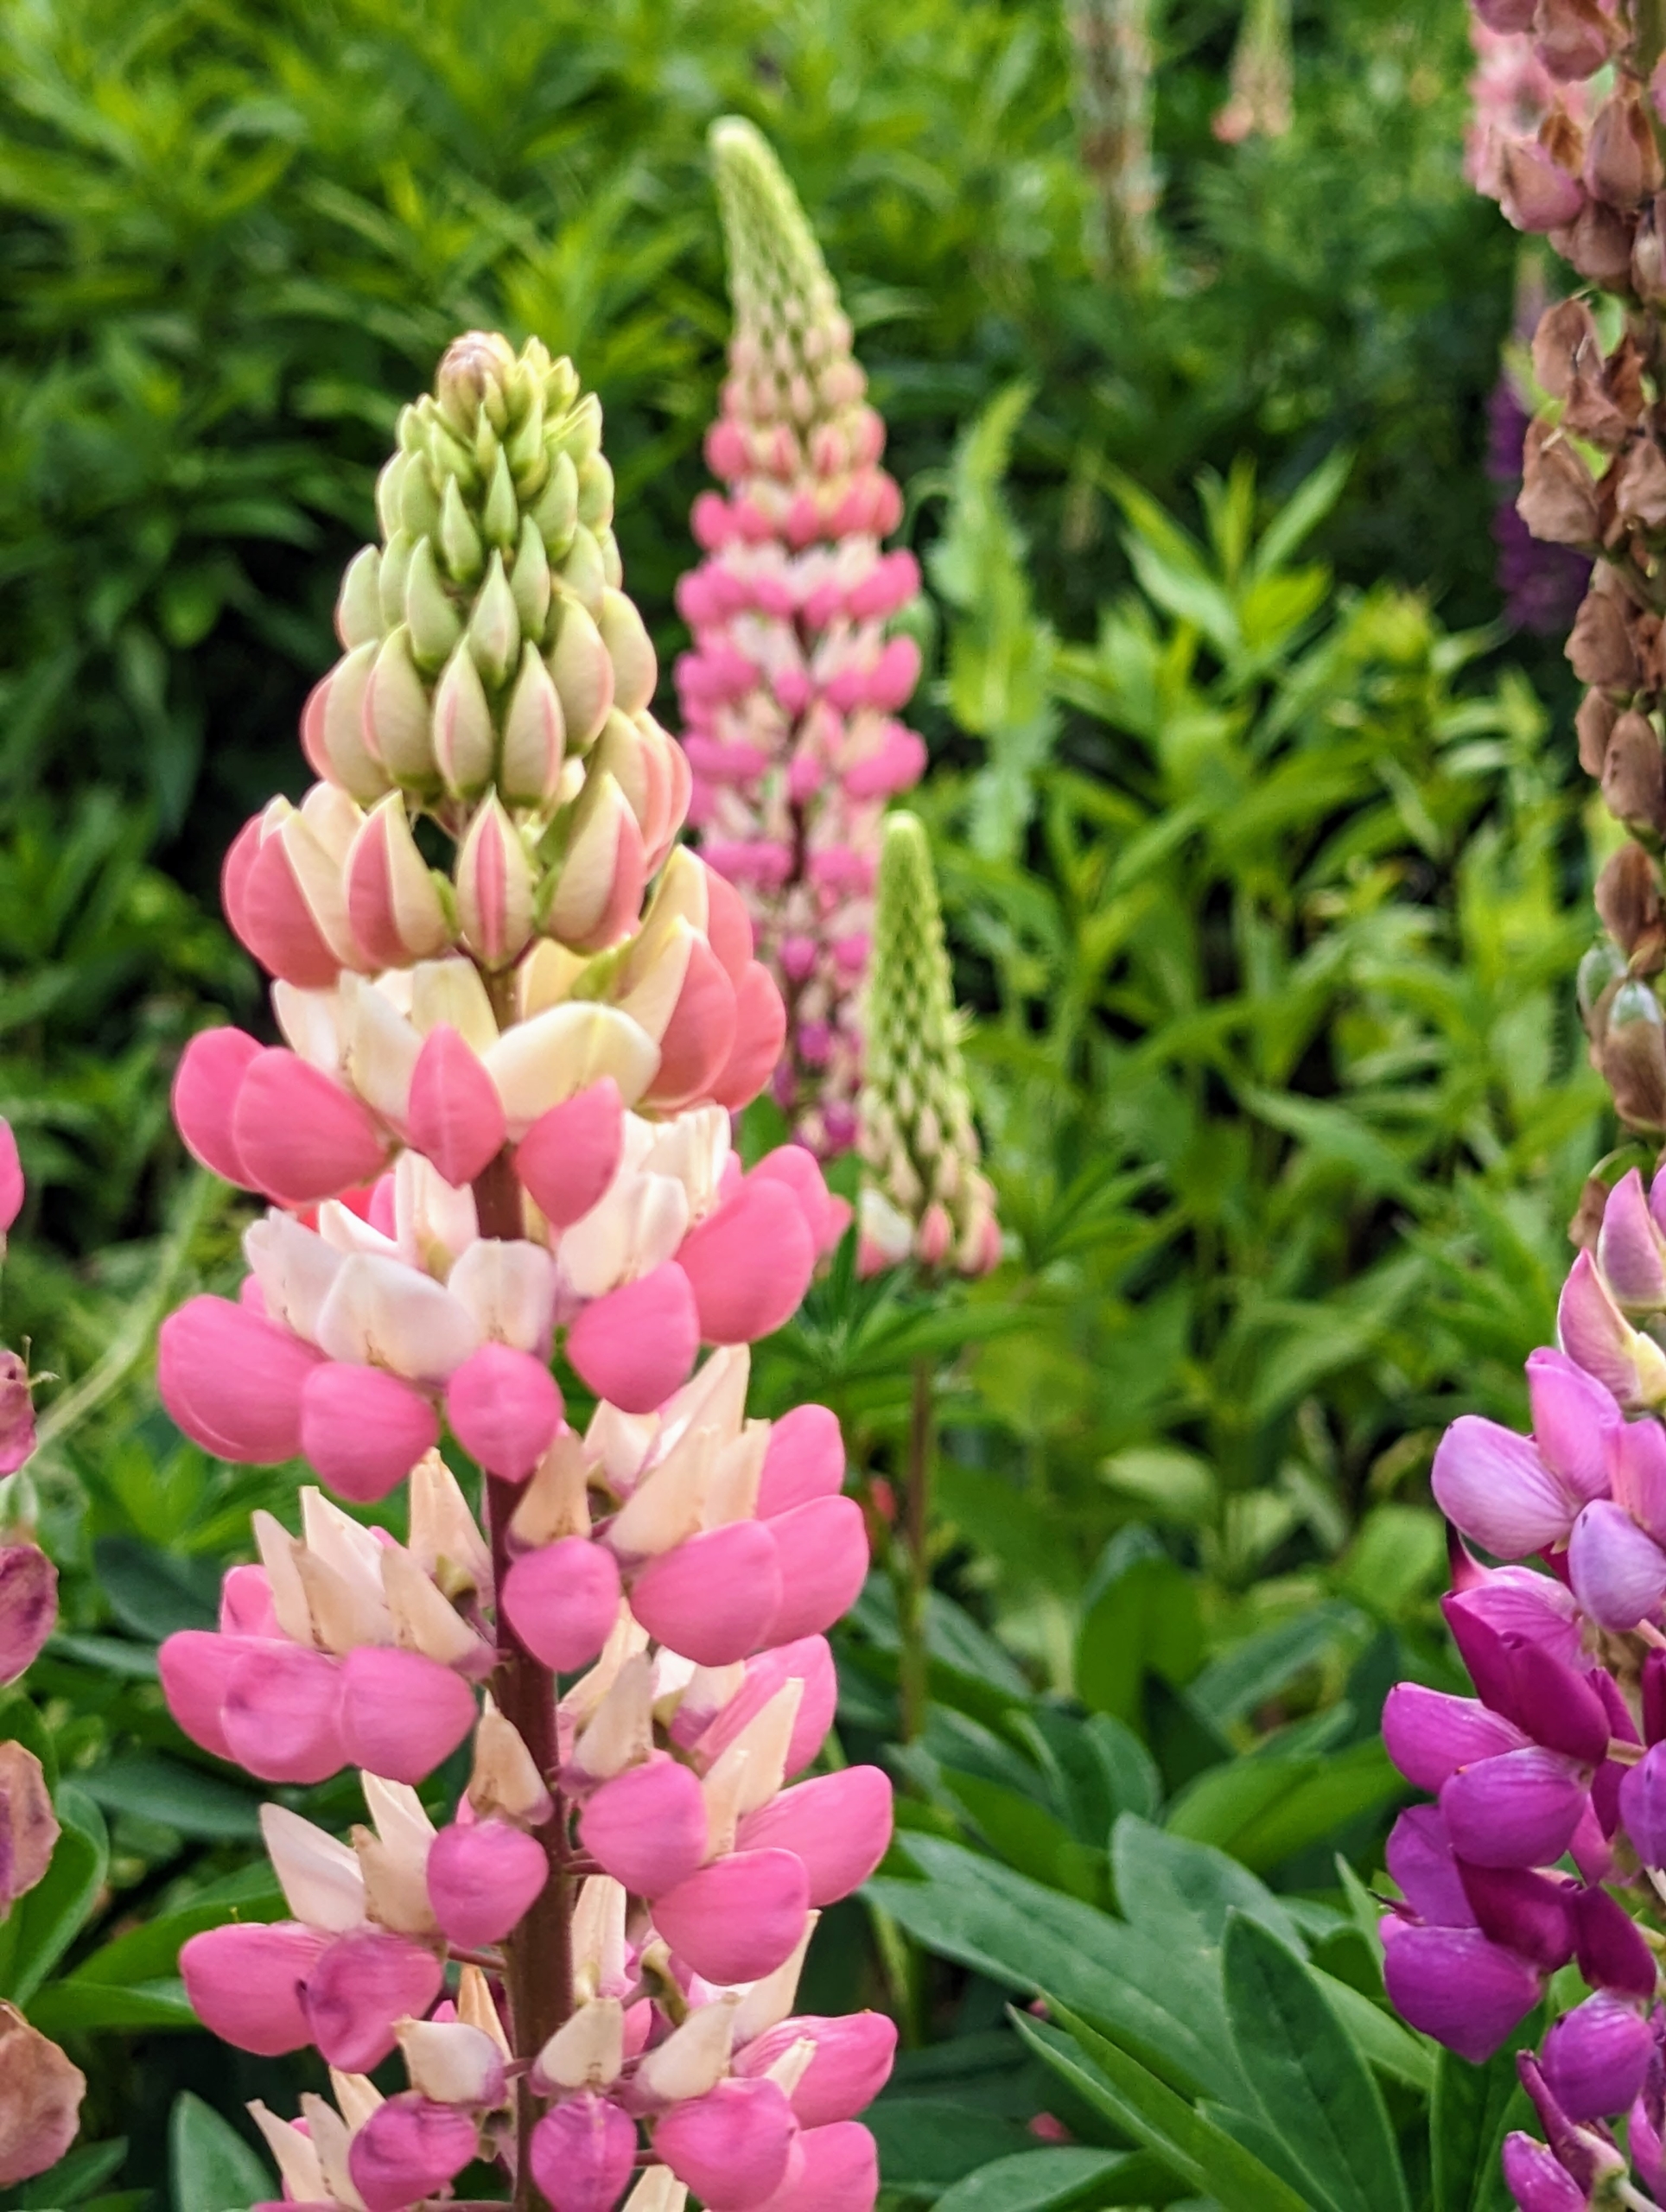
Lupines are members of the pea family and can grow up to four feet tall. They are attractive and spiky, and can add color and texture to any flowerbed. I’ve grown lupines for years and they thrive in my garden.
Lupines come in a range of colors from pink and purple to white, yellow, or with some species, even red.
If planting lupines from seed, direct sow in the garden in late fall or early winter for blooms the following spring. One can also sow seeds in the spring four to six weeks before the average last frost date for blooms later in summer.
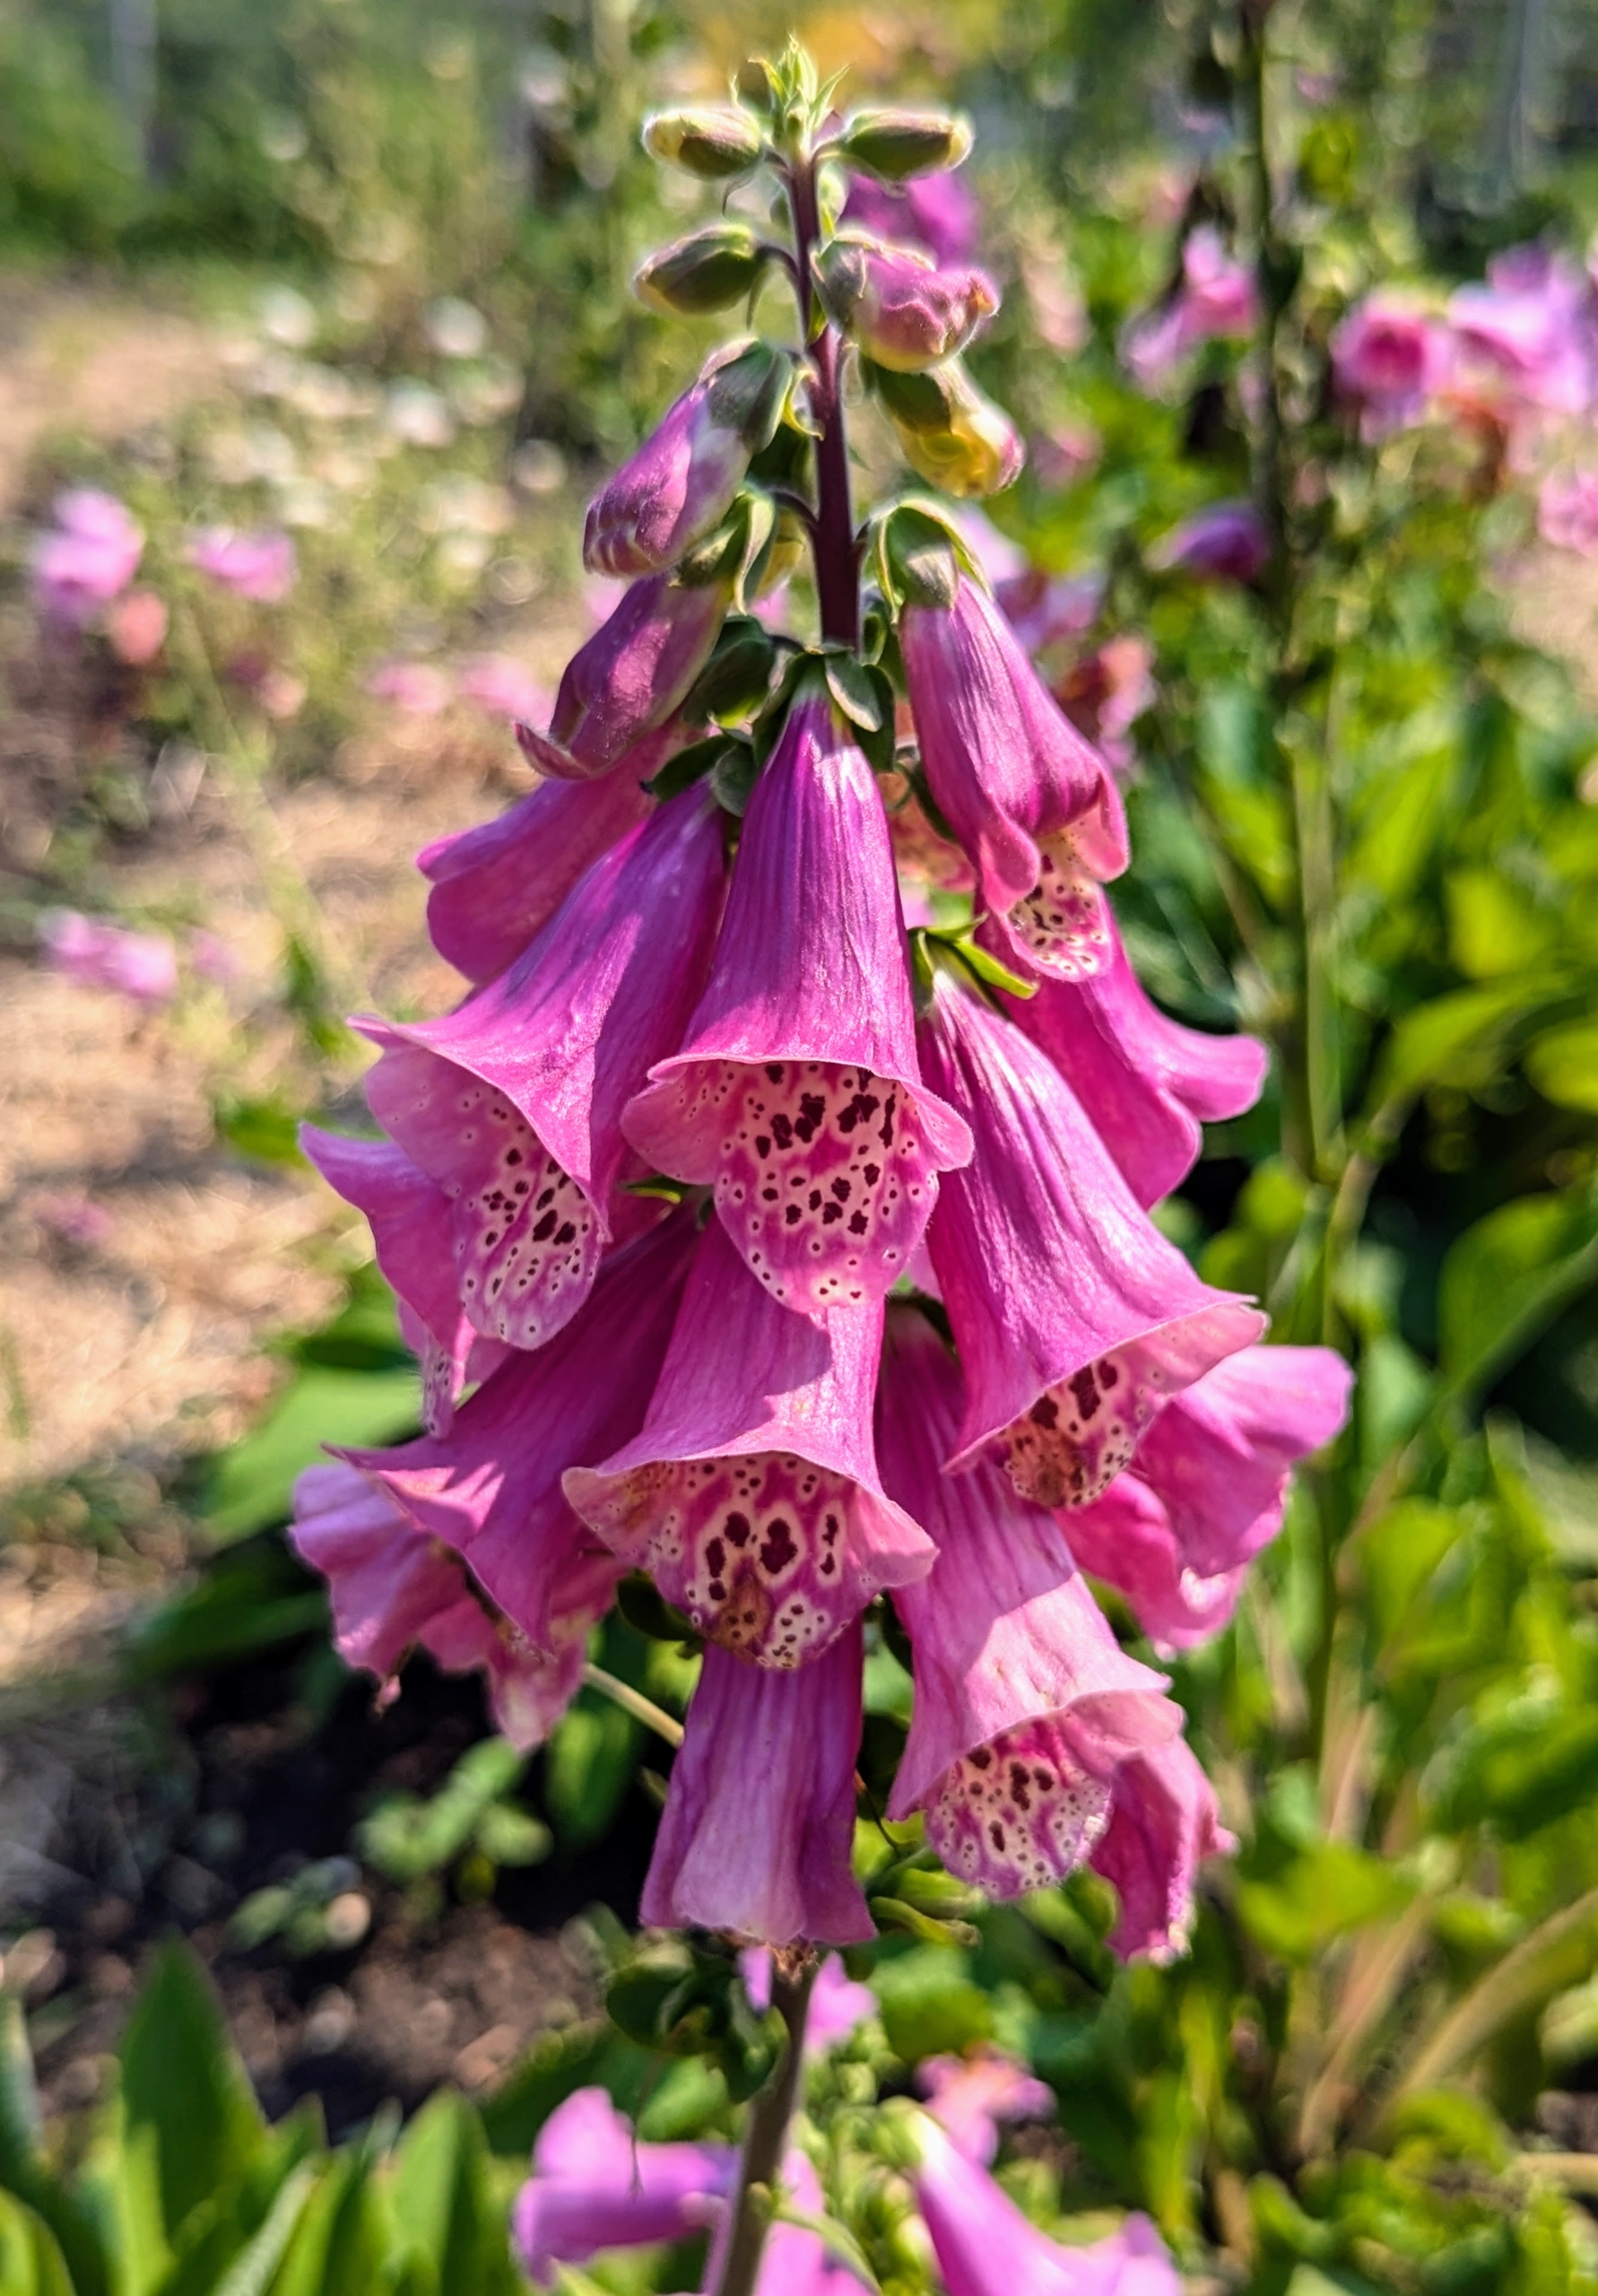
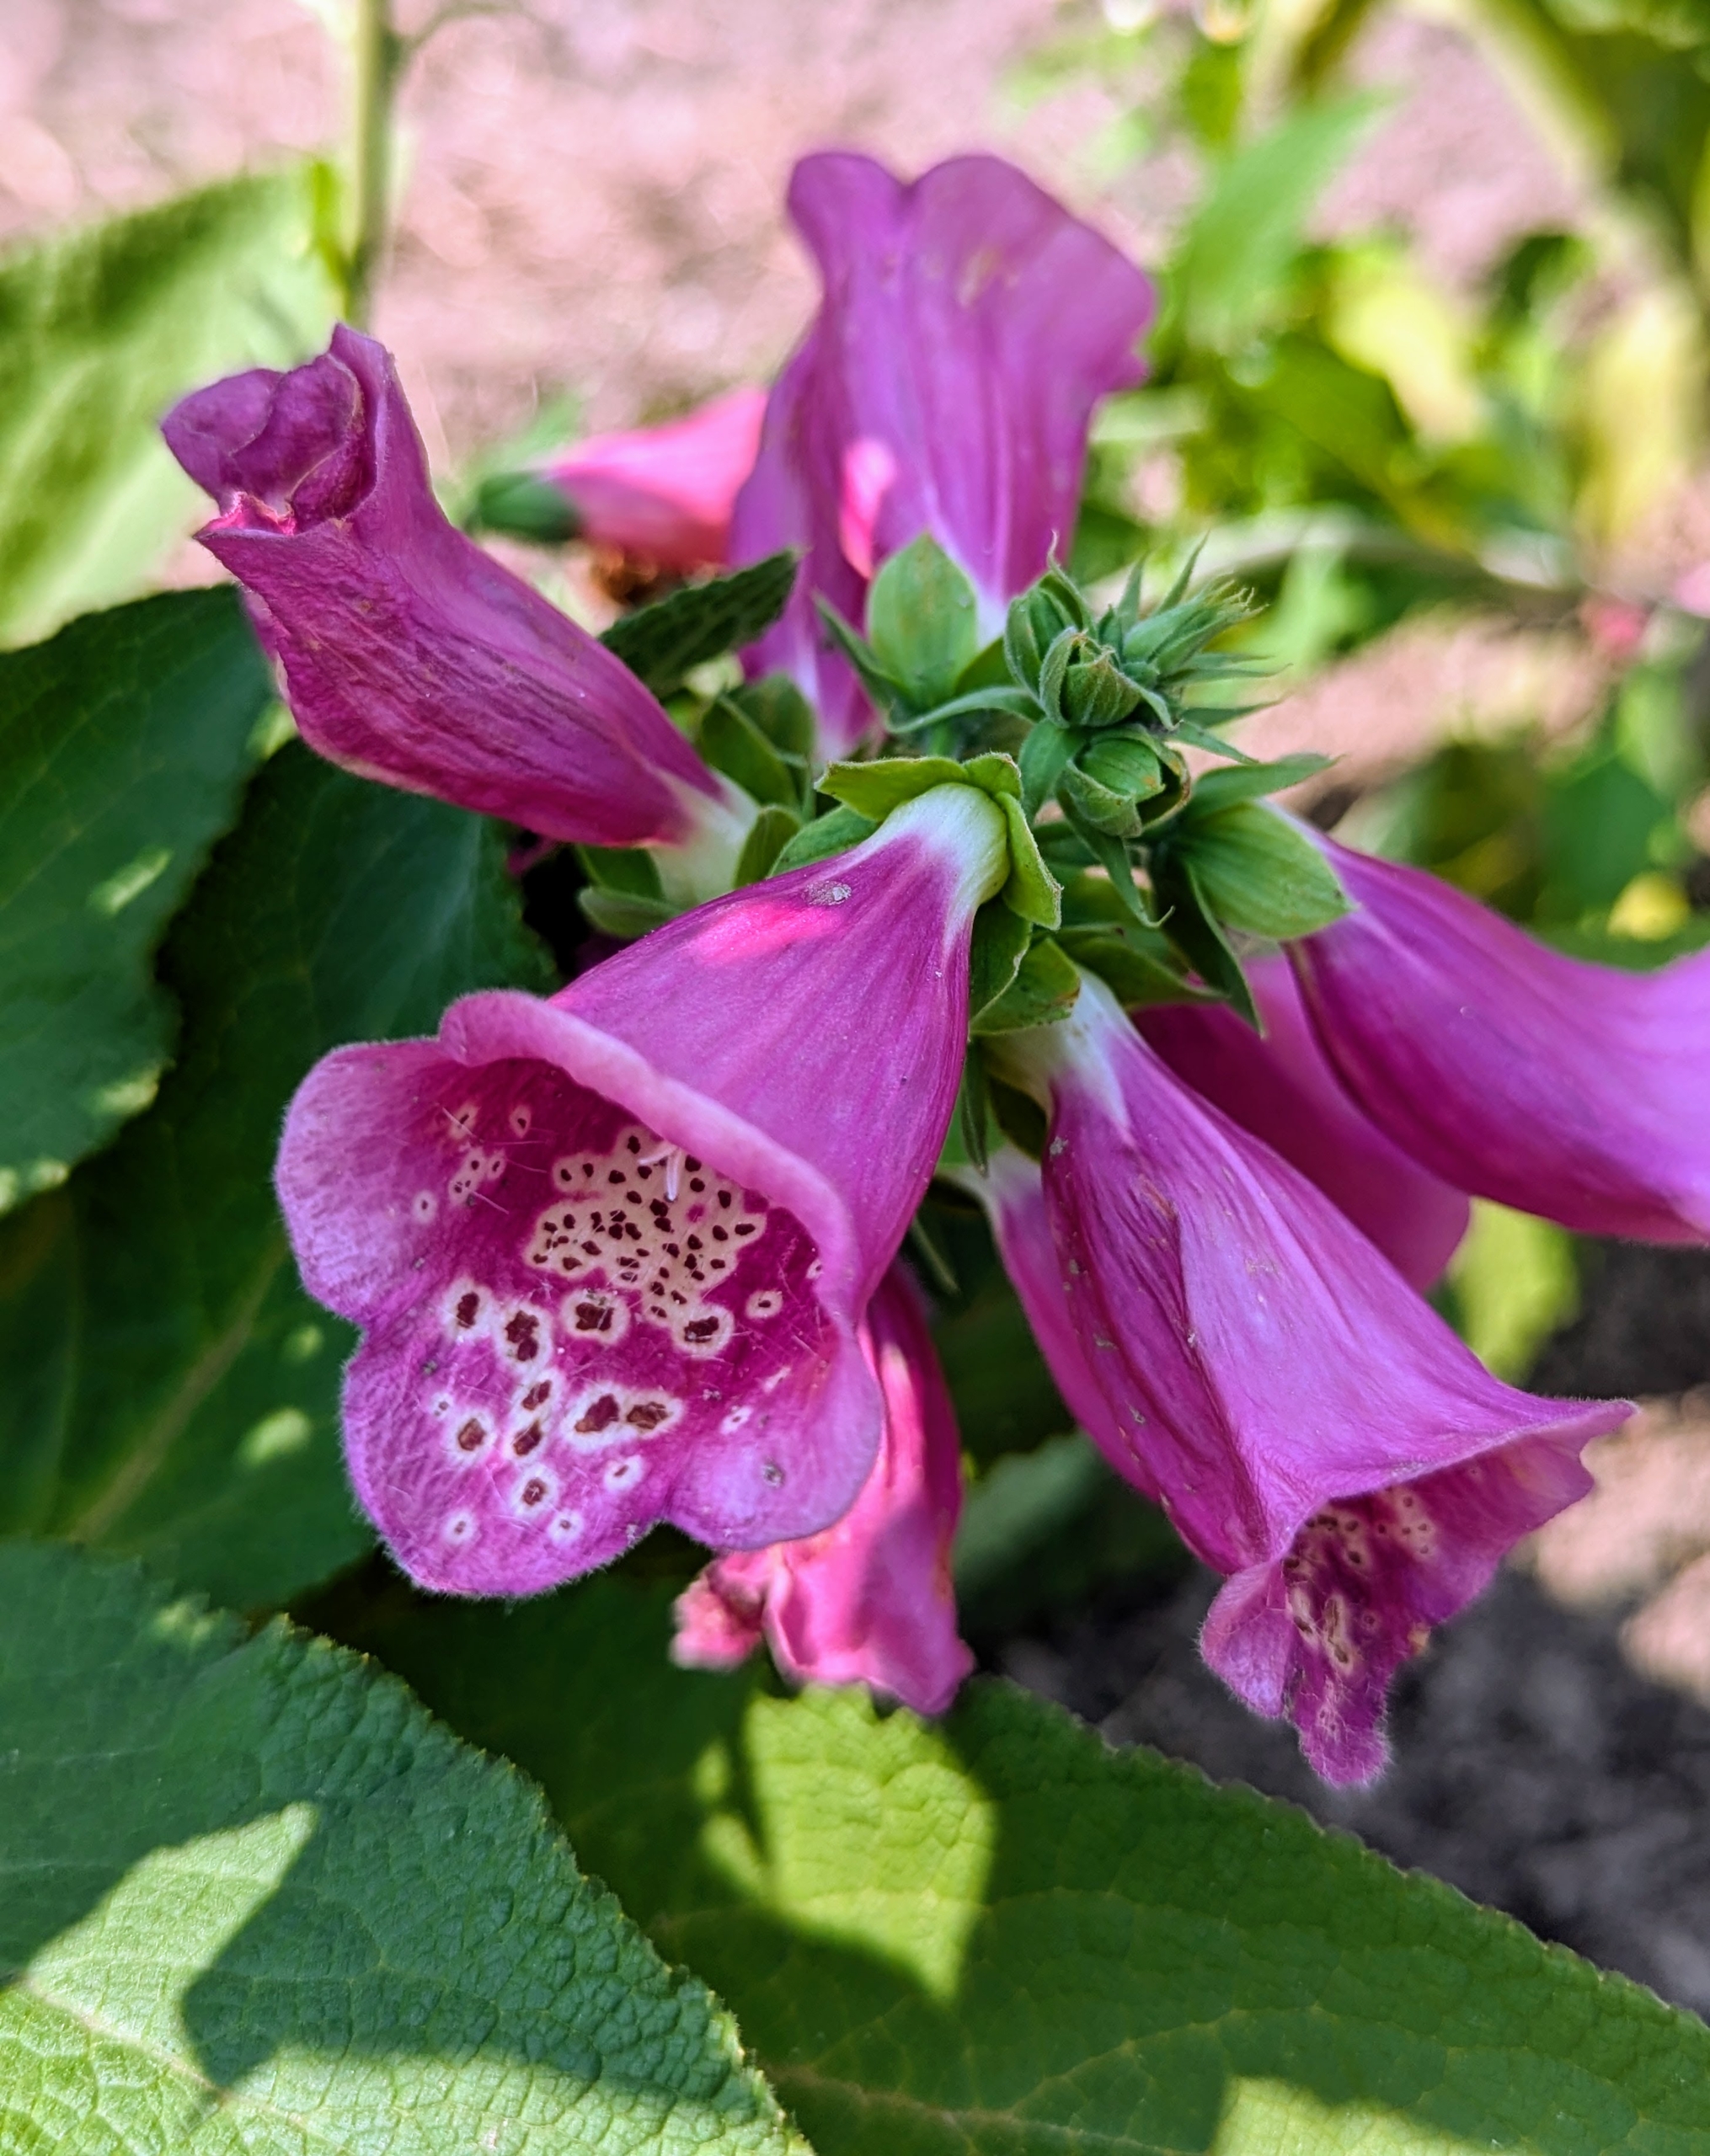
This is a foxglove plant, Digitalis purpurea. Foxgloves can also be planted in fall when the soil is still moist and workable, which encourages new root growth.
Foxglove flowers grow on stems which may reach up to six feet in height, depending on the variety. The downward-facing, tapered, tubular flowers are spotted inside with dark purple edged in white on the lower lip, which serves as a landing platform for pollinators.
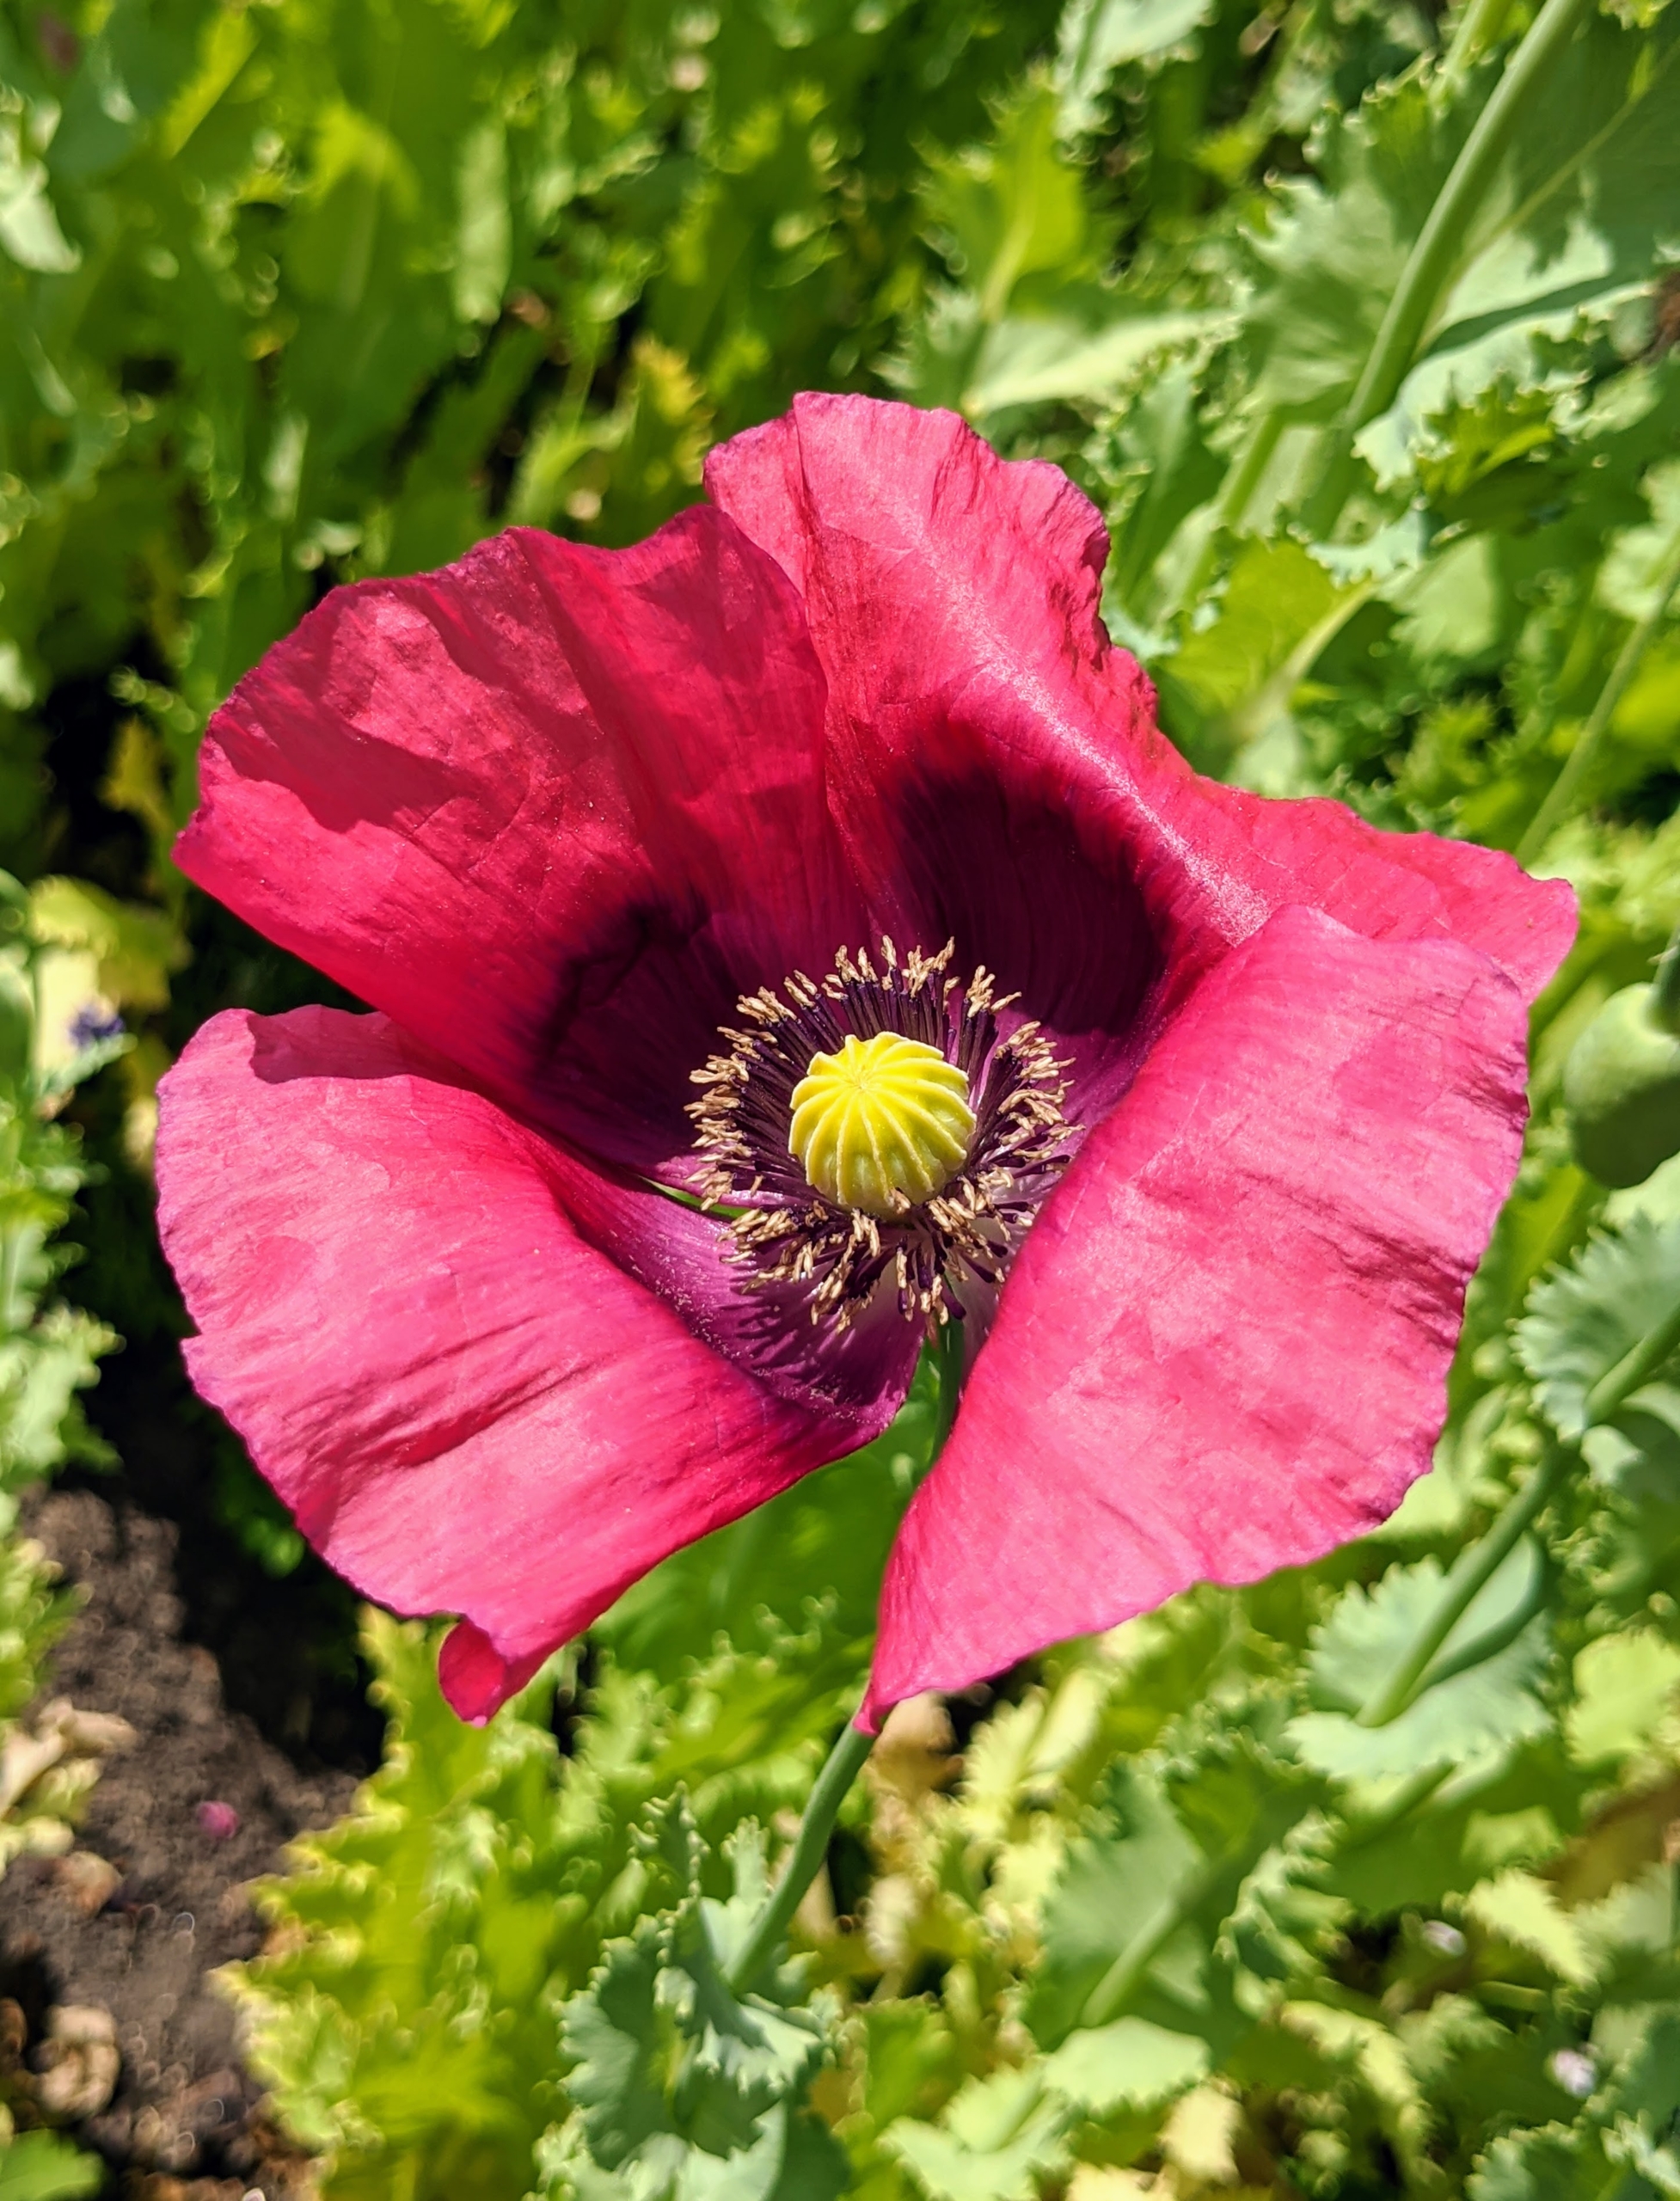
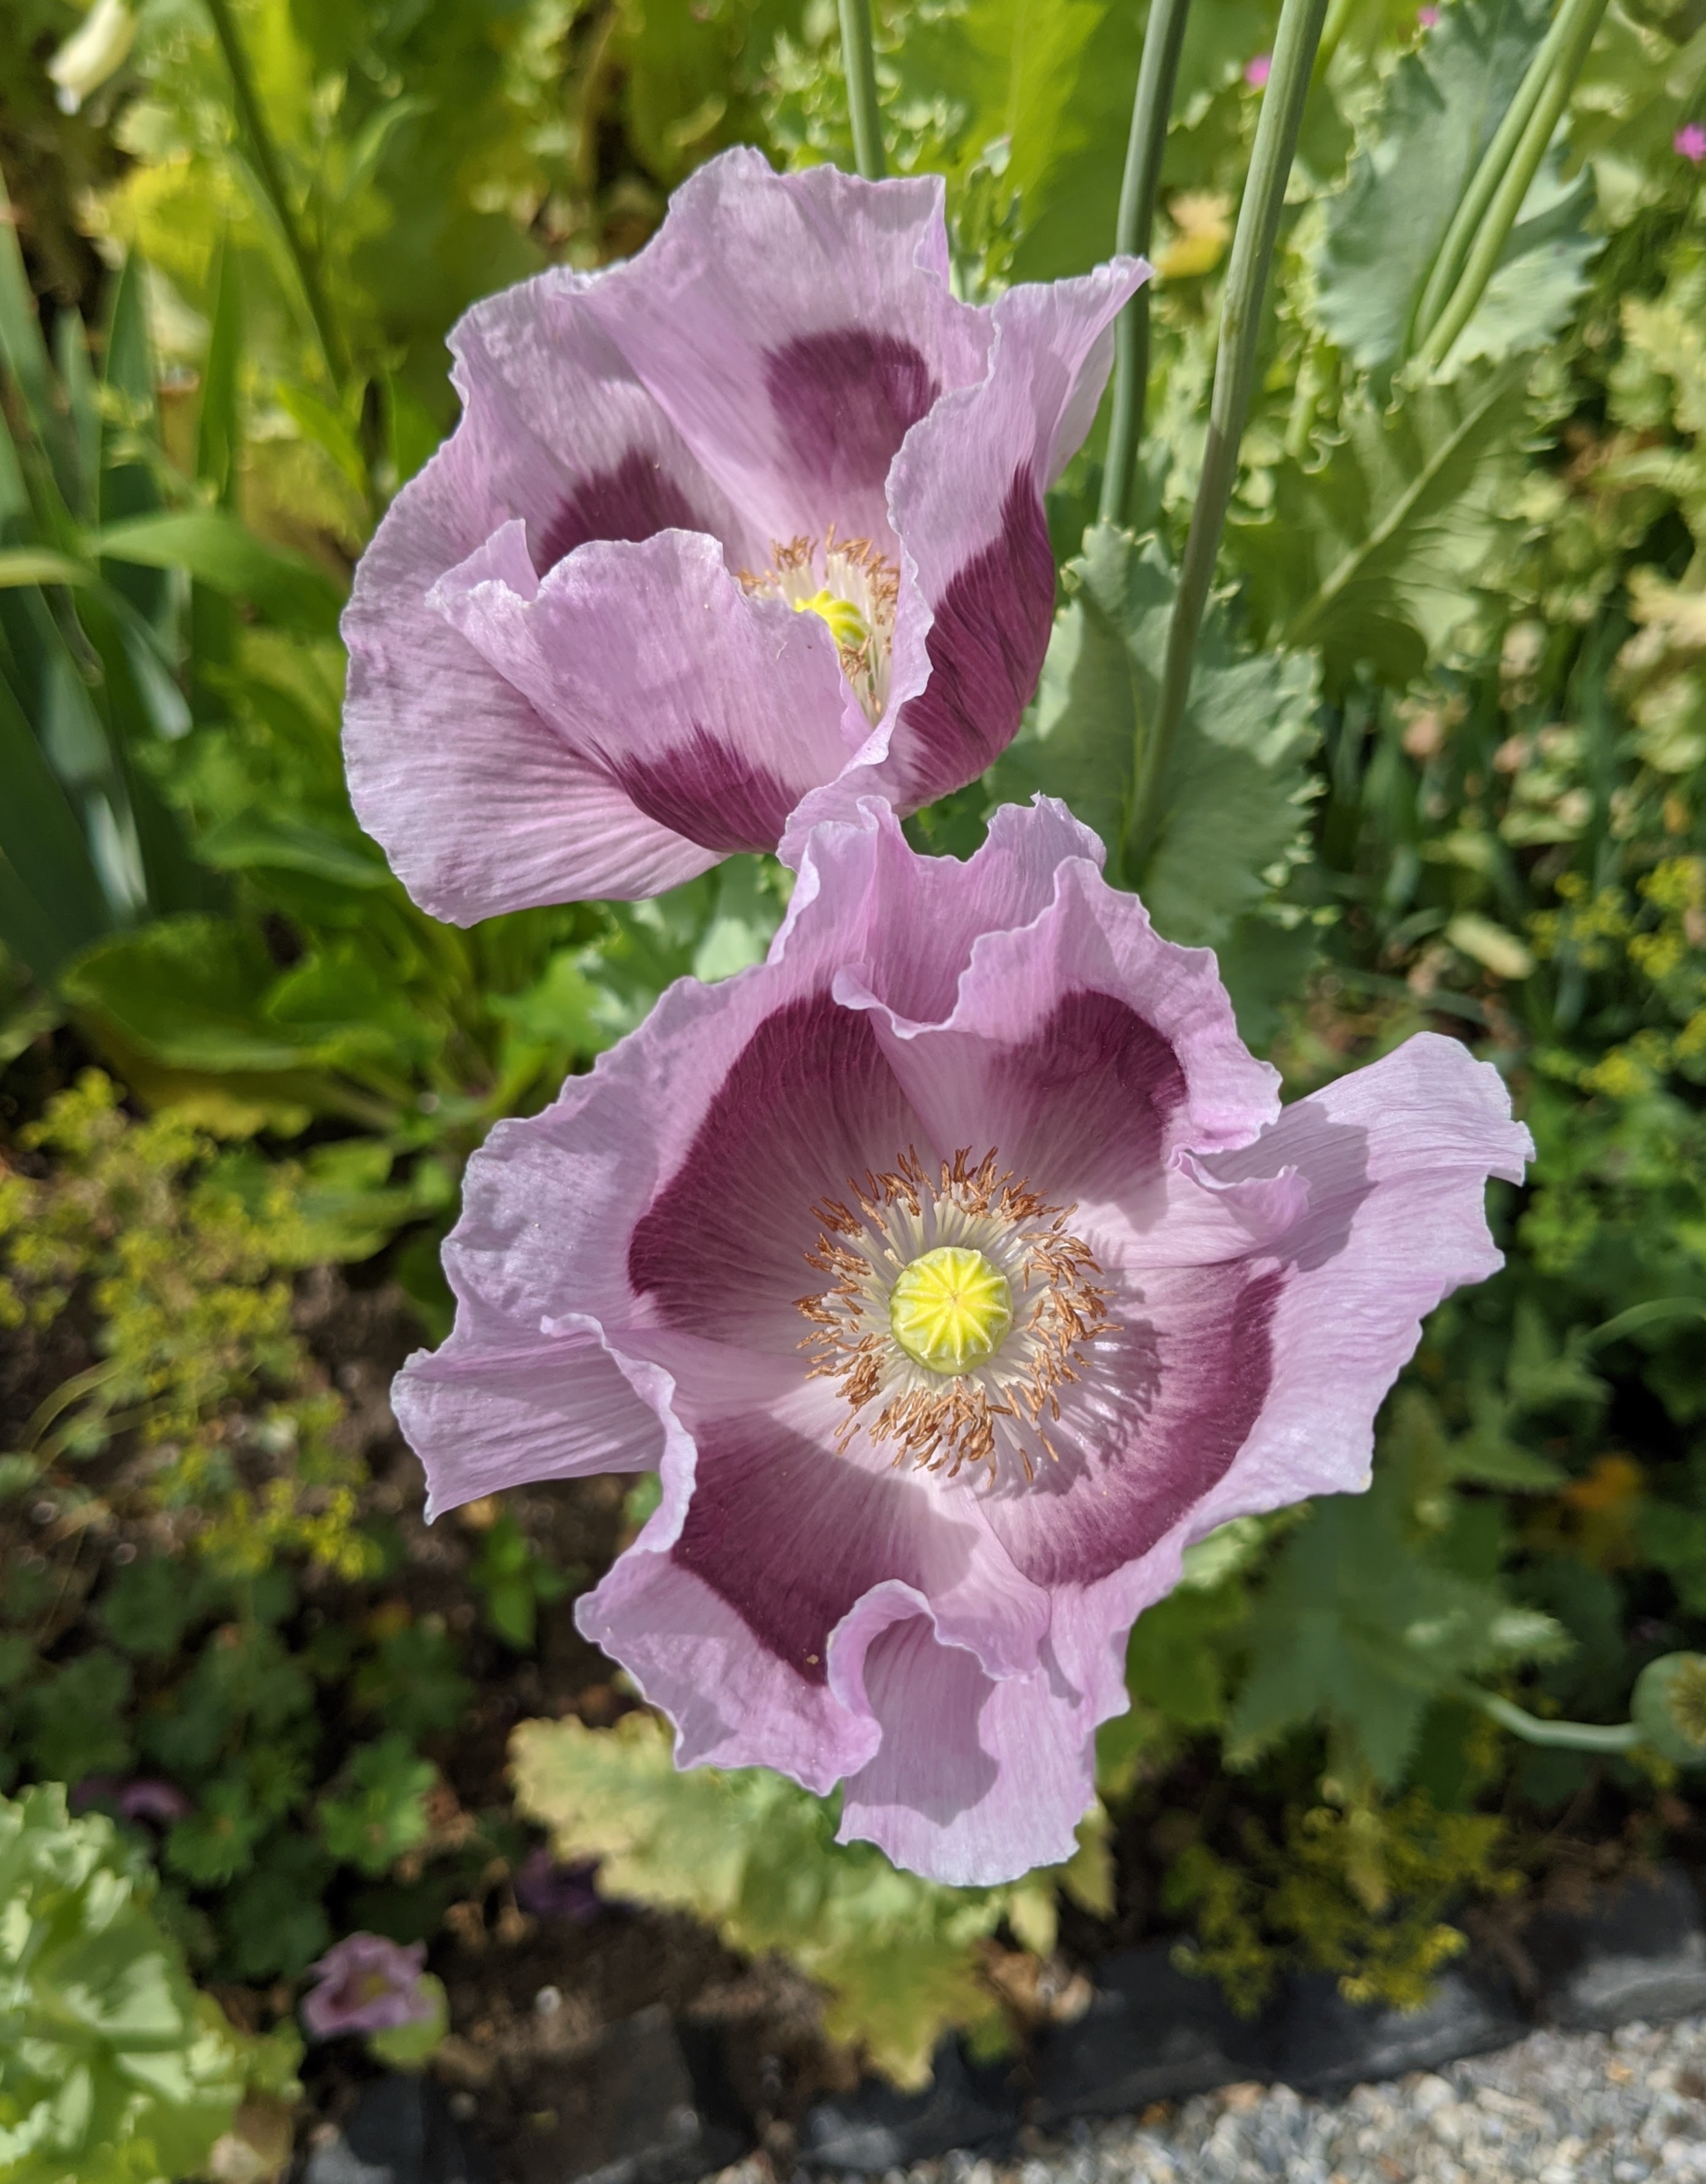
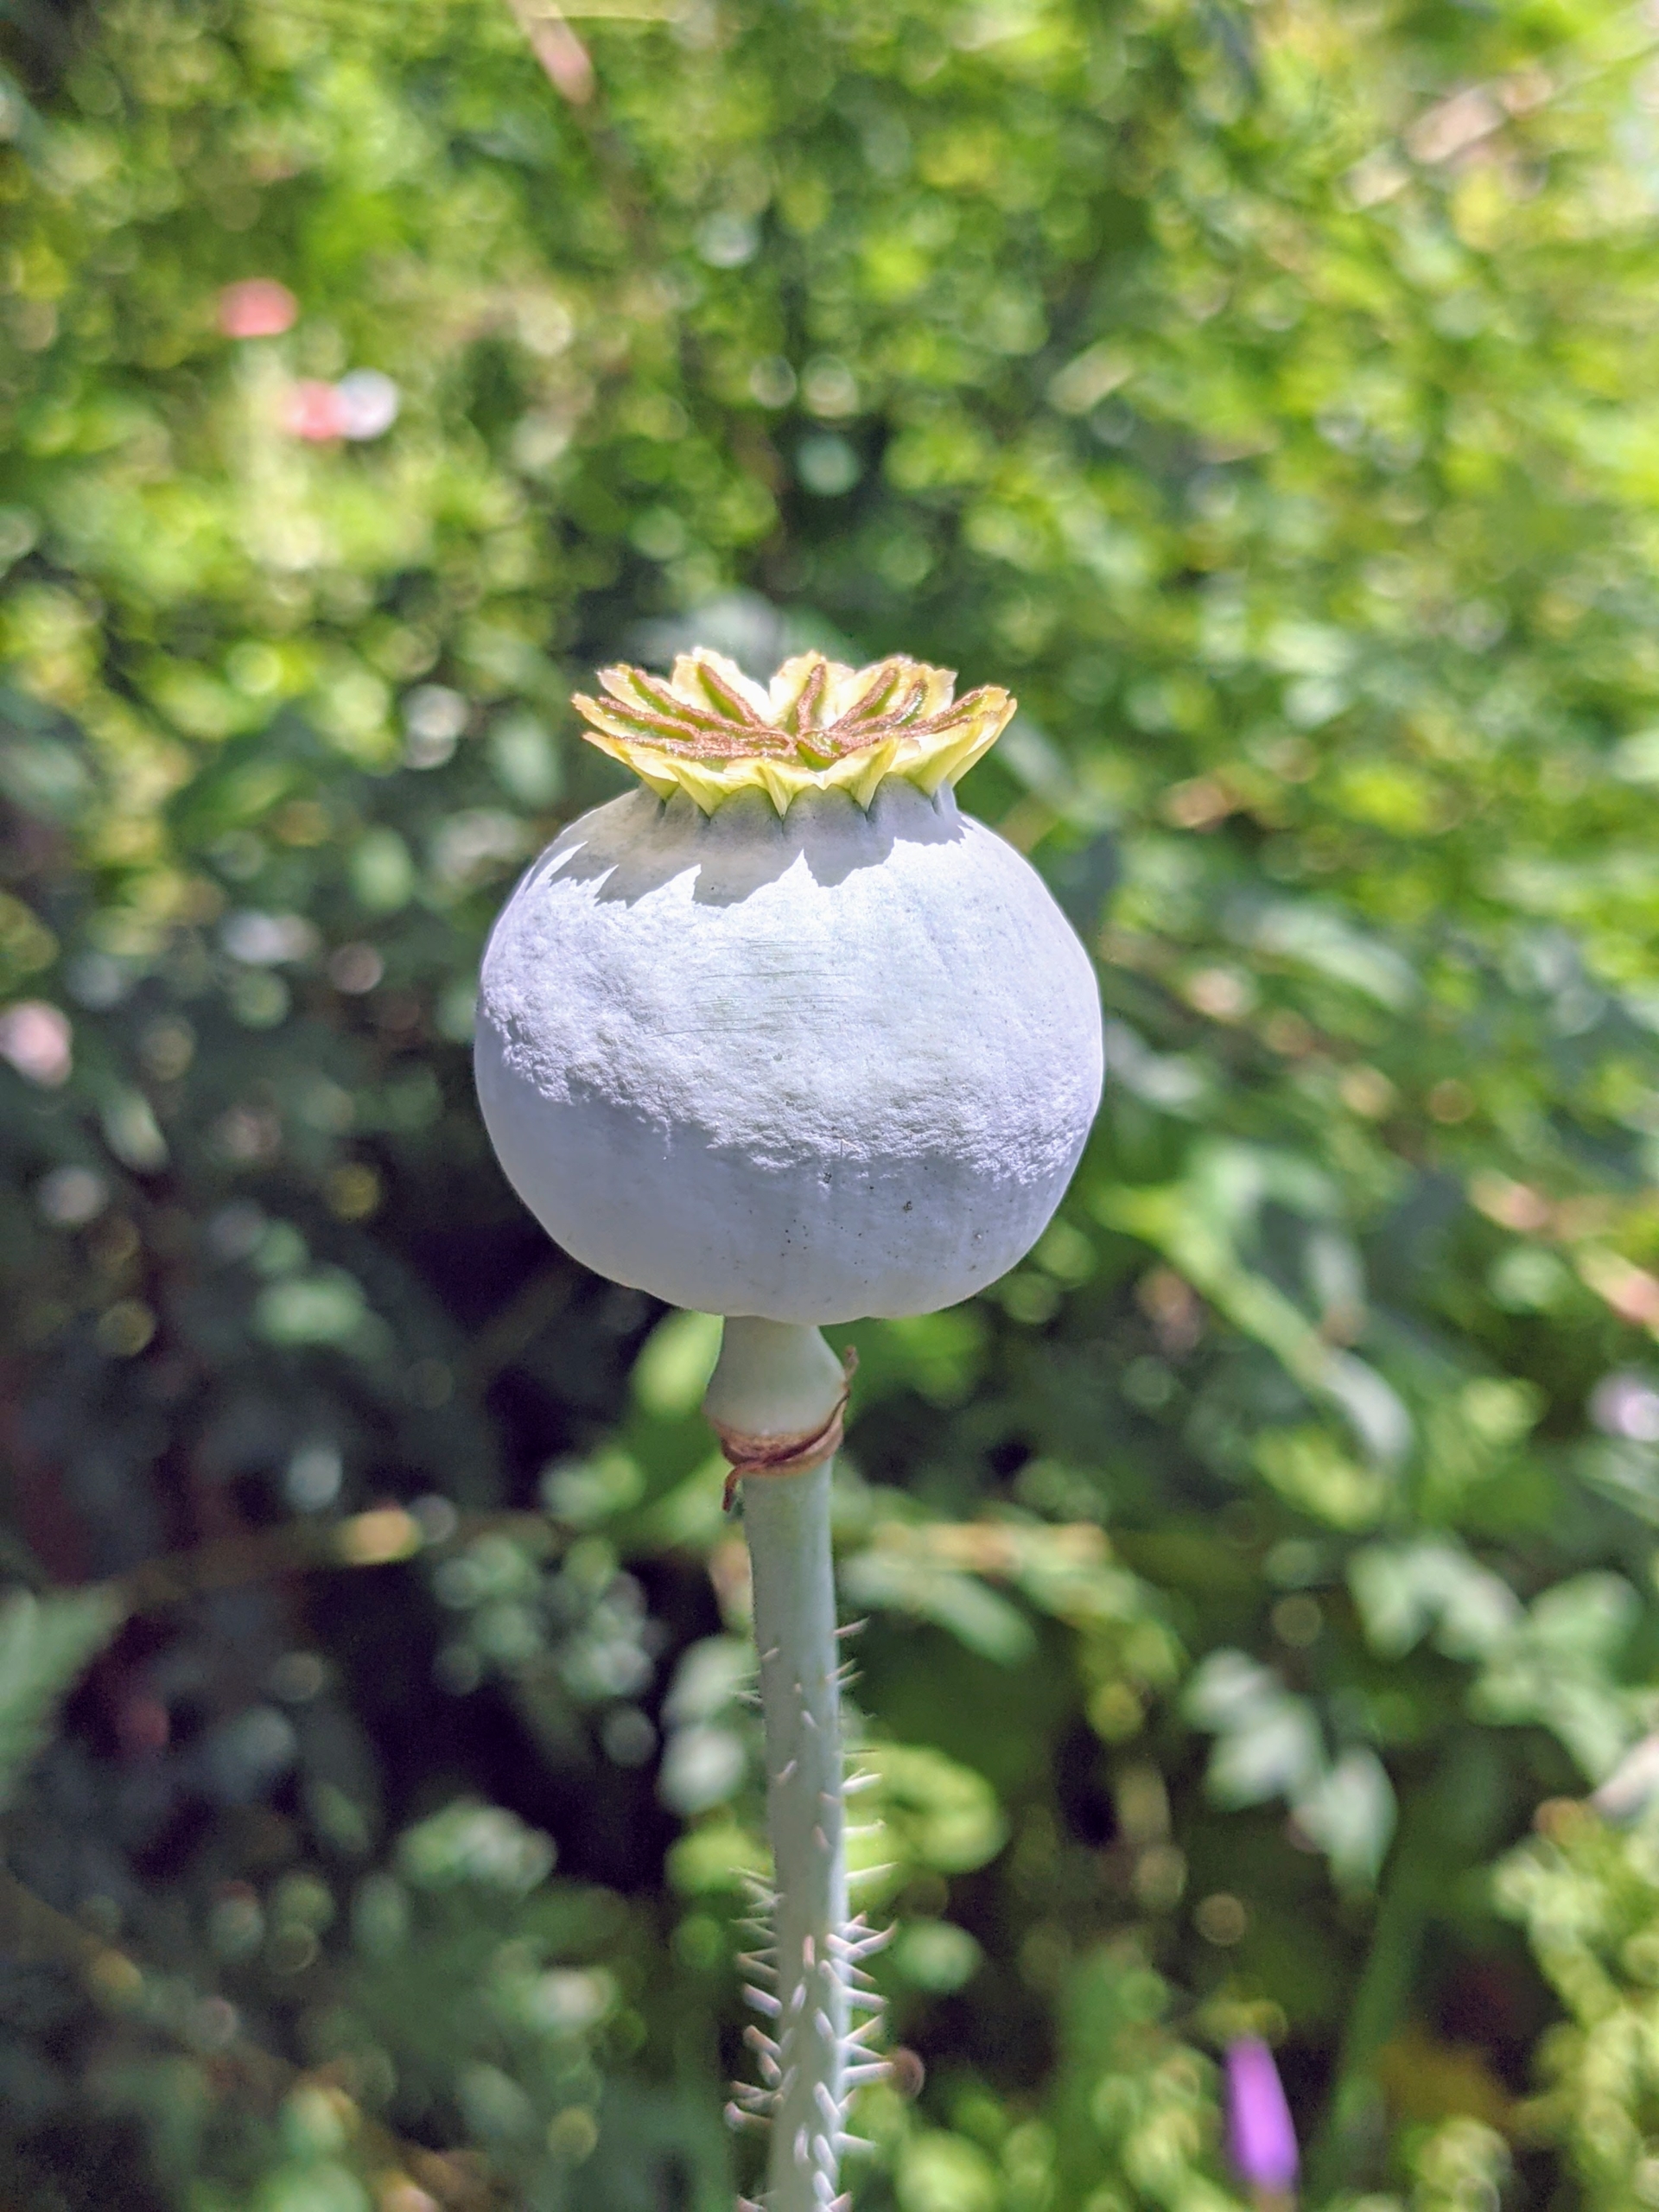
Papaver somniferum, commonly known as the opium poppy or breadseed poppy, is a species of flowering plant in the family Papaveraceae. It is the species of plant from which both opium and poppy seeds are produced and is also a much-loved ornamental plant in the garden.
Poppies are cool season hardy annuals that prefer full sun.
This is the bluish-green poppy seed pod capsule, which is what’s left on the stem once the flower blooms. When the seed heads turn brown, they are cut and the seeds inside are harvested and saved until they can be planted in the garden the following year.
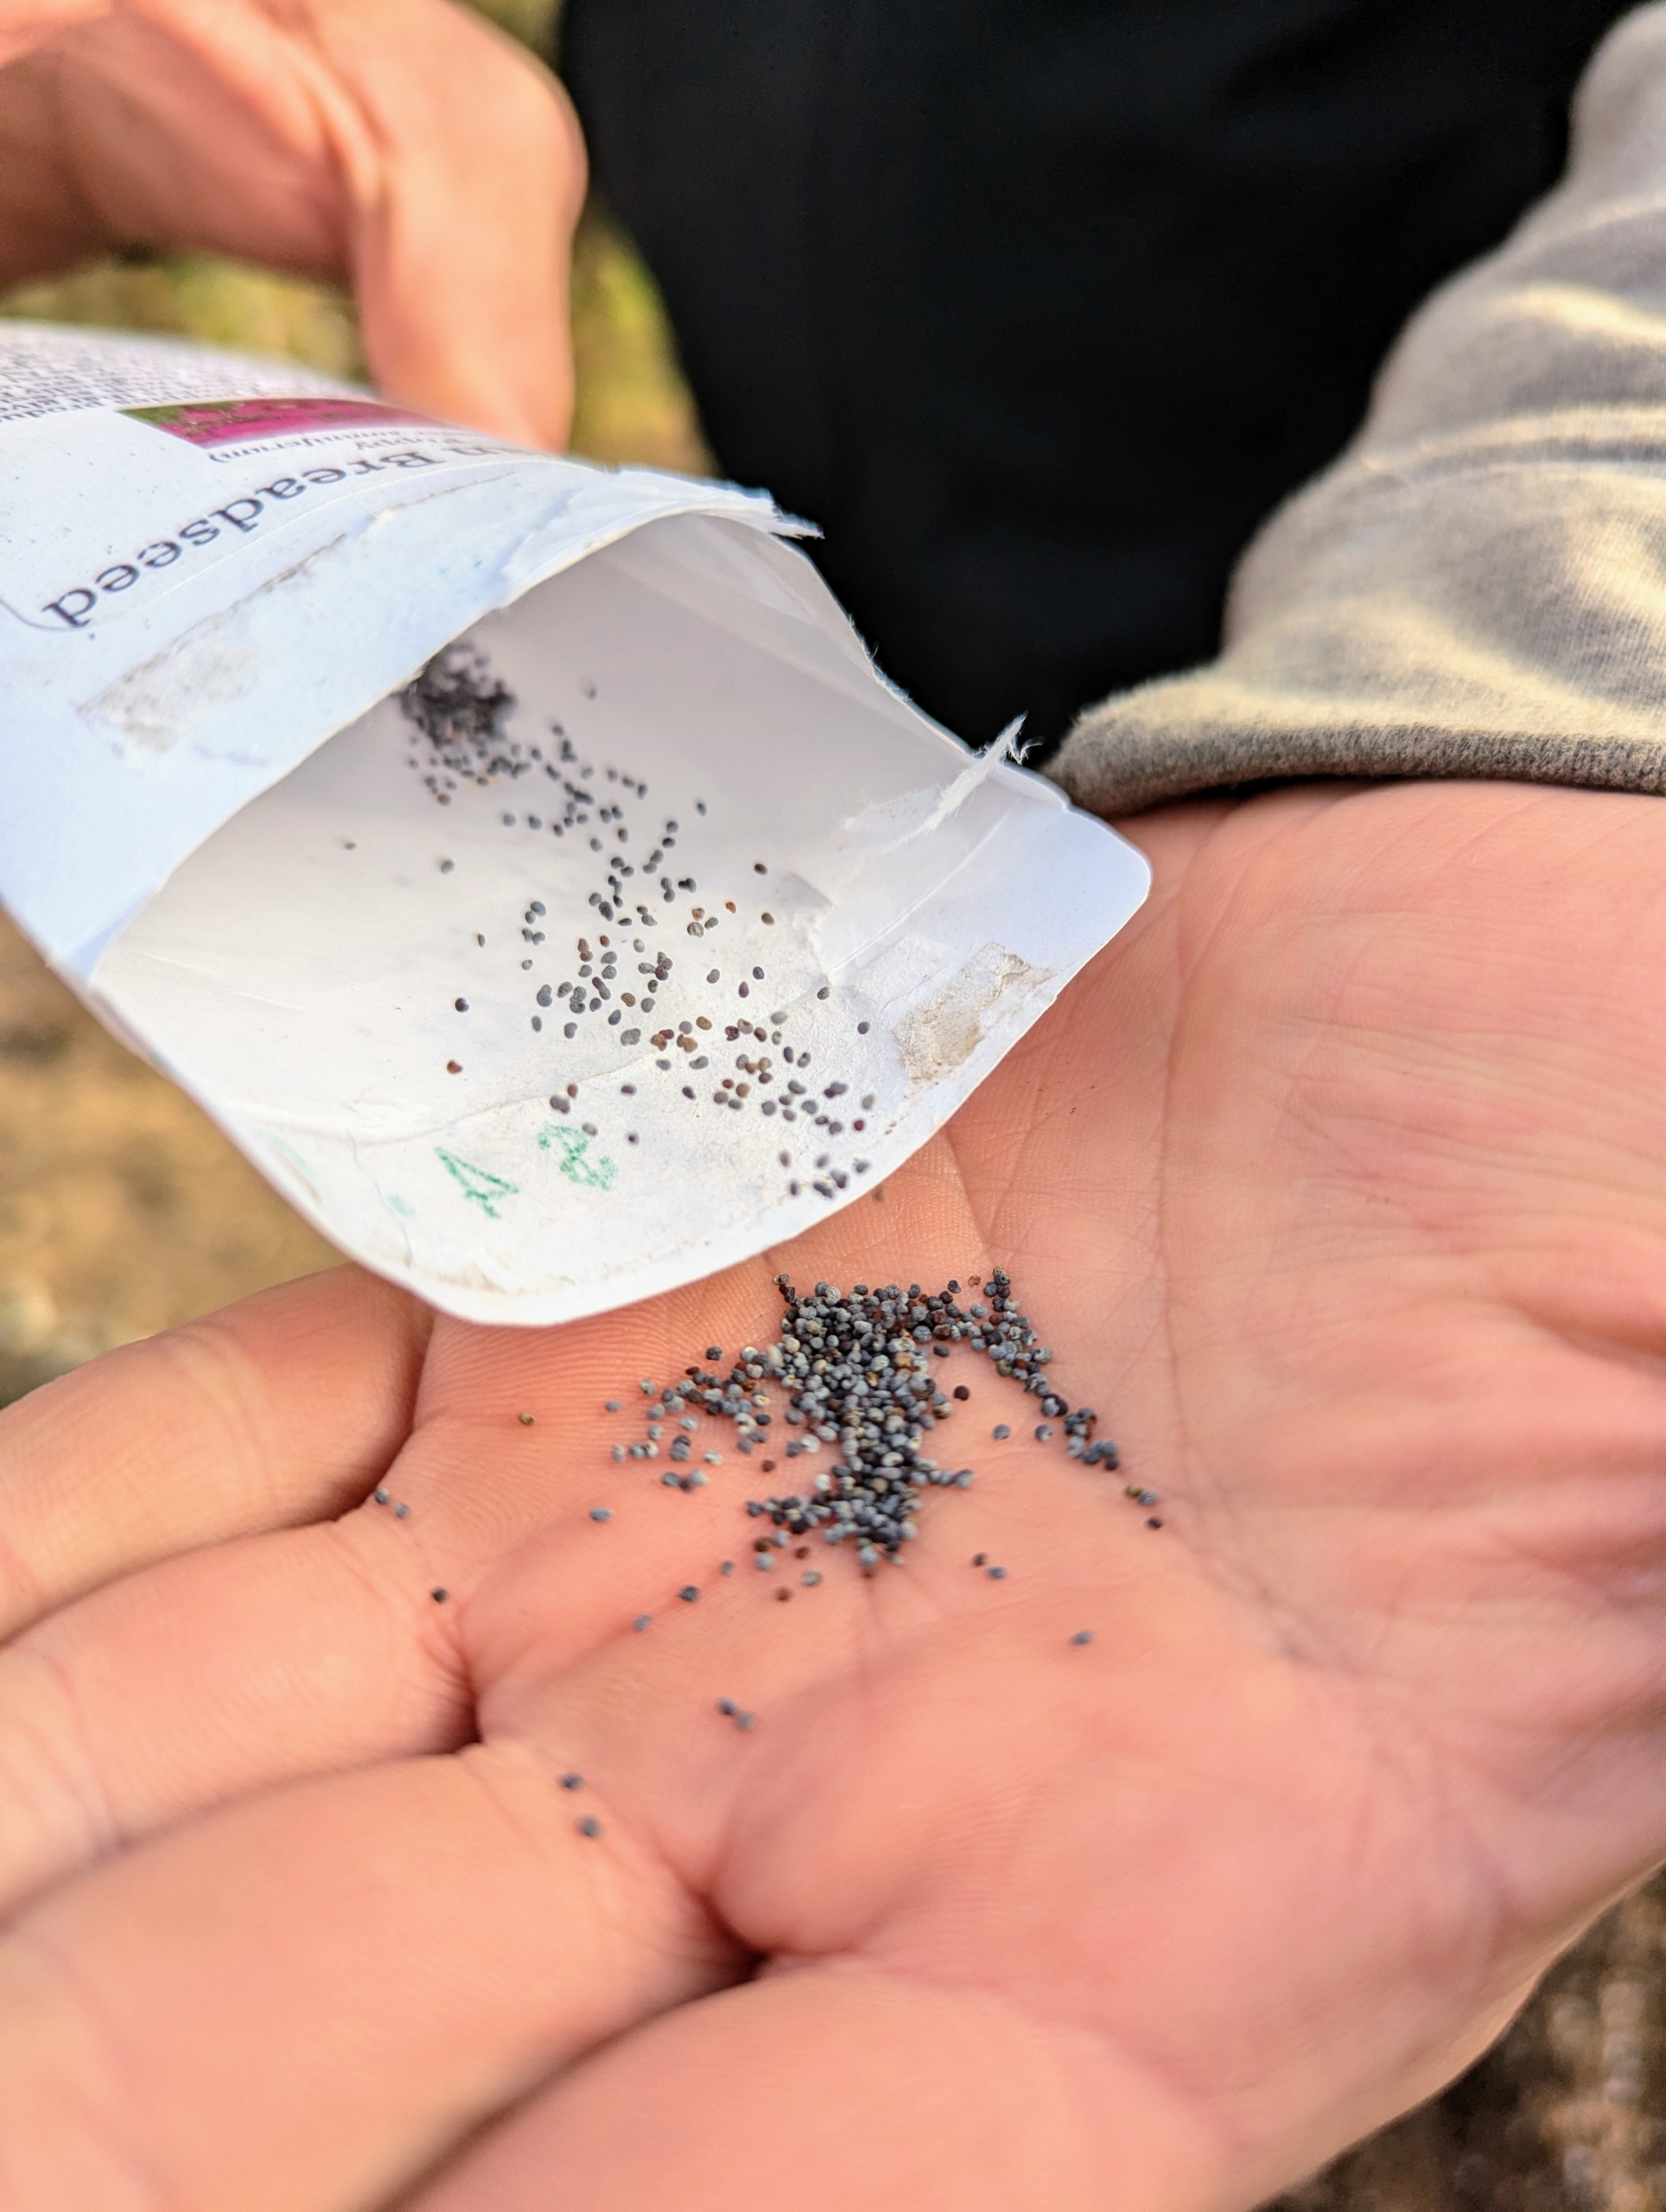
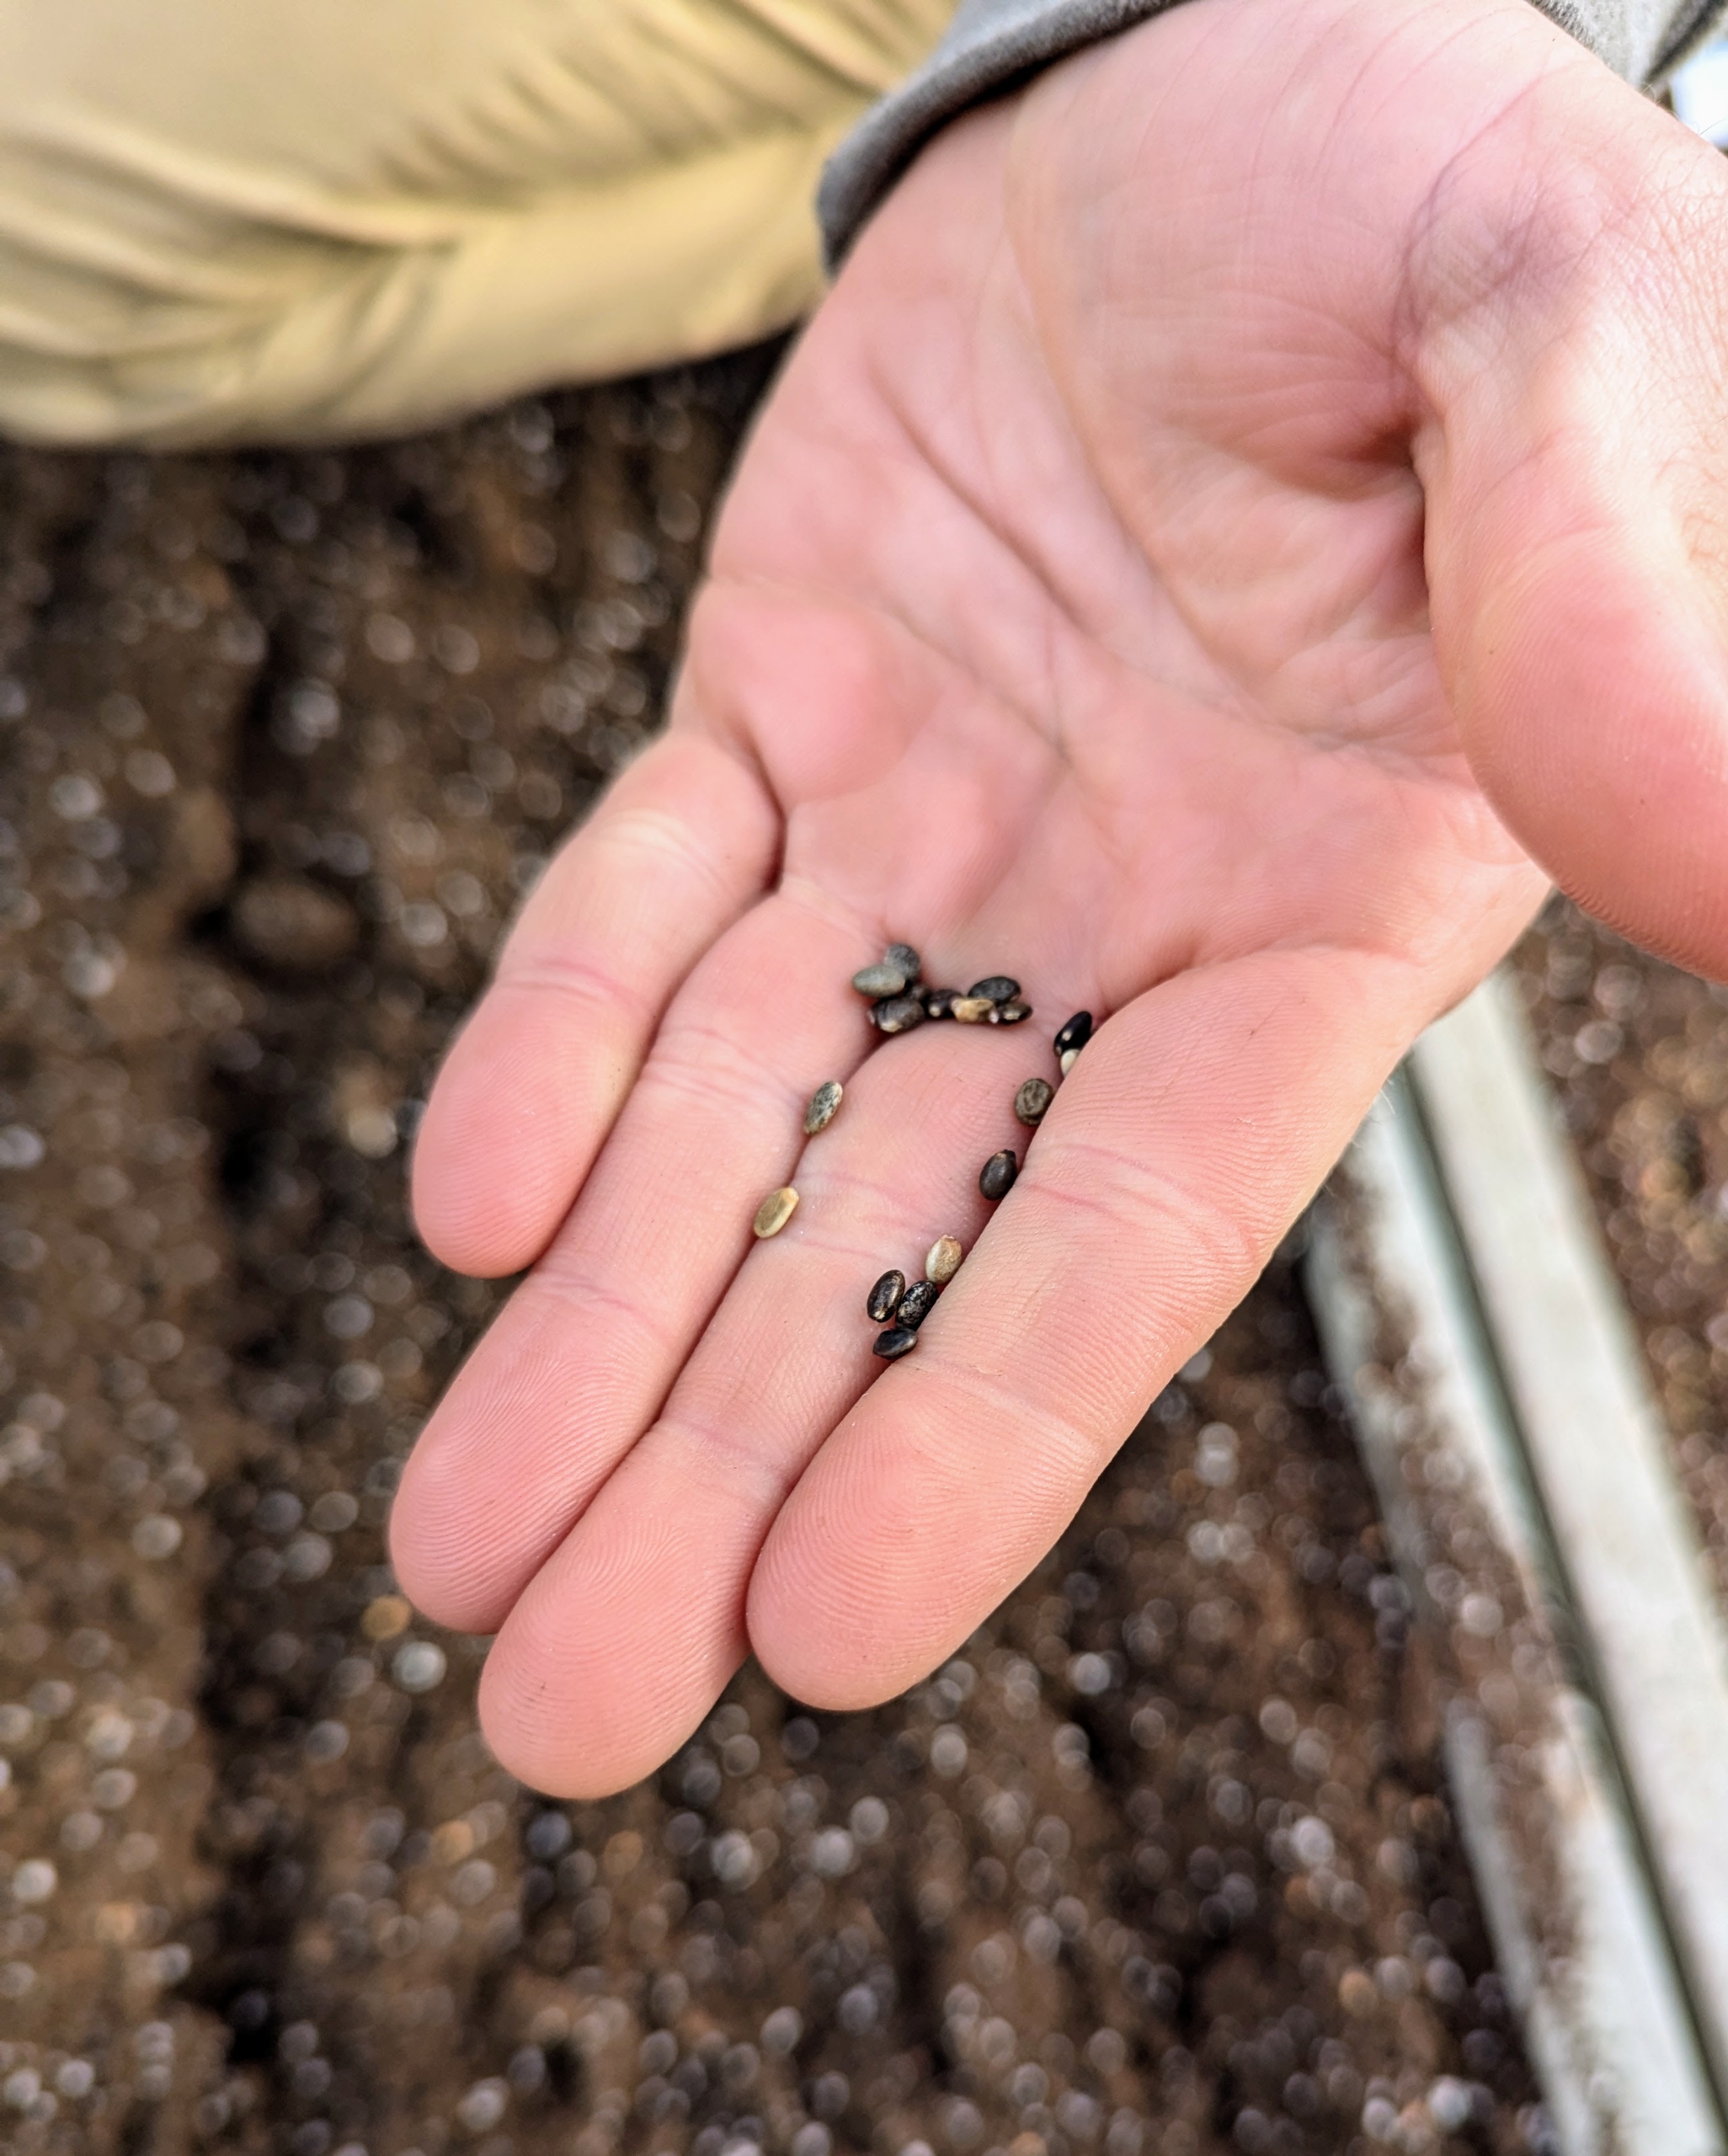
Poppy seeds are very small. Here, Ryan pours some into his palm before dropping into the soil.
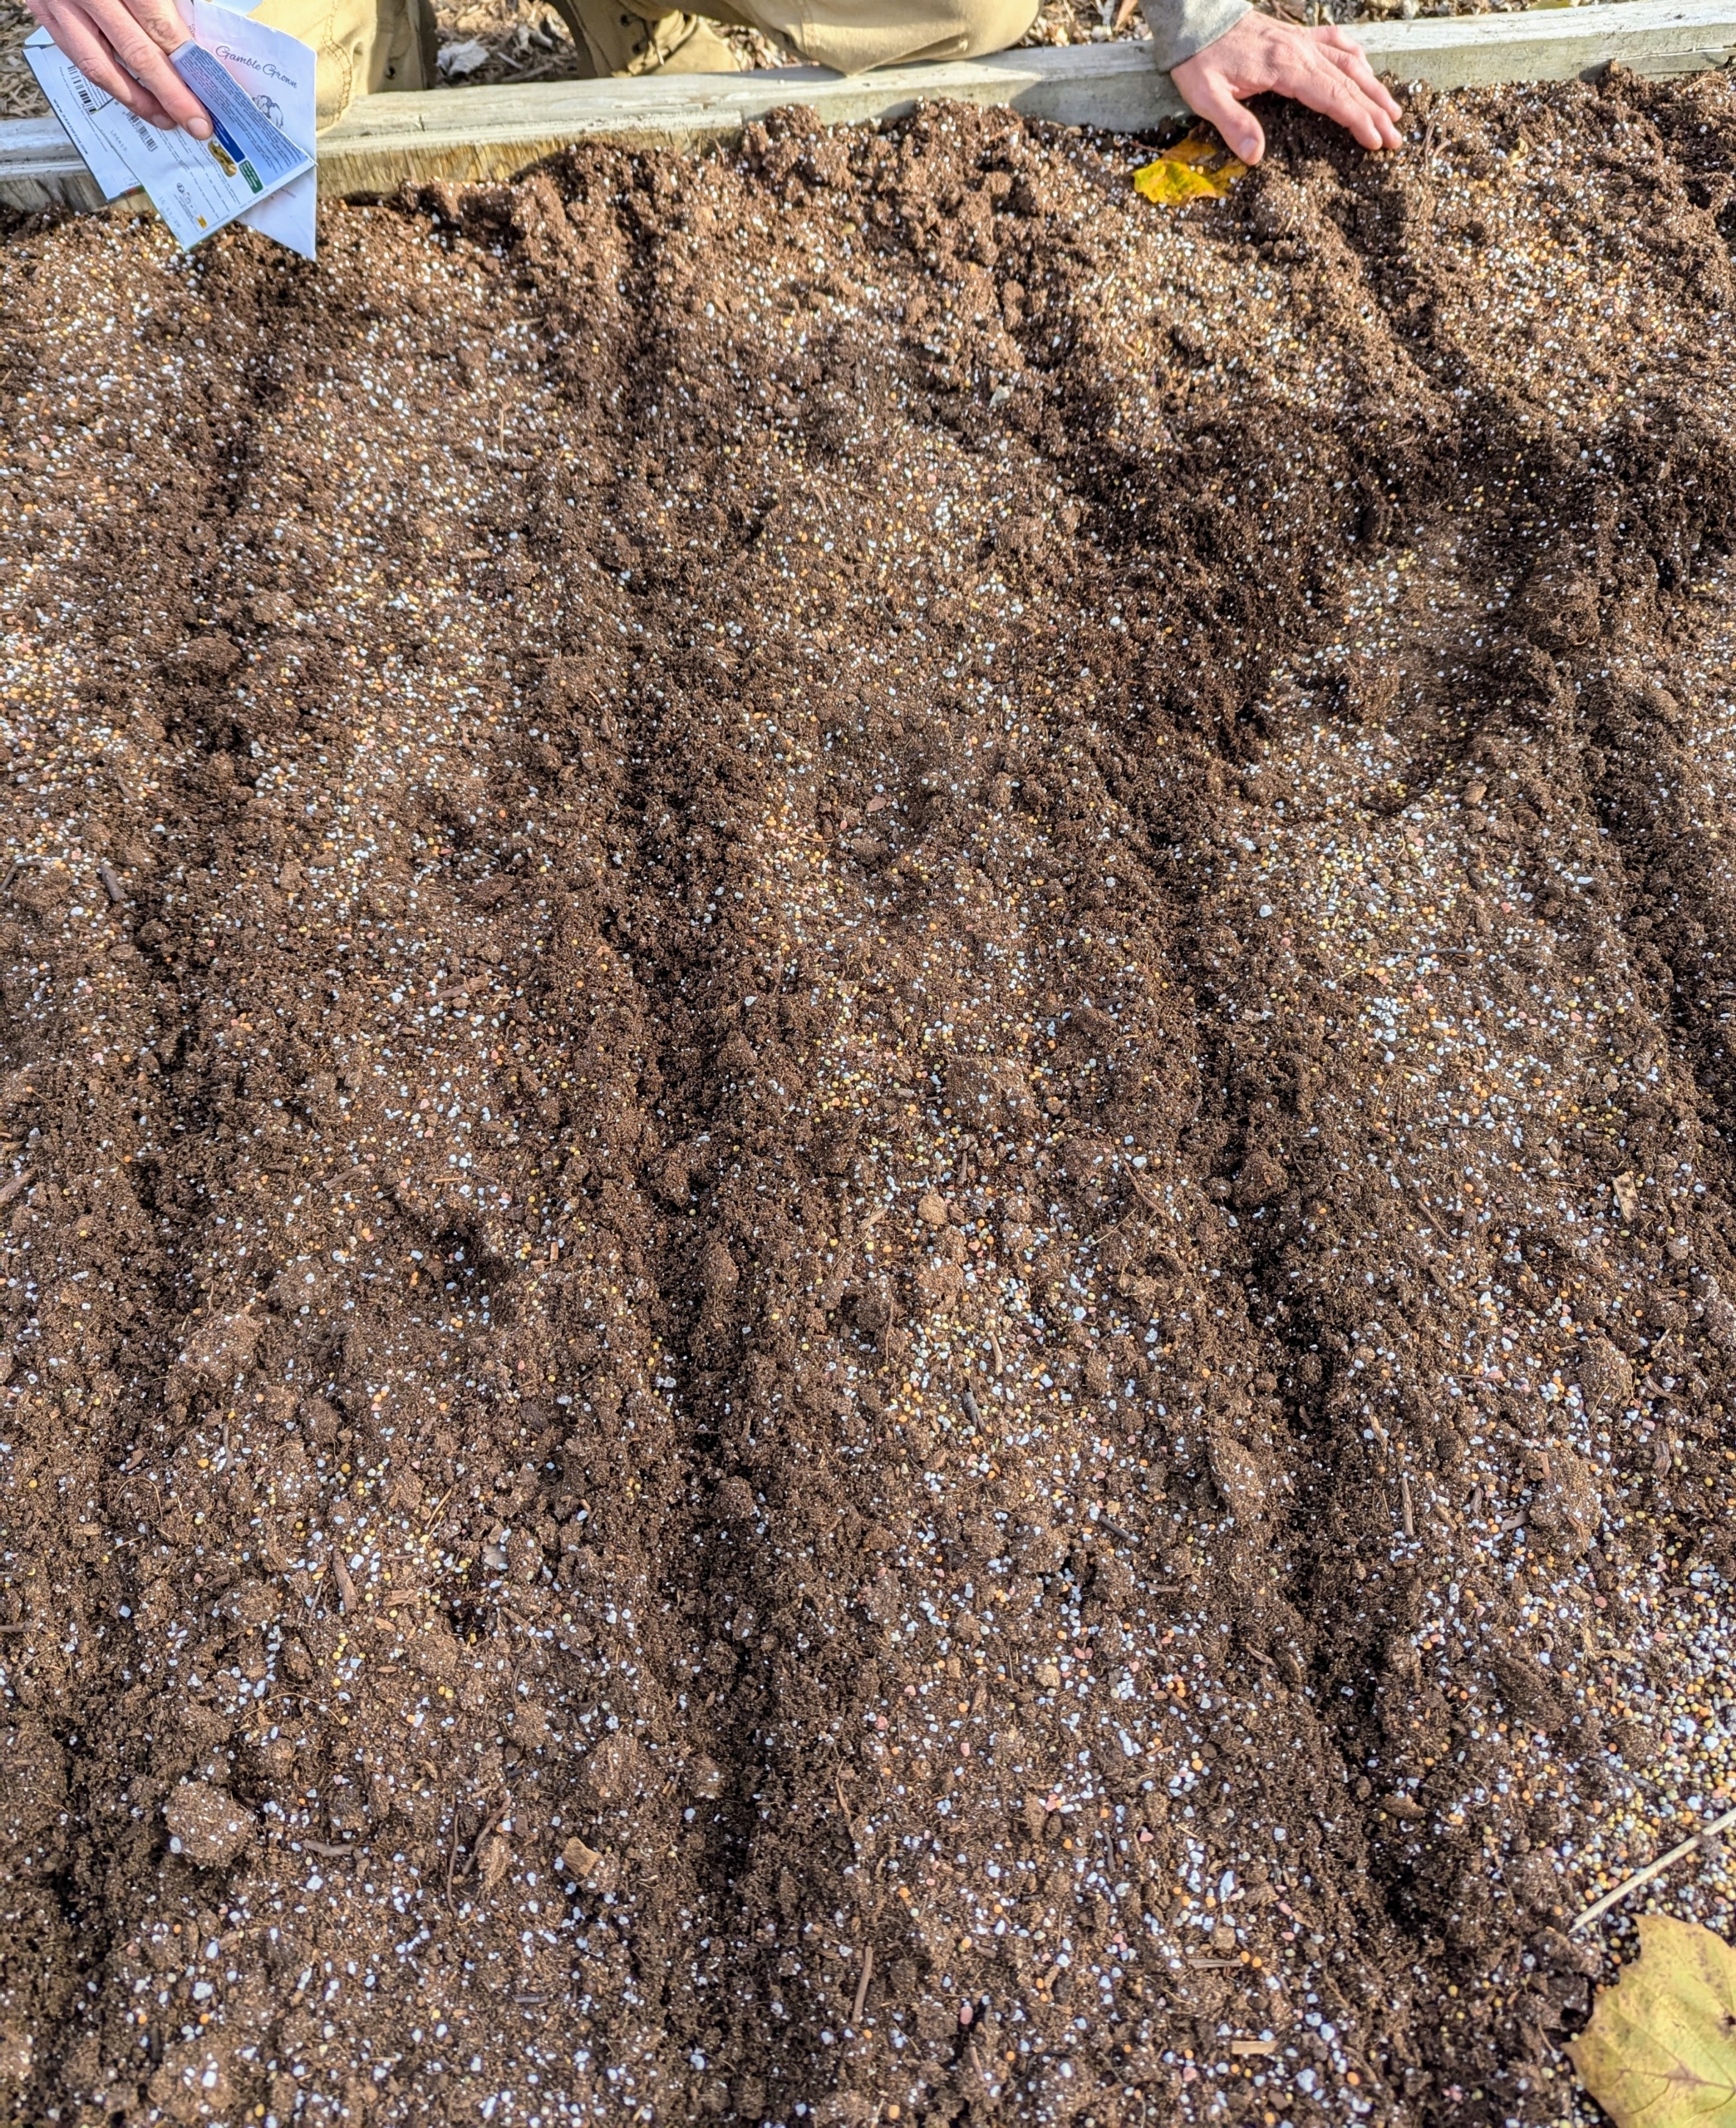
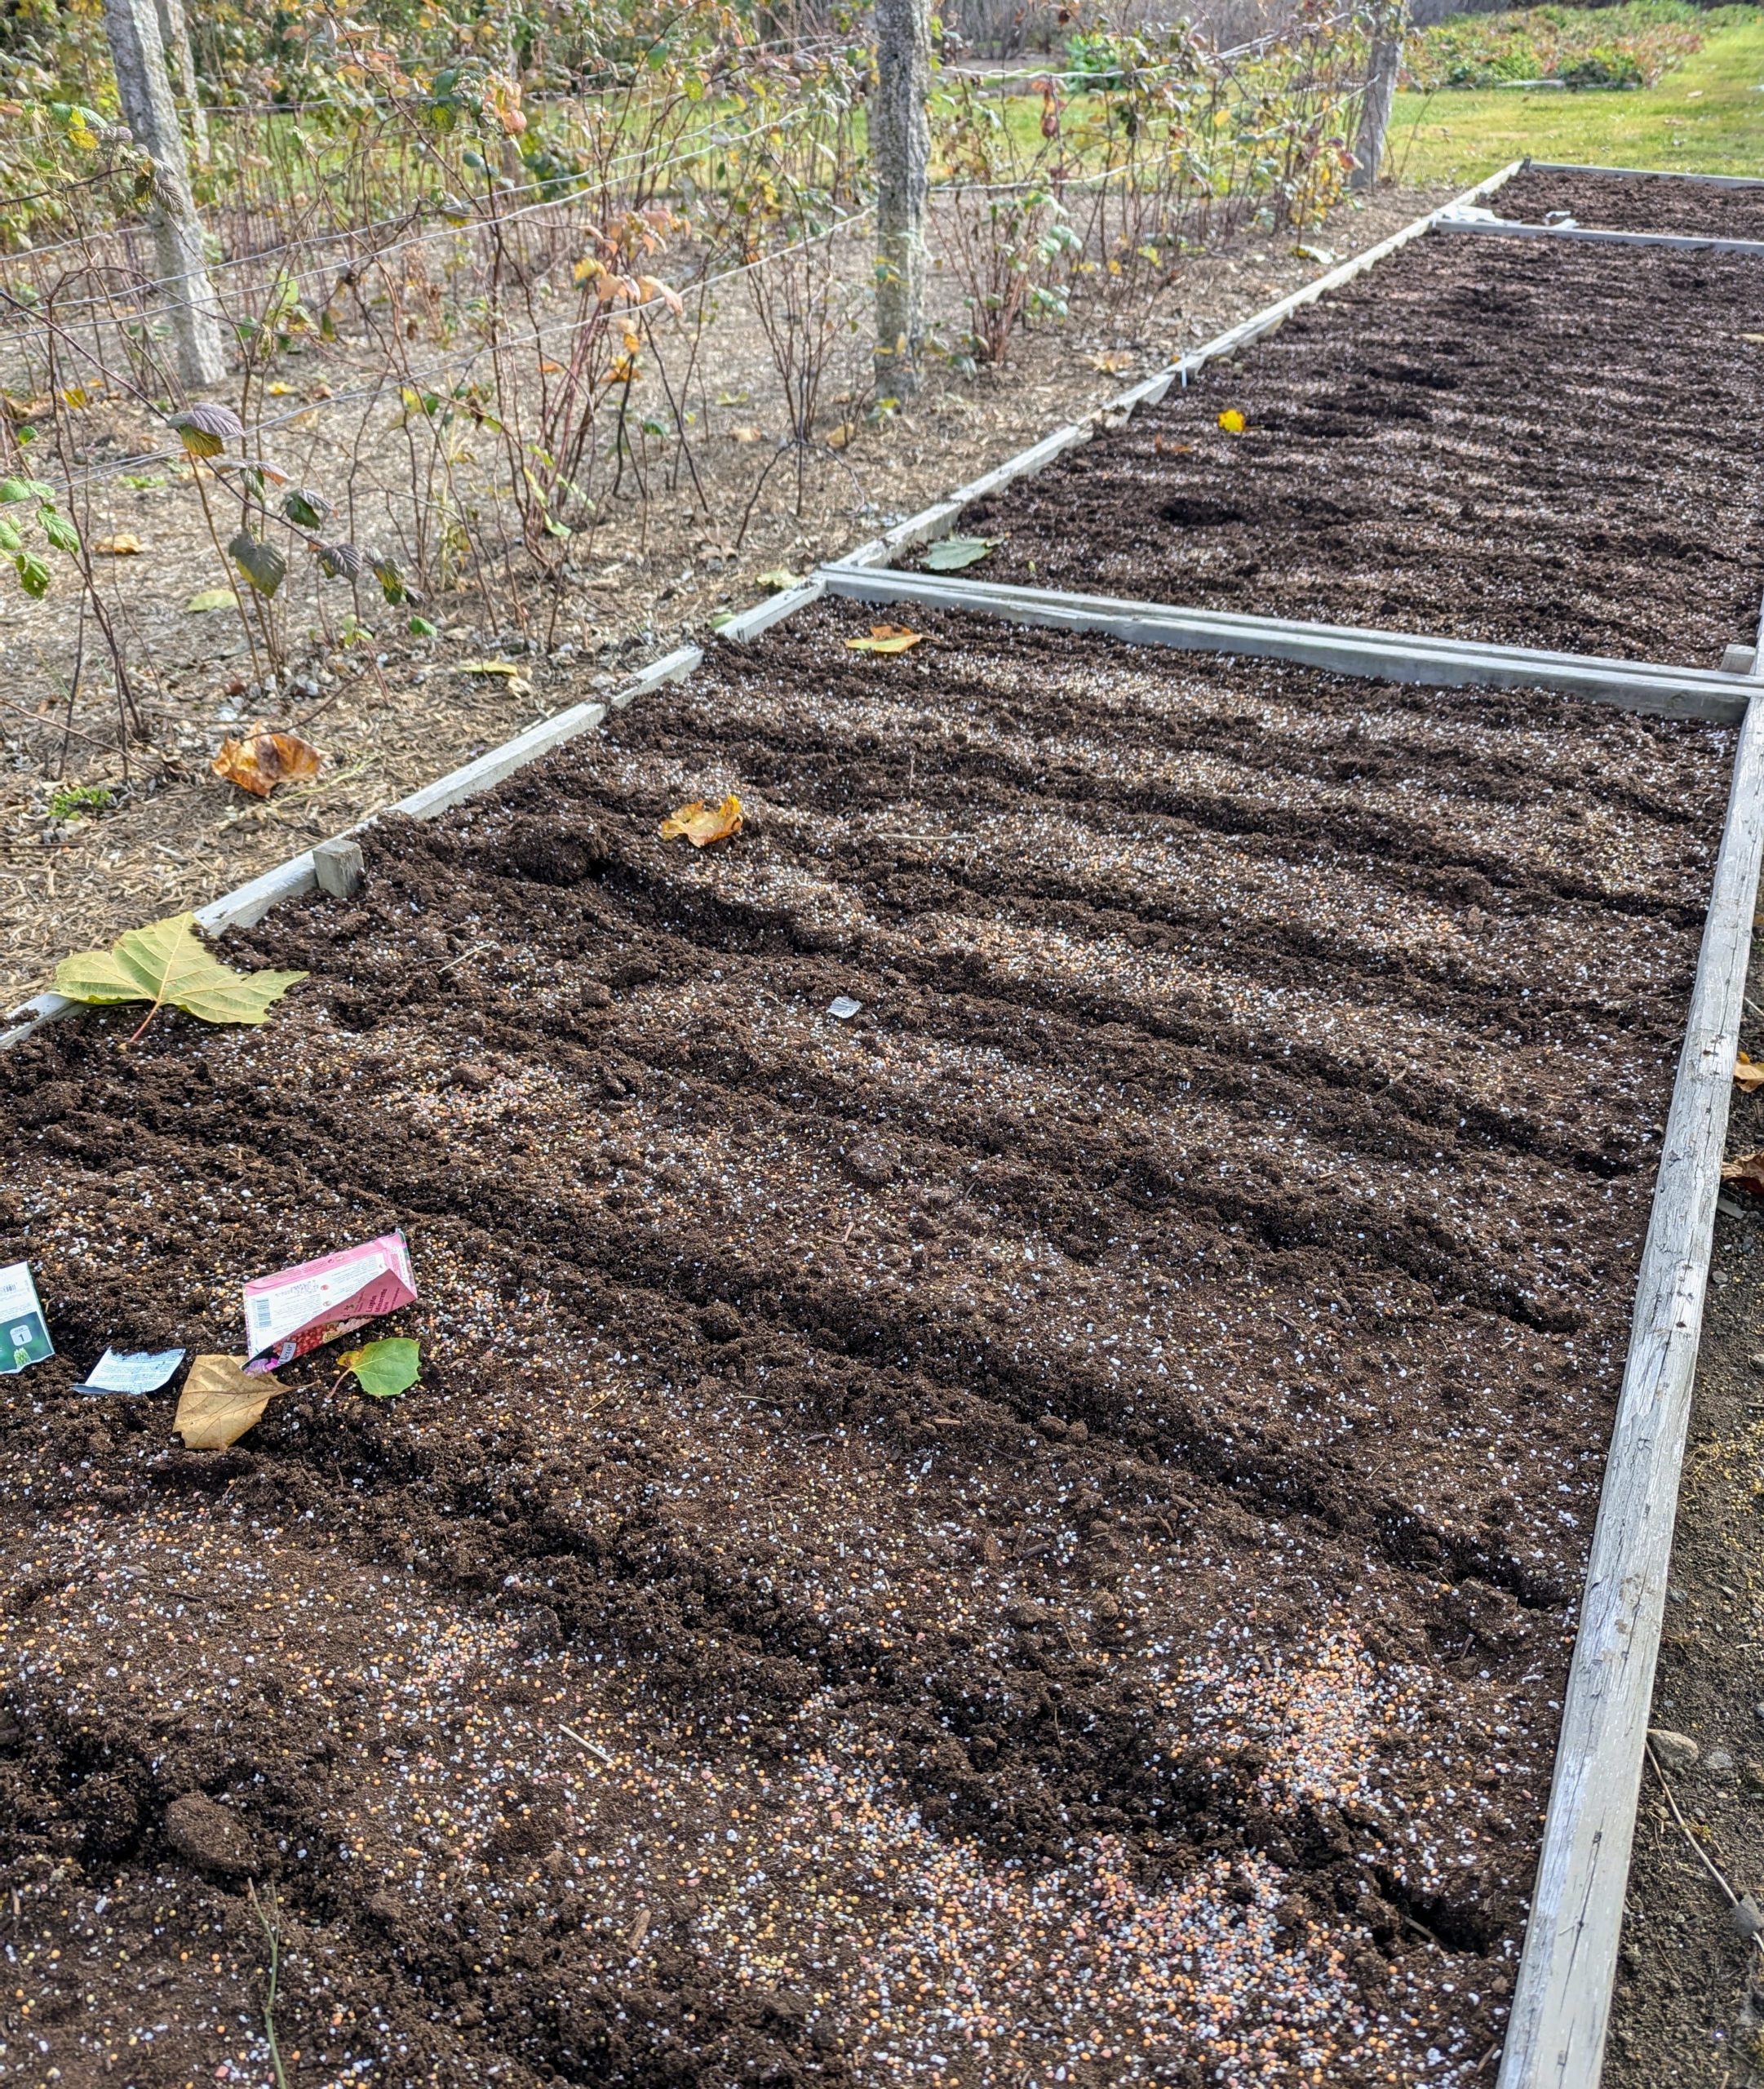
Ryan makes seed furrows all the way down the bed. The furrows are about half an inch deep and about six inches apart.
Next, Ryan sprinkles the seeds in the furrows. The bed was designed for easy reach from both sides.
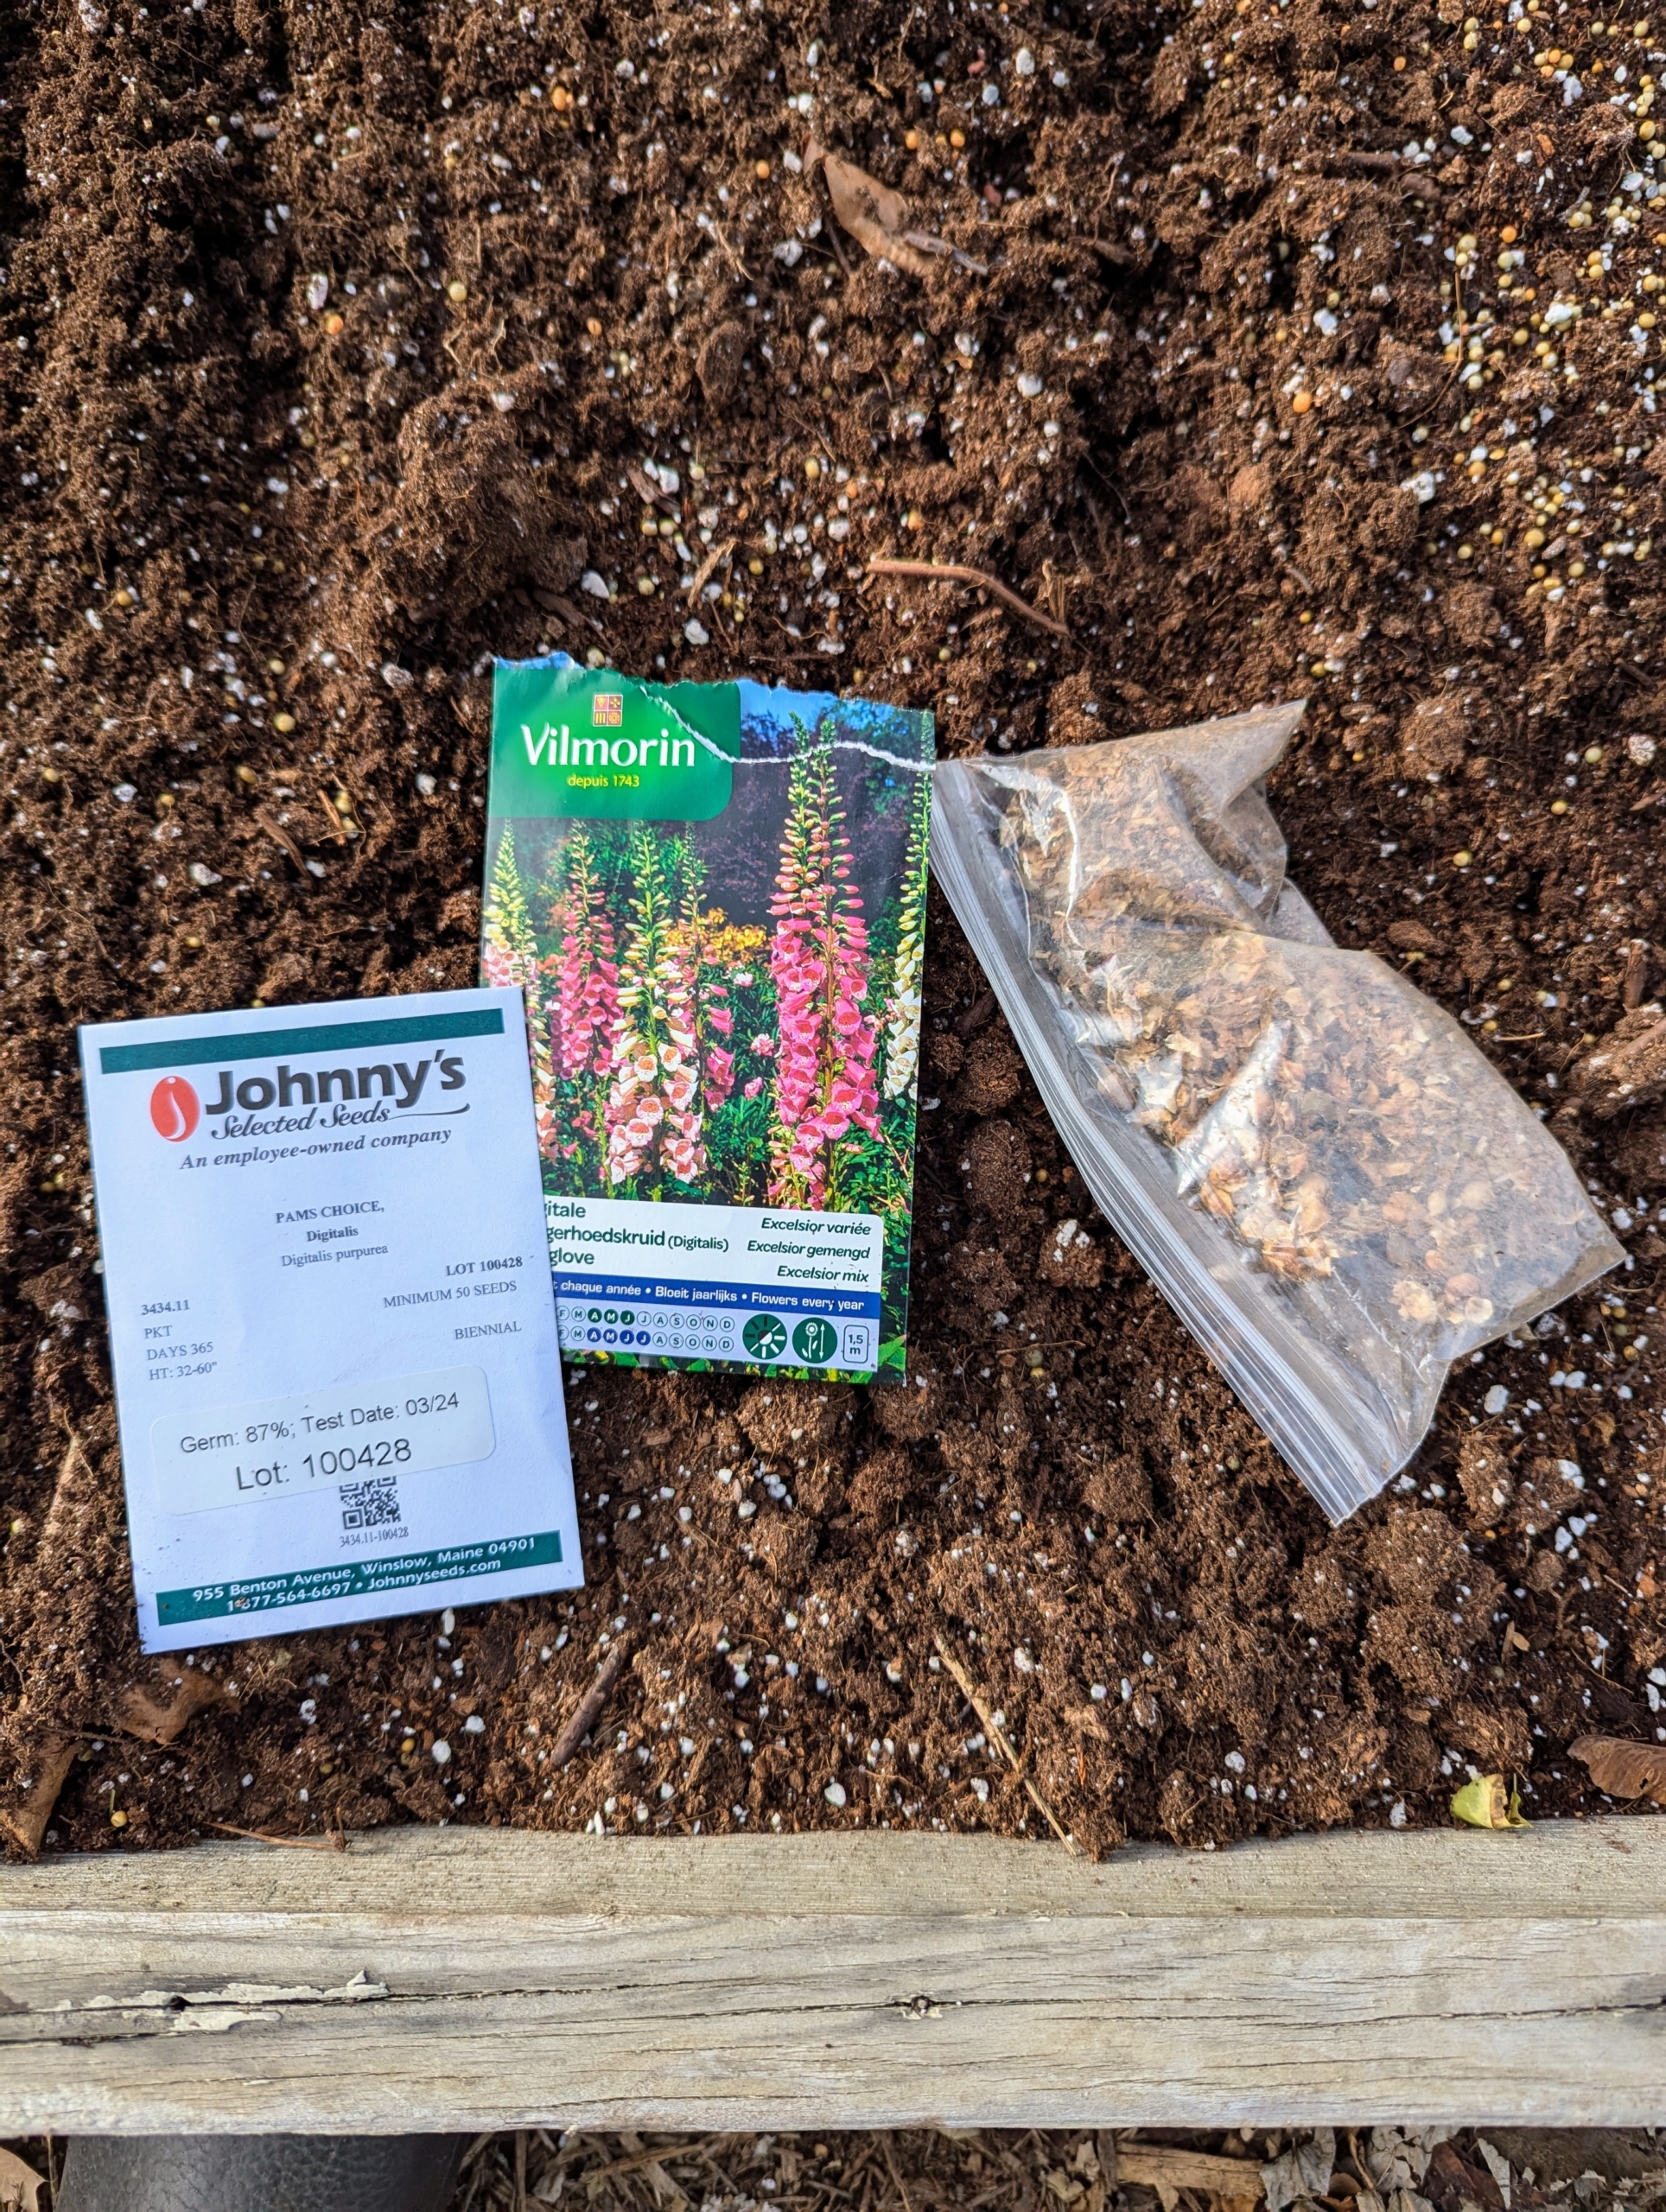
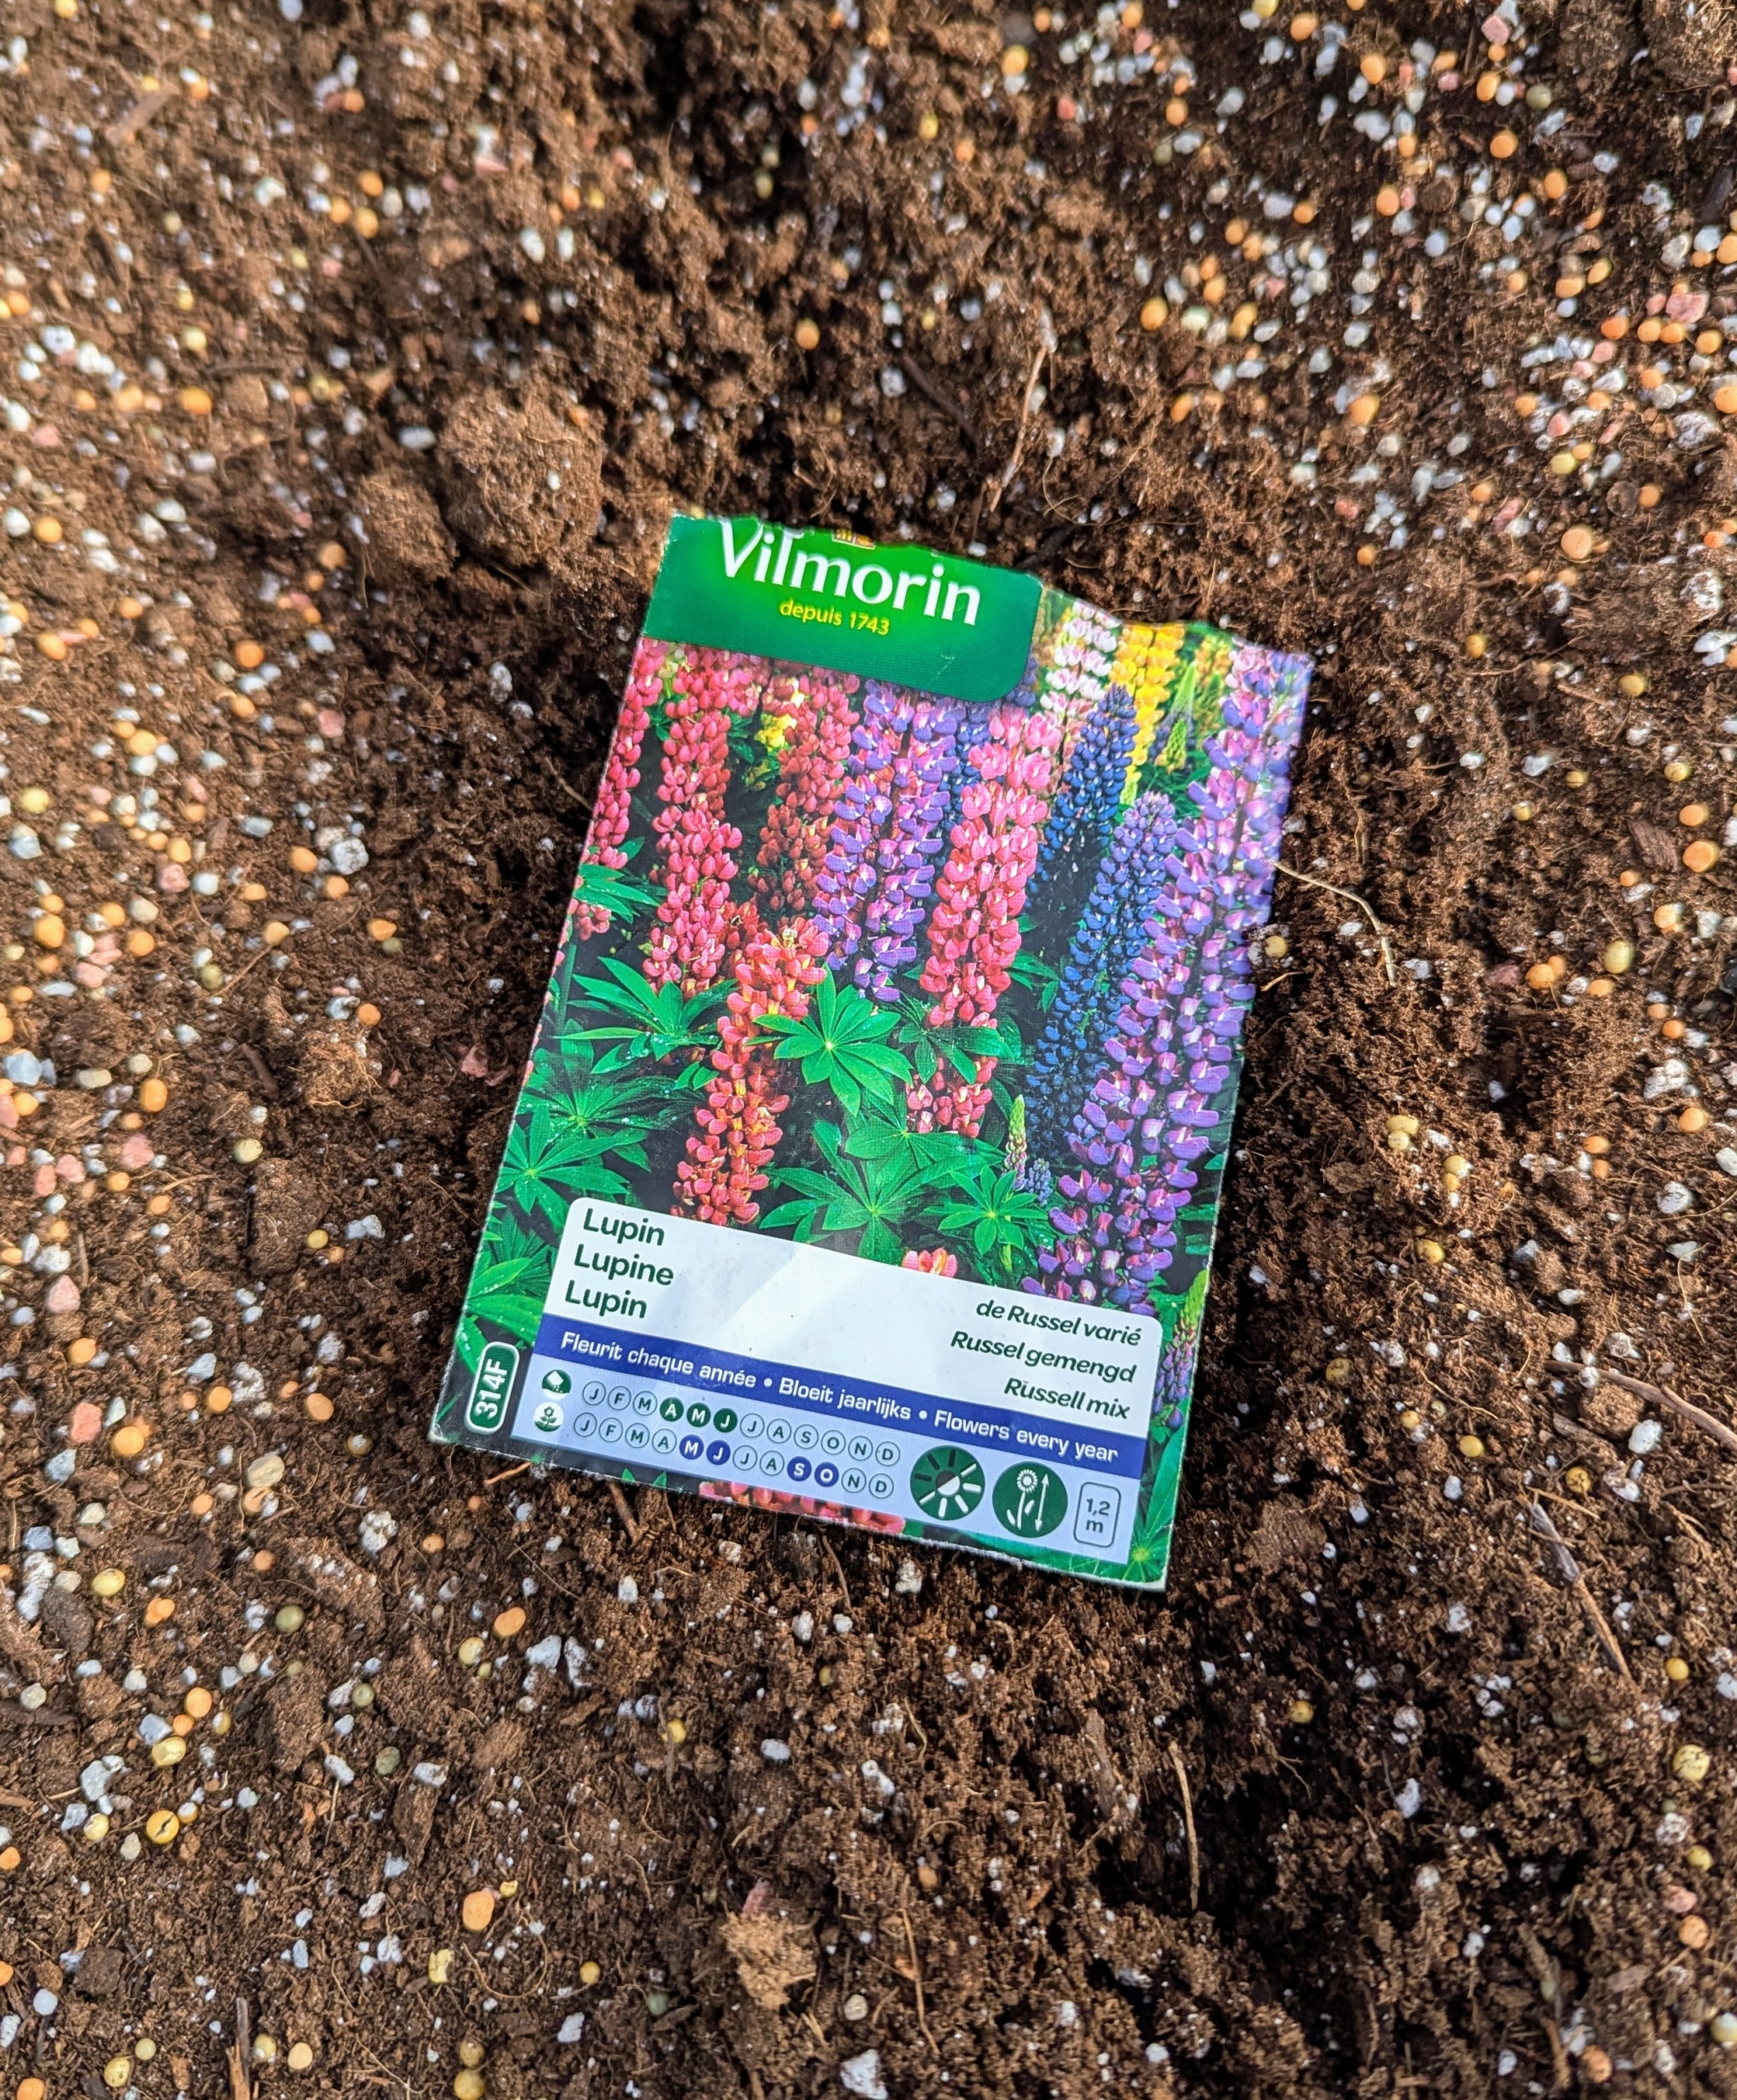
These lupine seeds are from Vilmorin. Vilmorin was founded as a plant and seed boutique in 1743 by seed expert Claude Geoffroy and her husband Pierre Andrieux, the chief seed supplier and botanist to King Louis XV. I’ve been growing Vilmorin seeds for years.
Lupine seeds are a little bigger than poppy seeds. They are brown and resemble beans.
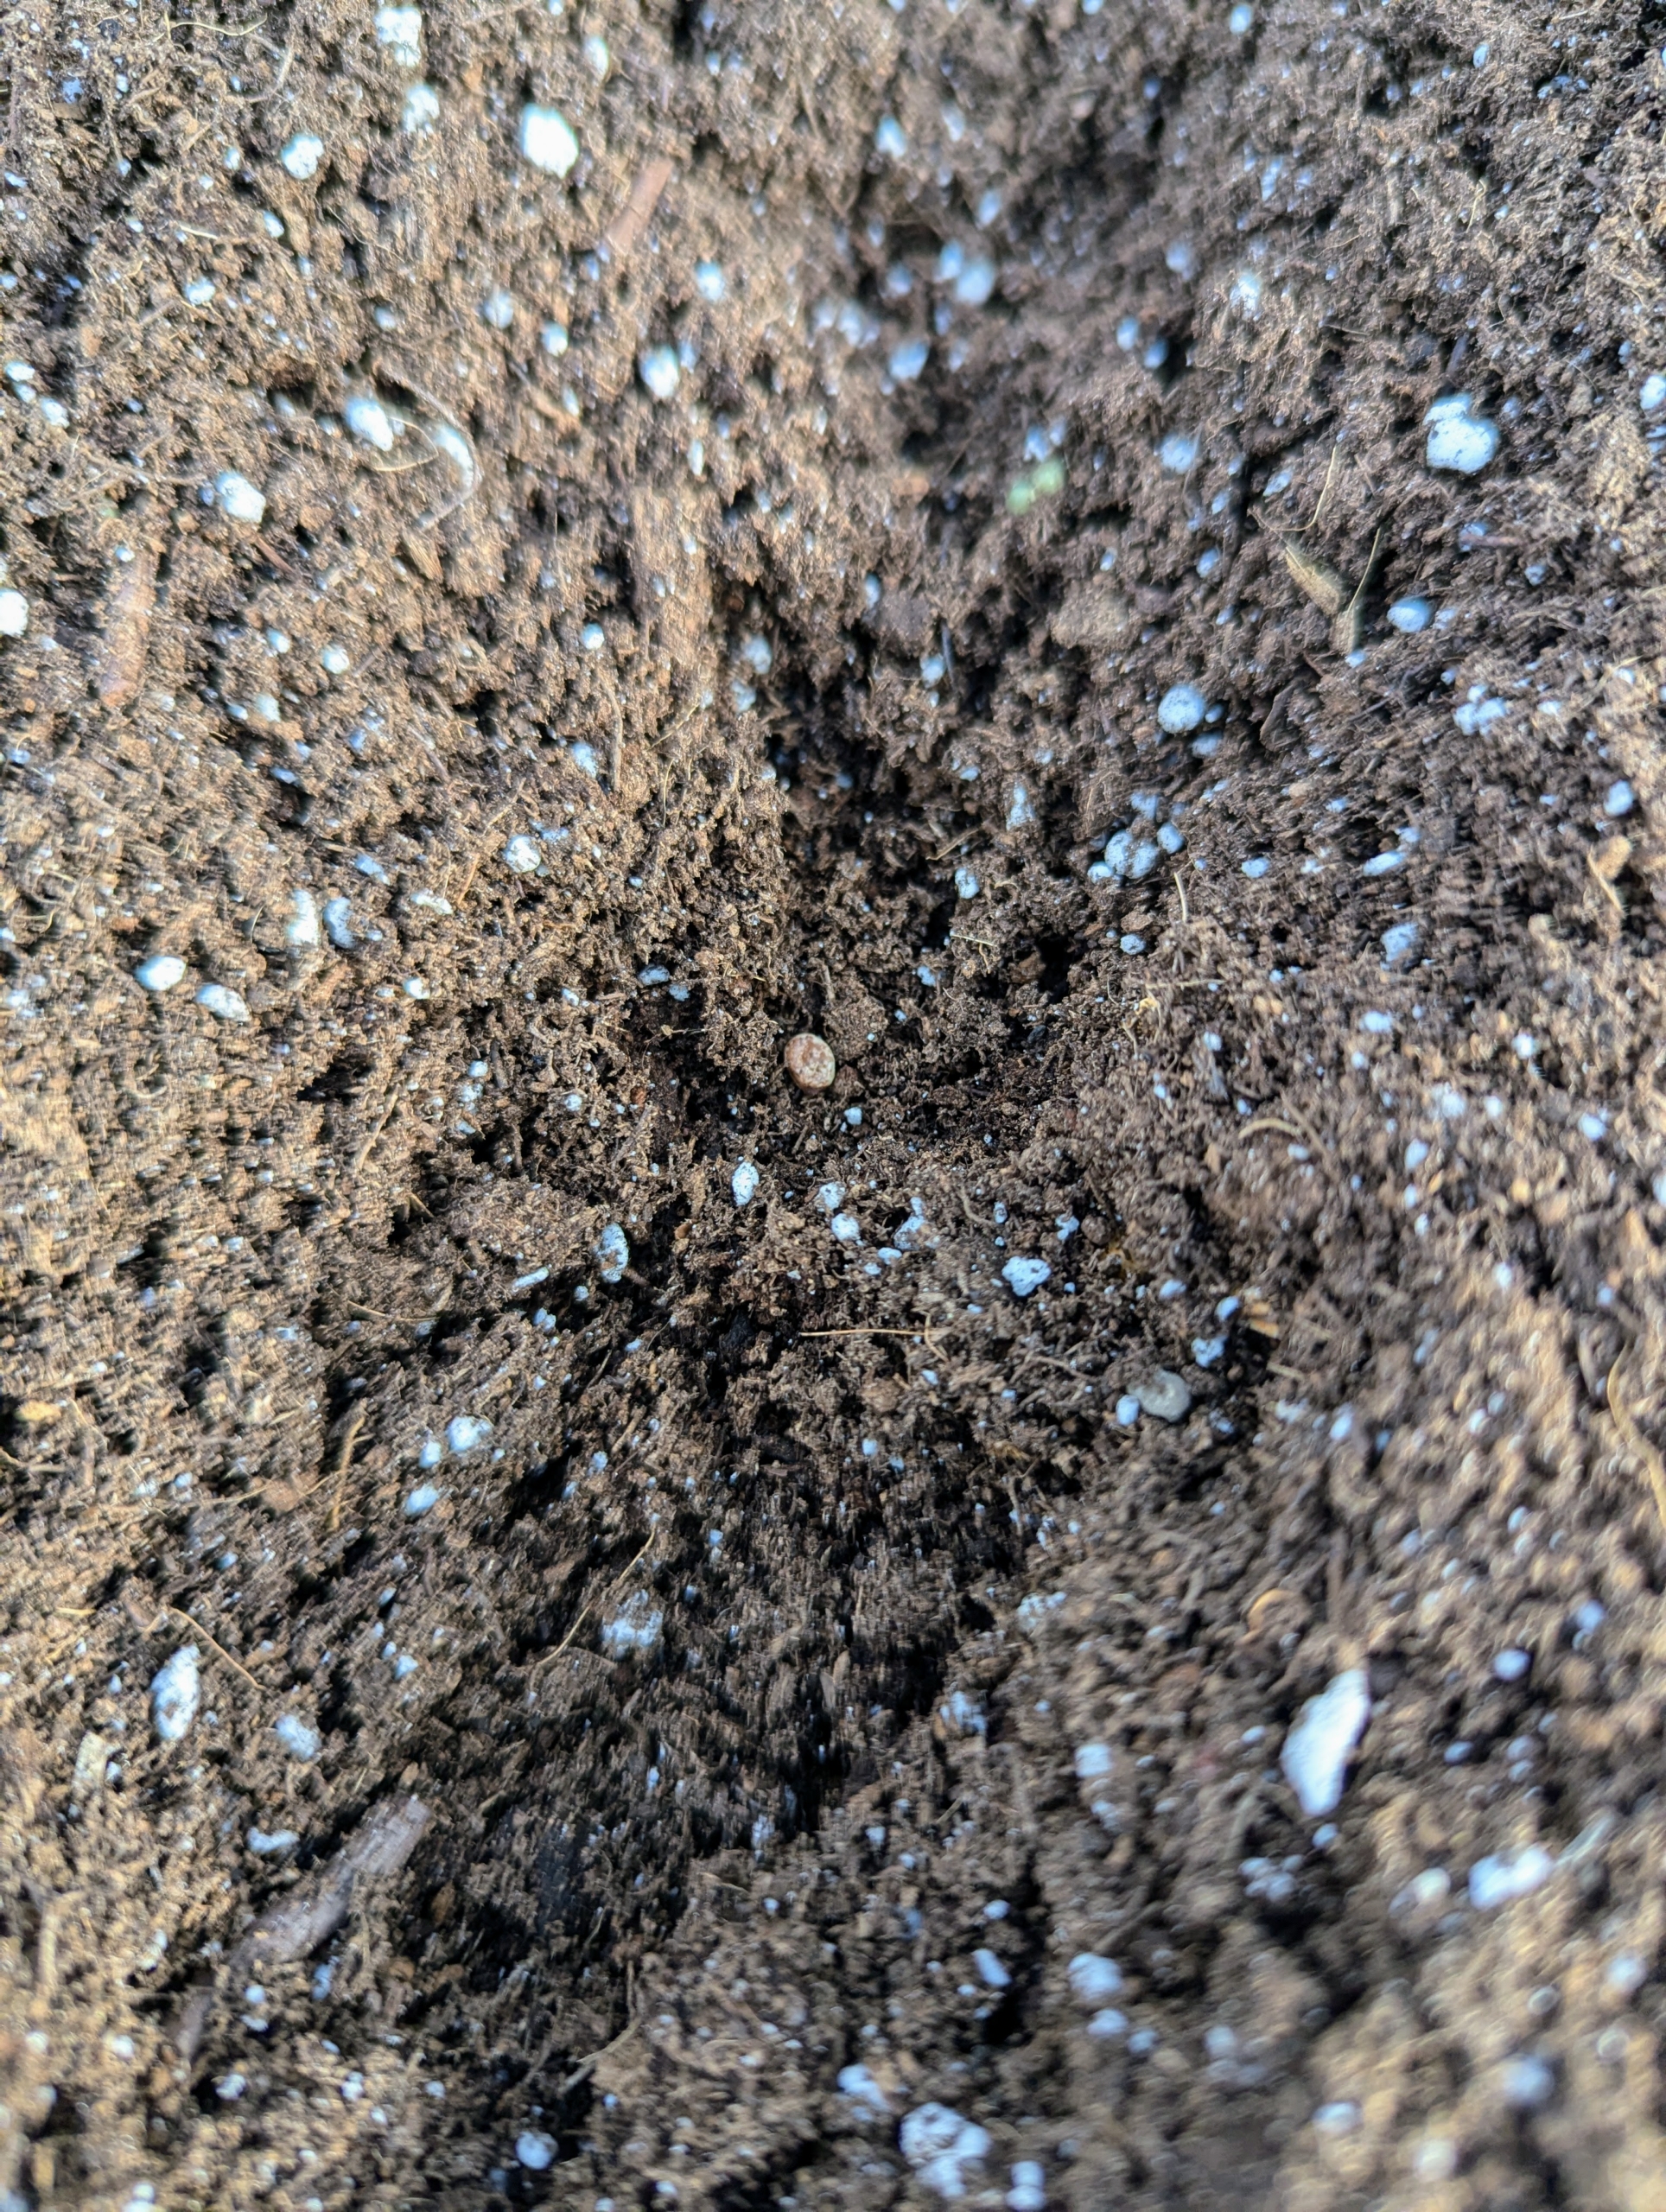
Here are some of the seeds in the furrow. Hard to see, but they’re there.
These seeds should sprout and establish root systems before the really cold weather.
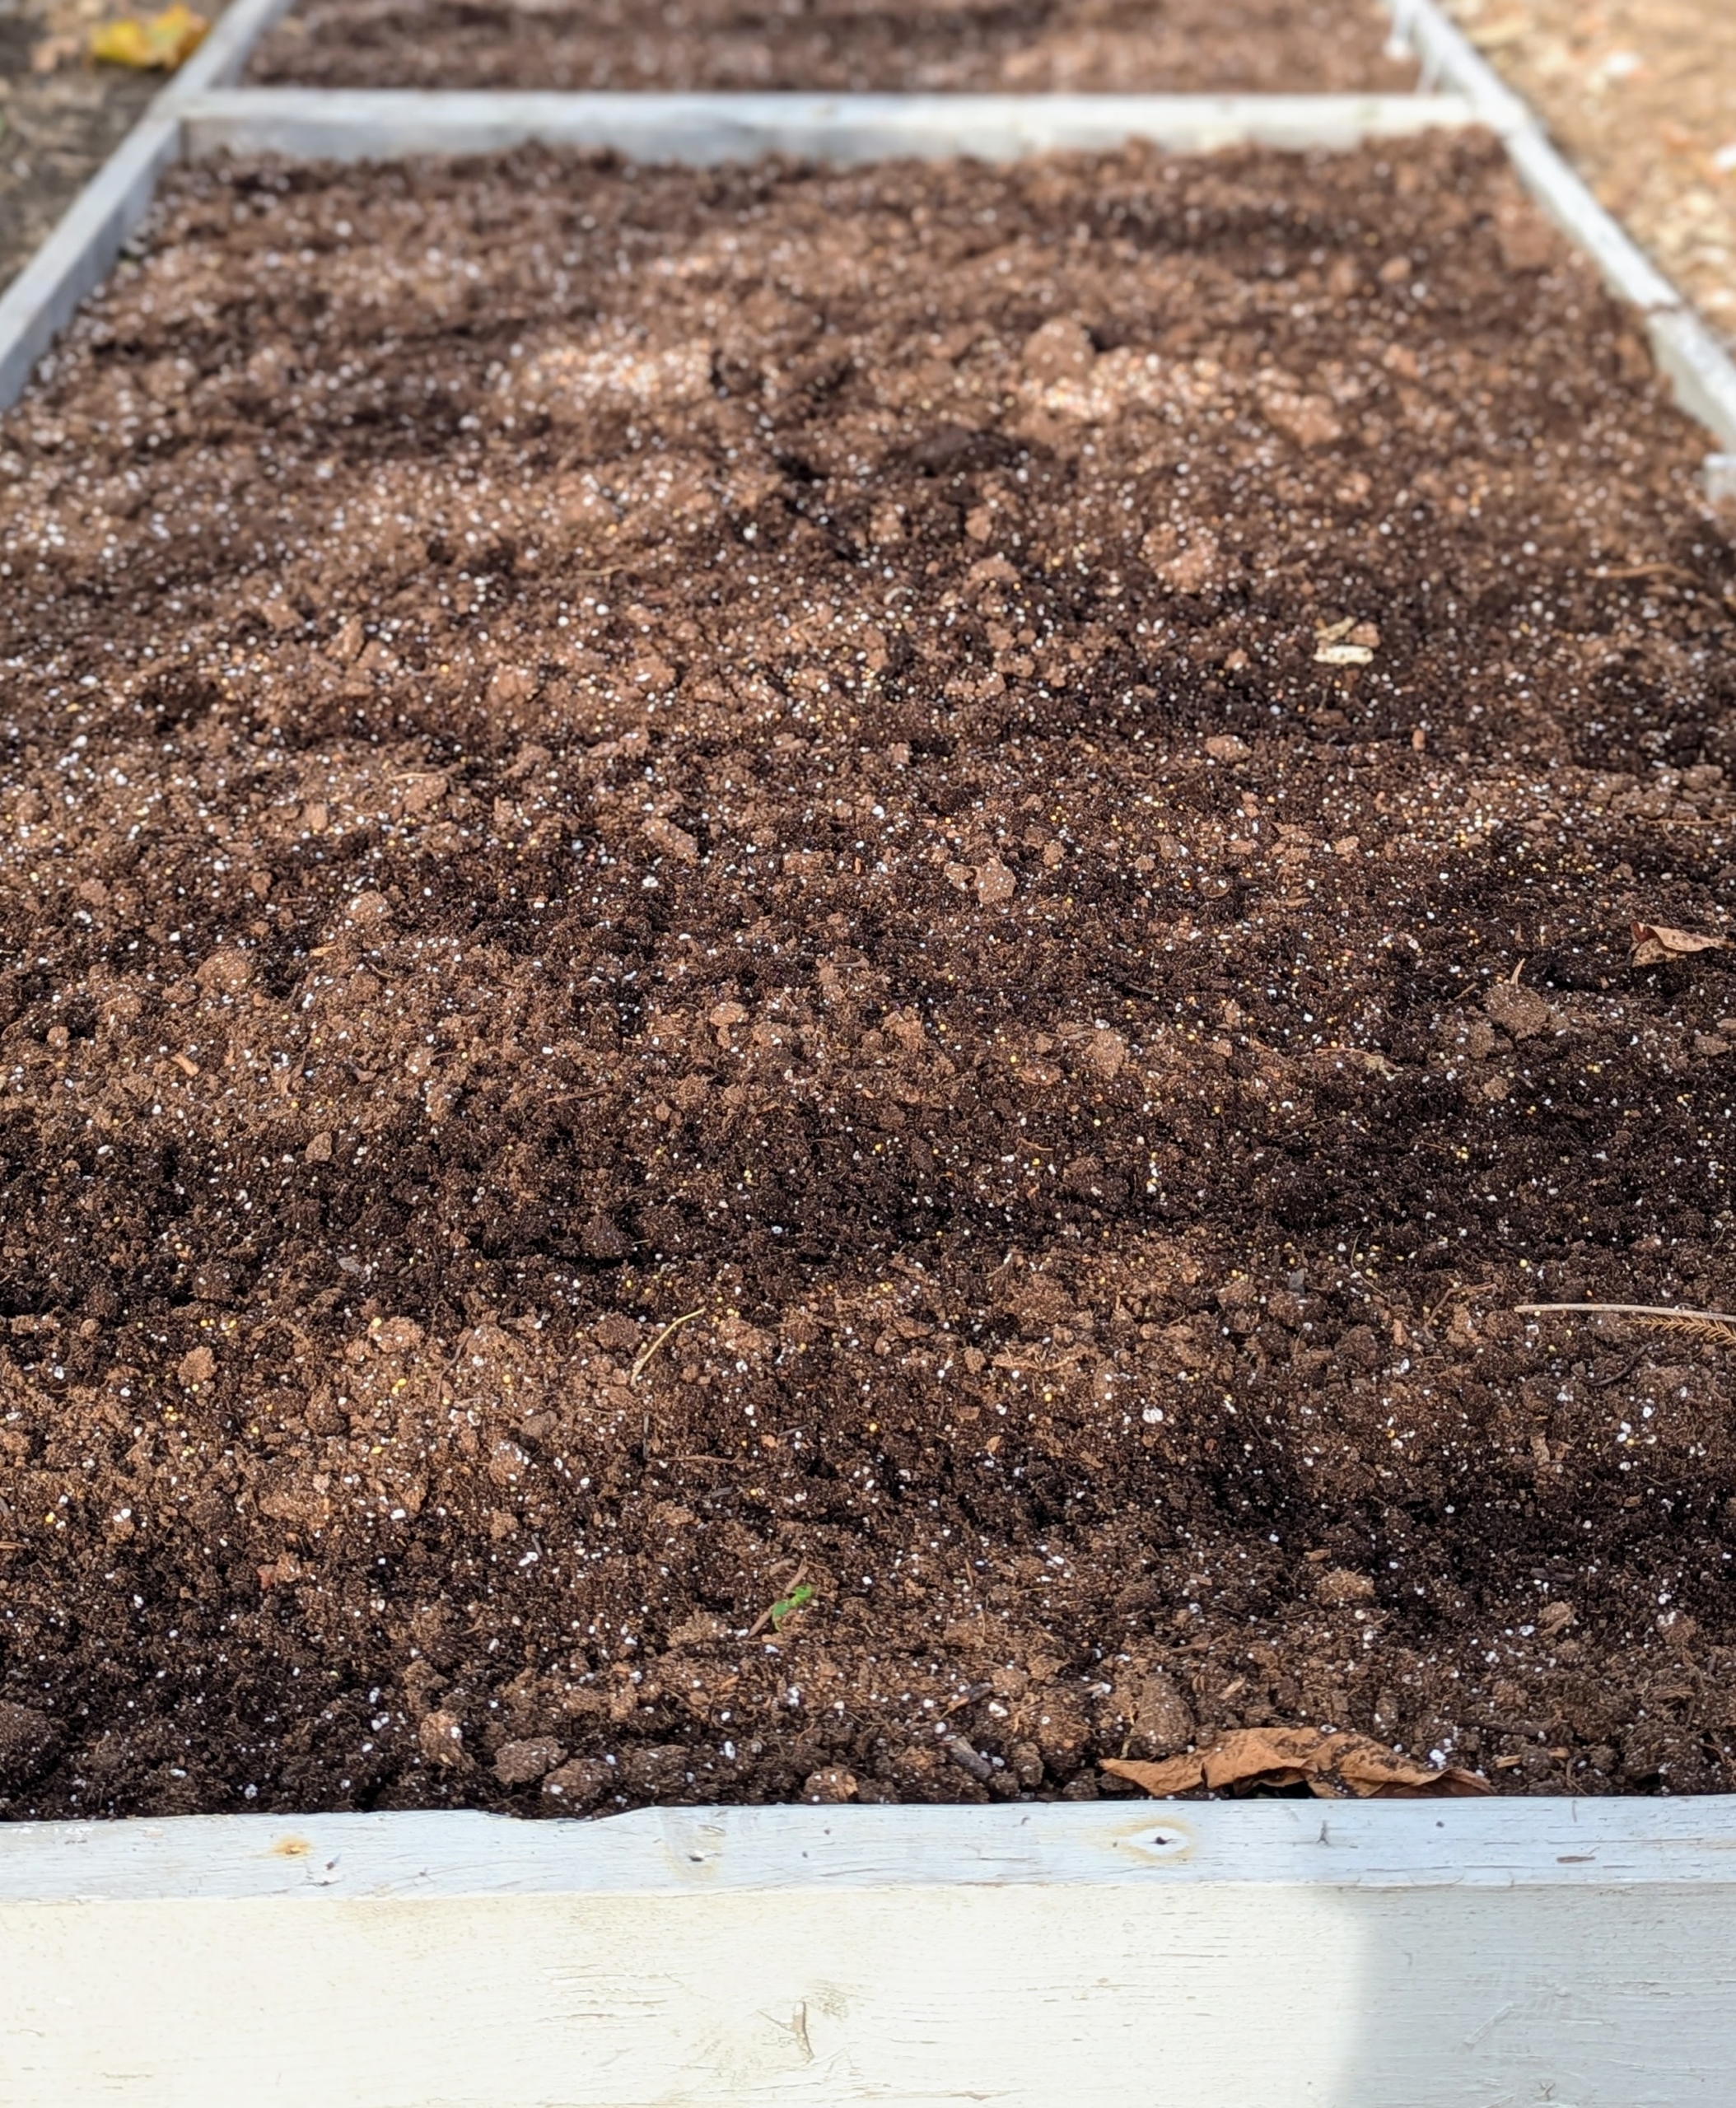
The bed was already well fertilized. These plants should overwinter nicely in this location protected from wind and where they can receive morning sun.
Ryan rakes over the furrows to ensure all the seeds are covered. He will also give them a good drink. Rain, snow, and condensation should keep the soil moist through the cold season, And then come spring, we should have beautiful flowers growing right here.
Enjoy this encore post from December 15, 2021. And have a very safe and wonderful Thanksgiving.
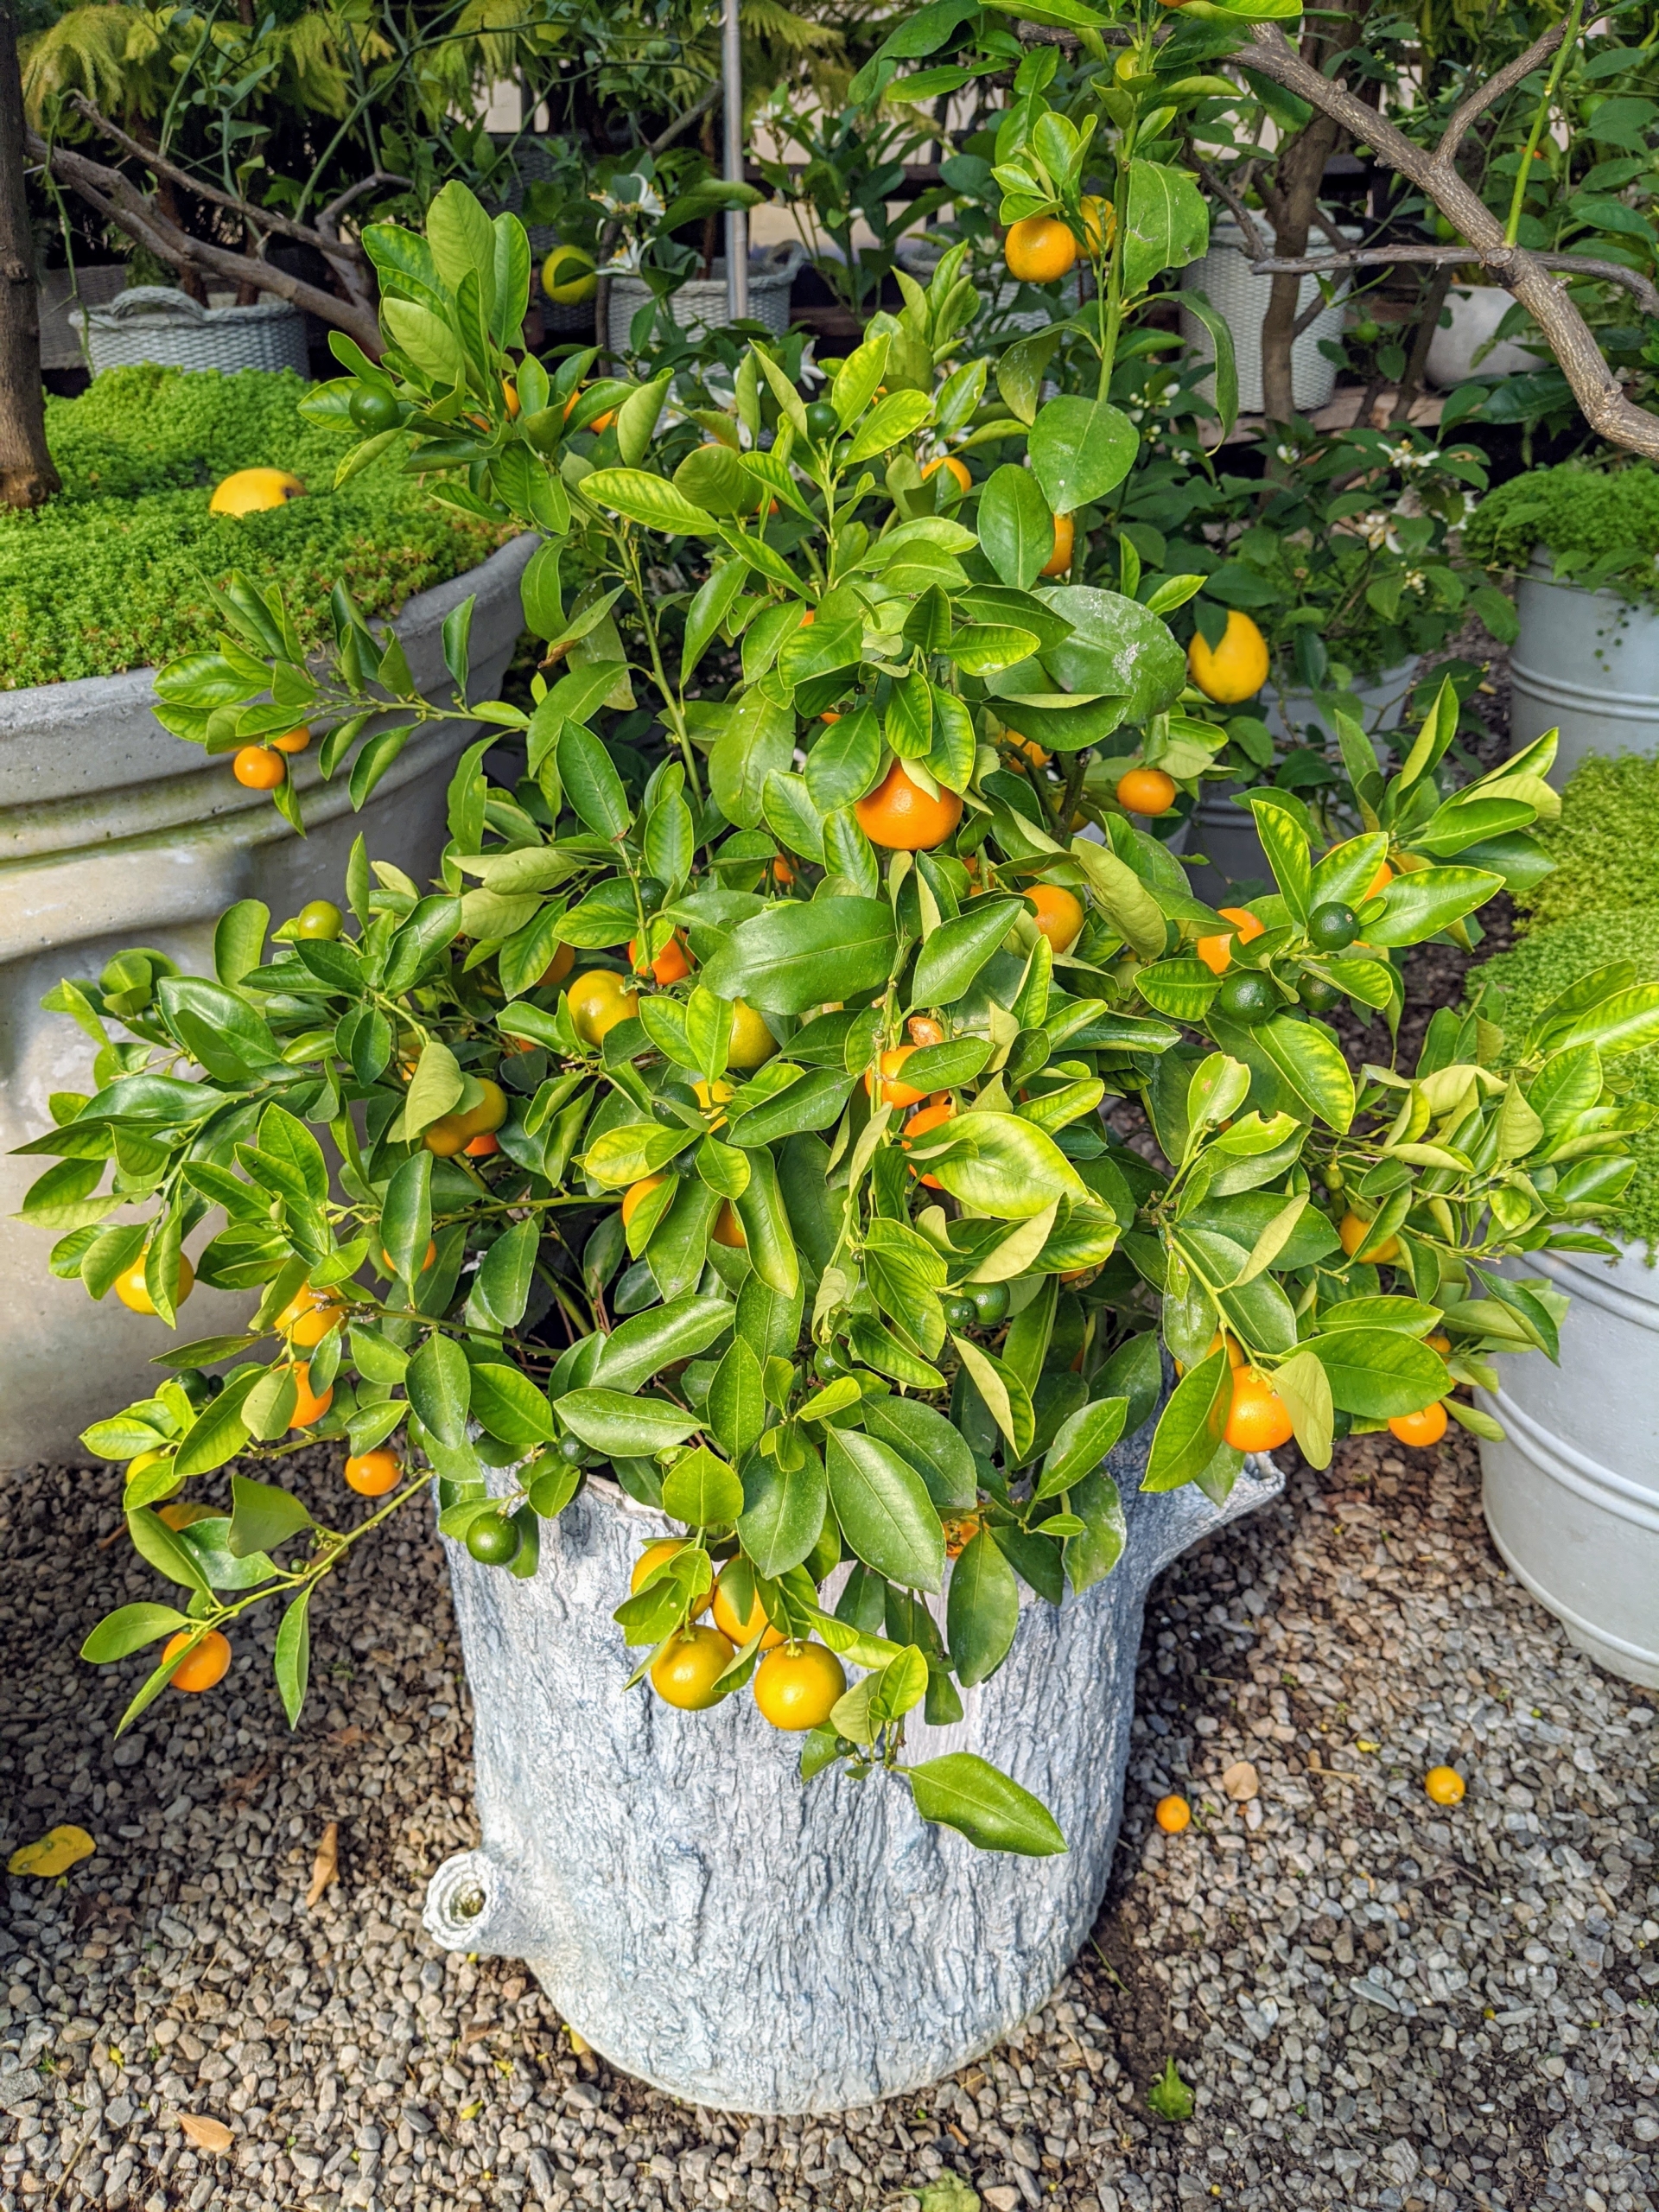
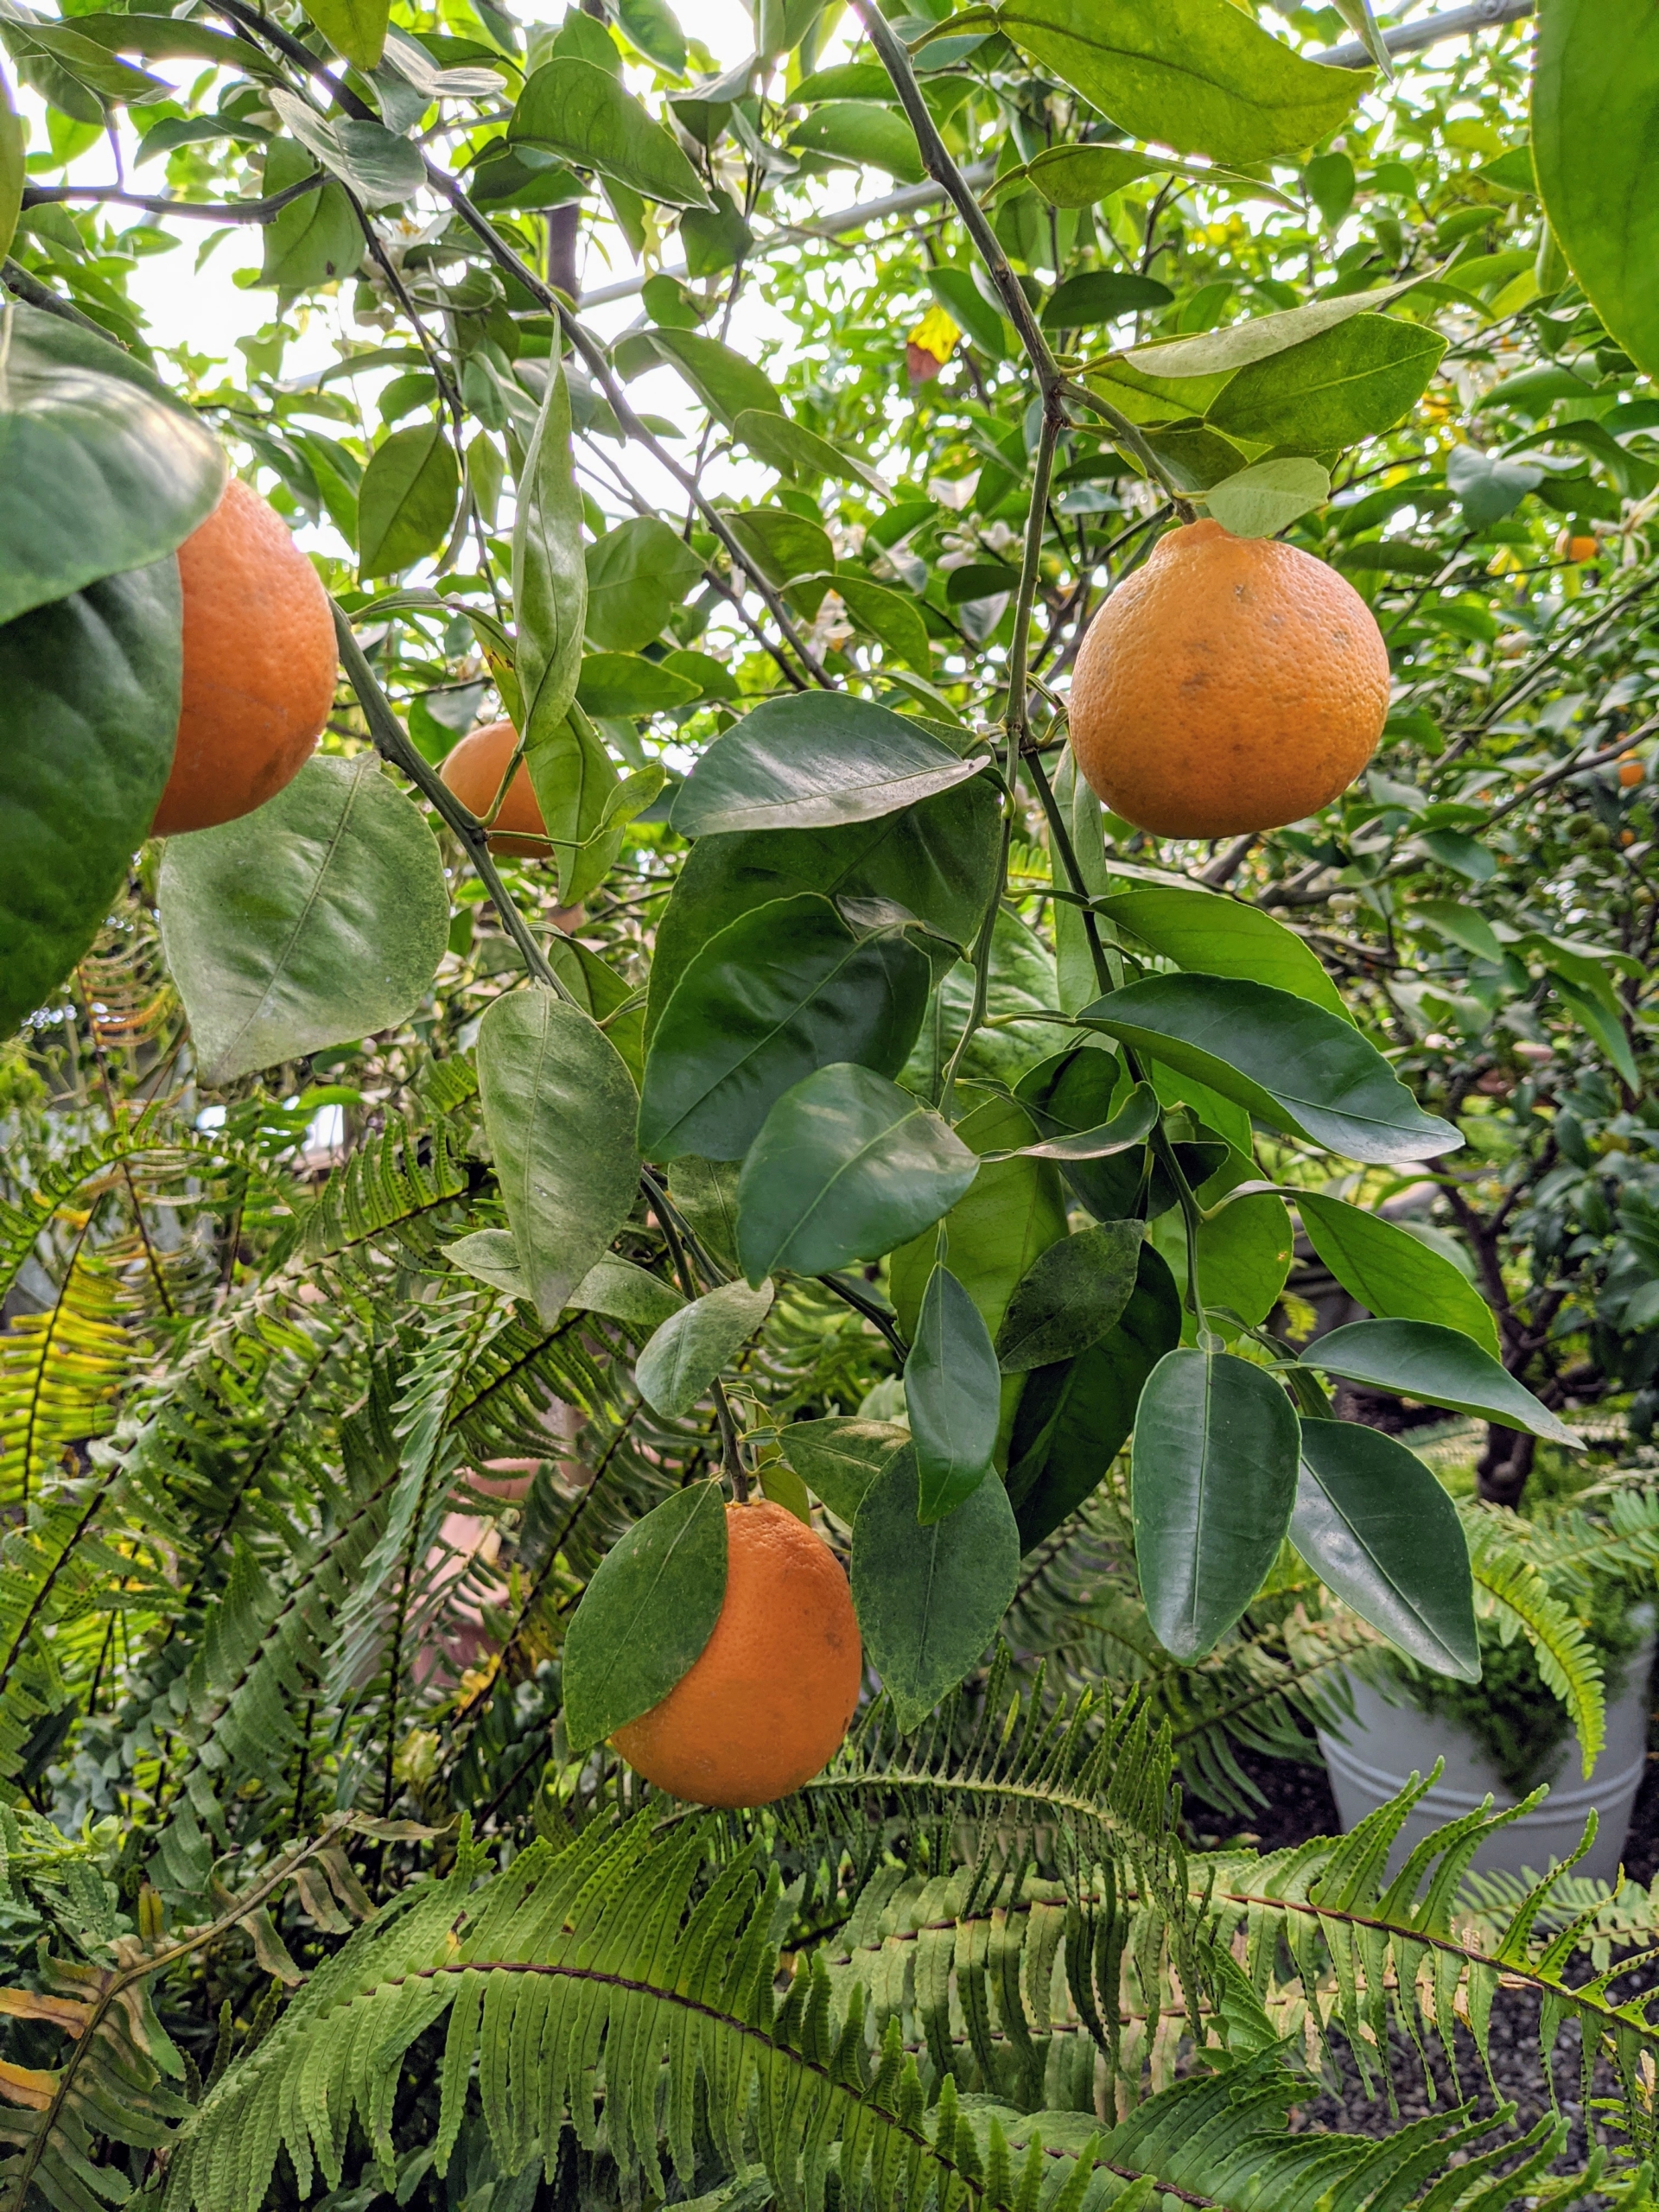
I am so happy I can grow lots of juicy, nutrient-rich citrus fruits right here at my Bedford, New York farm.
Citrus fruits come in various colors, flavors, shapes, and sizes. Among the most recognizable are oranges and lemons. Less known, the smallest member of the citrus family is the kumquat. I love them all and I find it so satisfying to walk into my greenhouse and see them all thriving. It is actually quite easy to grow citrus indoors as long as it can be kept in a sunny windowsill or in a bright corner of a room. Yesterday my head gardener, Ryan McCallister, picked a bucket full of wonderful fruits.
Enjoy these photos.
My citrus hoop house is located across the carriage road from my vegetable garden not far from my chickens. My gardeners check the citrus house every day, but on this morning, Ryan is also harvesting lots of delicious, juicy fruits. They have been very productive this year.
They will stay in this greenhouse for about seven months. Citrus plants dislike abrupt temperature shifts and need to be protected from chilly drafts and blazing heaters. Dwarf citrus trees require at least eight to 12 hours of full sunshine and good air circulation to thrive.
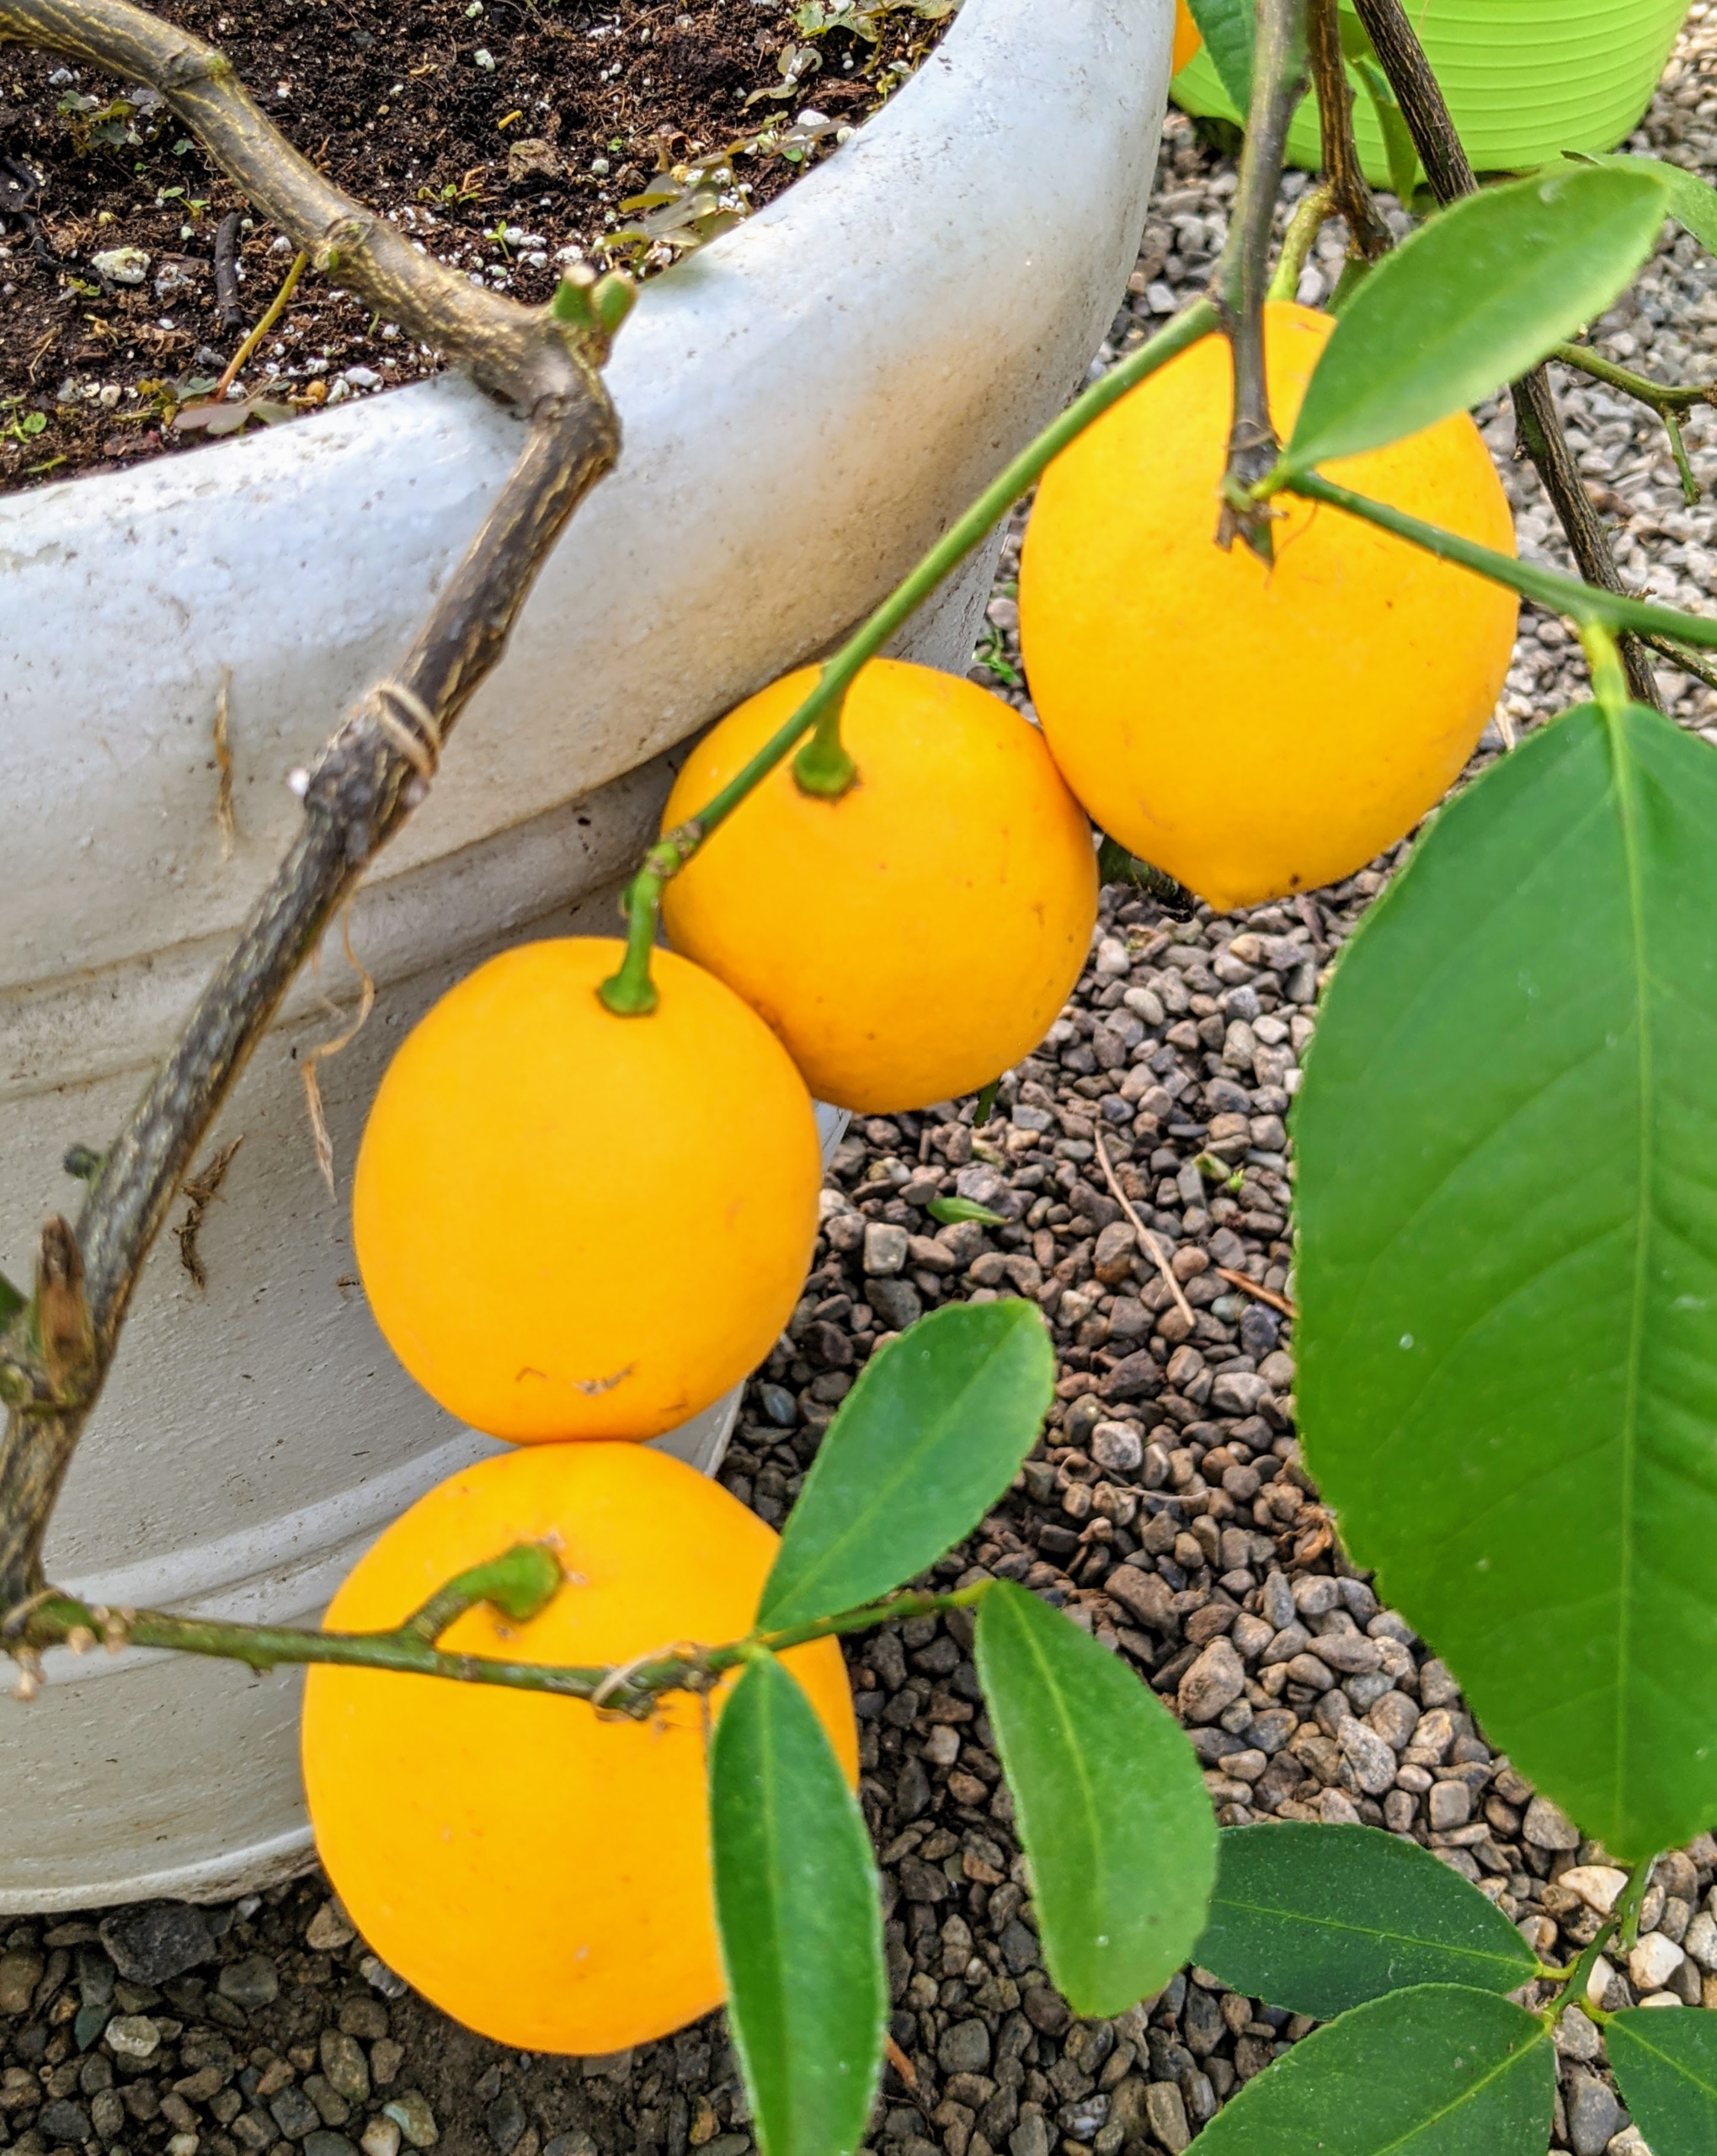
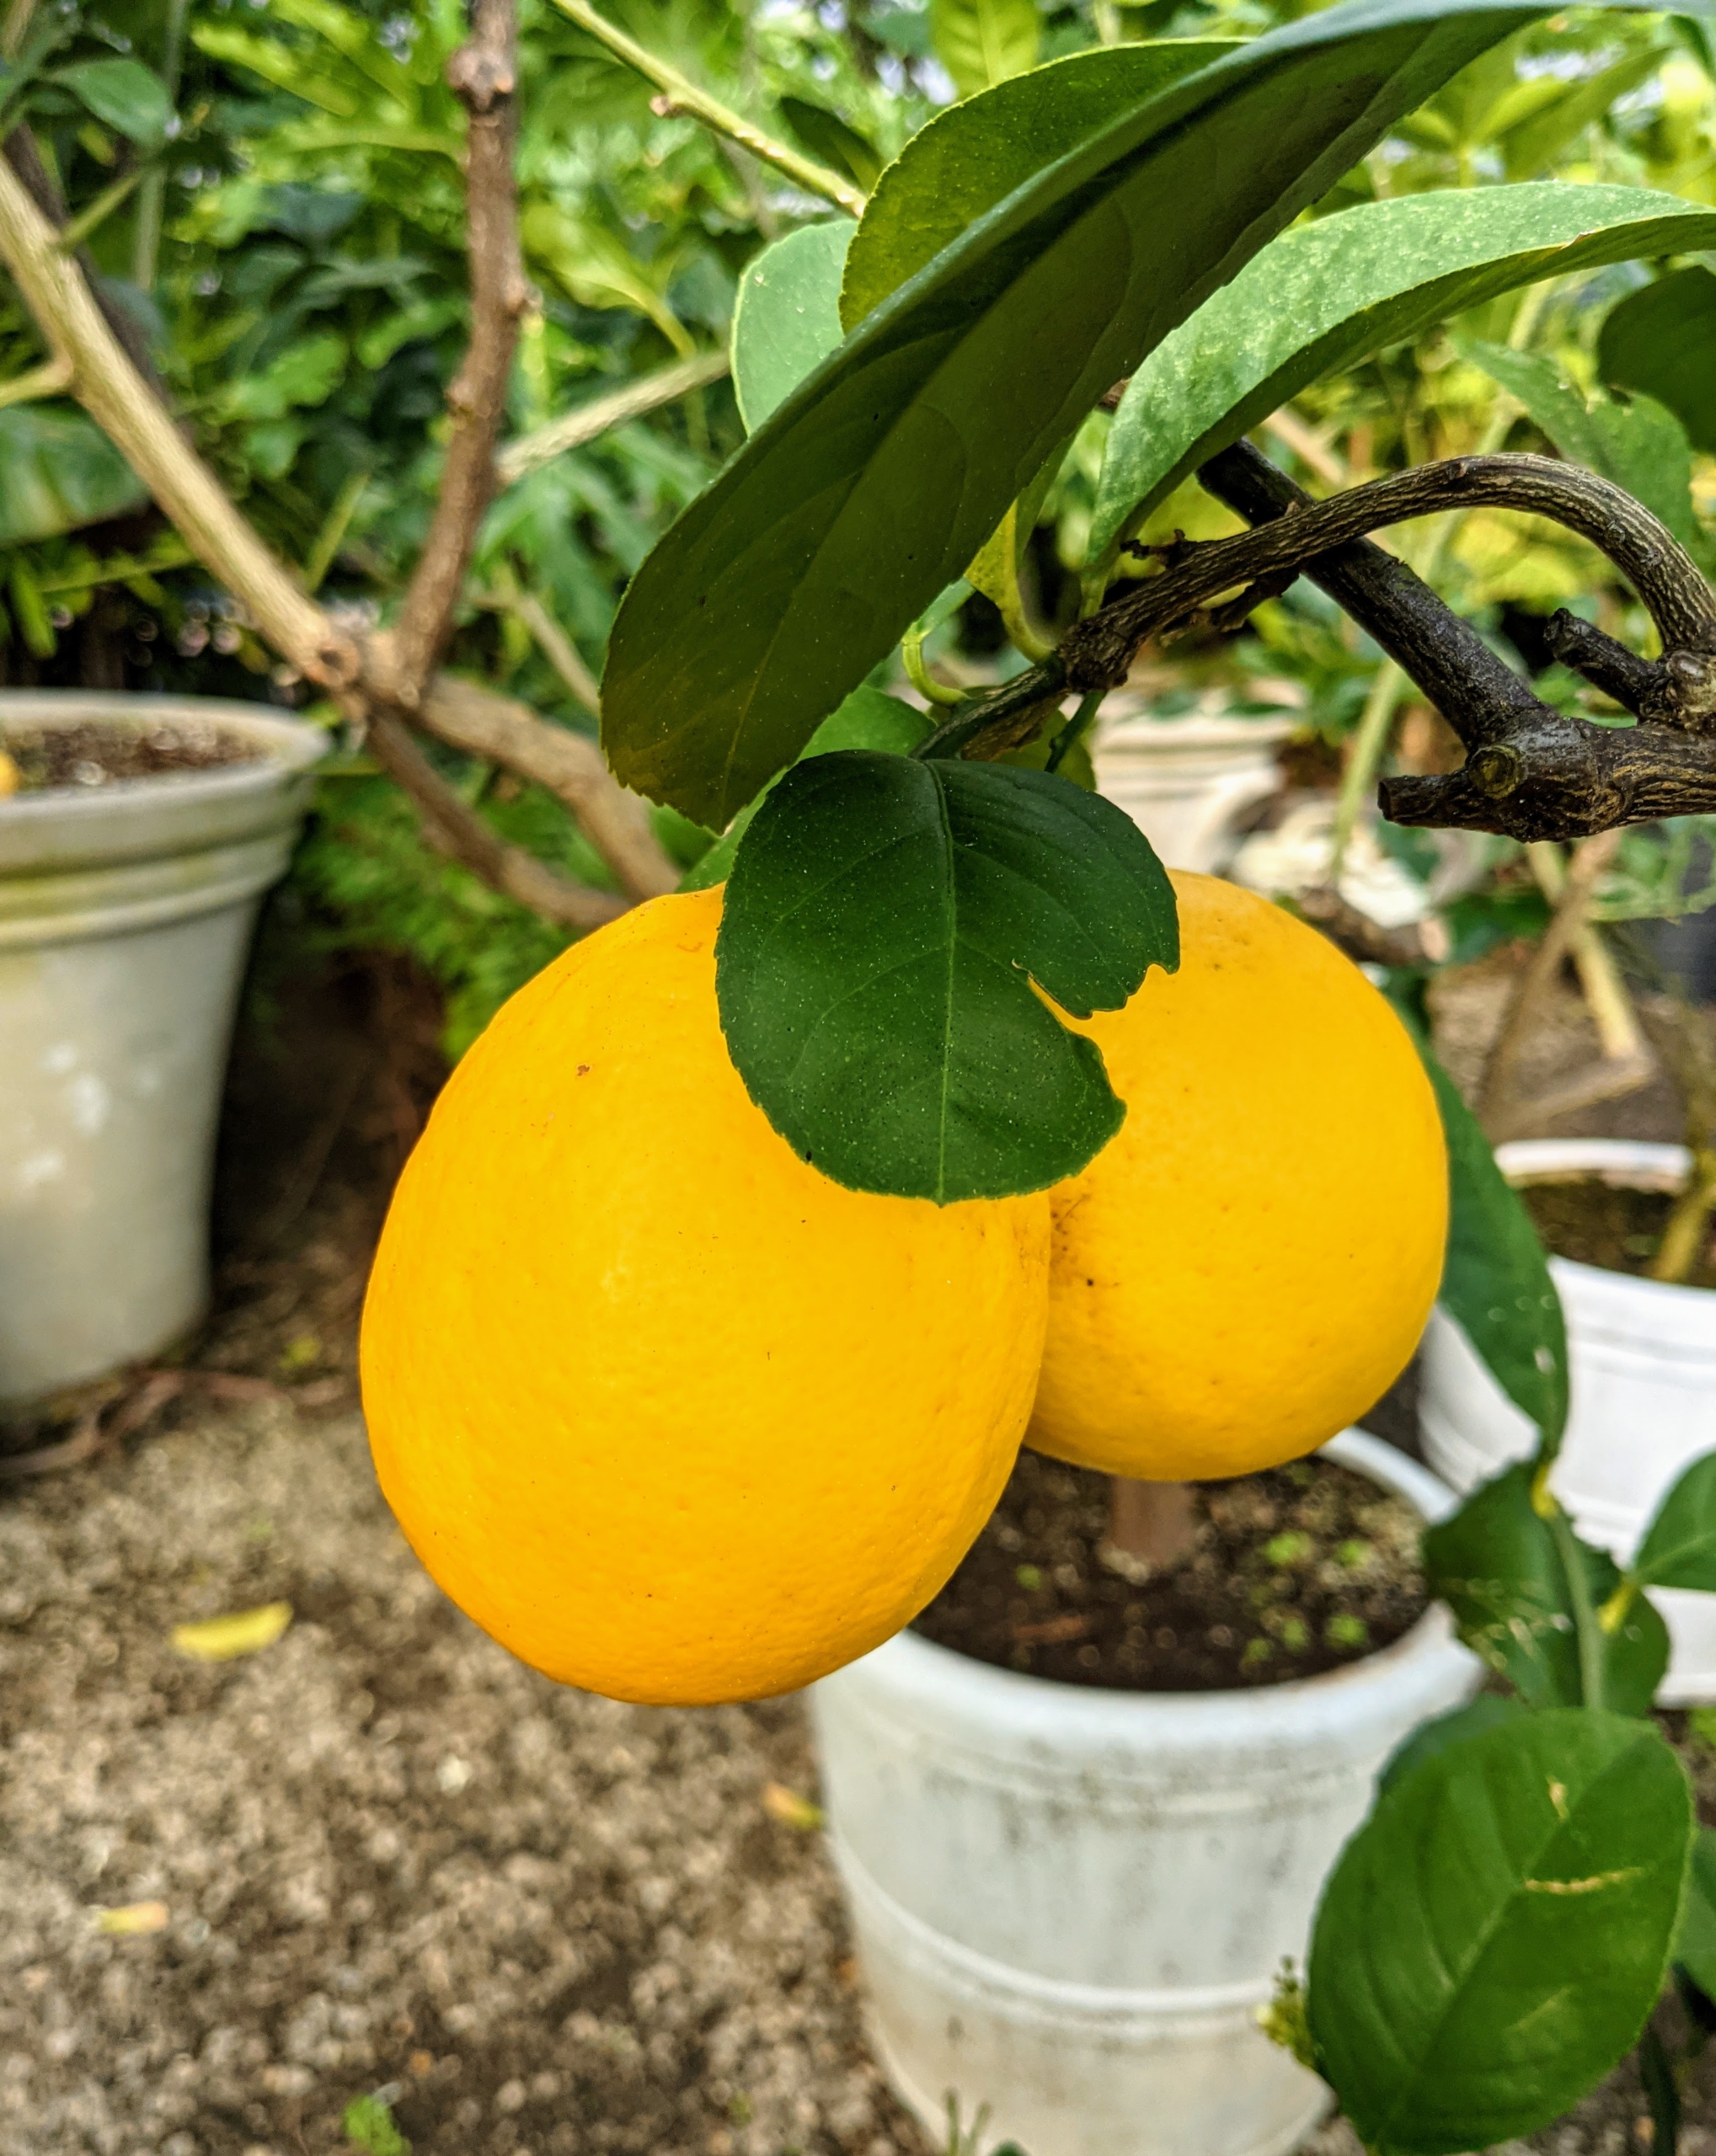
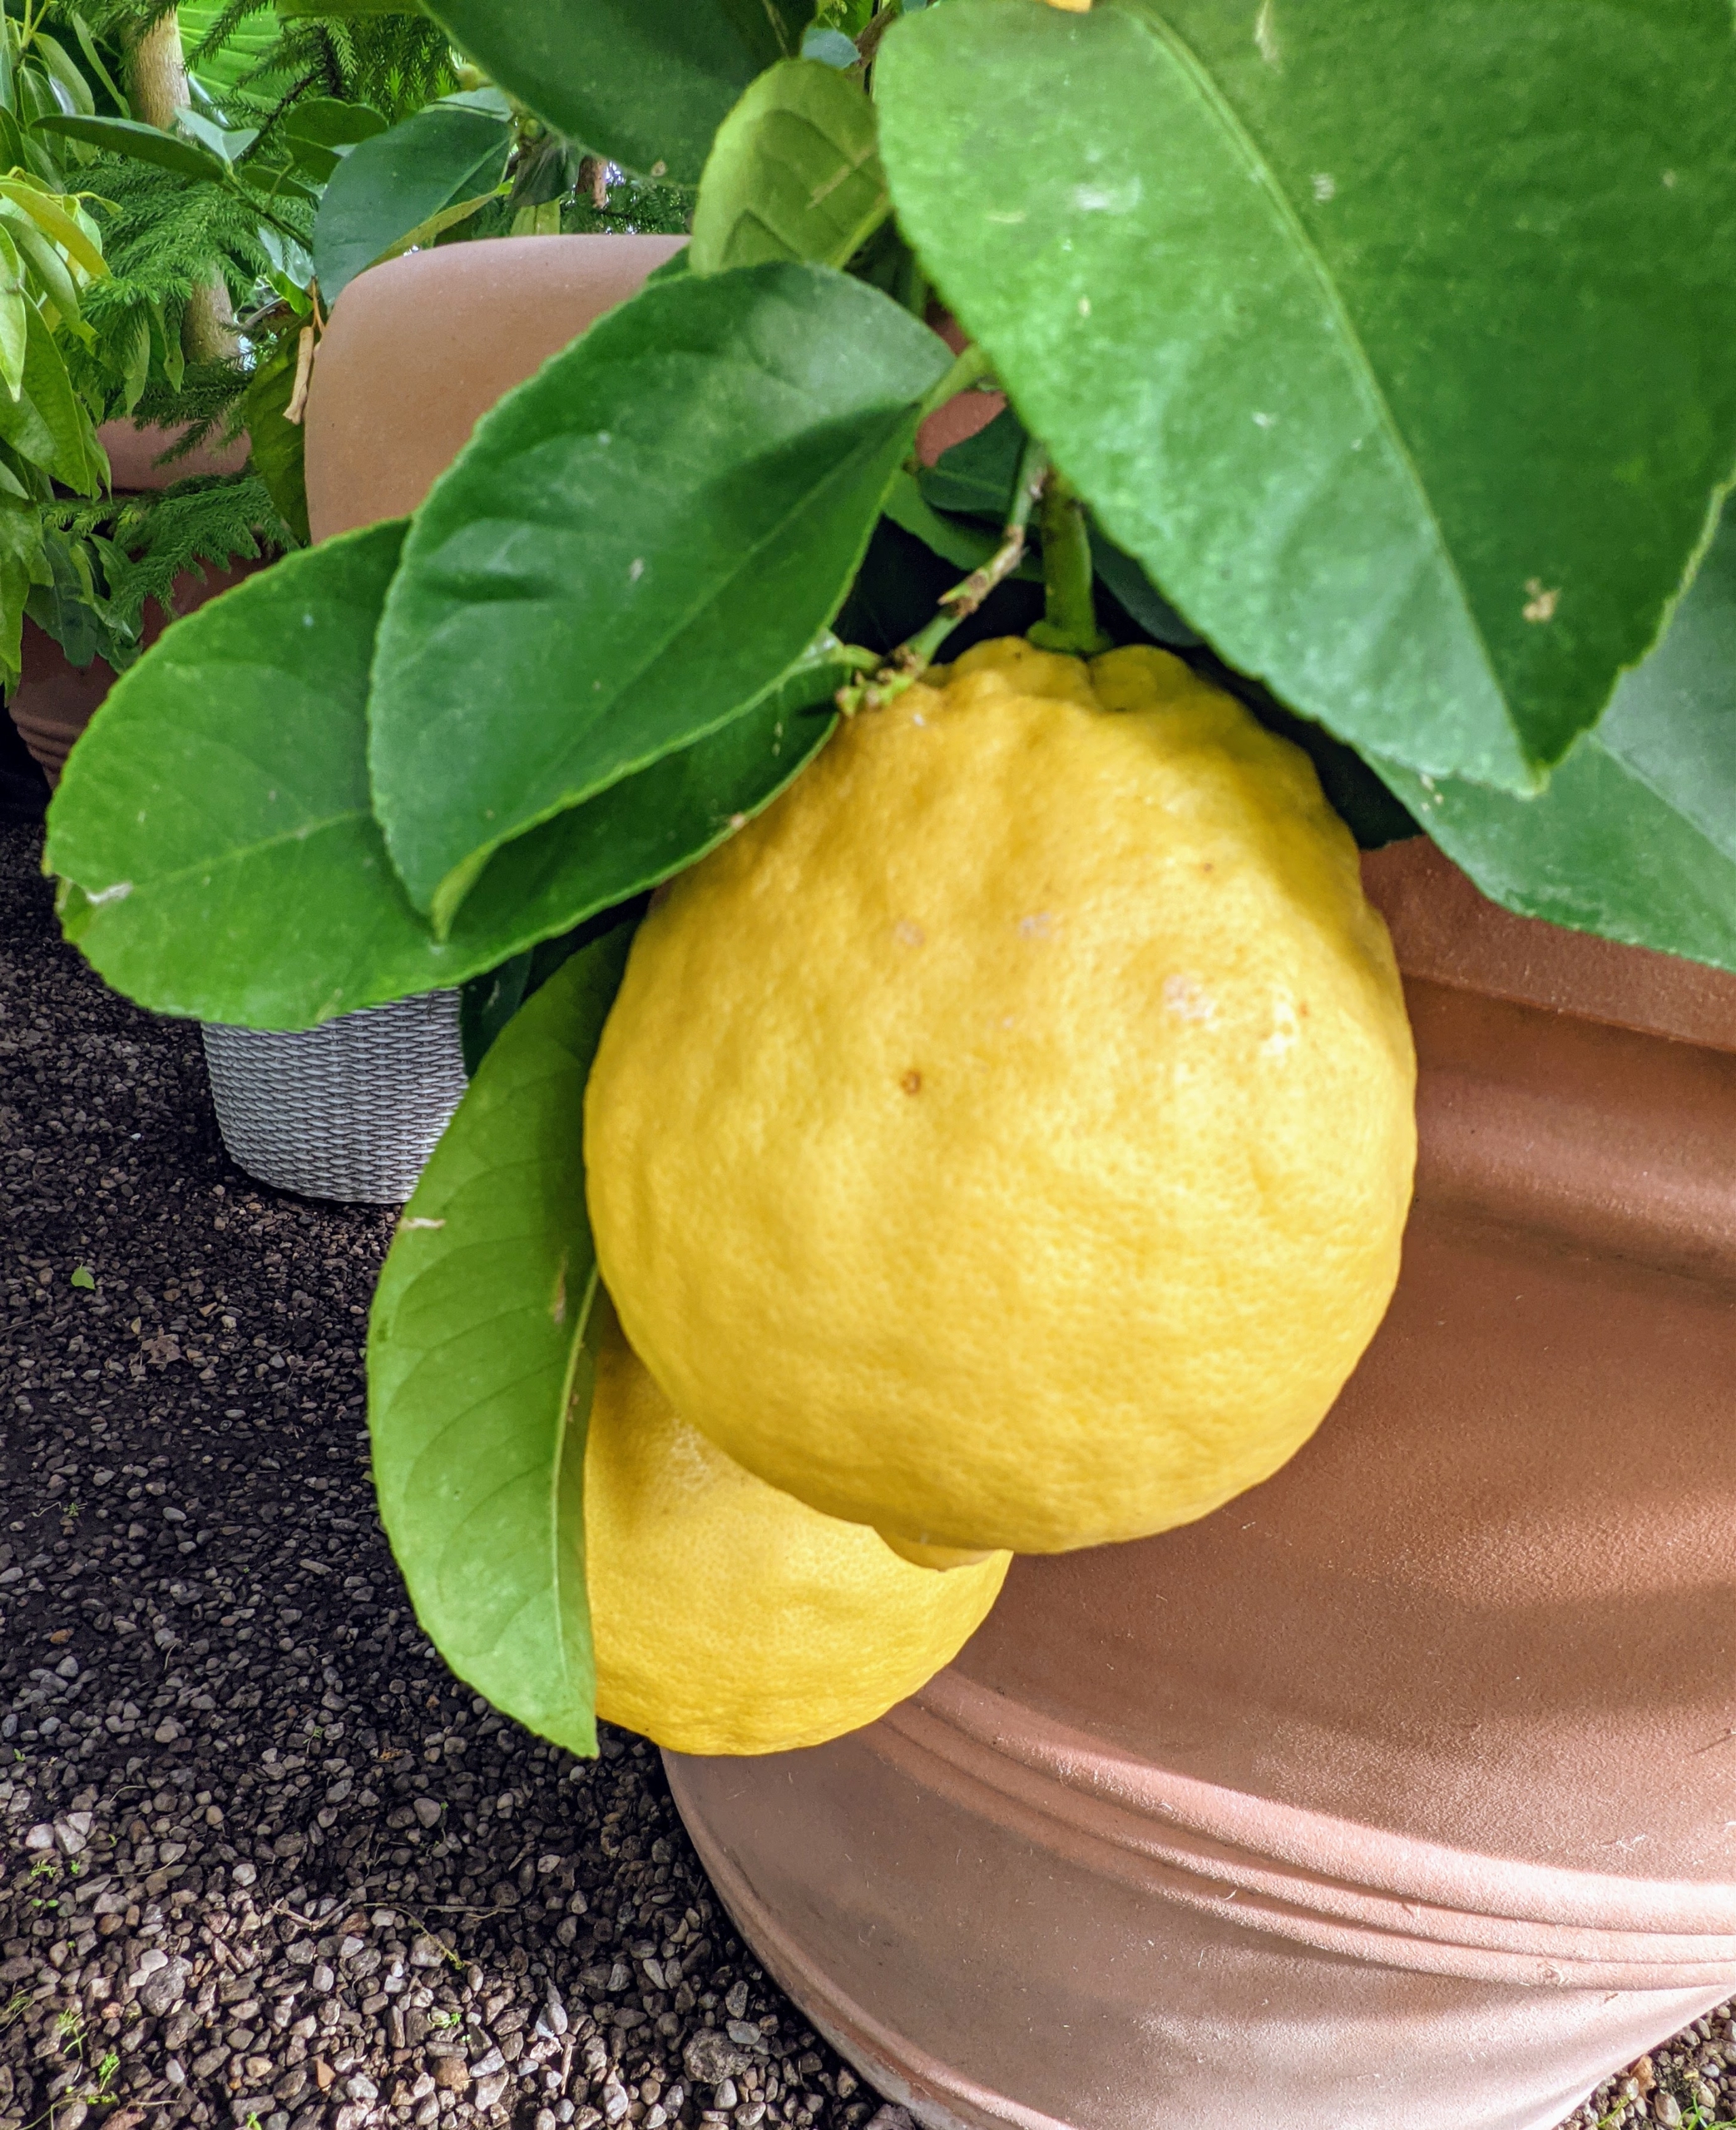
I have many lemon trees. The Meyer lemon was first introduced to the United States in 1908 by the agricultural explorer, Frank Nicholas Meyer, an employee of the United States Department of Agriculture who collected a sample of the plant on a trip to China. Citrus limon ‘Meyer’ is my favorite lemon because this thin-skinned fruit is much more flavorful than the ordinary store-bought. I love to use them for baking and cooking.
Meyer lemons are also smaller and more round than their regular store-bought cousins.
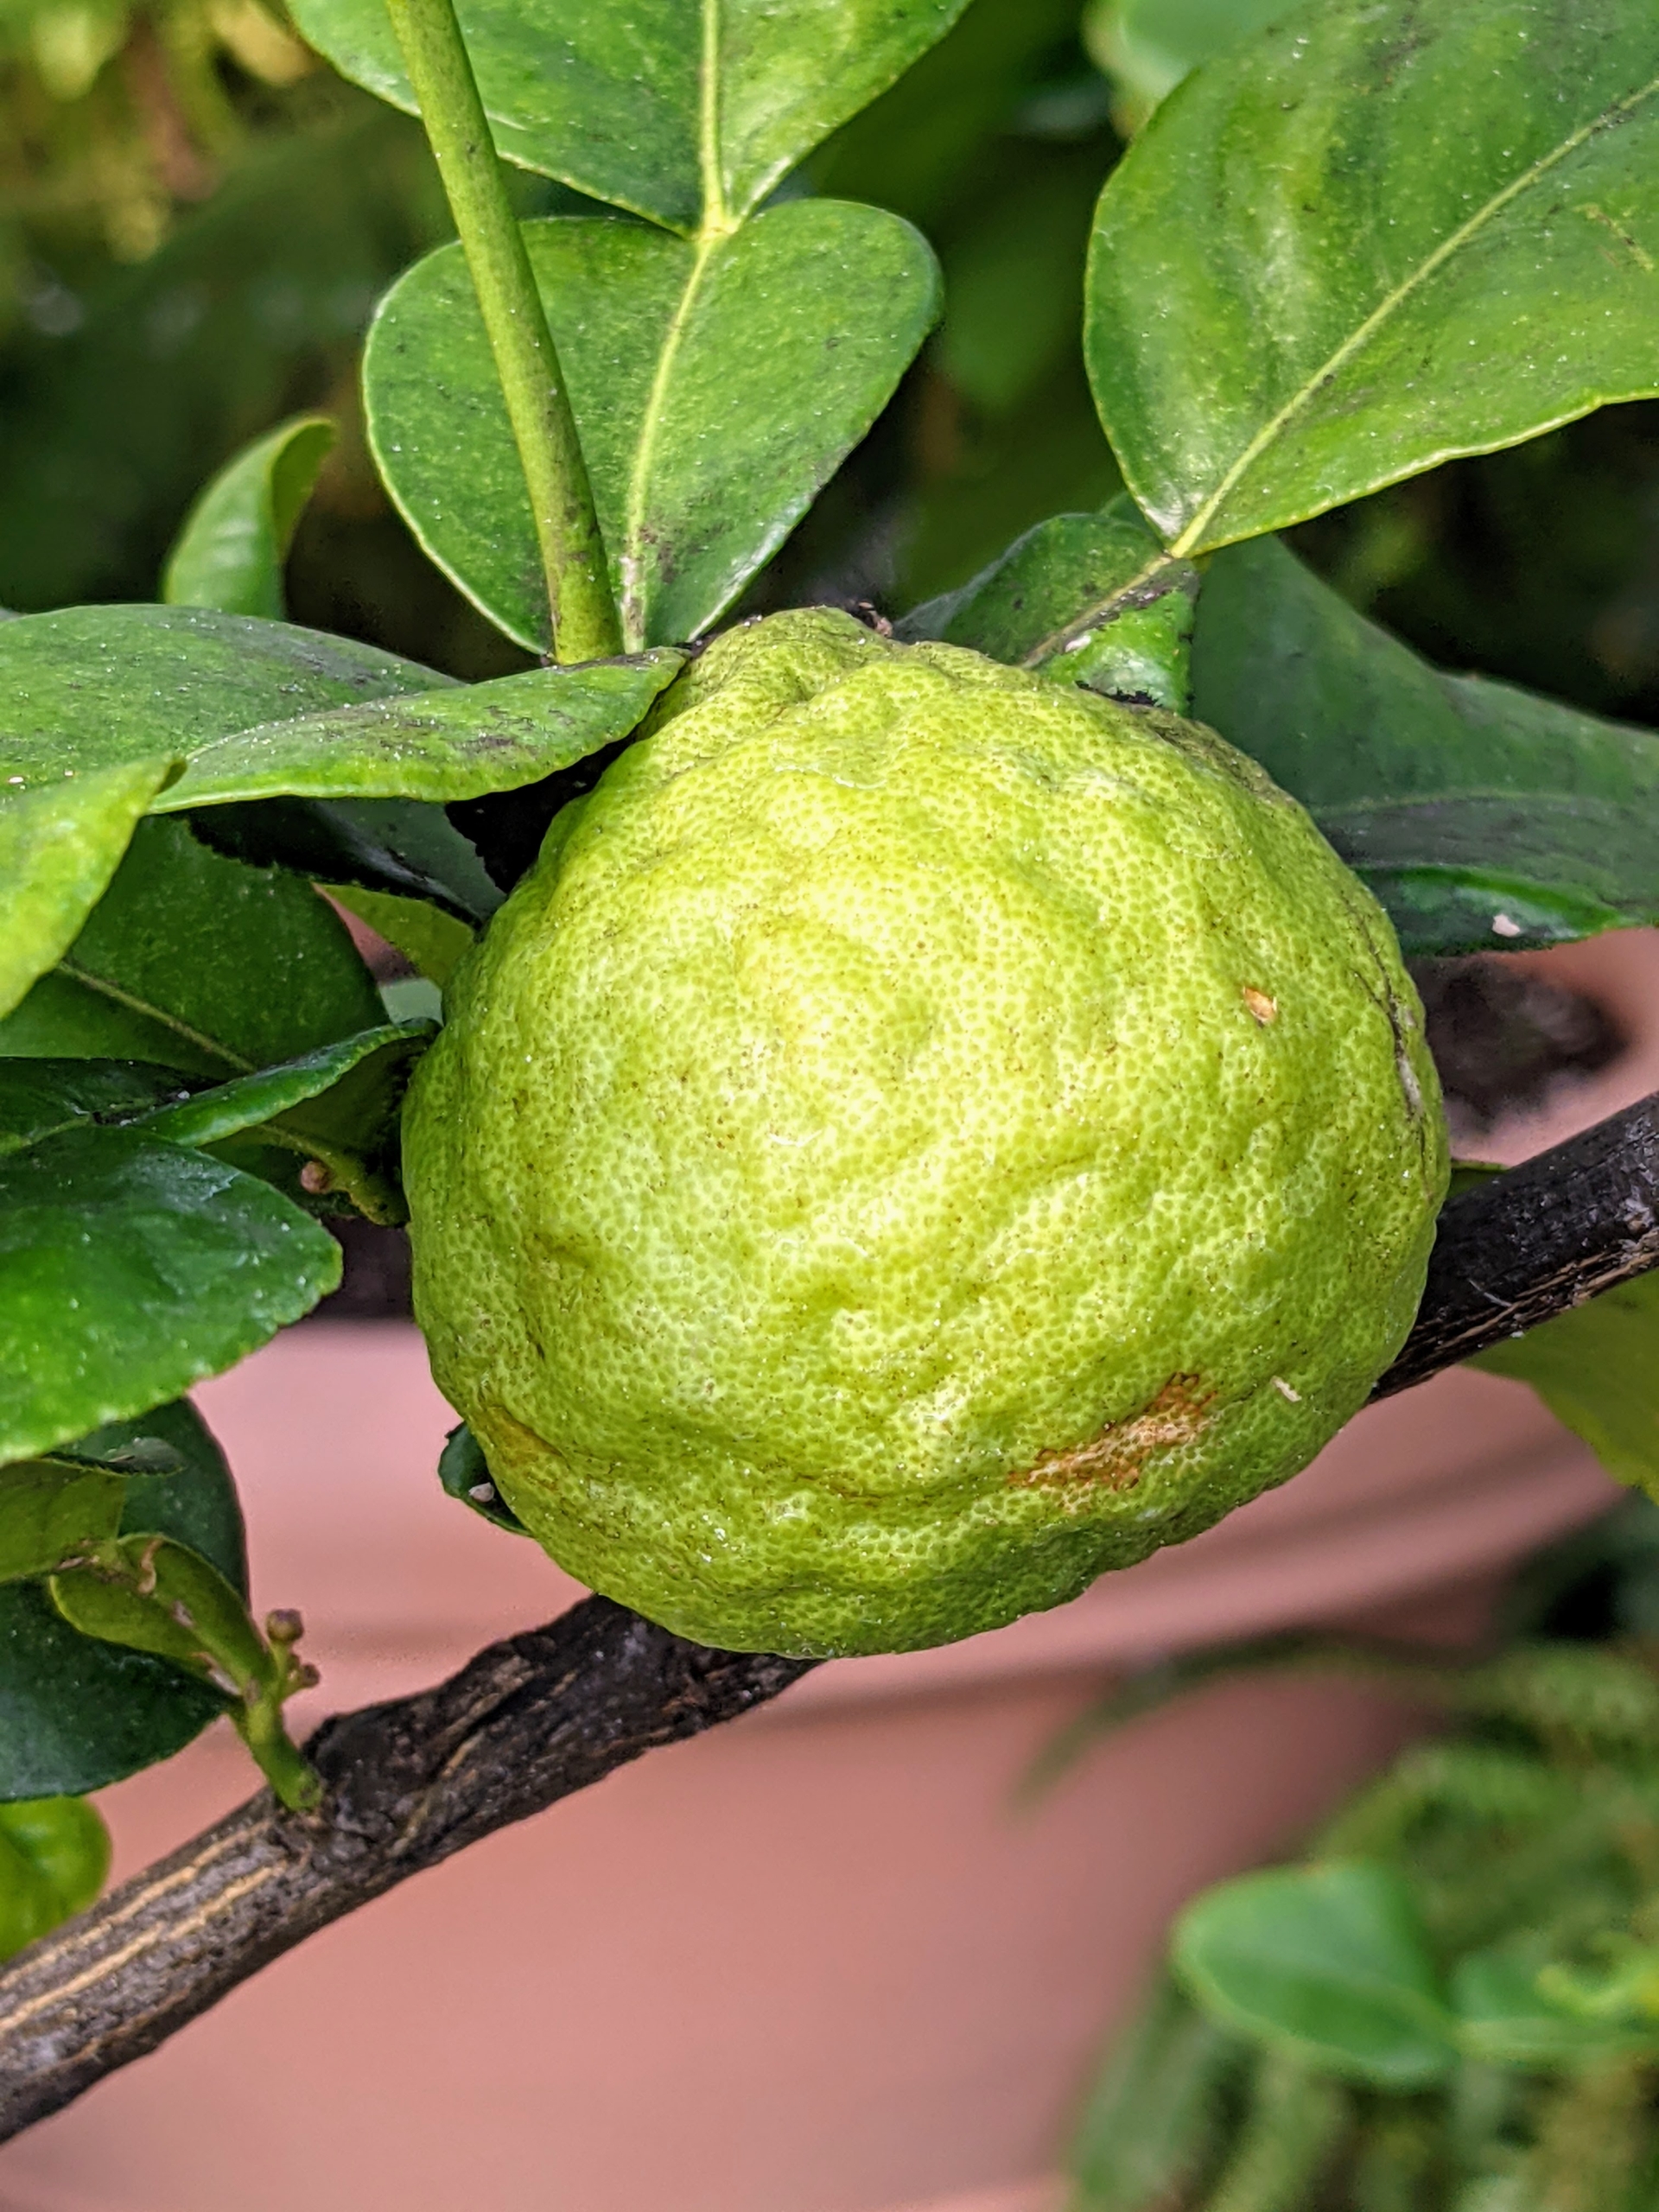
This is a Citrus hystrix, or makrut lime. It is native to tropical Asia, including India, Nepal, Bangladesh, Thailand, Indonesia, Malaysia, and the Philippines. The leaves of this tree are often used in Thai cooking for their delicious flavor and fragrance.
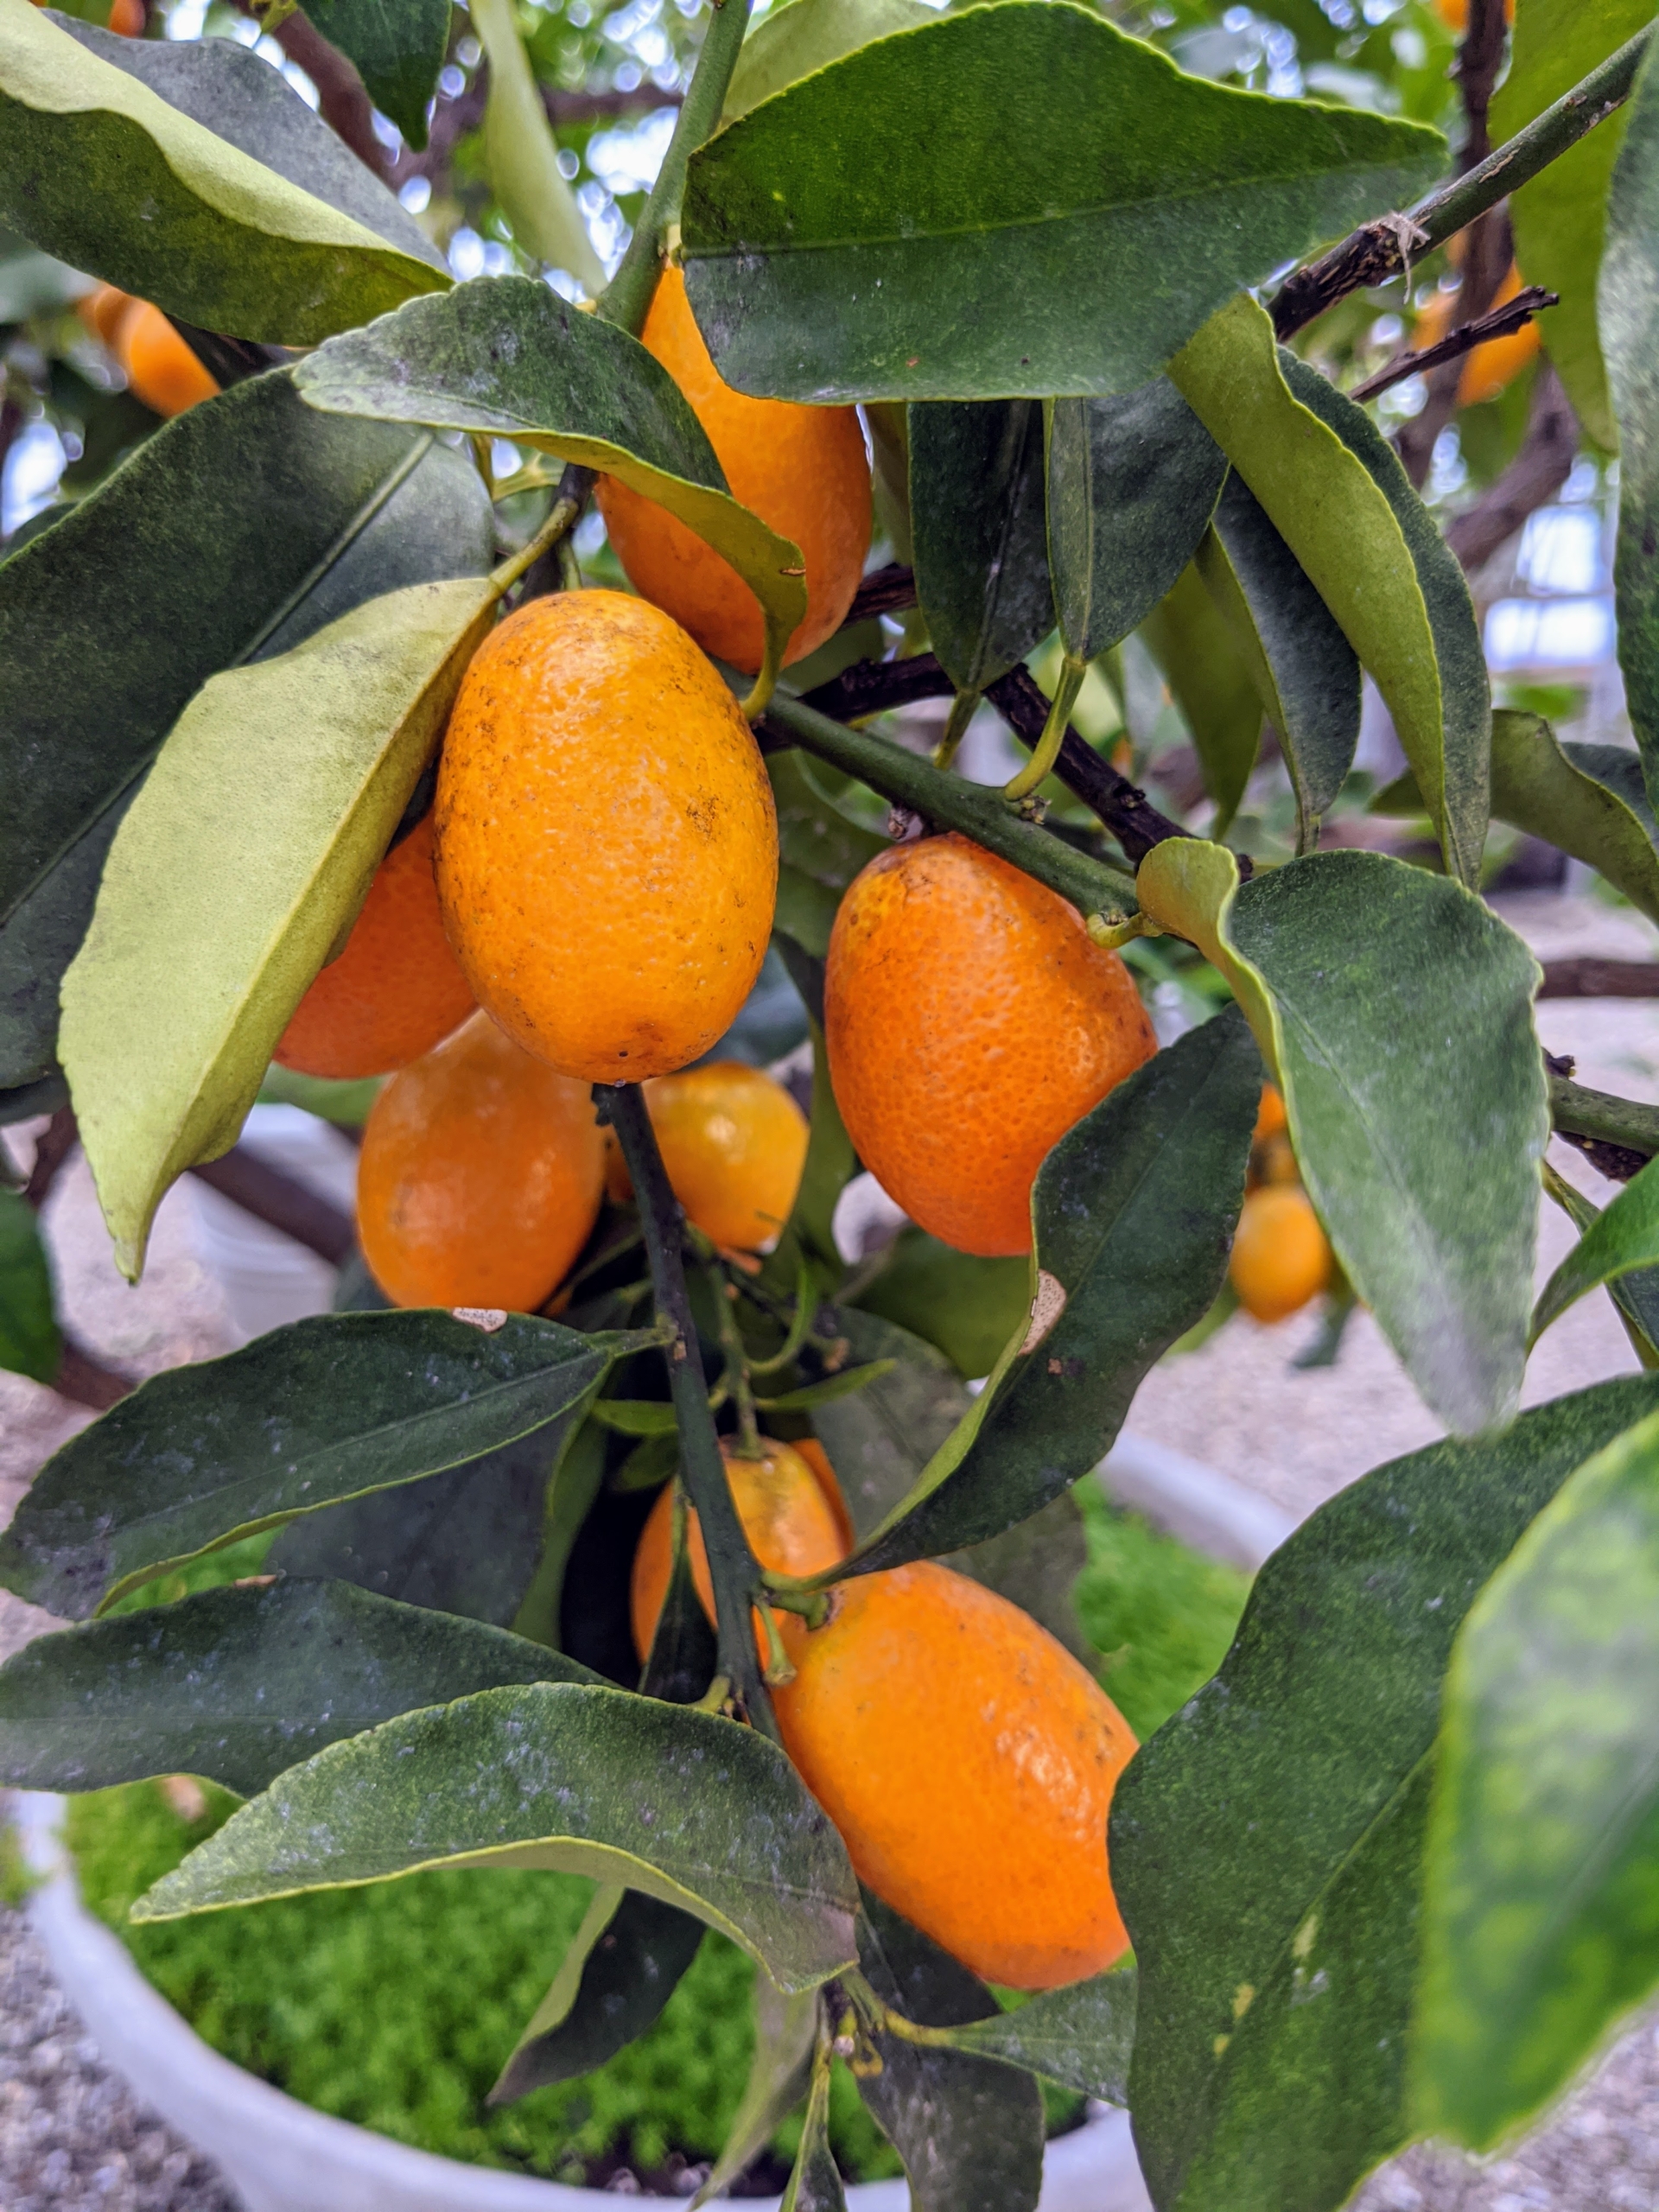
This is a Nagami kumquat, Fortunella margarita – the most commonly grown type of kumquat. The tree is small to medium in size with a dense and somewhat fine texture. These trees are quite cold-hardy because of their tendency to go semi-dormant from late fall to early spring. Unlike other citrus fruits, which have thick, pithy rinds, kumquat peel is thin and soft, and perfectly edible.
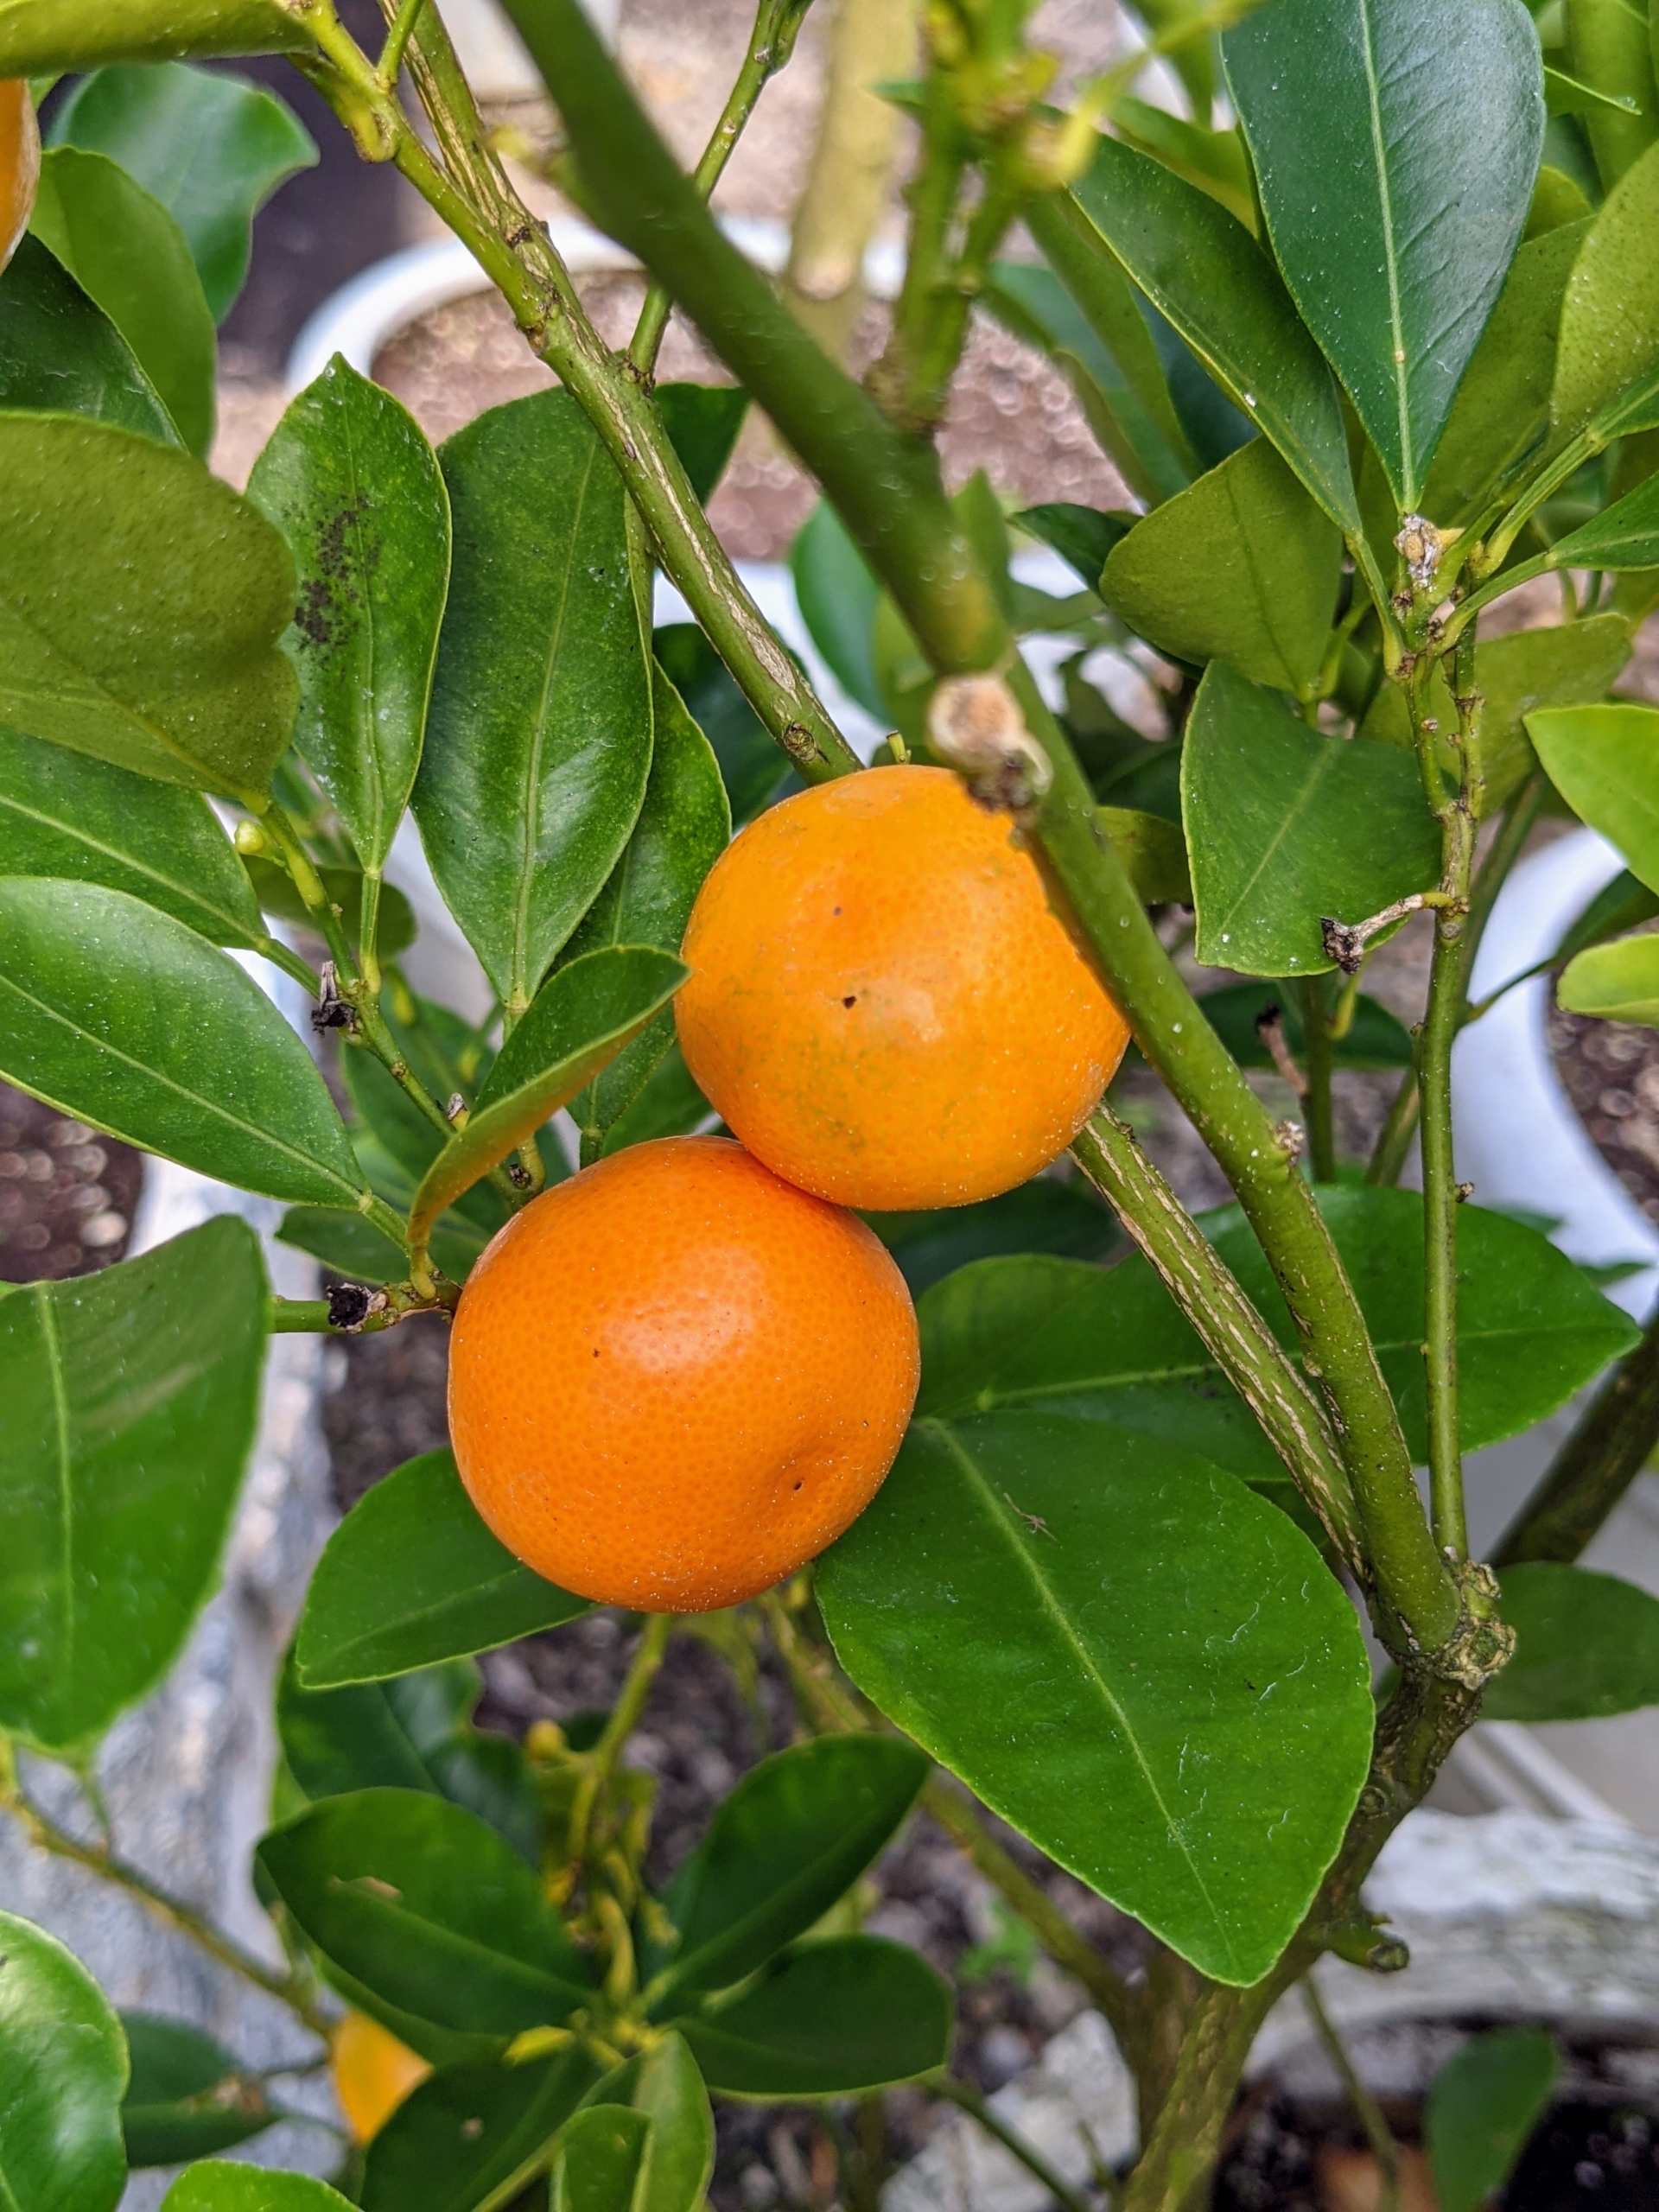
Calamondin, Citrus mitis, is an acid citrus fruit originating in China. Calamondin is called by many names, including calamondin orange, calamansi, calamandarin, golden lime, and musk orange.
The fruits of the calamondin are small and thin skinned. Its juice can be used like lemon or lime to make refreshing beverages, or to flavor fish and various soups.
These calamondins are still young and green. One calamondin is about 12-calories and like all citrus, packed with vitamin-C.
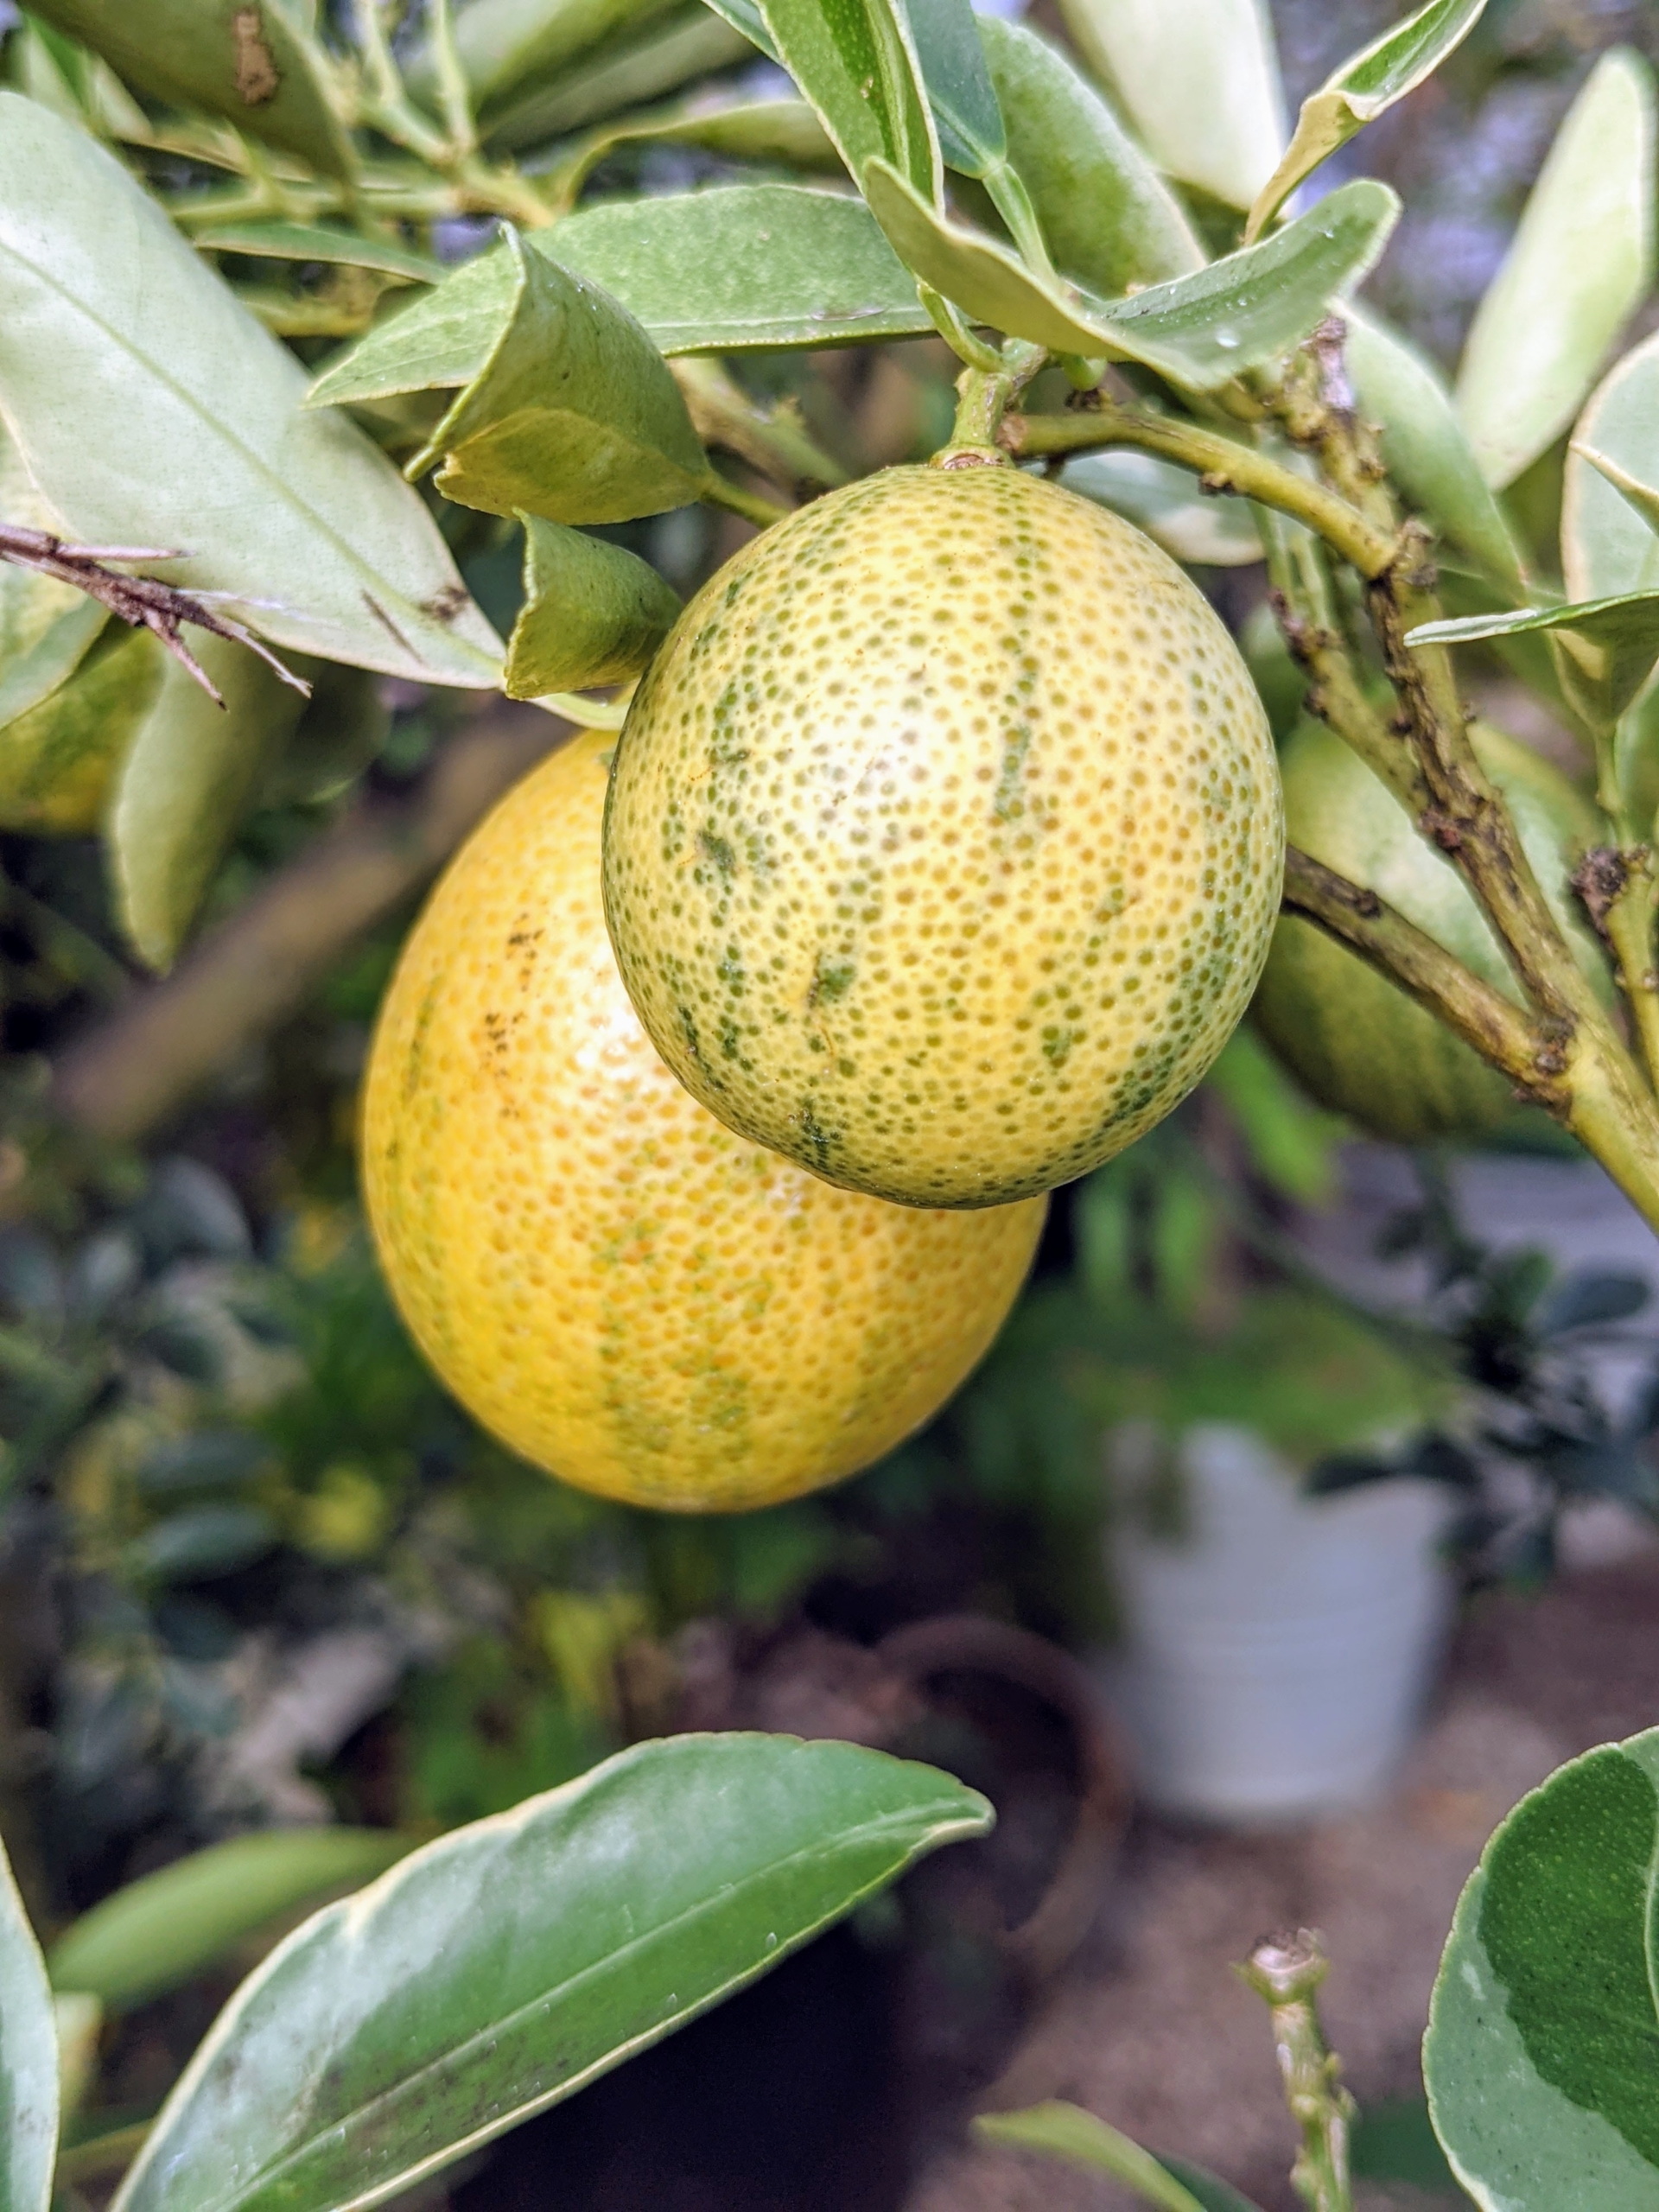
This is citrus hybrid I purchased in Florida during a recent visit – I love its striped fruit pattern.
And here is another – I always look out for rare and interesting varieties. This fruit has classic yellow skin but bearing vertical stripes of green.
The leaves are also marked with cream and soft green.
Citrus flowers are either solitary or clustered – and one can practically smell their beautiful aroma.
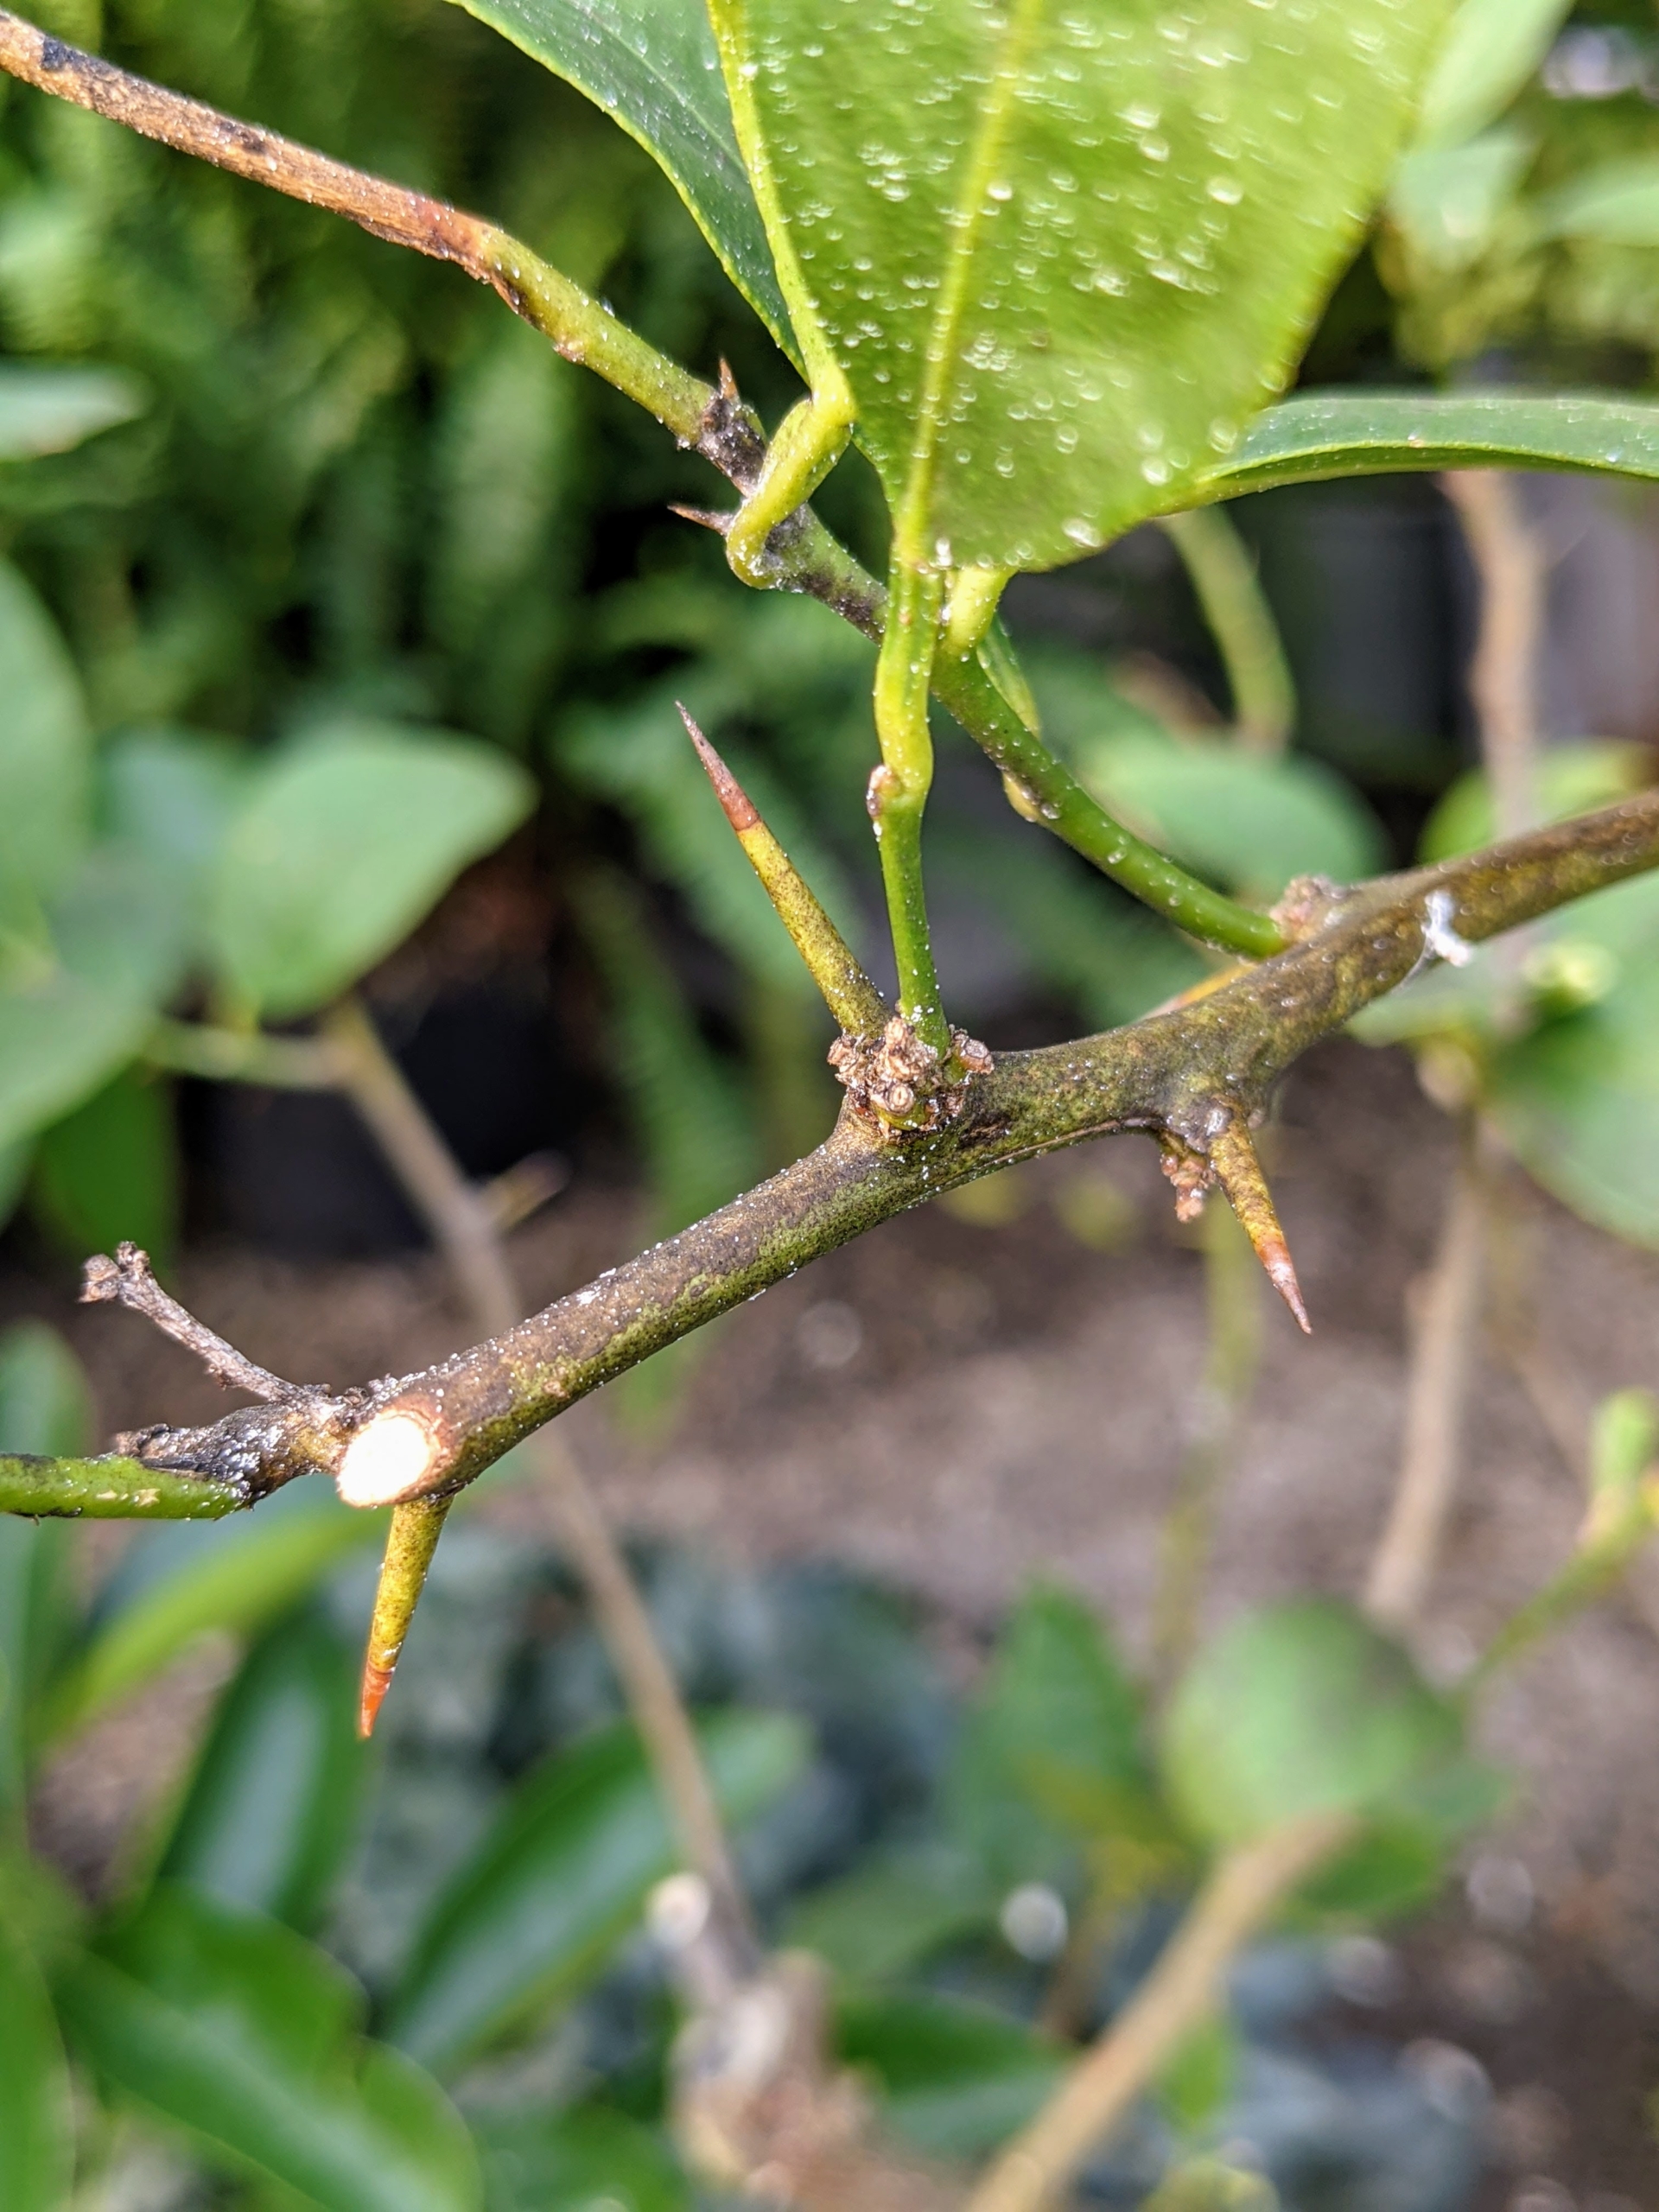
All citrus fruits are members of the genus Citrus and many of them have thorns on their trees. Some of the most common citrus trees to sport thorns are Meyer lemons, most grapefruits and key limes. Thorns provide protection from predators, specifically hungry animals that want to nibble away at the tender leaves and fruit.
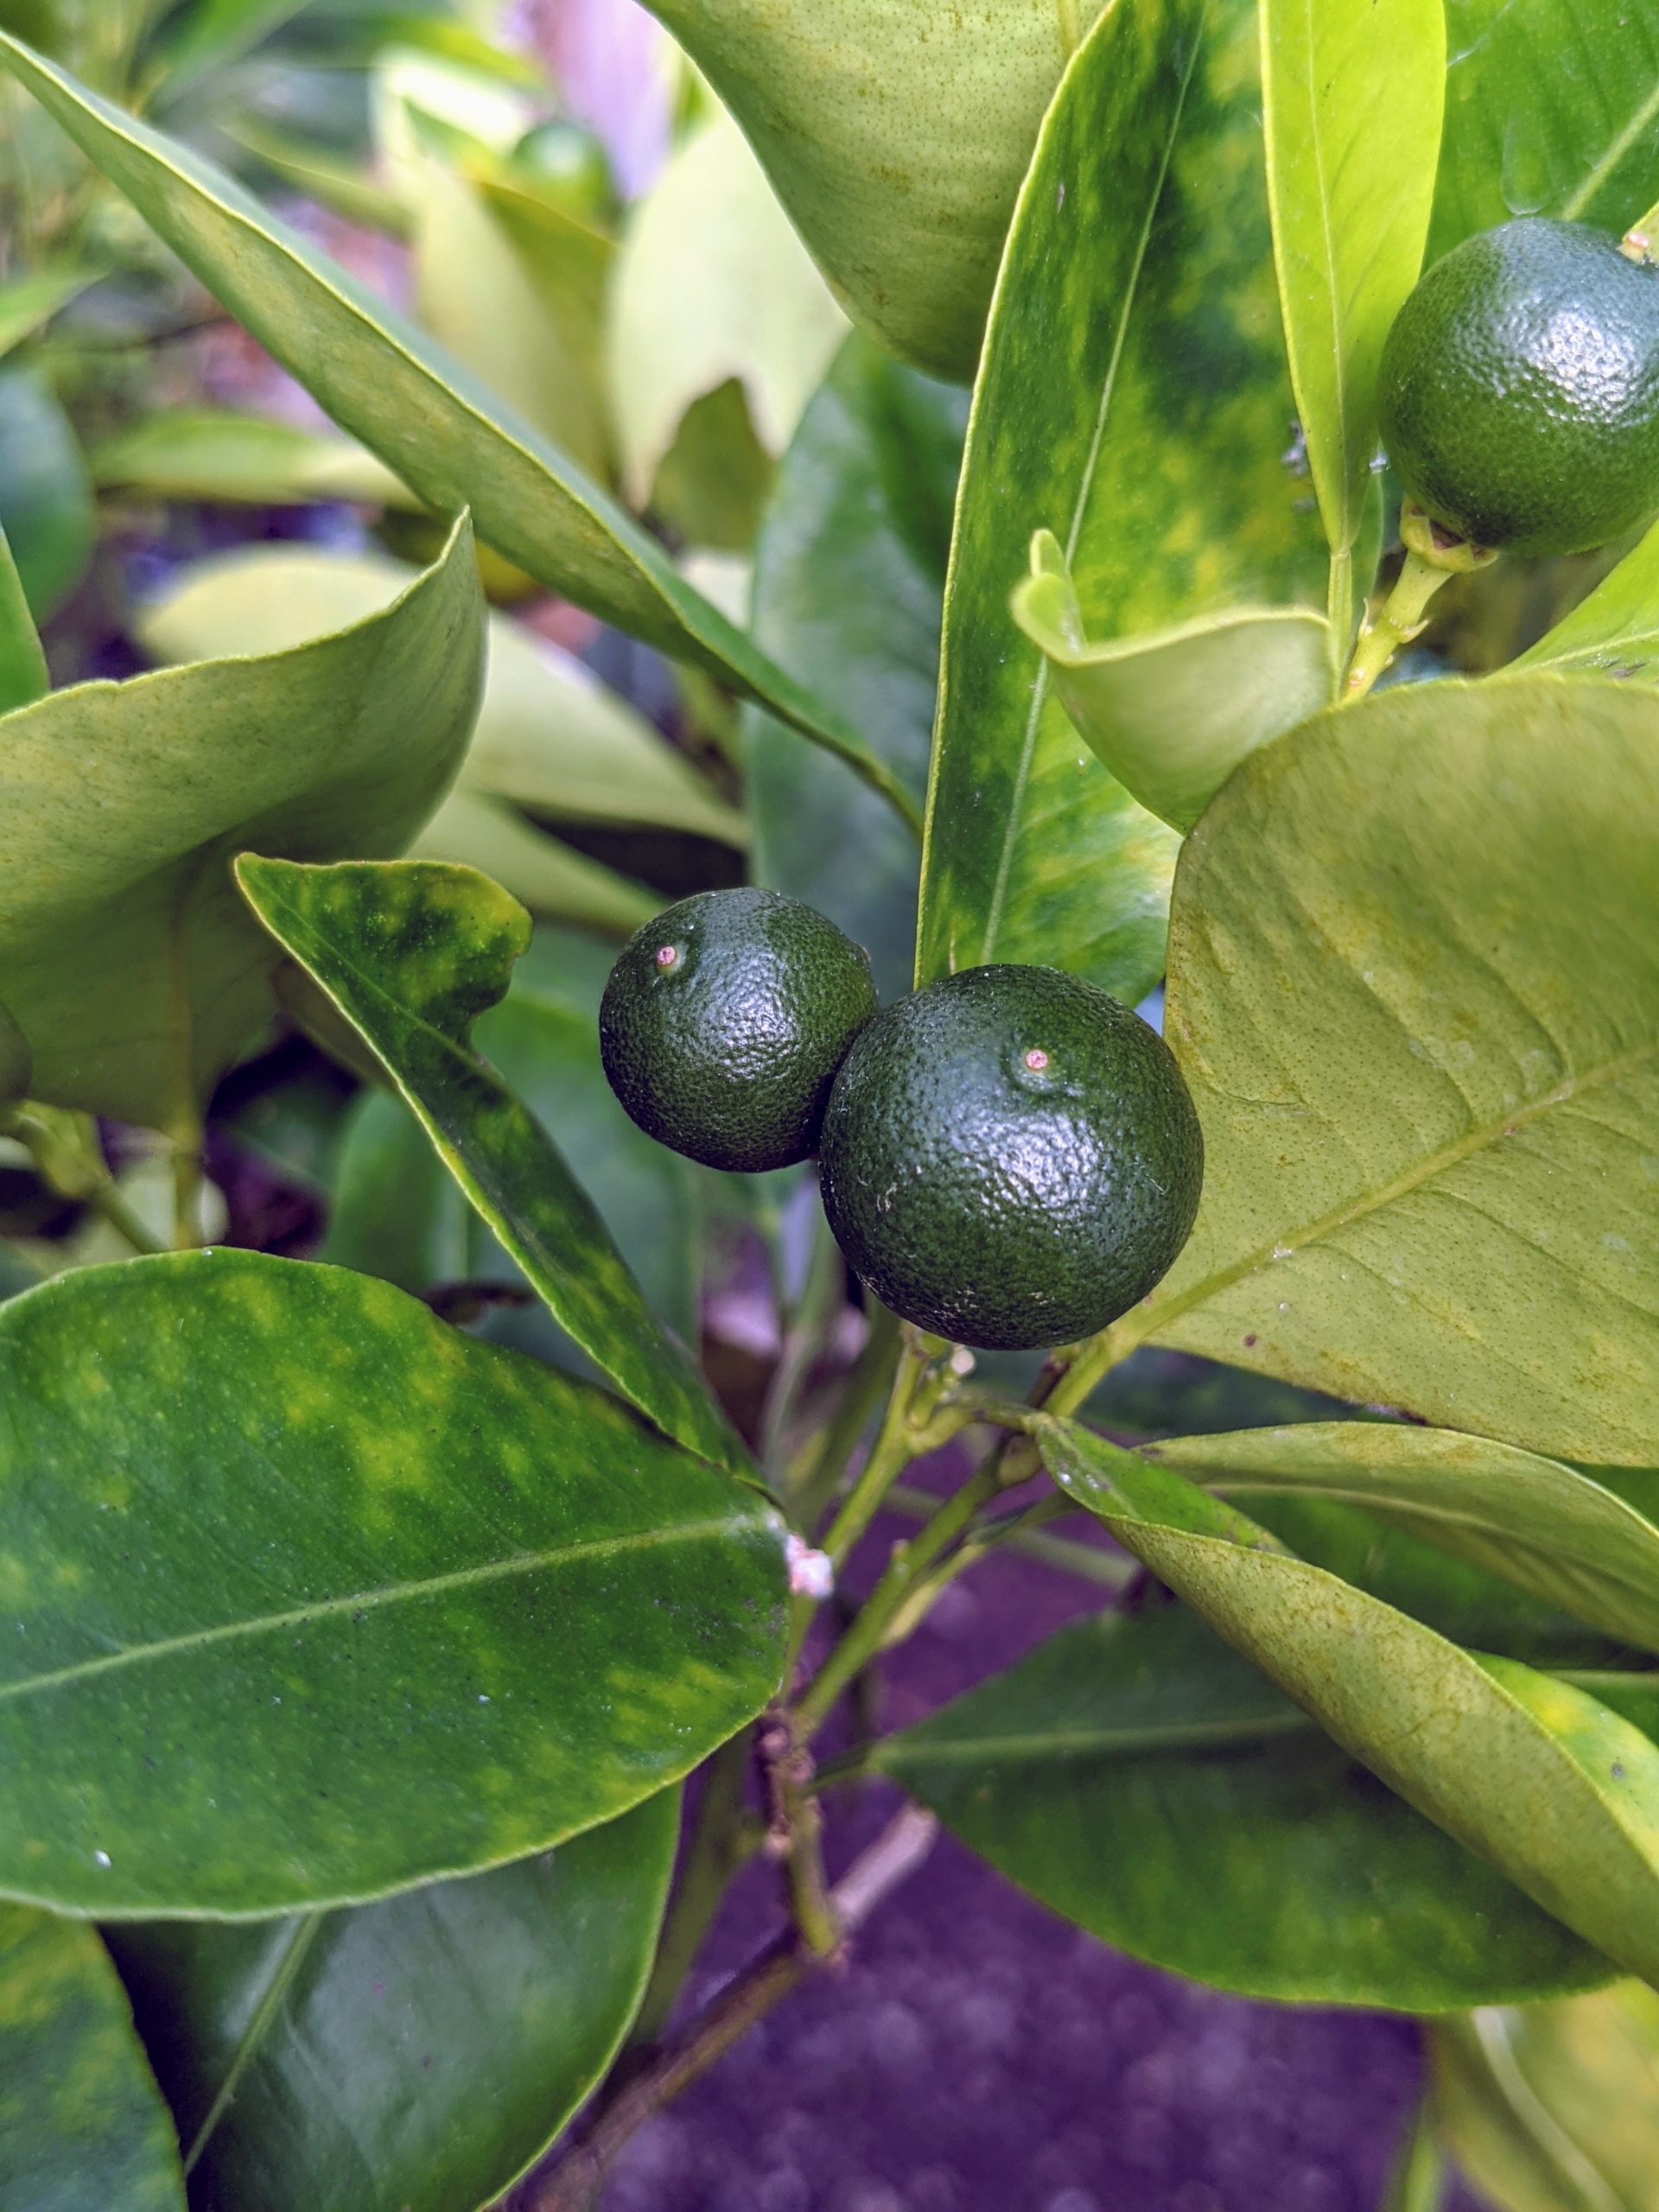
Another citrus bearing fruit right now is the Citrus australasica, the Australian finger lime or caviar lime. Australian limes are a species of the plant genus Citrus that are native to Australia and Papua New Guinea. They have a minty, citrus aroma with a tangy, sweet, and slightly sour, floral, lemon-lime flavor.
It’s important to store the plants so none of them touch. This prevents a lot of diseases from being transferred specimen to specimen.
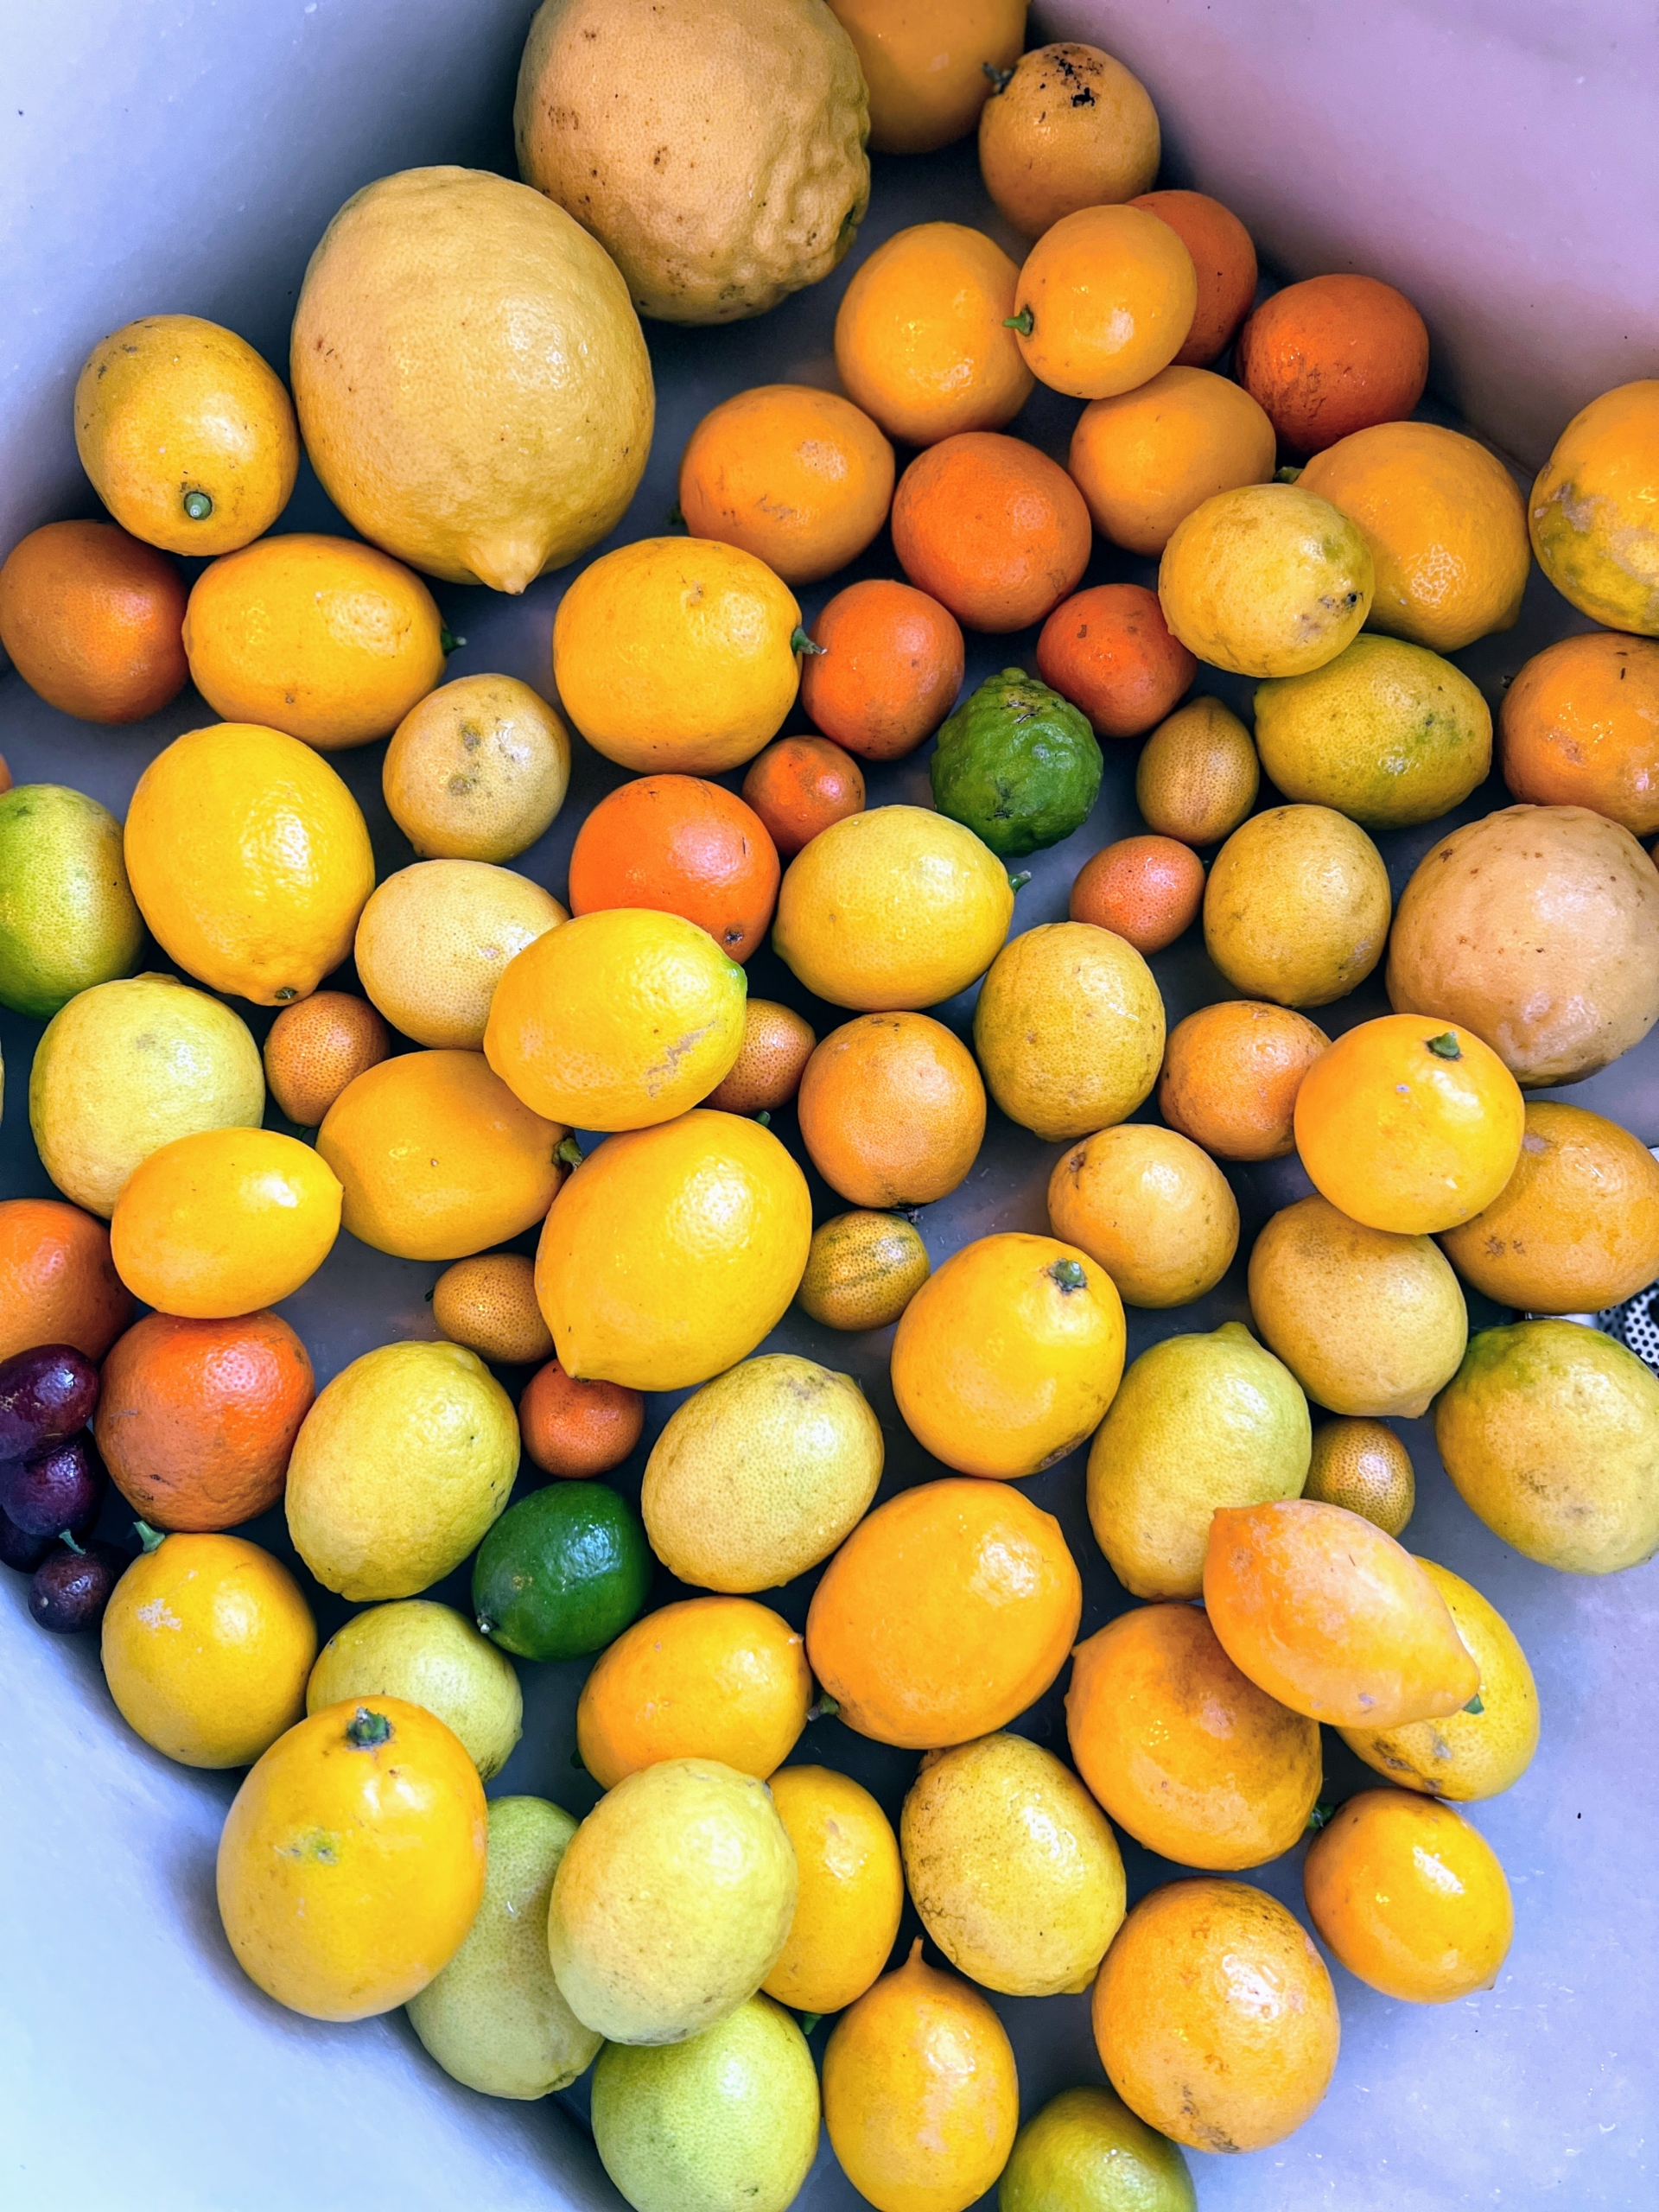
Here’s one full bucket of various citrus fruits. I always have enough lemons for whatever I need. I can’t recall the last time I actually bought a lemon.
Citrus sinensis ‘Trovita’ is thin skinned and develops without the excessive heat most oranges need to produce good fruit. The fruit is smaller, juicier, and milder in flavor.
And this is my beautiful Citrus limon ‘Ponderosa’ or ‘The American Wonder Lemon’ – this plant produces a thick mass of highly fragrant flowers, which become tiny lemons. Those lemons get bigger and bigger, often up to five pounds! This ‘Ponderosa’ citrus tree is pretty large, so it is always stored in the front just behind the doors.
Here’s a closeup of one of its fruits – it is bigger than the palm of one’s hand.
Once all the fruits are harvested, they are brought up to my Winter House where they are cleaned and placed into my refrigerator. It is so nice to know I can grow all these wonderful fruits right here at my farm. I only wish I had a bigger greenhouse, so I could grow many, many, many more — maybe one day.