This holiday season, please stop by a winter market or crafts fair where you live and support local makers - it's a great way to meet the artisans and learn about their specialties.
Over the weekend, I drove up to Stissing House for its third annual Holiday Craft Feast. Stissing House is a charming country restaurant in the historic town of Pine Plains, New York in Duchess County. For two days, Stissing House opened its doors to 50 collectors and craftspeople selling many collectibles and handmade items such as pottery, baskets, woven textiles, jewelry, knits, etc. Hundreds of ticketed guests walked through the space and shopped. There were carolers, craft projects, and lots of refreshments. It was a wonderful place to meet entrepreneurs, shop for gifts, and celebrate the holidays.
Enjoy these photos - most were taken by my grandnephew Silas Slater.
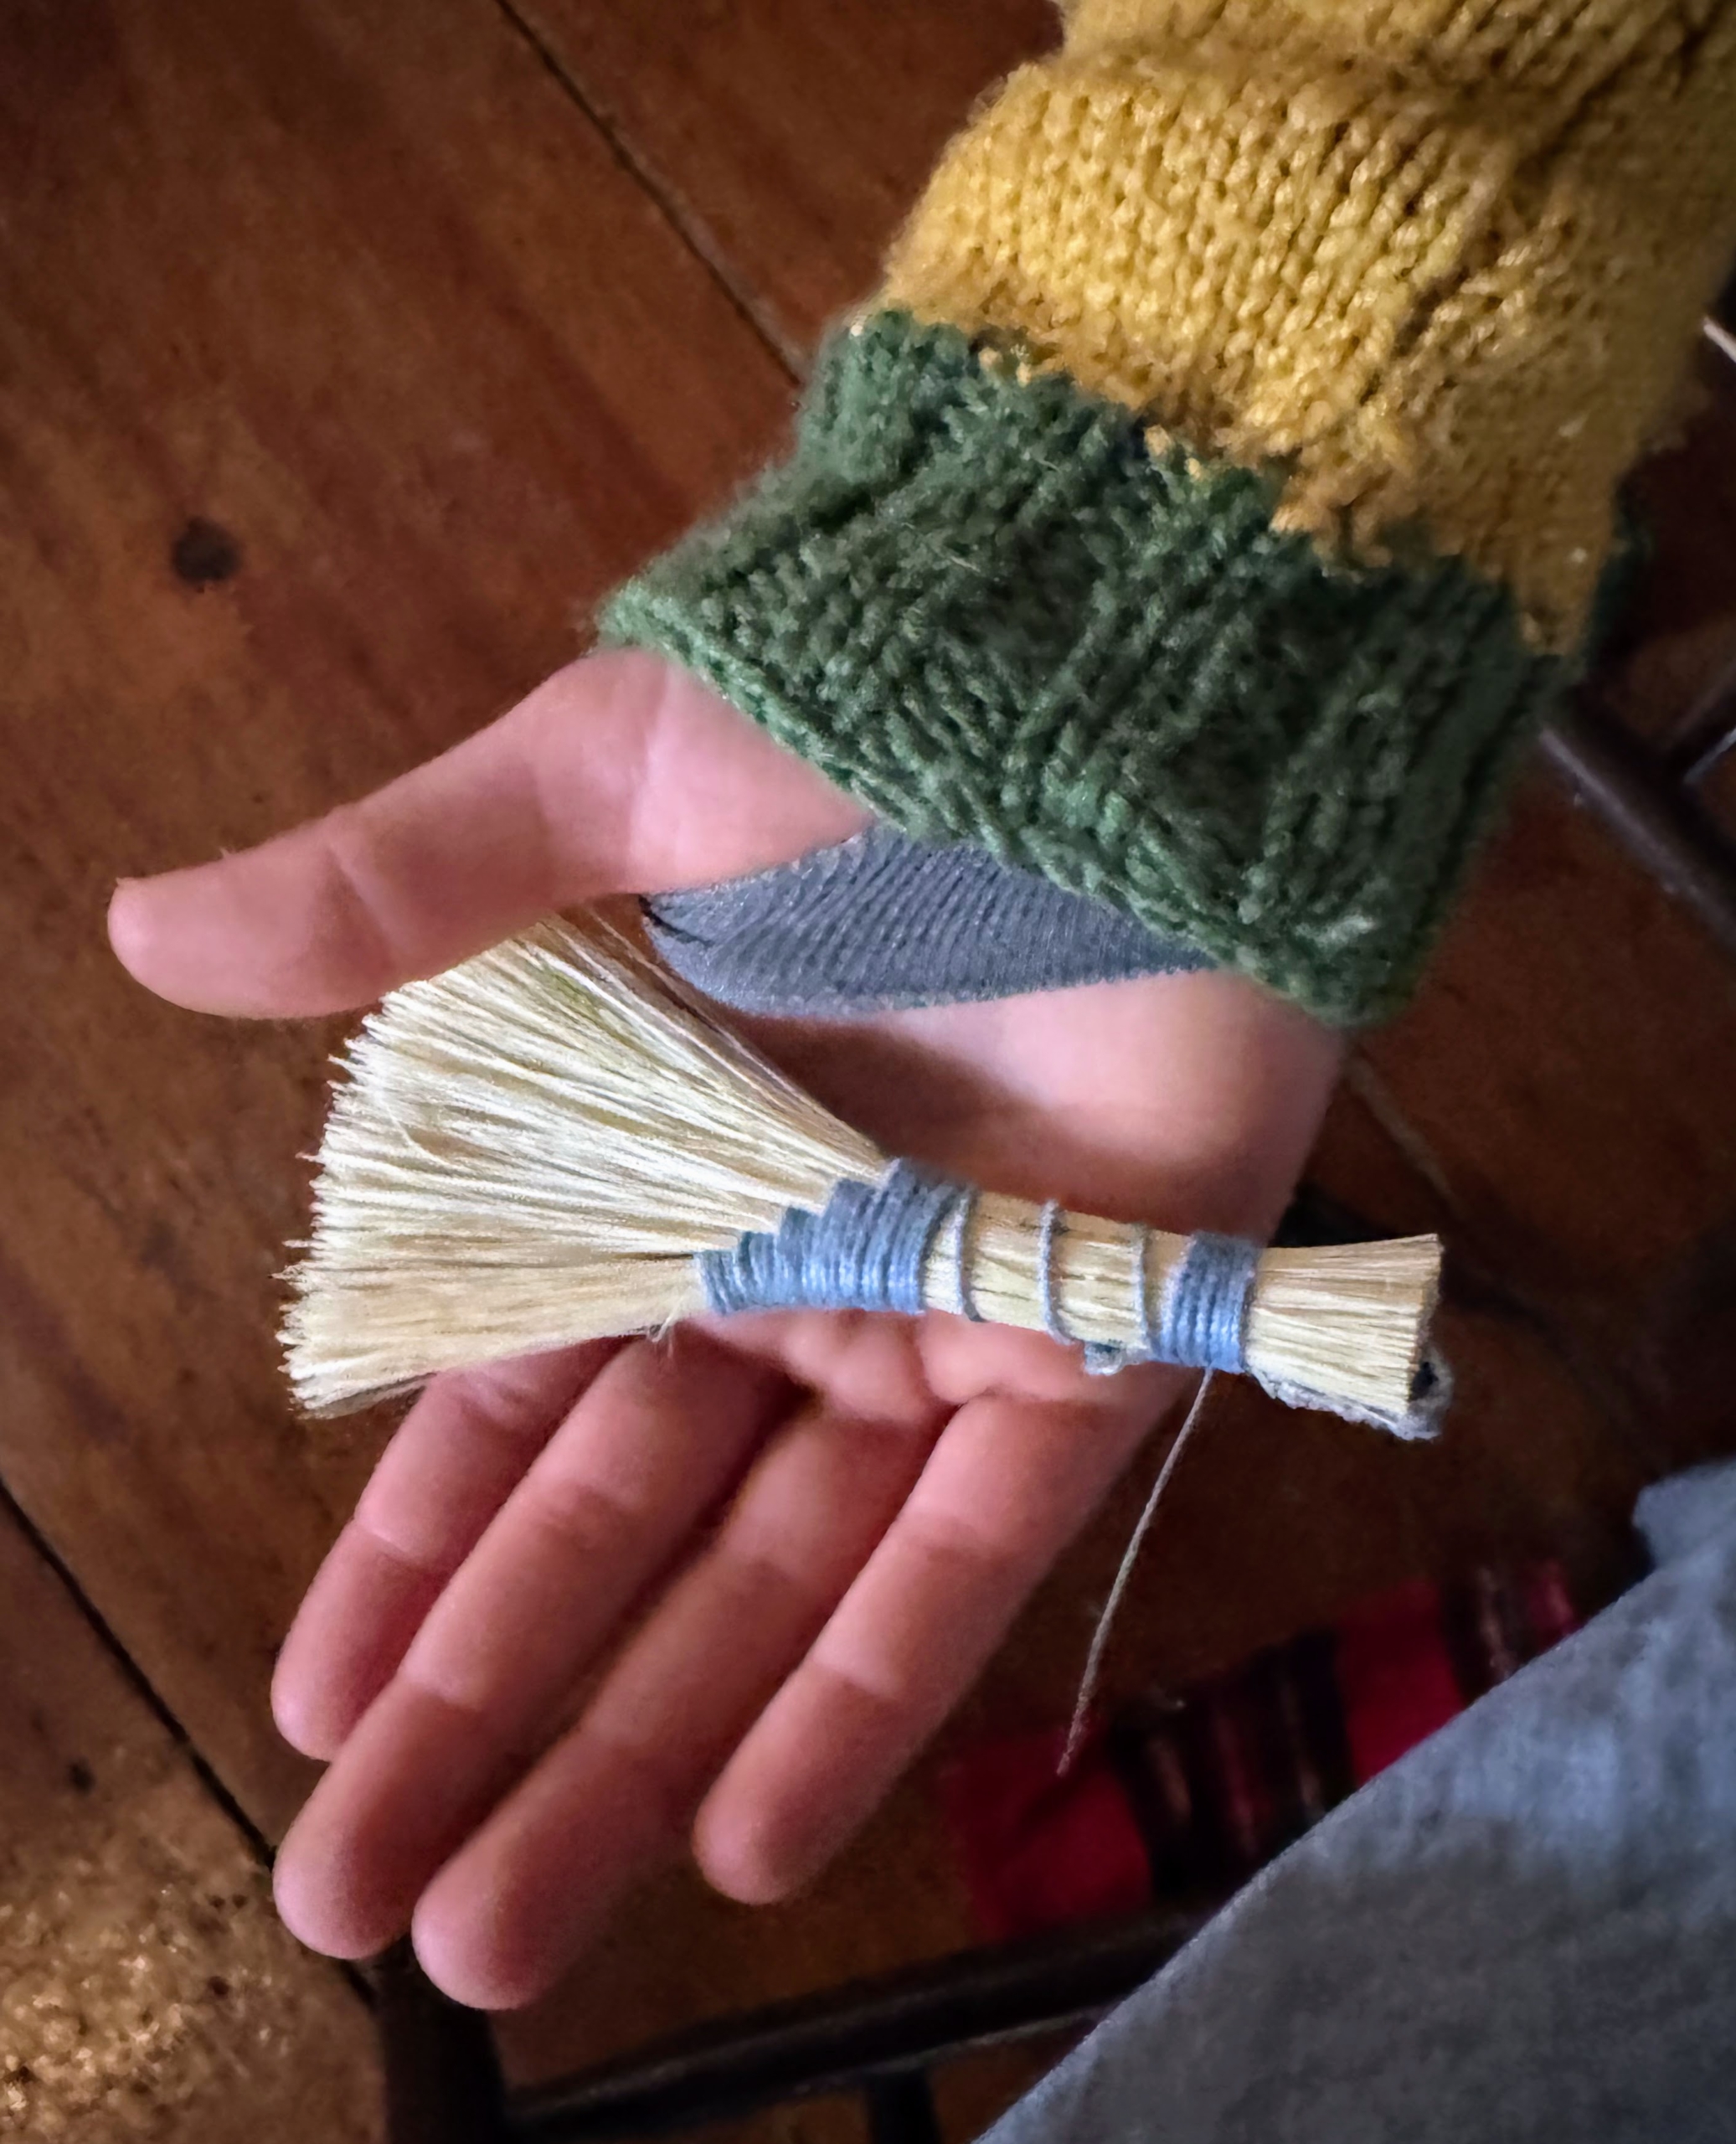
I attended the event with my niece, Sophie Herbert Slater, her handsome son Silas, and my dear friend Terre Blair. Silas took most of these photos – he is an excellent photographer. The brooms I bought are from Custodian Studio.
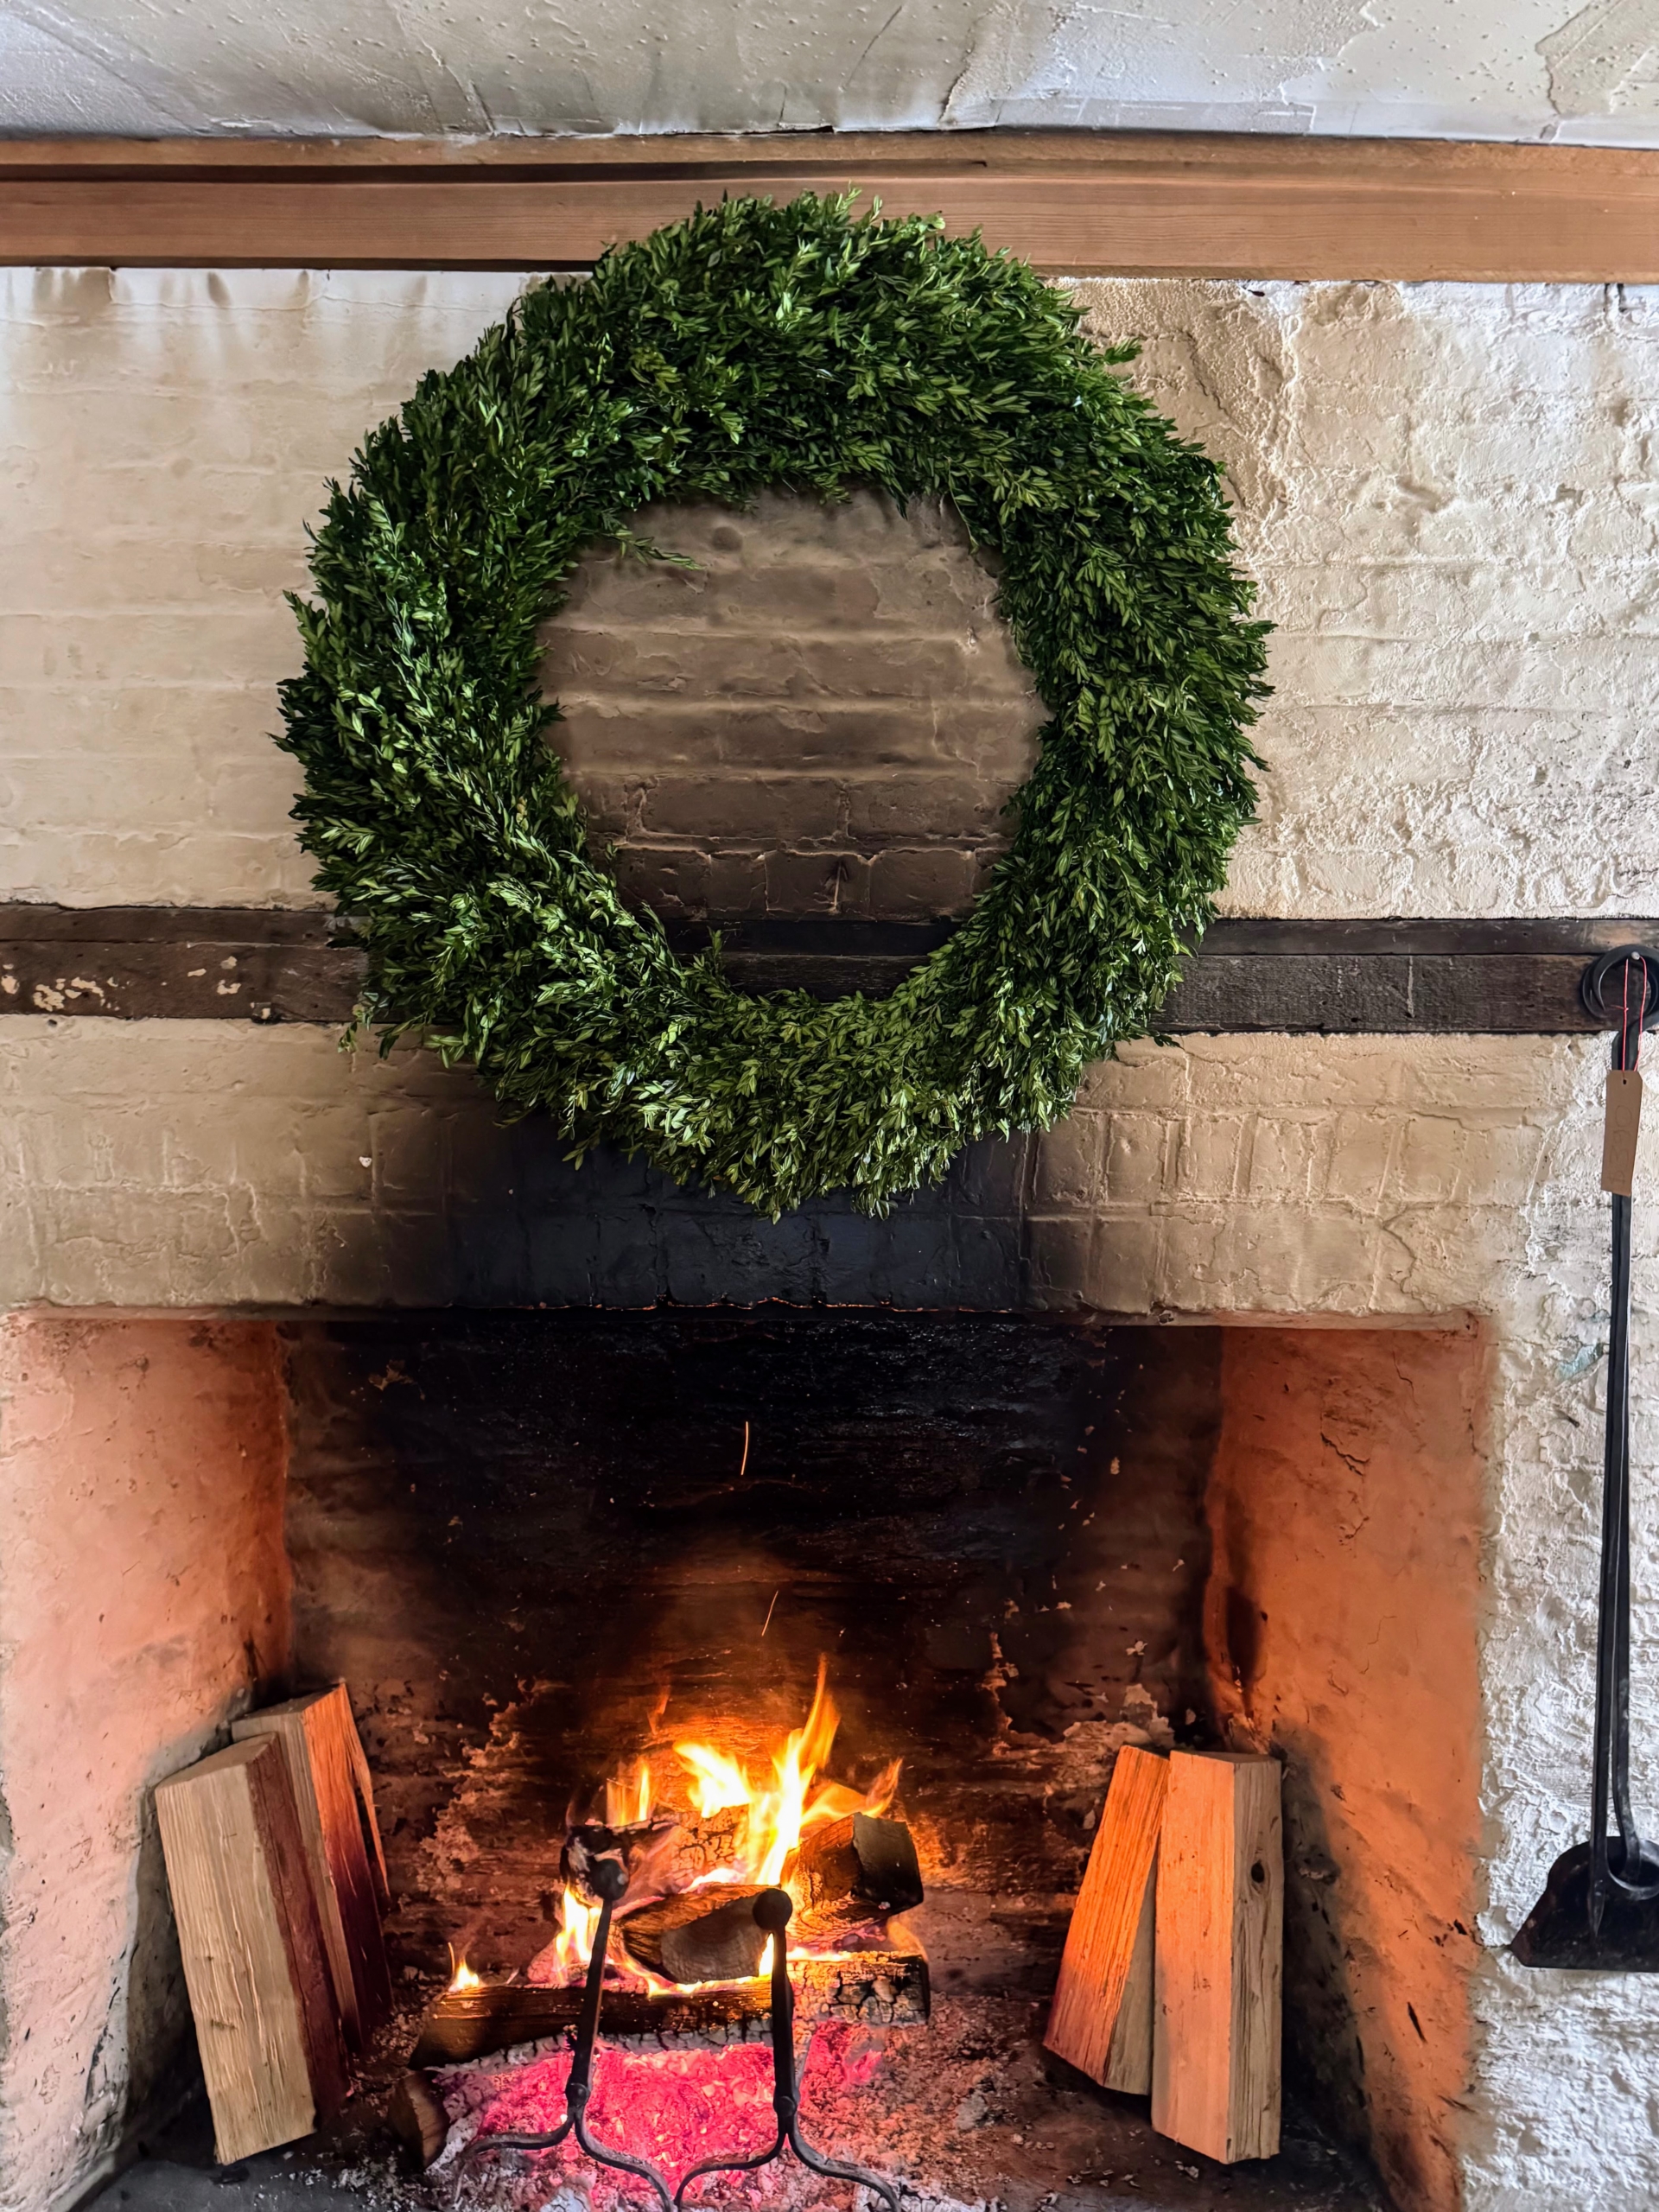
It was a very cold day in the Northeast, but inside it was warm, cozy, and filled with holiday cheer.
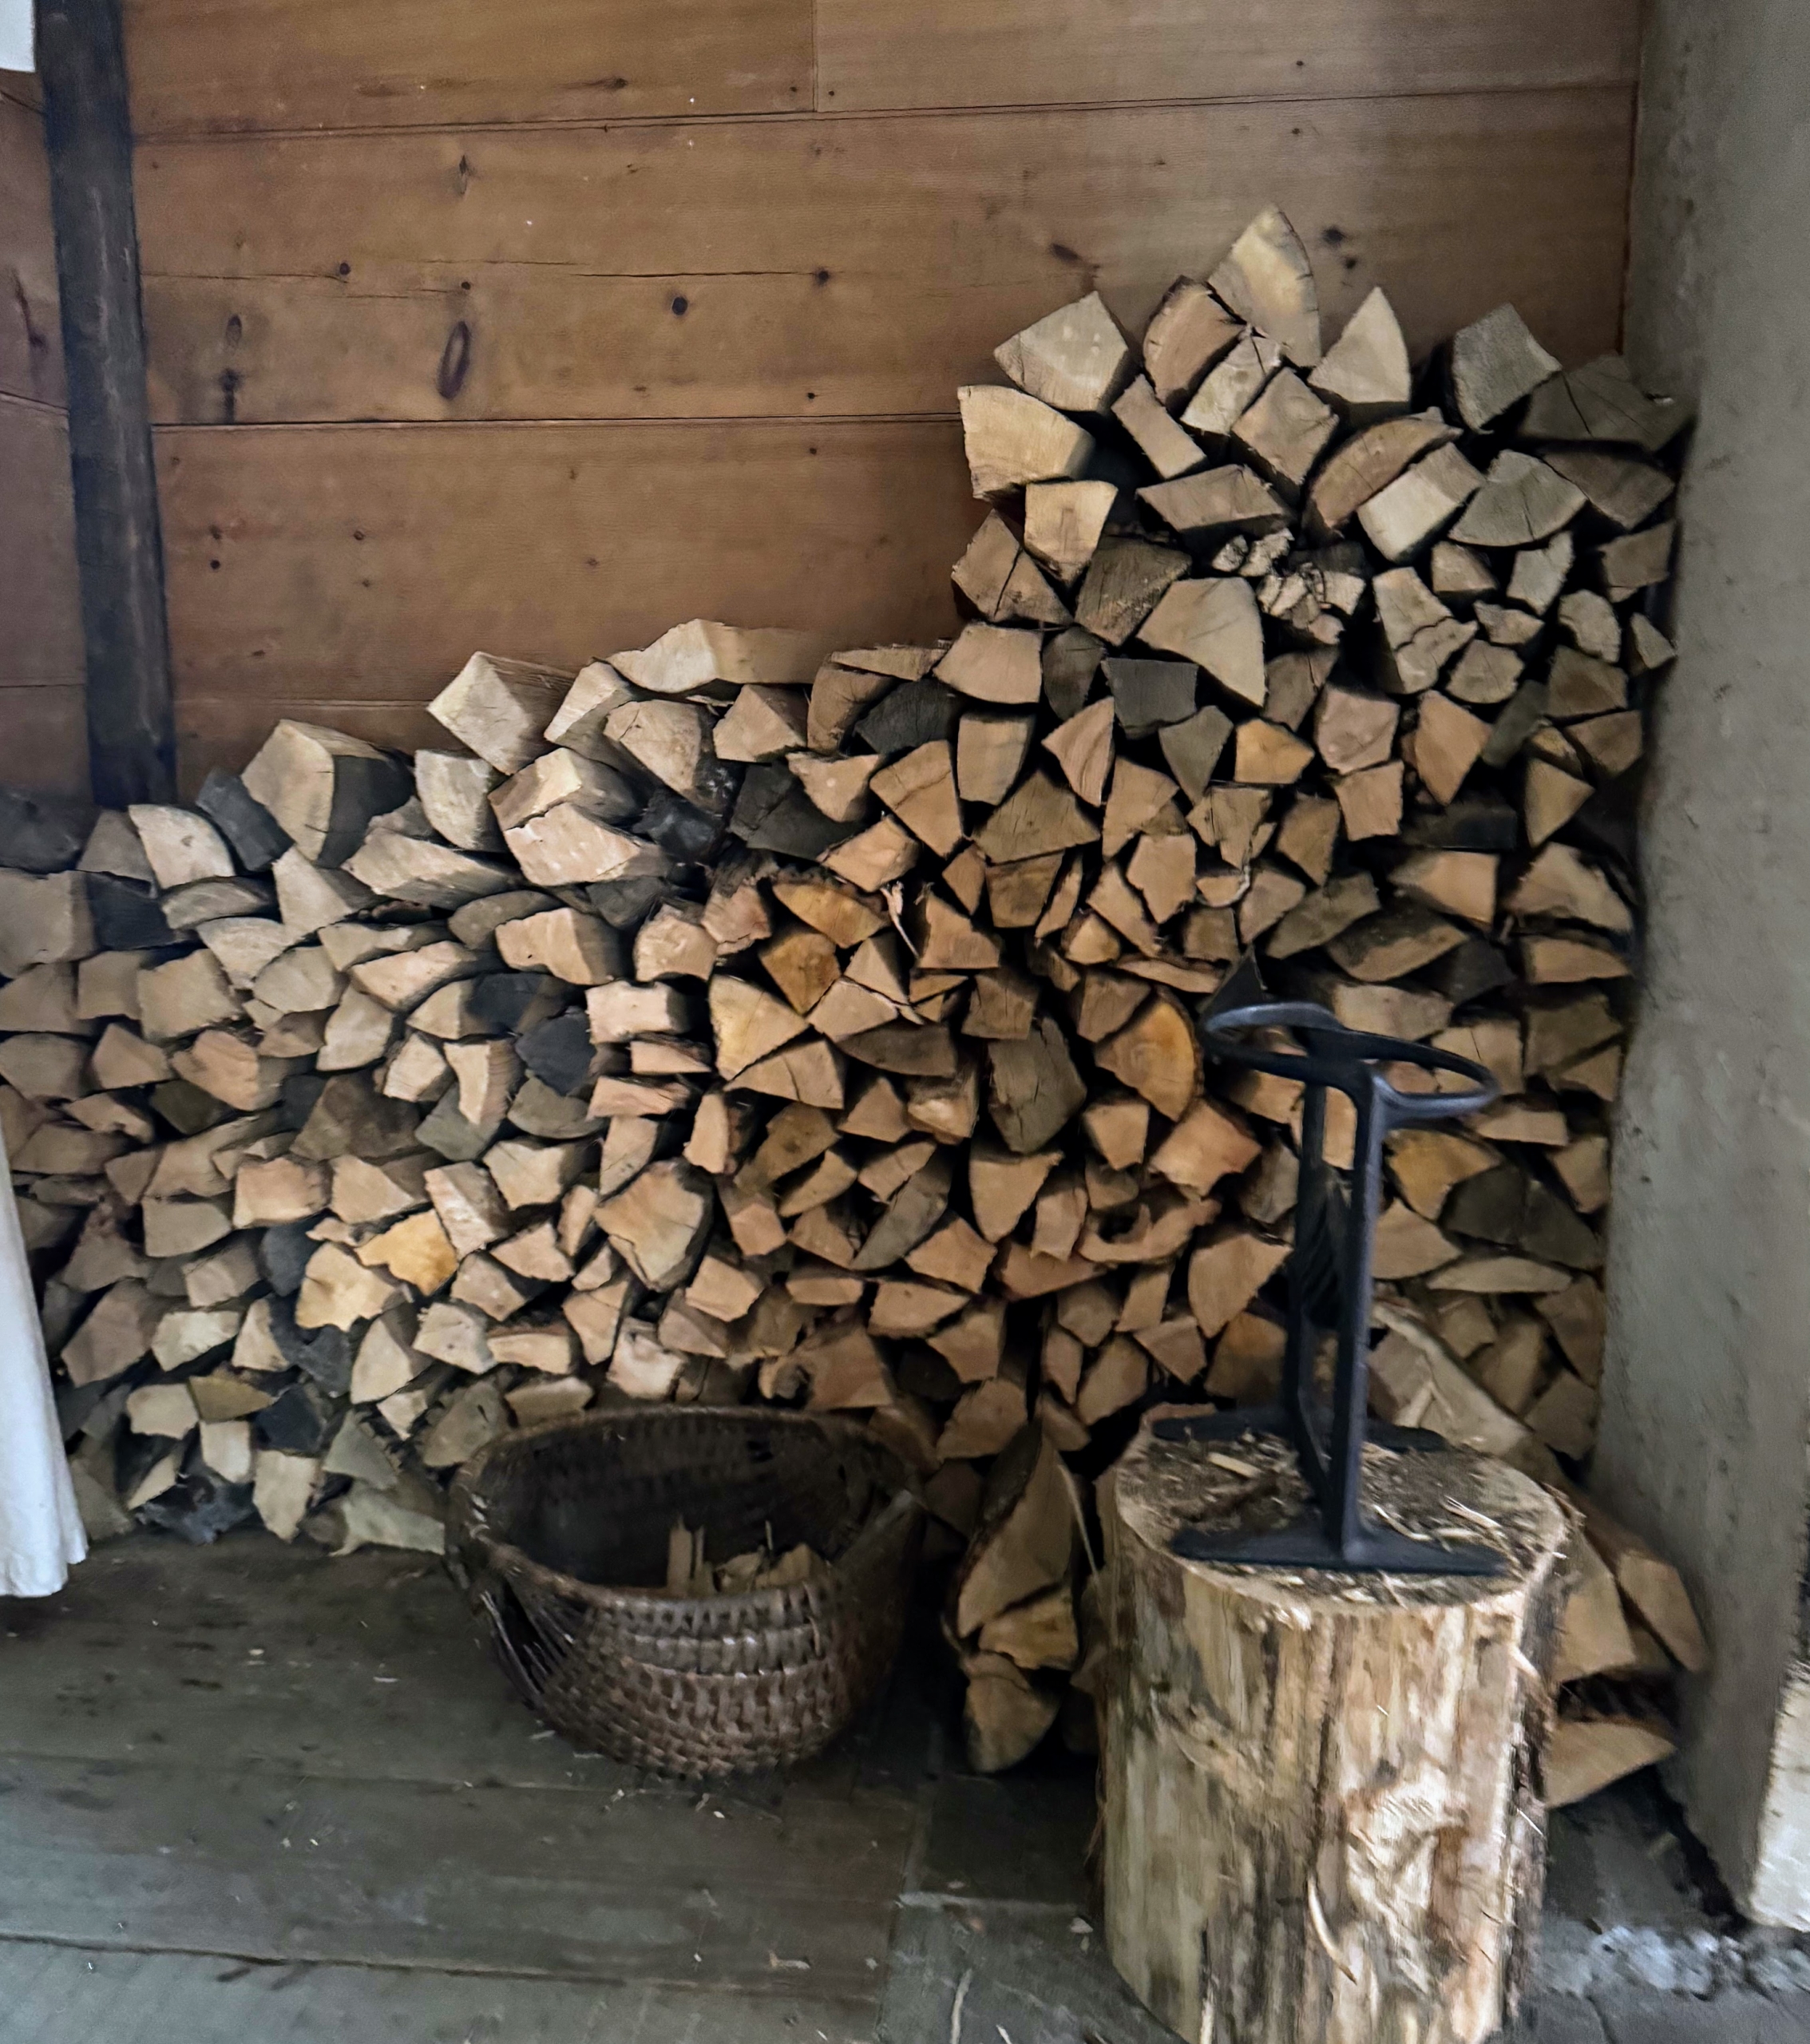
And there was a good supply of wood for the fire.
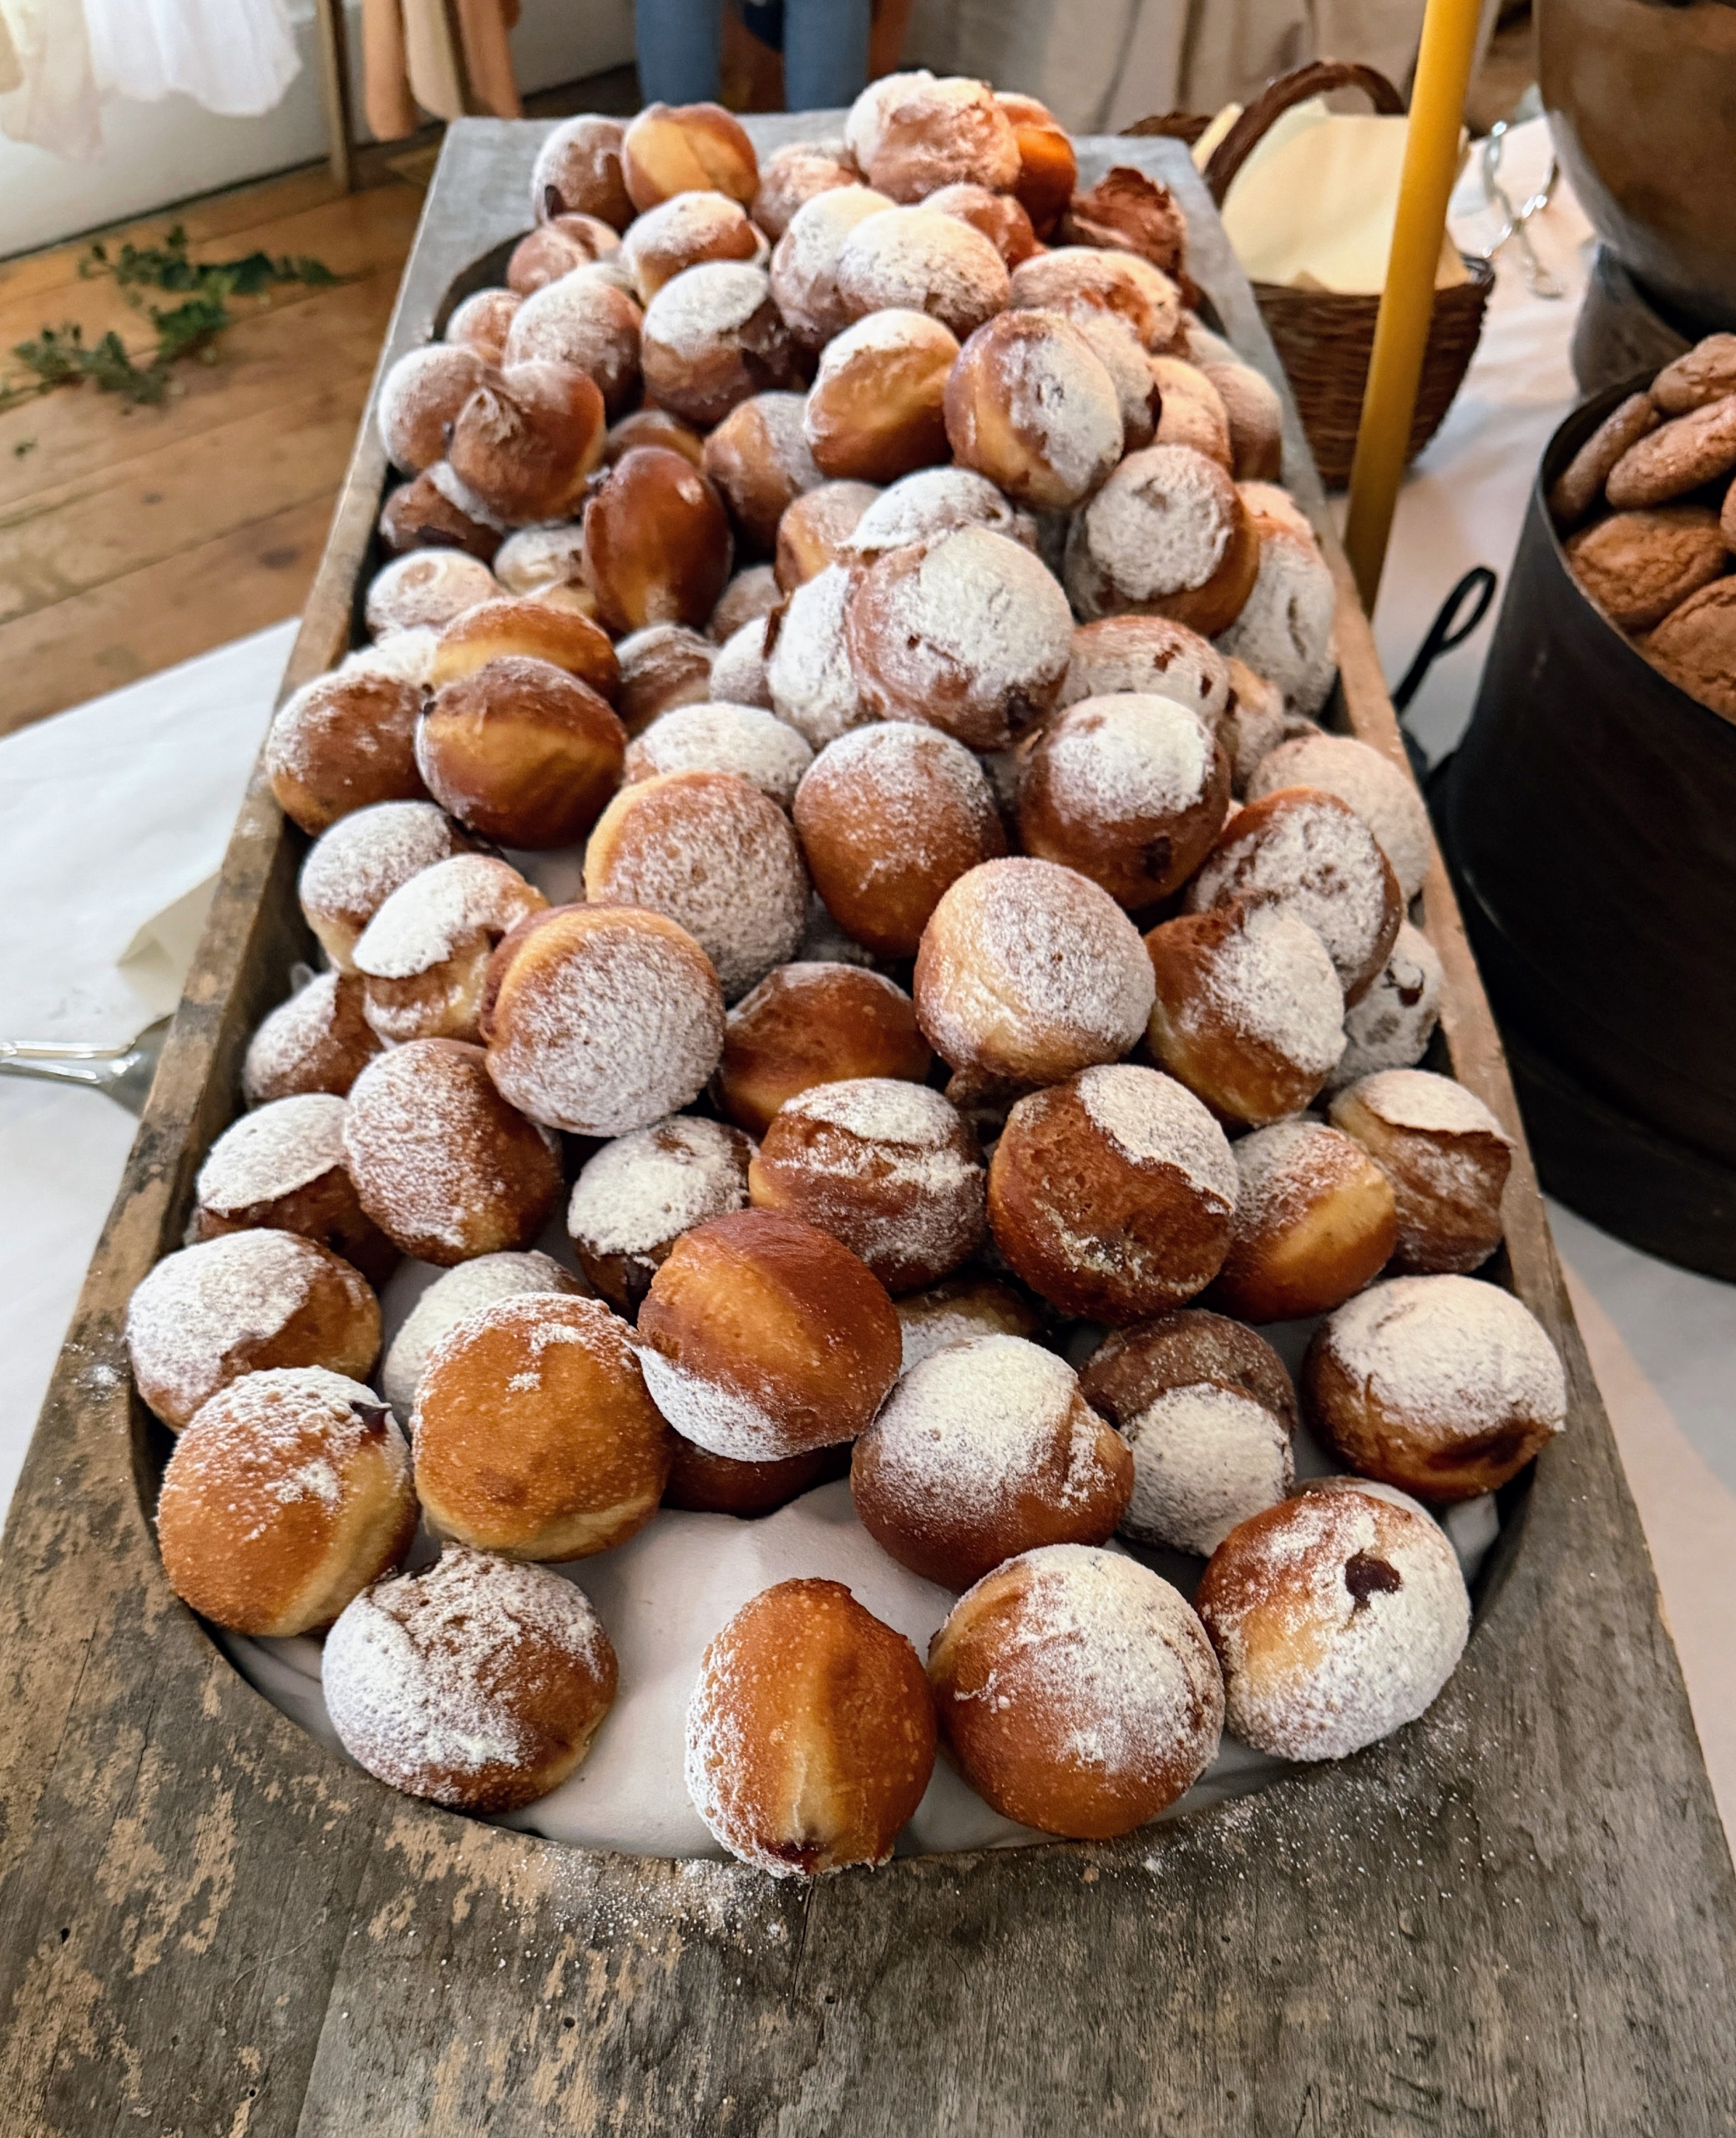
Thee were lots of sweets to try including the quince donuts. If you’ve never tried a quince jelly donut, it adds a sweet and floral flavor to the dough.
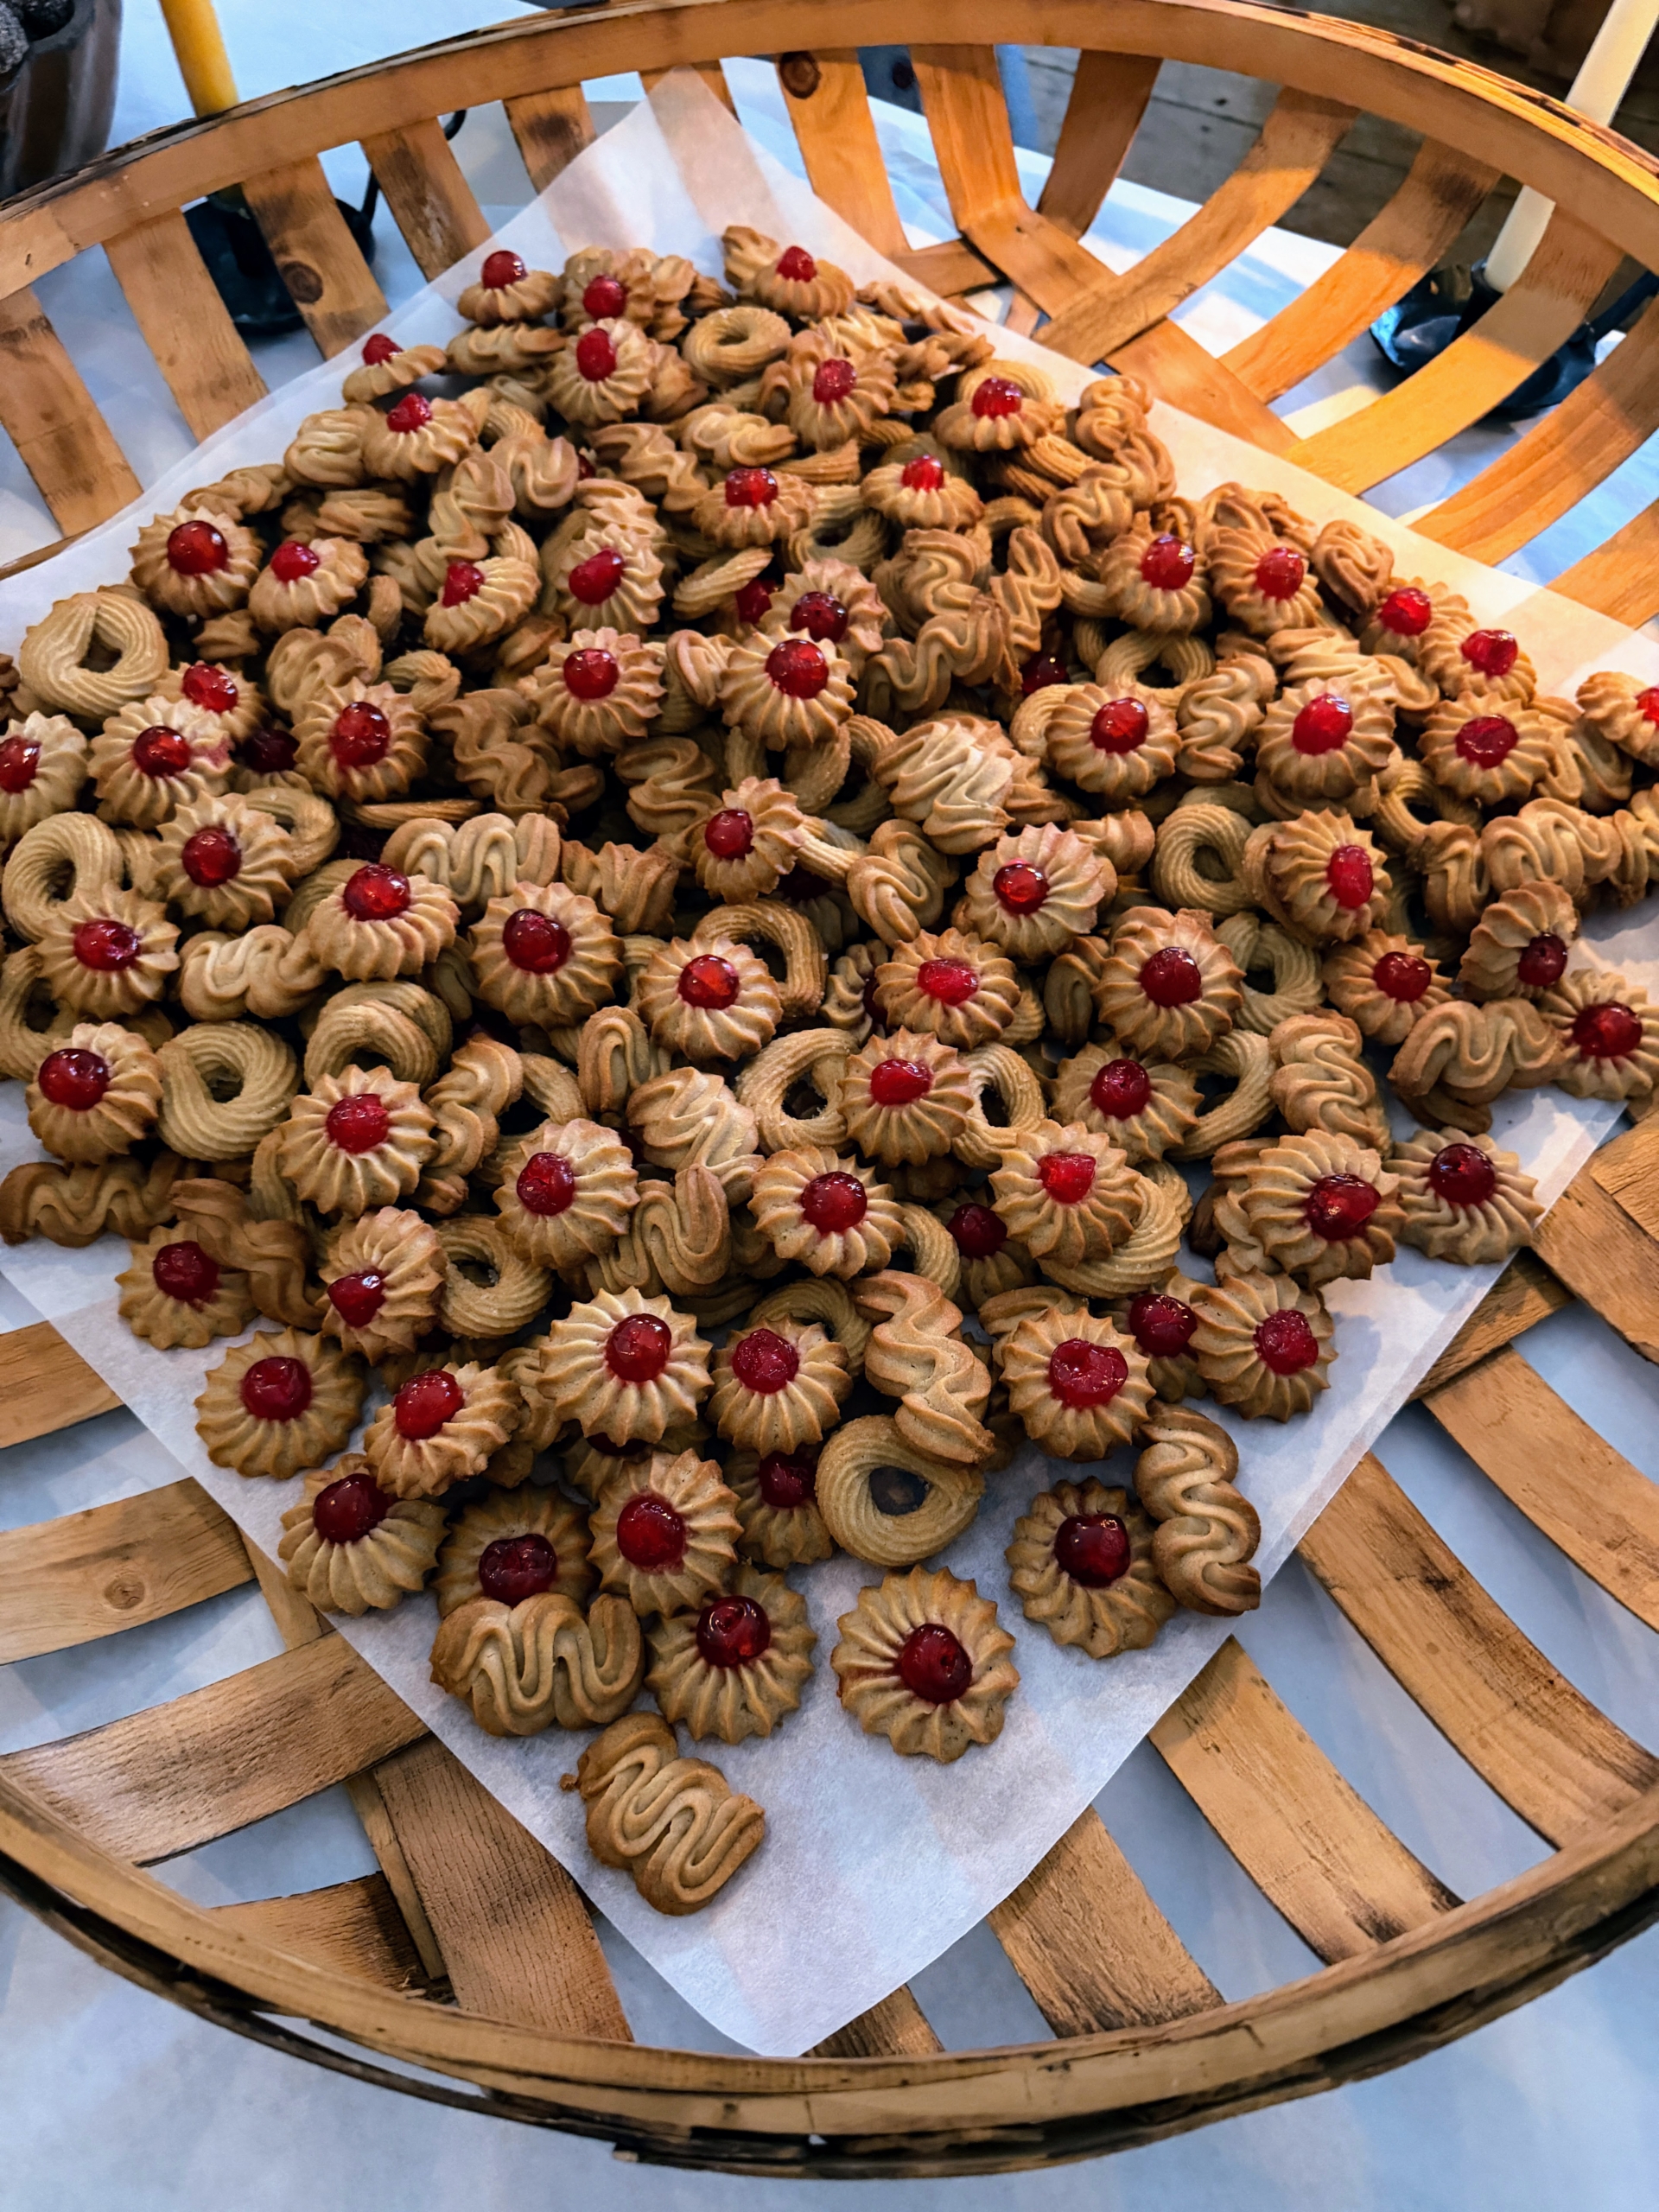
There were also lots of cookies.
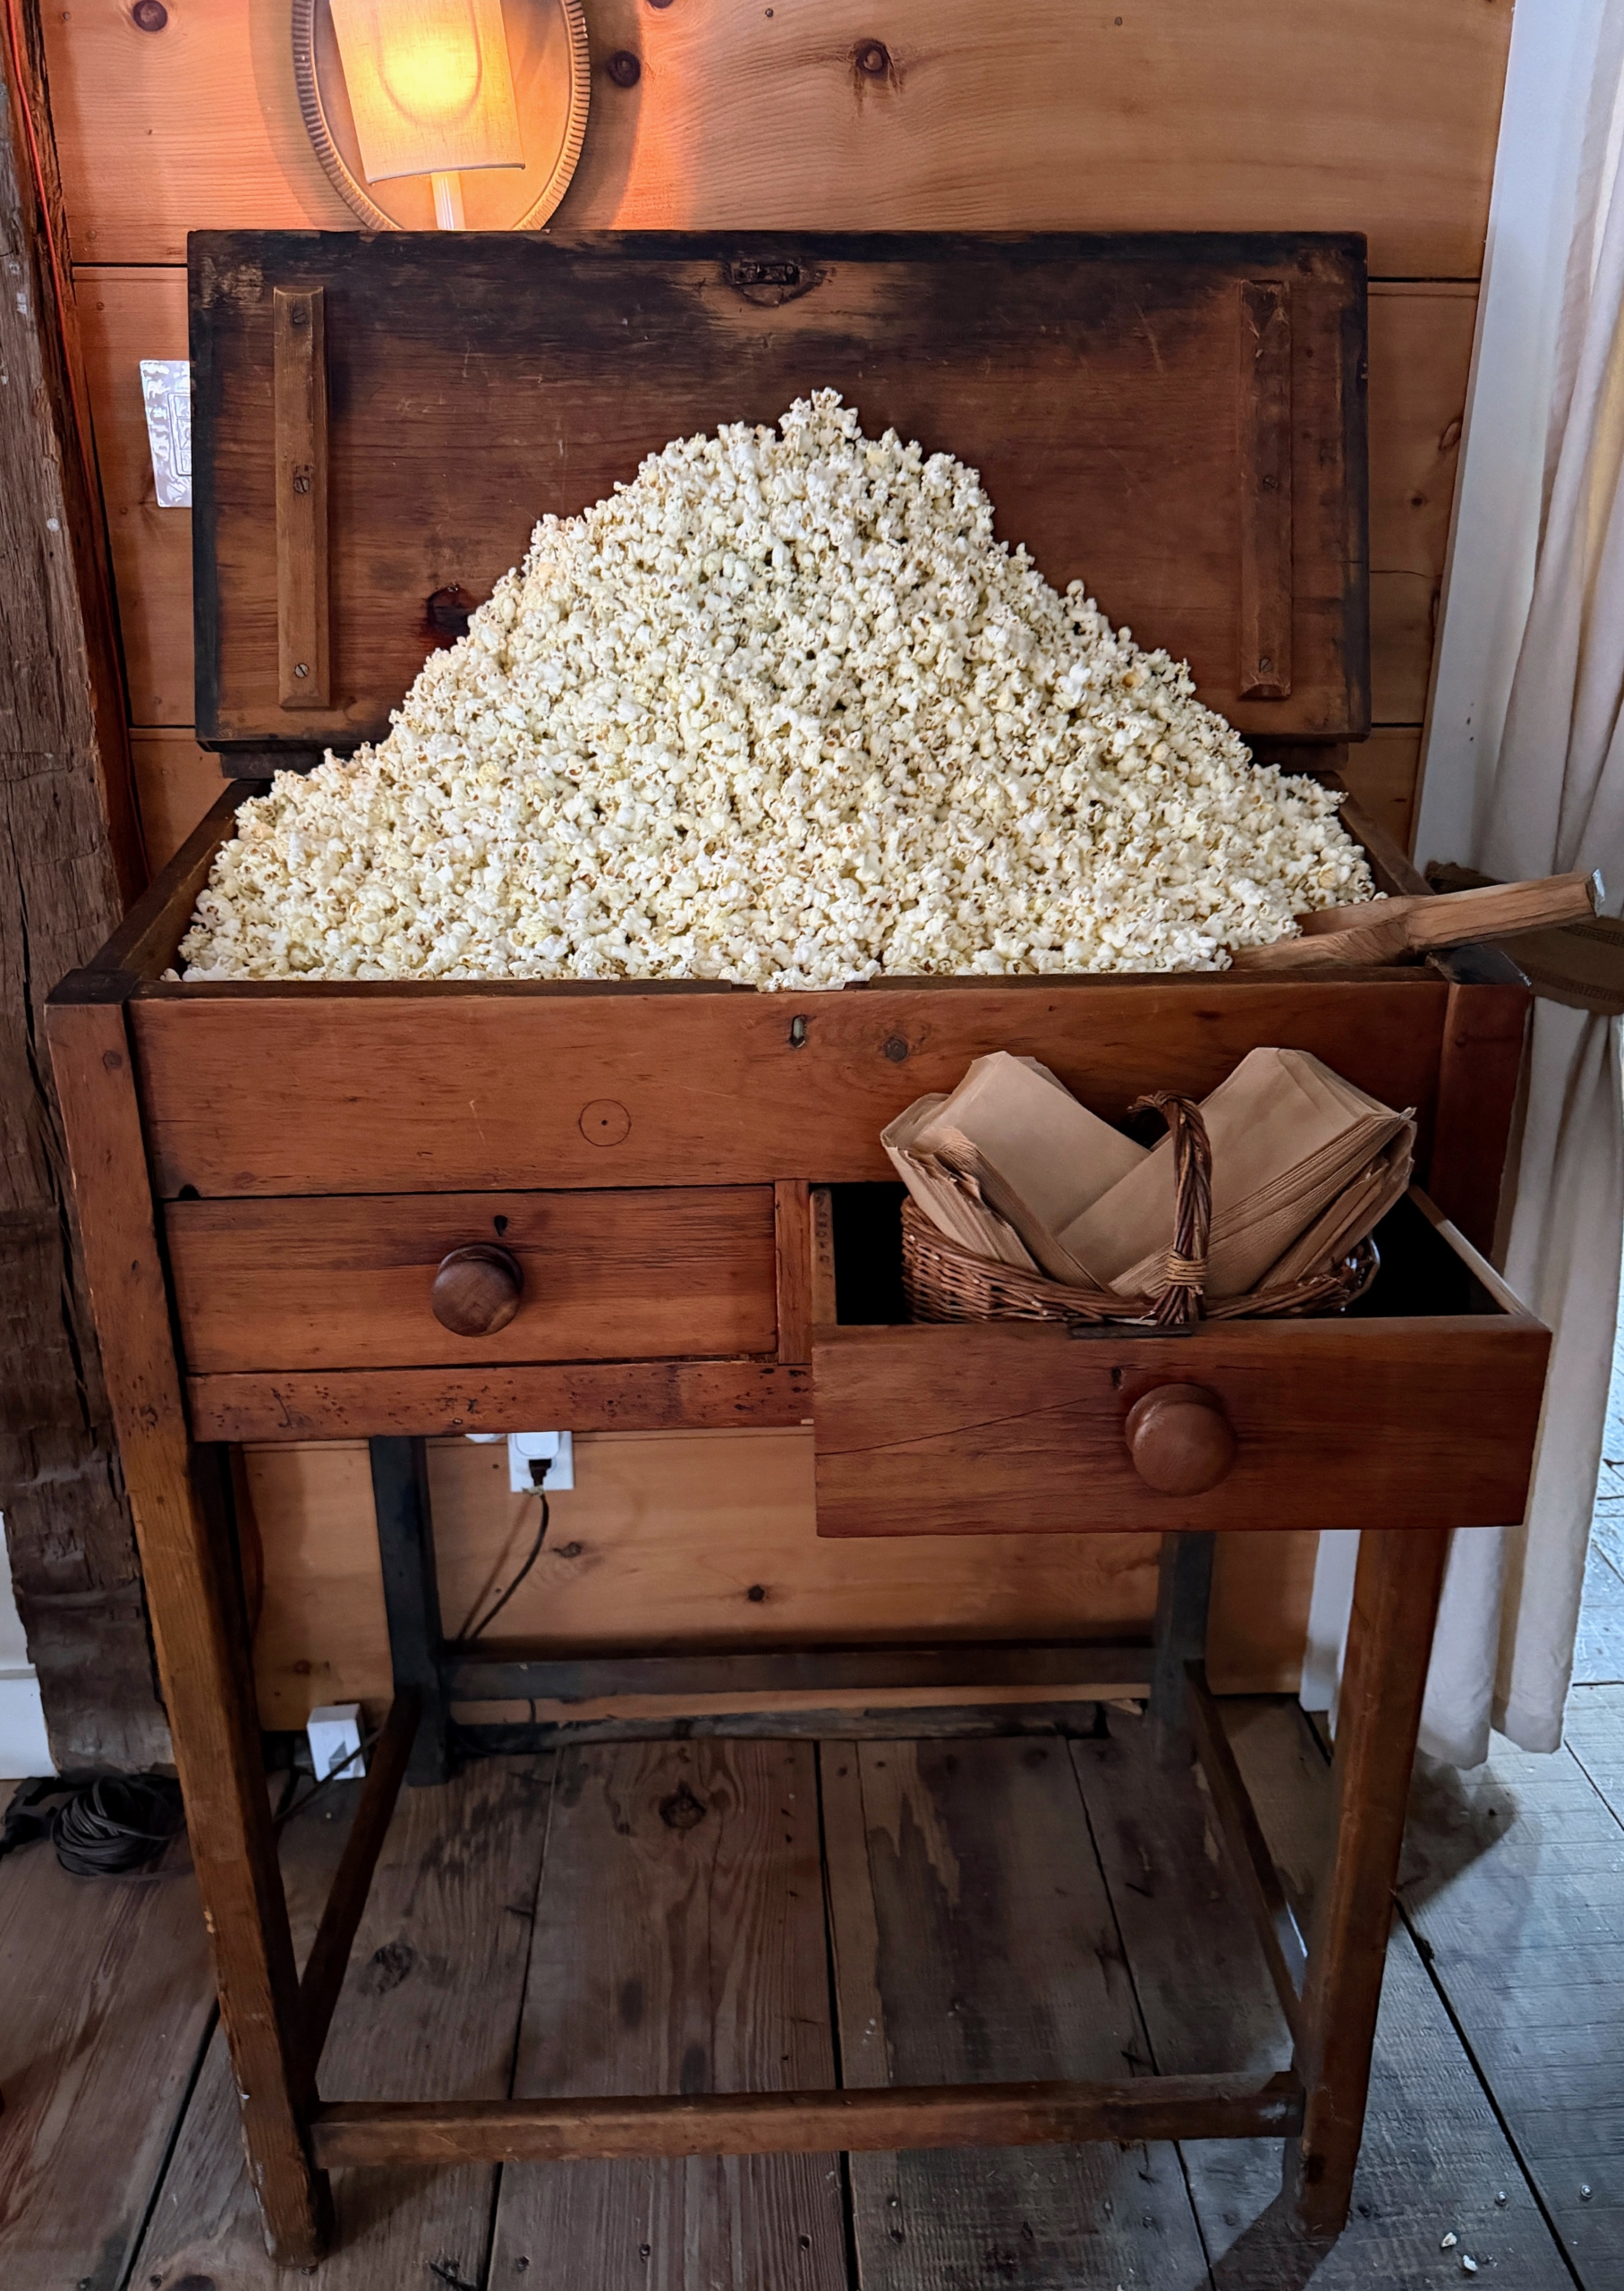
And delicious popcorn, ready to bag up and enjoy.
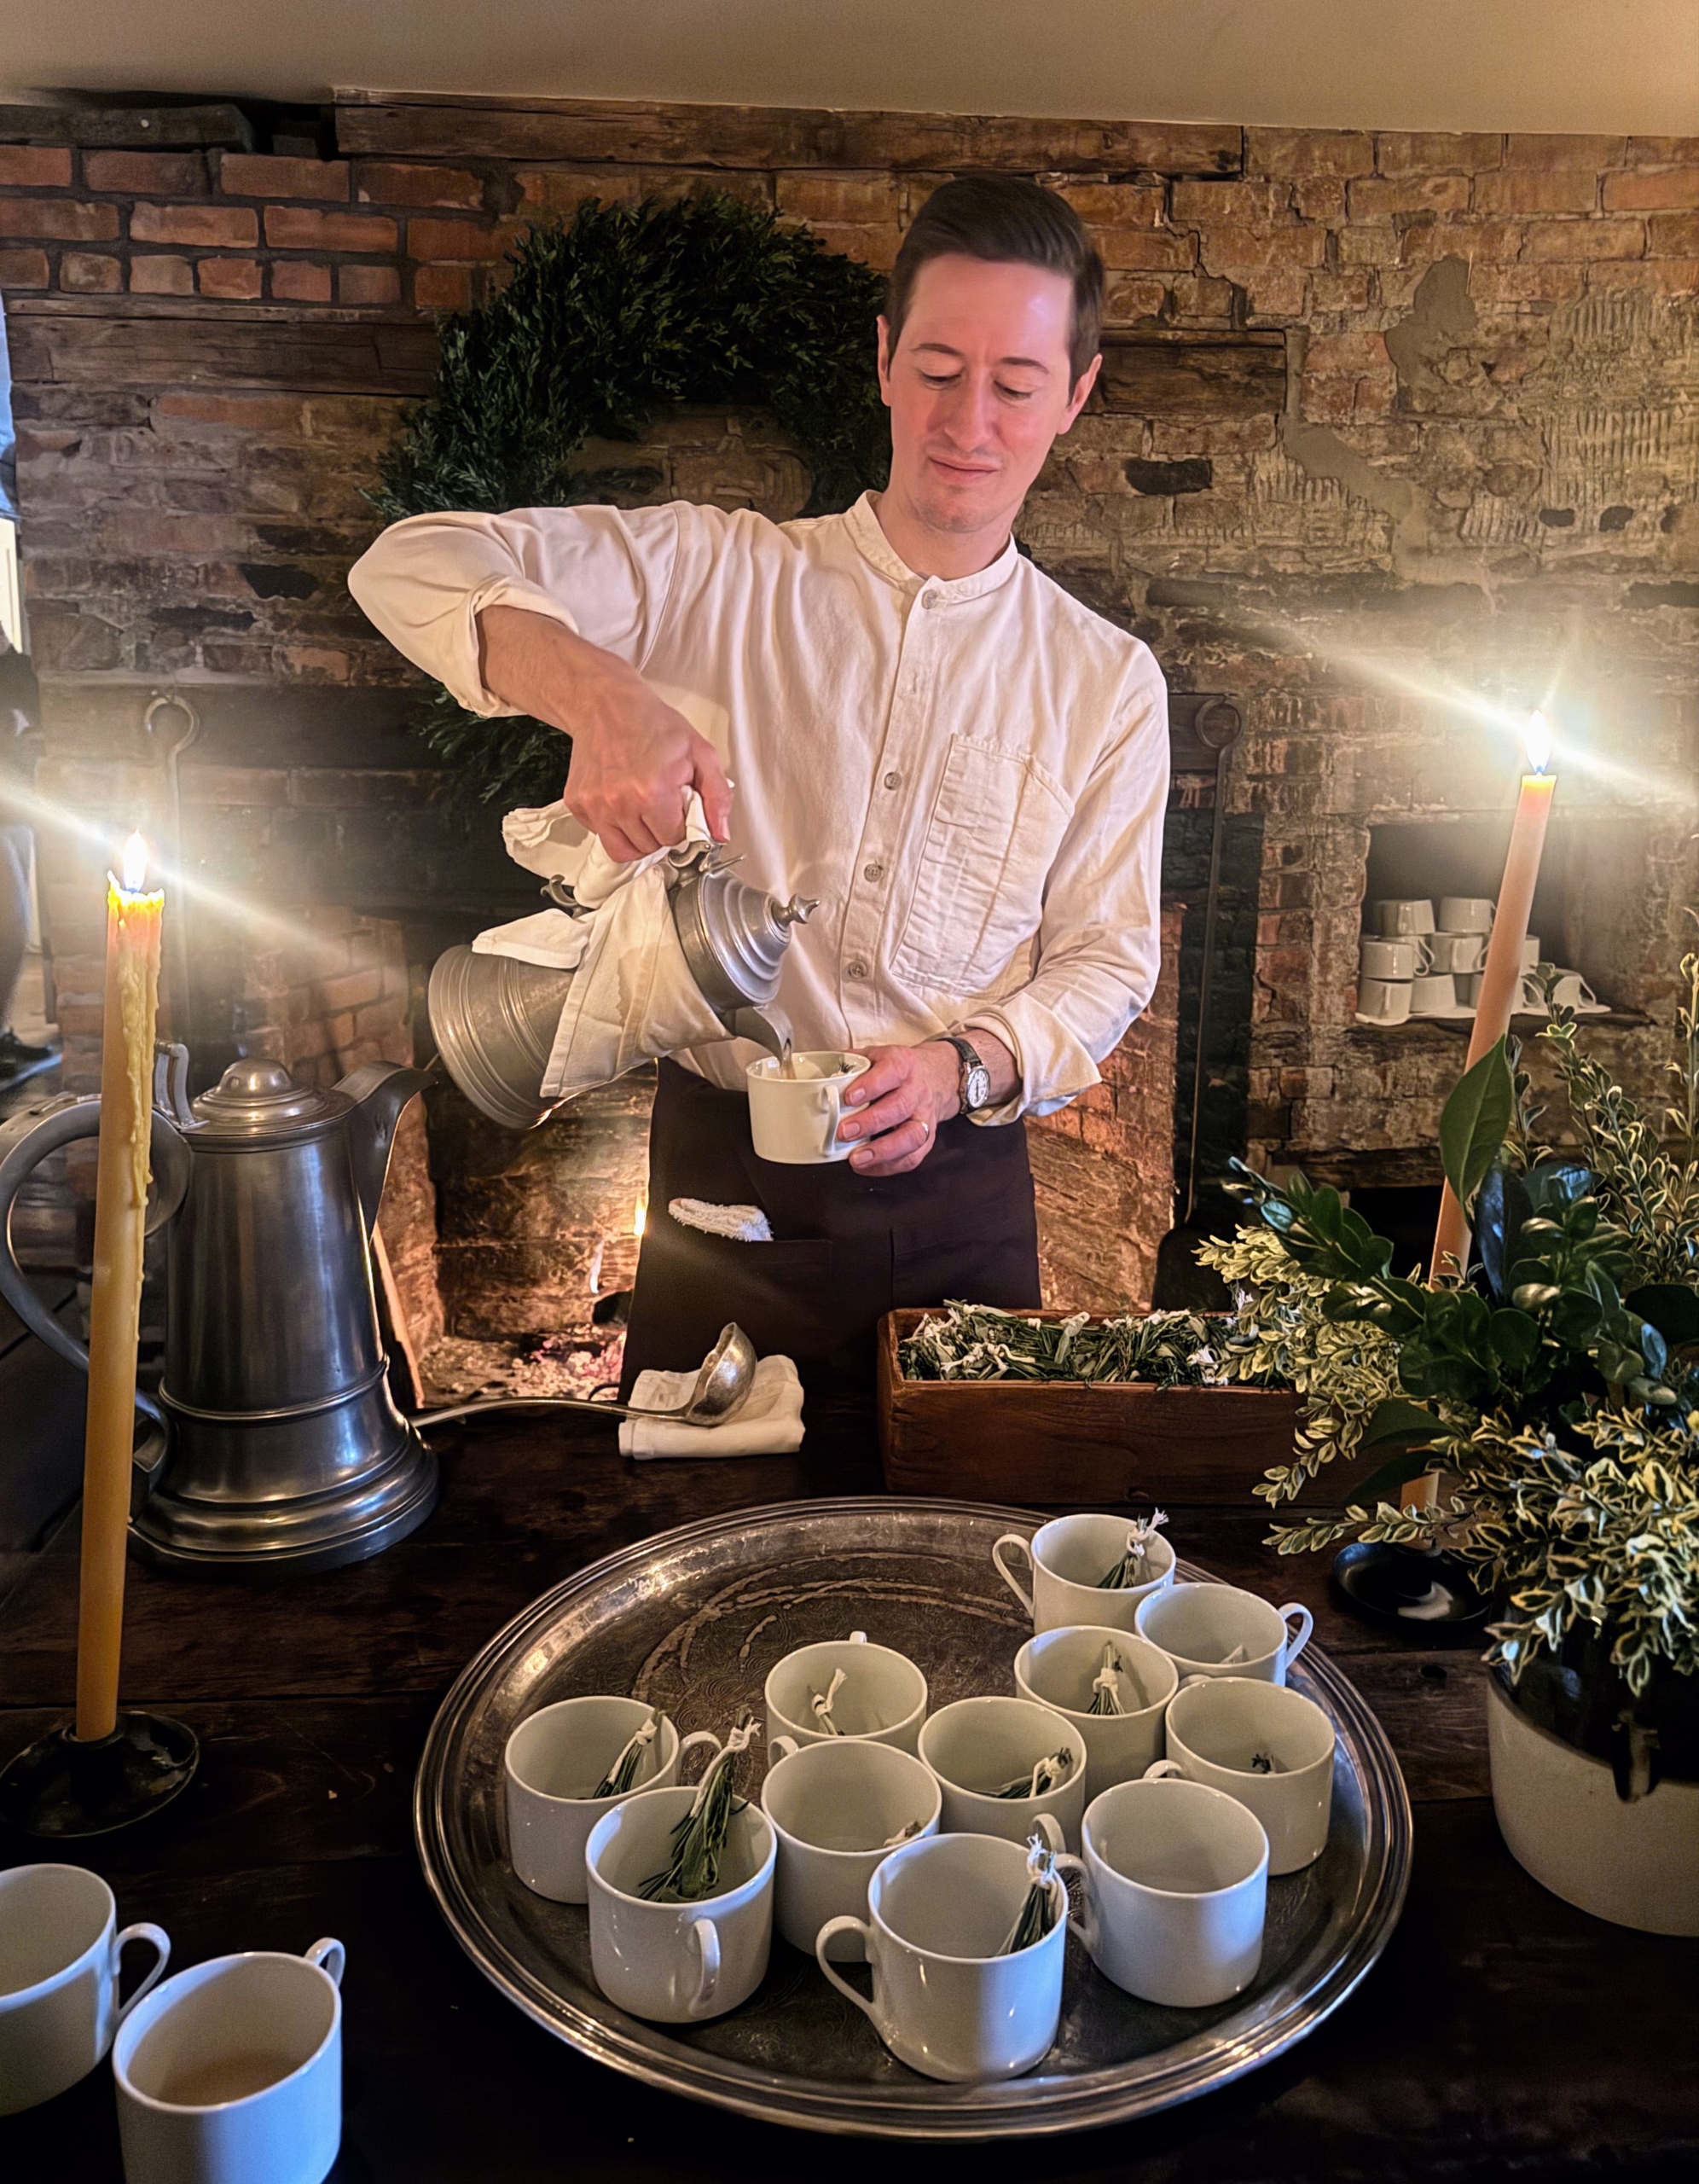
At this station, bone broth made right at Stissing House for those needing a little more warmth.
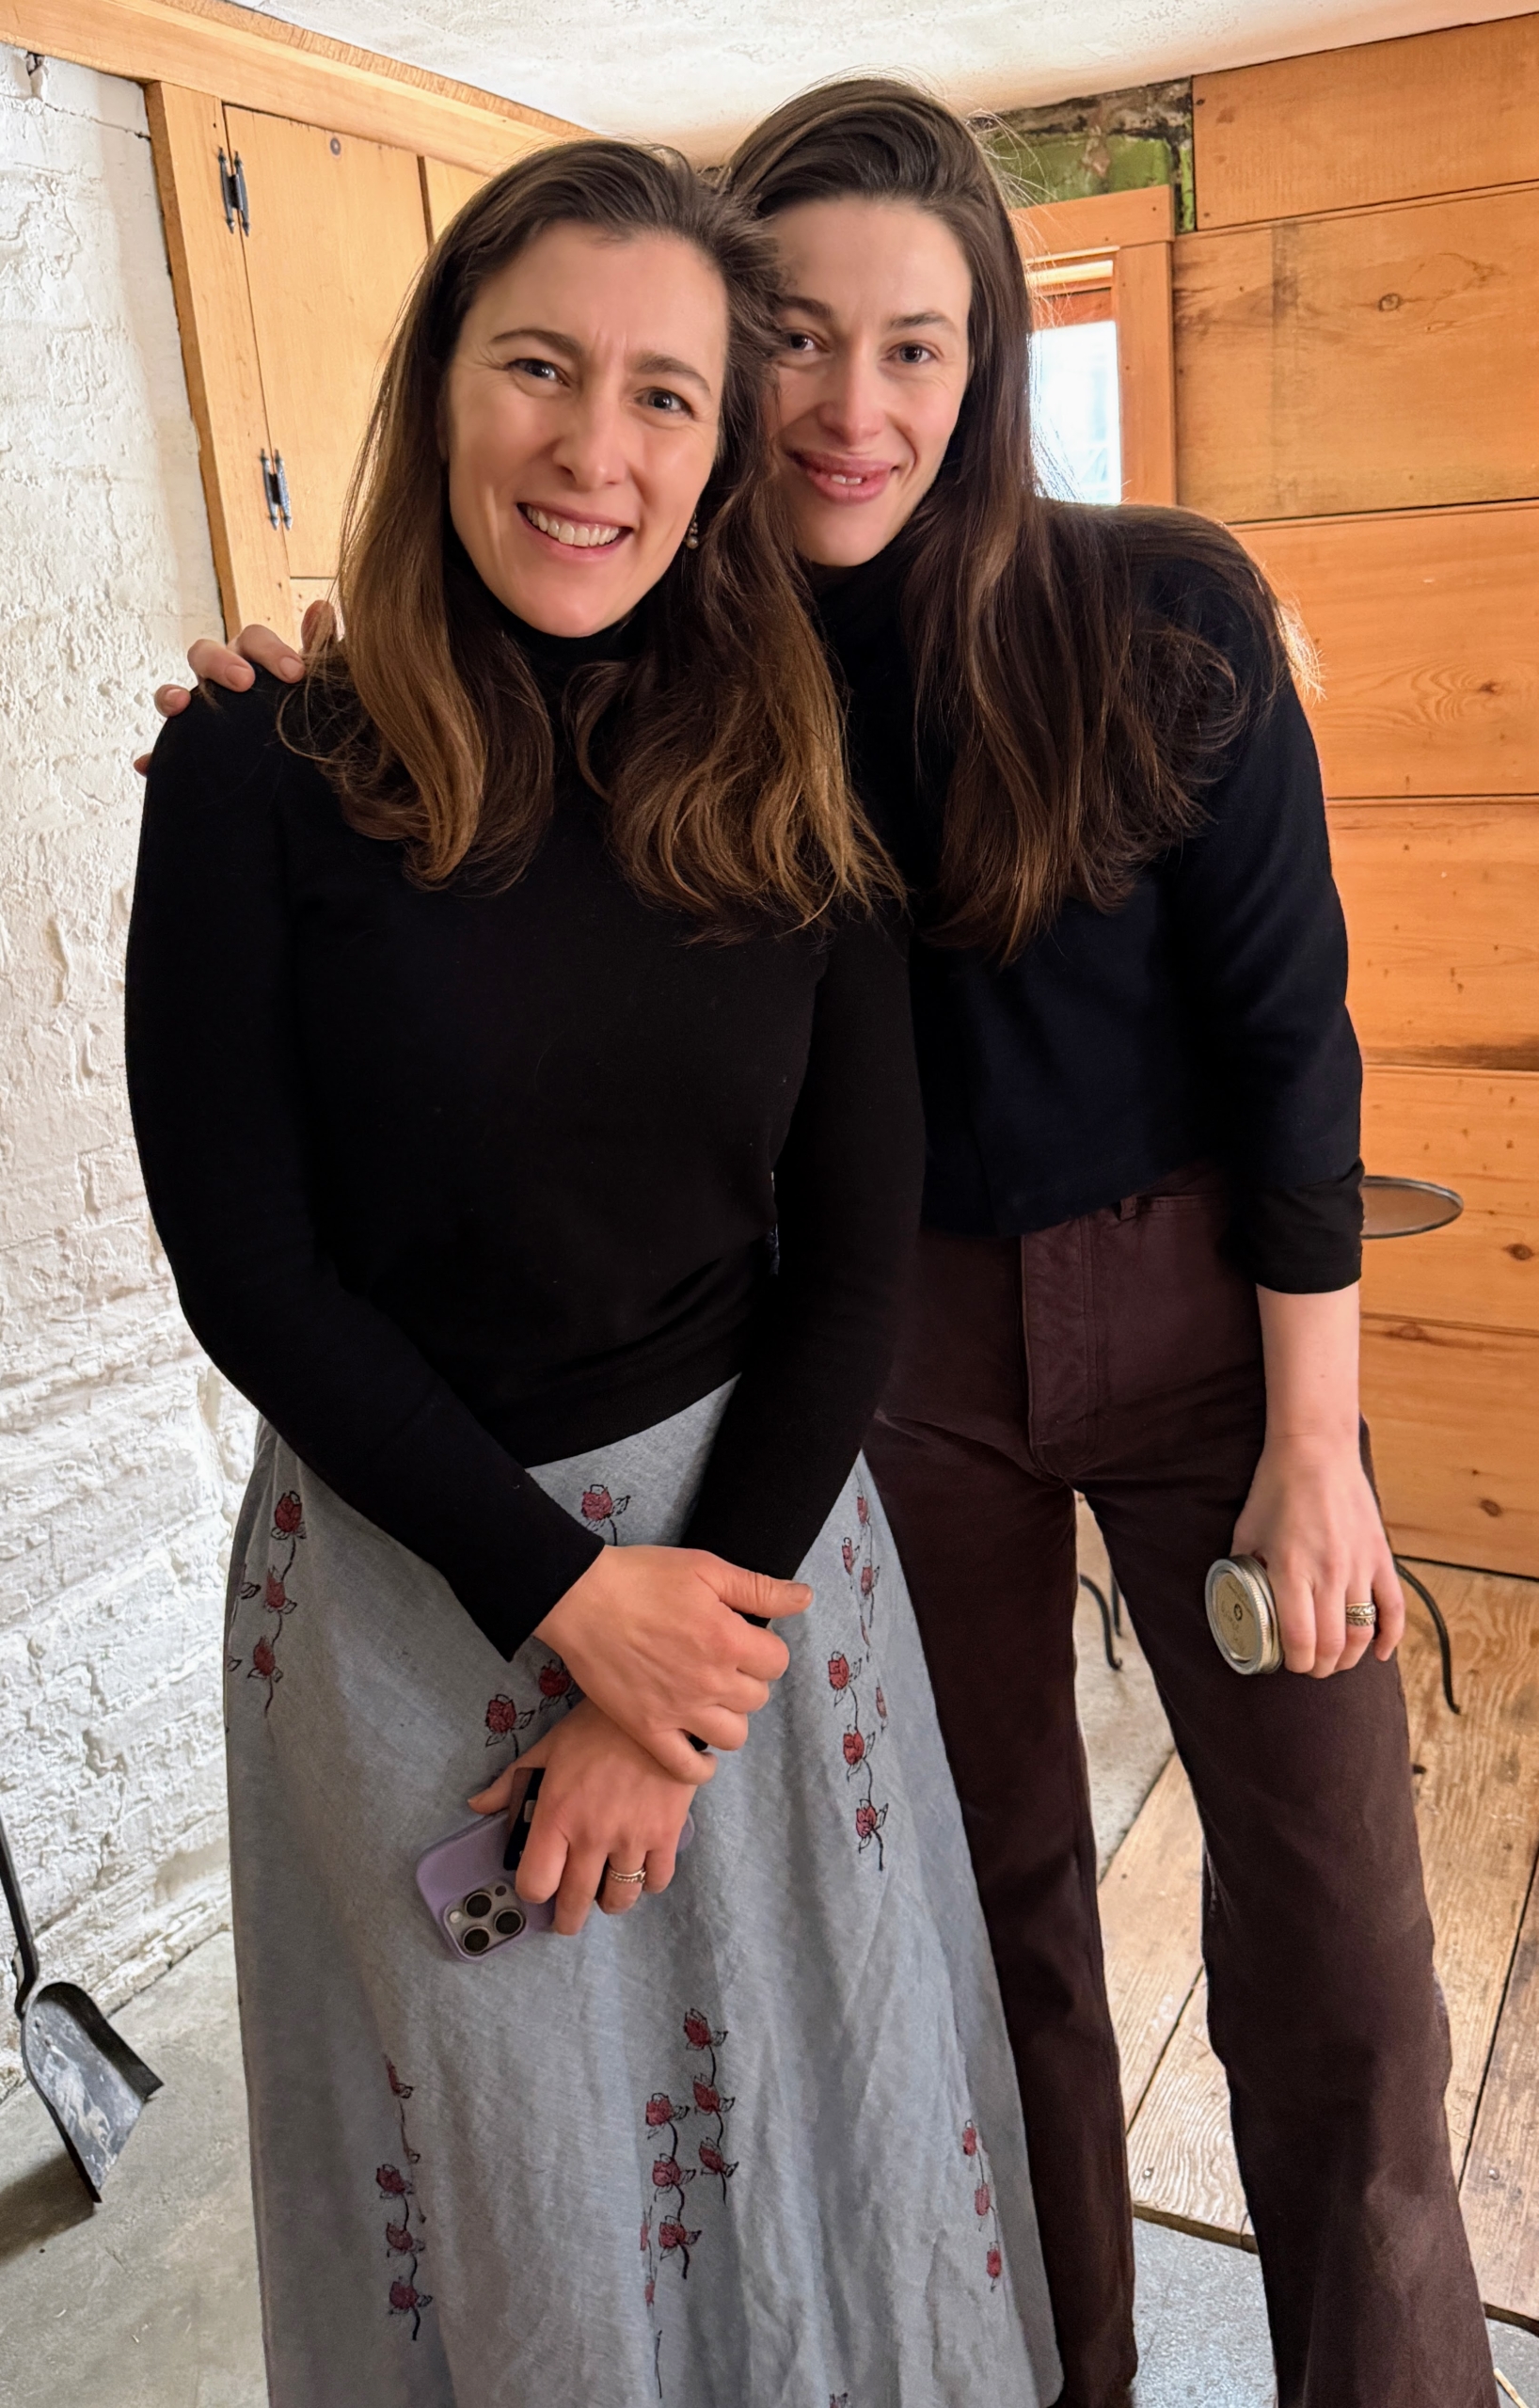
Here’s a photo Silas took of his mother Sophie and Stissing House chef and proprietor, Clare de Boer.
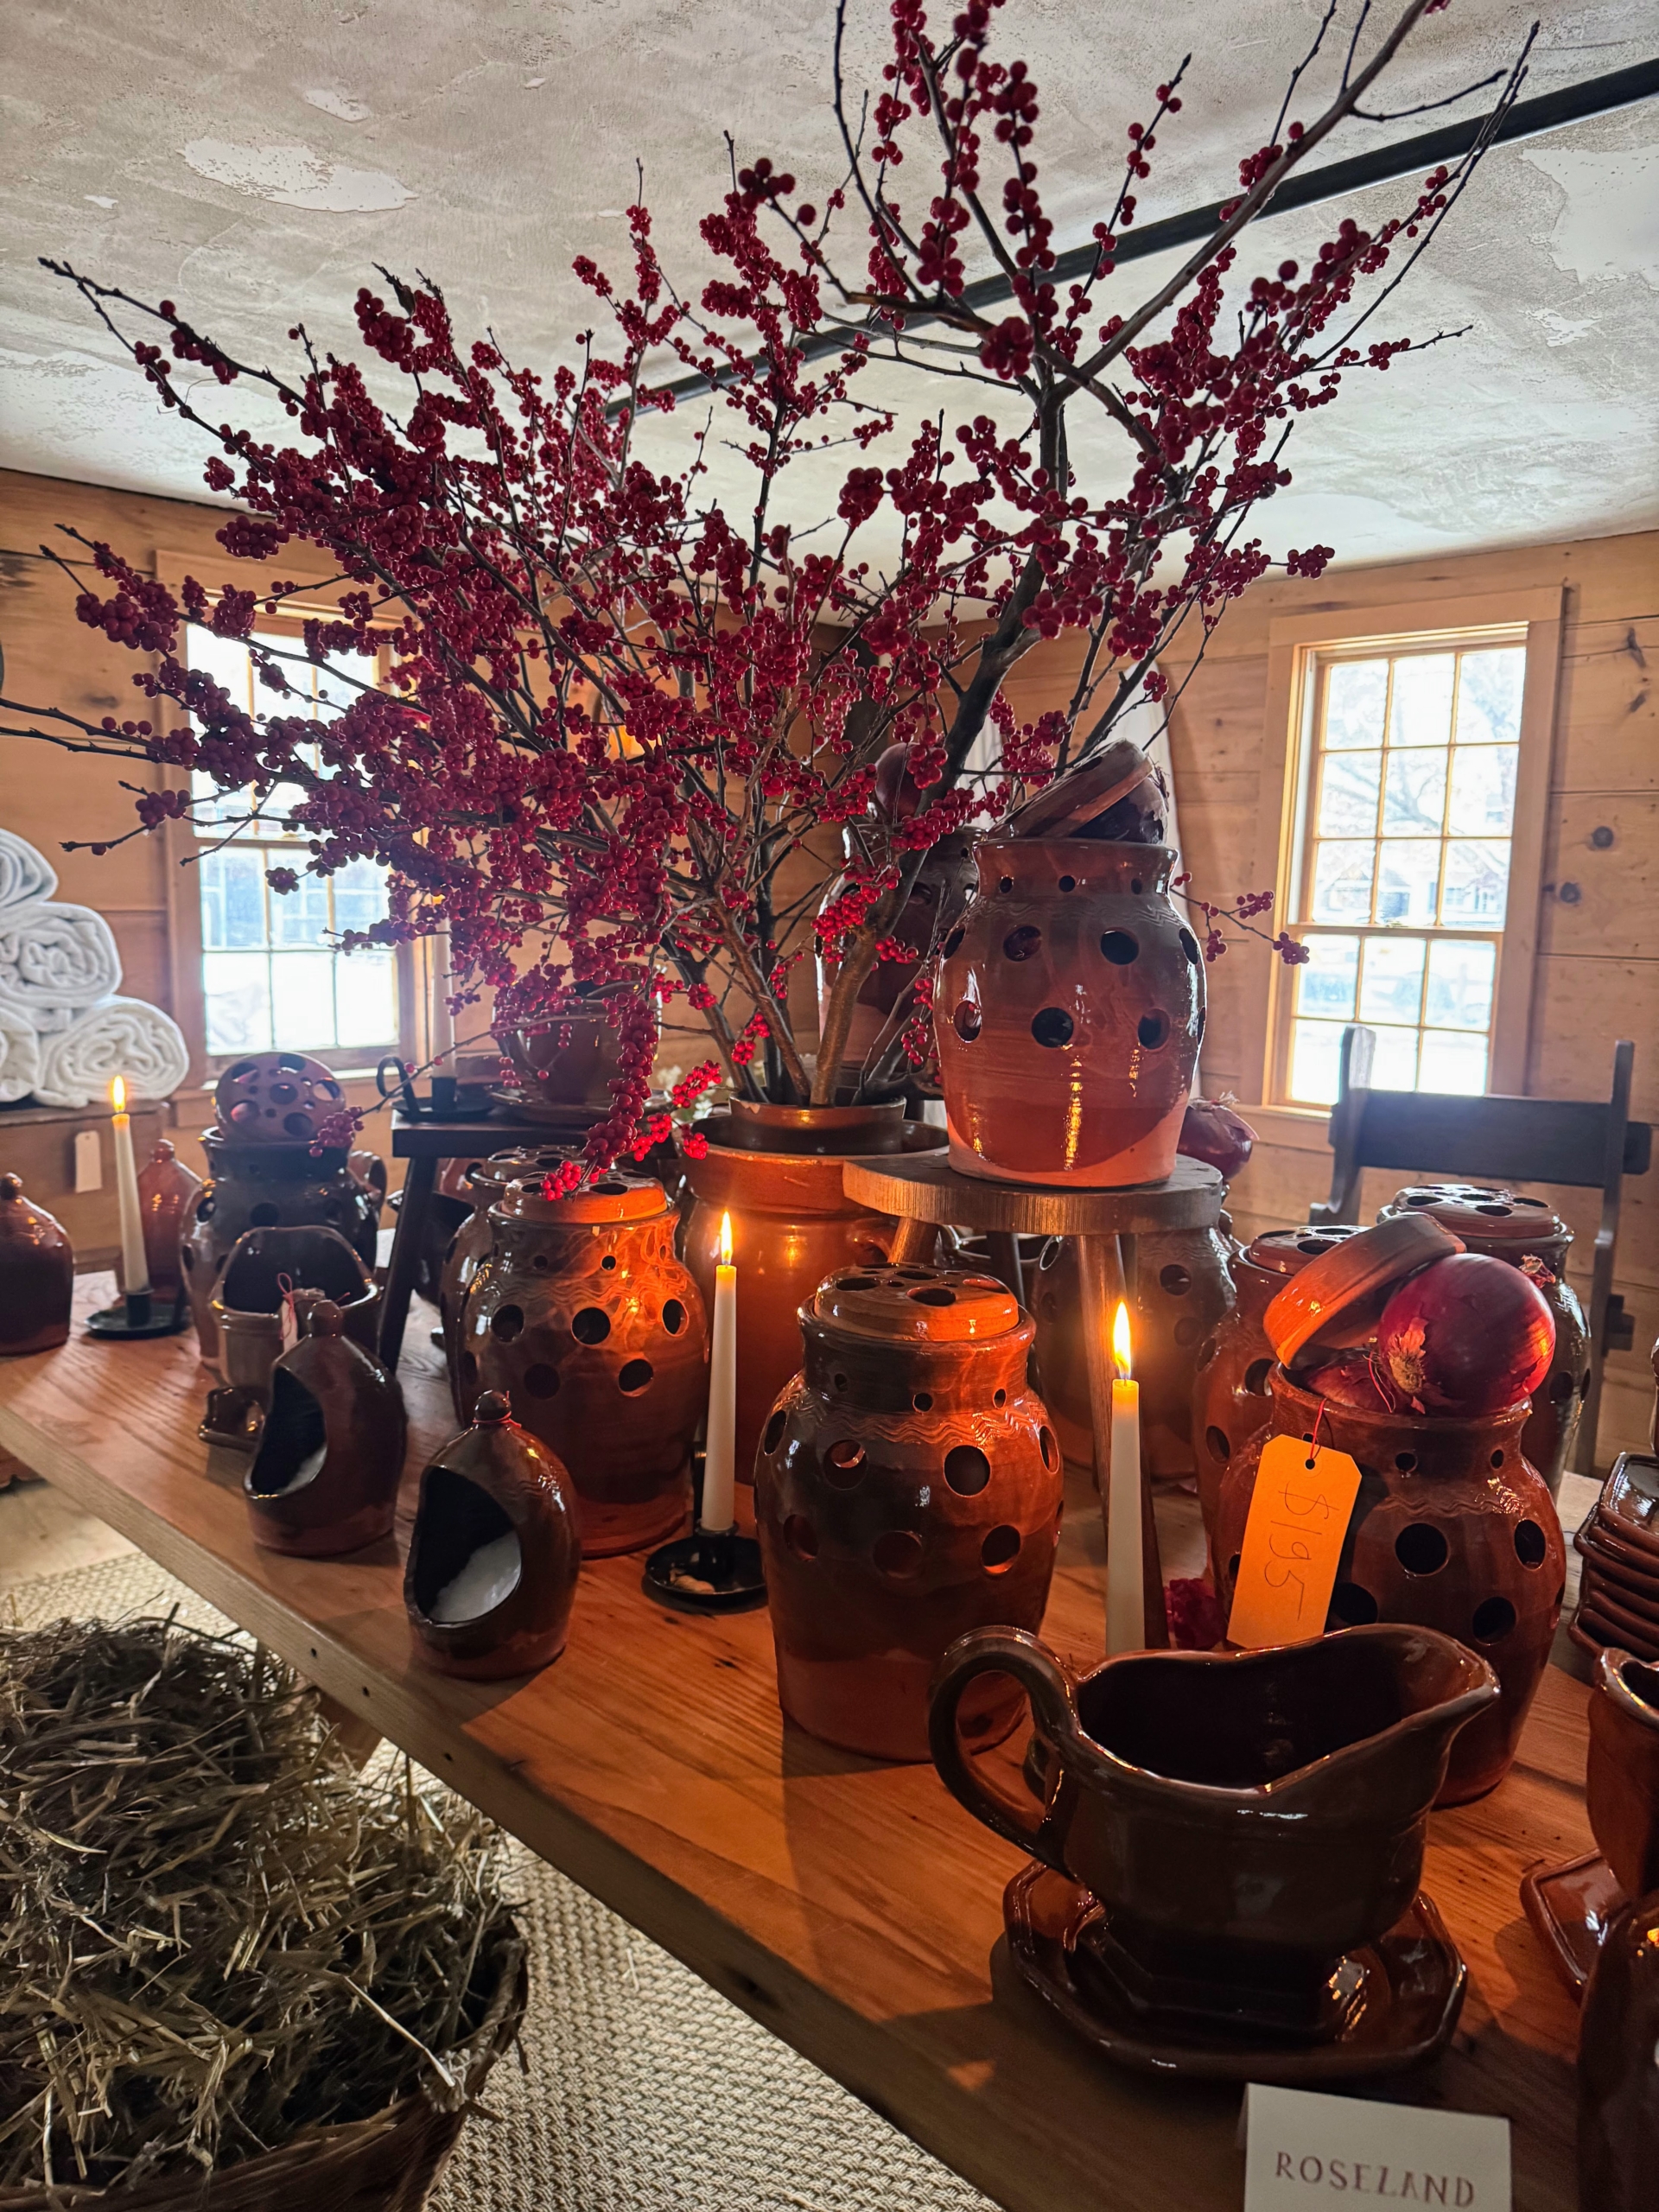
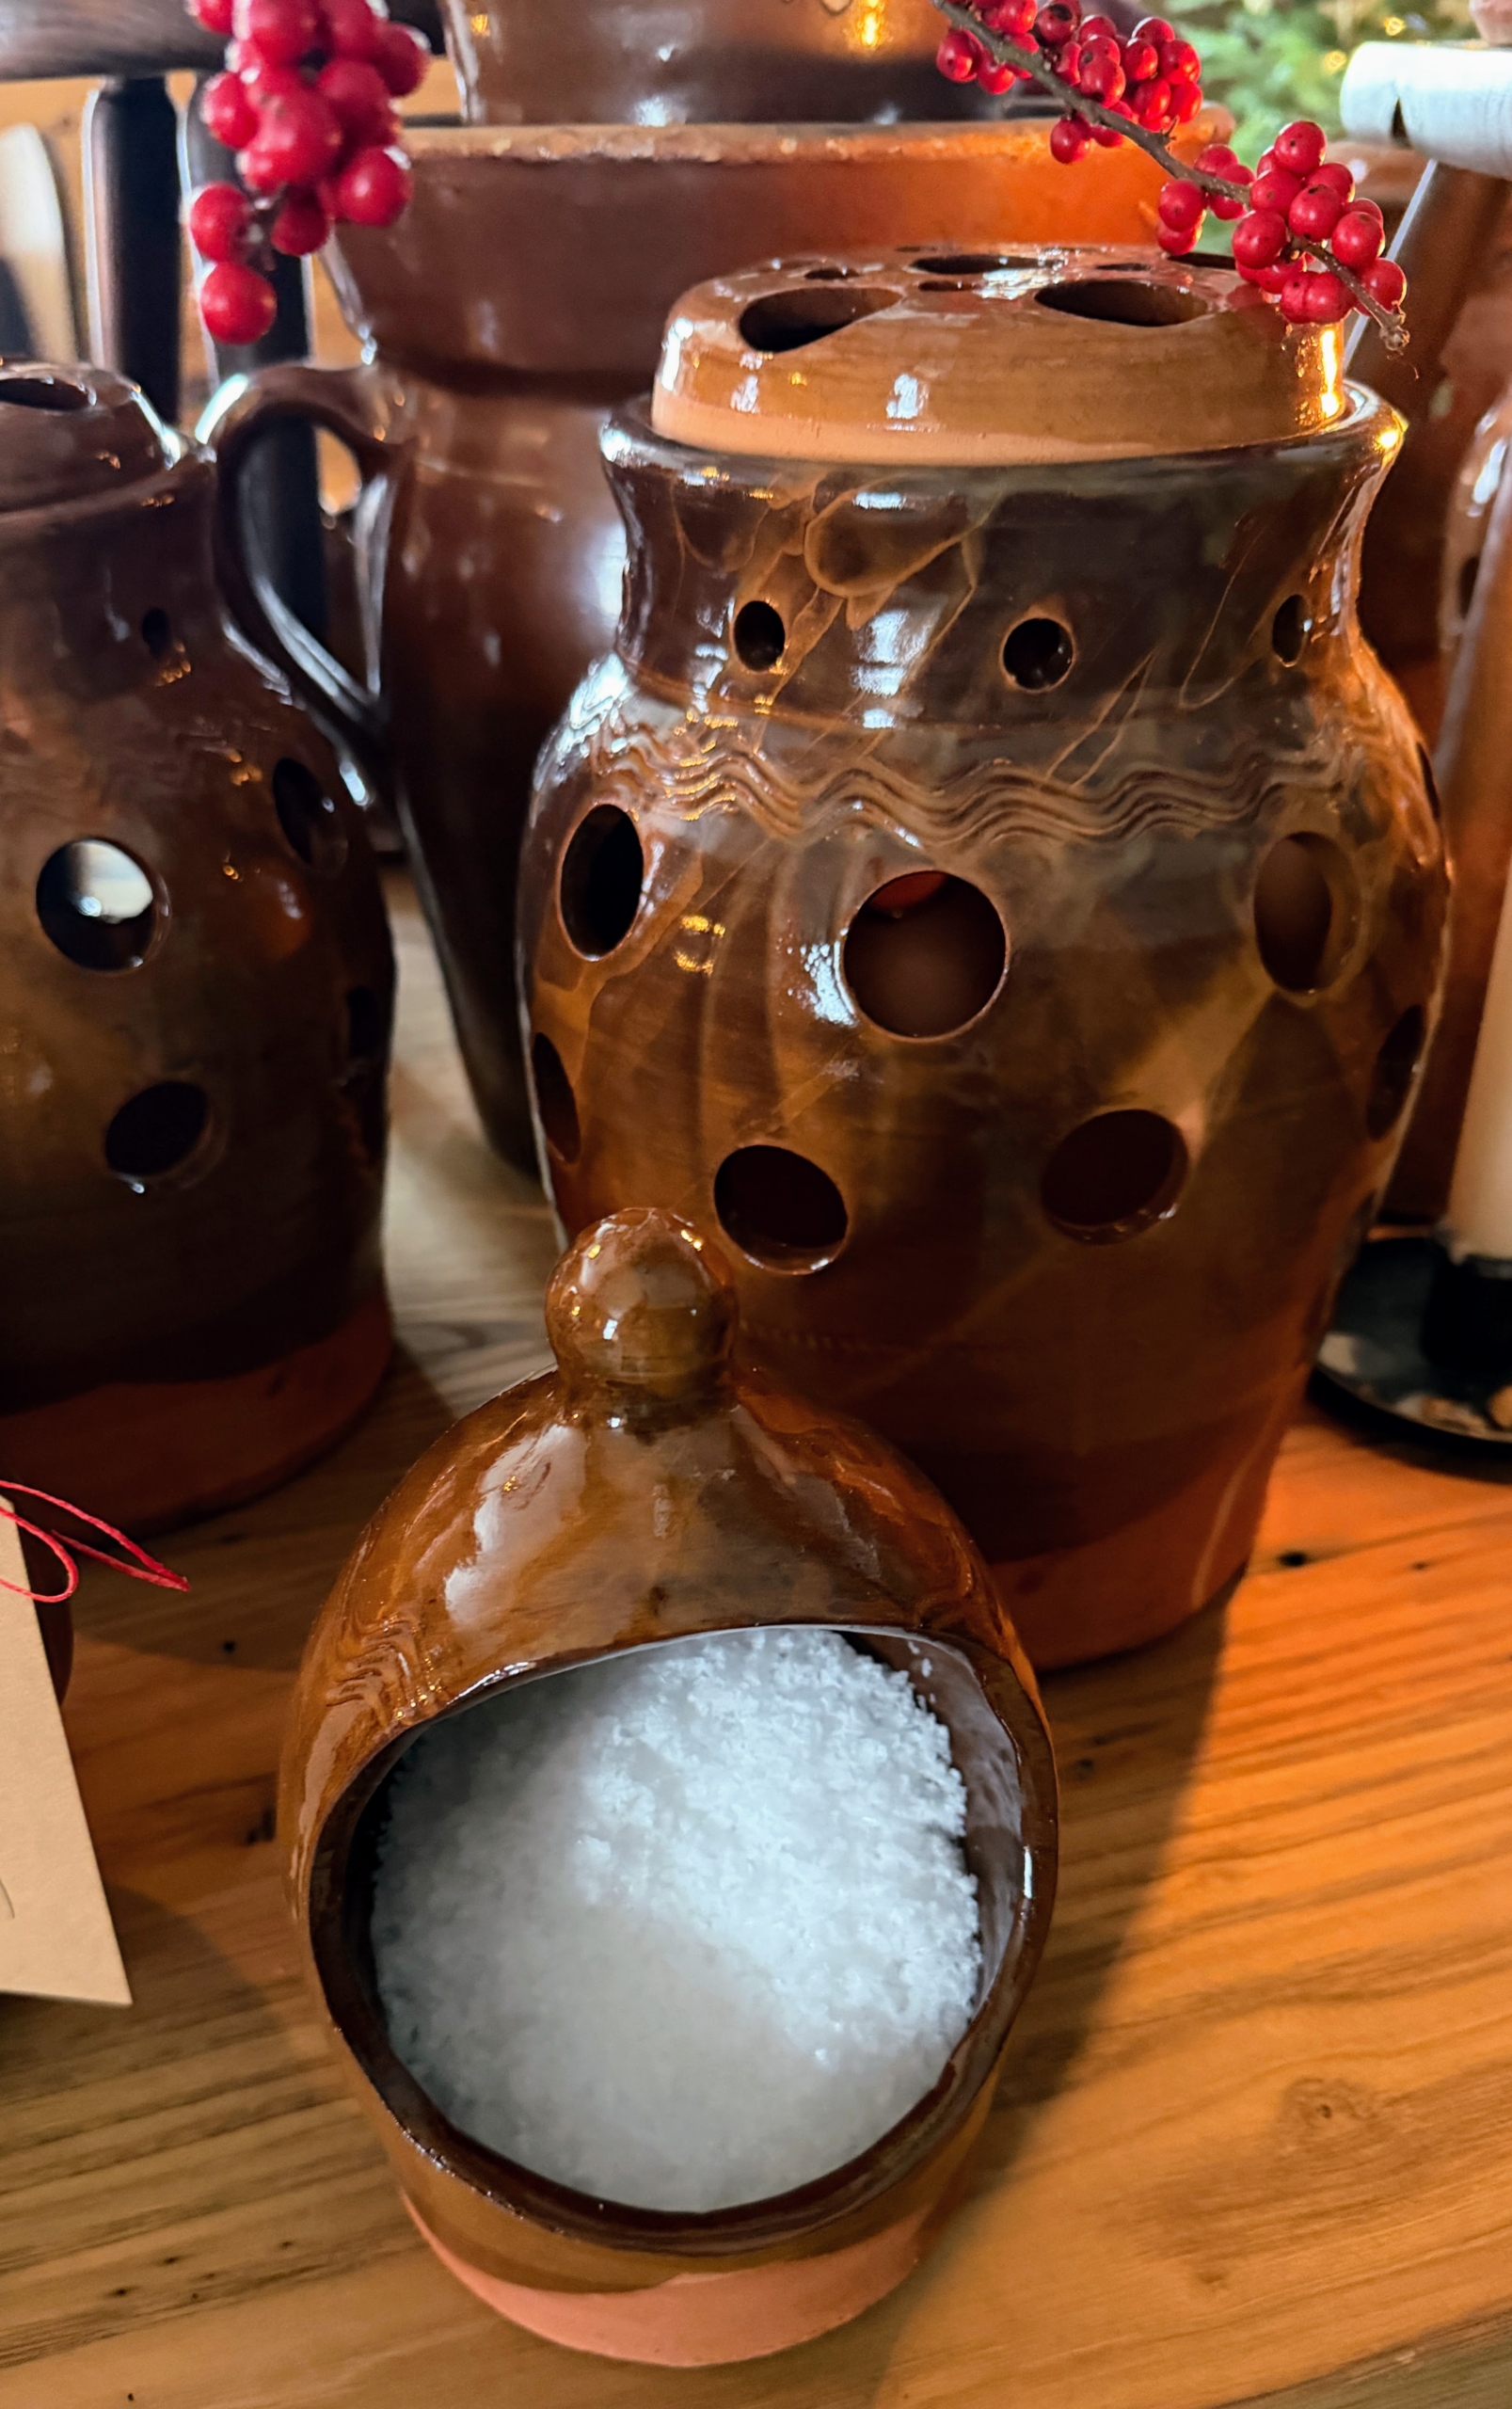
One of the first vendors we visited was Roseland. The table was filled with beautifully made pottery.
Among them, this charming salt cellar.
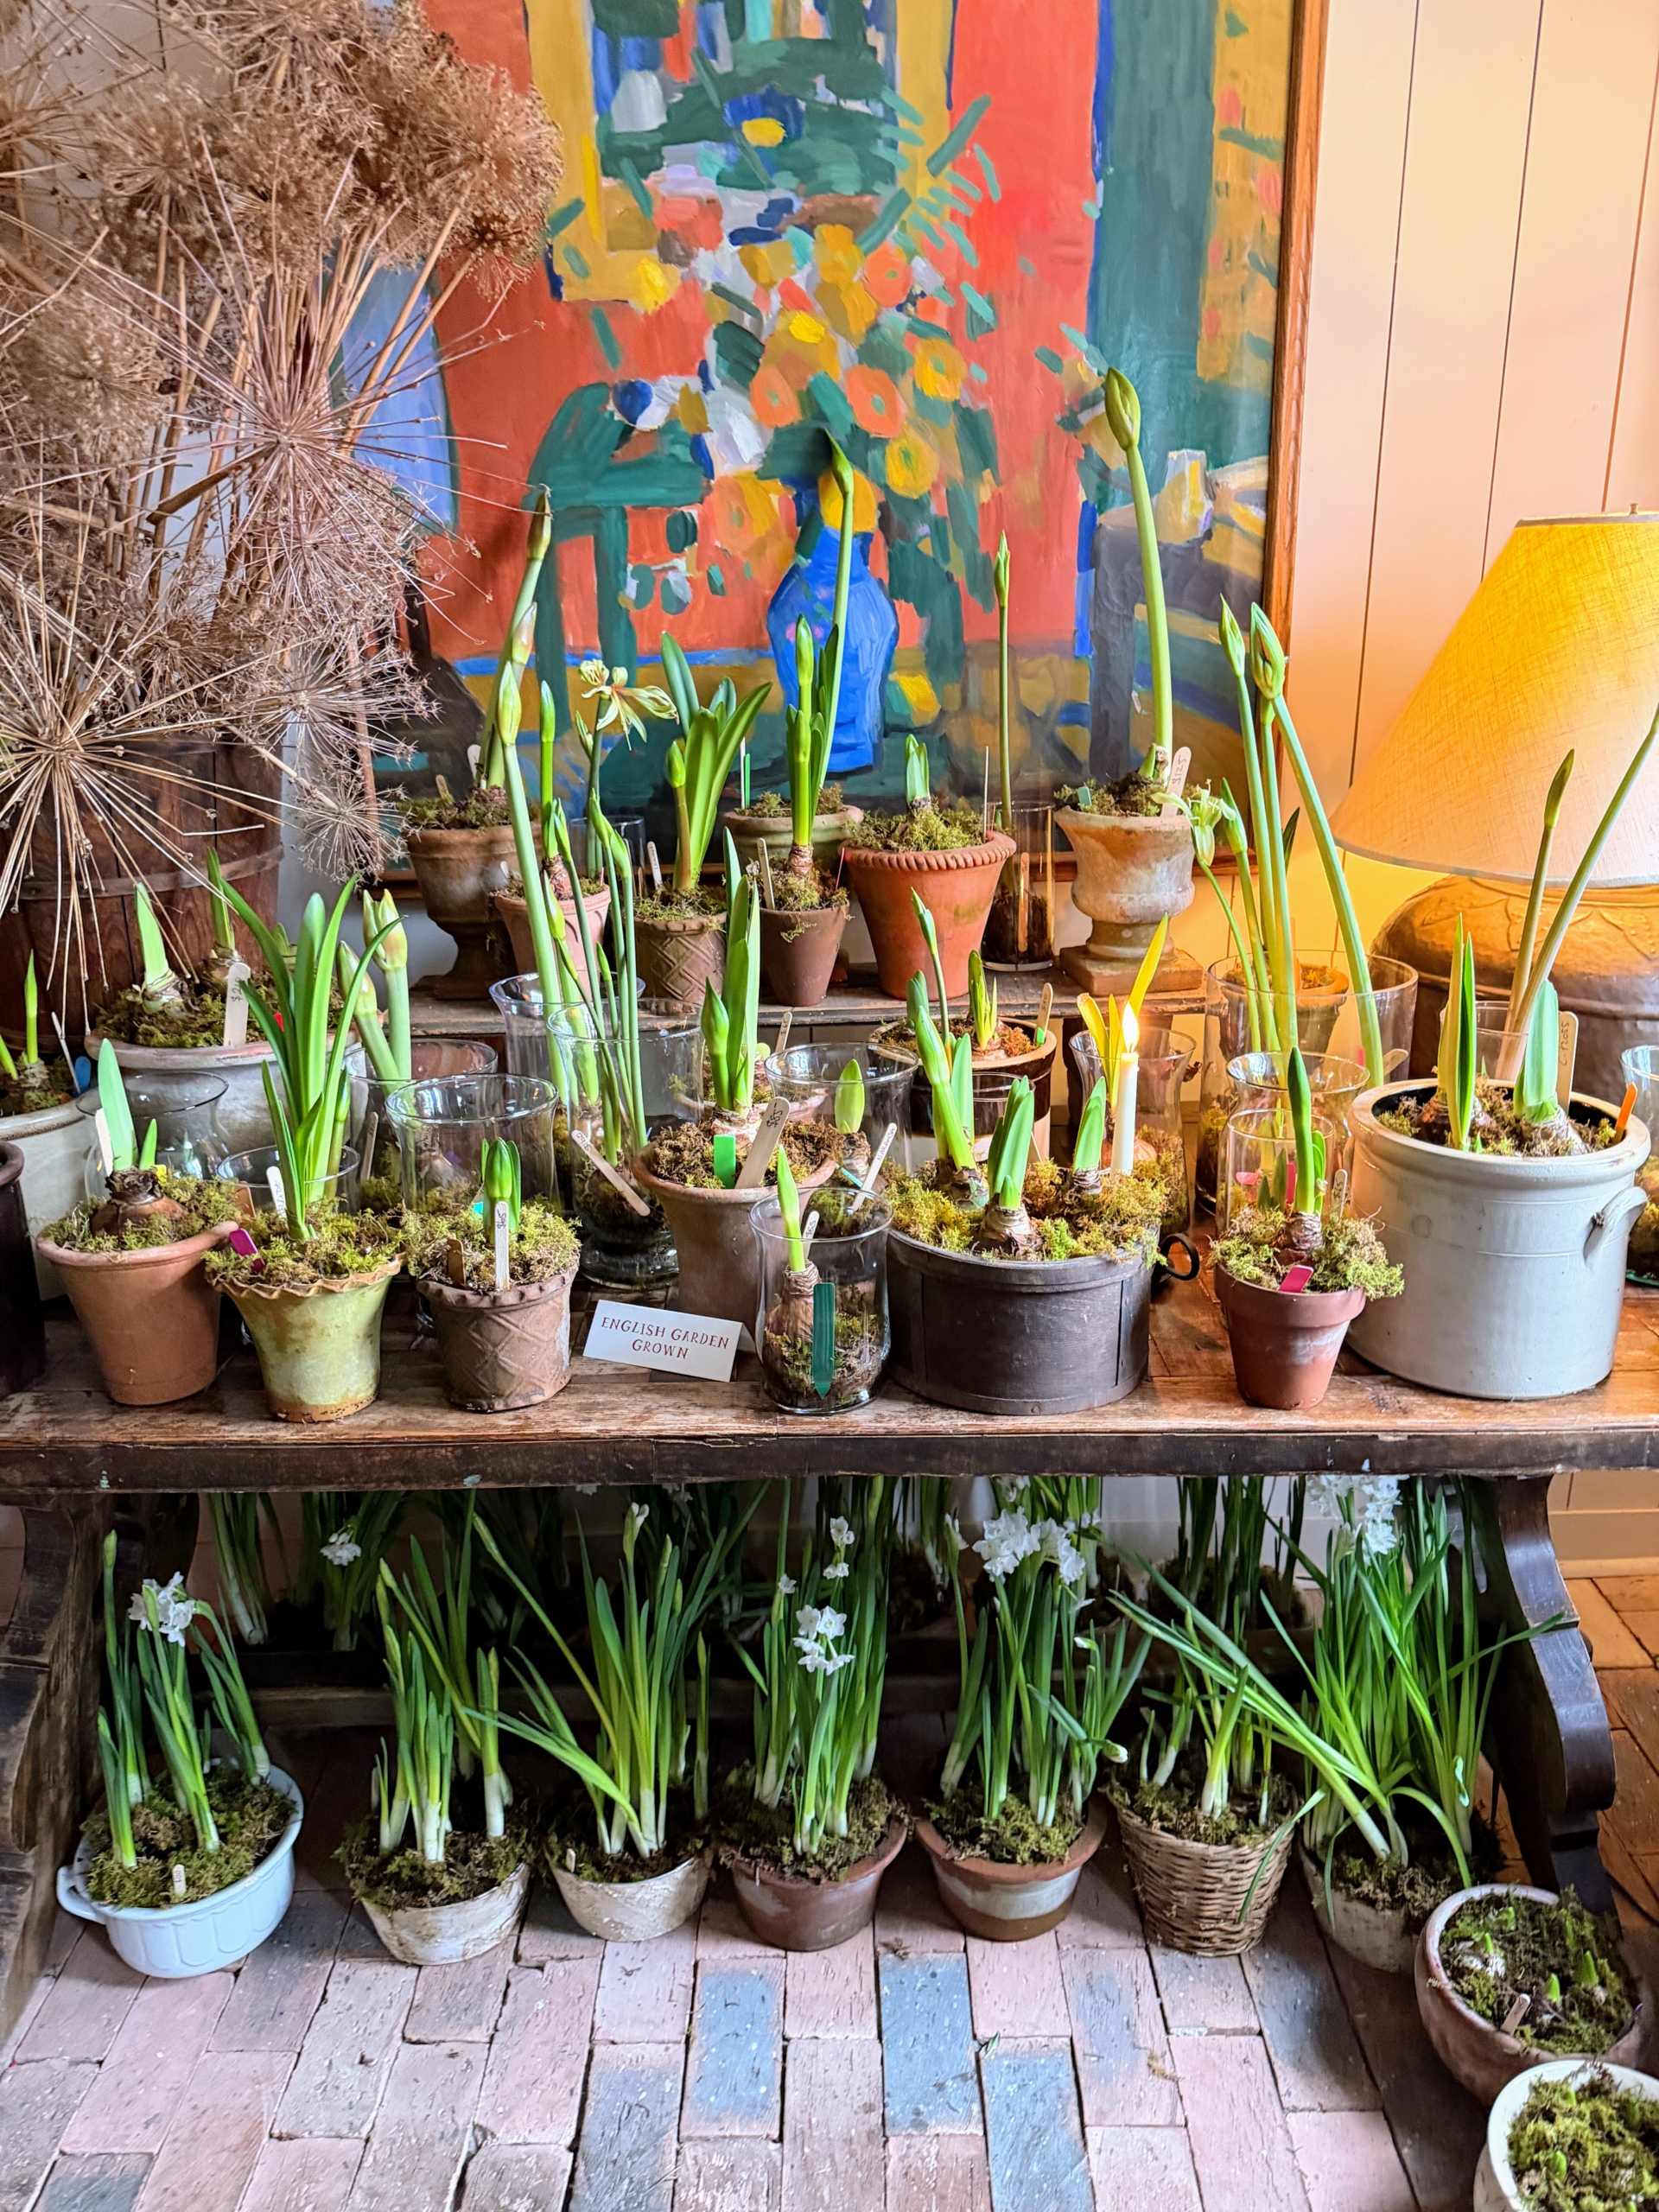
Here are some forced winter flower bulbs that should open by Christmas – offered by English Garden Grown.
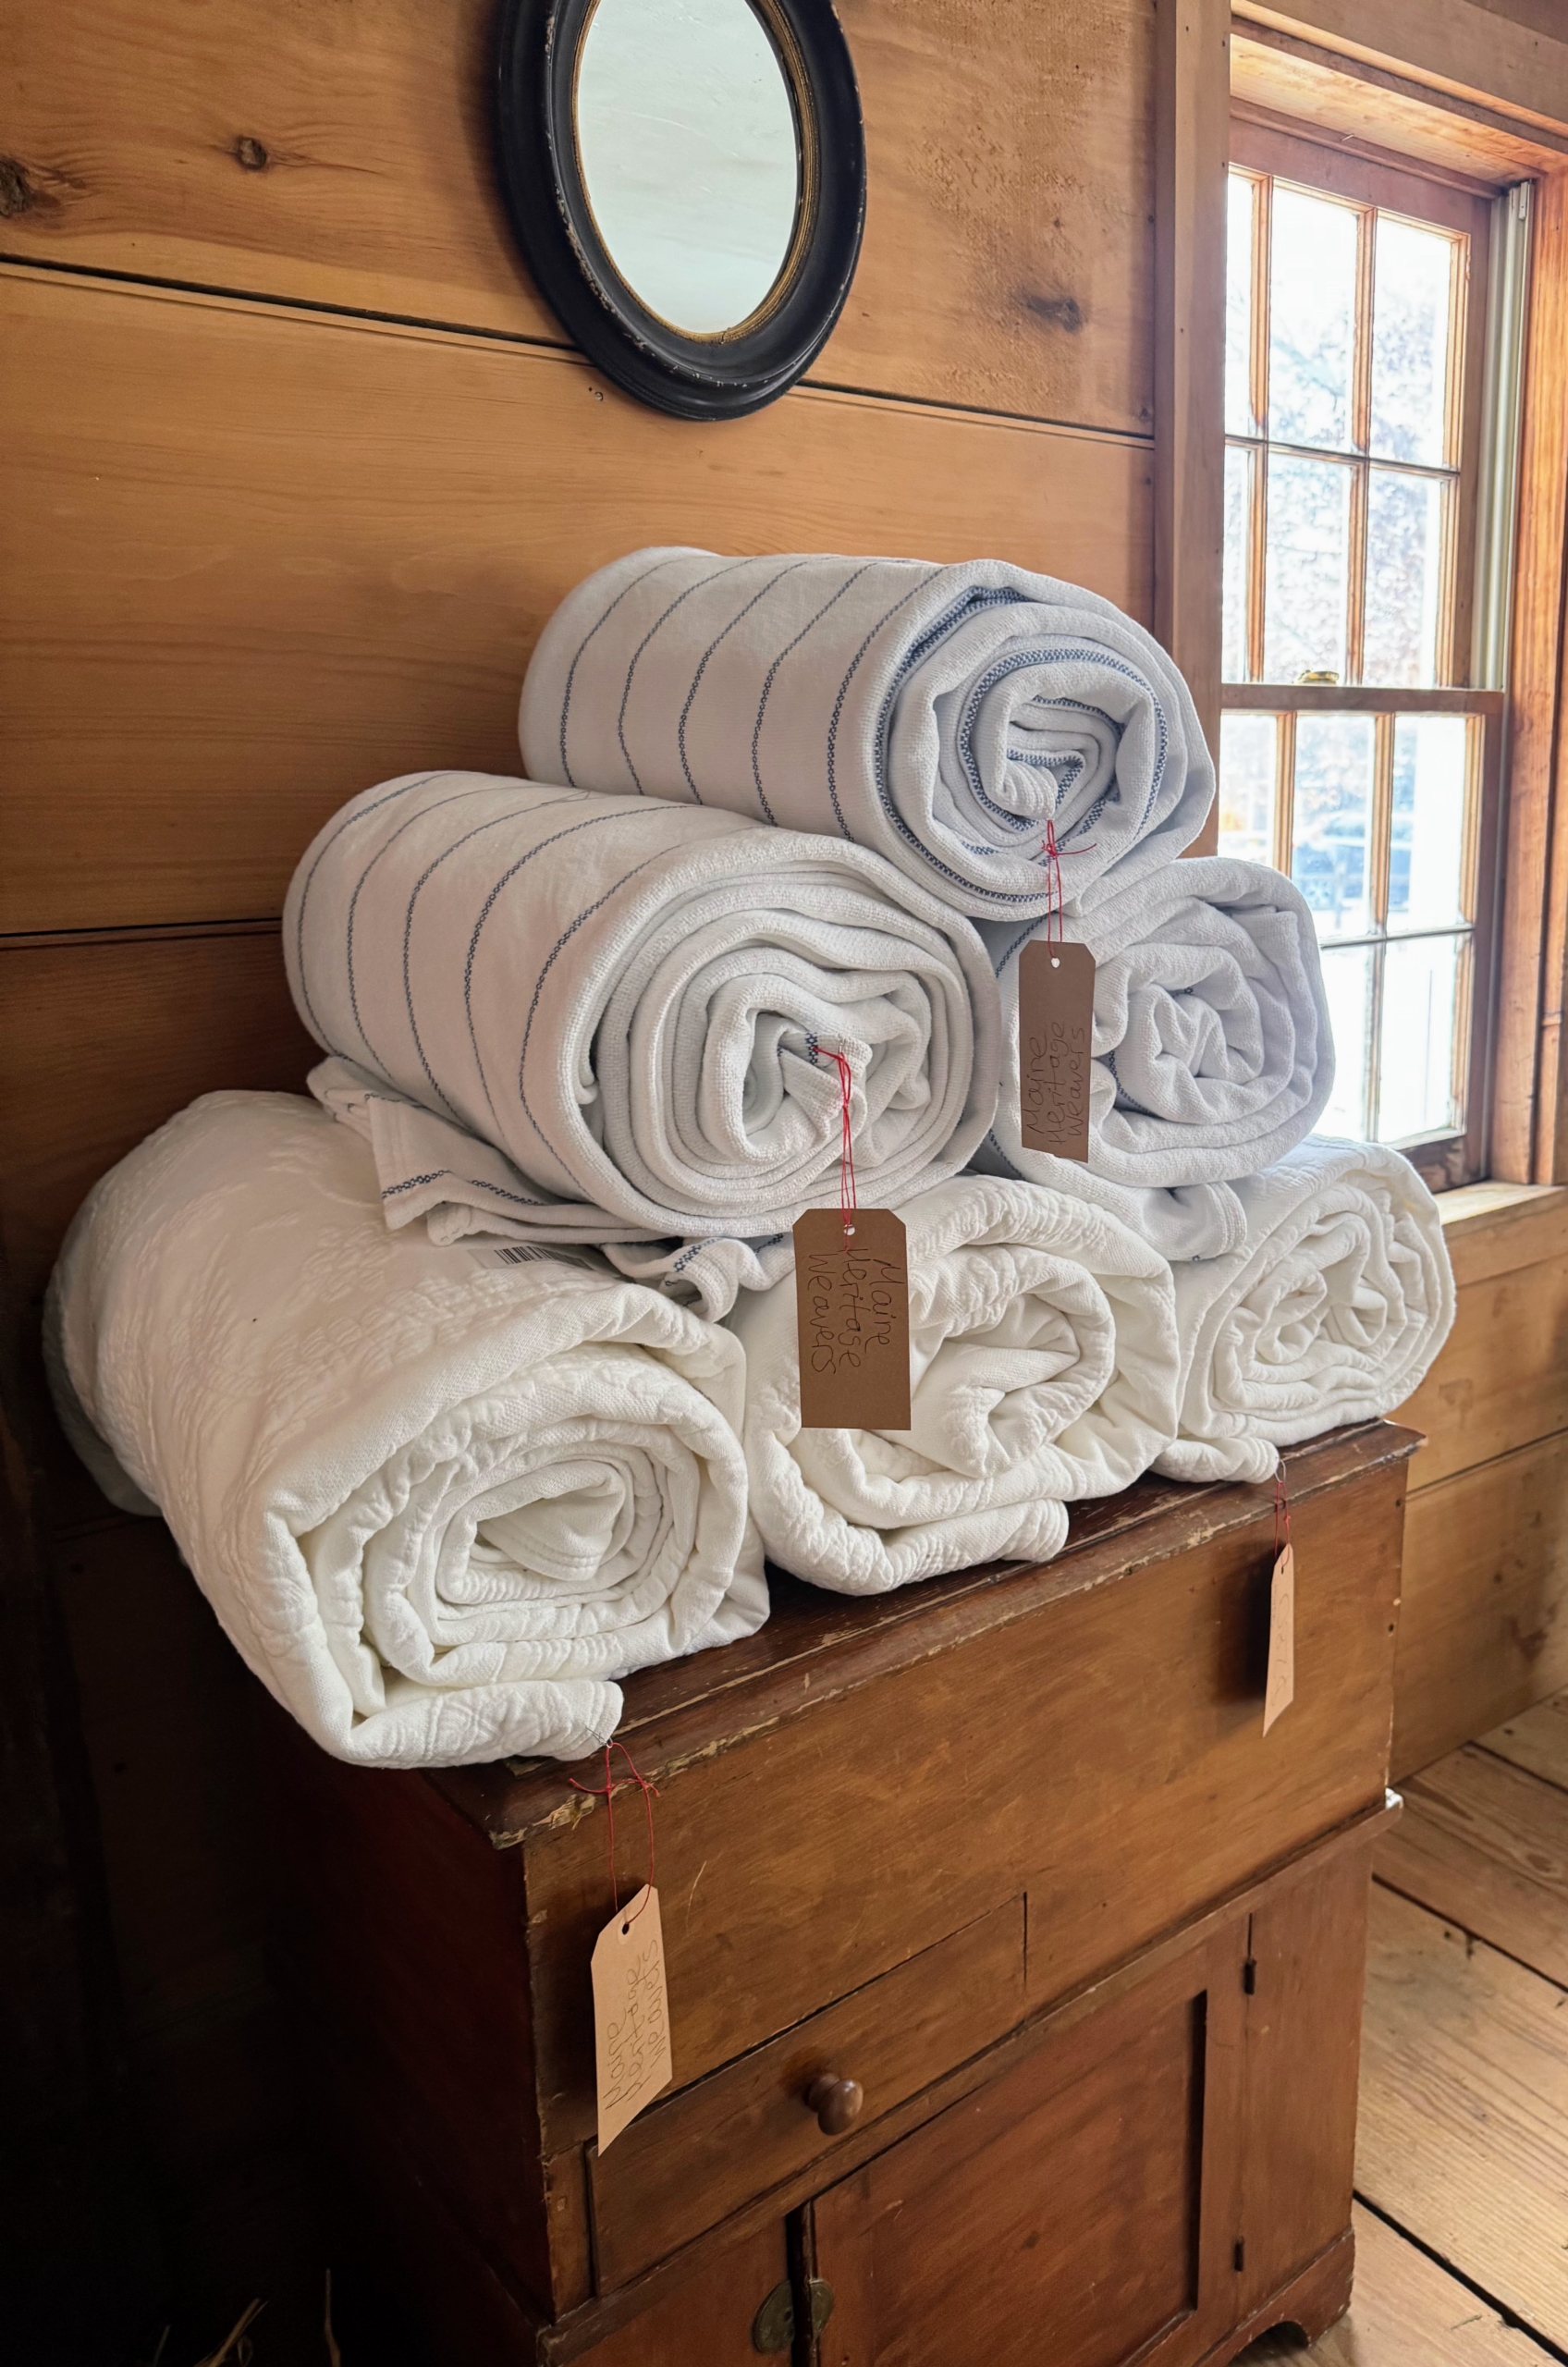
Maine Heritage Weavers sold many warm blankets.
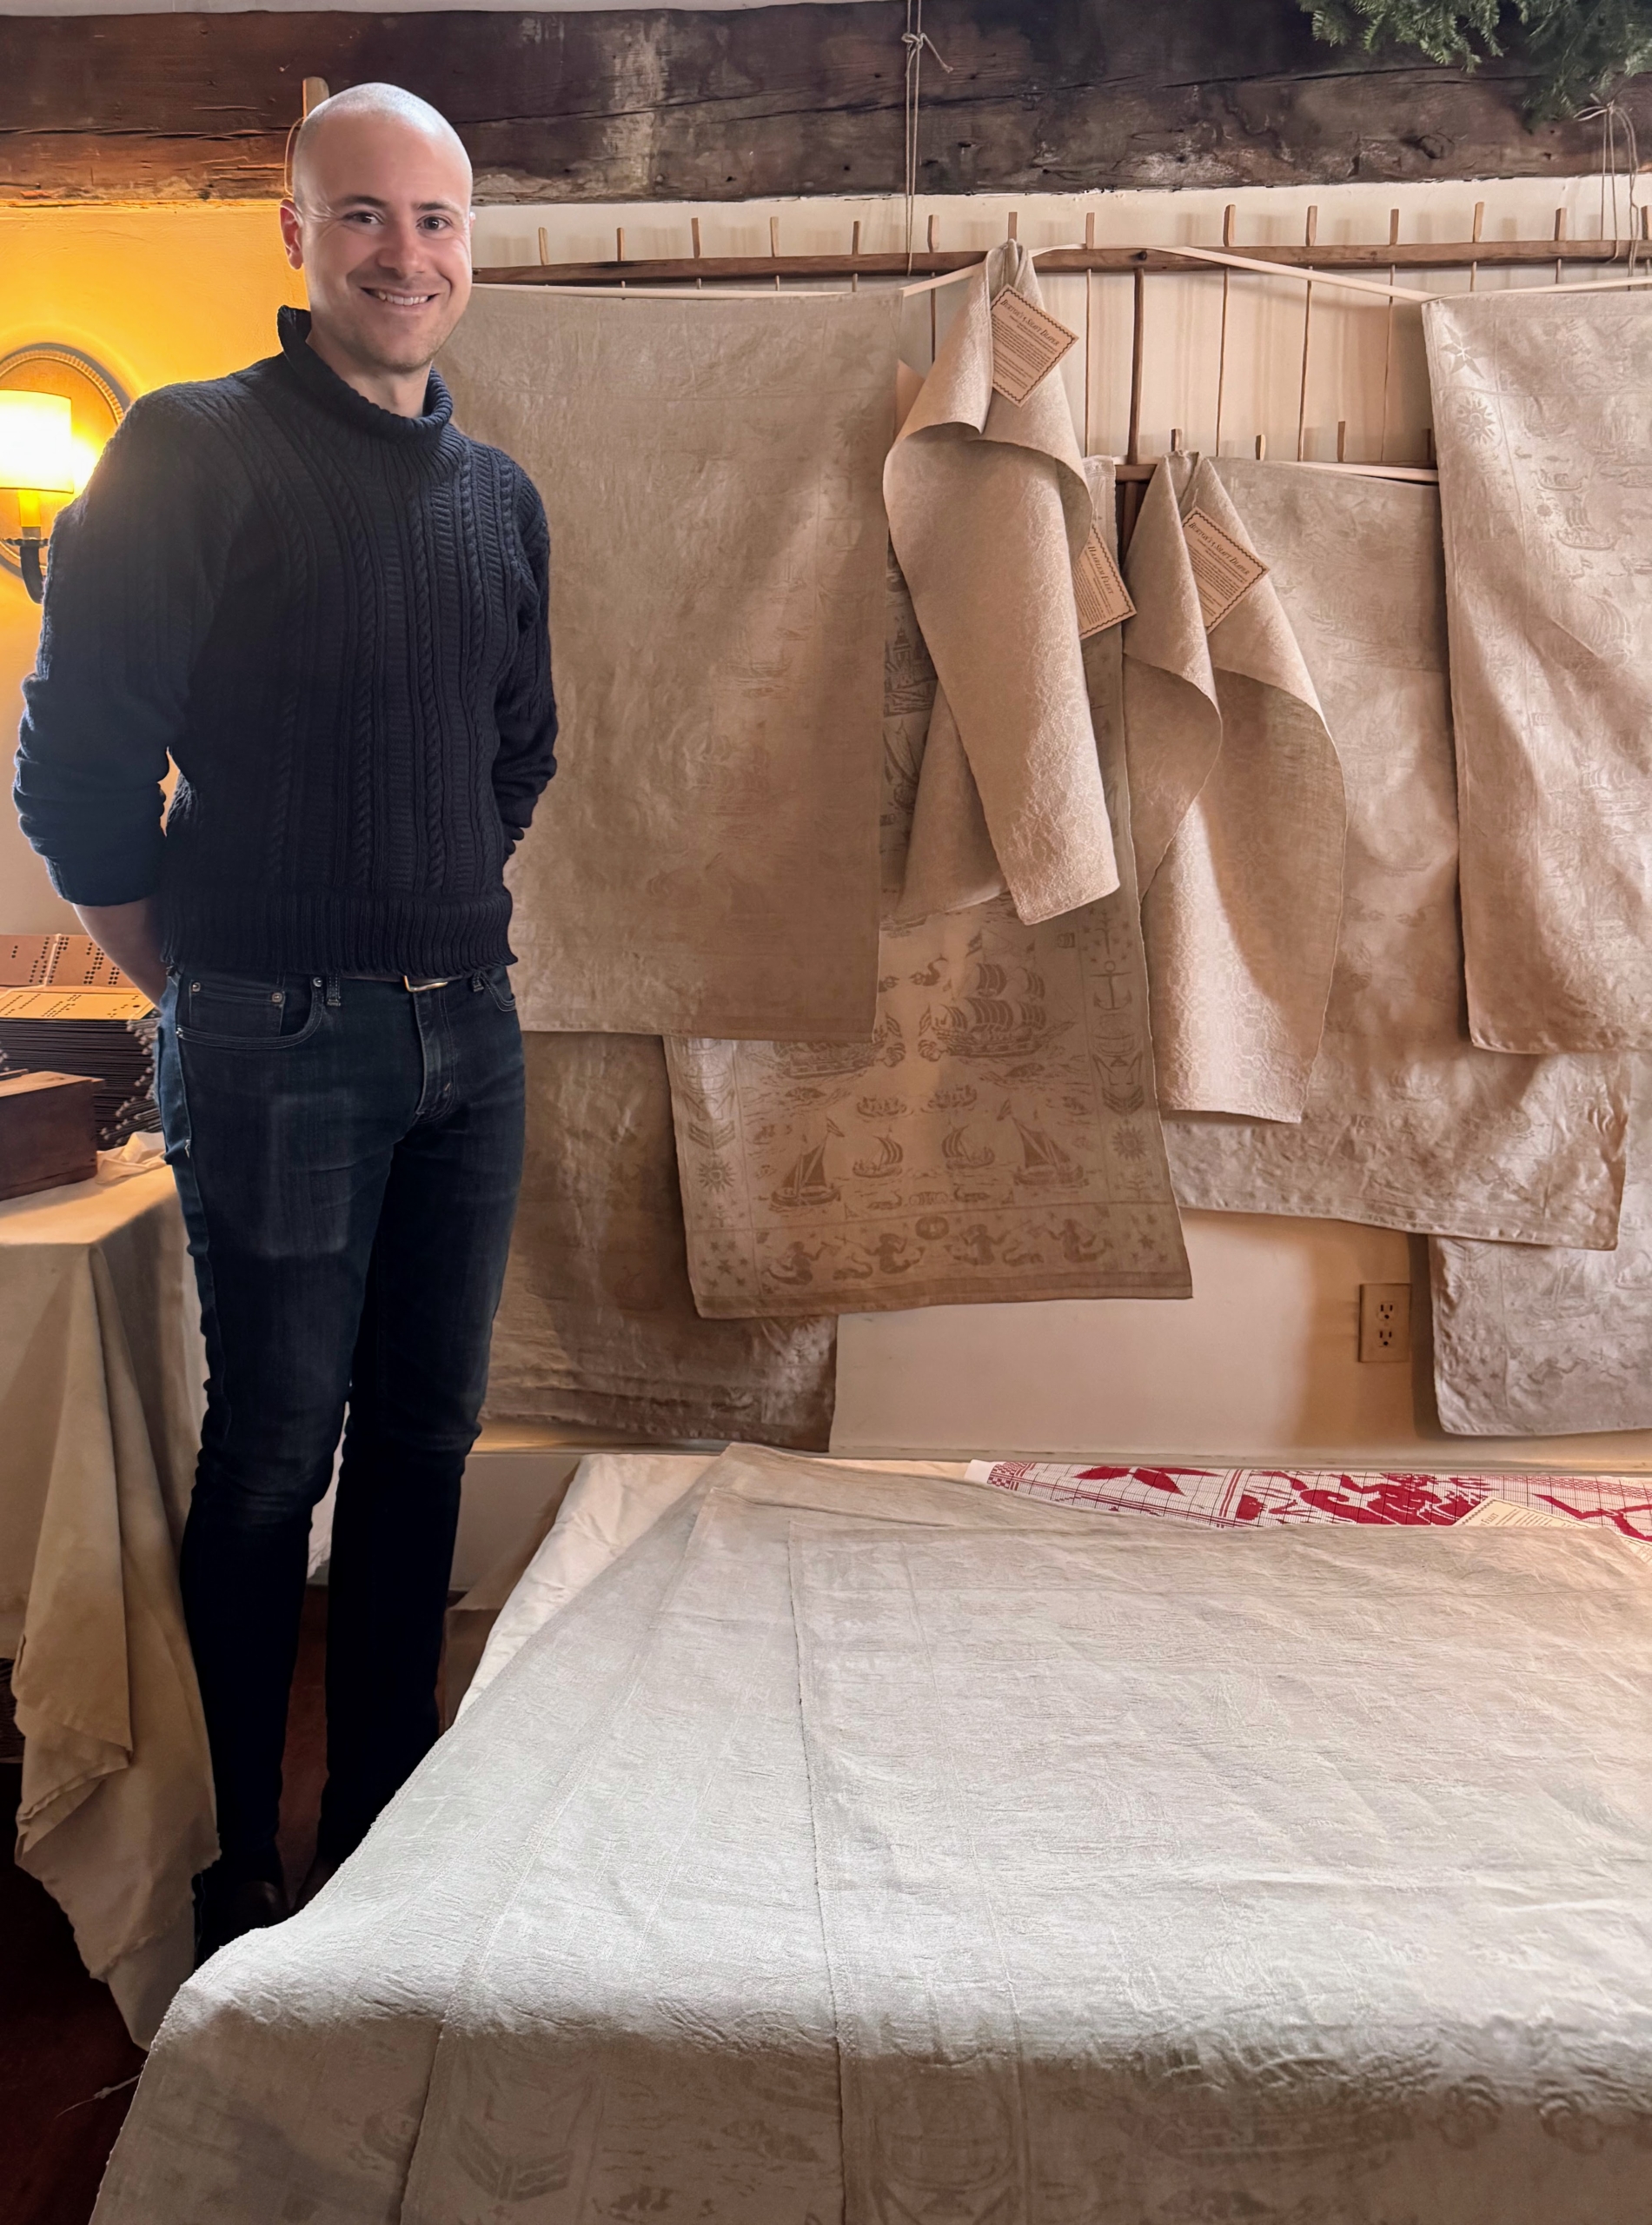
These damask linens were weaved at The Burroughs Garret in Newbury, Vermont.
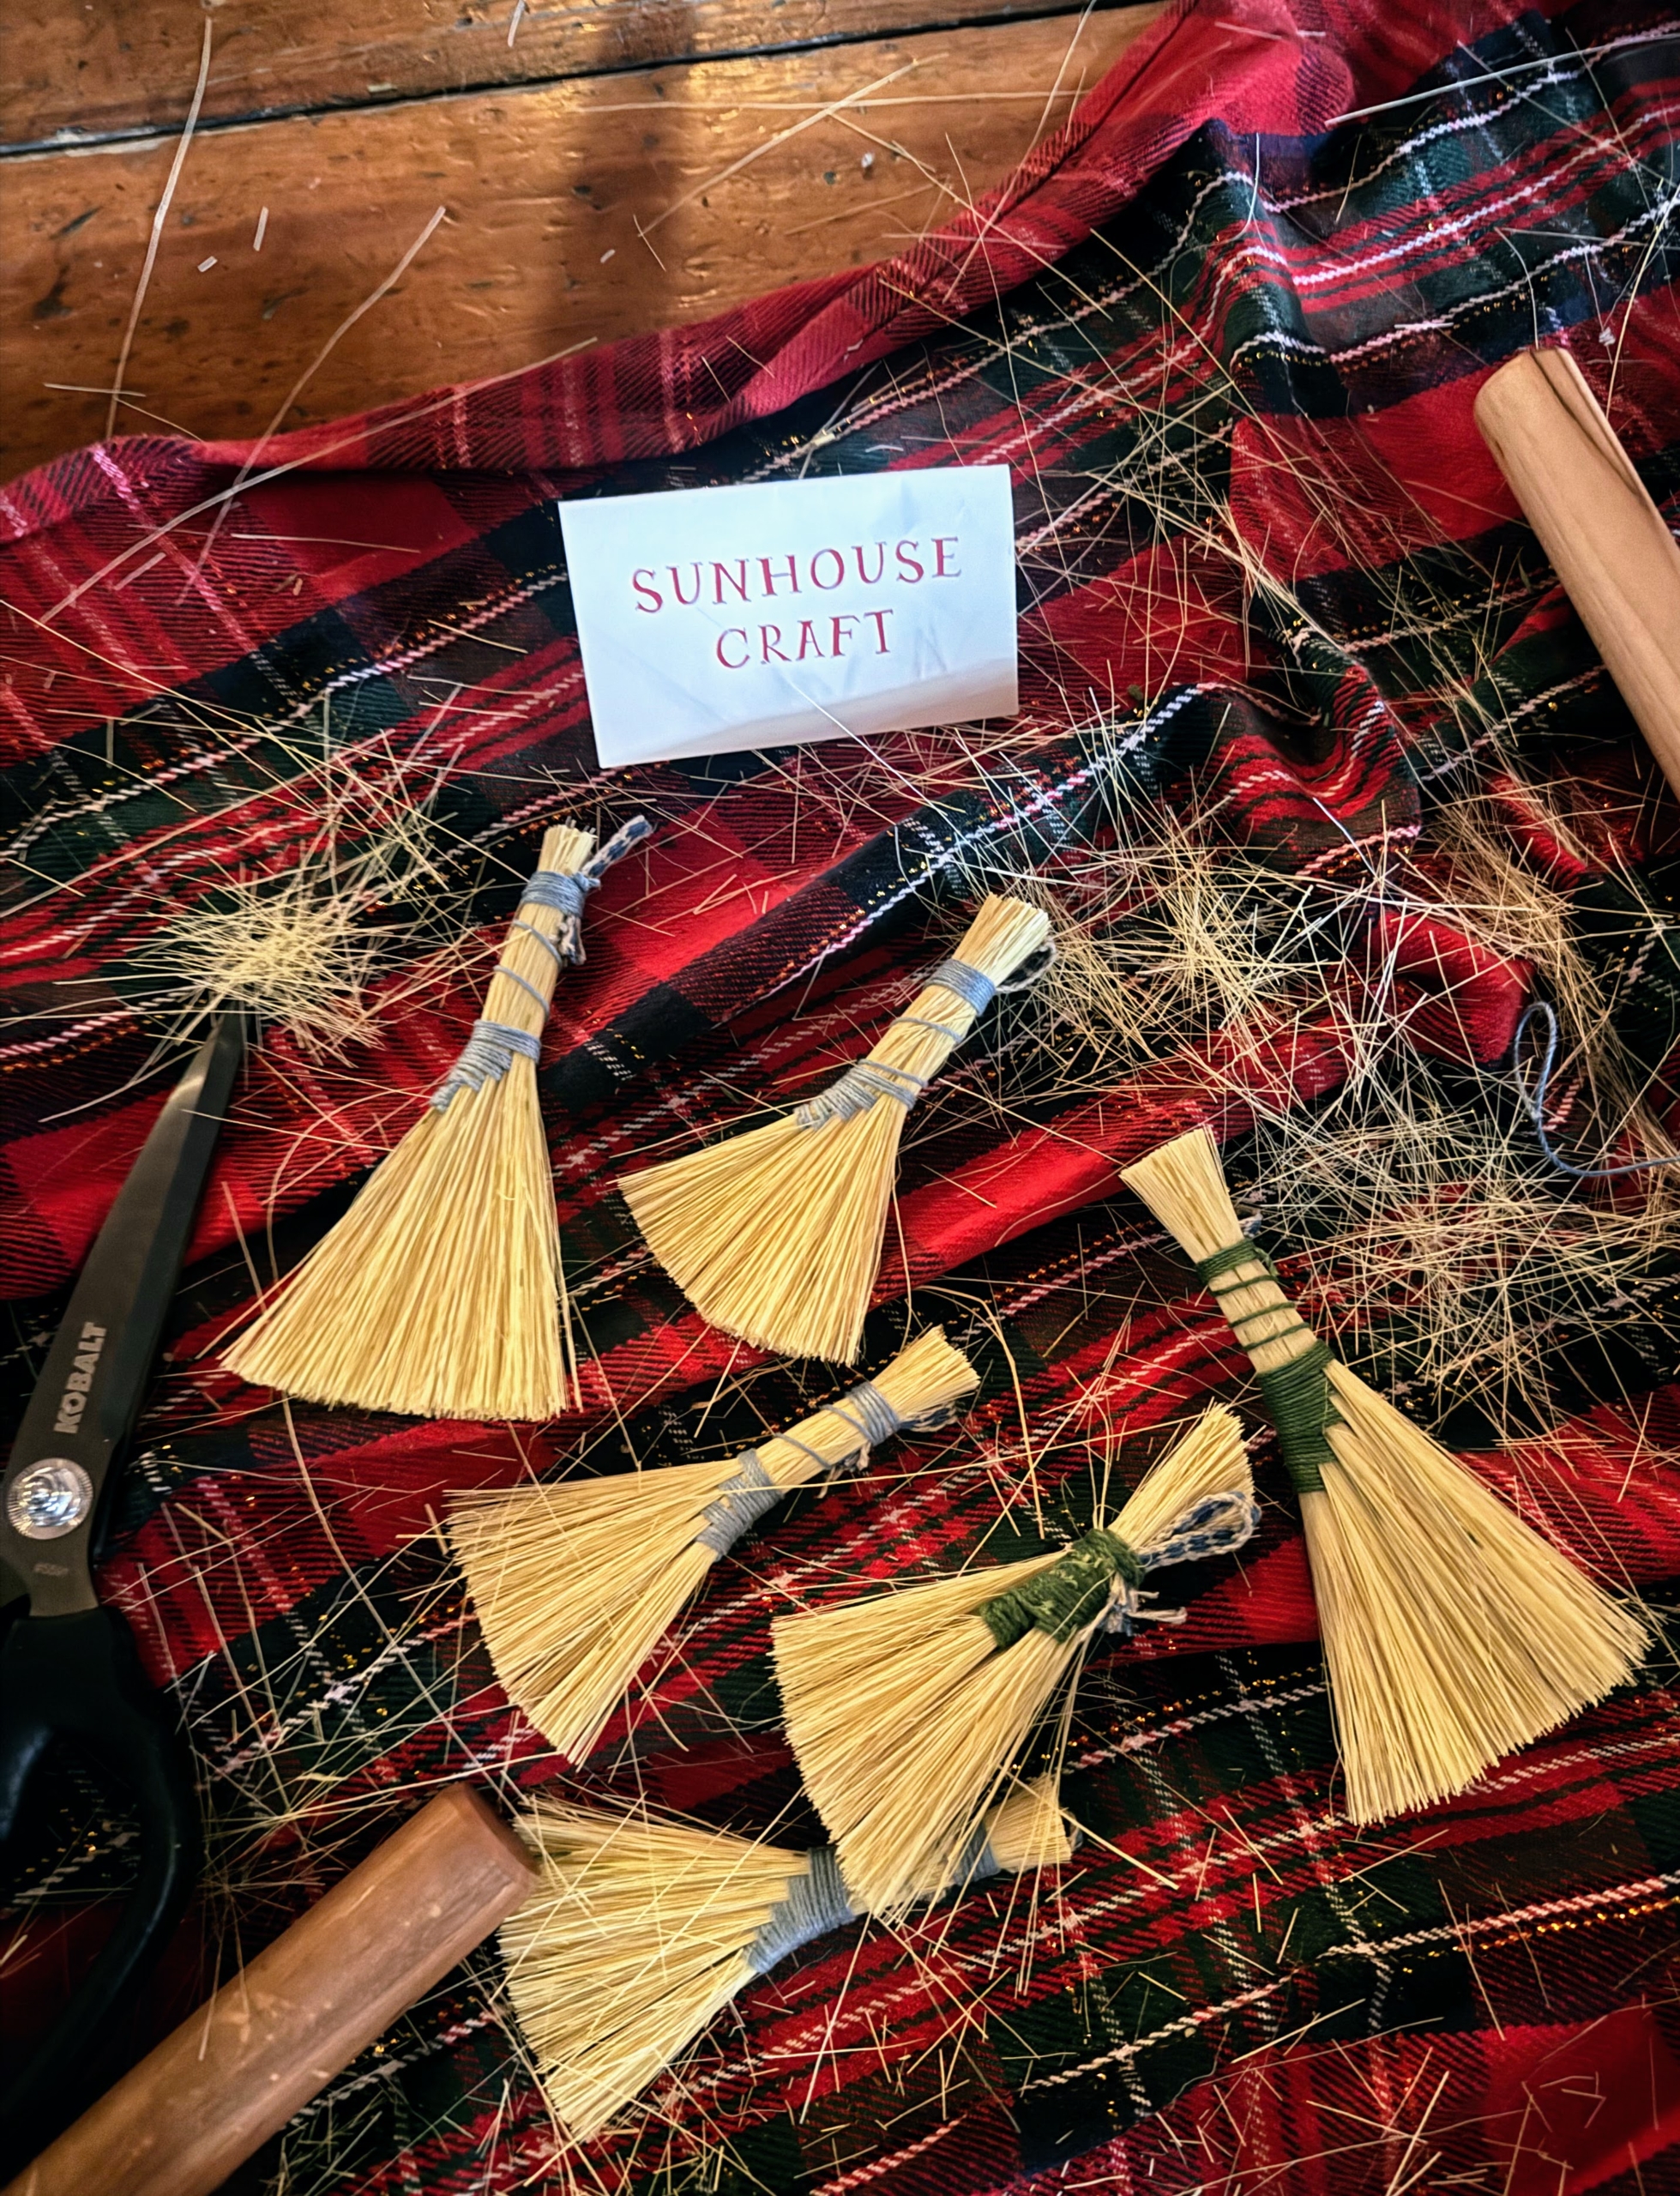
One could also make their own miniature brooms.
Here is a group learning how to tie and shape their brooms from Cynthia at Sunhouse Craft. Broom making is a meticulous process often passed down through generations.
Silas made this one – it is excellently crafted.
I saw other colleagues at the event. Here’s our own Ryan Mesina enjoying some cookies.
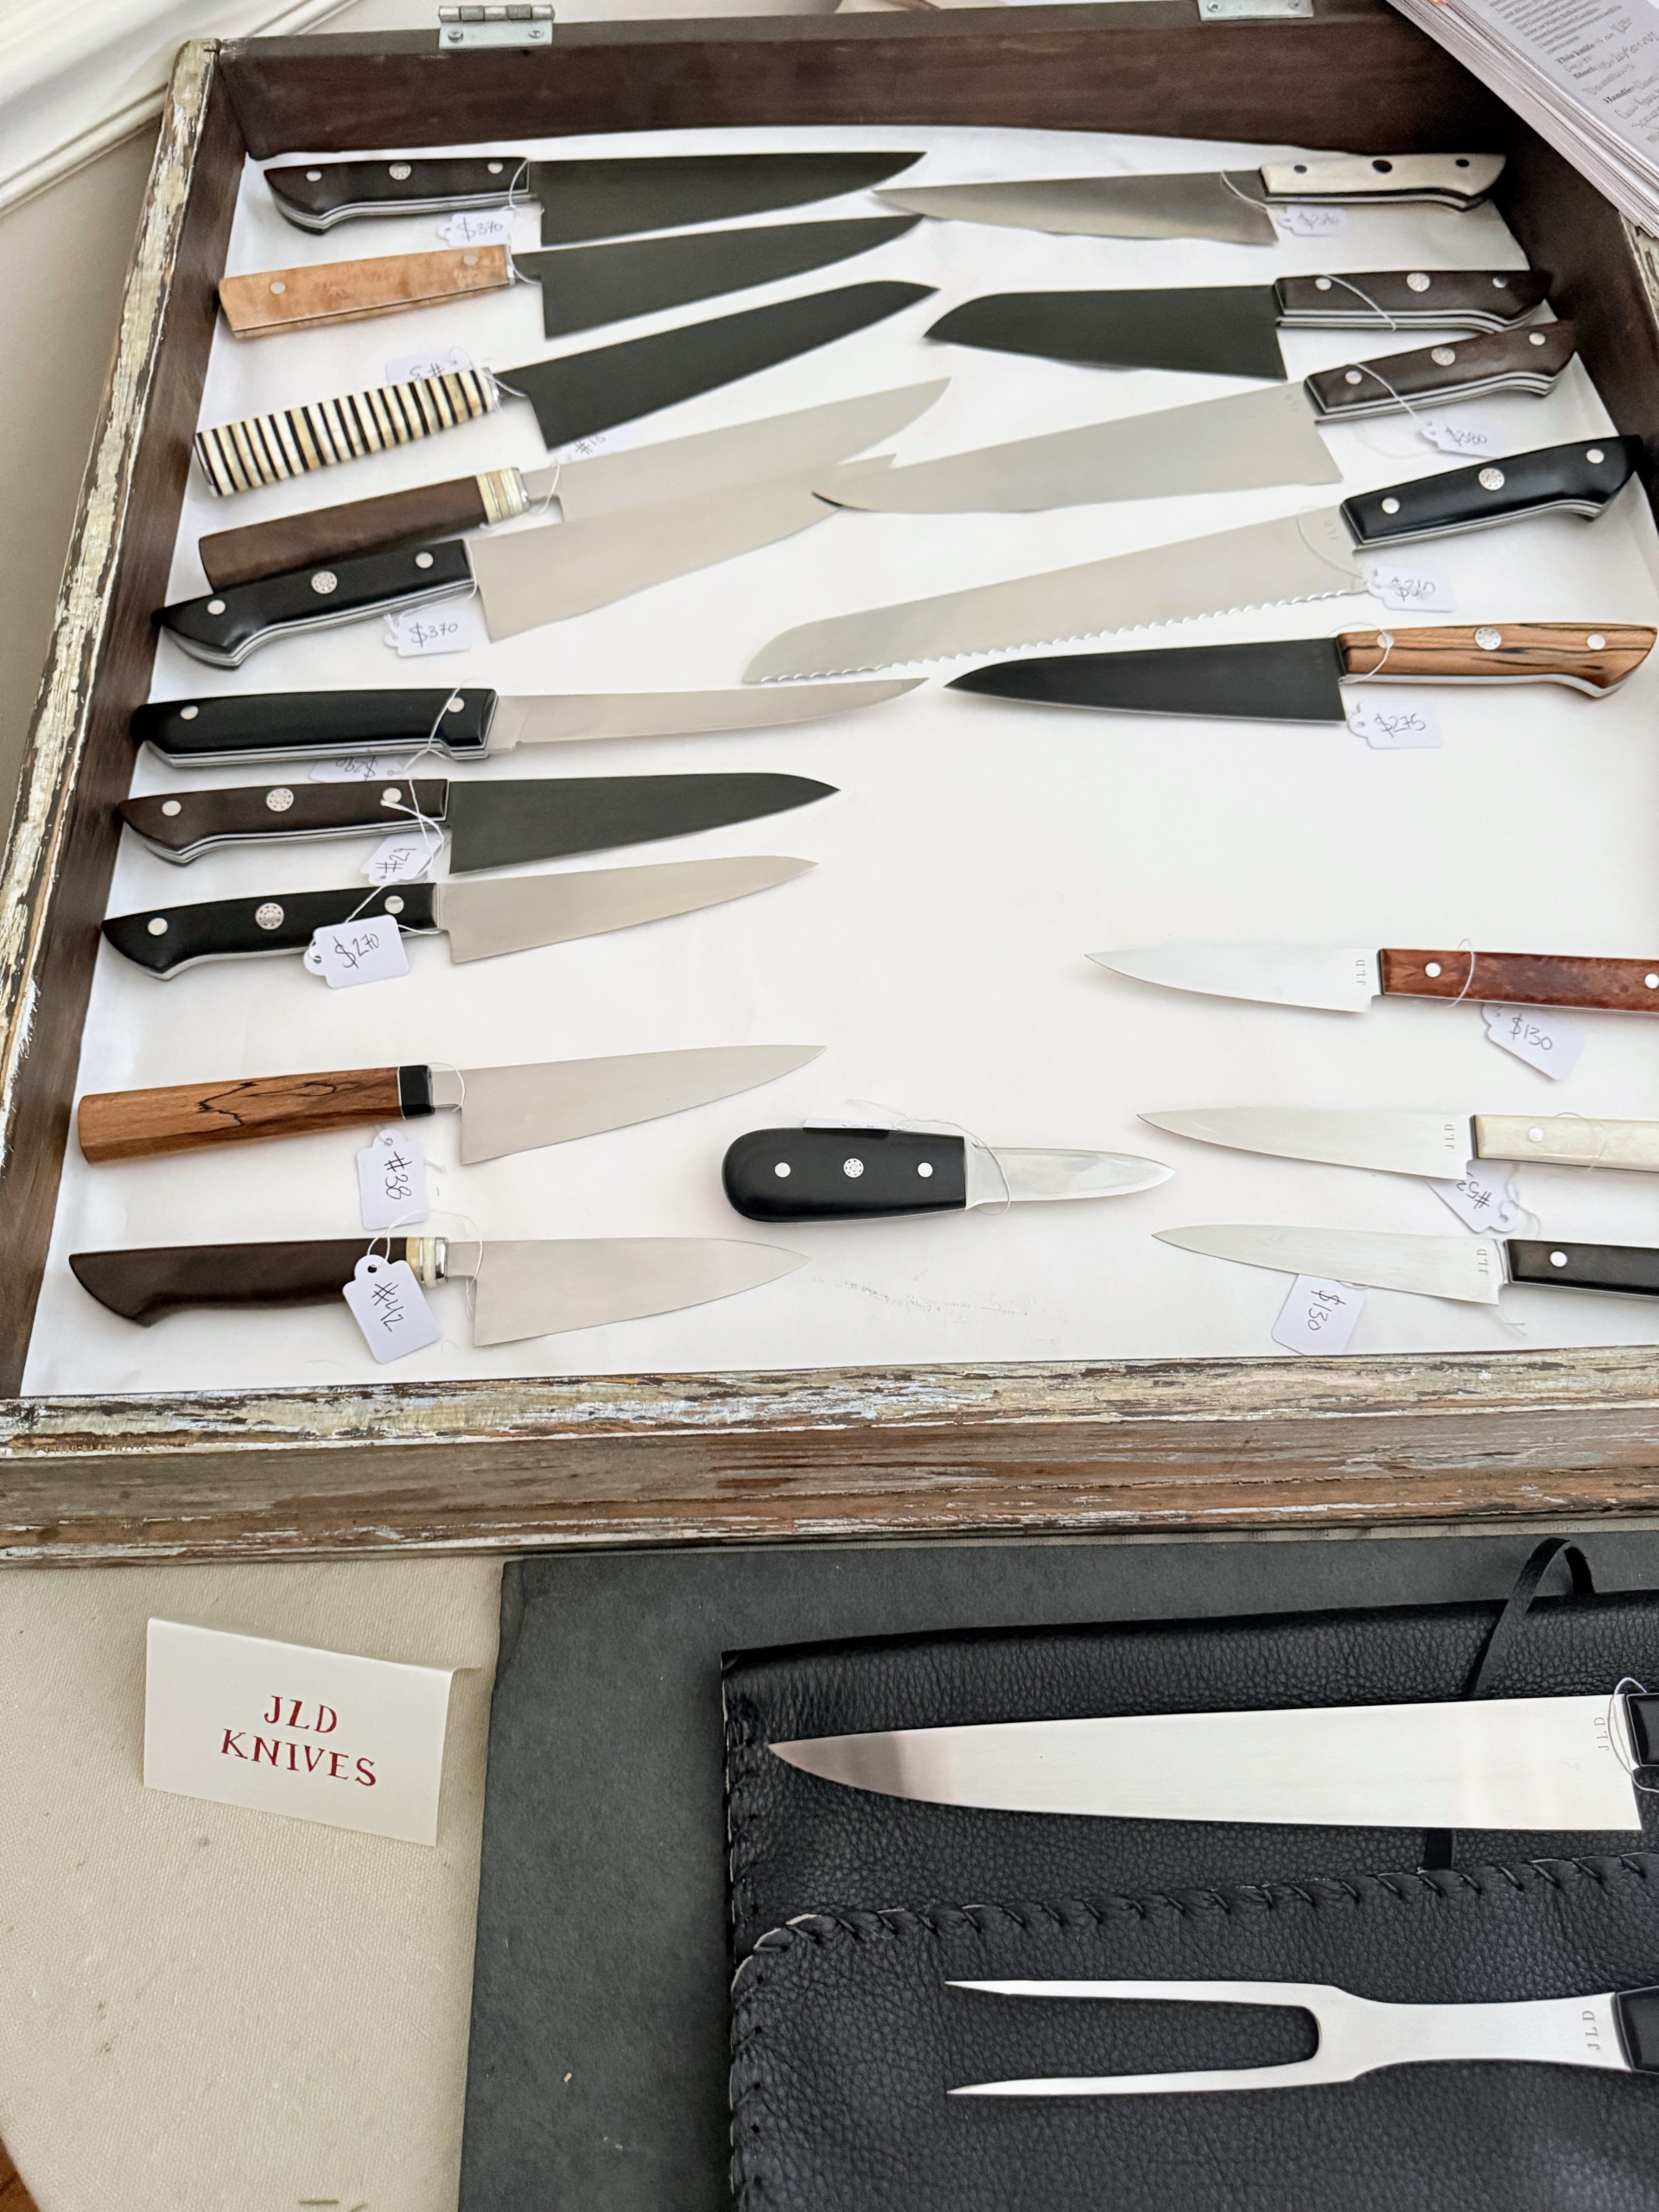
JLD Knives had these handmade offerings made by Jack Dolan who uses carbon steel, stainless steel and wood as his sources.
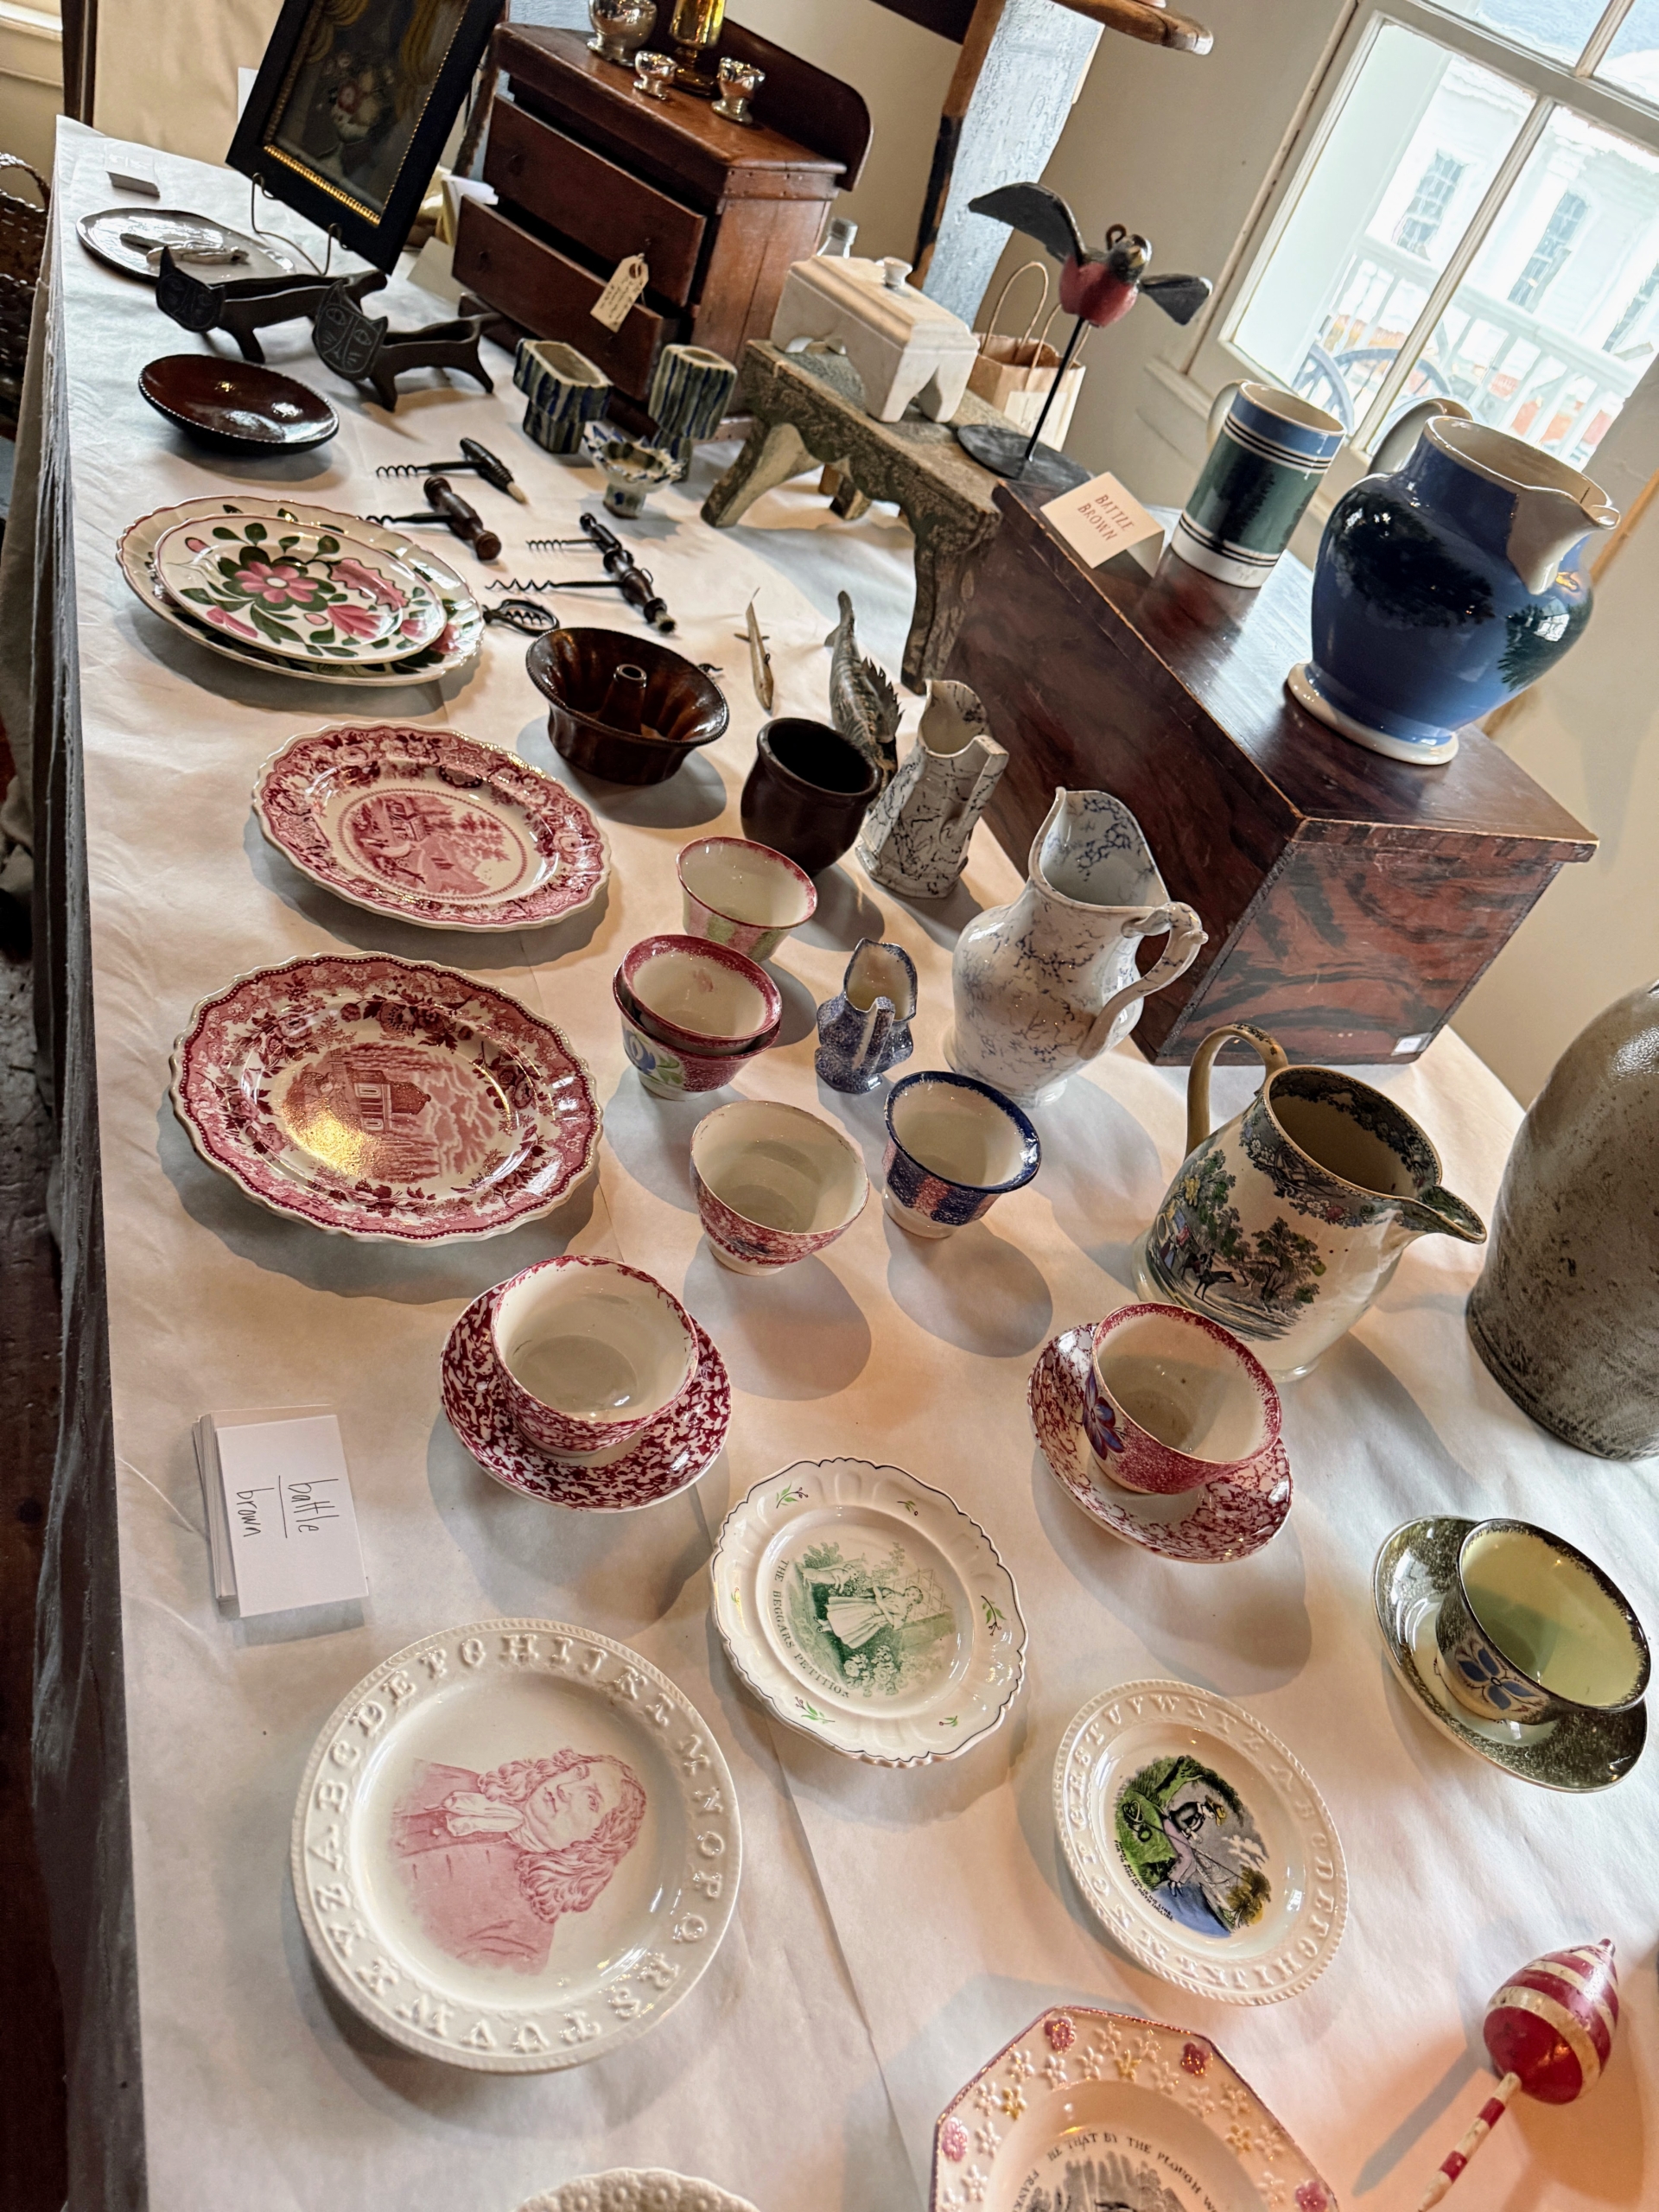
This collector’s table is set up by Warren Battle, co-owner of @battle_brown from nearby Hudson, New York.
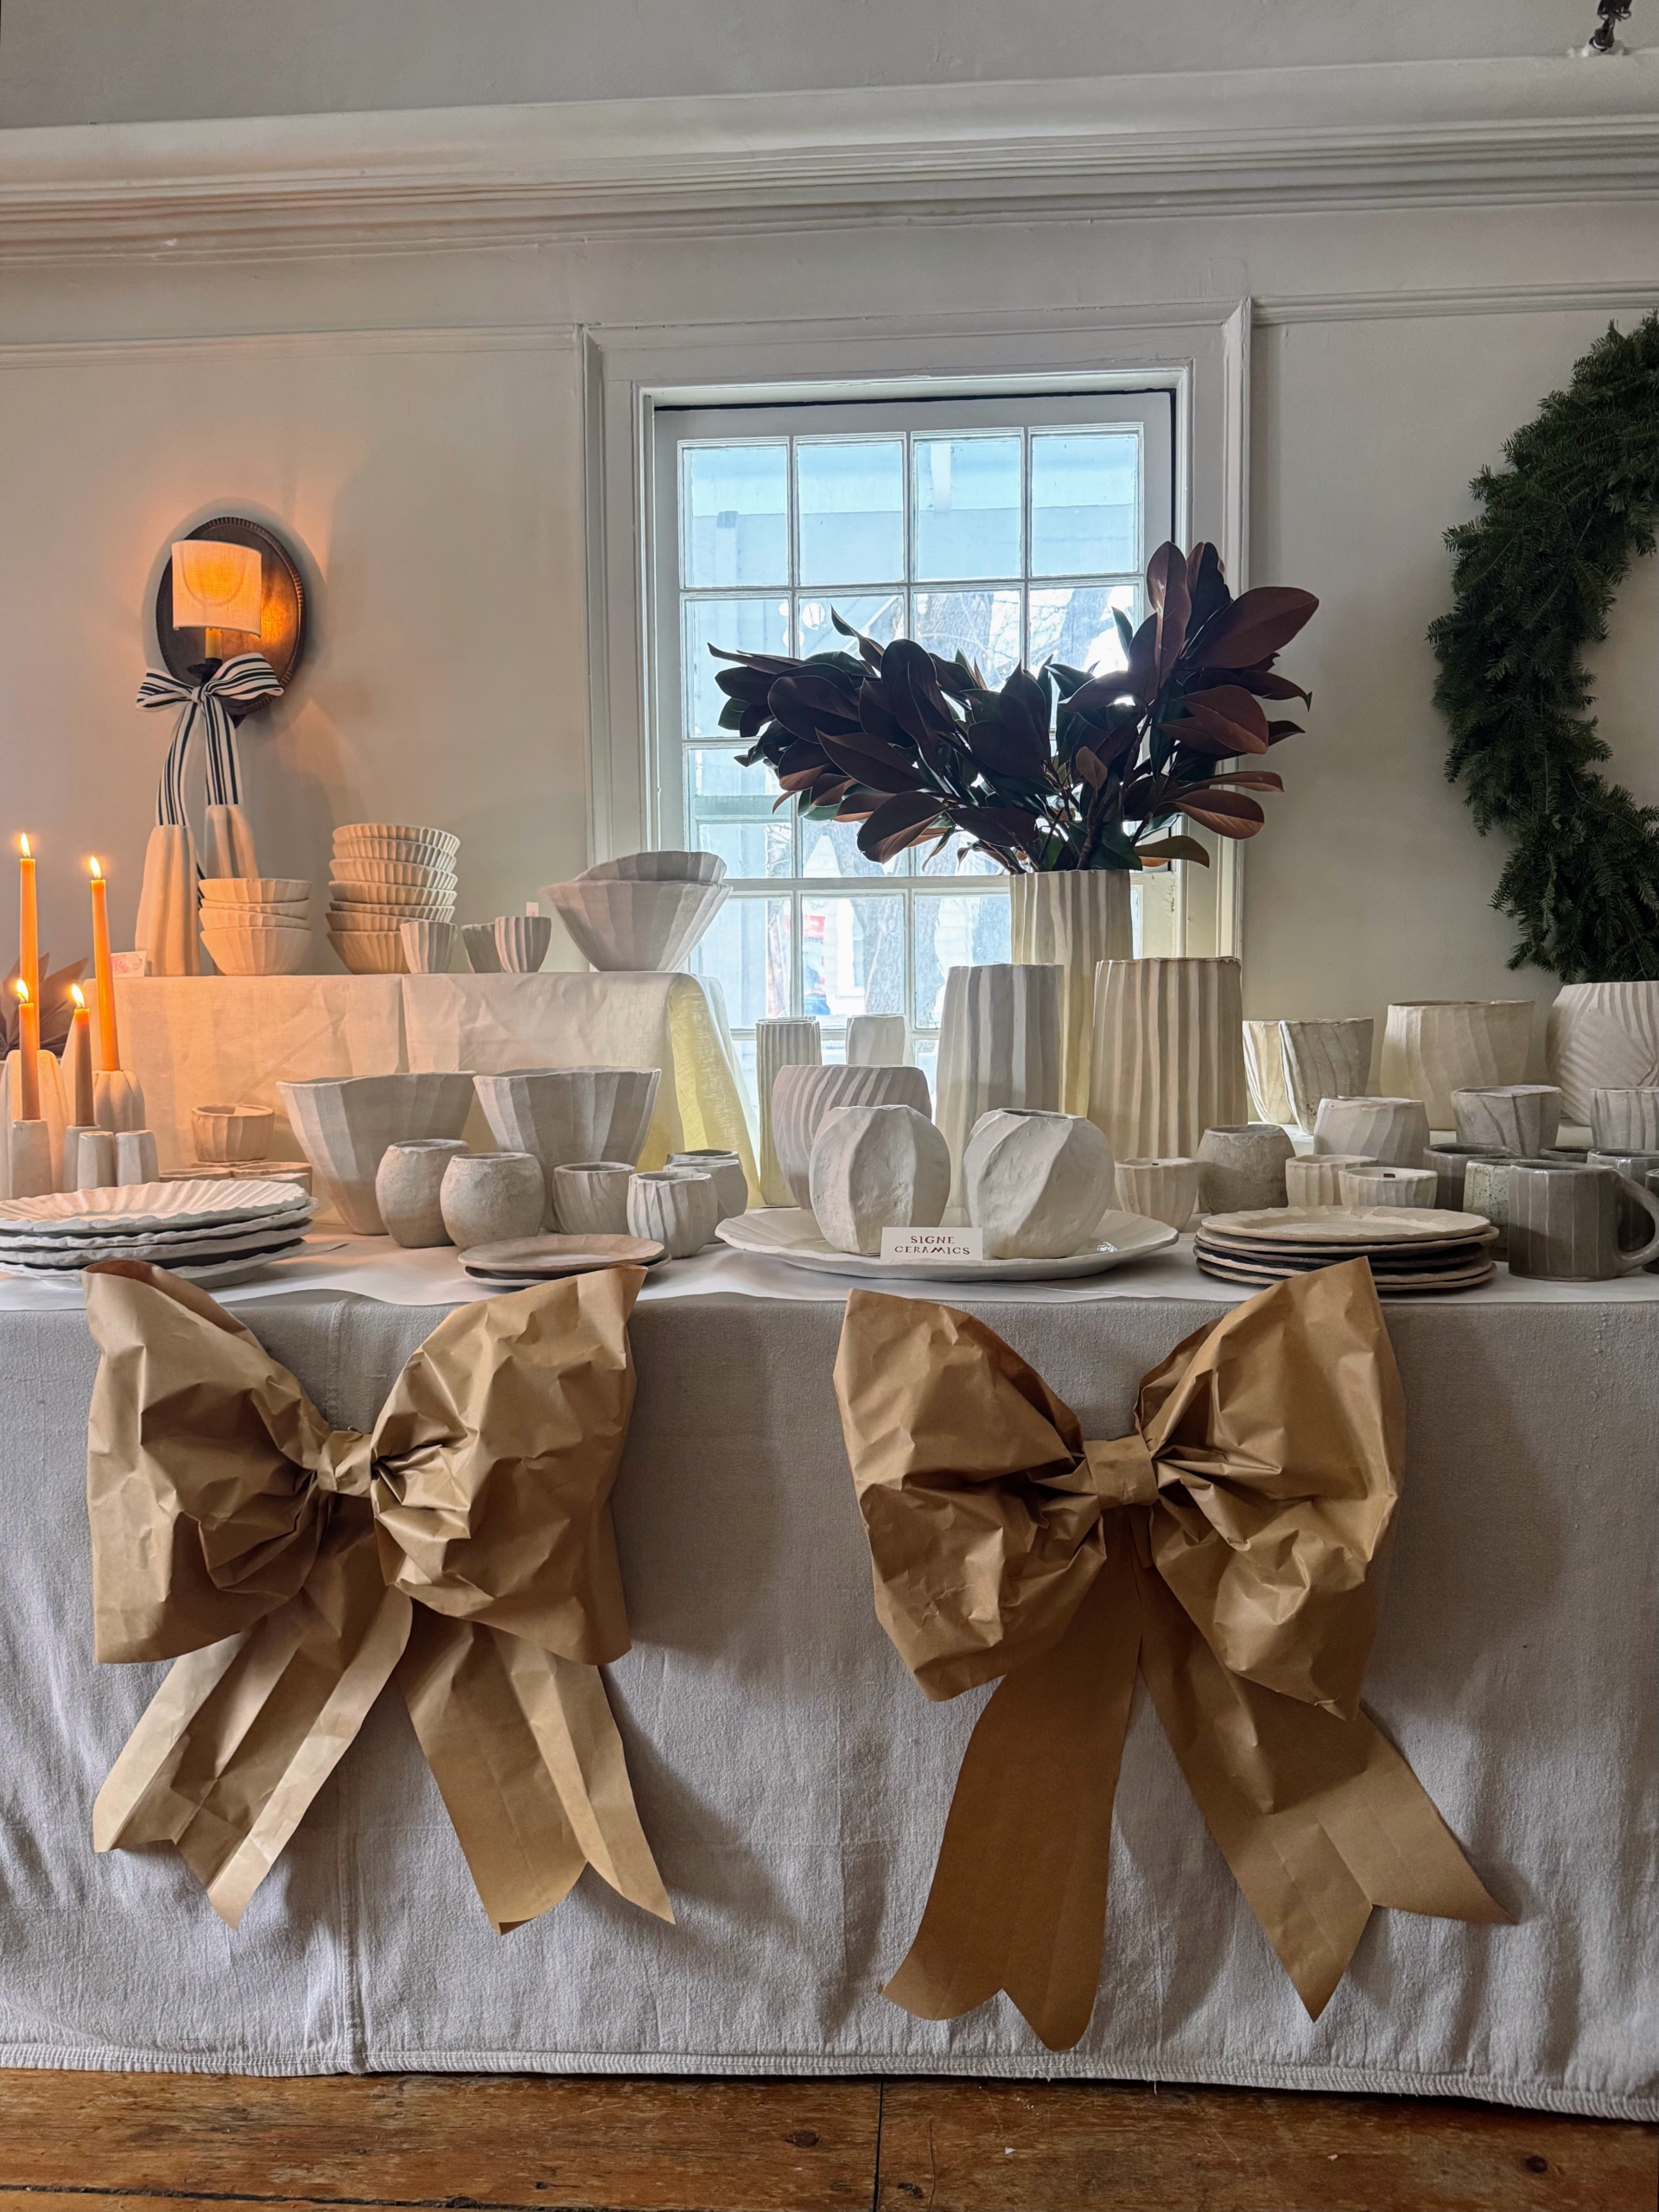
Here are some of the wonderful handmade pieces from Signe Ceramics.
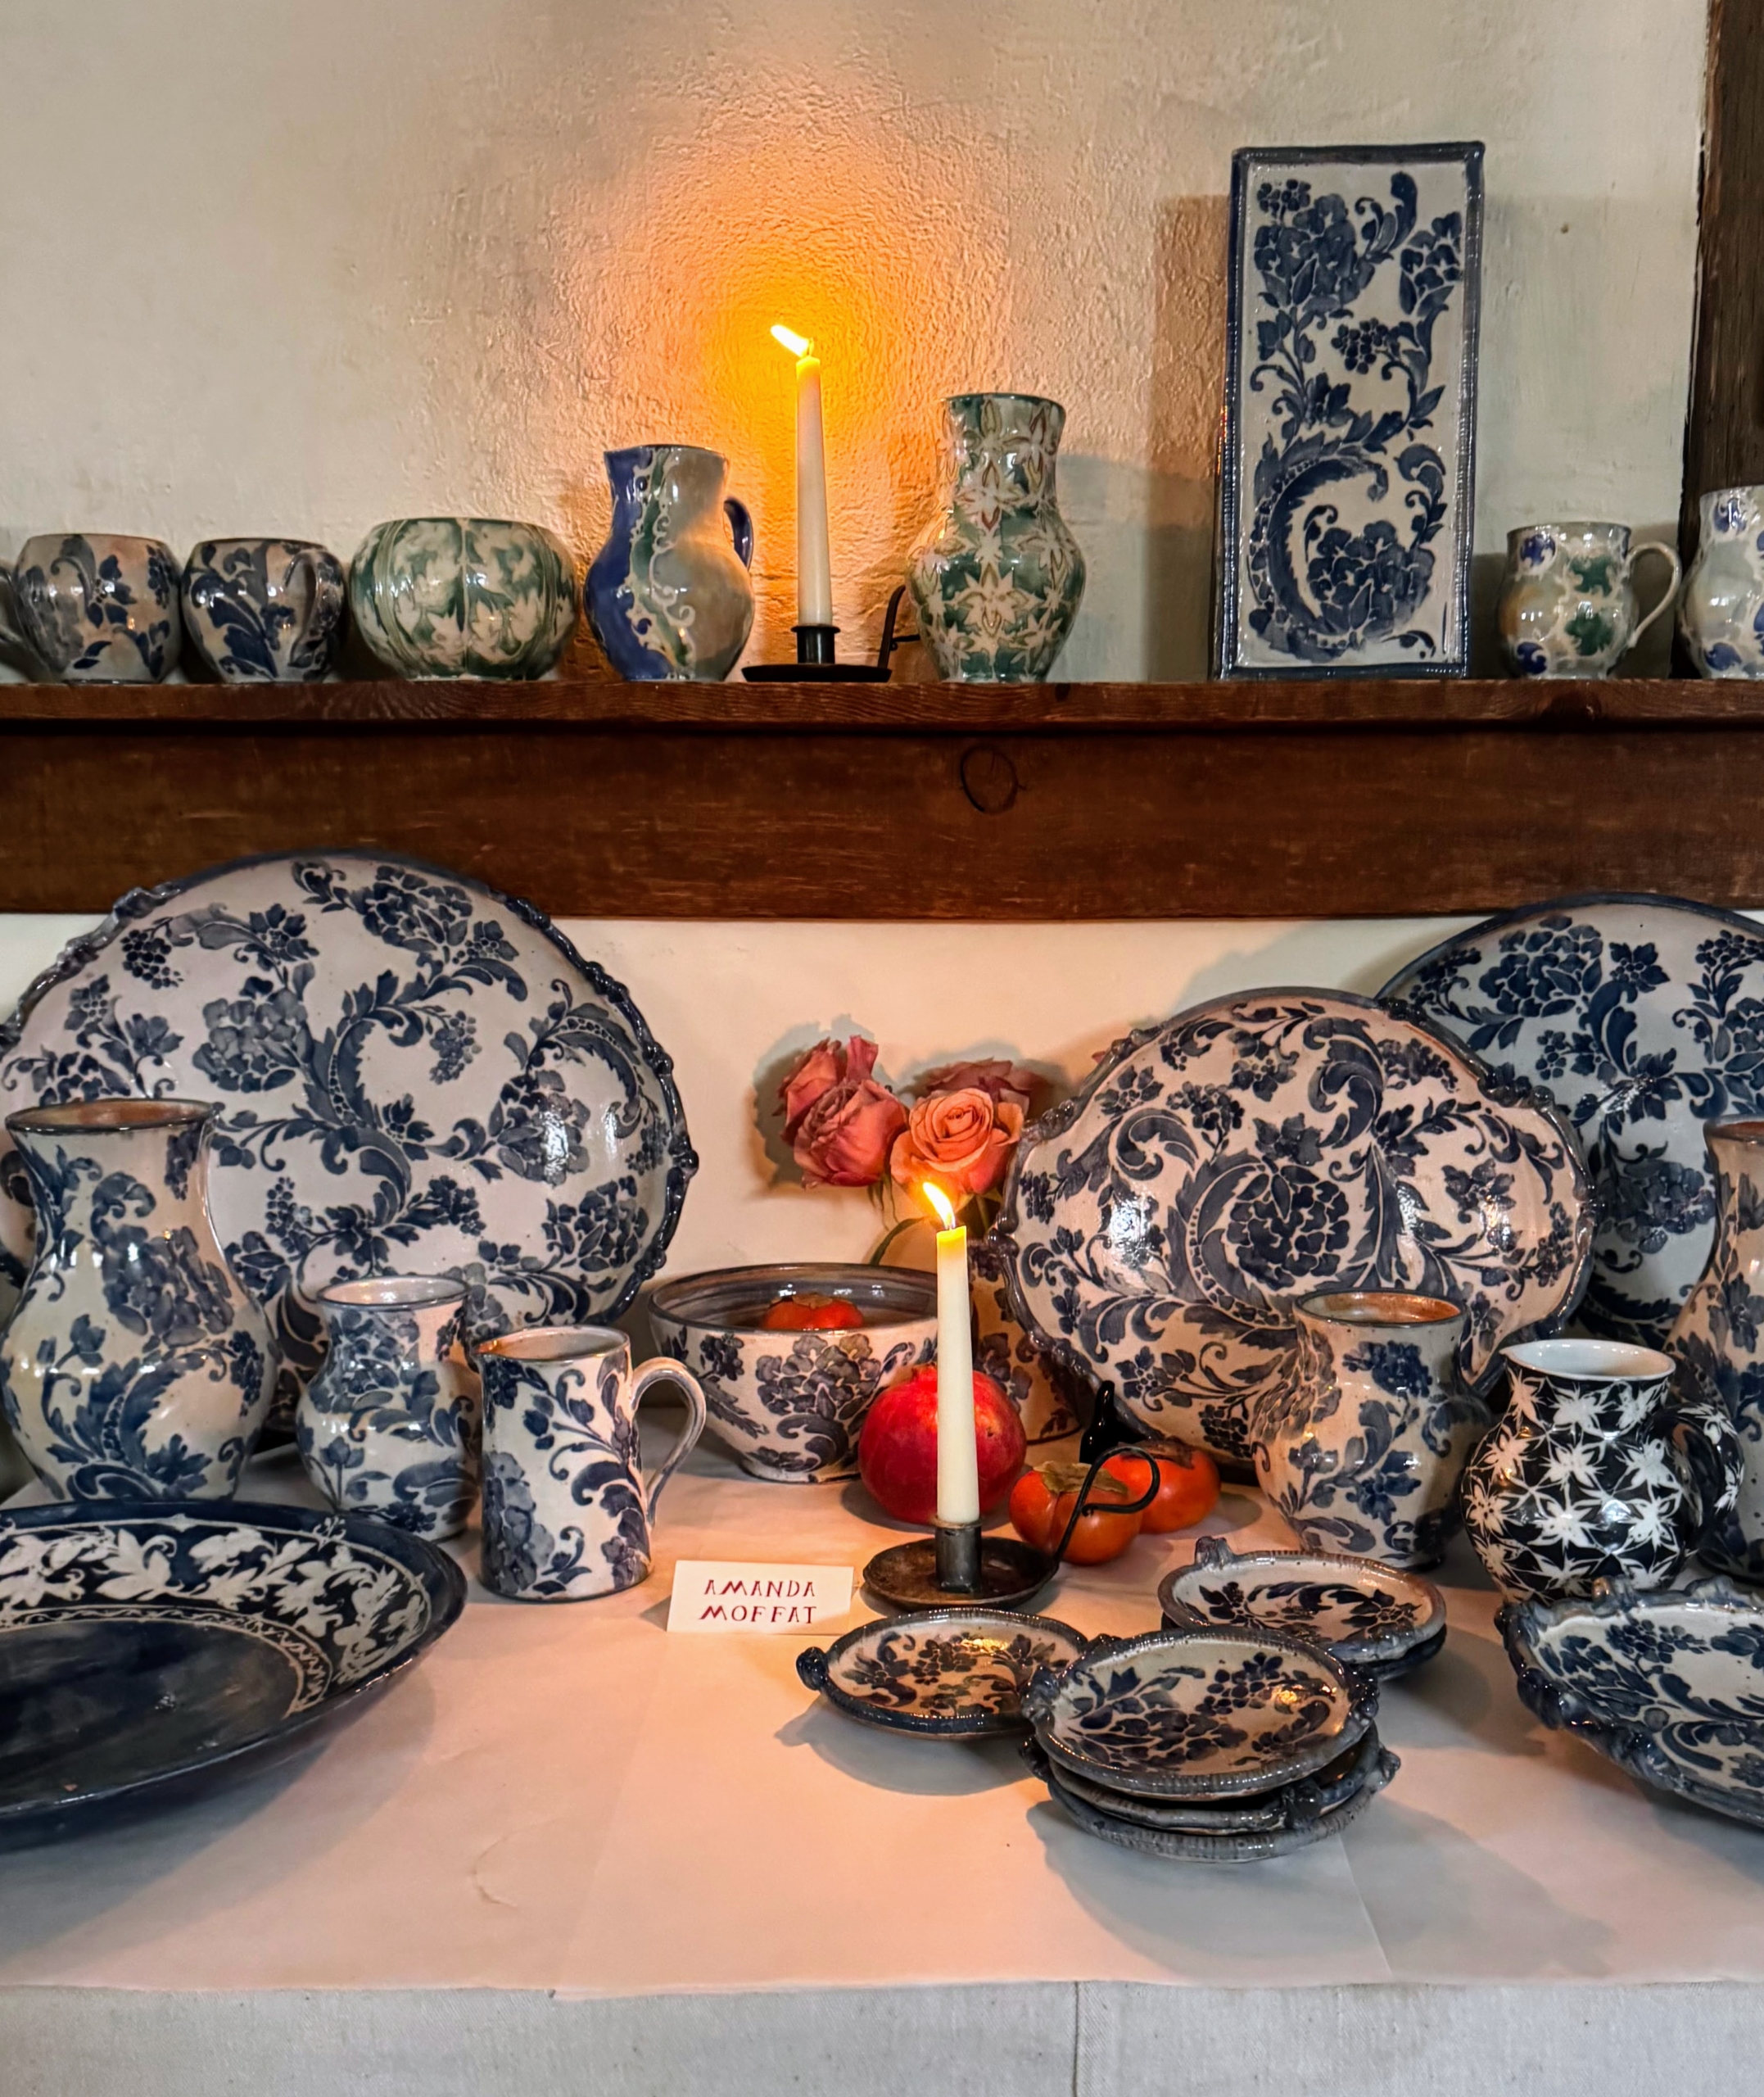
More beautifully crafted pottery from Amanda Moffat.
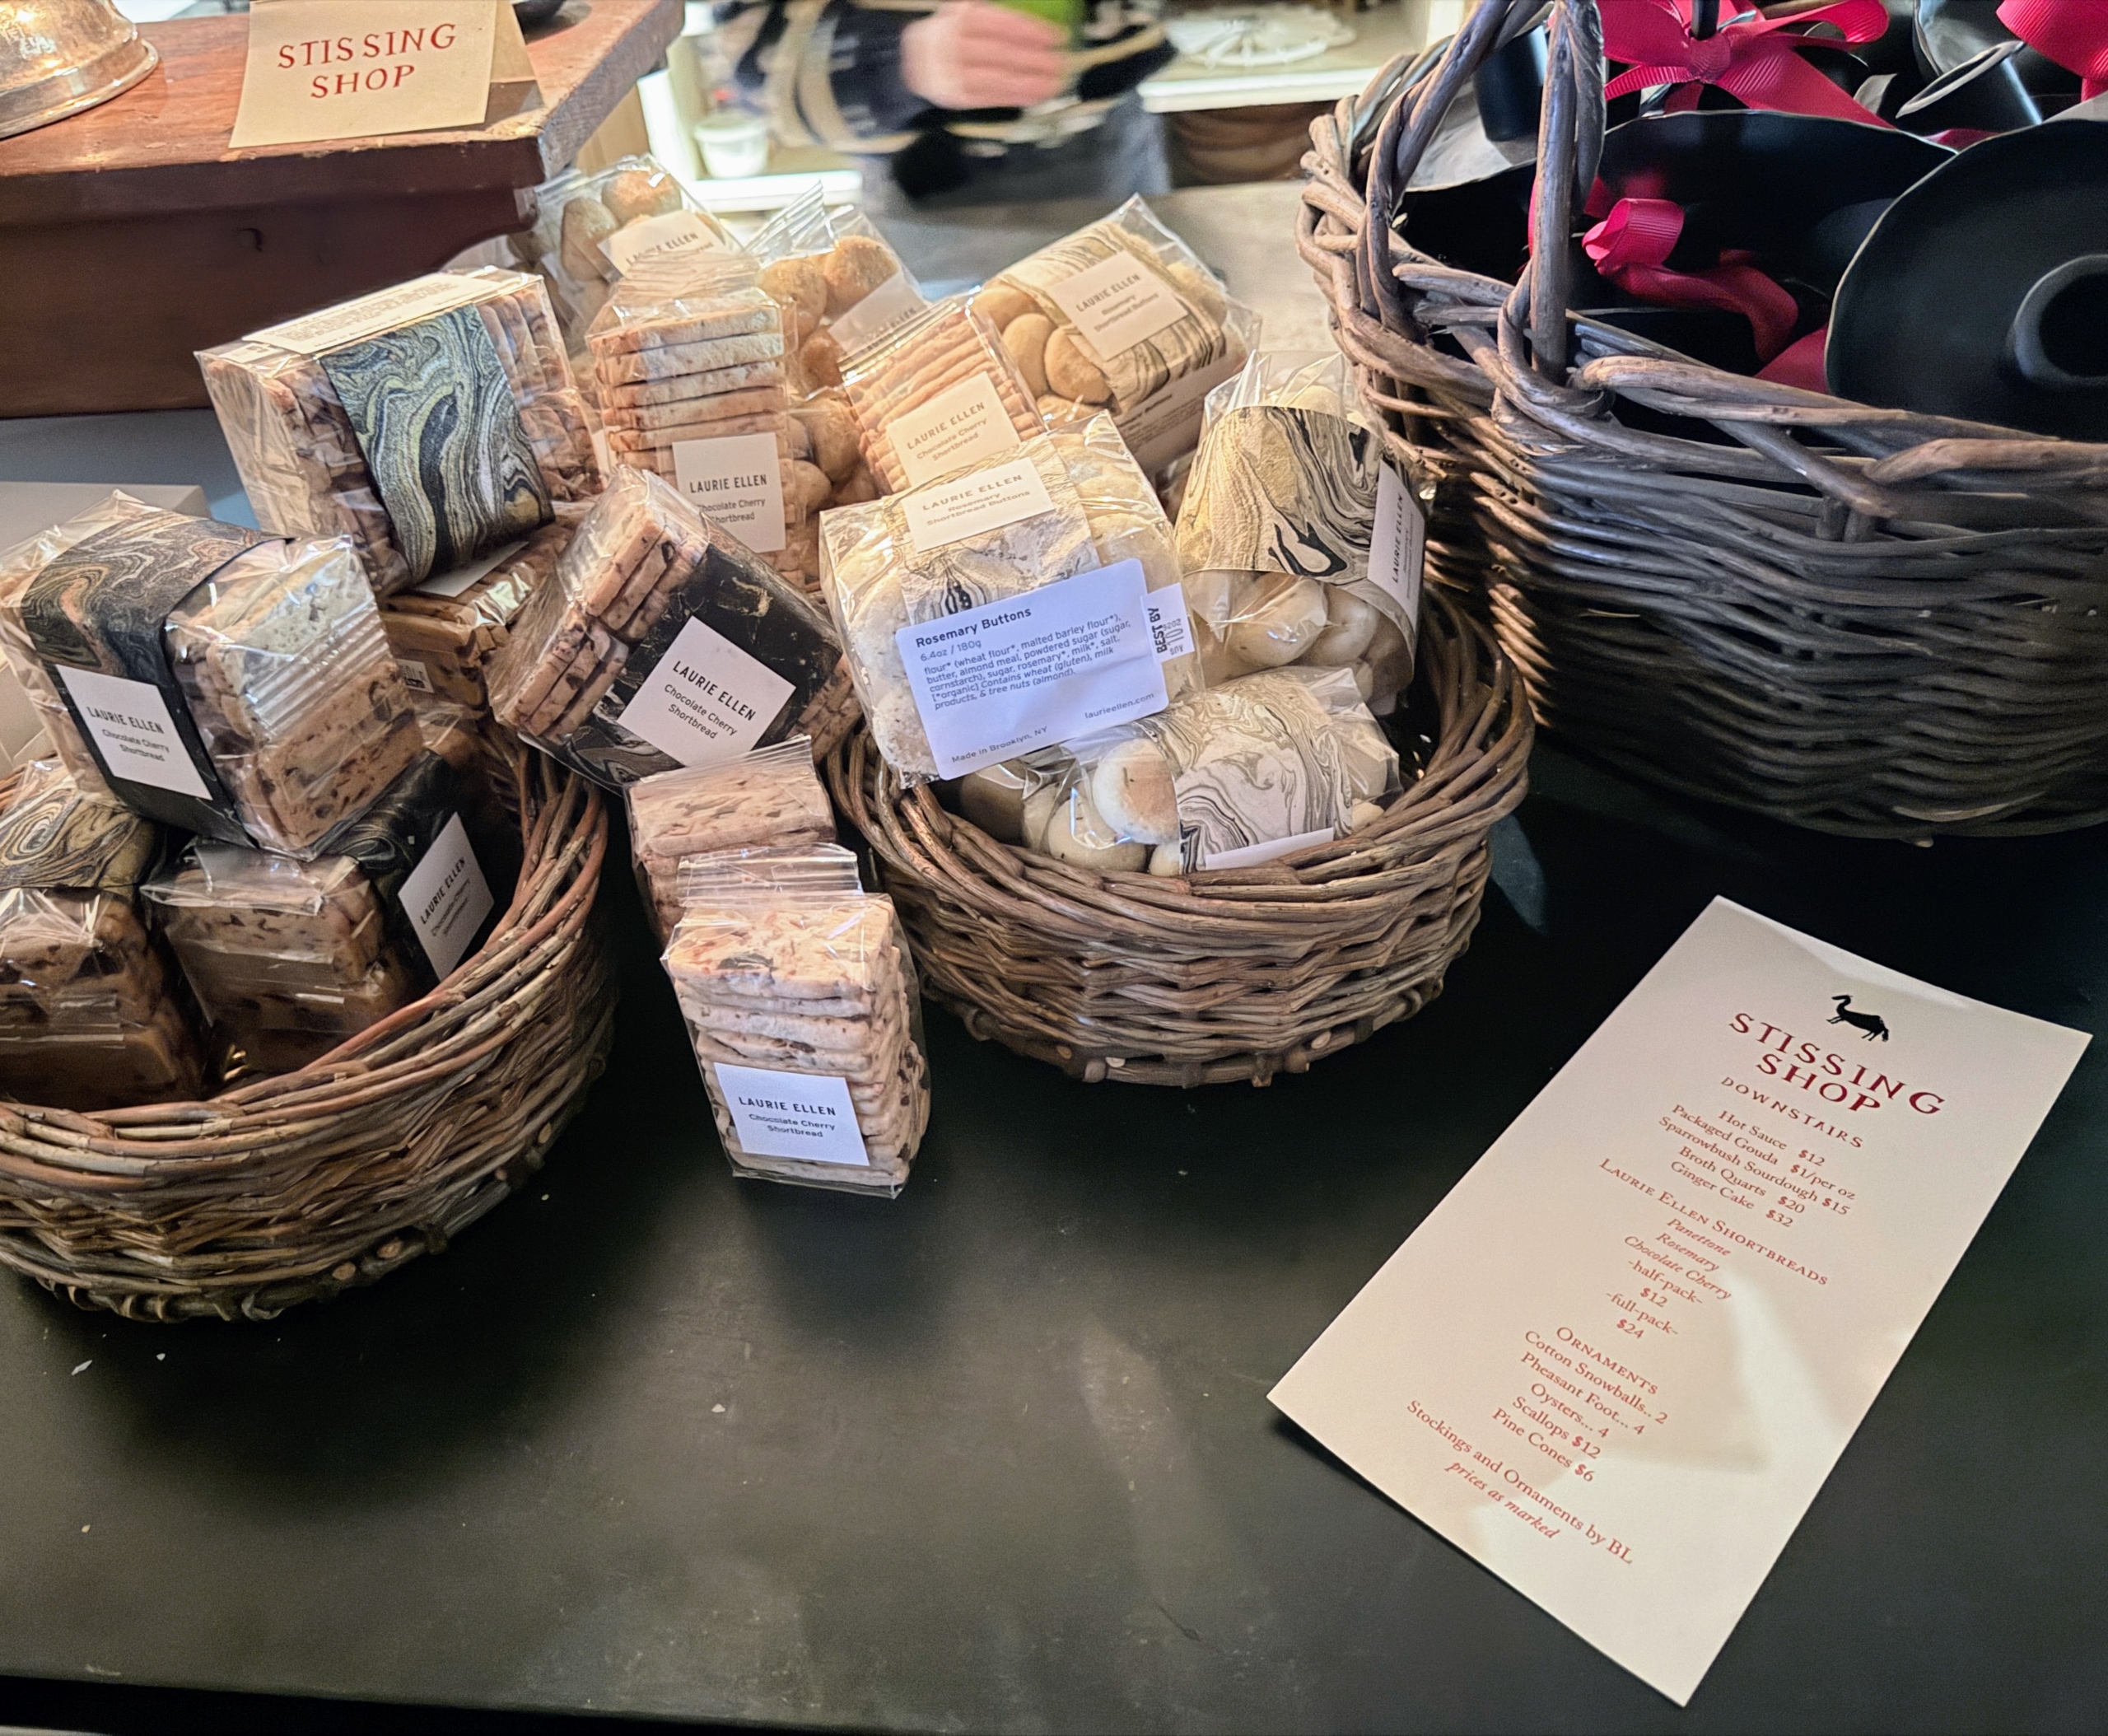
Stissing House also had some great items for sale, such as shortbread cookies by Laurie Ellen, cheese, ginger cake, hot sauce, and holiday ornaments.
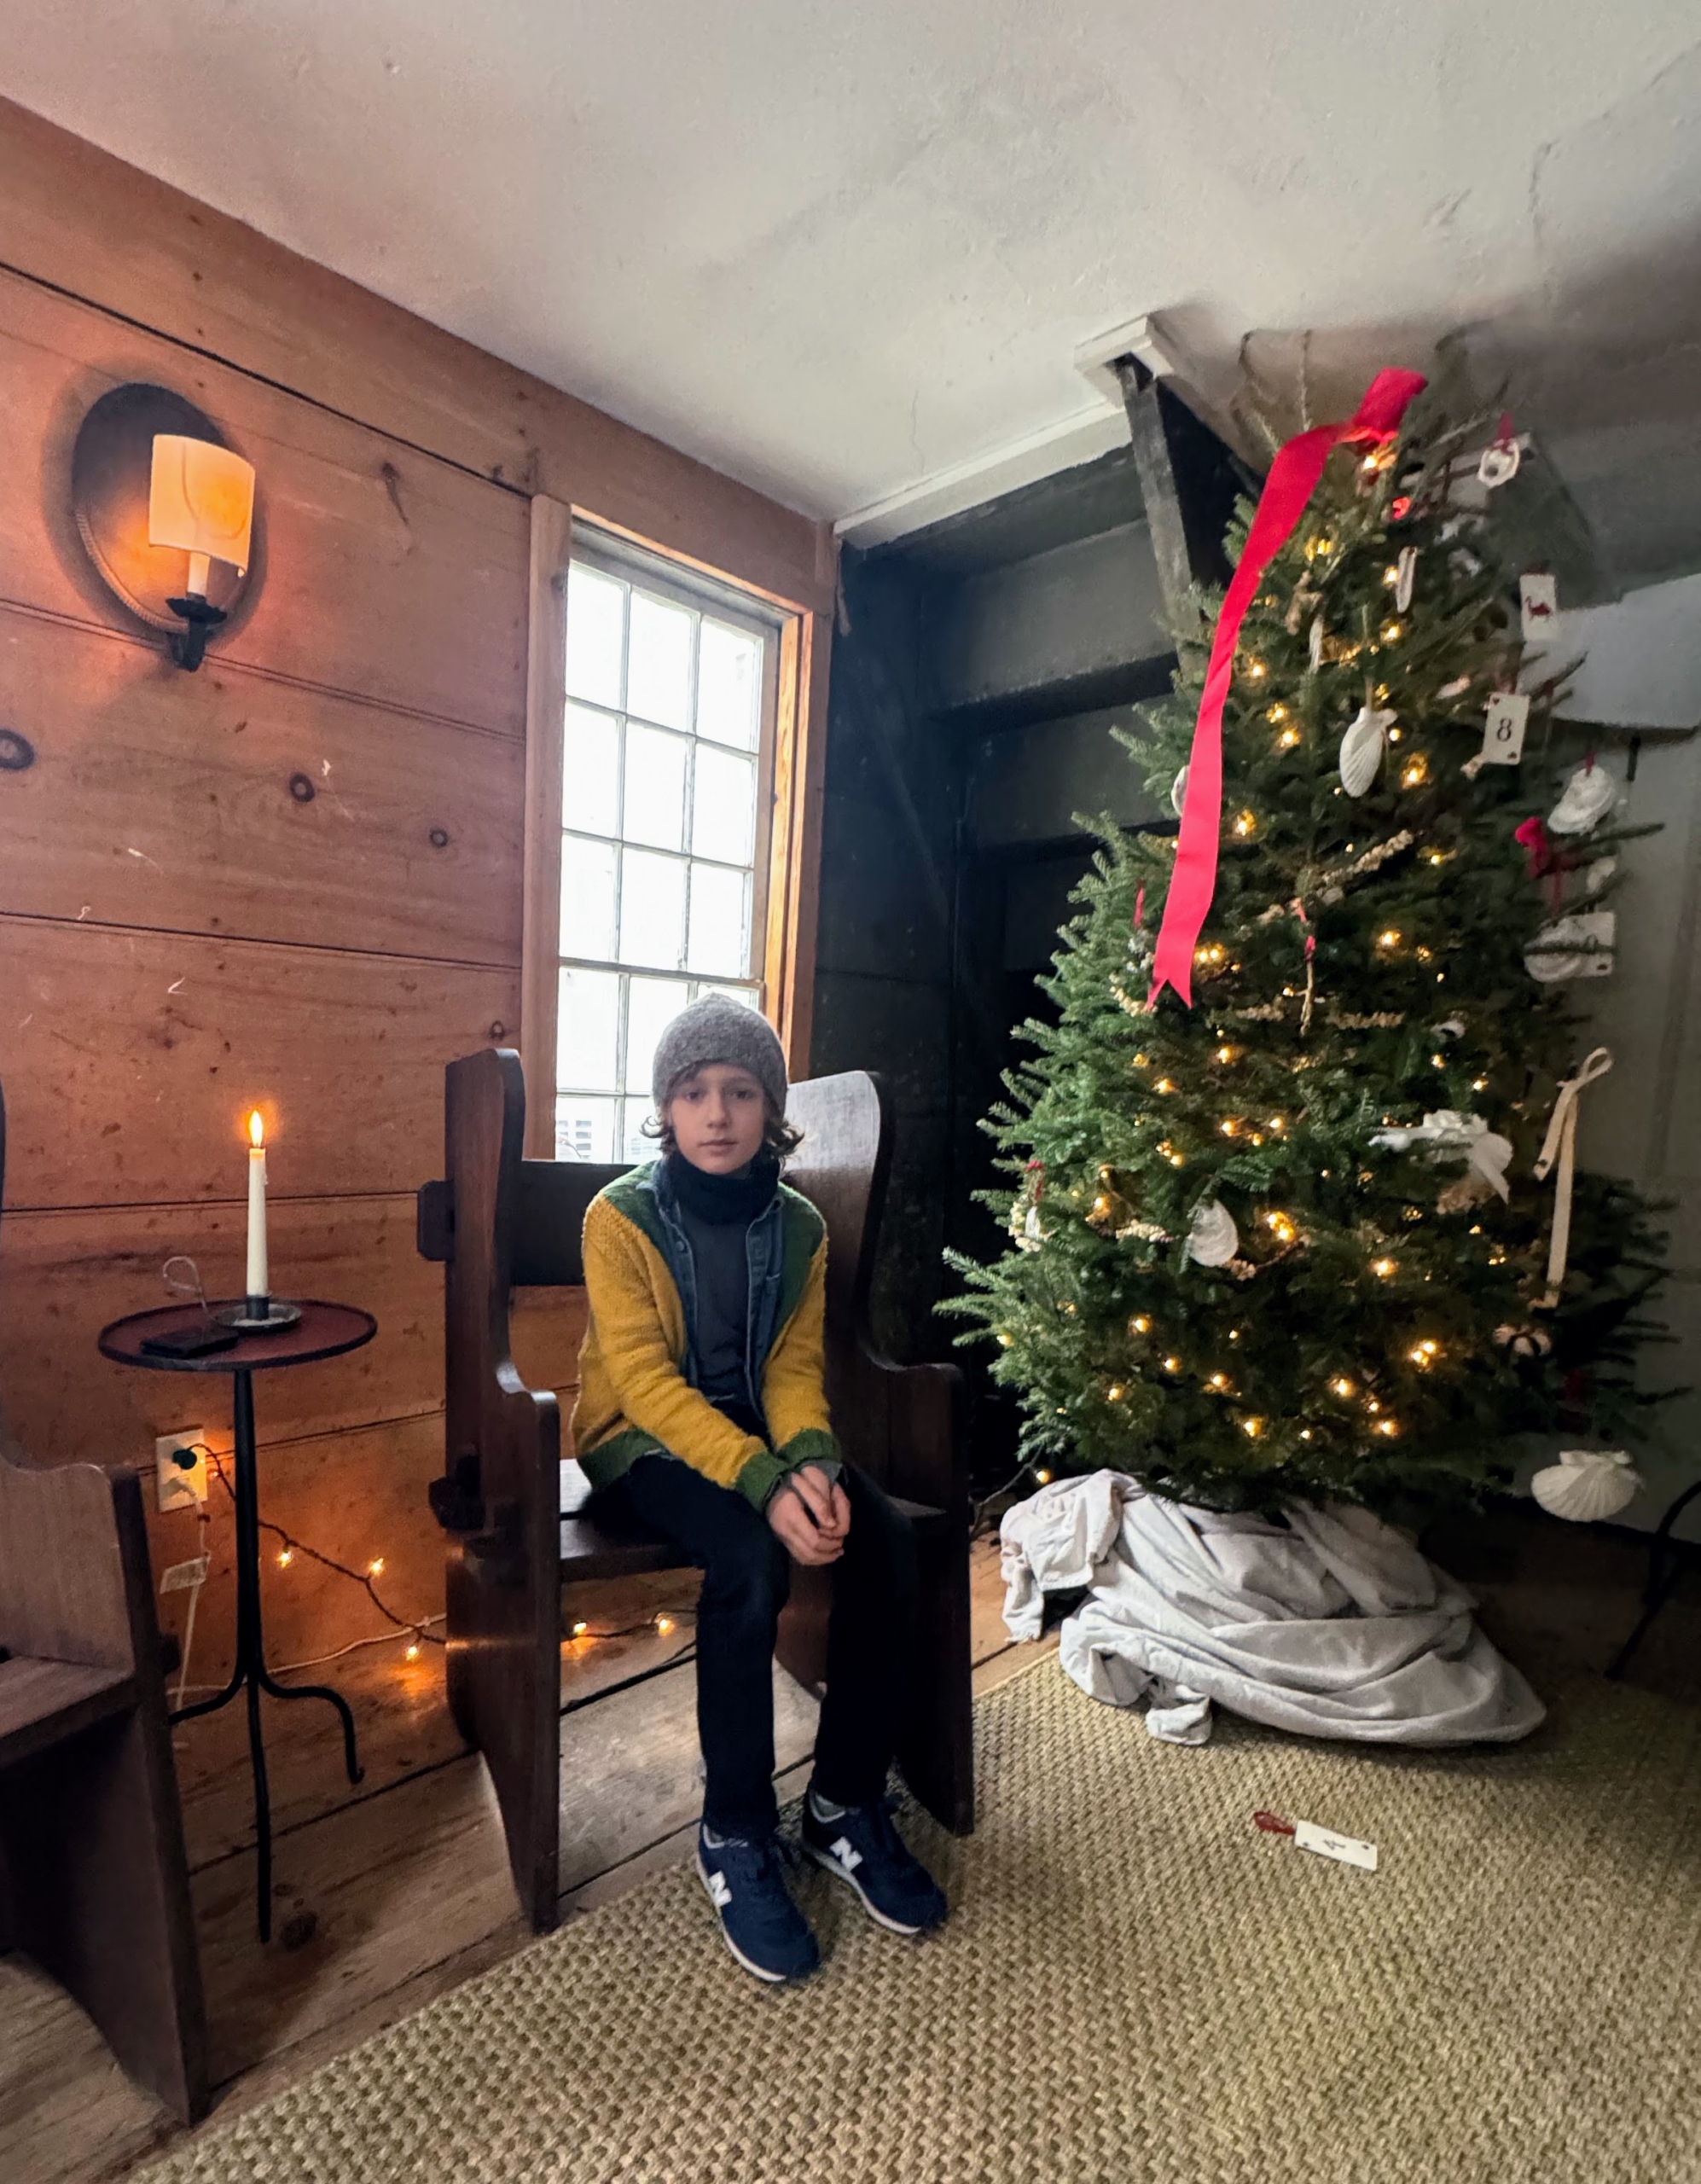
And here’s young Silas taking a short break by the Christmas tree. Thanks for all the great photos, Silas. And what a fun event, Stissing House. Thanks to Clare, Katie Pearce, and Nathan Rawlinson for setting it all up. Looking forward to next year.
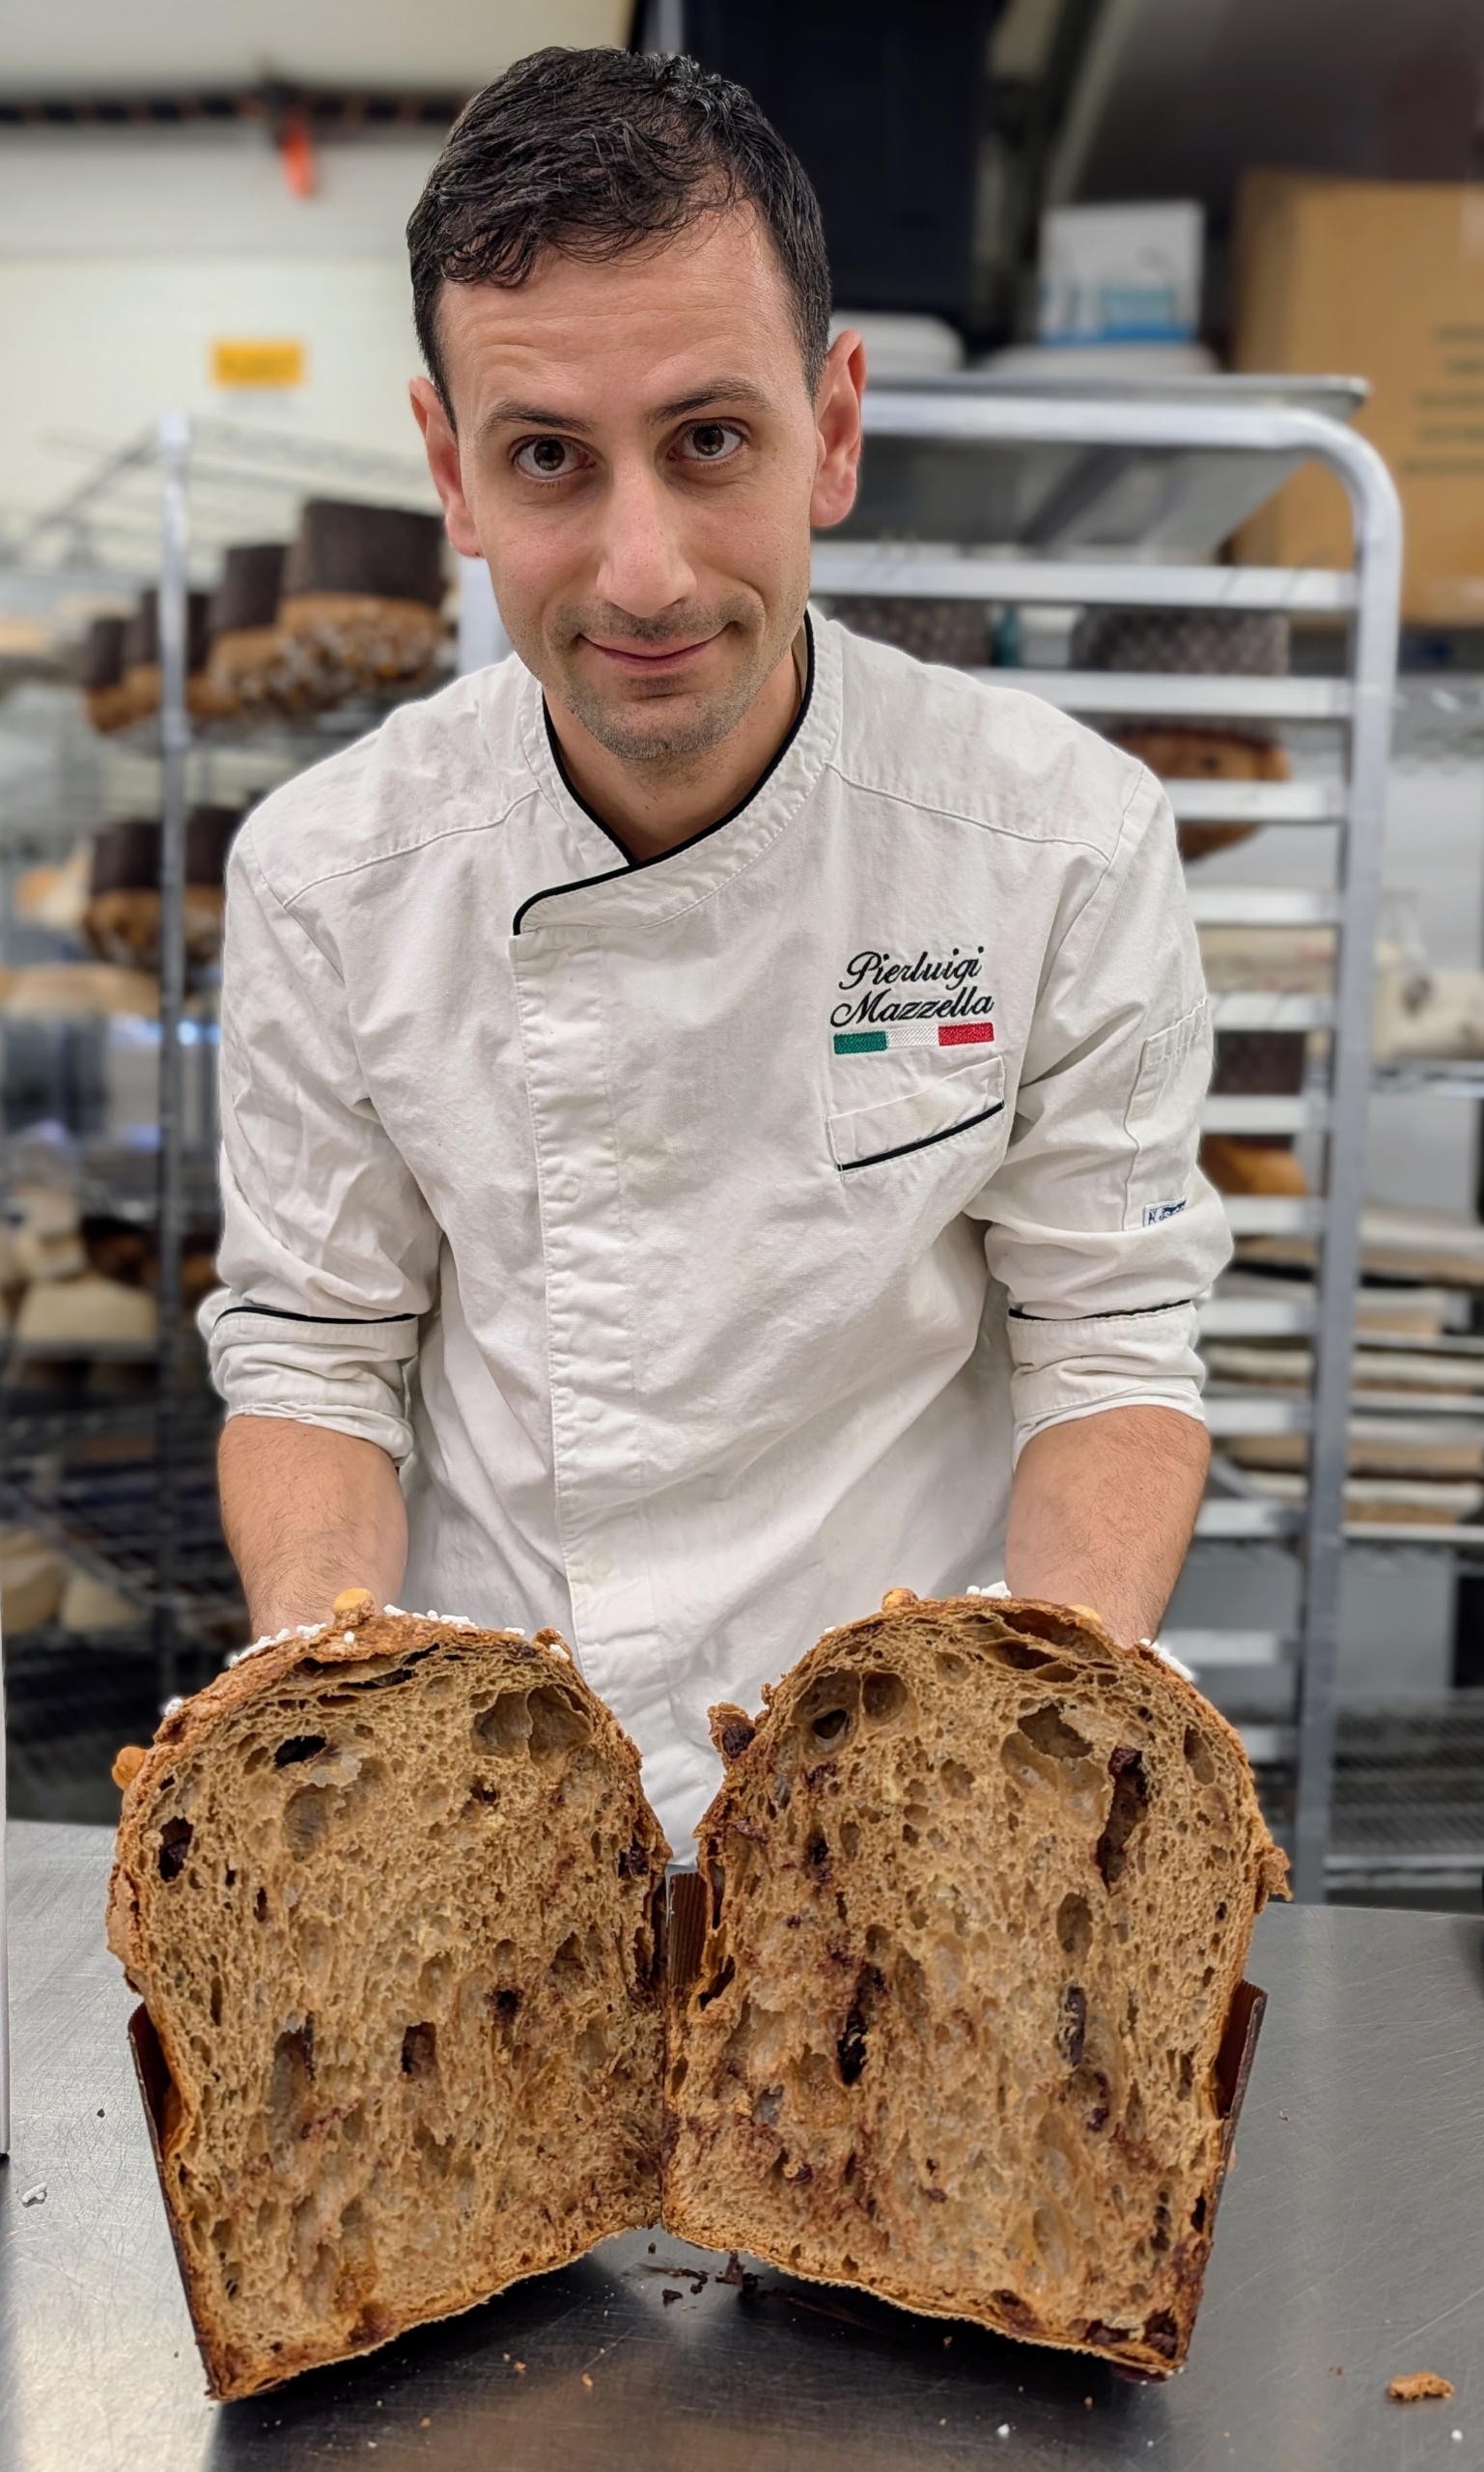
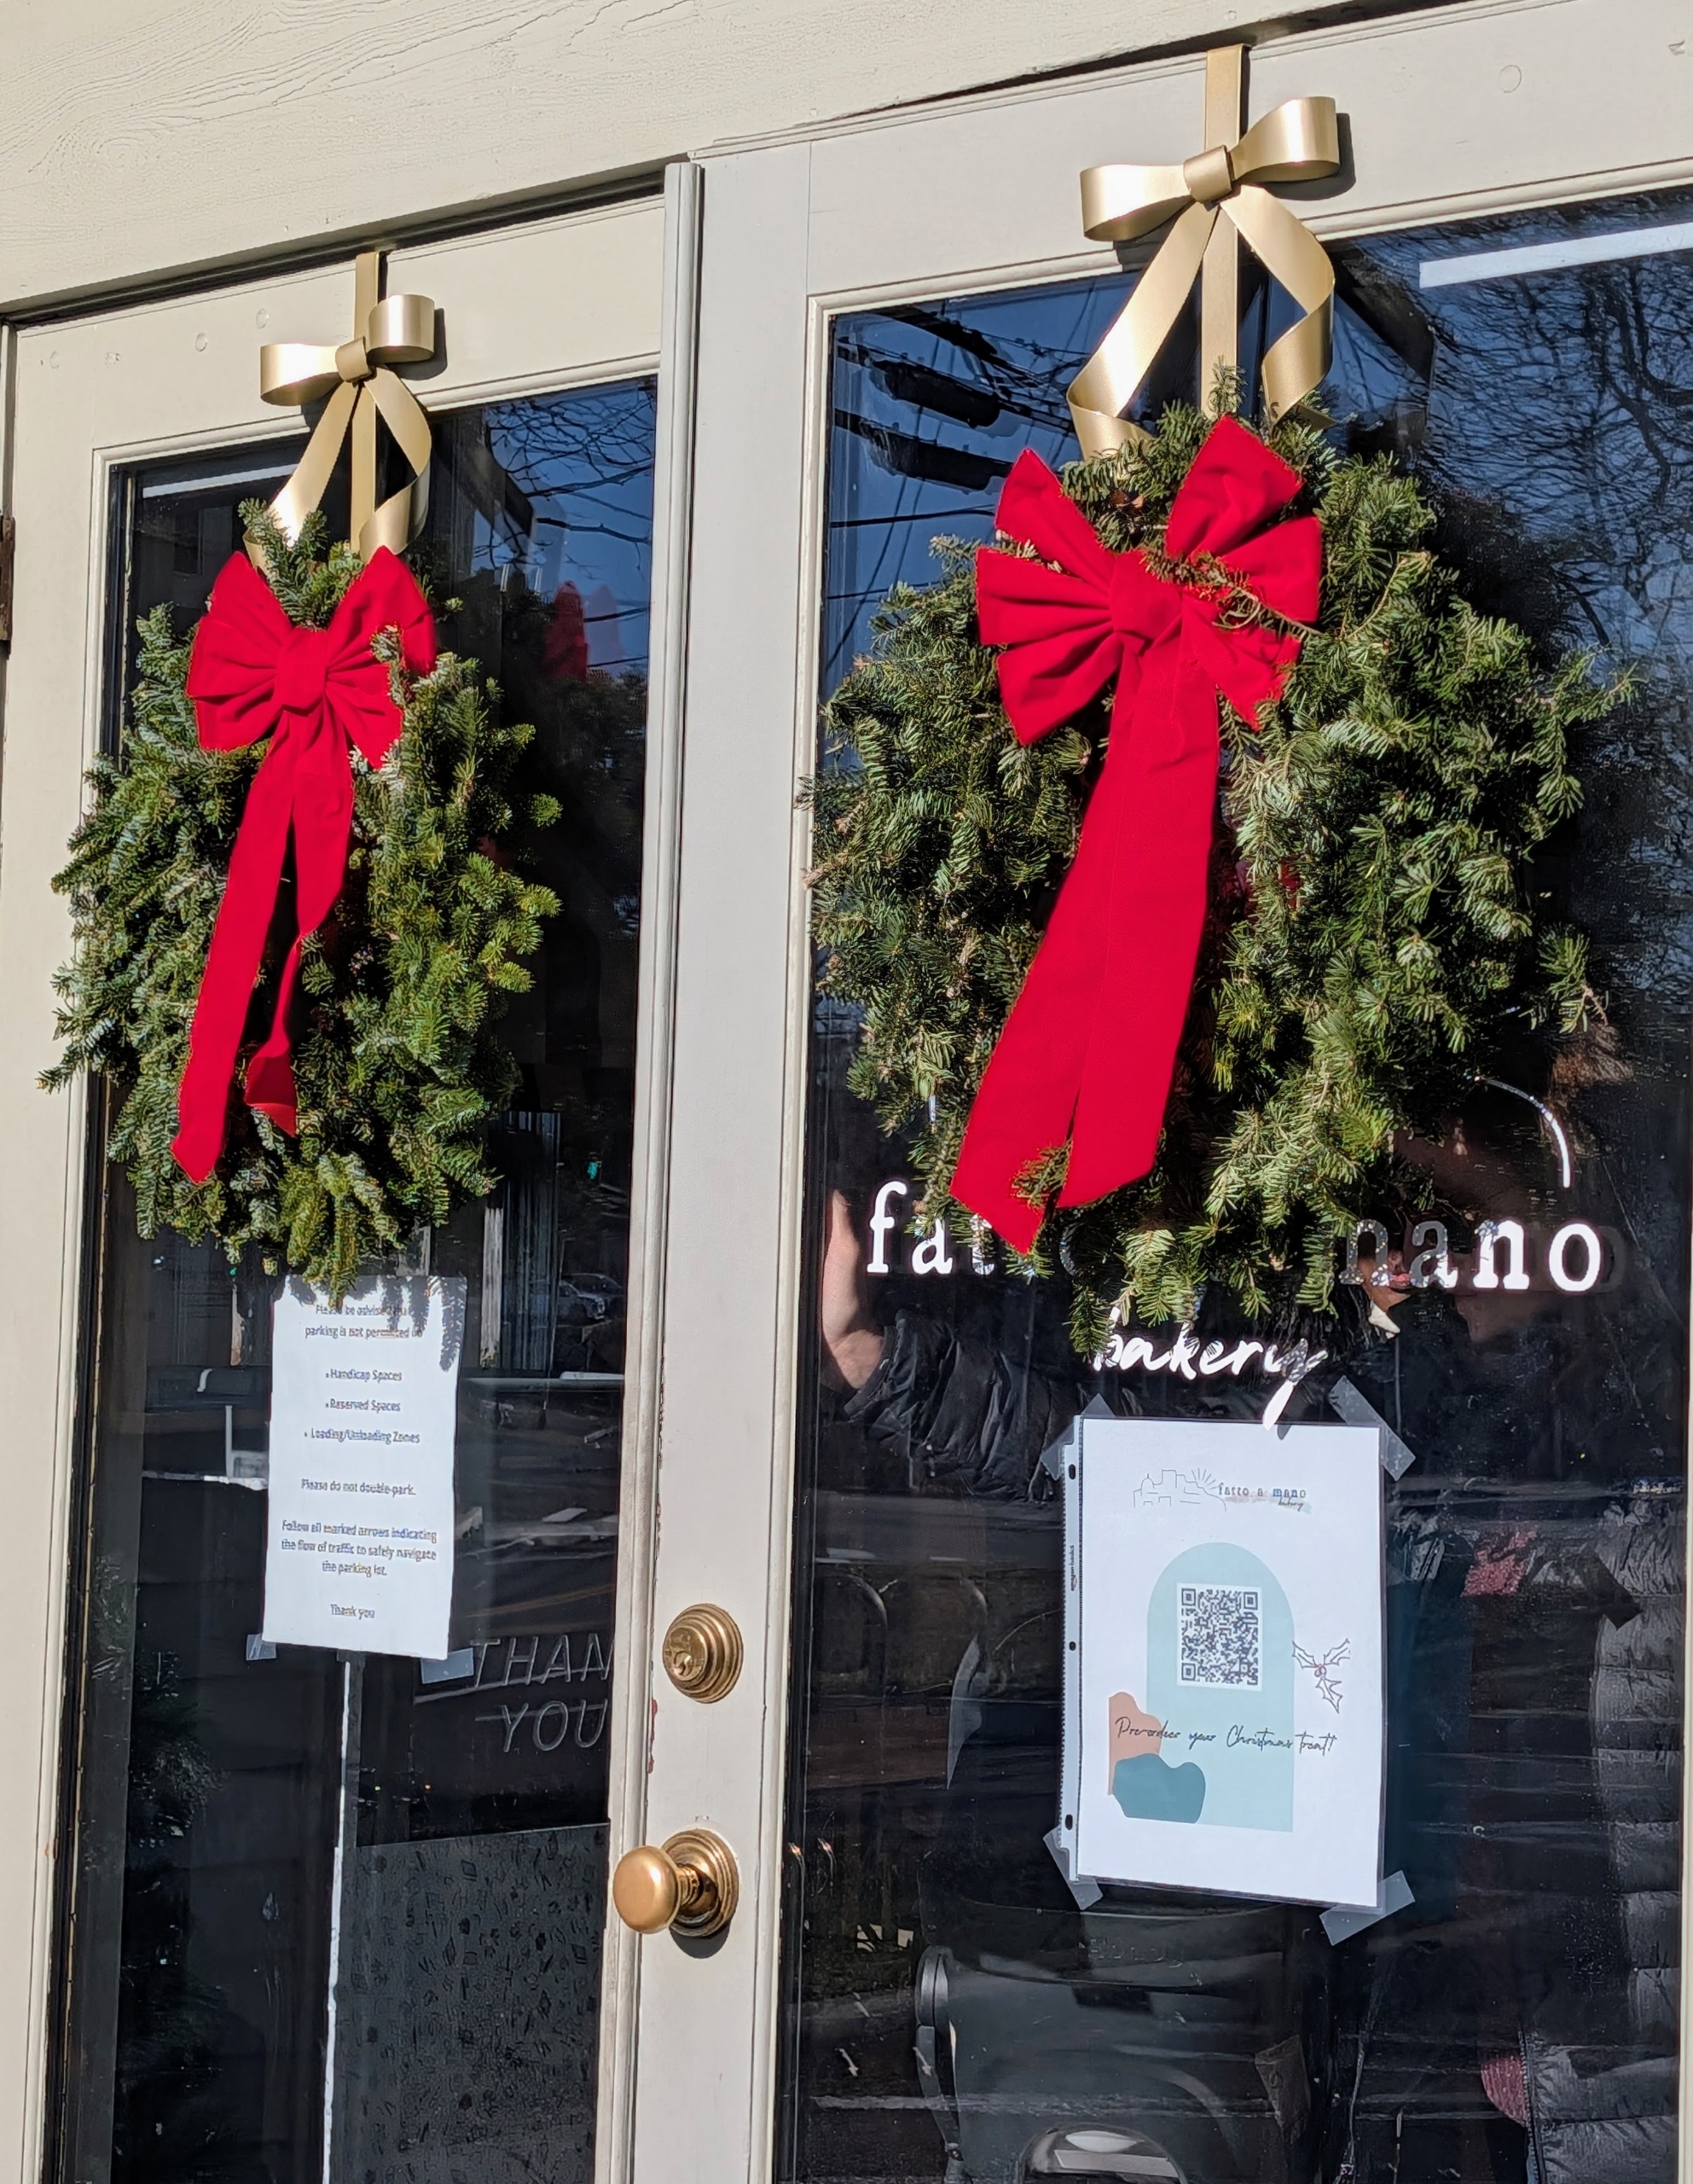
If you don't already love the dome-shaped Italian sweet bread, panettone, you have not yet tried the traditional Christmas treat made by Pastry Chef Pierluigi Mazzella.
Pierluigi is the proprietor and master baker of Fatto a Mano in Westport, Connecticut. Starting in September when holiday ordering opens, Pierluigi and his team work around the clock making hundreds of soft, fragrant, and flavorful panettone using only the best ingredients shipped from Italy. From start to finish, each panettone takes three to four days to make, and Pierluigi makes every one. He offers traditional Orange Raisin Panettone, Chocolate Chip Panettone, Triple Chocolate Cherry Medio, Chocolate Chip Rhum Raisin Panettone, and others in medium and large sizes.
Here are some photos, enjoy.
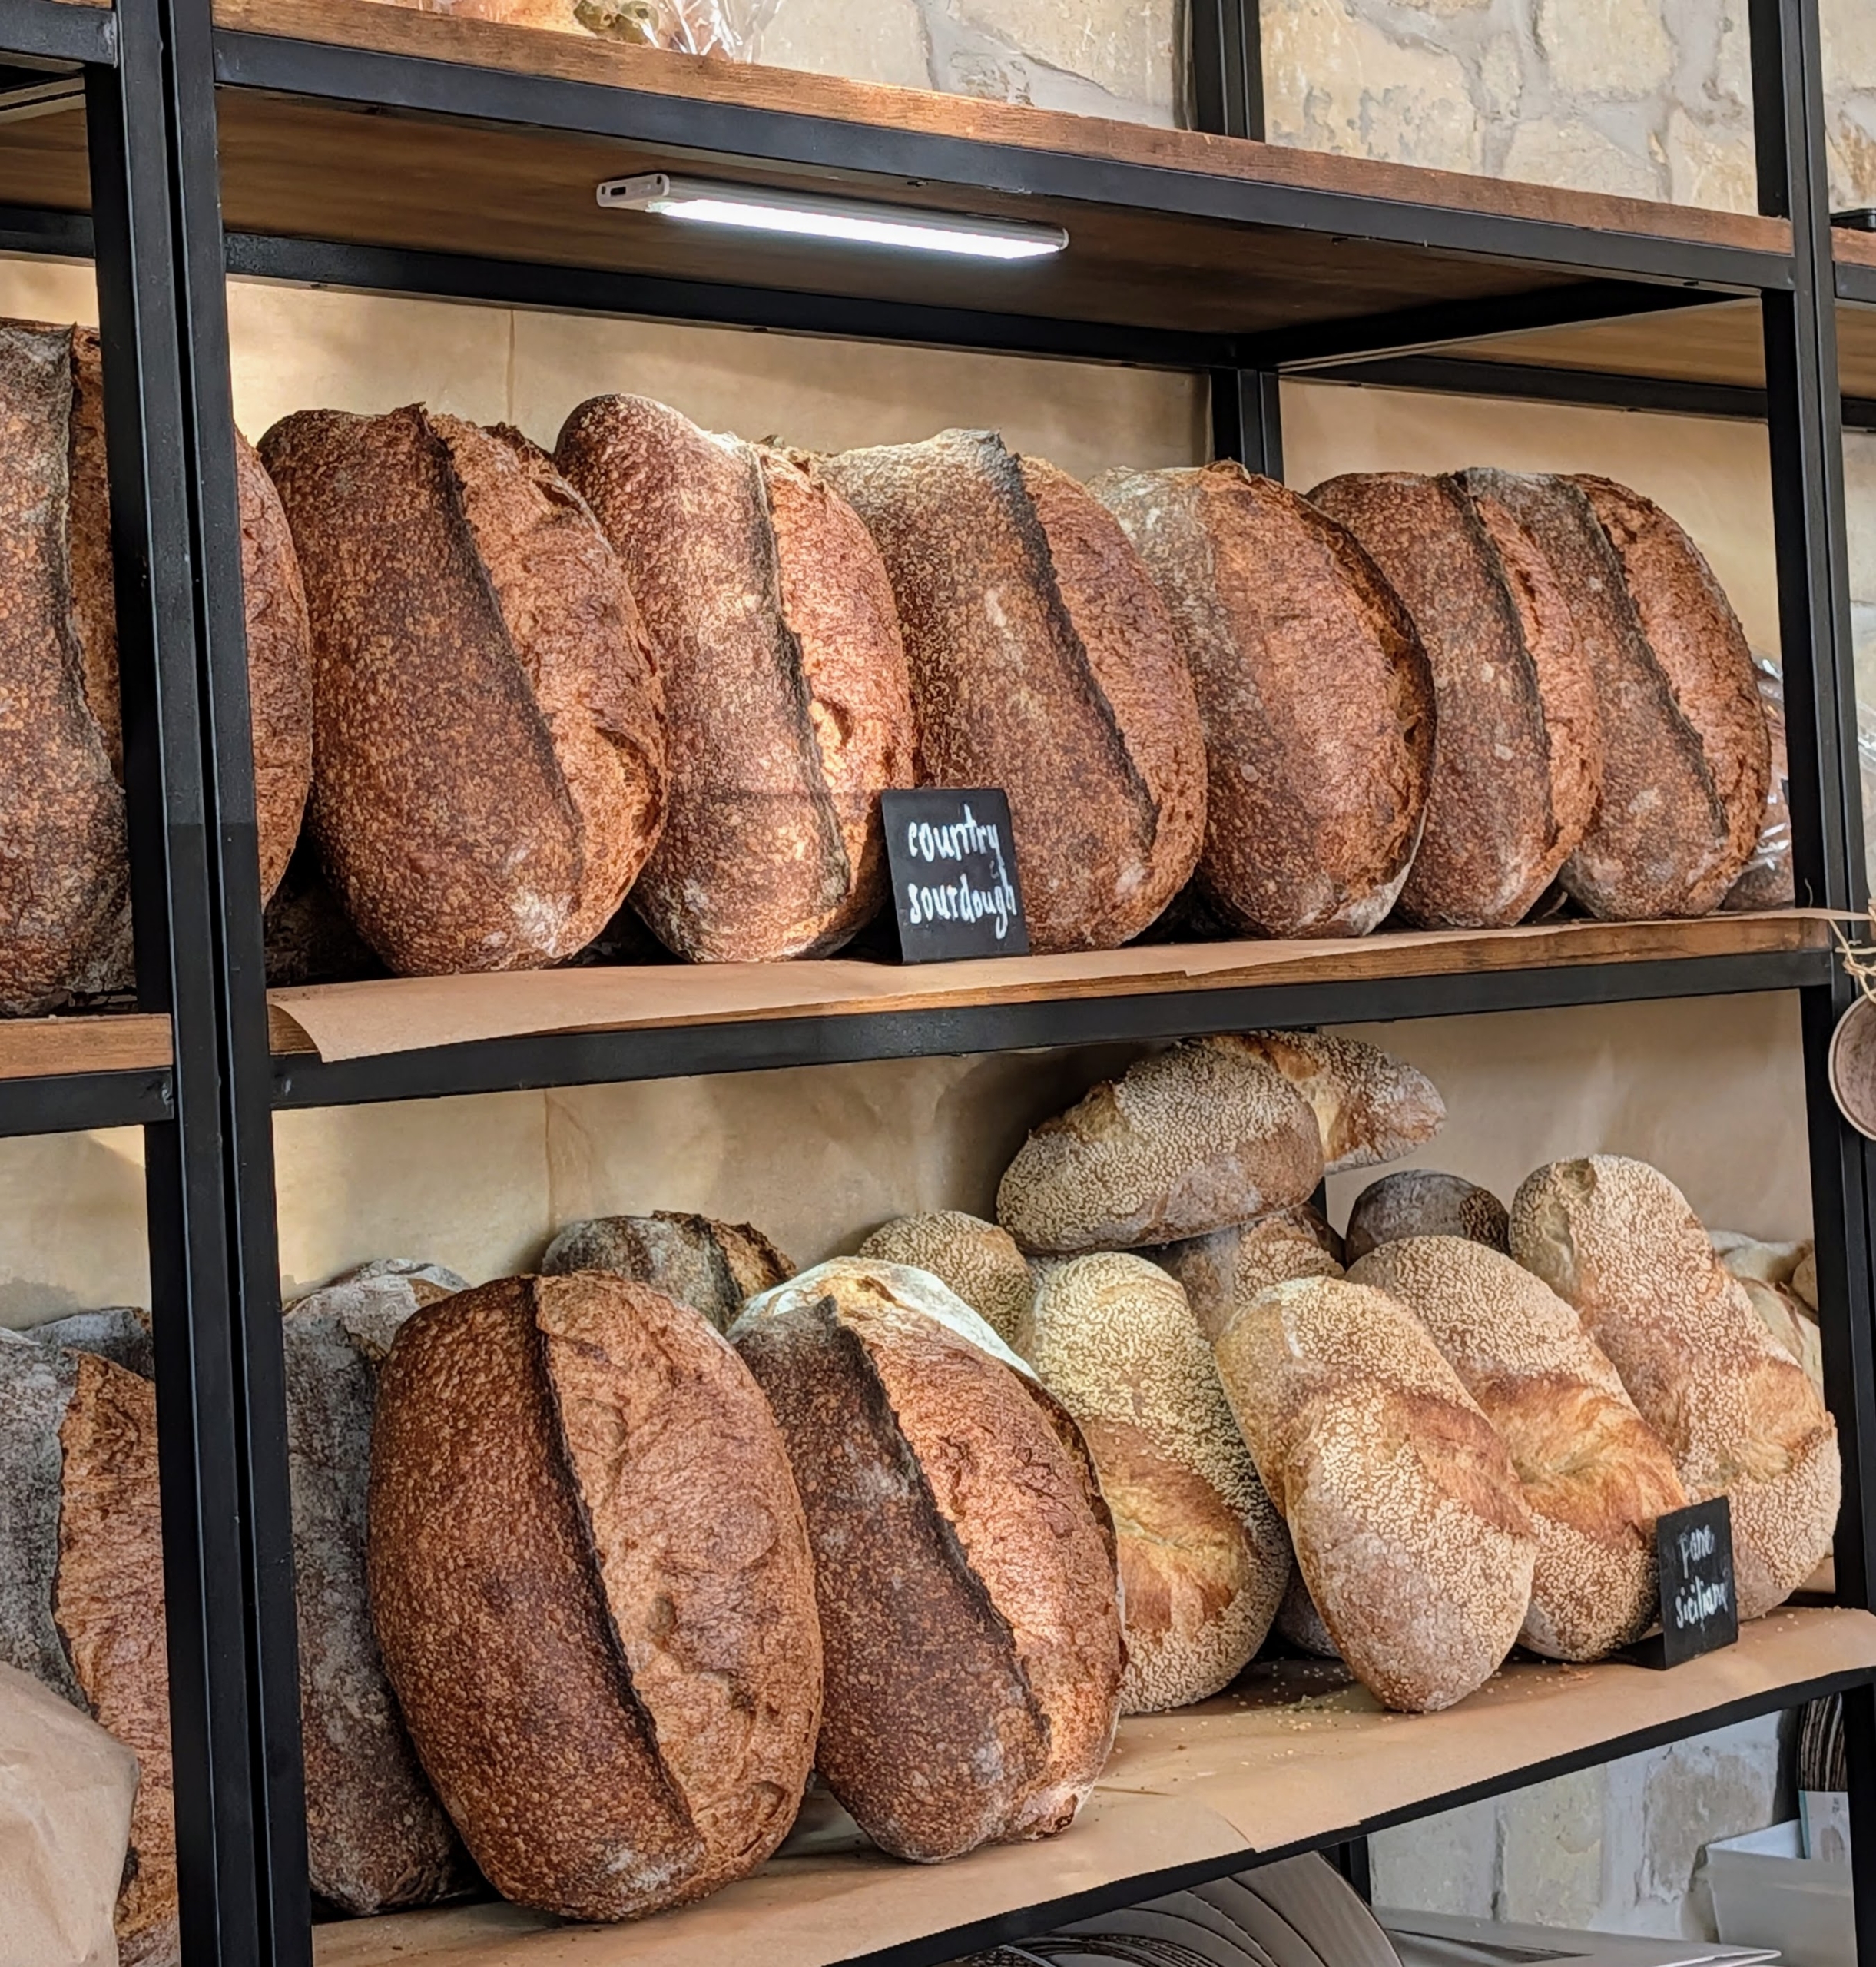
Fatto a Mano is an artisanal Italian micro-bakery that specializes in all-naturally made leavened items such as sourdough bread, focaccia, pane siciliano, and of course, panettone.
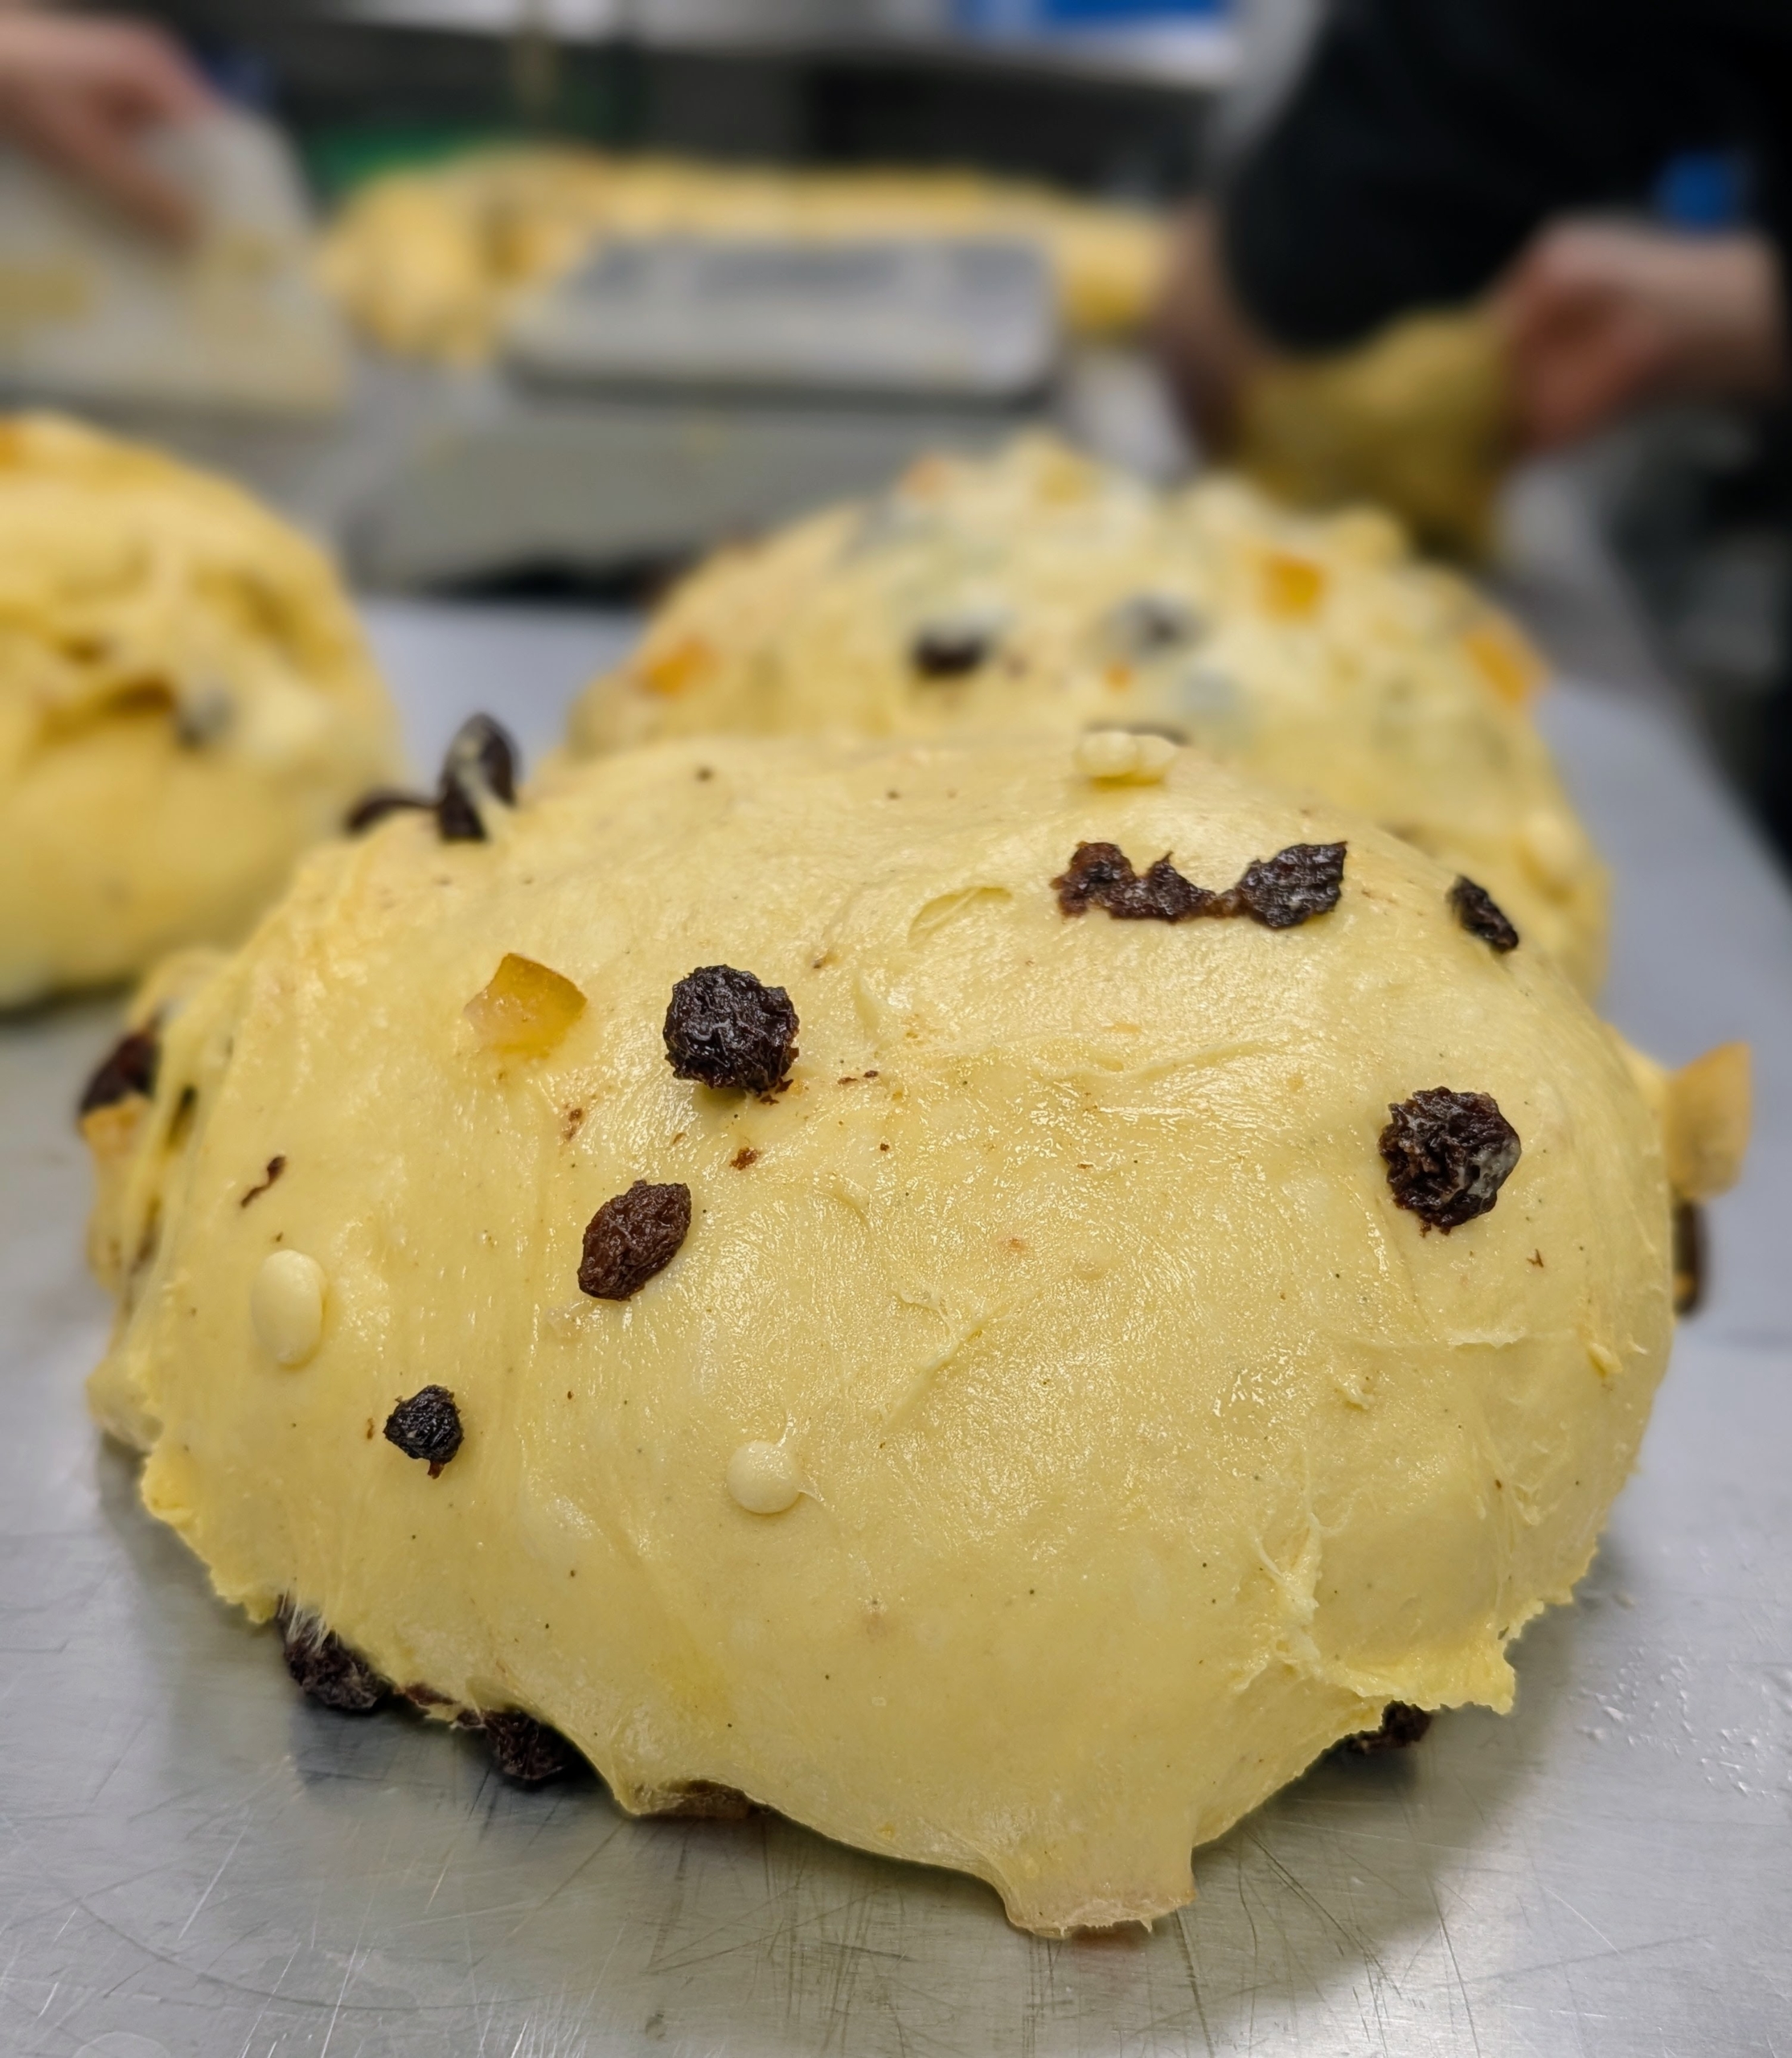
This is a chocolate chip panettone freshly baked. It’s one of the bakery’s most popular breads this season.
All of Chef PierLuigi’s authentic panettone comes from this starter he calls “Giorgio” – which traveled with him all the way from his hometown in Italy. In just eight years, Chef has gone from baking in his own home basement to working in a commercial kitchen and opening a storefront. He has an incredible passion for learning, researching, and baking only the best panettone.
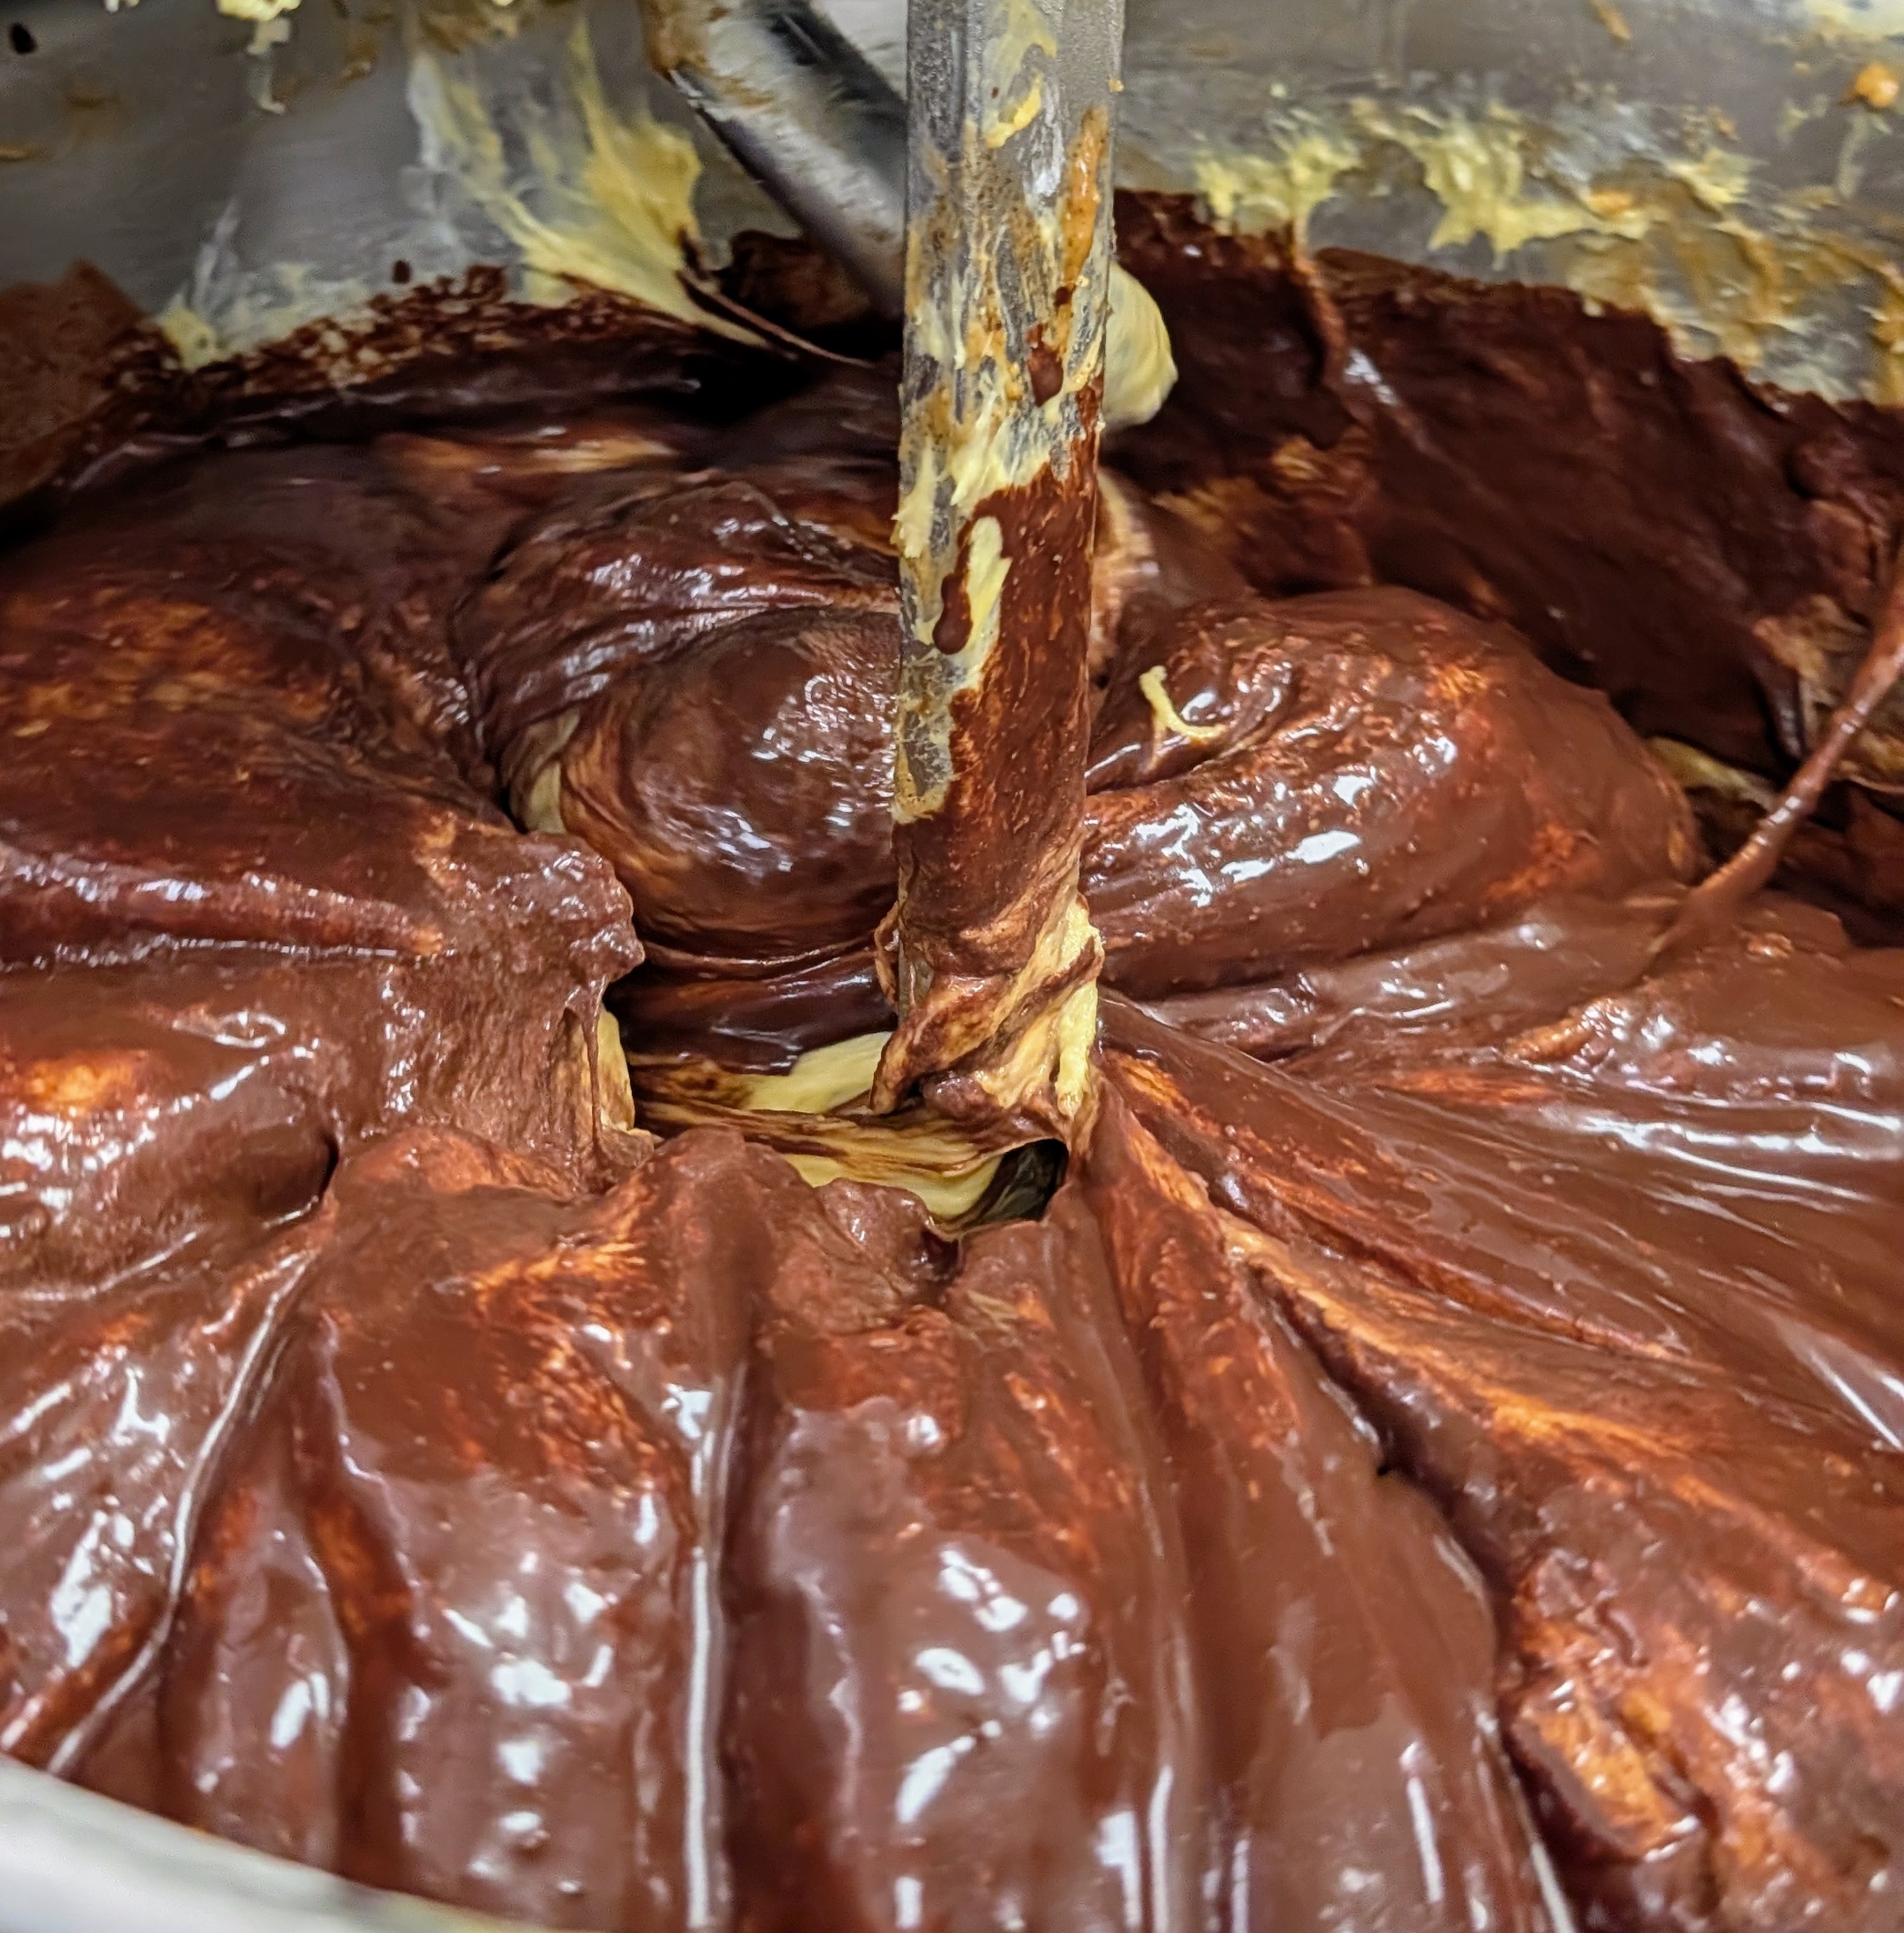
Chef Pierluigi makes the dough for his panettone in large batches of three. This makes about 200 medium panettone breads.
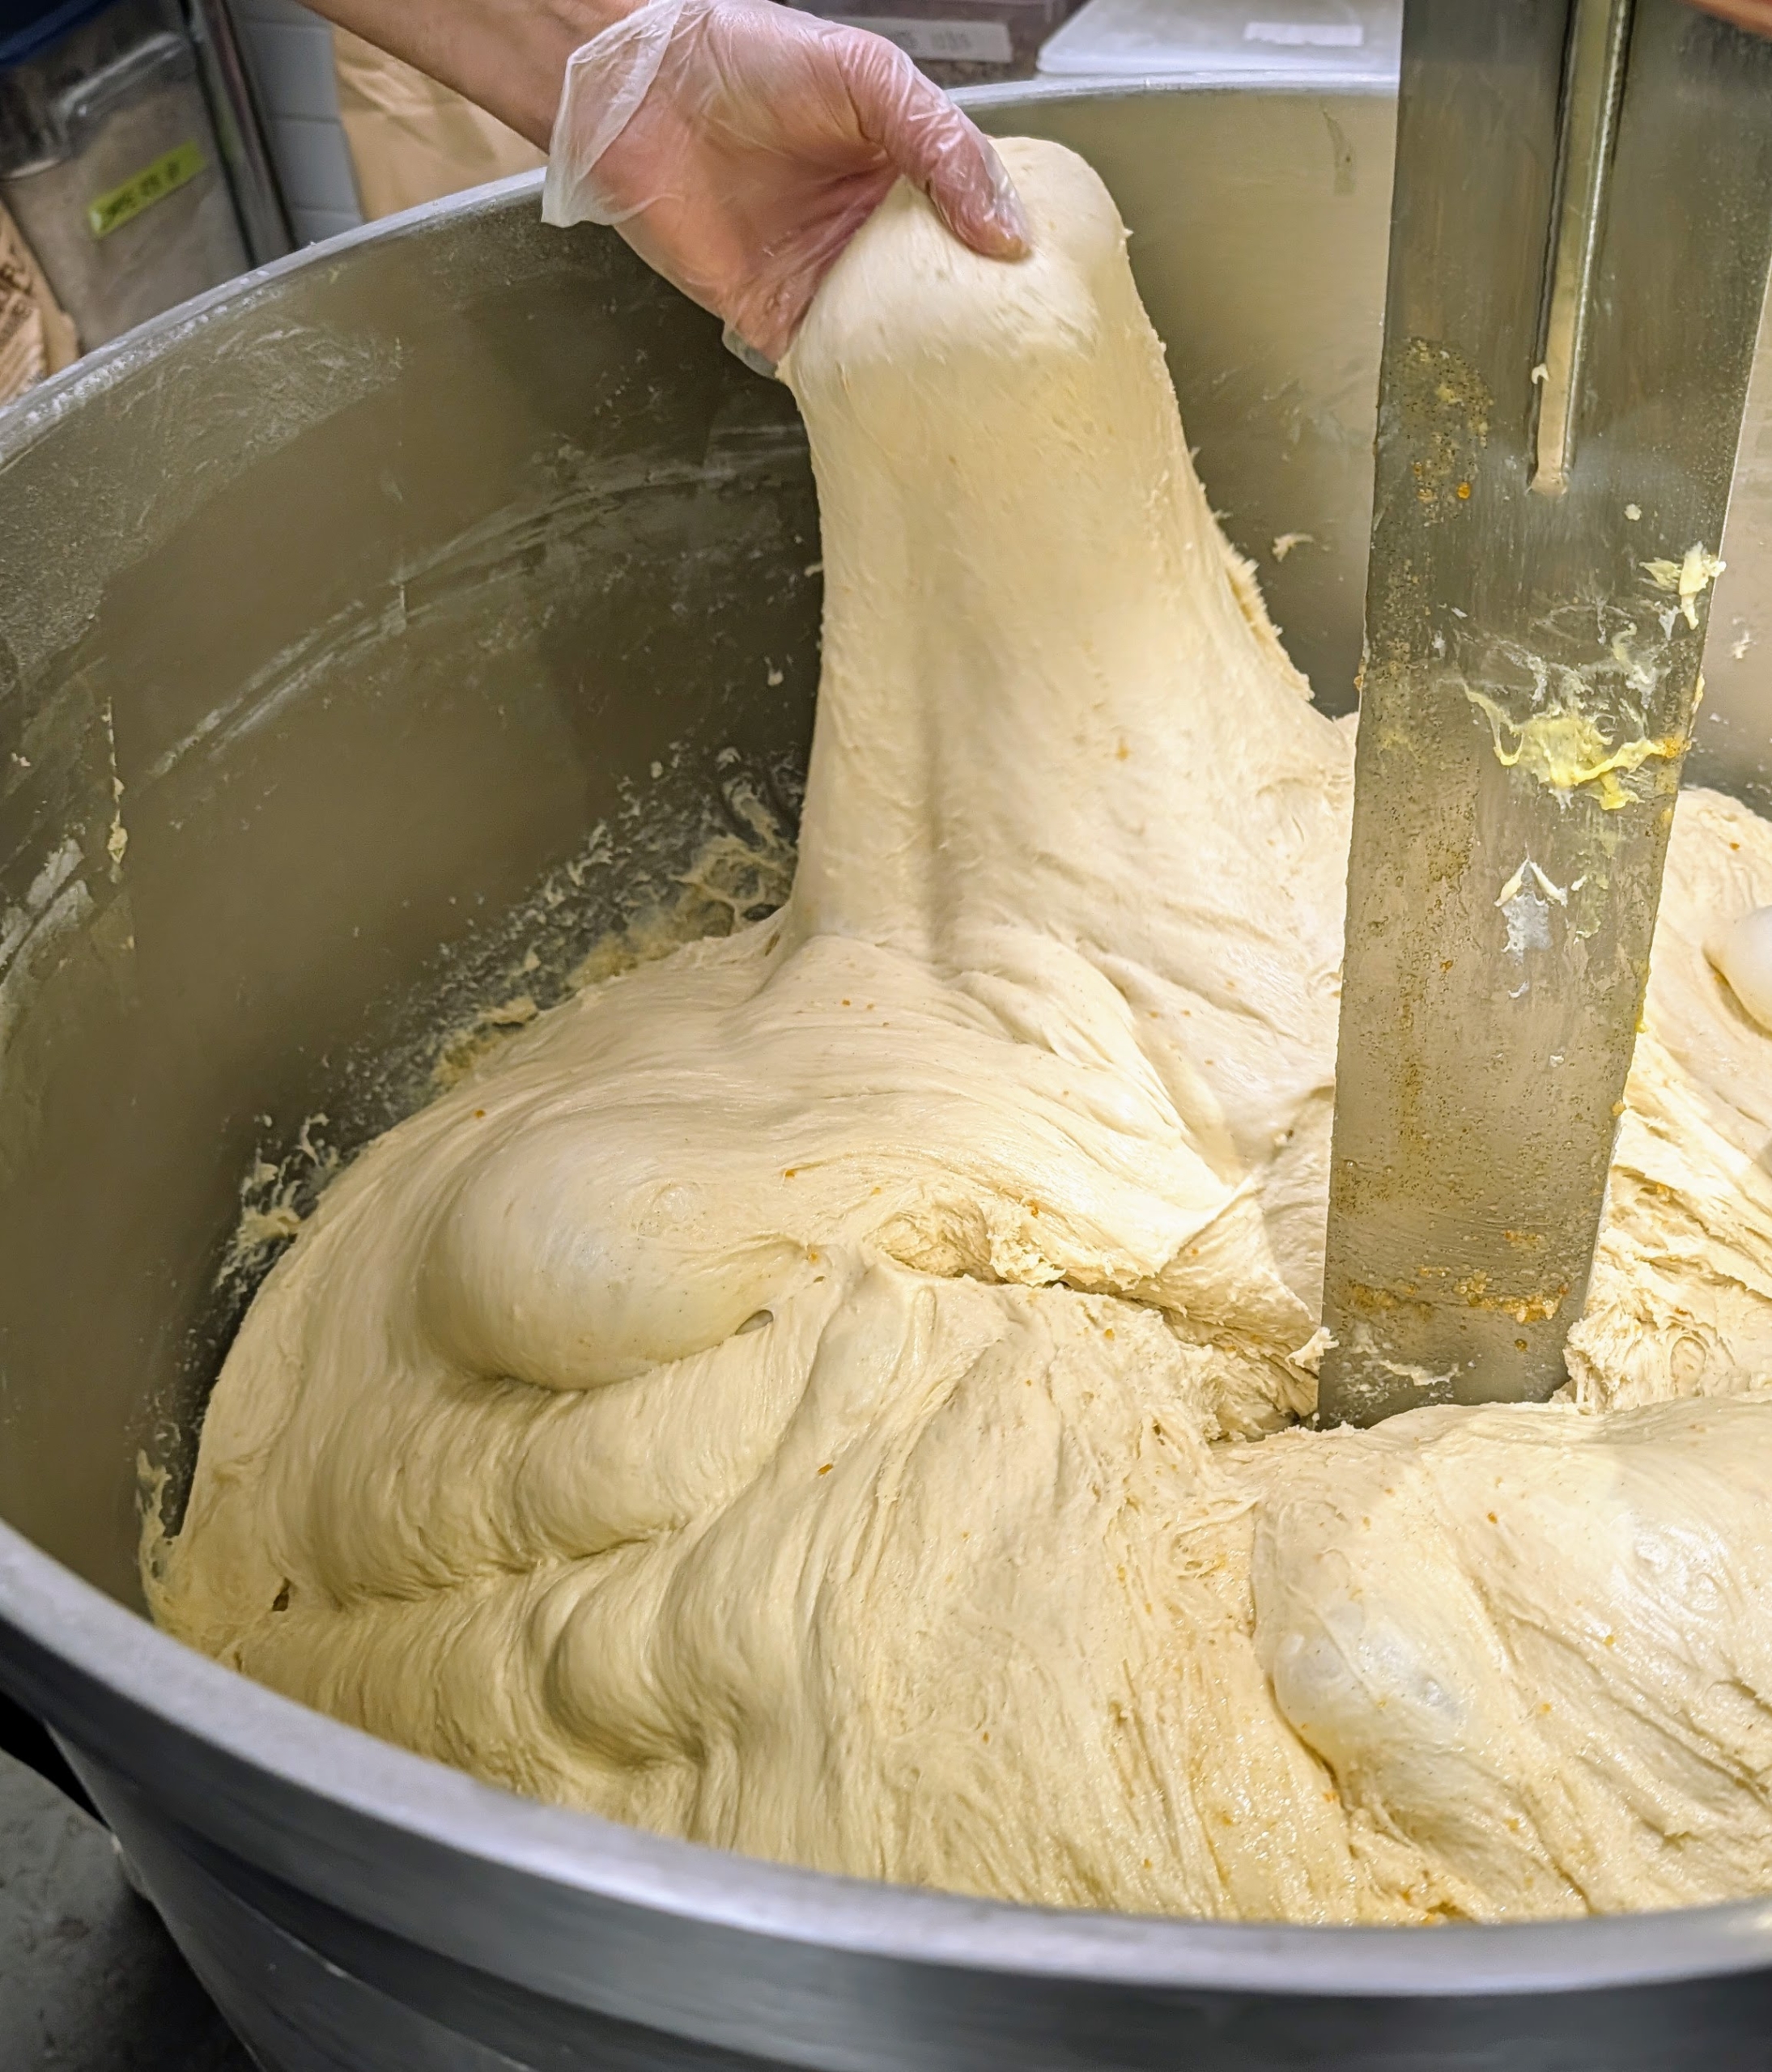
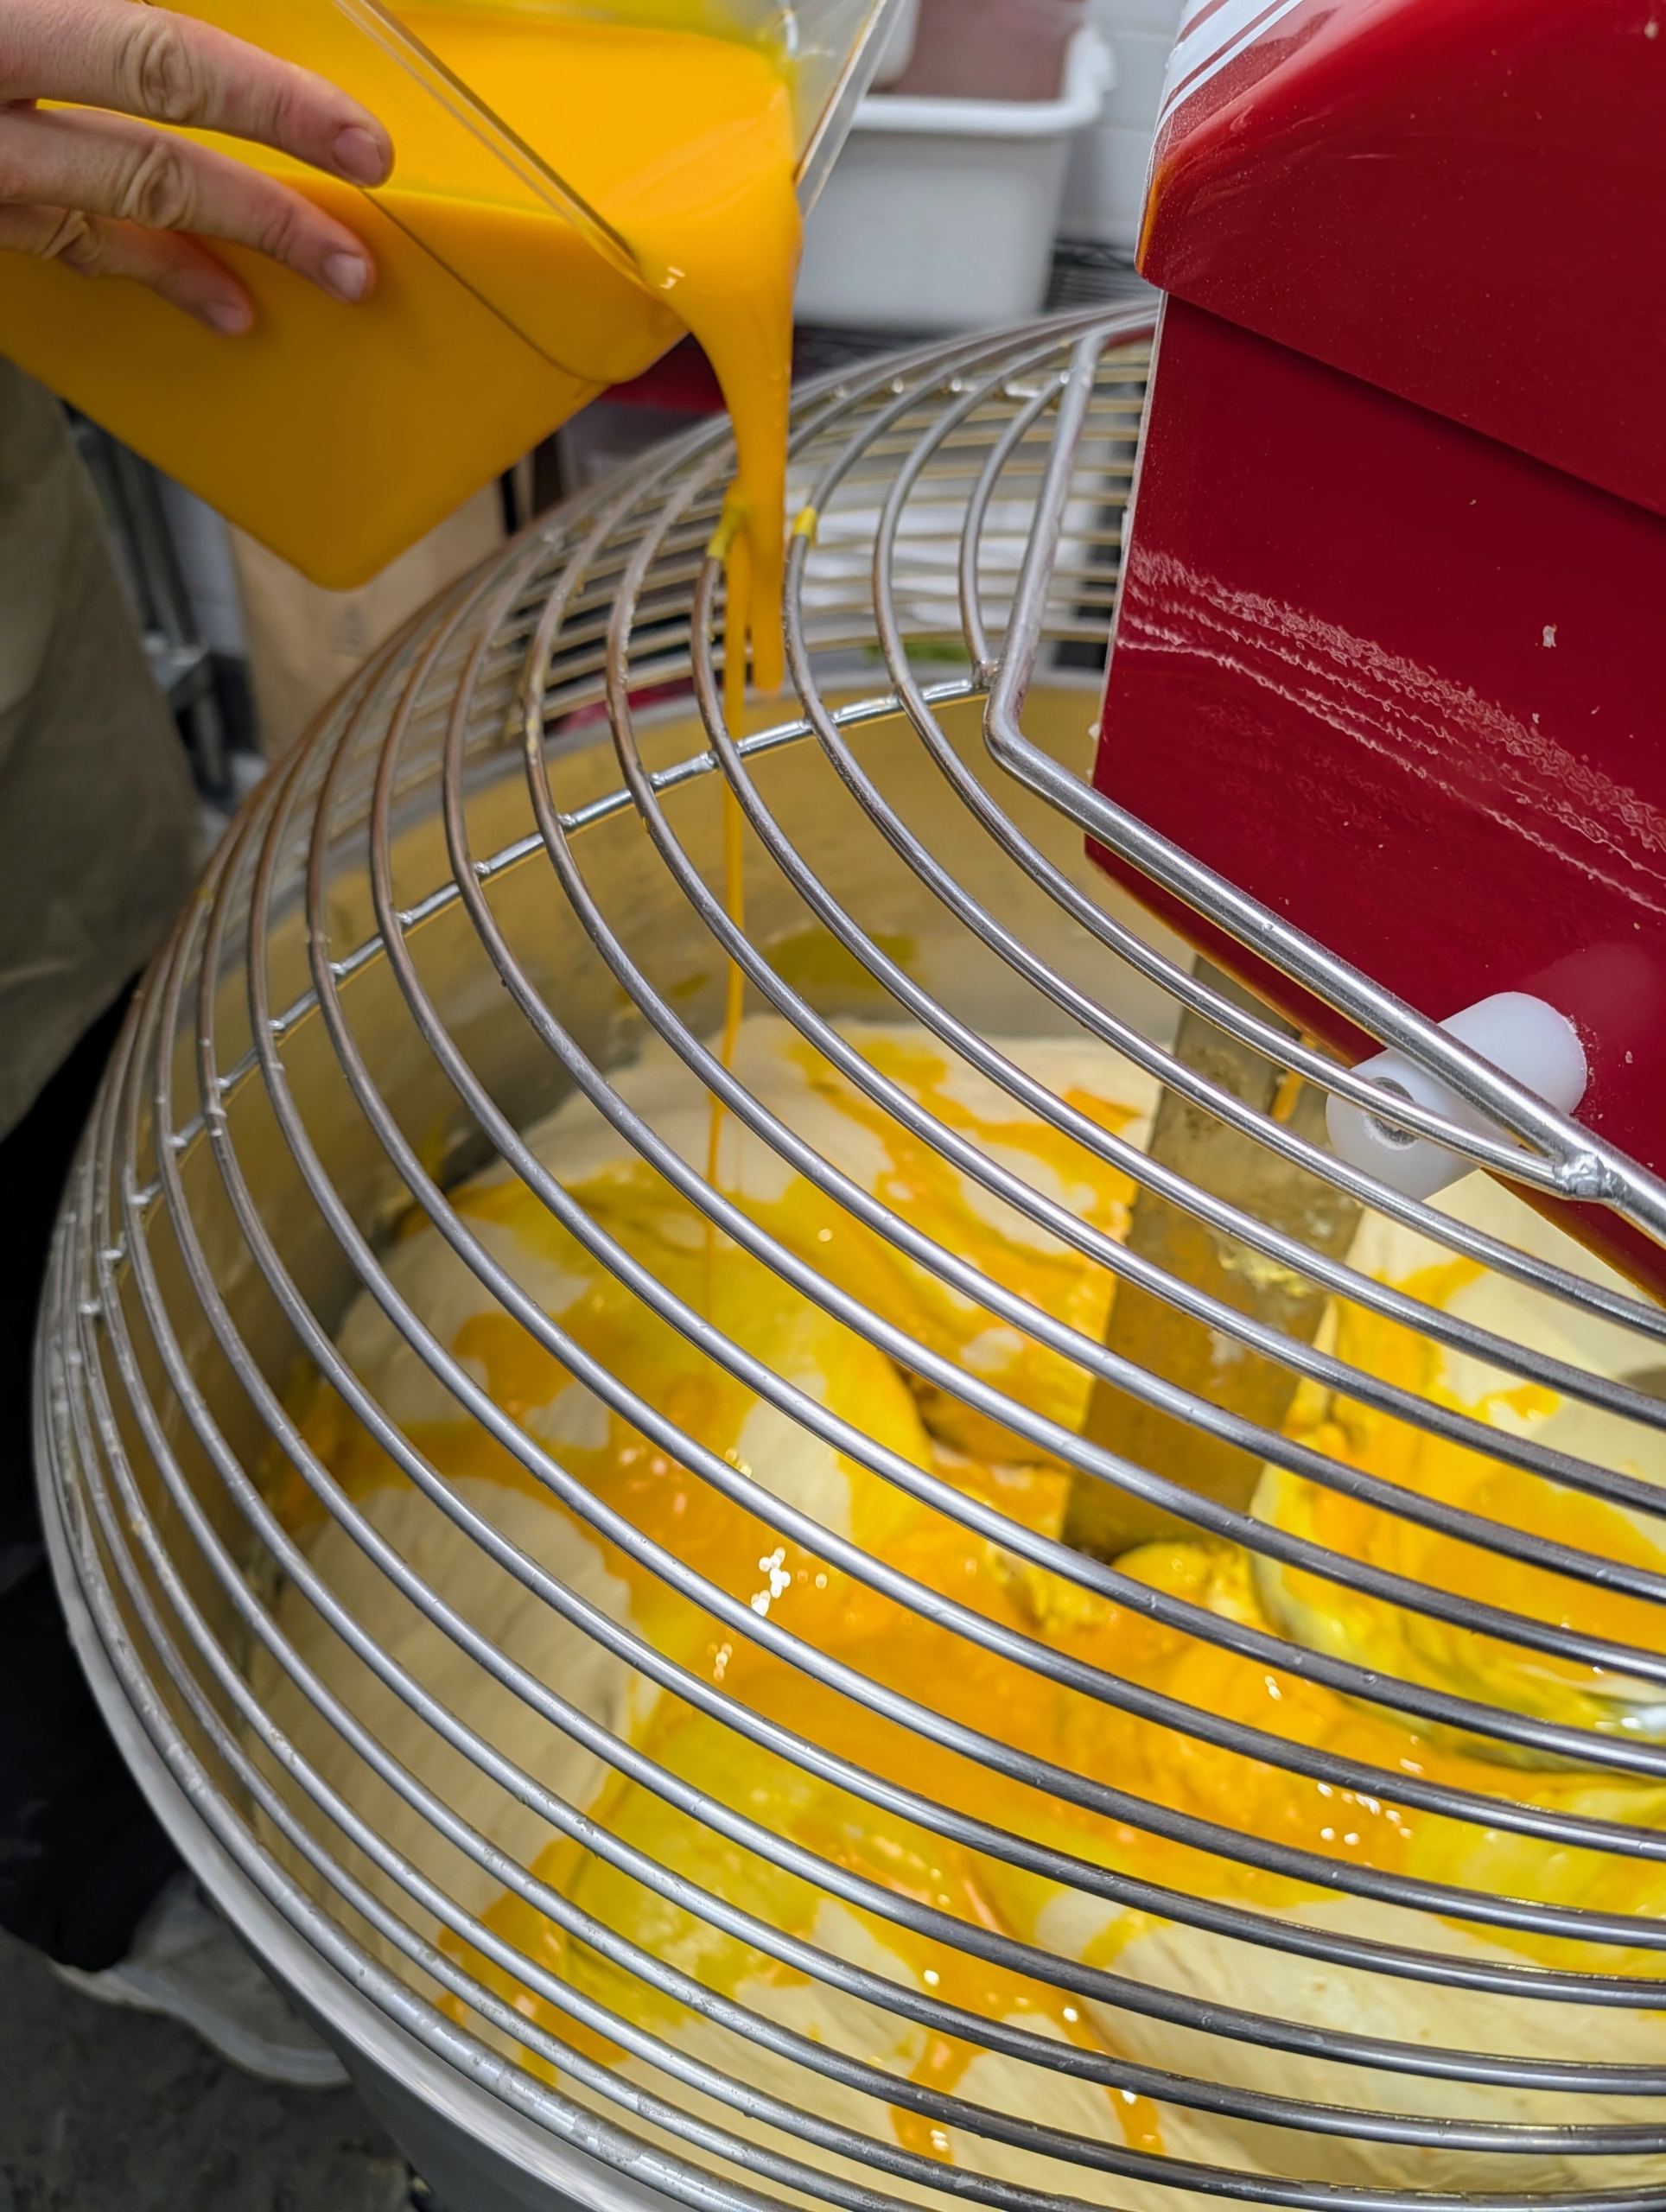
During the busy holiday season, Chef starts making the doughs very early in the morning before sunrise. The dough is made with soft flour, European butter with at least 82% fat, water, organic eggs, sugar, fresh vanilla beans from Madagascar, and the selected flavor ingredients. Here, he is pouring in the egg yolks.
The dough is very buttery. The butter is used both as a flavor enhancer and as a structural component resulting in an airy and tender crumb.
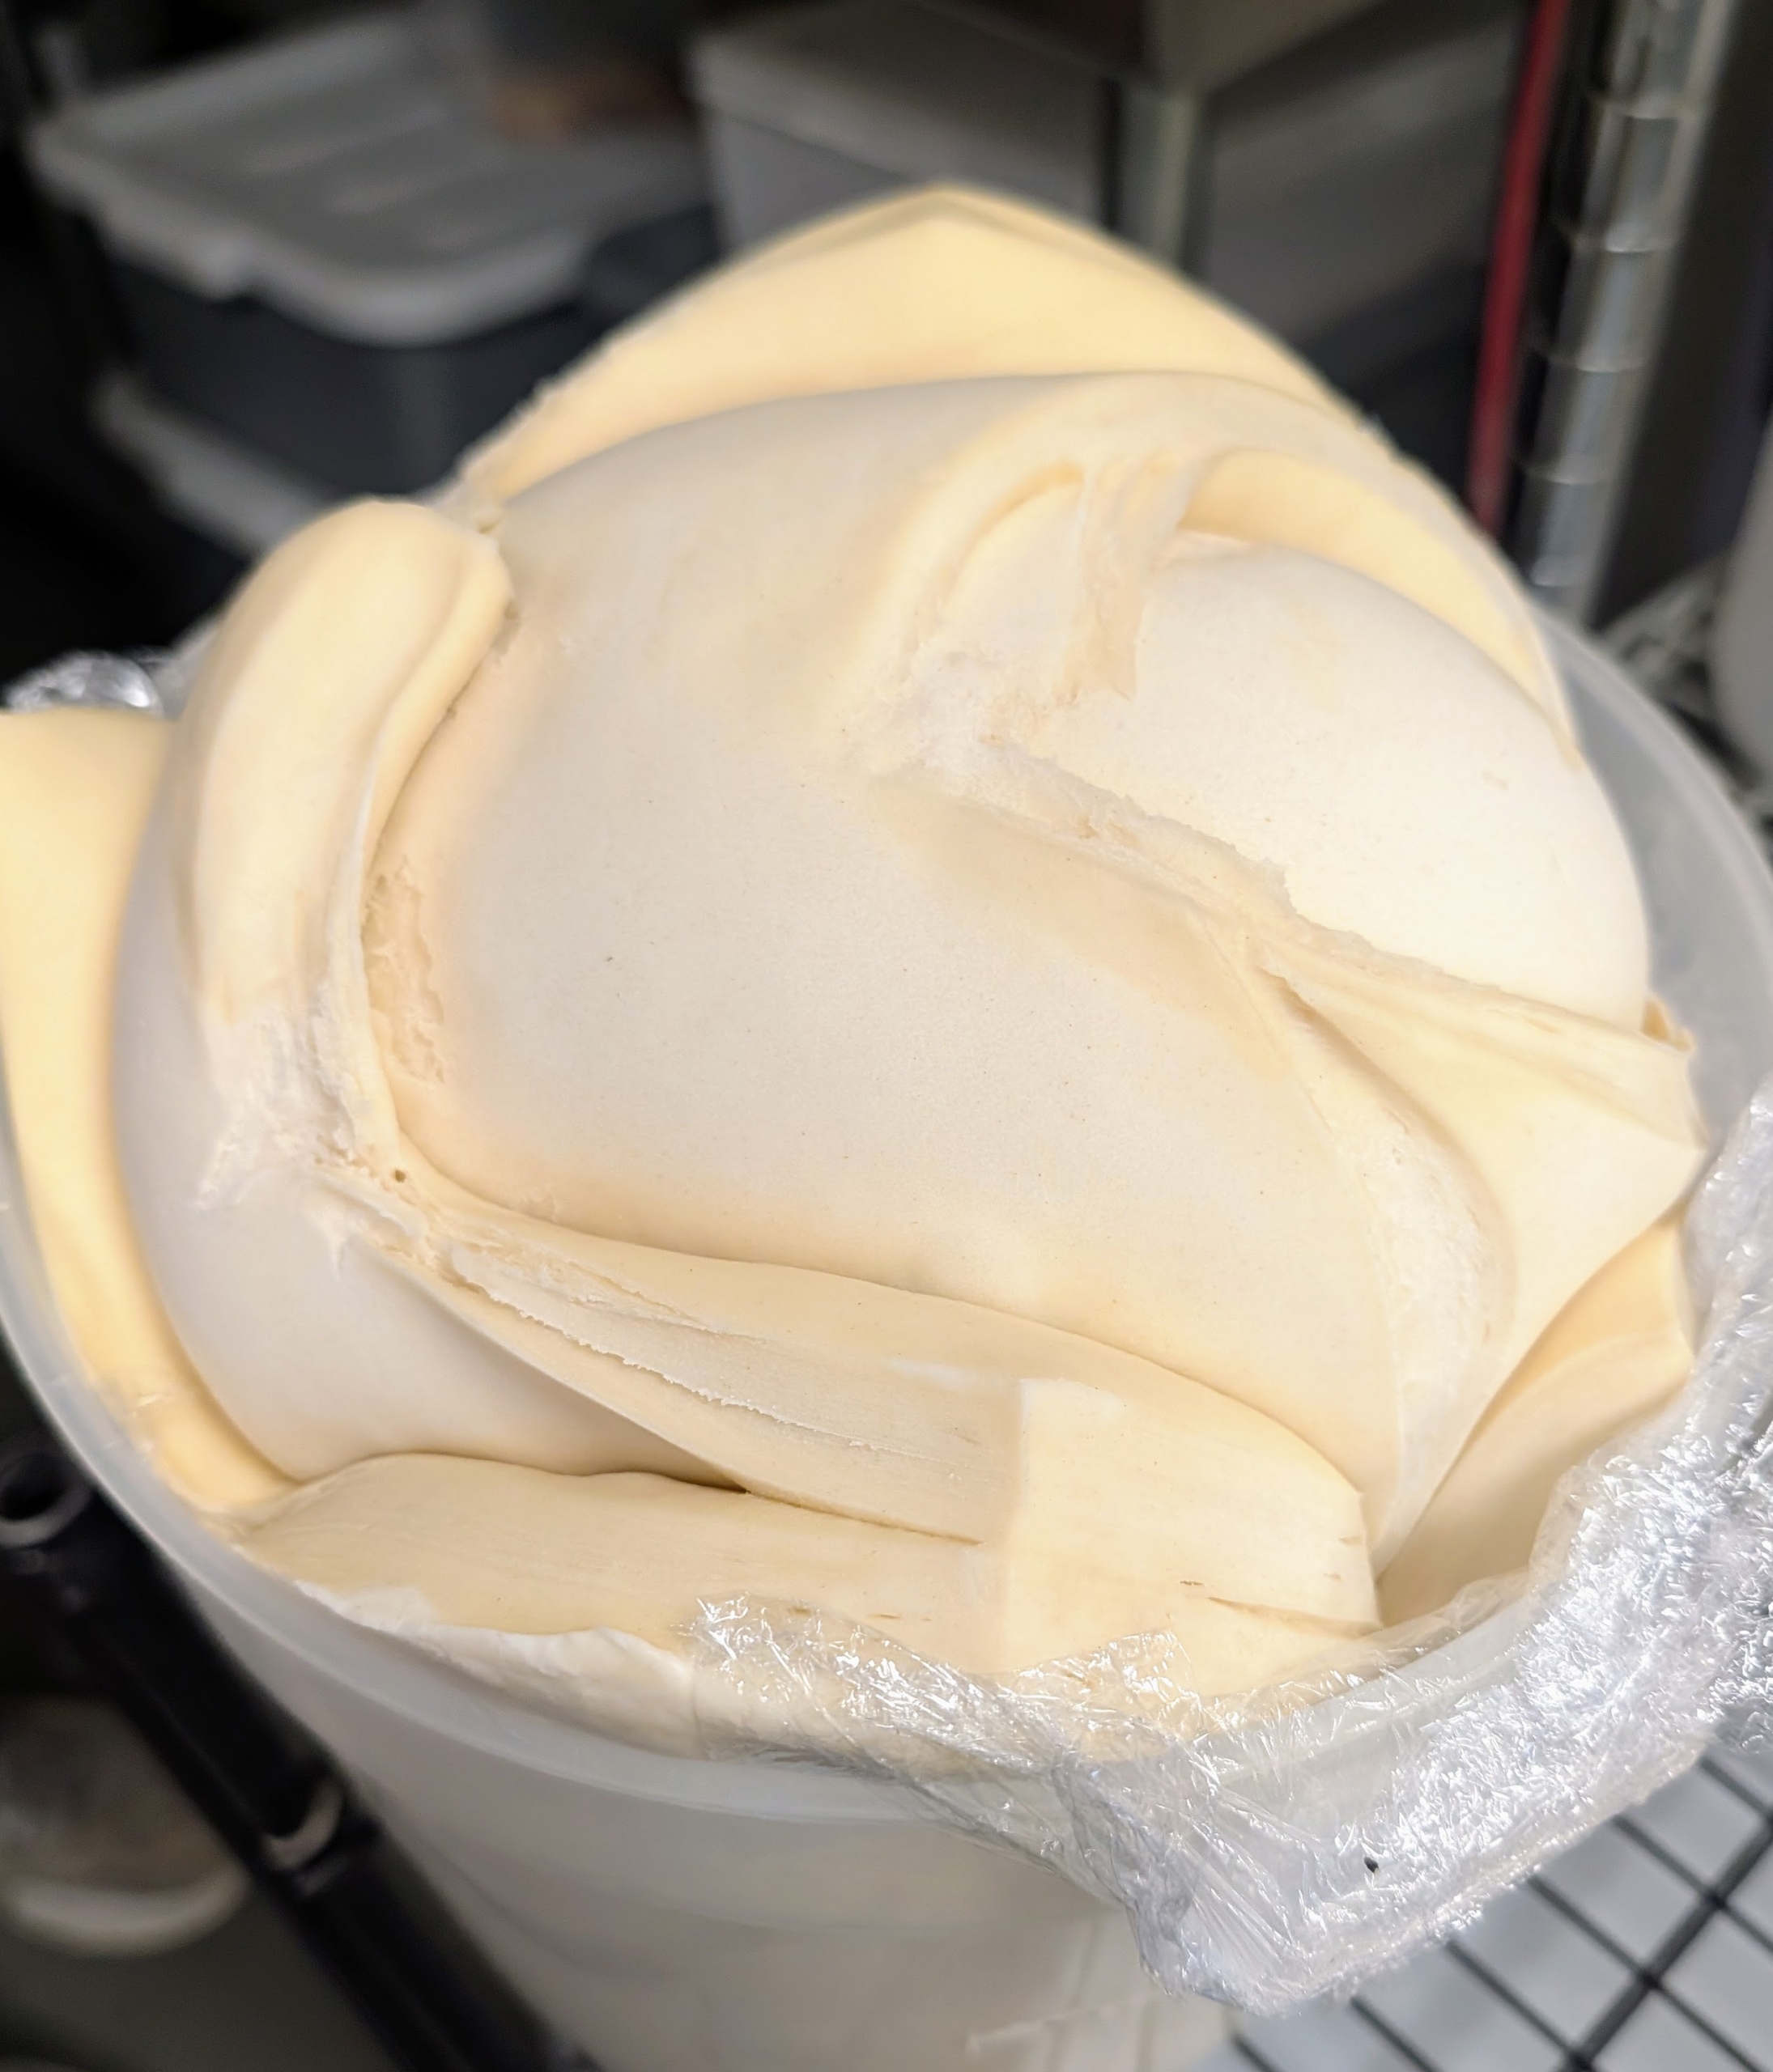
The dough is mixed precisely and then separated according to weight.
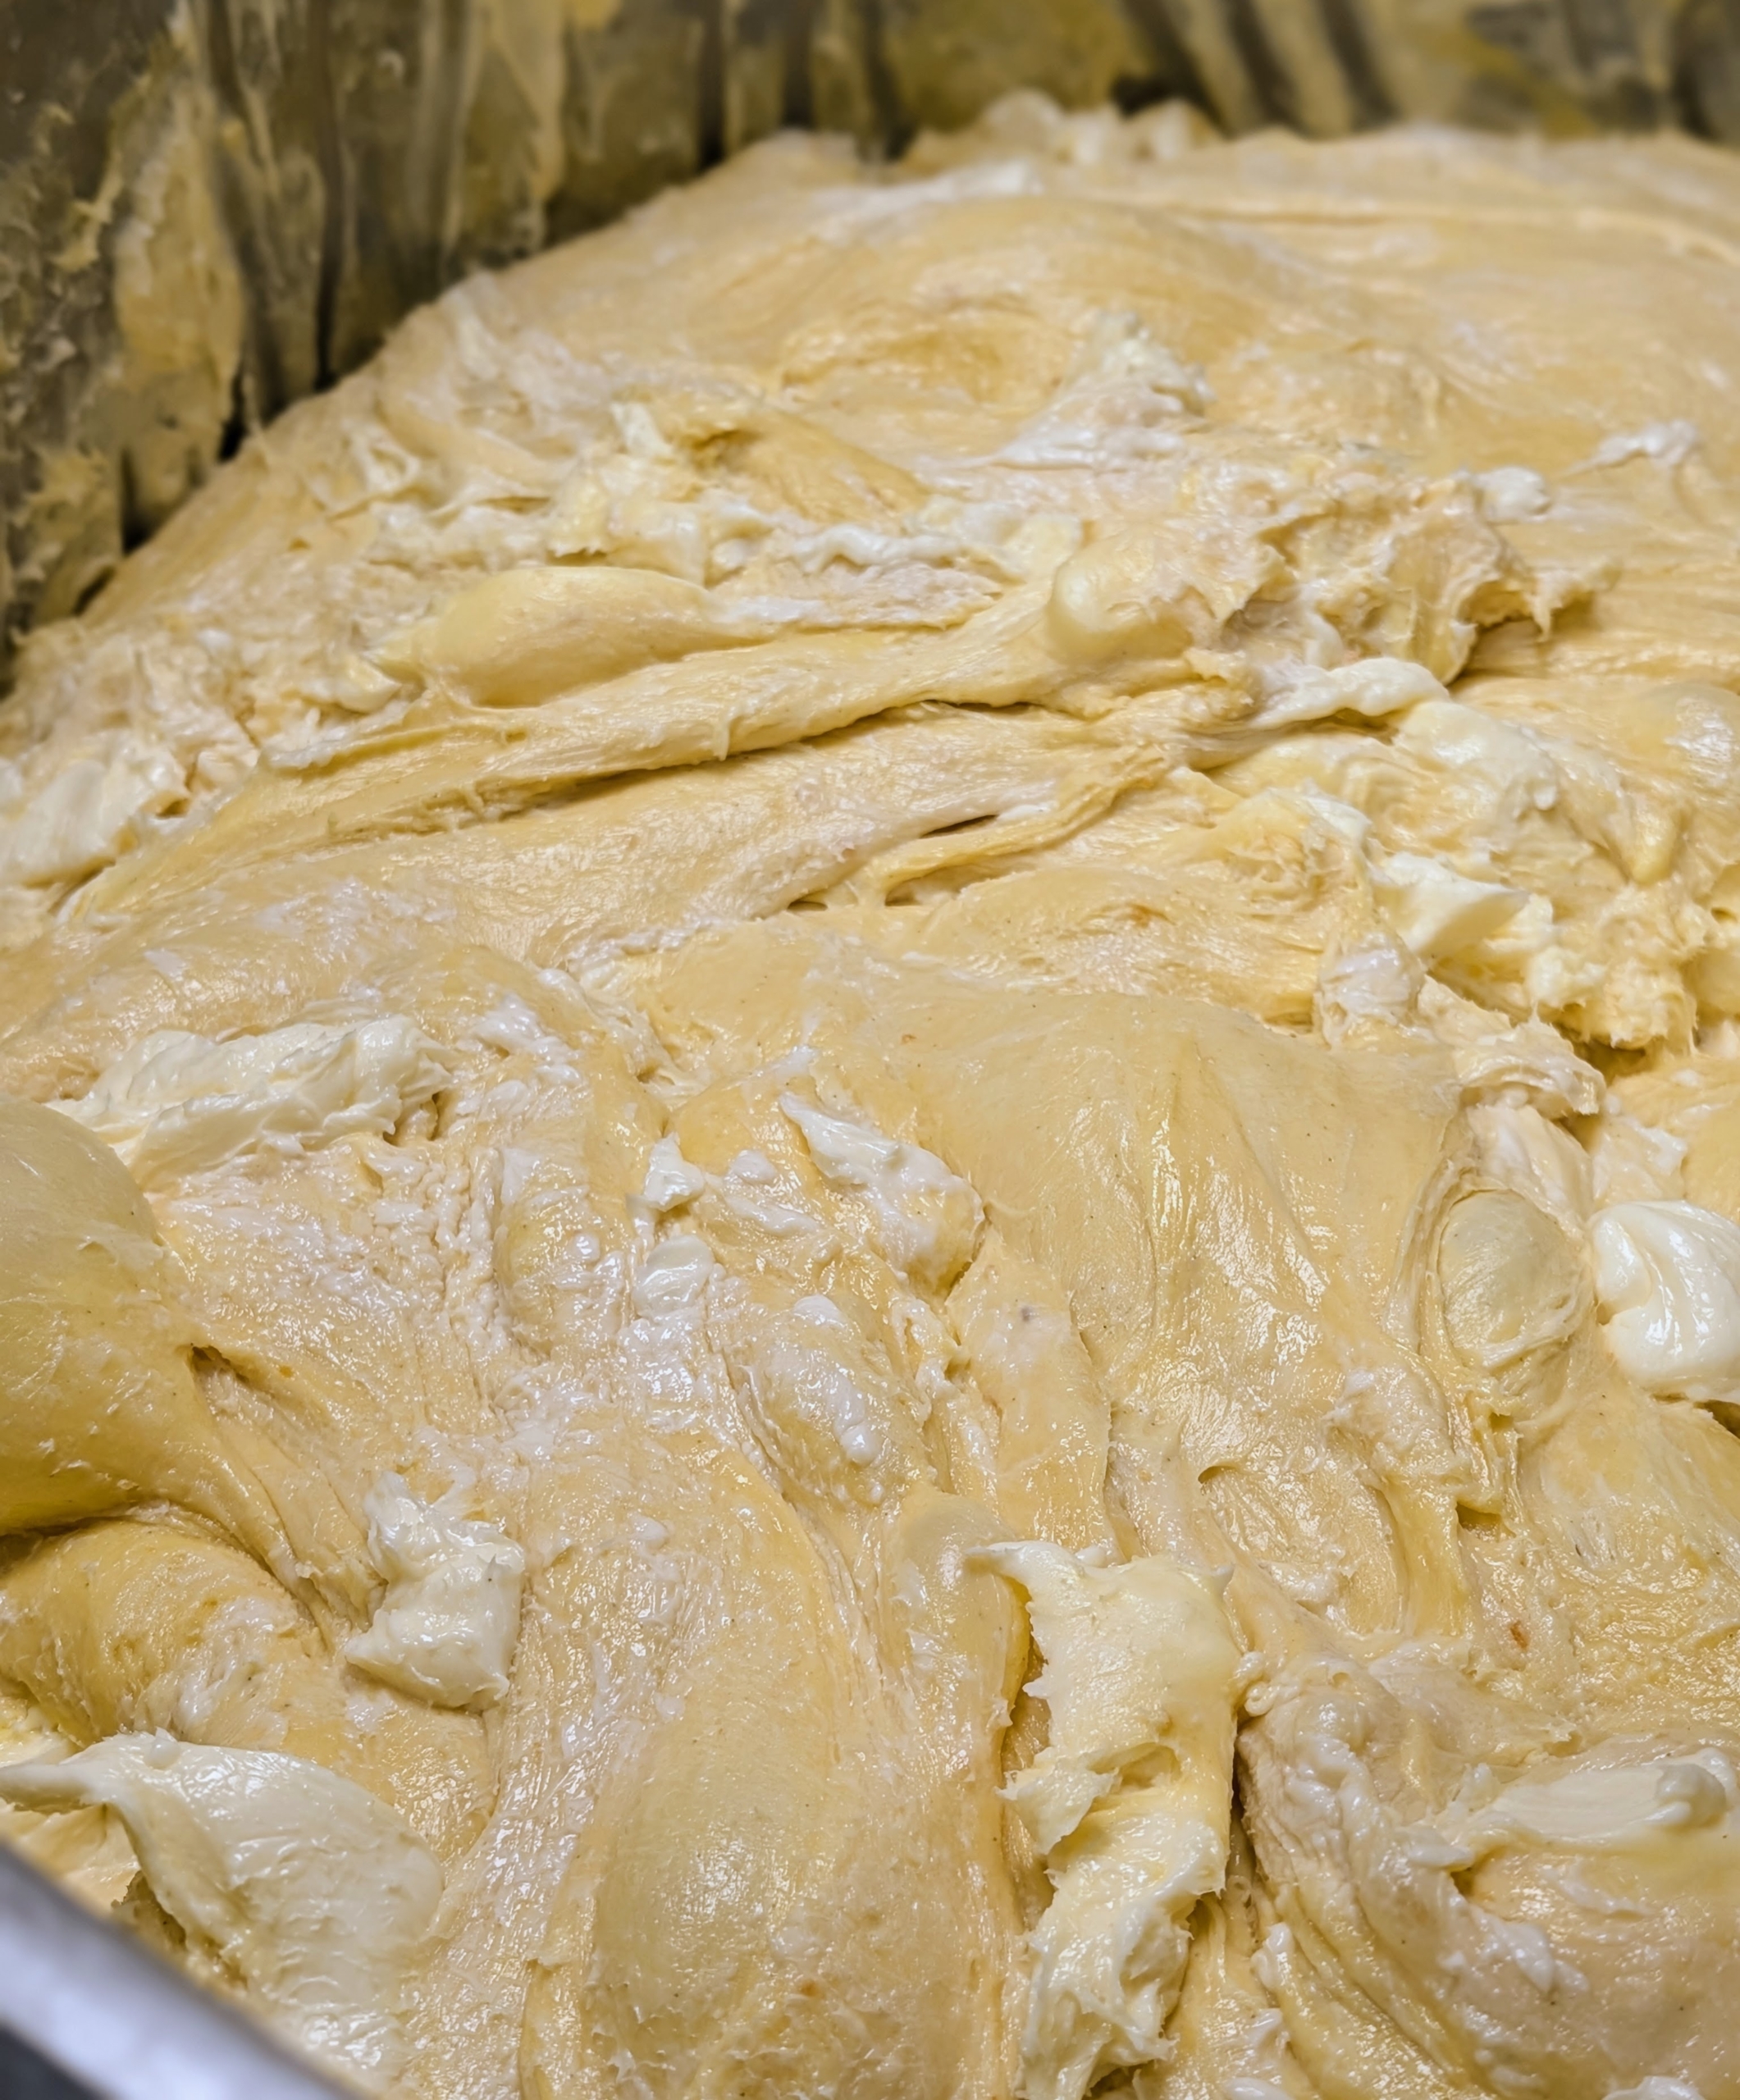
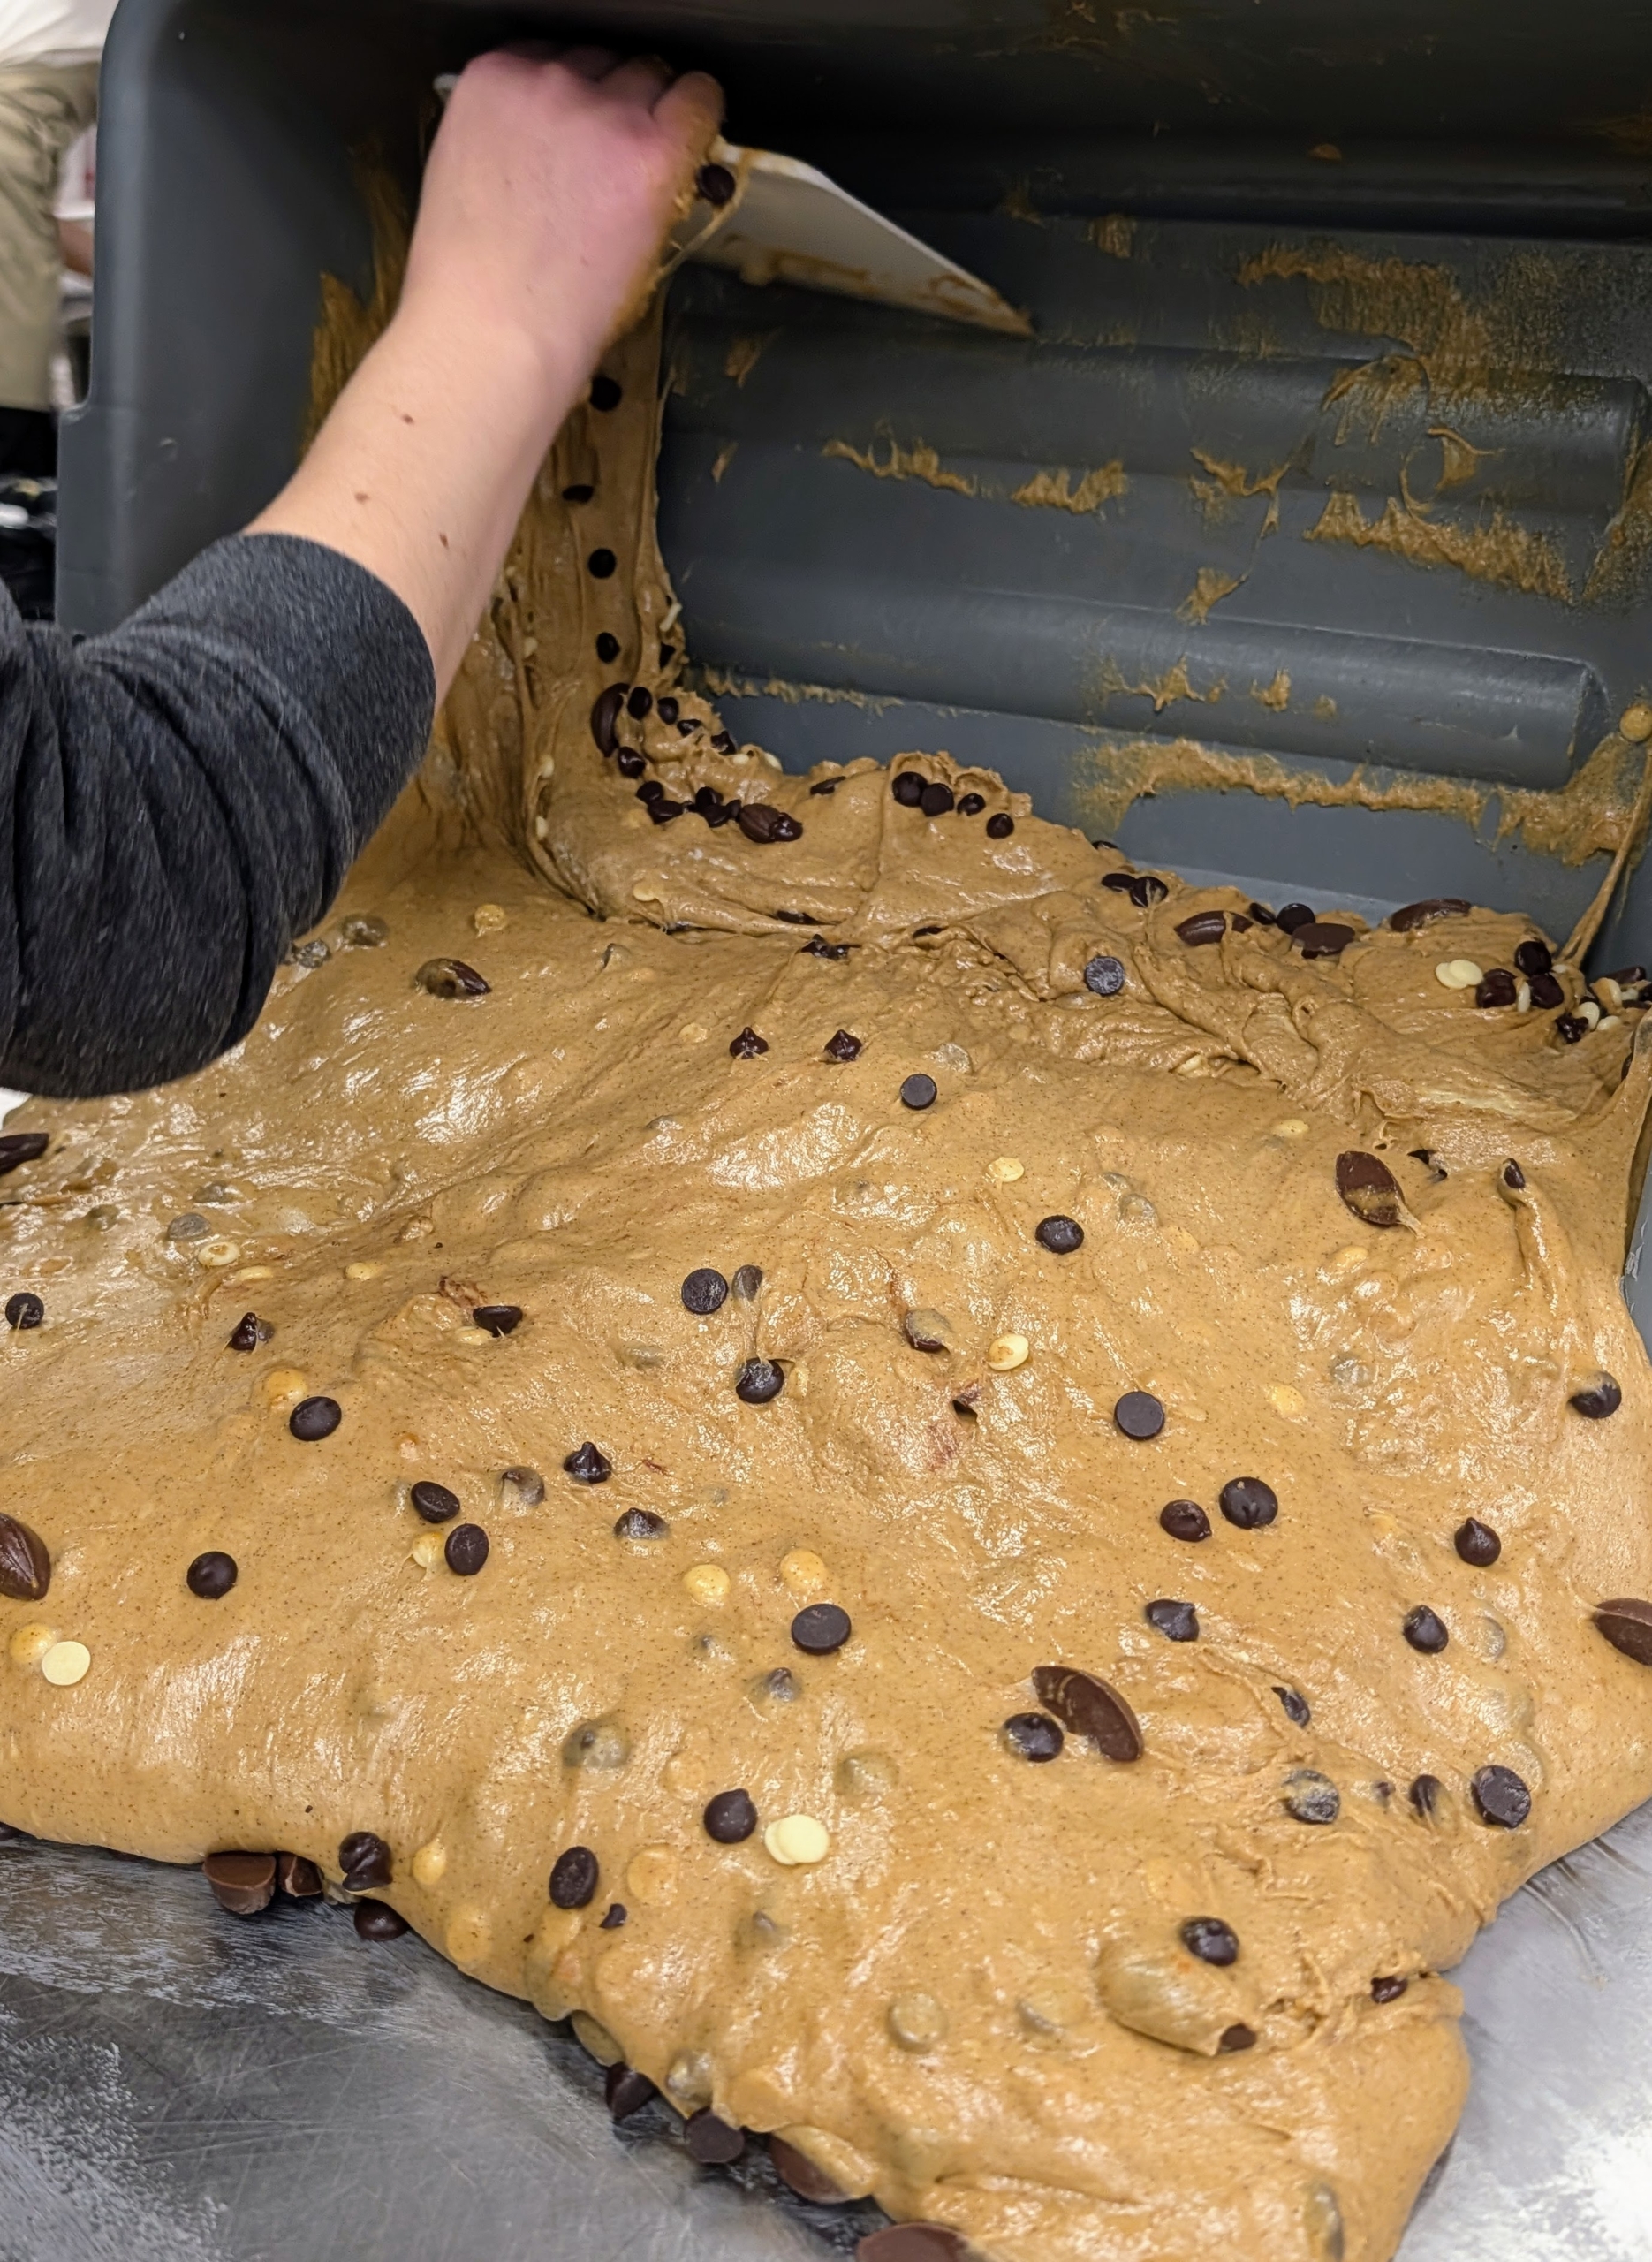
In Chef Pierluigi’s kitchen, one can find several kinds of panettone at different stages. This dough is mixed with dark chocolate and espresso – the aroma and flavor is unmatched.
Here is another Espresso & Dark Chocolate panettone ready to shape. Chef Pierluigi and his crew have to bake hundreds of panettoni a day, so it is crucial that the crew works efficiently and quickly.
Each panettone is shaped into a disc weighing exactly one pound for medium. Then the panettone dough is left to proof, or rise.
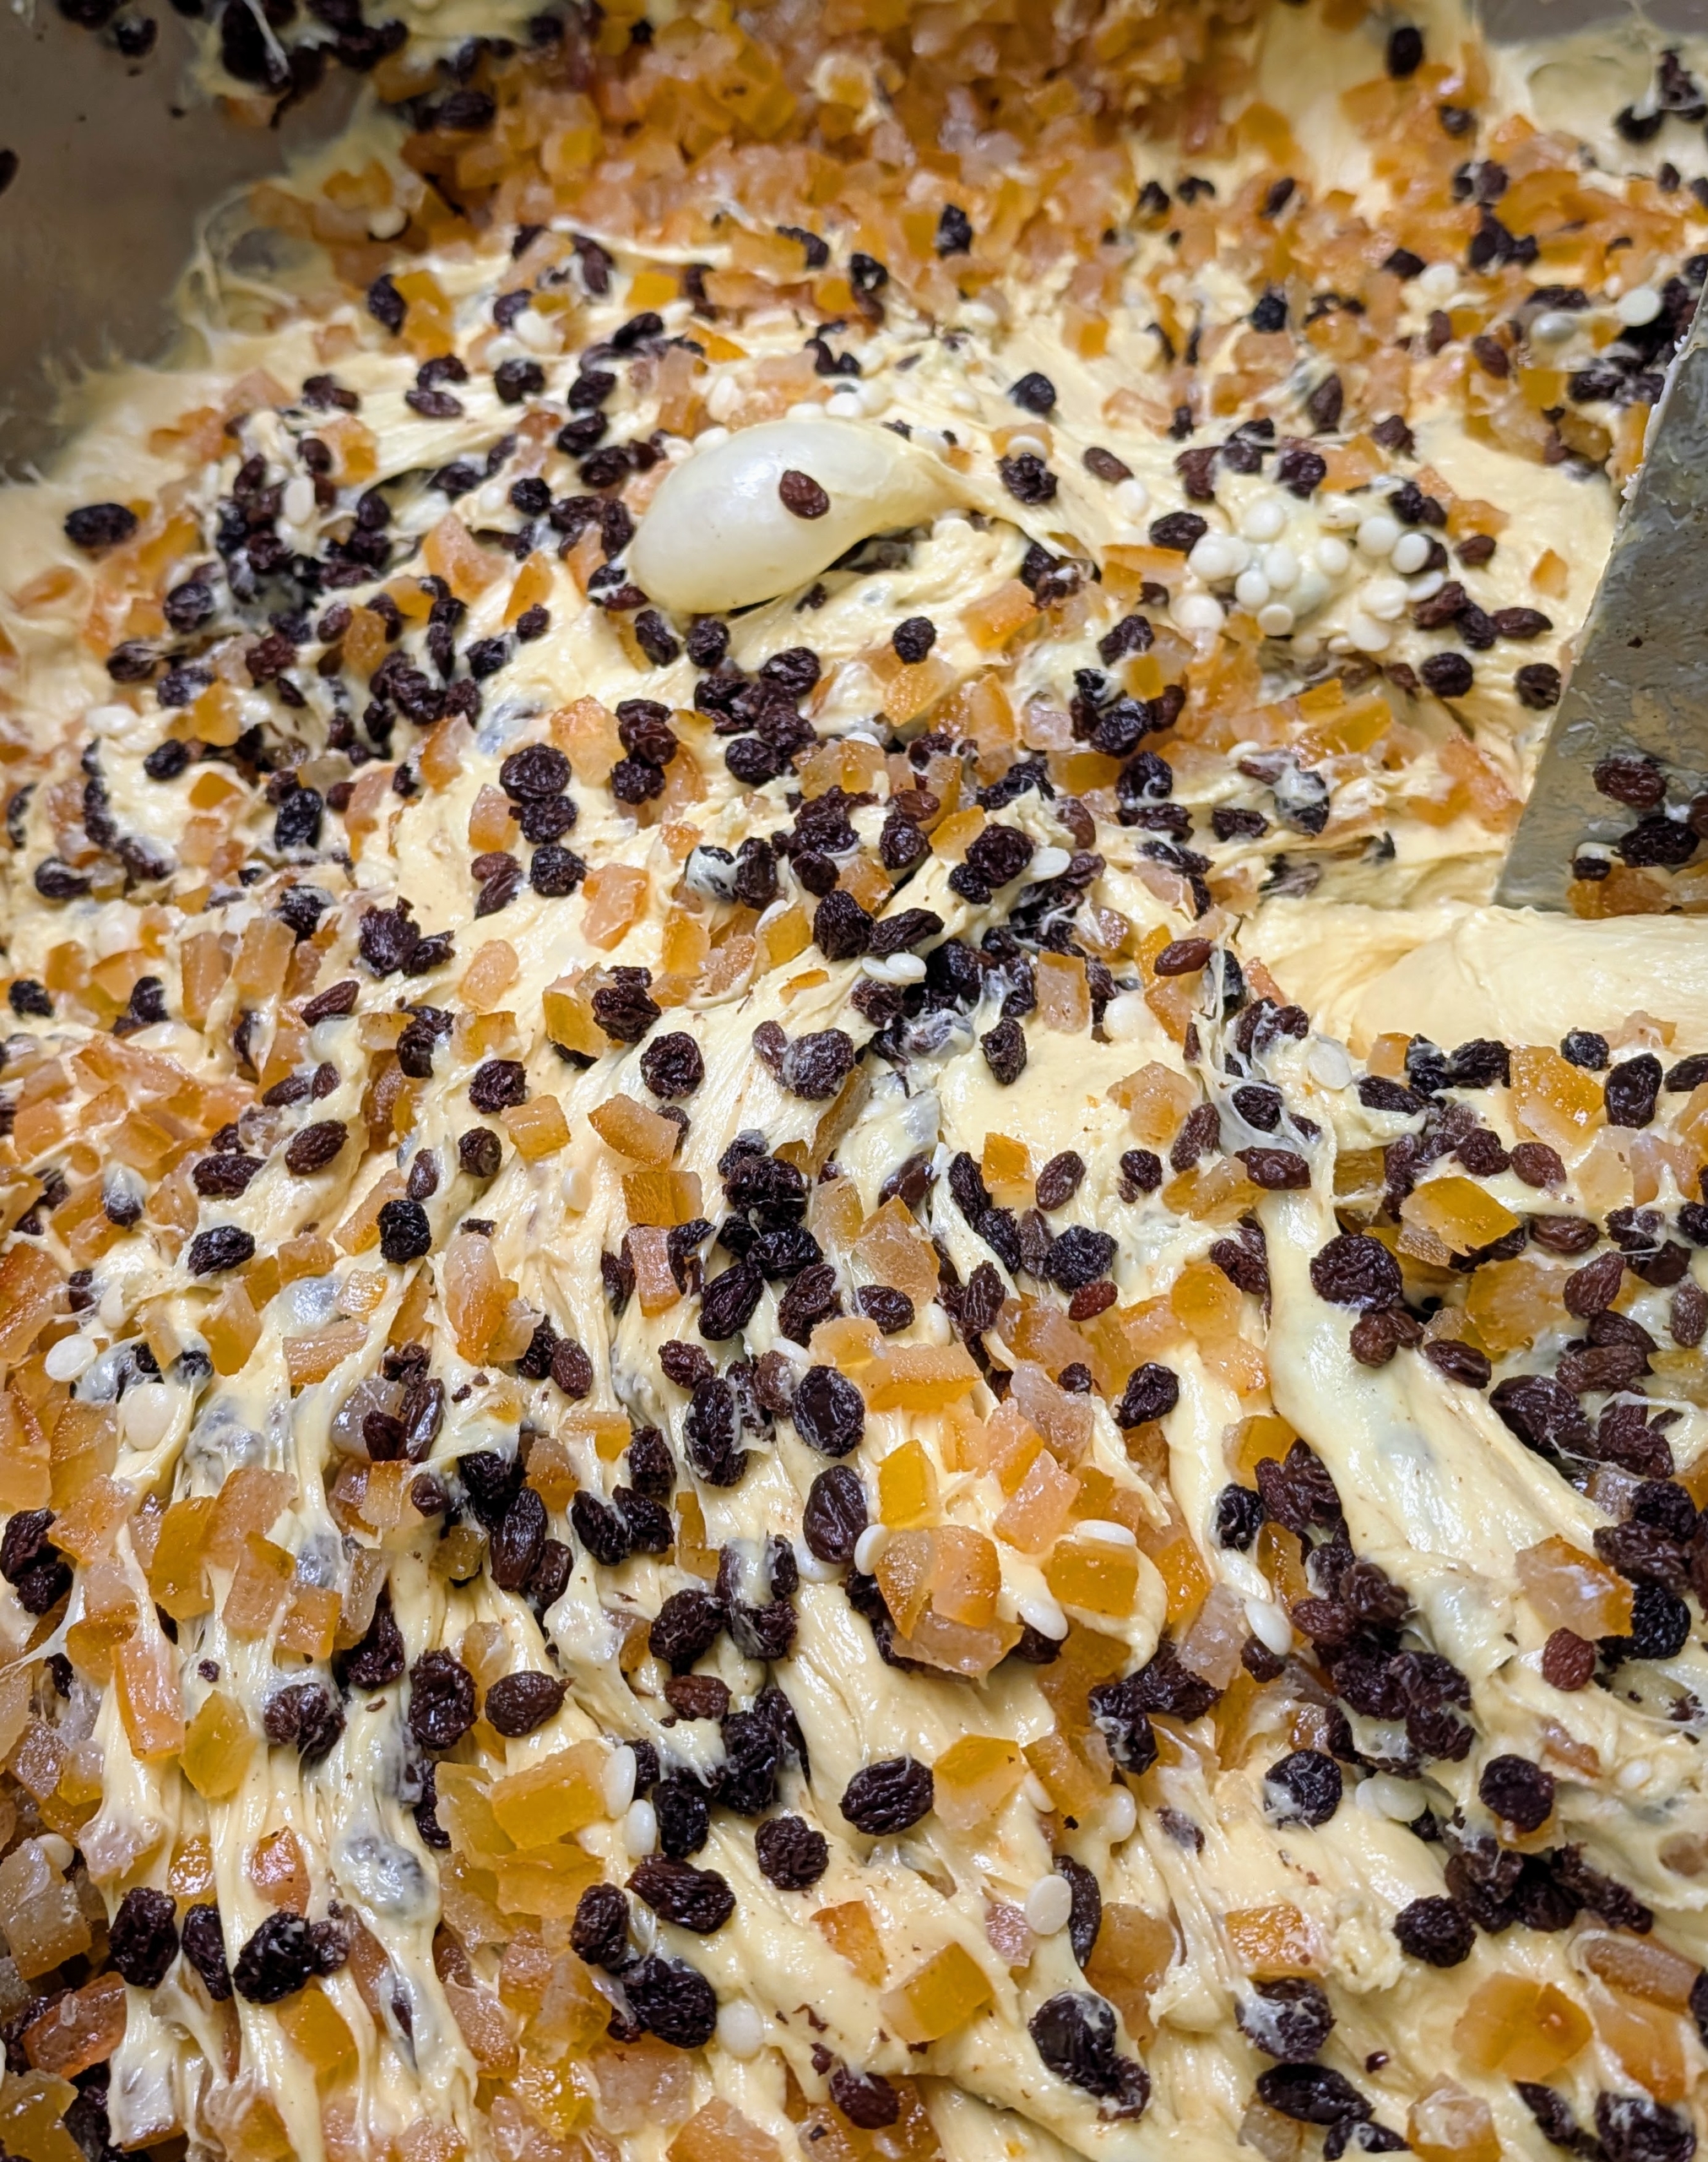
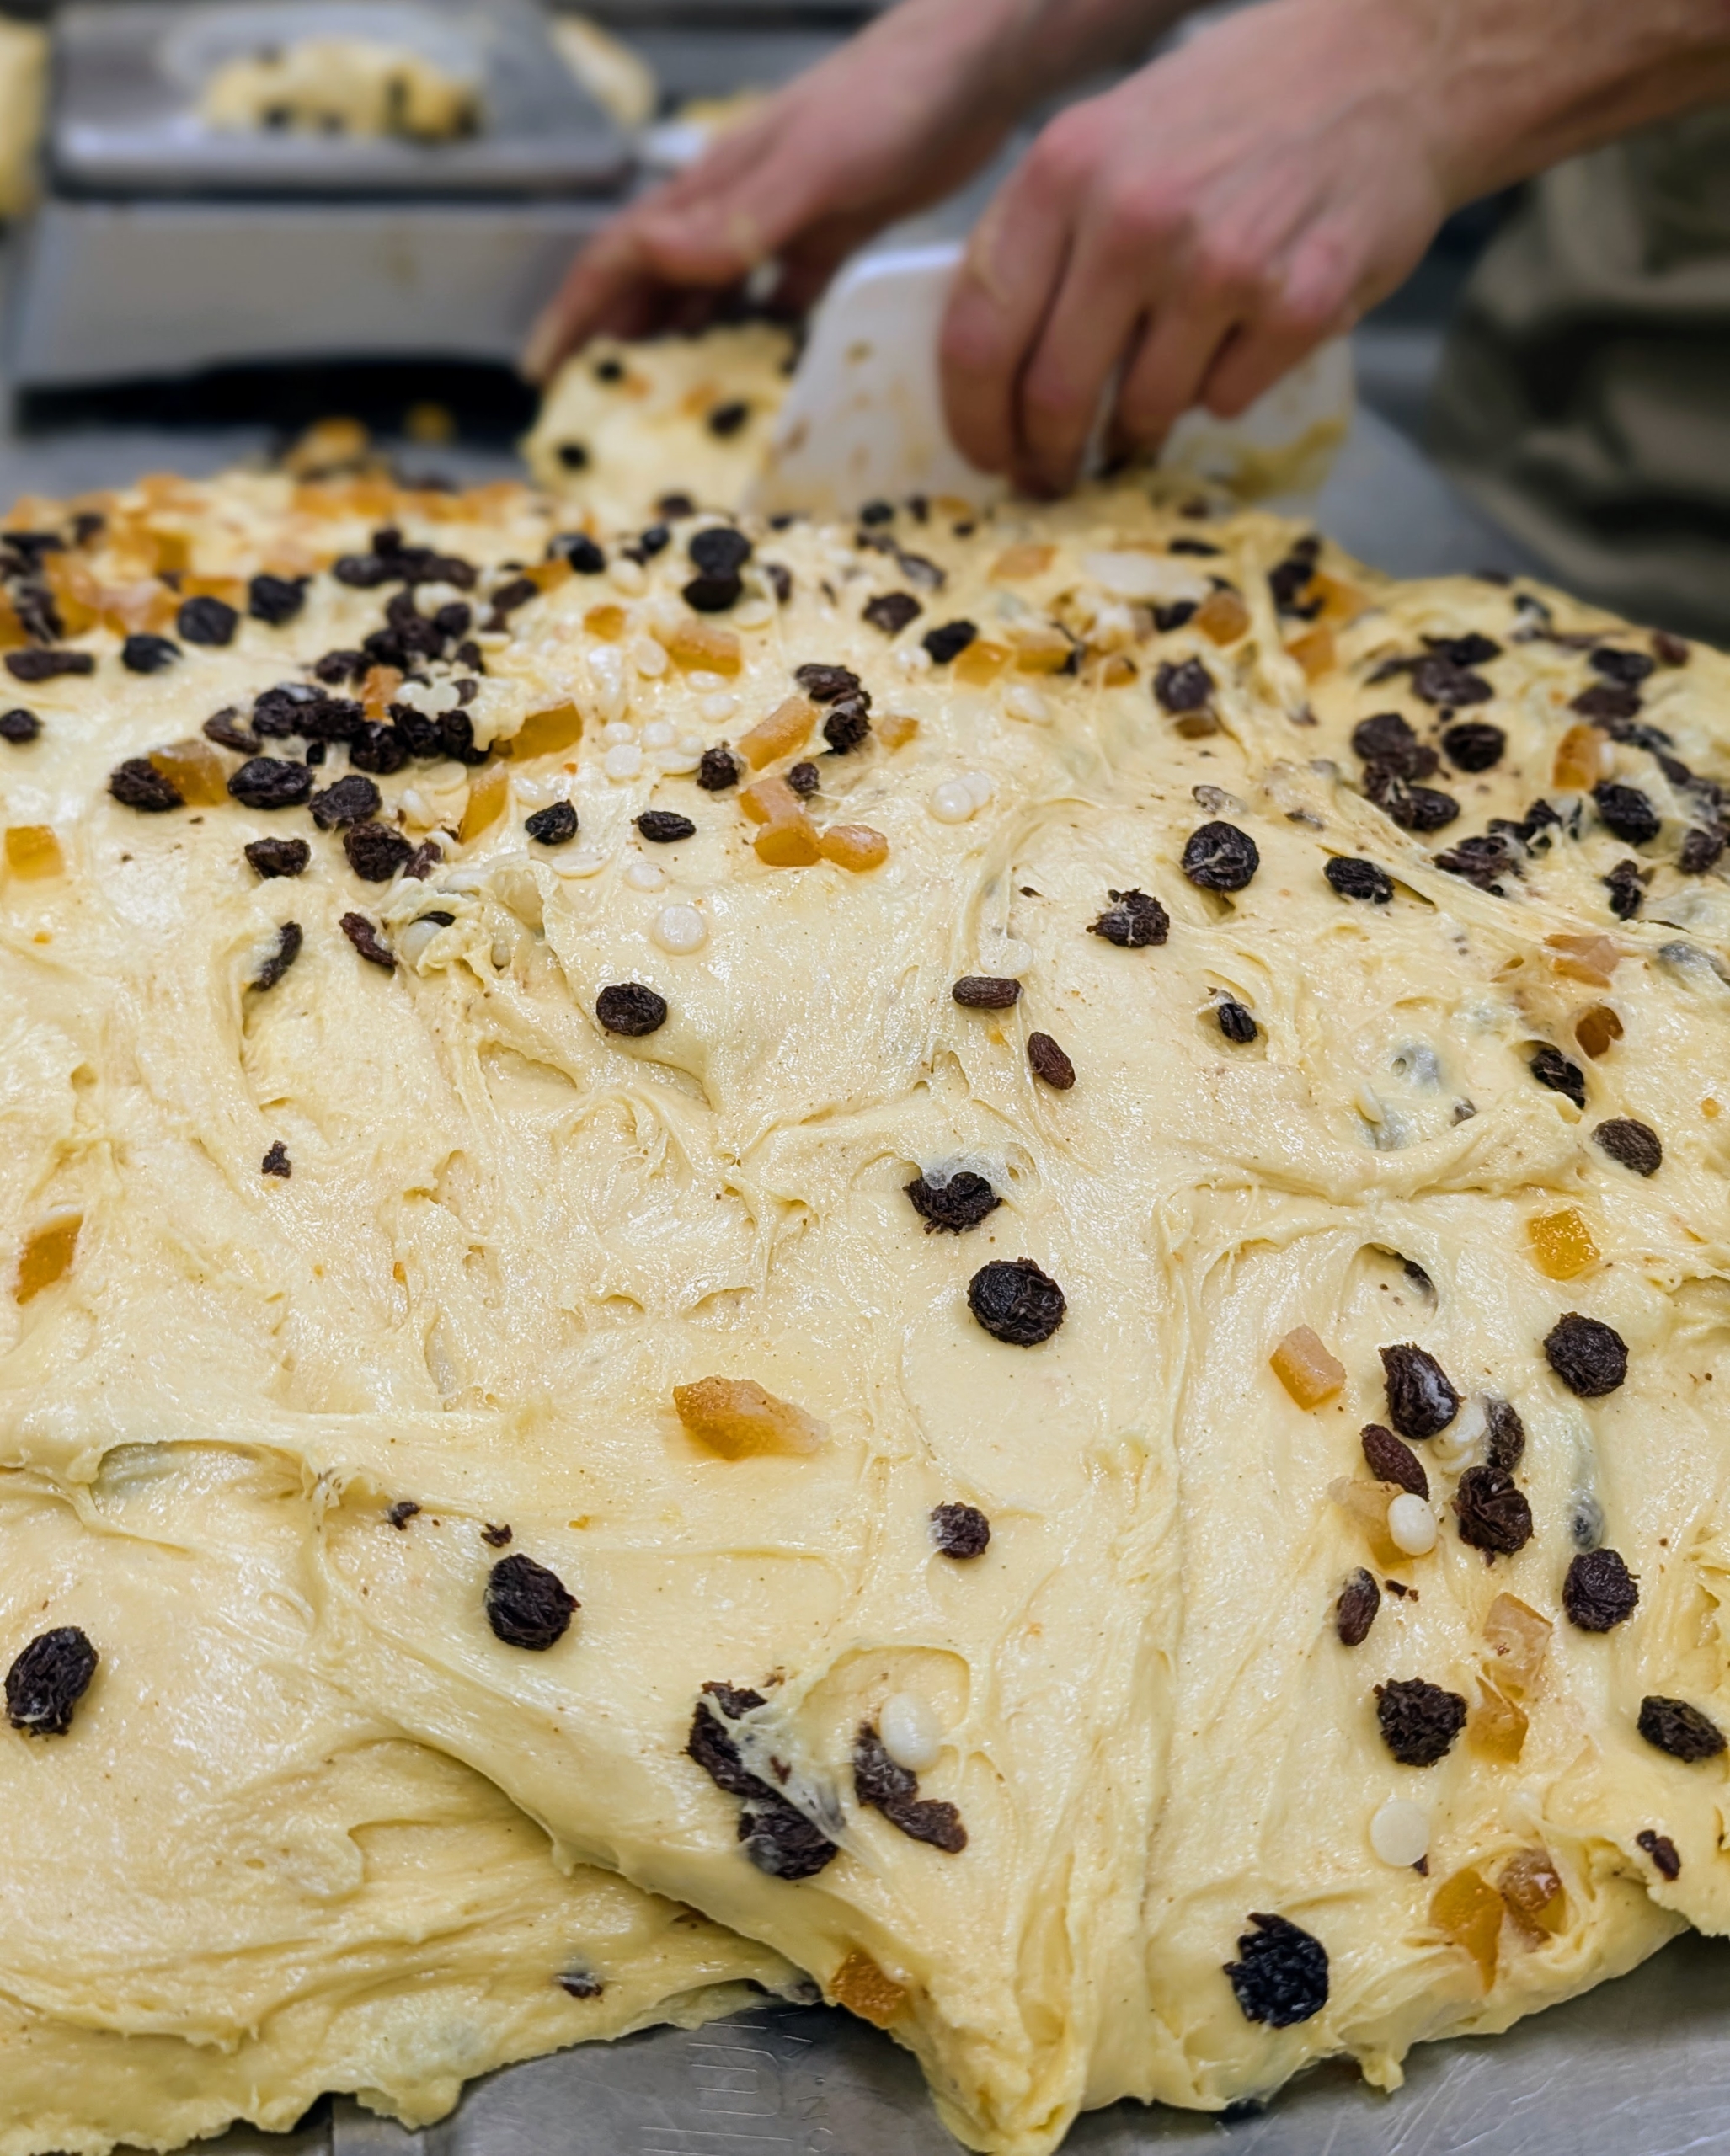
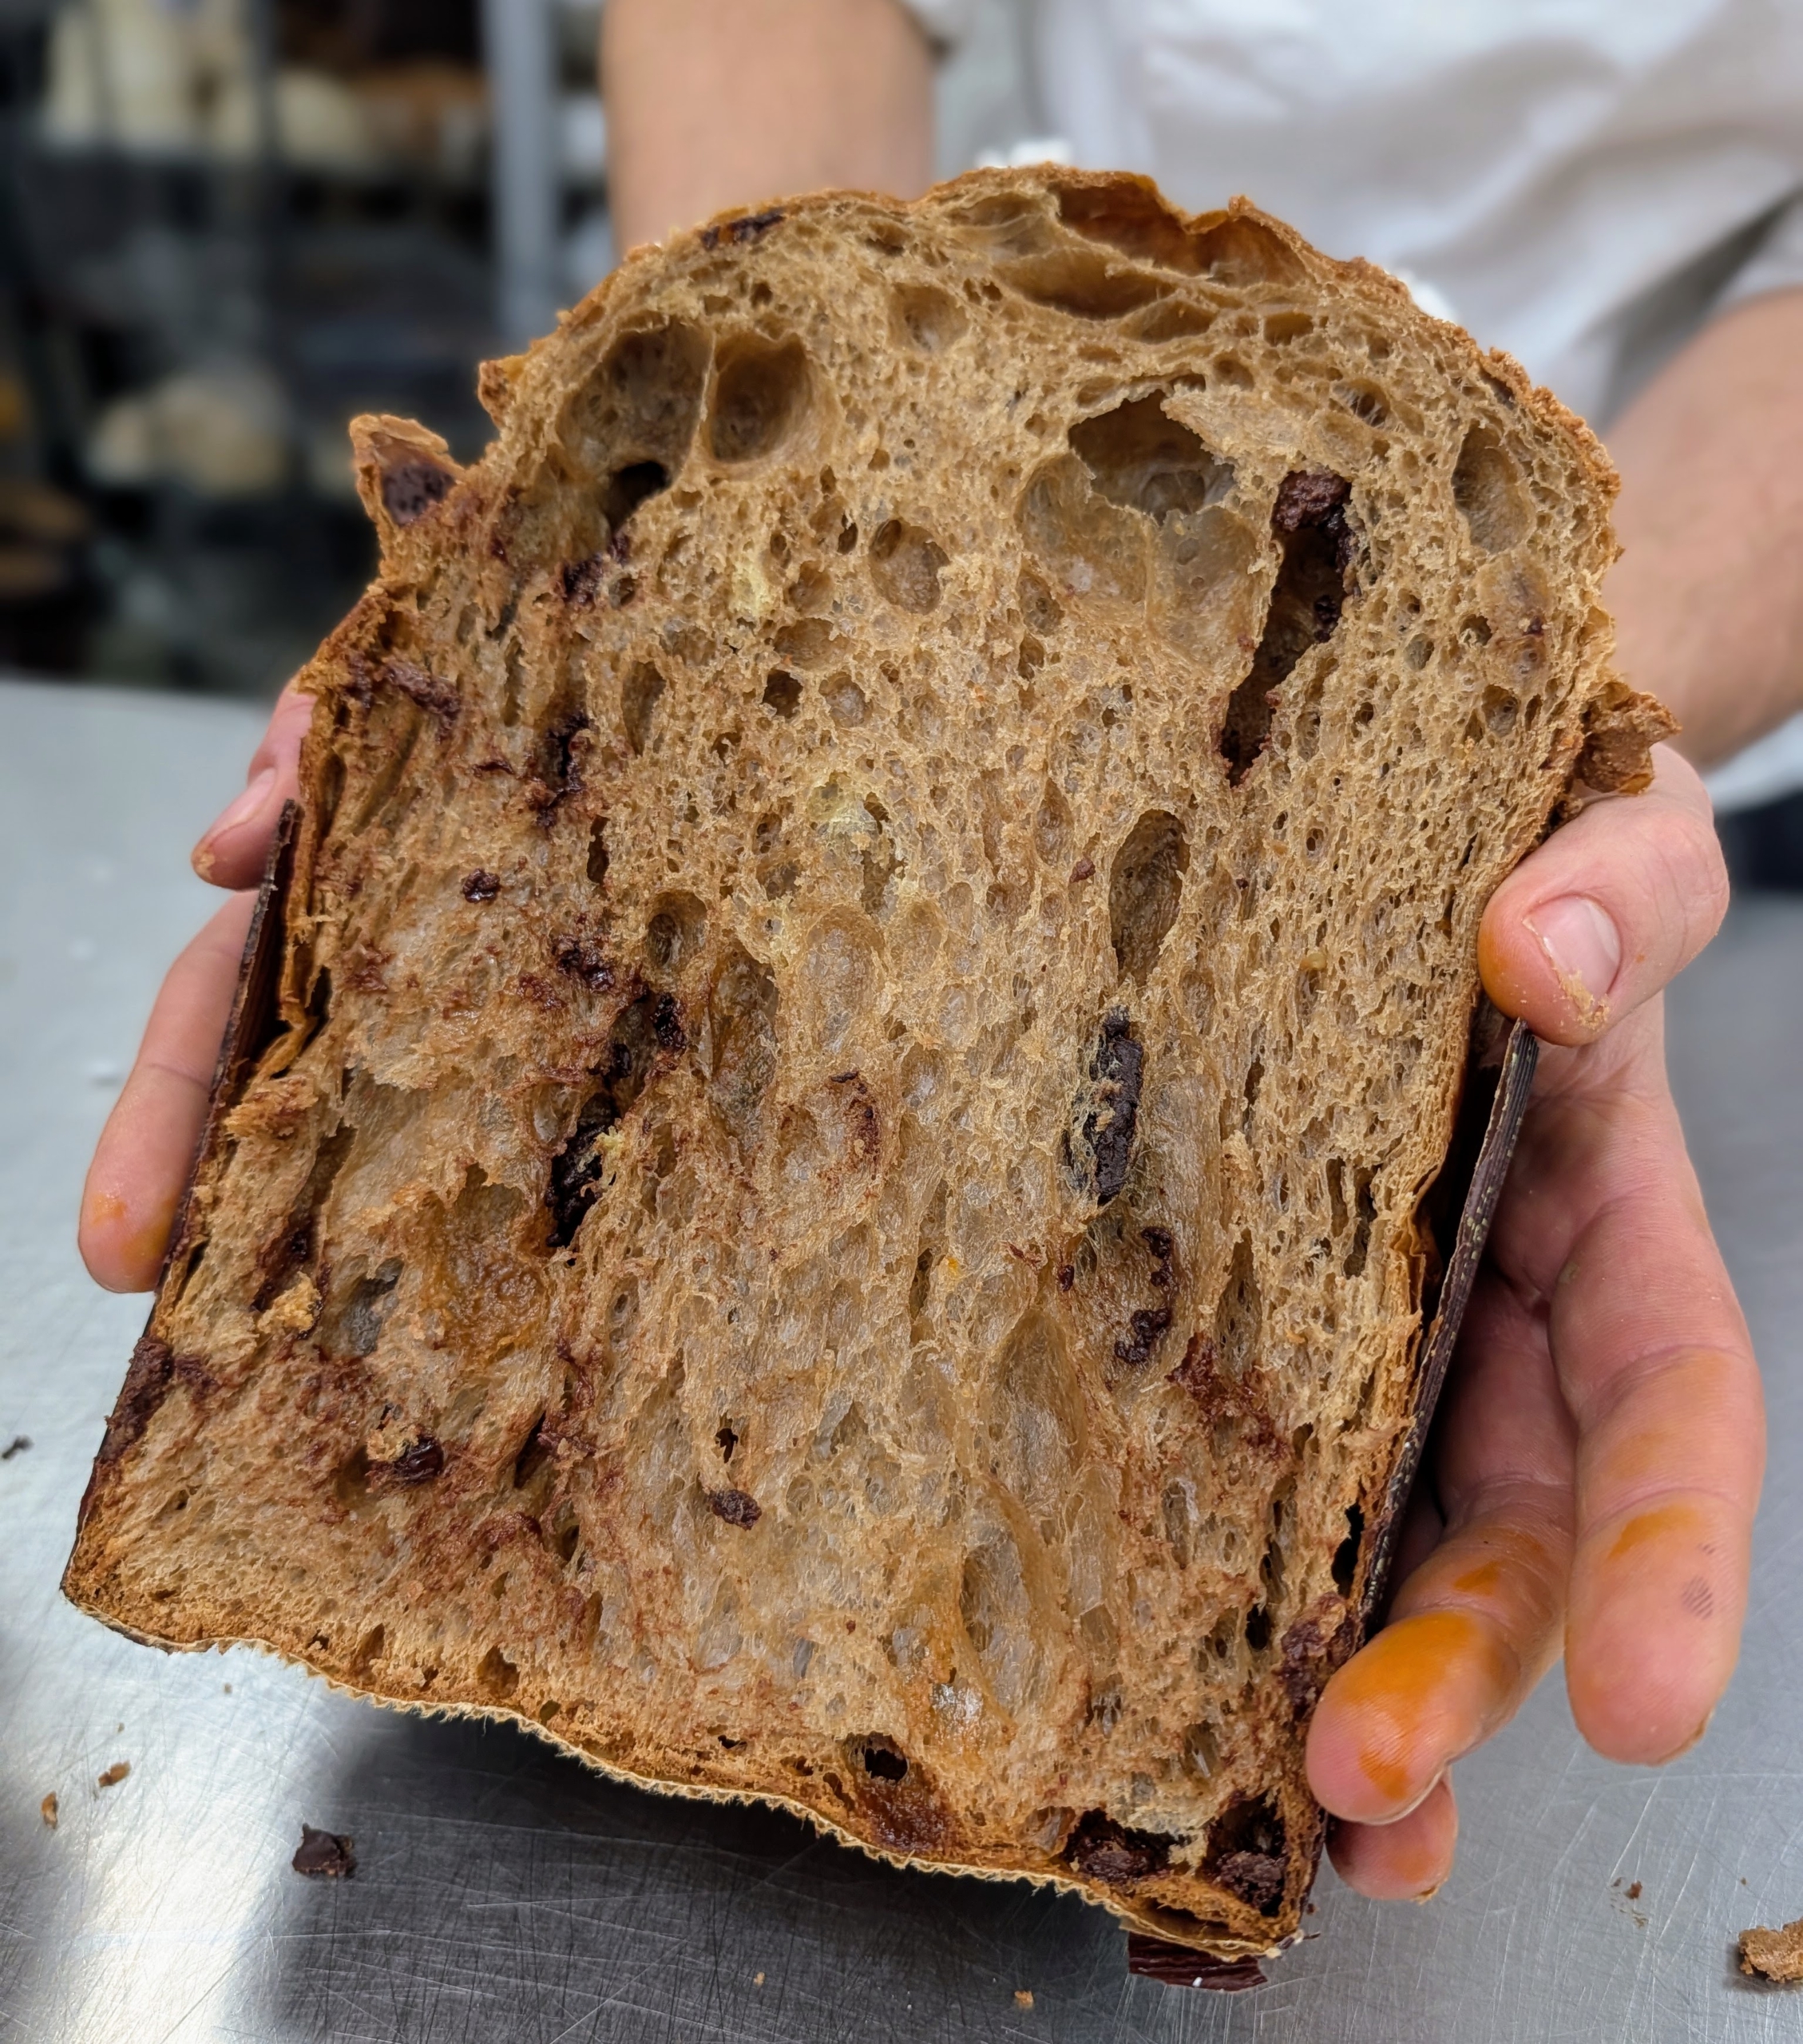
This is the traditional Italian flavor – Orange Raisin Panettone, which is naturally leavened and fermented for more than 42-hours. Air bubbles indicate the dough is good and light – essential for perfect panettone.
It contains homemade candied orange and fresh raisins. The orange adds a distinct yet subtle citrus flavor, while the raisins provide the perfect sweetness.
The domed discs are made and left to rise – each one is filled with fruits.
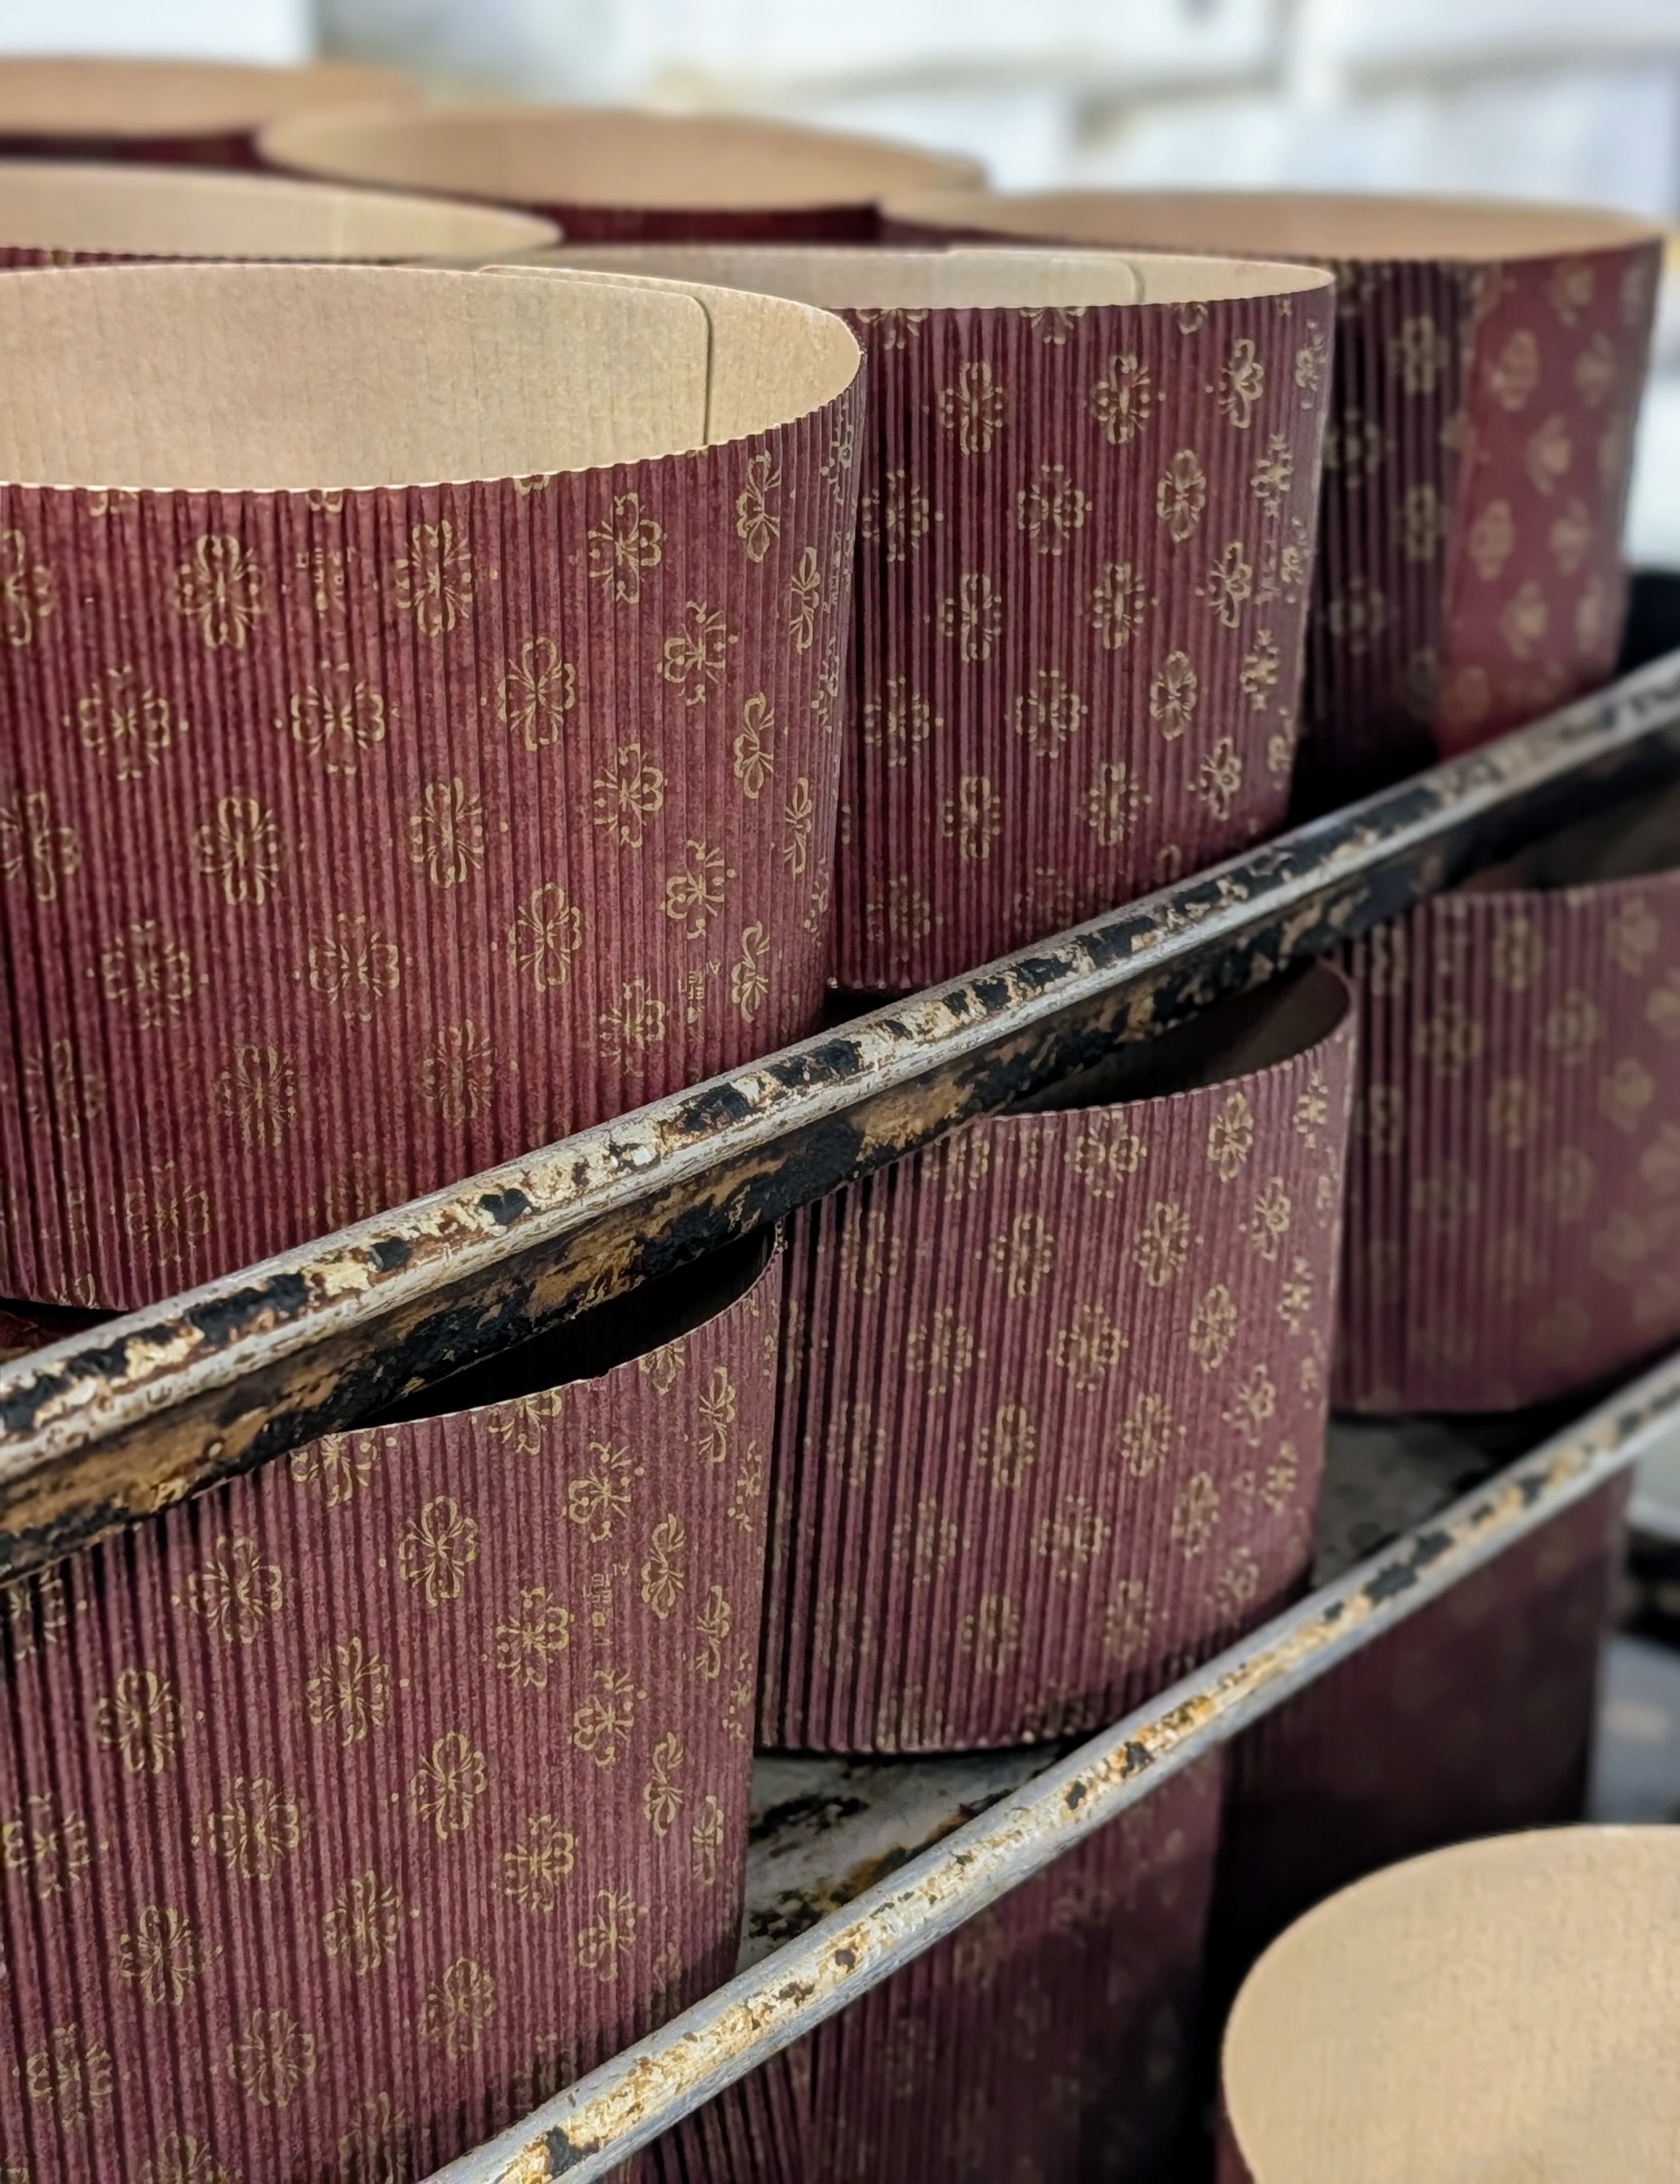
Traditional panettone paper wrapping is used to preserve the texture and moisture during storage. These are all lined up and ready to be filled.
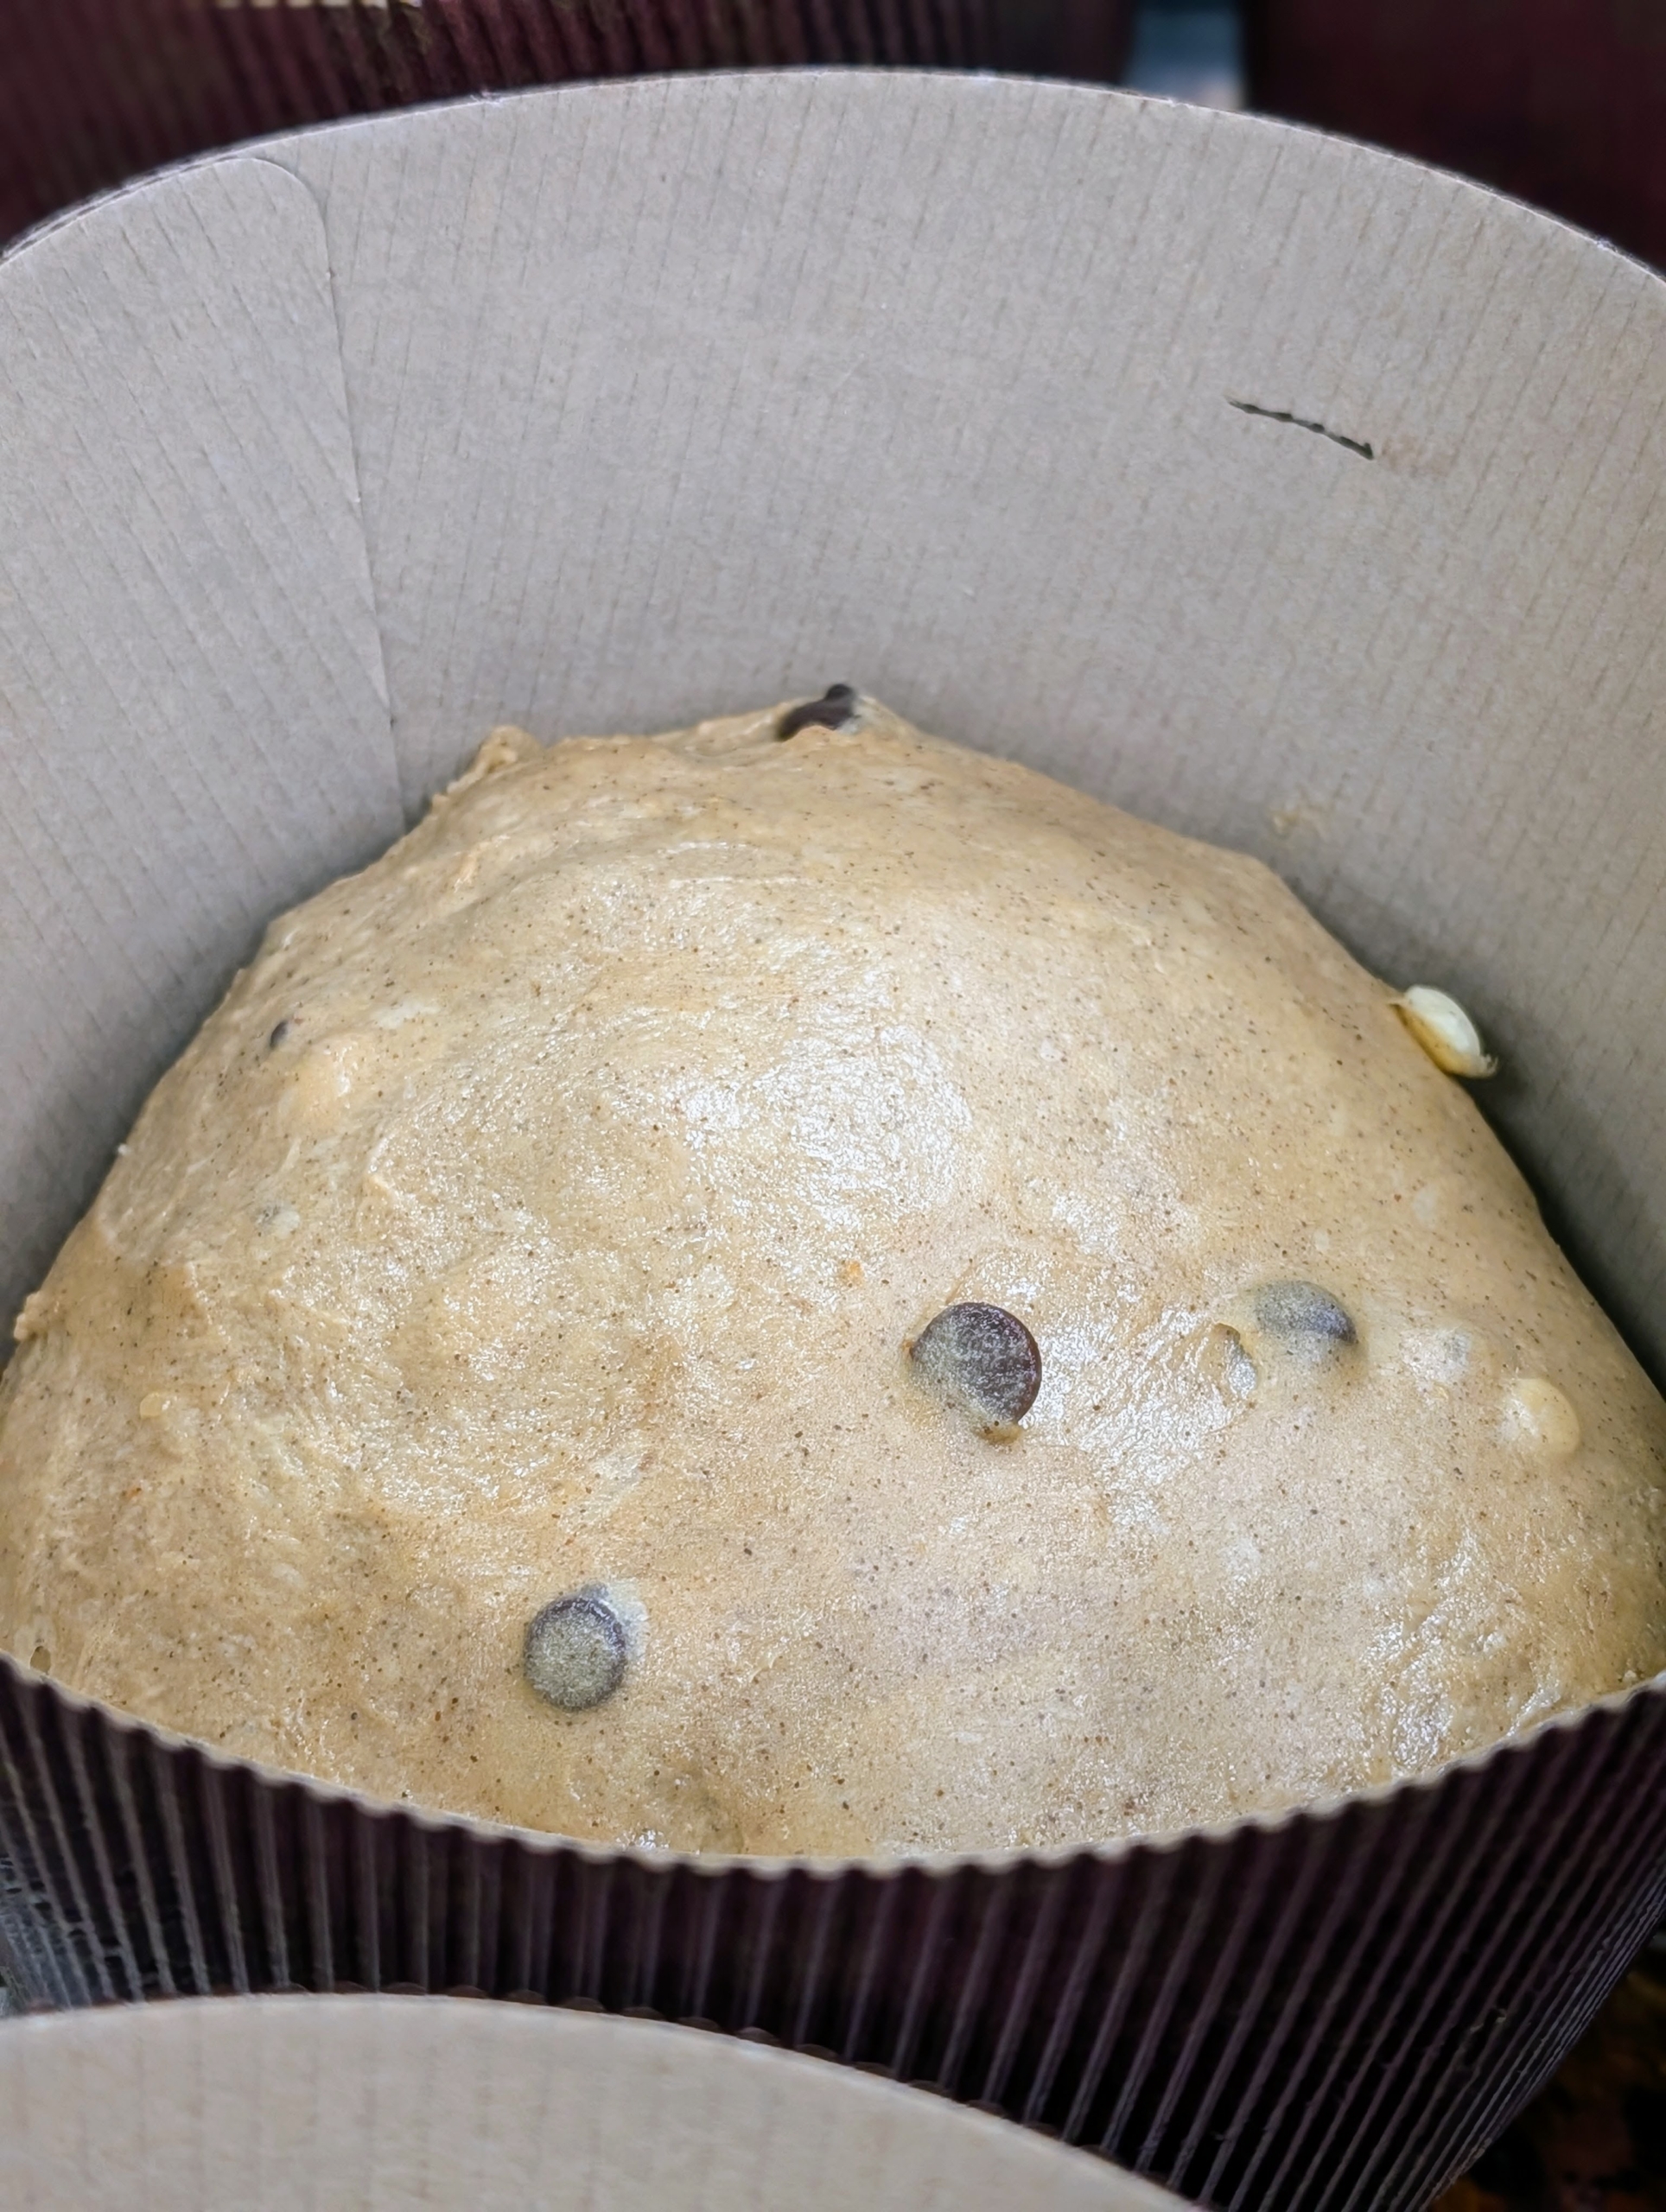
After proofing, the panettone is placed into its paper wrap and then left to proof again. Look closely, once the dough rises to the mark, it is ready to bake.
These will proof for four to eight hours and then checked for readiness.
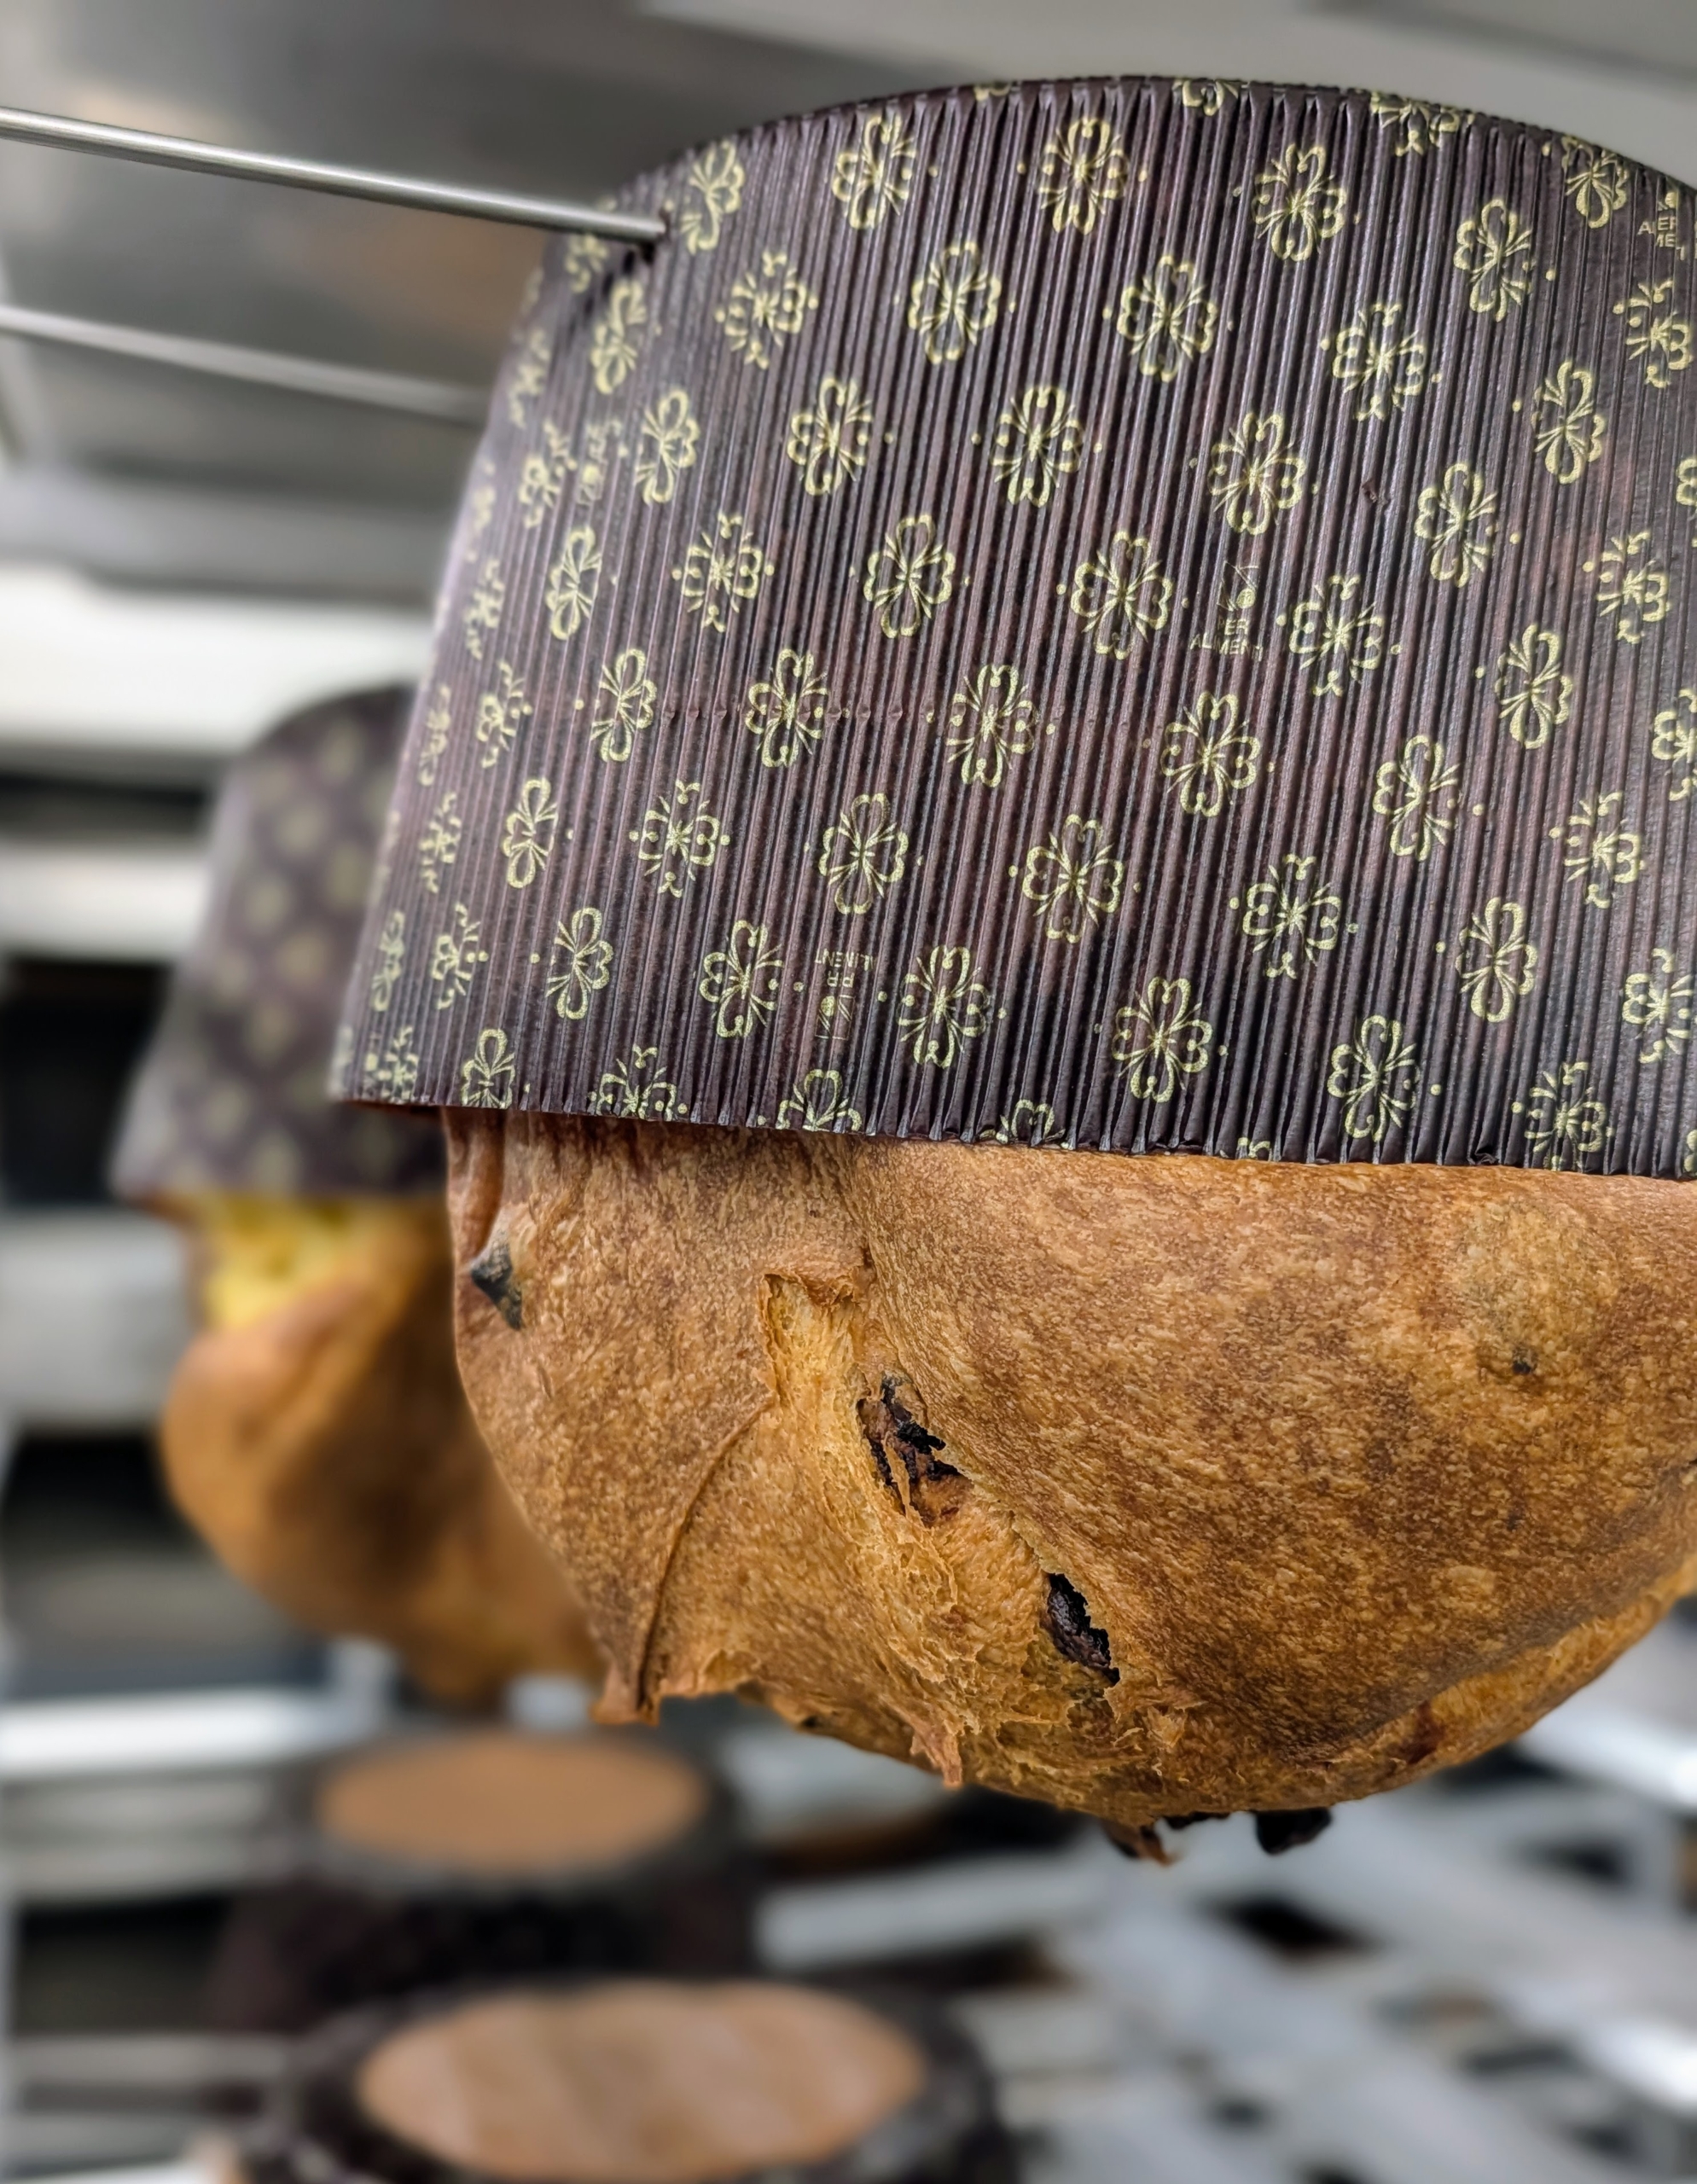
After baking, the panettone is hung upside down for 12 to 14 hours to ensure proper cooling. This is also done to maintain its domed shape.
Here are rows of panettone cooling on the racks. If not done properly, the panettone could collapse.
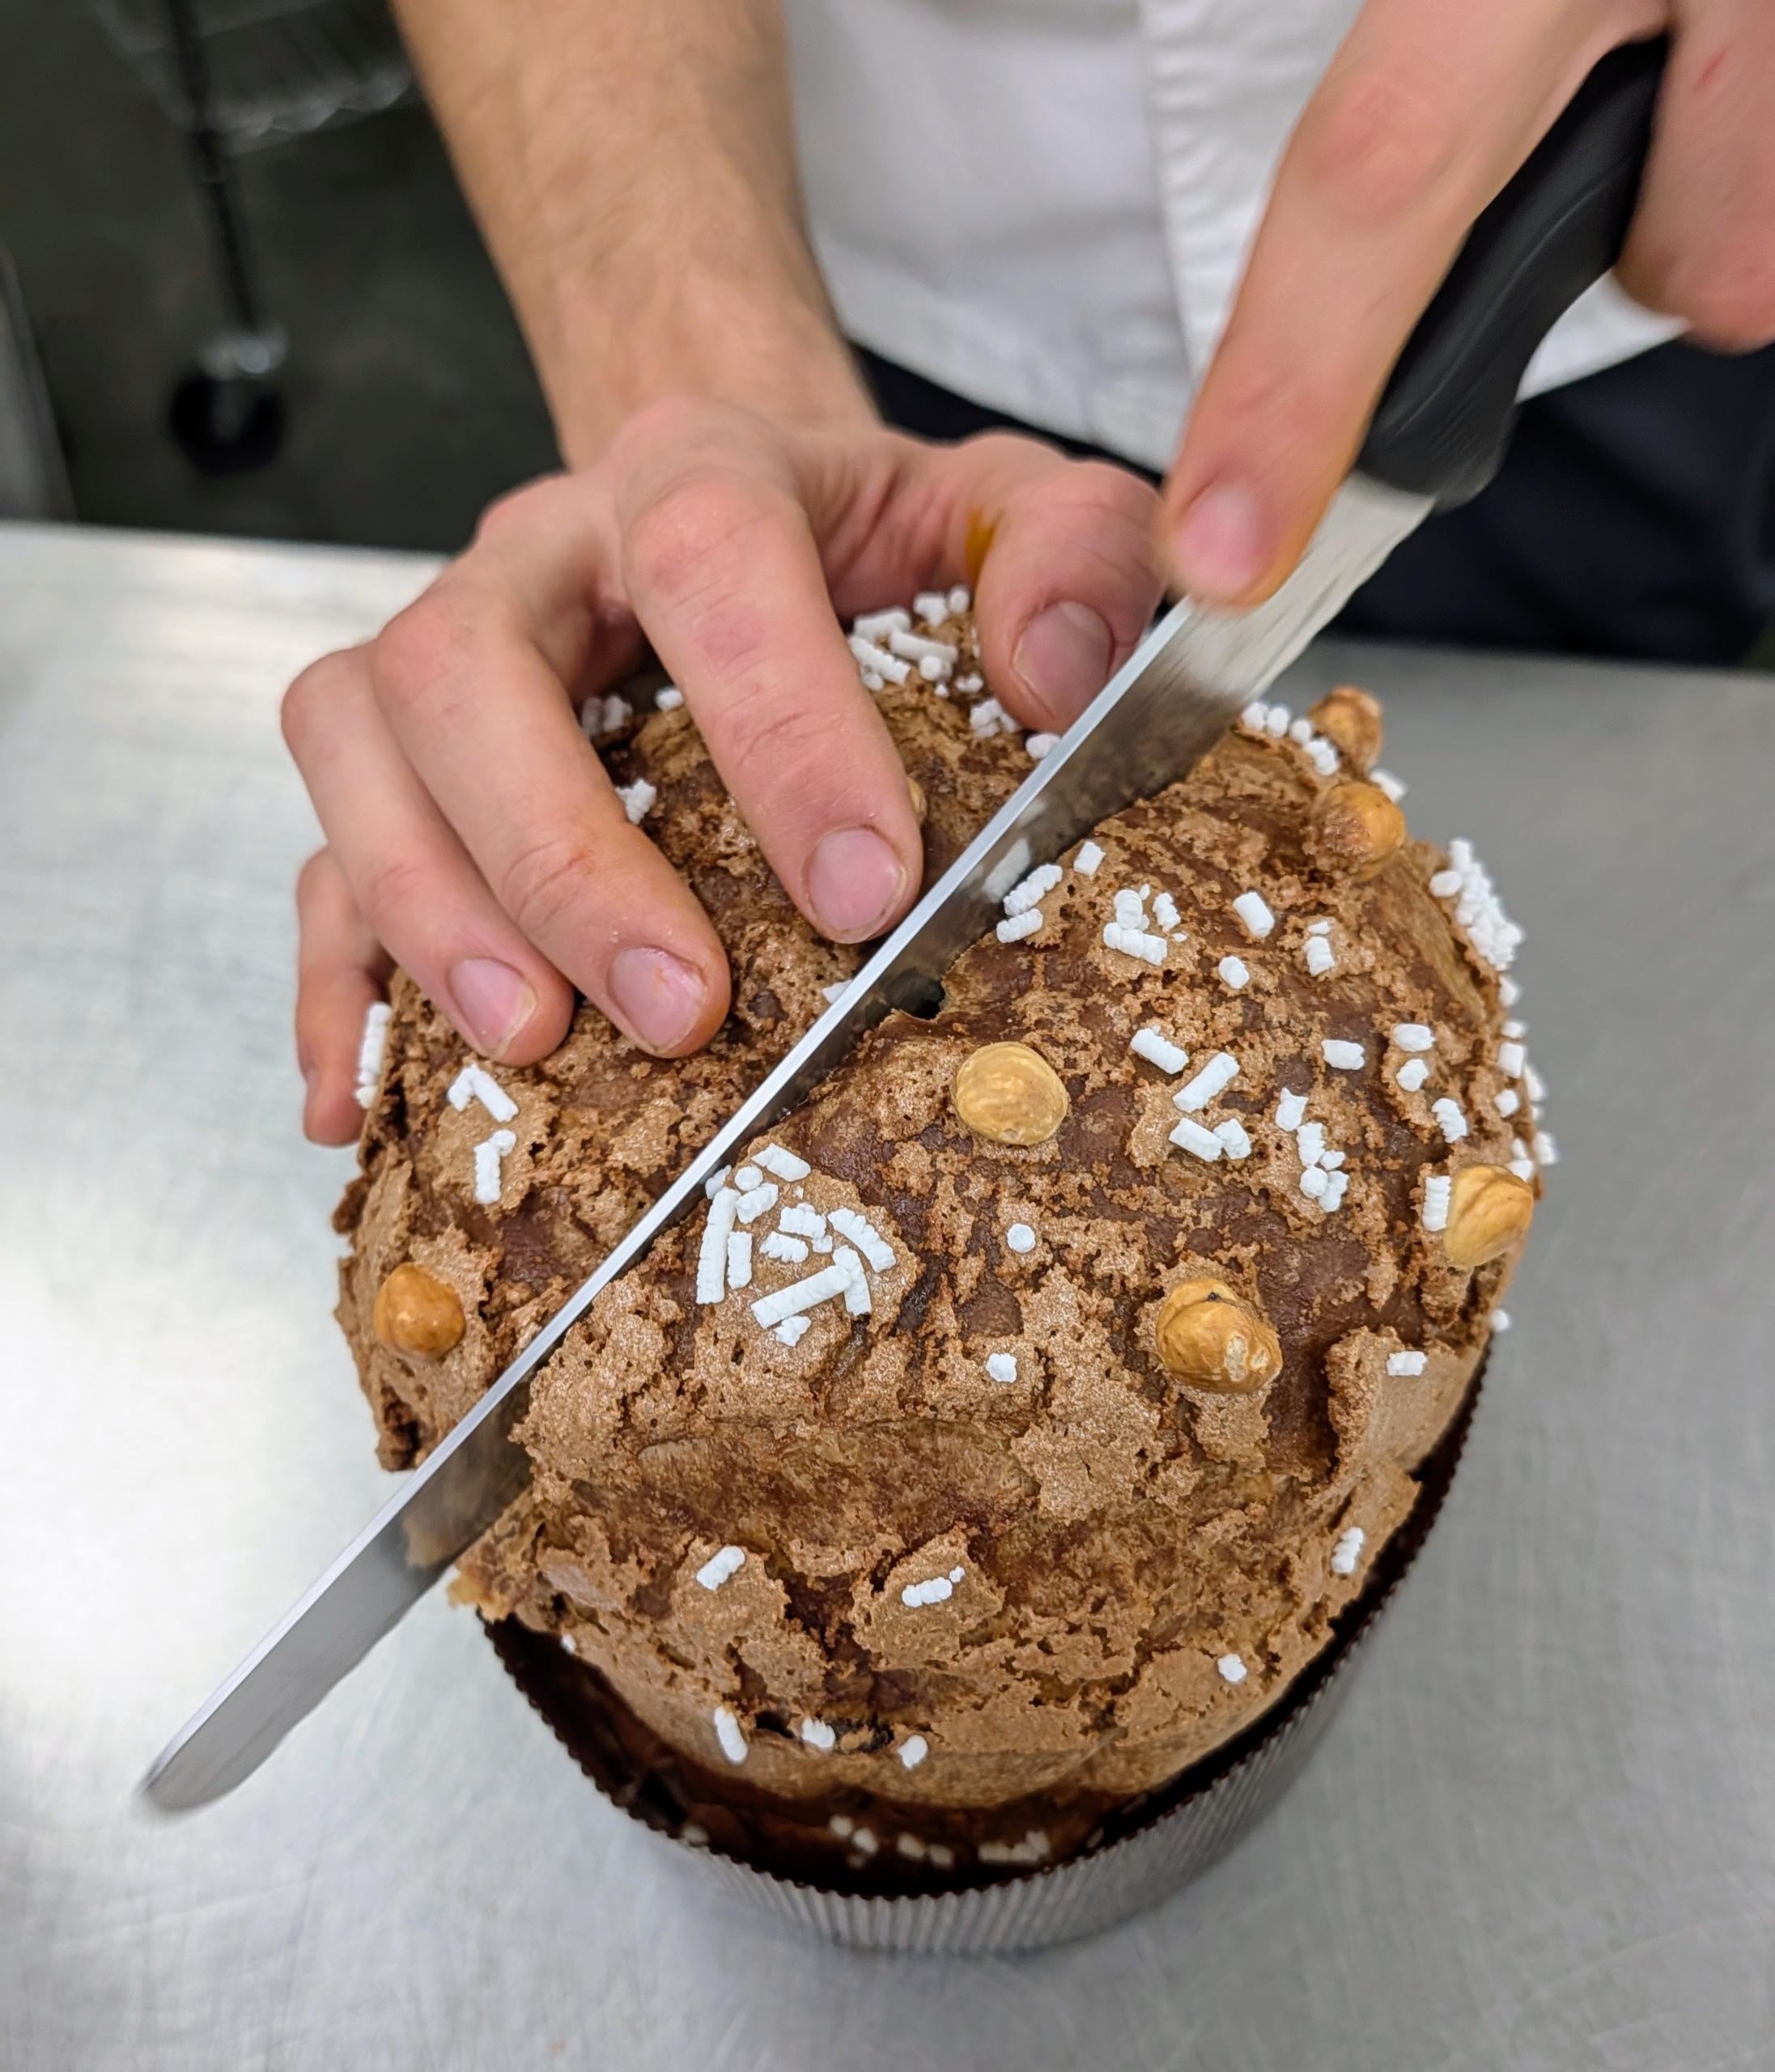
This panettone is cut down the center – so soft and aromatic.
Chef Pierluigi opens this fresh and perfect chocolate chip panettone to show its wonderful pillowy center.
The inside is almost golden, and stretches instead of crumbling when cut open.
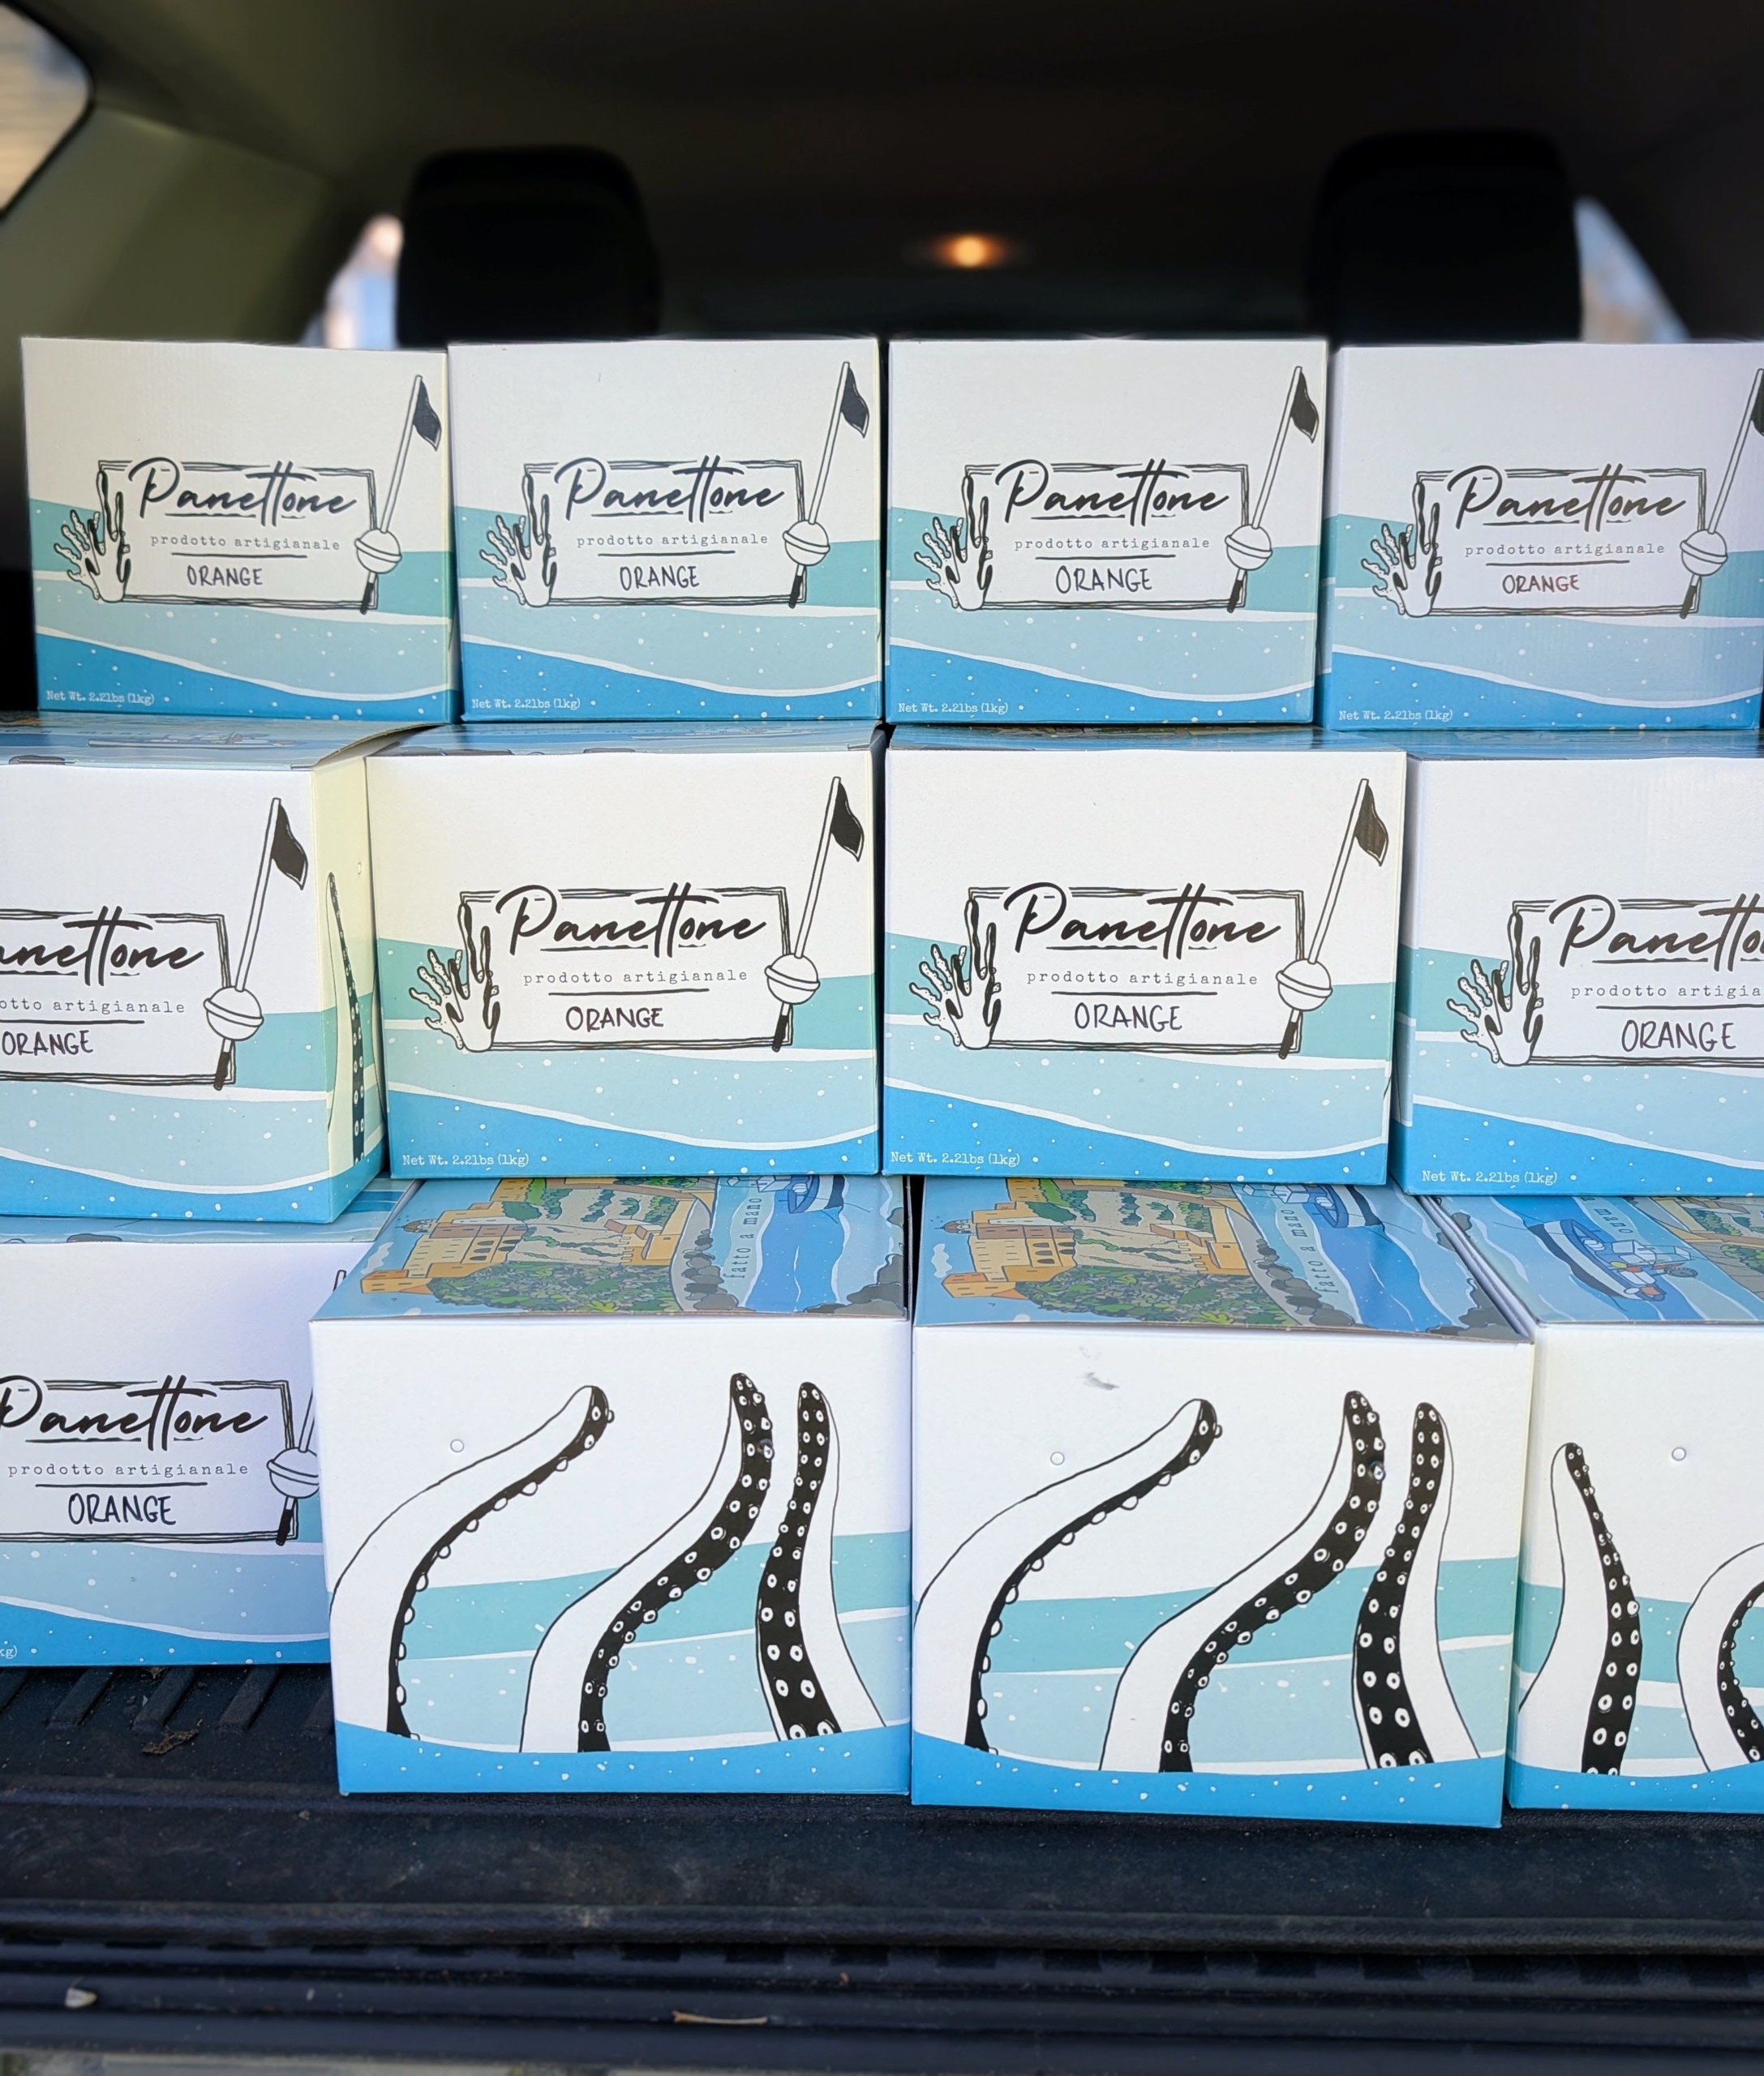
I ordered many orange panettoni to give as gifts – any recipient of this delicious Italian confection will be so happy.
At Fatto a Mano, Chef Pierluigi and his talented team also make and offer Country Sourdough, Roasted Garlic Sourdough, Multigrain Porridge Pan Loaf, Pane Siciliano, and so many other delicious breads – all hand made.
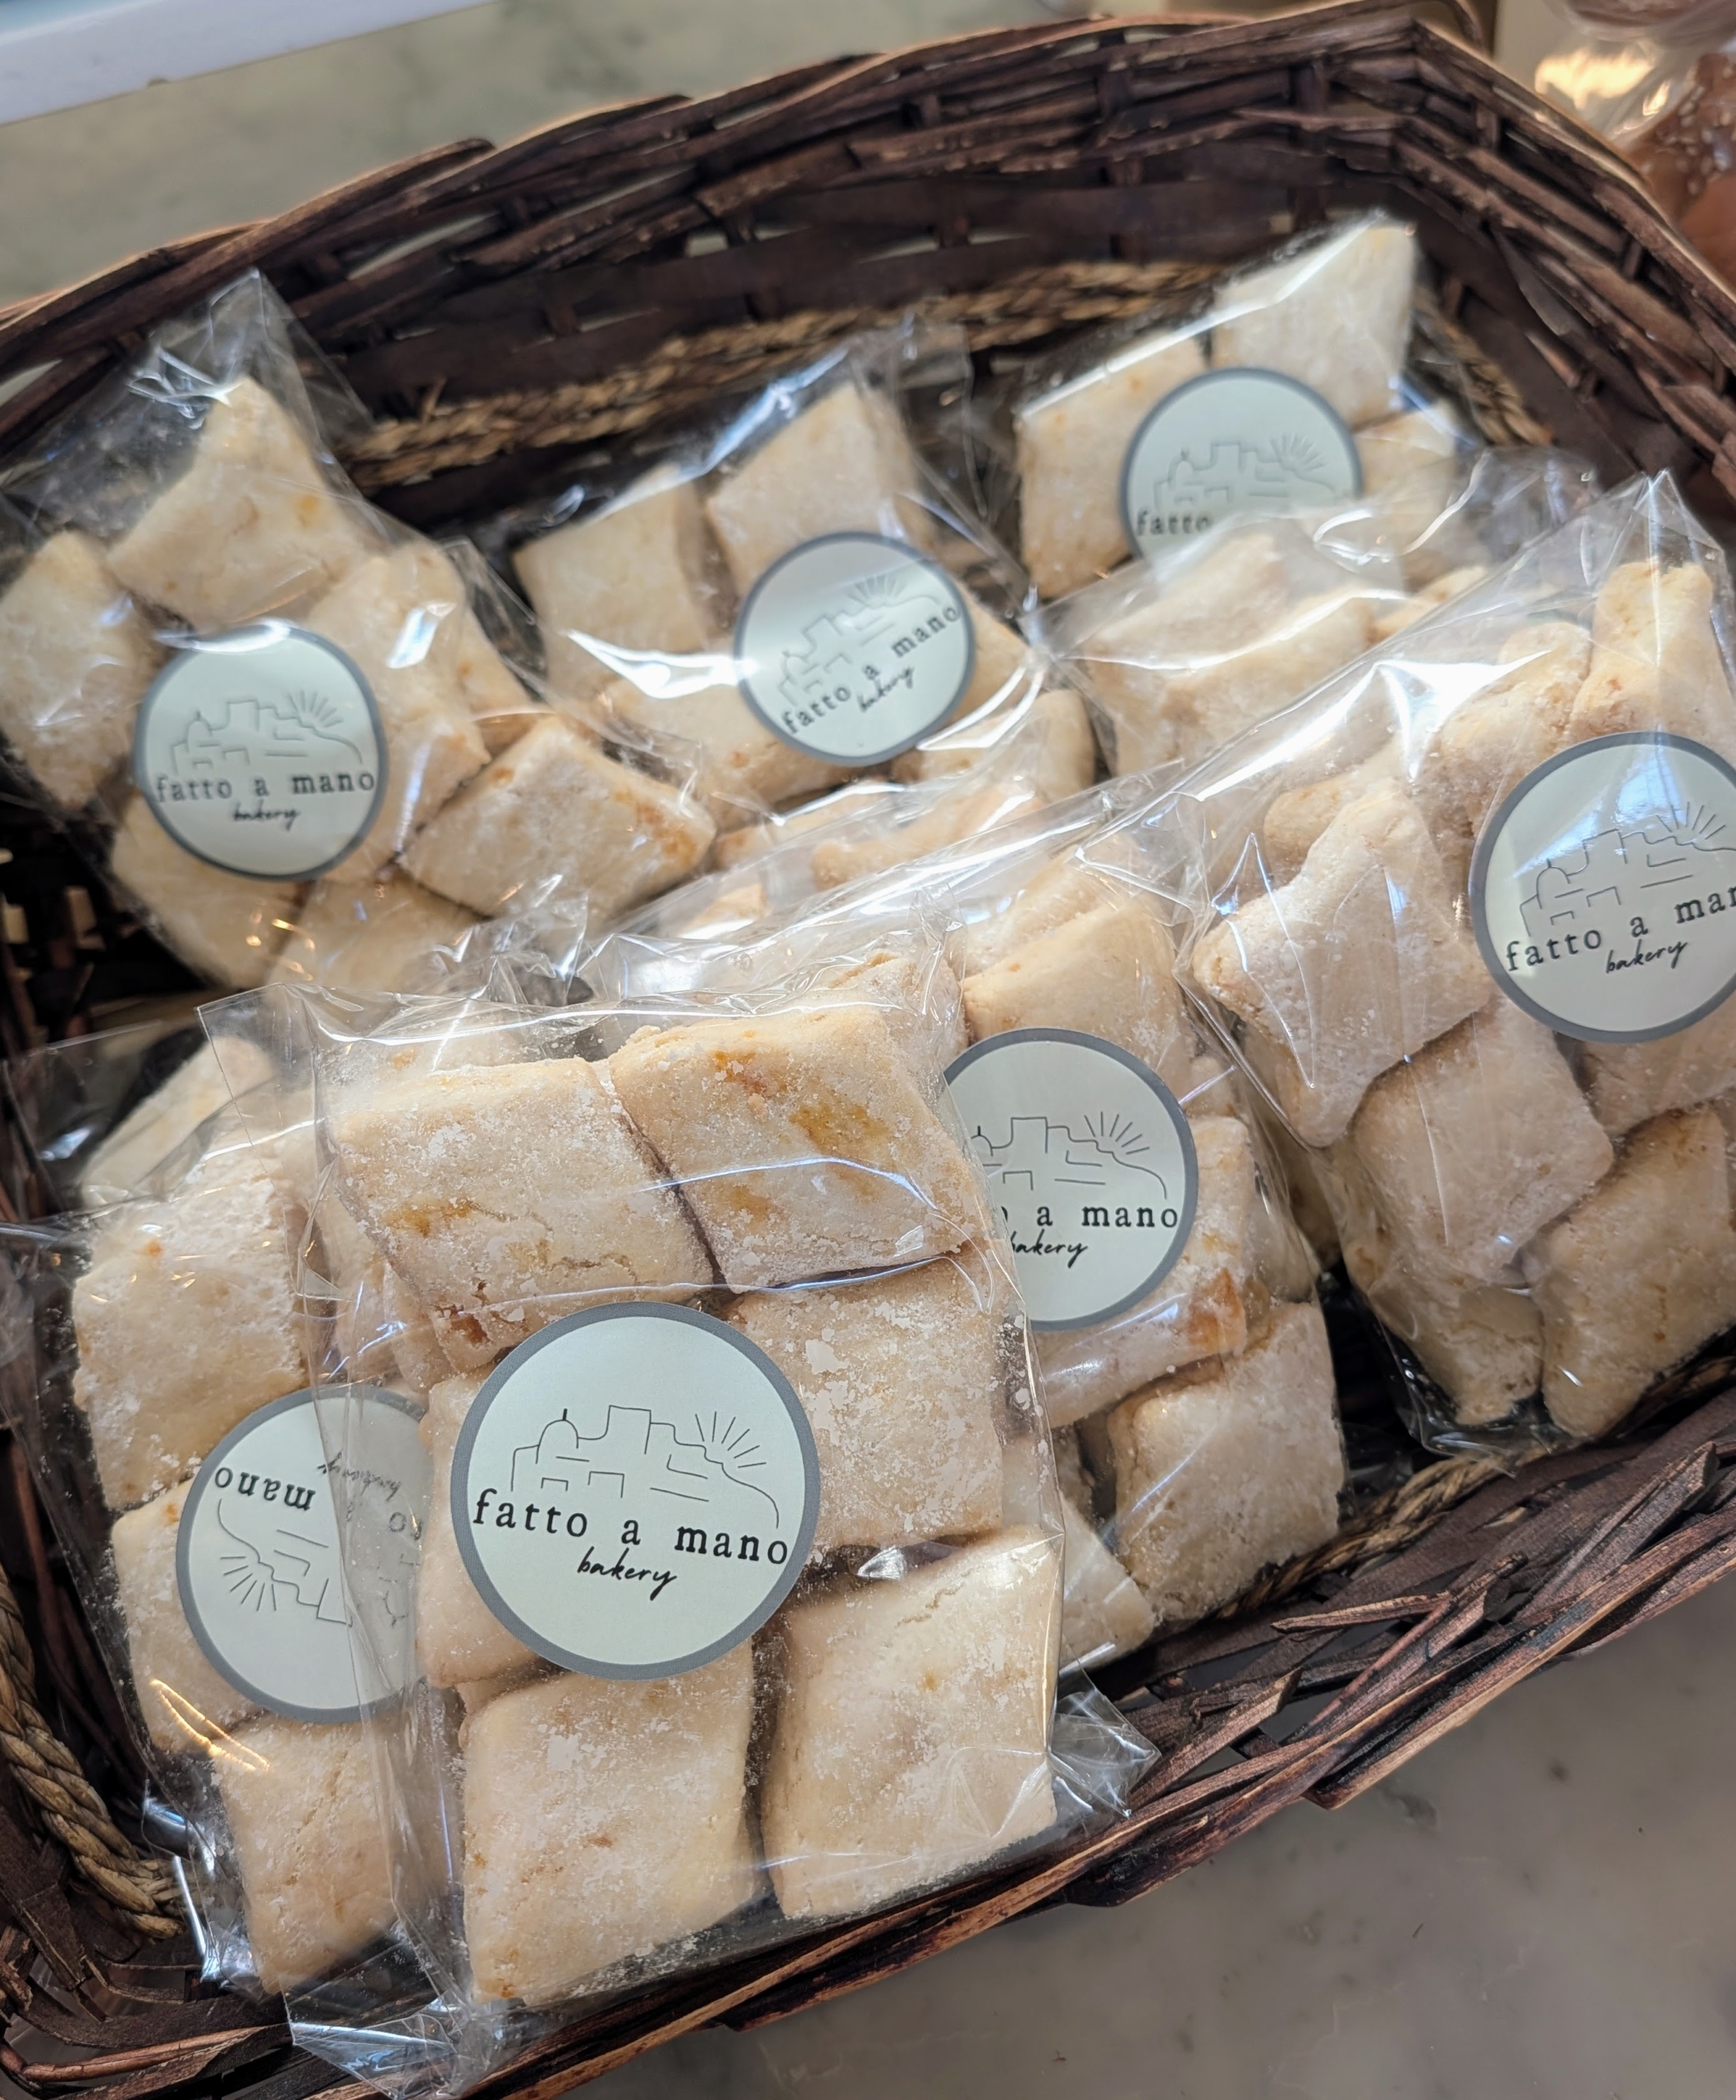
There’s Cantucci Toscani, a traditional Tuscan biscotti that is crunchy and perfect for dipping.
Ricciarelli Biscotti is soft, chewy and coated with powdered sugar. Its flavor is a delicate almond and citrus.
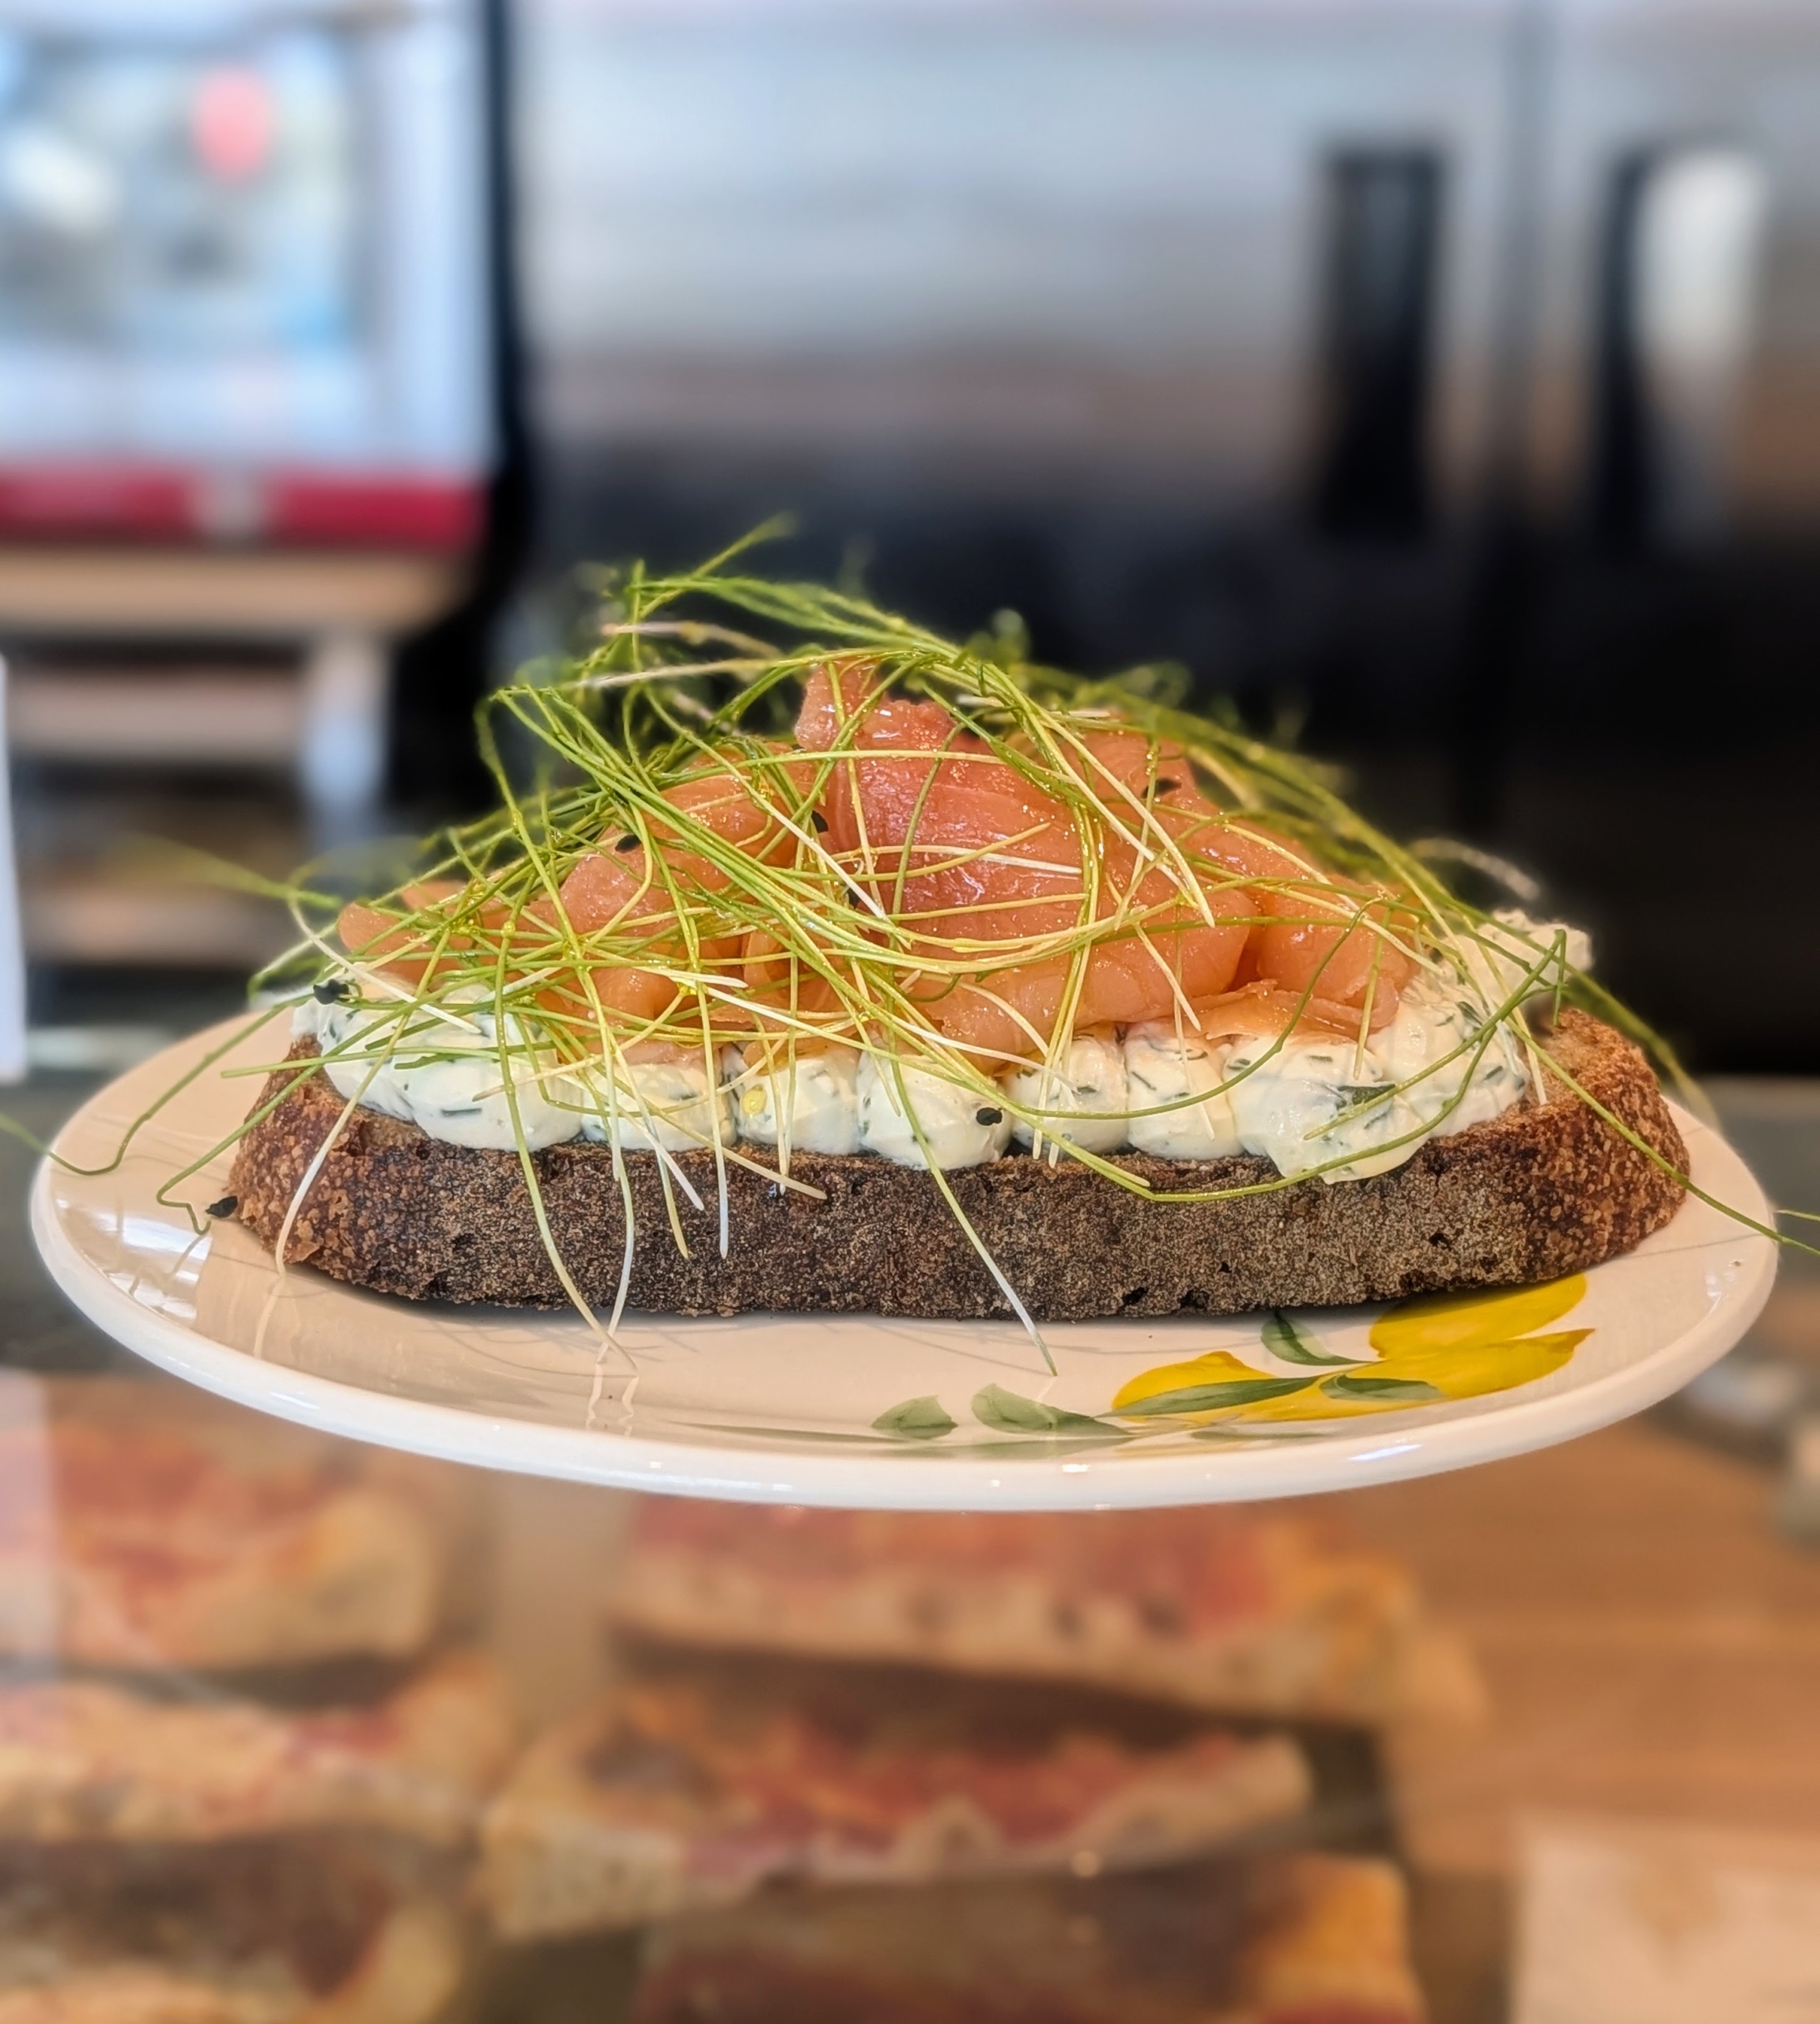
Savory offerings such as this salmon toast are also available and made fresh to order.
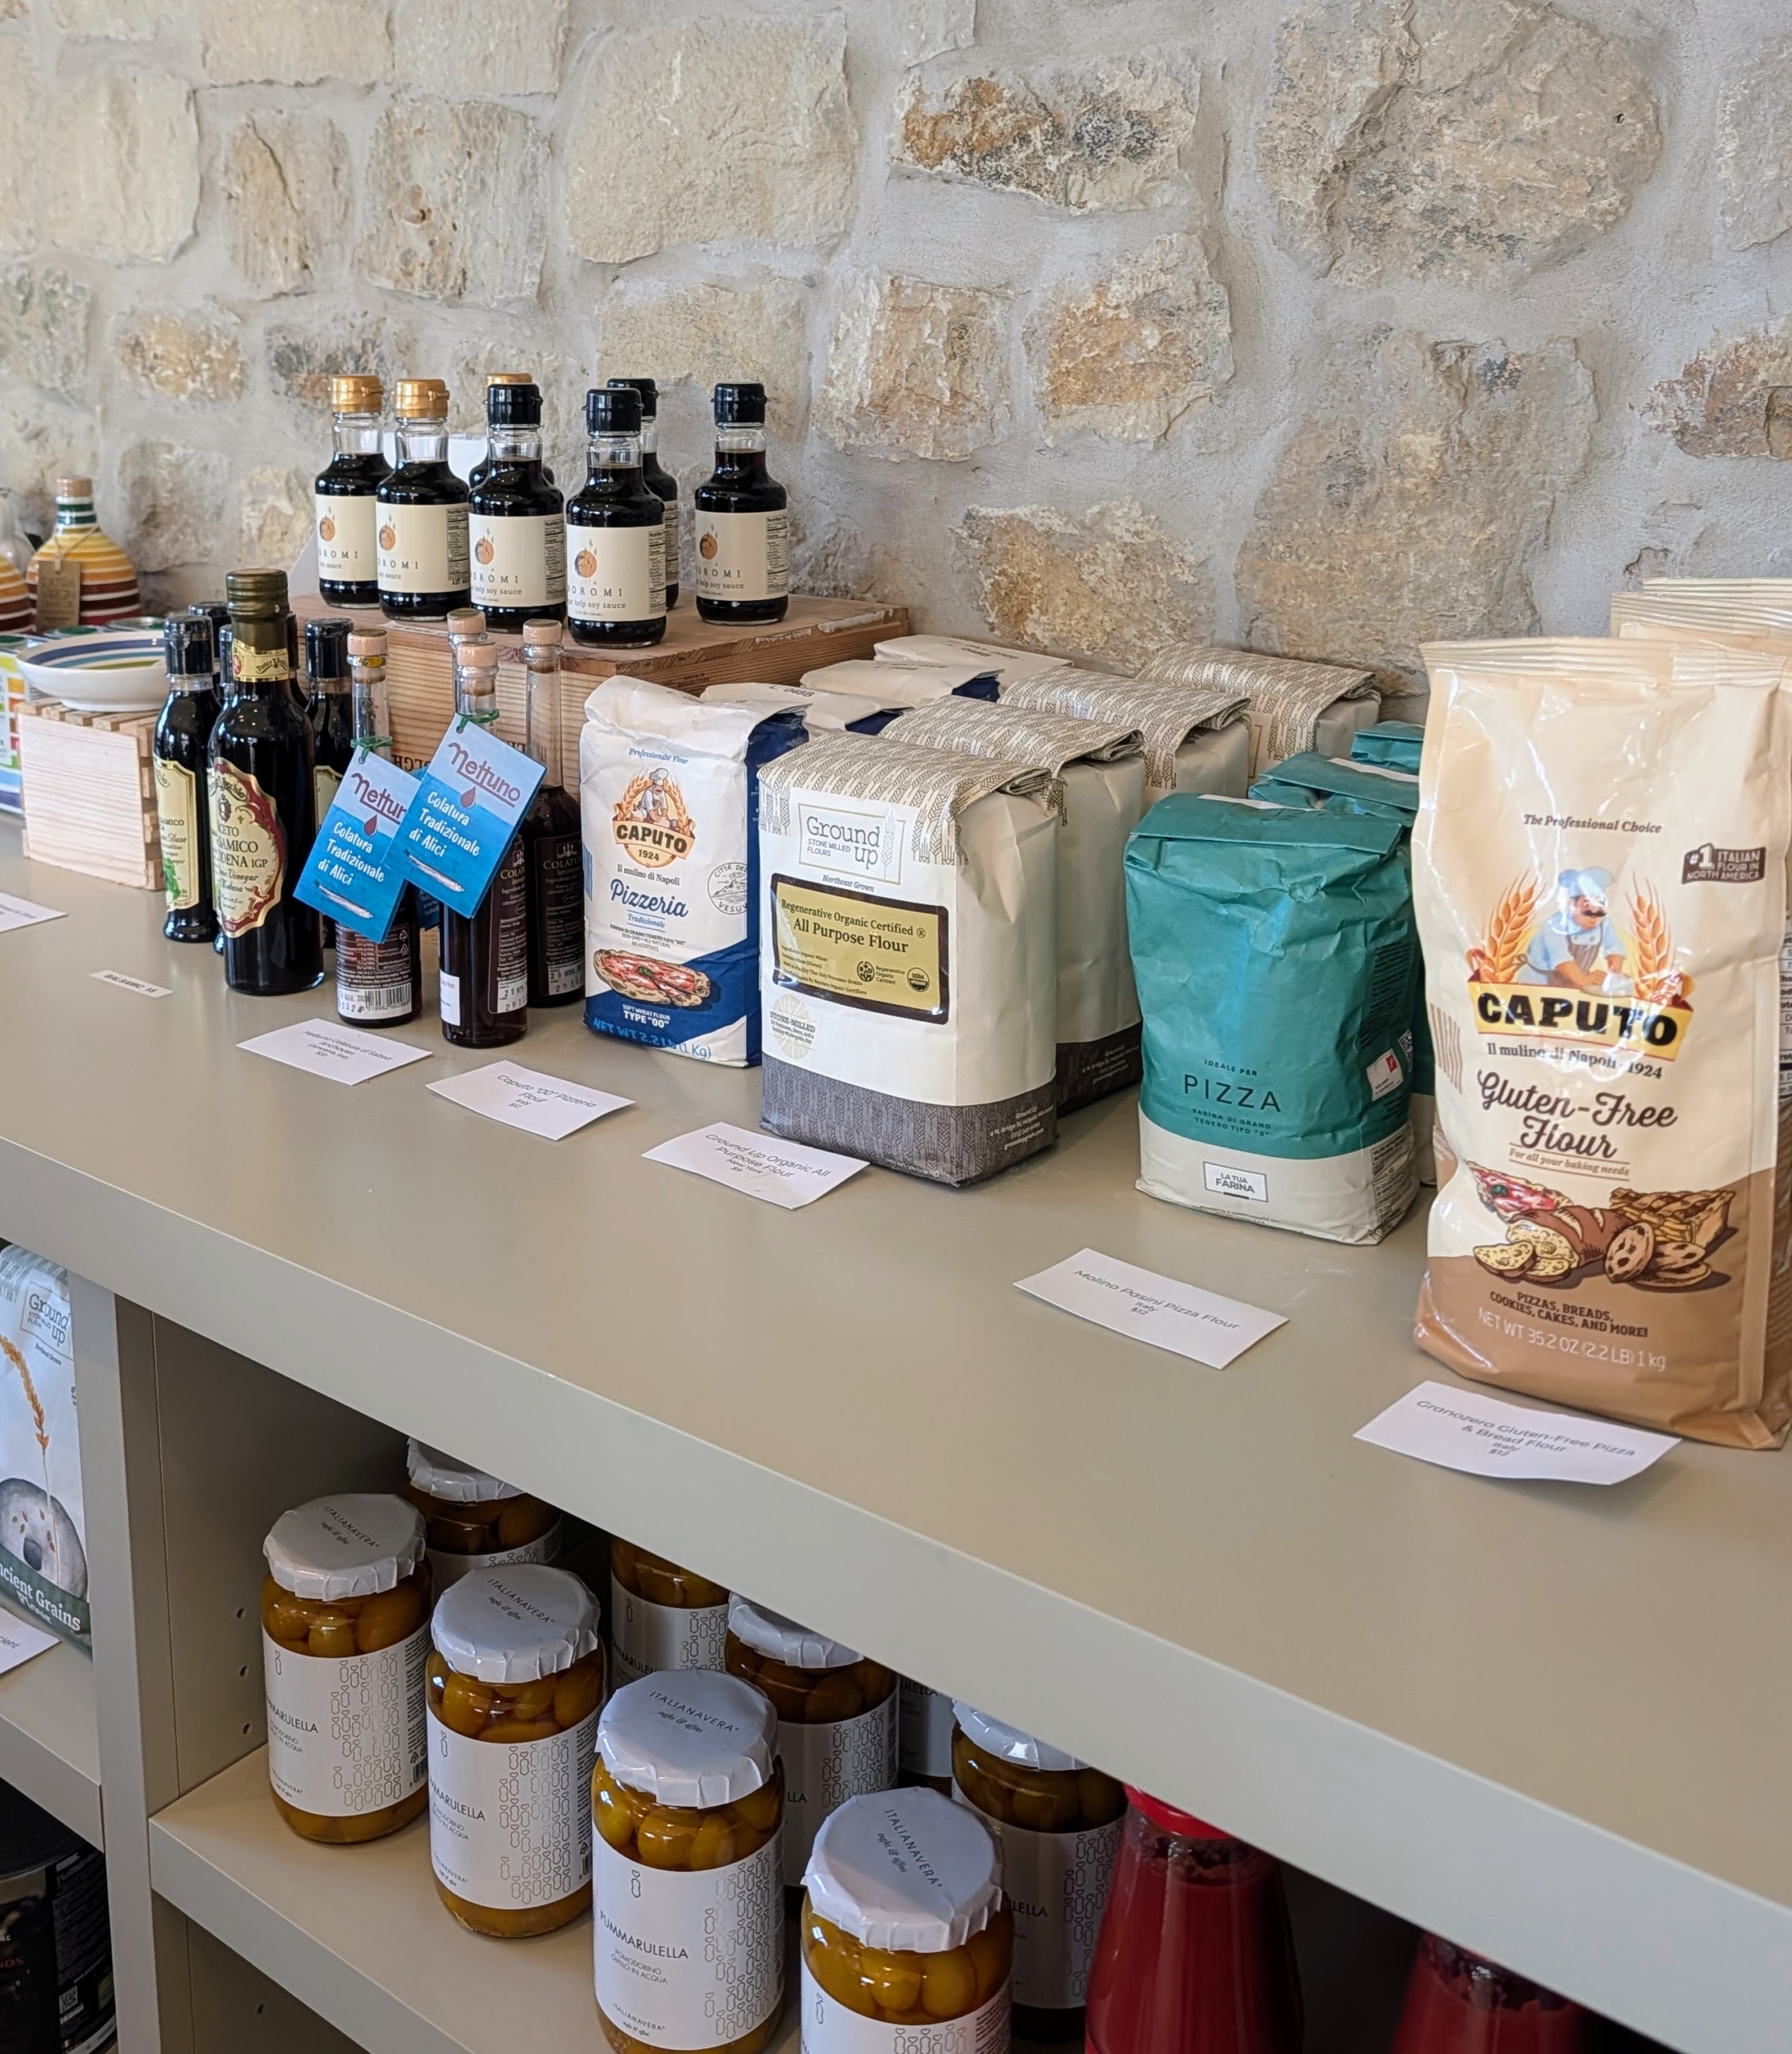
For those wanting to make their own baked items, Fatto a Mano offers authentic Italian ingredients.
If you’re in or near Westport, Connecticut, stop by Fatto a Mano and try any one of his delicious breads, sandwiches, or sweets. And pick up some panettone – you will love it. If you’re not close, visit his web site – just click on this highlighted link. Fatto a Mano is still taking holiday orders!
I just love how my home looks this time of year - filled with cheerful holiday decorations.
No matter where I am for Christmas, I always like to decorate several rooms with festive trees, wreaths, and pretty plants from the greenhouse. This year, some of my decorations include gold and silver trees glistening with ornaments, coordinating wreaths on the windows, woodland animals, colorful forced amaryllis, and shooting stars.
Here are some photos, enjoy.
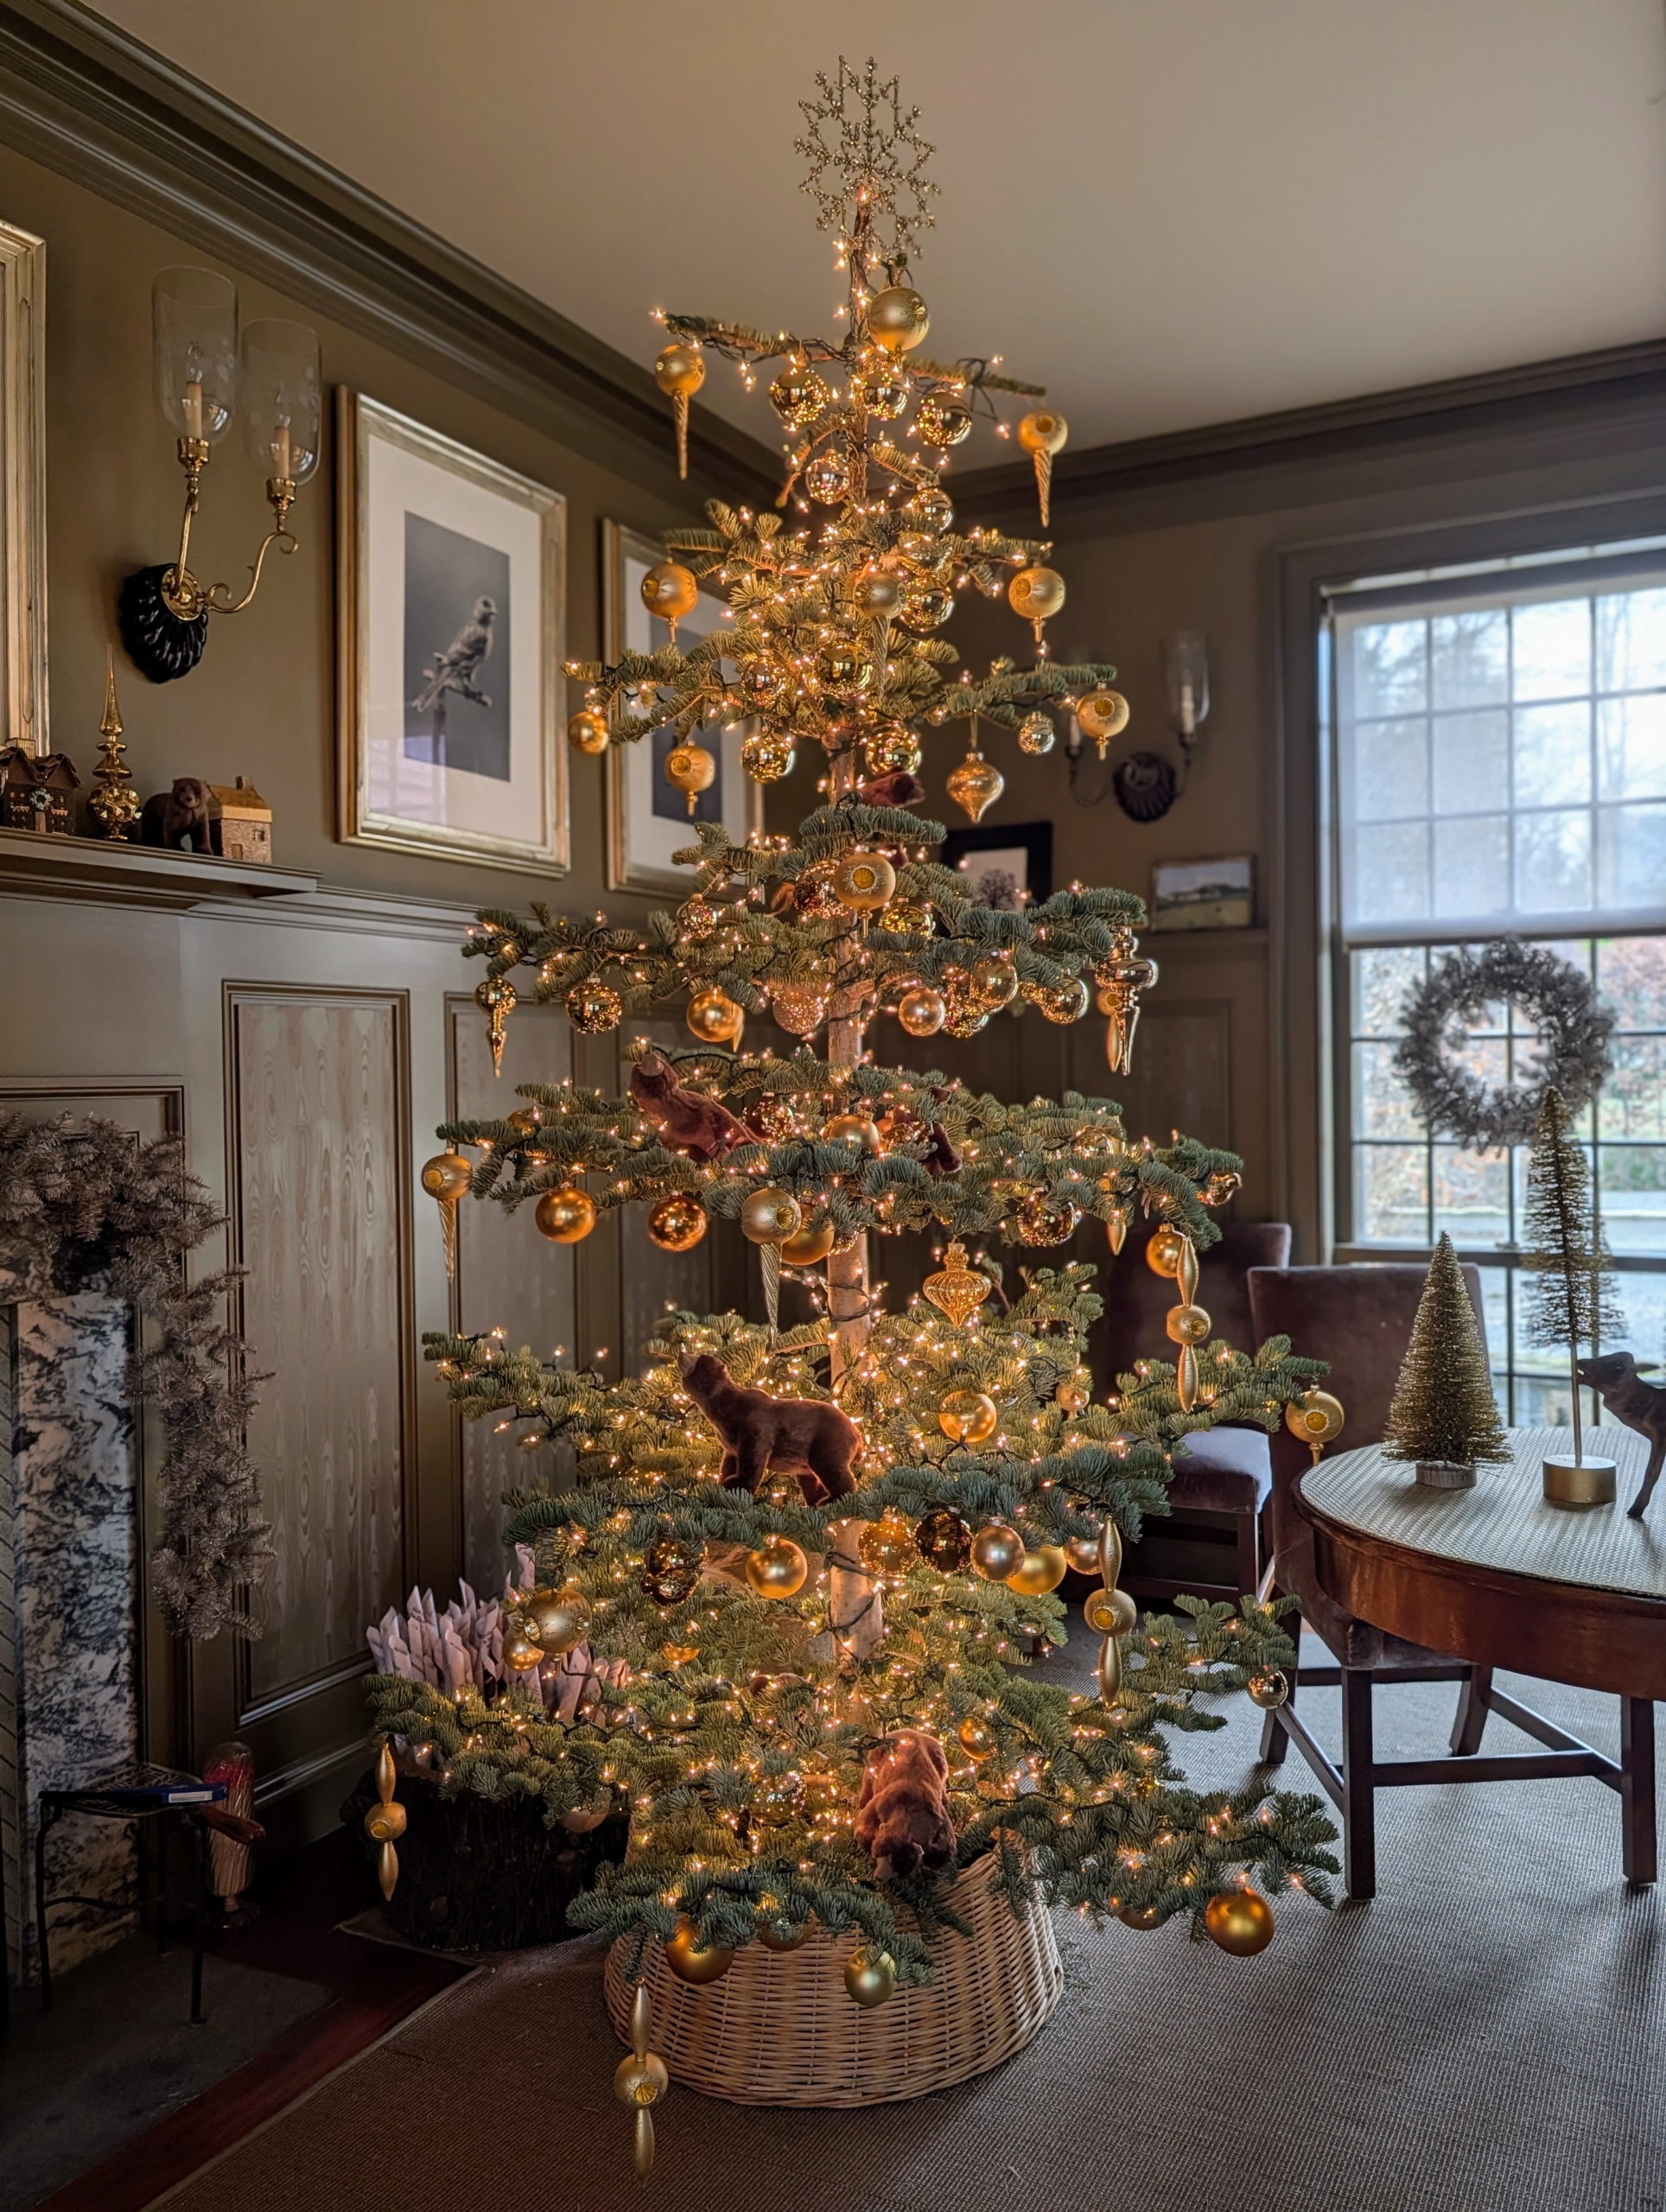
It’s mid-December and less than two weeks left before Christmas. Have you decorated your home for the holidays? I start decorating soon after Thanksgiving. This is one of two Index fir trees in my Brown Room. And yes, they are both live trees.
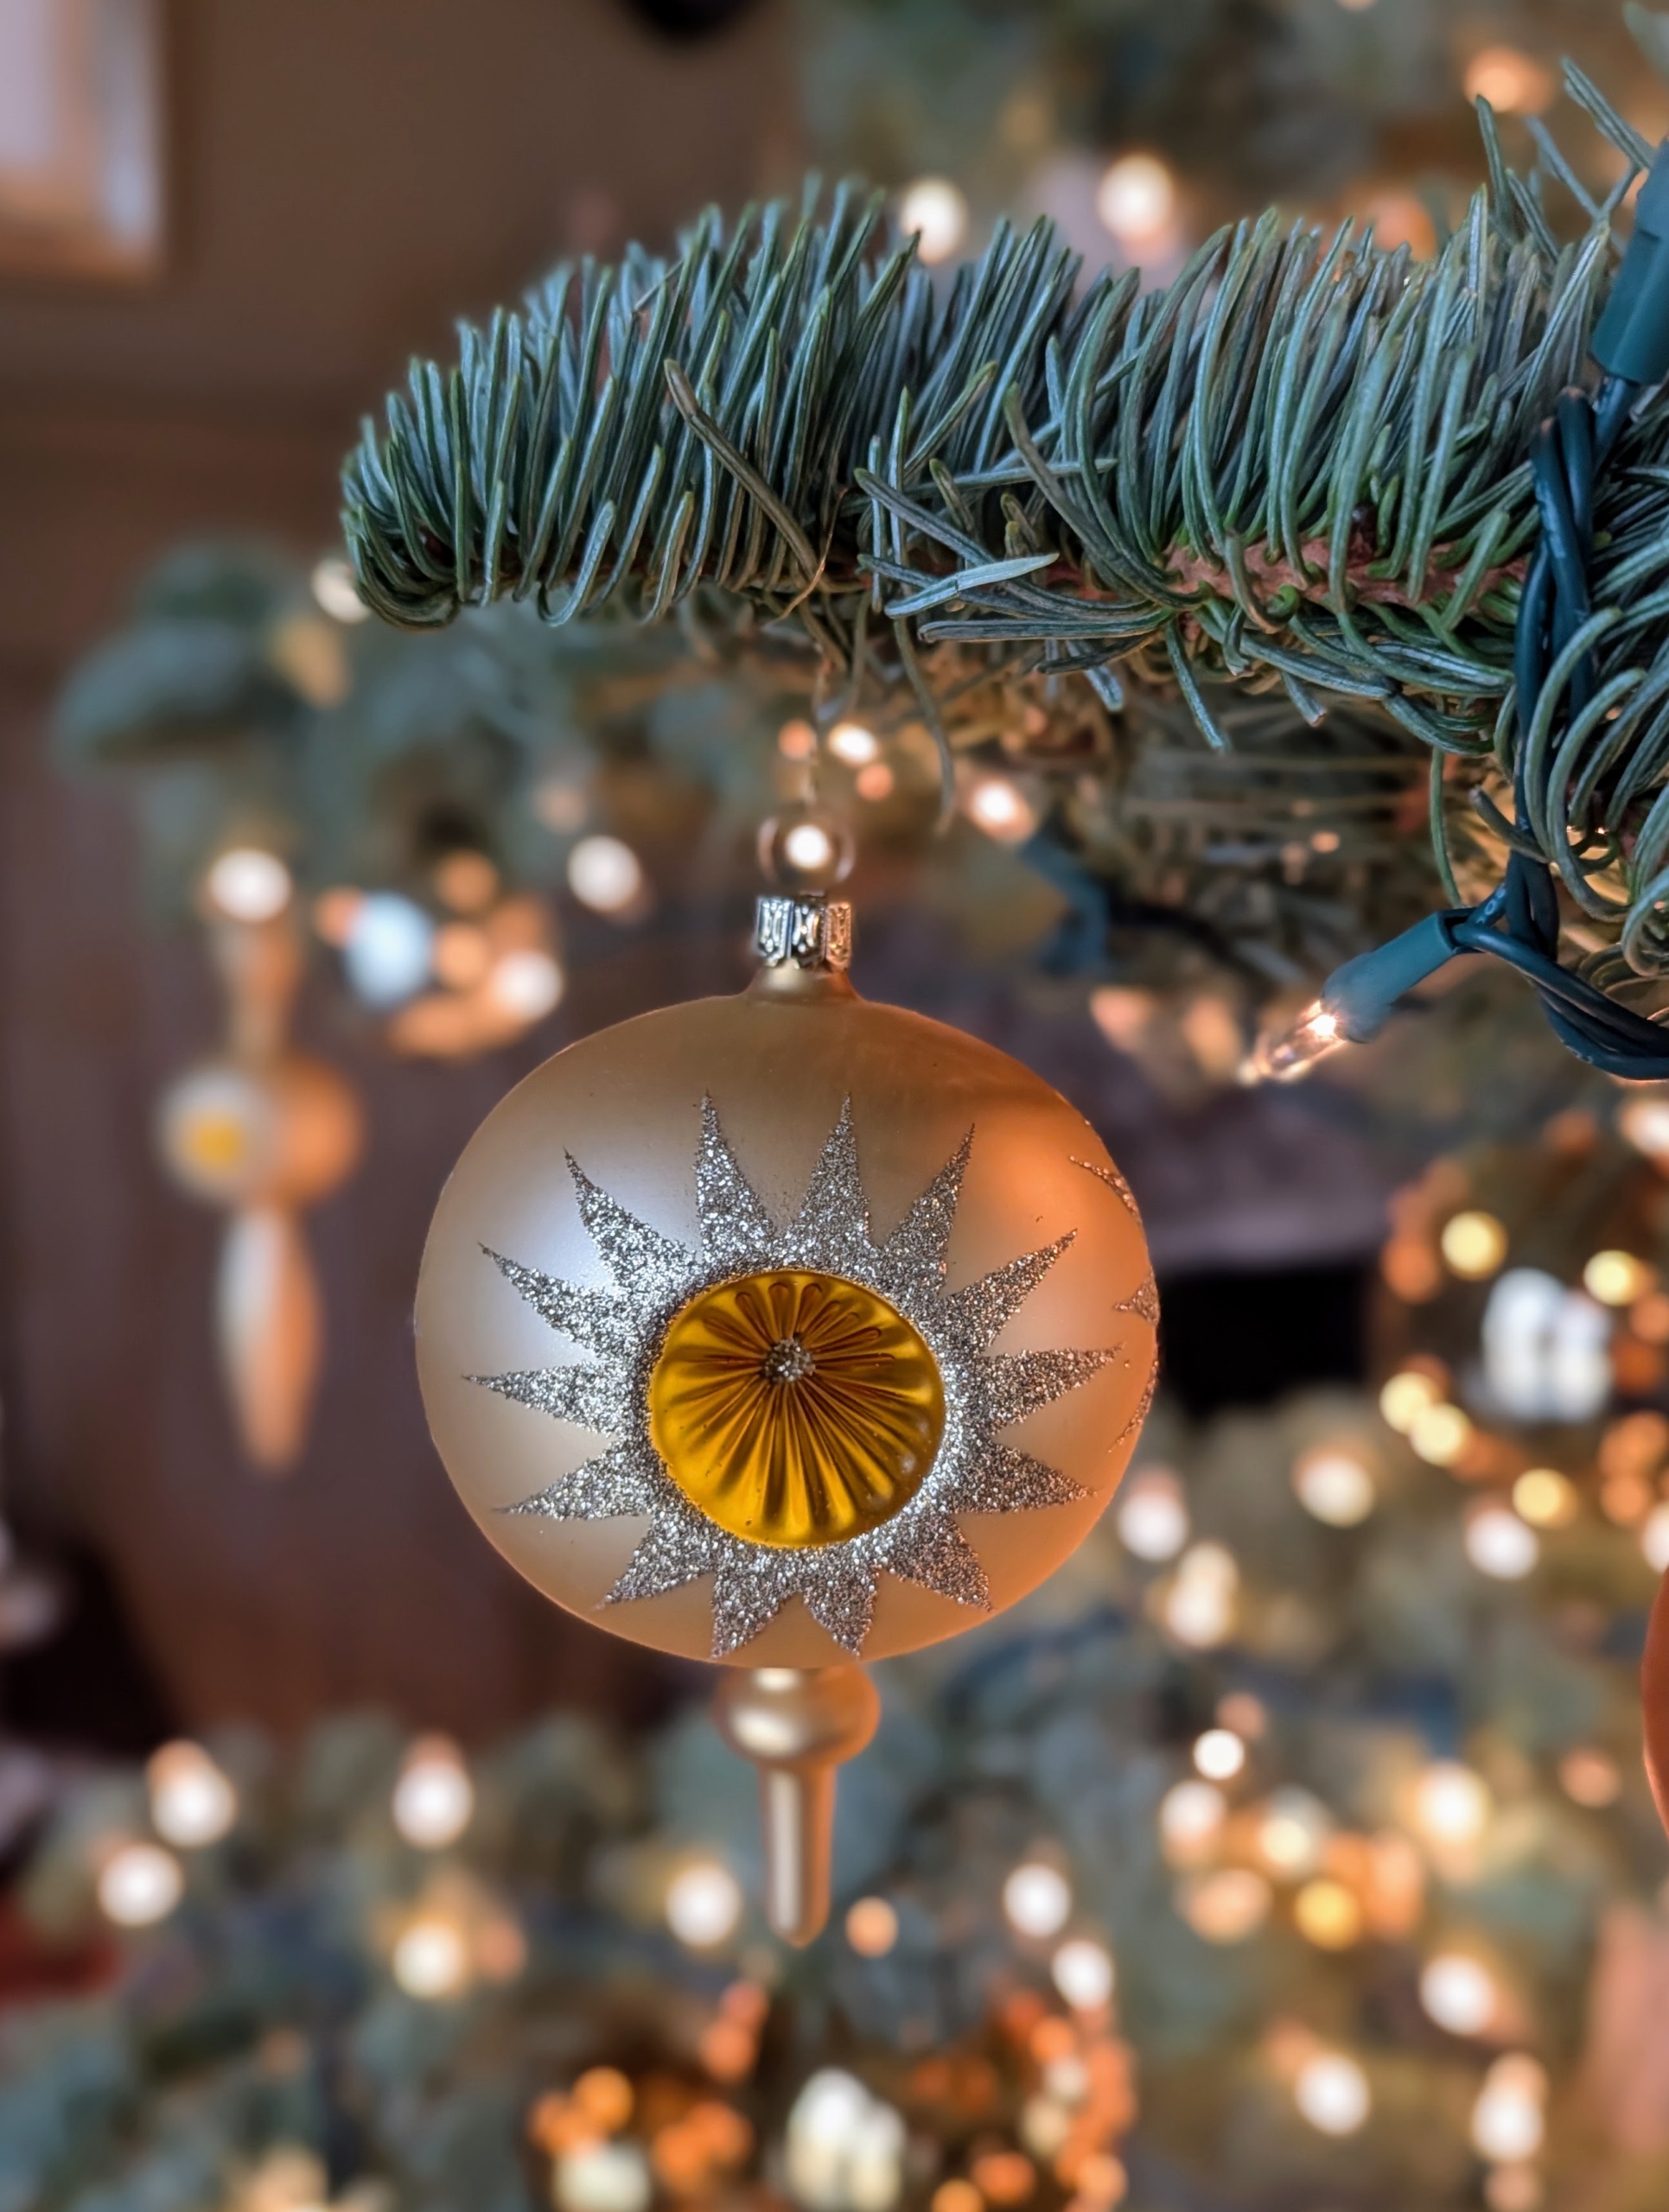
Every year, I try to vary the holiday decorations in my home. Gold ornaments and warm white lights fill the branches of this tree.
I also placed toy bears within the wide spaces between the branches – don’t shy away from experimenting with your decorations. Look in the children’s toy box for possibilities.
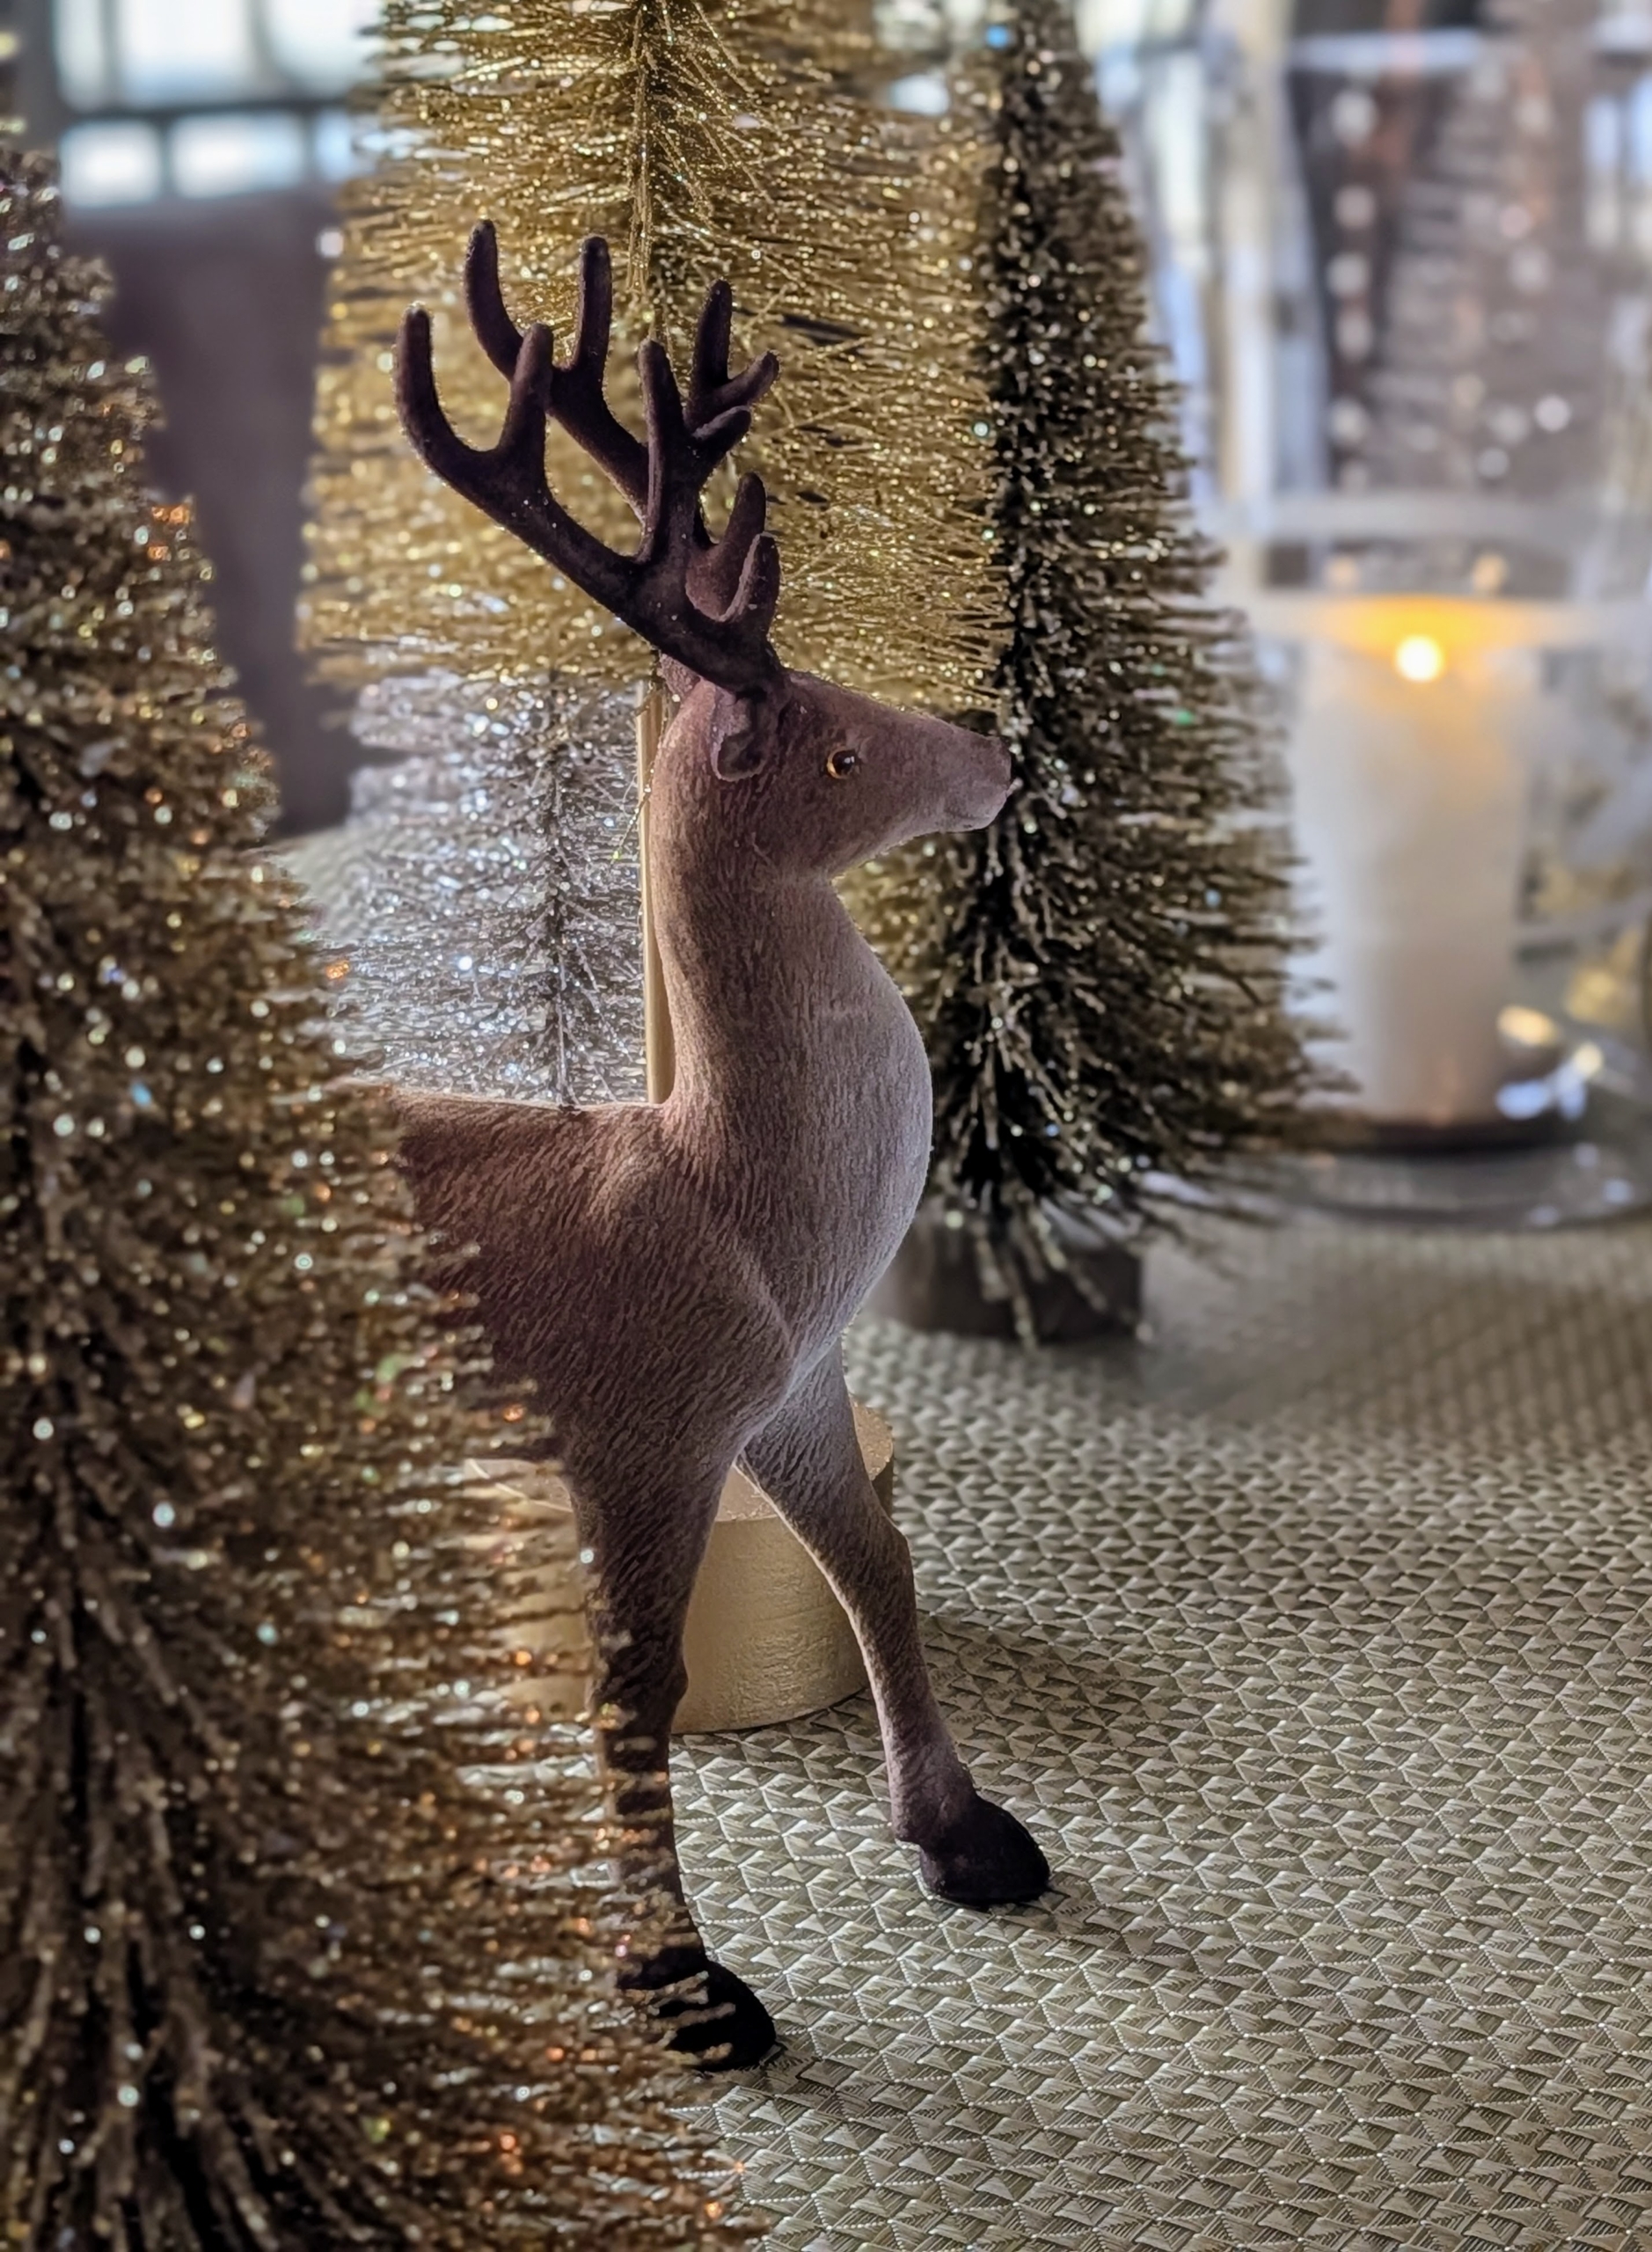
Gold, silver, and copper bottlebrush trees adorn the long dining table in this room.
… Along with several deer and moose.
The animals are interspersed between the trees as if they are walking through the woodland in winter.
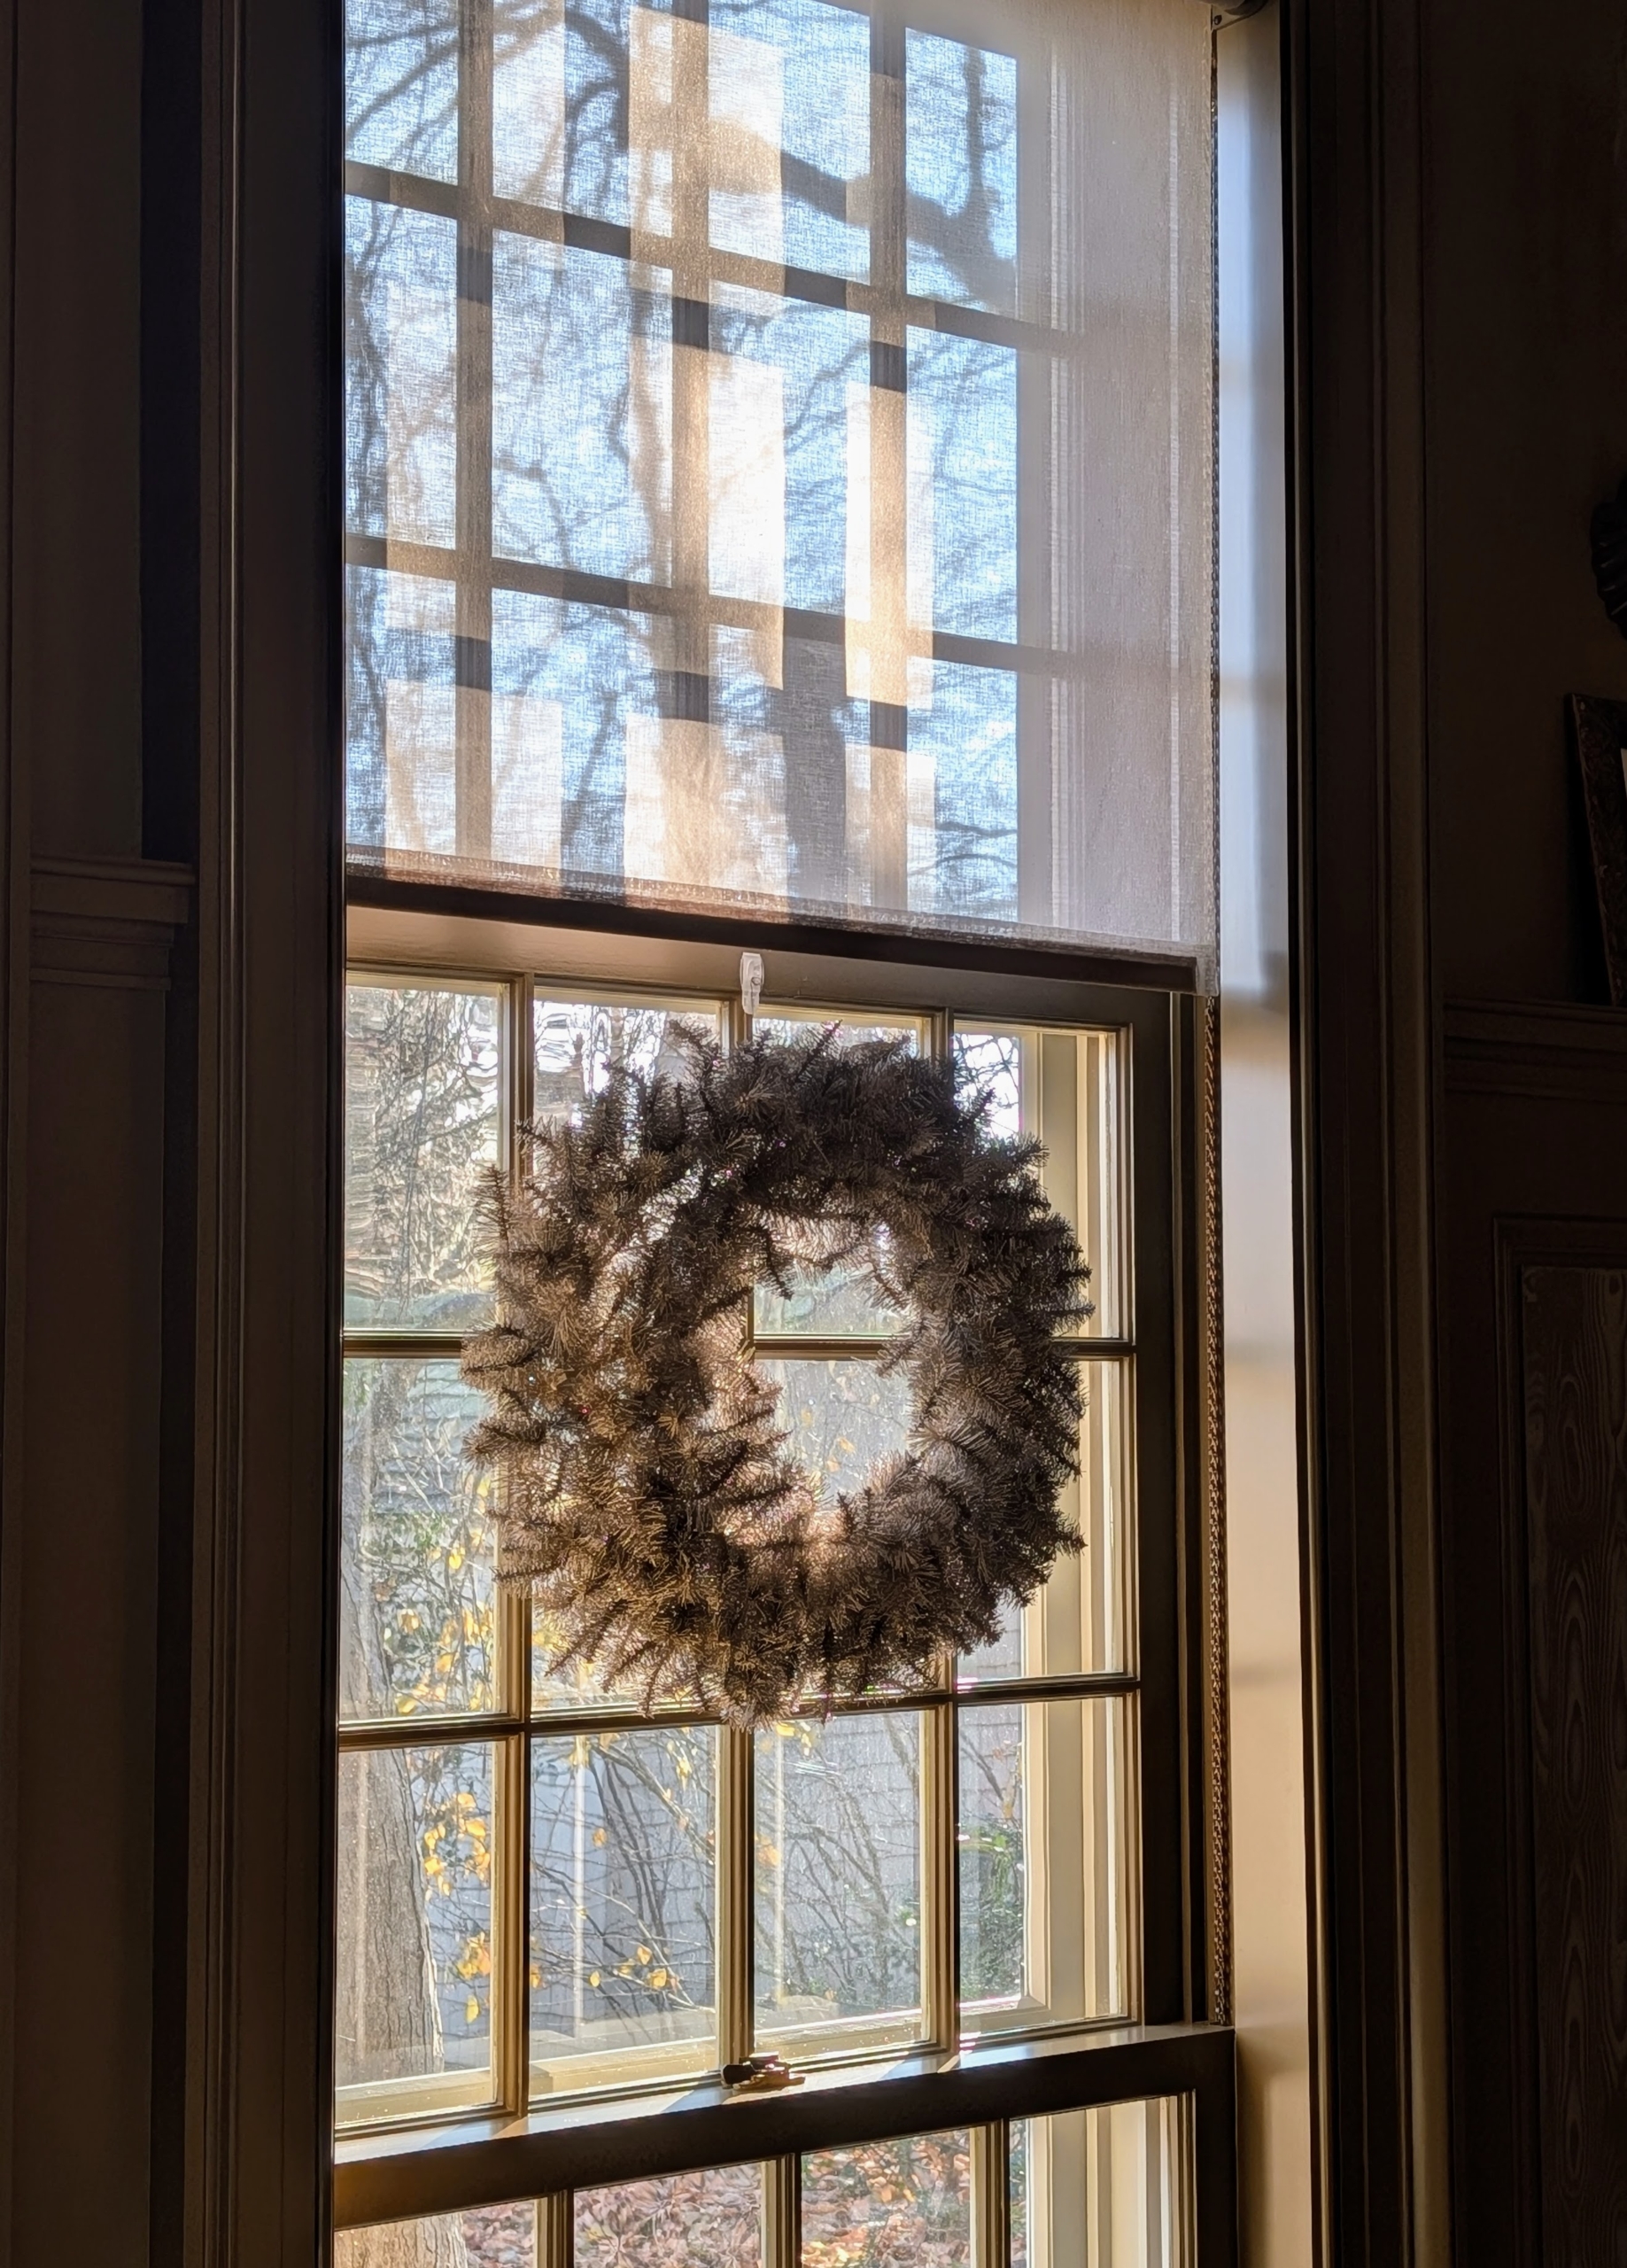
Indoors I always hang wreaths on every window. Do you know… before the wreath became associated with Christmas, it was used as a token of victory and power in ancient Greece and Rome? Wreaths first appeared as holiday decorations in connection with Yule, which marked the winter solstice for early Germanic Pagans. The wreaths were a symbol of spring and a promise of its return.
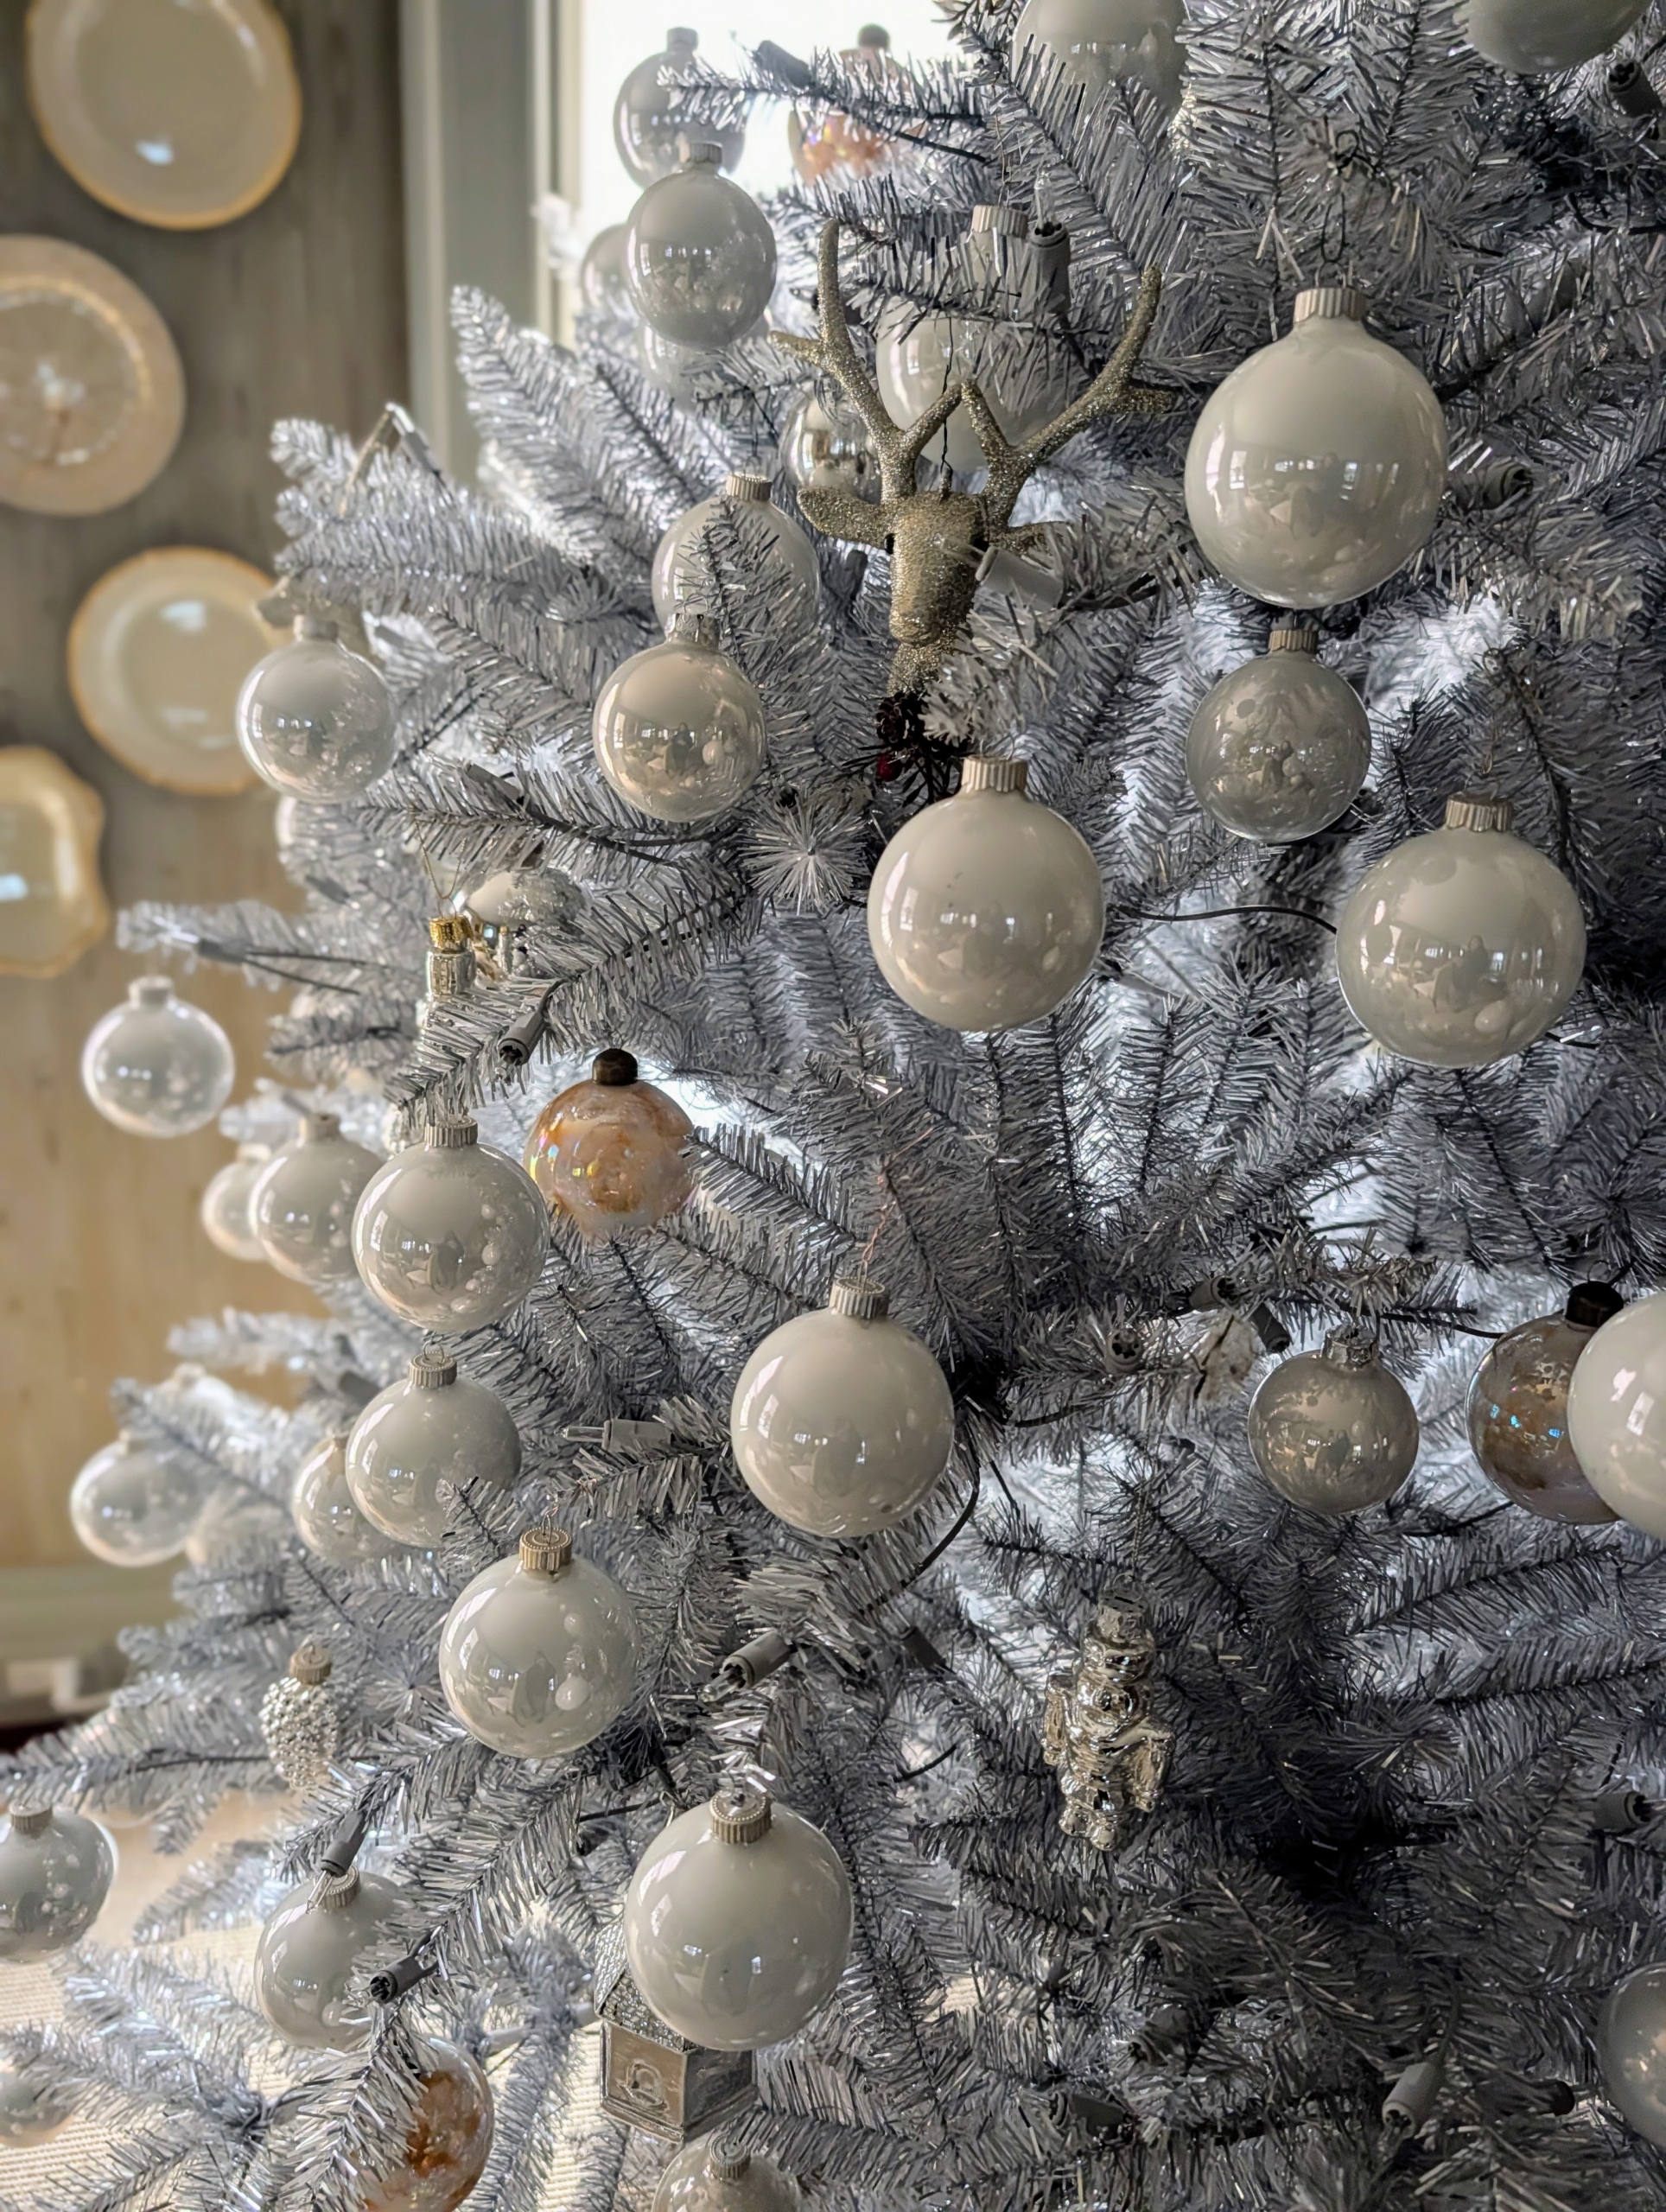
In my sitting room – silver Christmas trees with silver and white ornaments.
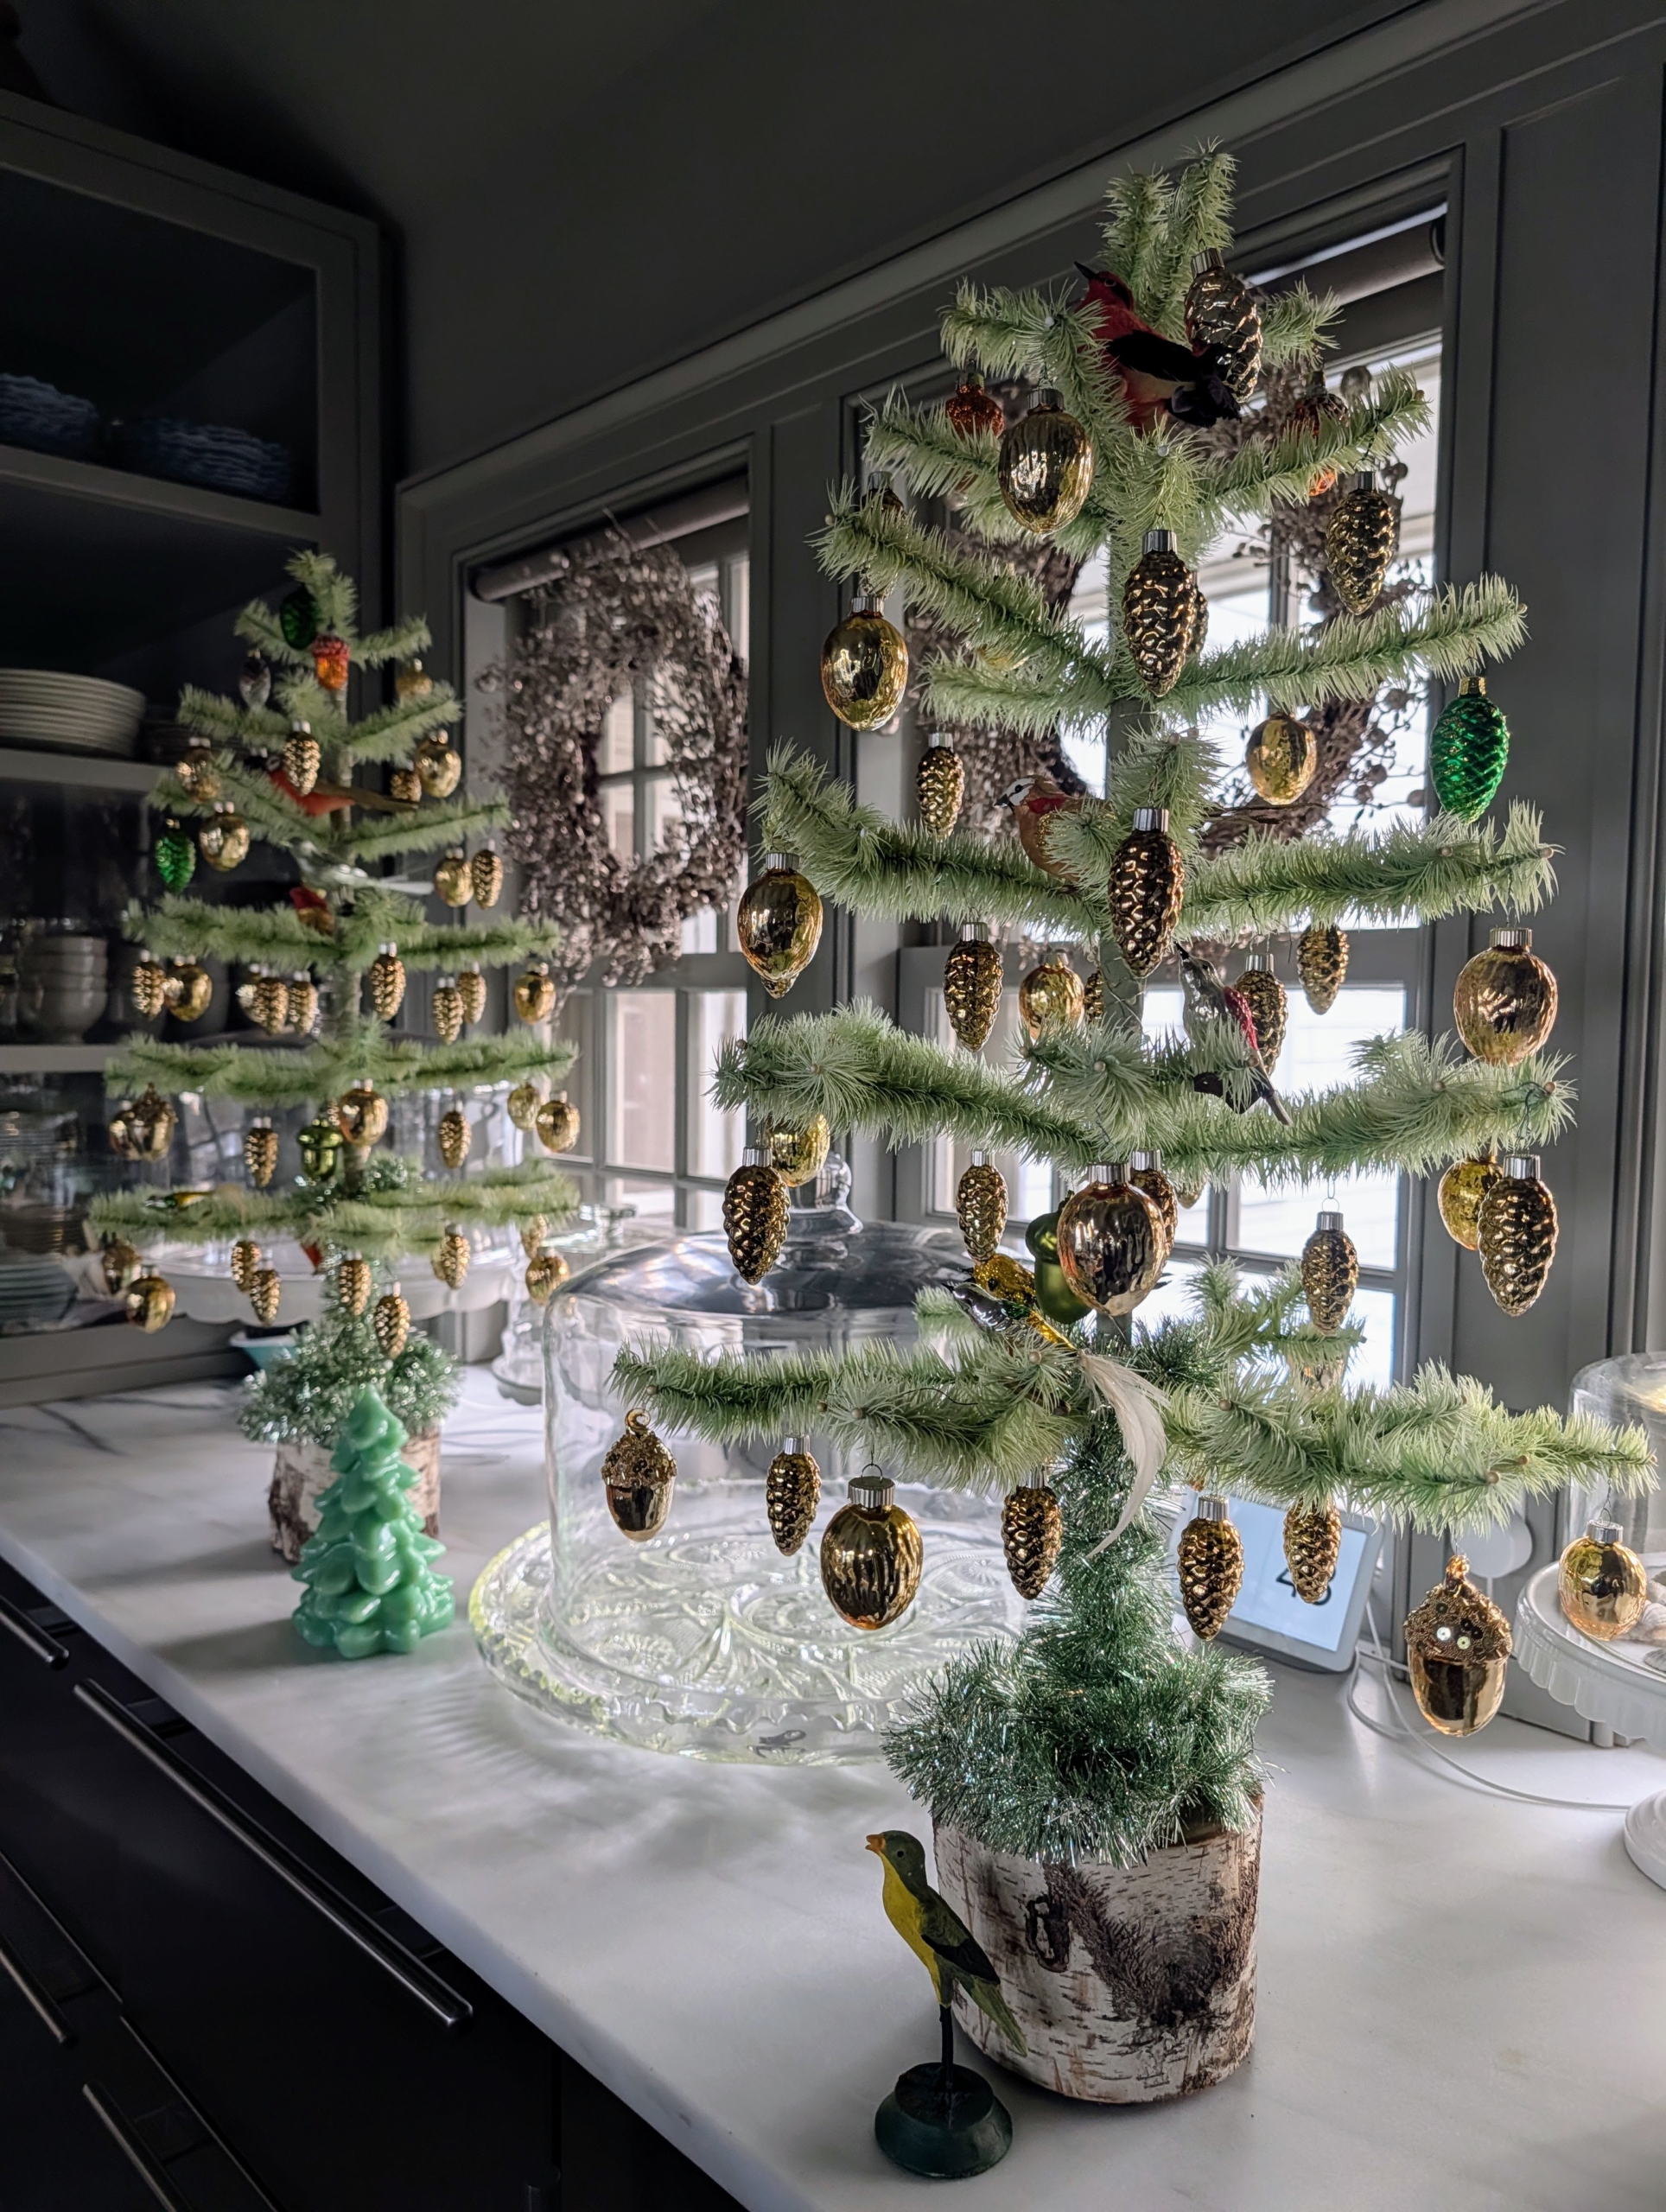
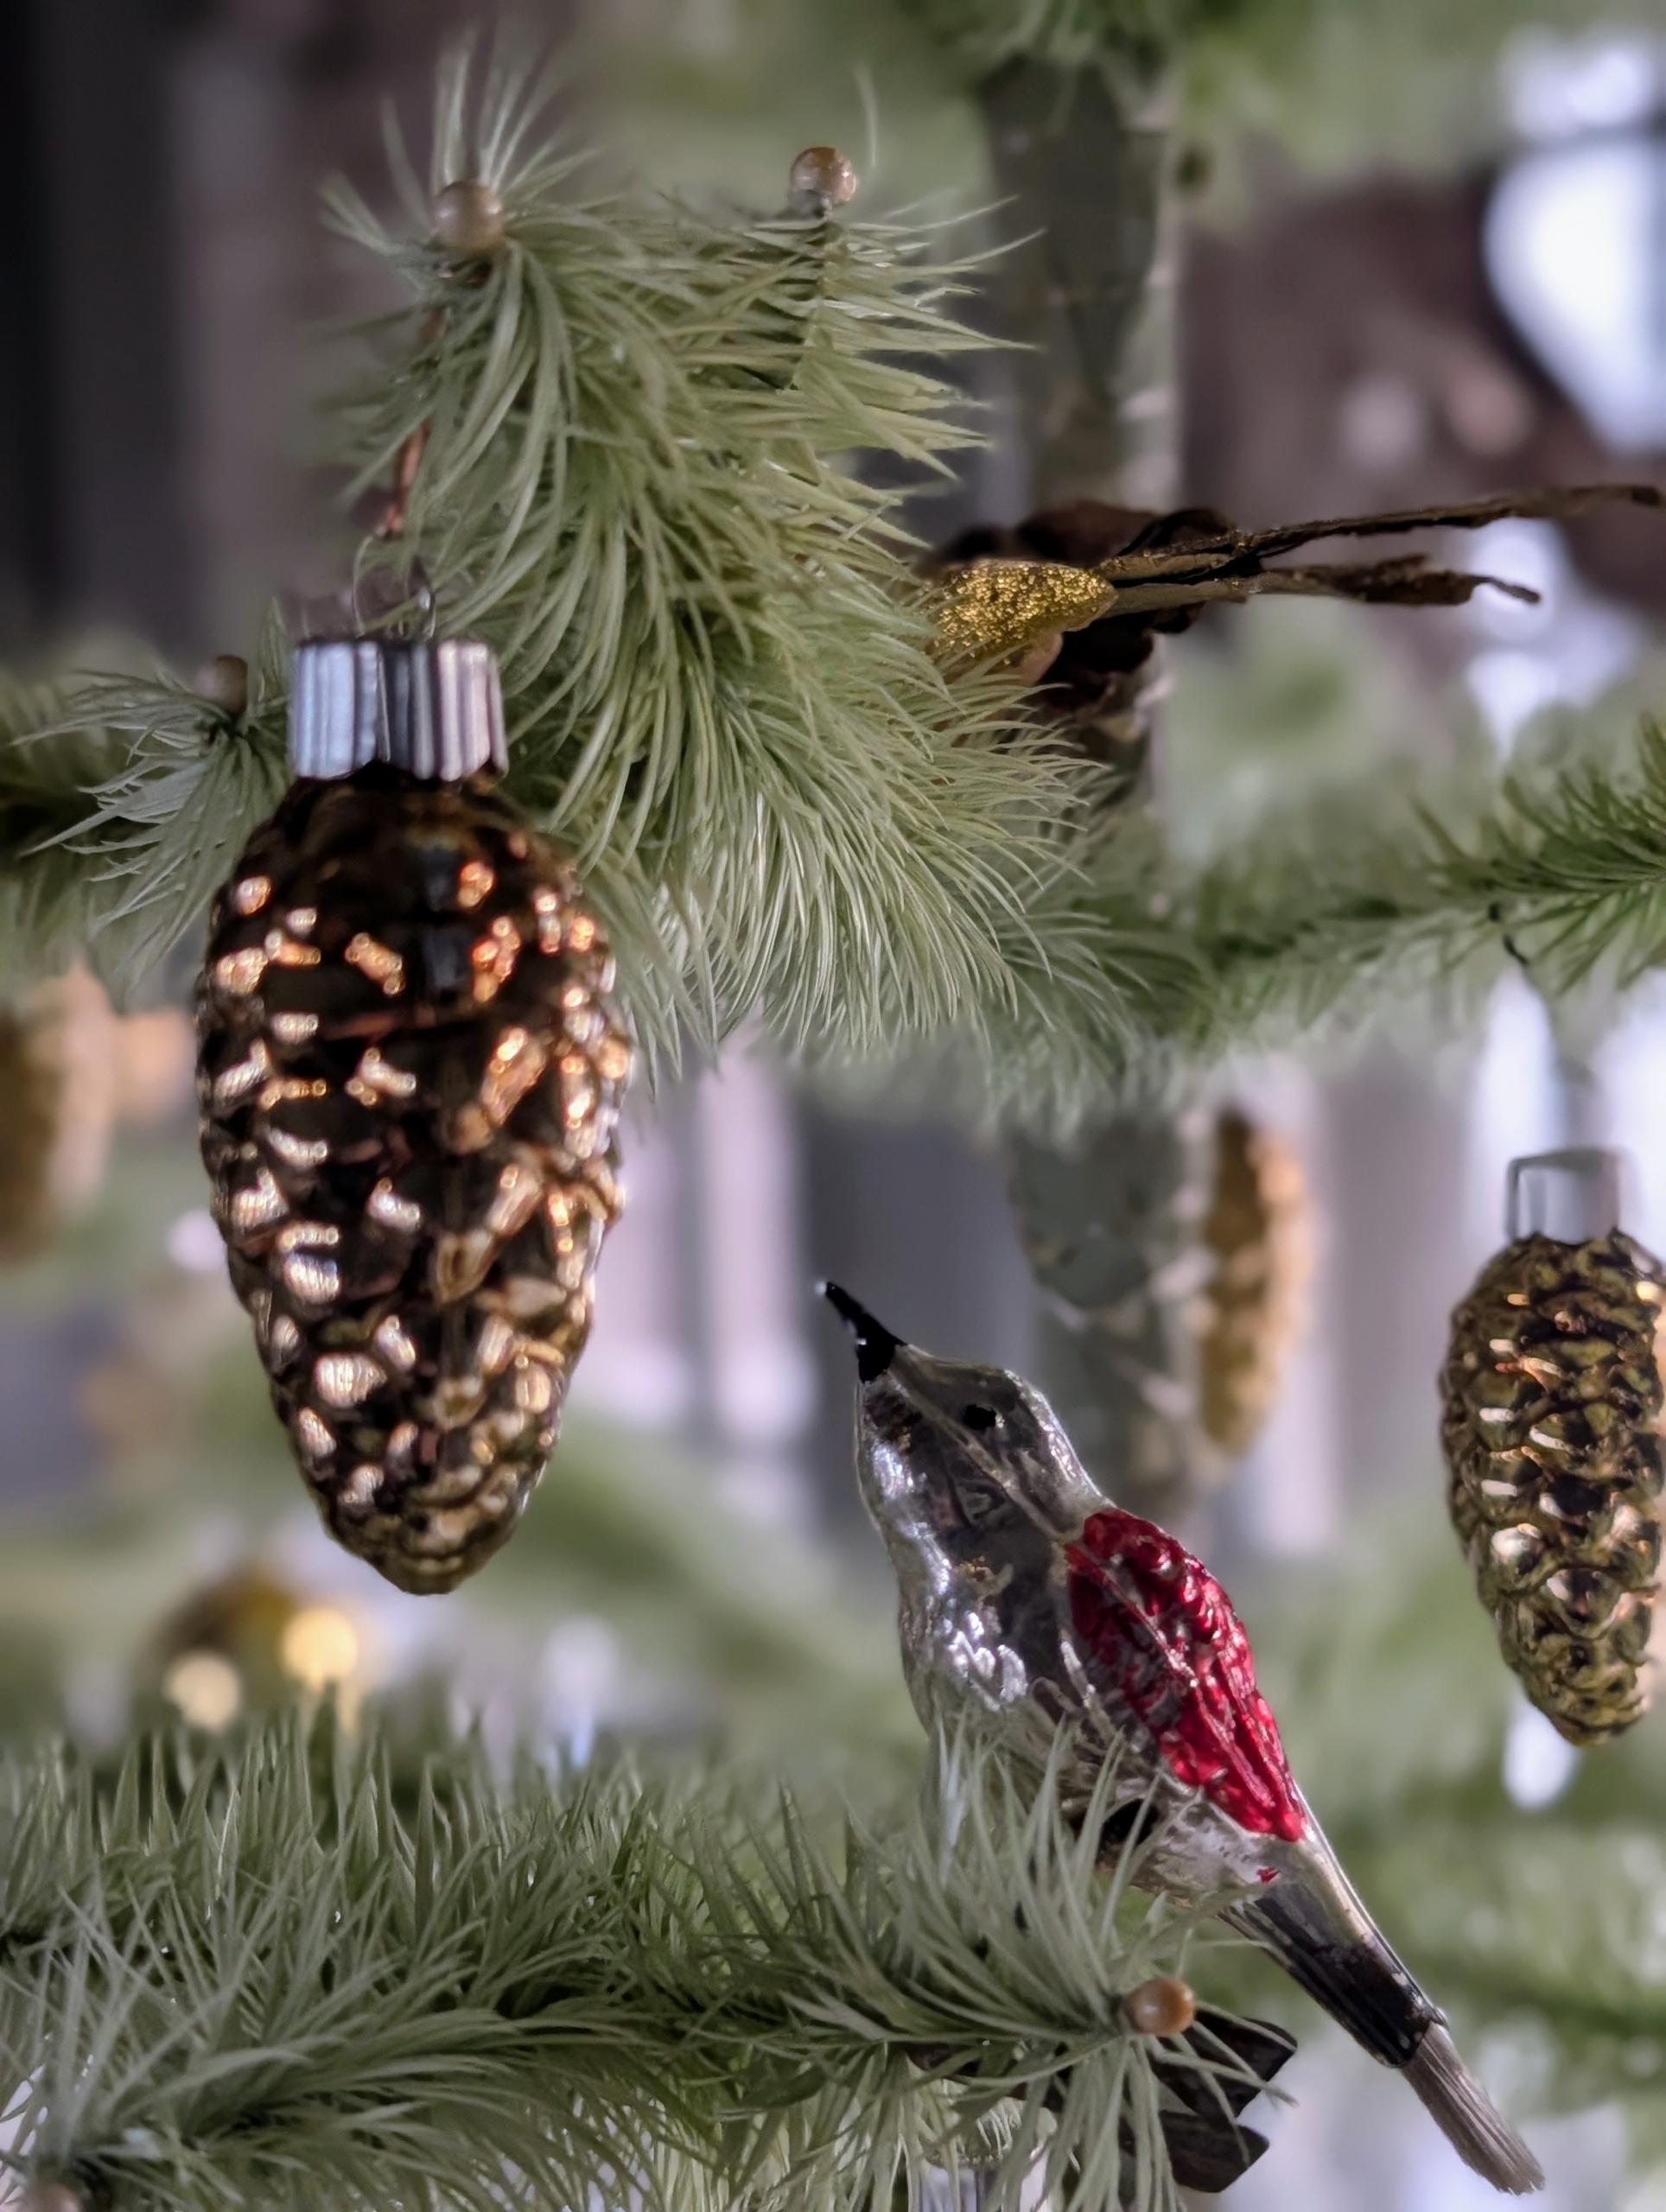
Every room has festive trees during the holiday season. This is one side of my servery.
The trees shimmer with gold and green pinecone ornaments. Look closely, there are also birds sitting on the branches.
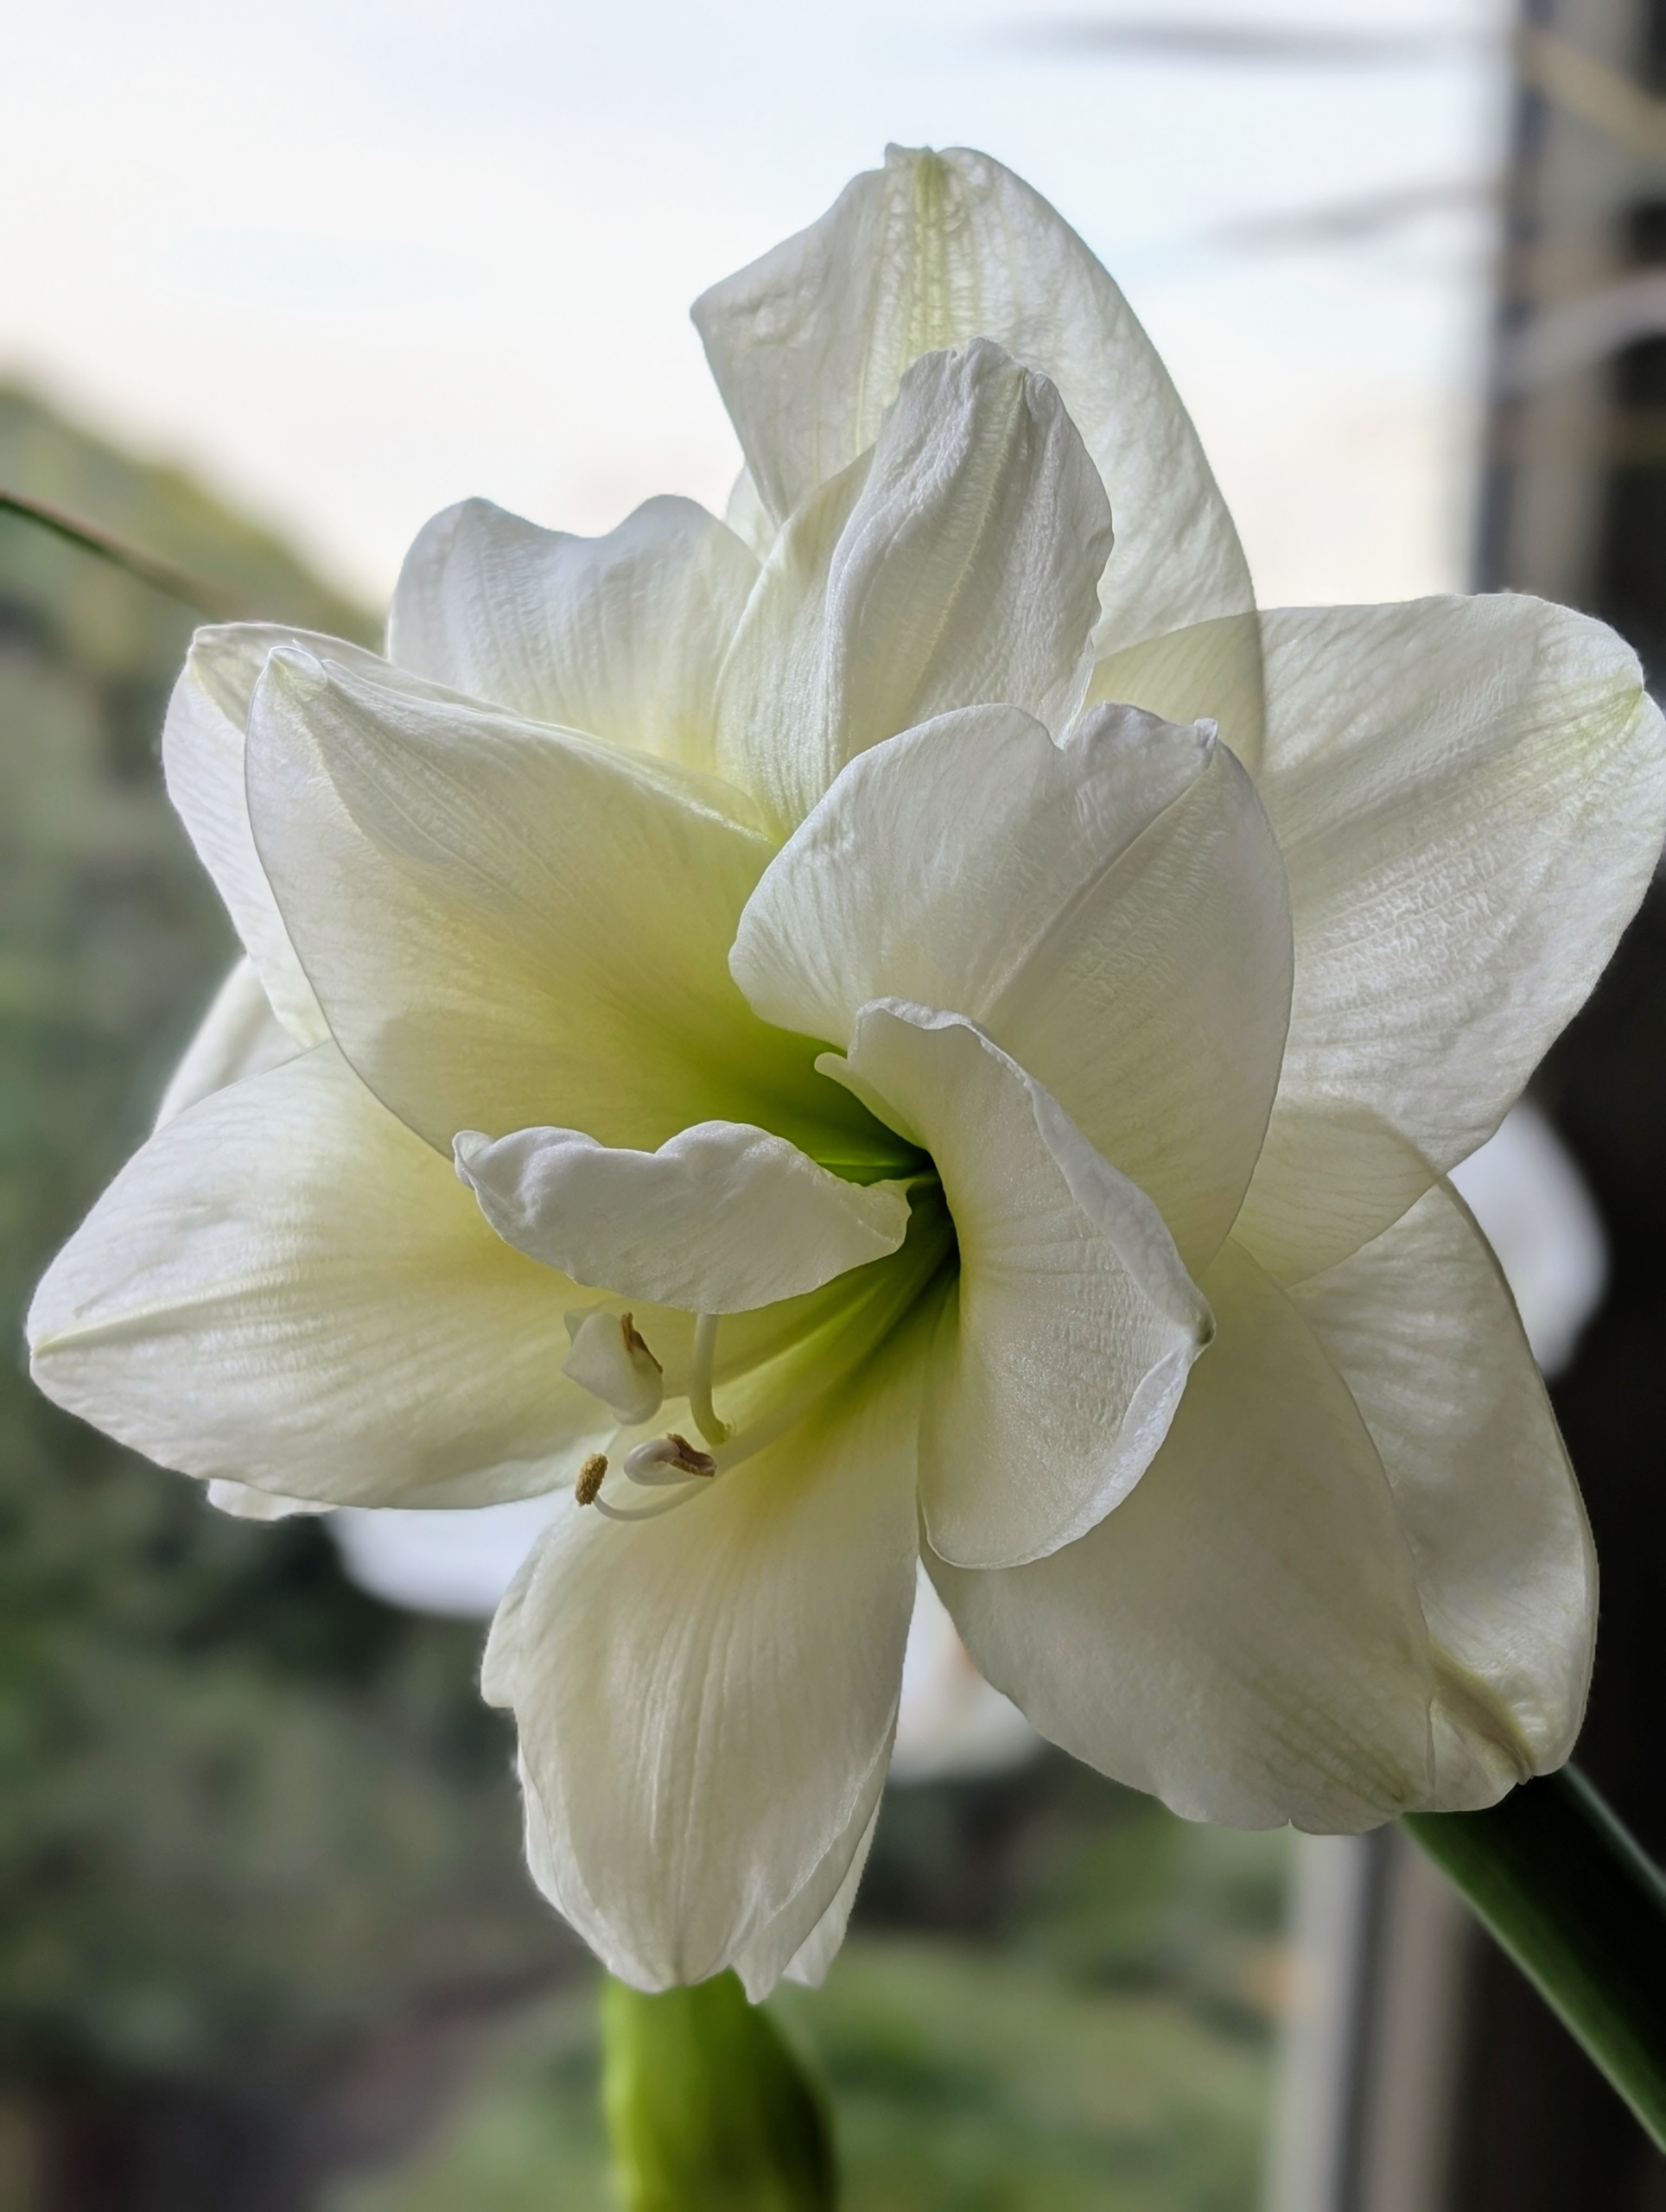
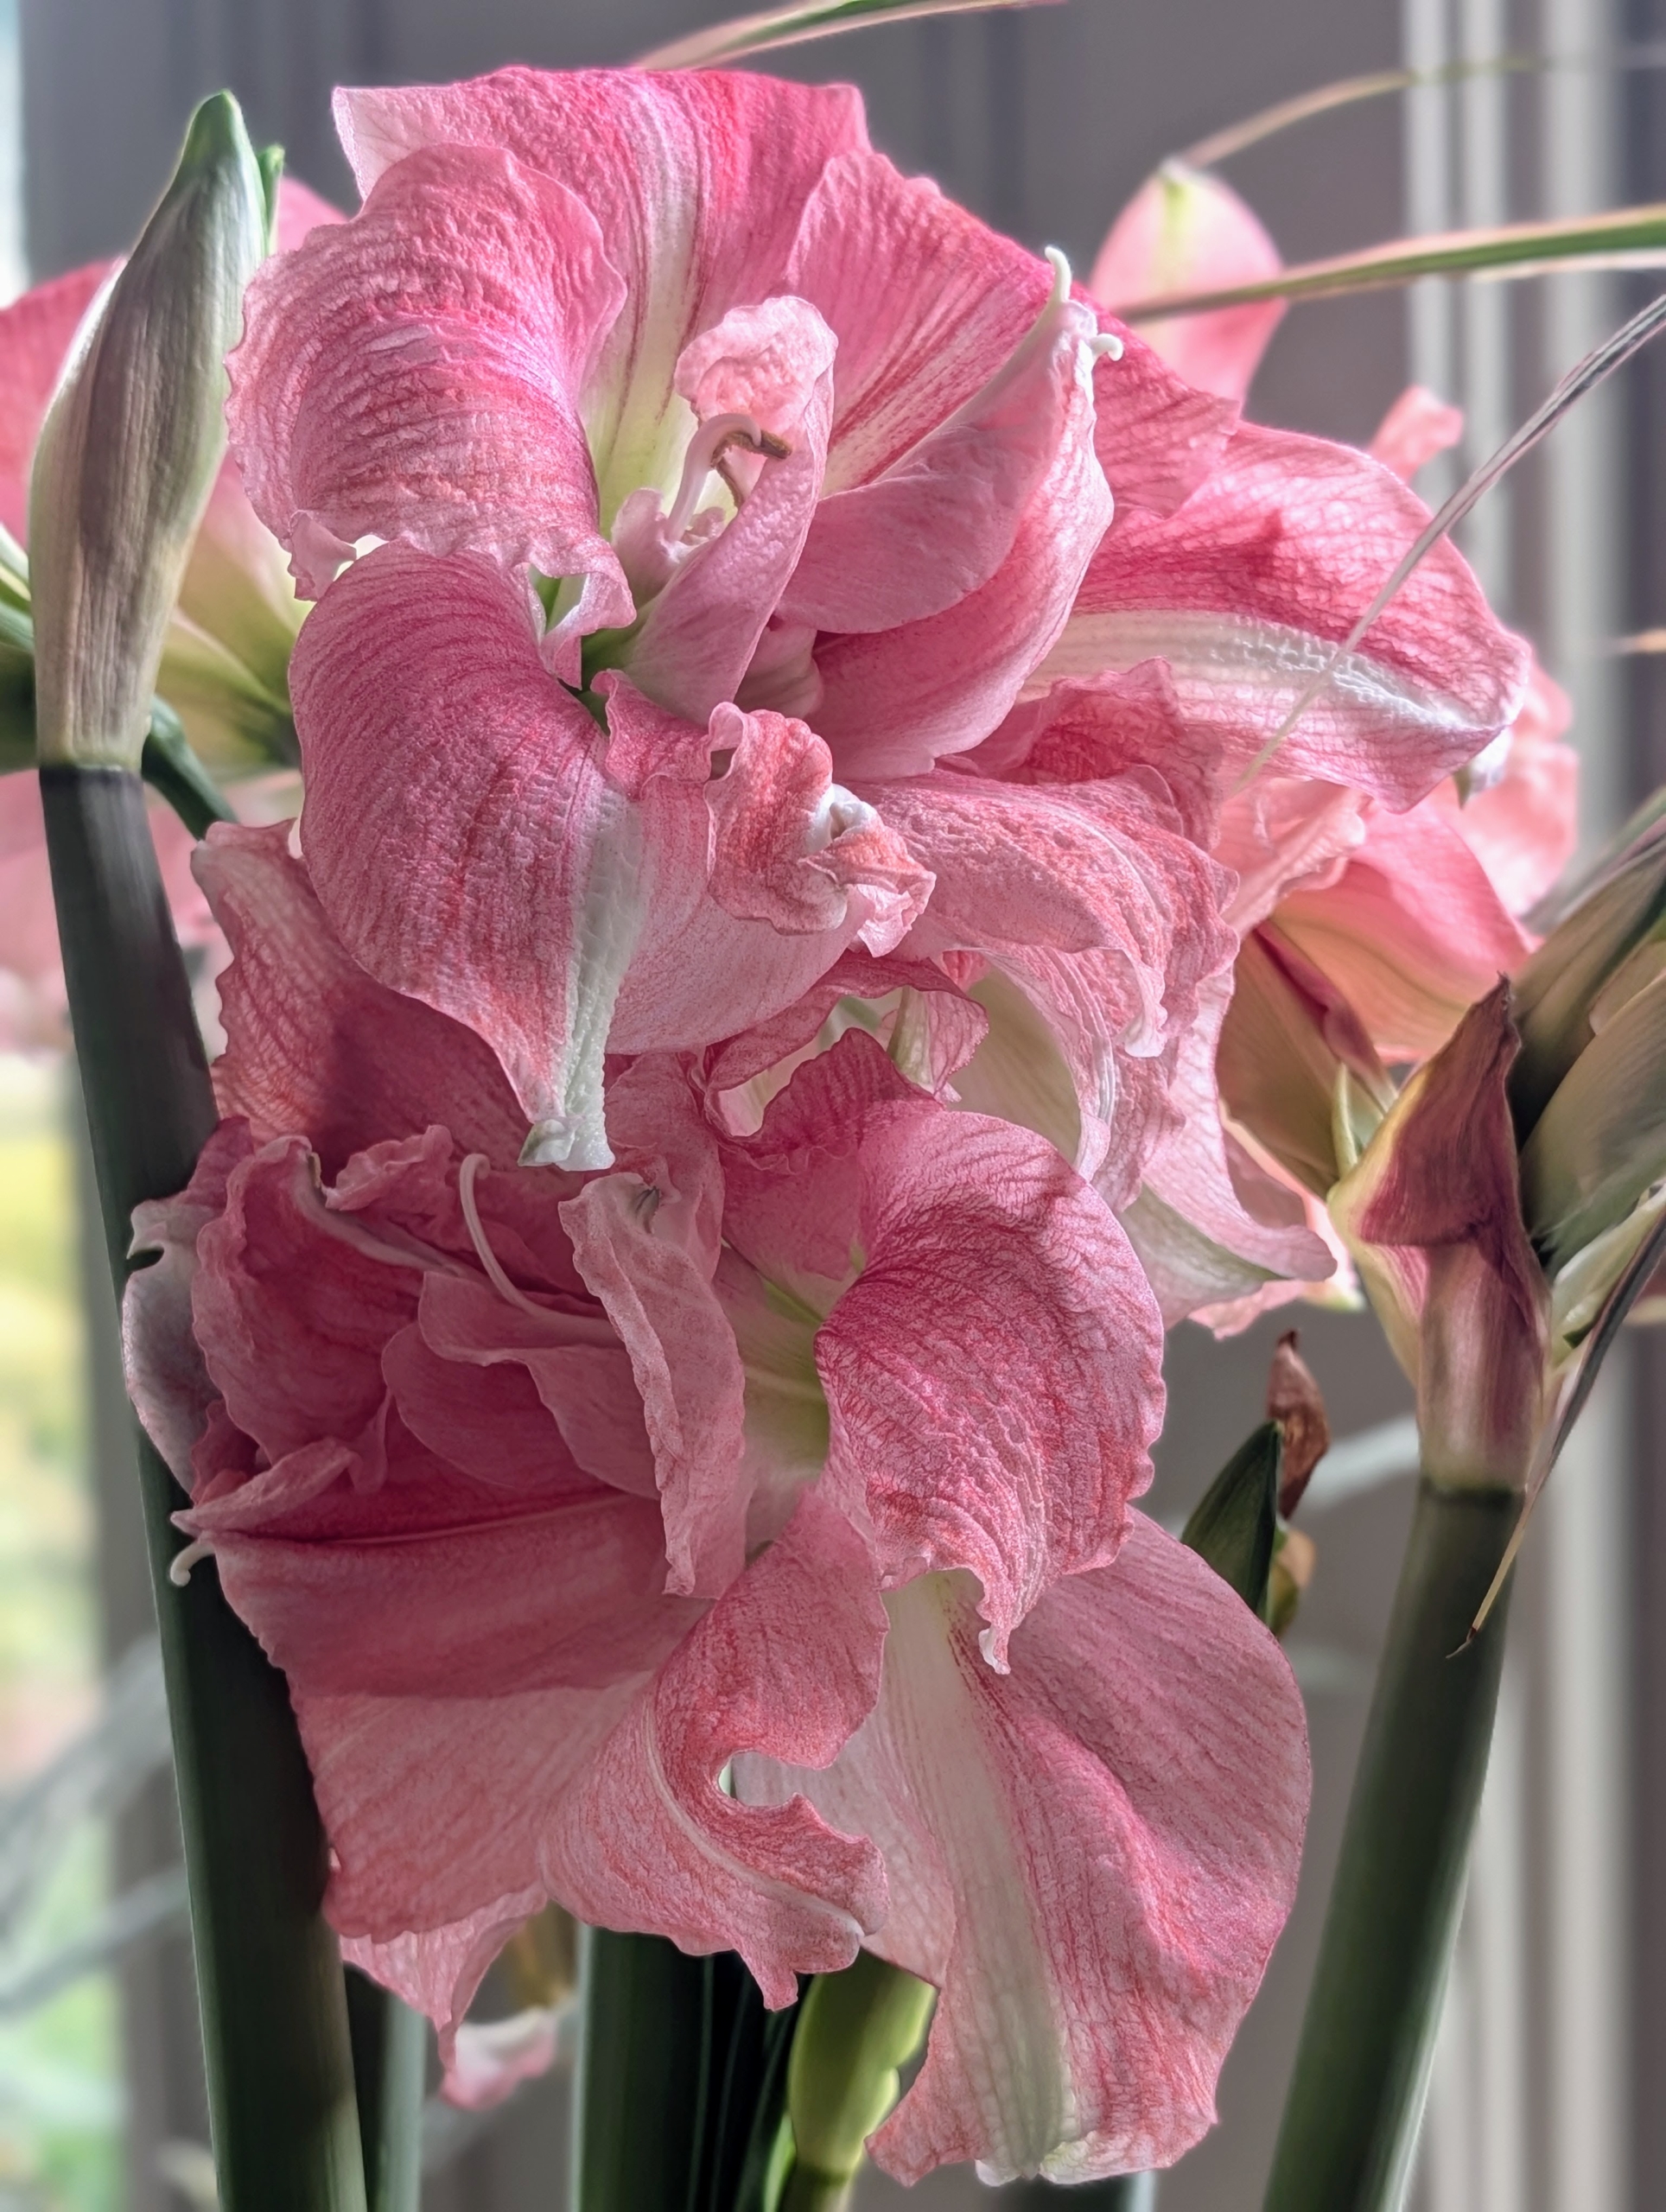
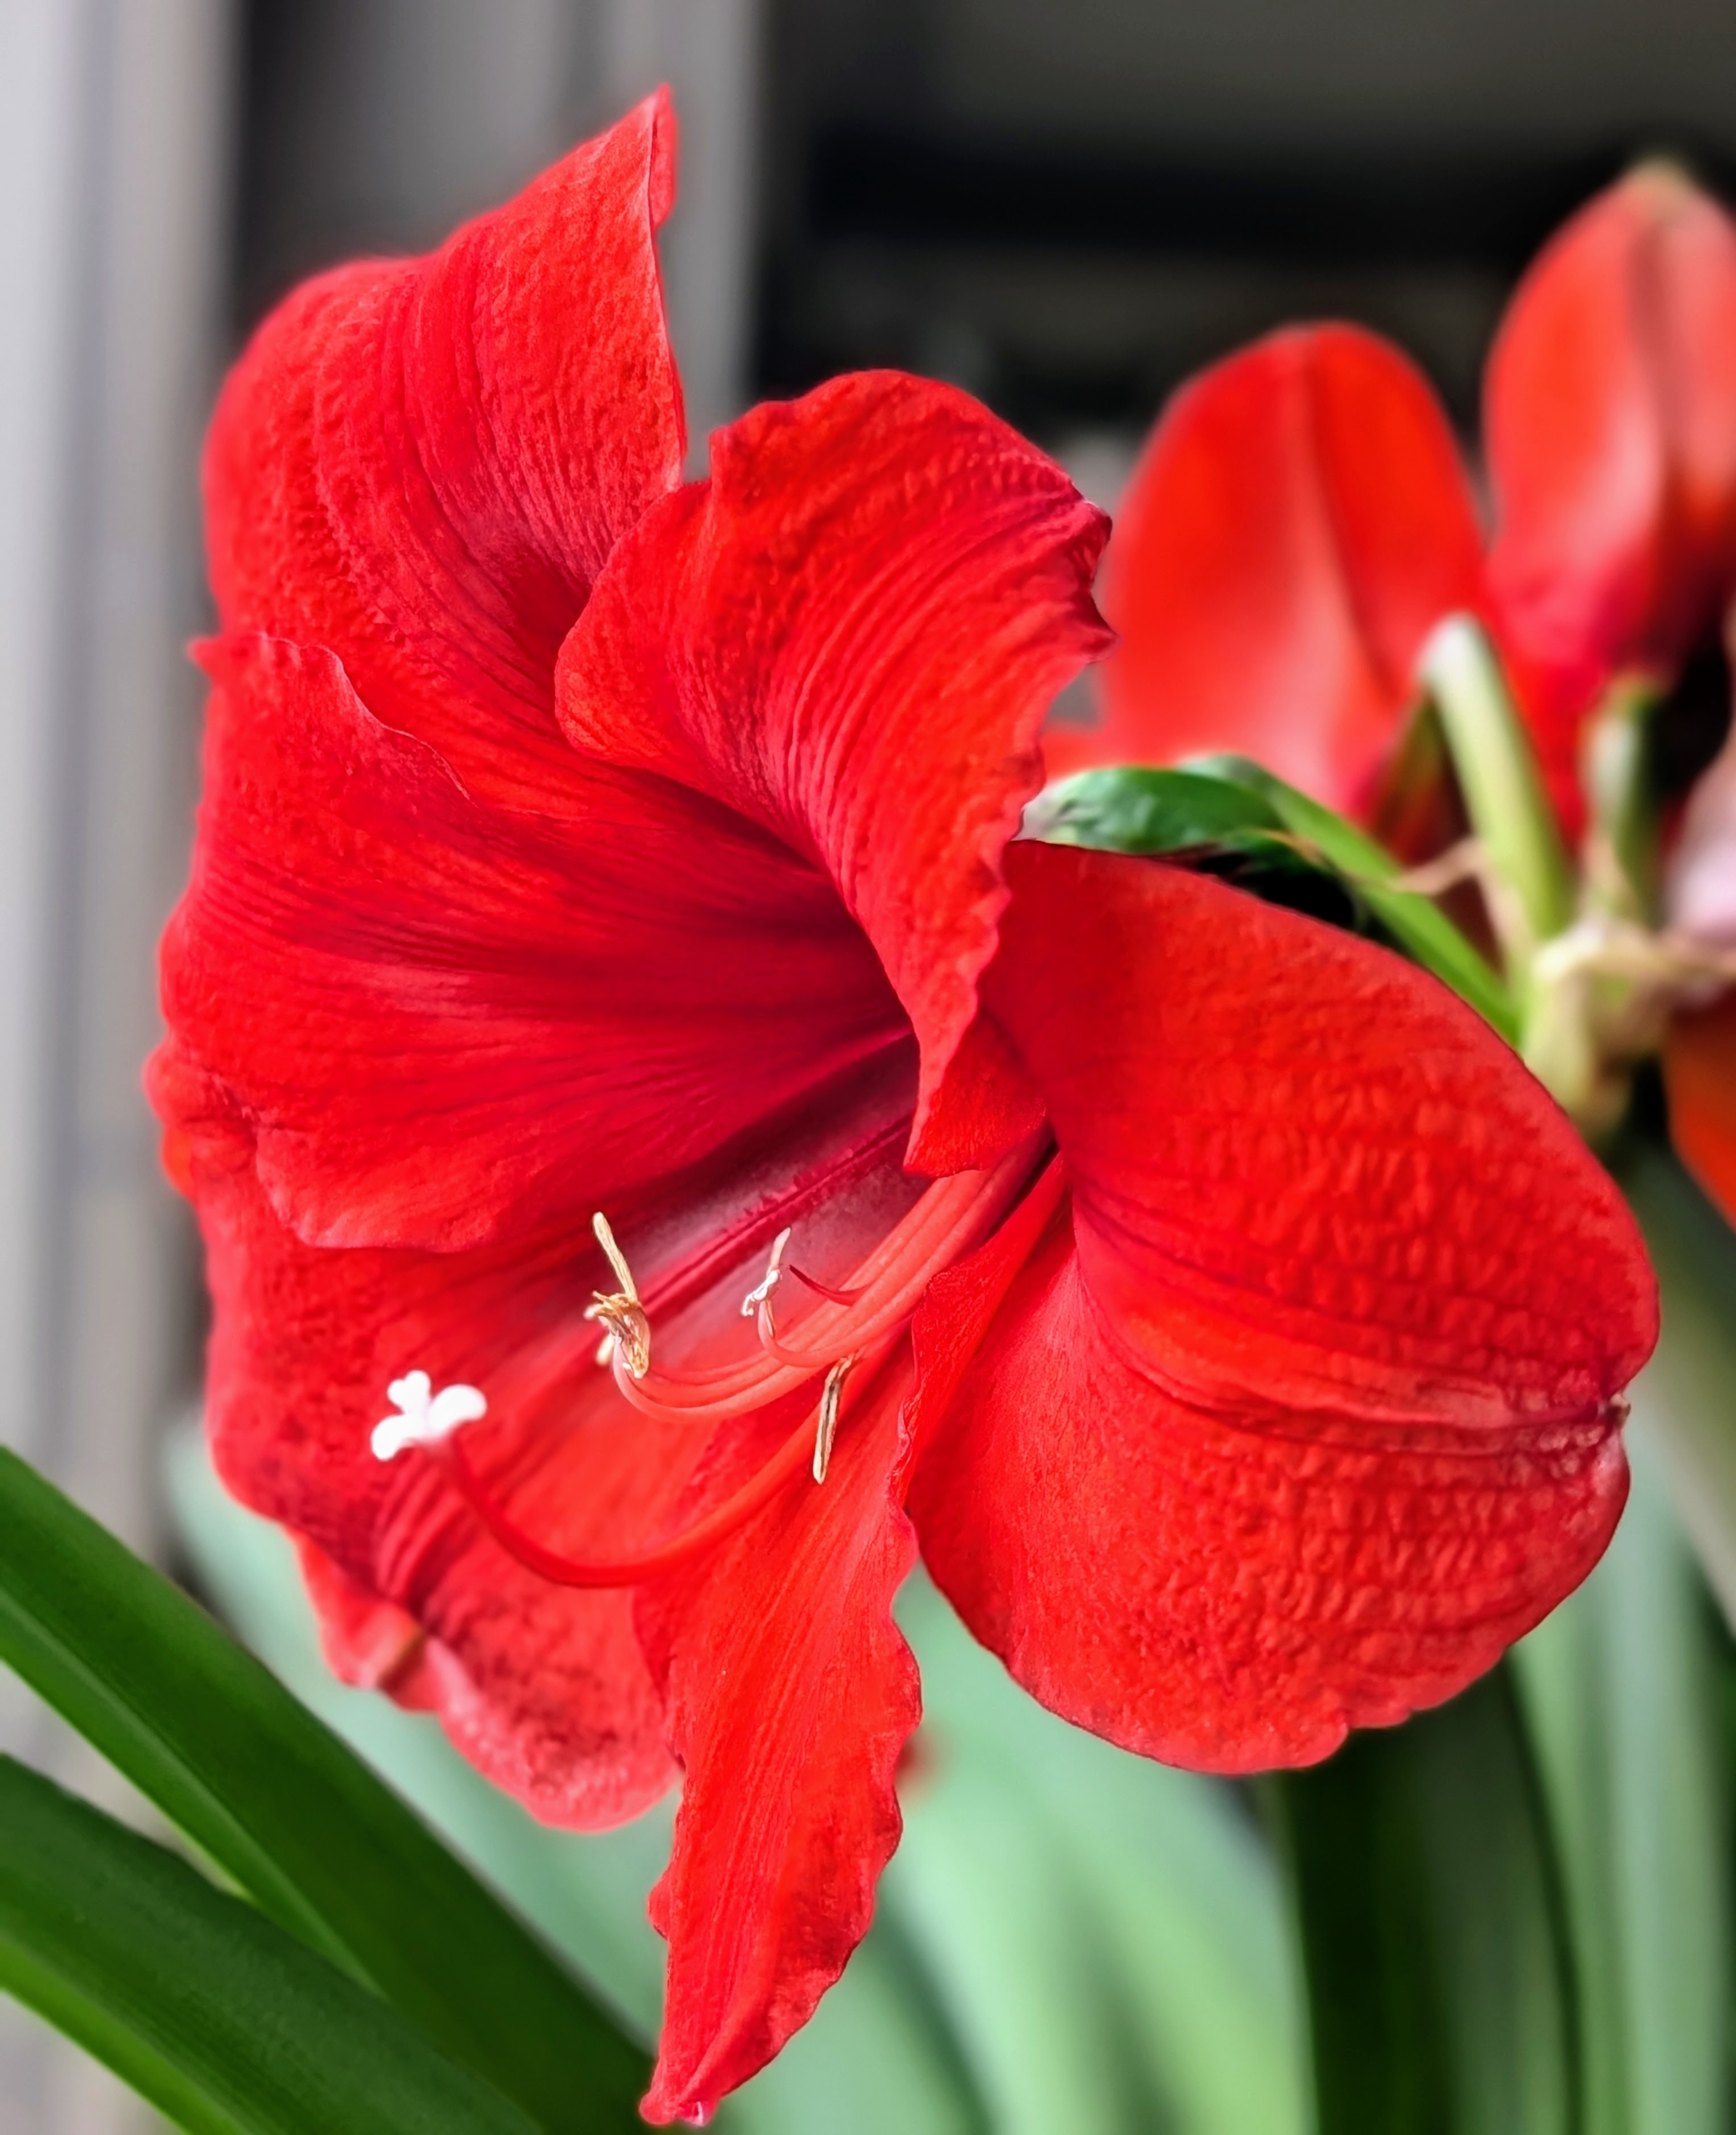
In my enclosed porch, gorgeous forced amaryllis flowers. I forced several amaryllis and am so happy with all the flowers that came up.
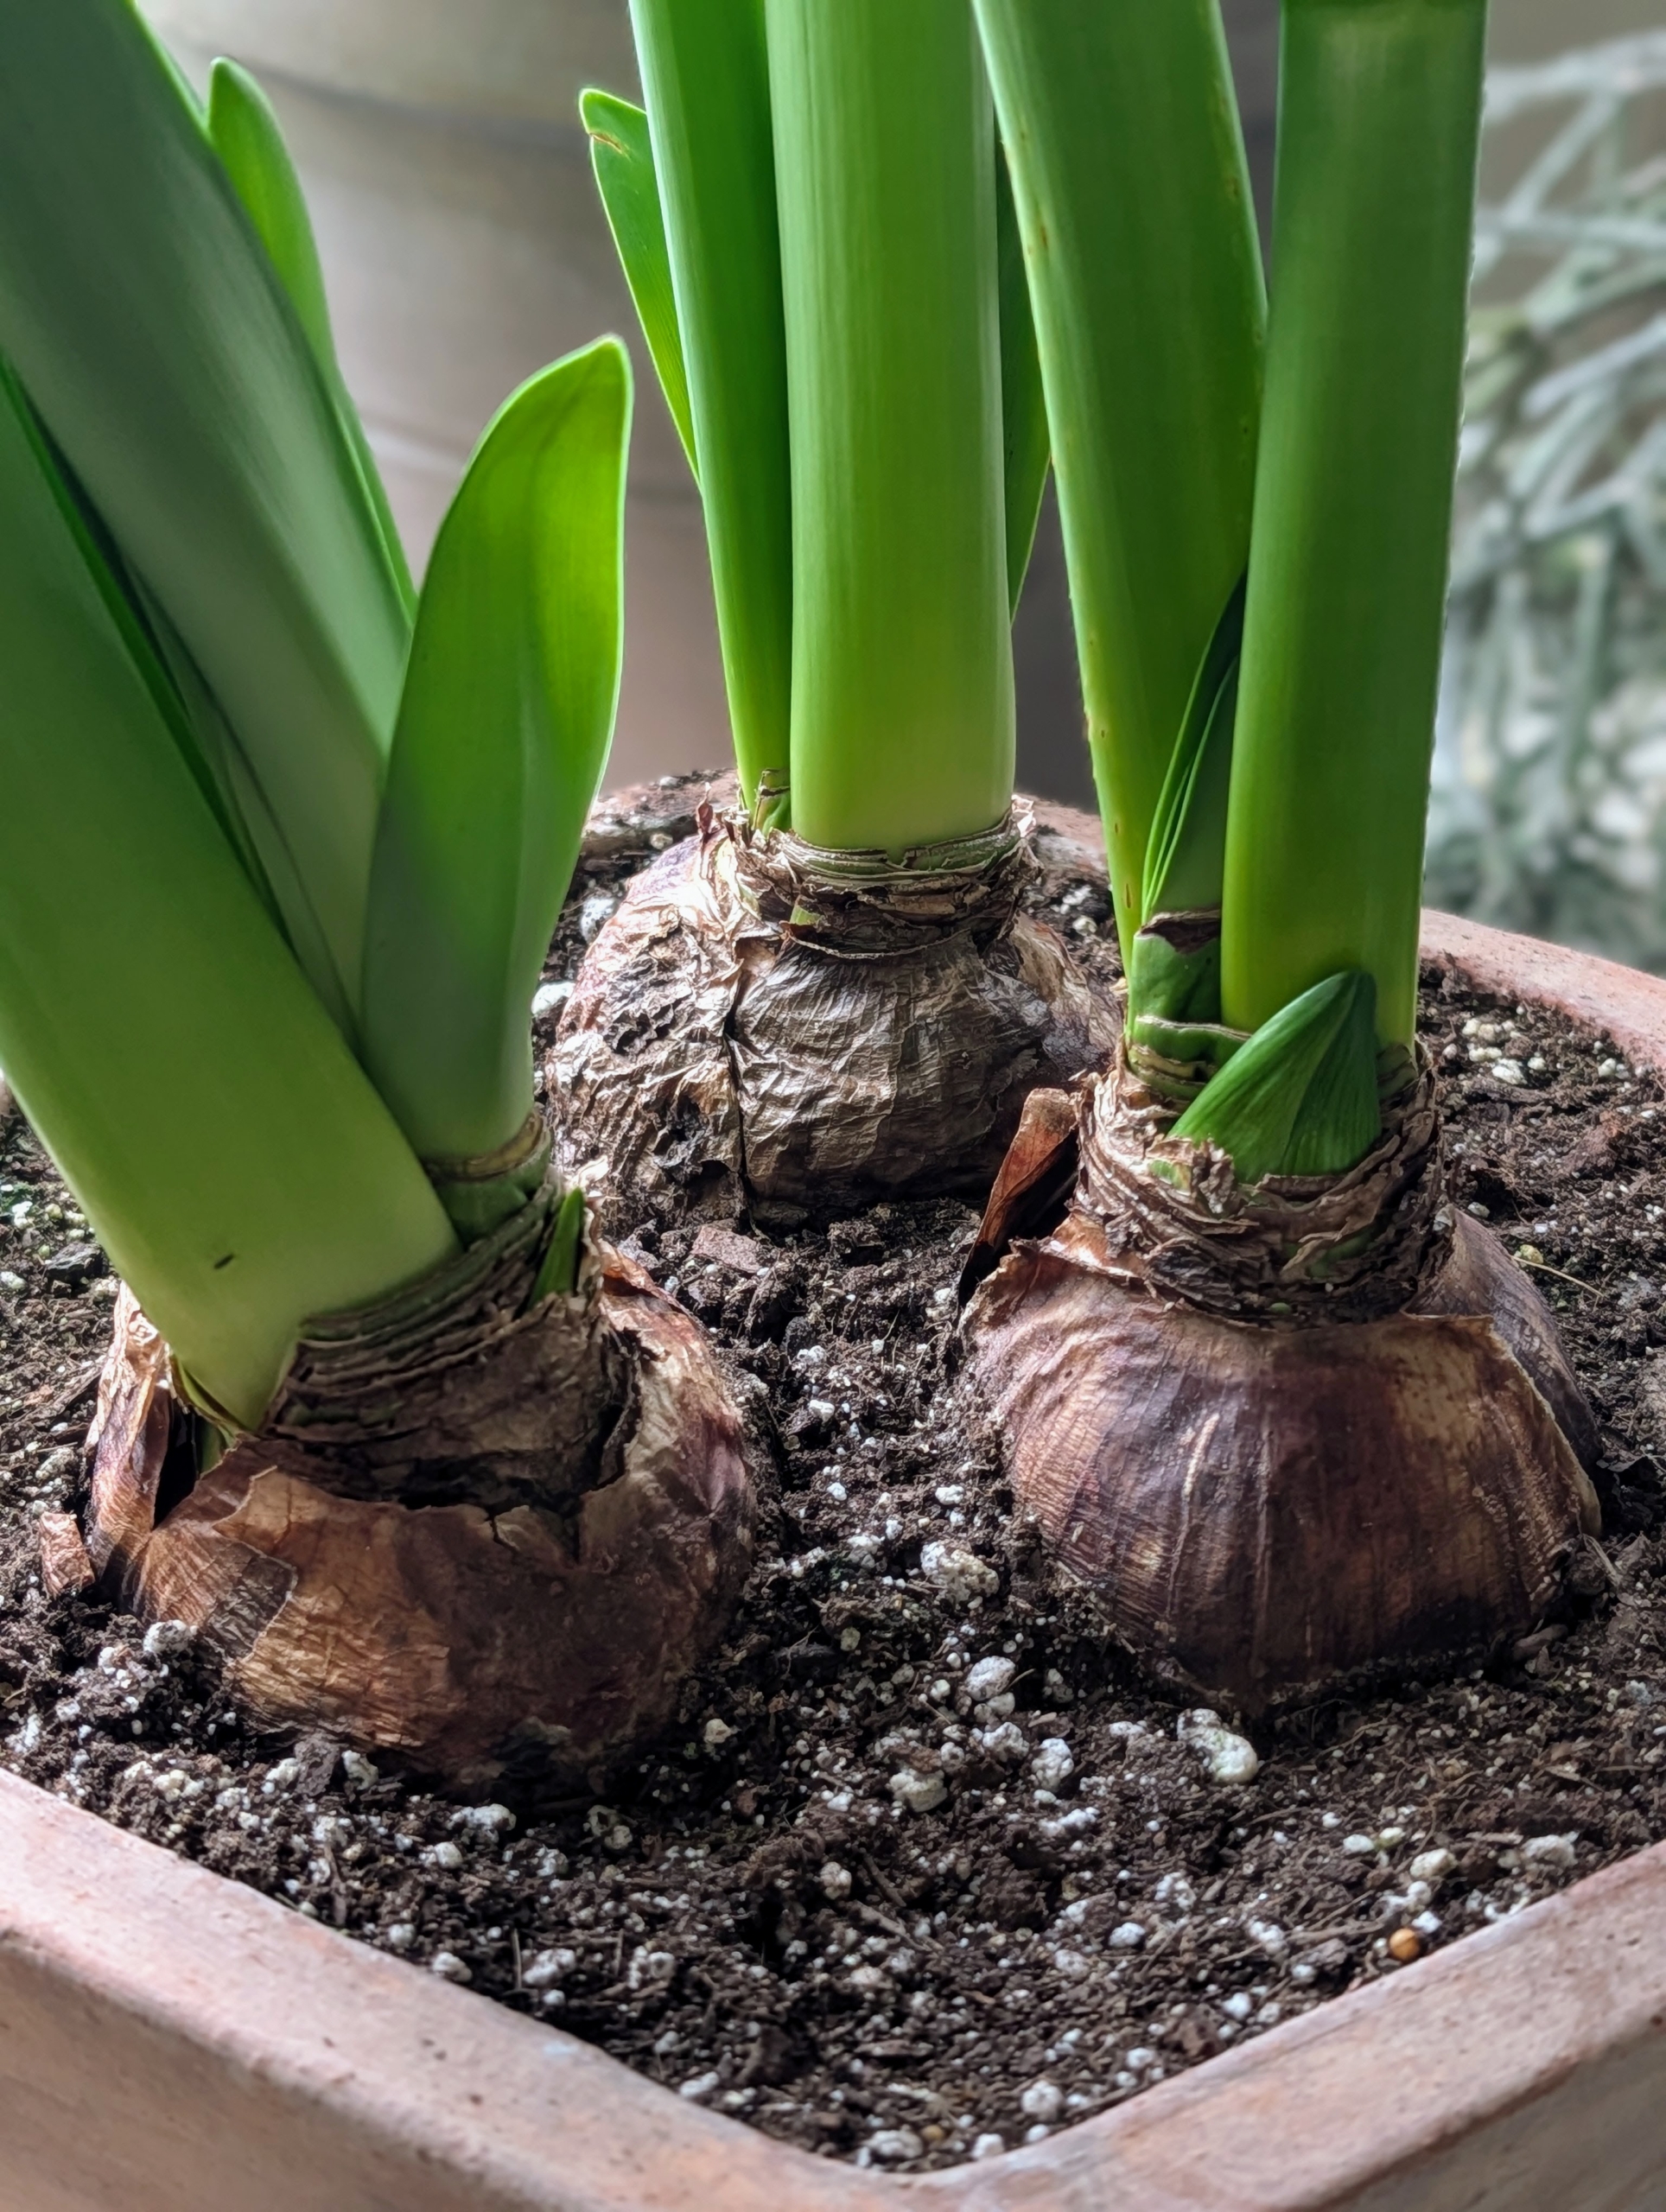
They were forced from these bulbs. Amaryllis bulbs usually measure about three to six inches across. When planting more than one in a container, be sure there is at least an inch between the bulb sides and the rim of the vessel.
Of all flowering bulbs, amaryllis are the easiest to bring to bloom. Amaryllis originated in South Africa and comes in many beautiful varieties. The genus Amaryllis comes from the Greek word amarysso, which means “to sparkle.” Amaryllis flowers range from four to 10 inches in size and can be single or double in form.
While the most popular colors are red and white, flowers may also be pink, salmon, apricot, rose or deep burgundy, and some unique striped varieties.
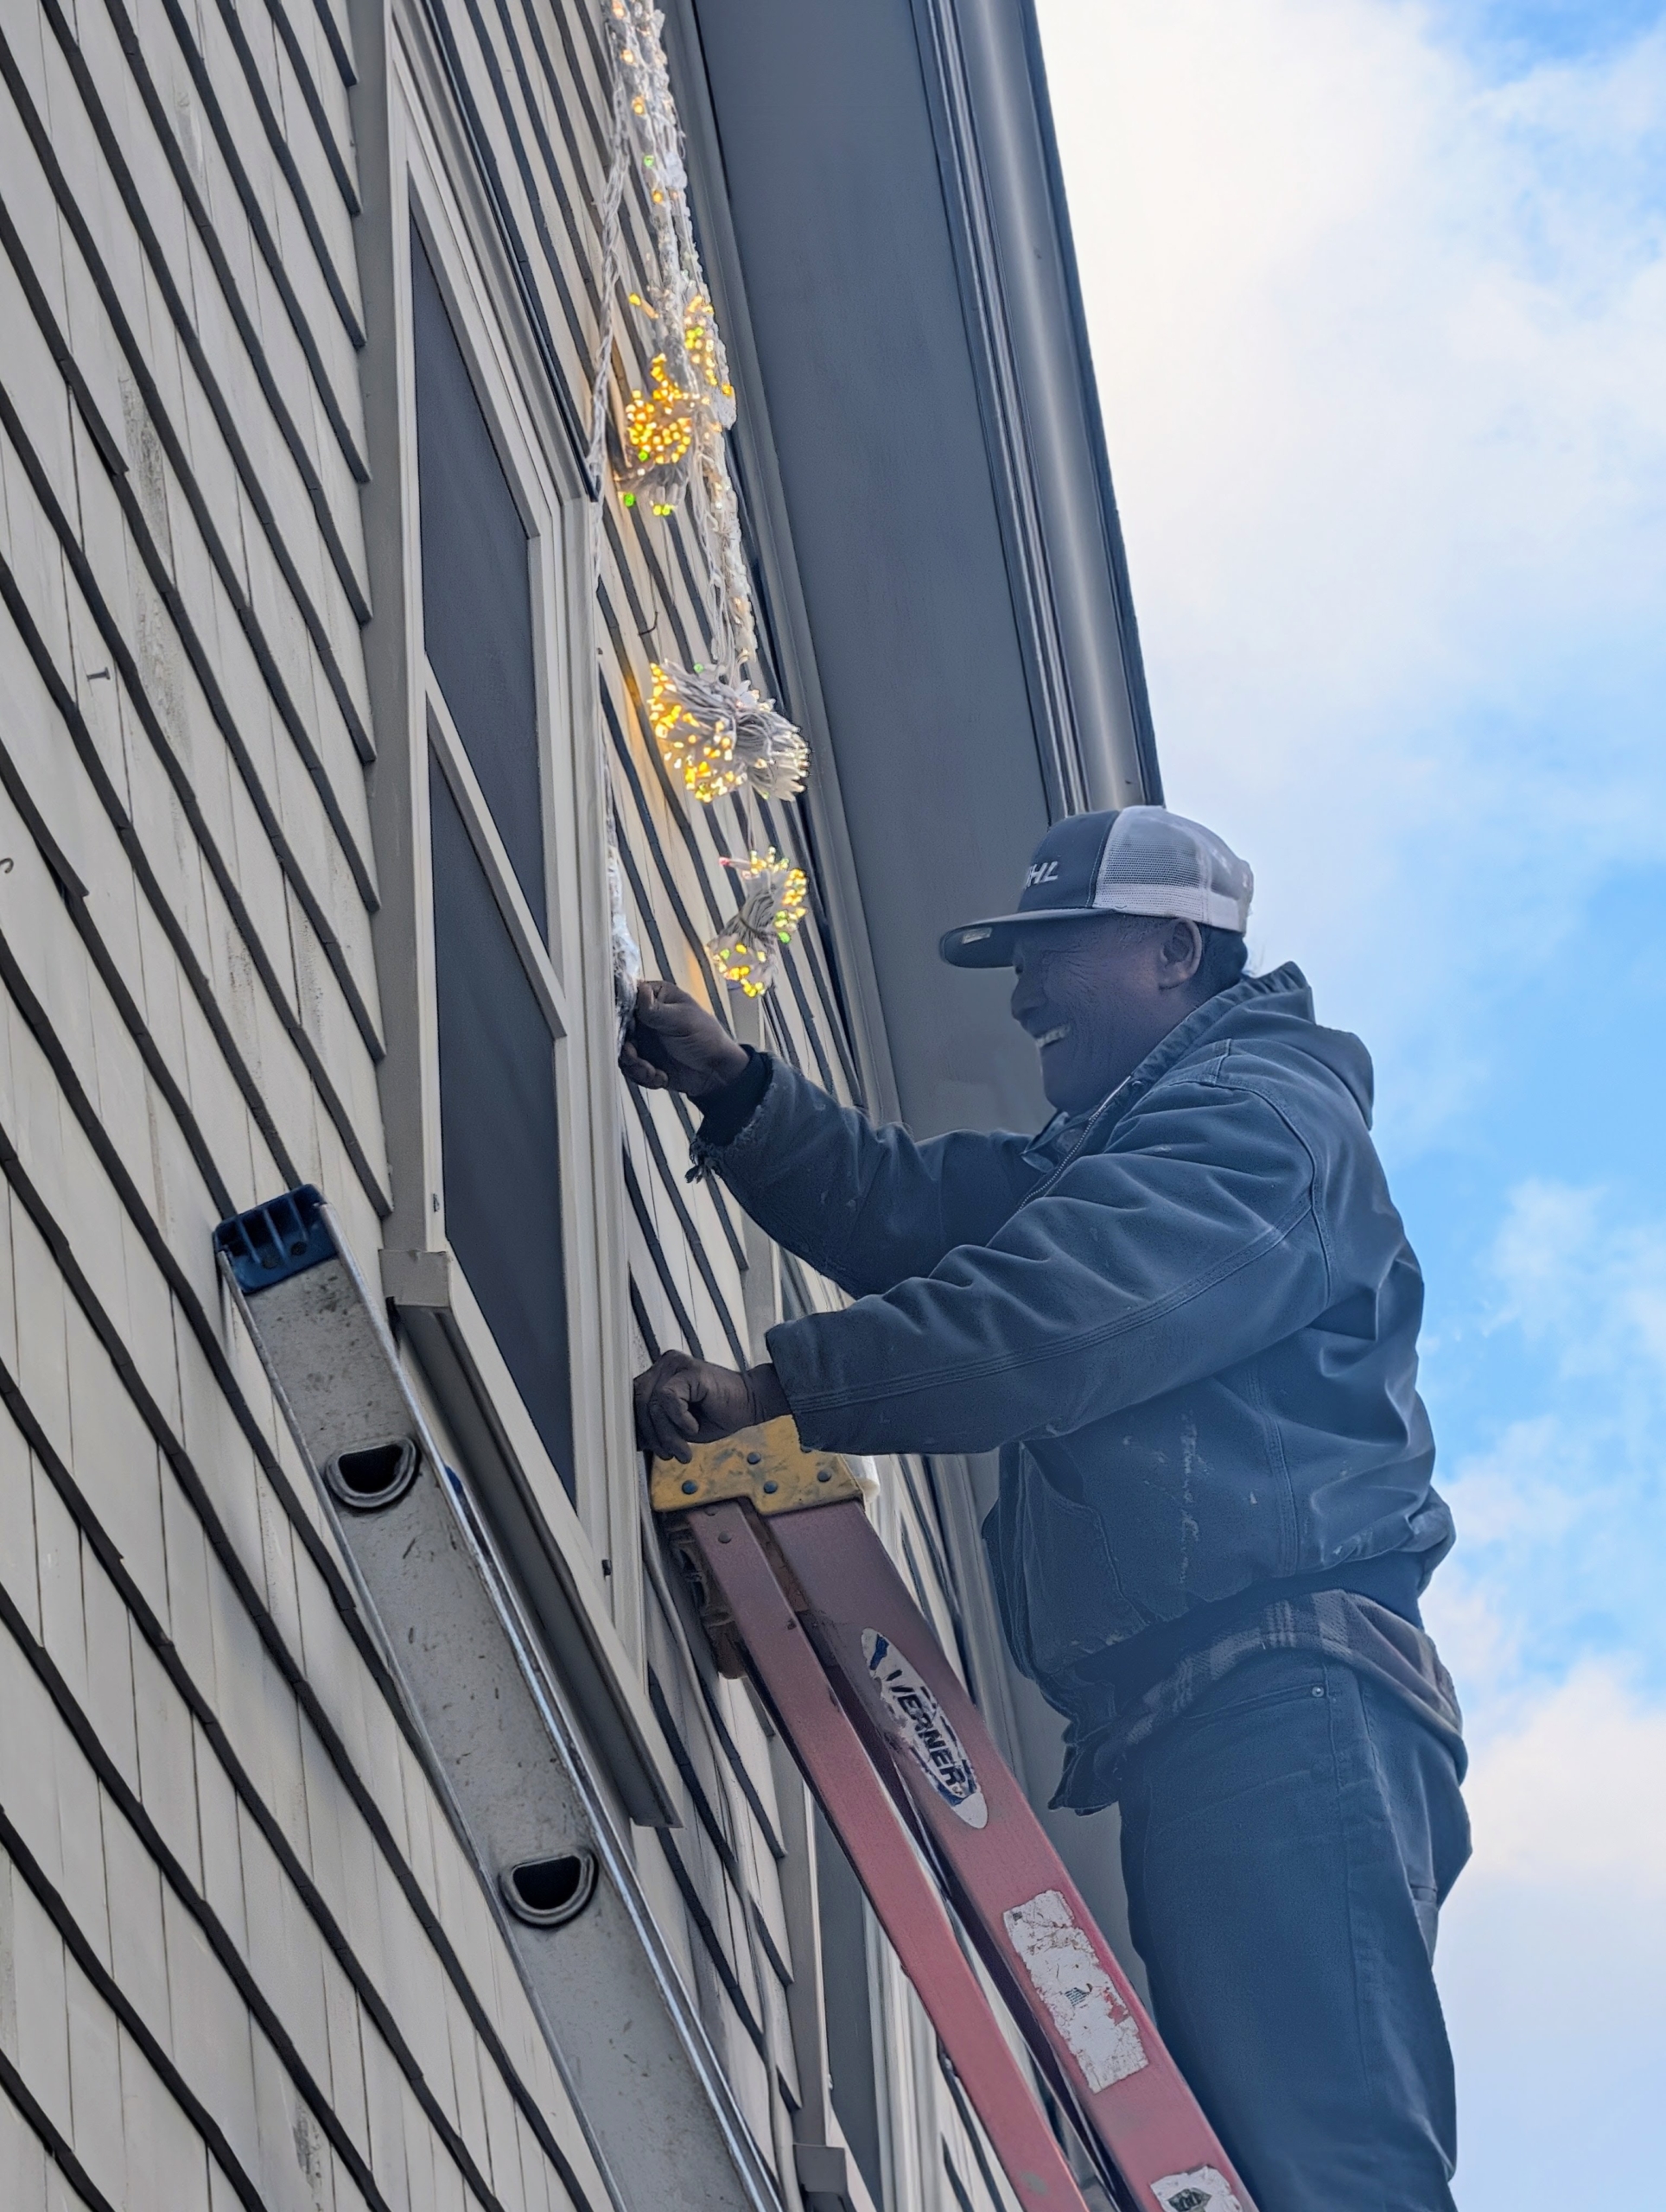
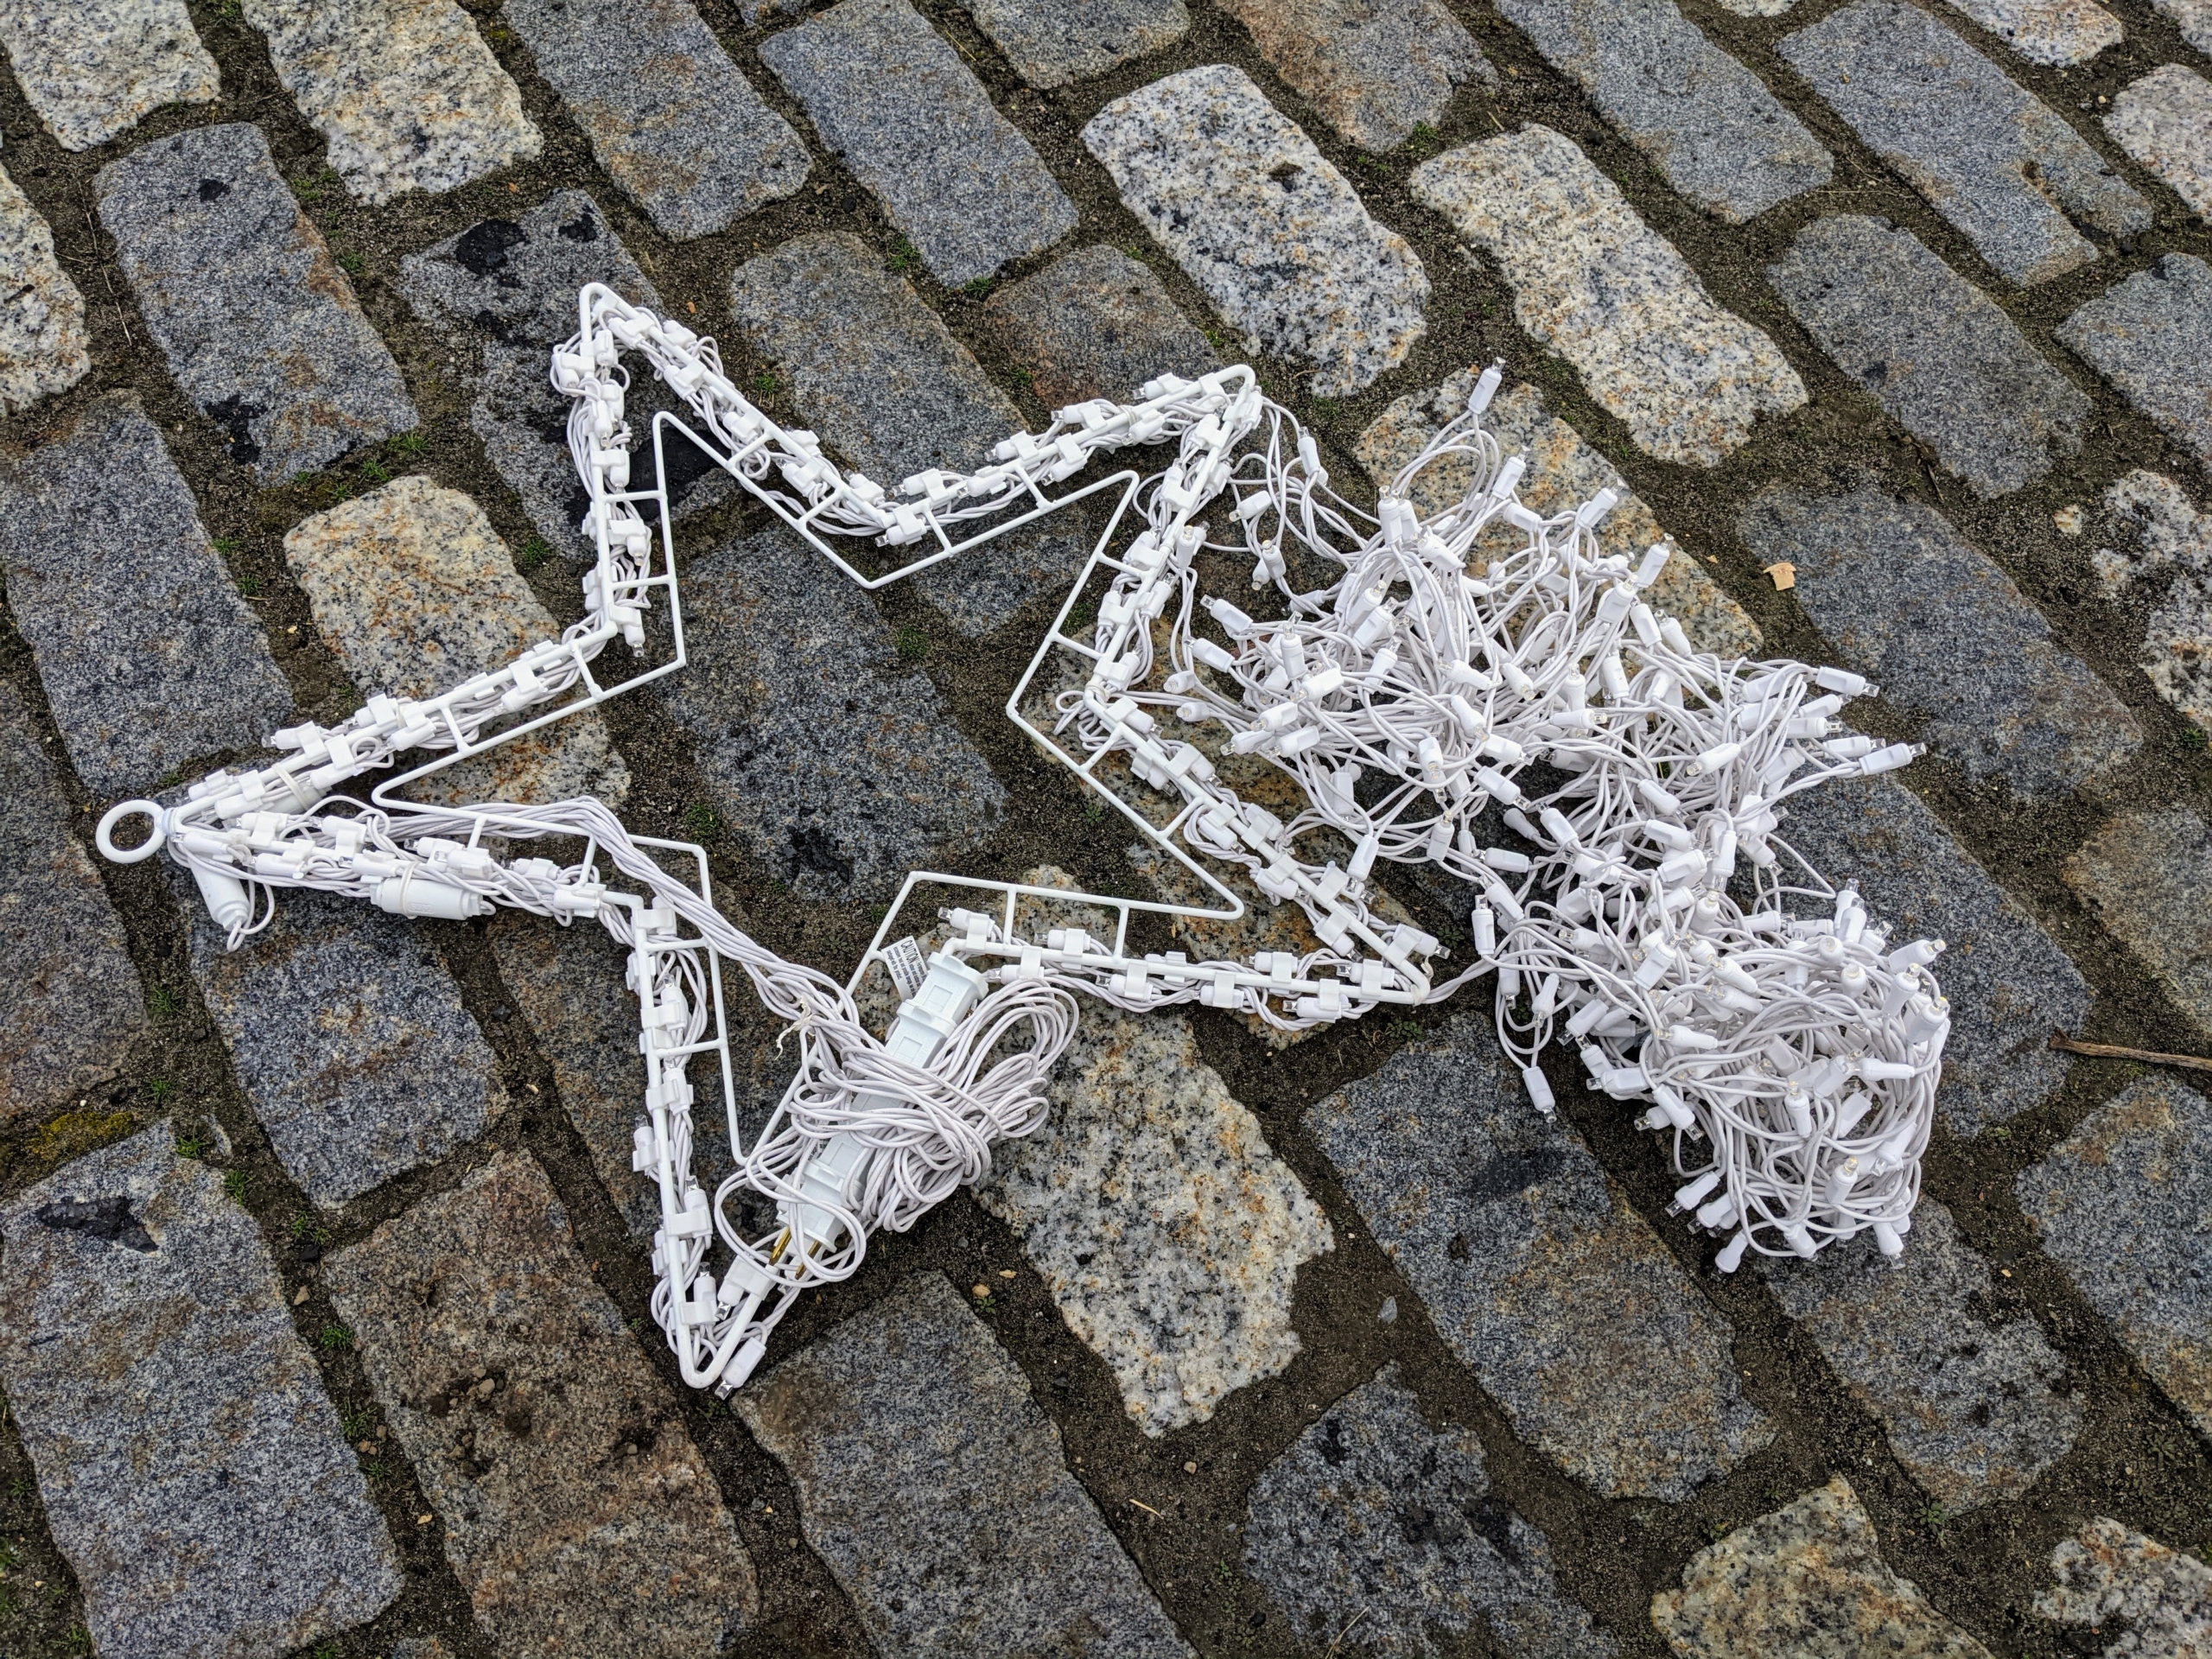
I hang shooting stars on the outside of several buildings every year here at the farm.
Here’s Pete placing one on my Winter House. The shooting stars are hung securely using small nails and screw eyes at various points.
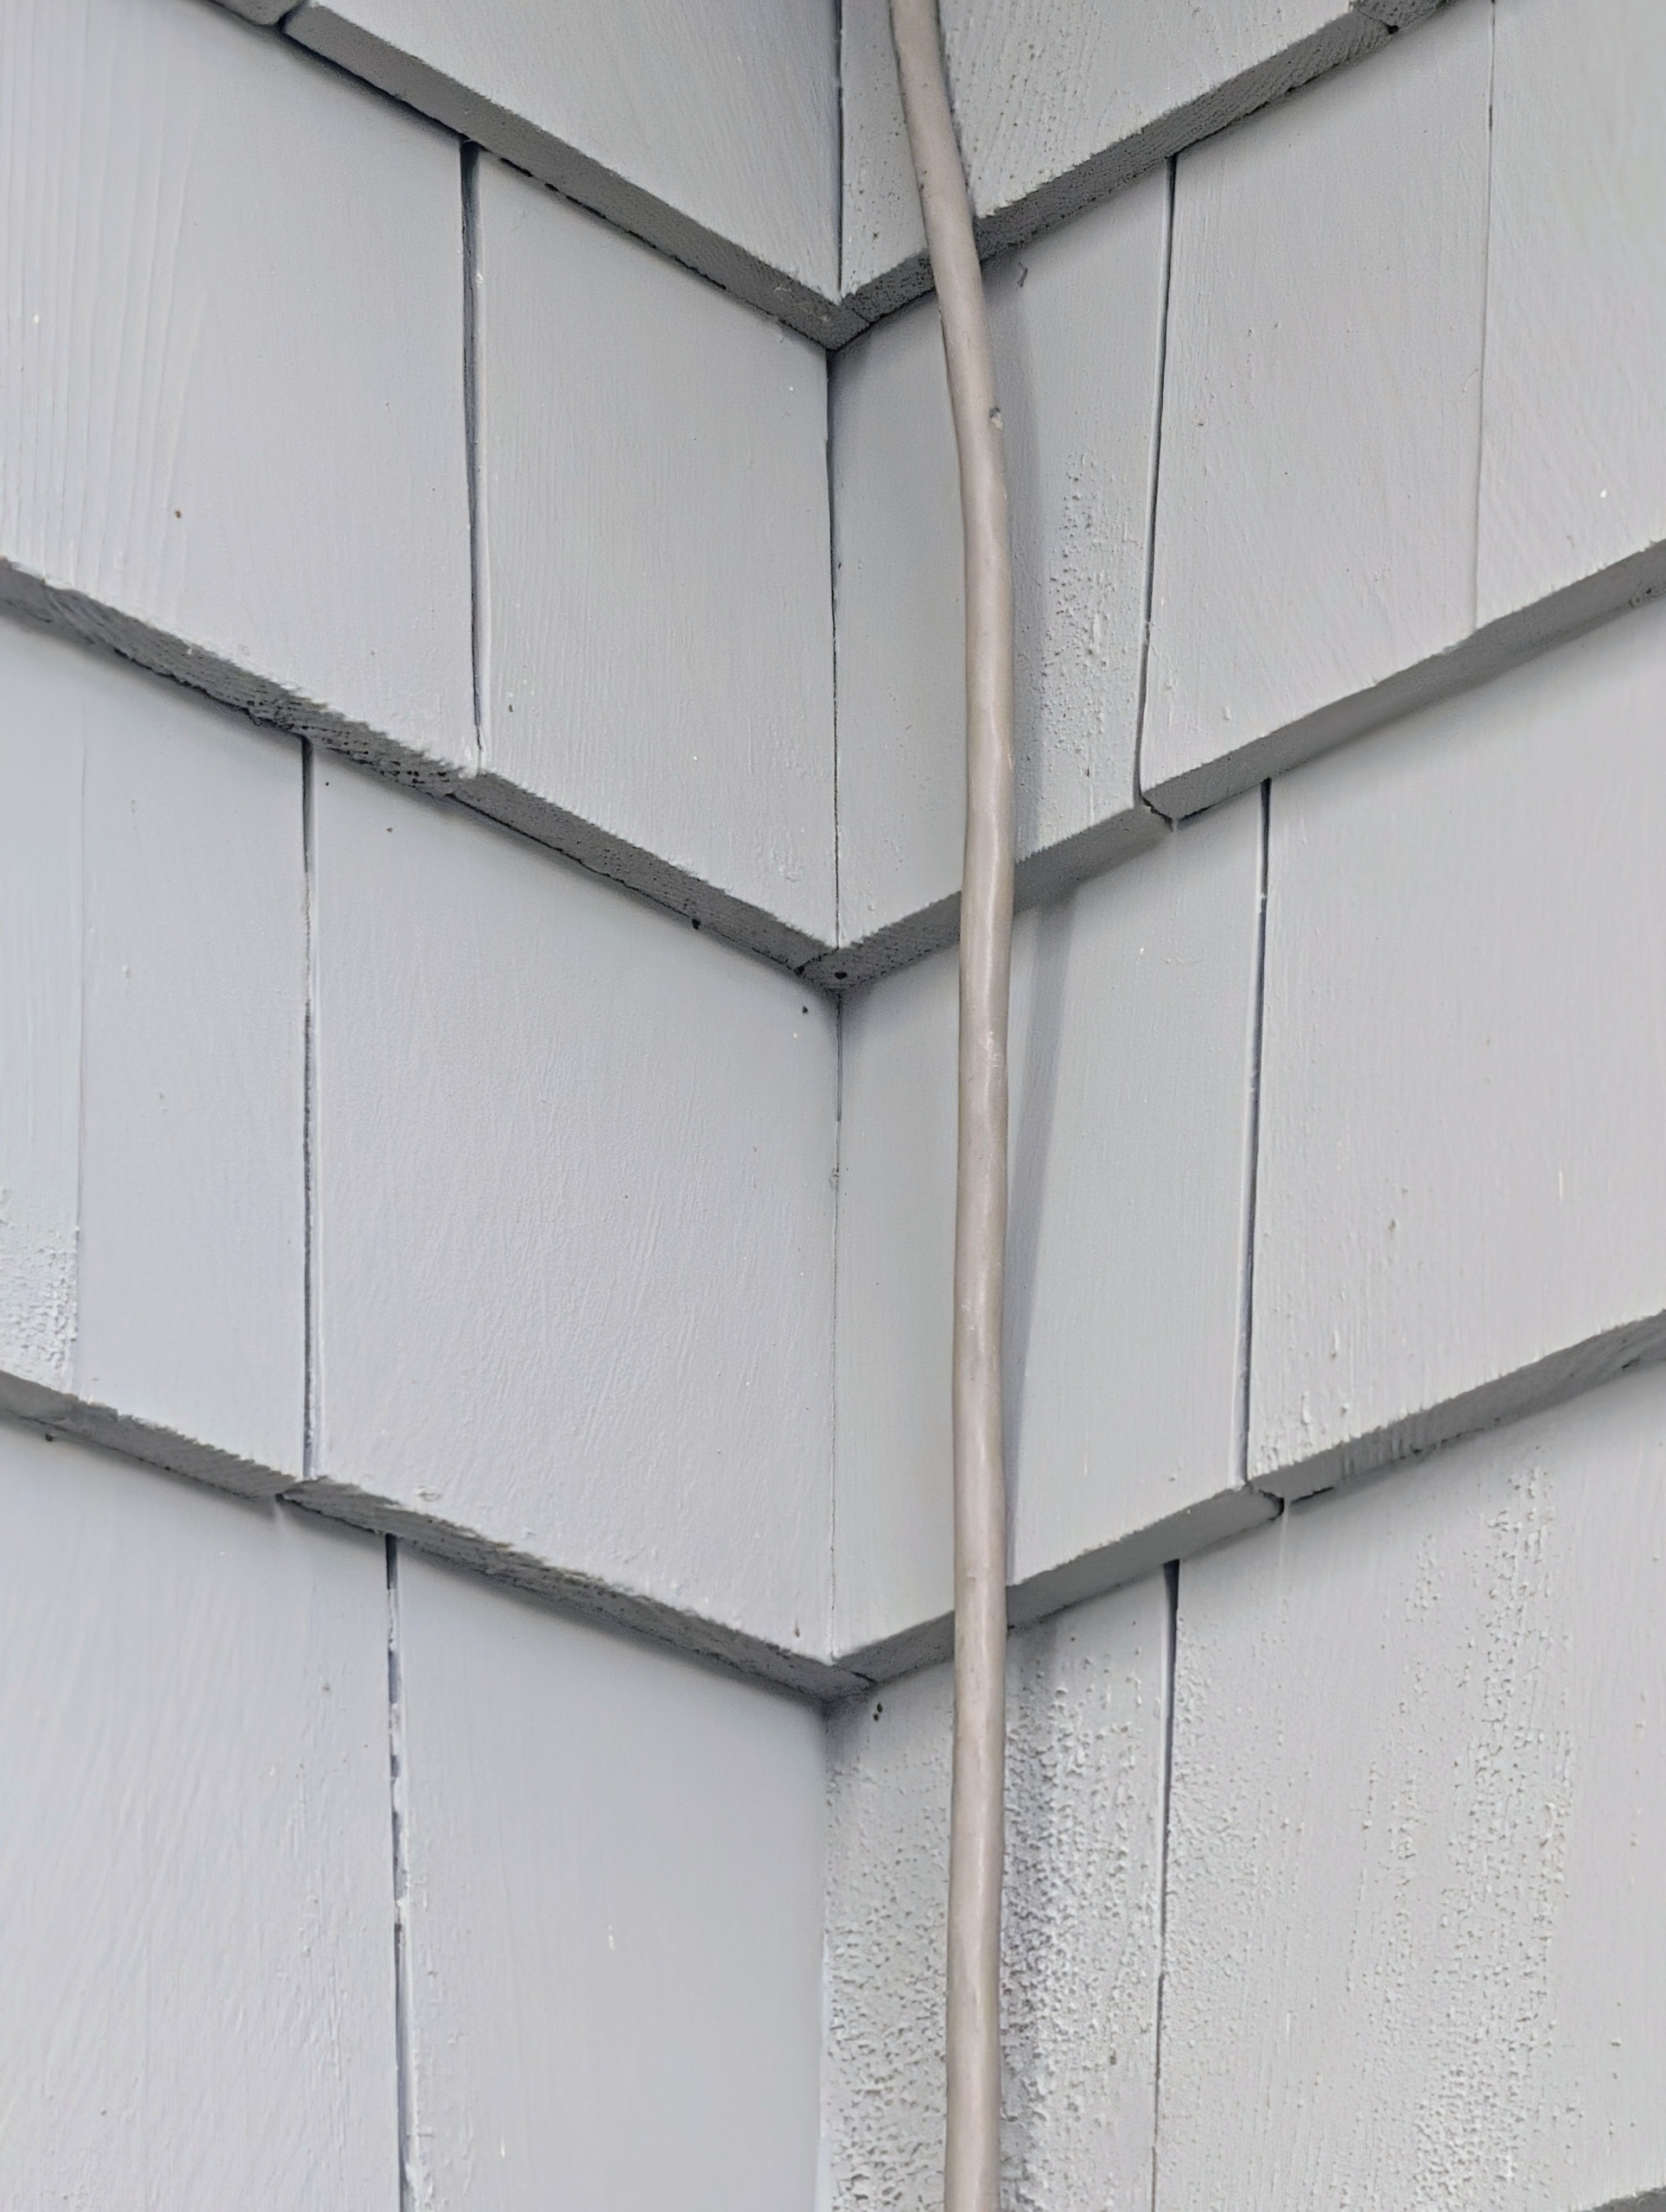
And here’s a tip: when using extension cords to connect outdoor decorations, use supplies that match the exterior of the building. I use grayish-tan extension cords, so they are not seen against the siding. They can also be painted to match. And be certain any electrical supplies are safe to use outdoors.
Pete and Fernando are experts at this task – they hang the stars every year. Once the star is placed, Pete separates the taillights, so they swoop properly and are all equally spaced across the front of the building. Here’s a shooting star on the outside of my studio.
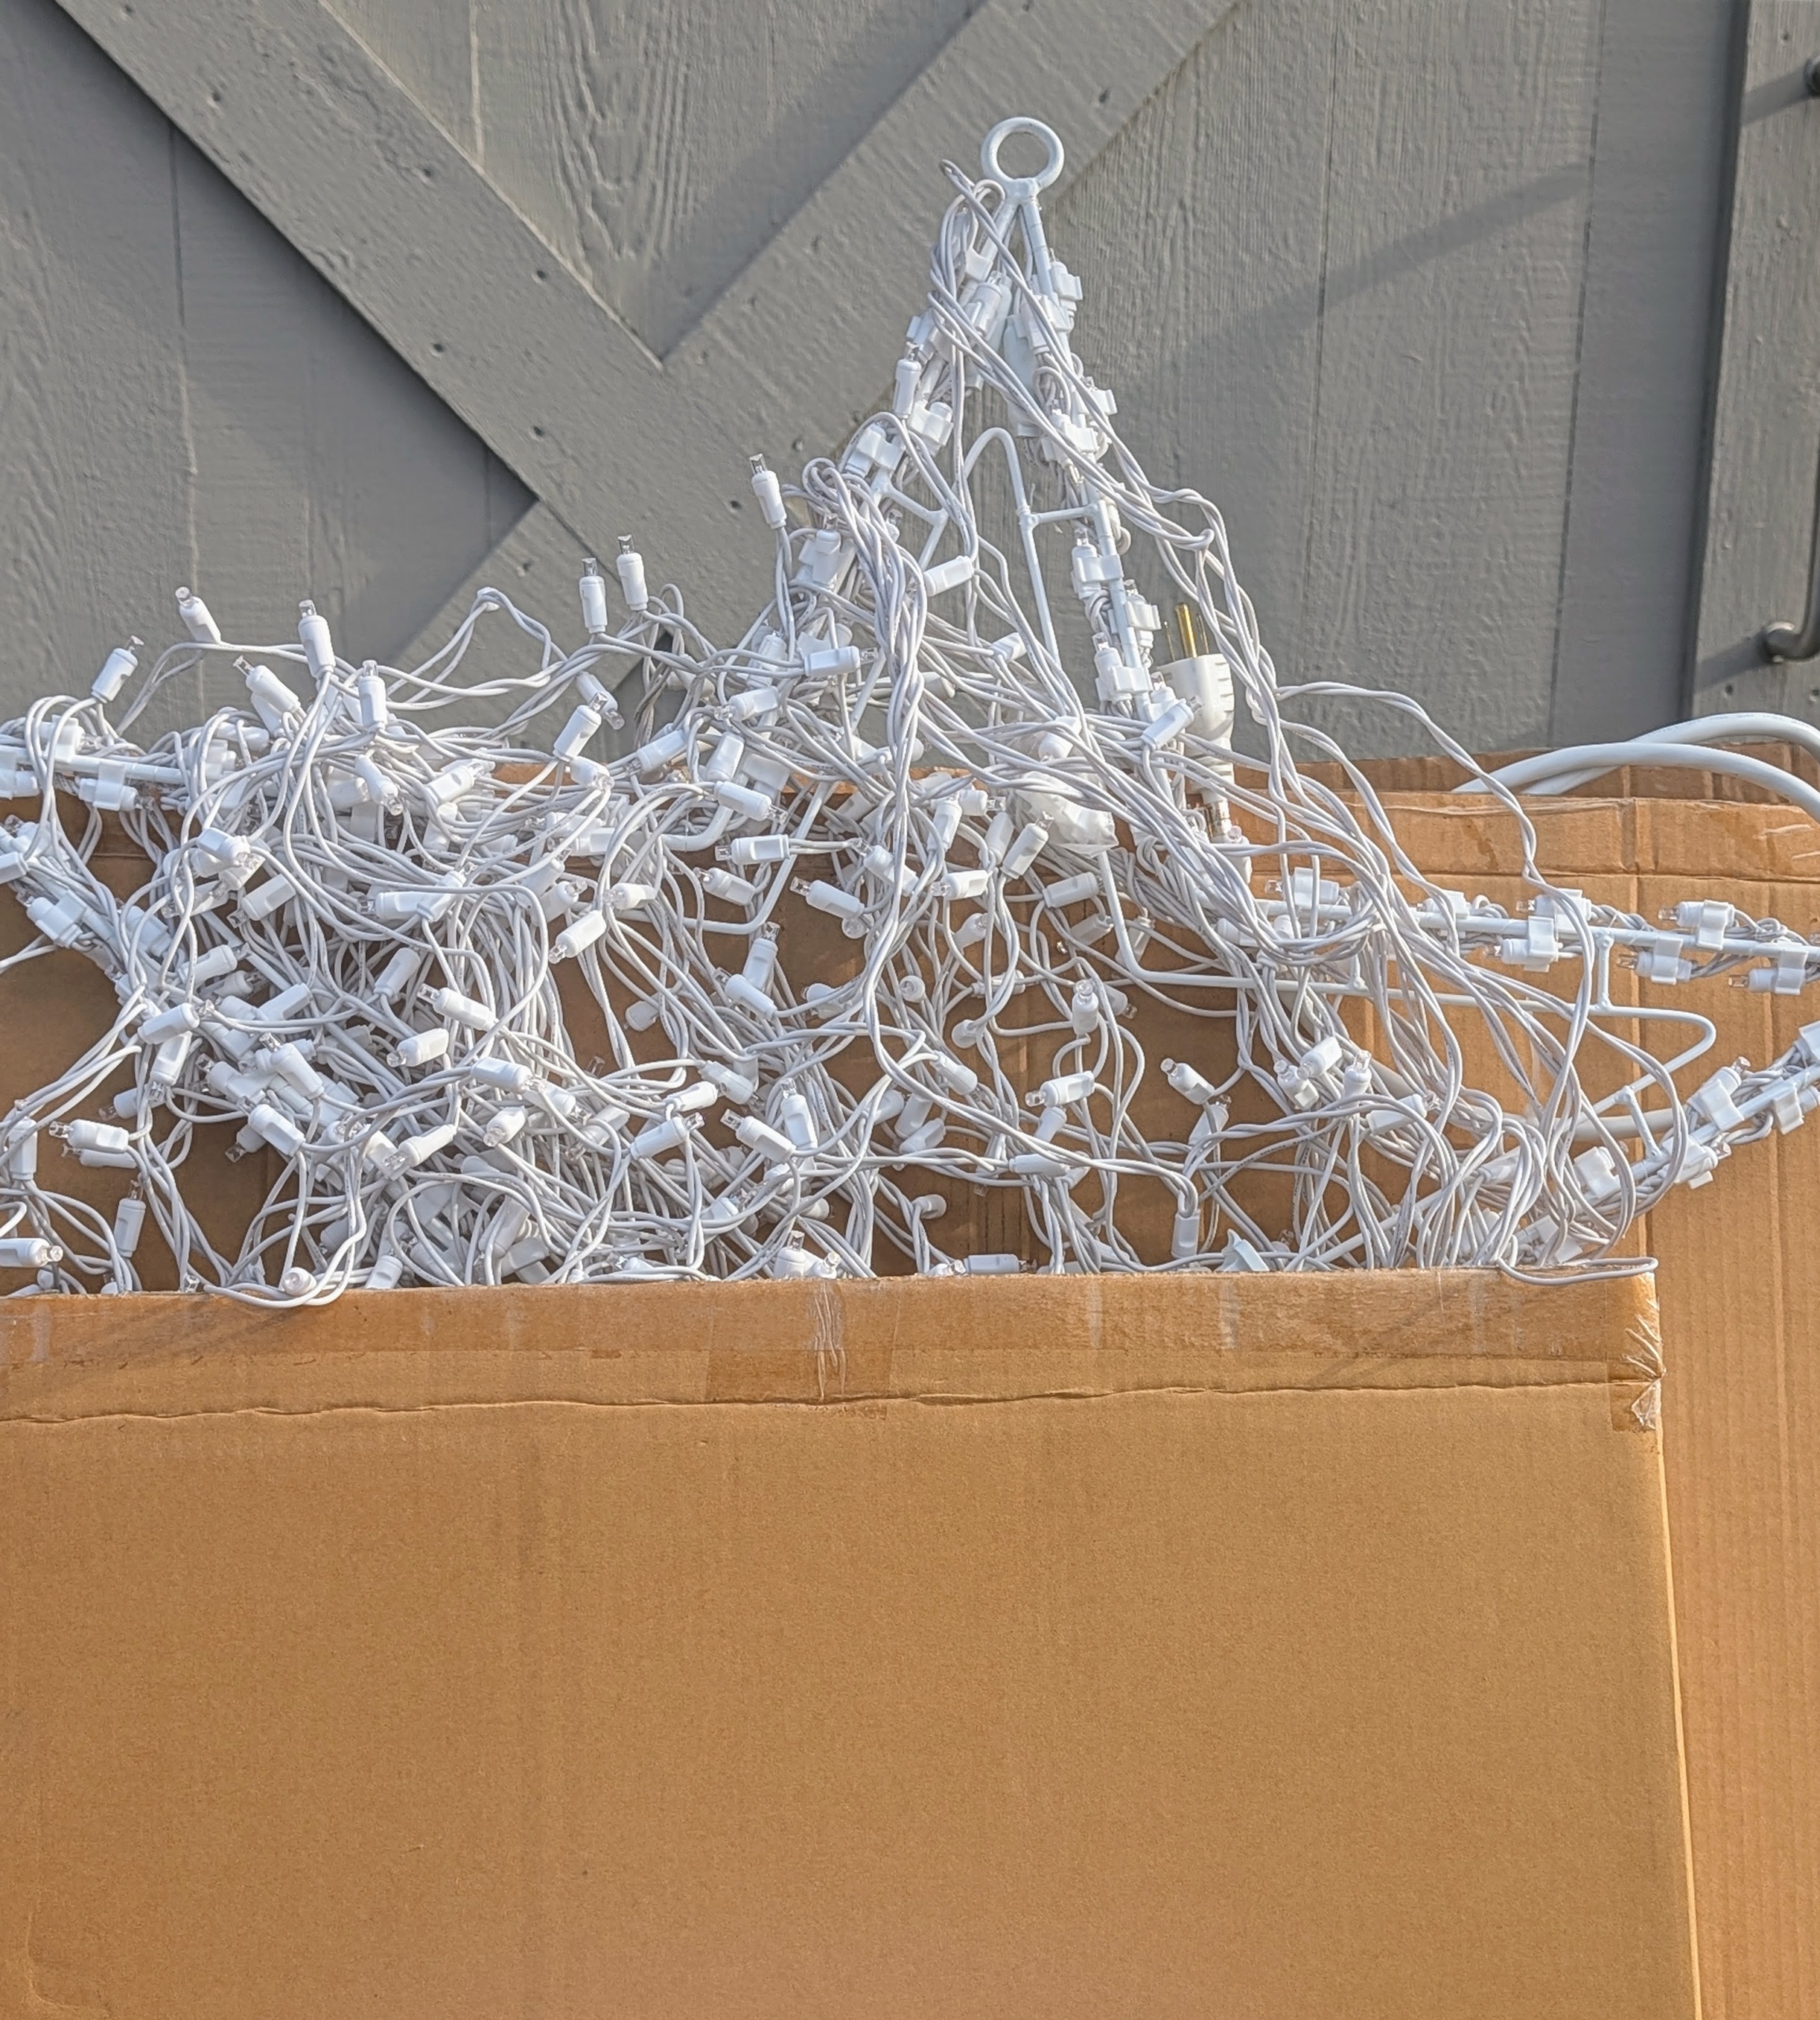
Before putting any lights up inside or out, be sure to check that all of them are working.
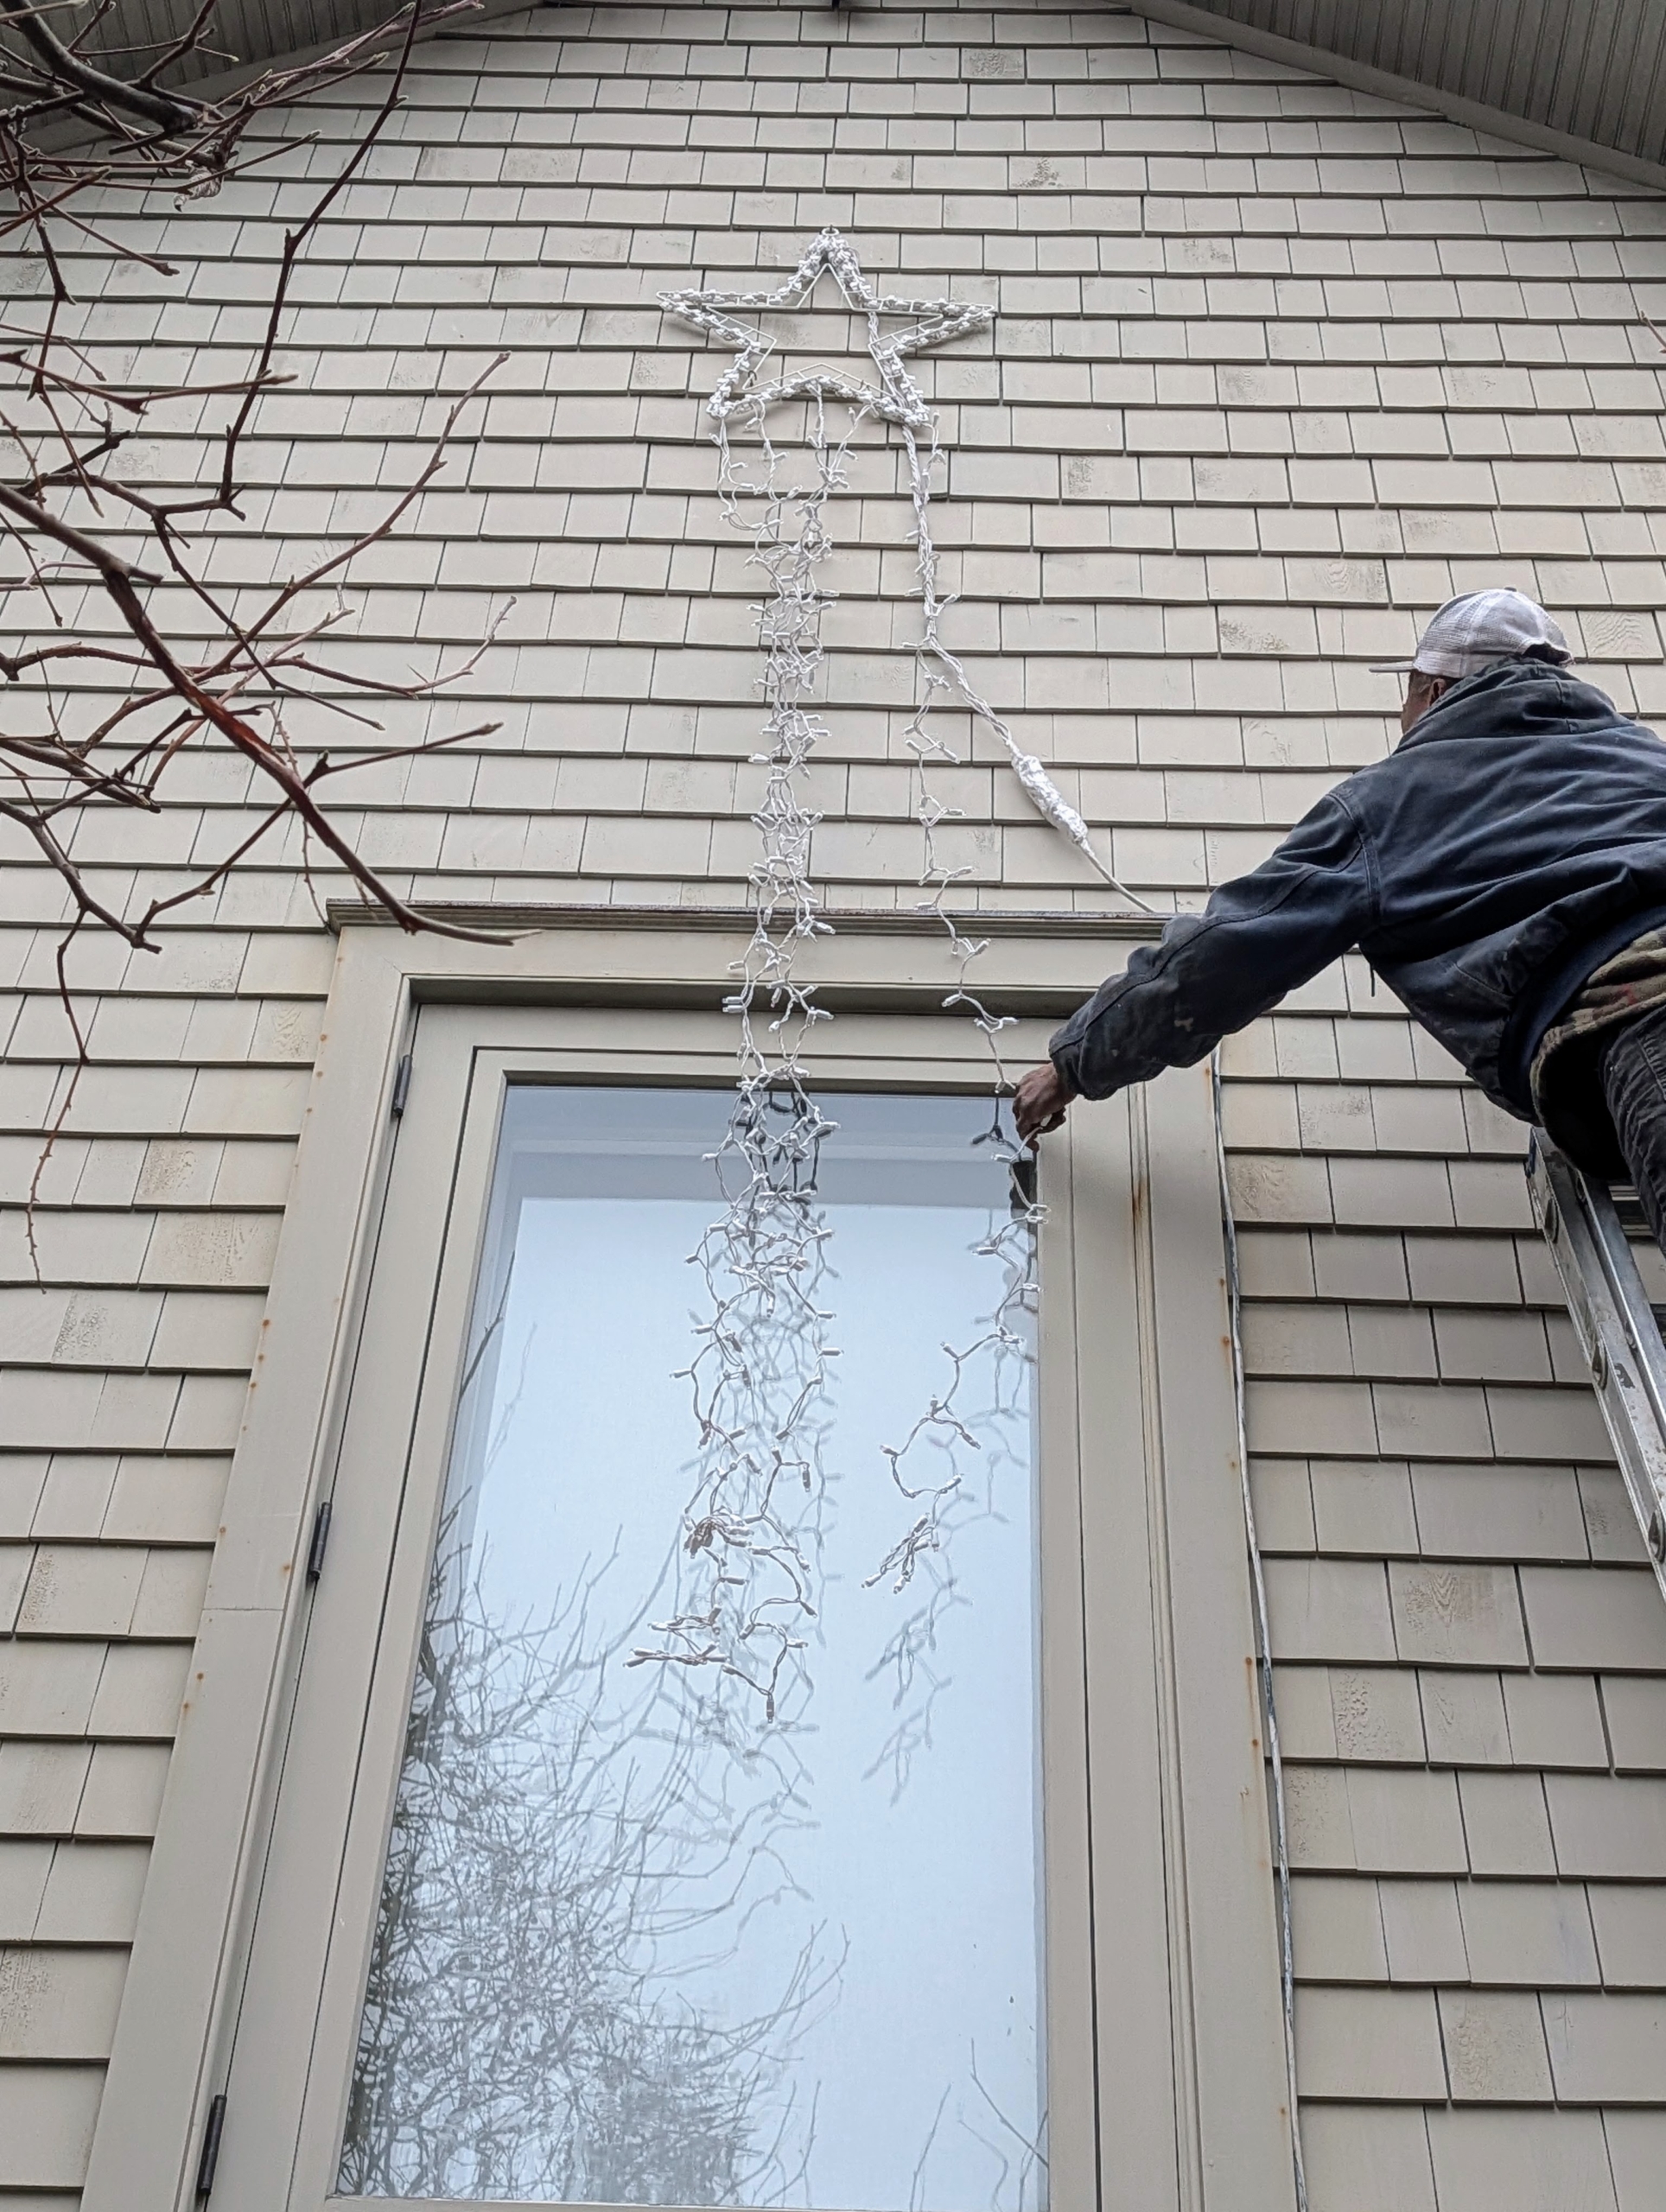
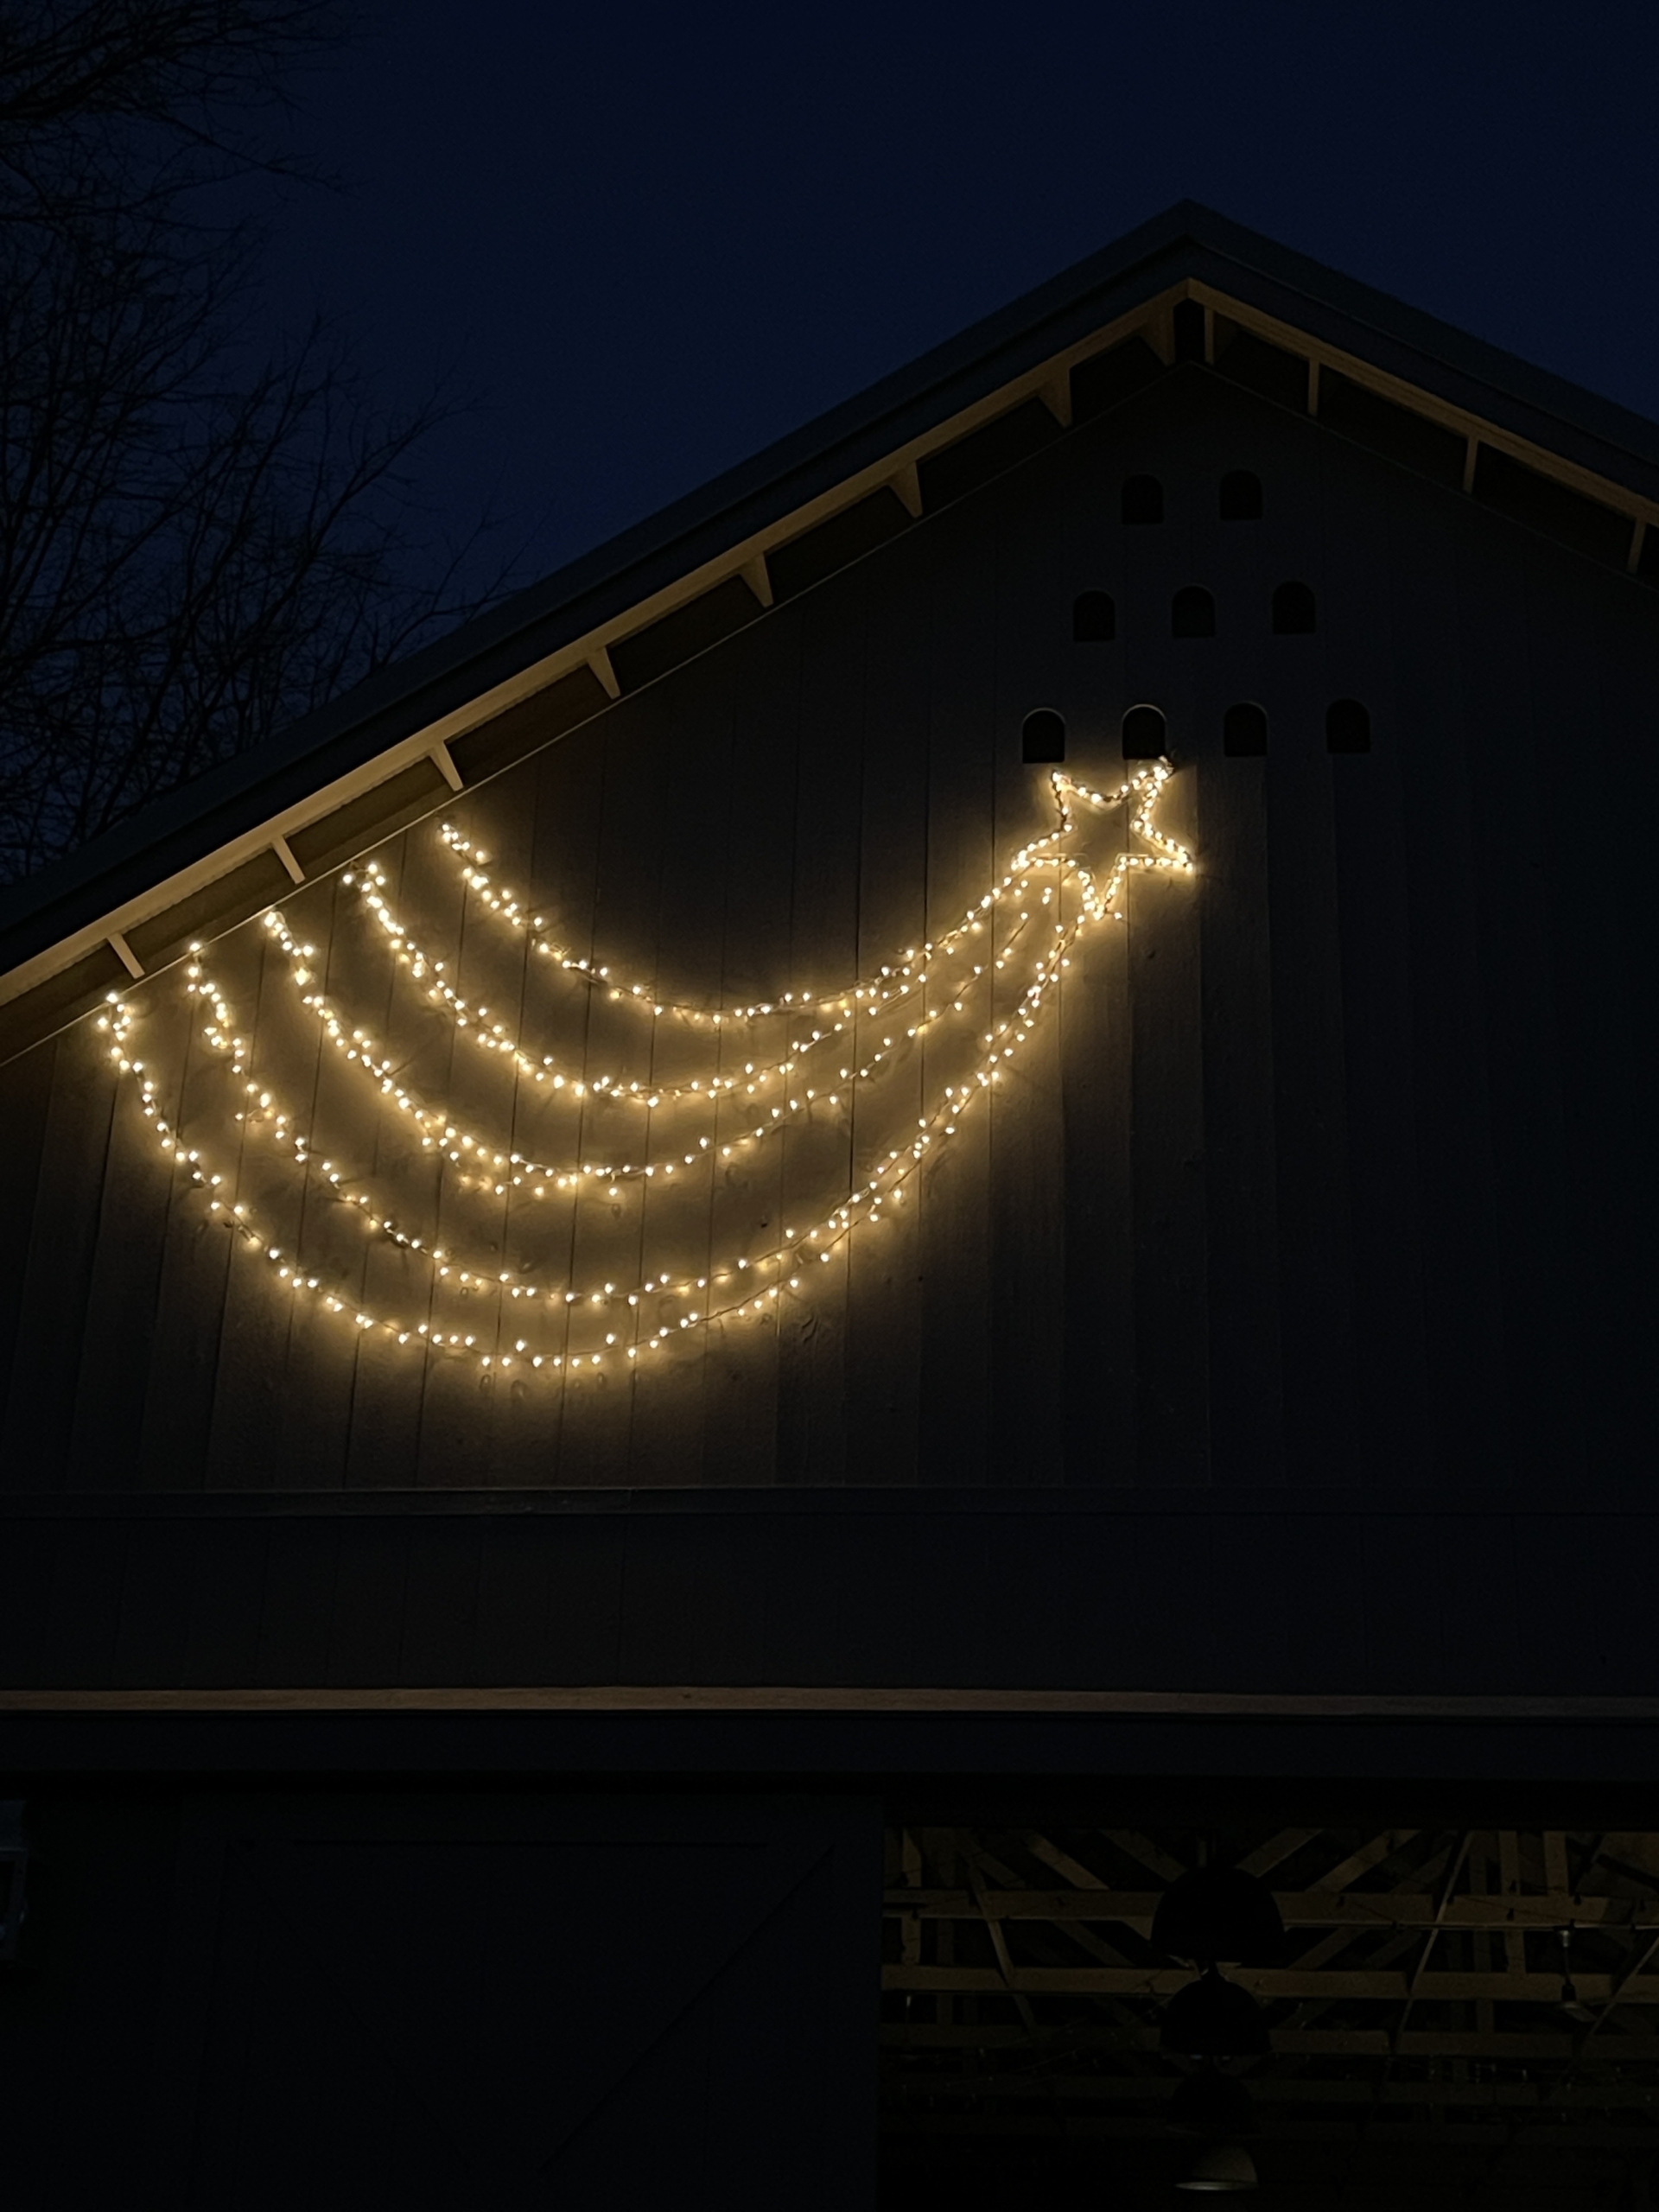
Pete is putting this star above my stable. I always hang a star on the side of the stable facing my Winter House, so I can see it from my bedroom window.
This shooting star is hung above the sliding doors of my Equipment Barn.
And look, once night falls, the stars shine so brightly. Do you know what a true shooting star is? A shooting star is actually a small piece of rock or dust that hits Earth’s atmosphere from space. It moves so fast that it heats up and glows as it moves through the skies. Astronomers call them meteors. Most meteors burn up before they even reach the ground. Happy holiday decorating!