It's beginning to look a lot like Christmas and everyone here at my Bedford, New York farm is getting into the holiday spirit.
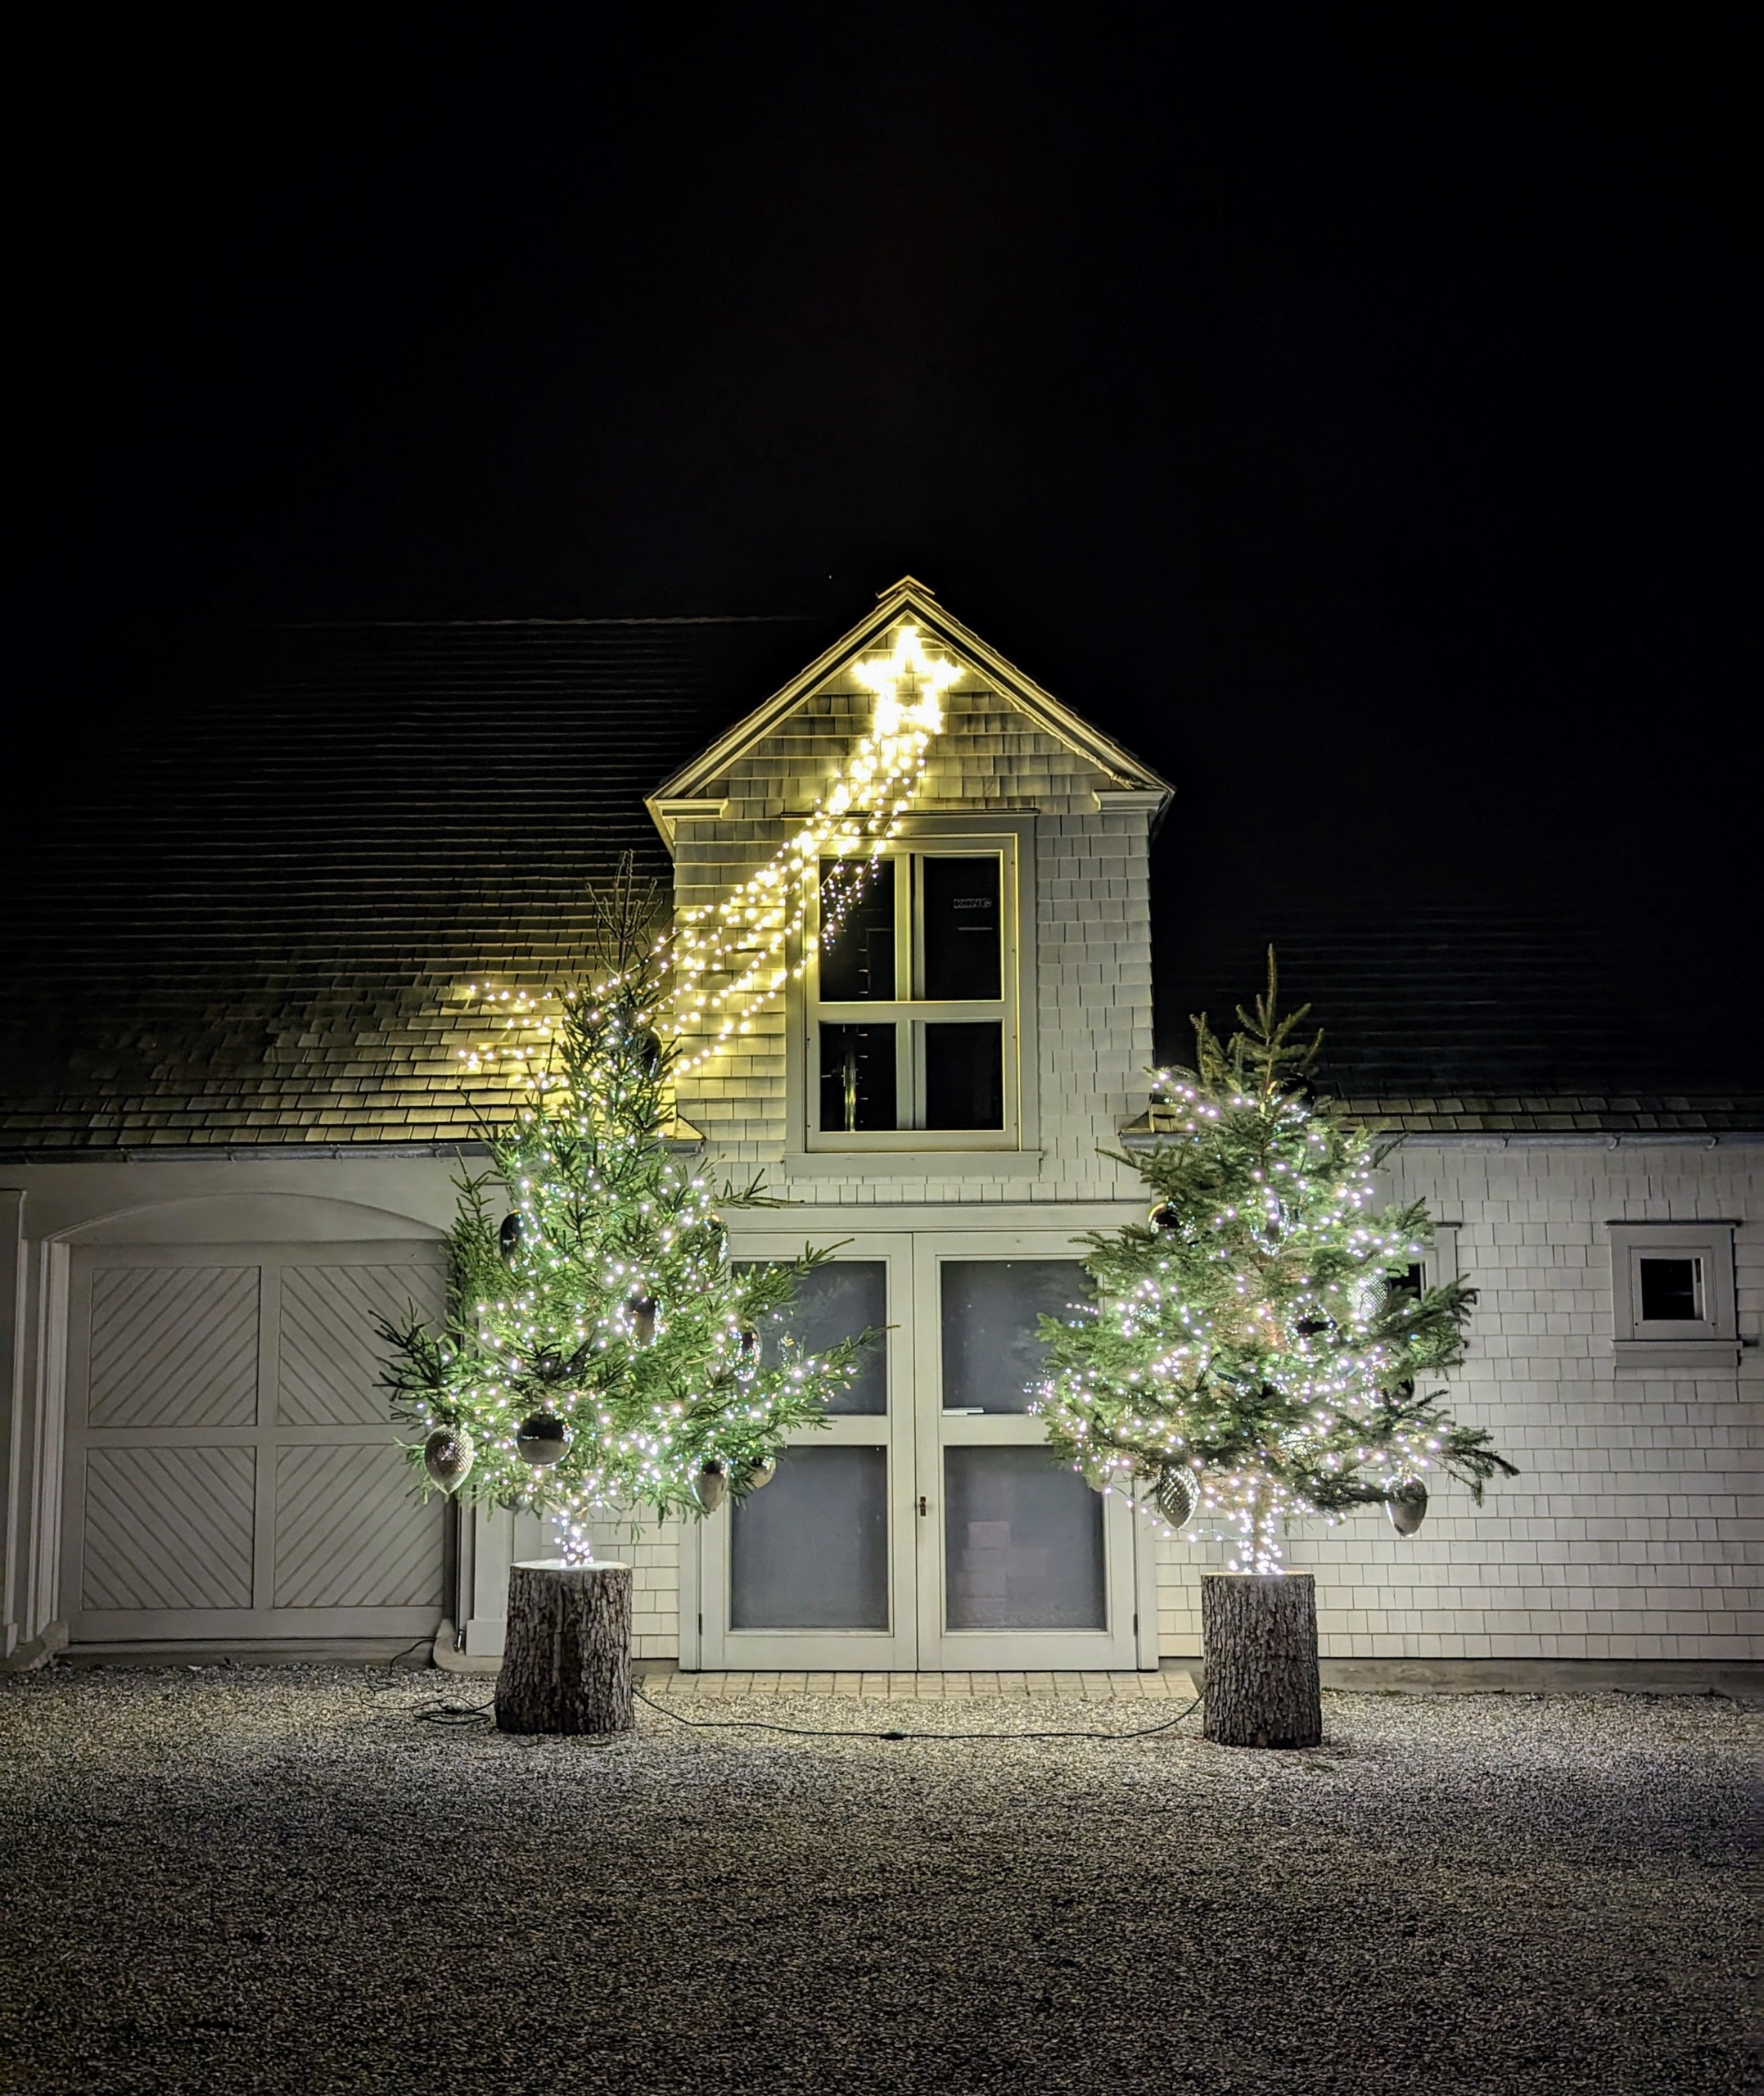
I just love how my home looks during the Christmas season - adorned with festive lights and ornaments inside and out. This year, I put up shooting stars on several of the outbuildings and decorated my front entrance with two beautiful evergreen trees, lots of bright lights, and giant silvered-glass kugels from my old Martha by Mail Collection.
Enjoy these photos.
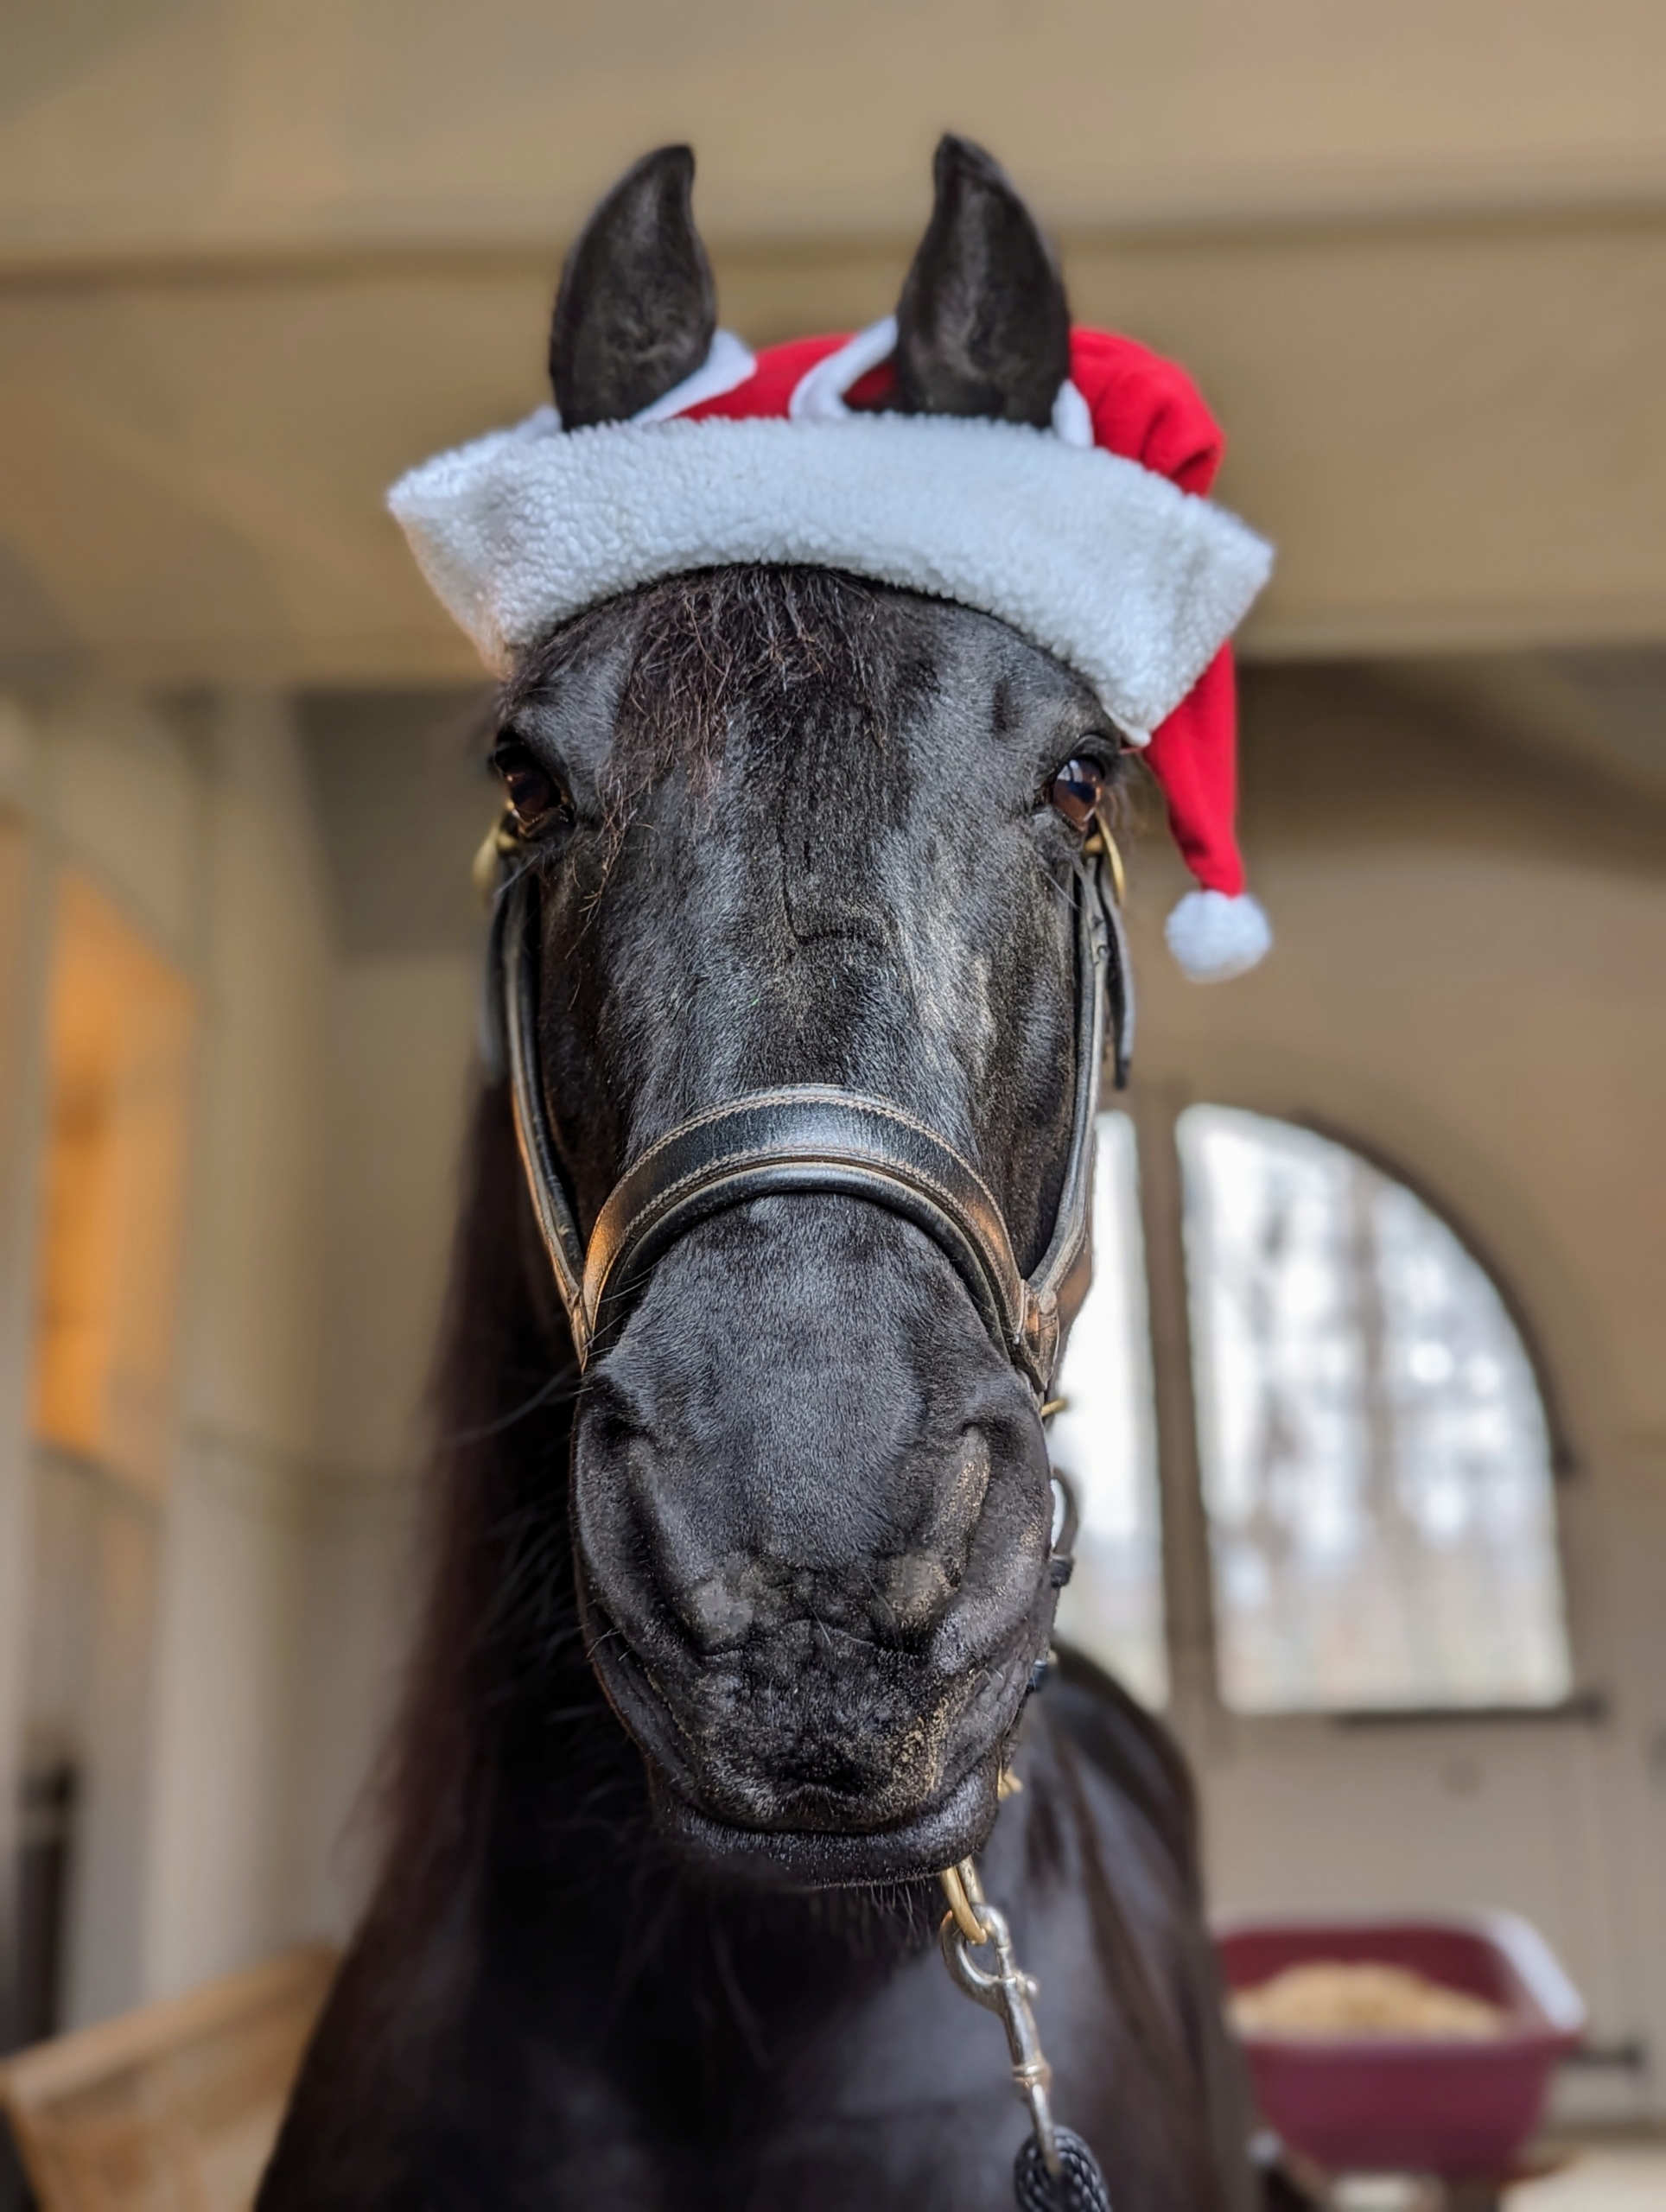
Even the horses are decked out in holiday hats. Here’s Bond, one of four handsome Friesians here at Cantitoe Corners. The Friesian Horse originated in Holland, where it was put to work in the fields. Nowadays, Friesians are used in dressage competitions and as carriage horses because they are so handsome and nimble. I love these stately equines and find them to be gentle and responsive.
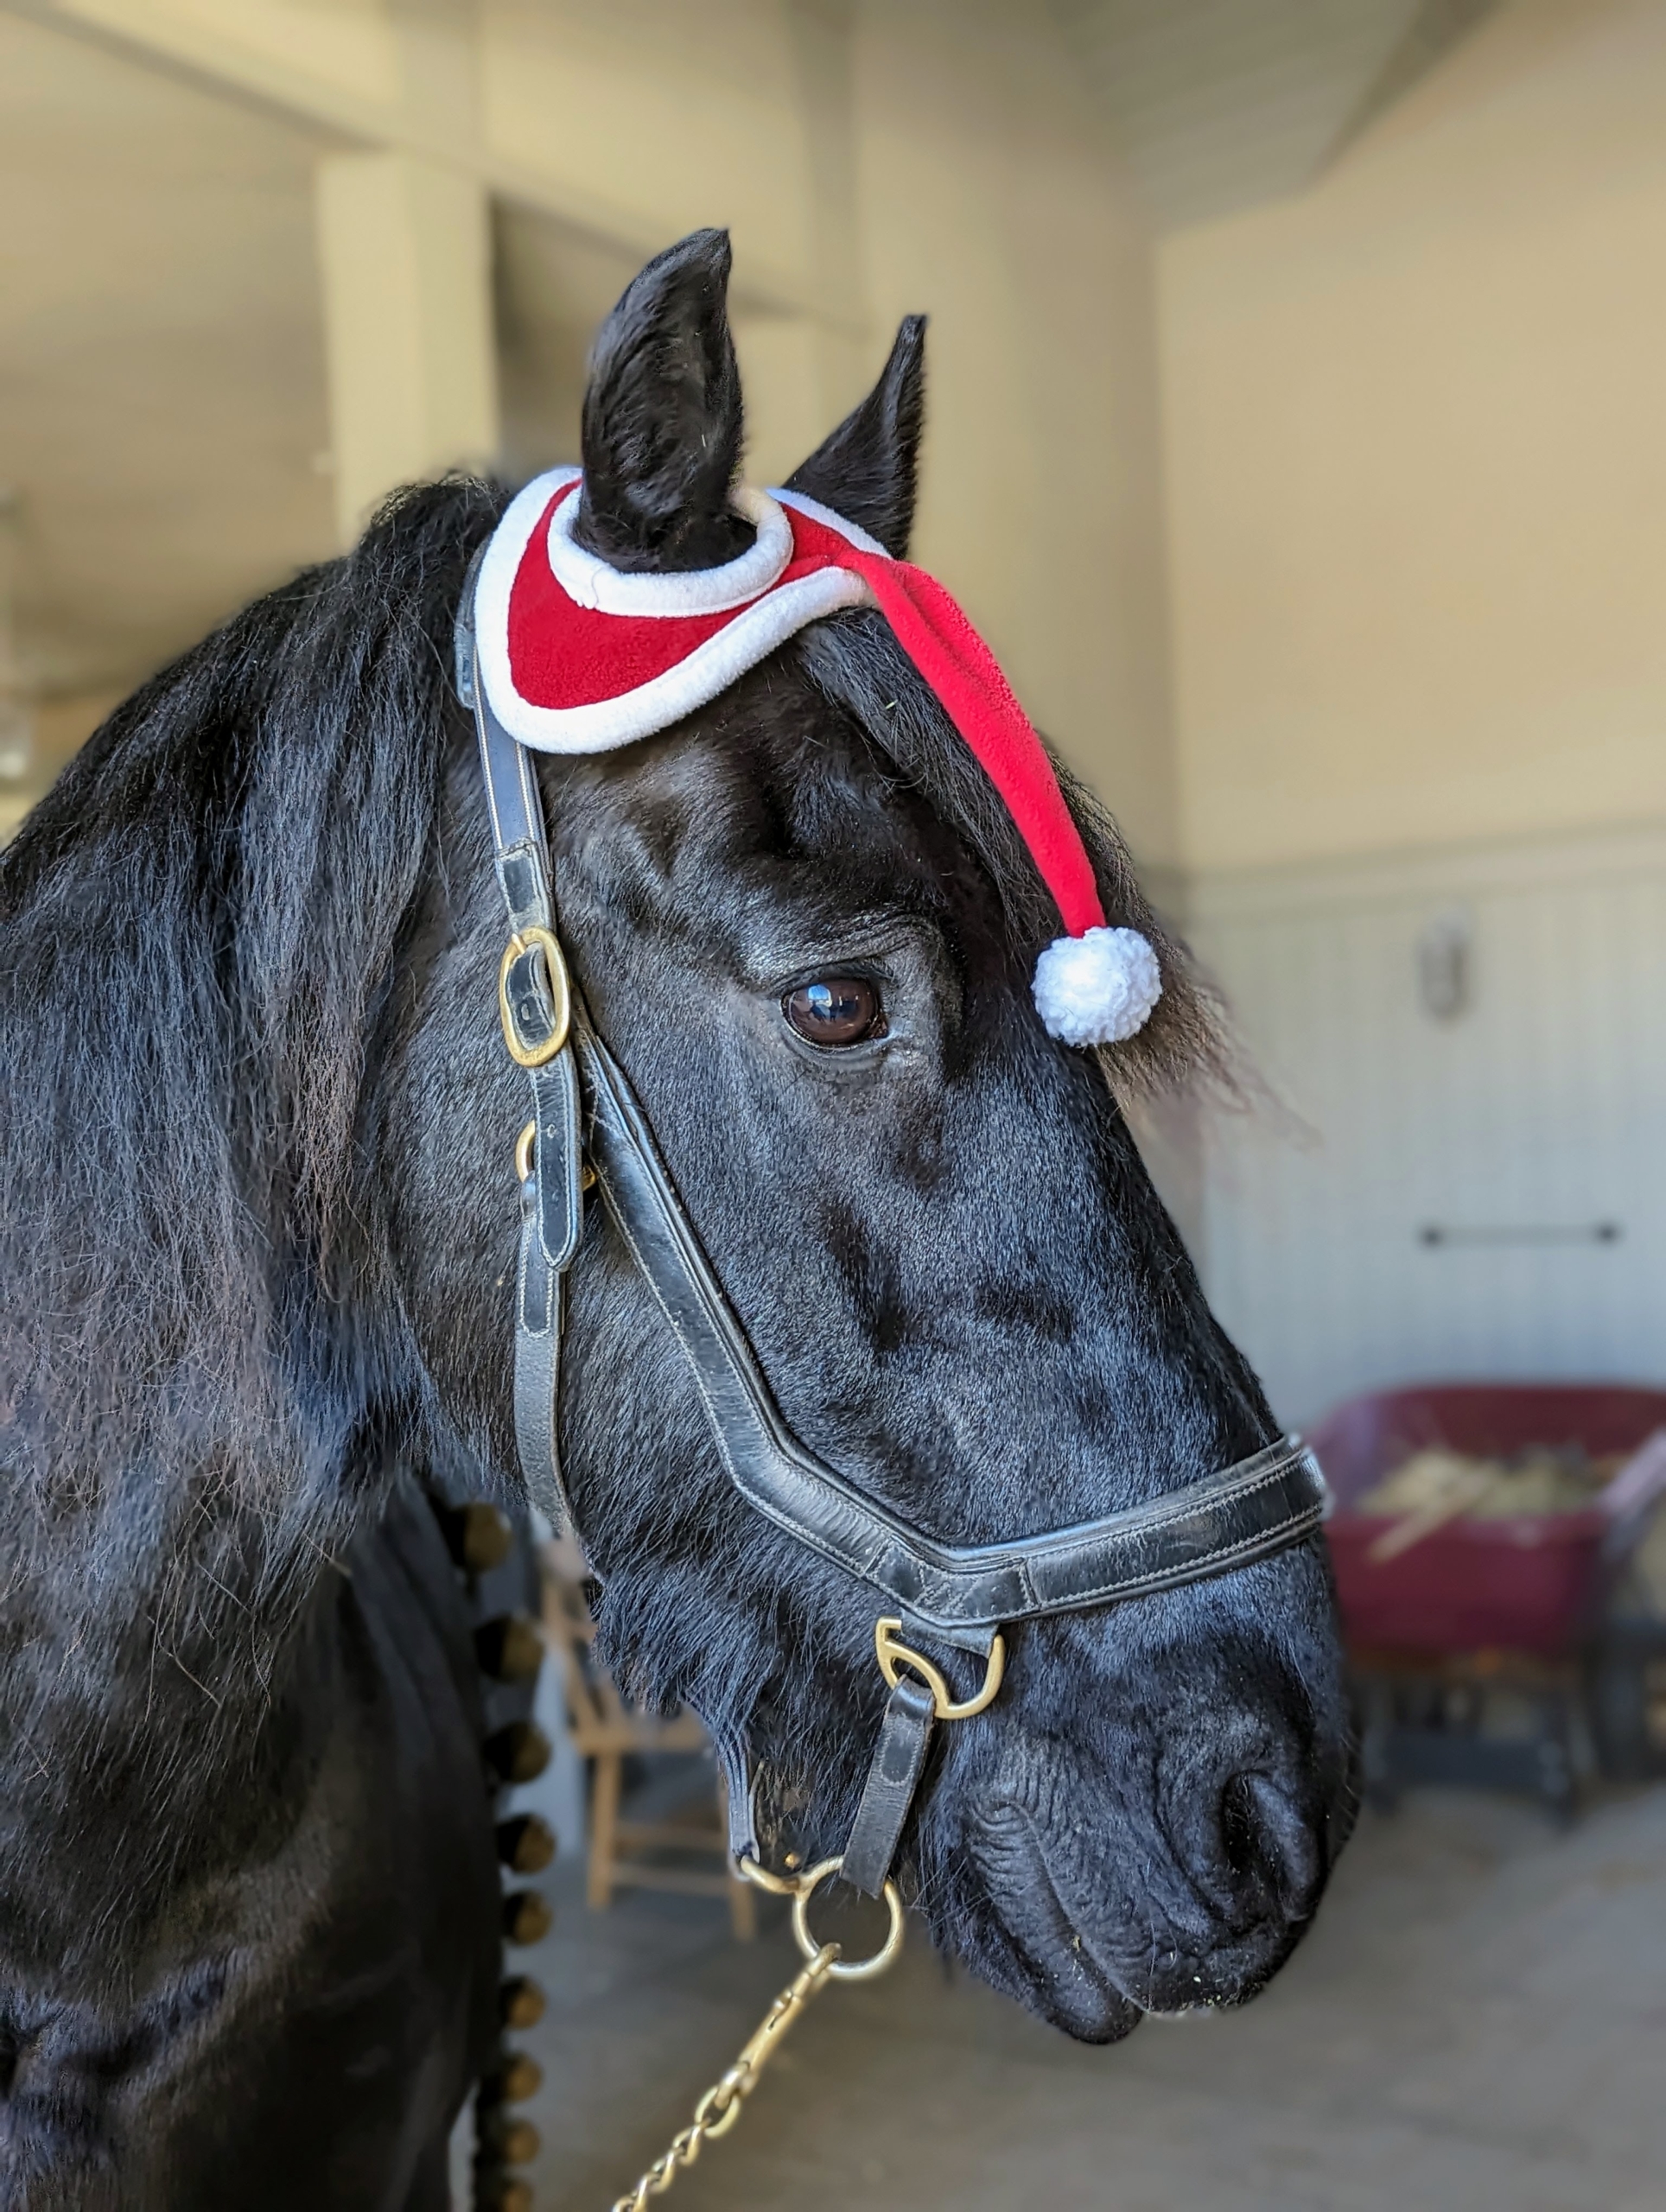
And can you guess who this is? This is Geert, one of two 12-year old Friesians that came here last year from Britswert, Netherlands.
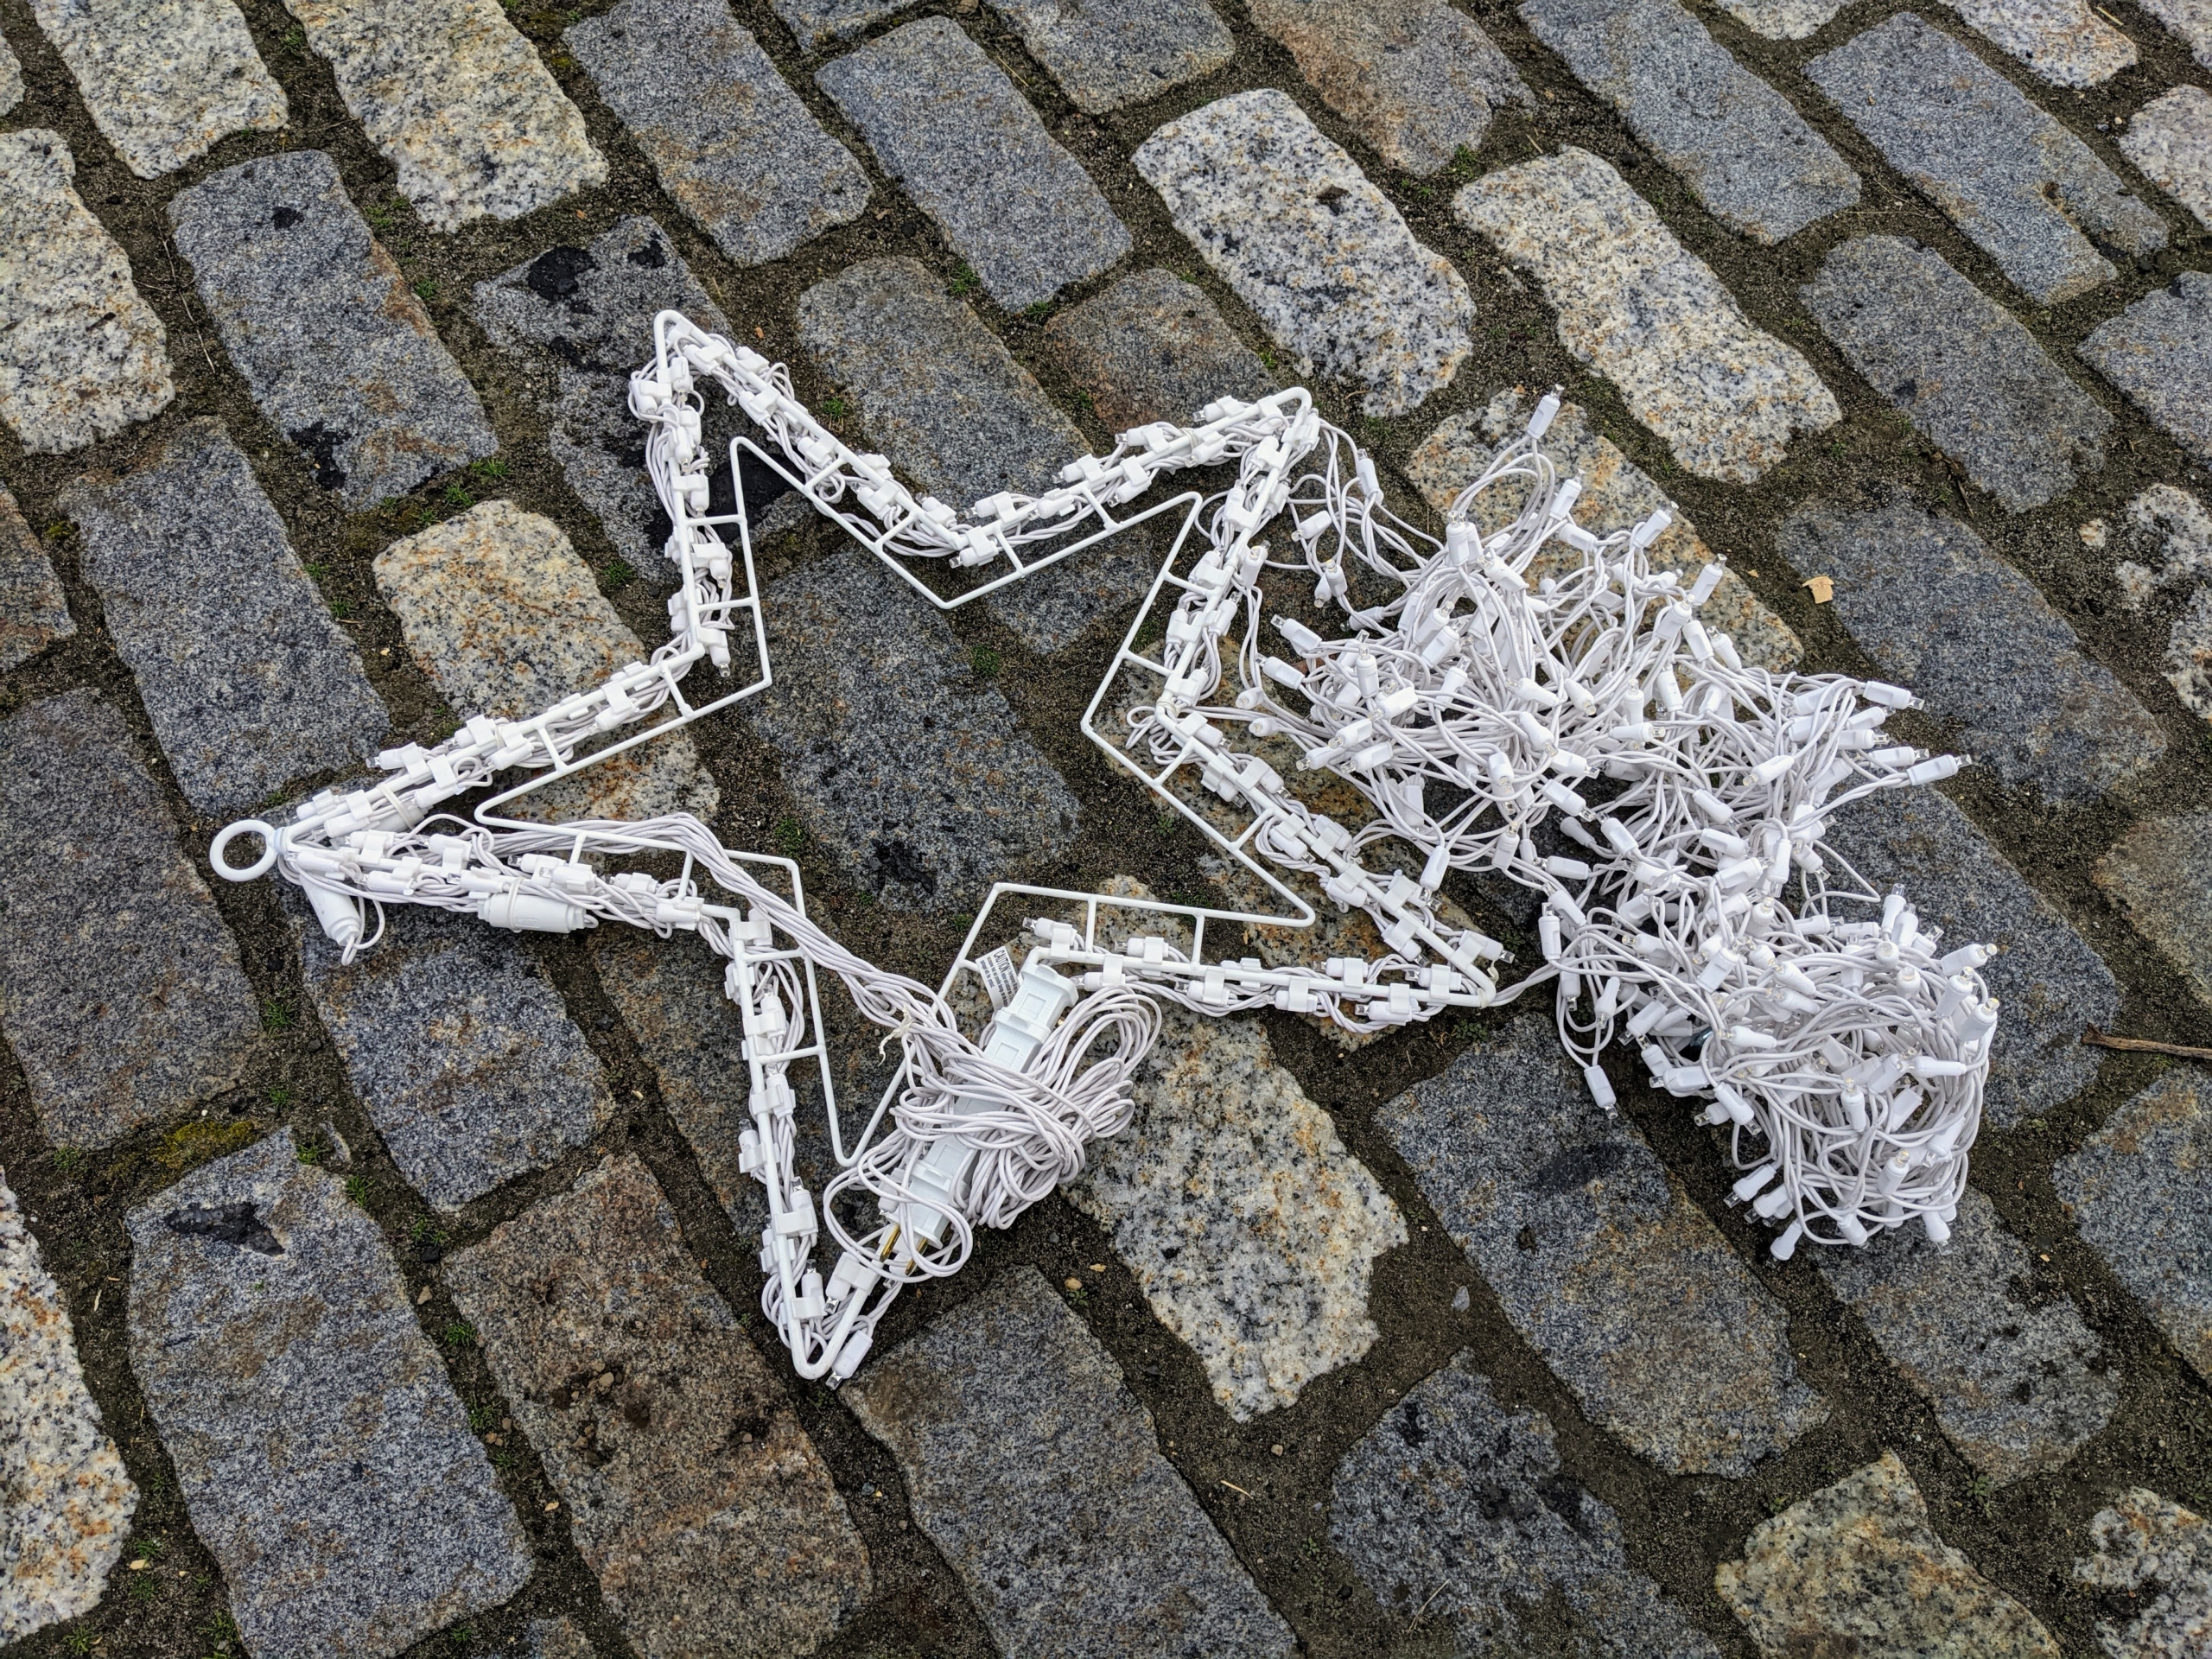
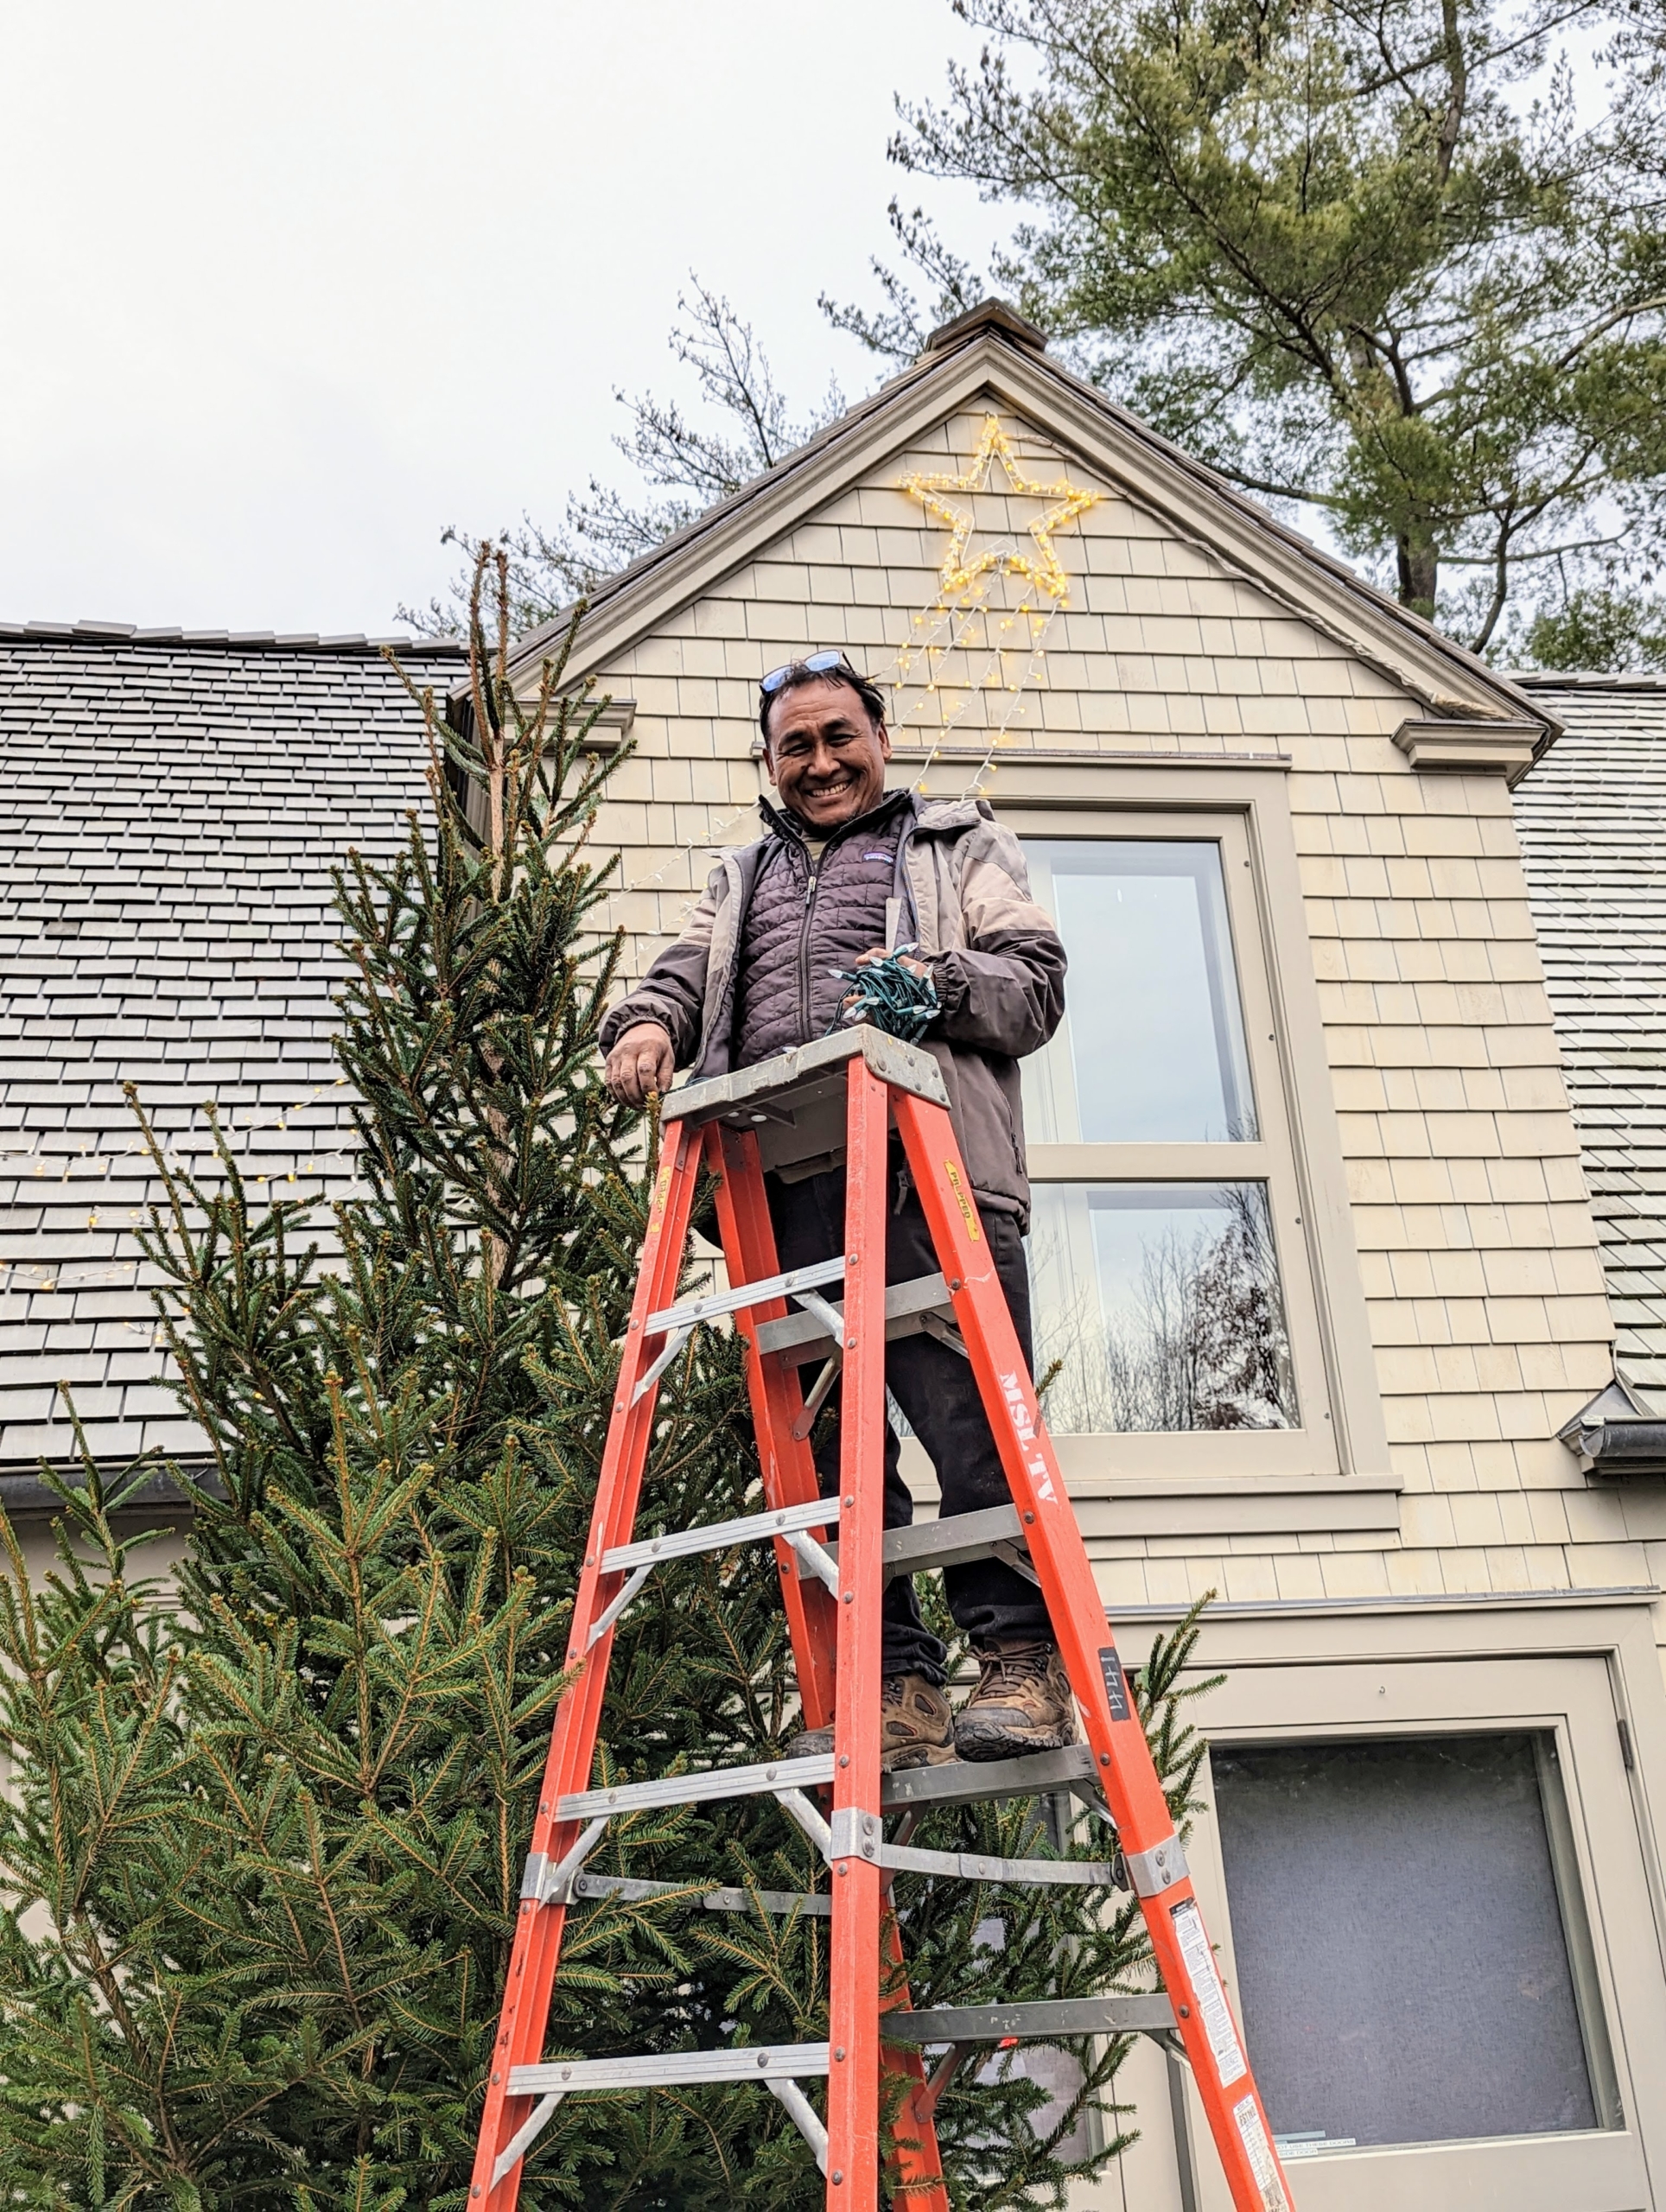
Our holiday decorating usually begins outdoors. Every year, we take out several shooting stars and hang them on some of the outbuildings here at the farm.
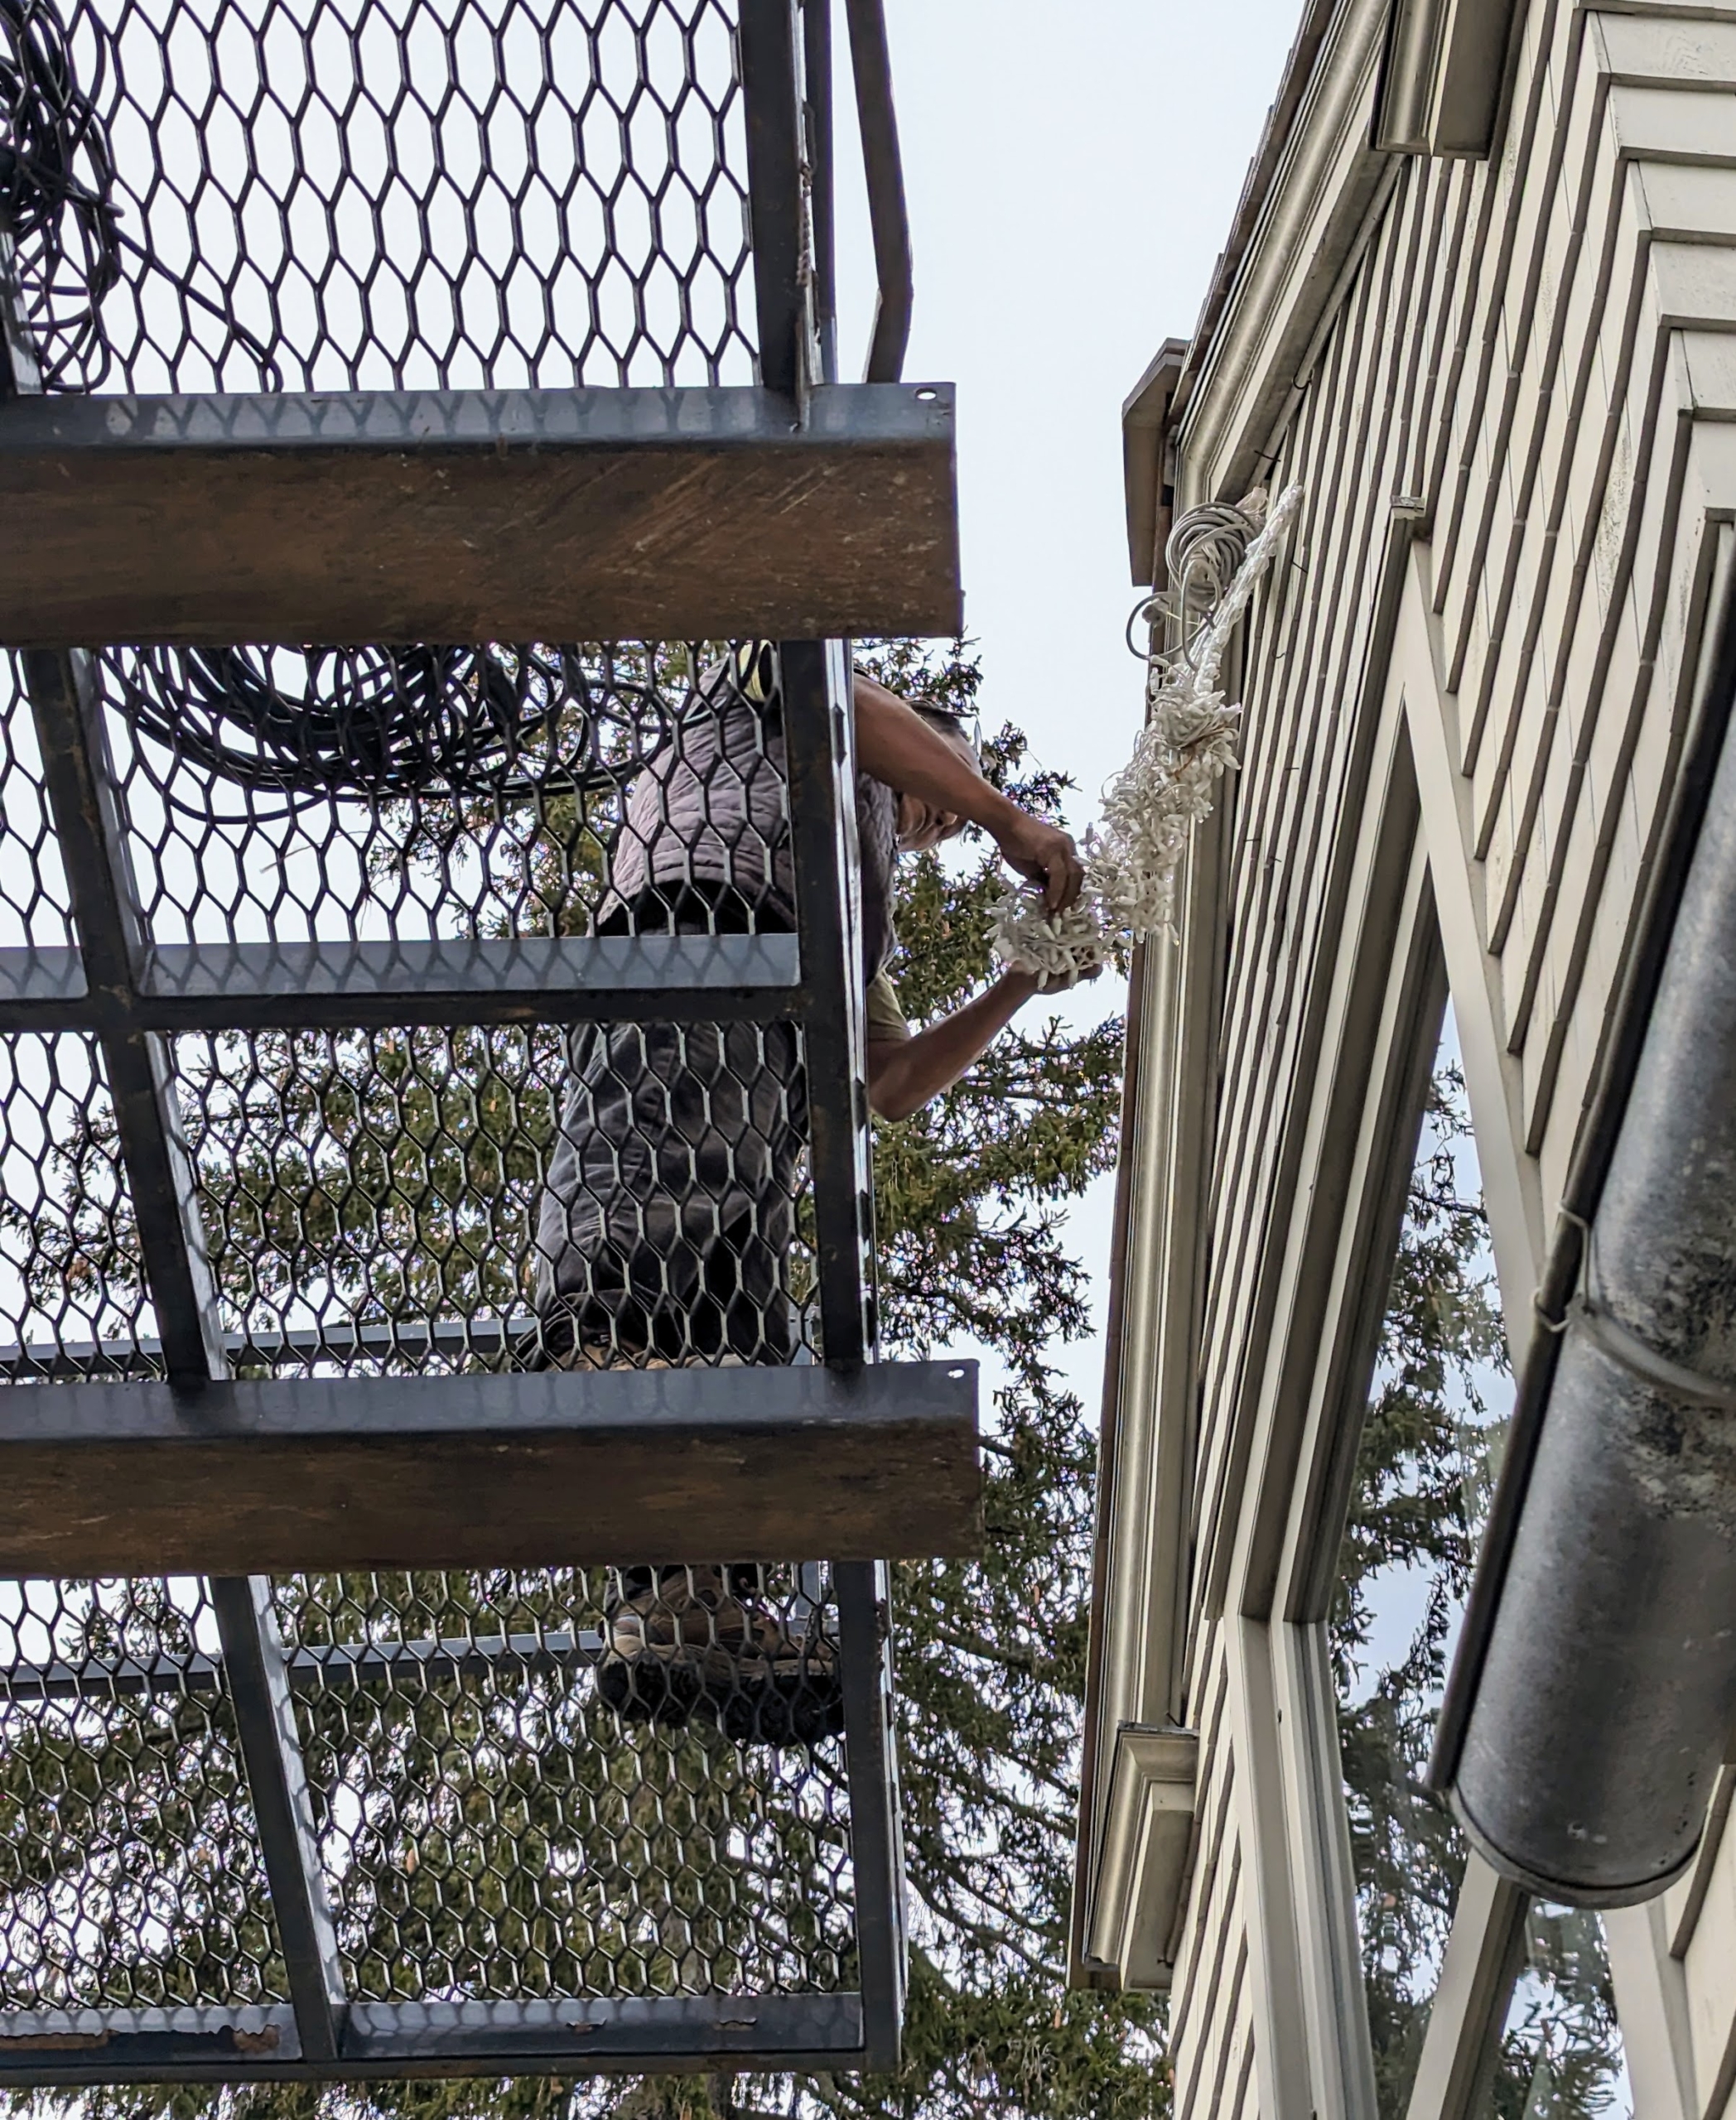
After checking that all the LED lights work on the star, Pete puts one up on my Gym Building. It is hung securely to a screw eye just under the roof line.
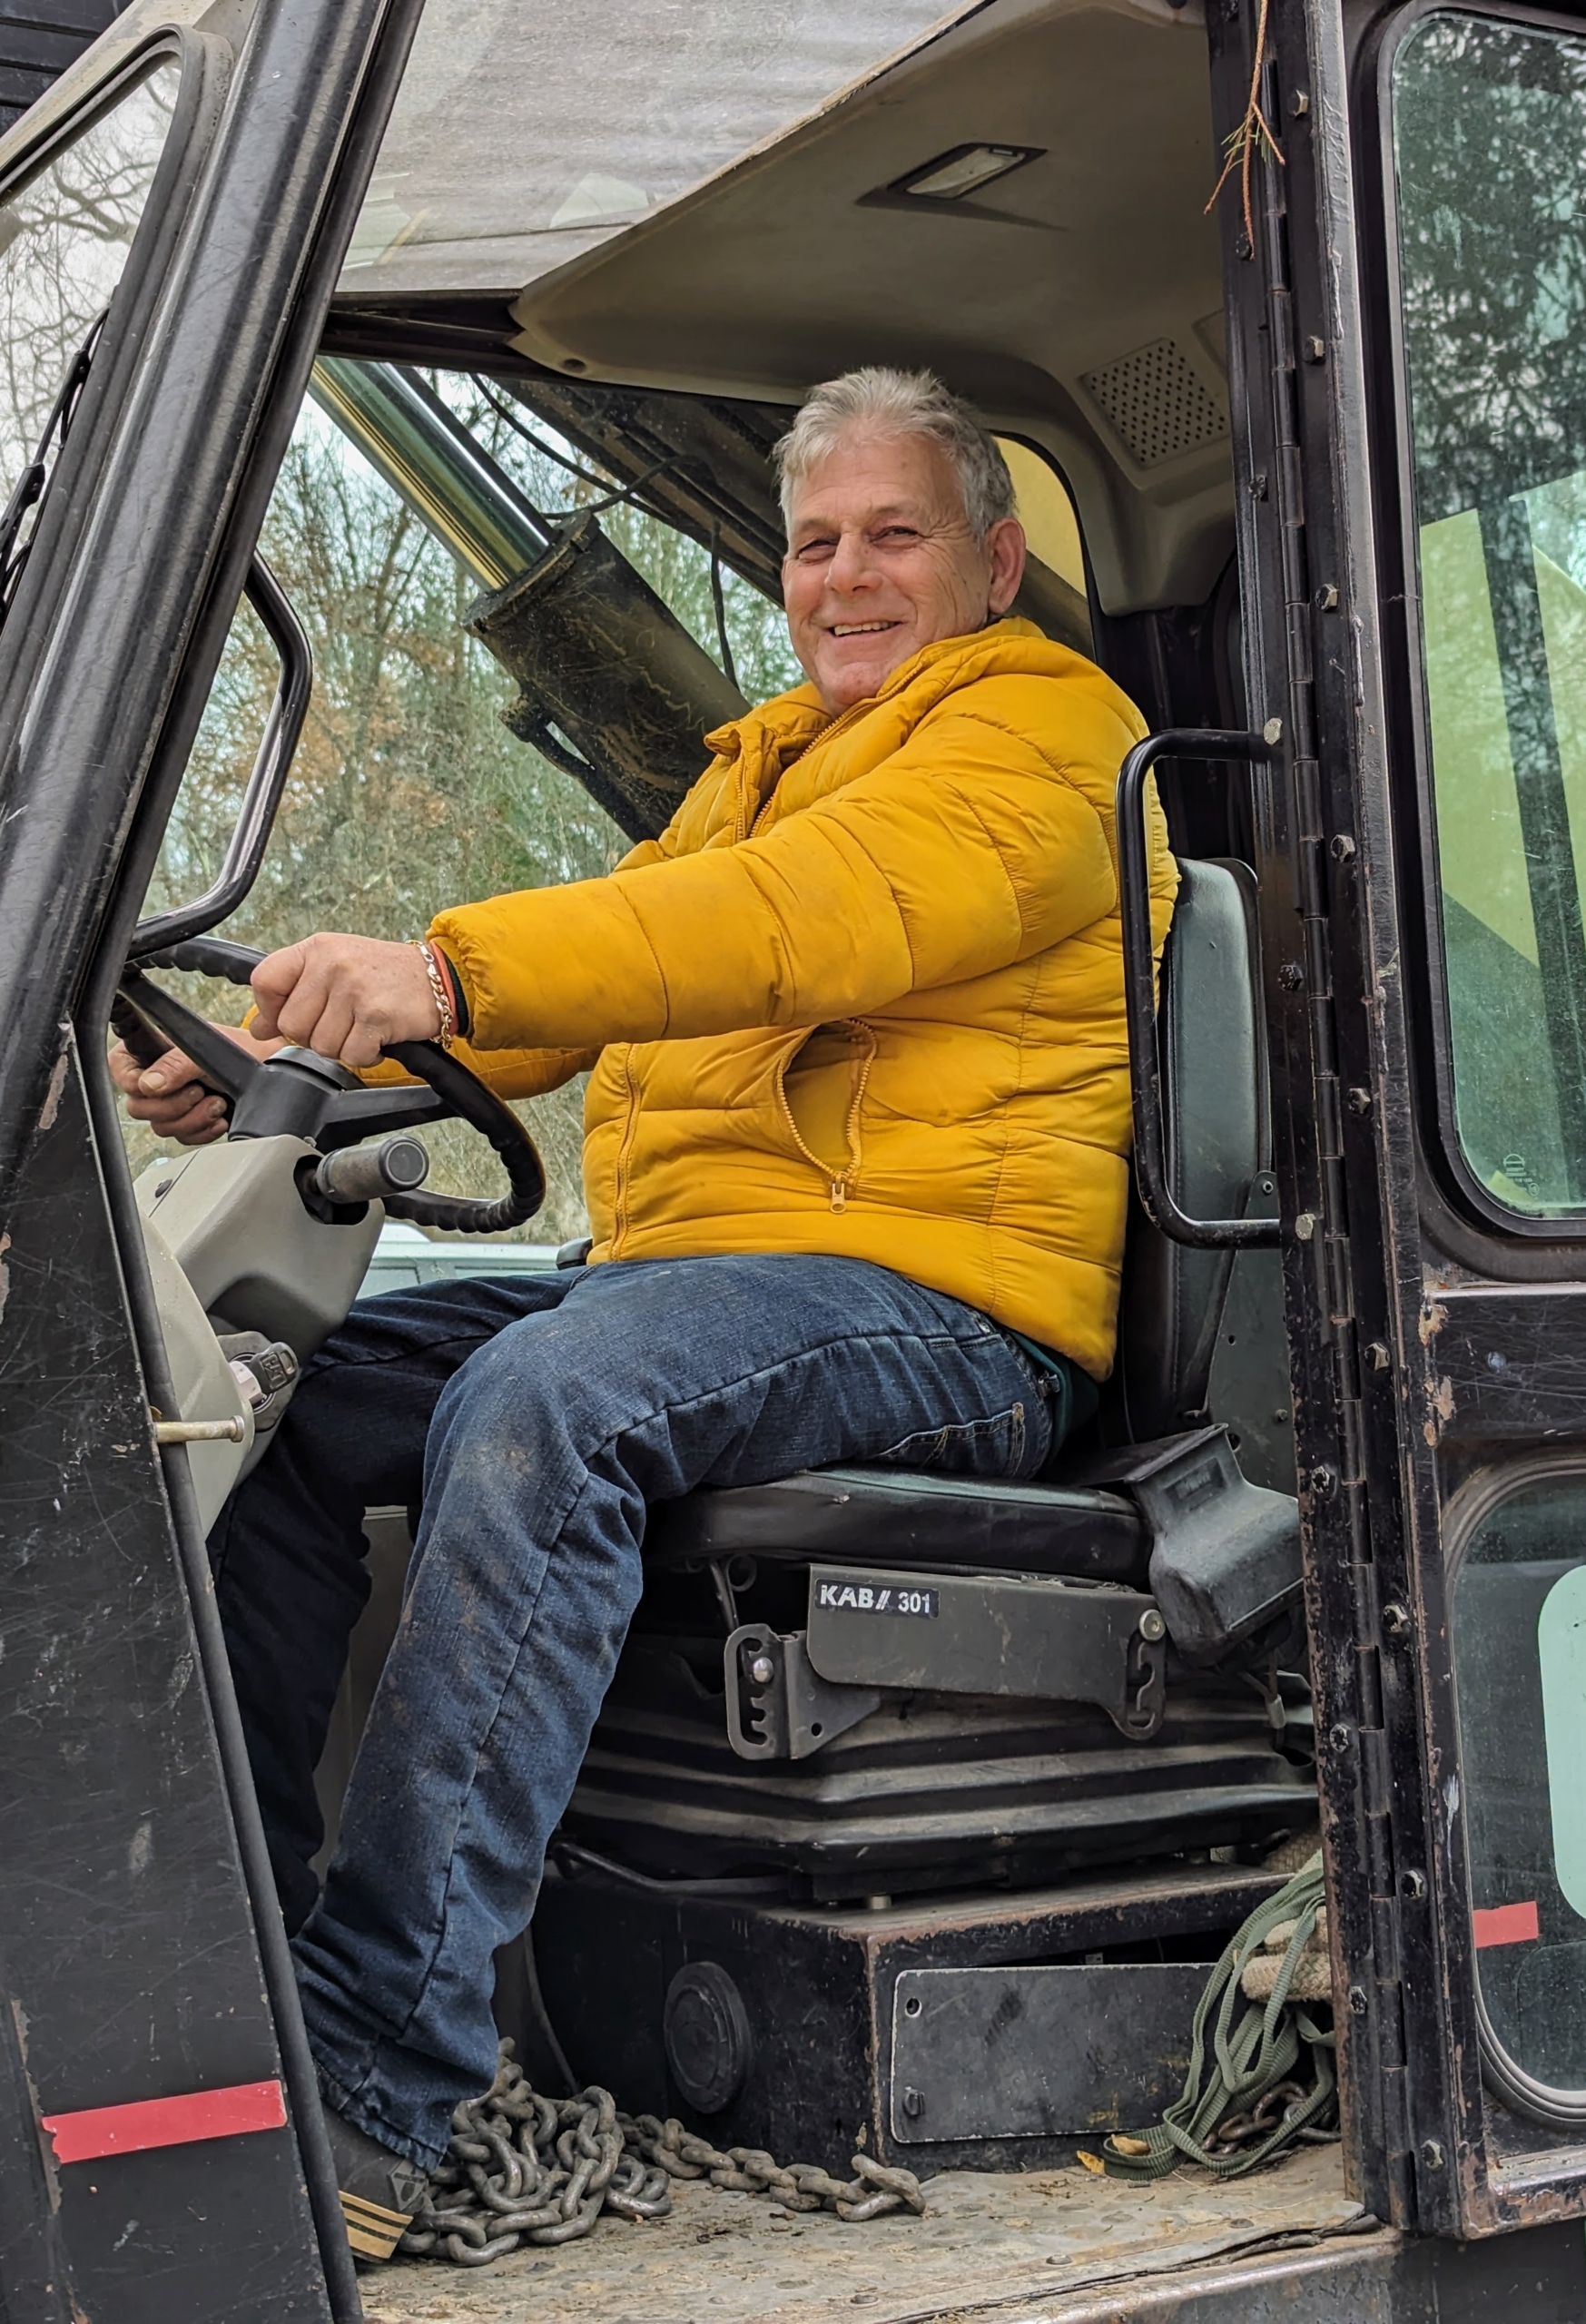
Fernando watches carefully from the driver’s seat of our trusted Hi-Lo.
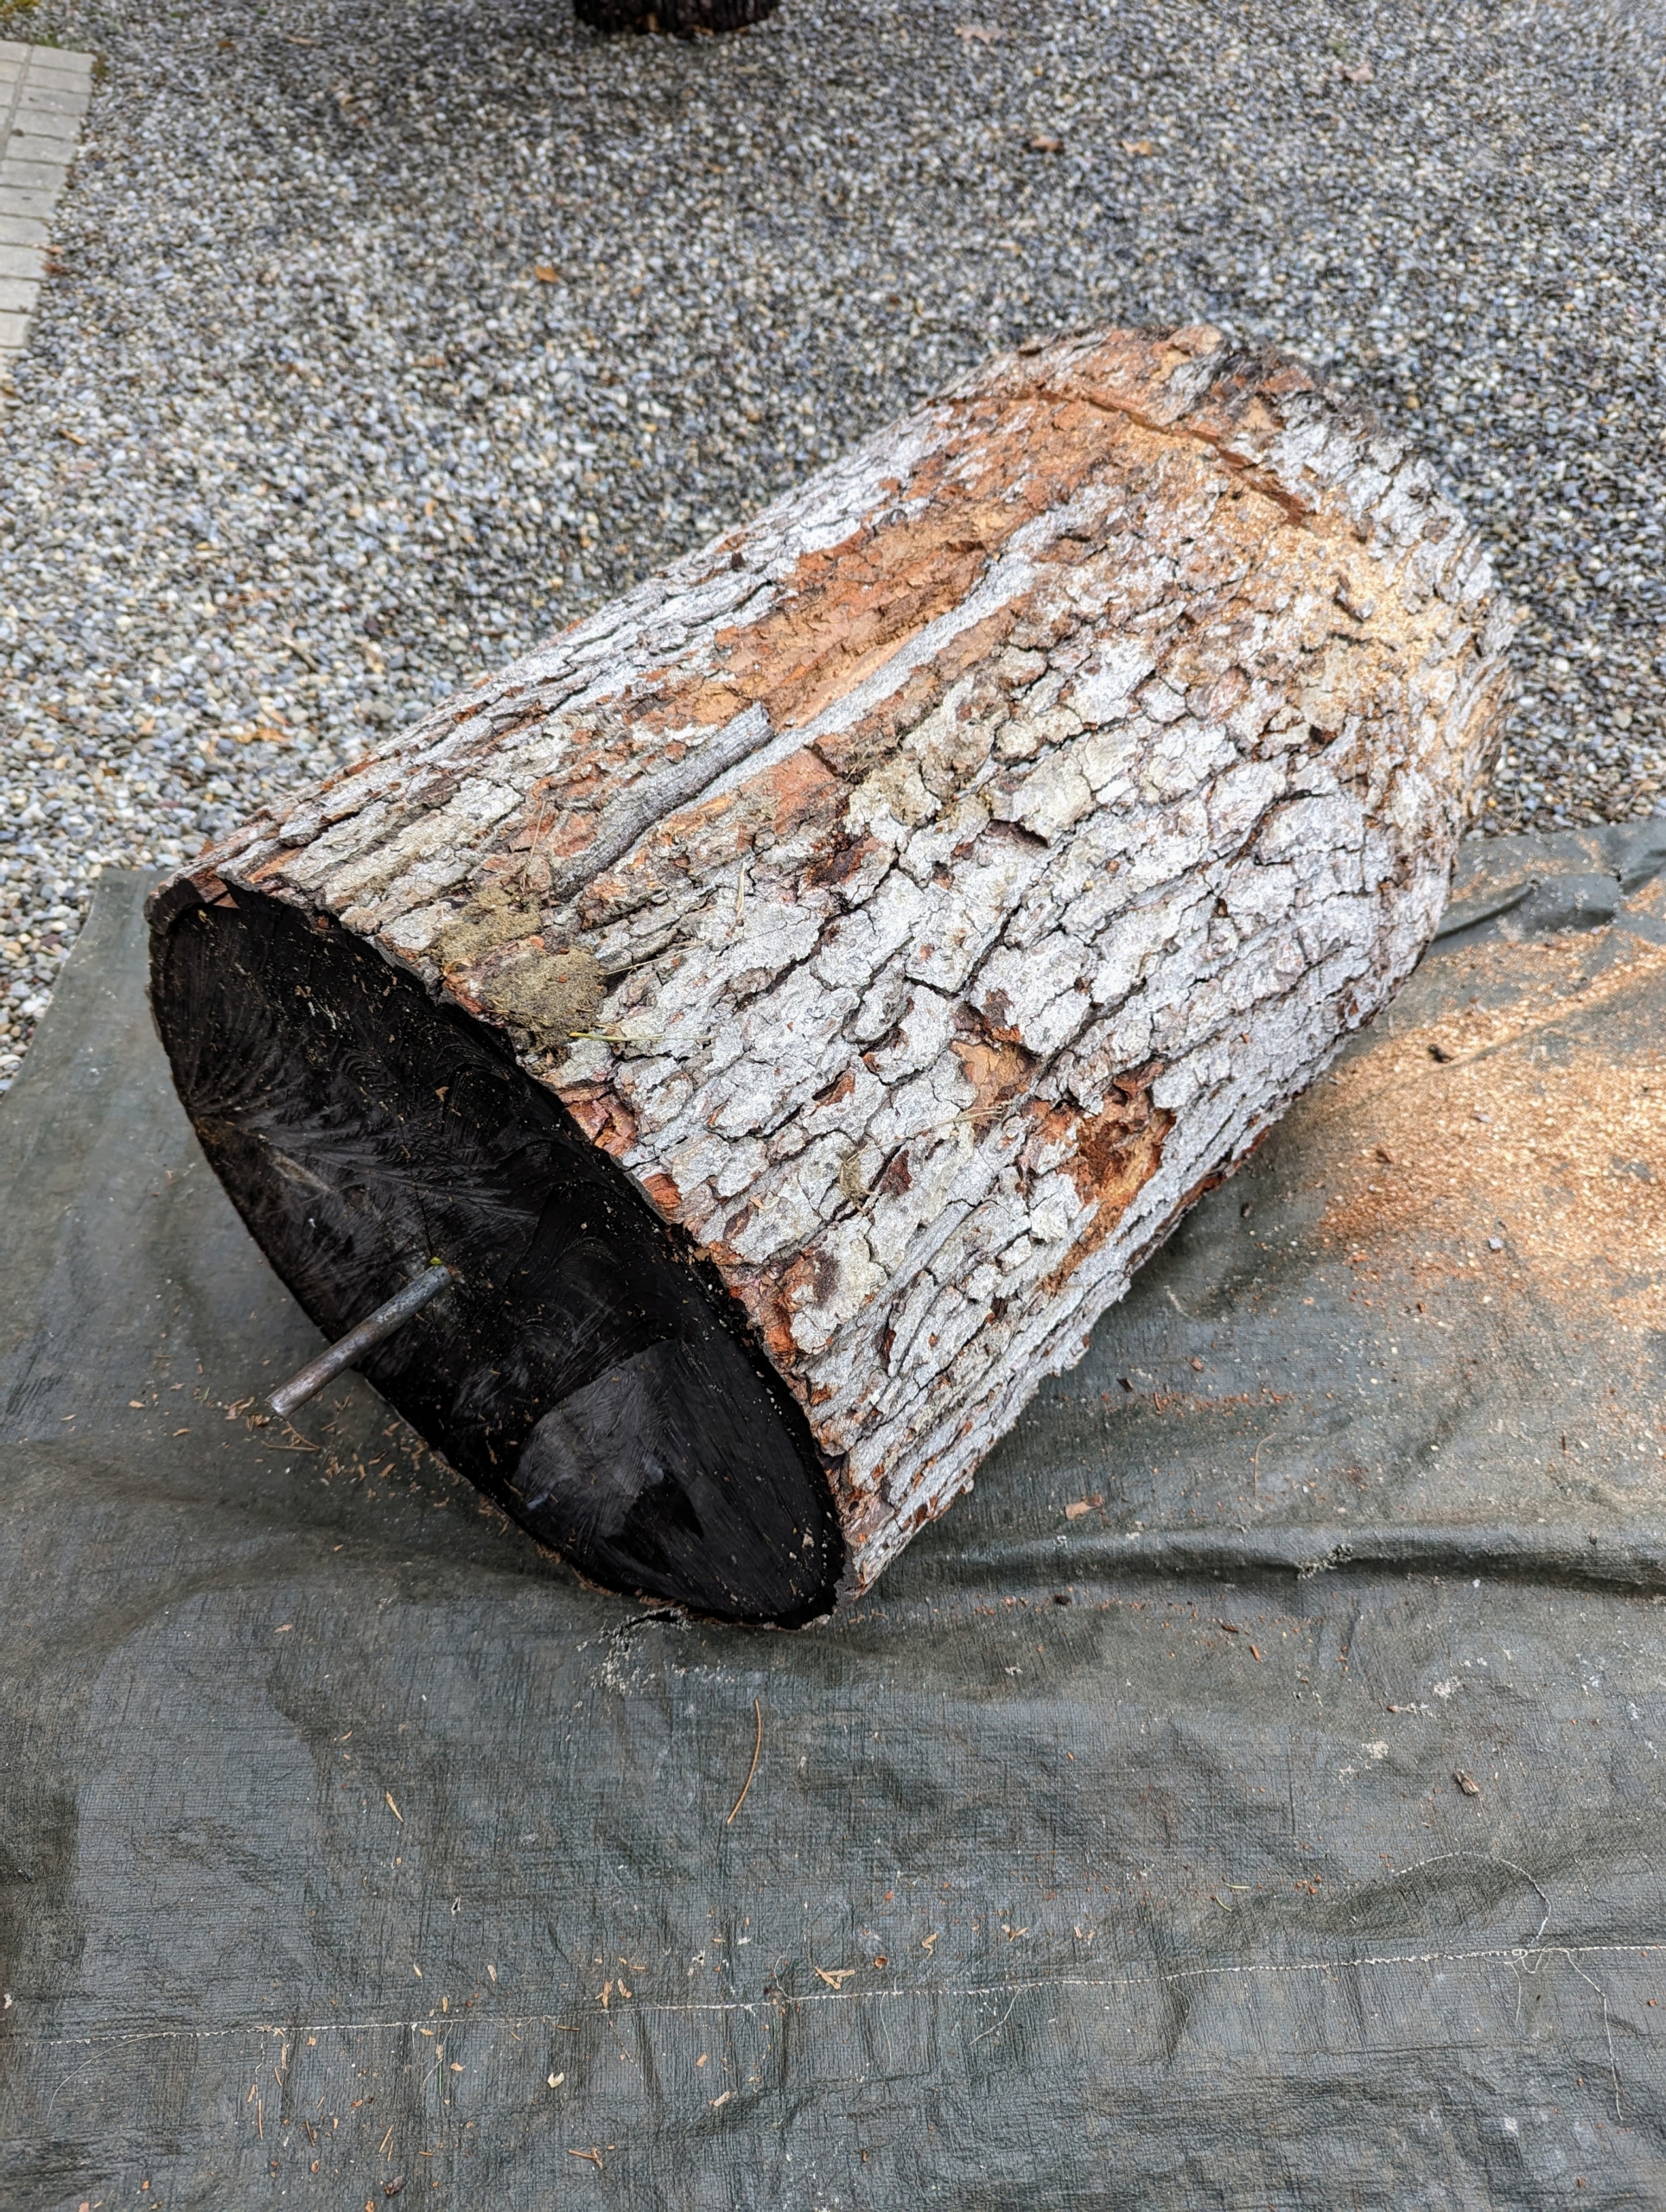
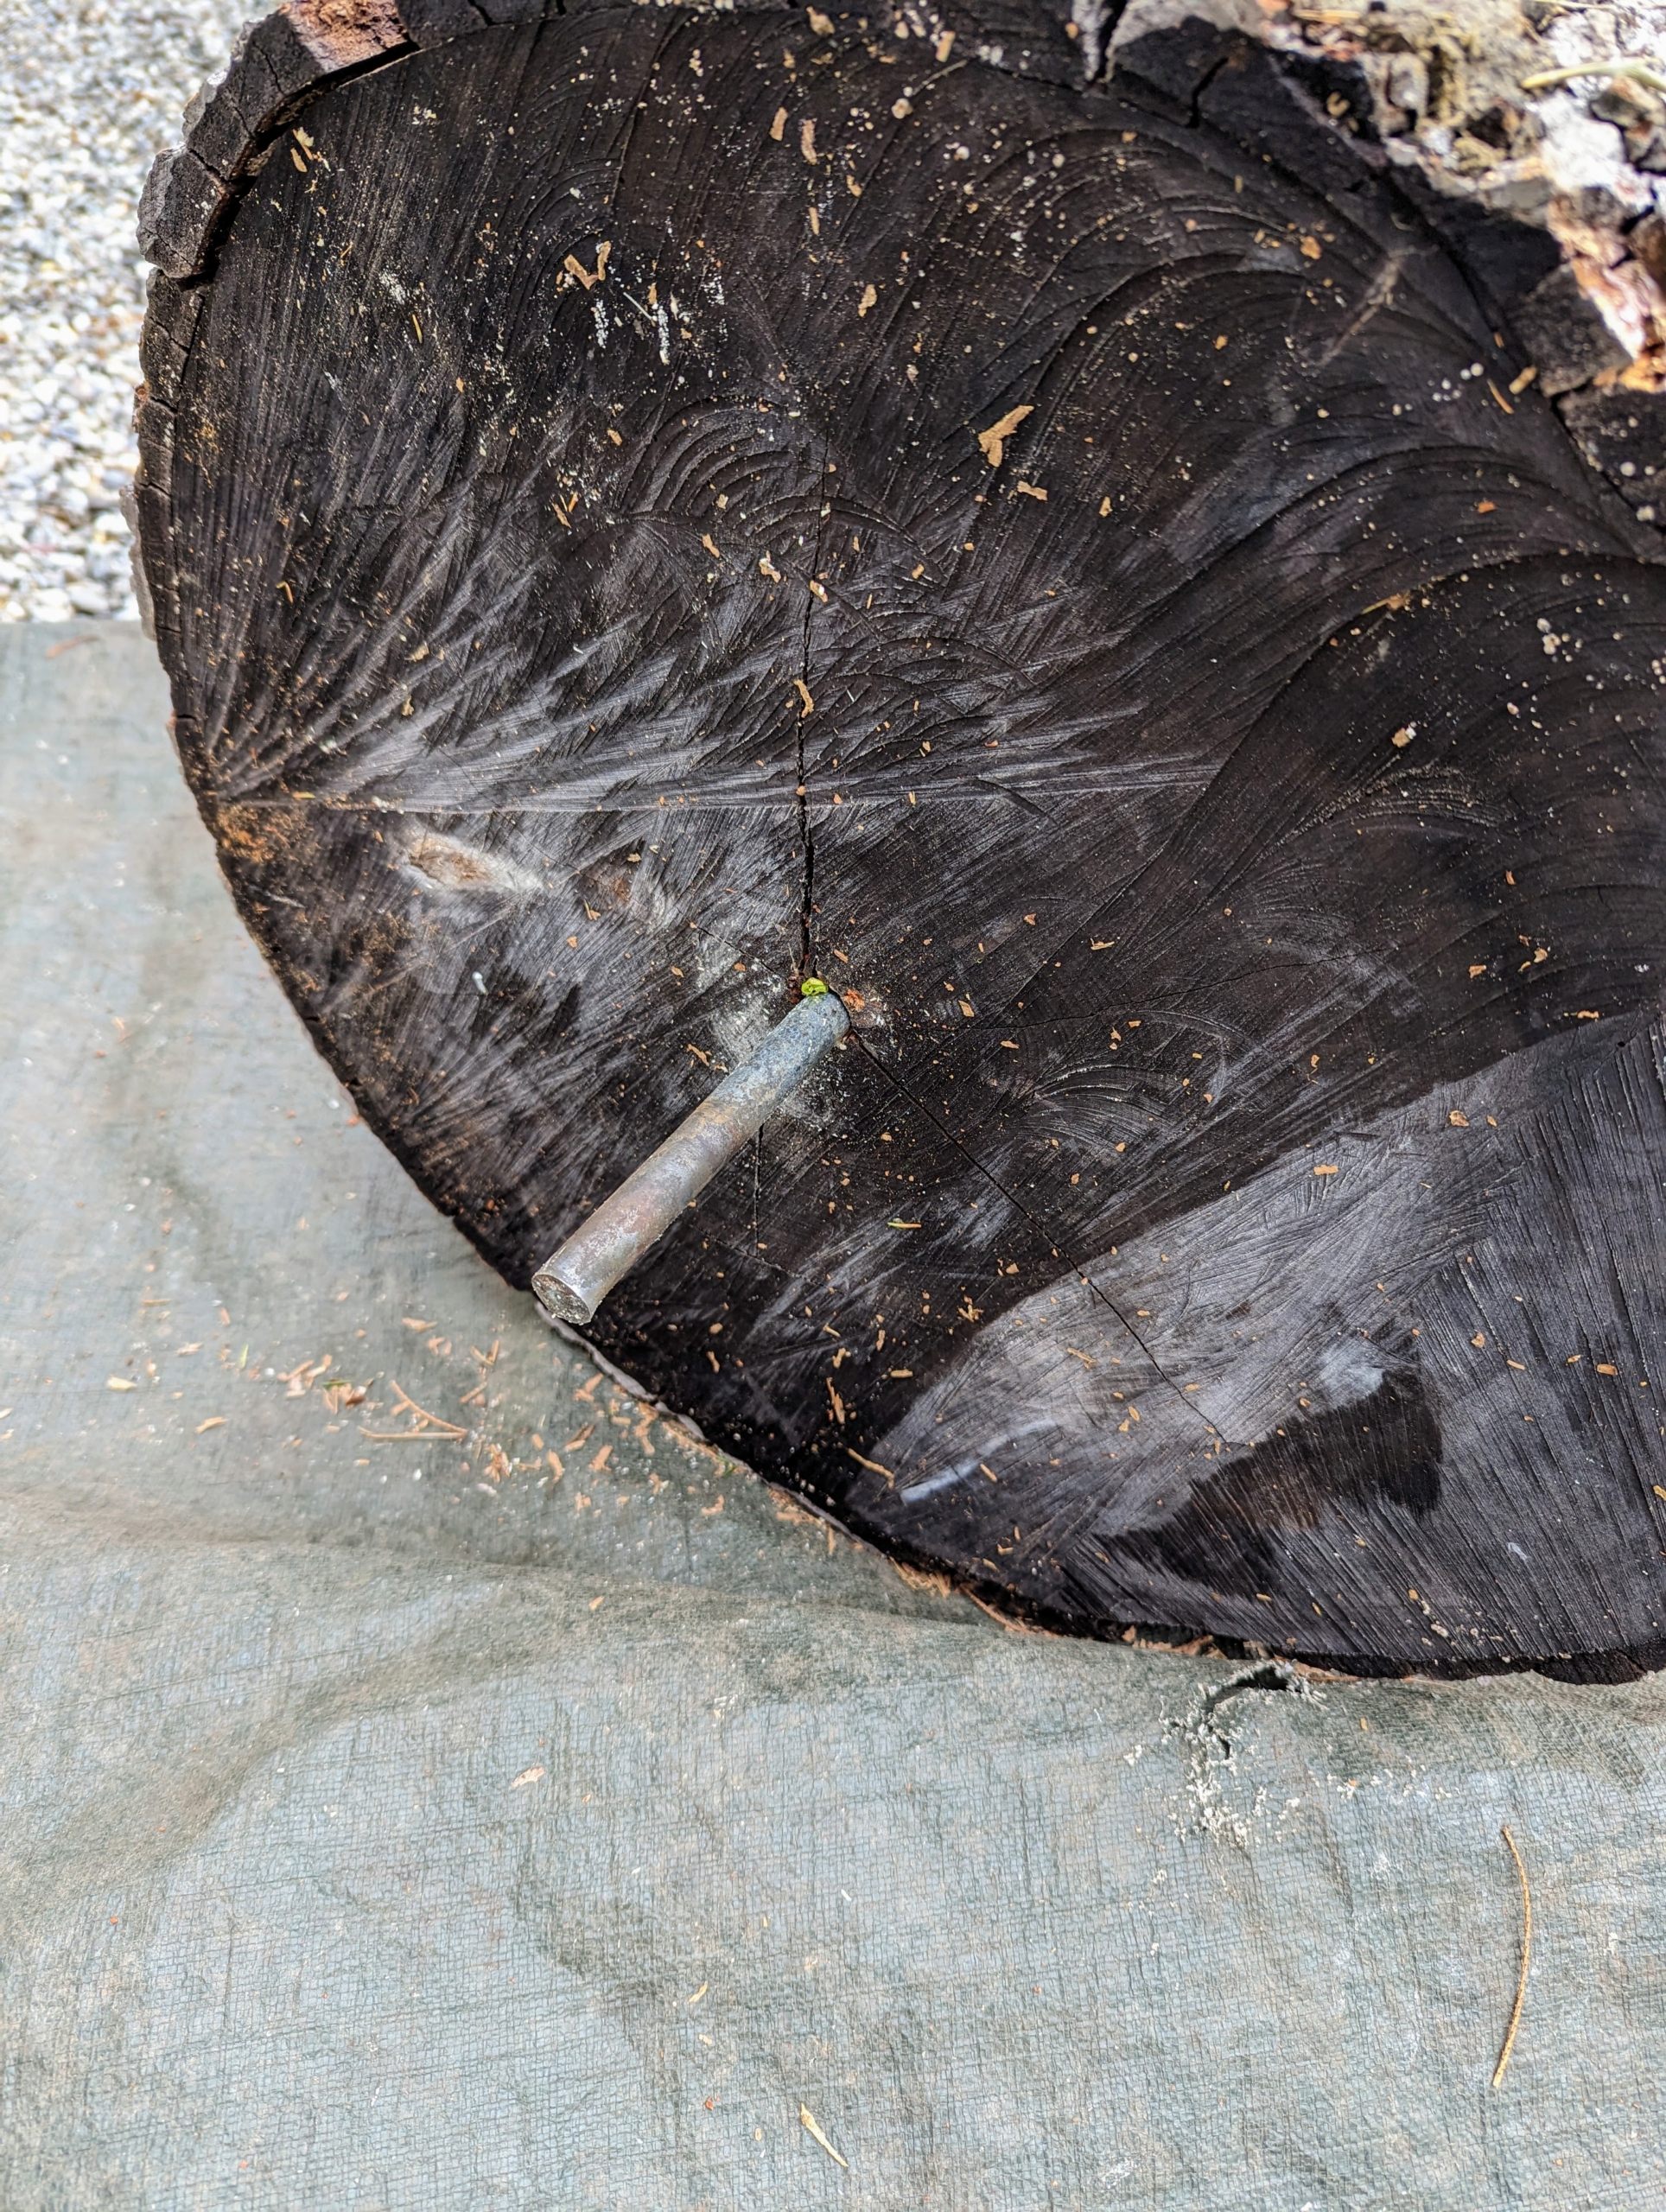
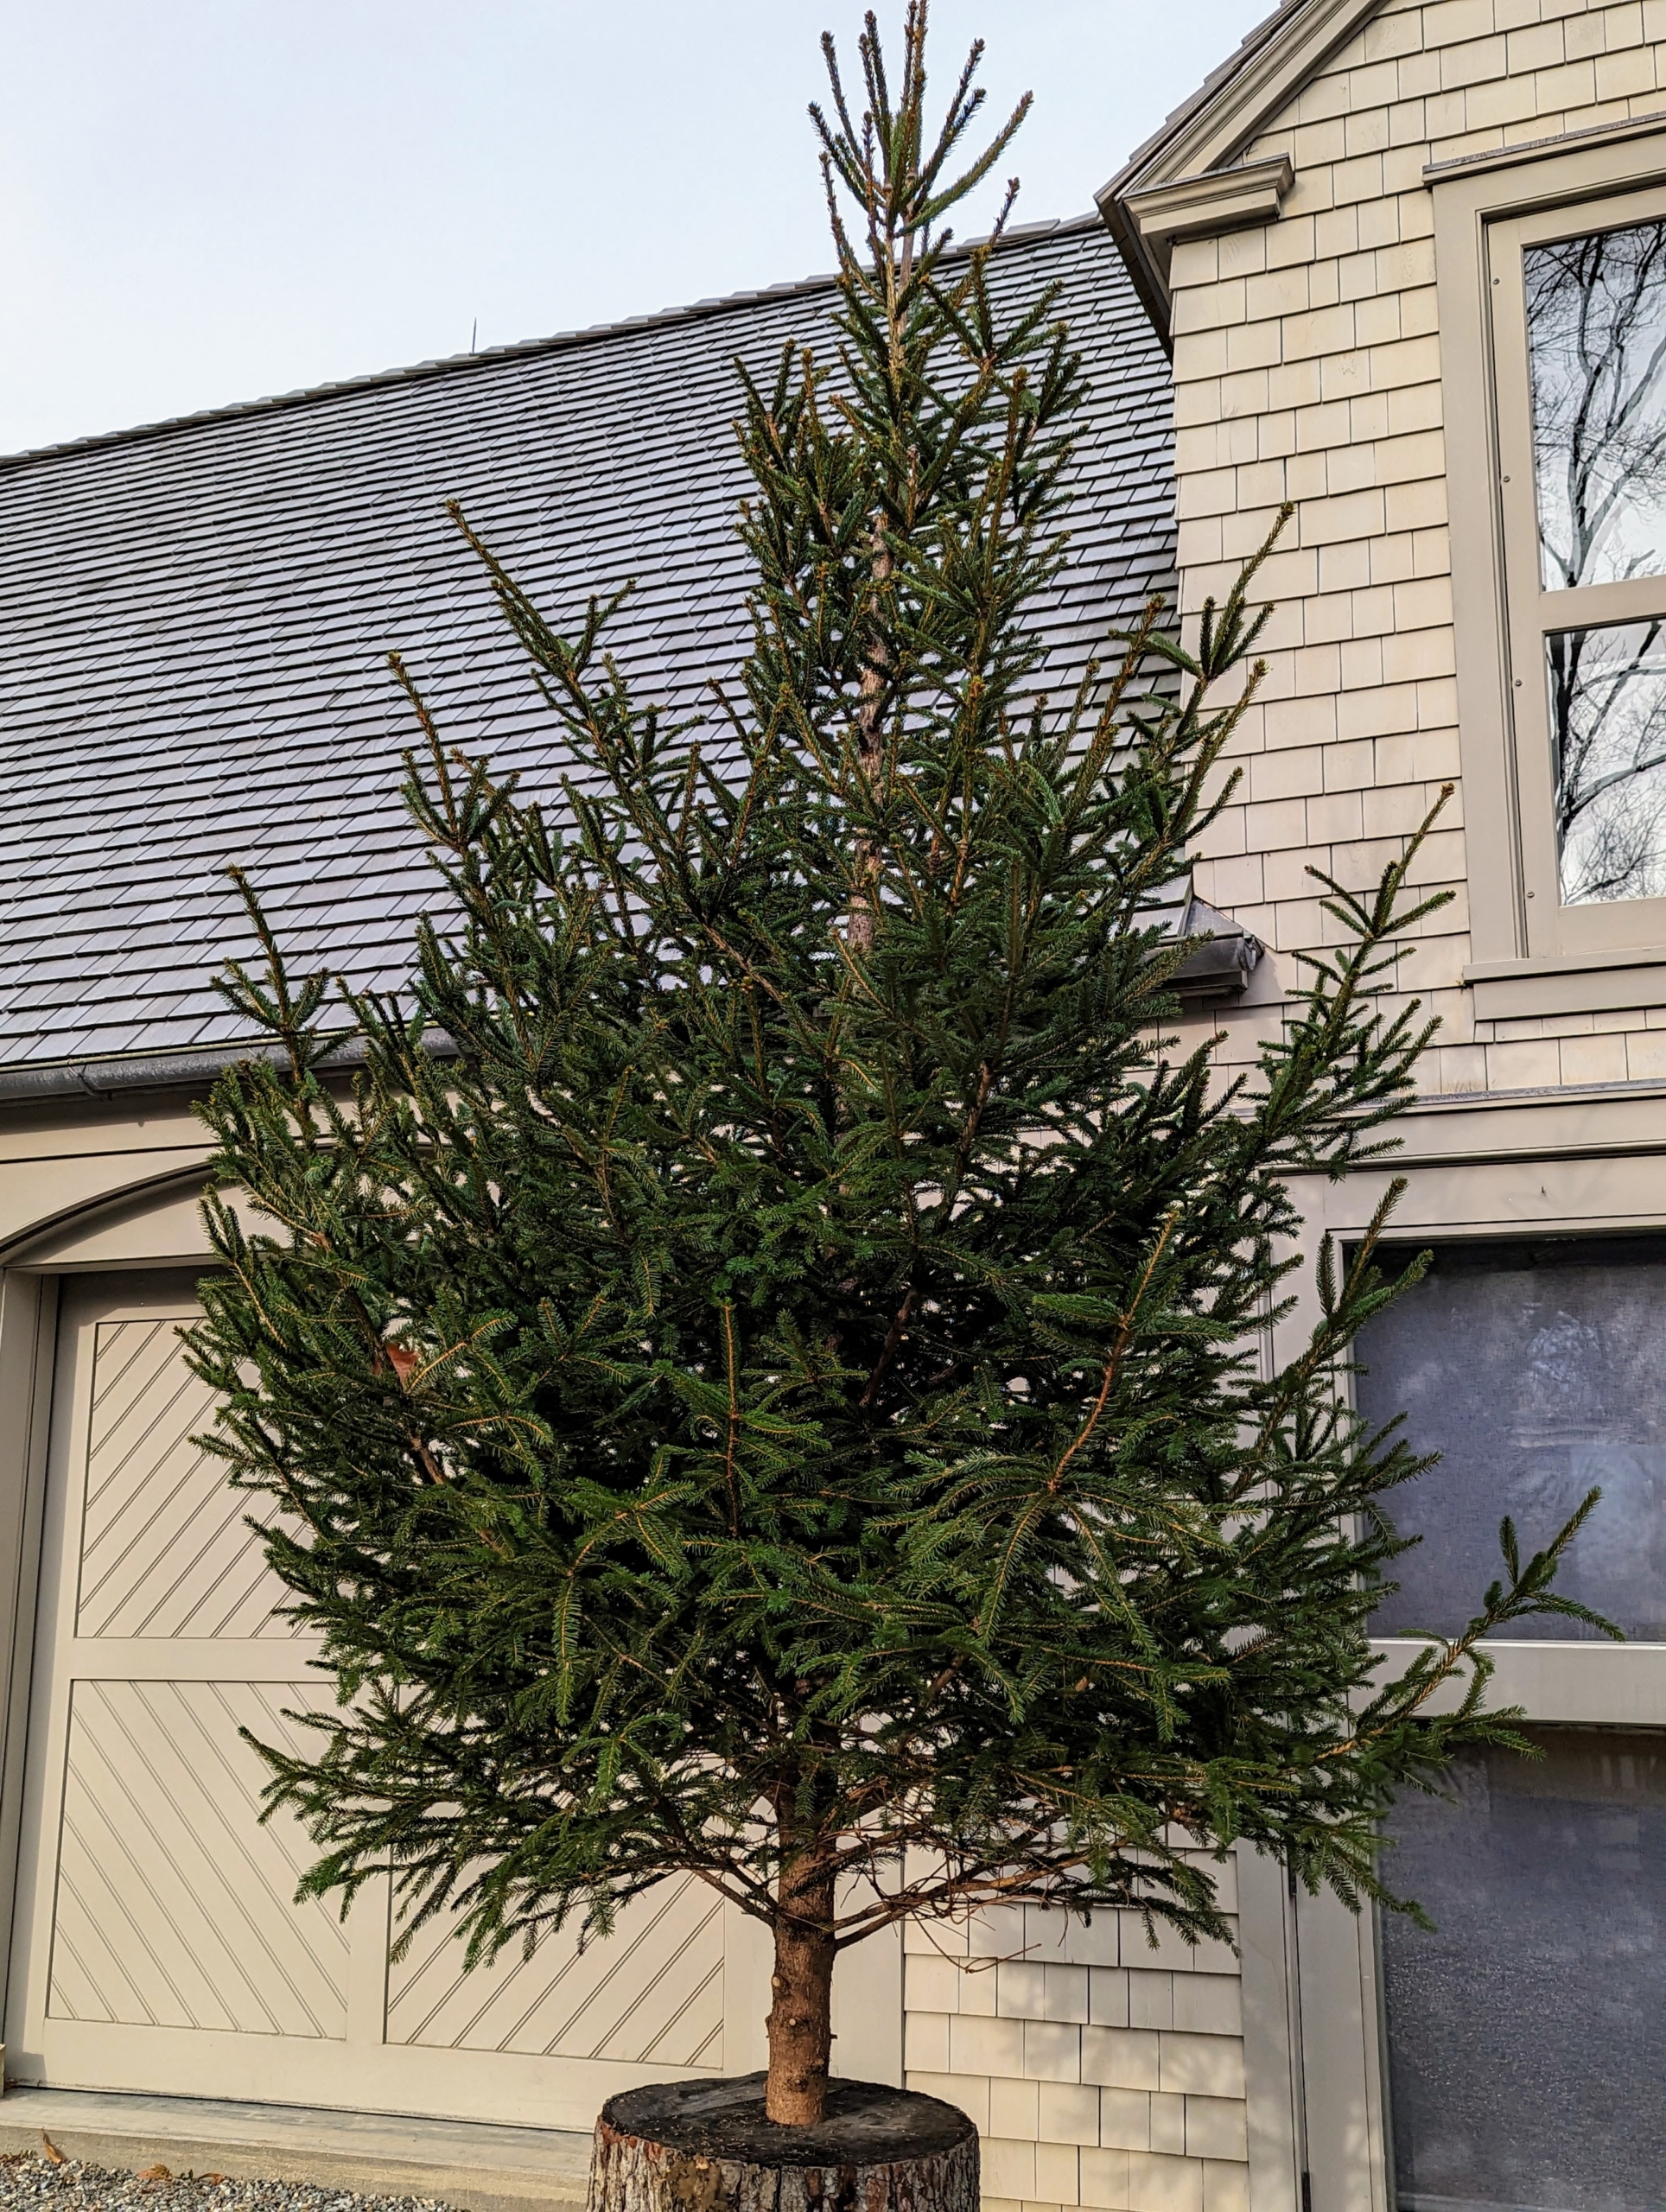
This area is the front entrance to the farm, so I also wanted to display a couple of festive Christmas trees here. And here’s a tip… I used heavy cut sections of a log as the bases. And to prevent the trees from falling off of them, Pete inserts a metal rod into the log to use as a dowel.
The metal rod is a few inches long – strong enough to join and secure the tree to this base.
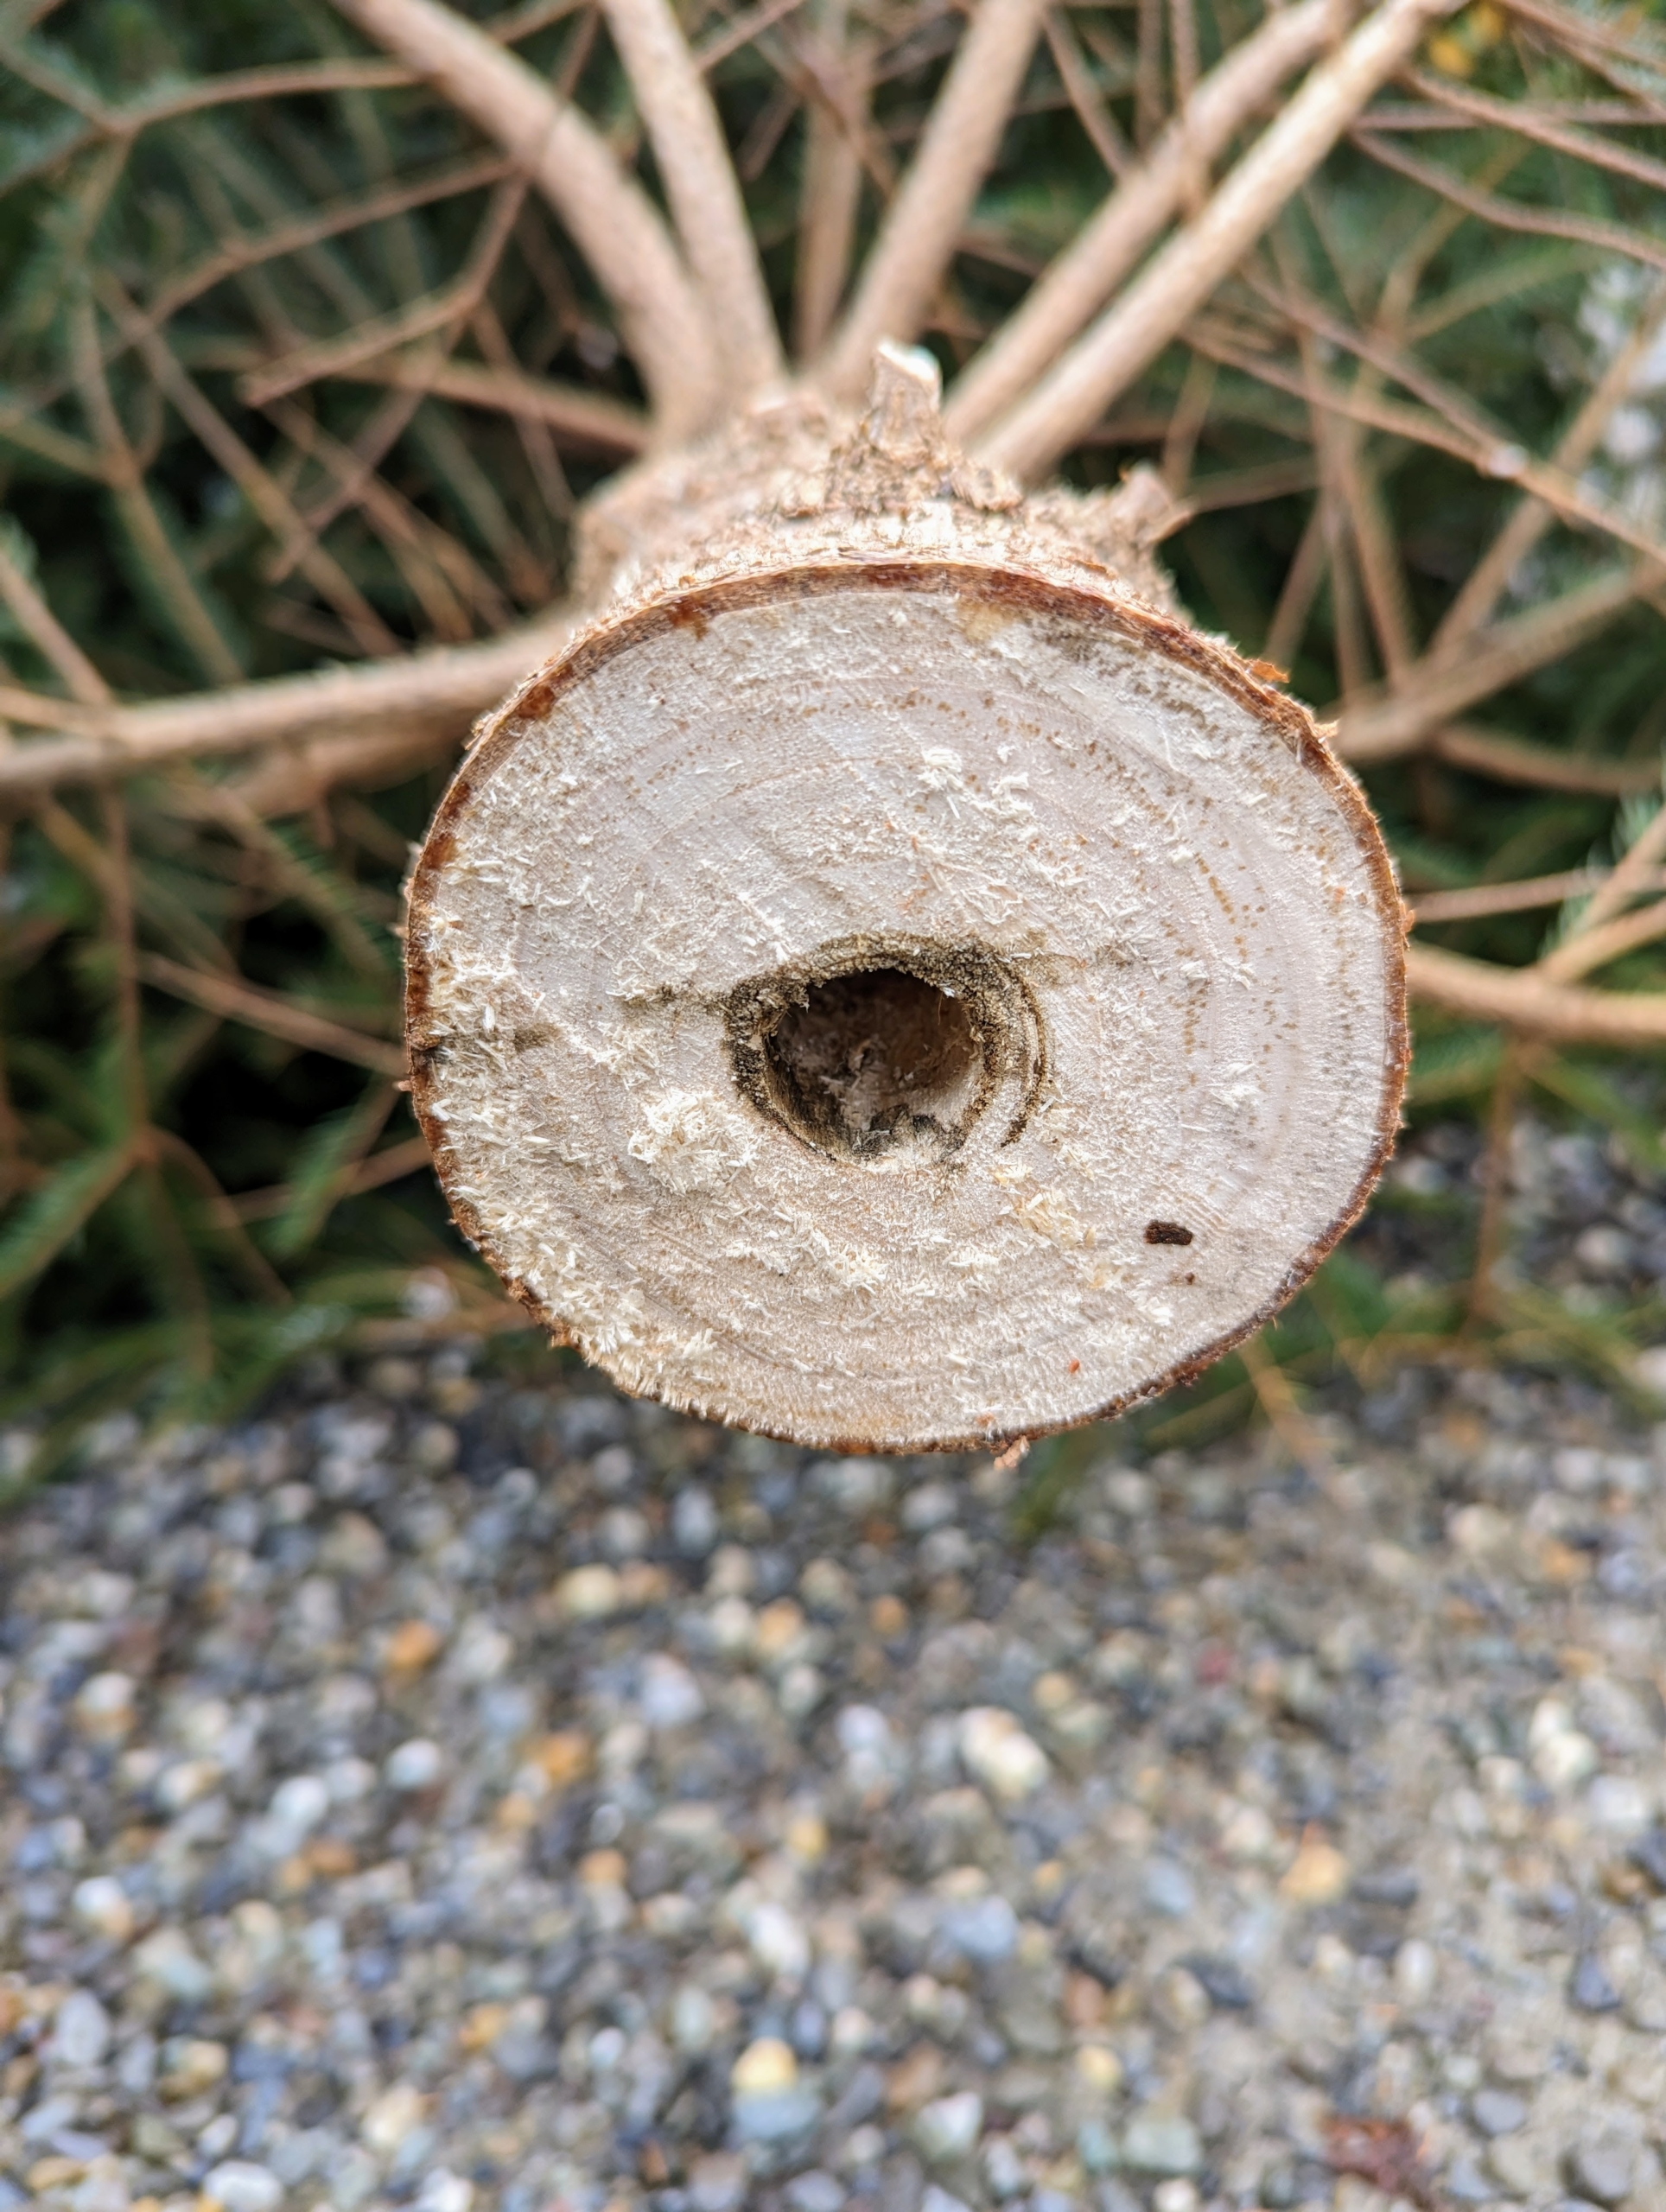
And then he makes a hole in the bottom of the tree’s trunk.
This tree is now very secure on its base and stands tall in the driveway.
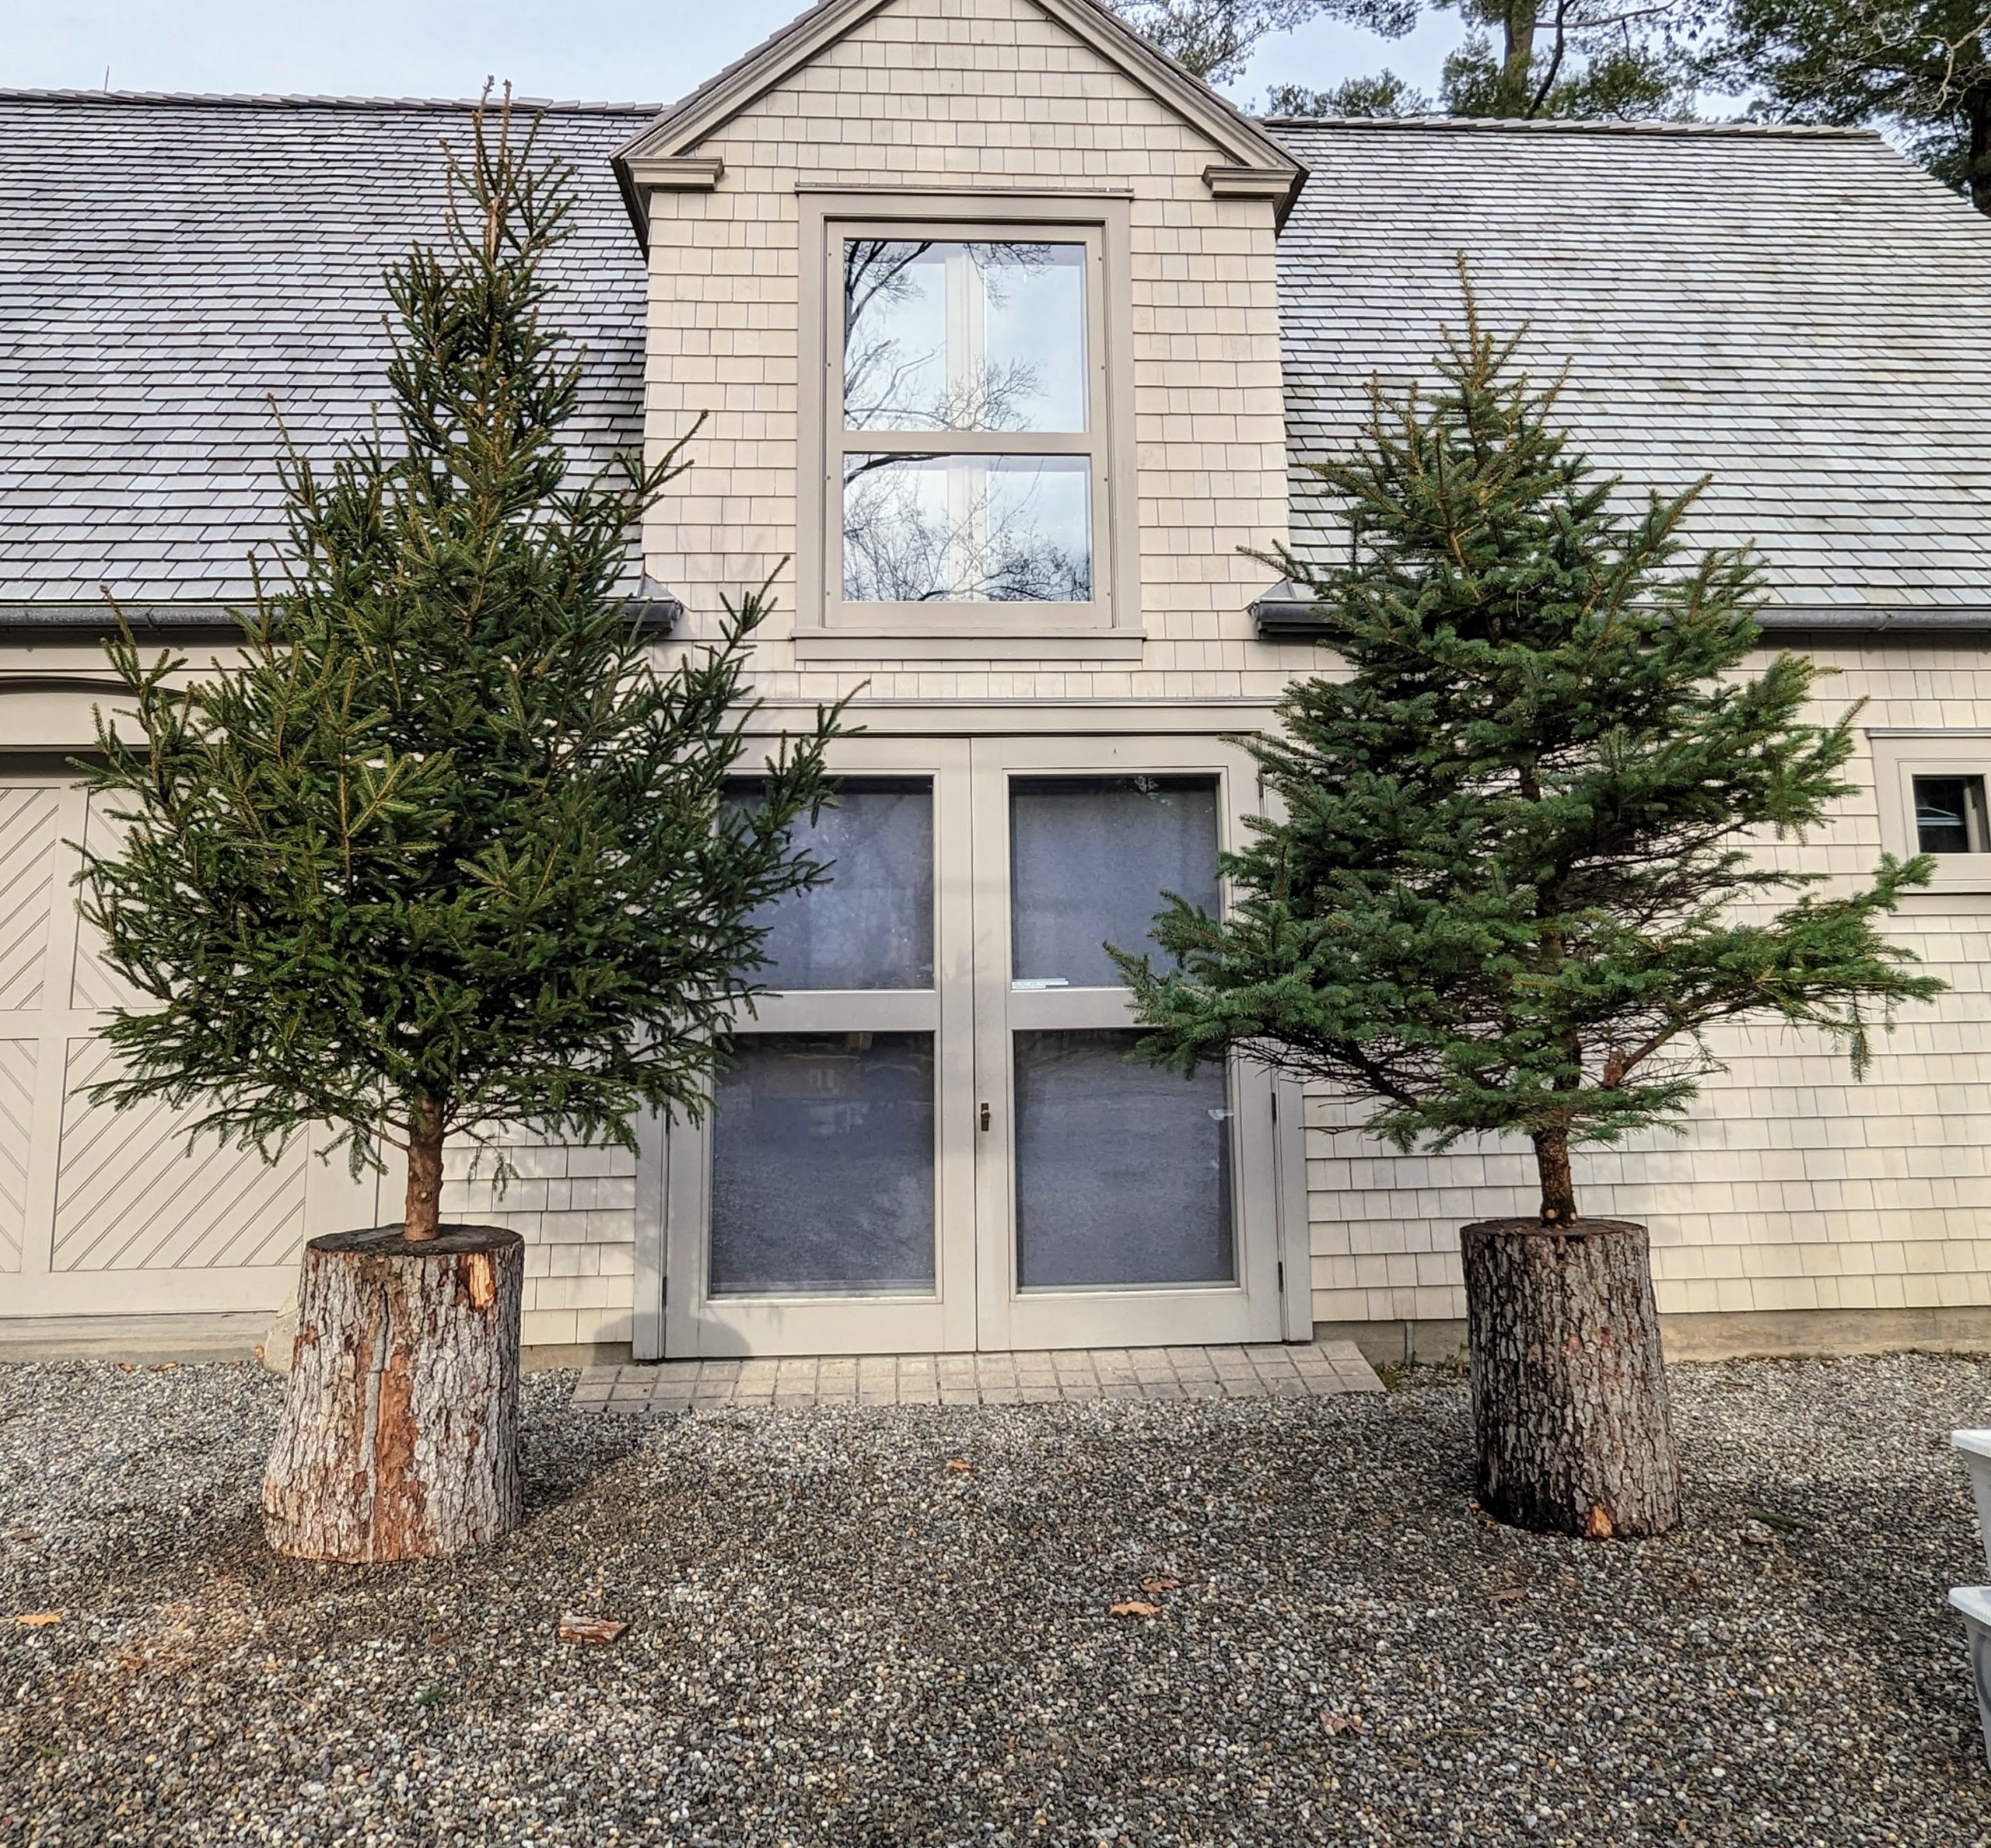
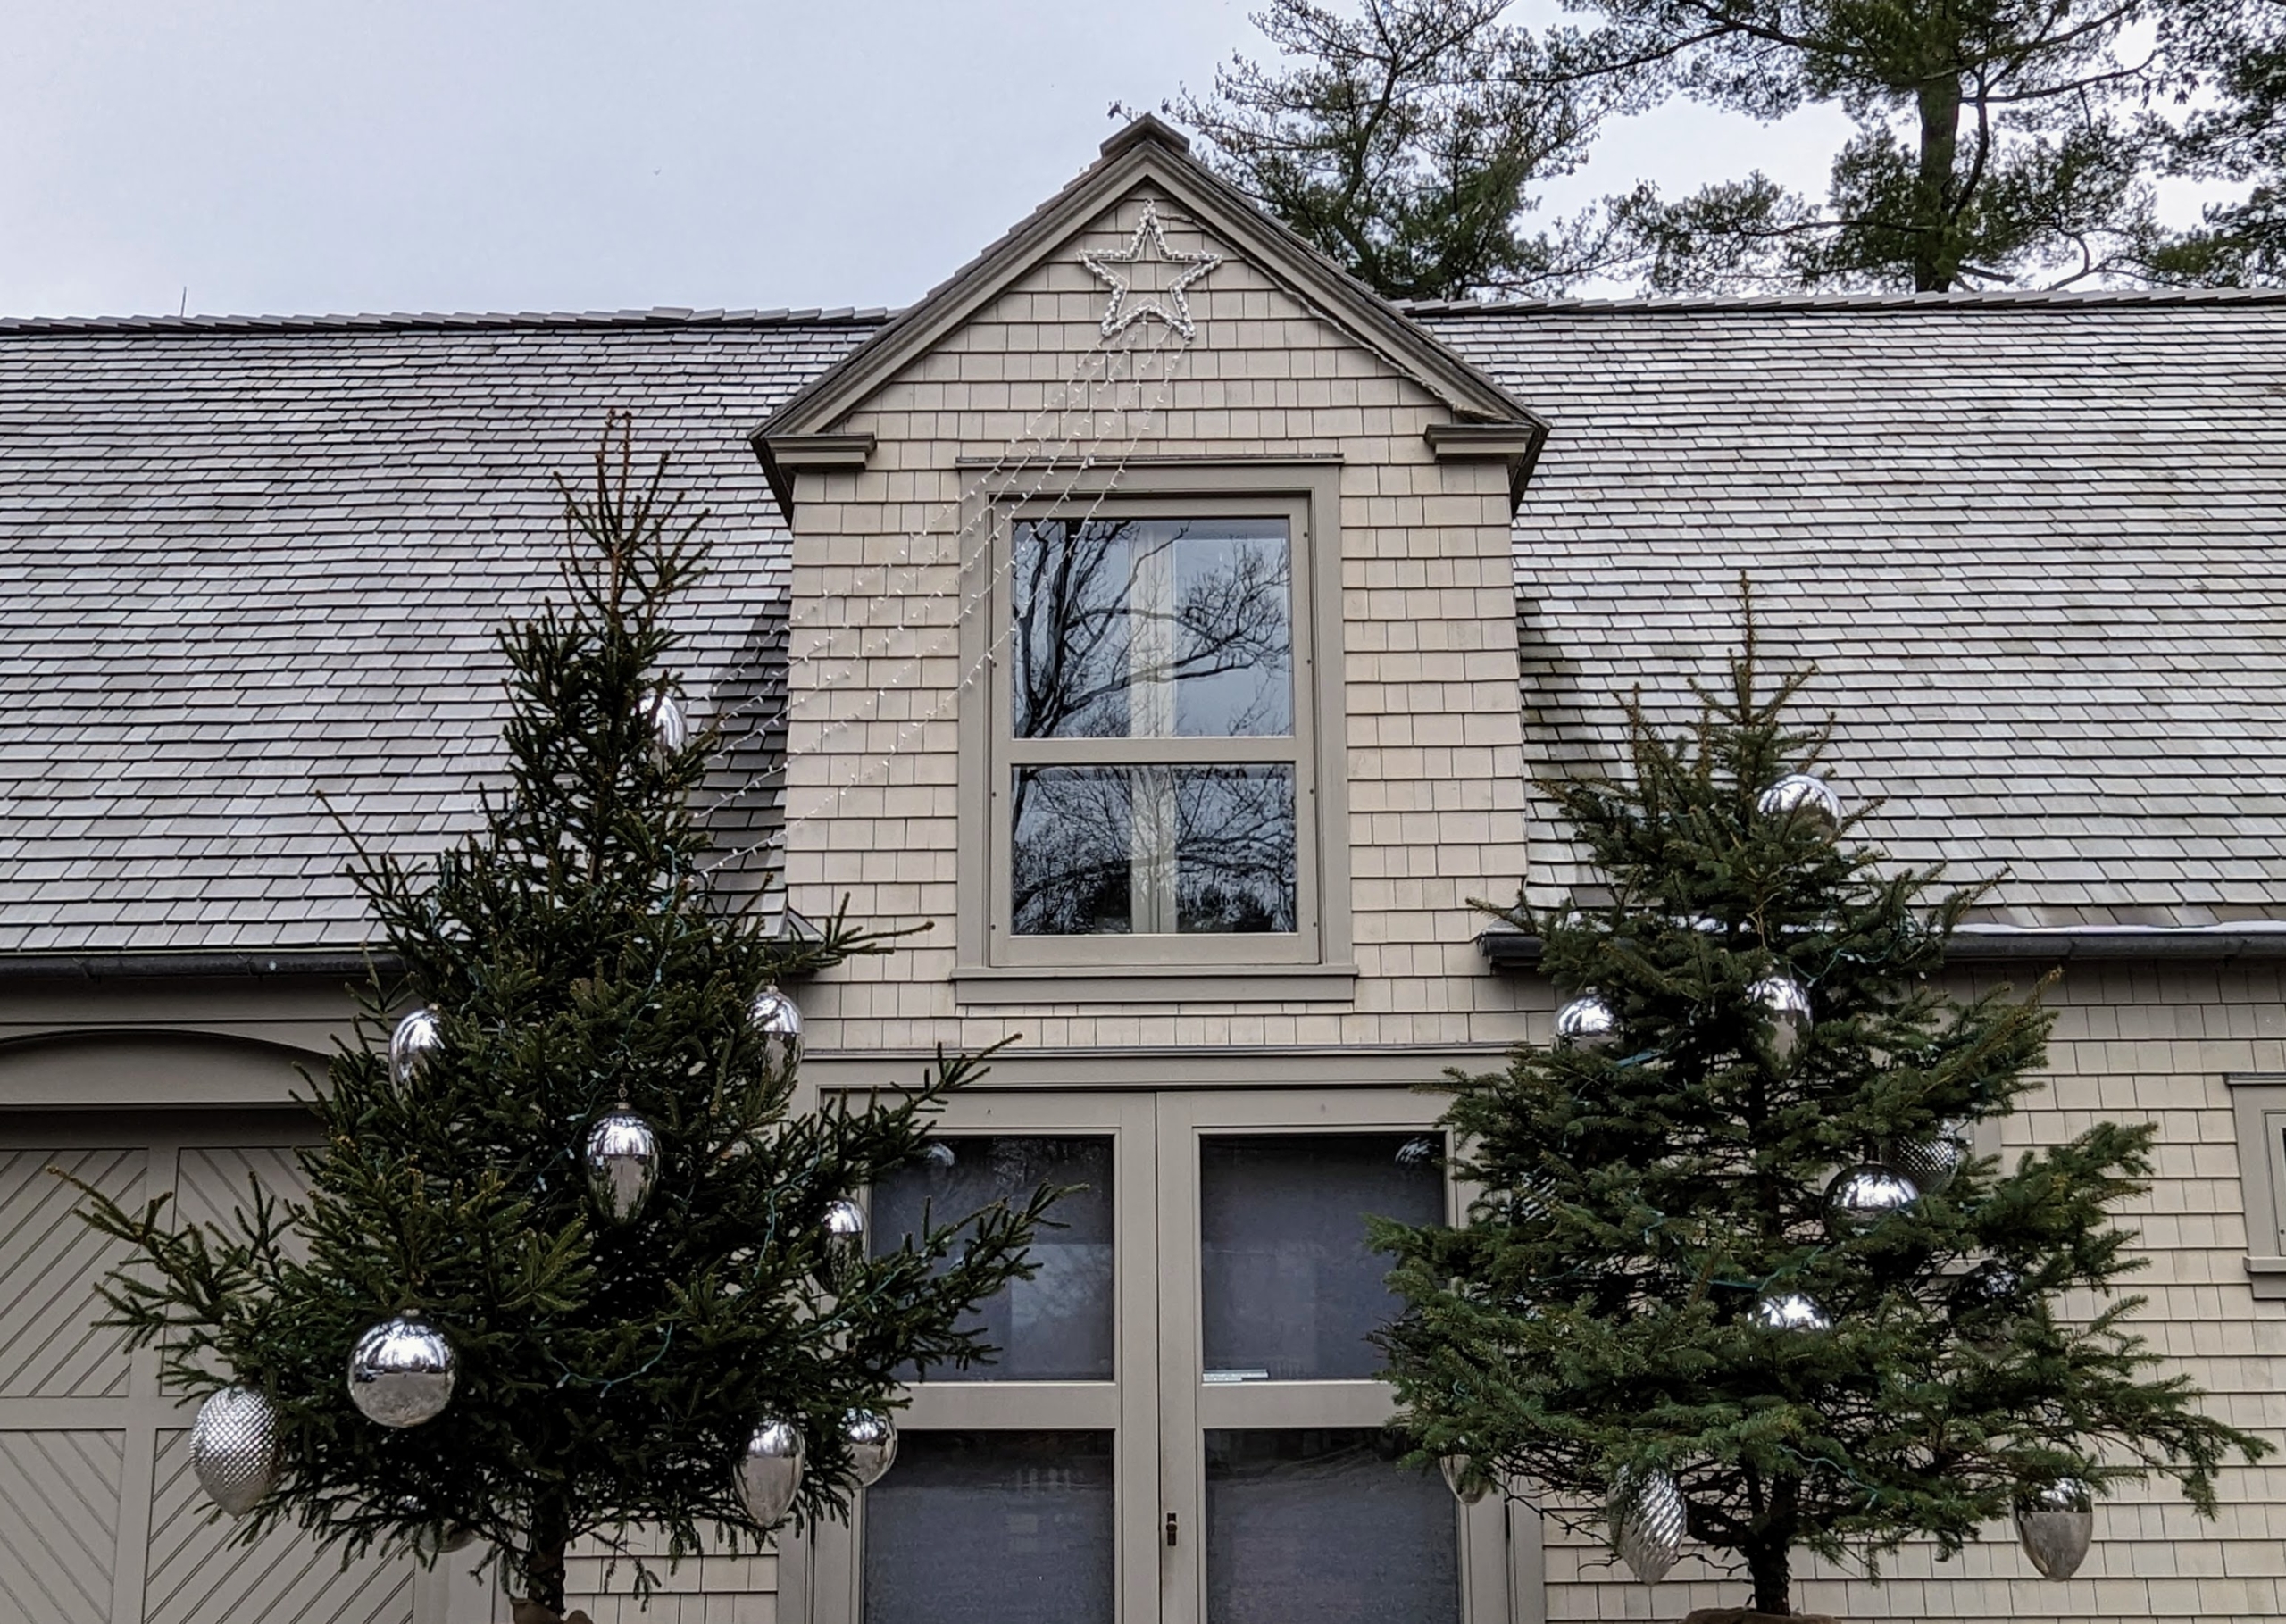
And here are the two trees flanking a gym window and the doors below.
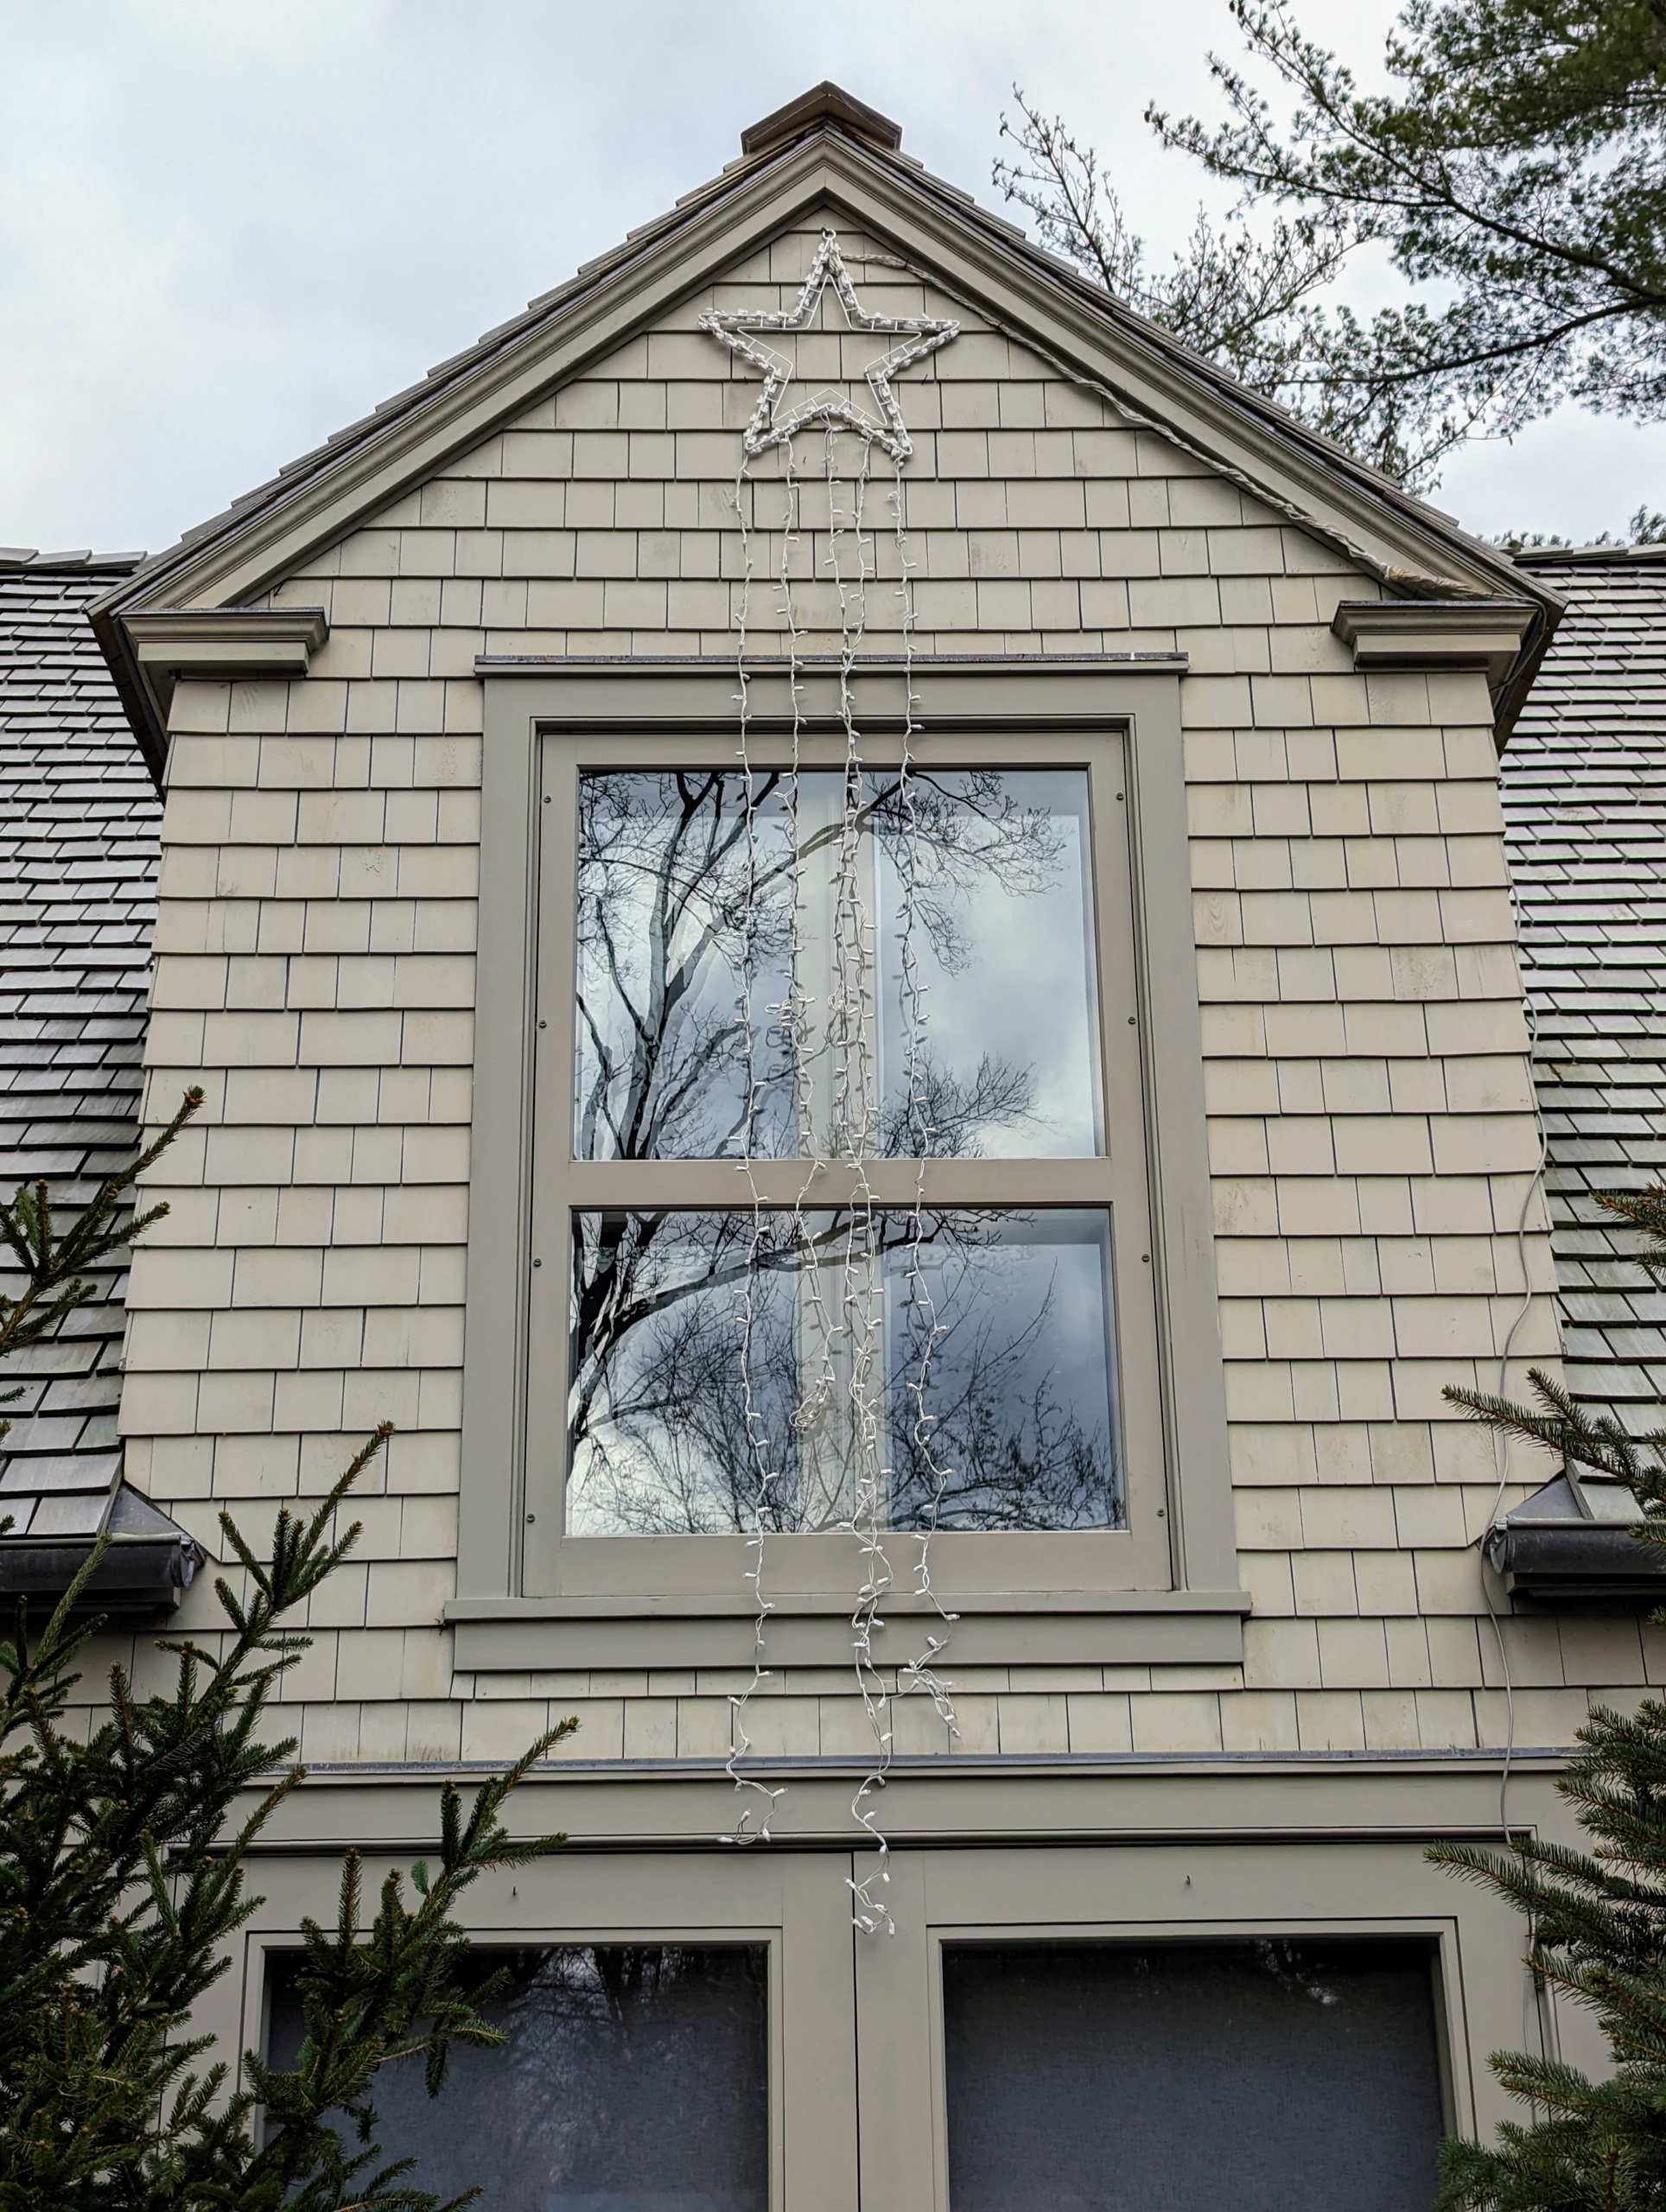
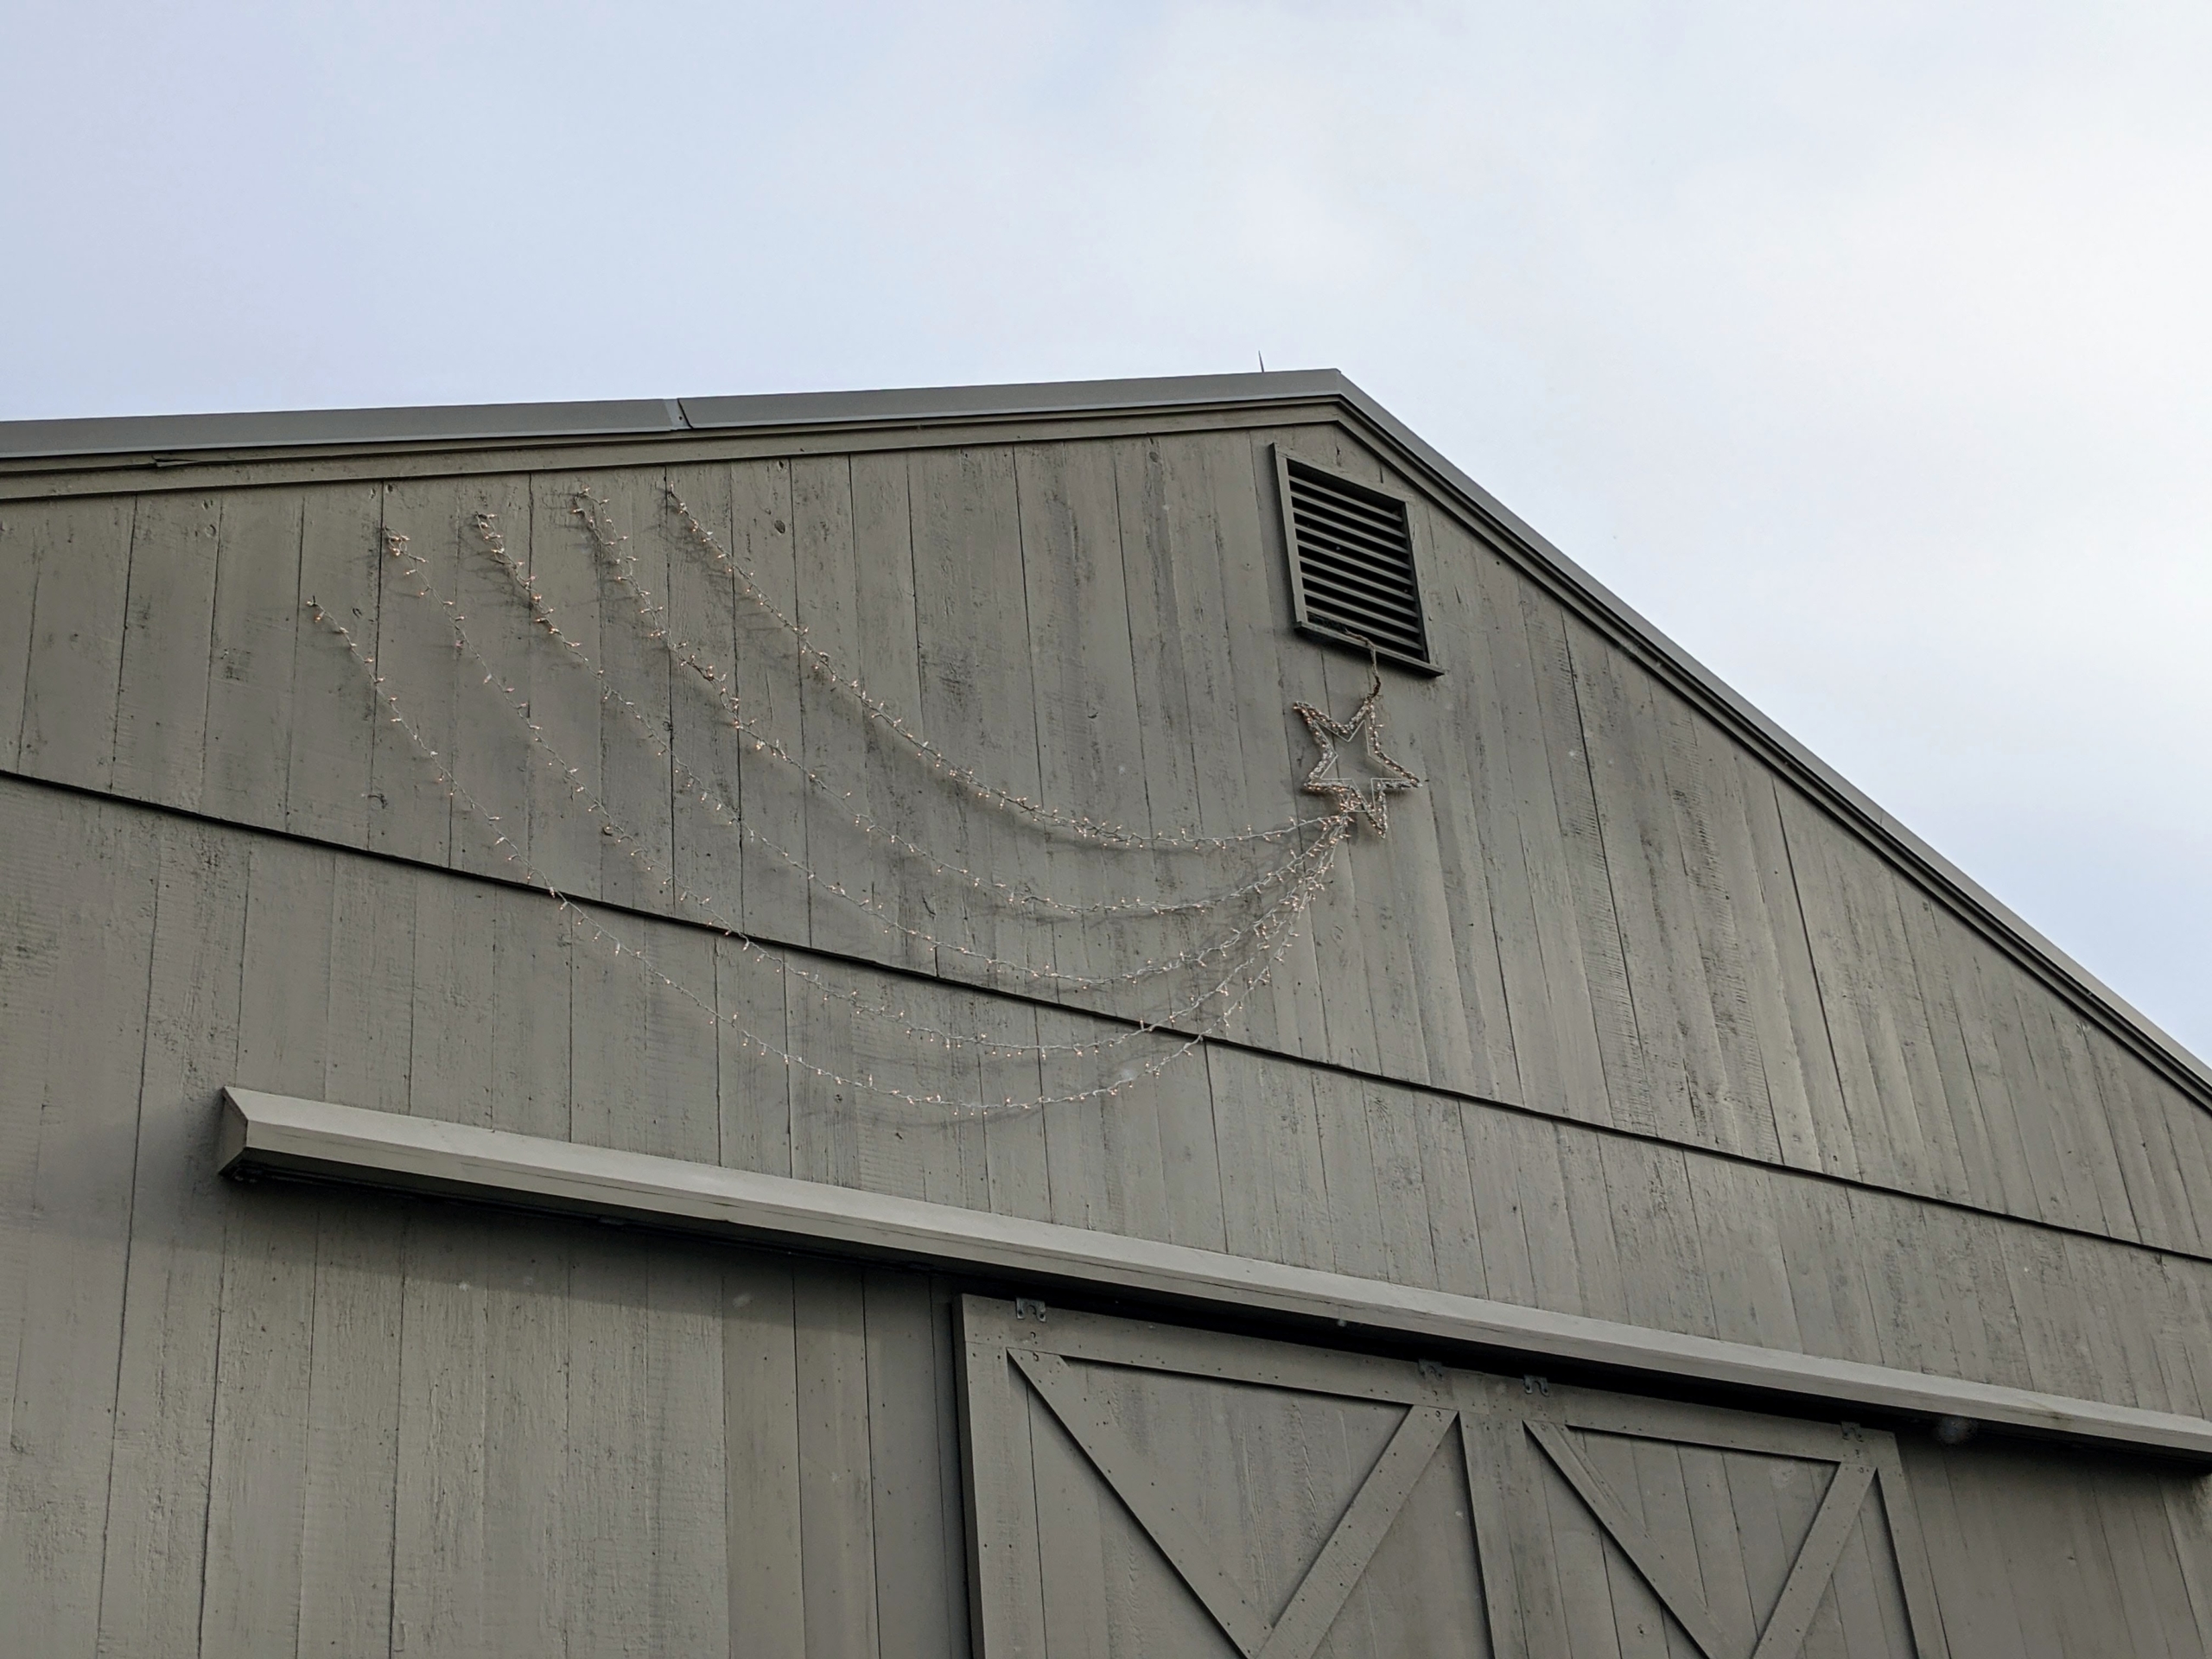
And here is the star. Another tip… if one needs to use extension cords to connect outdoor decorations, use supplies that match the exterior of the building. We’re using grayish-tan extension cords, so they are not seen against the siding. Also be sure any electrical supplies are safe to use outside.
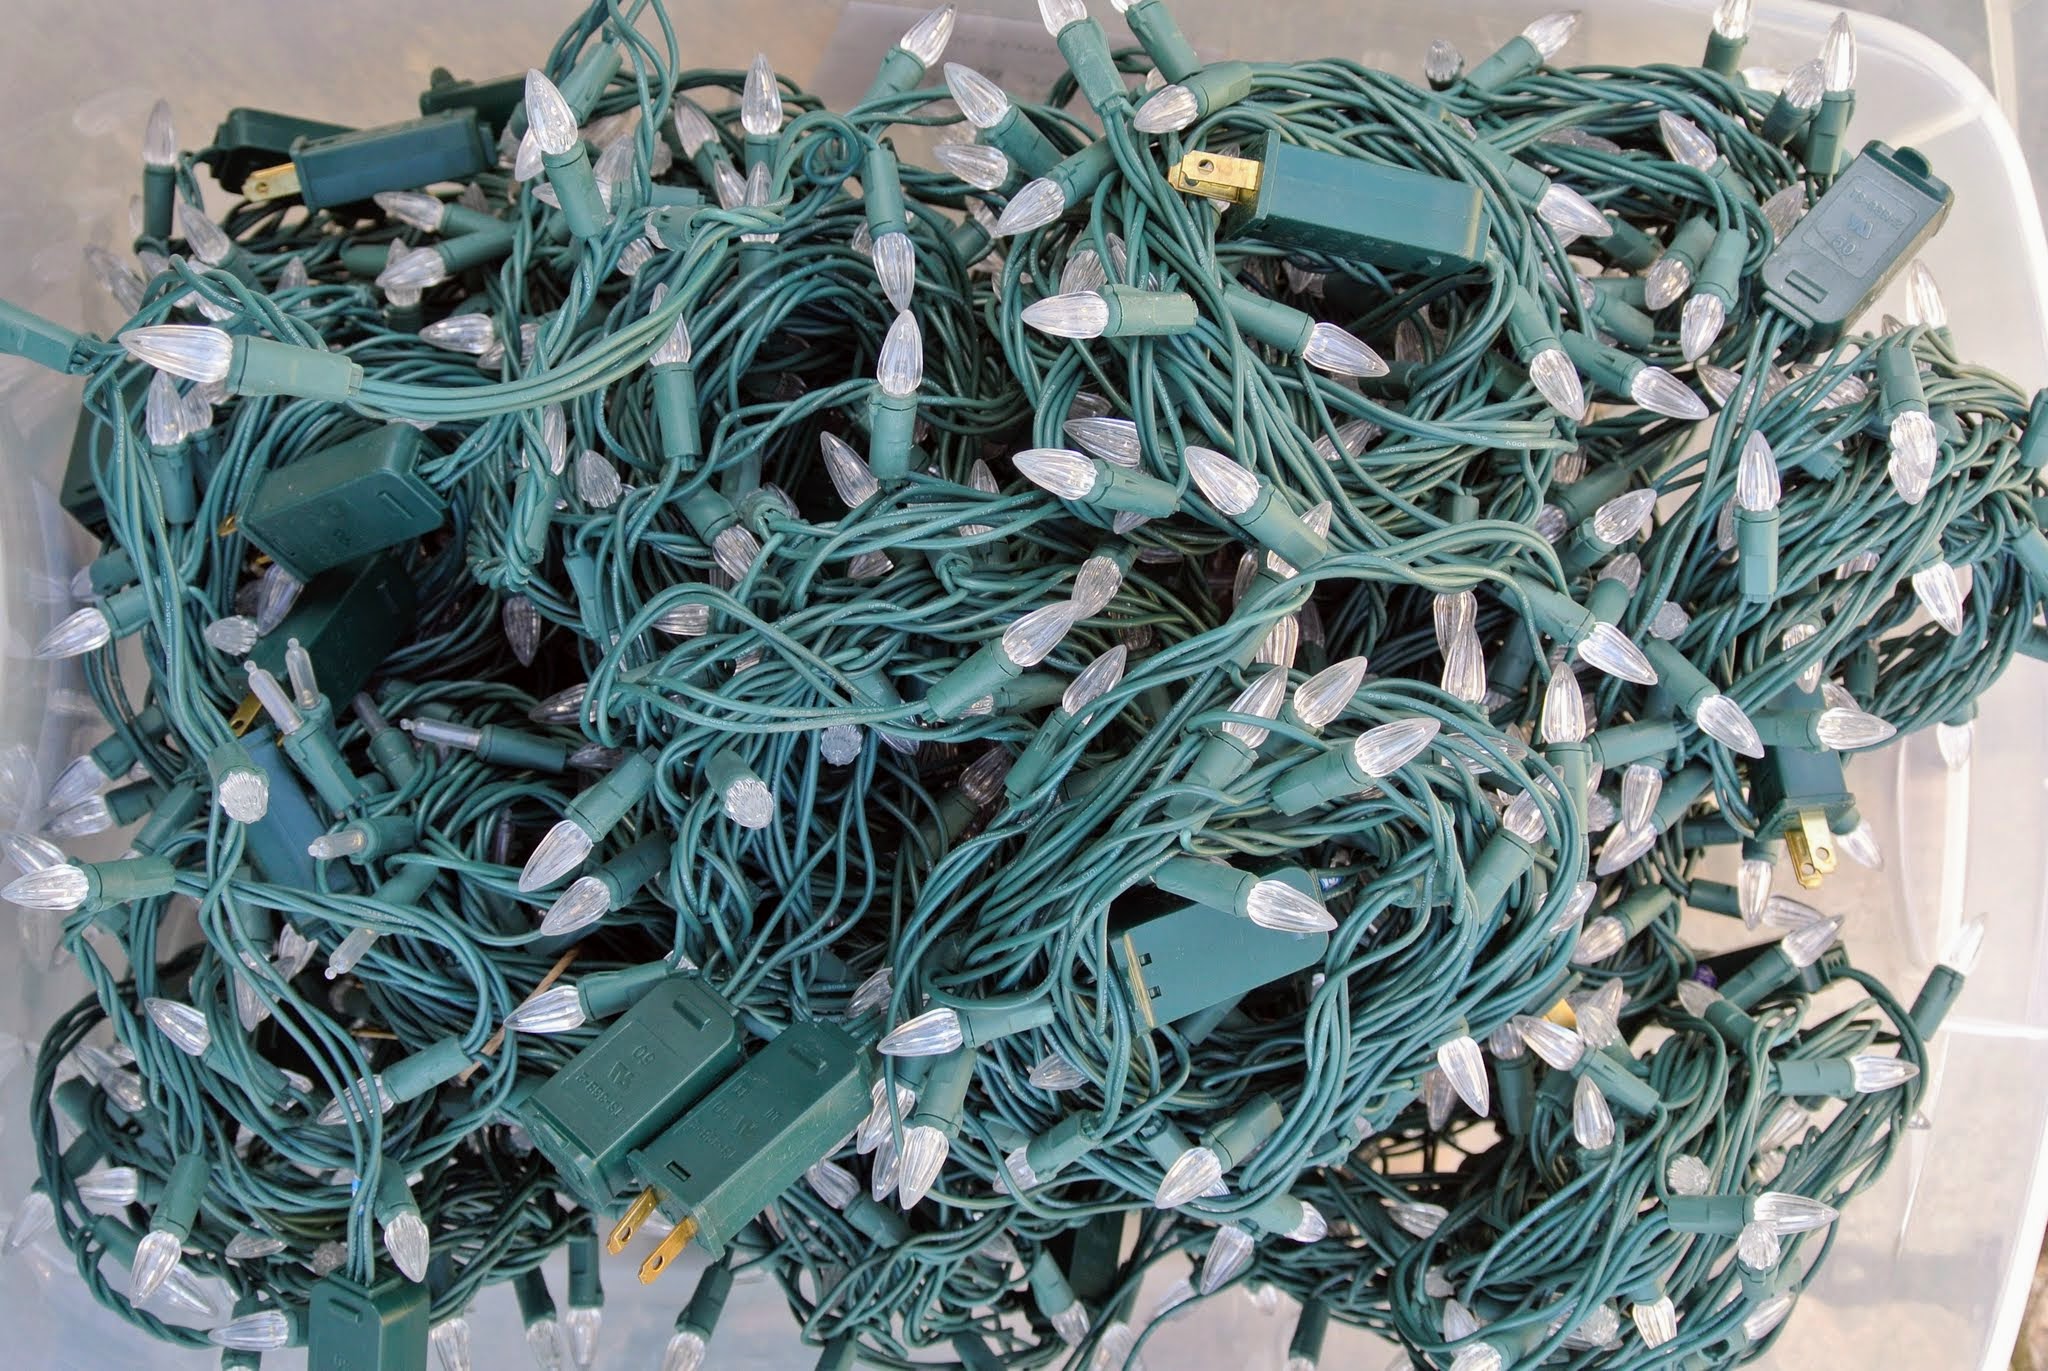
And we can’t forget lights on the trees. All of my outdoor decorating lights and supplies are always stored neatly in bins, so they are easy to find and put up year after year.
Here is Pete putting up the strings of lights – the more the merrier.
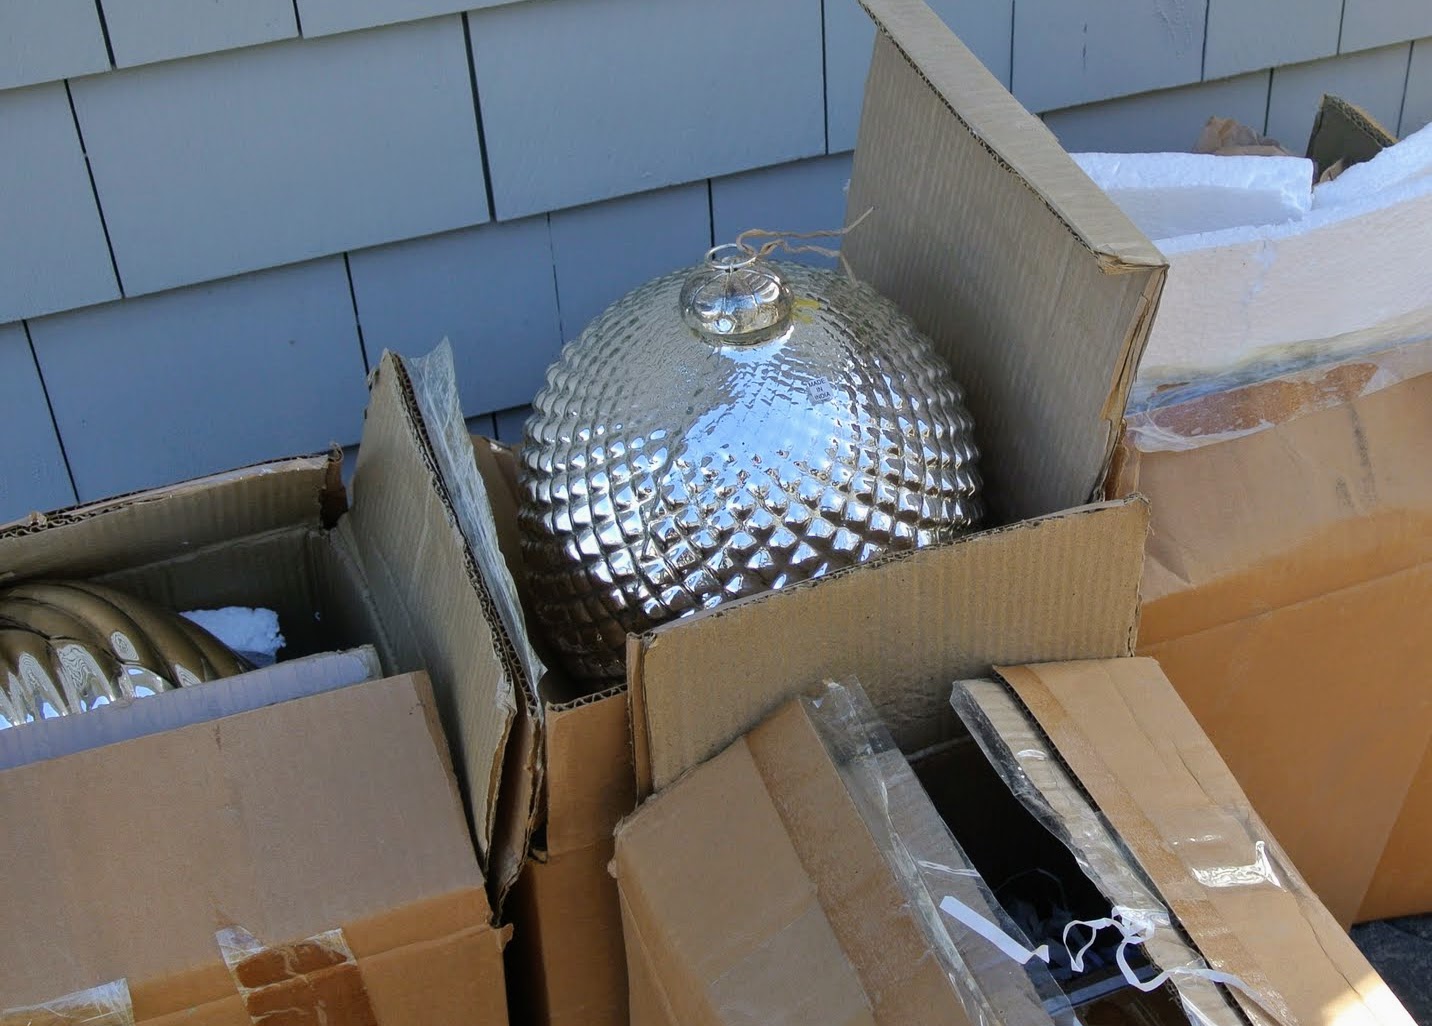
This year, I also decided to take out some of the giant silvered-glass kugels from my old Martha by Mail Collection to hang on the same trees. Do you have any? The mirrored shine of traditional kugels first produced in Germany during the early 19th century, comes not from silver or mercury, but from a coating of reflective material sprayed to the inside surface of clear glass.
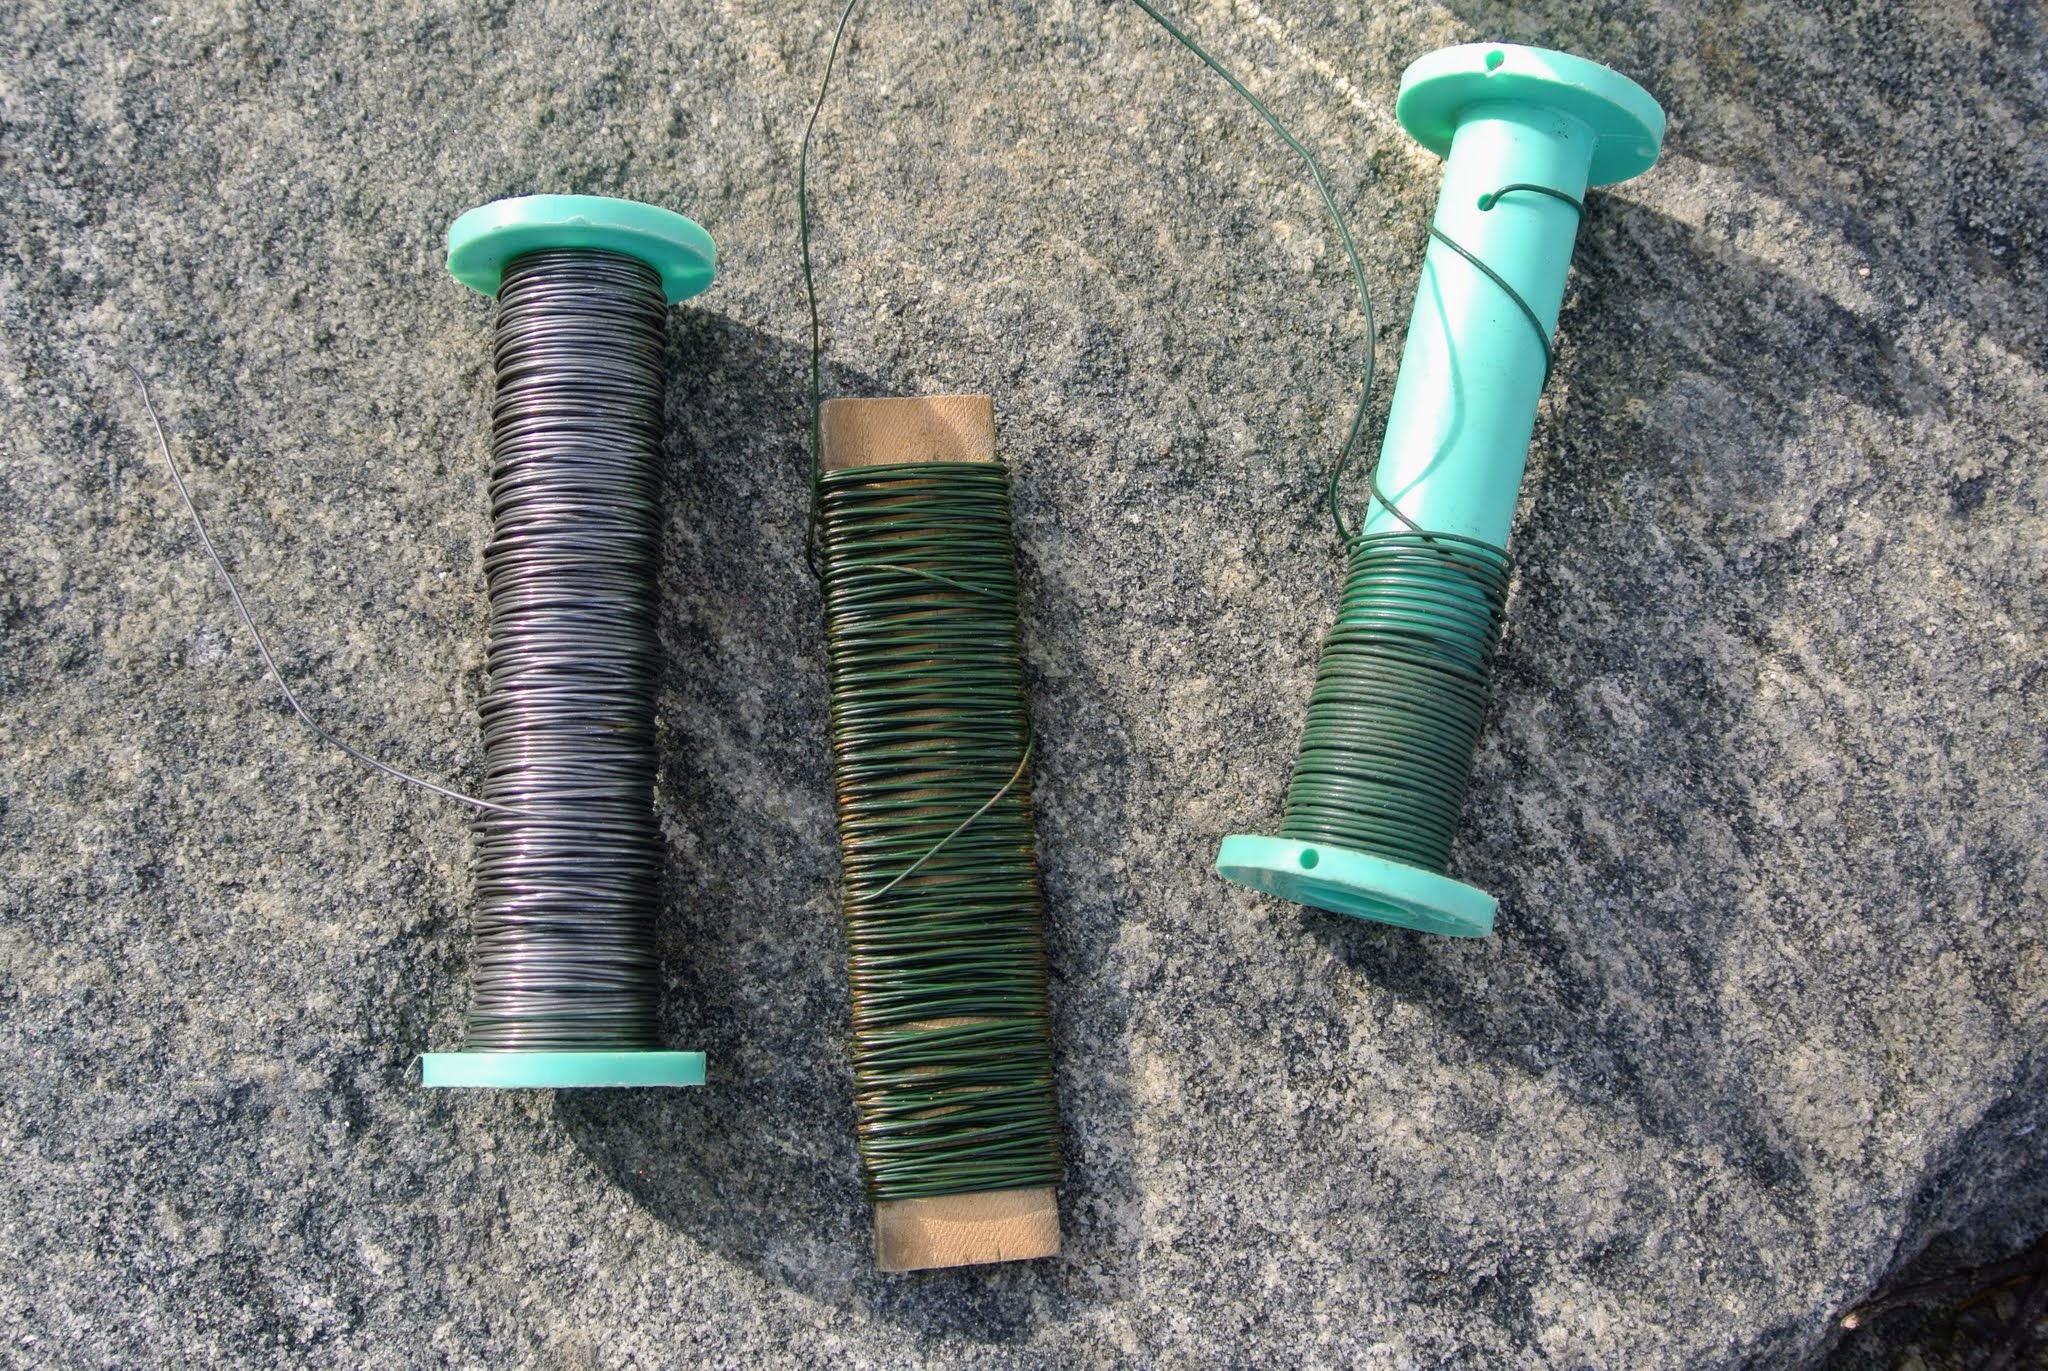
Because the kugels are fragile and quite heavy for ornaments, I wanted them secured to the branches with strong wire.
Fernando carefully places each kugel strategically on the tree – none of the ornaments should bang or touch each other, and be sure they don’t weigh down the branches too much – place them deep into the tree, so they are well-balanced.
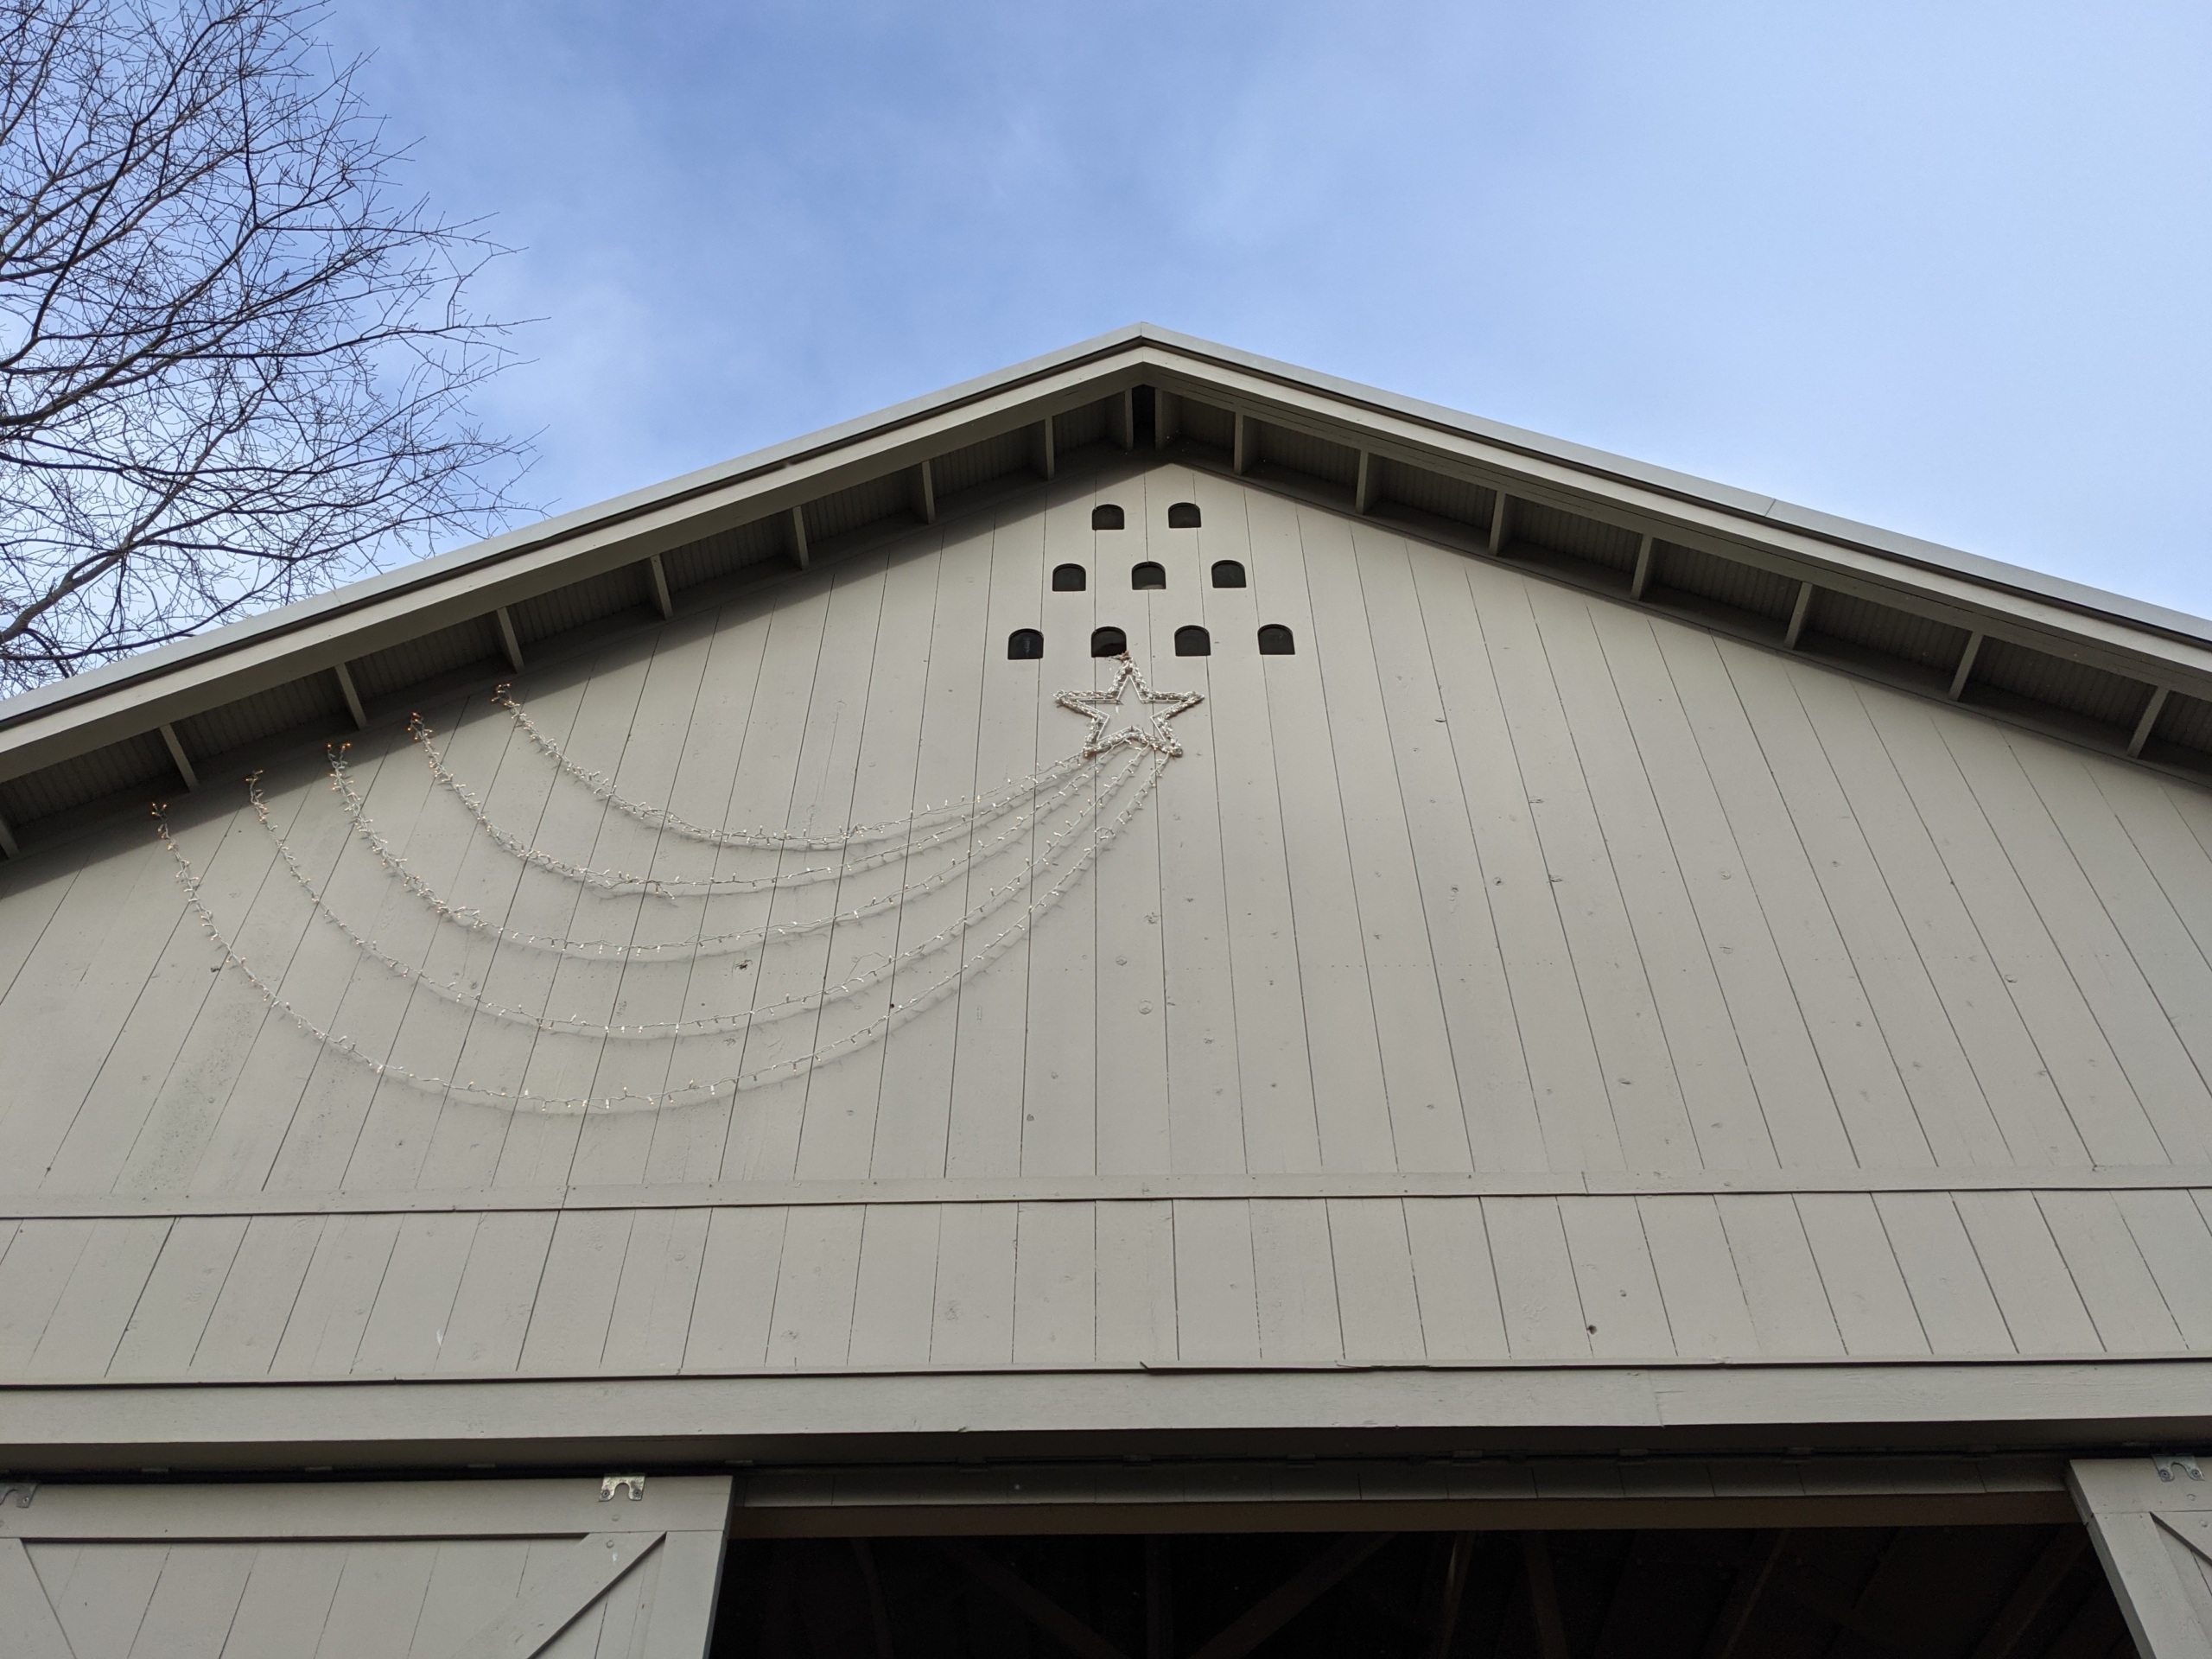
Meanwhile, my shooting stars are placed on other outbuildings. Here is one above the Hay Barn.
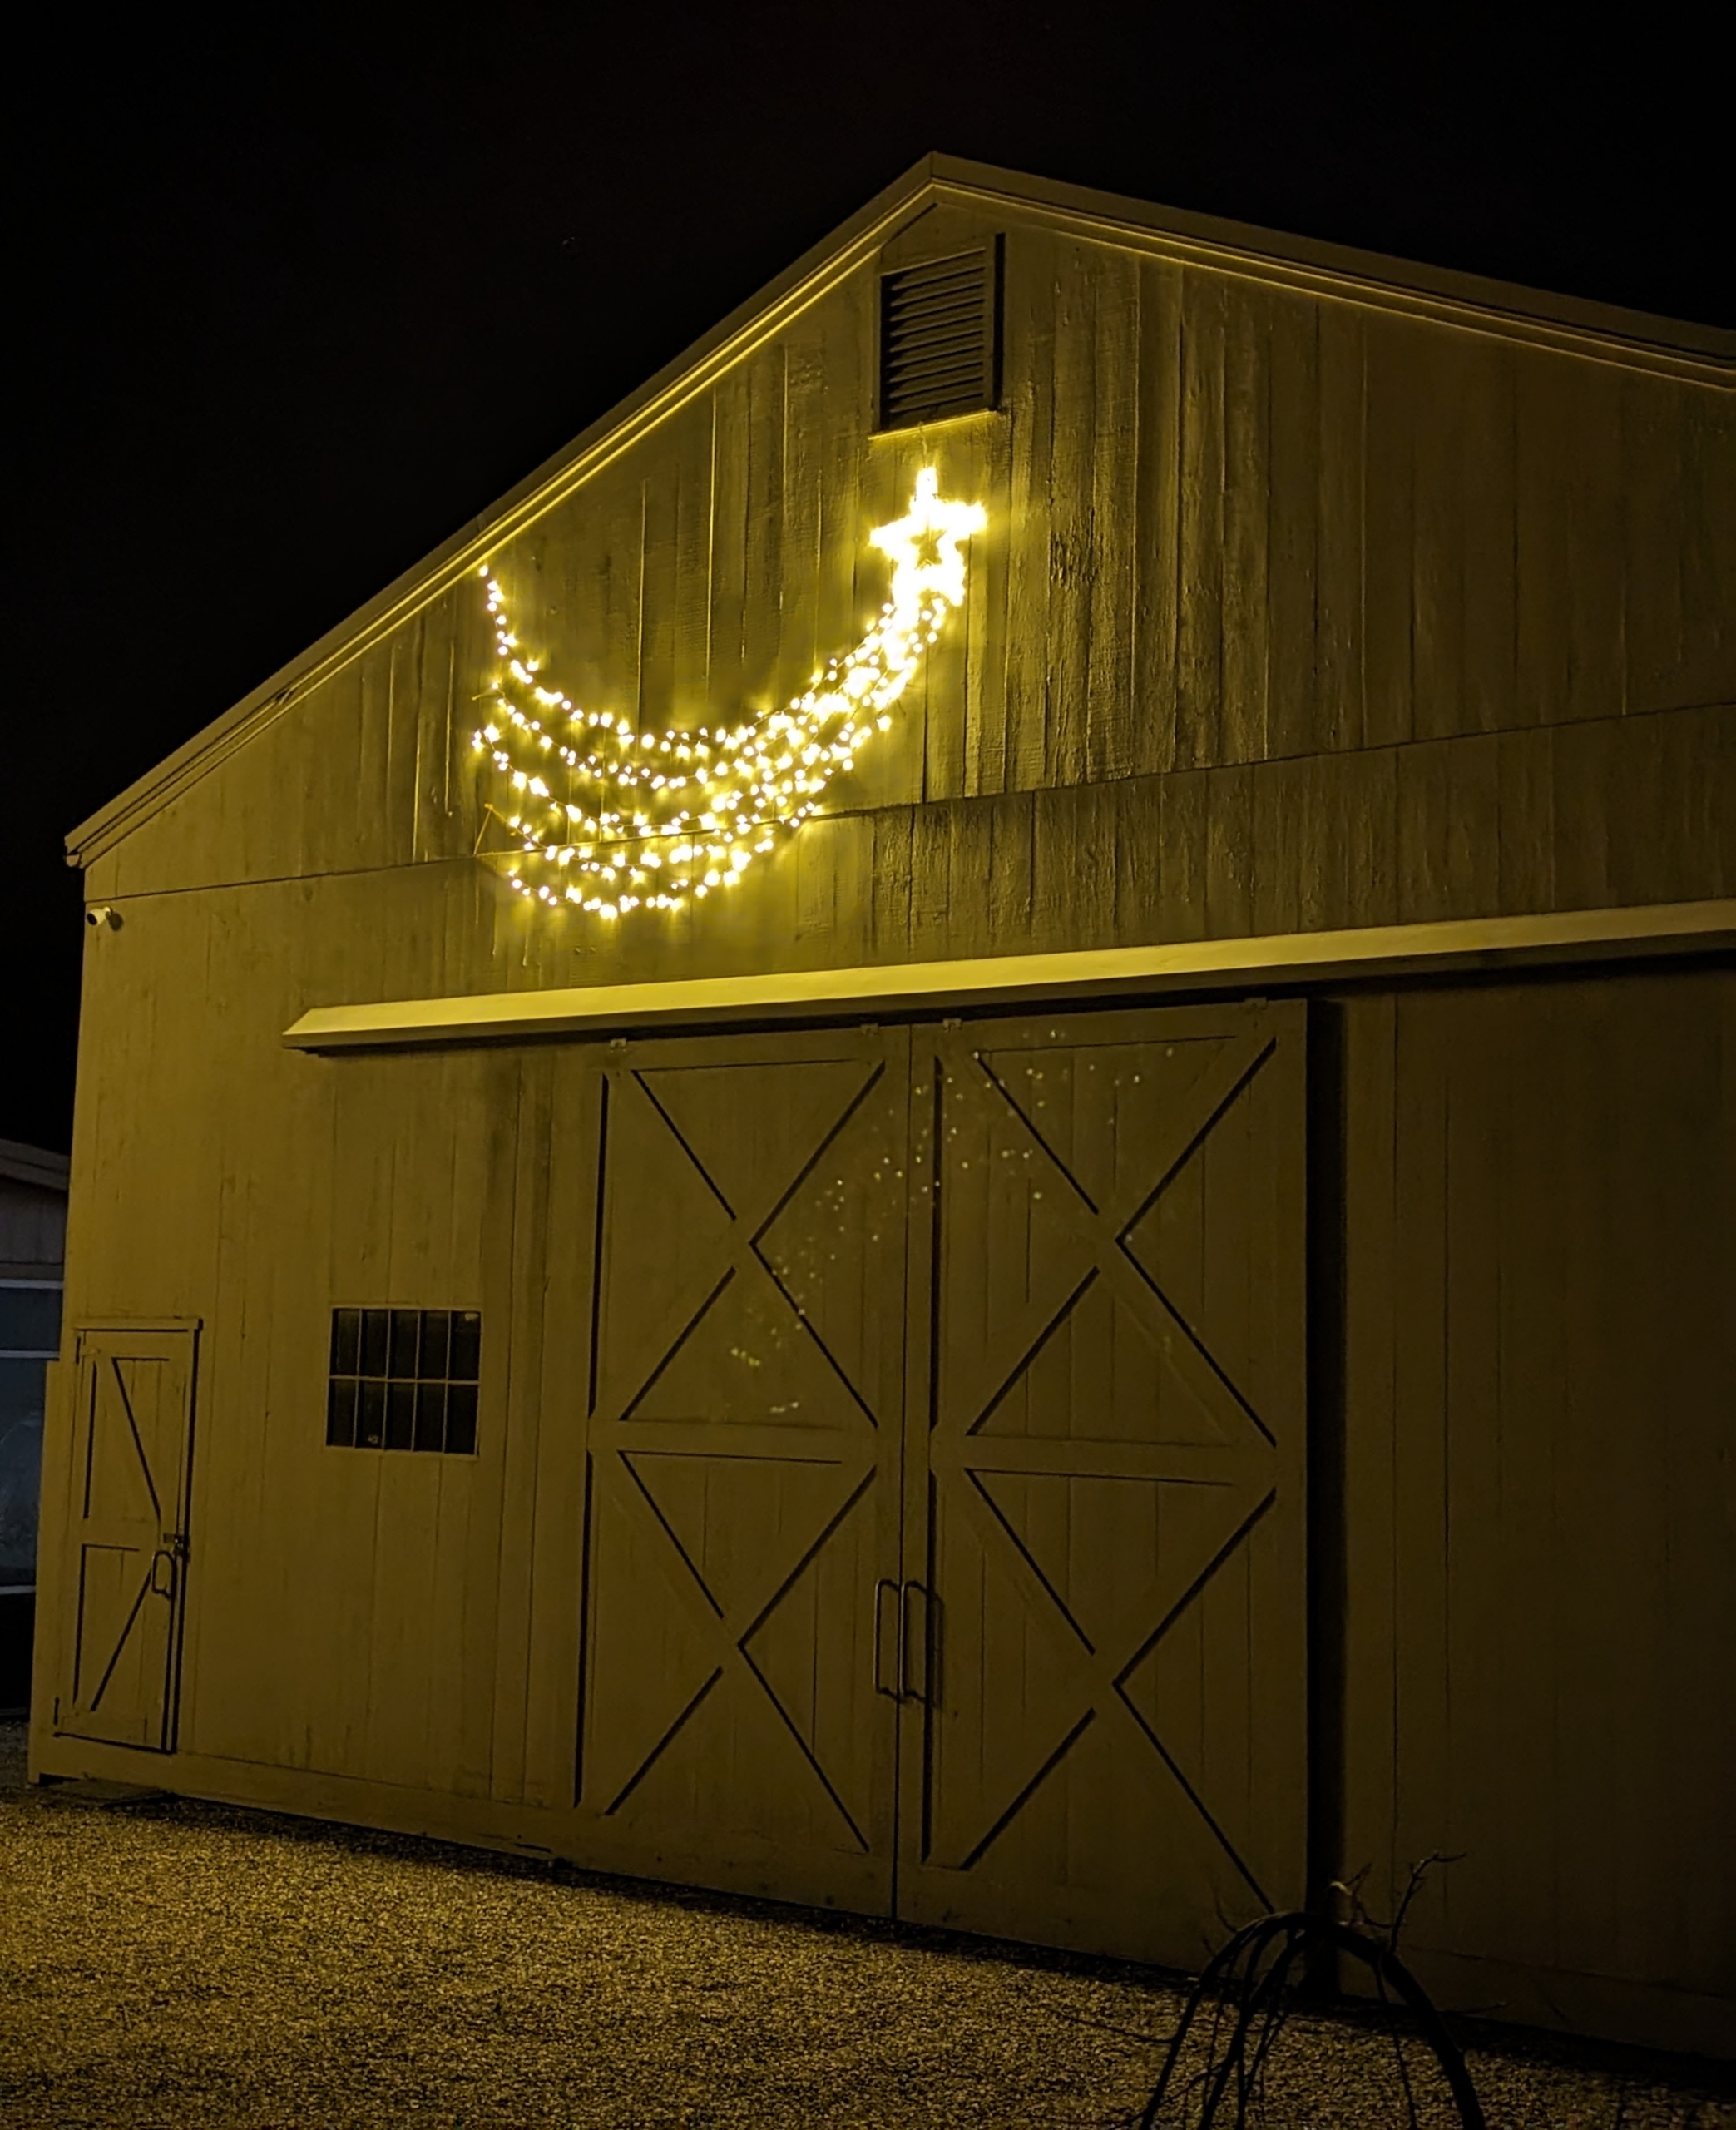
This shooting star was hung above the sliding doors of my Equipment Barn.
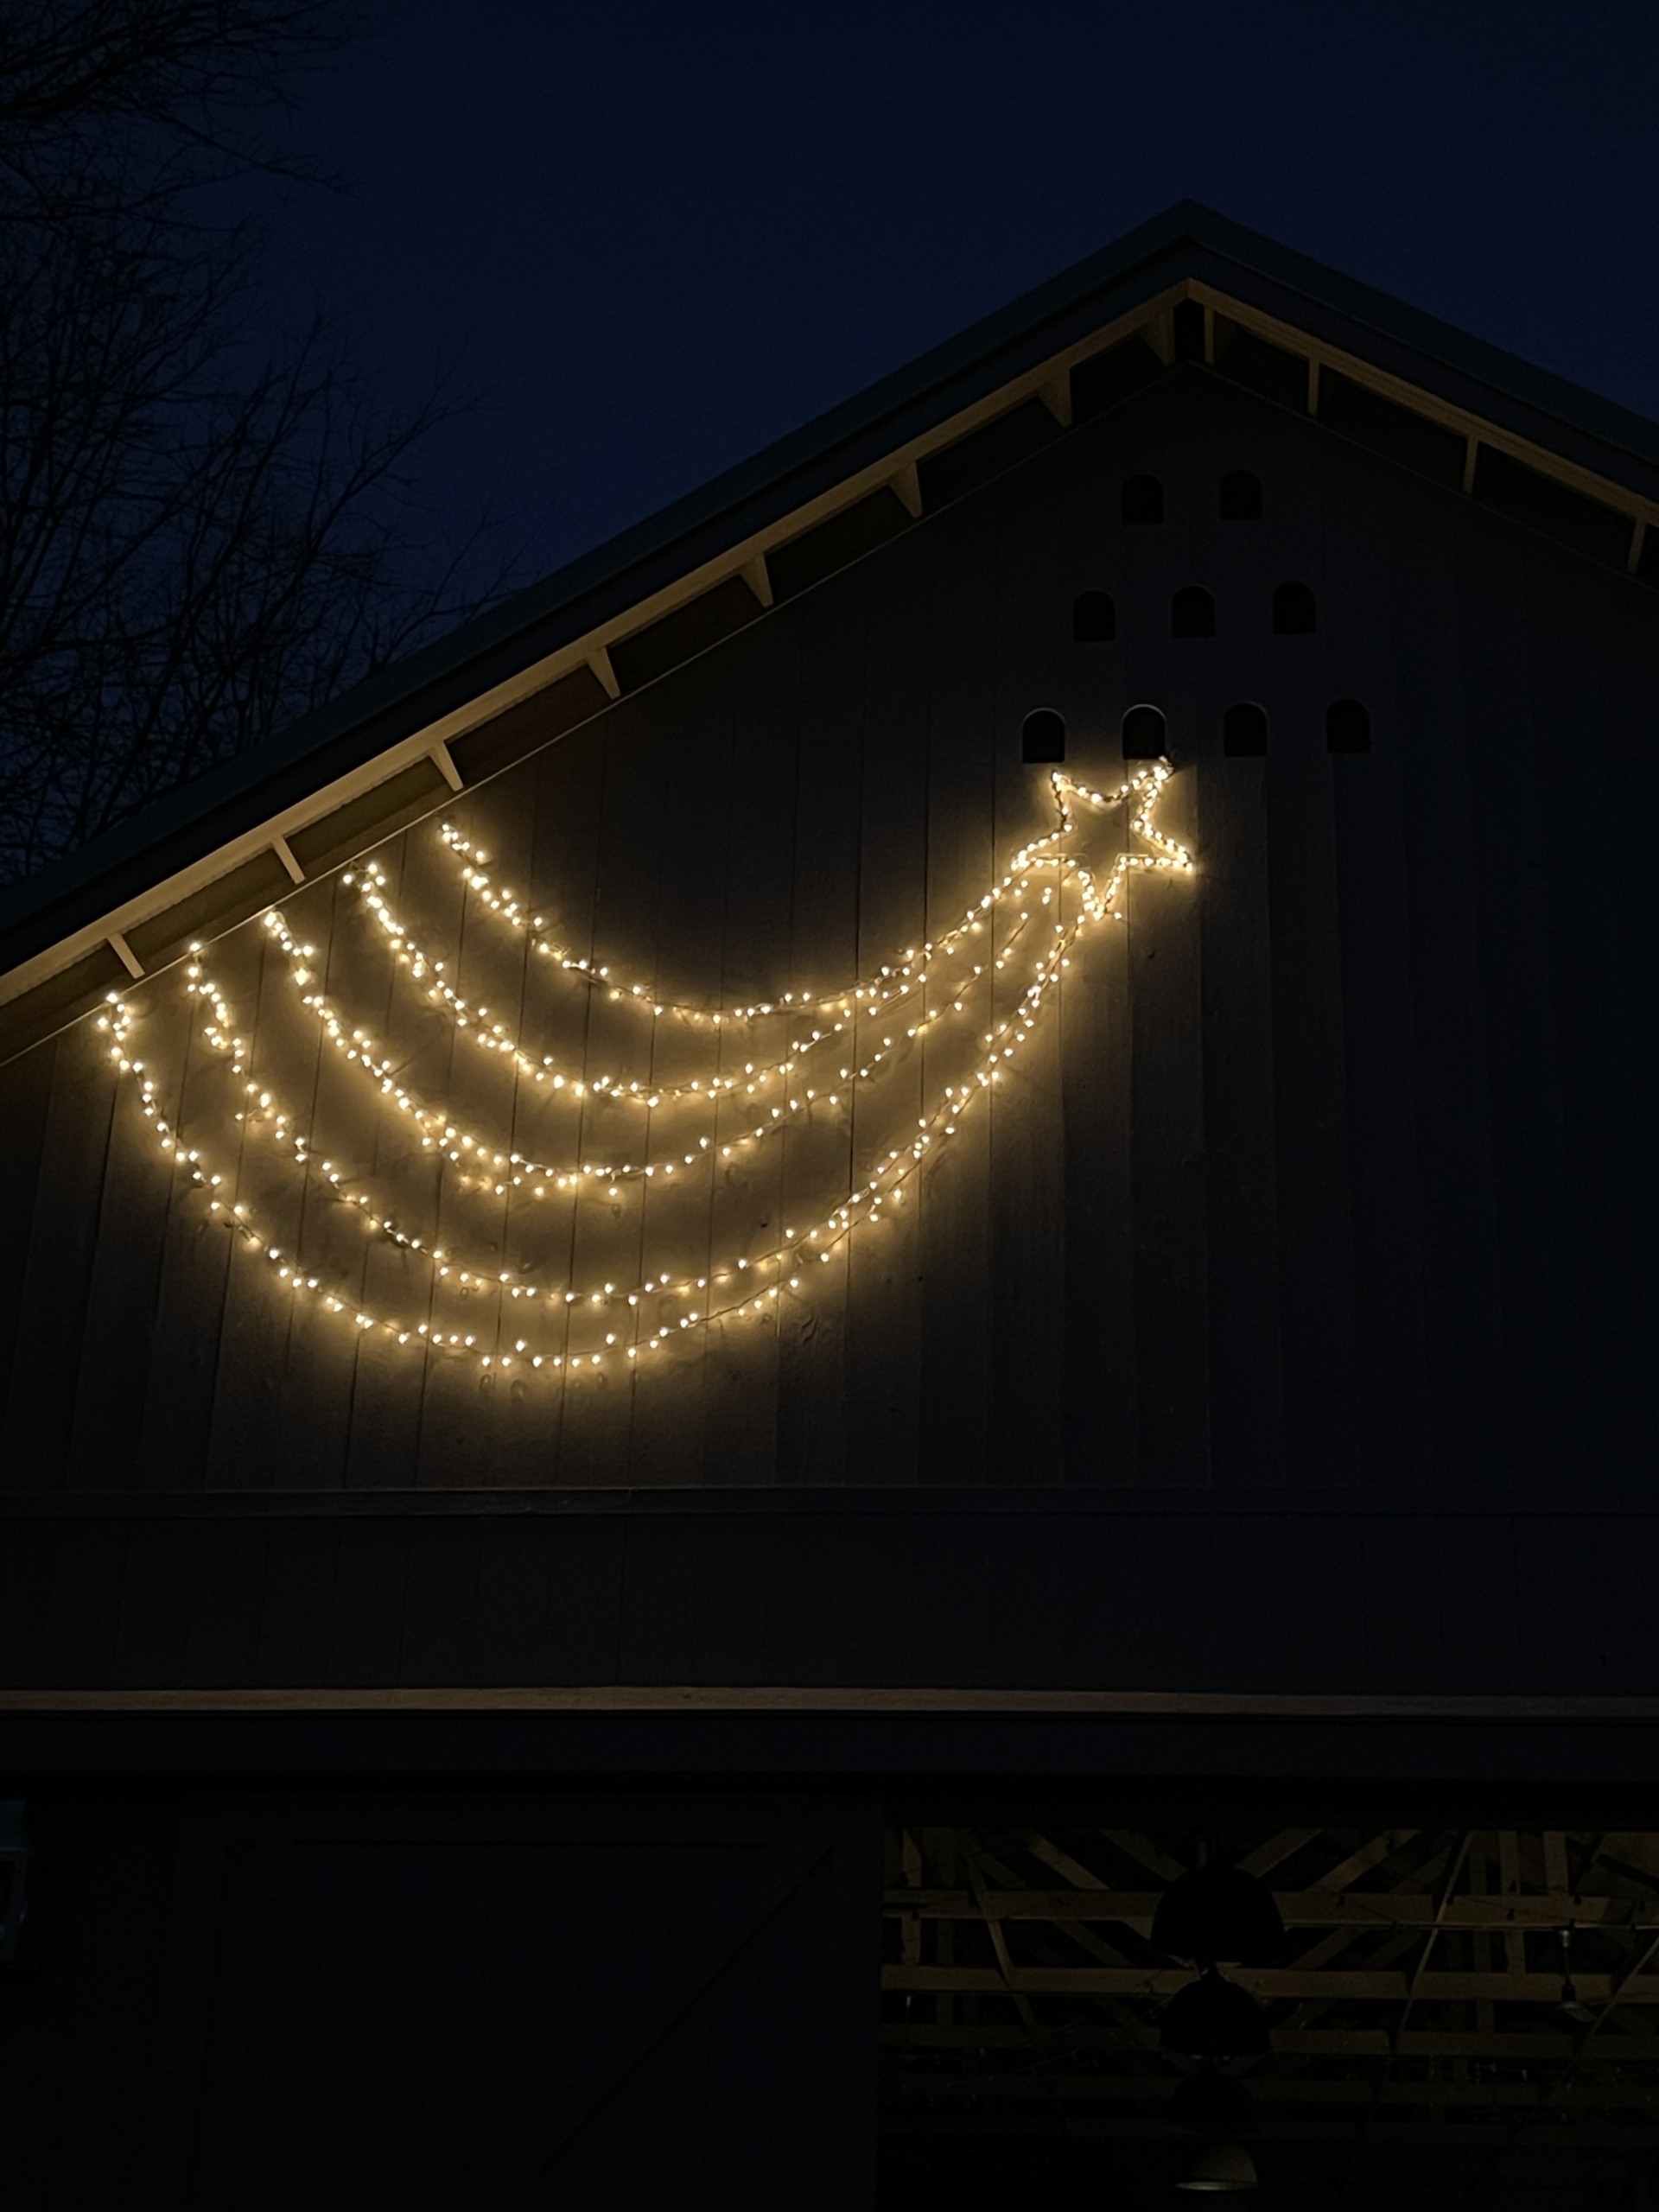
By night fall, the lights look so beautiful. I love the way the taillights swoop down the side of the building.
These bright stars can be seen from across the pastures. Do you know what a true shooting star is? A shooting star is actually a small piece of rock or dust that hits Earth’s atmosphere from space. It moves so fast that it heats up and glows as it moves through the atmosphere. Astronomers call them meteors. Most meteors burn up before they even reach the ground.
The star looks so pretty illuminated above the two lighted trees. If you haven’t yet put up your outdoor holiday decorations, there’s still time – it is now 11-days before Christmas.
Everyone loves a delicious, healthy home-cooked meal - even our pets.
Every few weeks, I set aside time to make my dogs, Crème Brûlée, Bête Noire, Empress Qin, and Emperor Han, a good supply of food. Preparing my own dog food has many benefits - fewer preservatives and additives, more varied and better ingredients and, of course, more of what I know my dogs will enjoy. I also know the food is from wholesome, organic, reputable, and local sources - that is very important to me. Last weekend, along with the help of my housekeeper, Elvira Rojas, and my longtime driver, Carlos "Uno" Villamil, we made a giant batch - filled with quality meats, quinoa, lots of nutritious vegetables, and even some delicious yogurt I made too.
Here are some photos, enjoy.
Are you hungry, Empress Qin? My dogs can smell all the delicious food being prepared just for them. I enjoy cooking for my dogs because I know exactly what they’re getting.
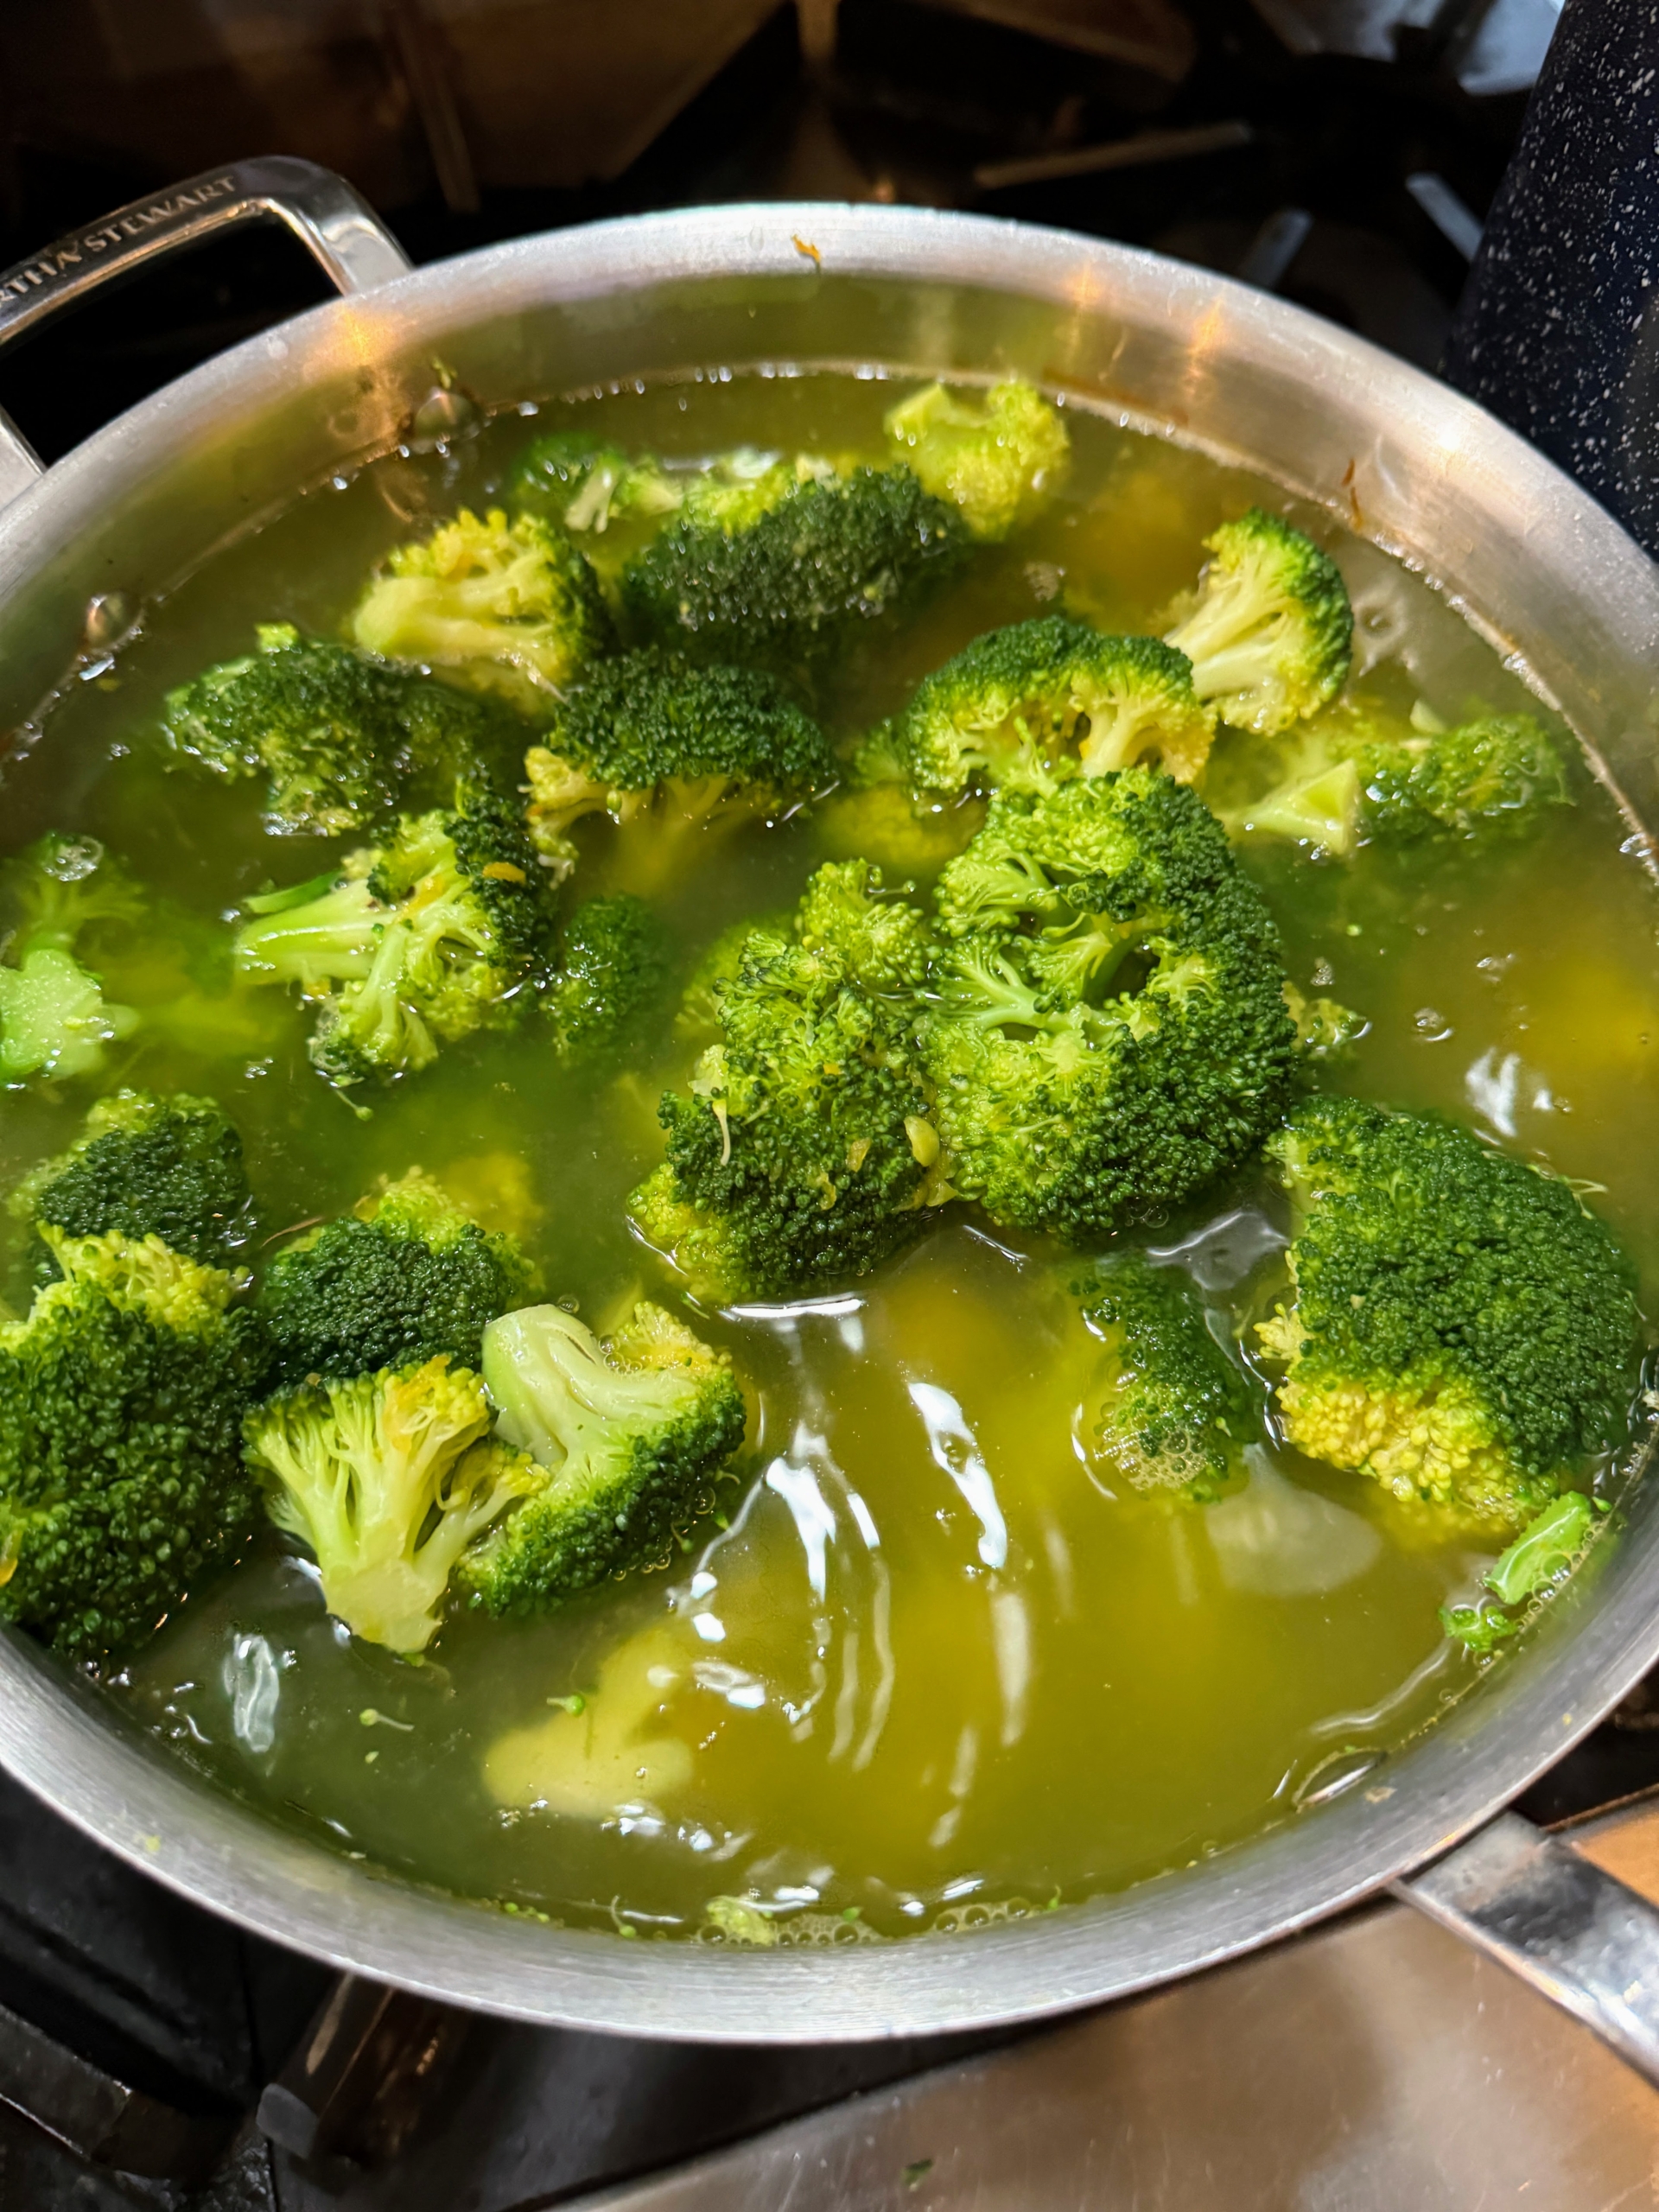
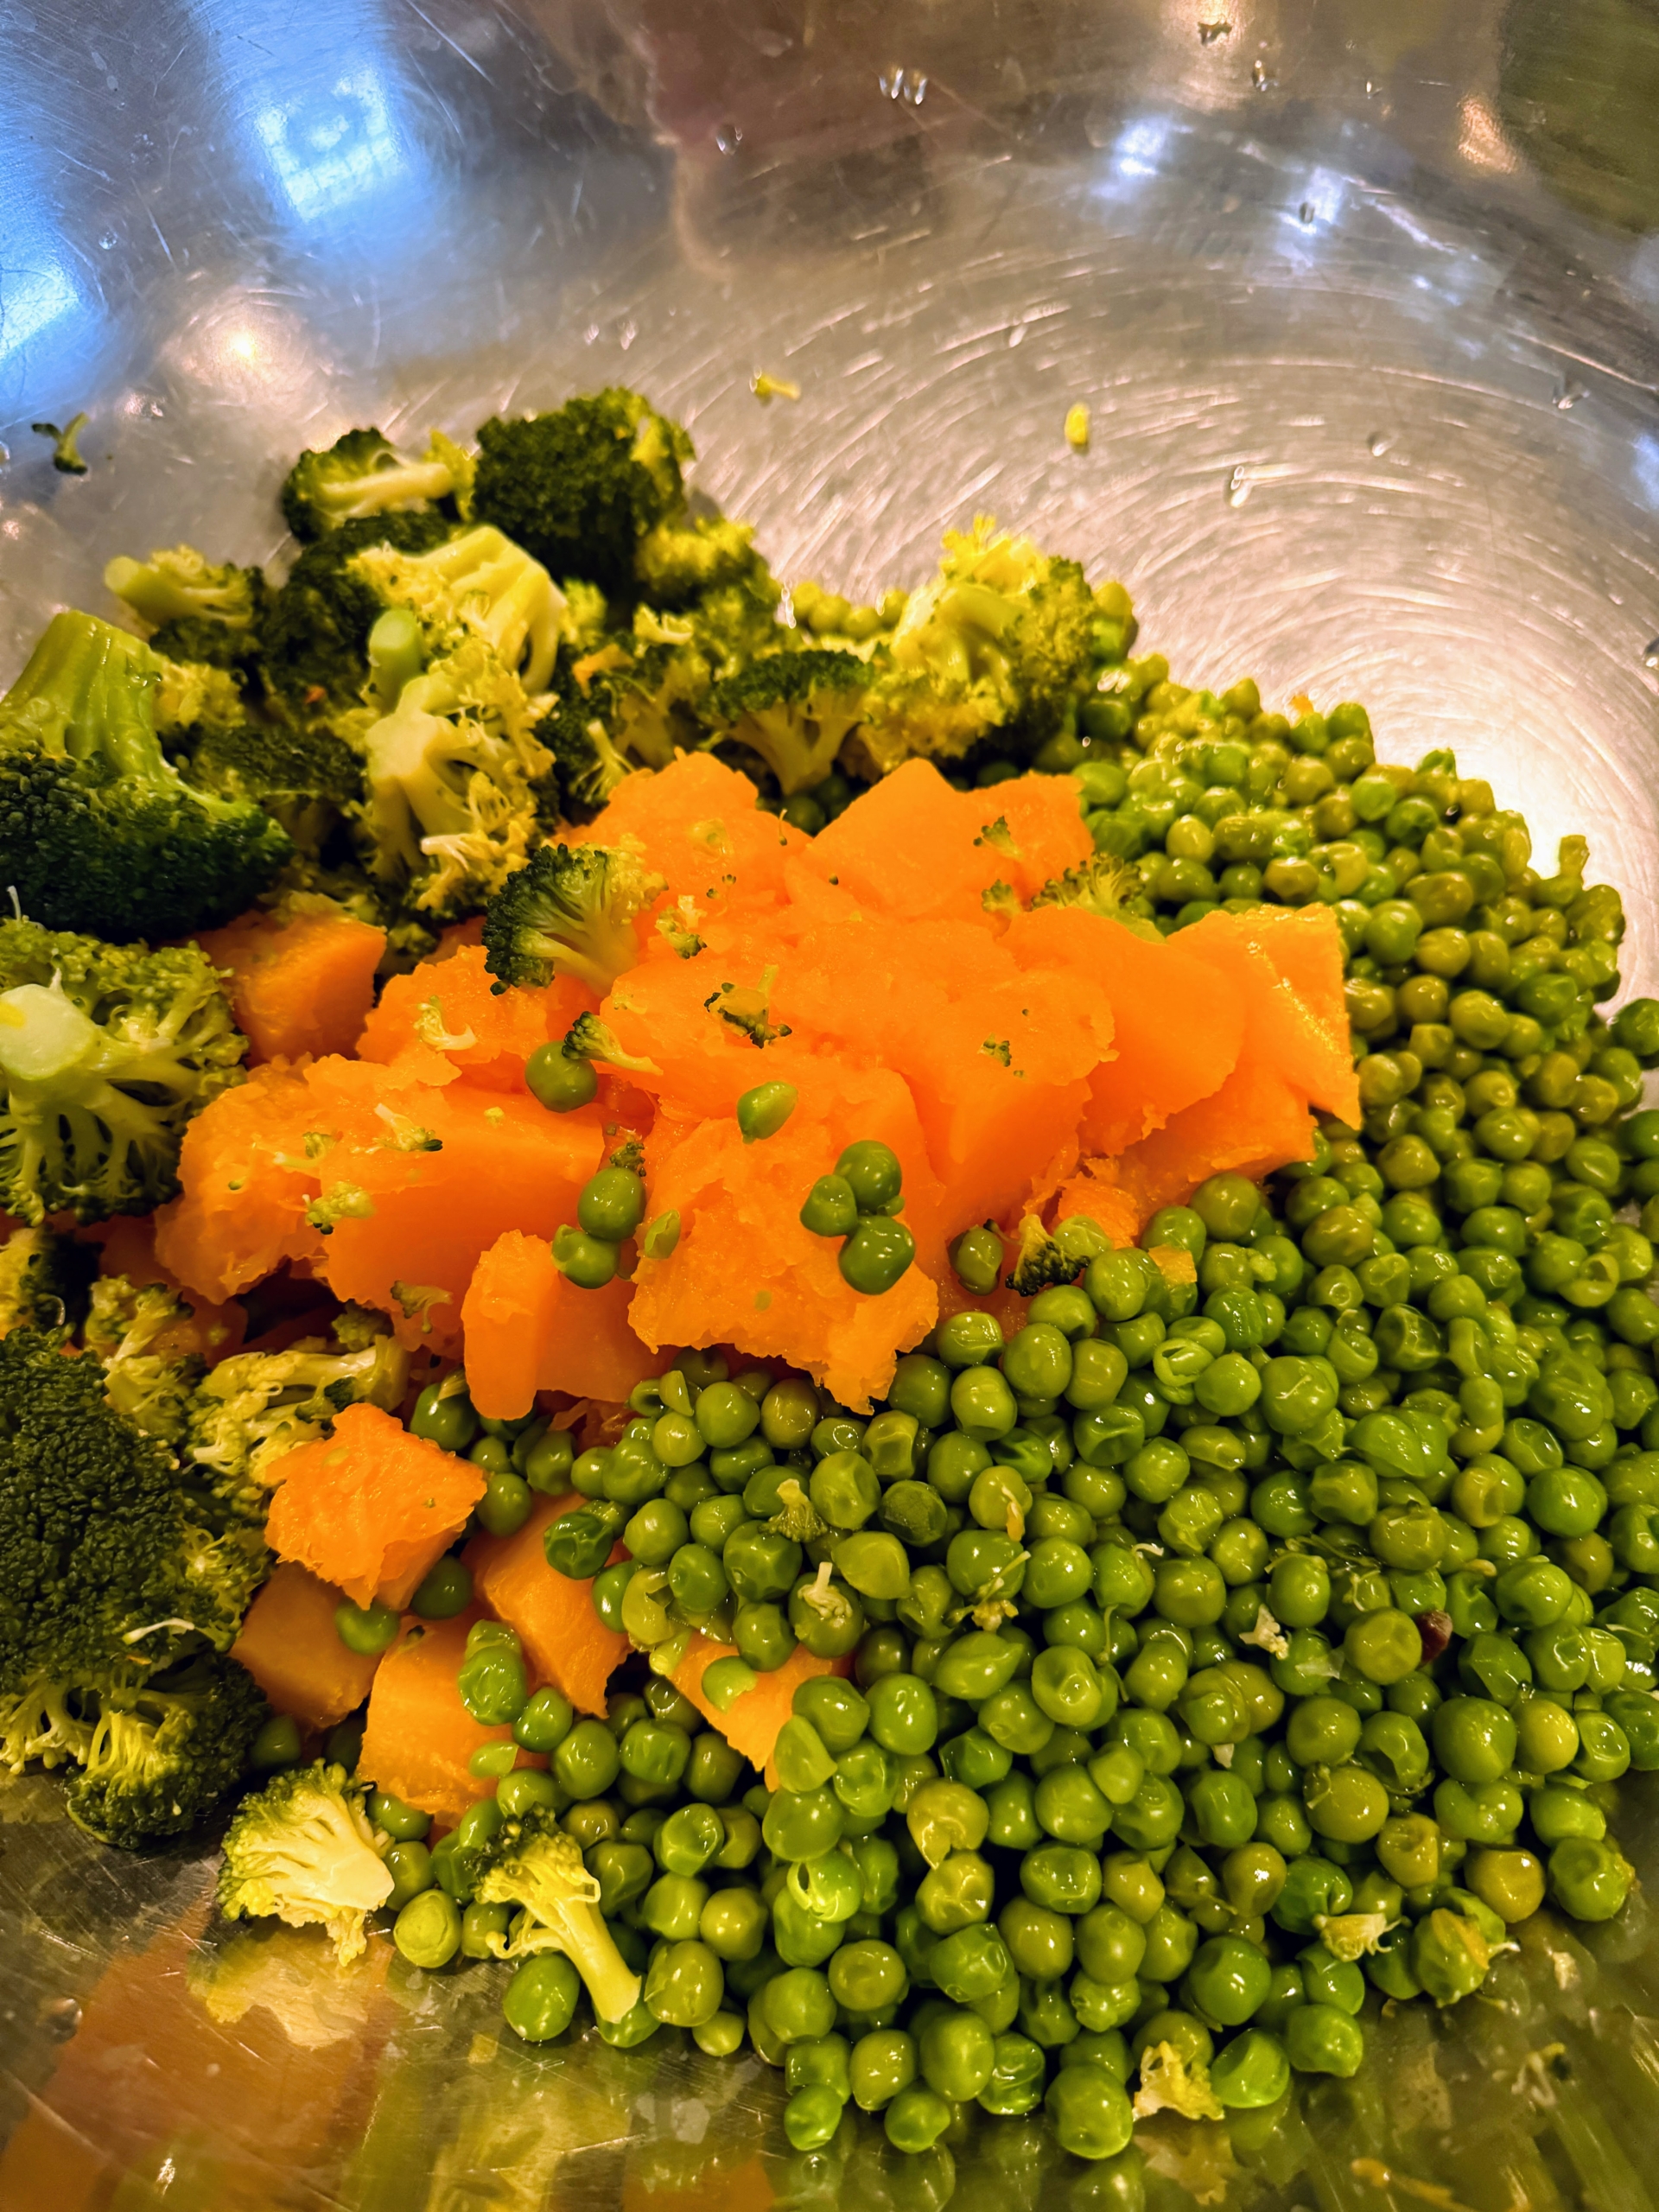
First, I cut up heads of broccoli and boil them until tender.
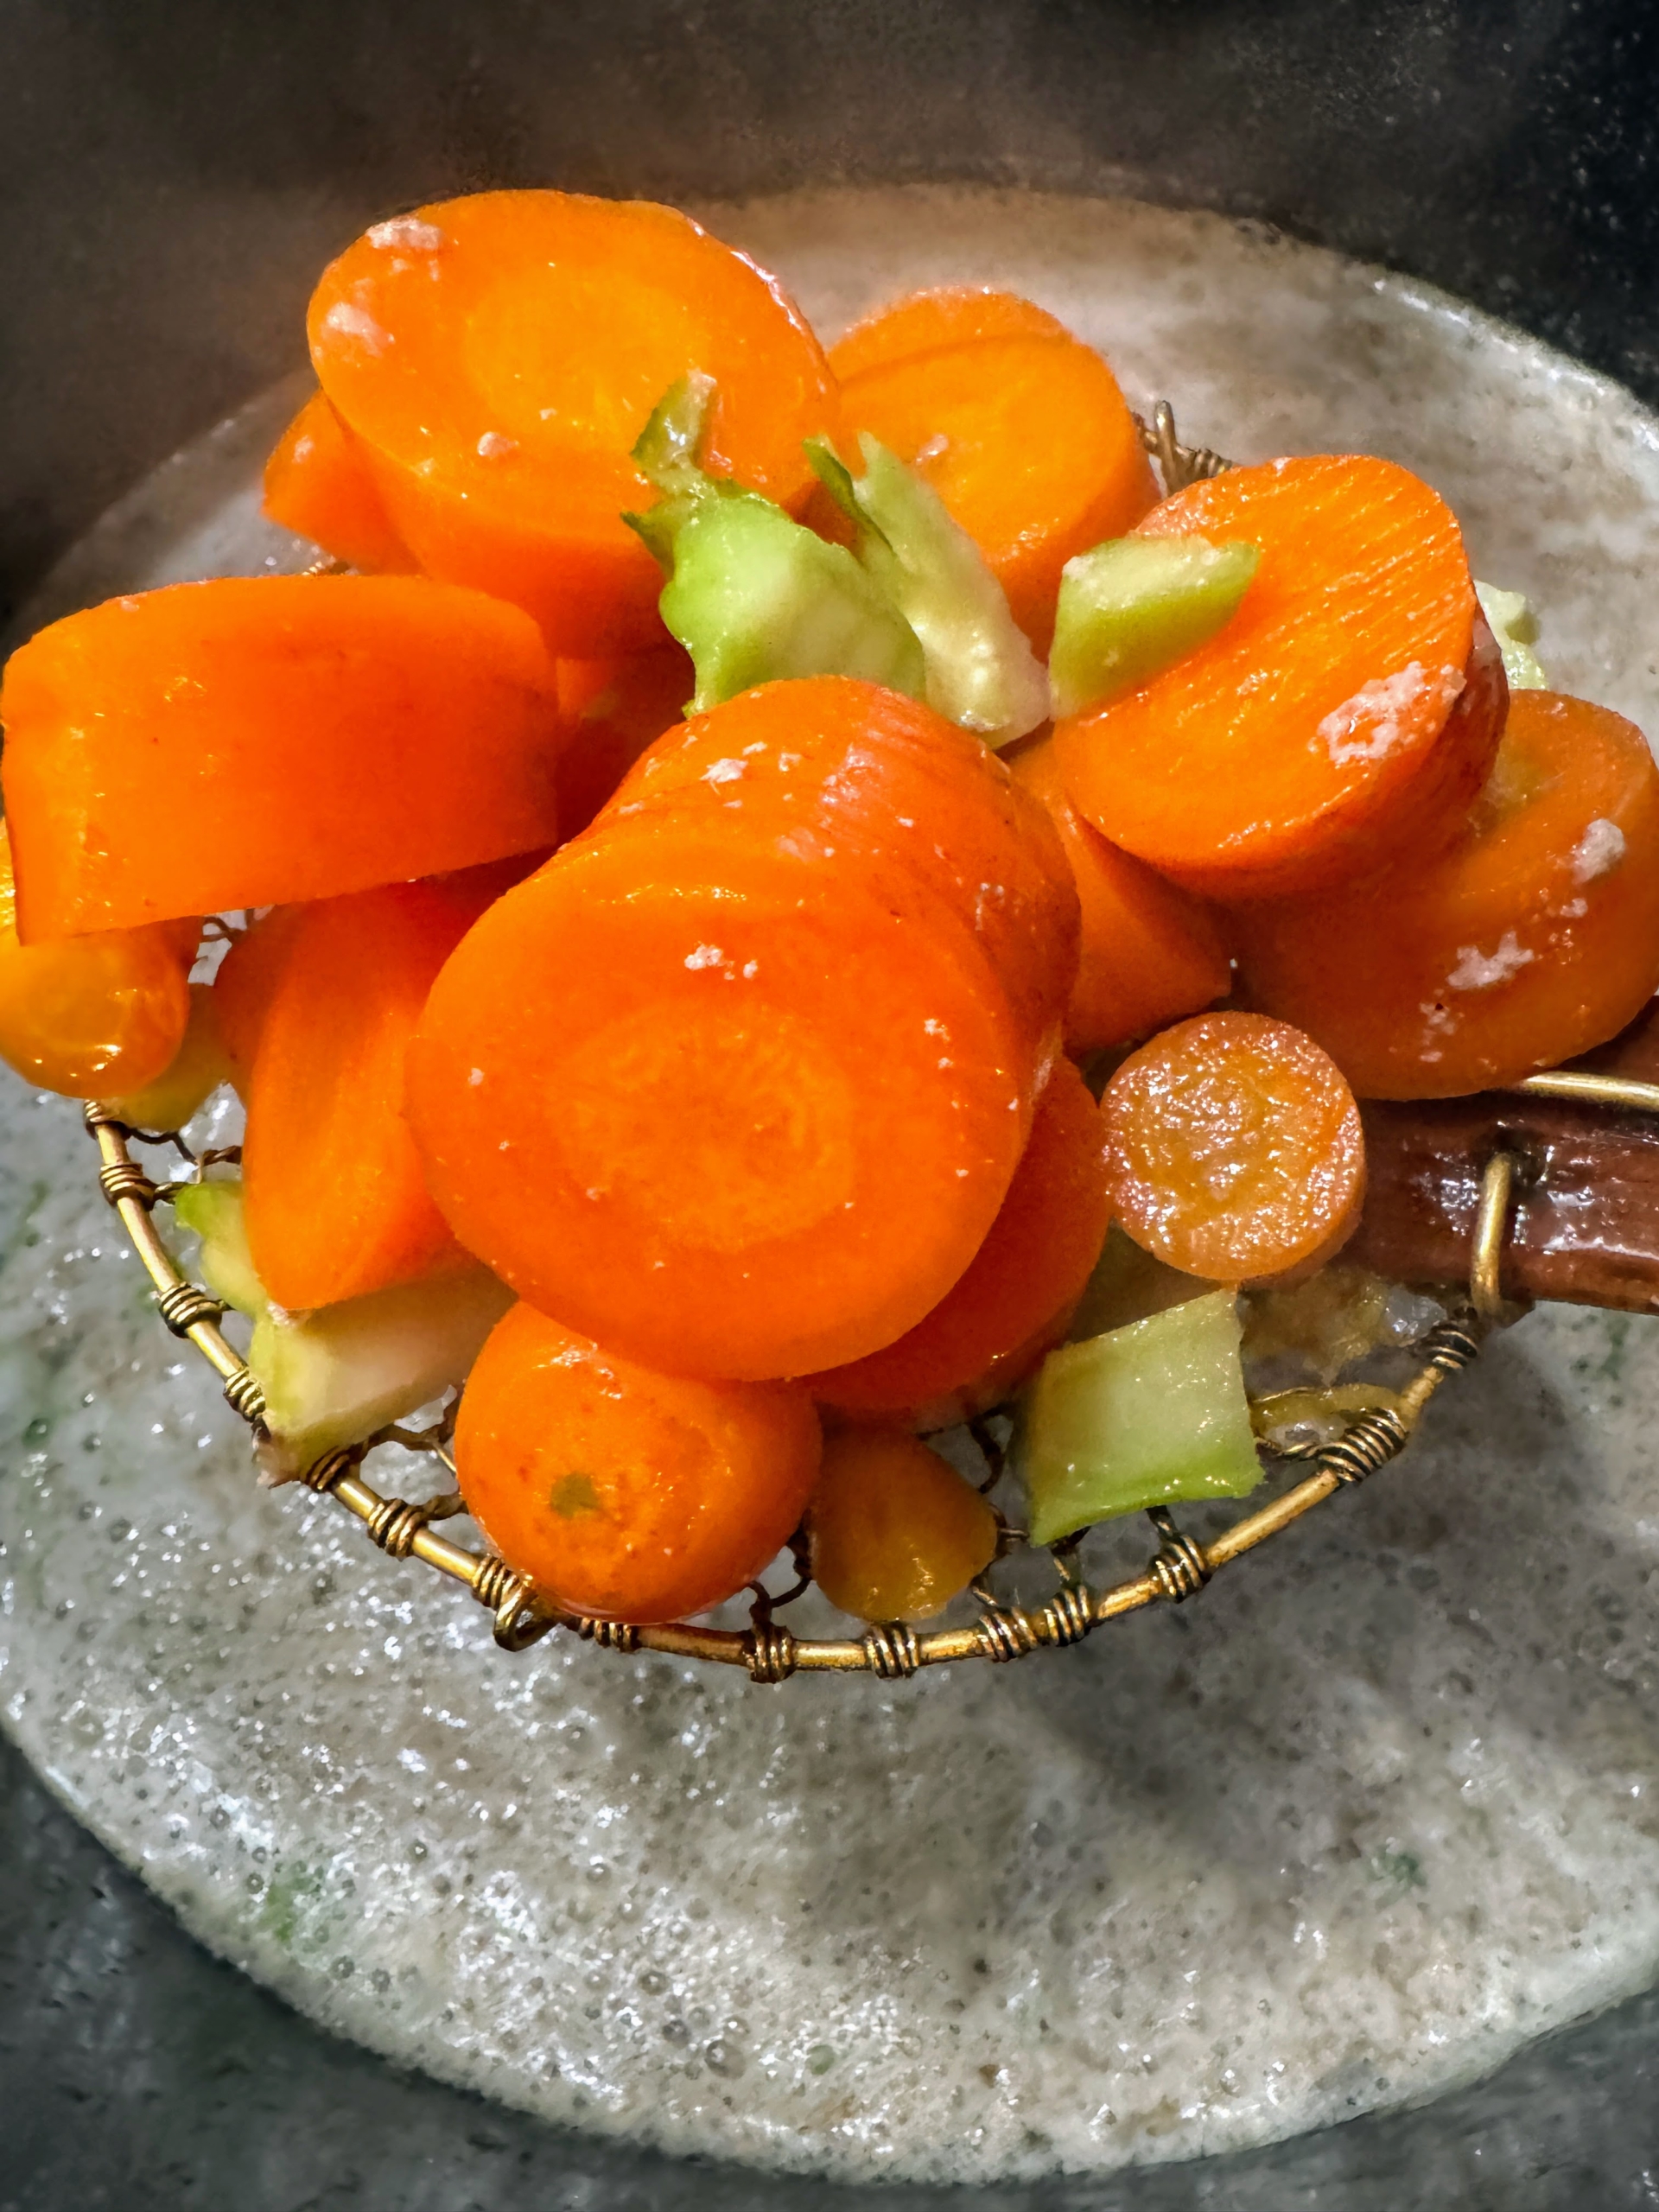
Look at these bright orange carrots. My dogs love carrots. They are low in calories and high in fiber and vitamins. Occasionally, crunching on raw carrots can also be good for their teeth.
I used about four bags of frozen peas. Green peas are a good source of the B vitamin Thiamin, phosphorous, and potassium. Don’t overcook them – they only take a couple of minutes. Here, they are mixed in with the broccoli and chunks of the last pumpkin we grew this season.
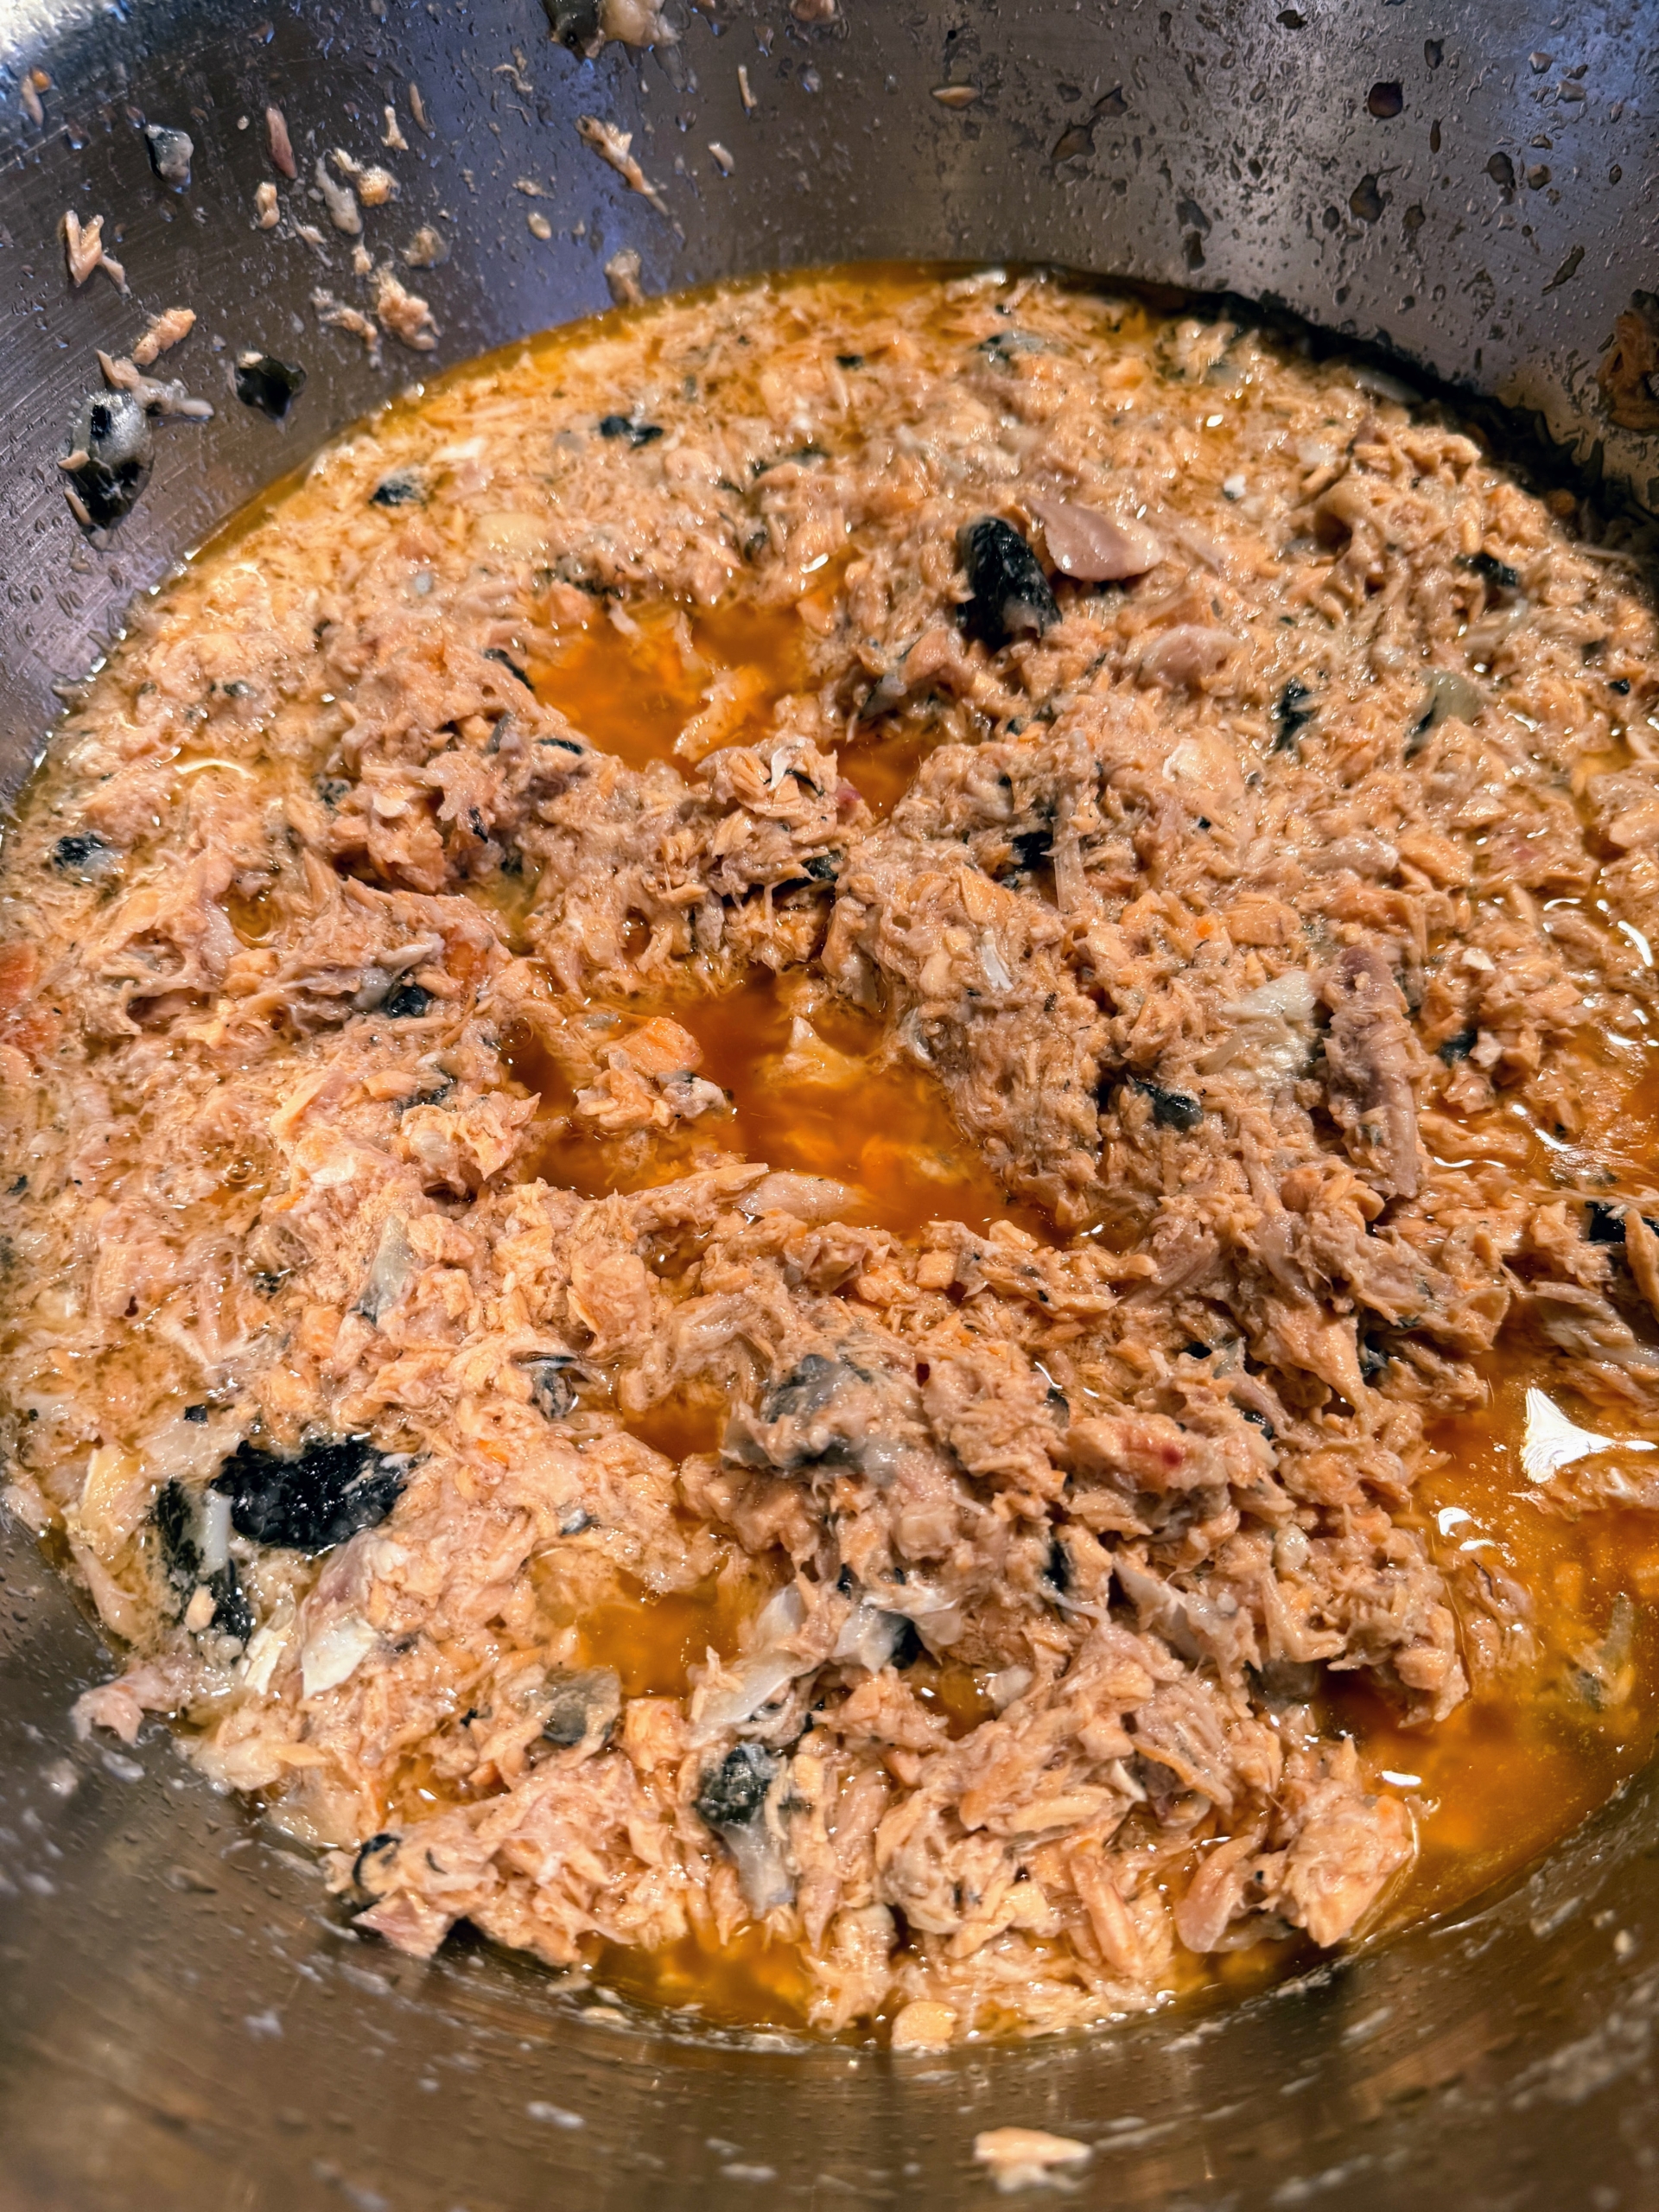
This is the cooked salmon. And watch out for bones. While some of the bones will be ground in a processor, it is a good idea to always carefully check for potentially dangerous bones.
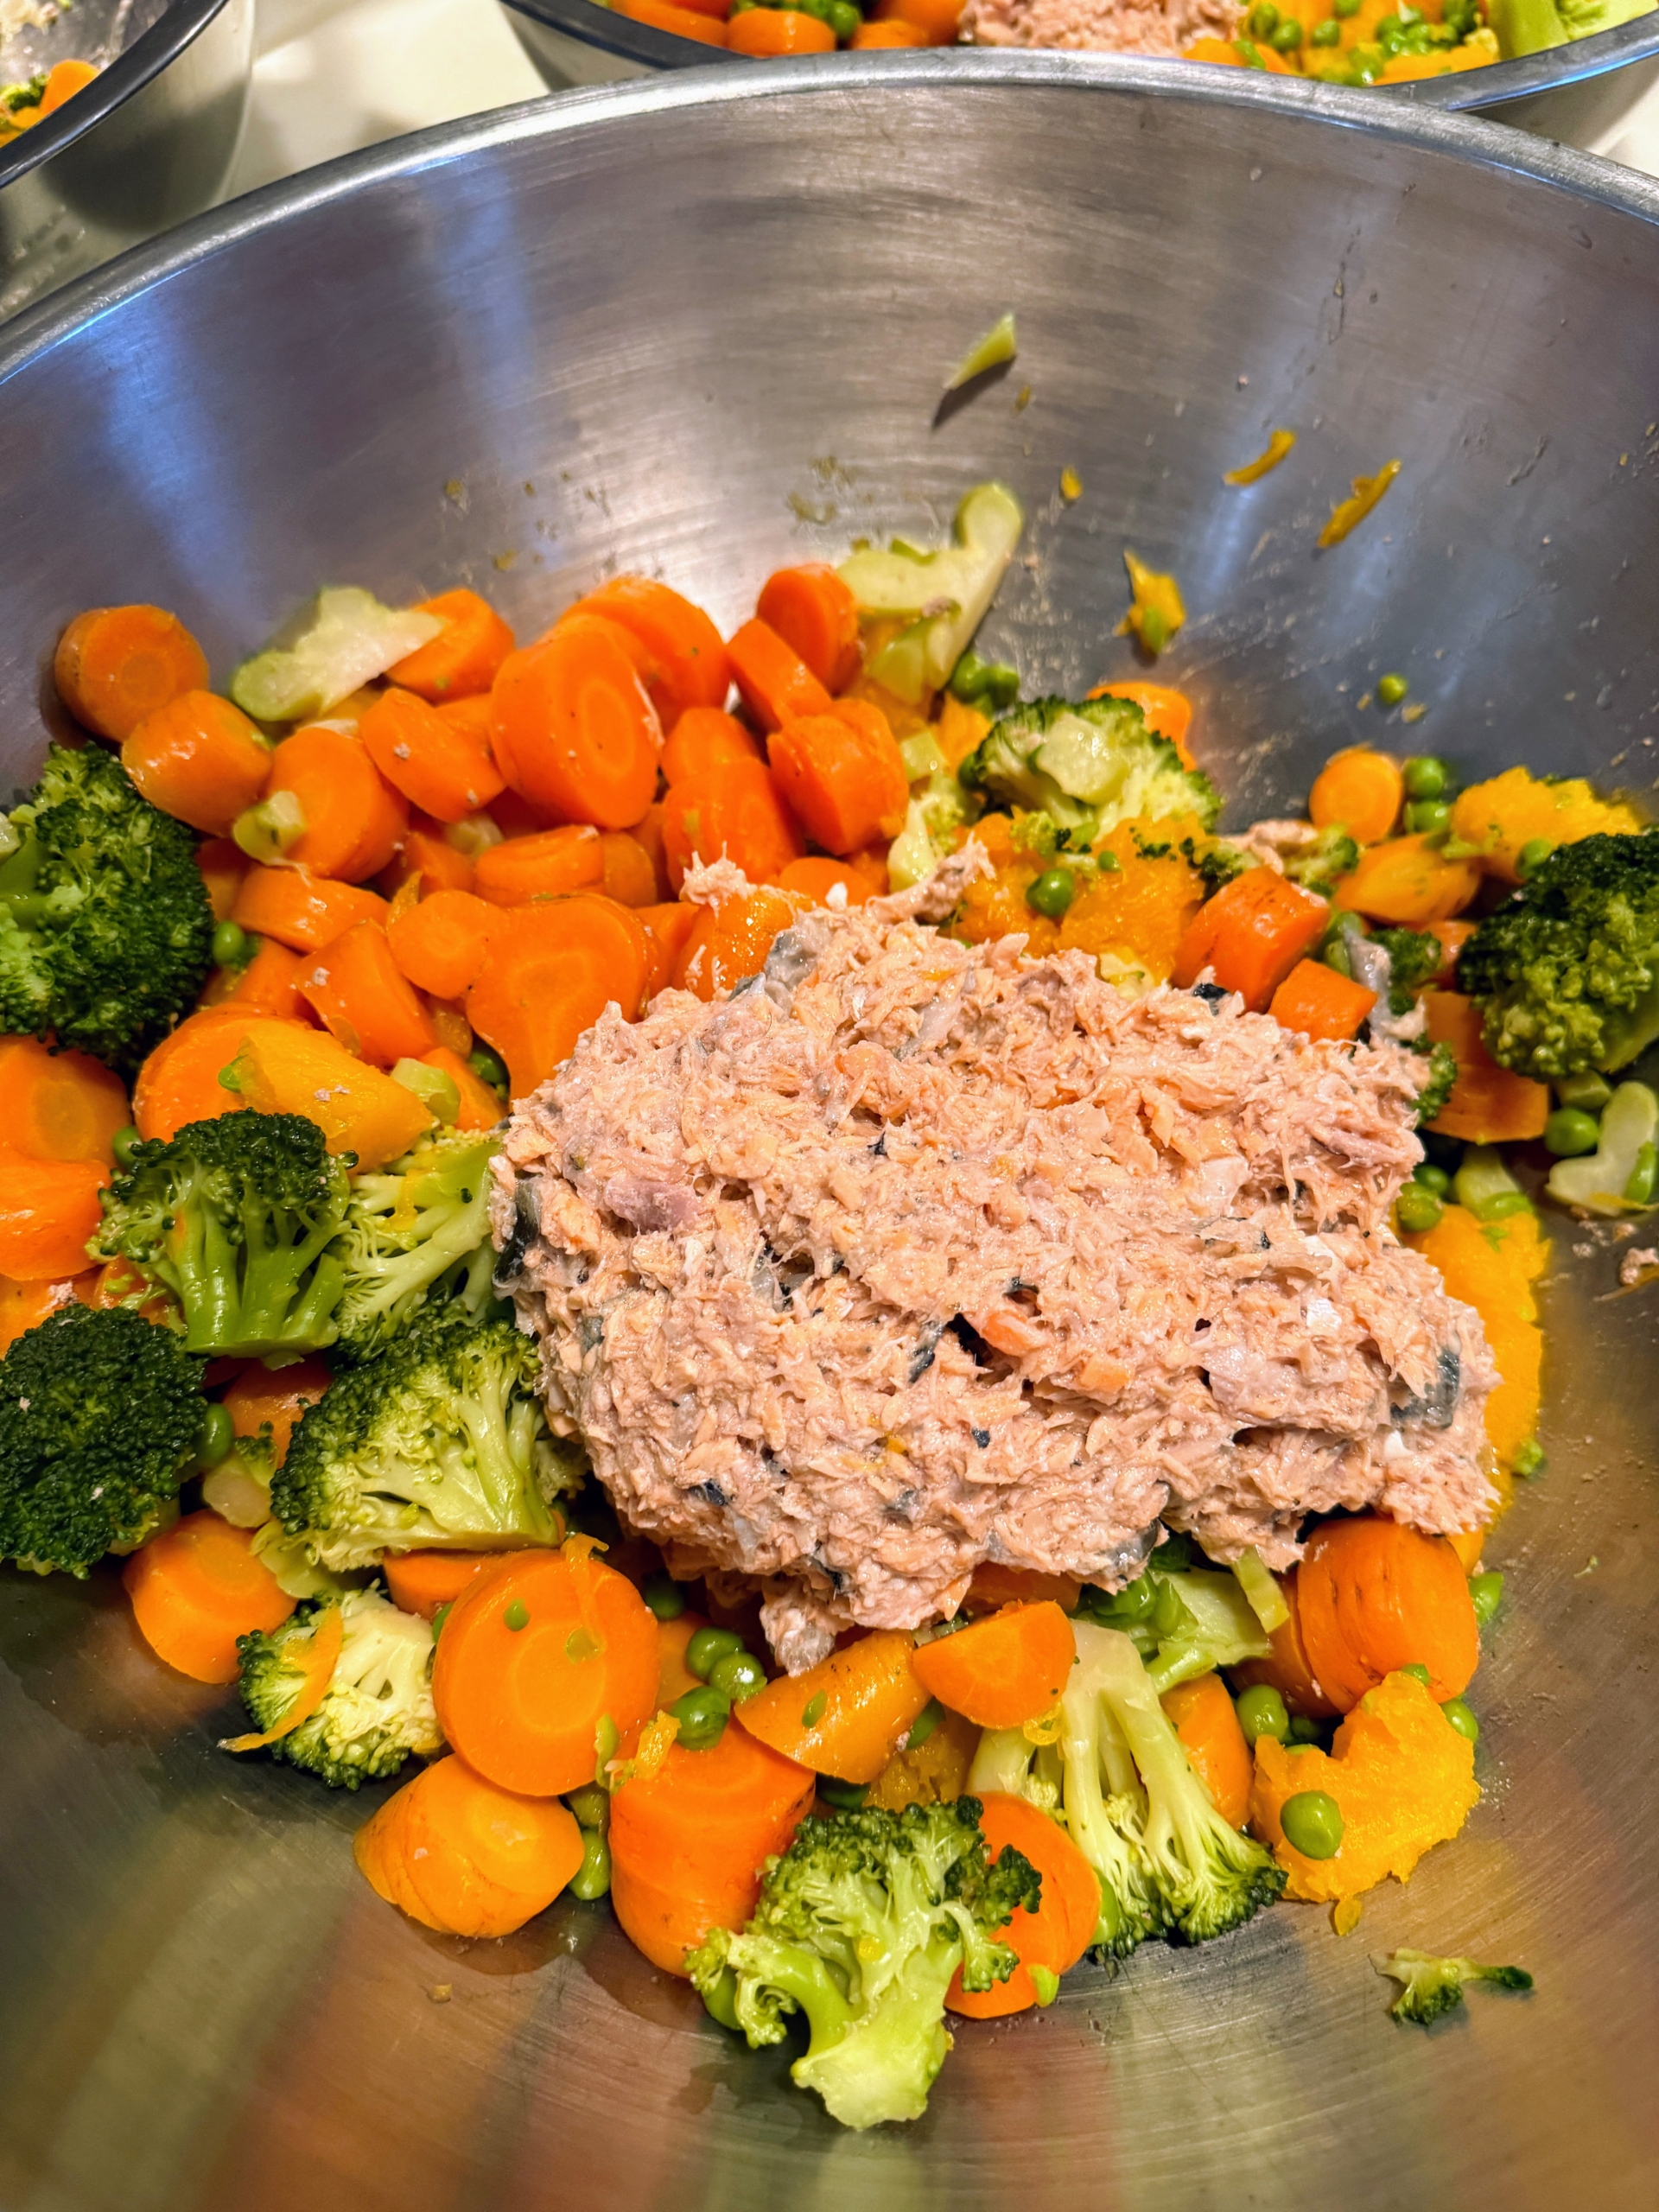
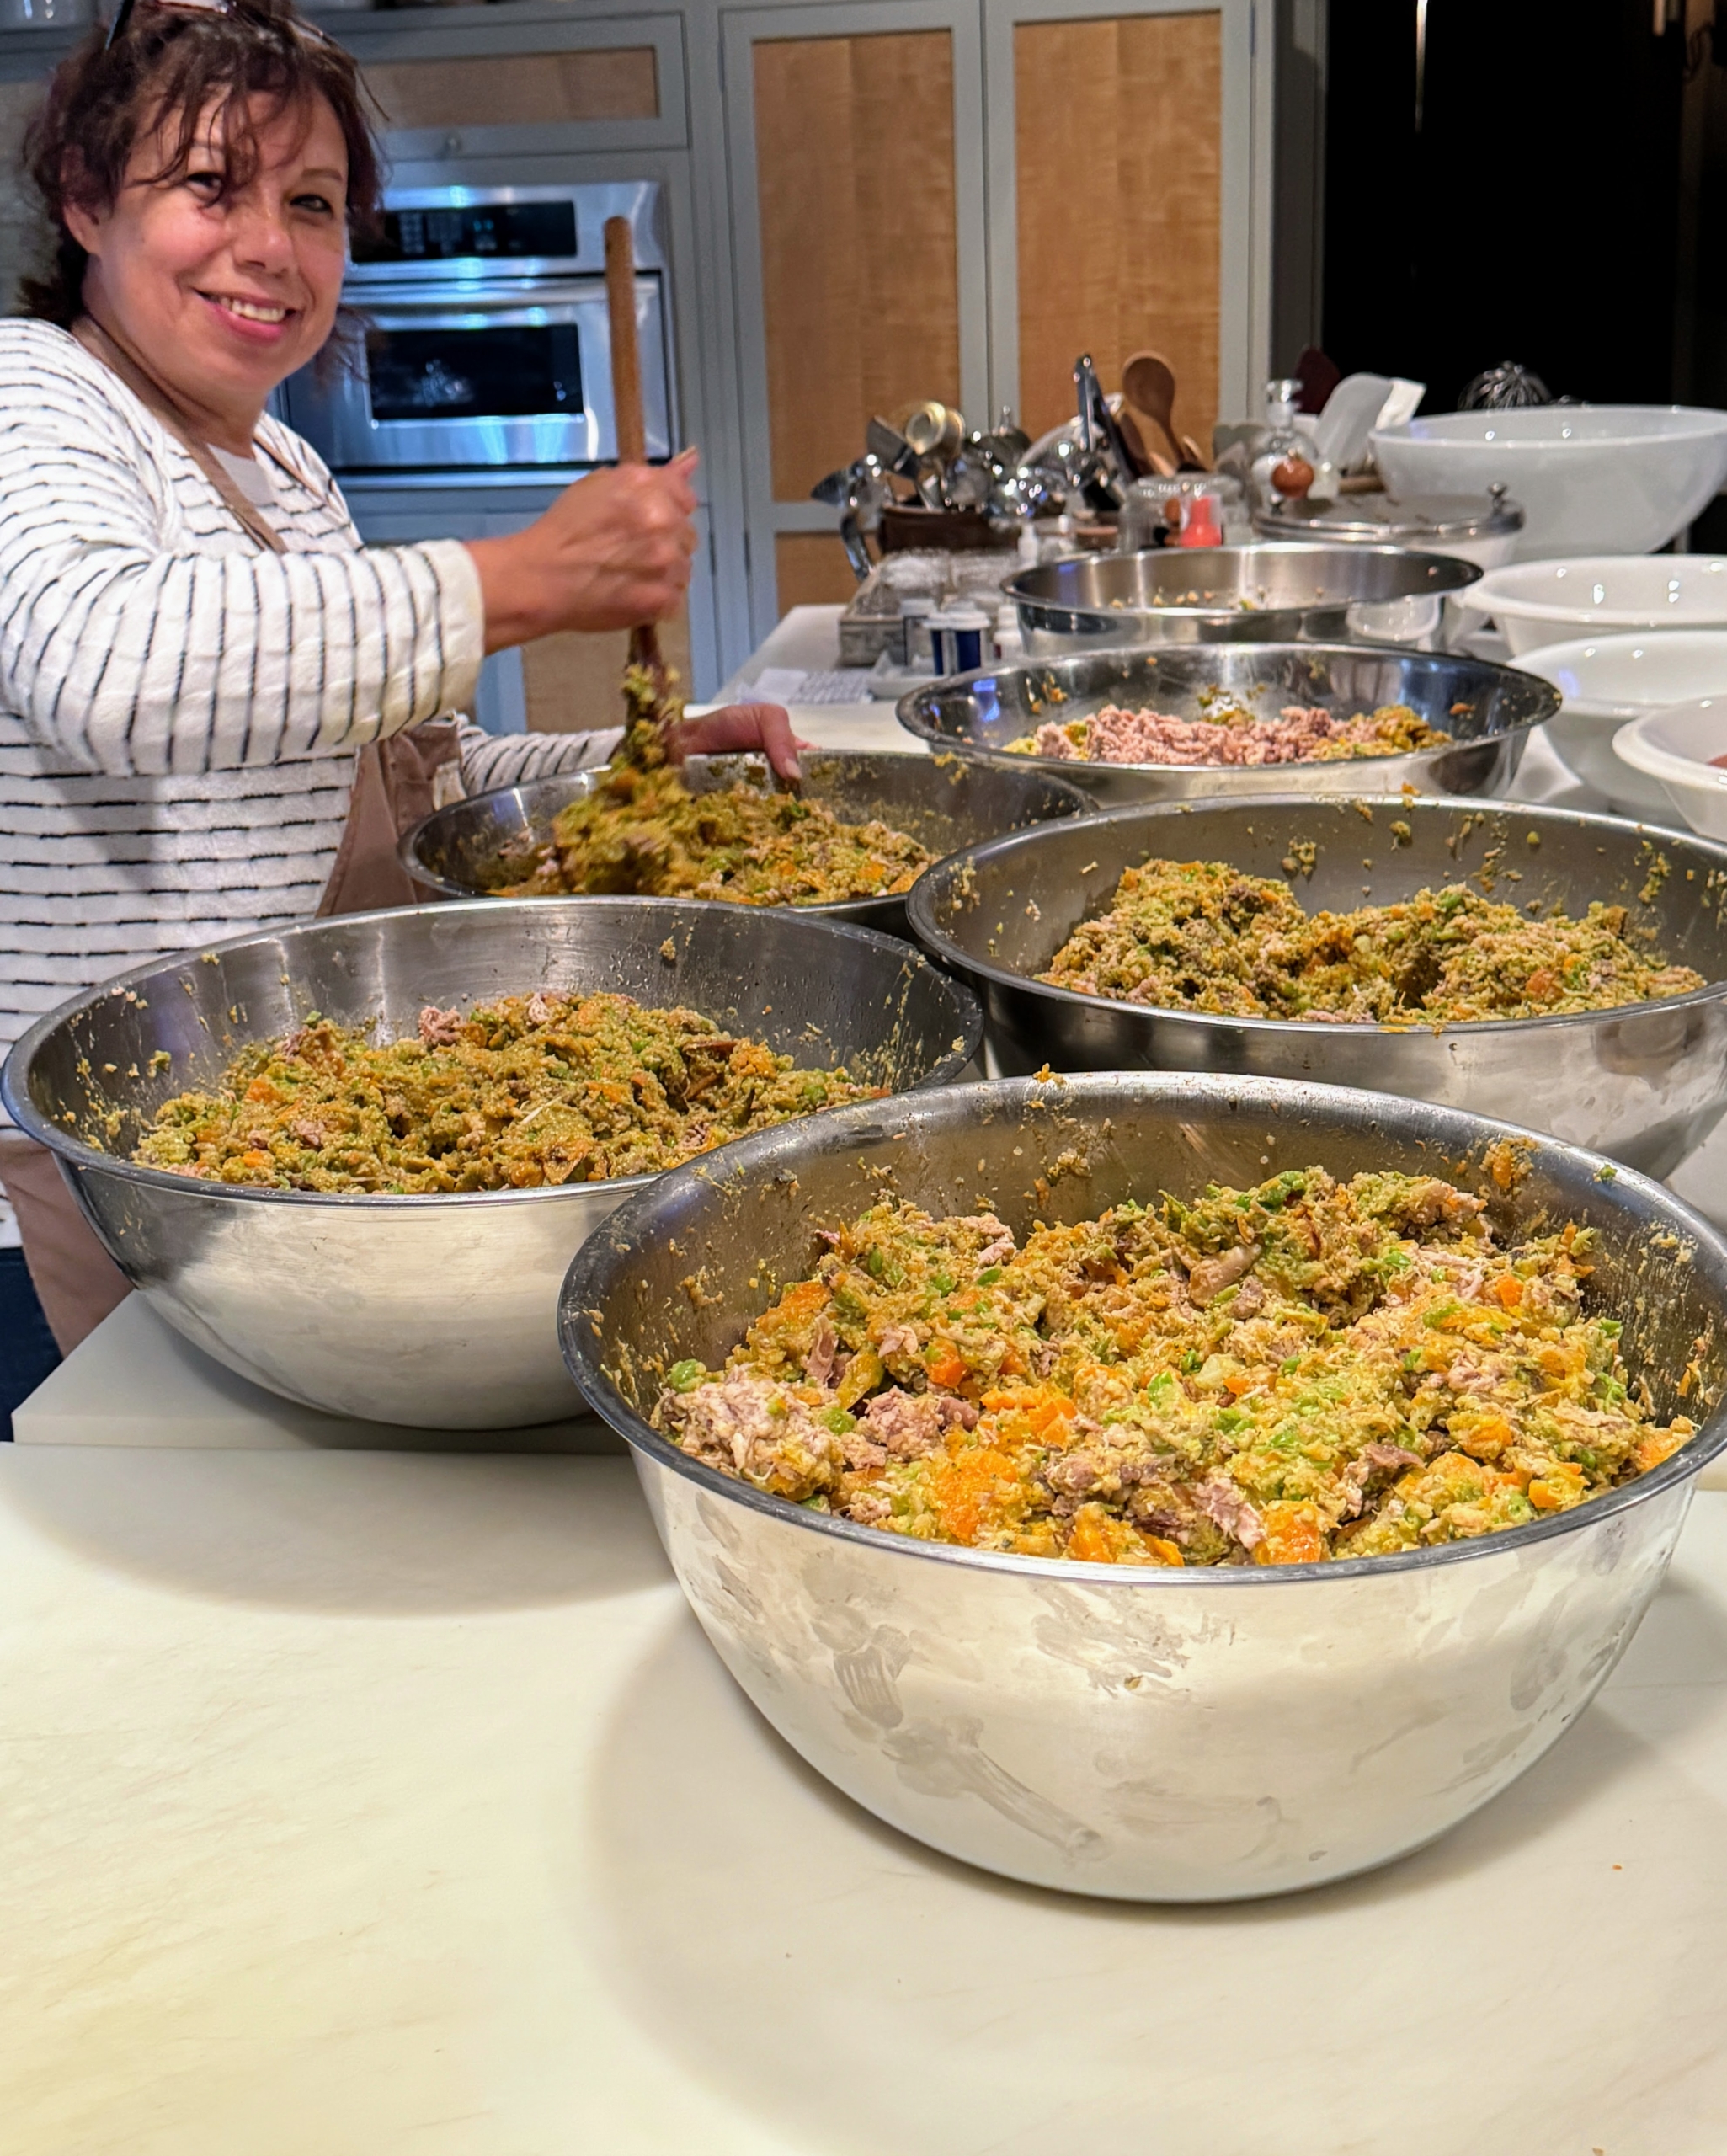
As each food is prepared, it is placed into one of several stainless steel bowls.
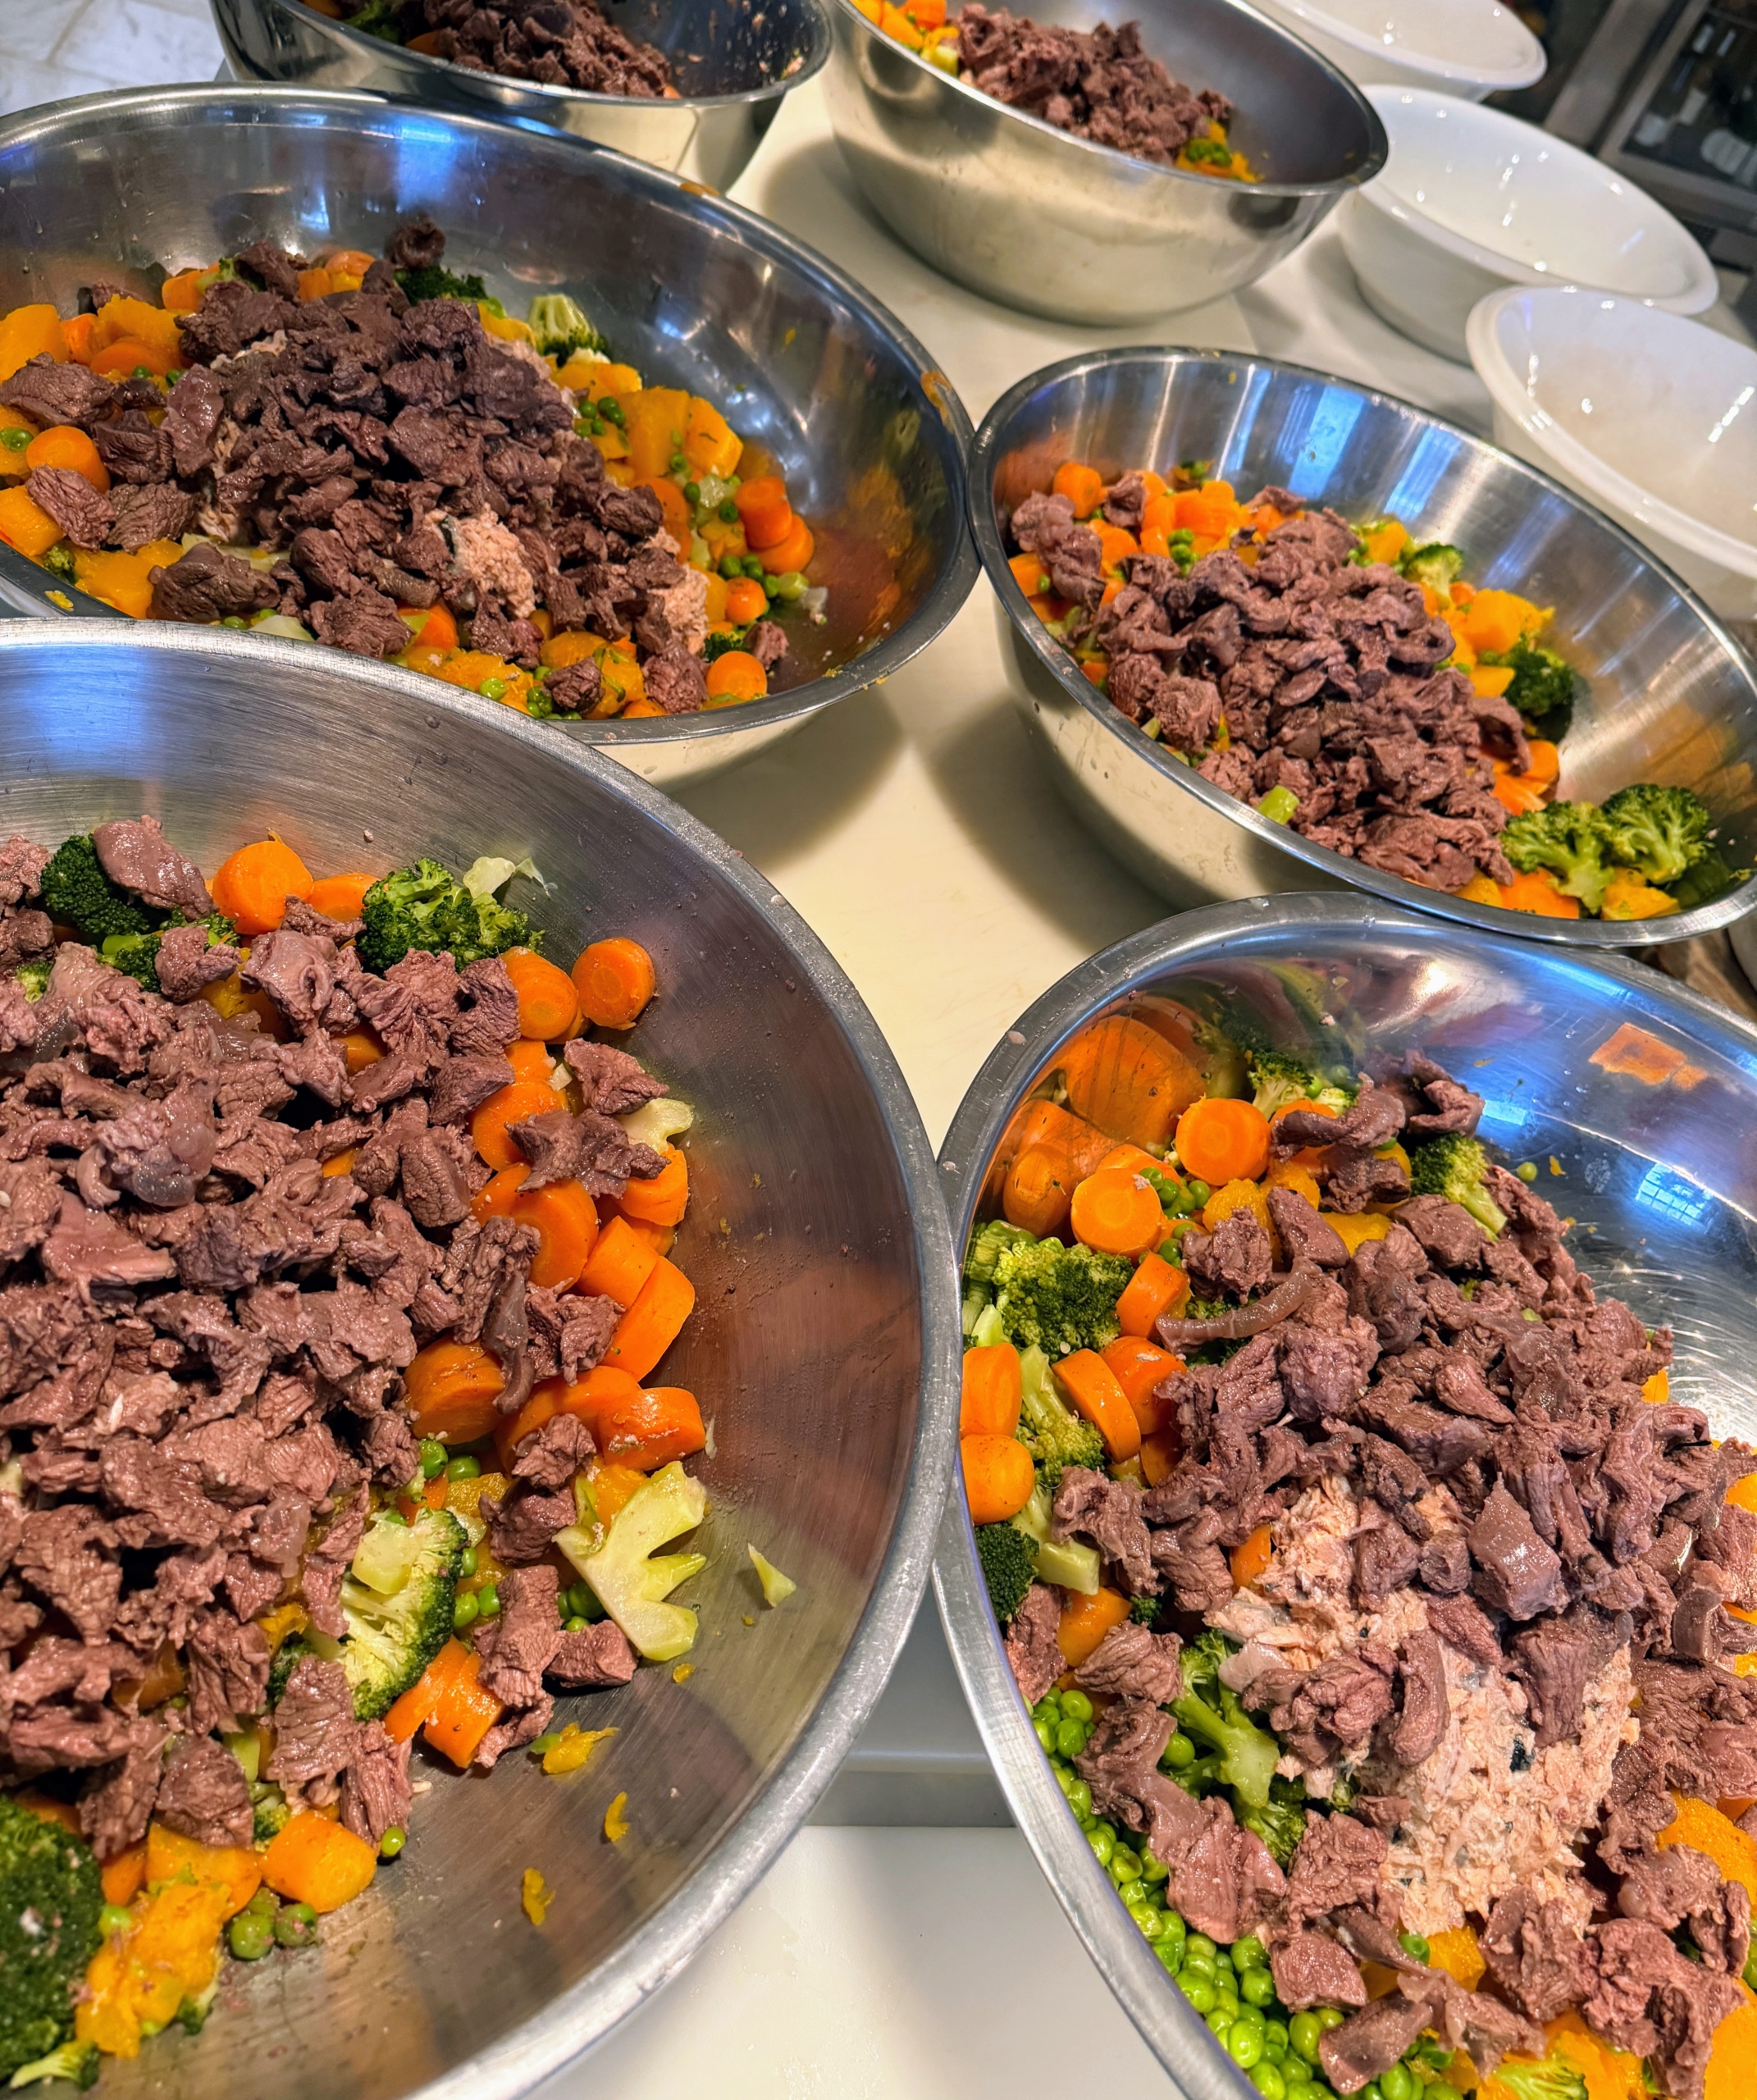
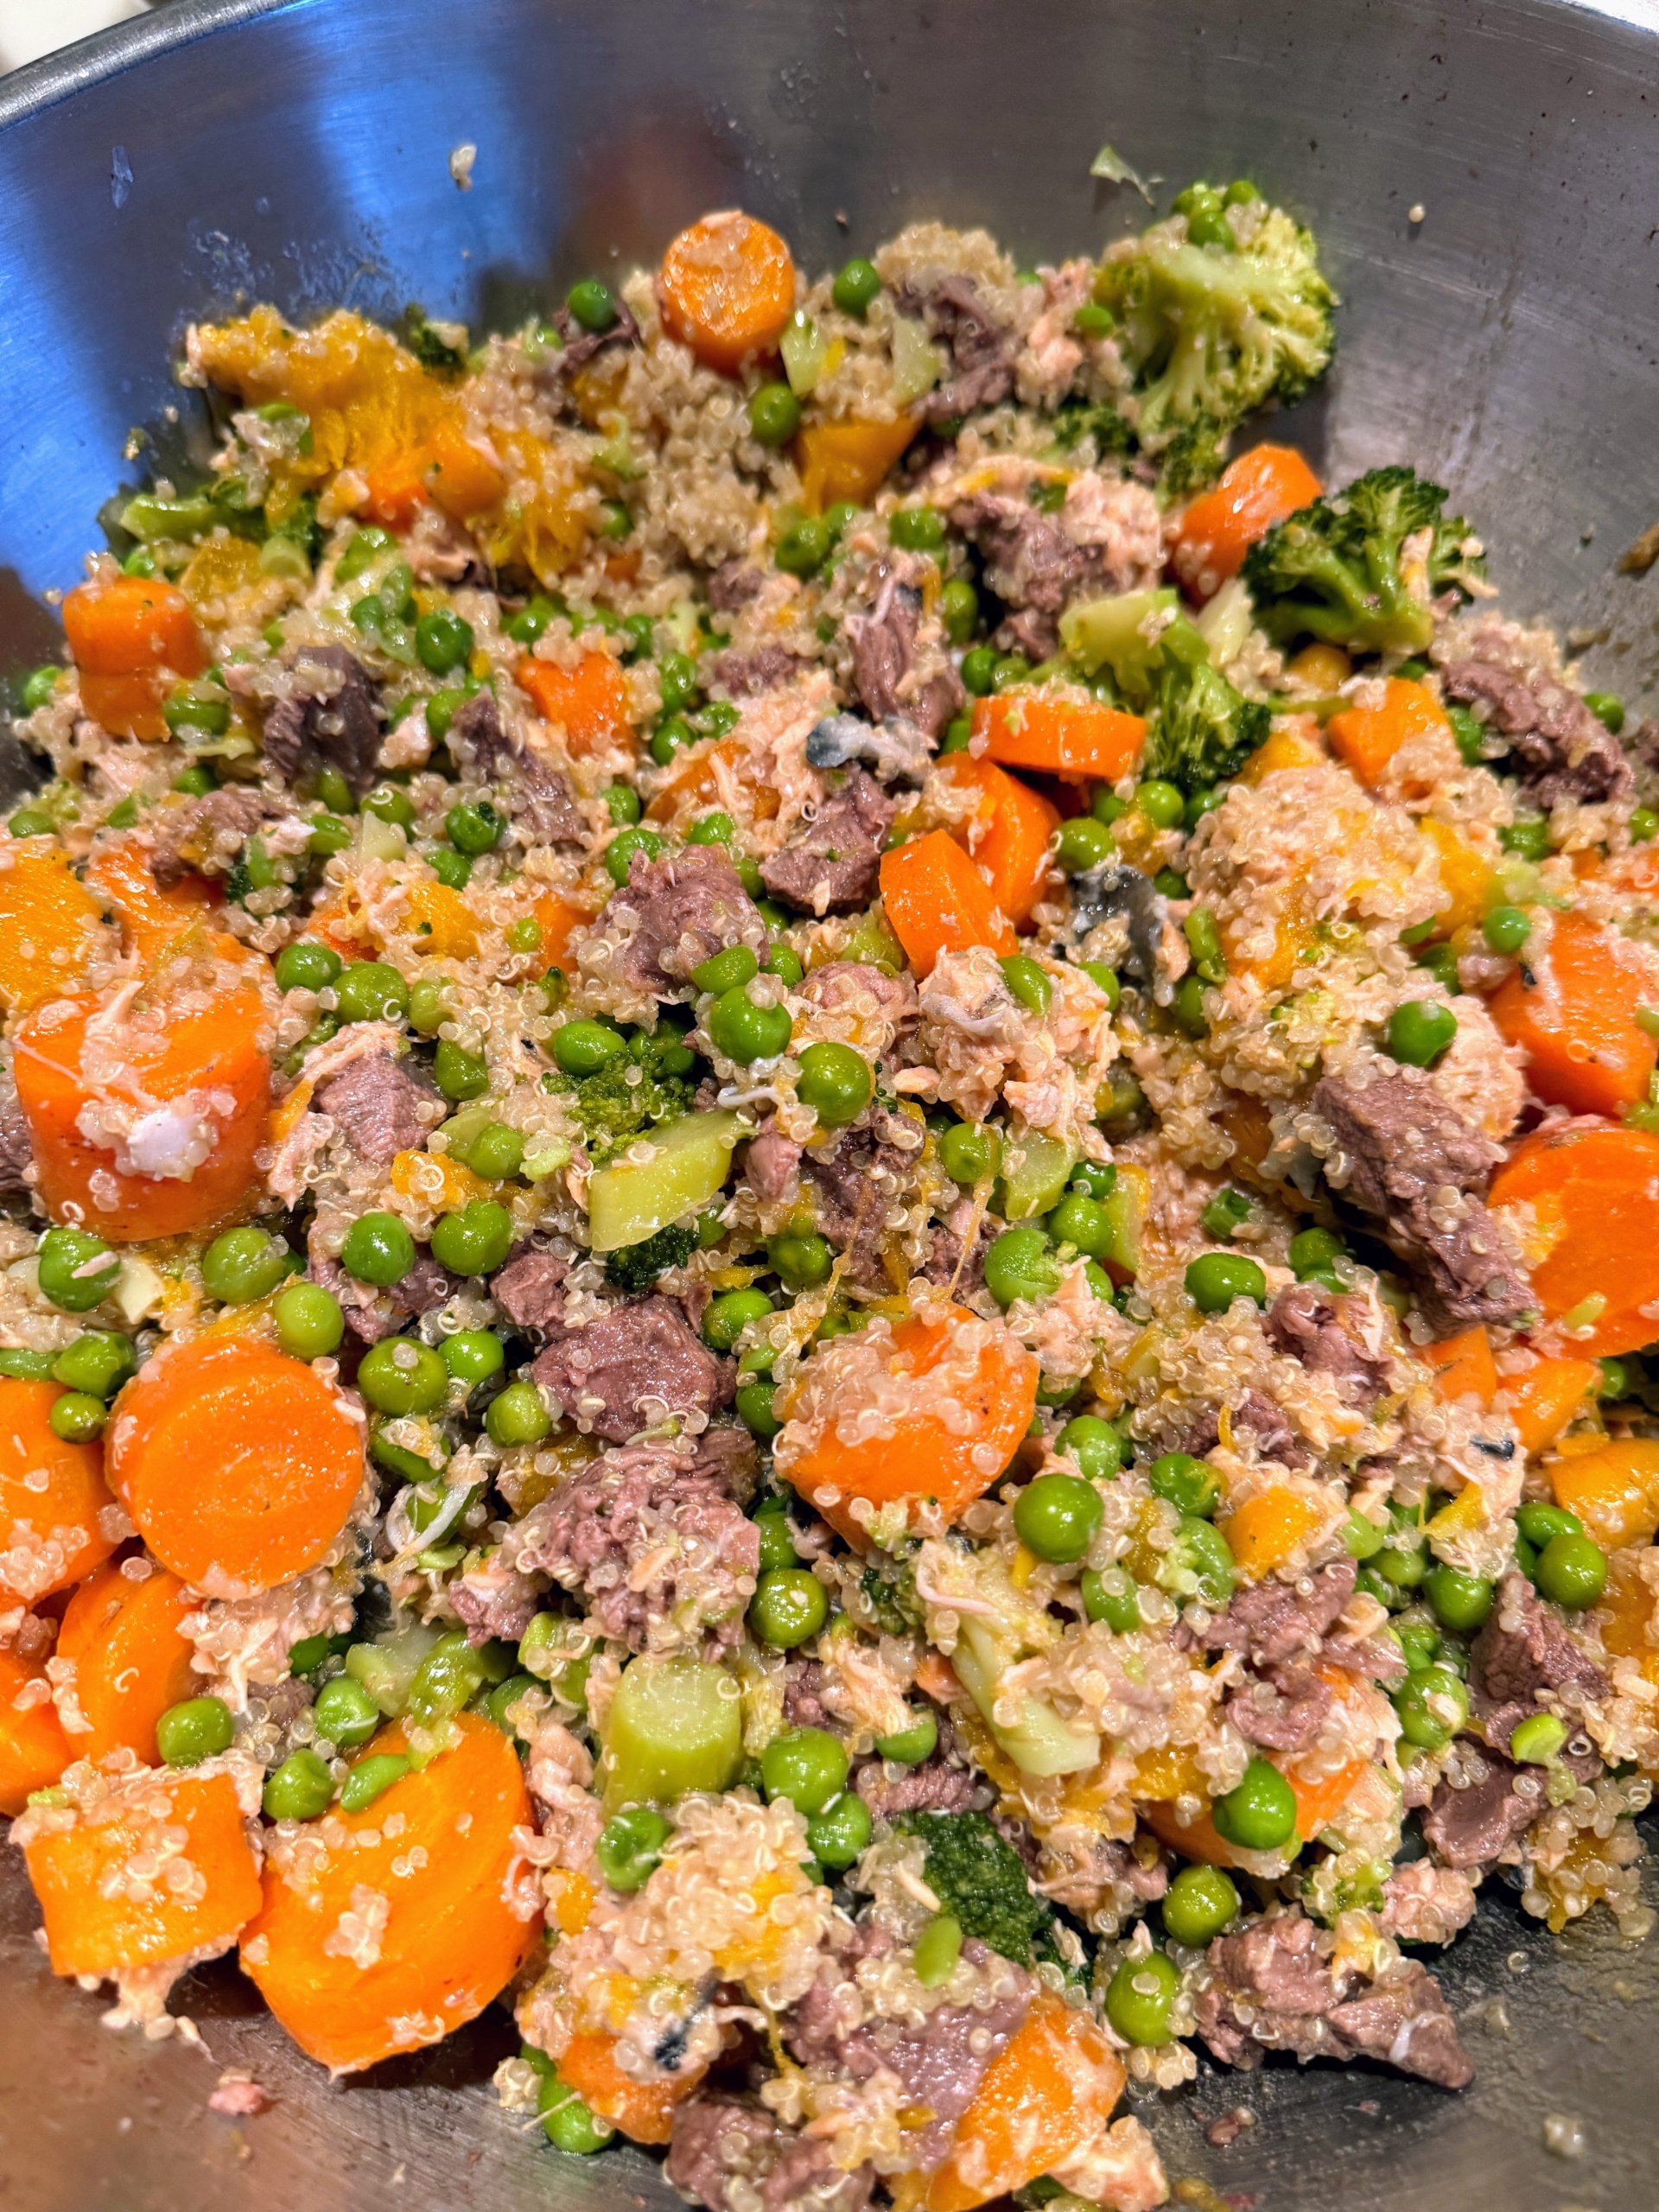
Look how much we’ve prepared. I vary the food every time I make it based on what I can use from the gardens and what I already have on hand. I also added venison here, which is deer meat.
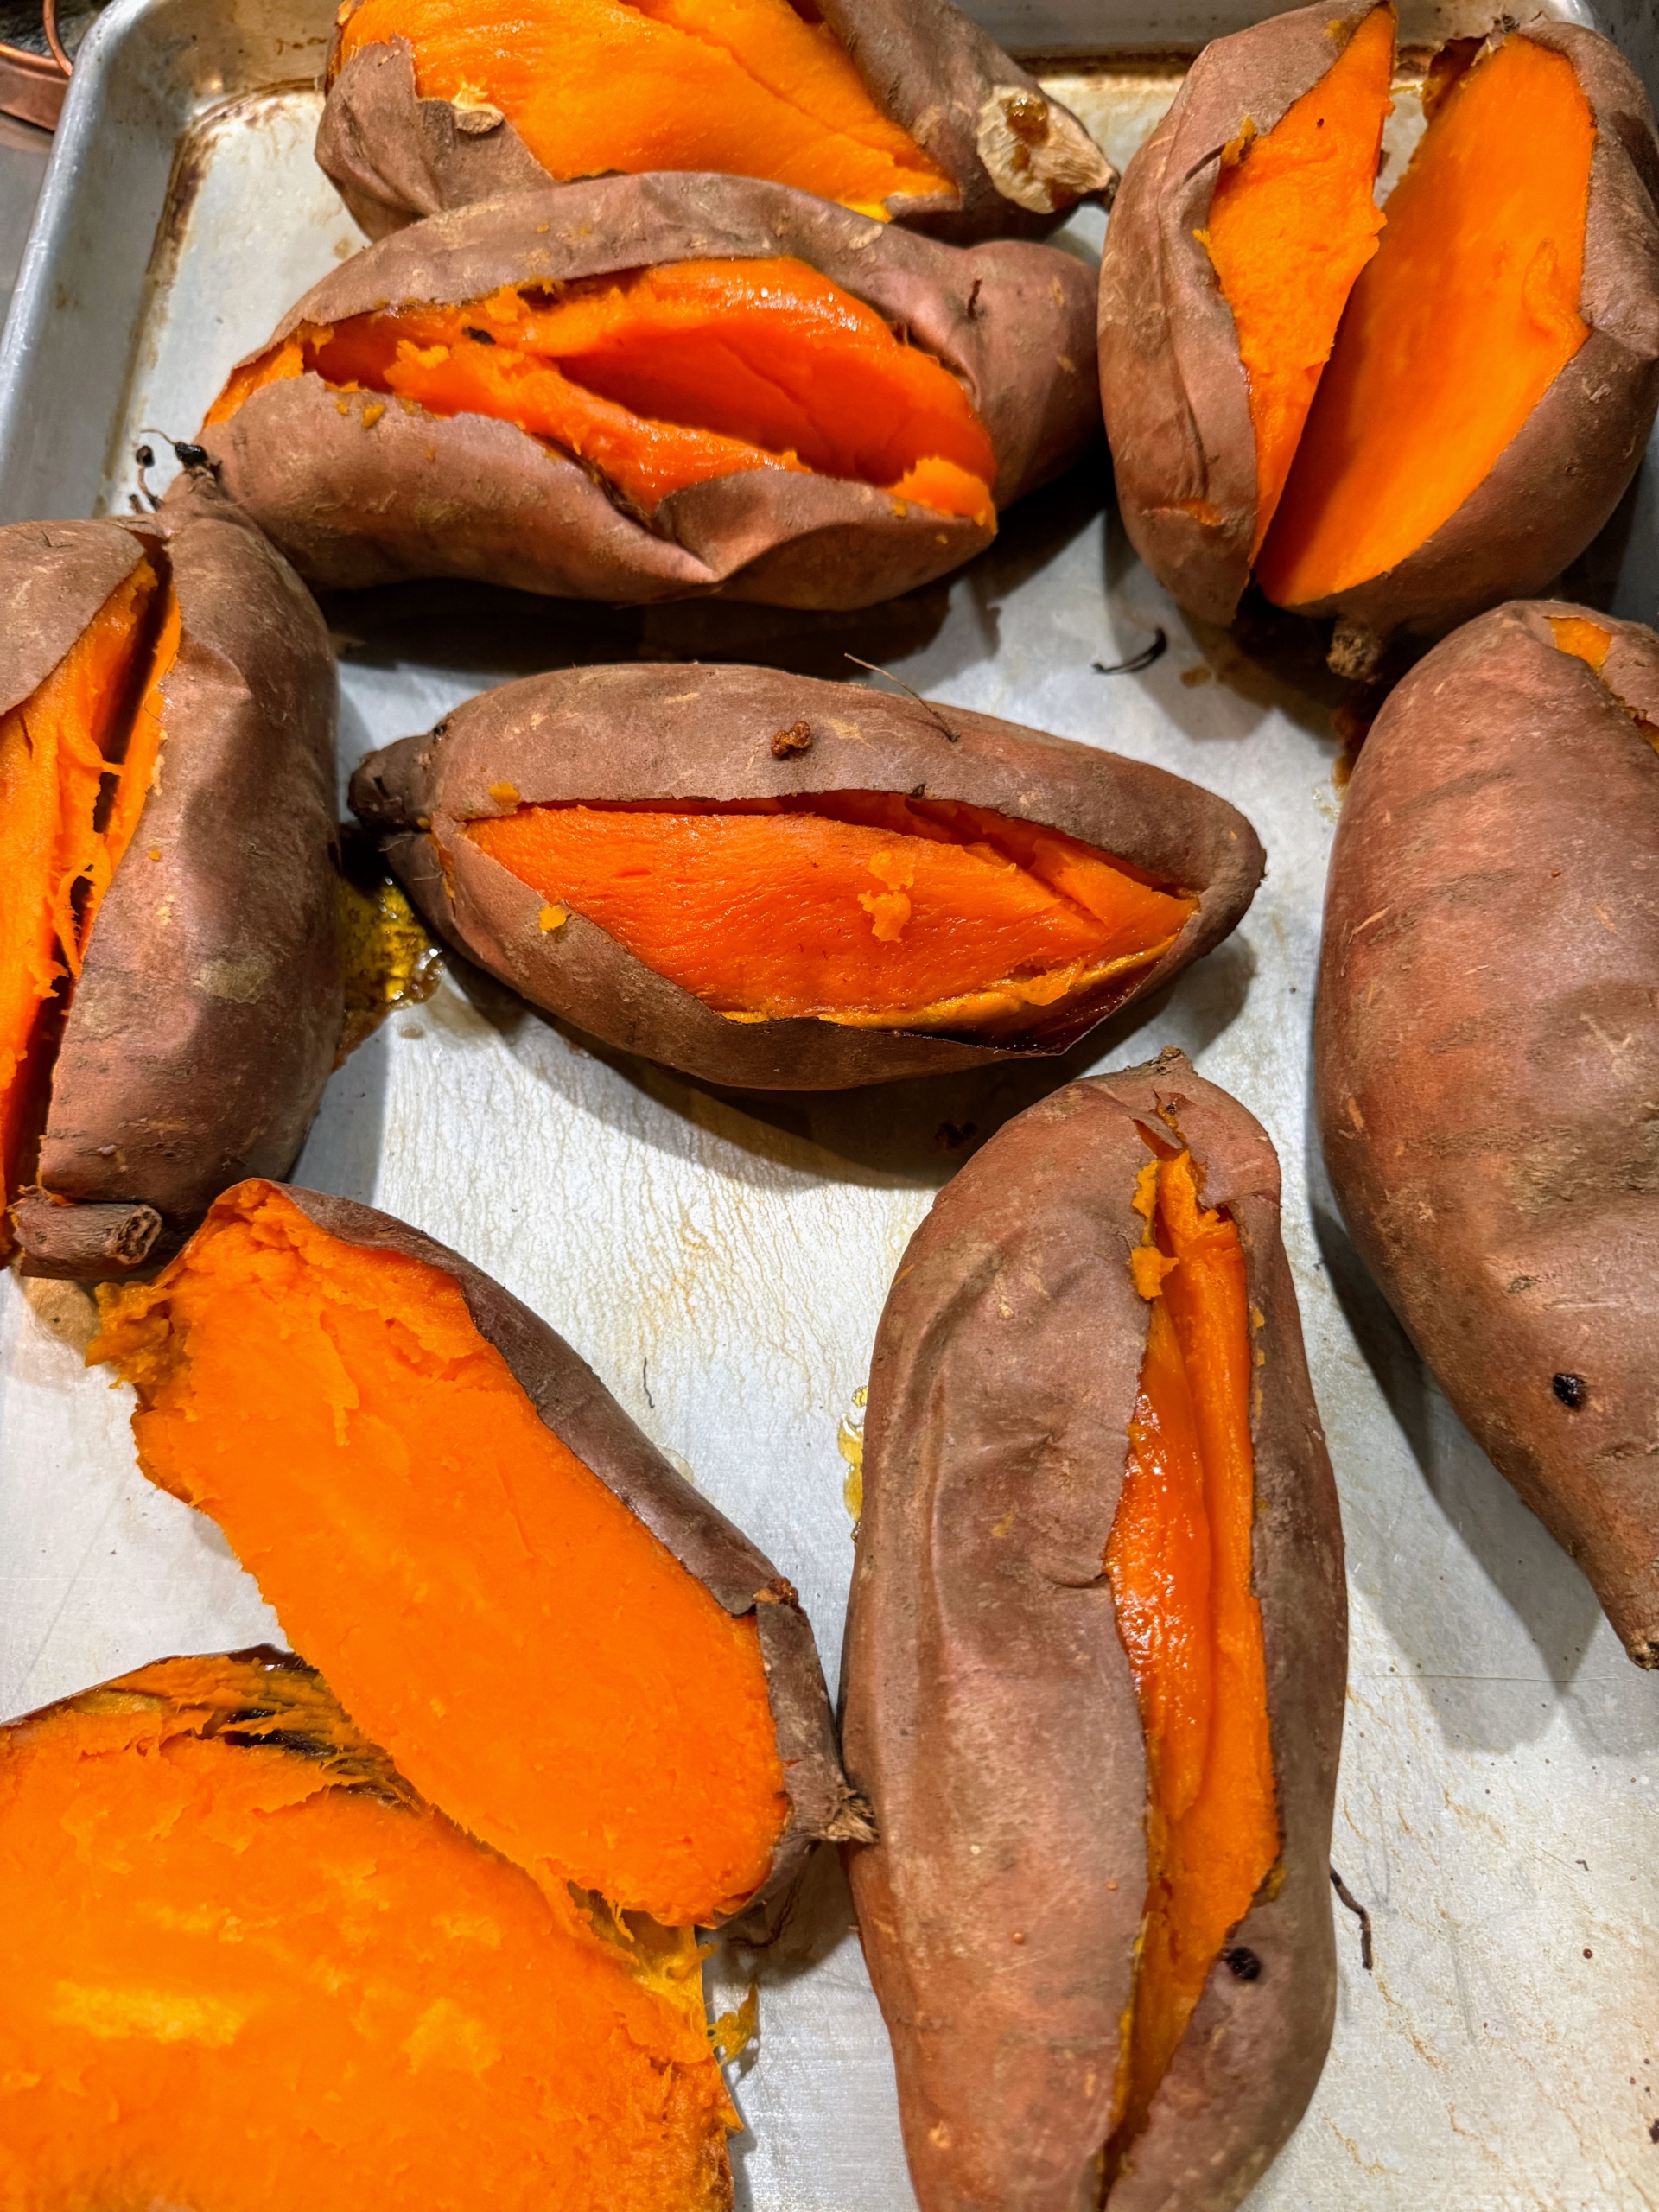
Sweet potatoes are also great for digestive health because they’re high in dietary fiber. They’re low in fat and contain vitamin B6, vitamin C, and manganese, and they’re rich in the powerful antioxidant beta-carotene.
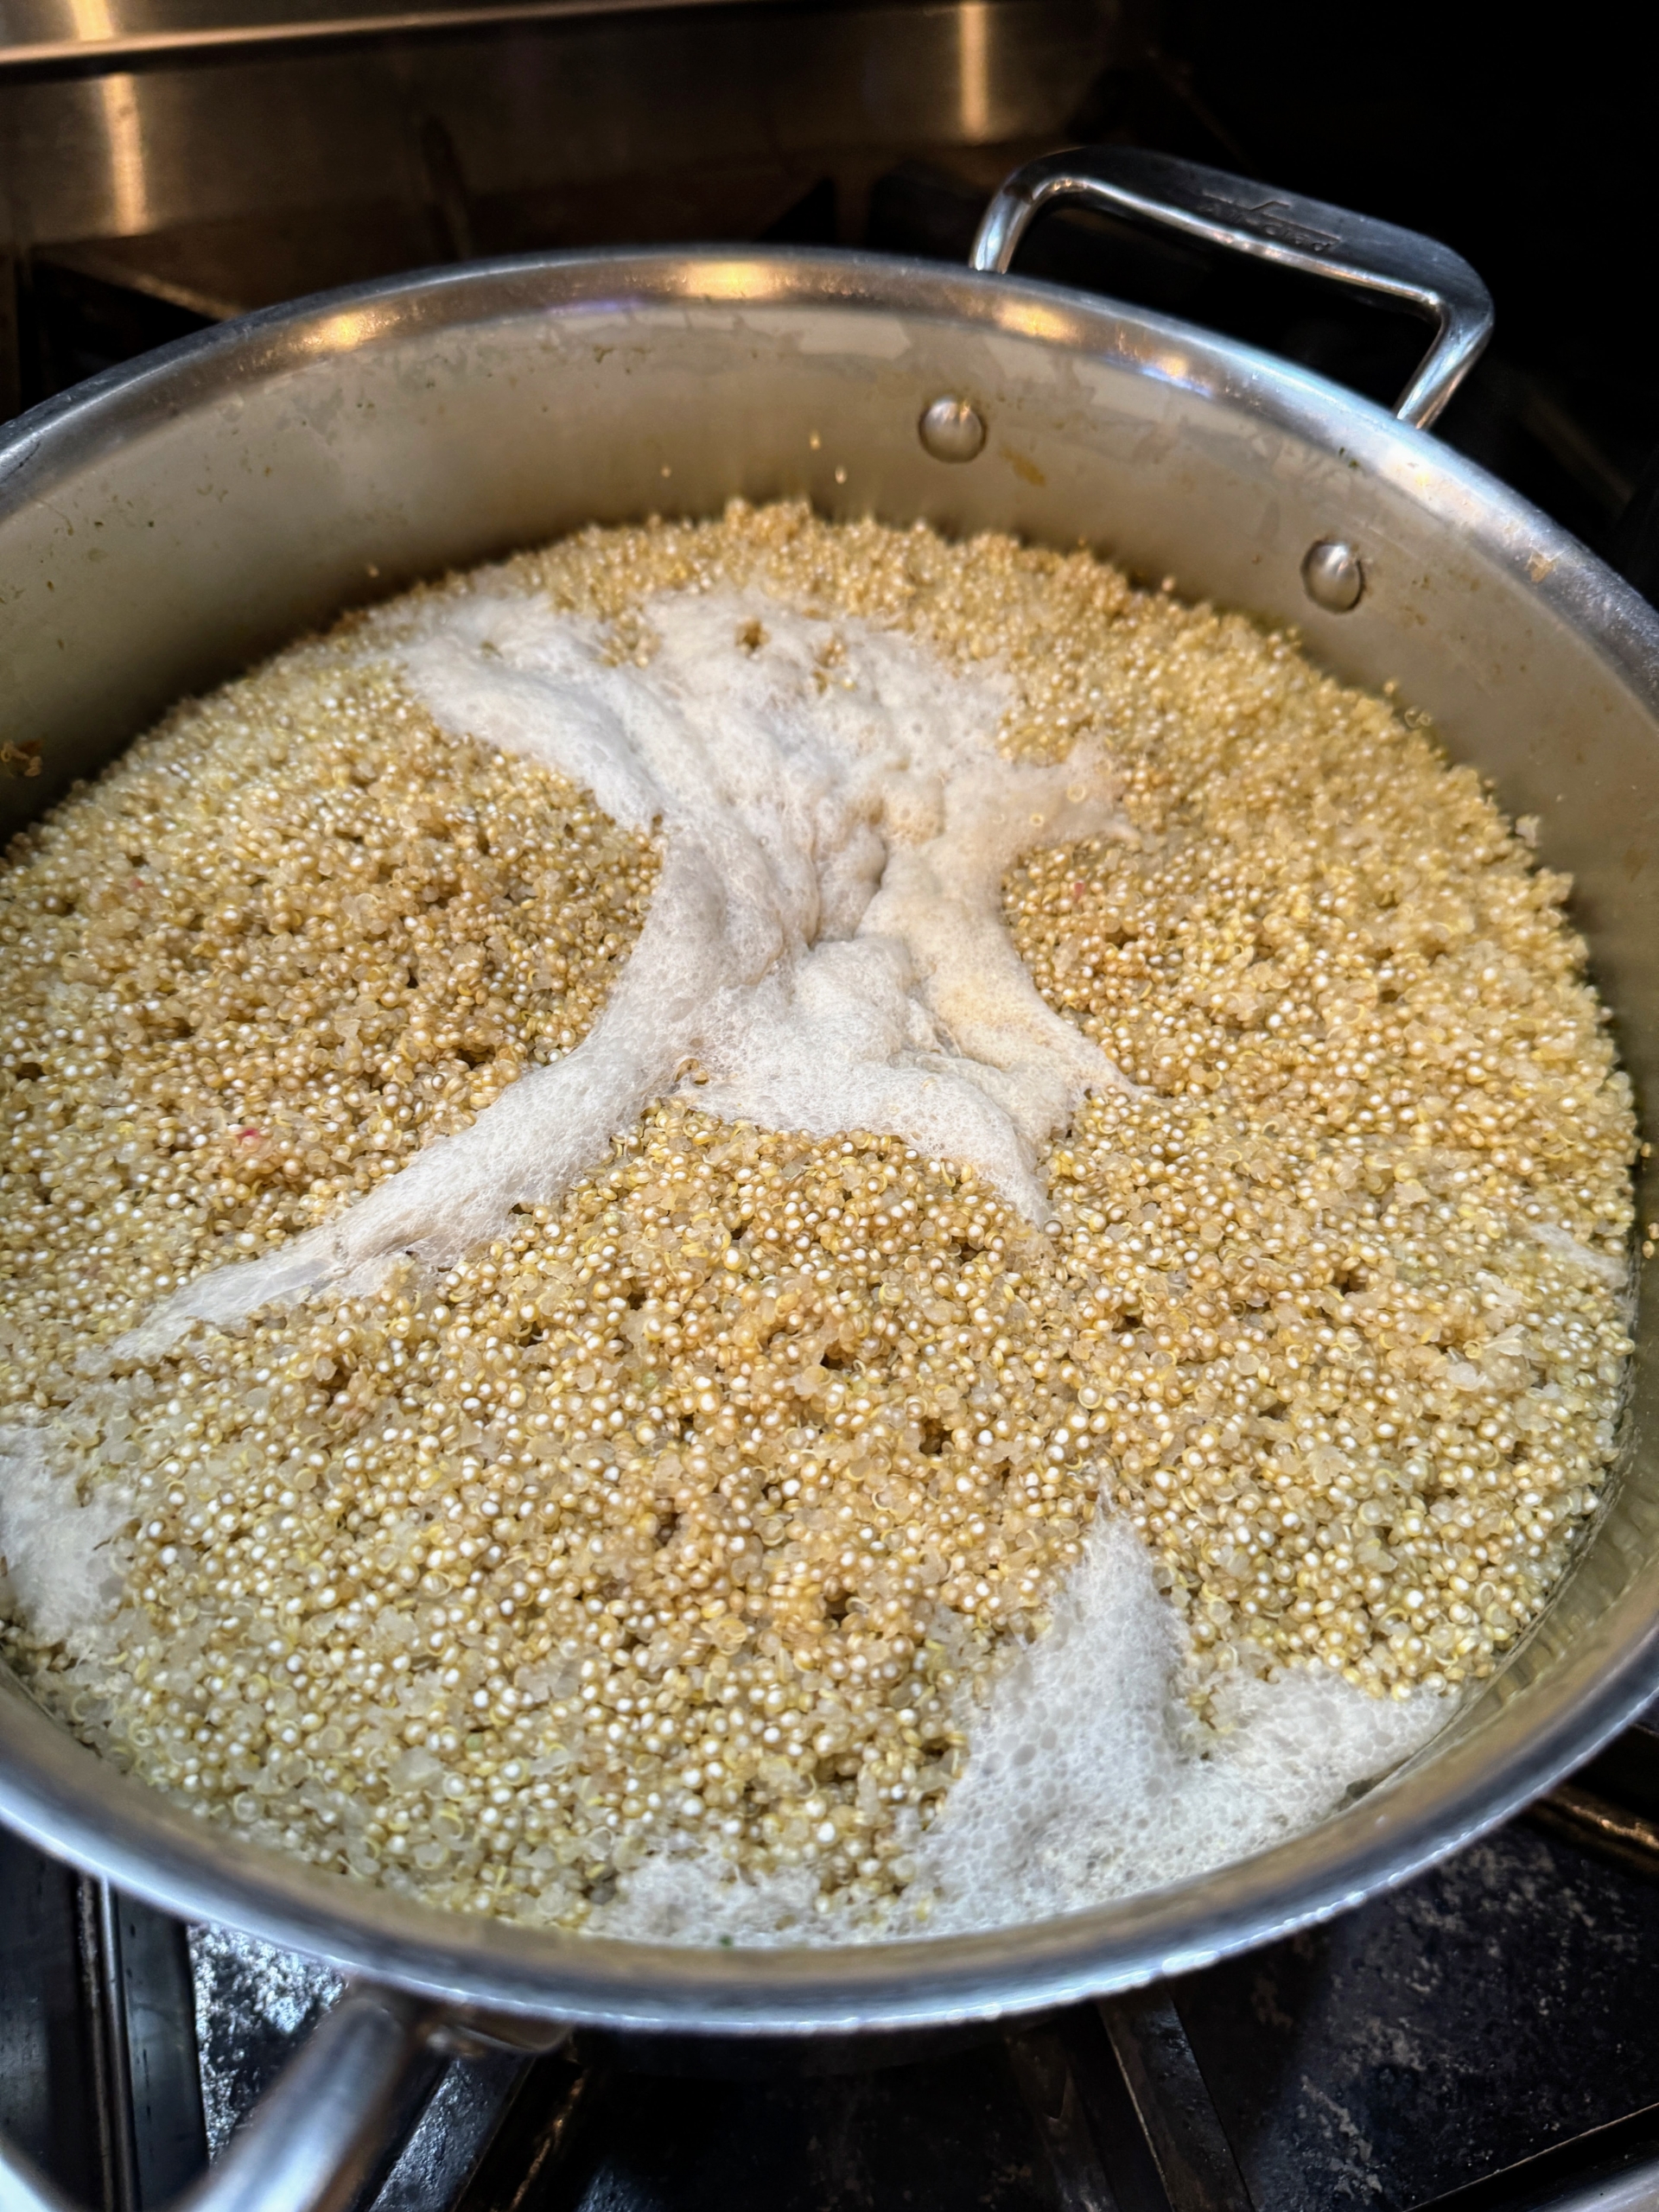
Quinoa is an amazing gluten-free superfood with high levels of essential amino acids. It is a high protein grain type food, so give it in small amounts. When preparing homemade diets, be sure it is well-balanced. Research what your pet needs.
Everything is well mixed. It looks good already!
All the food is also run through a food processor. Here is Elvira mixing the processed food before it is put into containers. This step of running it through the food processor may seem extraneous; however, I have found that my dogs prefer their food ground rather than in big chunks.
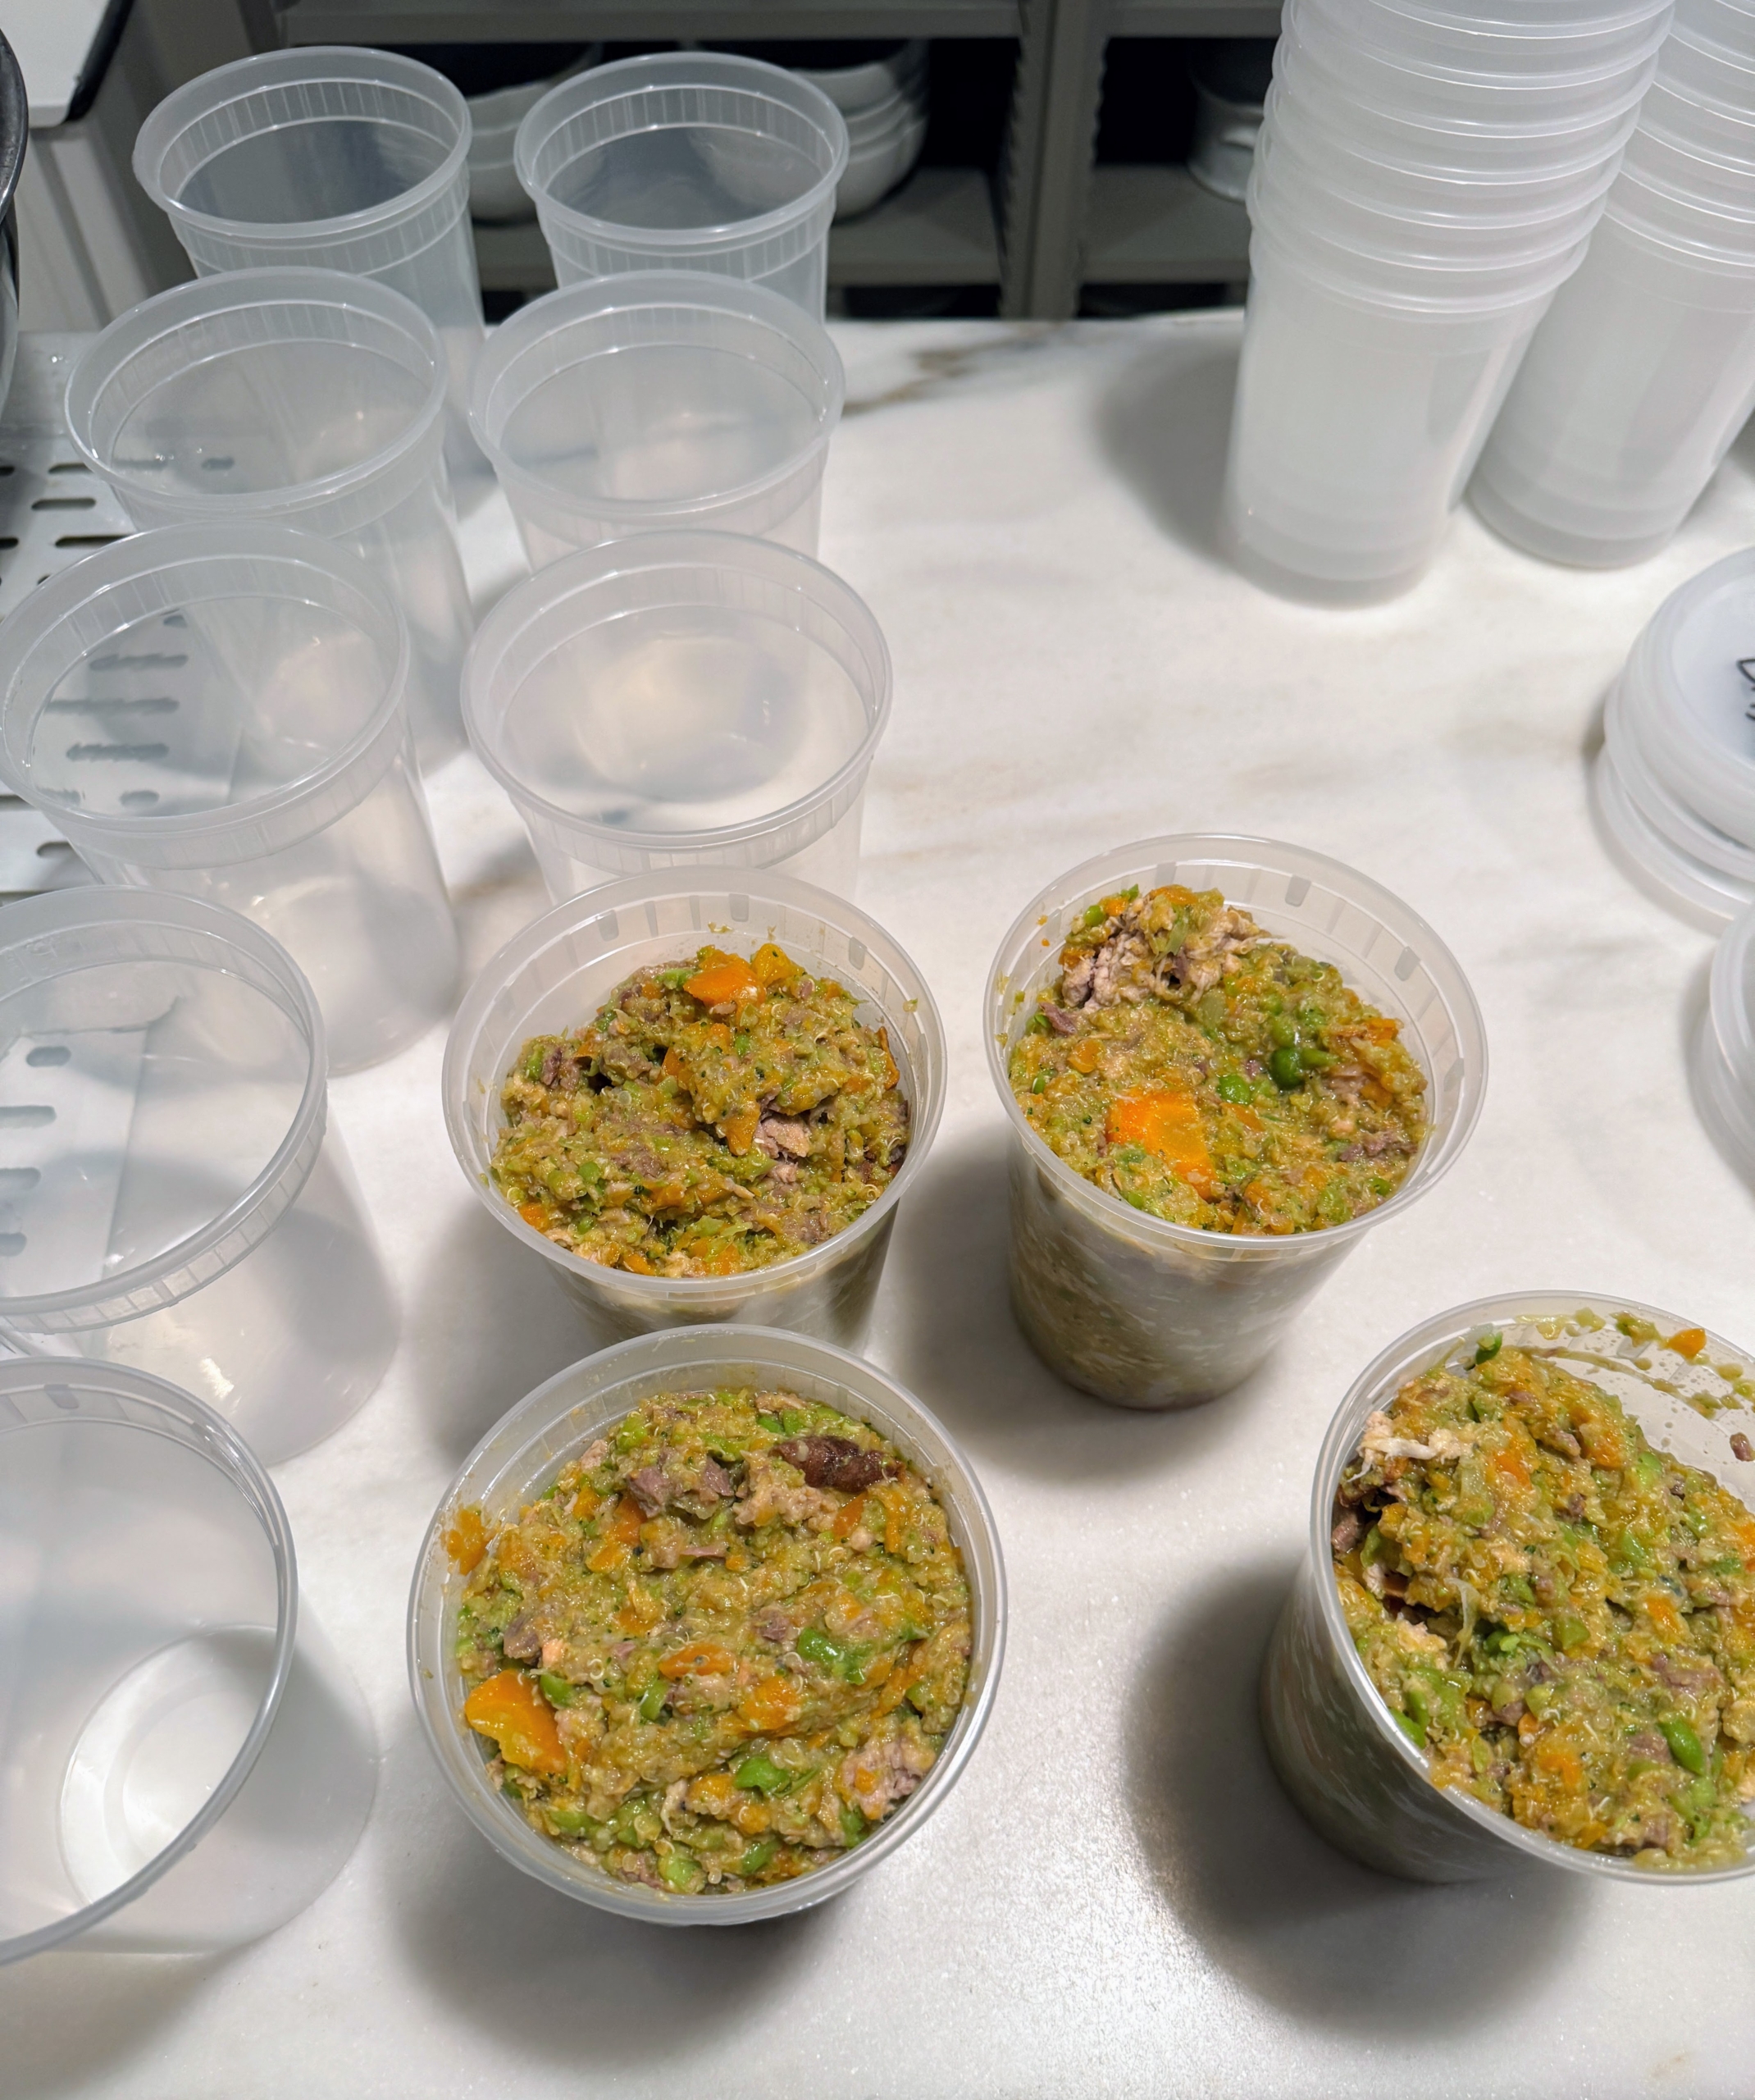
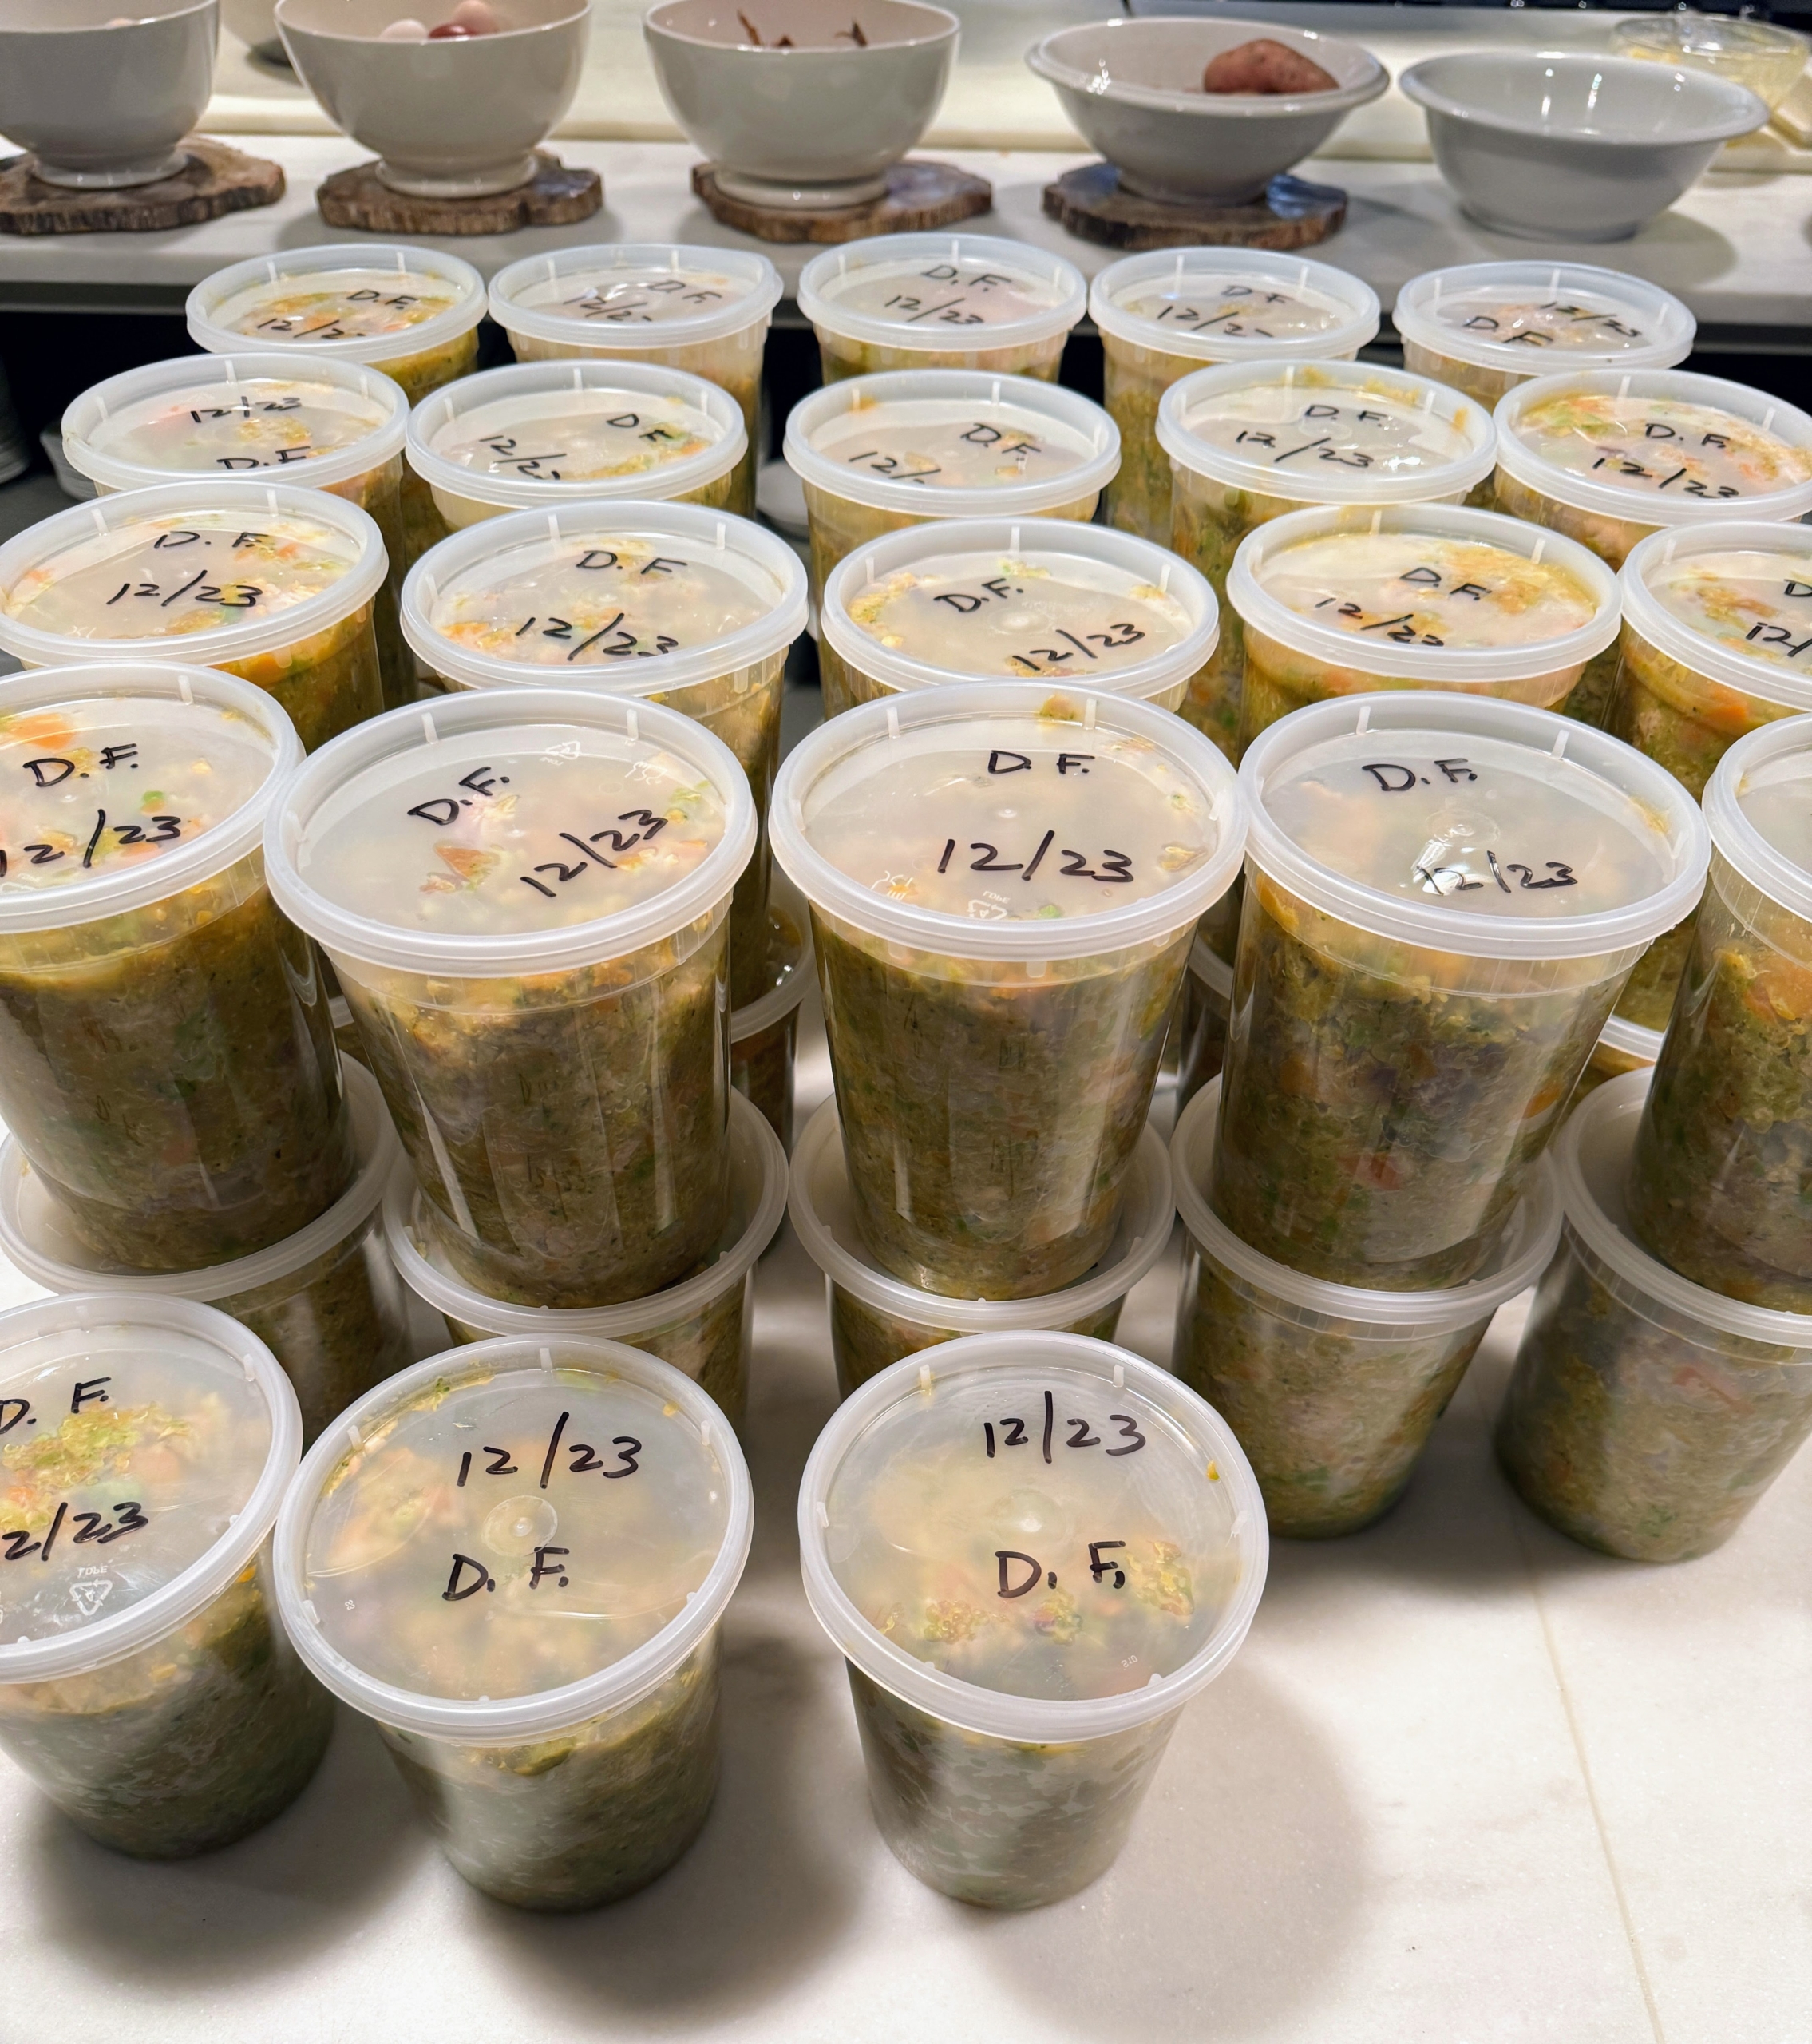
For my dog food, I use quart-sized containers. This step of filling the containers is done in a production line process, so it can be completed quickly and efficiently. Can you guess how many containers we filled? I always do a mental calculation to determine how many containers we need to put out on the counter. Here, the quarts of food are also left to cool a bit before securing the lids.
I estimated 44-plastic containers, and we filled just under 44-quarts in all! Each lid is marked with the contents and the date it was prepared. If planning to freeze, only fill up to the first line around the container so it has room to expand.
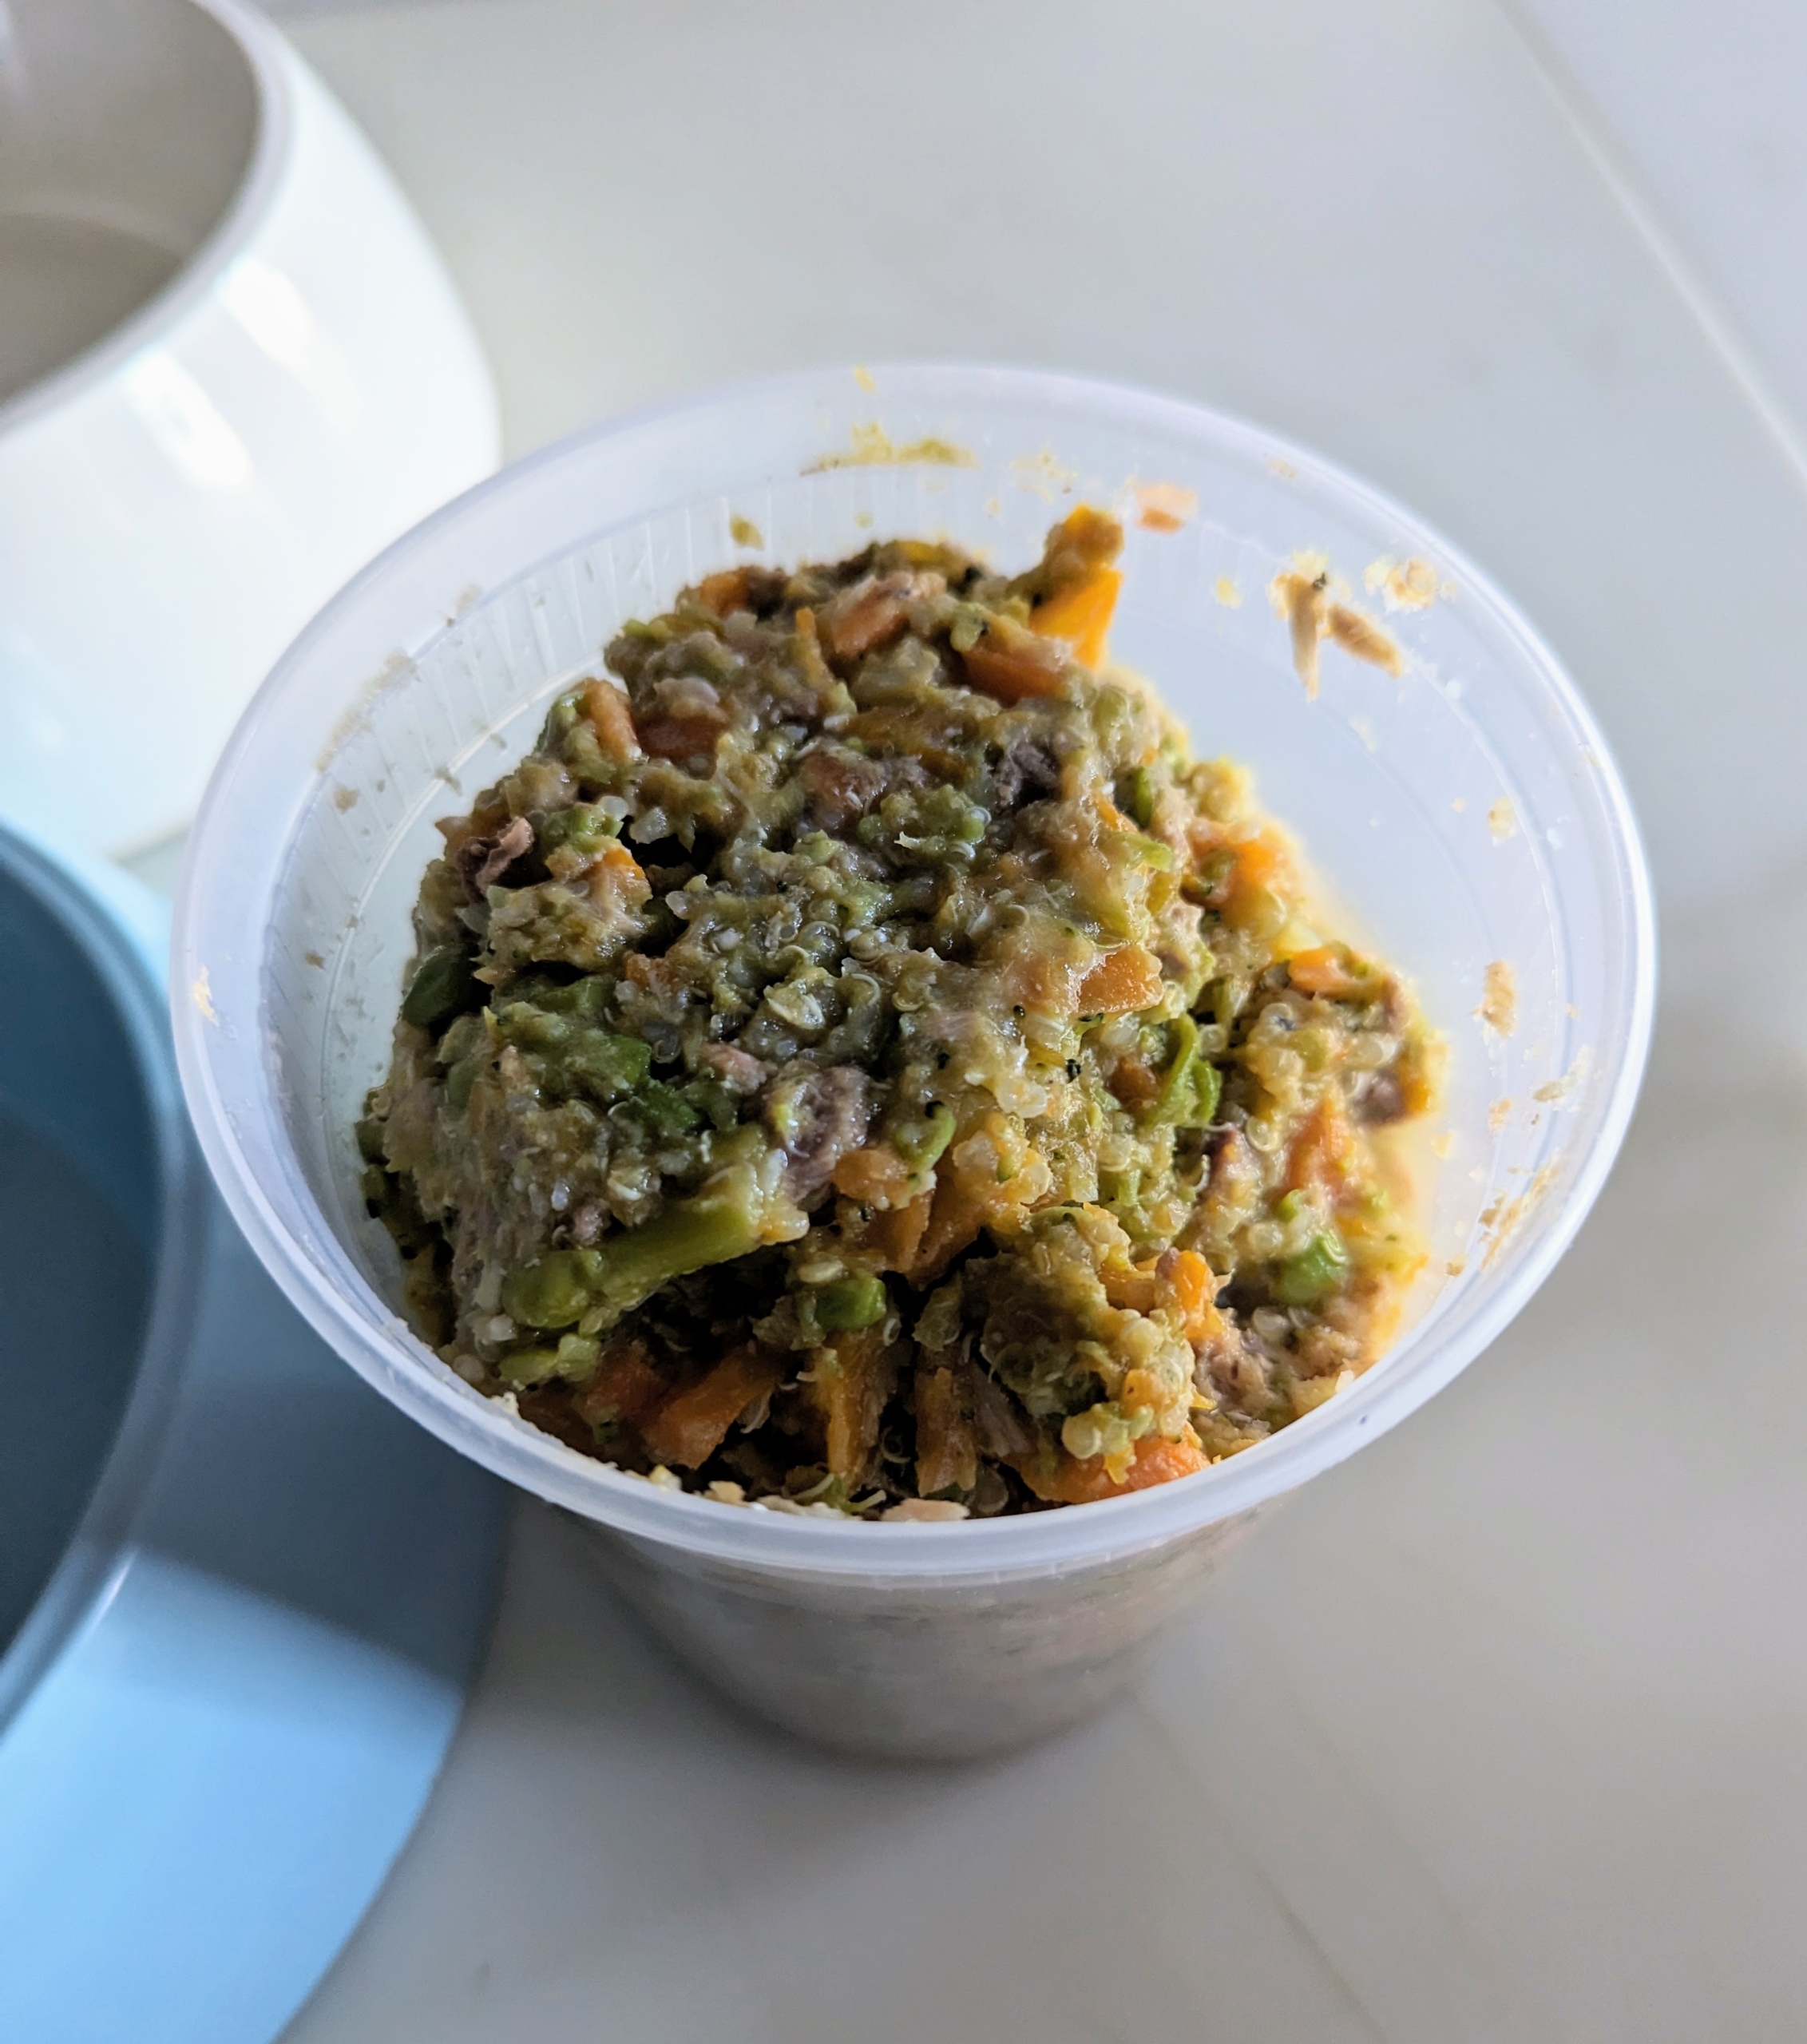
Here is one container of food ready to serve.
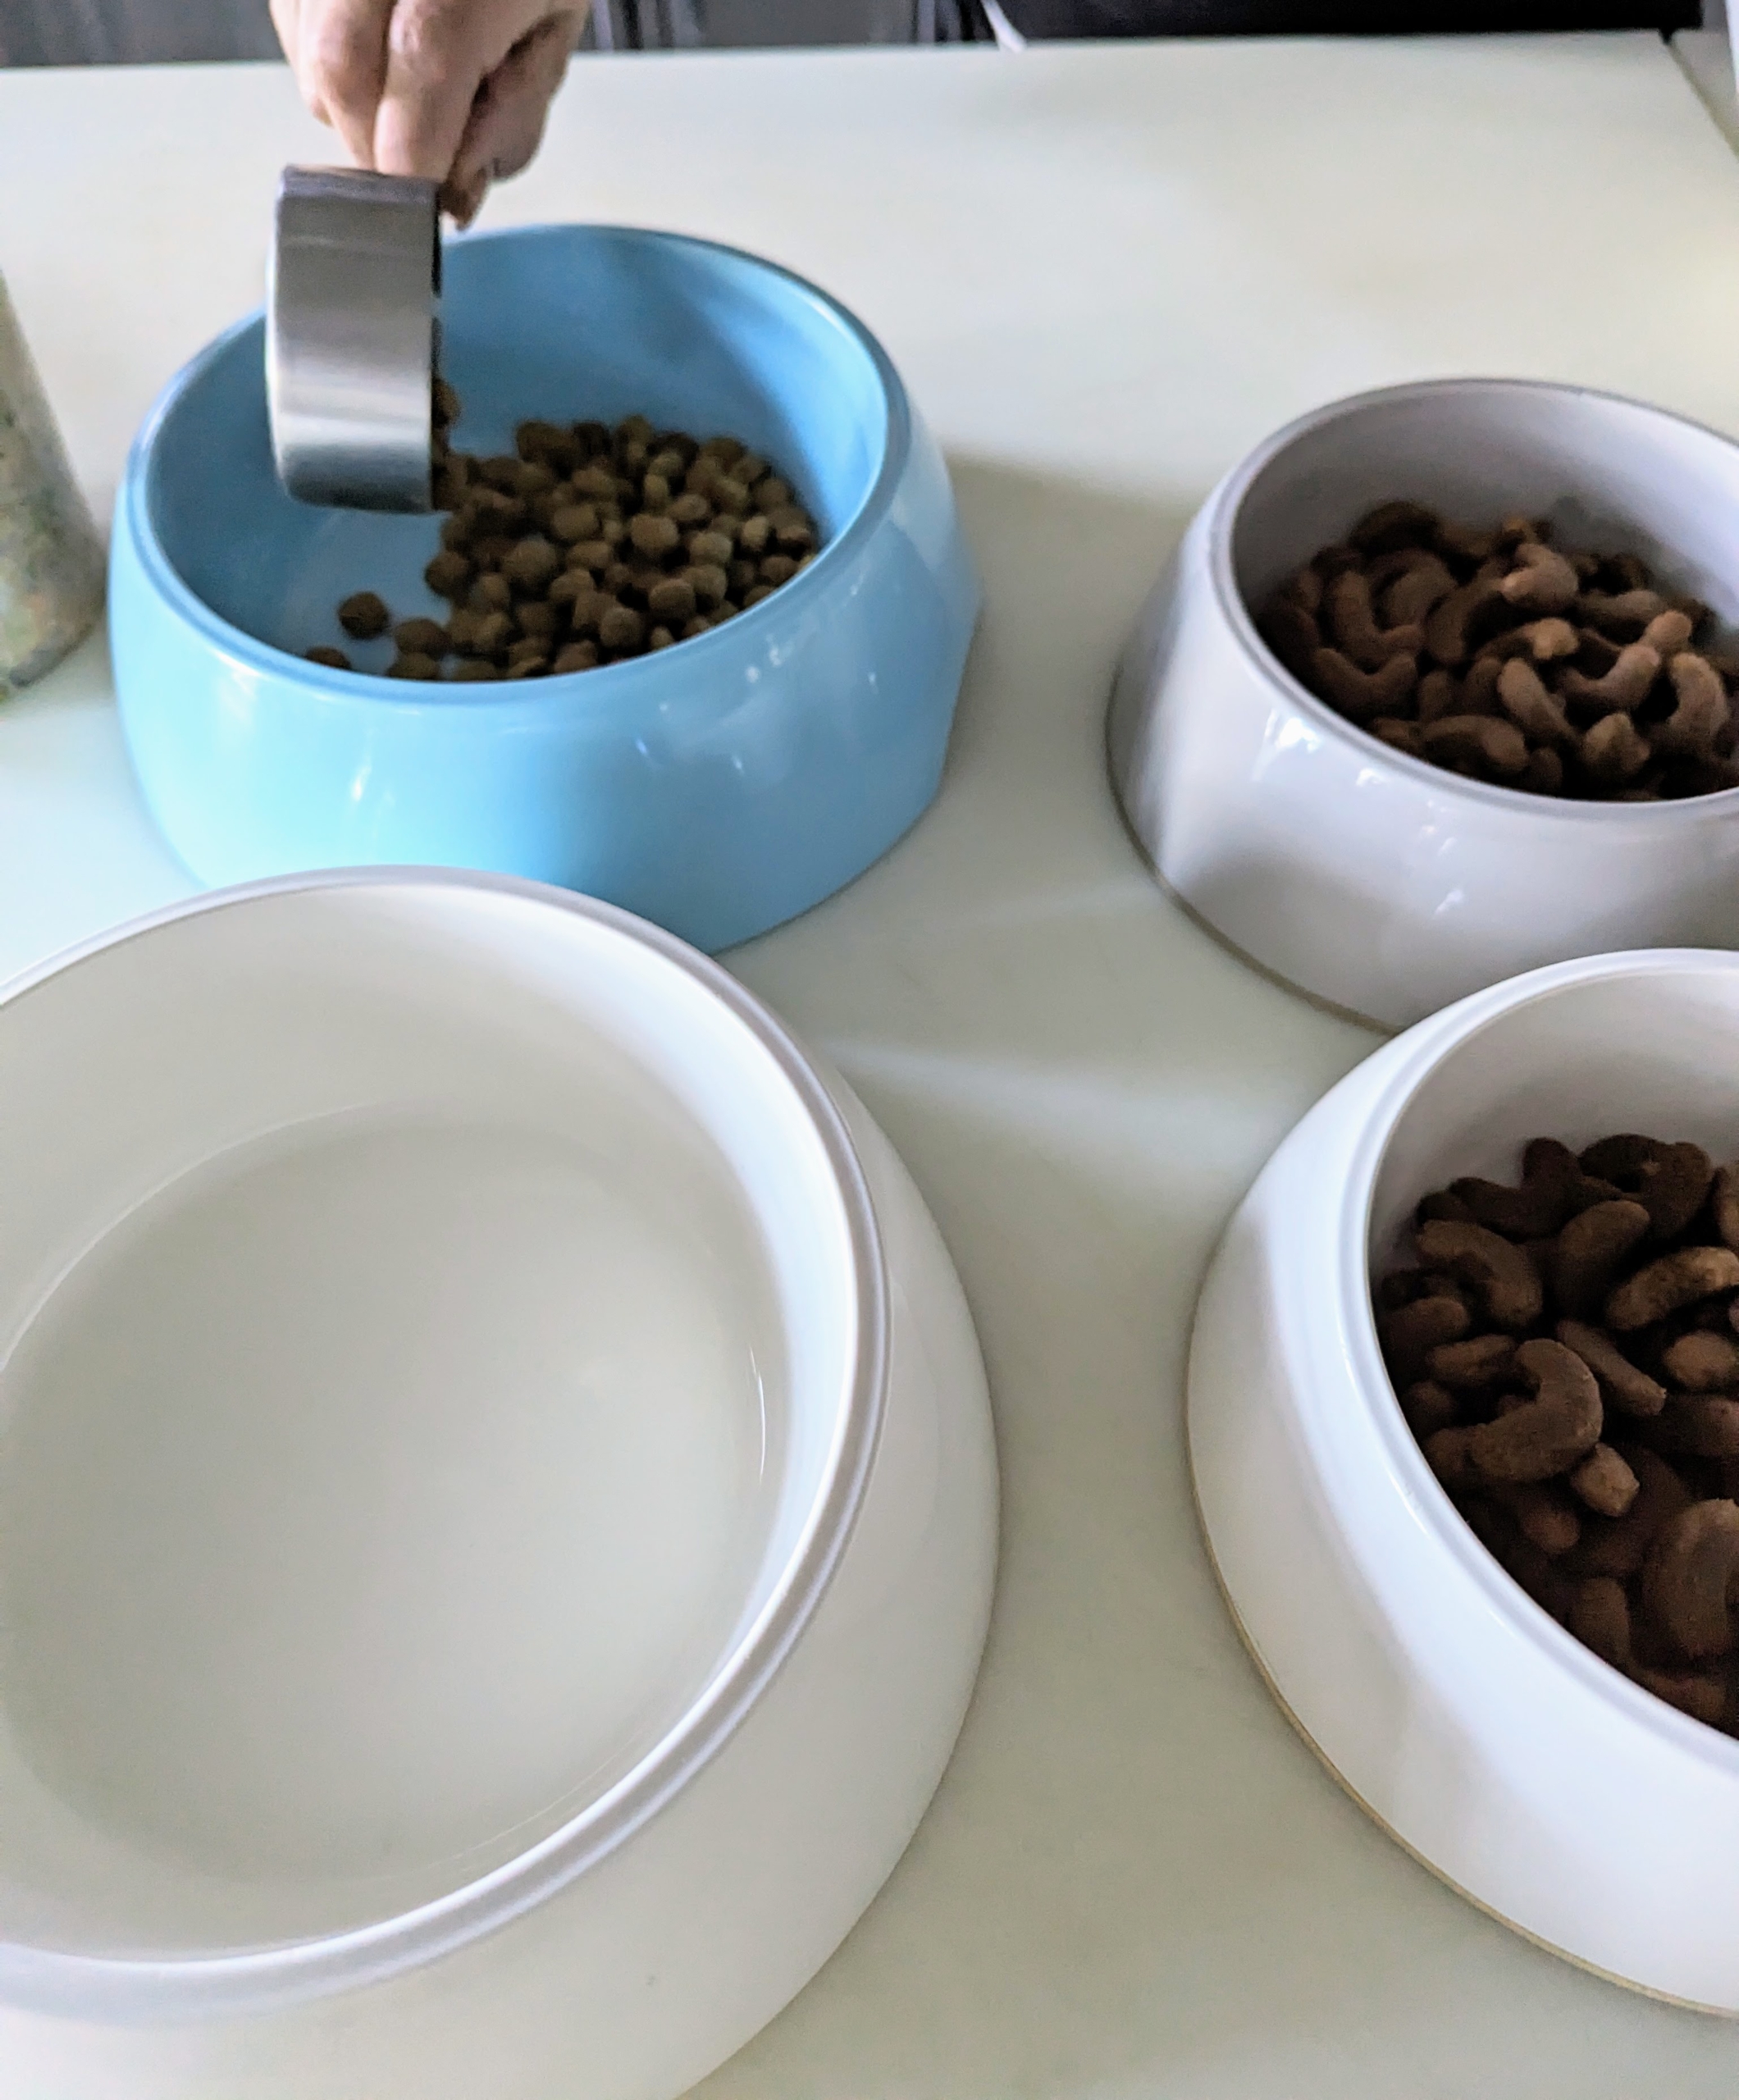
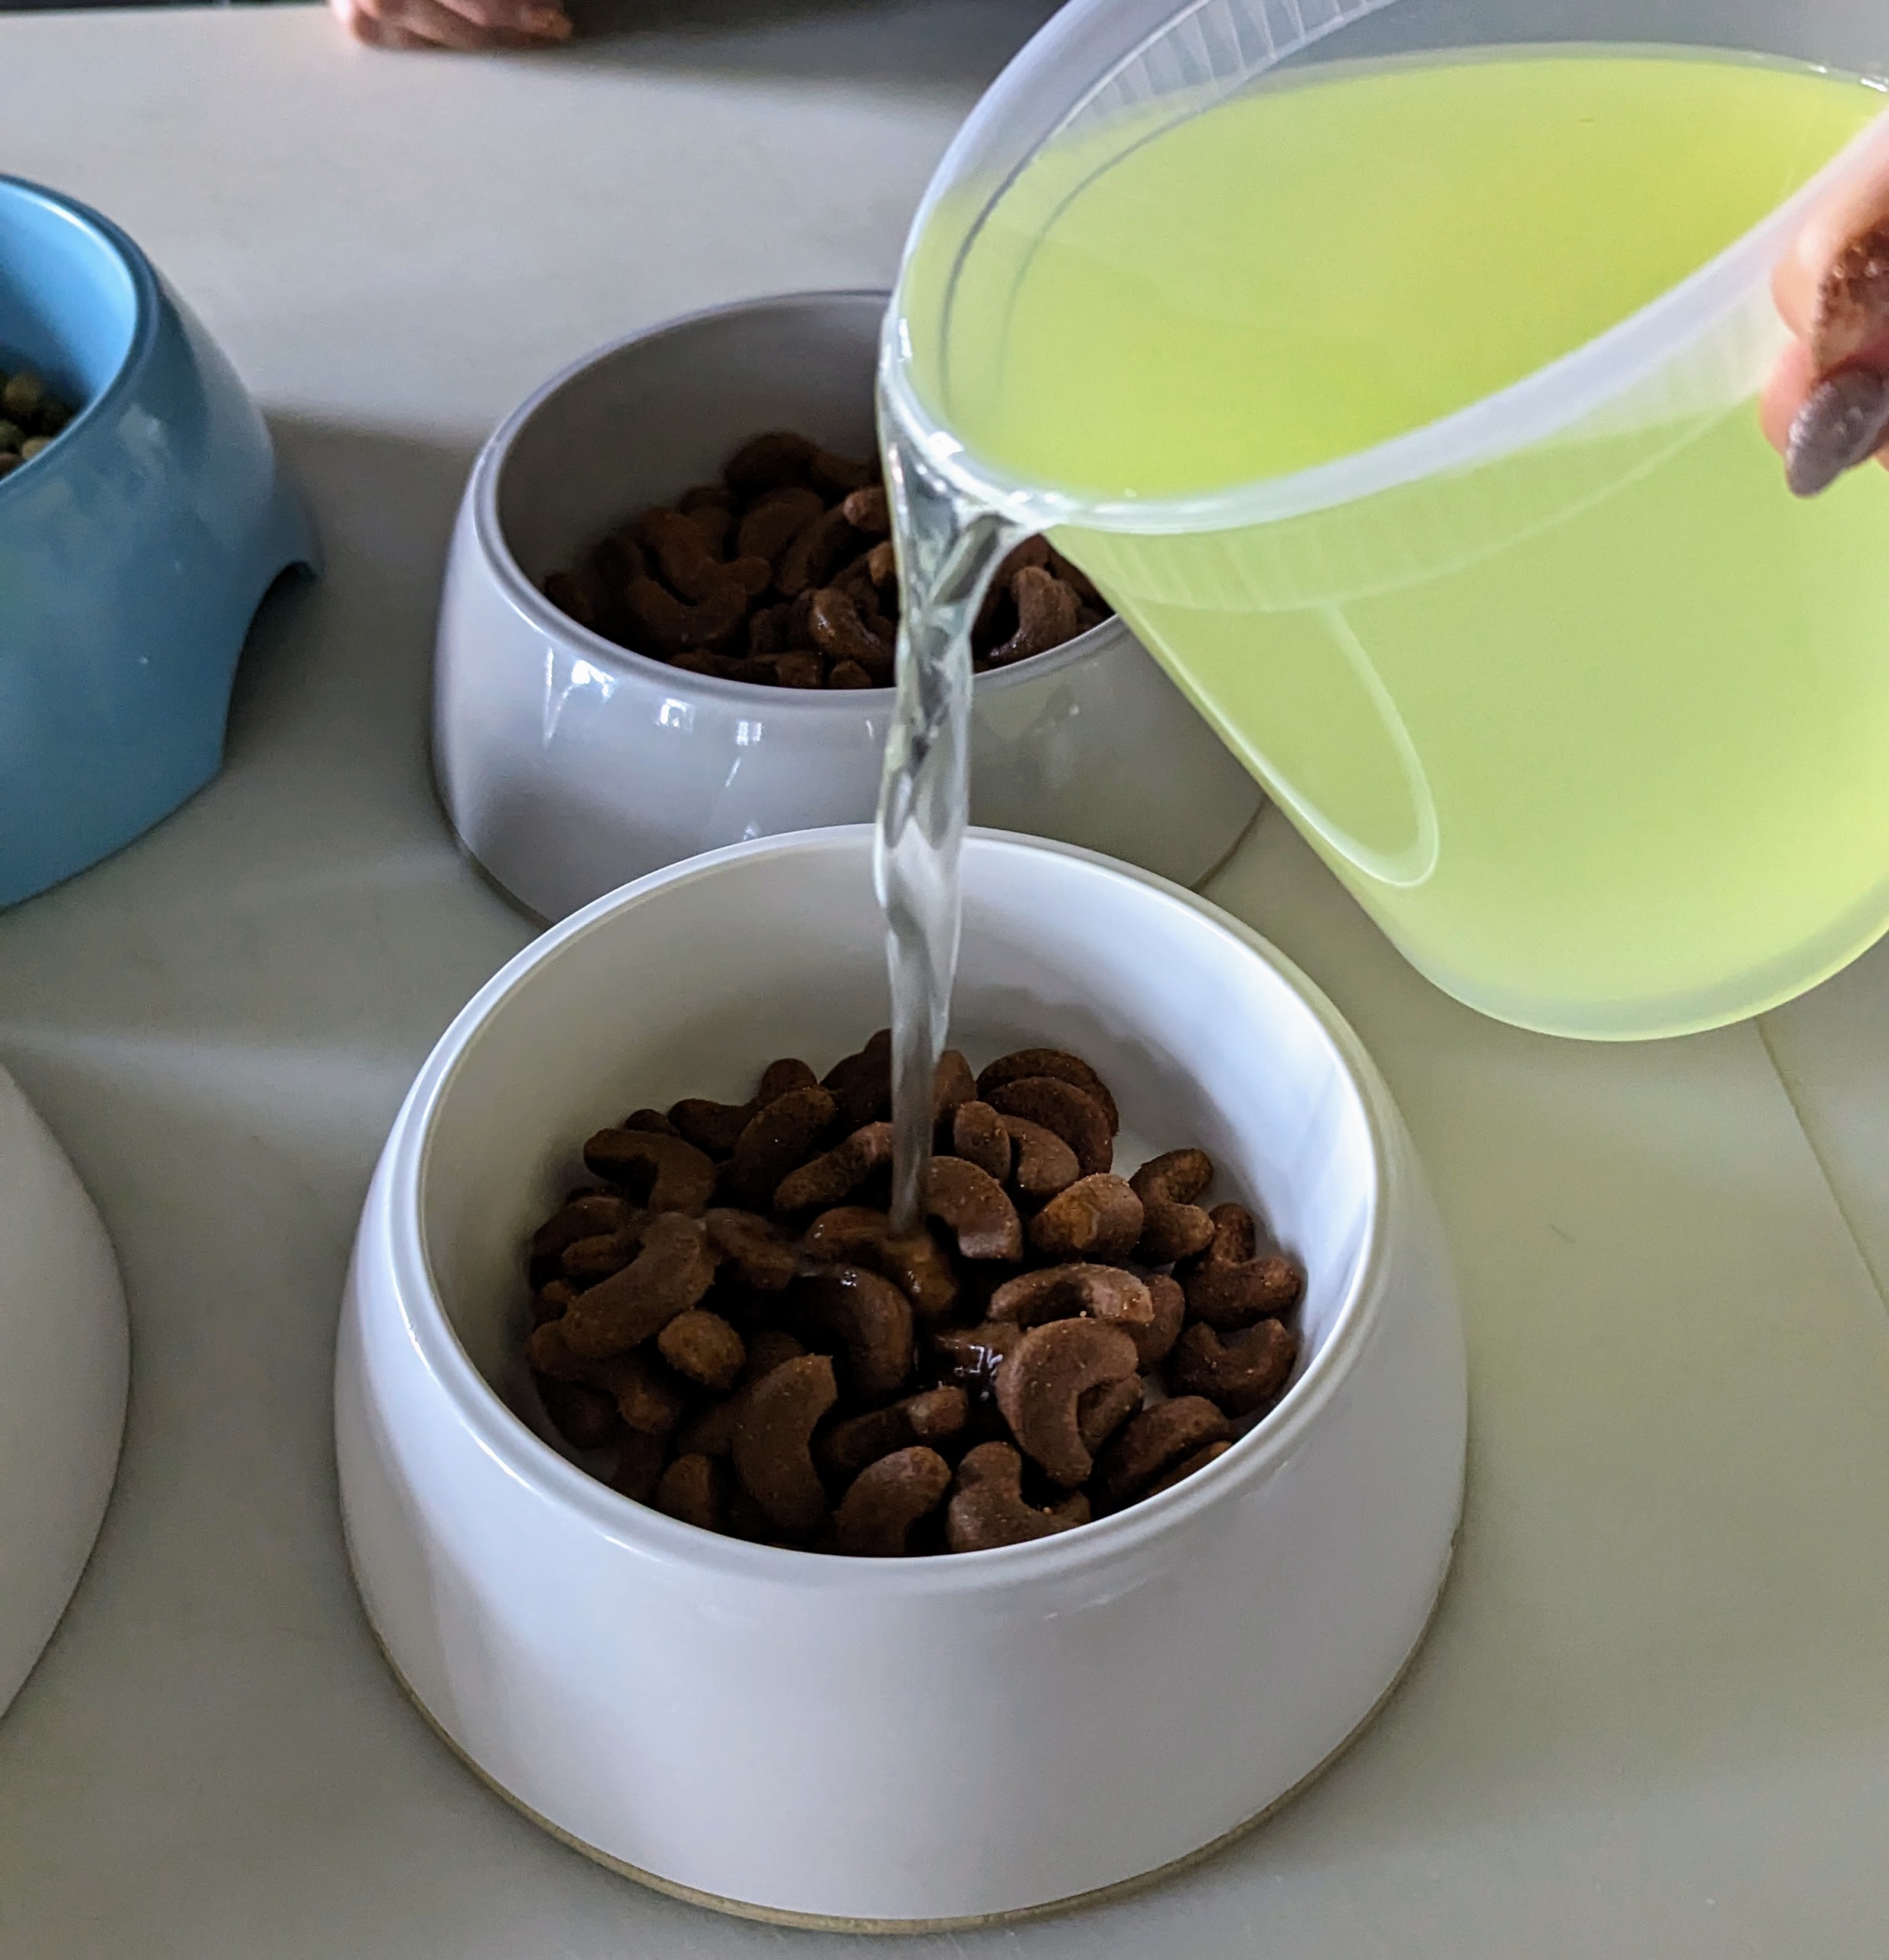
Enma starts with a scoop of high quality kibble – the blue is Emperor Han’s bowl.
I also recently made a big bowl of yogurt. This is the saved whey. Whey is the liquid remaining after milk has been curdled and strained. It is very nutritious. Enma added just enough to each bowl to moisten the hard kibble.
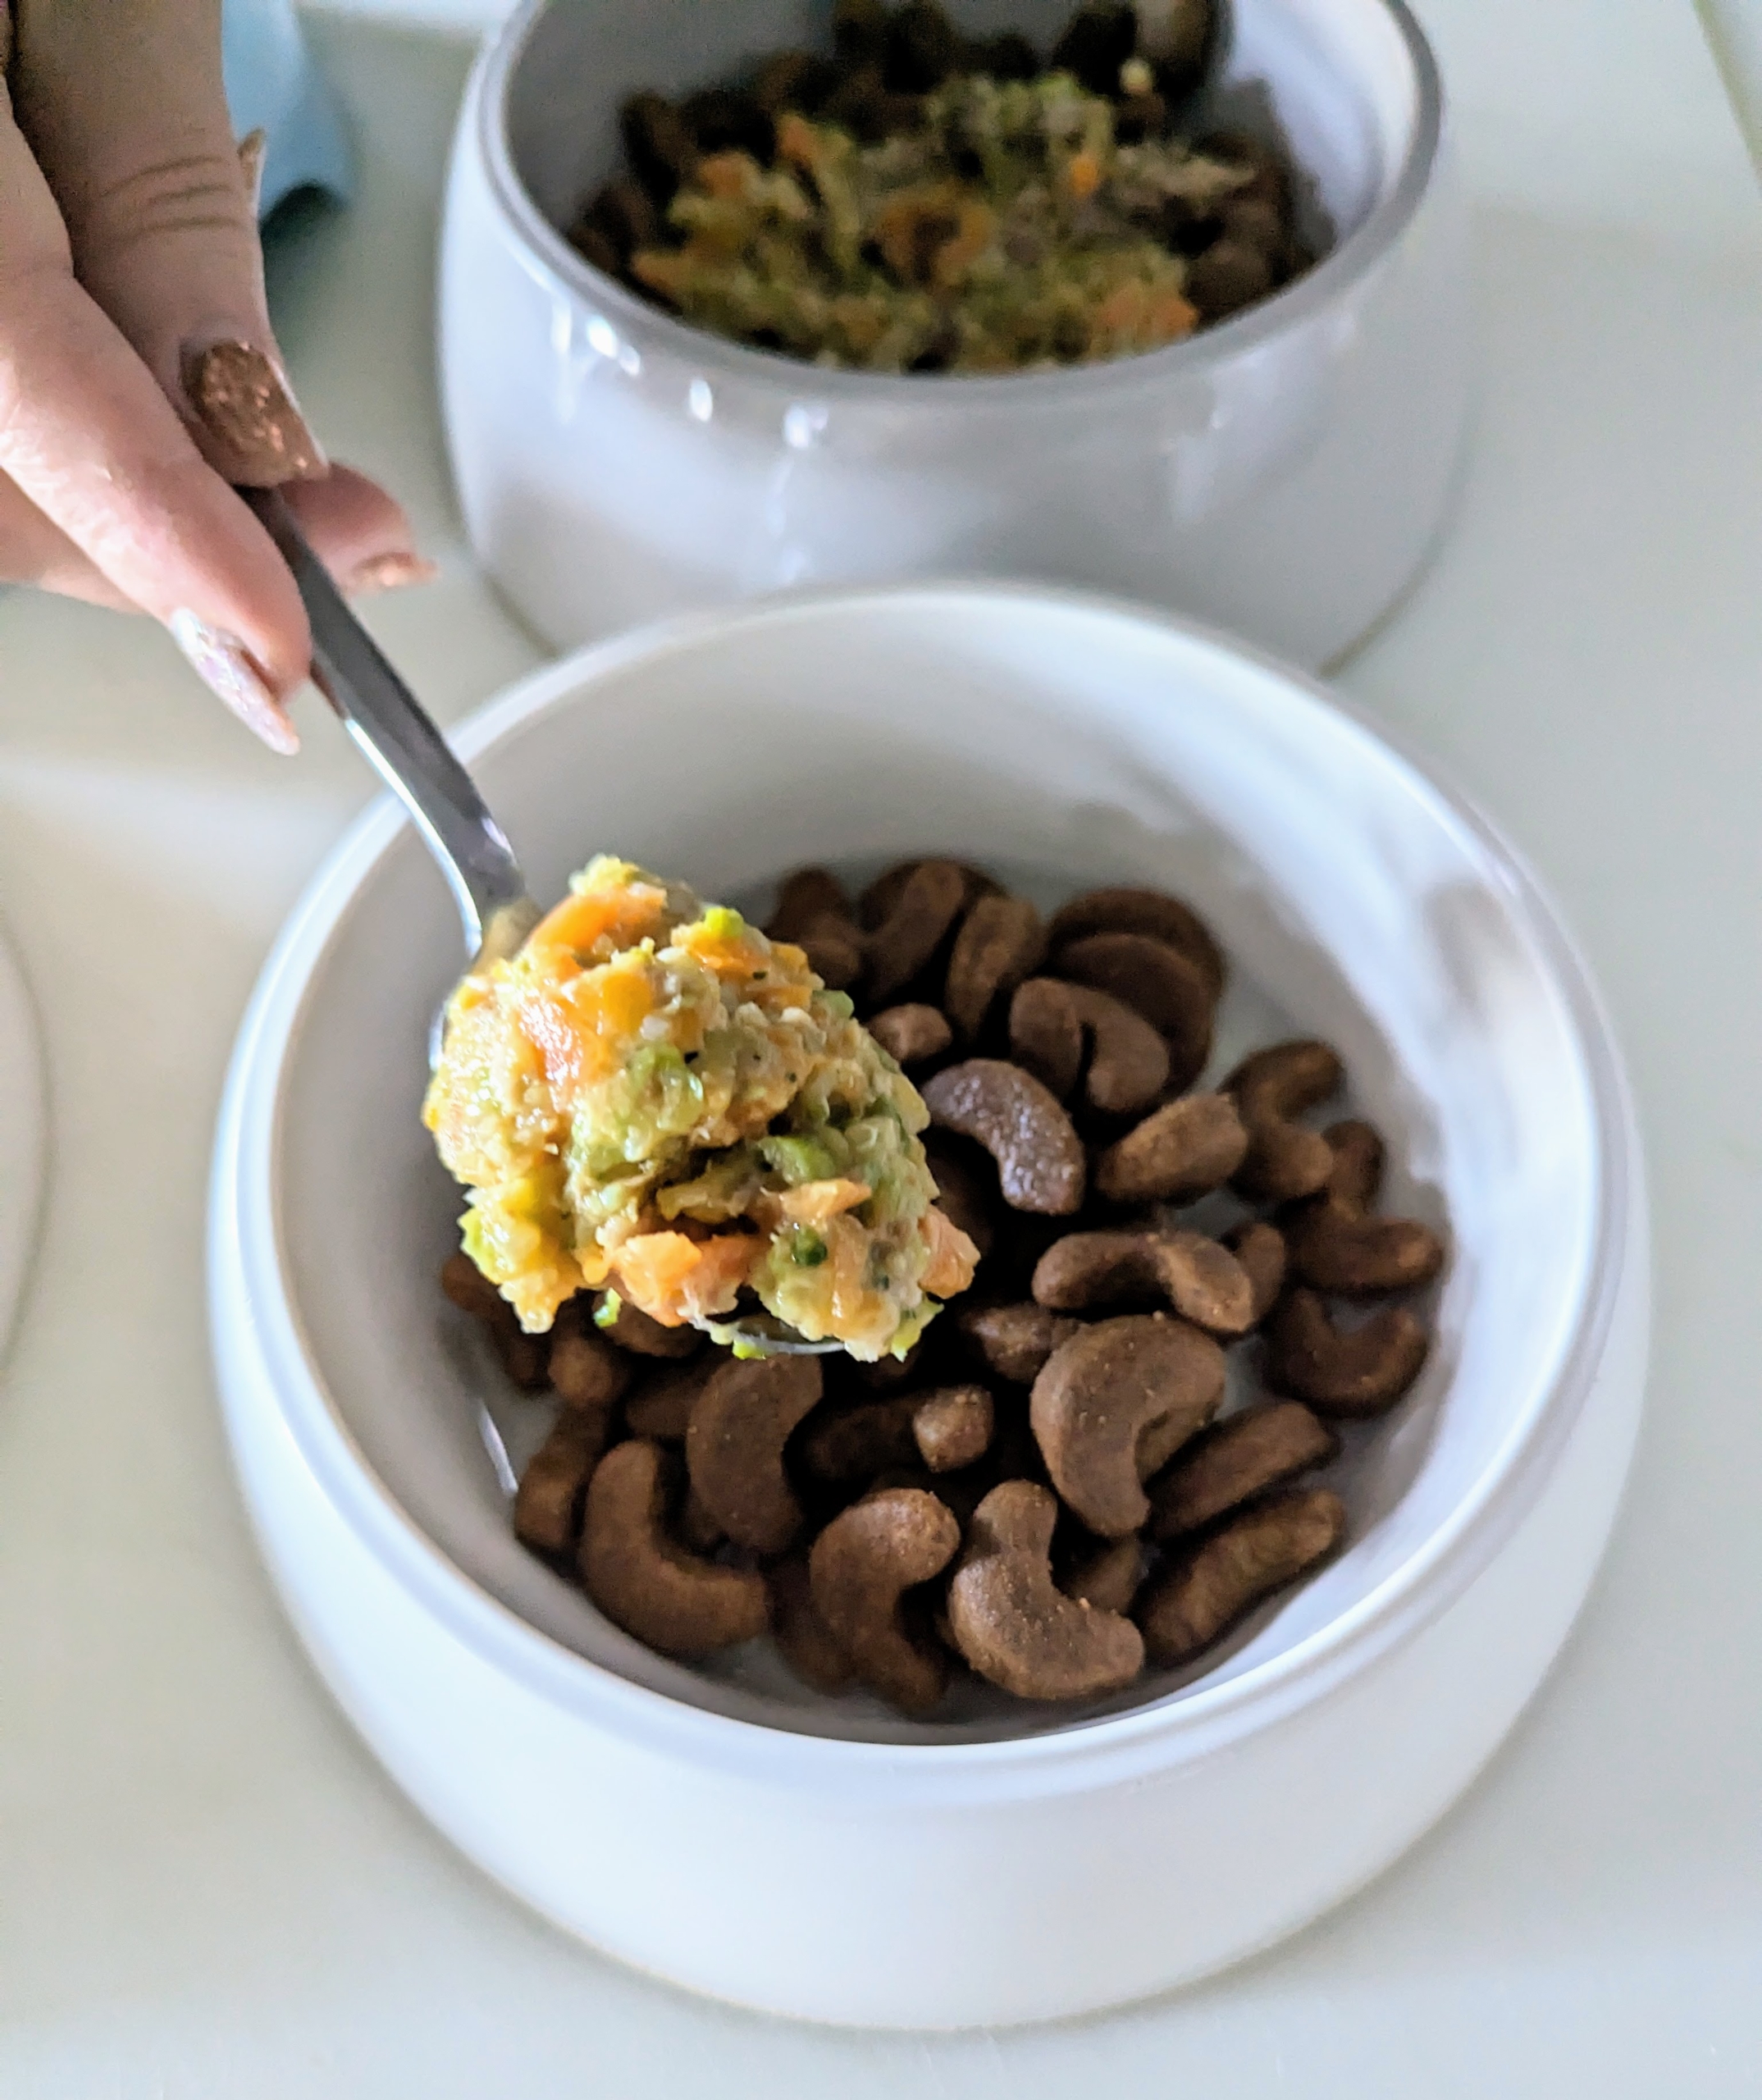
And then she adds a couple heaping spoonfuls of delicious home cooked food.
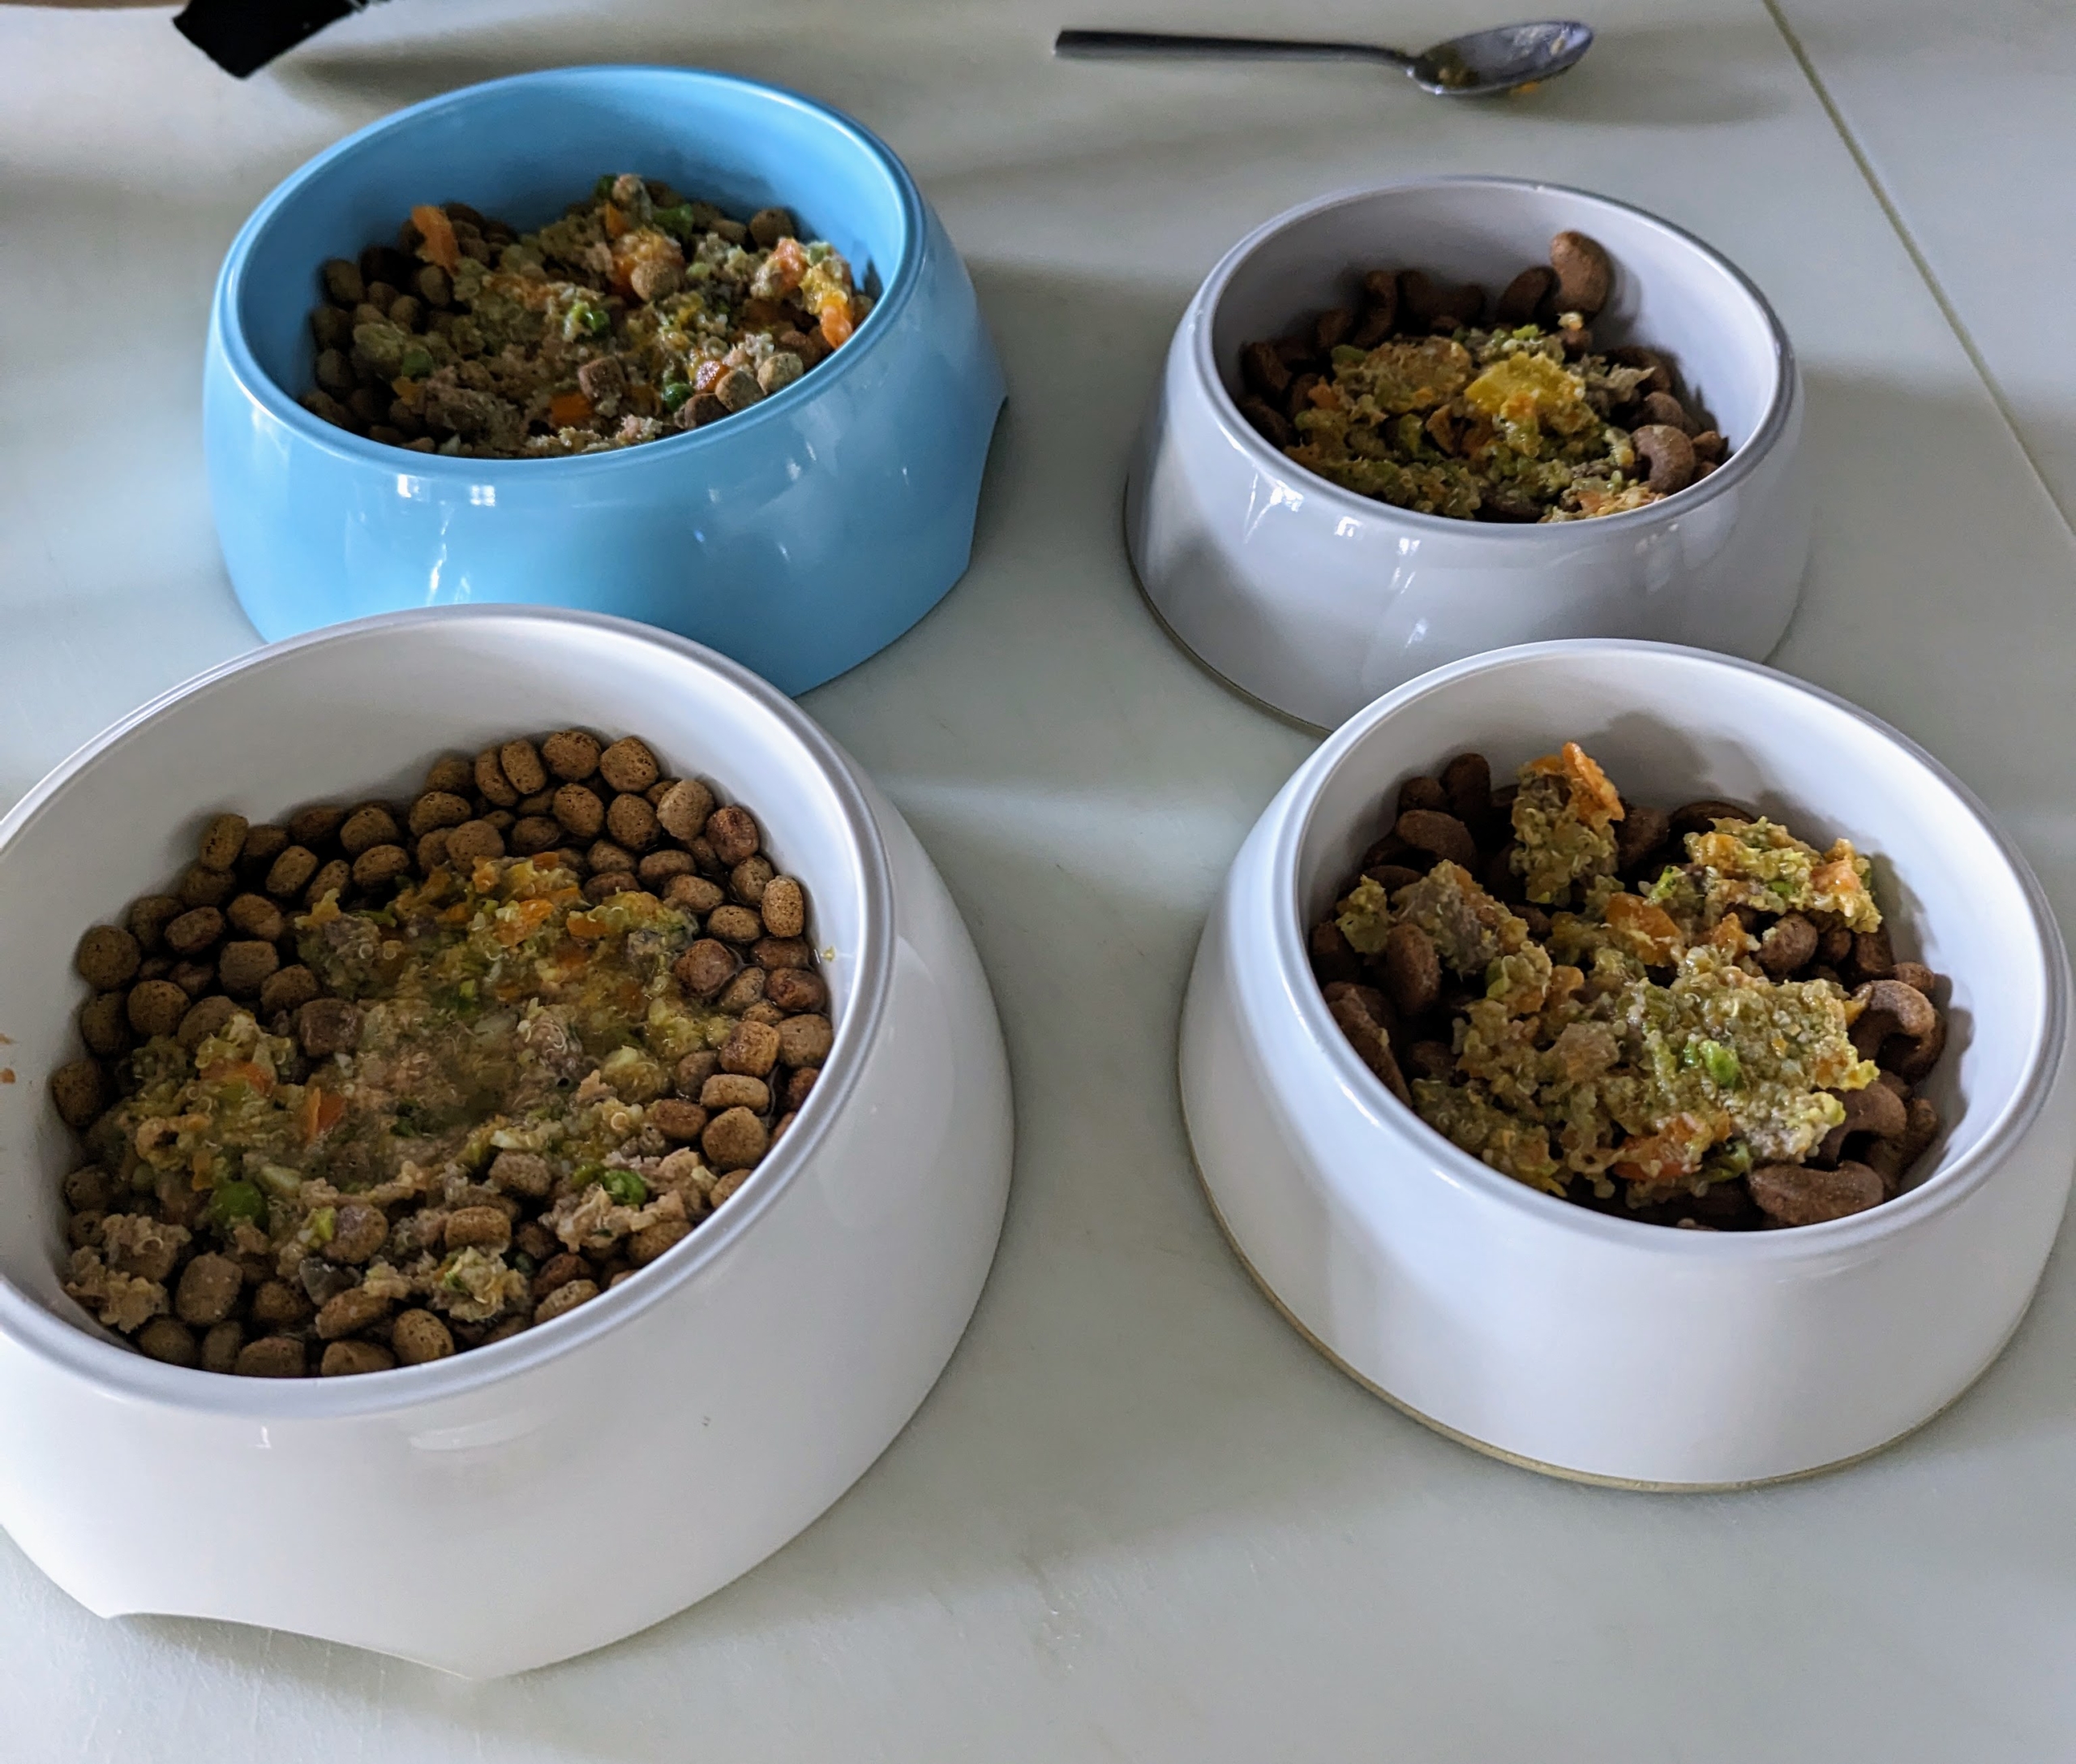
Everything is mixed equally into the bowls along with any added supplements.
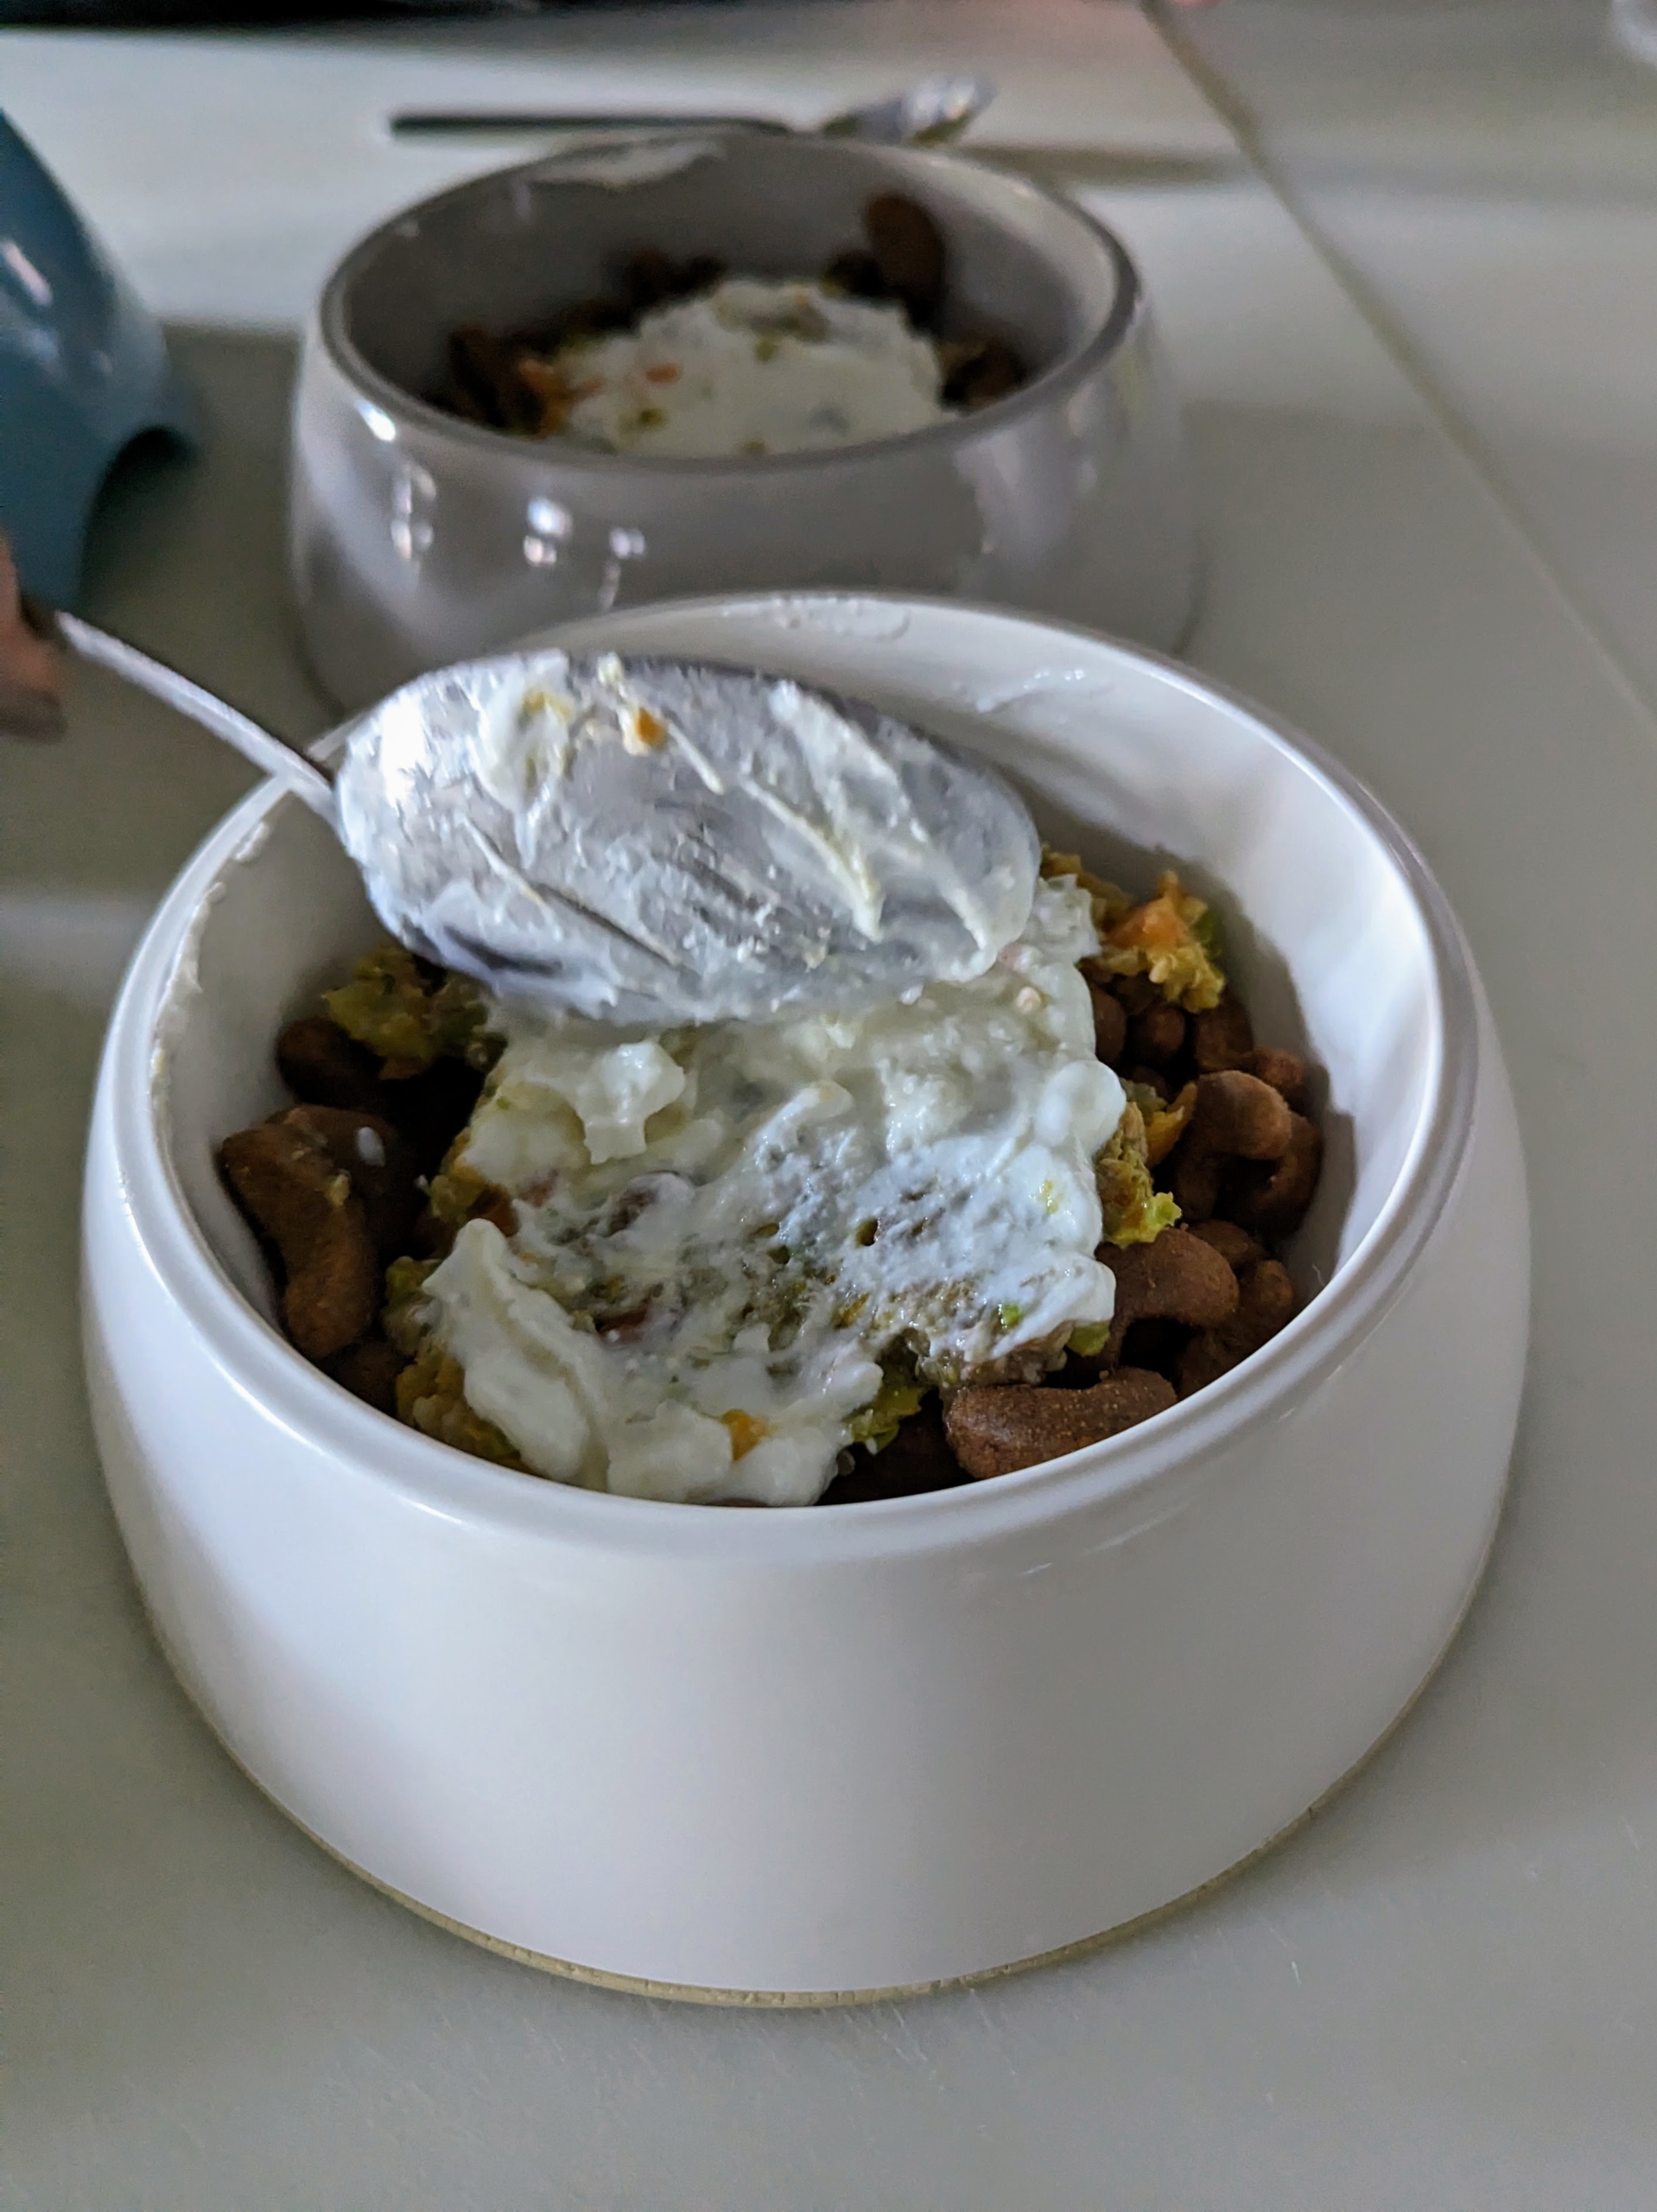
And if I have any at the time, each dog gets a spoonful of my homemade yogurt. Many dogs are actually lactose intolerant, but yogurt is much easier to digest and my canine foursome loves it.
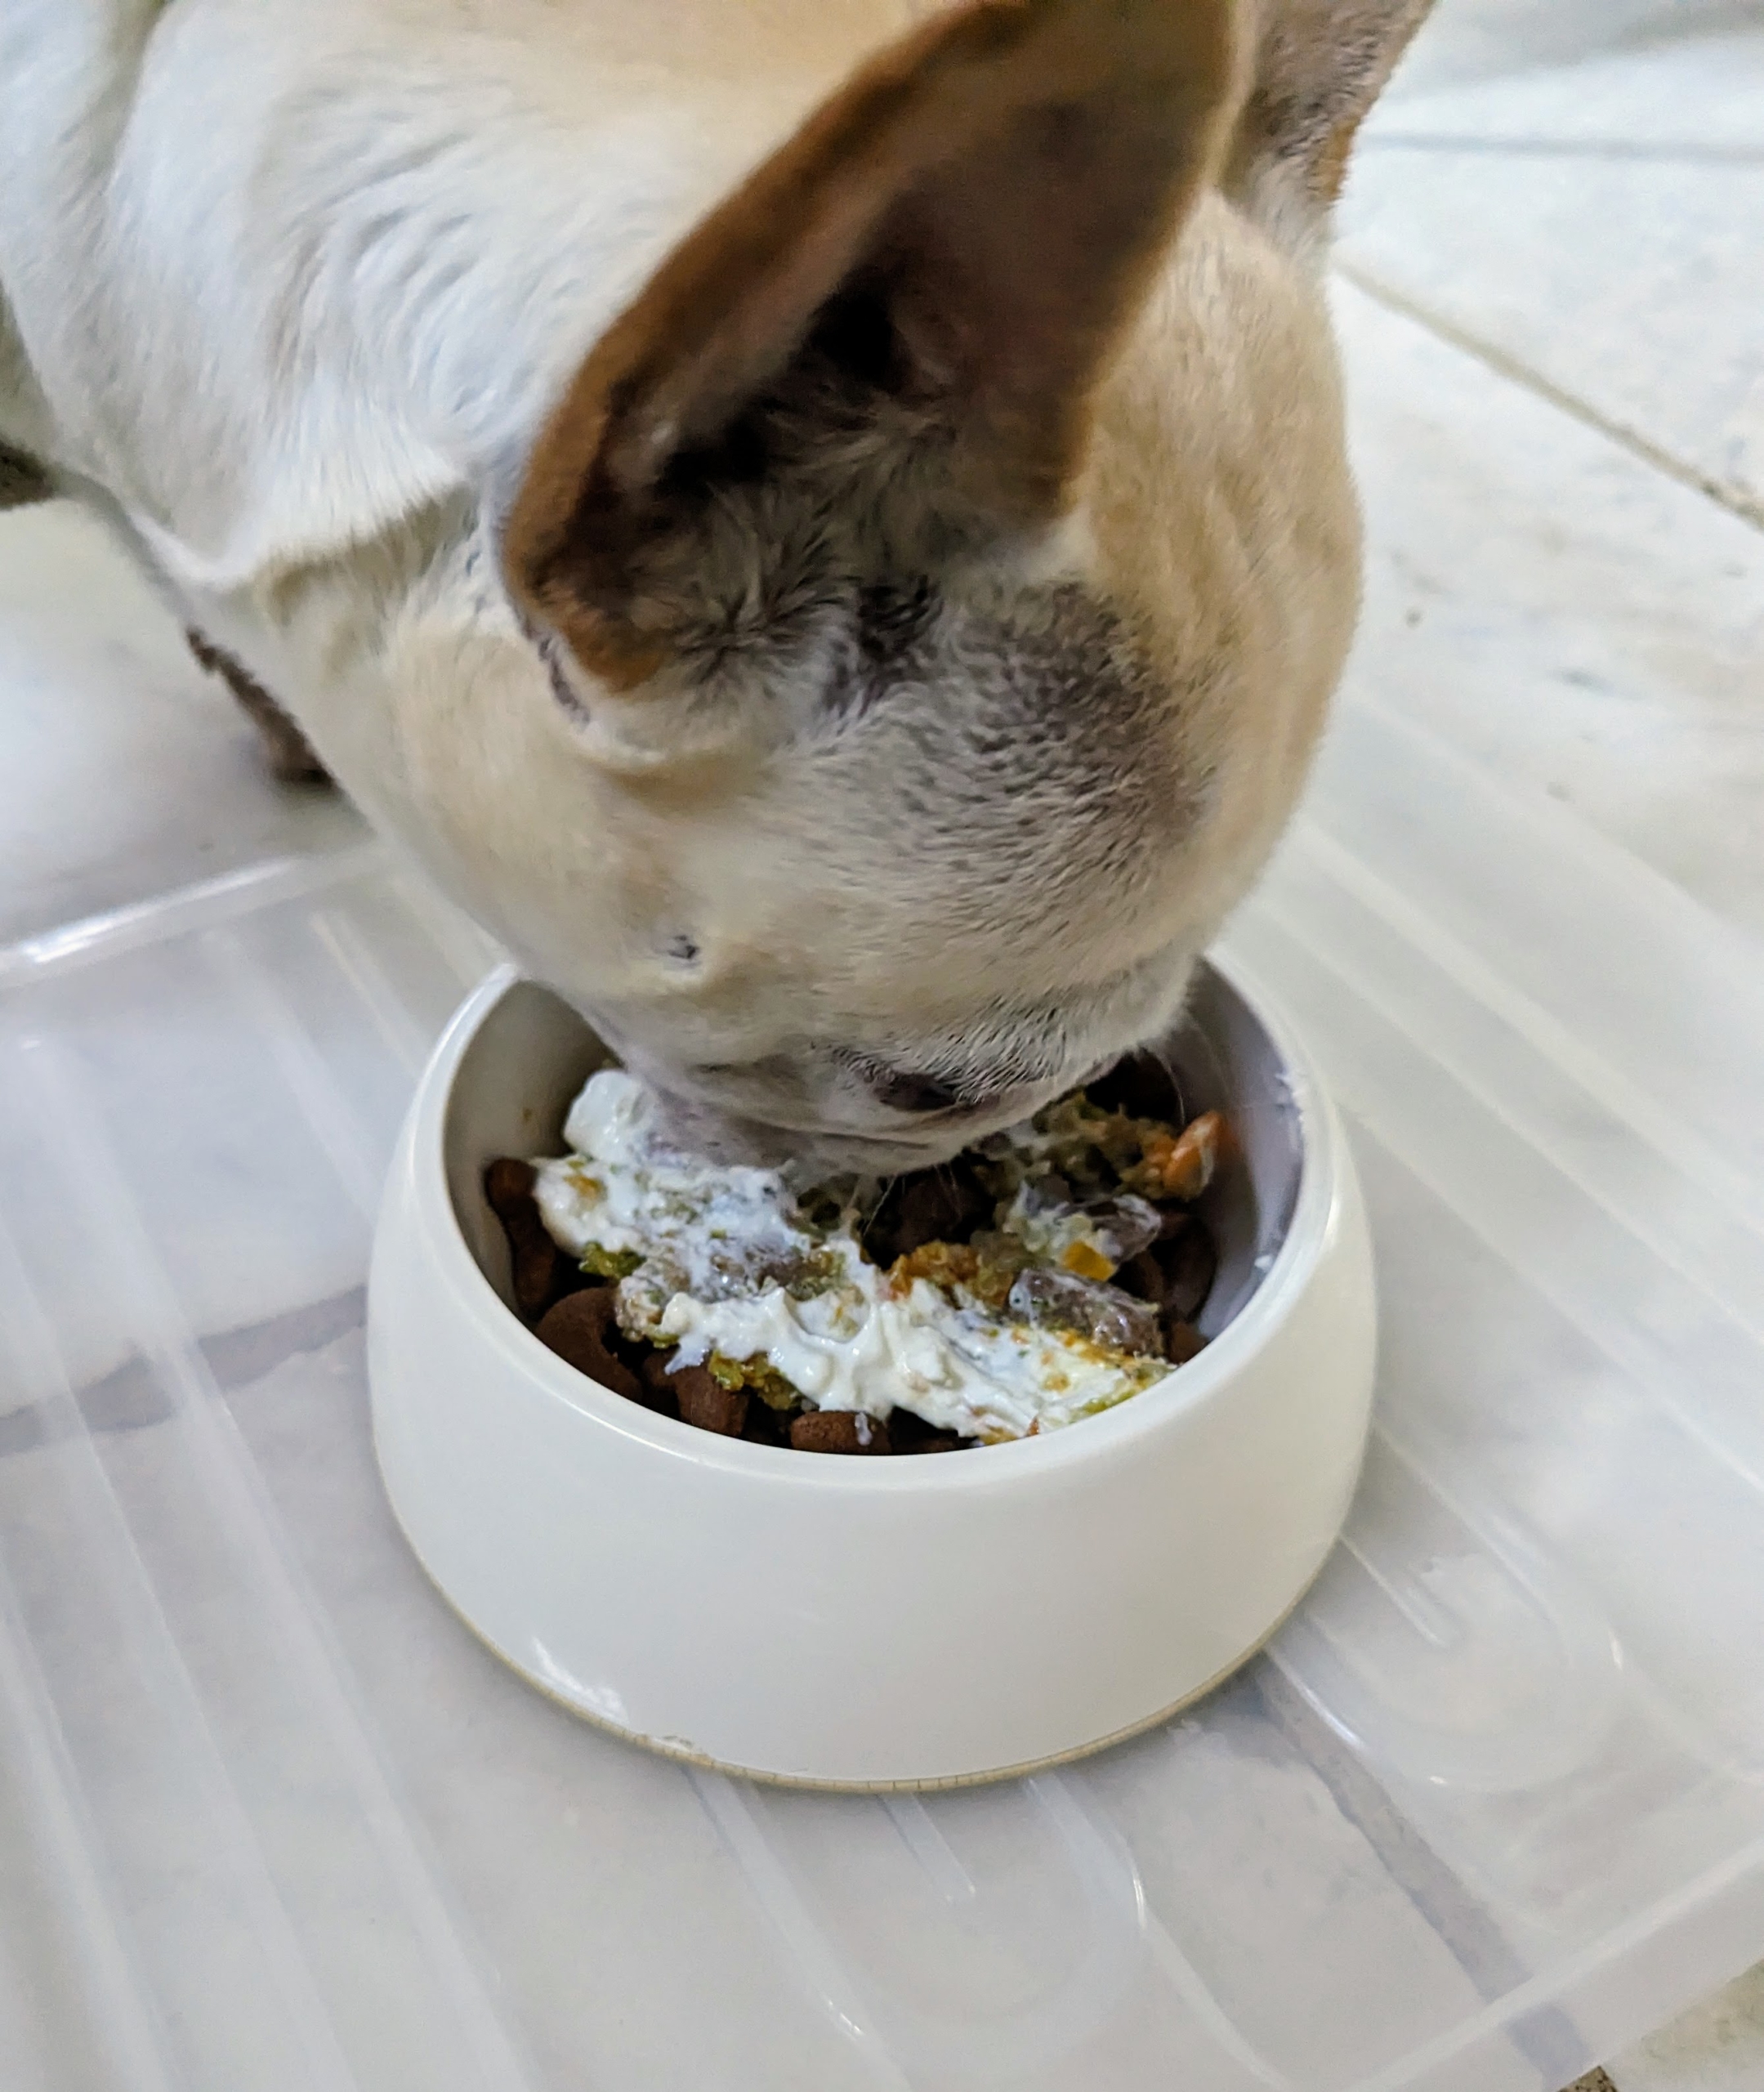
It’s meal time! My dogs eat two meals a day – one in the morning and one in the evening. Splitting meal times is good for their digestion. Cooking for one’s dogs is a personal choice, but if you have time, and are interested in giving it a try, I know your pets will love every meal. Here’s Crème Brûlée starting her dinner.
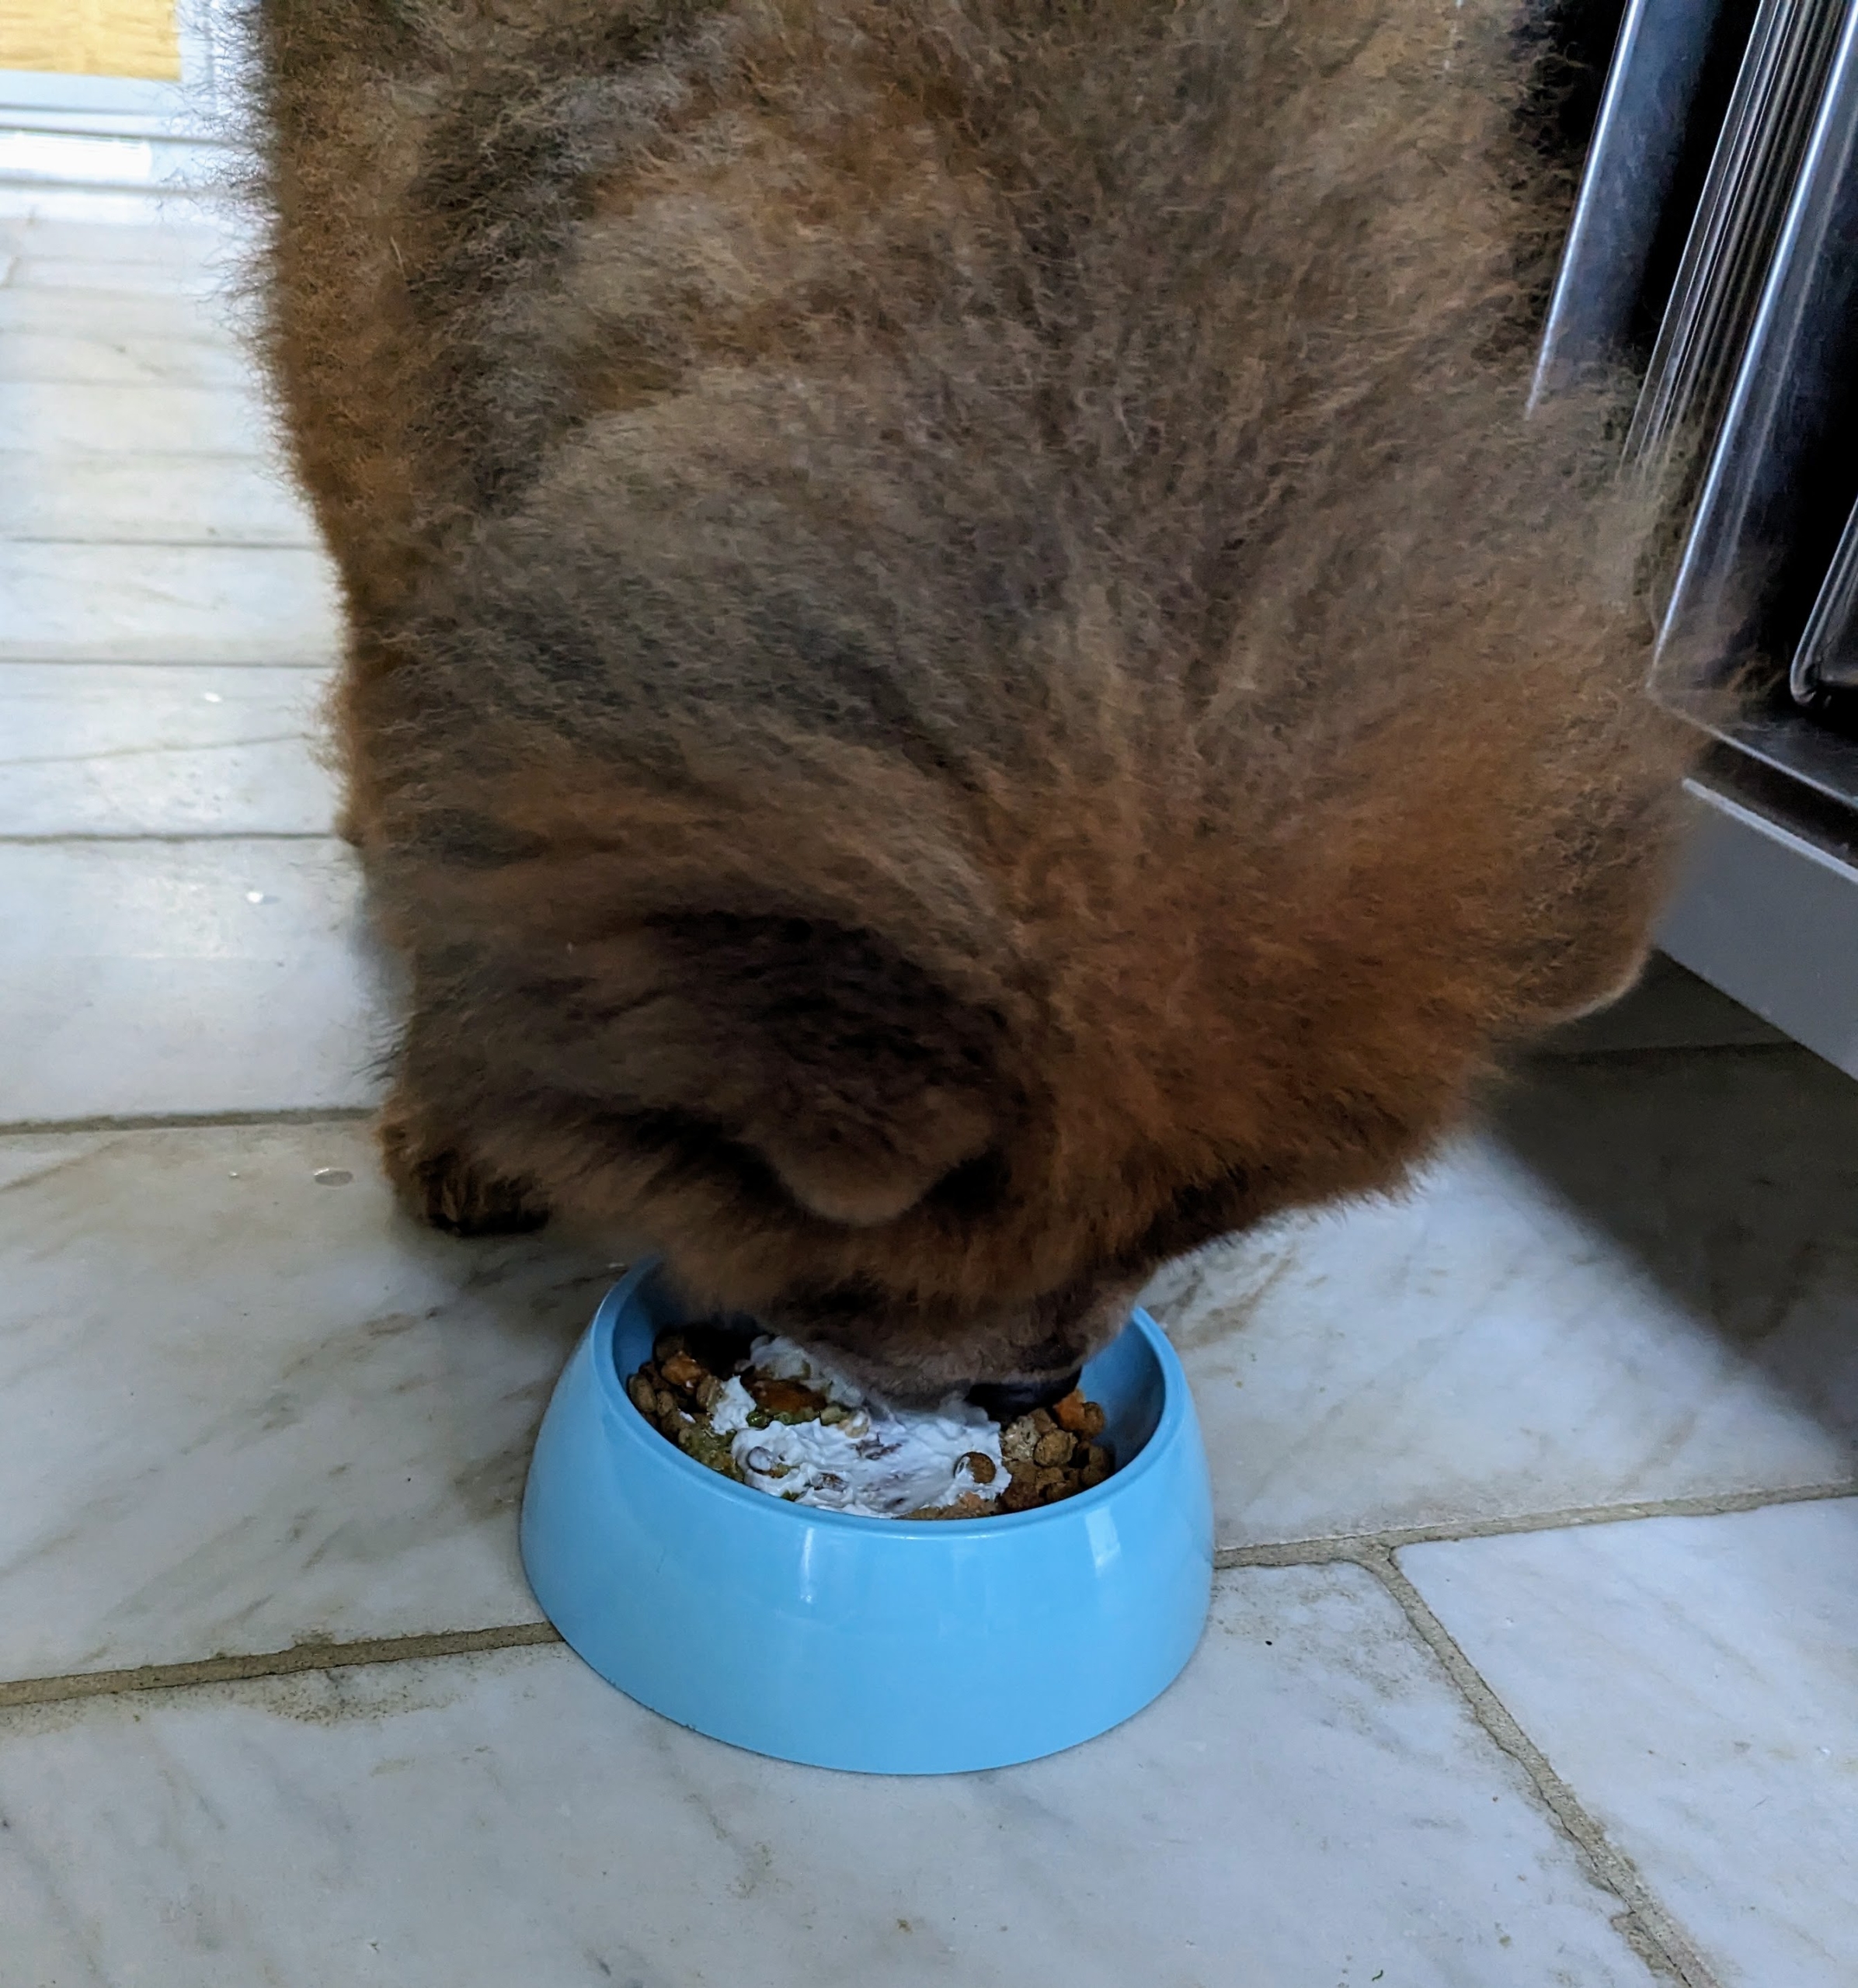
And Emperor Han – he is such a good eater. He is always the first to finish.
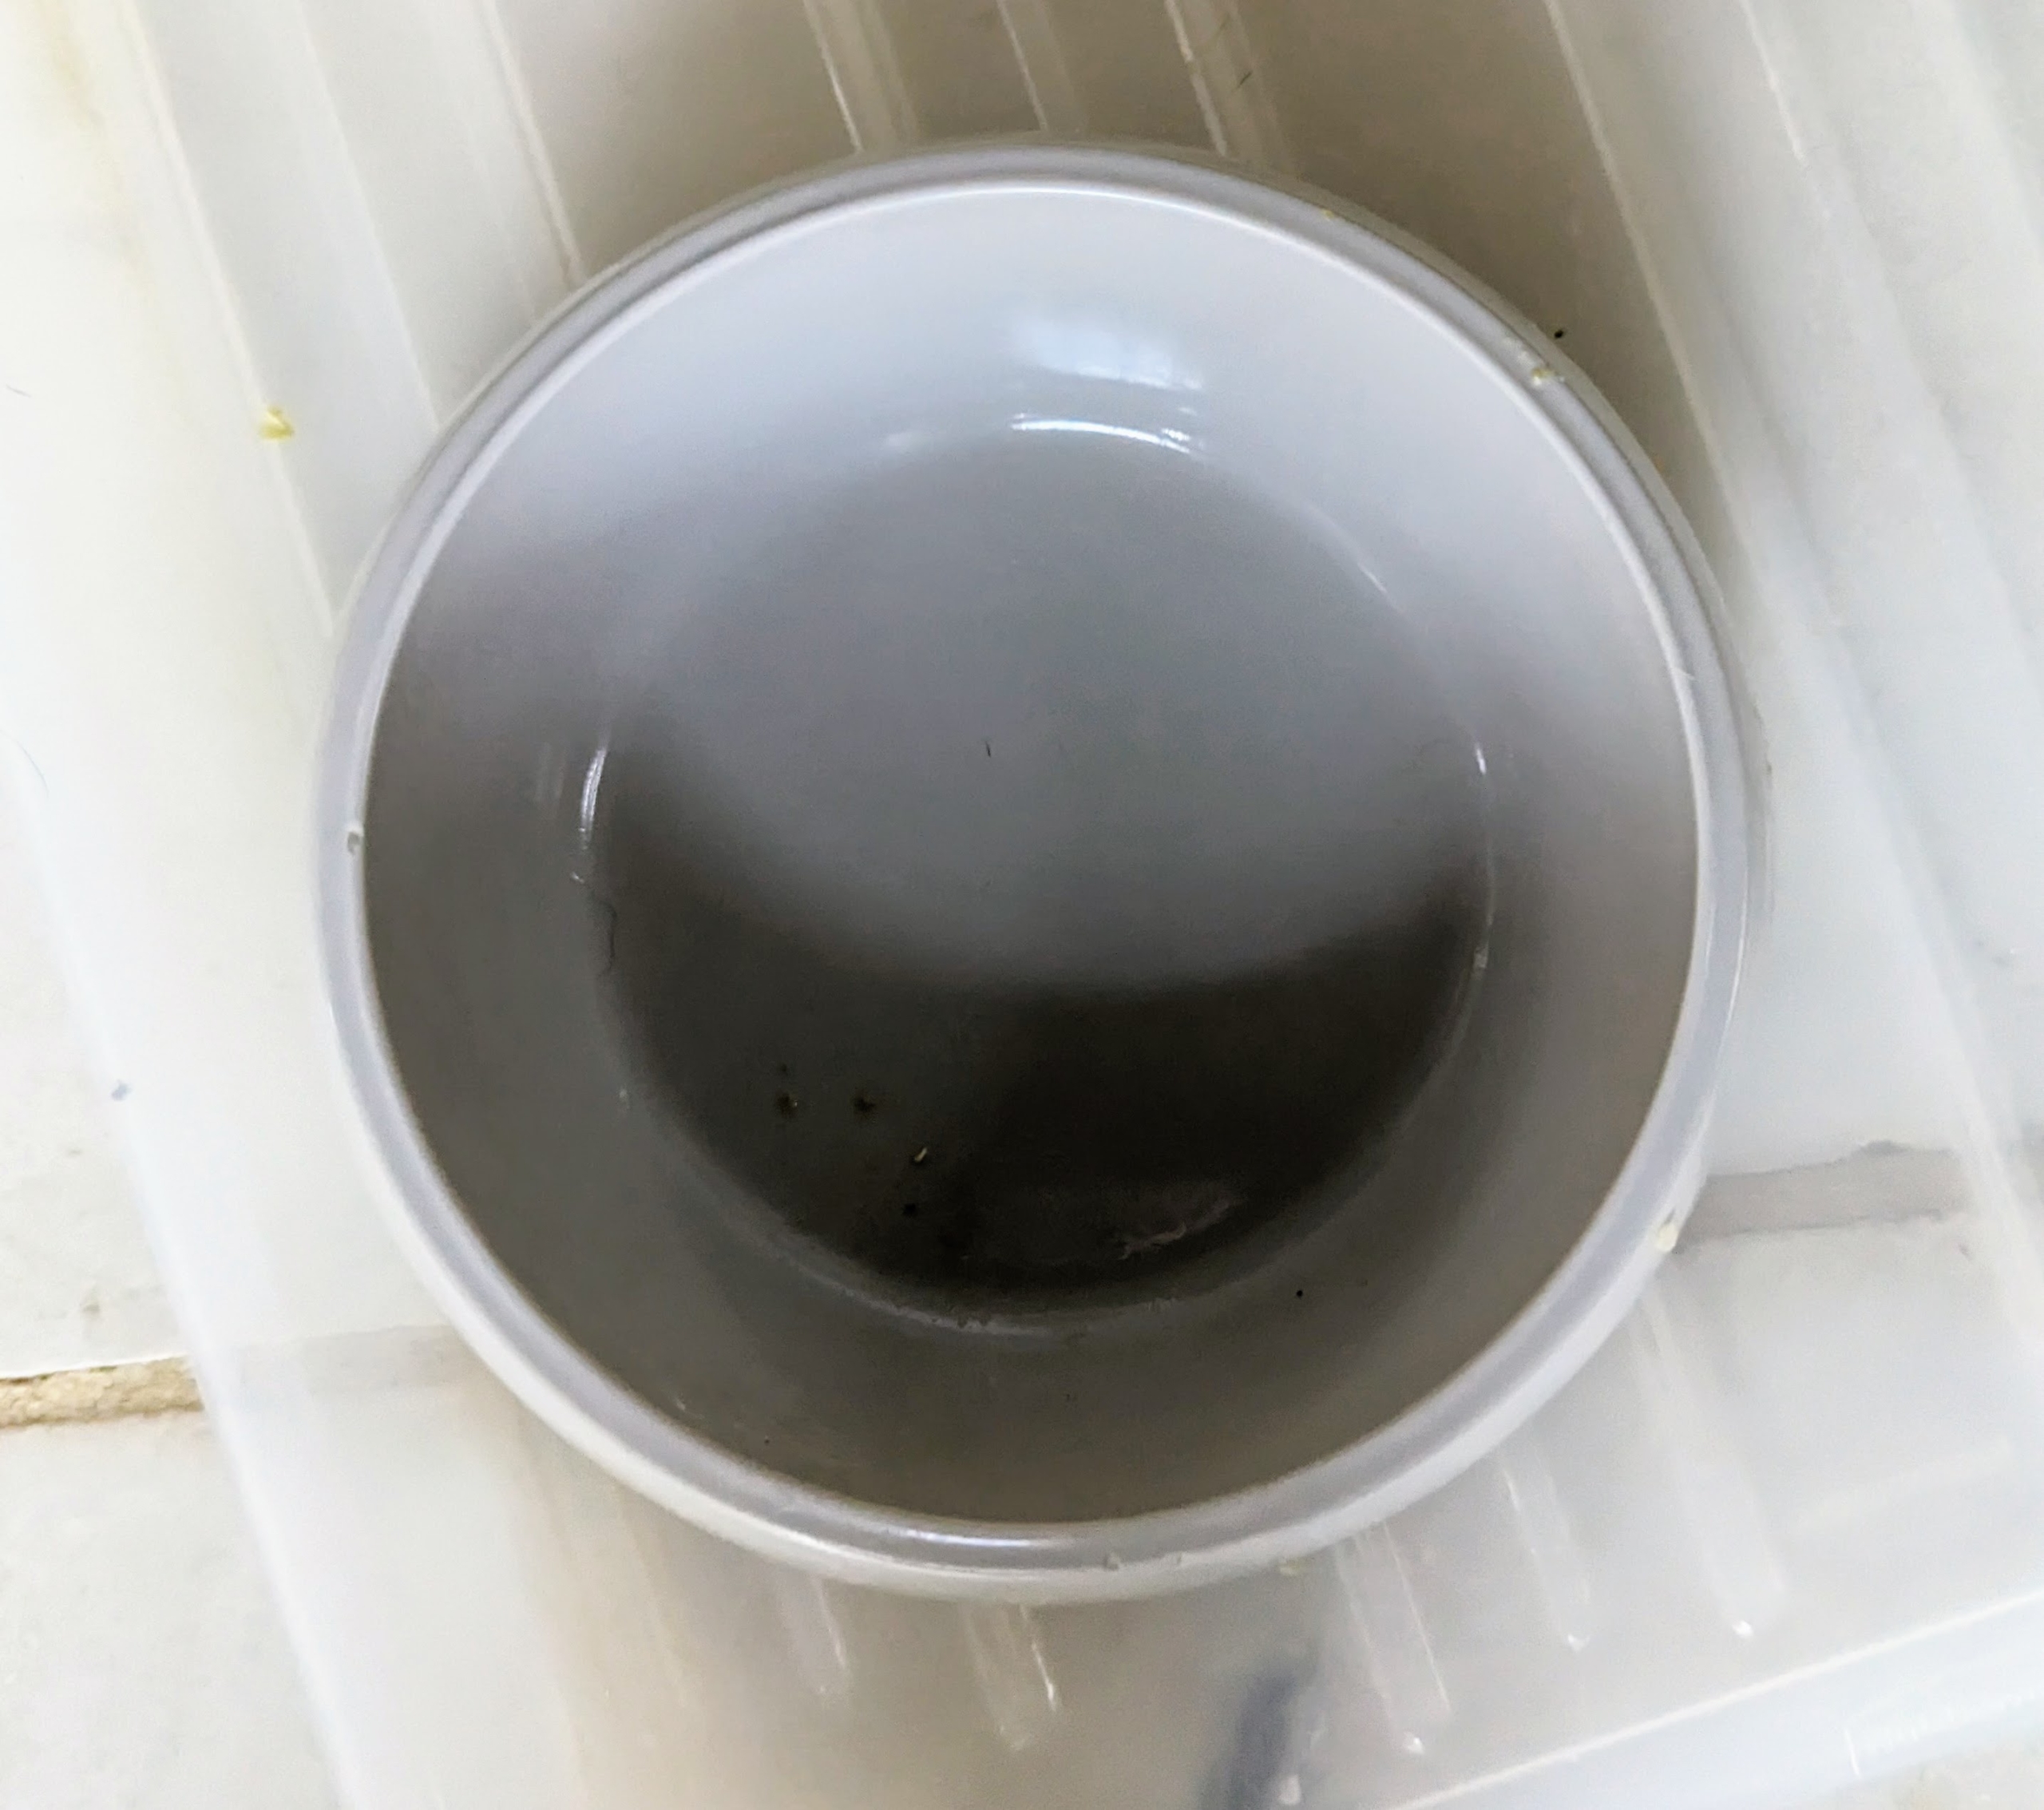
My dogs love their food and always lick their bowls clean.
… And then it’s time for a nap. I’ll see you soon, Bête.
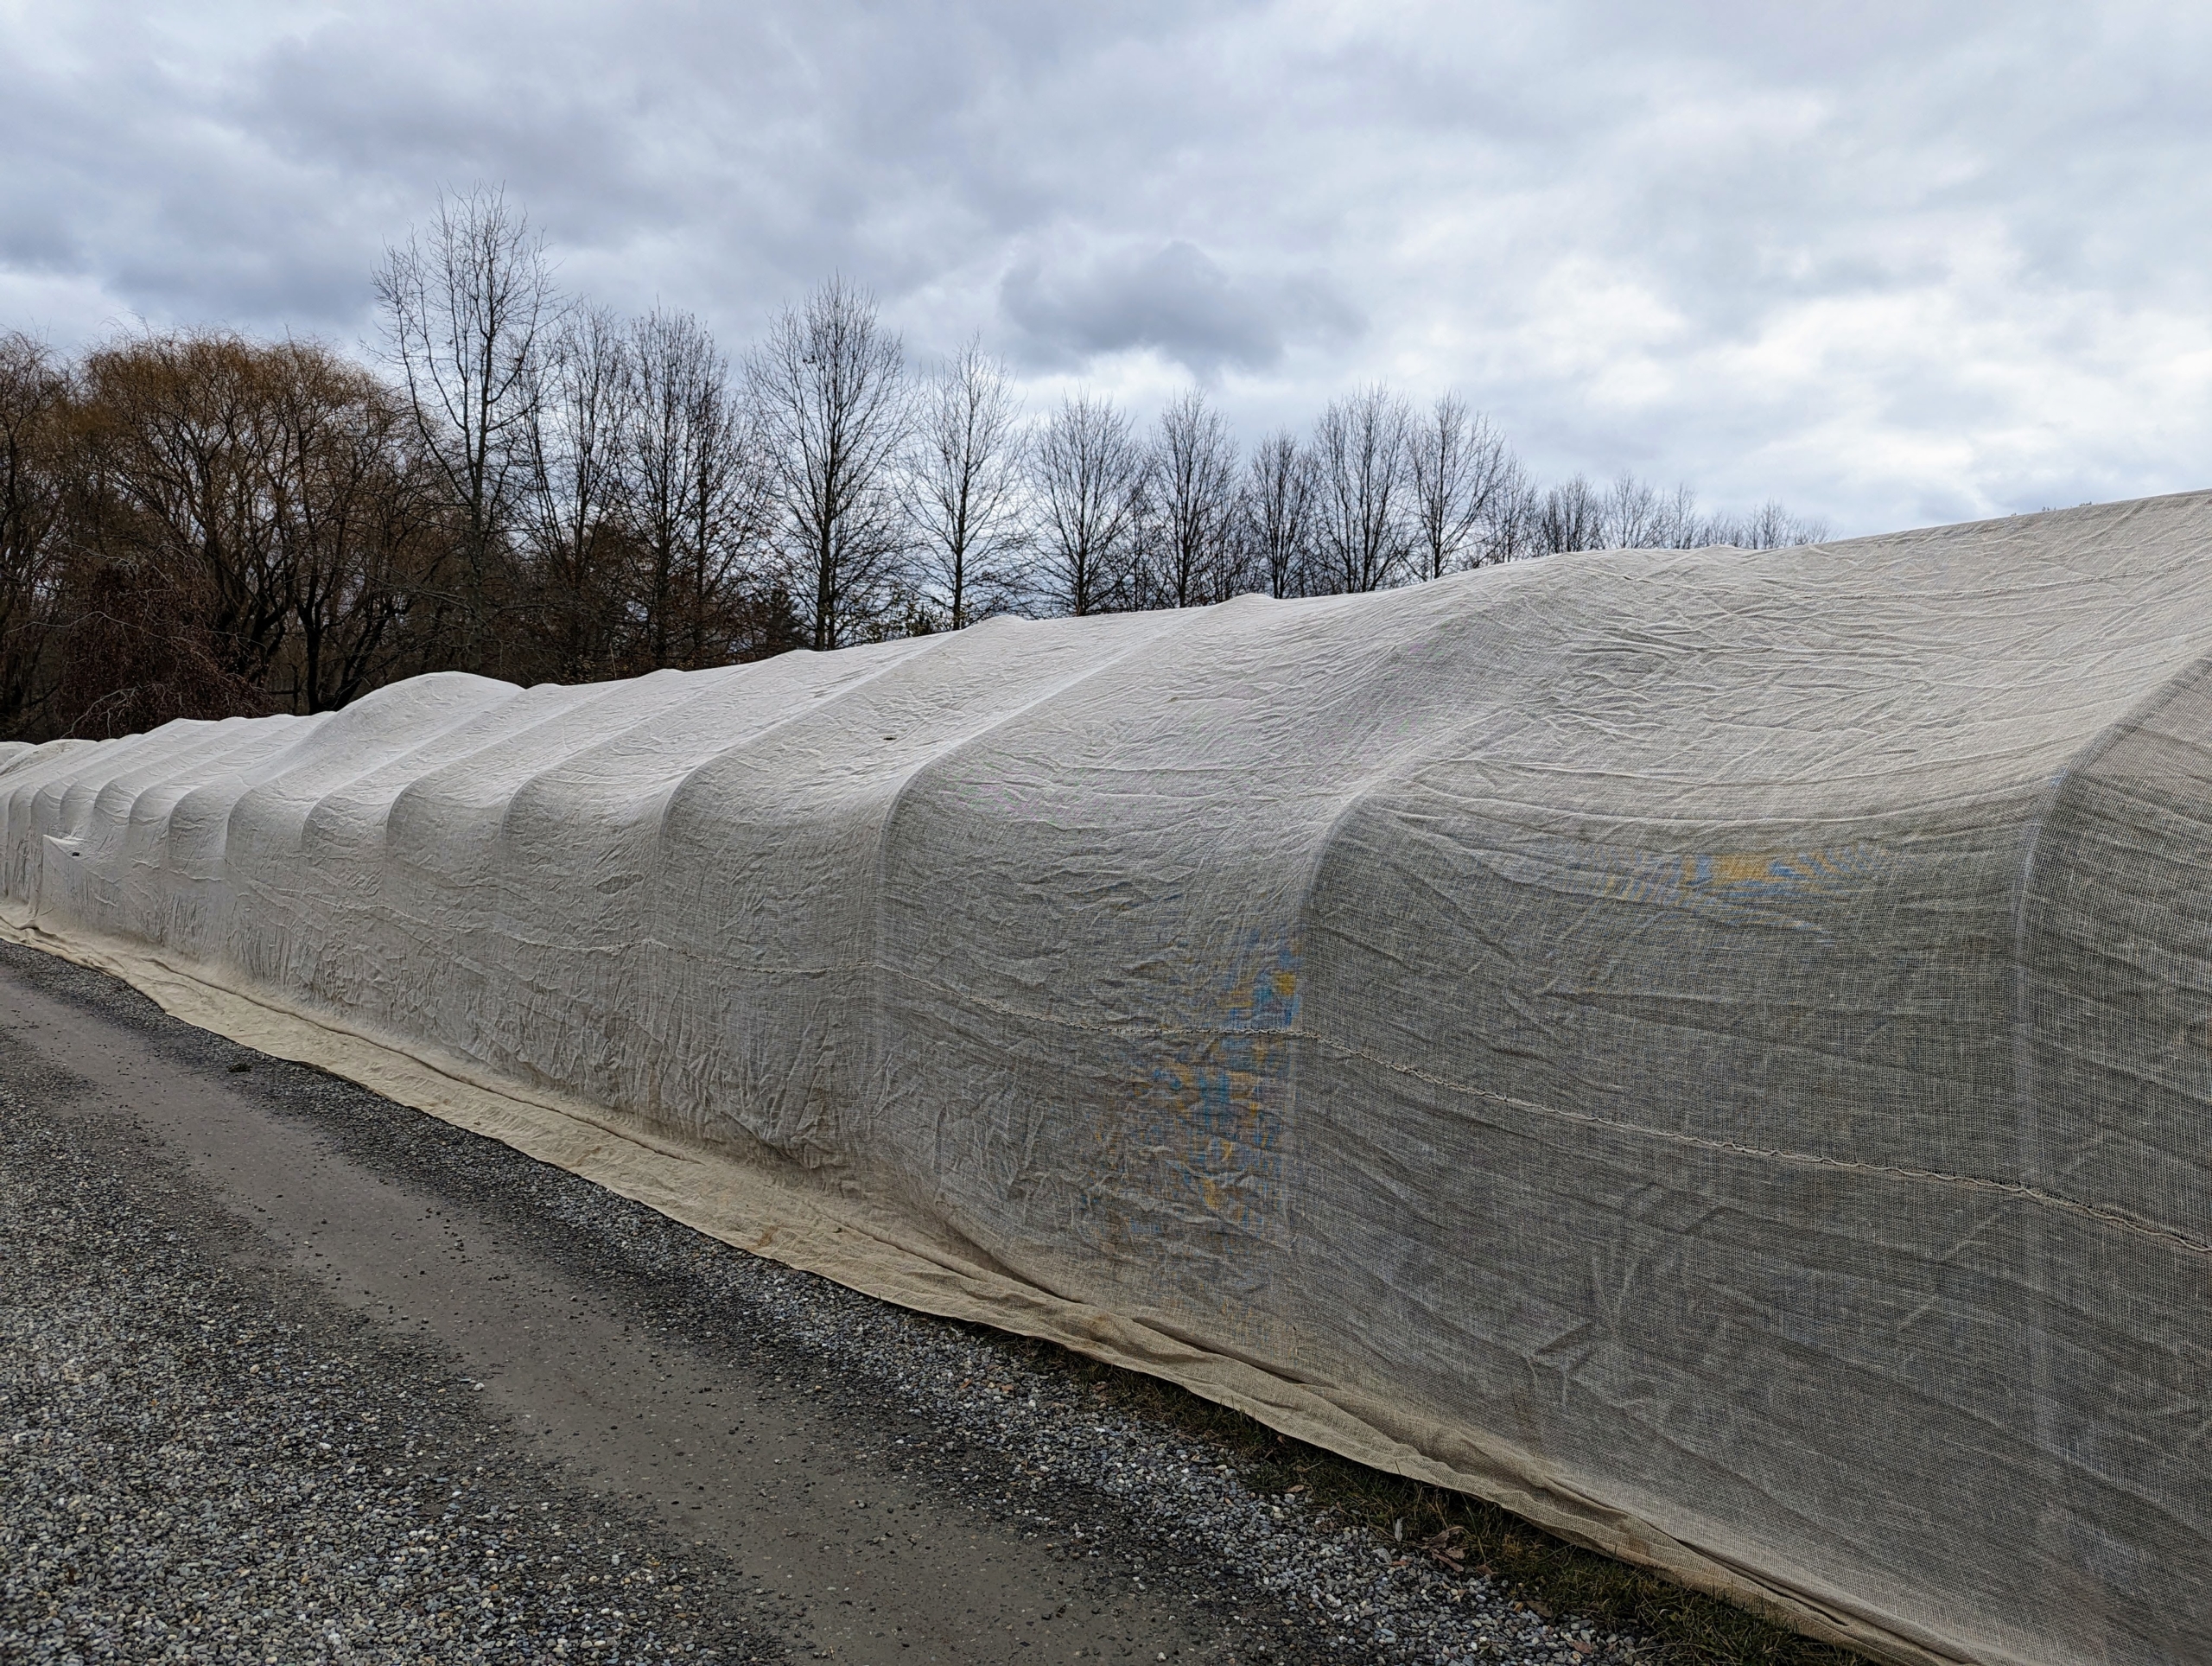
Here at my Bedford, New York farm, the outdoor grounds crew is busy "burlapping" - a term we use for covering all my winter-sensitive boxwood with burlap.
I am a big supporter of "burlapping" shrubbery for the cold season. Burlap covers protect the tender branches from splaying and breaking under heavy ice and snow while shielding the foliage from strong winds. Burlap is also more effective than plastic because it allows air to circulate through the plants. It is a practice I've followed for many years, and I think it also provides a cozy and pretty look to the winter landscape. Last week, the crew finished the biggest part of this project - my long Boxwood Allée. And, it was done with a new additional tool, that helped to streamline our process even more.
Enjoy these photos.
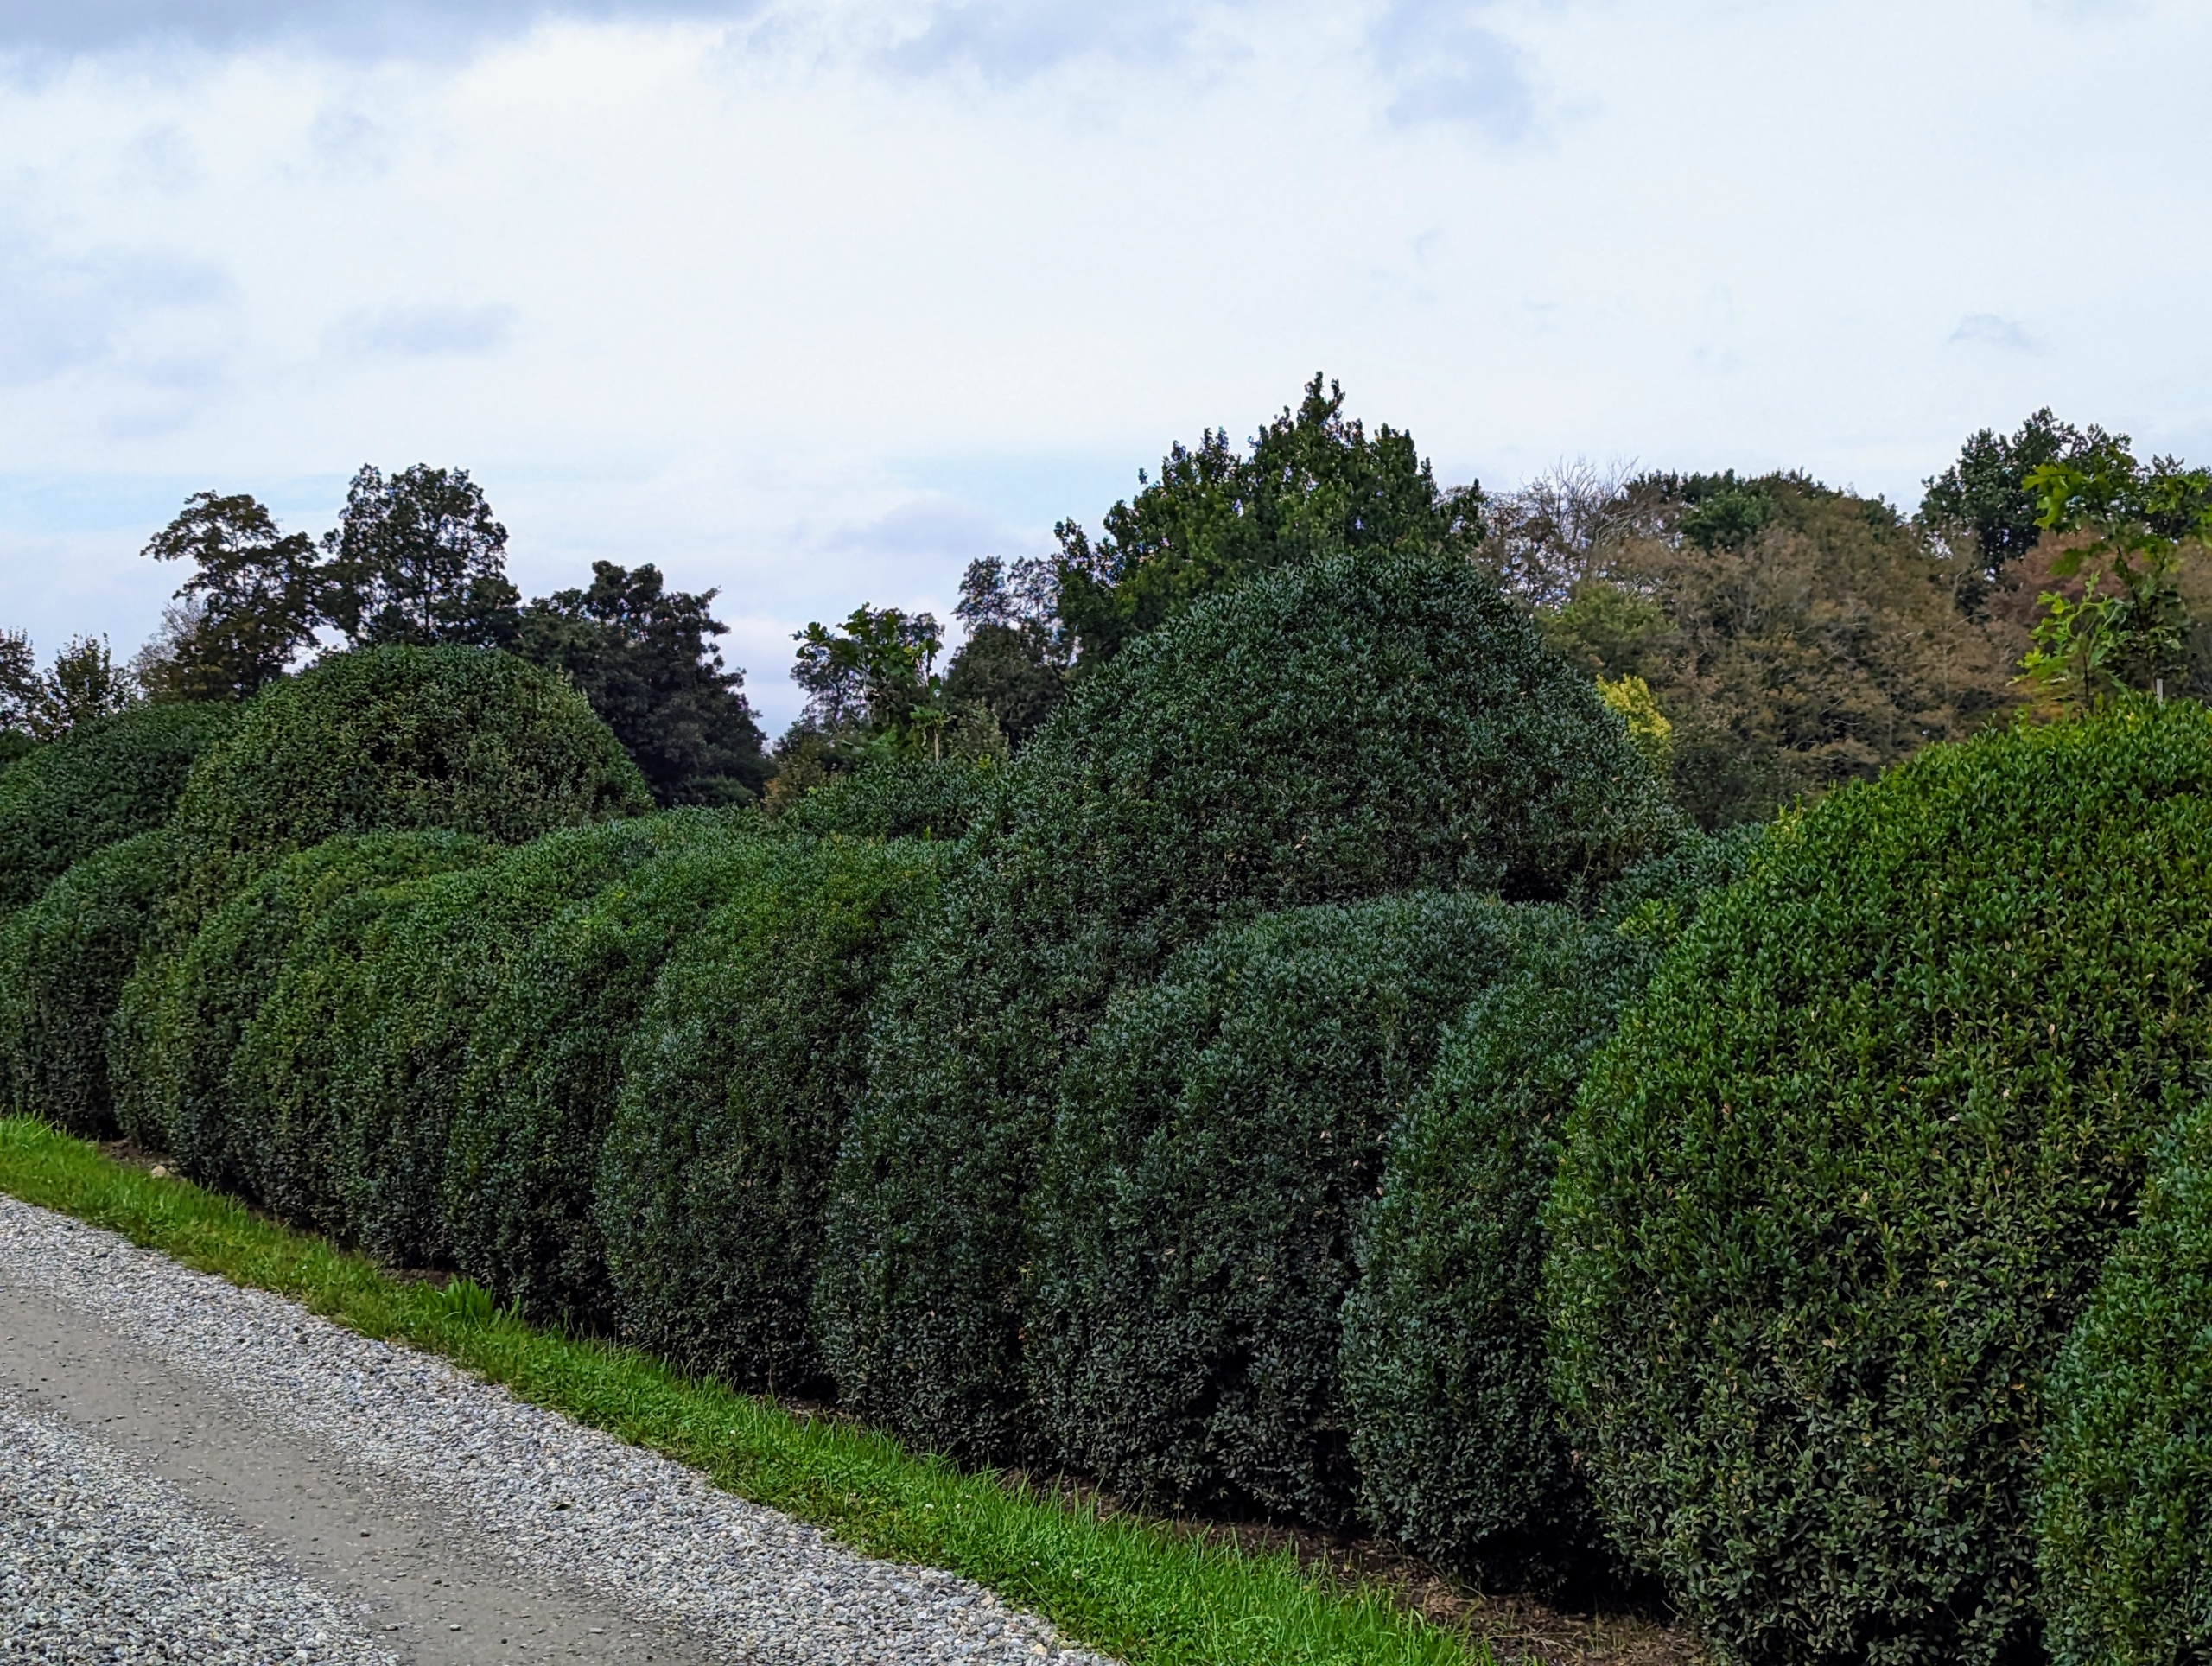
I love boxwood, Buxus, and have hundreds of shrubs growing on my property. I use boxwood in borders and hedges, as privacy screens, as accent plants in my formal gardens, and of course in the long allée to my stable. Just before it gets really cold, my outdoor grounds crew begins the process of covering all the boxwood with burlap to protect them from the winter elements.
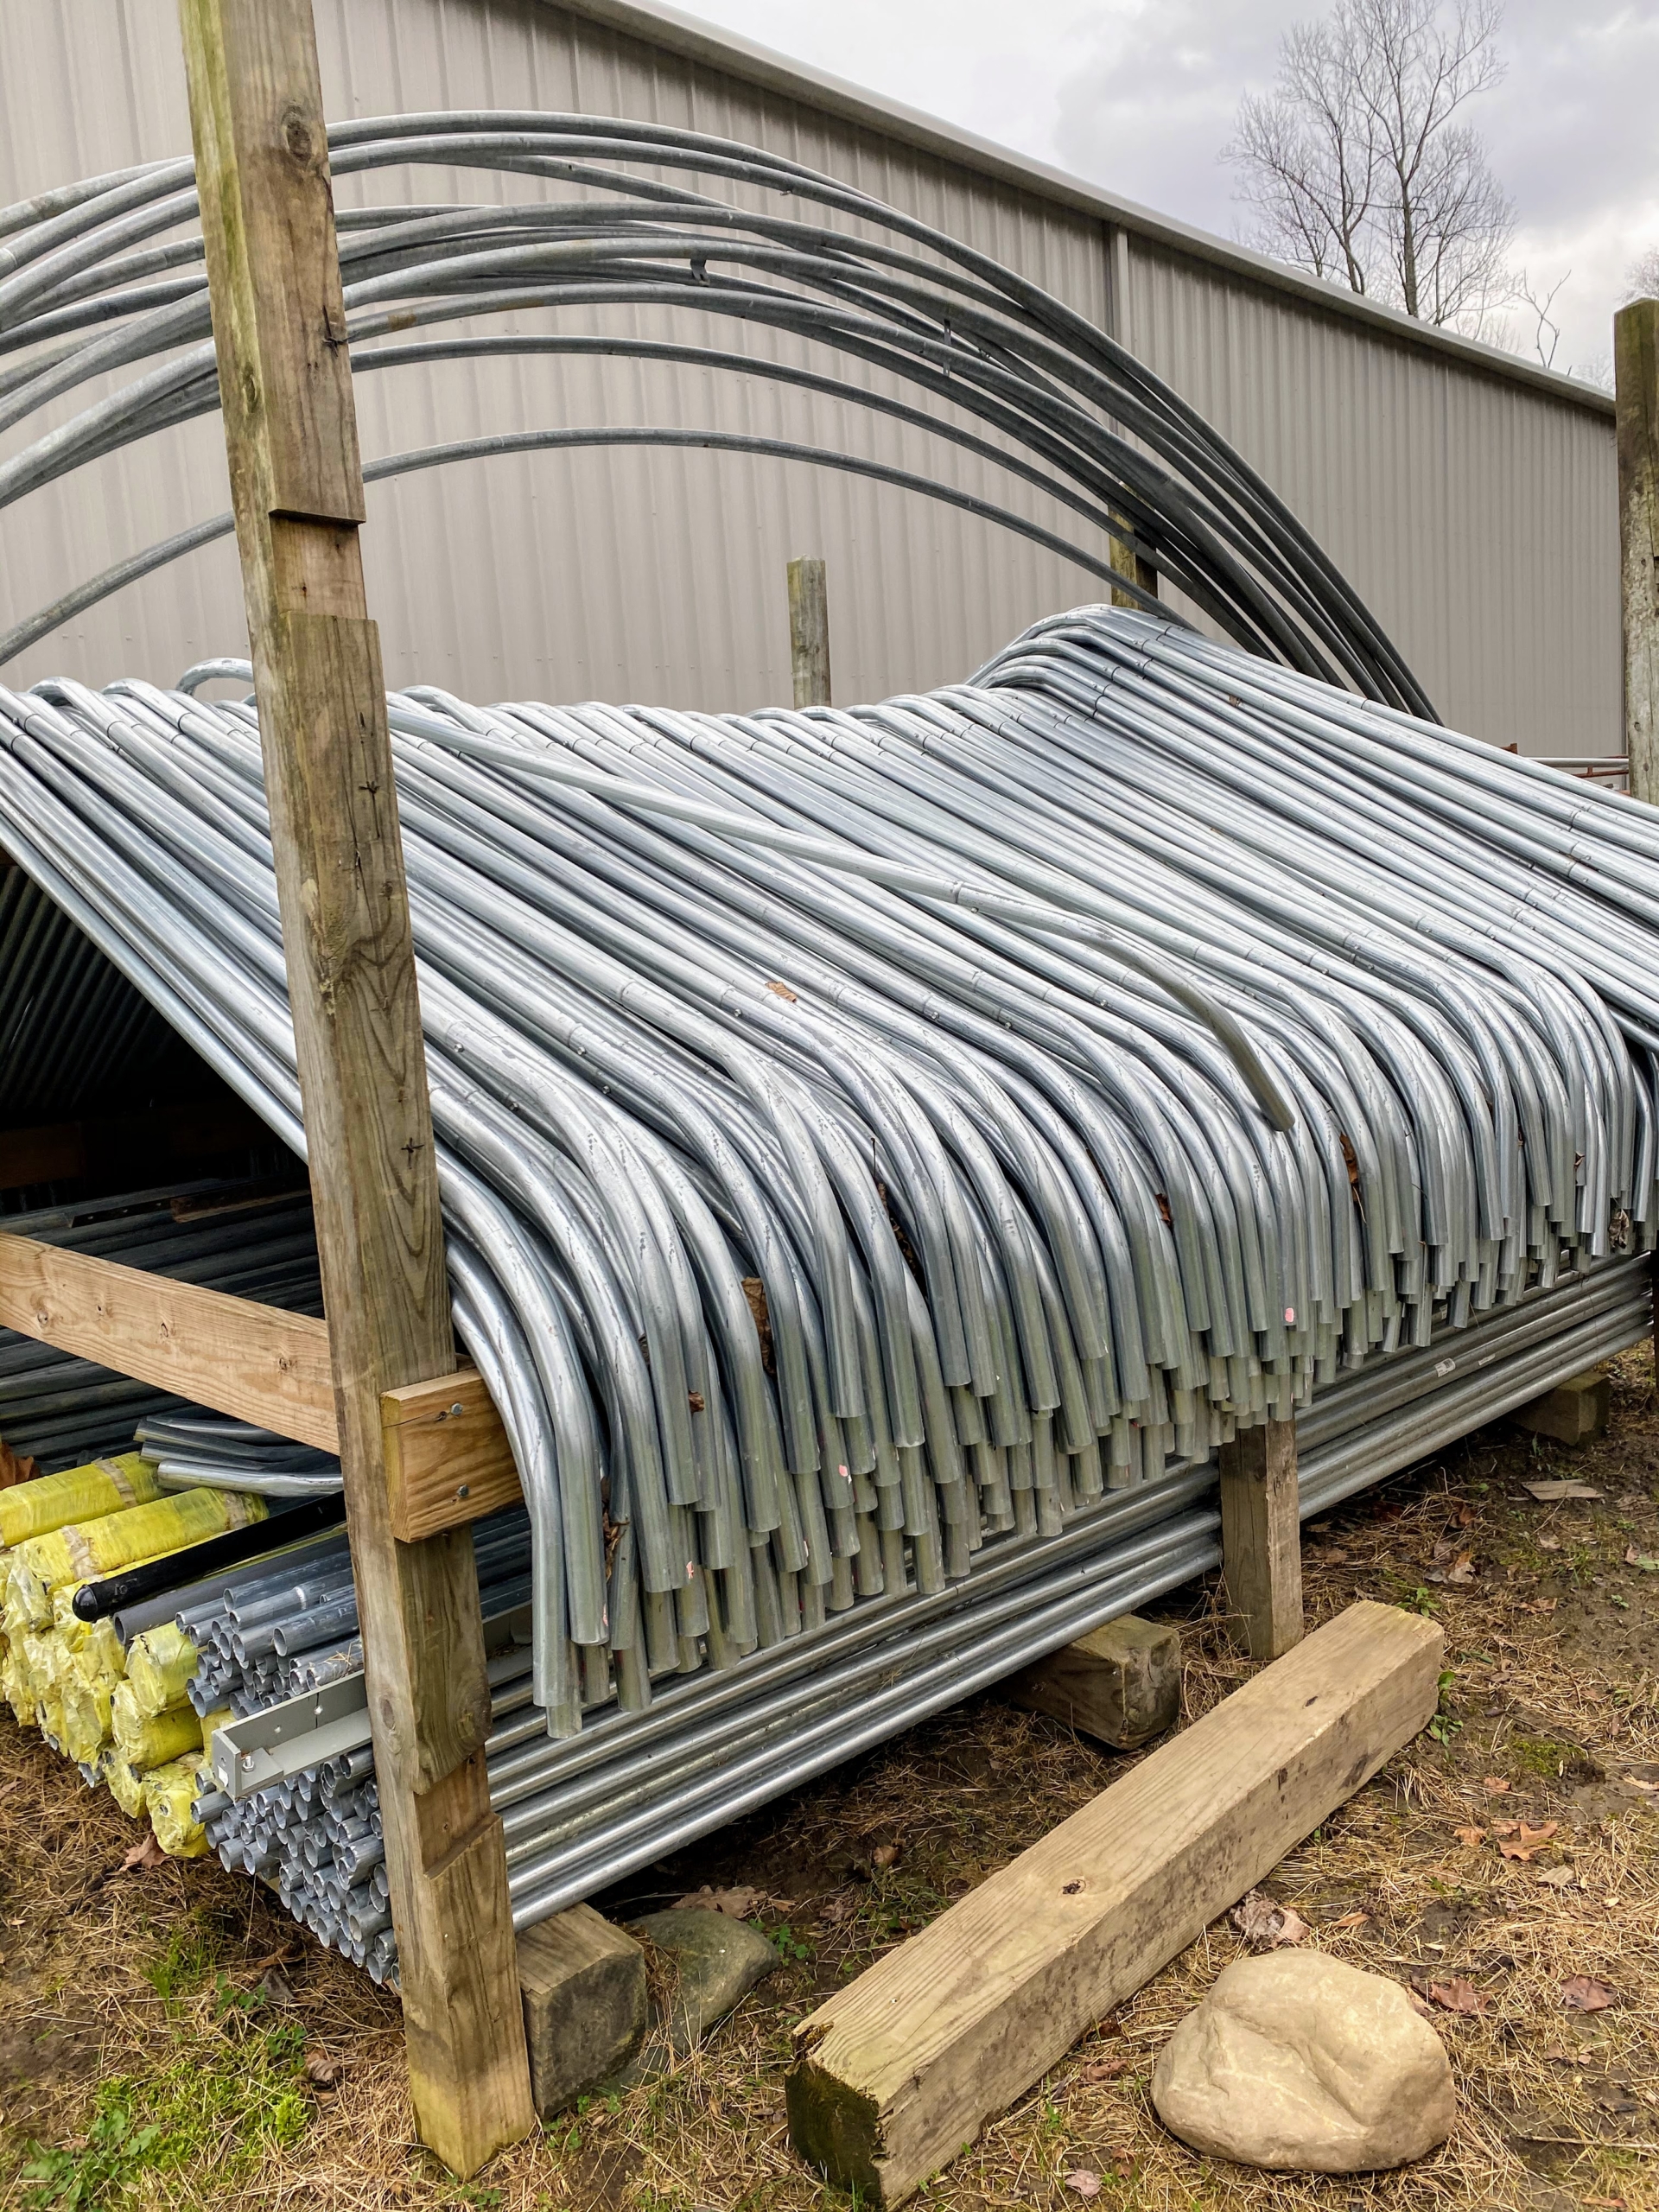
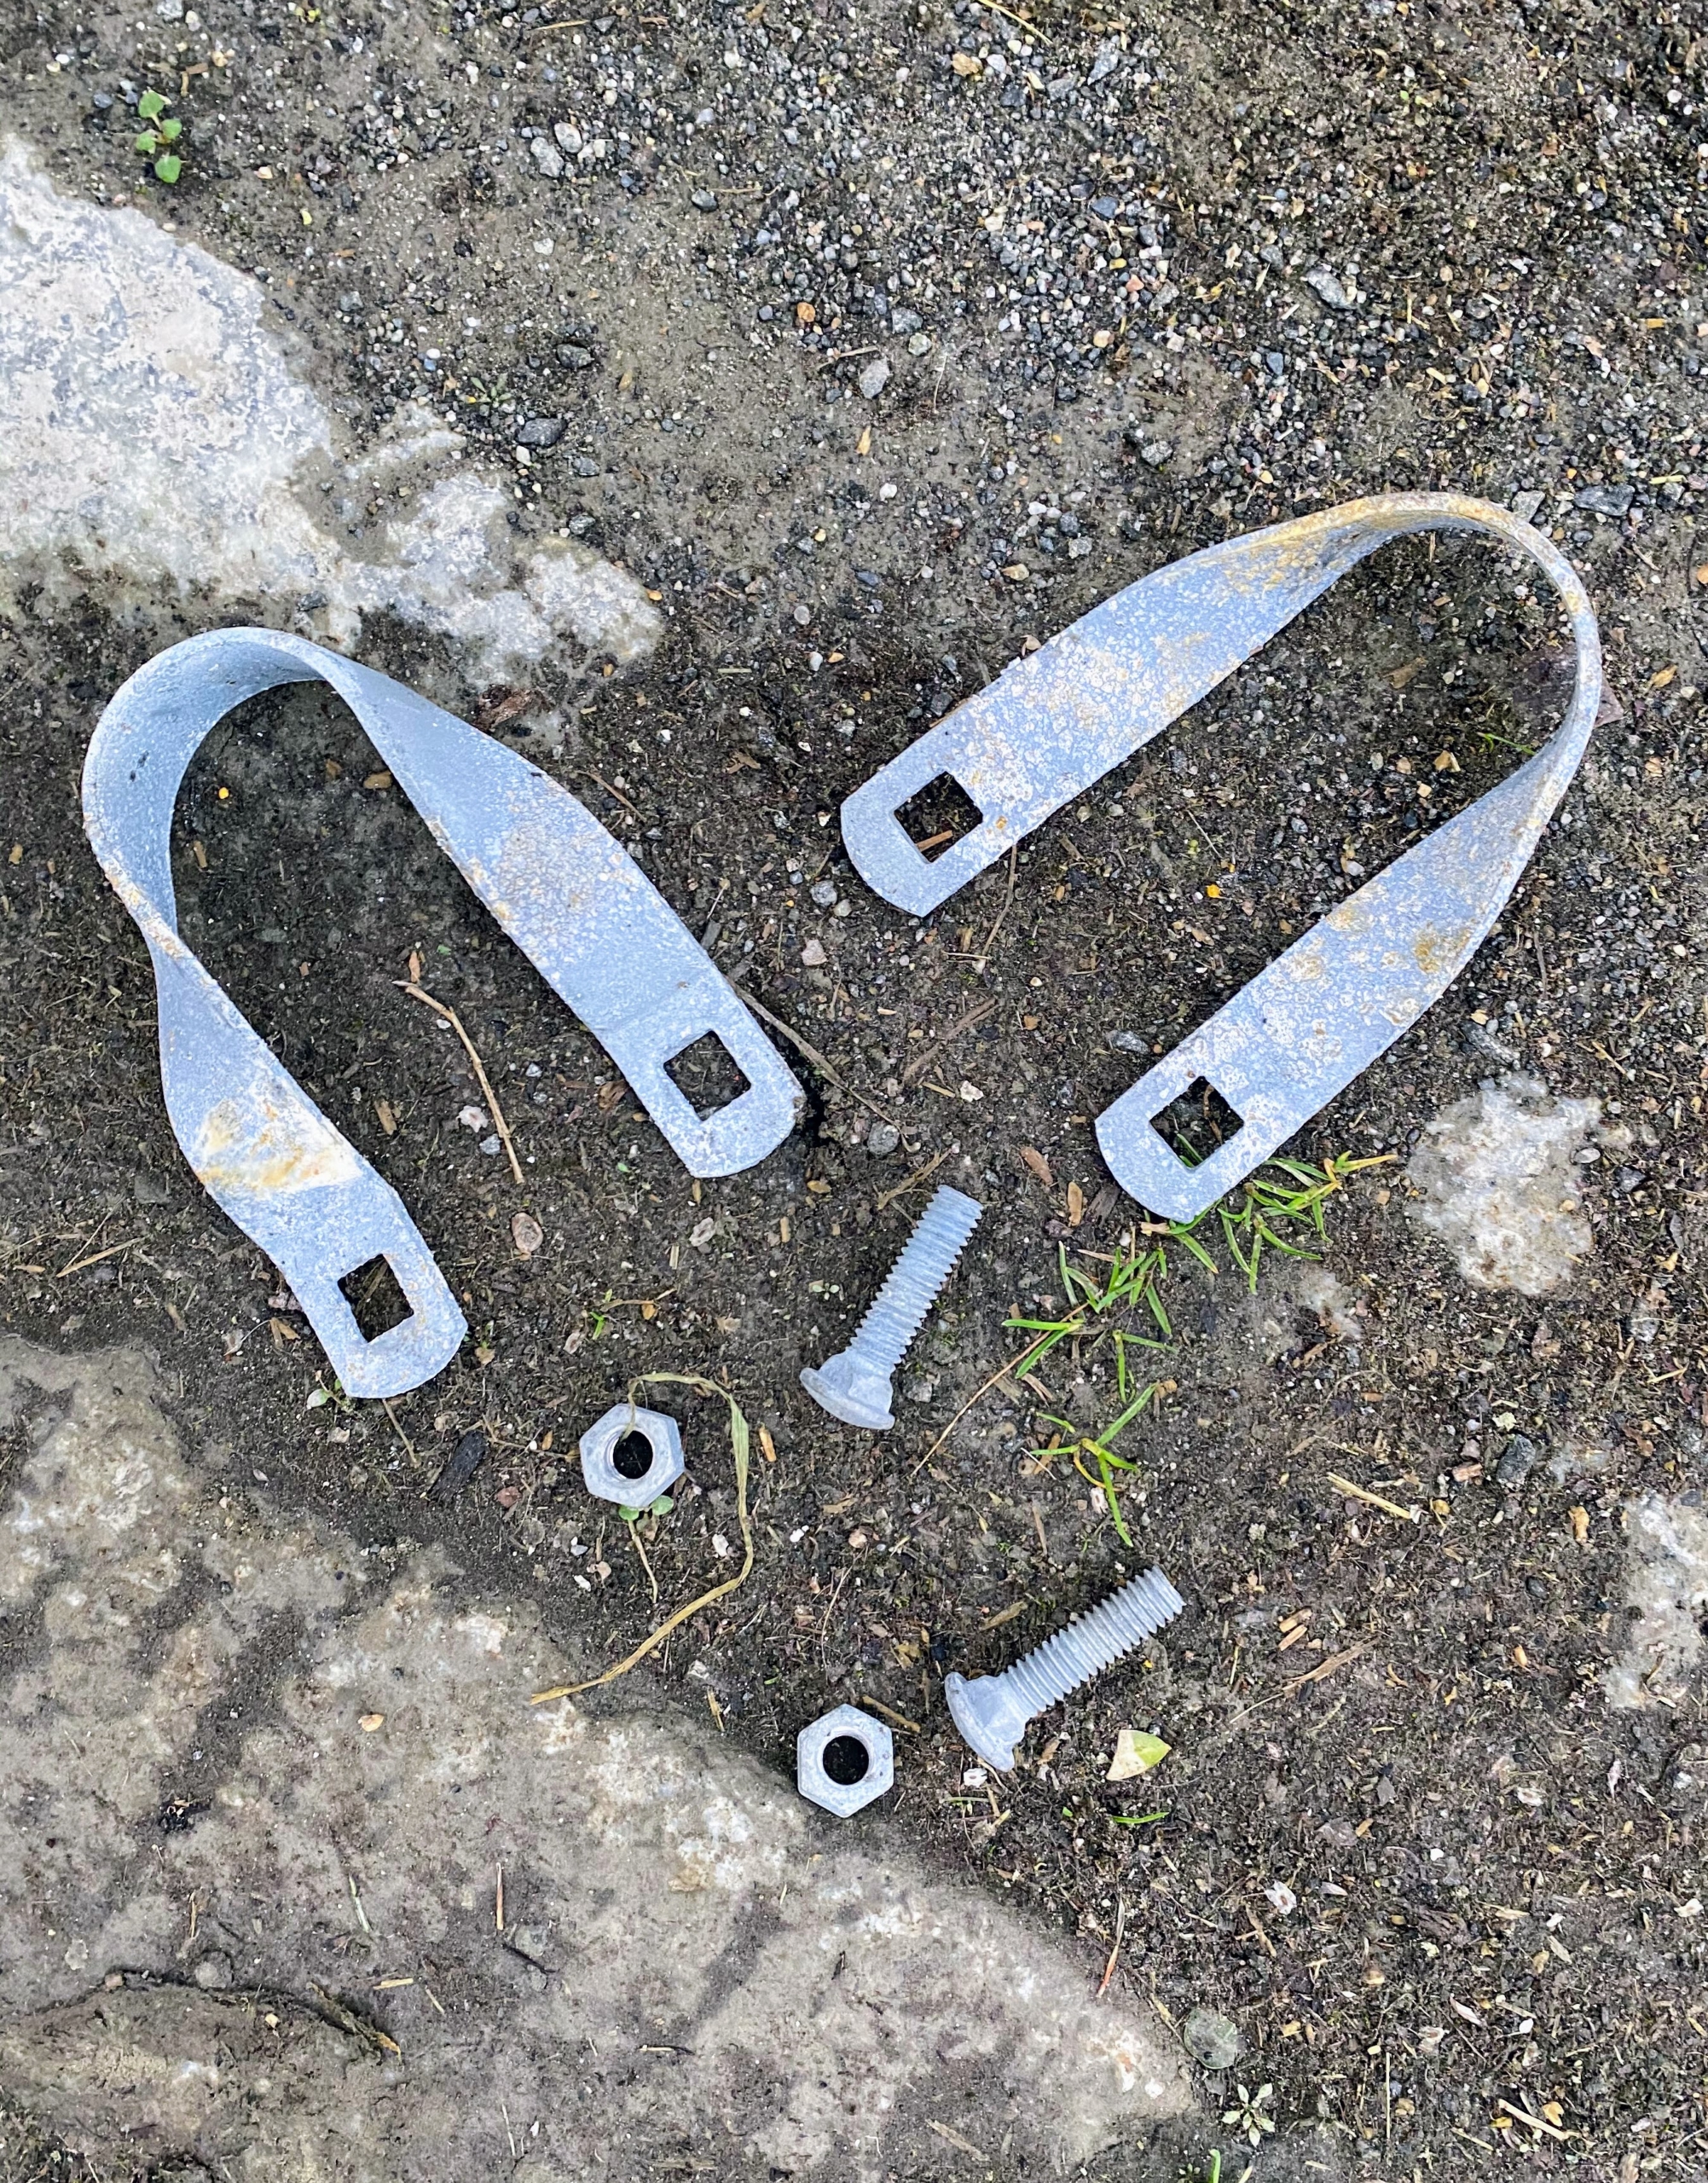
These pipes, which we keep organized in a back field where we store other supplies, are made from rolled galvanized 16 gauge industrial tubing. They are part of the framing supplies needed for our protective burlap covers. In all, hundreds of ground stakes, purlin pipes, connectors, nuts, and bolts are used for the project. They are actually the metal parts of greenhouse hoop houses.
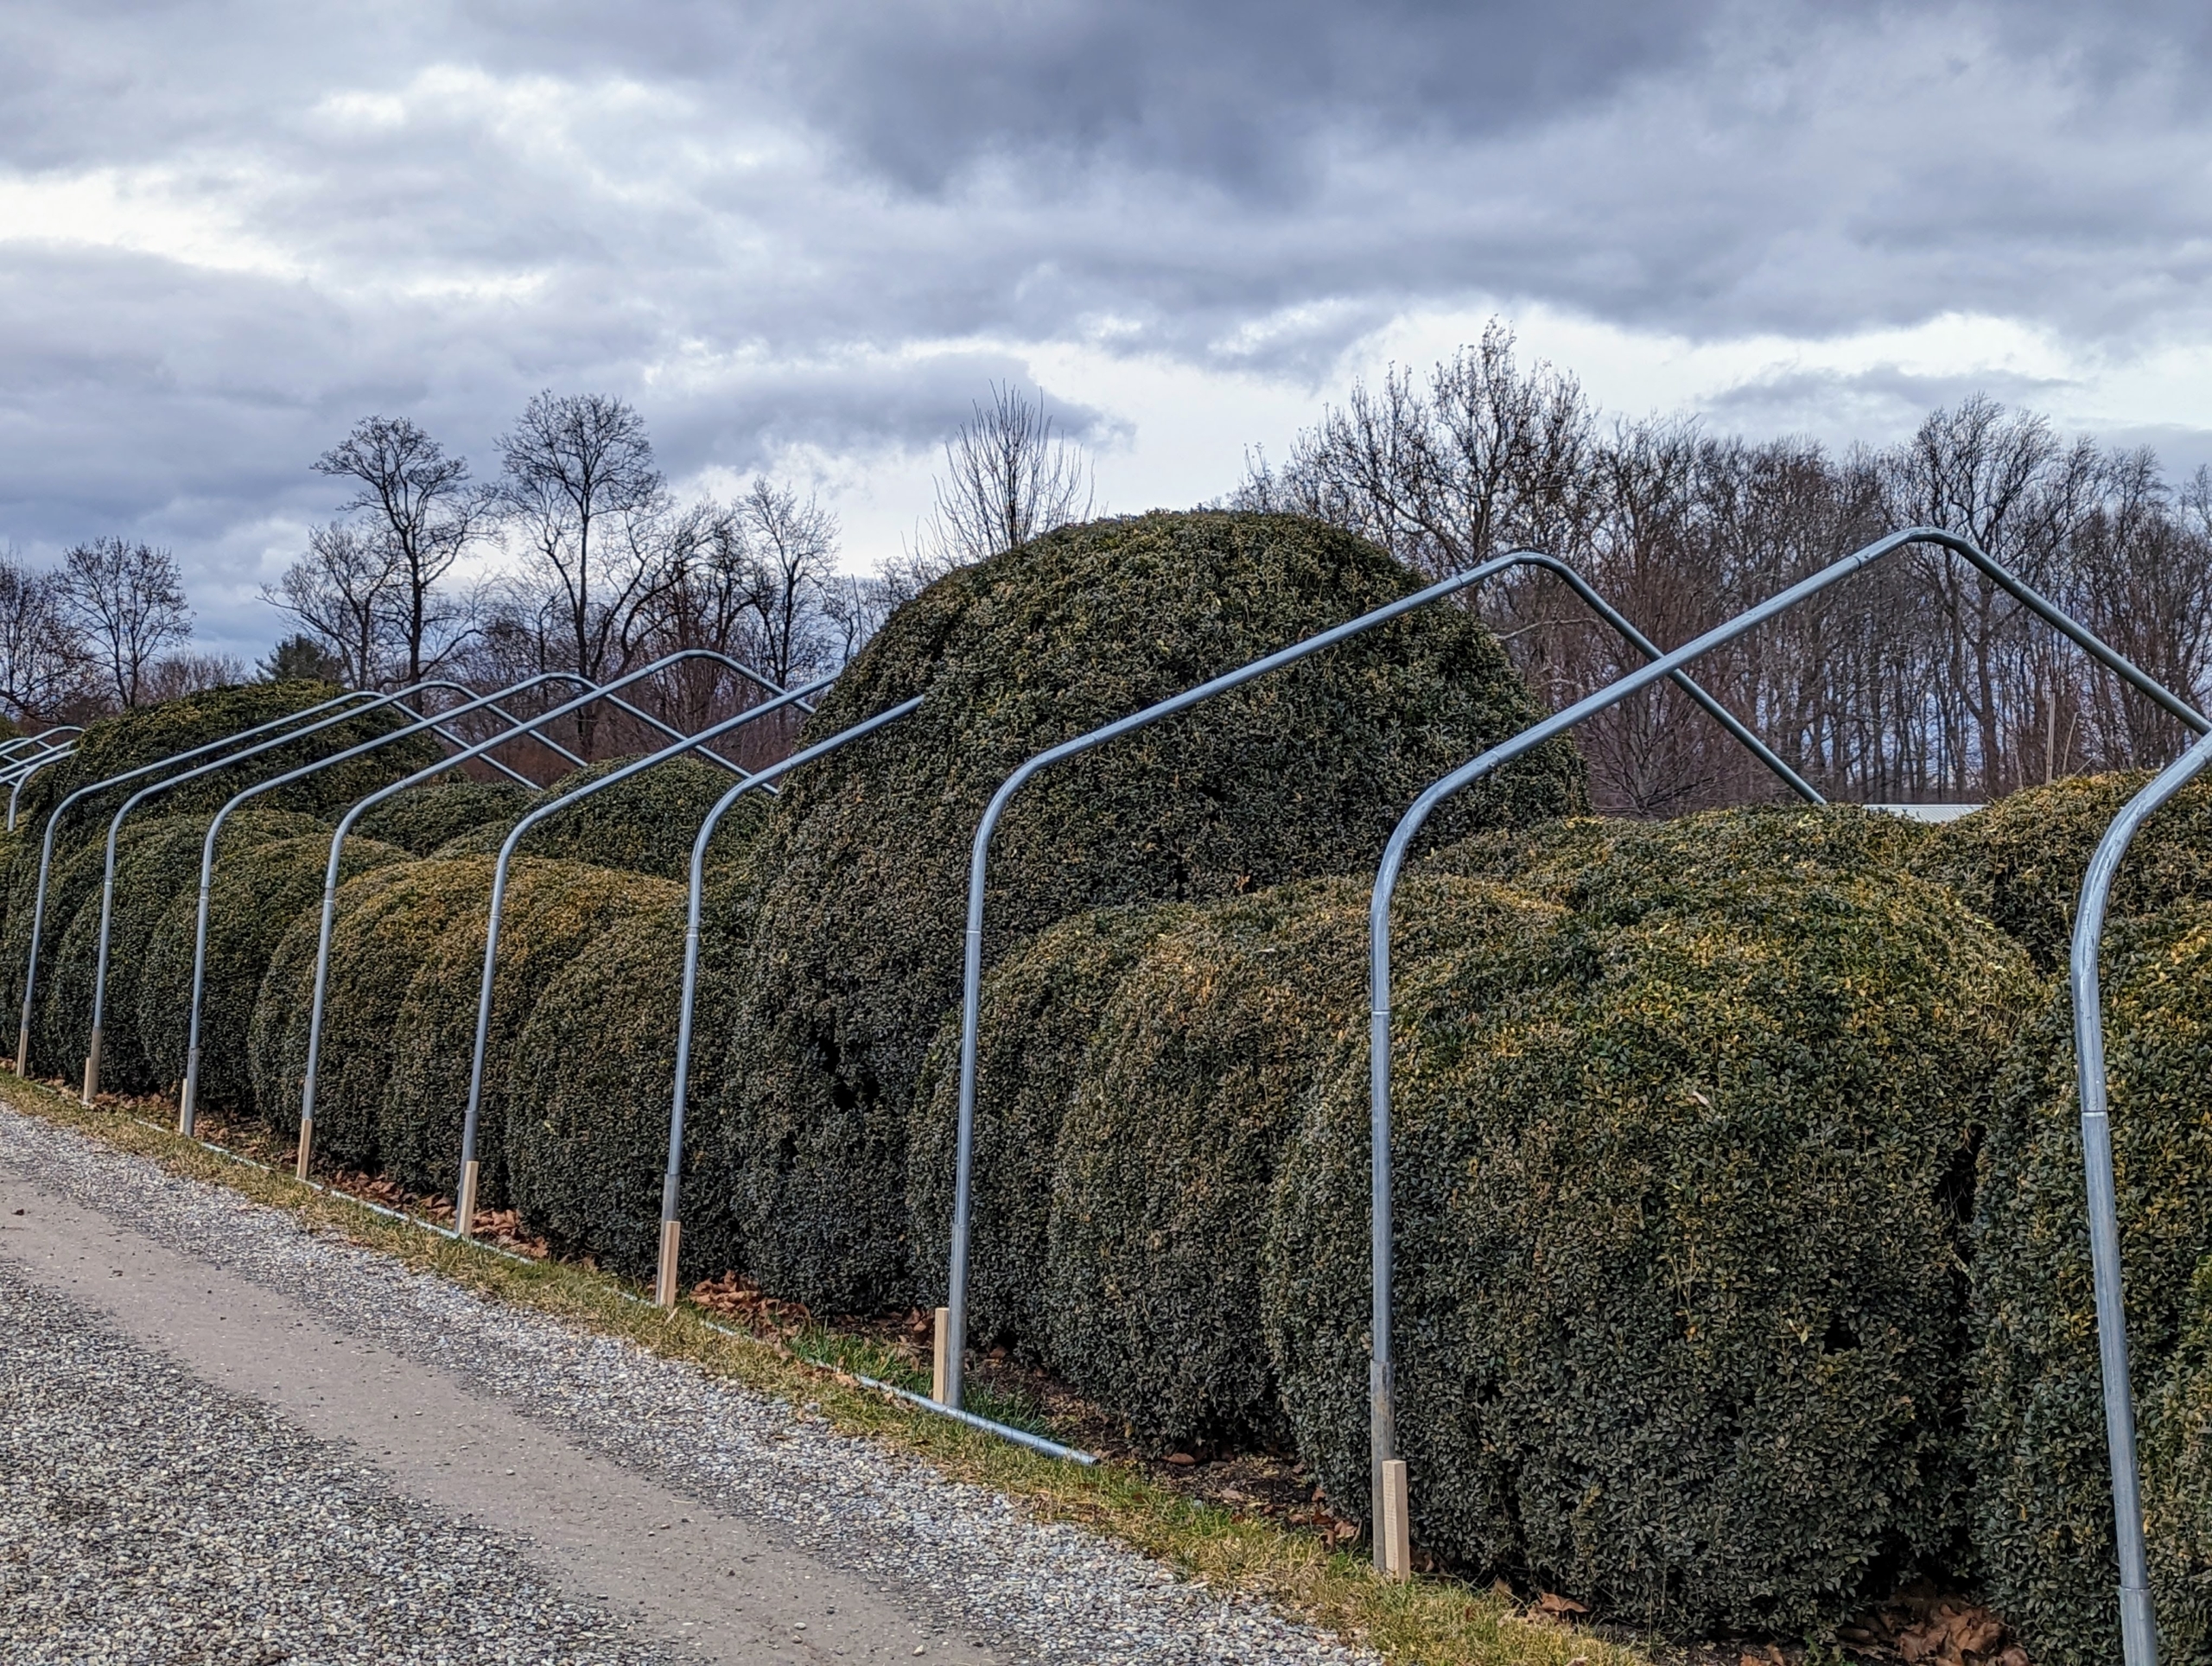
To start, ground pipes are installed every four feet along the allée. These hollow pipes will anchor the supports. My long Boxwood Allée extends from the east paddocks and the woodland carriage road to the stone stable. It has developed beautifully over the years, growing larger every season.
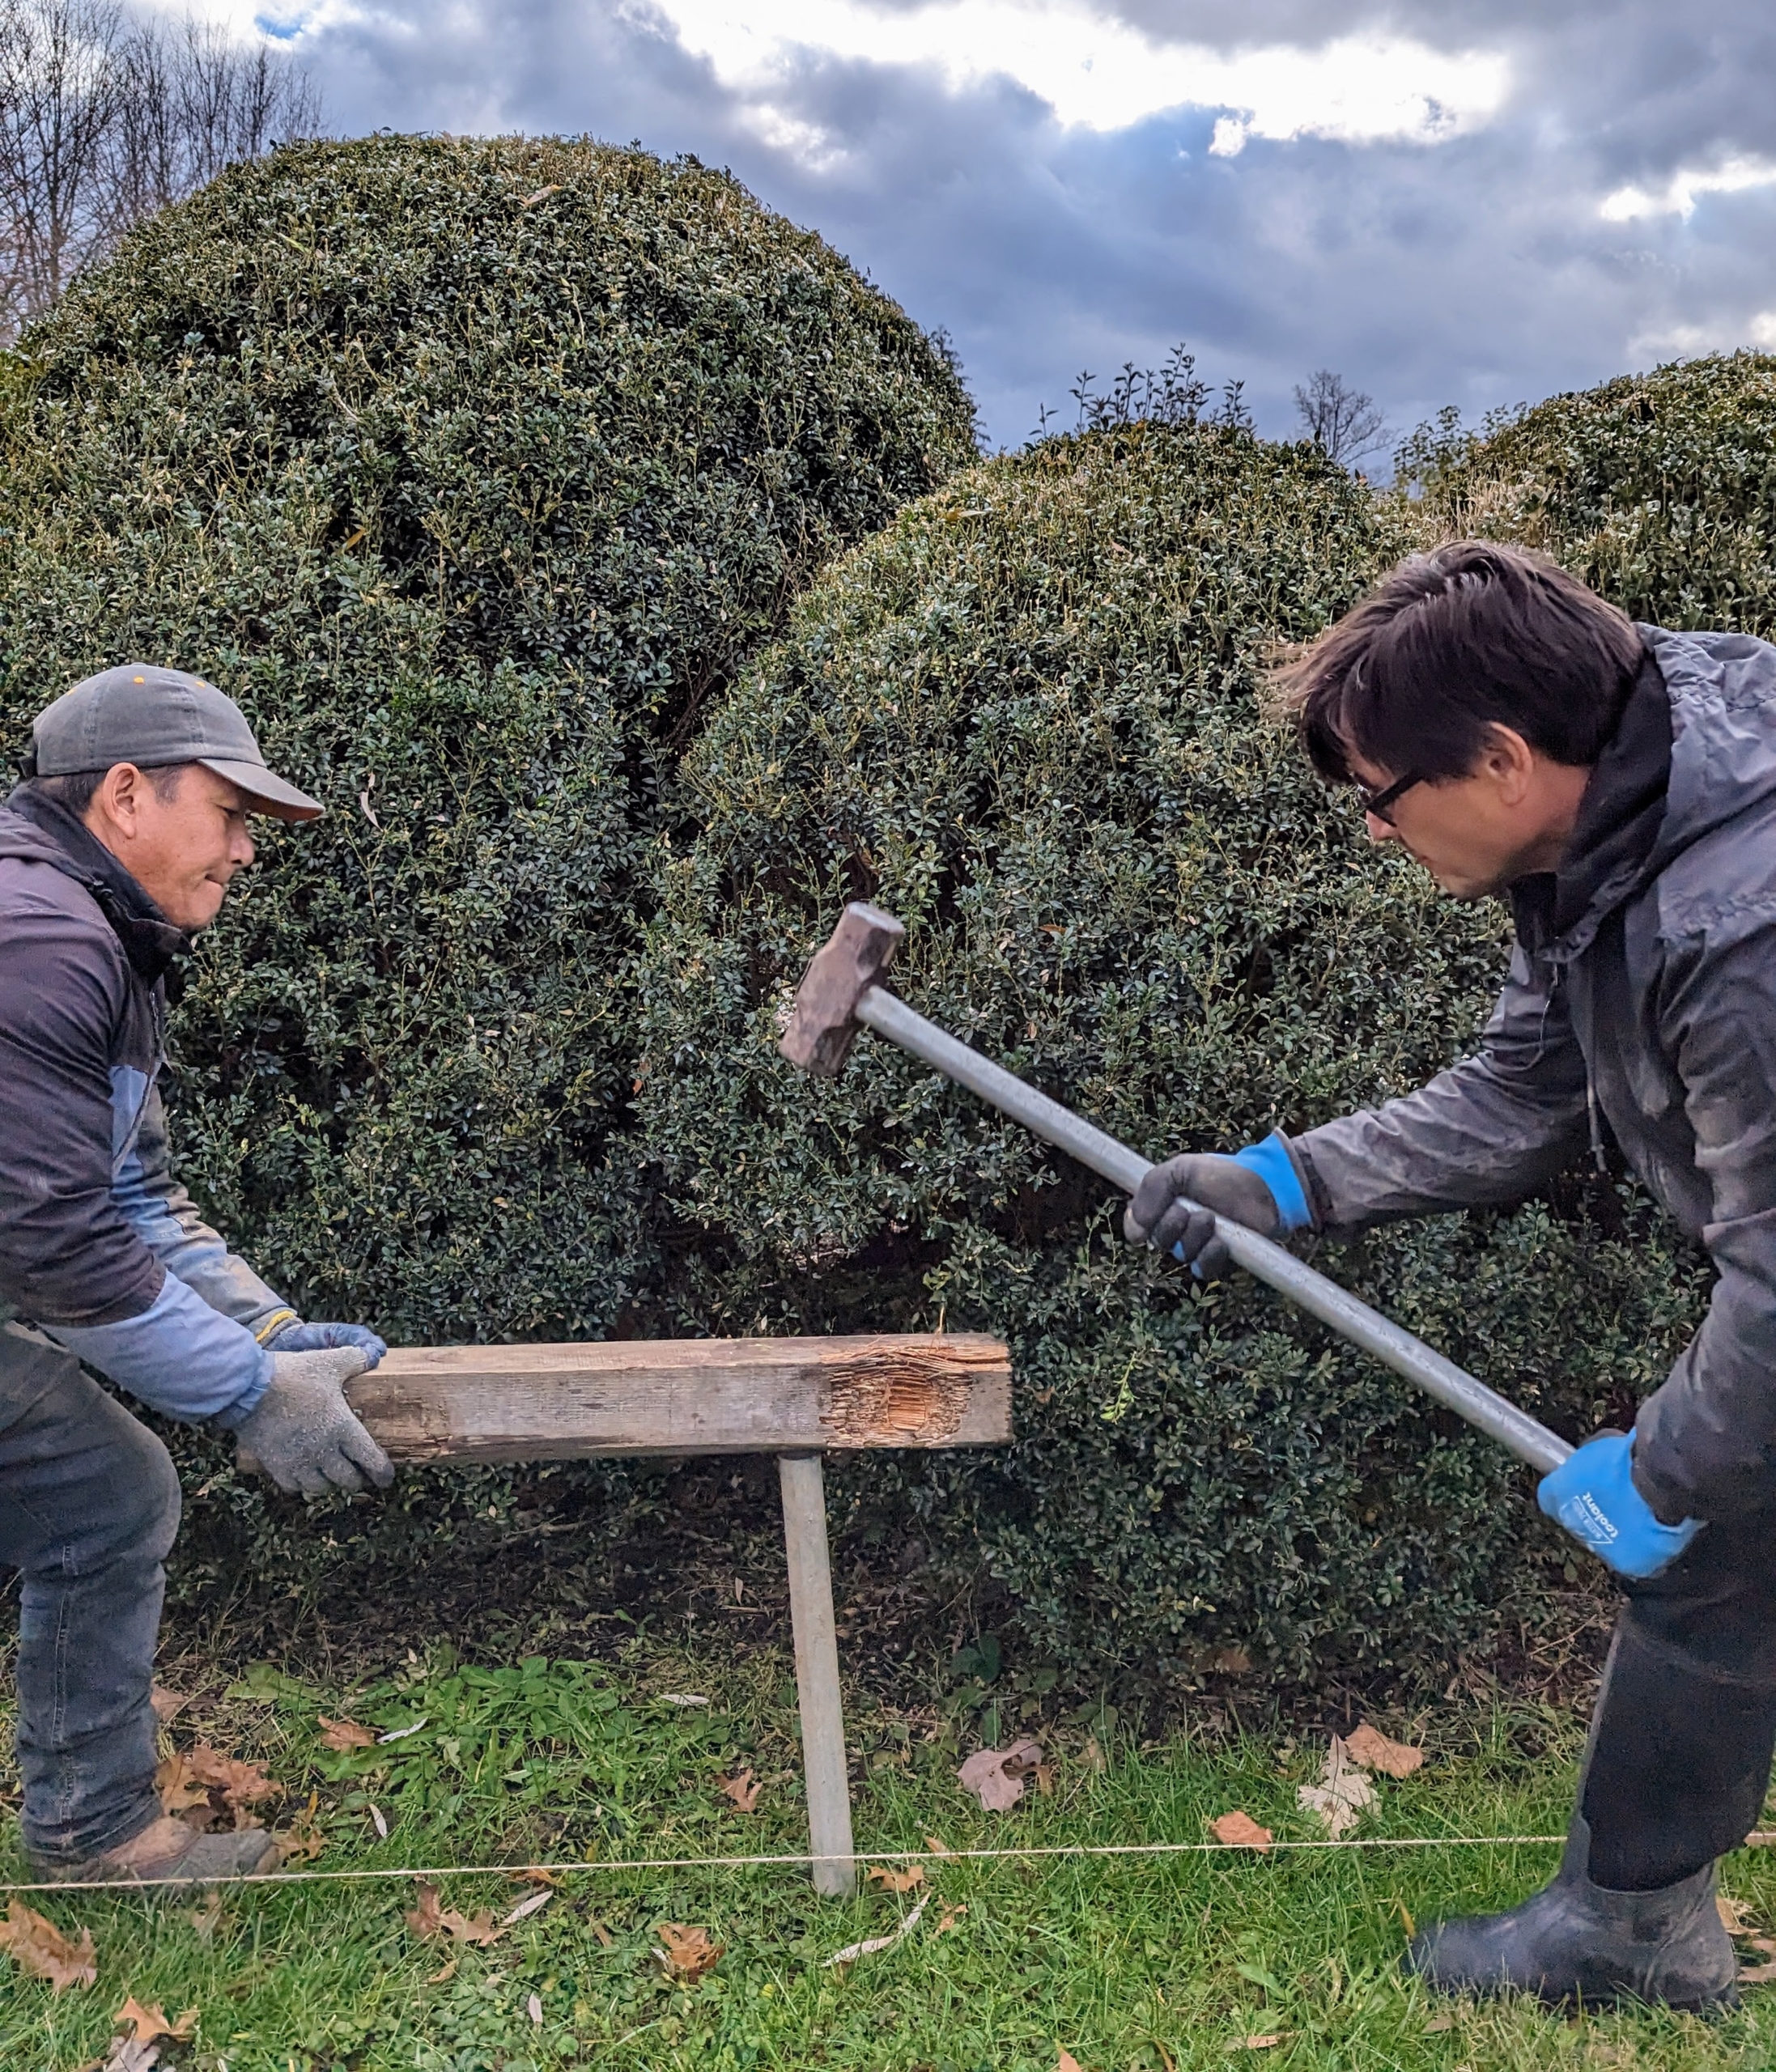
Here, Phurba and Cesar carefully pound one of the pipes into place using a piece of wood to cushion and protect the pipe from being damaged.
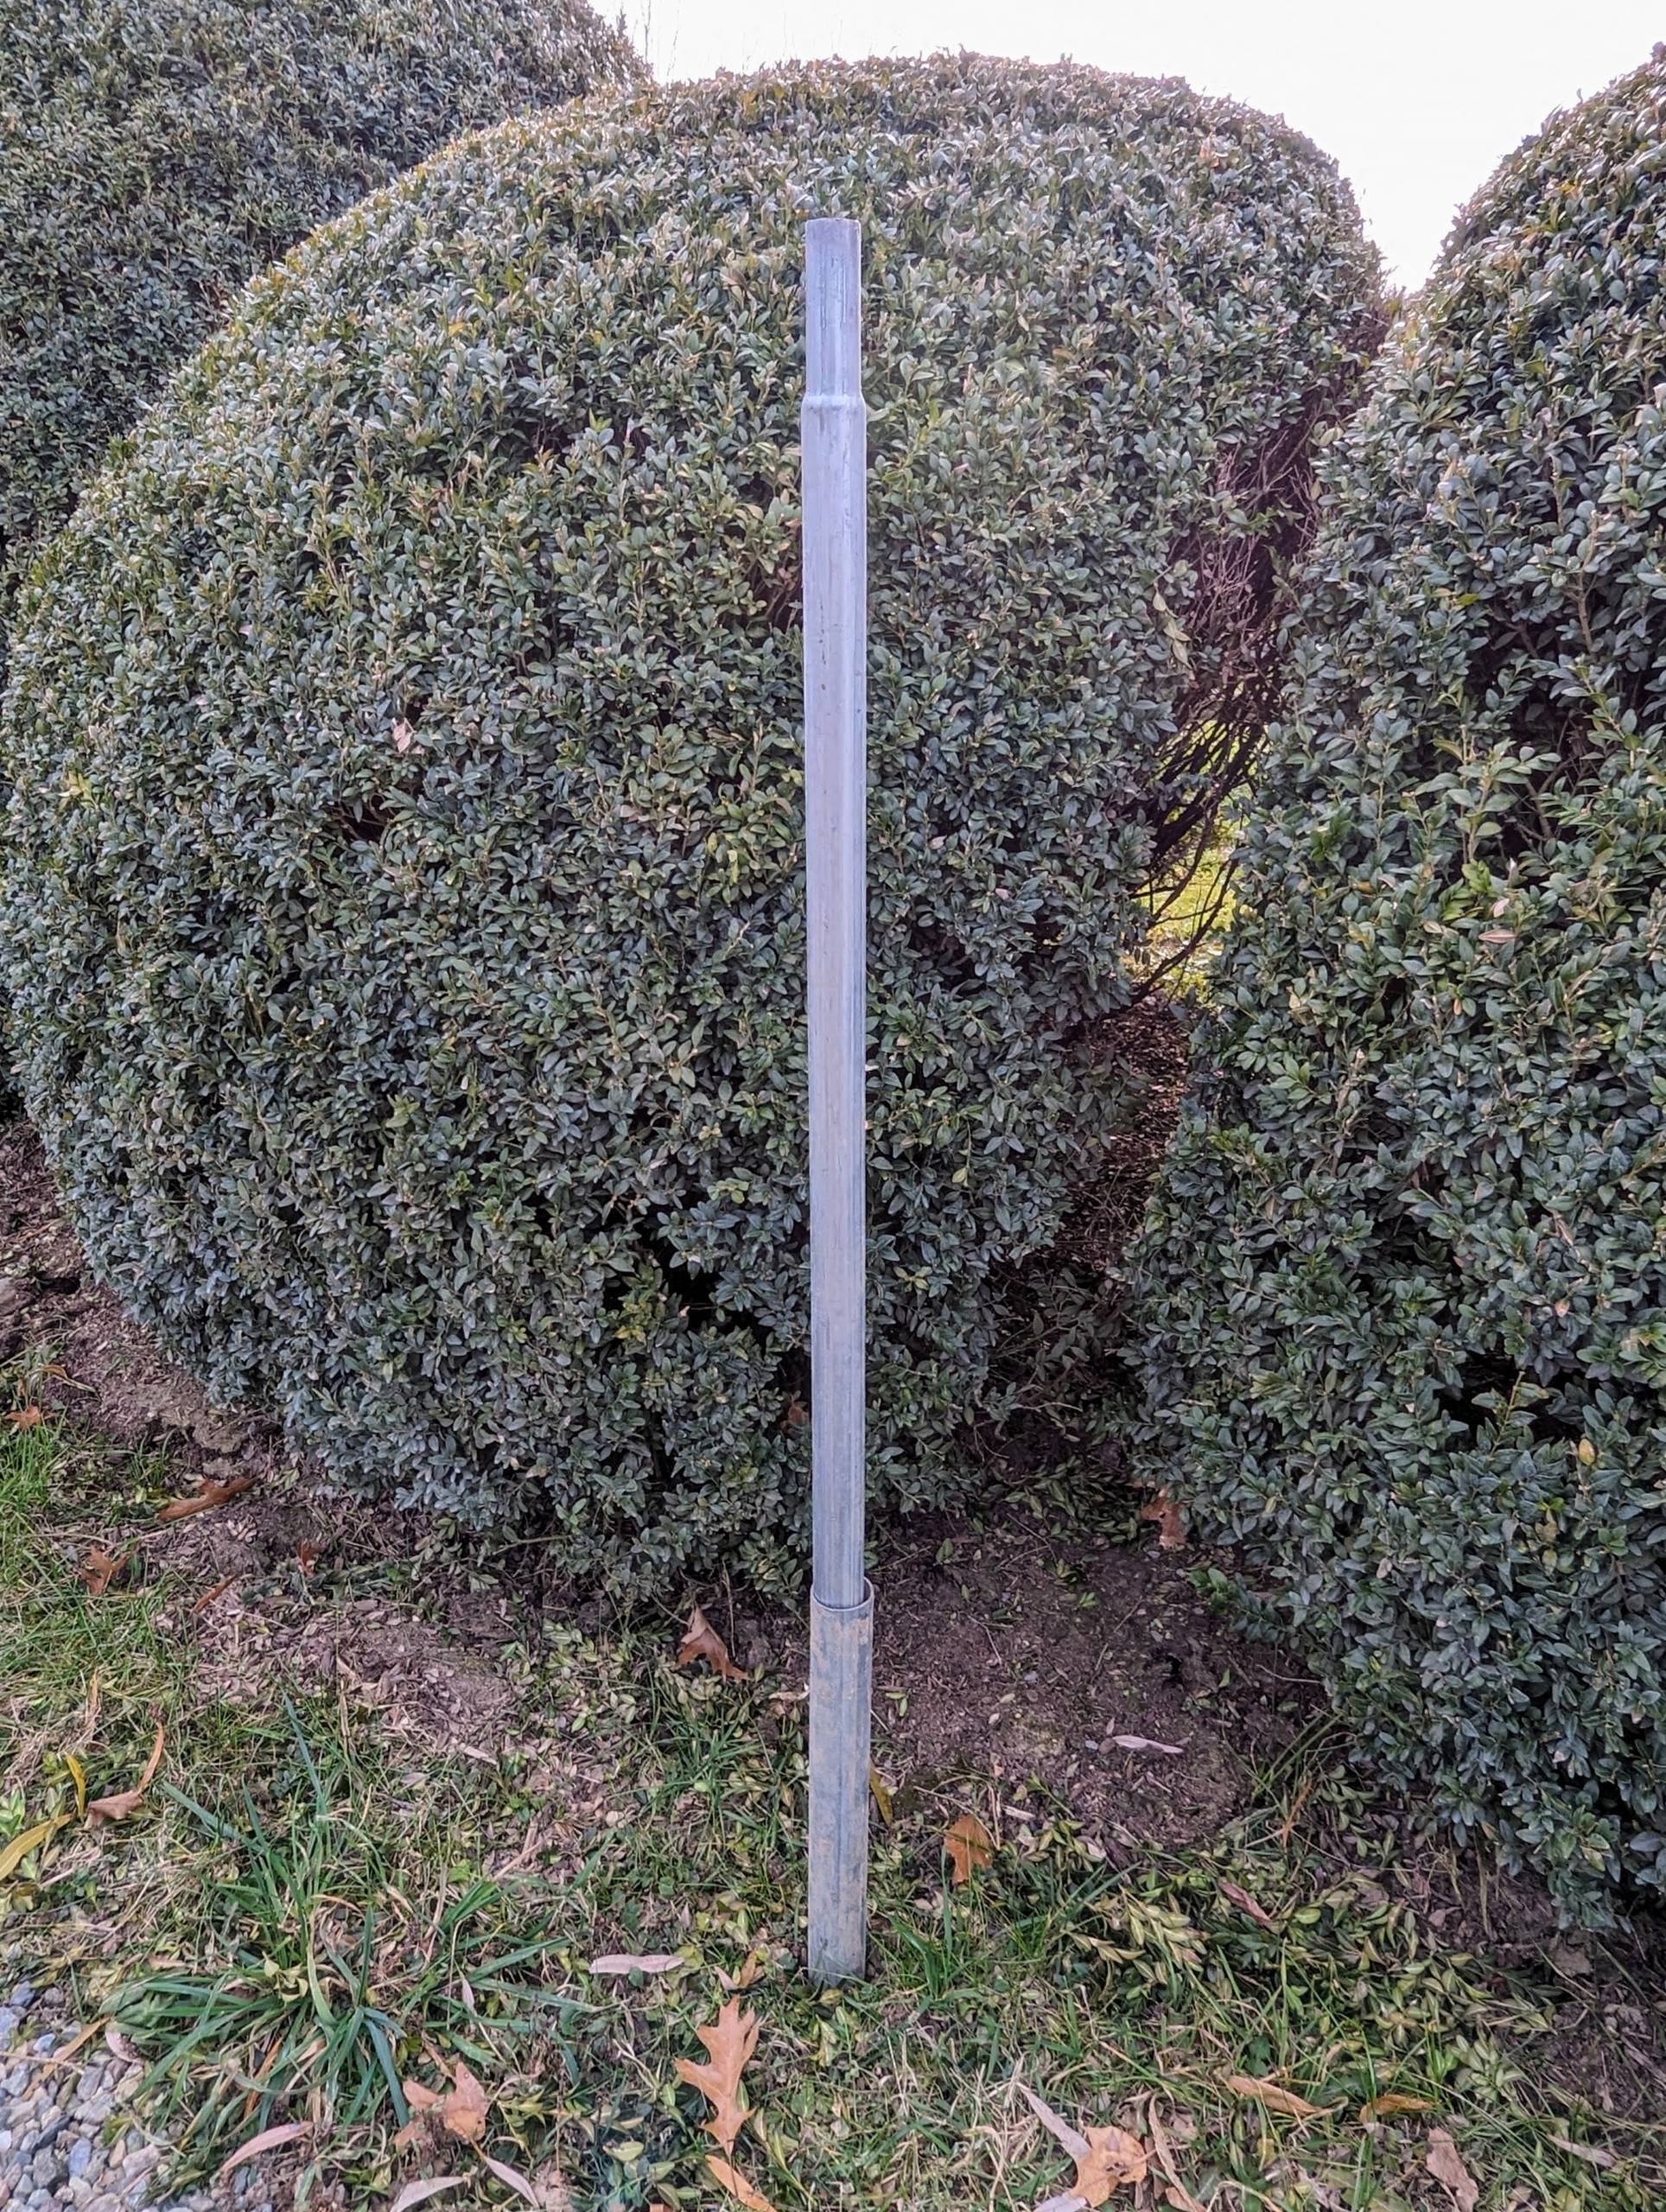
Next, Chhiring secures the taller pipes inside the ground pipes all along the allée.
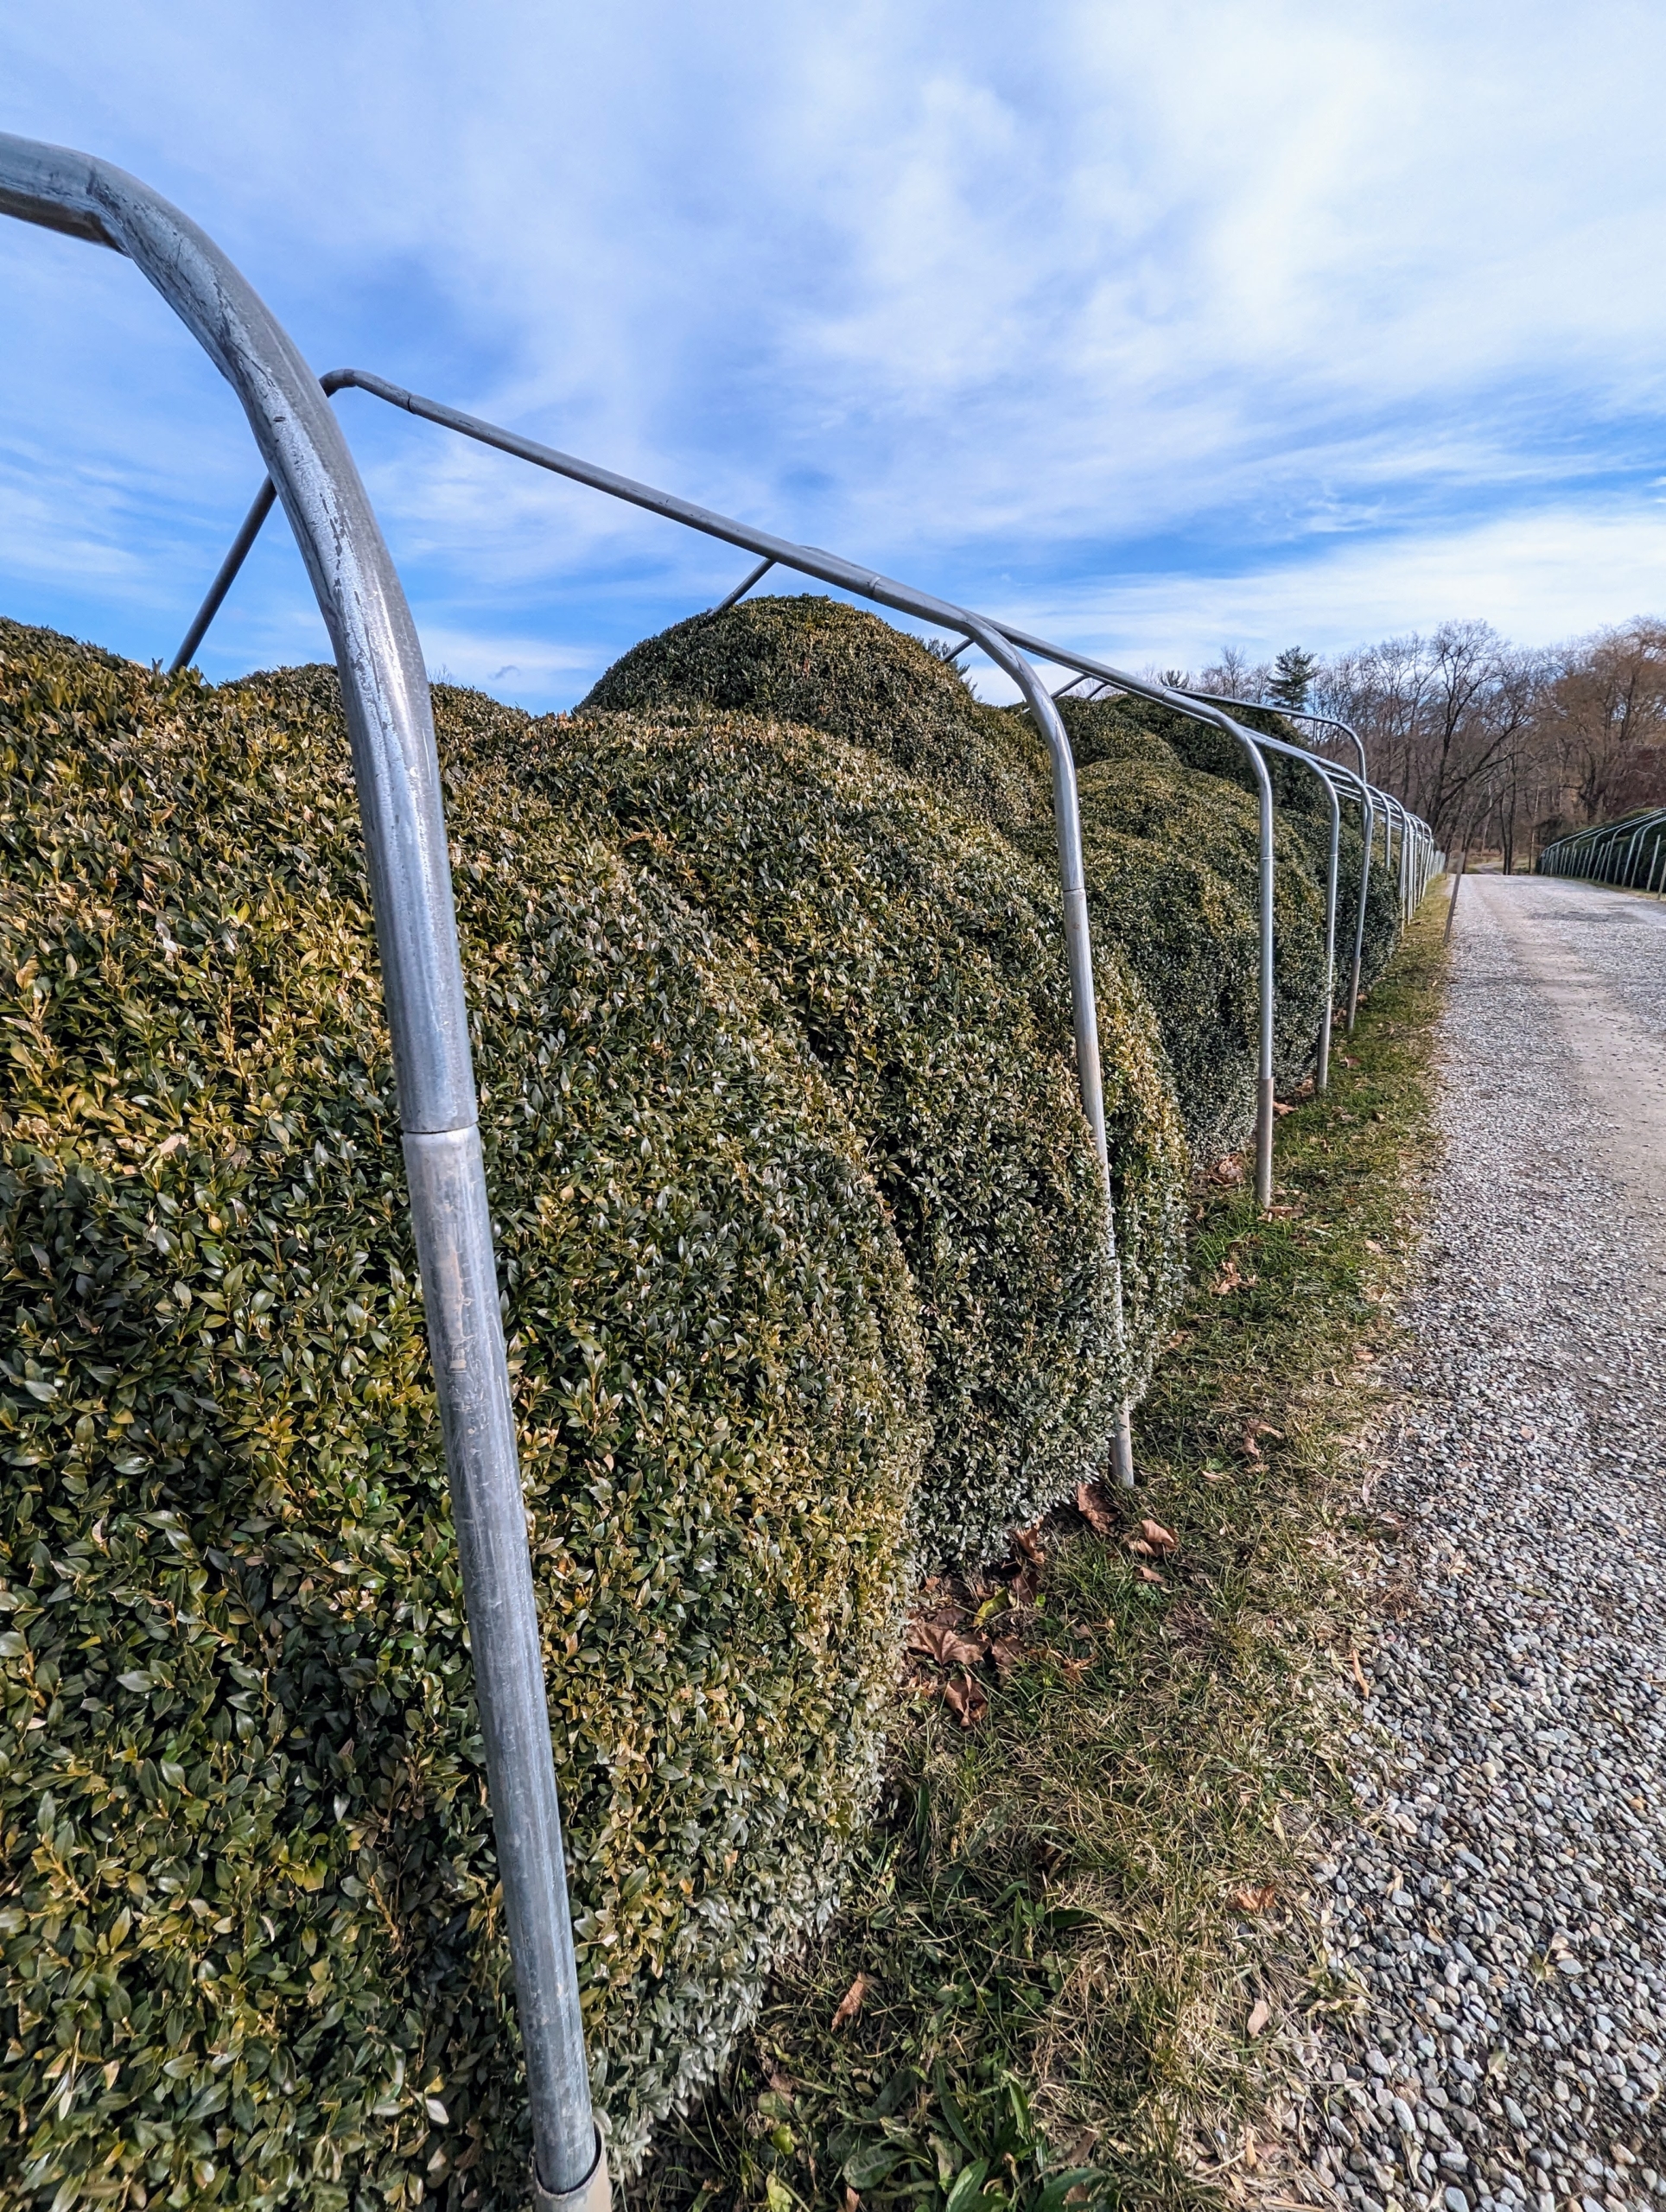
I ordered the 10-foot wide bow sections – this will last quite a while and give the boxwood a lot of room to grow. One can see how the framing is coming together.
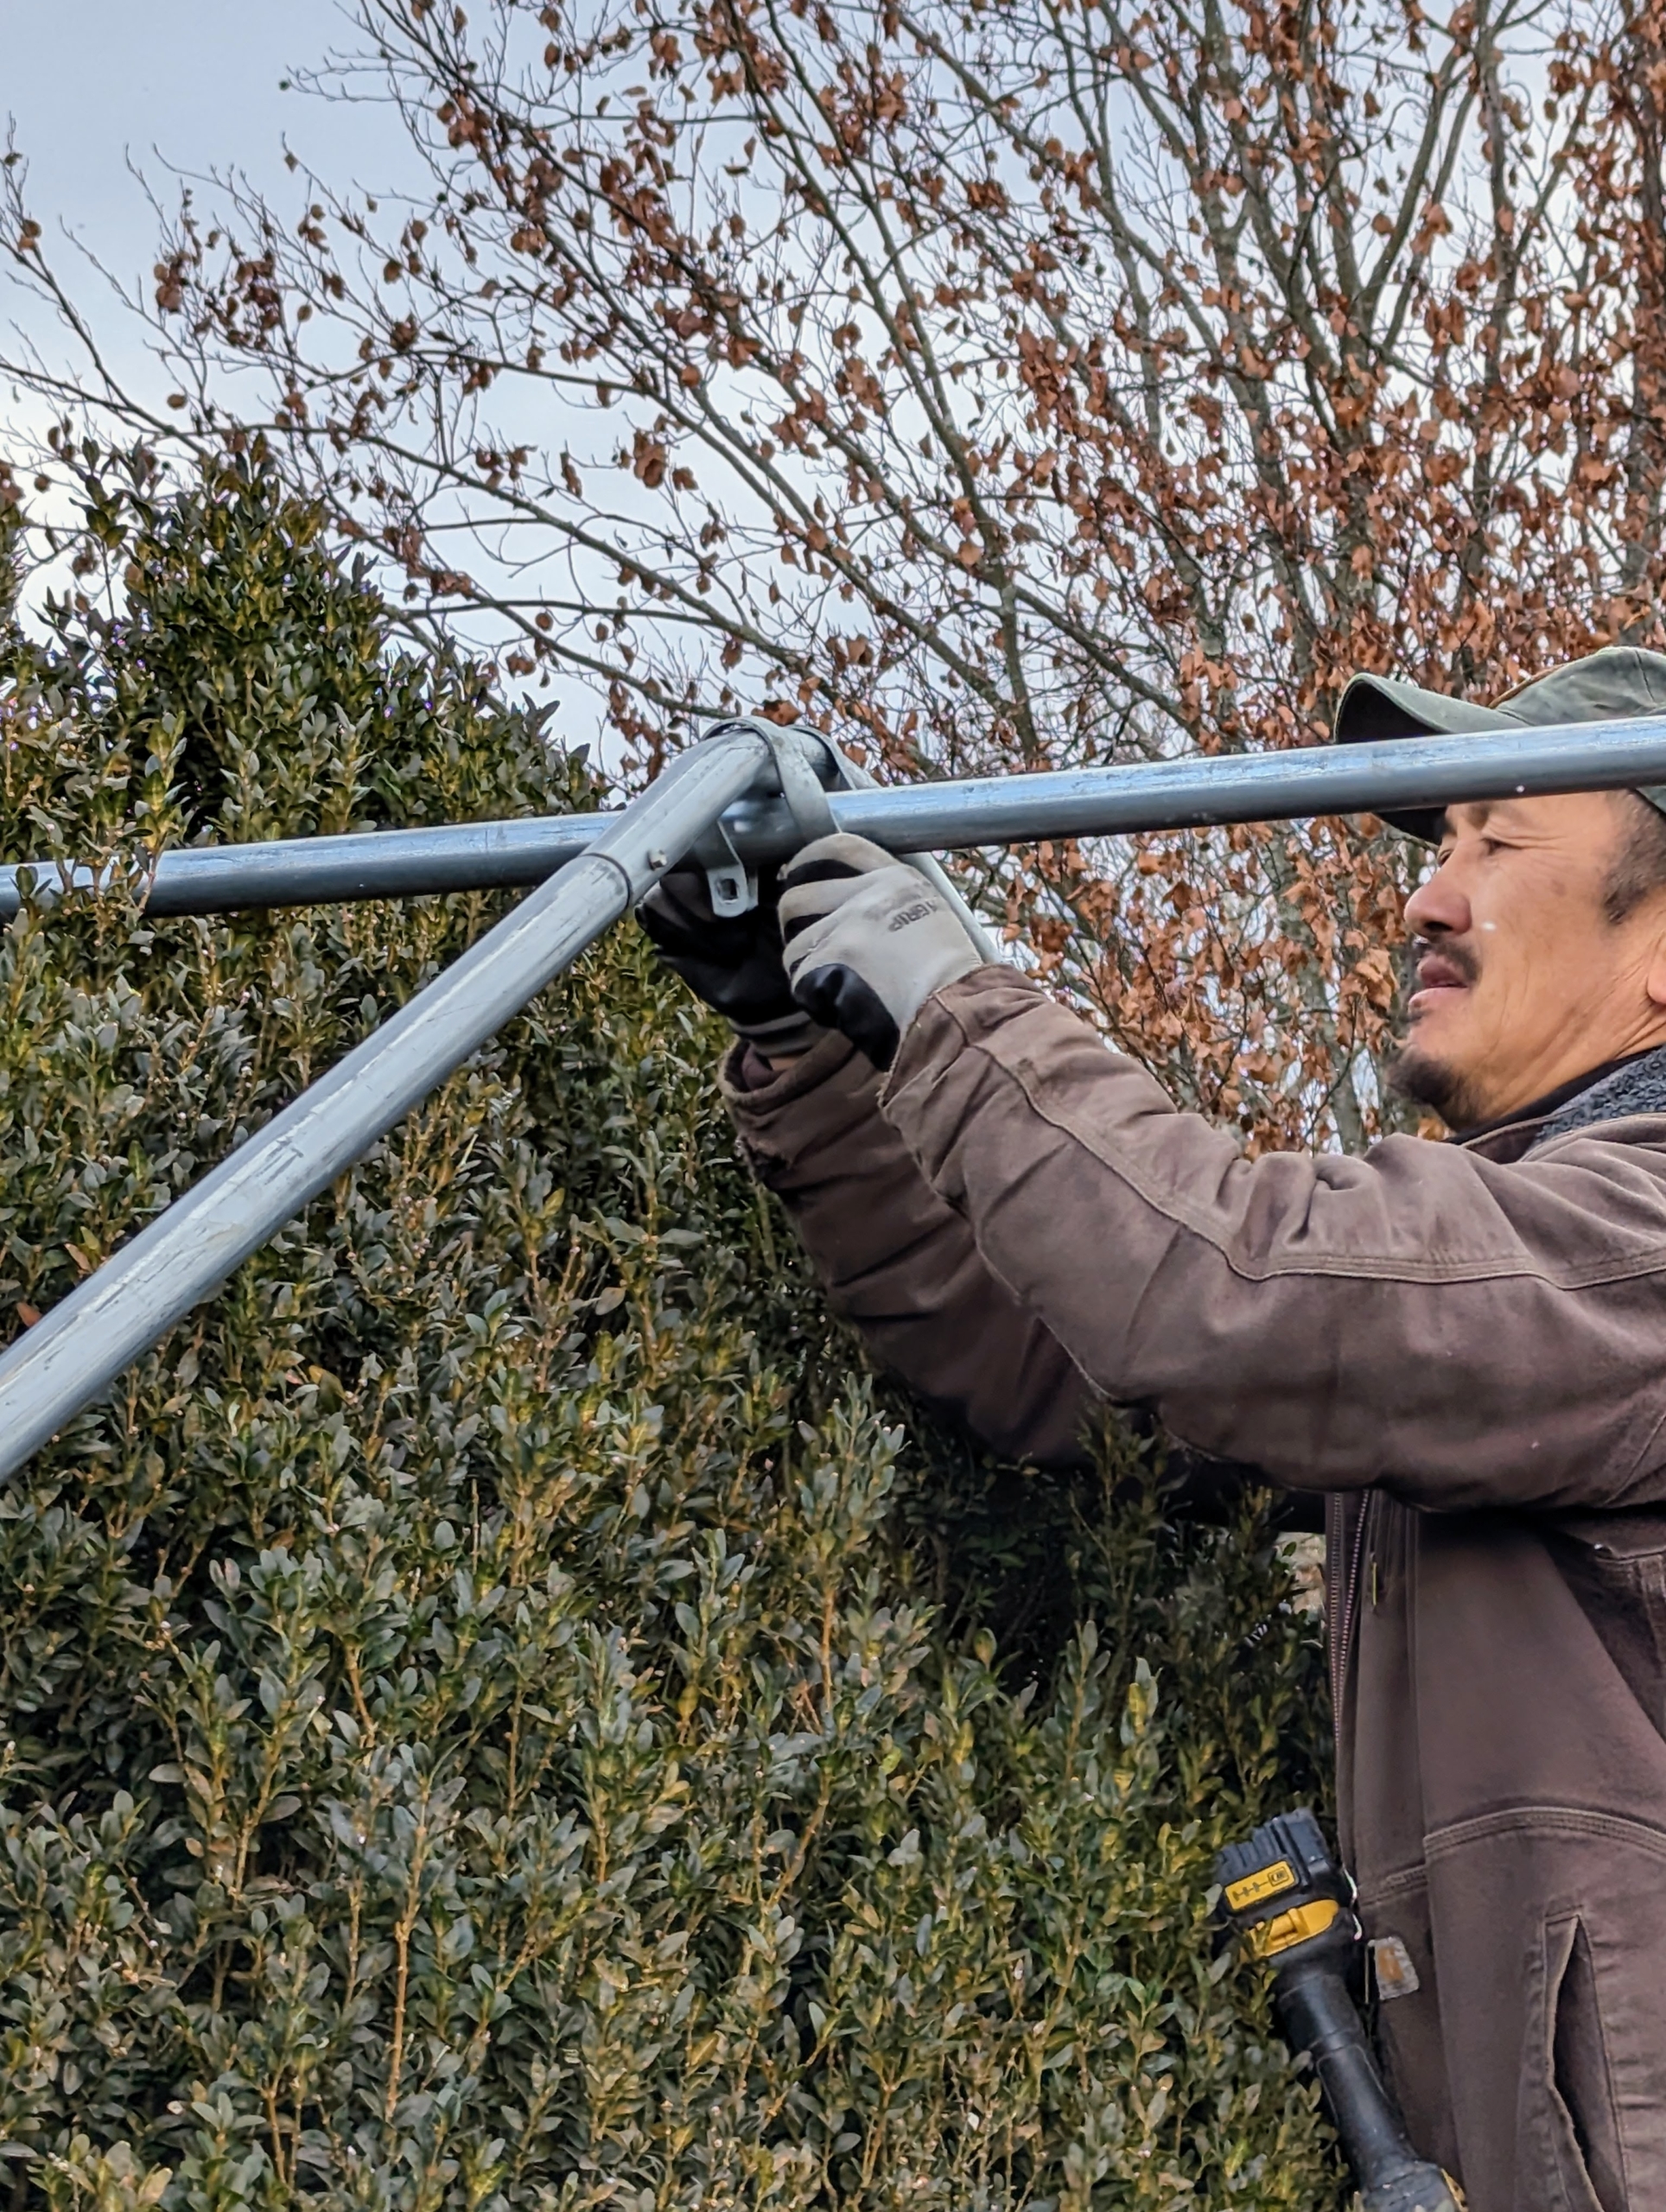
These are called tension purlin brackets. They connect the center piping to the bow sections.
Here is Chhiring fastening one to the bow section and the center peak.
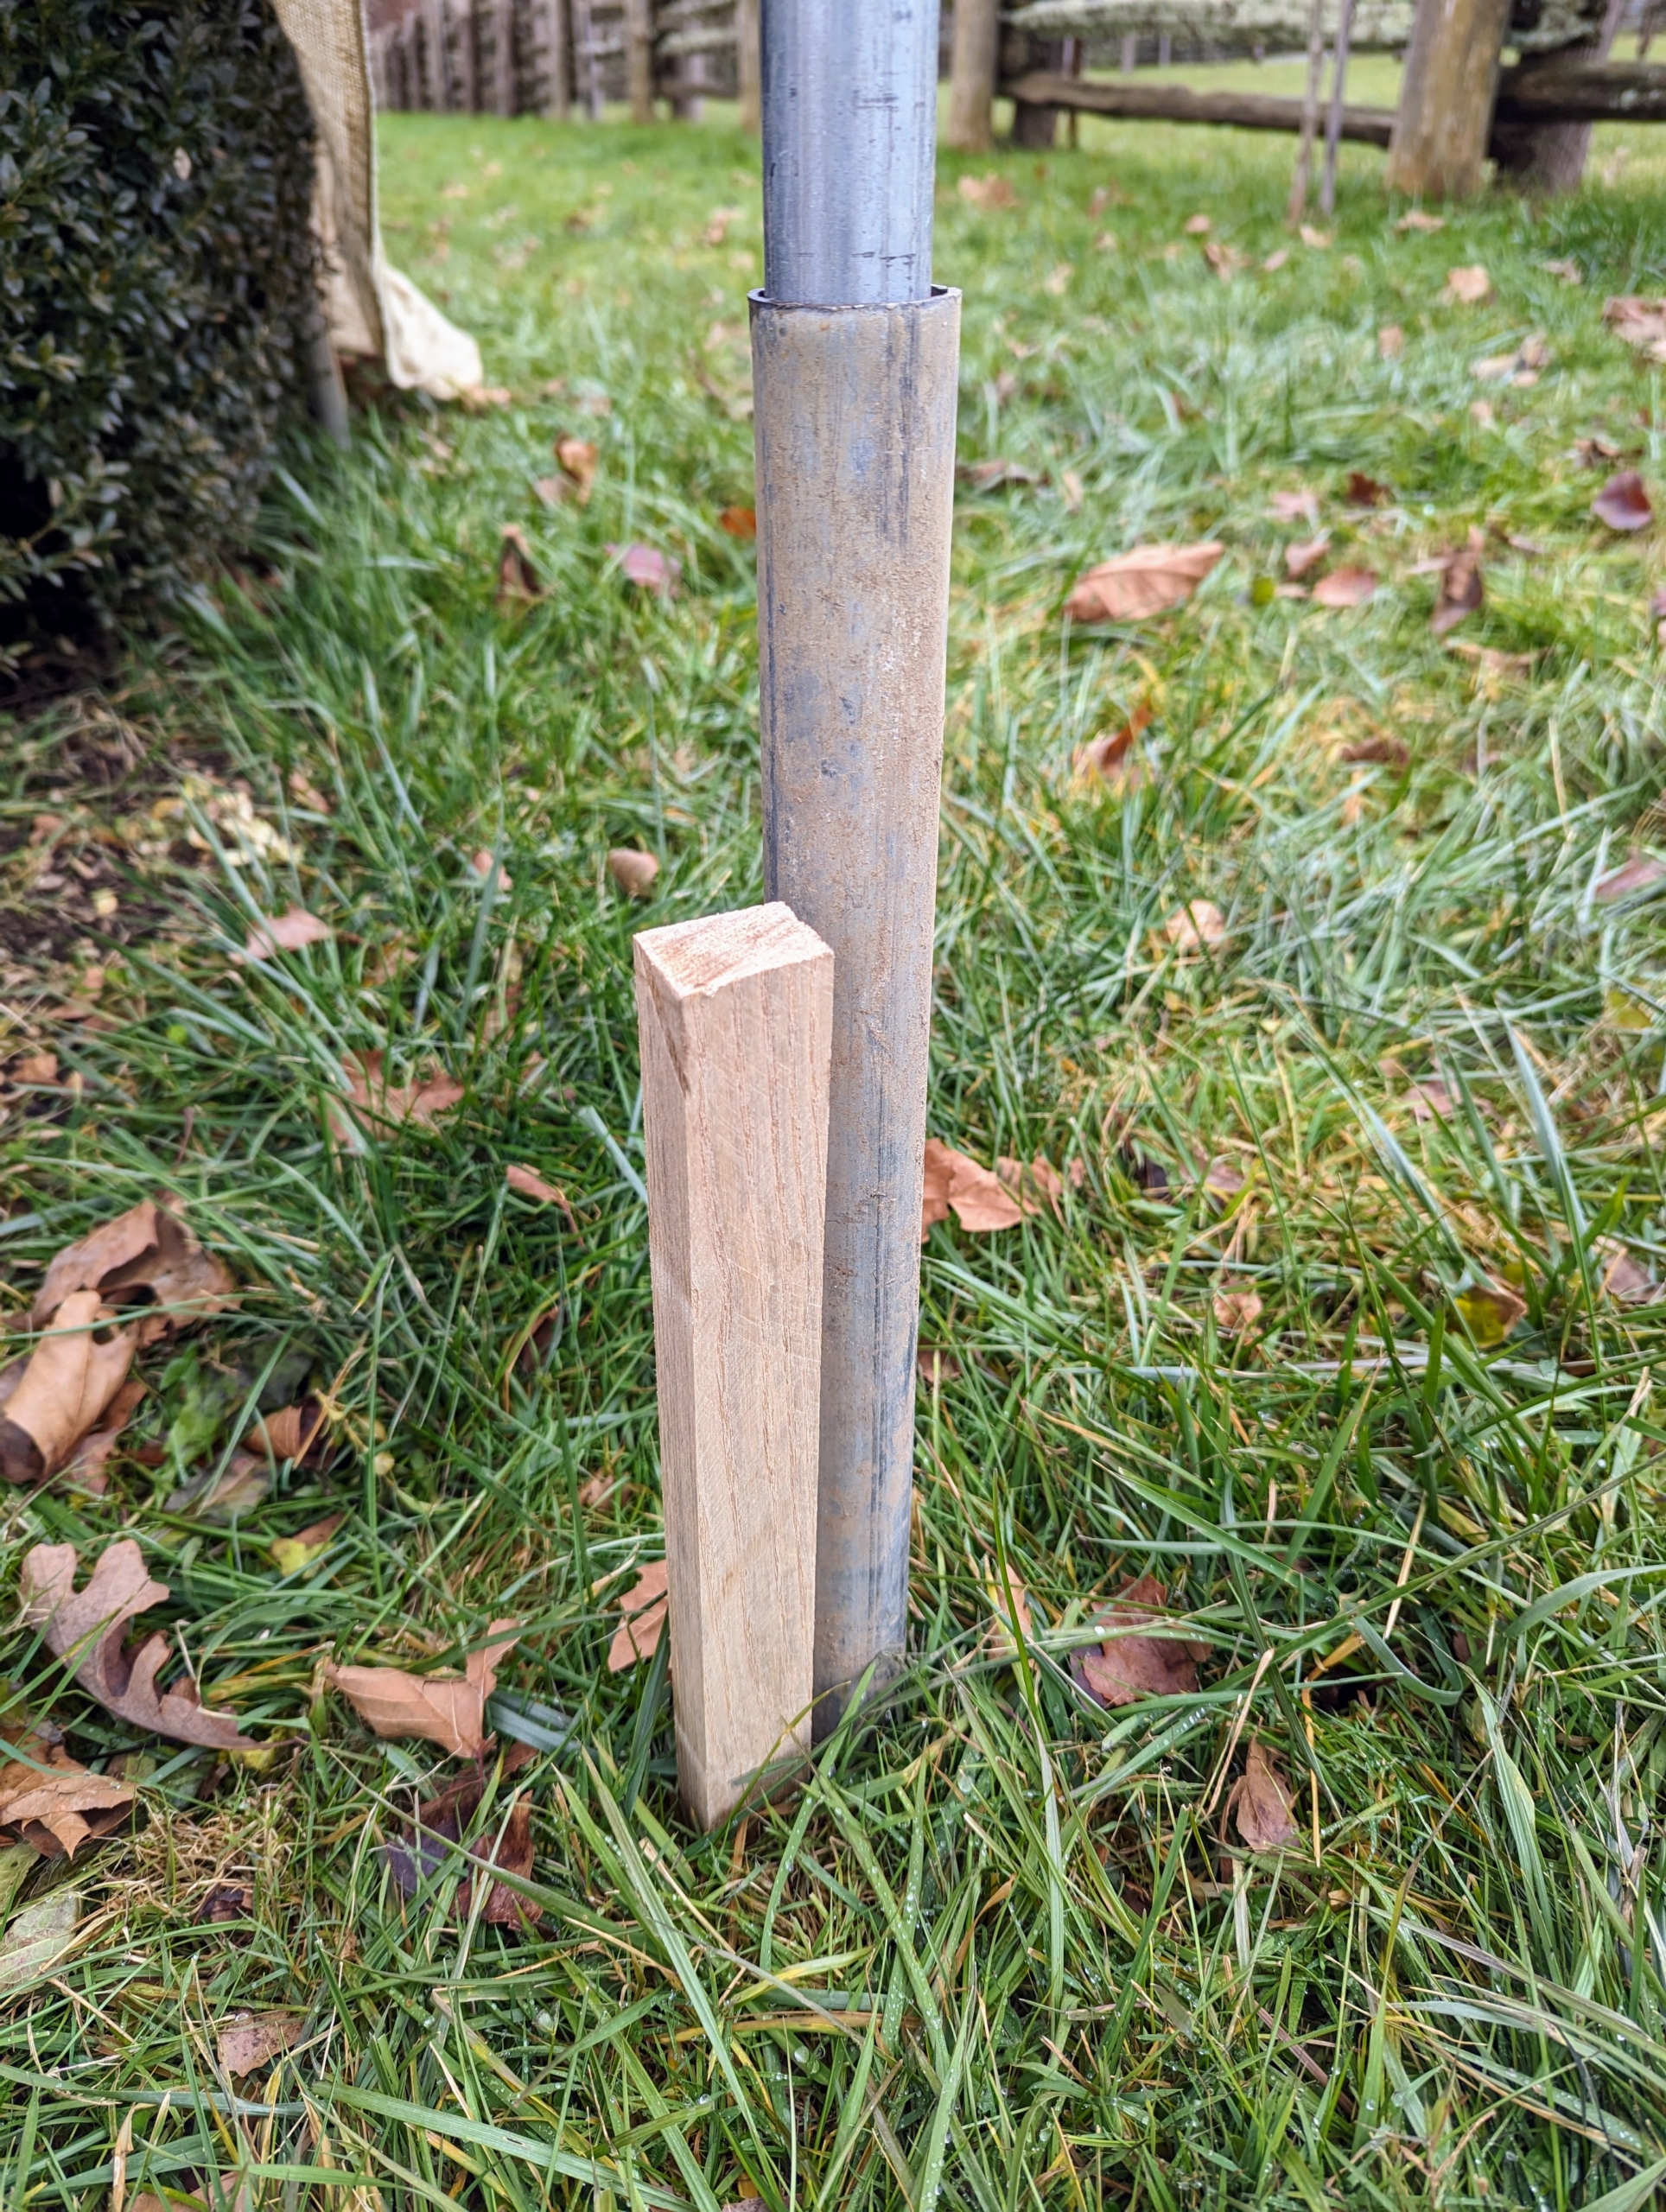
Smaller stakes are pounded into the ground next to each steel ground stake. These short wooden stakes provide points at which the burlap can be secured.
Constructing the frame for the burlap takes several days, but the process is well worth the effort during cold snaps, high winds, and snowstorms. Any snow that accumulates on top of the finished structures will slide down the sides.
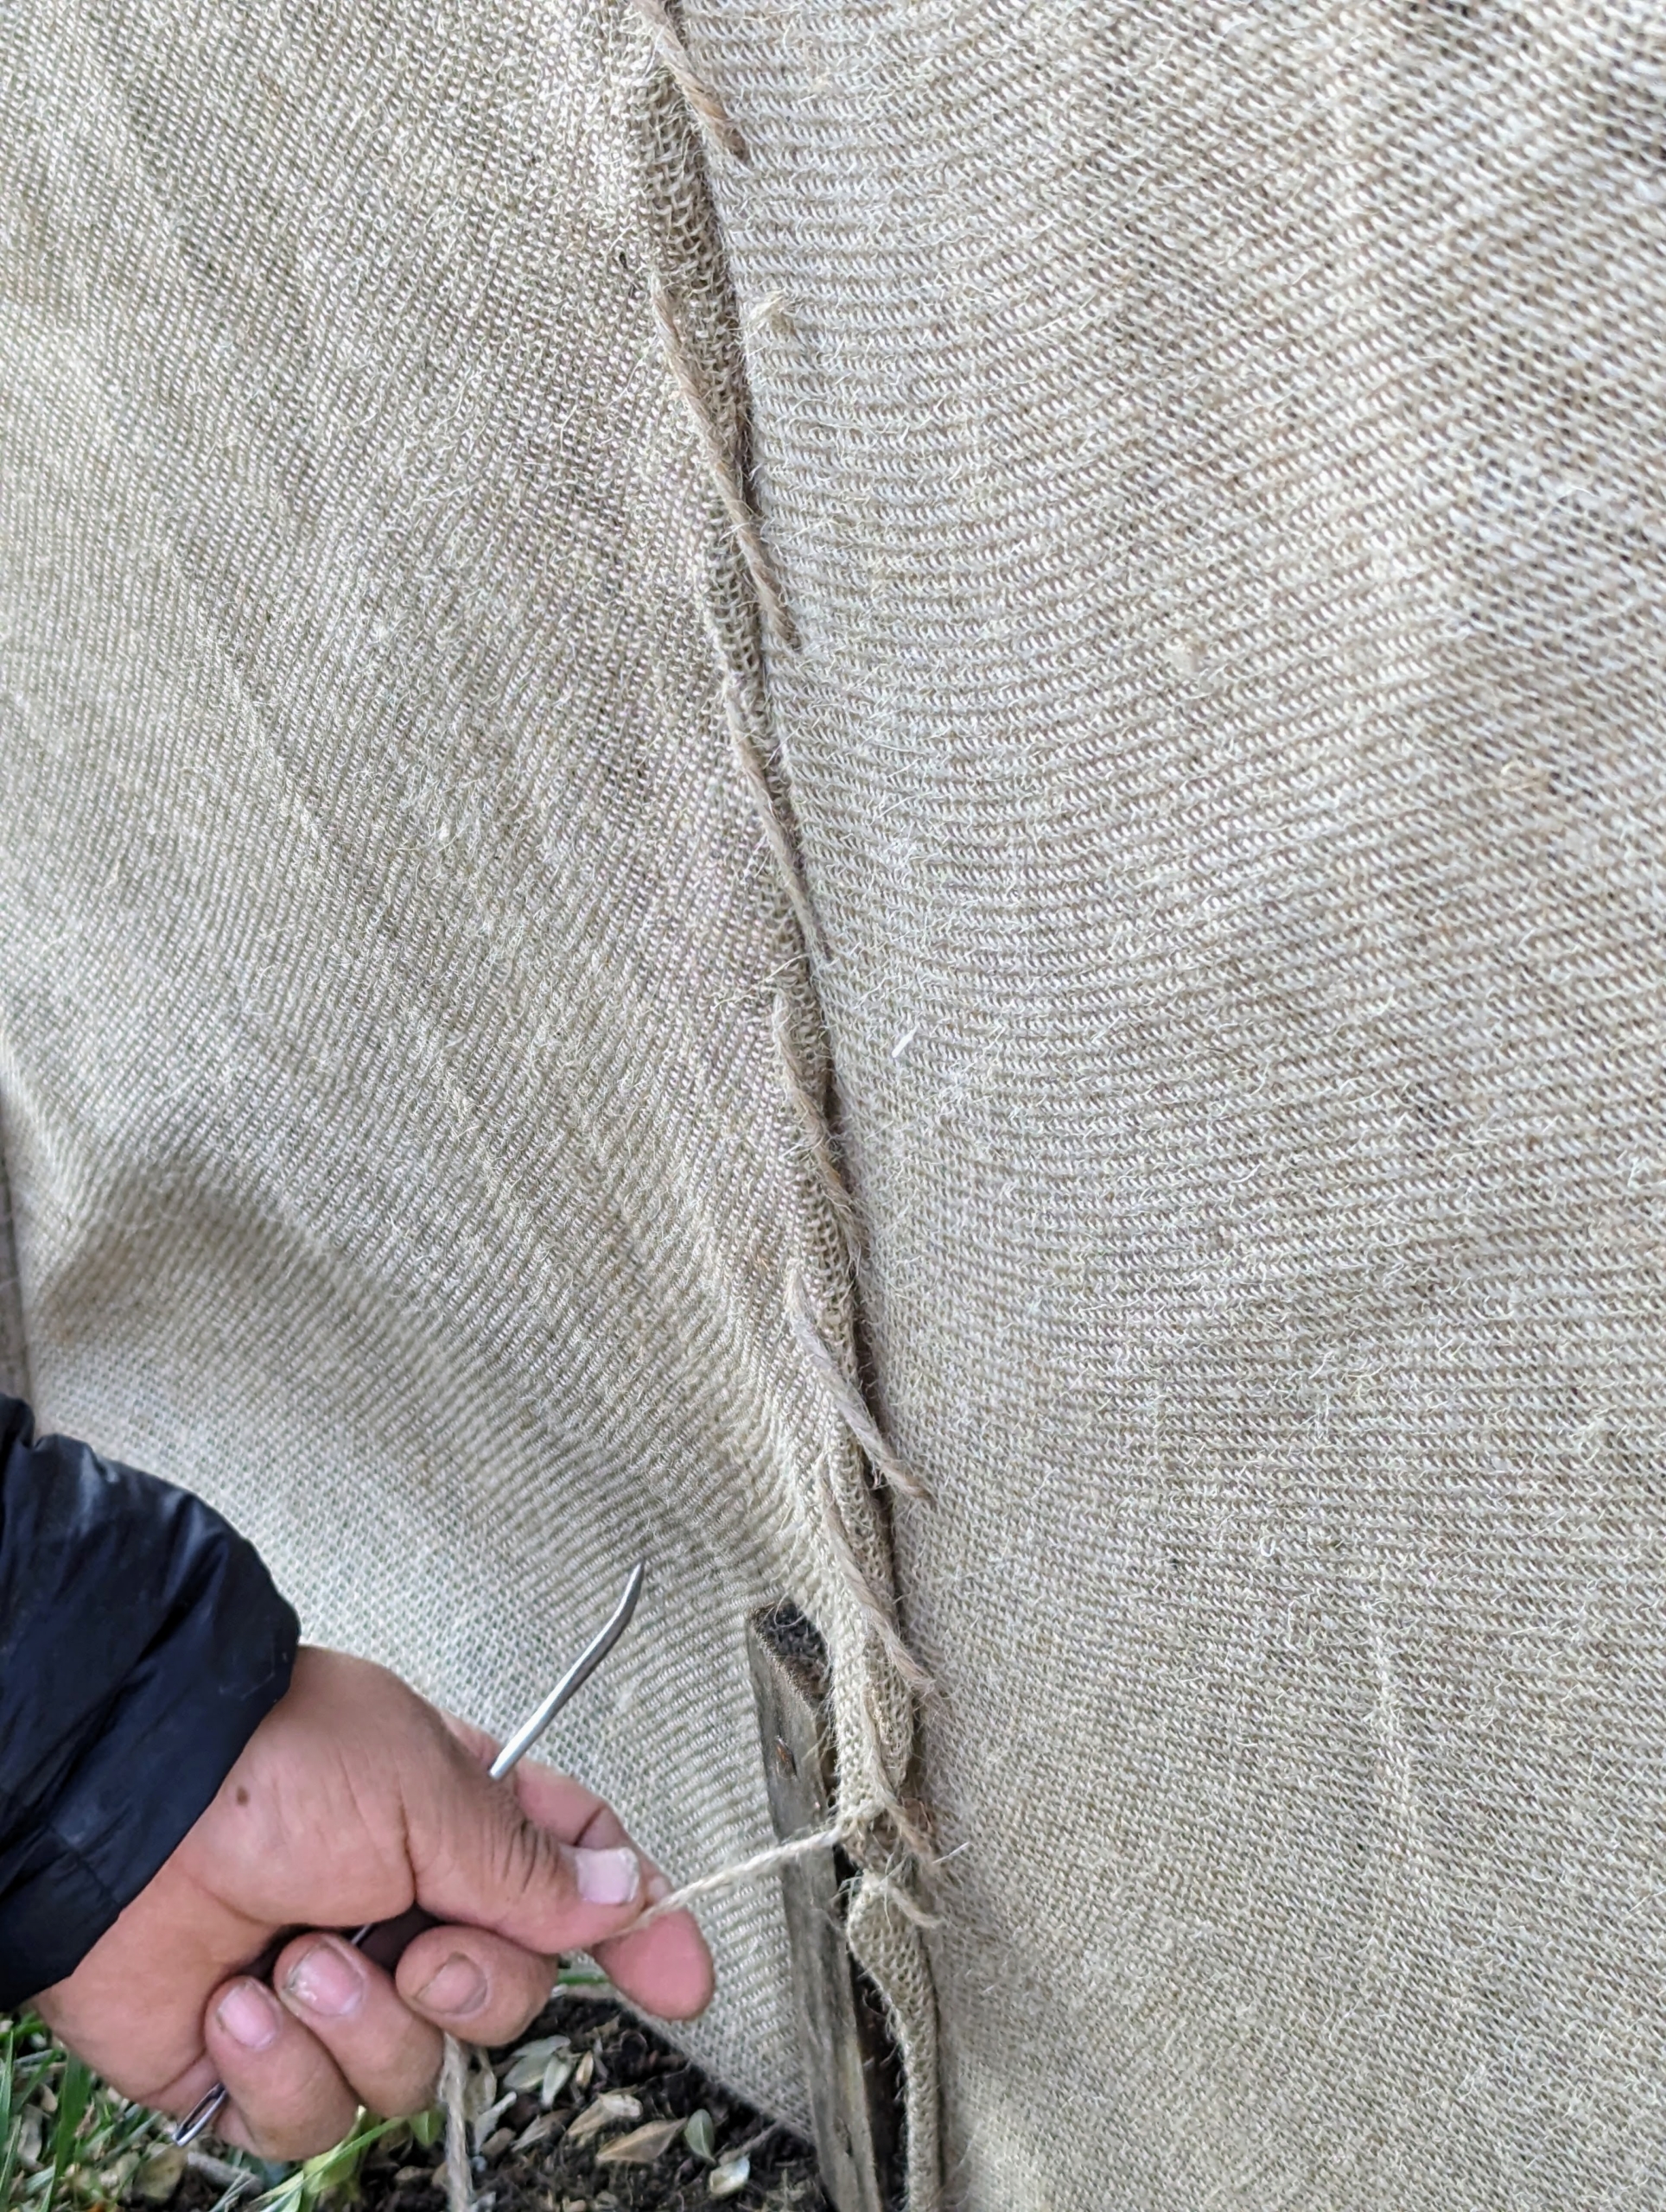
The burlap gets reused from year to year whenever possible. When it is removed in spring, it is rolled up, labeled and then stored in the dry trailer barn until it is used again. This is one of last year’s burlap covers – still in excellent condition. Depending on the quality of the burlap, these covers can last through three seasons.
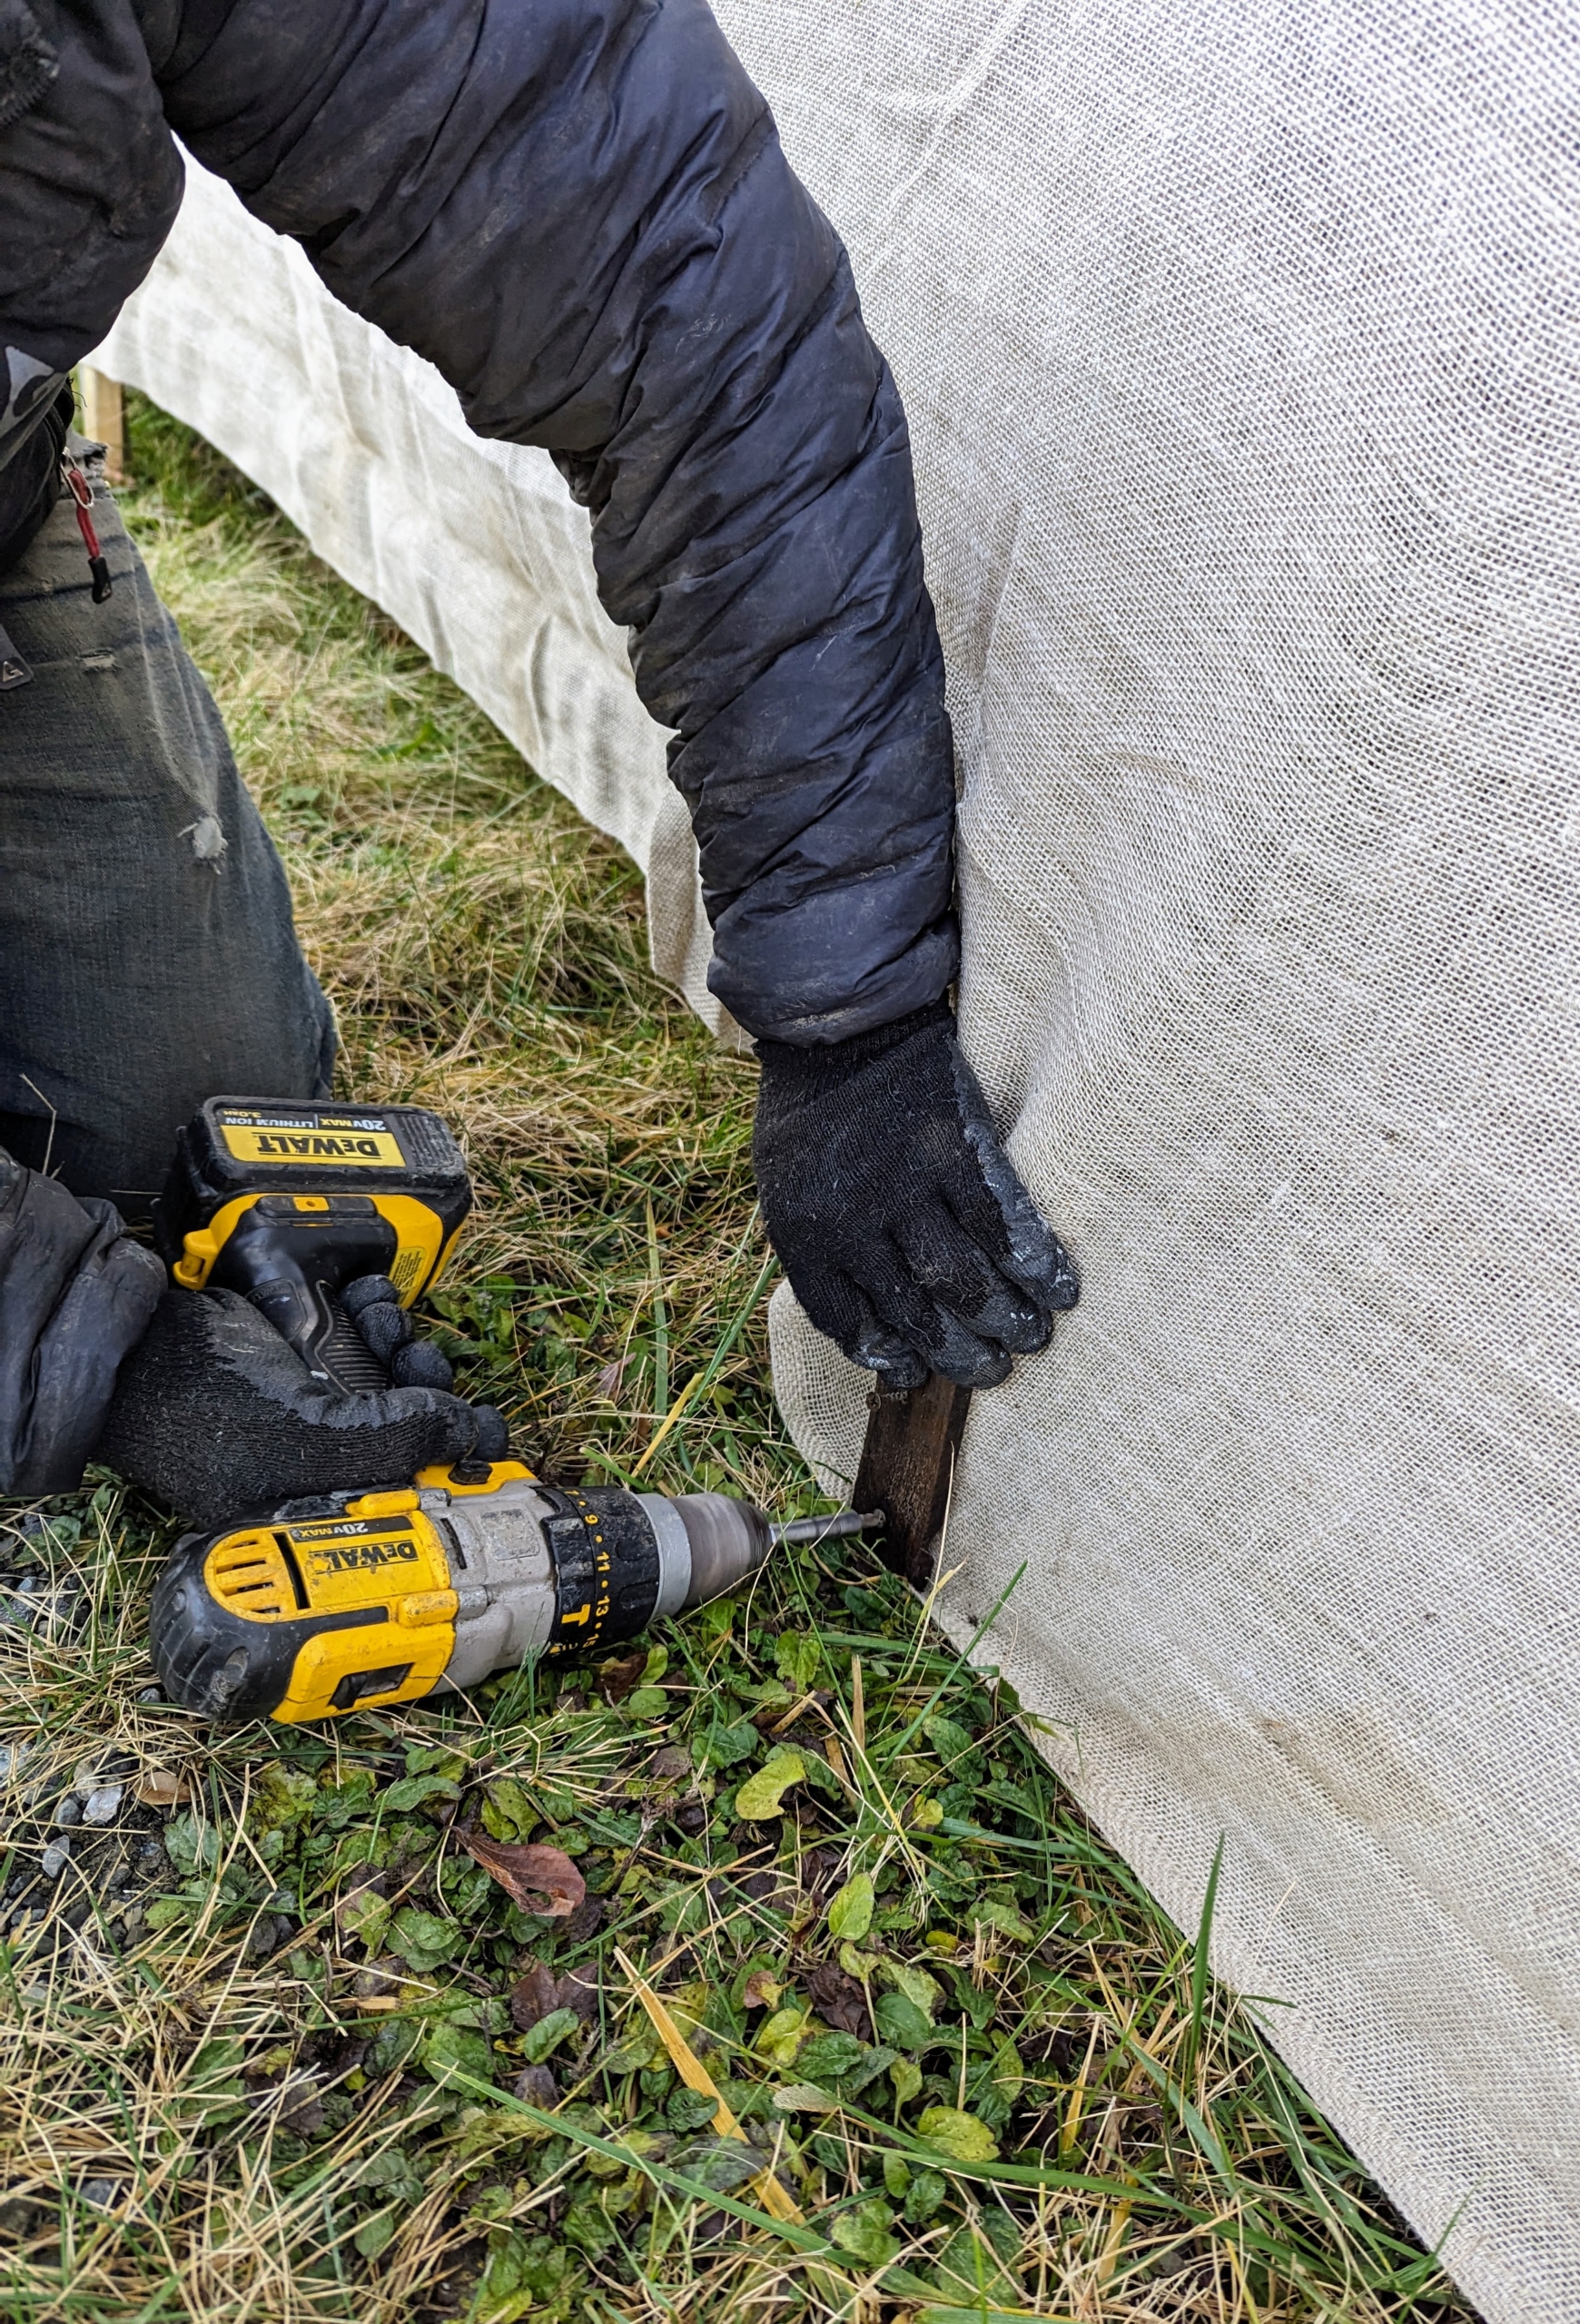
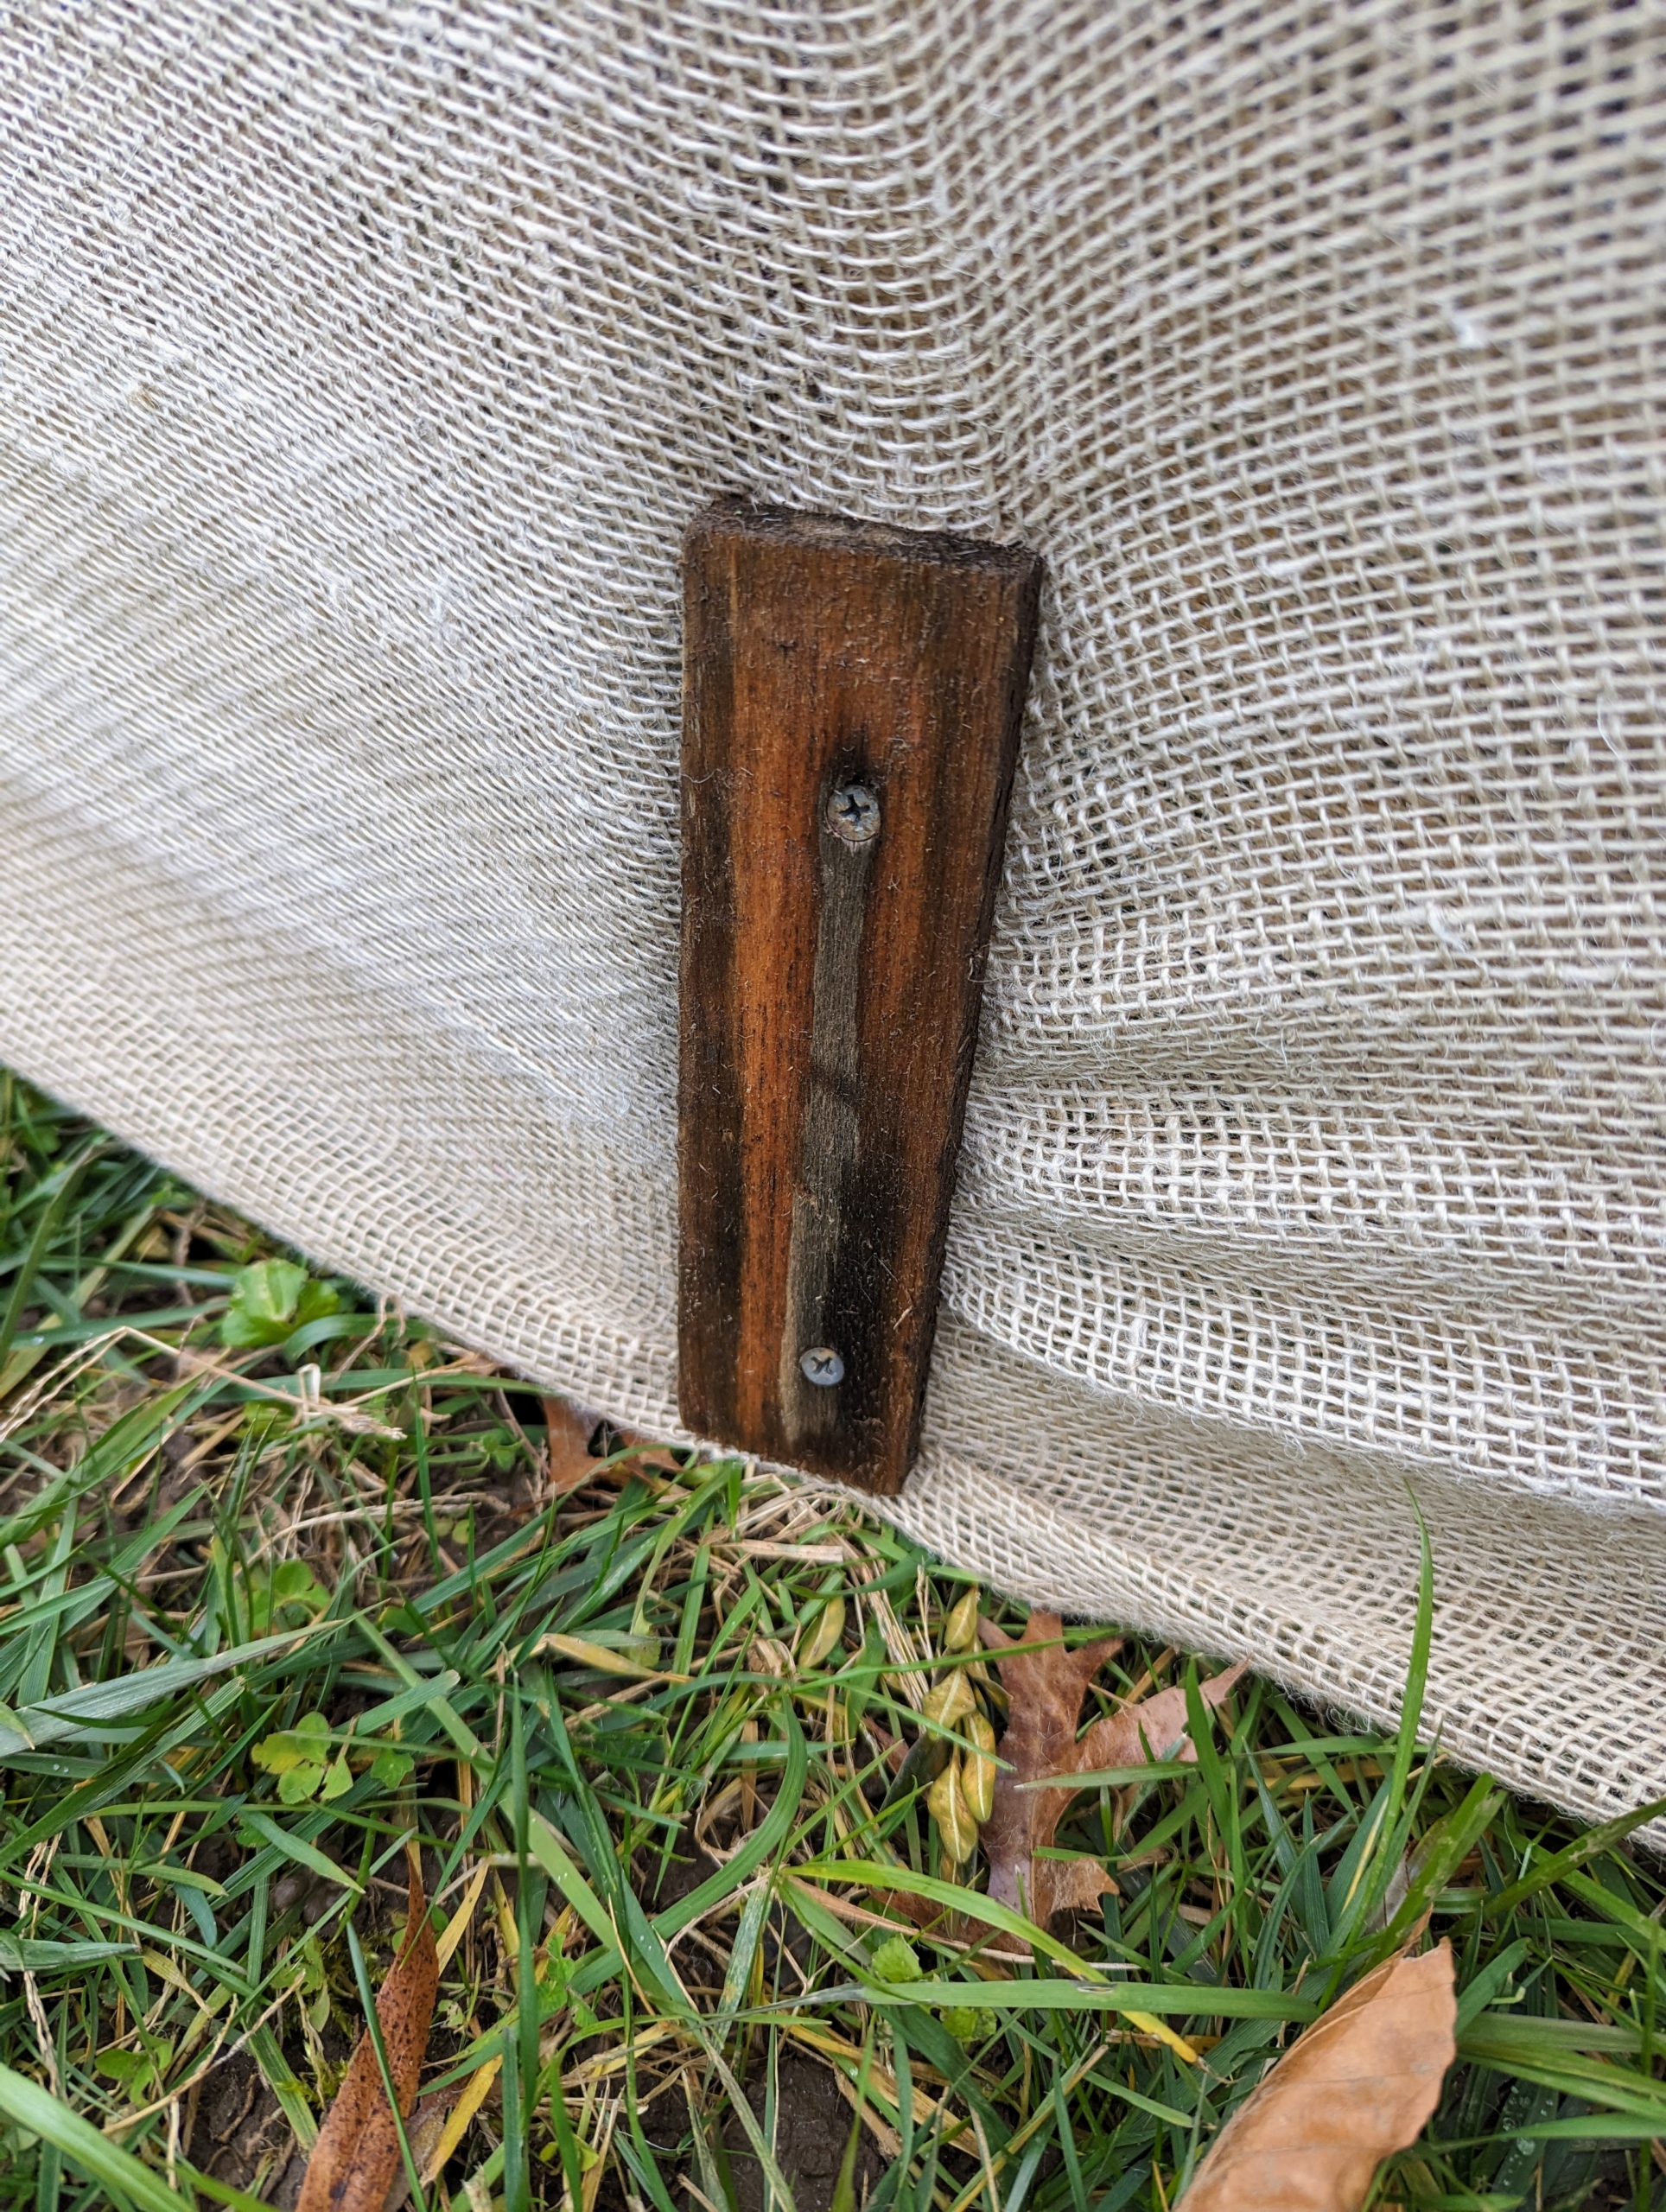
To secure the burlap cover tightly, Phurba pulls down the burlap and attaches it to the ground stakes using wood strips and screws.
It looks very tidy once attached. Both the metal and wood stakes can be seen through the fabric.
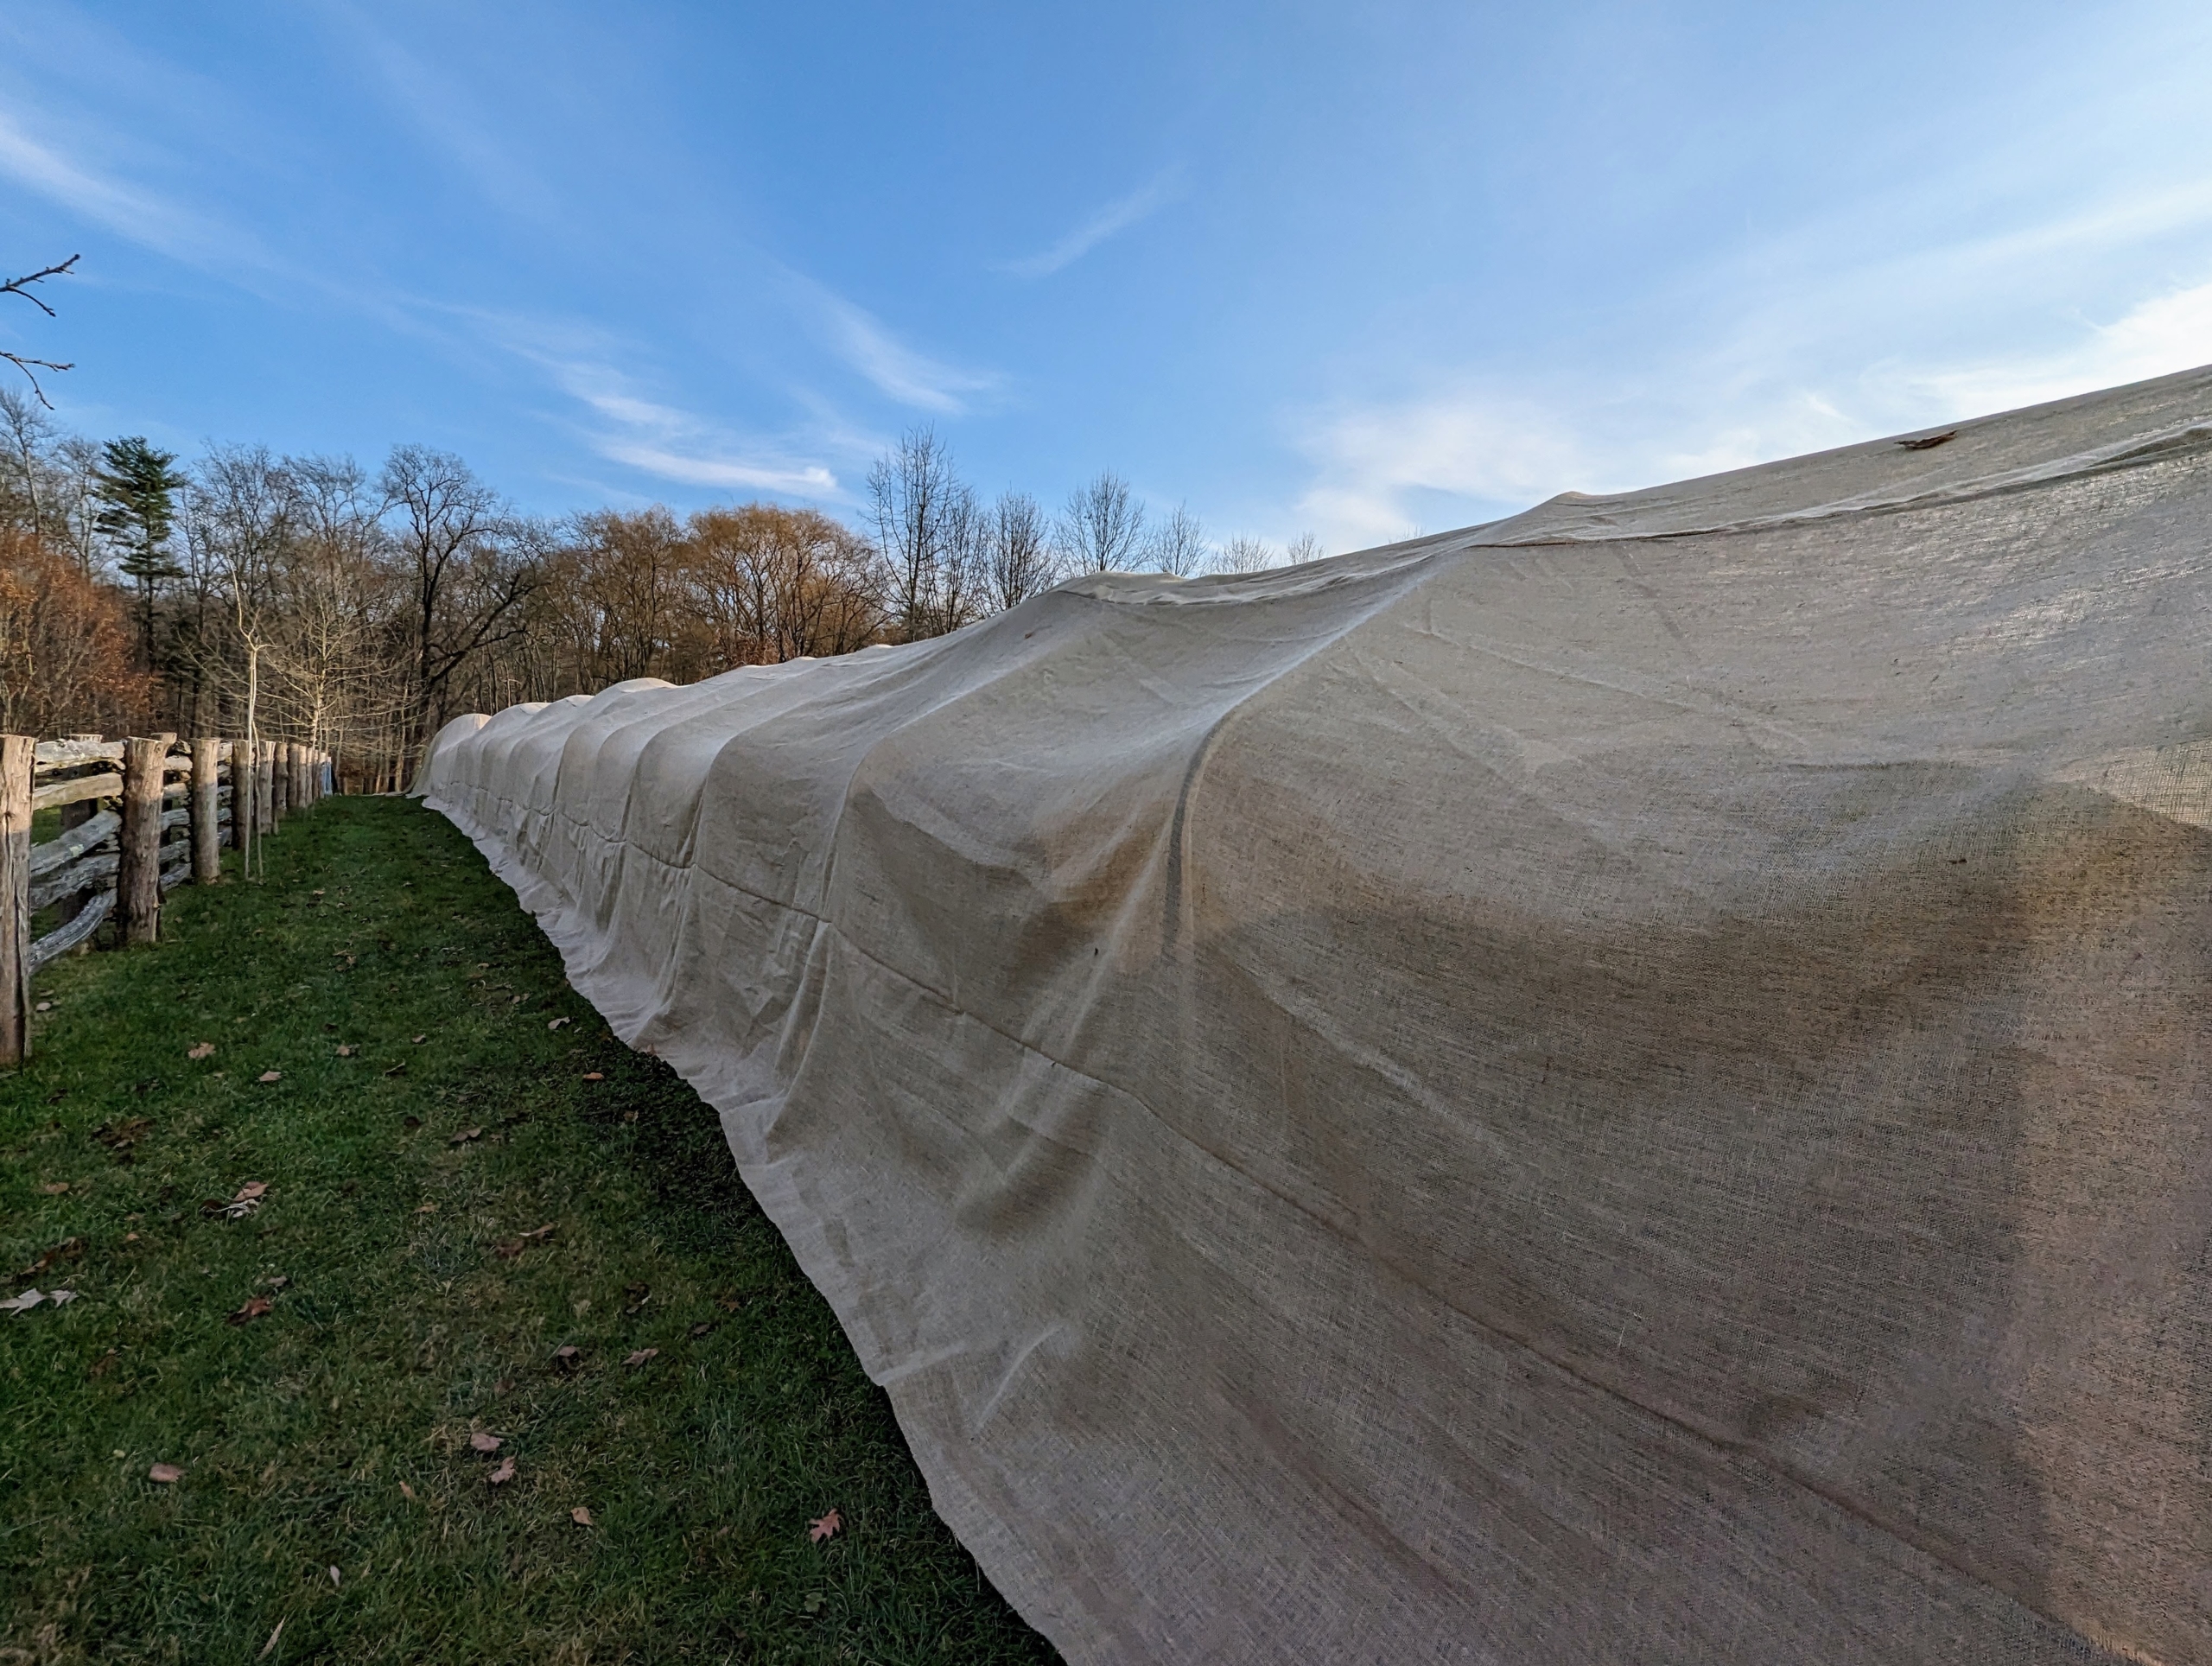
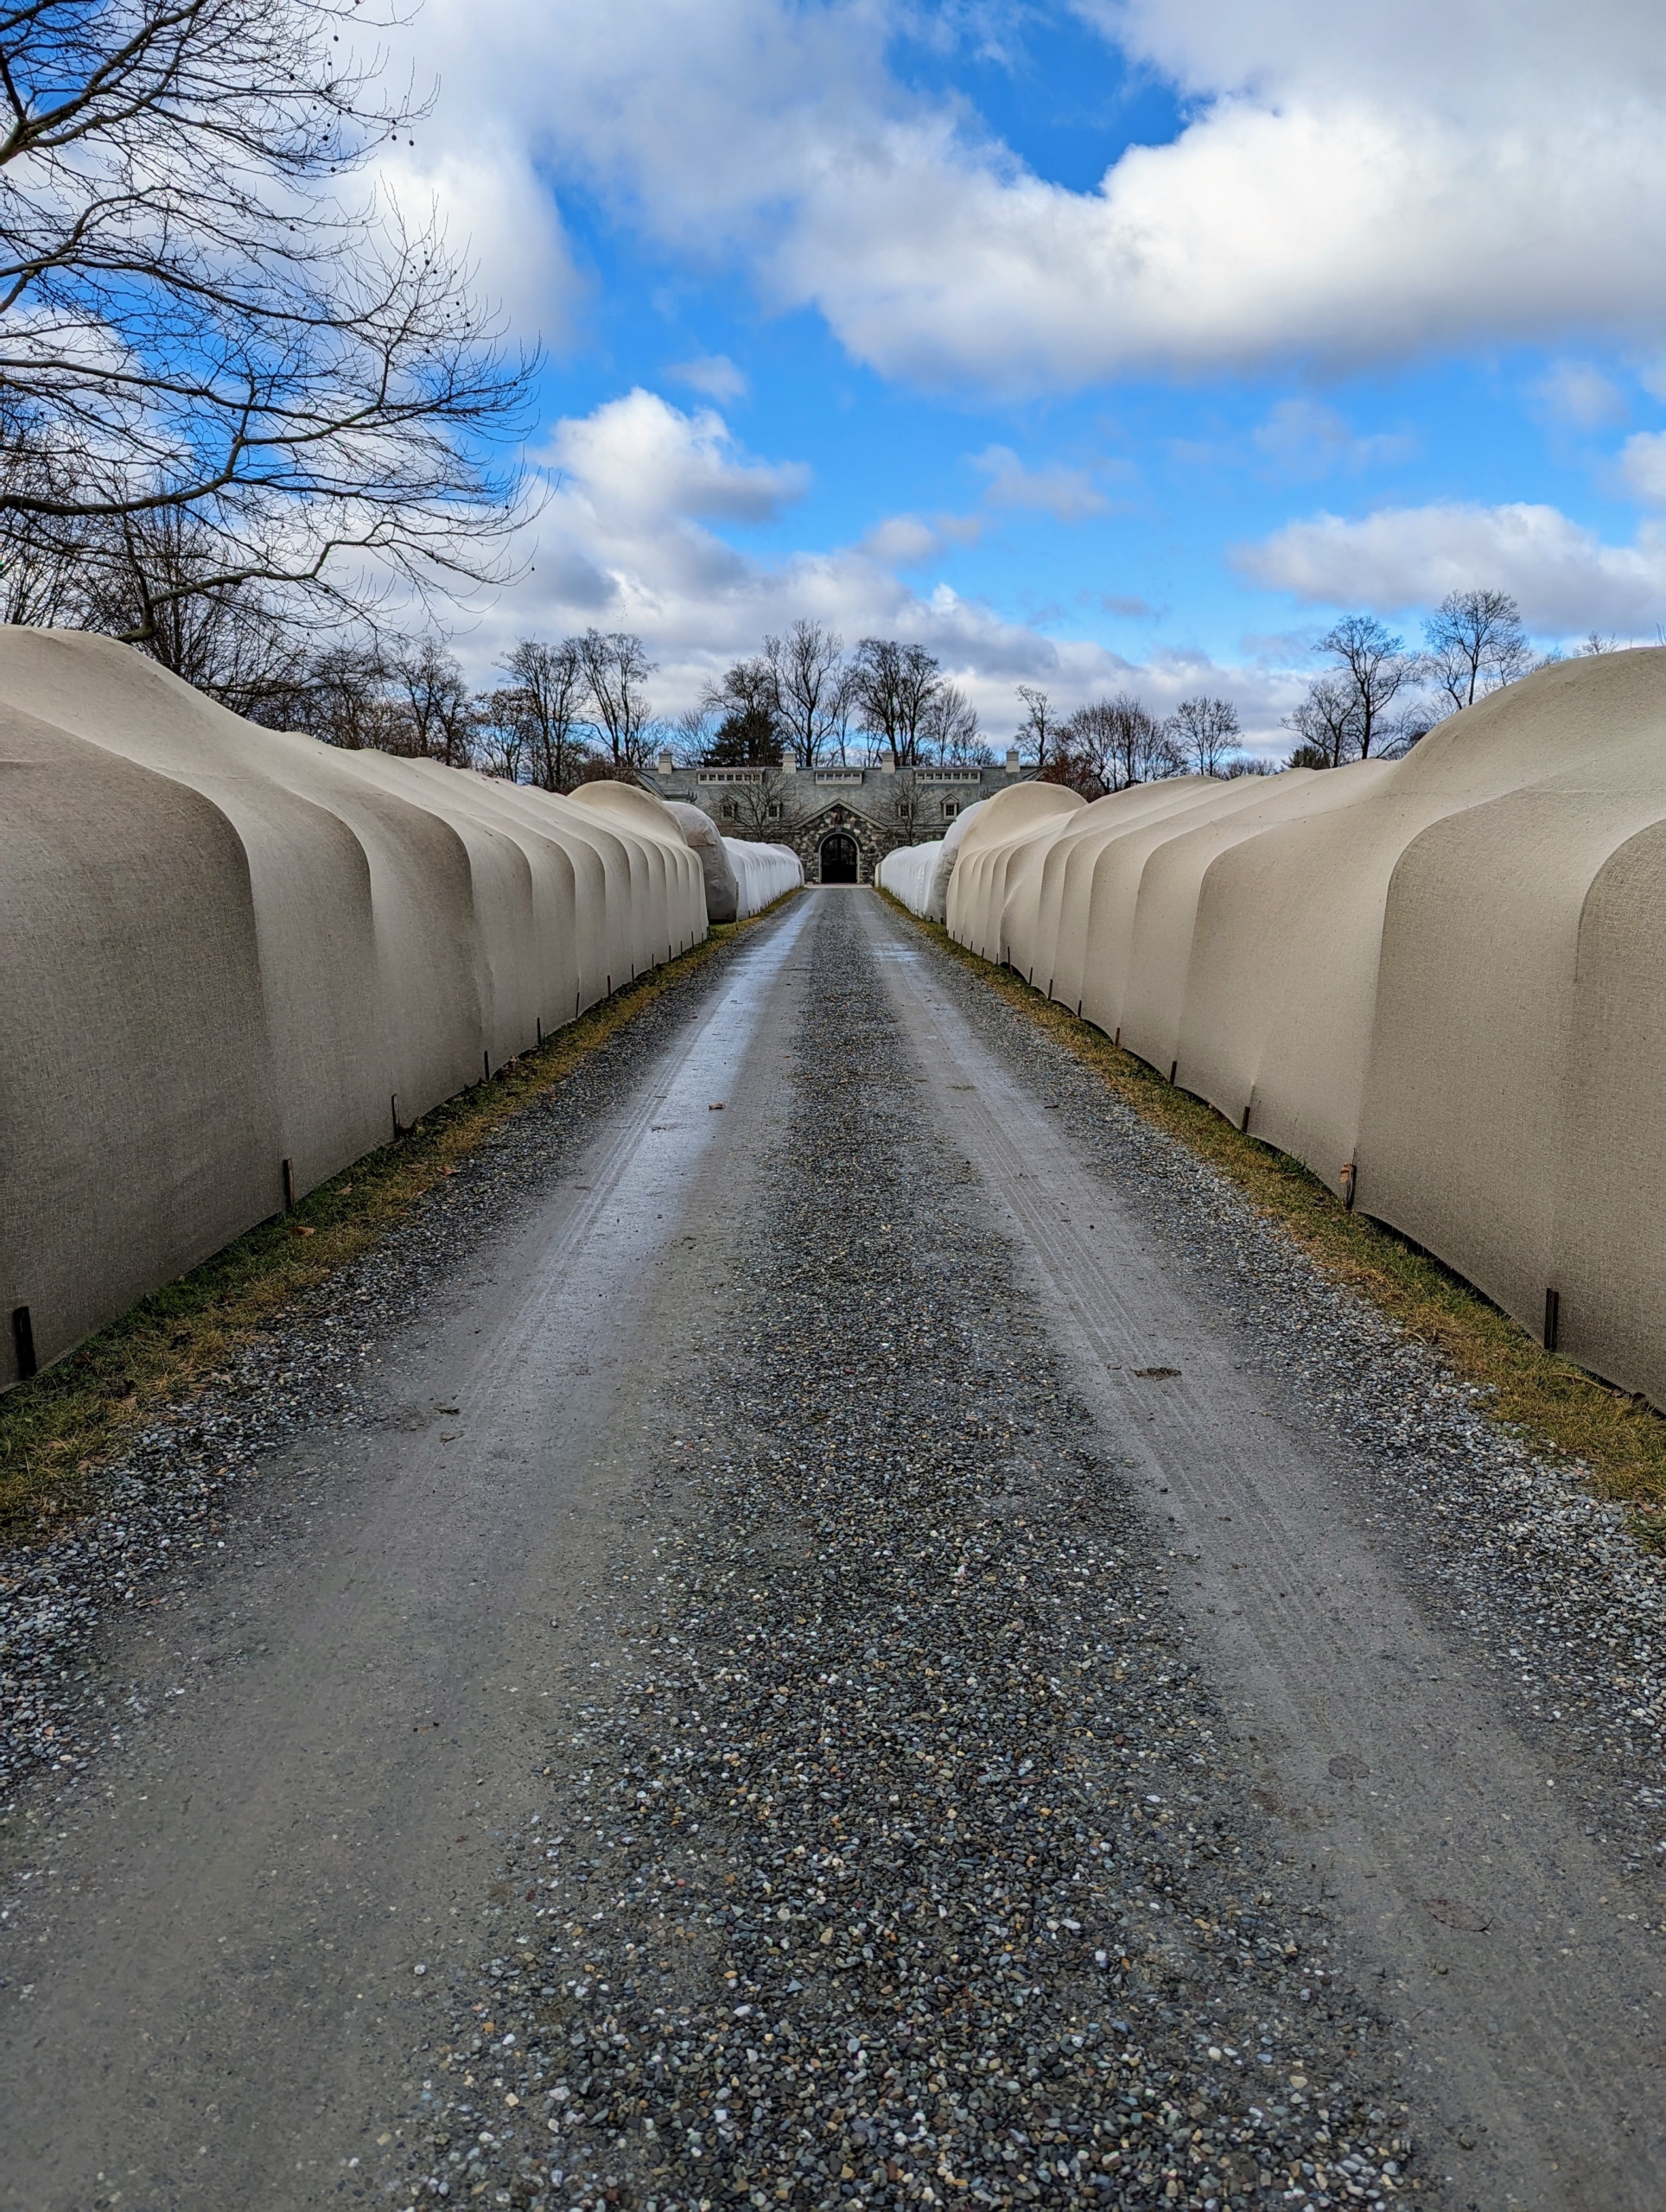
Here is one finished section of the Boxwood Allée. The burlap still allows the boxwood to “breathe”, and get sunlight, which is important even during the colder months.
At the ends, Phurba pulls the burlap snug and begins sewing it closed. For this he uses a large embroidery needle and jute twine.
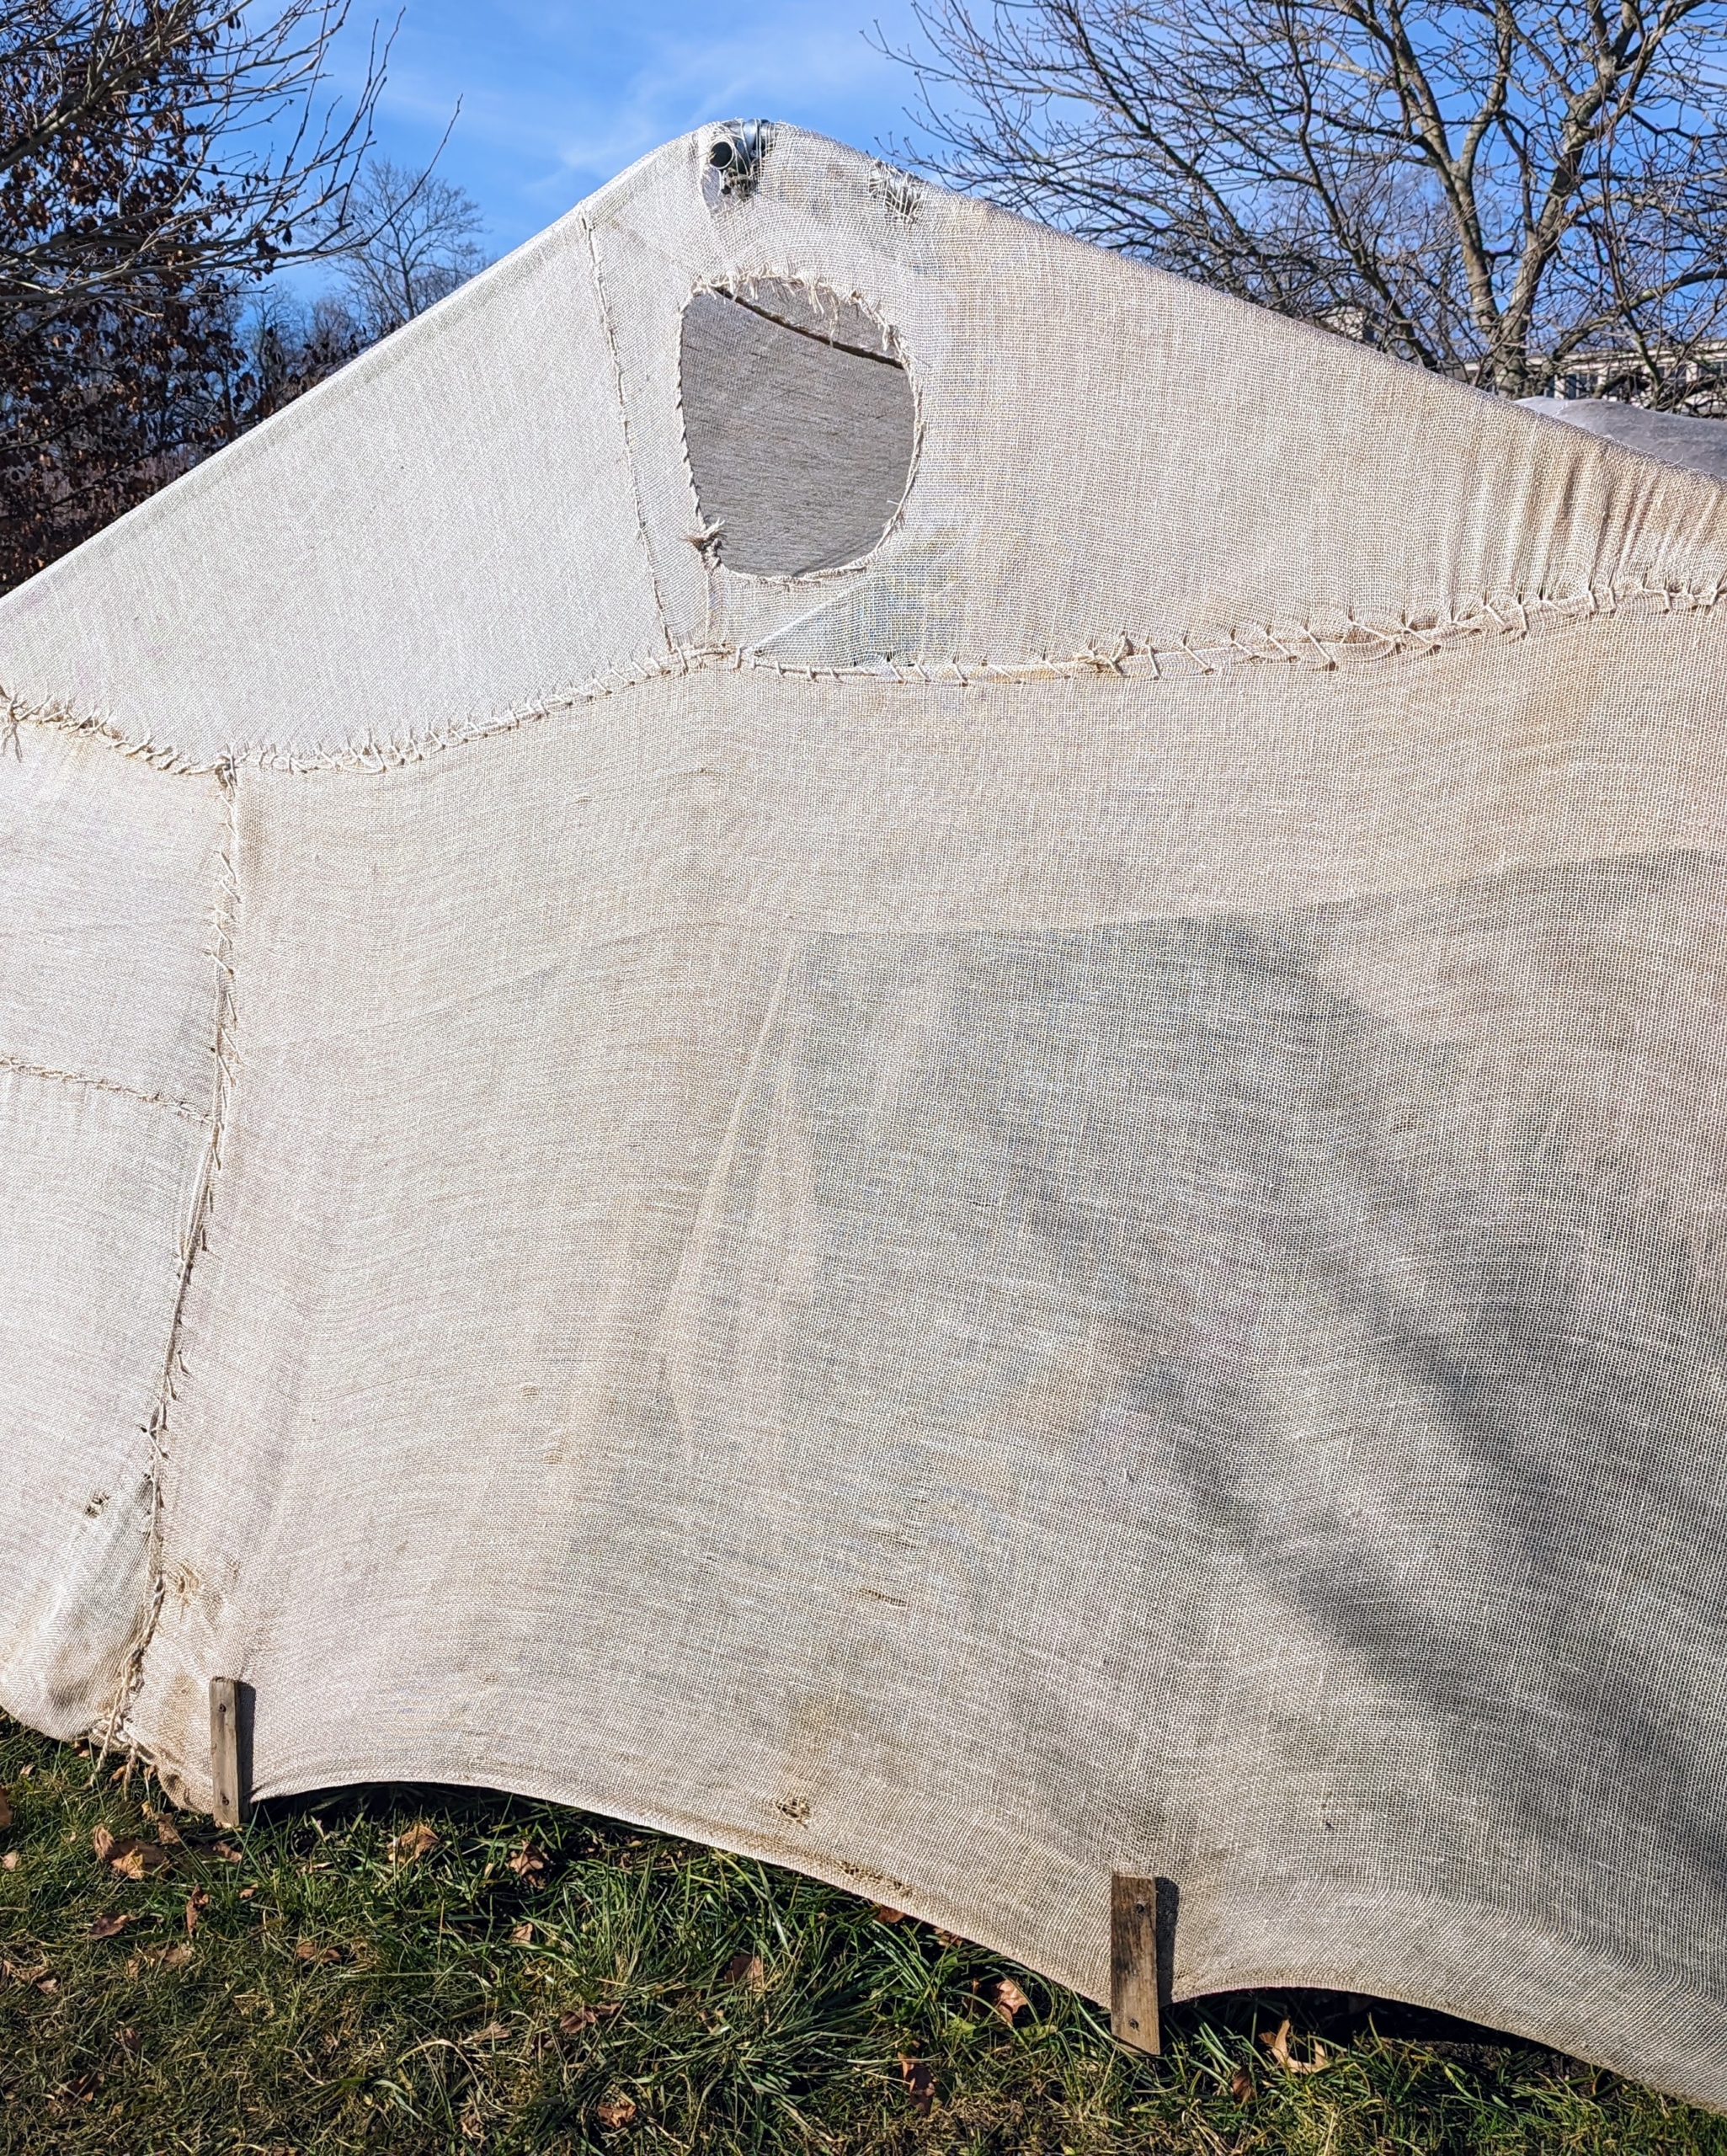
Various birds love to nest in the big bushes, so we always add a few holes for our avian friends.
Some sections need new covers. Because the burlap comes in 48-inch wide and 60-inch wide rolls, it’s necessary to sew lengths of burlap, so it is wide enough to cover the boxwood. Burlap is relatively inexpensive and available at garden centers.
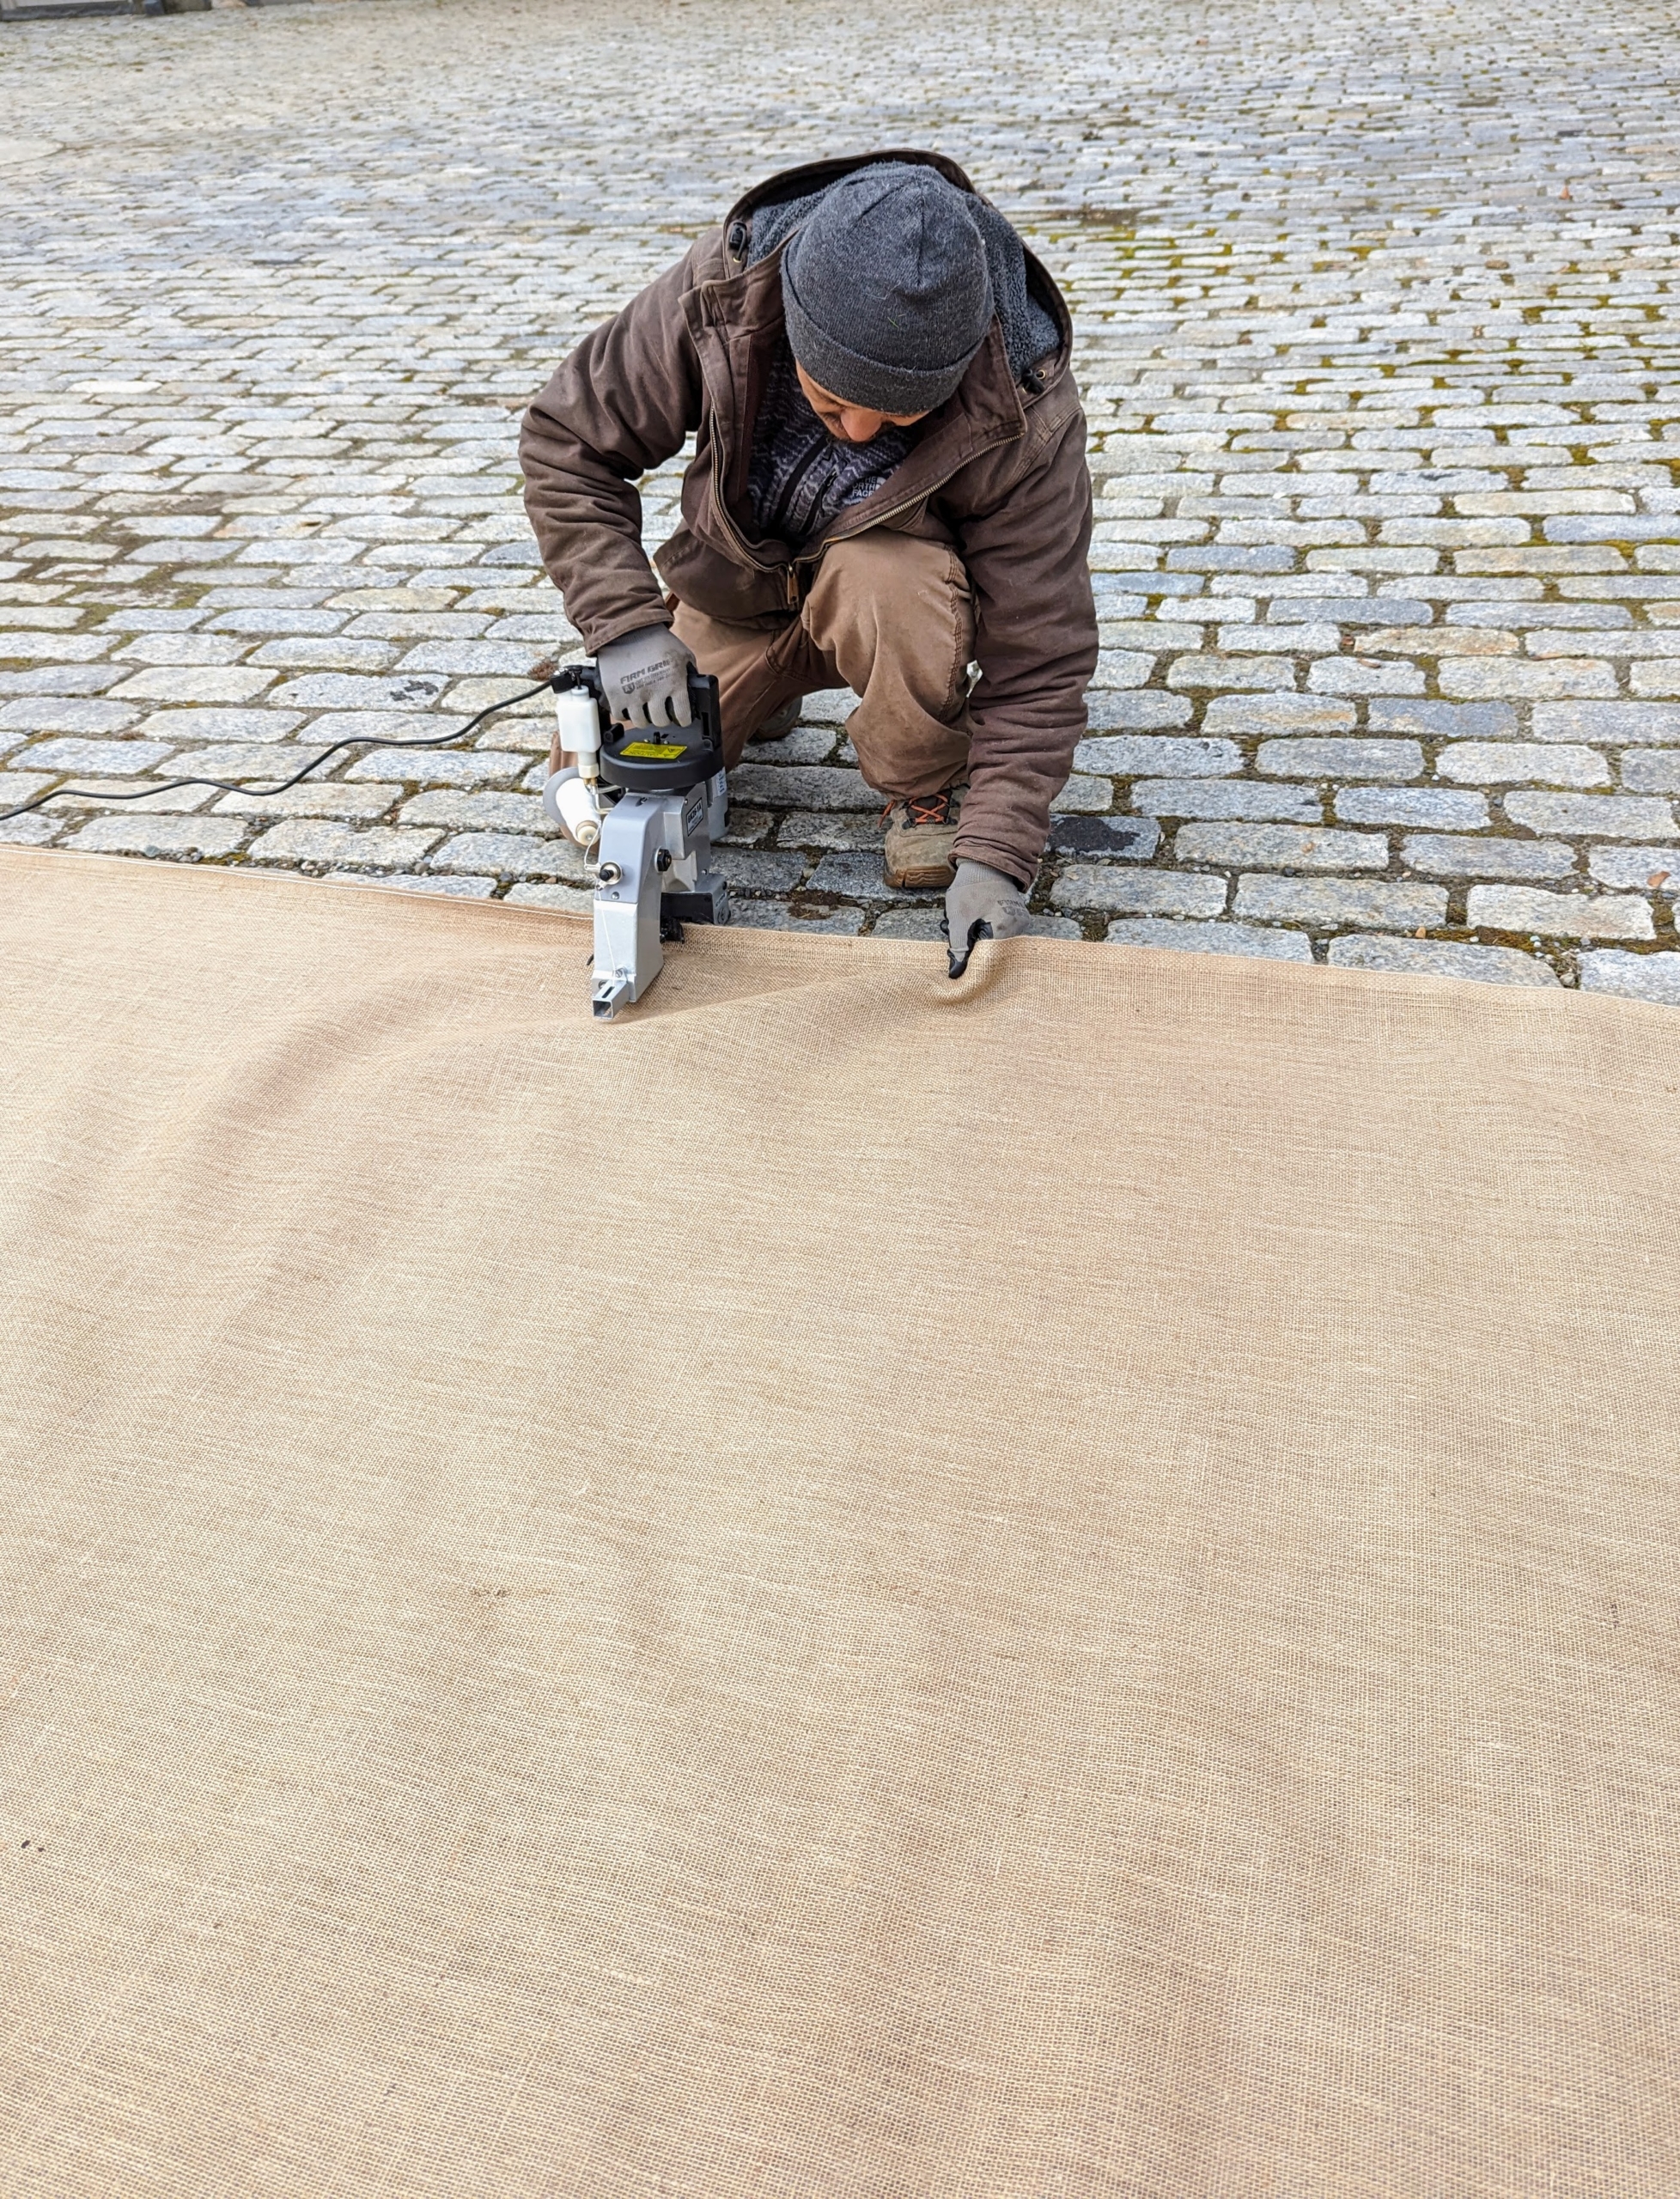
This year, we purchased a portable bag closing sewing machine. Chhiring is able to sew long lengths of burlap in a lot less time.
The fabric is held taut as the machine is pulled across. It can also be done right on site, which is very convenient.
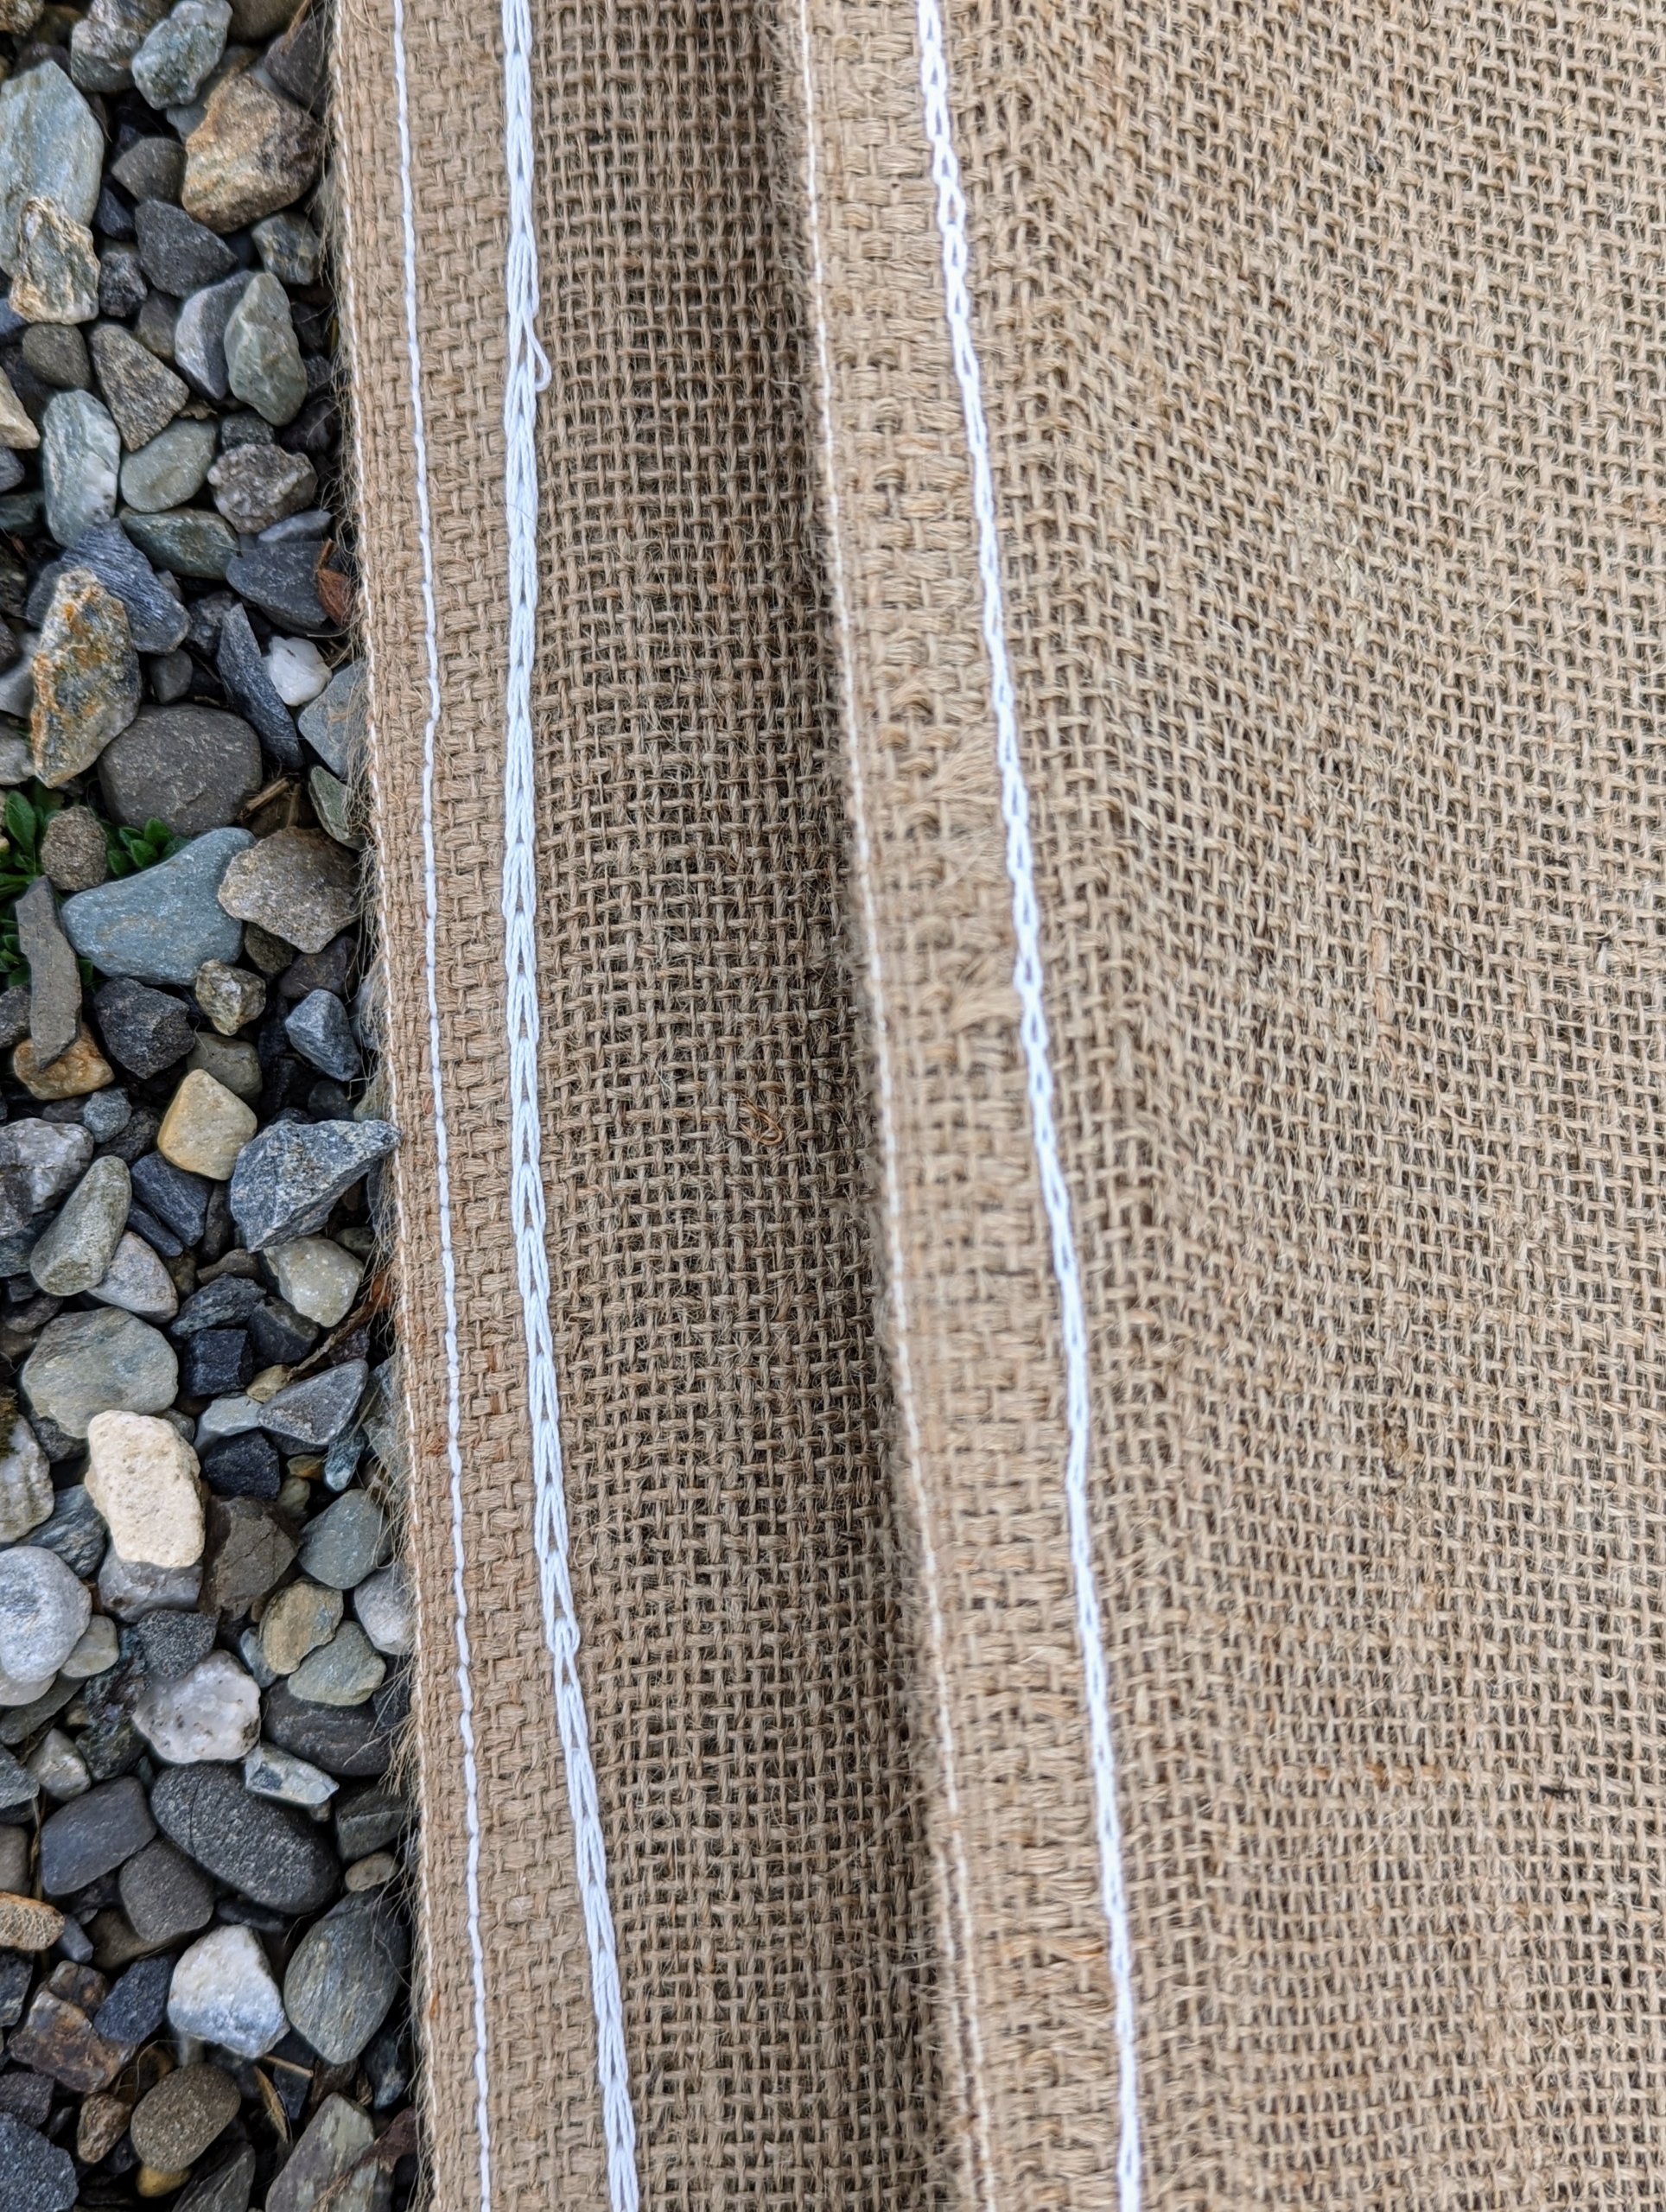
The machine uses white strong cotton thread and a chain stitch which is formed when the needle passes through the fabric and inter-loops with itself on the underside of the seam. It is often seen on sacks of rice.
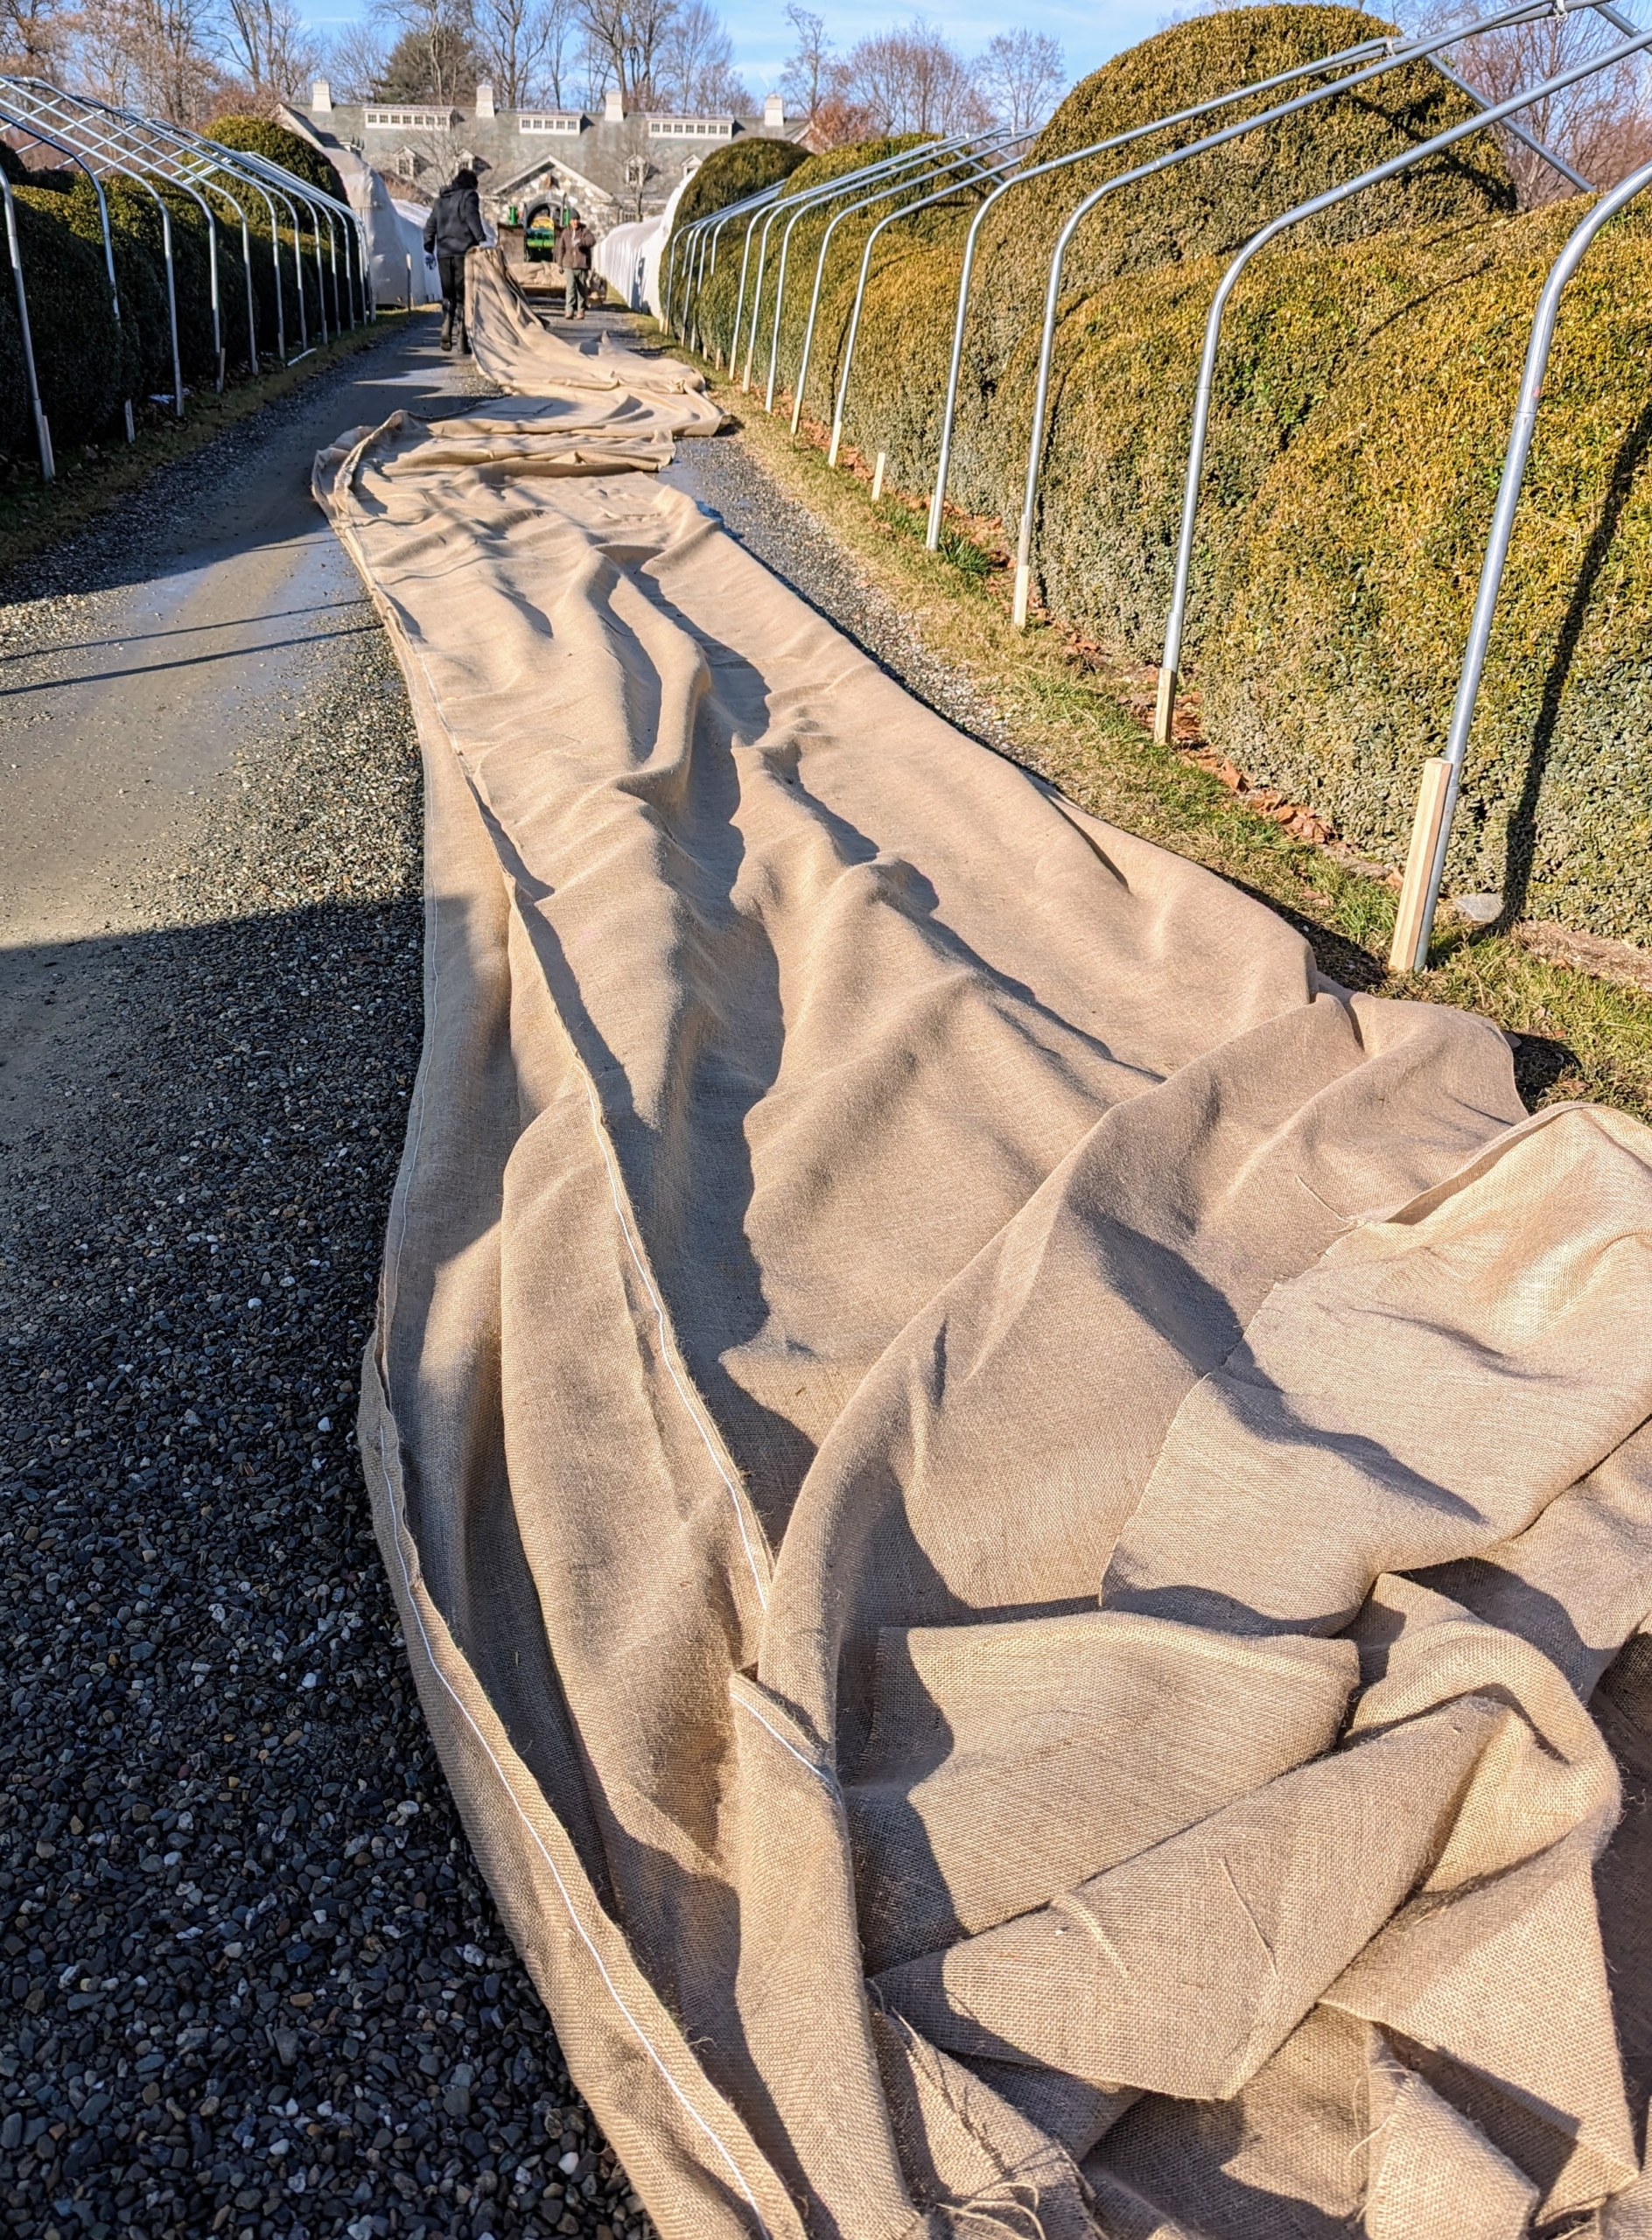
The new cover is then brought to the allée and laid out fully in front of the section it will cover.
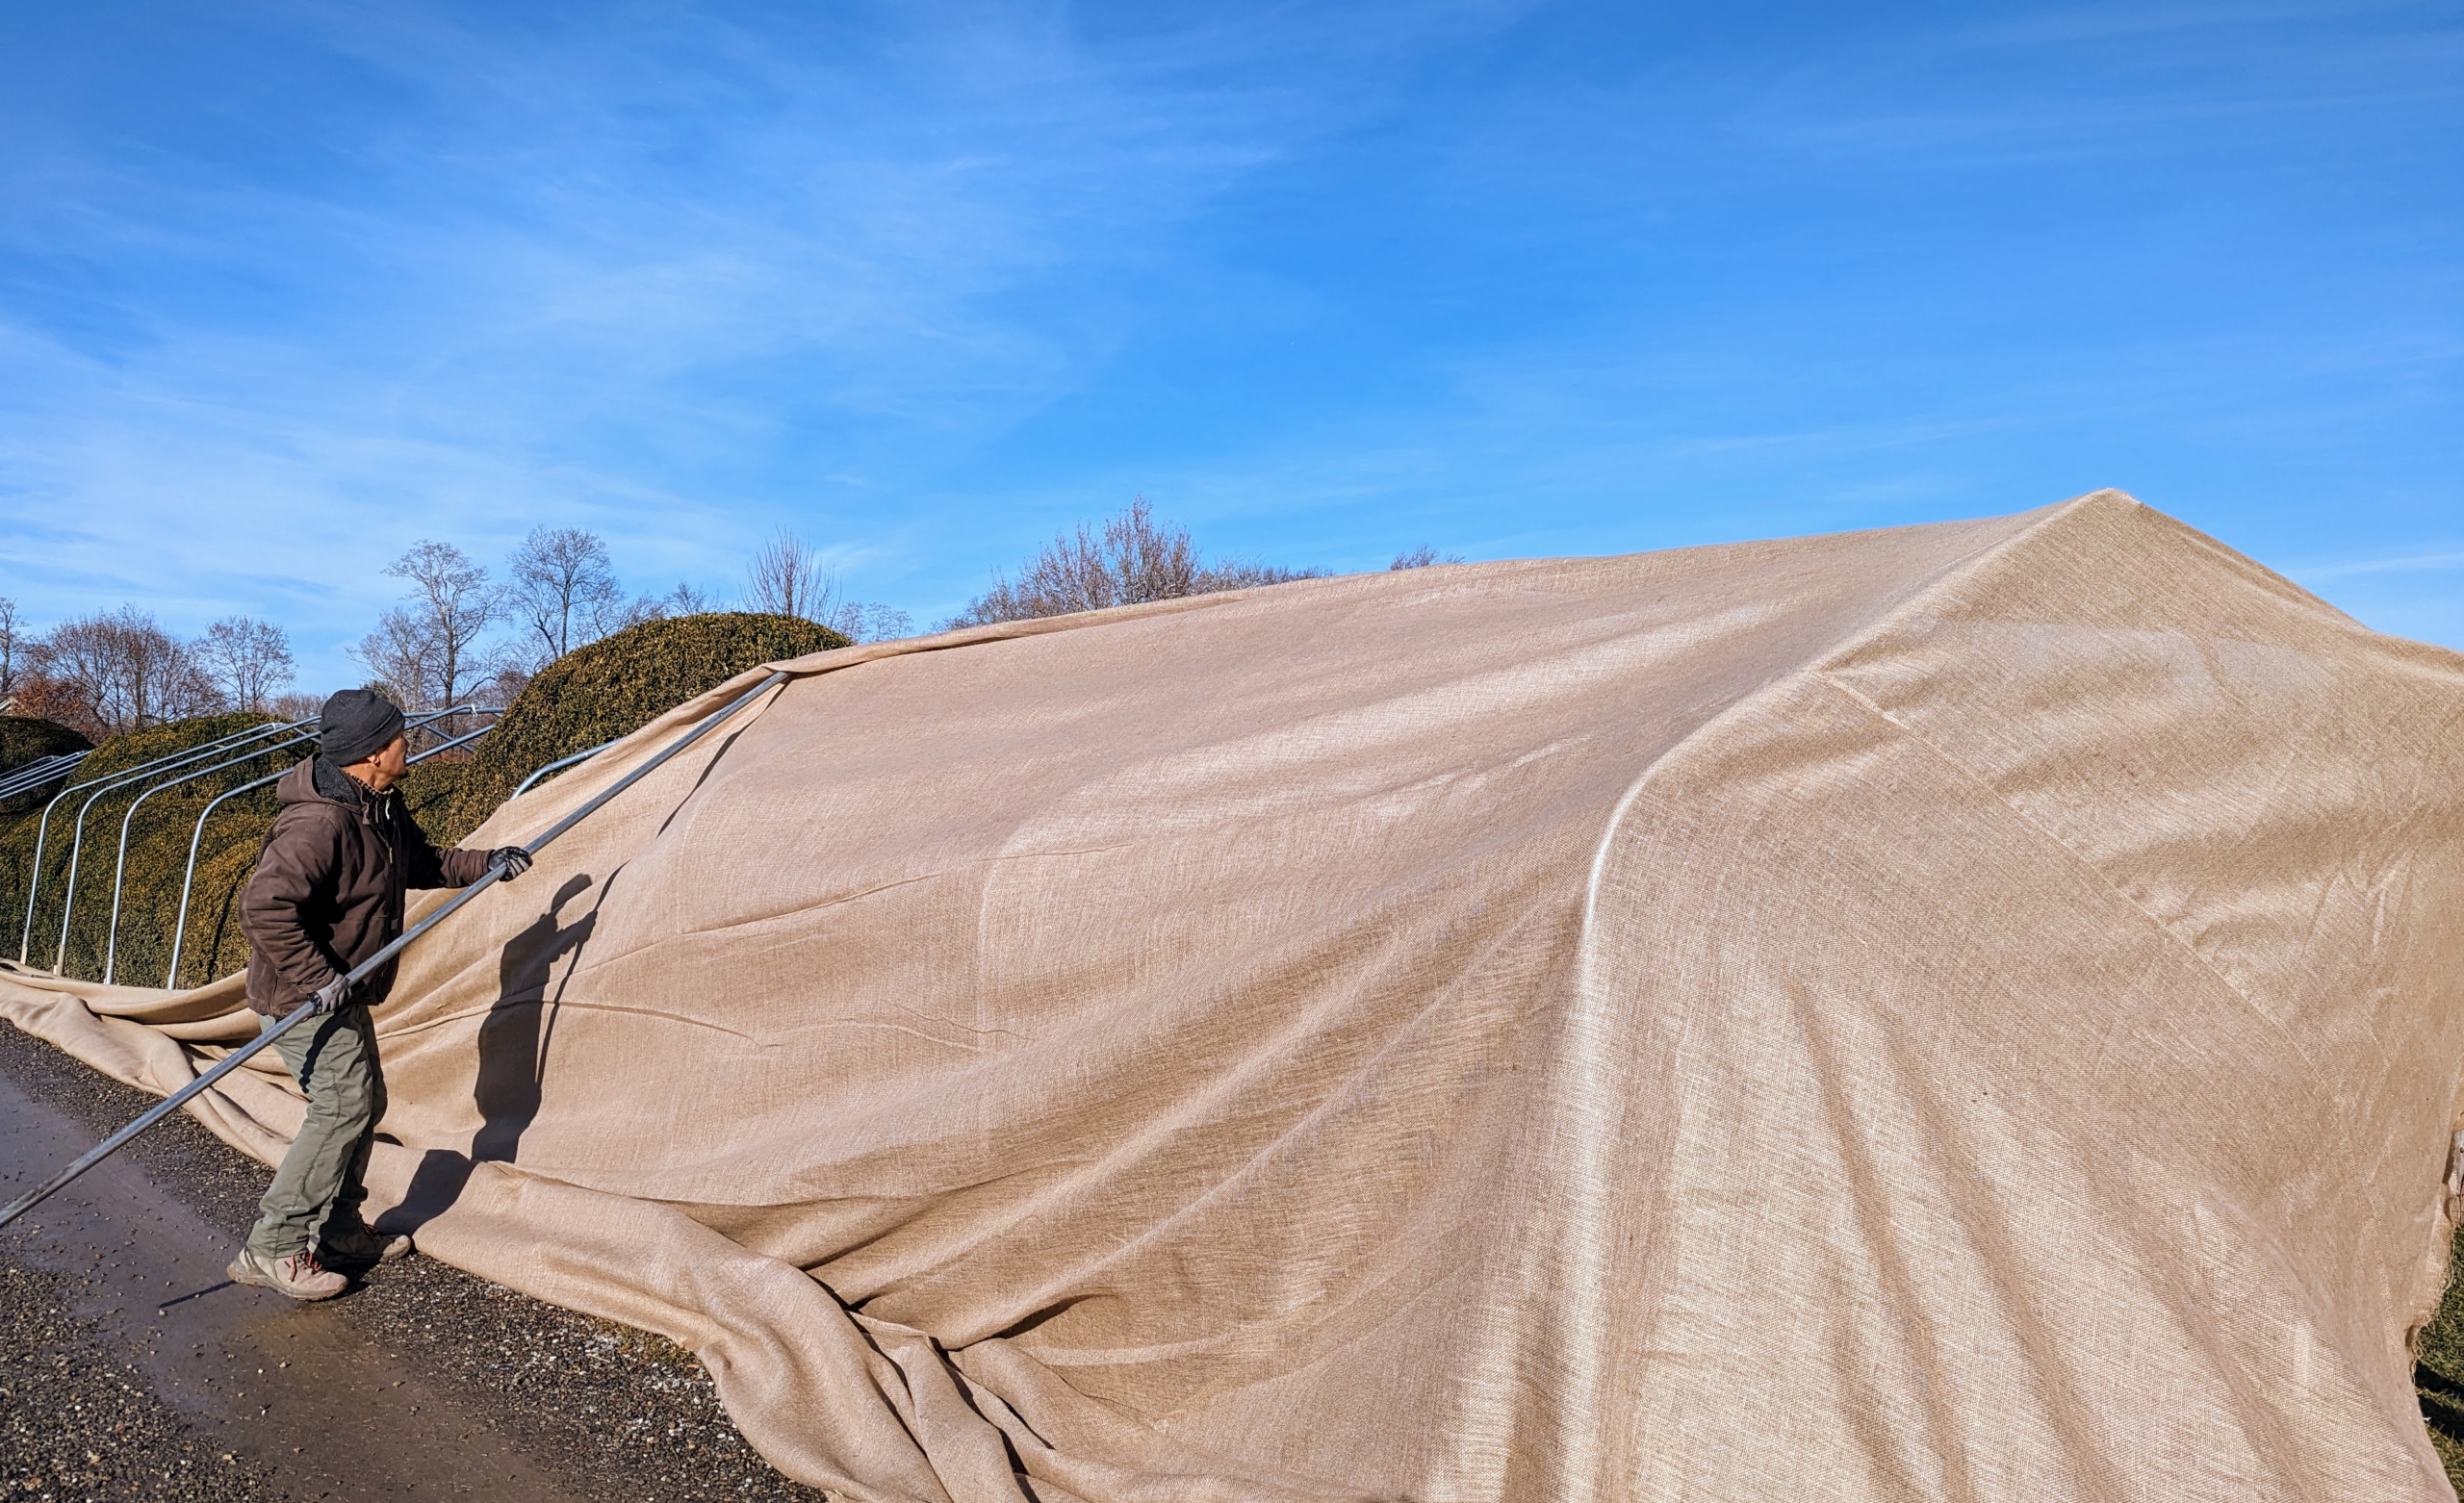
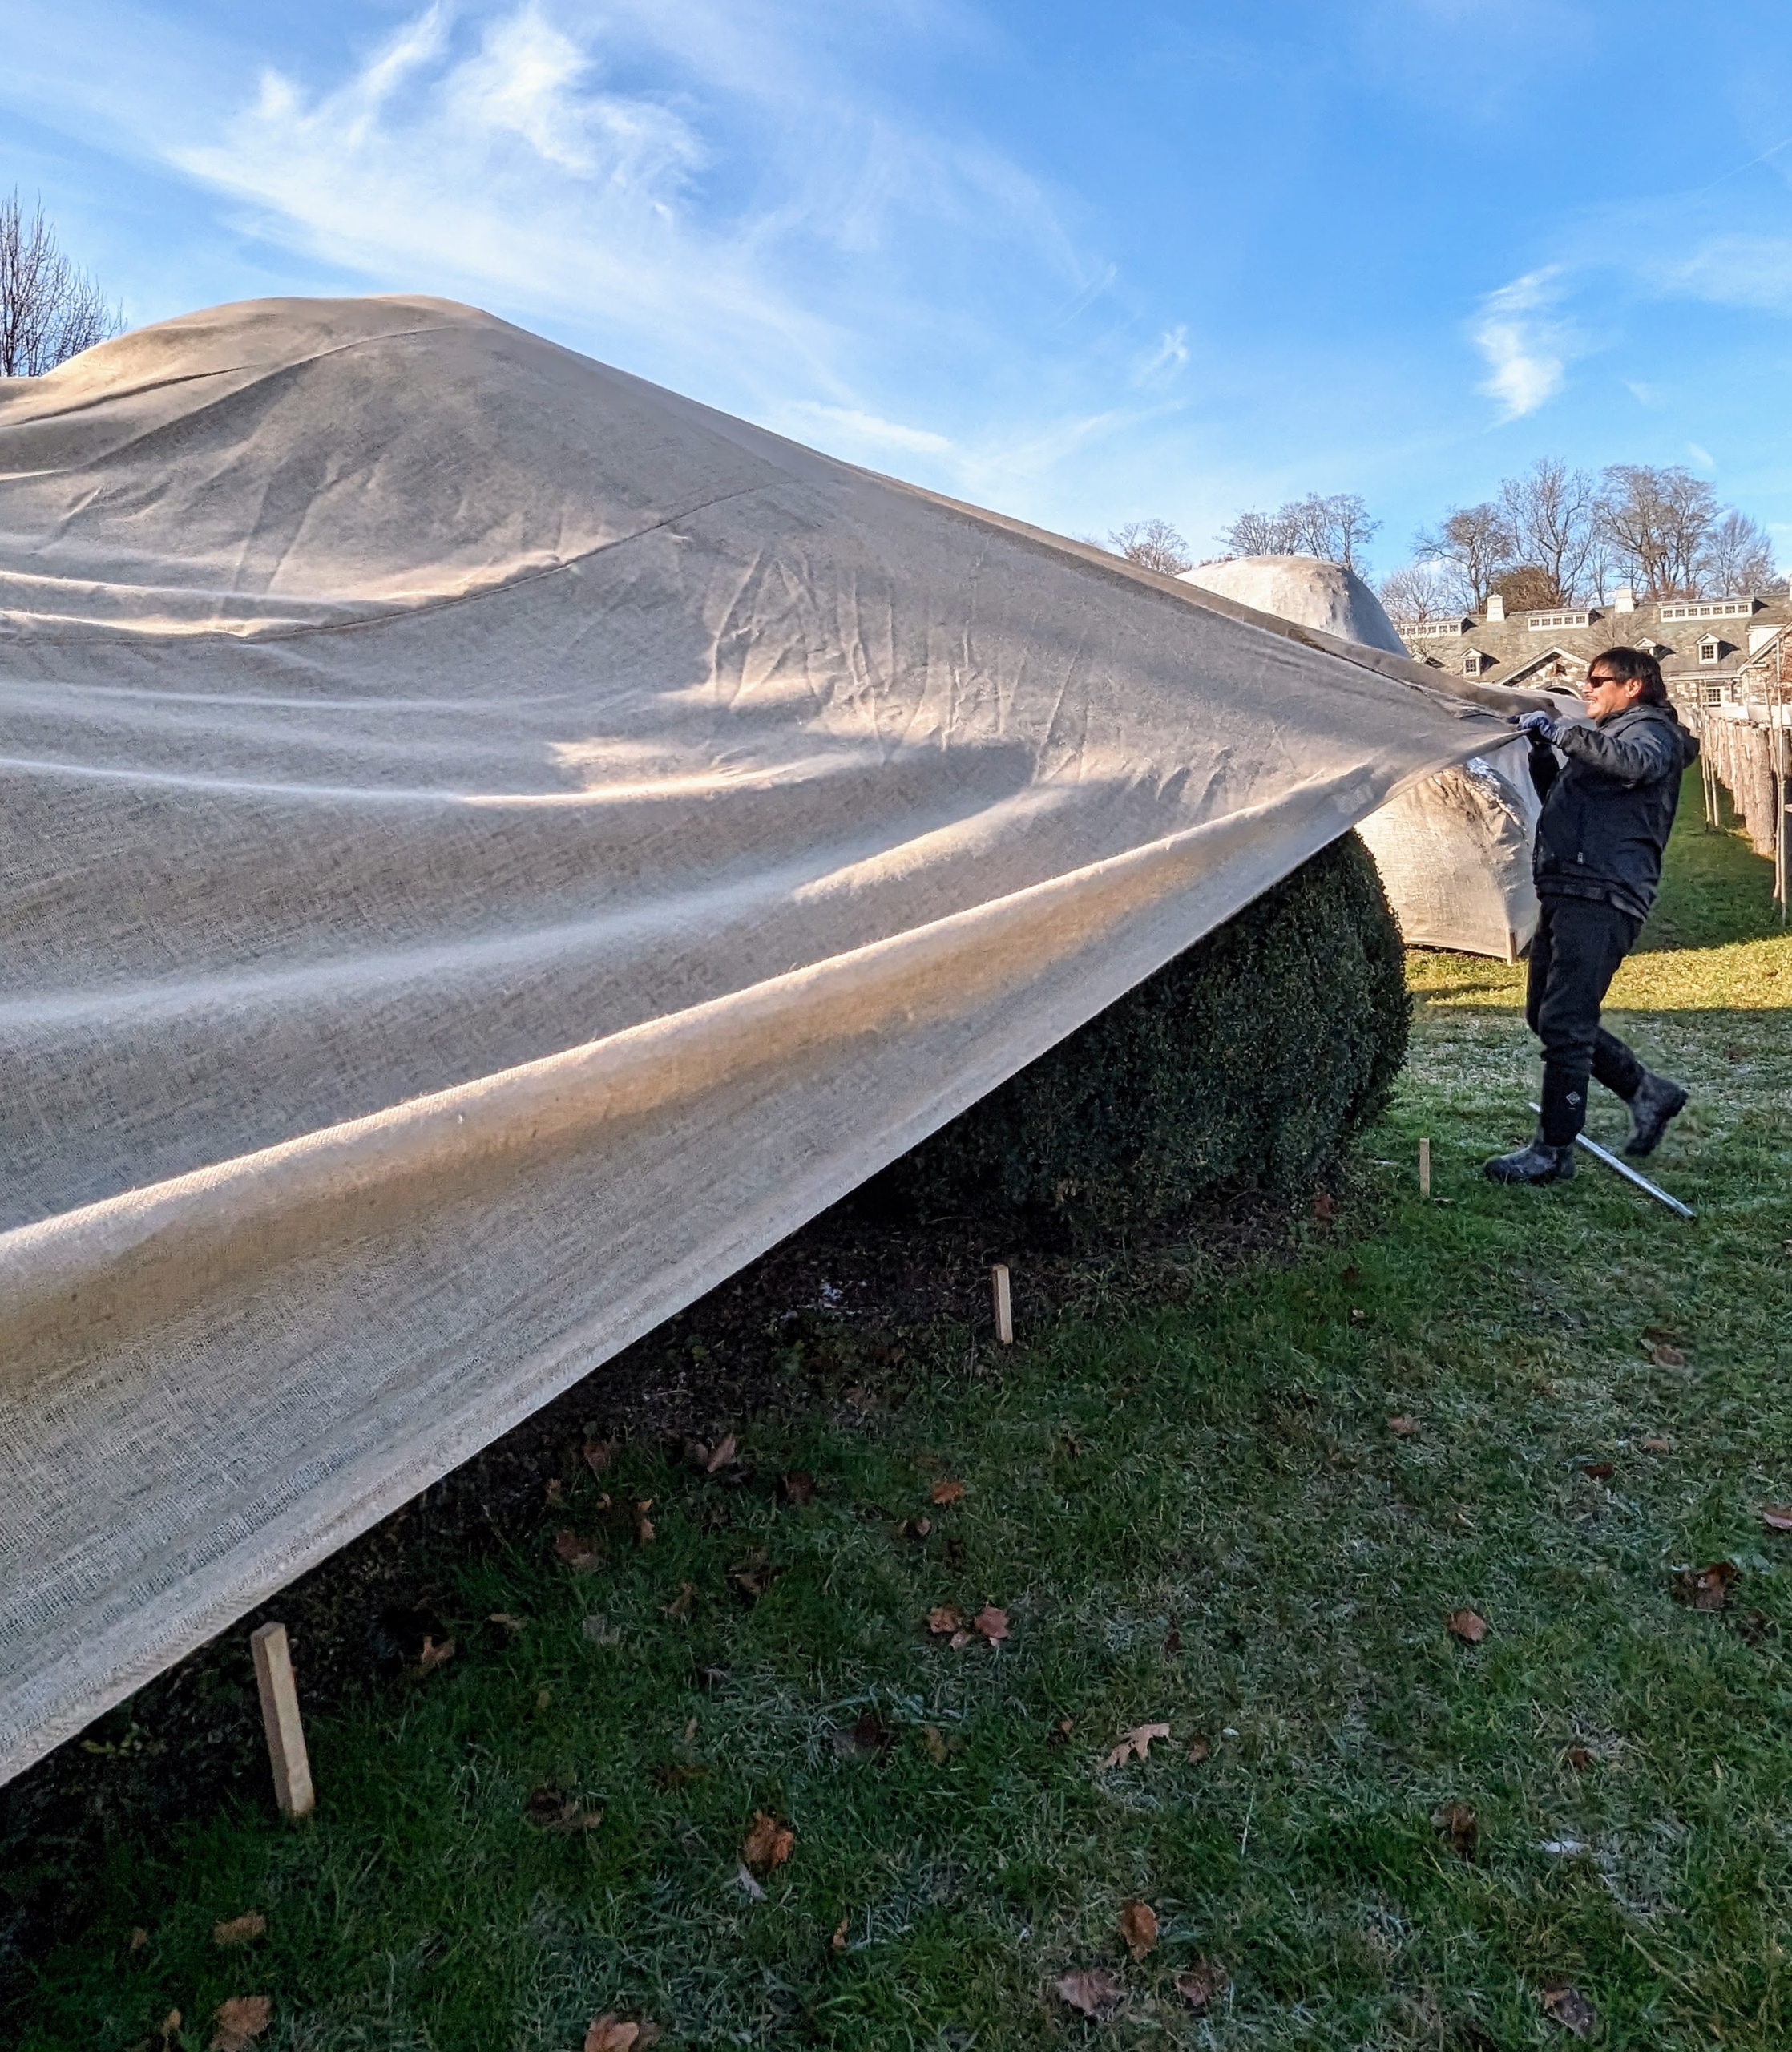
Chhiring uses one of the long metal poles to help get the burlap over the frame peaks.
Cesar pull one end of the burlap over the metal framing and then over the large end boxwood.
Building the frame at least a foot taller than the boxwood protects any heavy snow from weighing down onto the tender foliage.
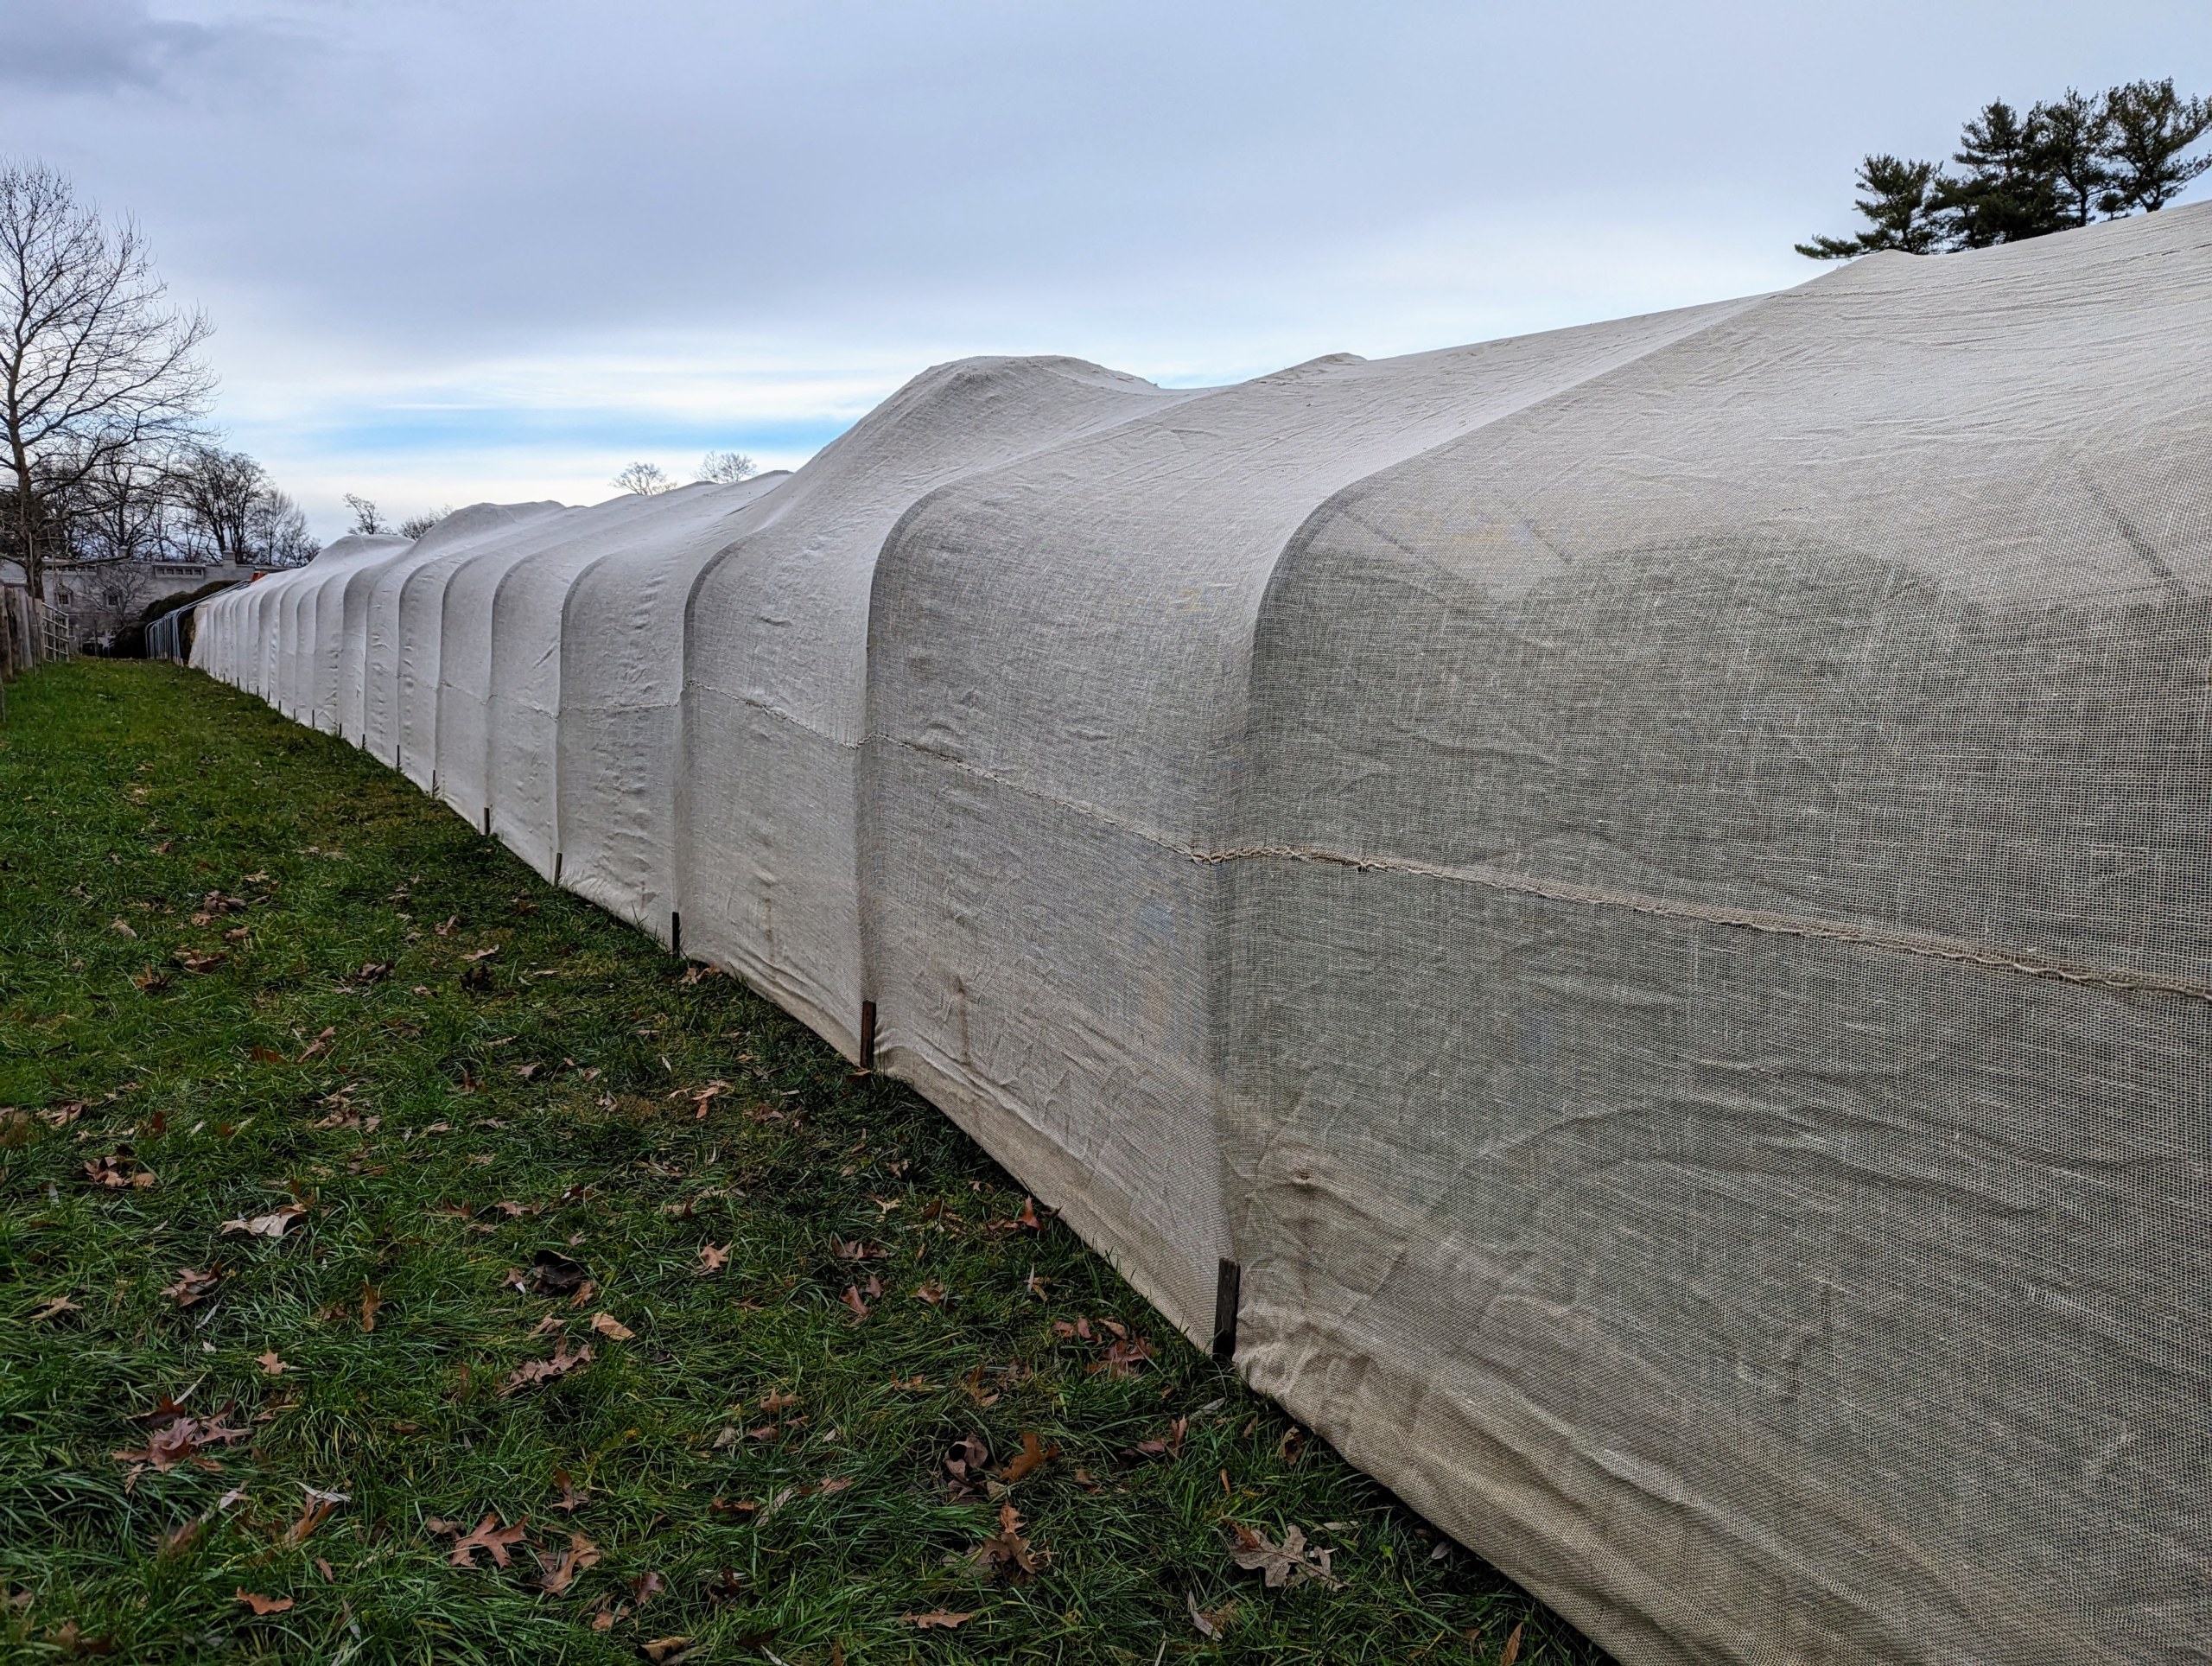
Here is one finished end of the Boxwood Allée – the end closest to my stable.
I’ve been “burlapping” for many years and find that this is really the most reliable way to protect my hedges and shrubs. Covering this allée with burlap gives me comfort that all will survive the winter unscathed. And it is so pretty to see all done. And this is just the beginning… the crew has already started “burlapping” another part of farm – wait and see where the “cover up” happens next.