Here at my Bedford, New York farm, we're expecting snow and rain this week, with temperatures in the 30s. My outdoor garden beds are all cleared for the winter, but fresh, delicious vegetables are growing beautifully indoors - in a special greenhouse I had constructed several years ago that was inspired by Eliot Coleman, an expert in four-season farming.
My head gardener, Ryan McCallister, does an excellent job with succession planting. Last week, he planted more lettuce, cucumbers and carrots. I'm always so happy to share the bounties with my family and friends.
Enjoy these photos.
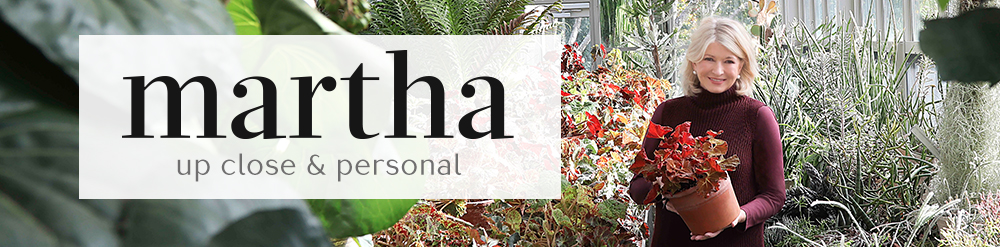
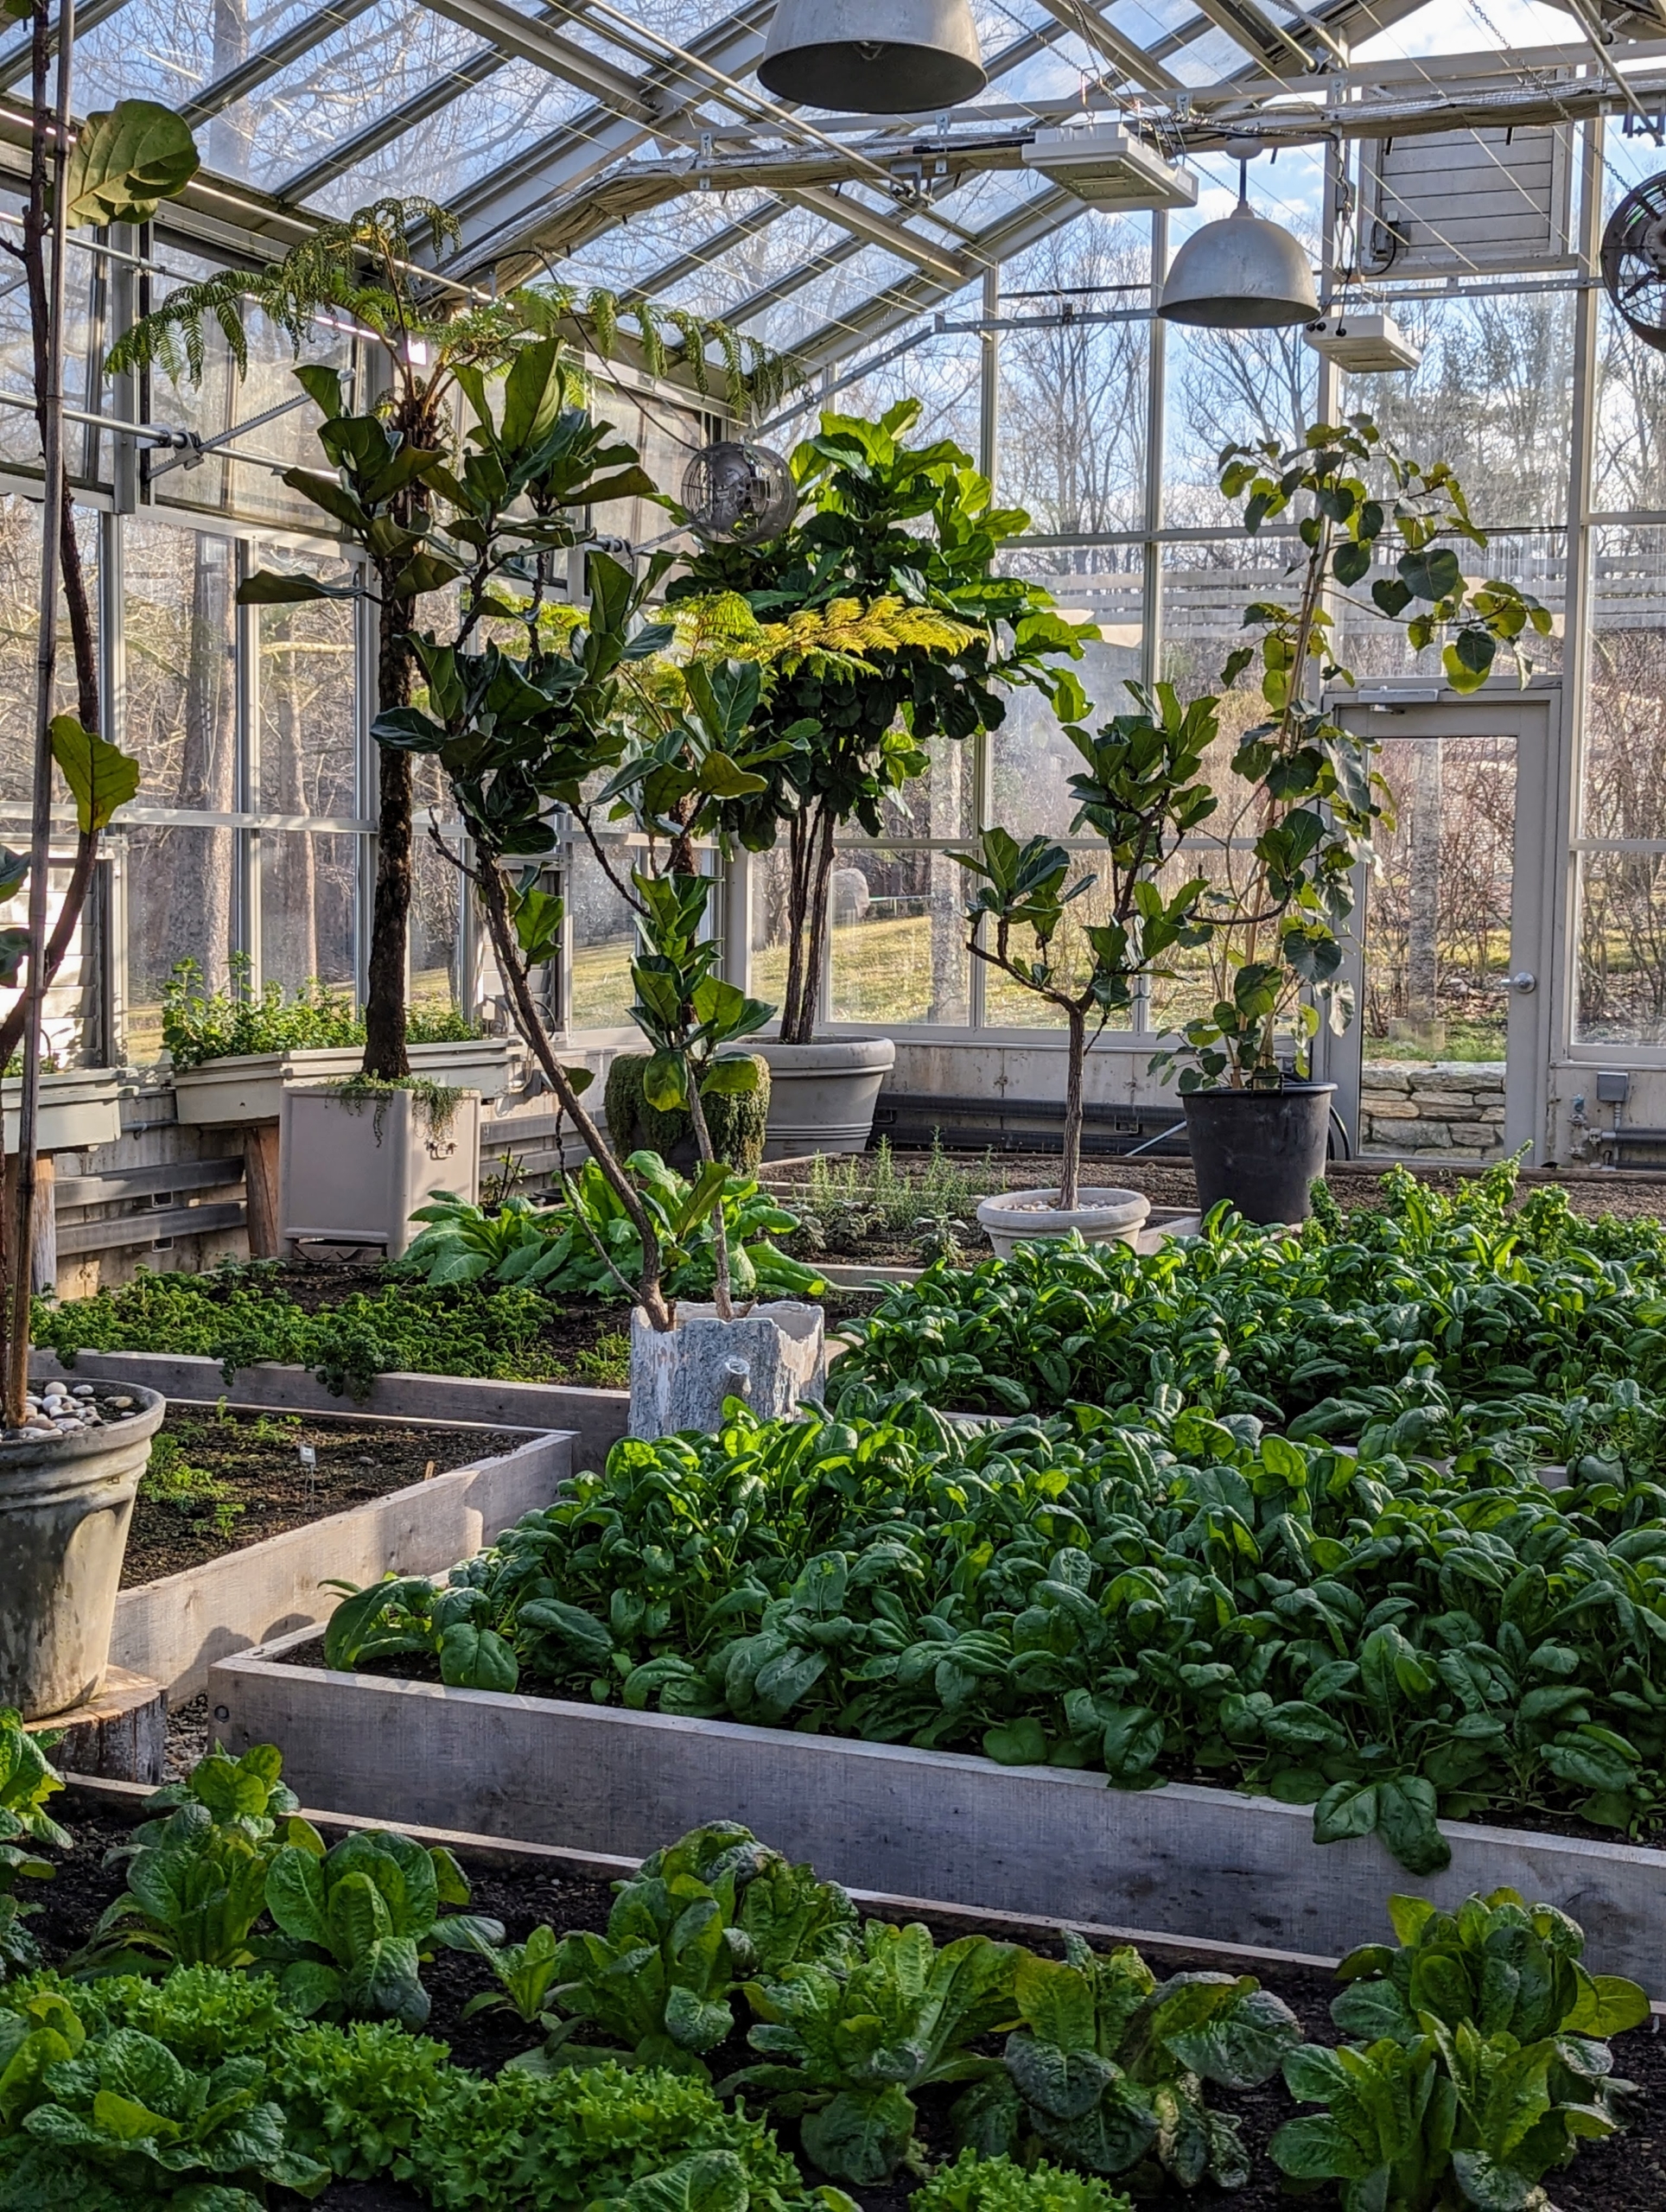
This time of year, it’s nice to go inside my vegetable greenhouse to see what’s thriving. This structure is located near my Equipment Barn. It uses minimal artificial heat, where many cold hardy crops and other greens can be grown and harvested through the winter. Some beds look more full than others because they are planted at different times as part of succession planting.
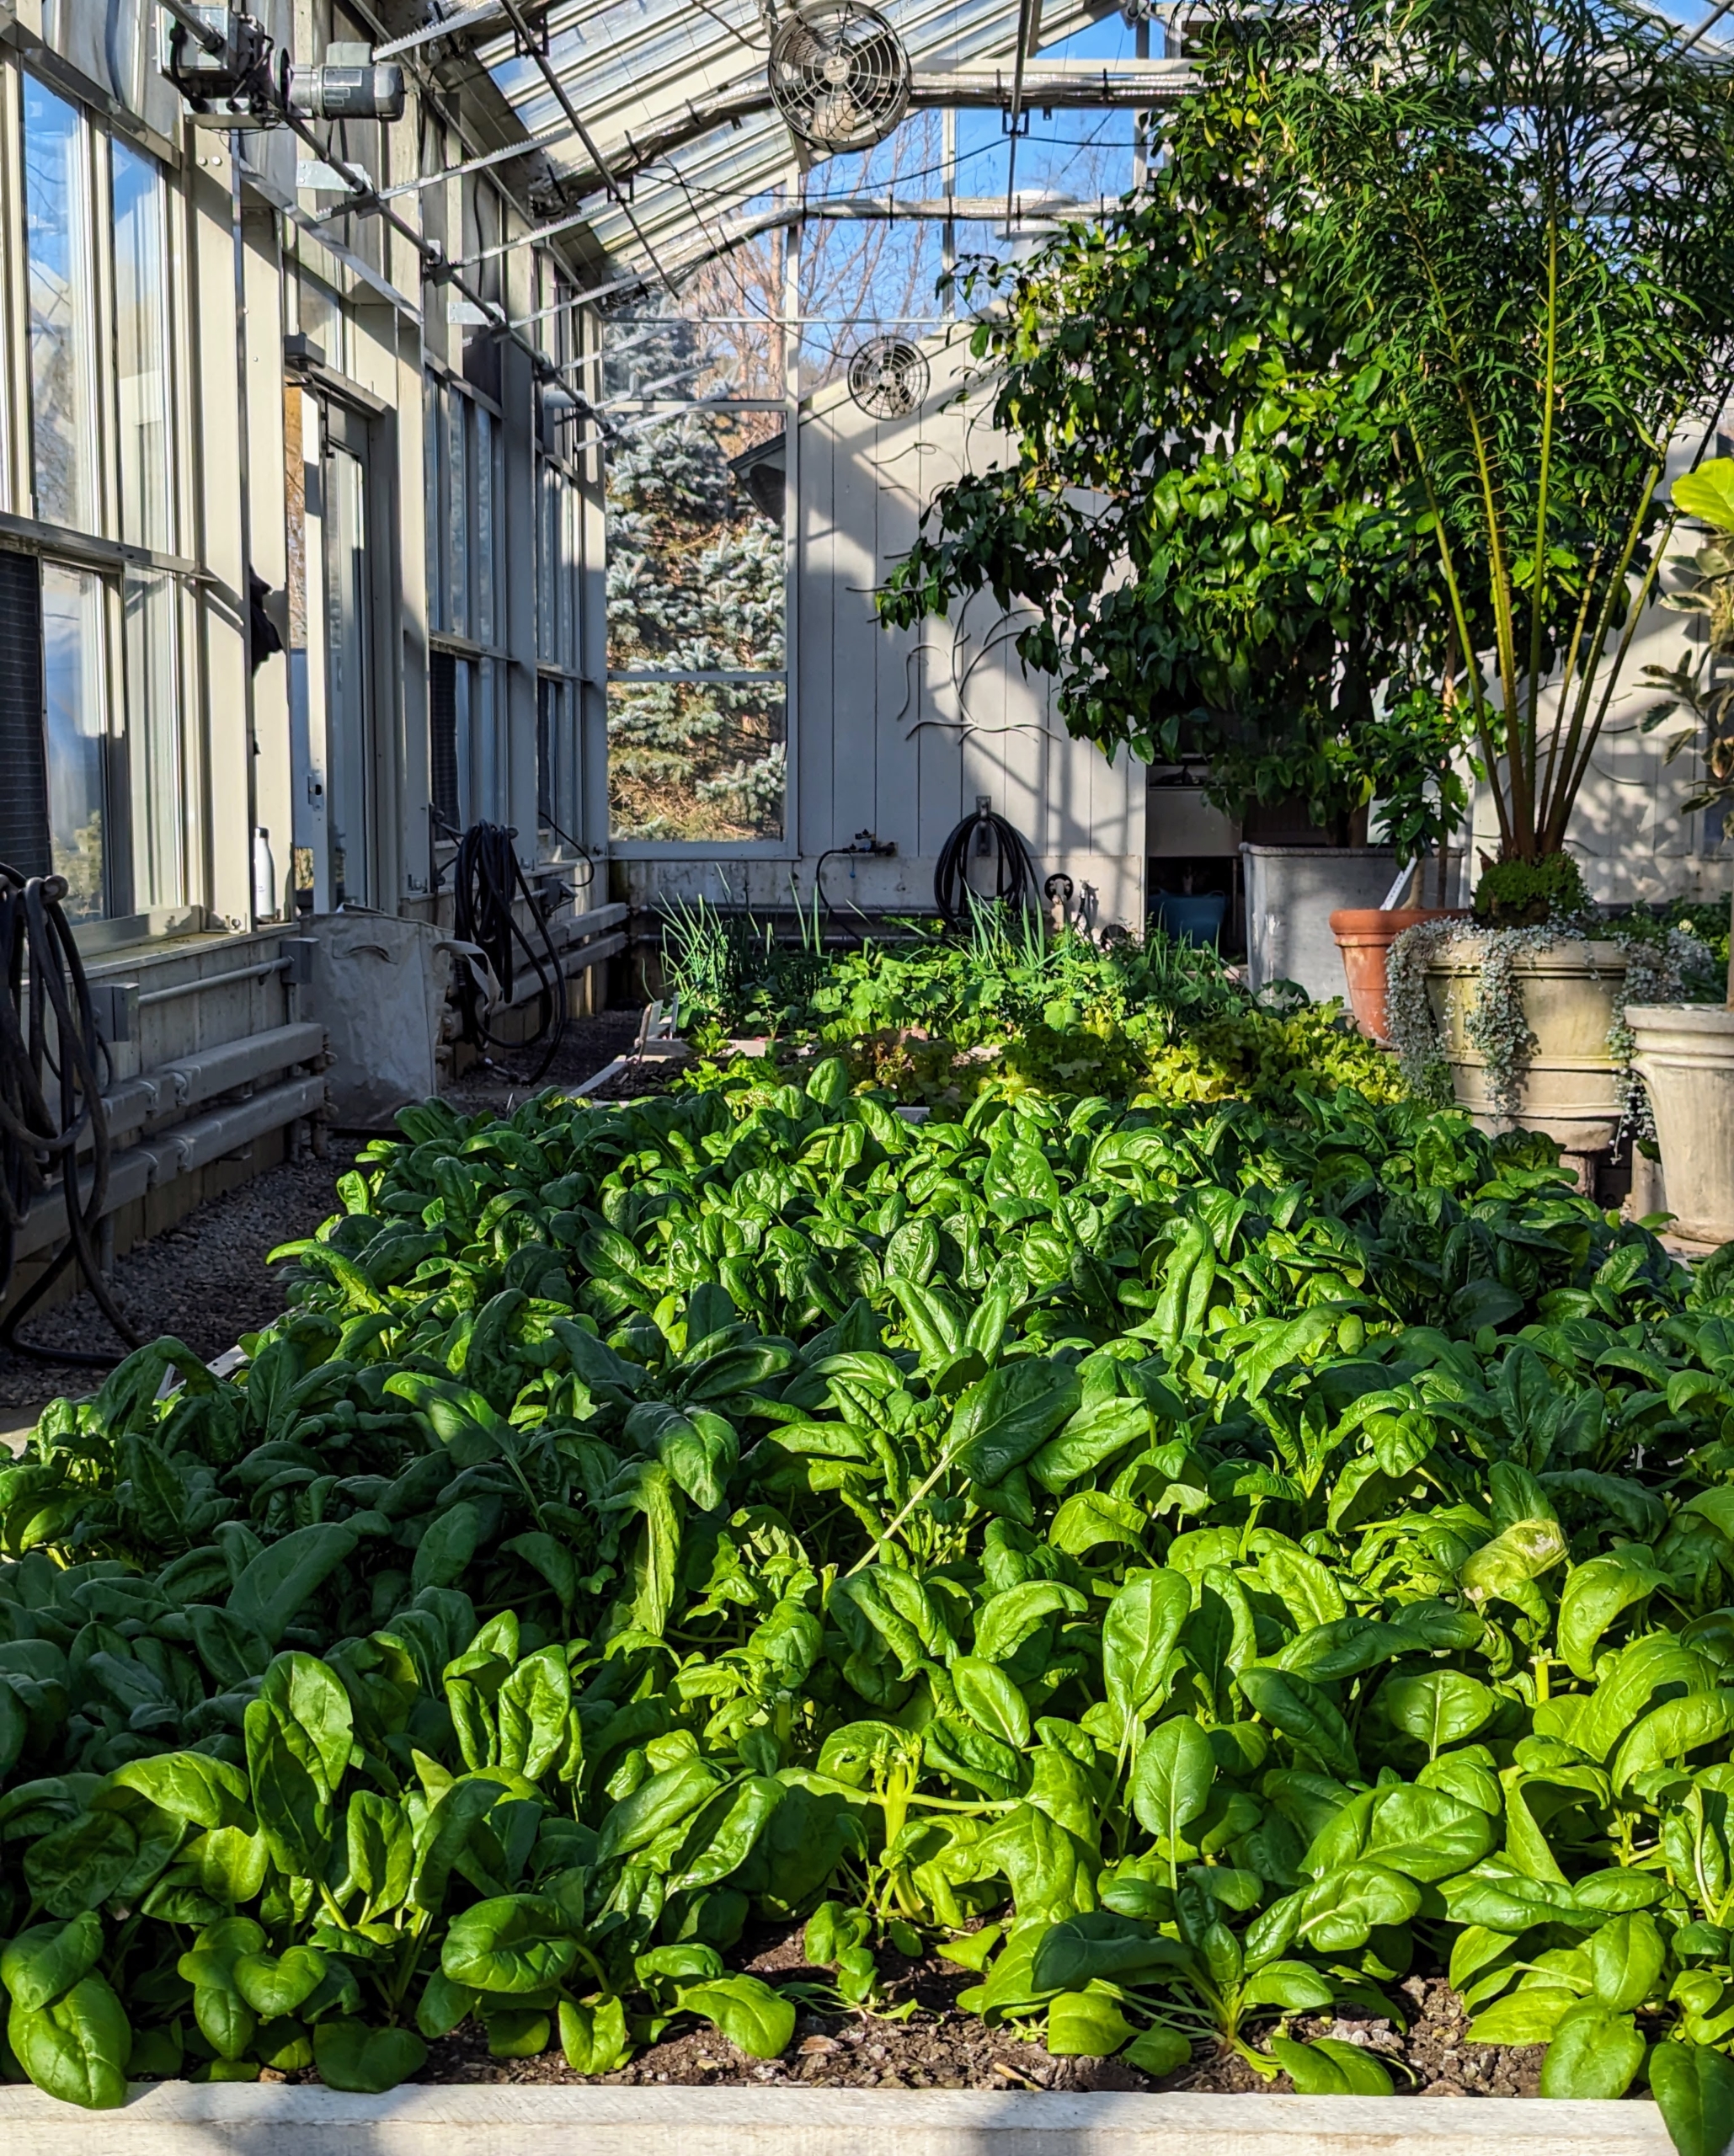
Most of the energy in the greenhouse comes from the sun through these giant windows, which can be programmed to open for ventilation or cooling when needed.
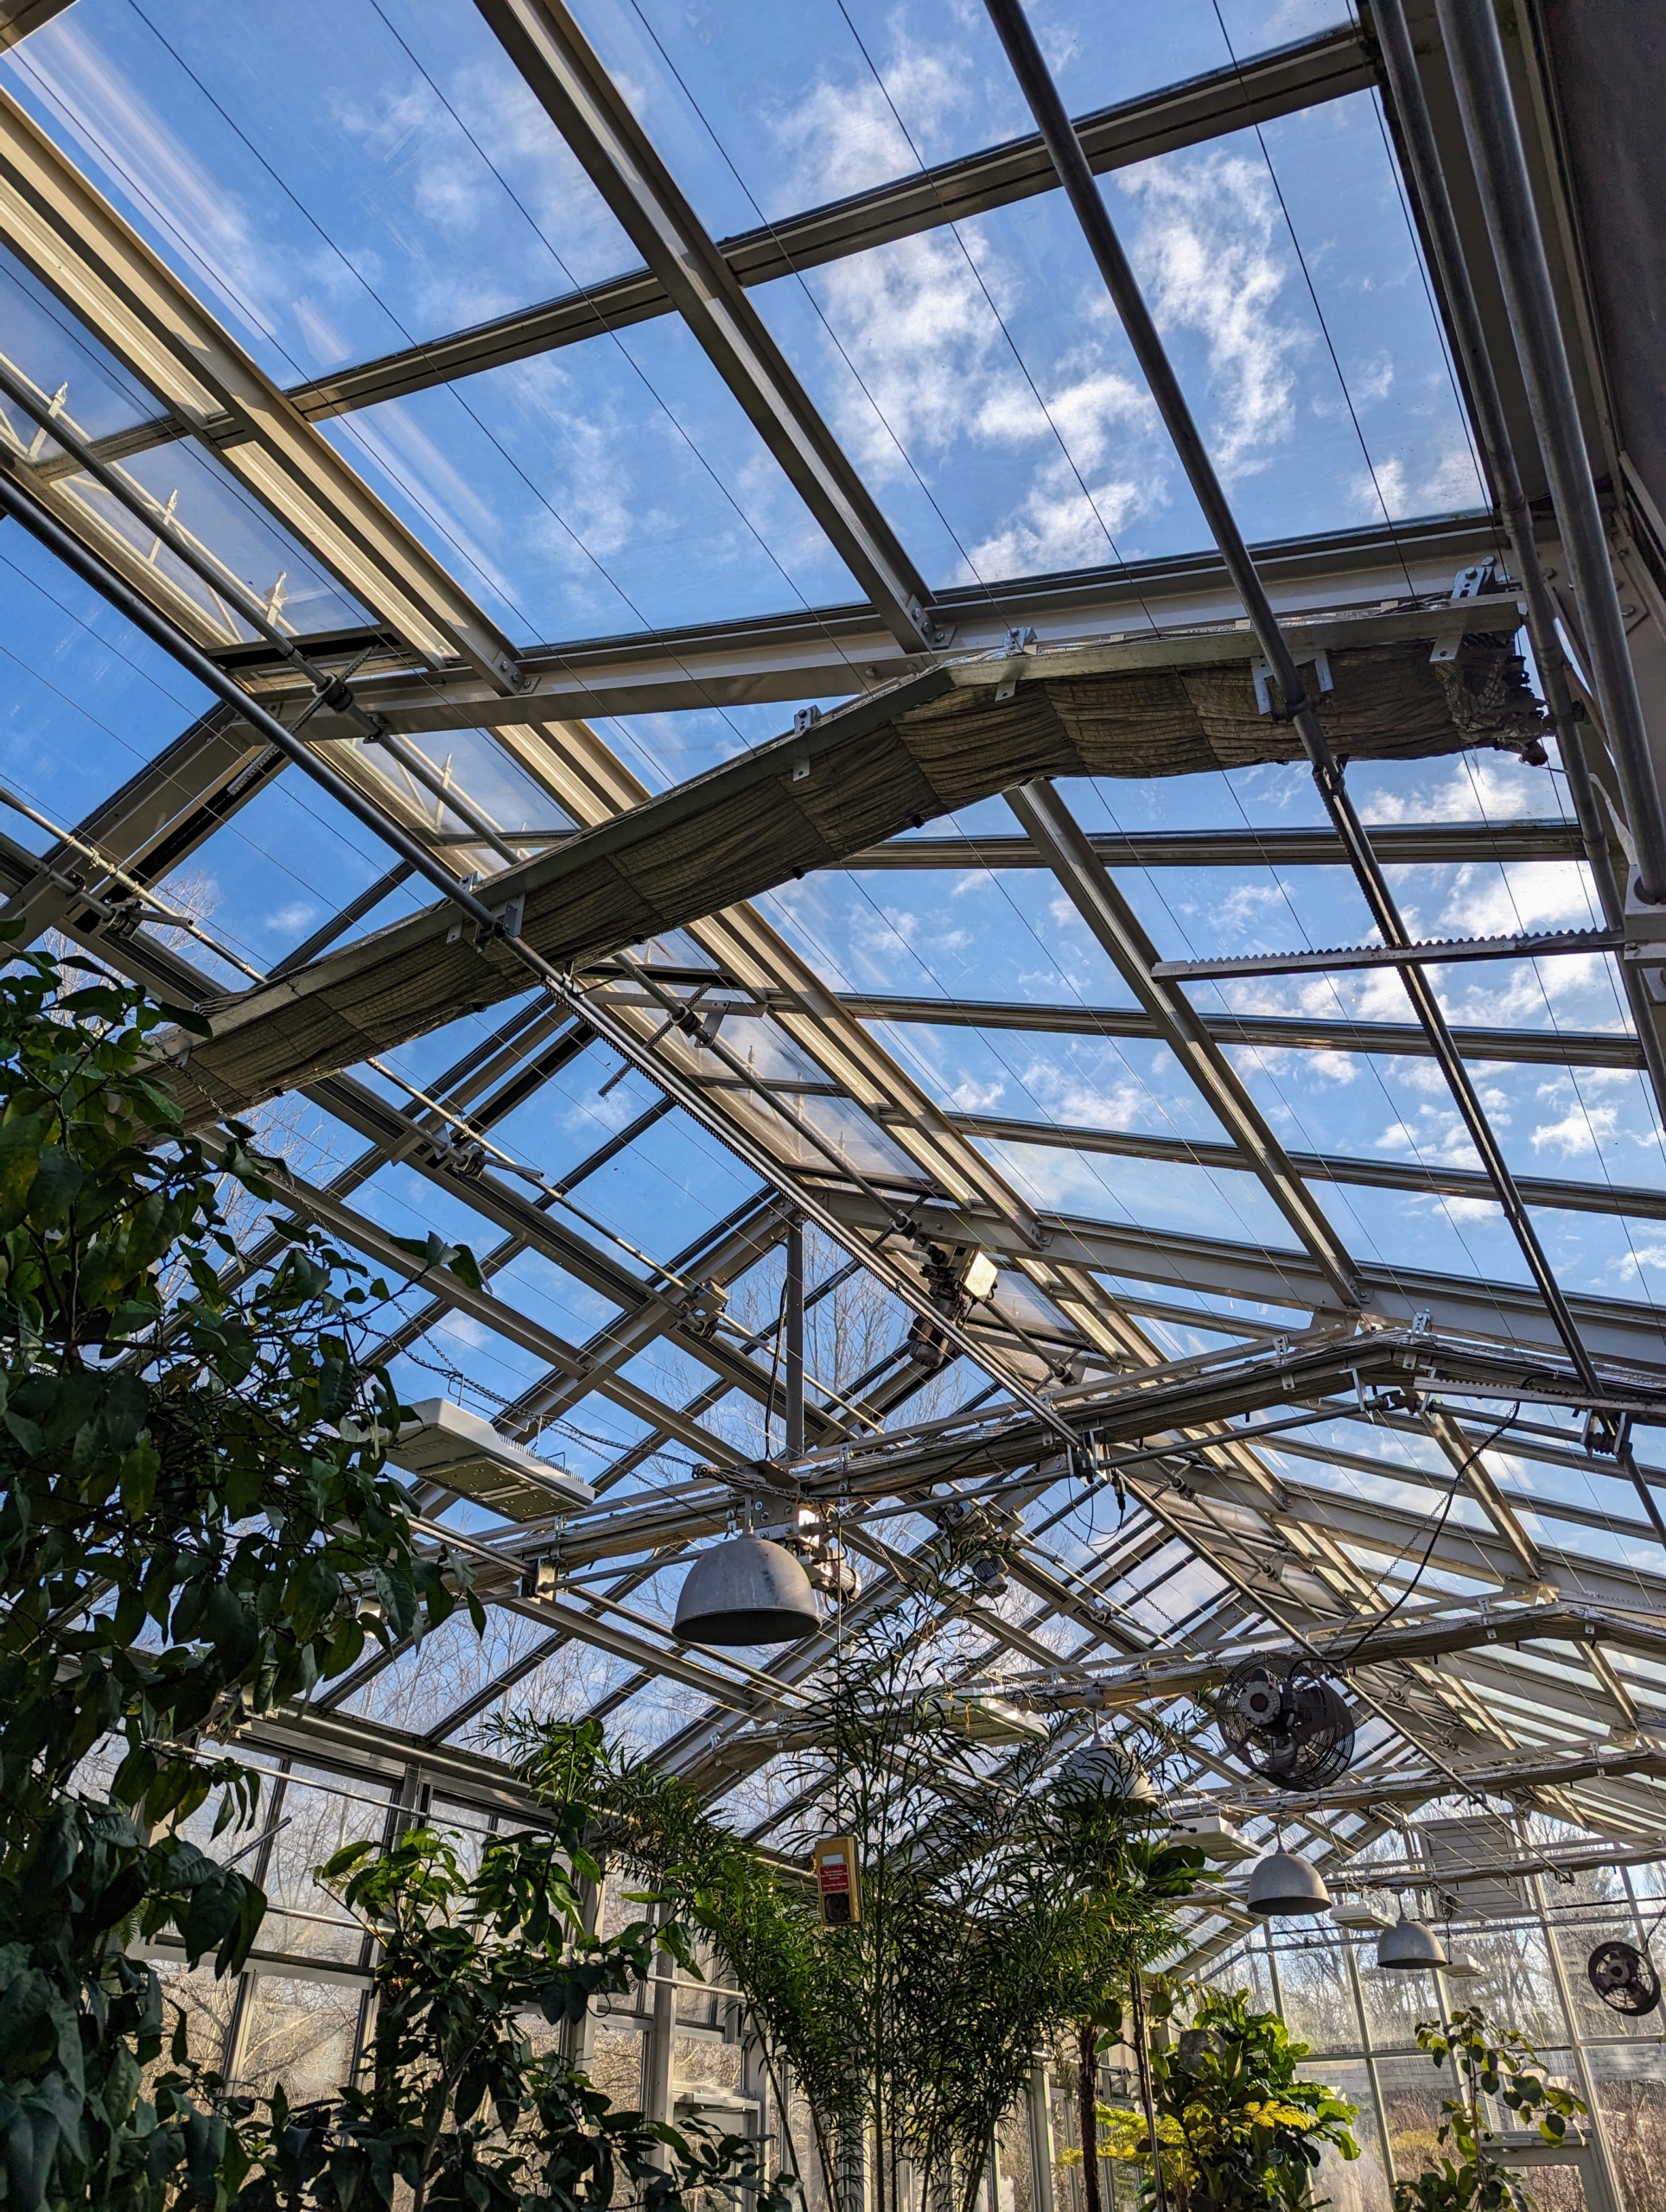
Inside the head house, we keep a number of favorite seeds. I am always on the lookout for different seeds when I travel, but seeds are also widely available online and at garden centers. Ryan keeps track of what seeds do well at the farm – indoors and out.
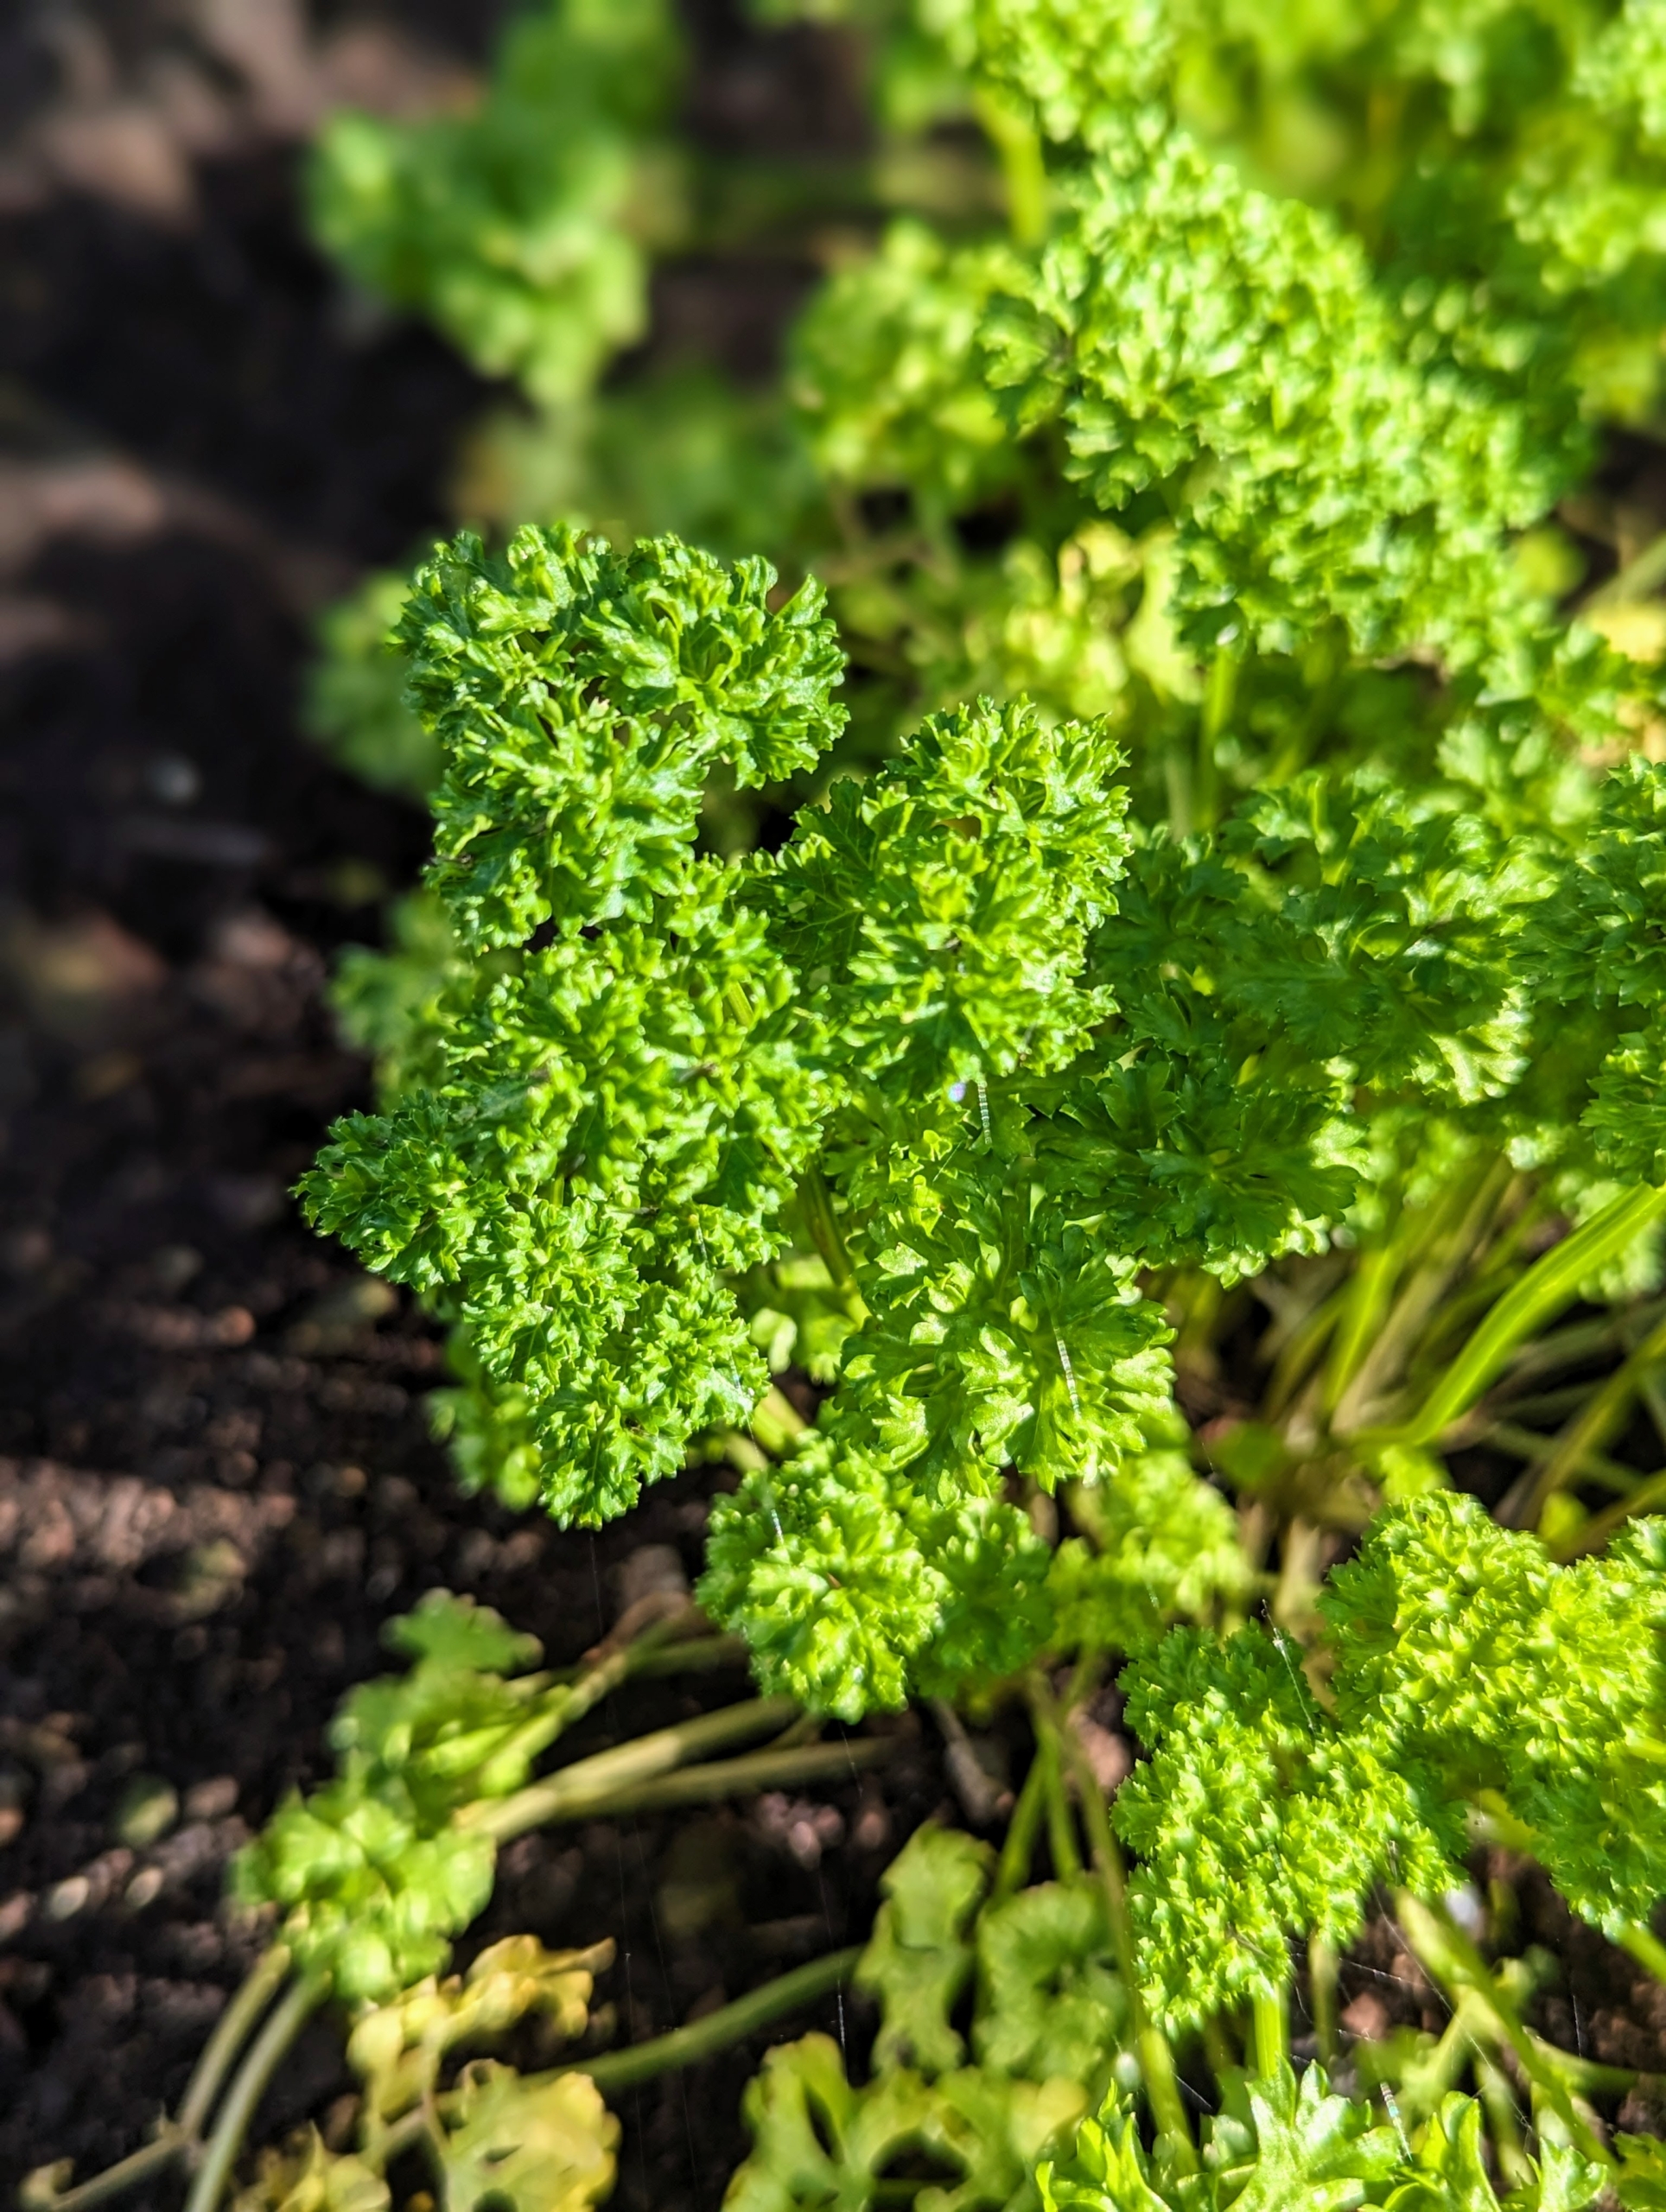
Here’s our bed of parsley. Parsley is a flowering plant native to the Mediterranean. It derives its name from the Greek word meaning “rock celery.” It is a biennial plant that will return to the garden year after year once it is established. We have both curly parsley…
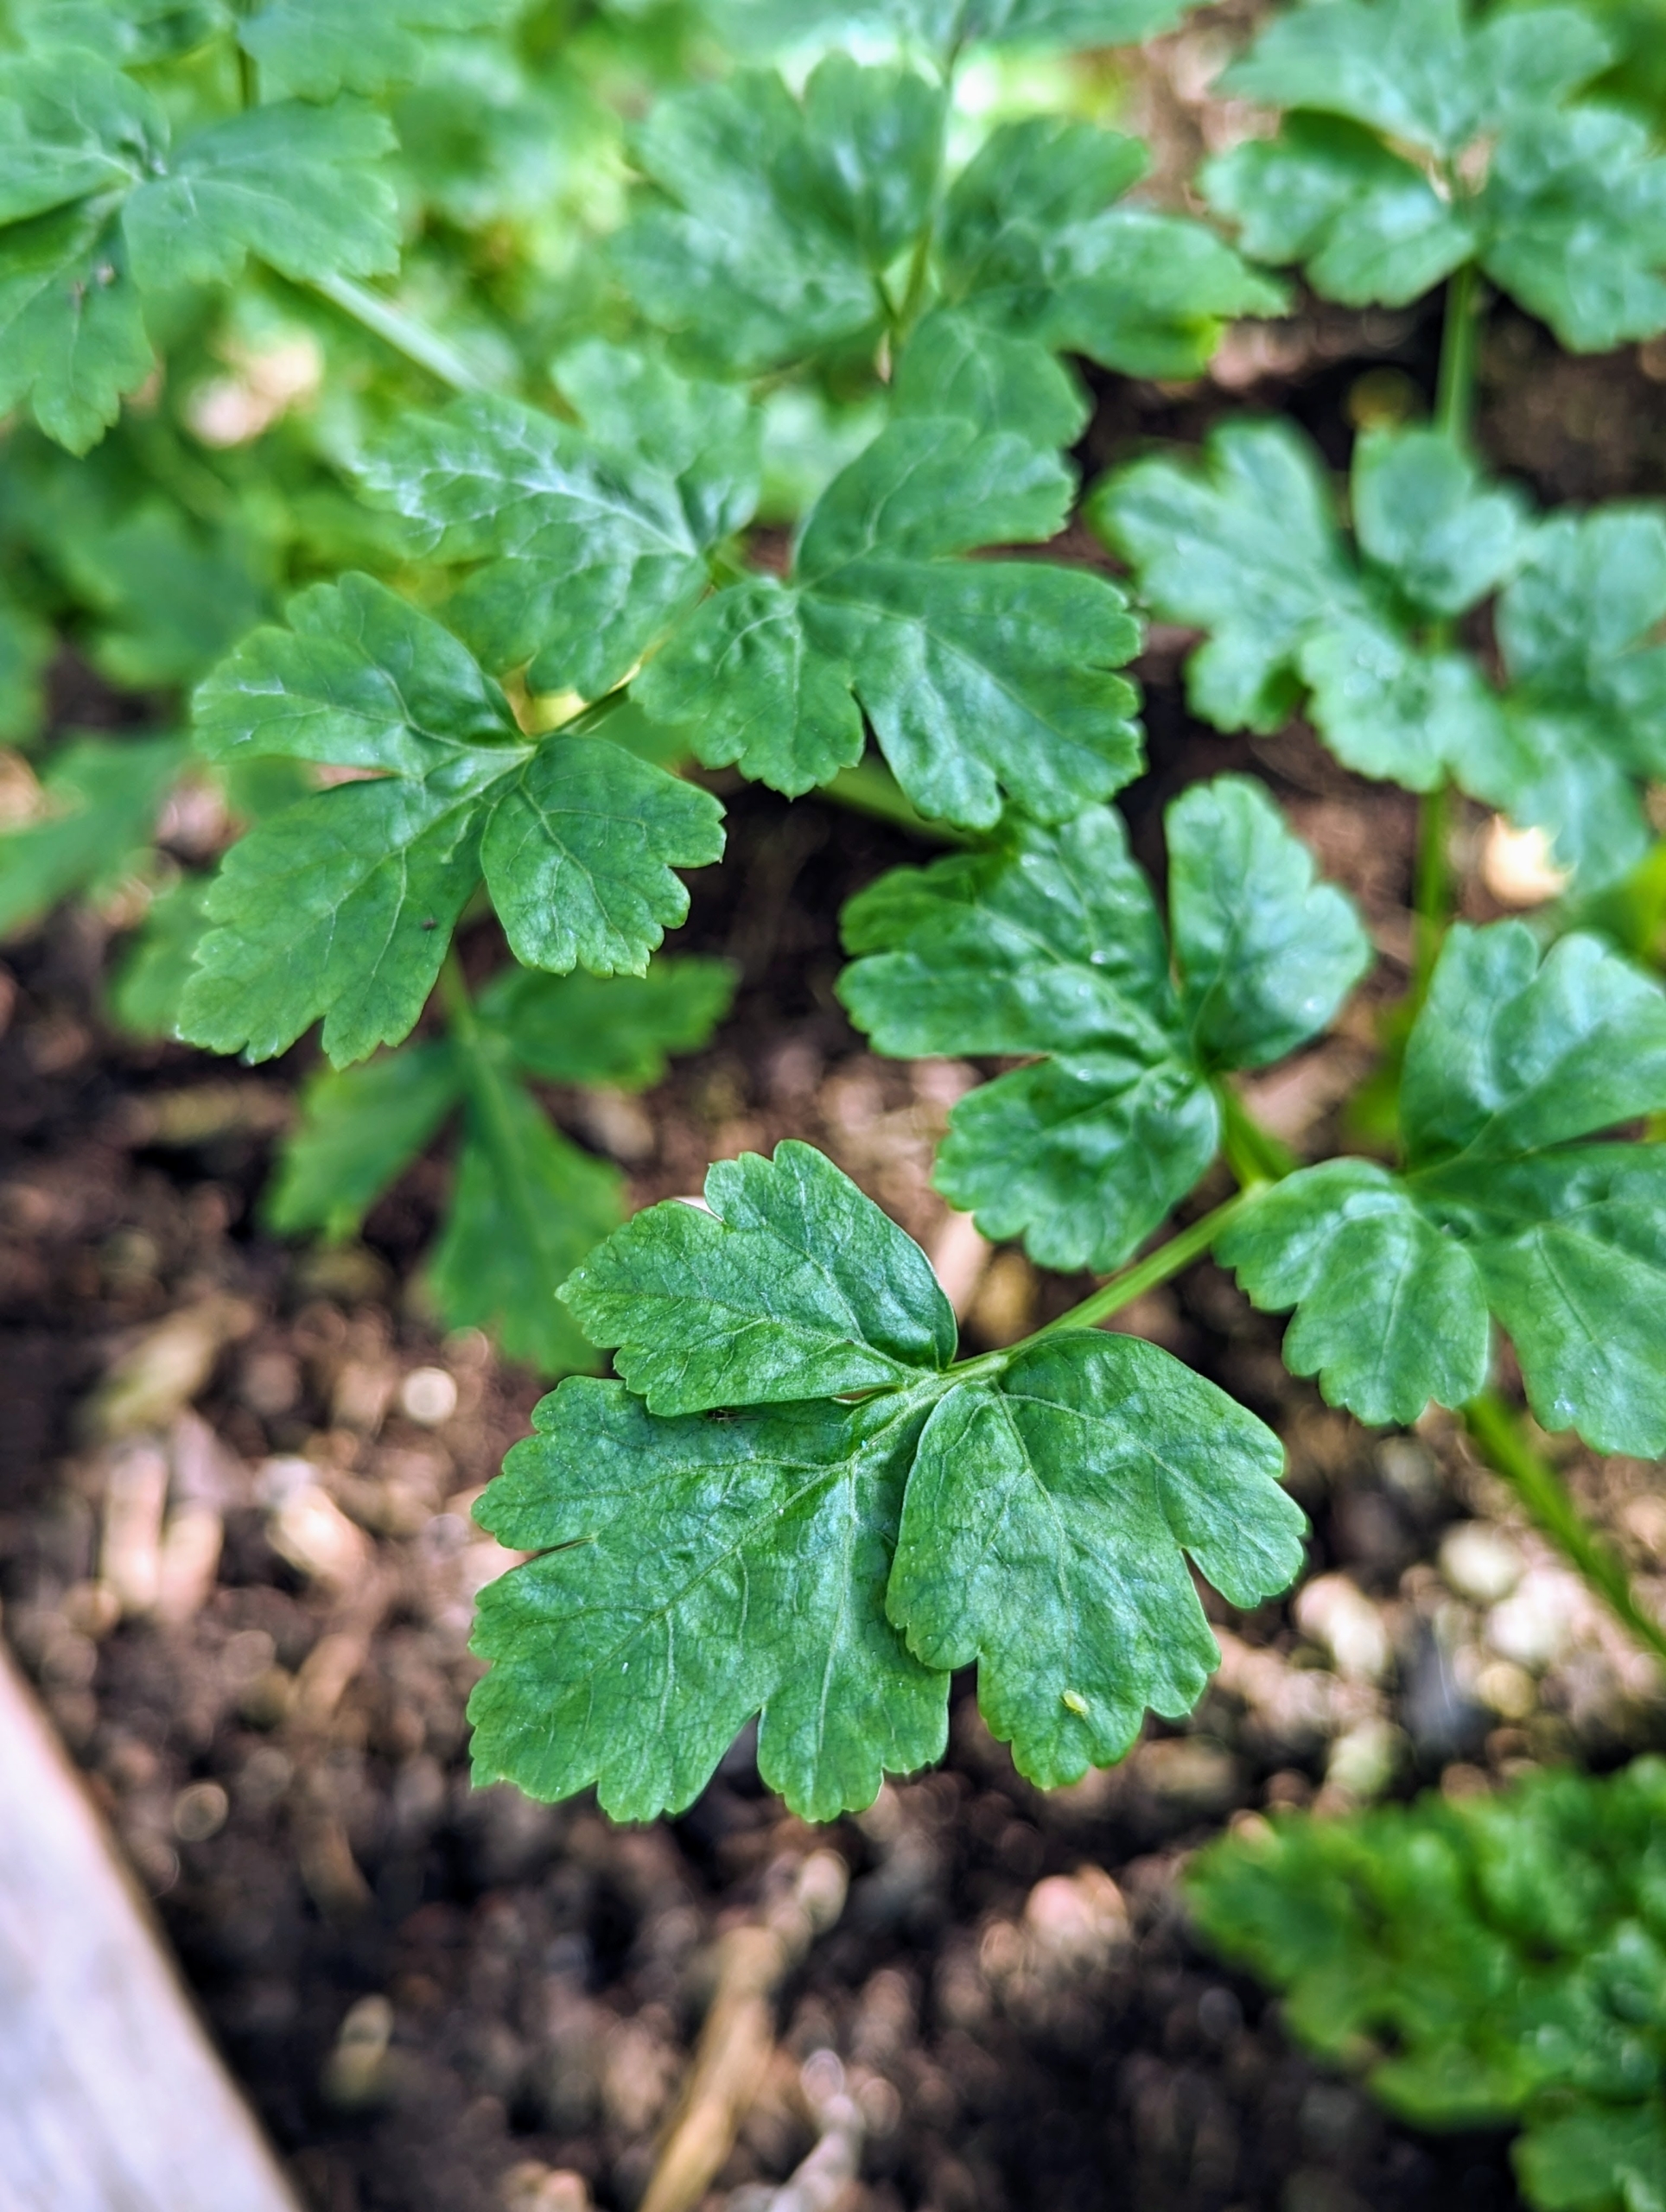
… and flat-leaf parsley. In general, flat-leaf parsley has a more robust flavor, while the curly variety is popularly used as a garnish.
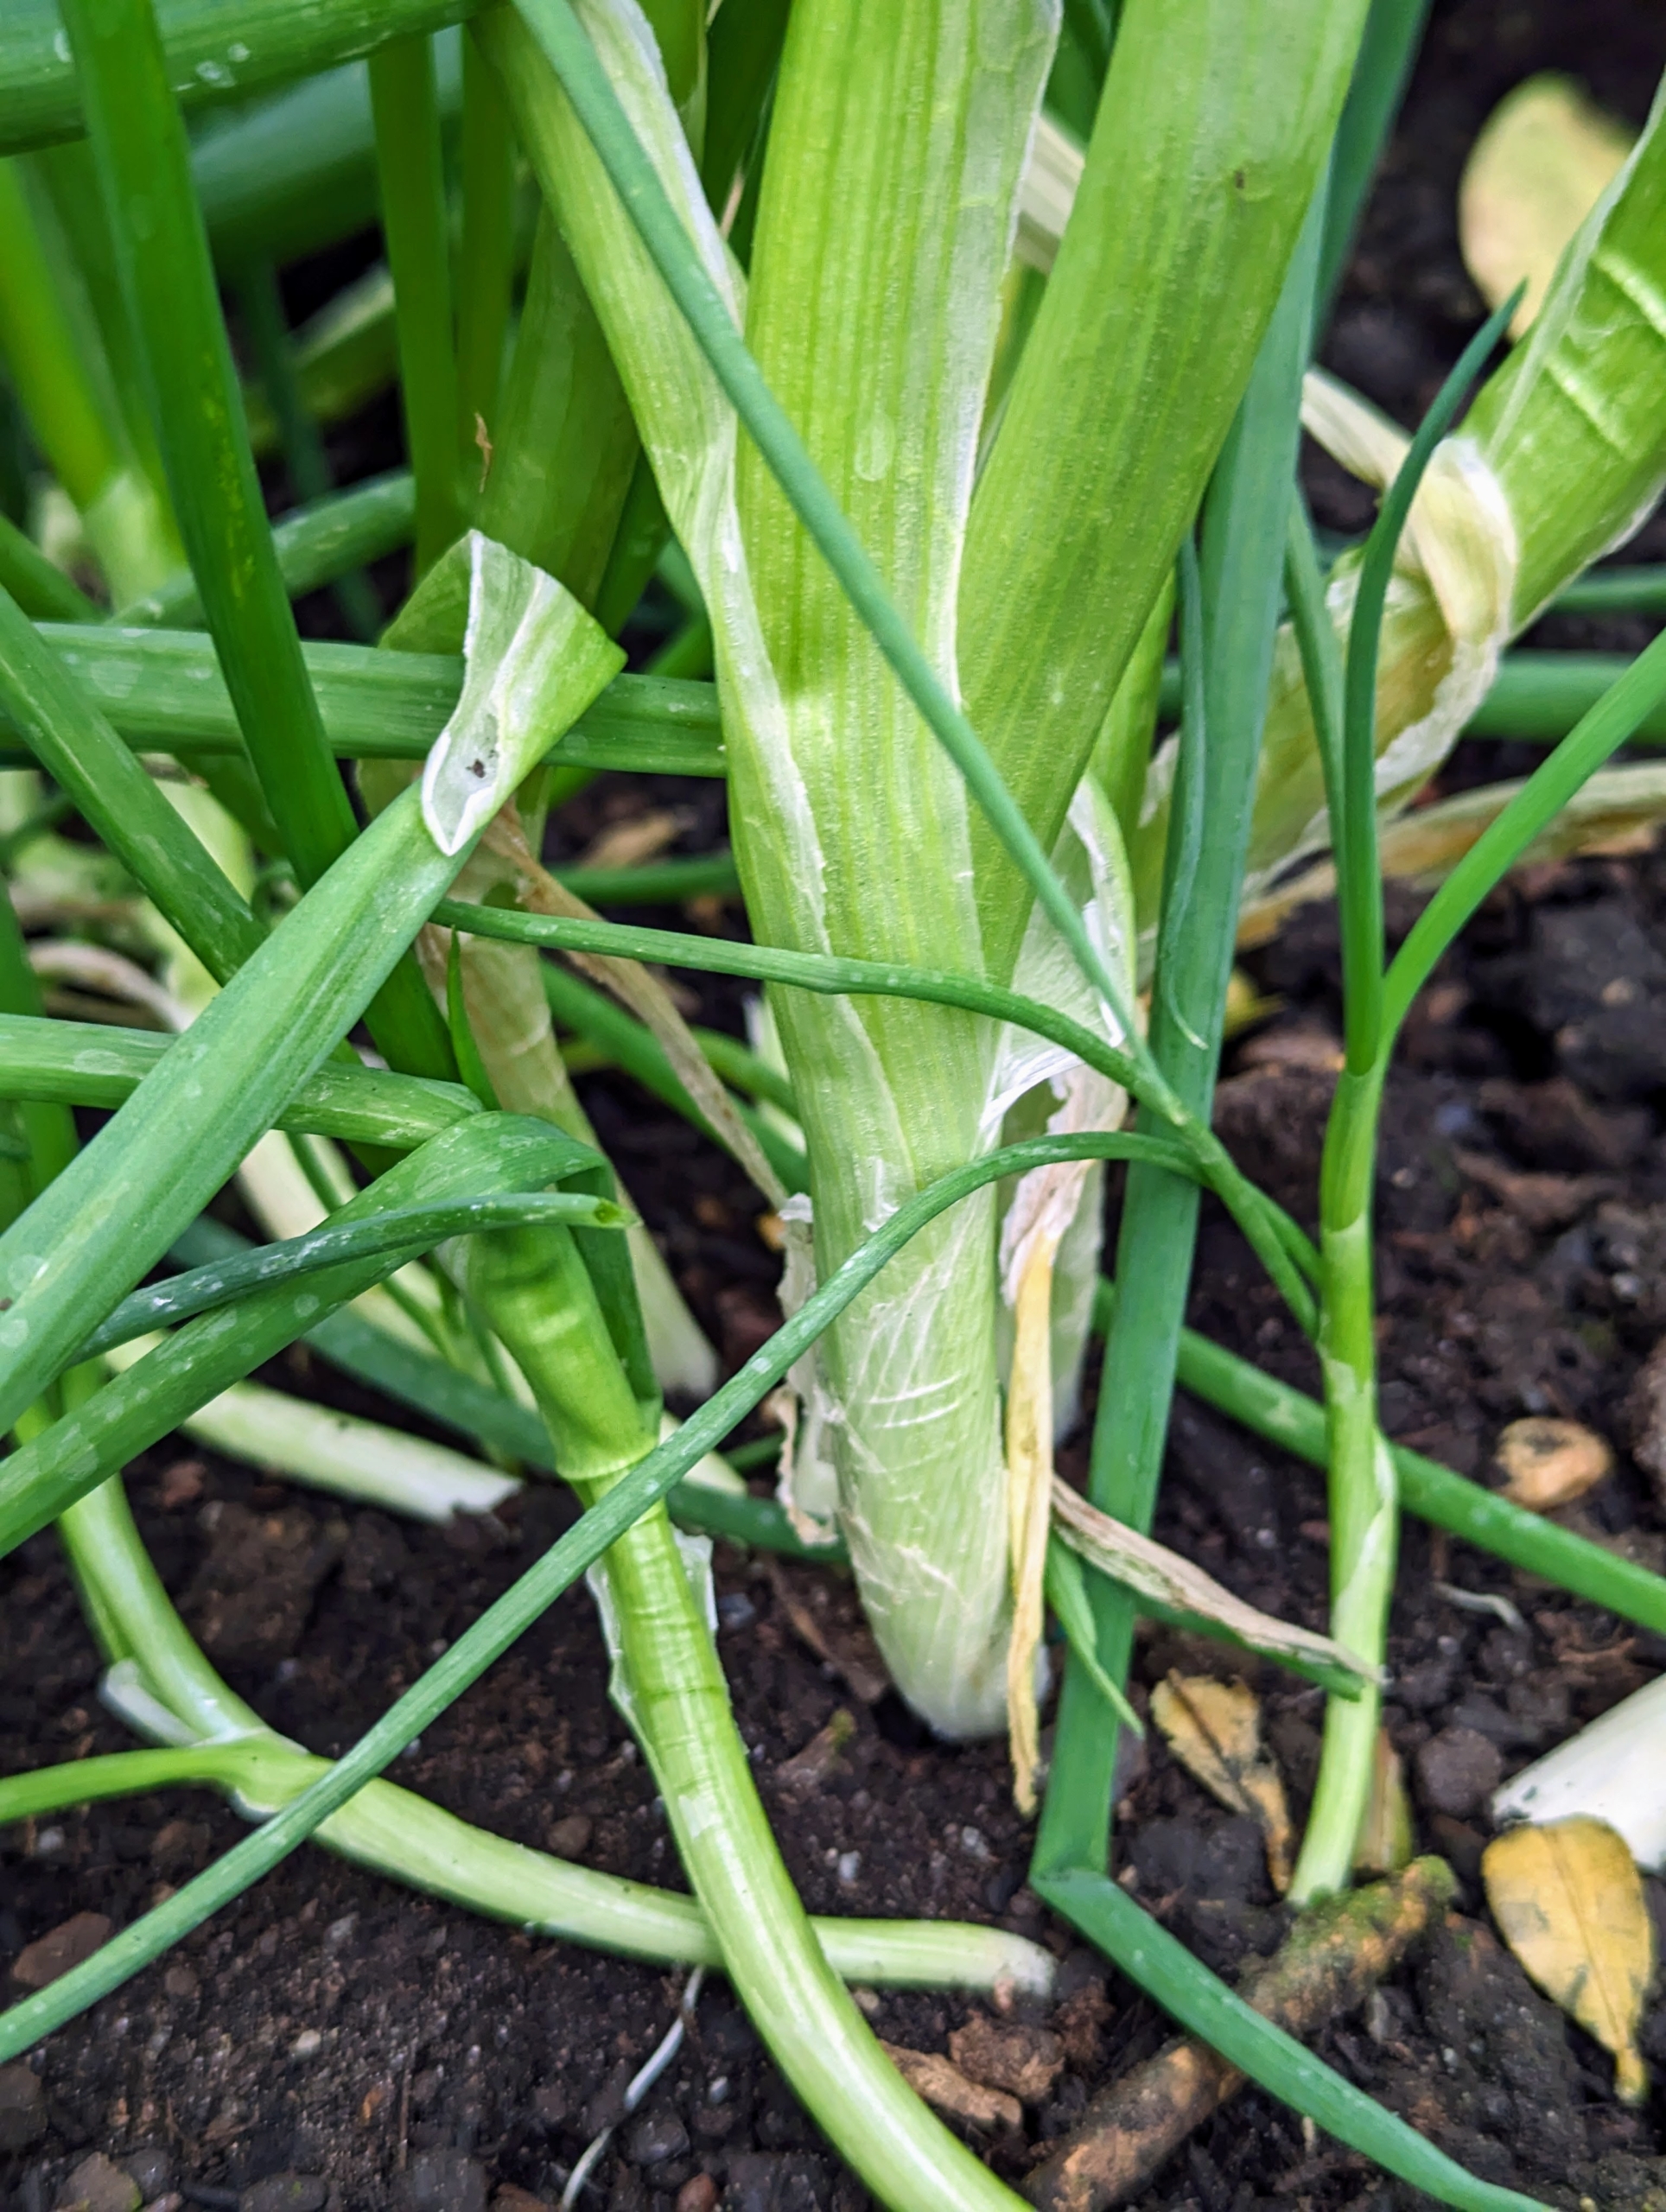
Green onions only take 50 to 60 days to grow from seed to a harvestable size. They’re also easy to grow in any amount of space.
The radish is an edible root vegetable of the Brassicaceae family. Radishes are grown and consumed throughout the world, and mostly eaten raw as a crunchy salad vegetable.
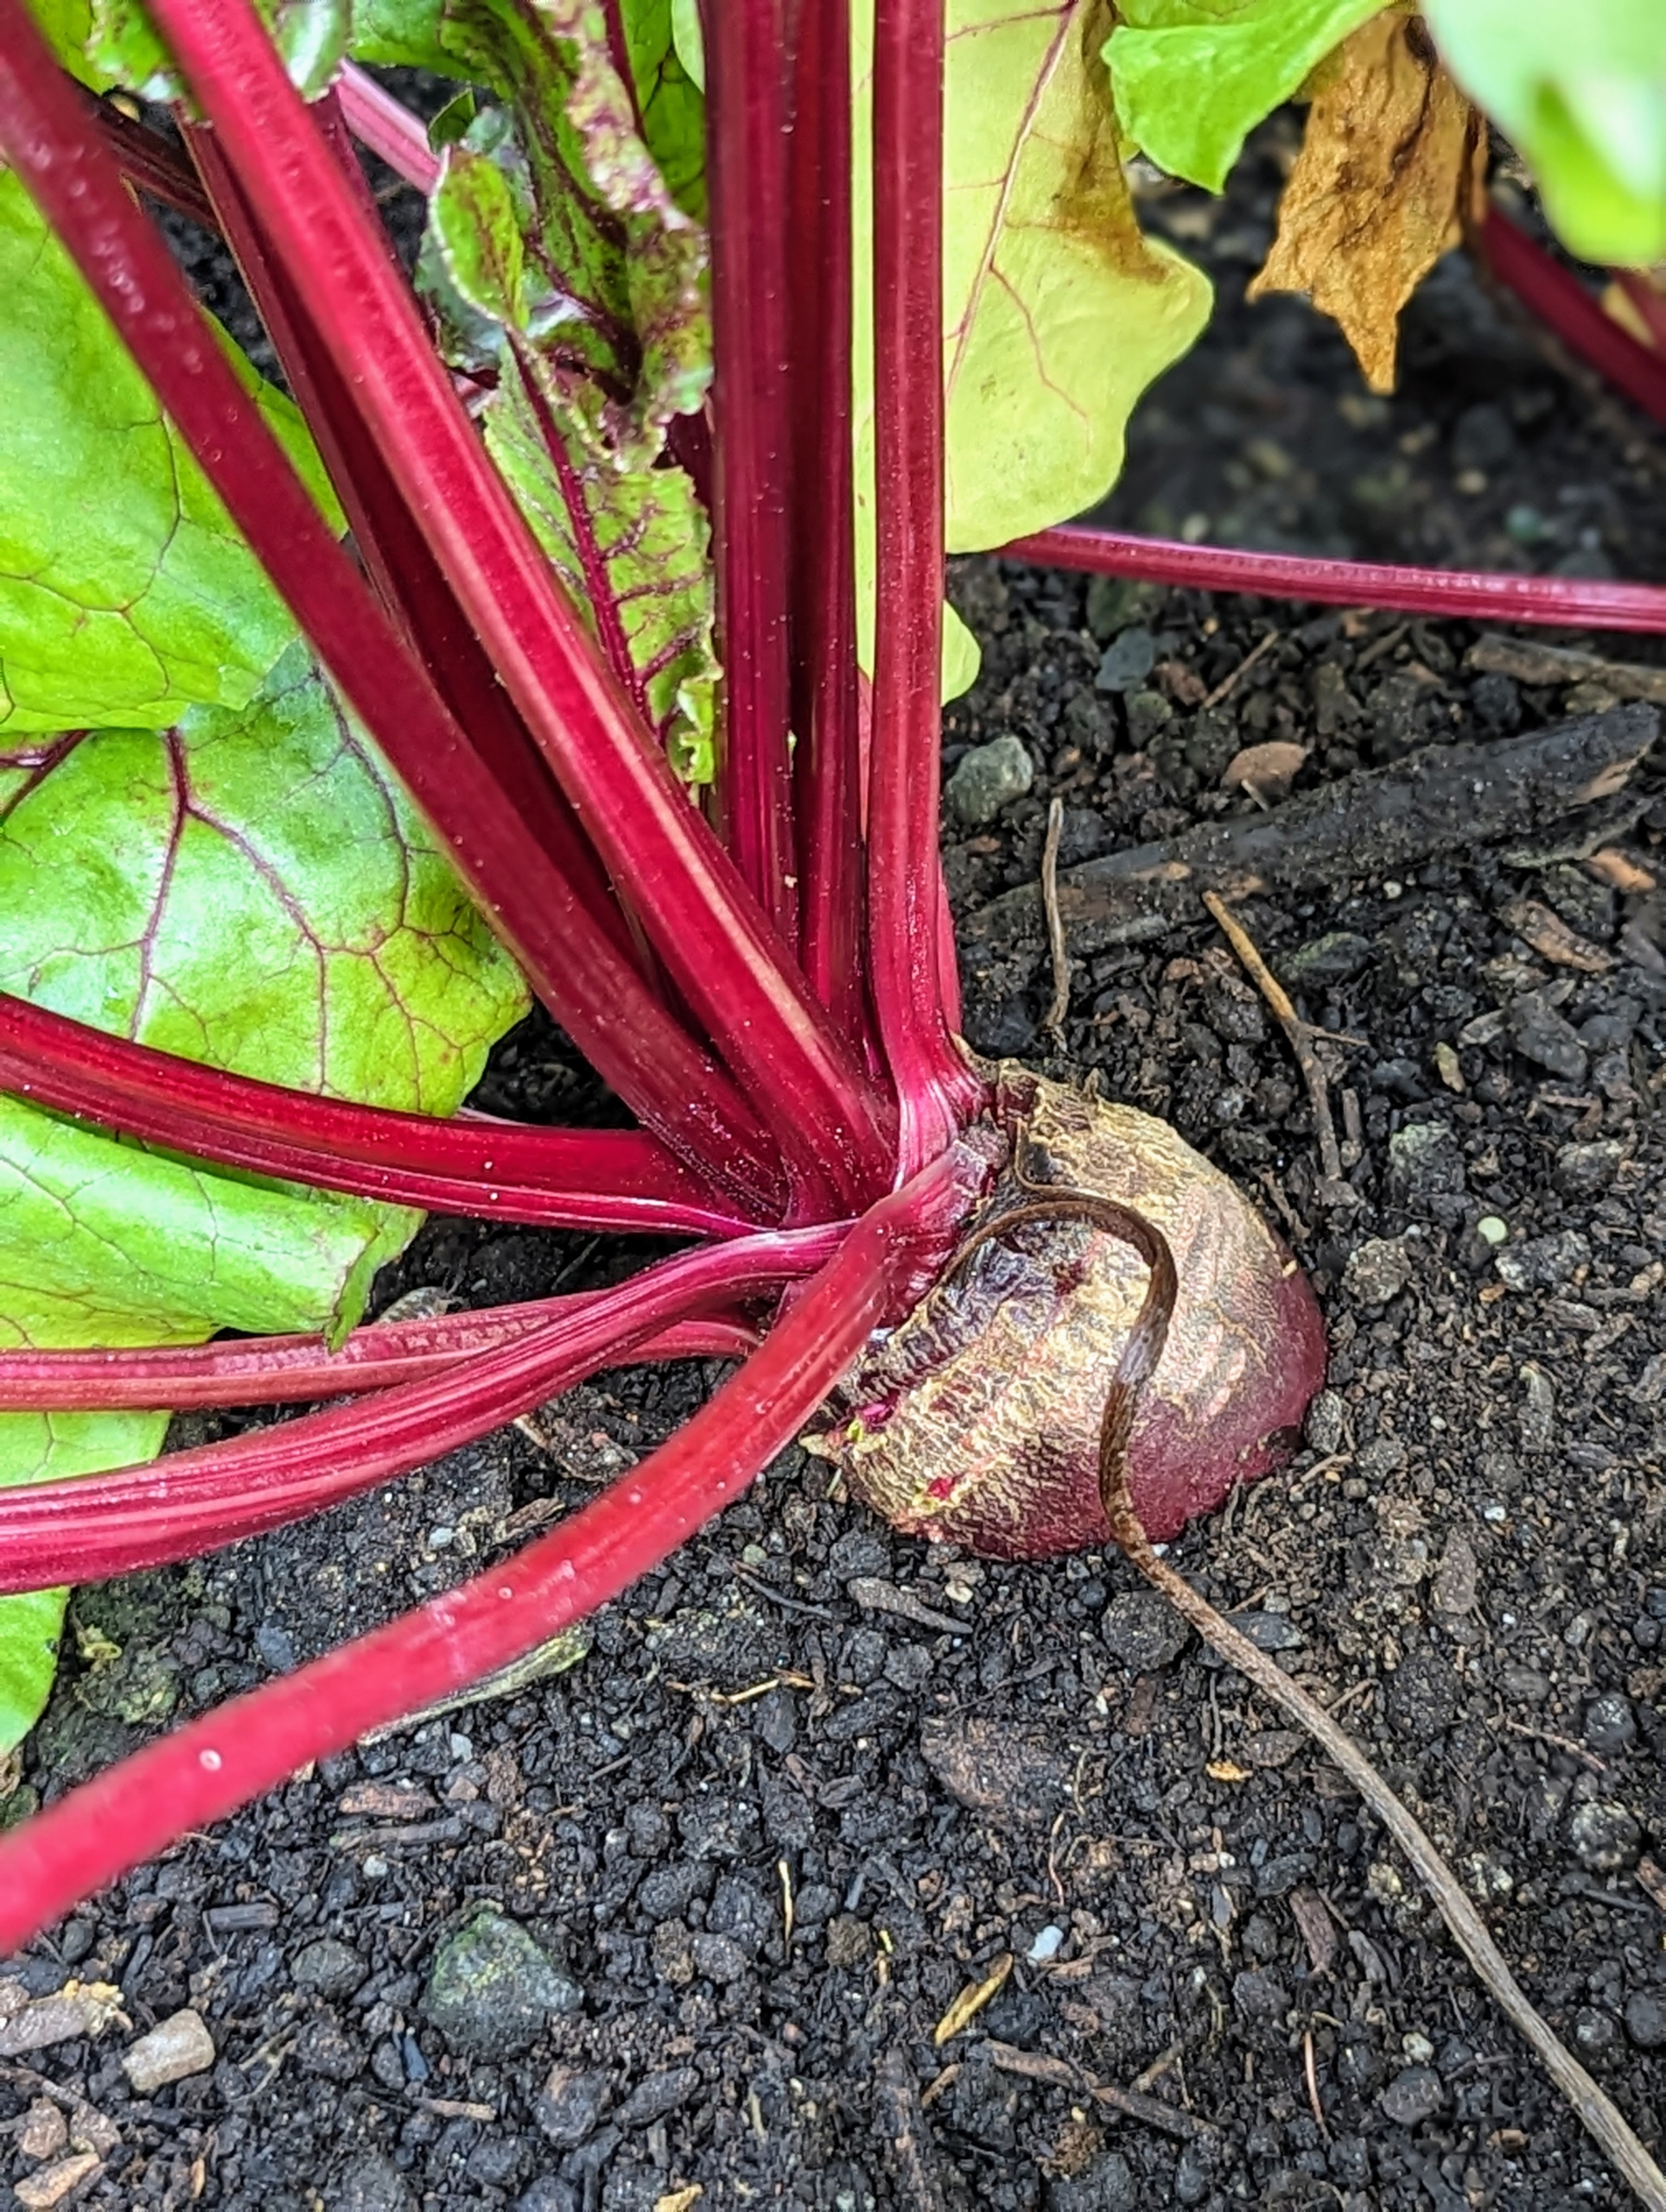
In this bed are the beets. Beets are sweet and tender – and one of the healthiest foods. Beets contain a unique source of phytonutrients called betalains, which provide antioxidant, anti-inflammatory and detoxification support.
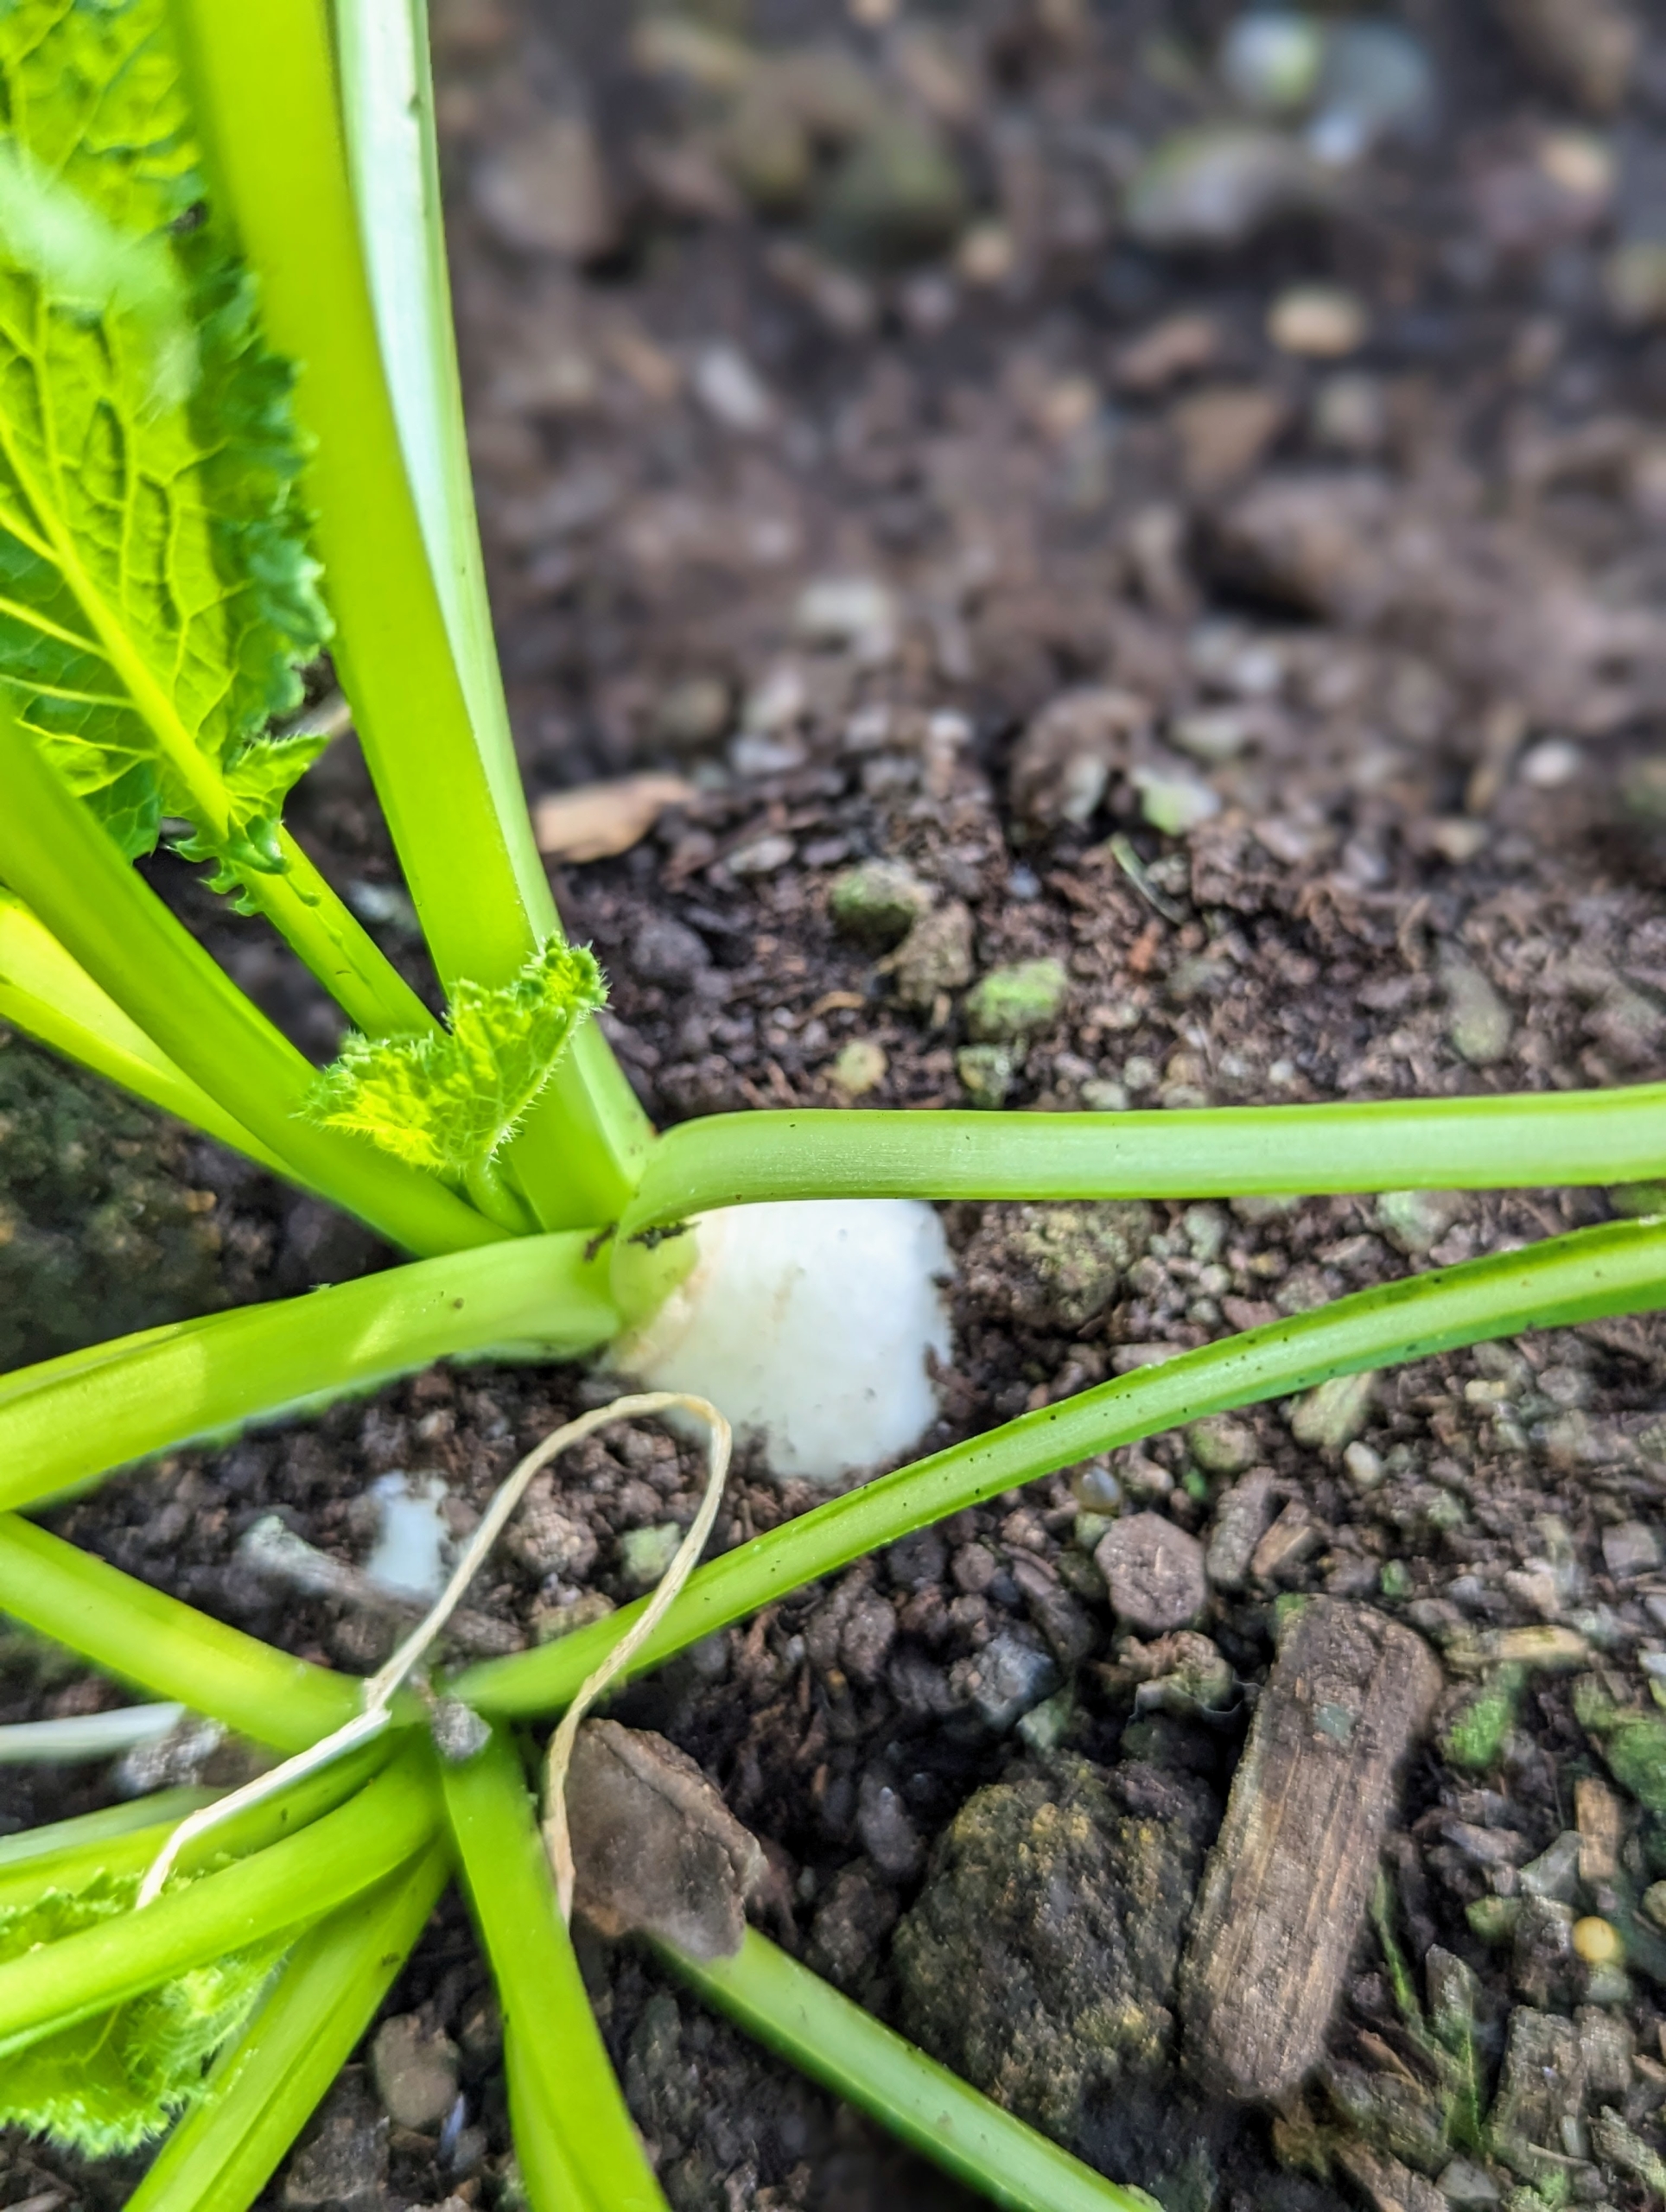
Both the root and the leaves of the turnip are edible. Turnips are smooth flat-round and white vegetables that mature early and are best harvested young – when they are up to two inches in diameter. The flavor is sweet and fruity, and the texture is crisp and tender. When harvesting, we always gently remove the surrounding earth first to see if the vegetables are big enough. If not, we push the soil back into place.
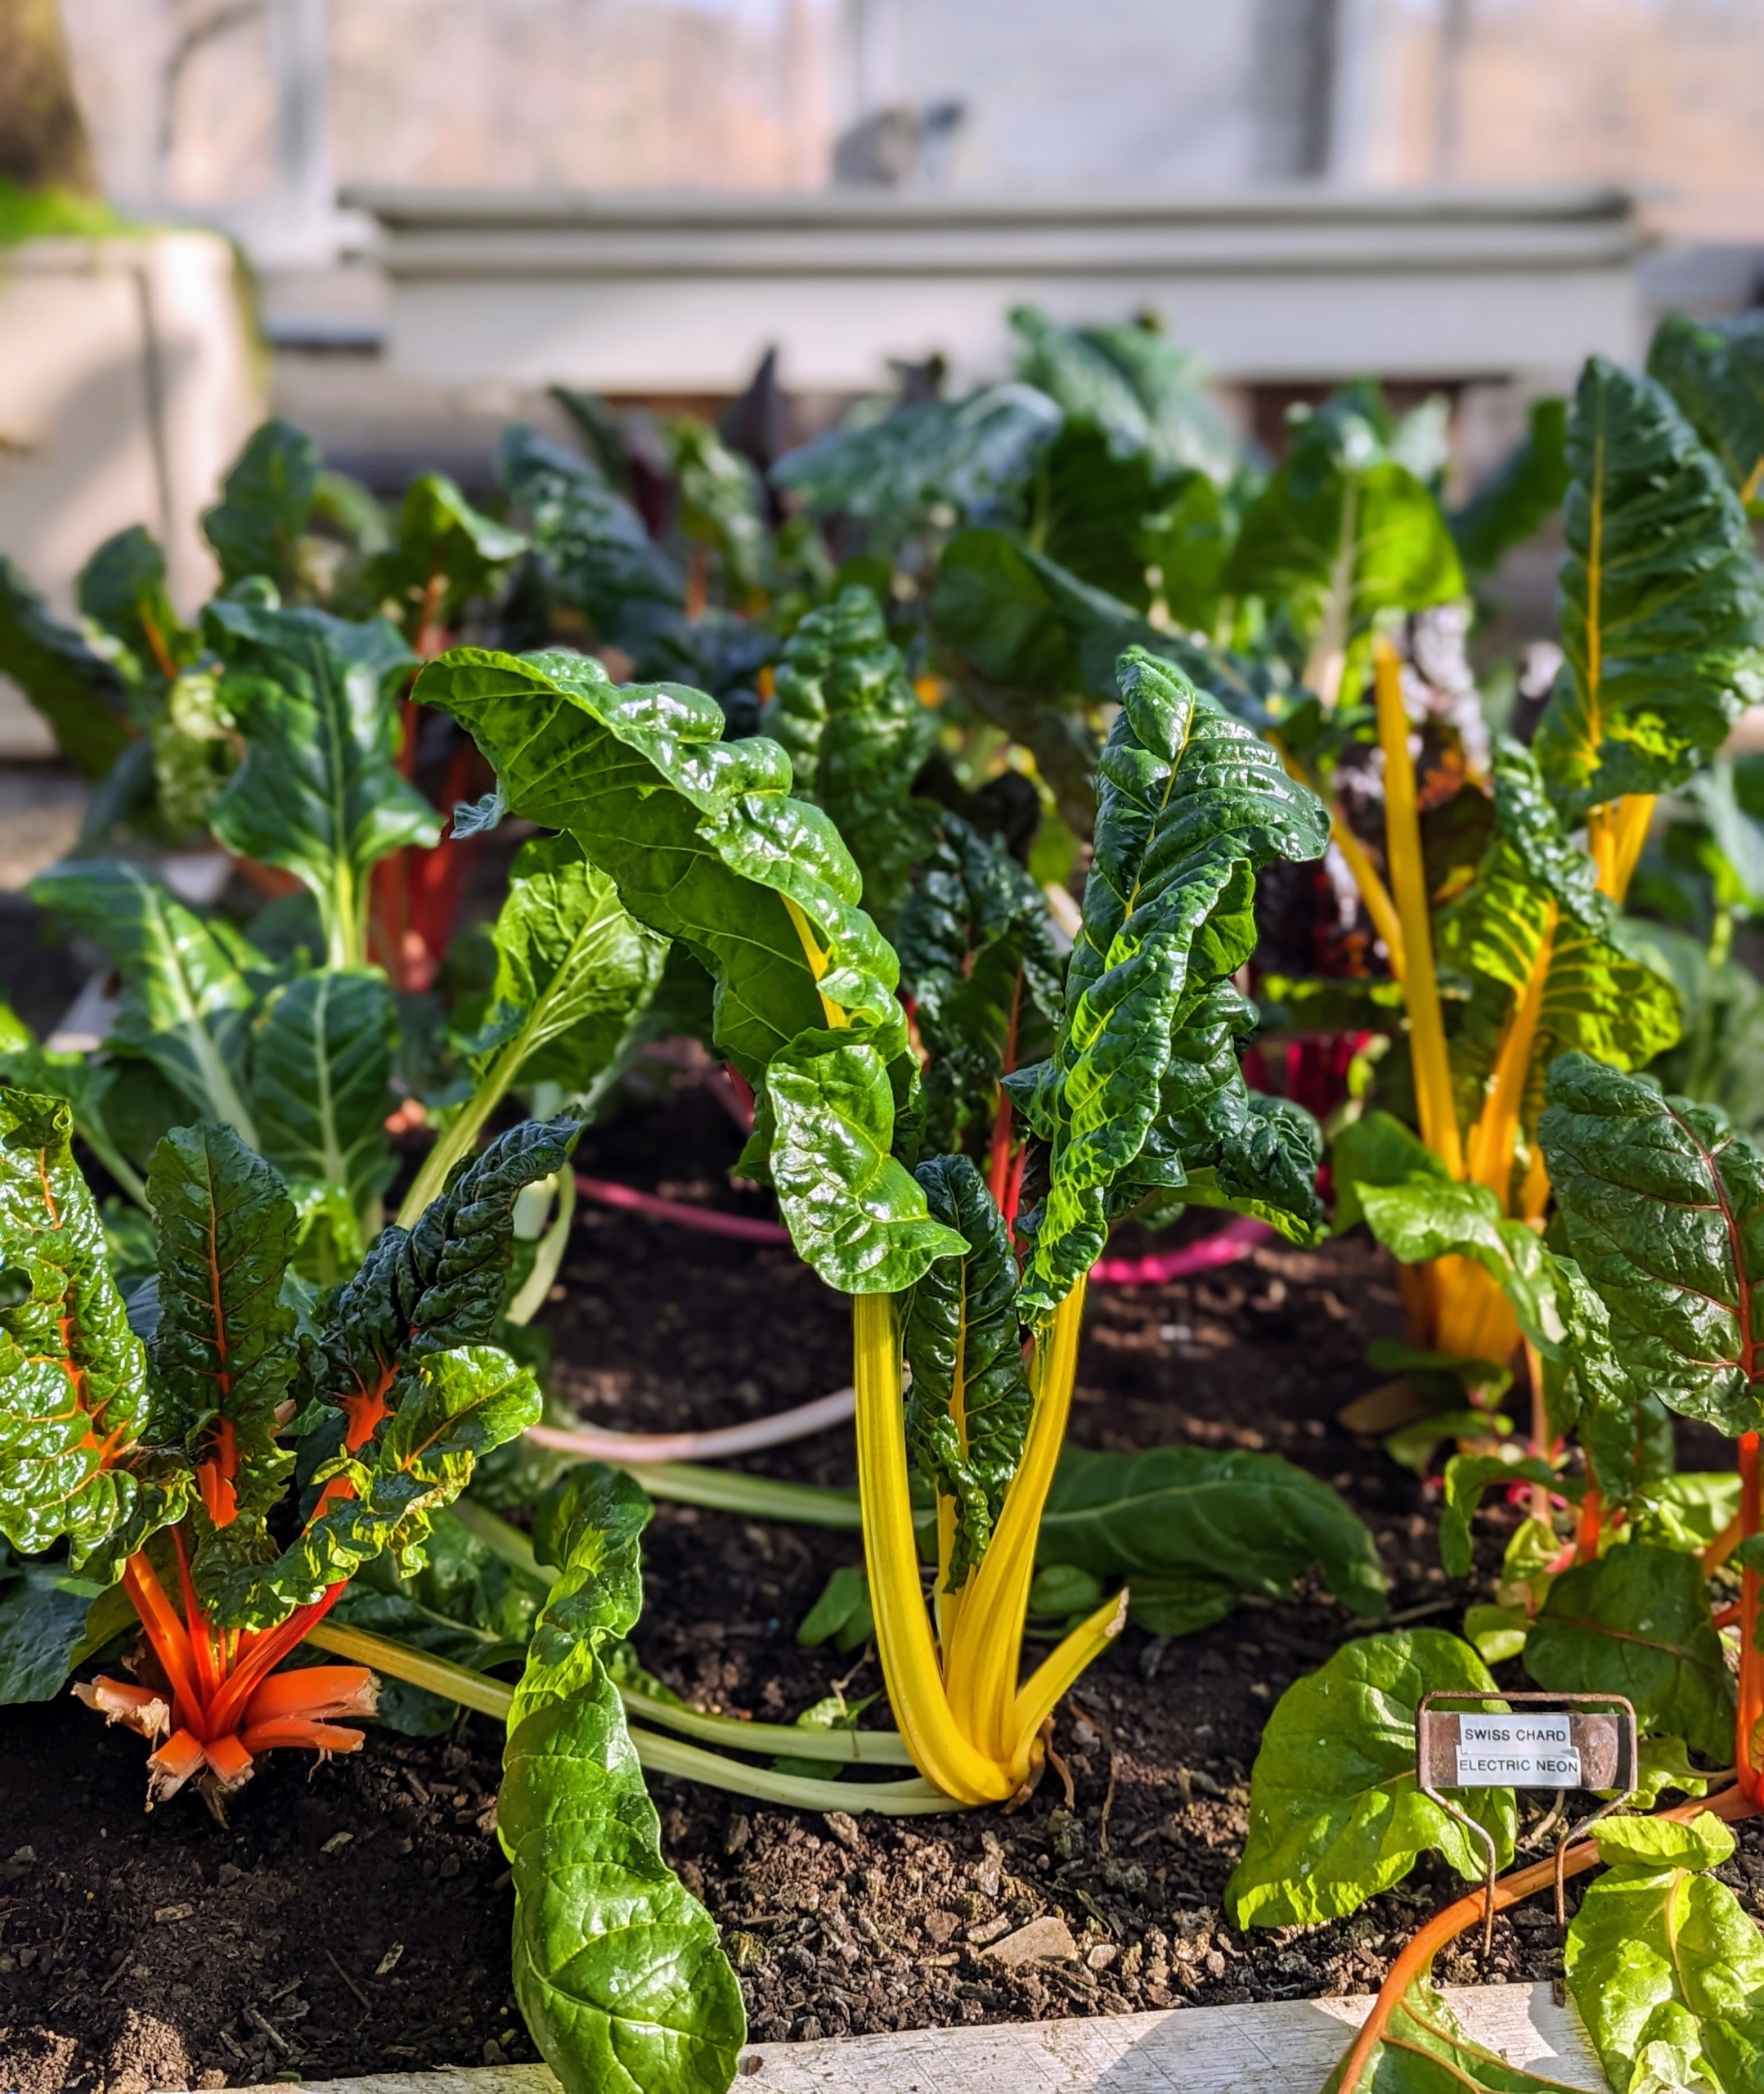
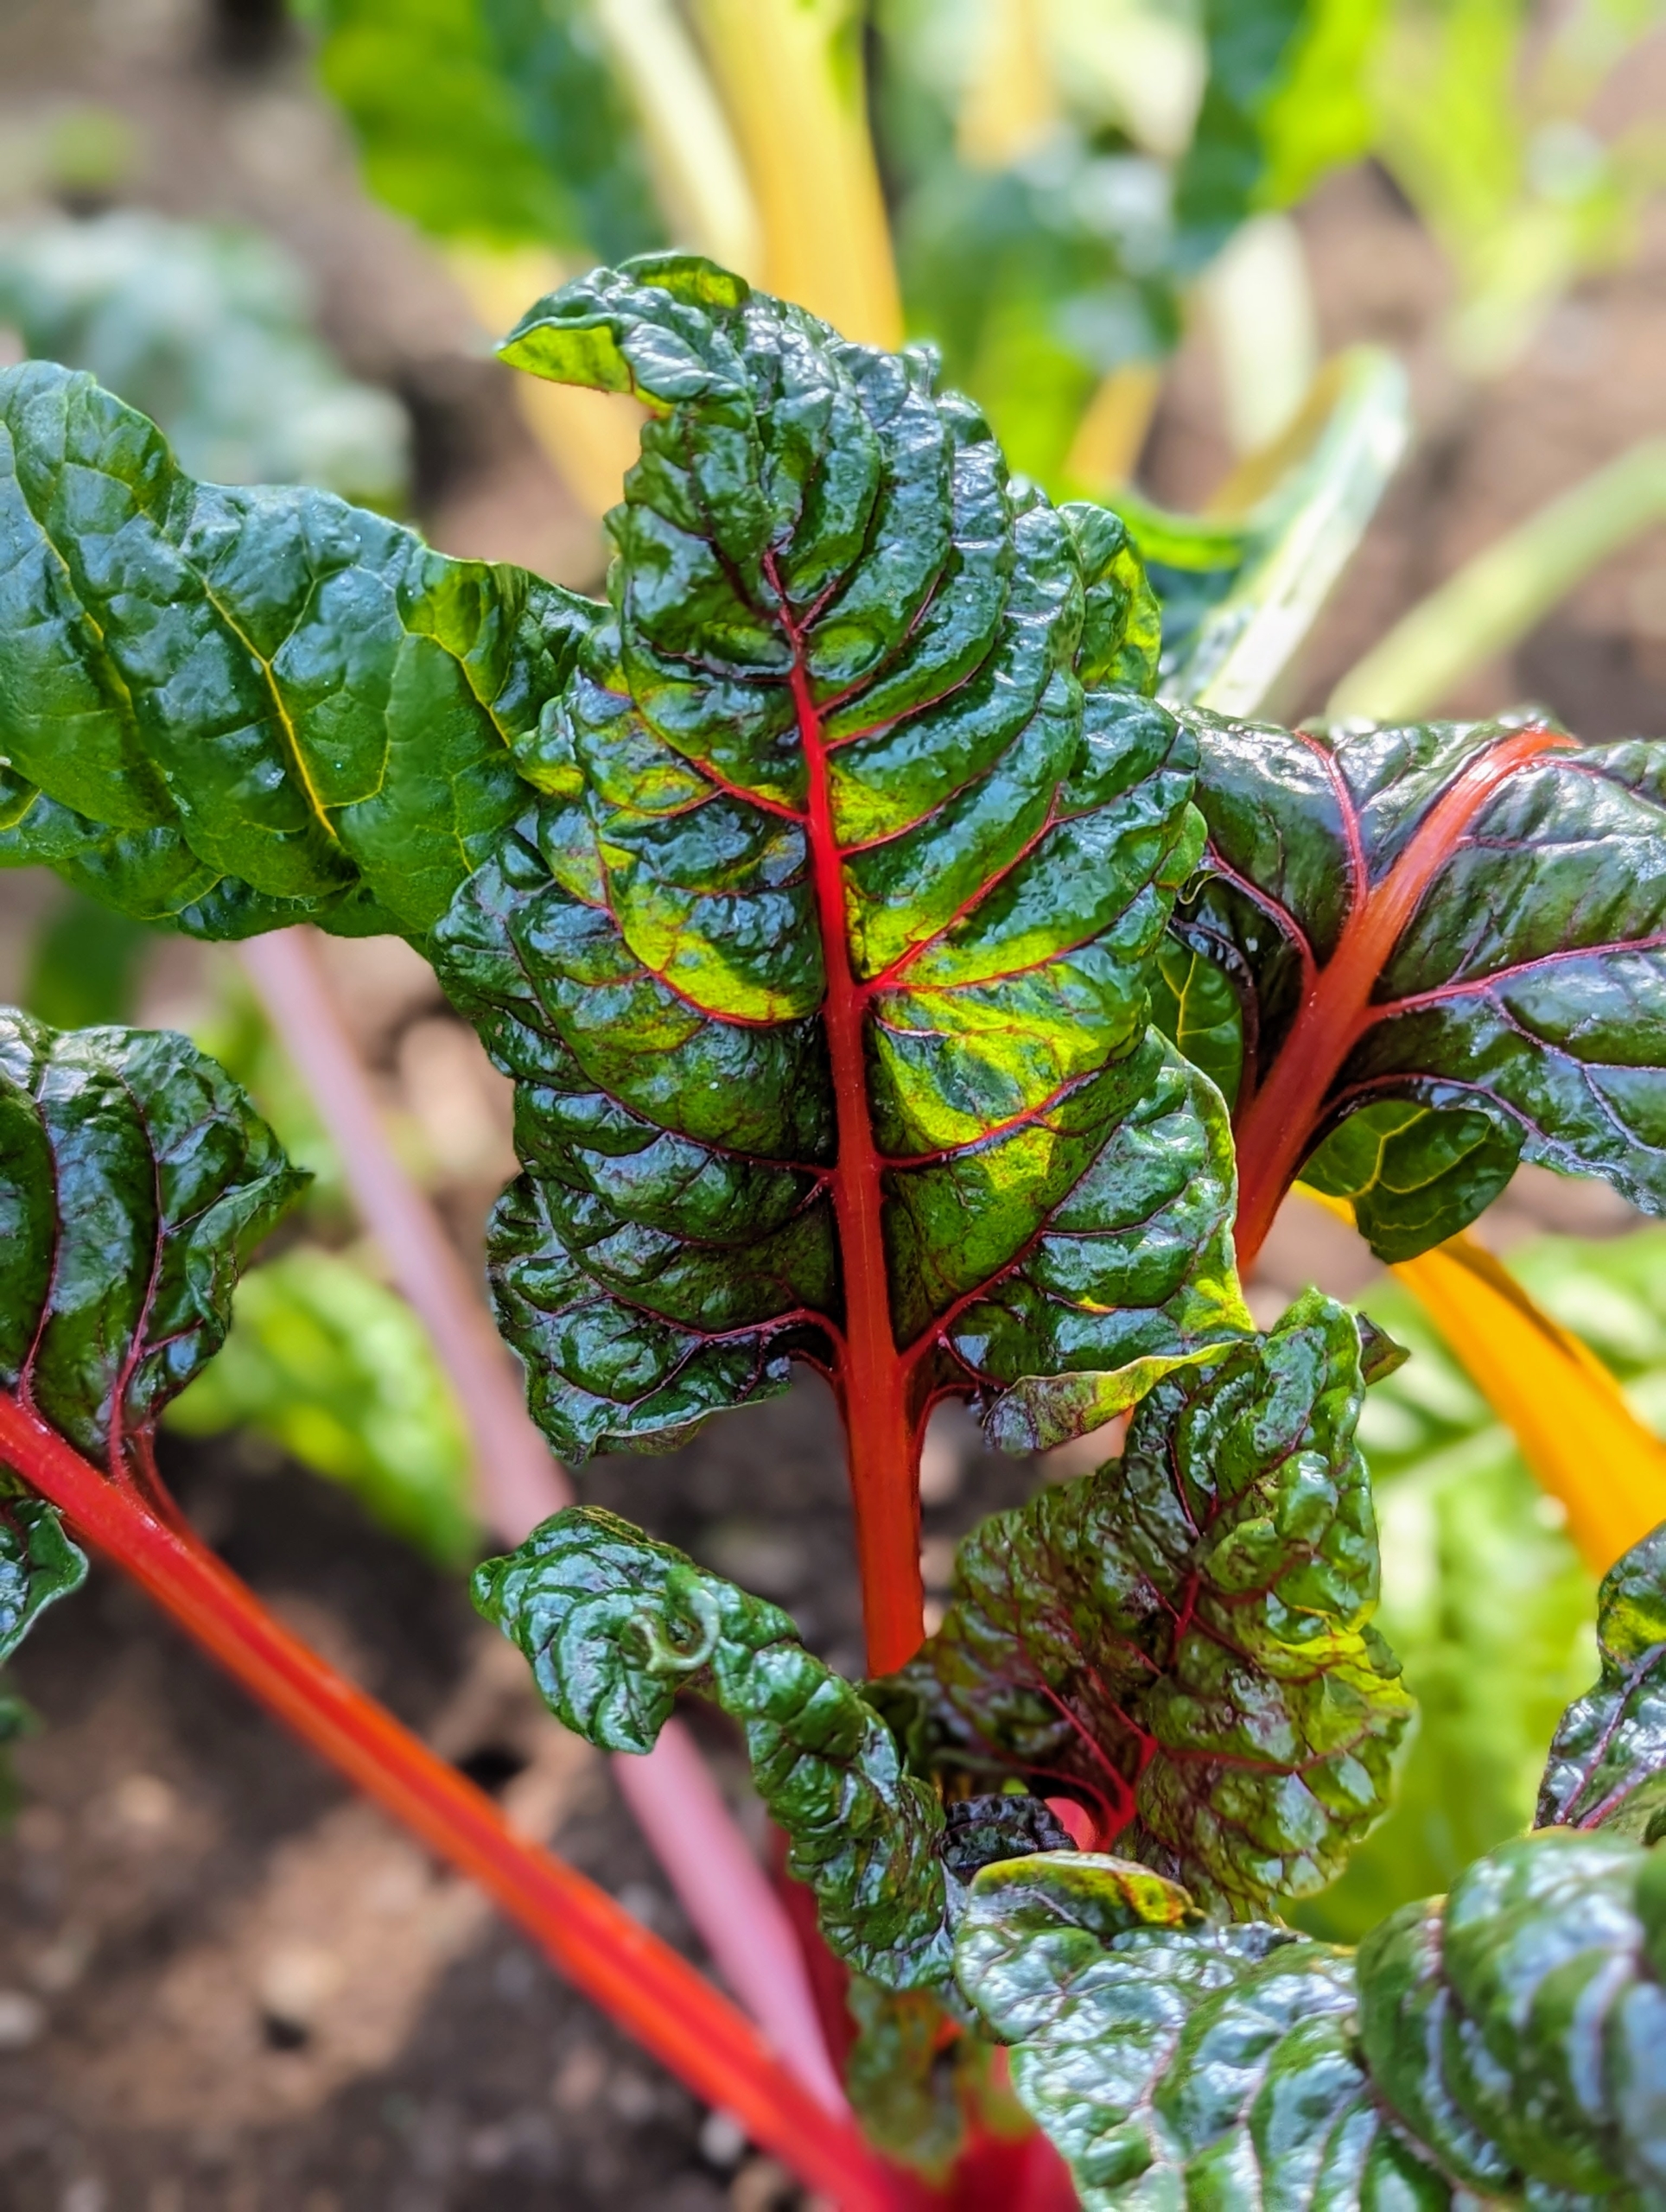
Other vegetables growing in this greenhouse include the Swiss chard. Swiss chard colors are so vibrant with stems of white, red, yellow, rose, and gold.
Chard has very nutritious leaves making it a popular addition to healthful diets.
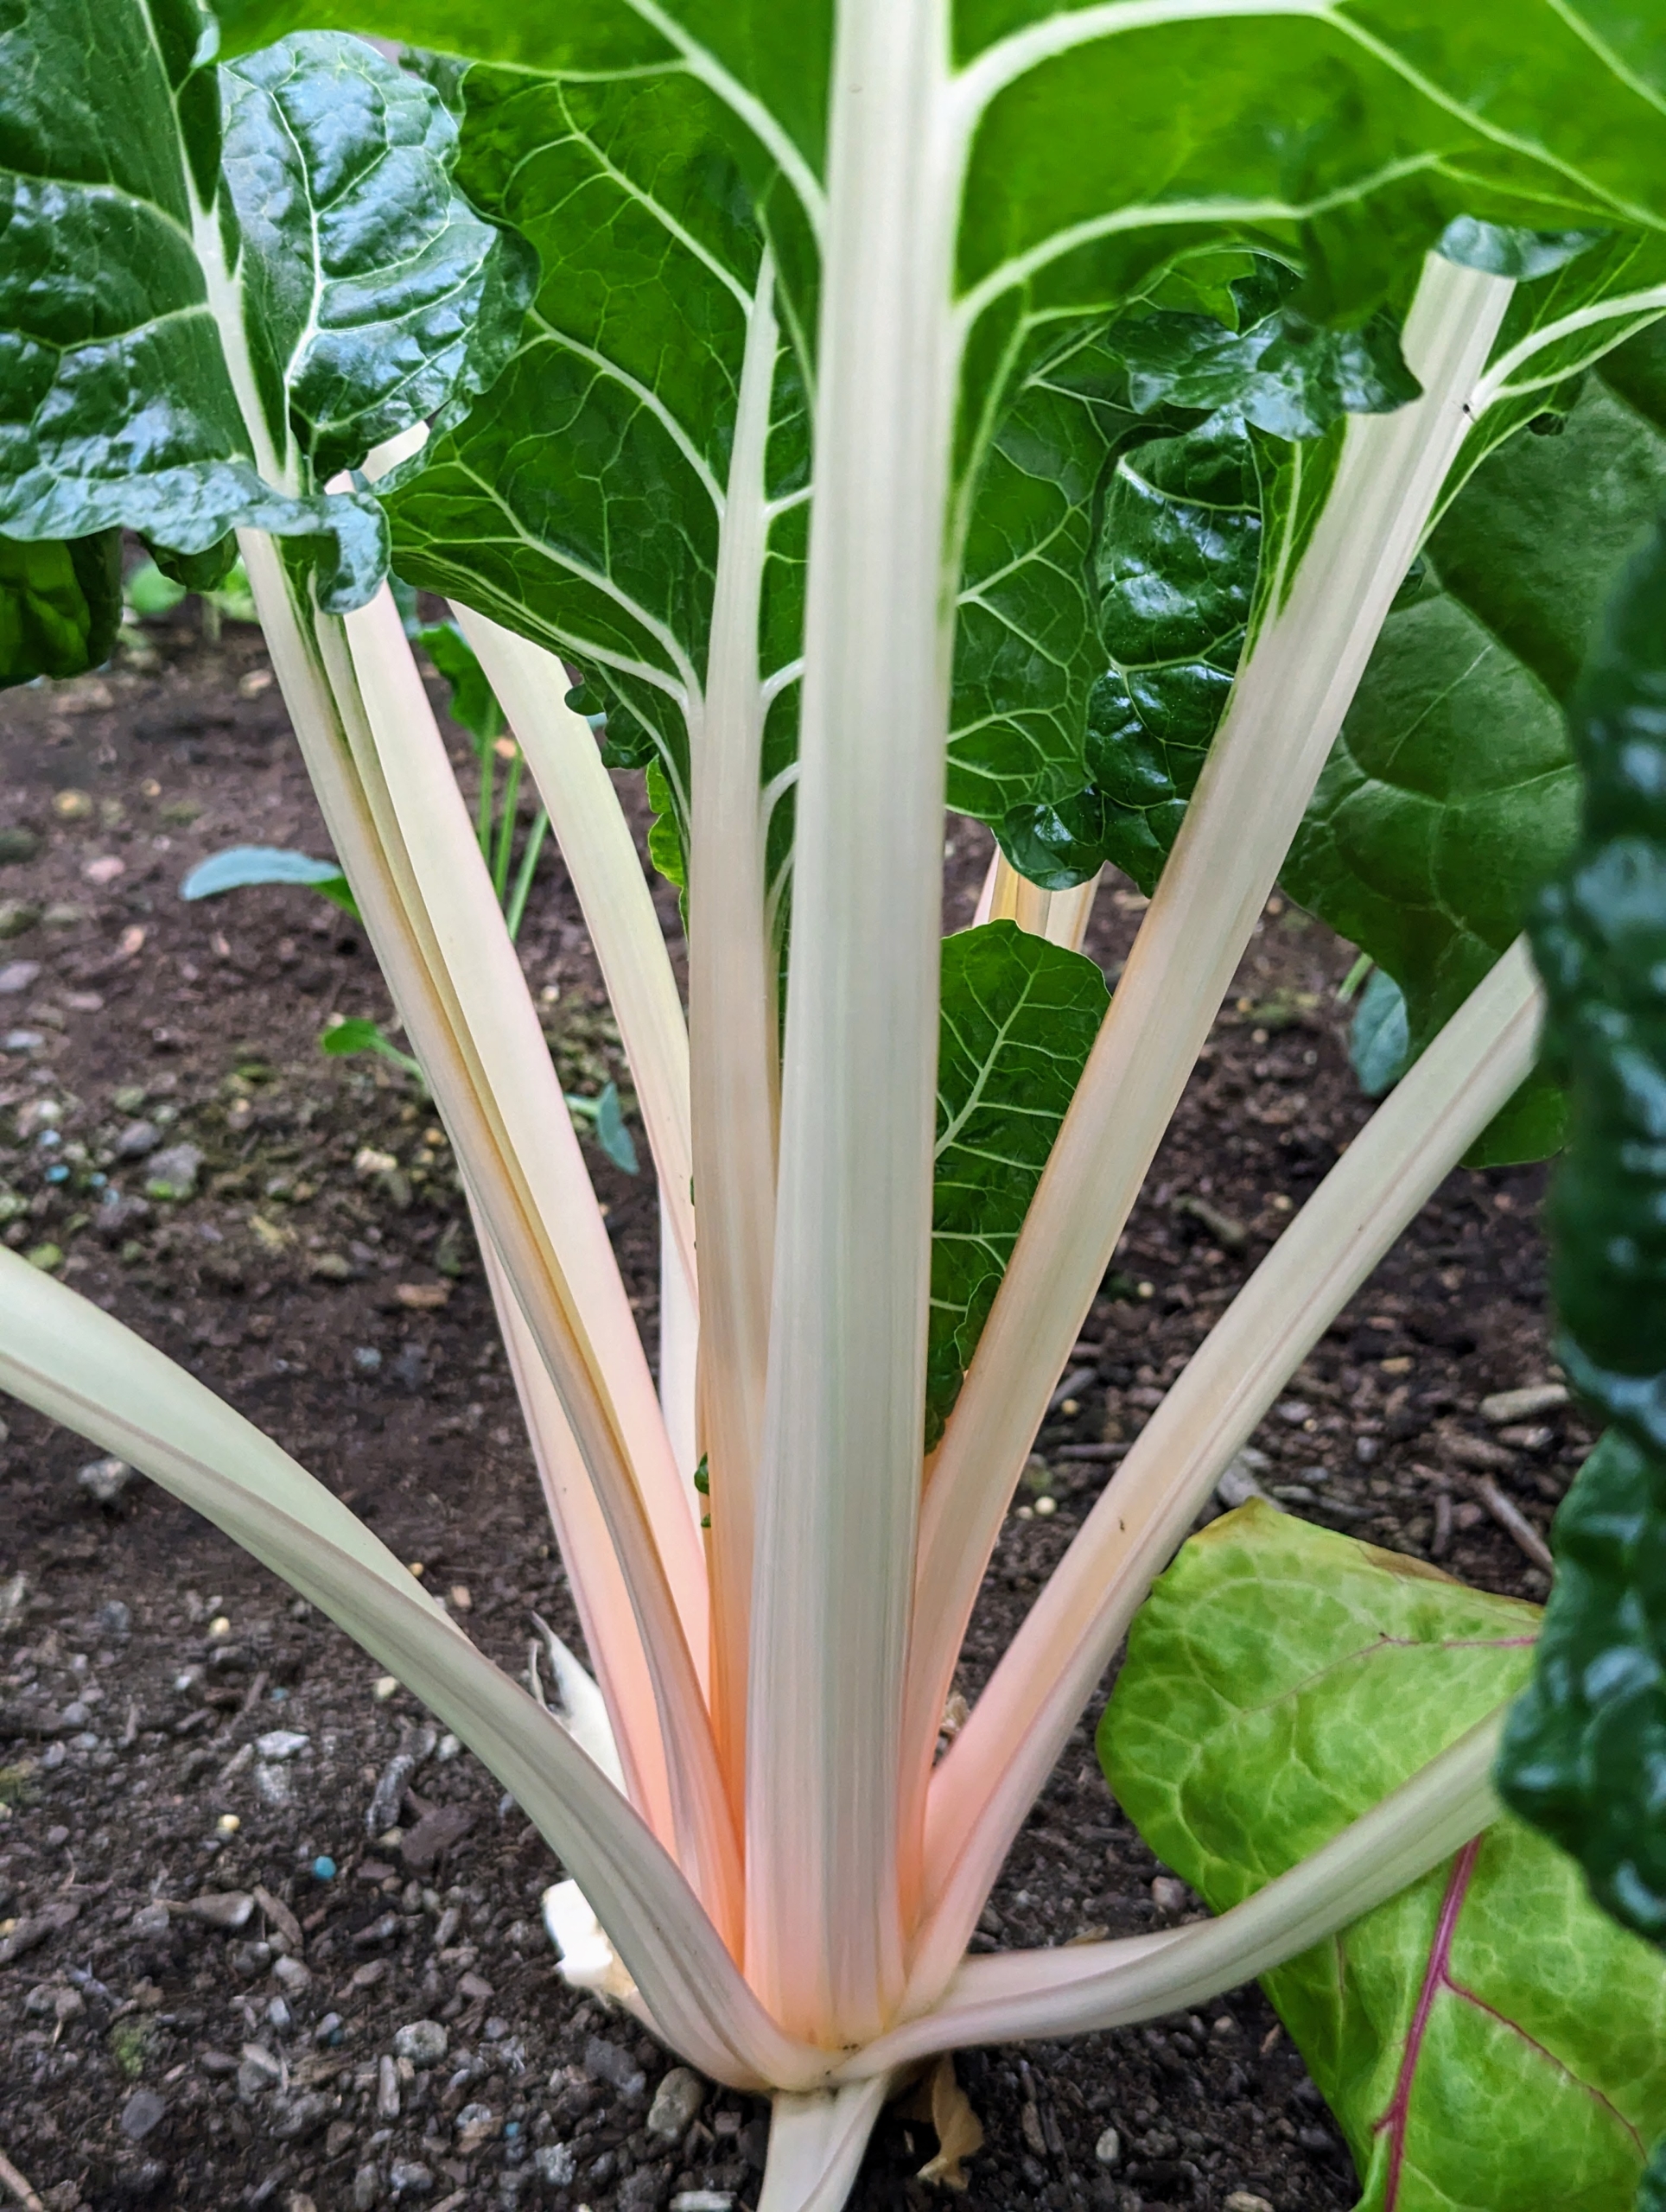
The gorgeous Swiss chard stalks stand out in the bed. The most common method for picking is to cut off the outer leaves about two inches above the ground while they are young, tender, and about eight to 12 inches long.
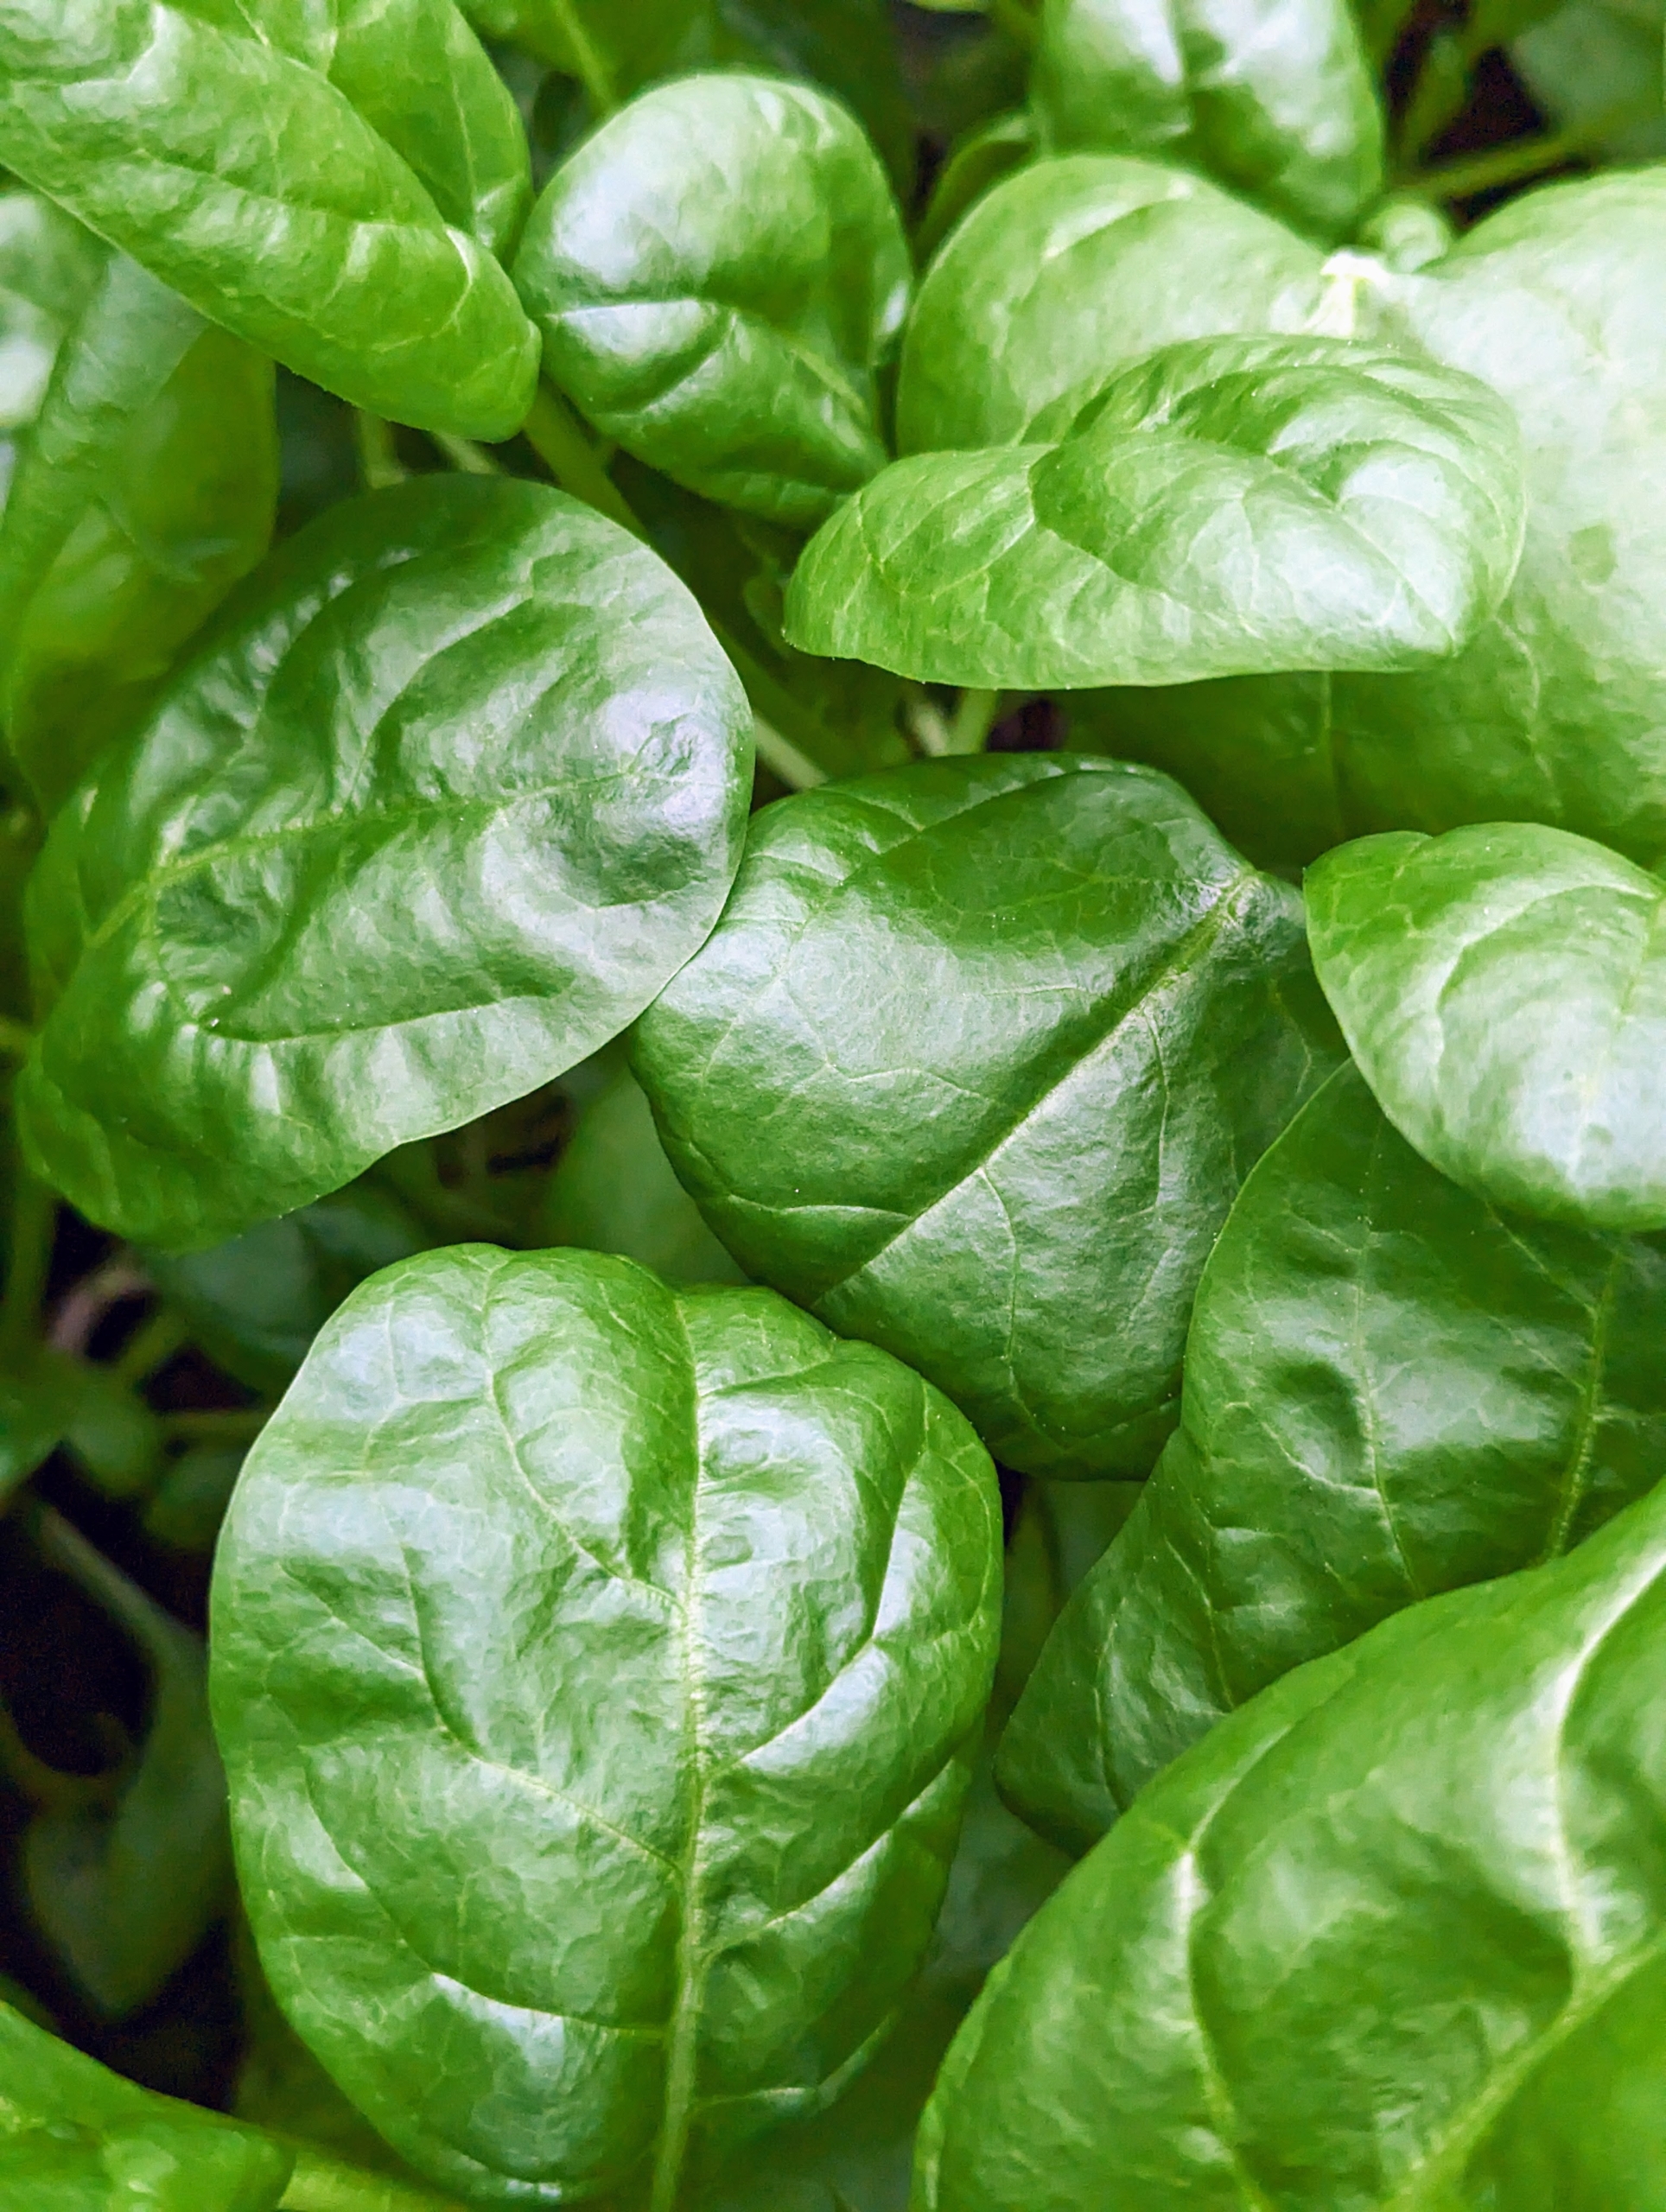
I also grow a lot of spinach. Spinach is an excellent source of vitamin K, vitamin A, vitamin C, folate, and a good source of manganese, magnesium, iron and vitamin B2. We use a lot of spinach at the farm for my daily green juice.
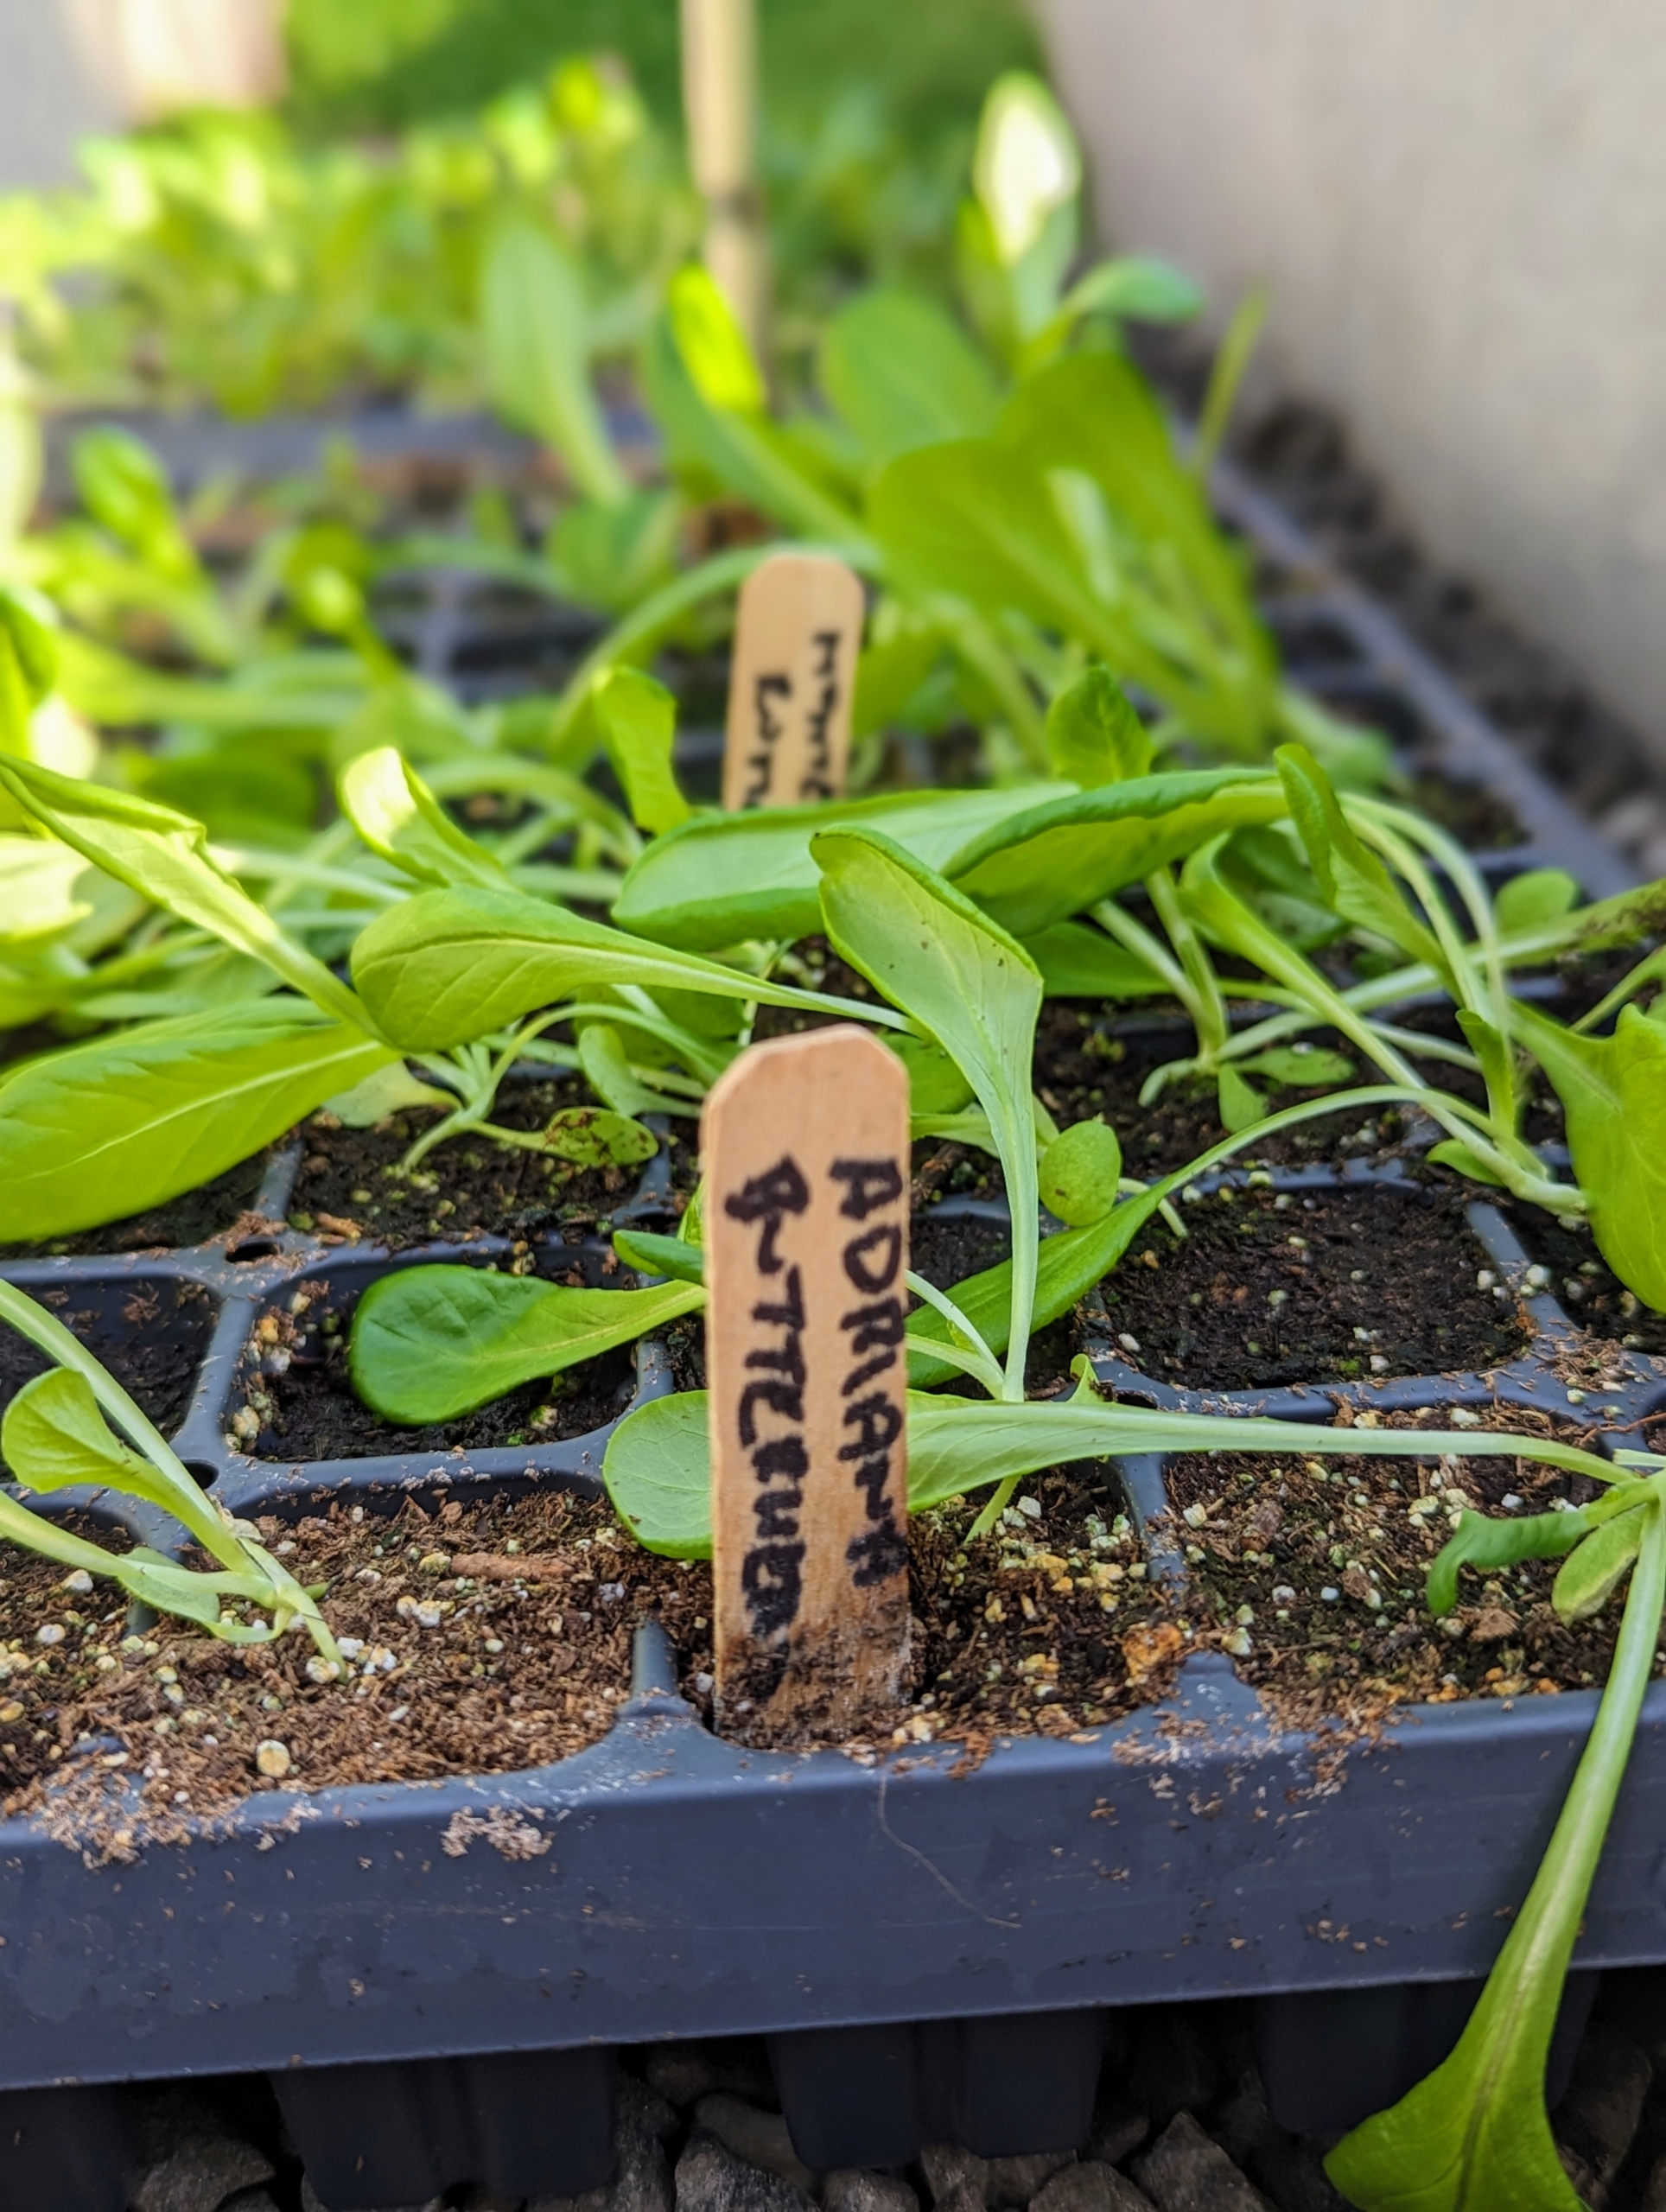
Ryan started several trays of lettuce inside the main greenhouse. These seedlings are now ready to be planted in the beds.
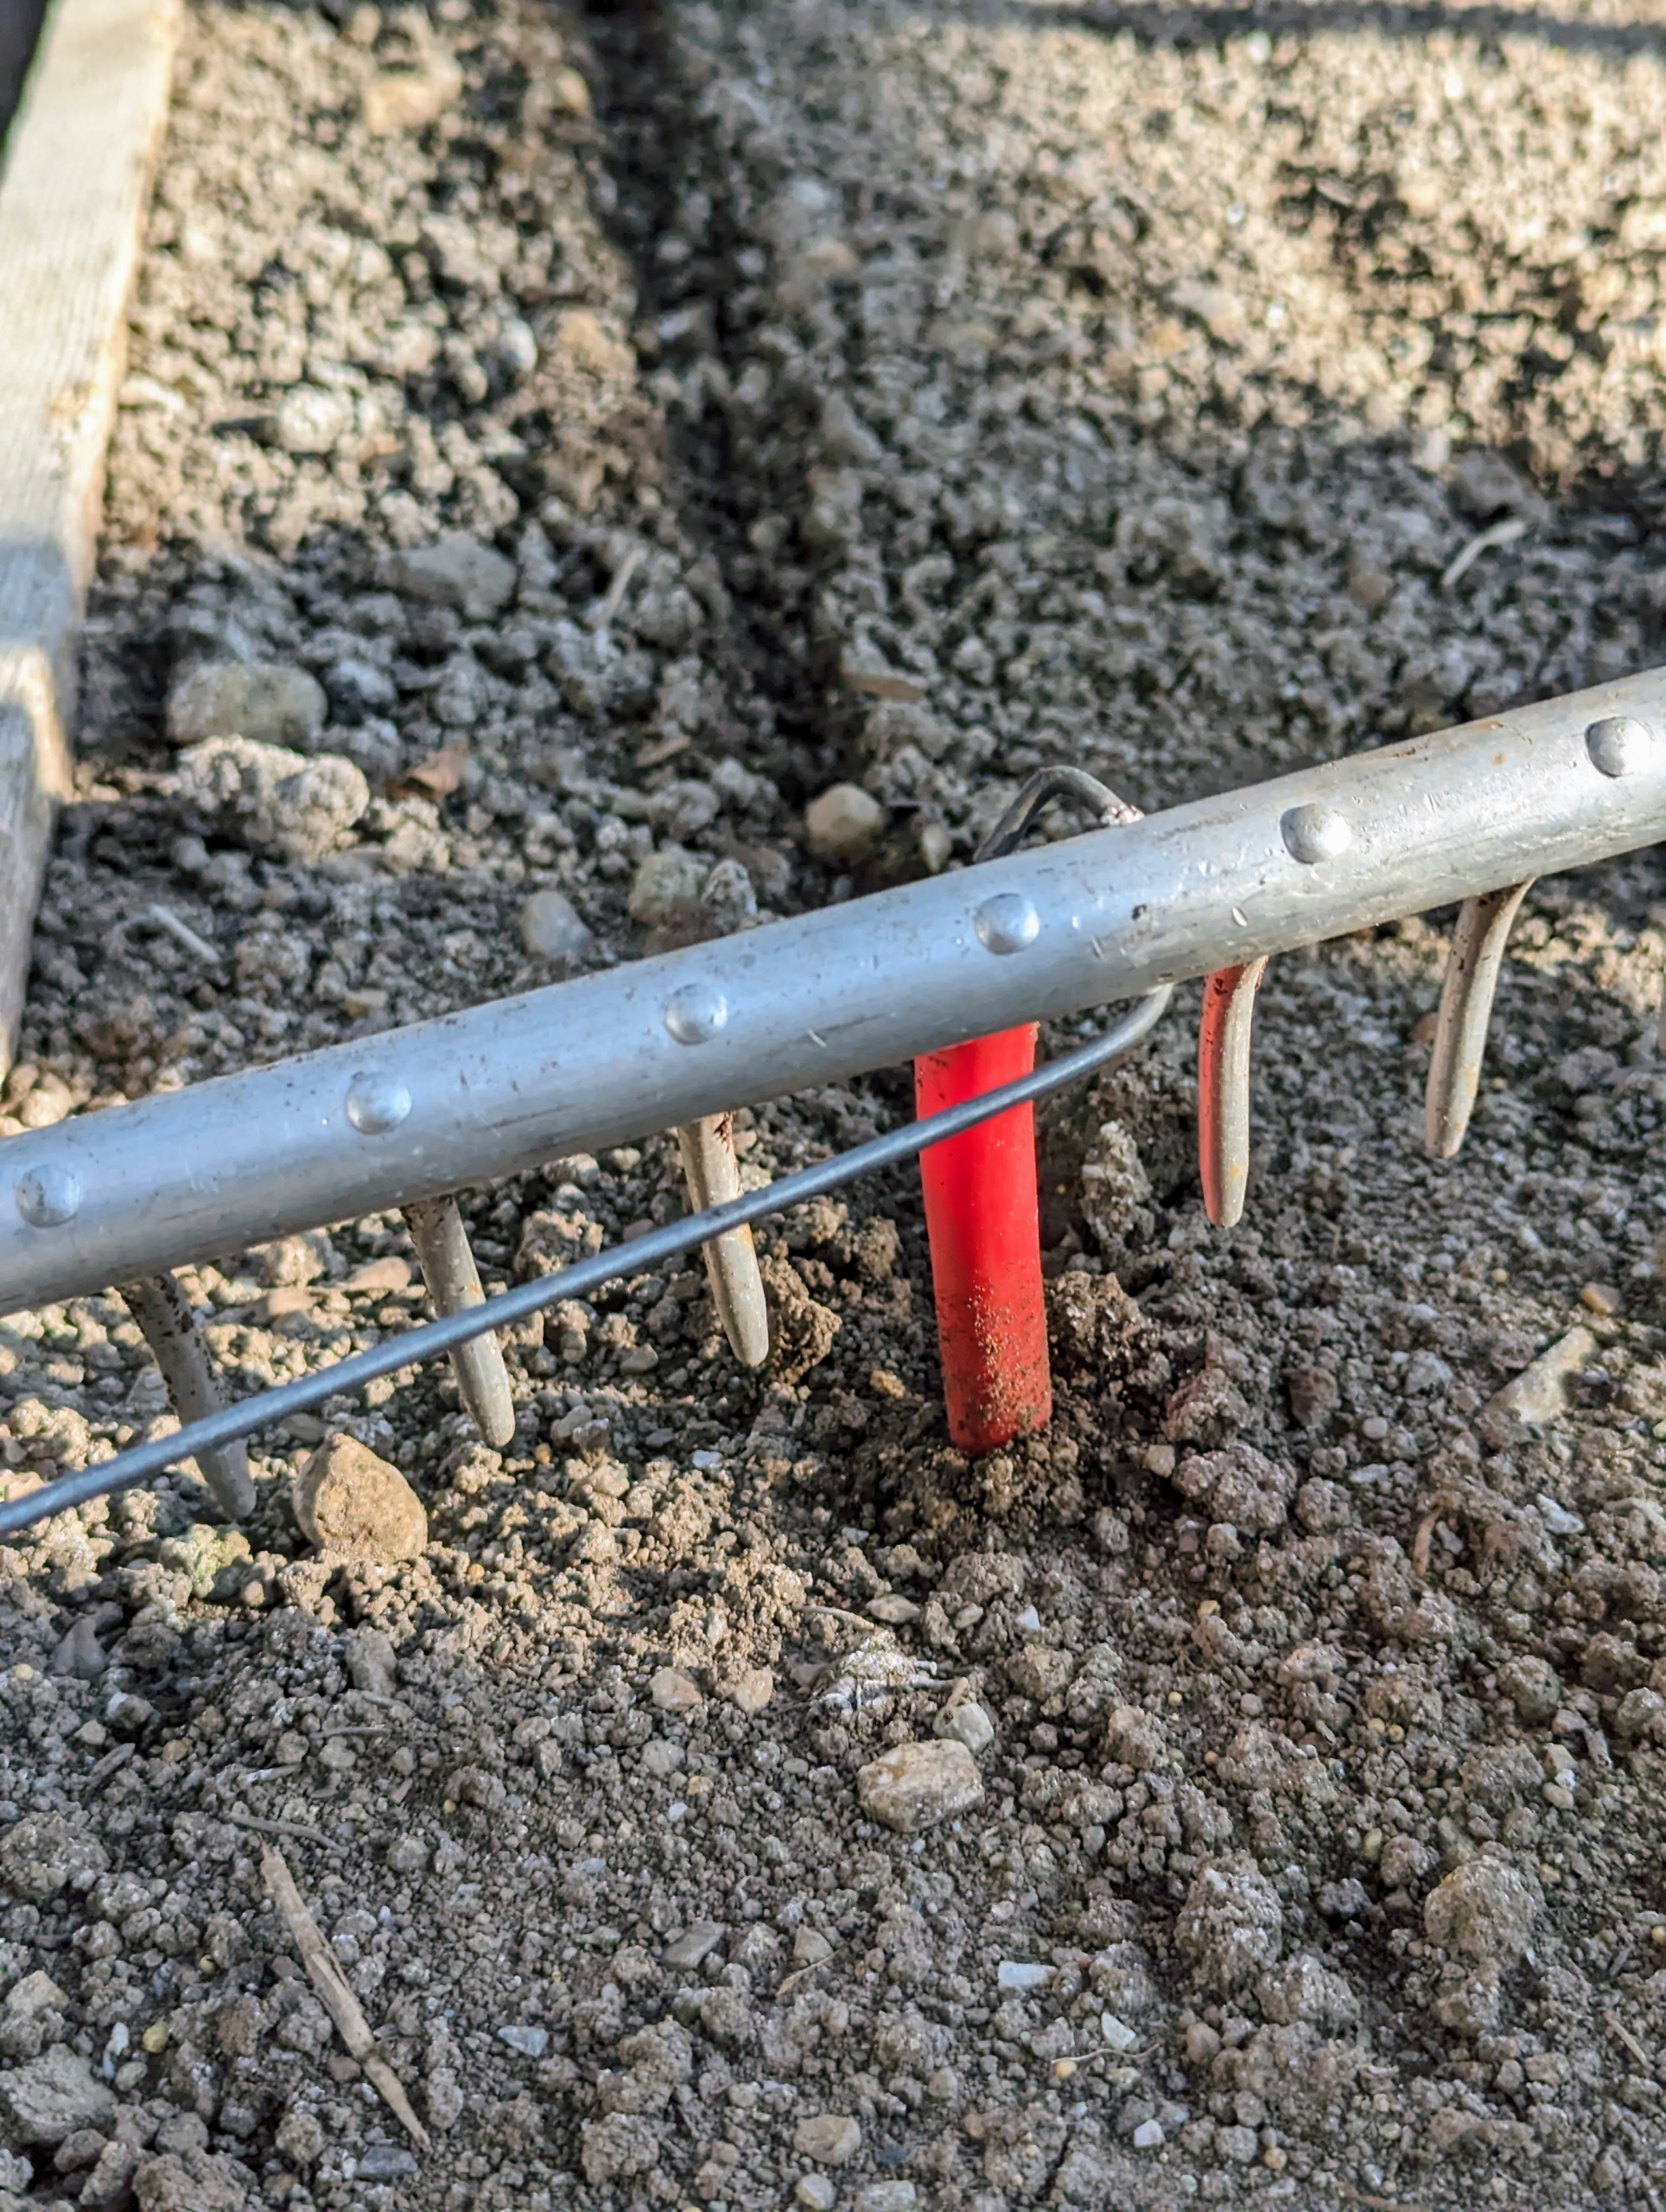
Ryan uses a Bed Preparation Rake from Johnny’s Selected Seeds to make the furrows.
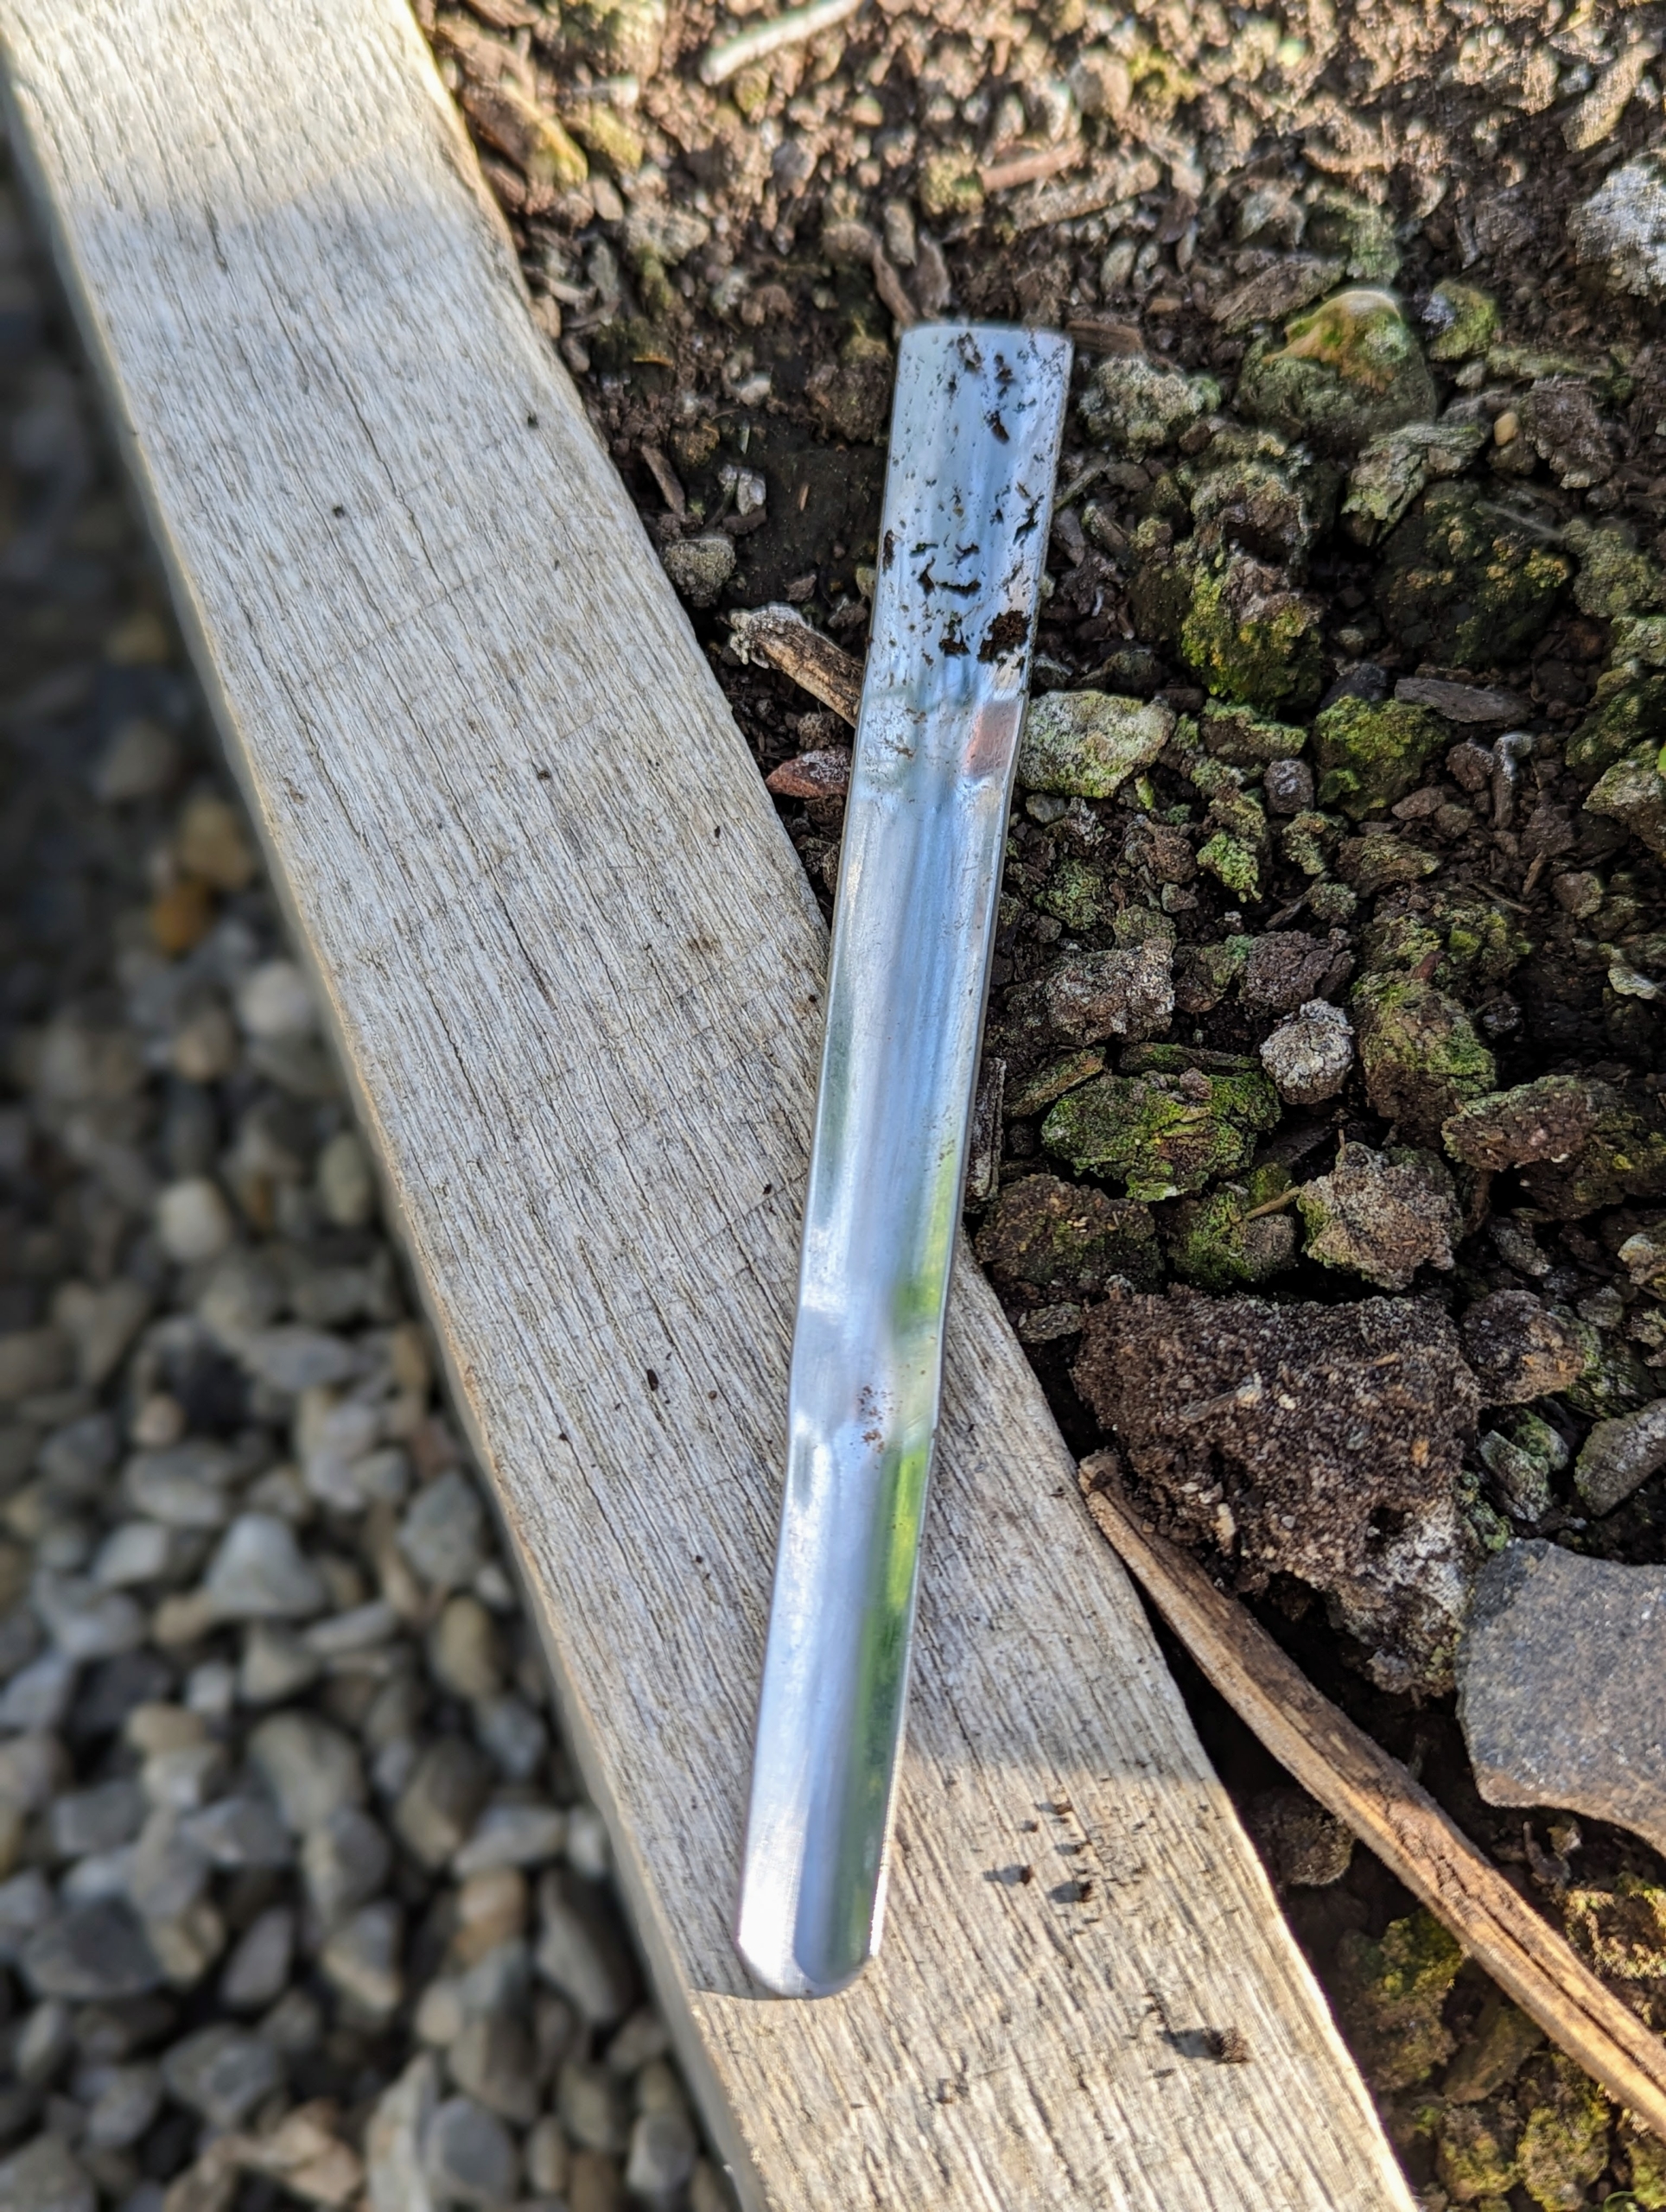
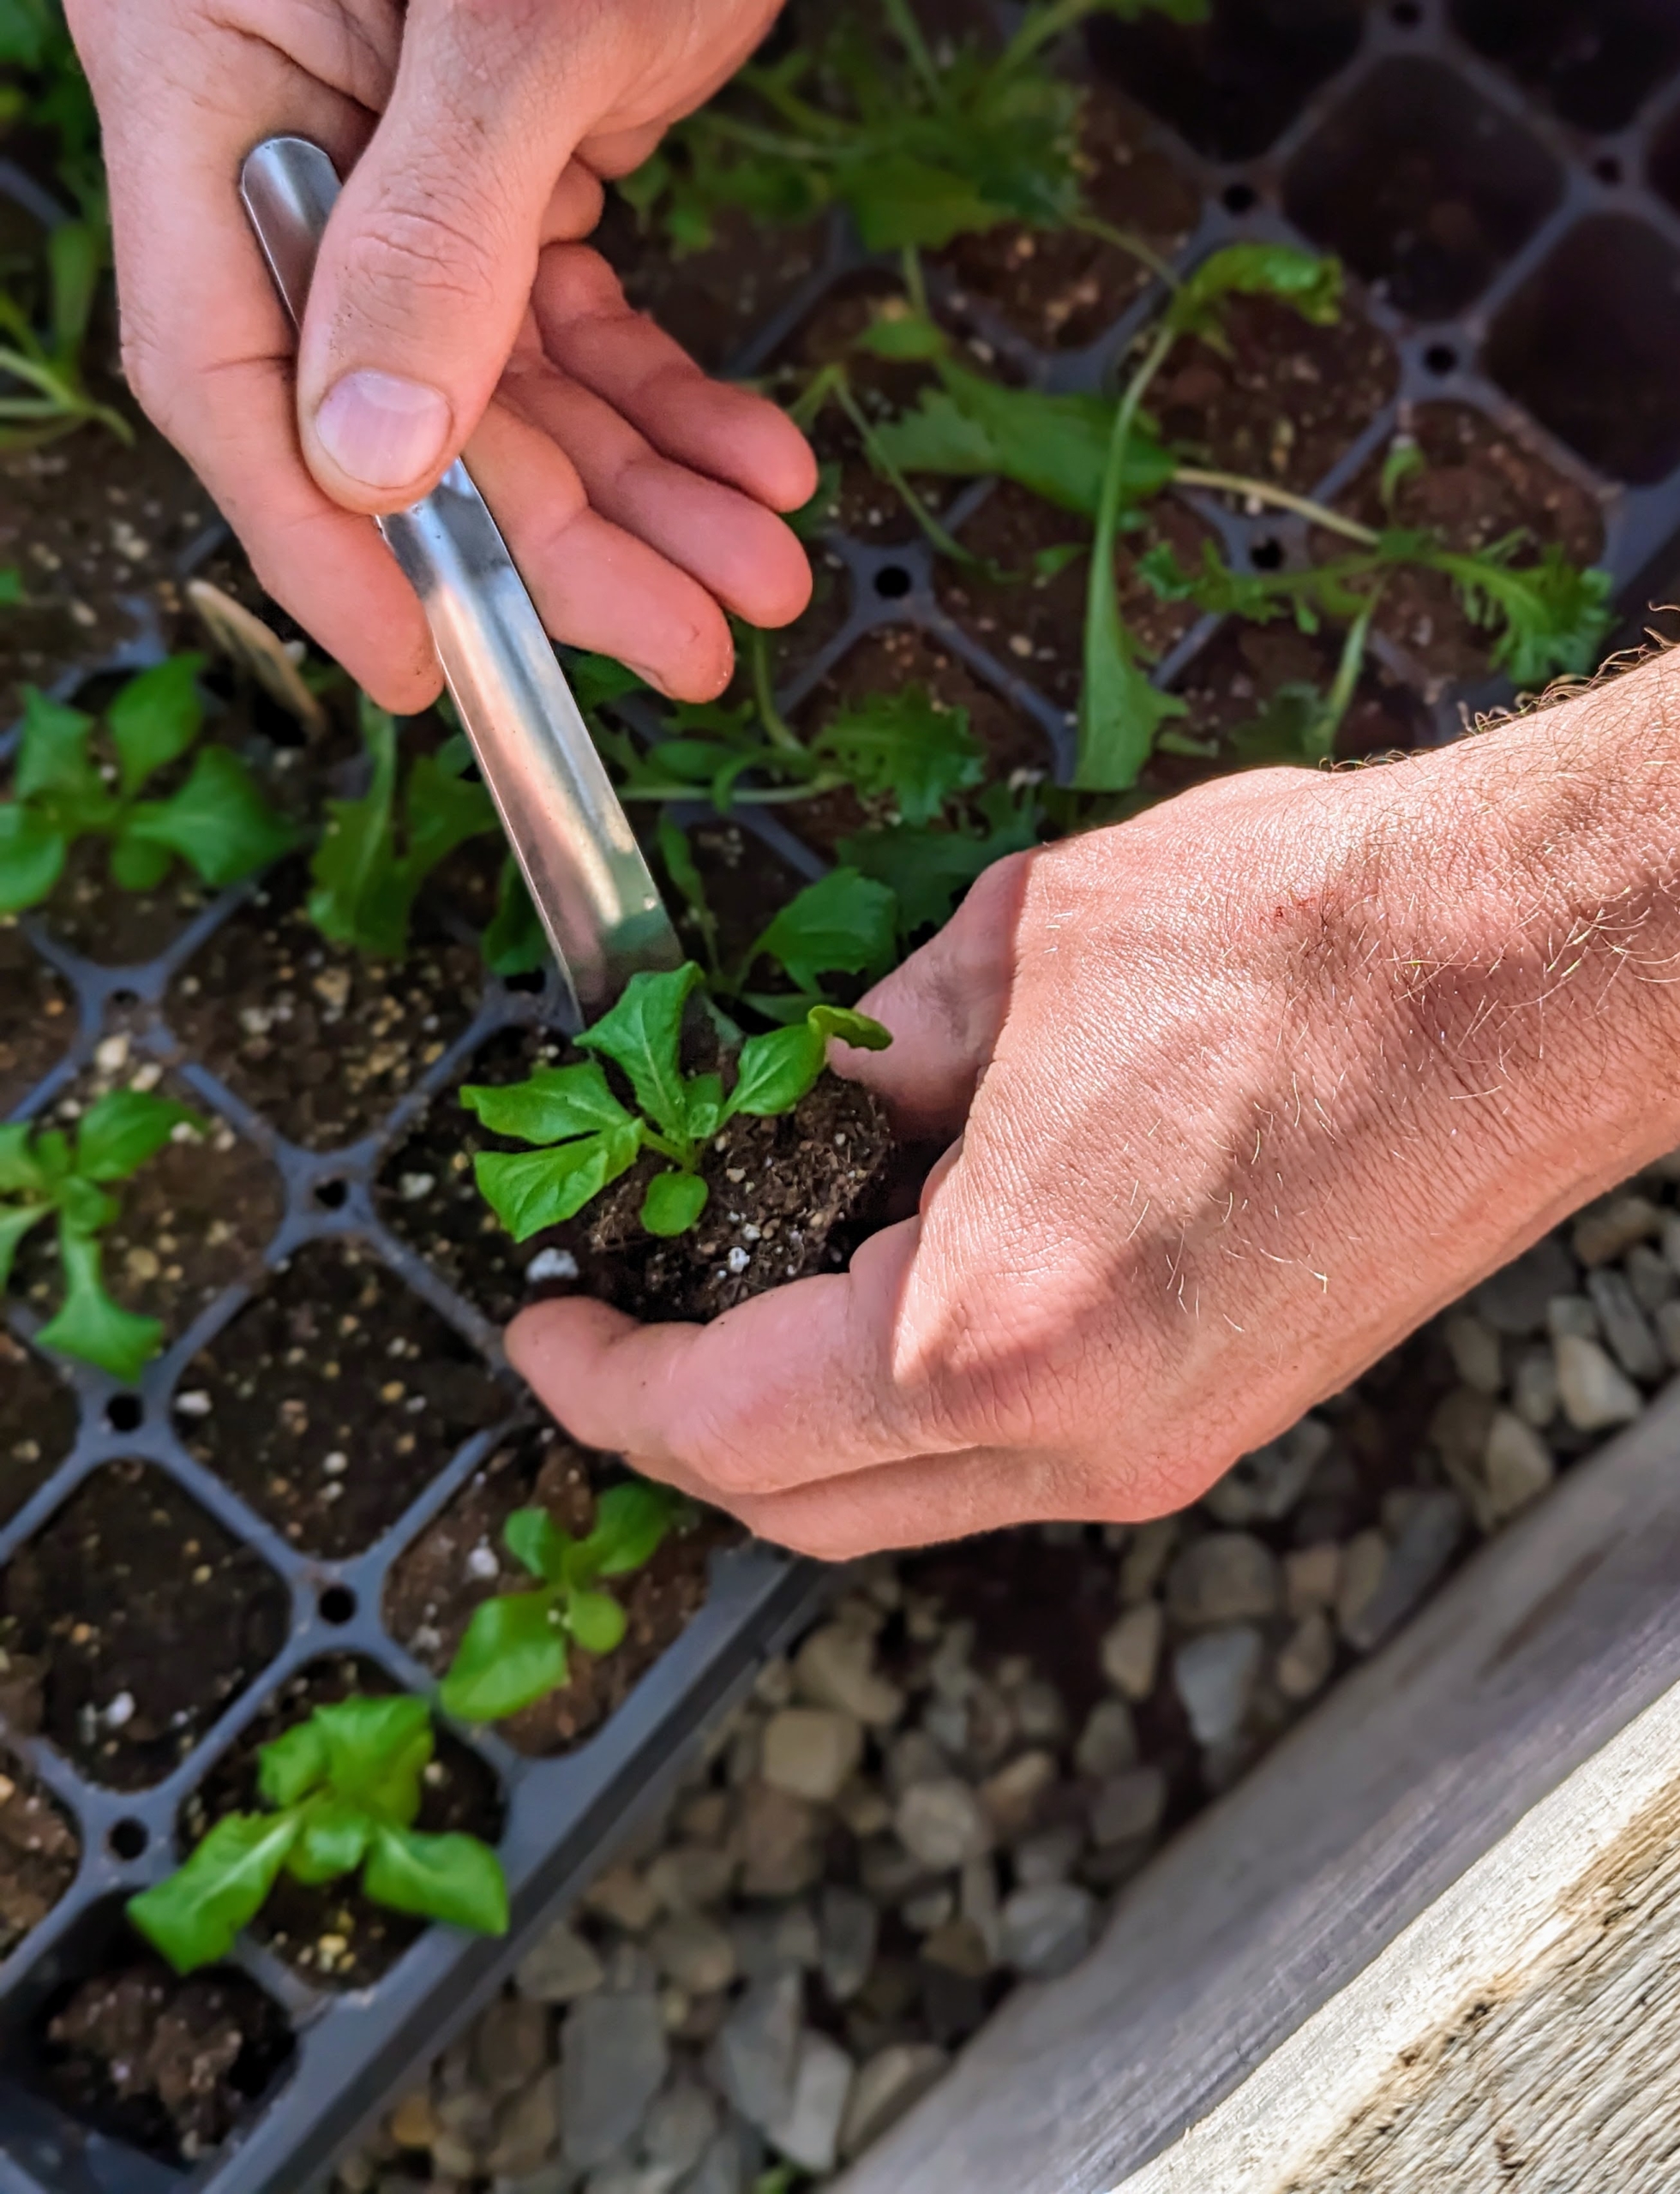
This tool is great for transplanting seedlings – it’s also from Johnny’s Selected Seeds. It’s called a widger. It has a convex stainless steel blade that delicately separates the tiny plants.
Ryan carefully loosens the soil around the seedling with the widger and lifts the seedling out of the tray cell. The widger also helps to avoid damage to the plant’s leaves and roots.
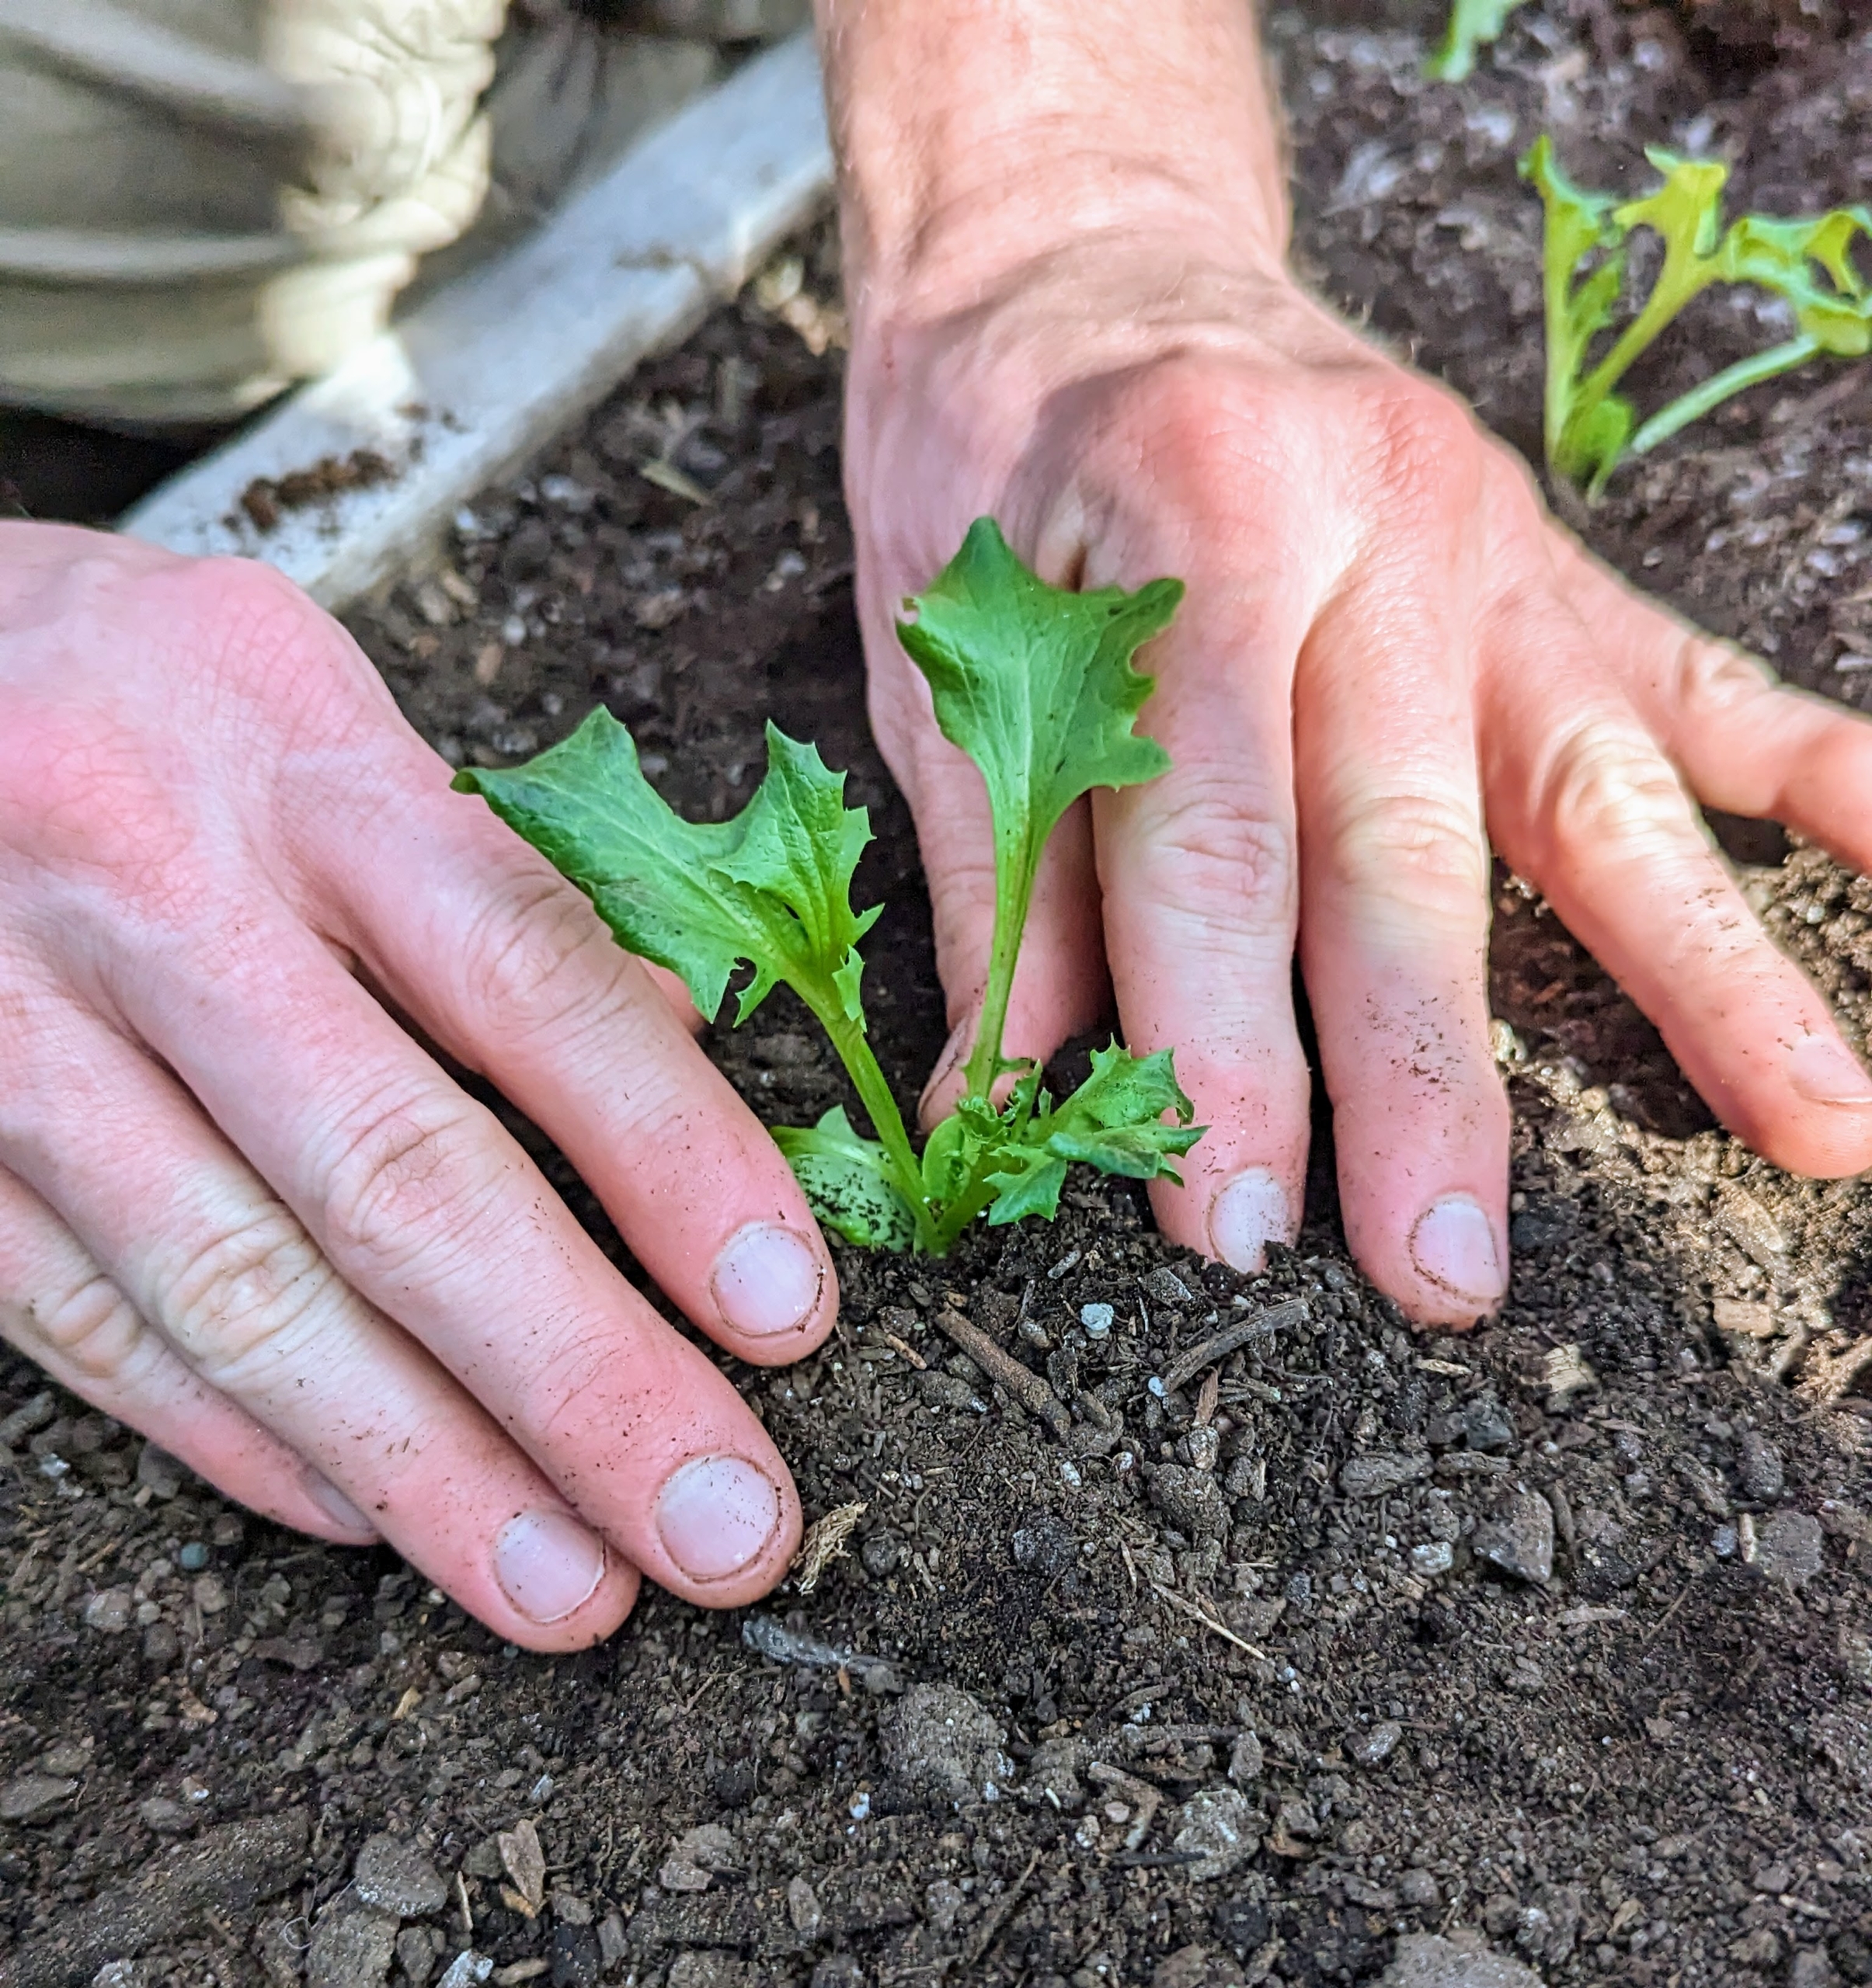
And then he plants it into the ground. Lettuce plants have shallow roots, so they don’t require much depth to grow, but because of their full heads, they need to be planted at least a foot apart.
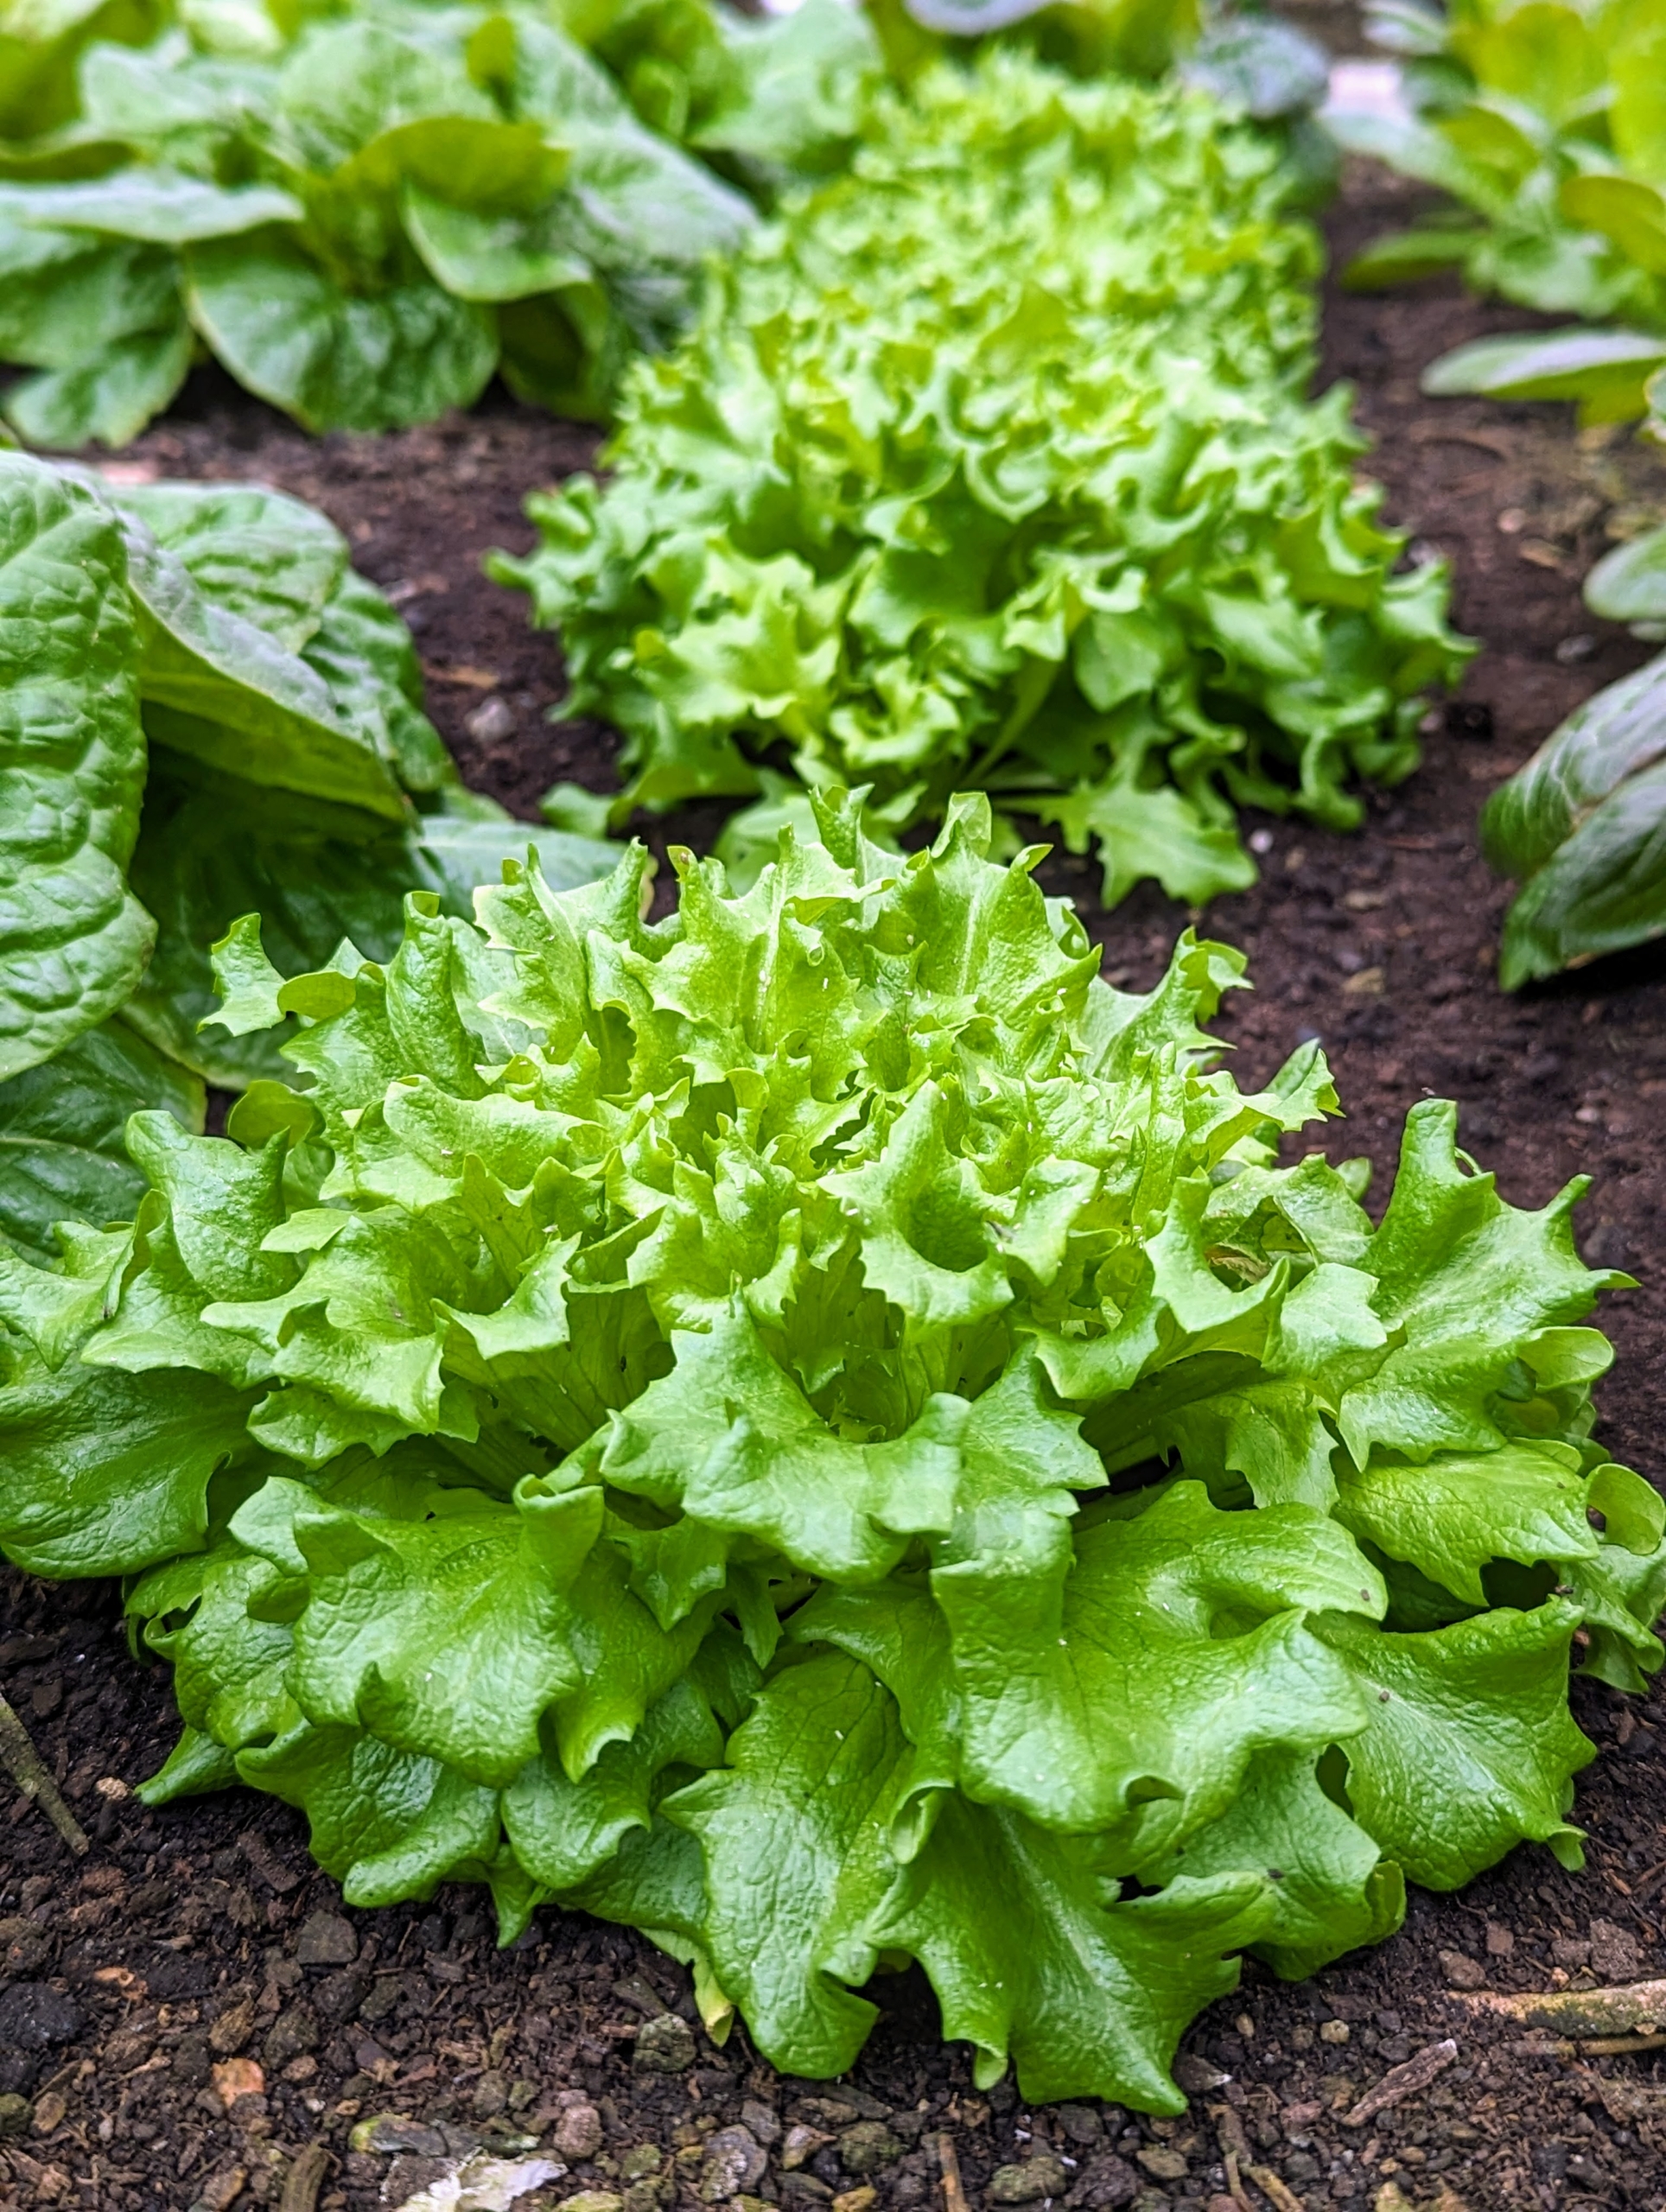
I love fresh lettuce. It’s a real treat to have lettuce like this all year long. I share it with my daughter and grandchildren. And of course, I enjoy it for my own lunches and dinners when I am home.
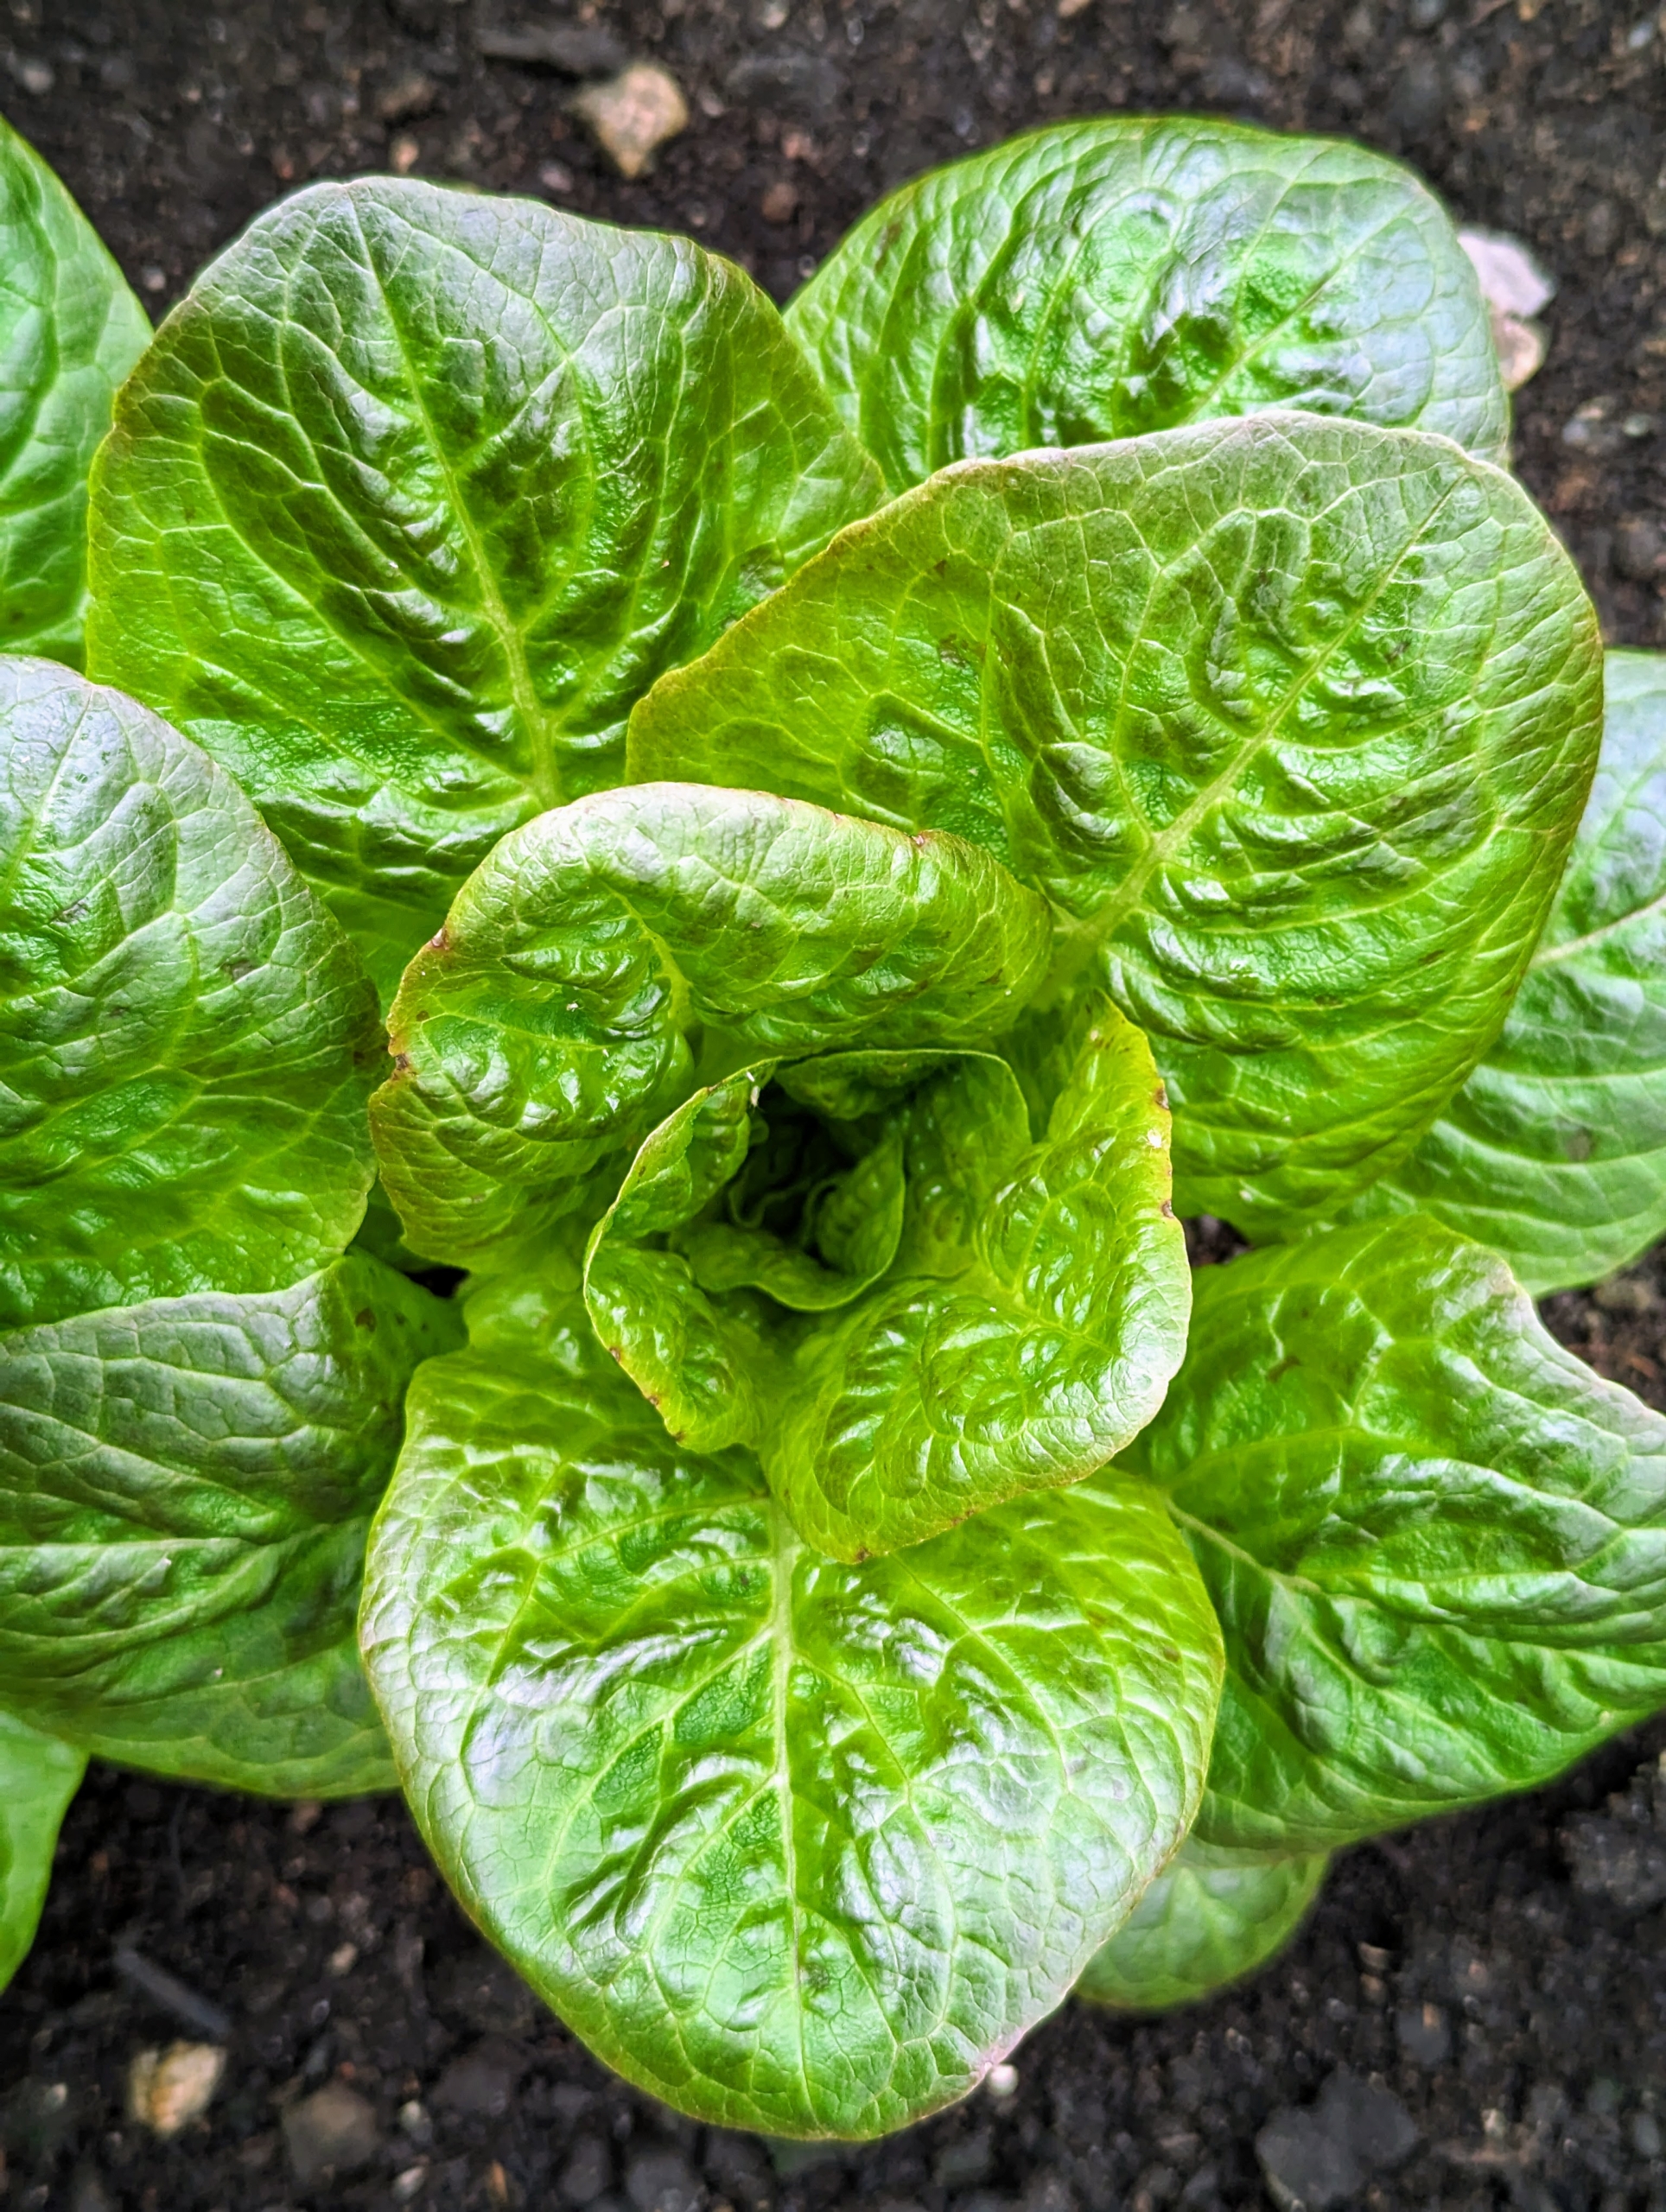
There is always a lettuce head or two ready for harvesting. Butter lettuce is a type of lettuce that includes Bibb lettuce and Boston lettuce. It’s known for loose, round-shaped heads of tender, sweet leaves and a mild flavor.
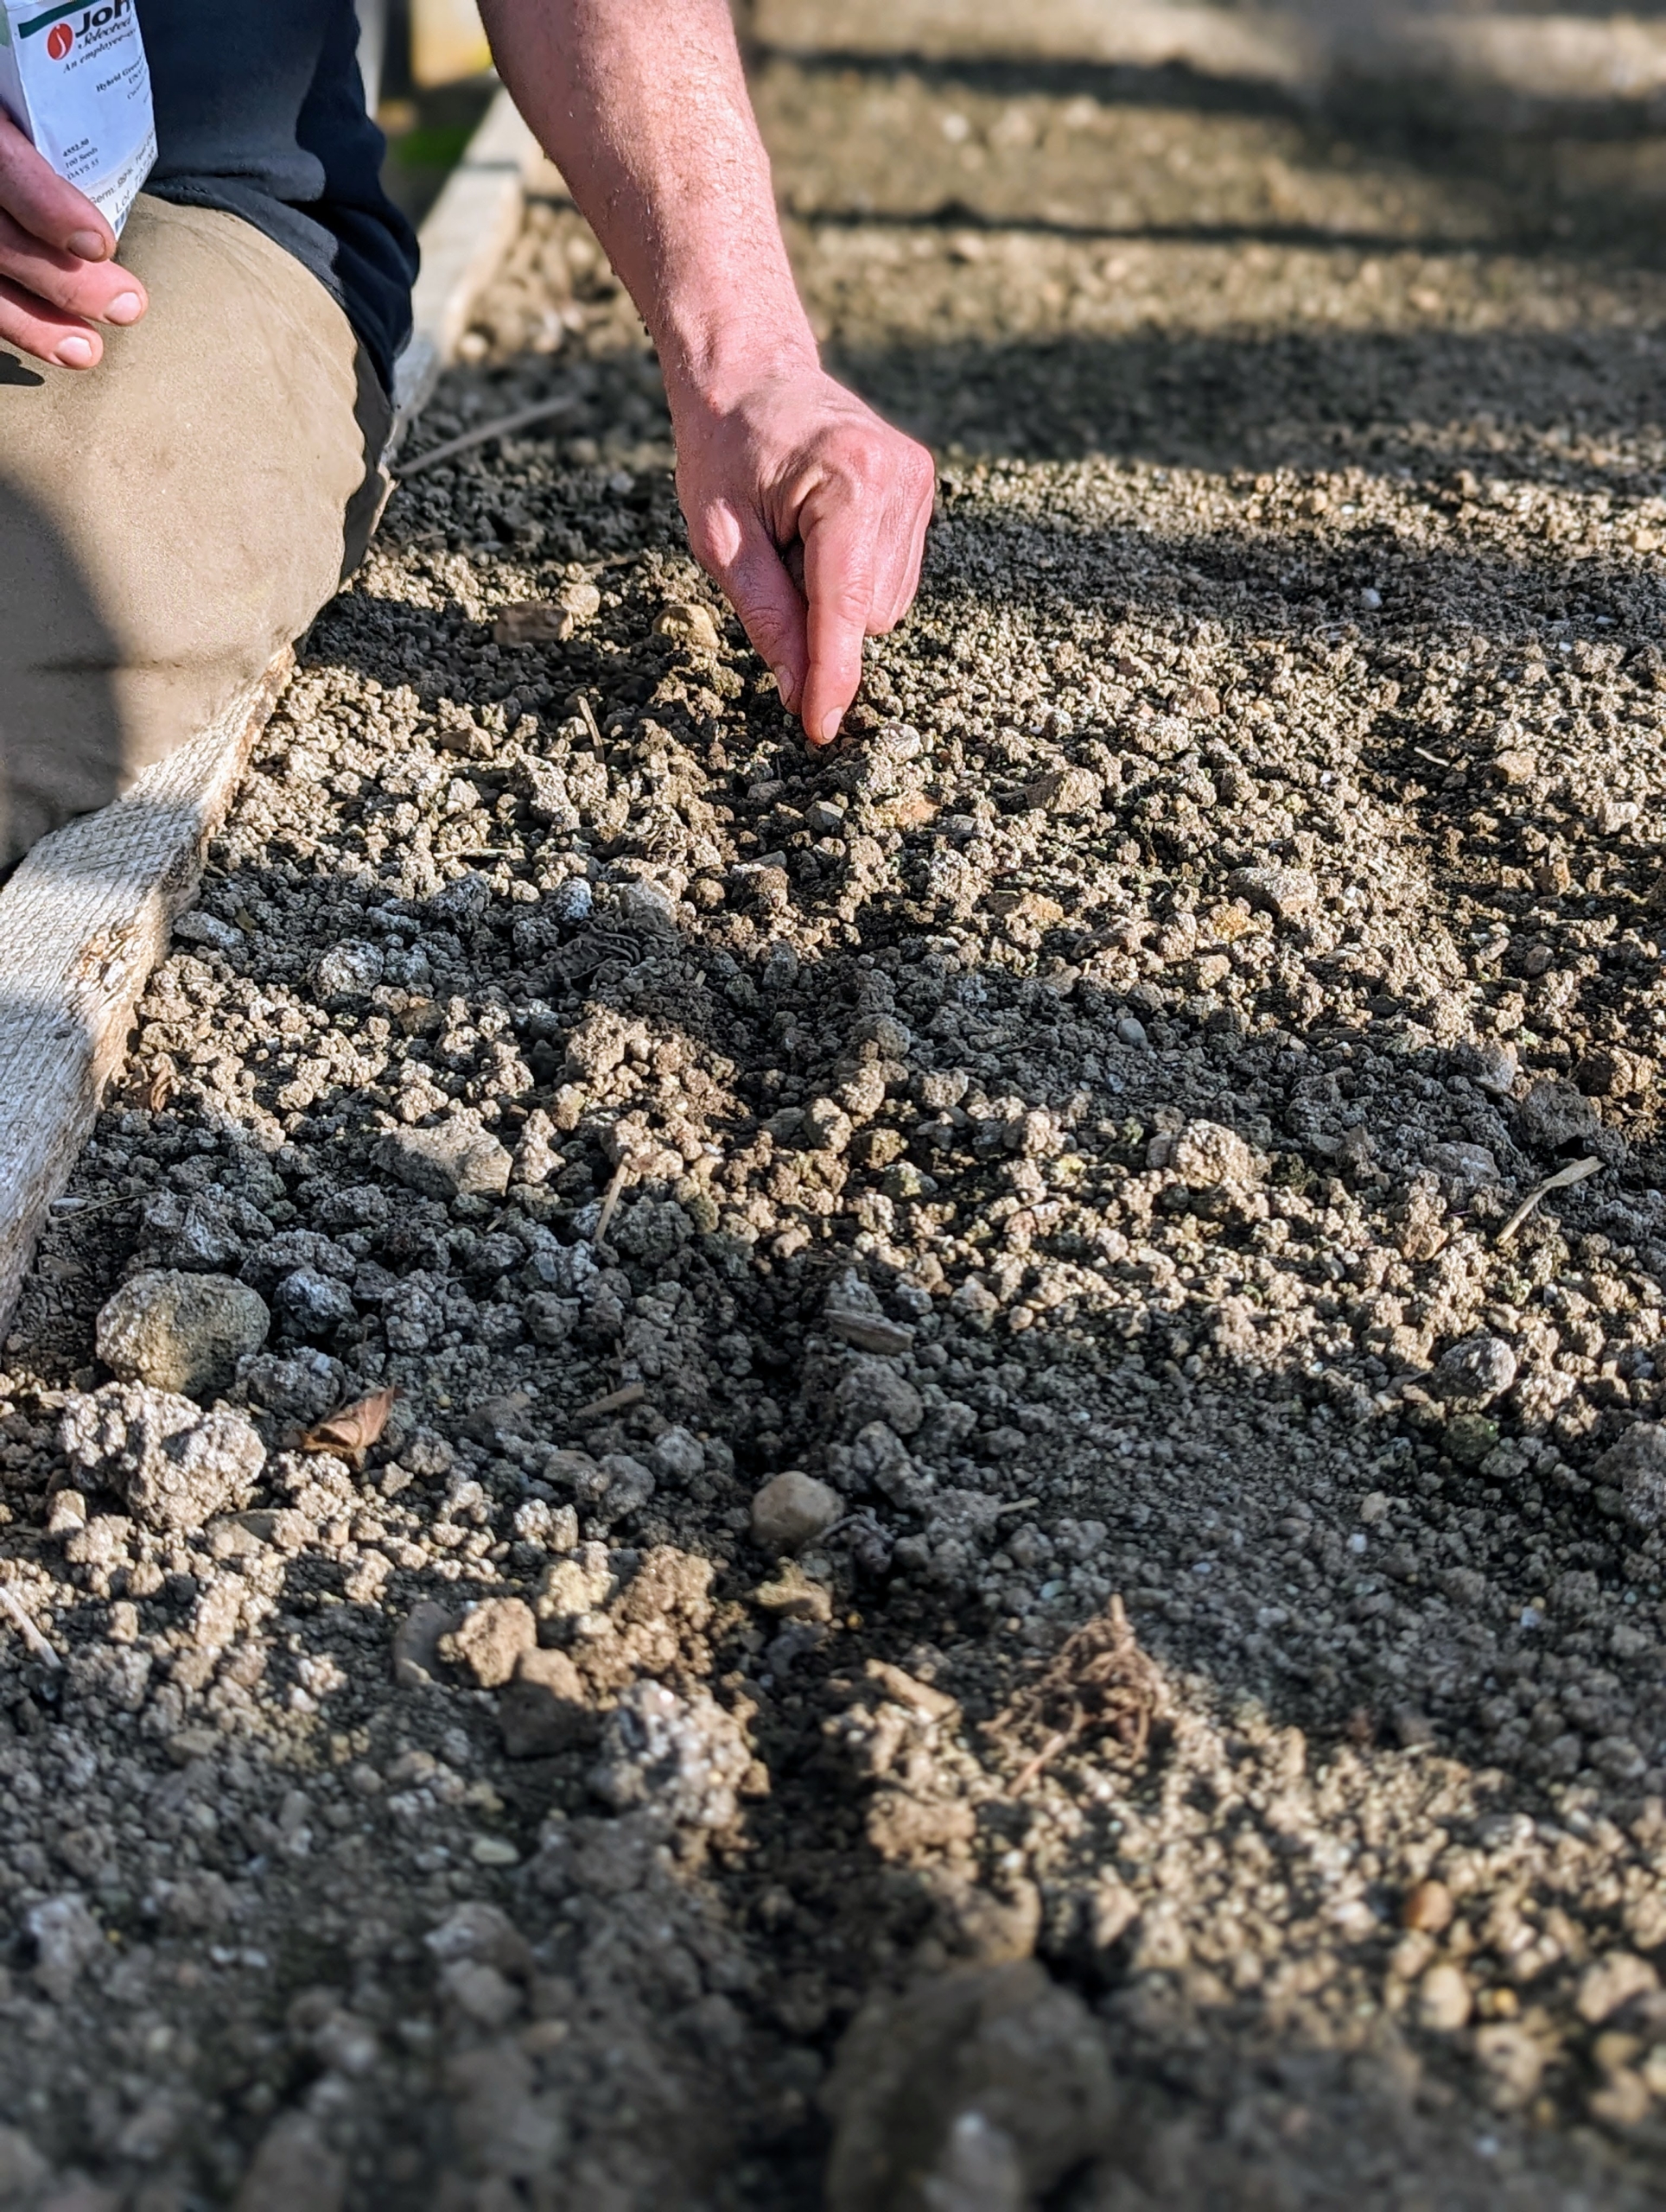
Ryan also planted some cucumber and carrot seeds. For seeds, the furrows don’t have to be deep. In general, seeds should be planted at a depth of two times the width, or diameter, of the seed. A seed that’s about 1/16-of-an-inch thick should be planted an eighth-of-an-inch deep. Ryan drops the seeds about two inches apart.
Finally, all the beds are watered and weeded. It won’t be long before we start working on the outdoor beds, but for now, I am so fortunate to have this greenhouse where I can harvest flavorful and healthy produce all winter long.
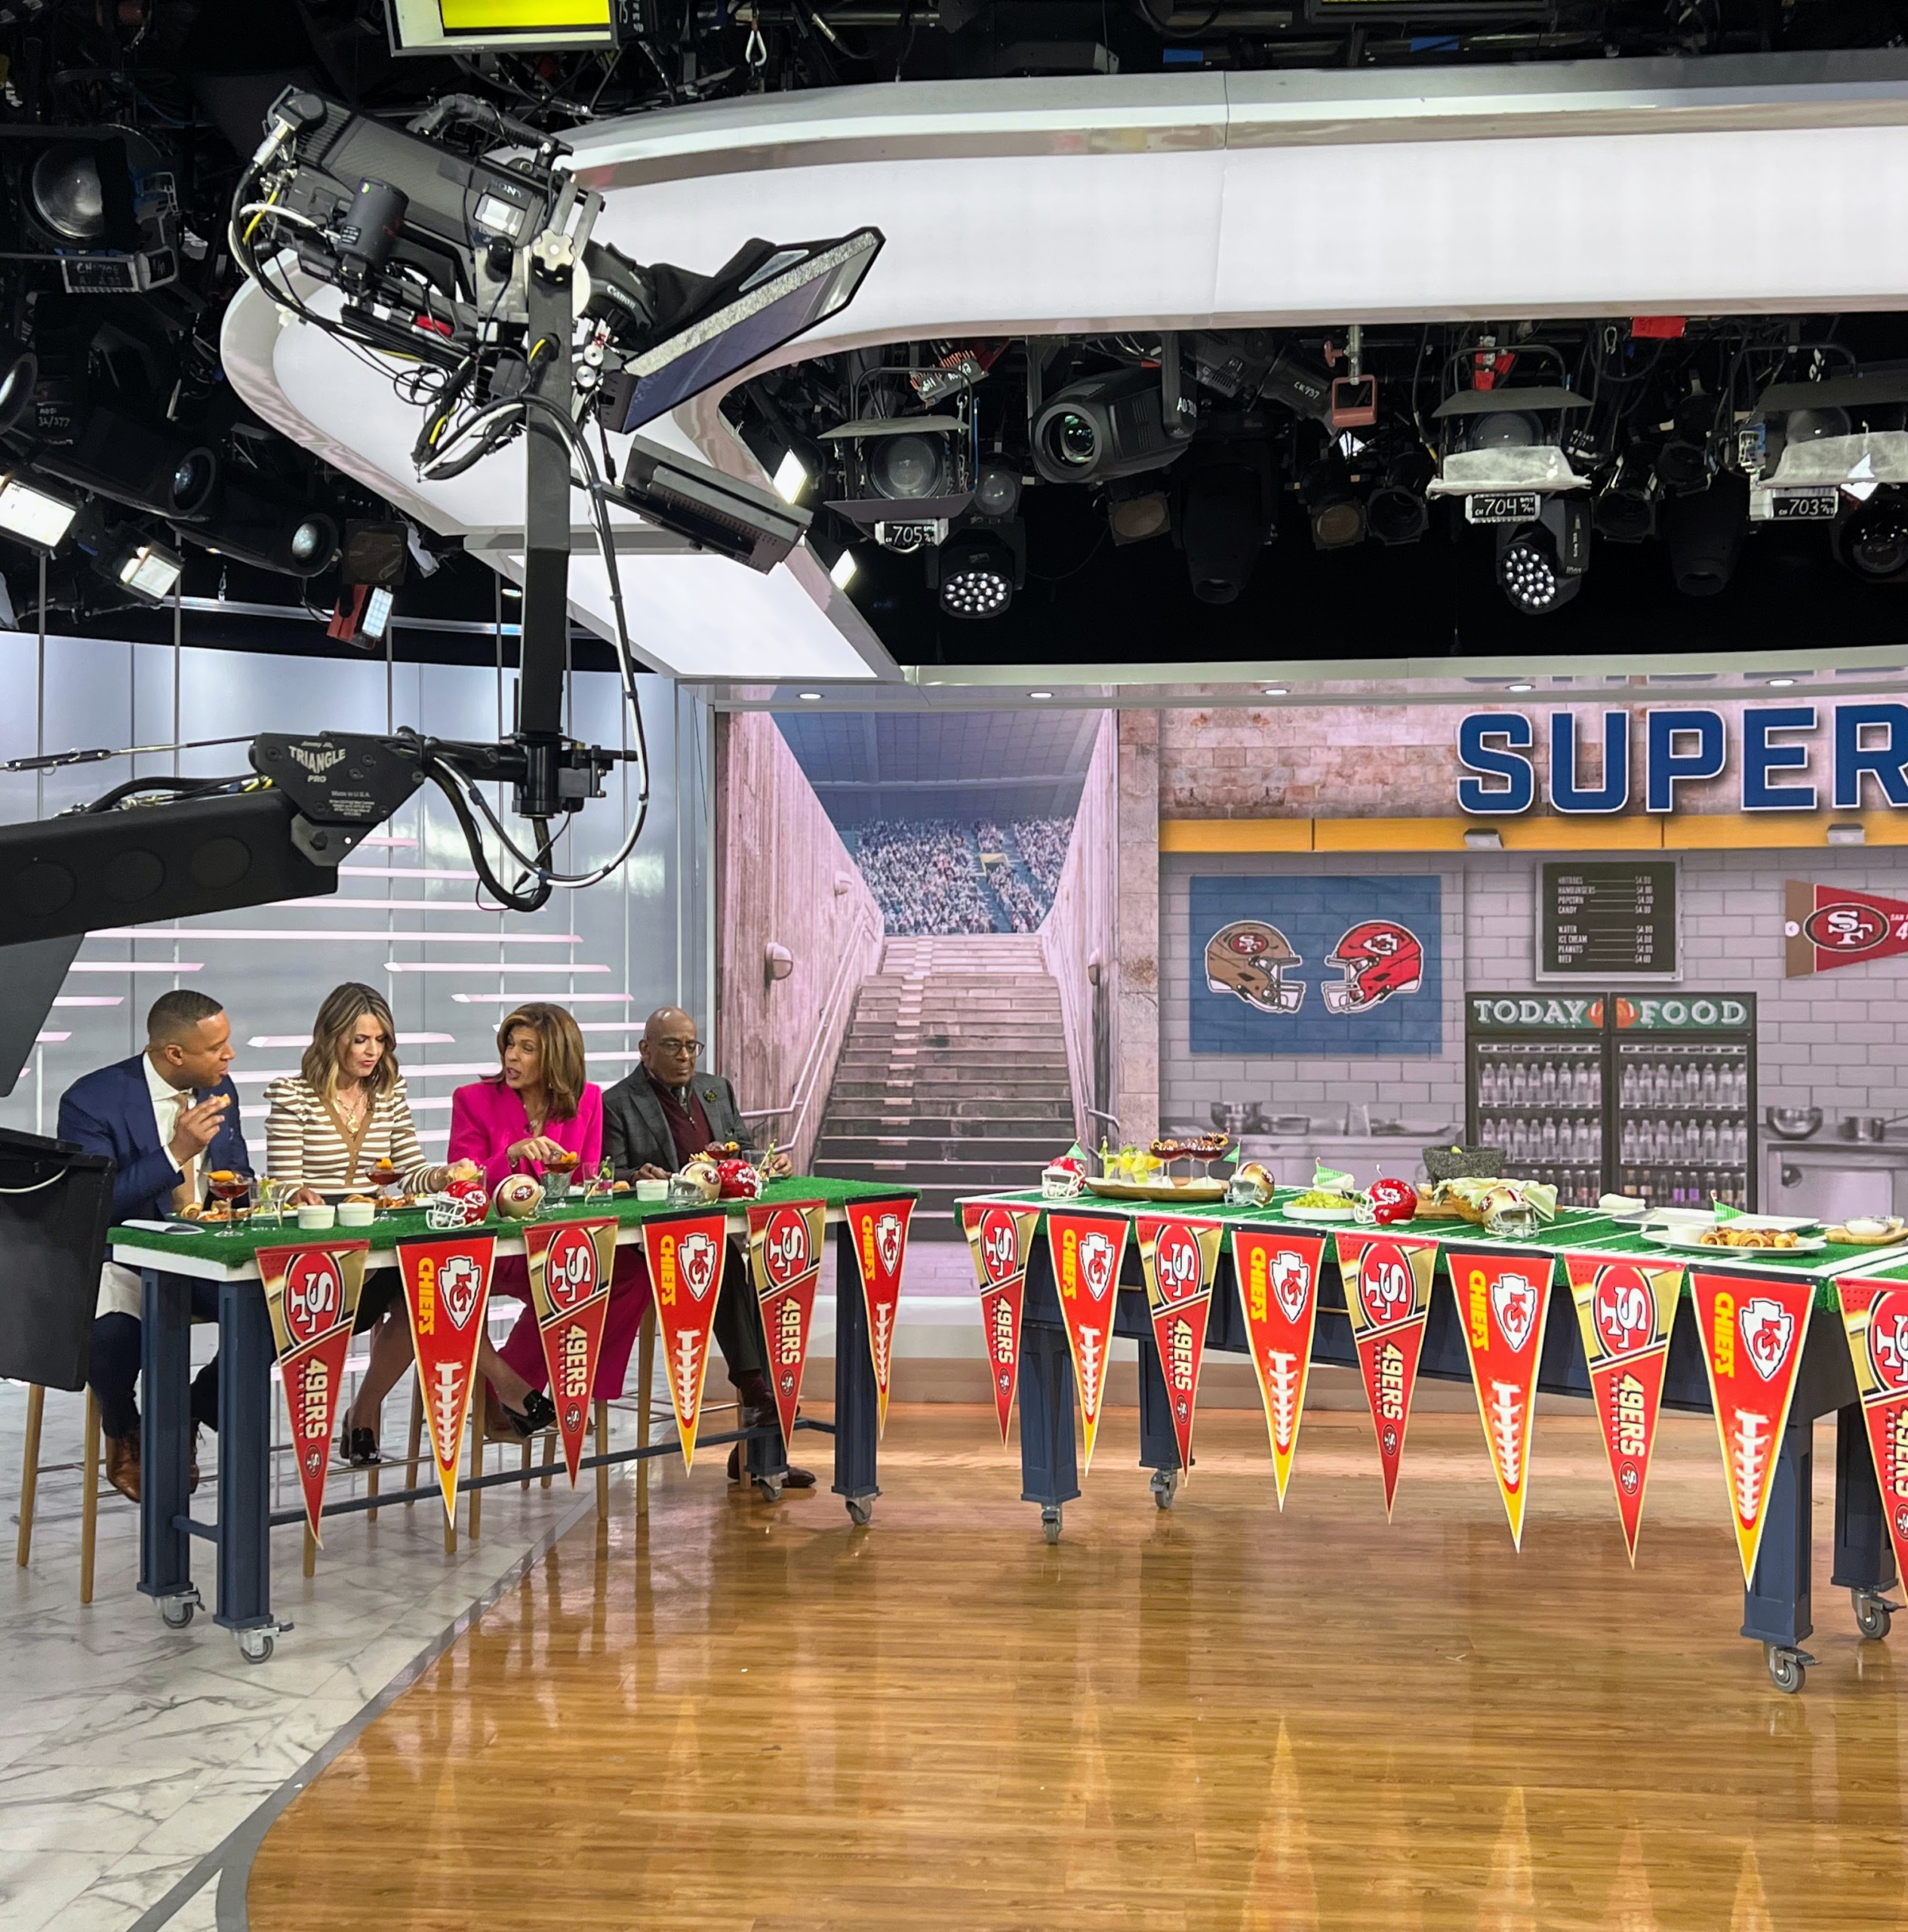
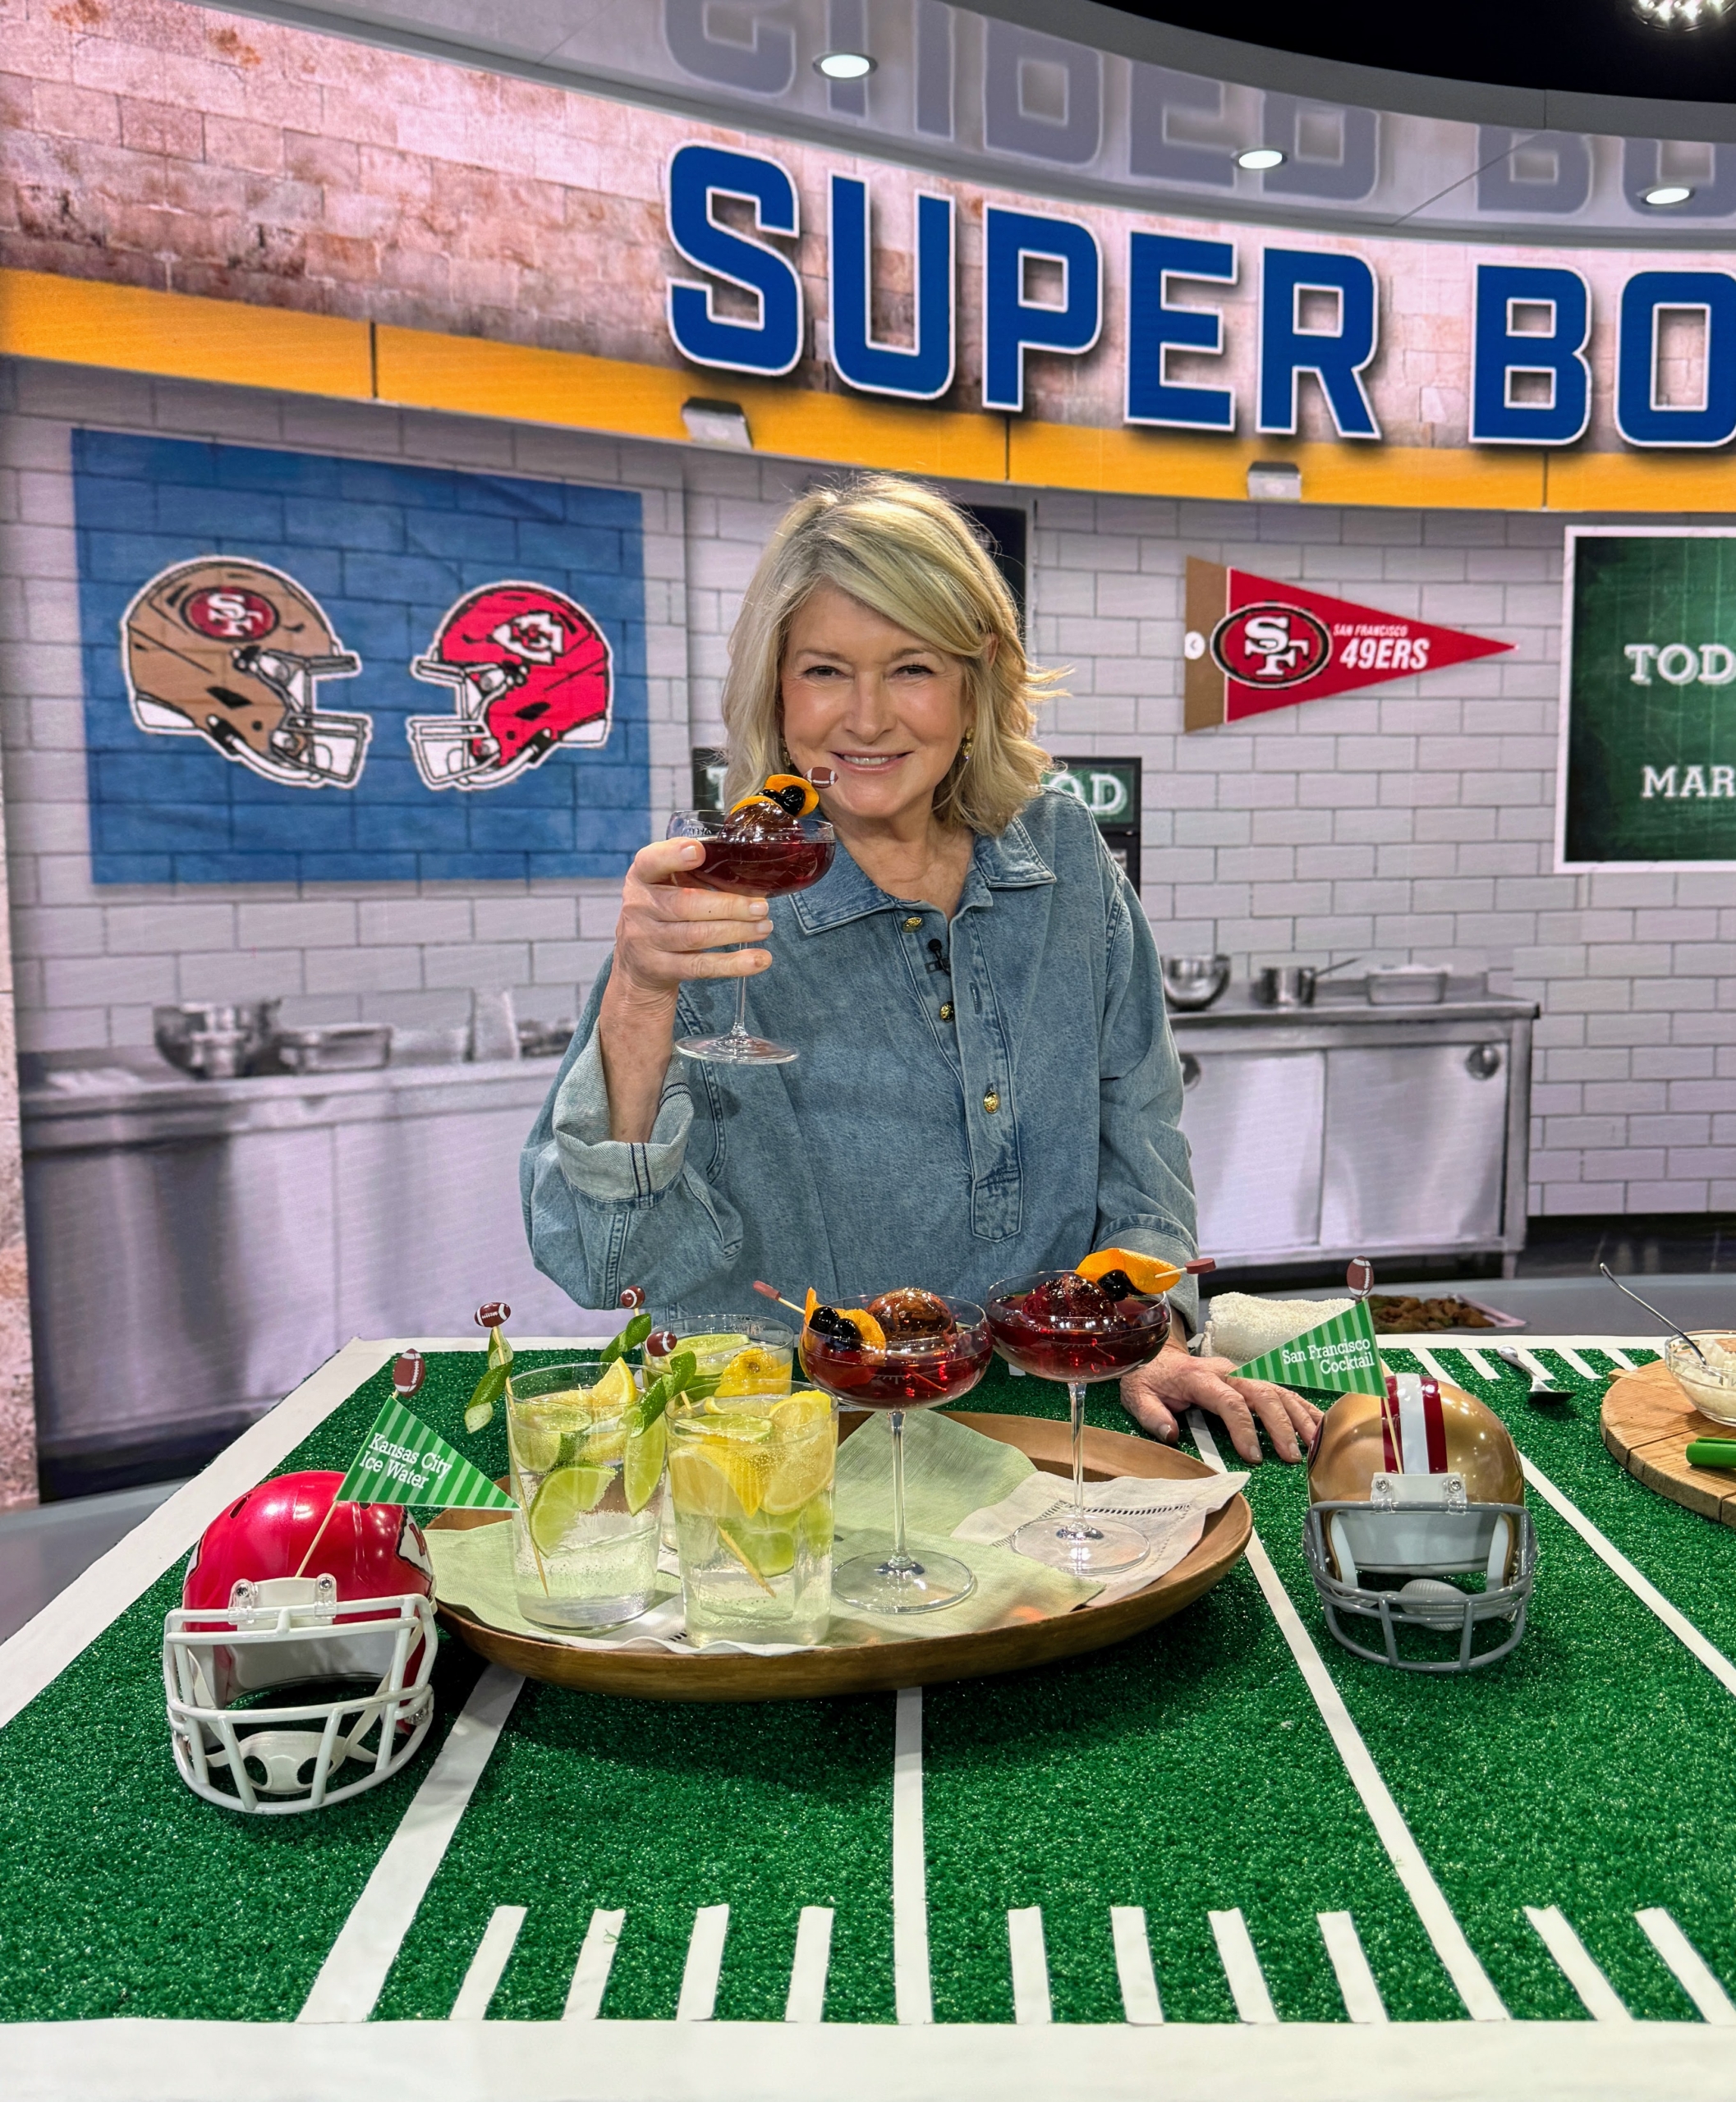
If you’re gathering with friends and family to watch the "Big Game," I hope you're making some of my favorite game day dishes and drinks. Earlier this week, I shared my ideas on the TODAY Show with hosts Carson Daly, Craig Melvin, Savannah Guthrie, Hoda Kotb, and Al Roker. We had Ginger Scallion Wings, Baked Sriracha Buffalo Wings, Pigs in a Blanket, my favorite Guacamole, and specialty cocktails from my restaurant, The Bedford by Martha Stewart at Paris Las Vegas - and inspired by this year's playing teams, the San Francisco 49ers and the Kansas City Chiefs.
Did you see my Instagram page @MarthaStewart48? It was a star studded morning at the TODAY Show earlier this week. I caught up with Sly Stallone. He was there with his family promoting the second season of his reality series, “The Family Stallone” on Paramount+.
I was there to celebrate this weekend’s Big Game with lots of delicious party ideas. This year’s game between the Kansas City Chiefs and the San Francisco 49ers will be played at Allegiant Stadium in Las Vegas. It’s the first time the football championship game will be played in Sin City. I’ll be there – will you?
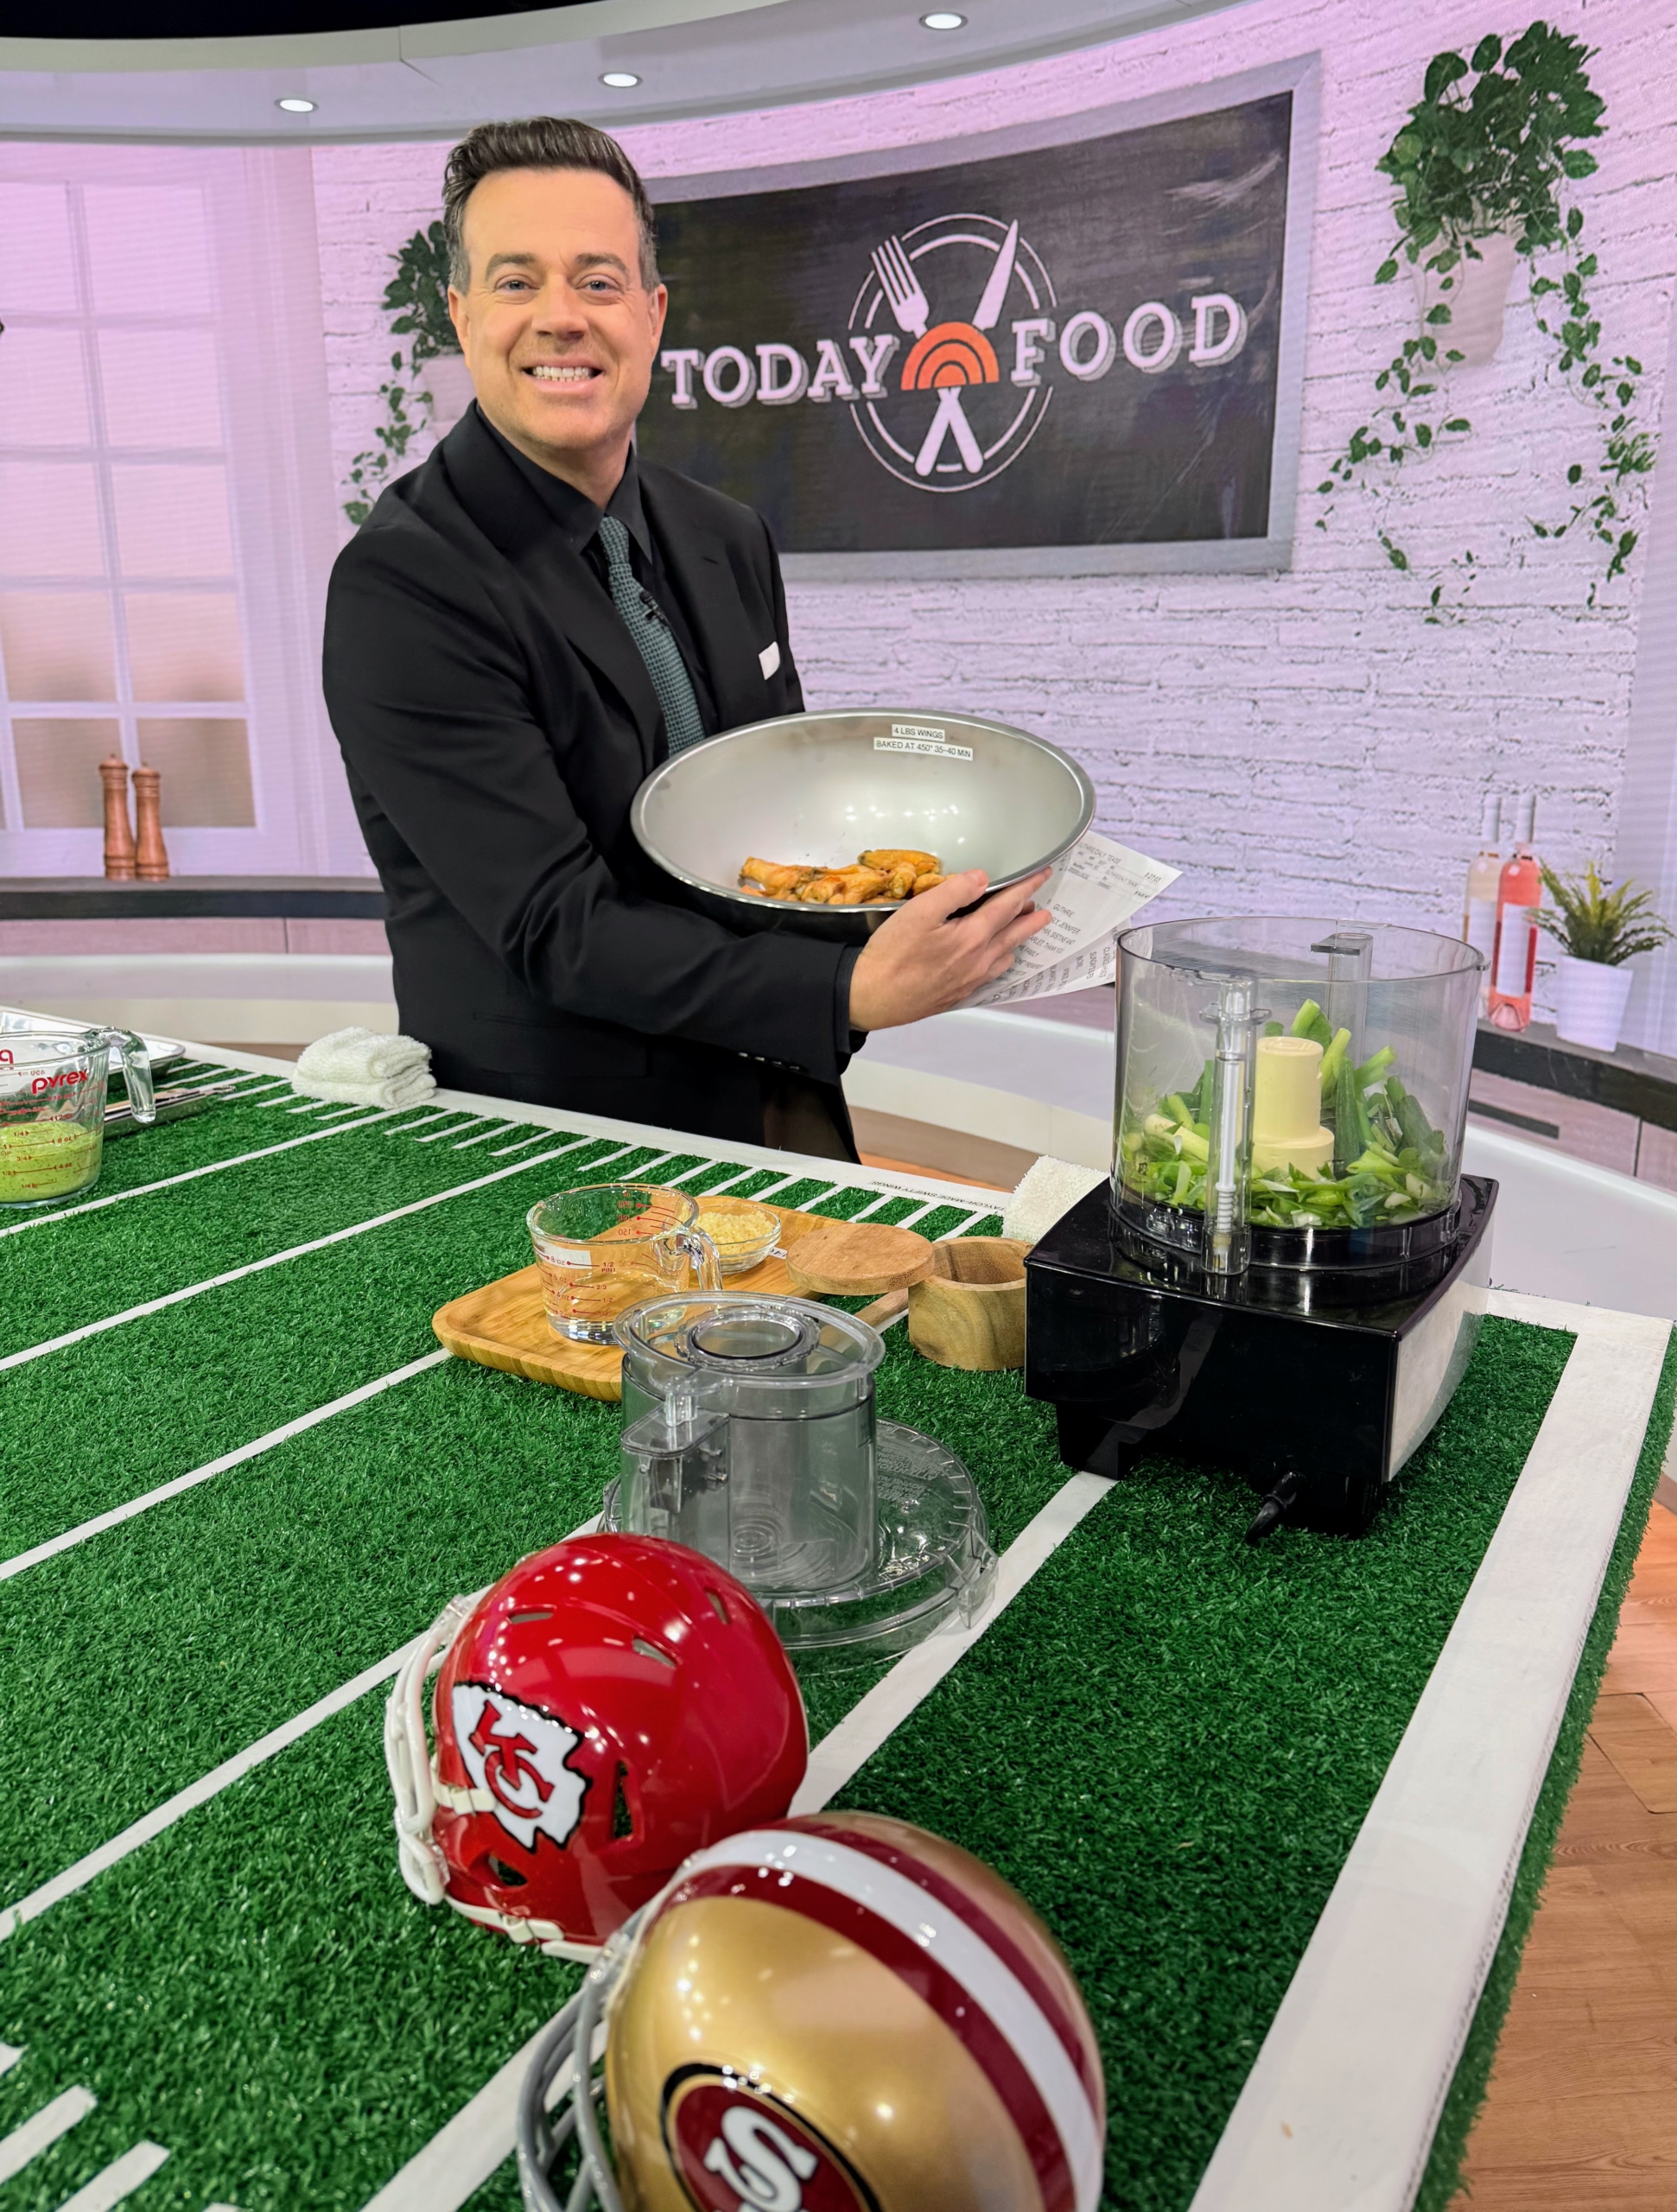
During my segment, I shared this delicious recipe for Ginger Scallion Wings with scallions ginger, salt, and oil mixed in a food processor, tossed with the baked wings, and then put into the oven for an additional 10-minutes.
Here’s host Carson Daly helping me toss the sauce with the wings.
I also showed my Baked Sriracha Buffalo Wings – another big favorite served with celery sticks and blue cheese crumble.
Everybody loves Pigs in a Blanket. Here’s my rendition made with sausage. I called them “Brockwursts” after you know who… Brock Purdy, the quarterback for the San Francisco 49ers. One can use any fully cooked sausages, such as frankfurters, andouille, or chicken sausages – I used my Good Things seal of approval Brats from Schaller and Weber.
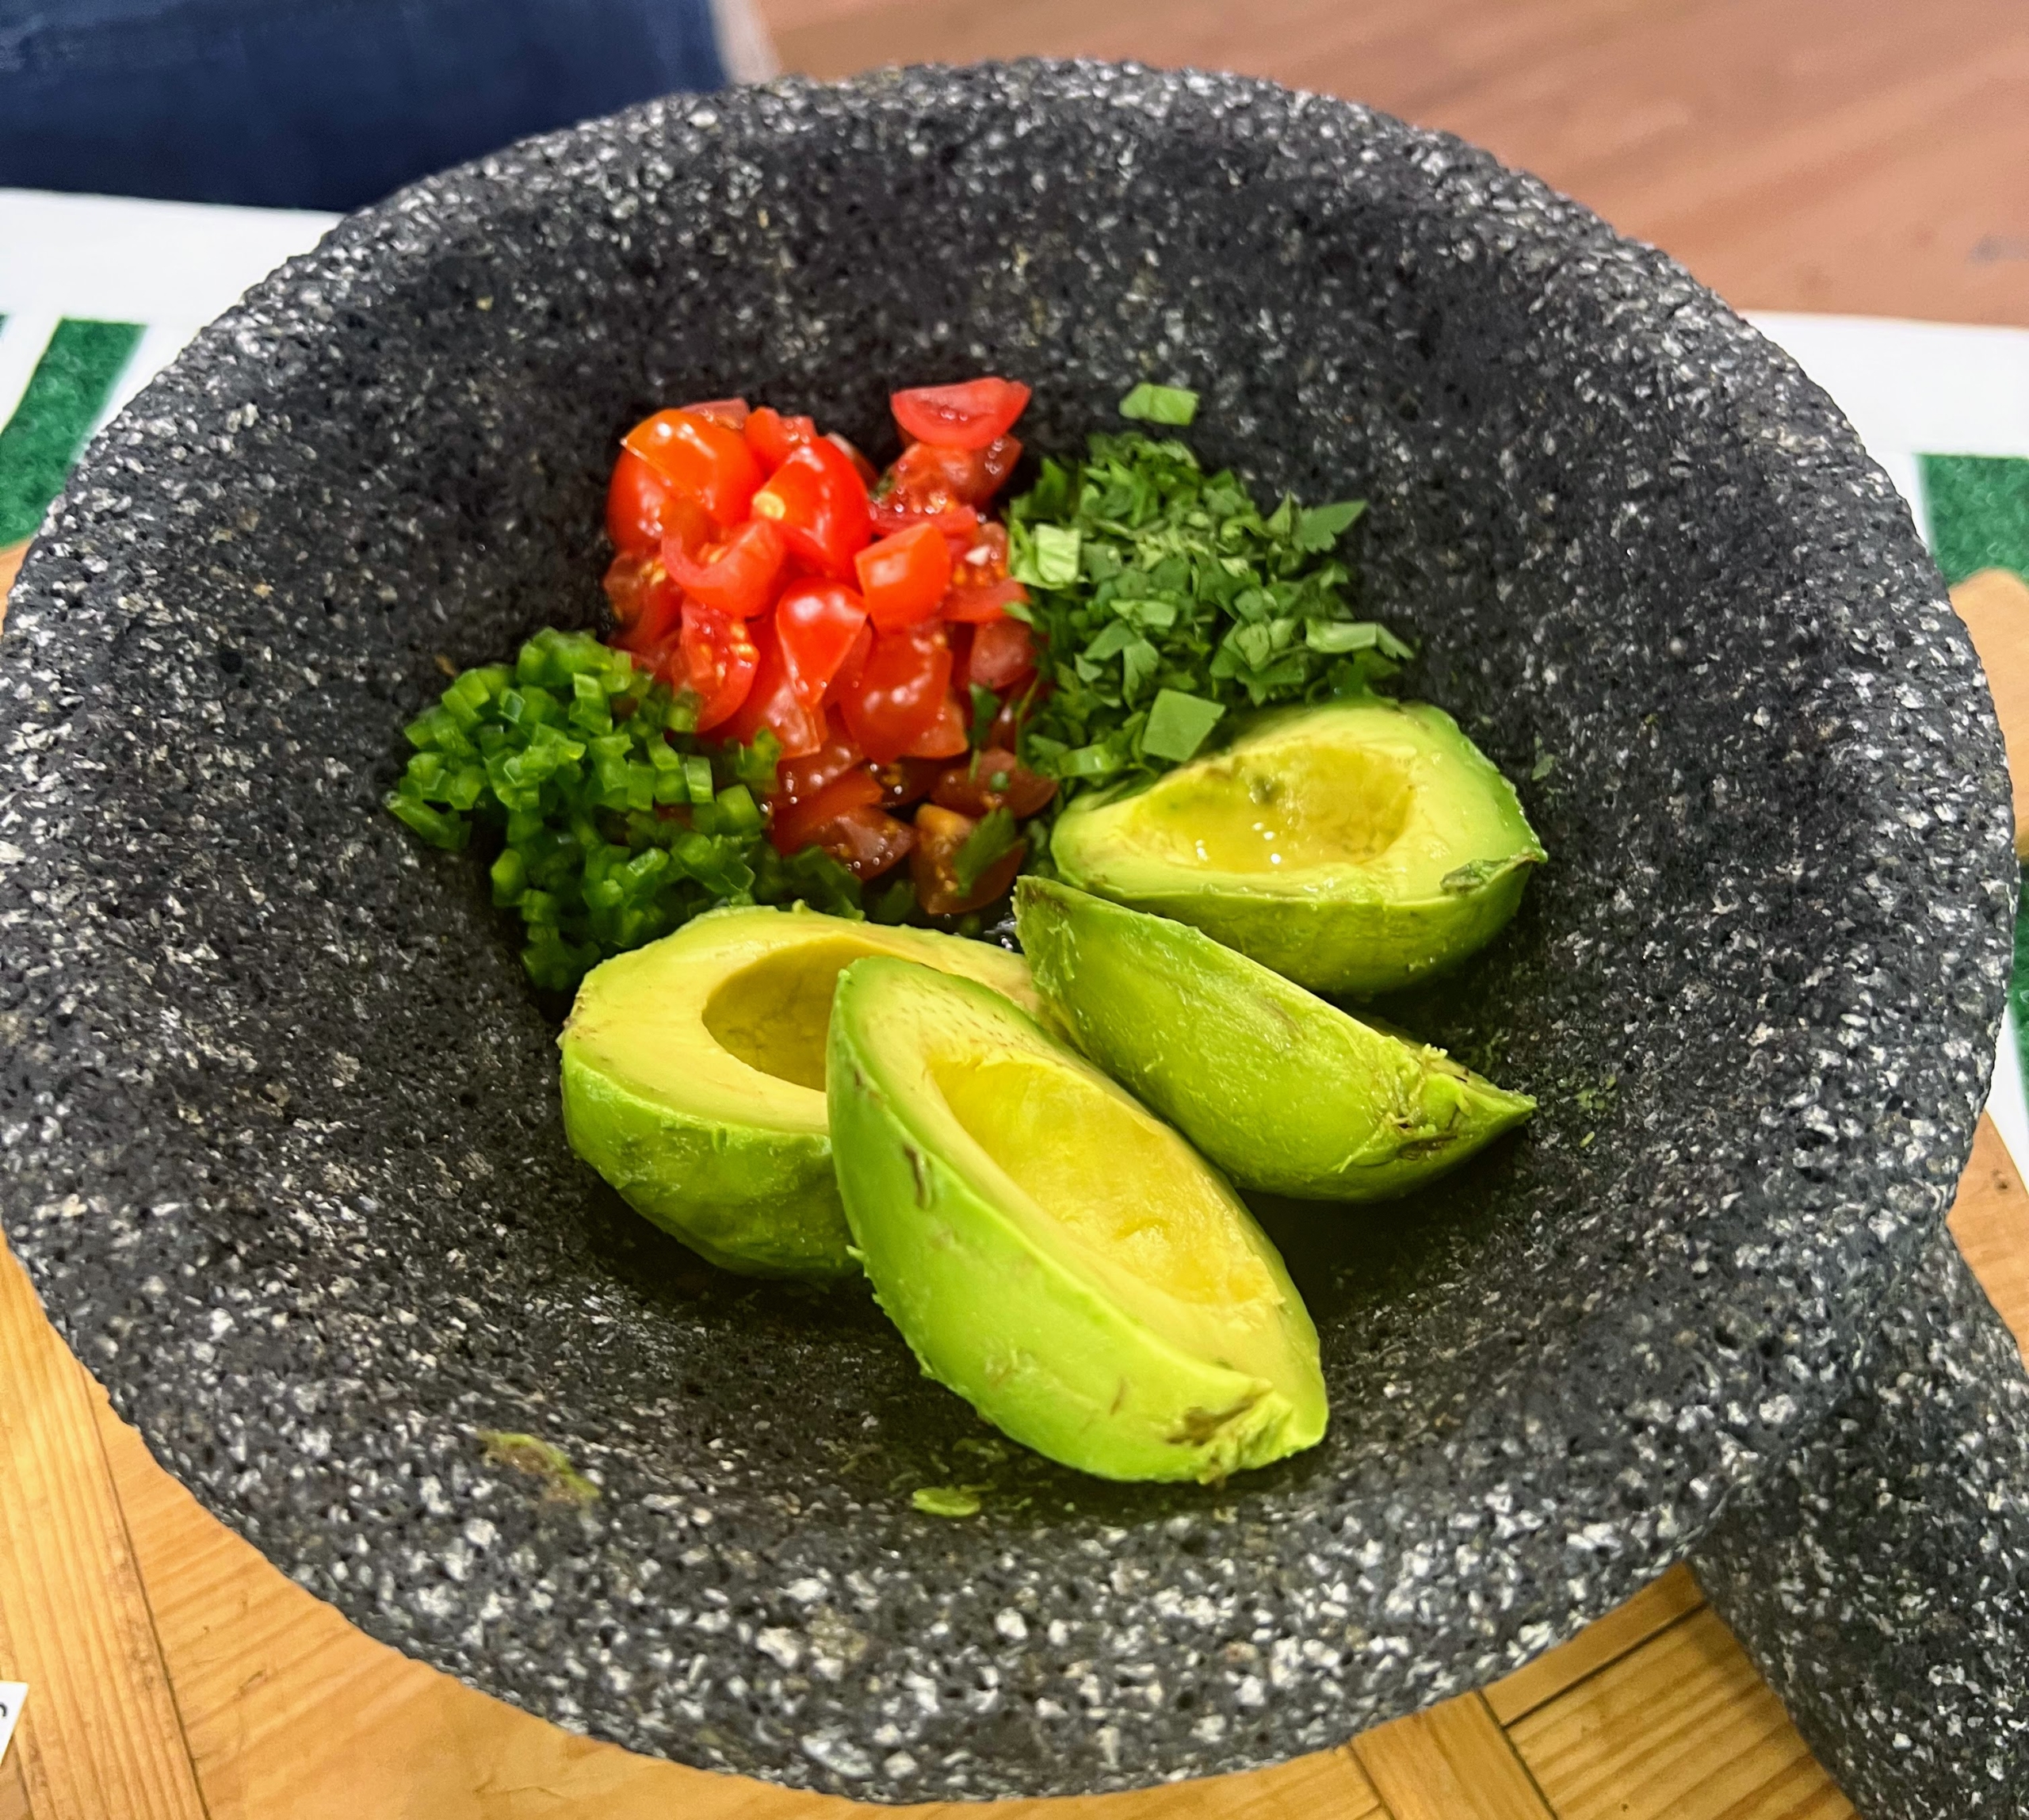
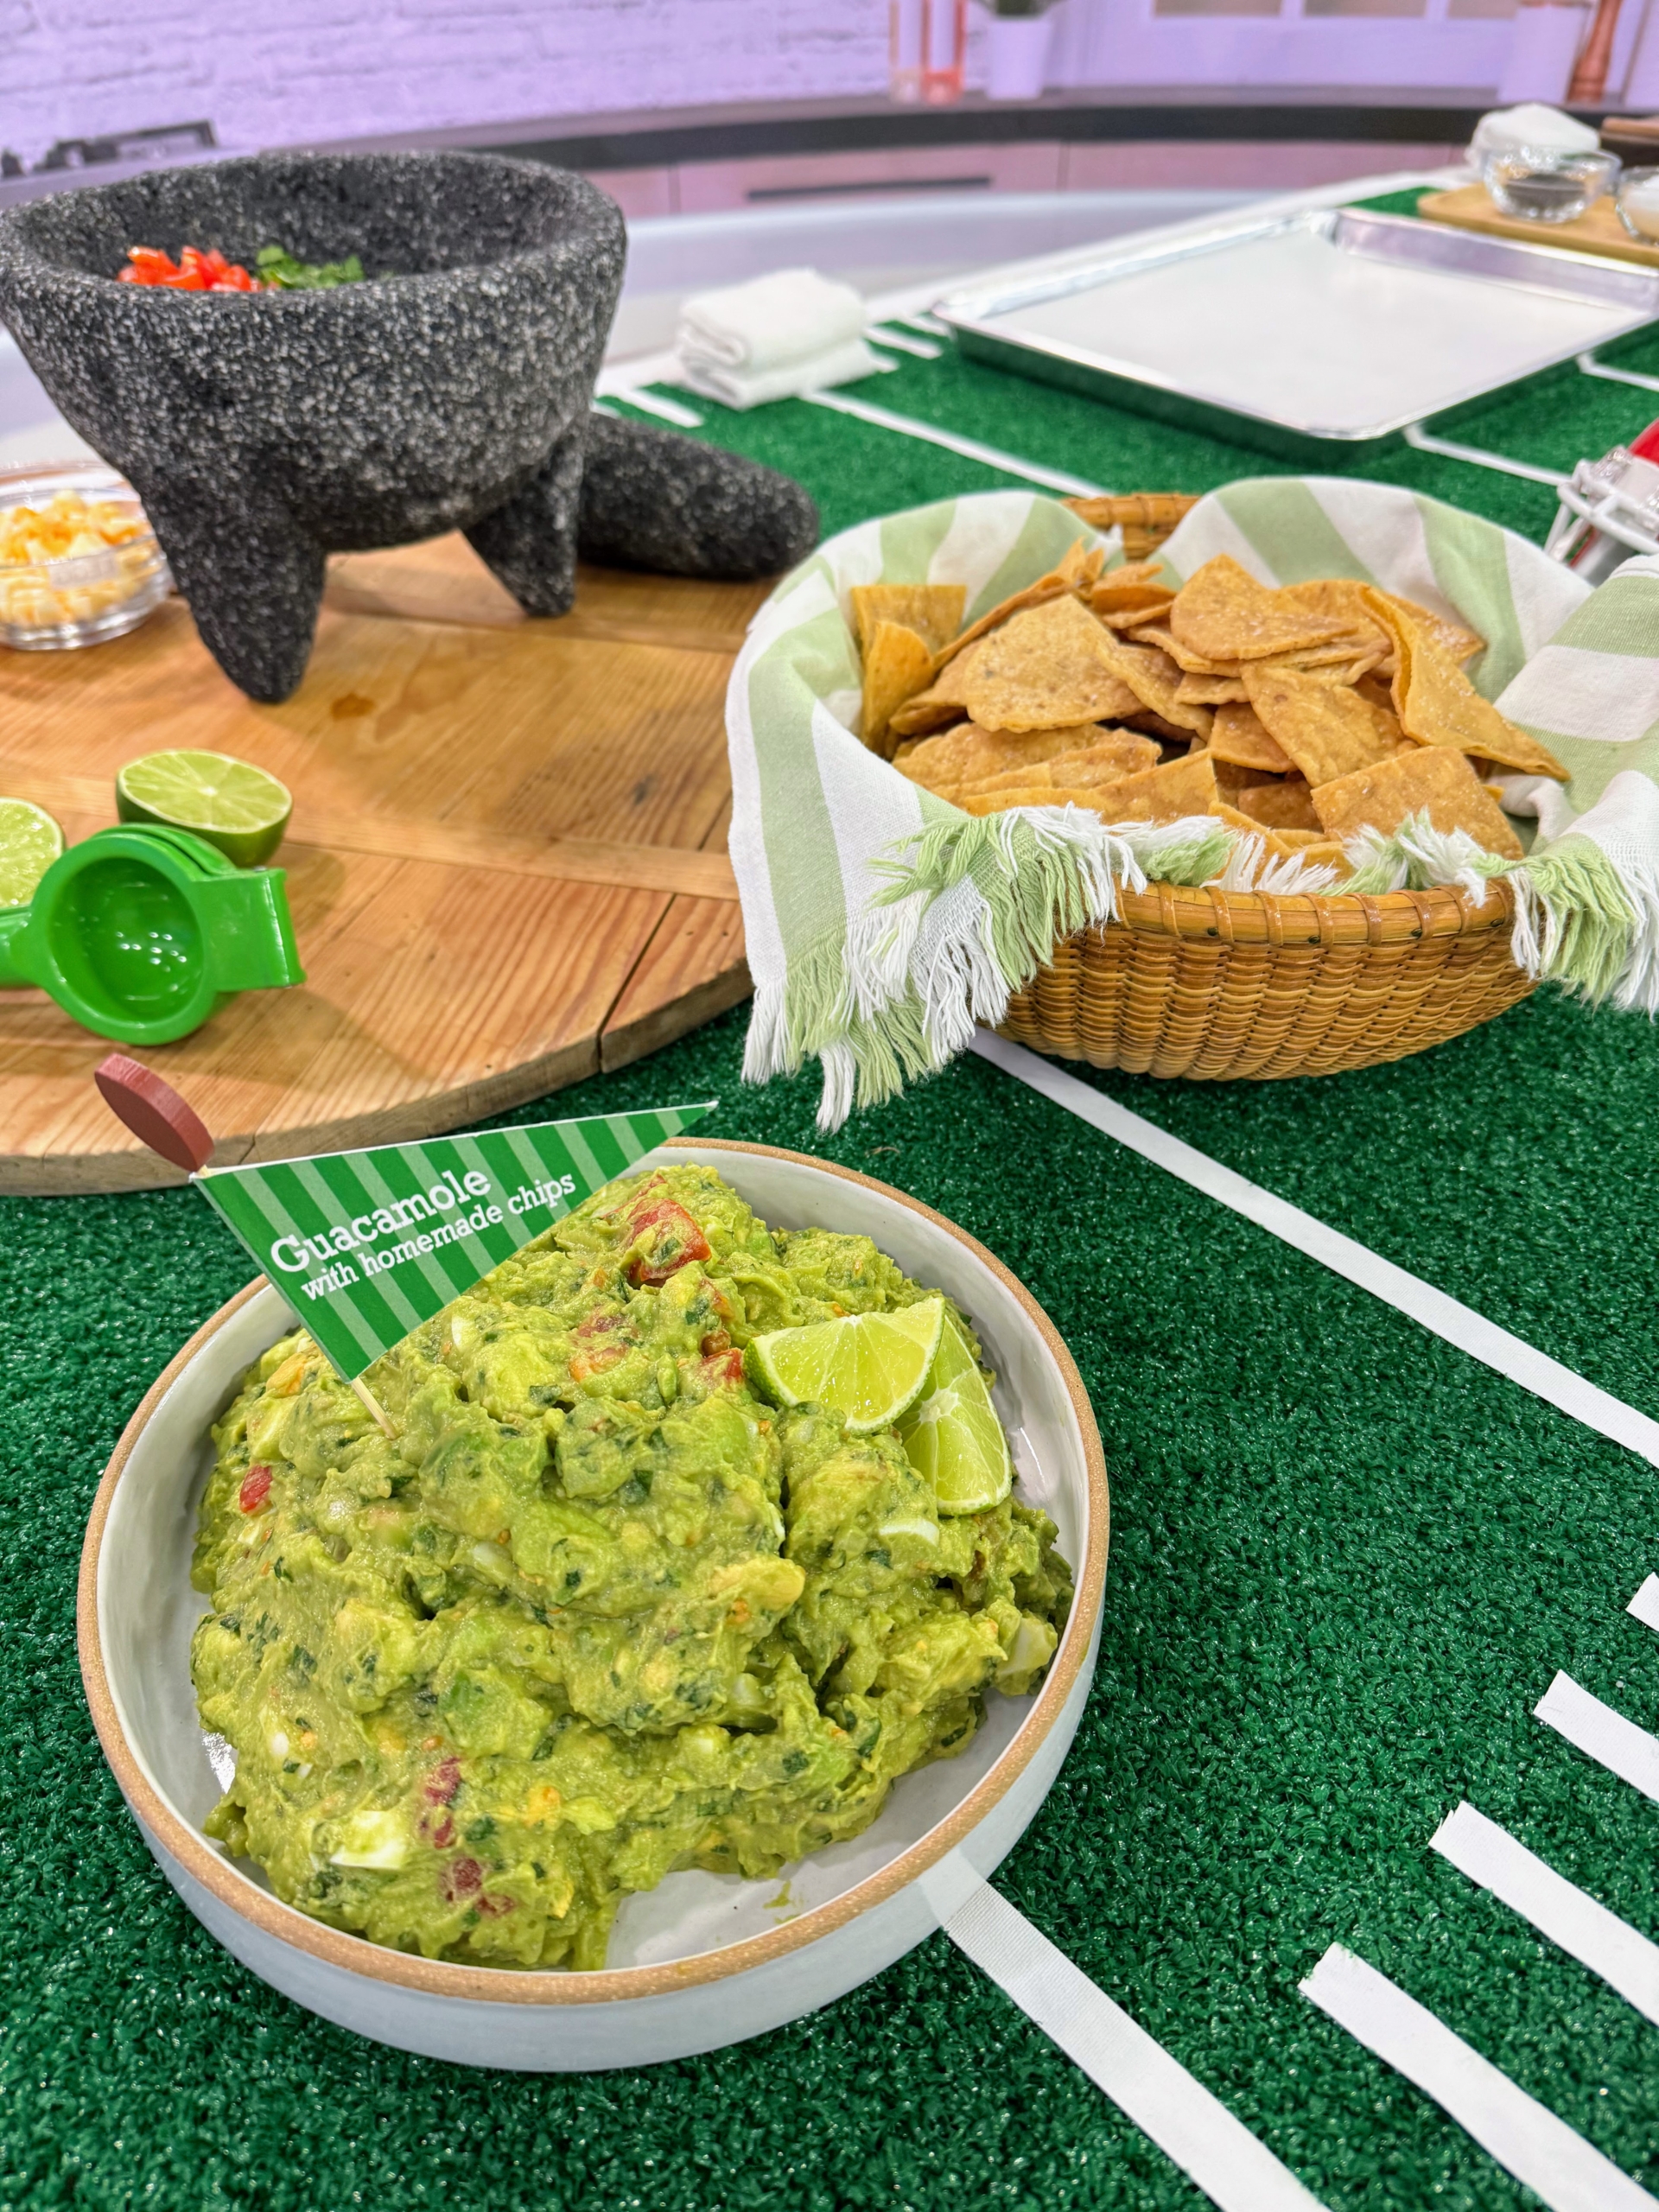
Then I made a bowl of my favorite guacamole, which I call “Mahome-a-mole” after Kansas City Chiefs QB, Patrick Mahomes.
It starts with a molcajete that contains avocados, jalapenos, tomatoes, and cilantro. I added lime juice, onion, and hard boiled eggs.
And then serve it with tortilla chips – homemade, of course.
All the dishes were big hits with Craig, Savannah, Hoda, and Al.
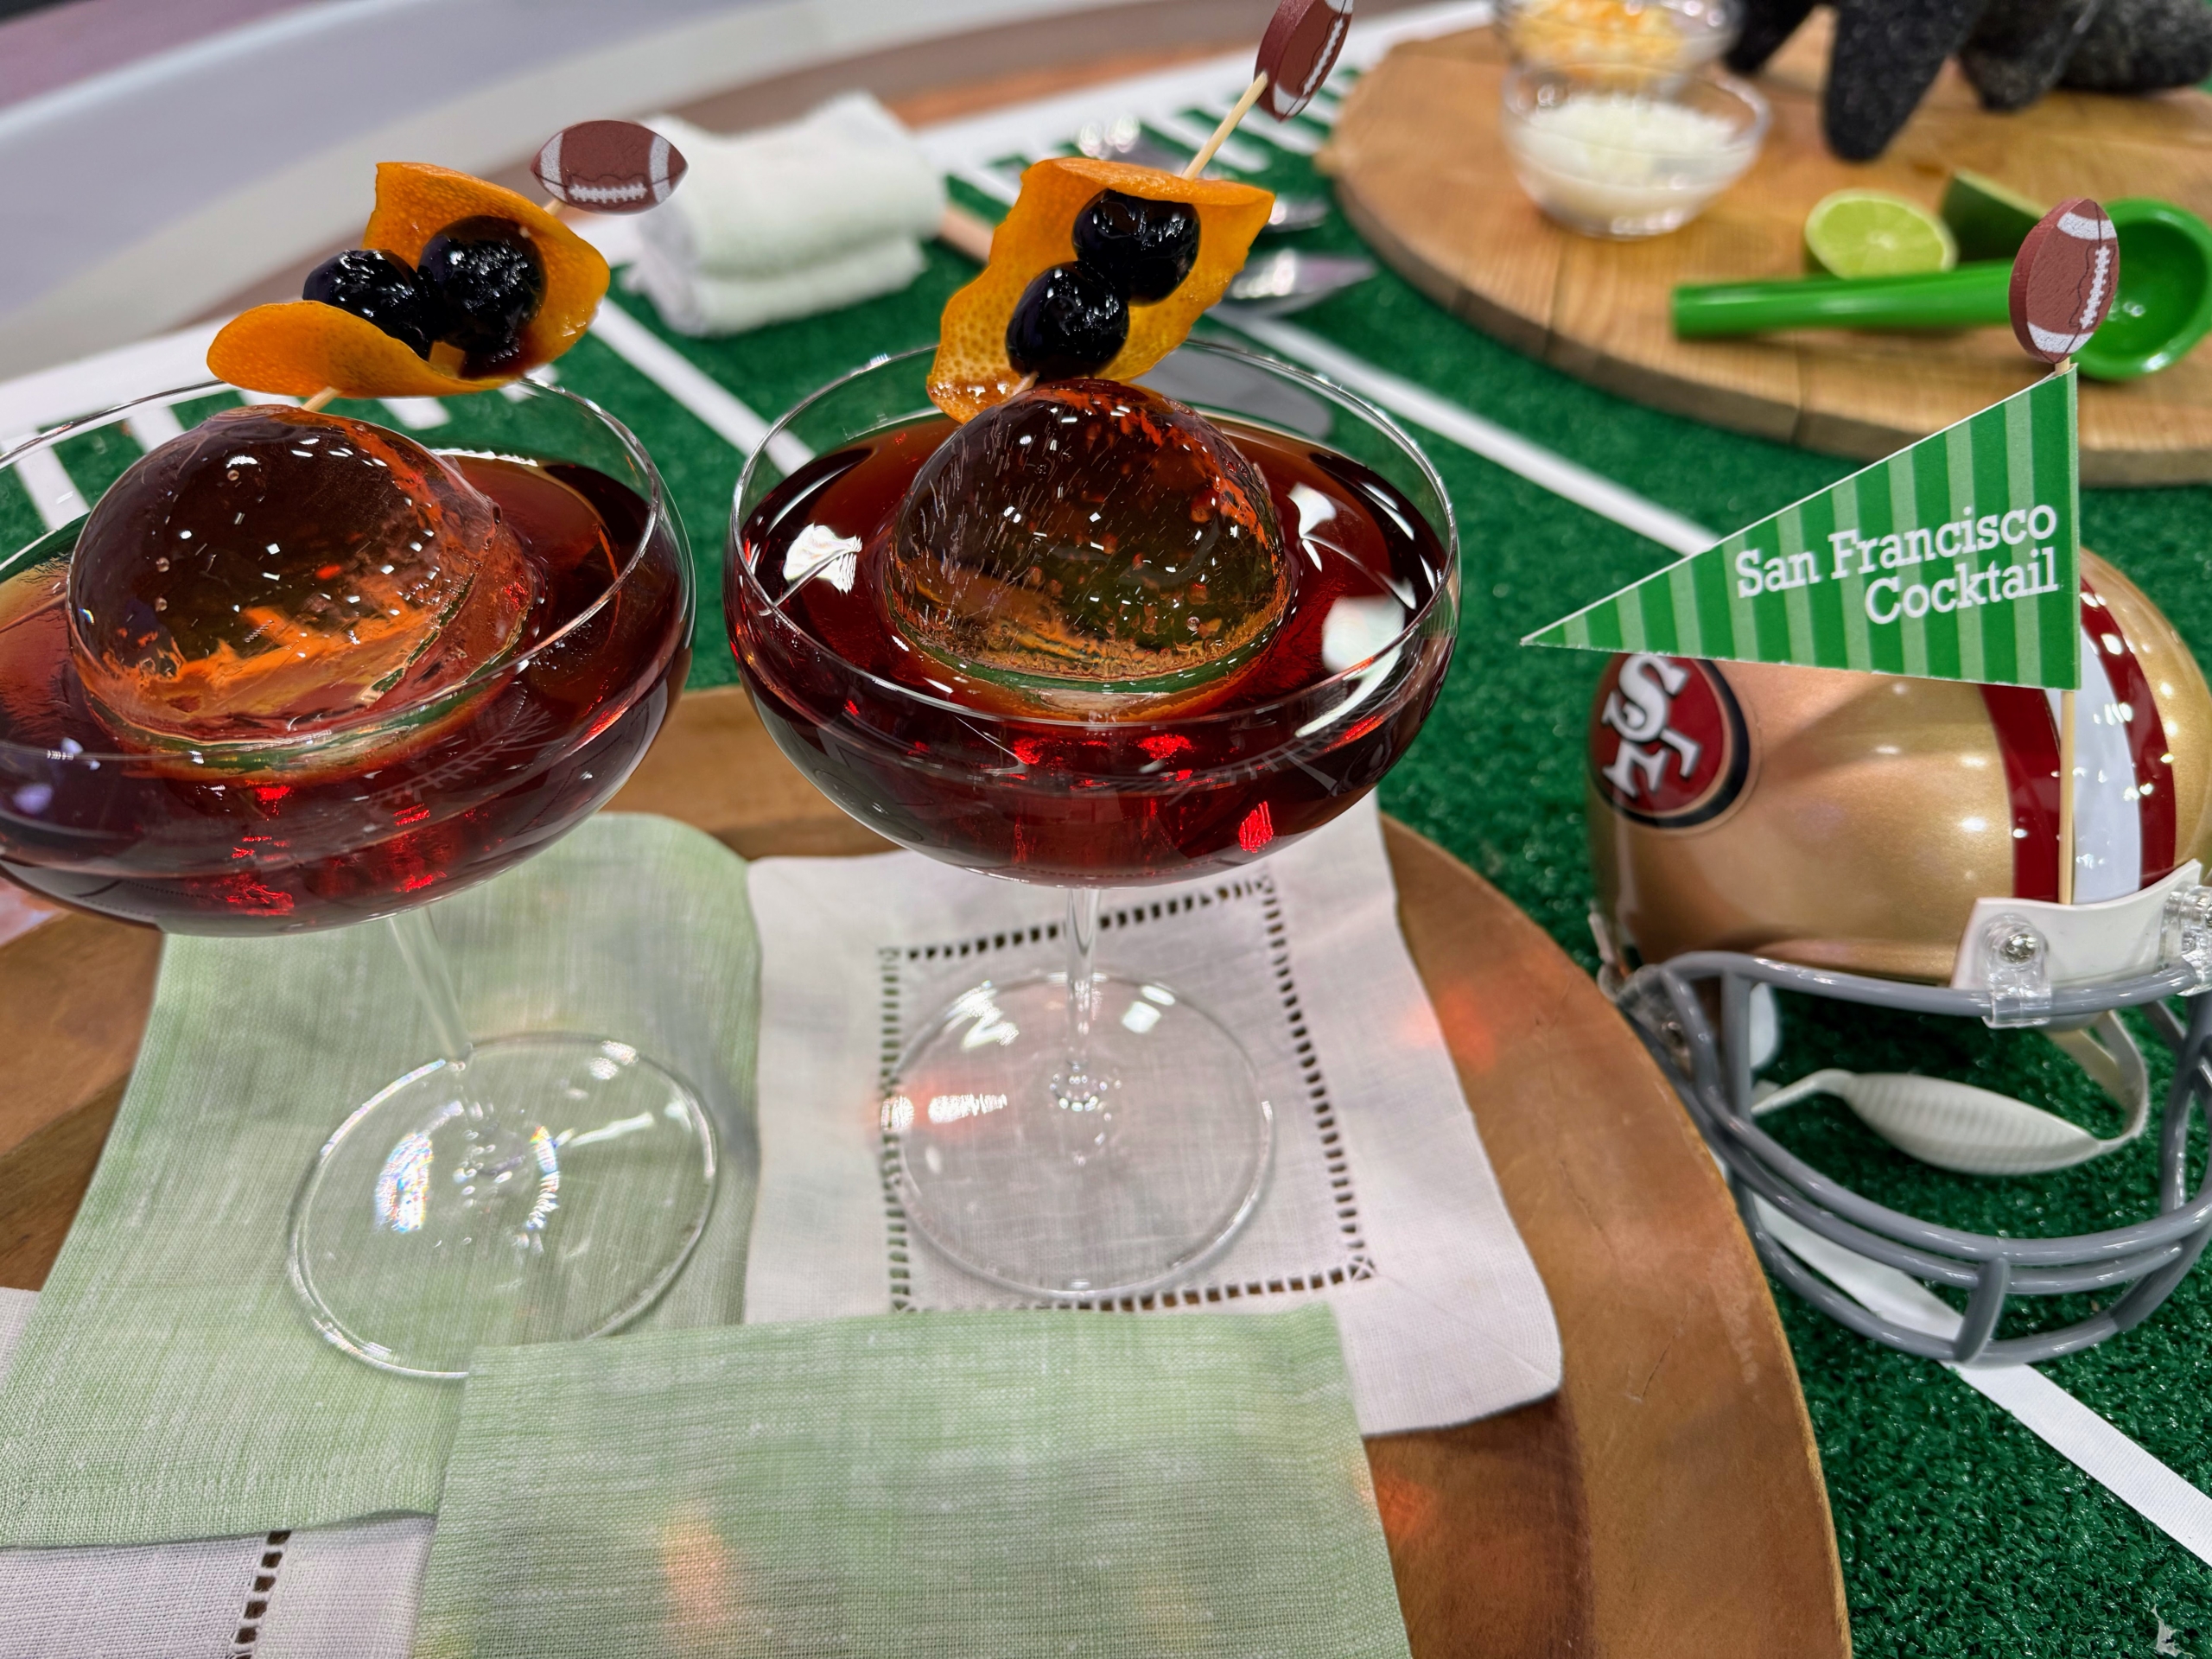
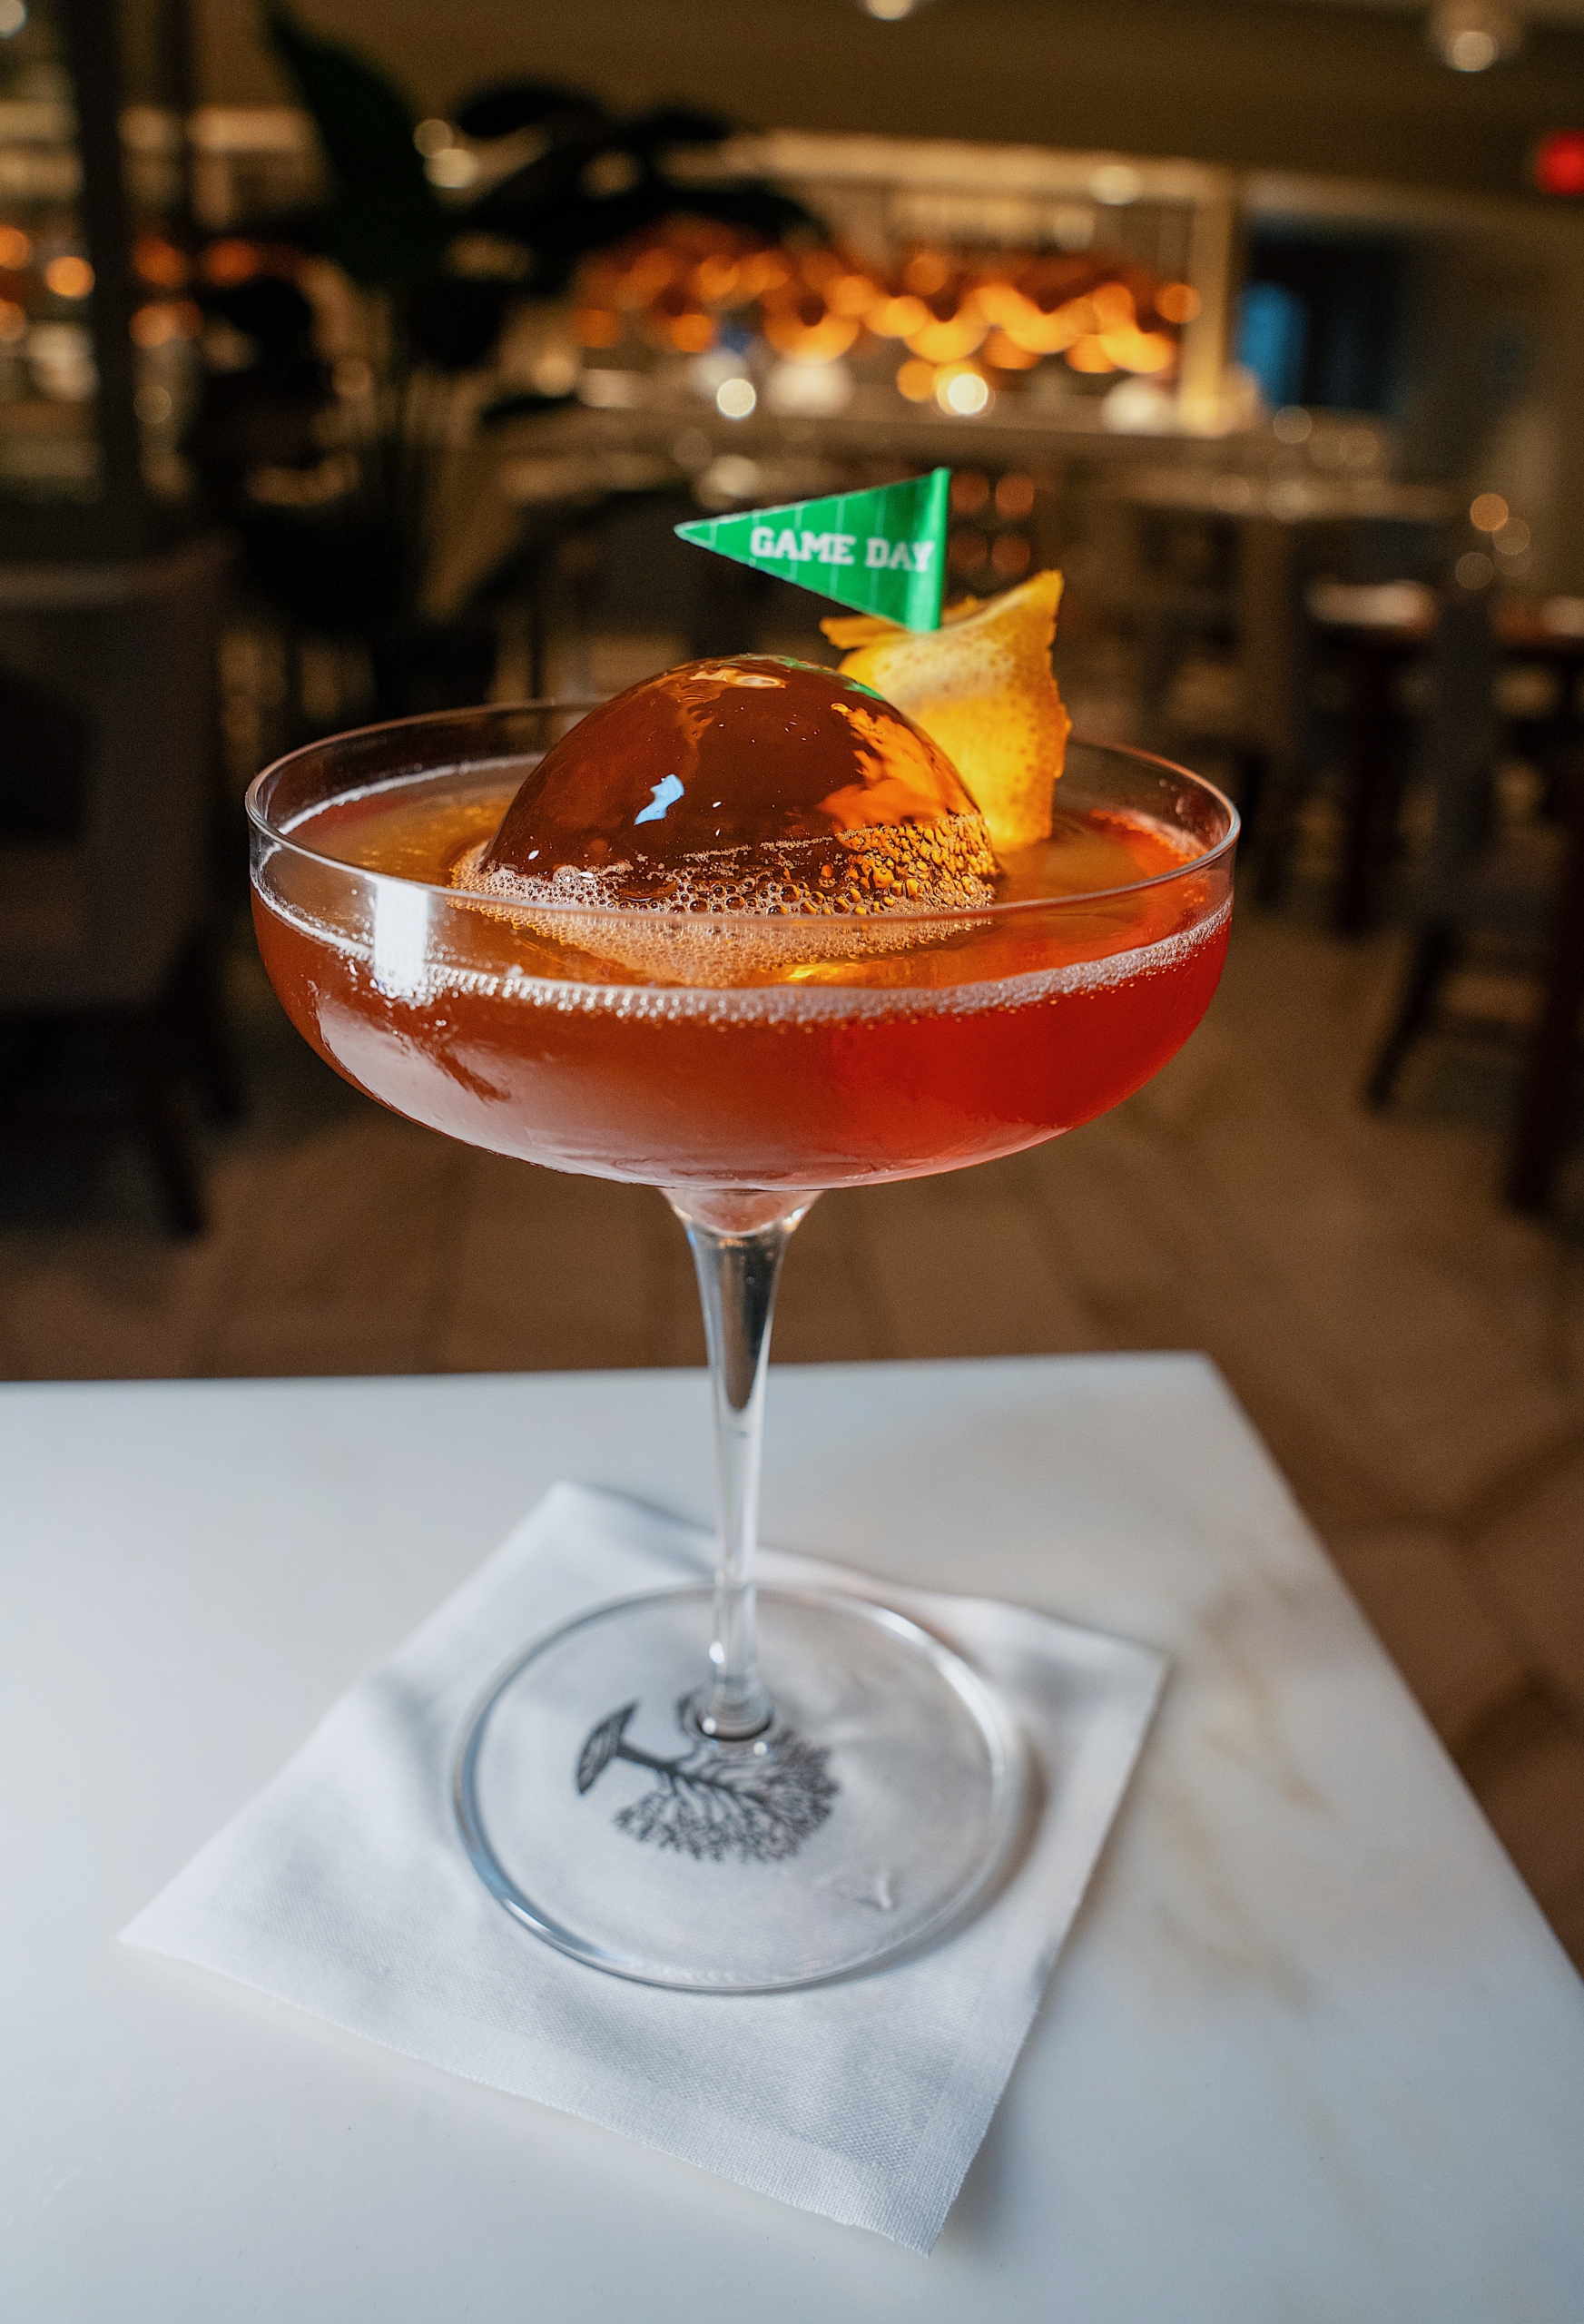
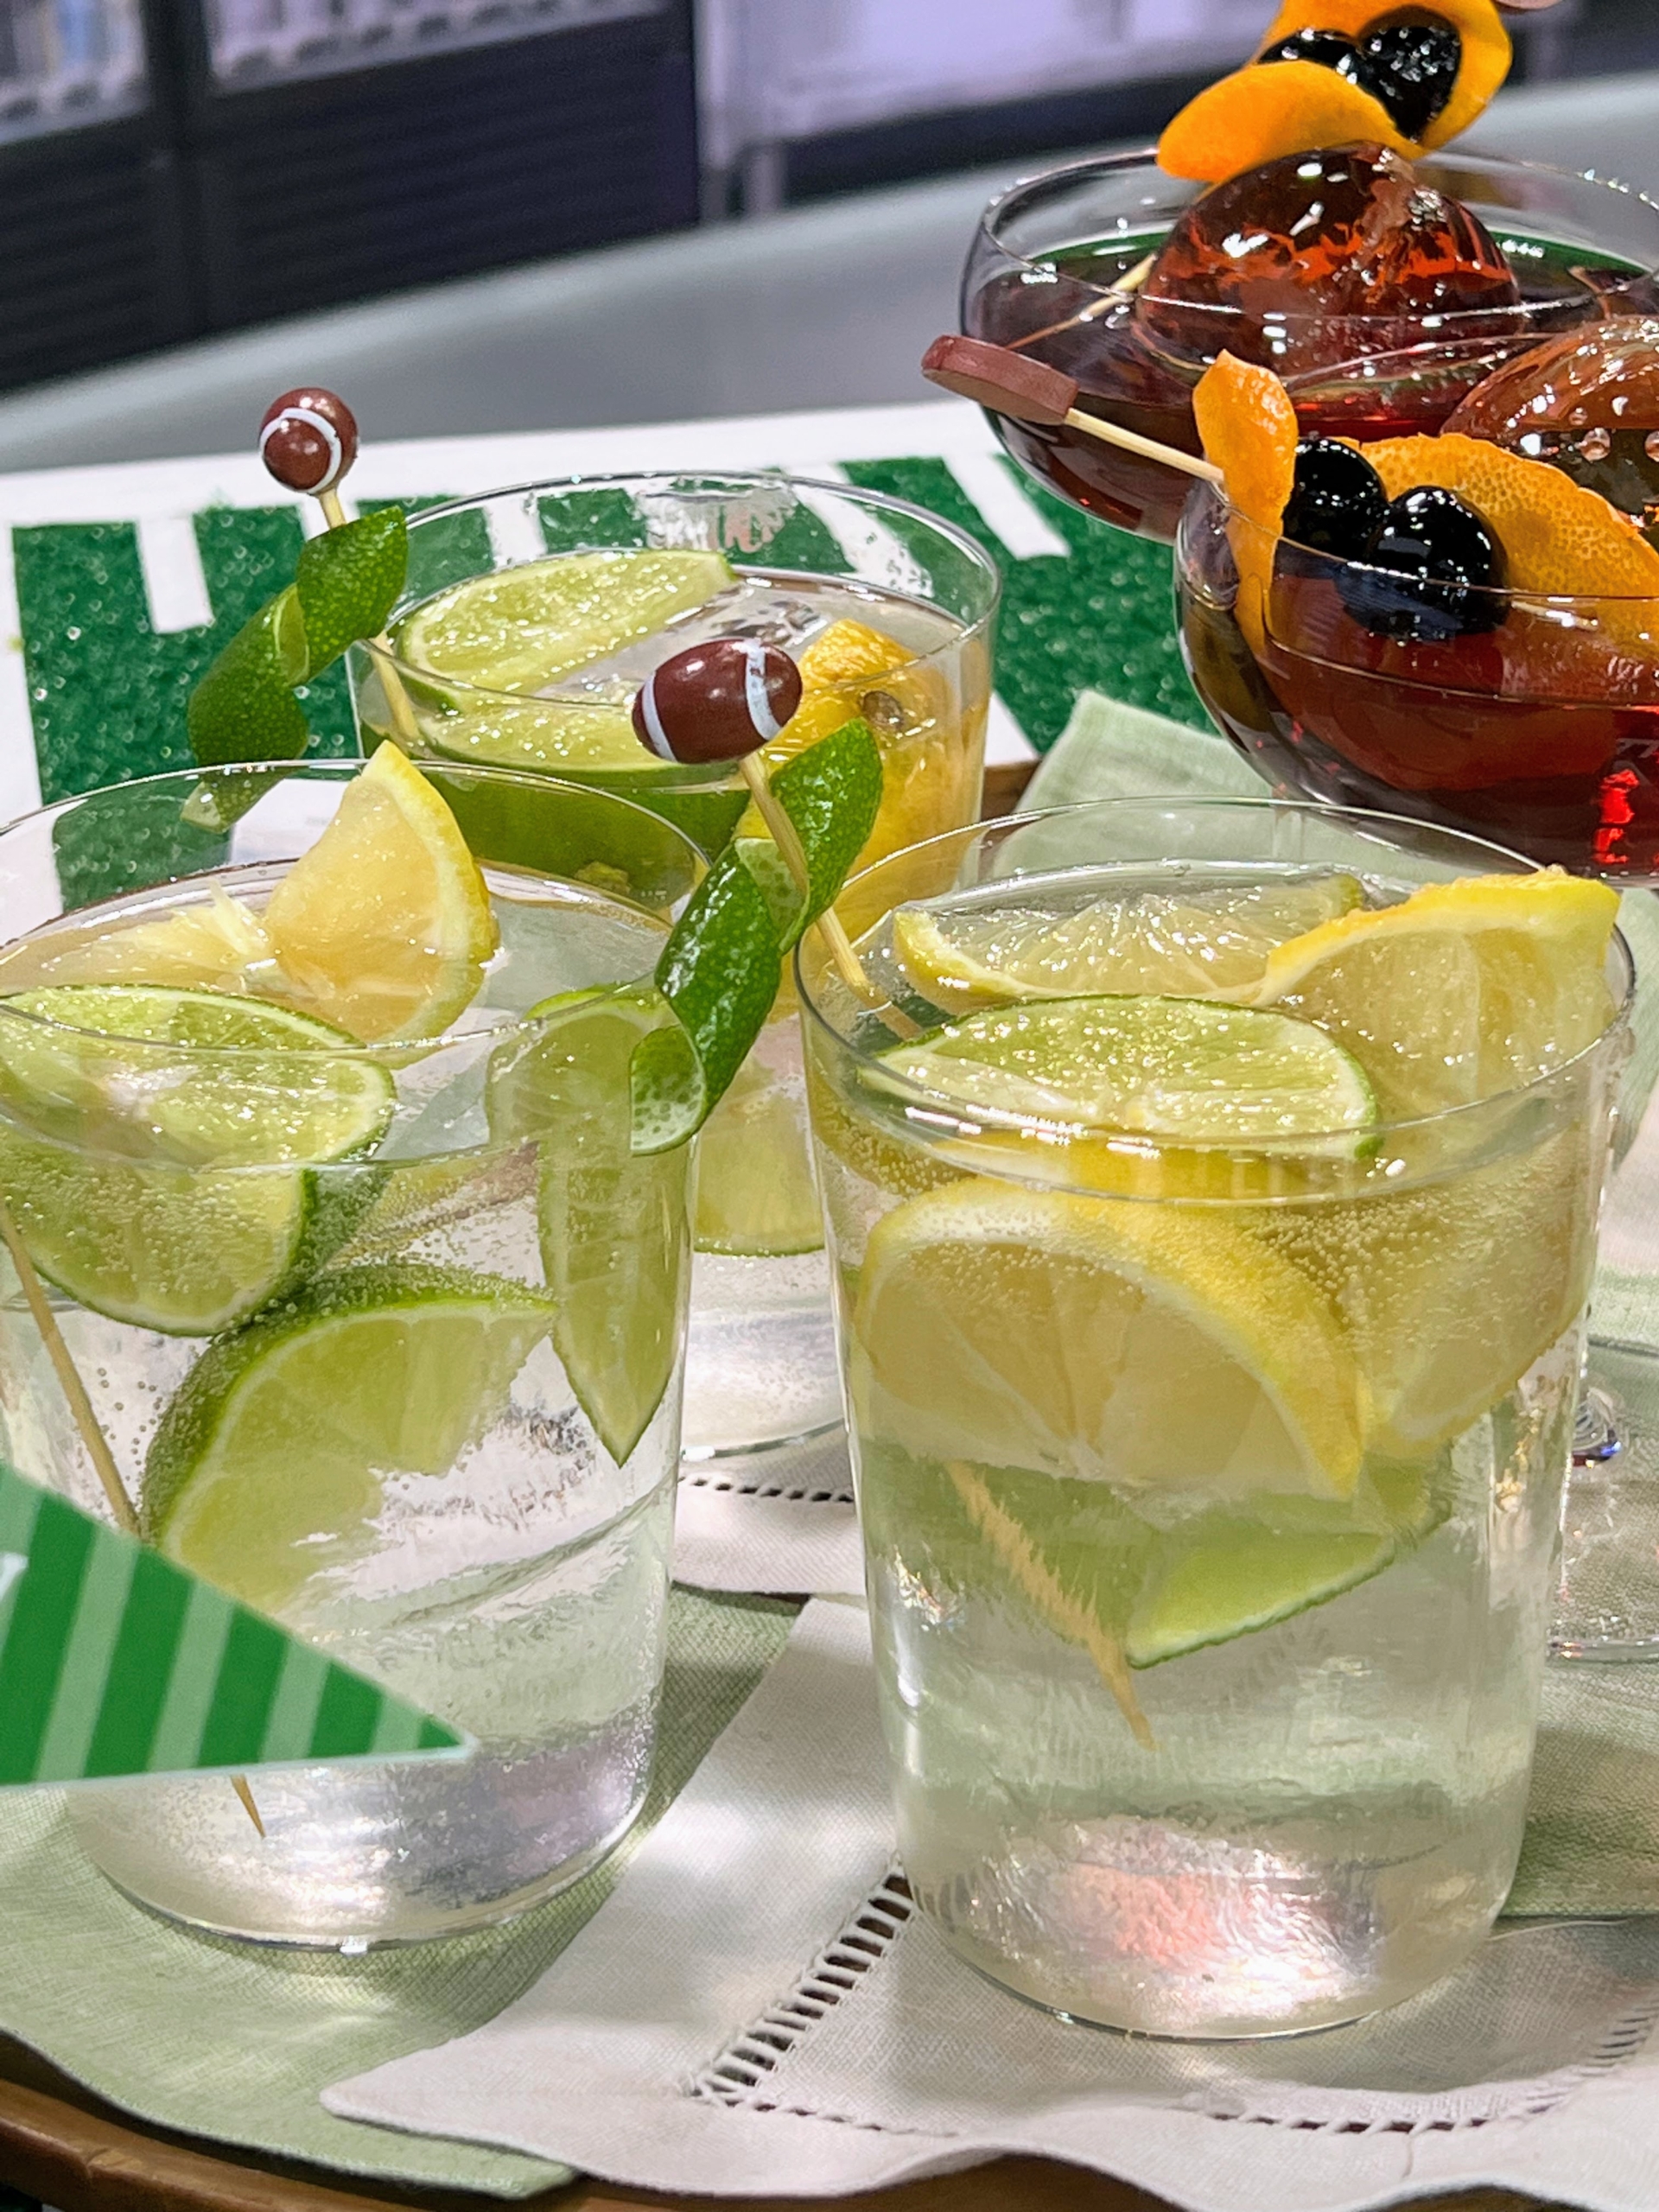
And don’t forget my game day inspired cocktails, the San Francisco cocktail and Kansas City Water – specialty drinks from The Bedford by Martha Stewart at Paris Las Vegas.
The San Francisco cocktail is a classic cocktail that first appeared in the “Cafe Royal Cocktail Book” in 1937. Lore has it that American bartenders fled to Britain during the prohibition and developed this drink. It’s a play on a martini, a cocktail with strong ties to San Francisco.
It’s made with gin plus the combination of both sweet and dry vermouth and bitters.
And Kansas City Ice Water is made with gin and tonic and vodka soda.
To make it even more delicious and refreshing, I add limes and lemons.
Cheers everyone! Enjoy whatever you serve for your Big Game party. And may the best team win! And follow this blog on Instagram @marthastewartblog.
It's February - and that means here at my farm it's time to start some of our flowers from seed.
We sow thousands of seeds every year - all those wonderful seeds I enjoy purchasing during my travels, and seeds we order from our favorite sources. Among them - Floret, a family farm and floral design studio specializing in organic, handcrafted arrangements for special events. Located in the Skagit Valley, outside Seattle Washington, owner Erin Benzakein has created a thriving business - in fact, she was one of our American Made Honorees in 2014.
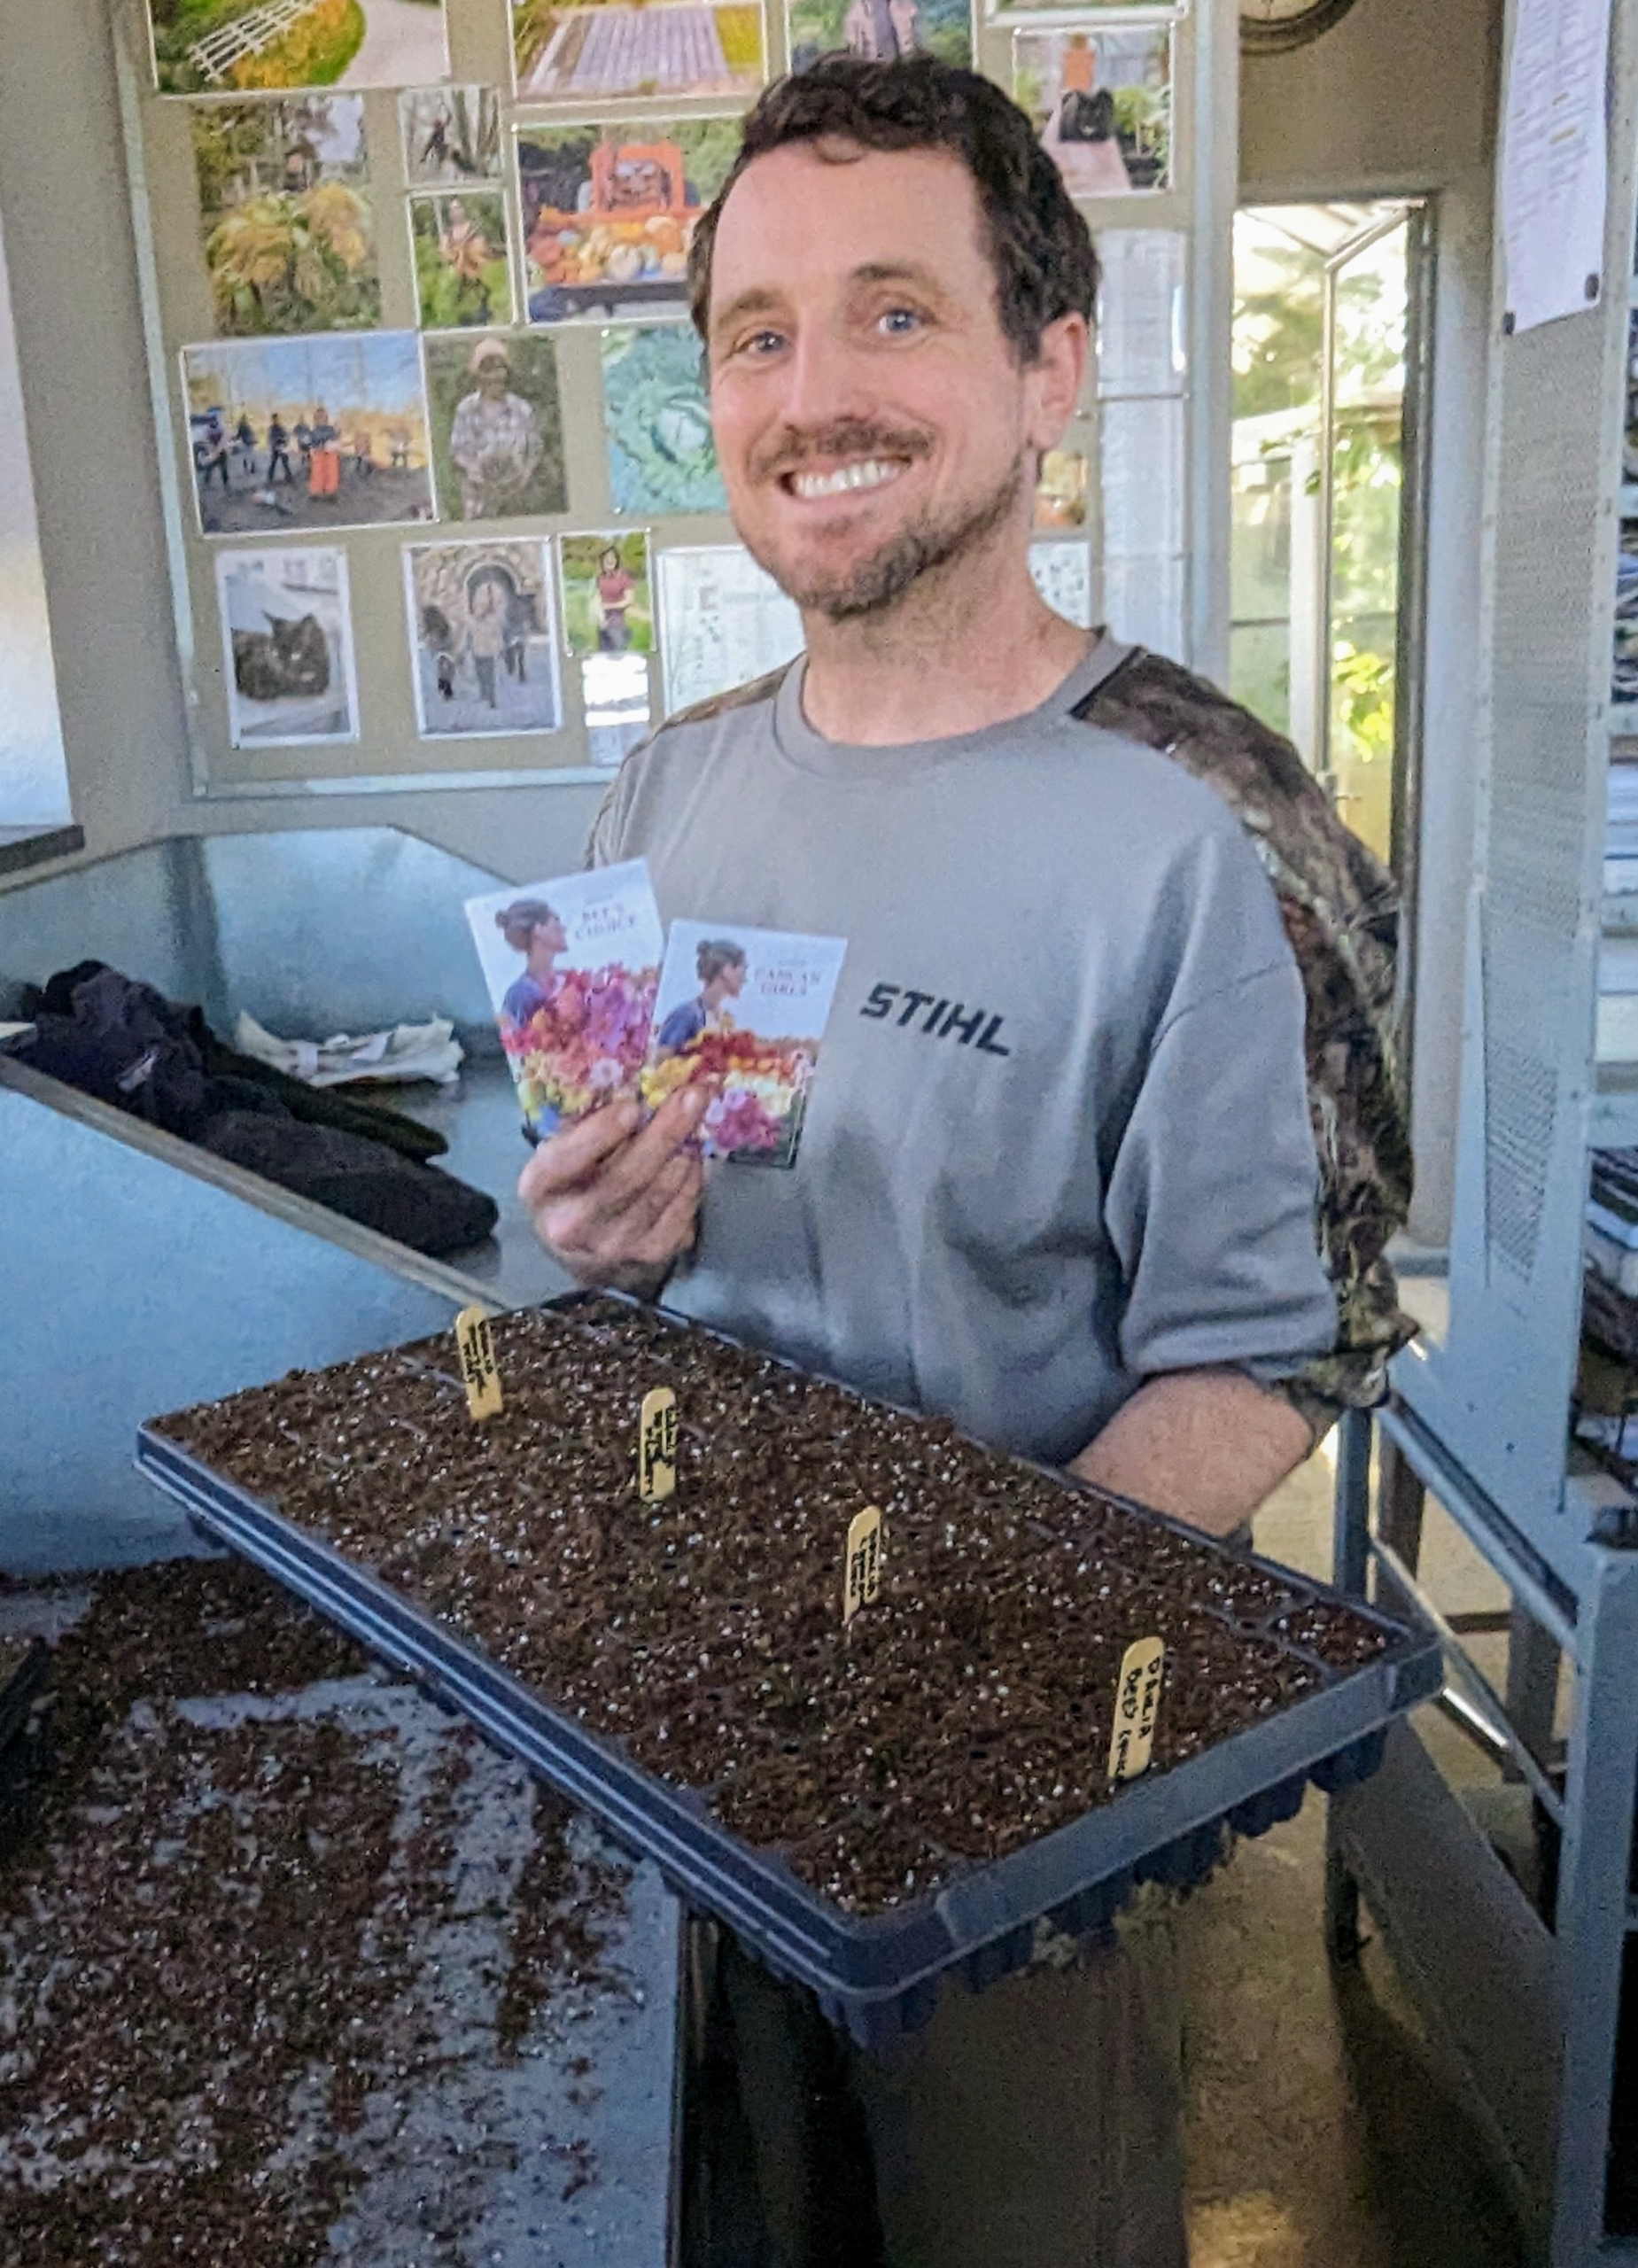
This week, my head gardener, Ryan McCallister, planted a selection of dahlia seeds from Floret.
Here are some photos.
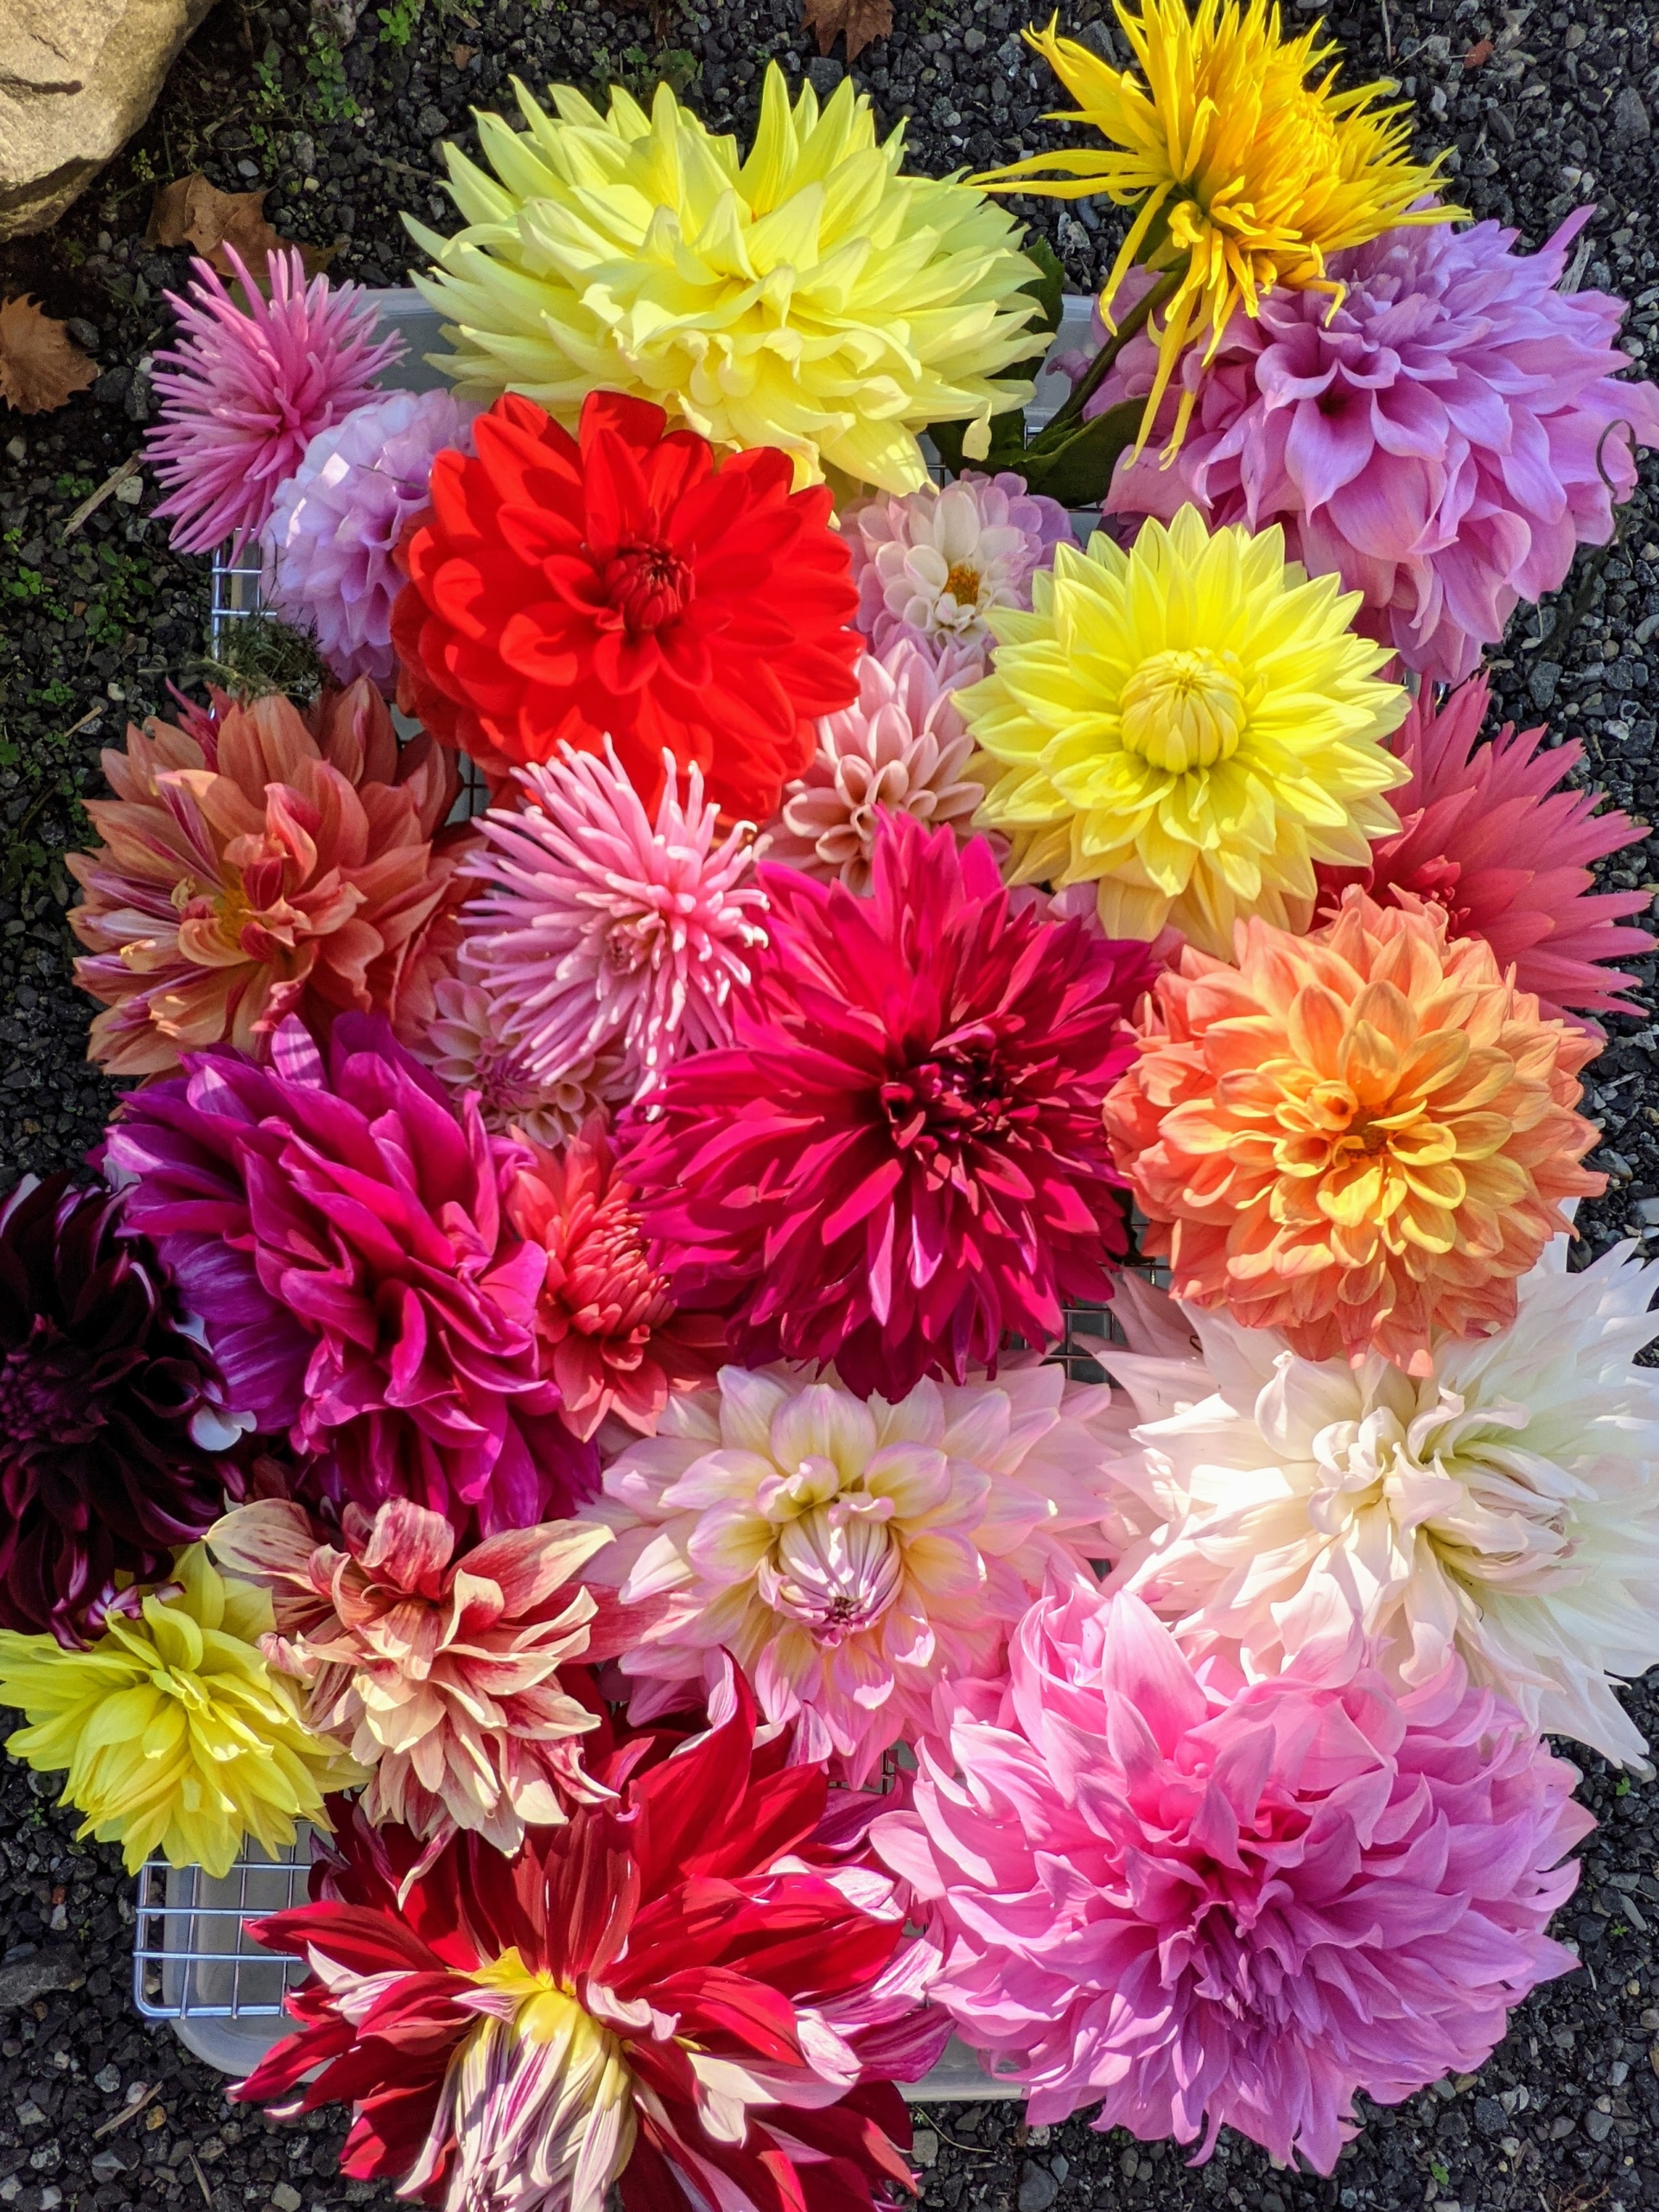
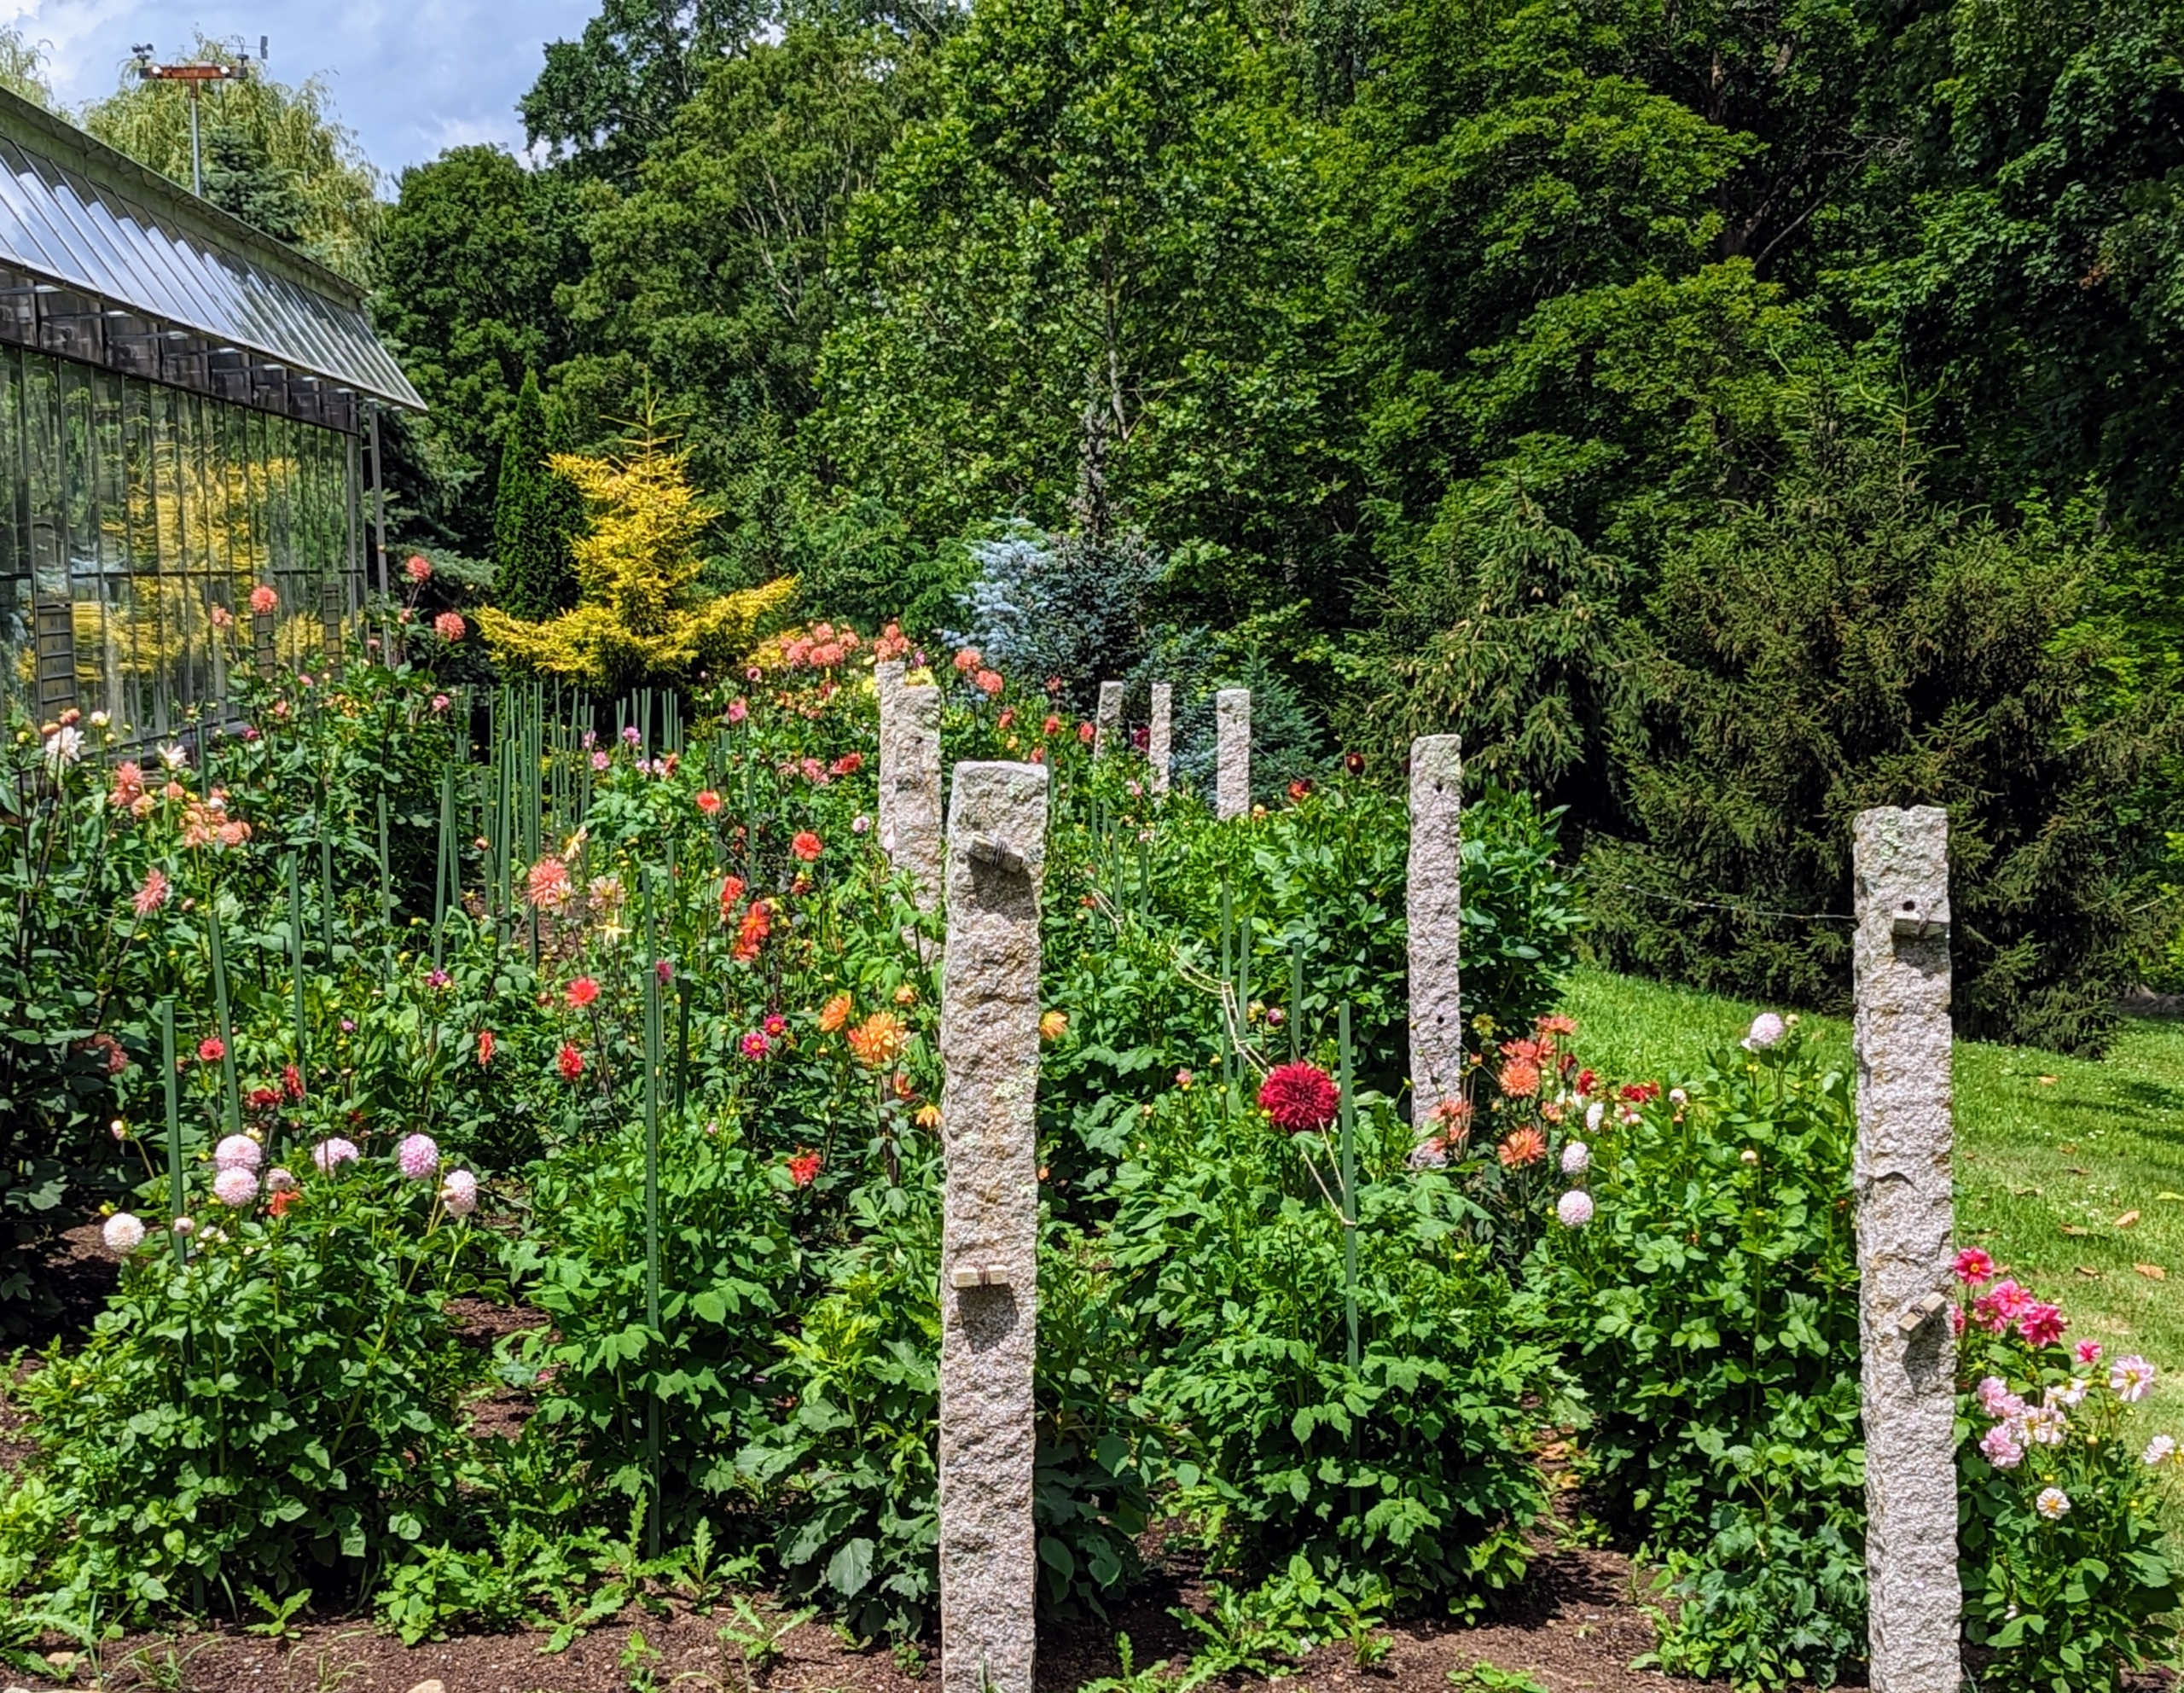
Dahlias are among my favorite summer blooms – those gorgeous, bright, and colorful flowers that open in late June and last all summer until the first autumn frost.
Dahlia is a genus of tuberous plants that are members of the Asteraceae family and are related to the sunflower, daisy, chrysanthemum, and zinnia. Dahlias are named after 18th-century Swedish botanist Anders Dahl. He actually categorized dahlias as a vegetable because of their edible tubers. The tubers are said to taste like a mix between potatoes and radishes.
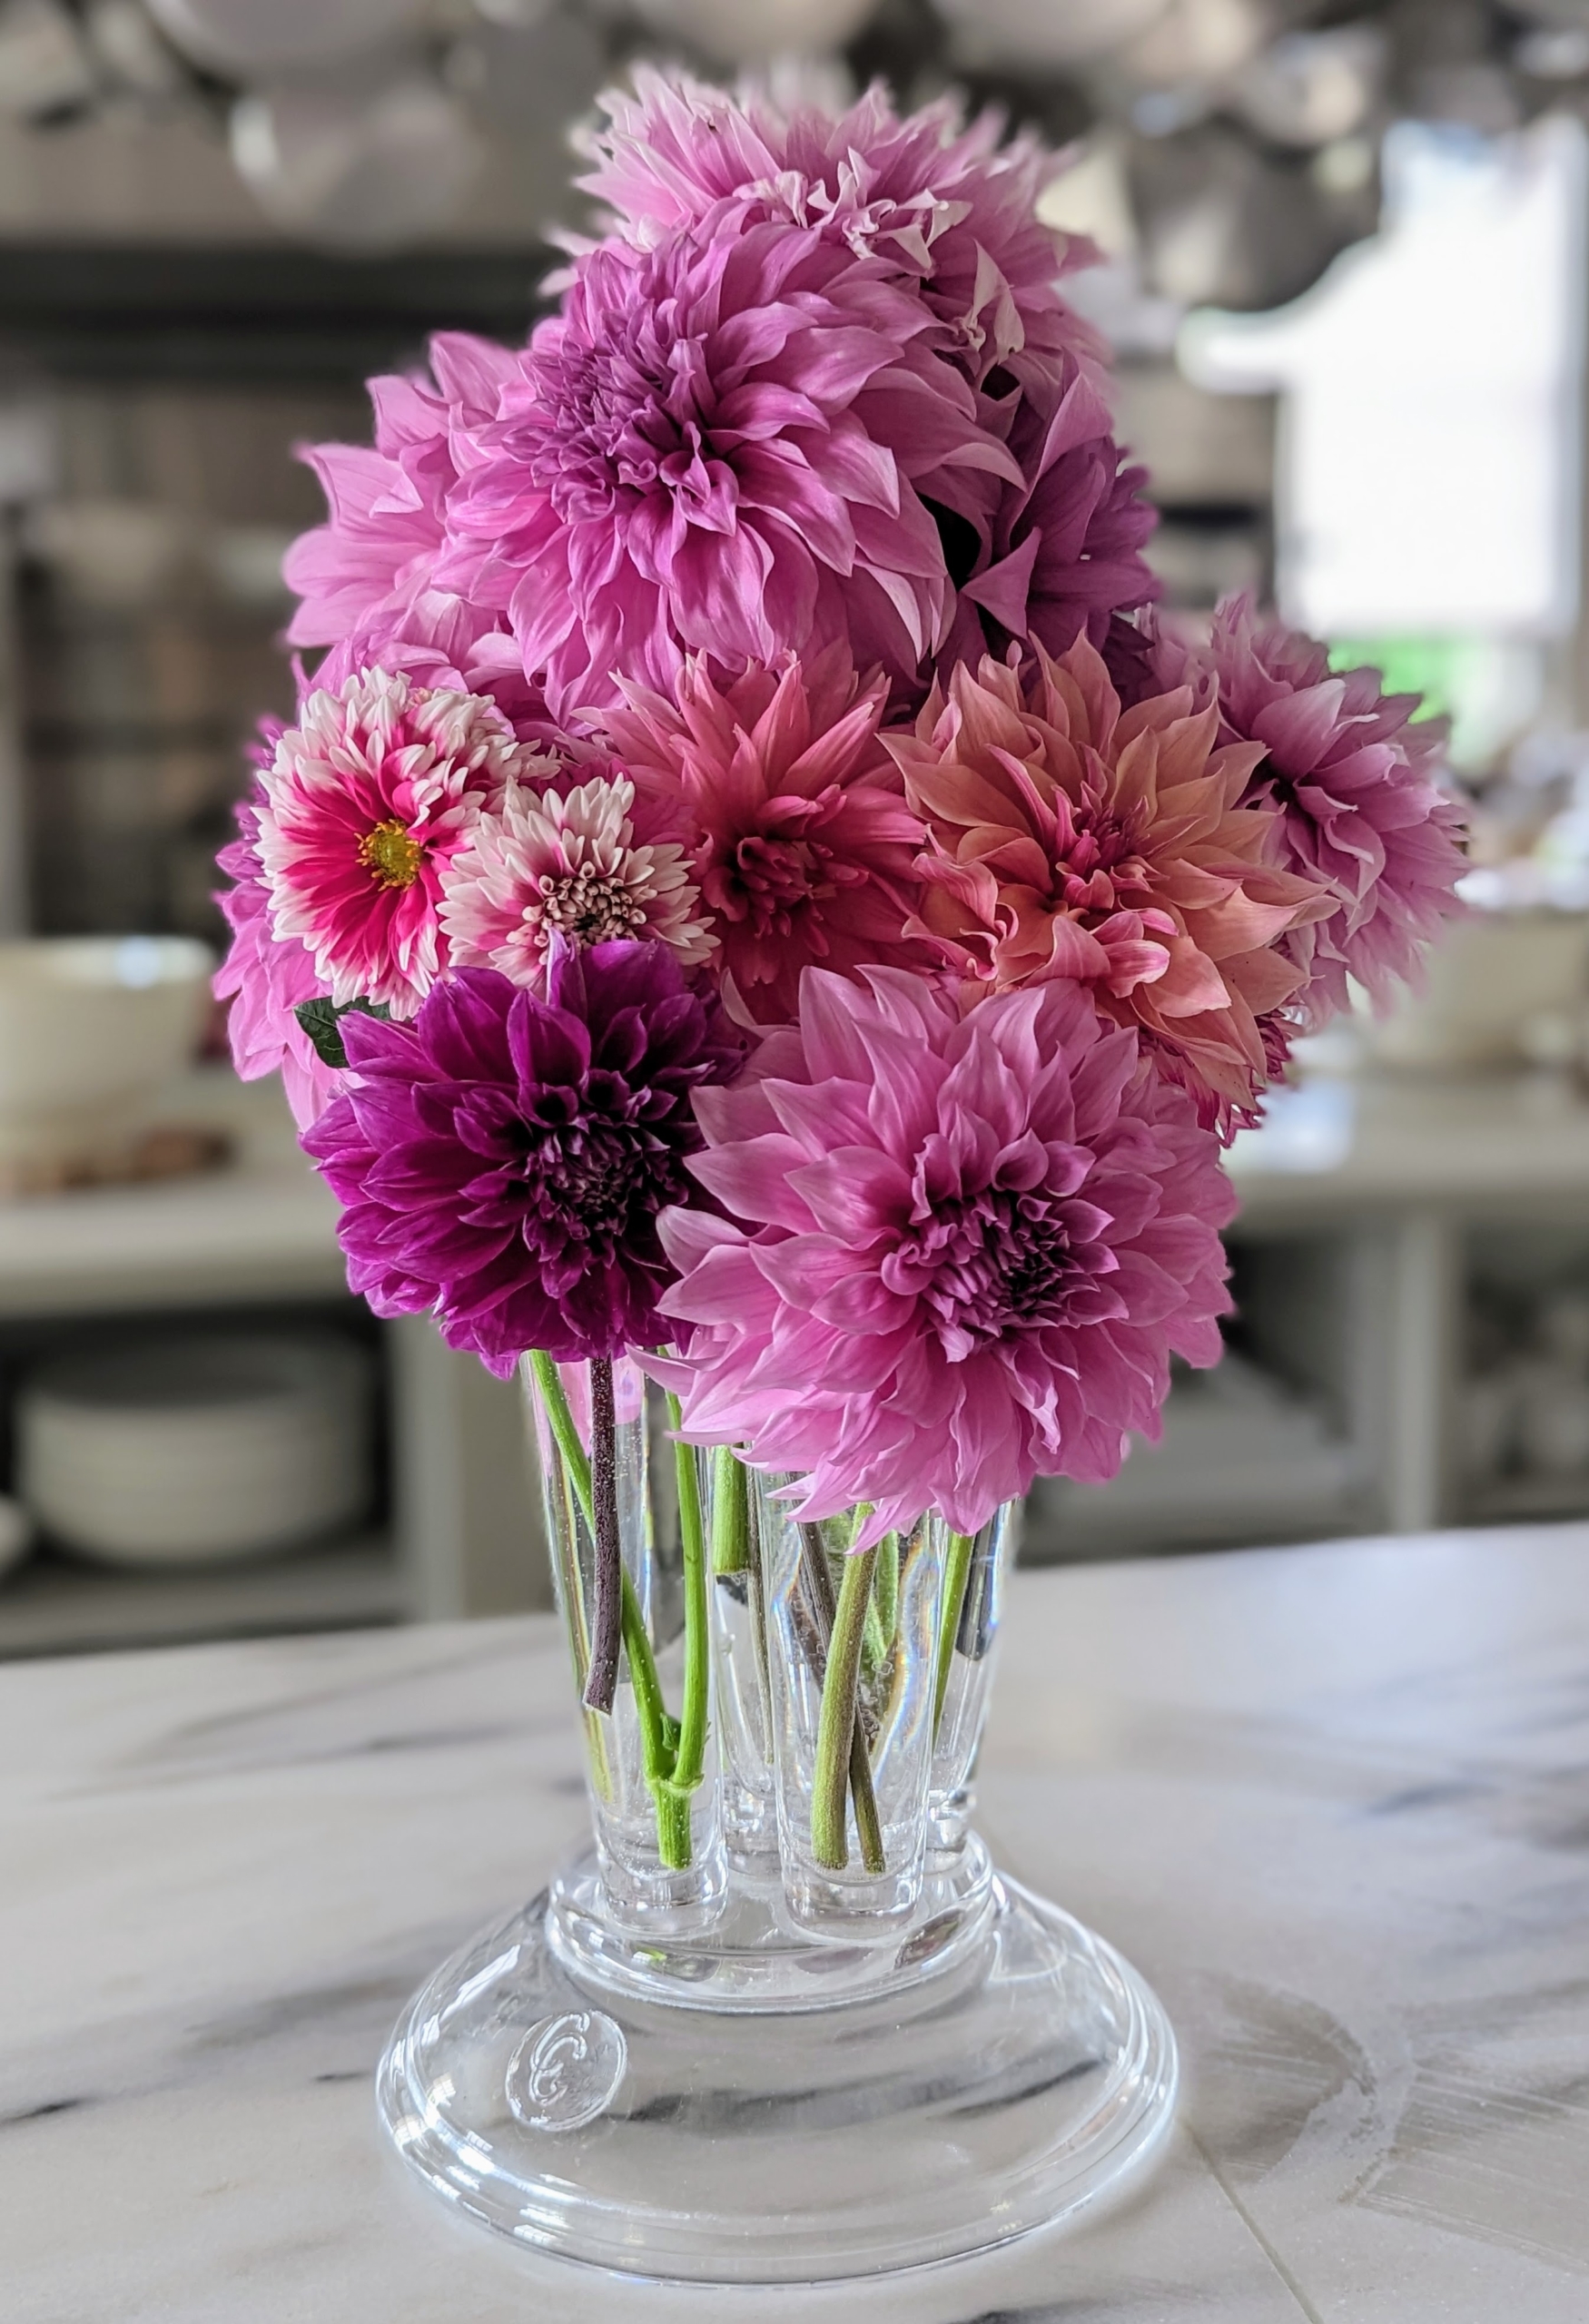
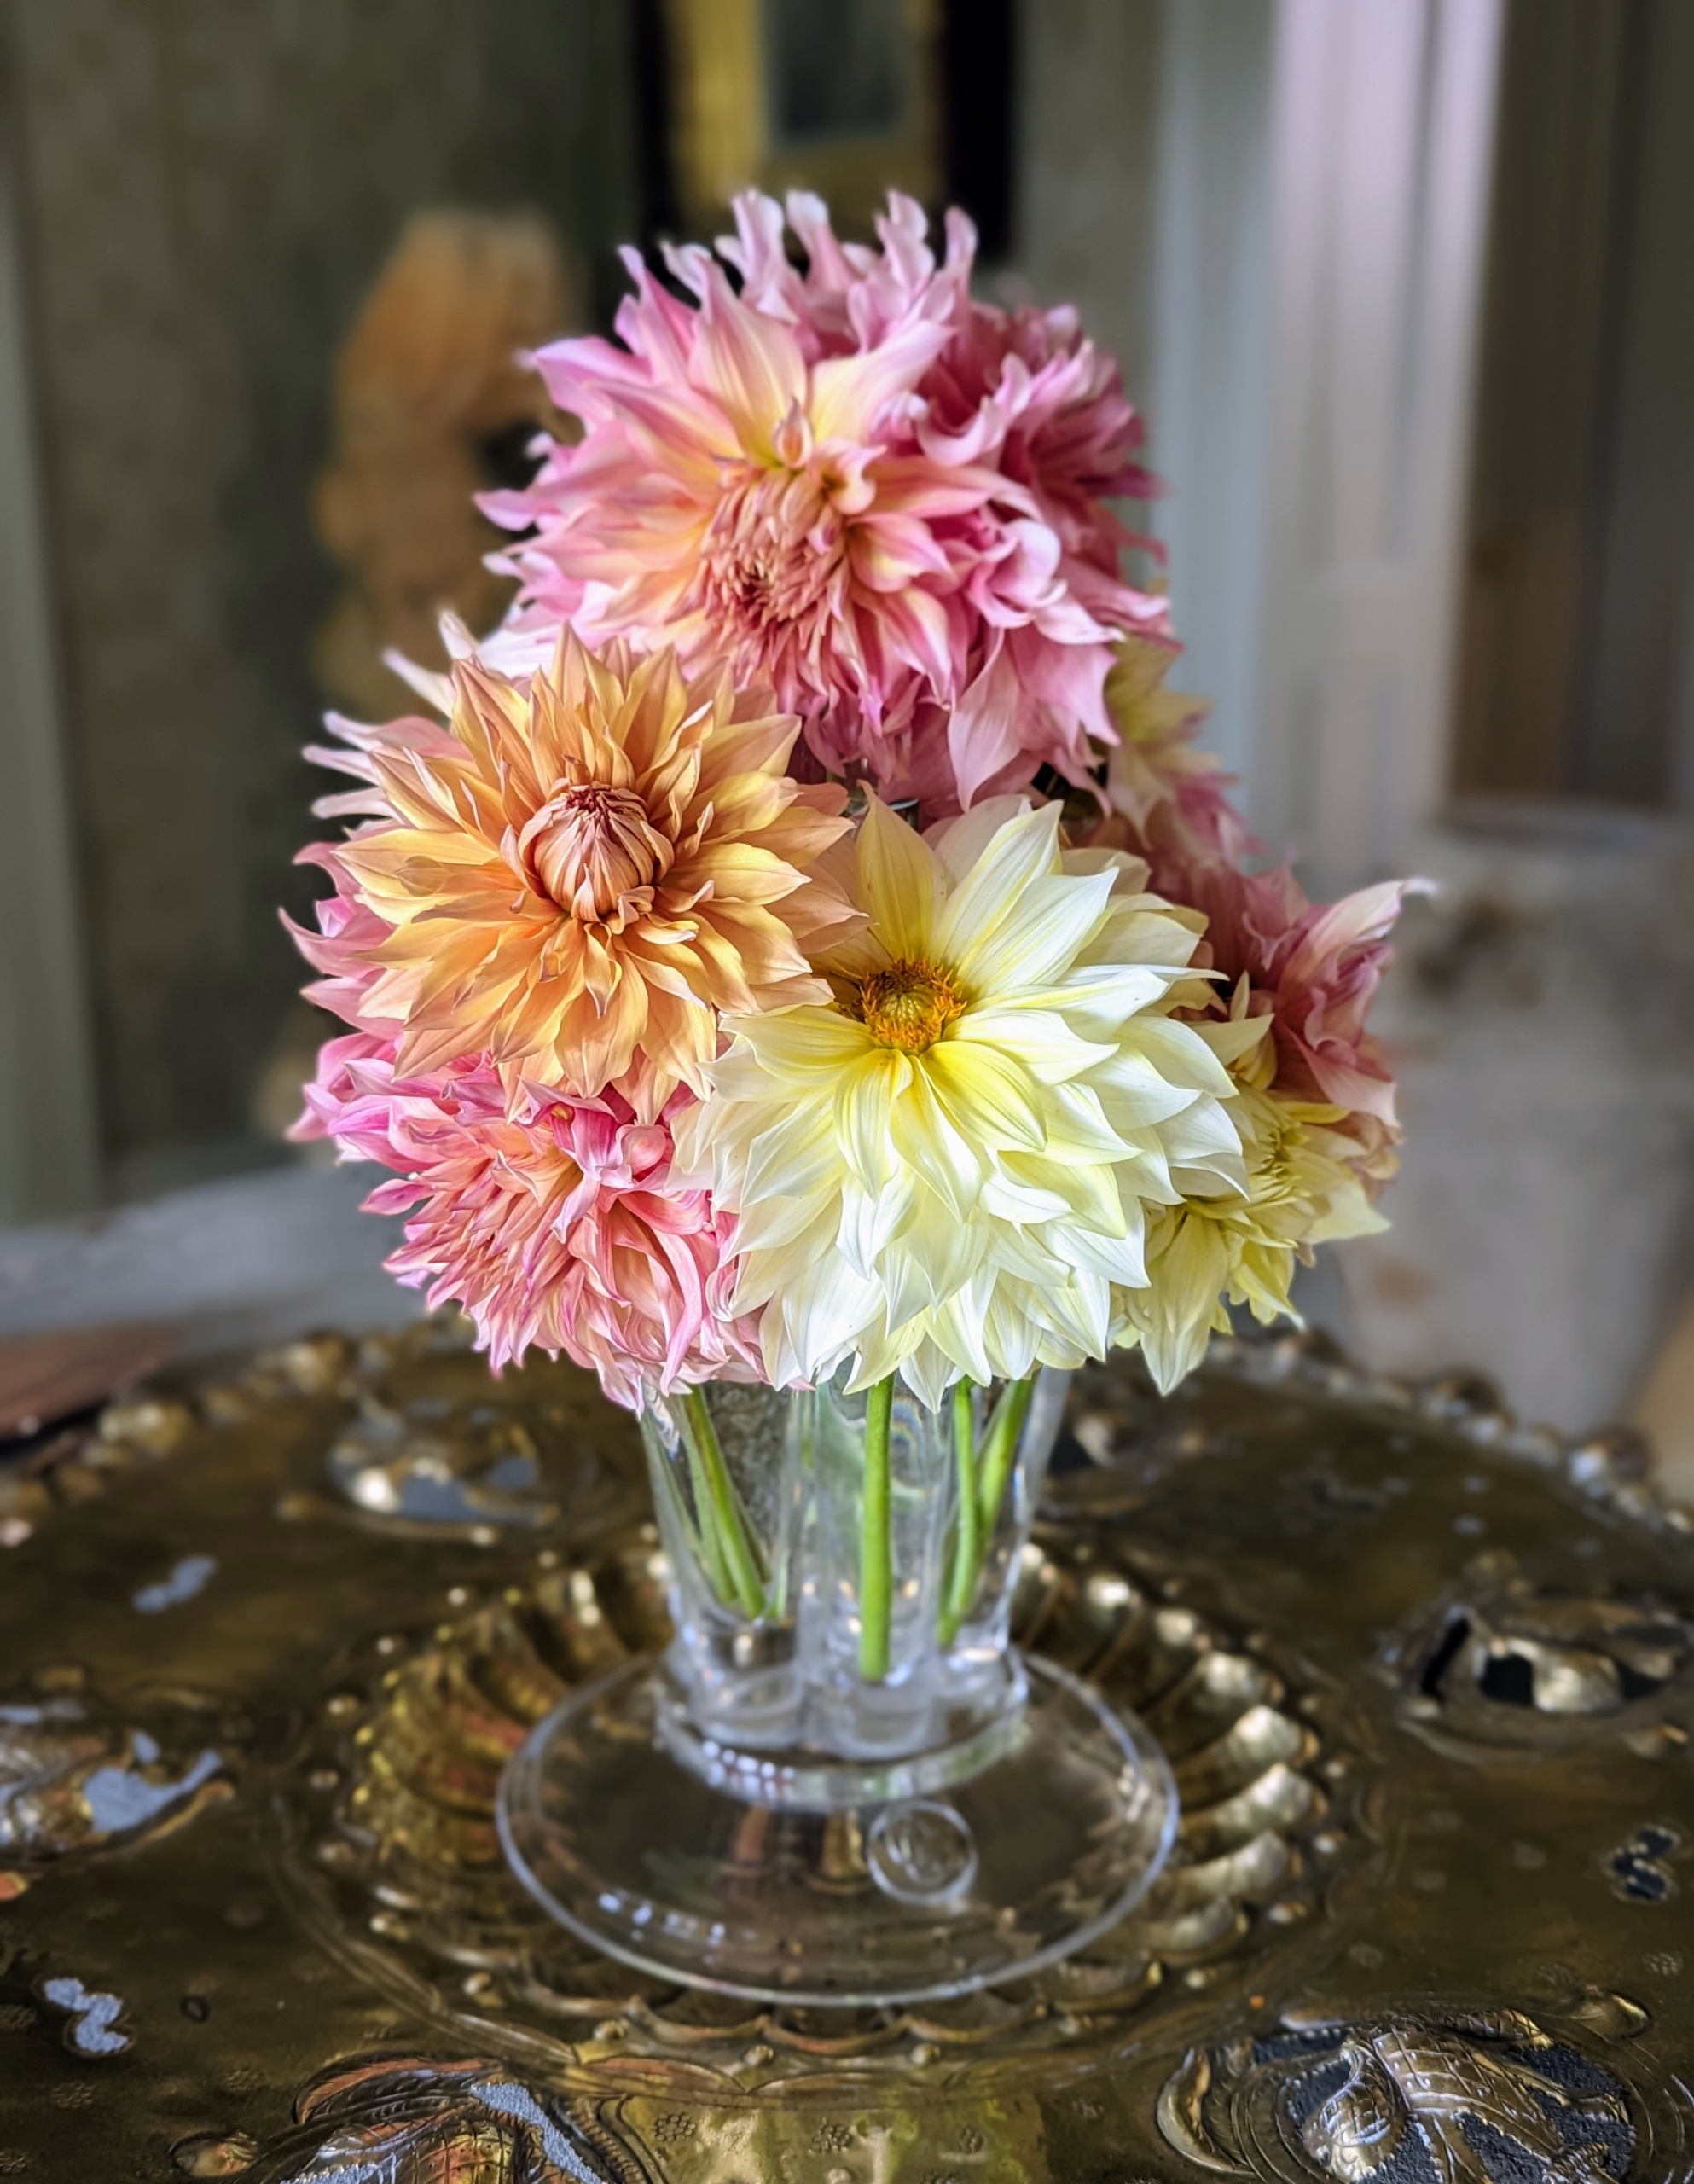
I always pick many dahlias from the garden to use in arrangements around my home. These flowers give off a stunning show with blooms ranging from small to giant dinner-plate size.
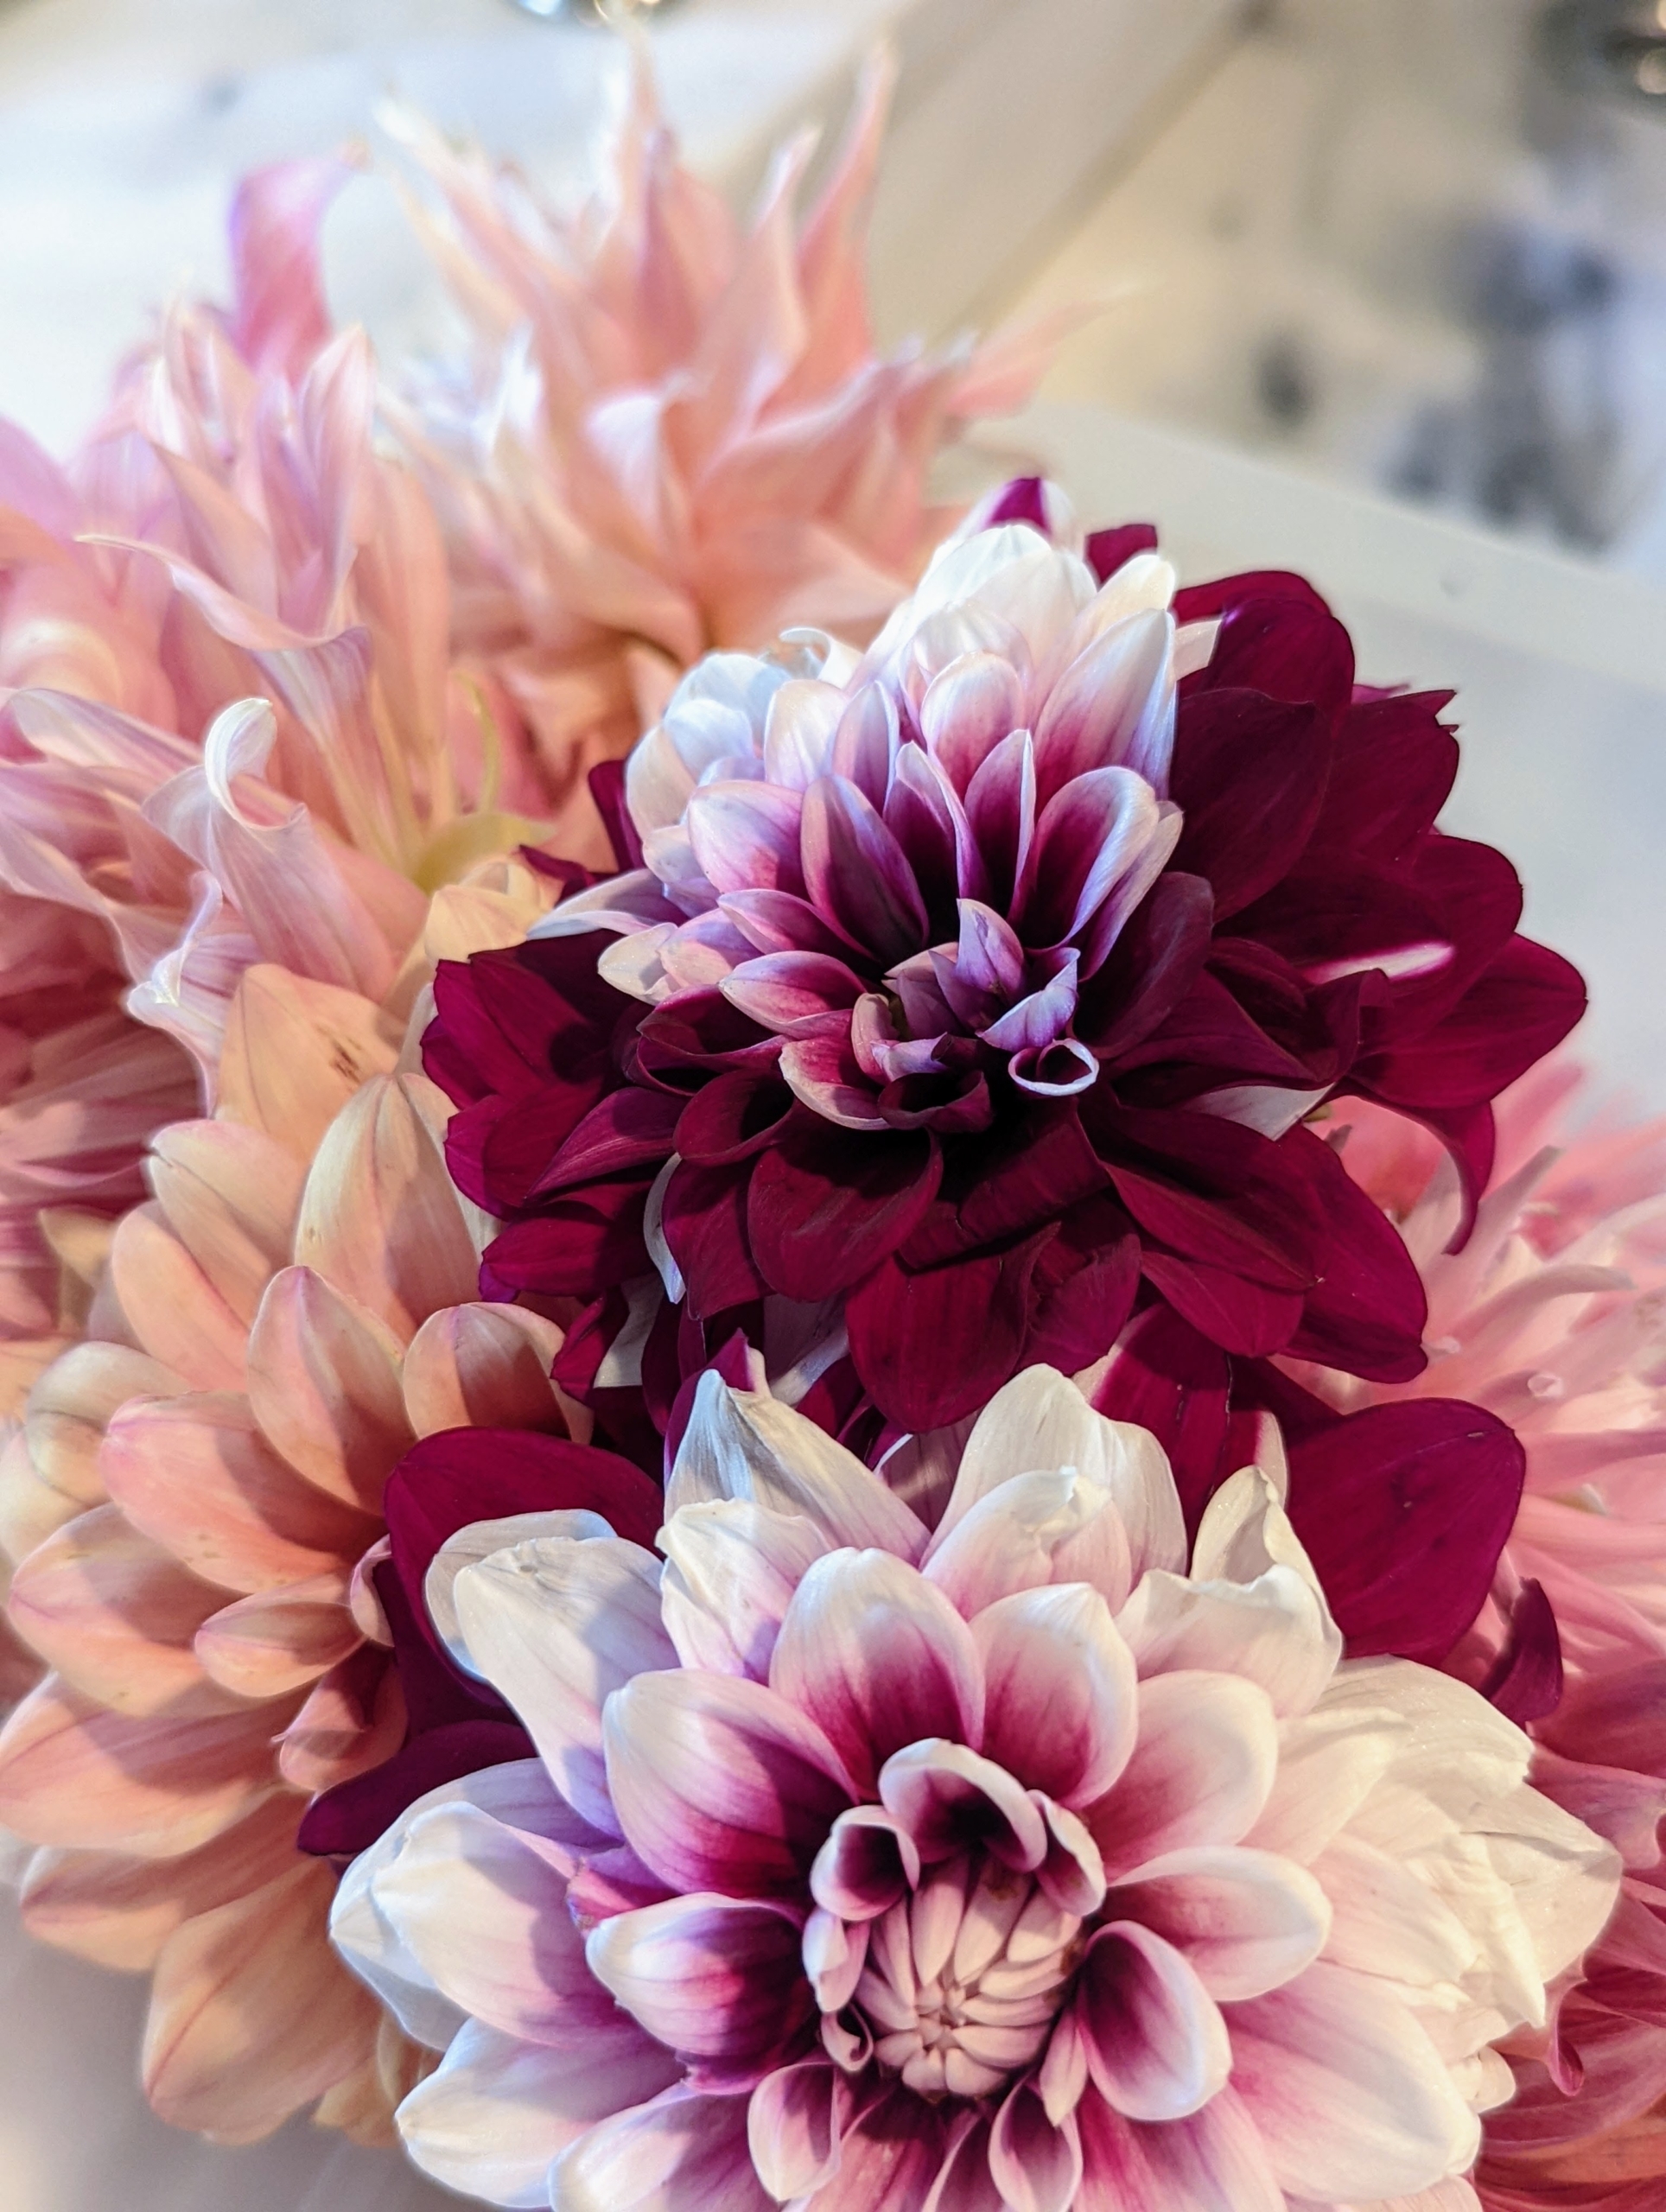
This arrangement in glass is in my Winter House sitting room. Dahlias come in white, shades of pink, red, yellow, orange, shades of purple, and various combinations of these colors – every color but true blue.
Floret works hard to find the very best cut flower varieties – their selections are based on scent, stem length, and overall quality.
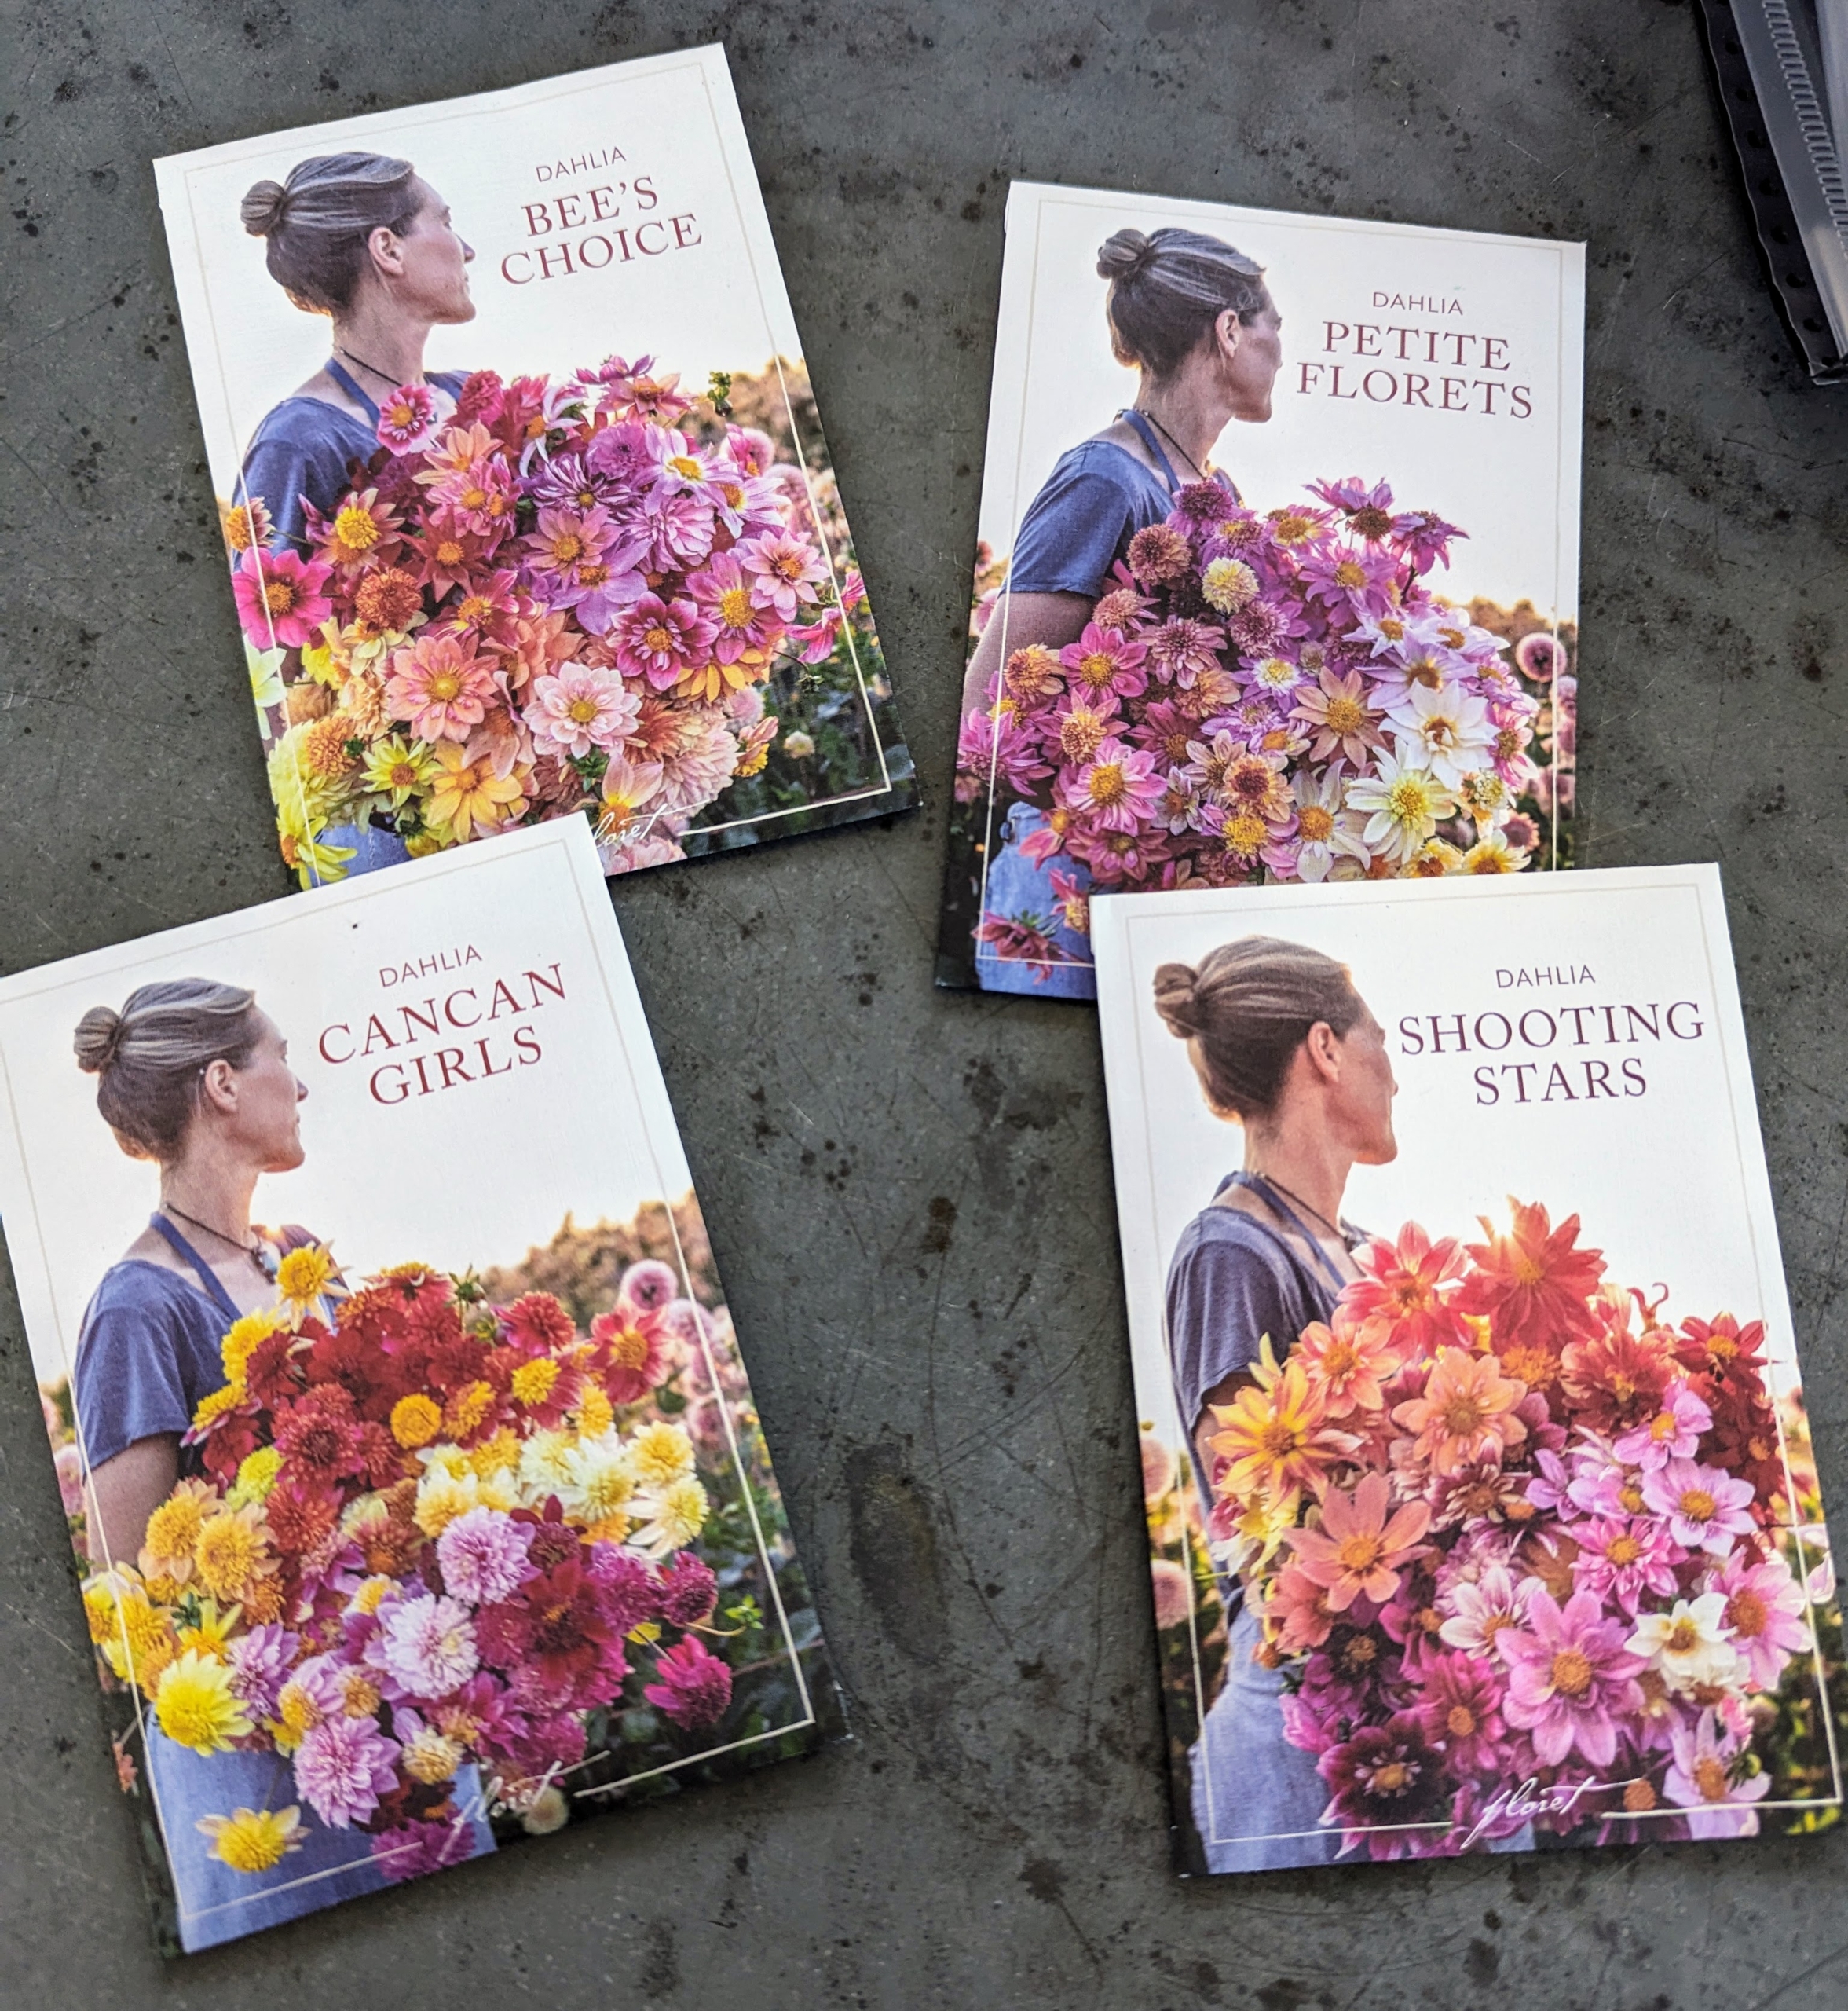
This week, my head gardener Ryan McCallister, started four dahlia mixes from Floret – Bee’s Choice, Cancan Girls, Petite Florets, and Shooting Stars.
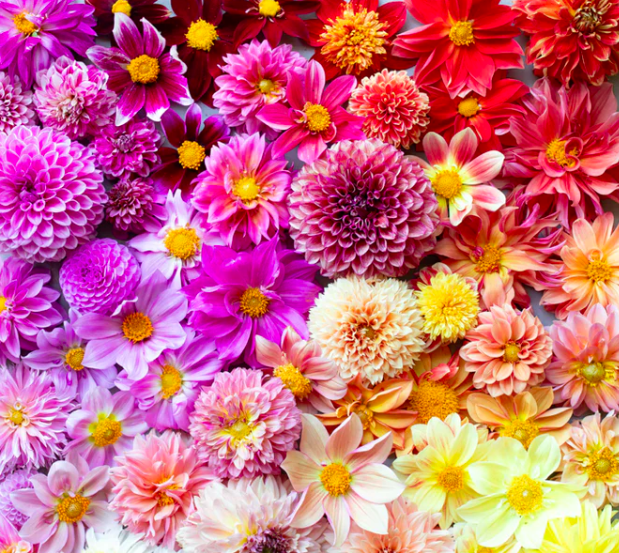
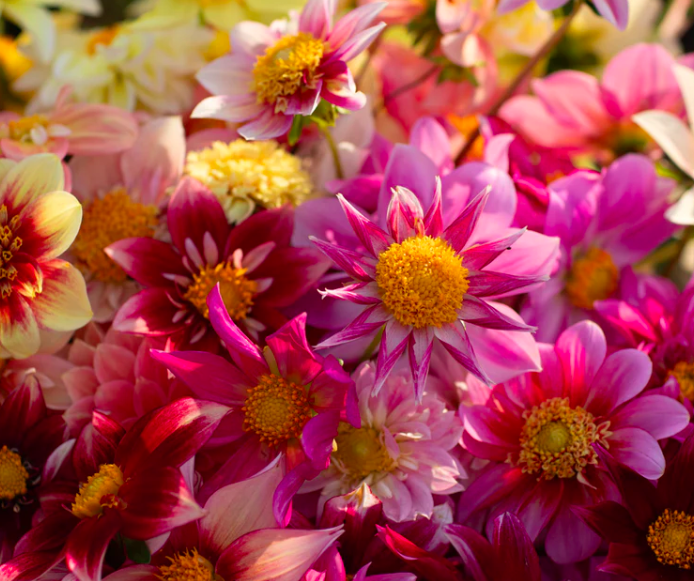
Dahlia Bee’s Choice includes a wide range of flower shapes, sizes, and colors with open centers that attract pollinators. (Photo from Floret)
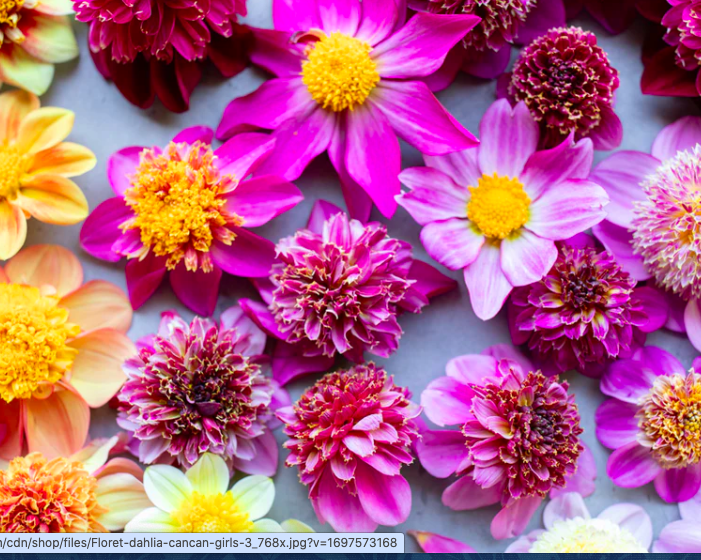
Dahlia CanCan Girls features tufted blooms in all shapes and sizes, many with the anemone flower form. The color range includes reds, maroons, pinks, purples, and many bicolors. (Photo from Floret)
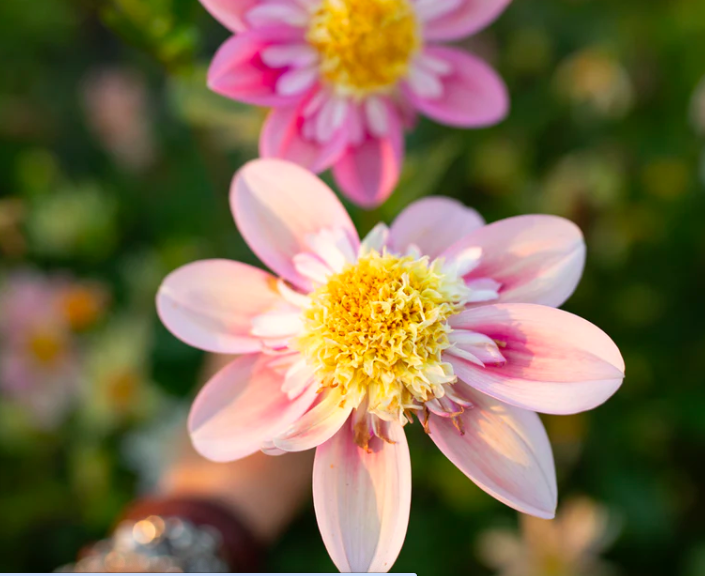
Dahlia Petit Florets is a mix of soft pastel tones, including peach, apricot, dusty rose, lavender, sun-bleached raspberry, and buttercream. (Photo from Floret)
And Dahlia Shooting Stars is a mix of star-shaped flowers, including single, collarette, orchette, and orchid types. (Photo from Floret)
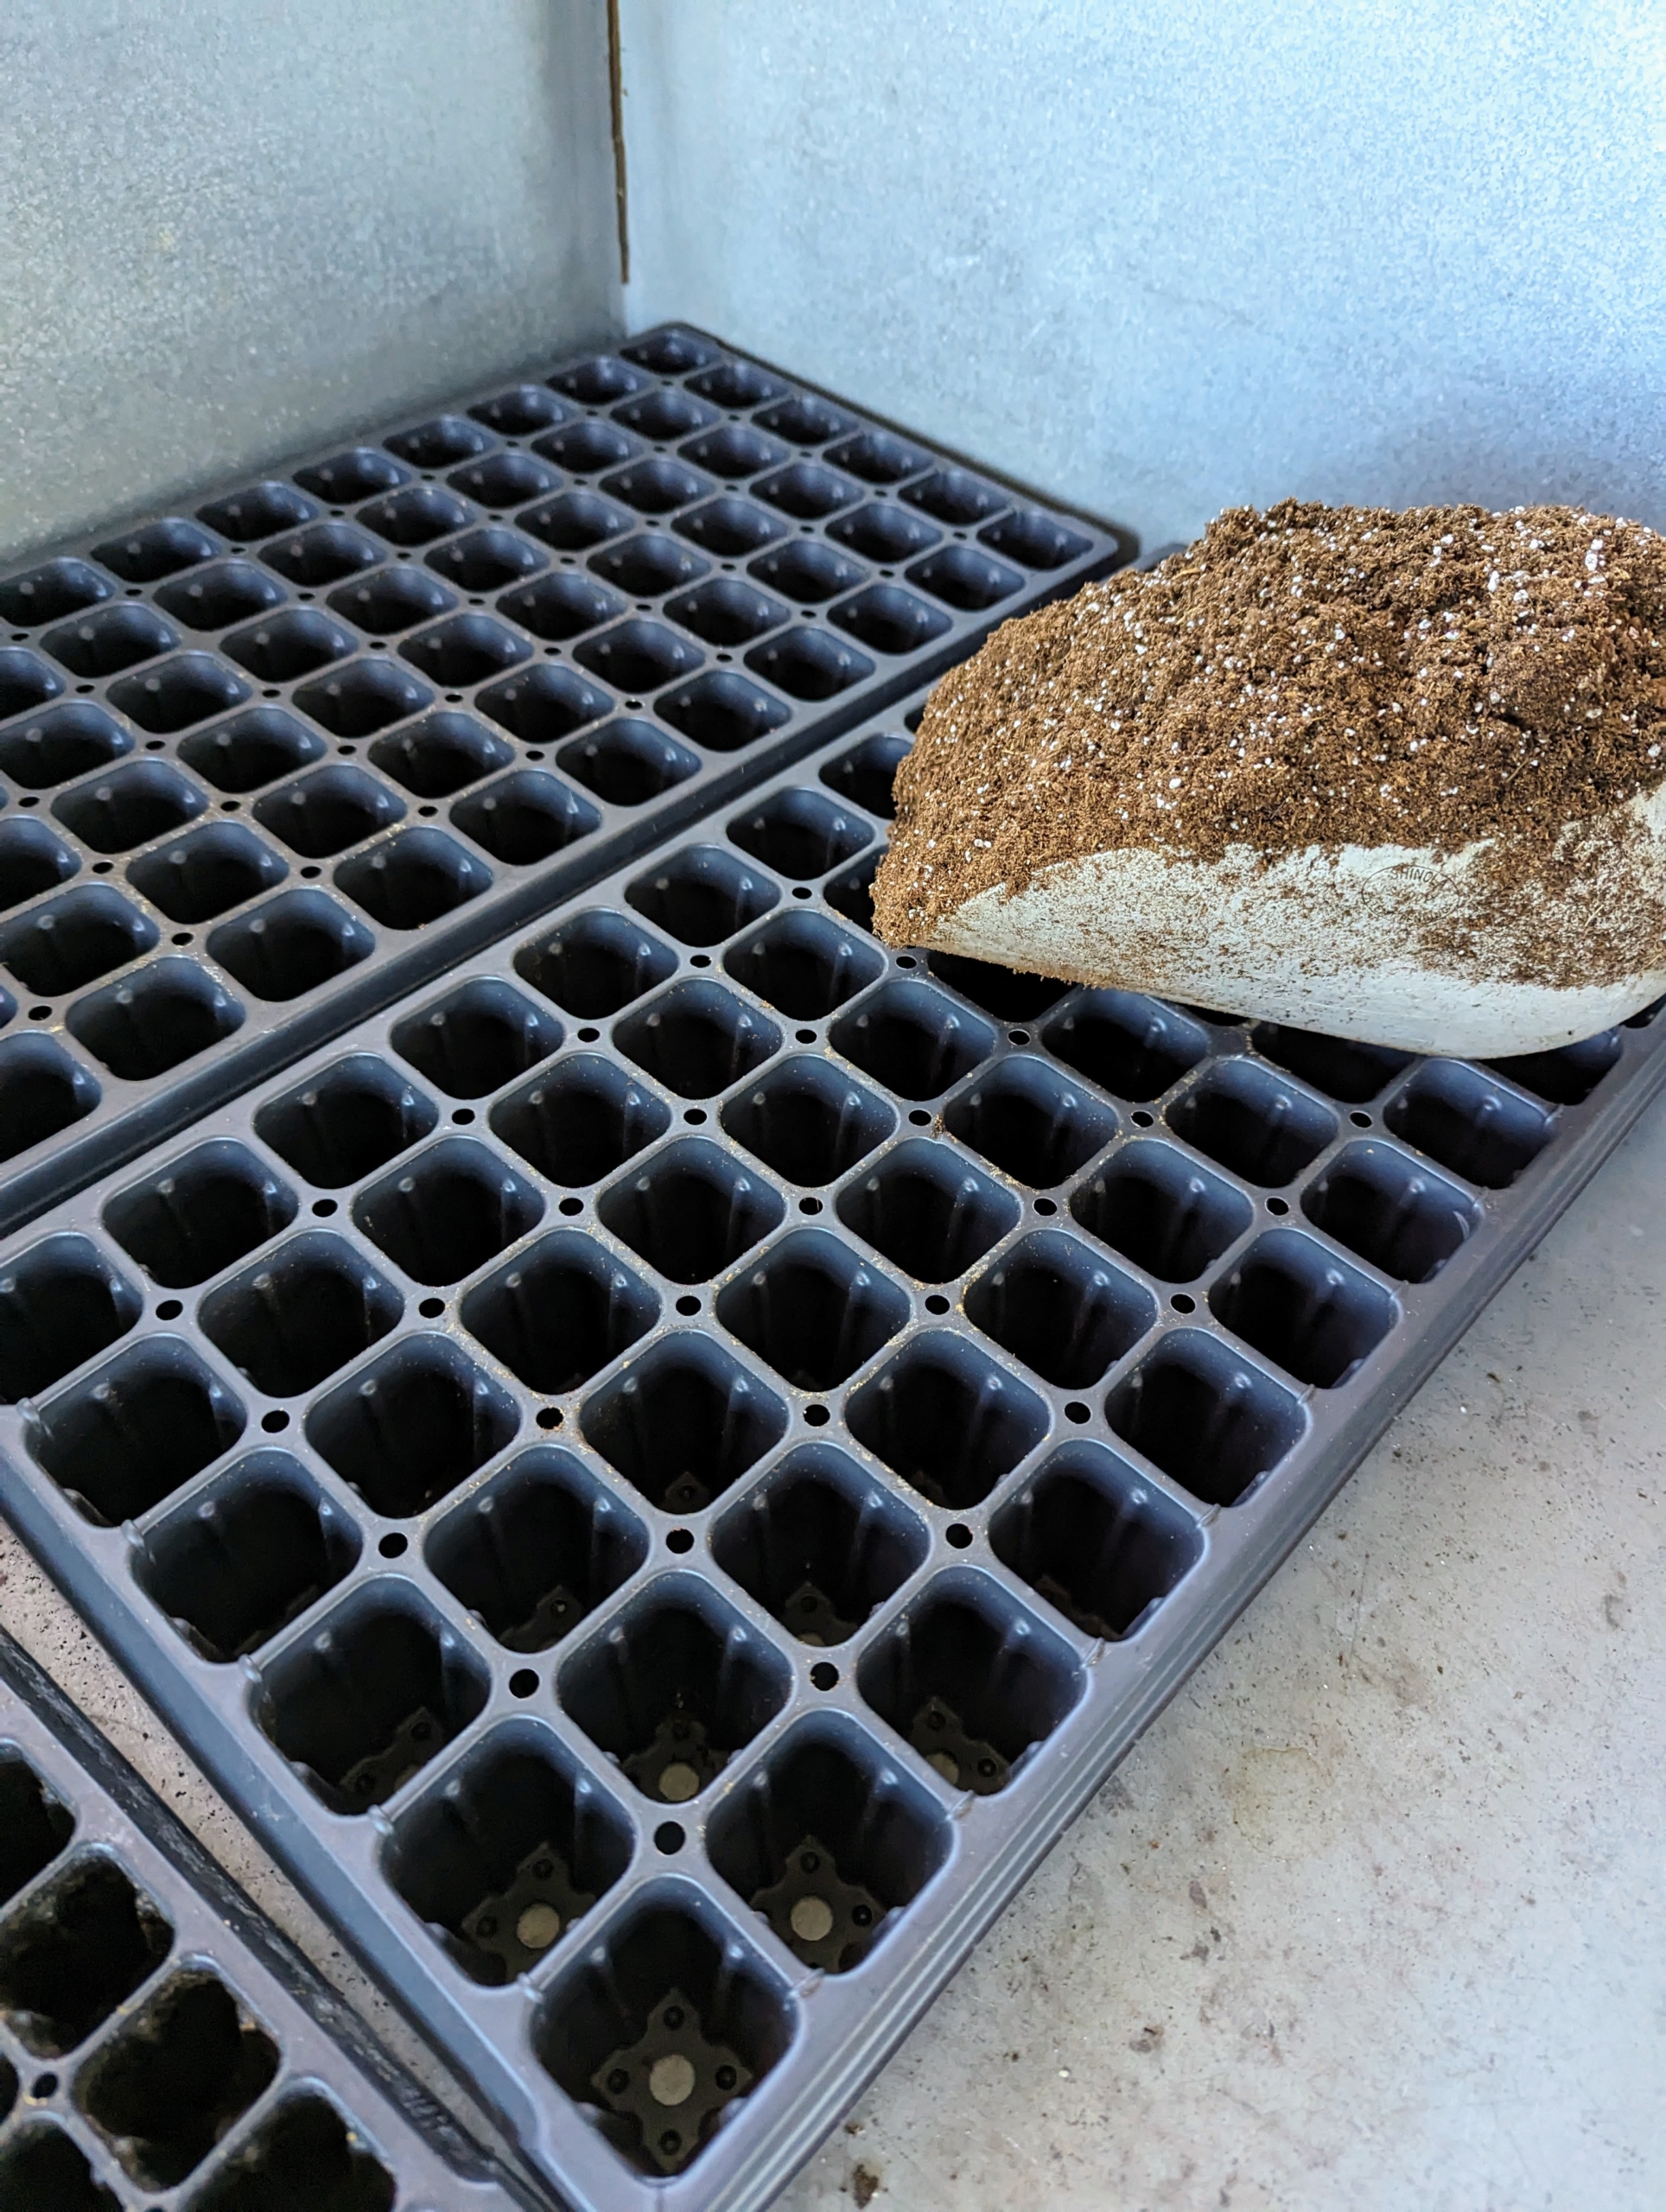
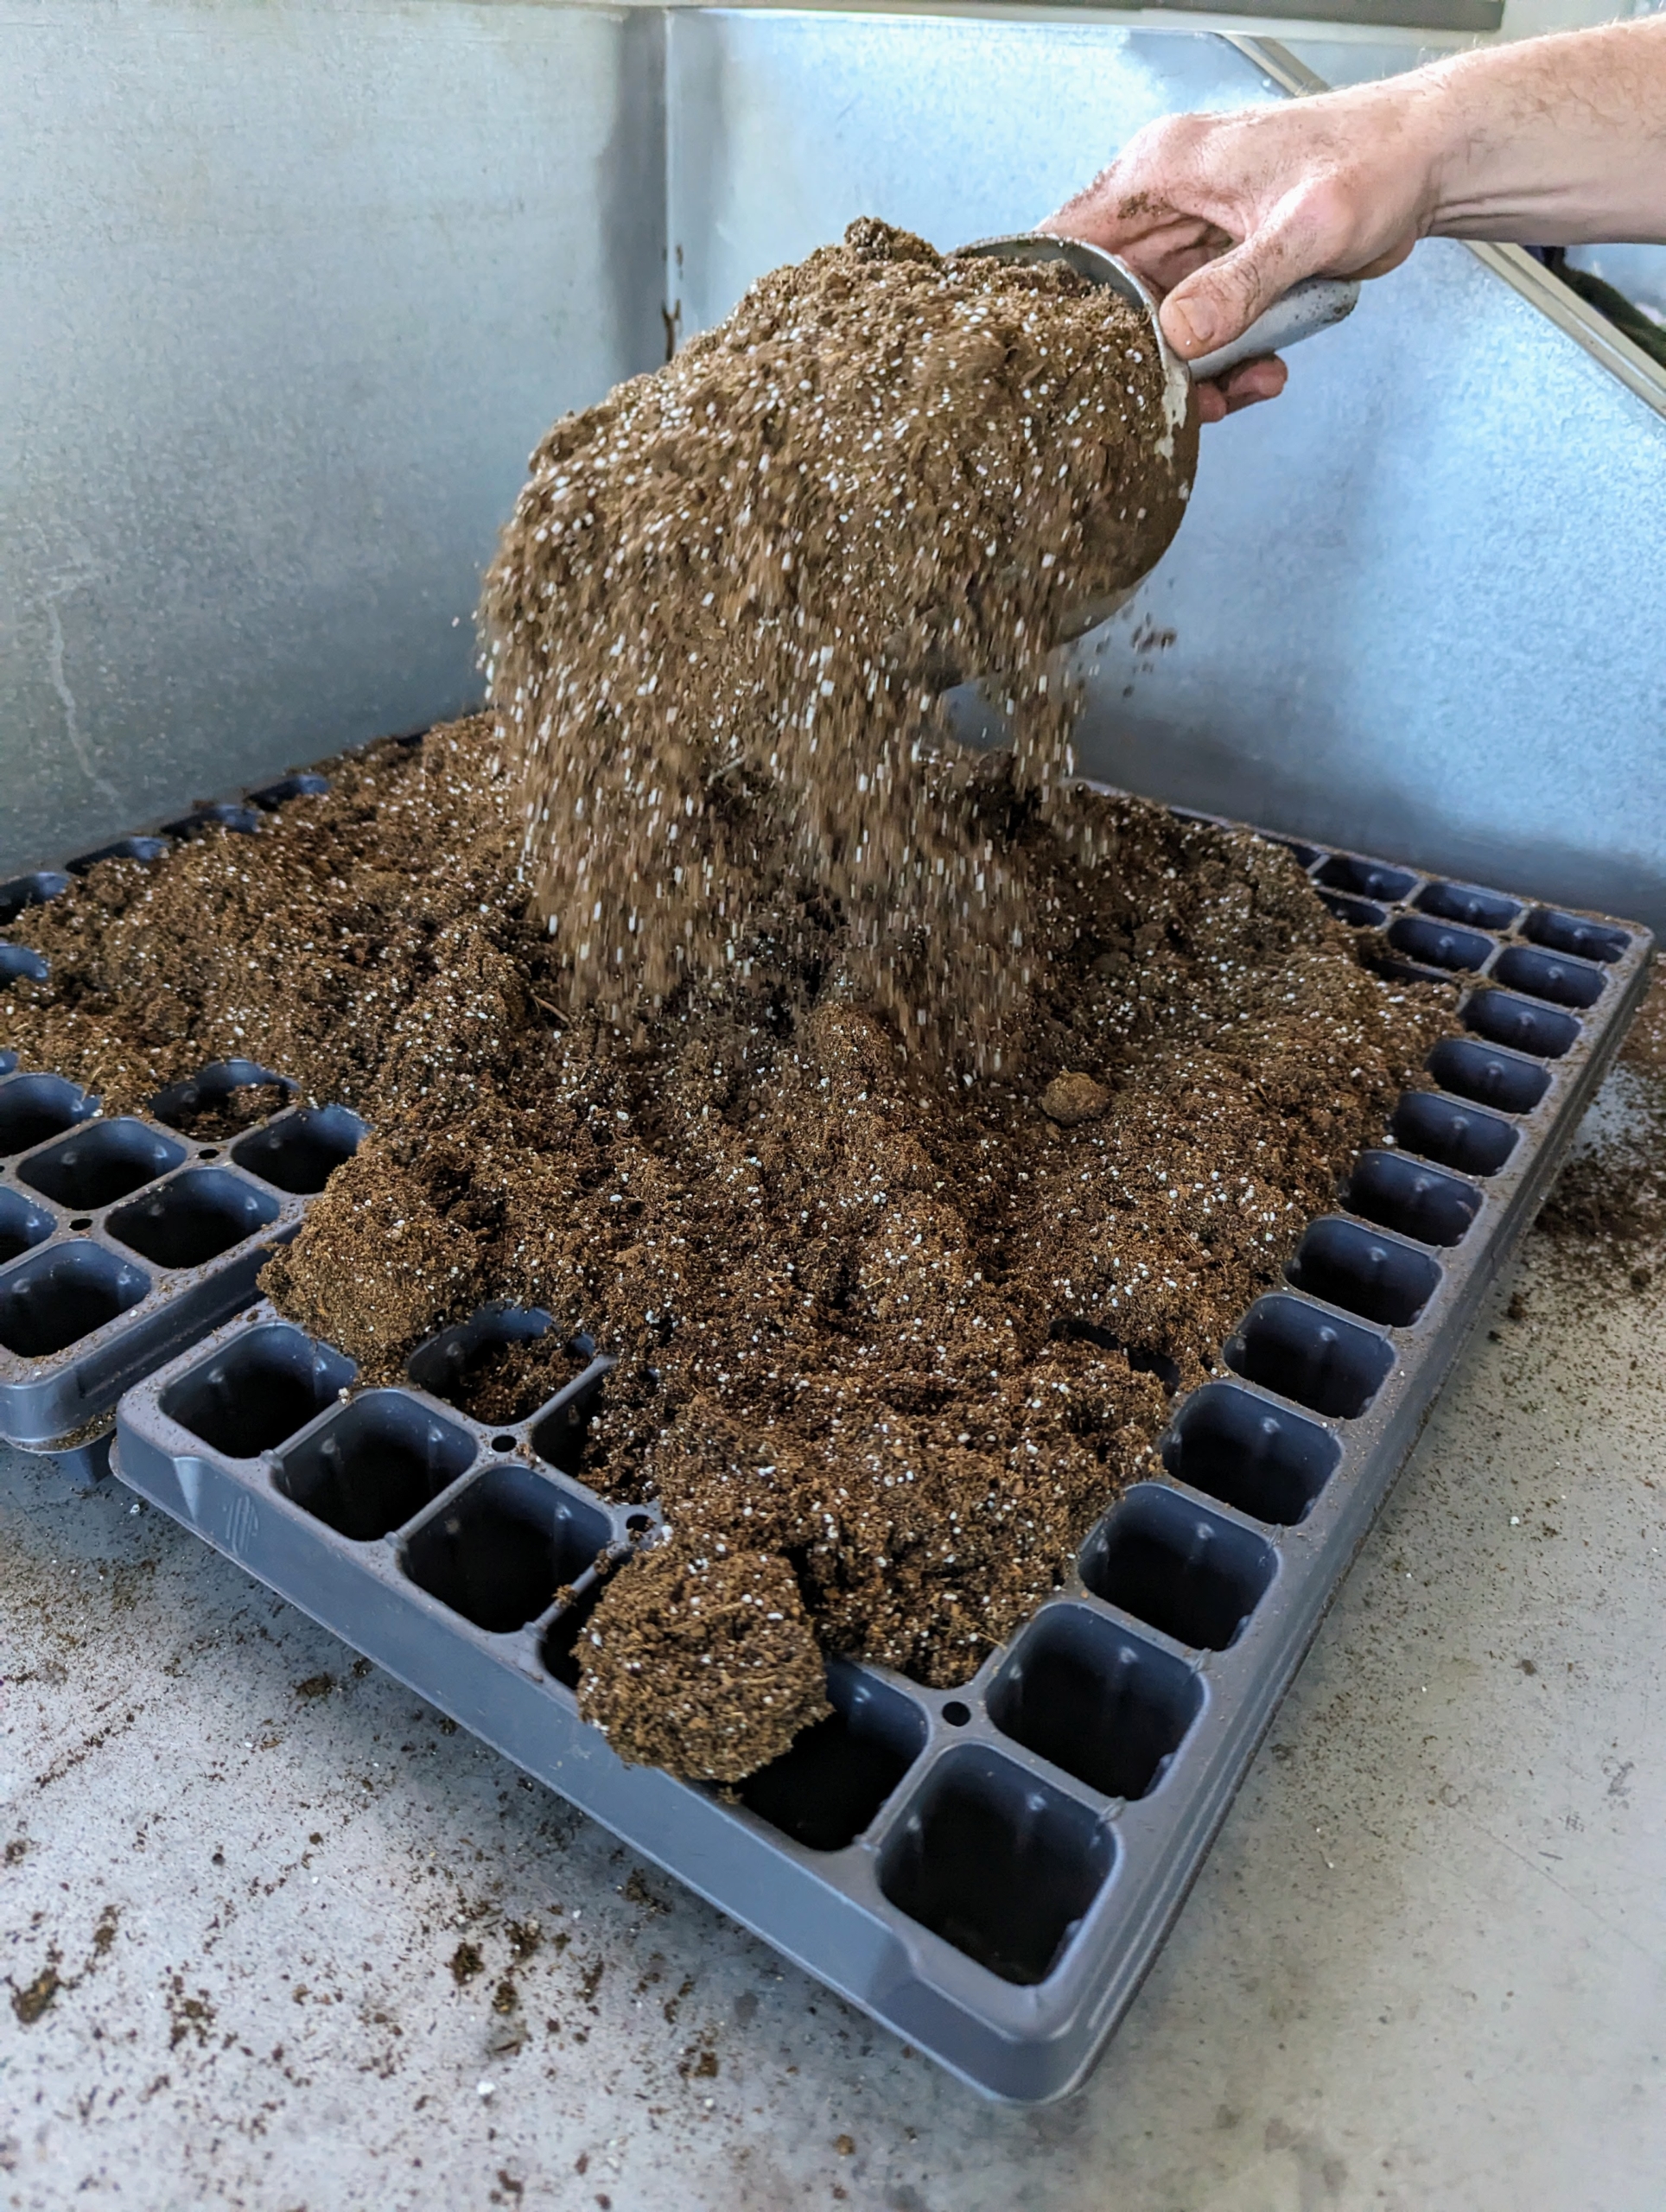
When starting from seed, it is helpful to use seed starting trays. These trays provide controlled environments that help ensure moisture levels are consistent, preventing seeds from drying out or becoming waterlogged.
And it is best to use a pre-made seed starting mix that contains the proper amounts of peat, perlite, and vermiculite.
Here, Ryan is filling the trays with soil, making sure each cell of the tray is filled to the top.
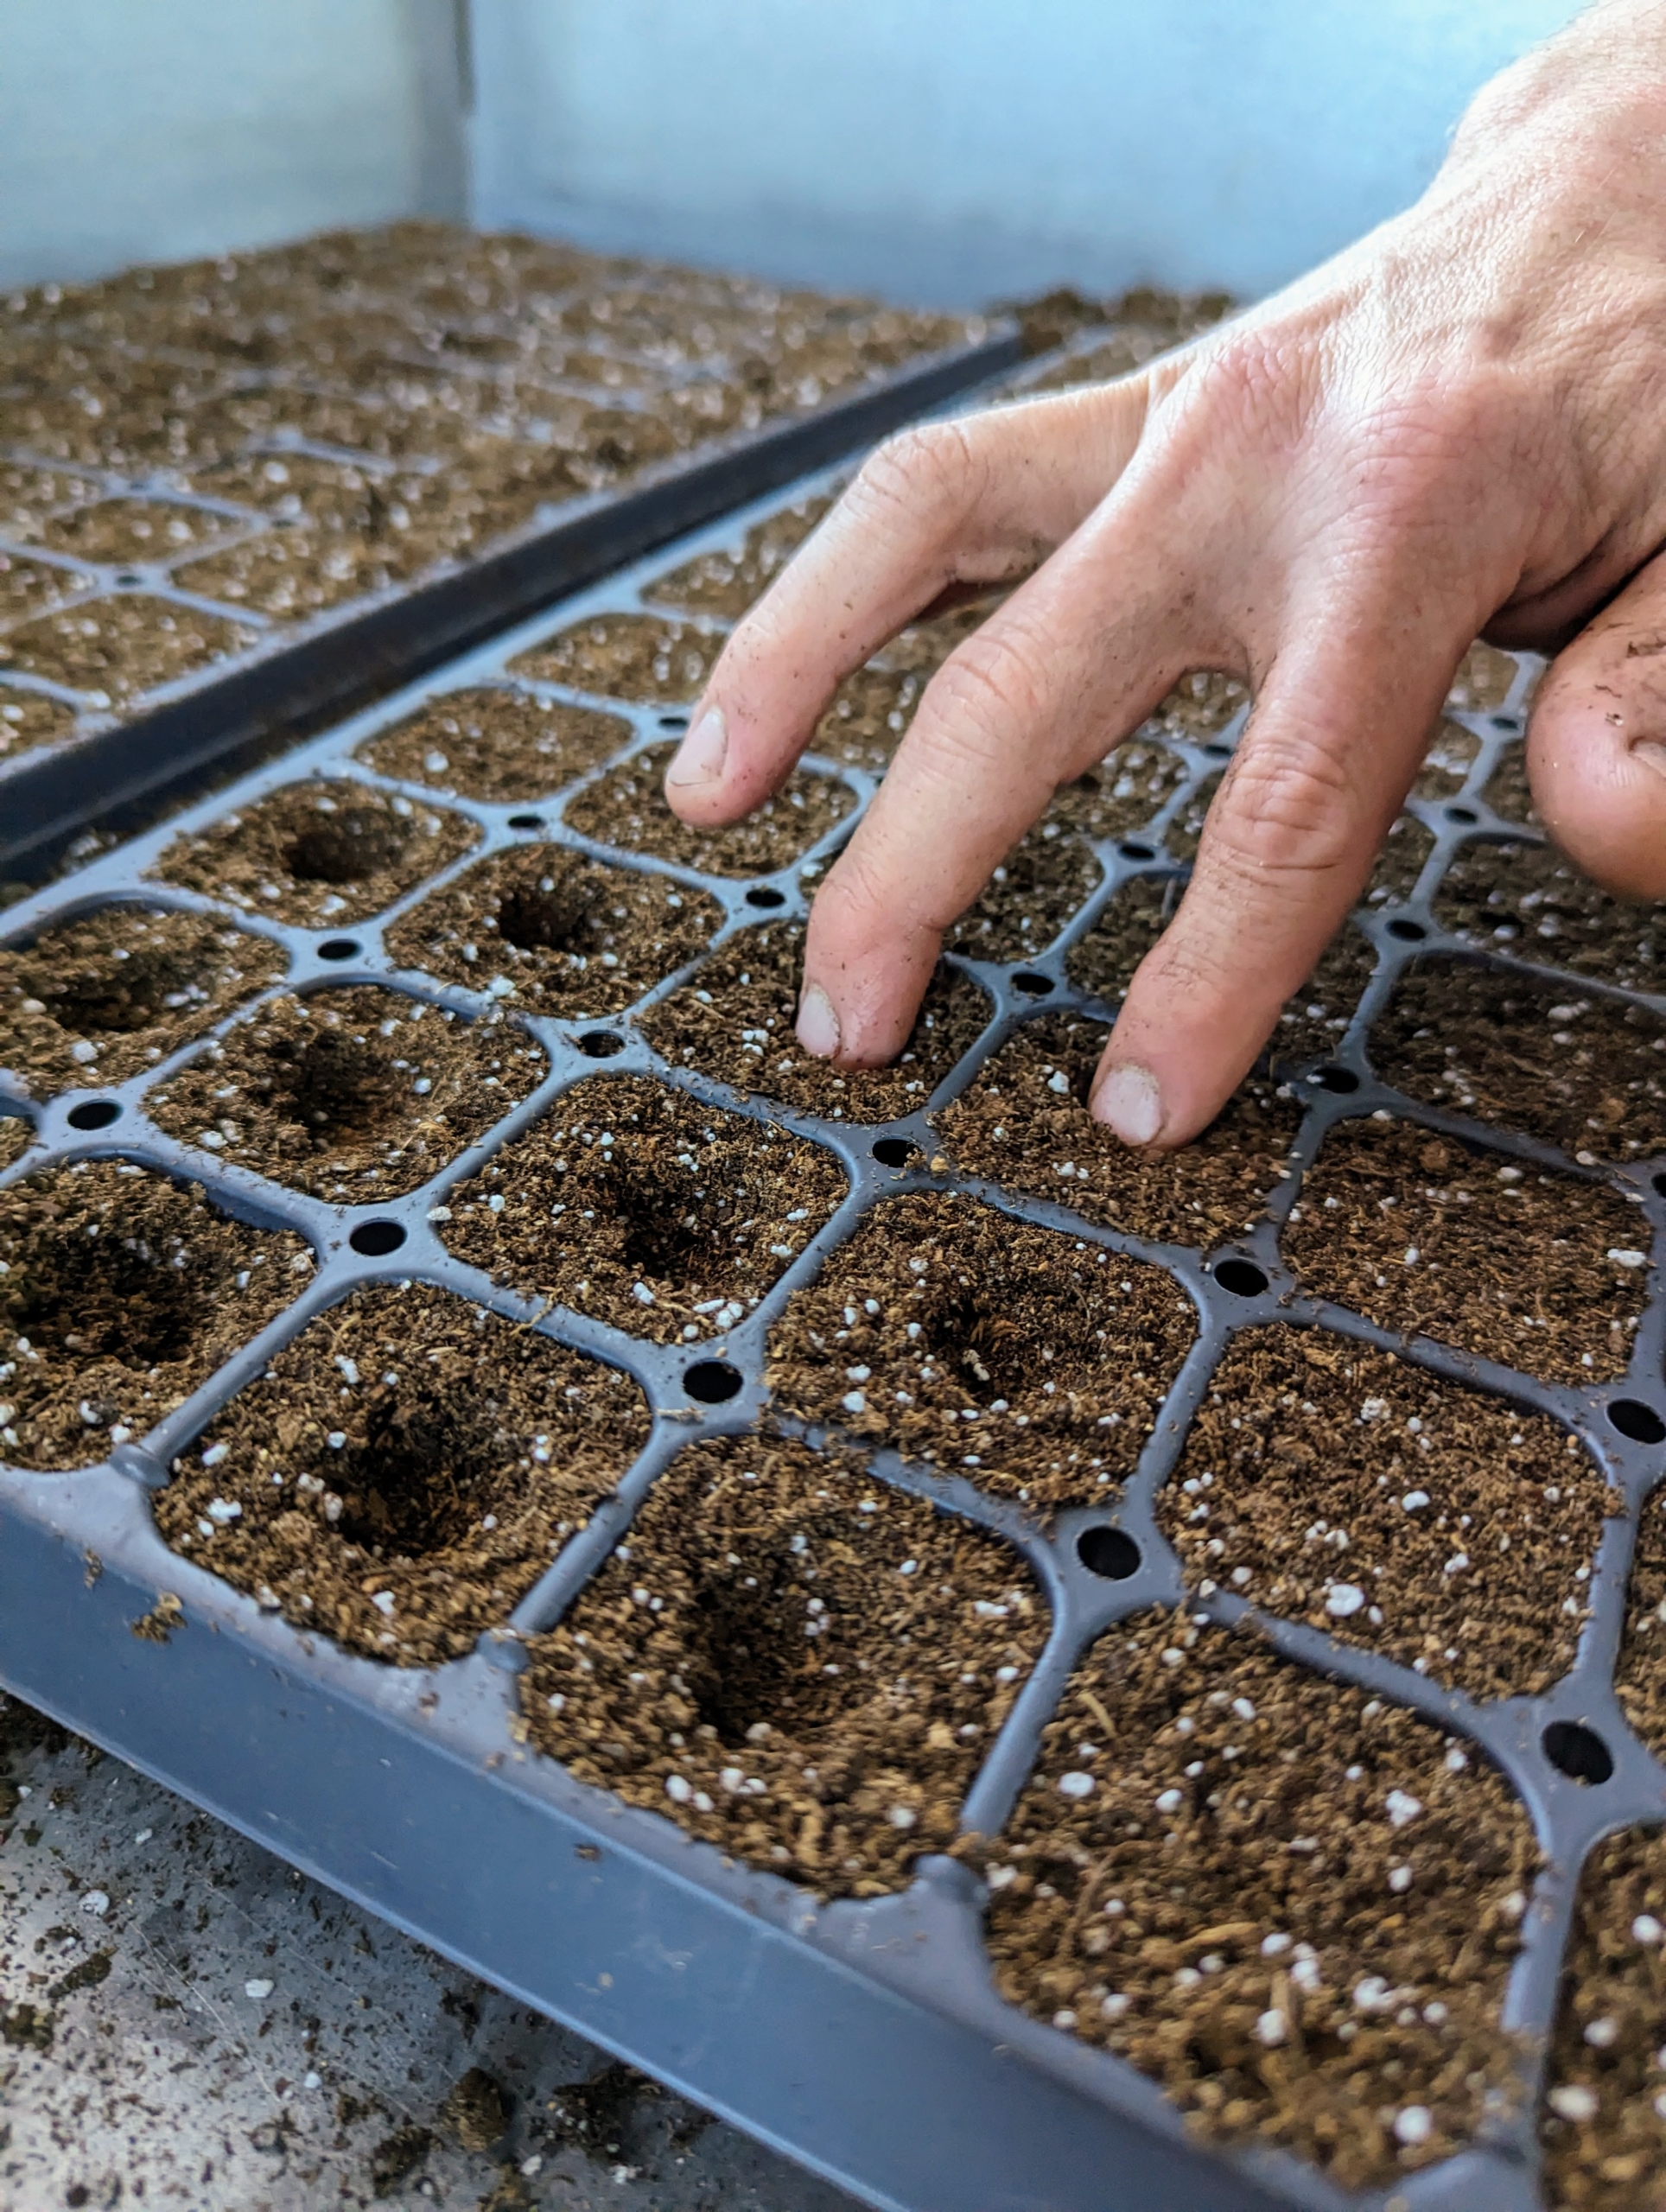
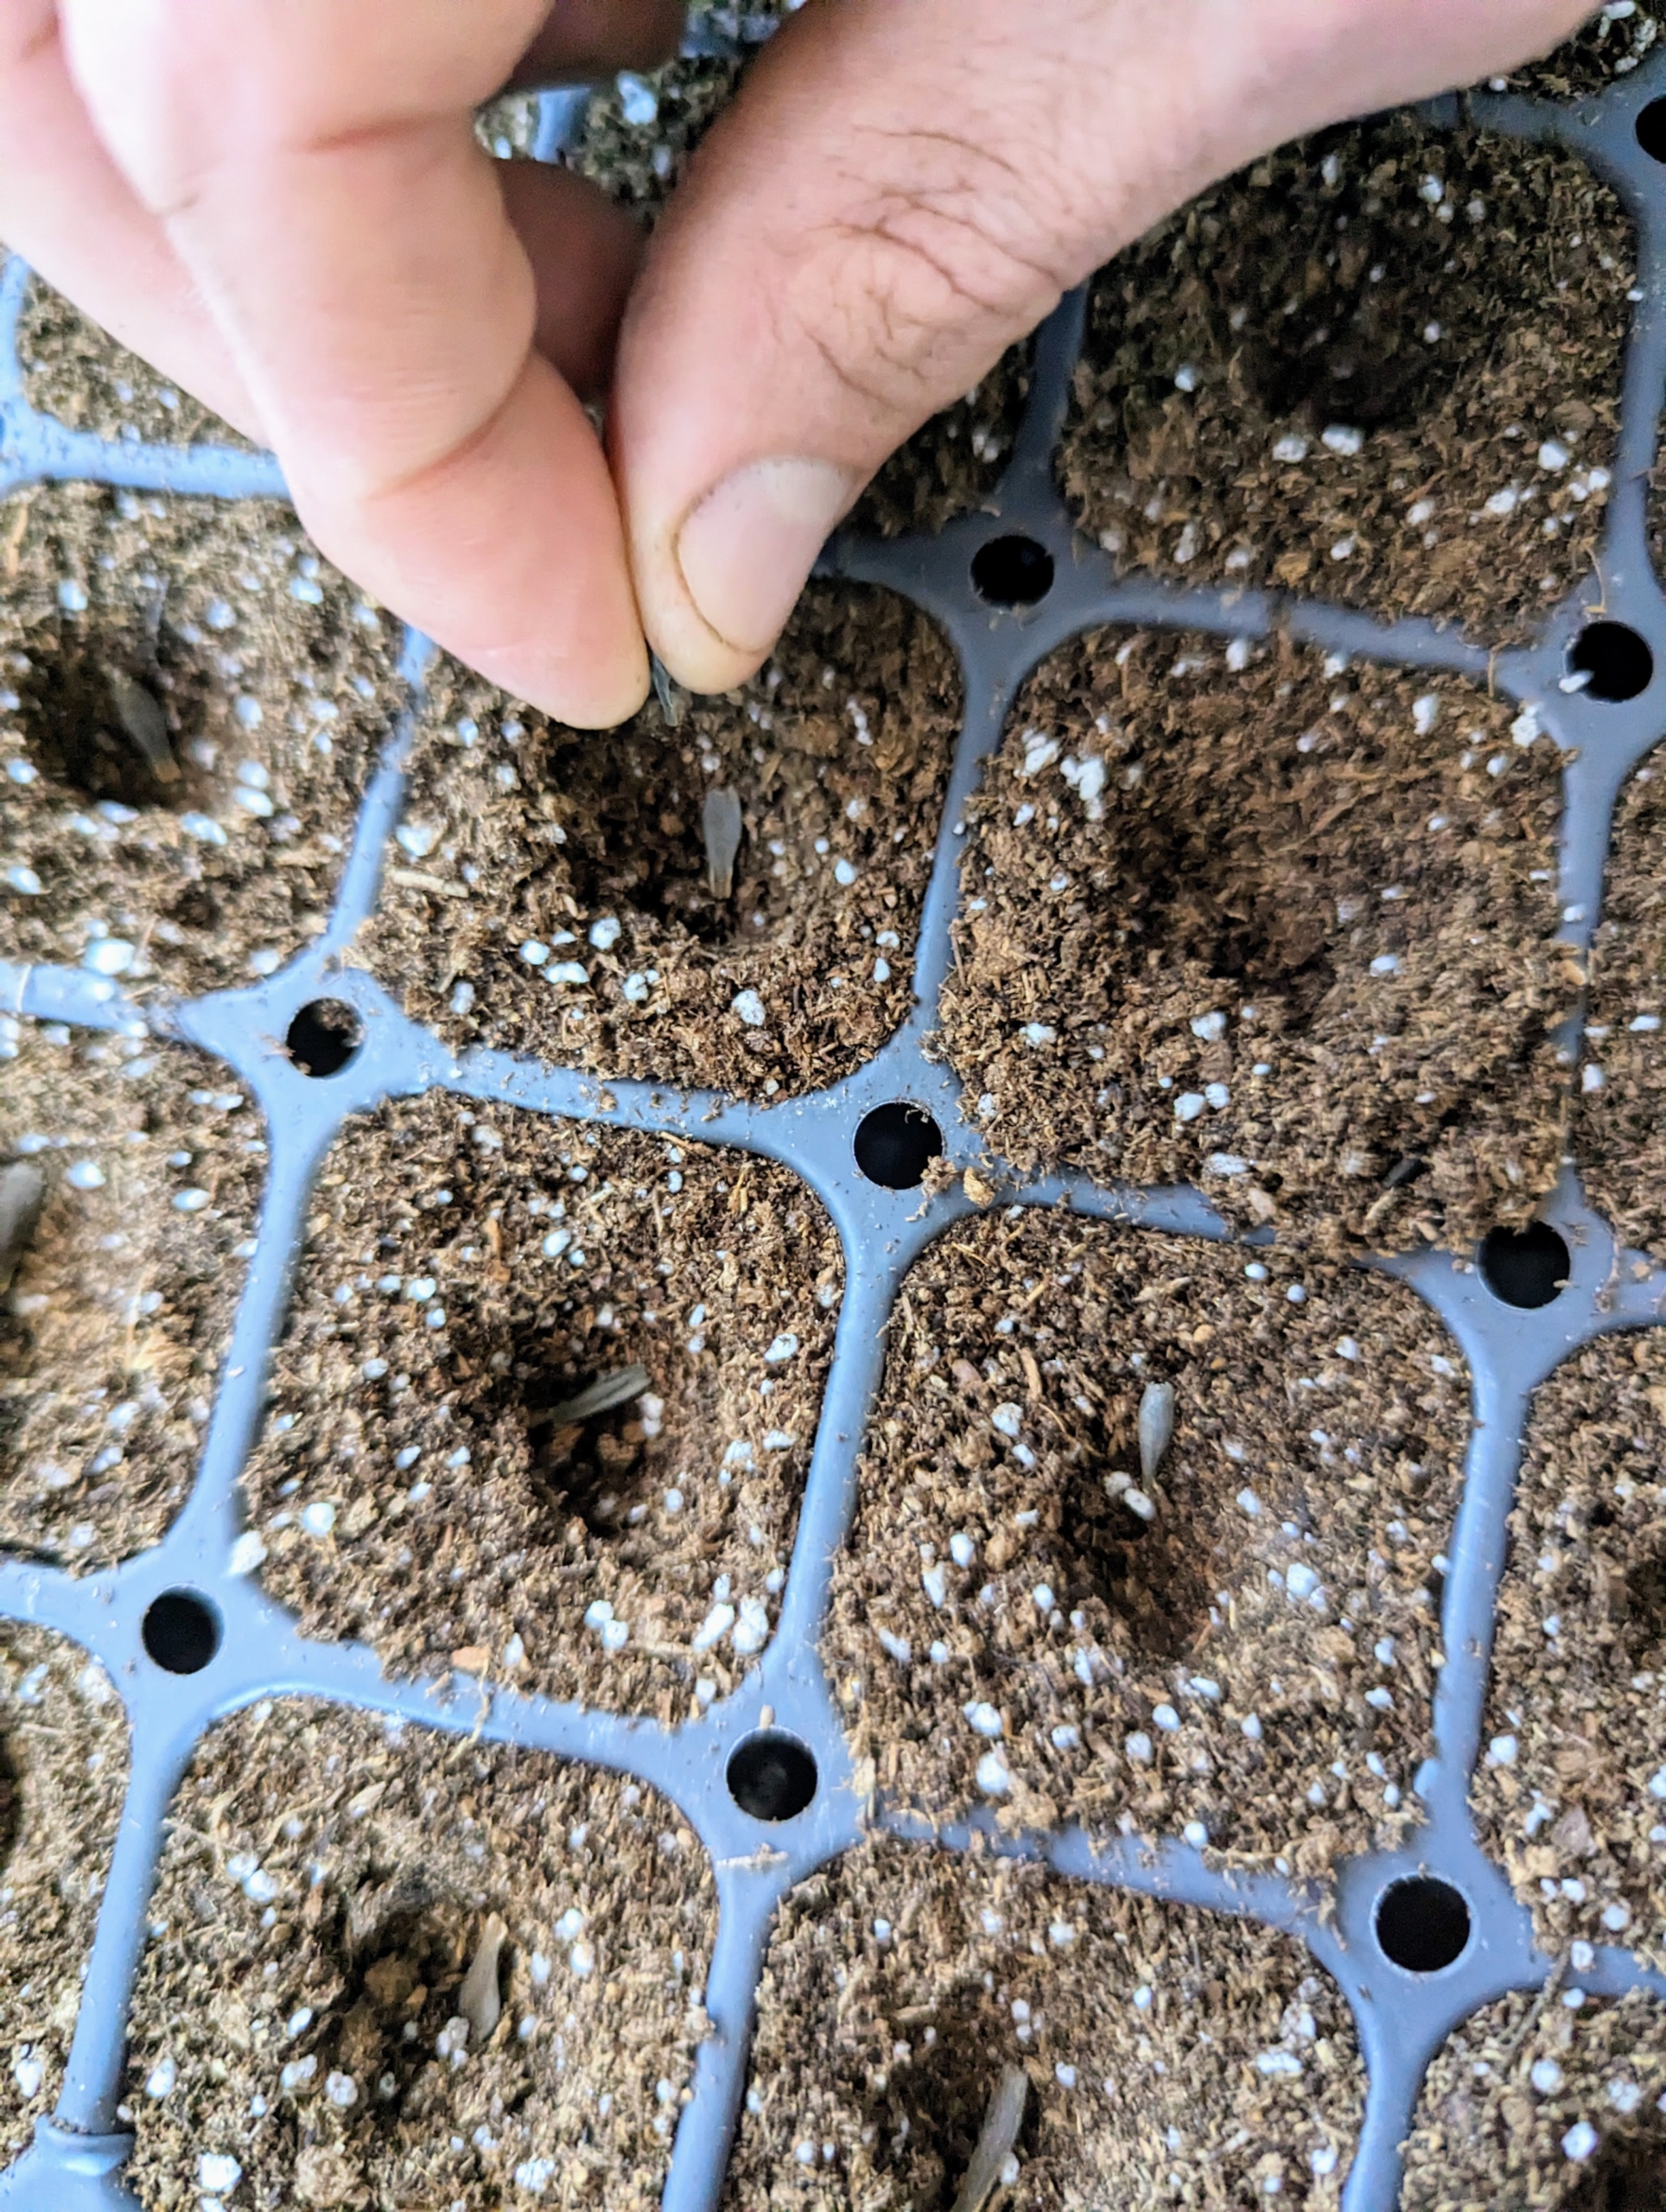
Then, using his fingers, Ryan makes a shallow hole in each cell. The hole needs to be big enough for the seed to be dropped in and then covered with more soil mix.
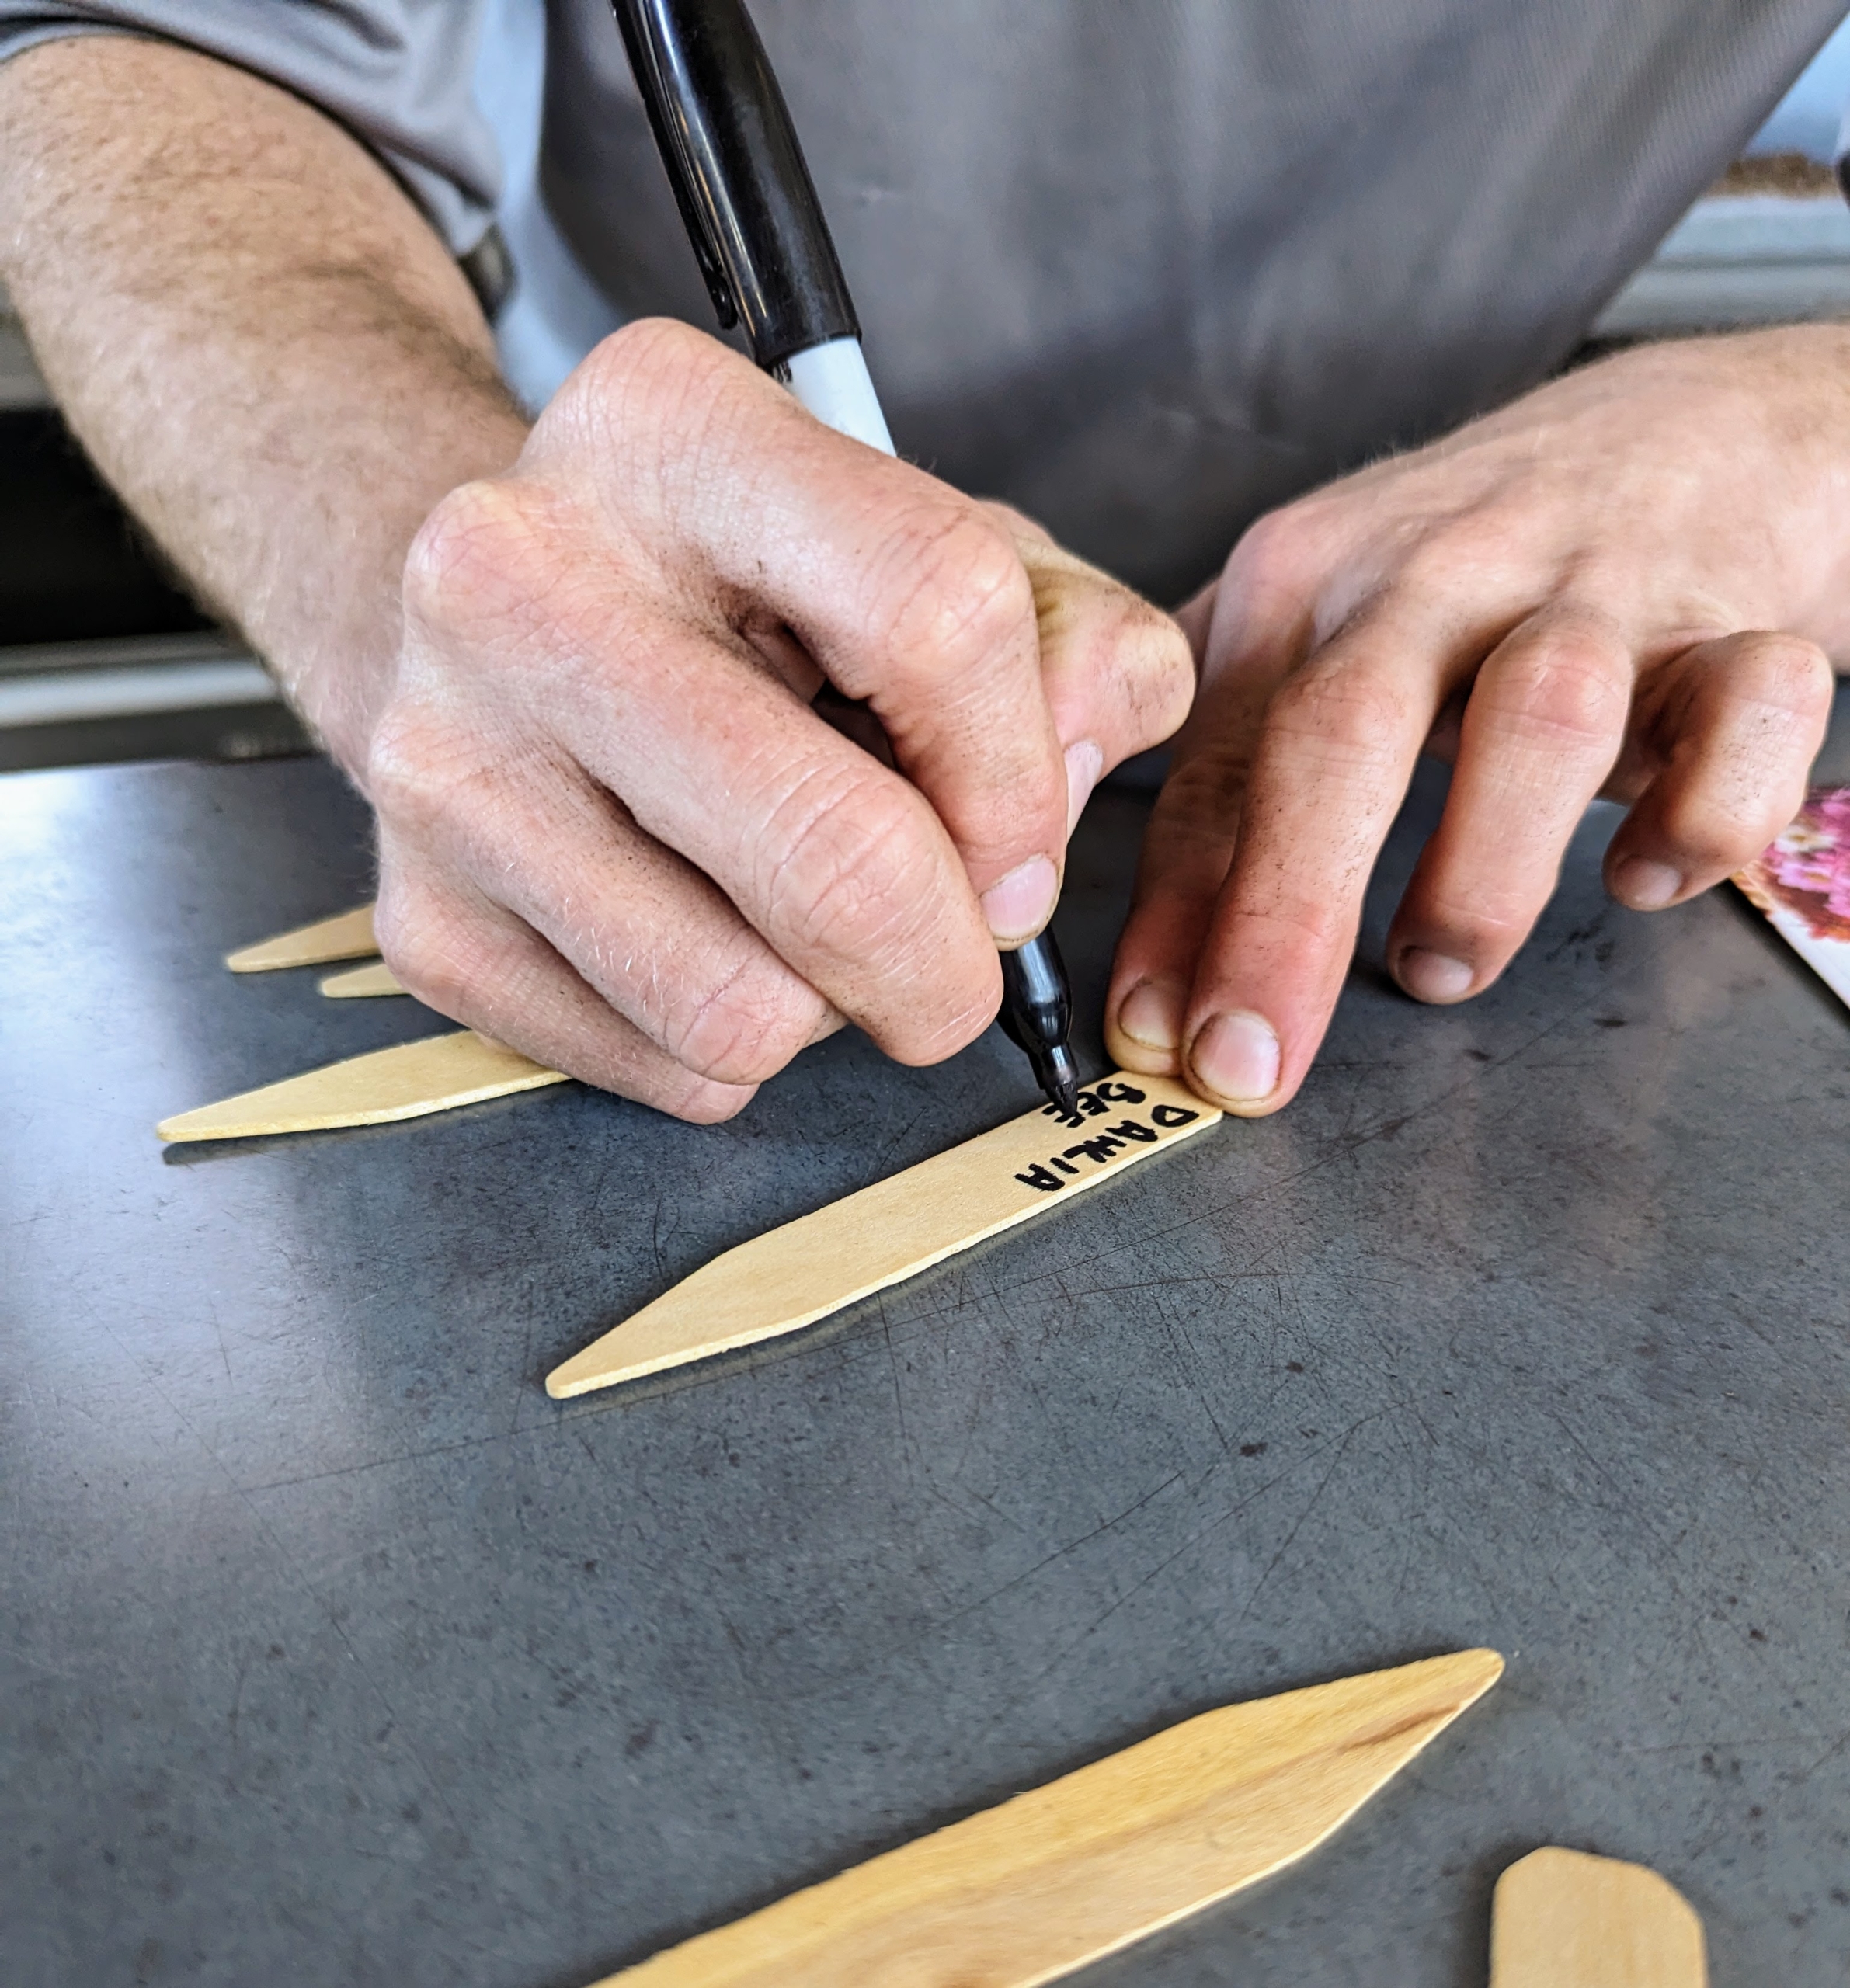
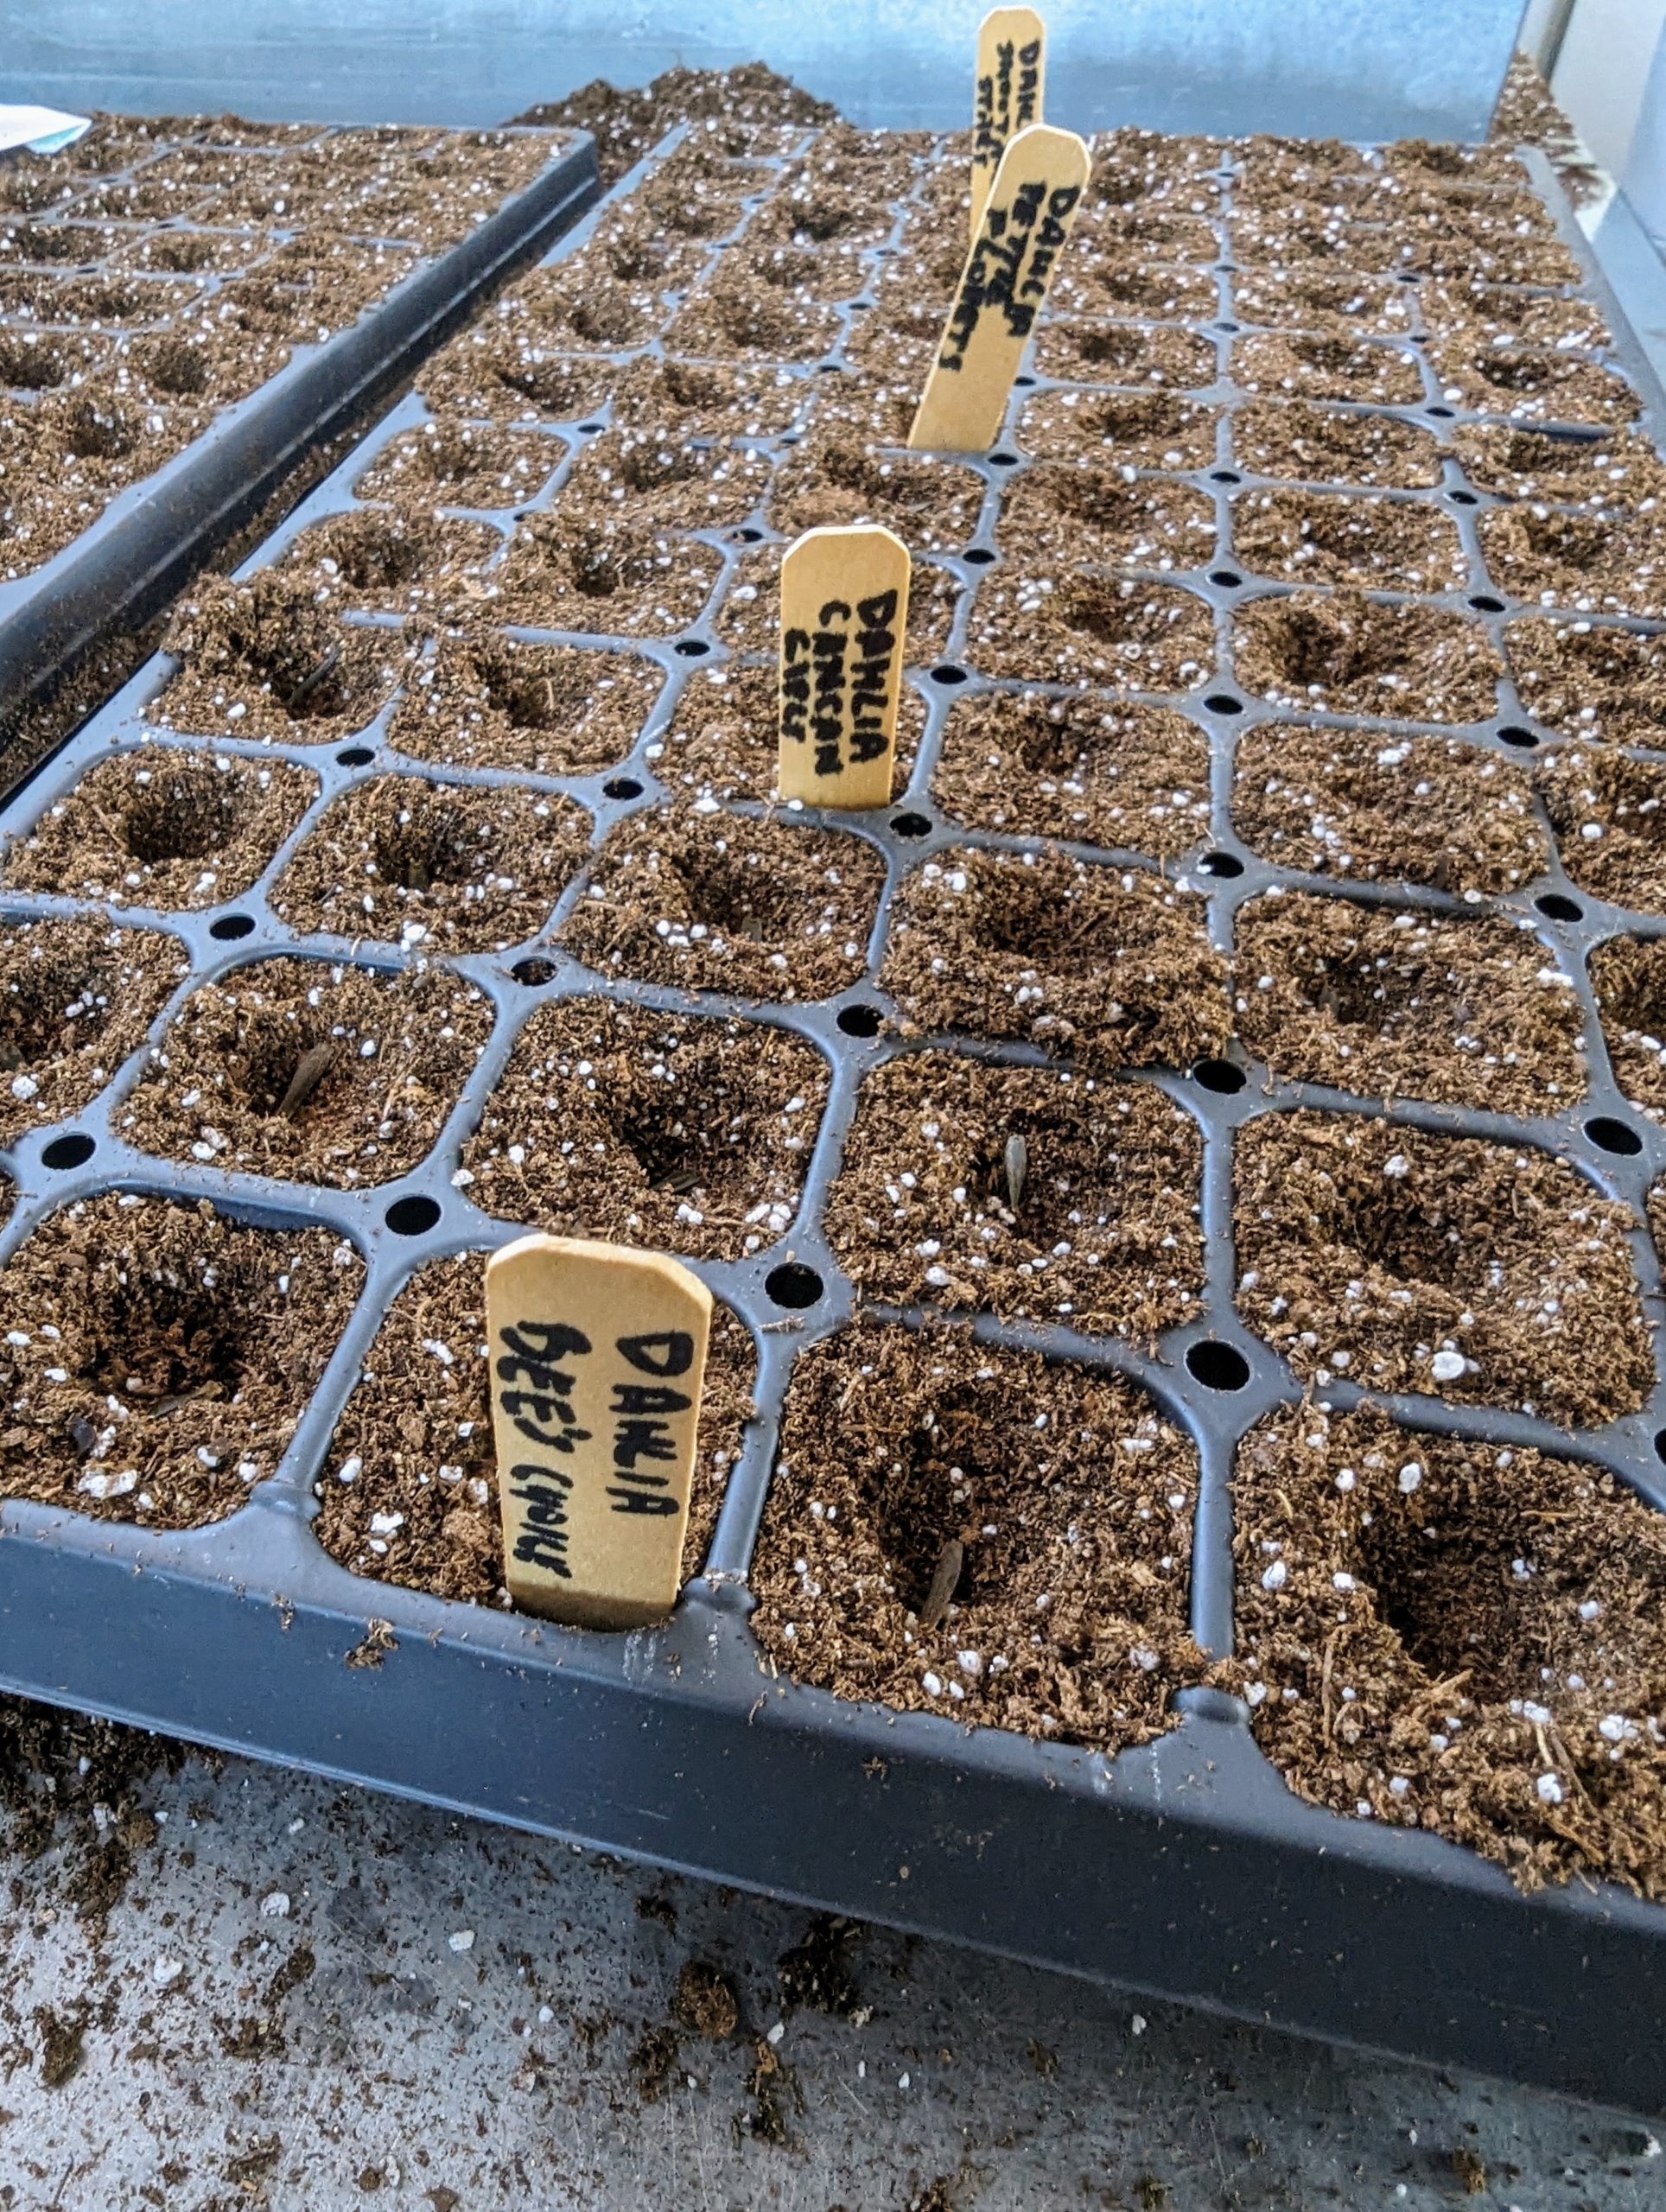
Small wooden markers identify the specific cultivars, so we can keep track of varieties that grow best in my gardens.
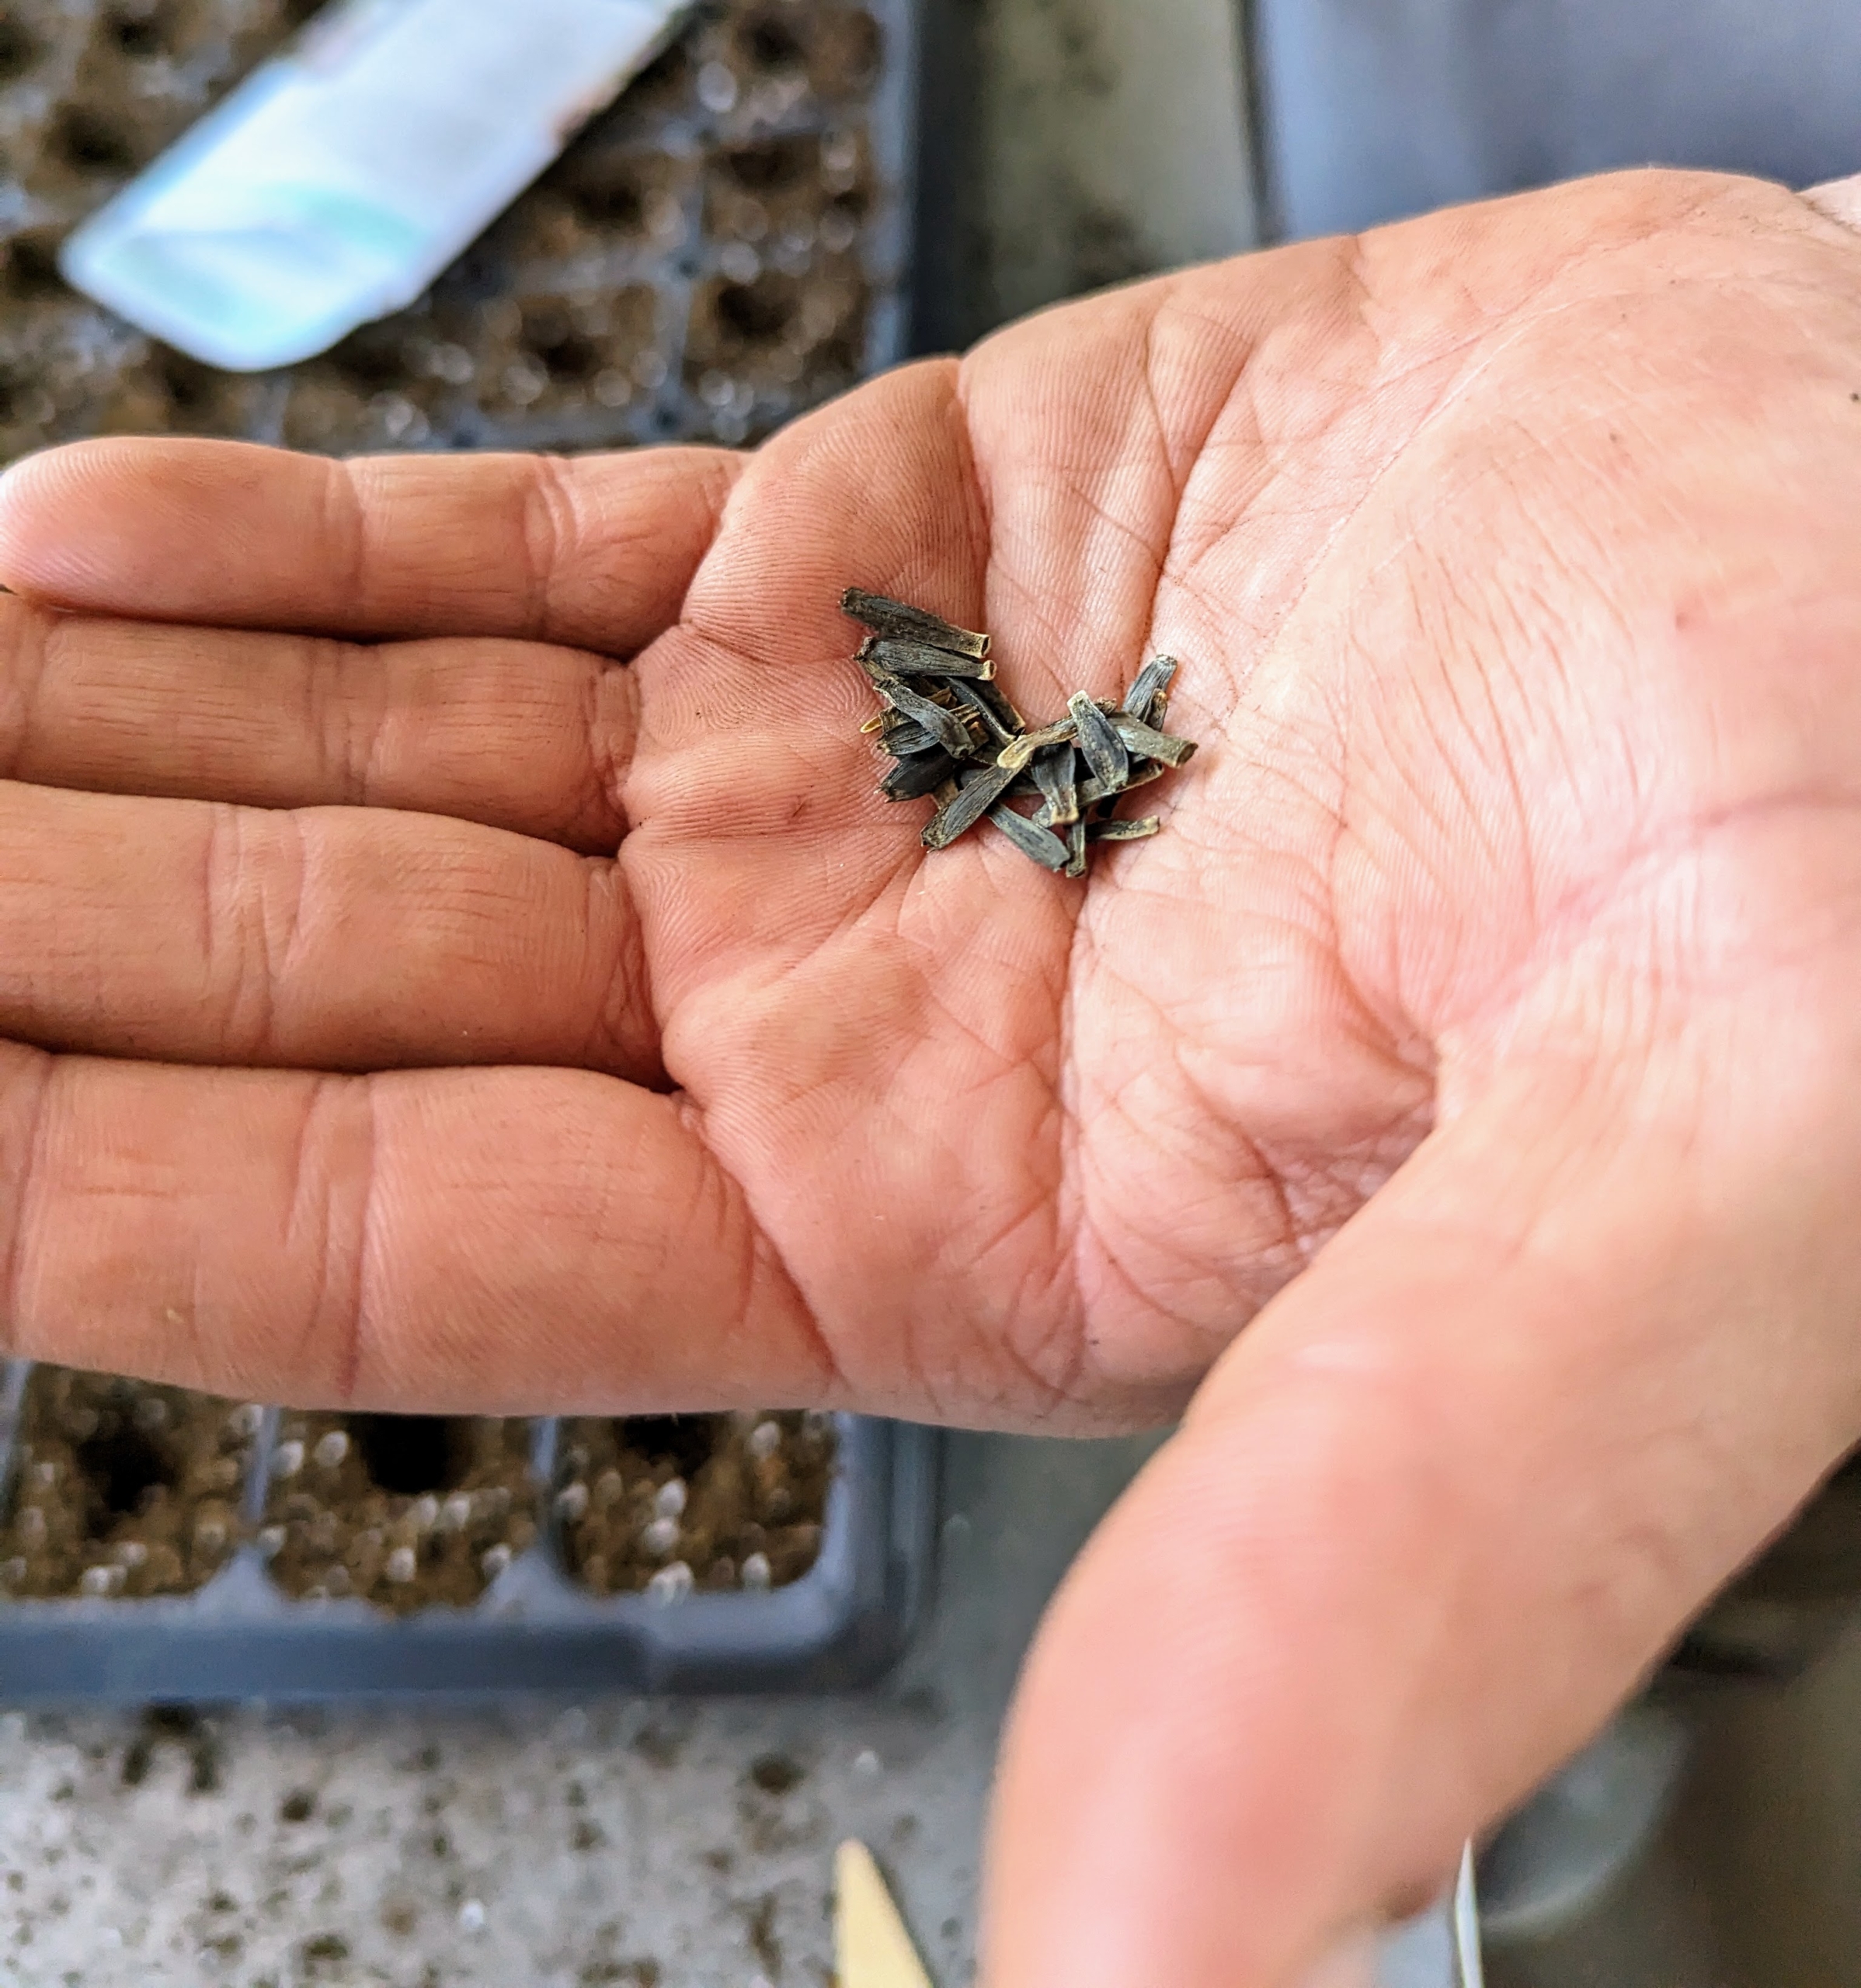
Dahlia flower seeds are brown to black in hue and generally about a half-inch long.
Here, Ryan drops the seeds into the cells by hand – one in each cell. Seeds are usually started about two months before the last frost in the area.
Markers are placed in the trays to indicate what seeds are in each row. Seedlings should start to appear within 10 to 14 days.
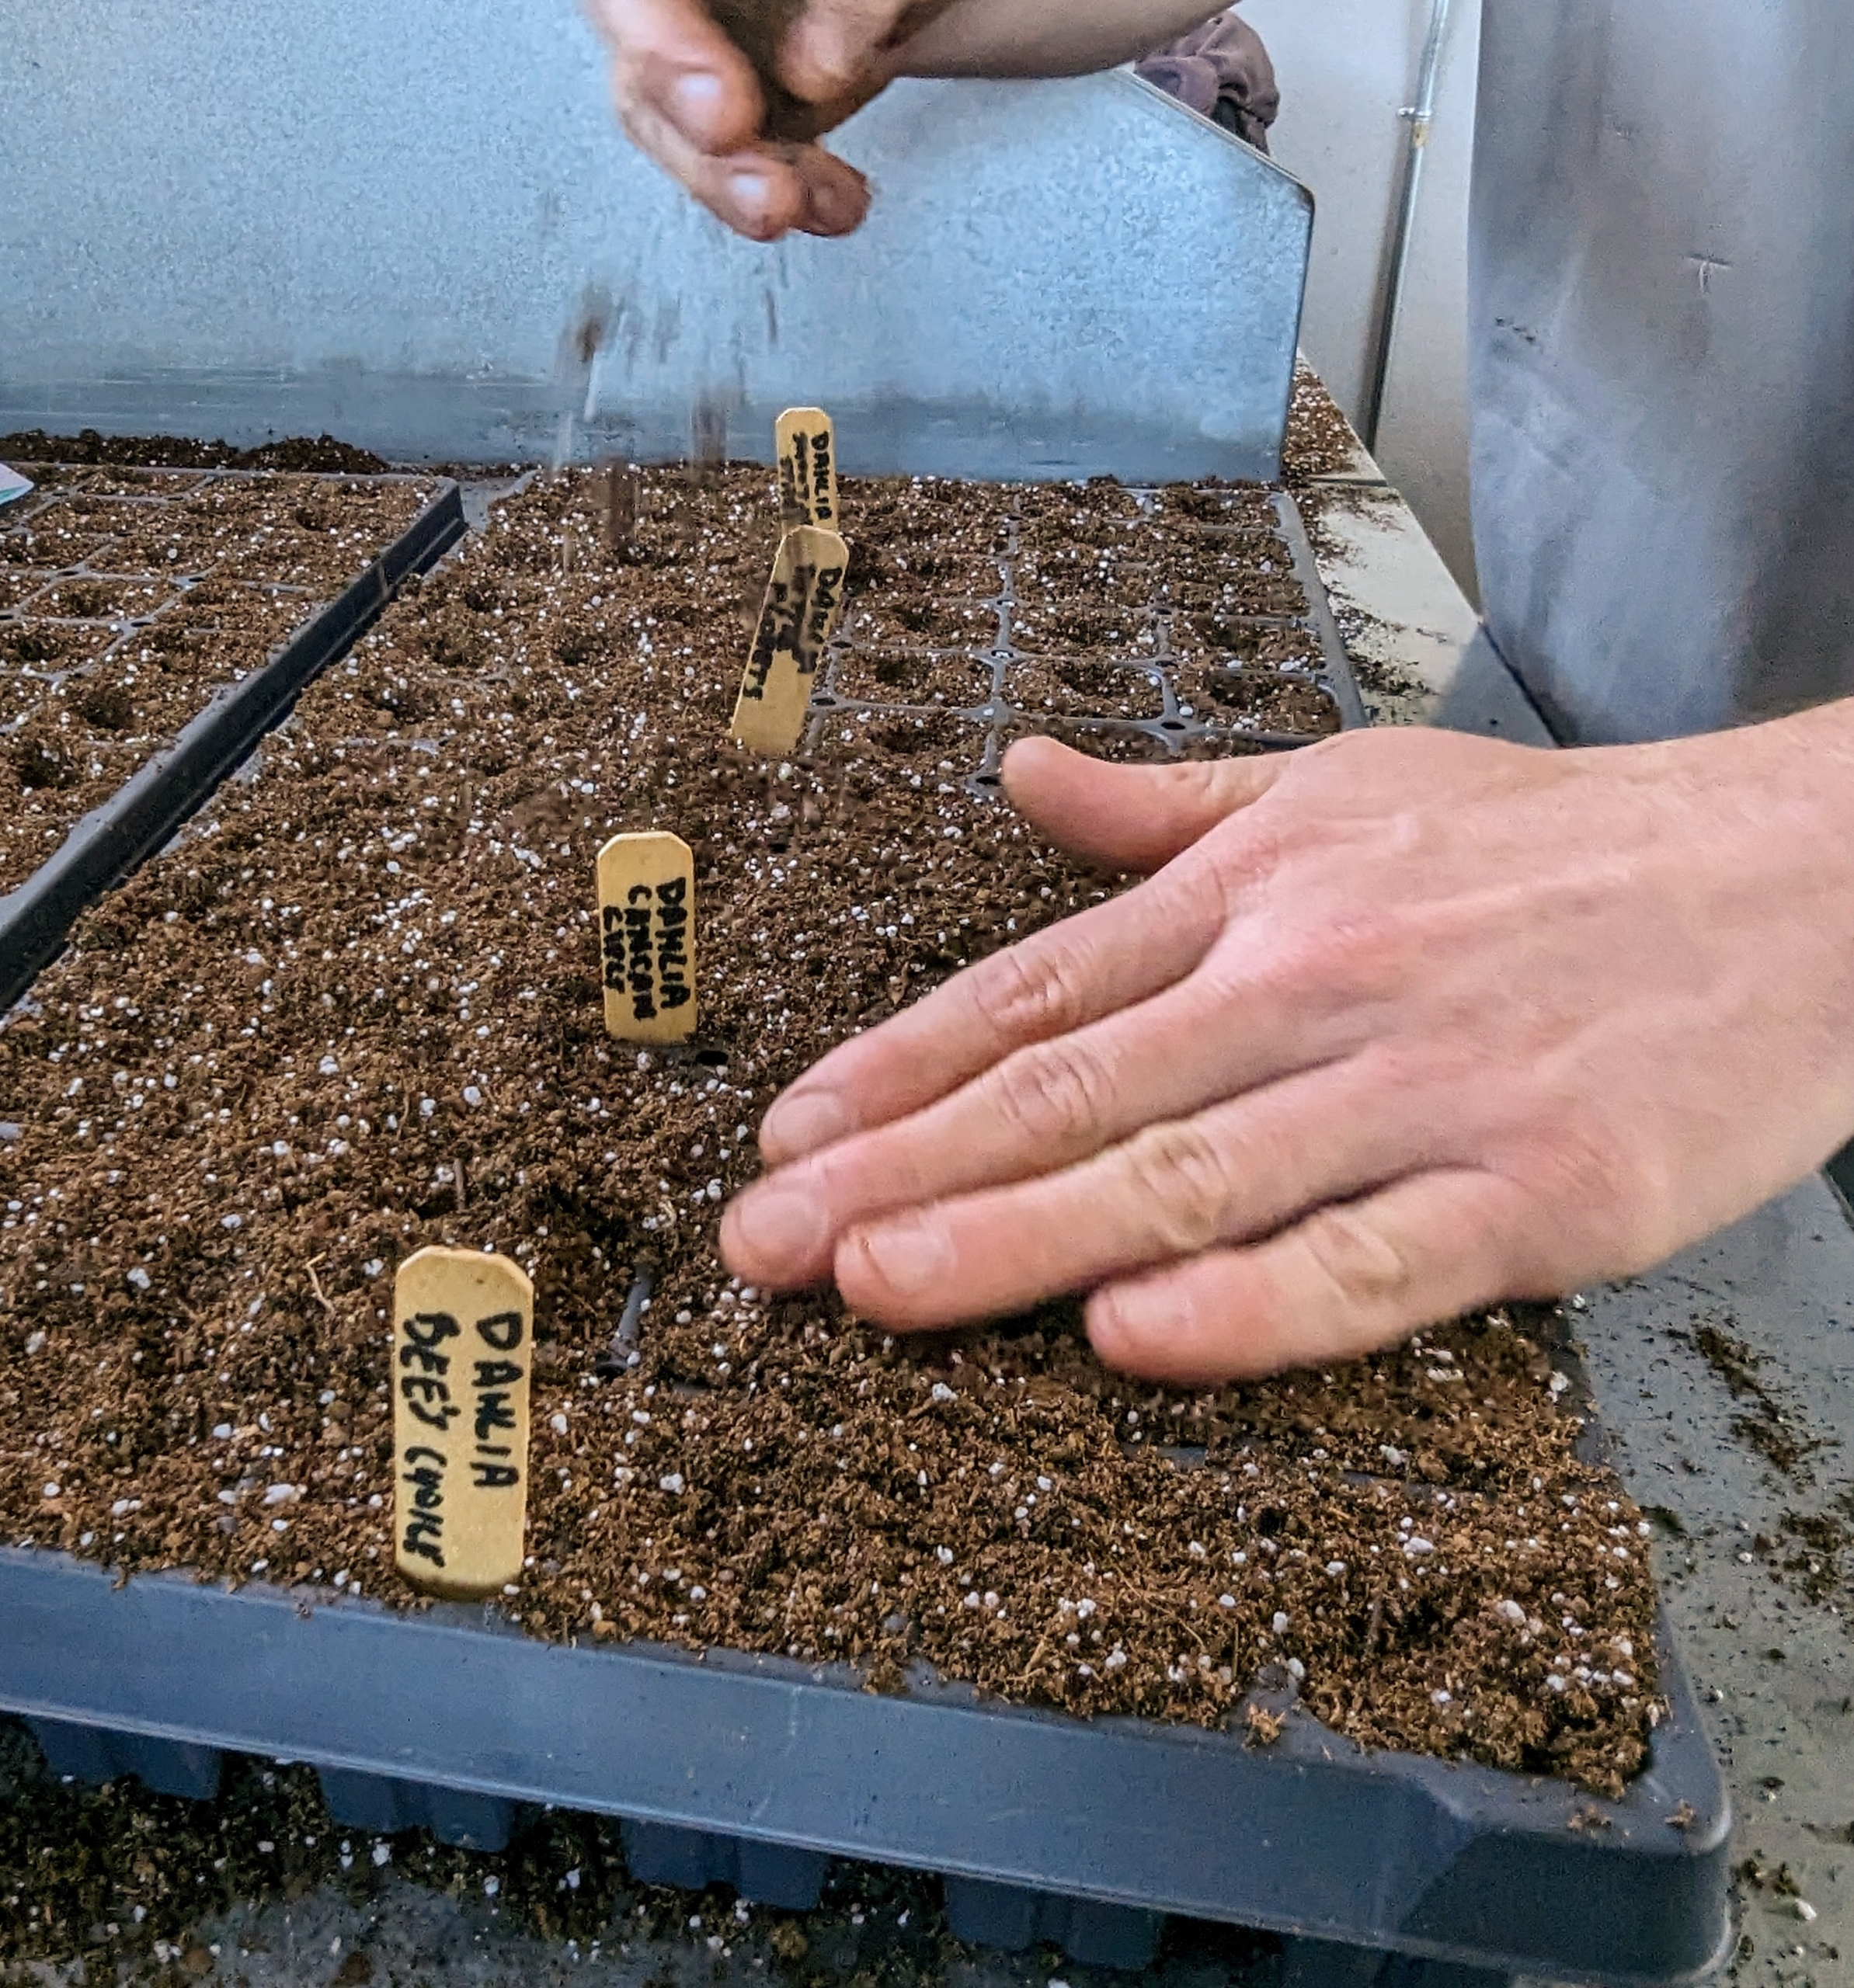
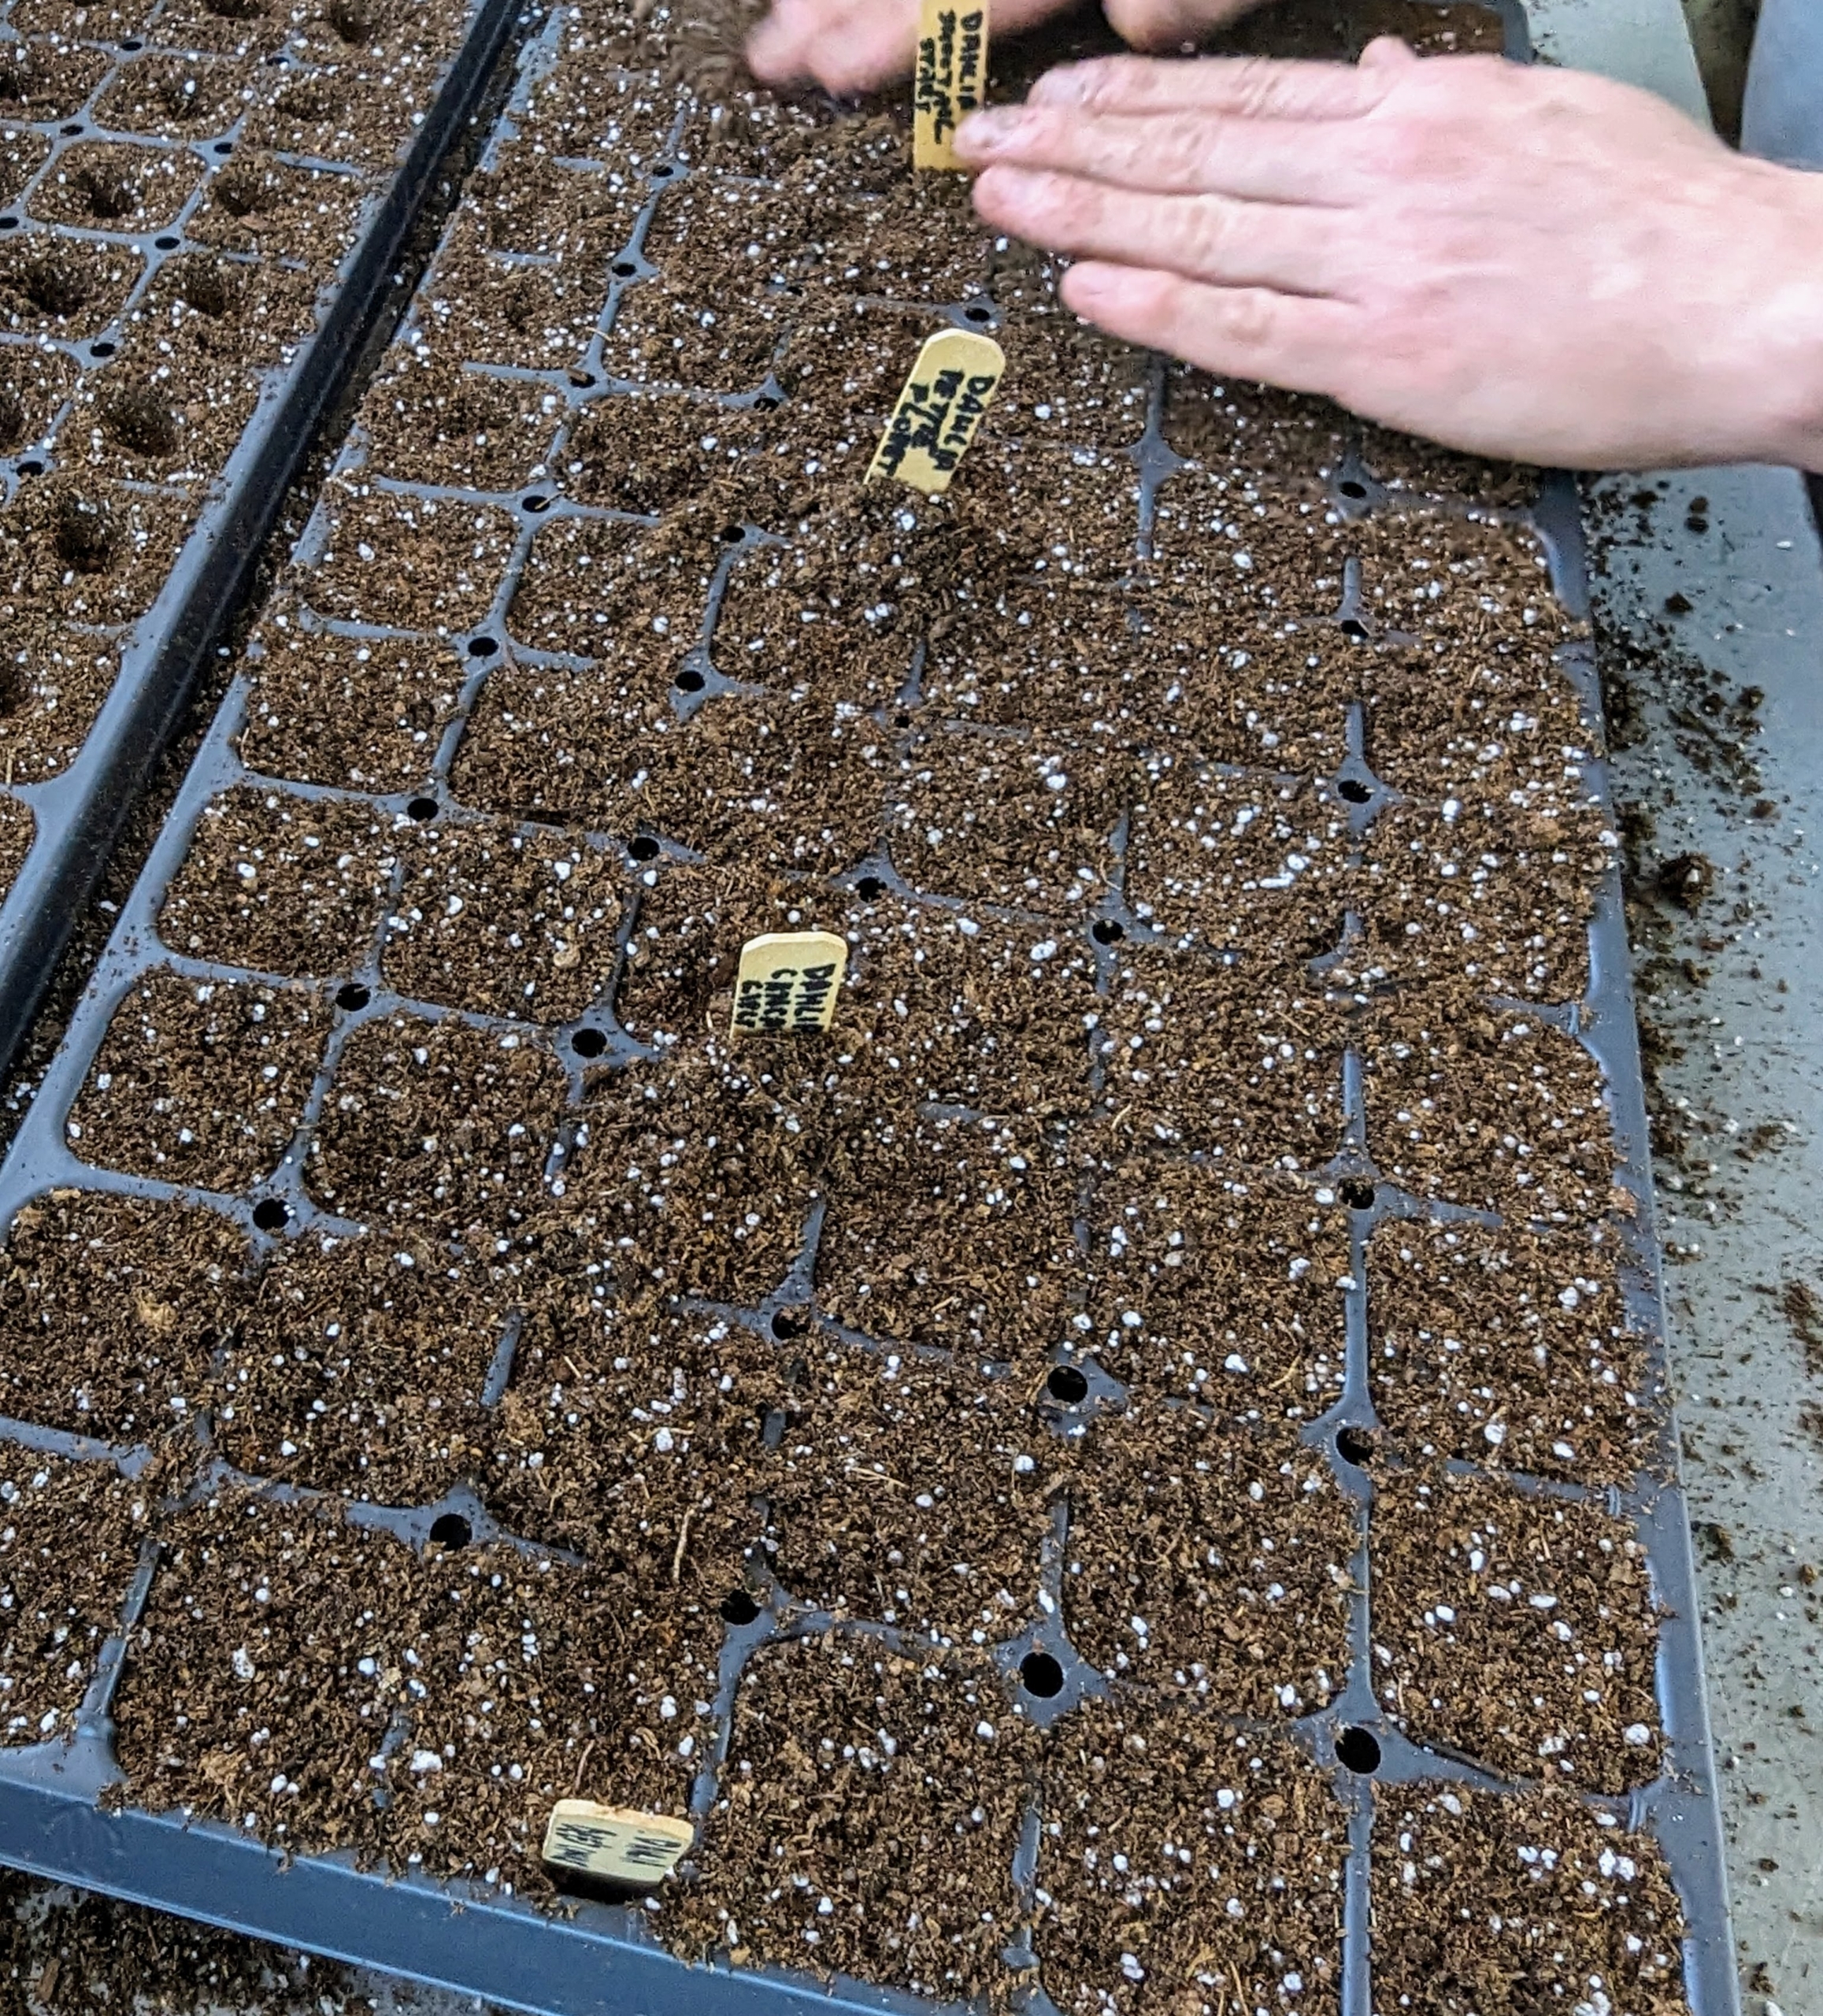
Once the entire tray has been seeded, Ryan adds a light layer of soil to cover the seeds.
And then he gently pats the soil down, so there is good contact.
These trays will go into our commercial-sized Urban Cultivator. In several weeks, these young plants will be moved into larger celled trays, and then finally out into the garden come late spring.
And by summer, this garden will be full of colorful dahlia blooms once again. And by the end of the next growing season the dahlia seeds we started will have produced viable dahlia tubers that can be dug up and stored with all our other dahlias. If you haven’t already, maybe this weekend you can start some of your own dahlia seeds indoors. But, if you haven’t ordered any, don’t worry, you still have time.