Like many of you, my kitchen is the main "hub" of my home. It's where I eat meals, meet with staff, and do a lot of my paperwork. It's also where my four dogs spend most of their indoor time - at my feet keeping me company. But, with so many animals the marble floors must get washed and vacuumed frequently. And after time, the grout between the pavers loosens and chips away. Yesterday, I decided it was time to repair the grout and my old floors, so I got to work.
Enjoy these photos.
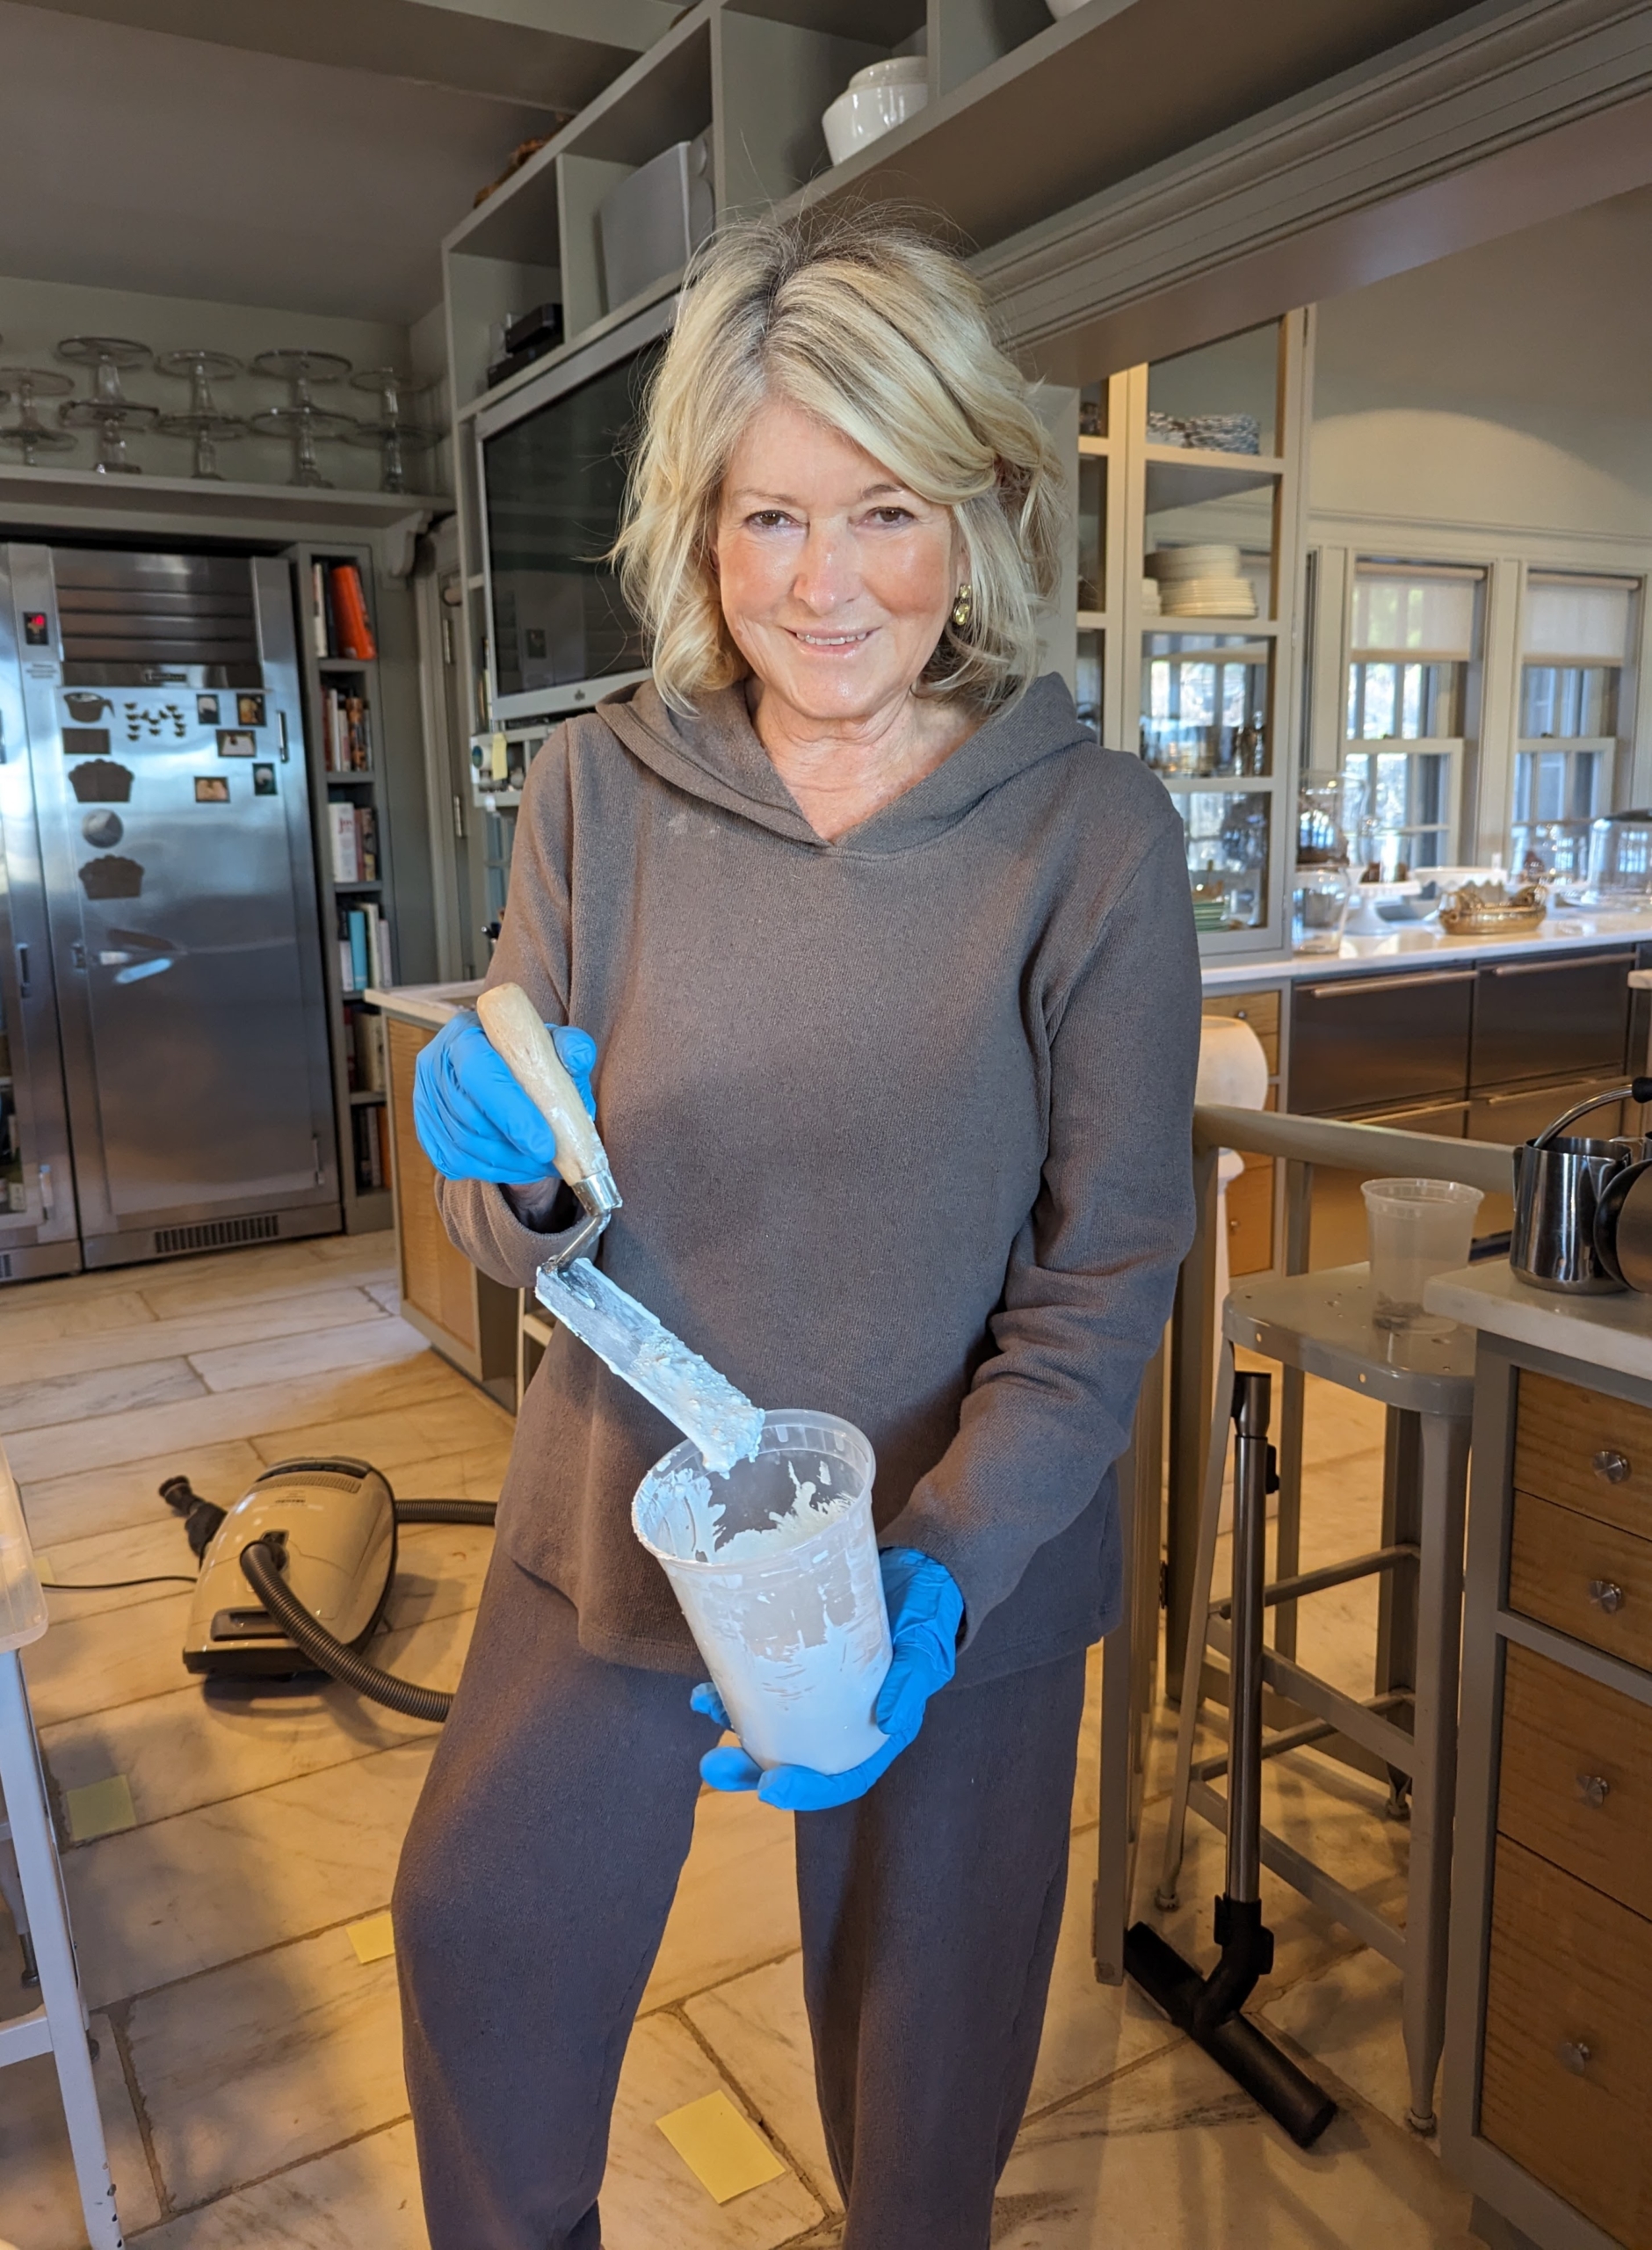
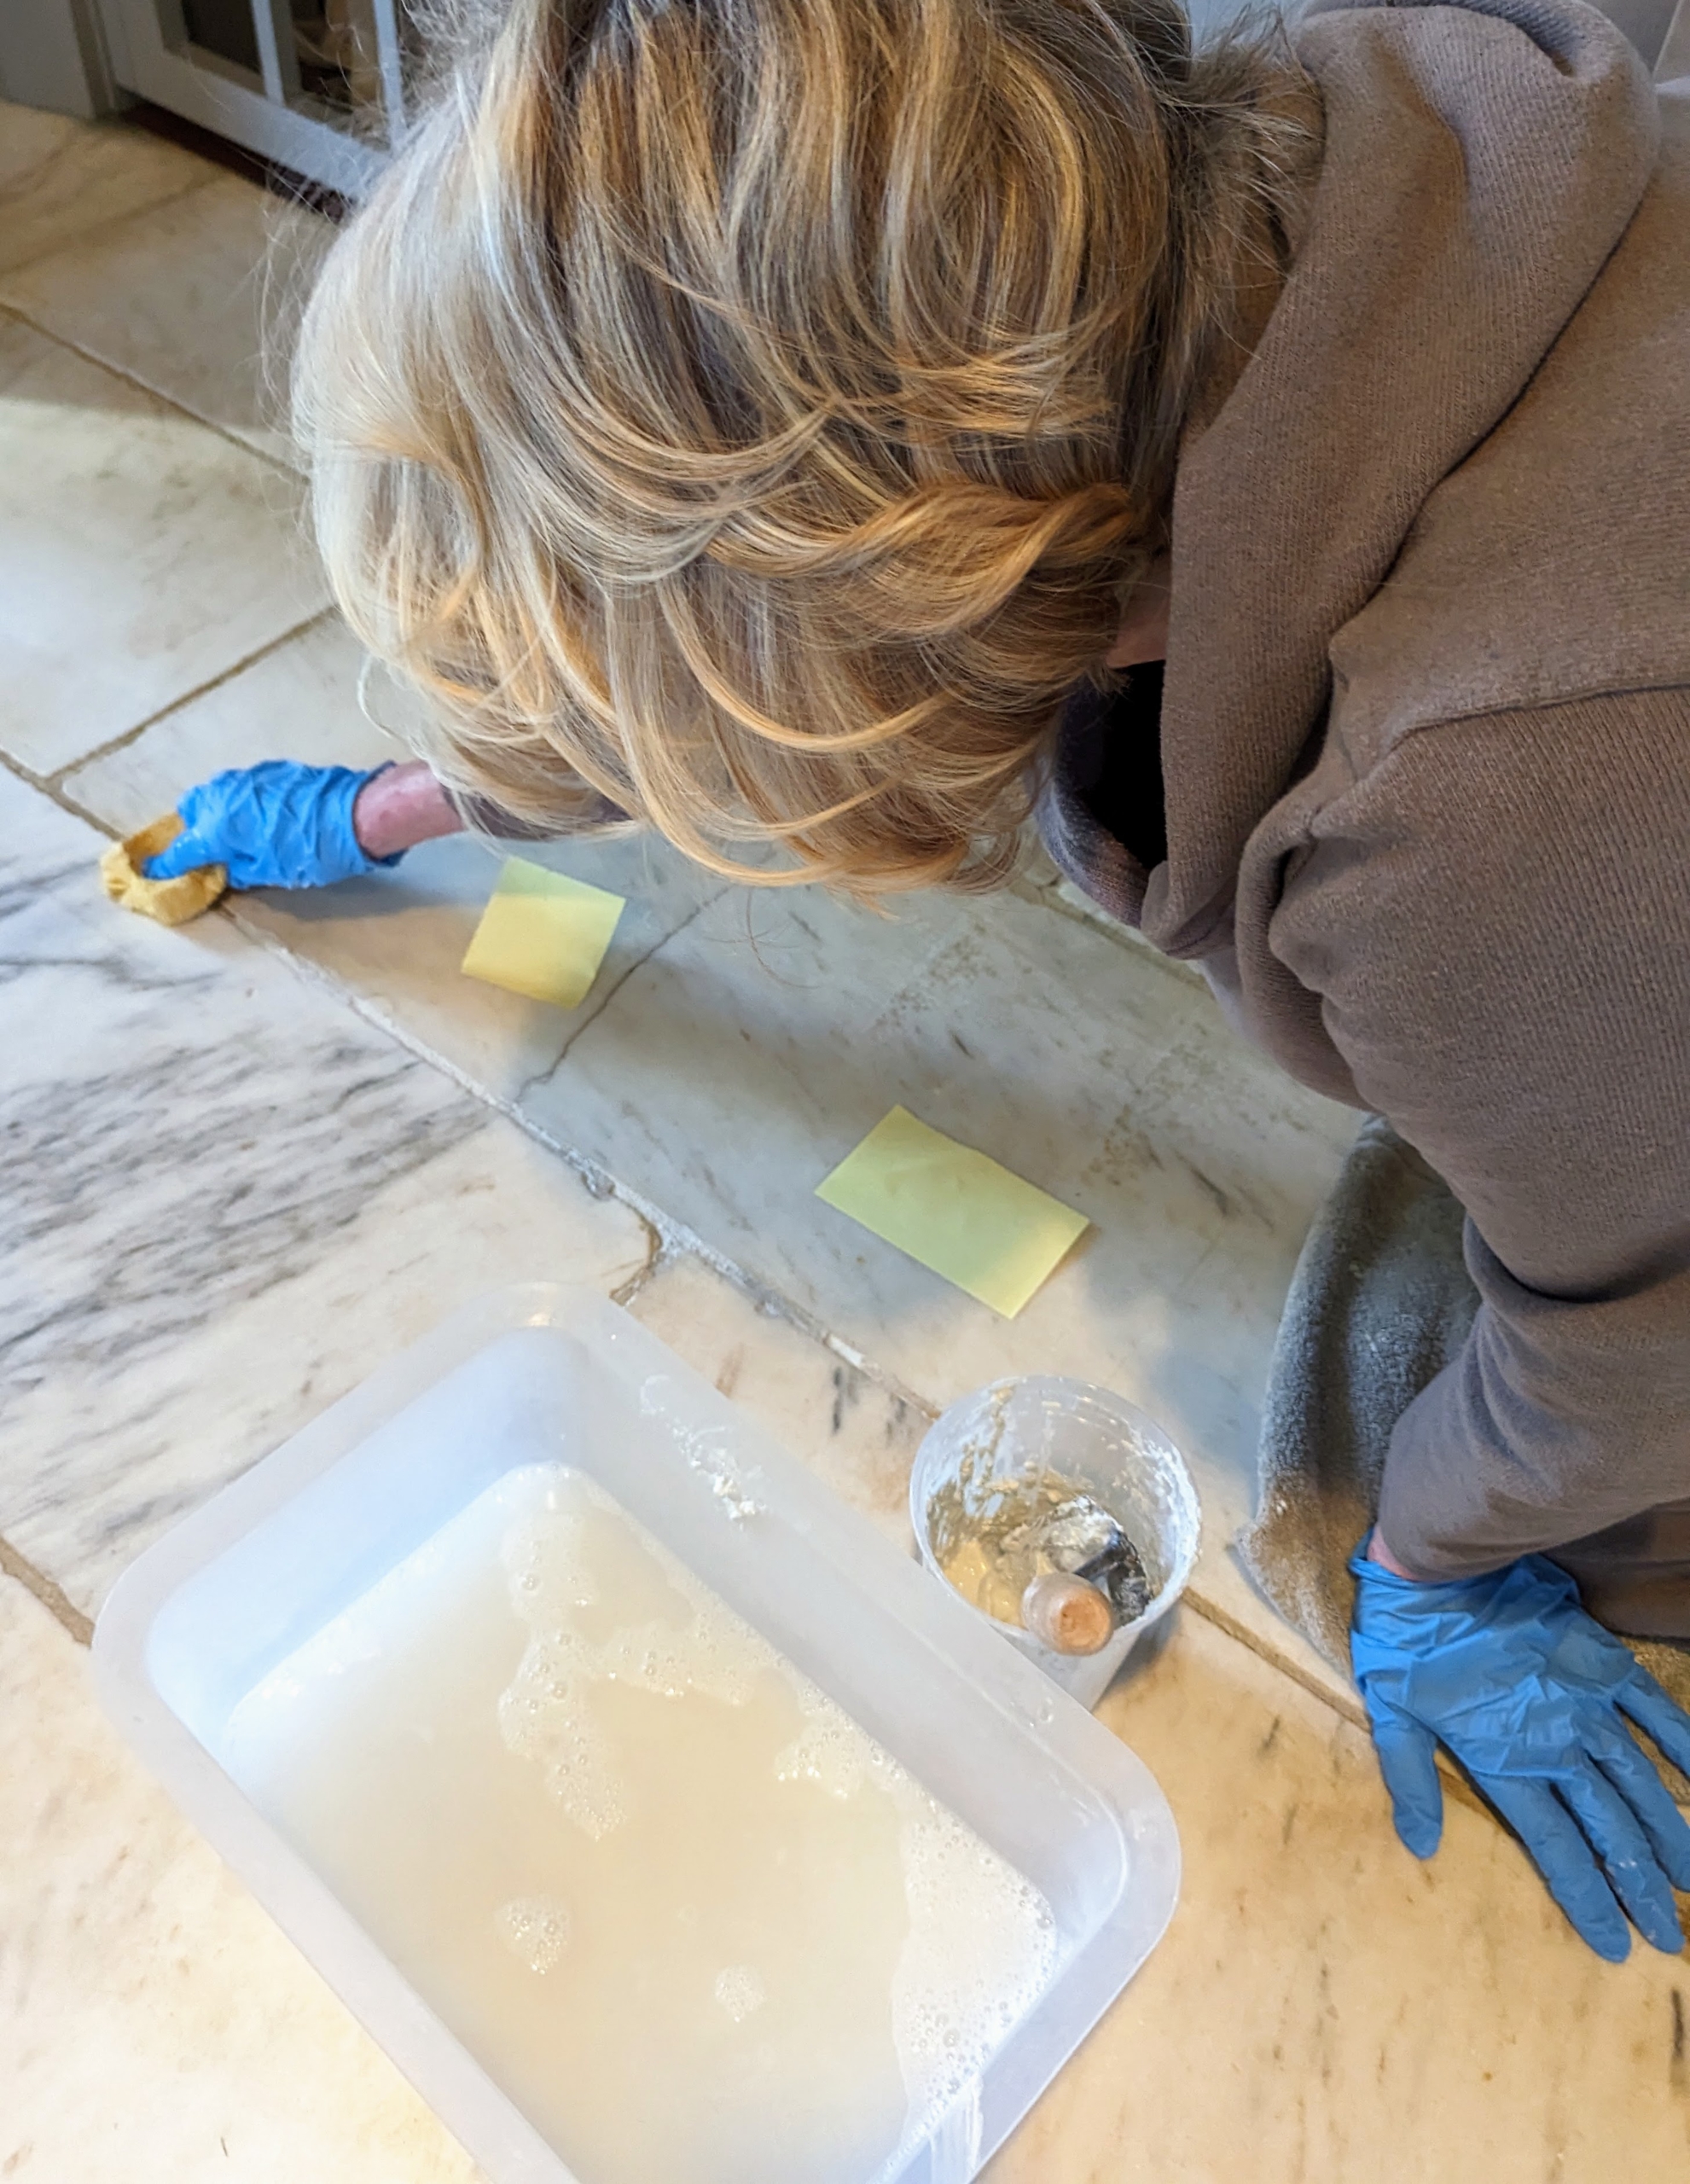
Early morning, after my hair was done and before I left for a busy work day in New York City, I had just enough time to grout my kitchen floors. It may sound funny, but I got the job done in about 35-minutes while also answering calls and planning calendar commitments with my executive assistant.
These floors are from a home I once owned in Long Island. They are its old garden pavers. Both the tops and bottoms were so nicely aged – stained from earth and grass, I loved them and had just enough of the timeworn stone slabs to cover my Winter House kitchen and servery floors.
Here’s my beautiful Chow Chow, Empress Qin. She and my other dogs are in my kitchen when not outdoors – relaxing on the cool marble and waiting, hoping for nibbles and treats from anyone.
Unfortunately, all the traffic and cleaning wear on the floor joints and every few years the grout loosens and chips.
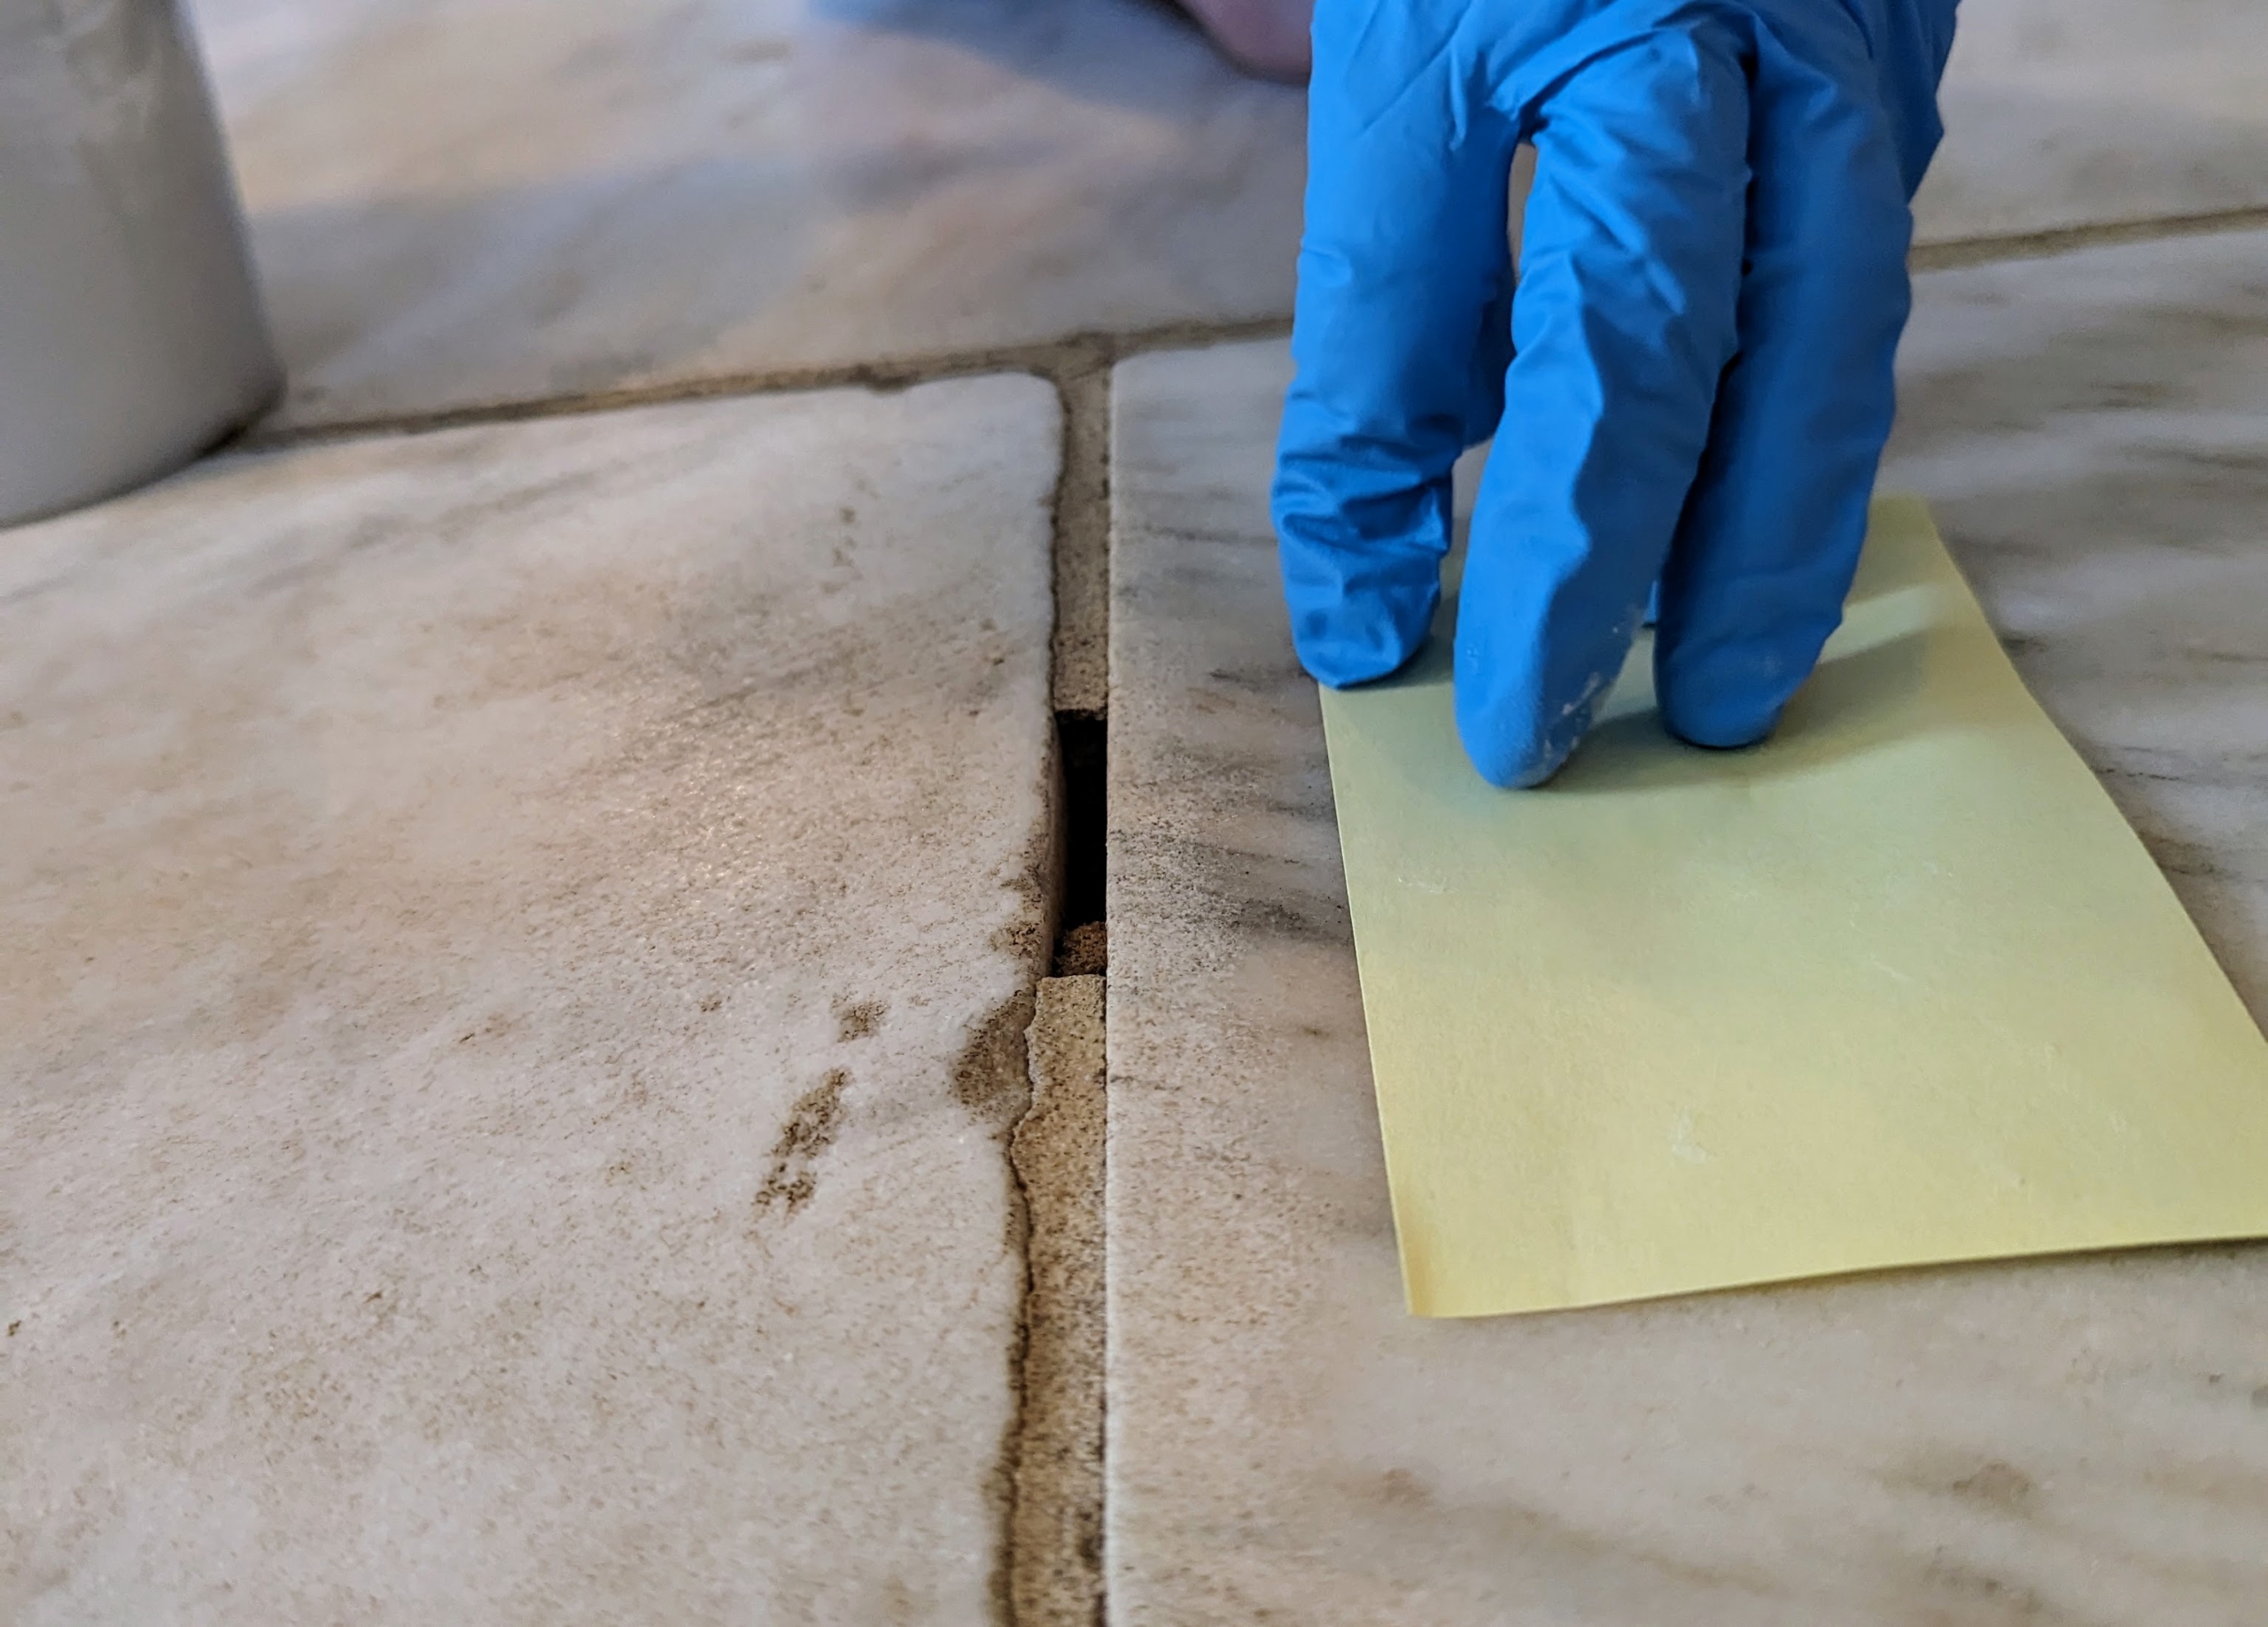
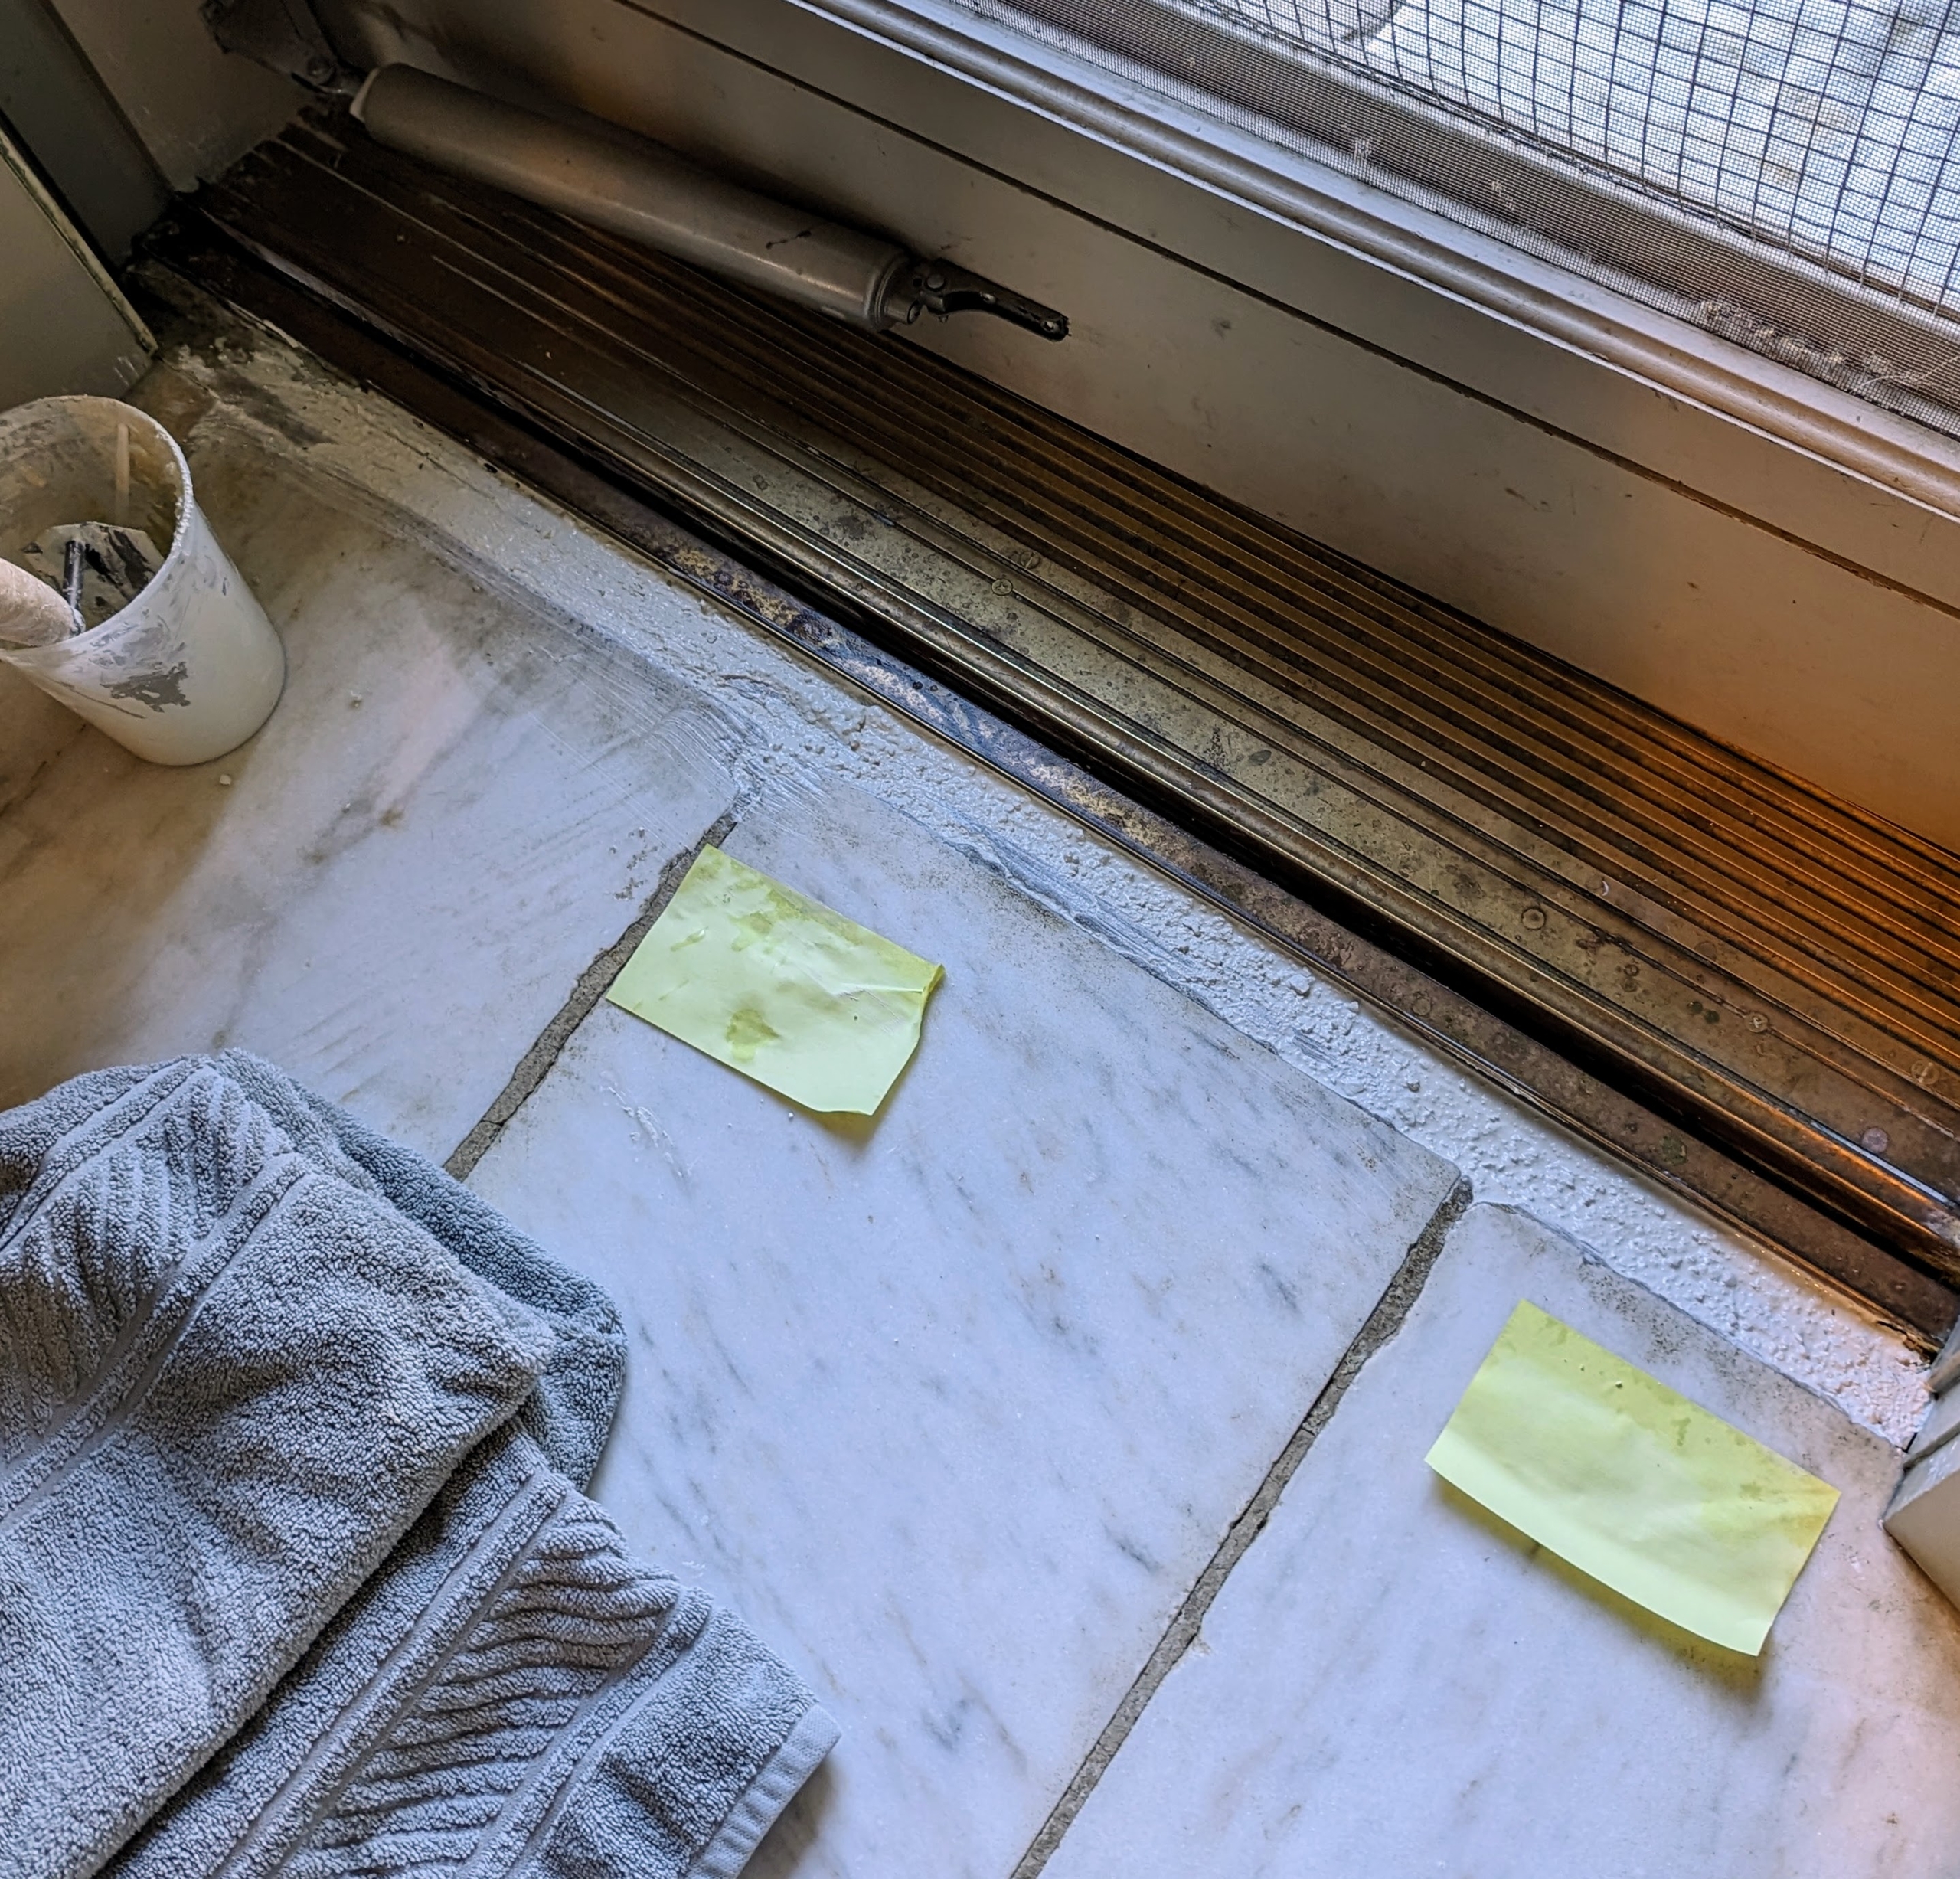
I walked around my entire kitchen and servery and placed a sticky note next to every section of grout that needed refilling. Most were in front of the sink…
… by the doors…
… and near the counters. There were also some spots to fill near the cappuccino maker and in front of the refrigerator.
Before doing any grouting, my housekeeper, Elvira Rojas, vacuumed the cracks thoroughly.
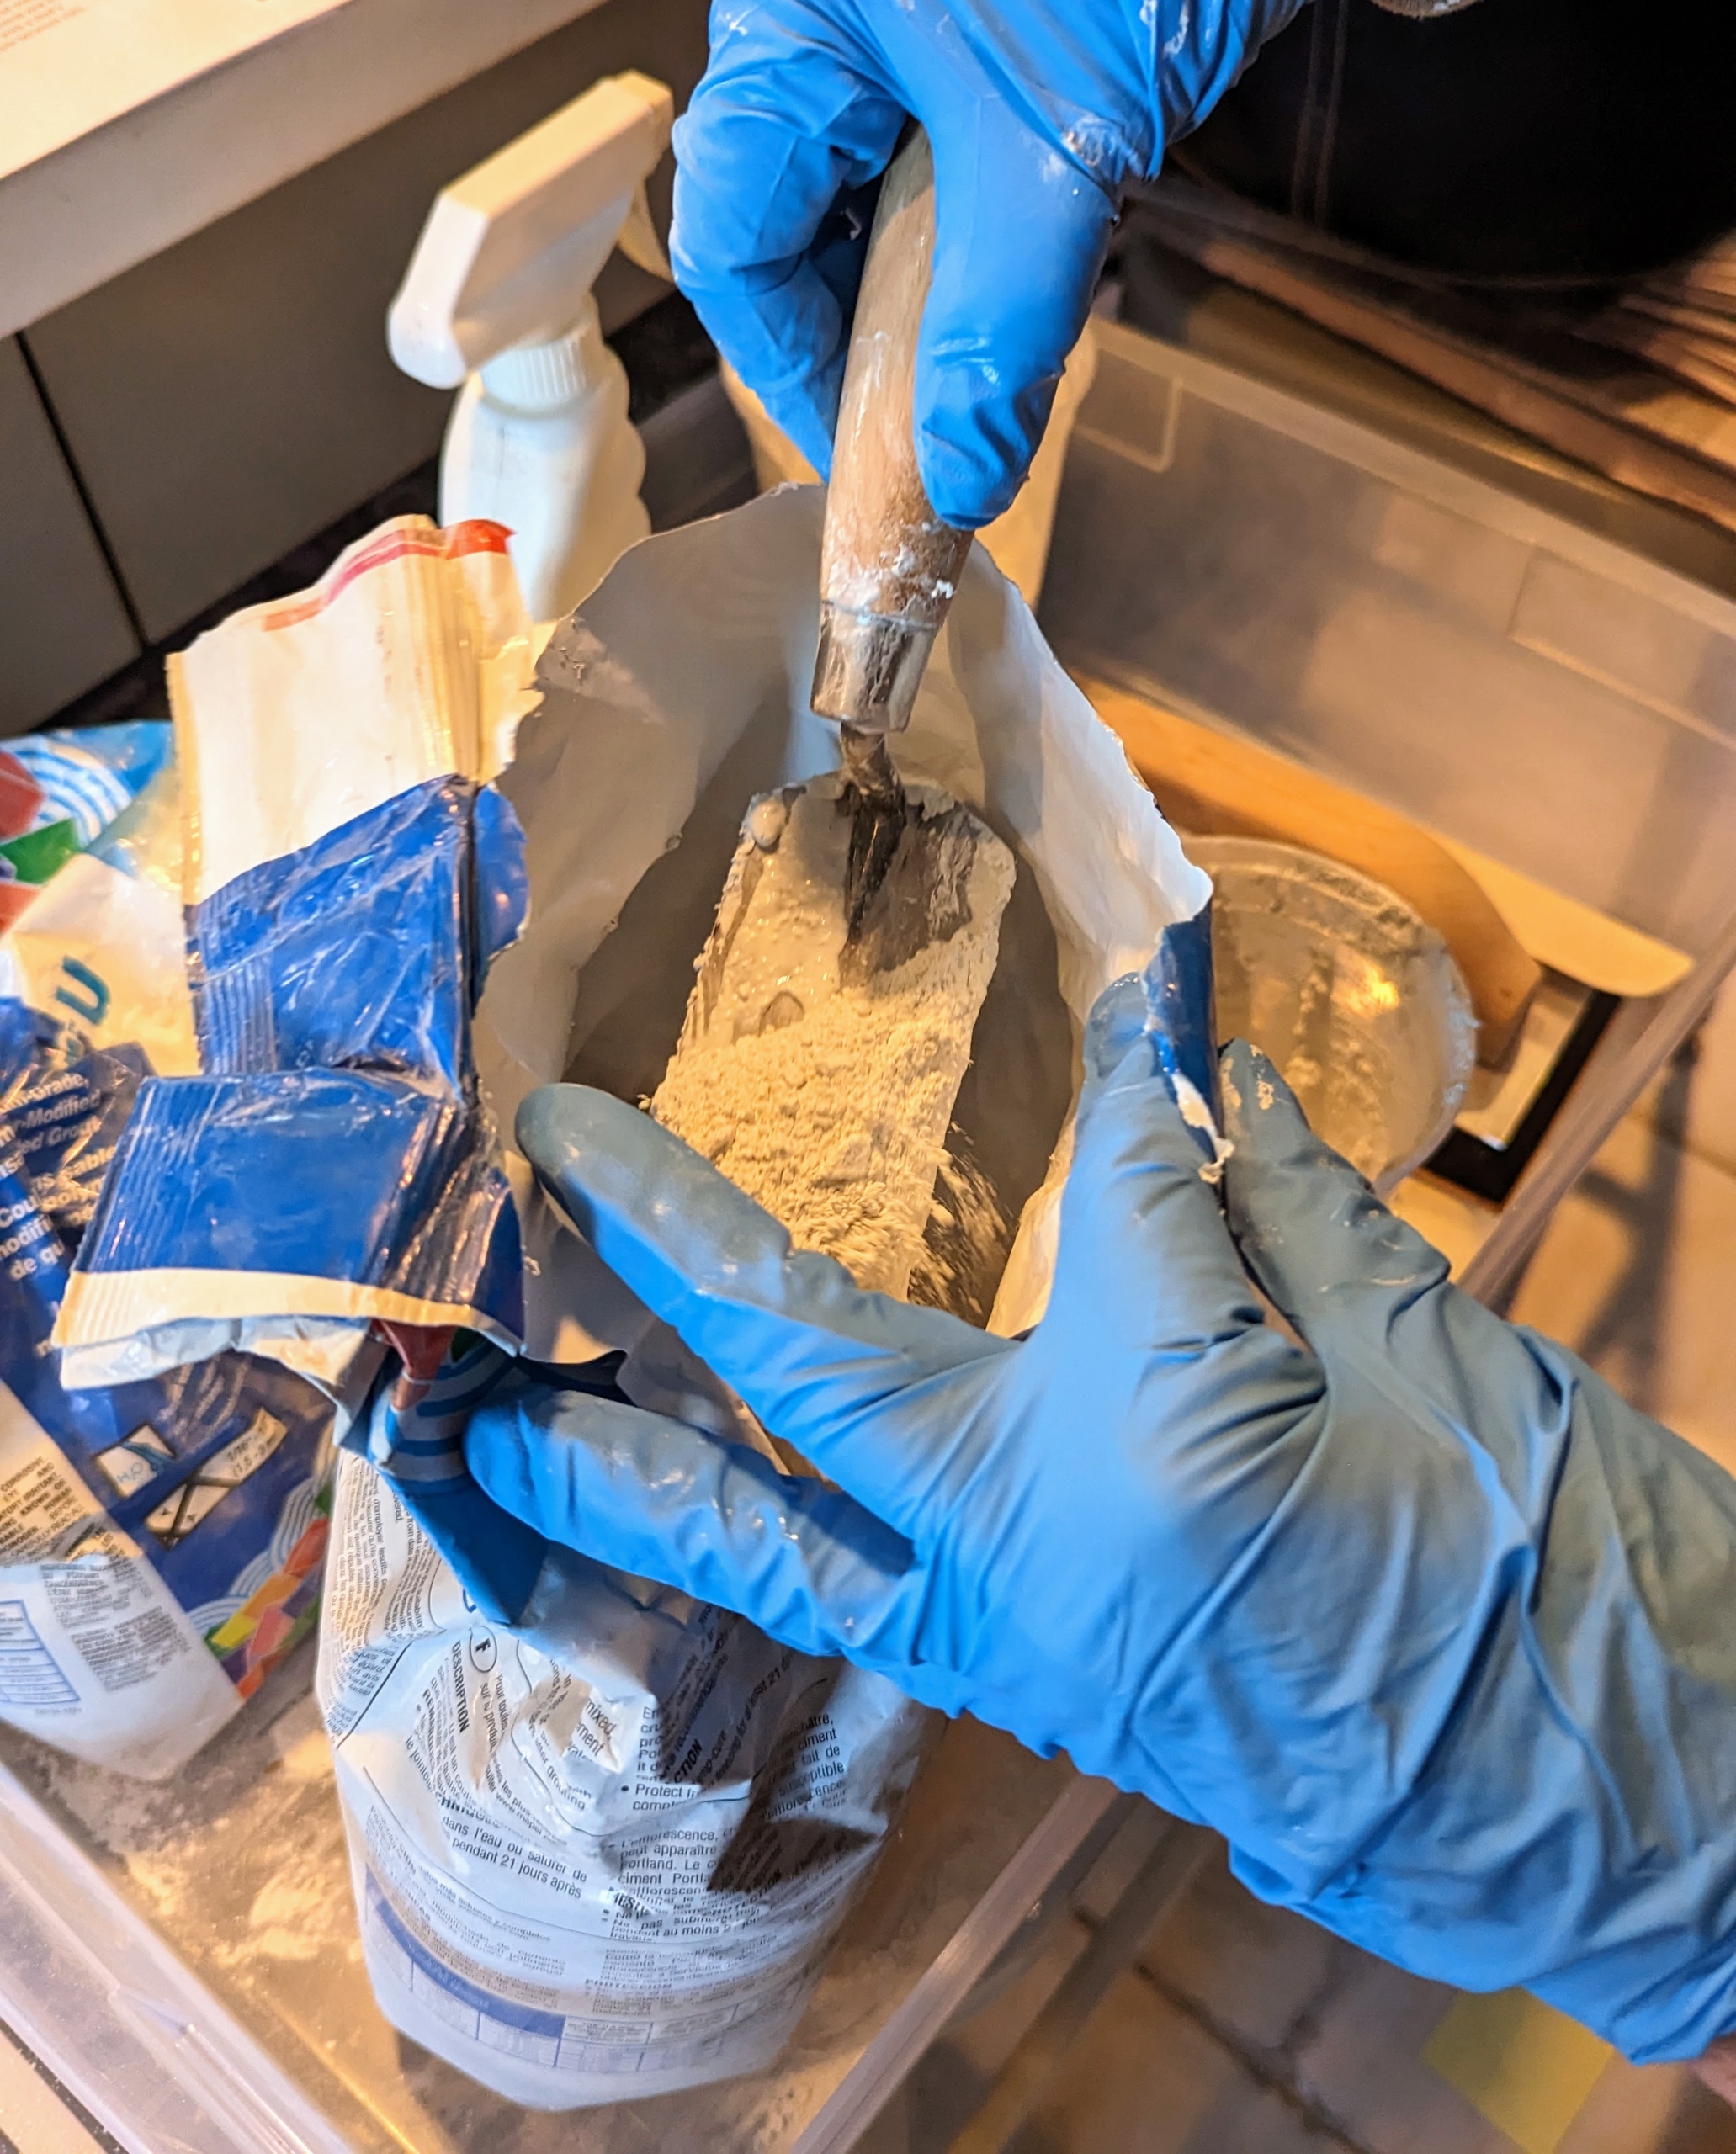
Grouting repairs like this don’t require a lot of equipment. For this job, I mixed a little cement with some polymer modified un-sanded grout. These are available in hardware stores and tile shops.
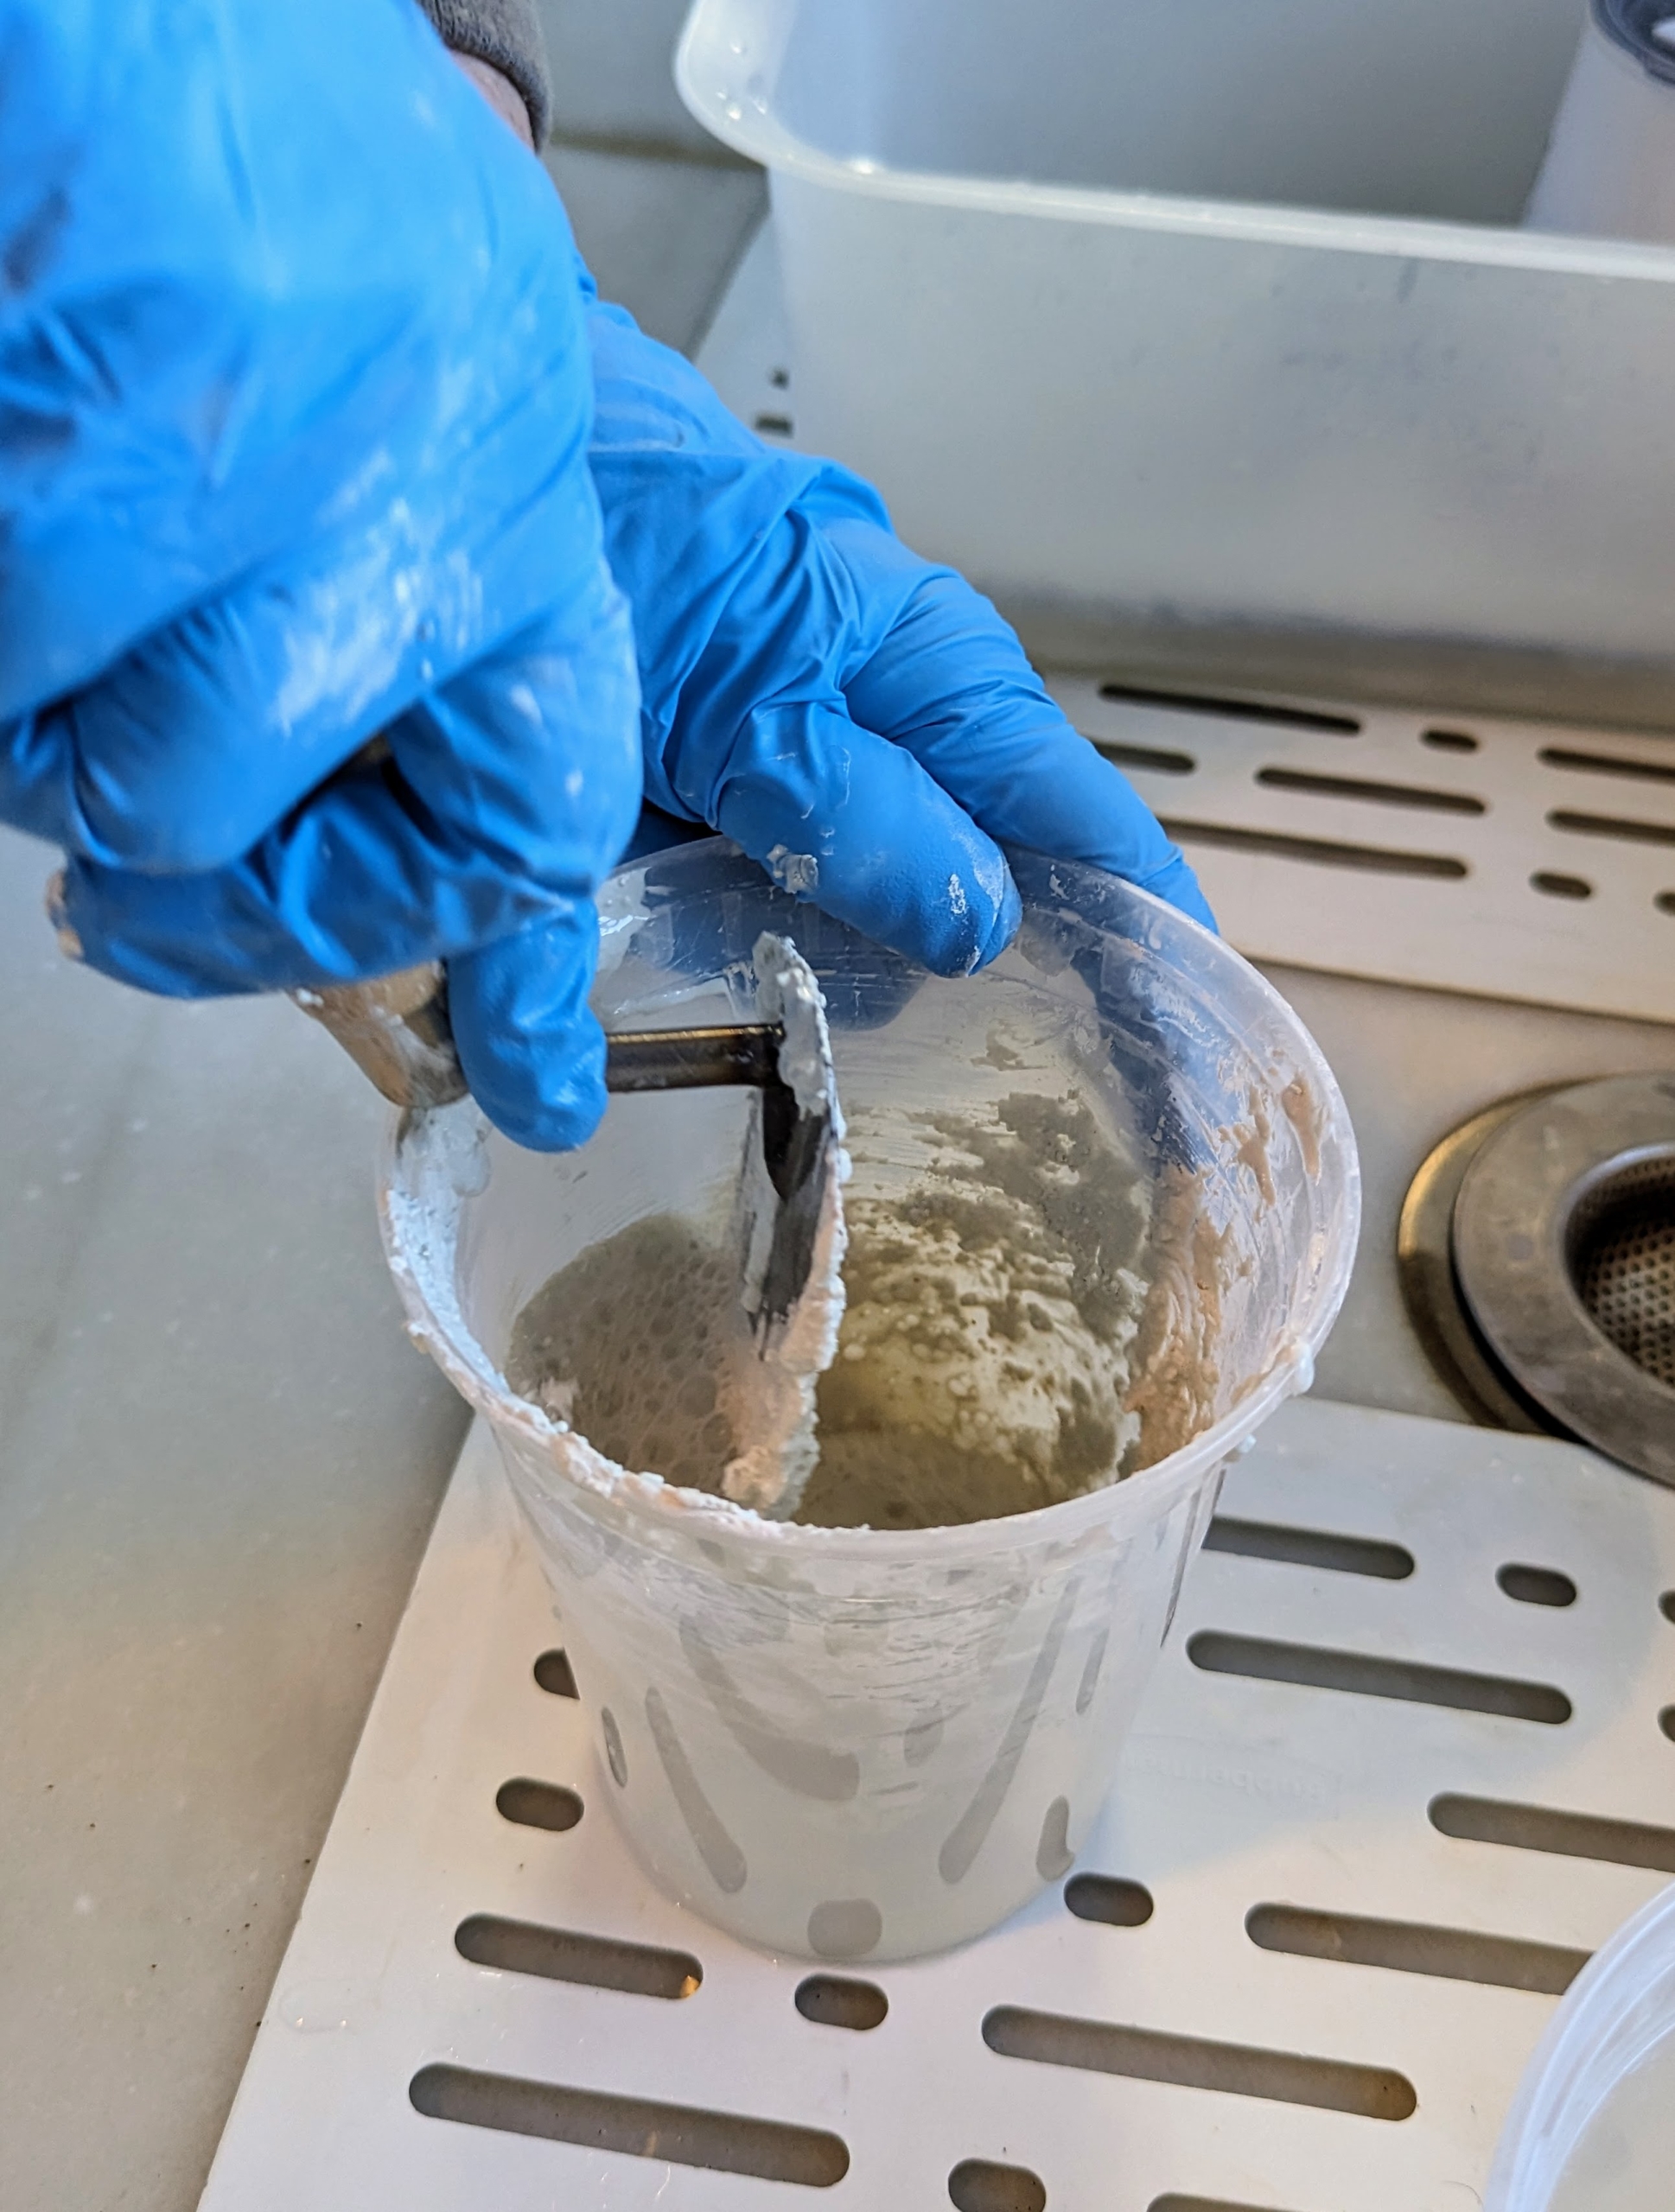
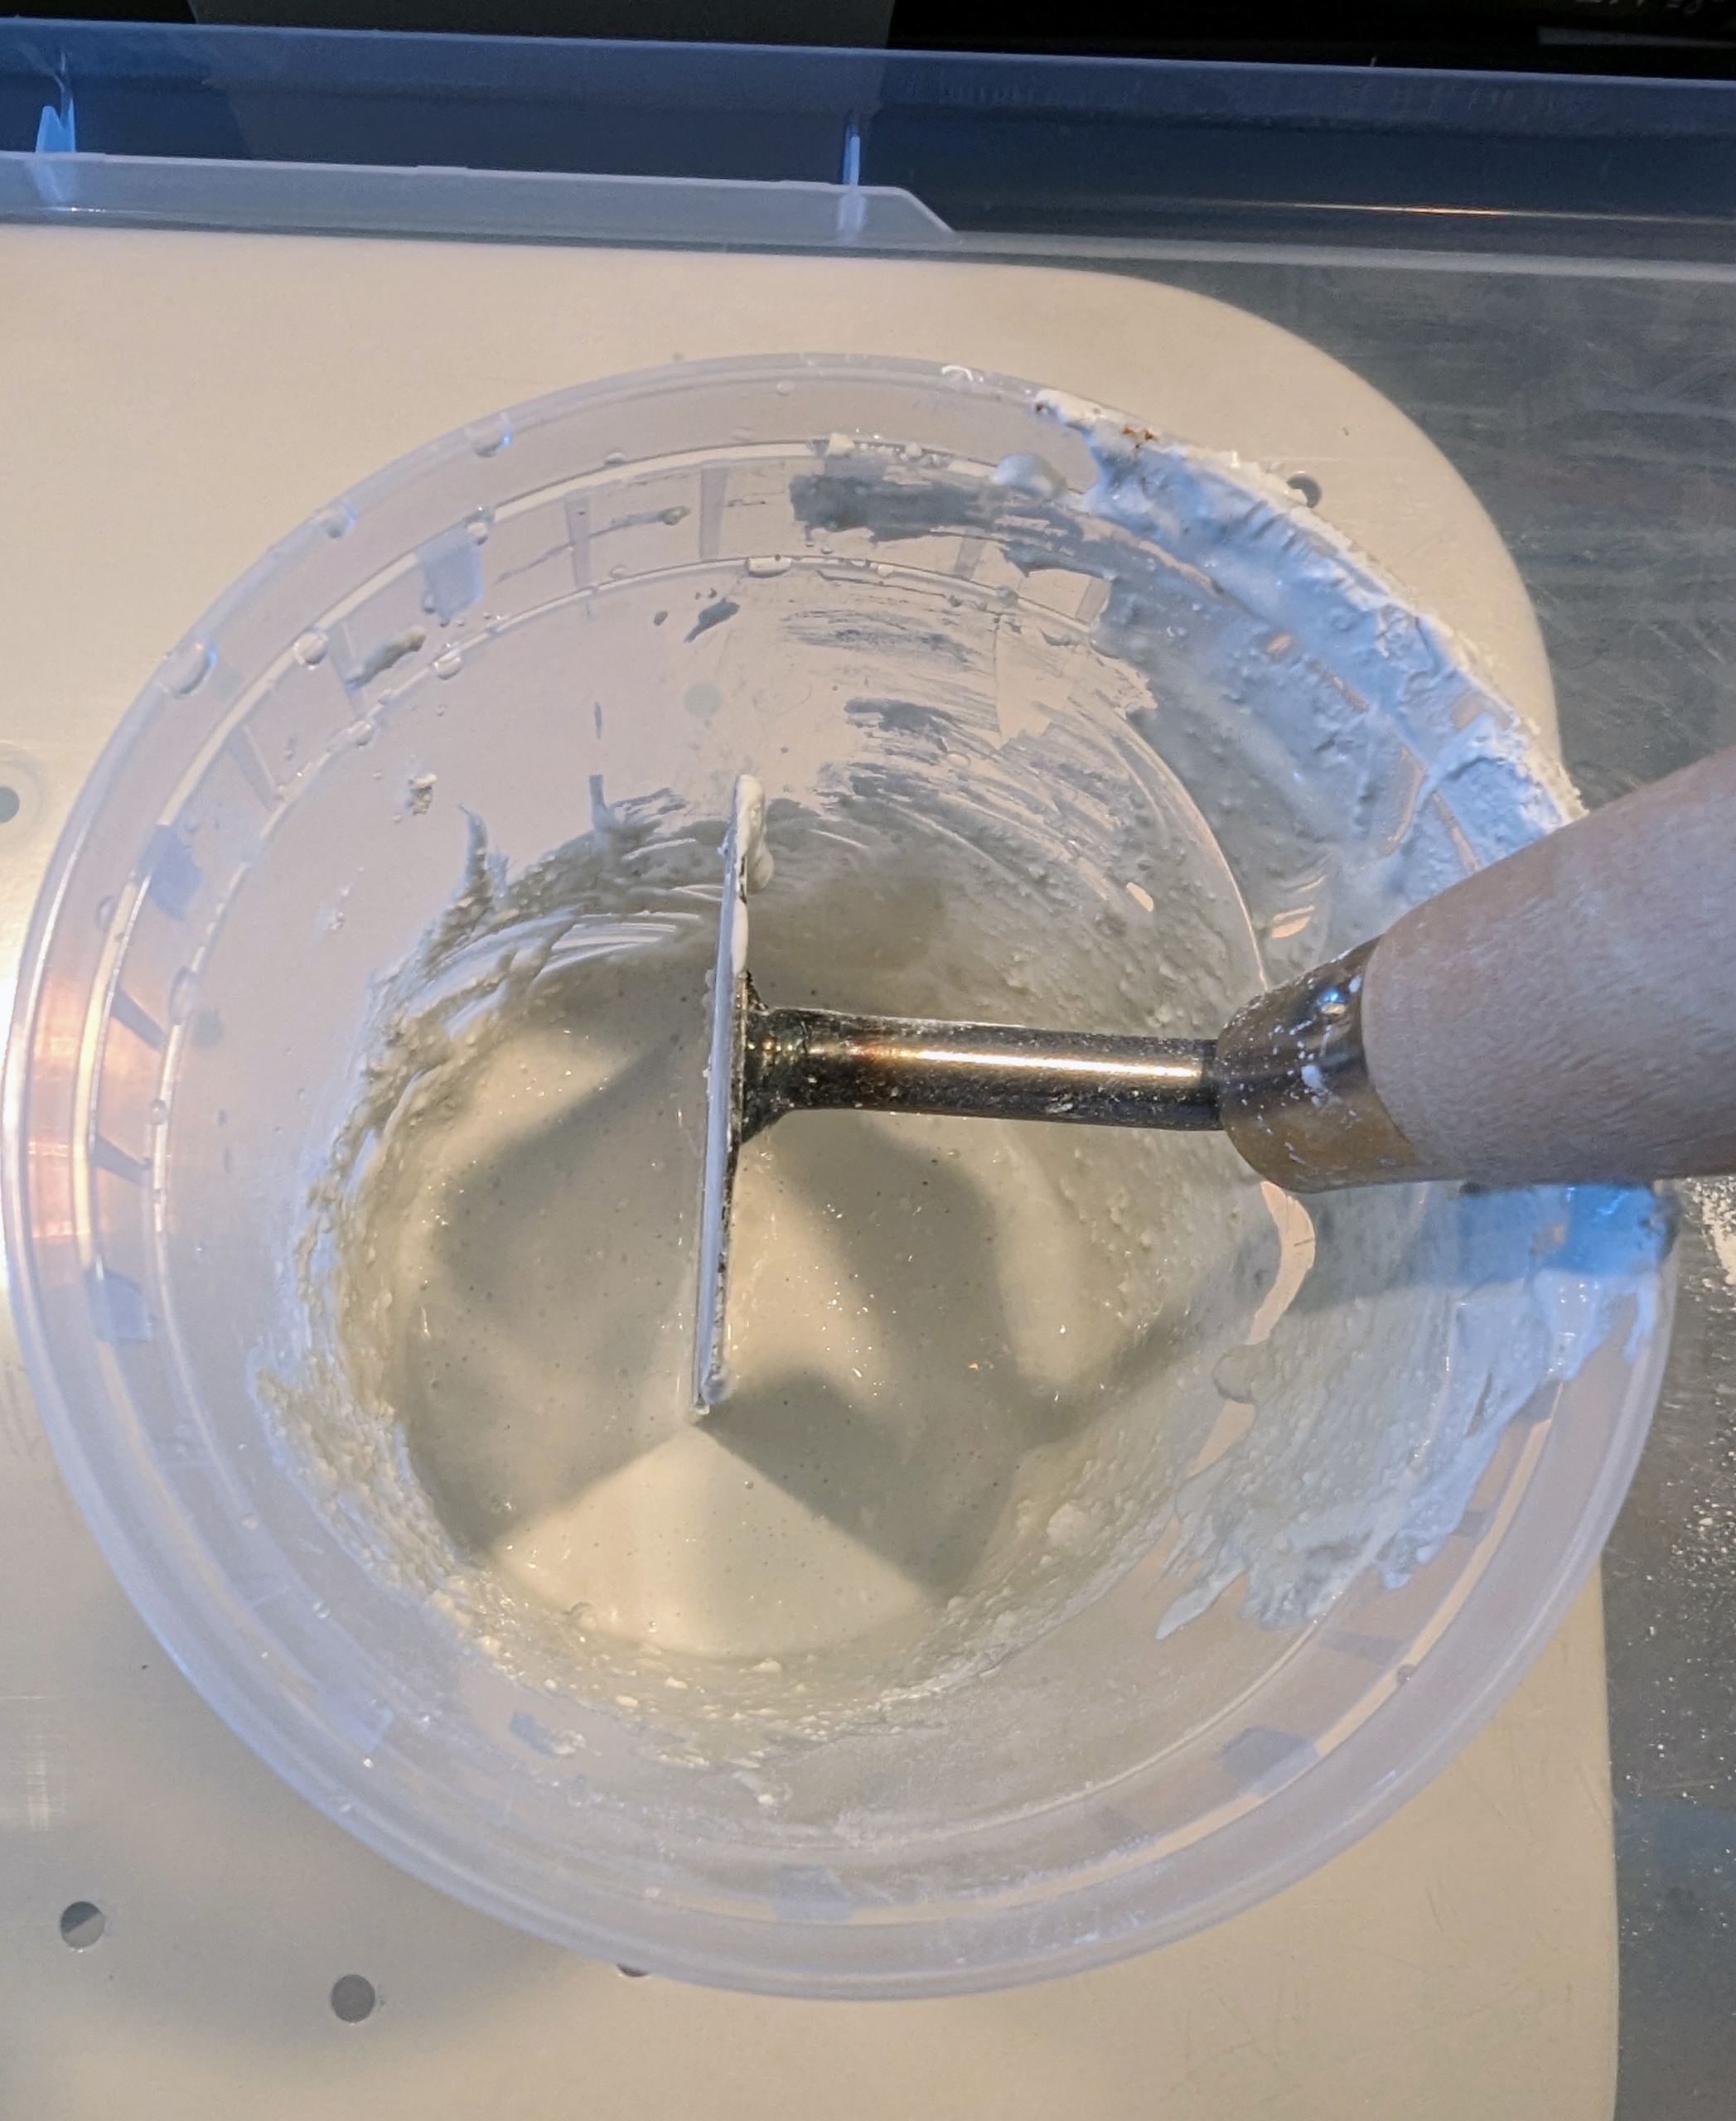
I added some water and according to manufacturing instructions mixed the powders together in a disposable container until it formed a paste.
Here is the grout mixture in a natural cement color.
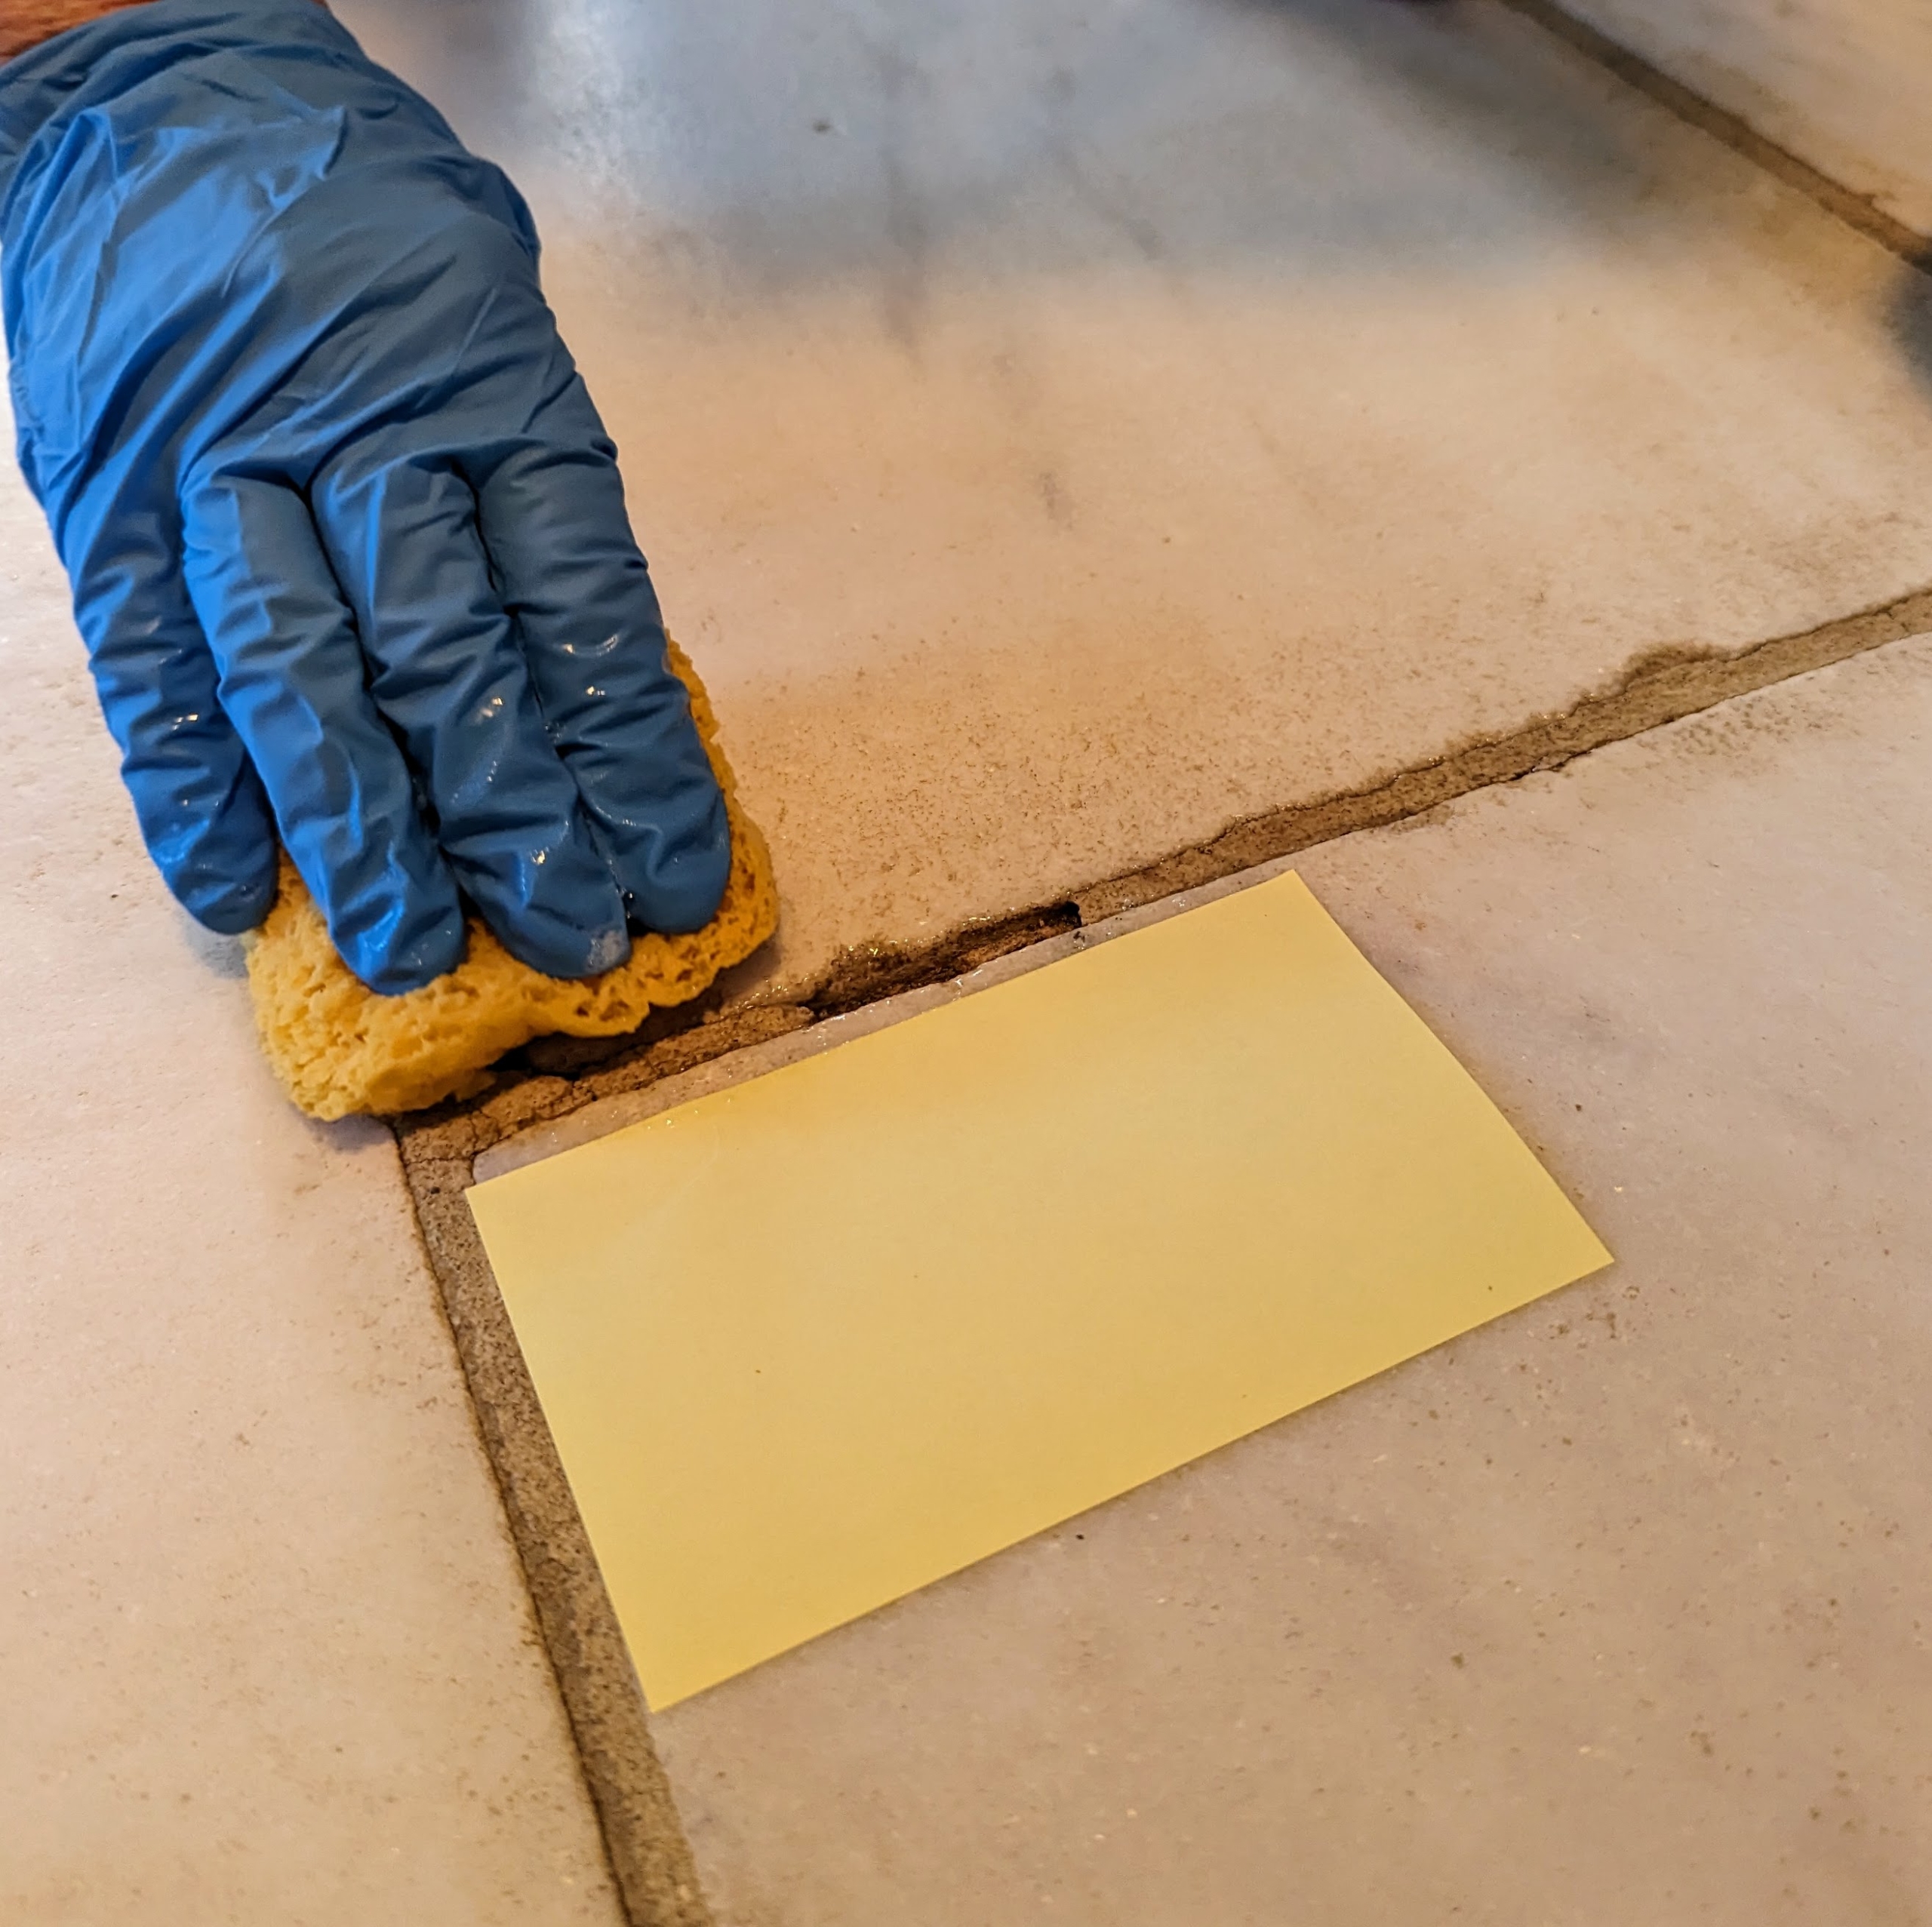
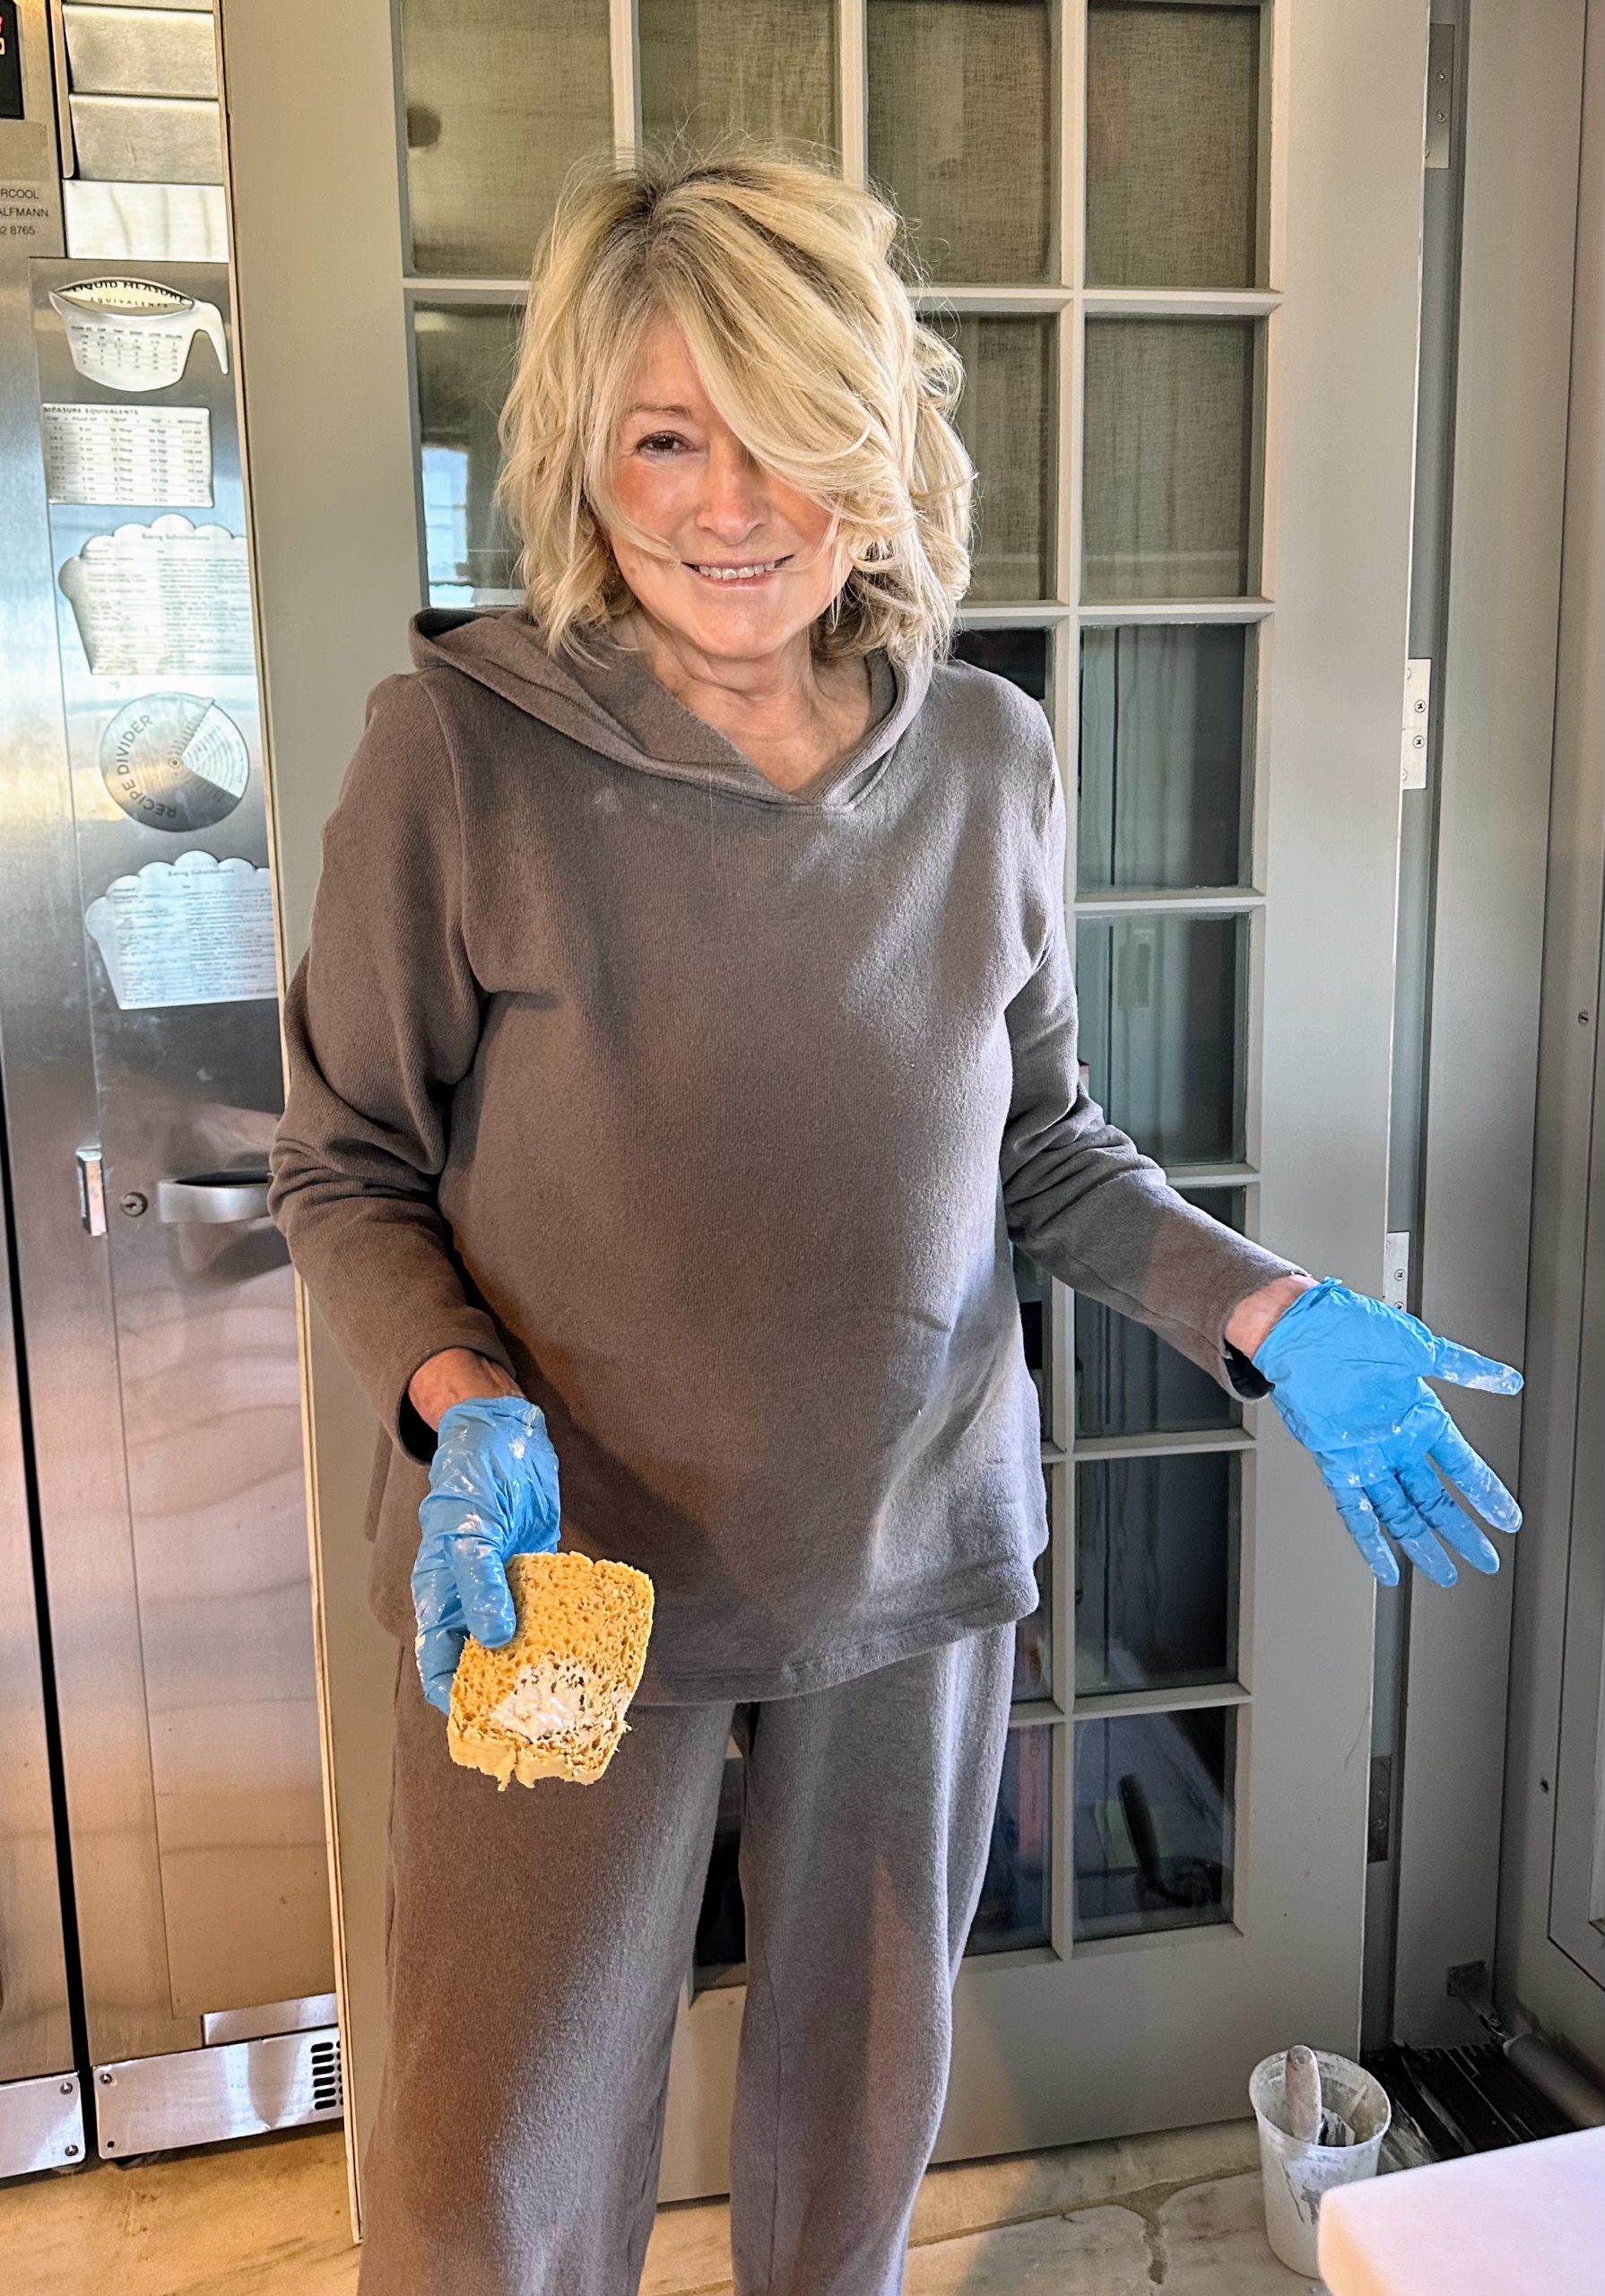
Using a soft, damp sponge, I wiped the area clean.
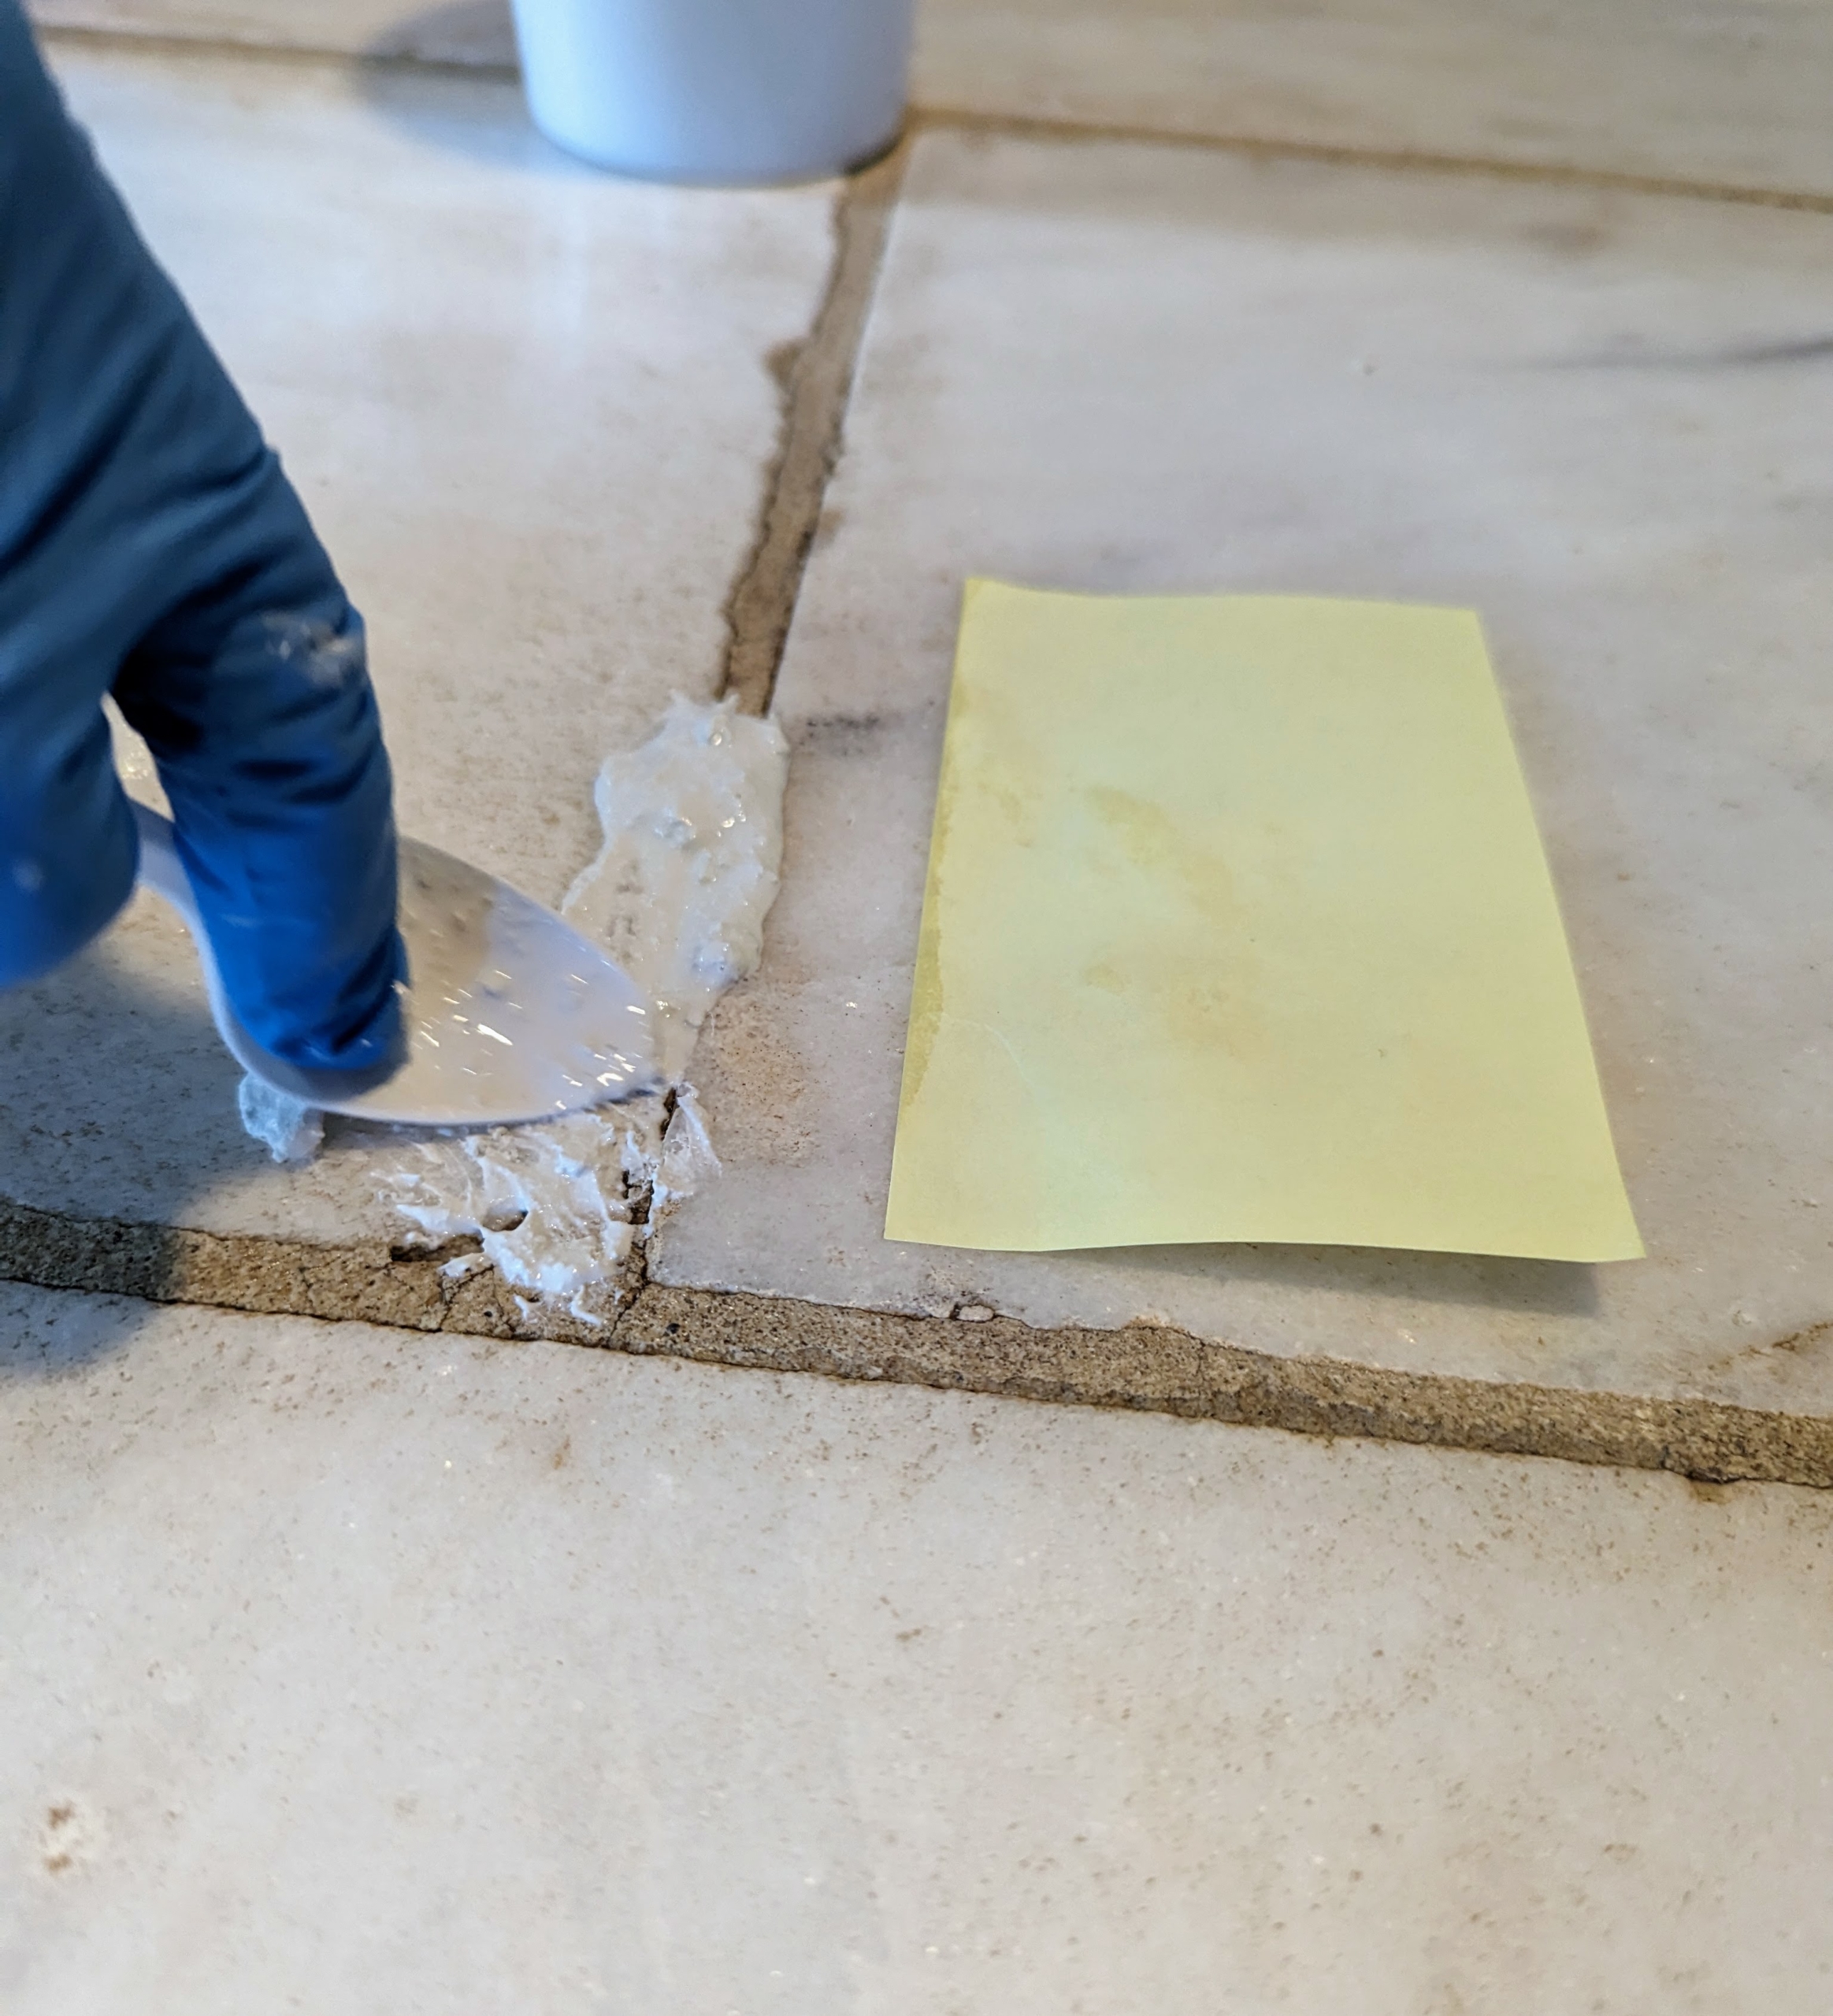
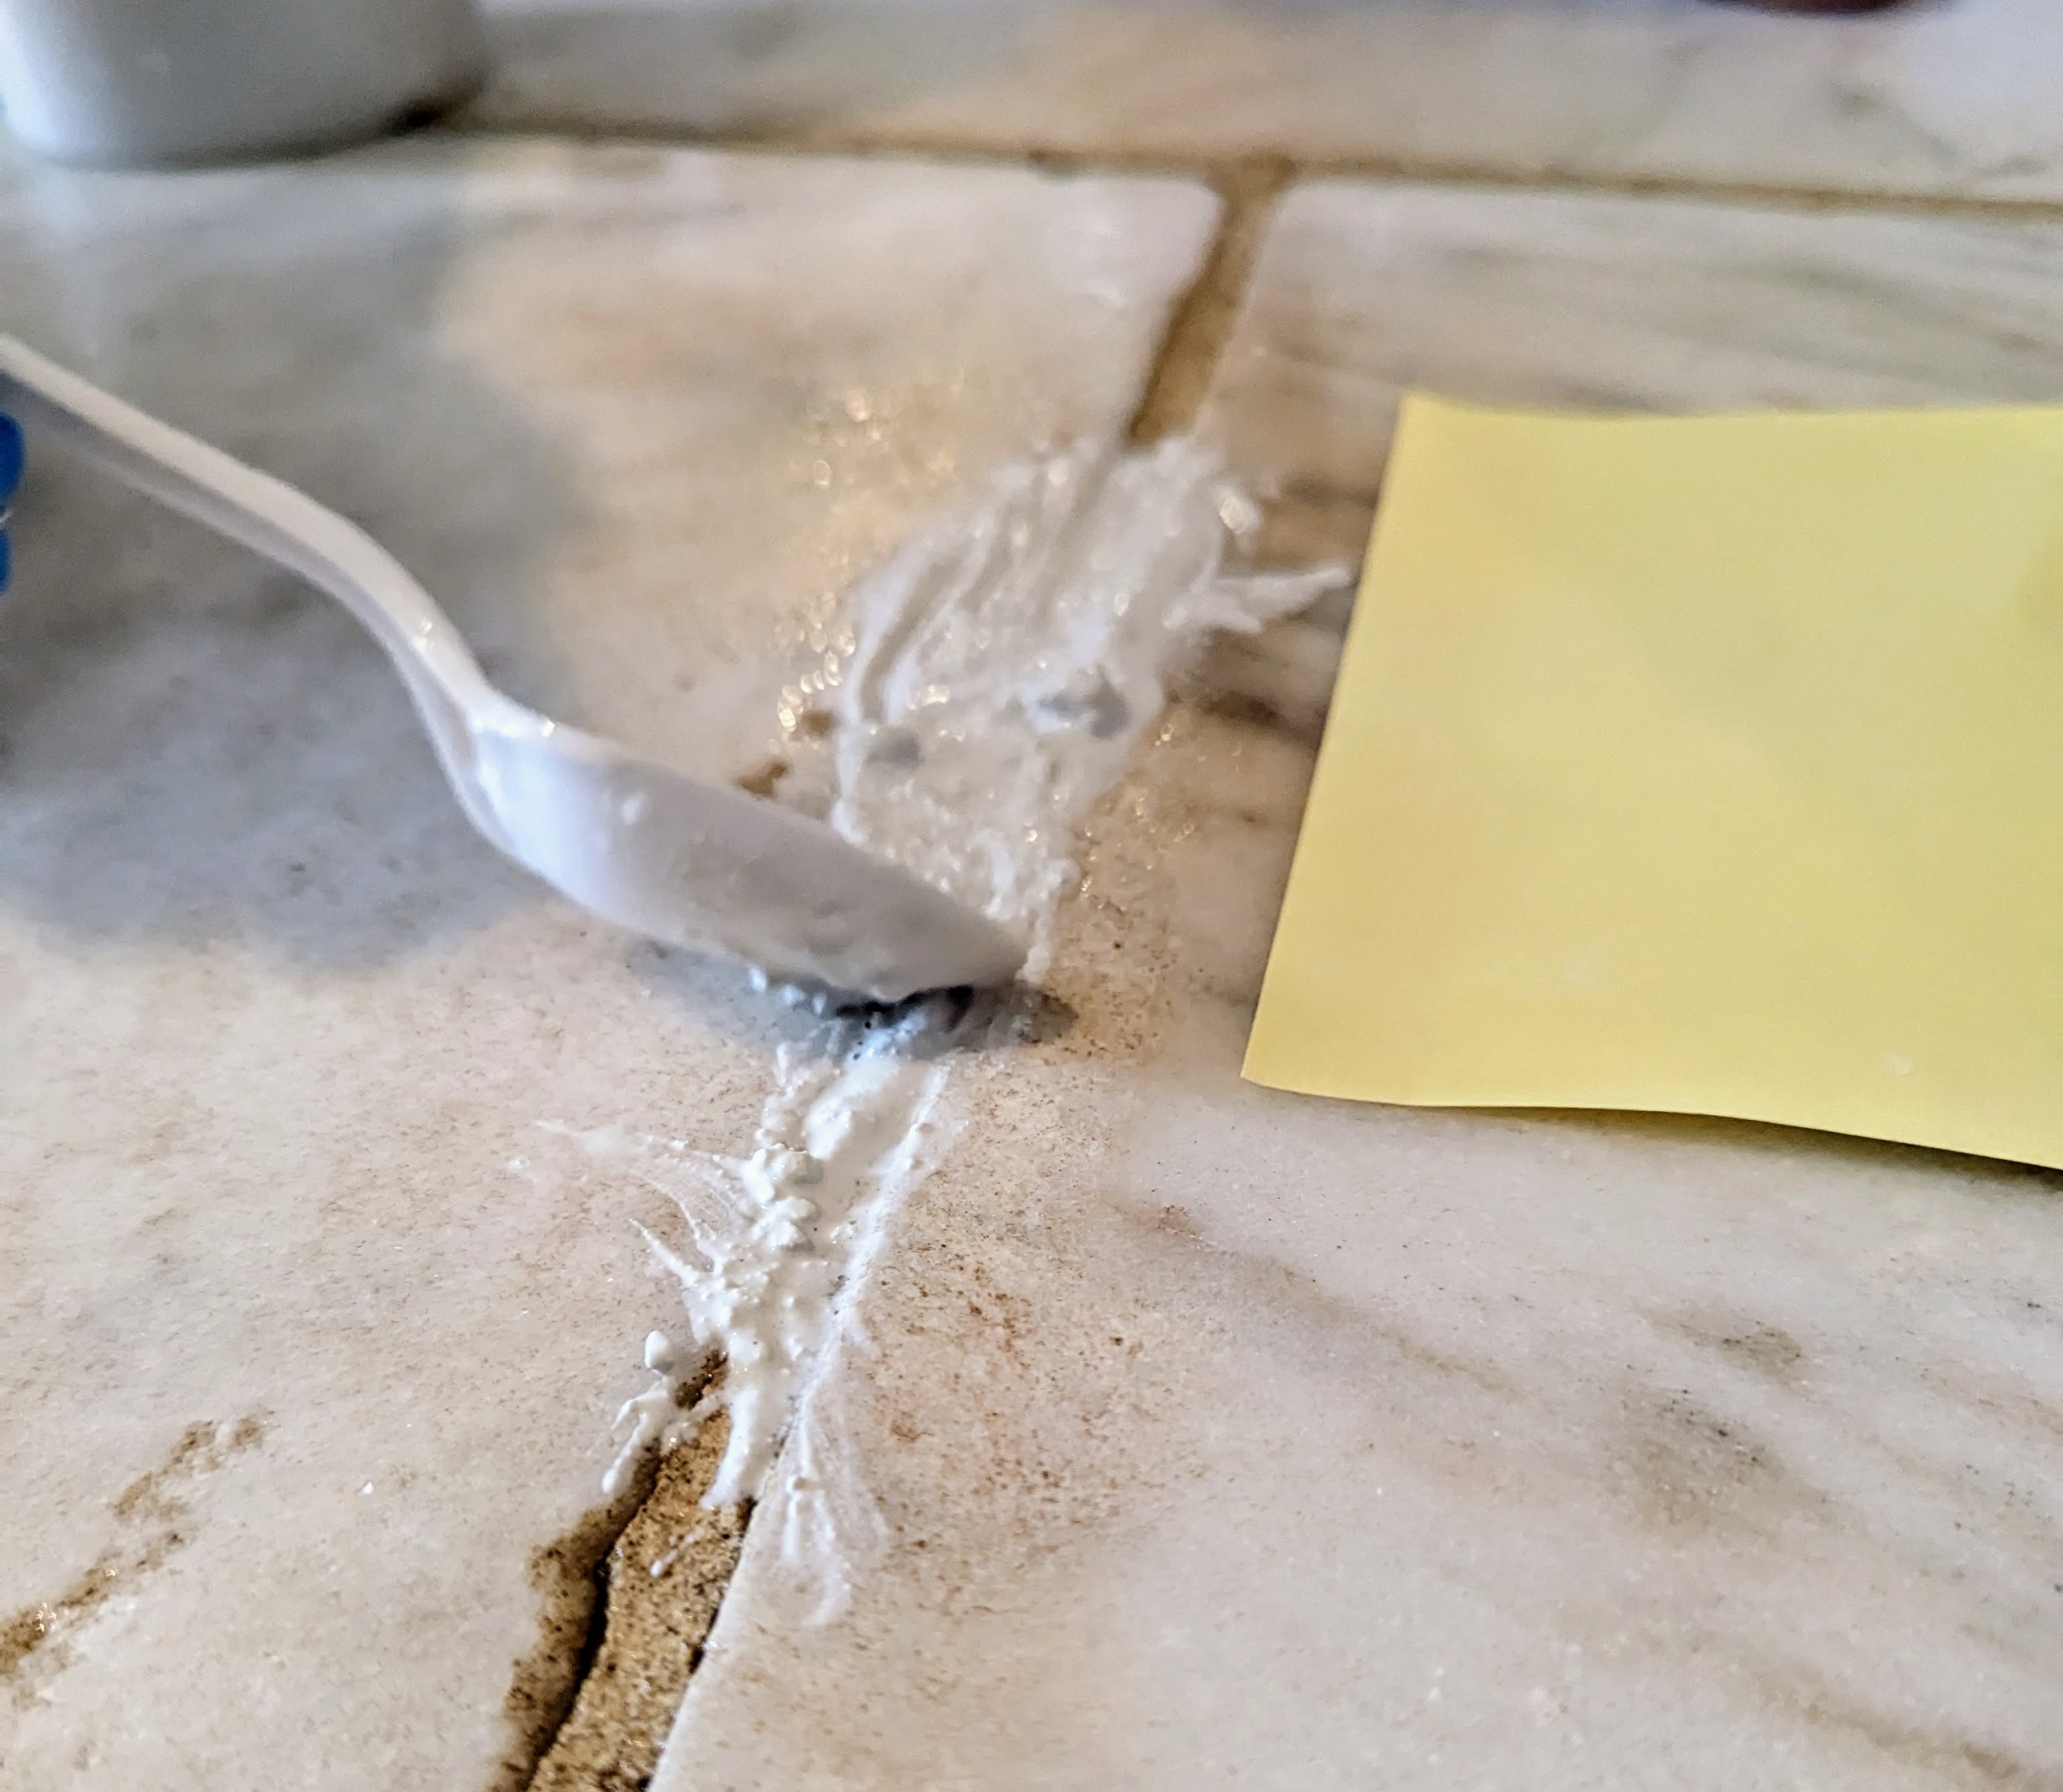
Next, using a plastic disposable spoon, I packed and smoothed the grout into the joint. One could use a tile float, but for small areas, these spoons do a great job – so flexible and light.
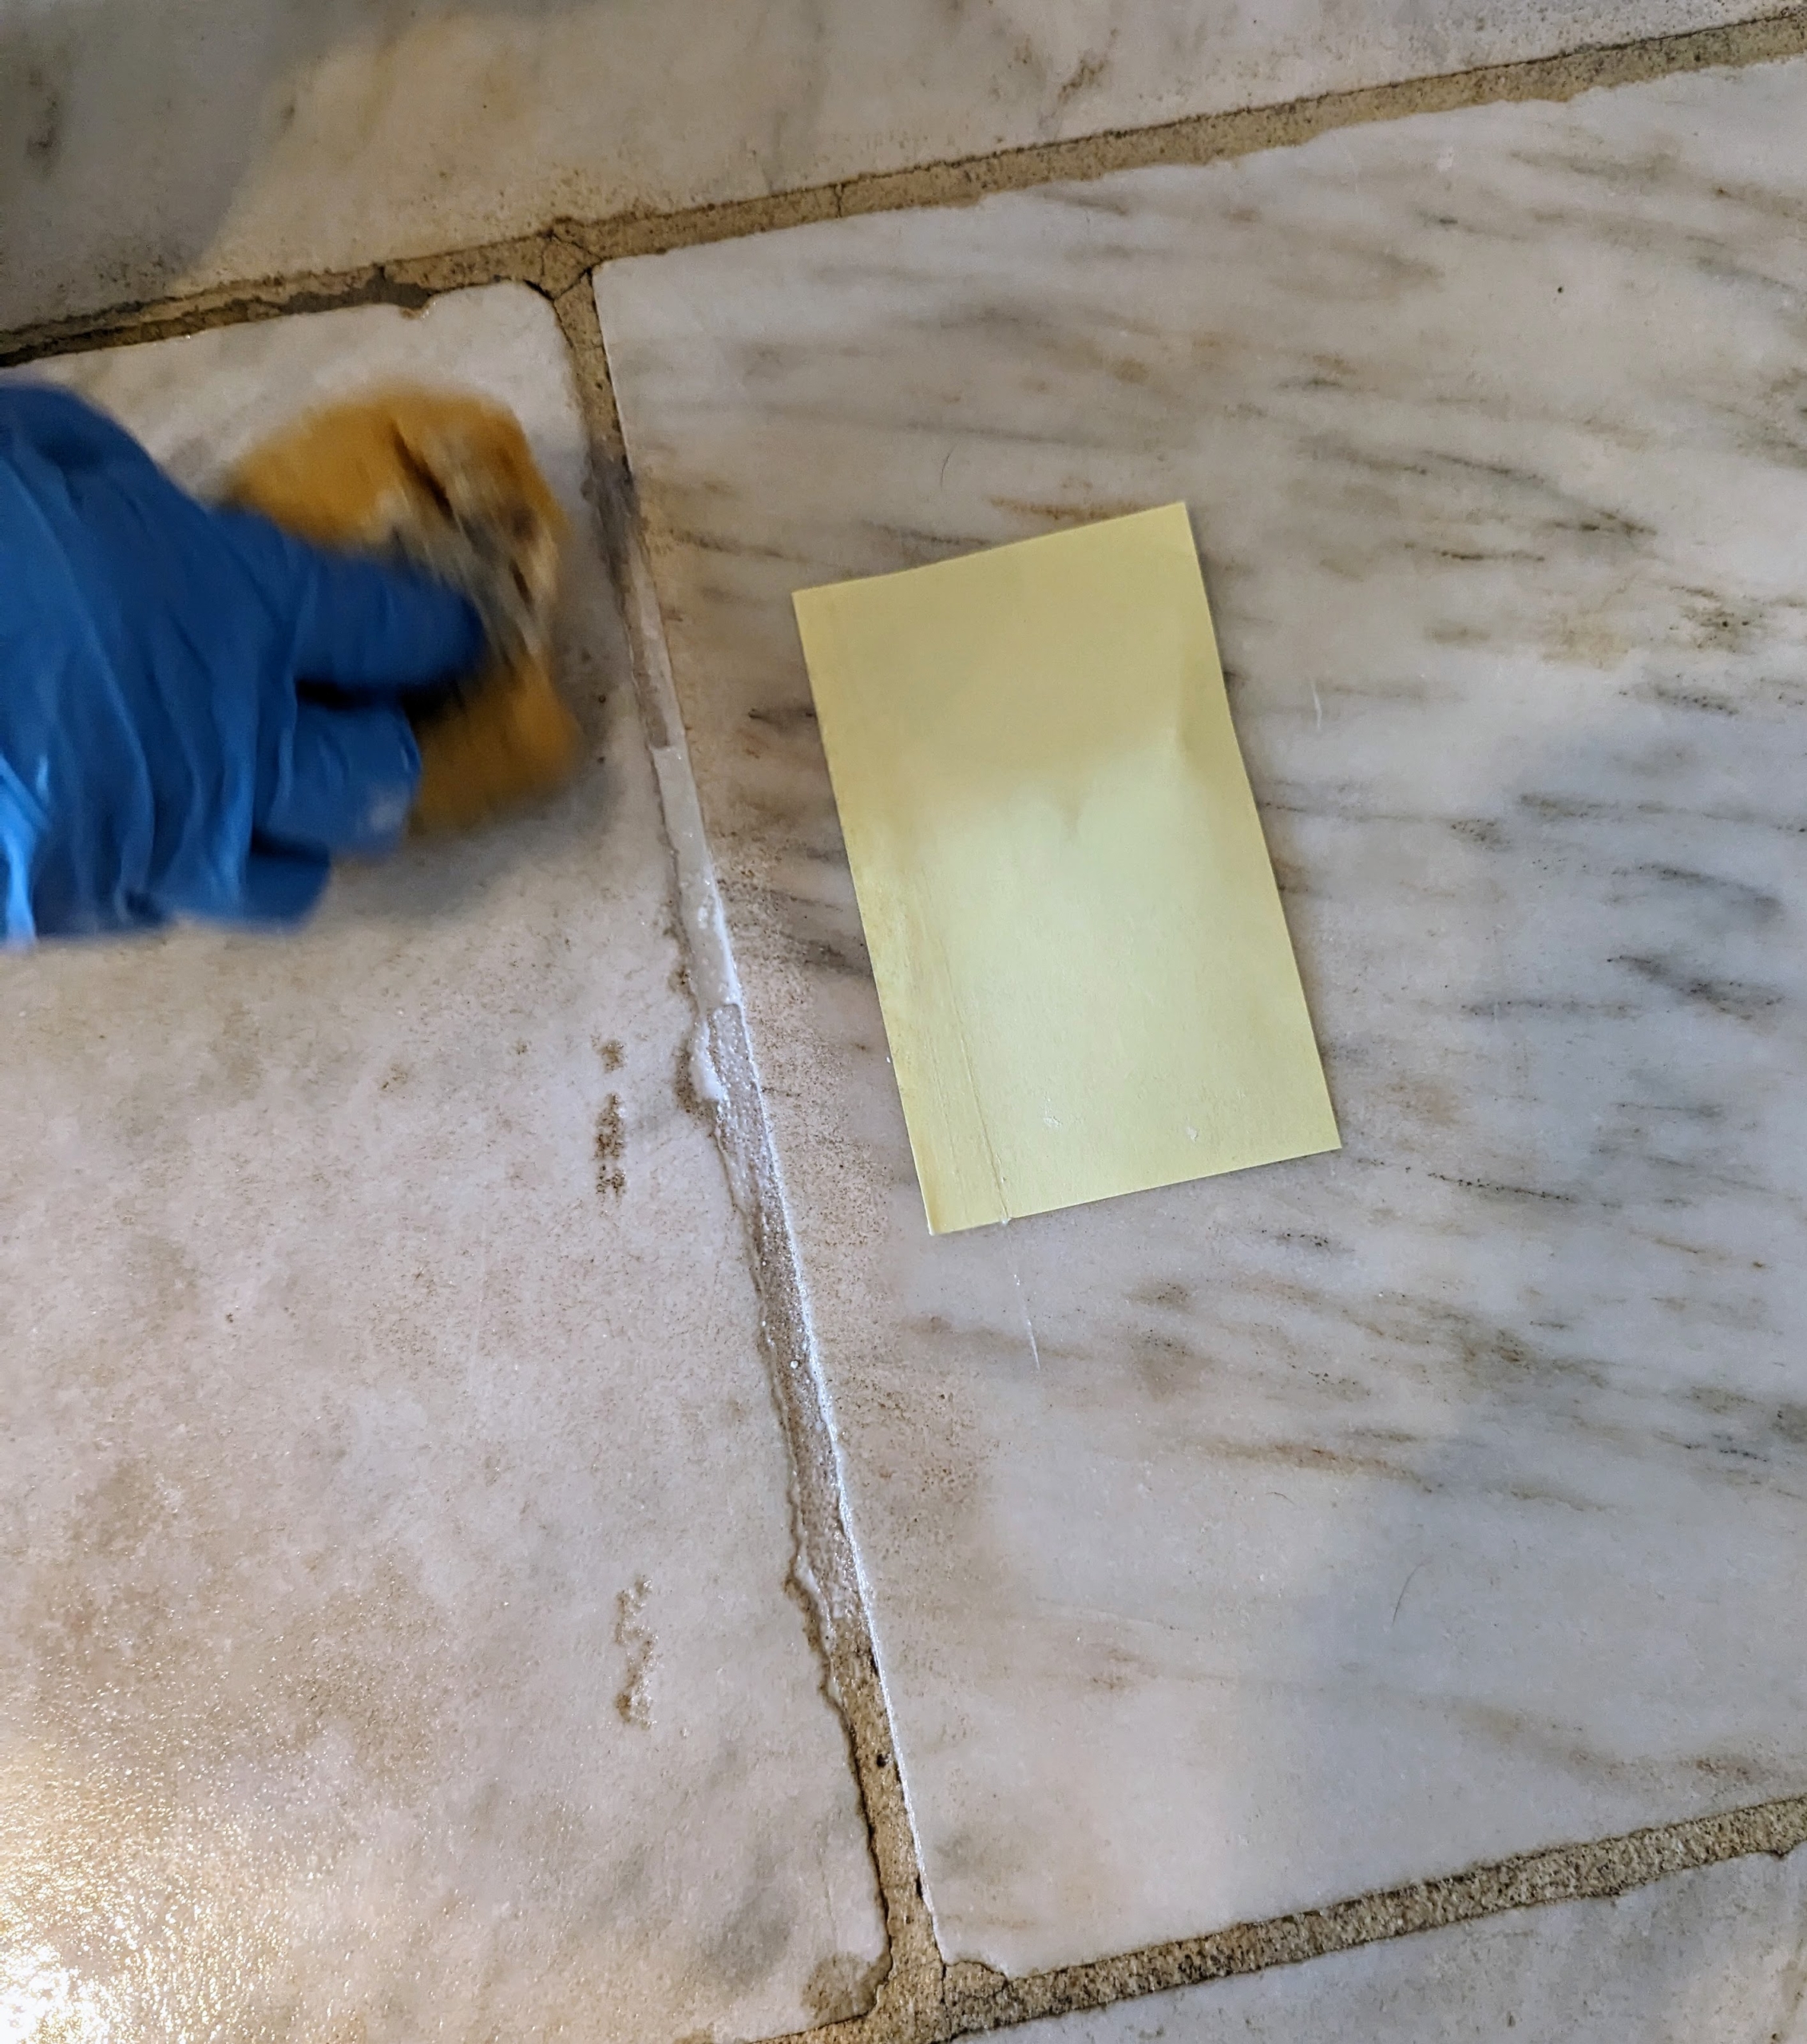
Lastly, I removed any excess grout using the sponge.
It is also important to use protective gloves, so none of the material comes in contact with skin, which could cause irritations.
The material dries quickly, but each area only took a few minutes to clean, fill, and wipe. I worked in one direction, so I could make sure I caught every joint that needed repair.
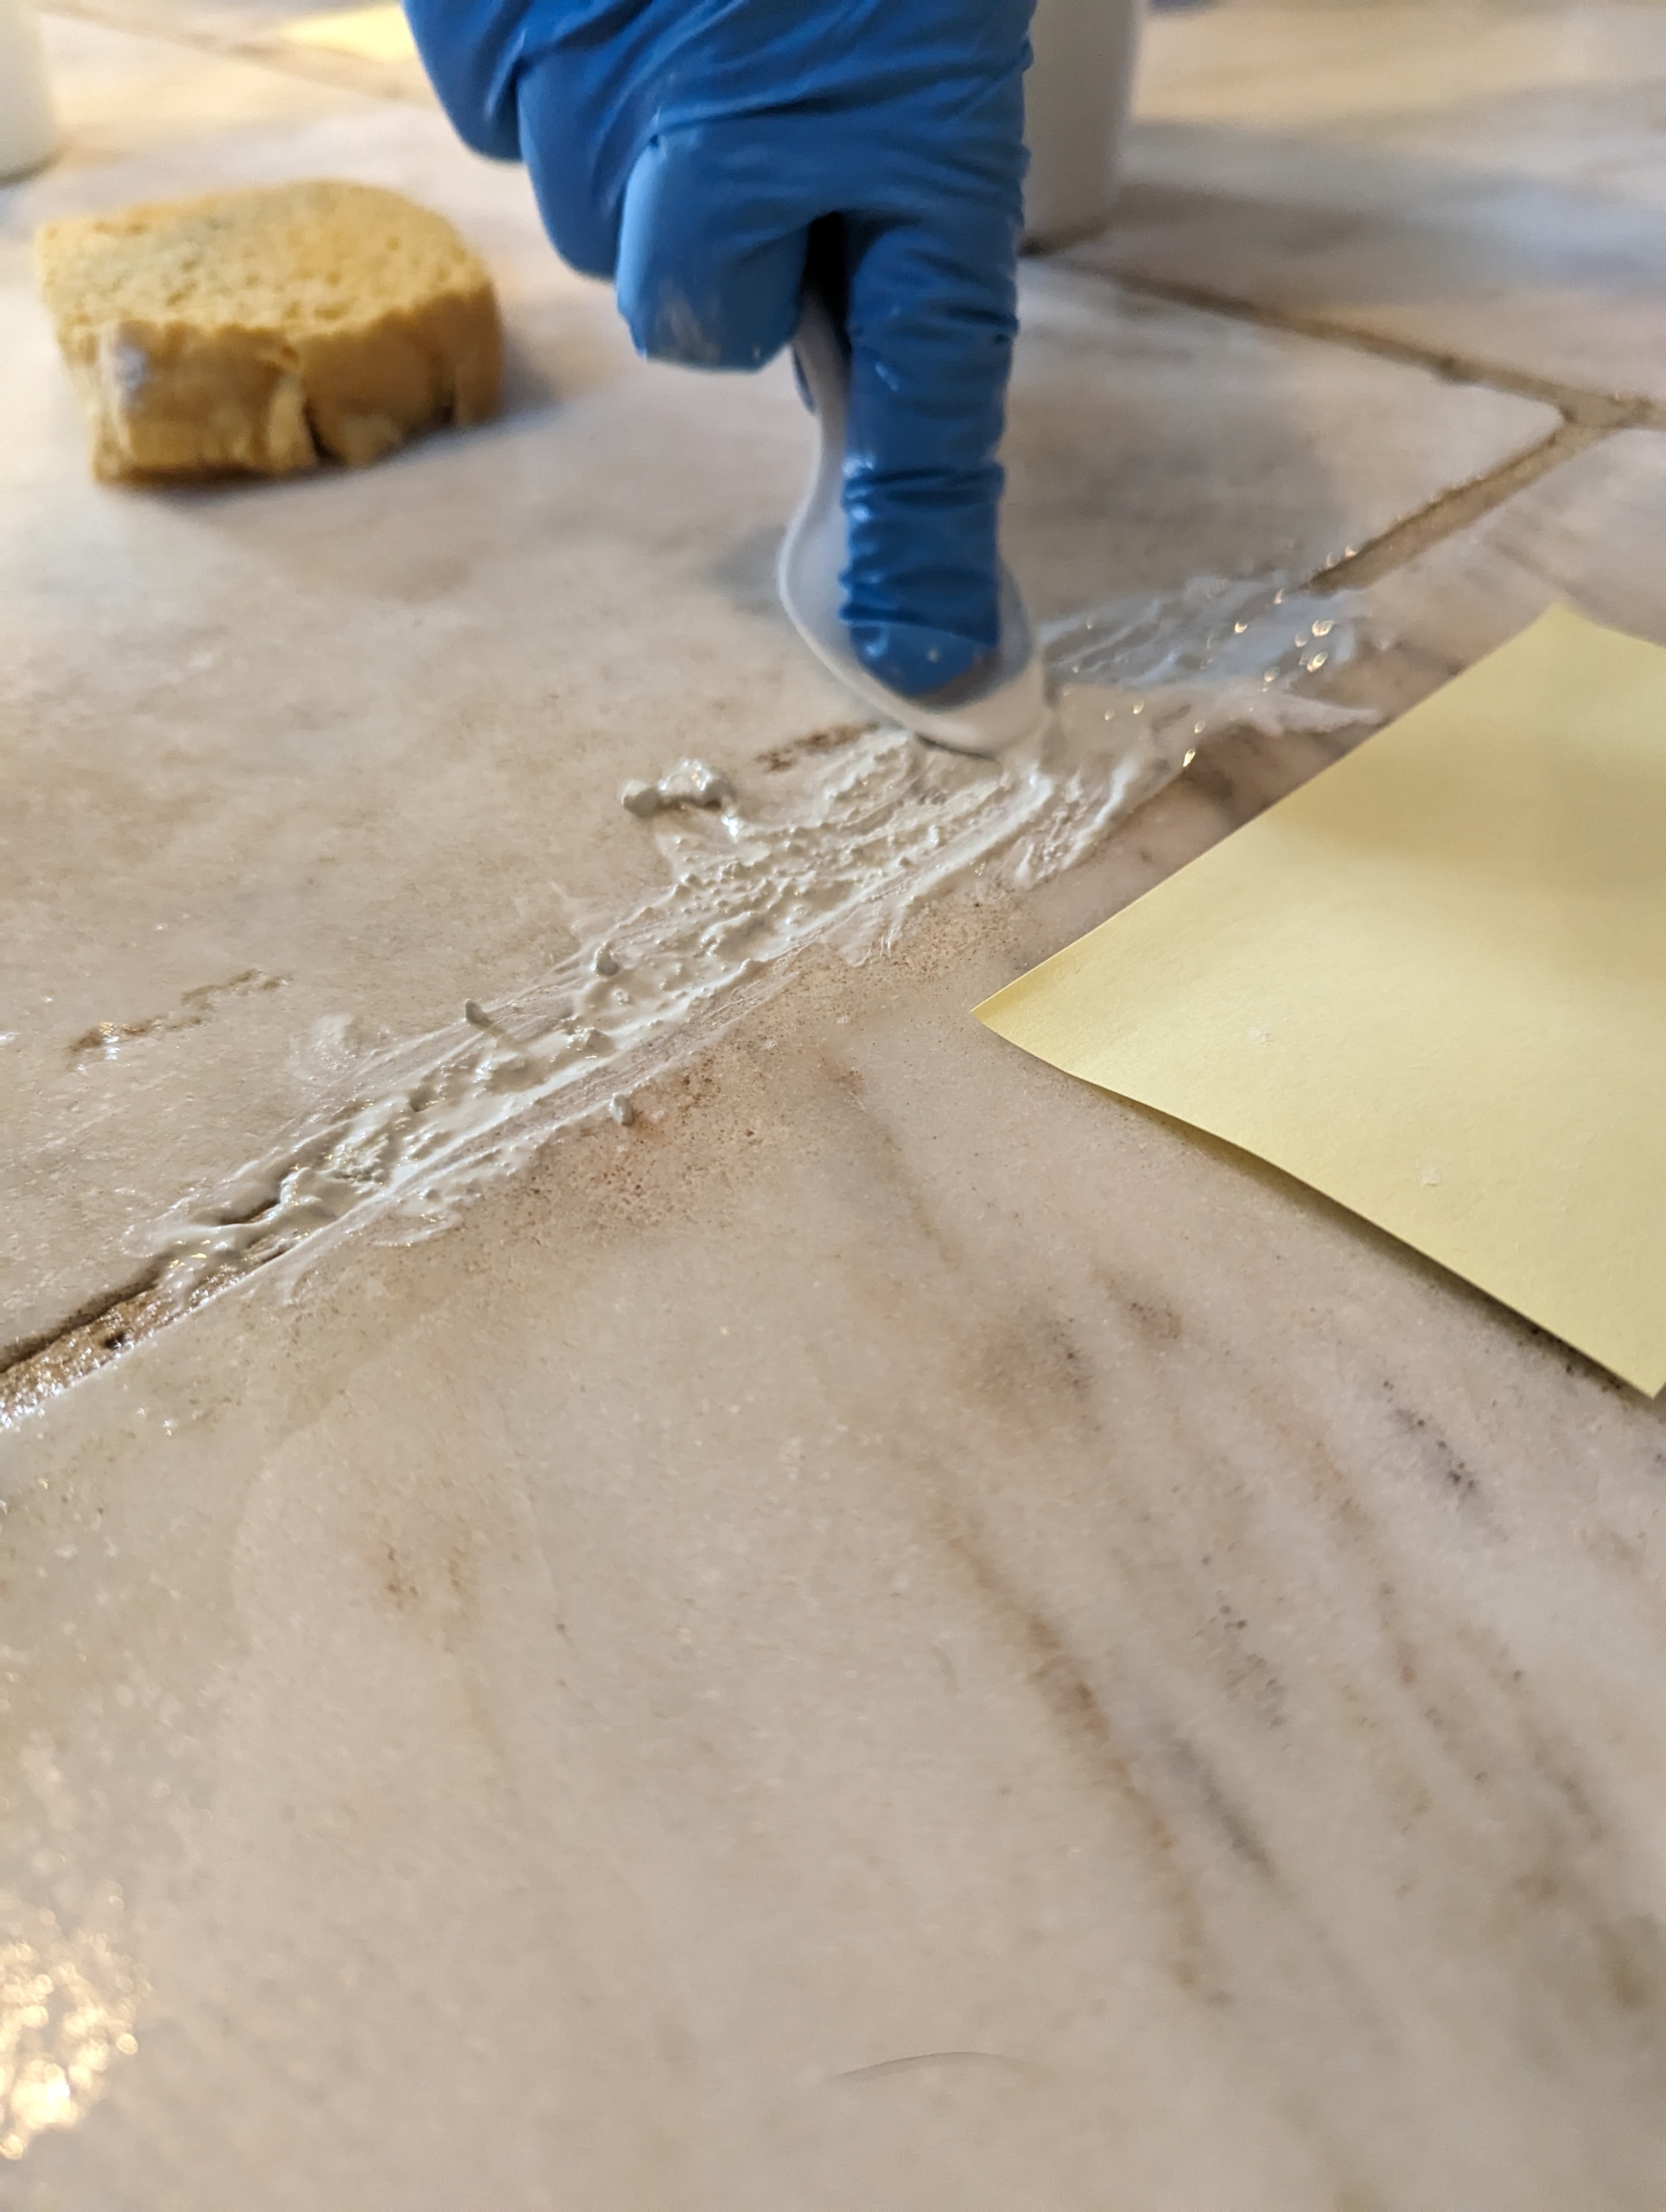
Here is another joint after it is filled with the grout.
Any excess is easily wiped away. I also removed any grout that accidentally got on the marble.
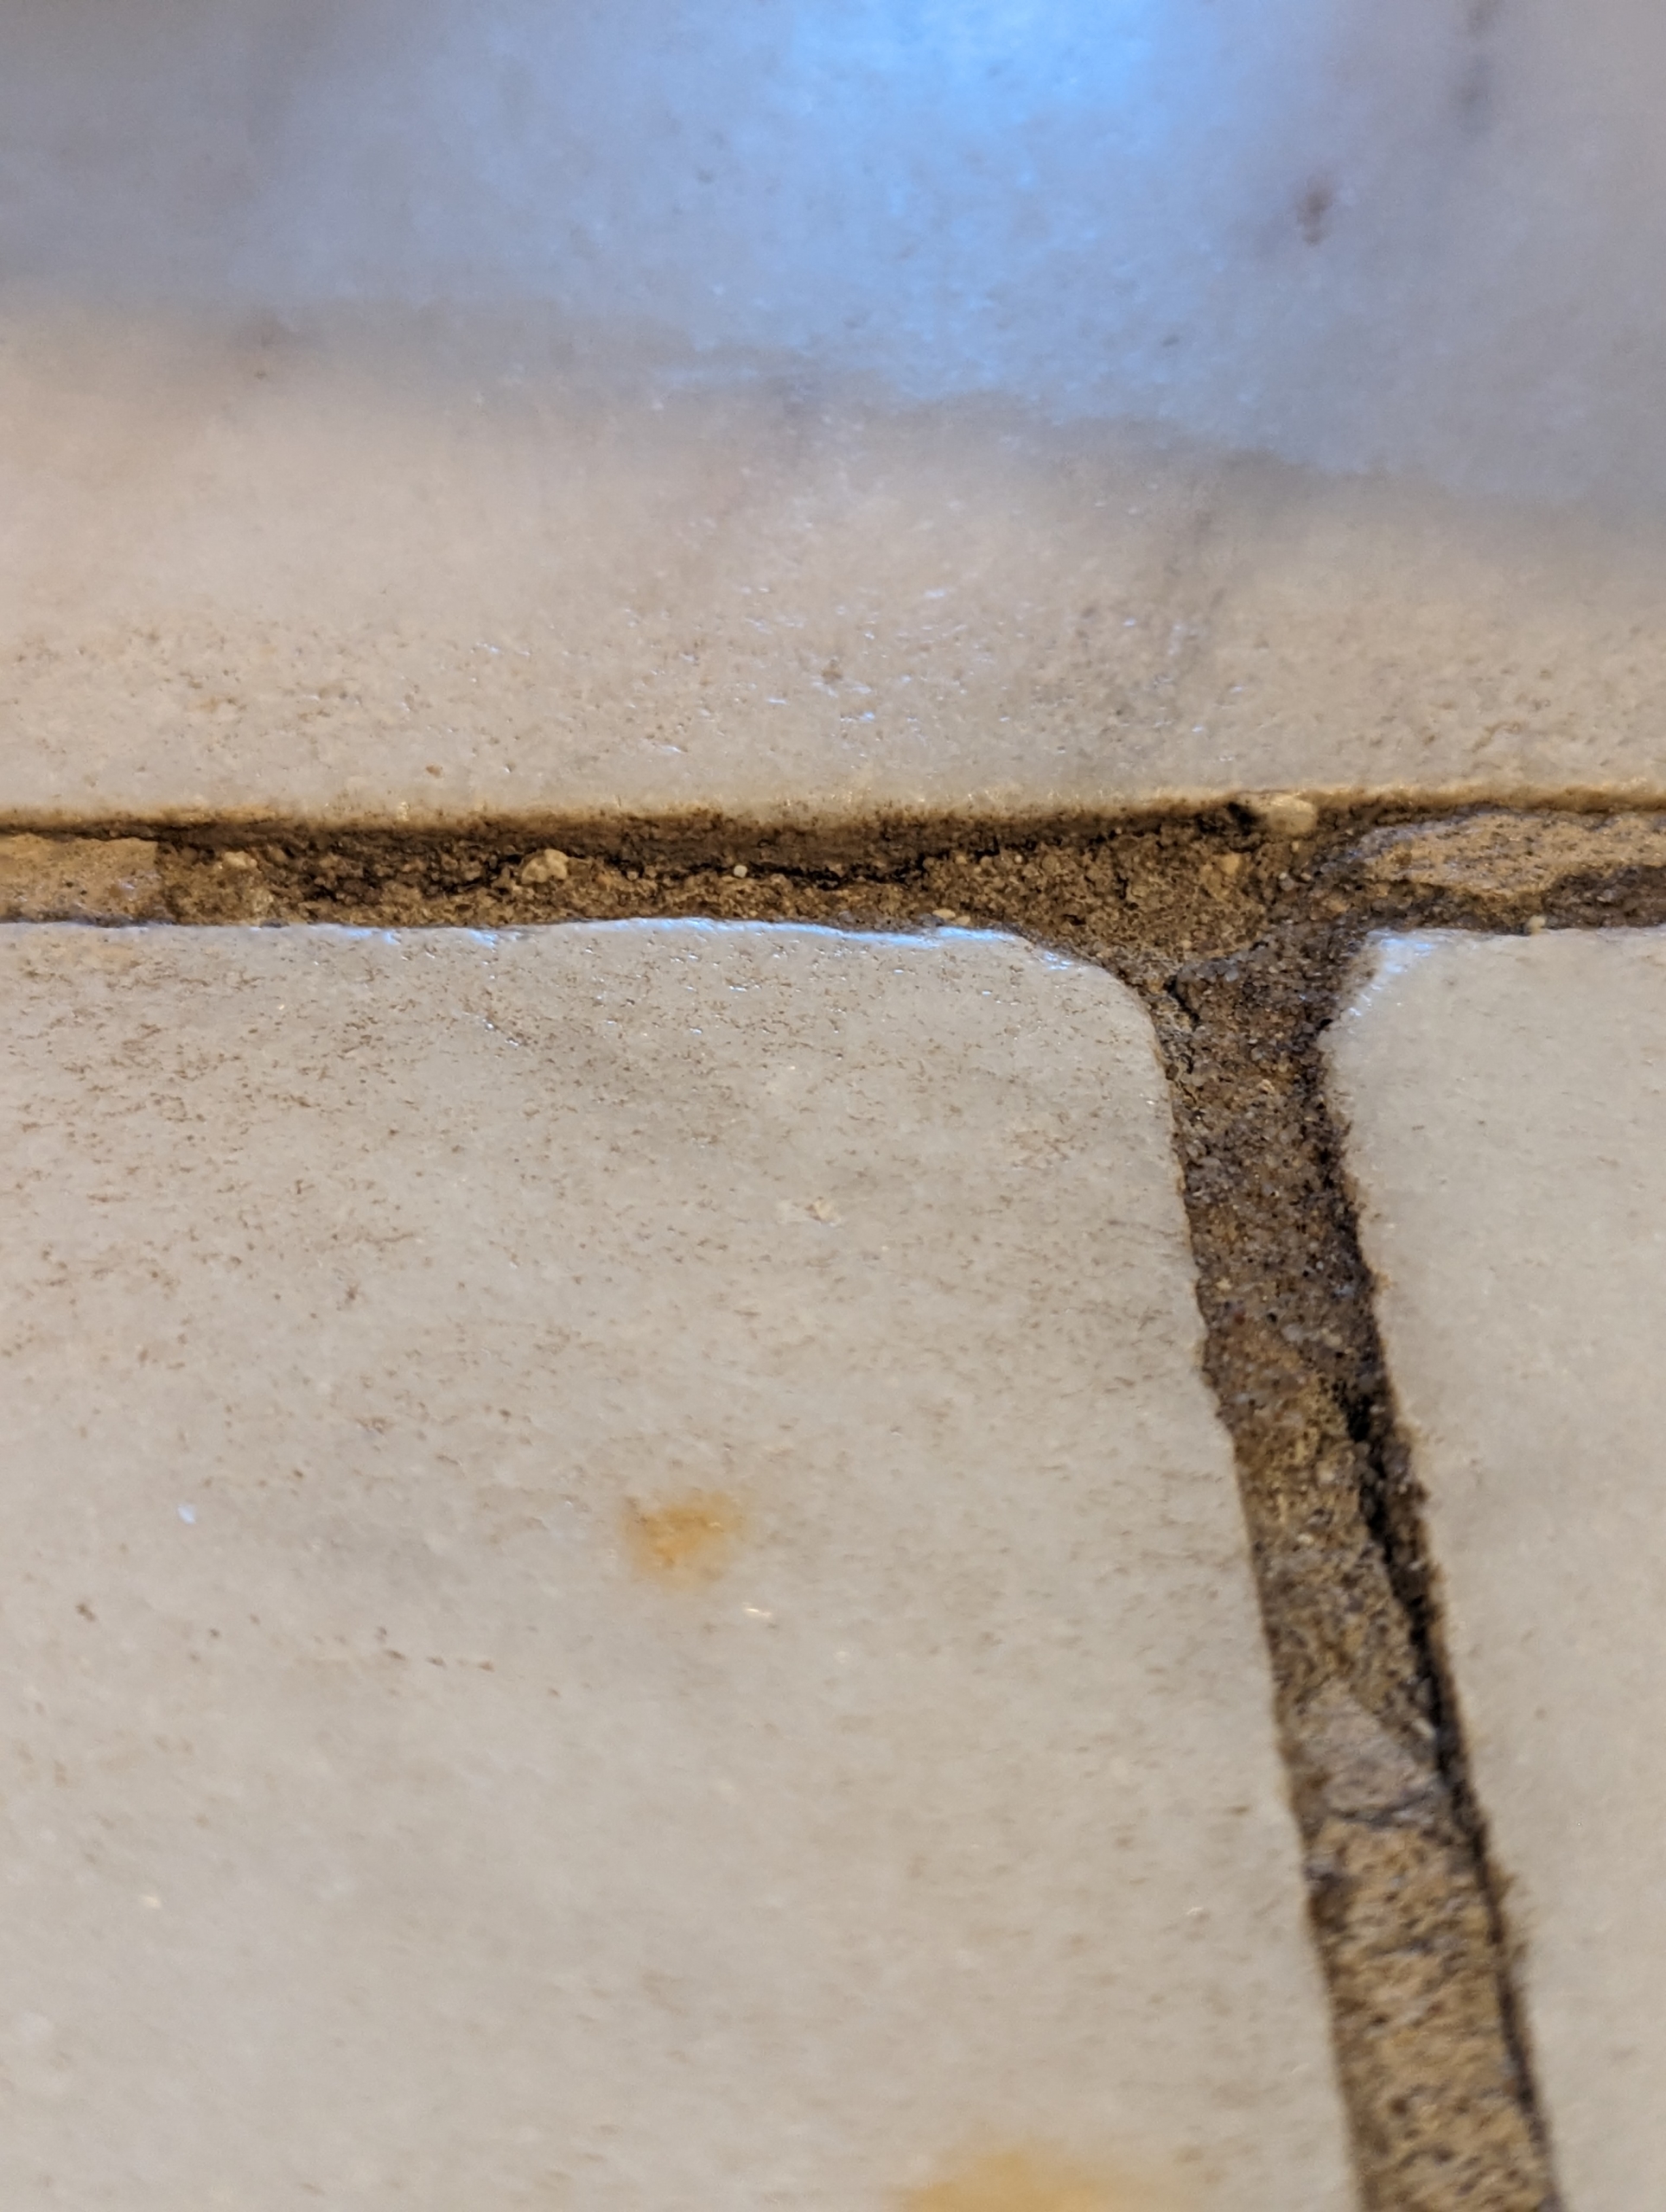
Here is a closer look at one of the joints I grouted. The color will darken over time.
One by one, I filled the cracks. I actually find it quite pleasing to do these projects.
At the door to my courtyard is a bigger repair area. Here, I used the margin trowel to fill the void with the grout mixture.
I made small batches of filler as I worked, so nothing would be wasted in the end. And don’t worry, the dogs were outside. They desperately wanted to come back in, but I didn’t want them to get any of the grout on their feet.
And in just about a half hour, I was done. All before a full day of work. I hope this inspires you to get some of those small DIY projects around your home finished and checked off the everlasting “to-do” list.
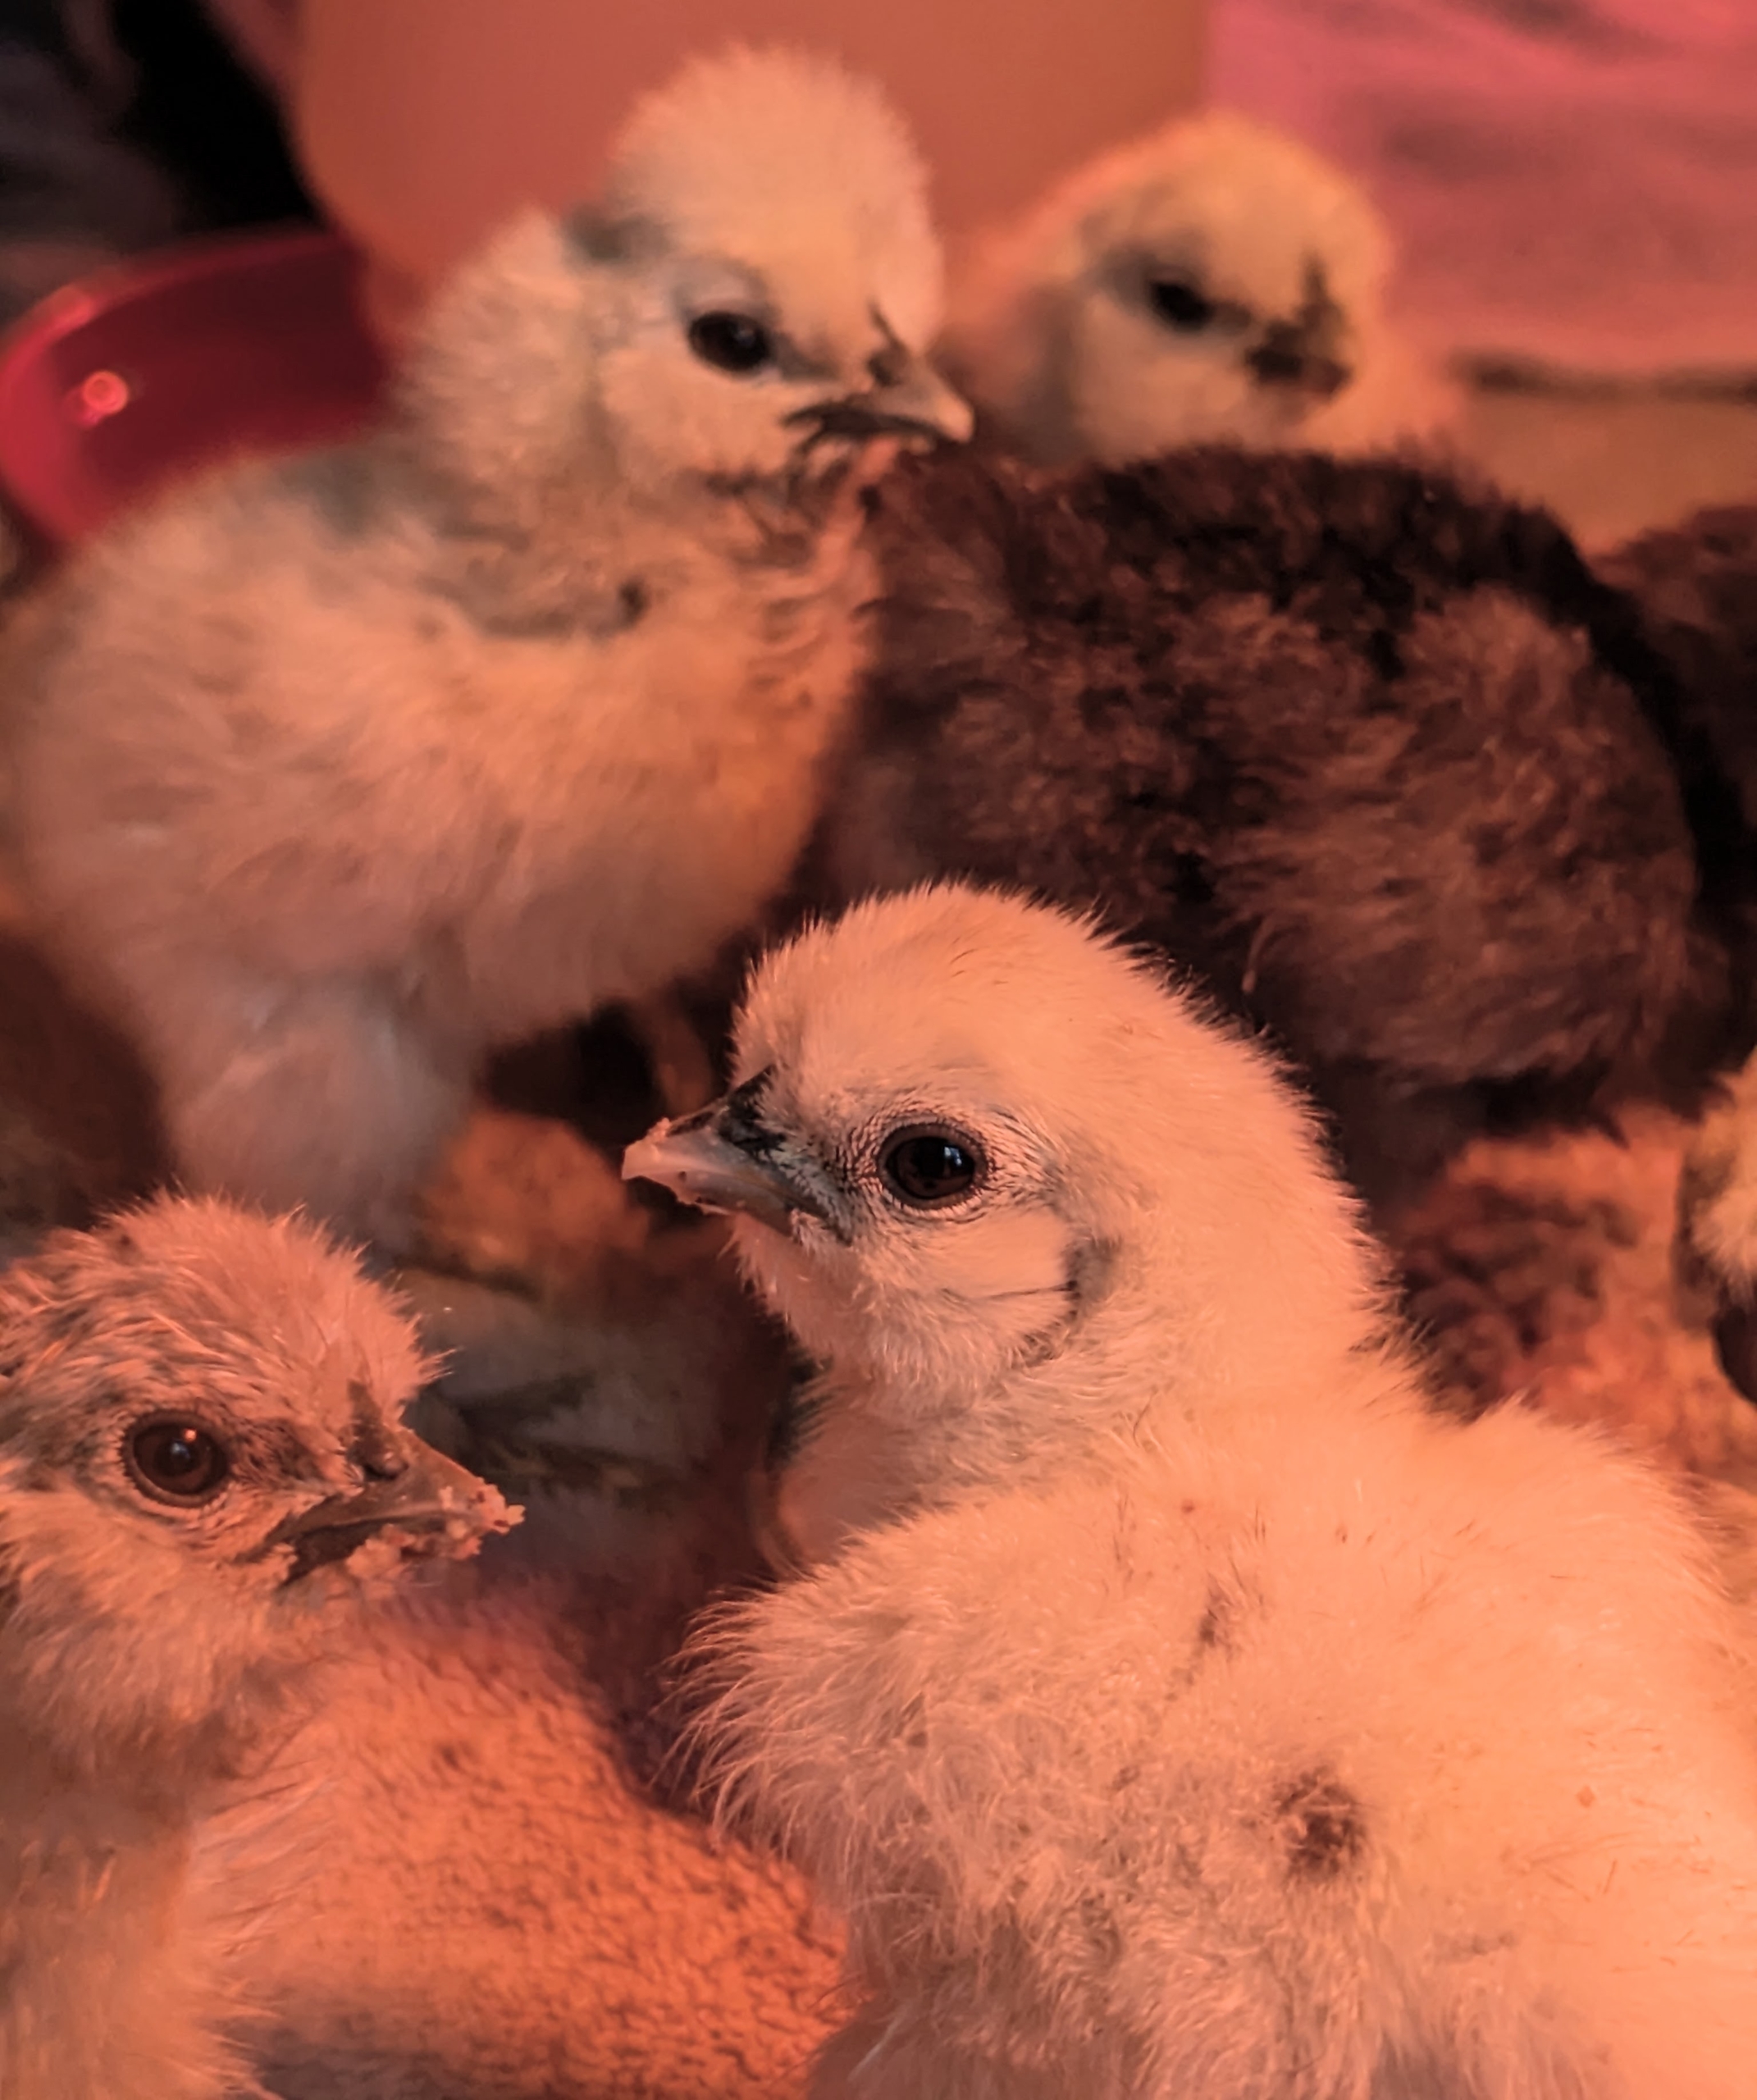
It’s always so exciting when we have babies at my farm - this time, cute, fluffy, little chicks.
Last month, I attended the 2024 Northeastern Poultry Congress - a poultry show held every year in Springfield, Massachusetts. The event features more than 2500 birds, including large fowl, waterfowl, turkeys, pigeons, Guineas, and of course, a variety of wonderful breed chickens. I brought eggs home with me to hatch - and so far, we have 15 healthy Silkie peeps that are nothing short of adorable.
Enjoy these photos.
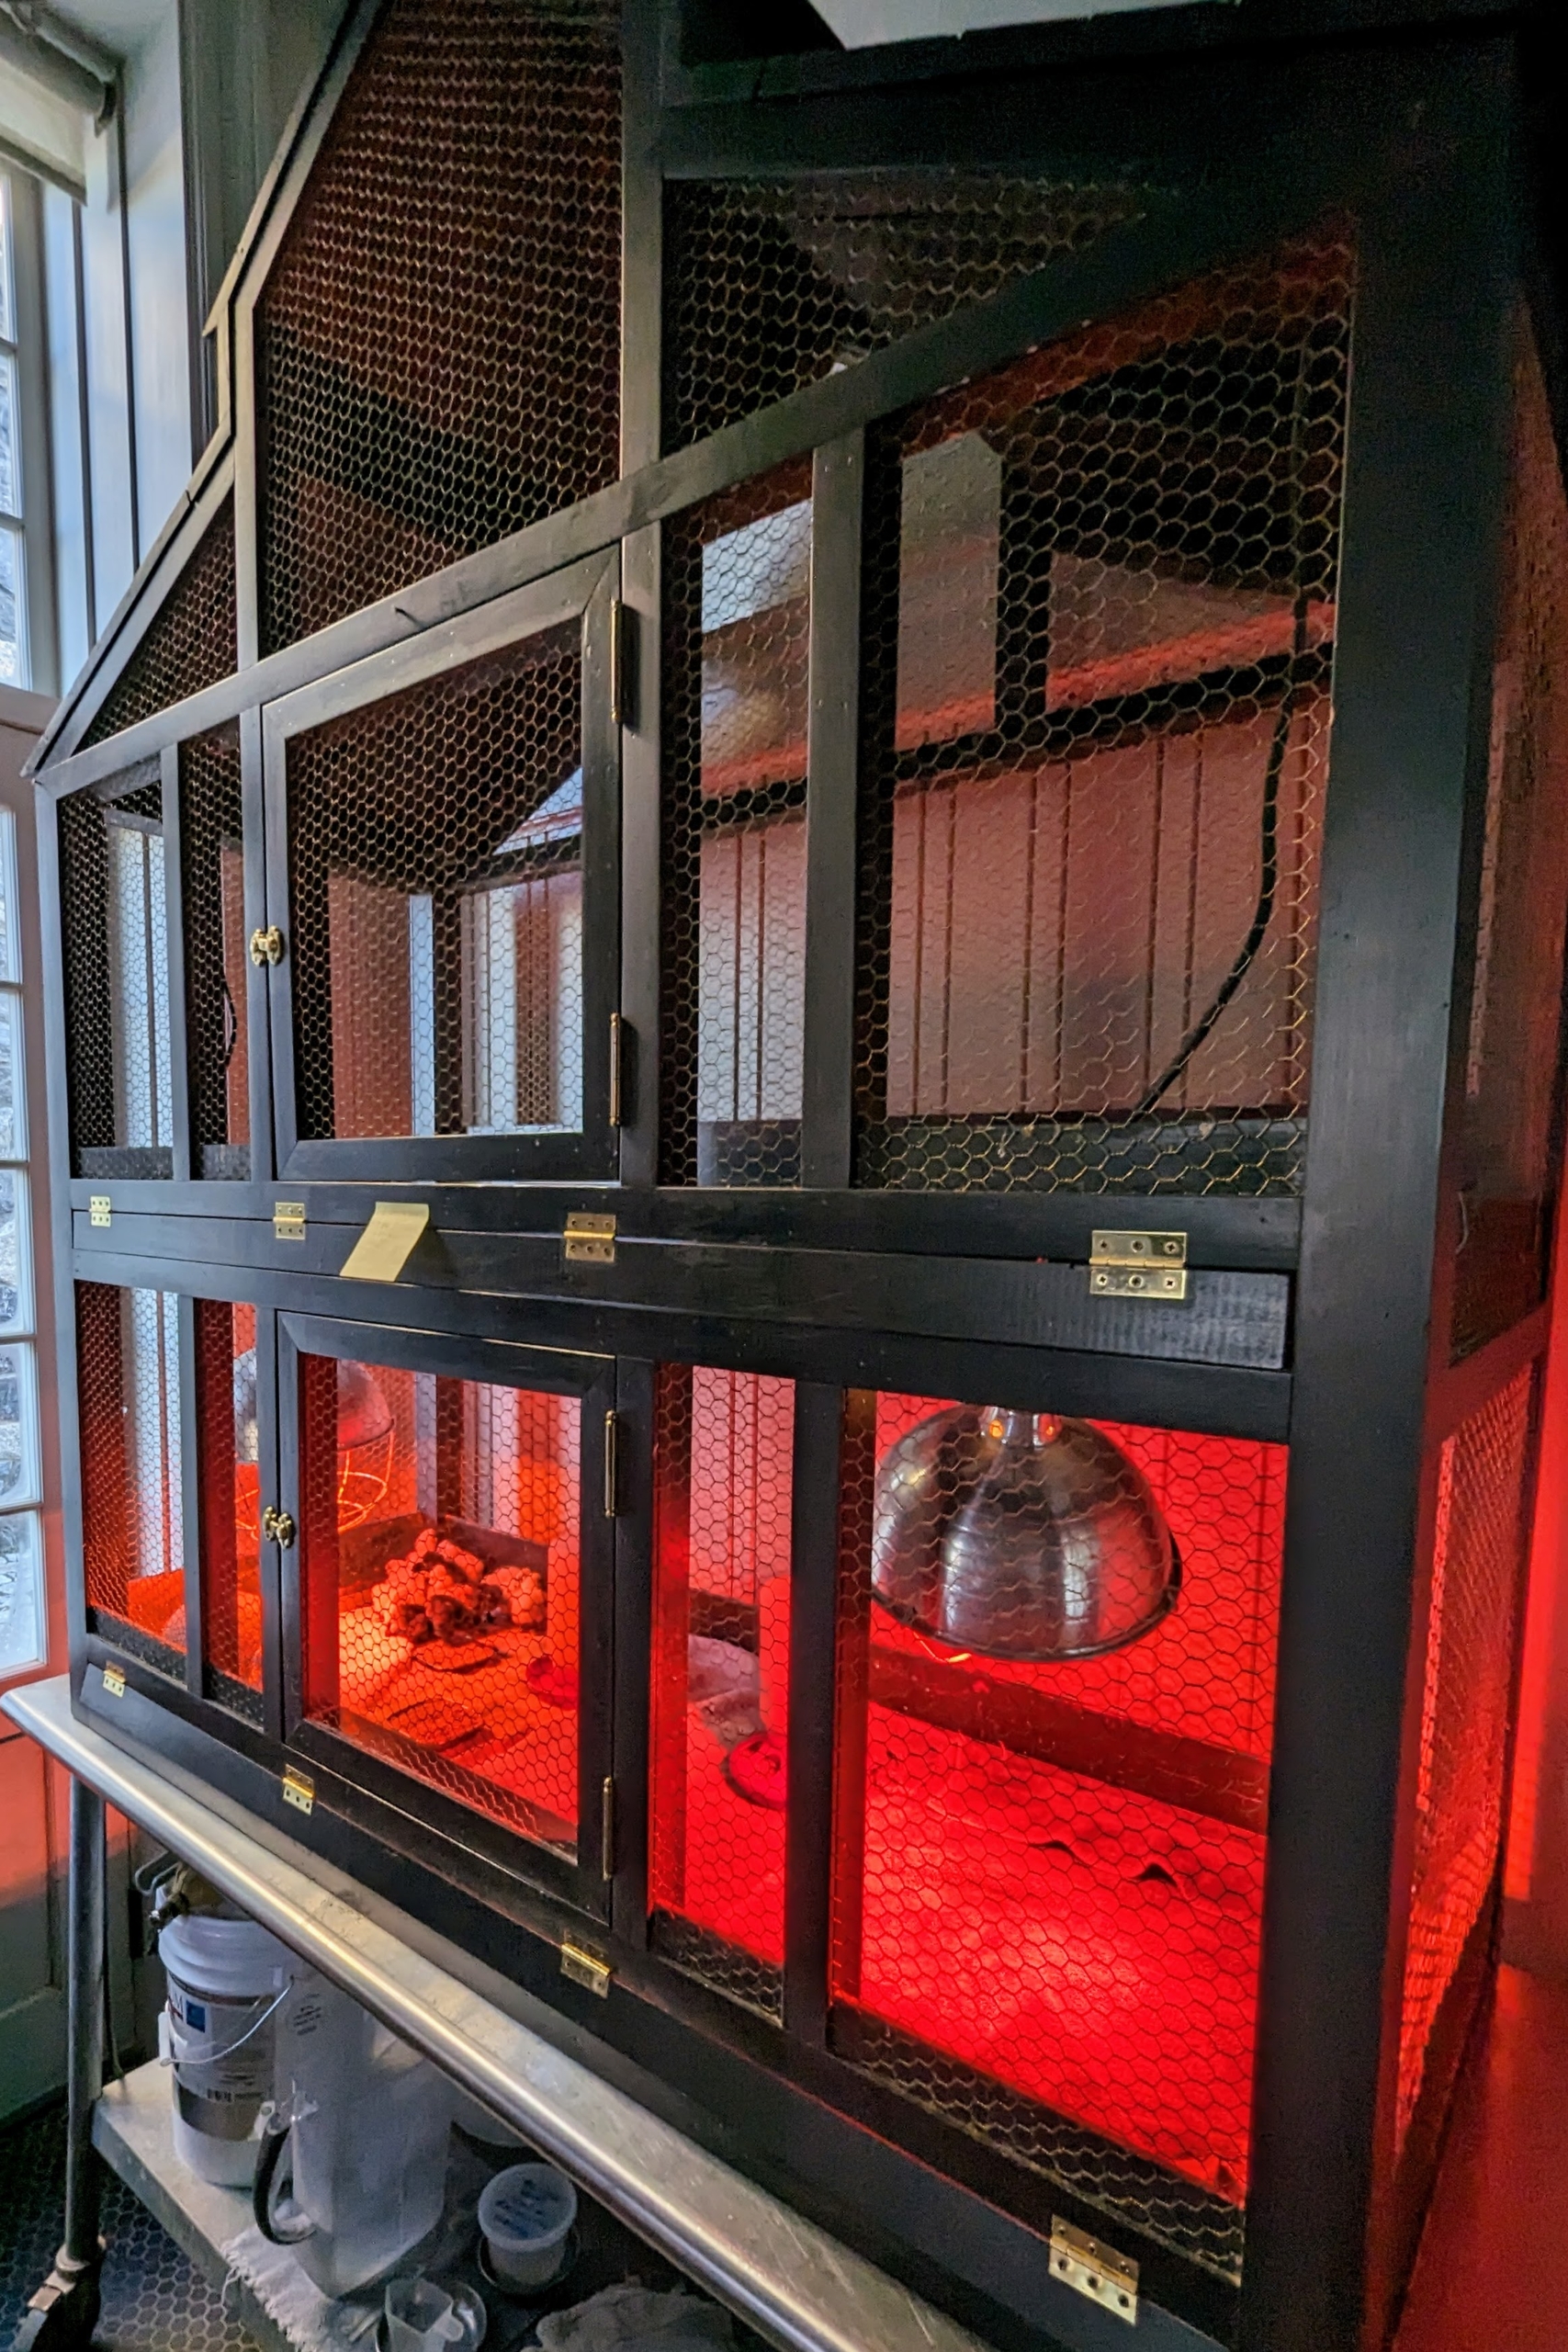
We set up our incubating and hatching equipment down in my Stable feed room. It is all from GQF Manufacturing, Inc. in Savannah, Georgia – a company that specializes in game bird and poultry supplies. There are several crucial conditions needed for proper embryo development in all birds. These factors include: proper temperature, controlled humidity, and sufficient air circulation.
When the eggs arrive, they are placed into the incubator where they are safe from other birds and closely monitored until they hatch. Chicken eggs take 21-days. While the eggs incubate, they are automatically turned once a day, 45-degrees each way, back and forth during this period.
From days 17 to 21, they’re placed into this hatching cabinet, where it is still very warm. Eggs are placed in divided sections, where they are safe and cannot roll during the hatching process. Here is the first peep to hatch. The chicks remain here until they can walk and their down is dry.
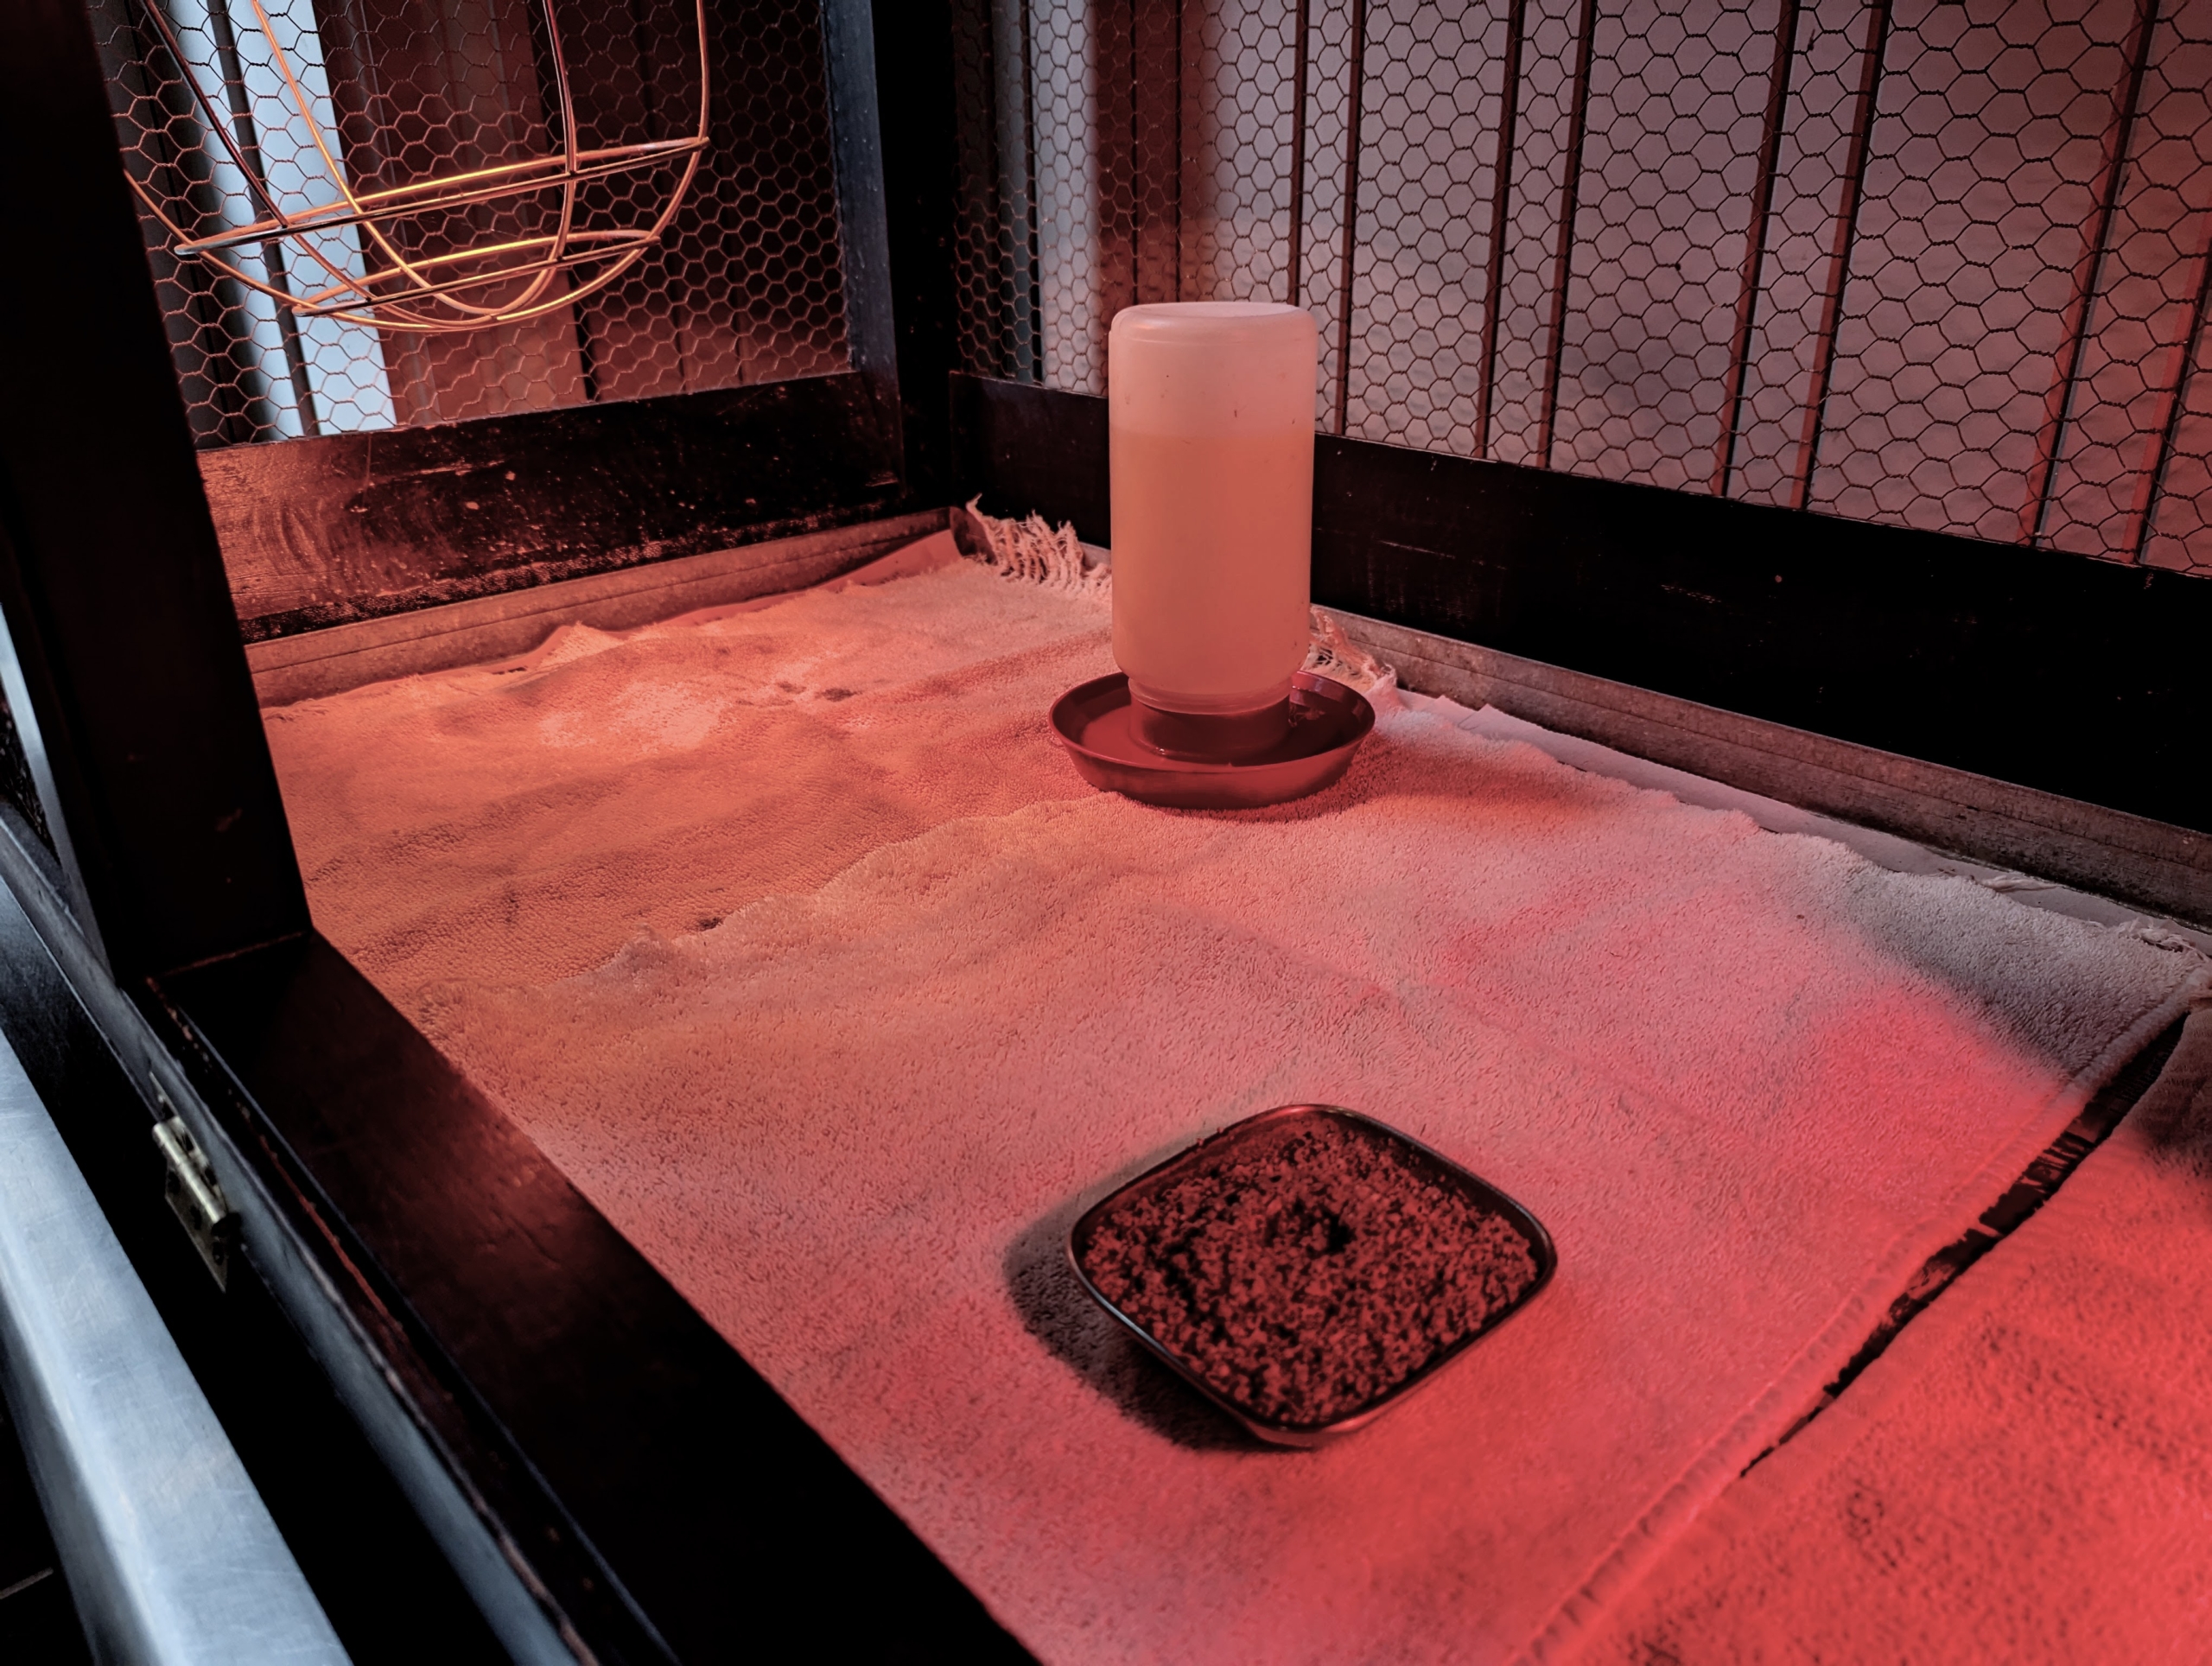
Once stable, the chicks are moved into this cage in the same room where they are checked often. Towels are placed on the floor of the cage for good footing.
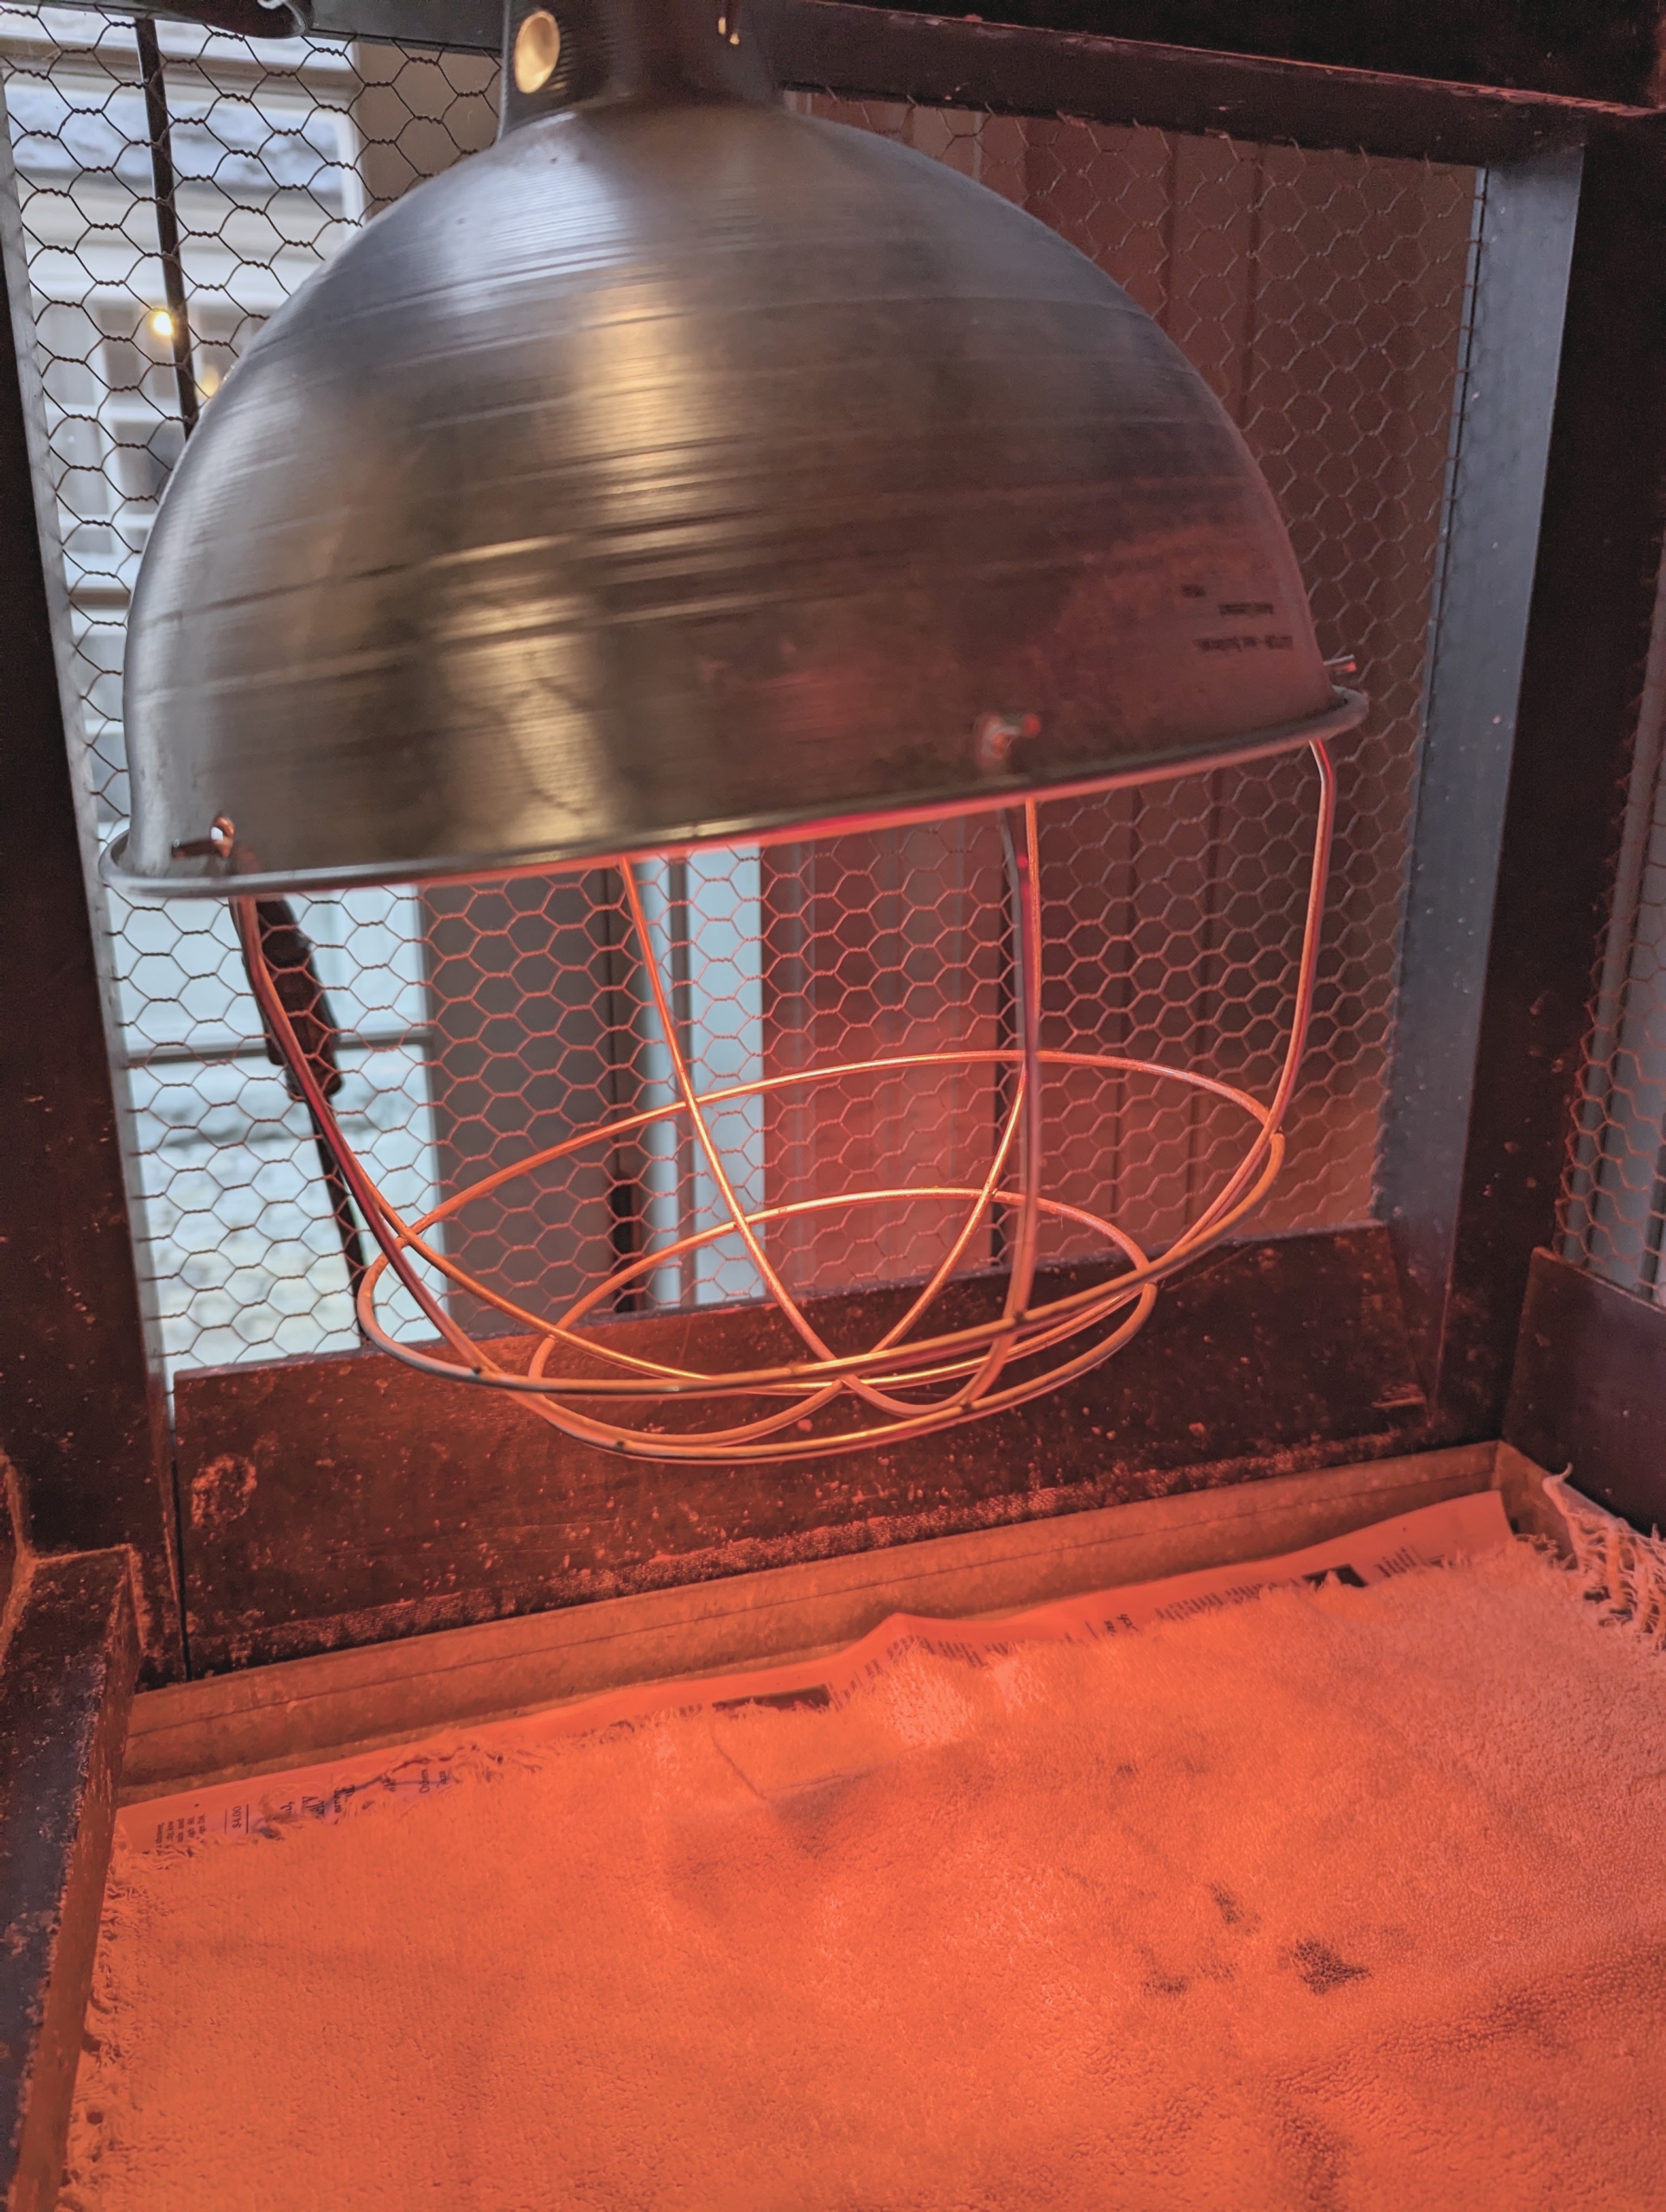
This is a hat lamp, which keeps the chicks warm – it is very important.
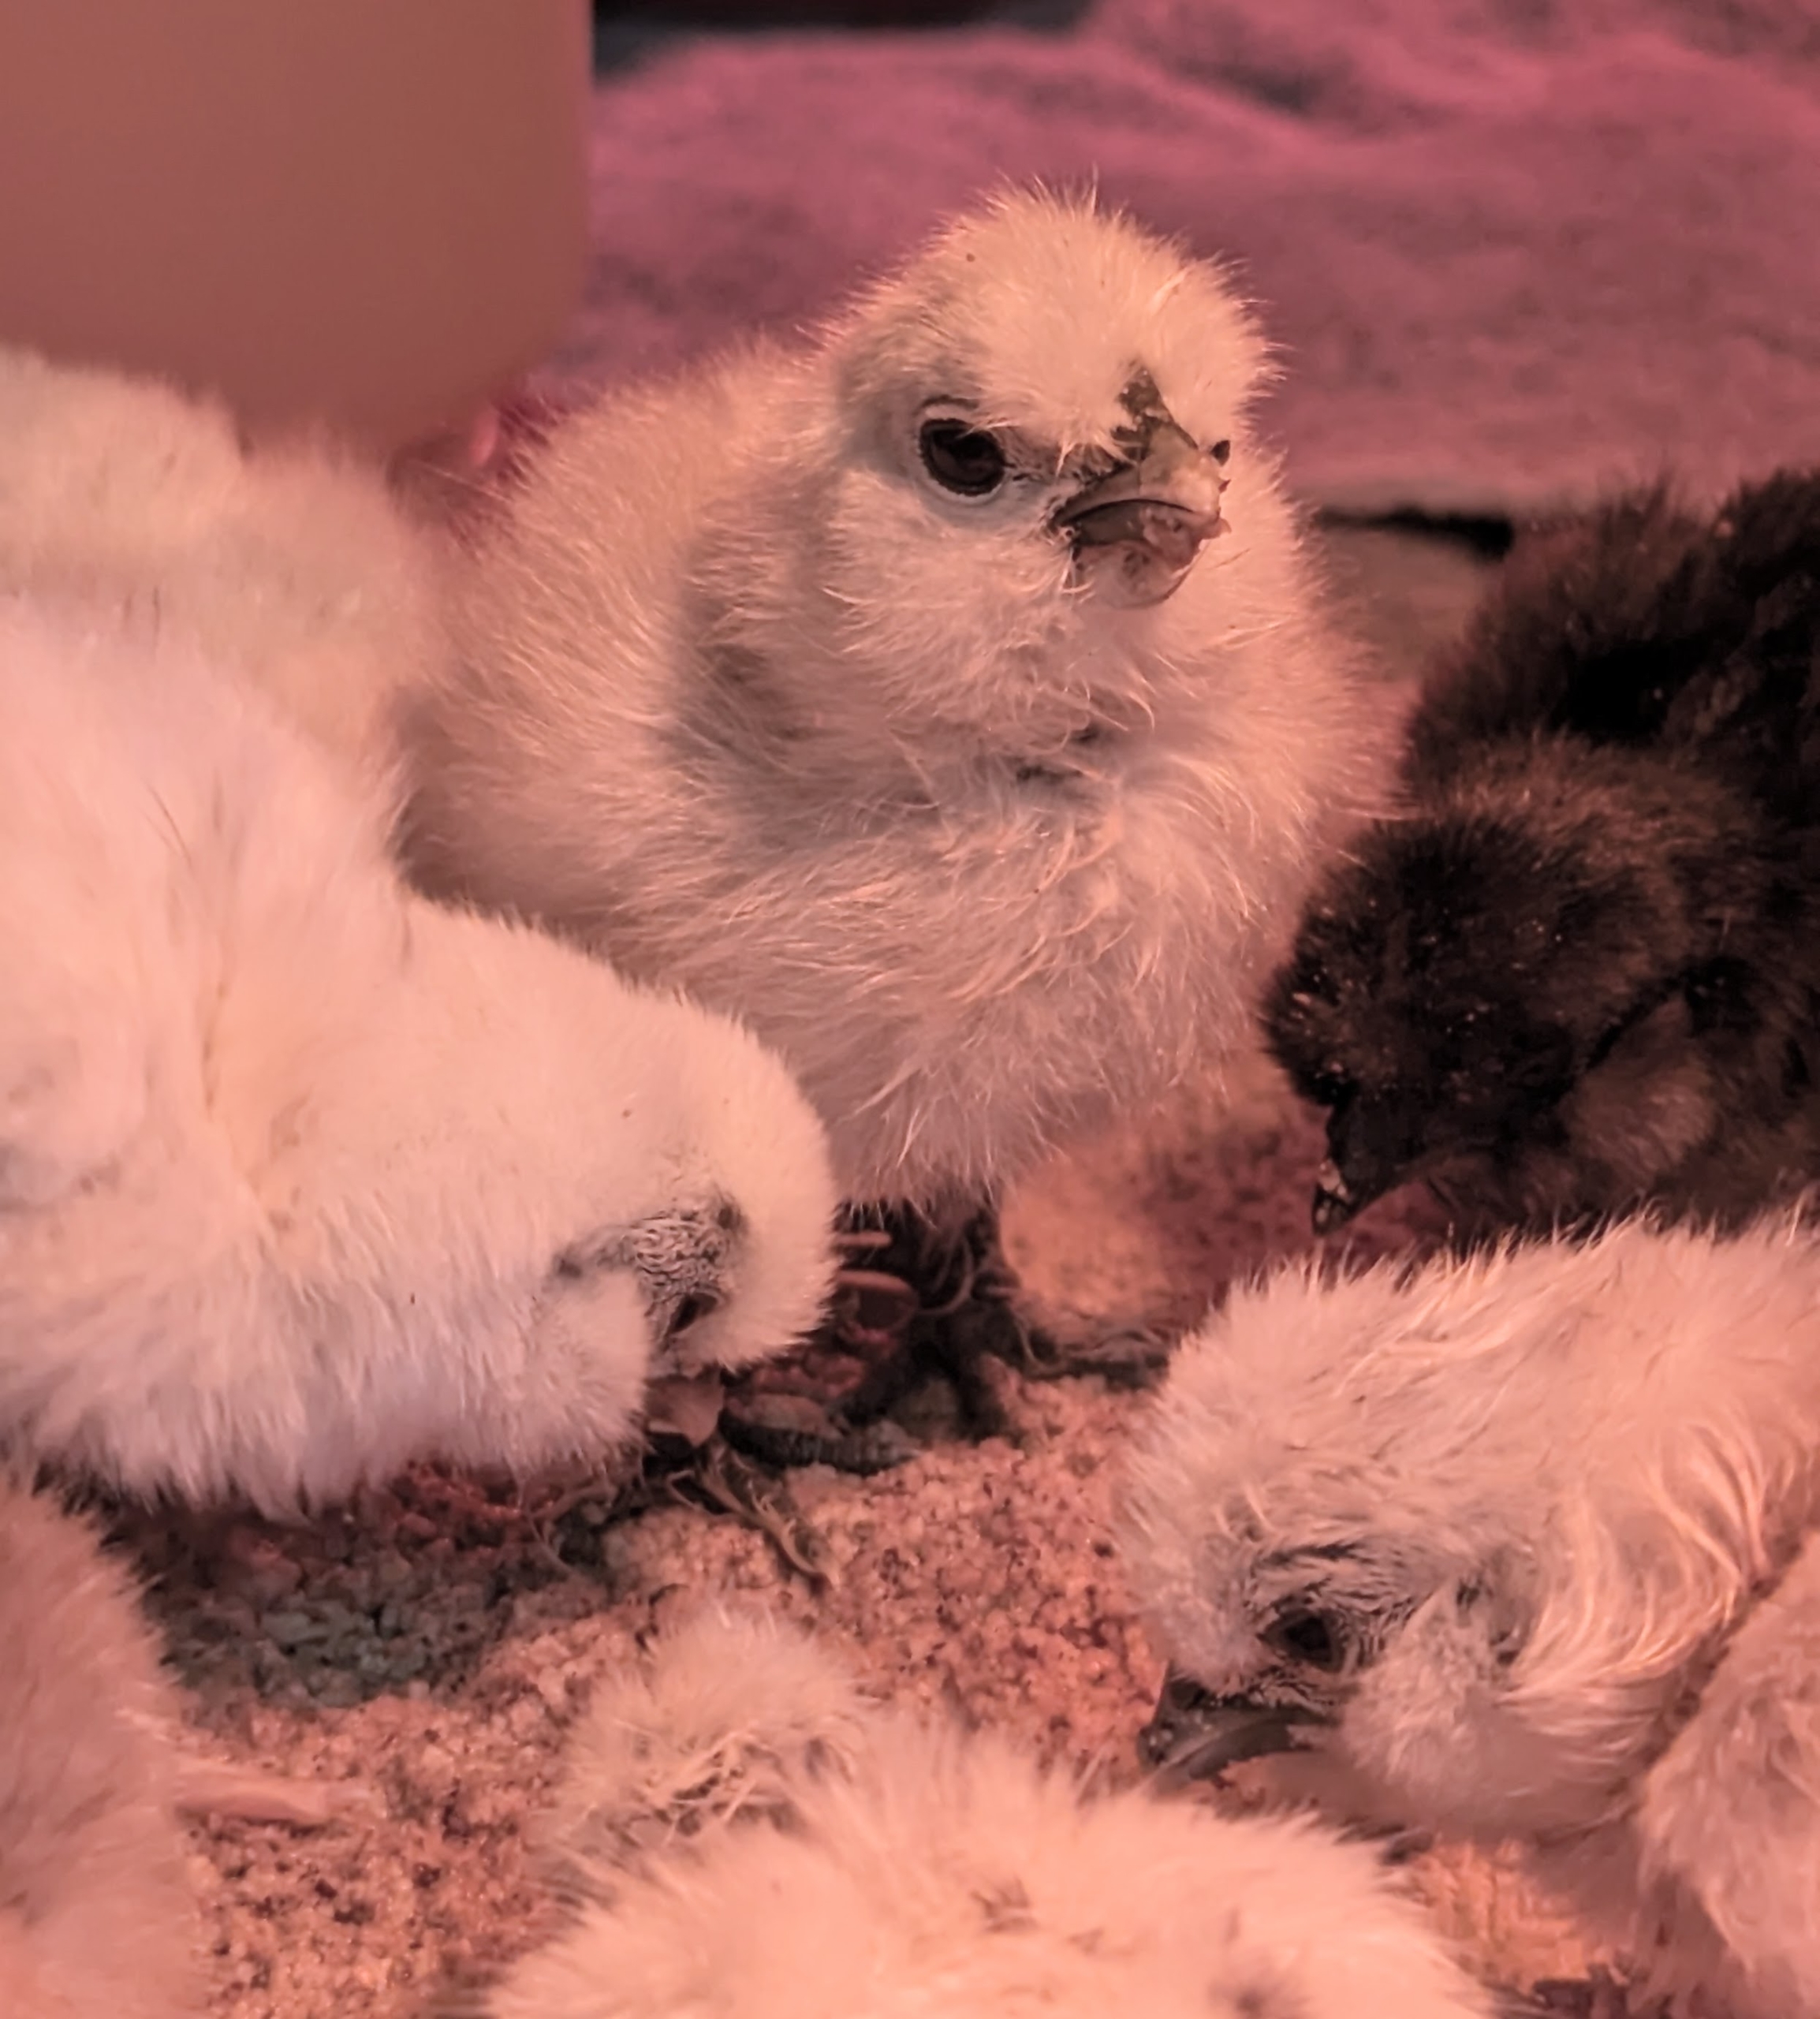
Over the weekend, the cage was full of adorable chirping chicks. The heat lamp, which has a red bulb is on. The red color of this bulb helps deter chicks from picking at one another and also makes it easier for them to sleep.
We always keep a record of when they hatch and are moved into the cage.
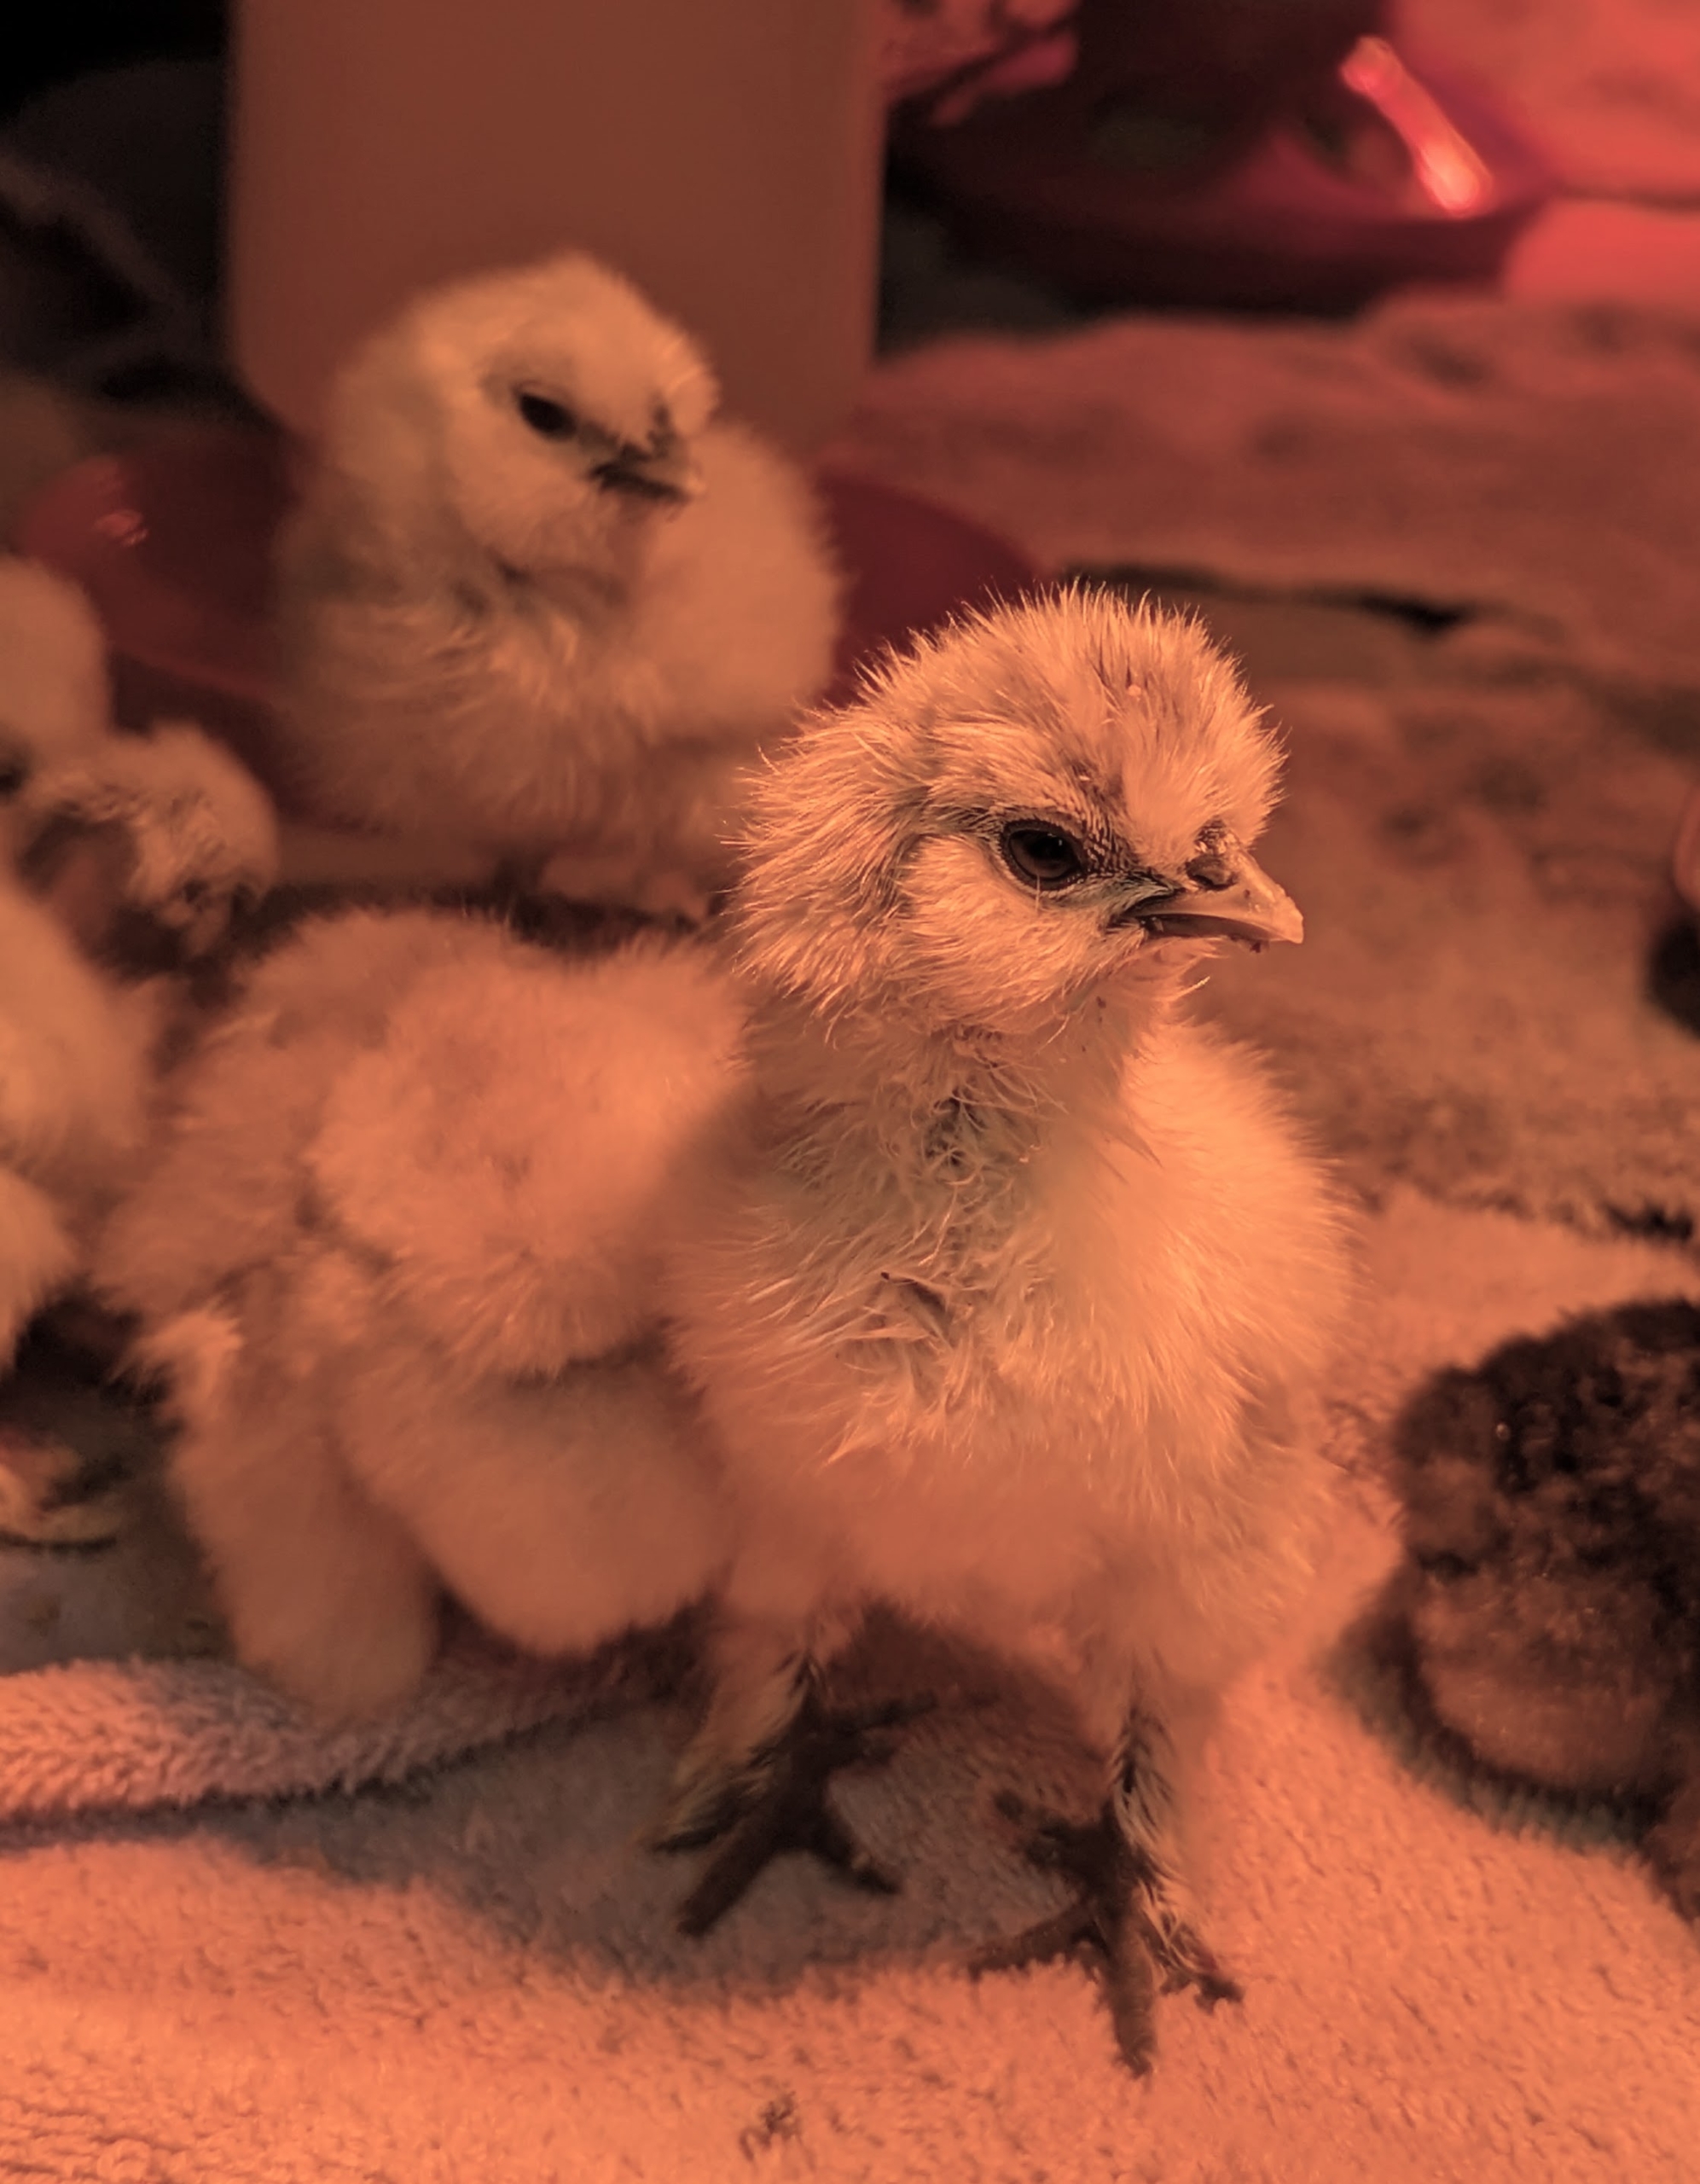
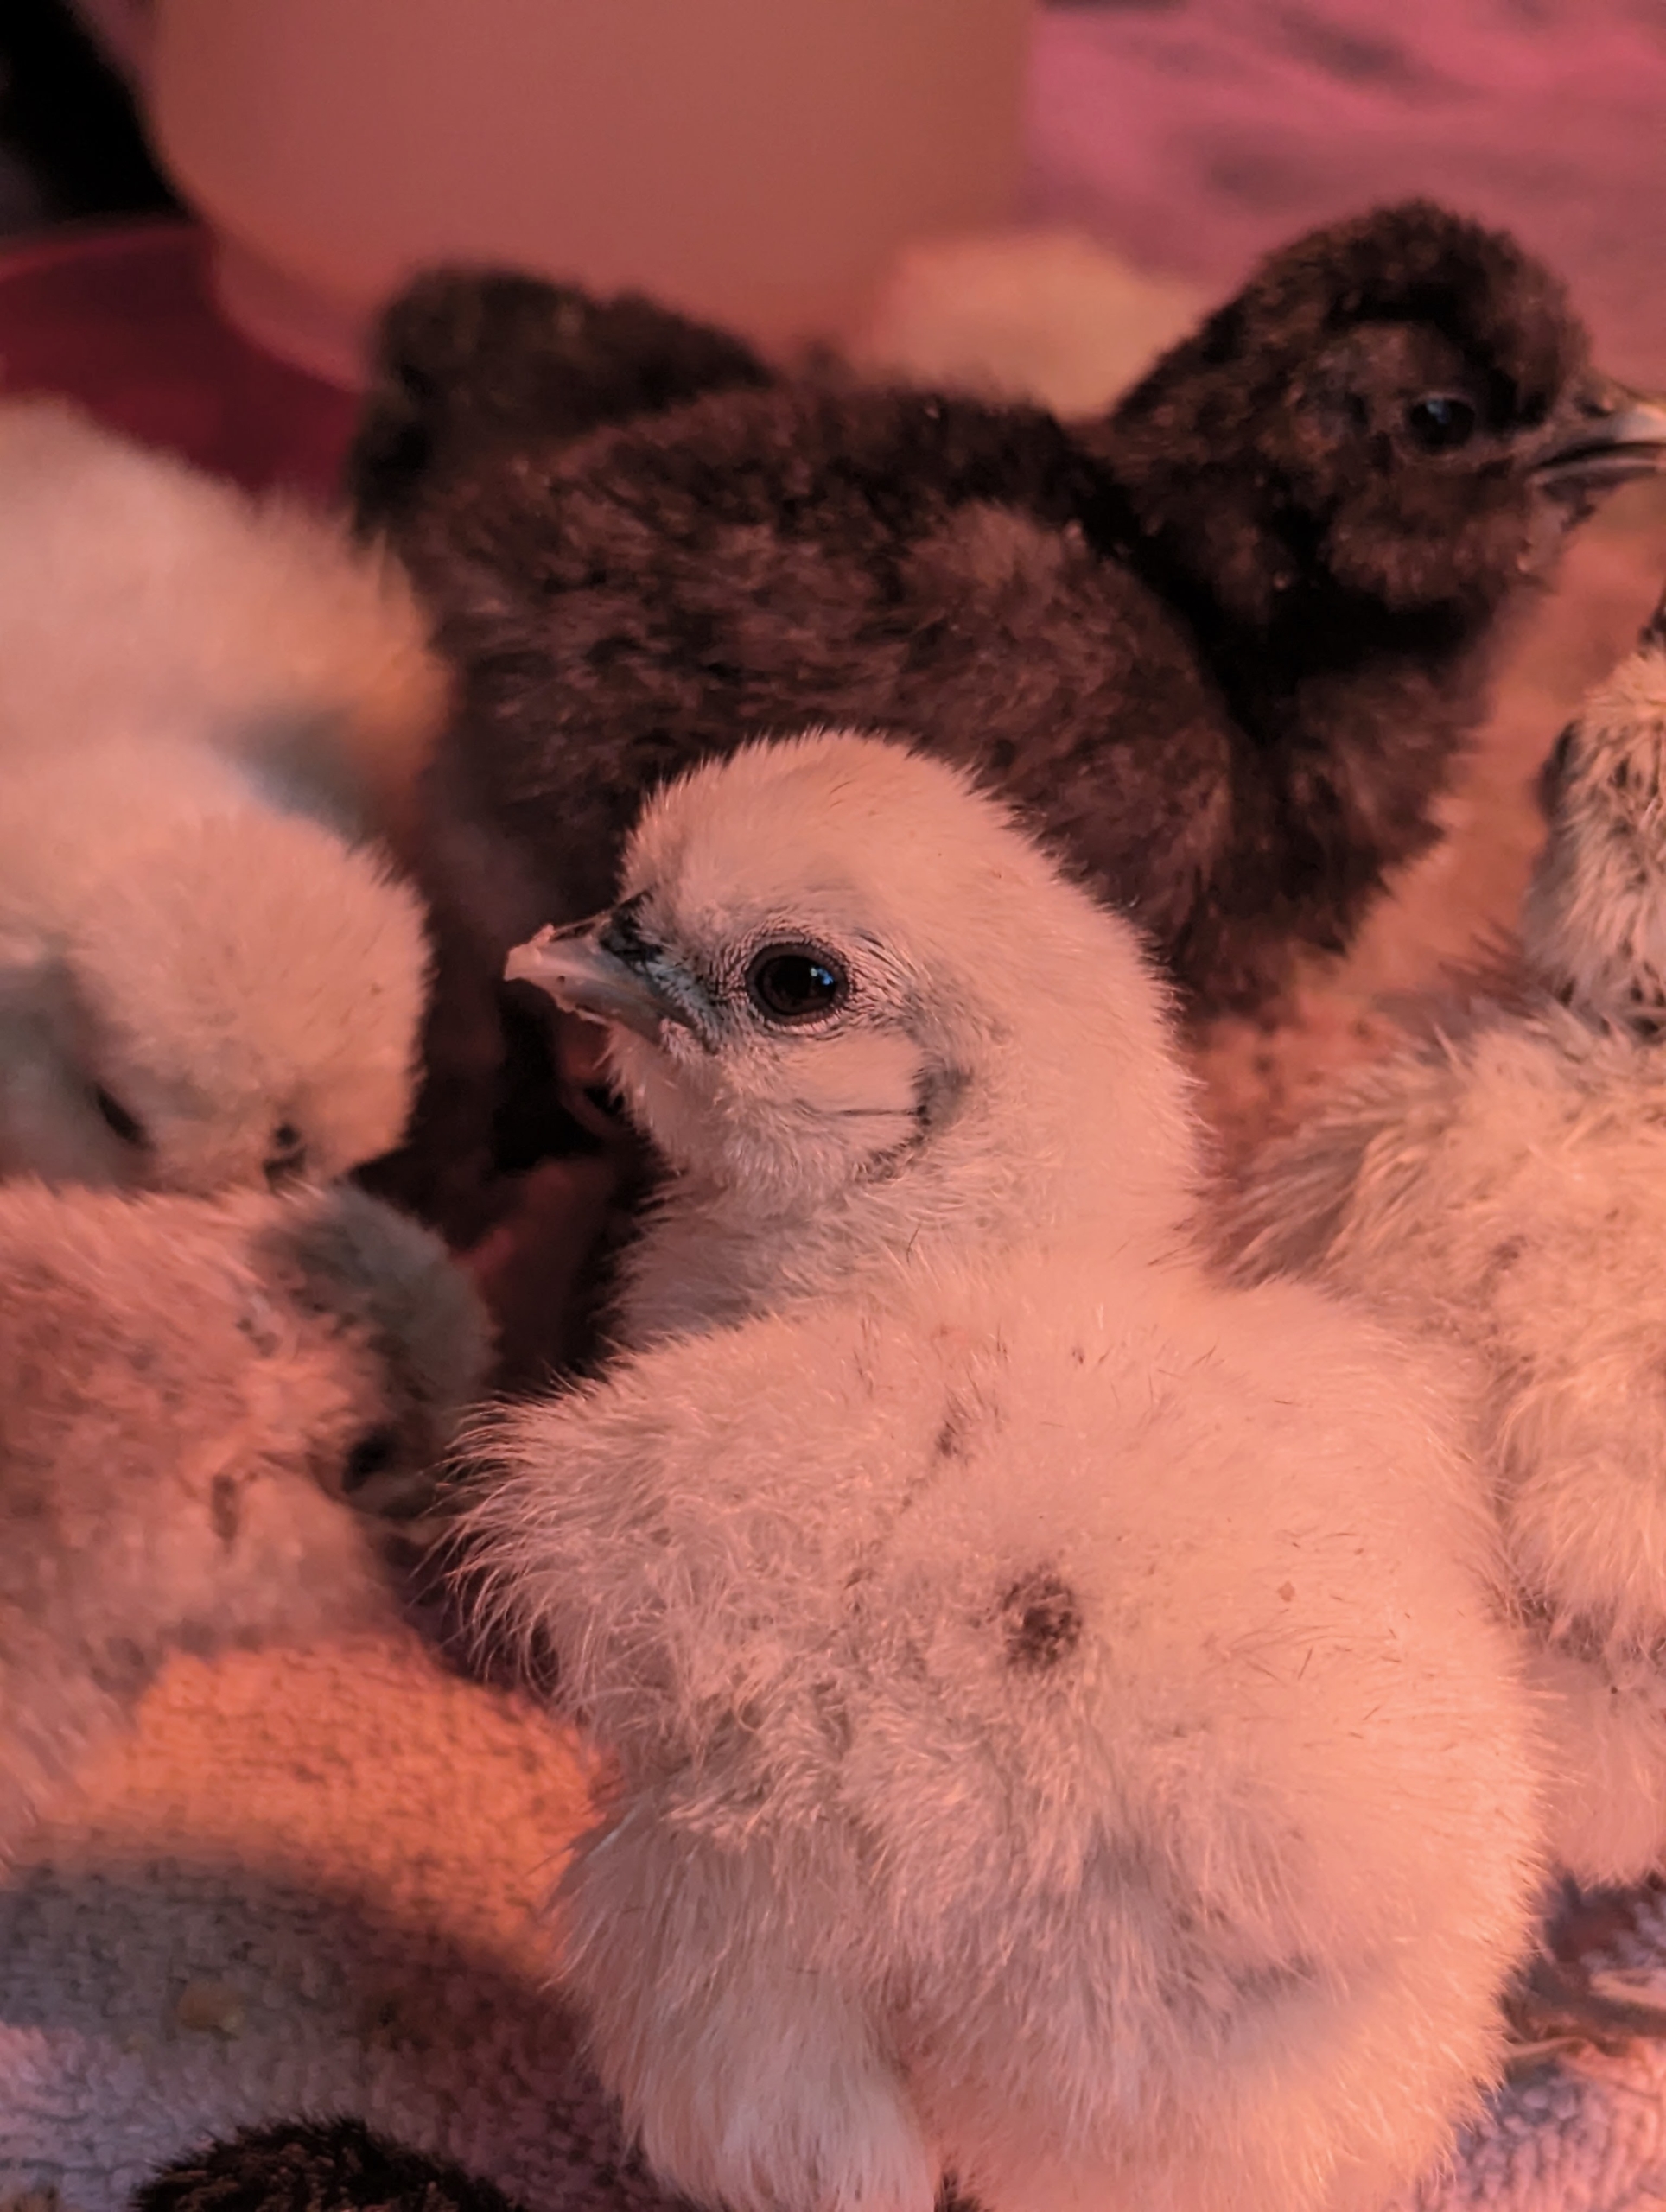
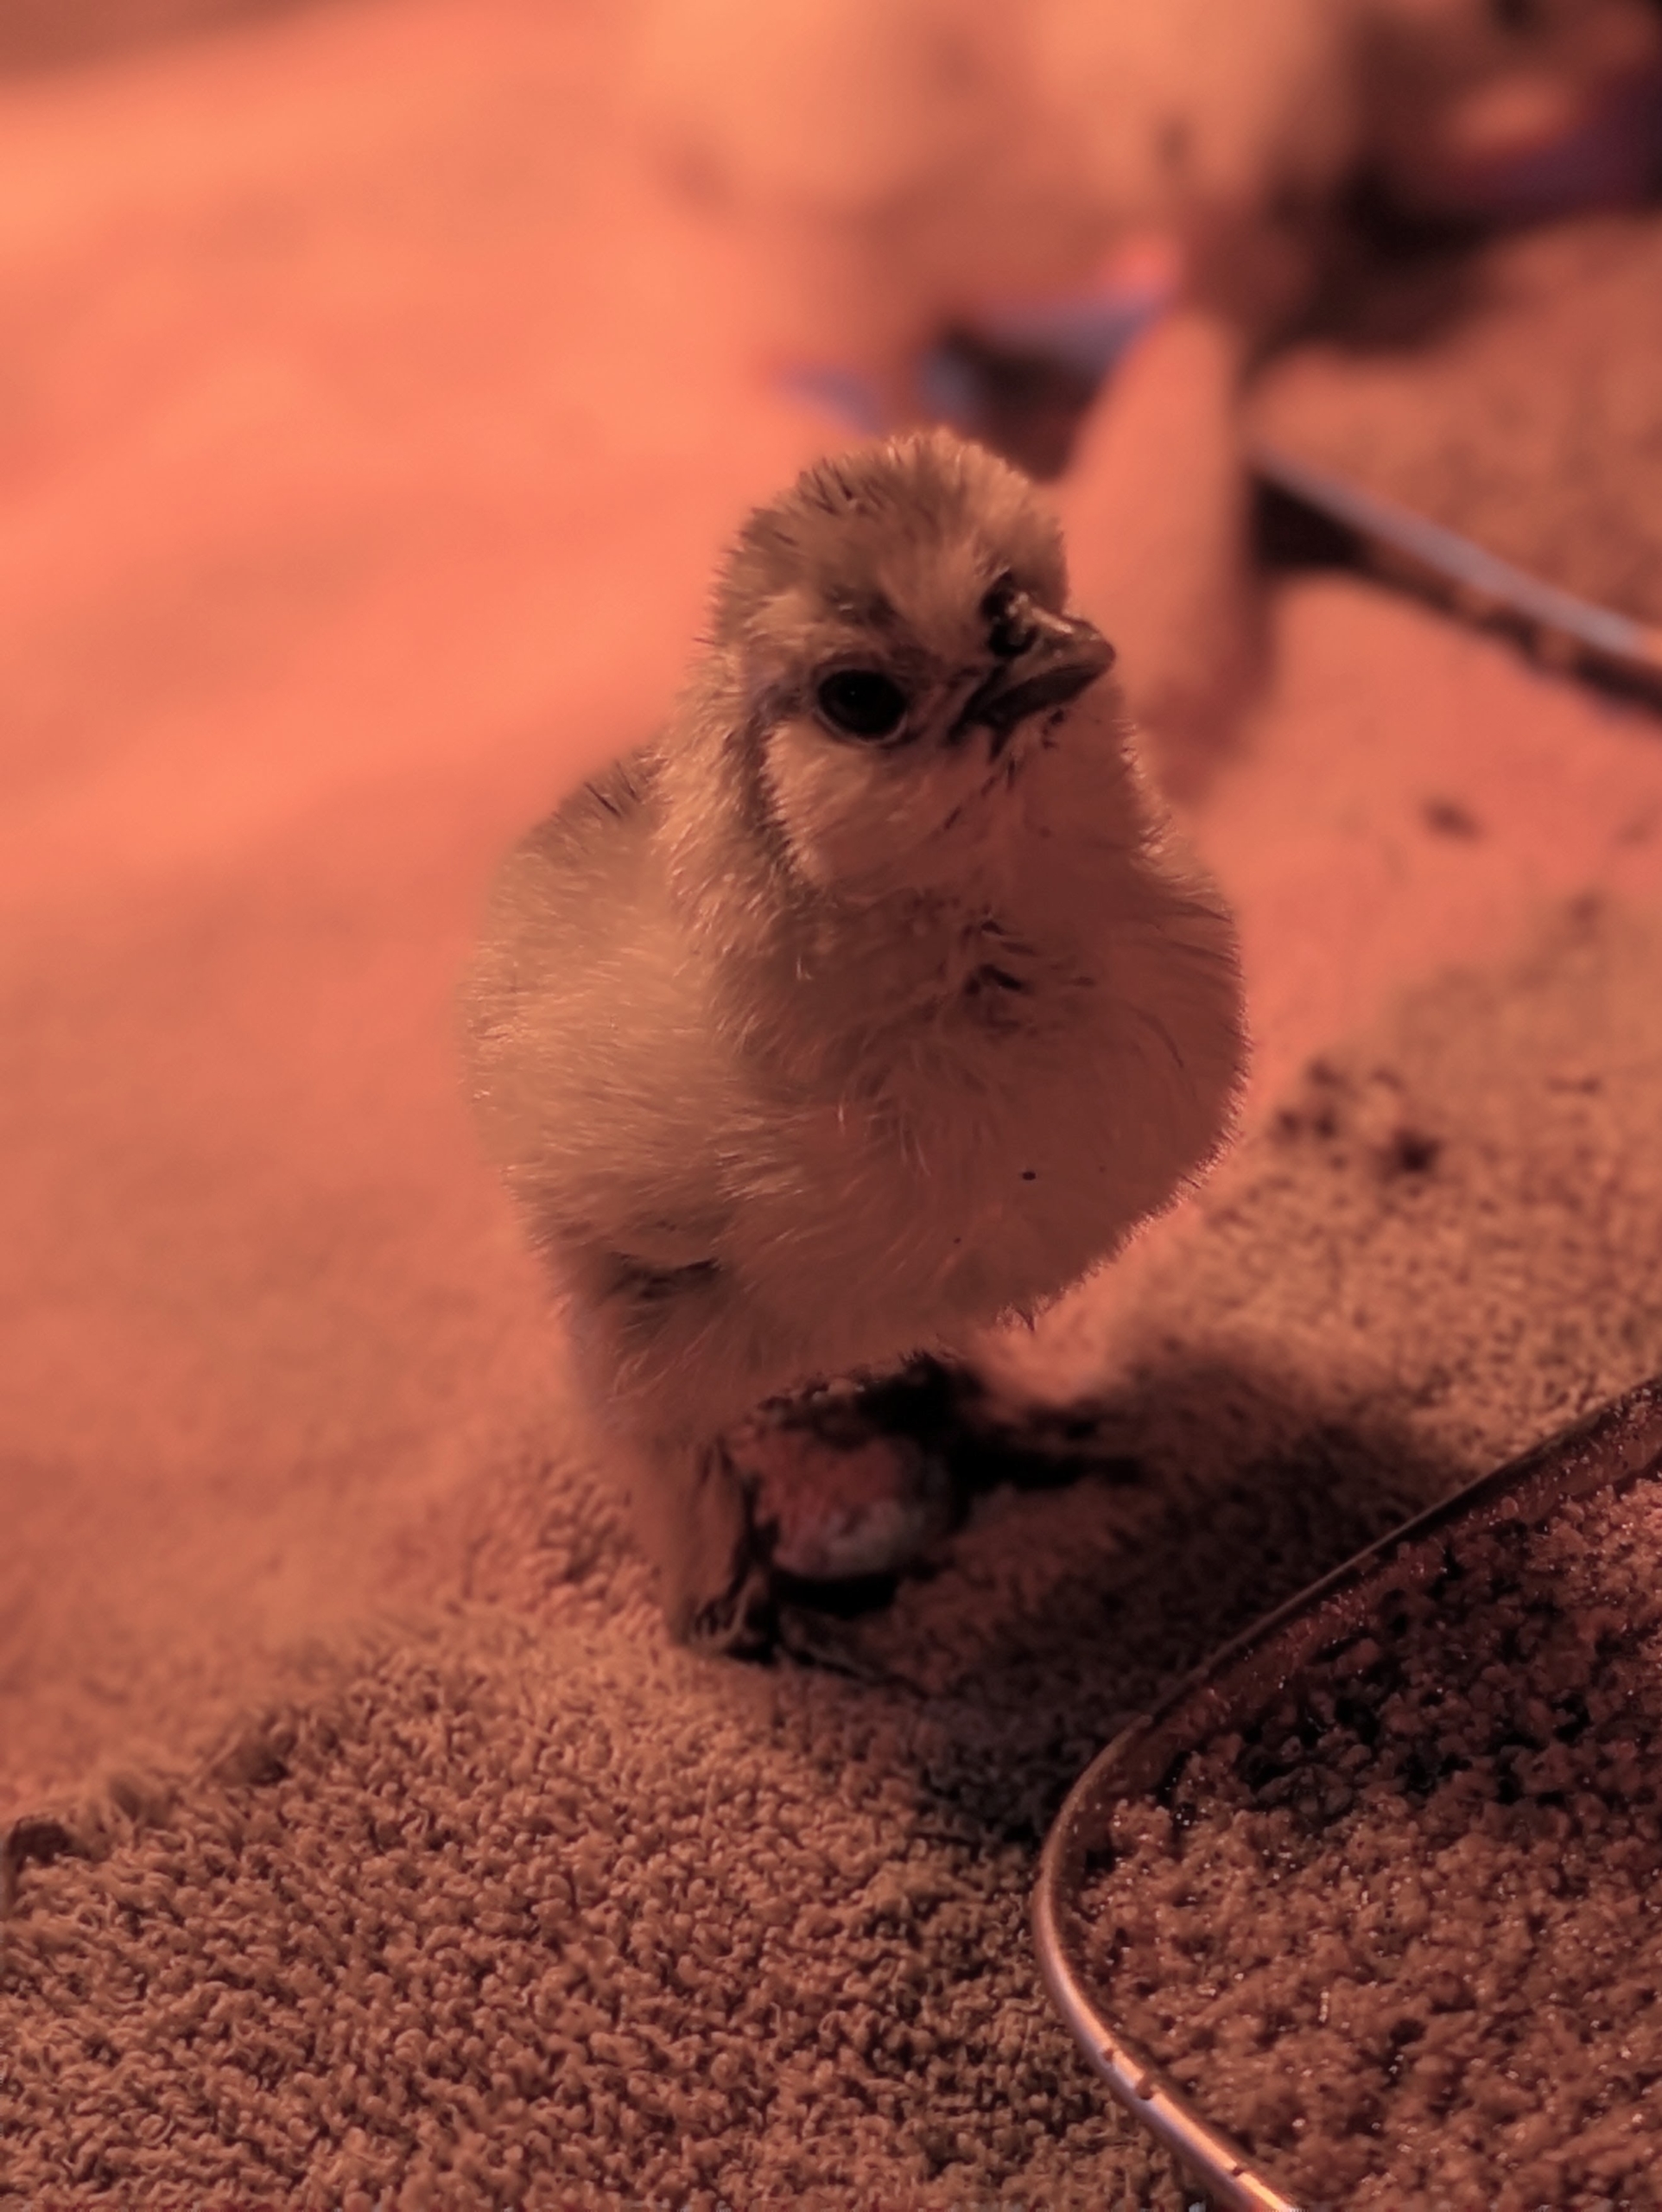
Within a couple of days, they are all alert and very curious. All the chicks are walking around and exploring their new surroundings.
Fresh, clean water is always provided. In fact, every chick is personally shown where their food and water sources are, so they know where to find them.
The chicks are fed organic chick starter for the first six to eight weeks.
Baby chicks need constant monitoring until they are at least a month old. Chicks require an air temperature of 95 degrees during the first week, 90 degrees the second week, and so on – going down by around five degrees per week until they’re ready to transition to a coop.
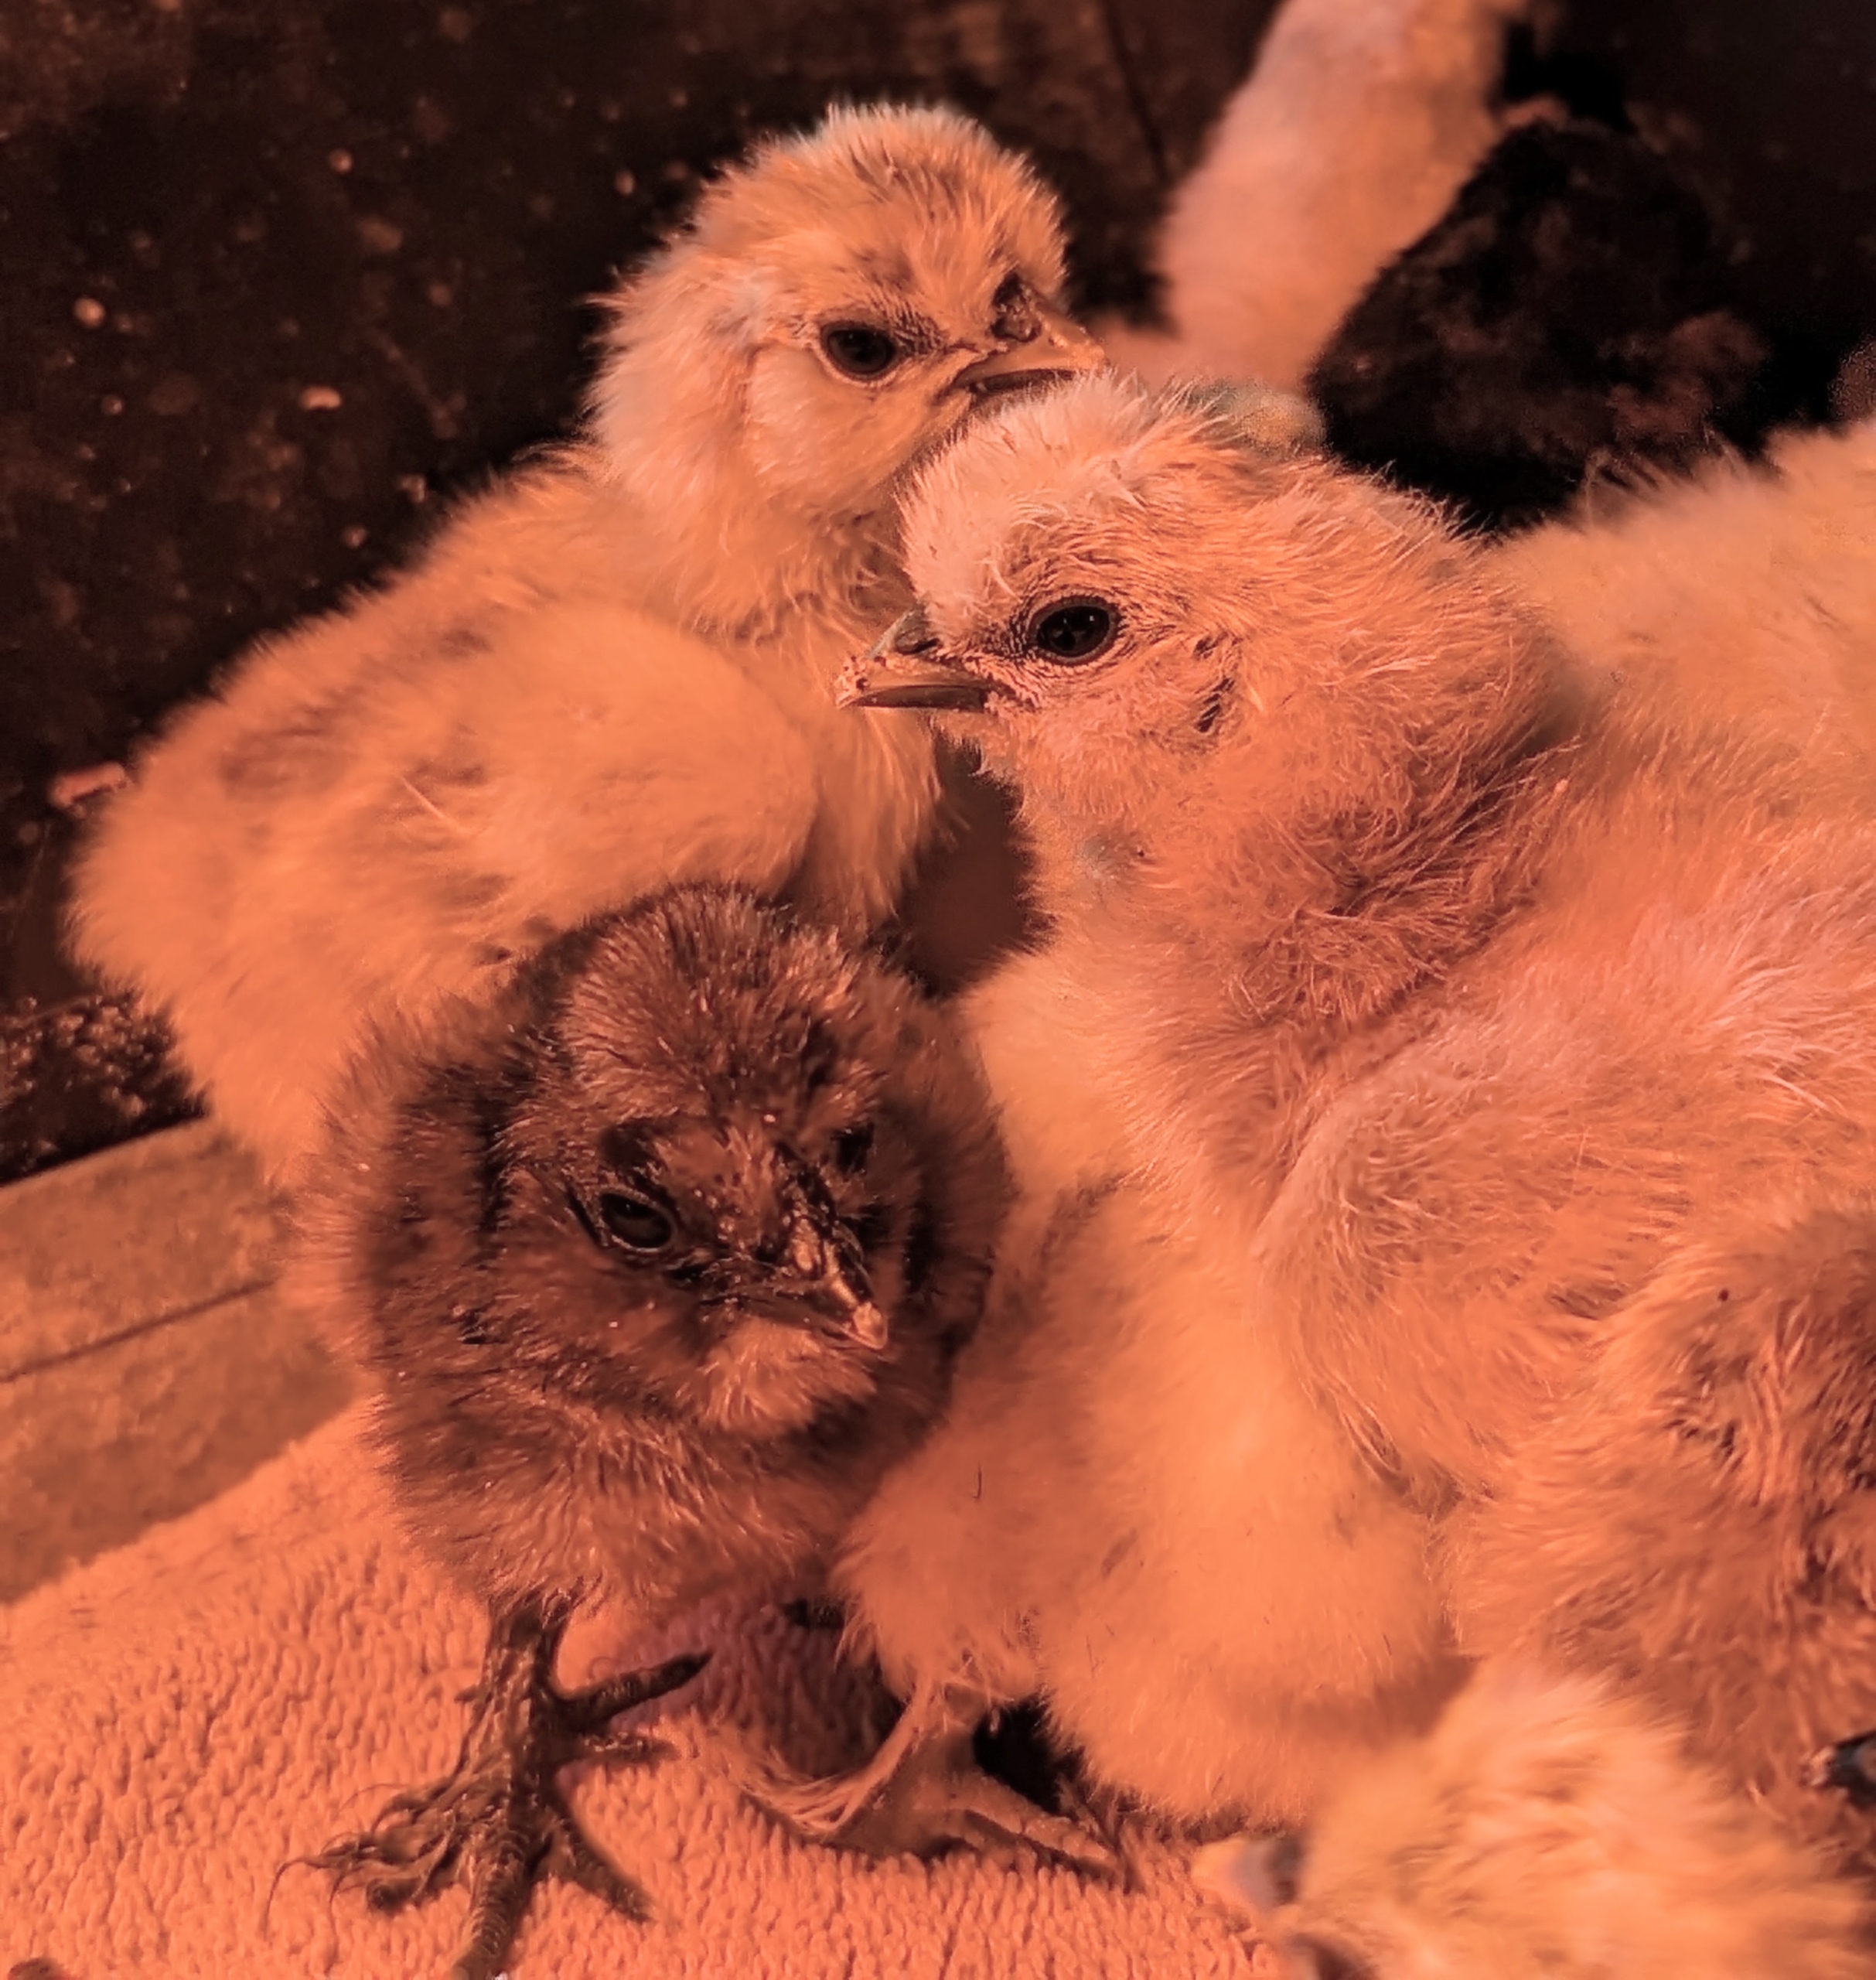
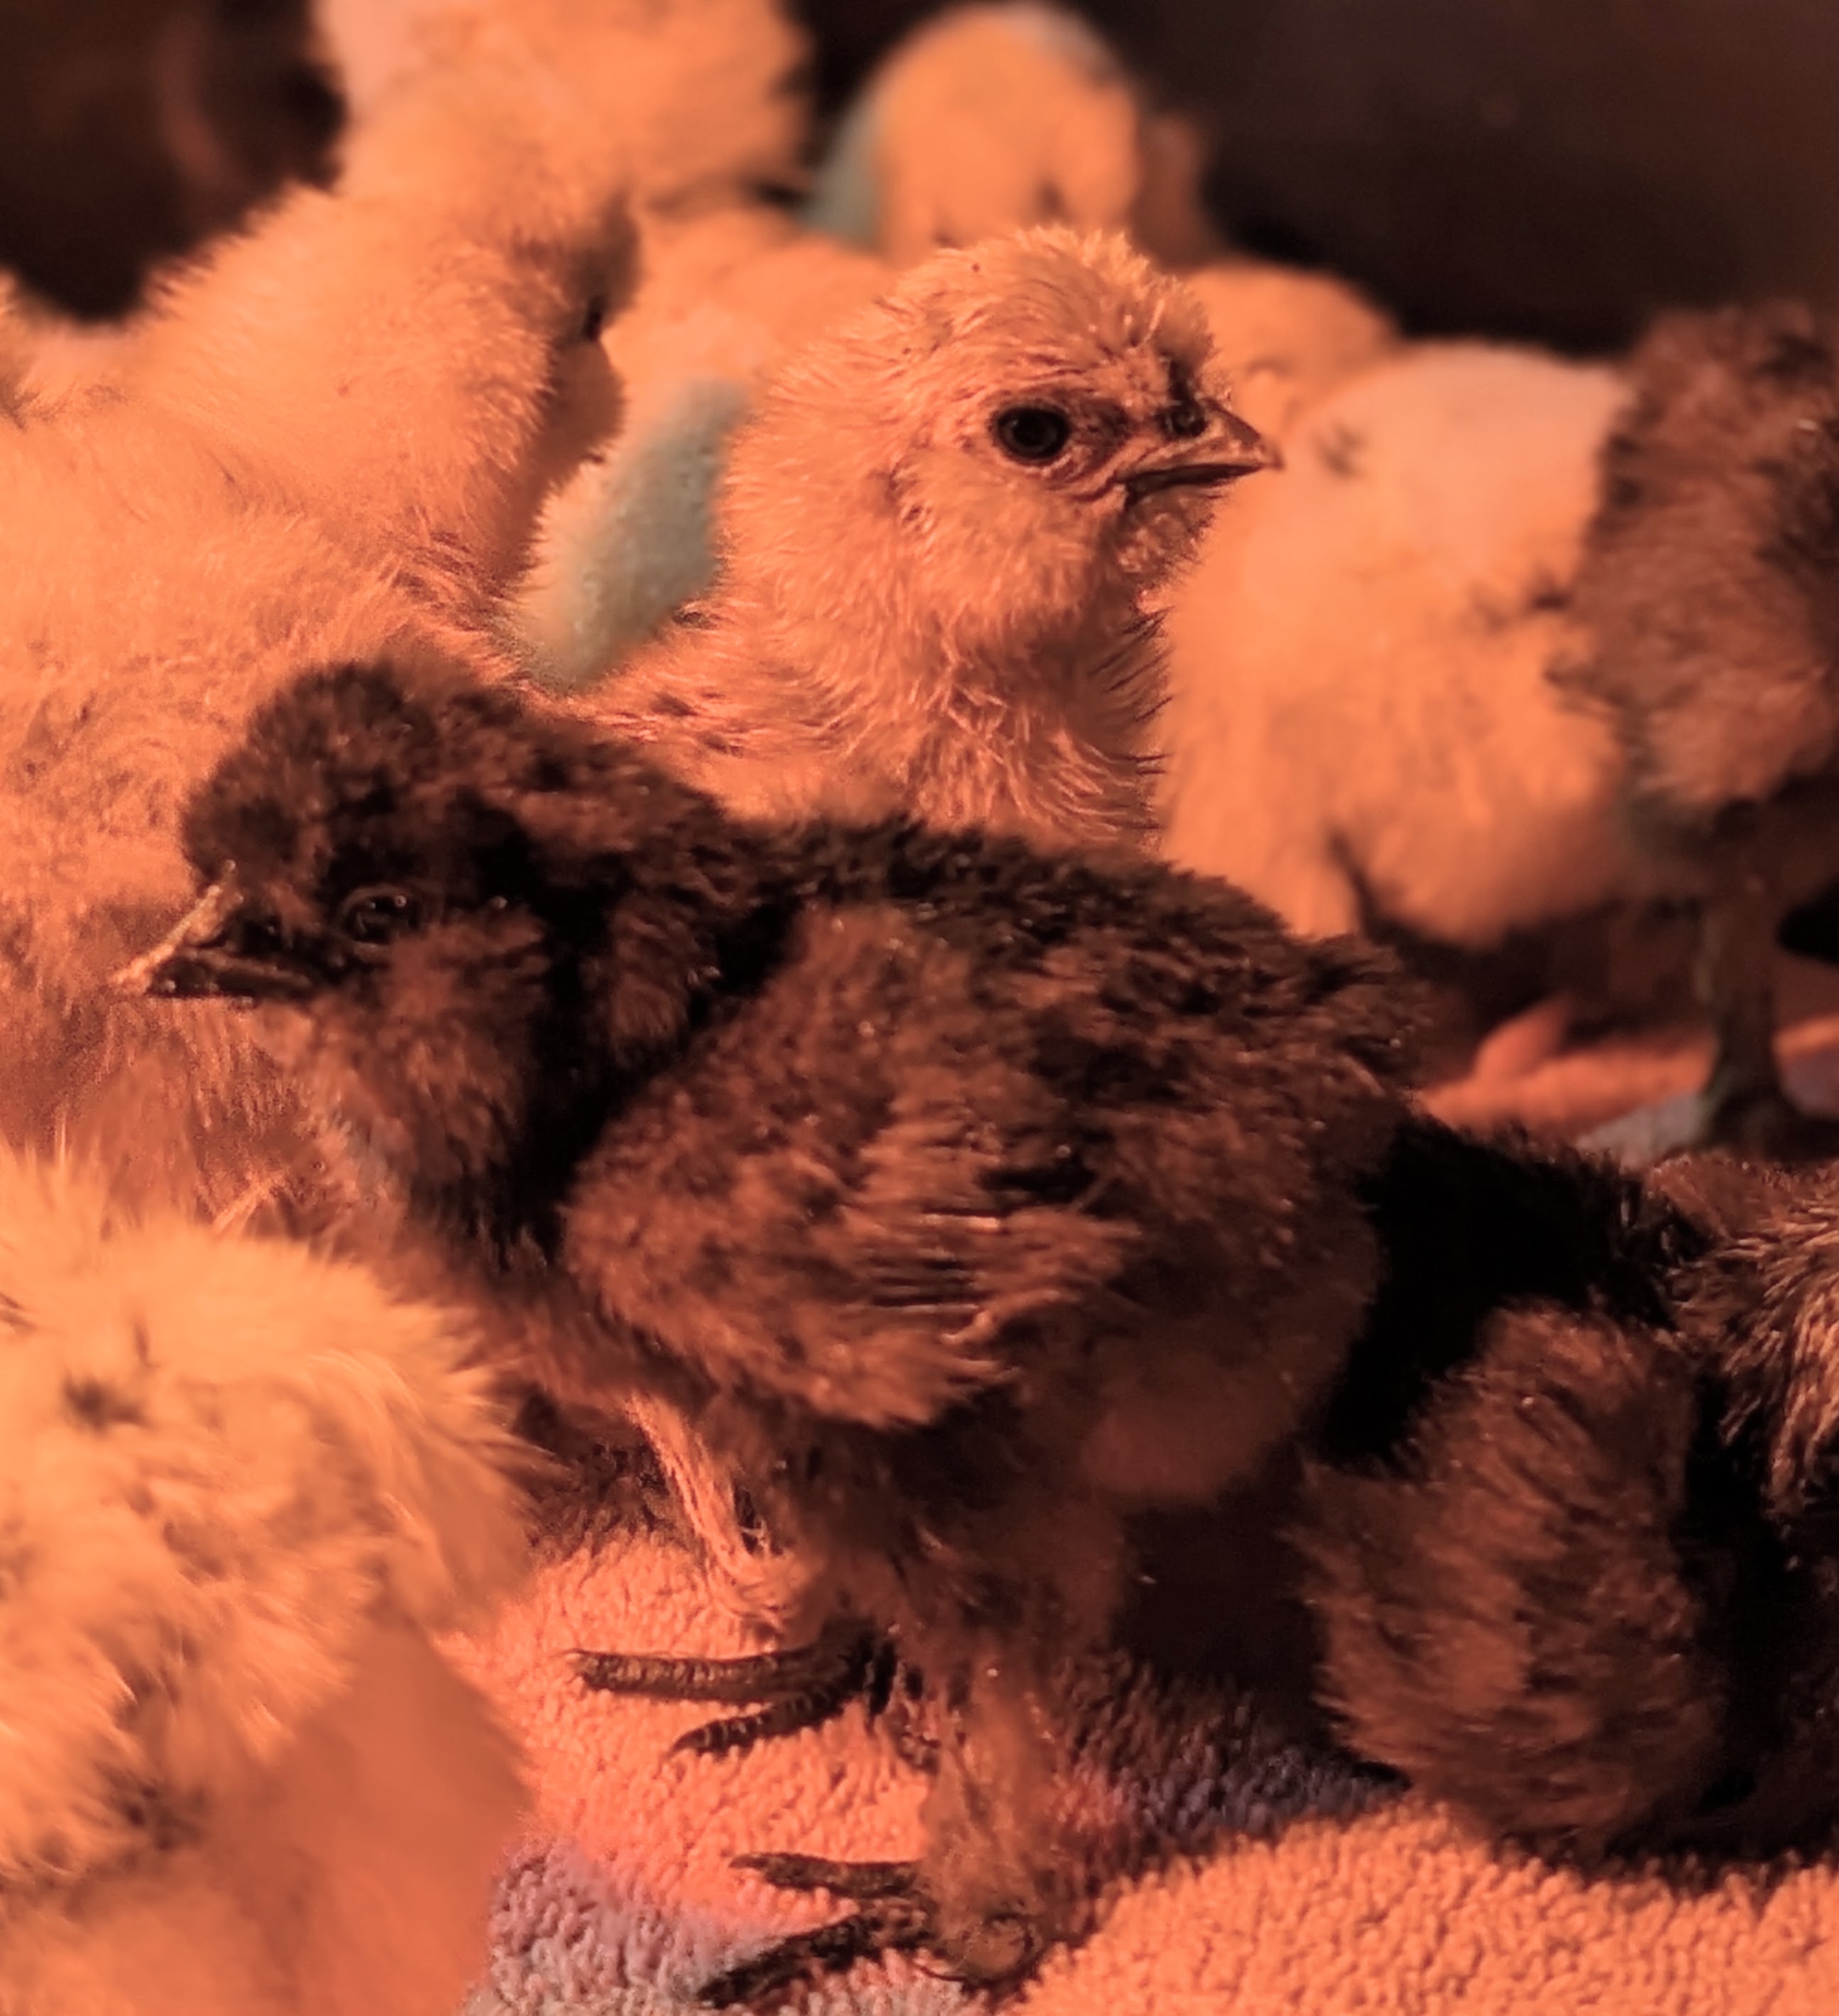
Wherever one goes, the others follow. There are eight Silkie color varieties accepted by the American Poultry Association. They include black, blue, buff, gray, partridge, splash, and white.
Because they are raised here at the farm, they quickly become used to everyone on the crew and all the noises.
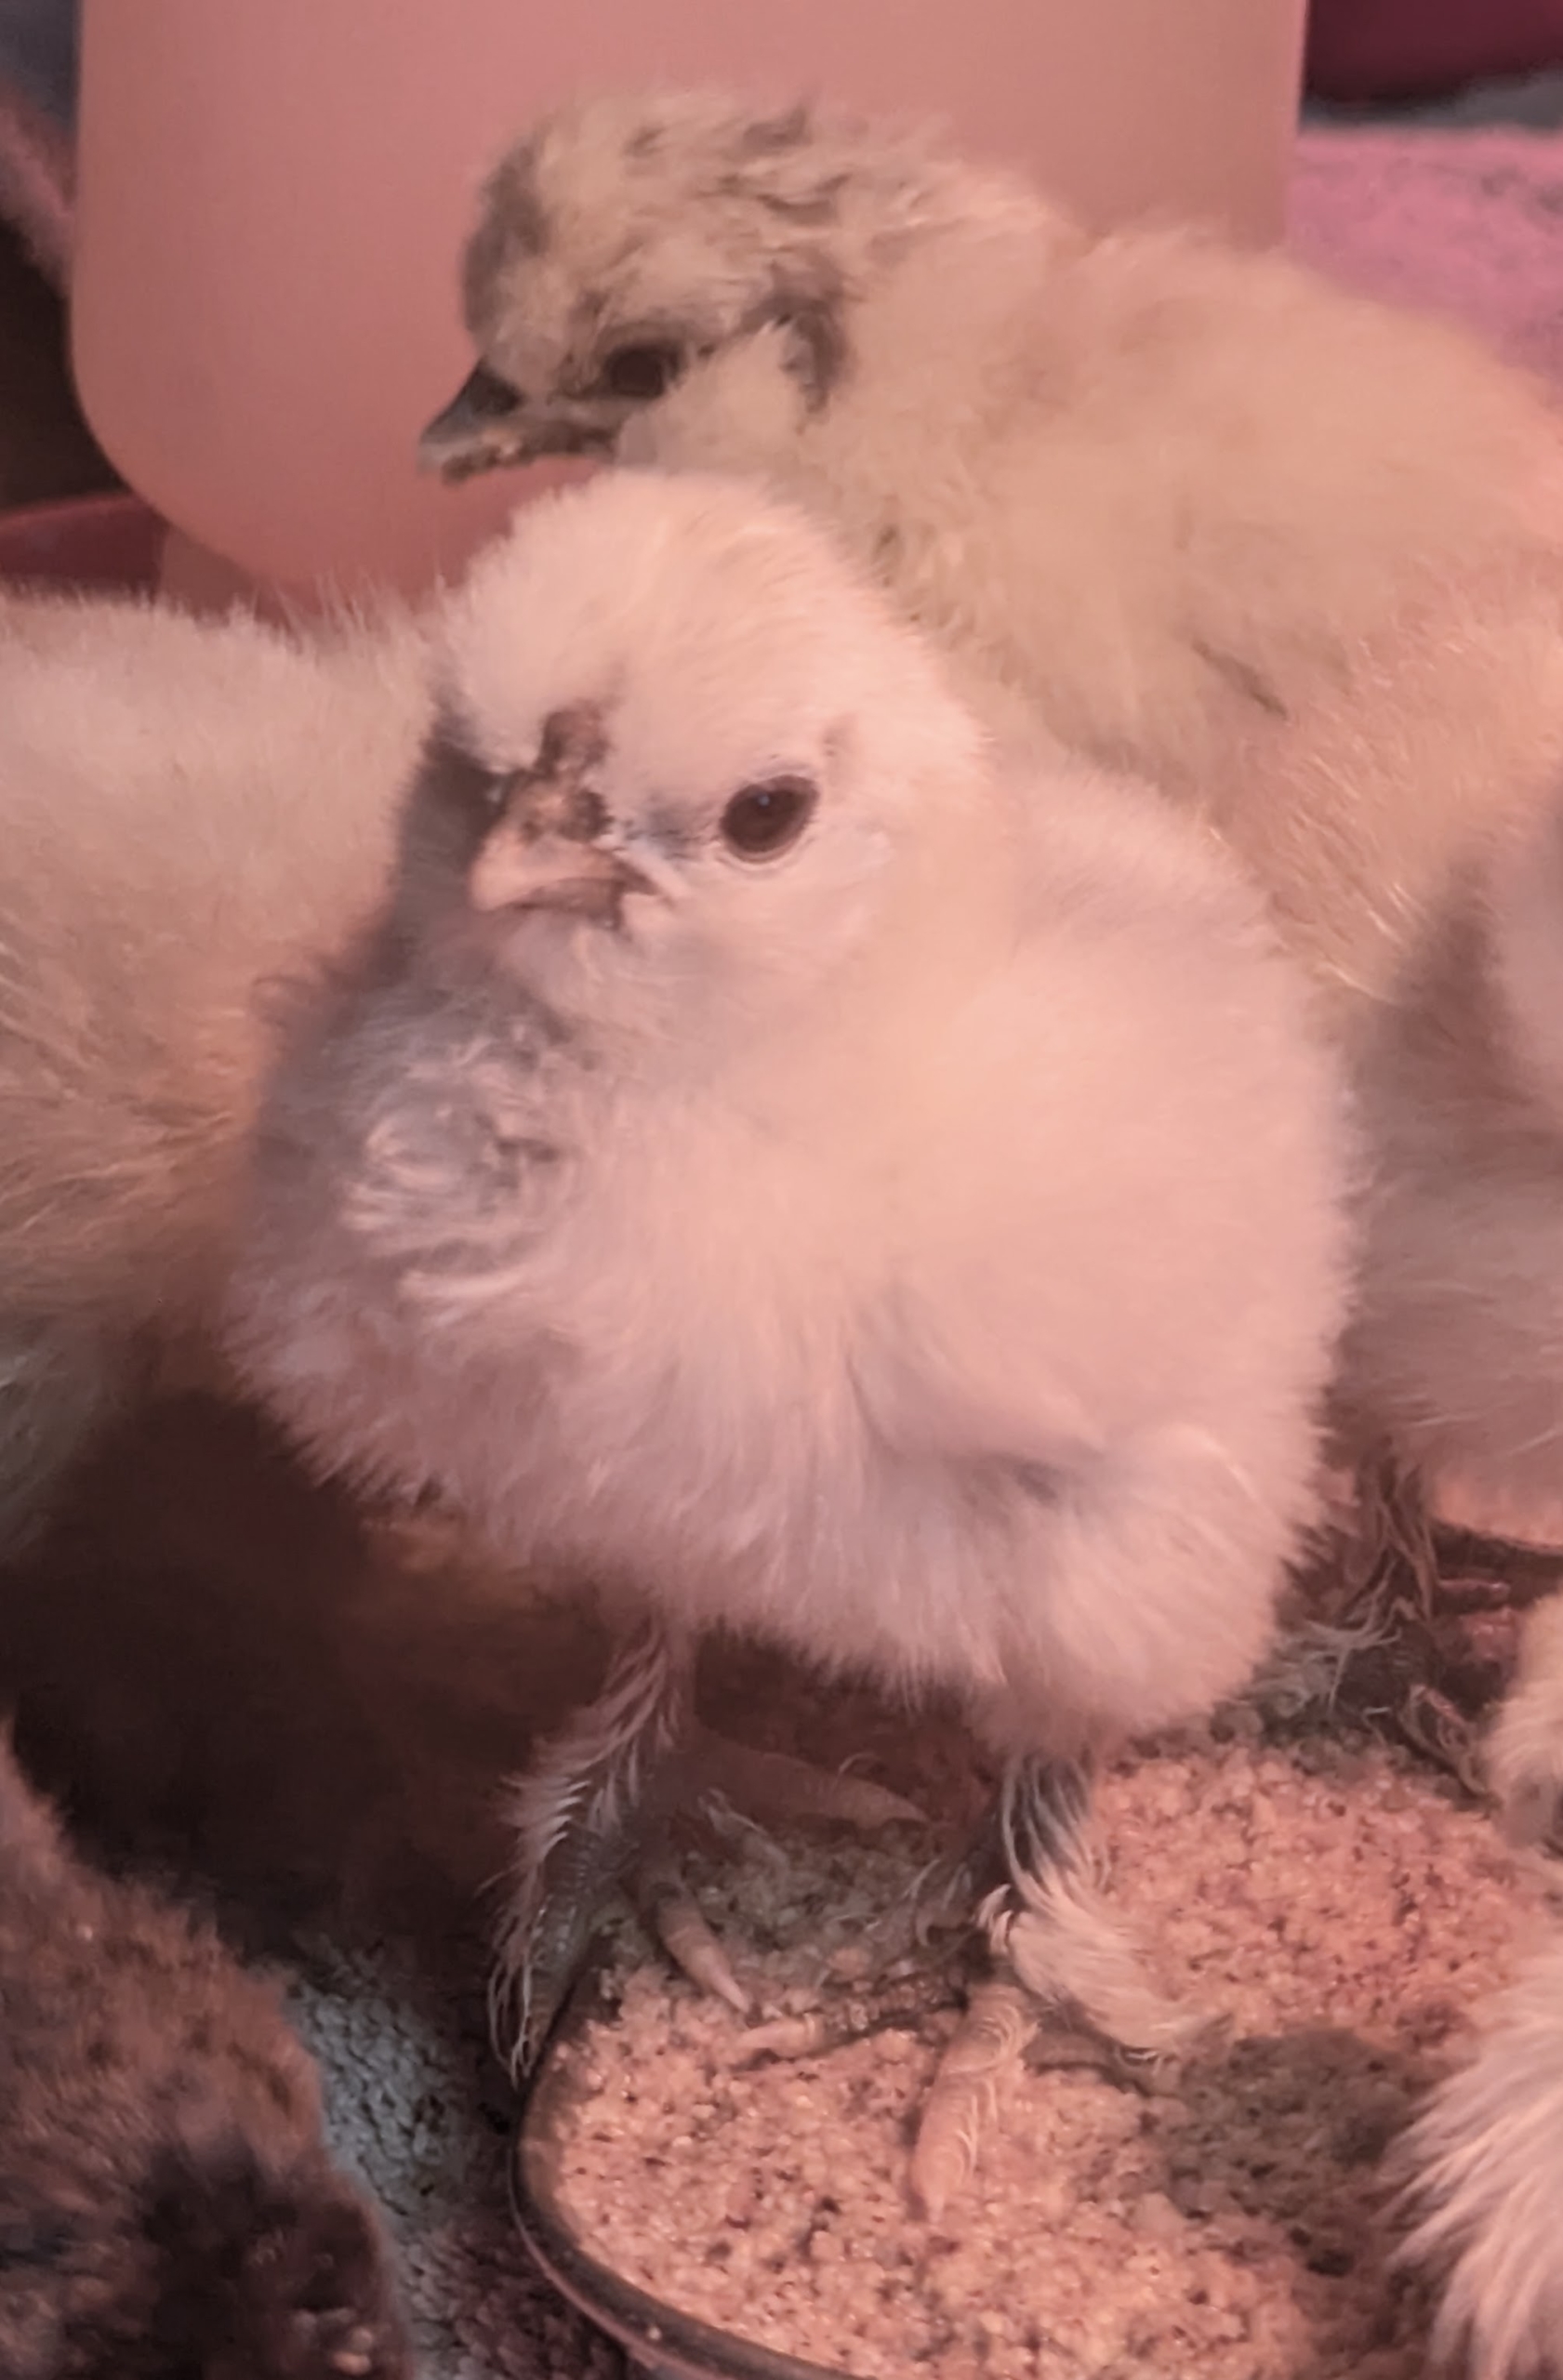
Silkies were originally bred in China. They are best known for their characteristically fluffy plumage said to feel silk- or satin-like to the touch. Underneath all that feathering, they also have black skin and bones and five toes instead of the typical four on each foot.
This breed grows a bit slower than other chicken breeds. Both male and female chickens have combs. Baby chicks hatch with tiny combs that get larger as they mature.
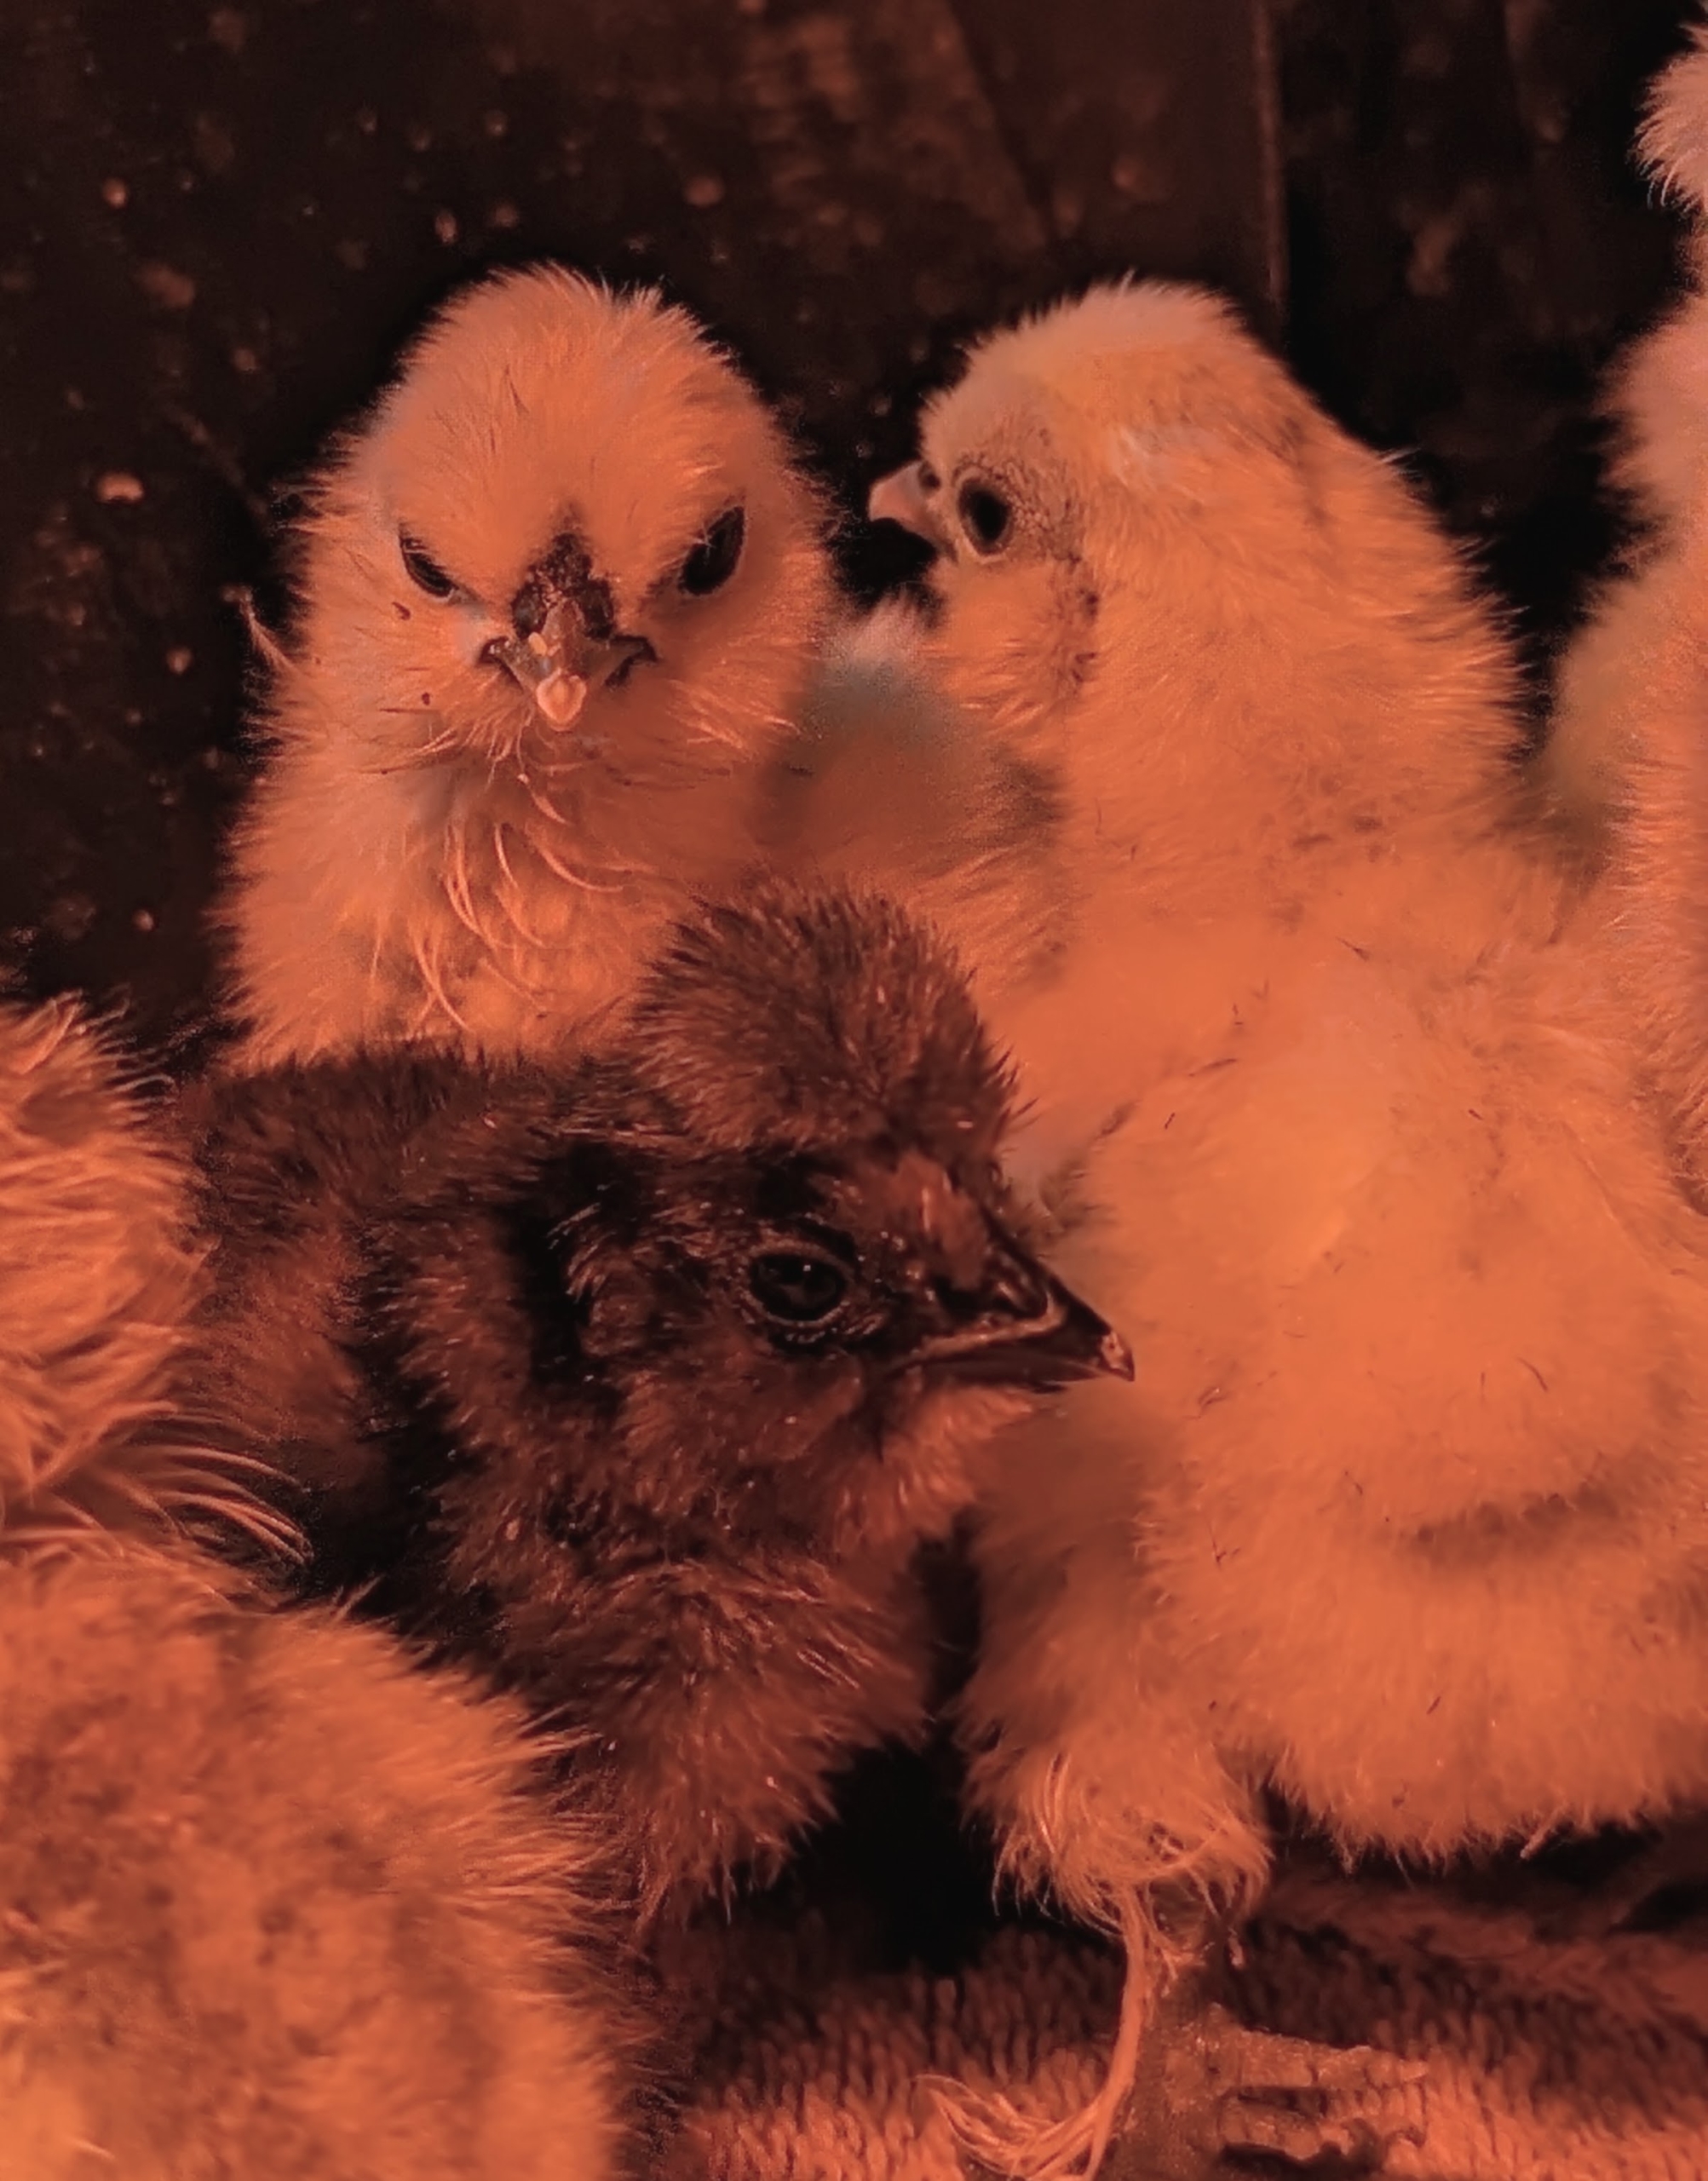
Silkies are also adaptable and playful. And, they are naturally more calm than most other breeds.
Because the Silkie’s feathers lack functioning barbicels, similar to down on other birds, they are unable to fly, but they can stretch and flap their wings.
At this stage, it is difficult to know which are the males and which are the females, but some signs will start to show around three months old. The female Silkies will keep their bodies more horizontally positioned, while males will stand more upright, keeping their chests forward and their necks elongated. Males will also hold their tail more upright, where females will keep it horizontal or slightly dipped toward the ground.
There are still more eggs waiting to hatch, but our 15 babies are all doing very well.
In general, chickens are quite vocal. When full grown, they make around 30 different calls to communicate with each other, expressing everything from “I am hungry” to “there’s a predator nearby.” While these birds are a bit quieter than others, they still peep and communicate within their flock.
It is believed that the Silkie was first mentioned by Marco Polo around 1290 to 1300 during his journey across Europe and the Far East. Although he did not see the bird, it was reported to him by a fellow traveler, and he wrote about it in his journal, describing it as “a furry chicken.” The Silkie chicken made its way westward either by the Silk Road or by the maritime routes, most likely both. Experts accepted the Silkie into the British Poultry Standard of Perfection in 1865 and the American Poultry Association standard in 1874. These little feathery puffs will certainly enjoy their time here at Cantitoe Corners. Keep following to see them grow and thrive.
If you're ever in Northeastern Connecticut, stop and visit Logee’s Tropical Container Plants for Home and Garden where you can choose from hundreds of varieties of plants, most of which are all propagated right there.
Last week I shared photos of items I brought home from a recent trip to Logee's - Anthuriums, two Staghorn ferns, a hanging citrus, and Begonias. William Logee started the business in 1892 as a cut-flower shop and then expanded it to include many tropical container plants. It is now very well known for its inventory of fruiting, rare, and tropical plants, and its hybridizing achievements in the world of Begonias. During my visit, I took some photos inside the greenhouses, and at the end its current owners, Williams’s grandson, Byron Martin, and his business partner, Laurelynn Martin, gifted me with a box of citrus fruits - beautiful grapefruits, lemons, oranges, tangerines, and an assortment of kumquats. I am so excited to try every one.
Here are some photos, enjoy.
Logee’s is a great source for all kinds of plants – orchids, succulents, fruit trees, exotics, etc. Once Byron took over the family business, he wanted to be sure Logee’s was a place that could provide unusual tropical flowering and fragrant specimens that performed well in pots. Logee’s nursery now has six tropical greenhouses.
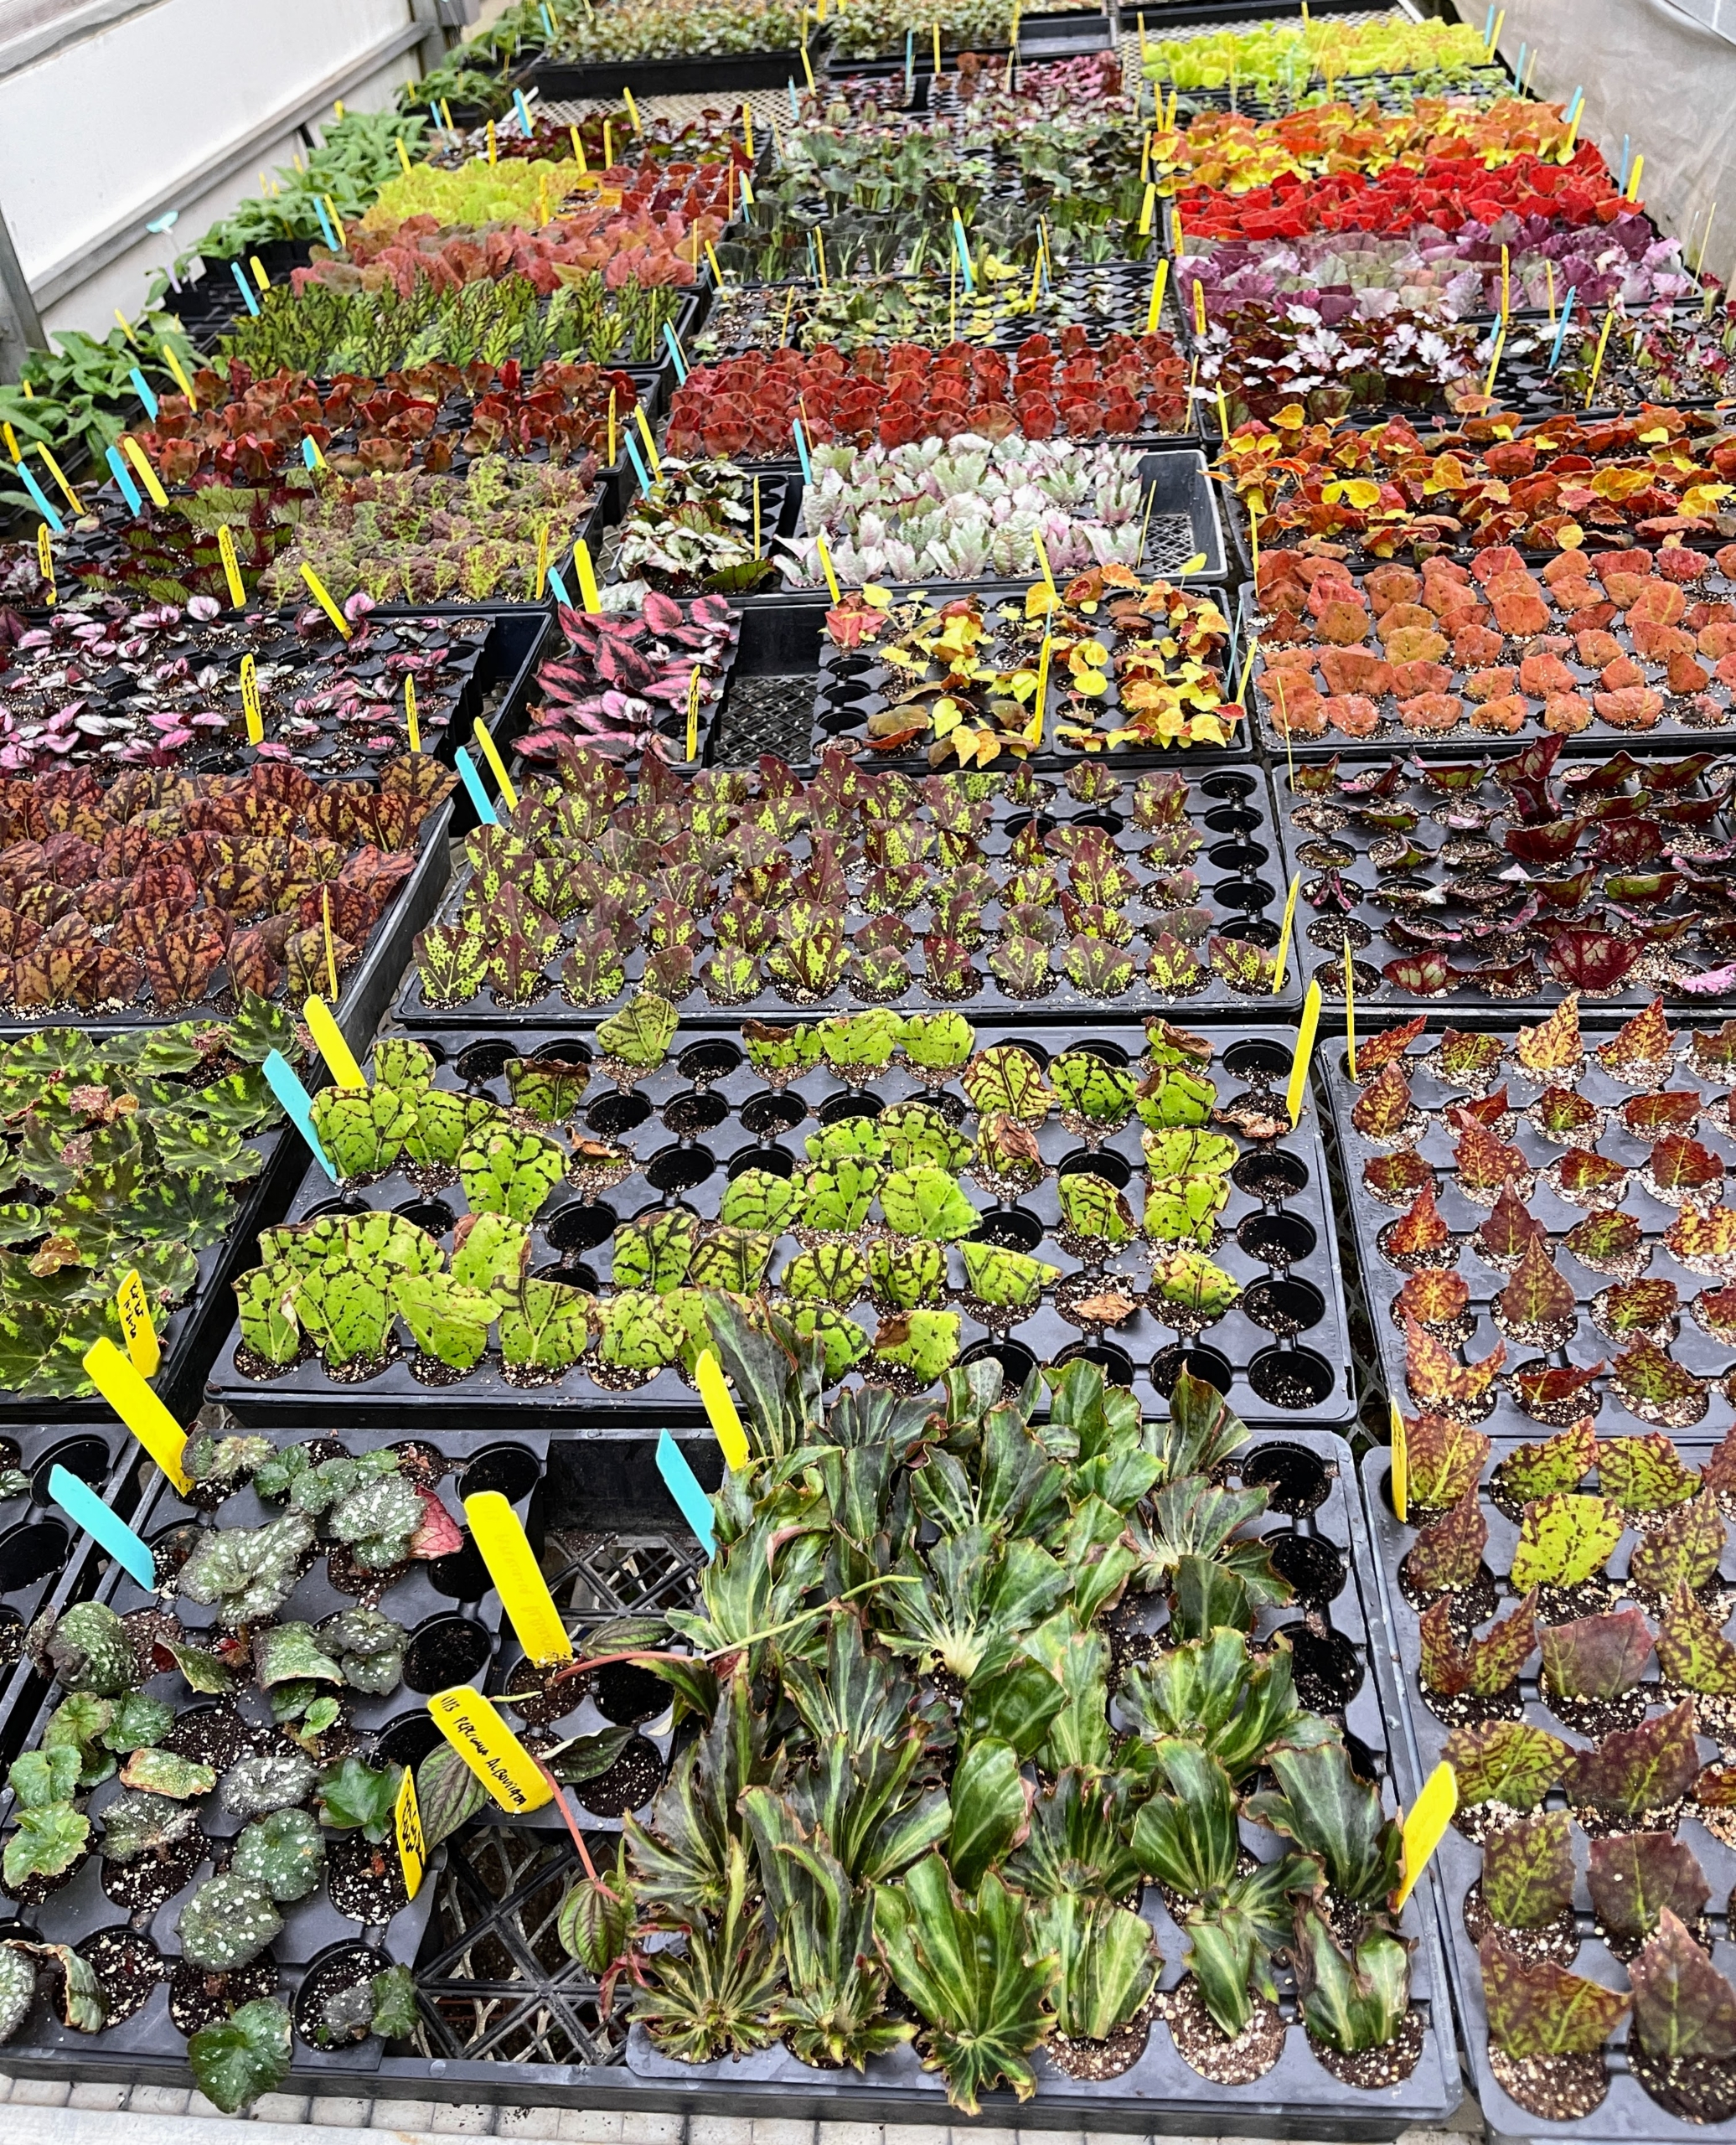
The greenhouses are packed with a large assortment of amazing plants – neatly arranged and organized. This is a holding bench for young plants.
This area is for begonia propagation. The genus begonia contains about 1500 different plant species and hundreds of hybrids. Begonias are native to tropical and subtropical climates, so many specimens are kept indoors as ornamental houseplants.
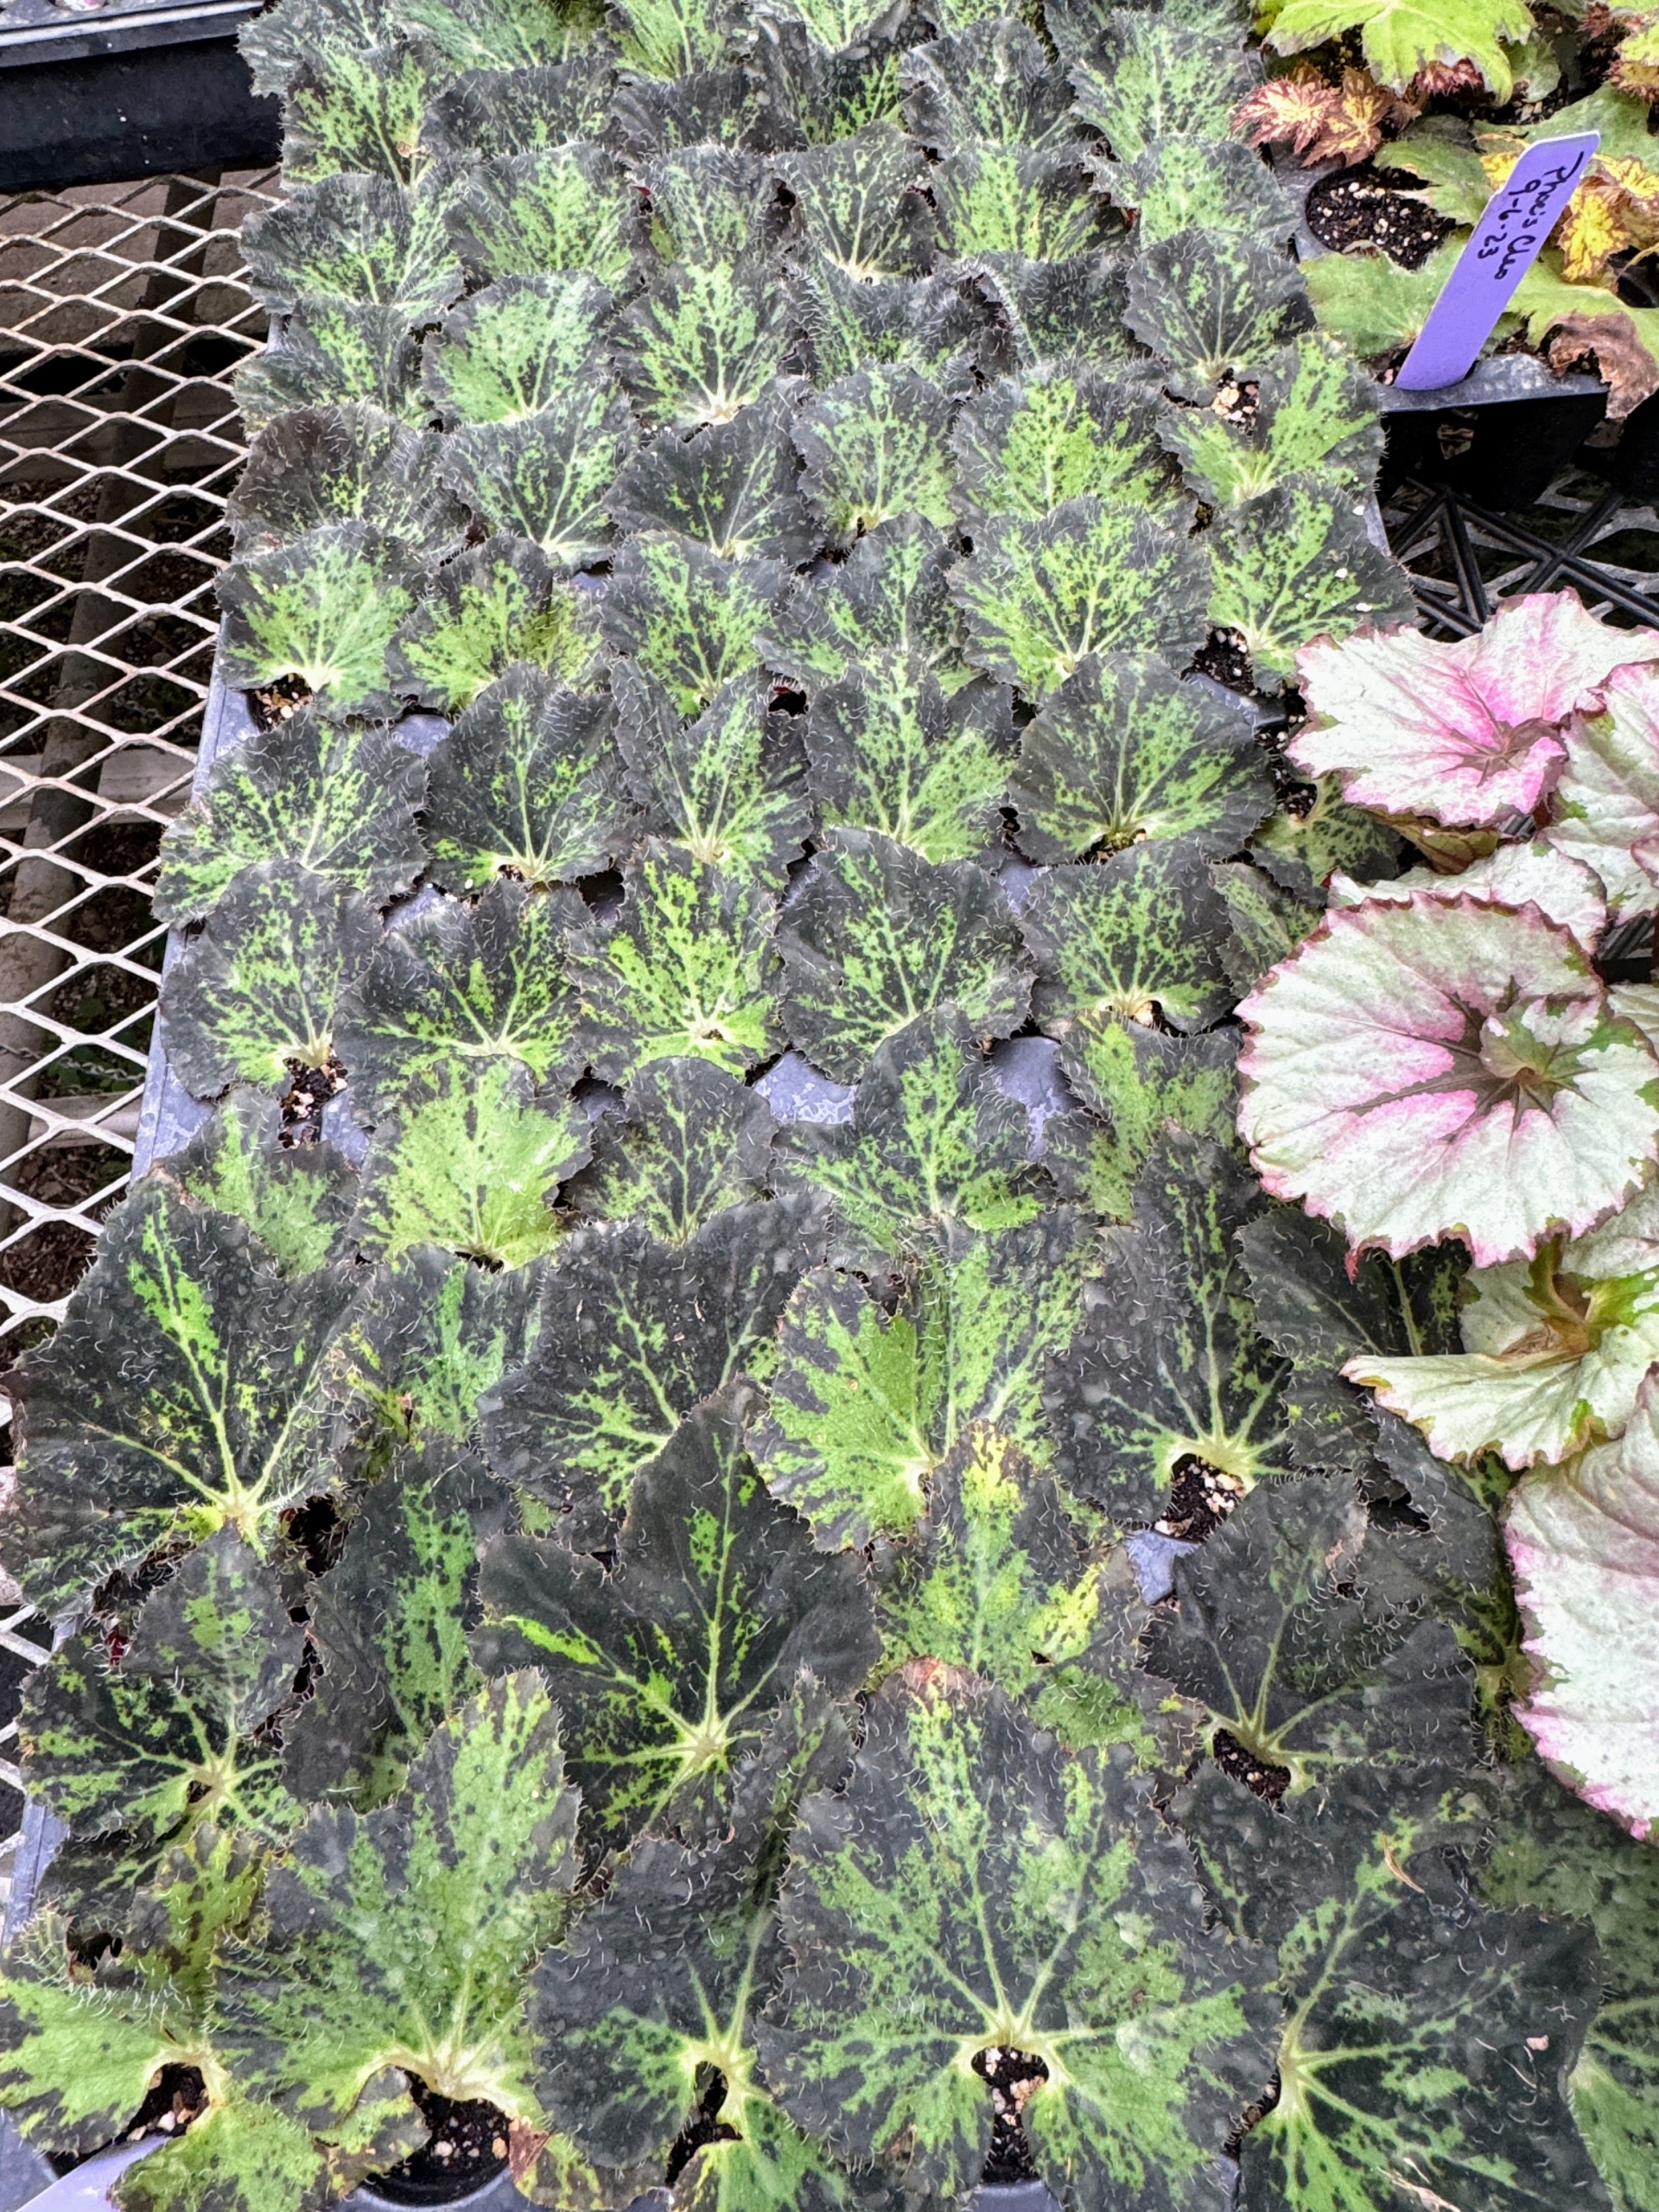
Logee’s propagates its begonias in two ways – by leaf cutting and by seed. Here is how they do leaf cutting propagation. Although this way is quicker for the begonia to take root, it takes longer to form the plants’ bulbous trunks.
In leaf cutting propagation, the leaves of a plant are cut from the mother specimen or fallen leaves are saved. Then, they are placed into a tray of seed-starting mix.
The leaves are nurtured in the greenhouse until they take root and are ready to be transplanted into containers. Begonias are also remarkably resistant to pests primarily because their leaves are rich in oxalic acid – a natural insect repellent.
Look what is being propagated here – Begonia Martha Stewart, an exclusive Logee’s hybrid that Byron and Laurelynn named after me. This Begonia features deeply spiraled leaves in soft tones of tan, chartreuse, and bronze with small chocolate markings at the leaf edges.
Jasmine is a genus of shrubs and vines in the olive family. It contains around 200 species native to tropical and warm temperate regions of Eurasia and Oceania. Jasmines are widely cultivated for the characteristic fragrance of their flowers.
Philodendrons are fast-growing, easy plants. They range in growth pattern from graceful and vining to bold and bushy. Philodendrons are generally forgiving and will tolerate low light, poor soil, and inconsistent watering.
This is a Camellia. Camellias are large, attractive, broad-leaved, evergreen shrubs that are highly prized for their flowers, which bloom from winter to spring. There are more than 2300 named cultivars registered with the American Camellia Society.
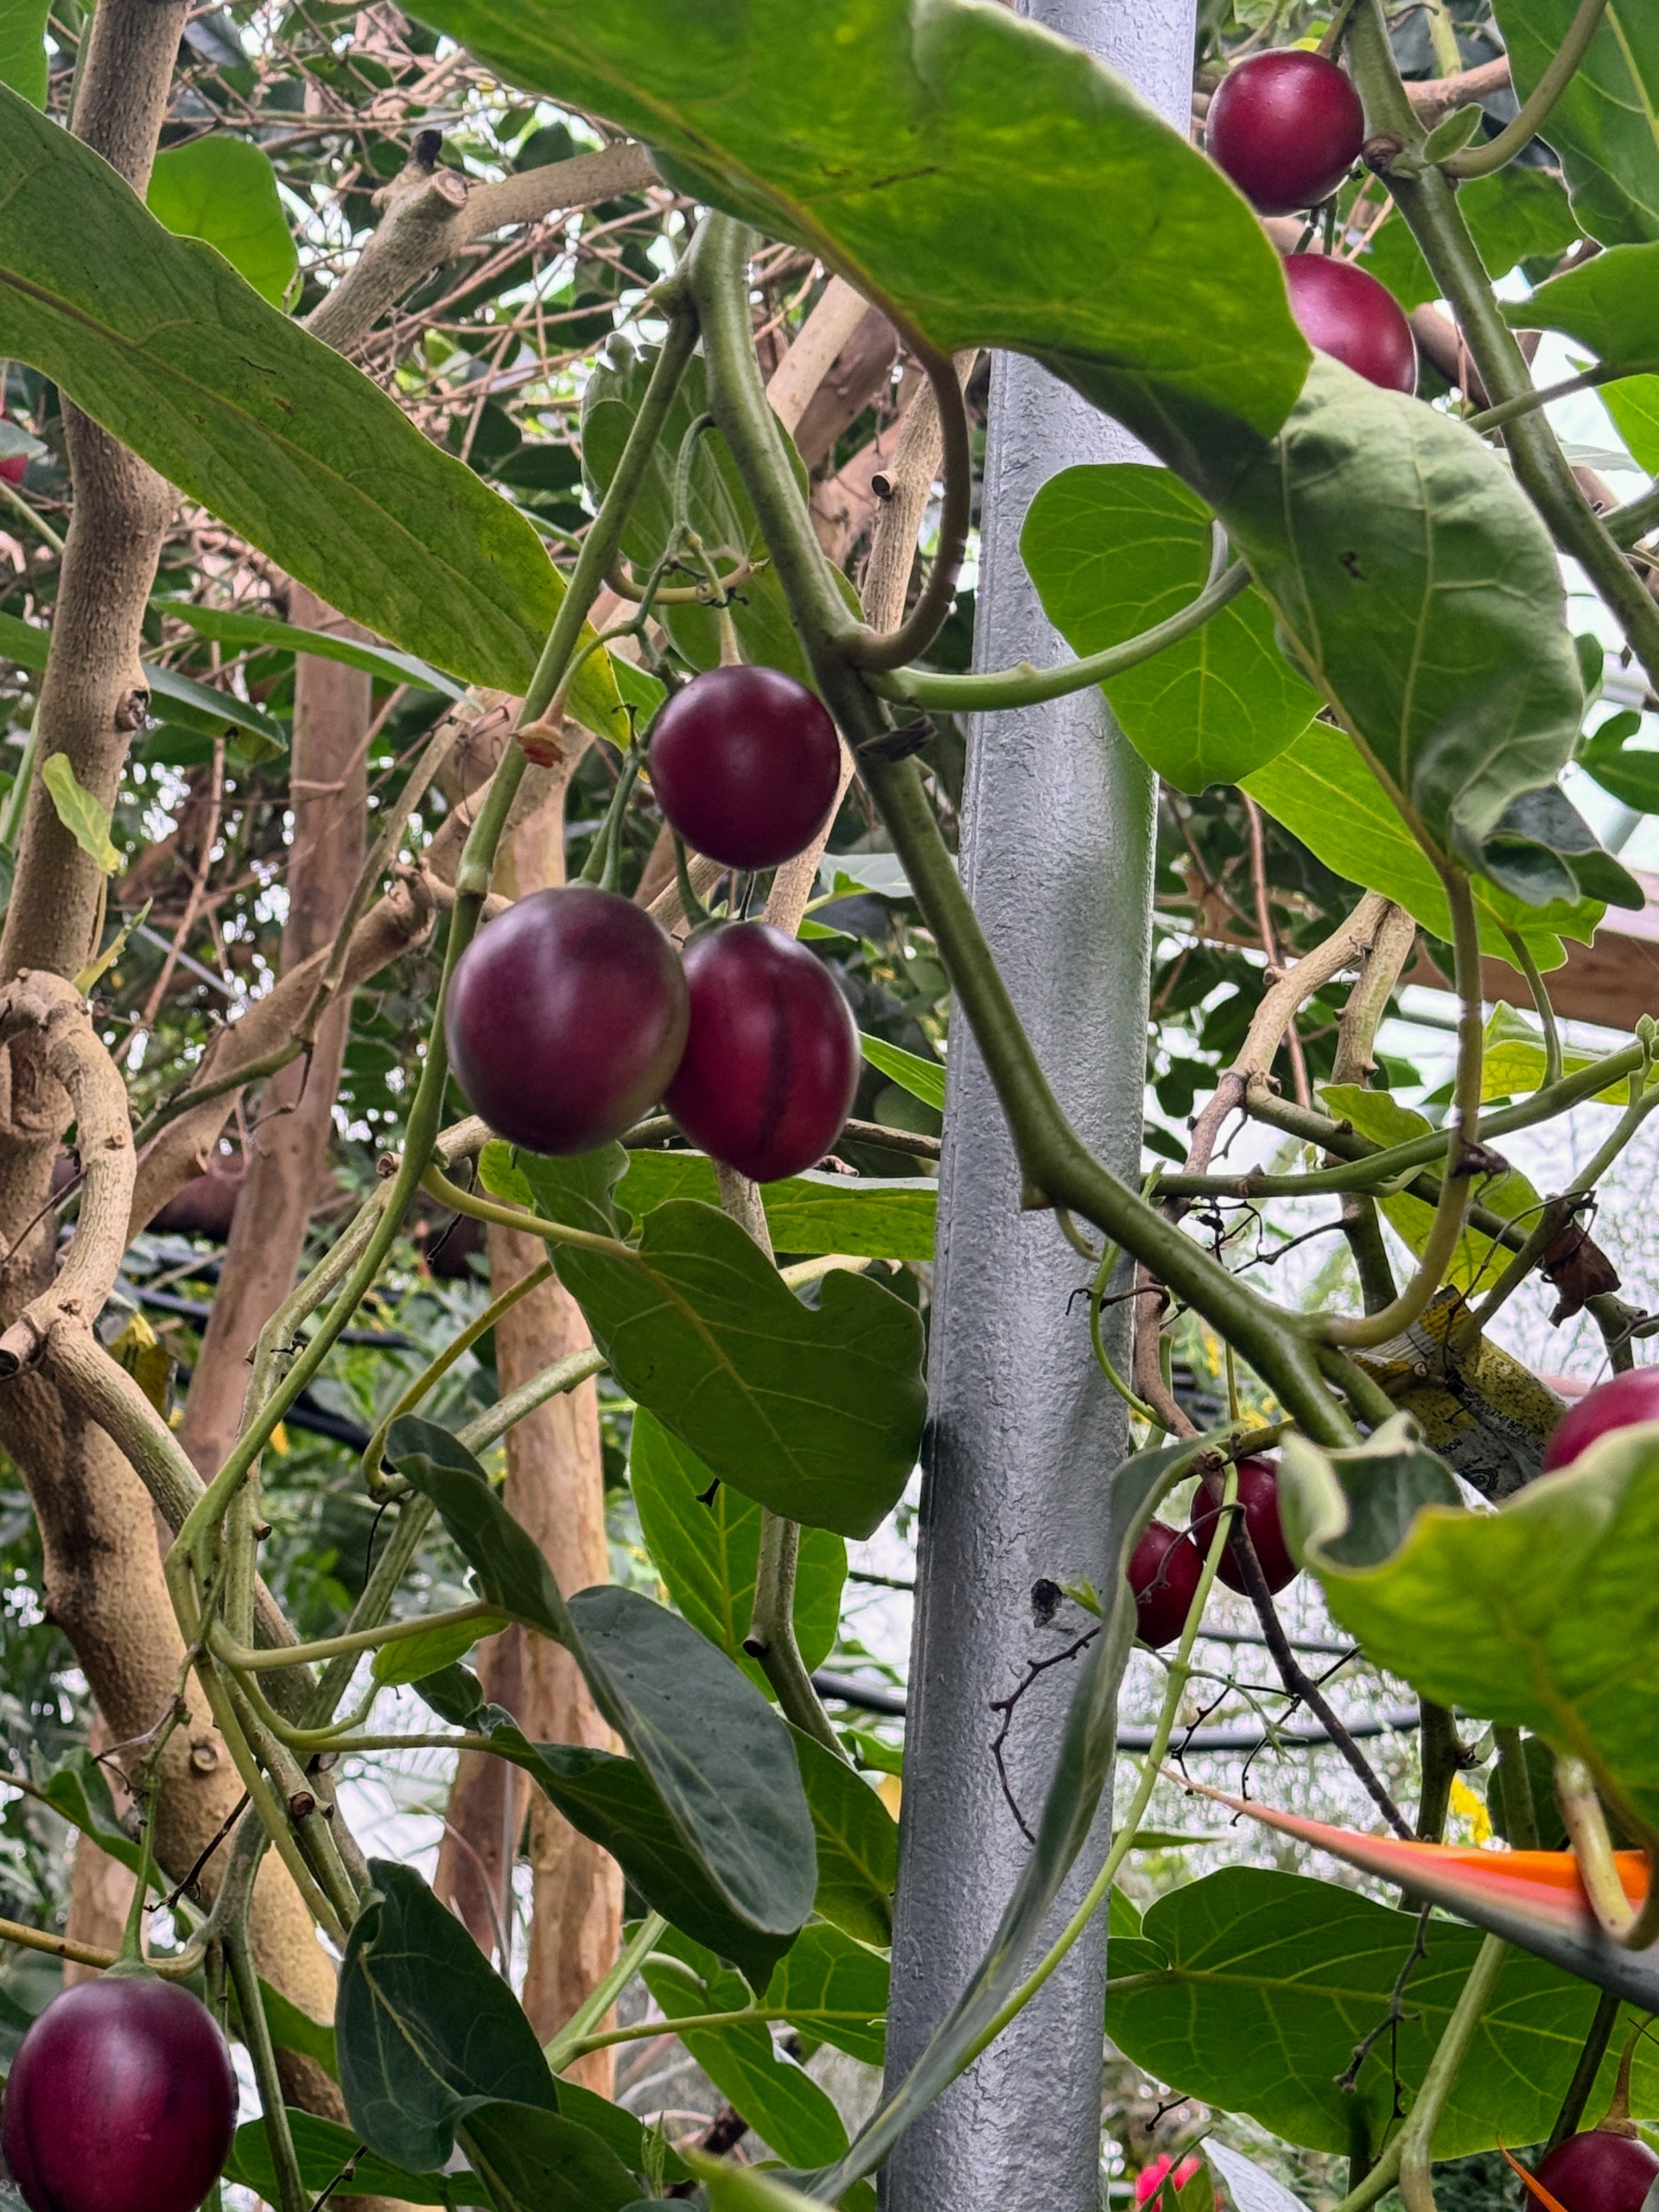
And this is Cyphomandra crassicaulis, the tree tomato – a South American delicacy which produces edible, egg-shaped fruits that taste like custardy guavas.
One of Byron and Laurelynn’s major interests is citrus which can be found throughout their greenhouses. Many of my citrus come from Logee’s.
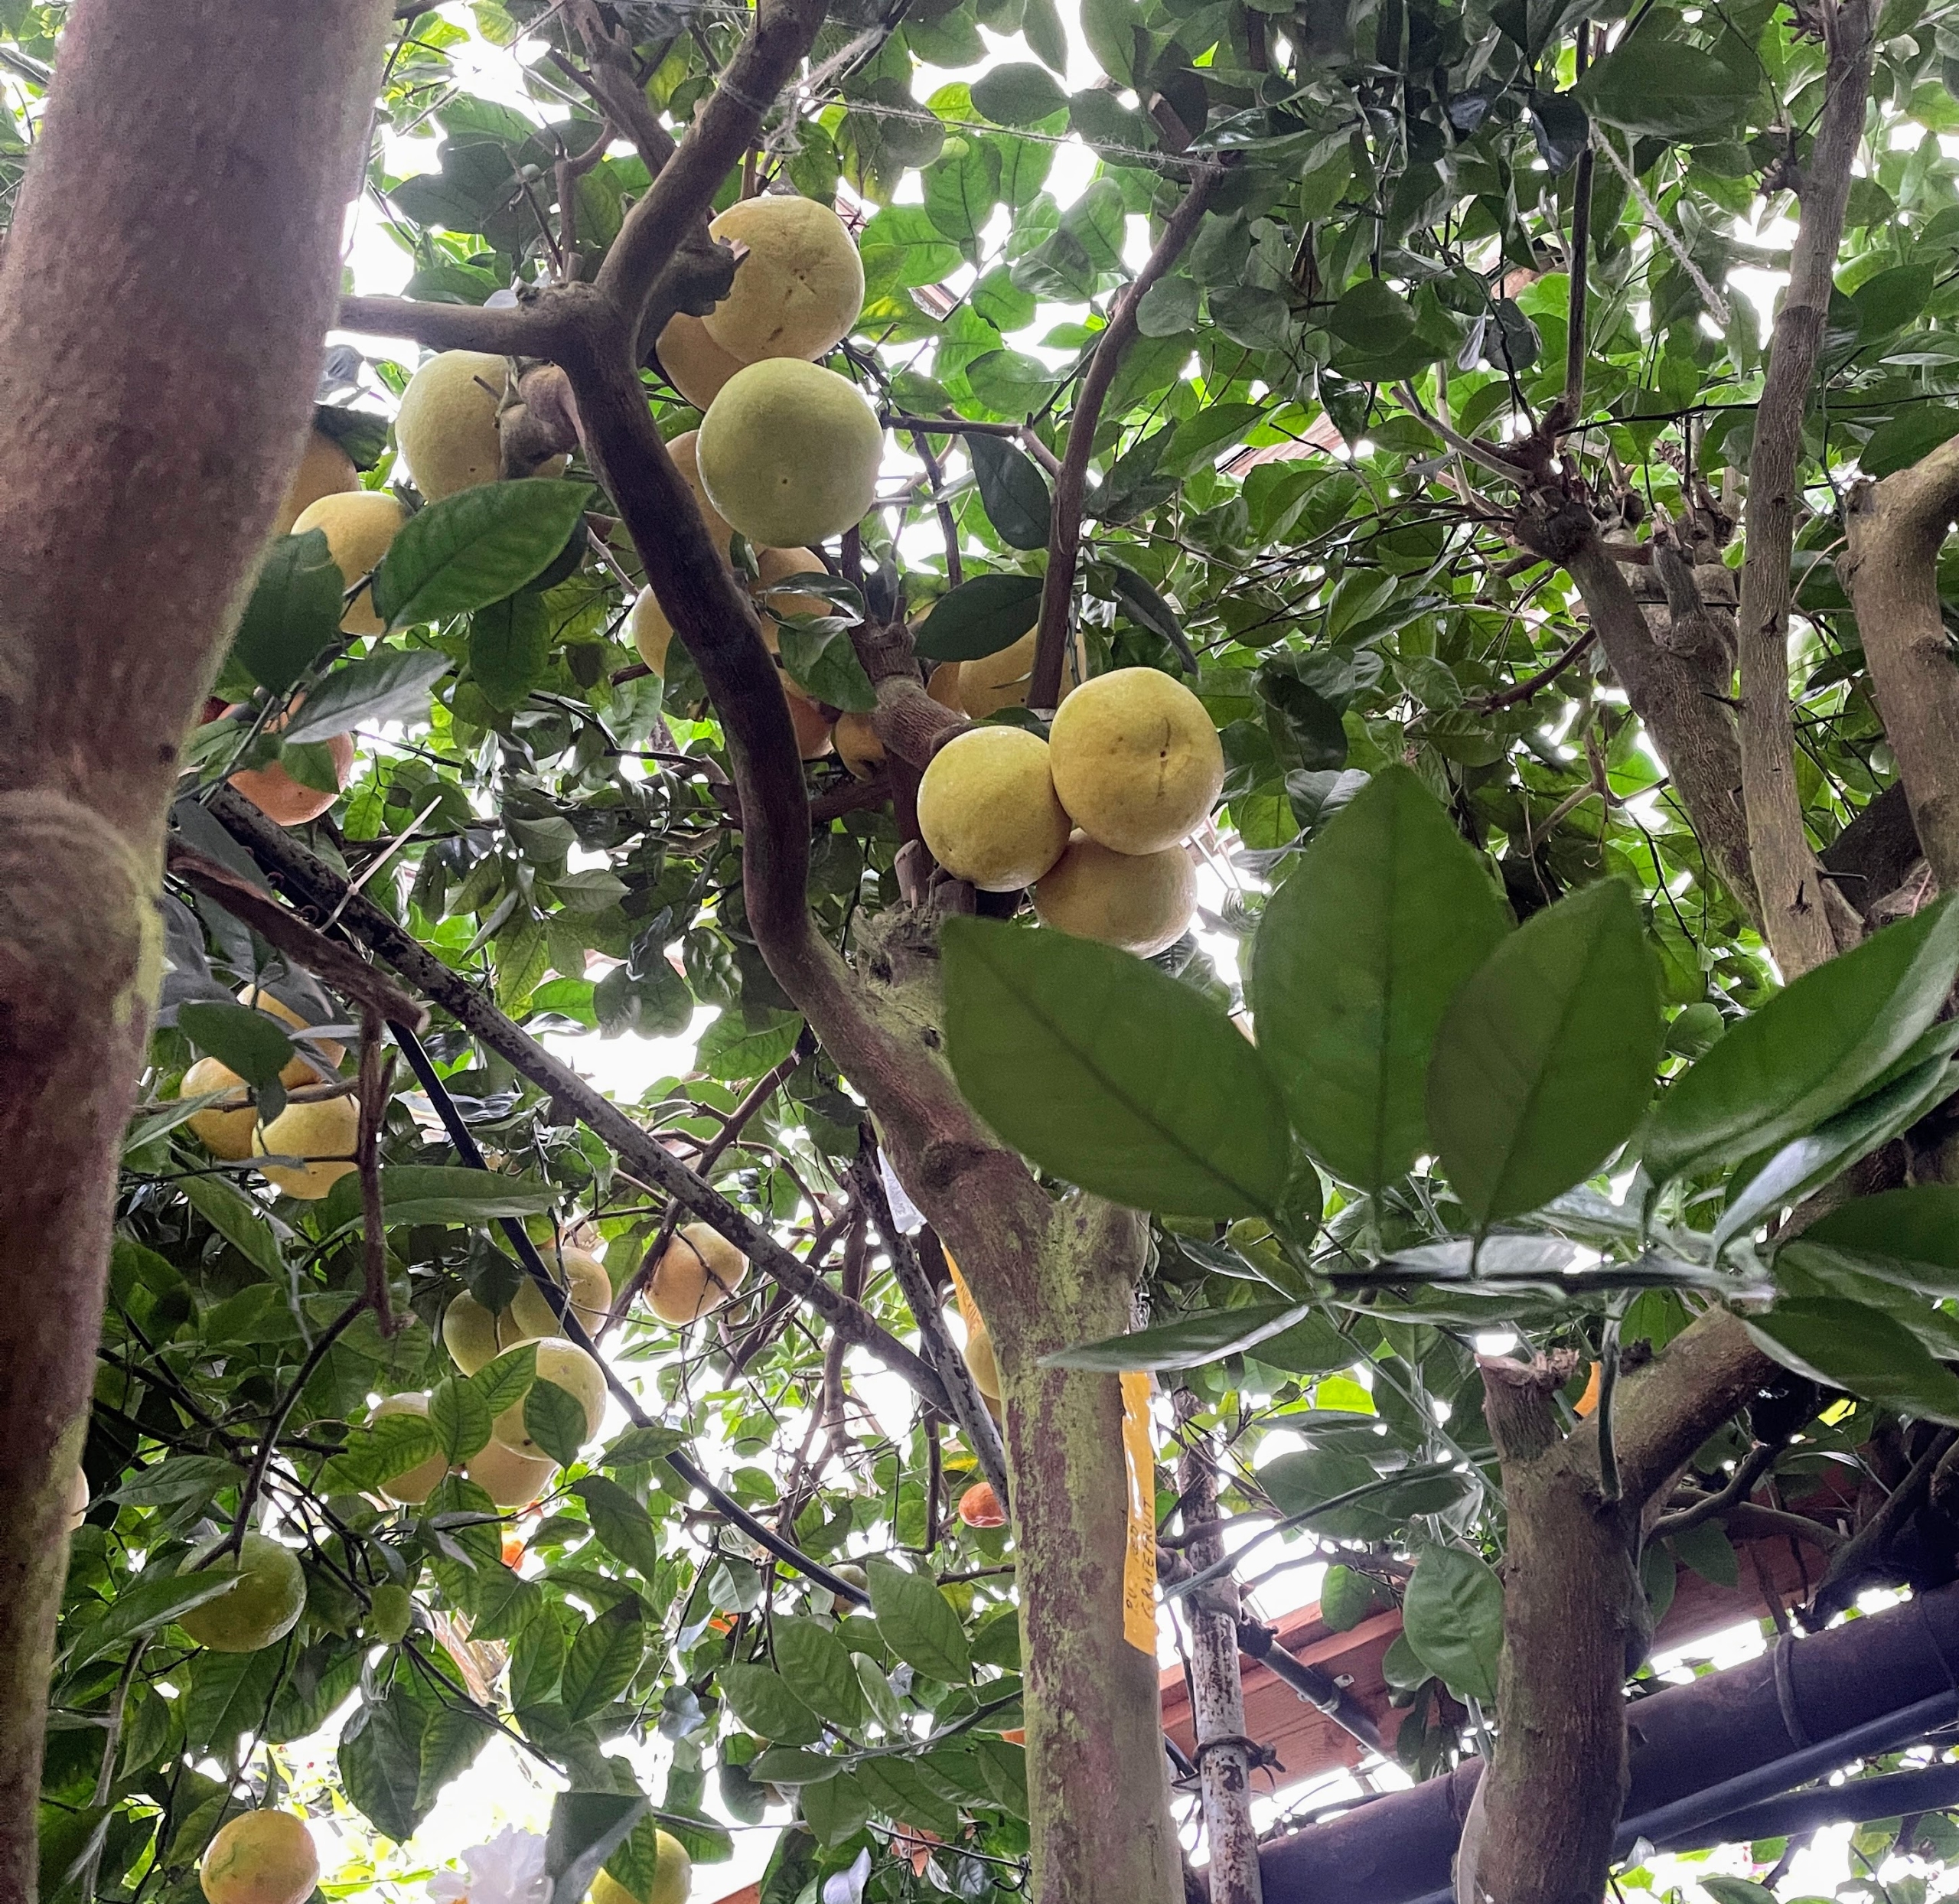
This is a multi-variety citrus tree in the “Big House.” Planted in 1964, this tree is showing grapefruit and temple oranges.
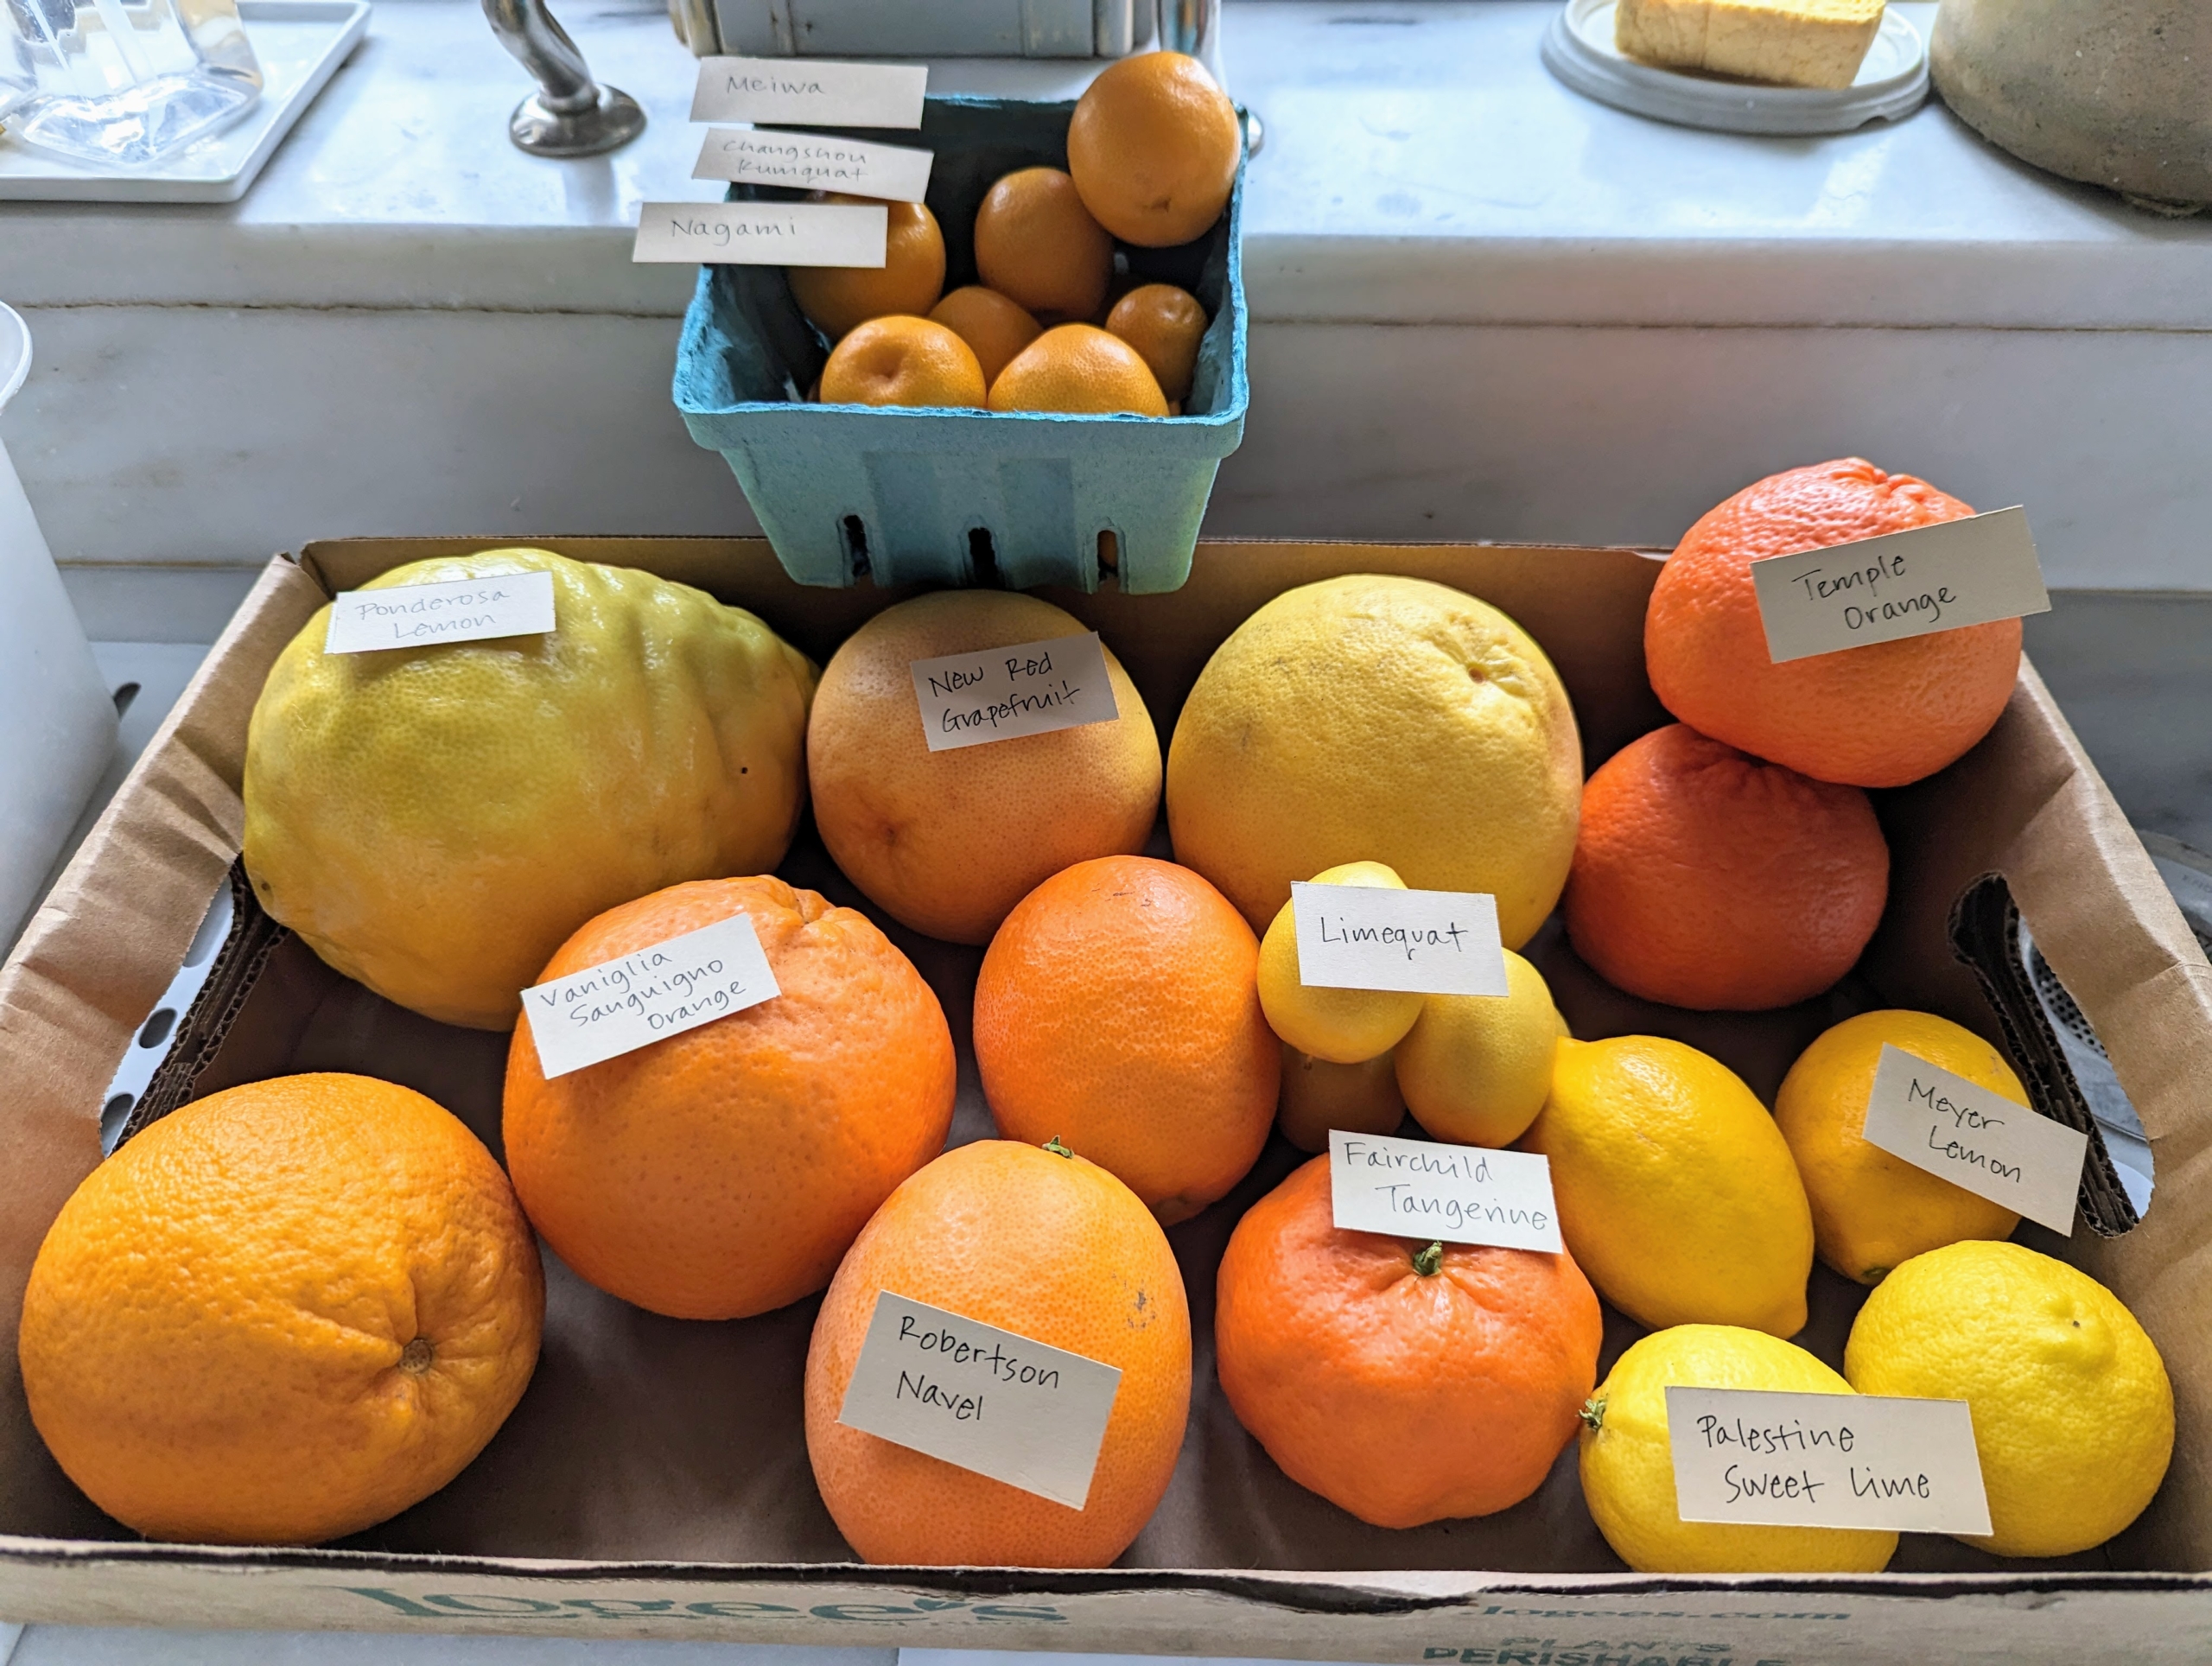
I visit Logee’s at least once a year – and I never leave empty handed. This time, I also picked a lovely box of tasting fruits. Look at all these wonderful oranges, lemons, grapefruits, kumquats, etc.
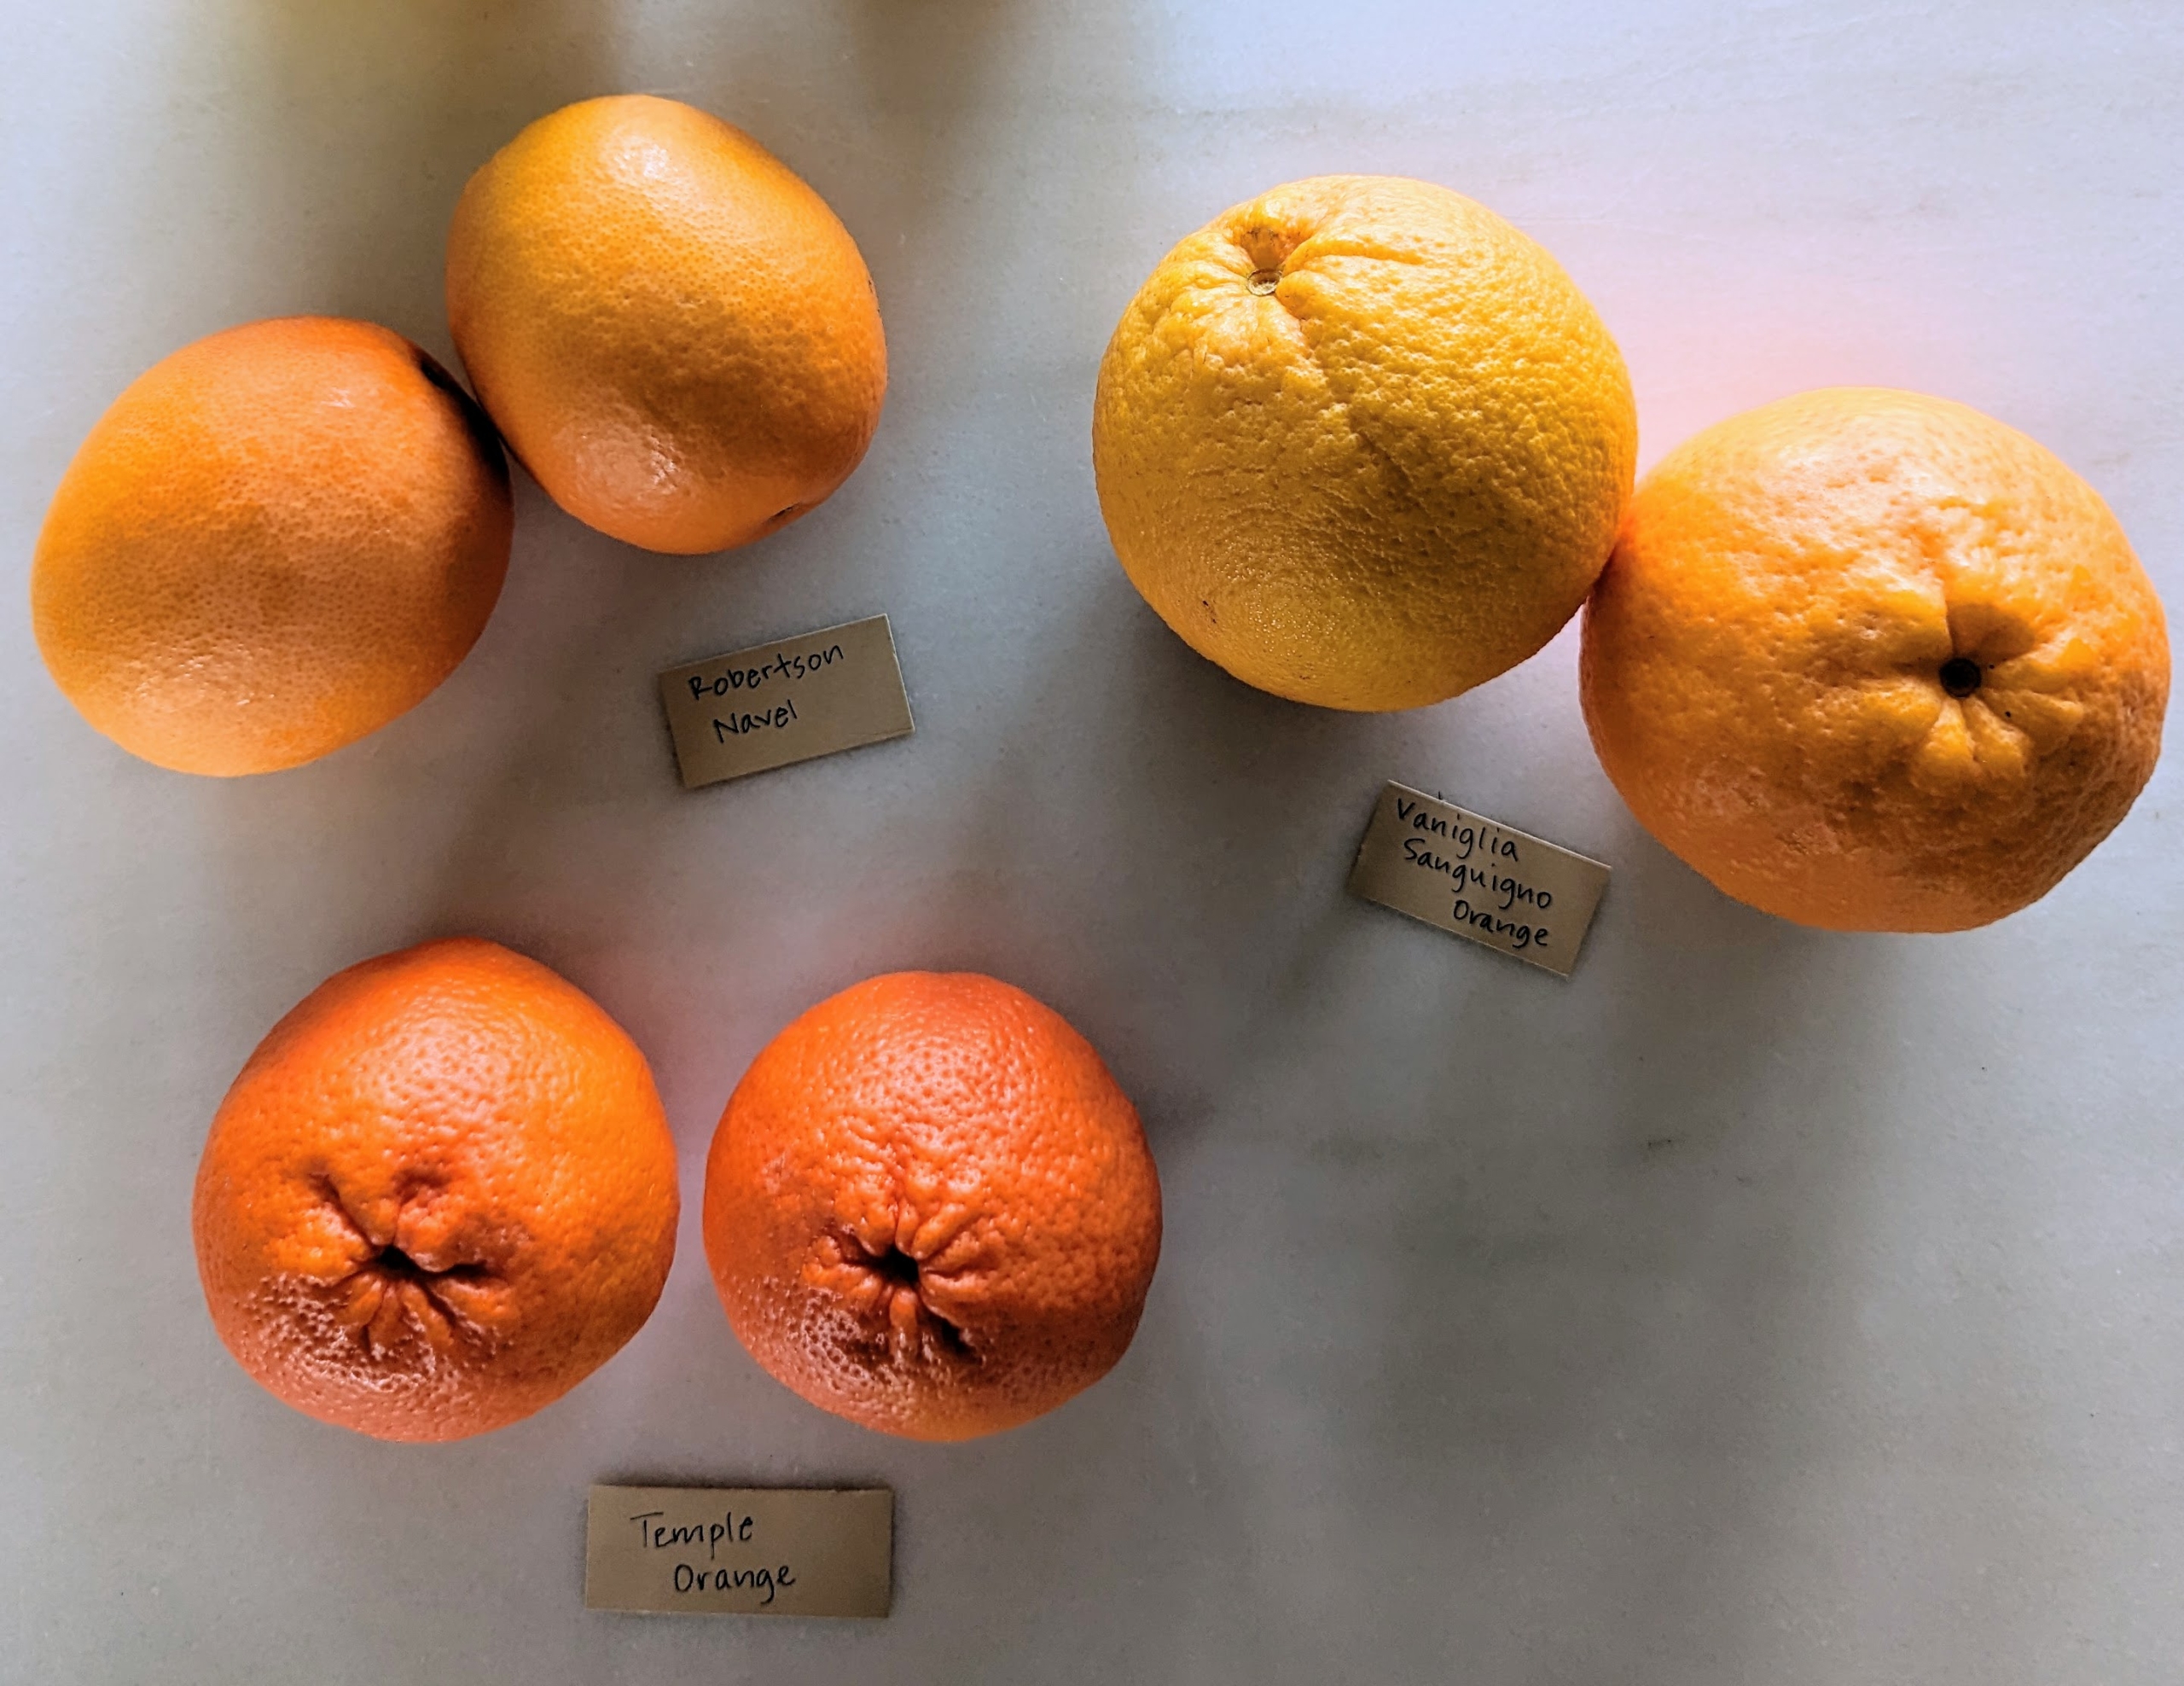
Robertson navels originated in an old Washington navel tree in an orchard near Redlands, California, where it was found by Roy Robertson in 1925. Robertson navels are large orange round fruits with hints of red which are usually ready for picking in winter. Temple is one of the more full–flavored, complex citrus fruits with a spicy–sweet taste and a hint of tartness. Vaniglia Sanguigno oranges are medium in size, seedy, with a smooth orange rind of medium thickness and an acidless, sweet taste.
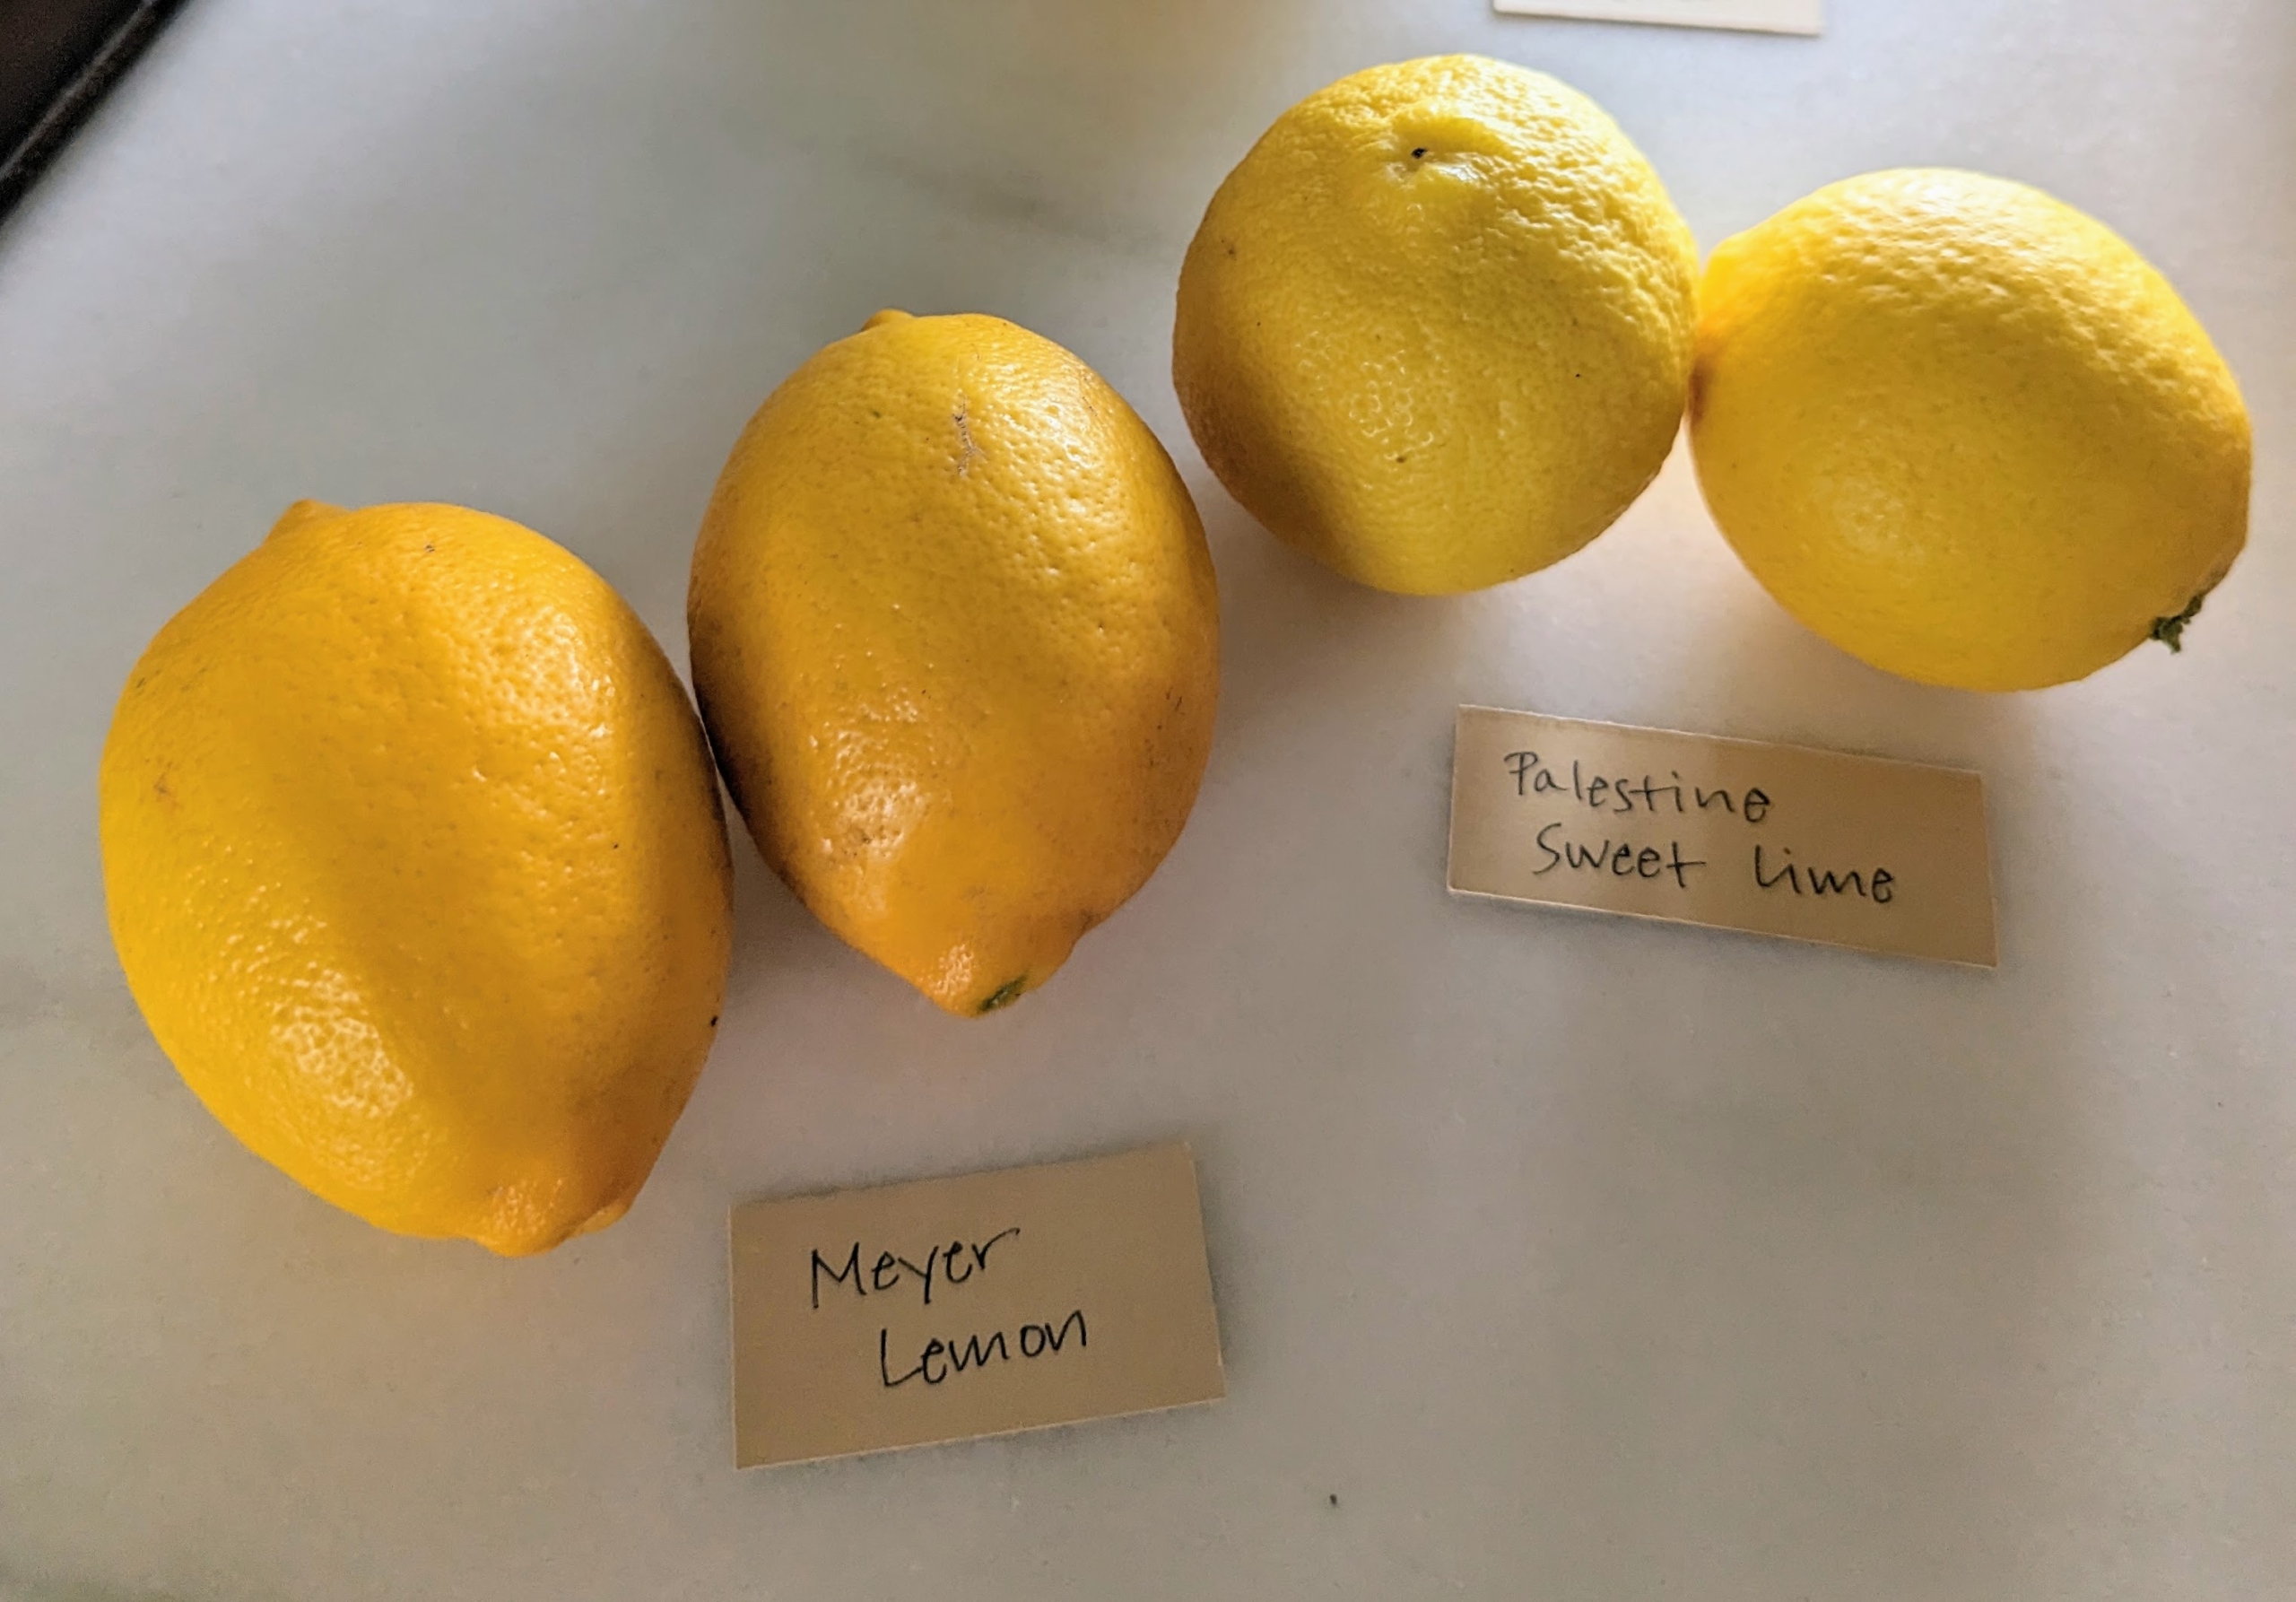
I grow many Meyer lemons here at my farm. The Meyer lemon is a hybrid citrus fruit native to China. The fruits are smaller and more round than regular lemons, with smoother, thin, deep yellow to orange skin, and dark yellow pulp. Palestine sweet limes can be enjoyed by eating or juicing for fruit drinks, smoothies, and cocktails. They are often used in sauces, marinades, chutneys, and relishes.
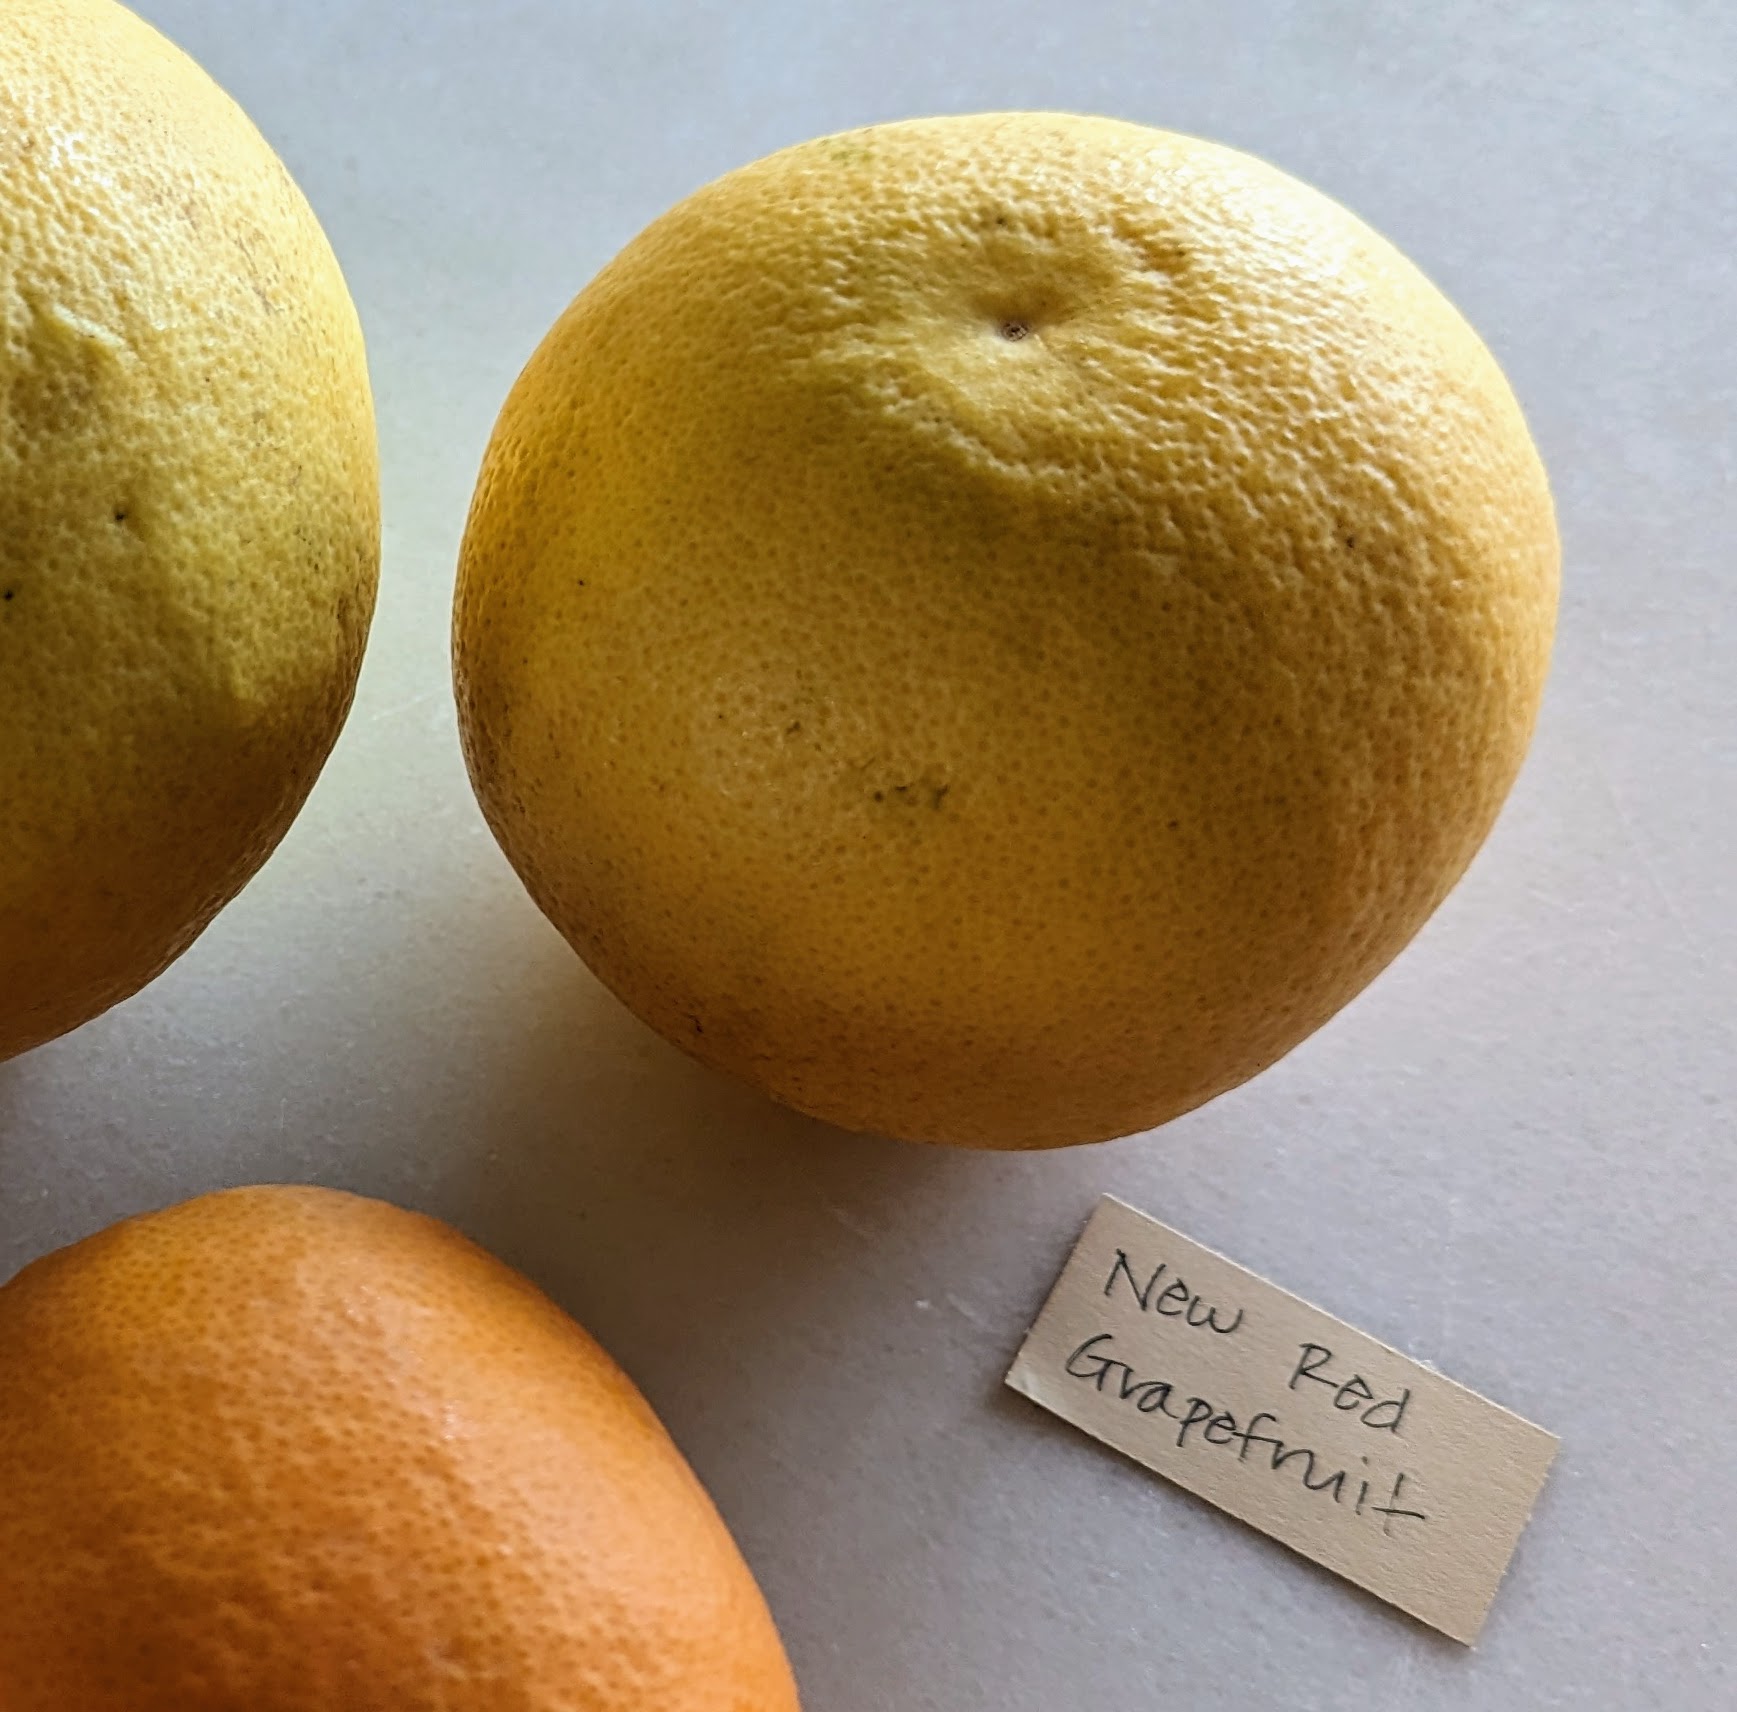
And many recognize grapefruit. The grapefruit is a subtropical citrus fruit known for its relatively large, sour to semi-sweet, somewhat bitter flavor. The interior flesh is segmented and varies in color from pale yellow to dark pink and red.
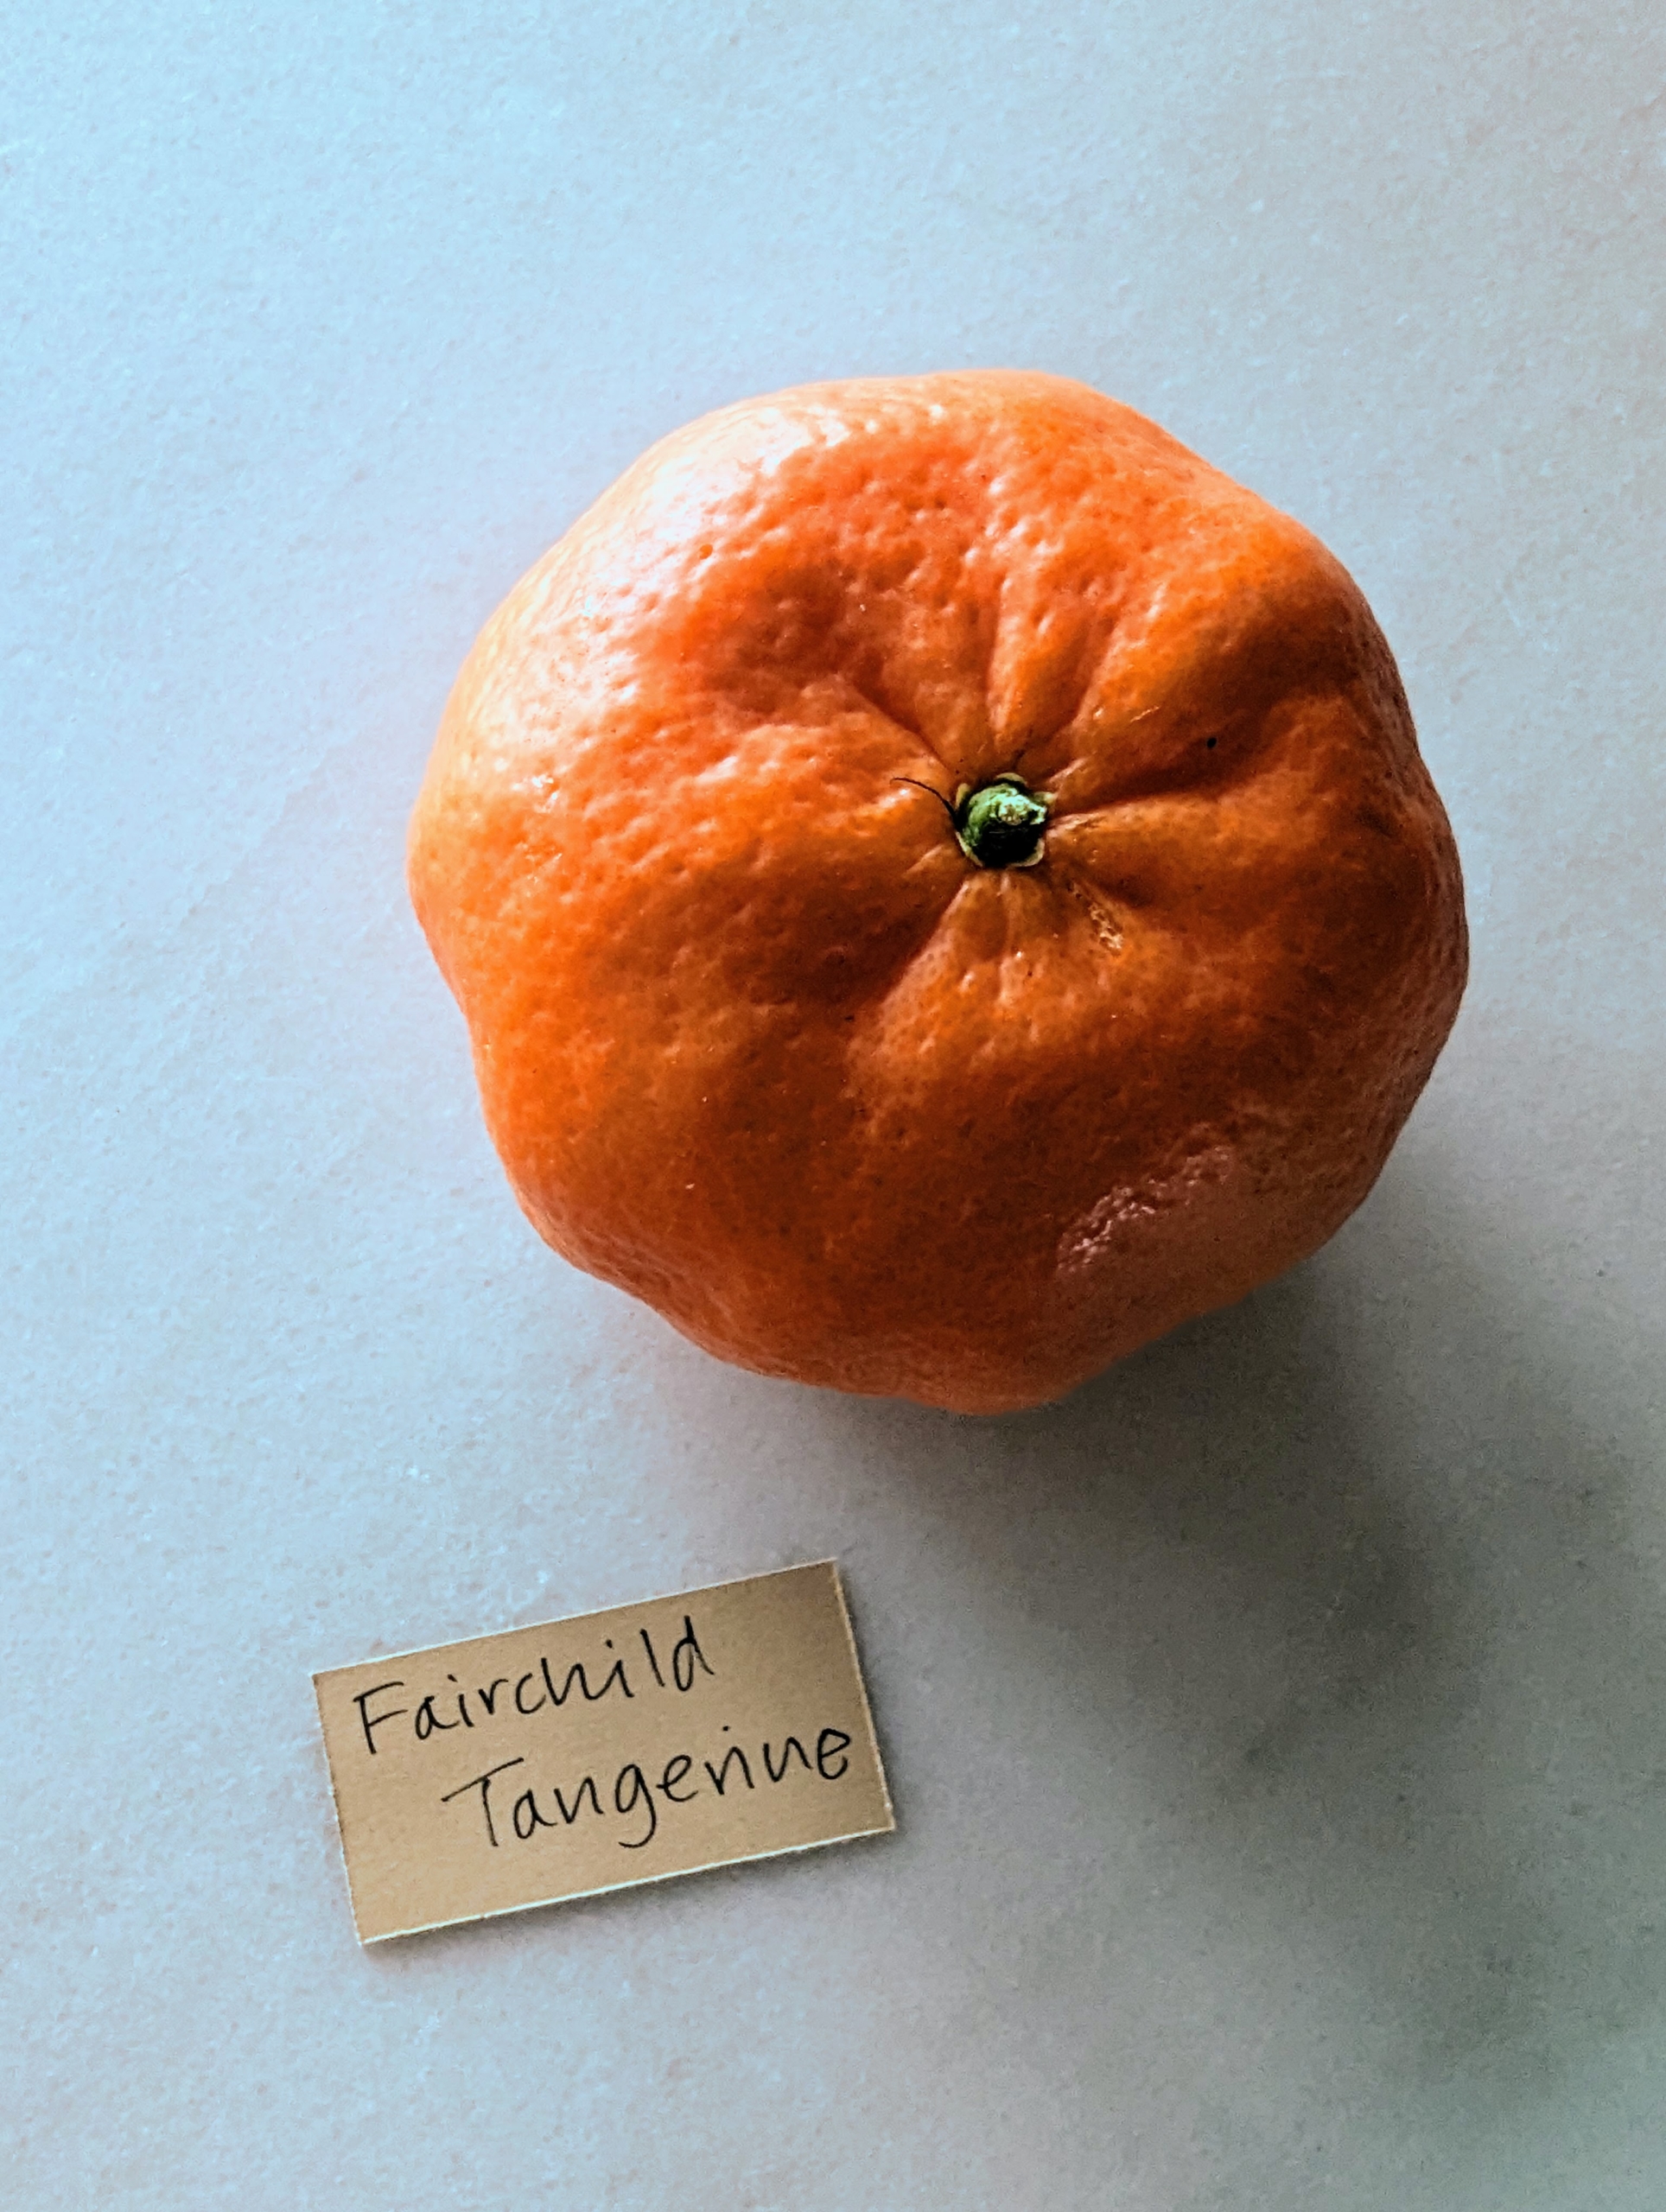
The Fairchild tangerine is a cross between a Clementine mandarin and an Orlando tangelo. The skin is thin with a deep orange color and it is juicy with a rich and sweet flavor.
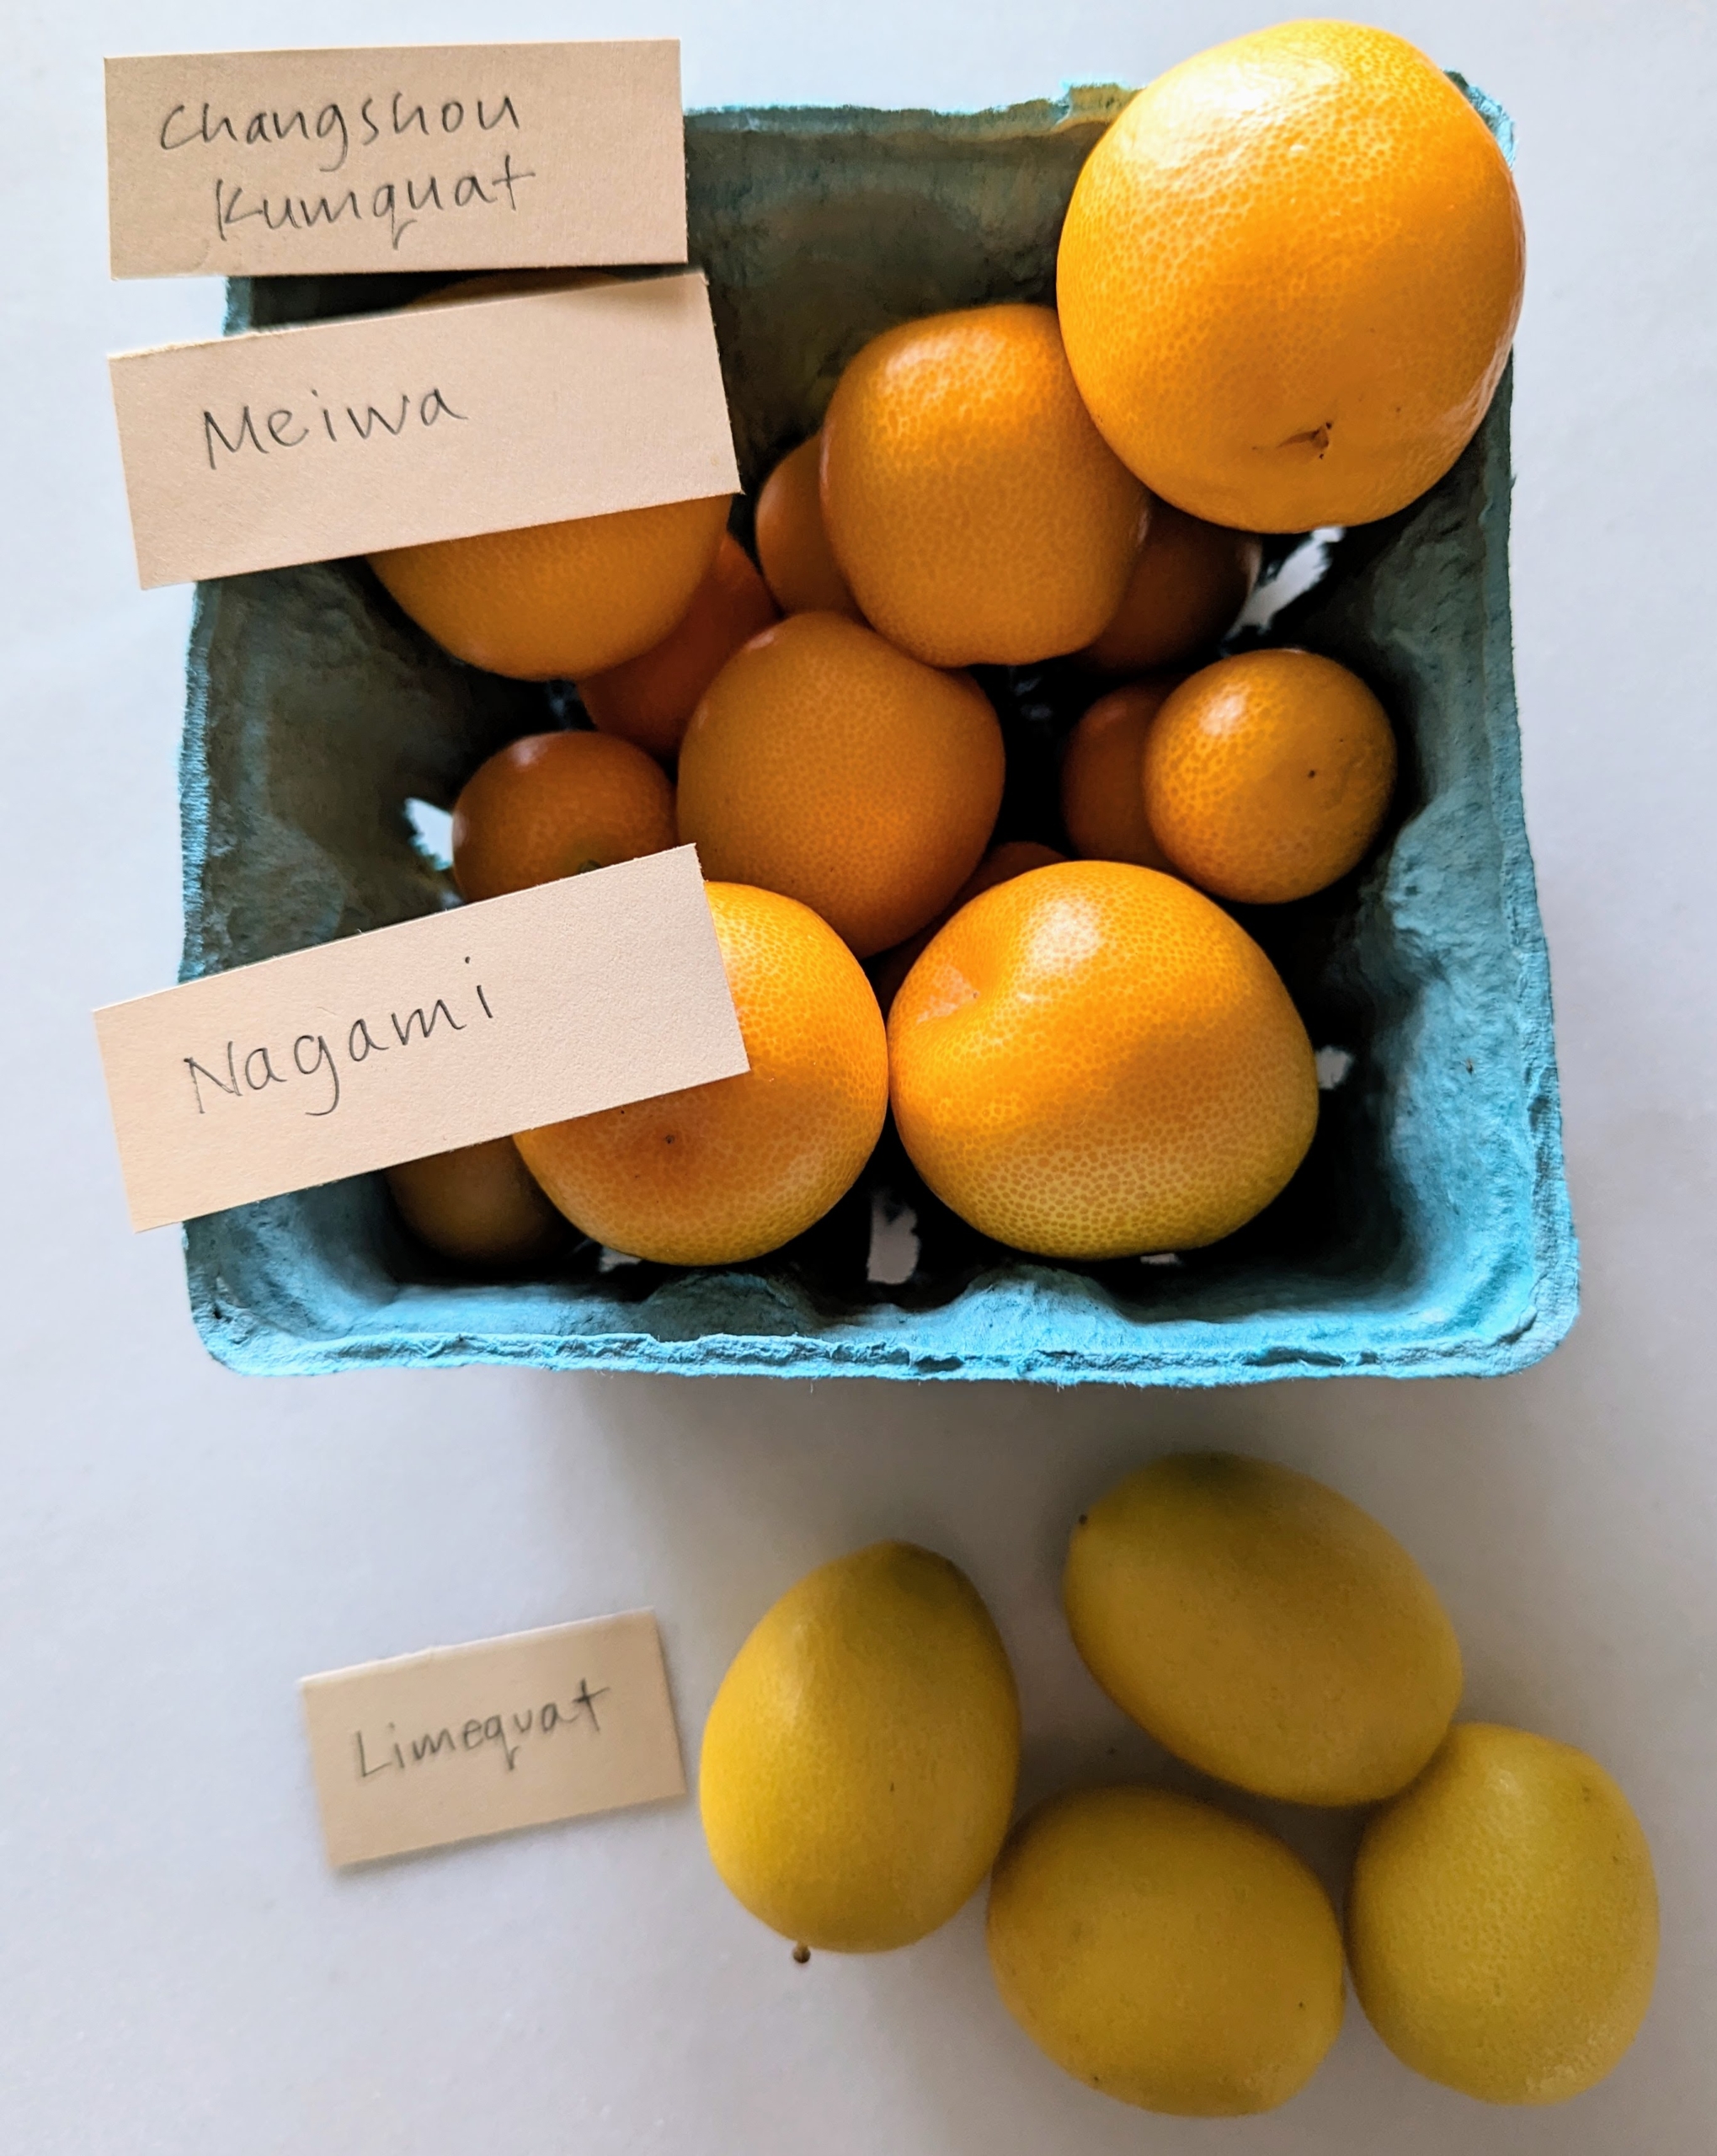
Here is an assortment of smaller citrus fruits – Changshou kumquats, Meiwa sweet kumquats, Nagami kumquats, and the kumquat-lime hybrid, limequats. Kumquats have a similar taste to oranges, but with a kick − the skin of the fruit tastes sweet, and the inside is tart.
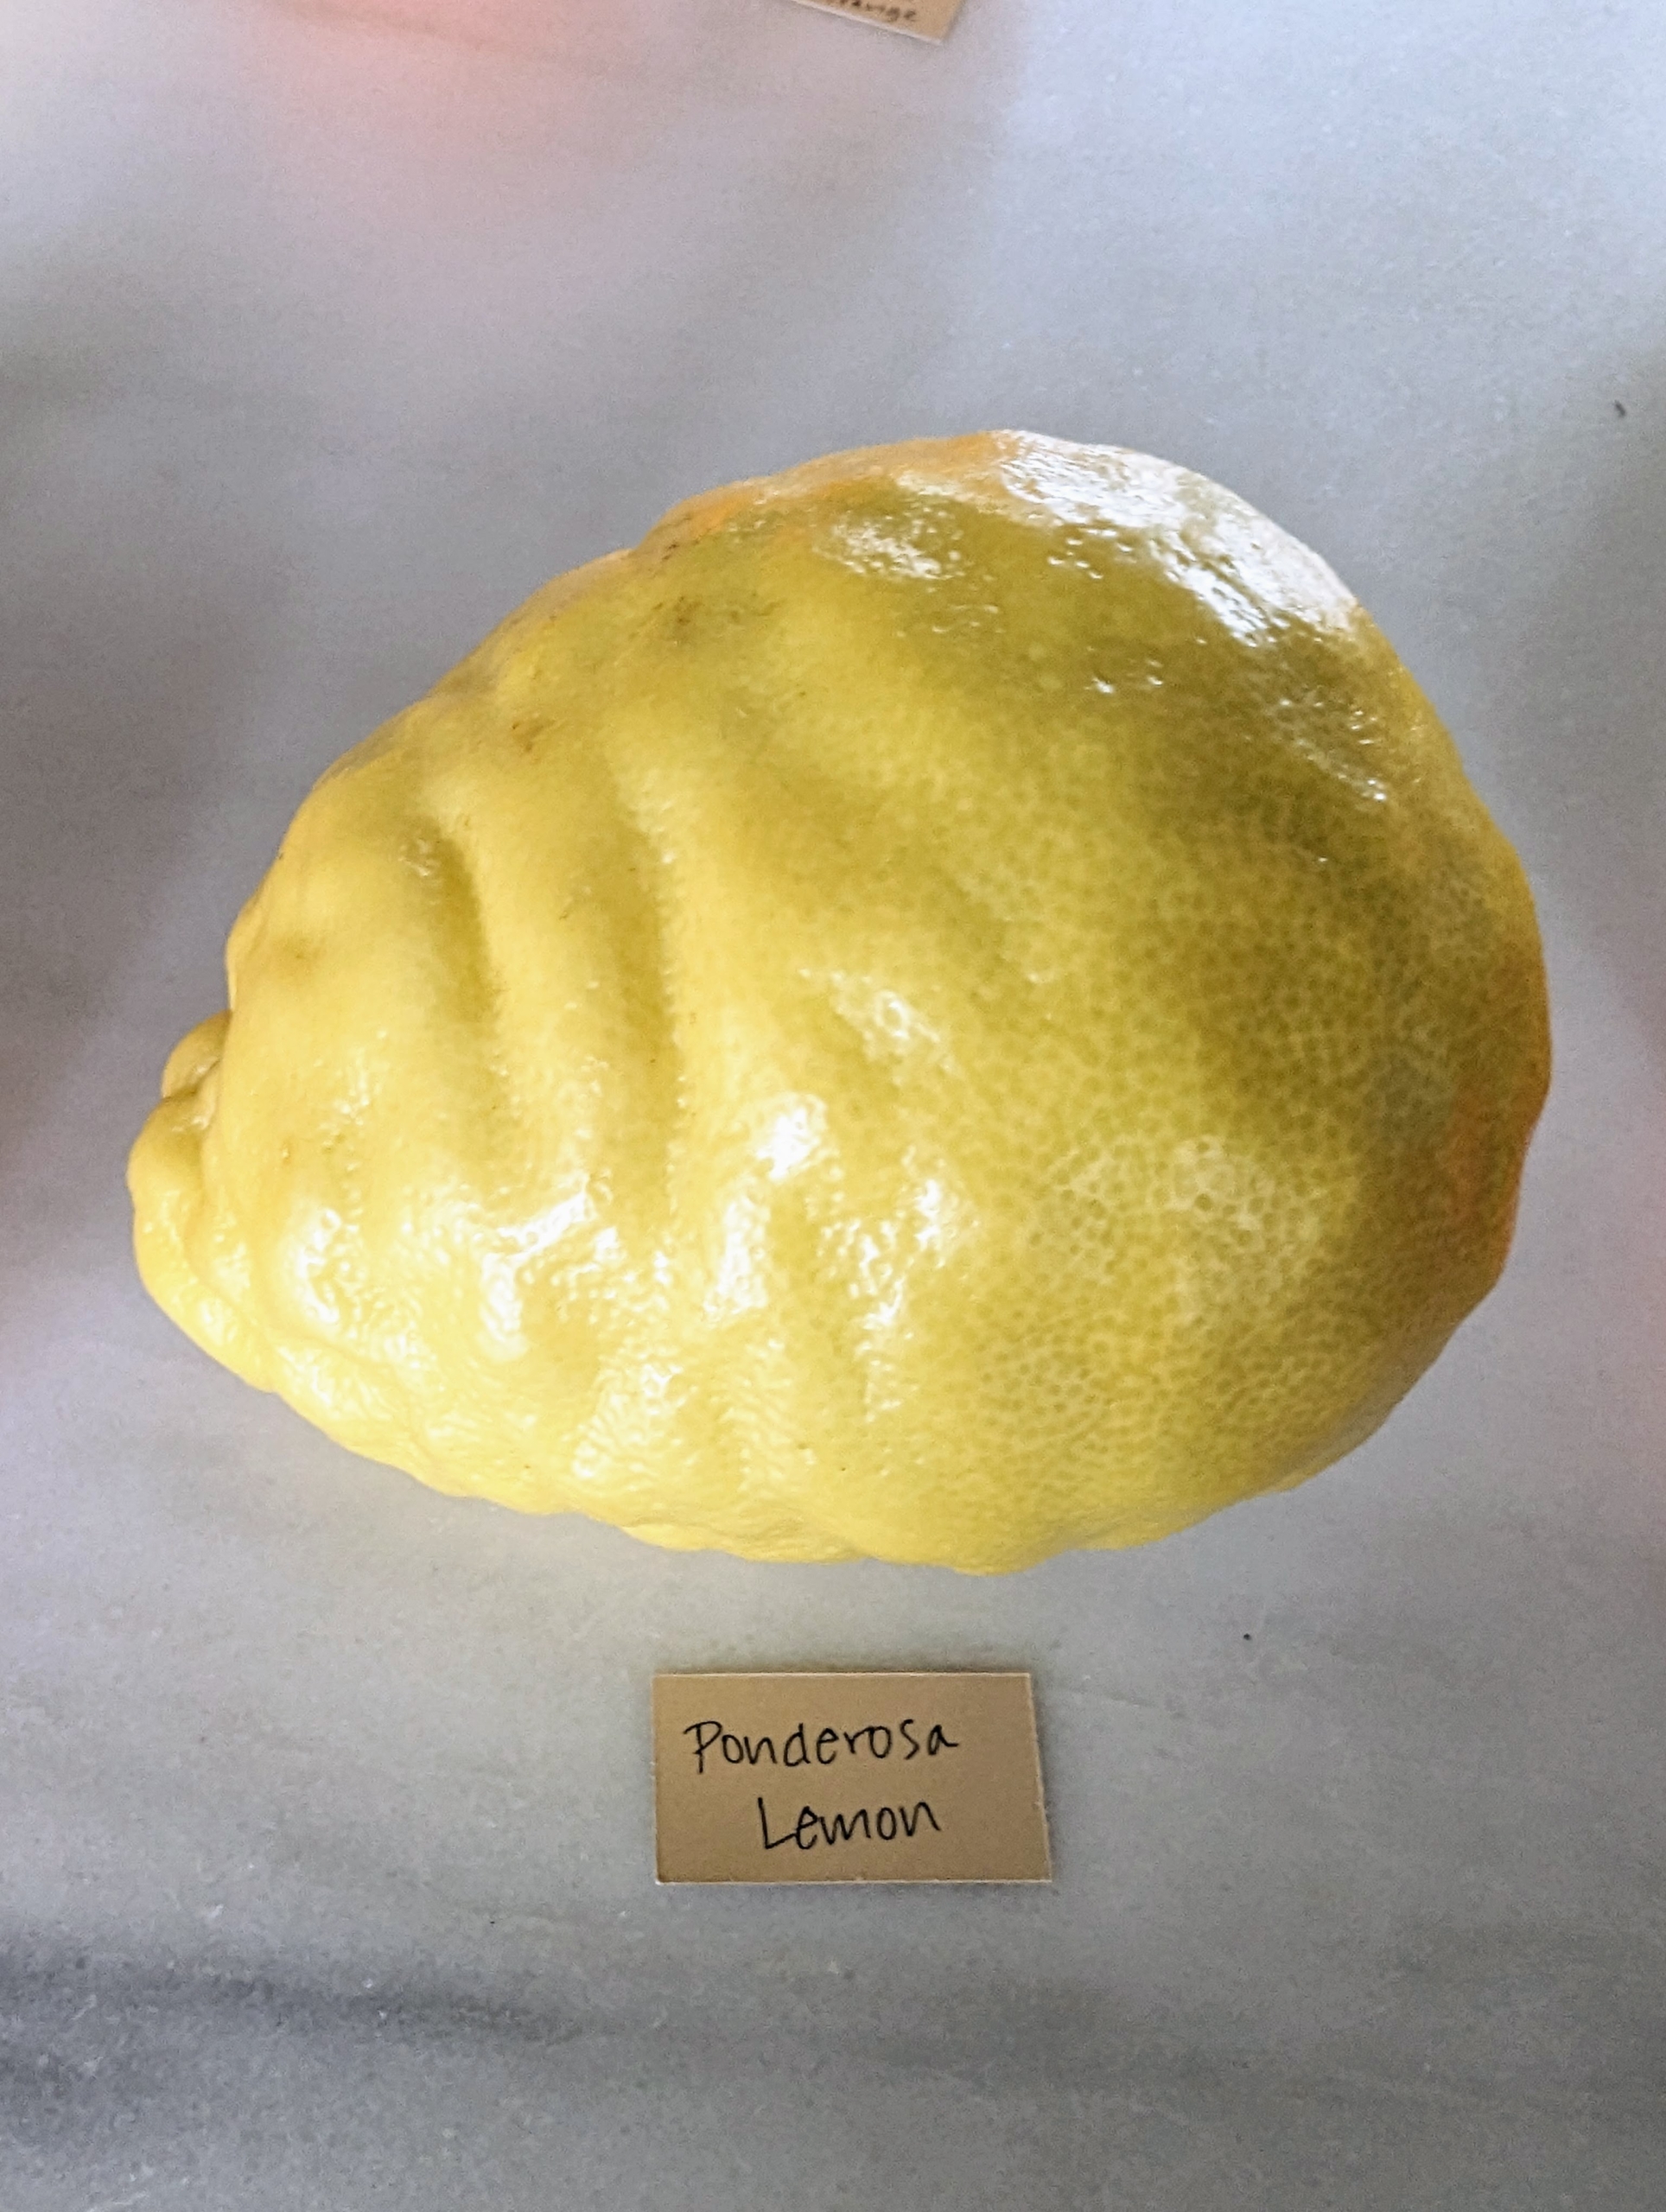
And you probably know this giant fruit – I have a beautiful potted tree of this type of citrus at my farm. It’s a Ponderosa lemon, a citrus hybrid of a pomelo and a citron. Ponderosa lemons are highly acidic, developing a bright floral, fruity, and tangy flavor mixed with a subtle sweetness. There is so much to see and learn about at Logee’s and it is open year-round. If you’re ever in the area, stop by Logee’s Tropical Container Plants for Home and Garden in Danielson, Connecticut. And be sure to check out their web site and catalog – there is something there for everyone.