Planting a Japanese Maple Tree
Among my favorite trees is the Japanese maple - I've planted so many of them here at my farm.
Yesterday, a nearby friend contacted me and told me she was redoing the landscaping around her home and had a 40-year-old Japanese maple she no longer needed. She asked if I would be interested in taking it and of course, I said yes. My outdoor grounds crew picked it up right away. It's a big task to plant mature specimens, but I had the perfect spot for it in mind.
Here are some photos, enjoy.
-

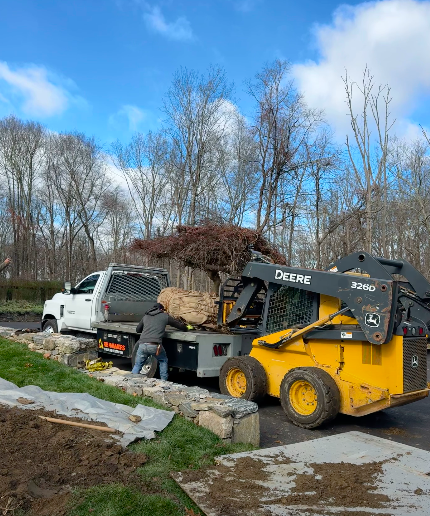
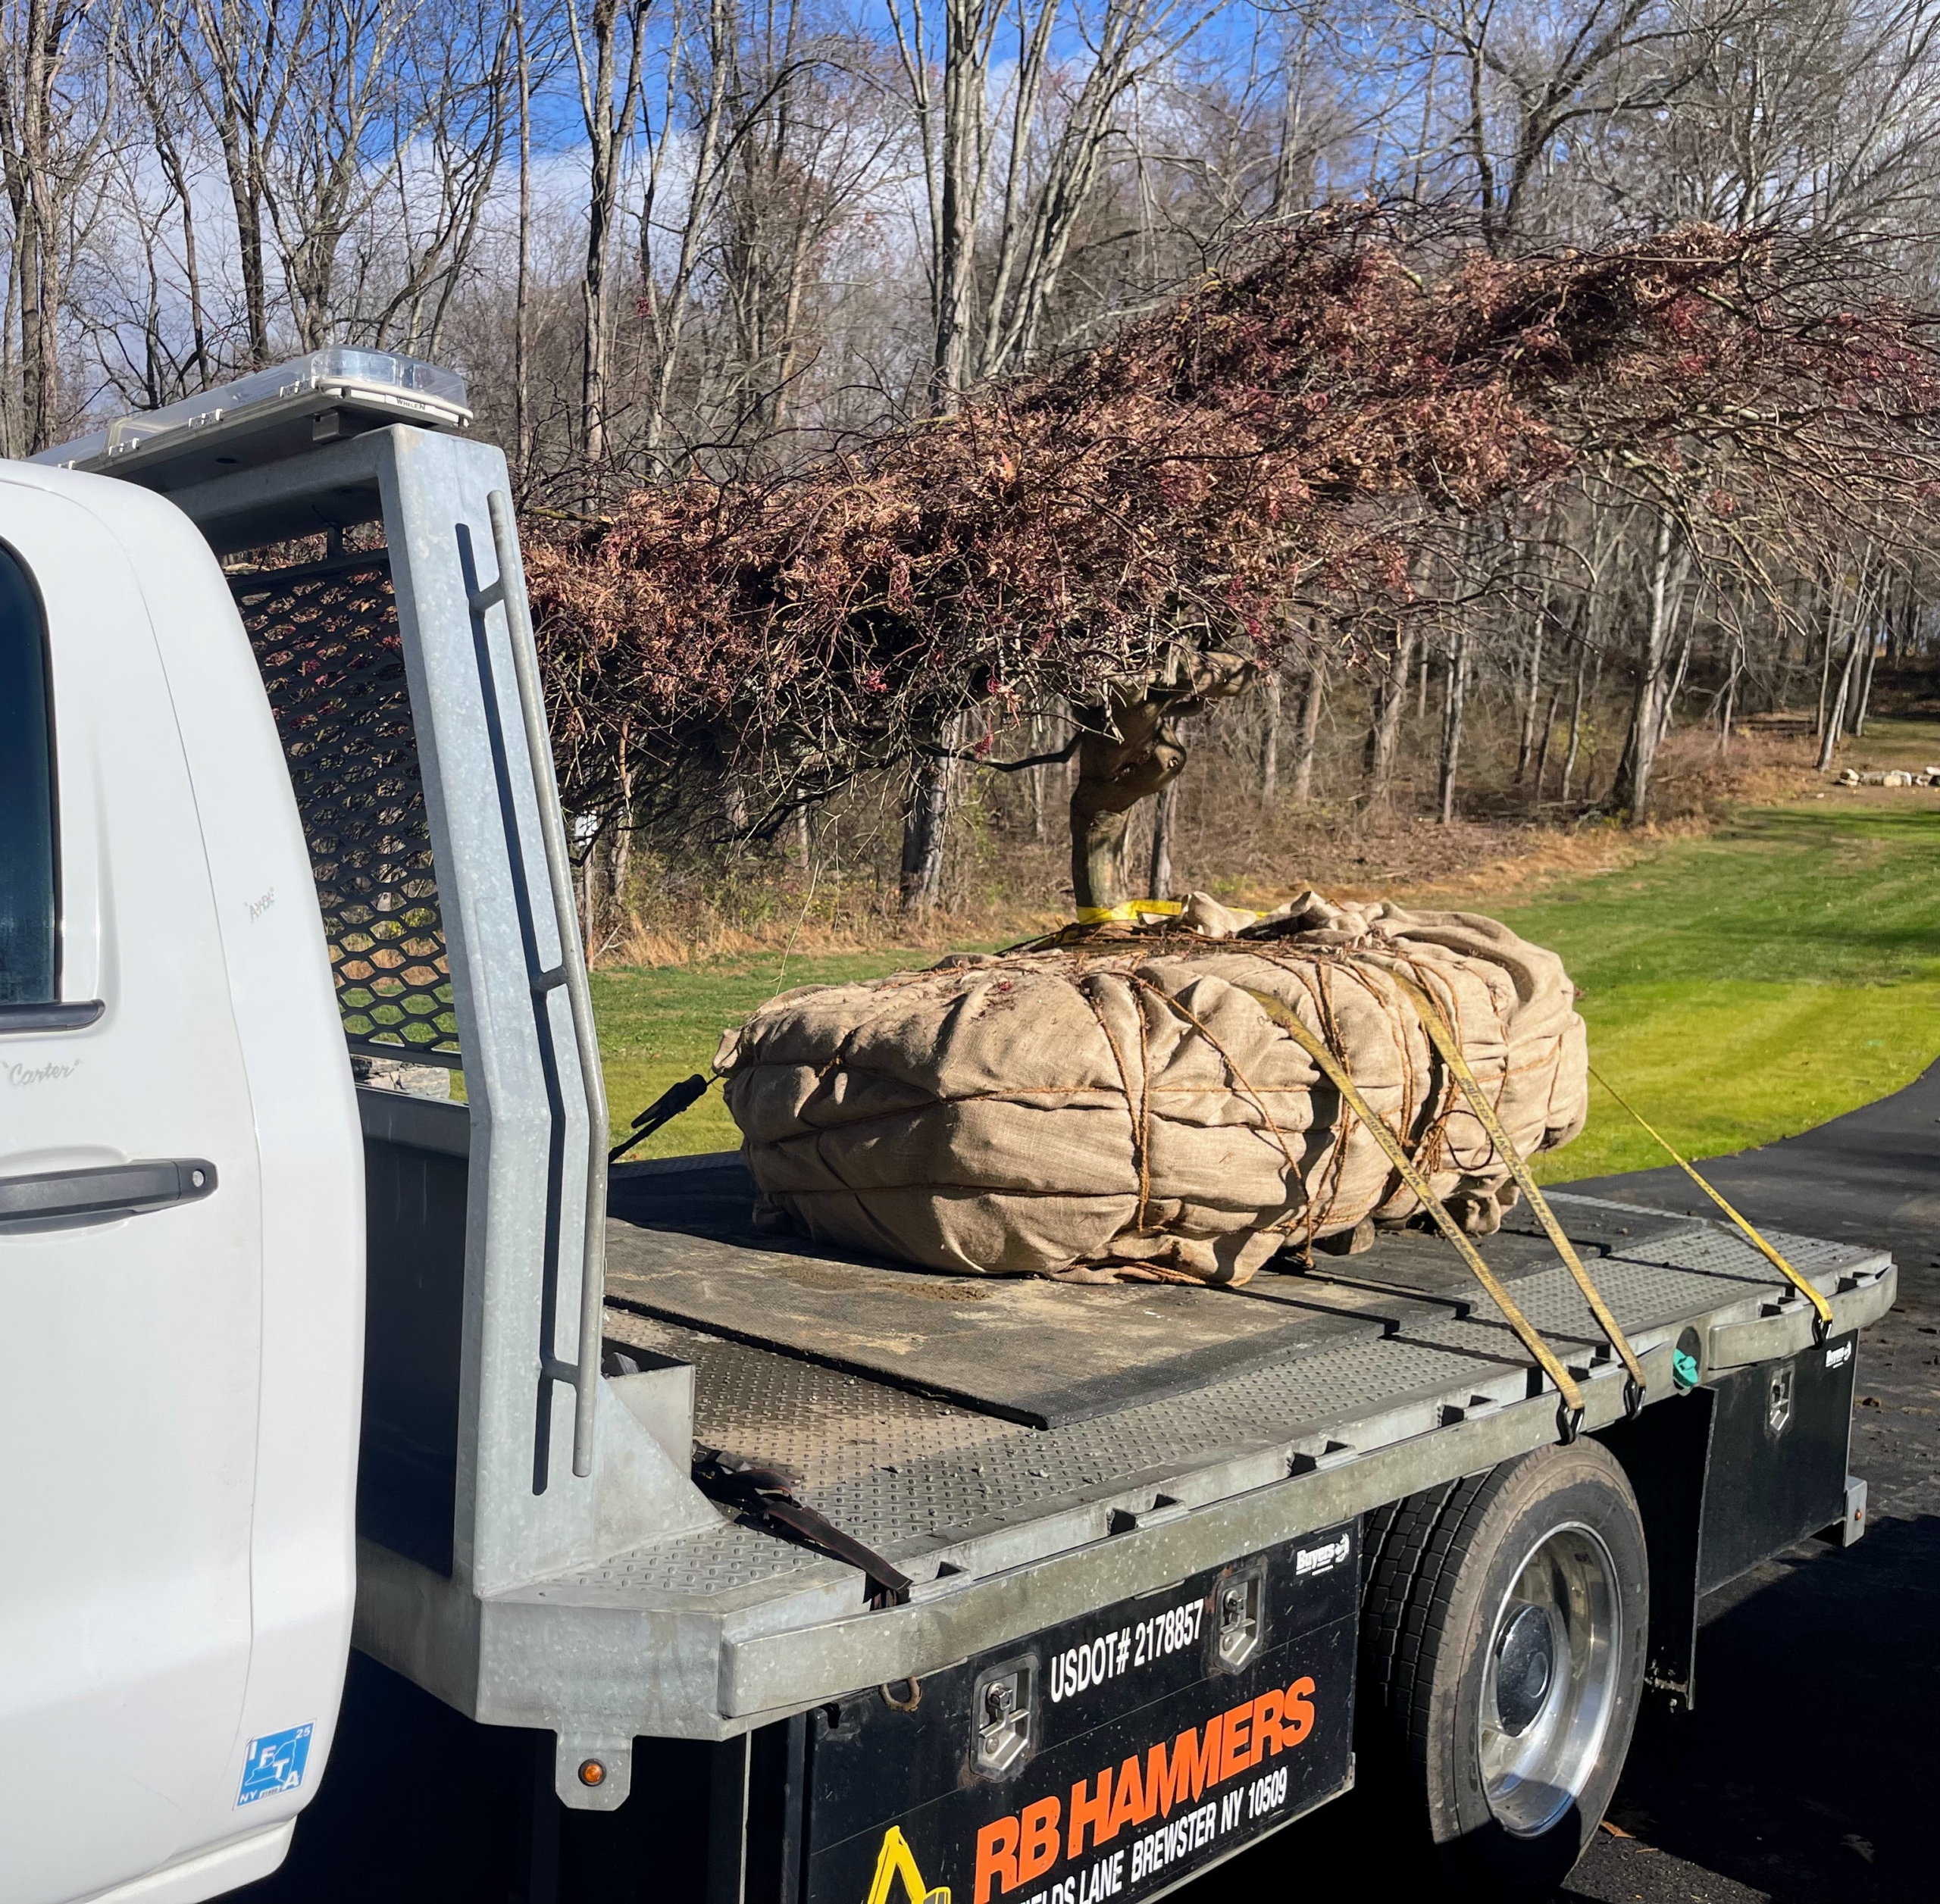
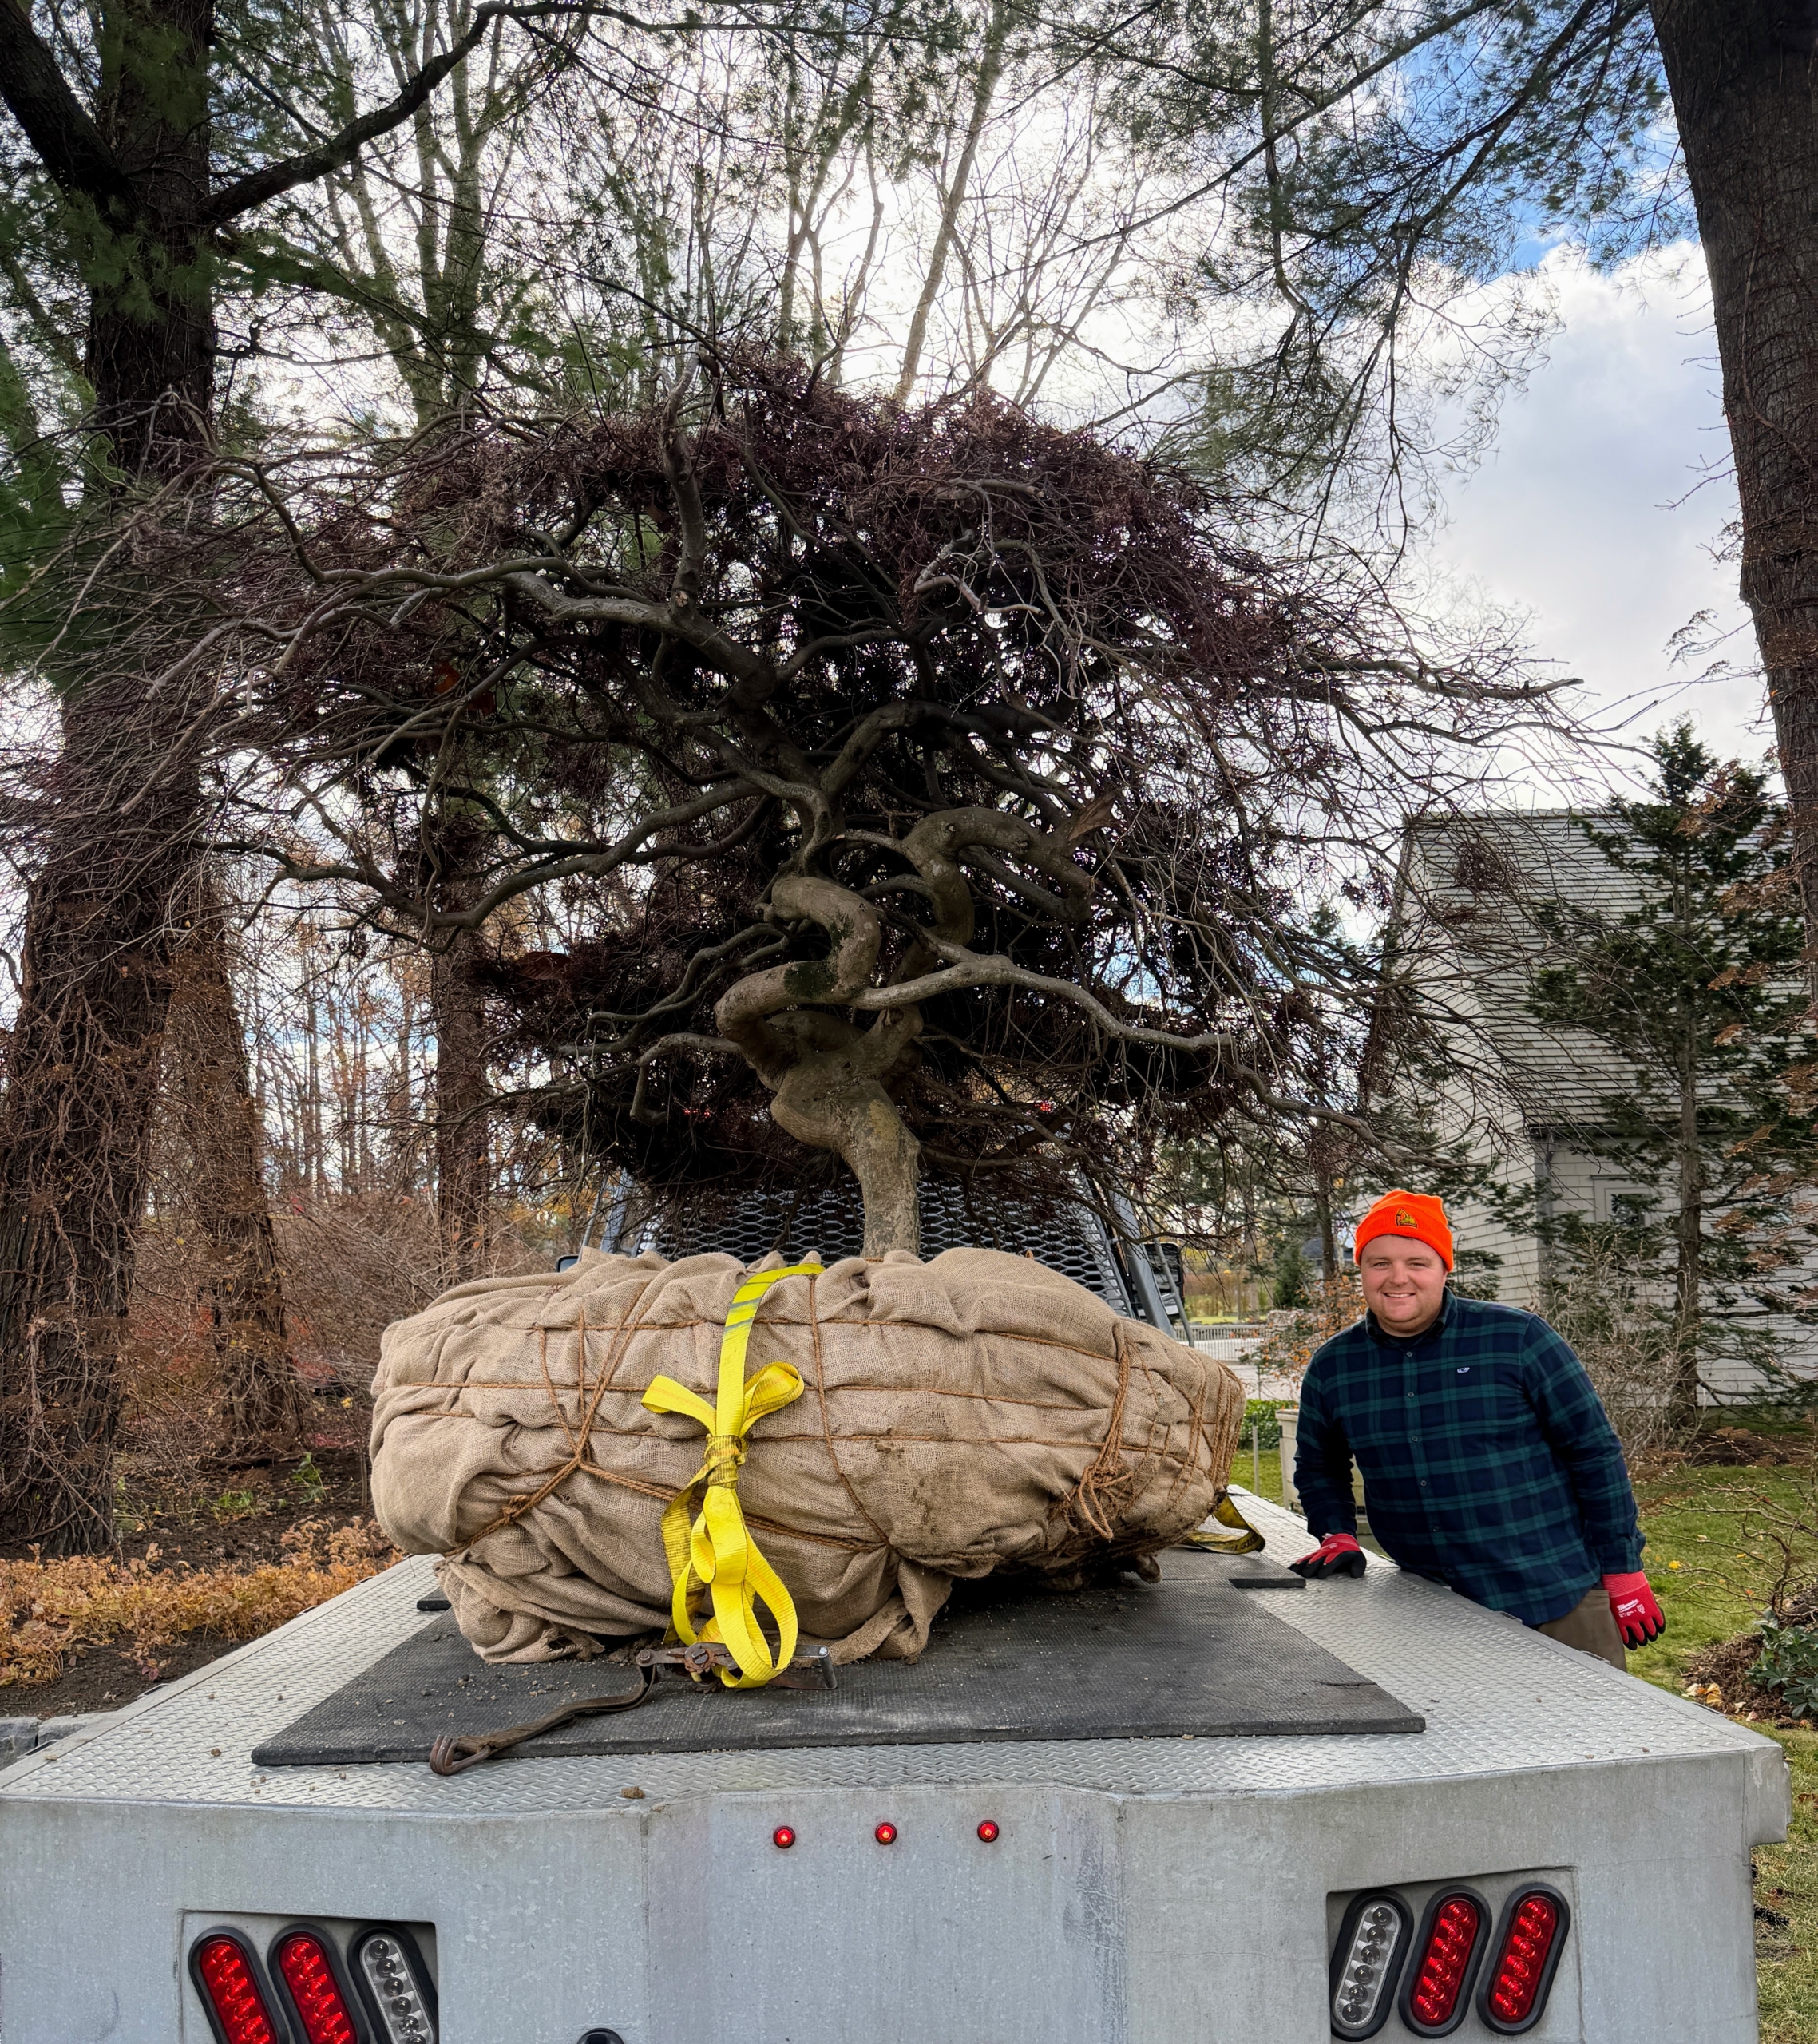
- I was happy to be able to transplant this Japanese maple at my farm. Few trees are as beautiful as the Japanese maple. With more than a thousand varieties and cultivars including hybrids, the iconic Japanese maple tree is among the most versatile small trees for use in the garden. Here it is getting loaded up onto a flatbed truck at its original home.
-
- I sent my crew with large dump truck to get the tree, but it was not wide enough to accommodate this specimen. Luckily, it wasn’t traveling a great distance – just a few miles – and the owners had their own flatbed vehicle.
-
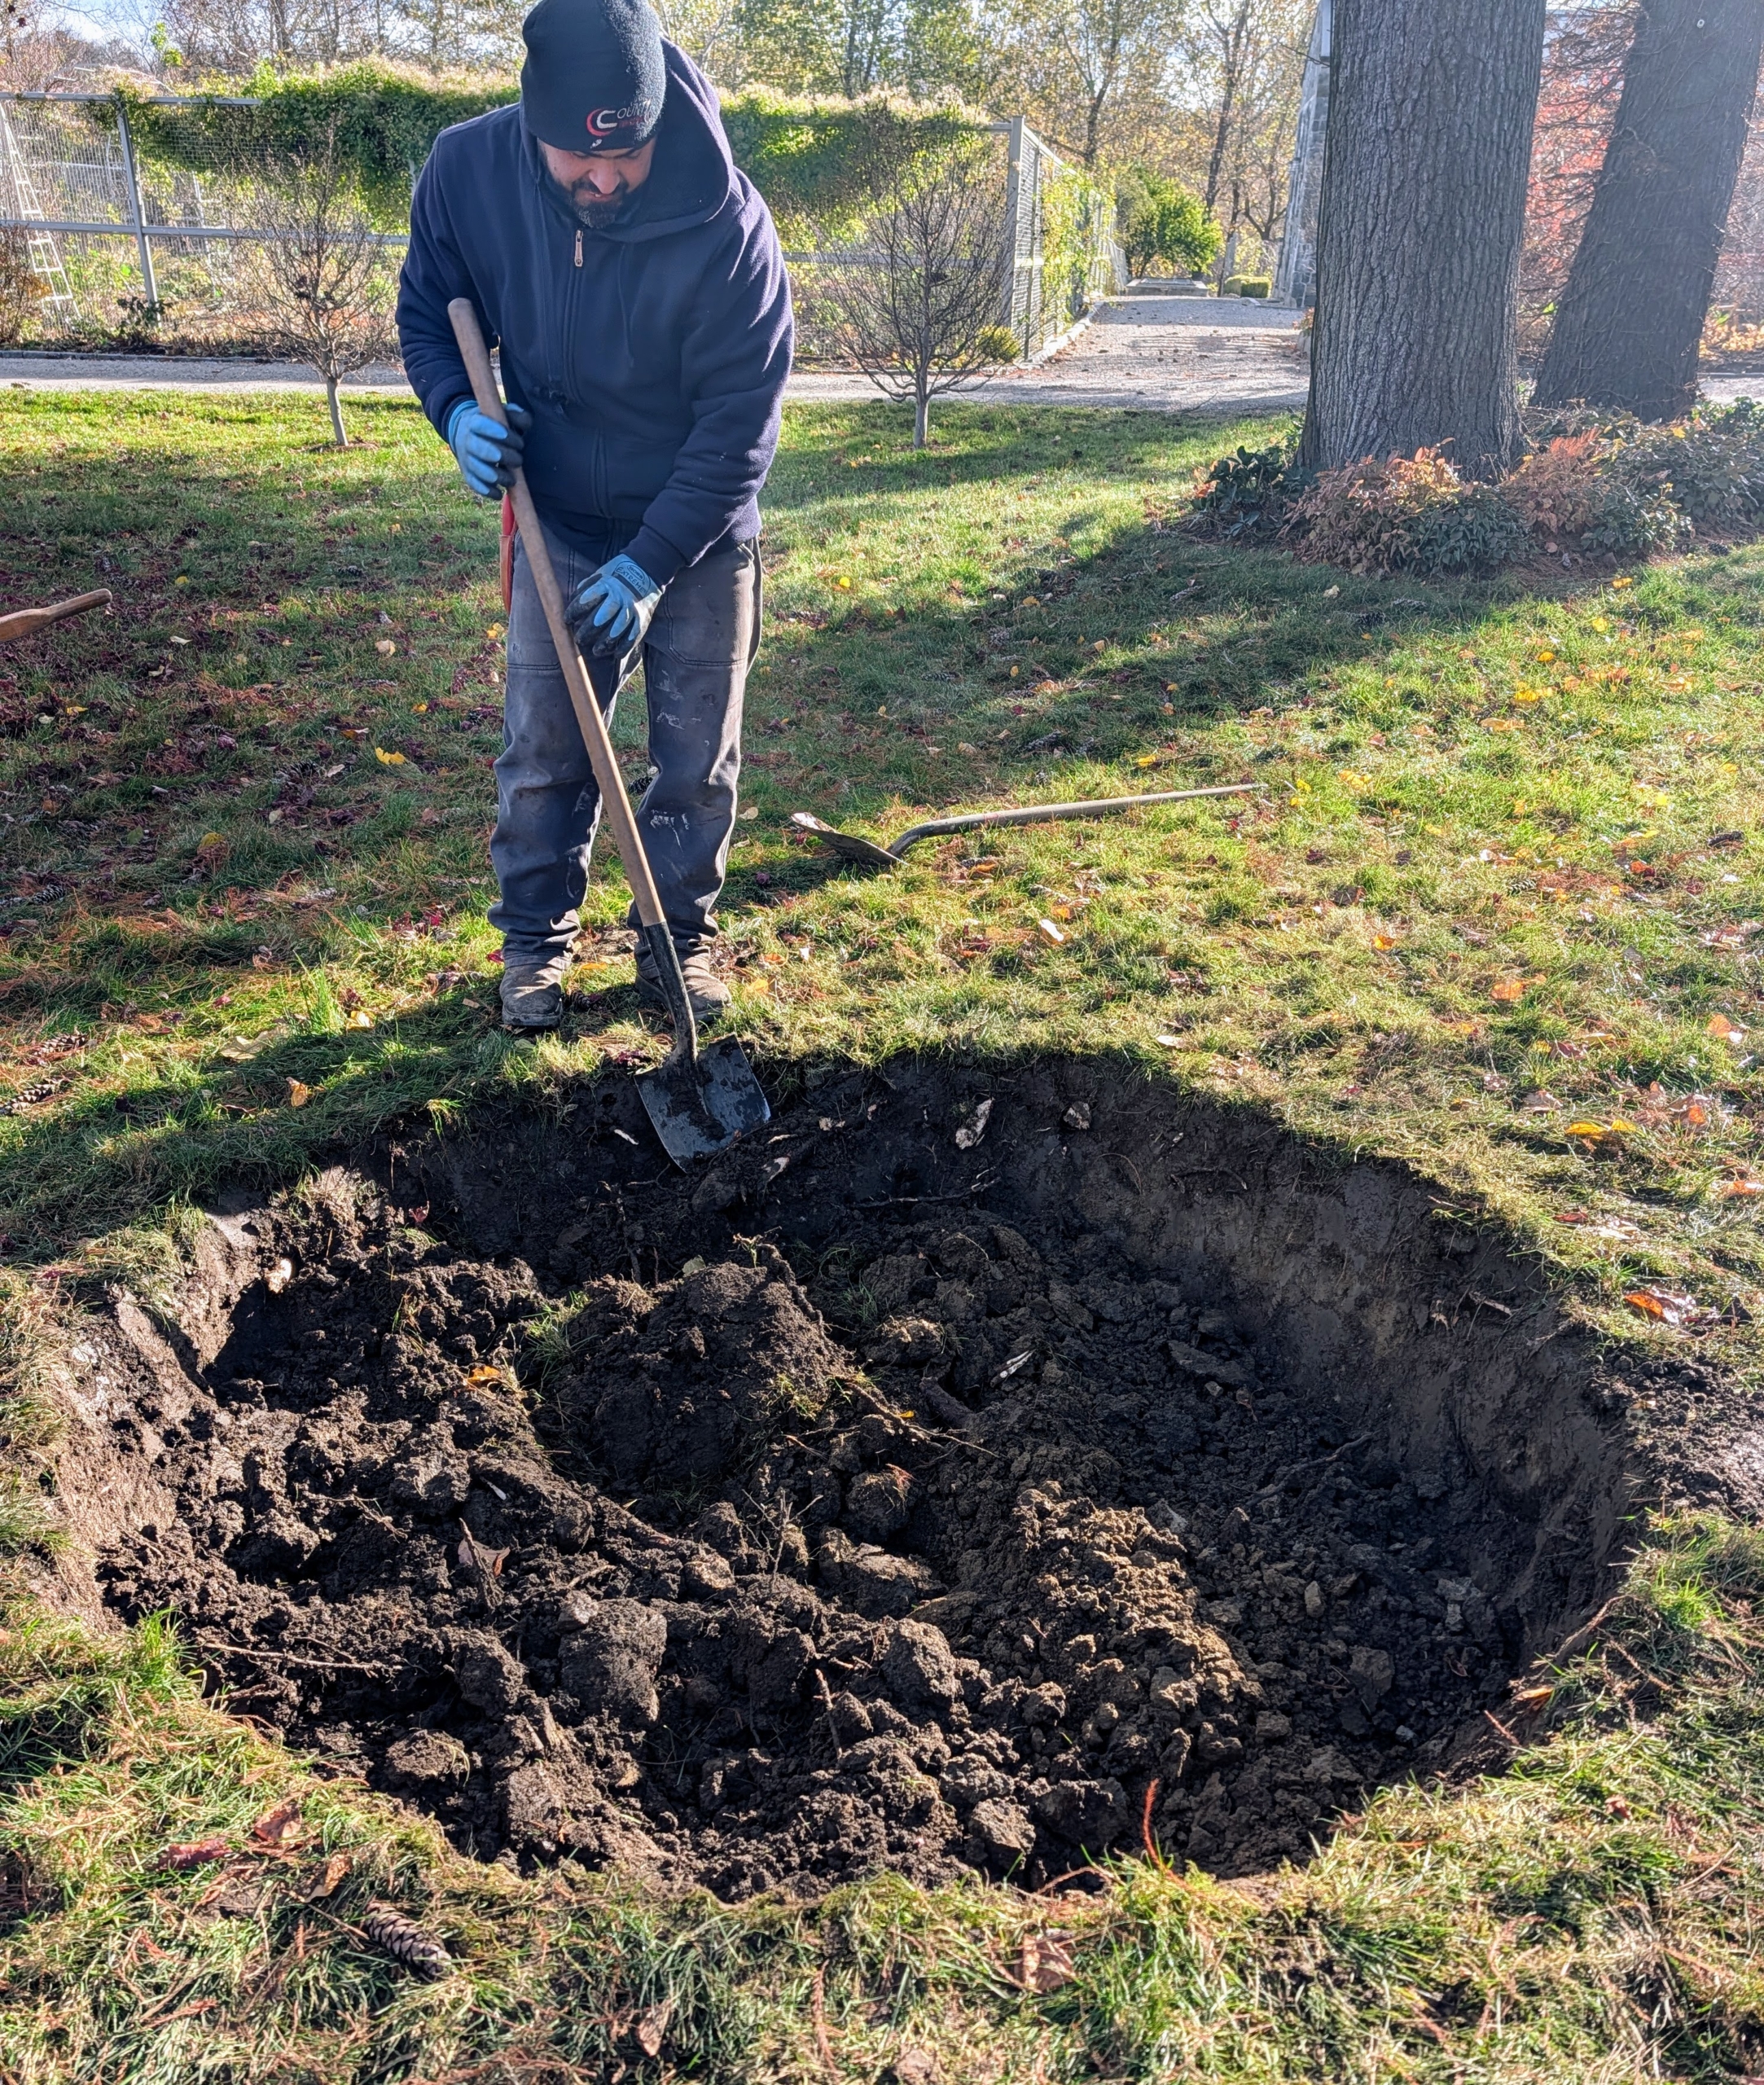
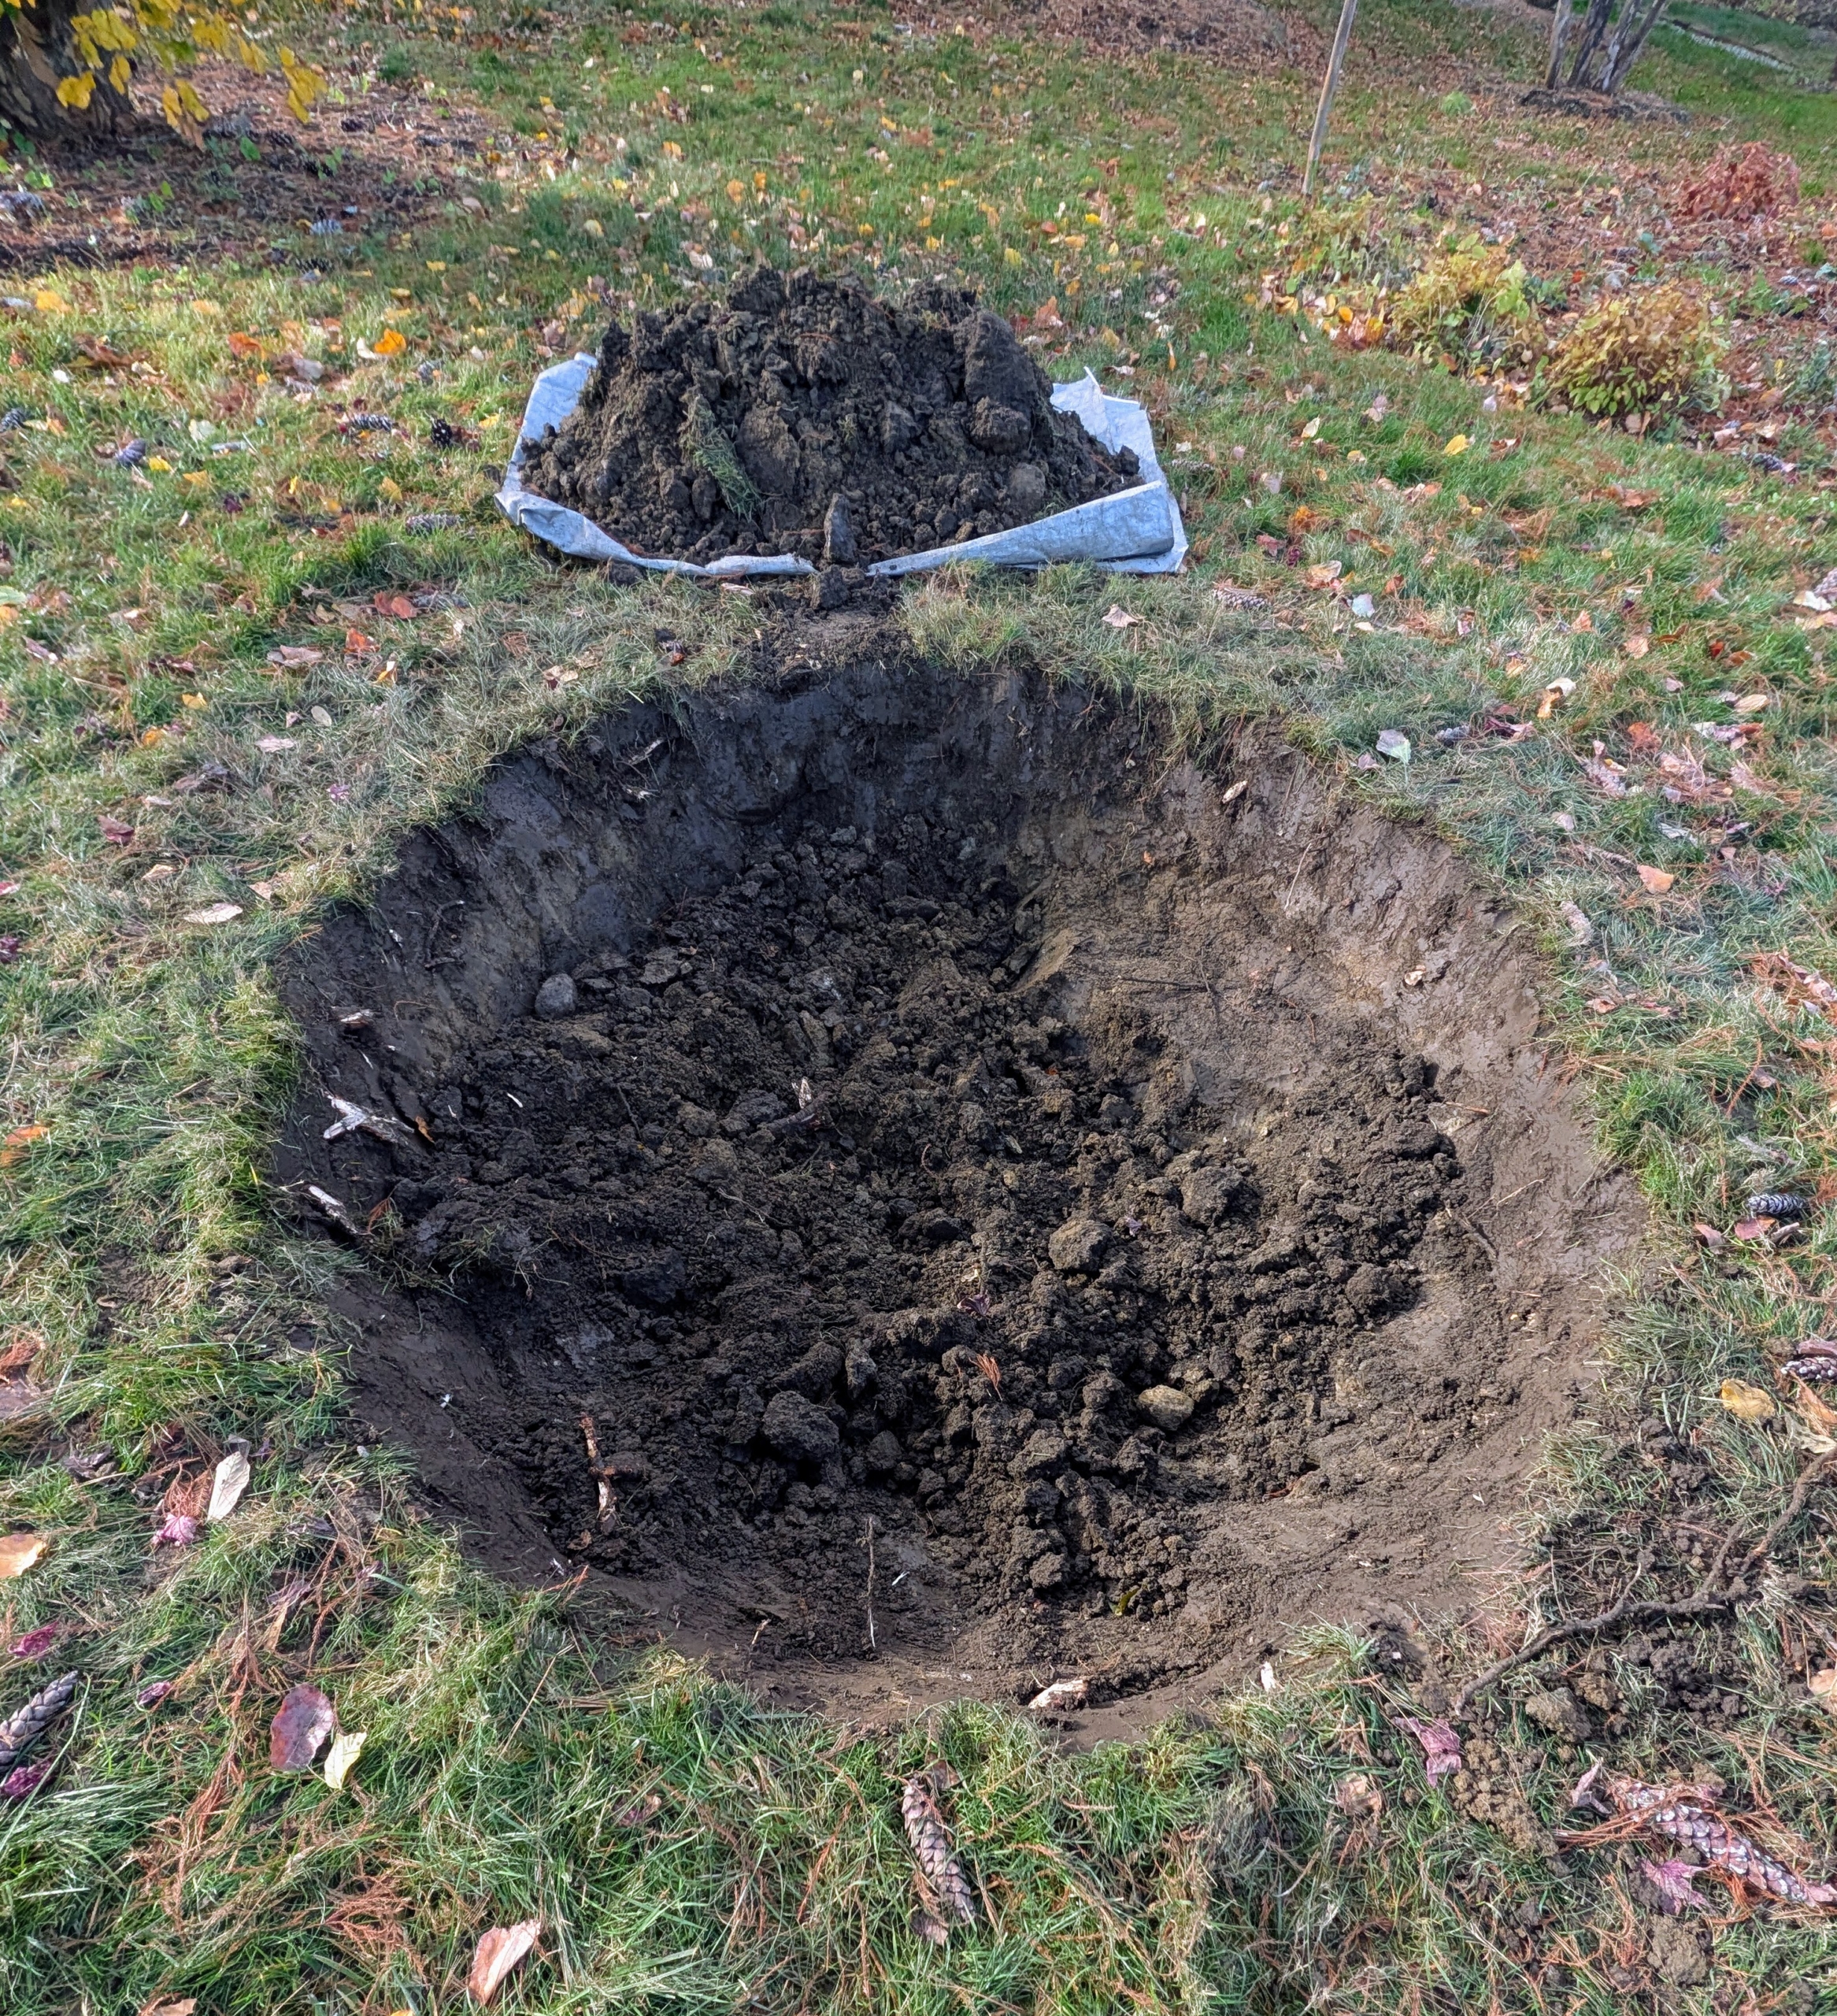
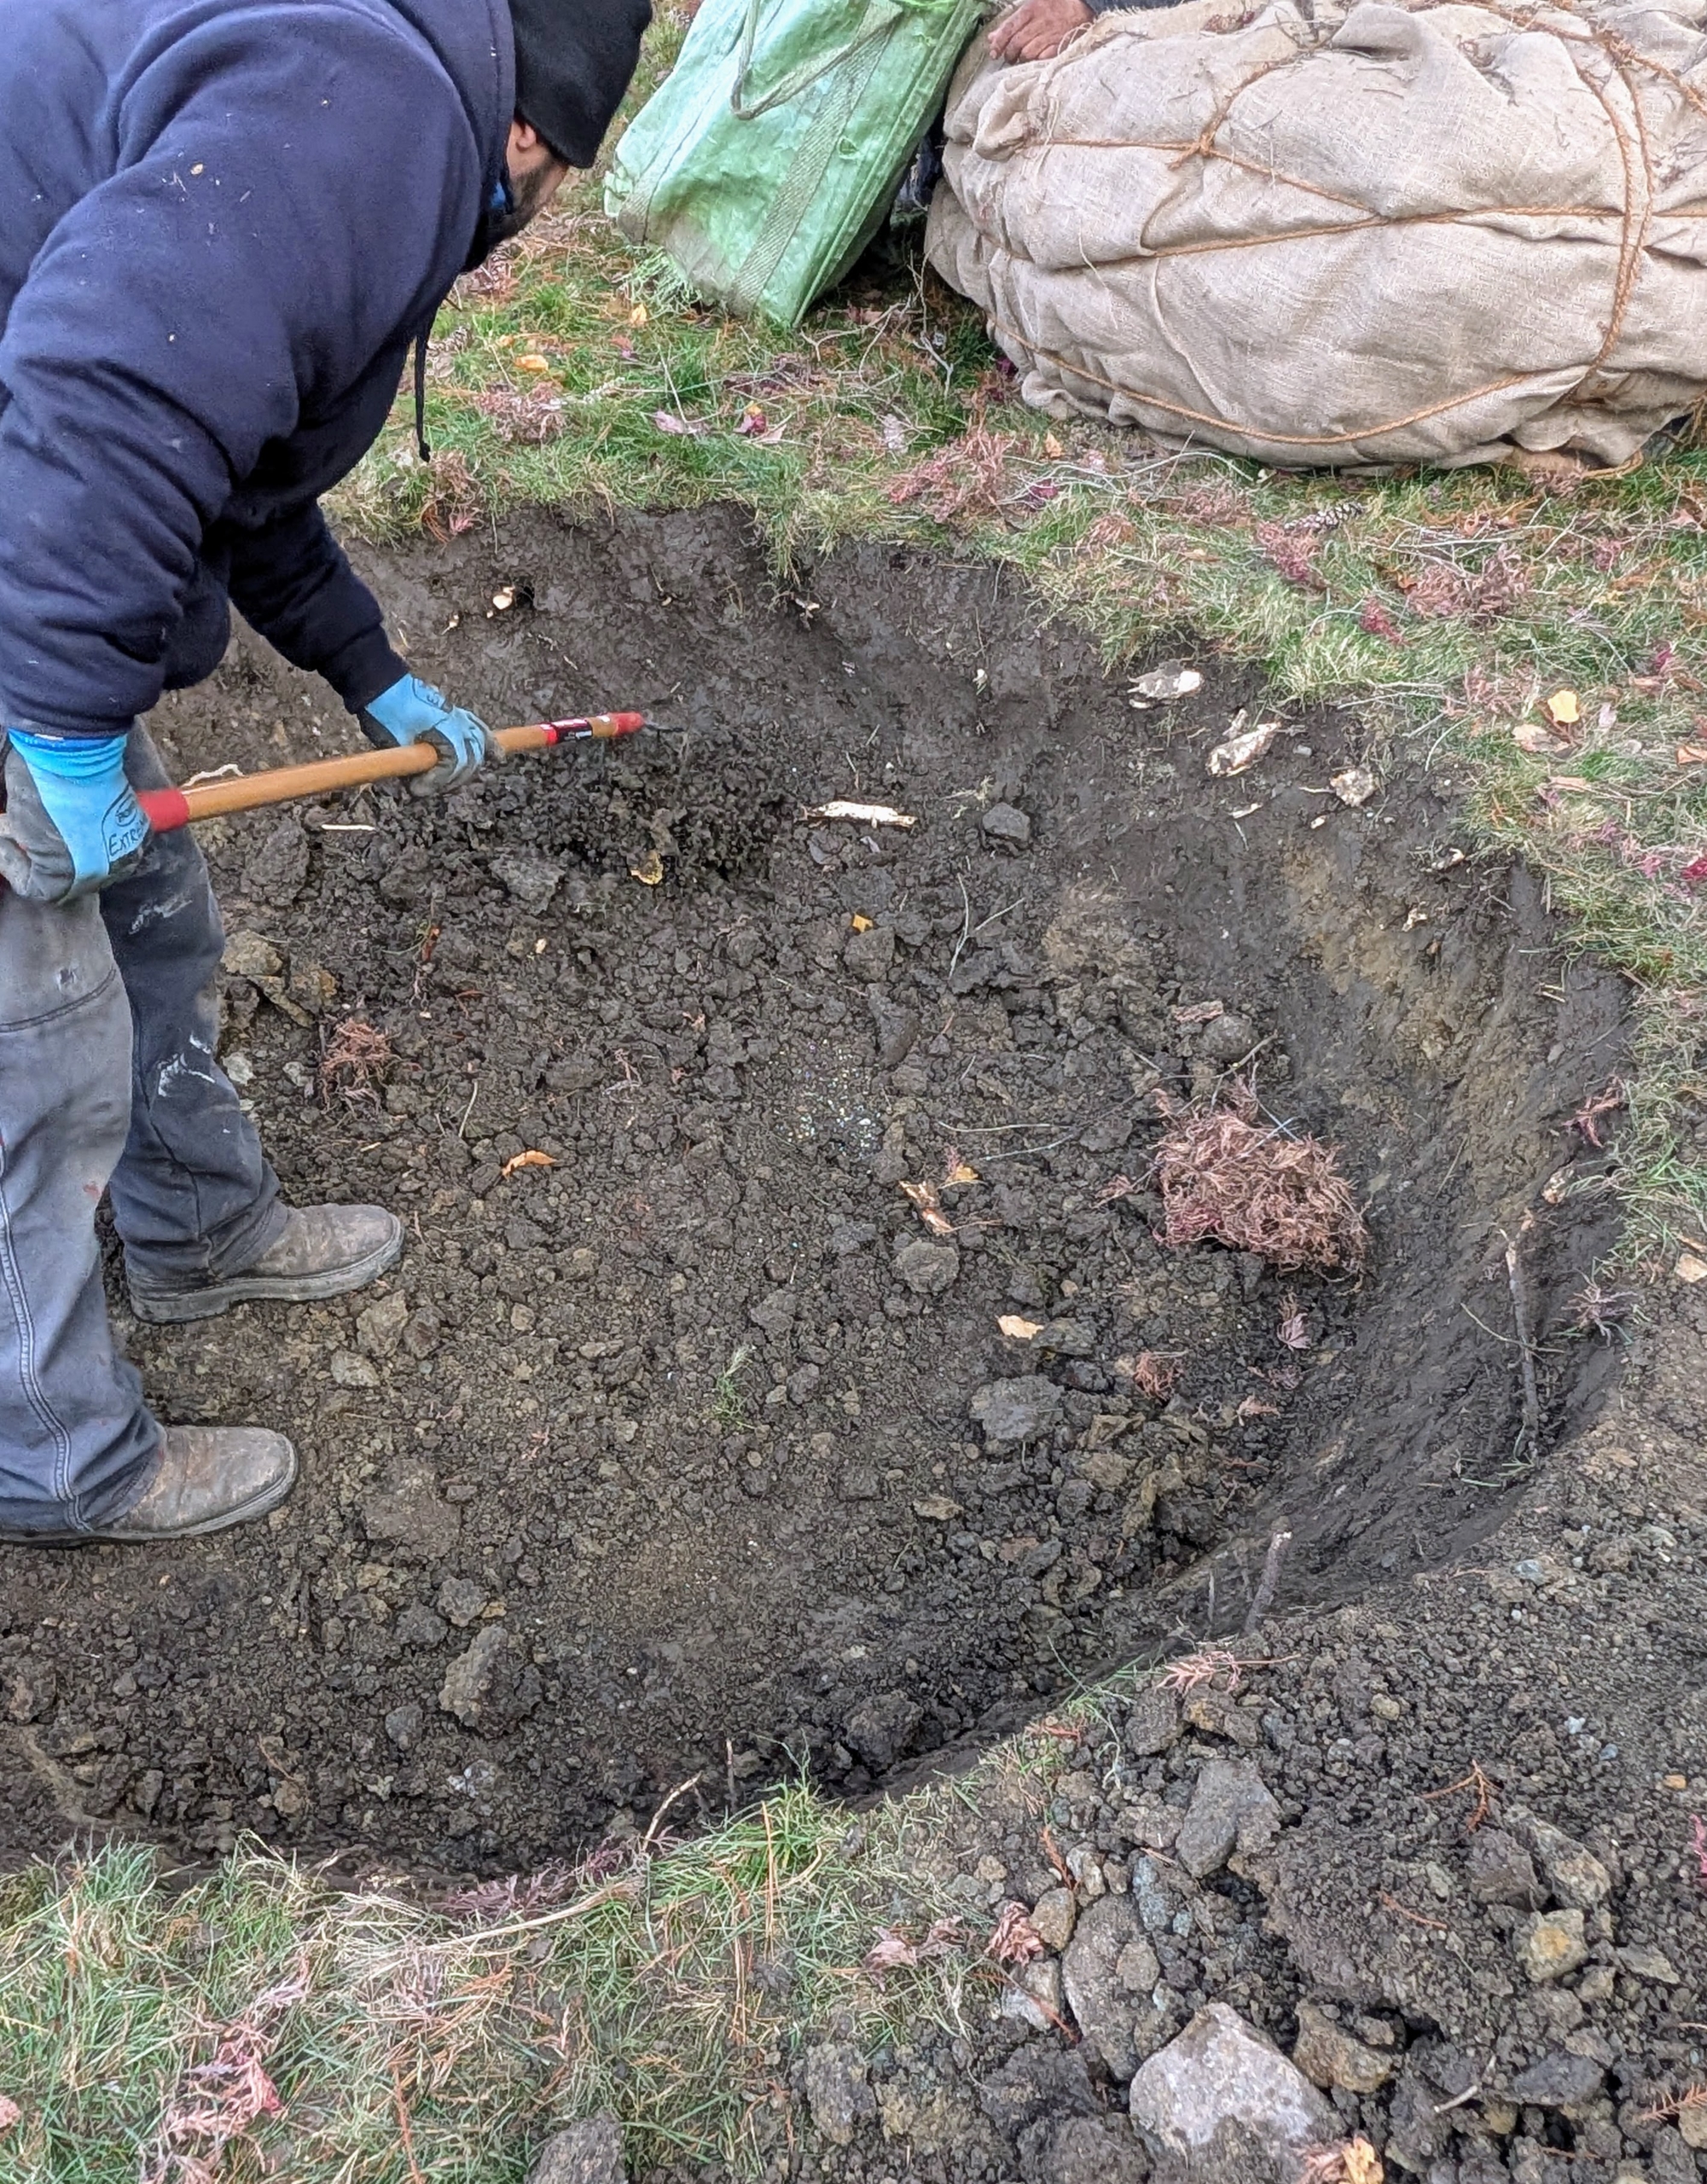
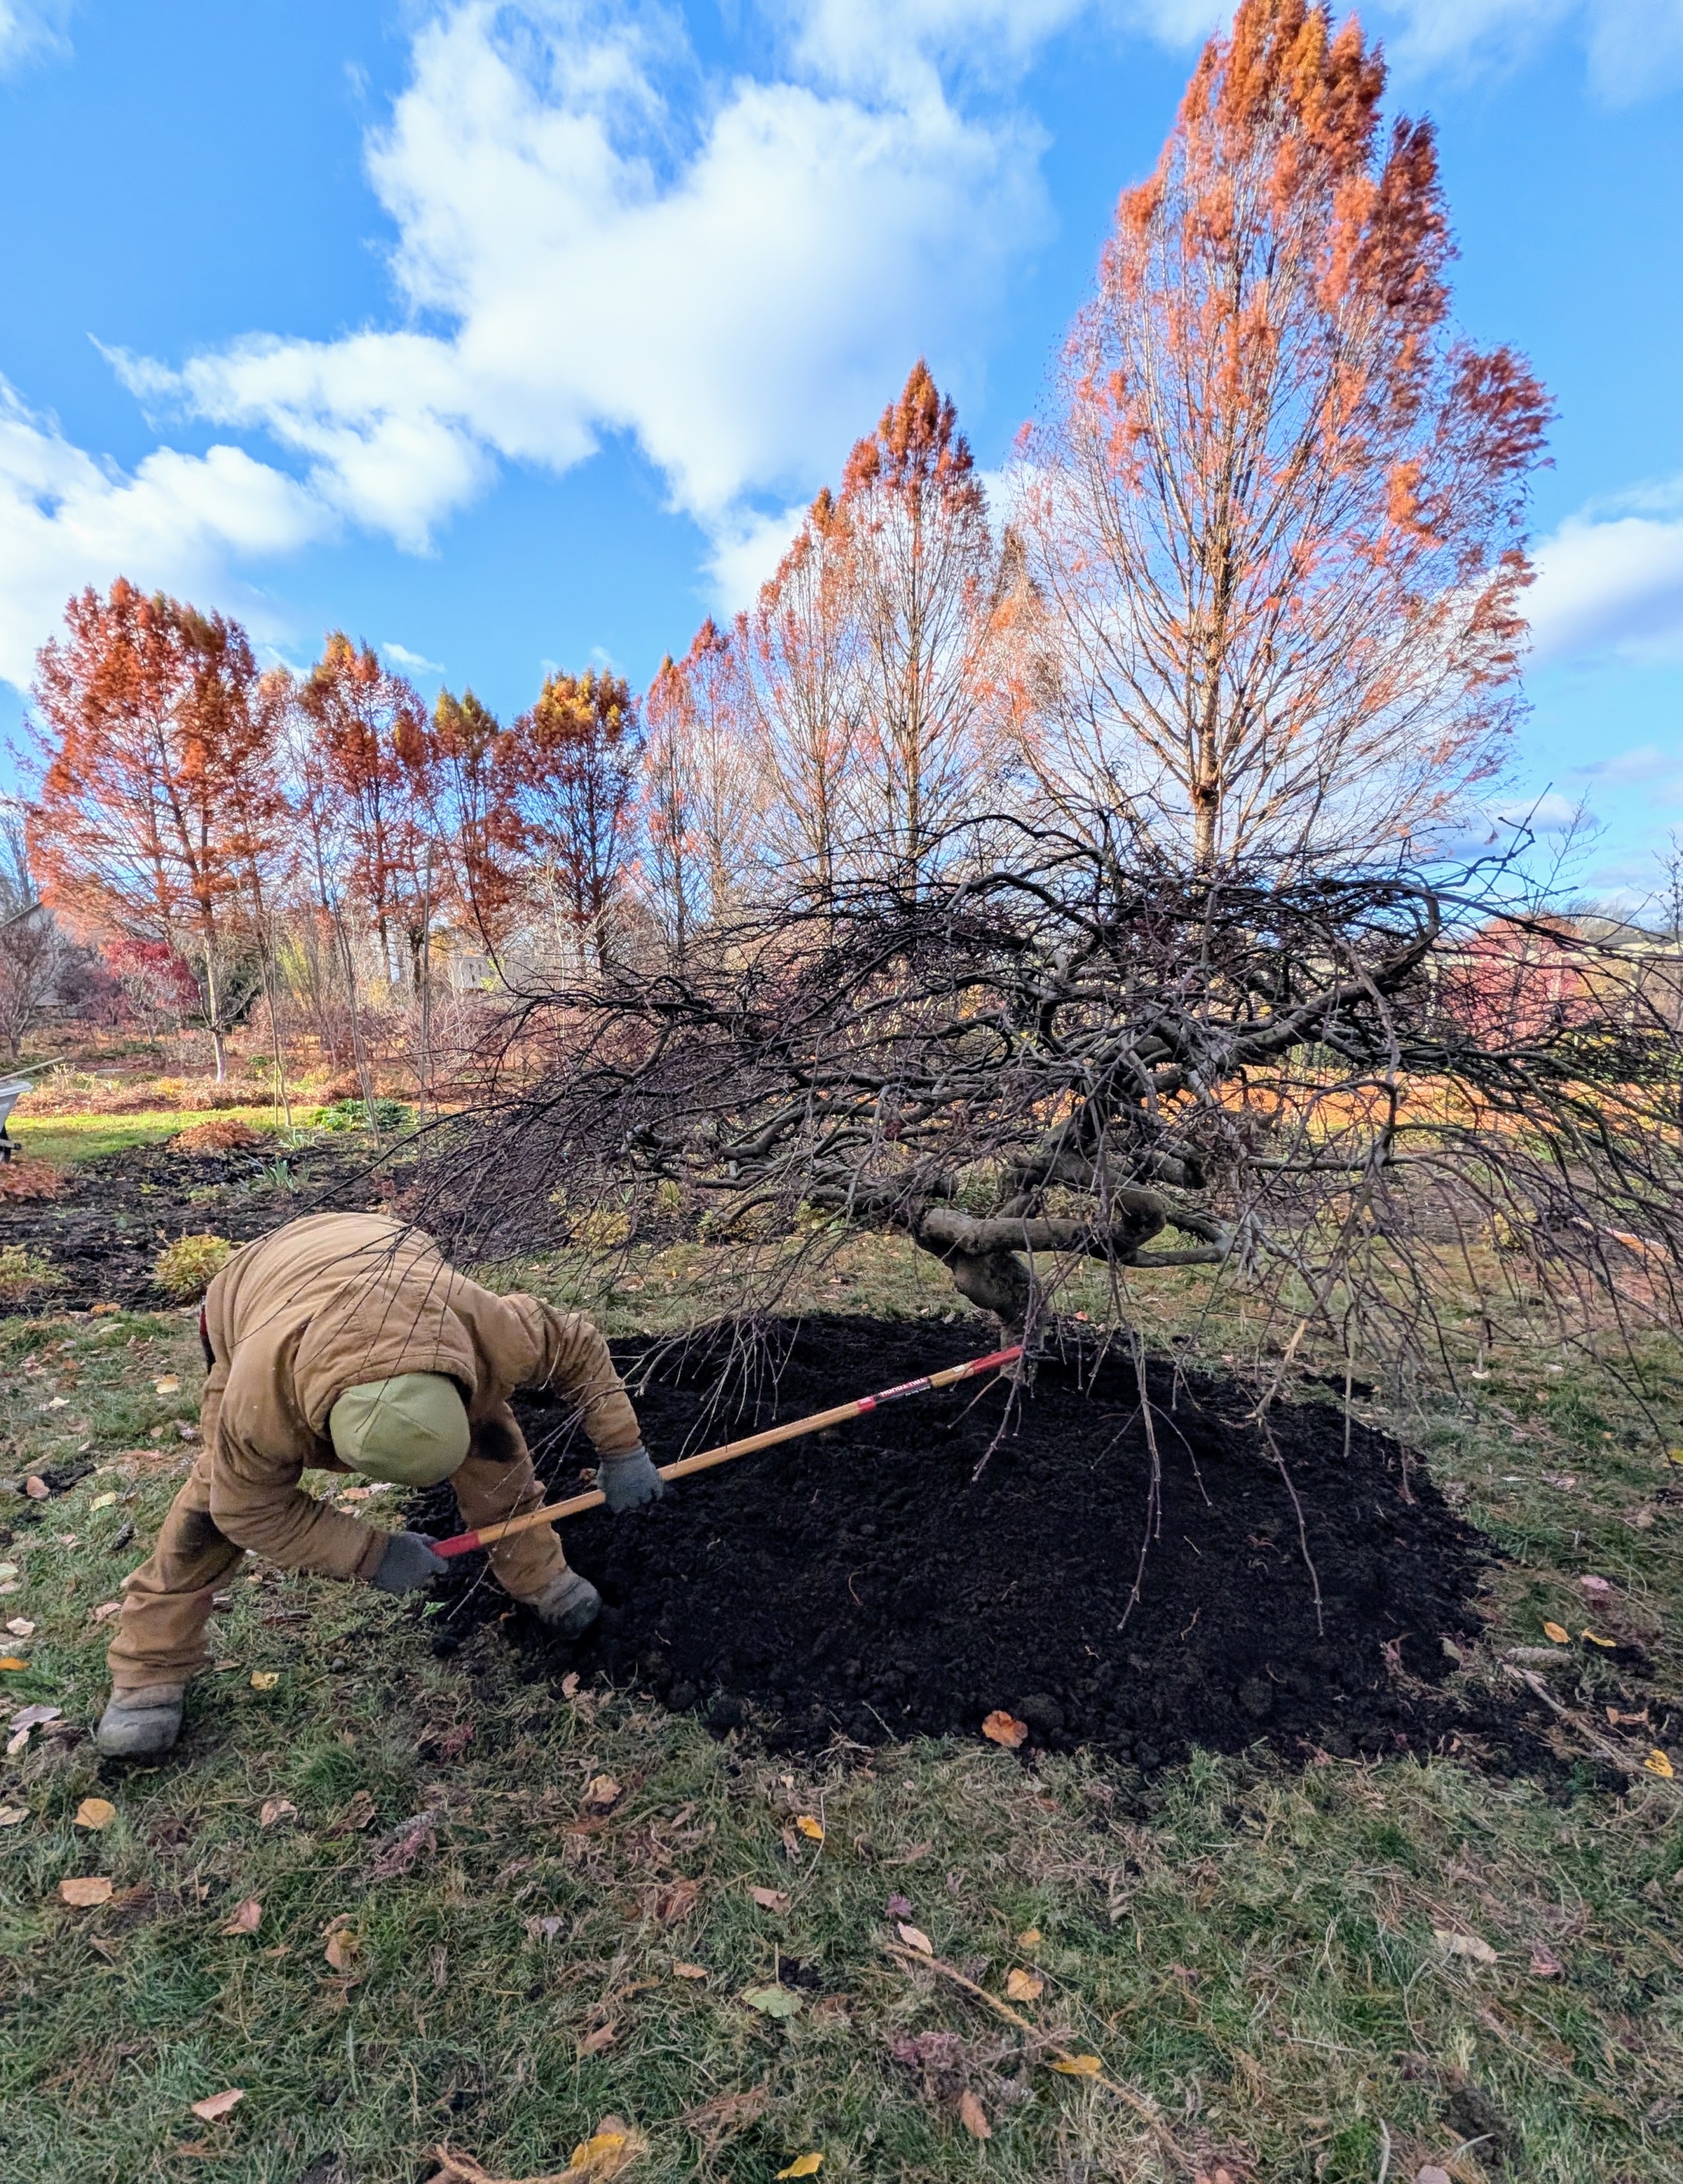
- Meanwhile, back at my farm, Adan started digging the hole for the Japanese maple. I decided to plant it across from my long pergola and behind my gym building not far from my stand of bald cypress.
-
- The hole did not have to be too deep, but it did have to be wide. As each scoop of soil is removed, it is carefully placed on a tarp and saved for backfill later. The best location for Japanese maples is a sunny spot with afternoon shade. Red and variegated leaves need relief from the hot afternoon sun but need the light to attain full color. This area is perfect.
-
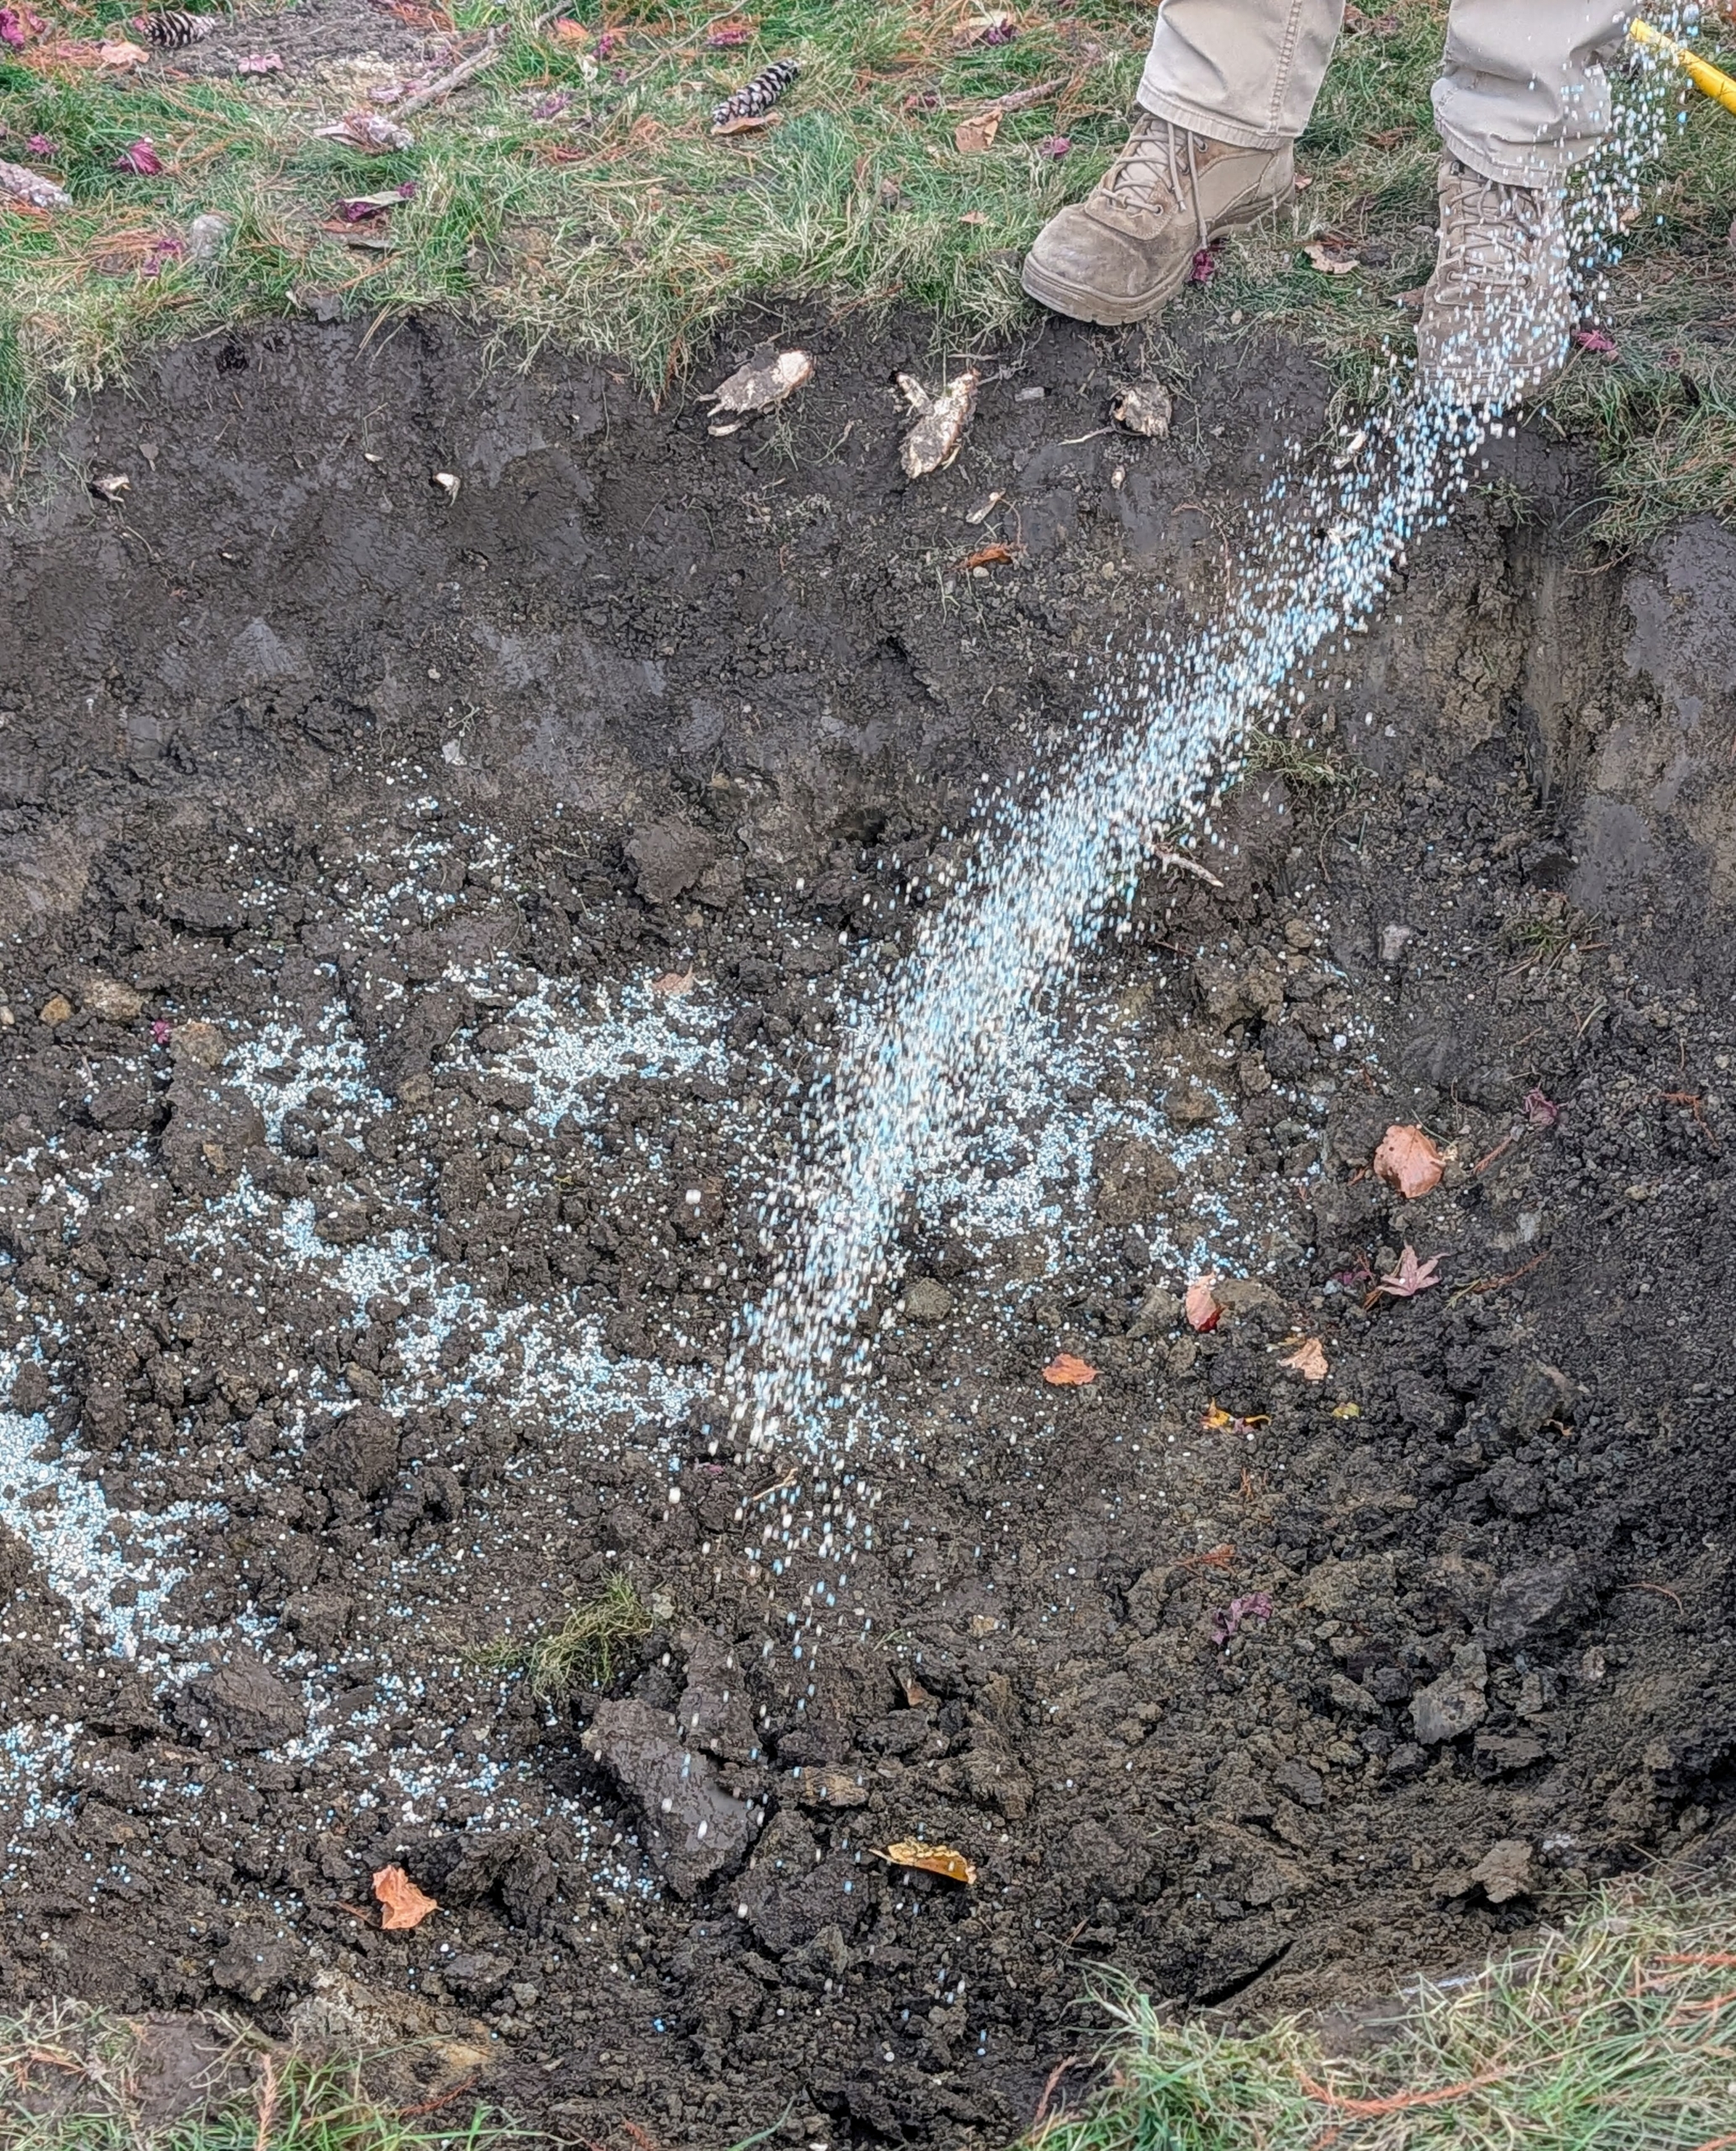
- Ryan pours a generous amount of fertilizer in the hole and on the surrounding soil. It is very important to feed the plants and trees.
-
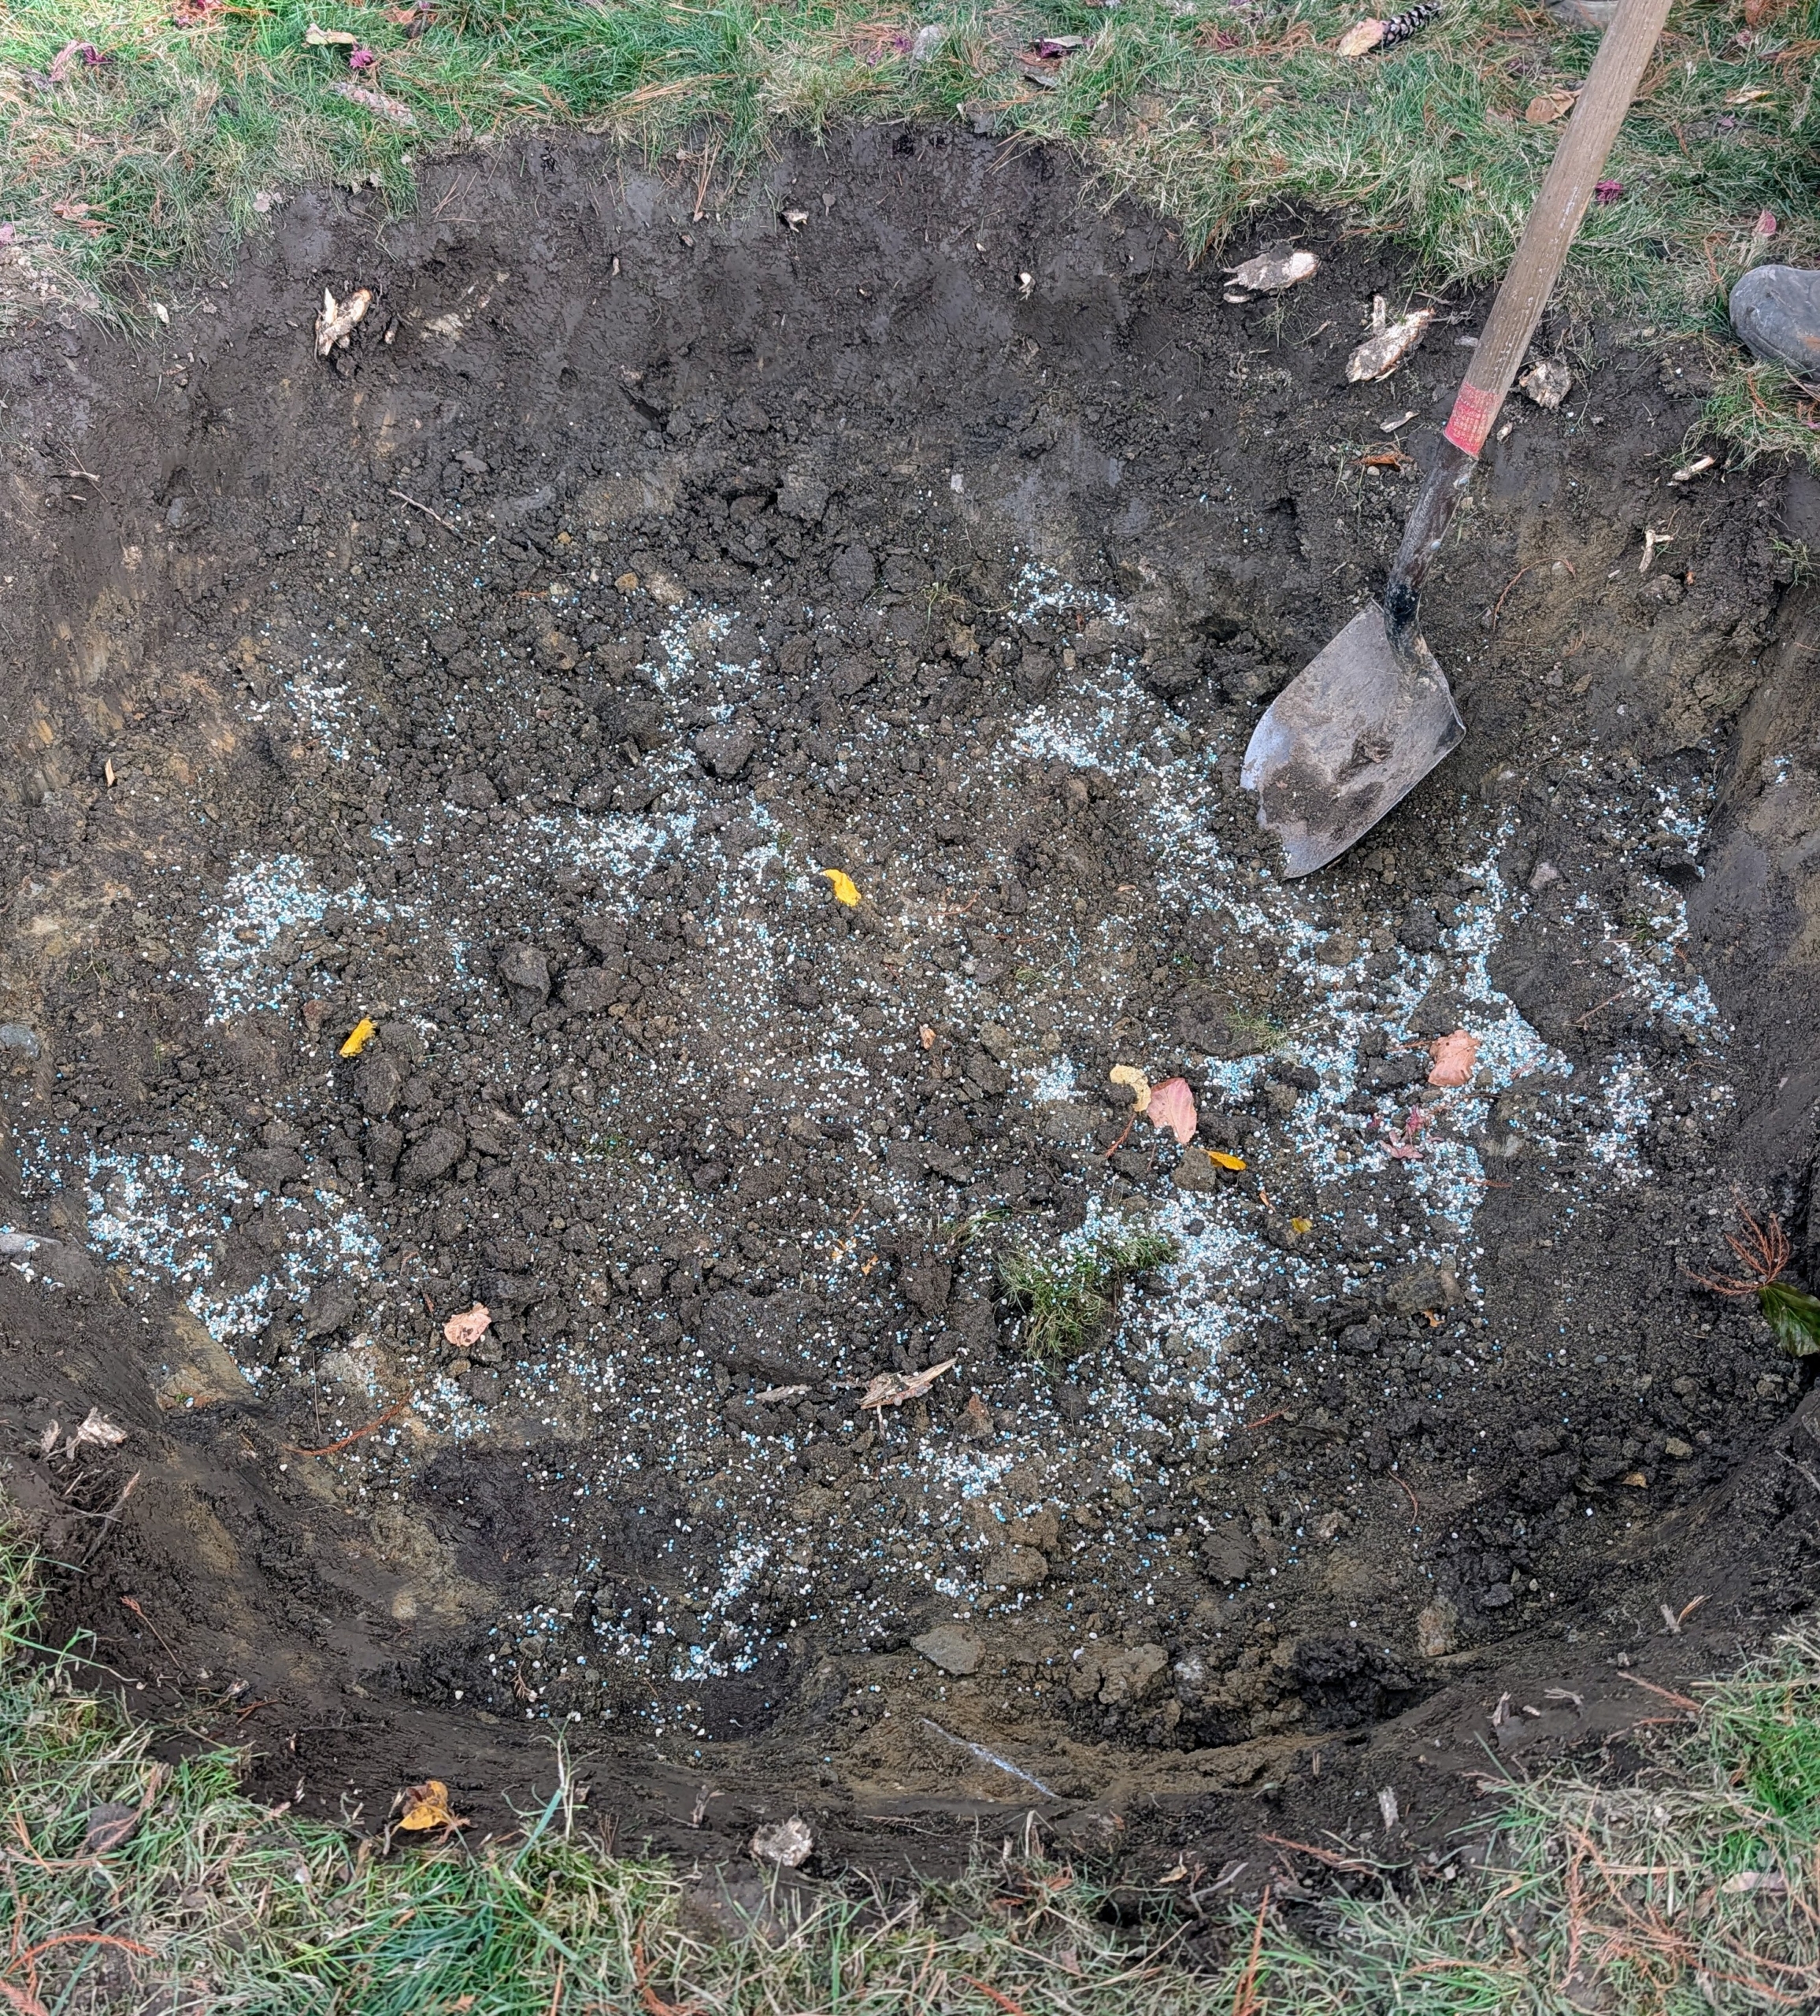
- Phurba then mixes the fertilizer with the existing soil.
-
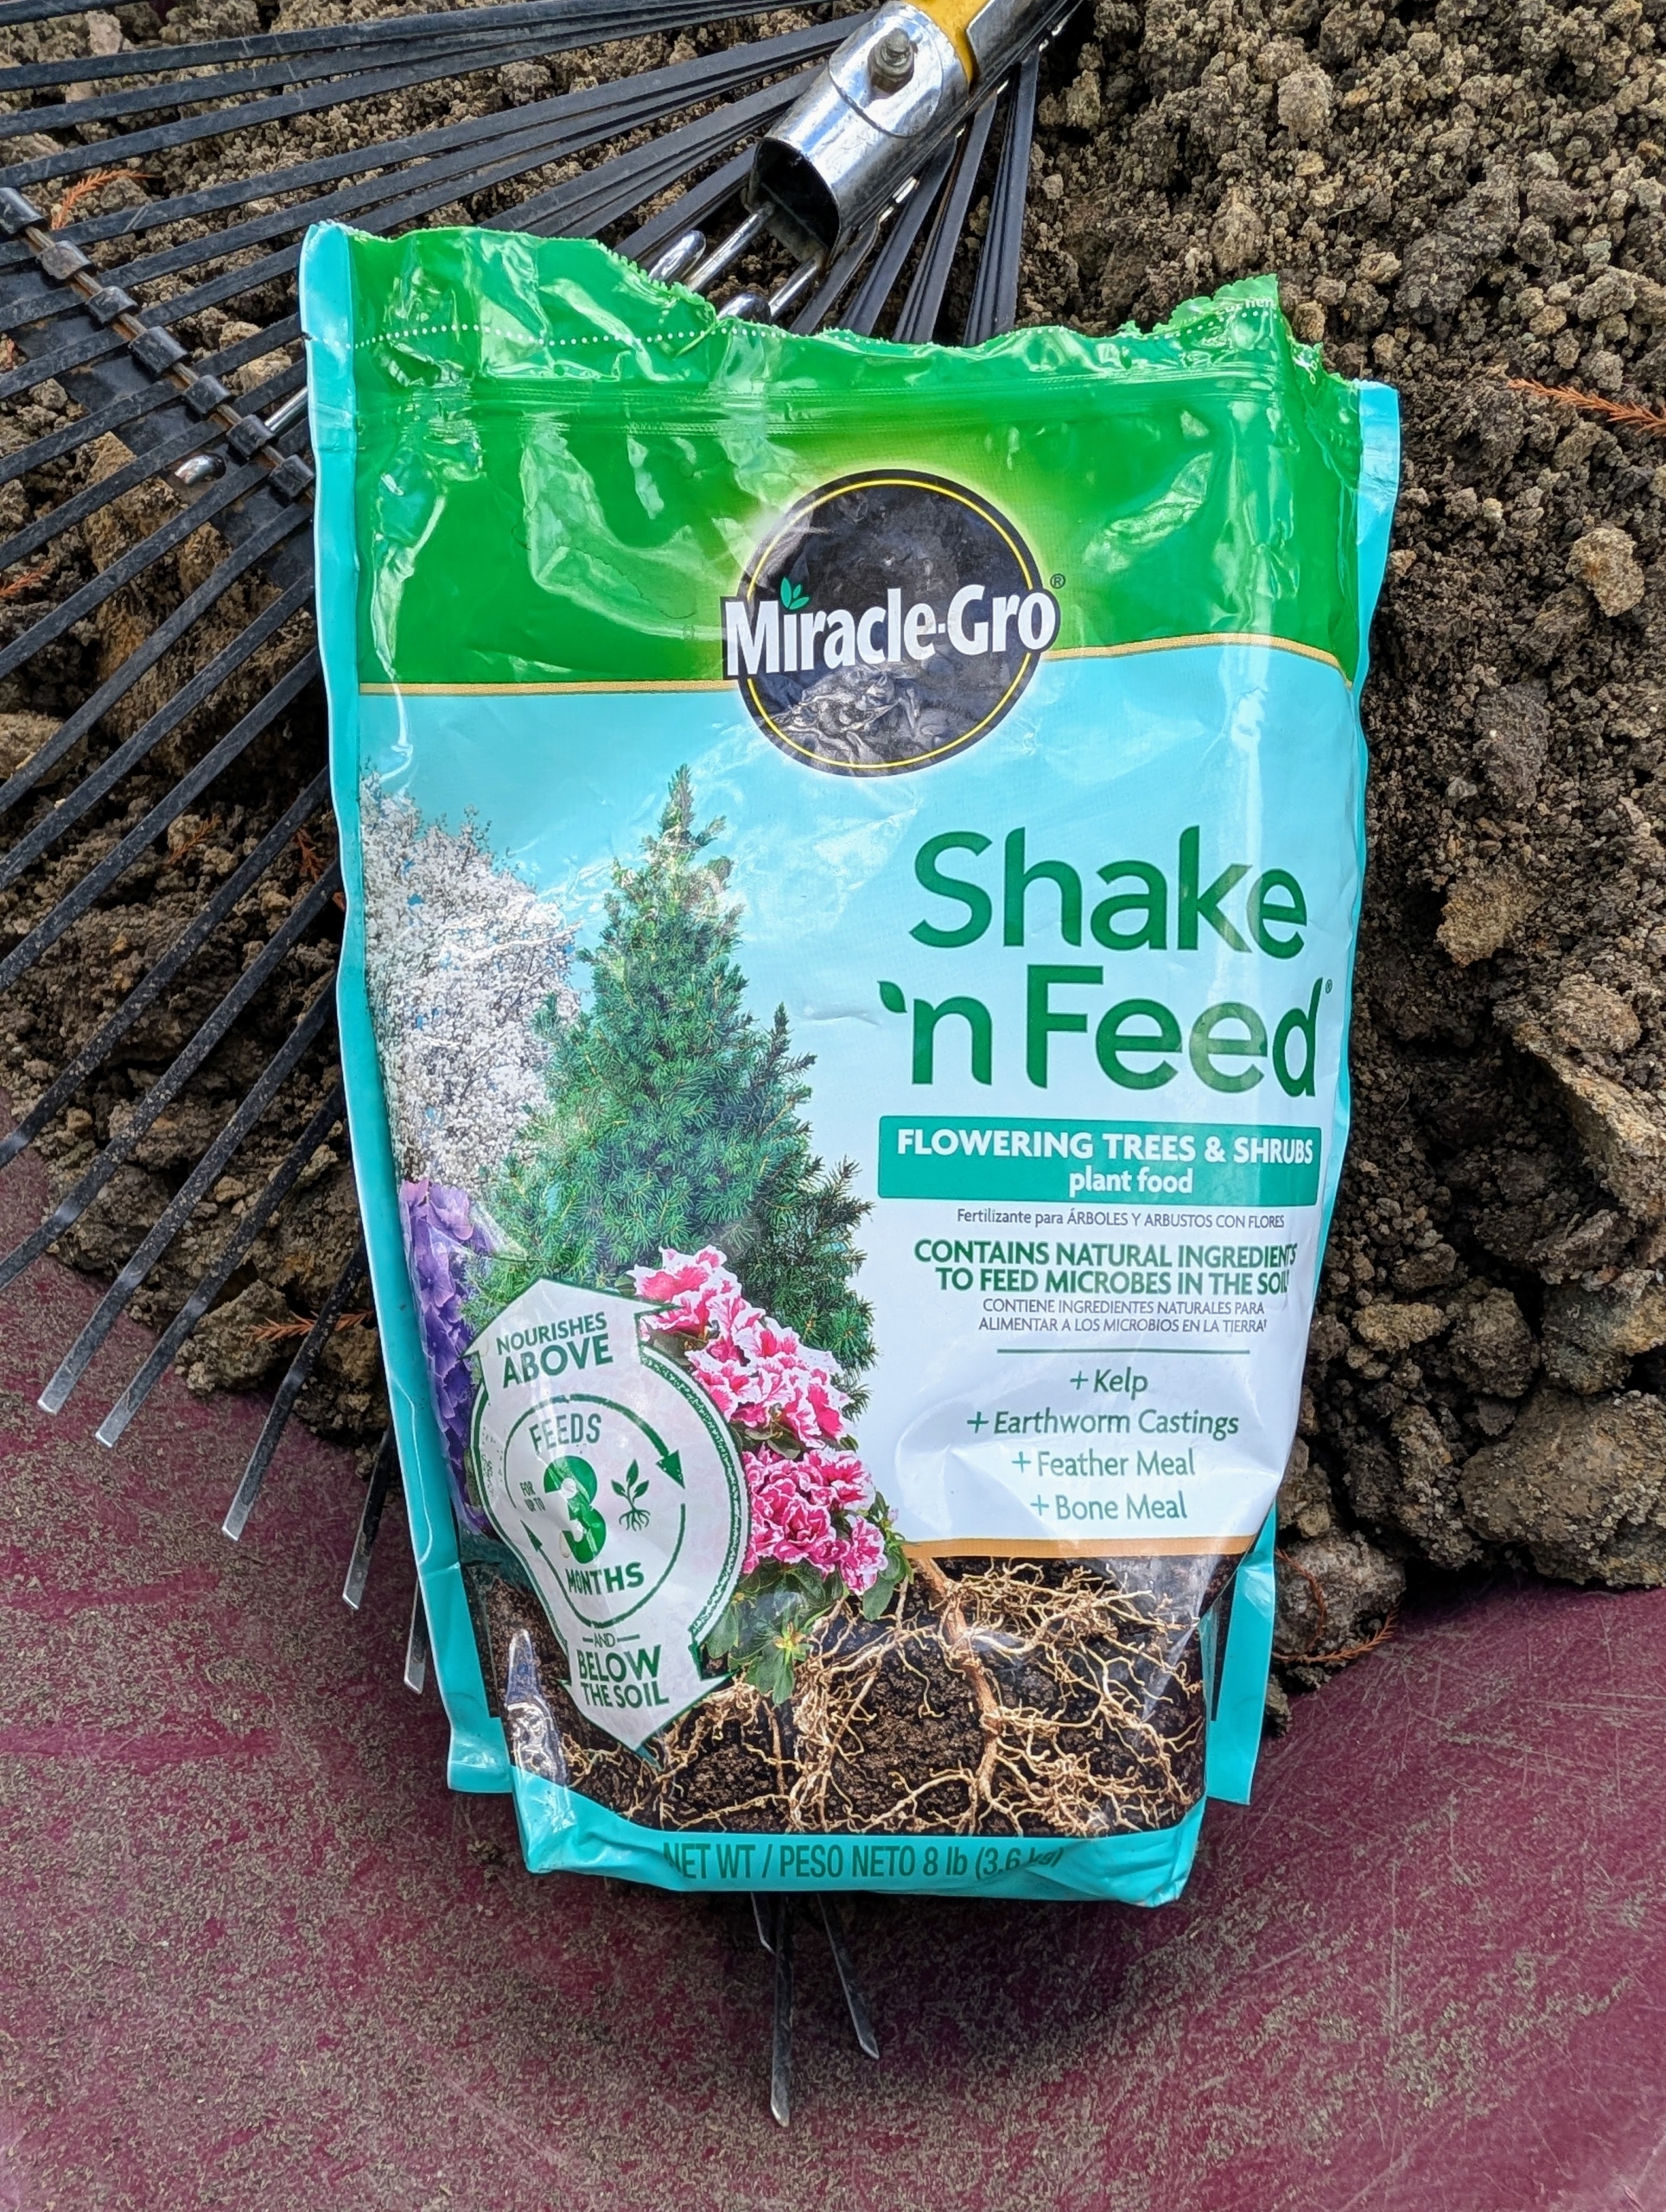
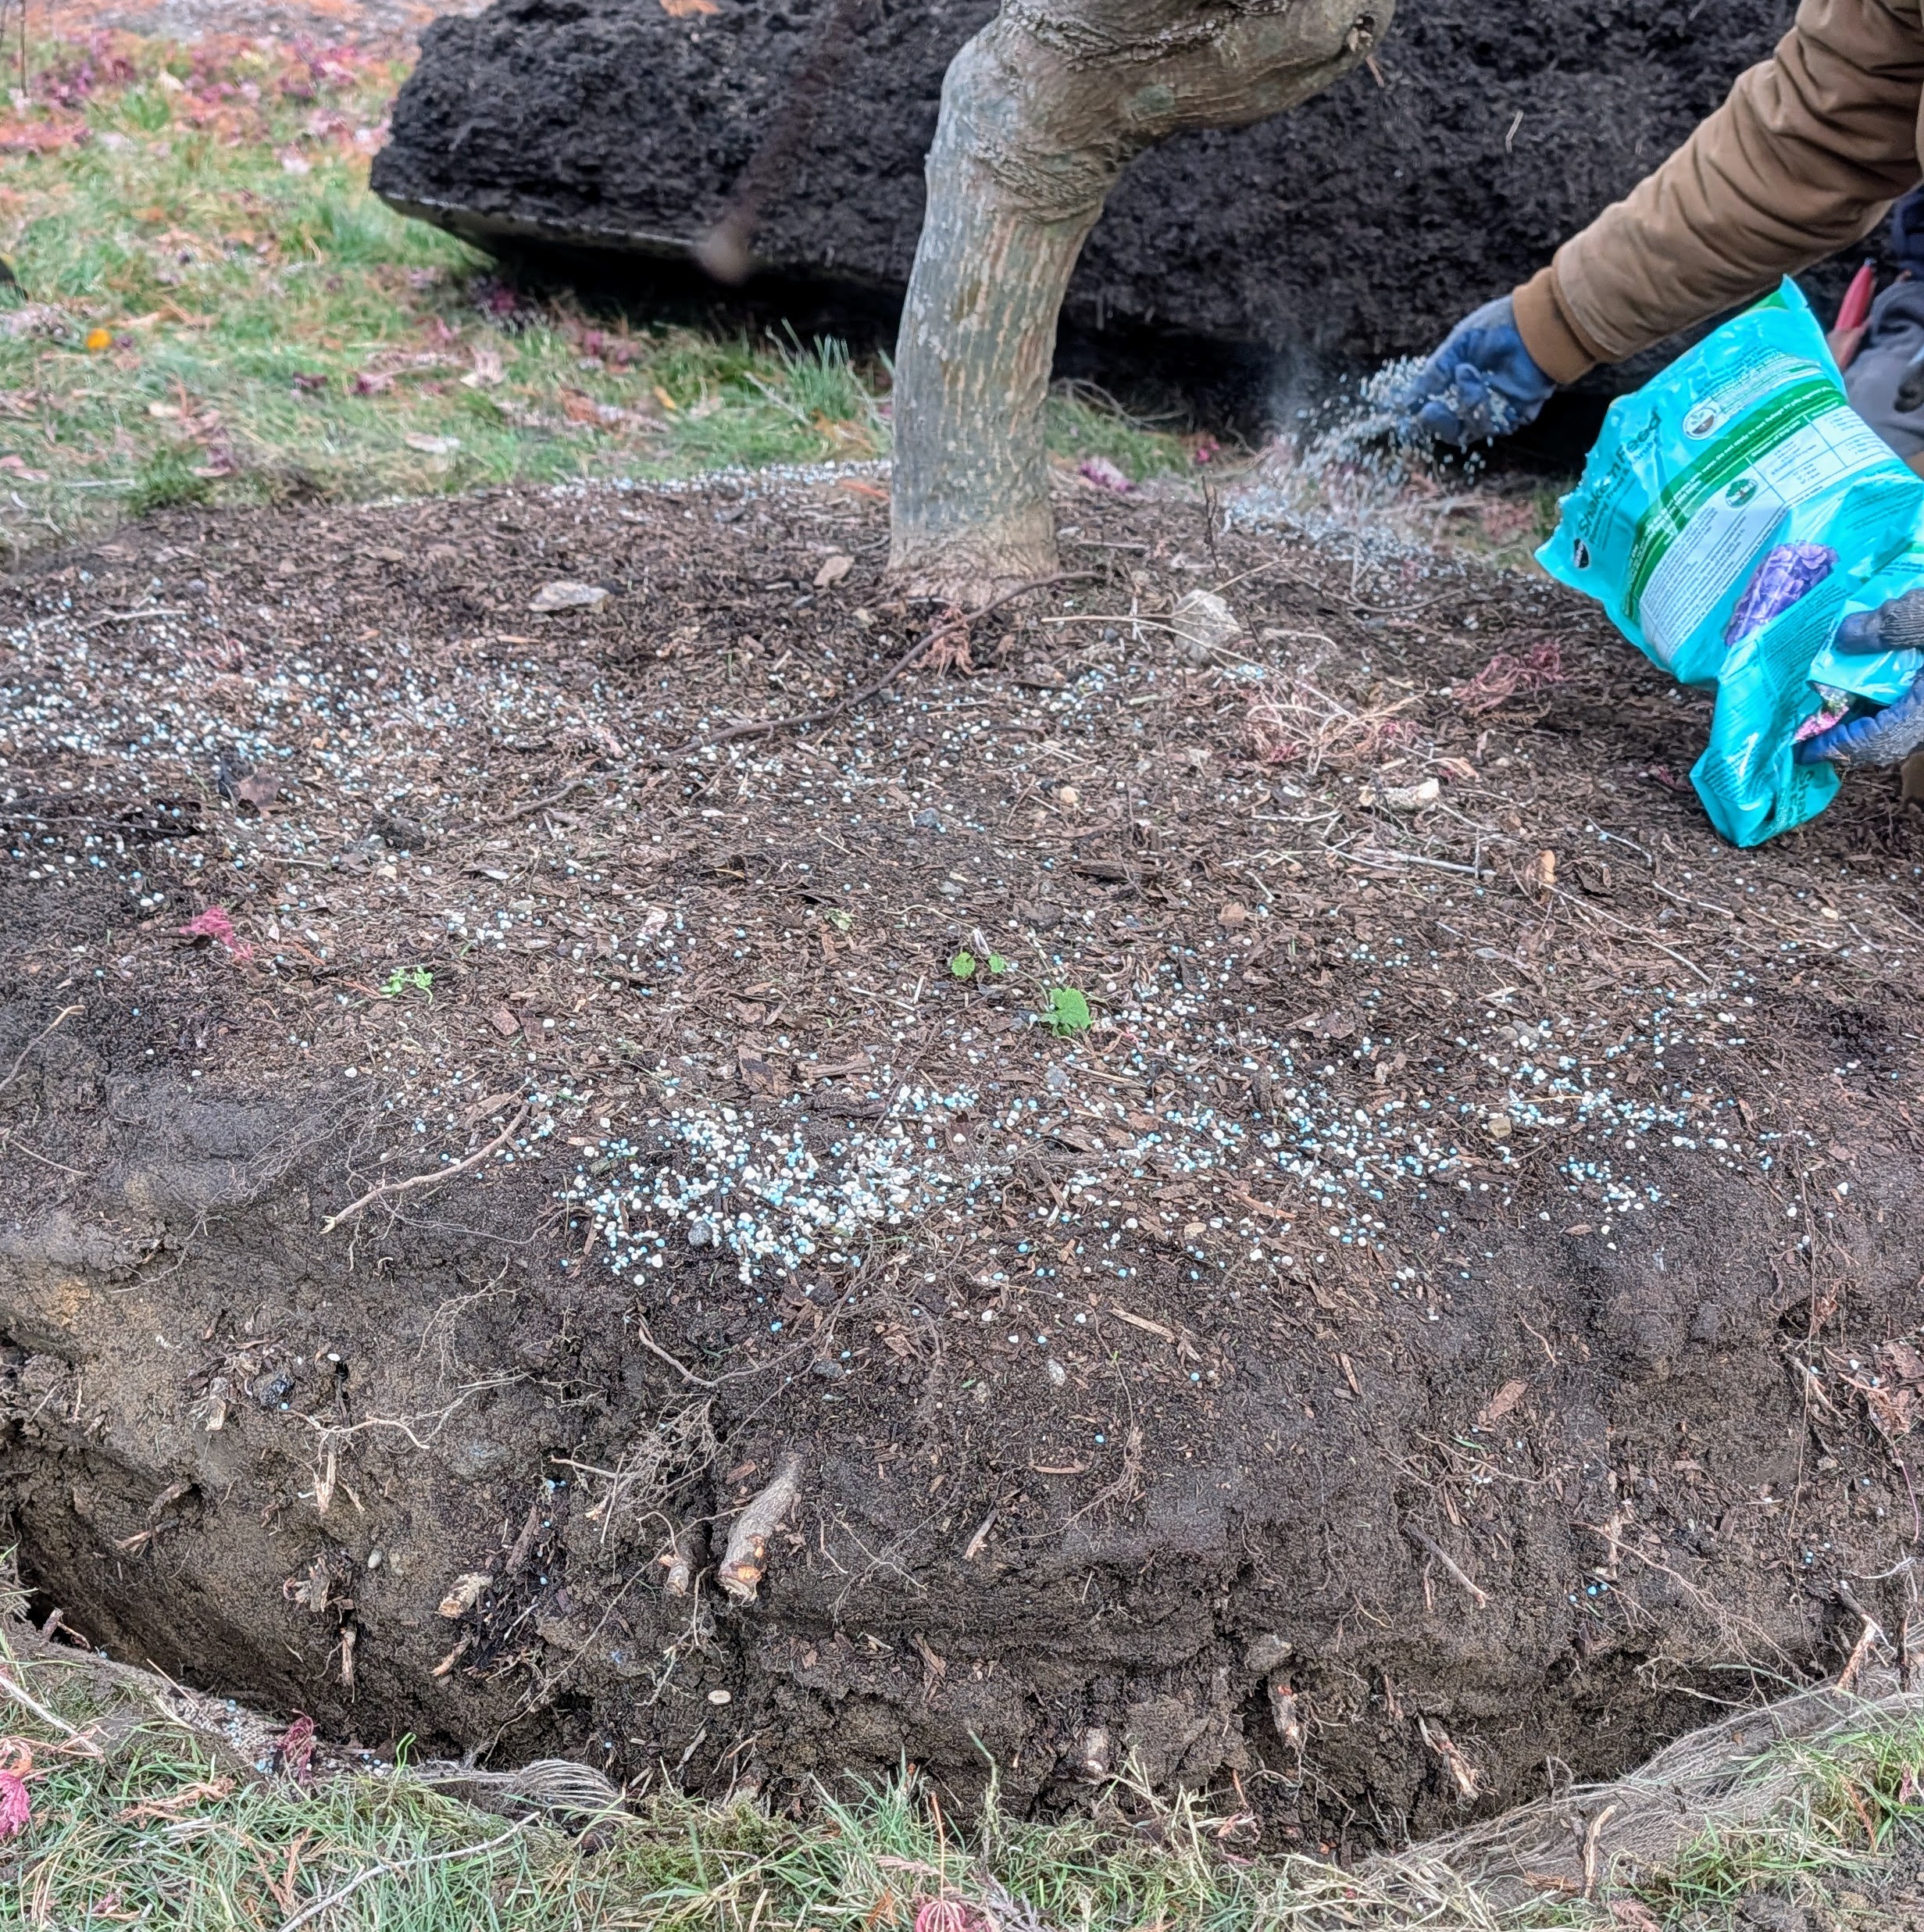
- I use Miracle-Grow Shake ‘n Feed for trees. This feeds the tree above and below the soil for three months.
-
- Carter and his wife, Kirsten, are so happy the tree could continue to thrive in another garden. Here’s Carter ready to unload.
-
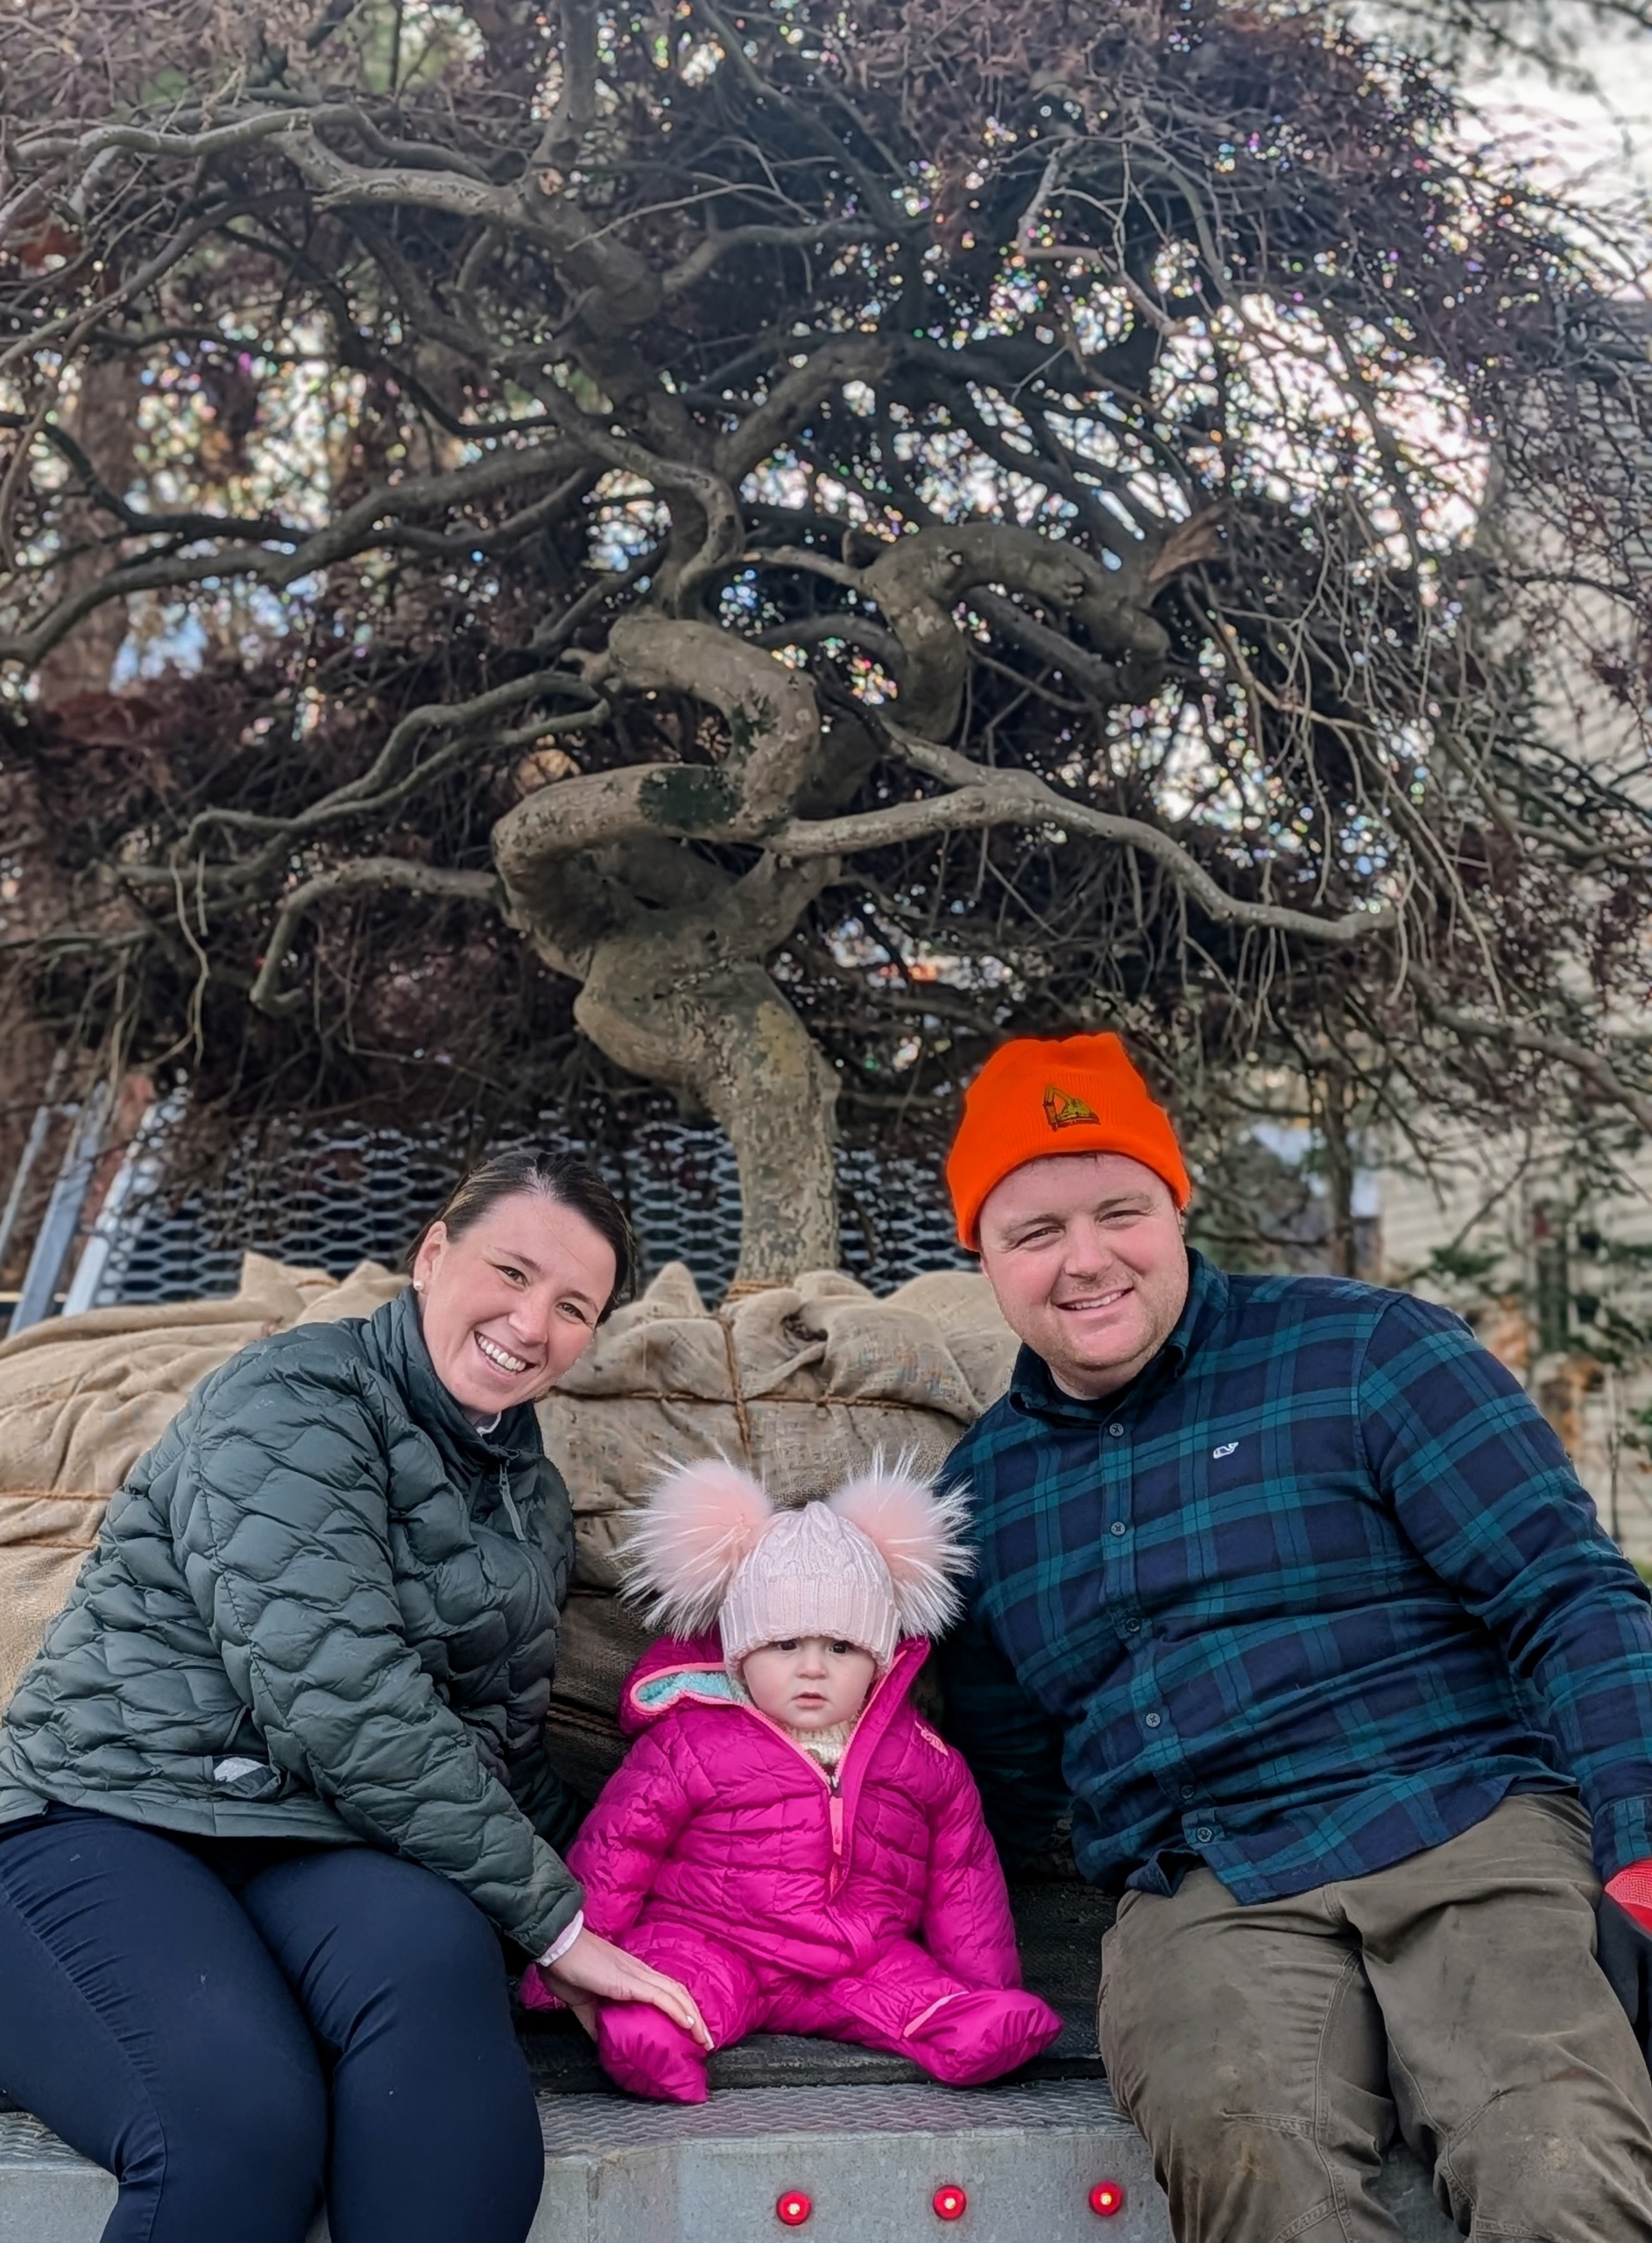
- Carter, Kirsten and their baby Colette, are so happy to see the tree go to a good home.
-
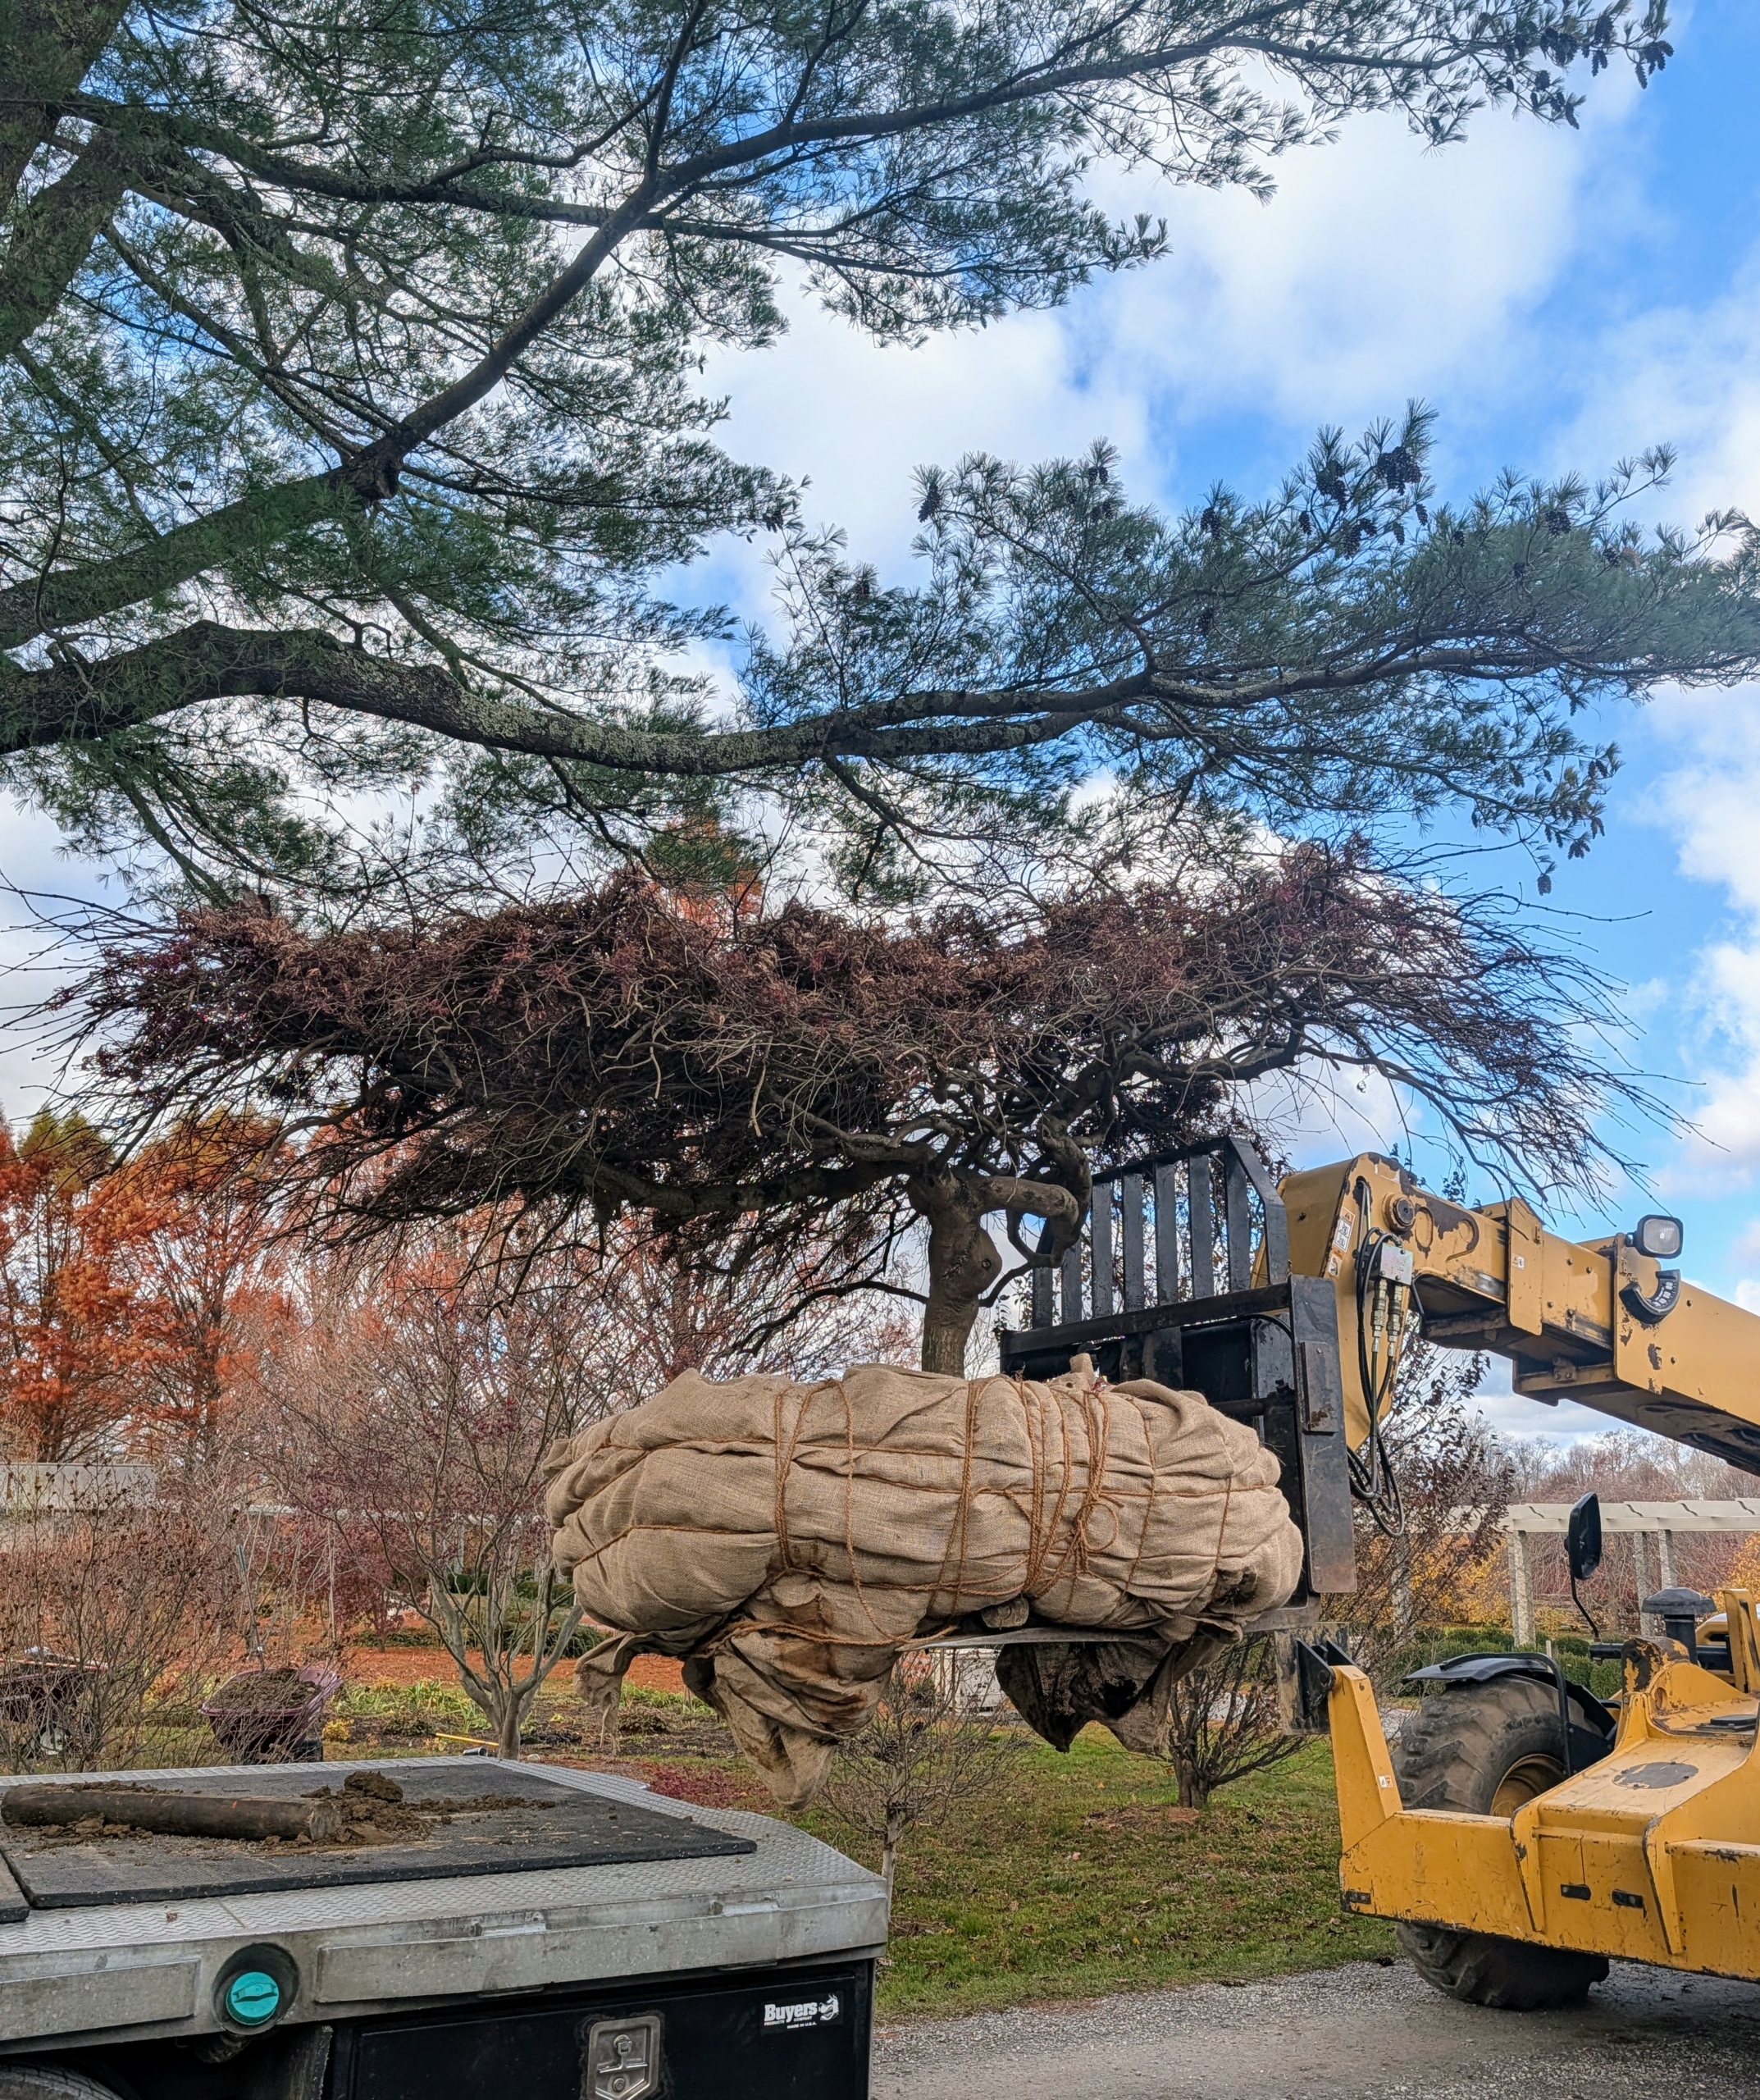
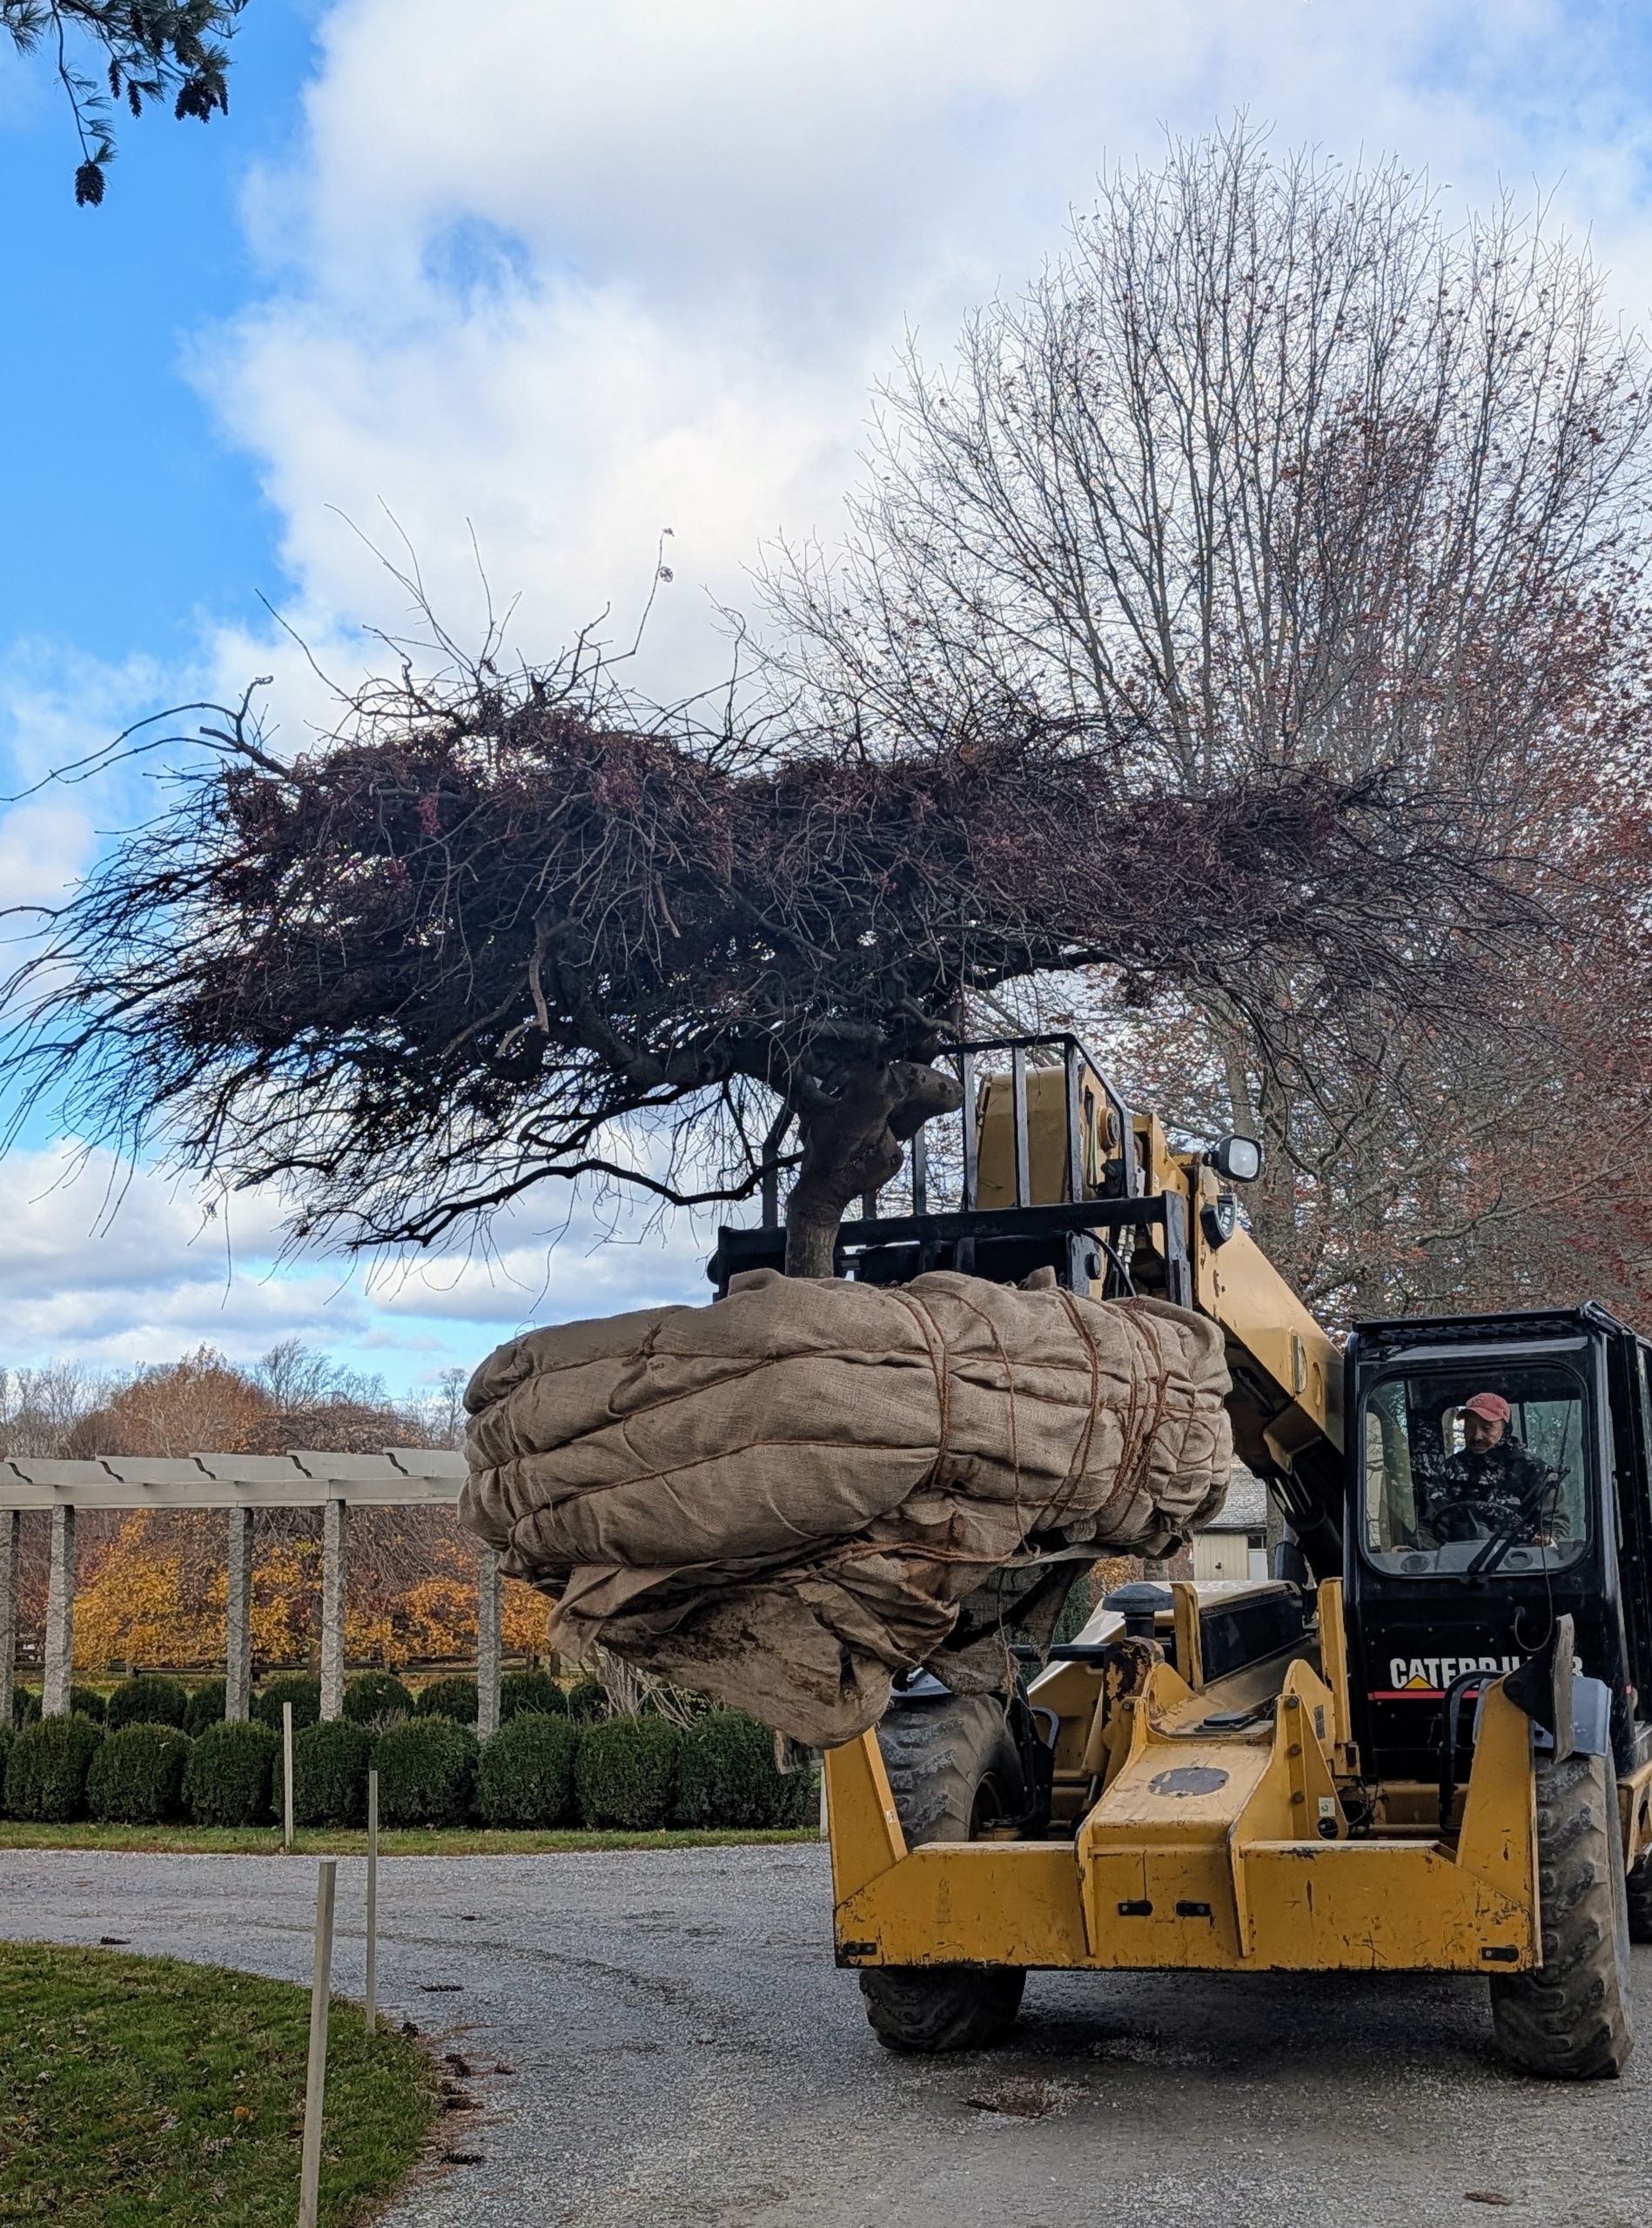
- My outdoor grounds crew foreman, Chhiring, uses our trusted Hi-Lo to transport the tree from the flatbed to its new location.
-
- Slowly and carefully, Chhiring positions the tree over the newly dug hole.
-
- But the crew needs to make a few adjustments to the hole to get it just right. Adan is widening it on all sides, and adding back soil to the bottom, so it does not sit too deep. It is crucial for the tree’s longterm health and stability to be planted properly. Too deep could suffocate the roots – too shallow and the roots could be exposed and dry out.
-
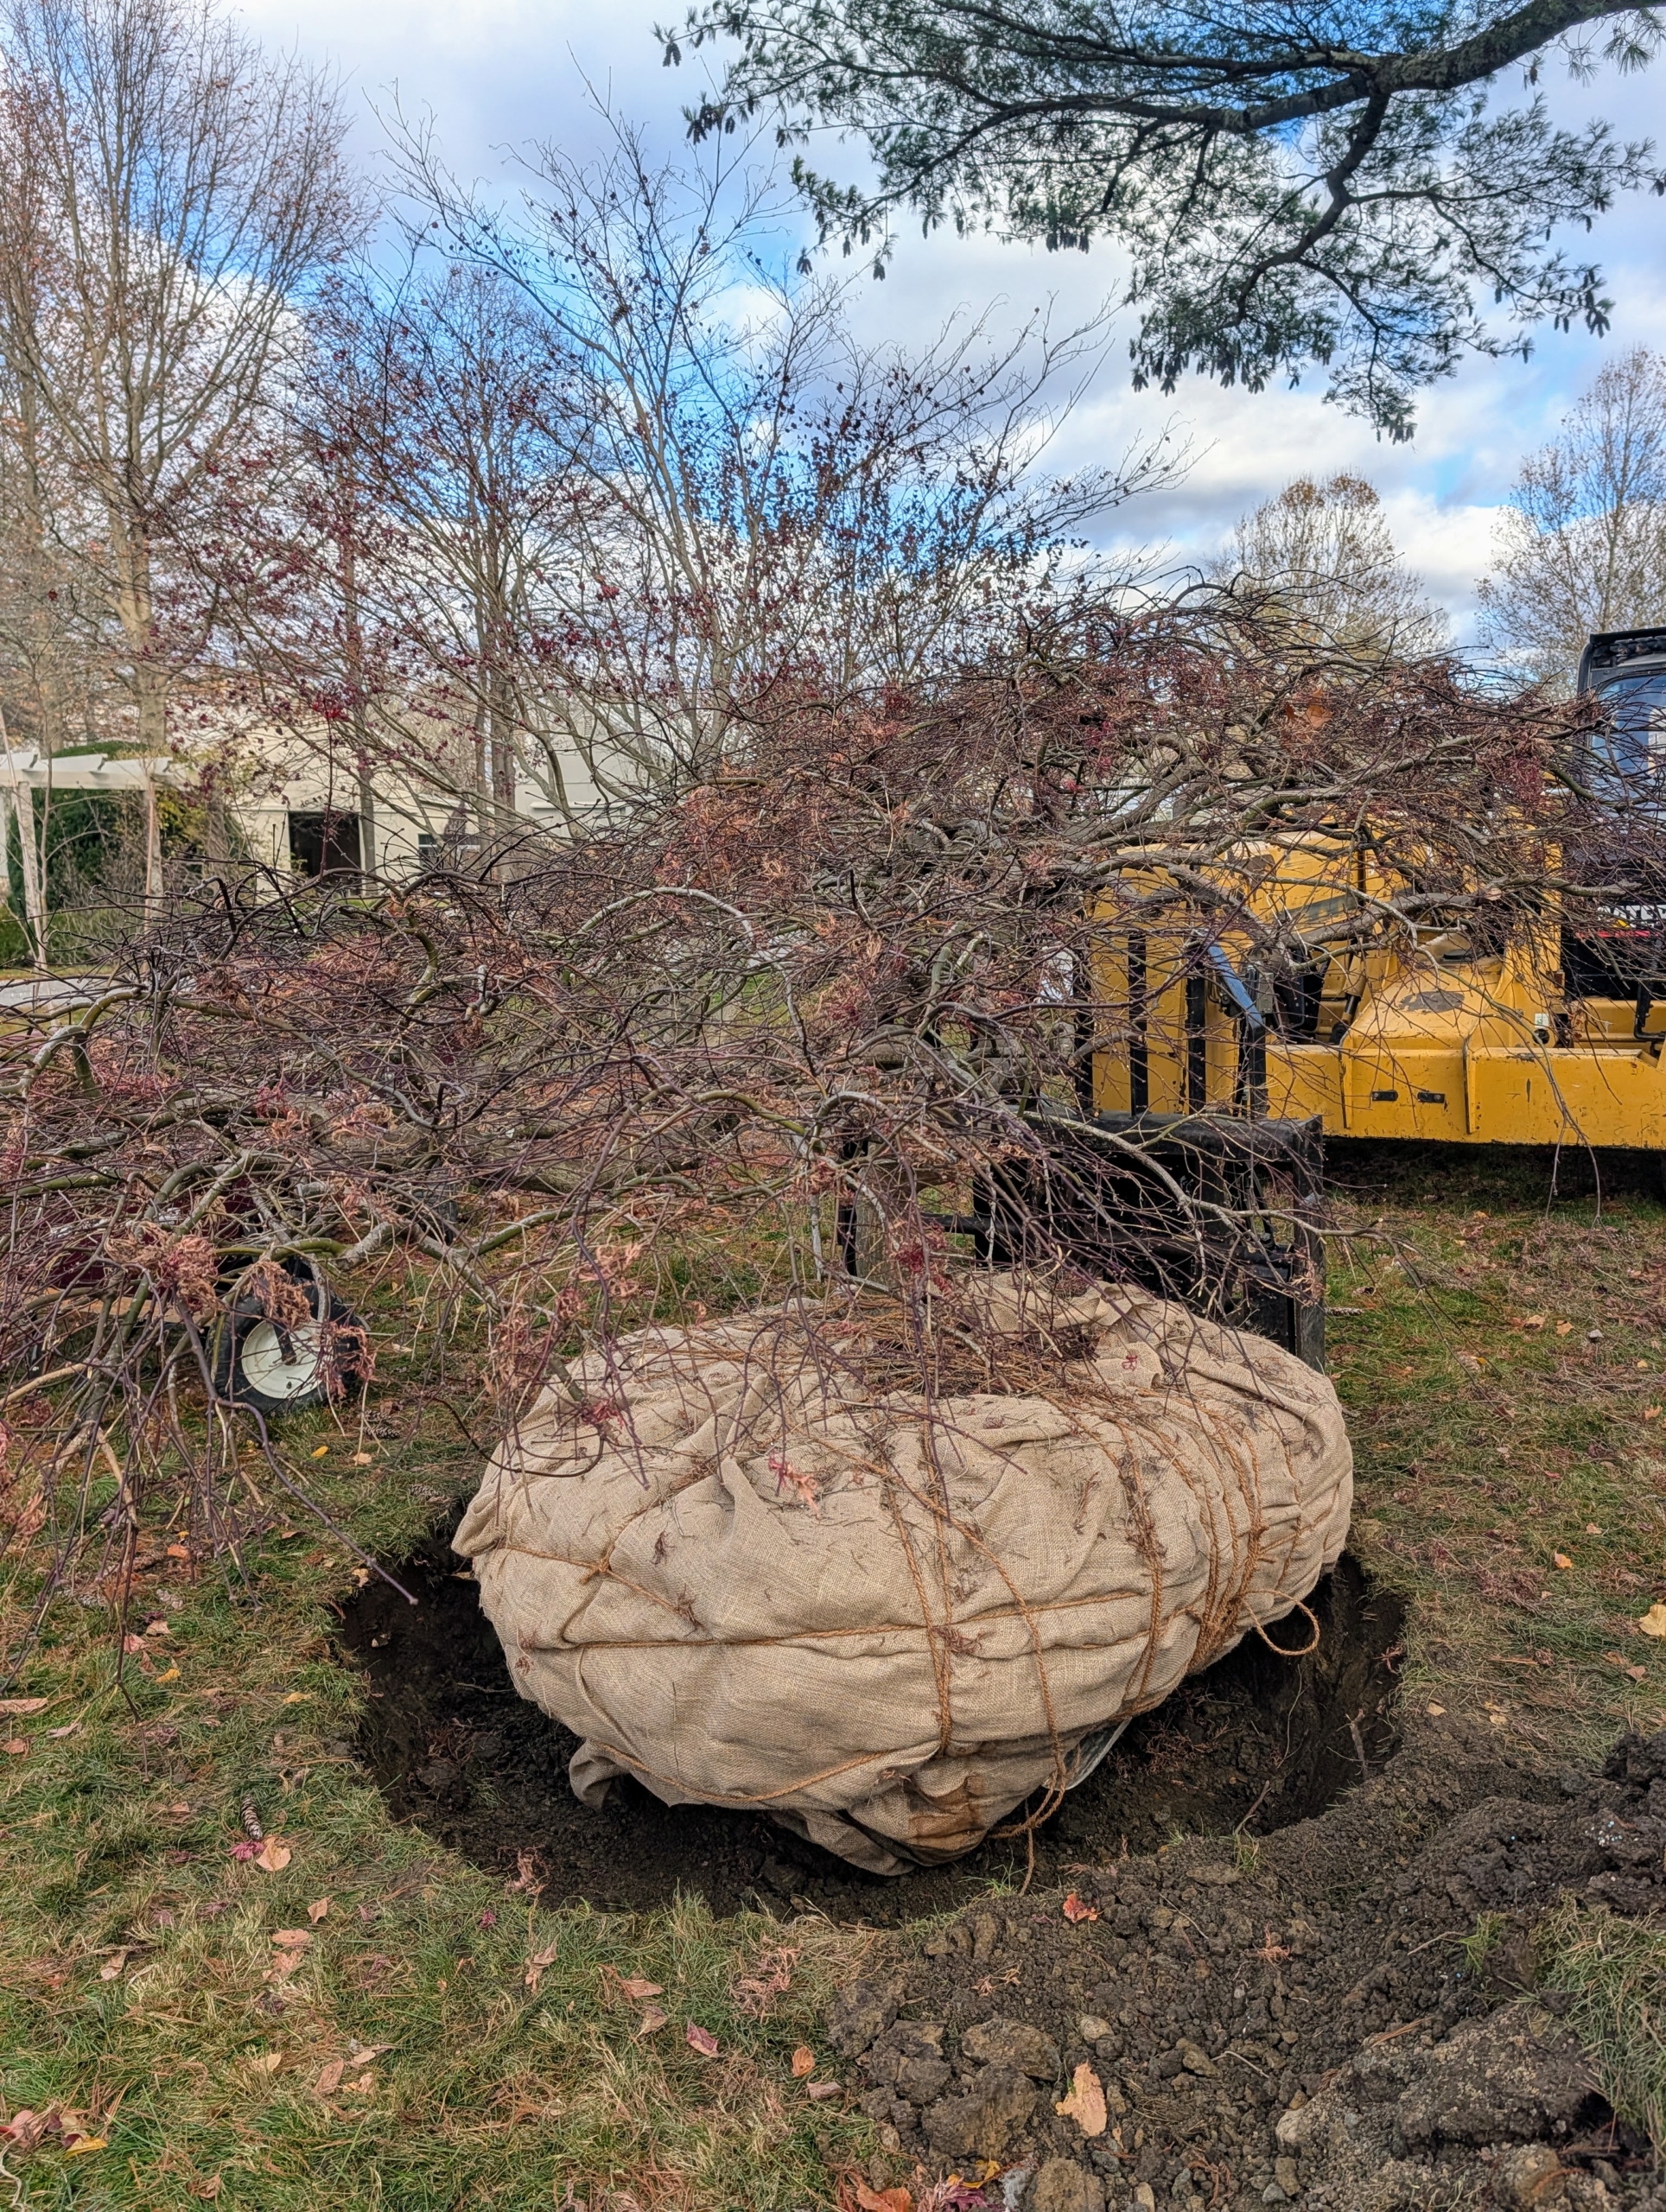
- Once the hole is correct, the tree is gently lowered into it with the best side facing the carriage road. I instructed the team which side looked best. Once in place, the crew looks at it from all angles to make sure the trunk is completely straight.
-
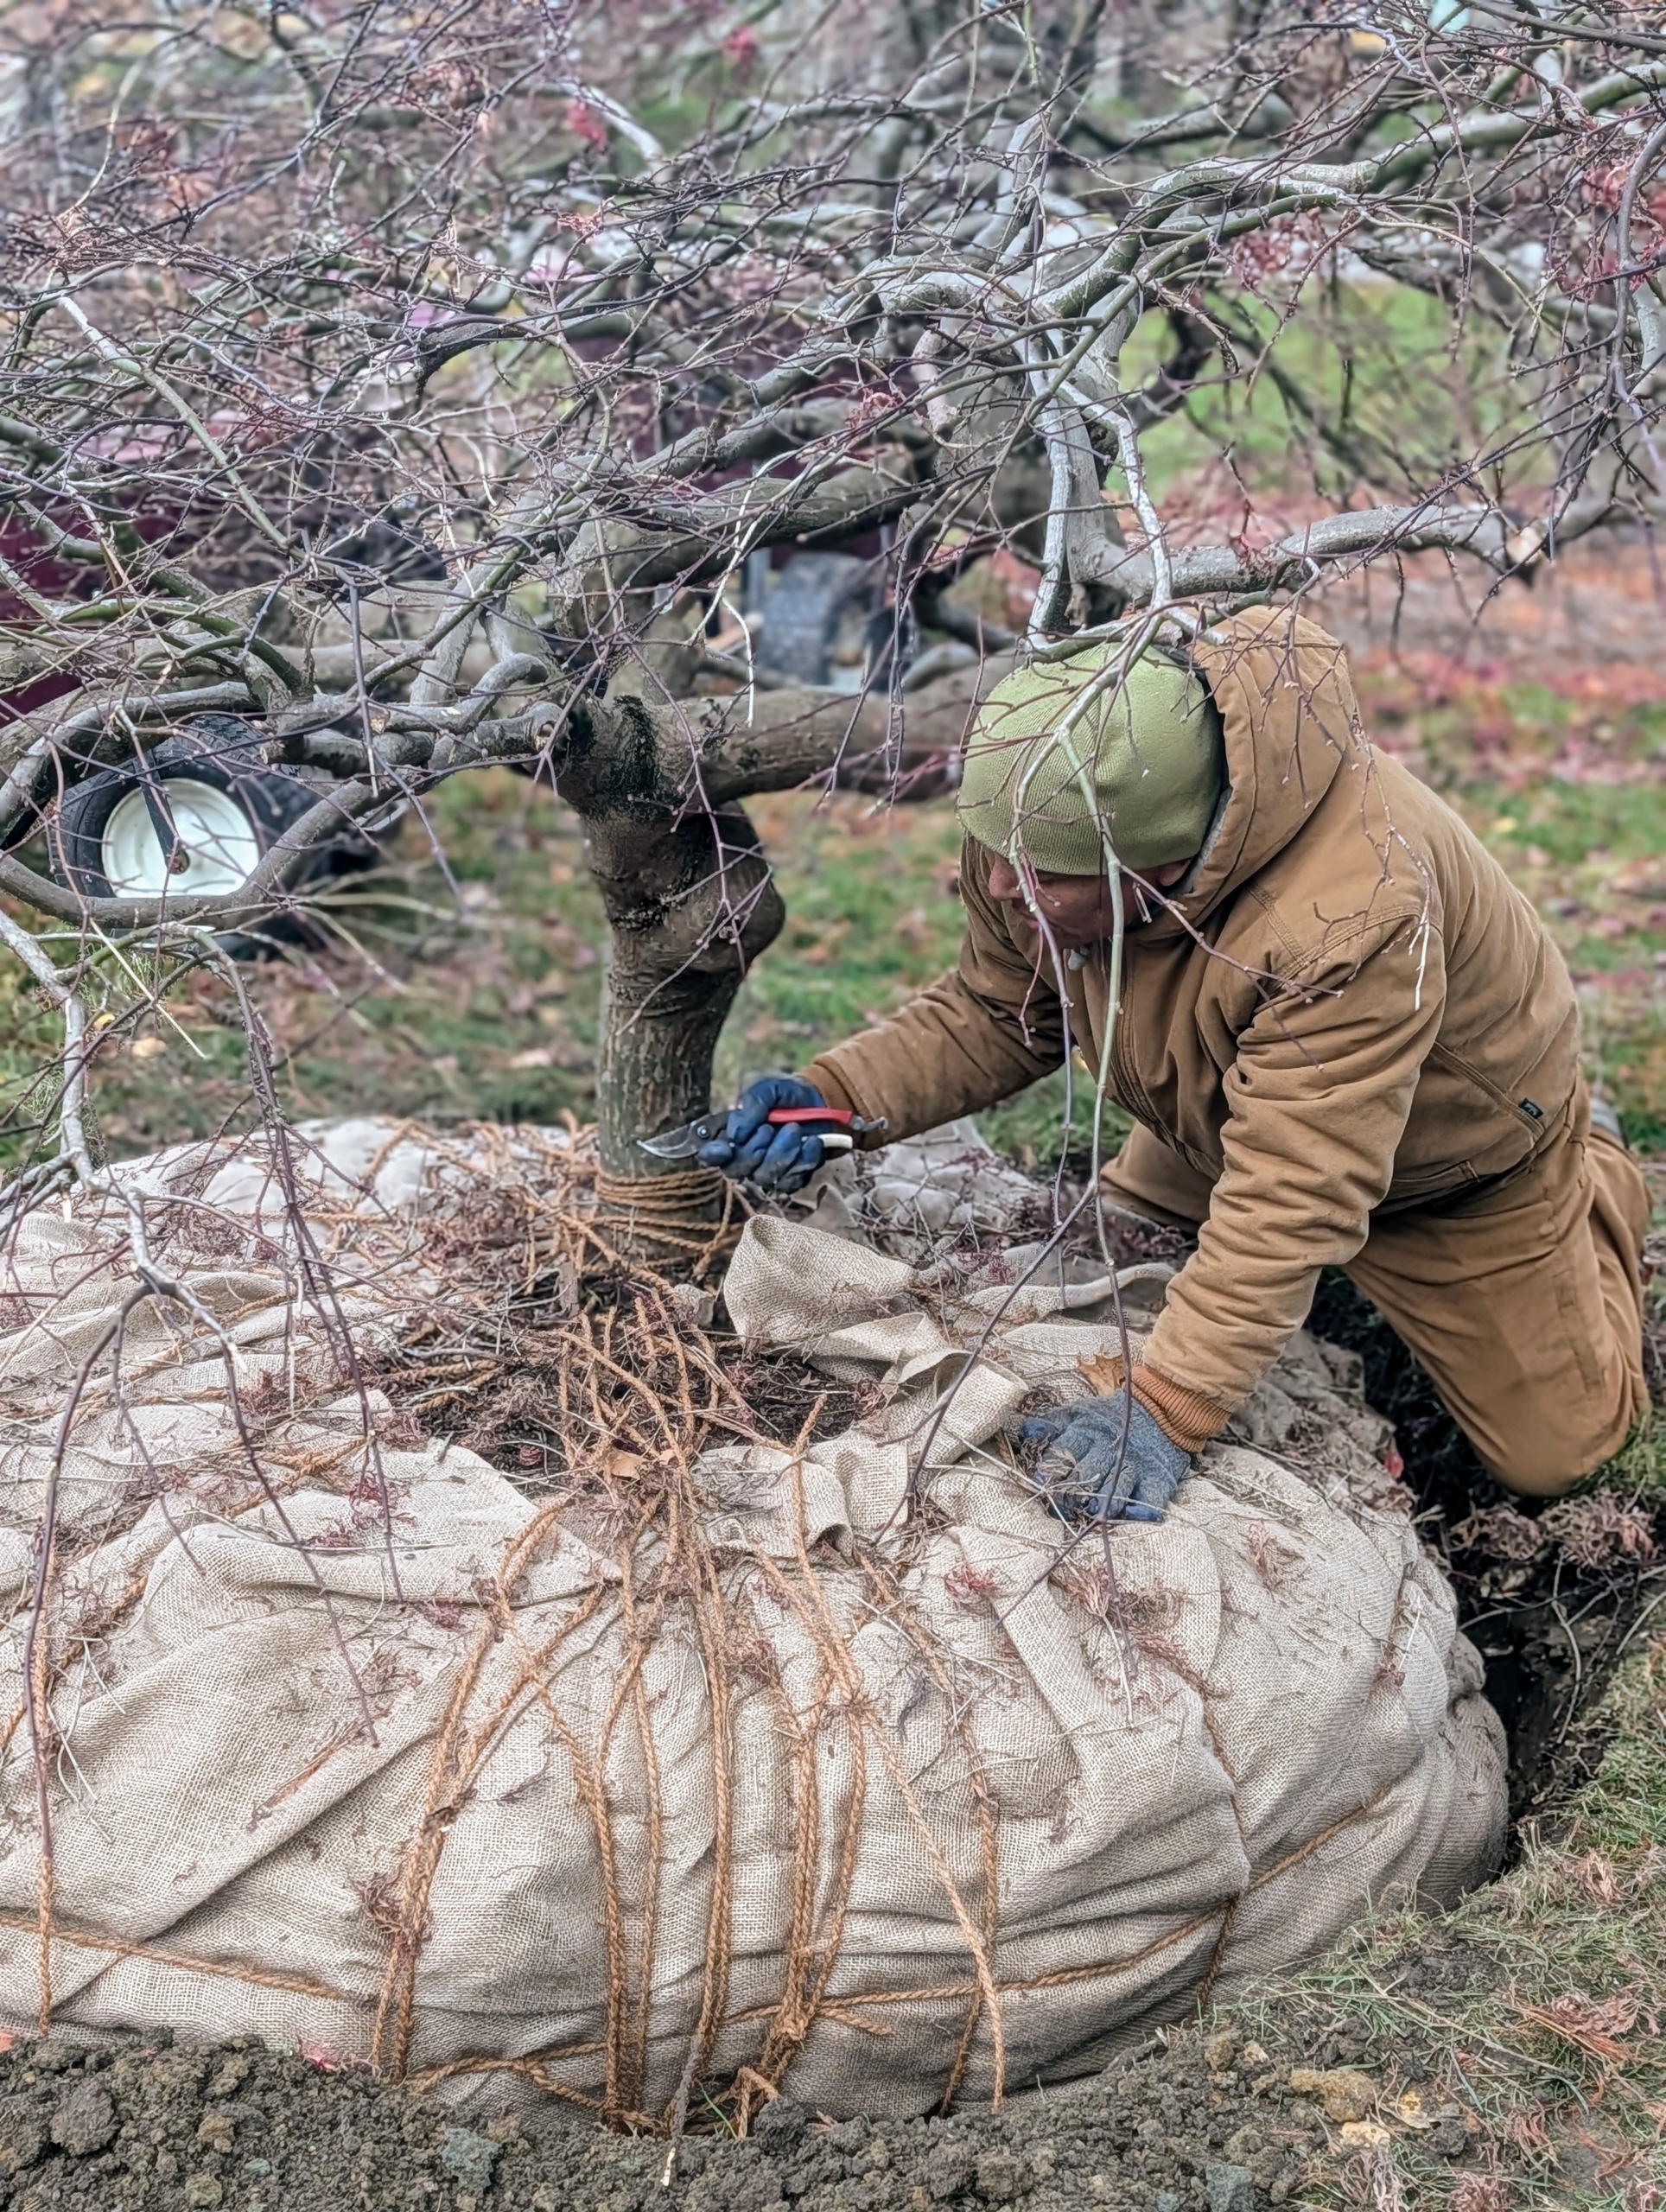
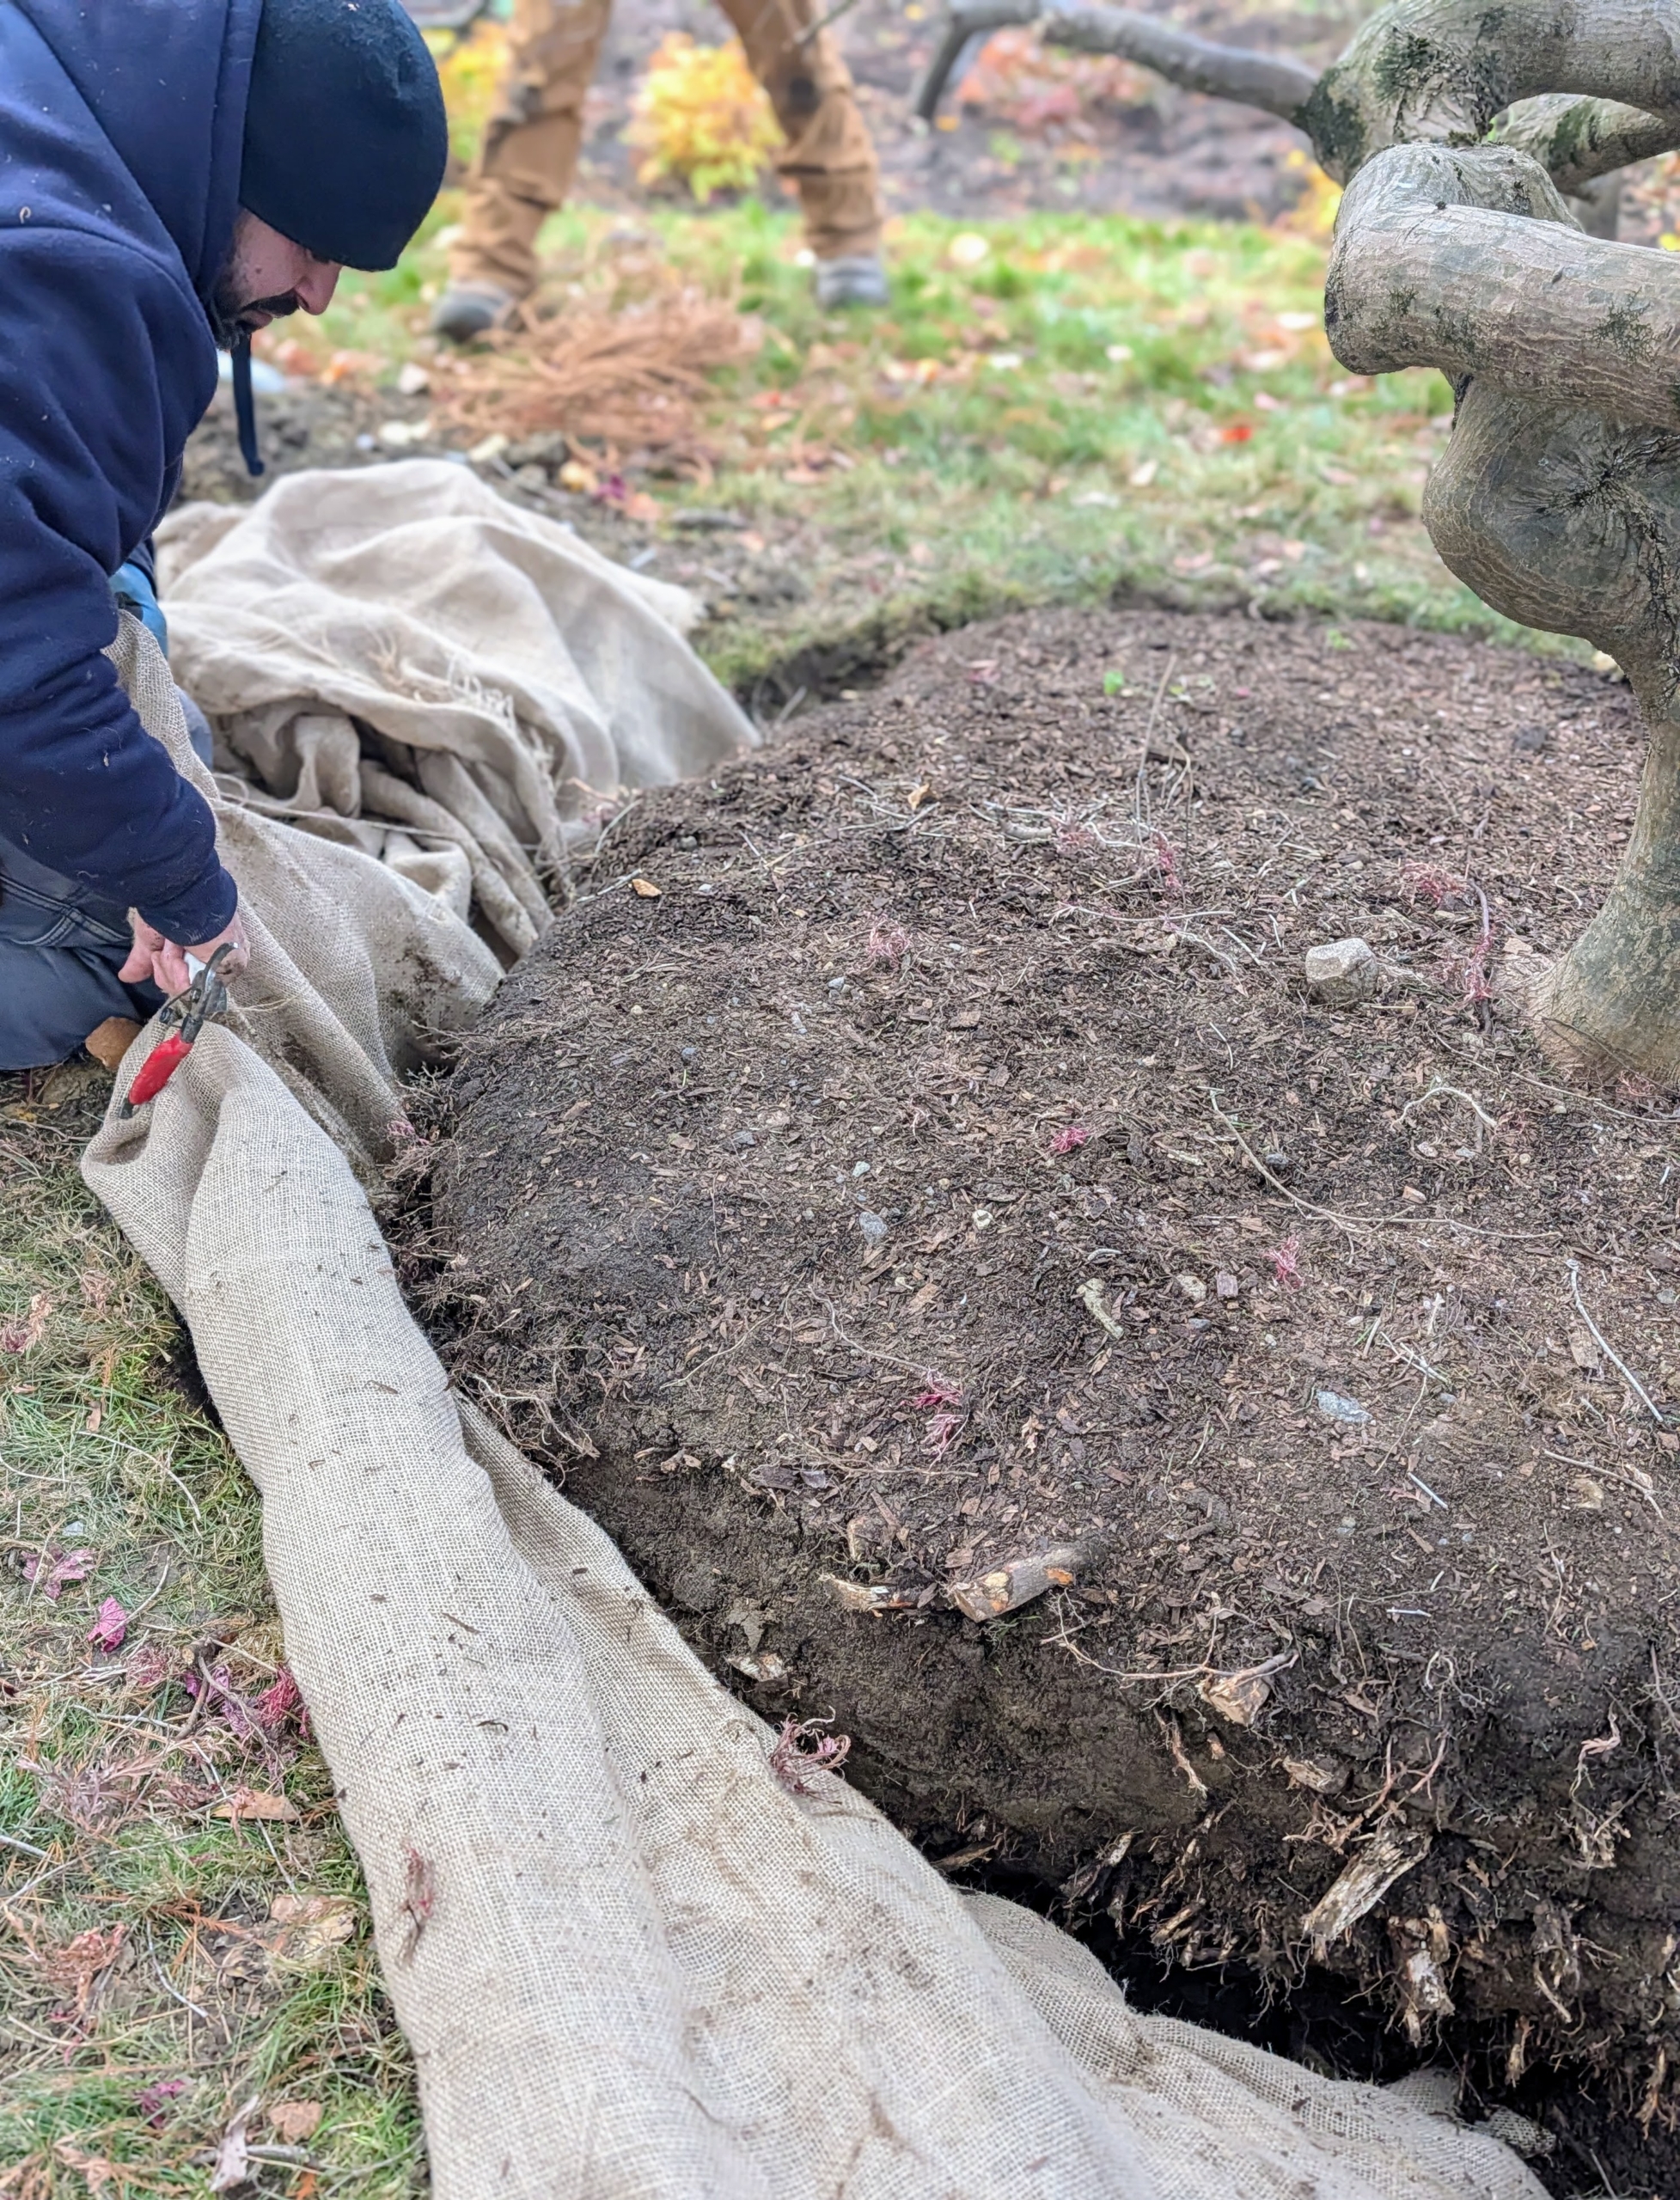
- Phurba begins to remove the twine wrapped around the root ball.
-
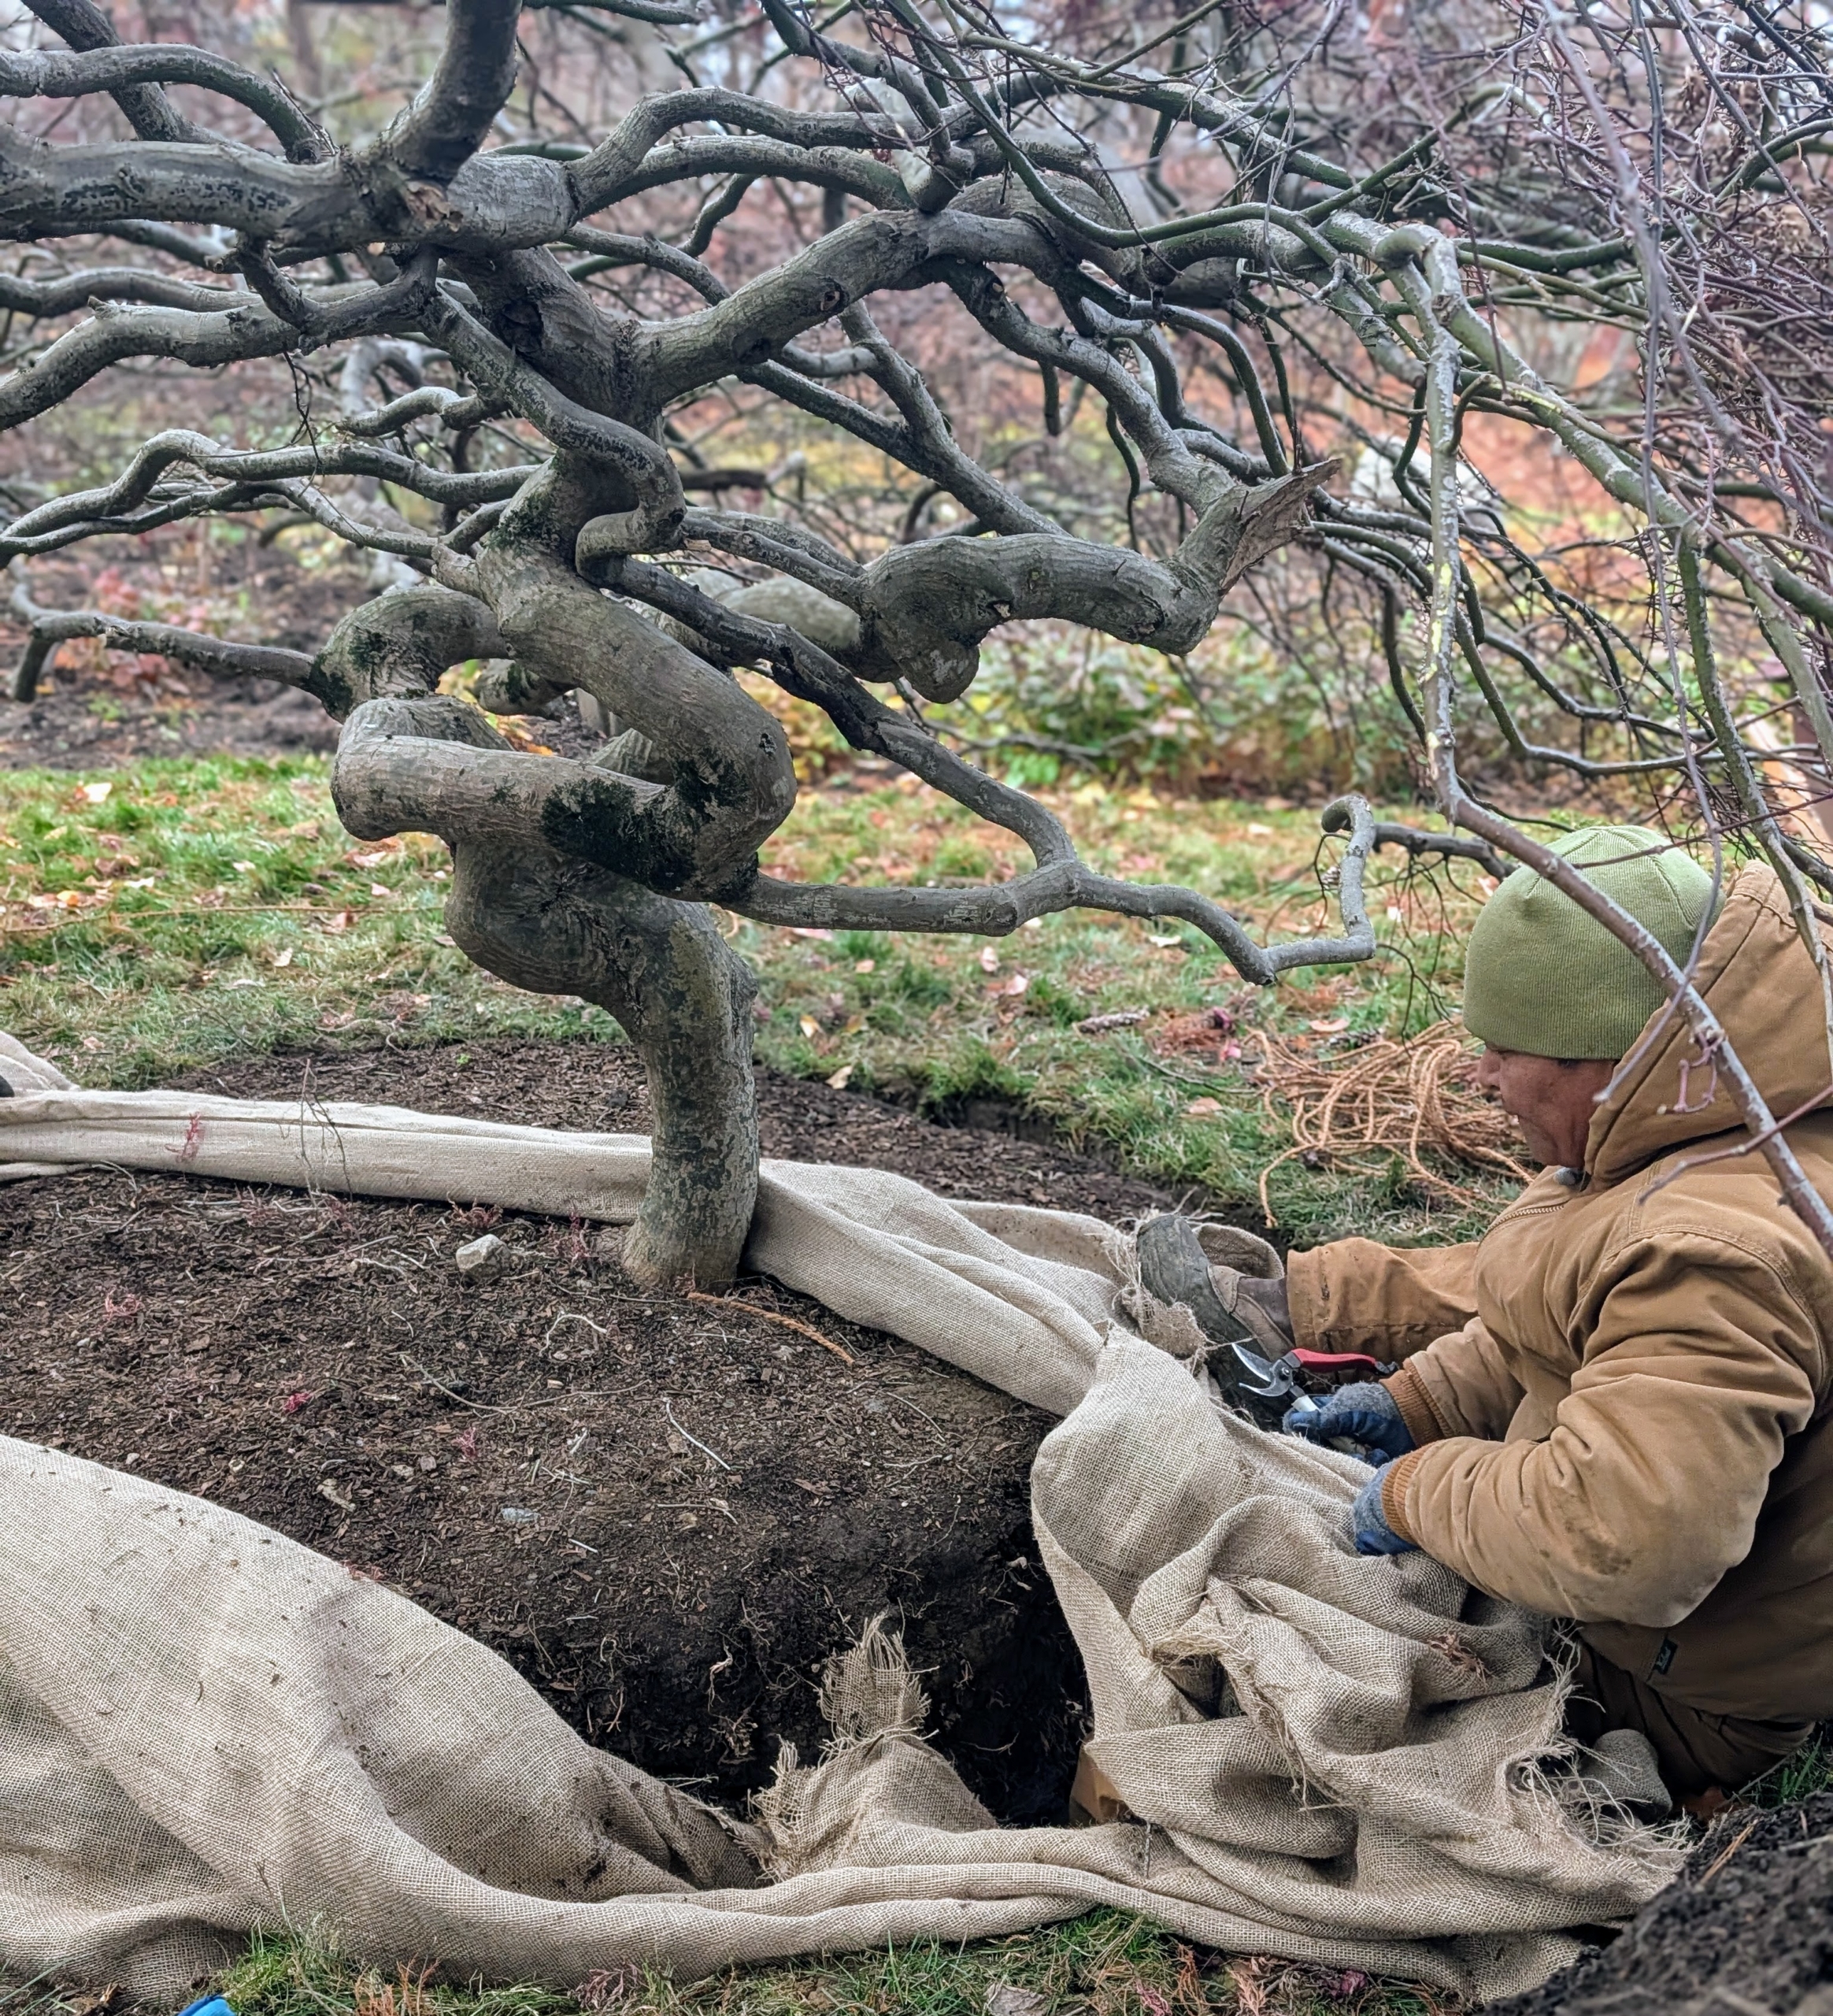
- Then he removes the burlap and roughs up, or scarifies, the root ball to stimulate new growth.
-
- Some gardeners prefer to leave the burlap in place, but I always remove all the wrapping to ensure there is nothing blocking the tree’s natural root growth.
-
- More fertilizer is spread on the top of the root ball.
-
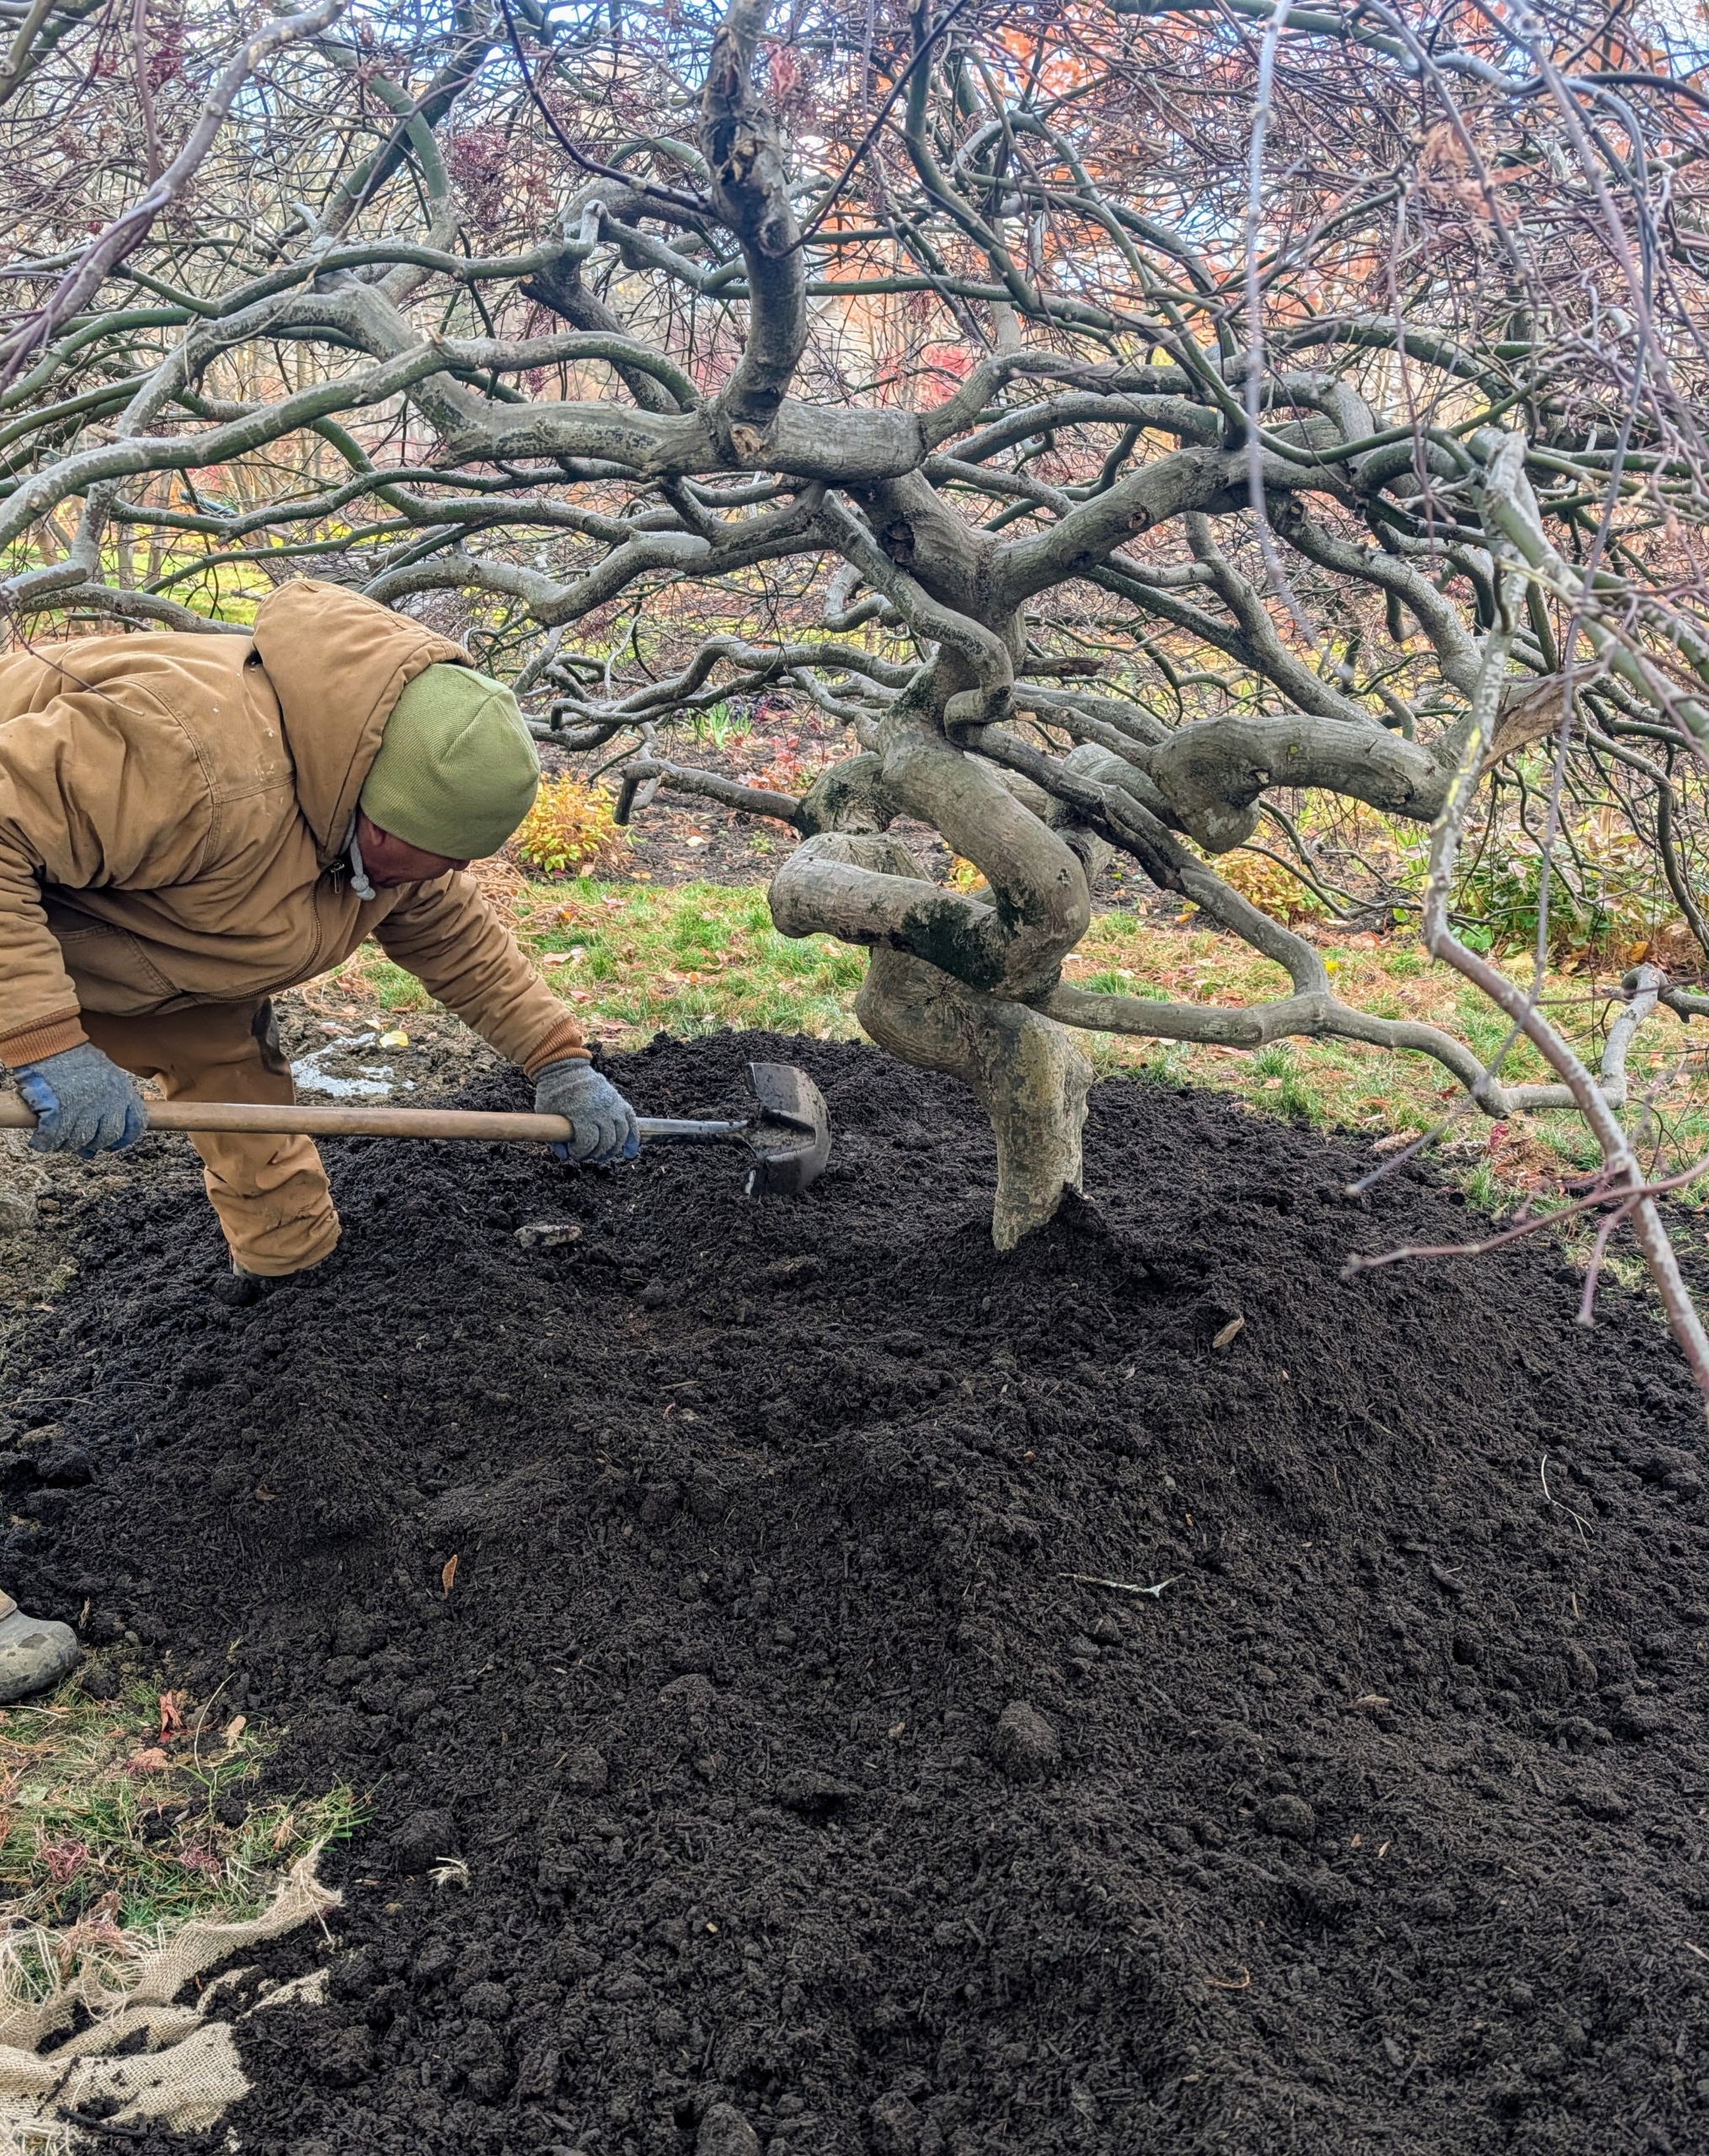
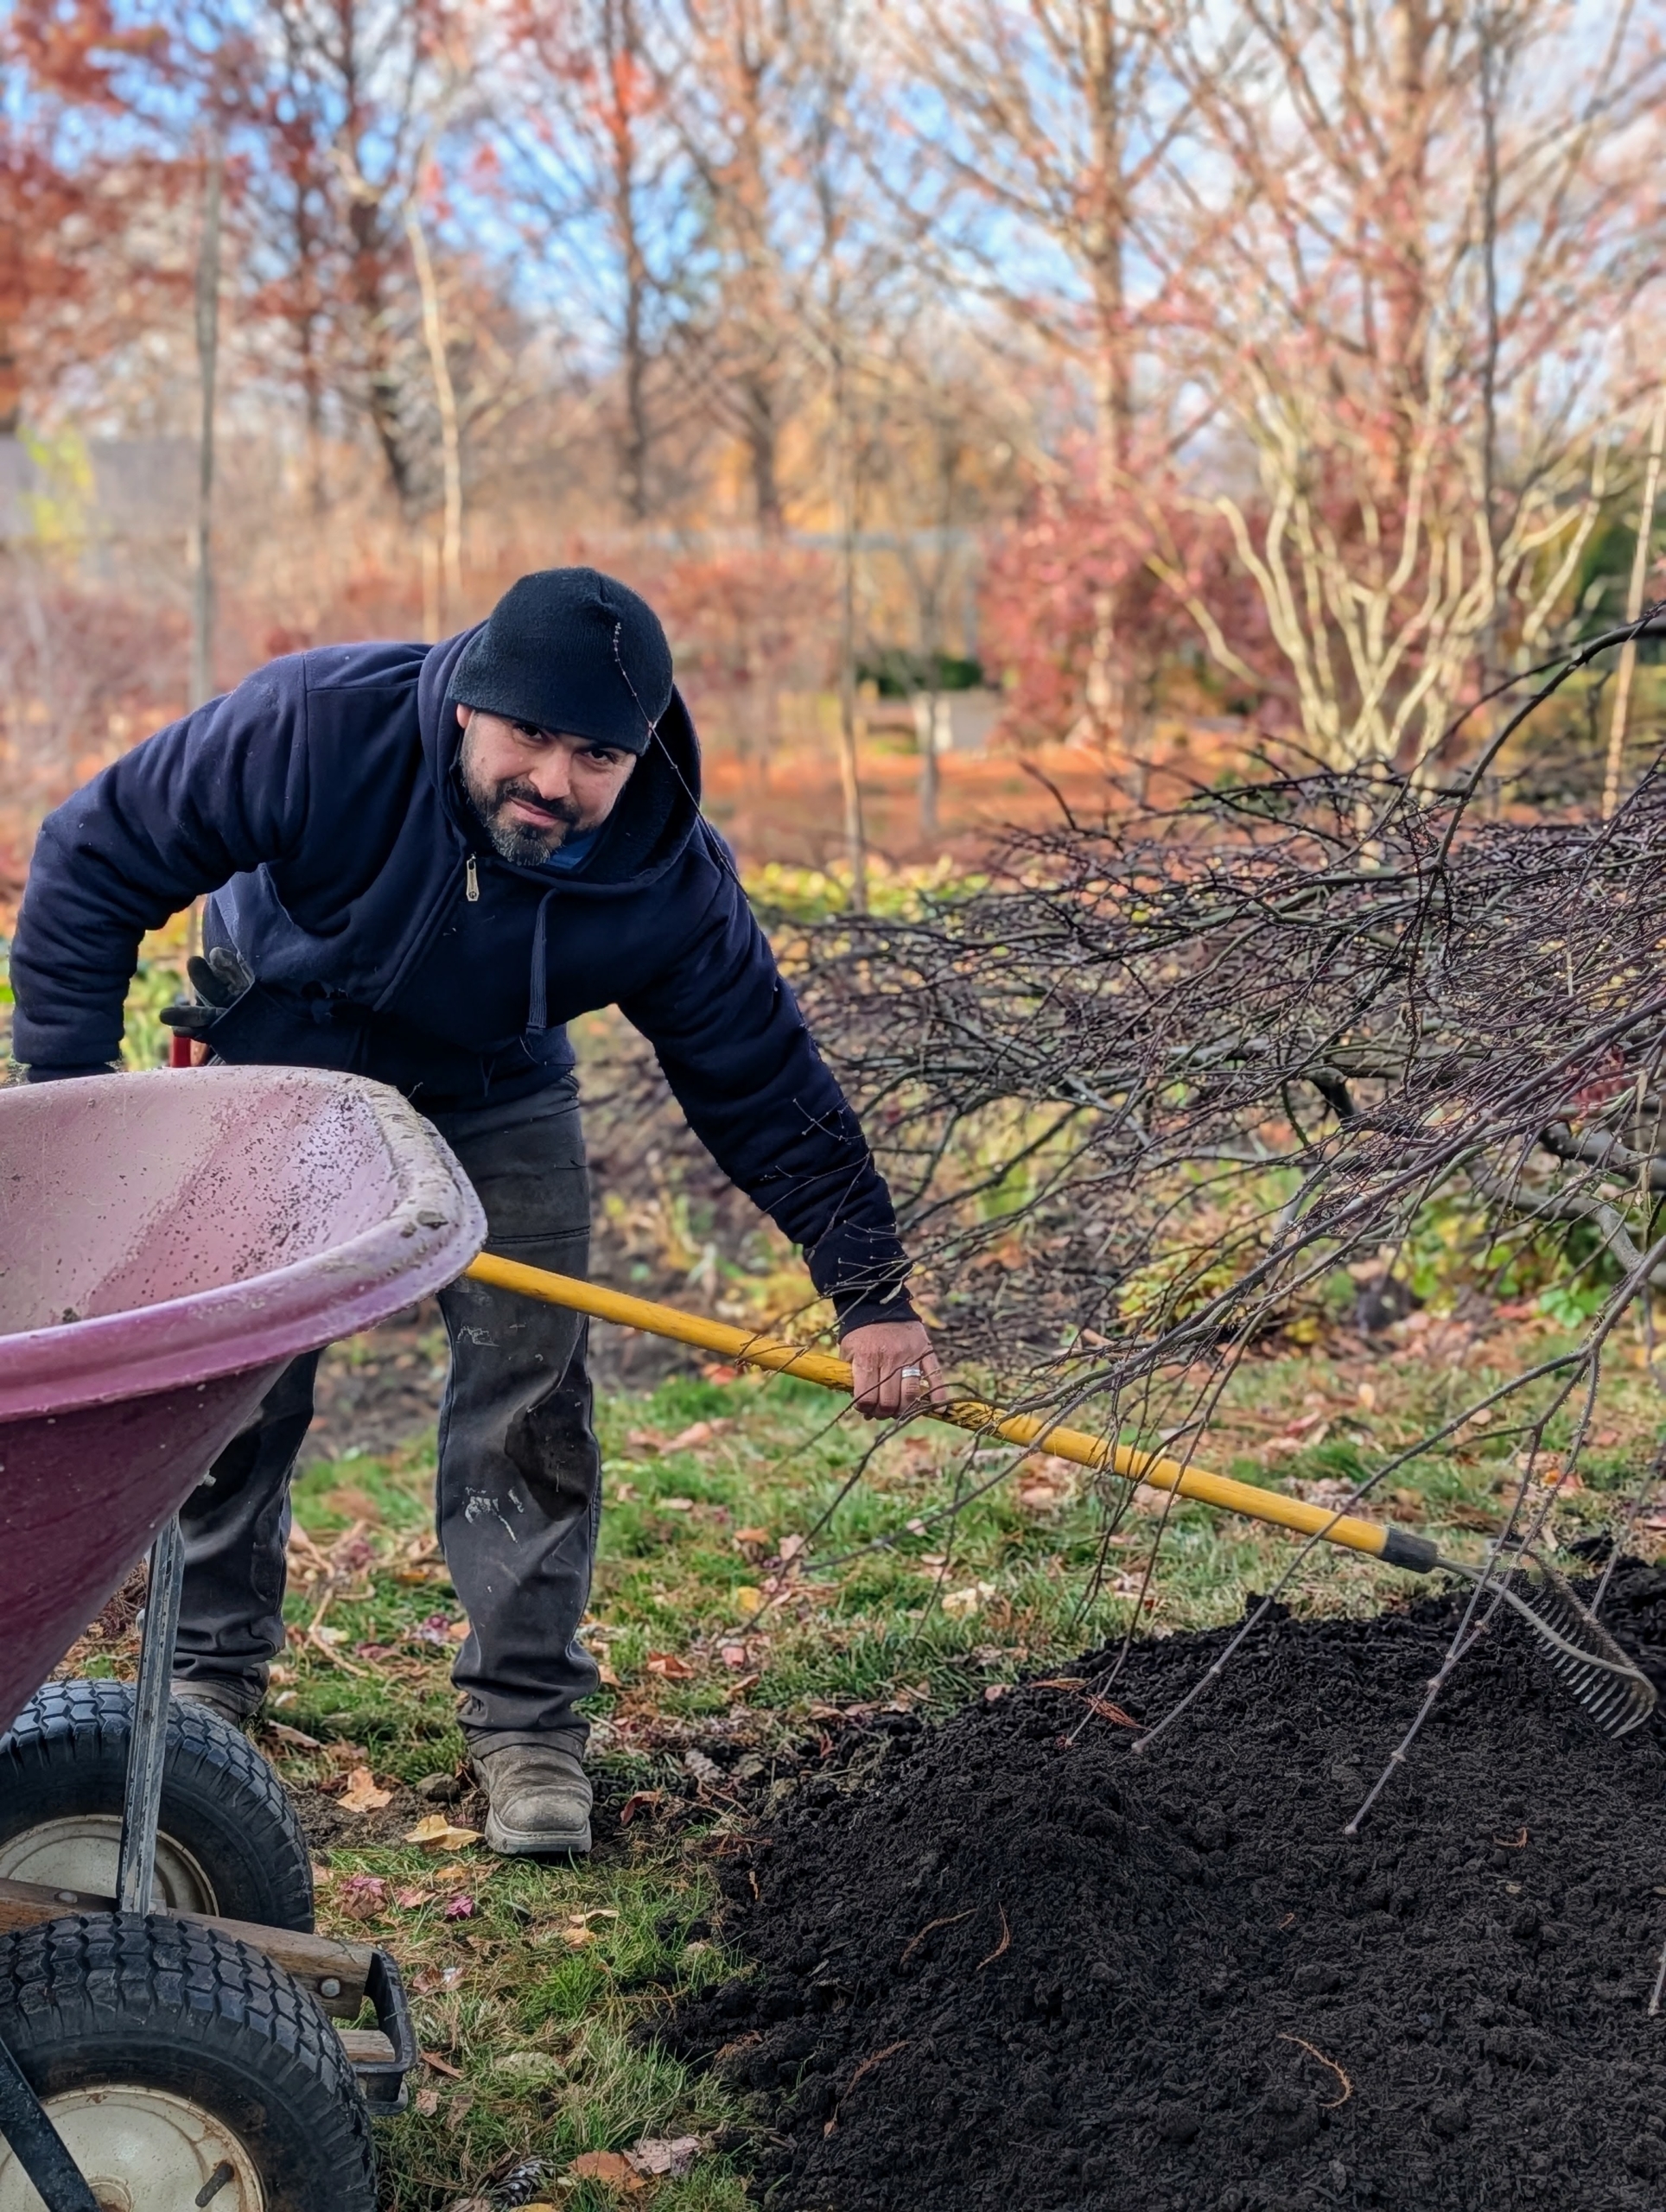
- A generous layer of mulch is spread over the area surrounding the trunk or the tree pit. Phurba rakes the soil, so it is spread evenly.
-
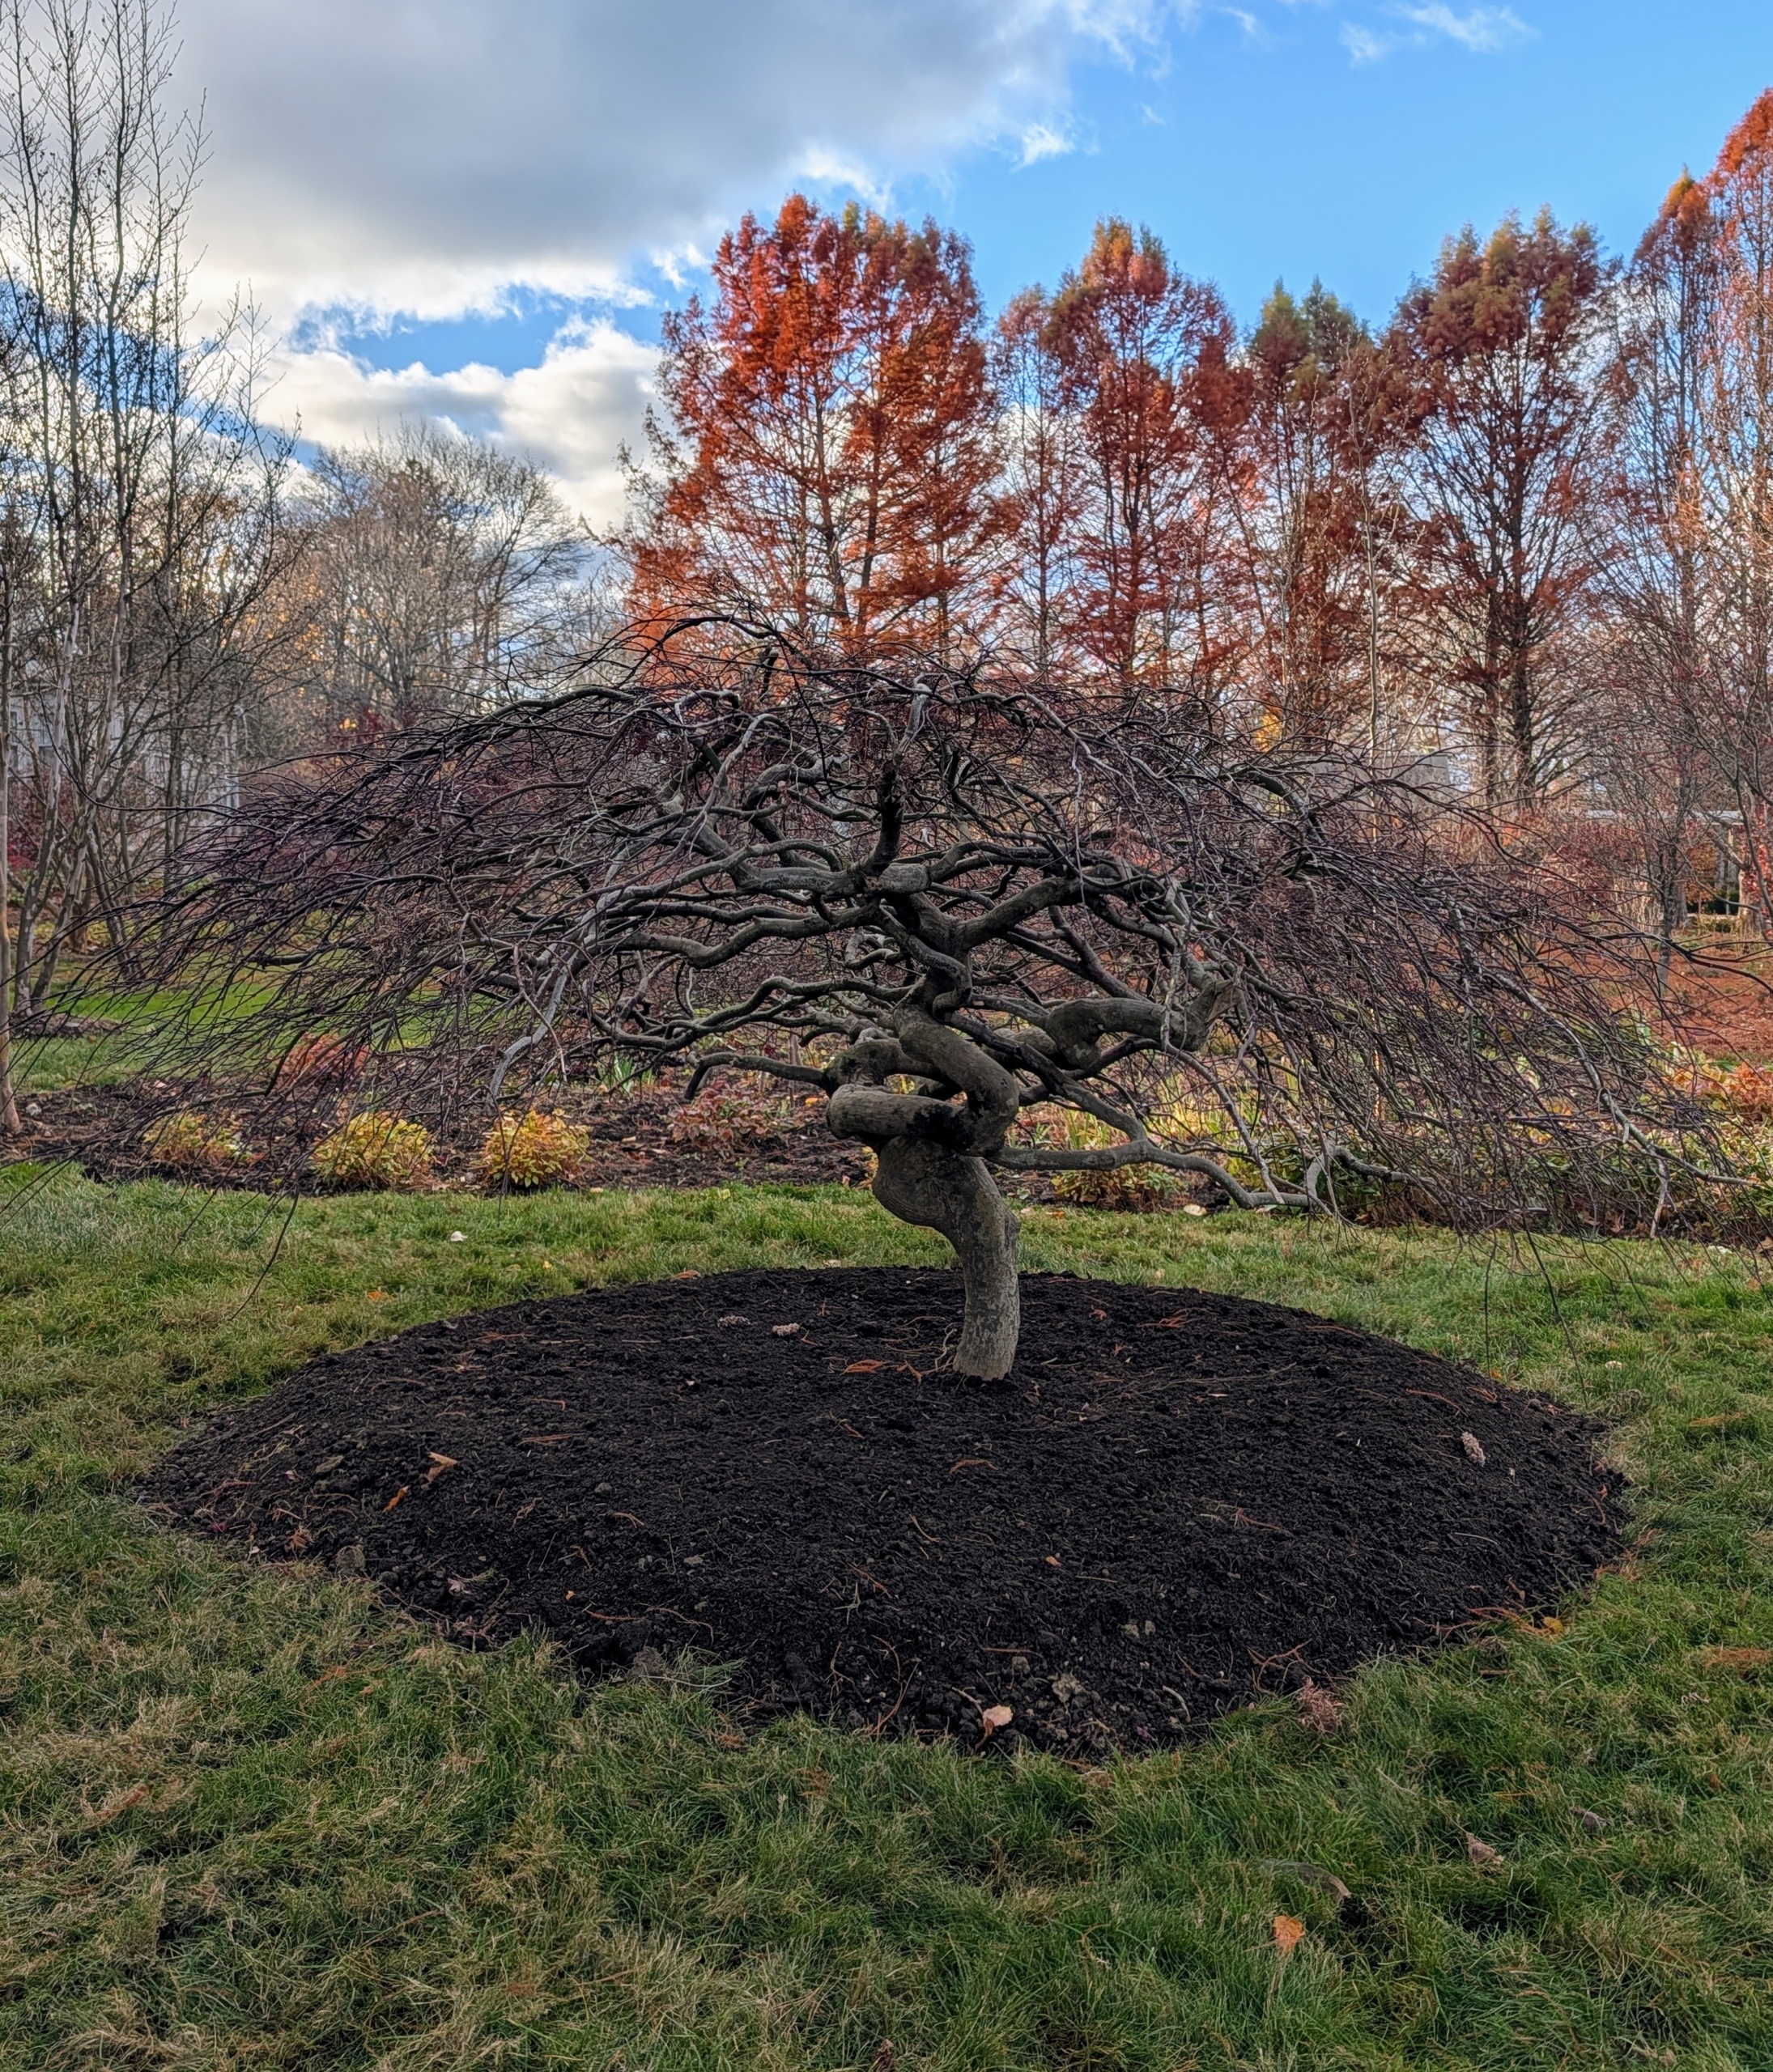
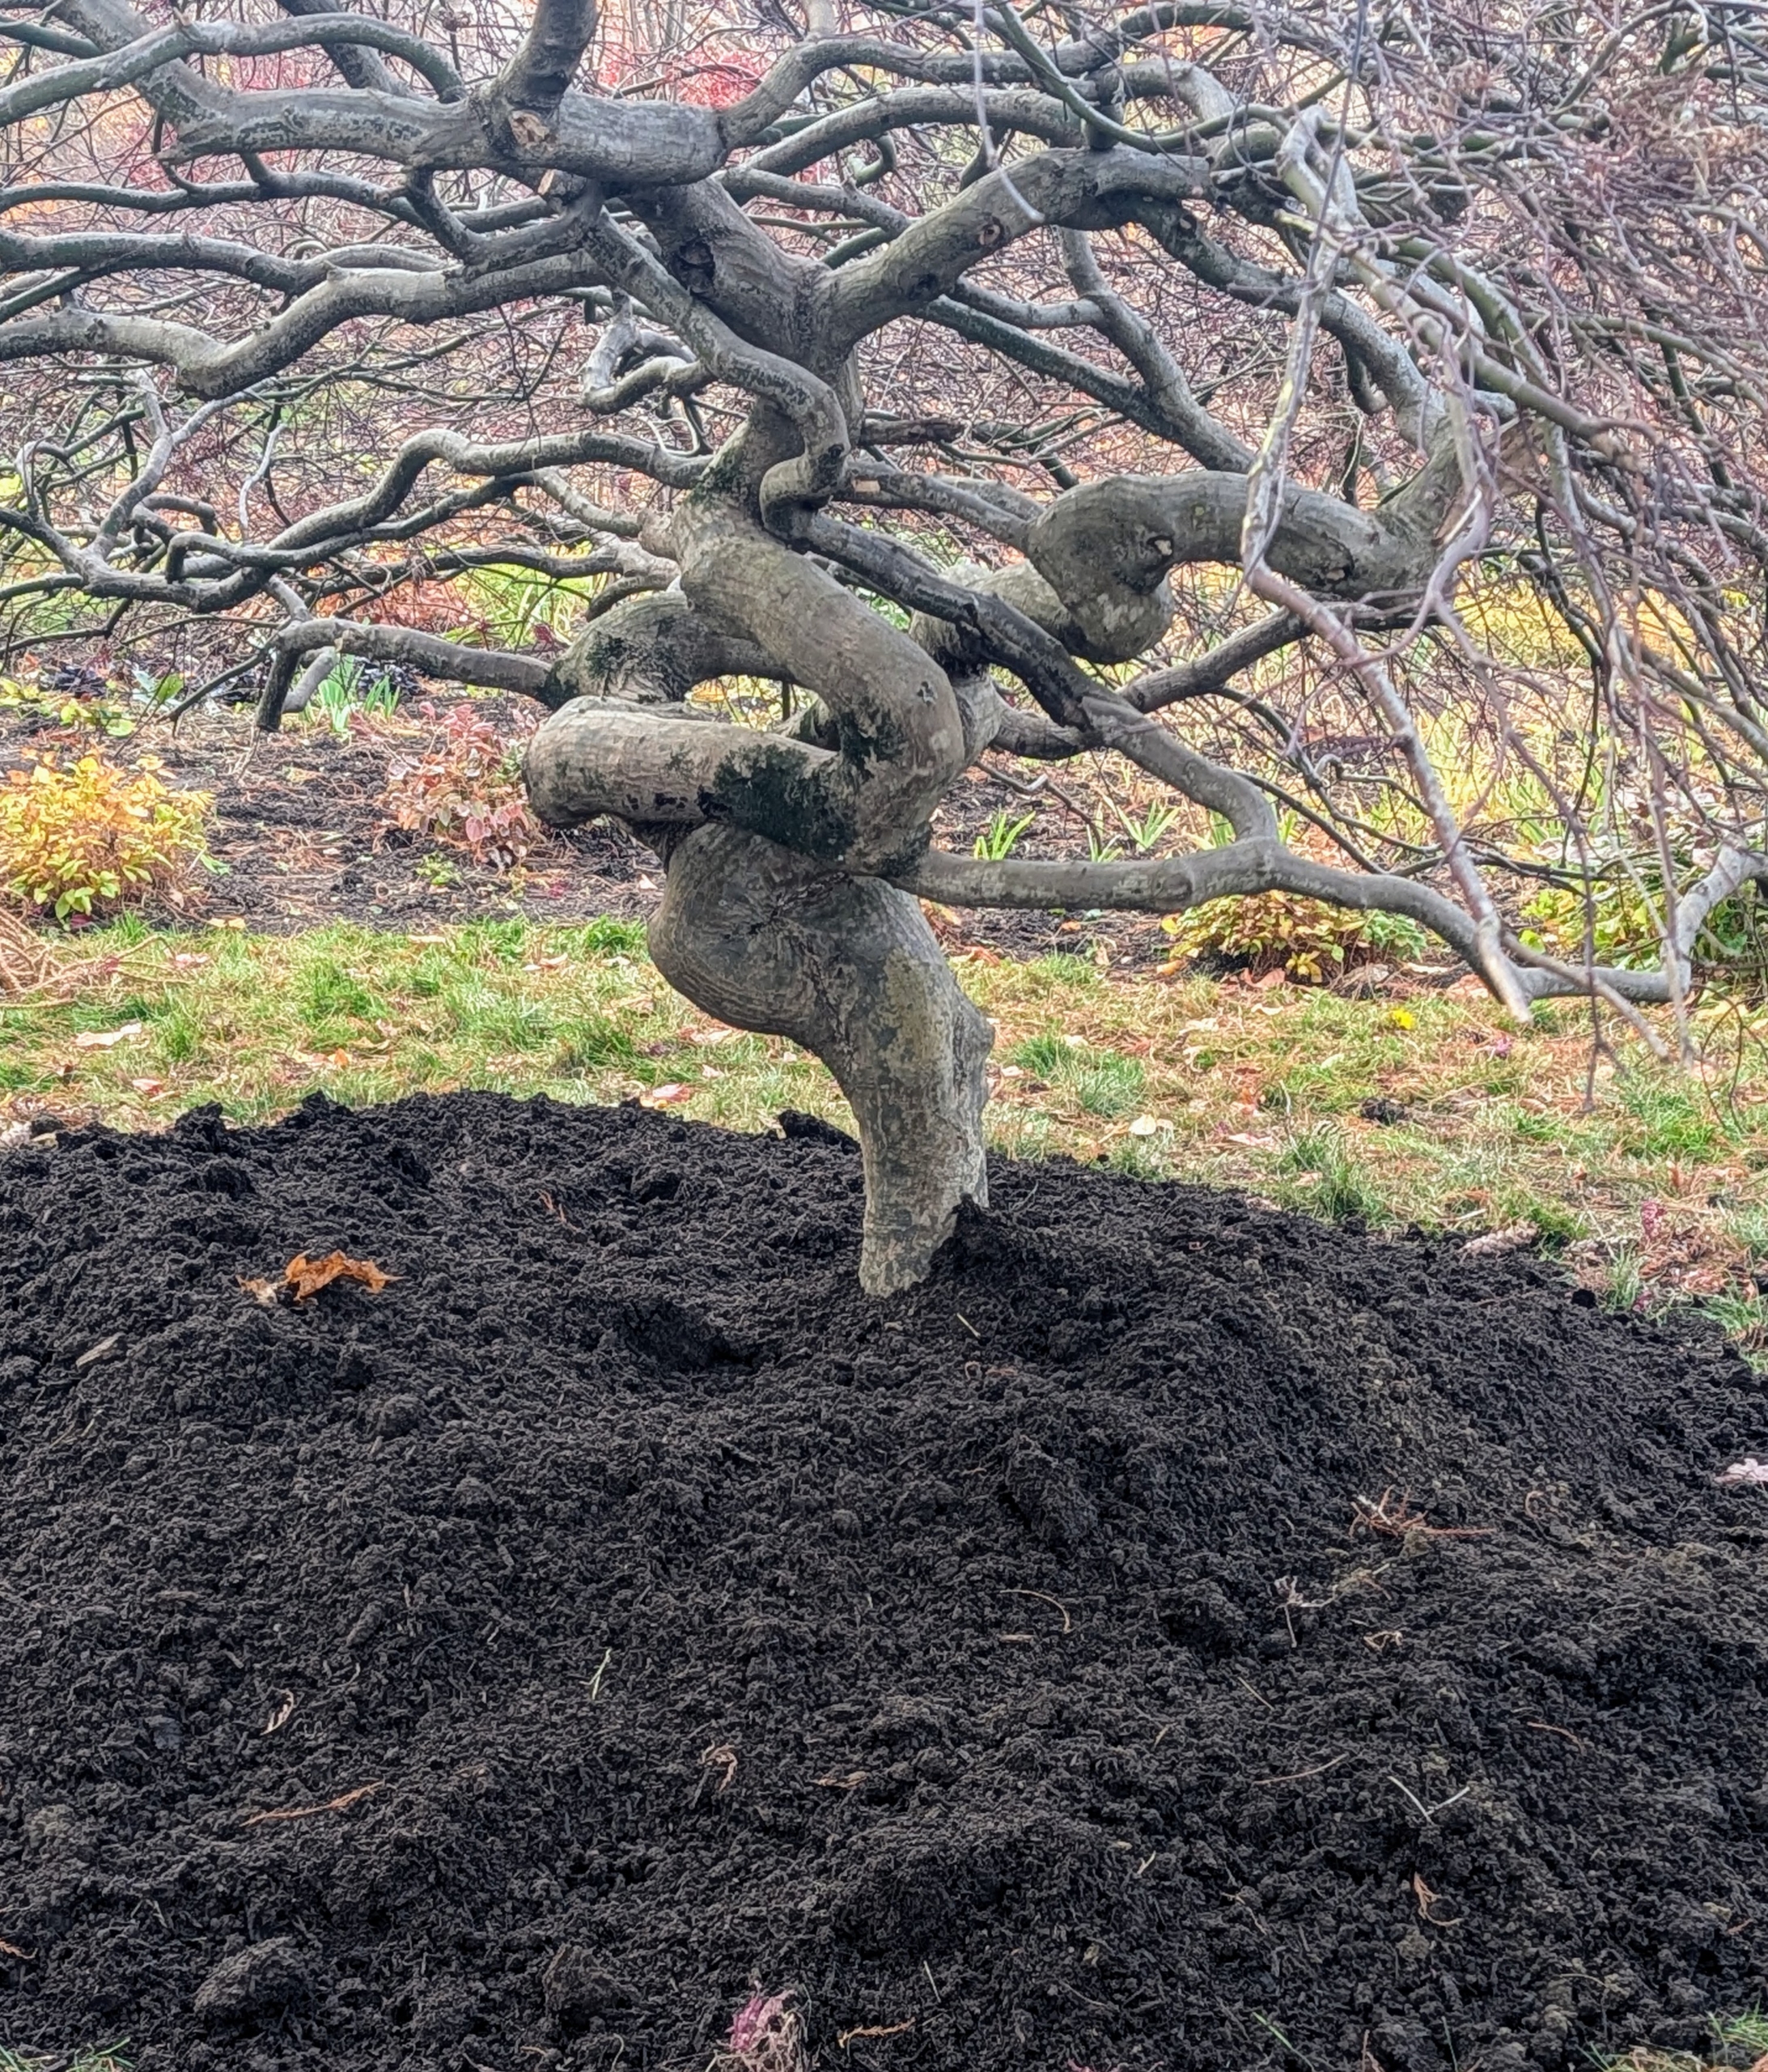
- Notice the interesting growth habit – I wanted this side facing the carriage road, so it could be seen when driving by. It reminds me of the Japanese art of bonsai.
-
- Phurba removes any soil too high up on the tree’s flare. The rule of thumb is “bare to the flare,” meaning do not bury above this point, where the first main roots attach to the trunk. The roots need oxygen to grow. By placing the root flare at or slightly above ground level when planting gives the specimen the best chance for survival, growth and development.
-
- Using a hard rake, Adan finishes the raking around the tree.
-
- Japanese maples grow slowly, but they can live more than a hundred years. I am looking forward to seeing this tree develop and flourish here at Cantitoe Corners. Thanks Kirsten and Carter.