My horses are all moving better and feeling more comfortable with their new shoes.
My Friesians, Fell pony, and other shod horses, usually get new shoes every six to eight weeks. Horseshoes are generally made of metal, such as steel or aluminum, and are designed to support and protect the horse’s hooves from wear, but they must be fitted properly in order to prevent other health and mobility issues from developing. Earlier this week, I invited Mike Wildenstein, to visit my Bedford, New York farm and evaluate all the horses in my stable. Mike is one of only three individuals worldwide to have passed the distinguished Fellow of the Worshipful Company of Farriers examination in the United Kingdom with an “Honors” designation. For many years, Mike worked as the adjunct associate professor of Farrier Medicine and Surgery in the Department of Clinical Sciences of the College of Veterinary Medicine at Cornell University. And now he travels across the country and around the world sharing his wealth of knowledge and expertise. While here, Mike spent two days assessing my equines, consulting with my veterinarian, Dr. Elizabeth Kilgallon from Miller & Associates, offering tips and advice to my farrier, Marc Hill, and his associates, and making custom horseshoes for my herd.
Enjoy these photos.
This was a very special week for everyone working with the horses. I share my stable with four Friesians, one Fell pony and five miniature Sicilian donkeys, and all were being seen and evaluated by a master farrier to ensure their hooves were in good shape and that their shoes were the best they could be. My horses are all very well cared for and maintained, but it is crucial for horses to have the best-fitting shoes to support their heavy weight and to prevent possible injuries and poor health conditions.
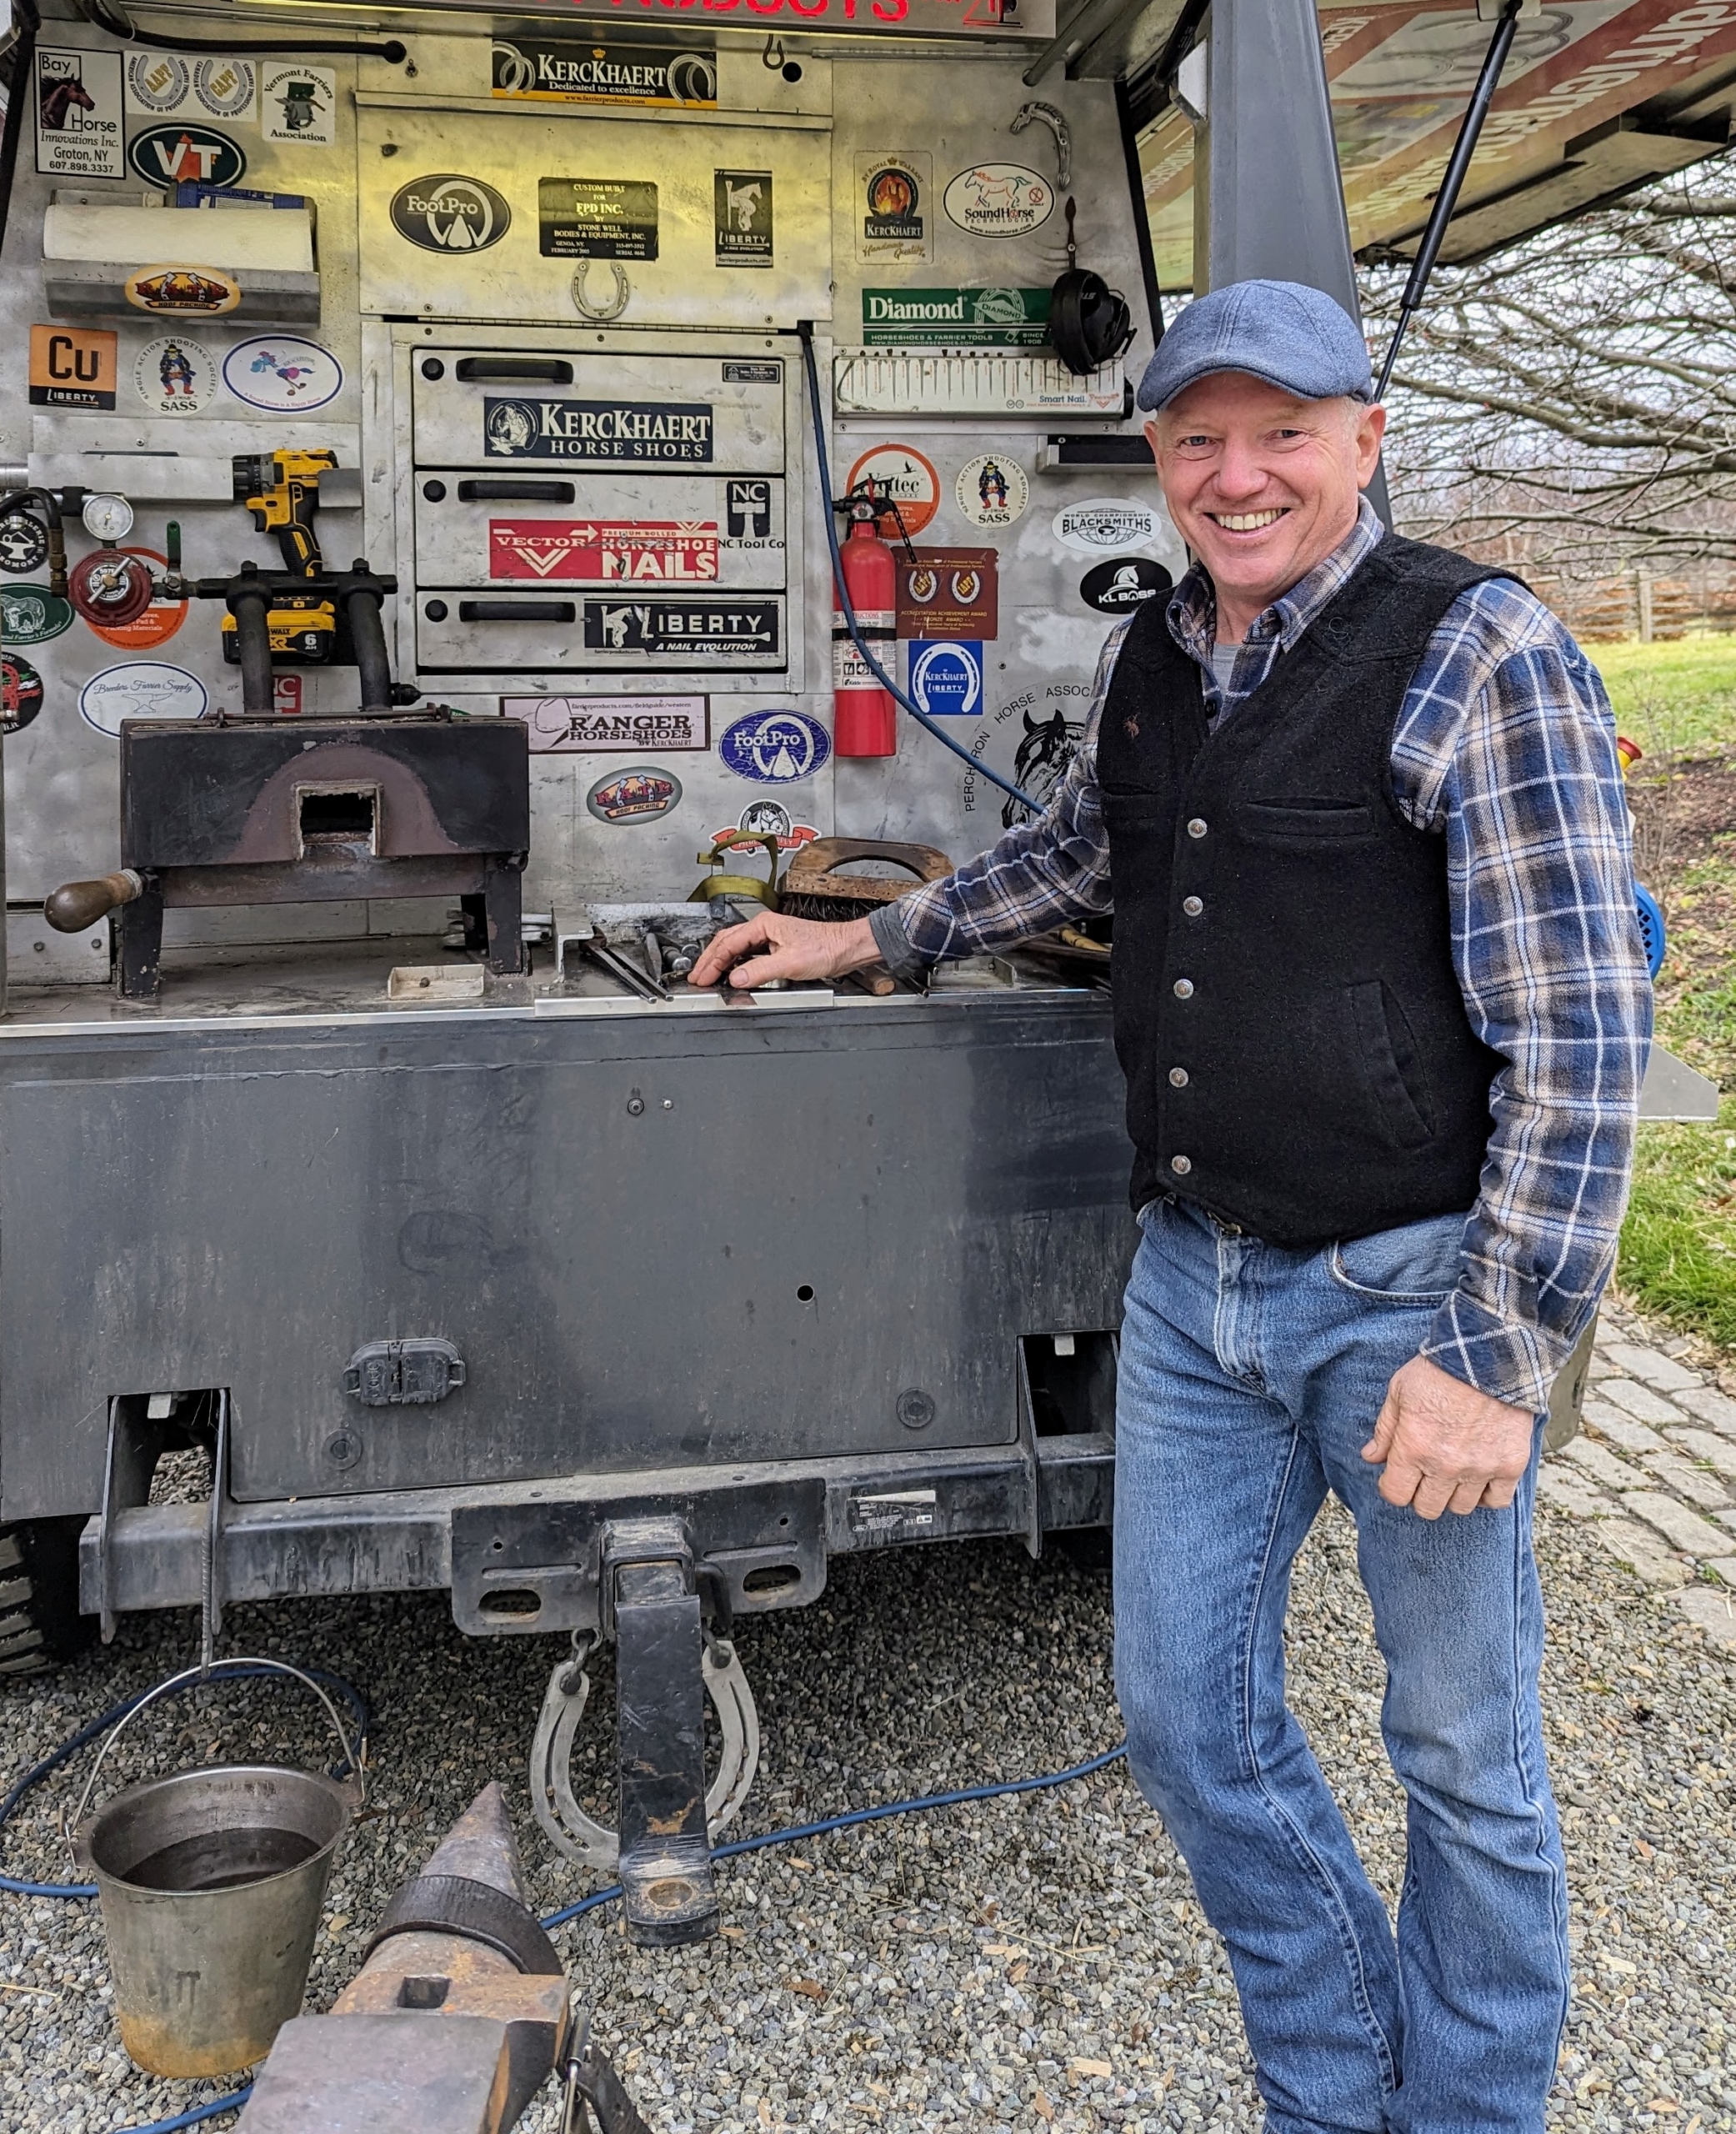
Here is Mike Wildenstein. Along with his years of training and high distinctions, Mike is also in the International Horseshoeing Hall of Fame. He has spent more than 40-years as a farrier specializing in heavy horses. Mike says his goal is always, “to leave a horse better off than when I arrived.”
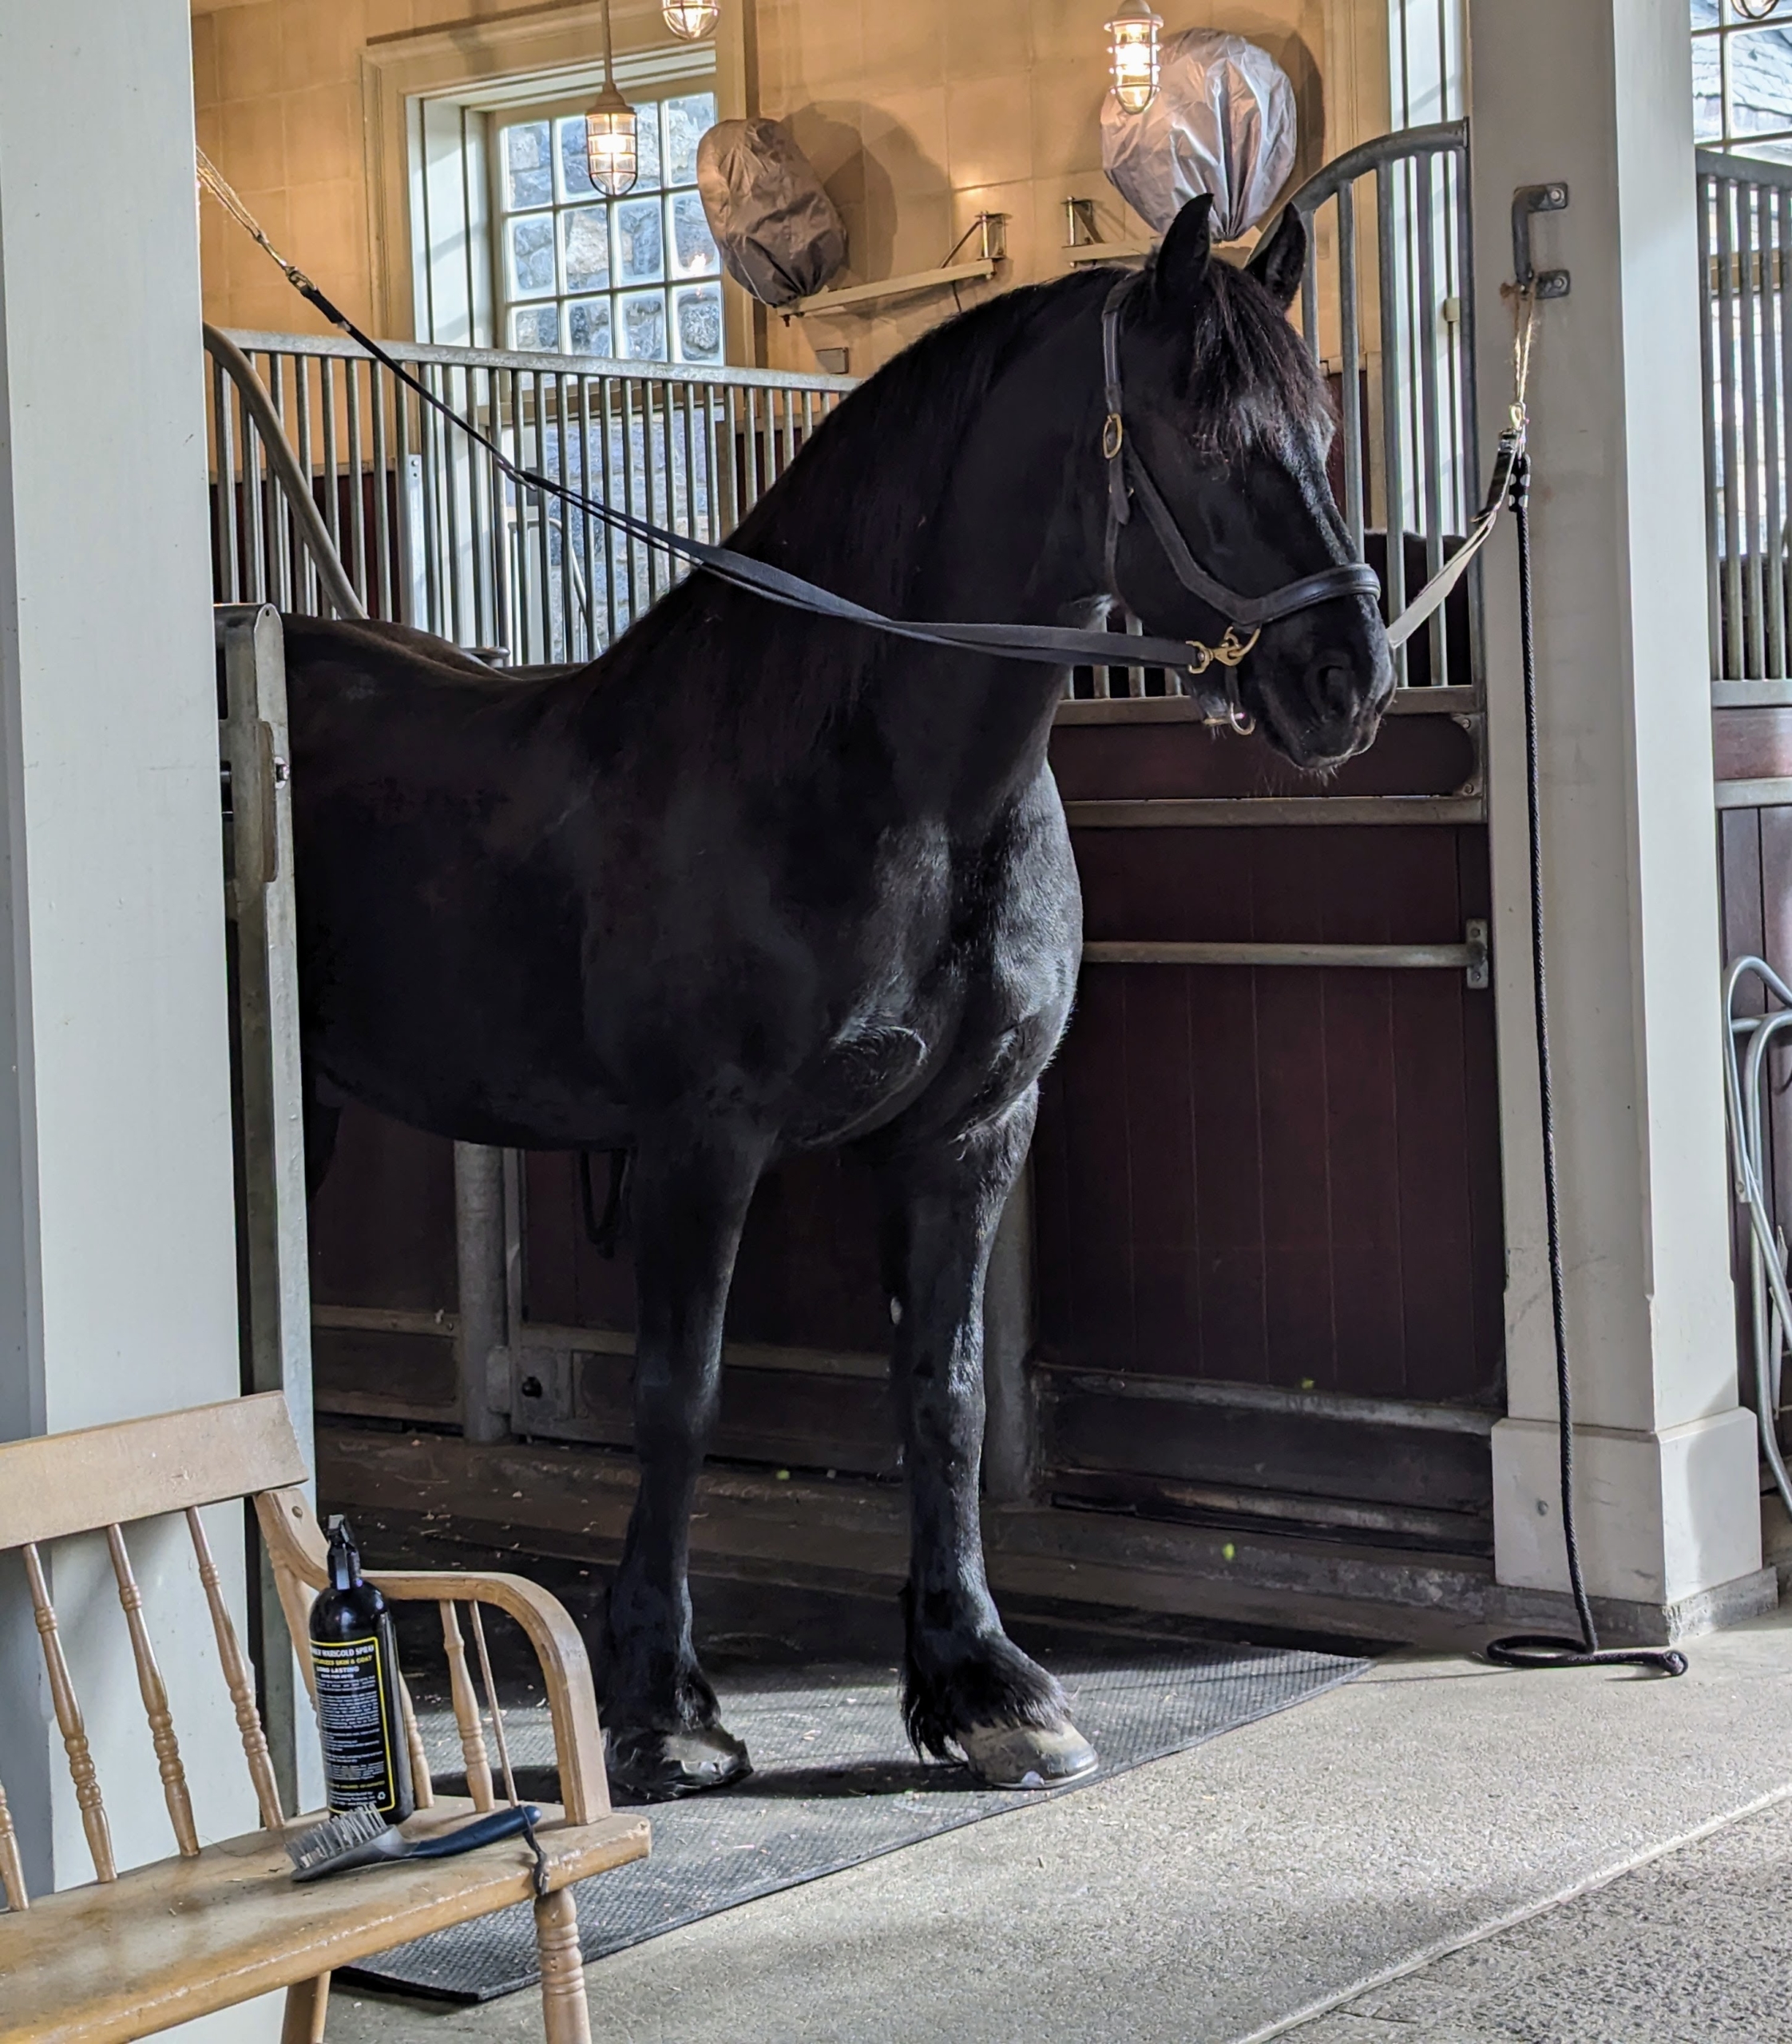
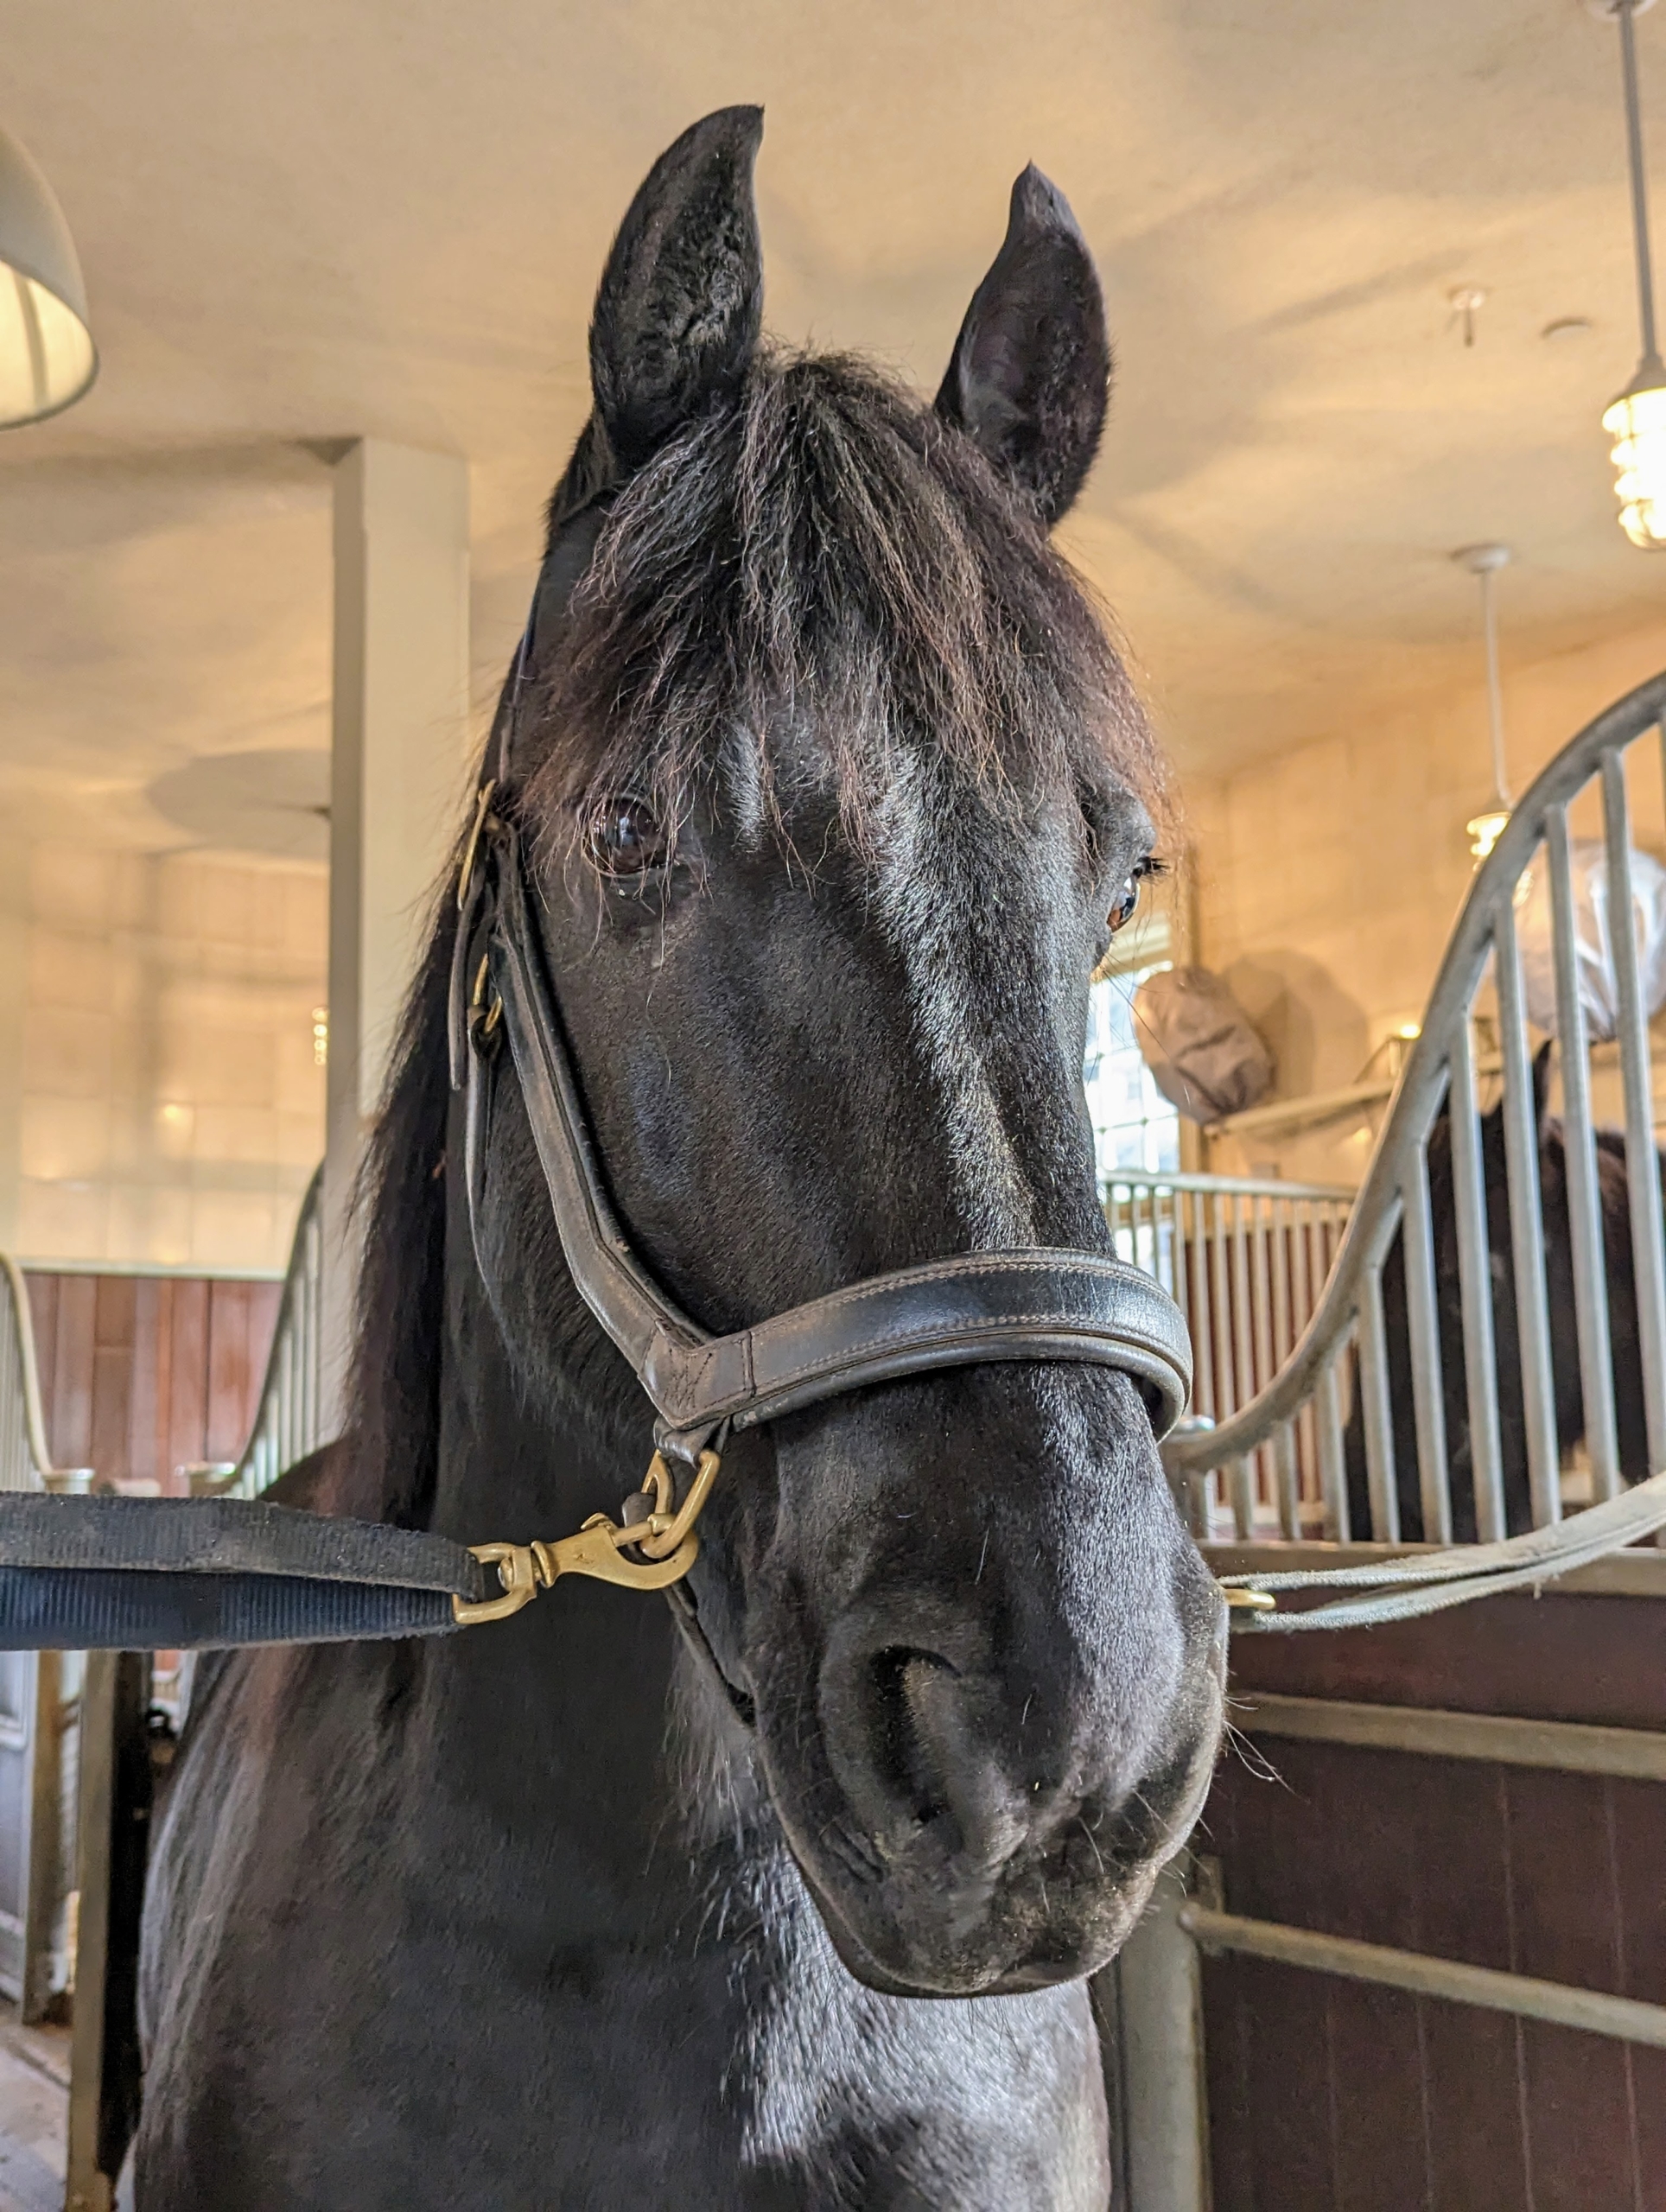
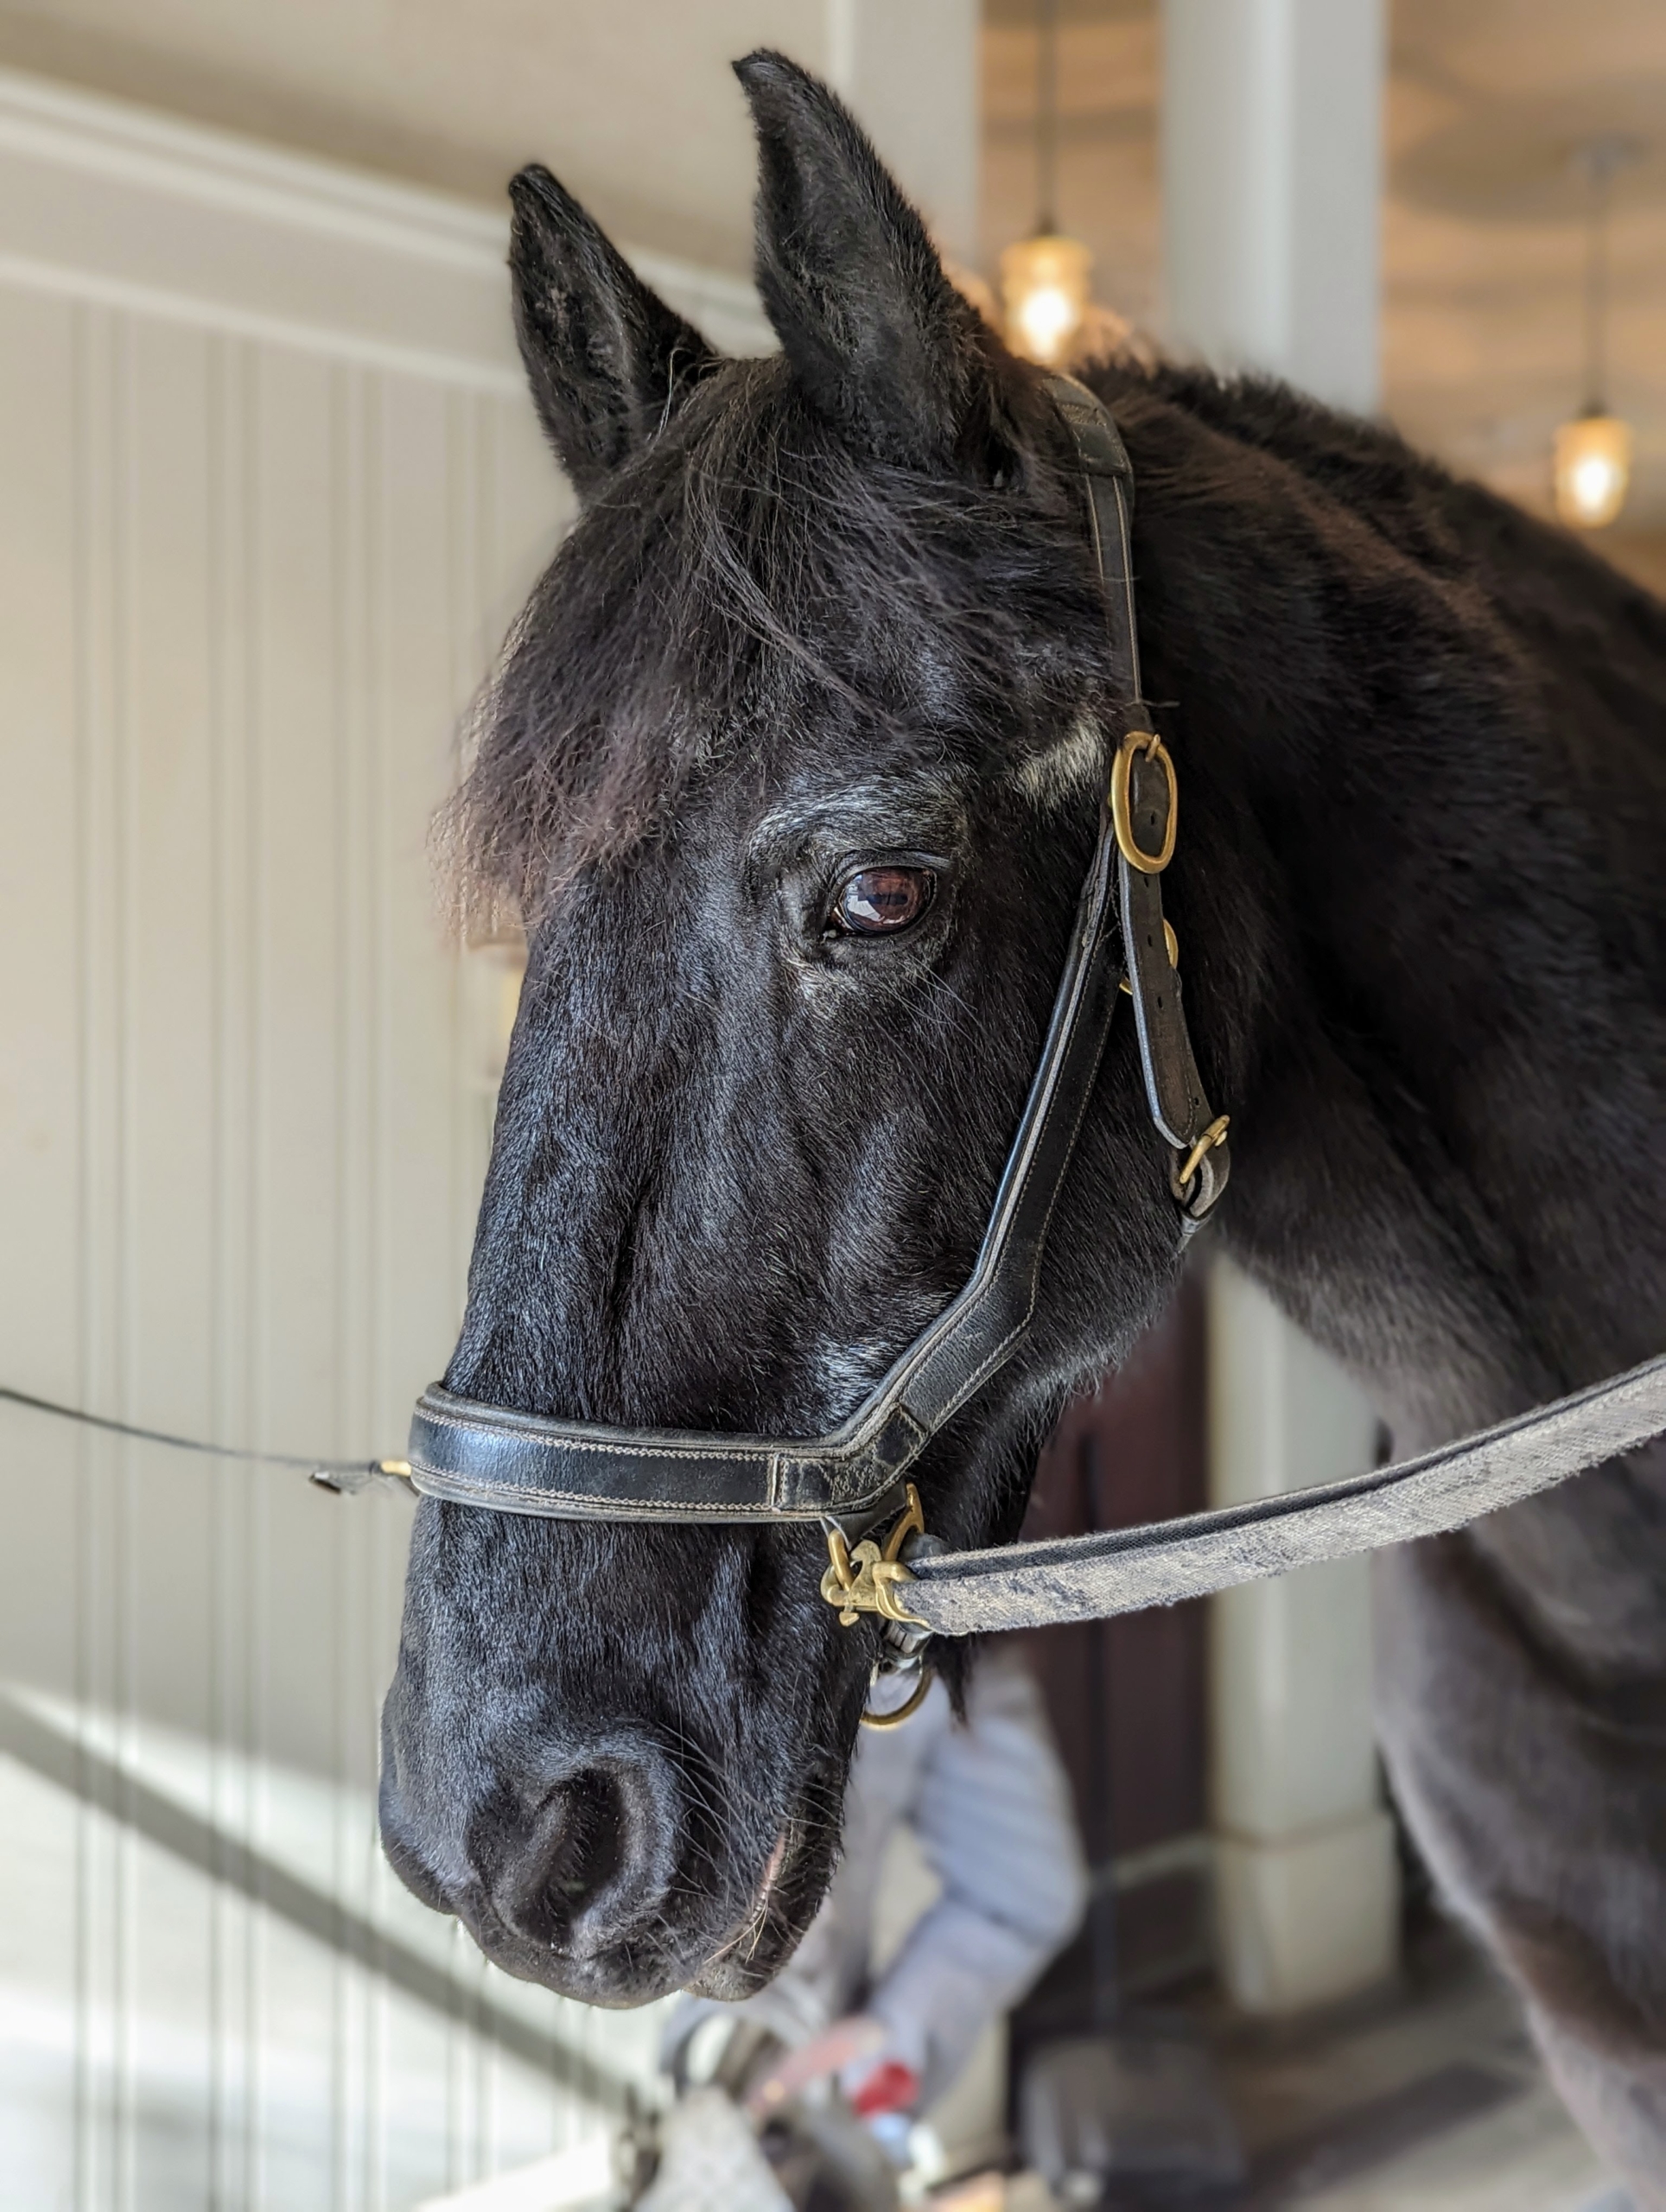
The first step is to assess each horse on cross ties, which is when the horse is secured to two ropes or straps to keep it centered, stable and safe. This is Bond.
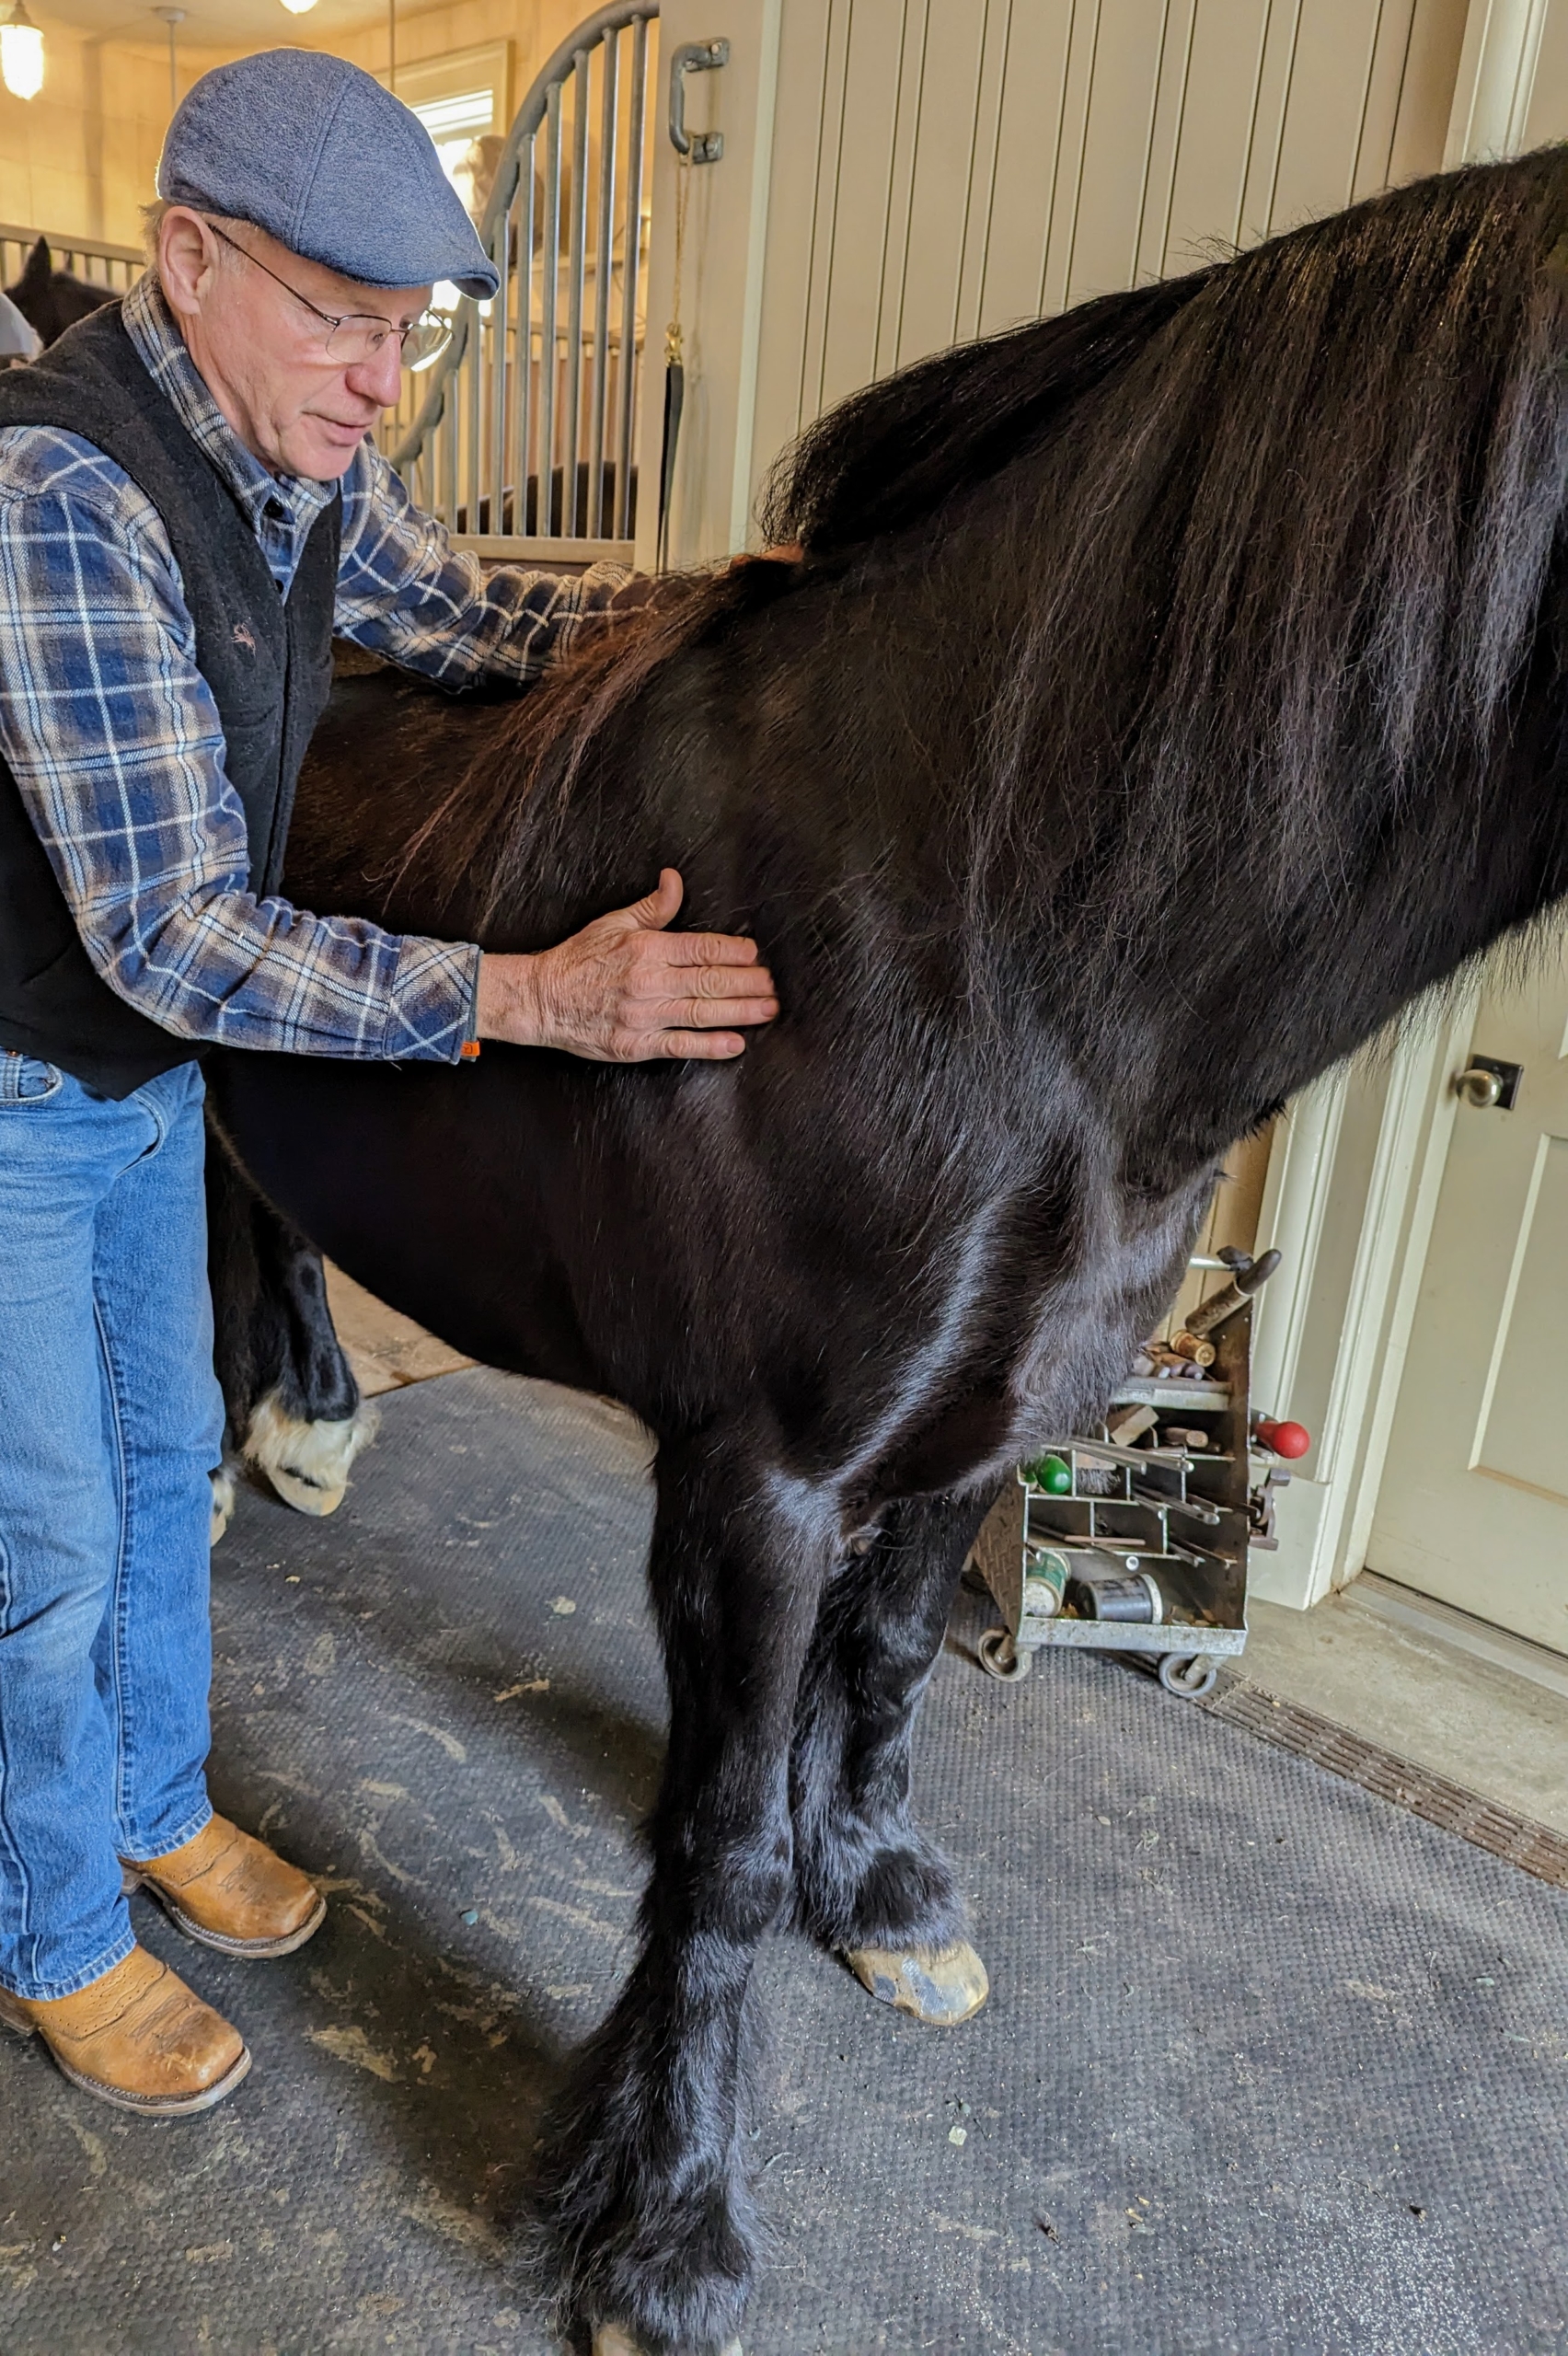
Mike not only looks at the horse’s feet, but the entire body – from the hooves, pasterns, and forearms to the shoulders, withers and hips. He also looks at the movement of the horse as well as how it positions its legs while standing. He looks at the horse’s conformation from a variety of perspectives. Mike says, a horse will provide “certain visual clues that help define what’s going on and how to address it through proper hoof care – observation is invaluable to a farrier.”
Mike also checks the flexibility of the joints and the reaction of the horse when simple flexion tests are administered. Aside from a visual assessment, my stable manager, Helen Peparo, also called in my equine veterinarian, Dr. Elizabeth Kilgallon, so the group could look at X-rays and other scans. I wanted the evaluations to be as thorough as possible.
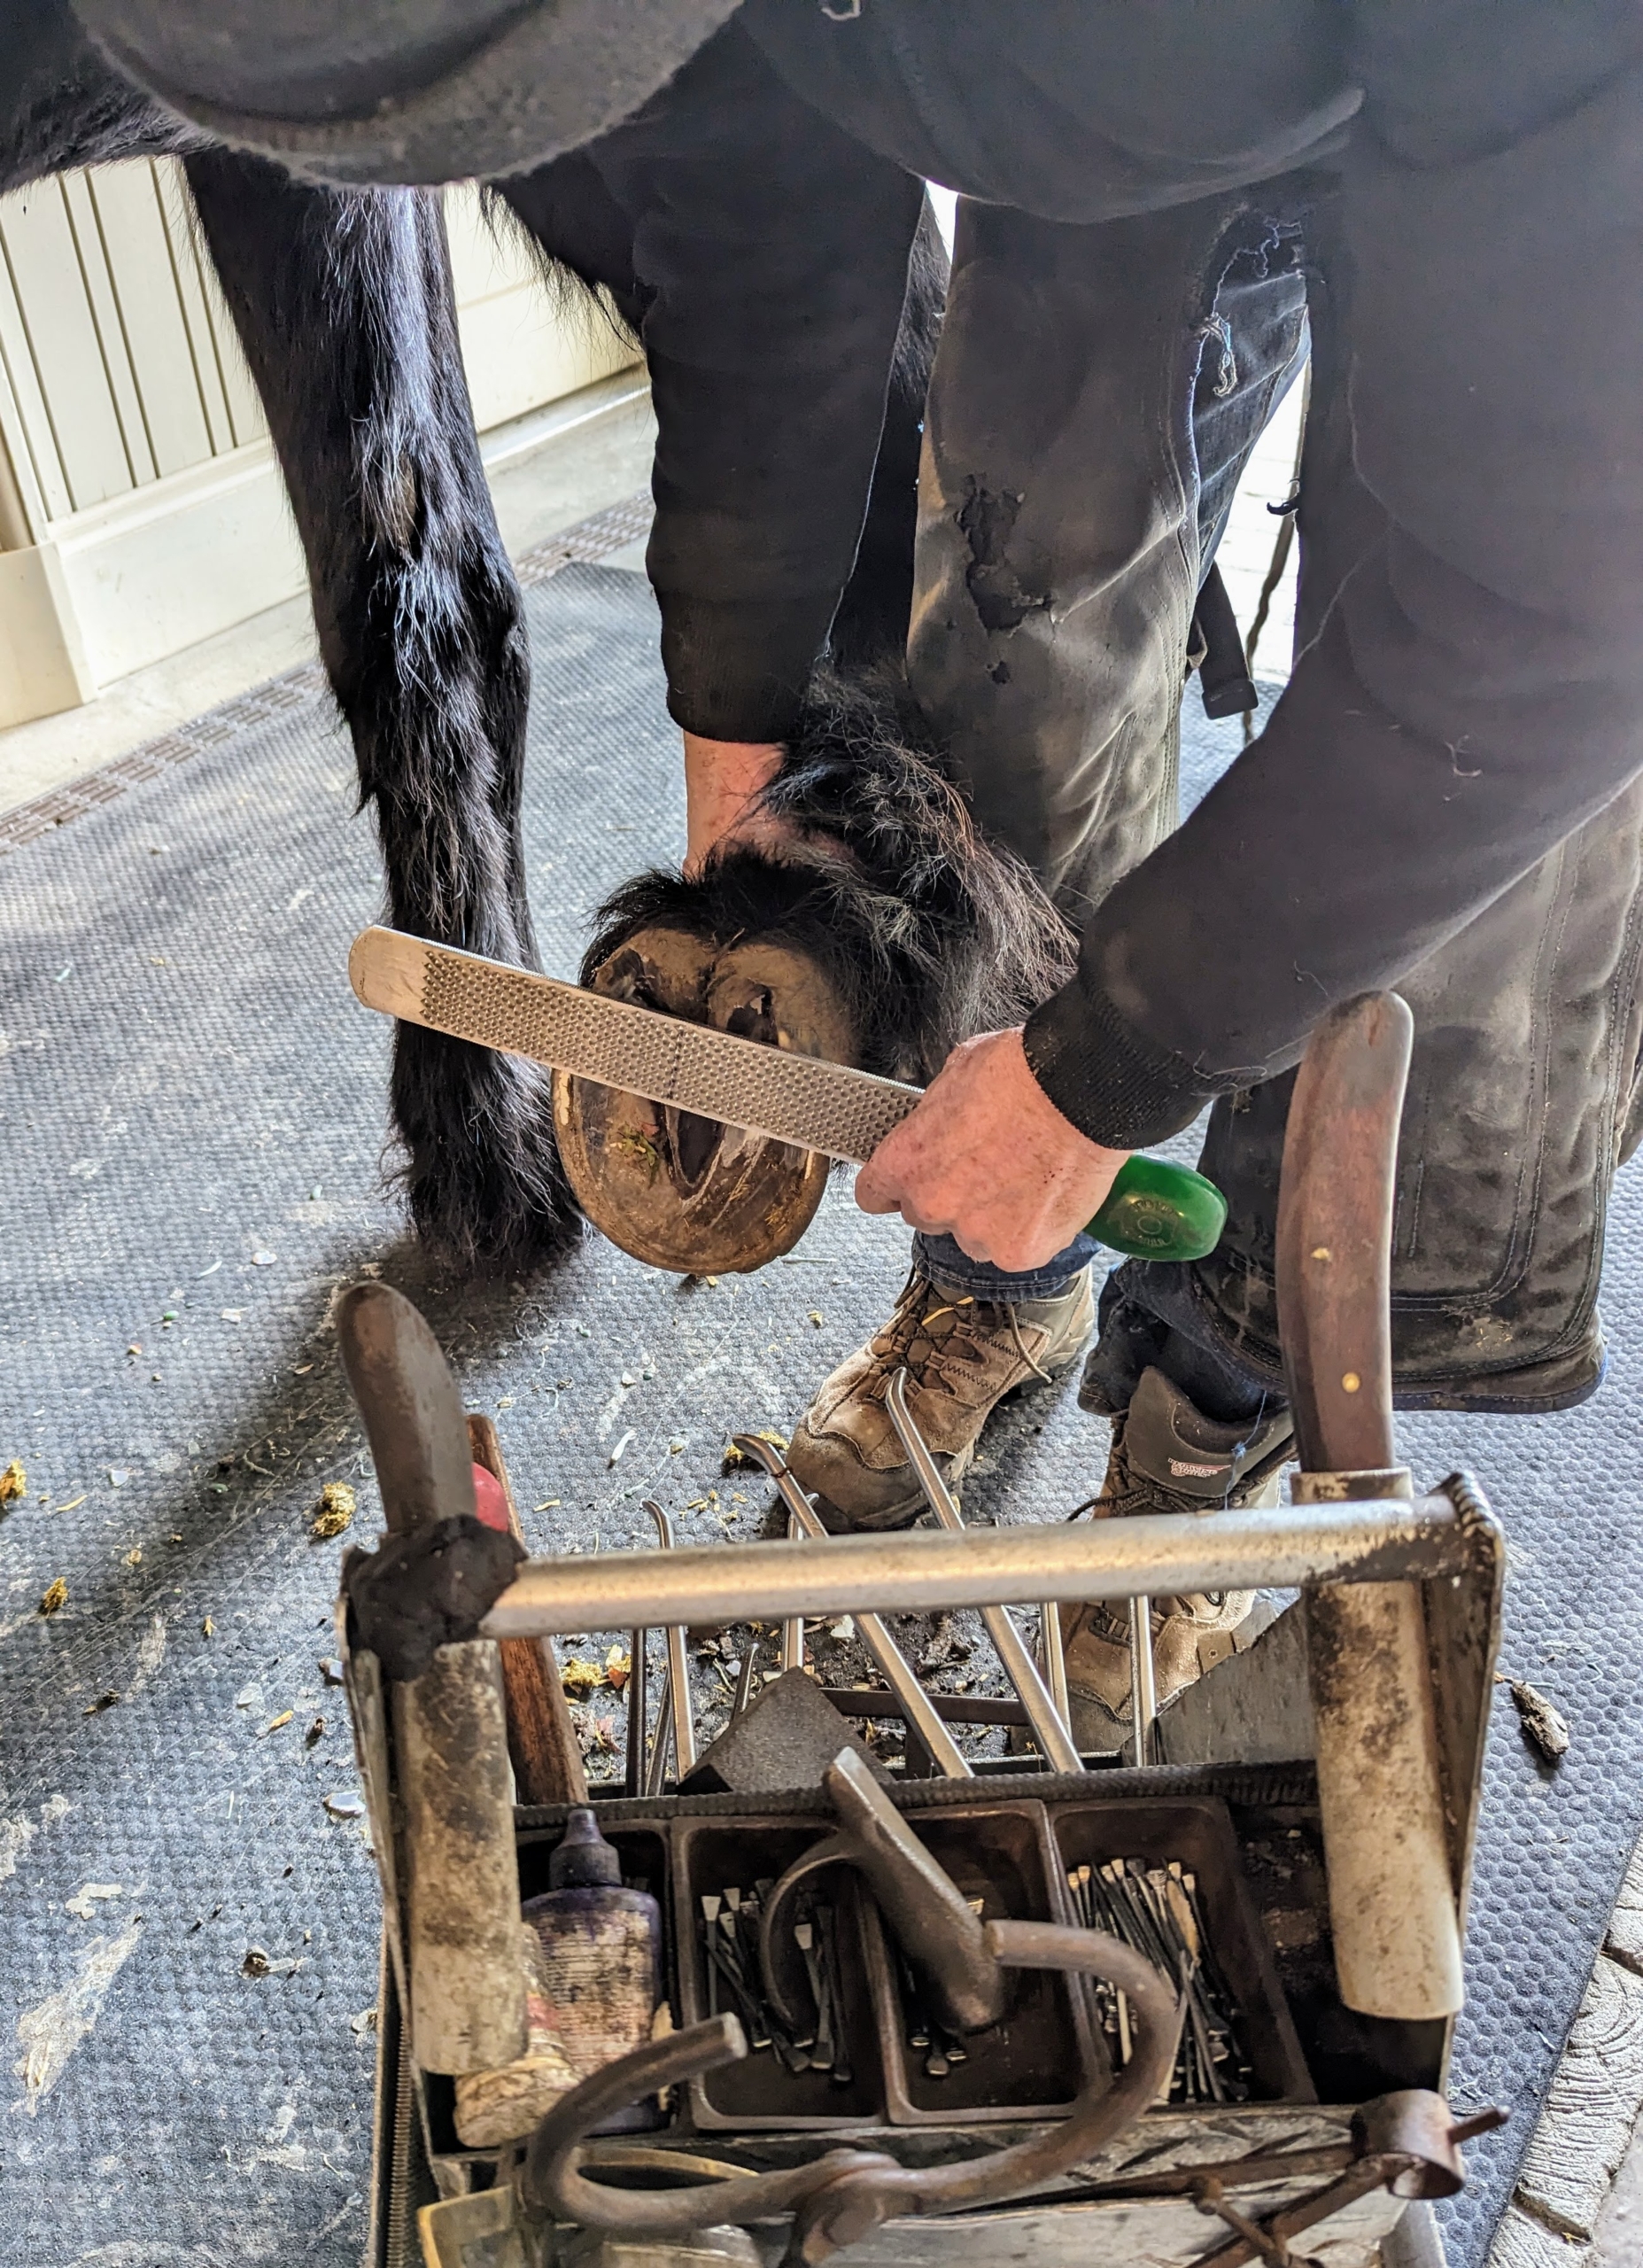
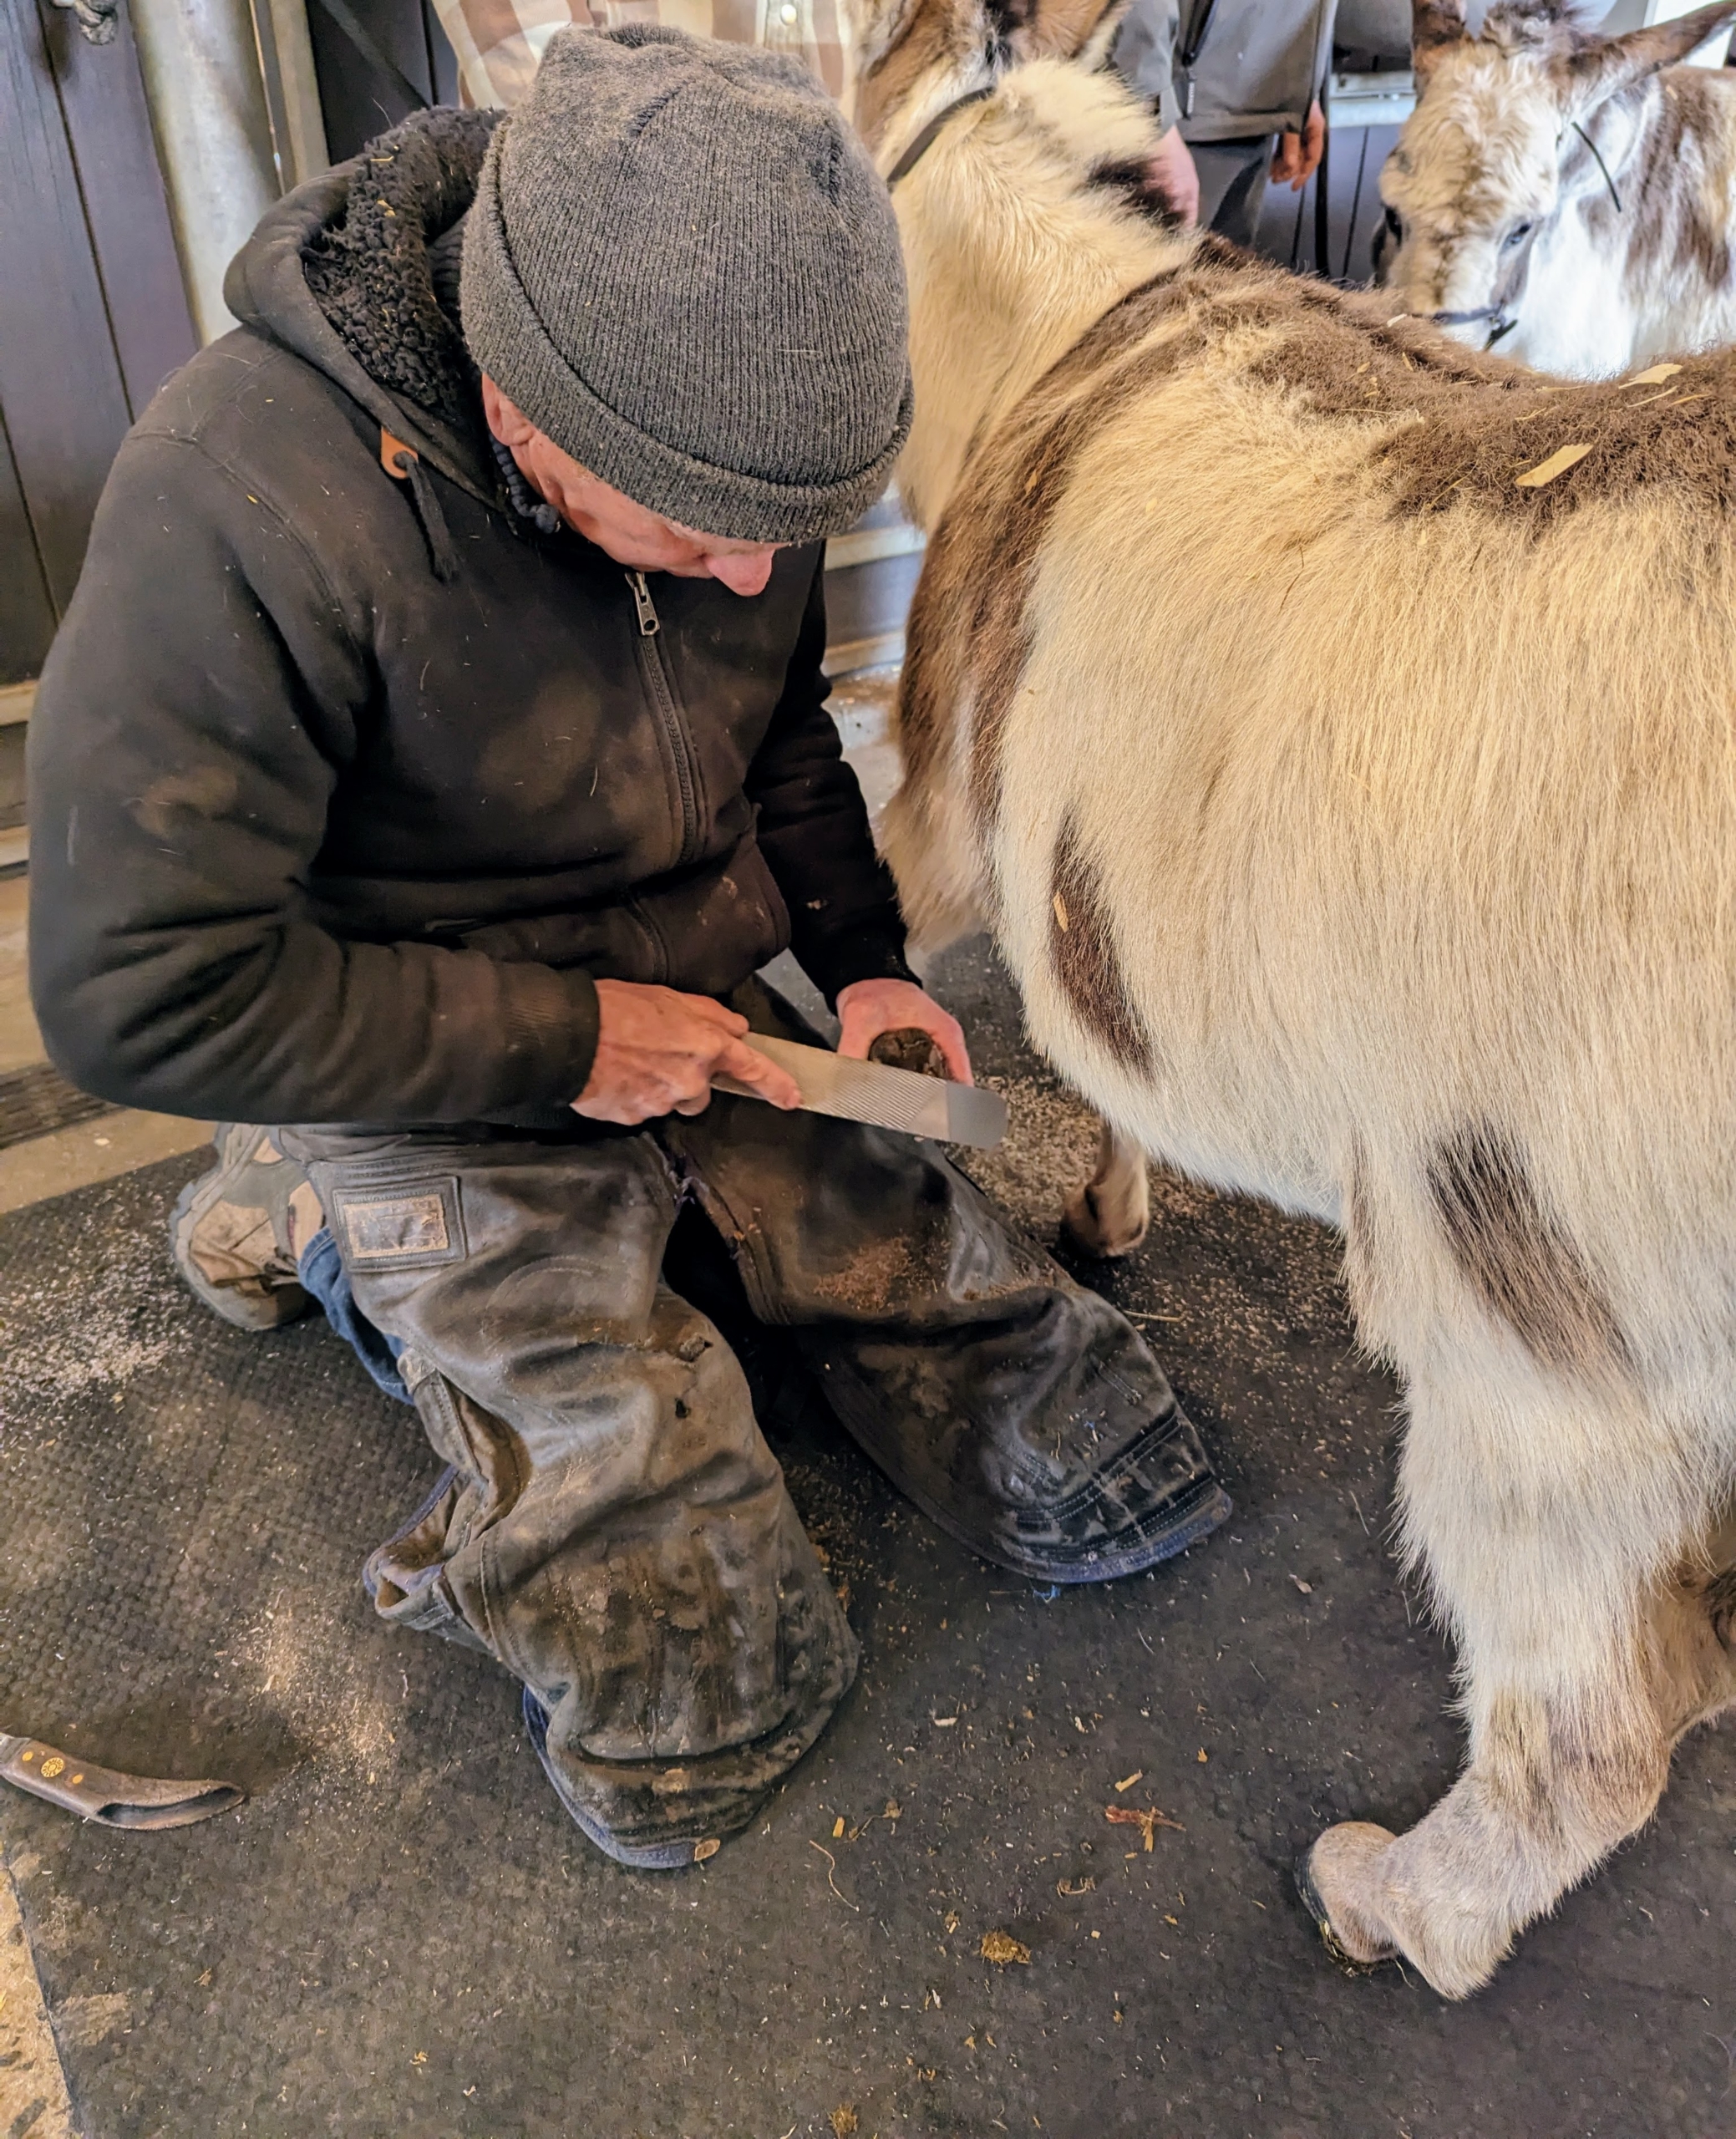
Here, my farrier Marc Hill uses a rasp, or a horse-sized file as a straight edge to make sure the hoof capsule is straight. The hoof capsule includes the hoof wall, sole, frog, and bulbs of the heels, which together work to protect the soft tissue structures within the horse’s hoof. Marc, who is an experienced farrier, has worked alongside Mike before, and says he learns something new every time.
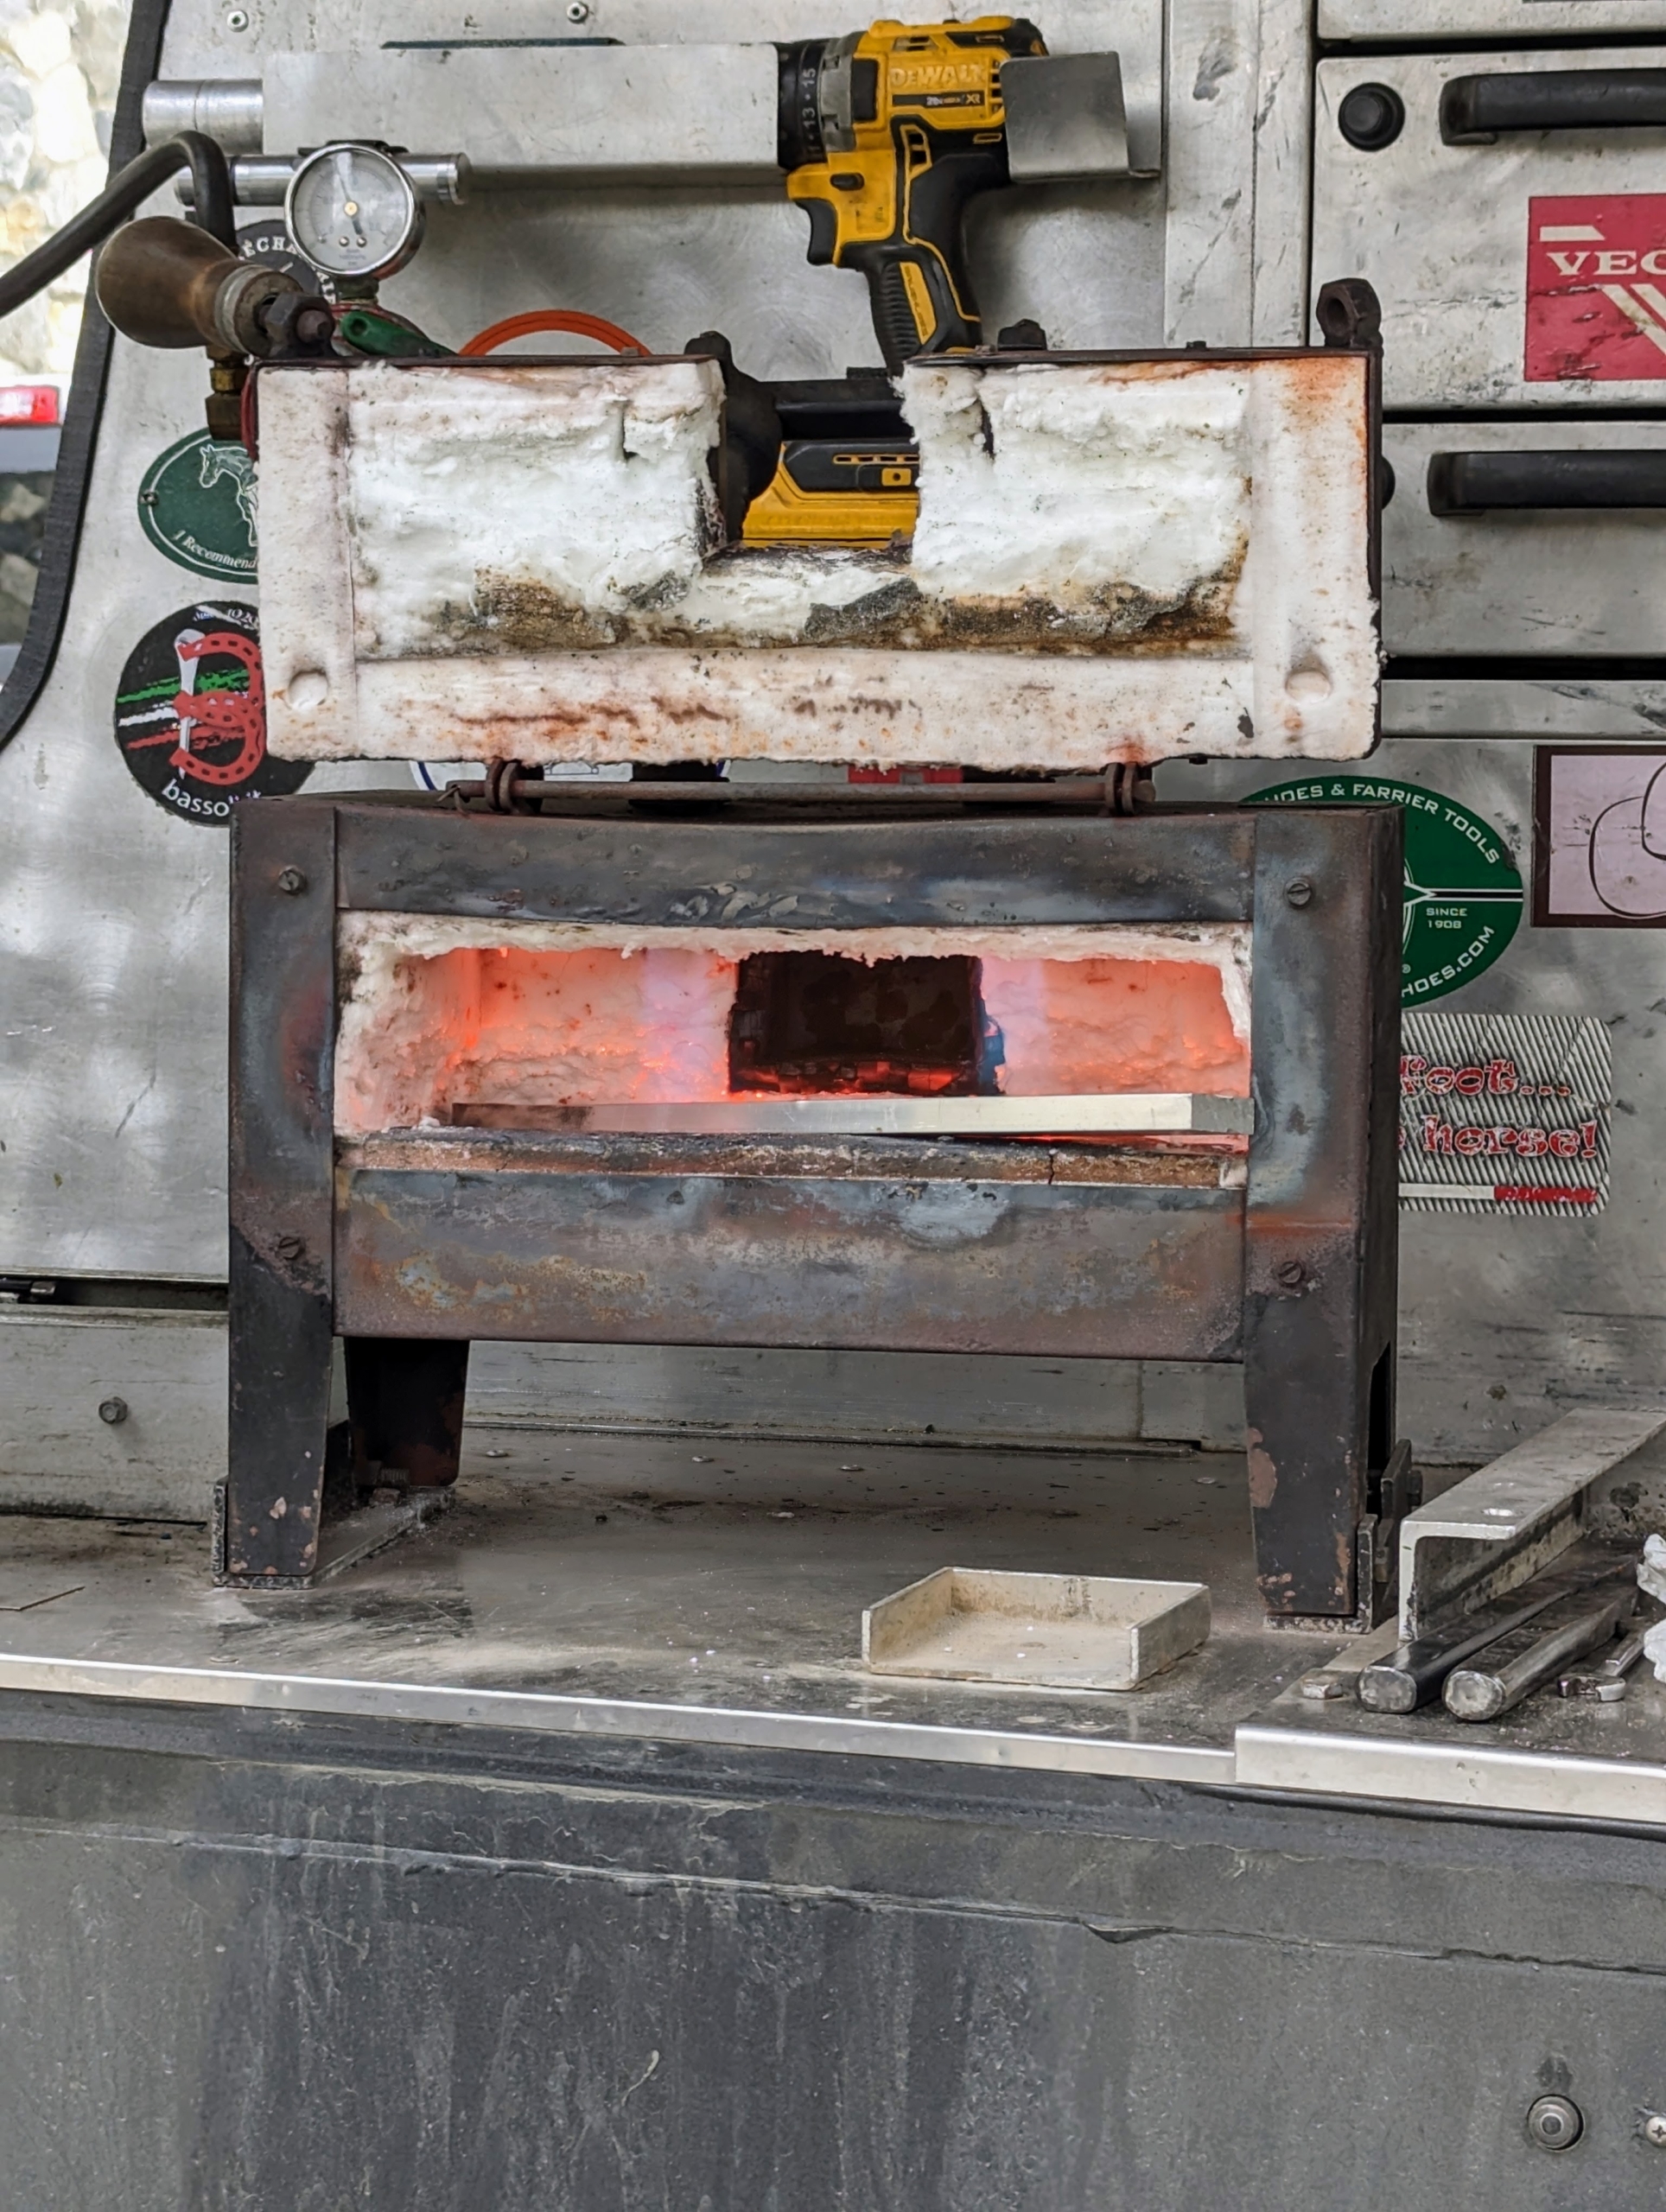
This is a gas forge – one of the most important tools of any farrier. It is used for heating metal and making it more malleable, so it can be shaped into a horseshoe while hot.
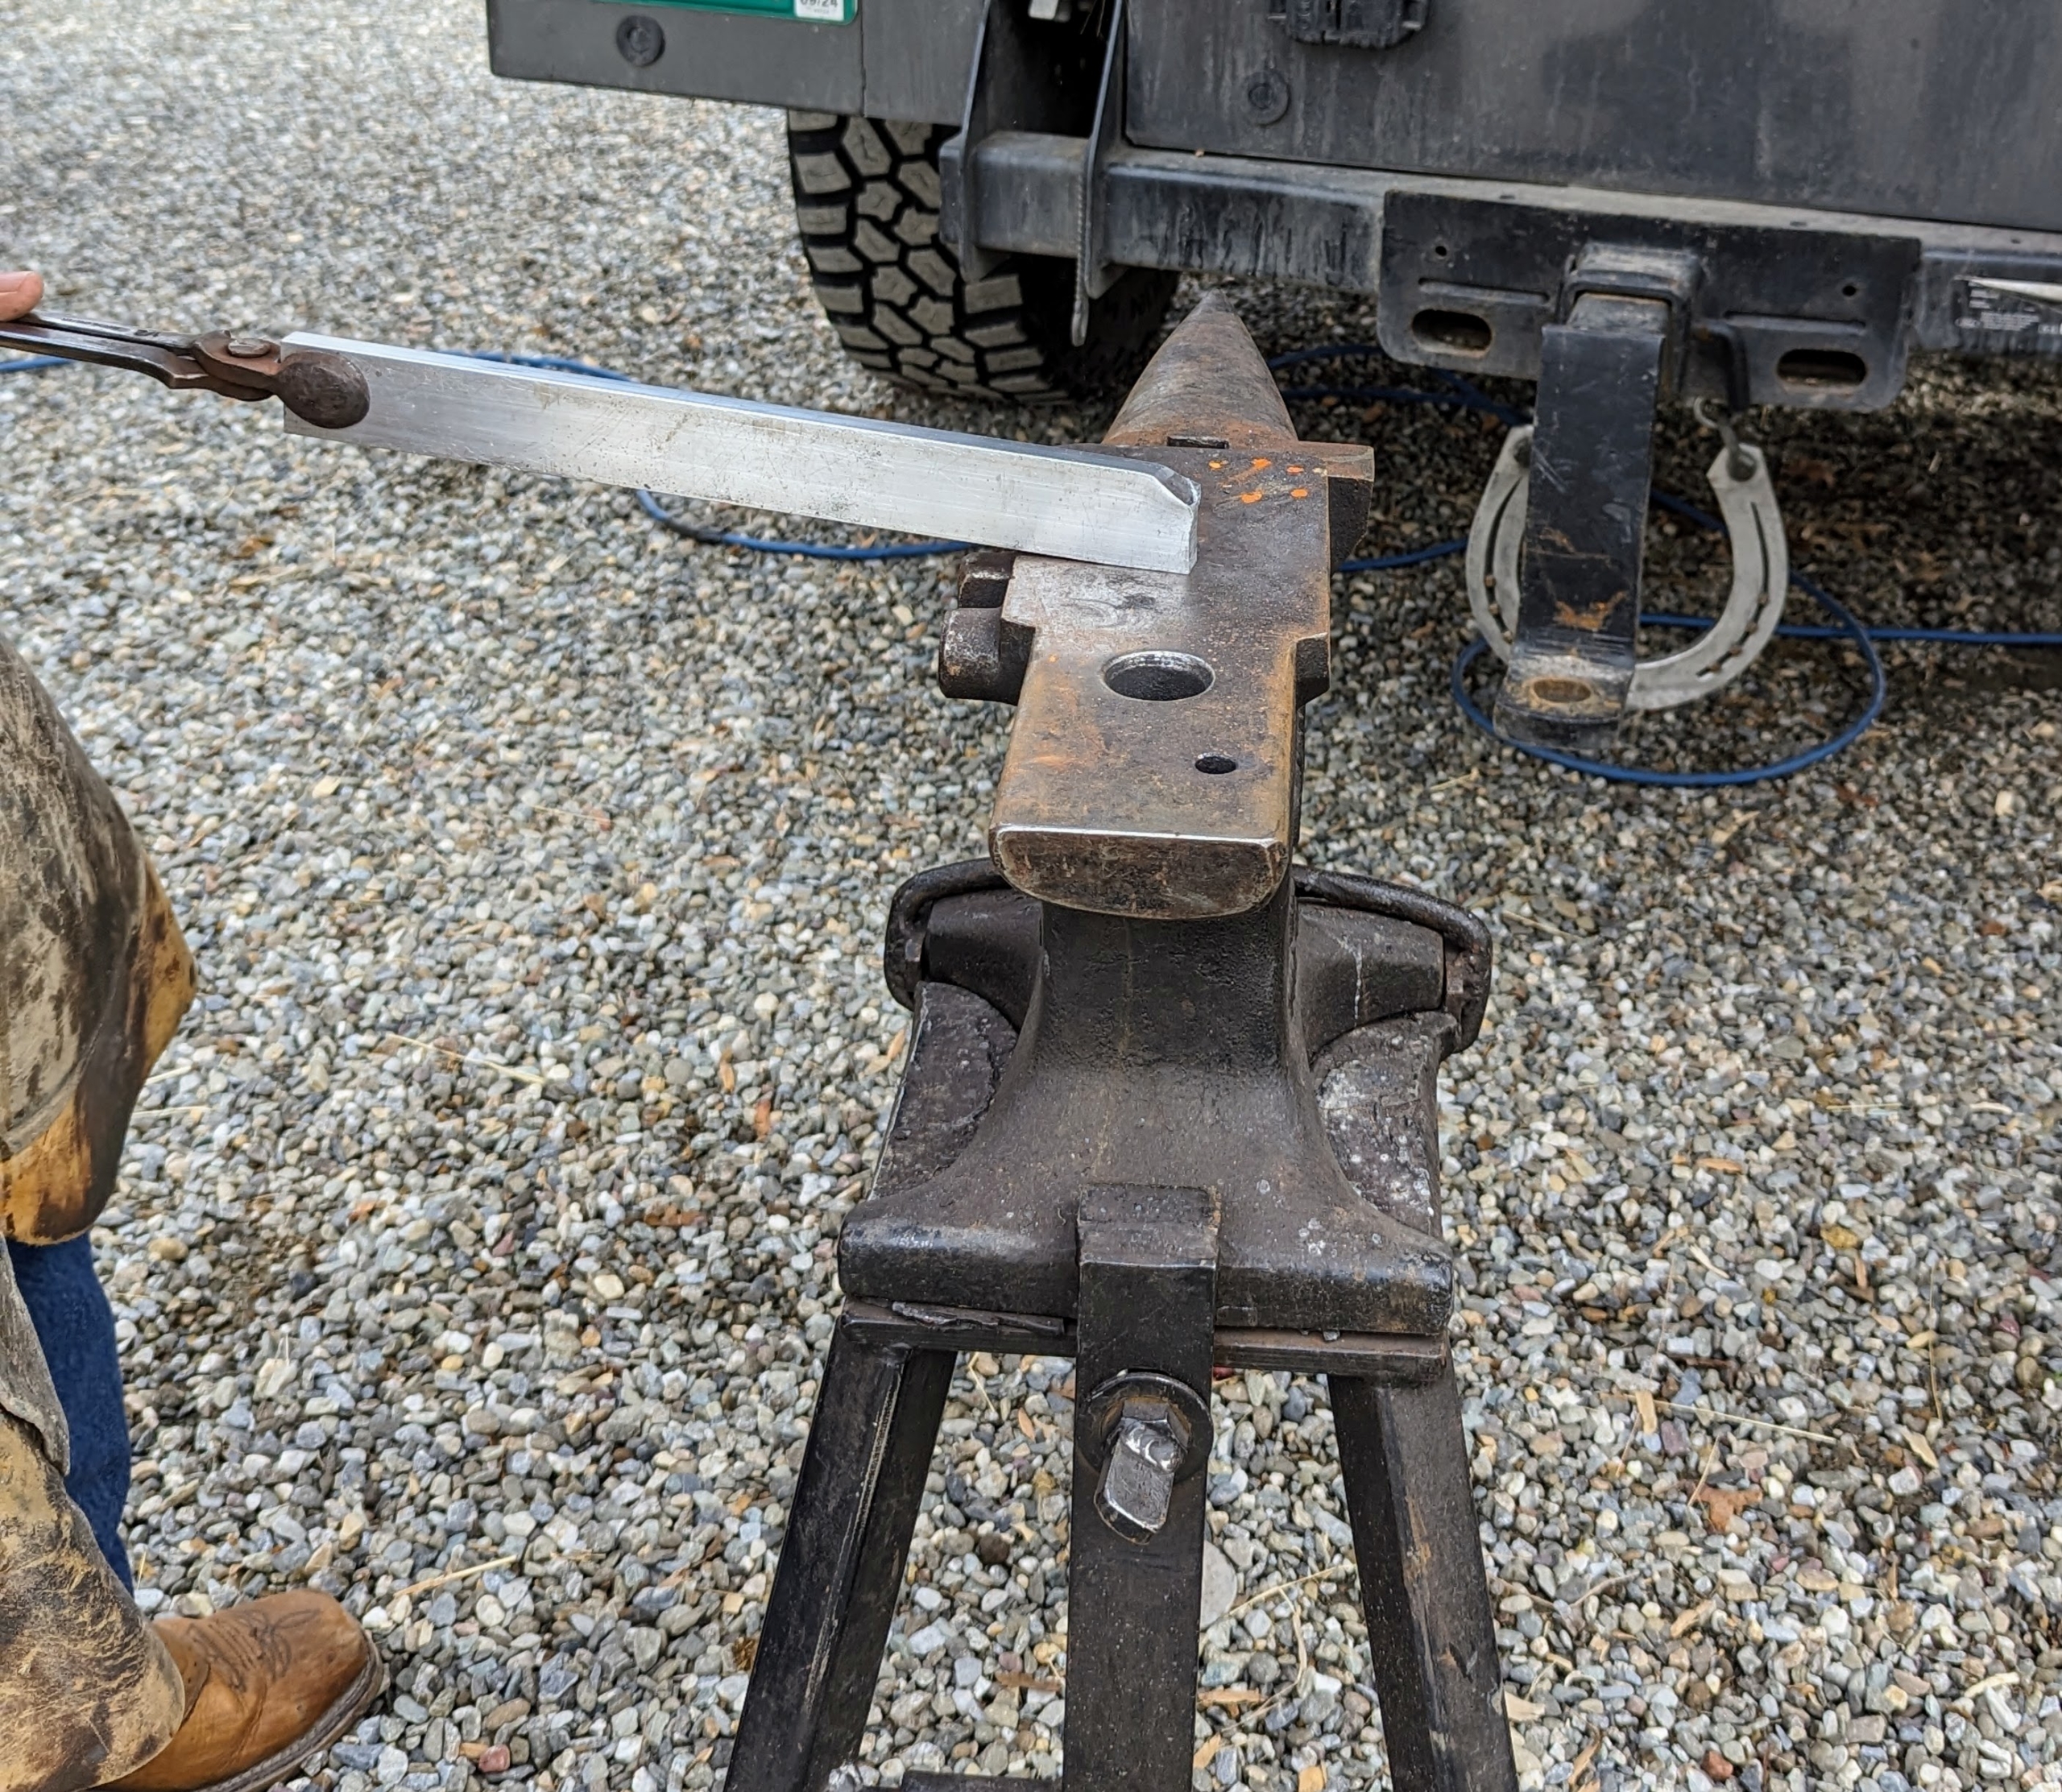
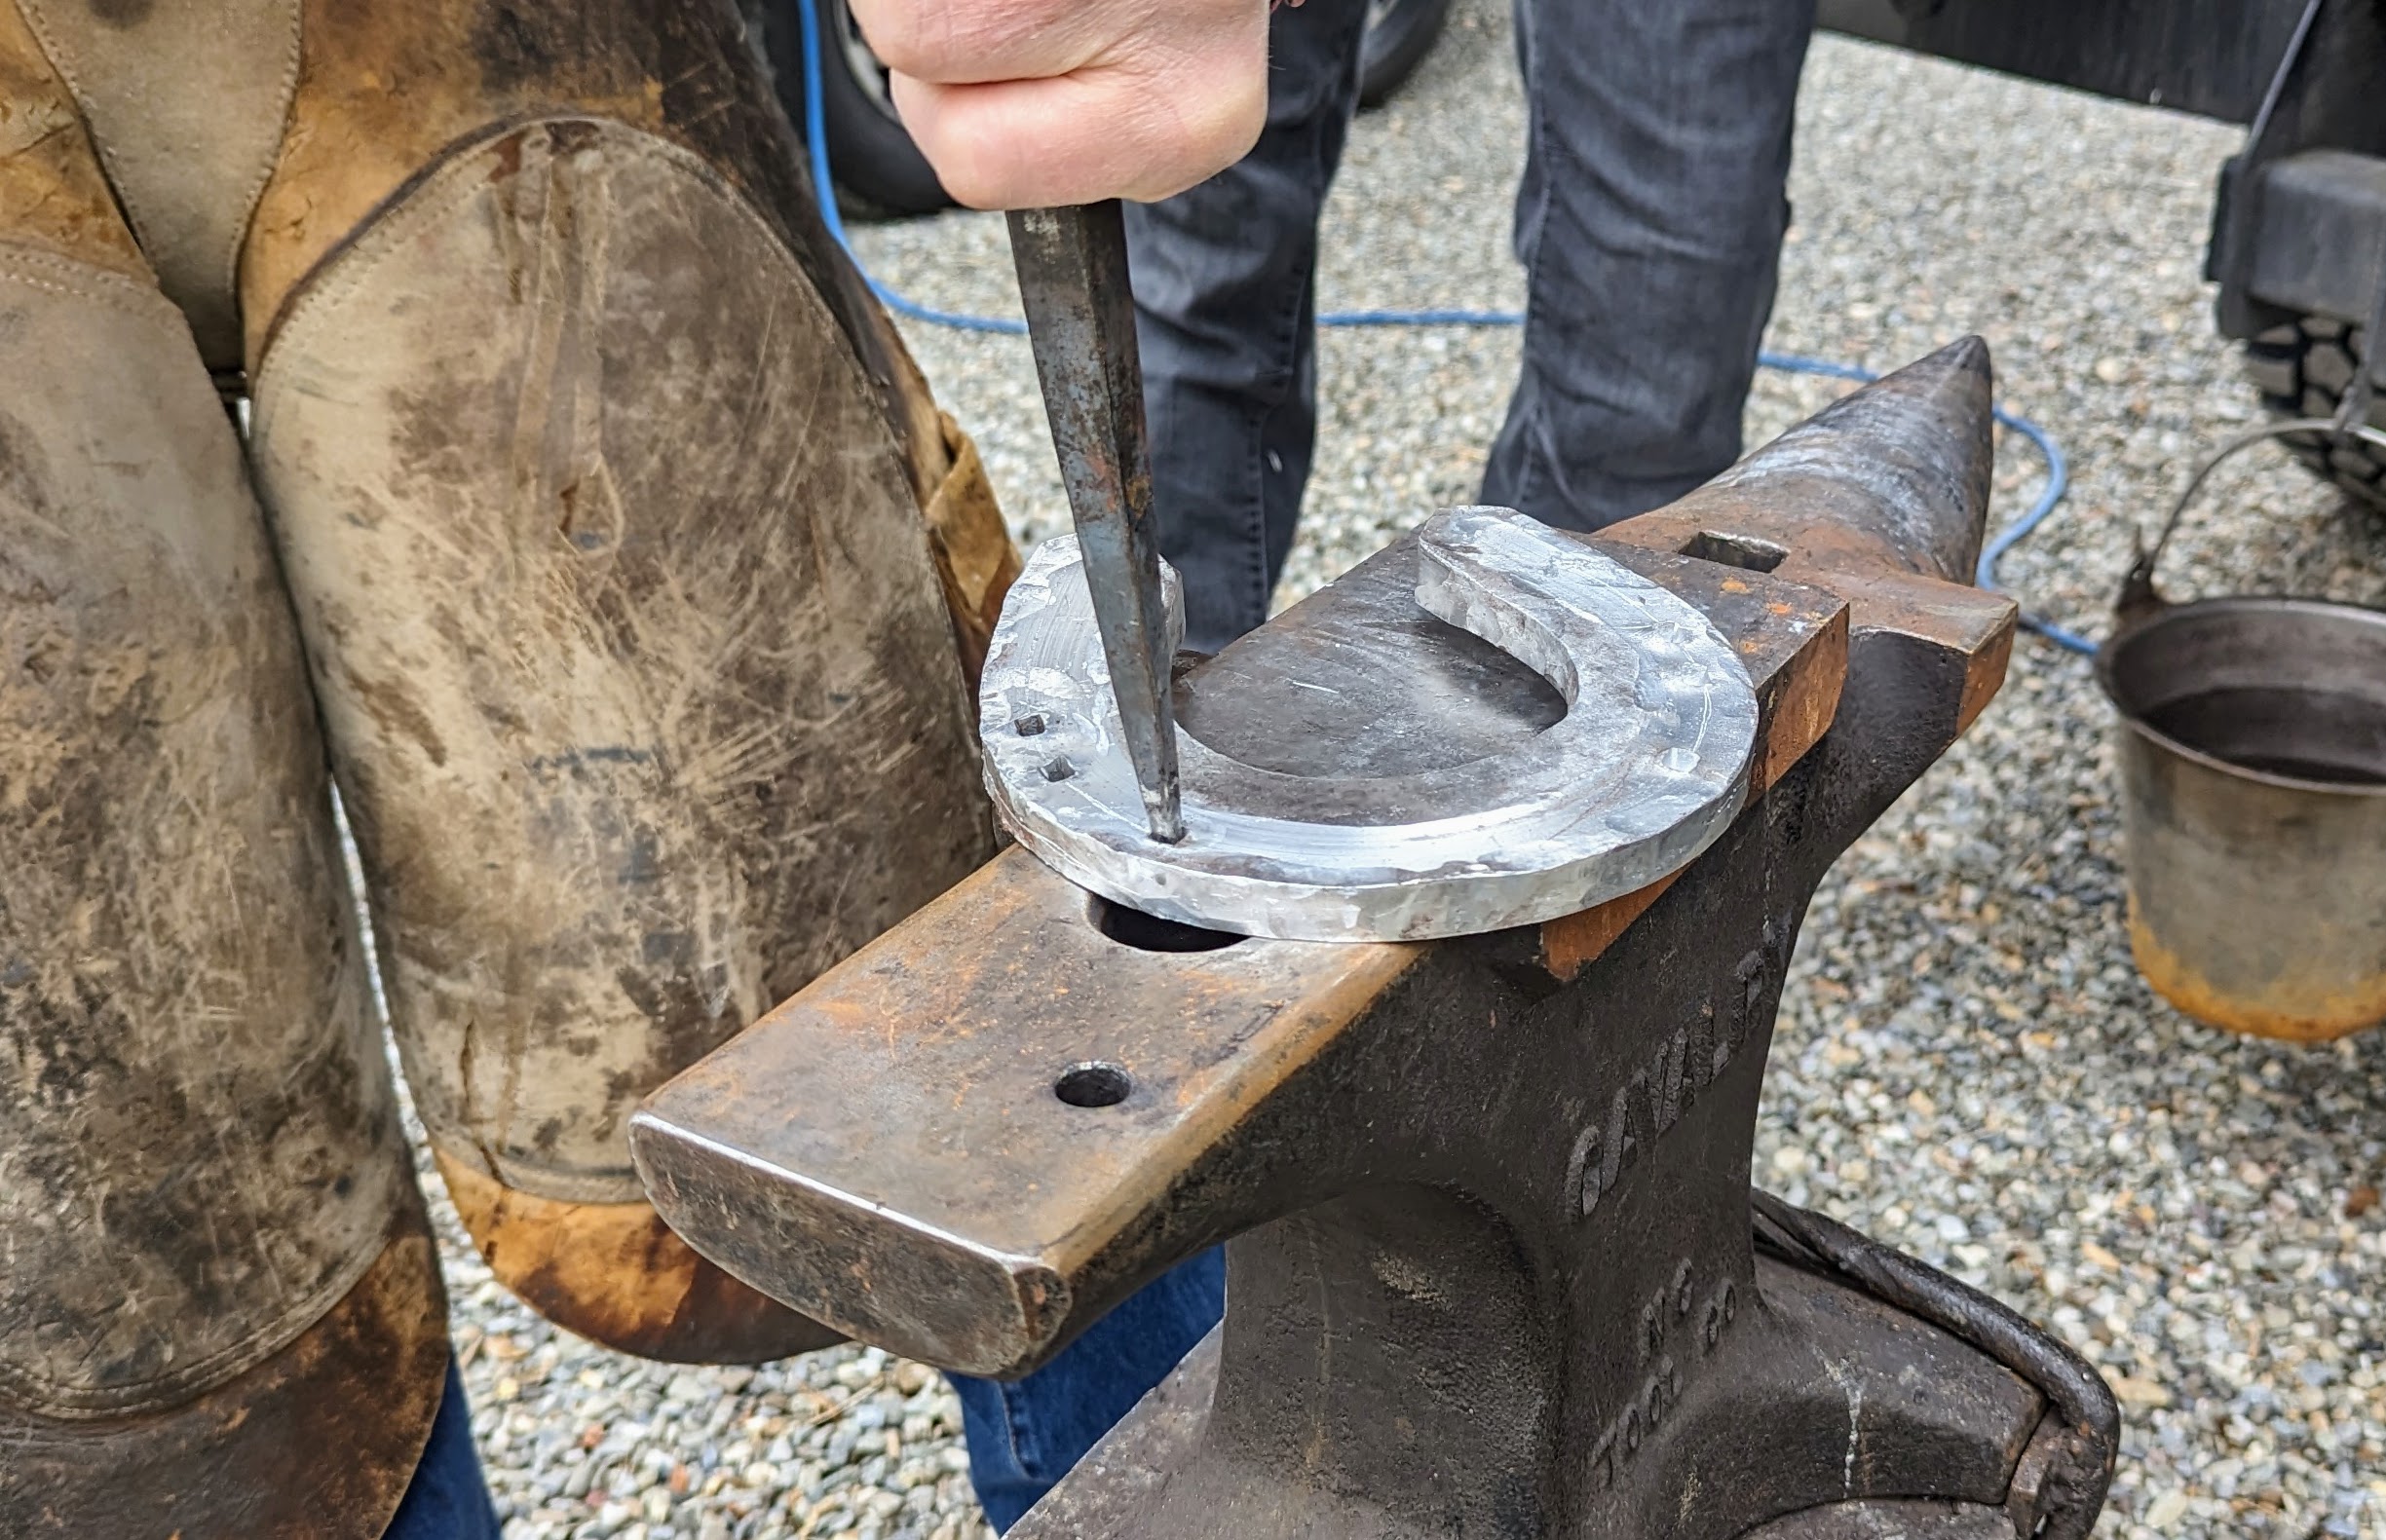
Mike uses aluminum bar stock to make this custom horseshoe. He heats it to incandescence in his forge and beats it into shape on an anvil, a large wrought iron or cast iron block.
It takes time and patience to create a perfect-fitting horseshoe. Mike constantly tests the shoe on the horse and hammers adjustments as he goes. Here, he is making the holes for the special nails called hoof nails or horseshoe nails that are used to attach the shoe onto the hoof.
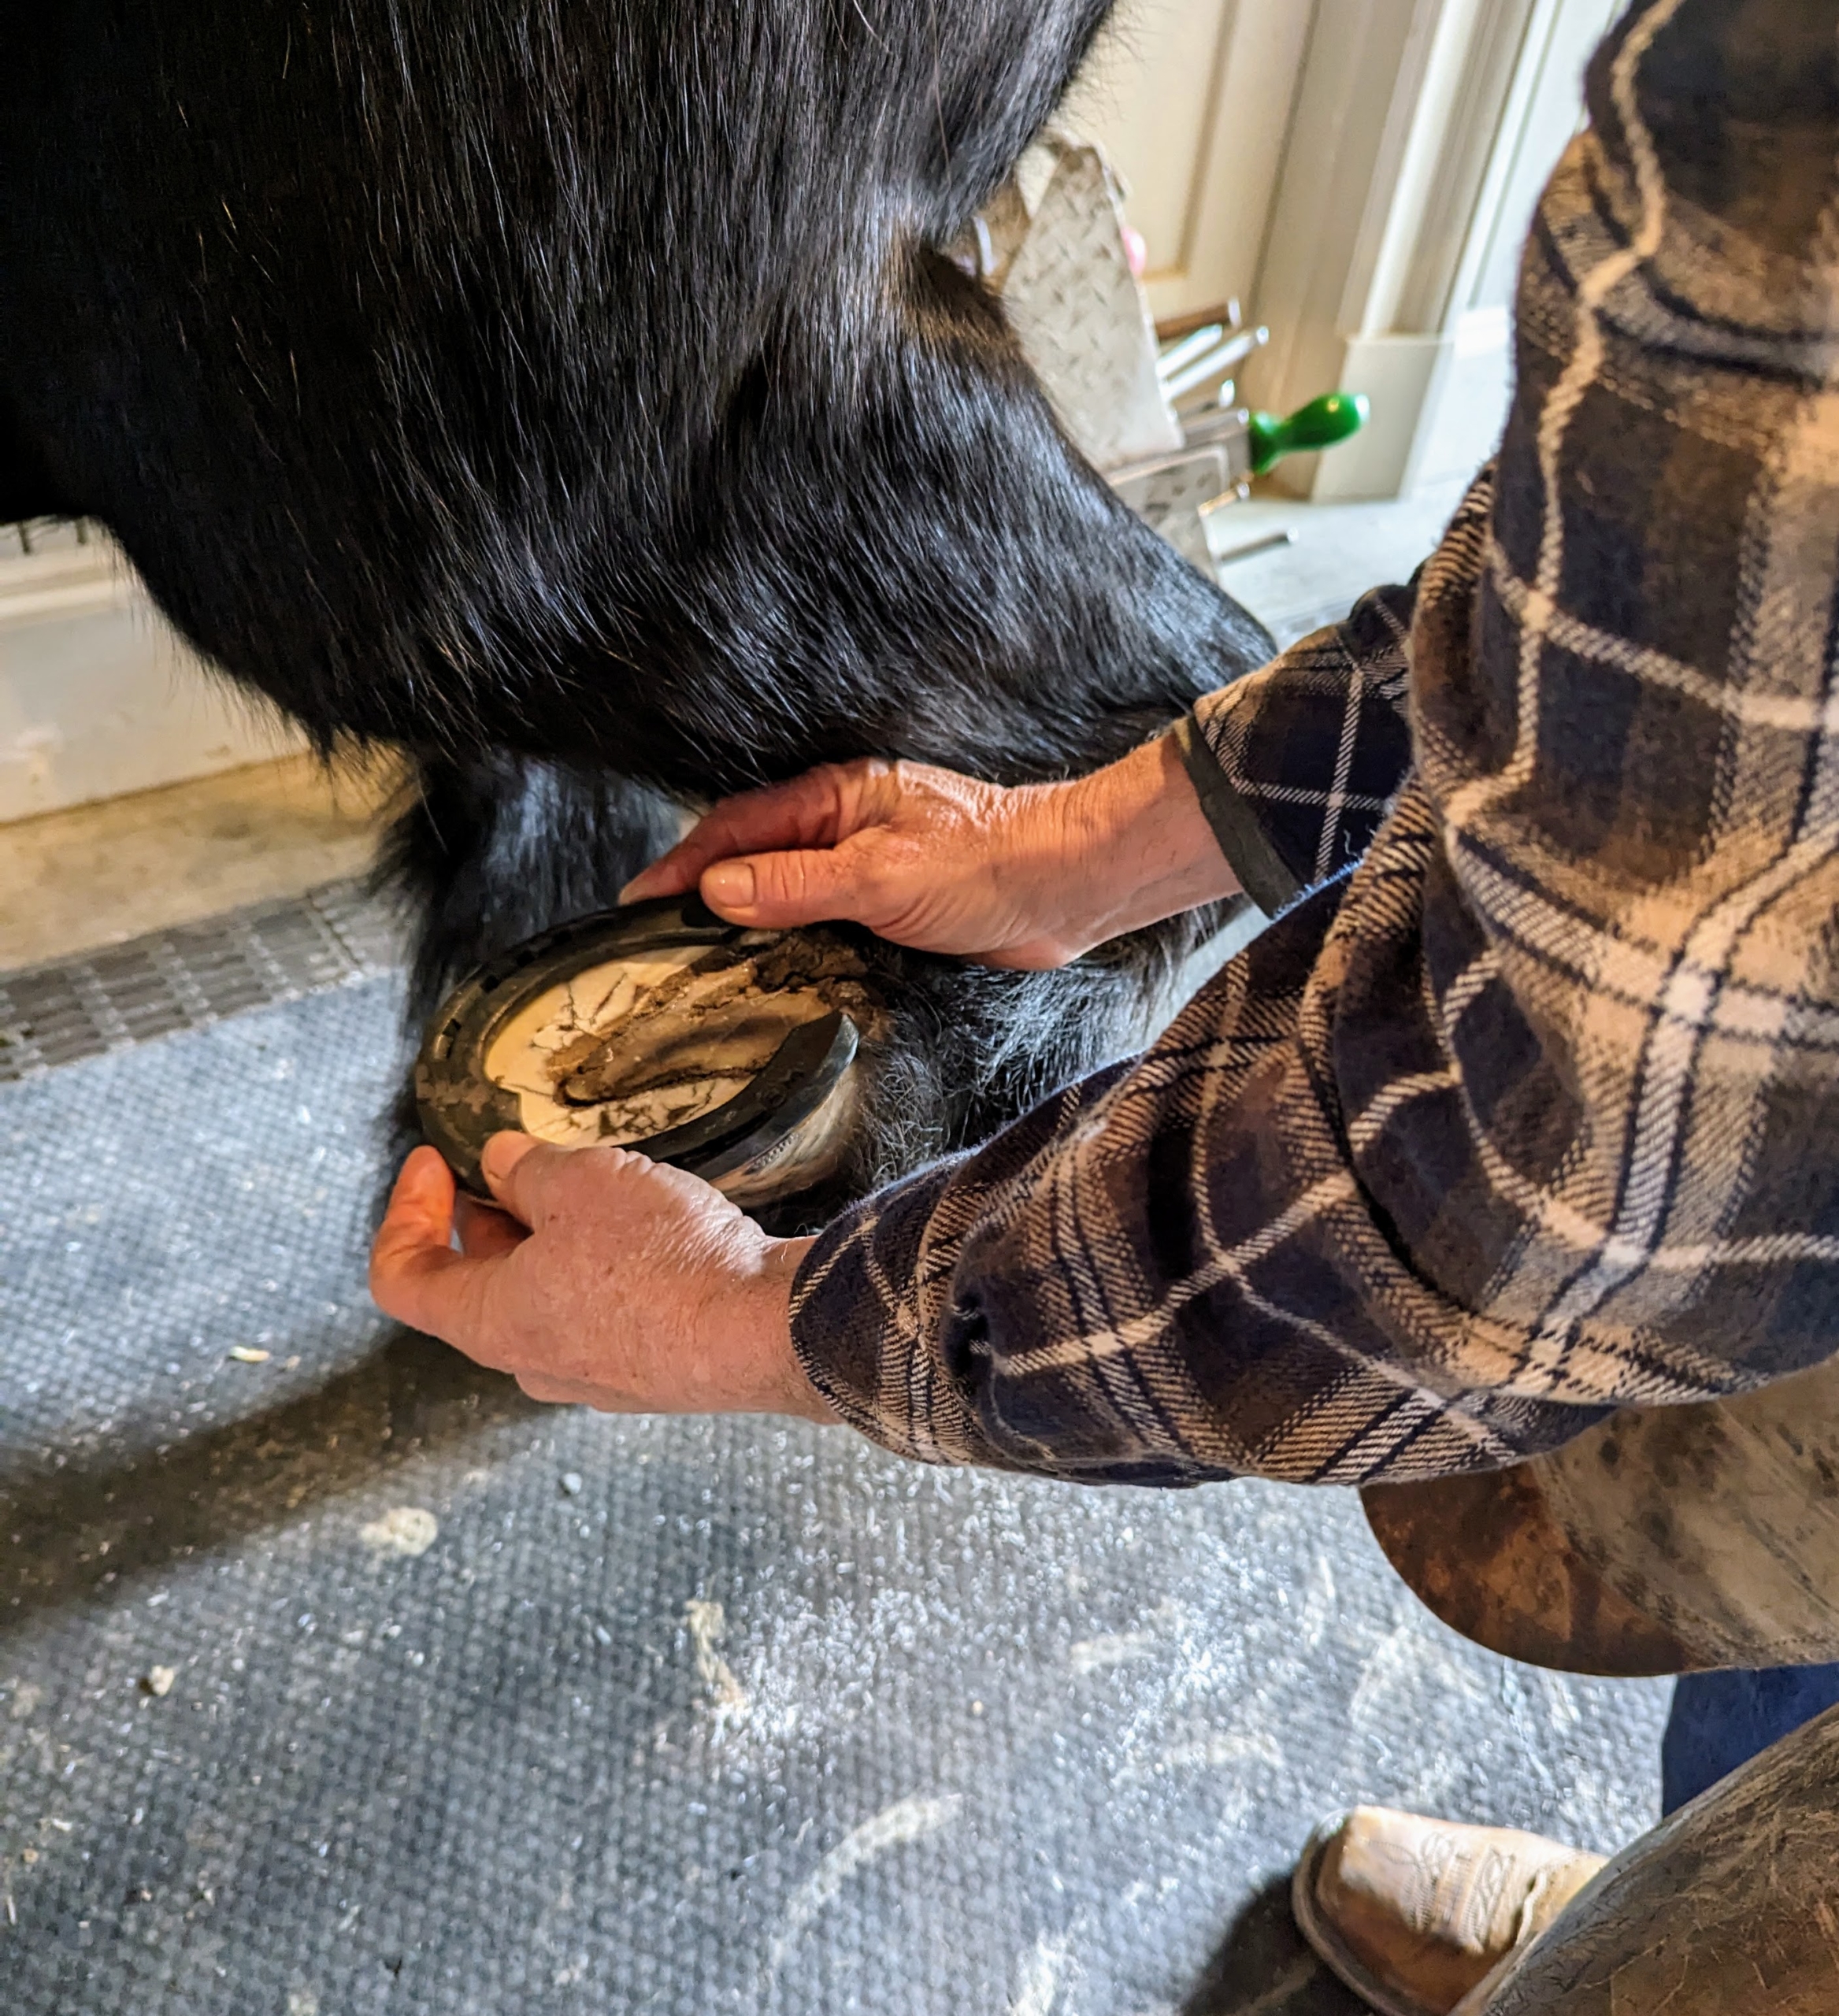
Here is Mike fitting another horseshoe to see where adjustments are still needed.
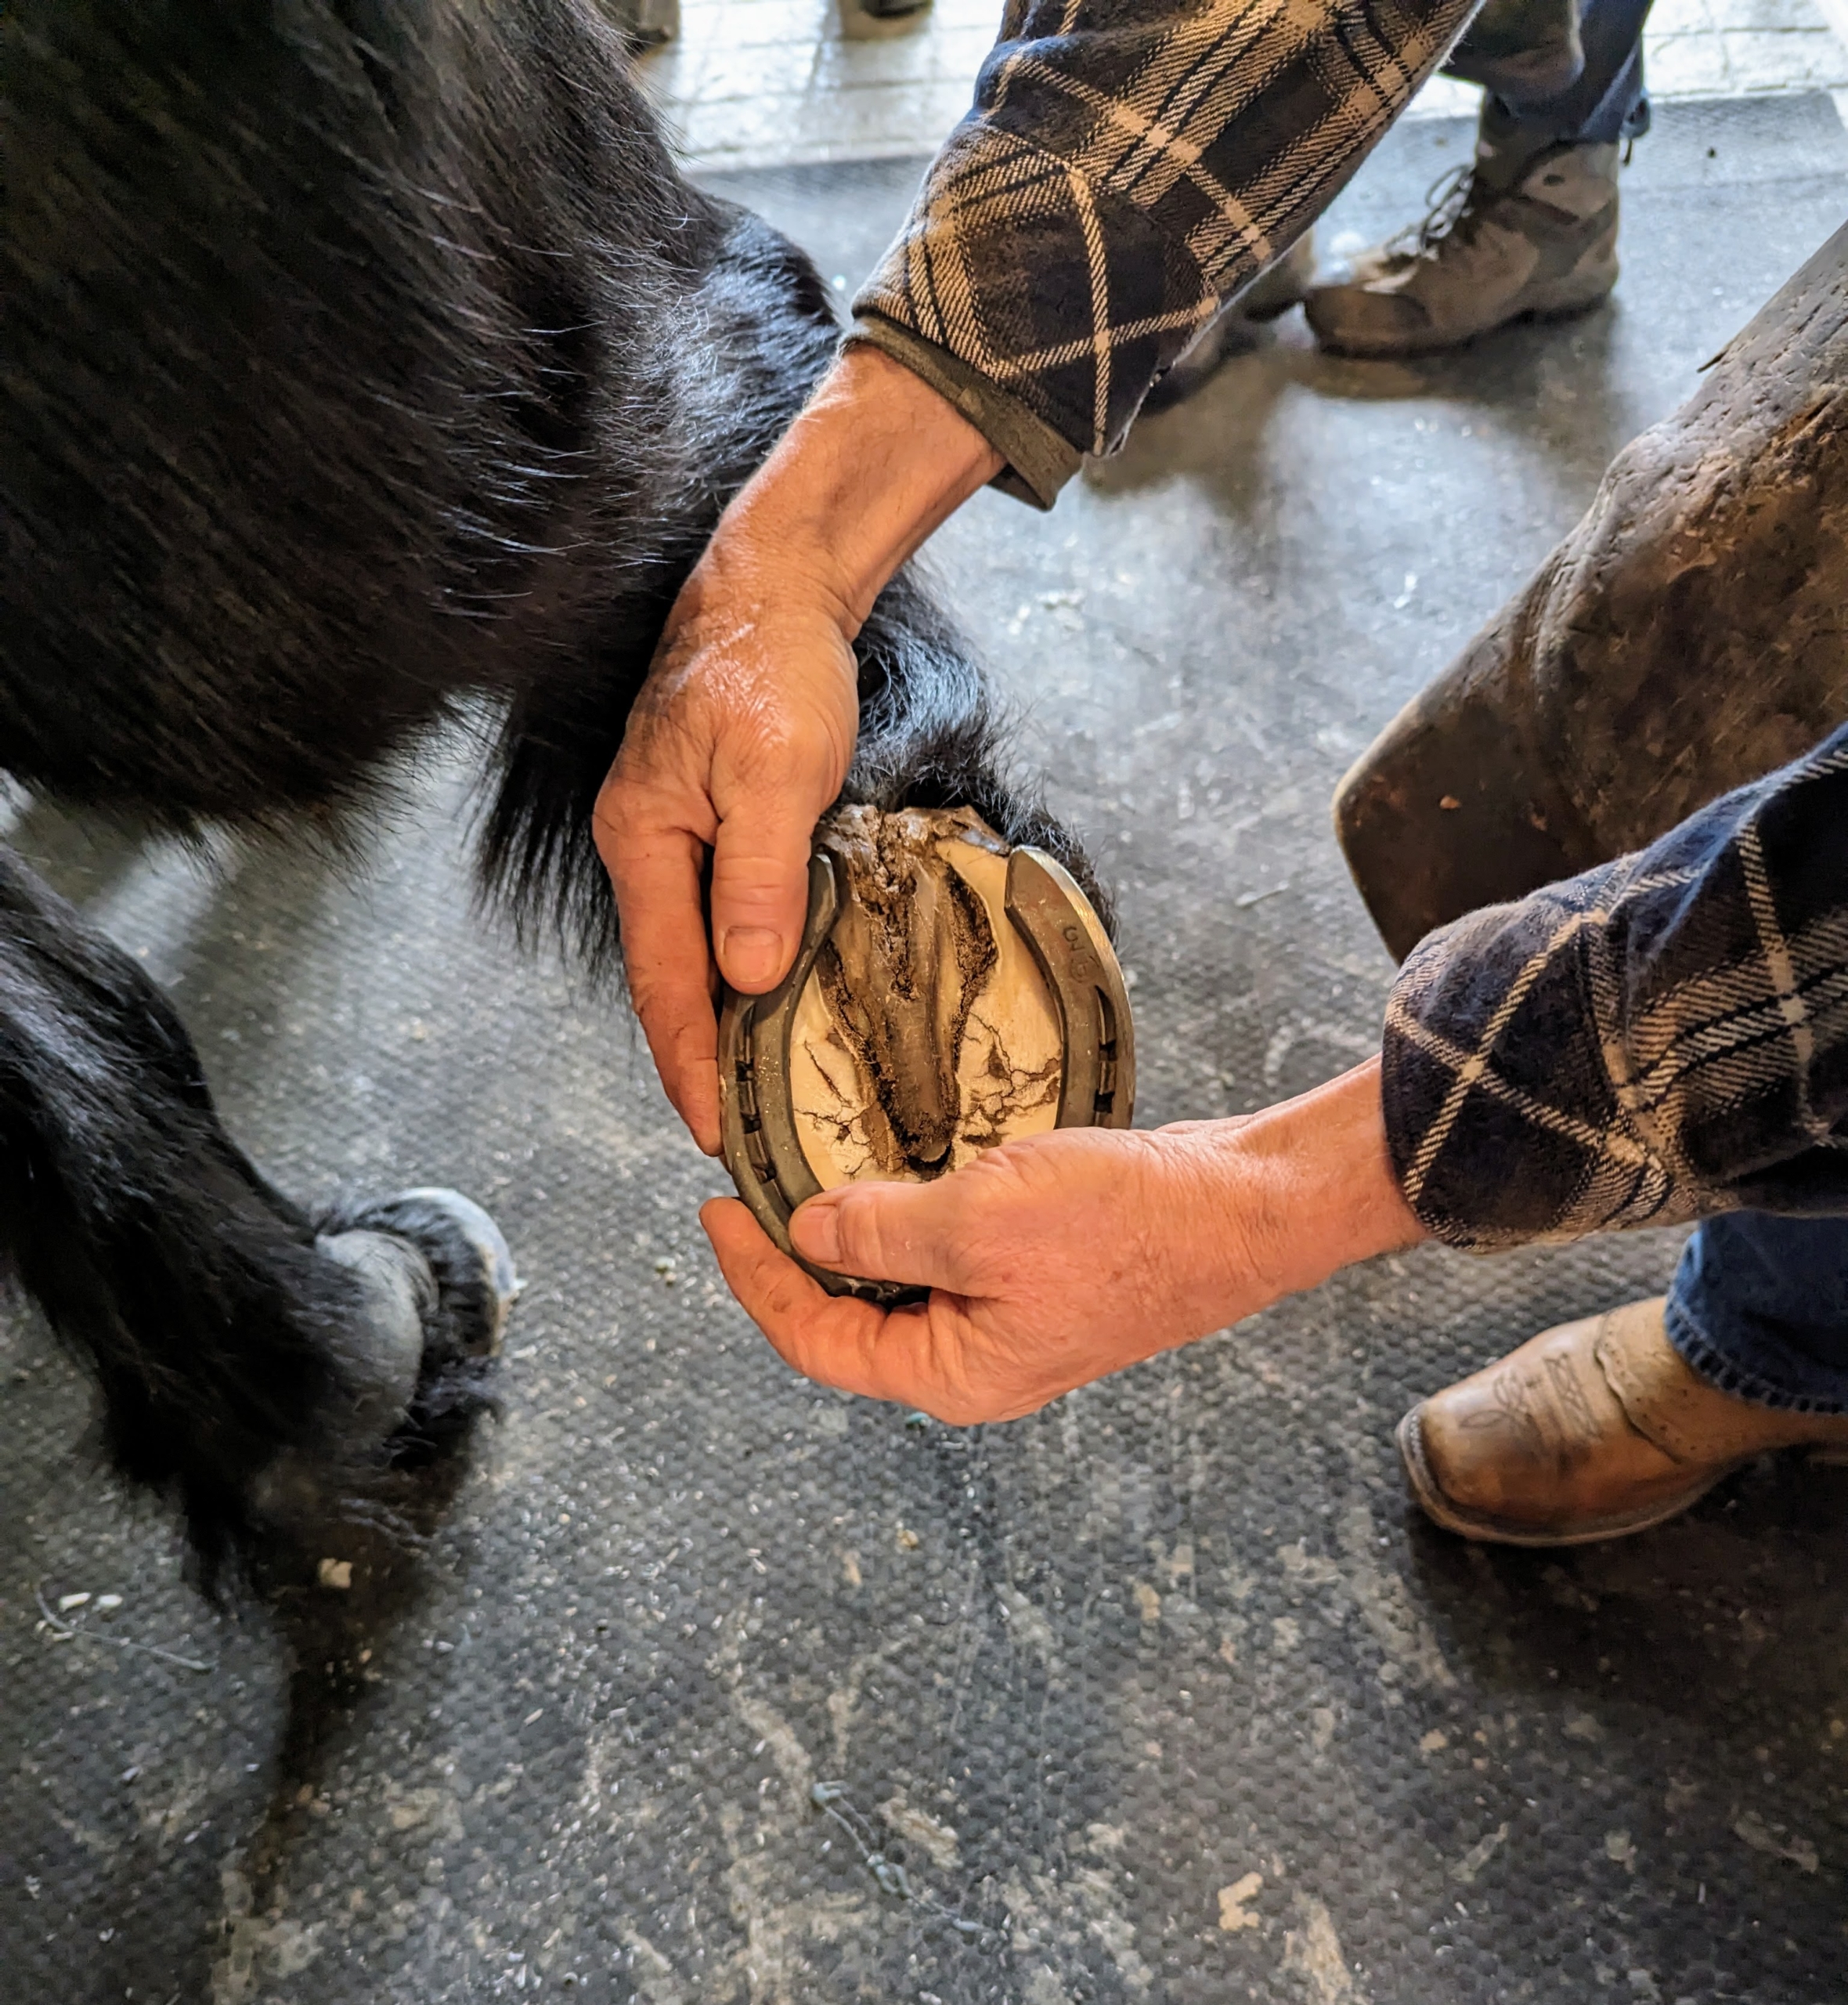
Here is another view. Horse hooves themselves do not contain pain receptors, so nailing a shoe into a hoof does not hurt. However, what can hurt is an improperly mounted horseshoe. A reputable farrier will make sure any shoe is not only well-made, but well-mounted.
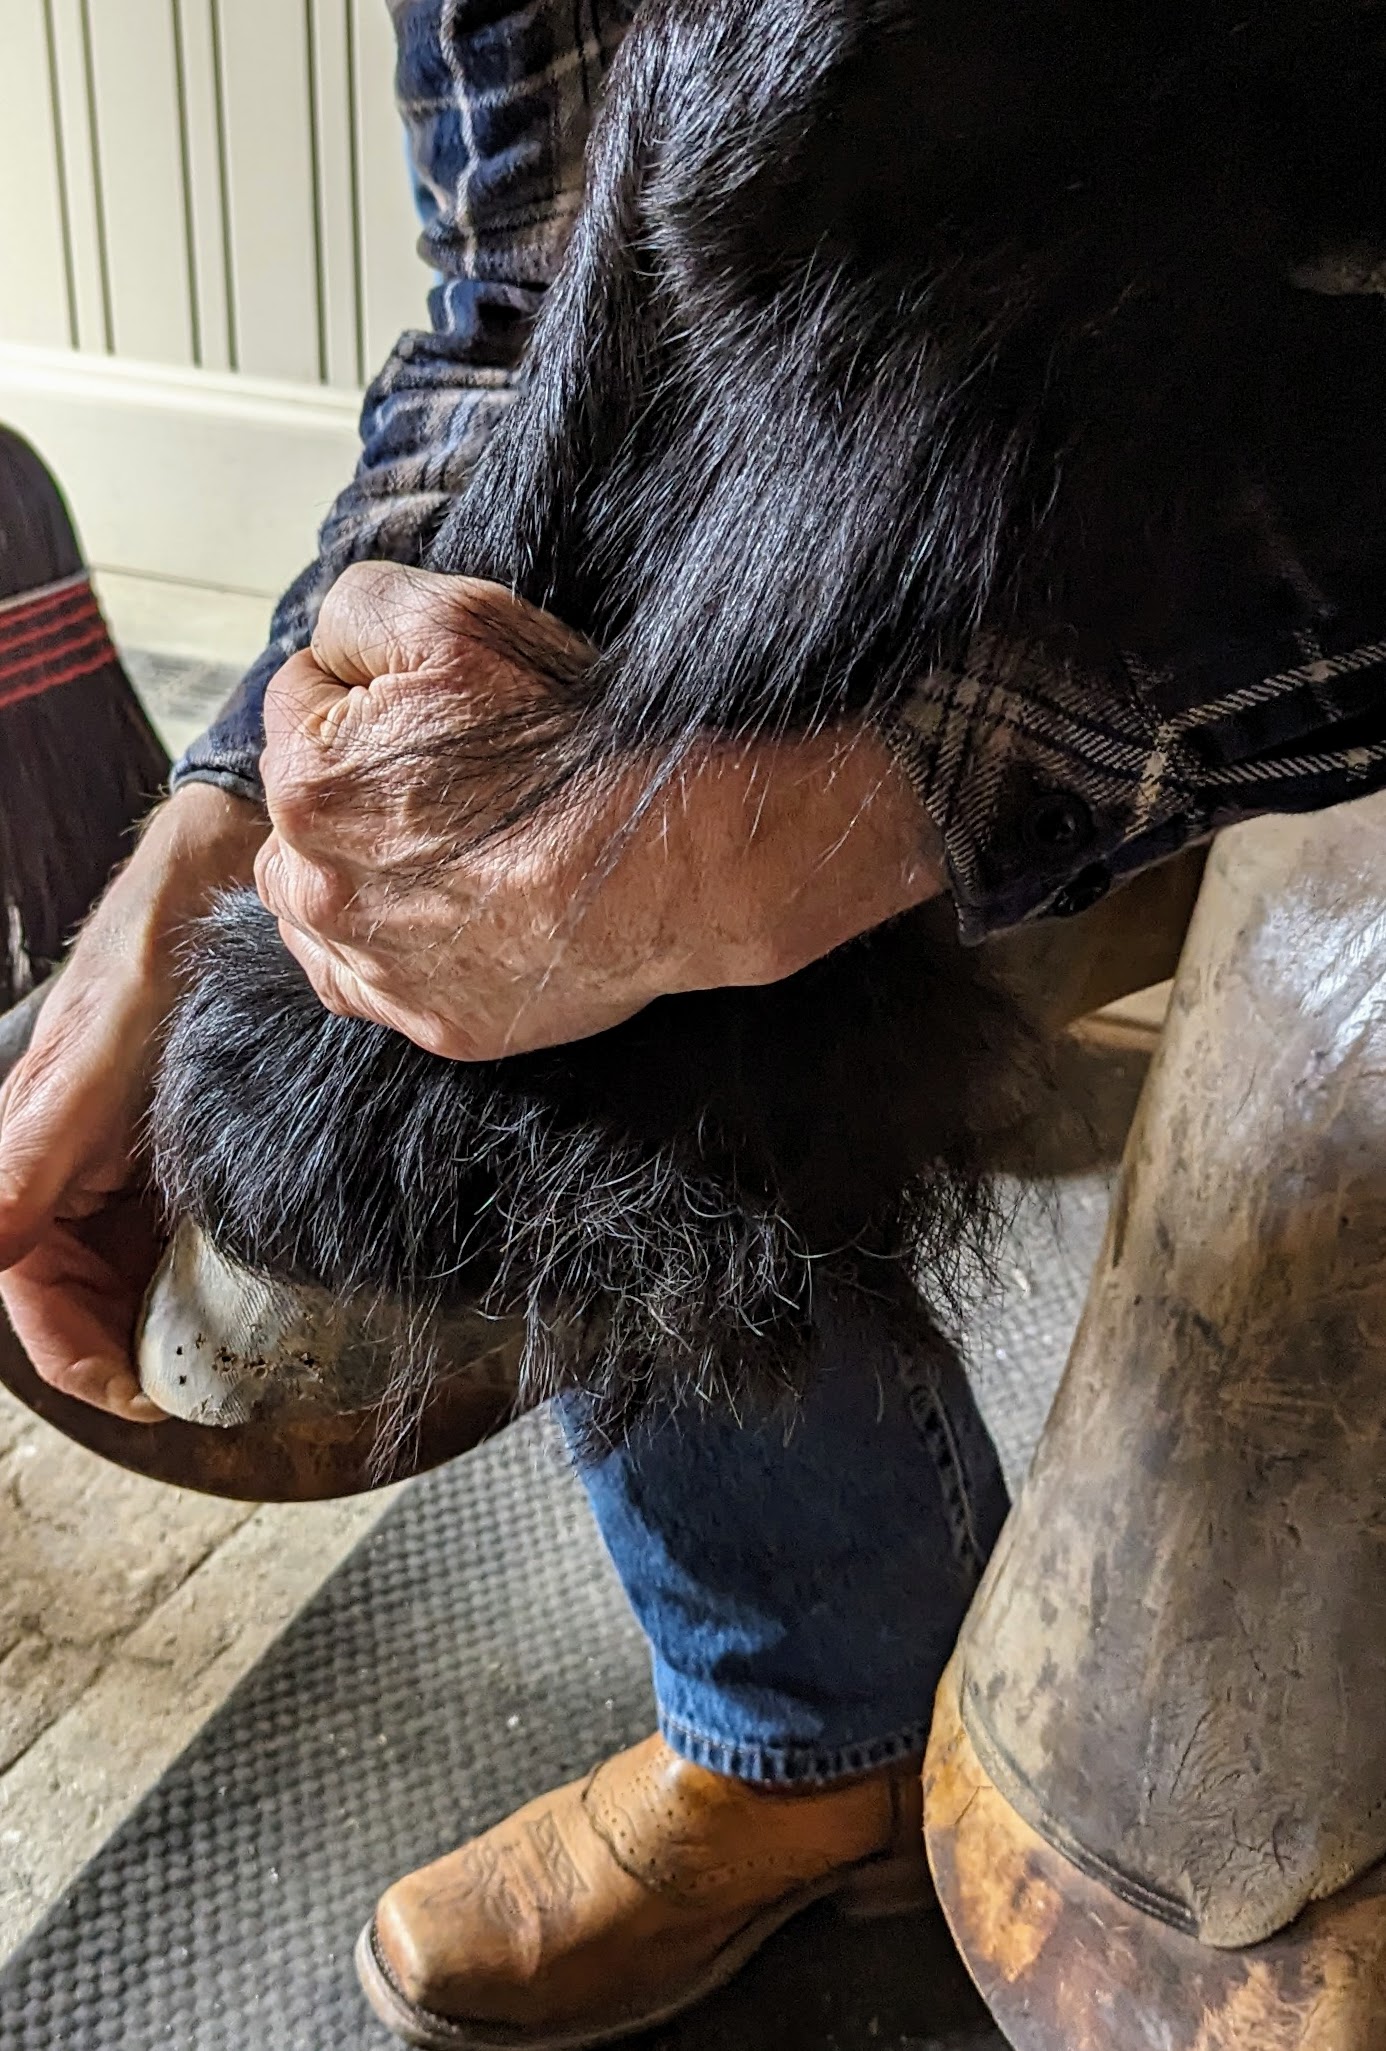
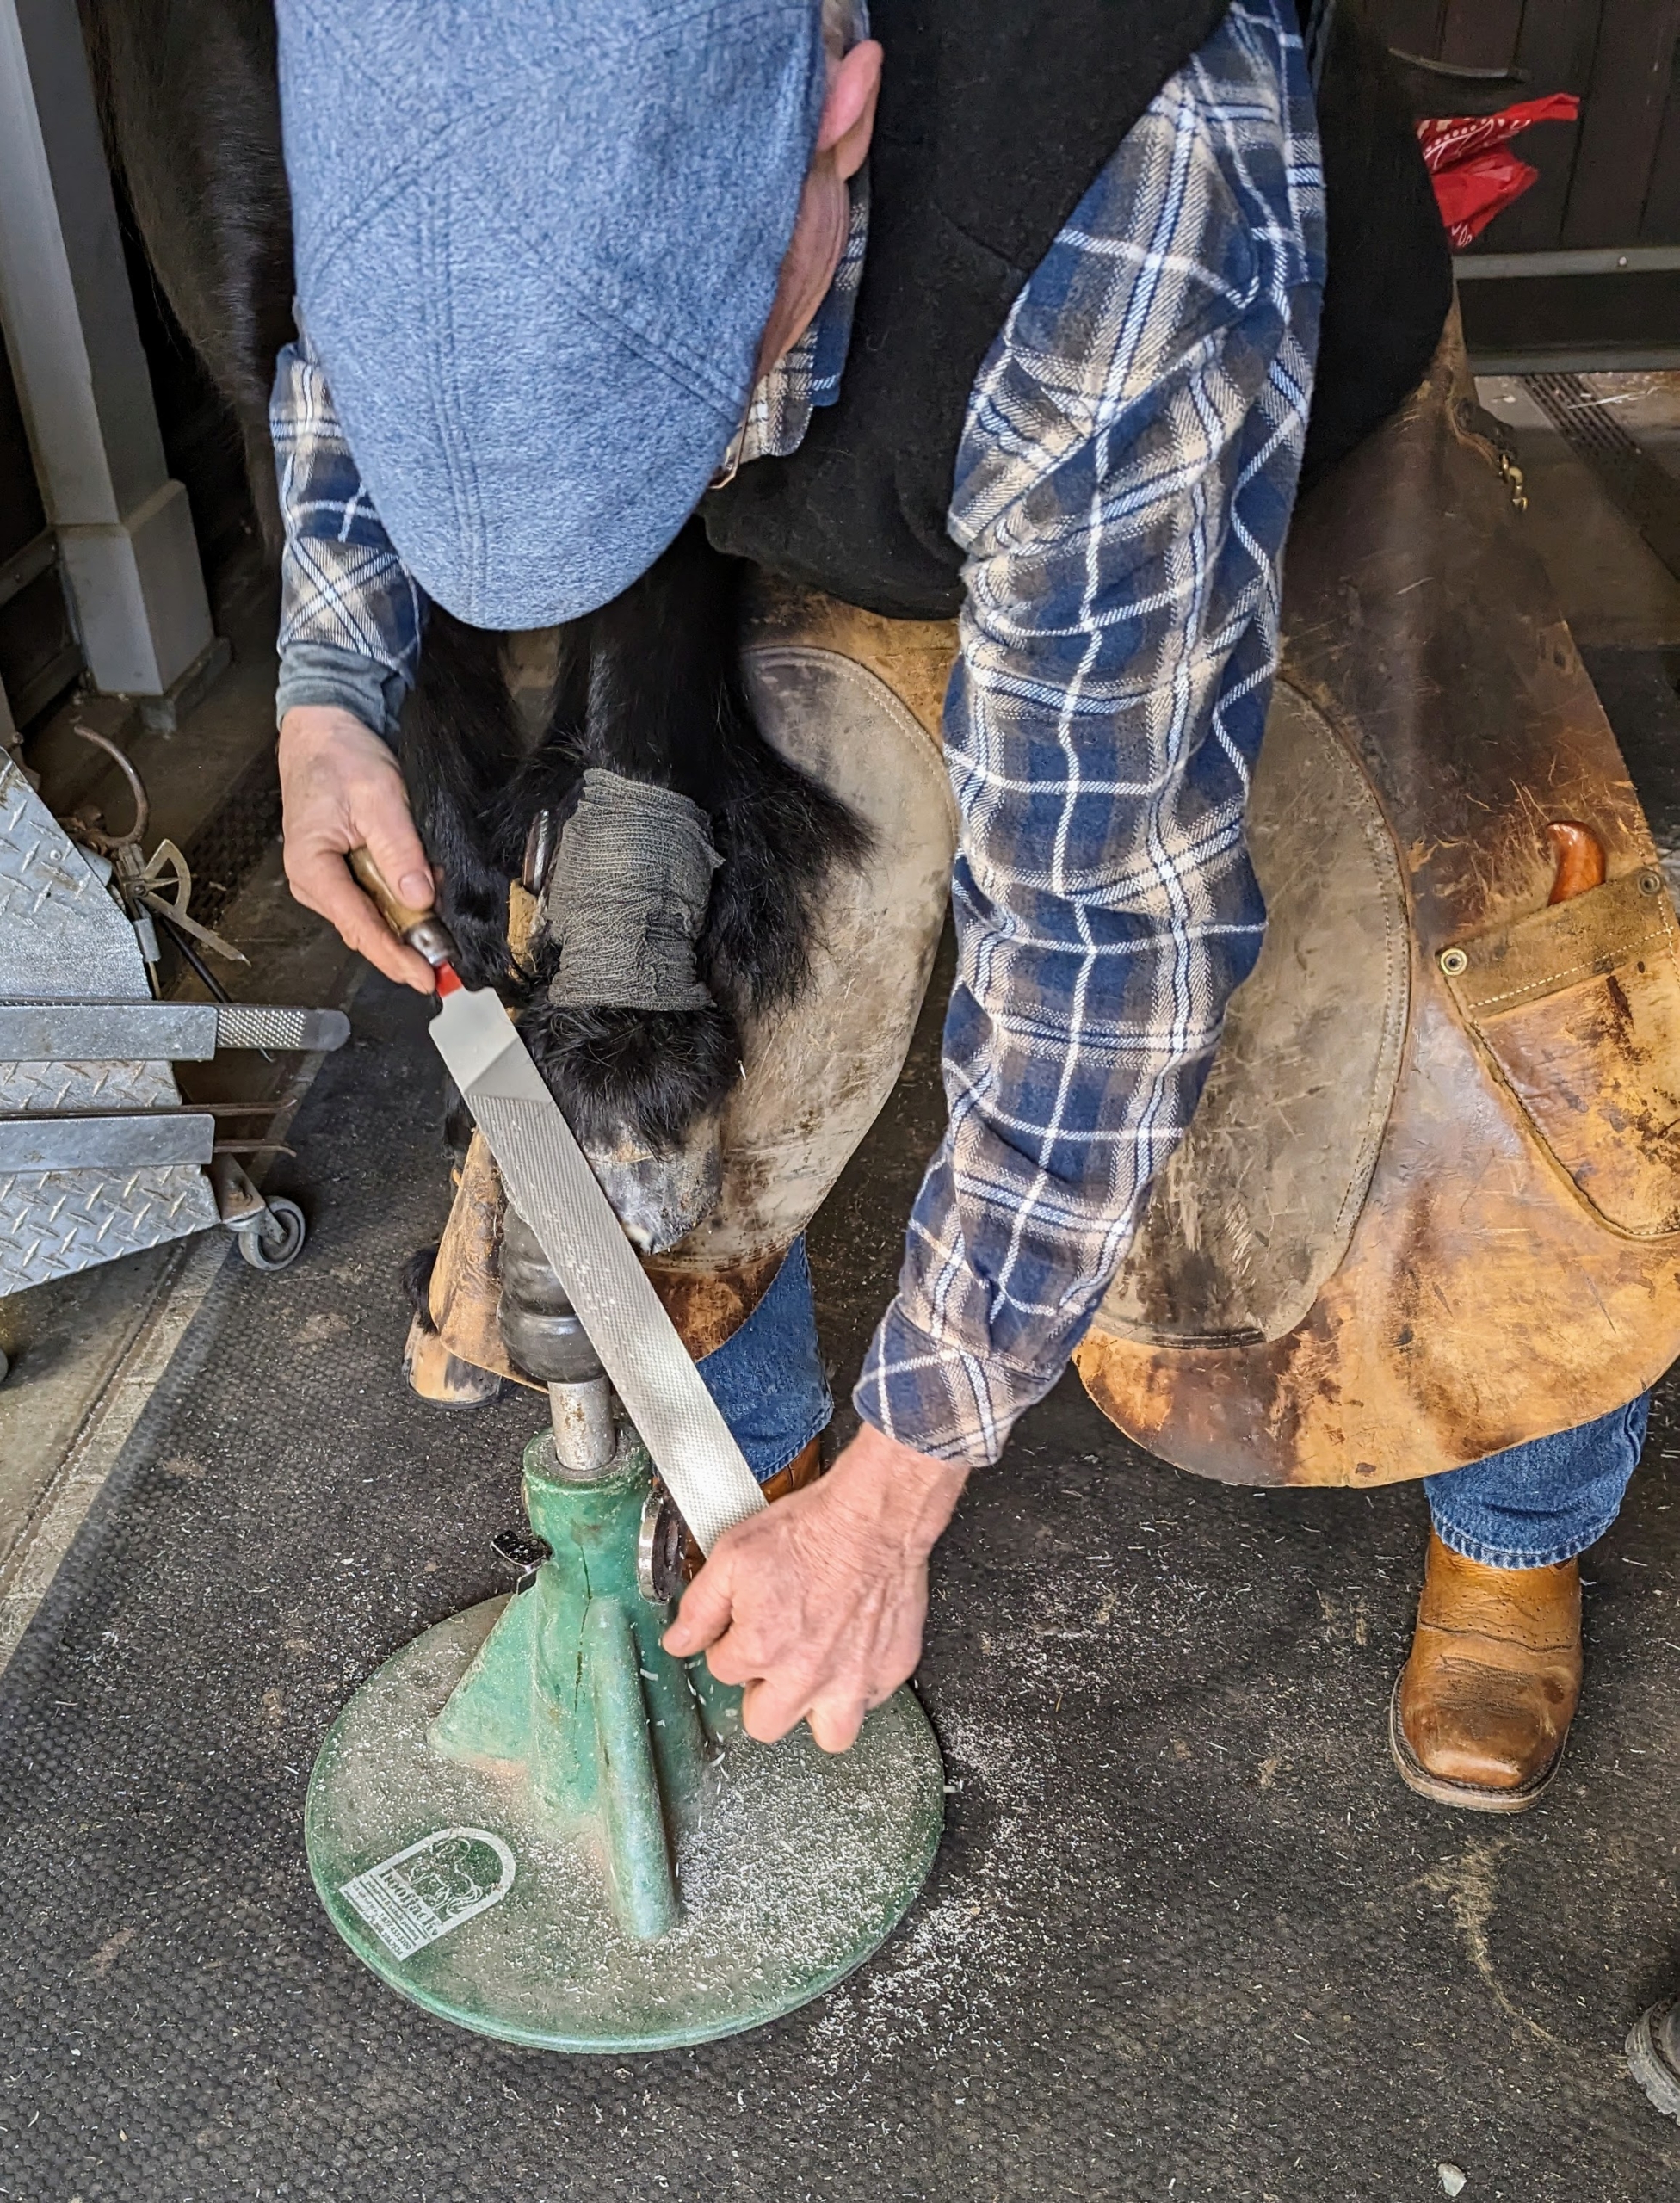
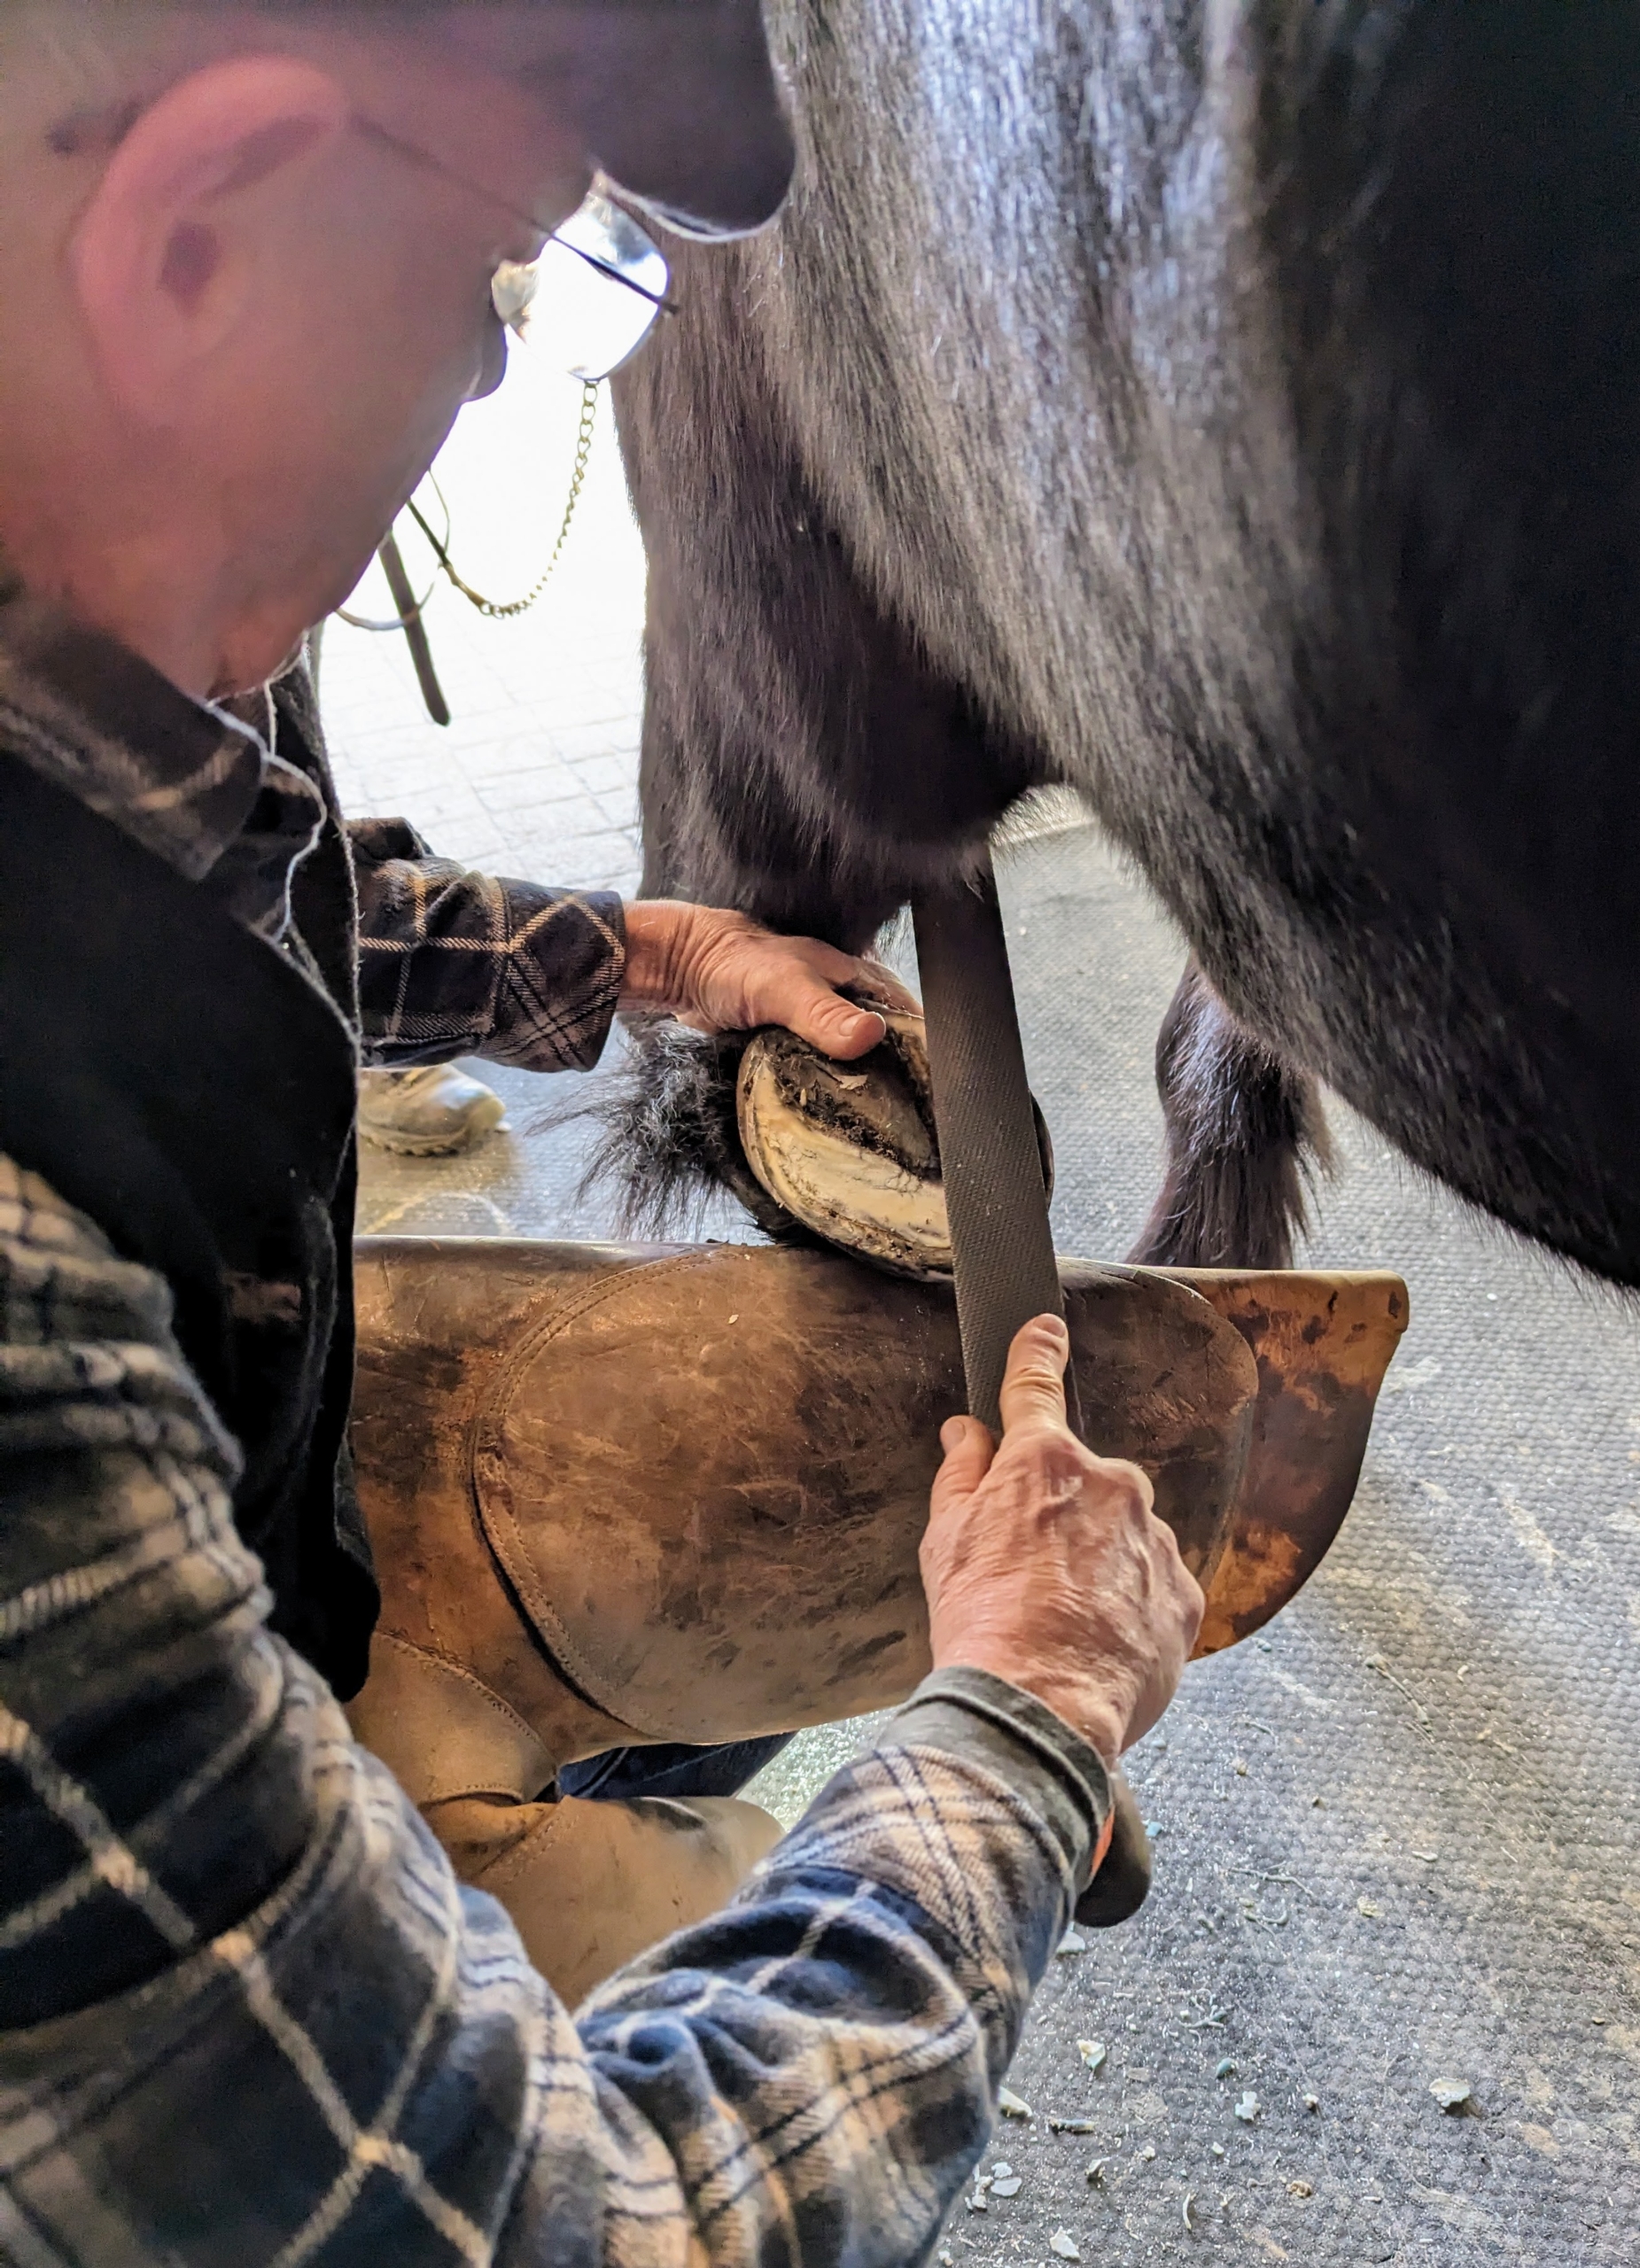
Here, Mike places Banchunch’s leg onto a stand so he can file down any rough edges. The black wrapping is just to keep his long feathers out of the way, so Mike can see his hoof.
He also files the underside until it is smooth.
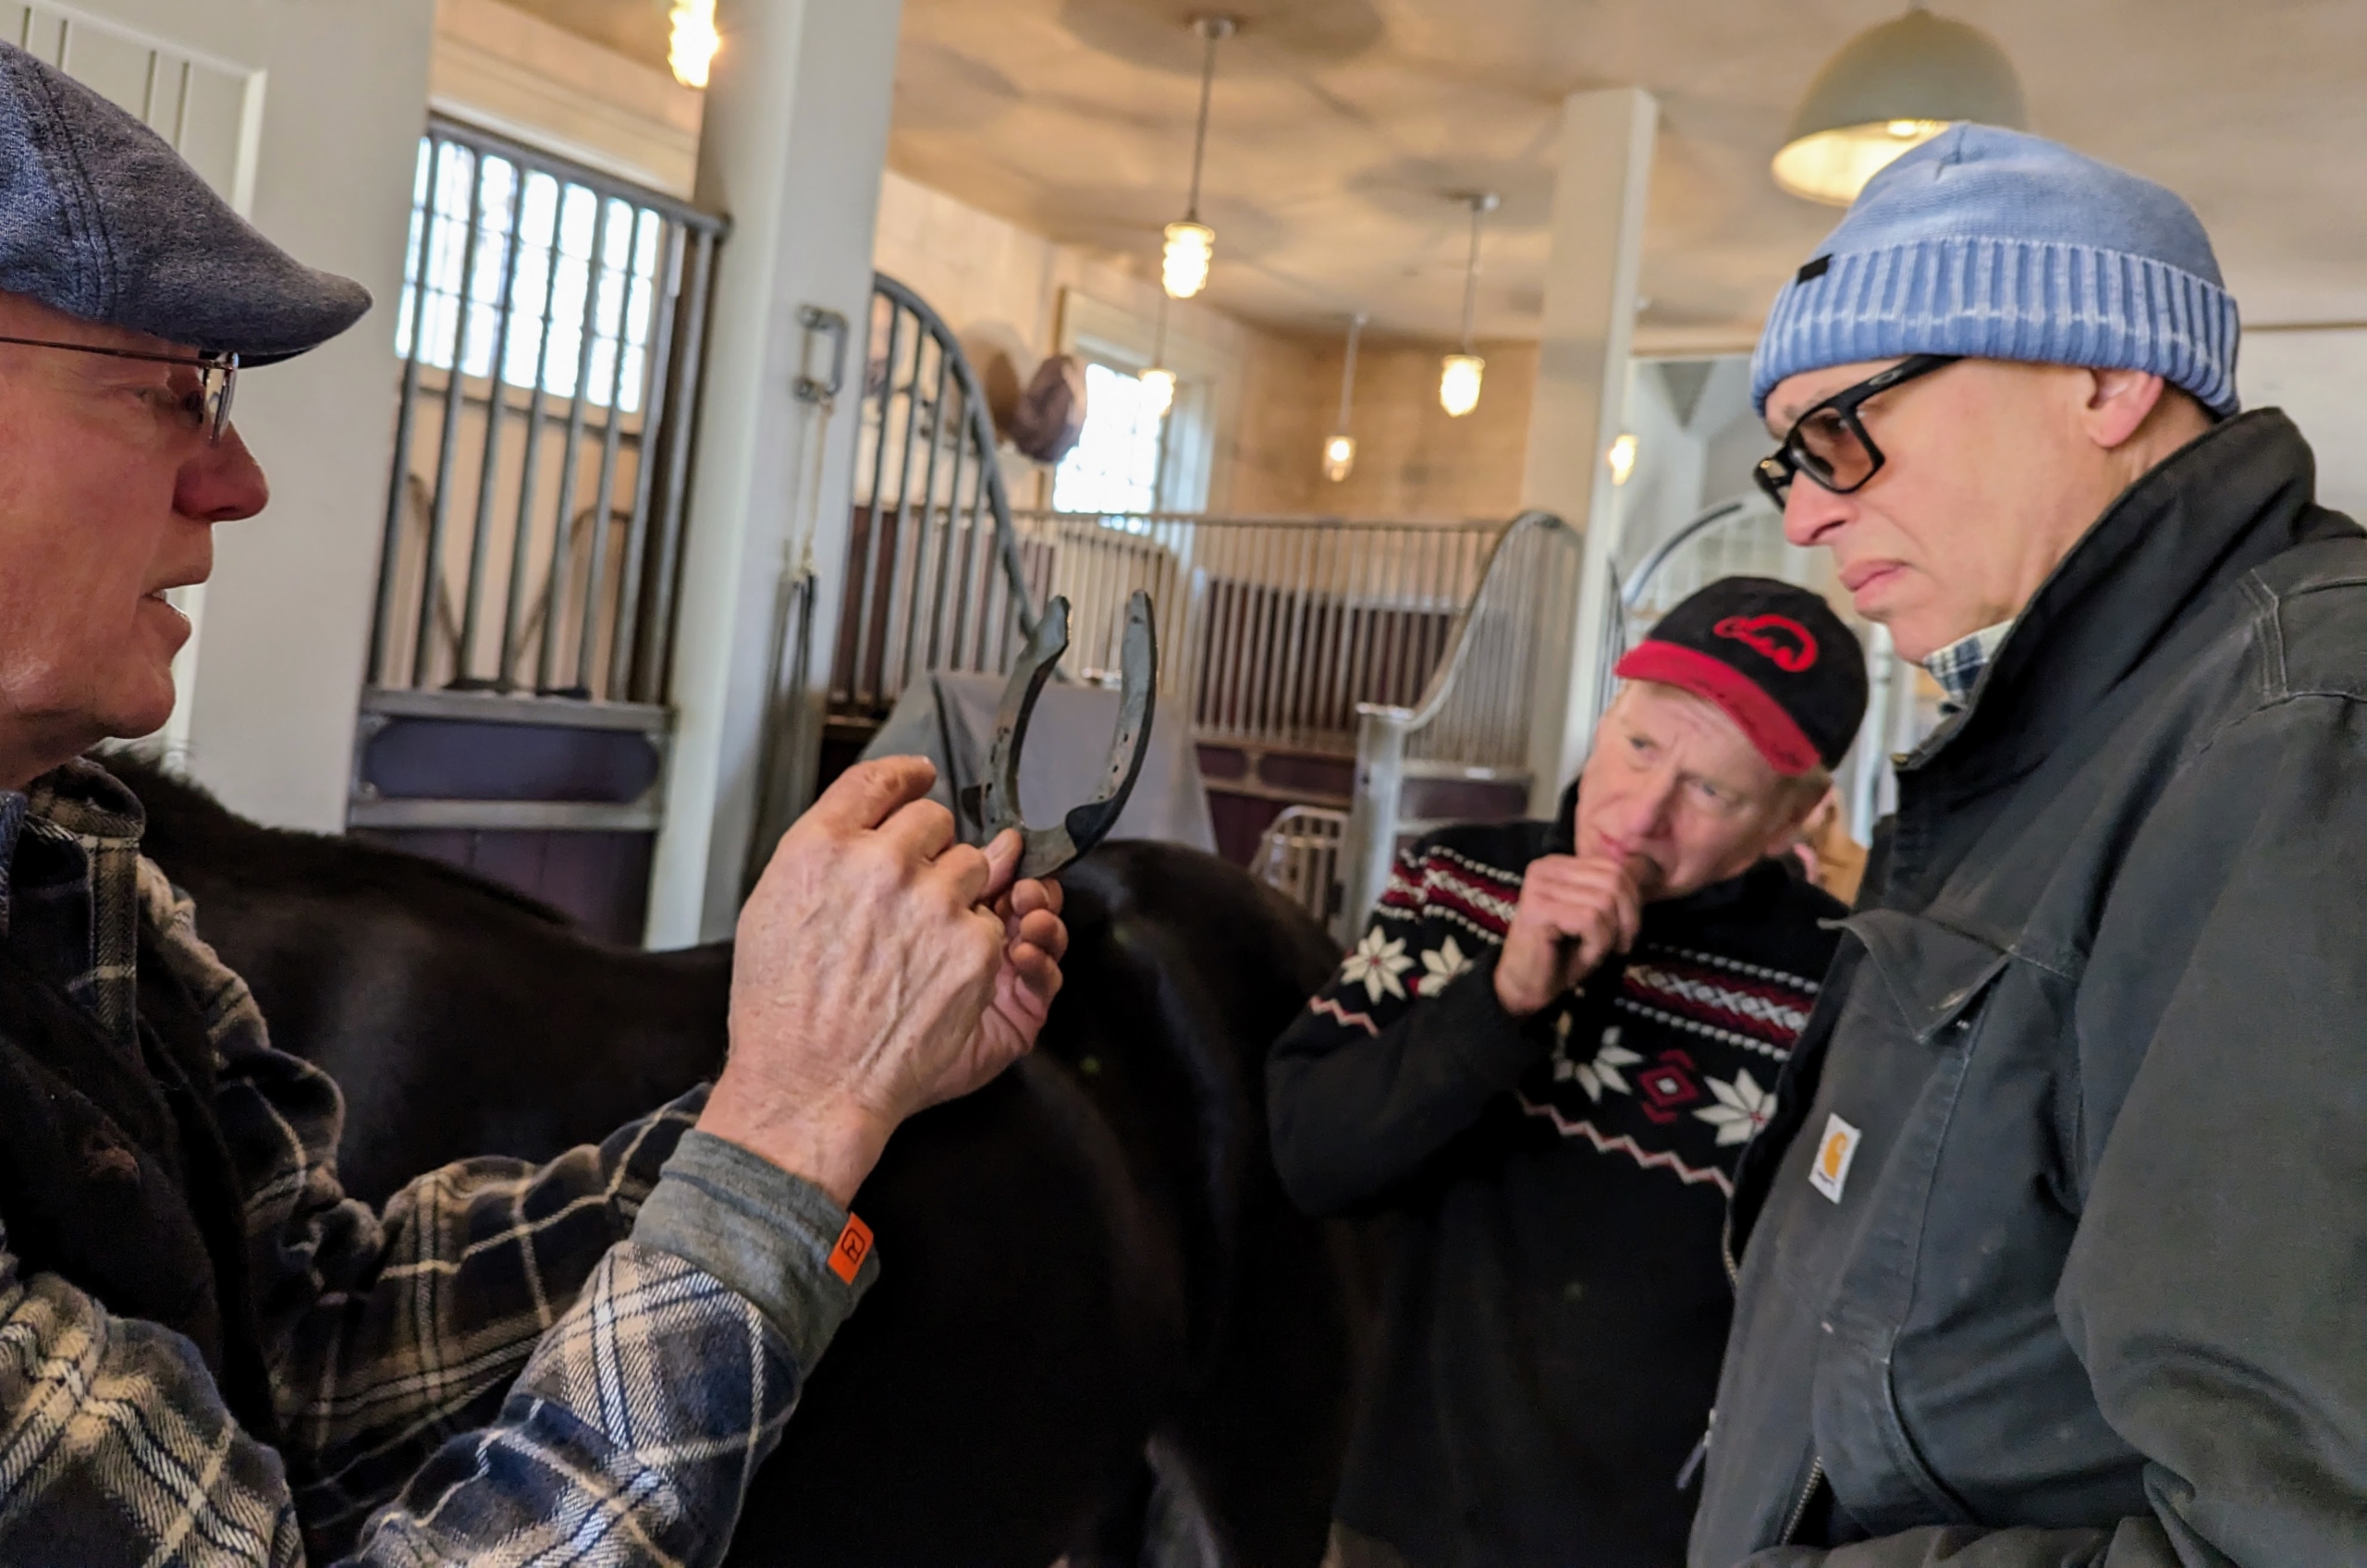
And here he is explaining to Marc, and his associate Alan Fabius, the improvements that still need to be done on this shoe to make it just right.
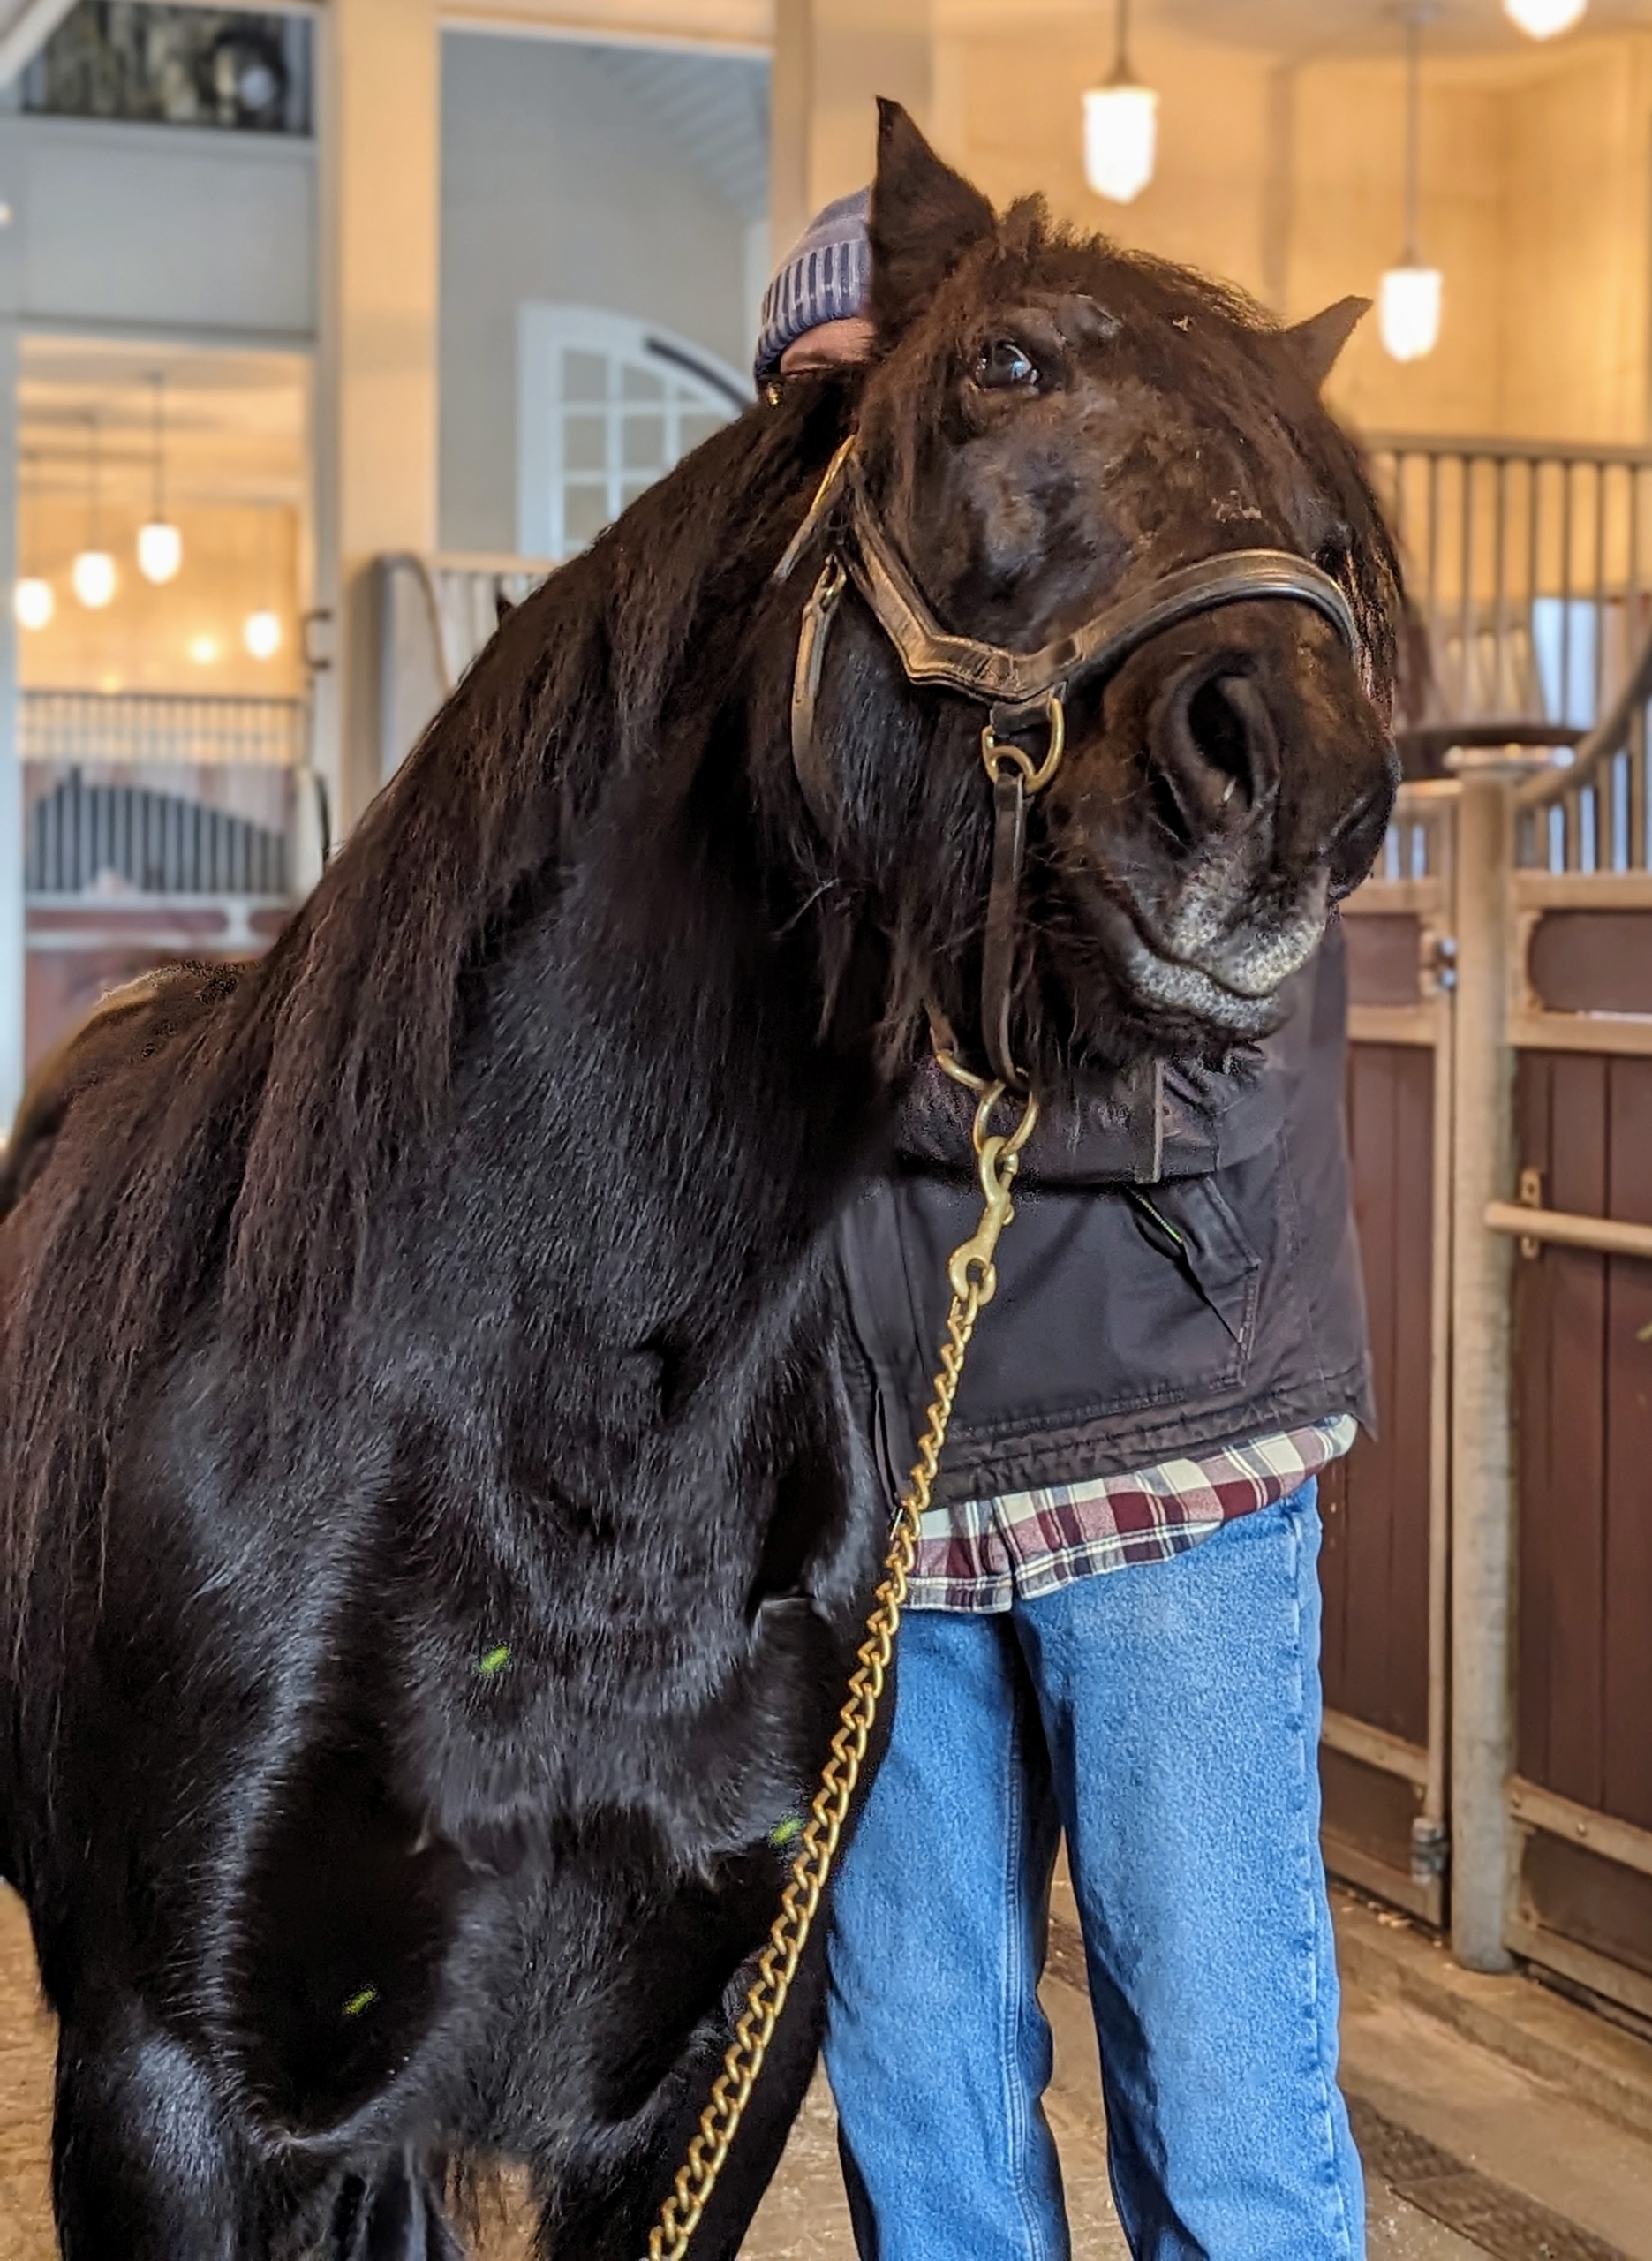
While he is waiting, Banchunch gets some good scratches. The Fell pony is a versatile working breed originating on Cumberland and Westmorland farms of northwest England and is used for riding and driving. Fells have friendly, playful demeanors, and big personalities. Banchunch loves all the attention he can get.
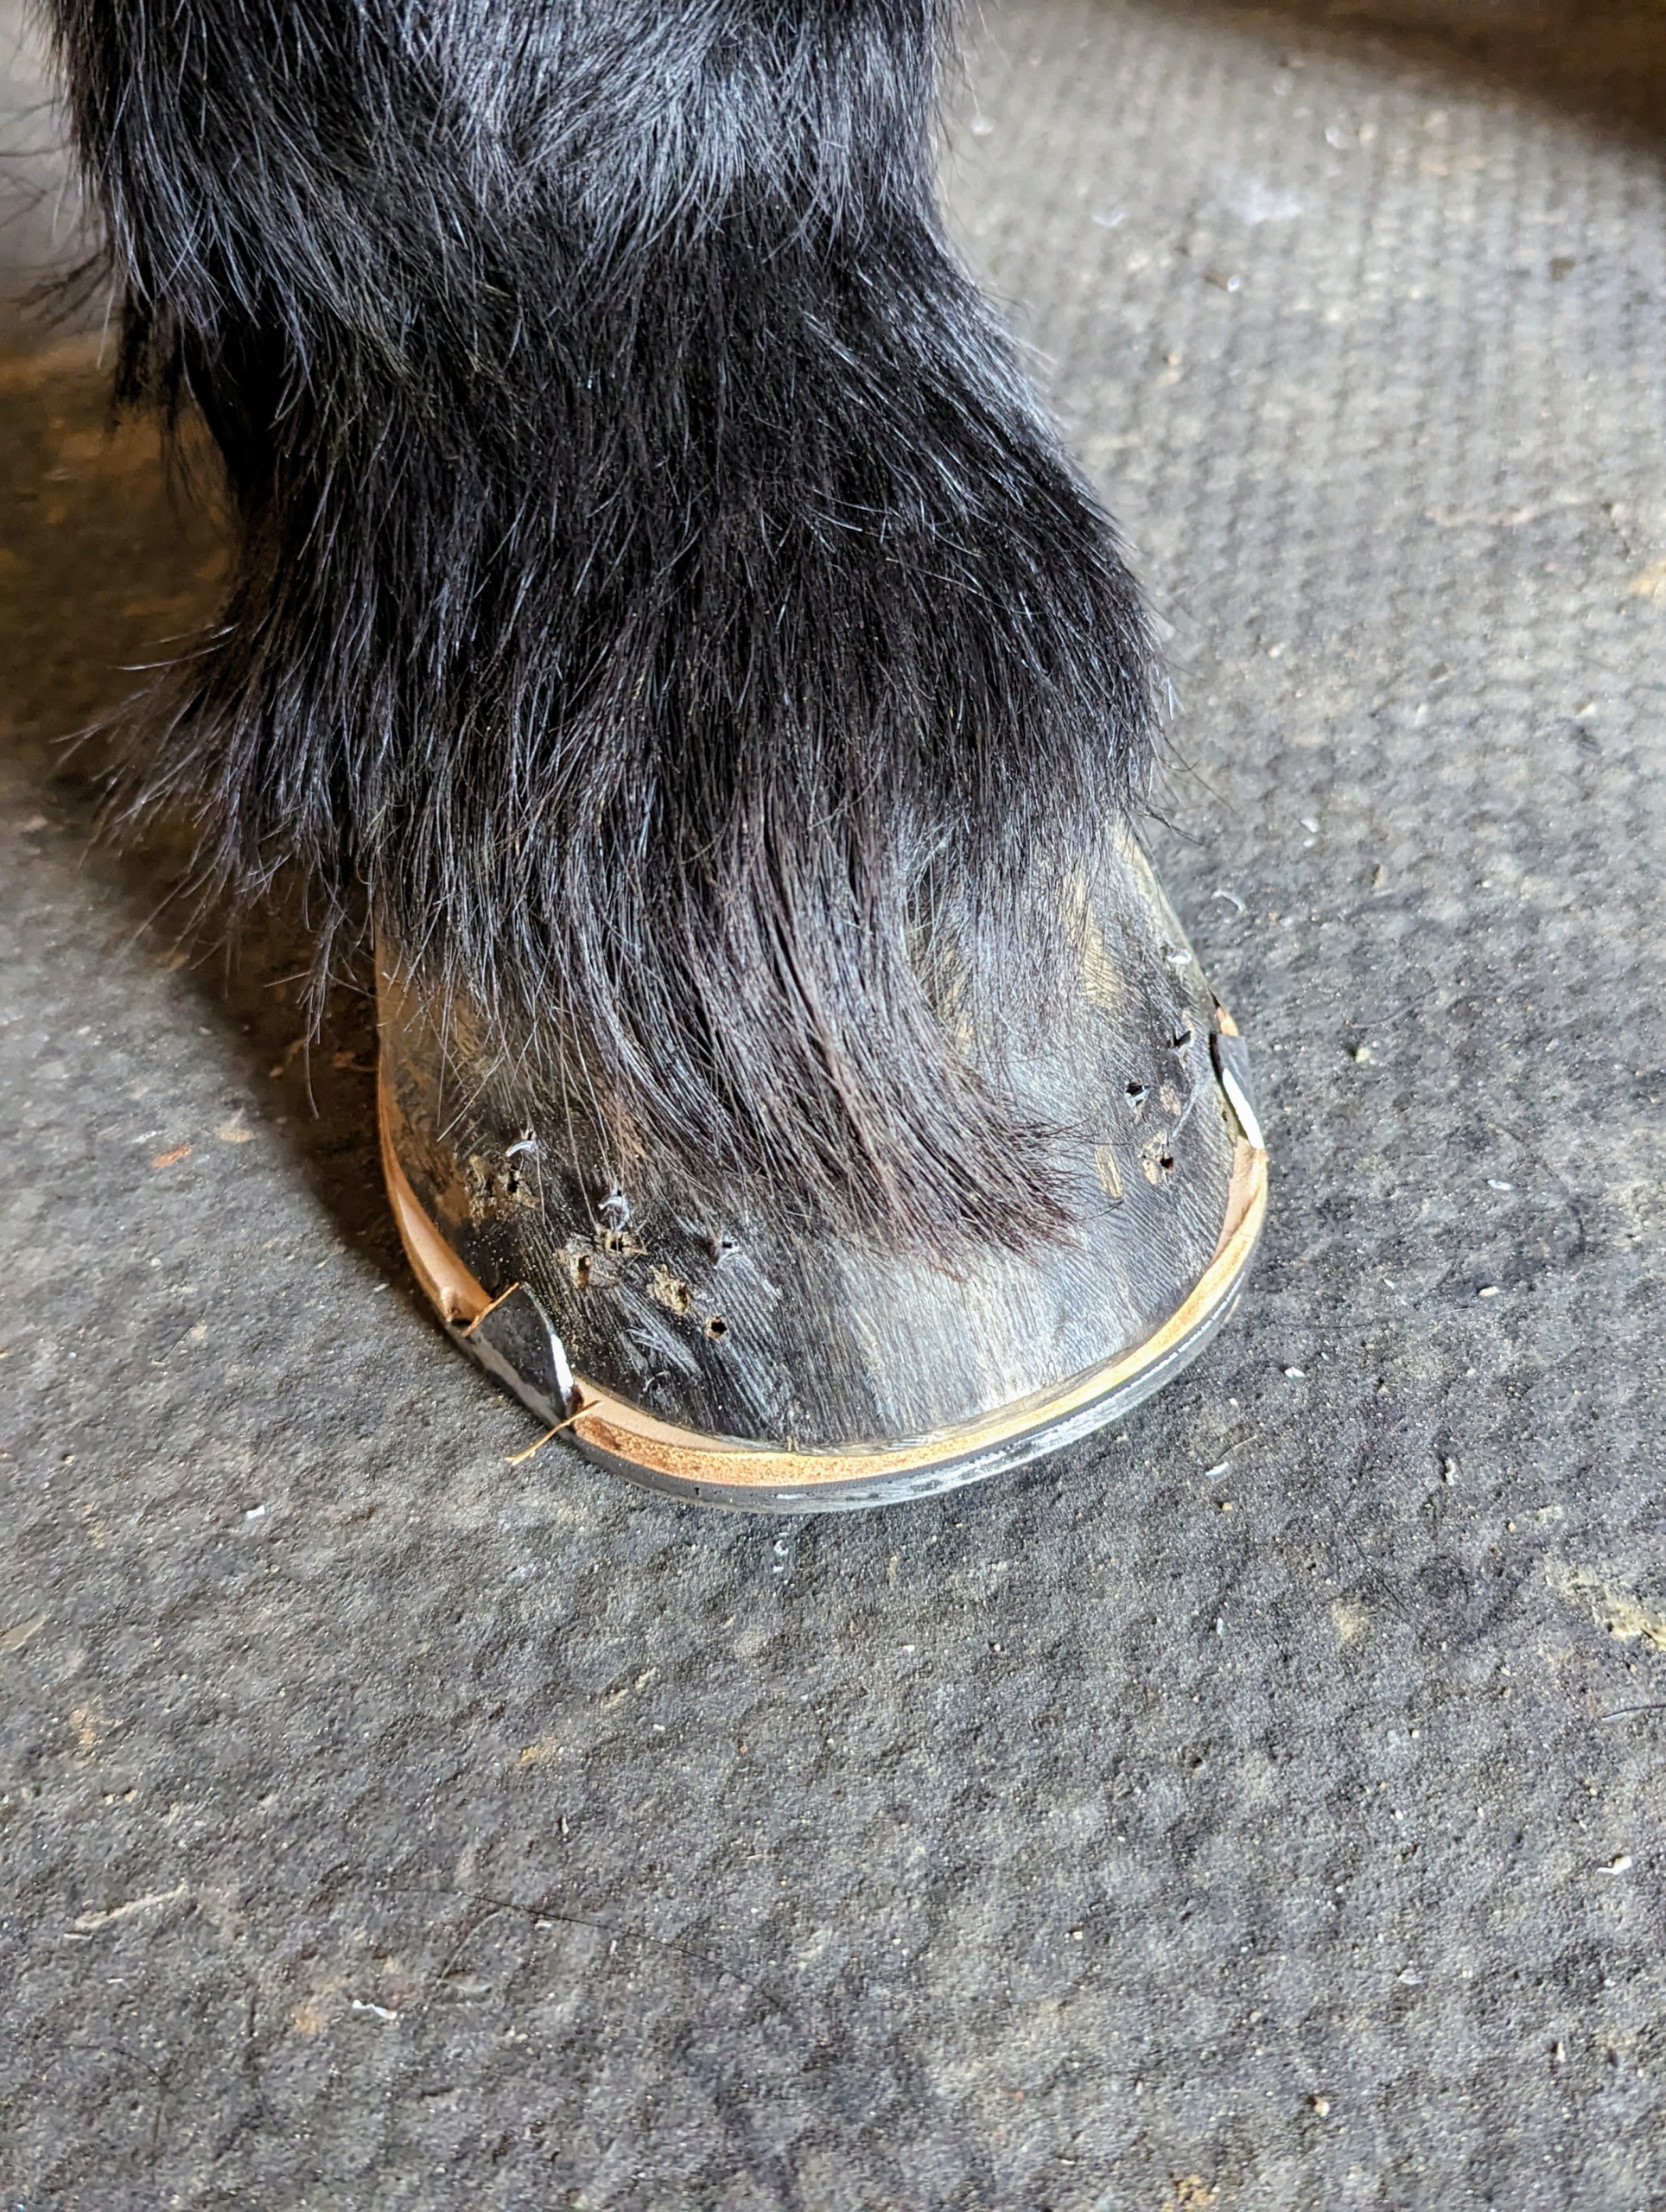
As each shoe is made, it is carefully nailed into the hoof.
I called Casey Kaplan, President and co-owner of The Bedford & New Canaan Magazine. I knew Mike’s visit would make a great story. If you’re in this area, look out for it in an upcoming issue. Here is Mike answering some of Casey’s questions.
This is my loyal steed, Rinze. He is the patriarch of the stable and is well respected in the herd. Rinze is one of four Friesian horses here at Cantitoe Corners. The Friesian originated in Friesland in north Netherlands. It is classified as a light draft horse, and is used for riding and driving.
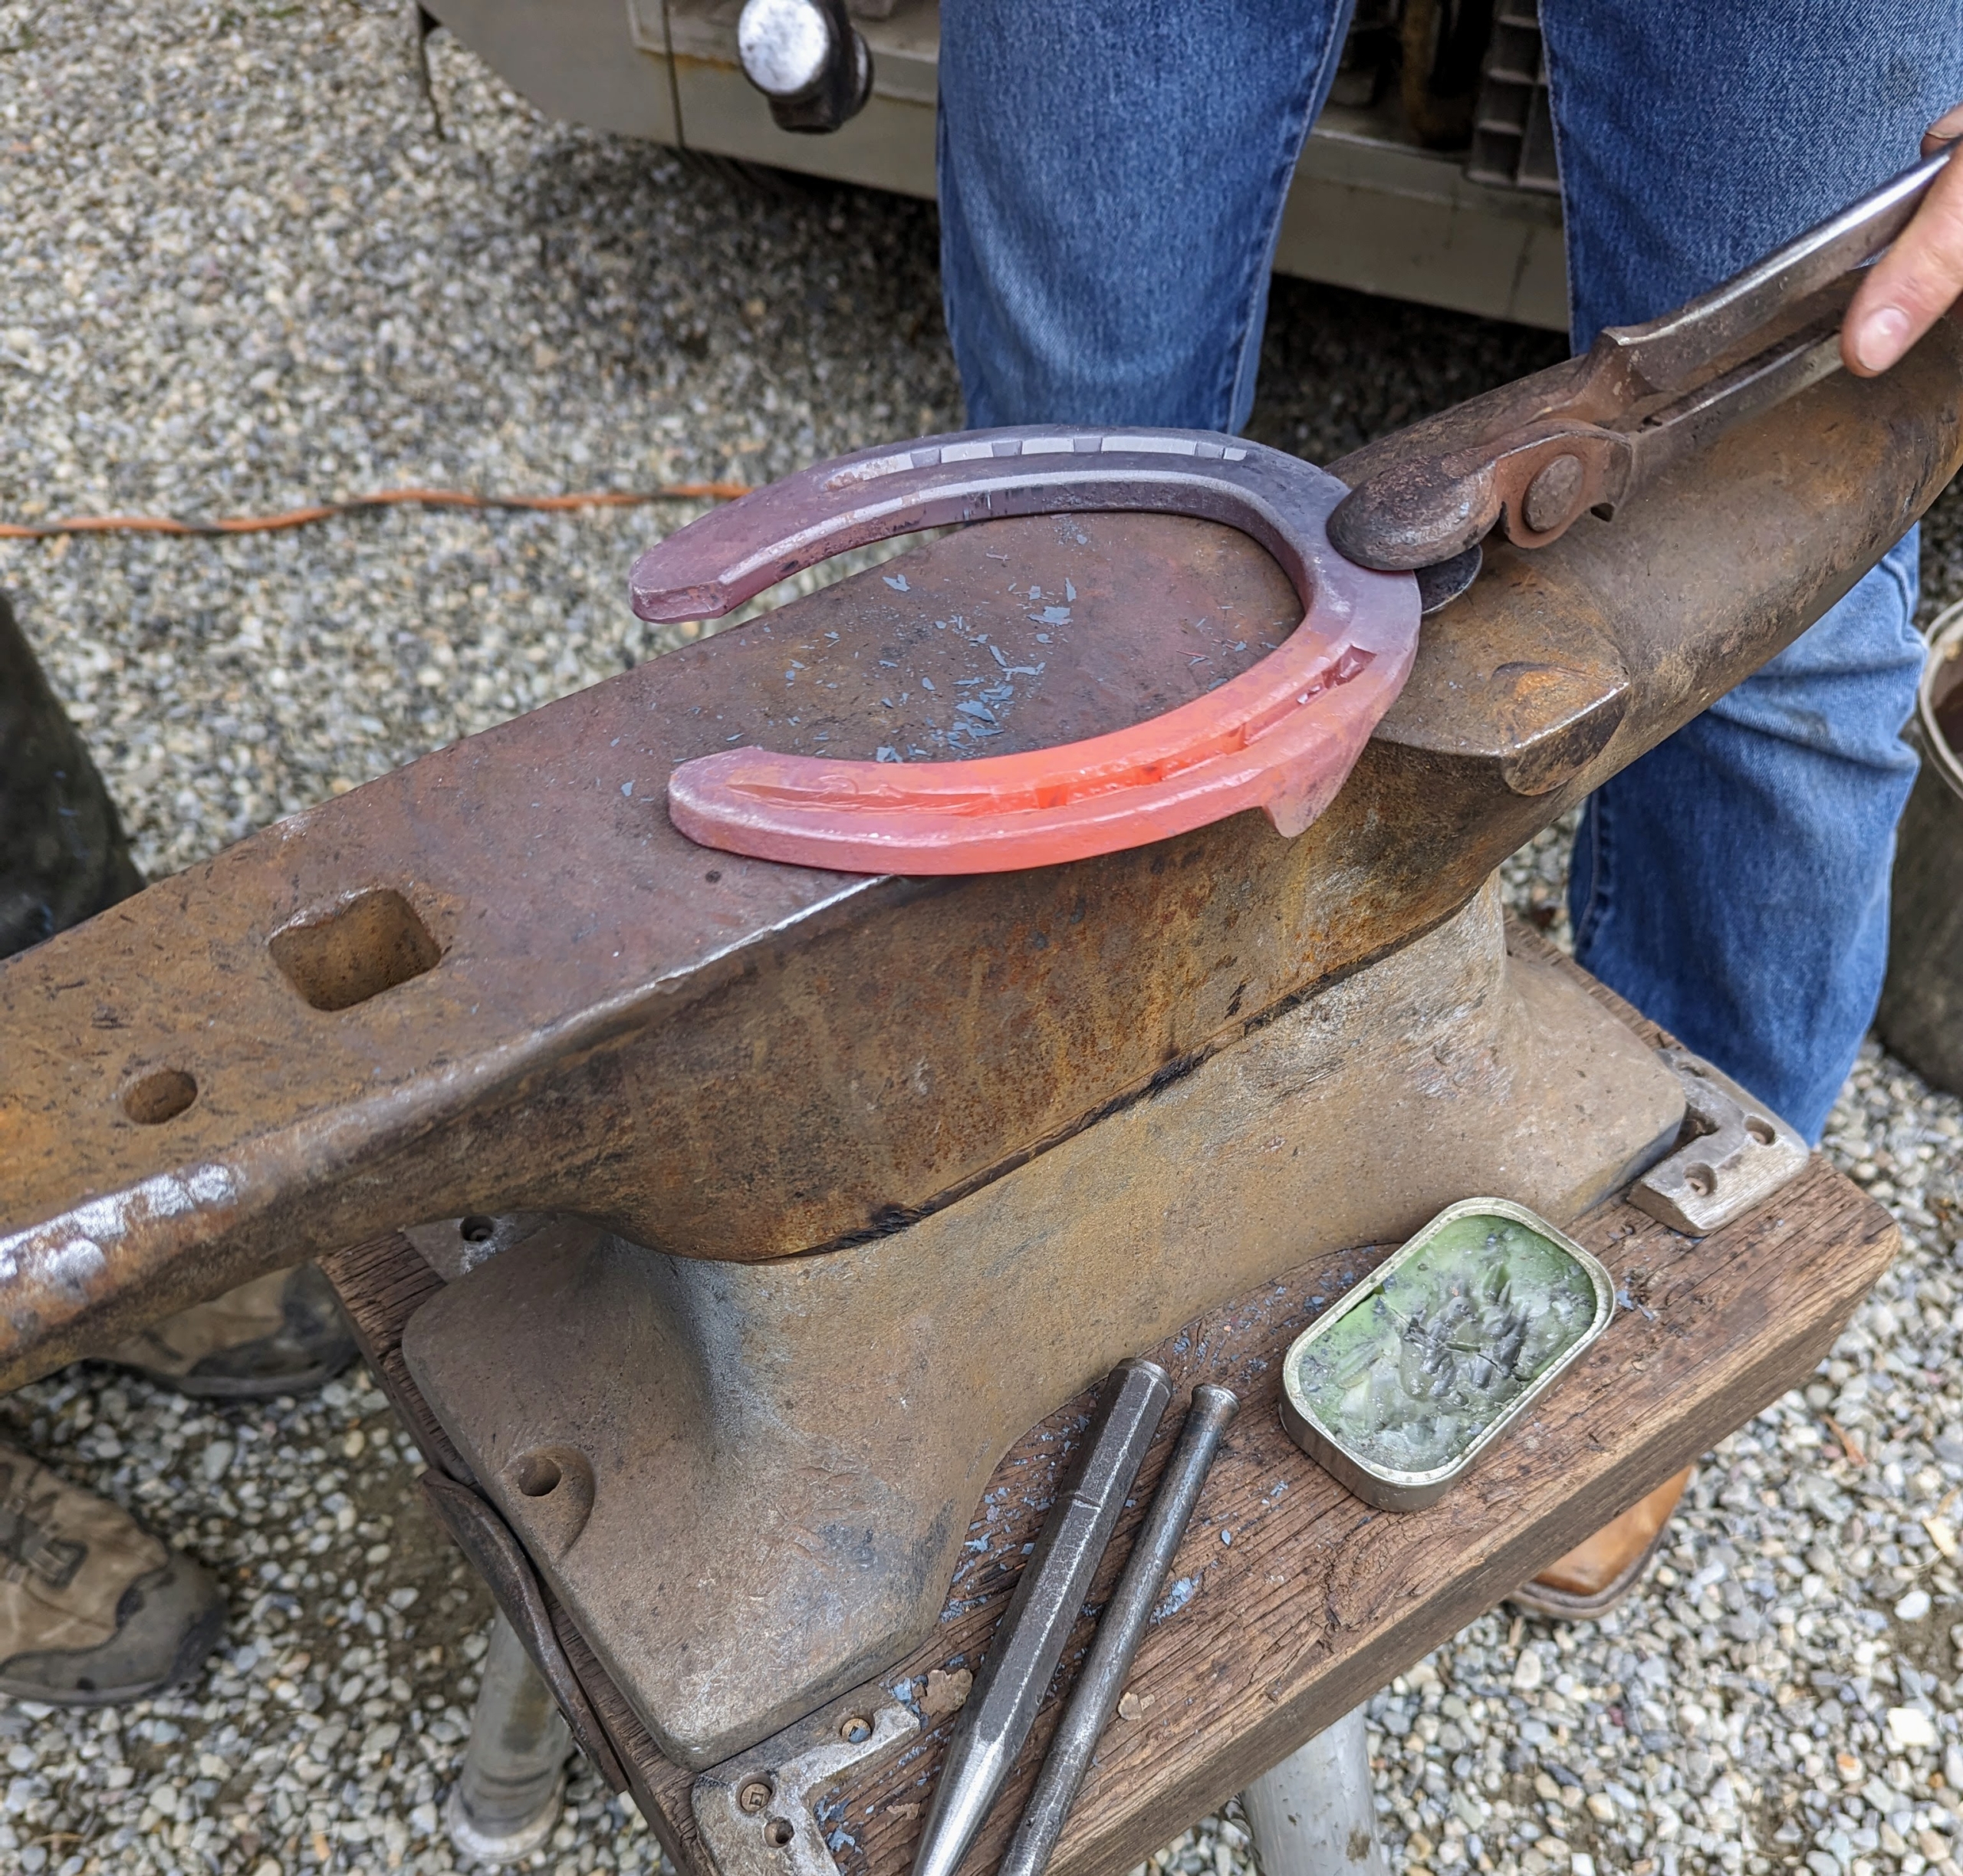
Here is Mike shaping one of Rinze’s new shoes – still red hot from the forge.
Rinze’s shoes include special padding to add extra support and protection for the winter.
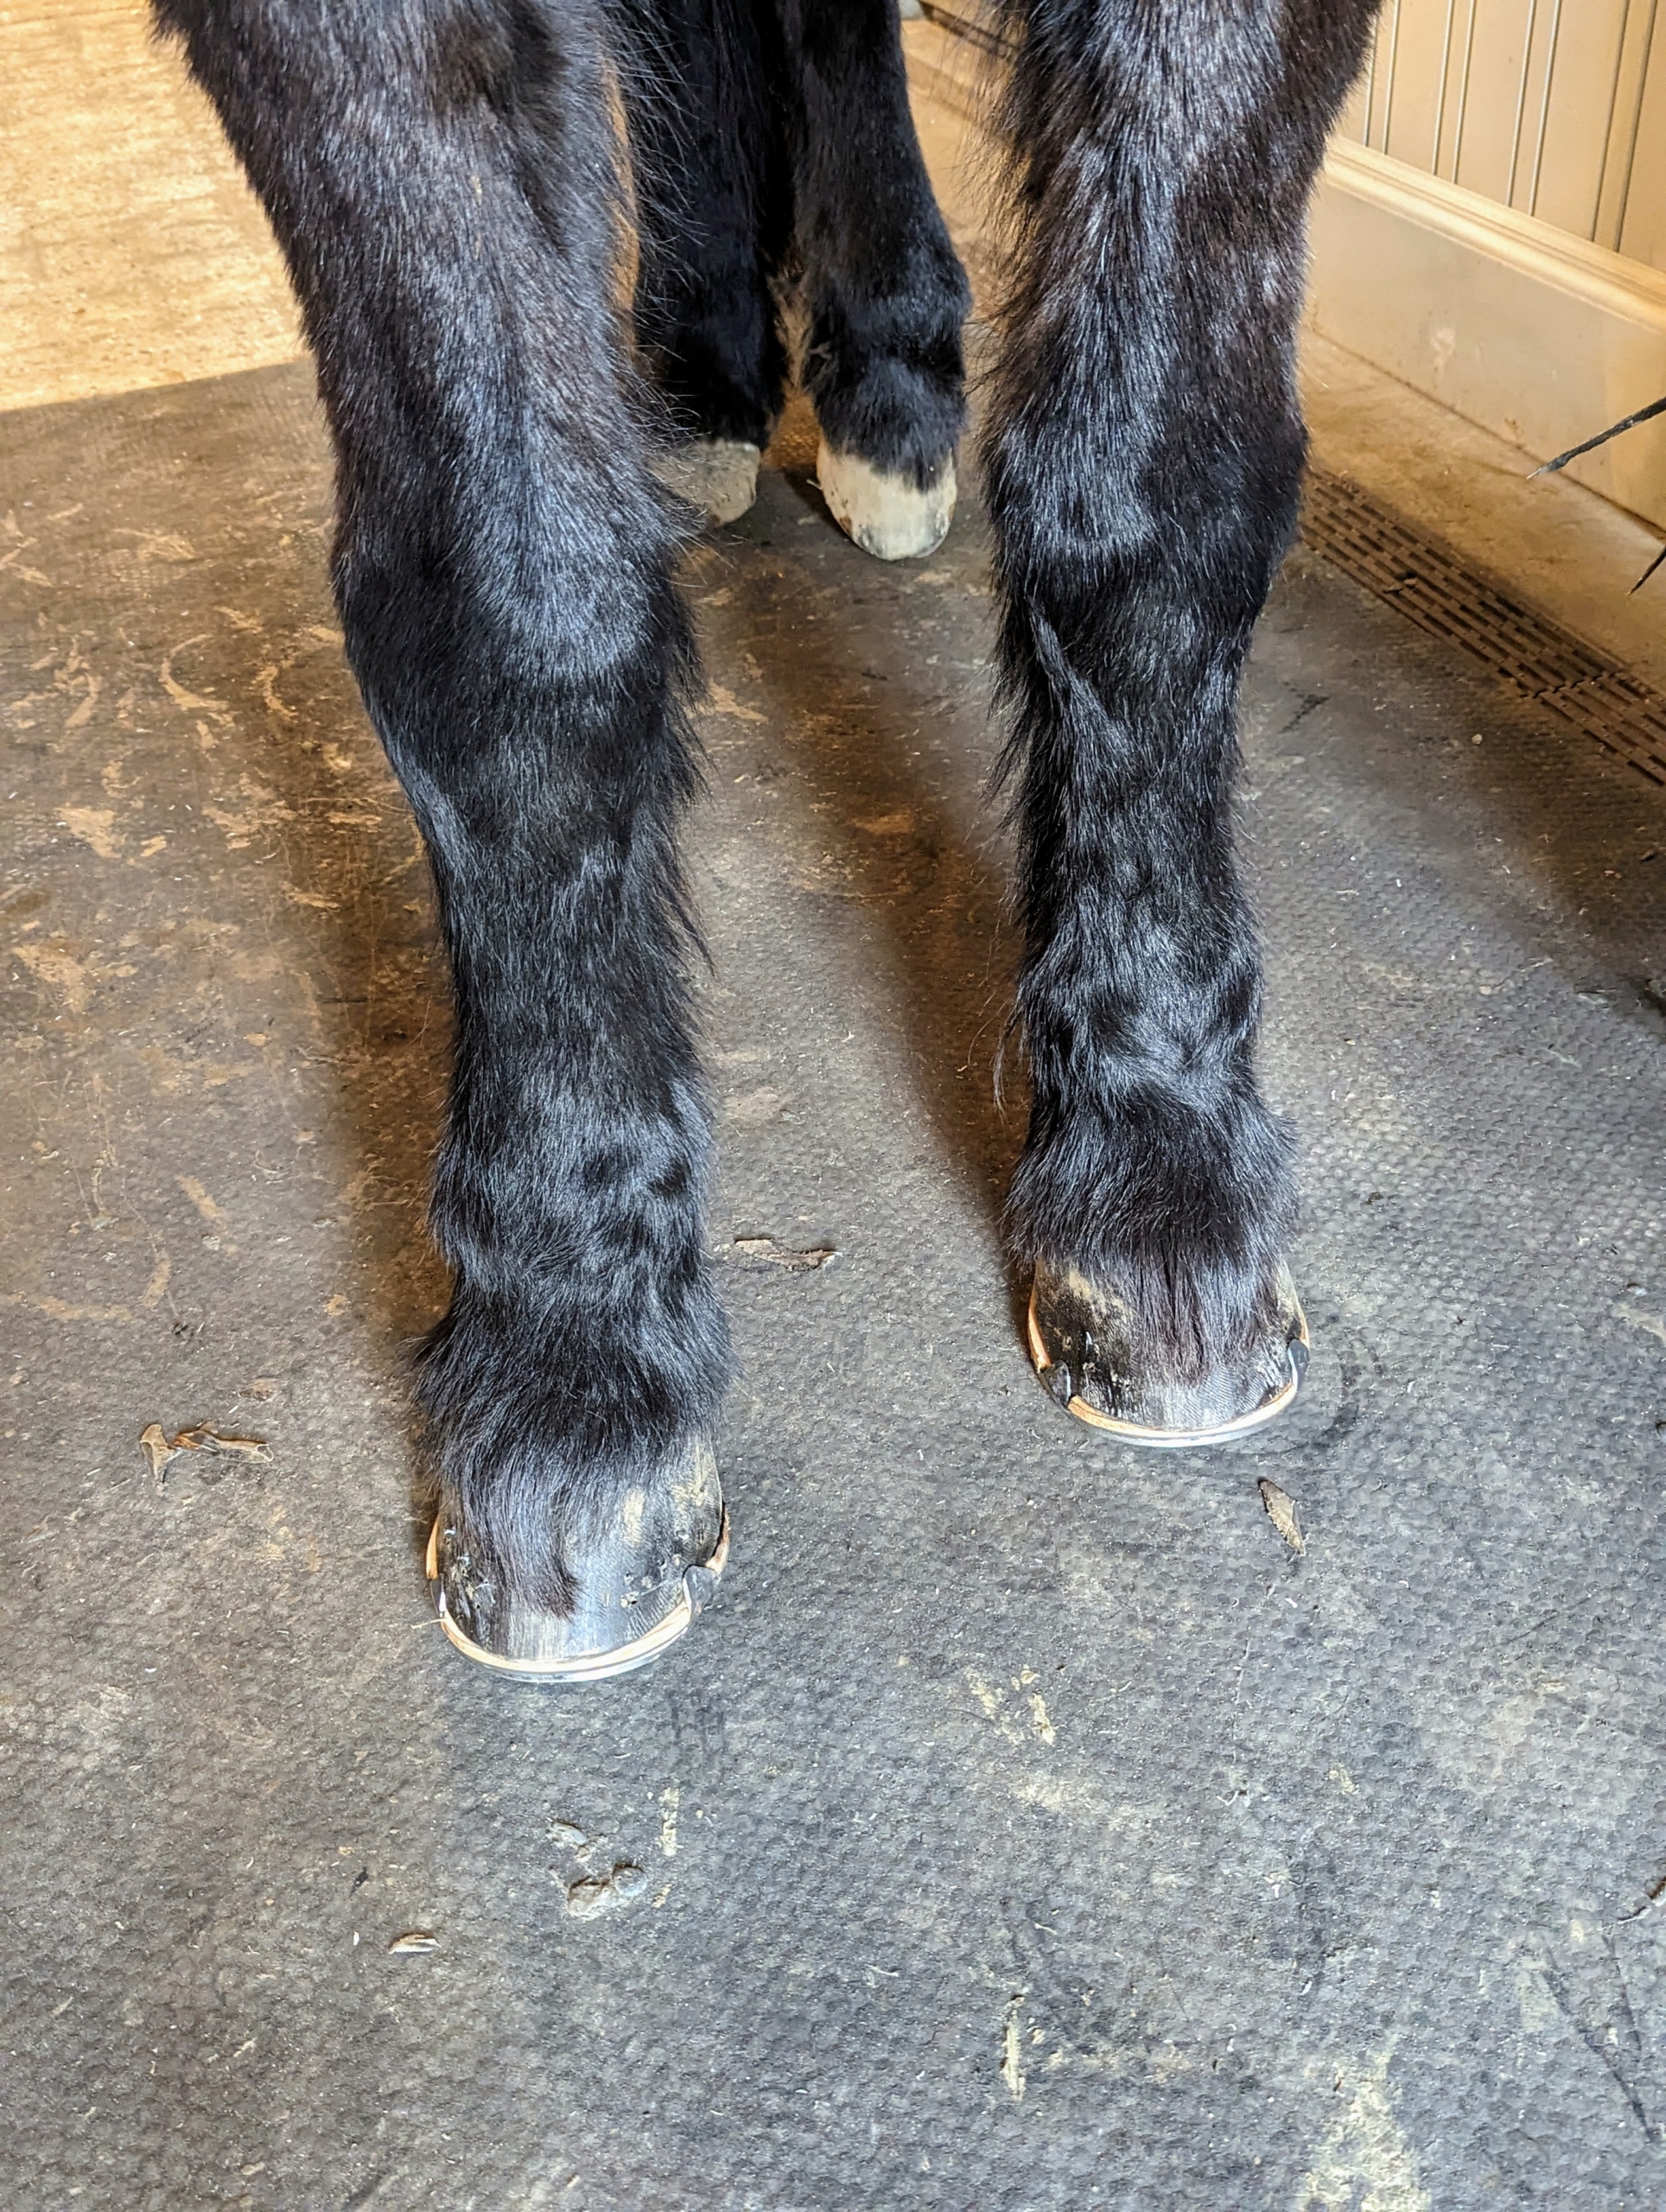
Here is Rinze with his two new front shoes.
Rinze is brought out to see how he likes his new shoes. Mike, Marc, Helen, and the entire group all watch his gait and look for visual cues showing signs of discomfort.
Rinze seems to like them – he is walking around beautifully.
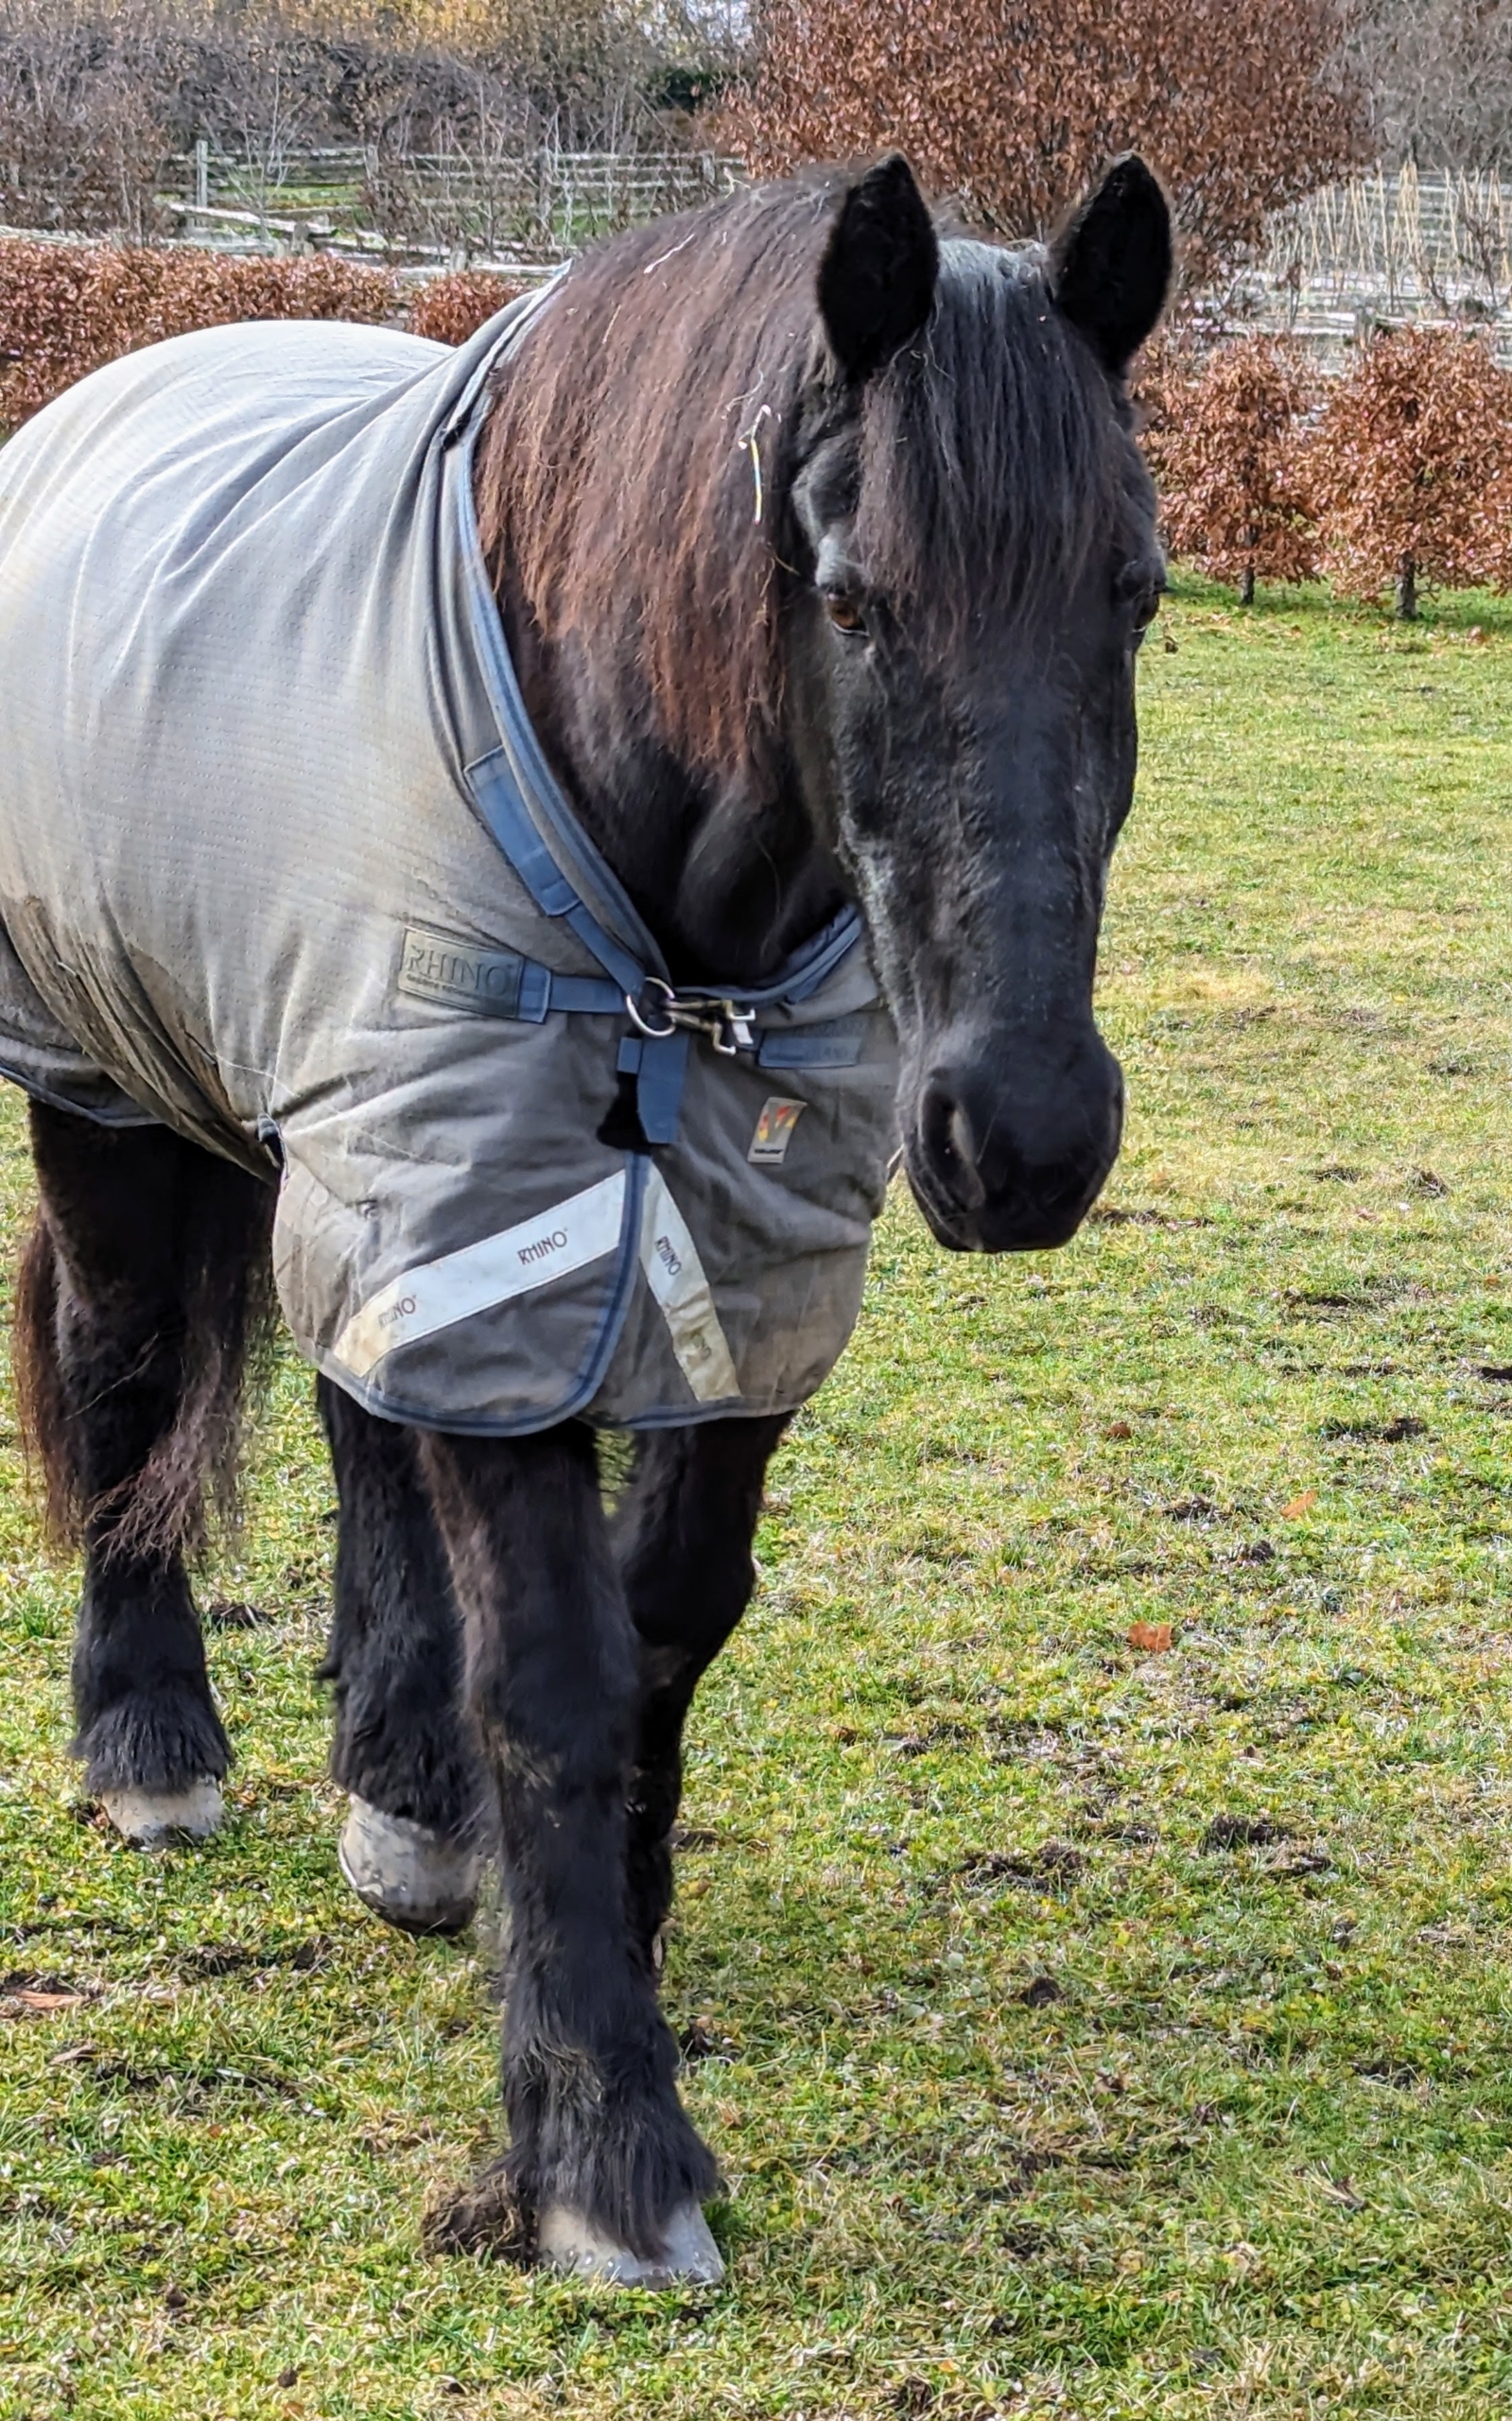
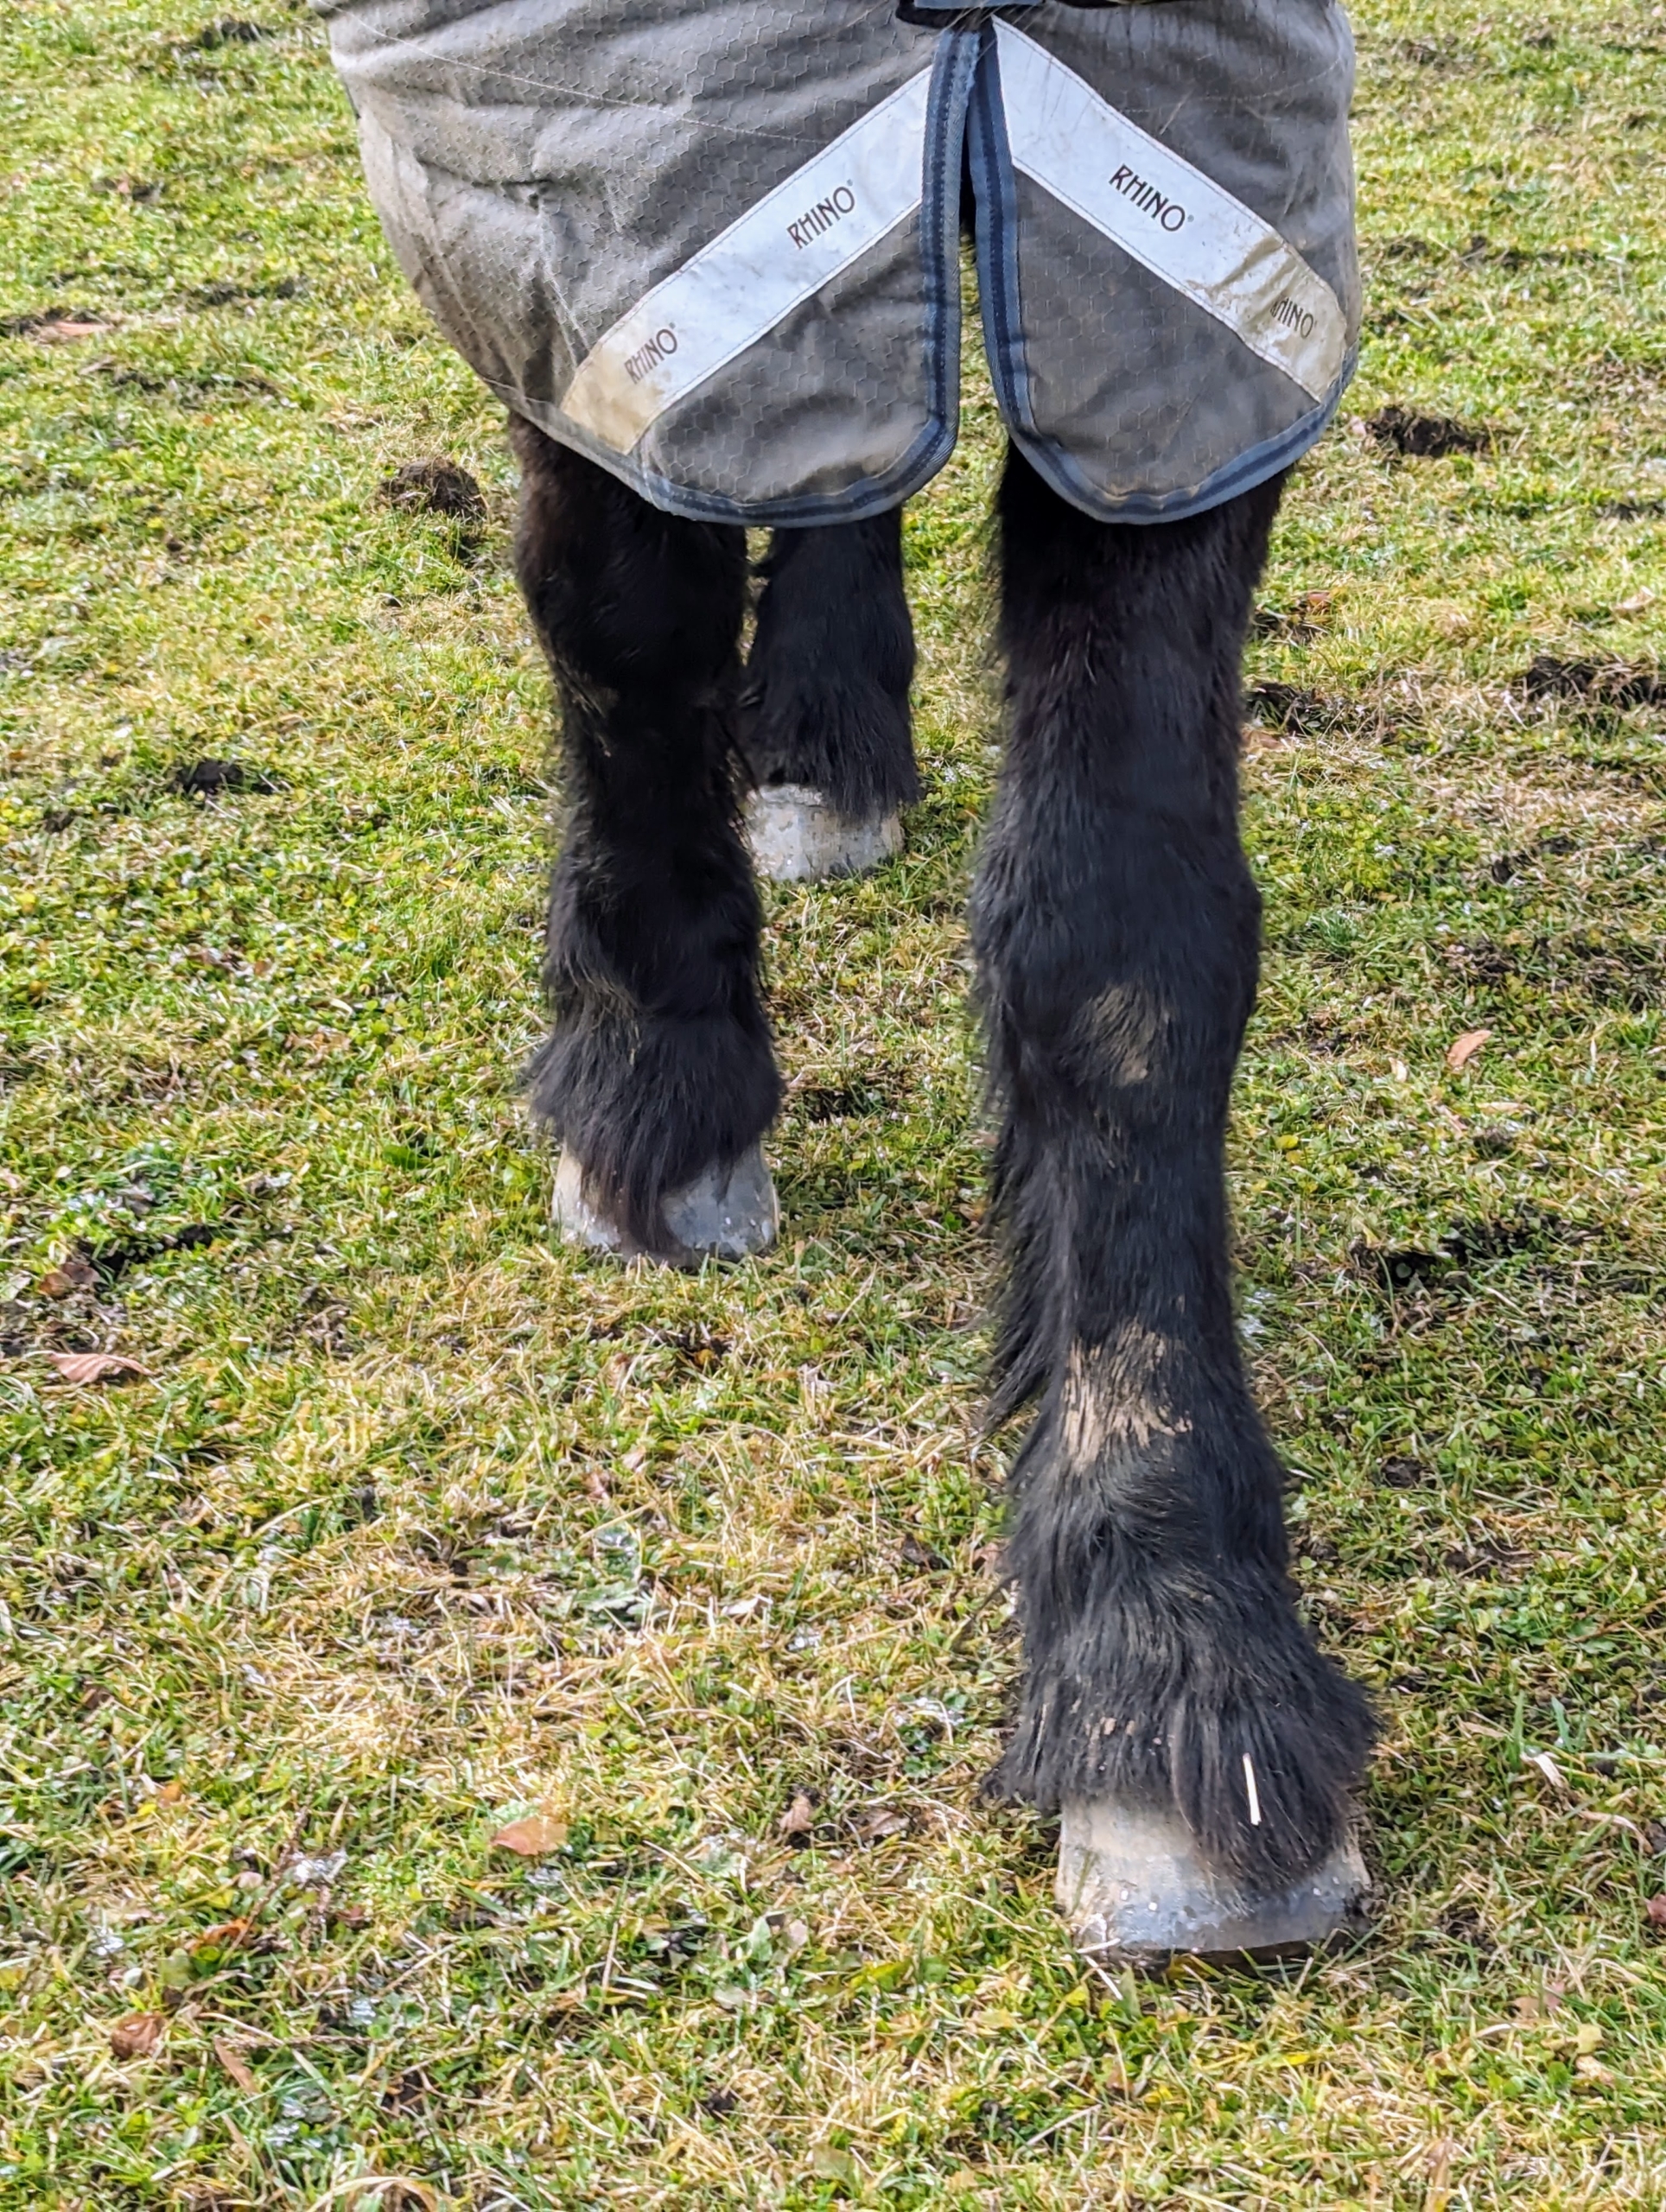
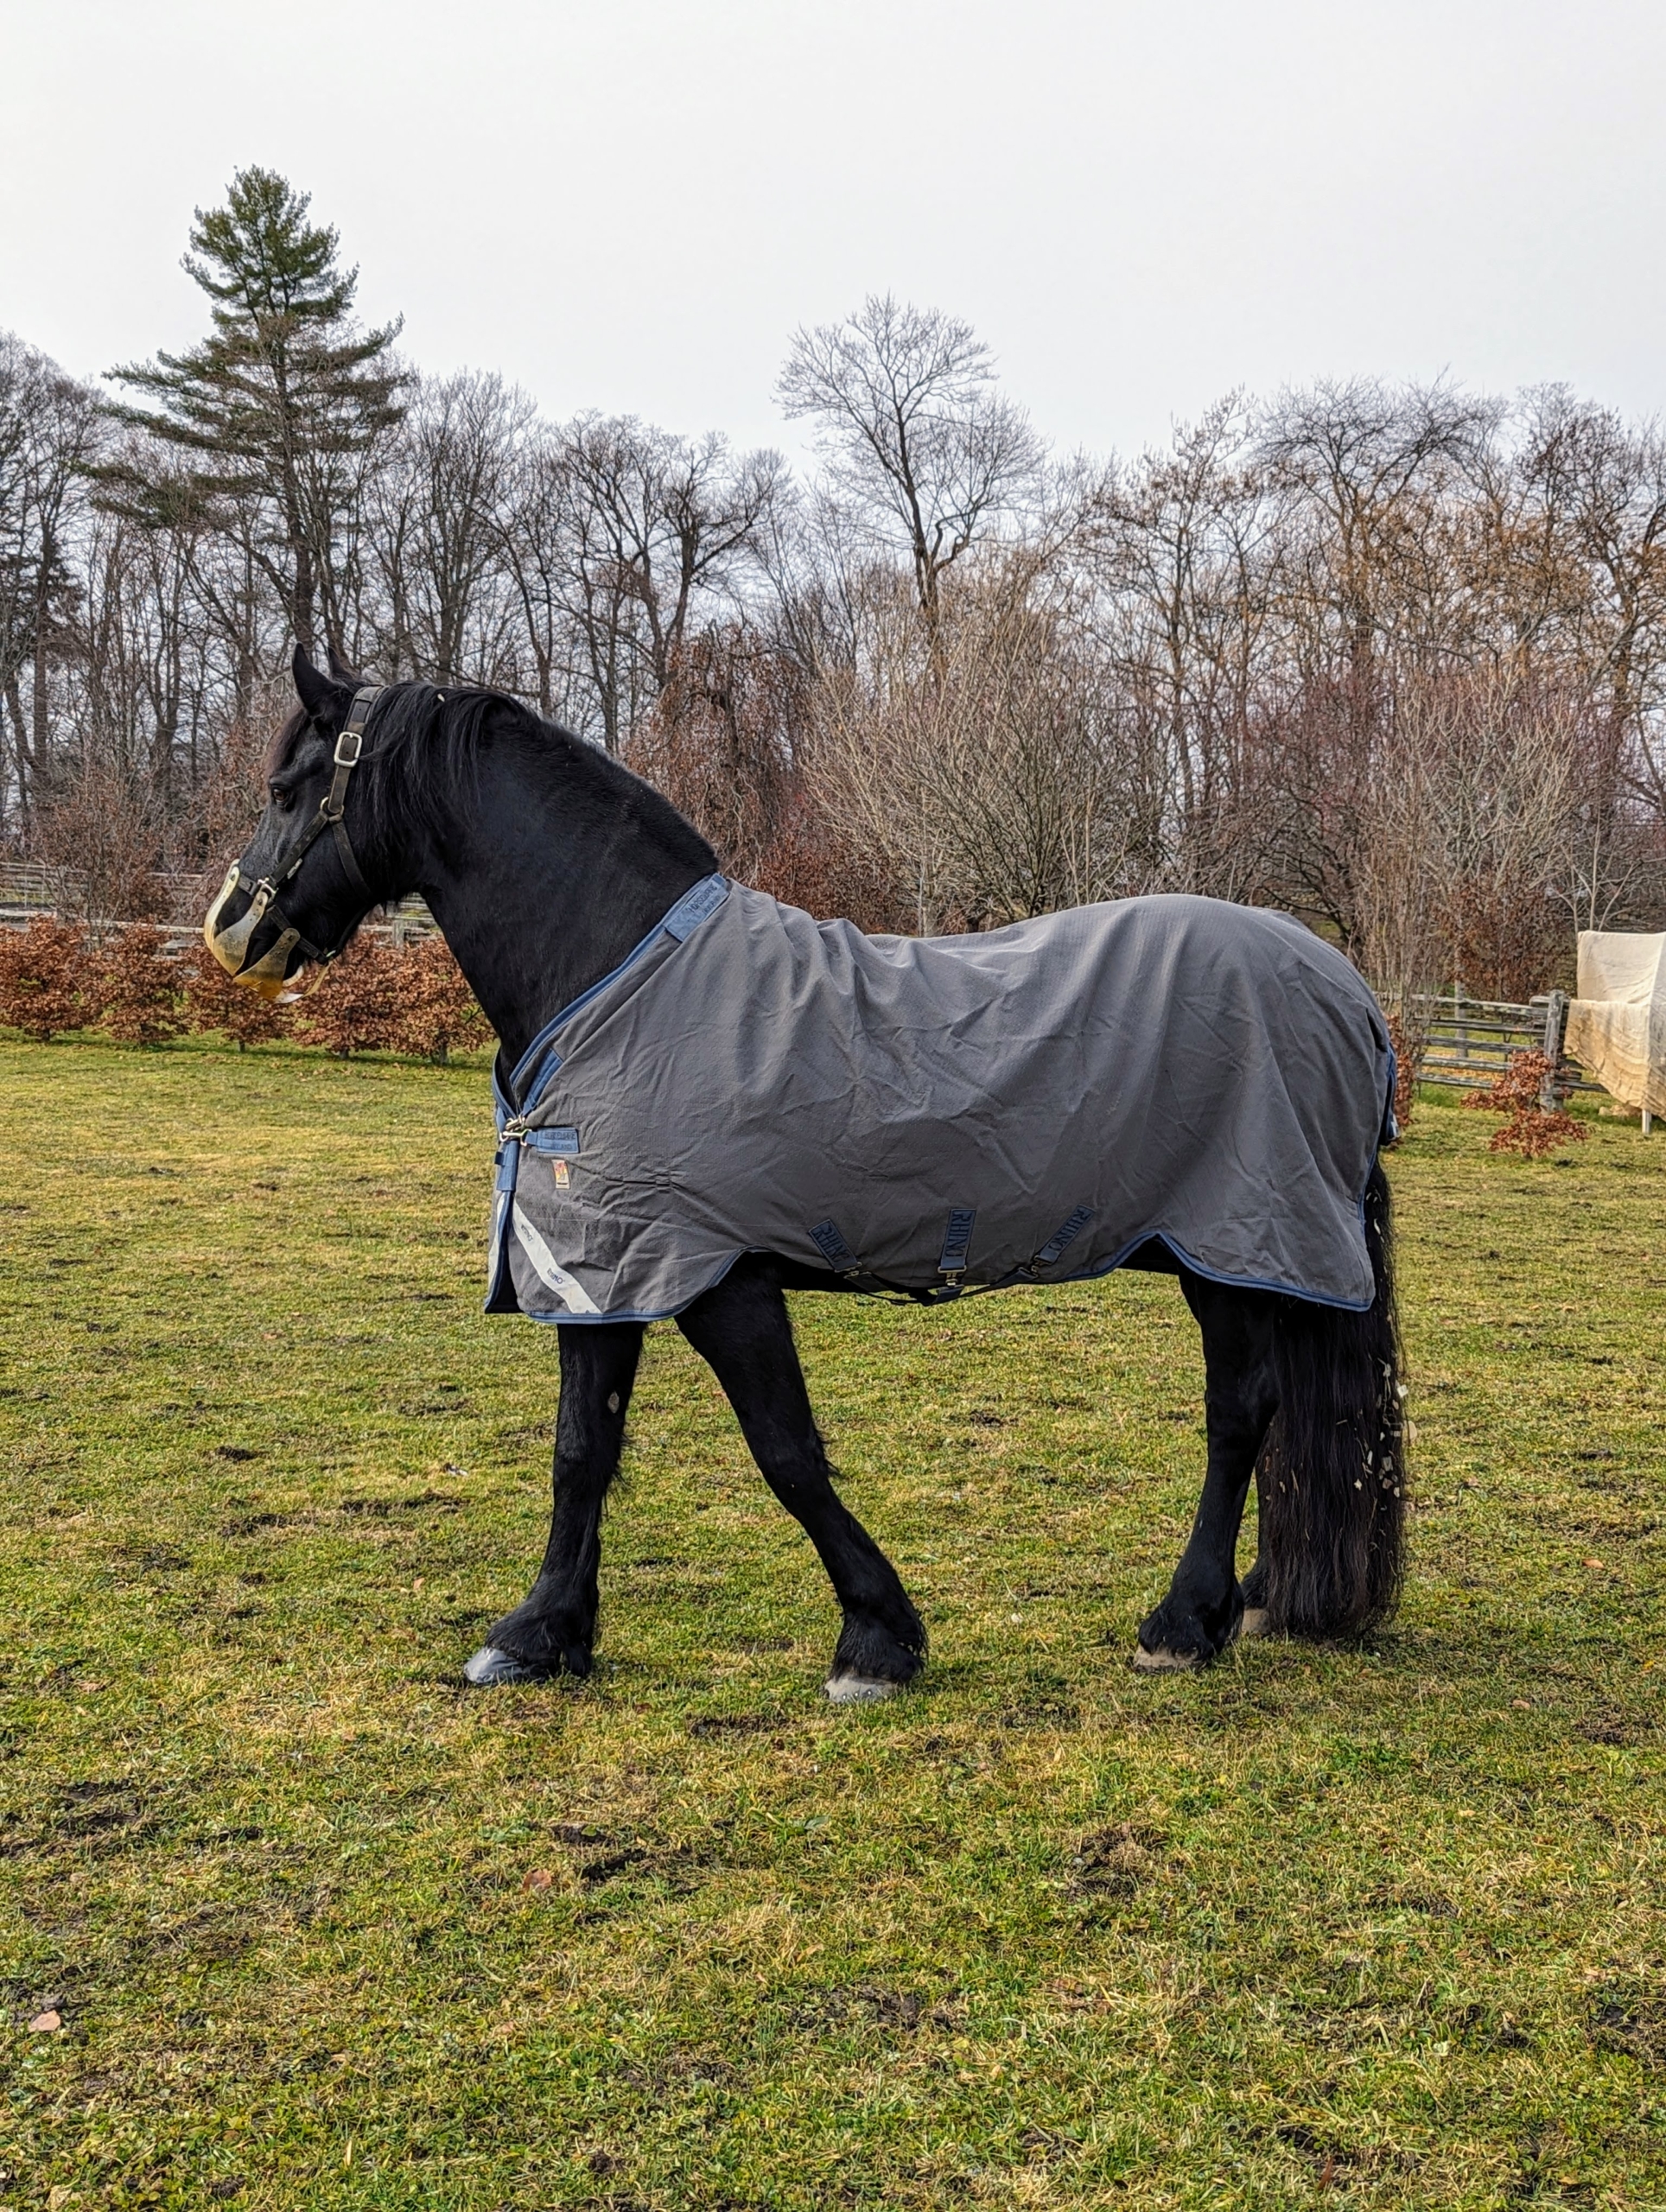
This is Bond out in the pasture with his new shoes. Bond is also a Friesian. Friesians have long arched necks, well-chiseled short-ears, and Spanish-type heads. They also have sloping shoulders and compact muscular bodies. My pastures are very lush and green with grass, so Bond wears a muzzle to limit his grazing.
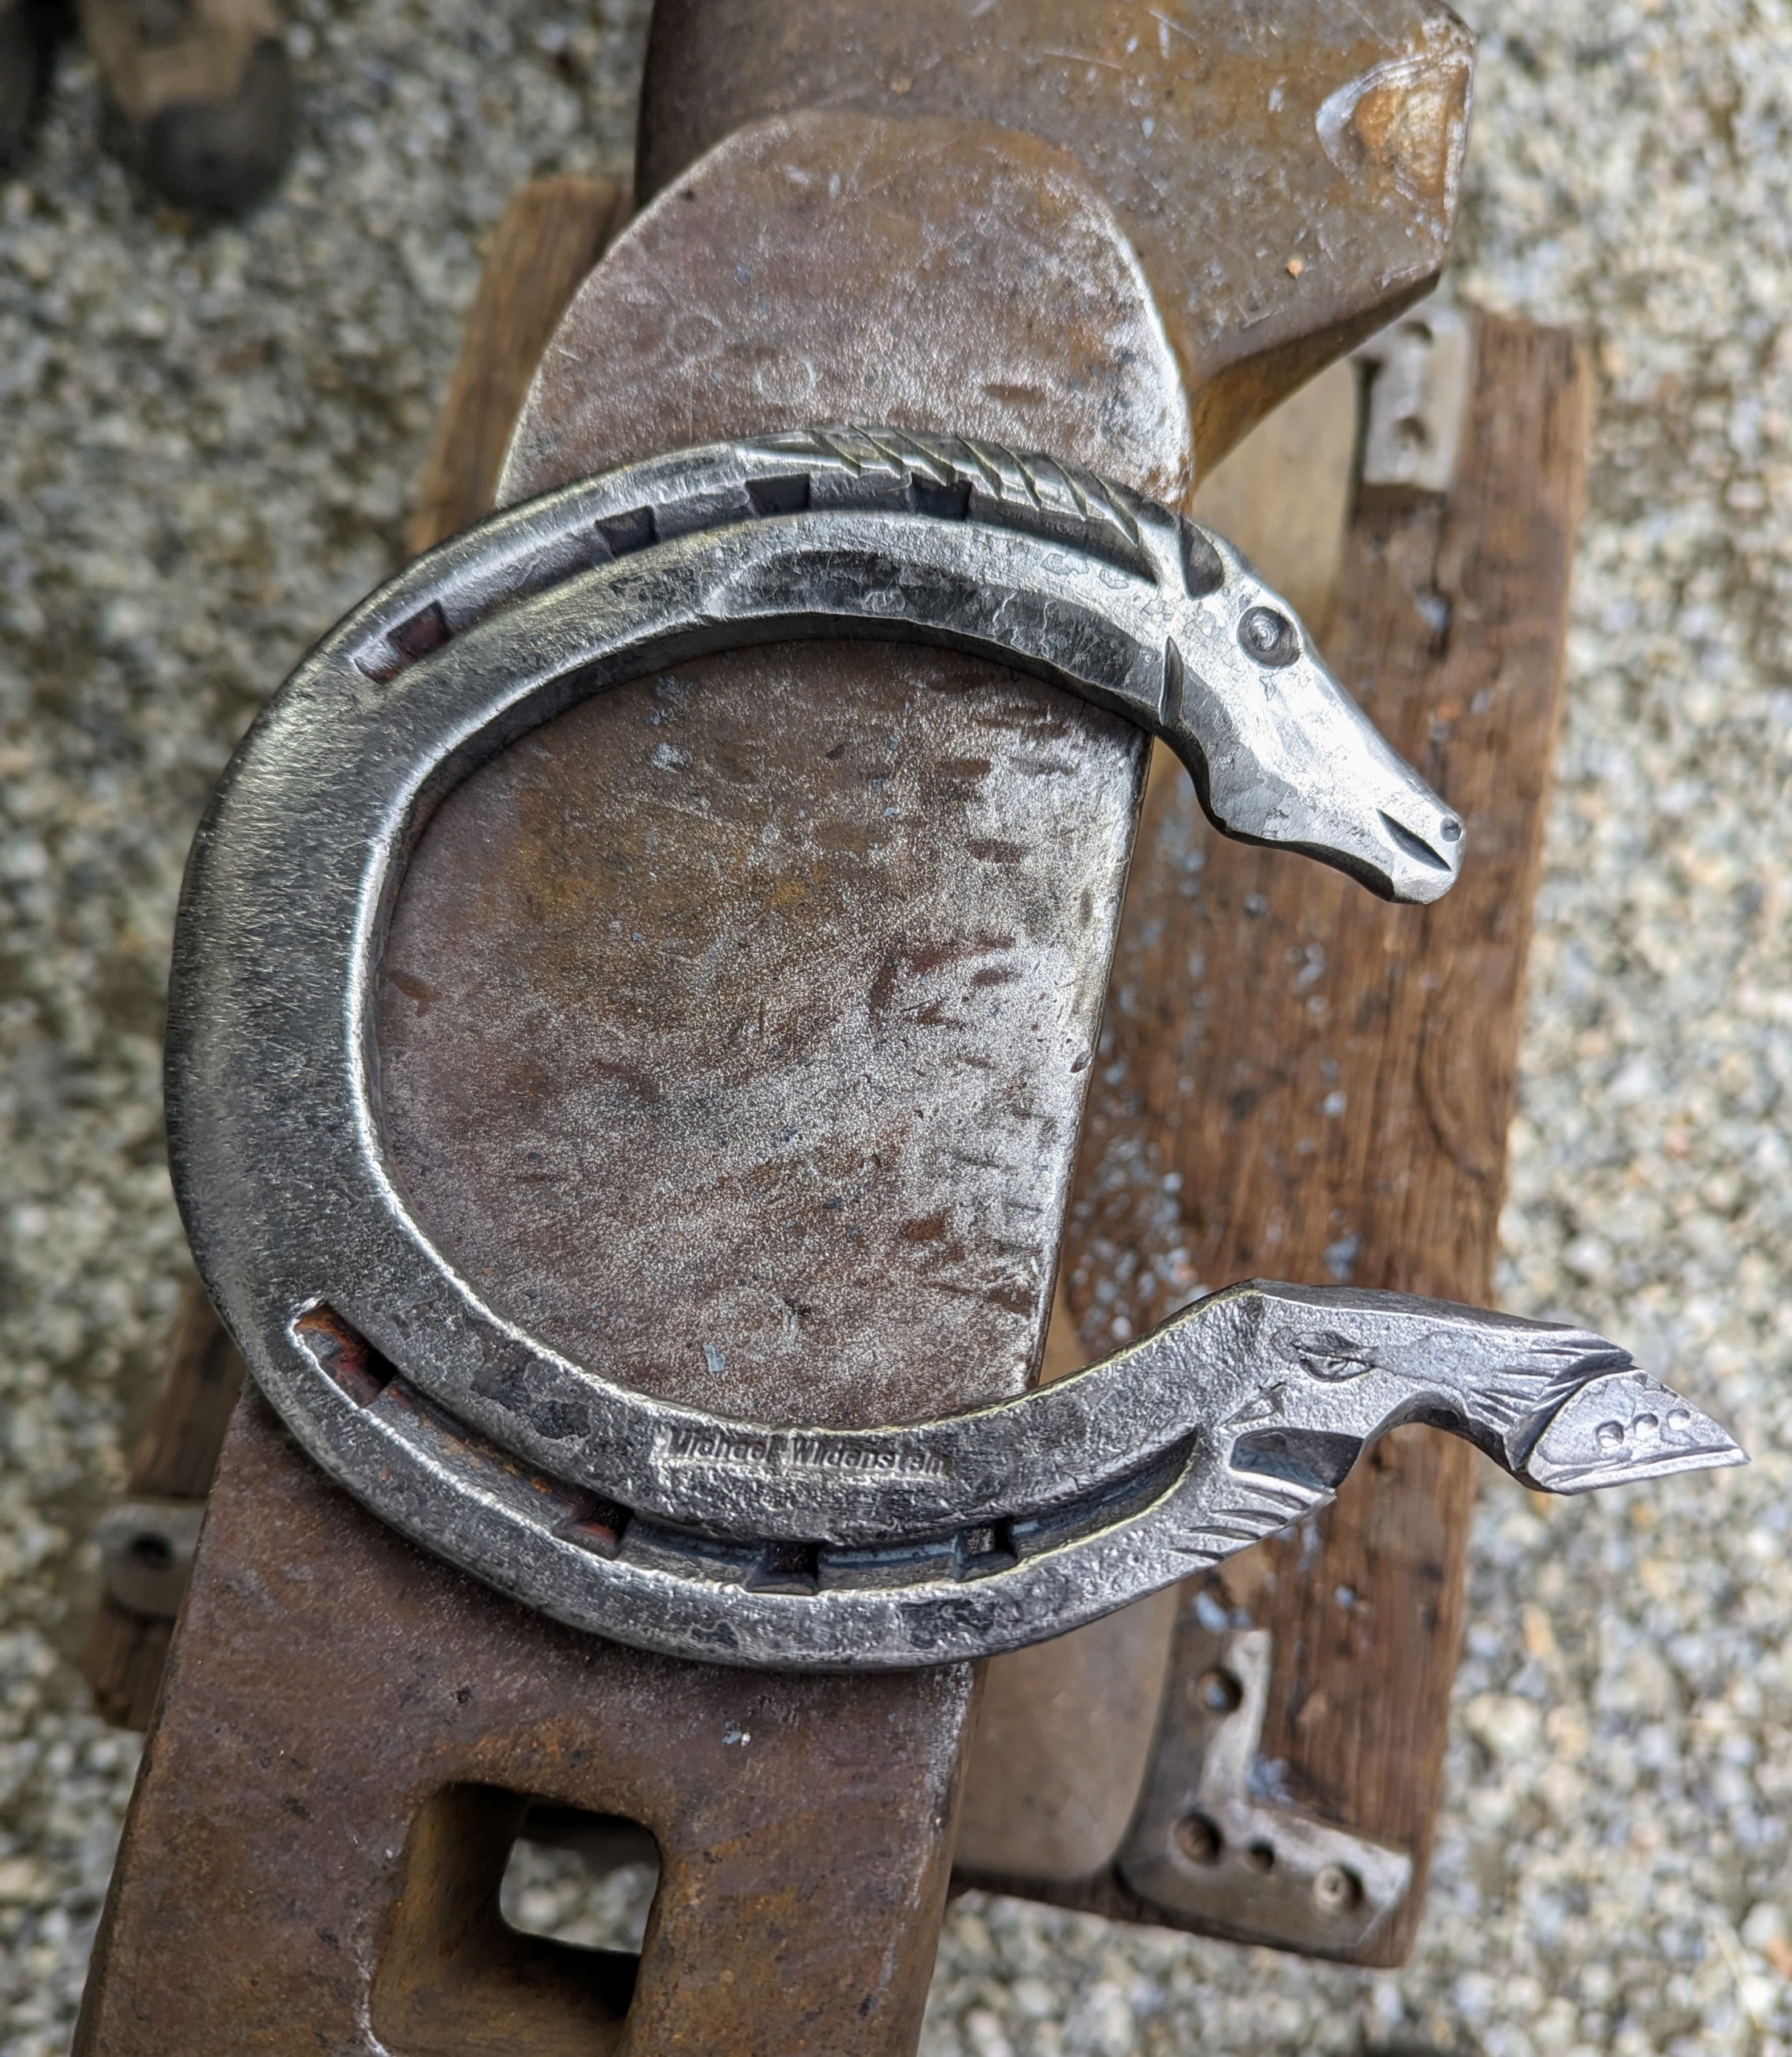
Before leaving, Mike made me this horseshoe as a keepsake. He is a farrier and an artist.
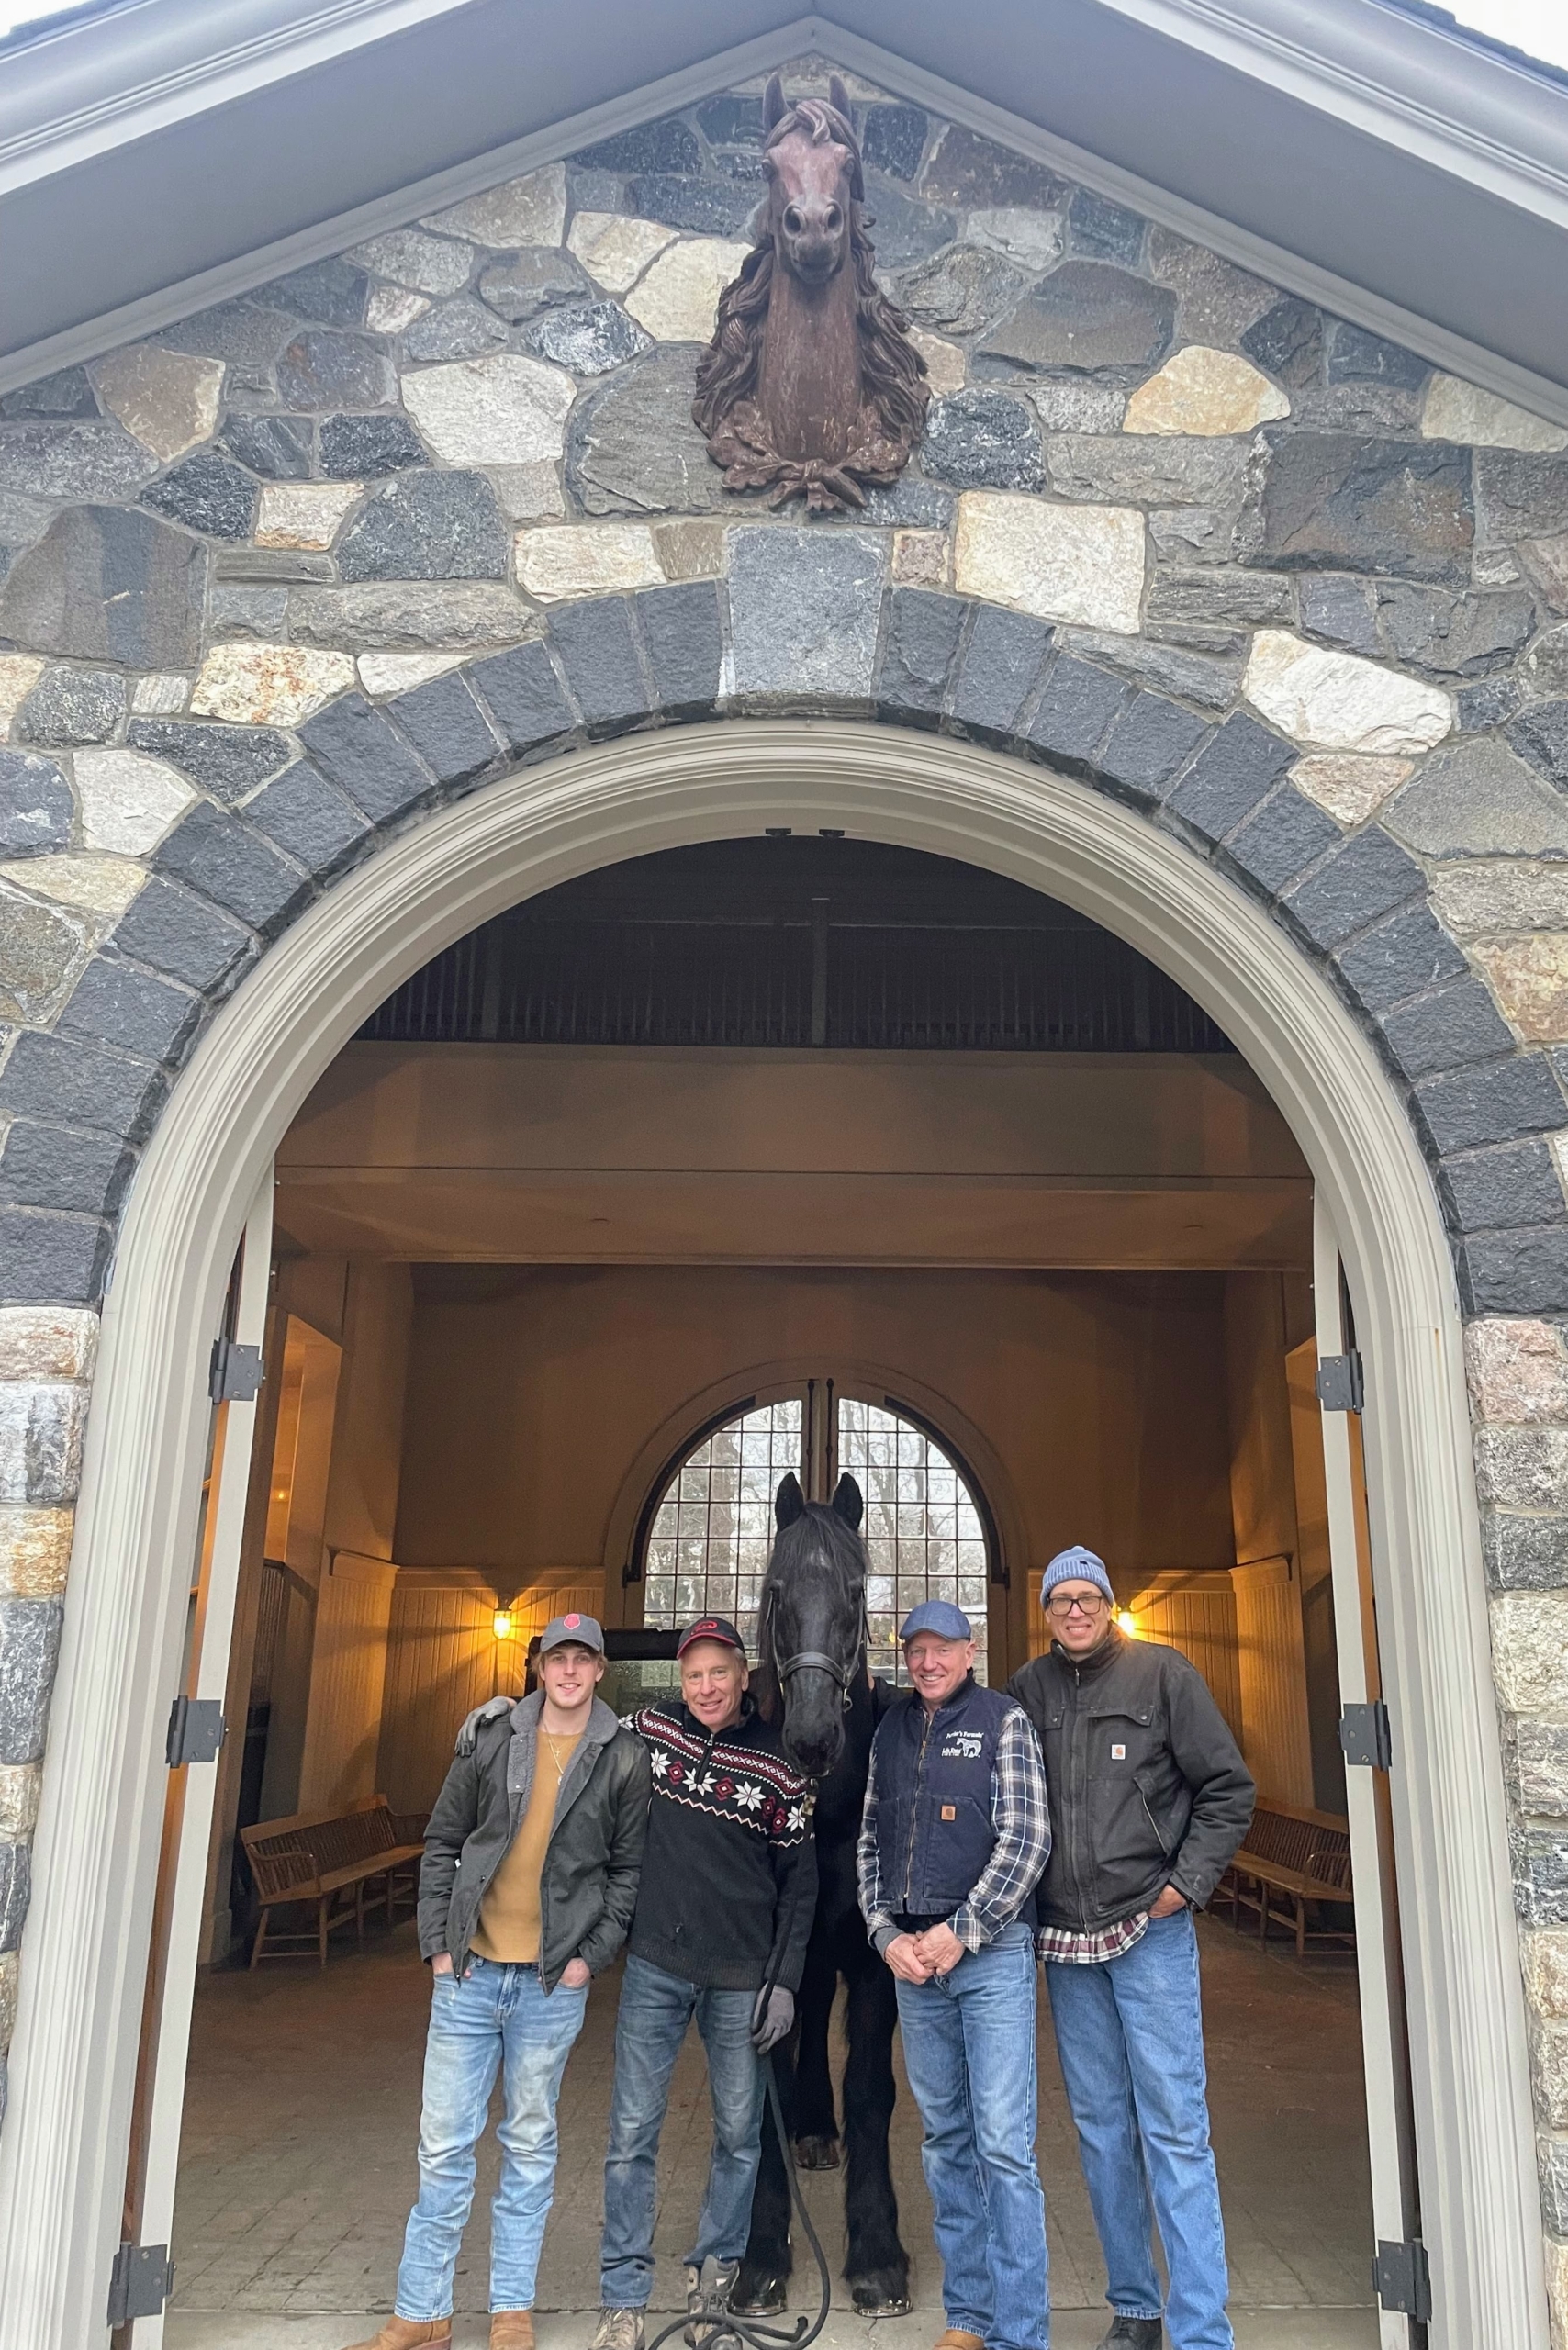
This is a snapshot of Rinze with Mike, Marc, Alan, and apprentice Will Lash. Thank you so much for coming, Mike. And if you have a horse and want to know more about Mike Wildenstein, please look him up online and read his very interesting articles. Mike offers his services as a referral or consulting farrier, working in a hands-on capacity with farriers and veterinarians. It is amazing to listen to him and learn from him.
There's a lot of activity going on in my stable - it's time to trim the donkeys' hooves.
Every six to eight weeks, my farrier Marc Hill comes by the farm to check the donkeys' hooves and give them a good trim. Compared to the horse, a donkey's hooves are smaller, more upright, and more resistant, but like all equines, their hooves are constantly growing. Hooves support the entire weight of an animal's body, so if left unmaintained they can split or get too long causing uneven strides and soreness. Marc is an expert in equine hoof care; it doesn't take long for him to get all five of my Sicilian donkeys done.
Here are some photos, enjoy.
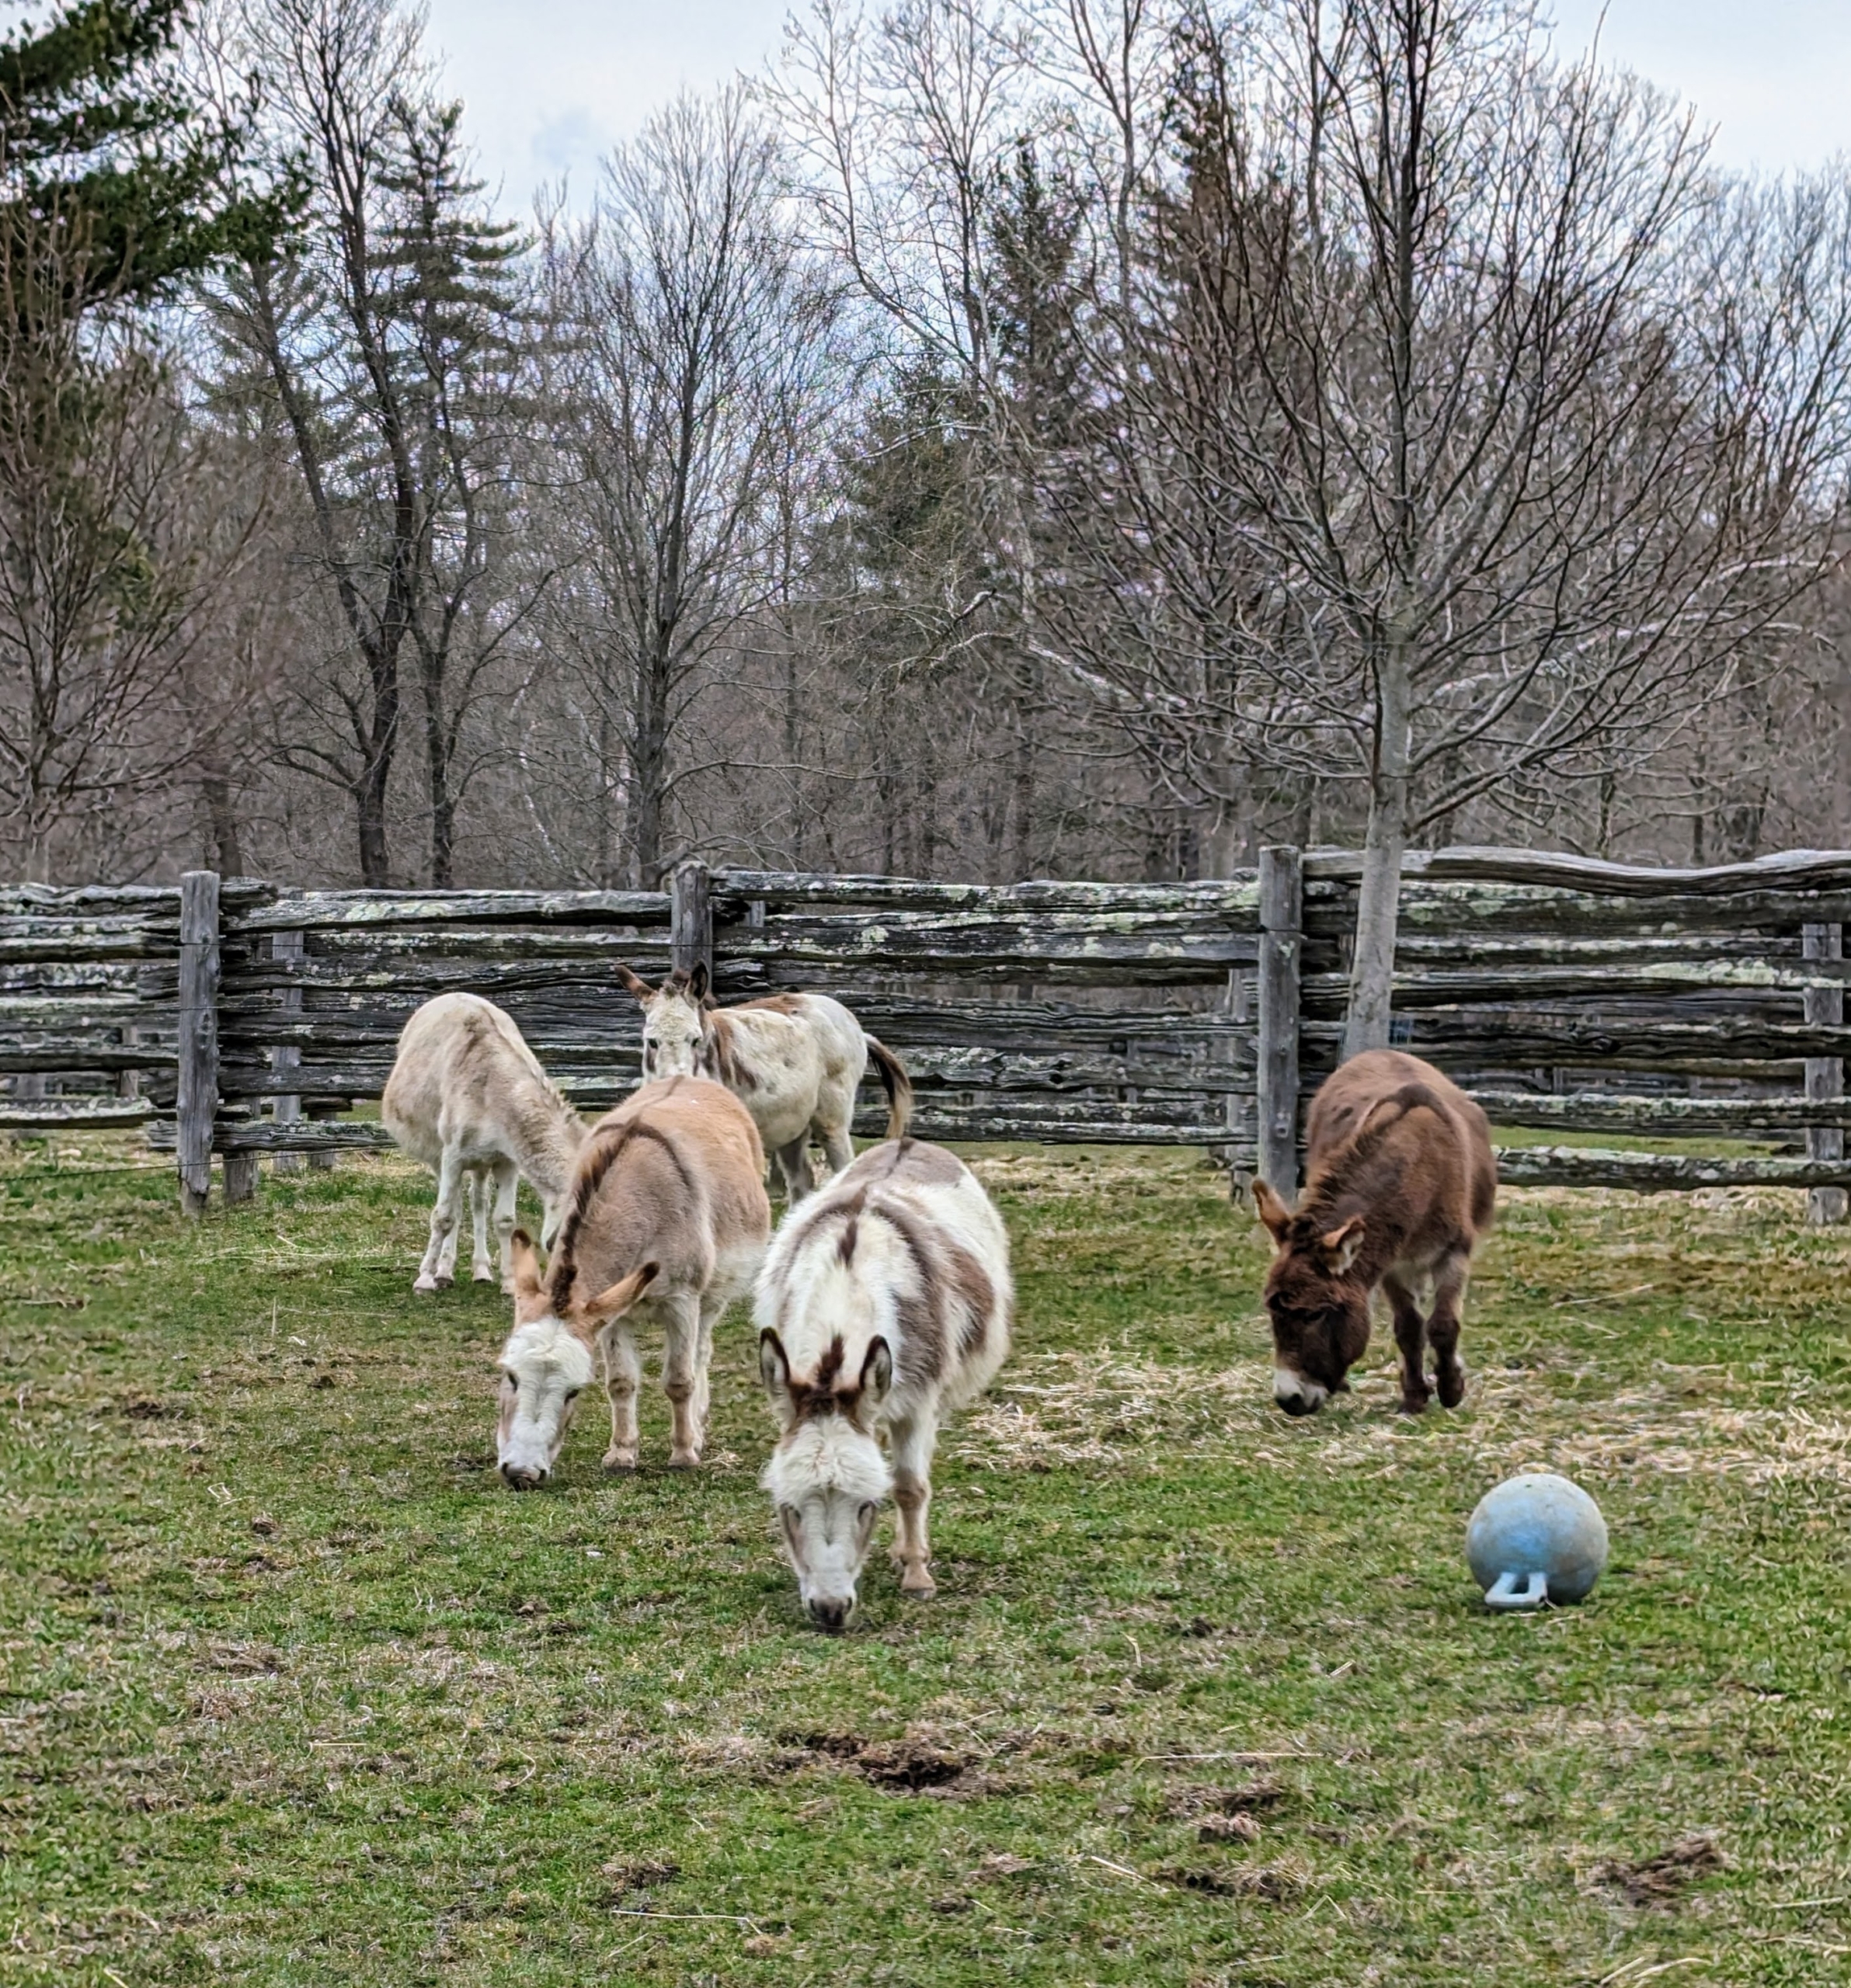
I have five miniature Sicilian donkeys – Clive, Truman “TJ” Junior, Billie, Jude “JJ” Junior, and Rufus. Every day, during my tour around the property, I always stop in to see them in their paddock.
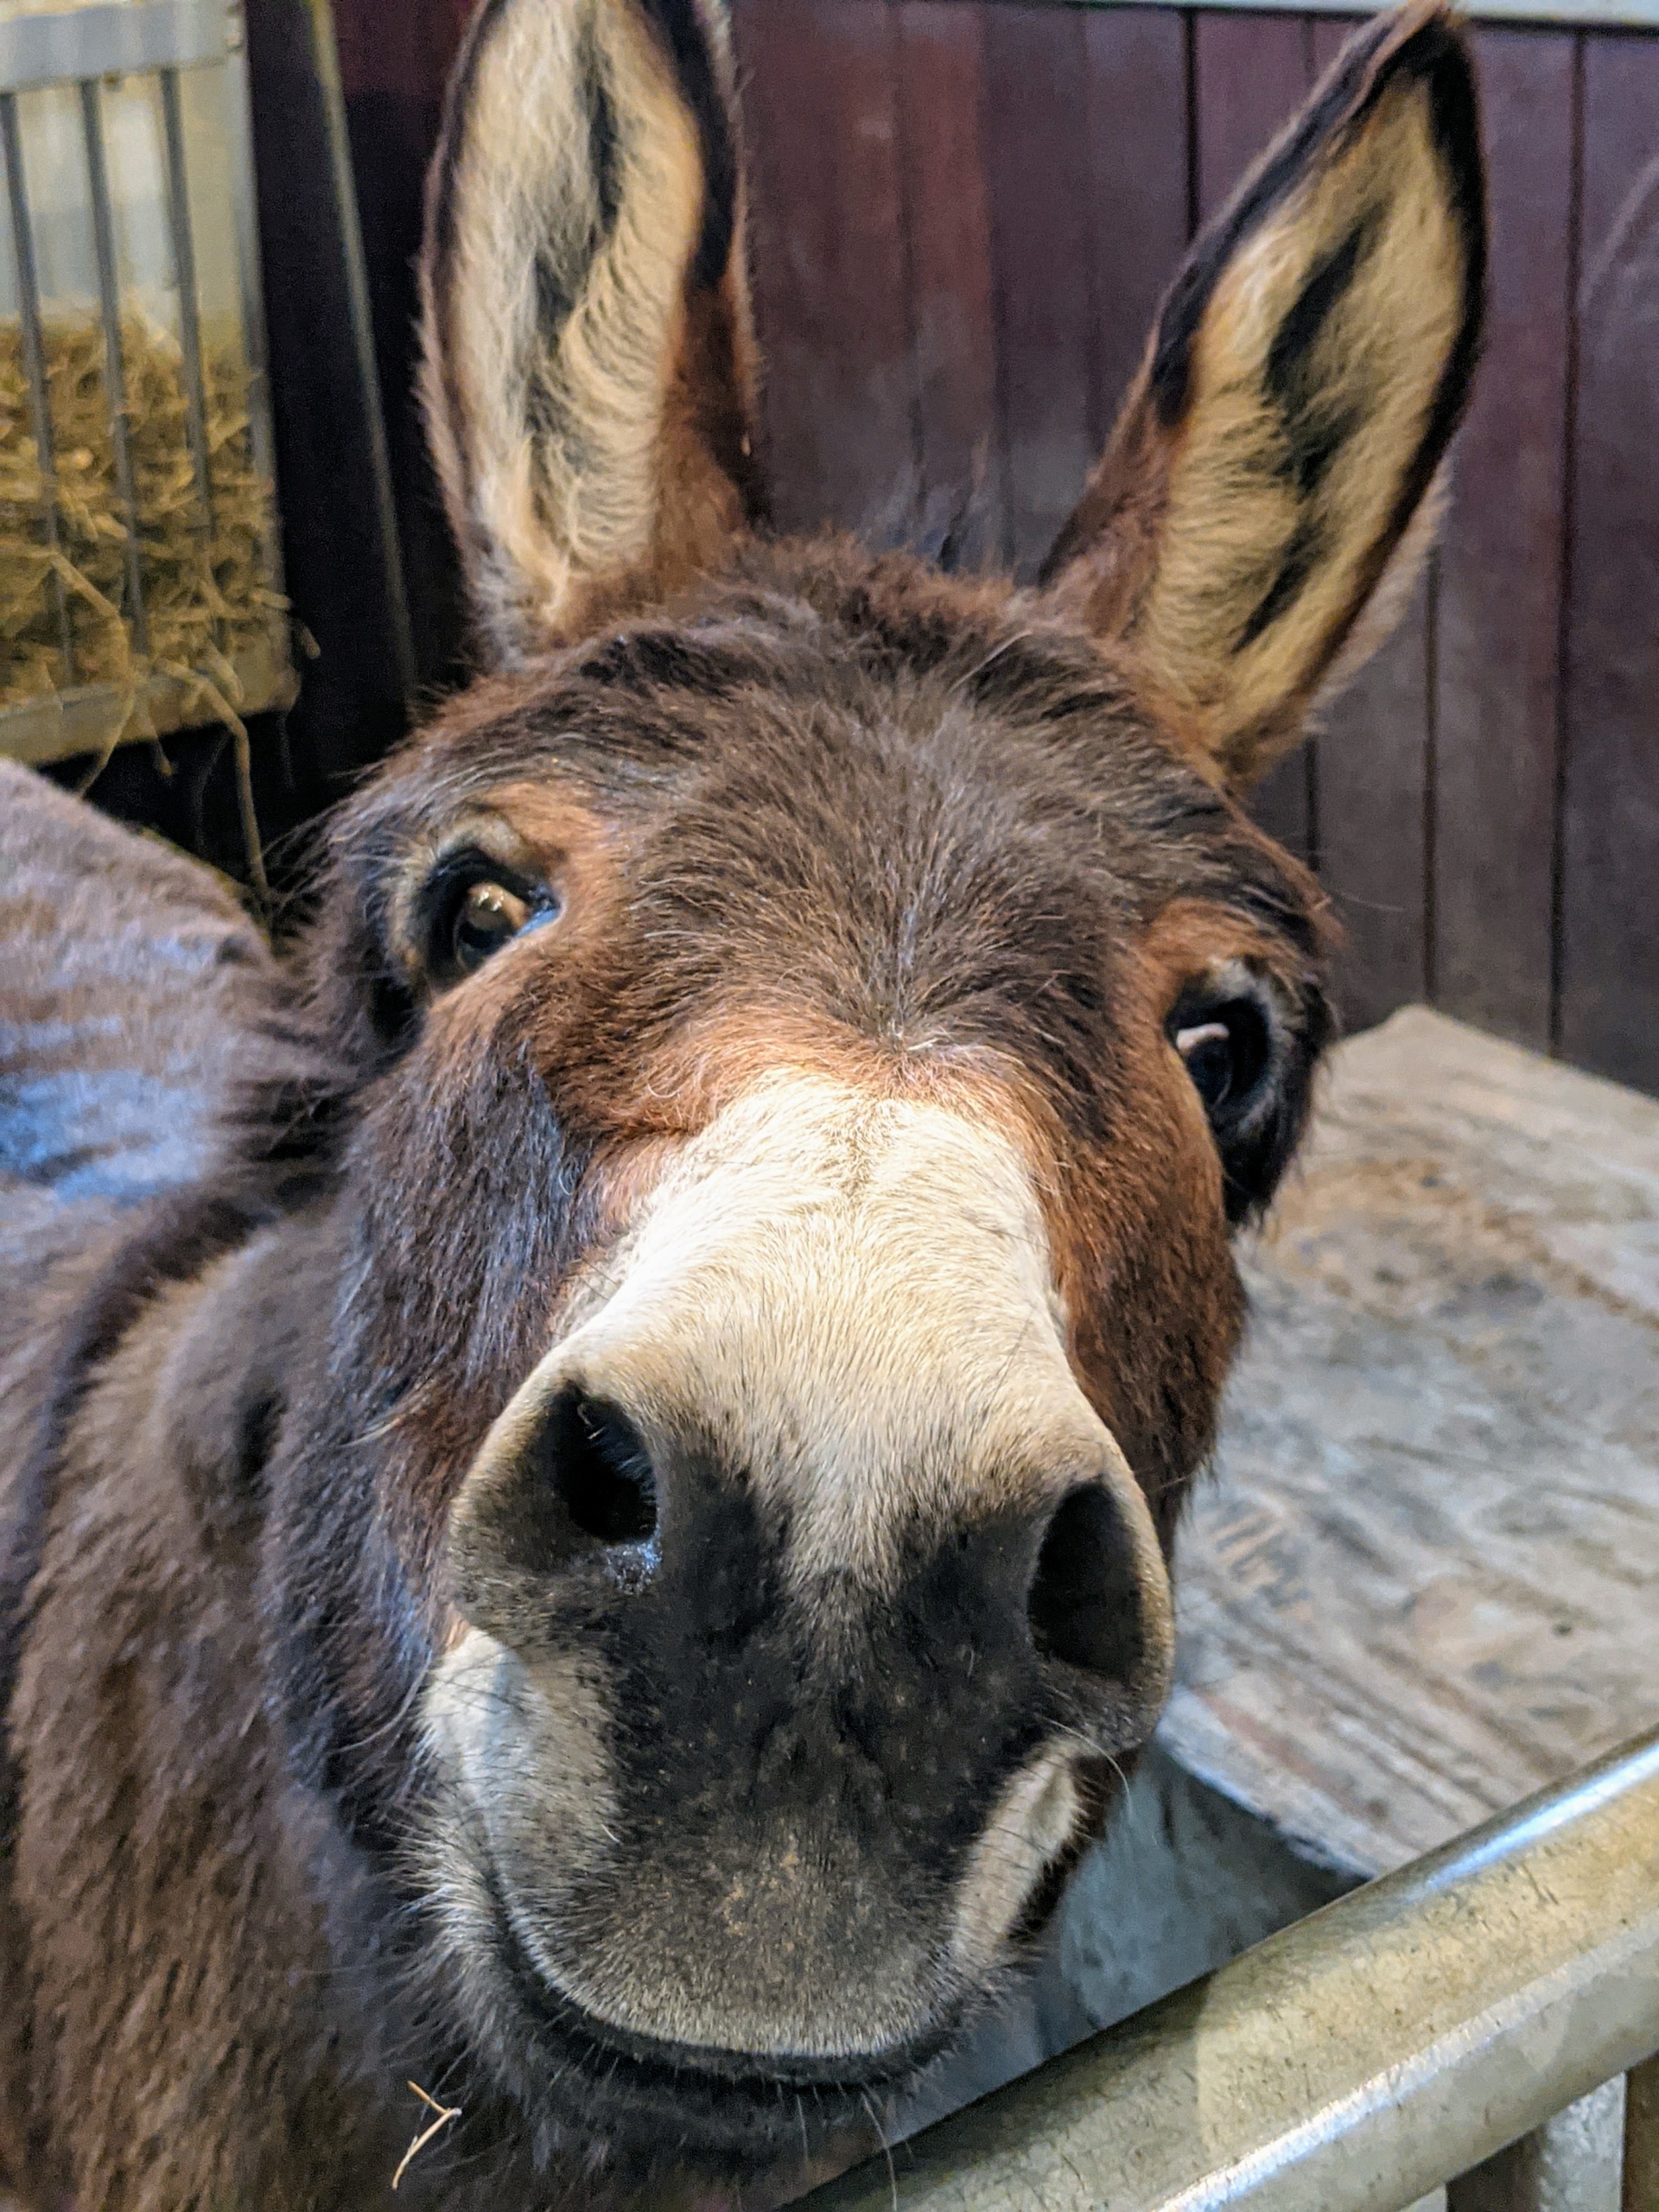
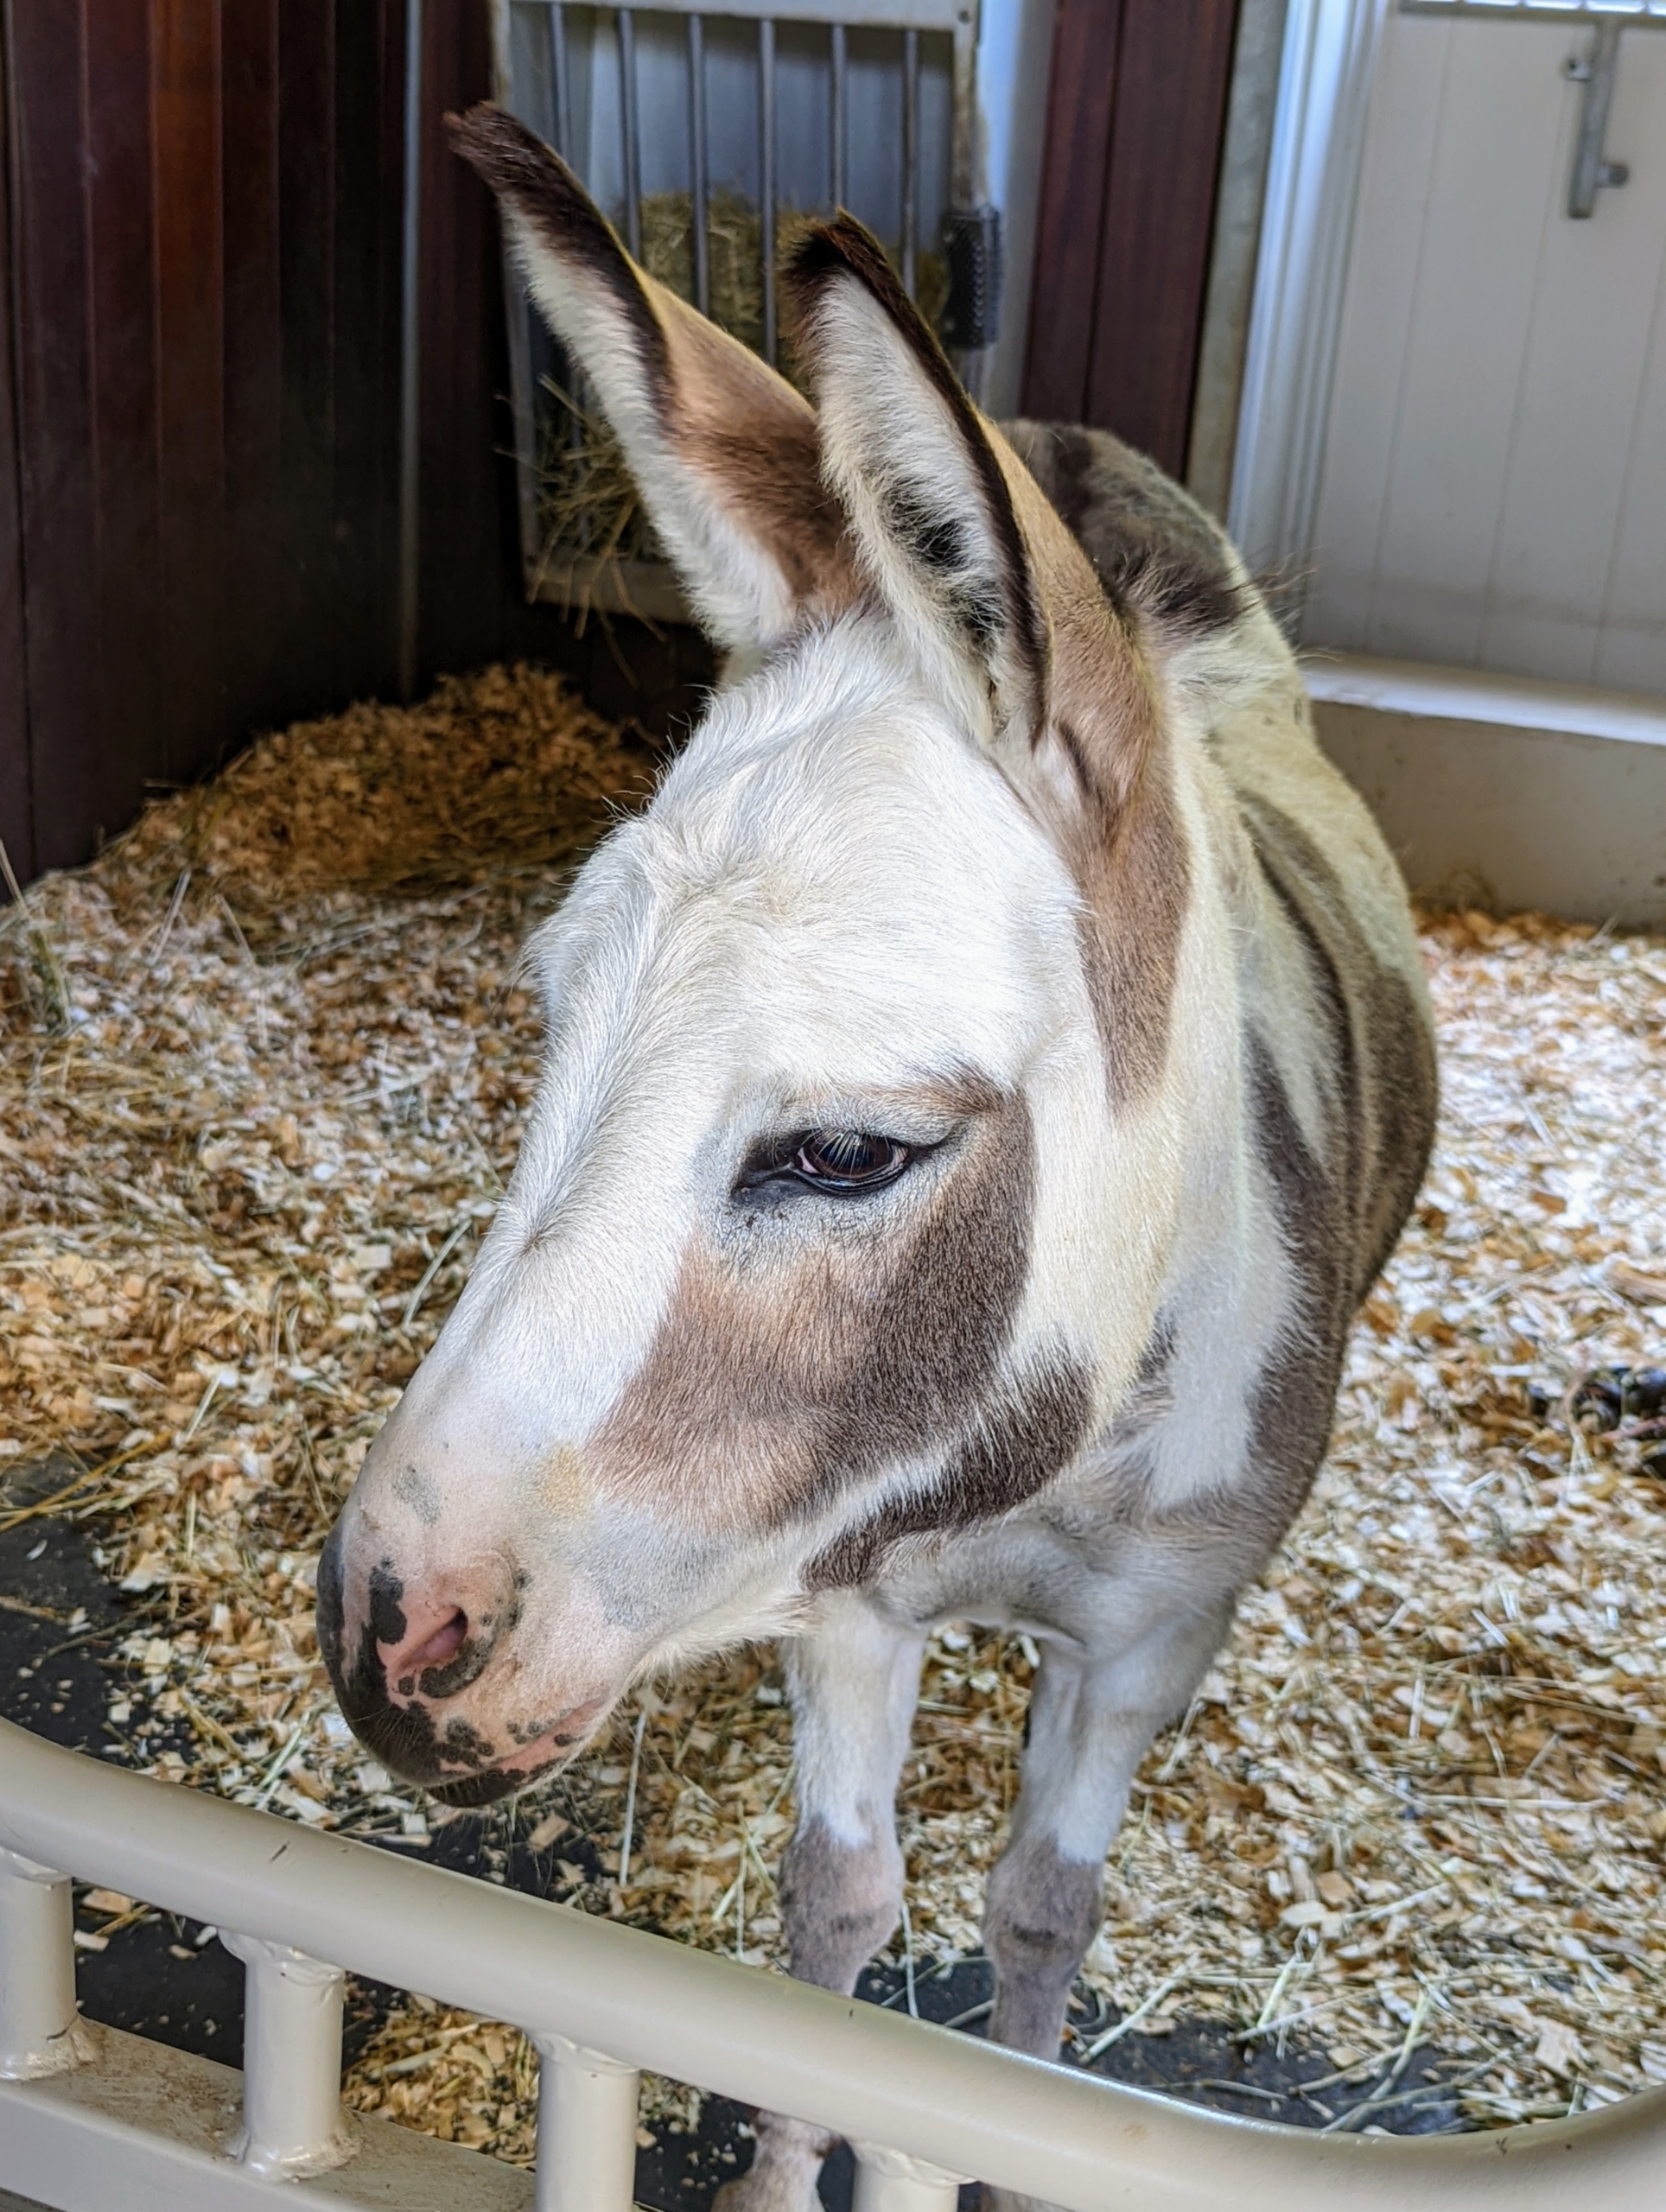
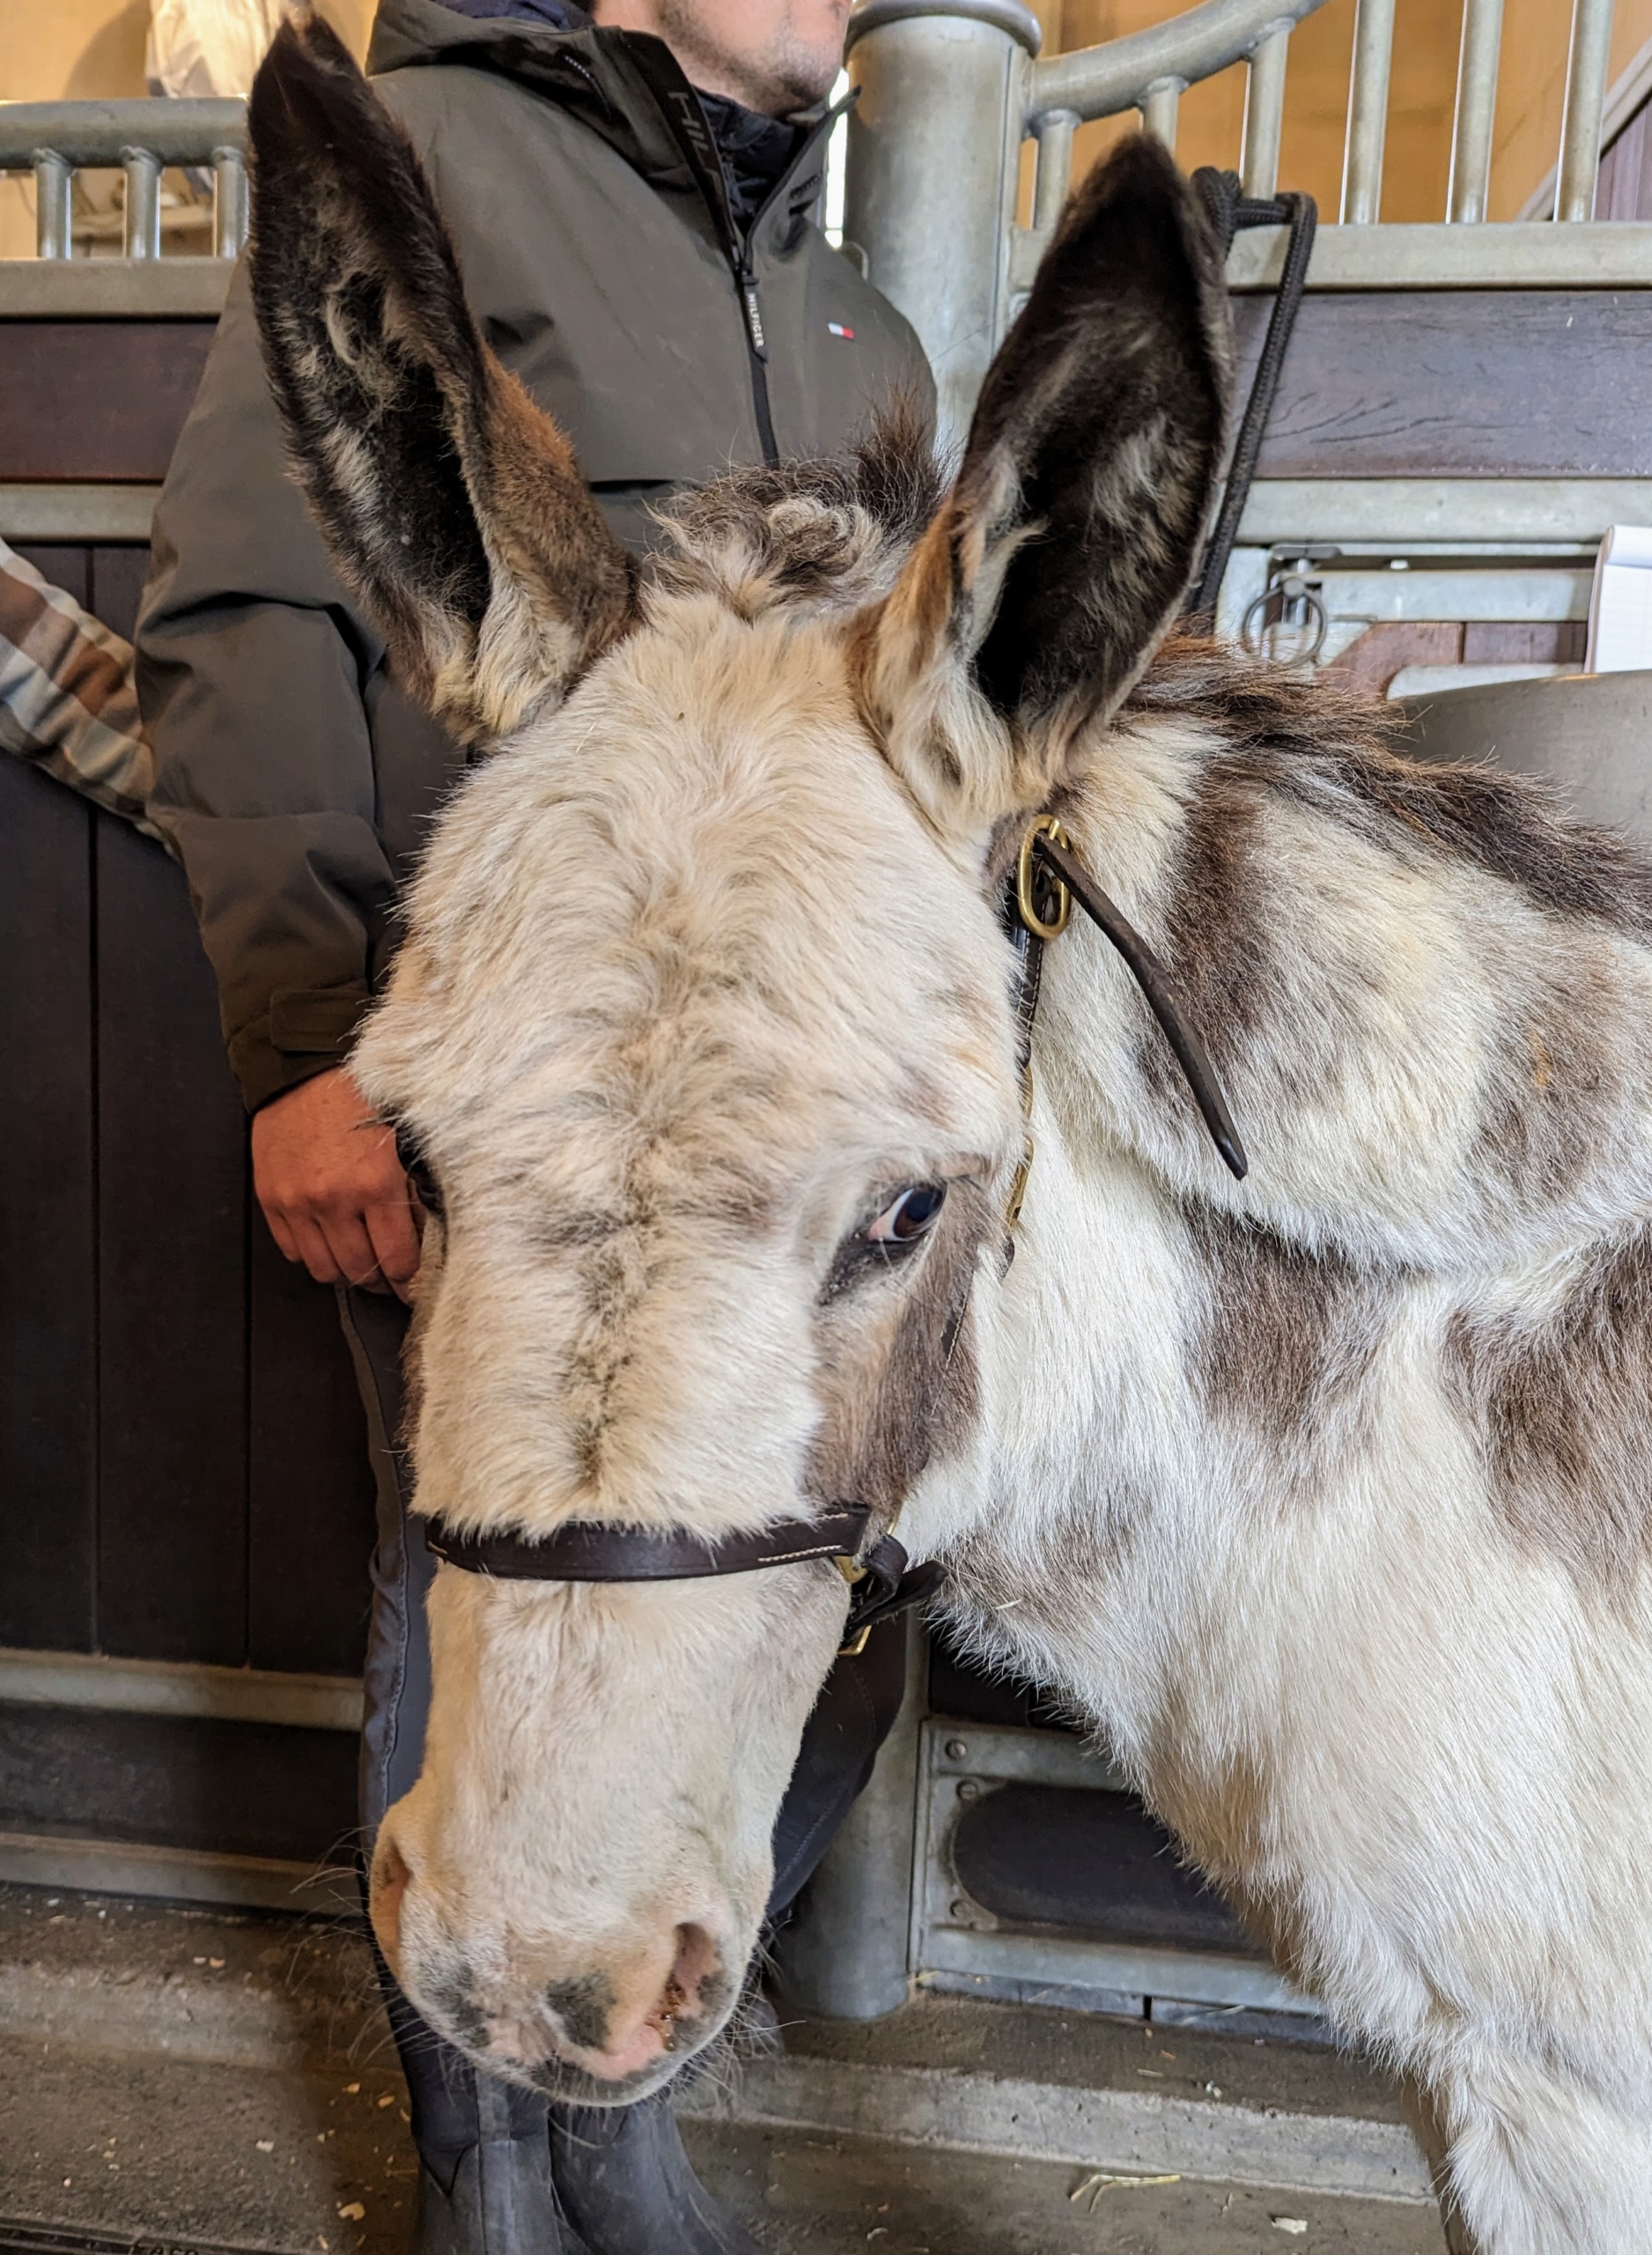
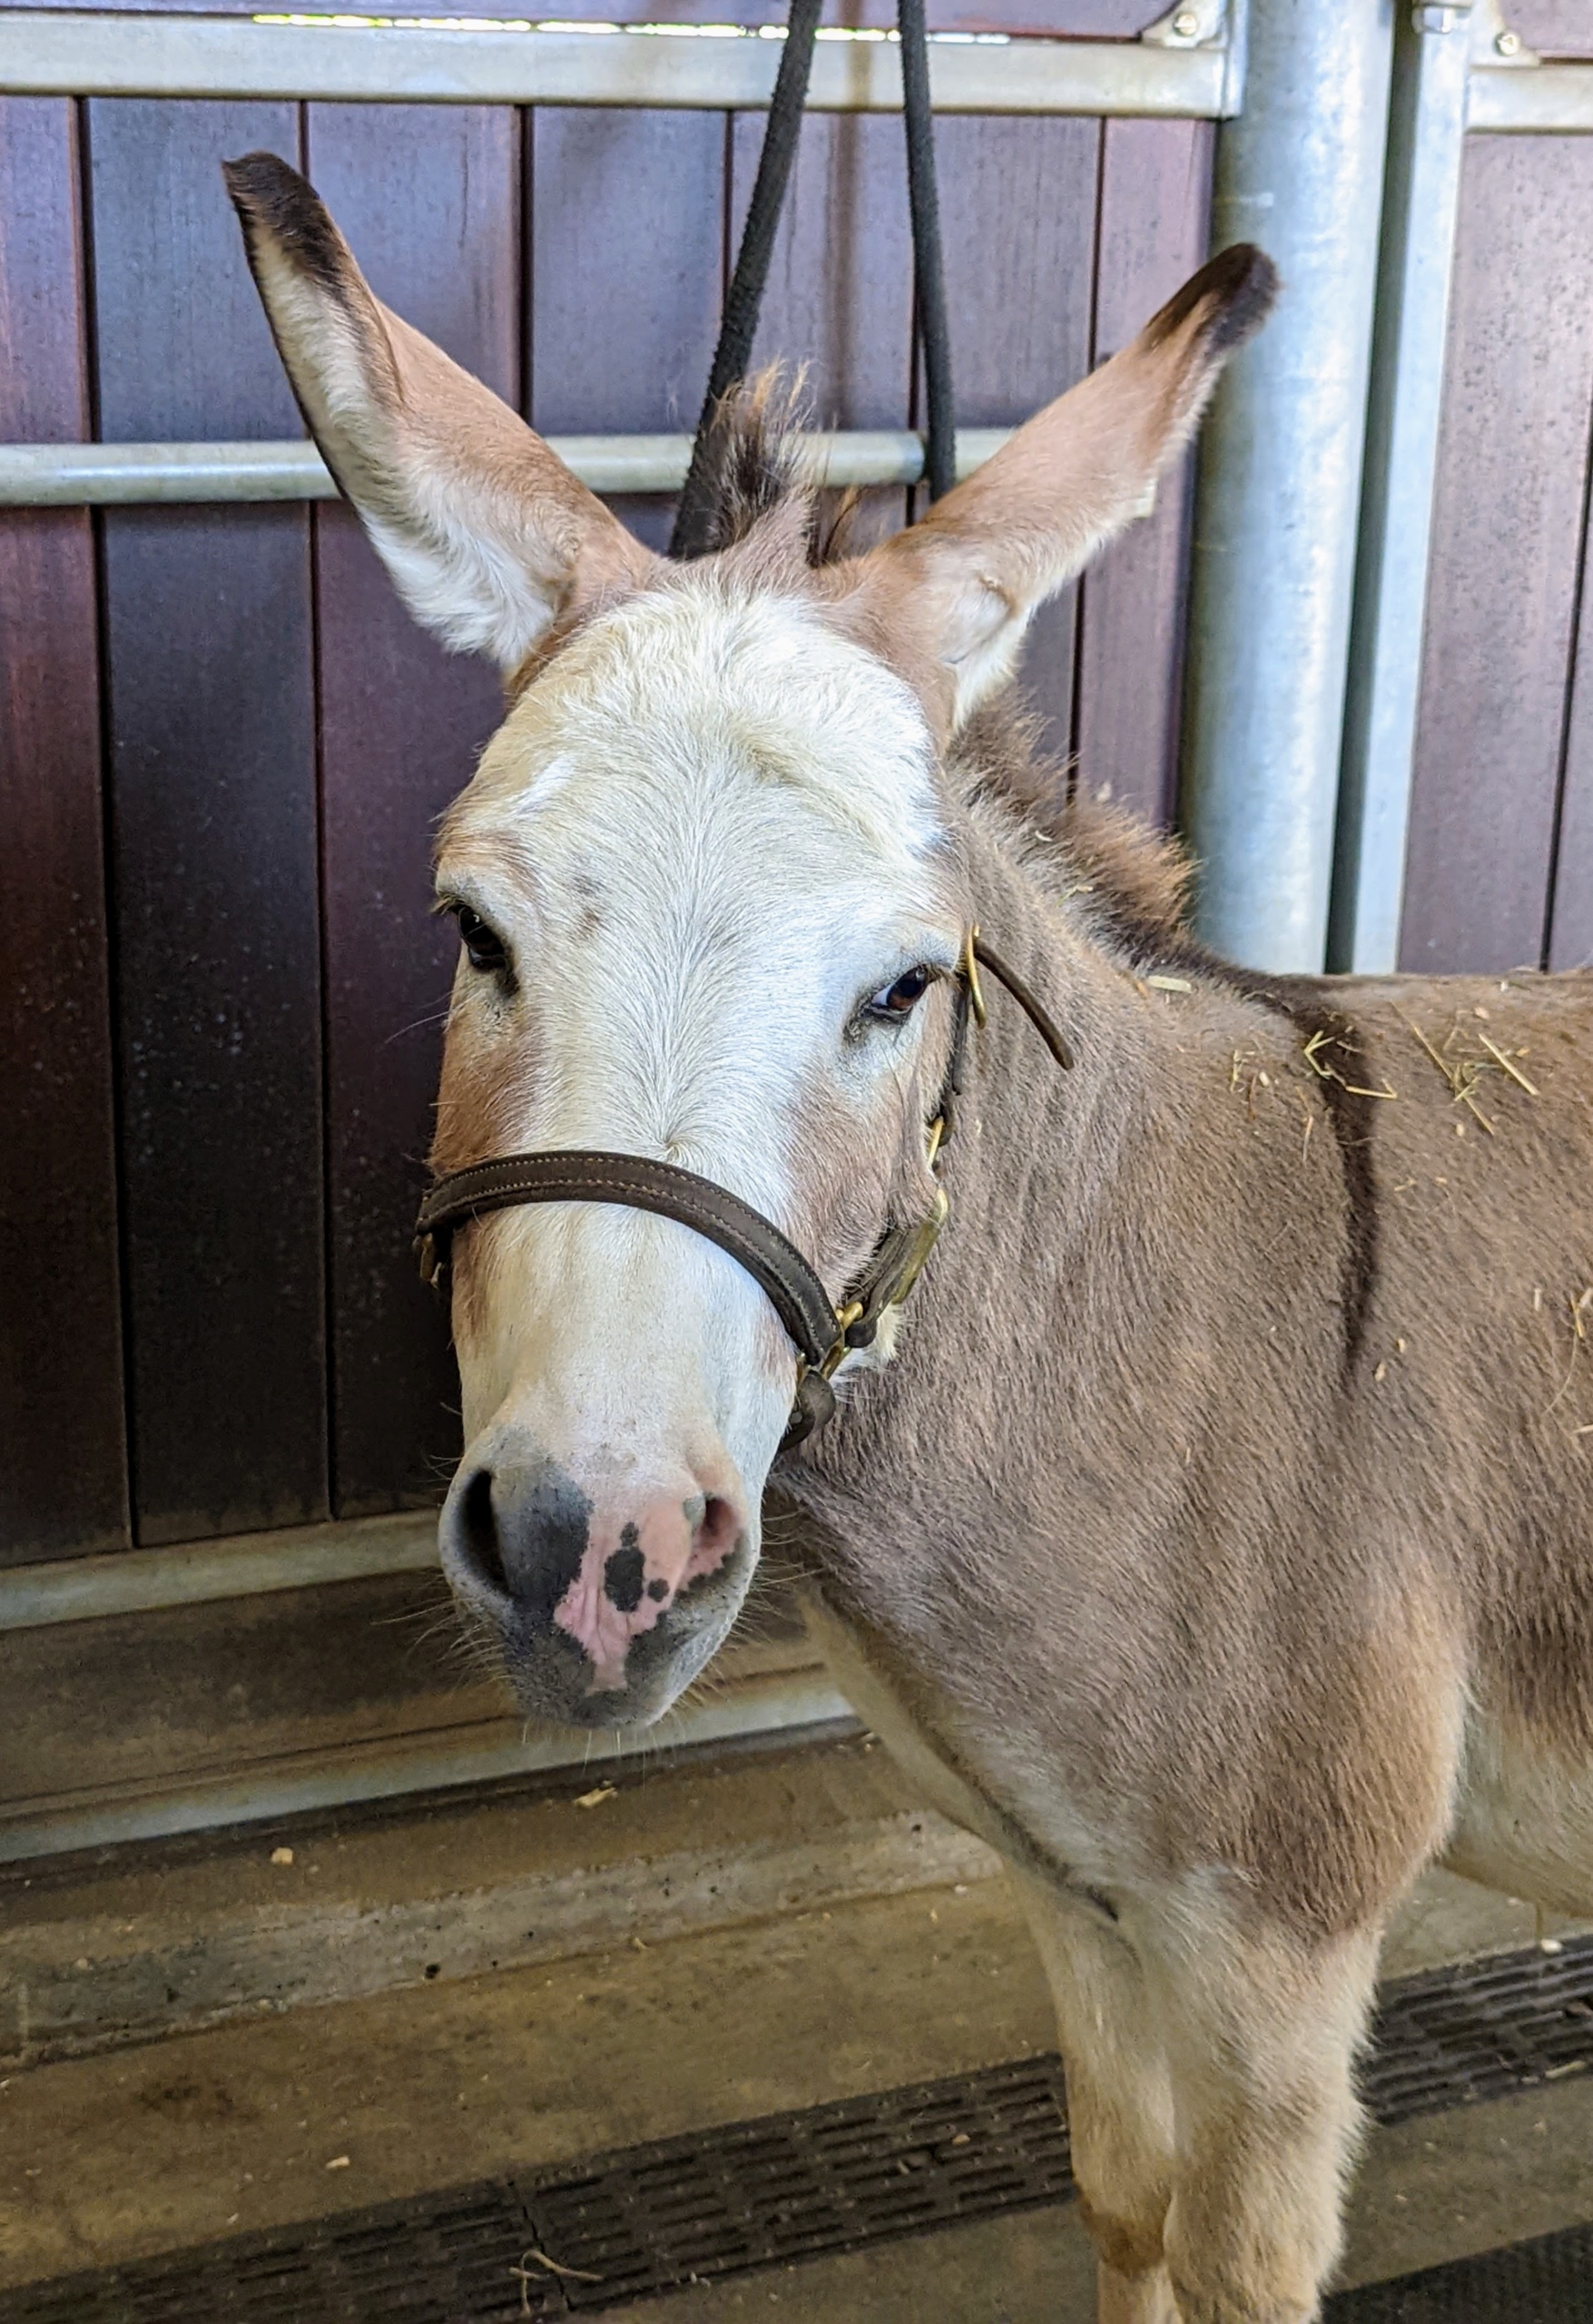
Inside, Rufus is always one of the first to greet visitors when they stop at his stall. Donkeys are naturally friendly, social, and quite curious.
And next door, in the “girls” stall, is Billie – always looking for attention.
In general, donkeys thrive in semi-arid parts of the world, where the ground is dry and sometimes stony. Donkeys that spend lots of time on lush, grassy pastures, may not naturally wear down their hooves as quickly. It is important to check their hooves regularly and have them trimmed when needed.
Marc visits my stable every couple of months to check all its equine residents – the donkeys, one Fell pony and four Friesians. These donkeys are very well behaved and easy to work with – they are accustomed to these routines because they are groomed and handled every day, but don’t underestimate the strength of a donkey. Donkeys have powerful rear legs, which they use to kick when they feel threatened or nervous.
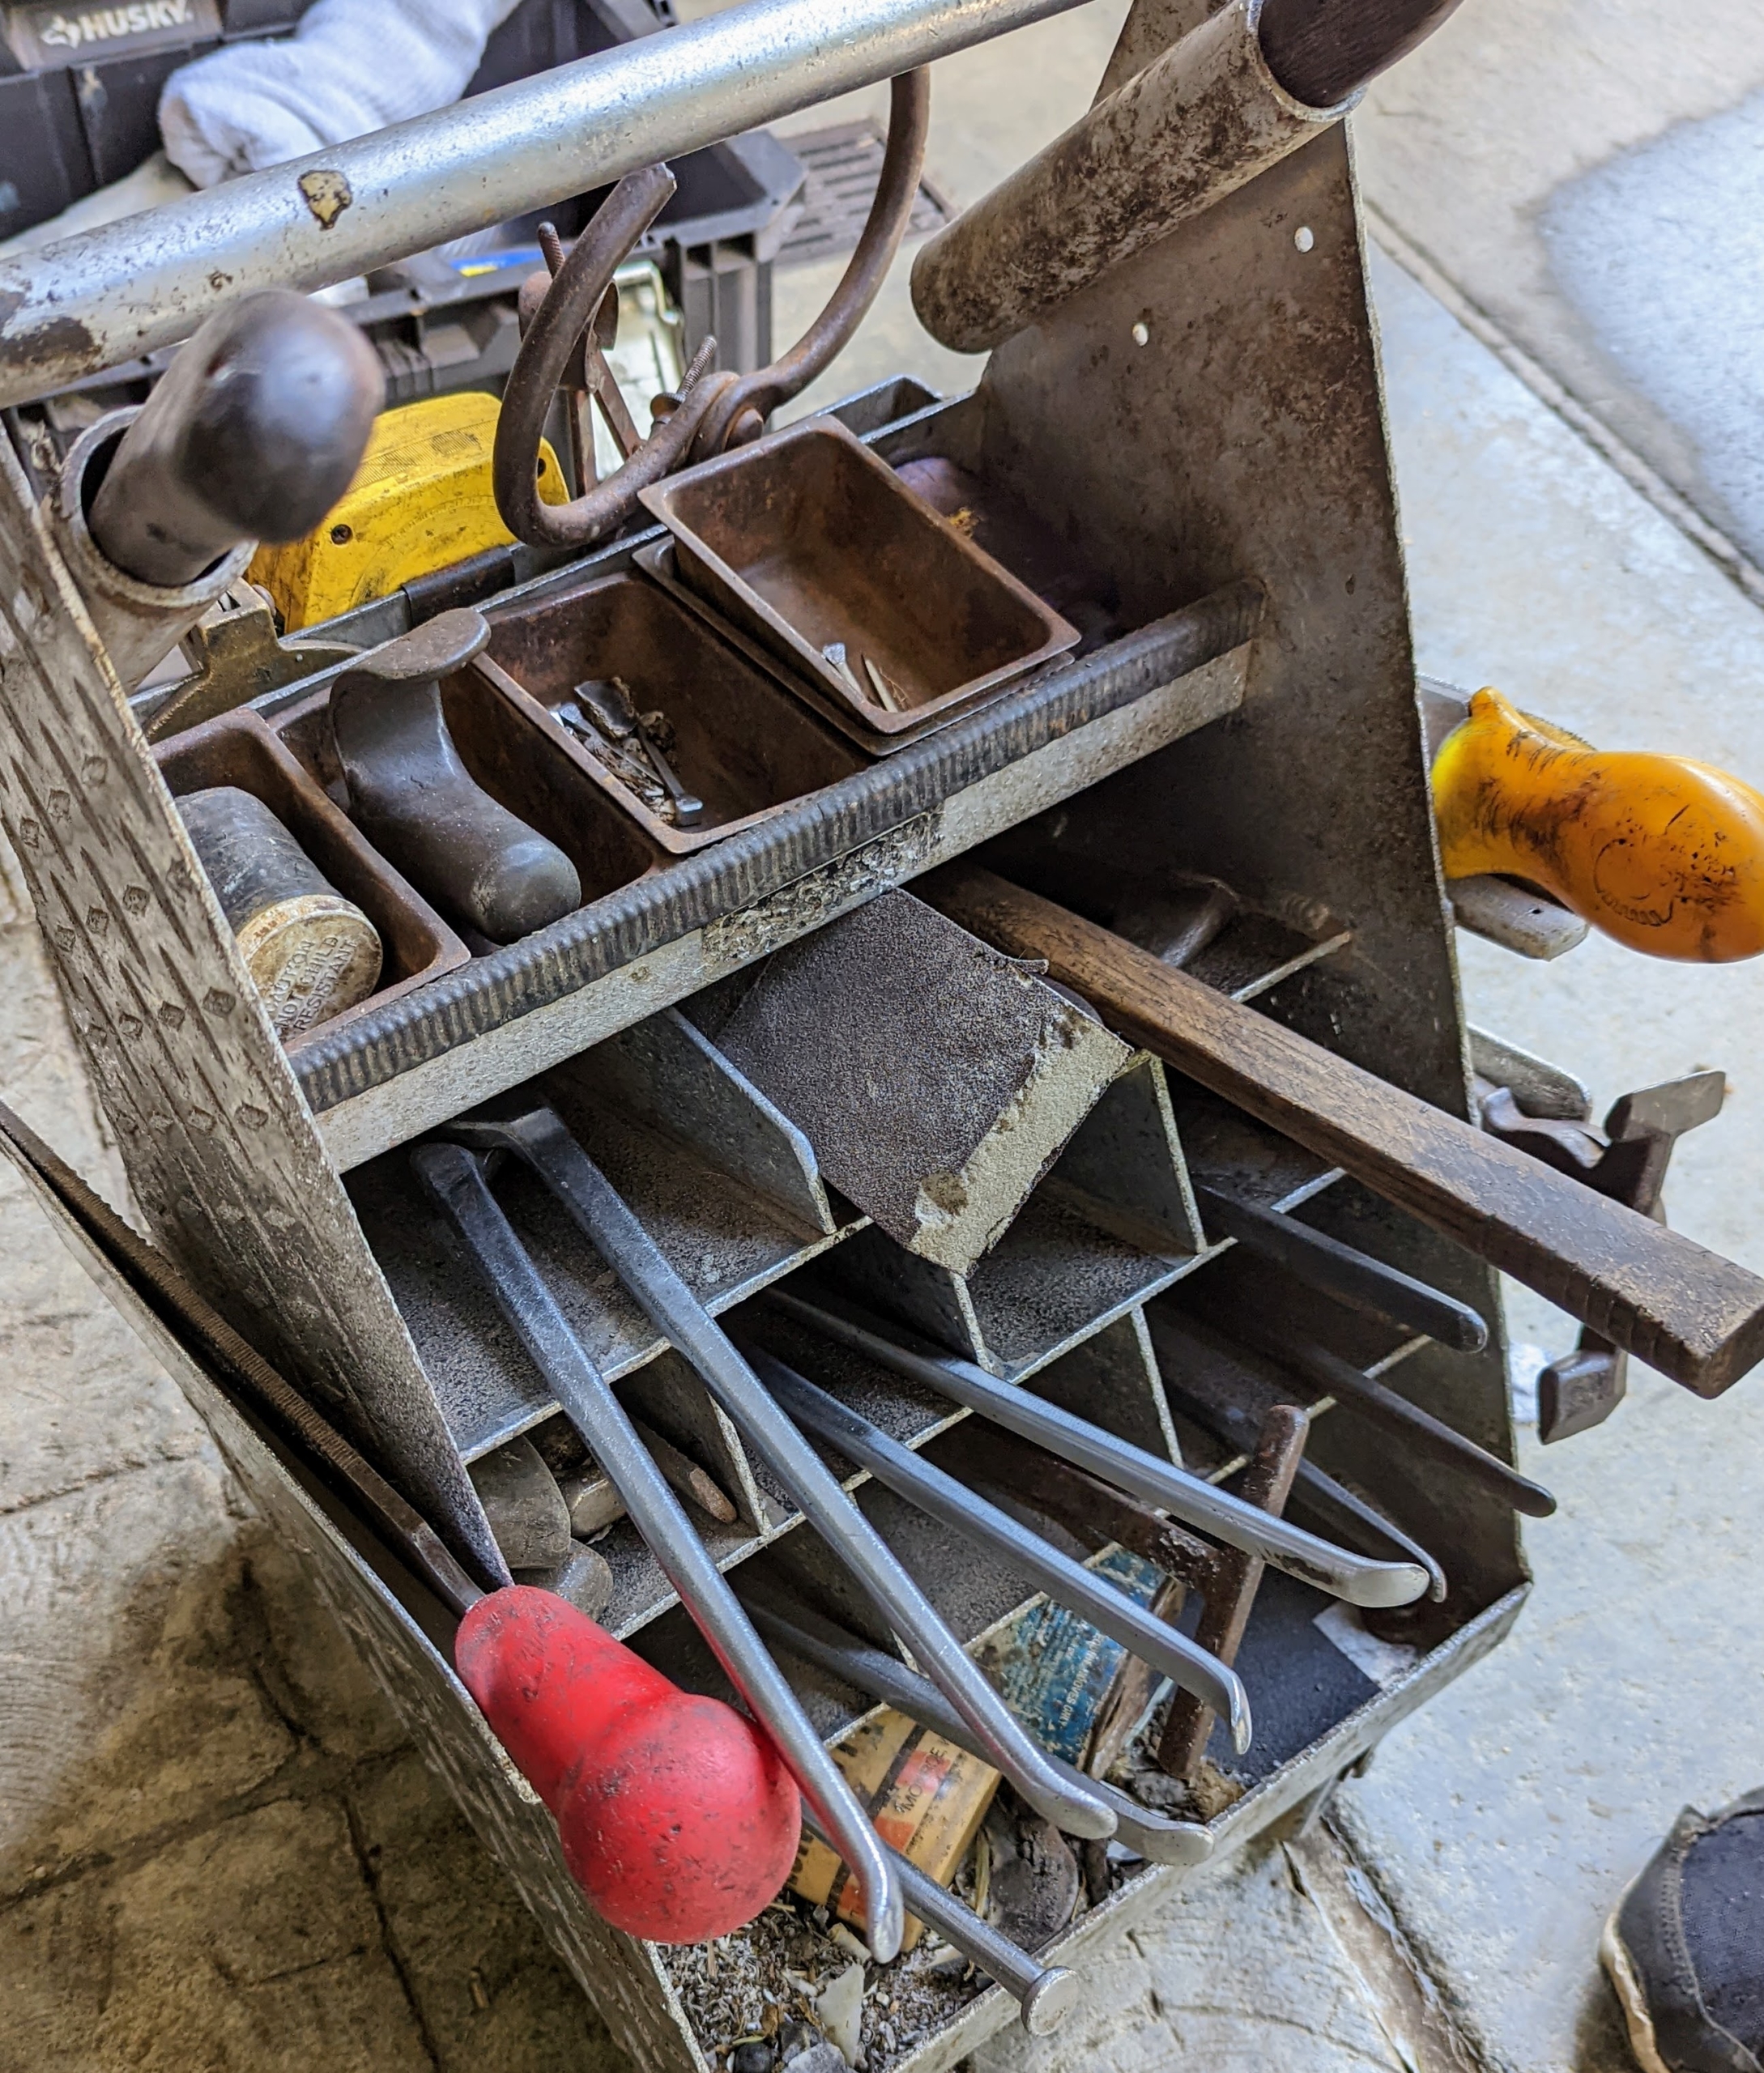
A farrier always has his or her box of important tools – this is Marc’s.
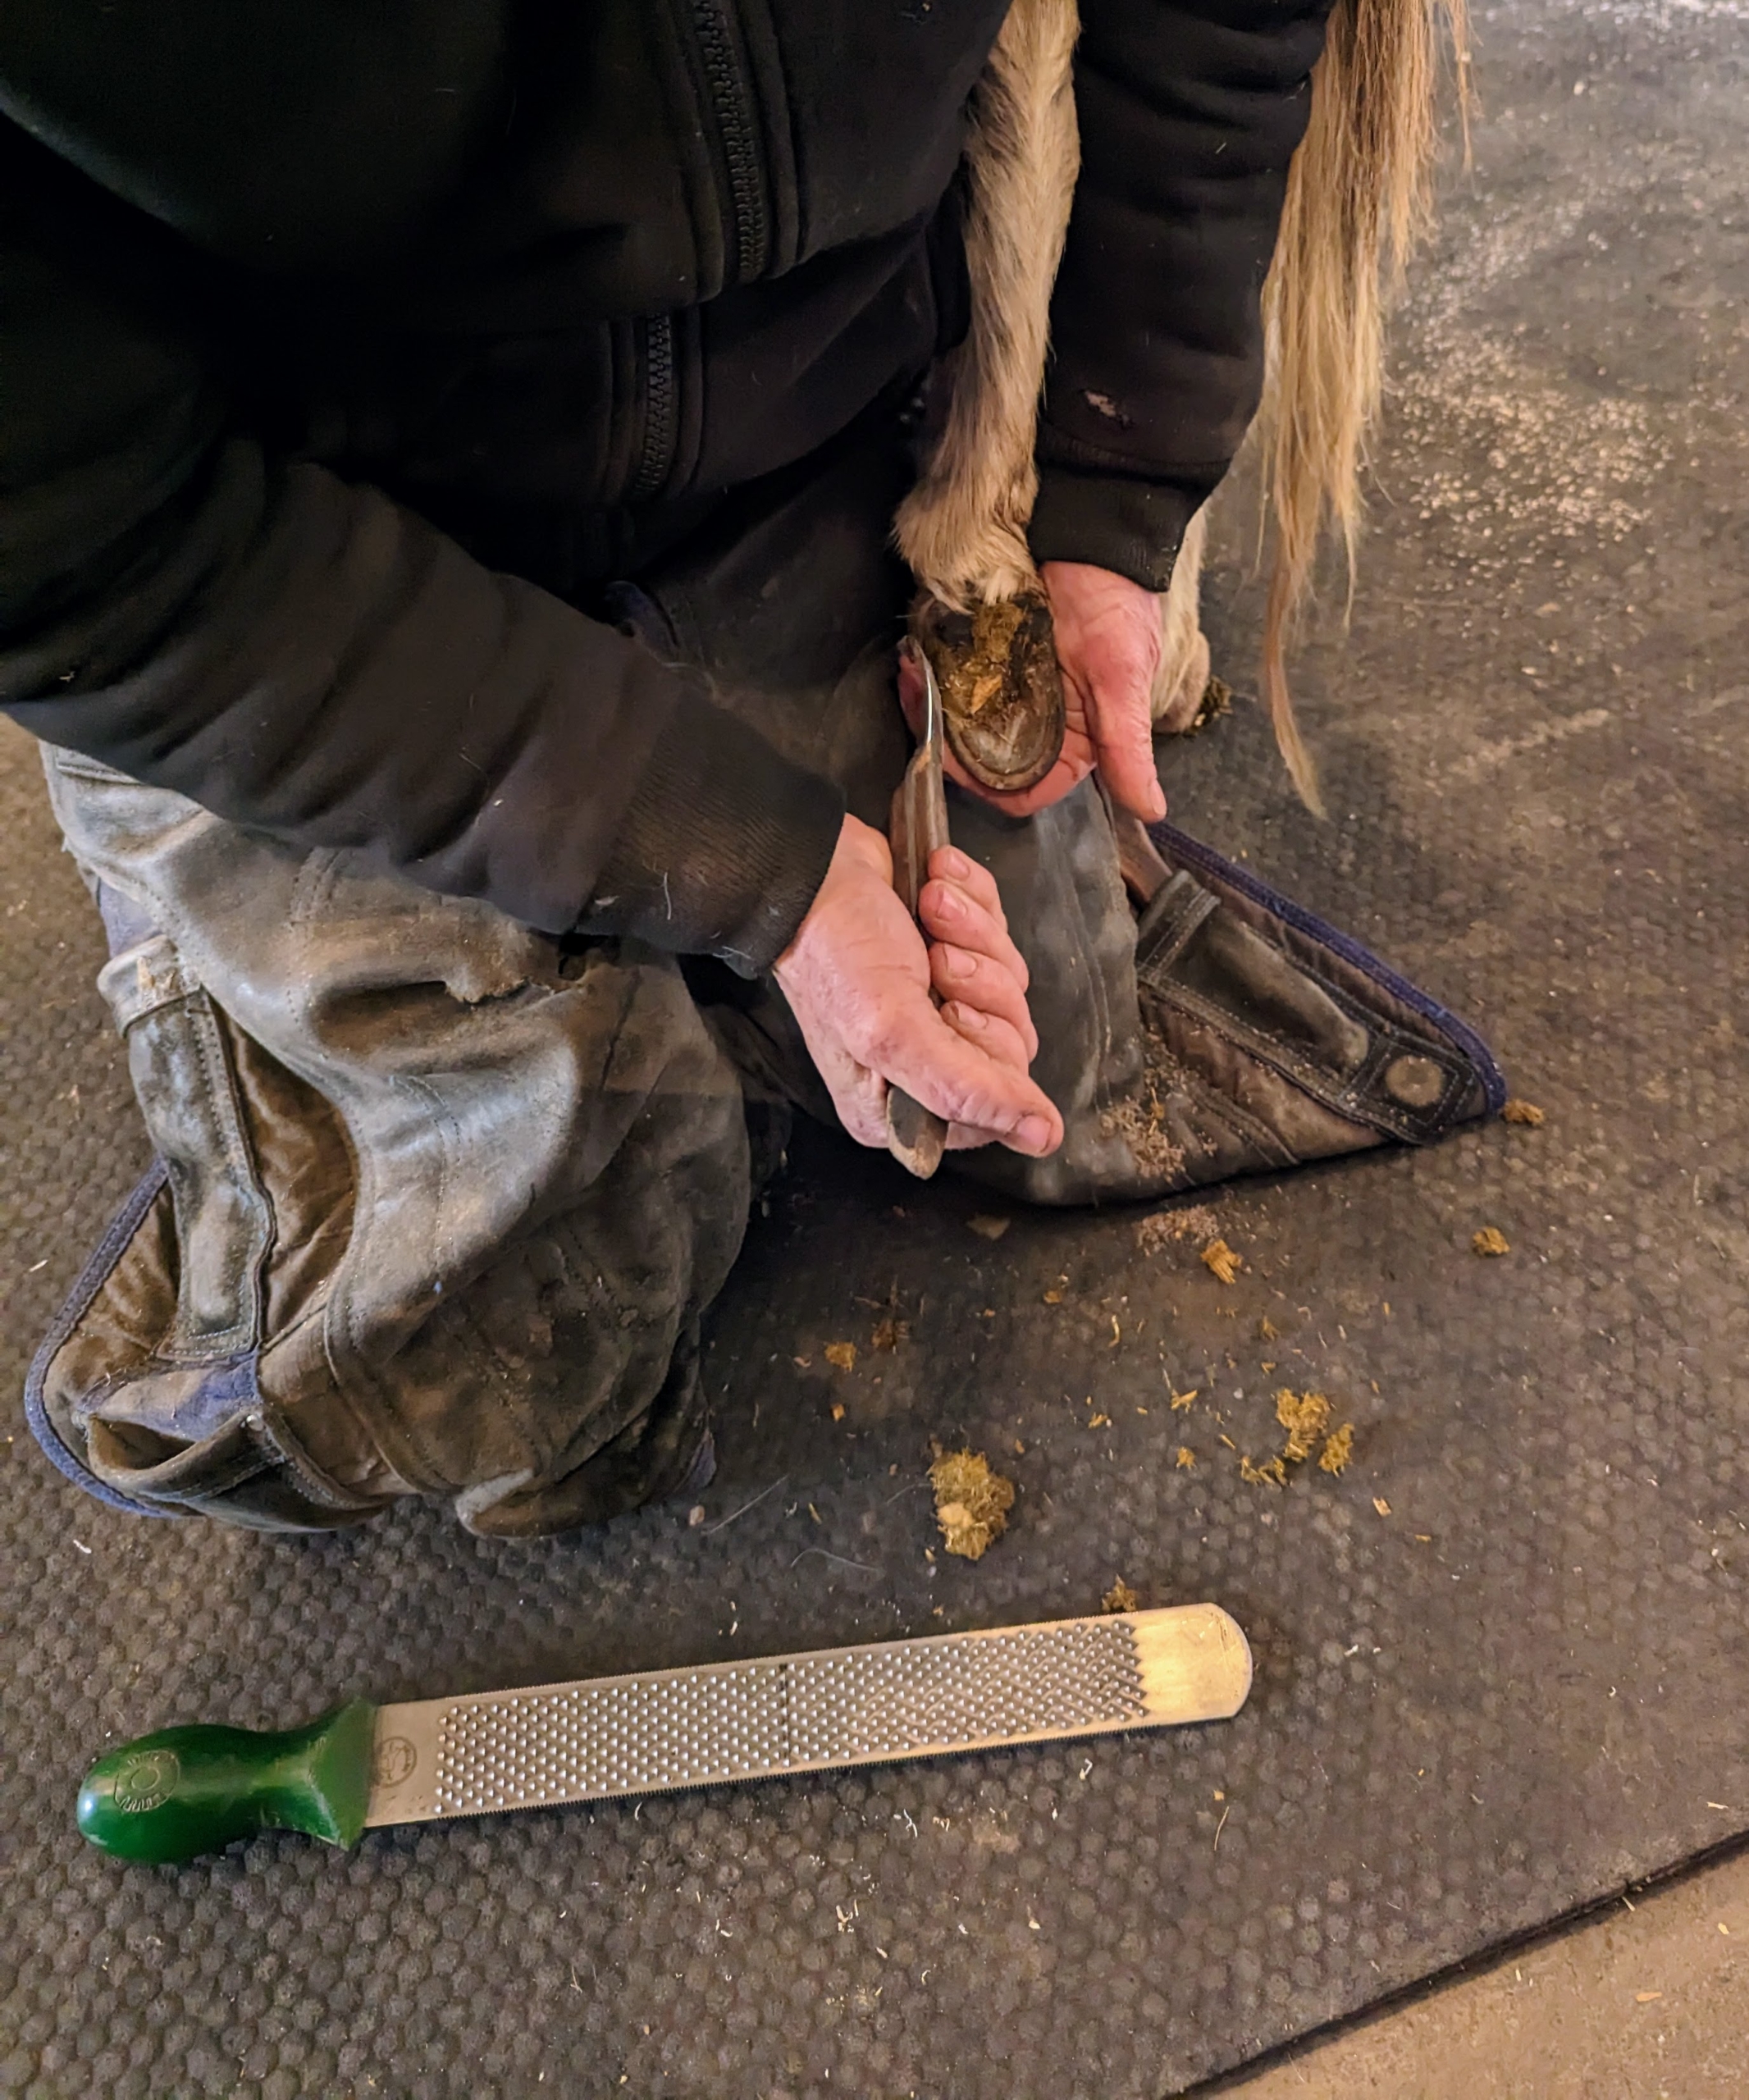
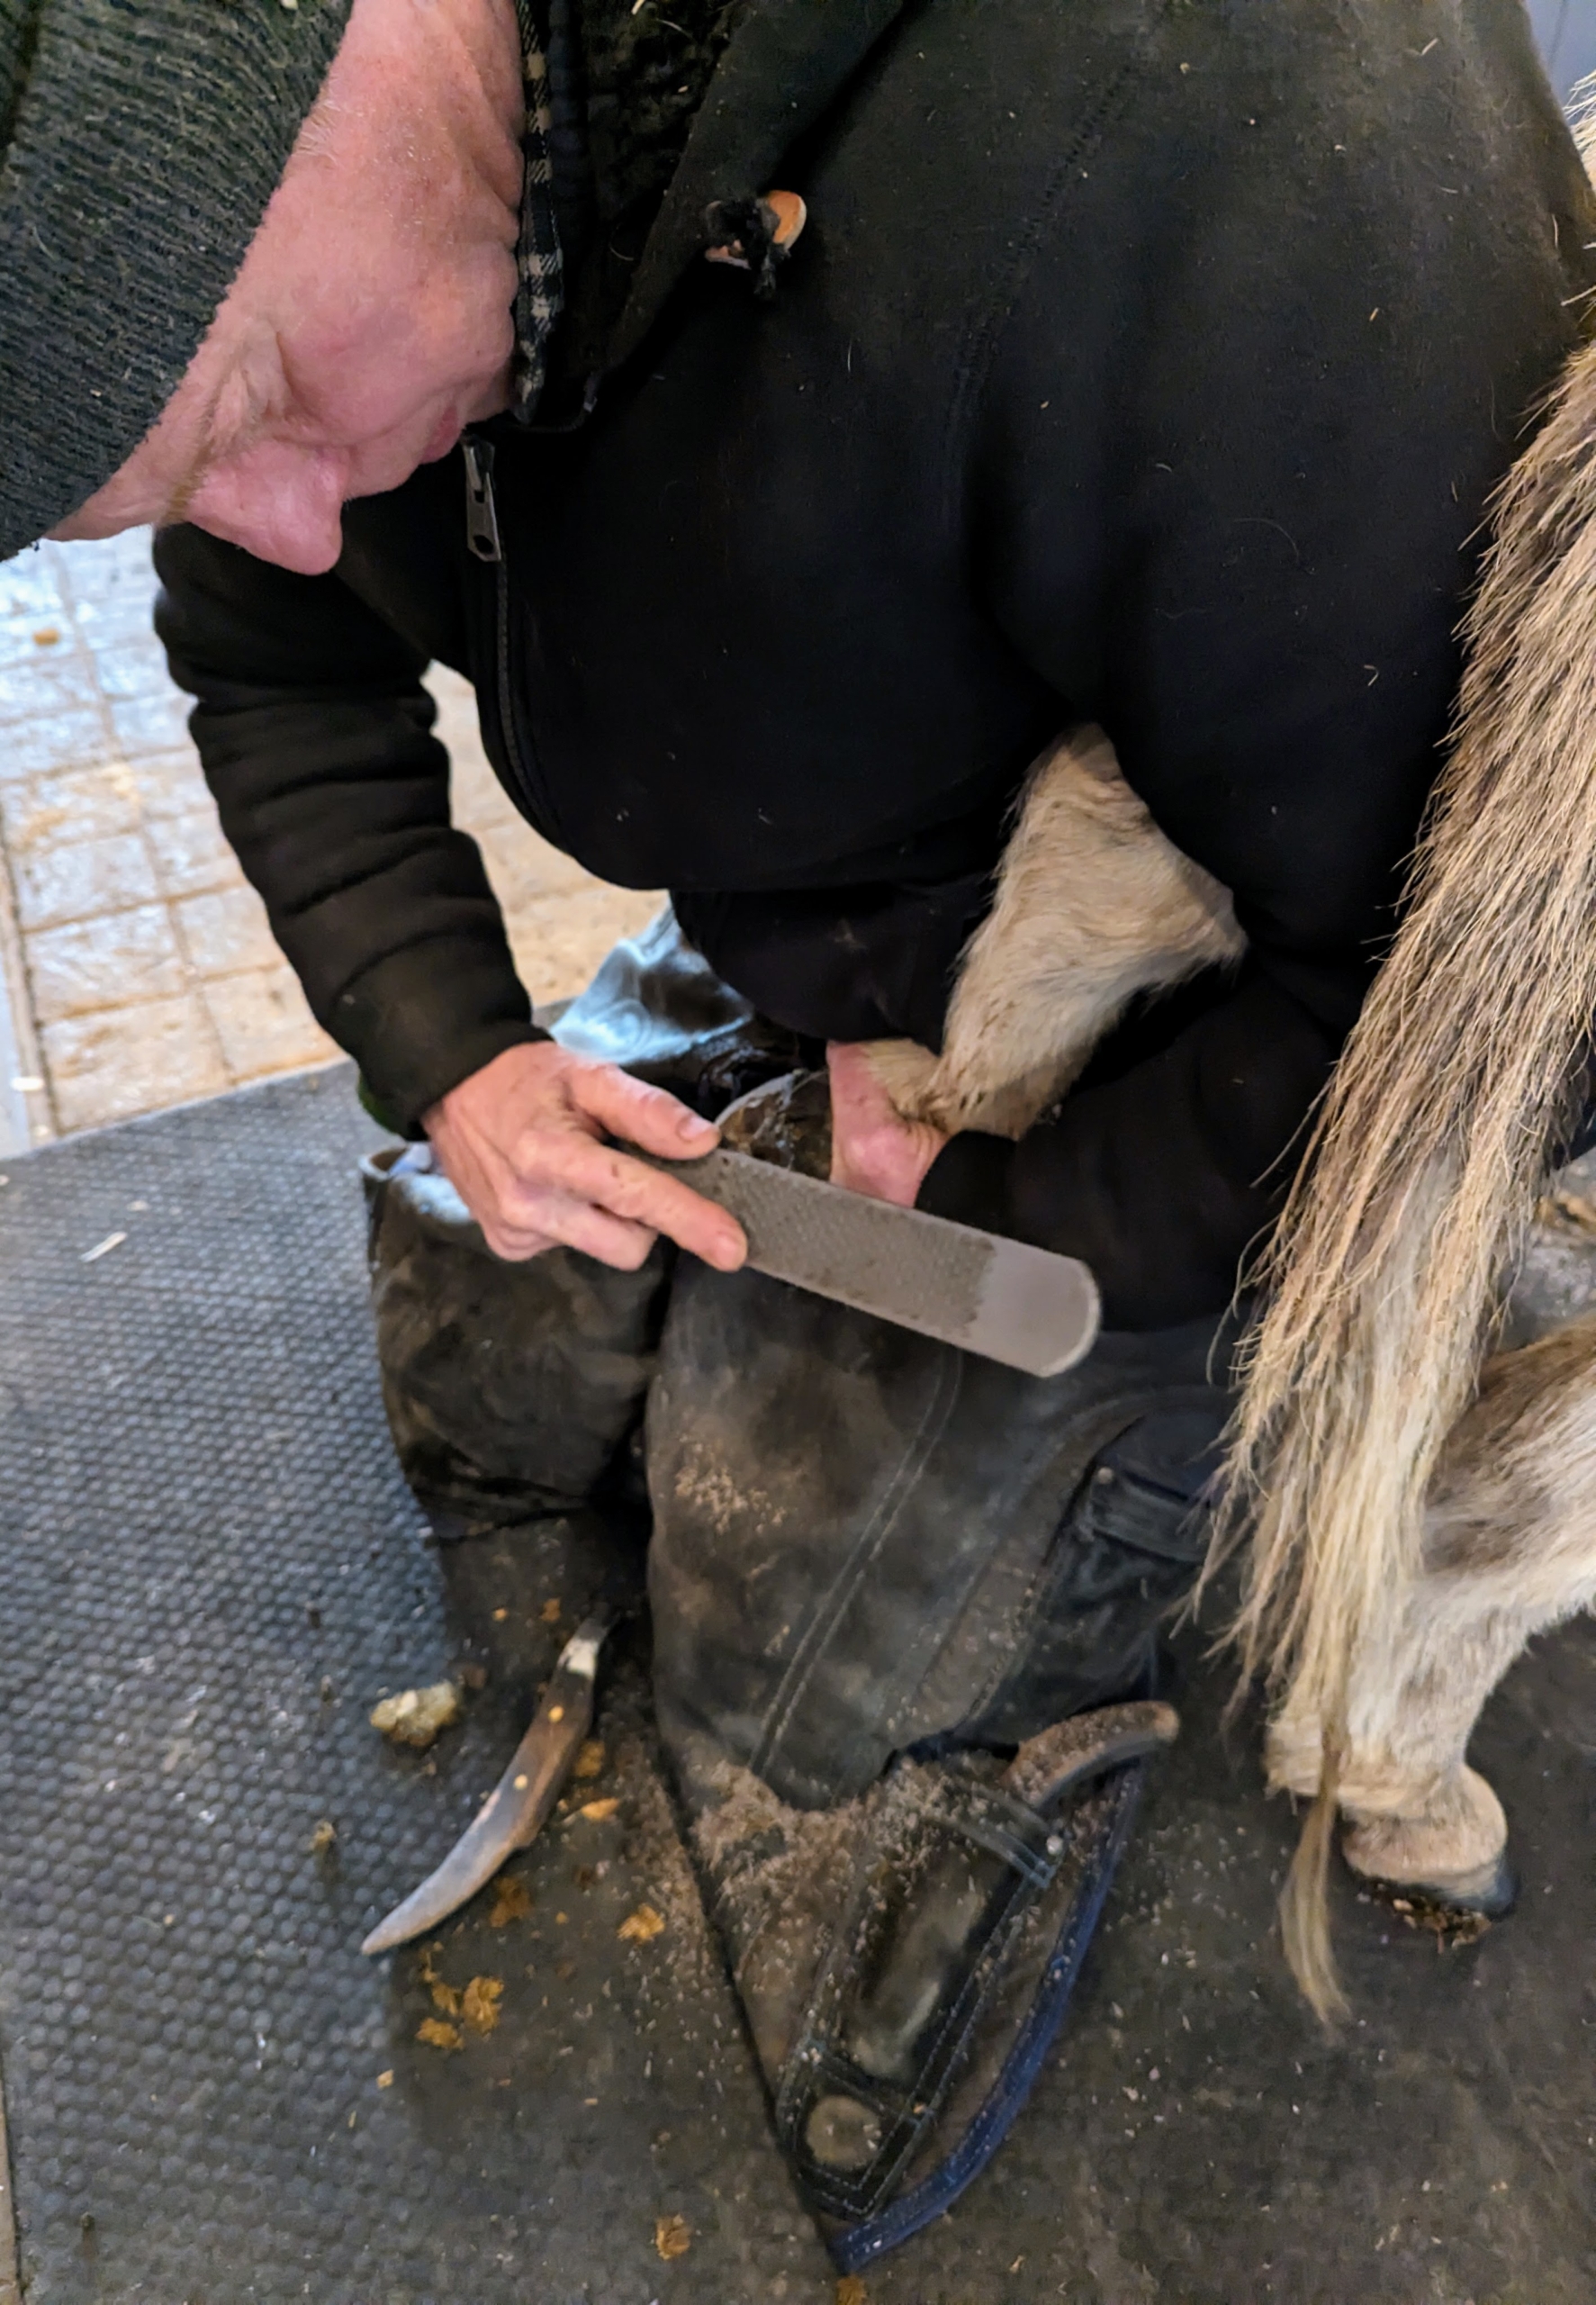
Marc uses a hoof knife to remove any debris and to trim the hoof sole. Notice, there are no shoes on this donkey’s foot. Donkeys also don’t typically wear shoes.
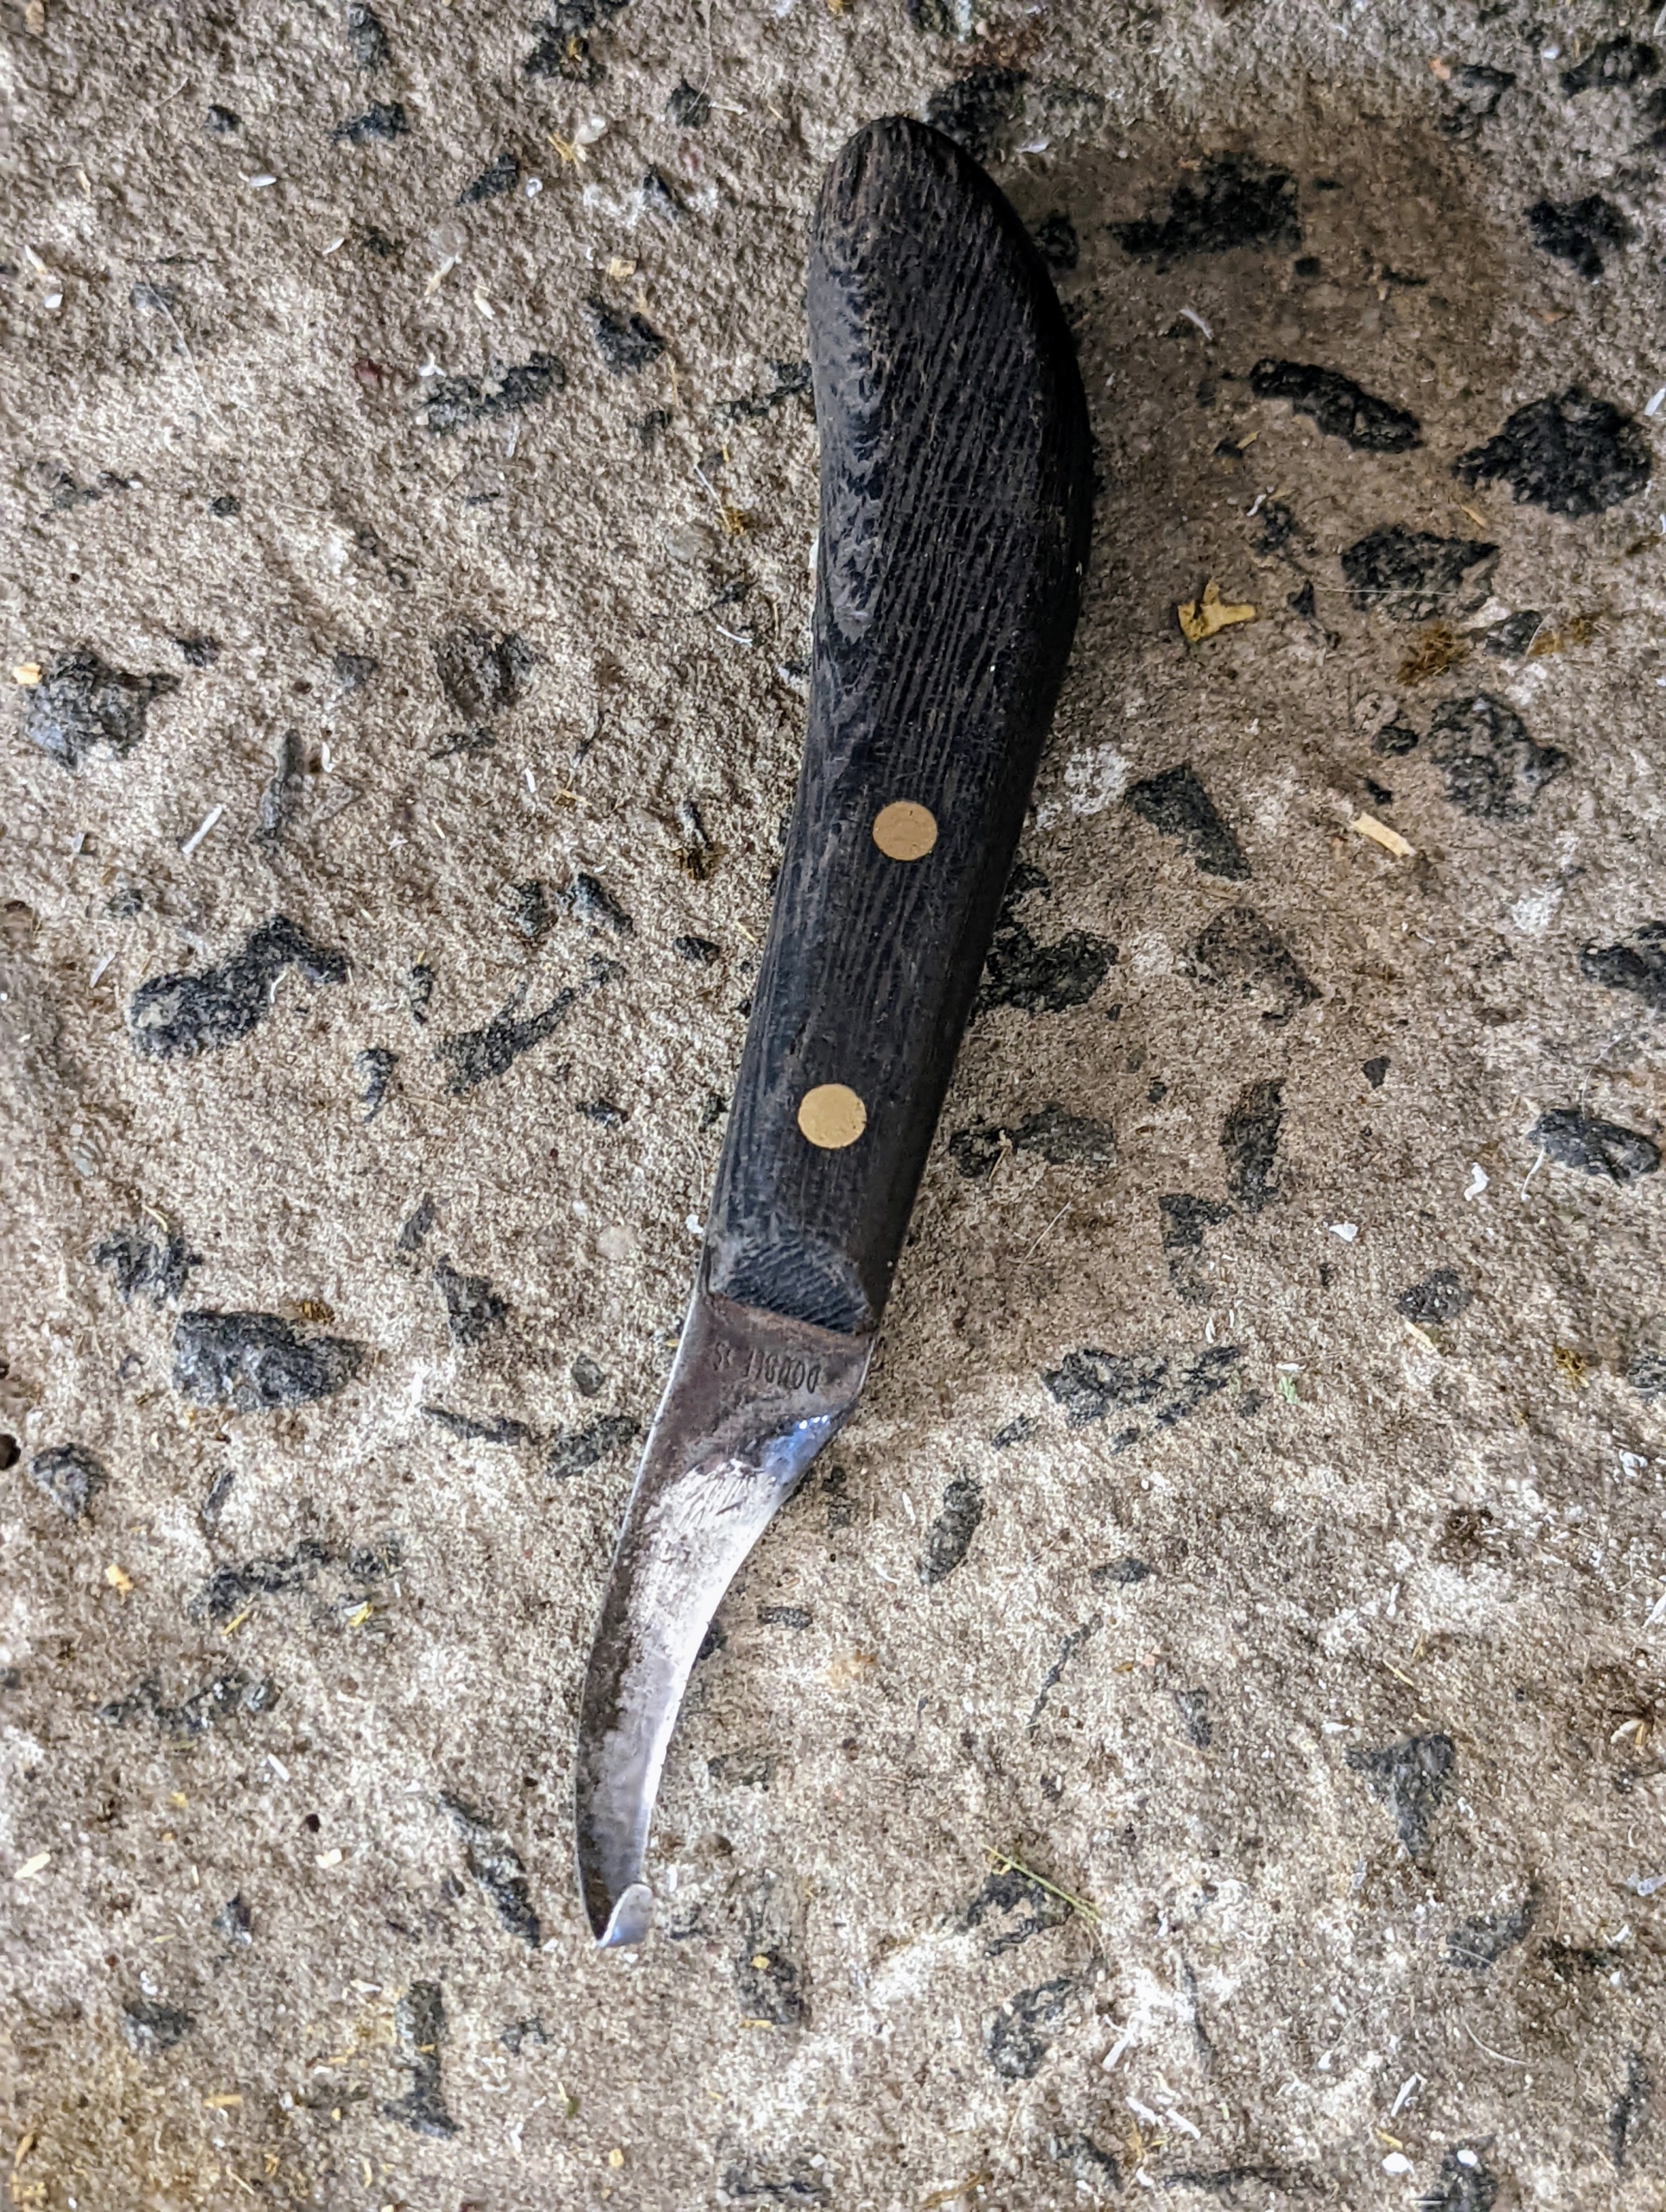
A farrier’s hoof knife is made of high quality stainless steel and has a sharp blade. It is used to clean up the exfoliating sole, to trim the shedding frog, and to cut the bars.
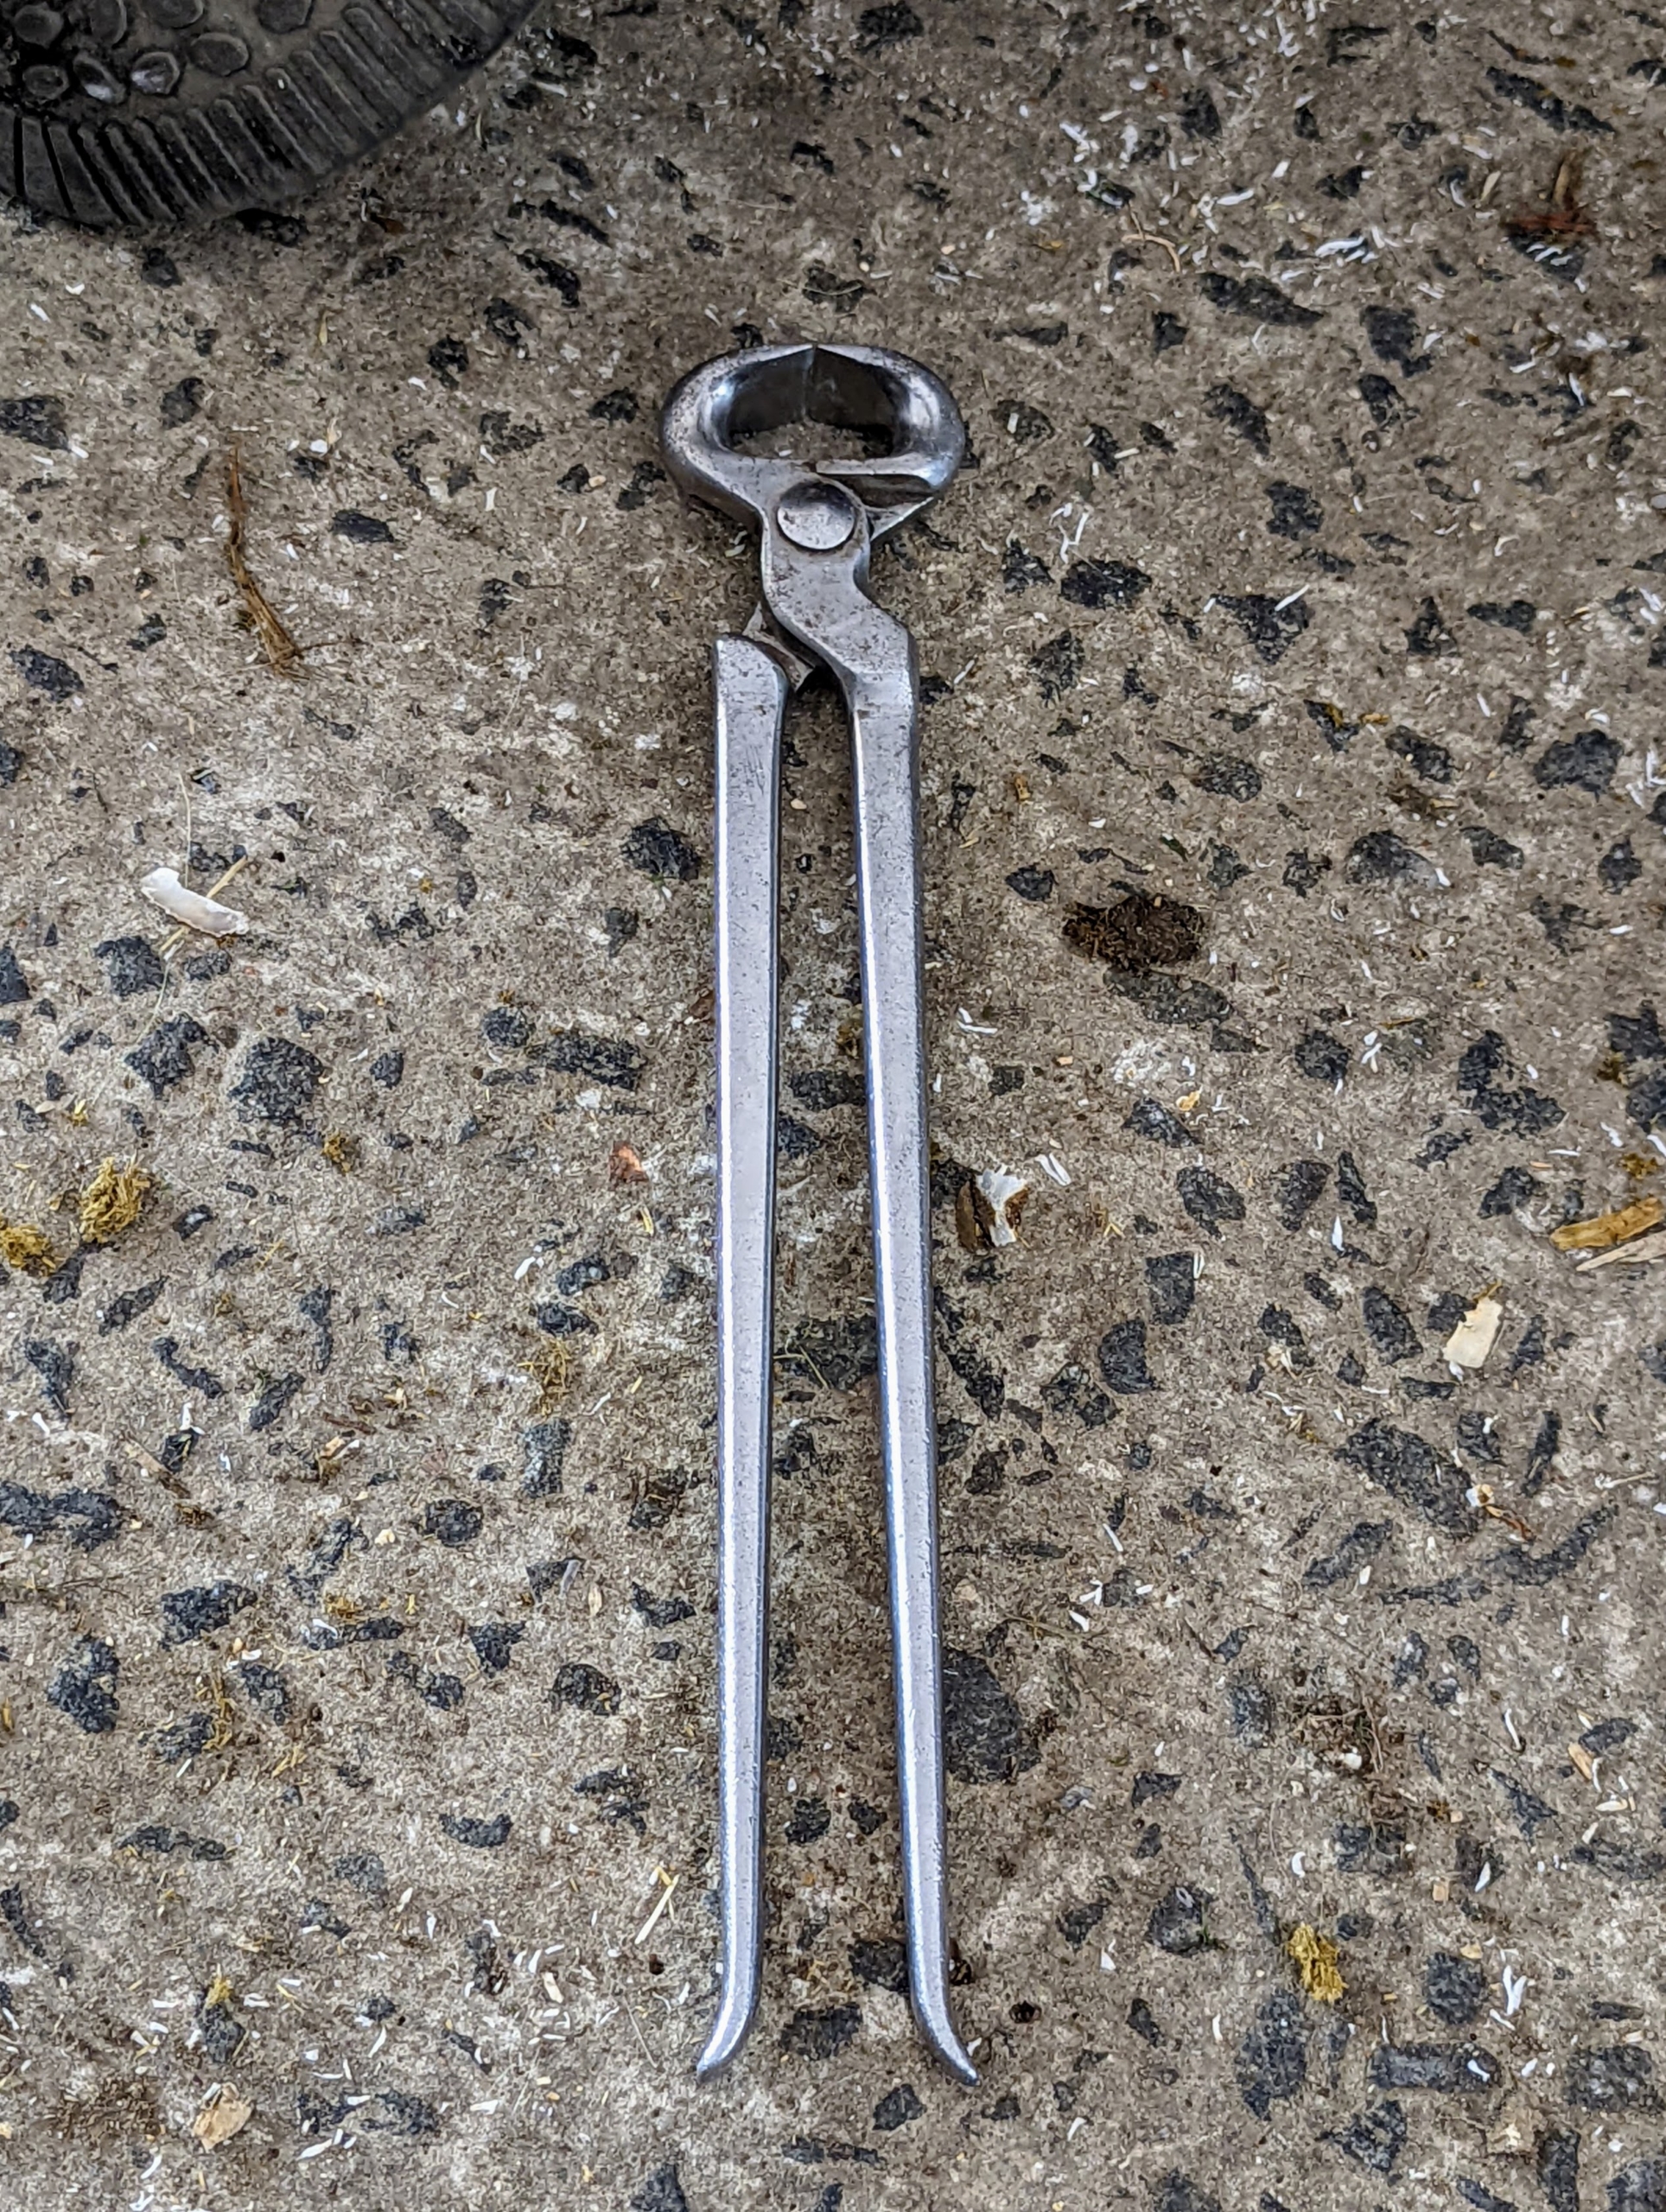
This is called a nipper. It is used to cut and remove any overgrown hoof wall.
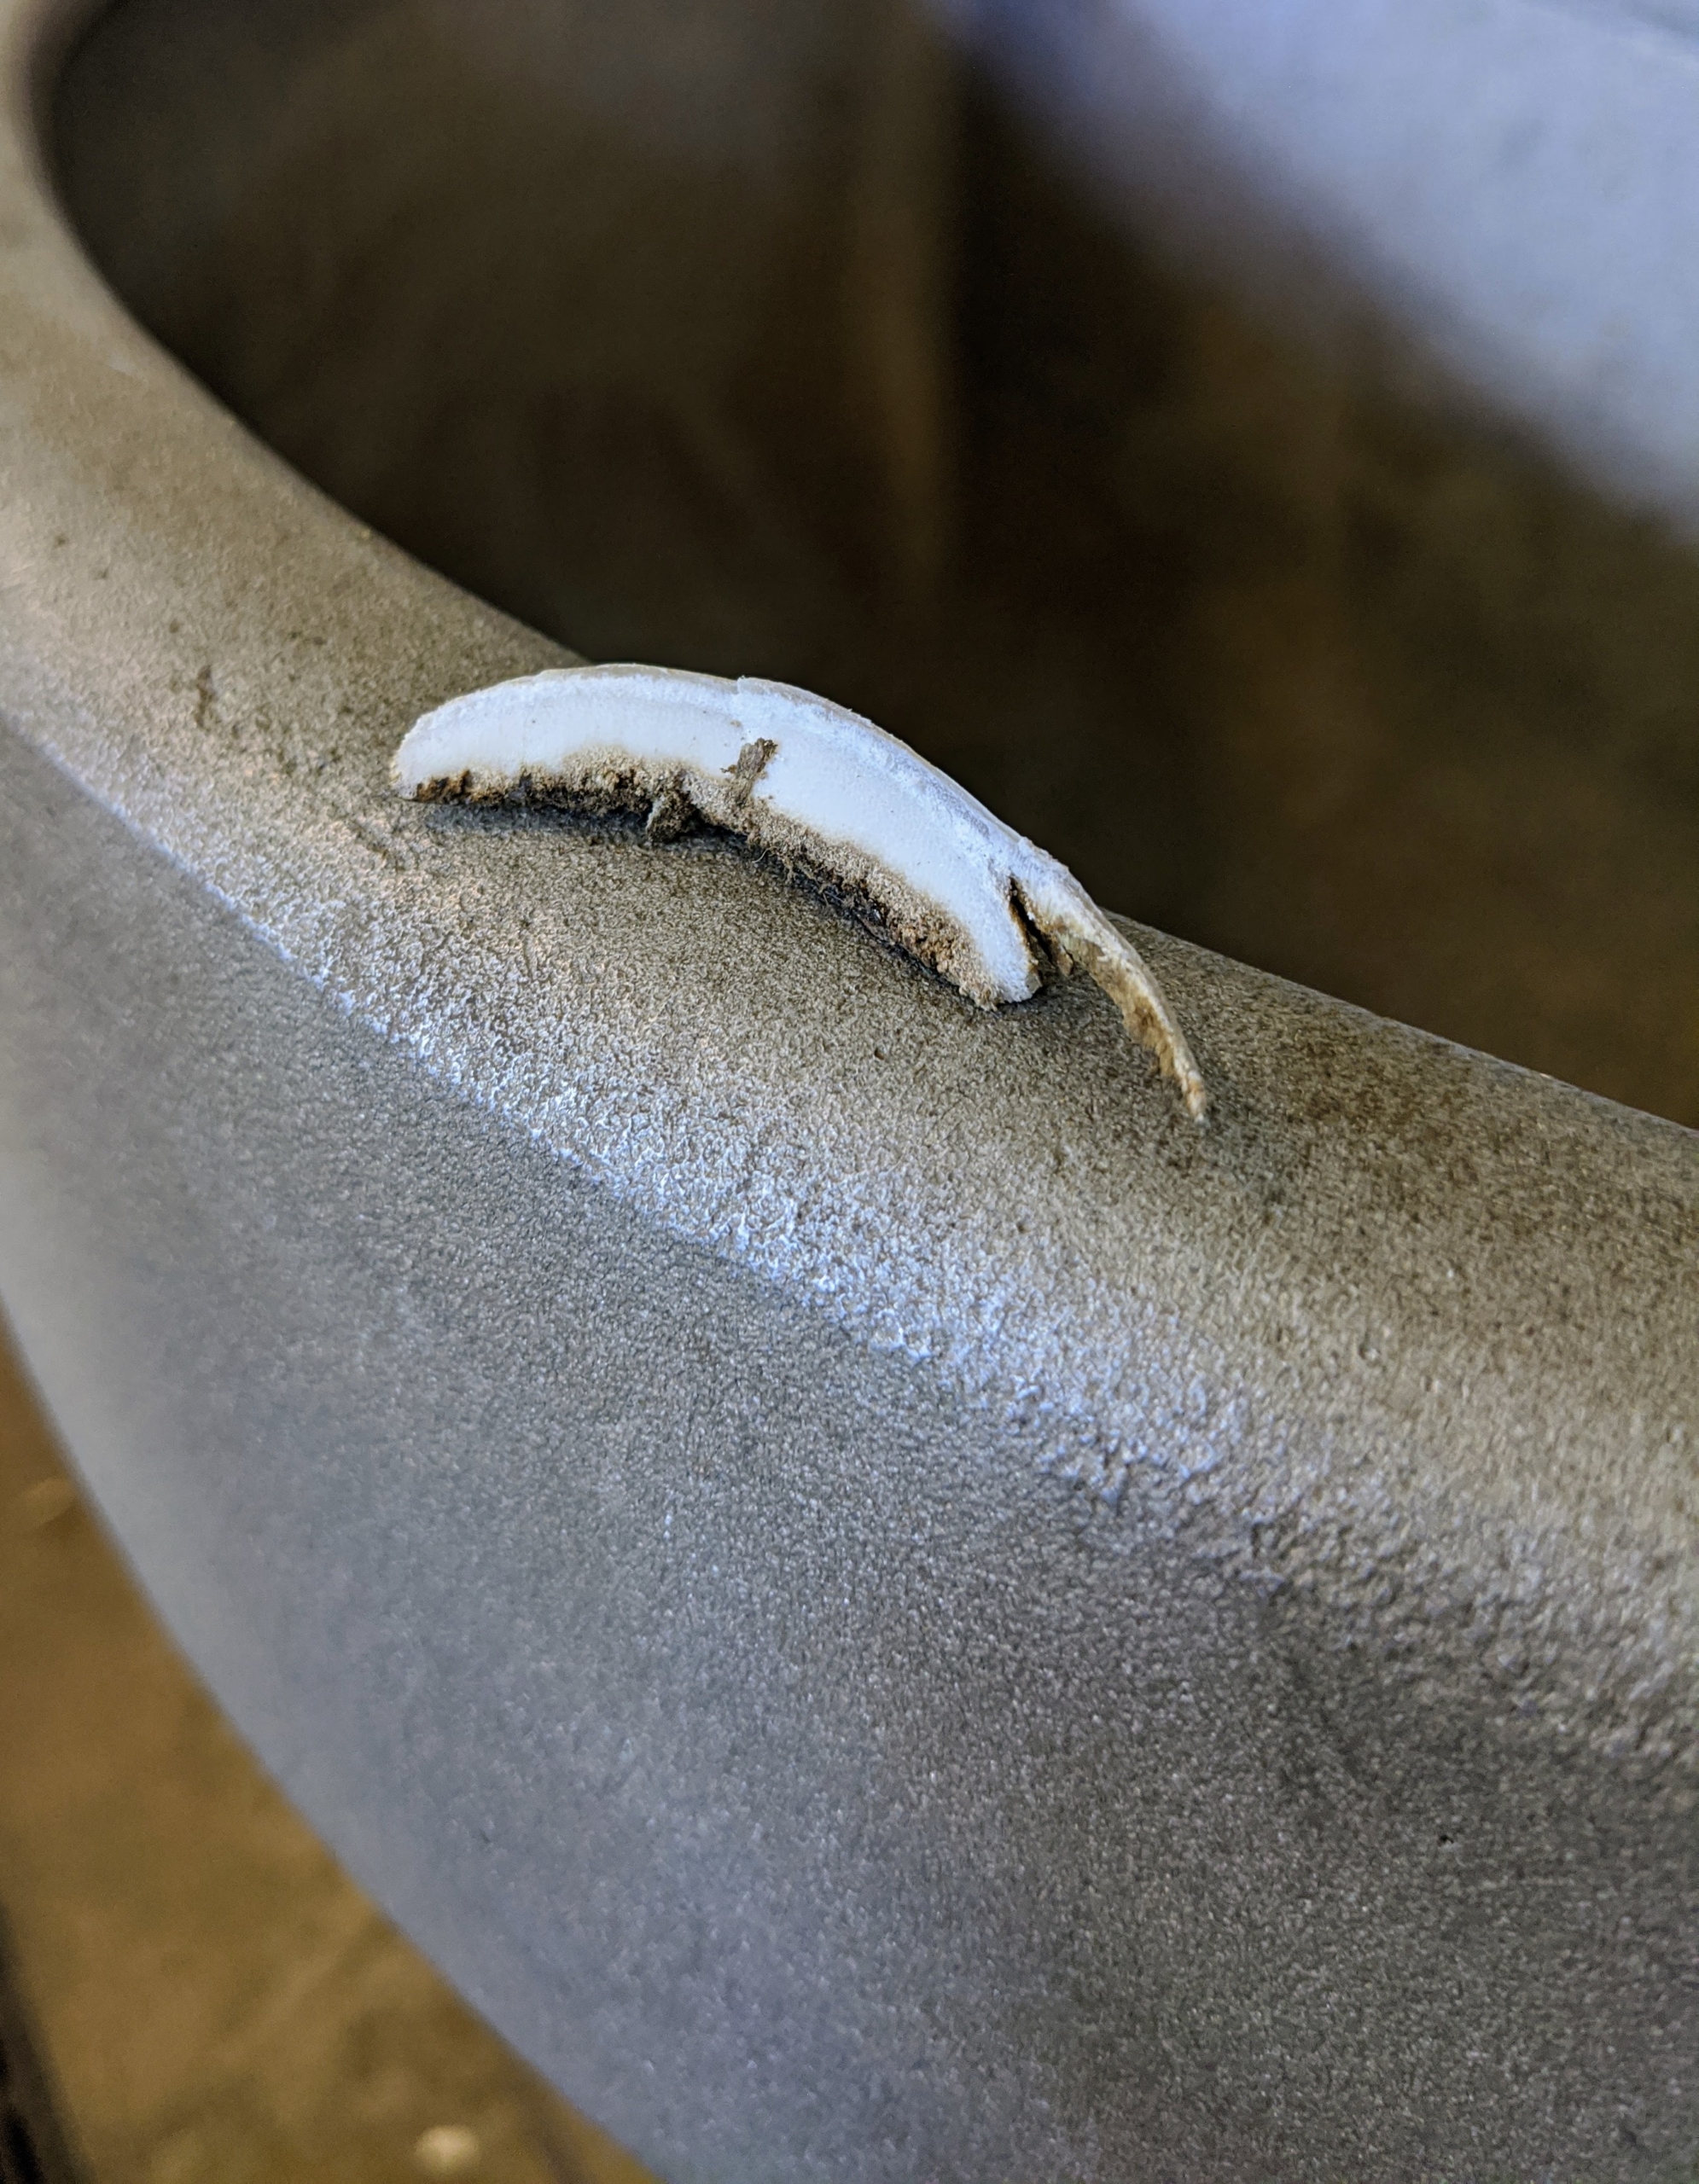
Here is a piece of overgrown wall – not much. Removing pieces of the hoof wall requires considerable knowledge since the area is so close to the sole.
Jude “JJ” Junior looks on. These donkeys are very close and do best when they can see all the other members of their herd.
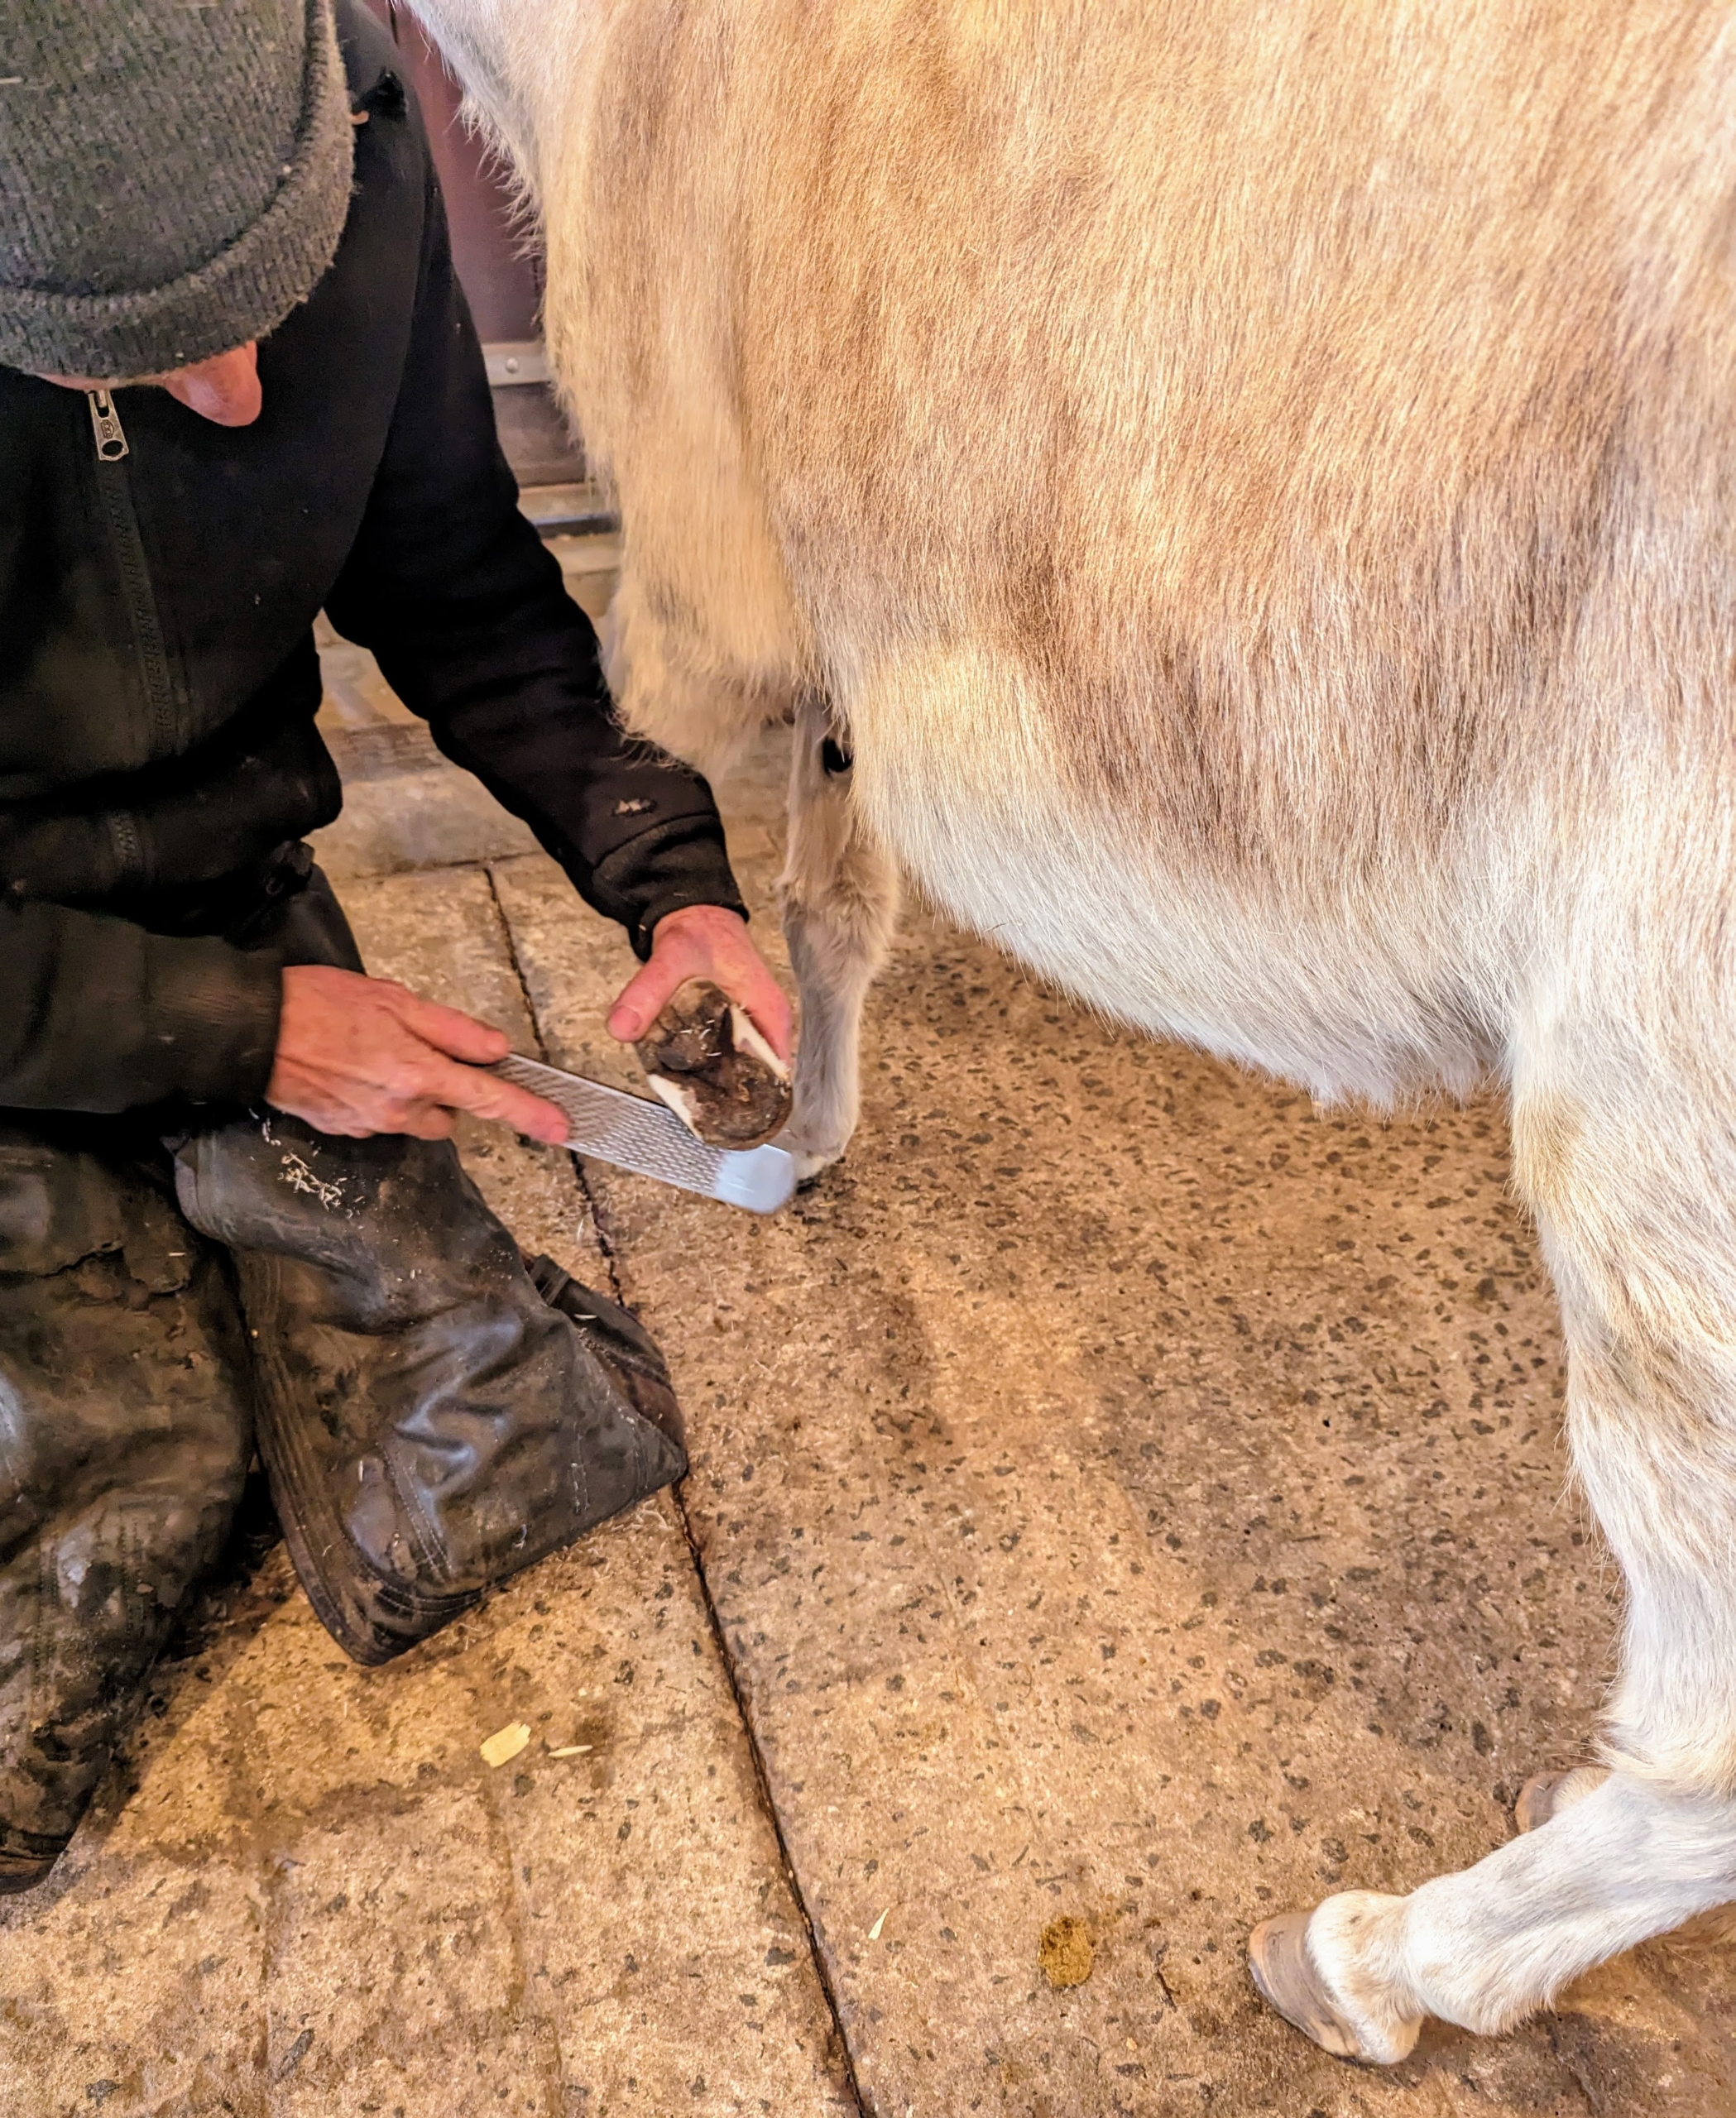
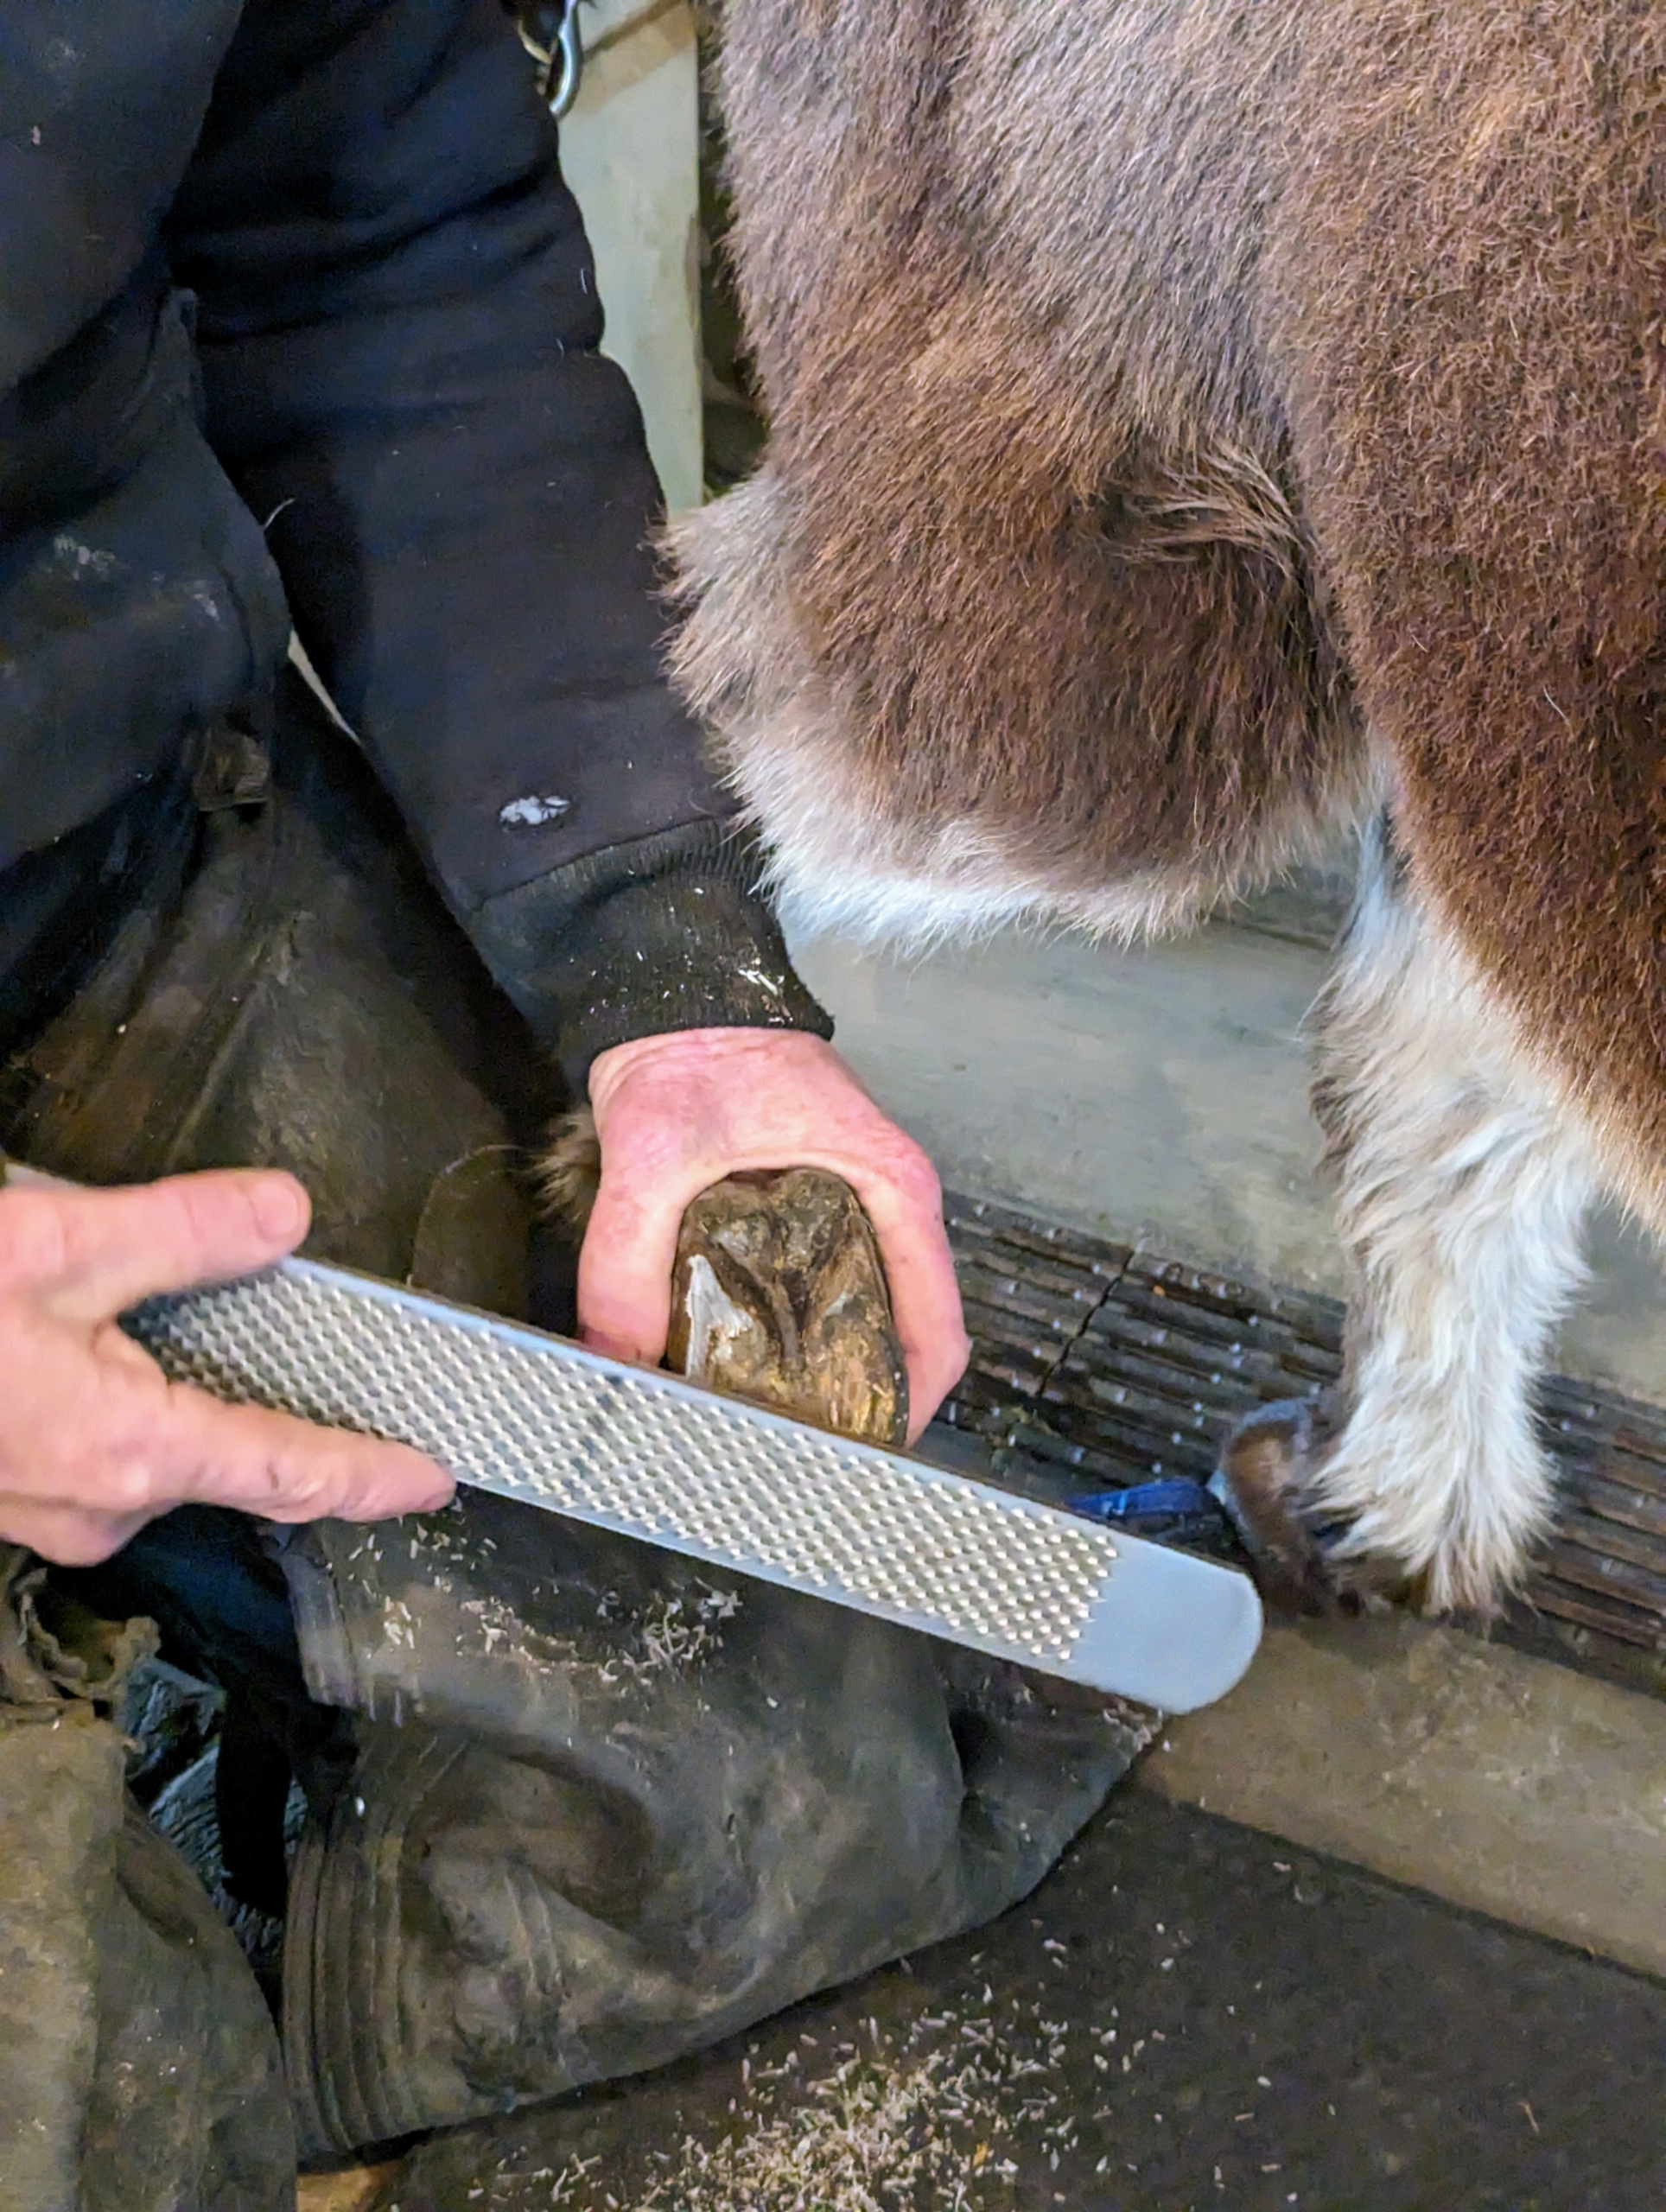
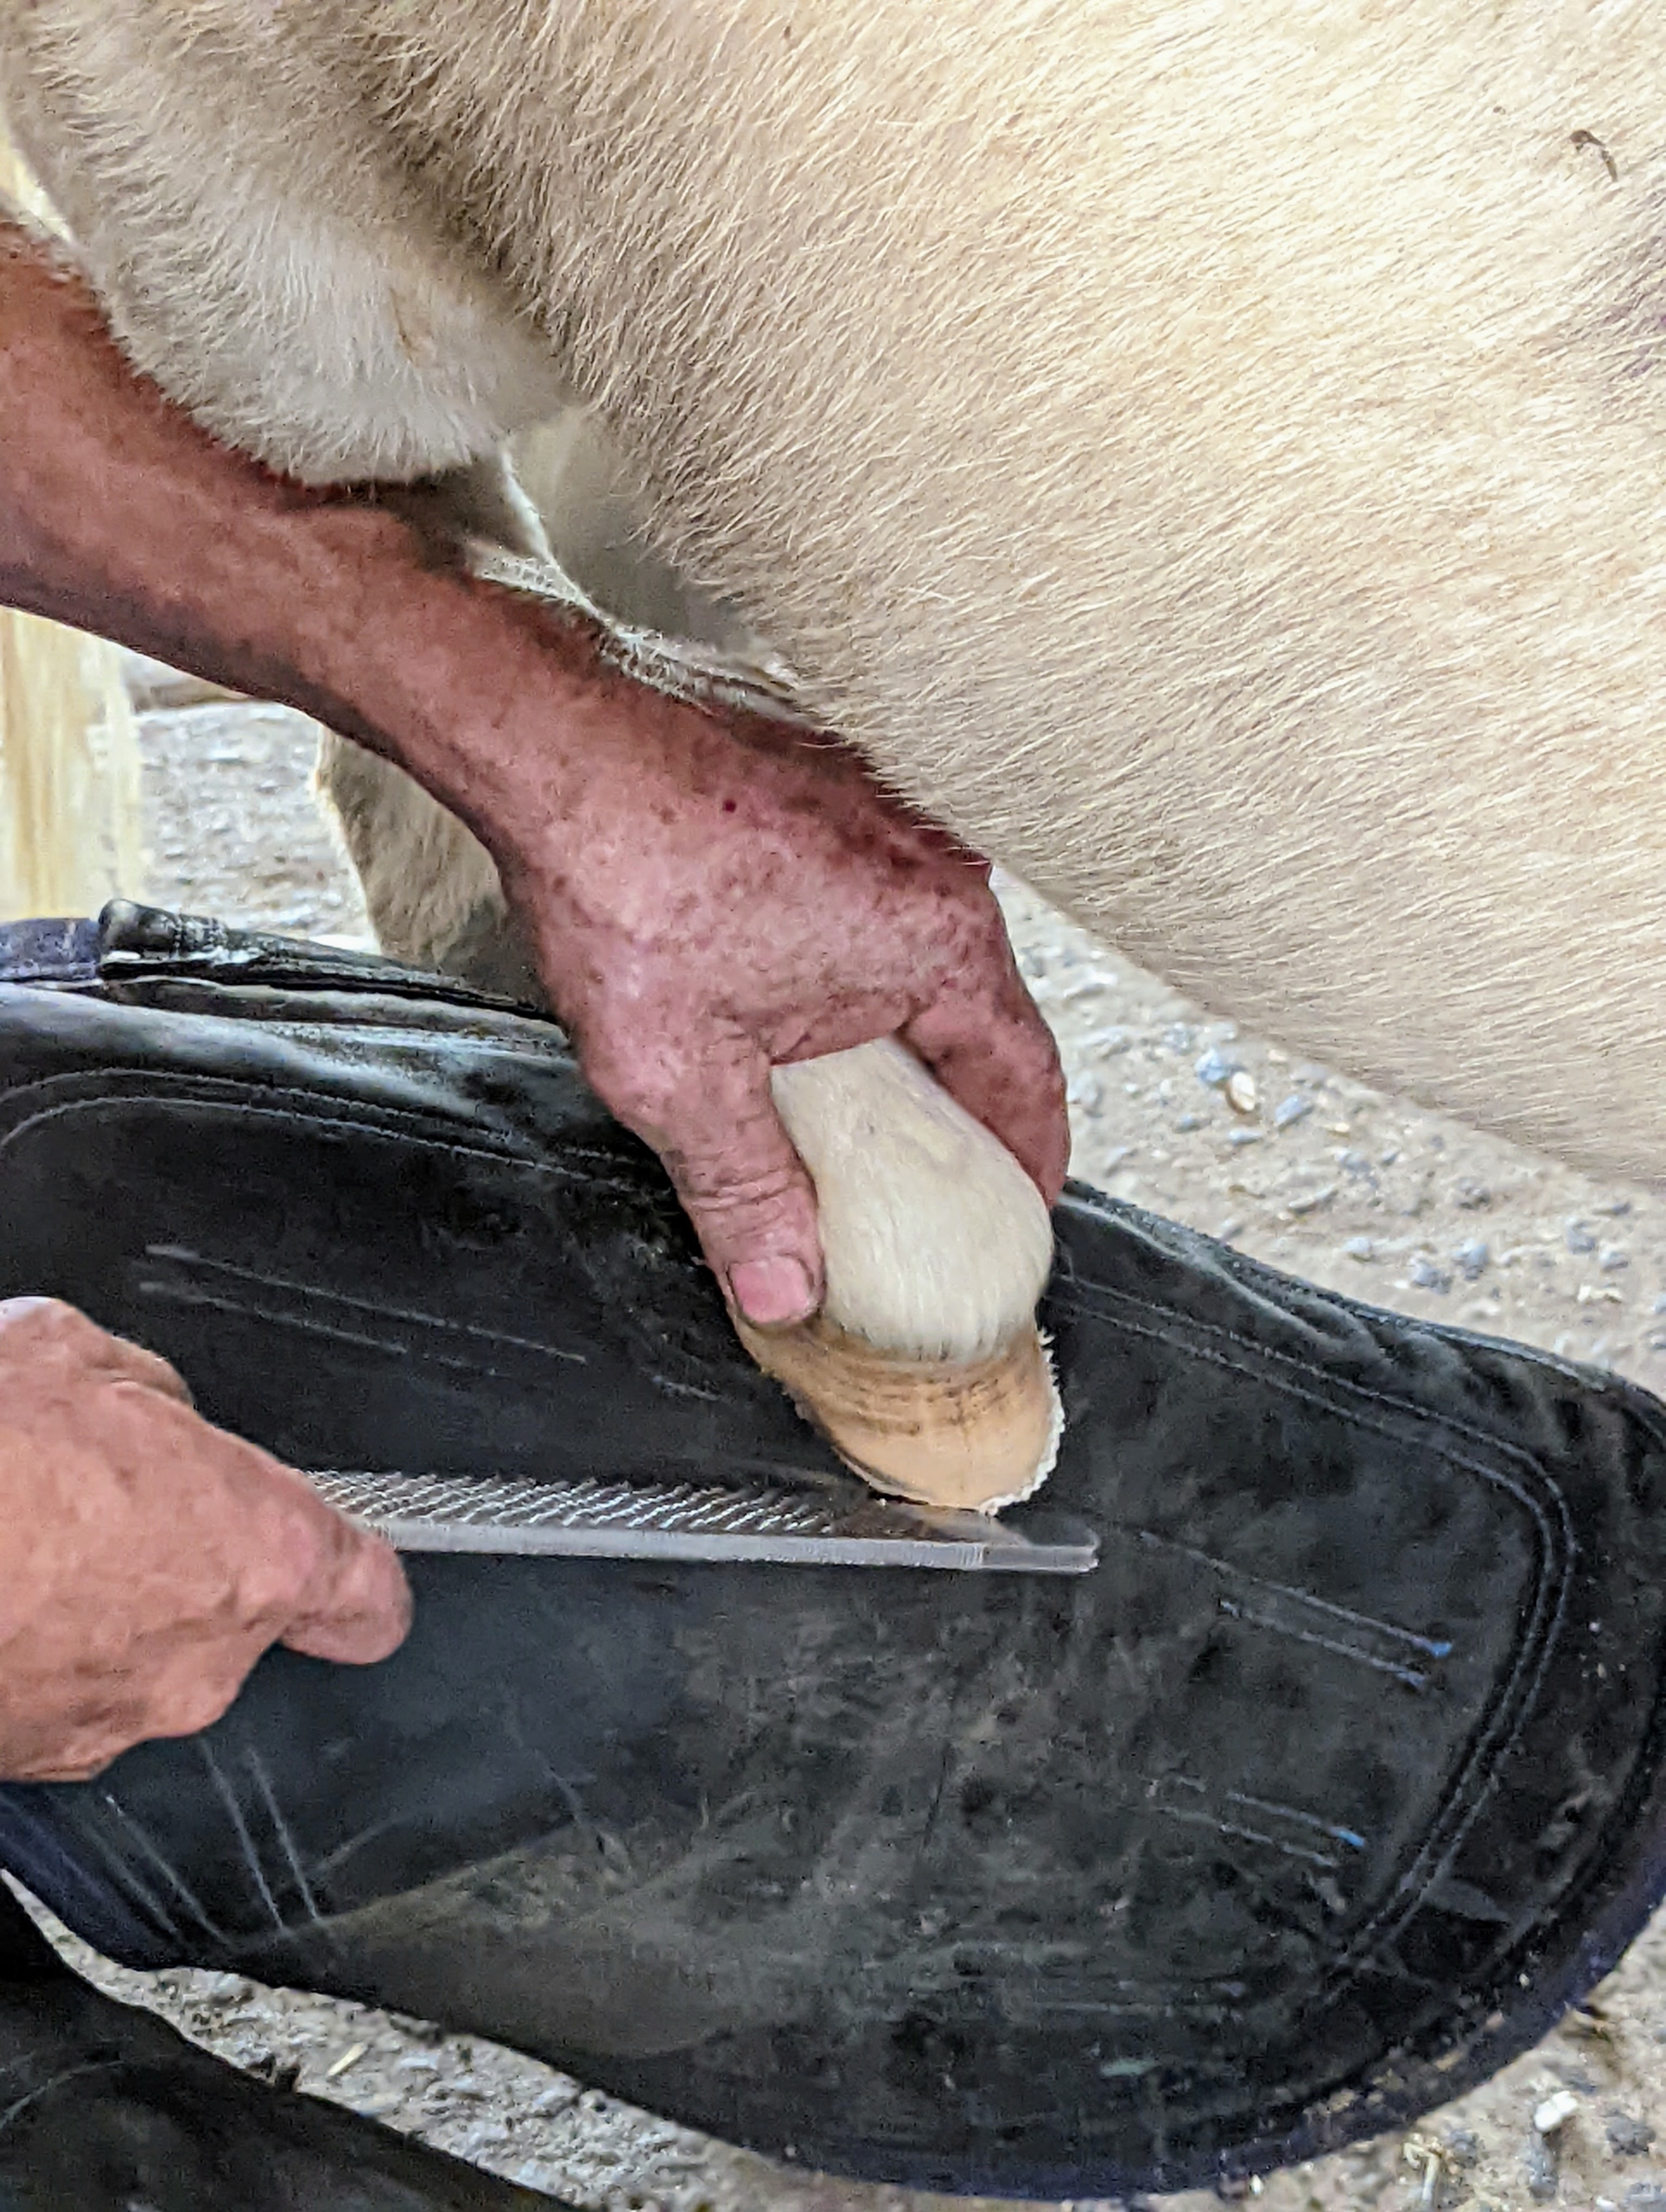
The next step is to clean up any rough edges around the hoof. Marc does this with a filing tool called a rasp. Rasps are made of high carbon steel and chrome.
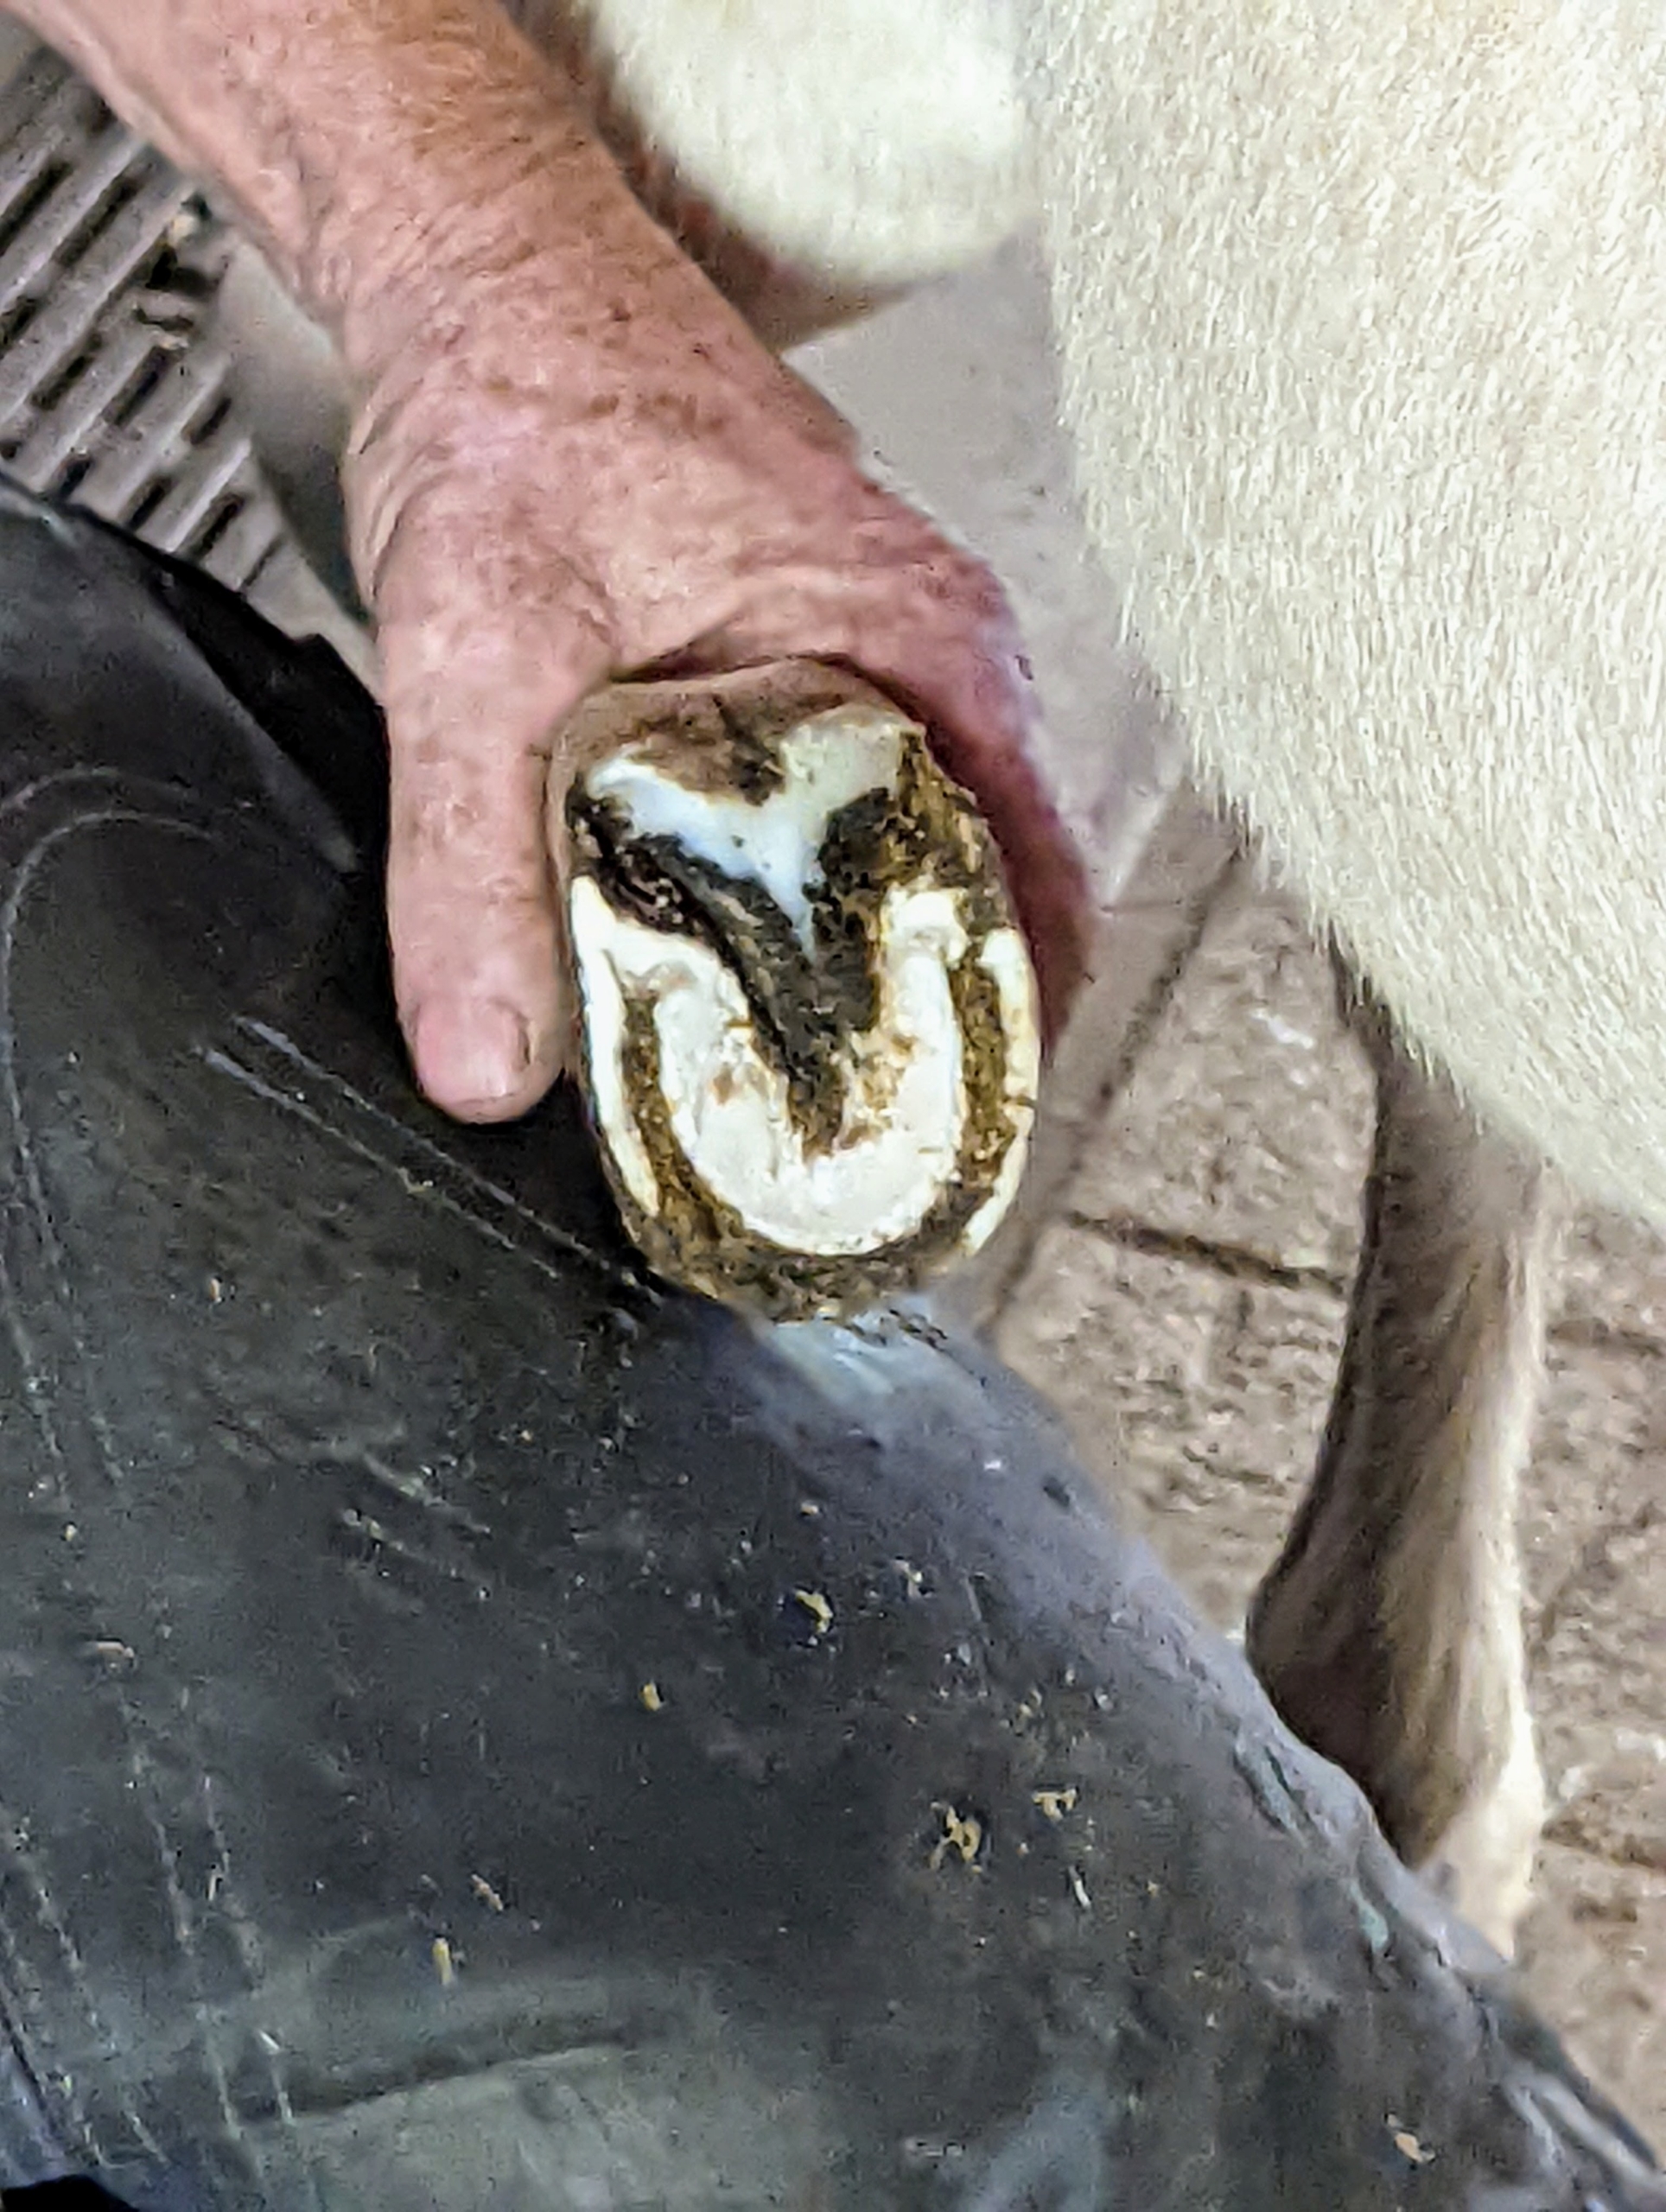
The finished hoof should look neat and well-rounded, and be free from any diseased tissue. Trimming them should be done often enough, so they don’t overgrow and cause issues with walking. Look closely, a donkey’s hoof is U-shaped. It is narrow, and longer than it is wide. The toe is rounded and the quarters are upright. In the center of the hoof is what is called the frog, identified by its V-shape. It consists of spongy, elastic tissue, marked by a central groove and two collateral grooves. This acts as the animal’s shock absorber.
Marc also files the front and then feels all around the hoof to make sure there are no rough edges.
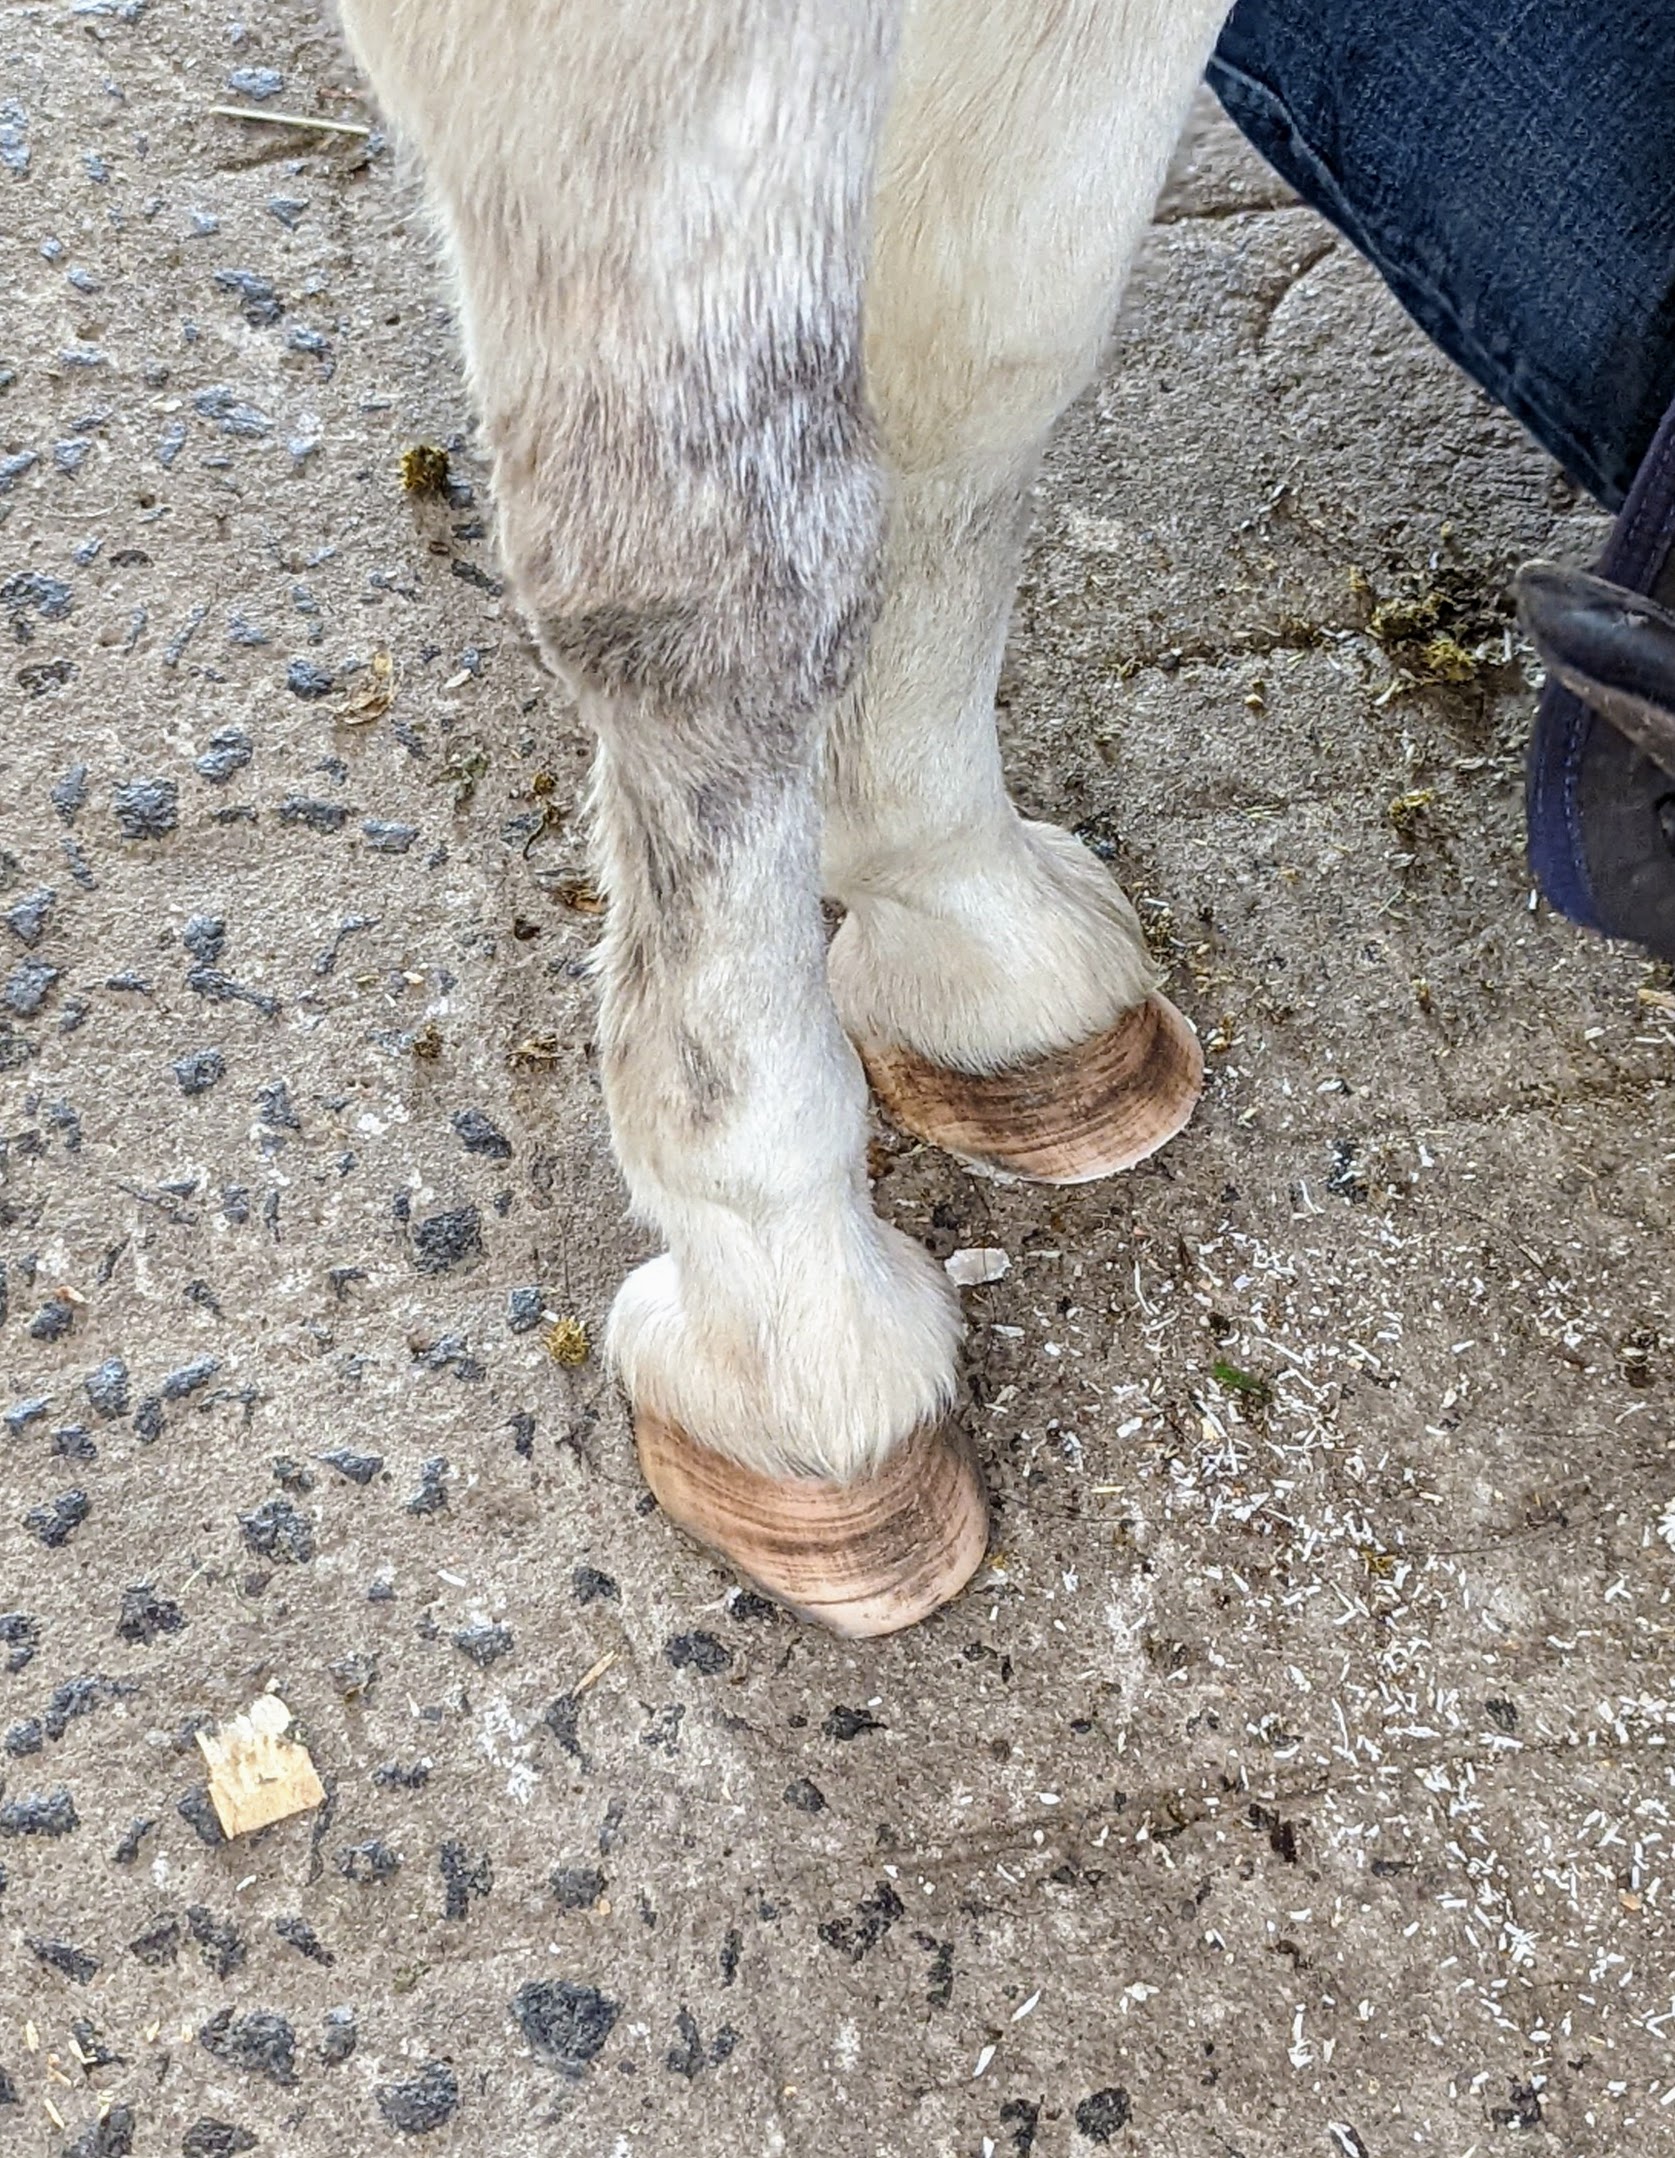
Here is one all done, and one still left to do – can you tell which is which?
Most of the time, donkeys are calm, intelligent, and have a natural inclination to like people. Donkeys show less obvious signs of fear than horses.
Marc moves onto another donkey – always on the back feet first and then the front.
Marc talks calmly to Jude “JJ” Junior while he is working to reassure her that this is a quick and painless procedure.
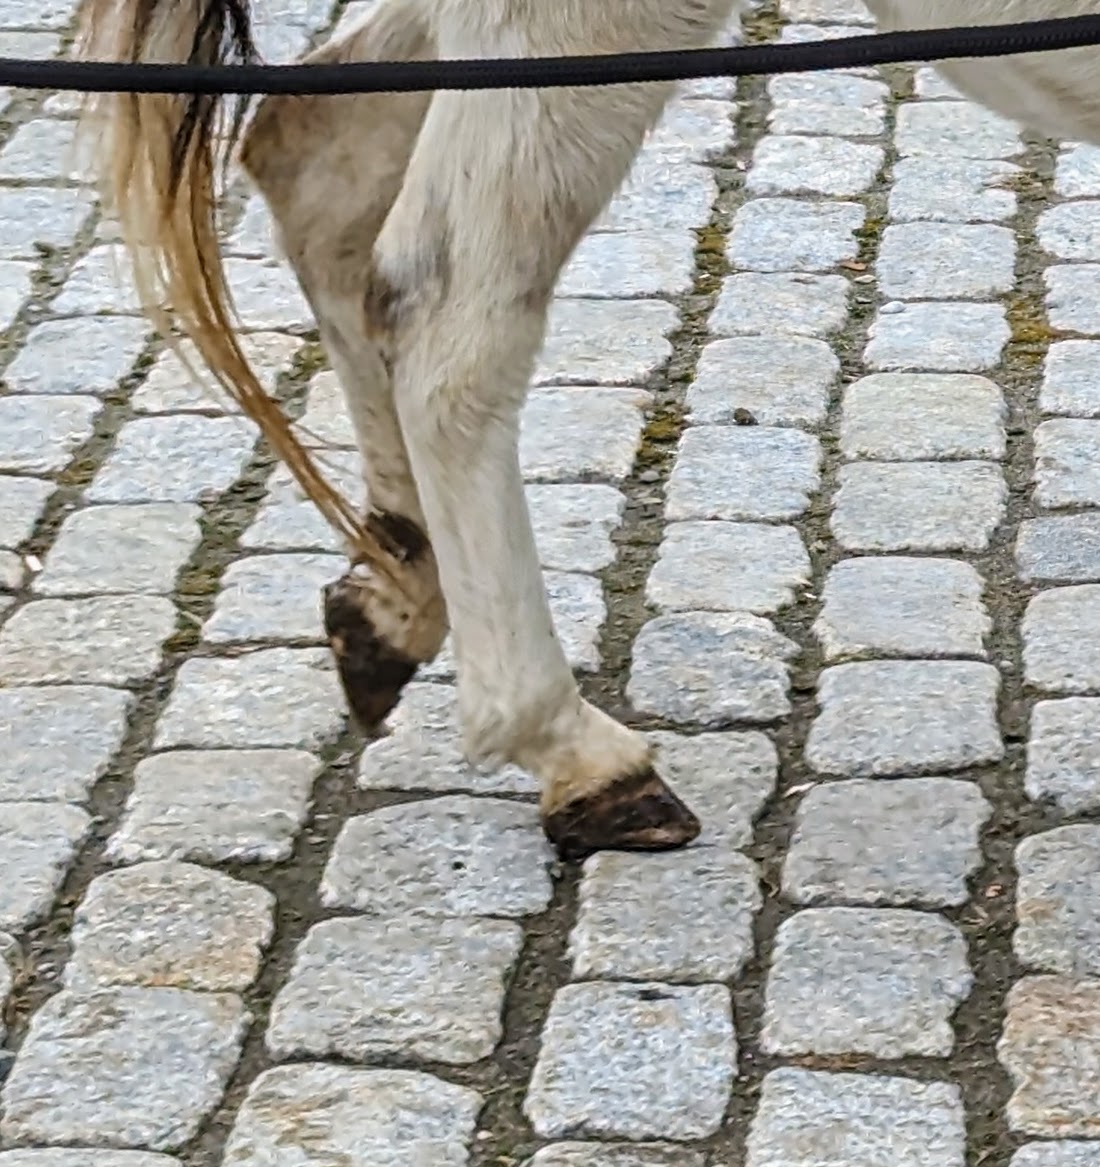
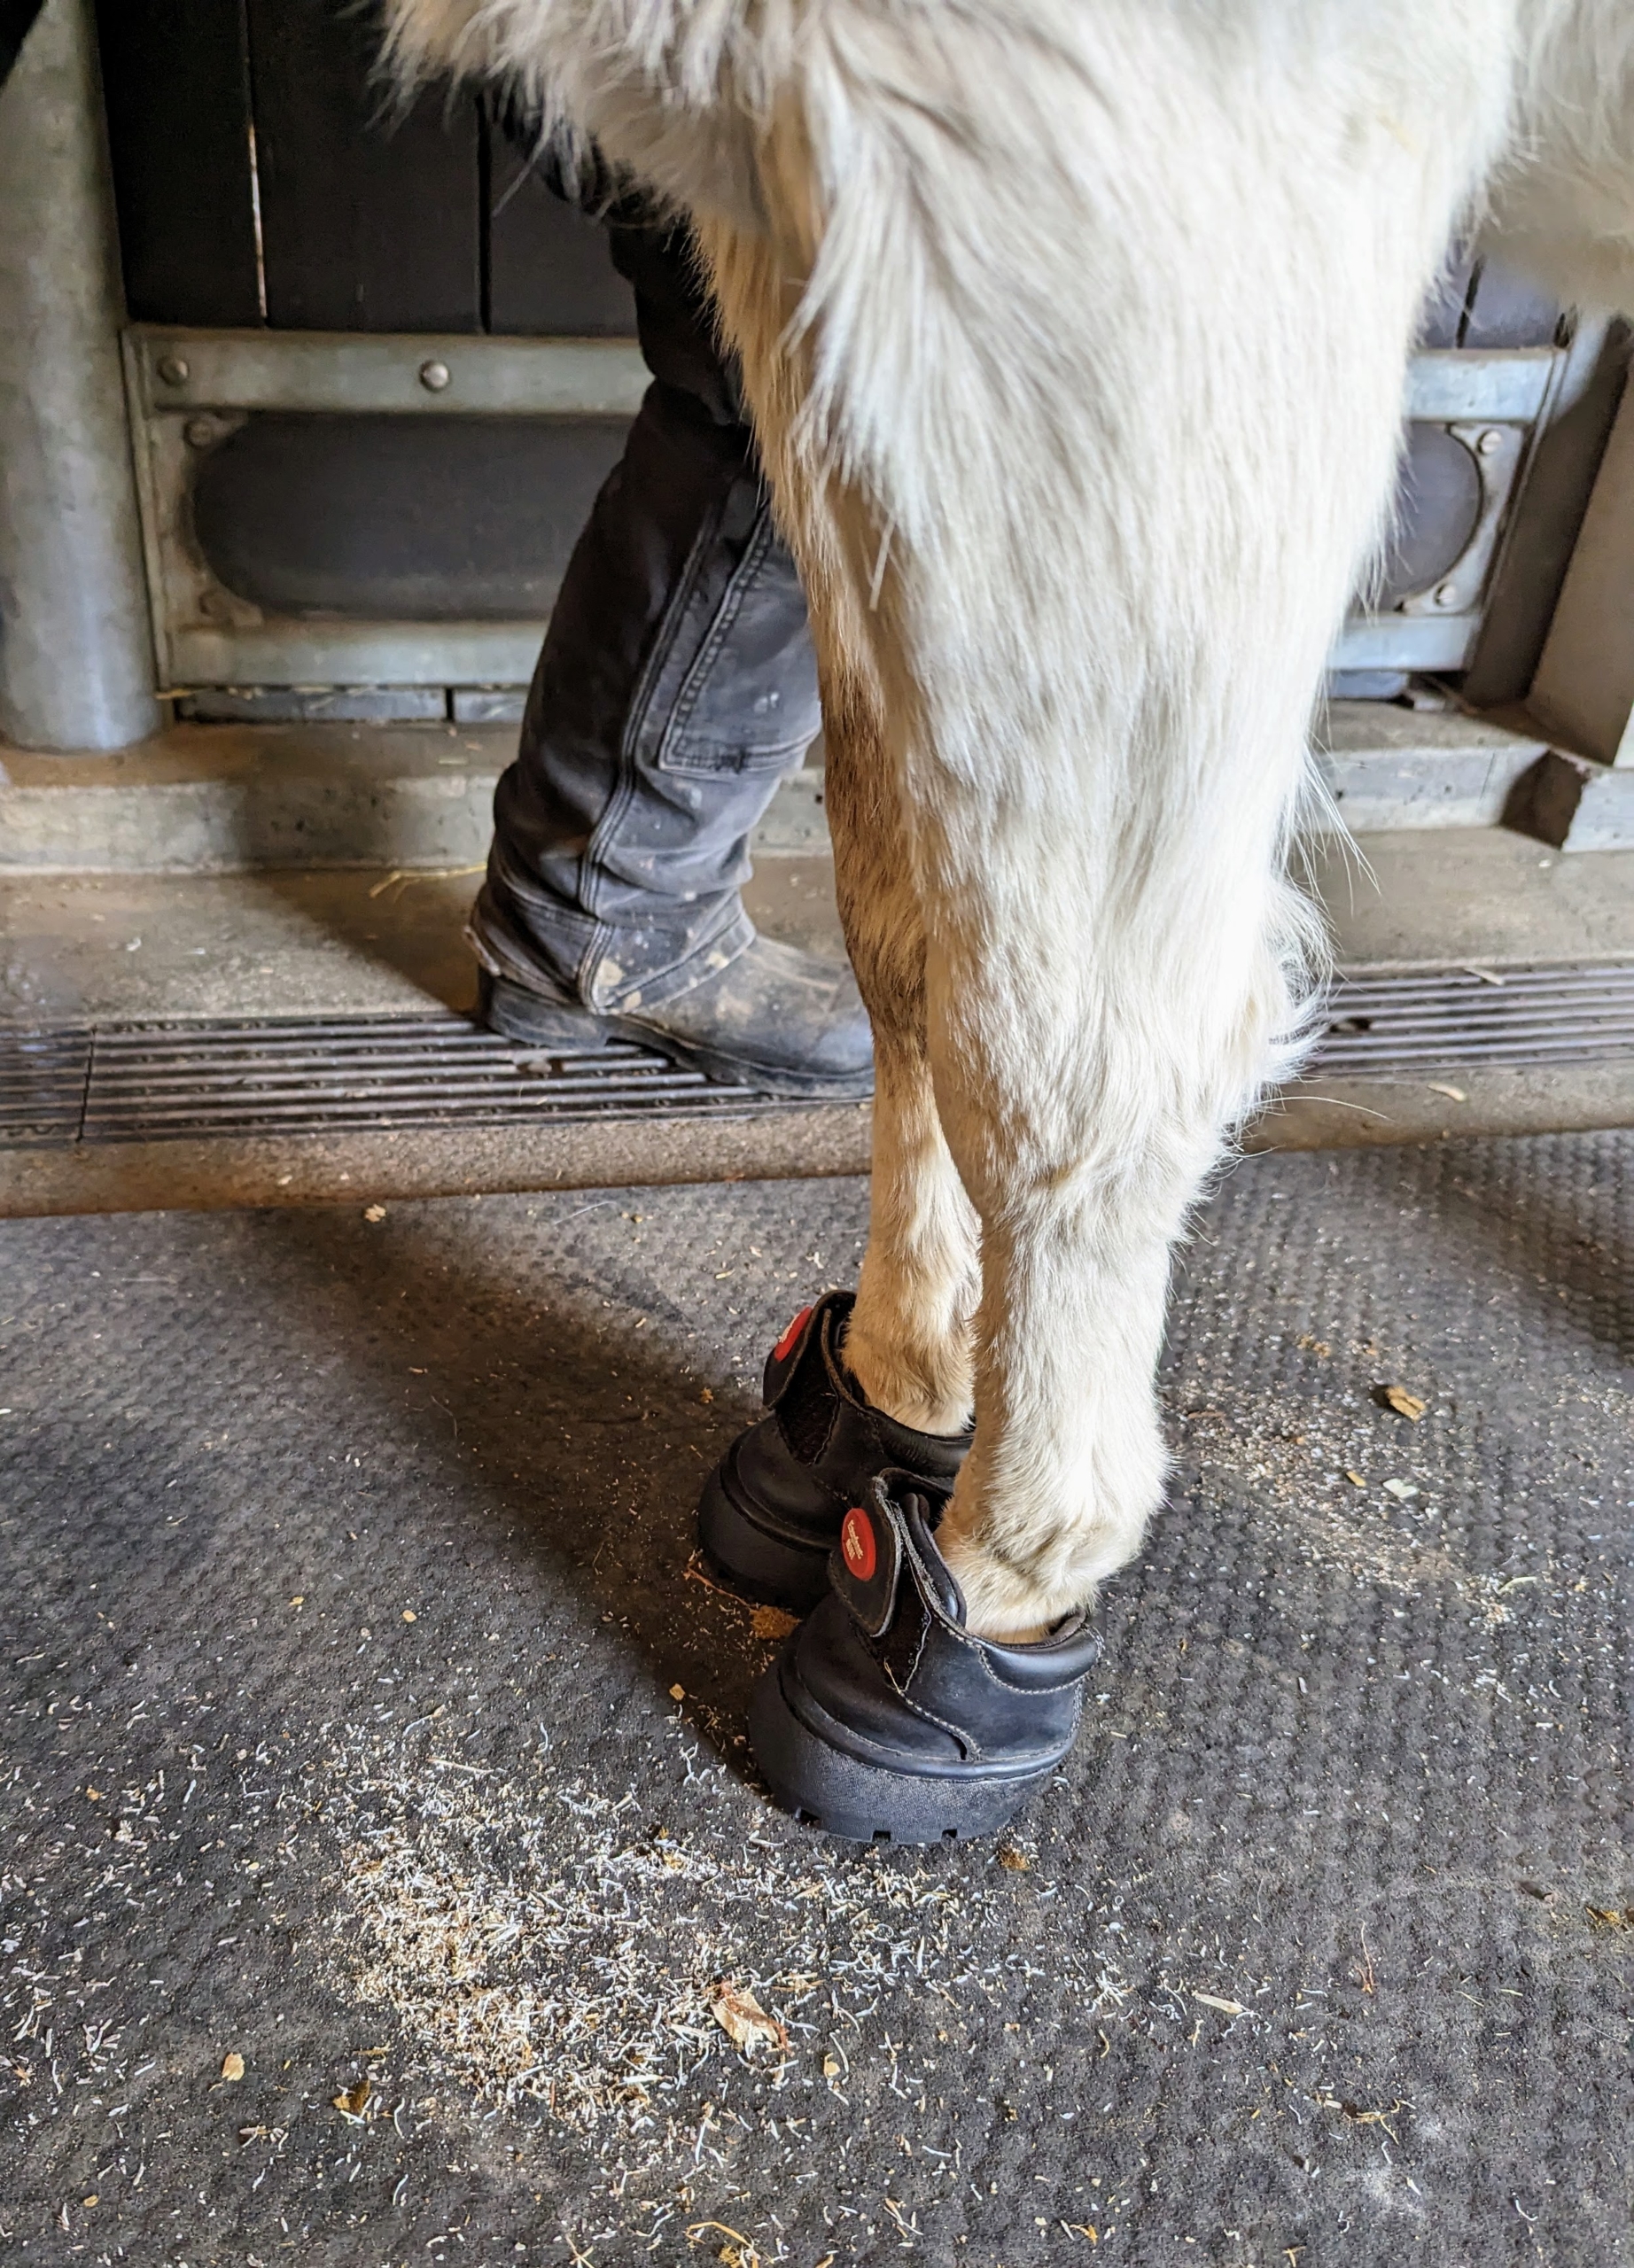
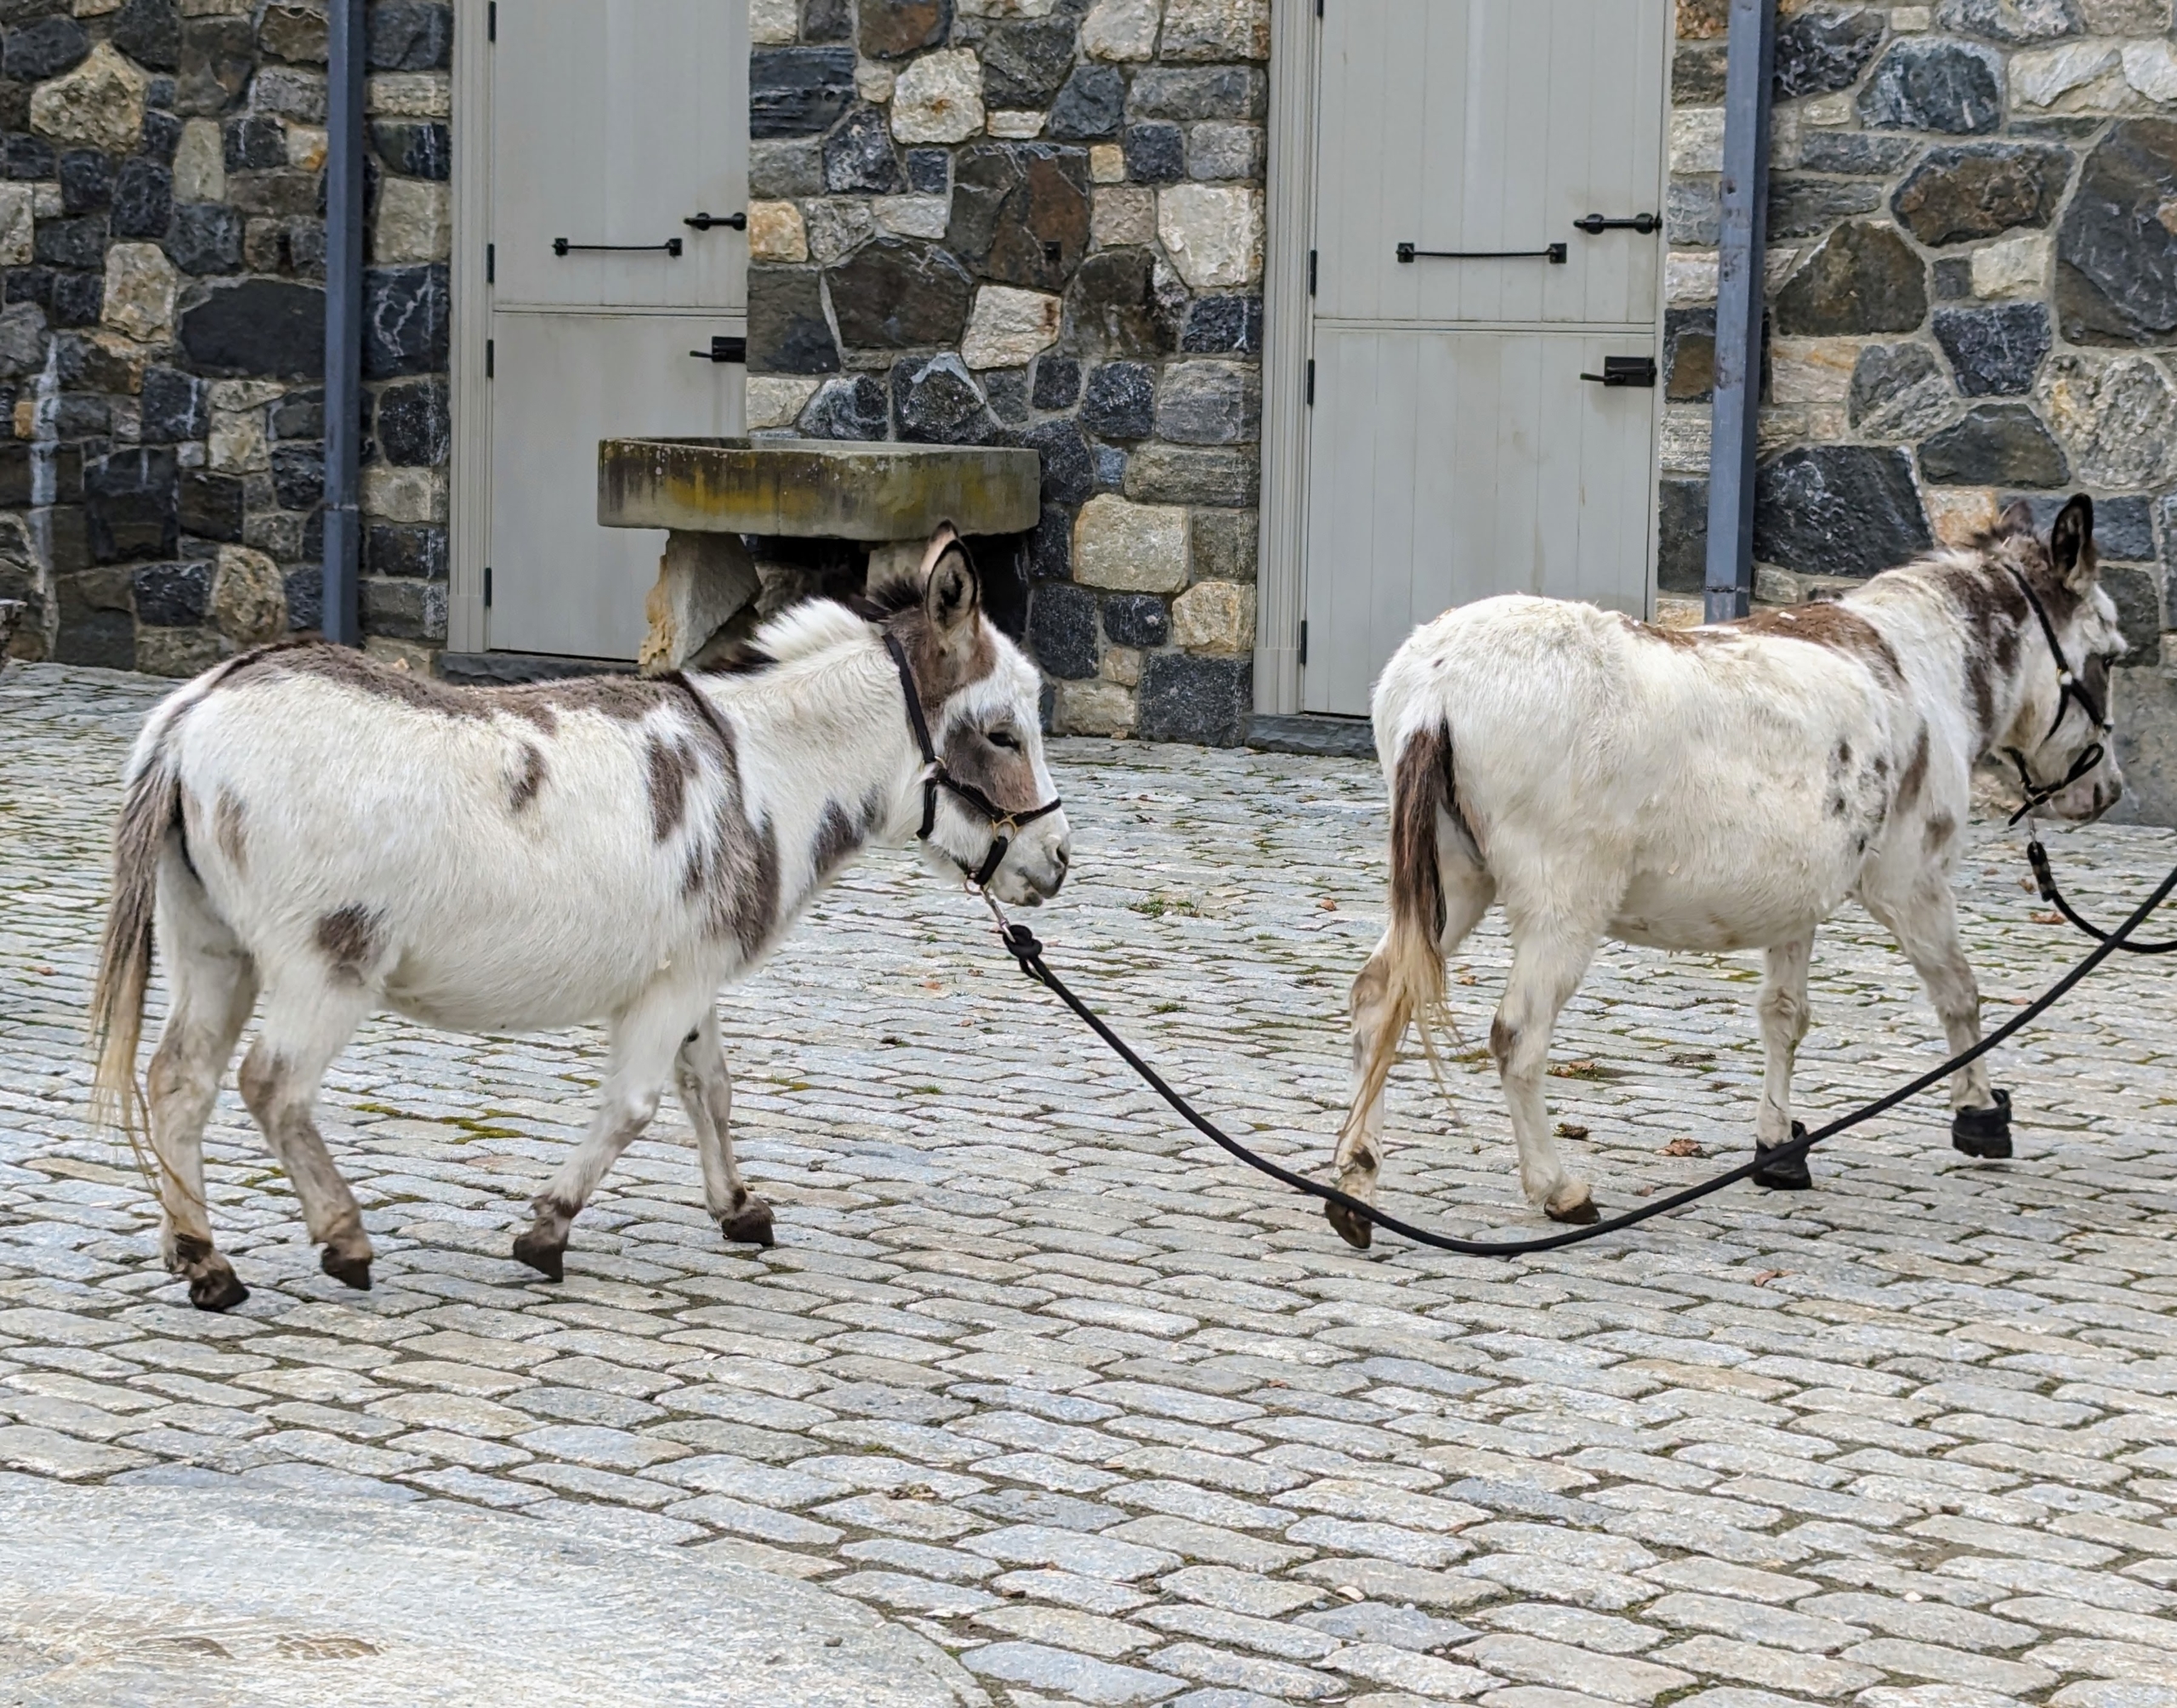
Billie, who is one of our two resident jennys, or females, also wears special donkey sneakers to protect her sensitive hooves on the cobblestones.
Here she is walking with Jude “JJ” Junior in the courtyard.
Do you know… a donkey is capable of hearing another donkey from up to 60-miles away in the proper conditions? They have a great sense of hearing, in part because of their large ears. It is a big responsibility to care for 10 equines. With the proper care and maintenance, all of them continue to be very healthy and very happy.
Even if you’re not a fan of cold weather, the first flurries of the season are always fun to see.
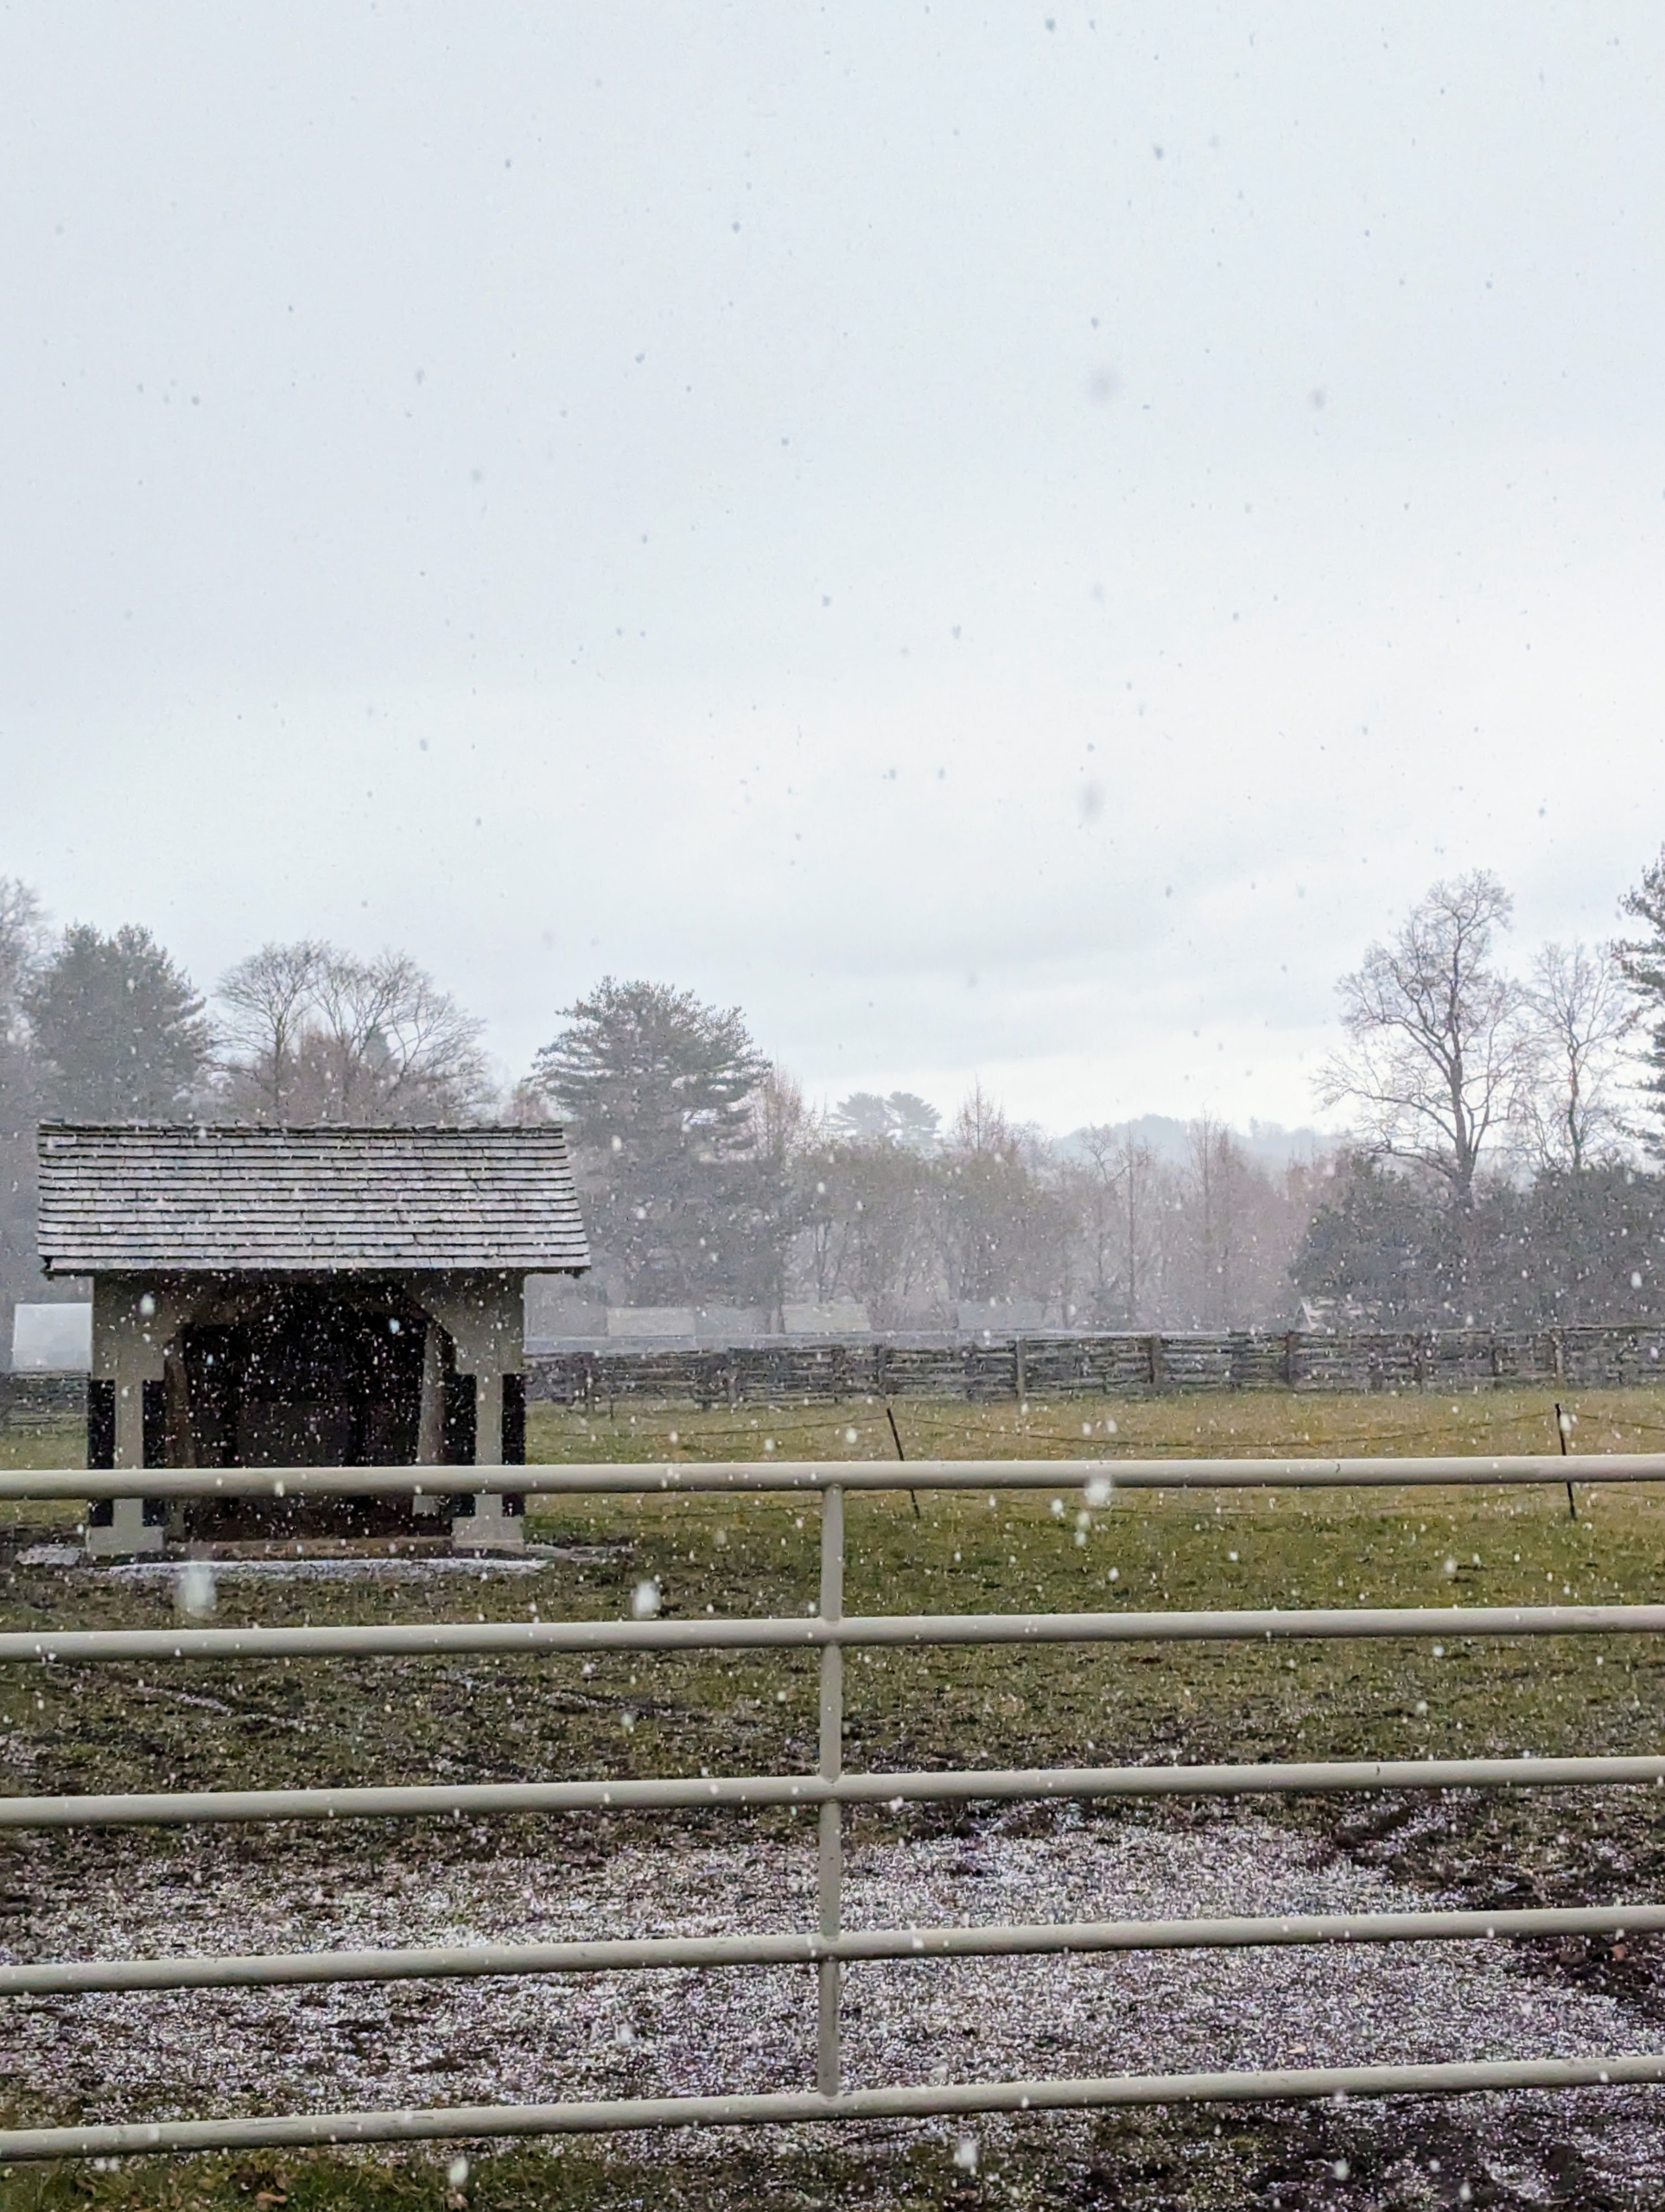
Although no one here at my Bedford, New York farm remembers seeing snow in the forecast yesterday, at about 3pm ET the skies darkened and heavy precipitation began - first as freezing rain, then as graupel or ice pellets mixed with sleet and large snowflakes. The weather system did not last long. In fact, it was all done in less than an hour. Fortunately, all the plants are tucked away in temperature-controlled greenhouses. We are still in the process of preparing for the winter season ahead - soon all the shrubs, hedges and cold-sensitive garden containers will be covered in burlap.
Here are some photos, enjoy.
The donkeys were already inside the stable enjoying their afternoon meal when the wintry mix started. The skies were heavy with cloud cover and within minutes sleet, snow, and graupel began falling.
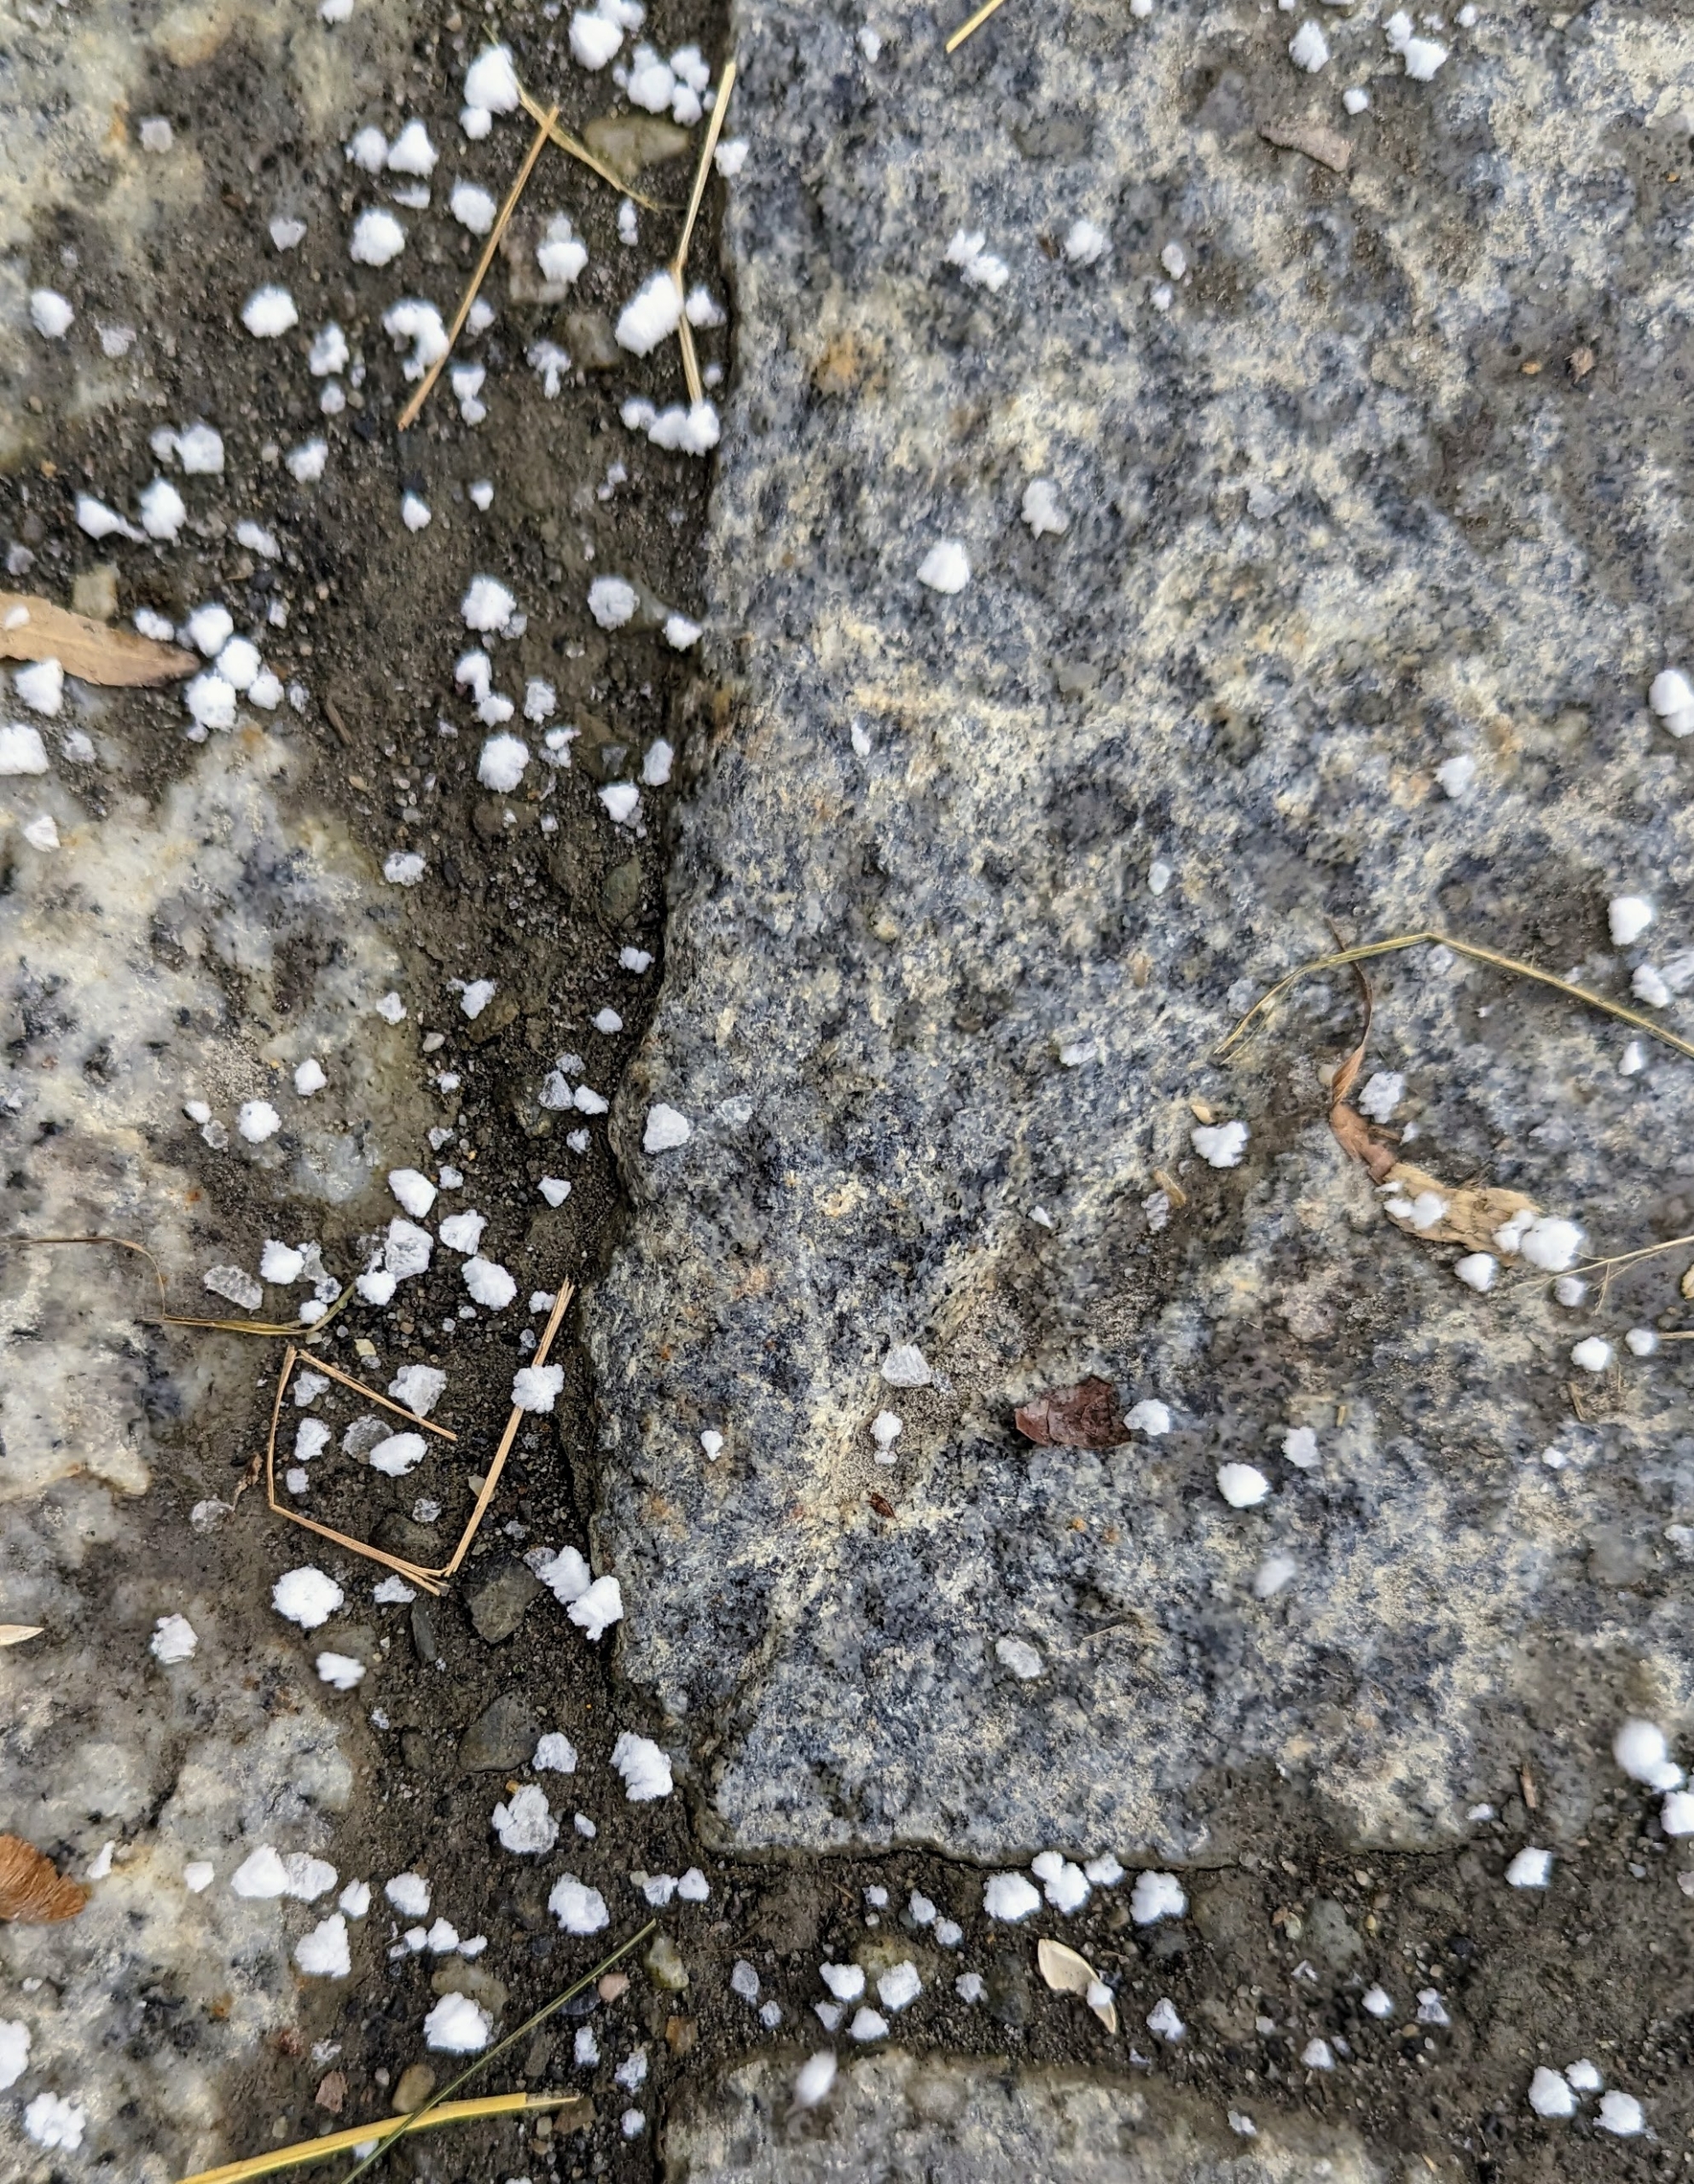
The term graupel describes ice pellets shaped like tiny balls. Graupel should not be confused with sleet, which is sturdier and more frozen. Graupel occurs when a snow pellet falls and is encapsulated by ice. It is also different from hail, which is formed from raindrops that are lifted upward into freezing air by the wind. Graupel is more like “soft hail.”
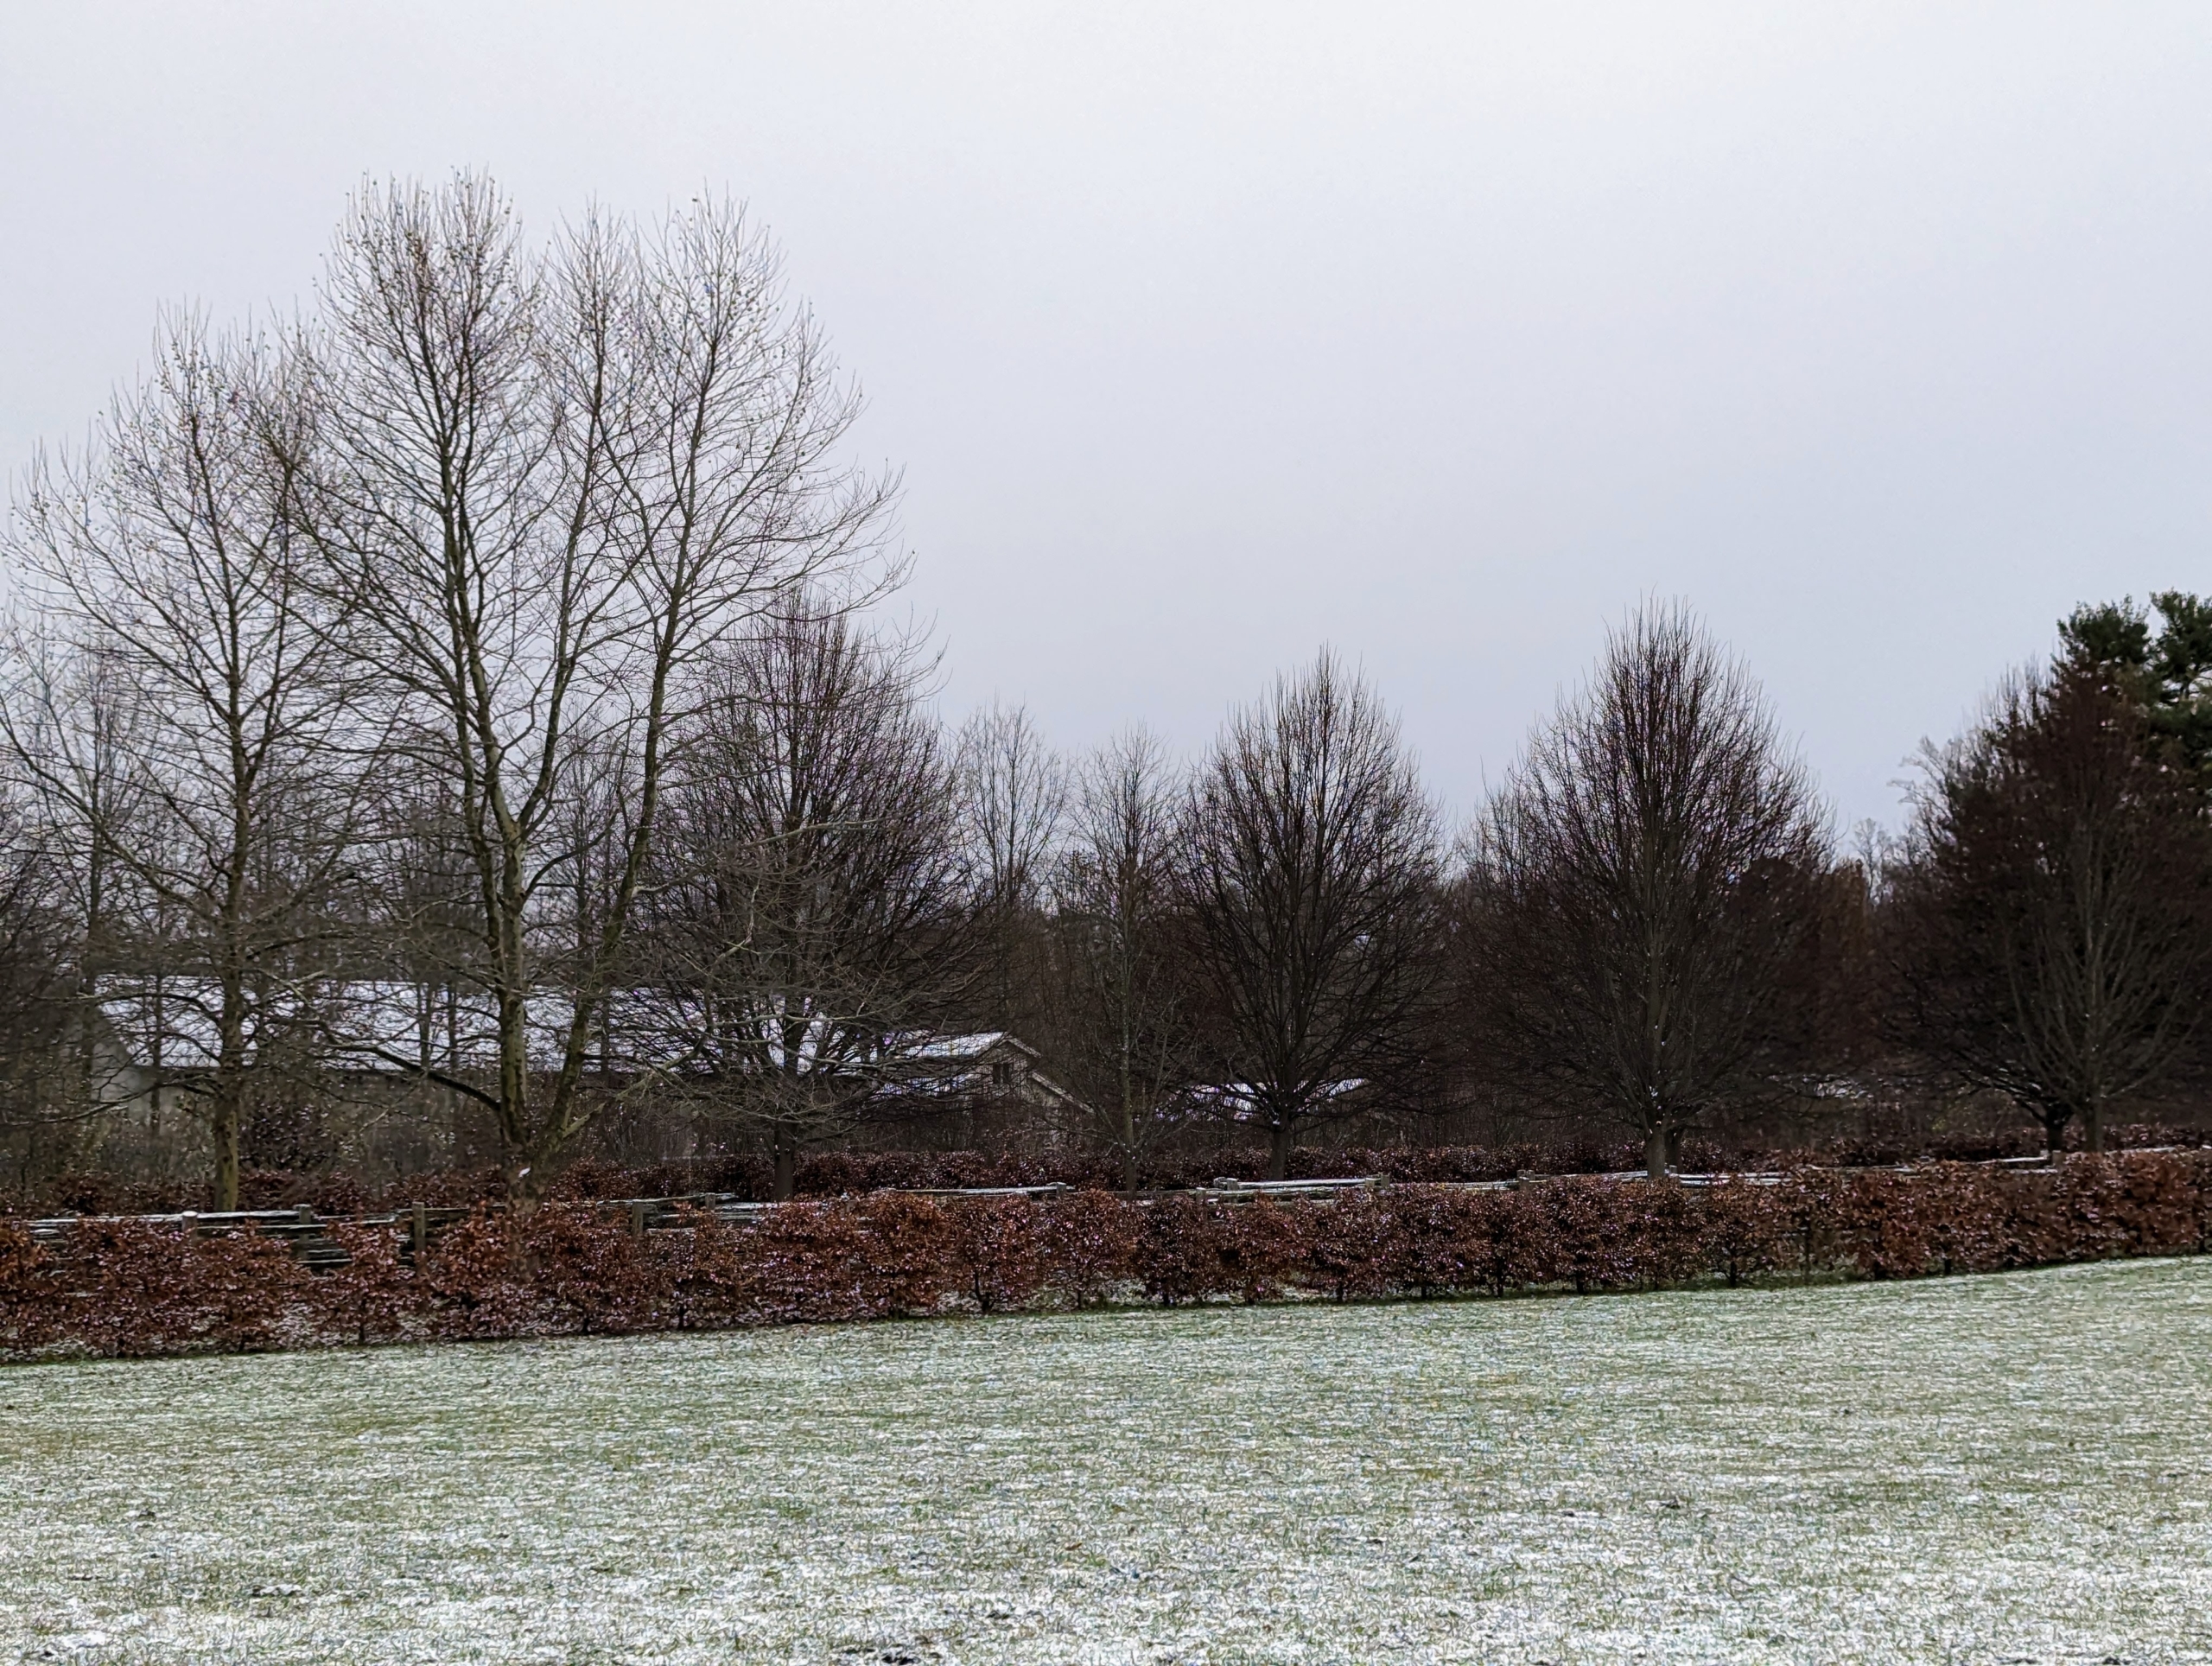
Hard to believe these great pin oaks were filled with foliage just weeks ago. Now their interesting branch habit can be seen – its pendulous lower branches, horizontal middle branches, and upright upper branches.
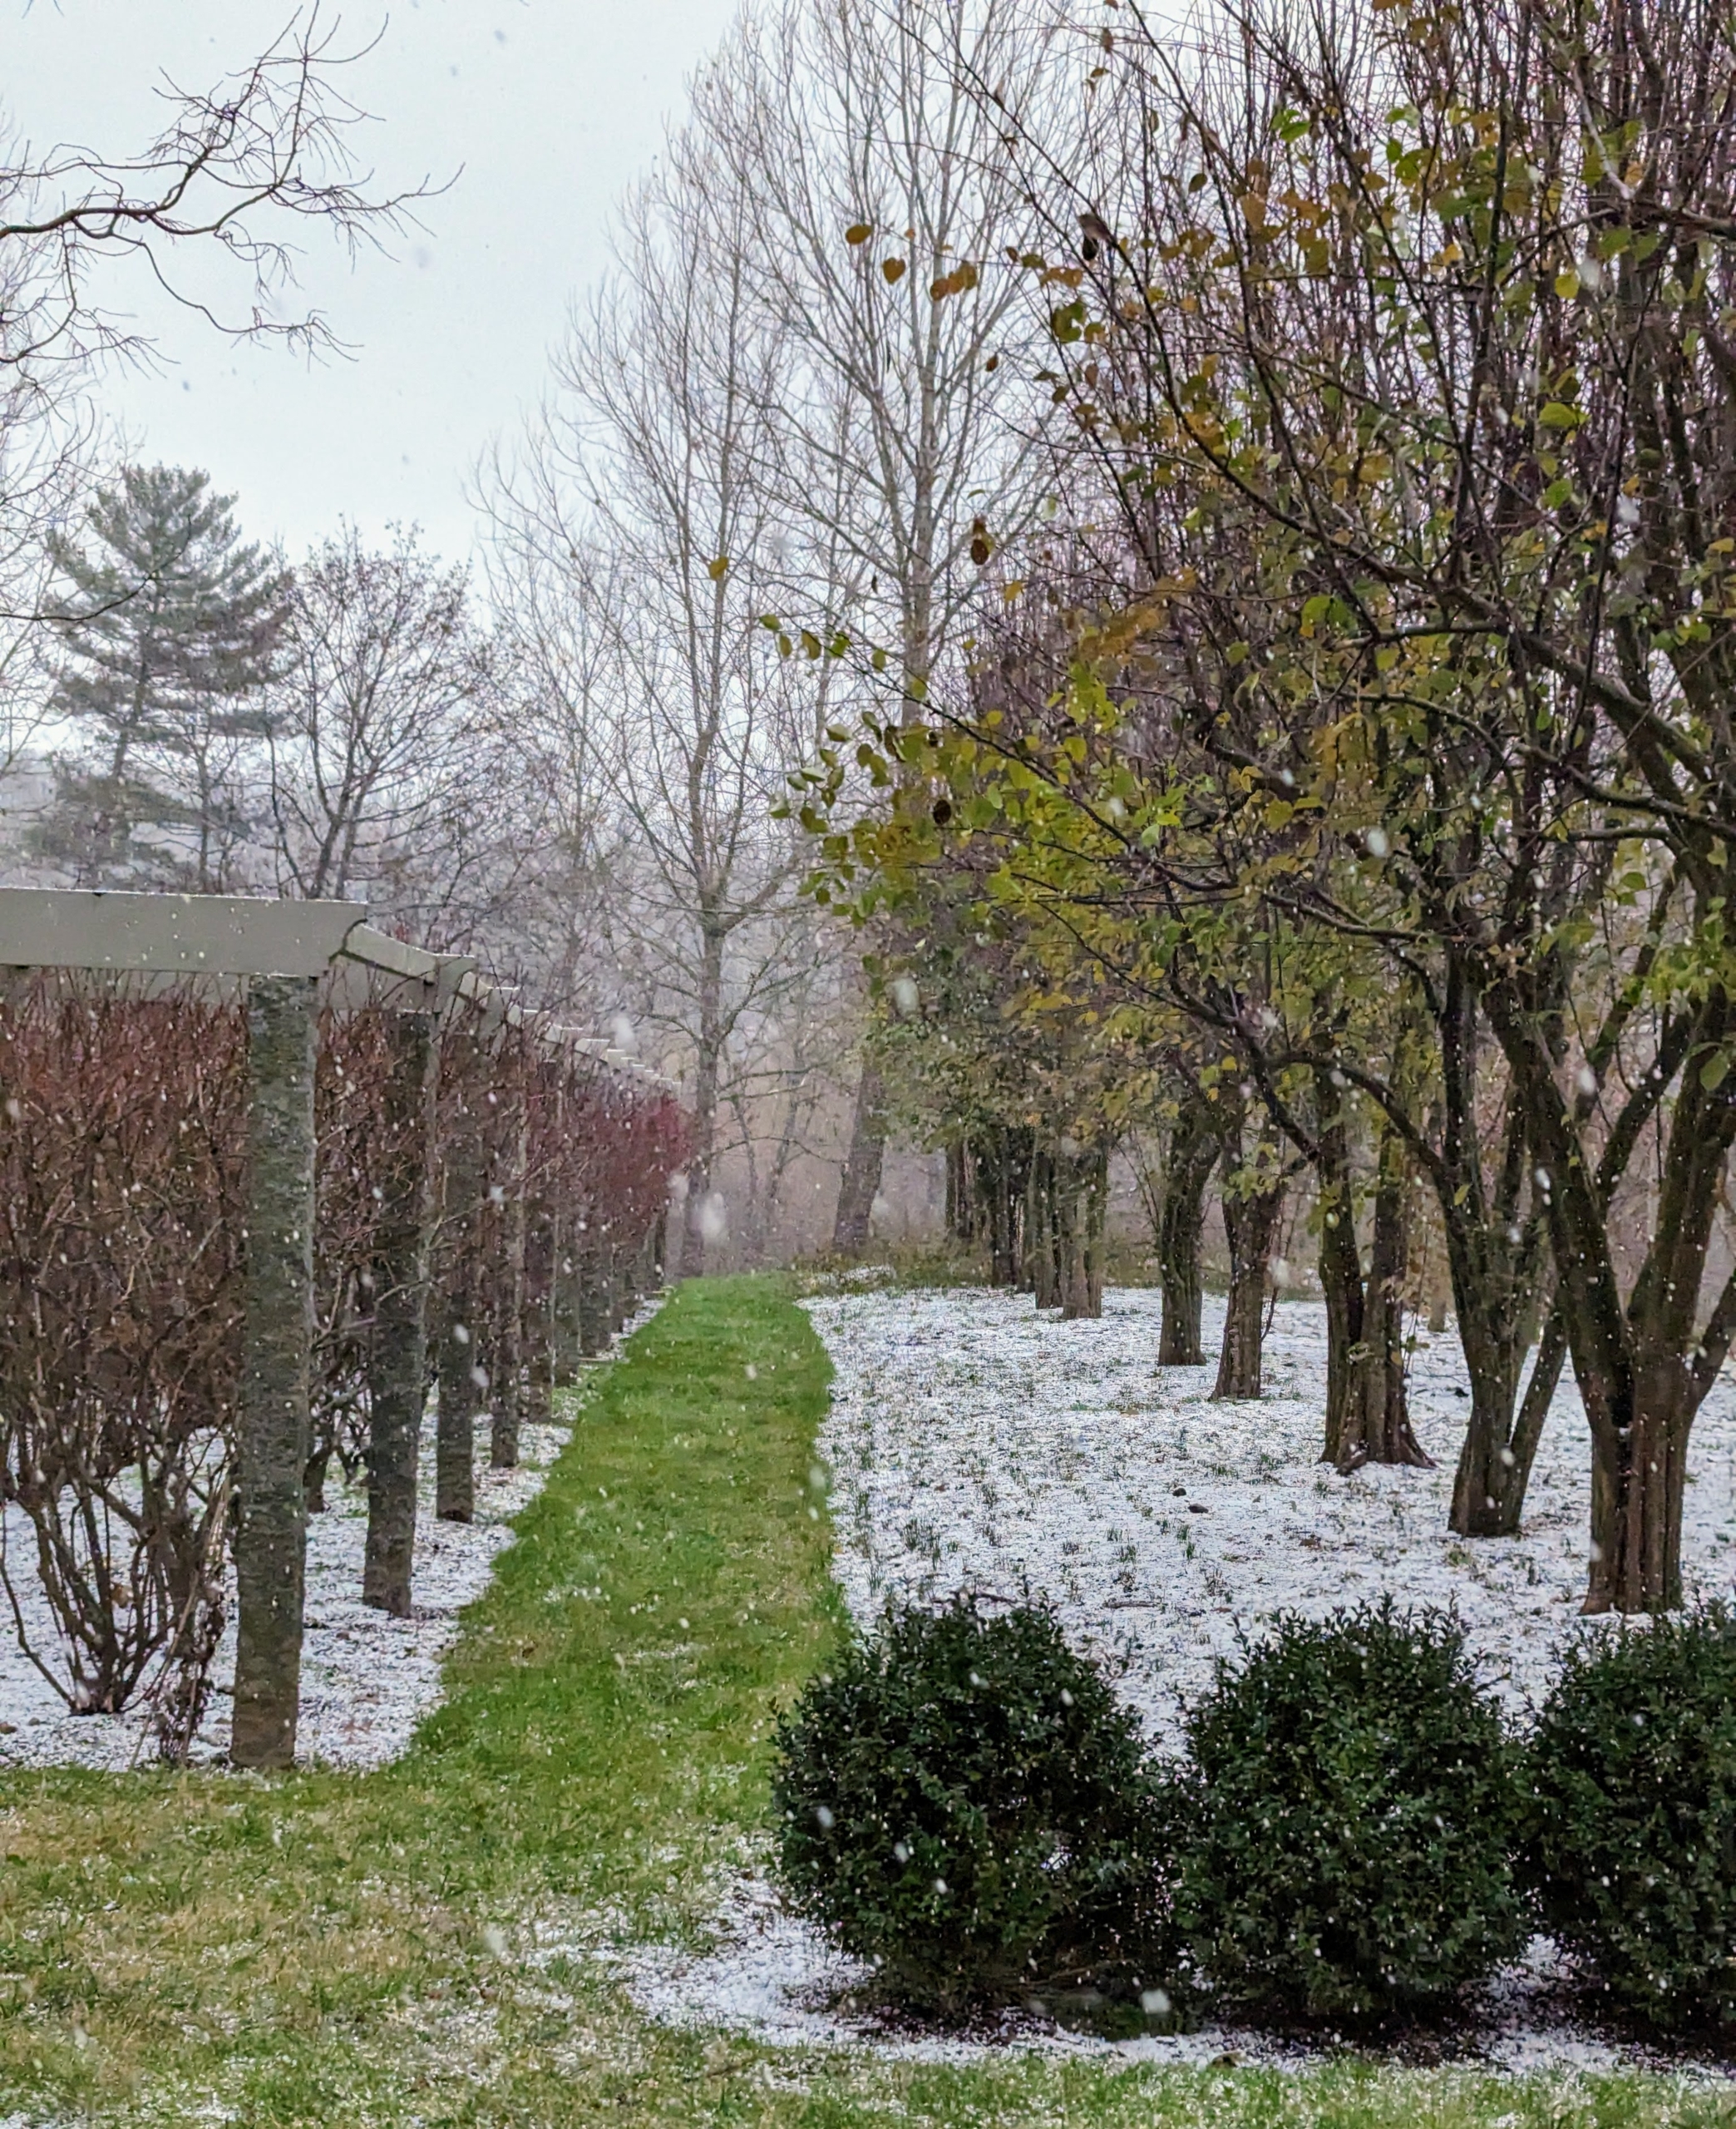
The day was very gray, but patches of color were still visible. Here, one can see the reddish tint of the blueberry bushes and the green in the lawn and boxwood.
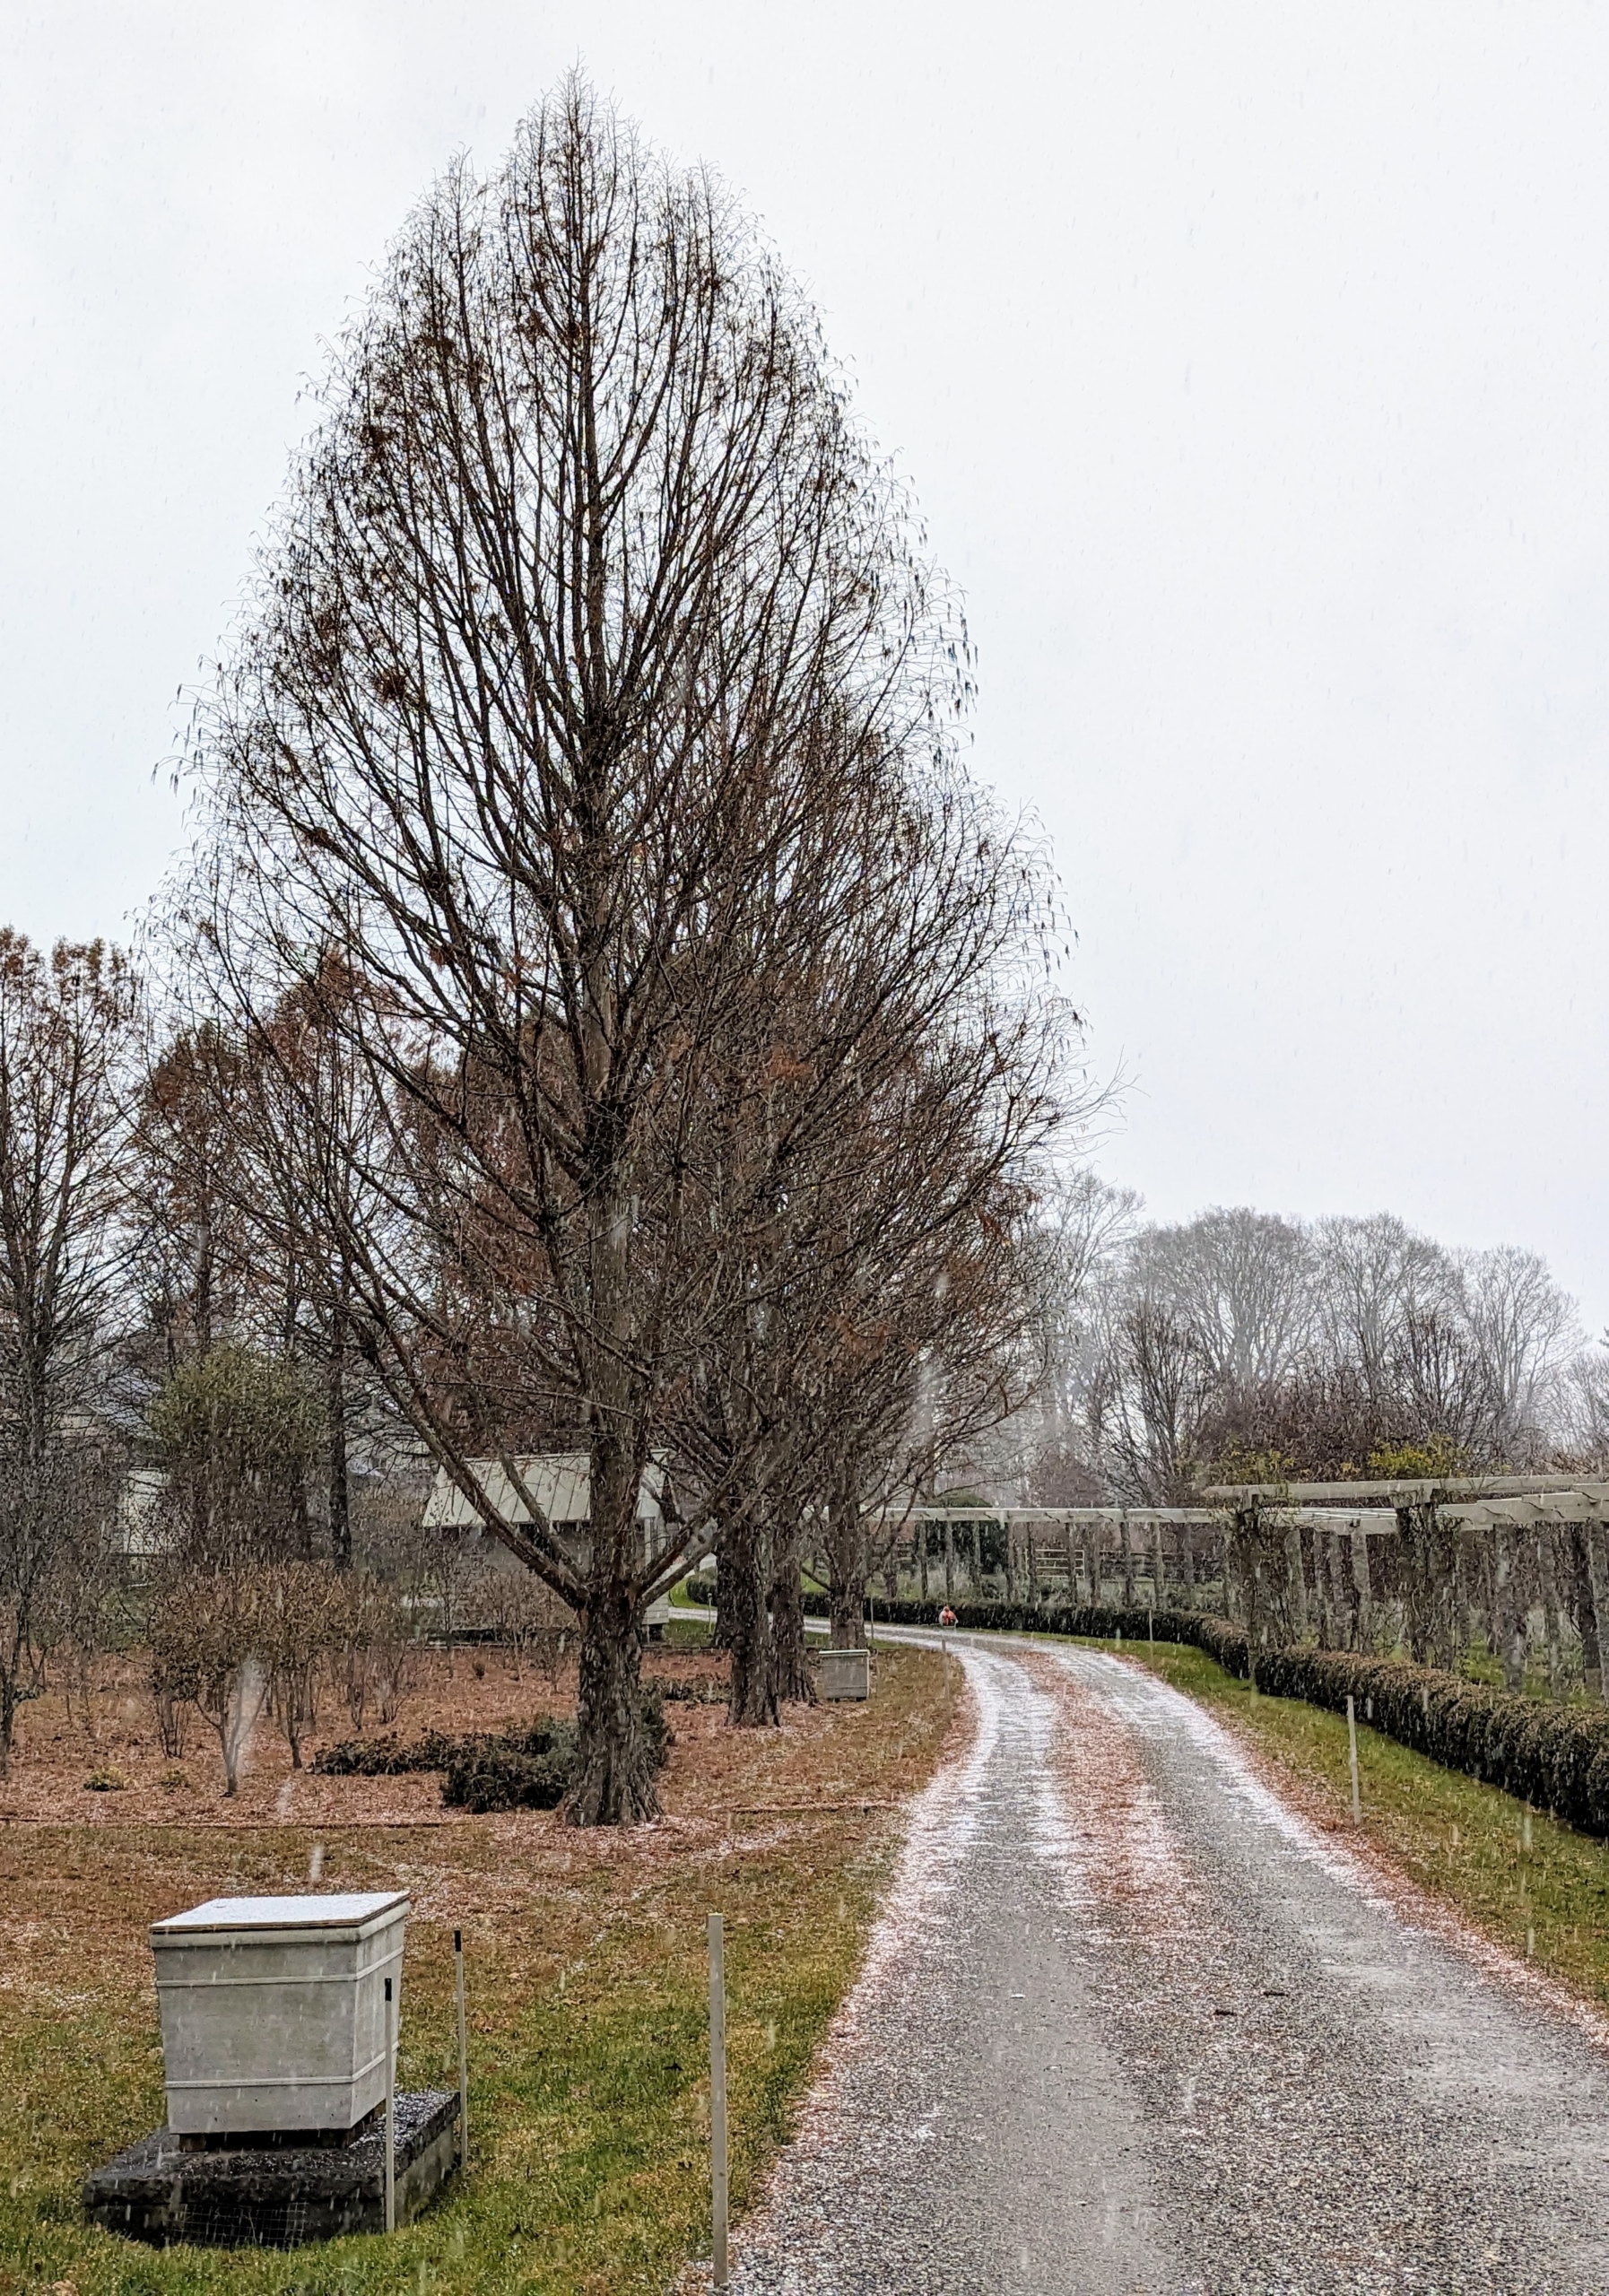
The grass and gardens beneath the mighty bald cypress are a coppery bronze from the fallen ferny leaves of the trees.
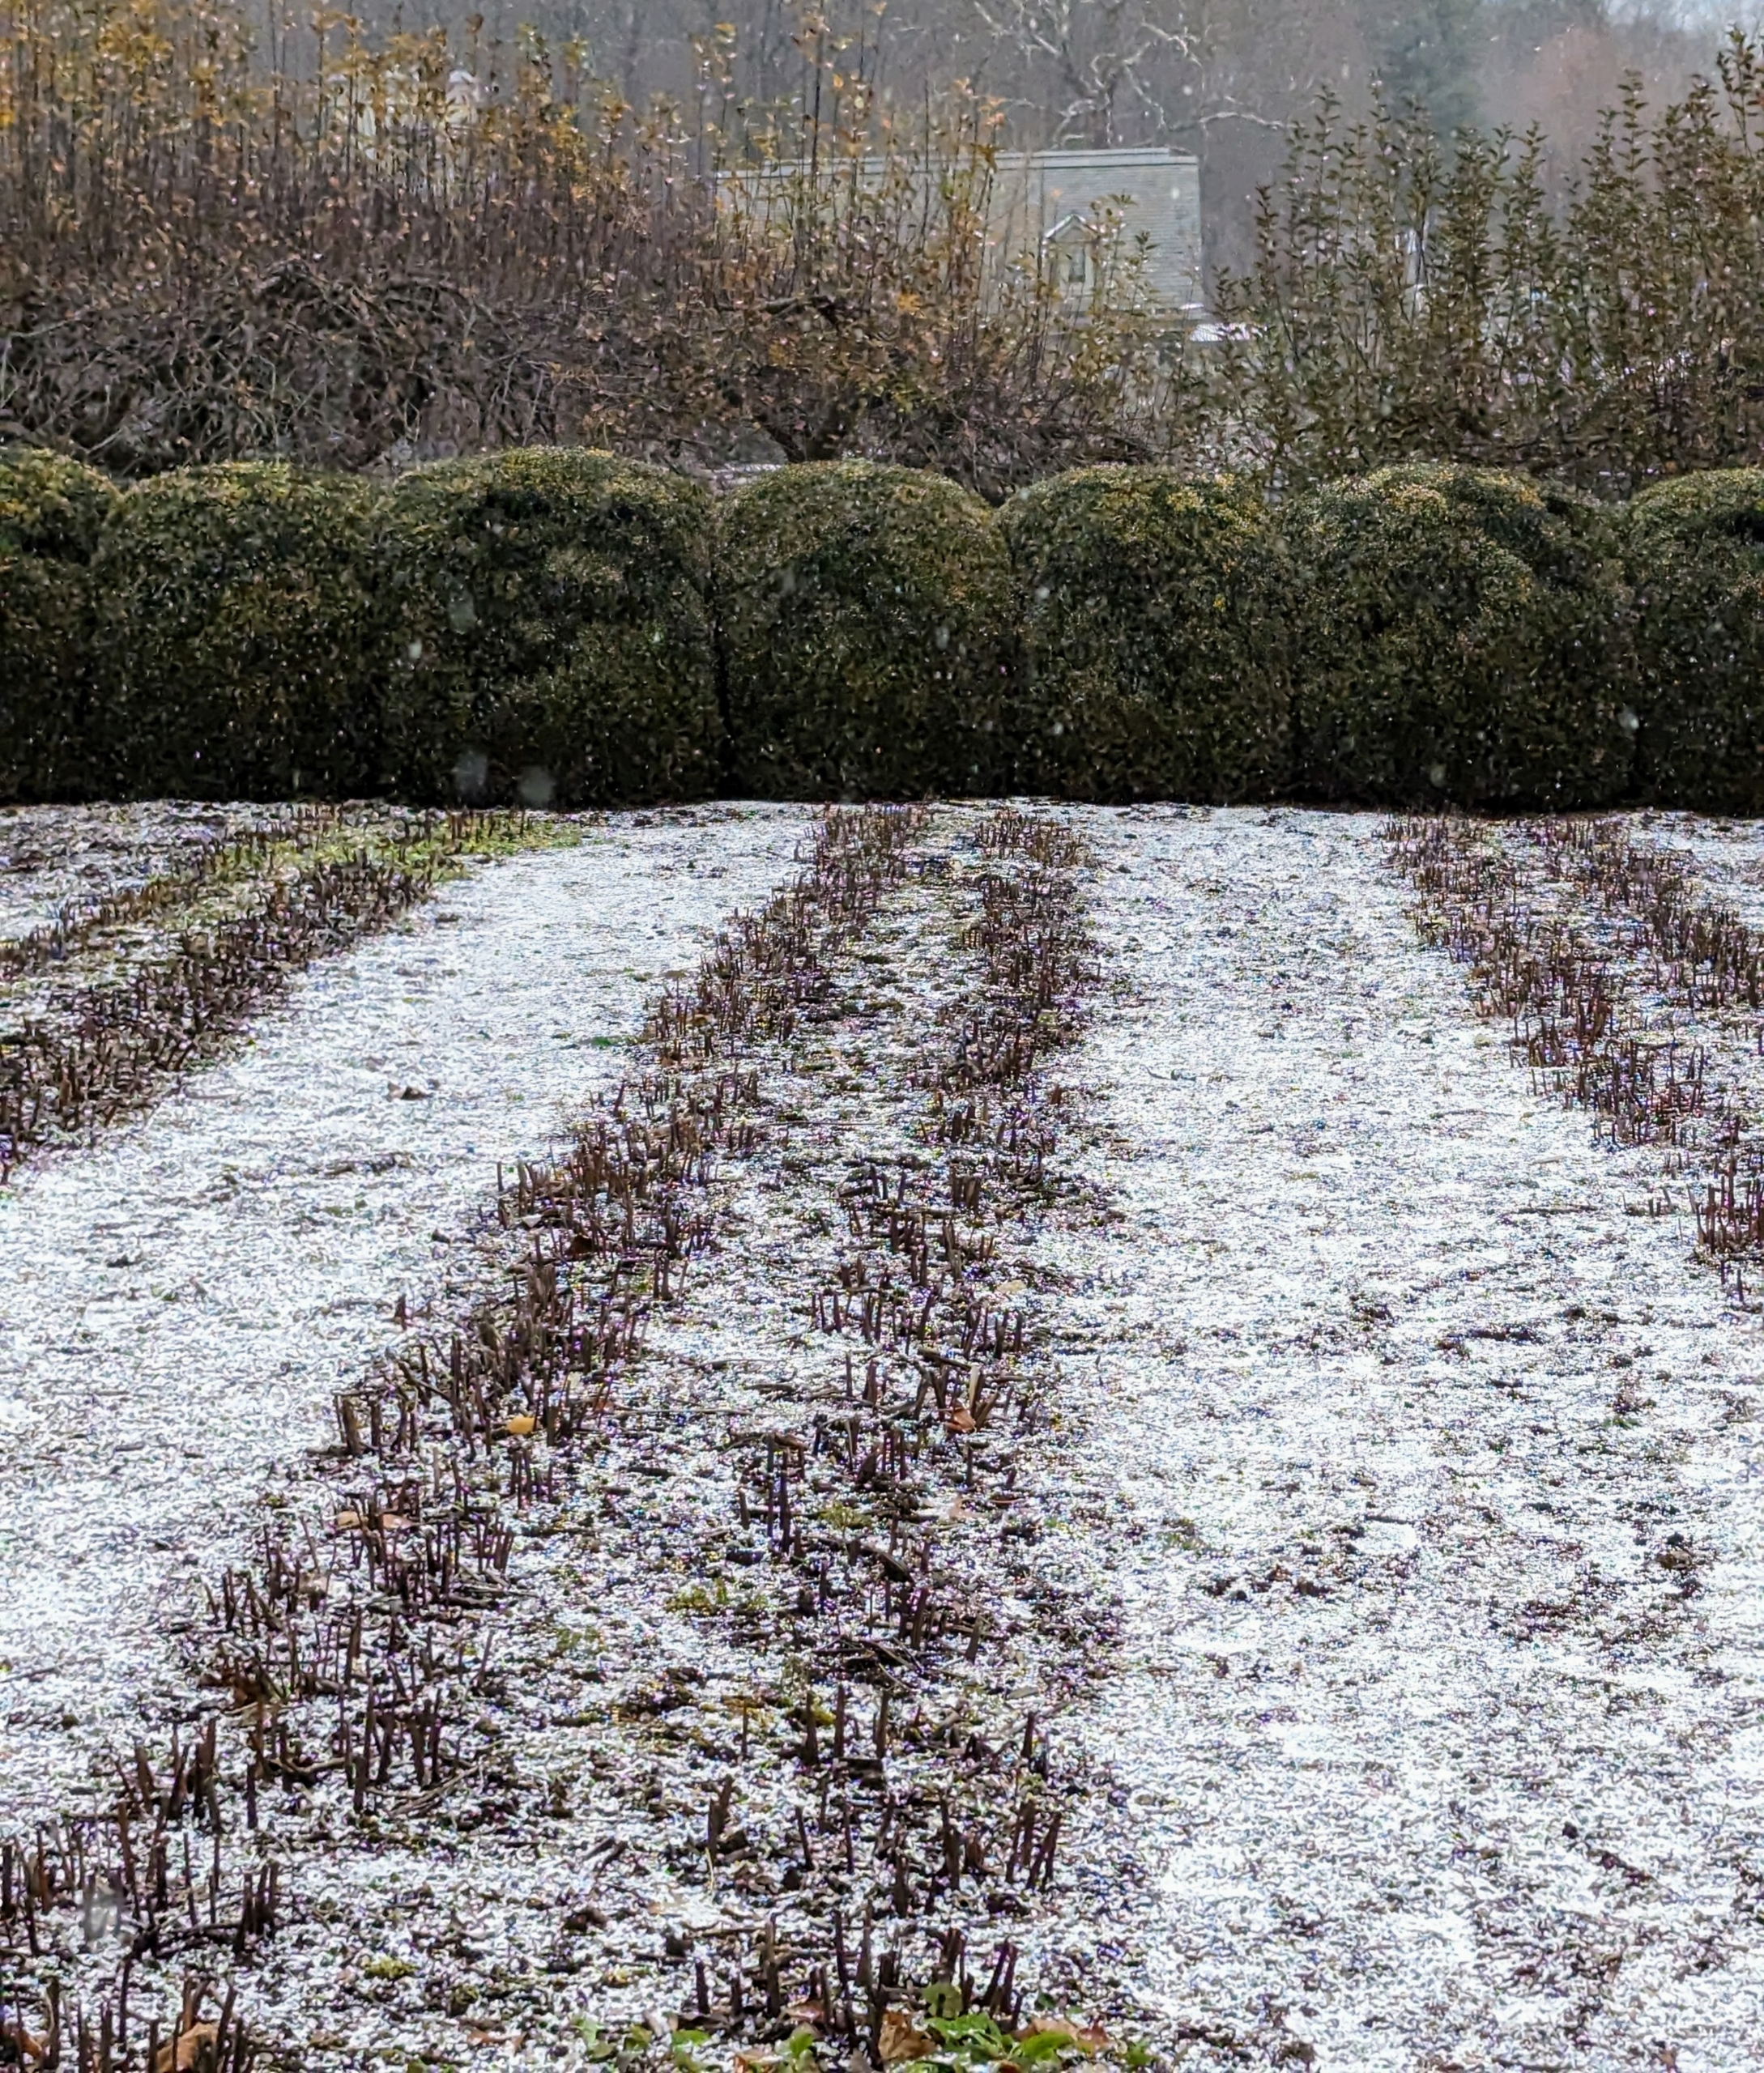
The short storm left some of the ground covered in white. This is my herbaceous peony bed surrounded by a wall of boxwood.
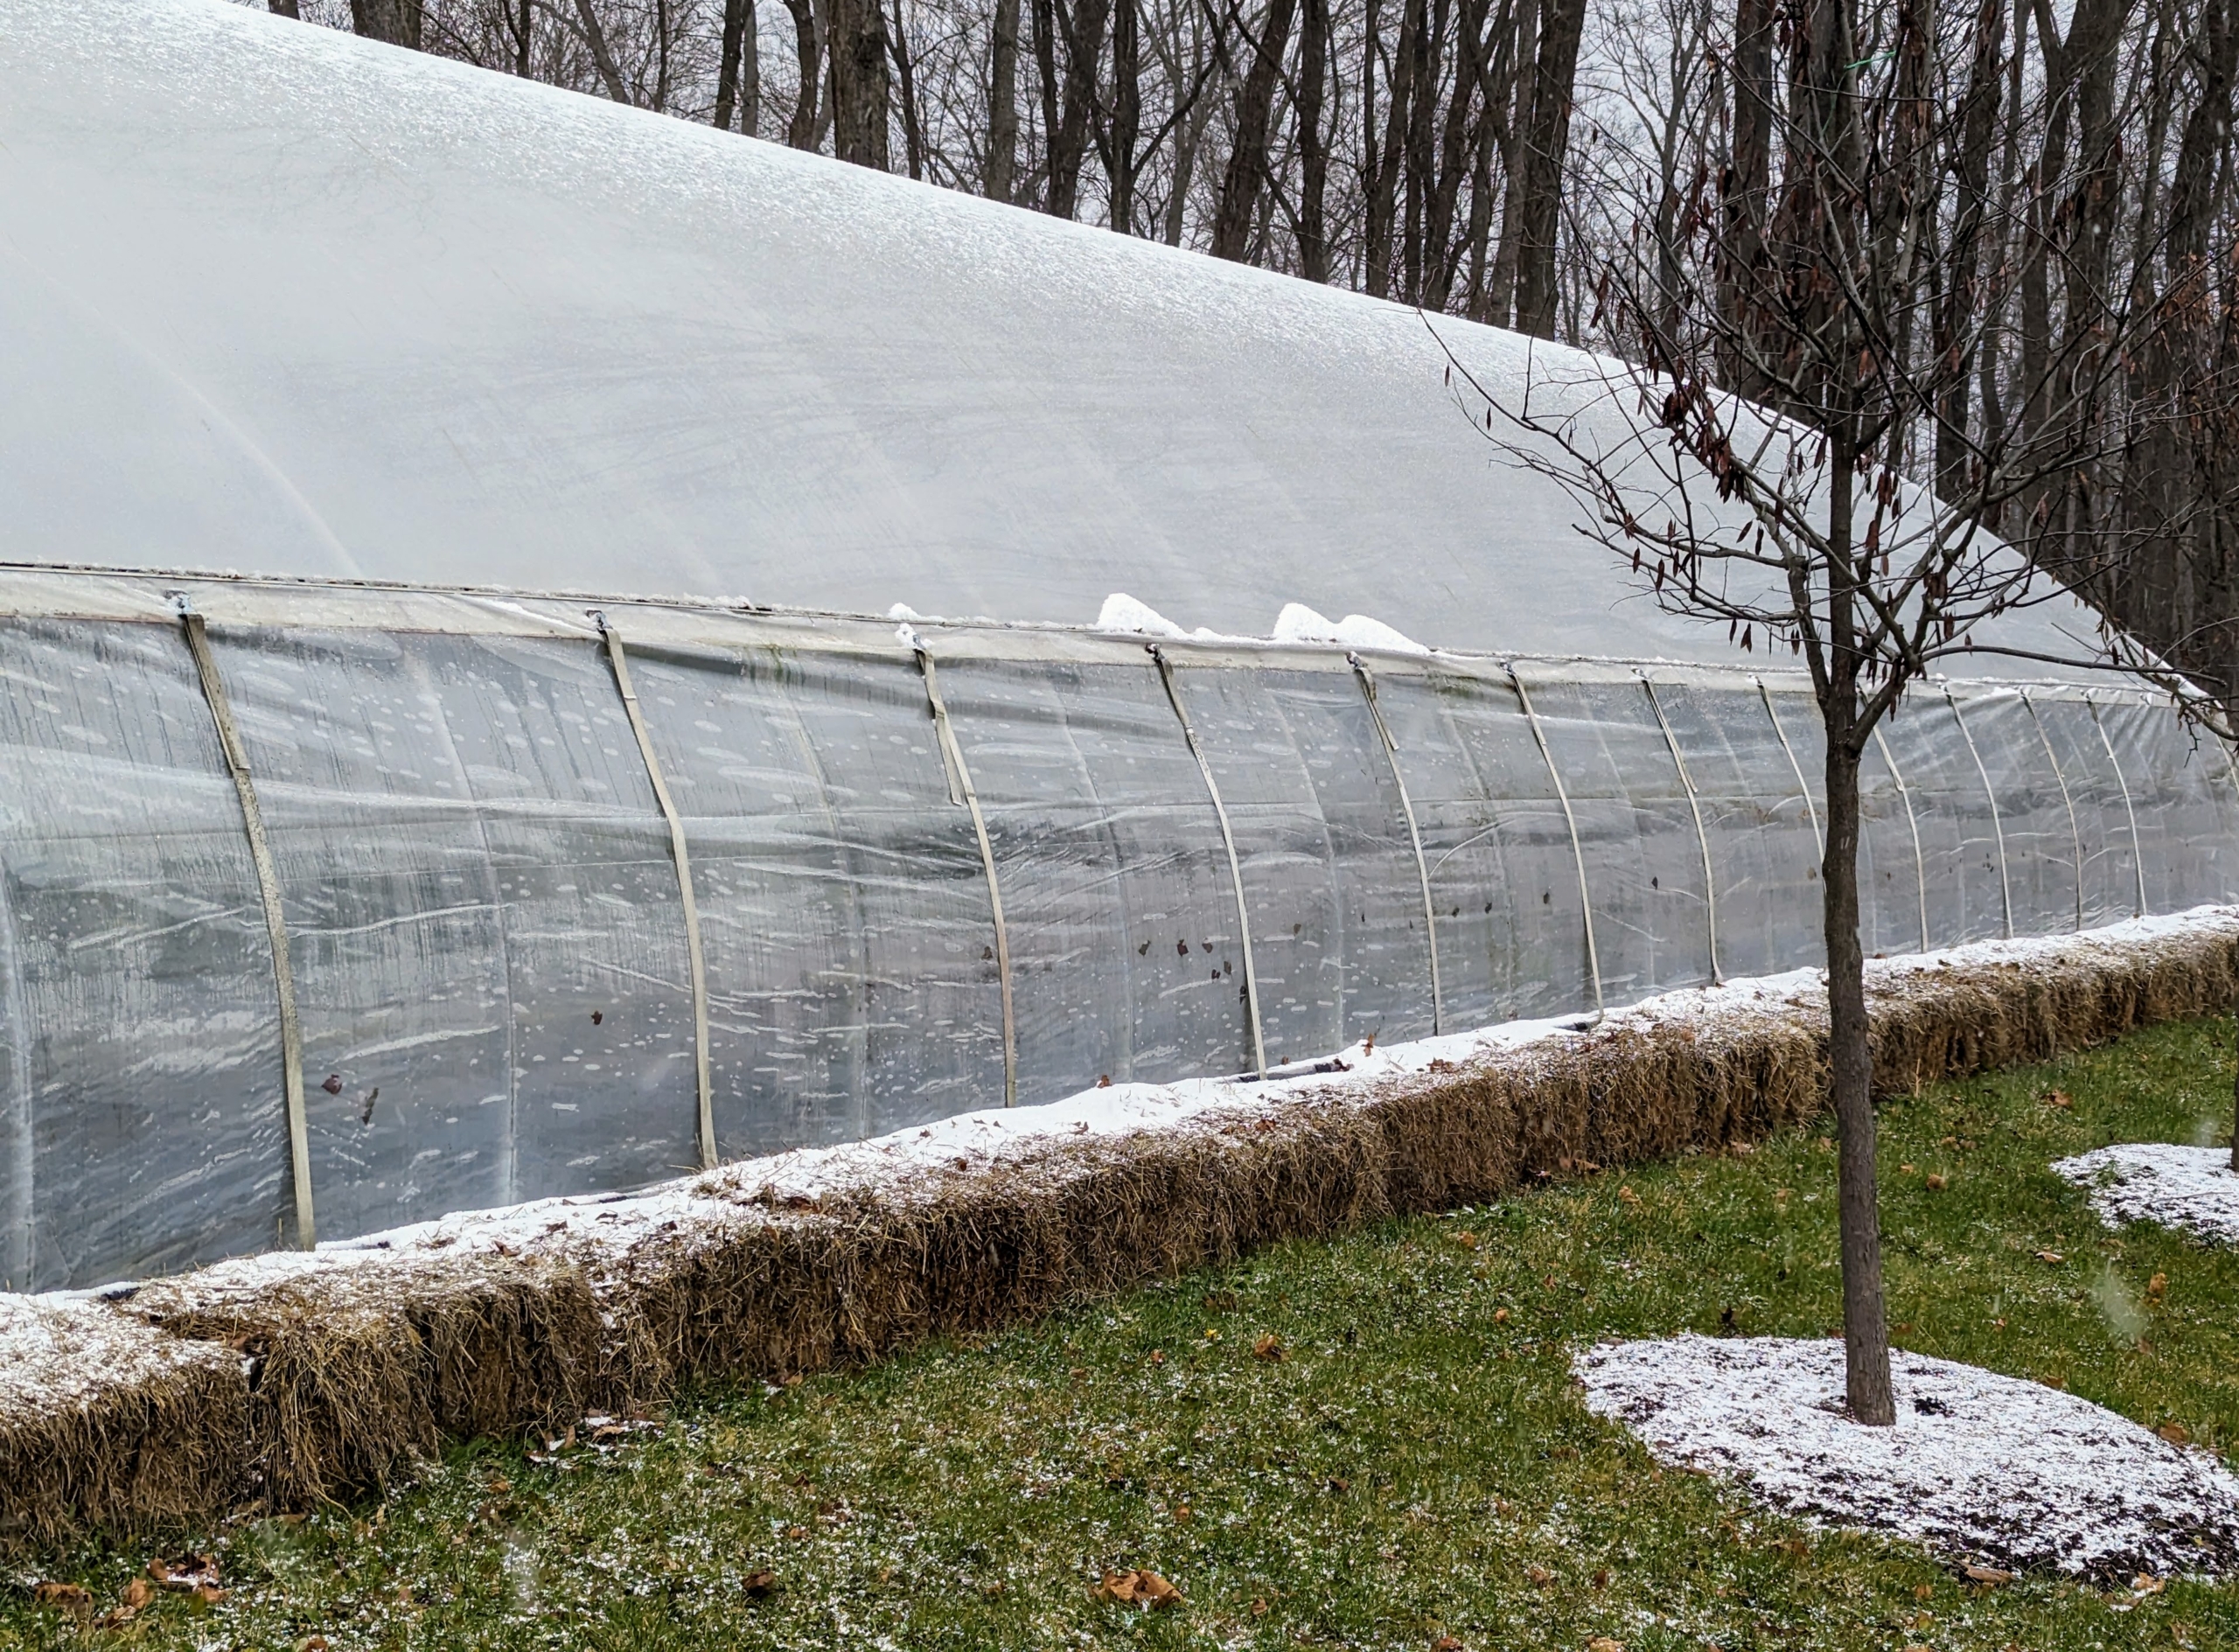
Thankfully, we were able to get all the cold sensitive plants into the hoop houses before the snow. We also use some of our old hay bales that the horses don’t eat to further insulate the perimeter of the structures.
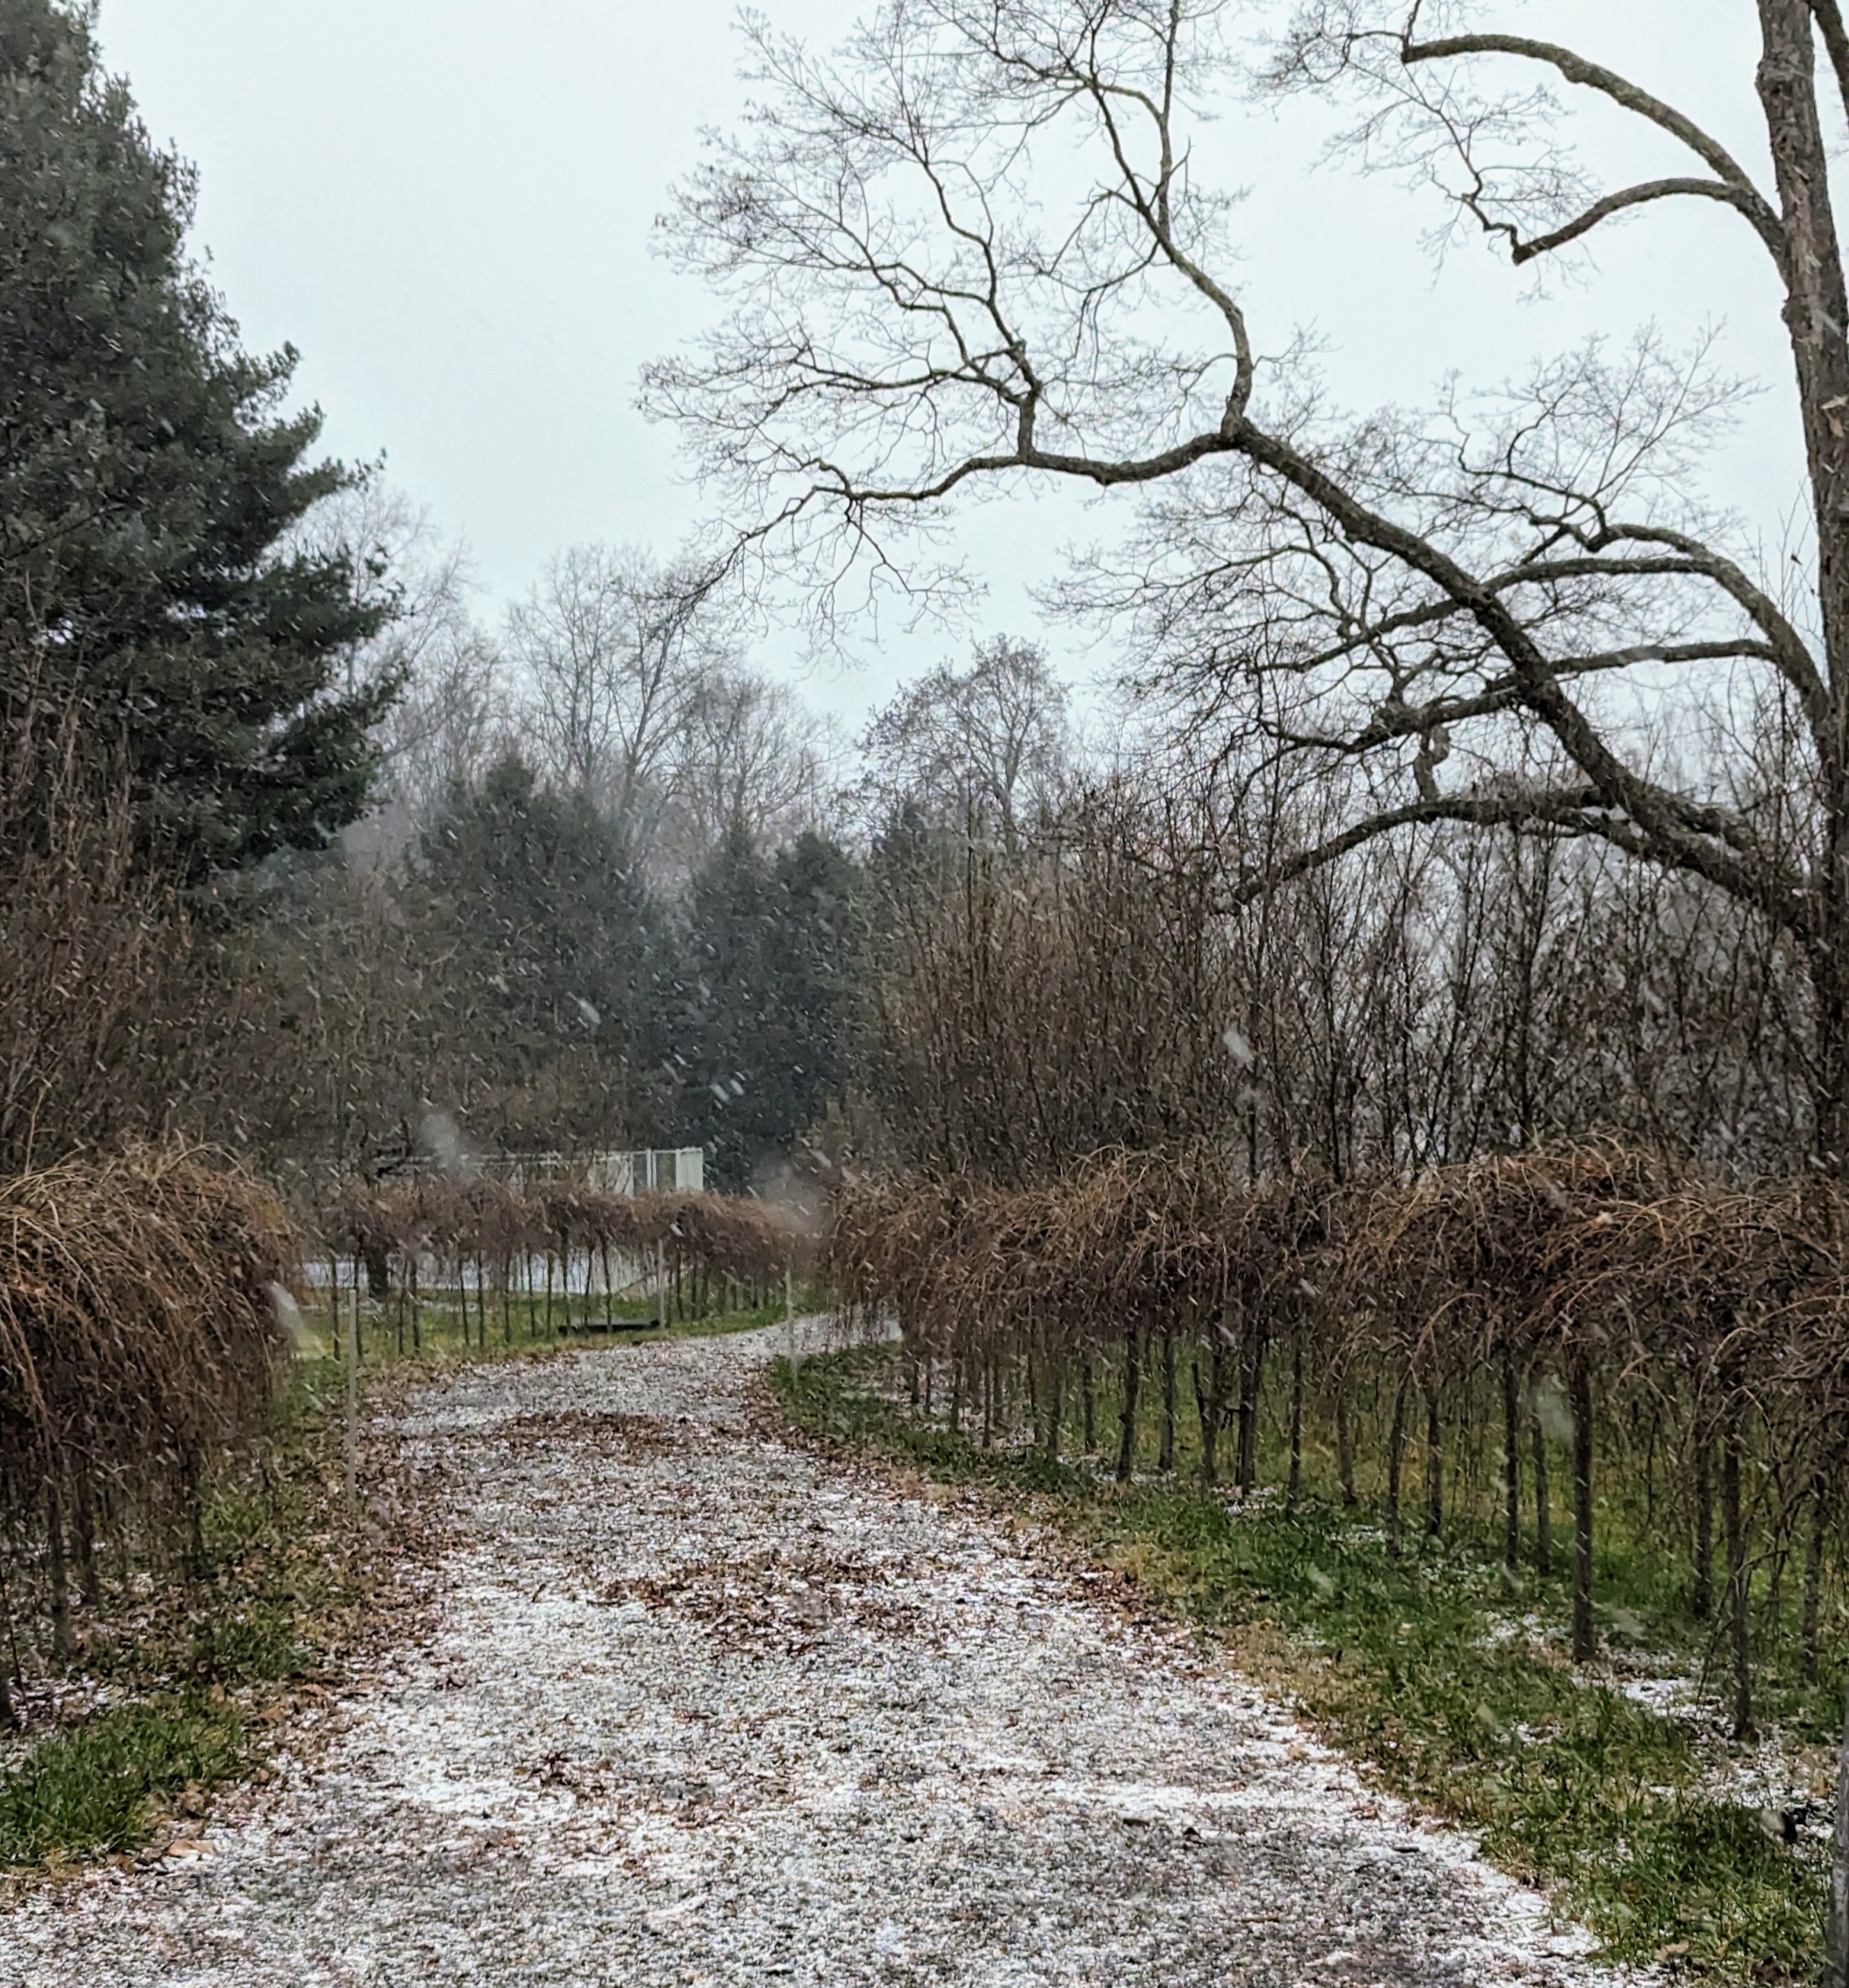
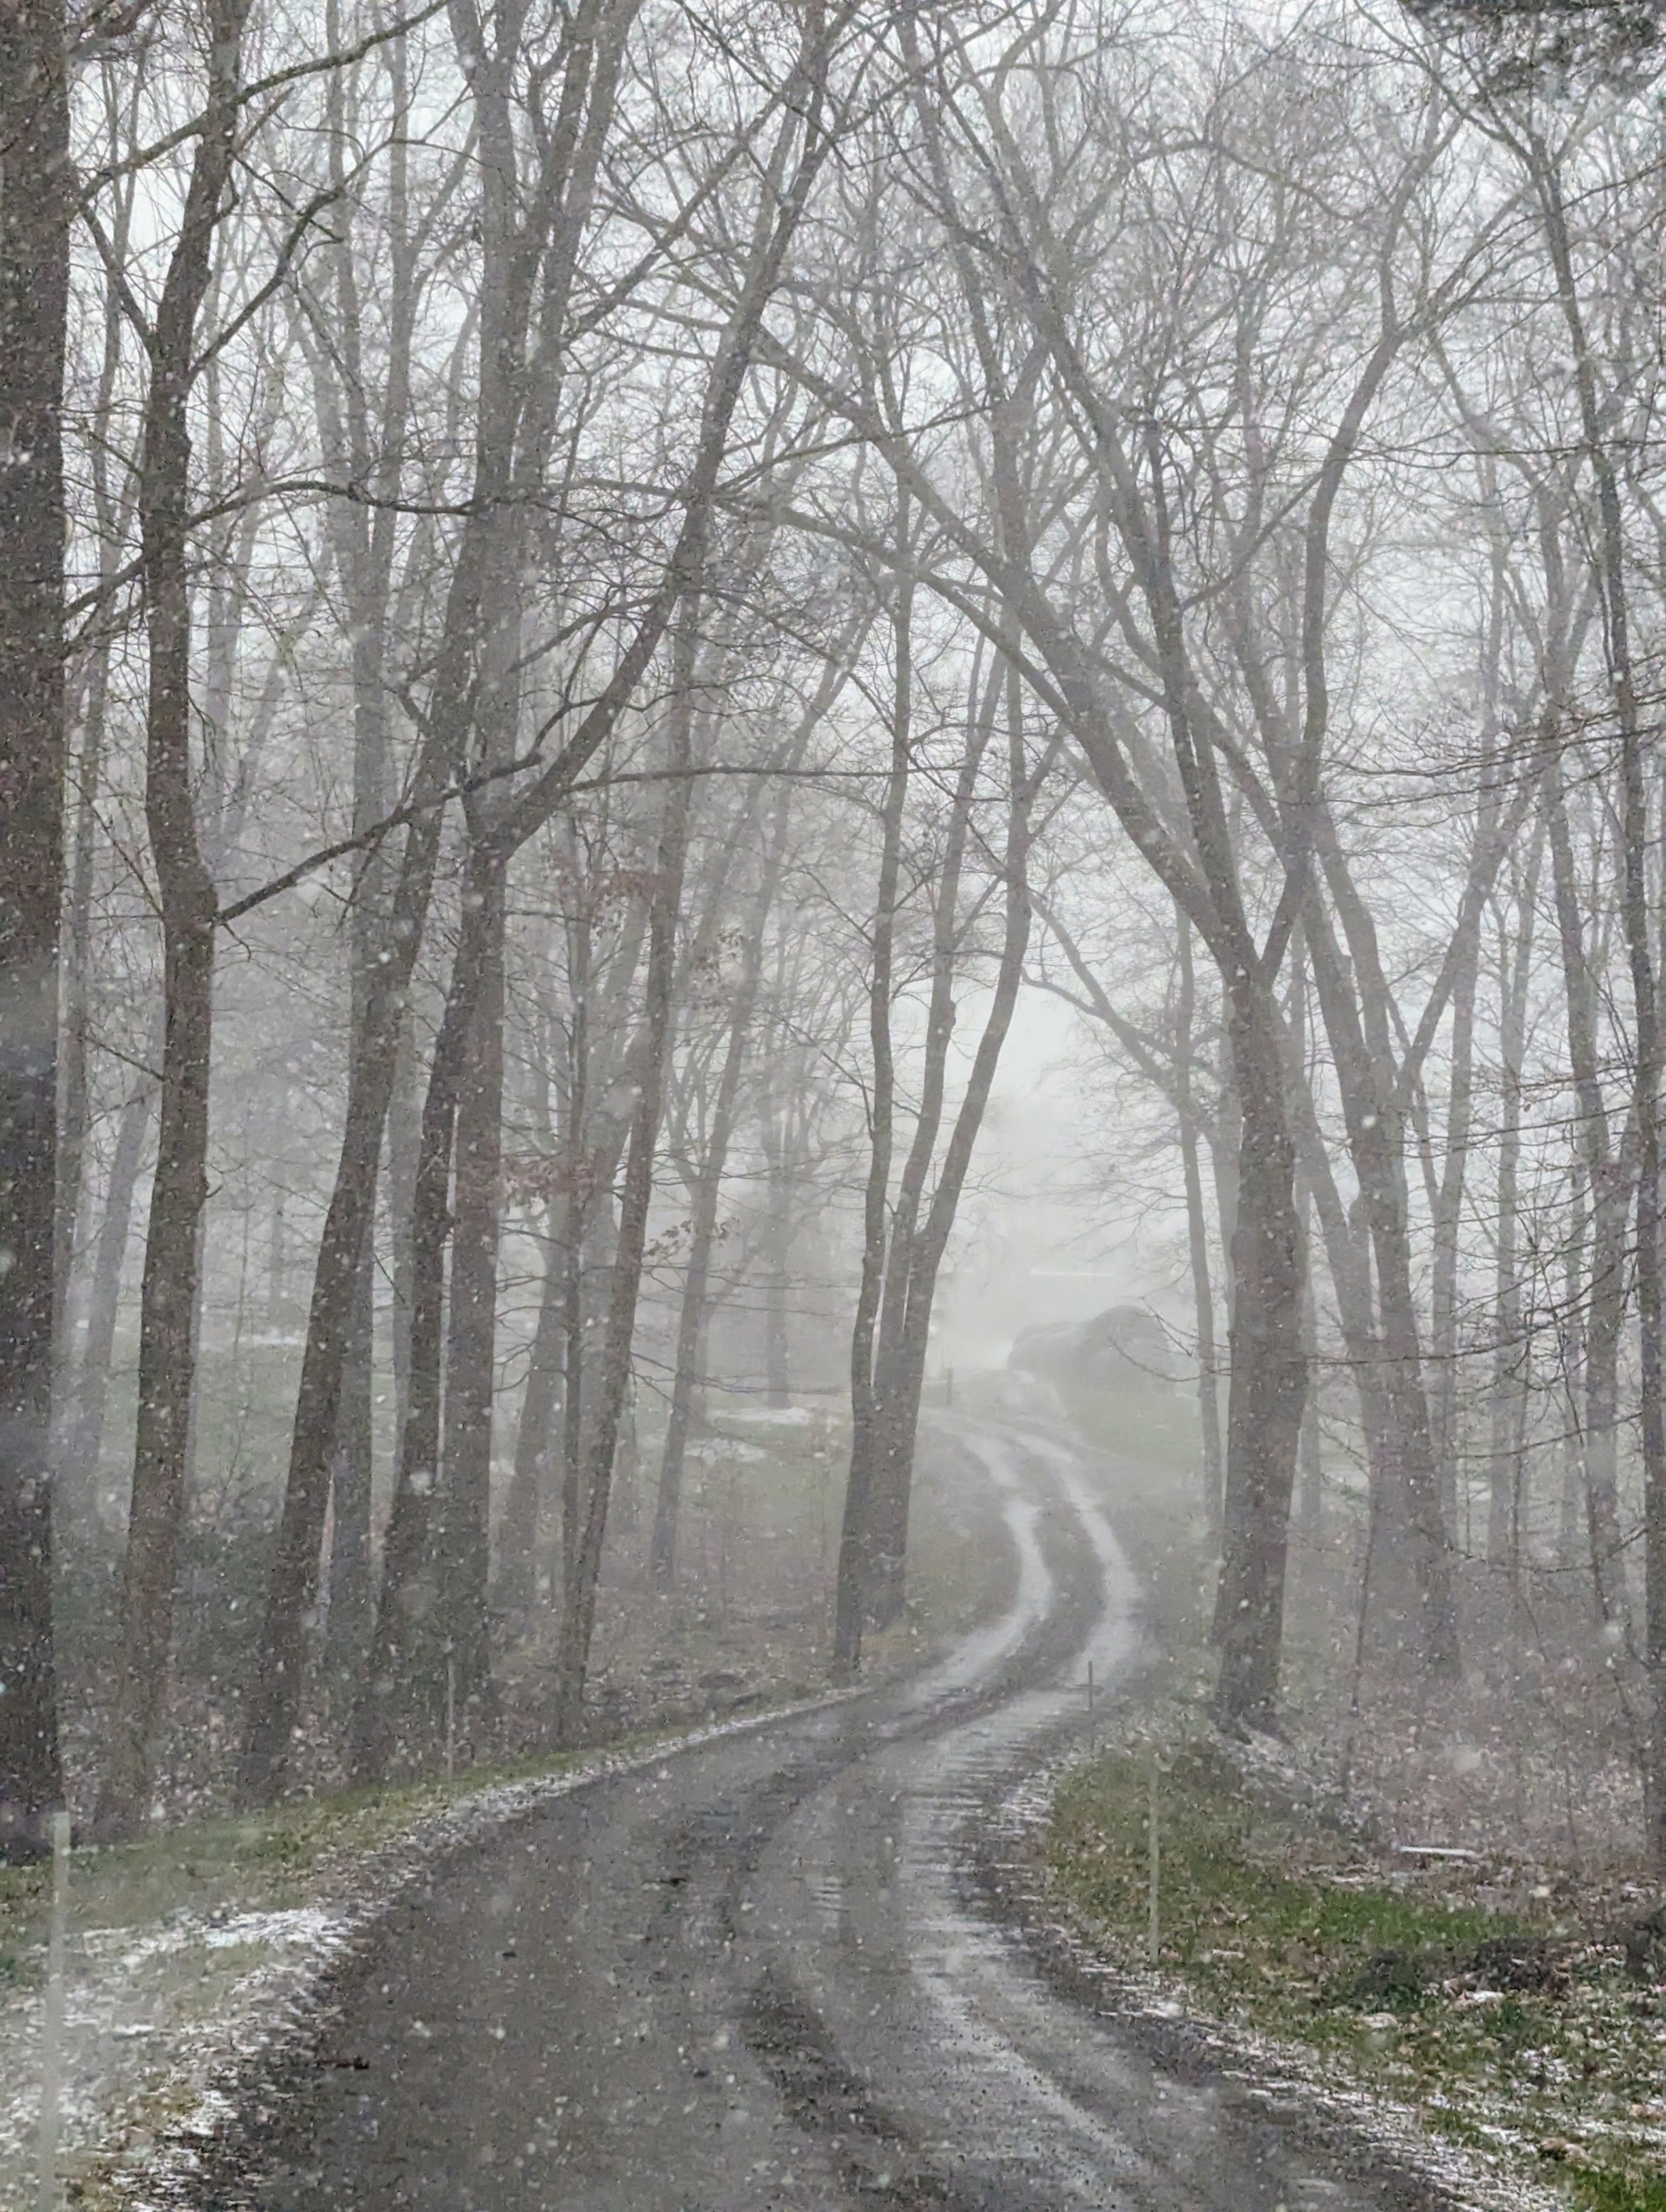
This carriage road leads to my tennis court. It is also beginning to show a light layer of snow. This road is flanked on both sides by a row of Styrax japonicus ‘Marley’s Pink Parasol Japanese Snowbells’ and a row of Styrax japonicus ‘Evening Light.’
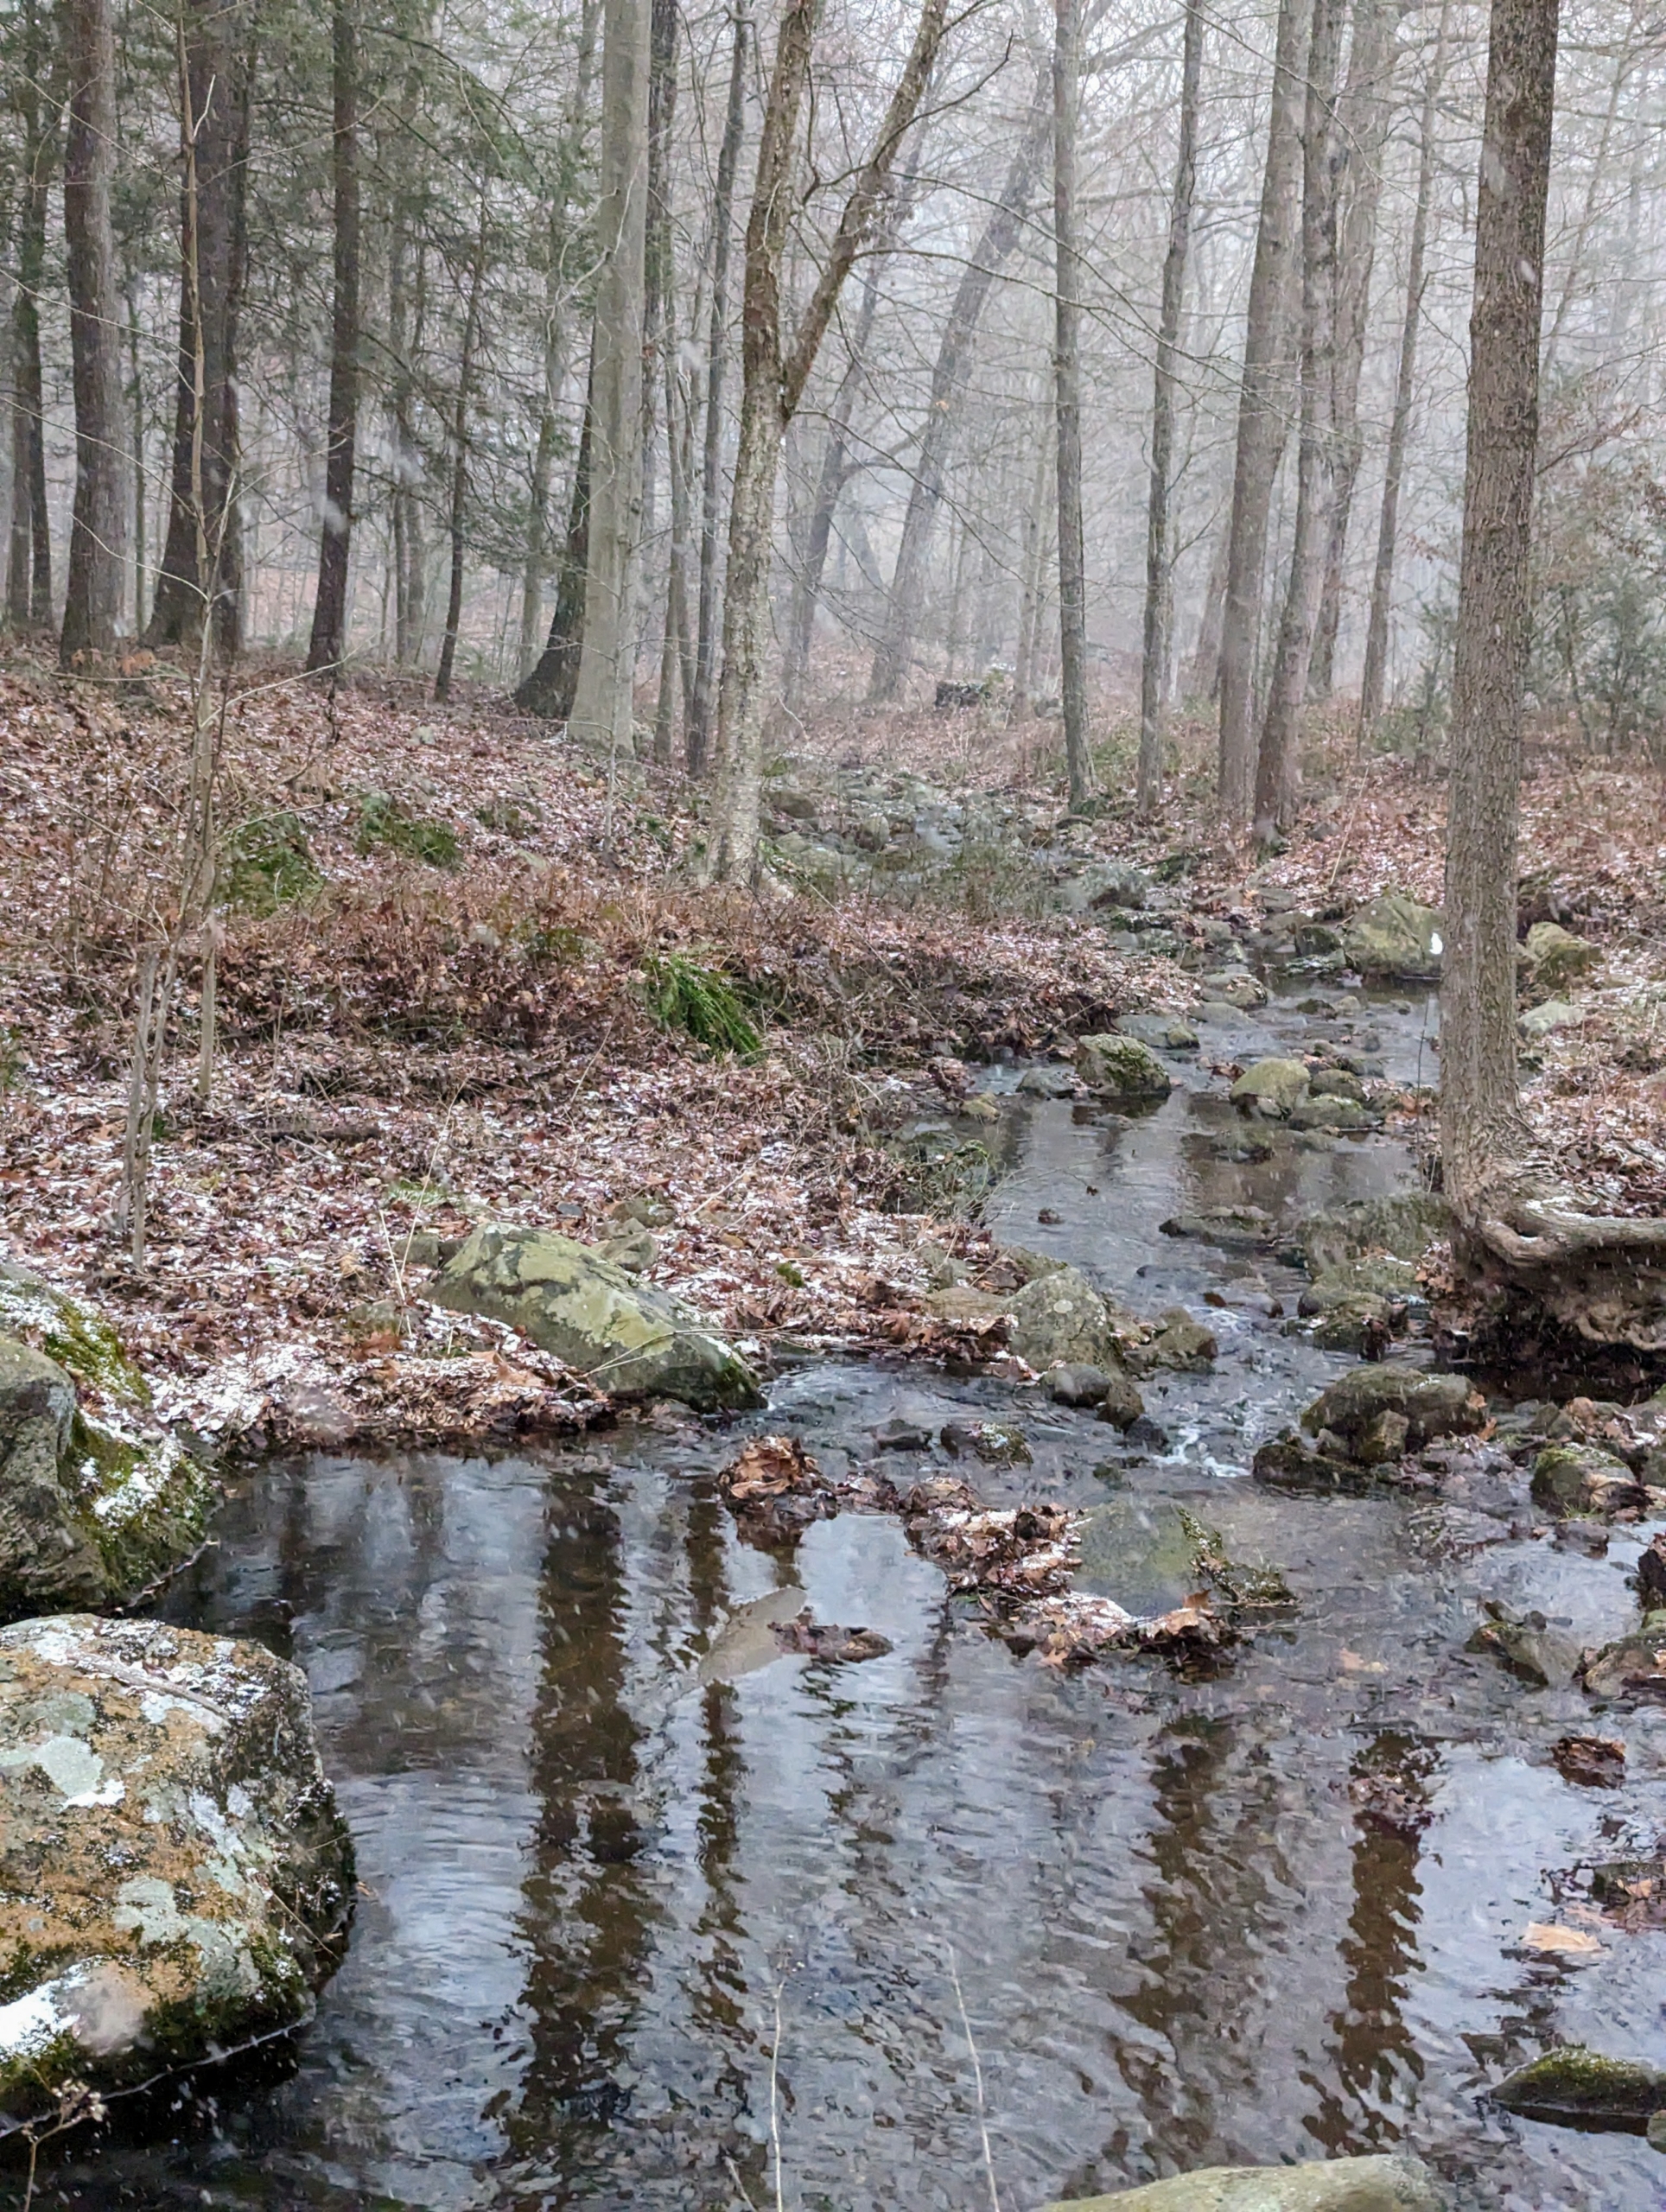
In the woodland, streams are filled with water. We’ve had a very wet summer and fall this year.
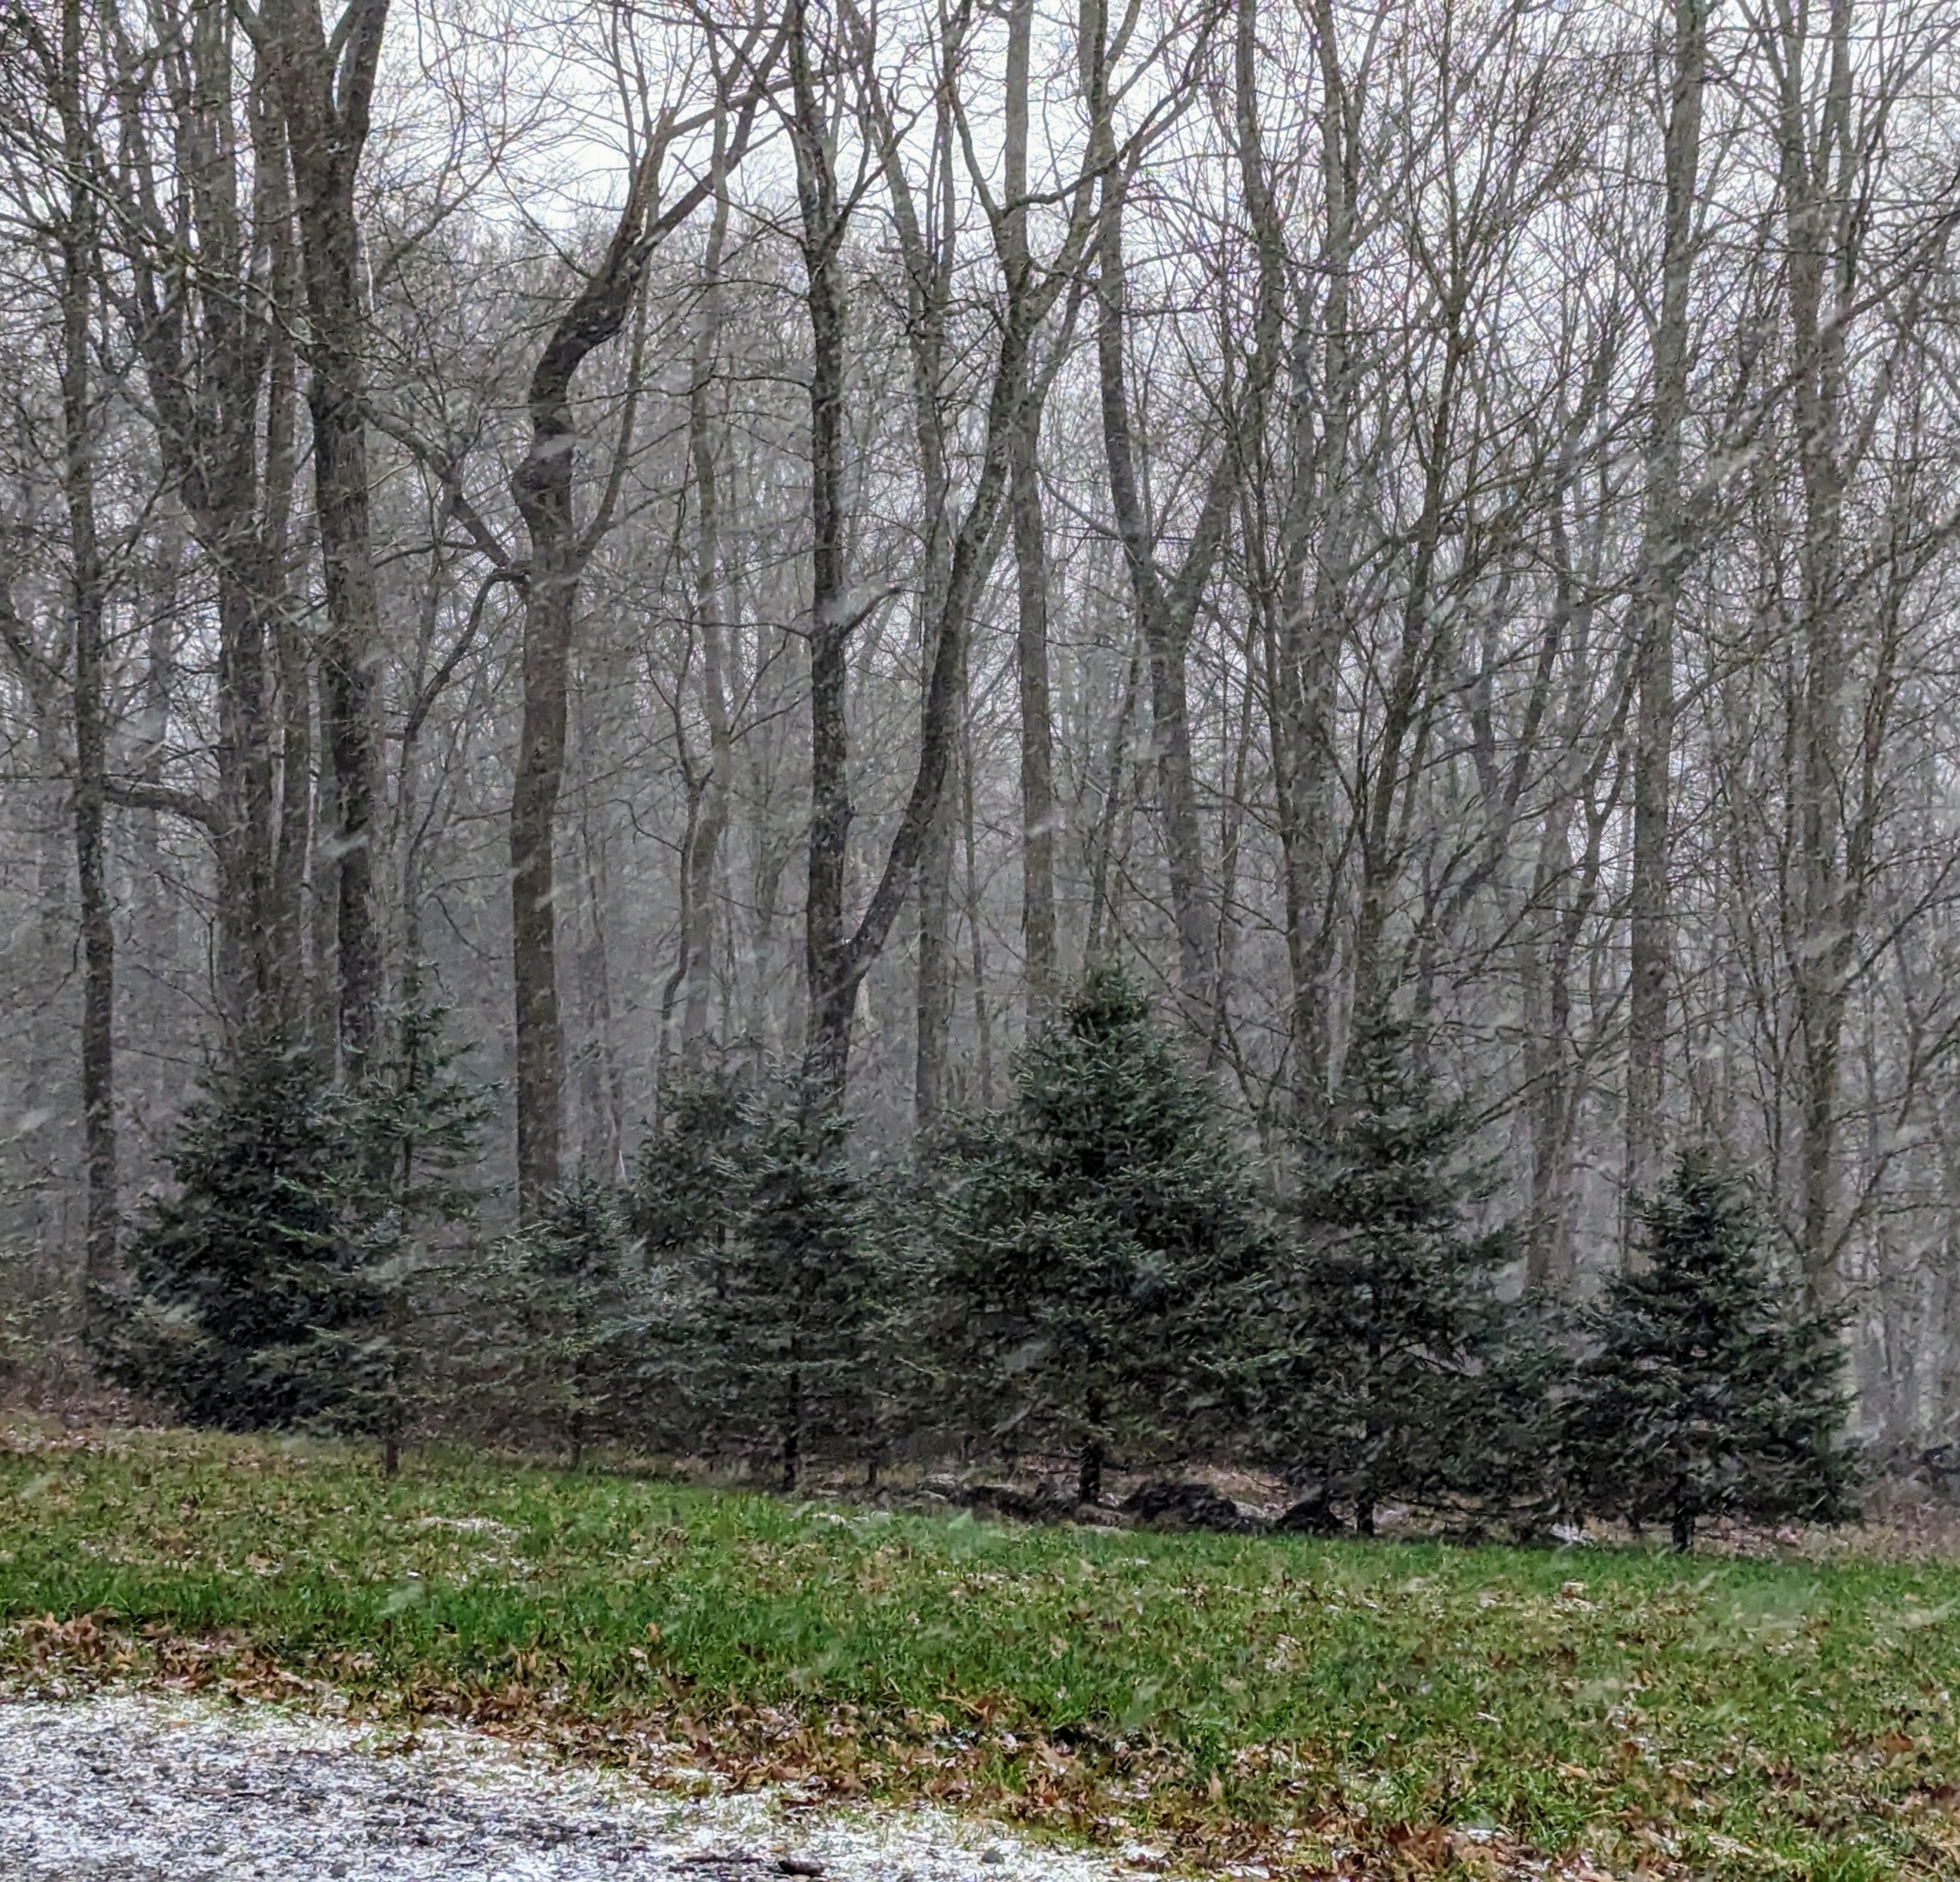
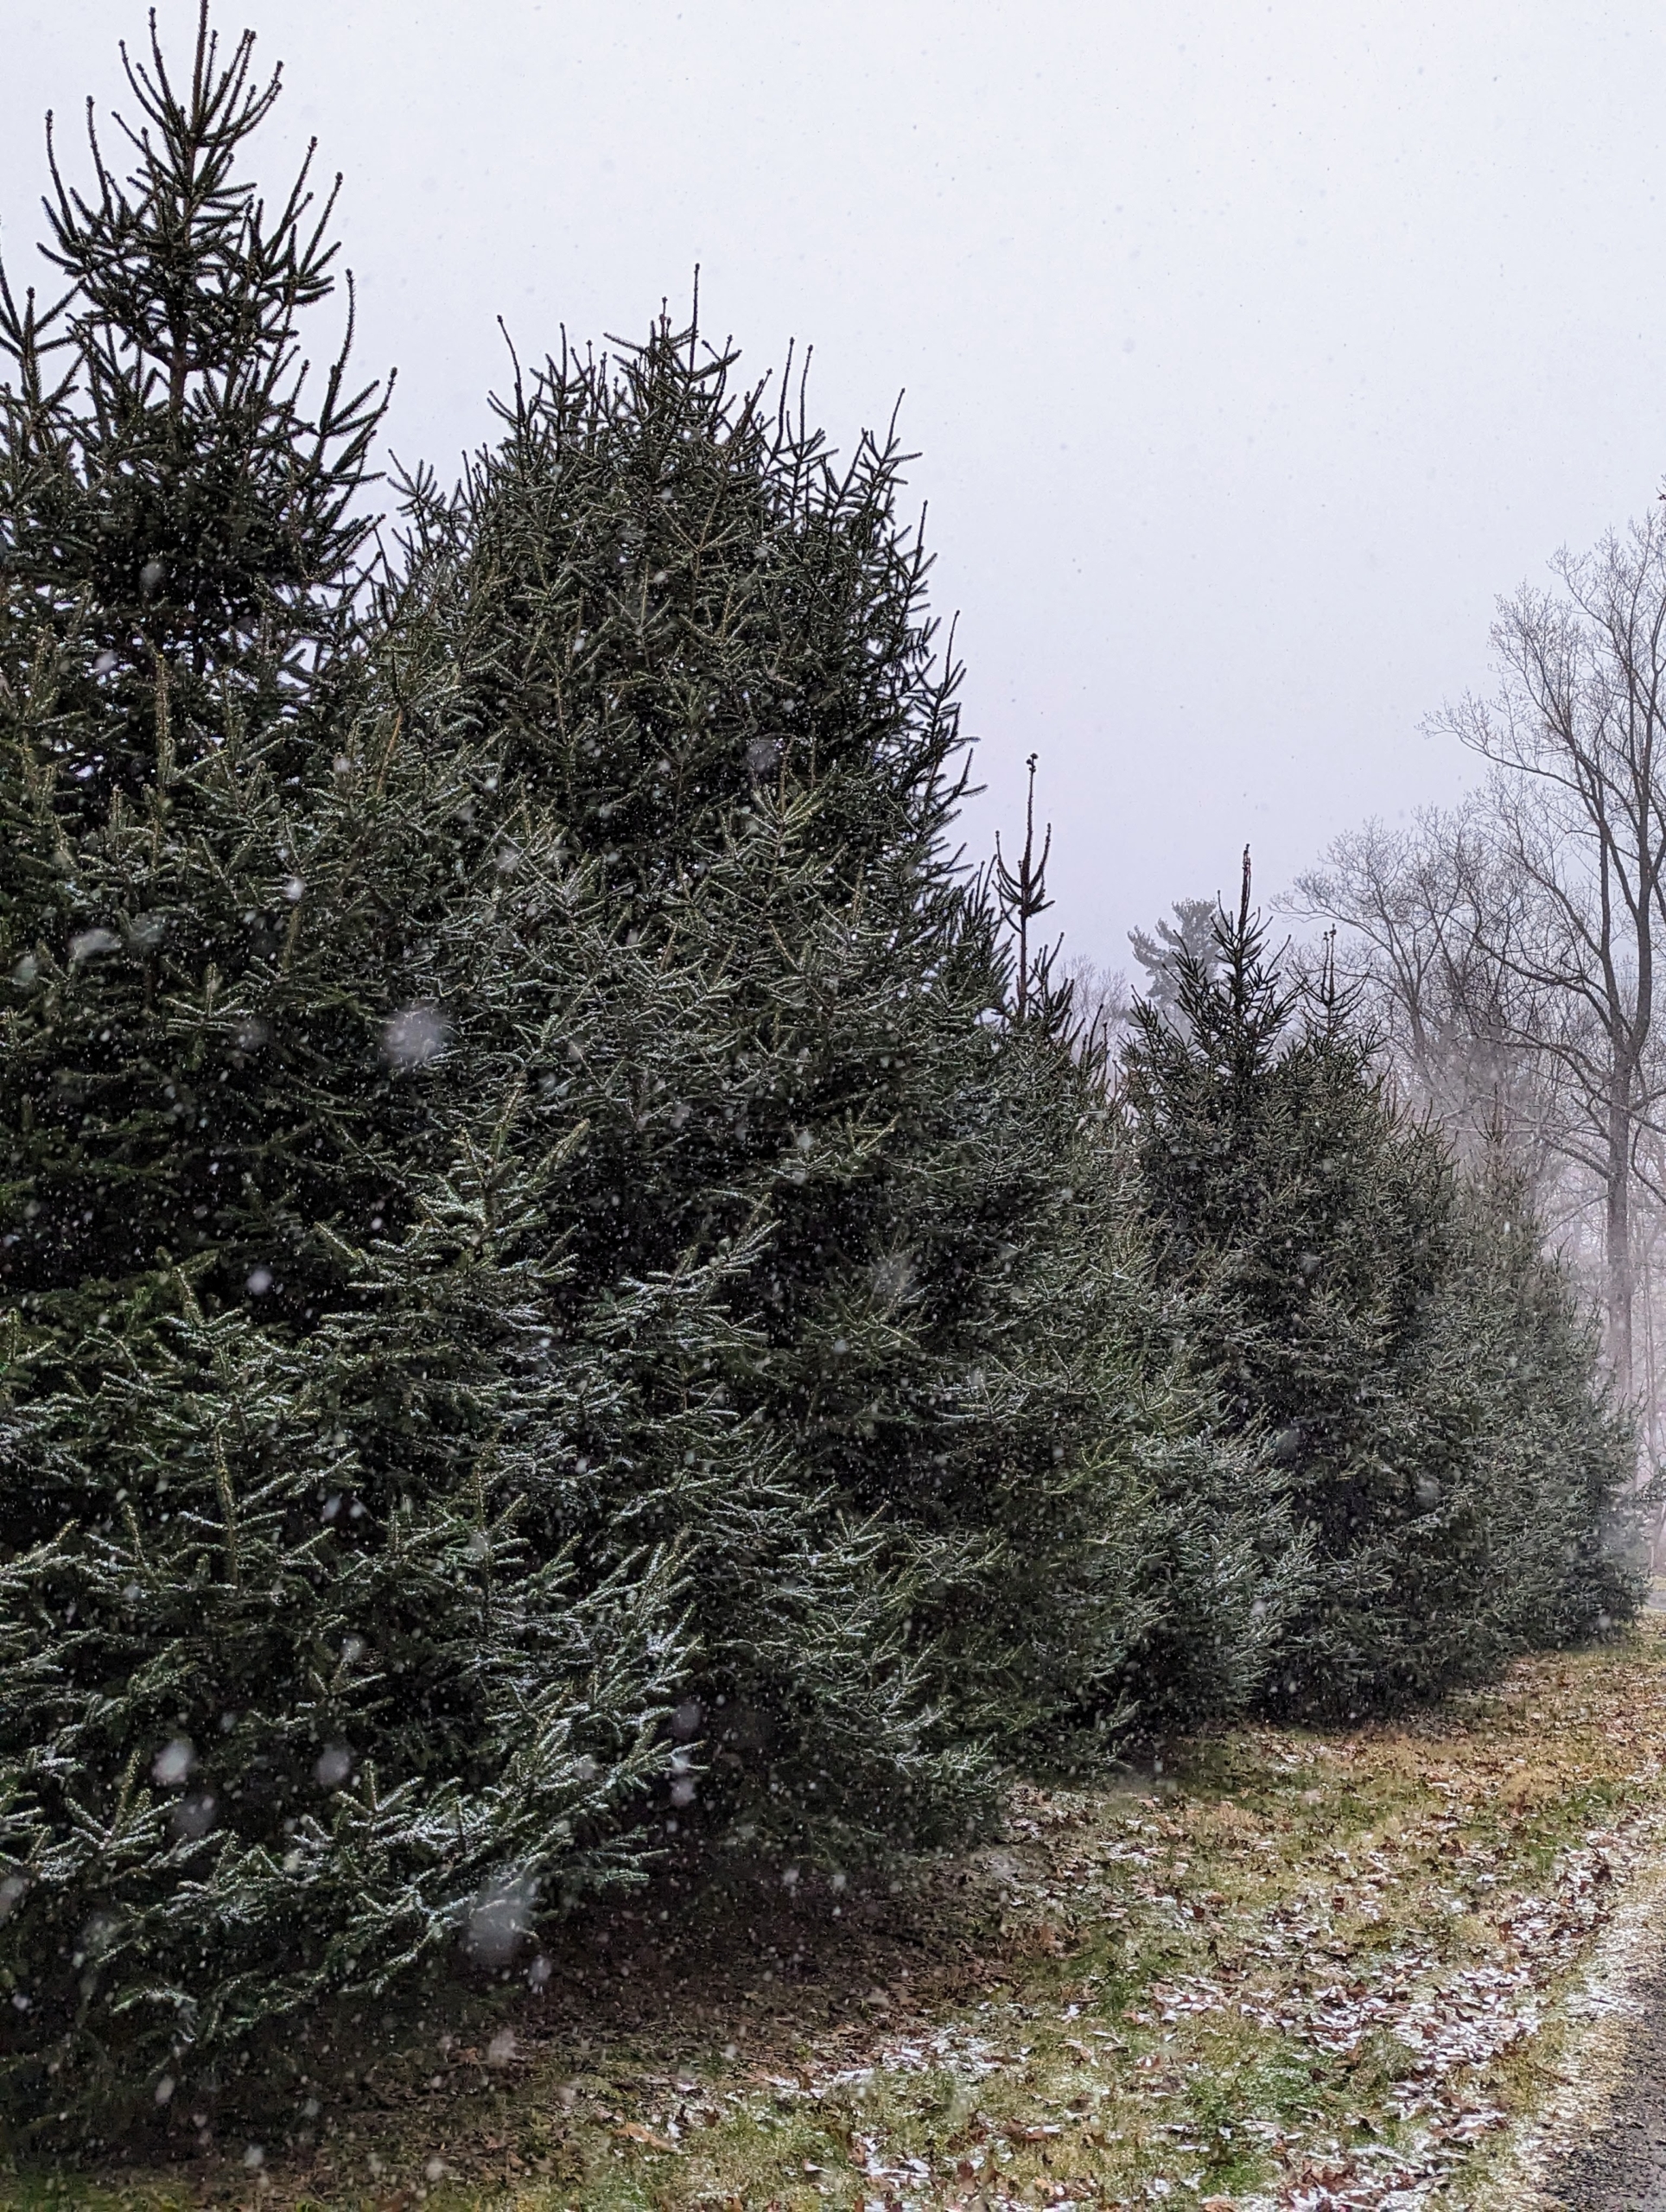
As many of you know, I am constantly planting trees here at the farm. I’ve planted tens of thousands over the years. Here is a grouping of young evergreens in the back hay field.
And another group not far from my compost yard. This grouping of trees was planted in 2009 – 640 small “Christmas trees.” They’ve all grown so excellently.
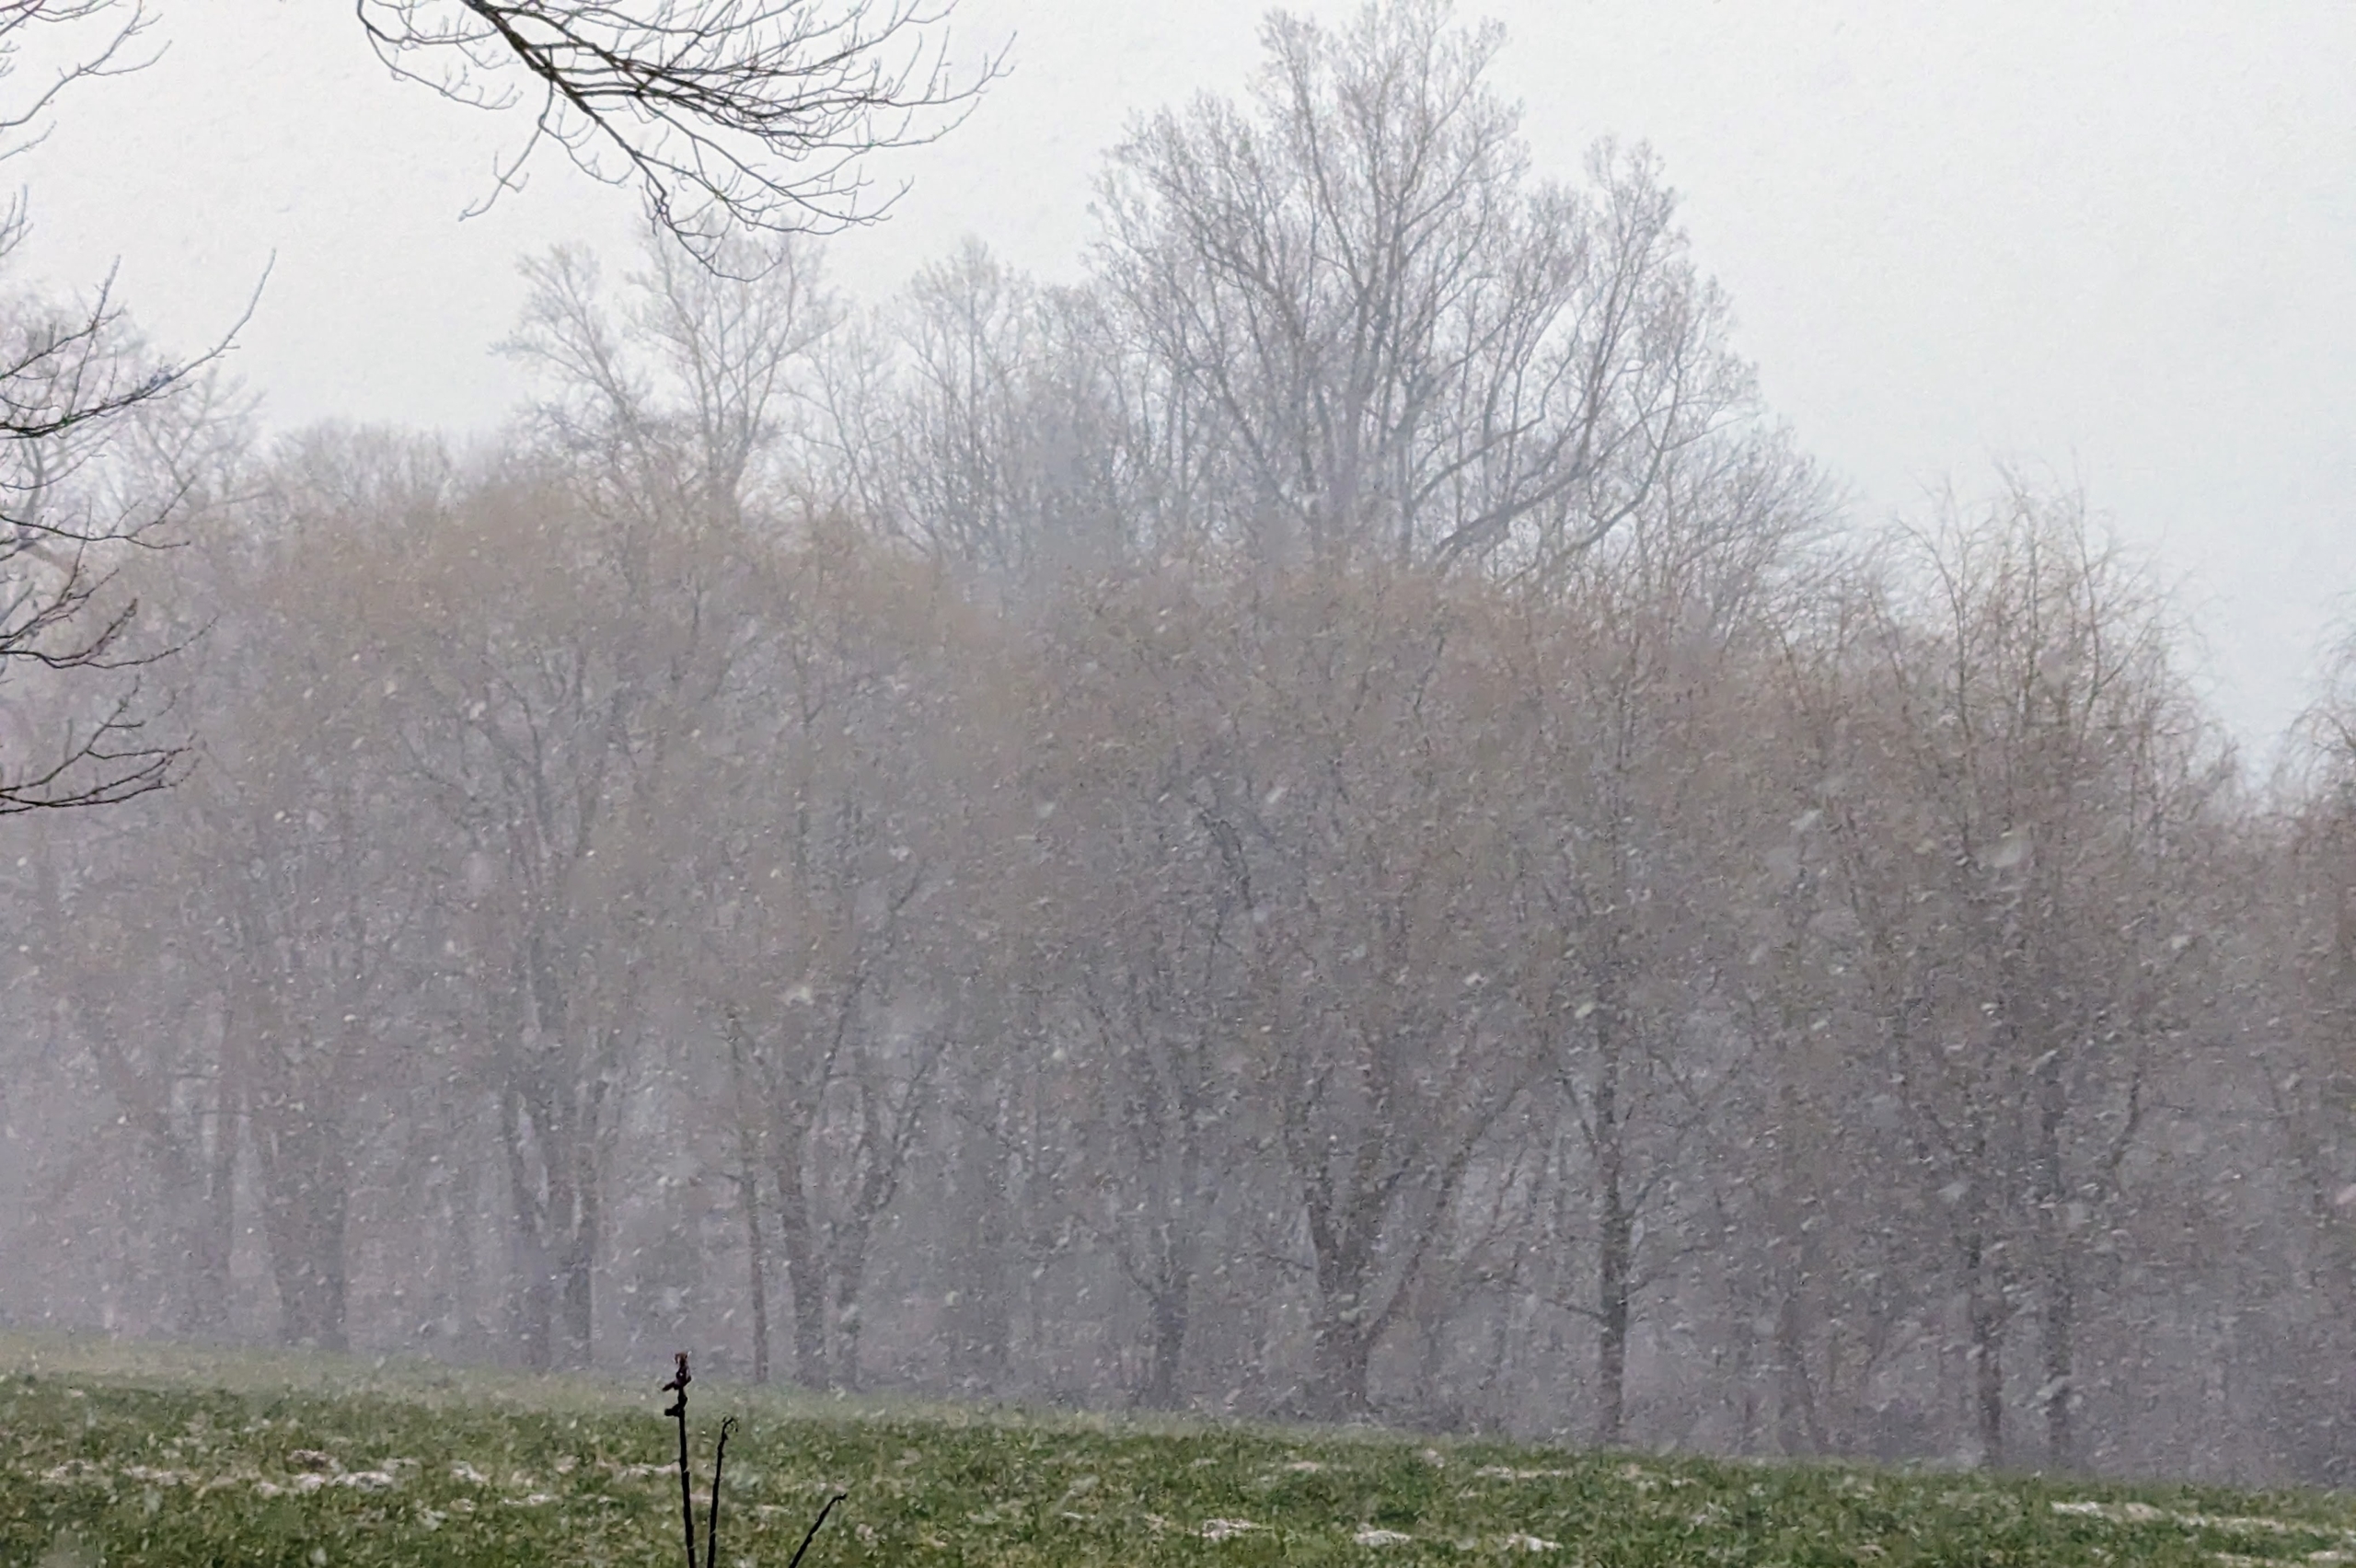
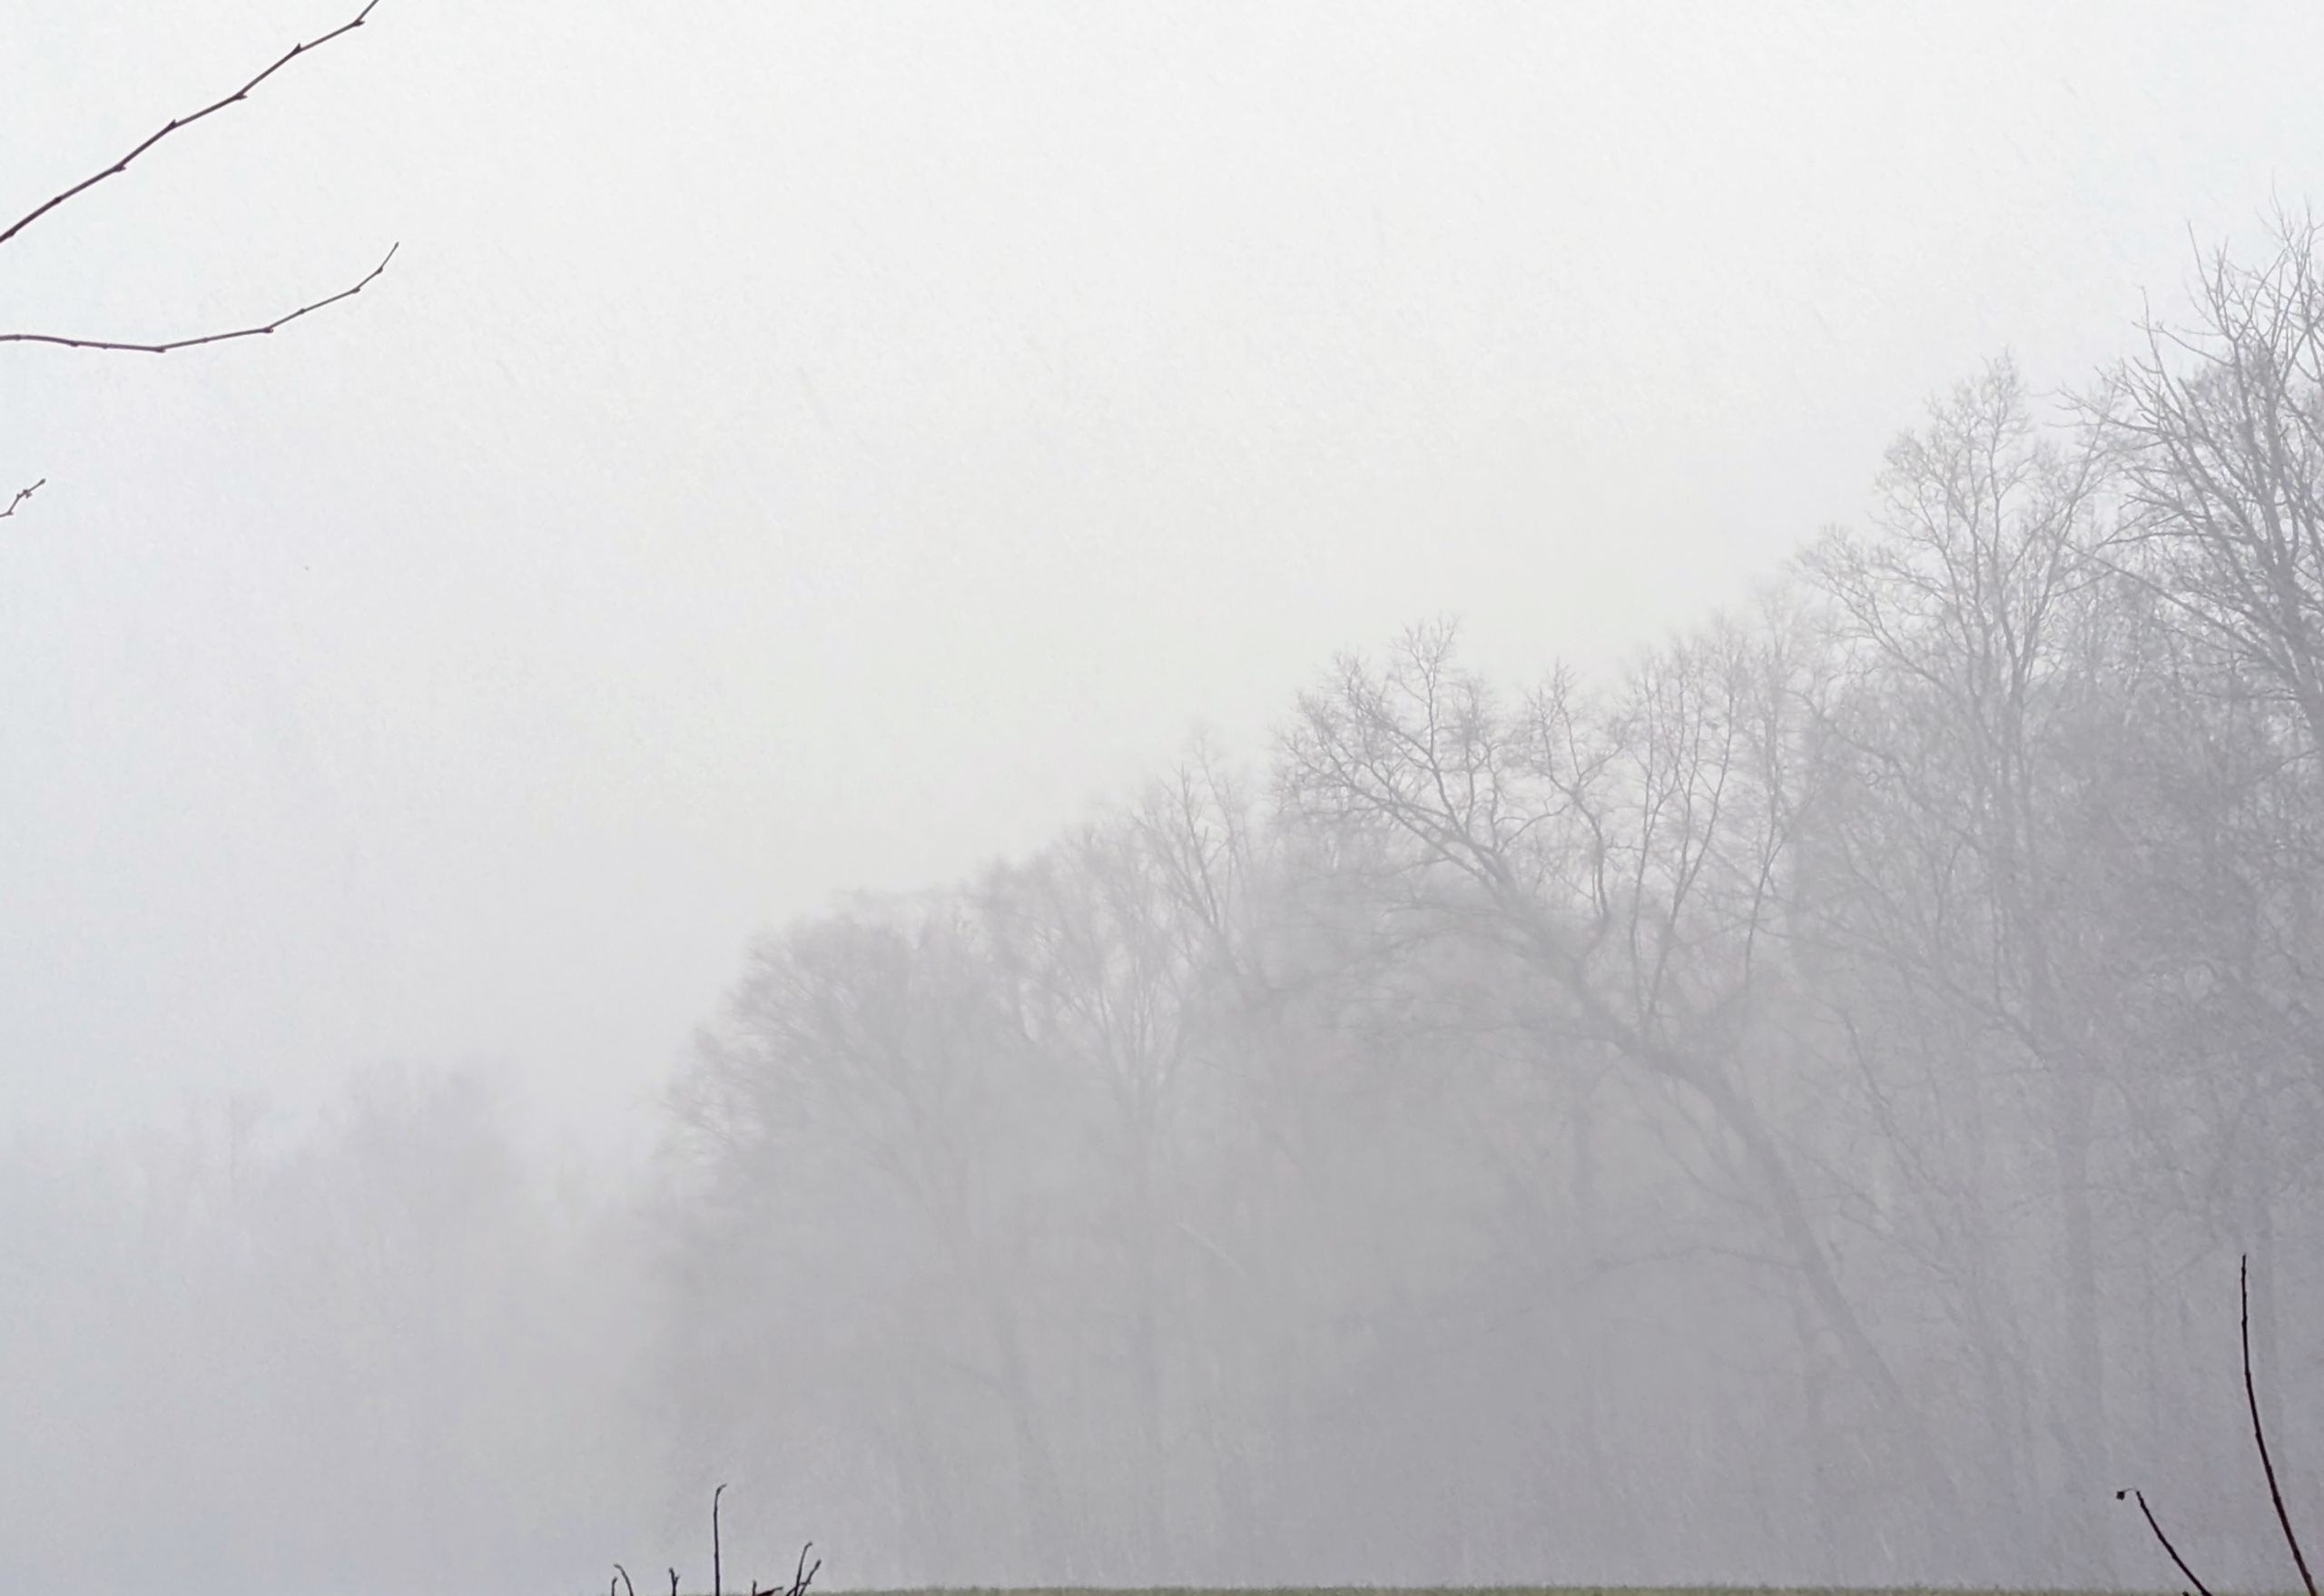
Within minutes after the sleet, graupel, and snow started falling, visibility decreased. Hard to see, but this is a view of my golden weeping willows on the edge of the middle field.
And here is another view of the foggy atmosphere.
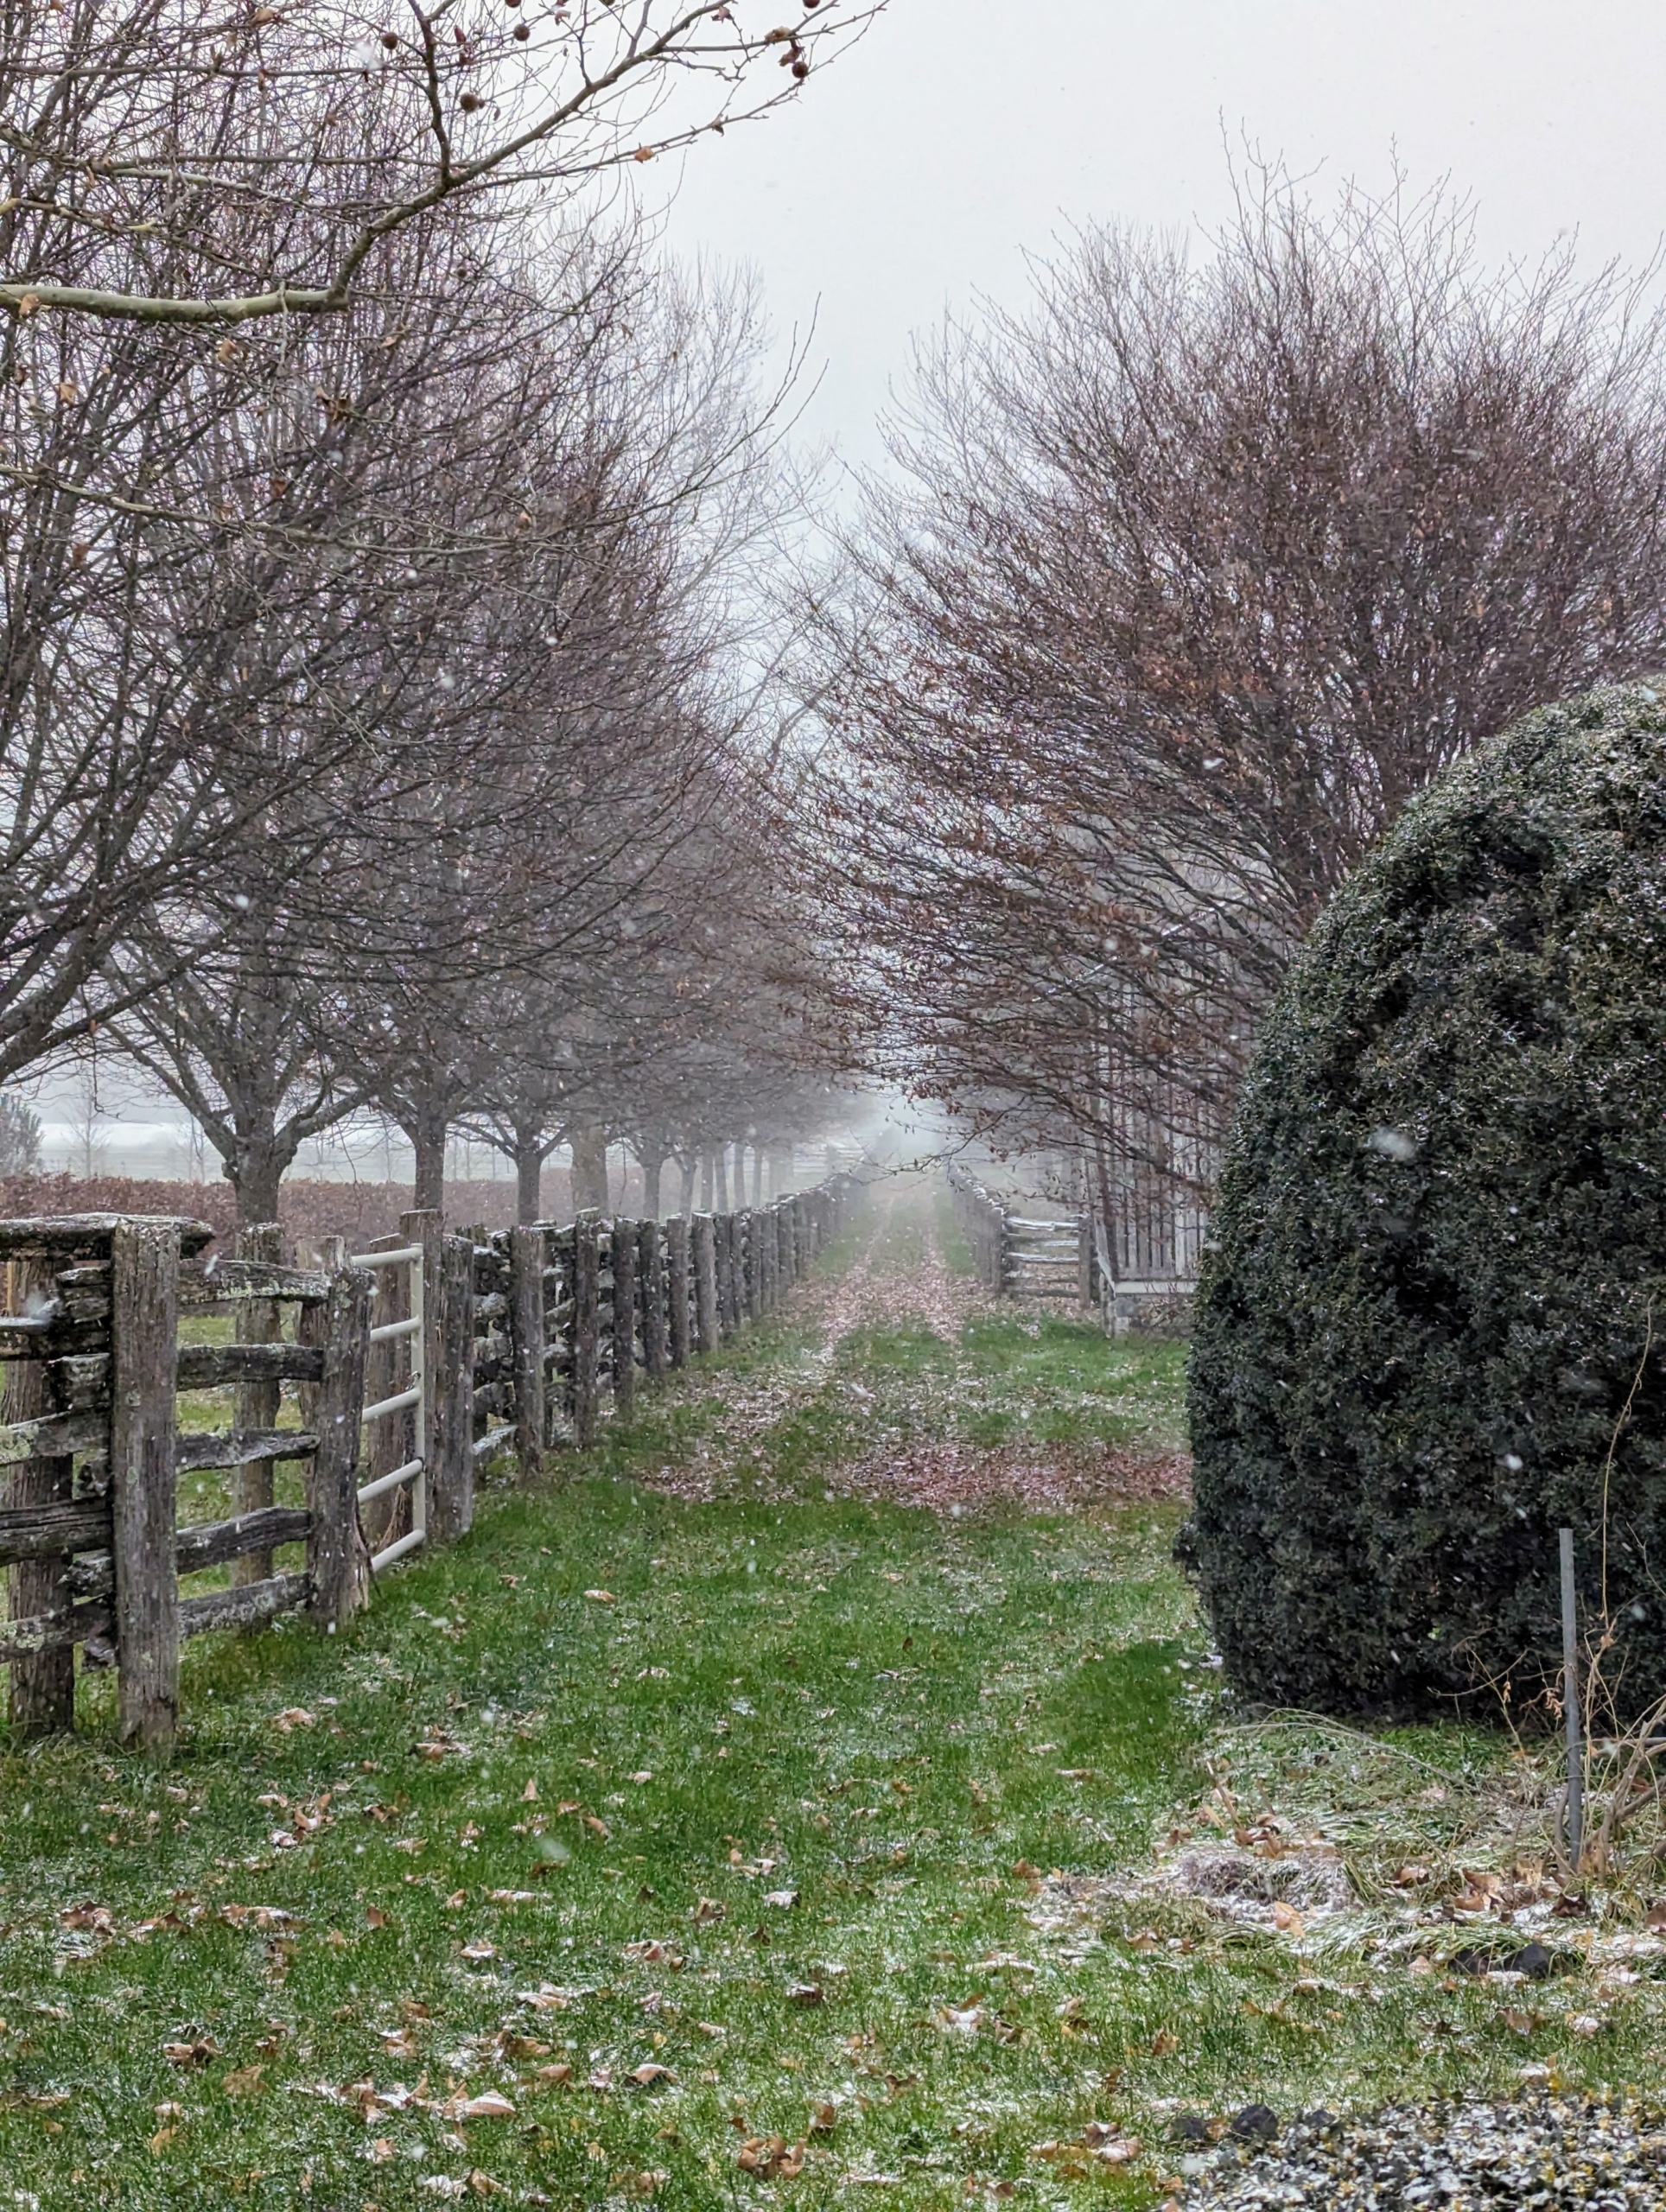
This is a look west up the carriage road to my long and winding Boxwood Allée.
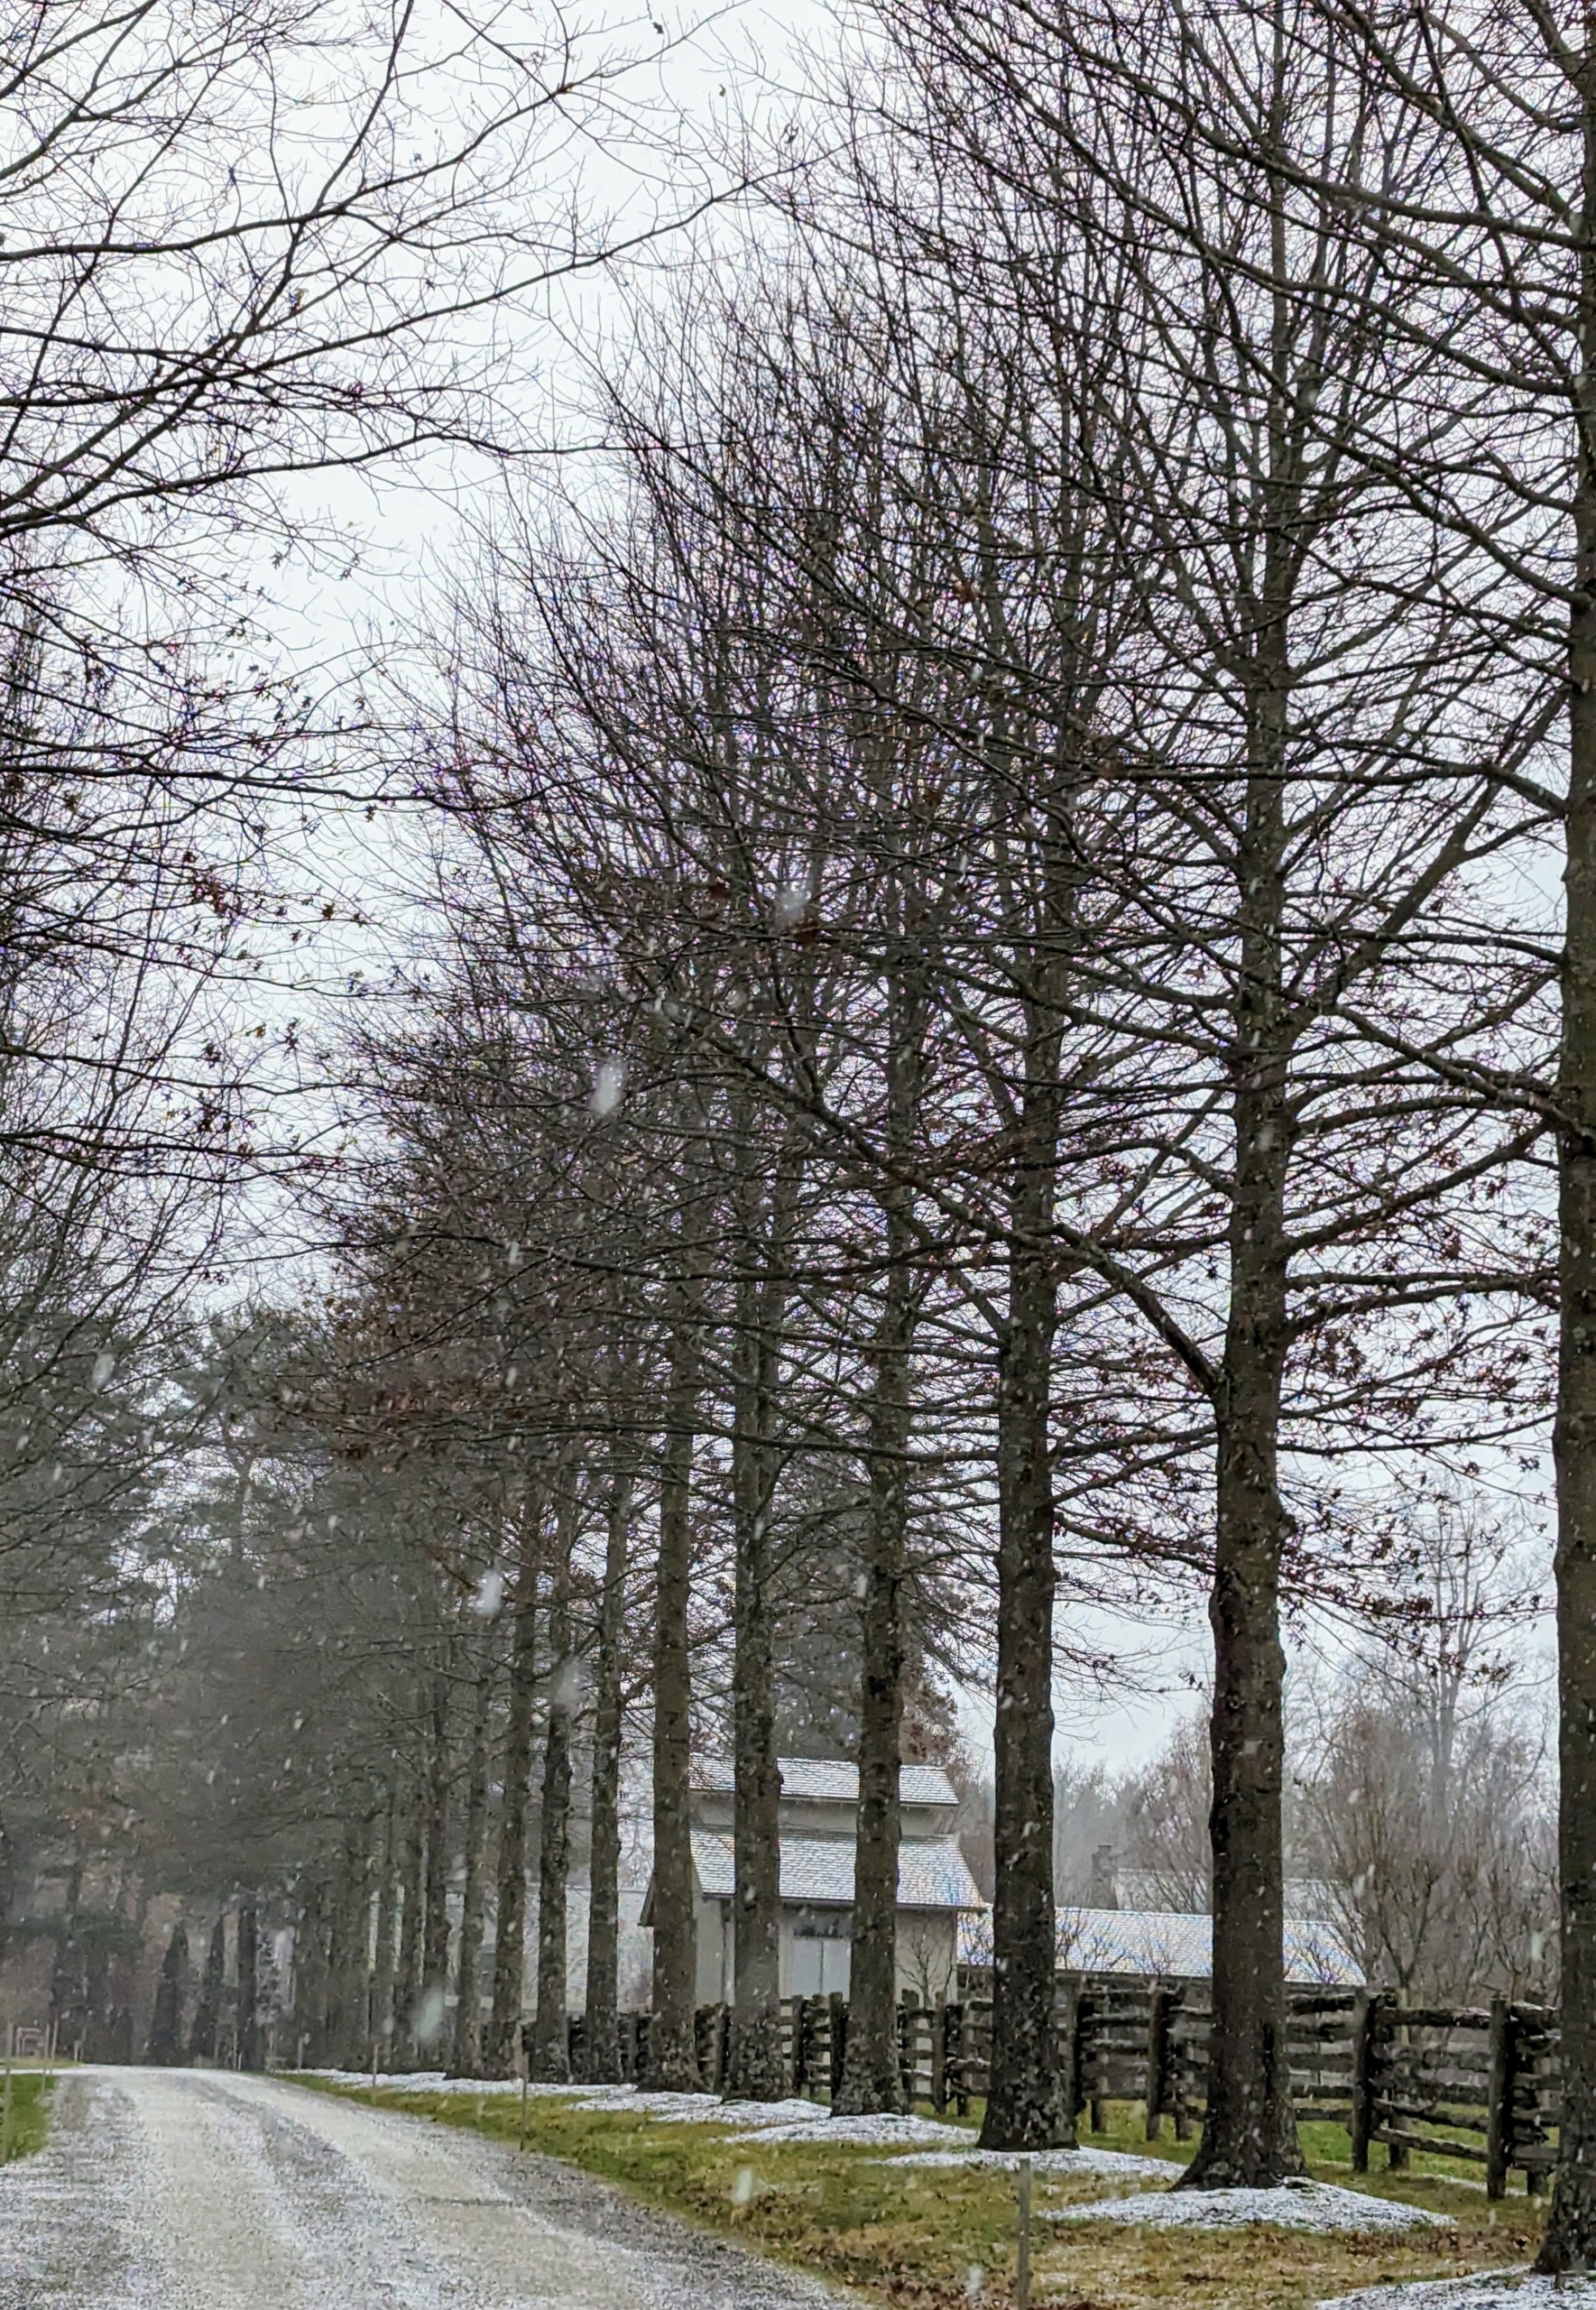
By 3:20pm, the precipitation changed to all snow. This is my allée of lindens that stretches from the carriage road in front of my carport all the way down to my chicken coops. On the right, one can see a bit of the old corn crib.
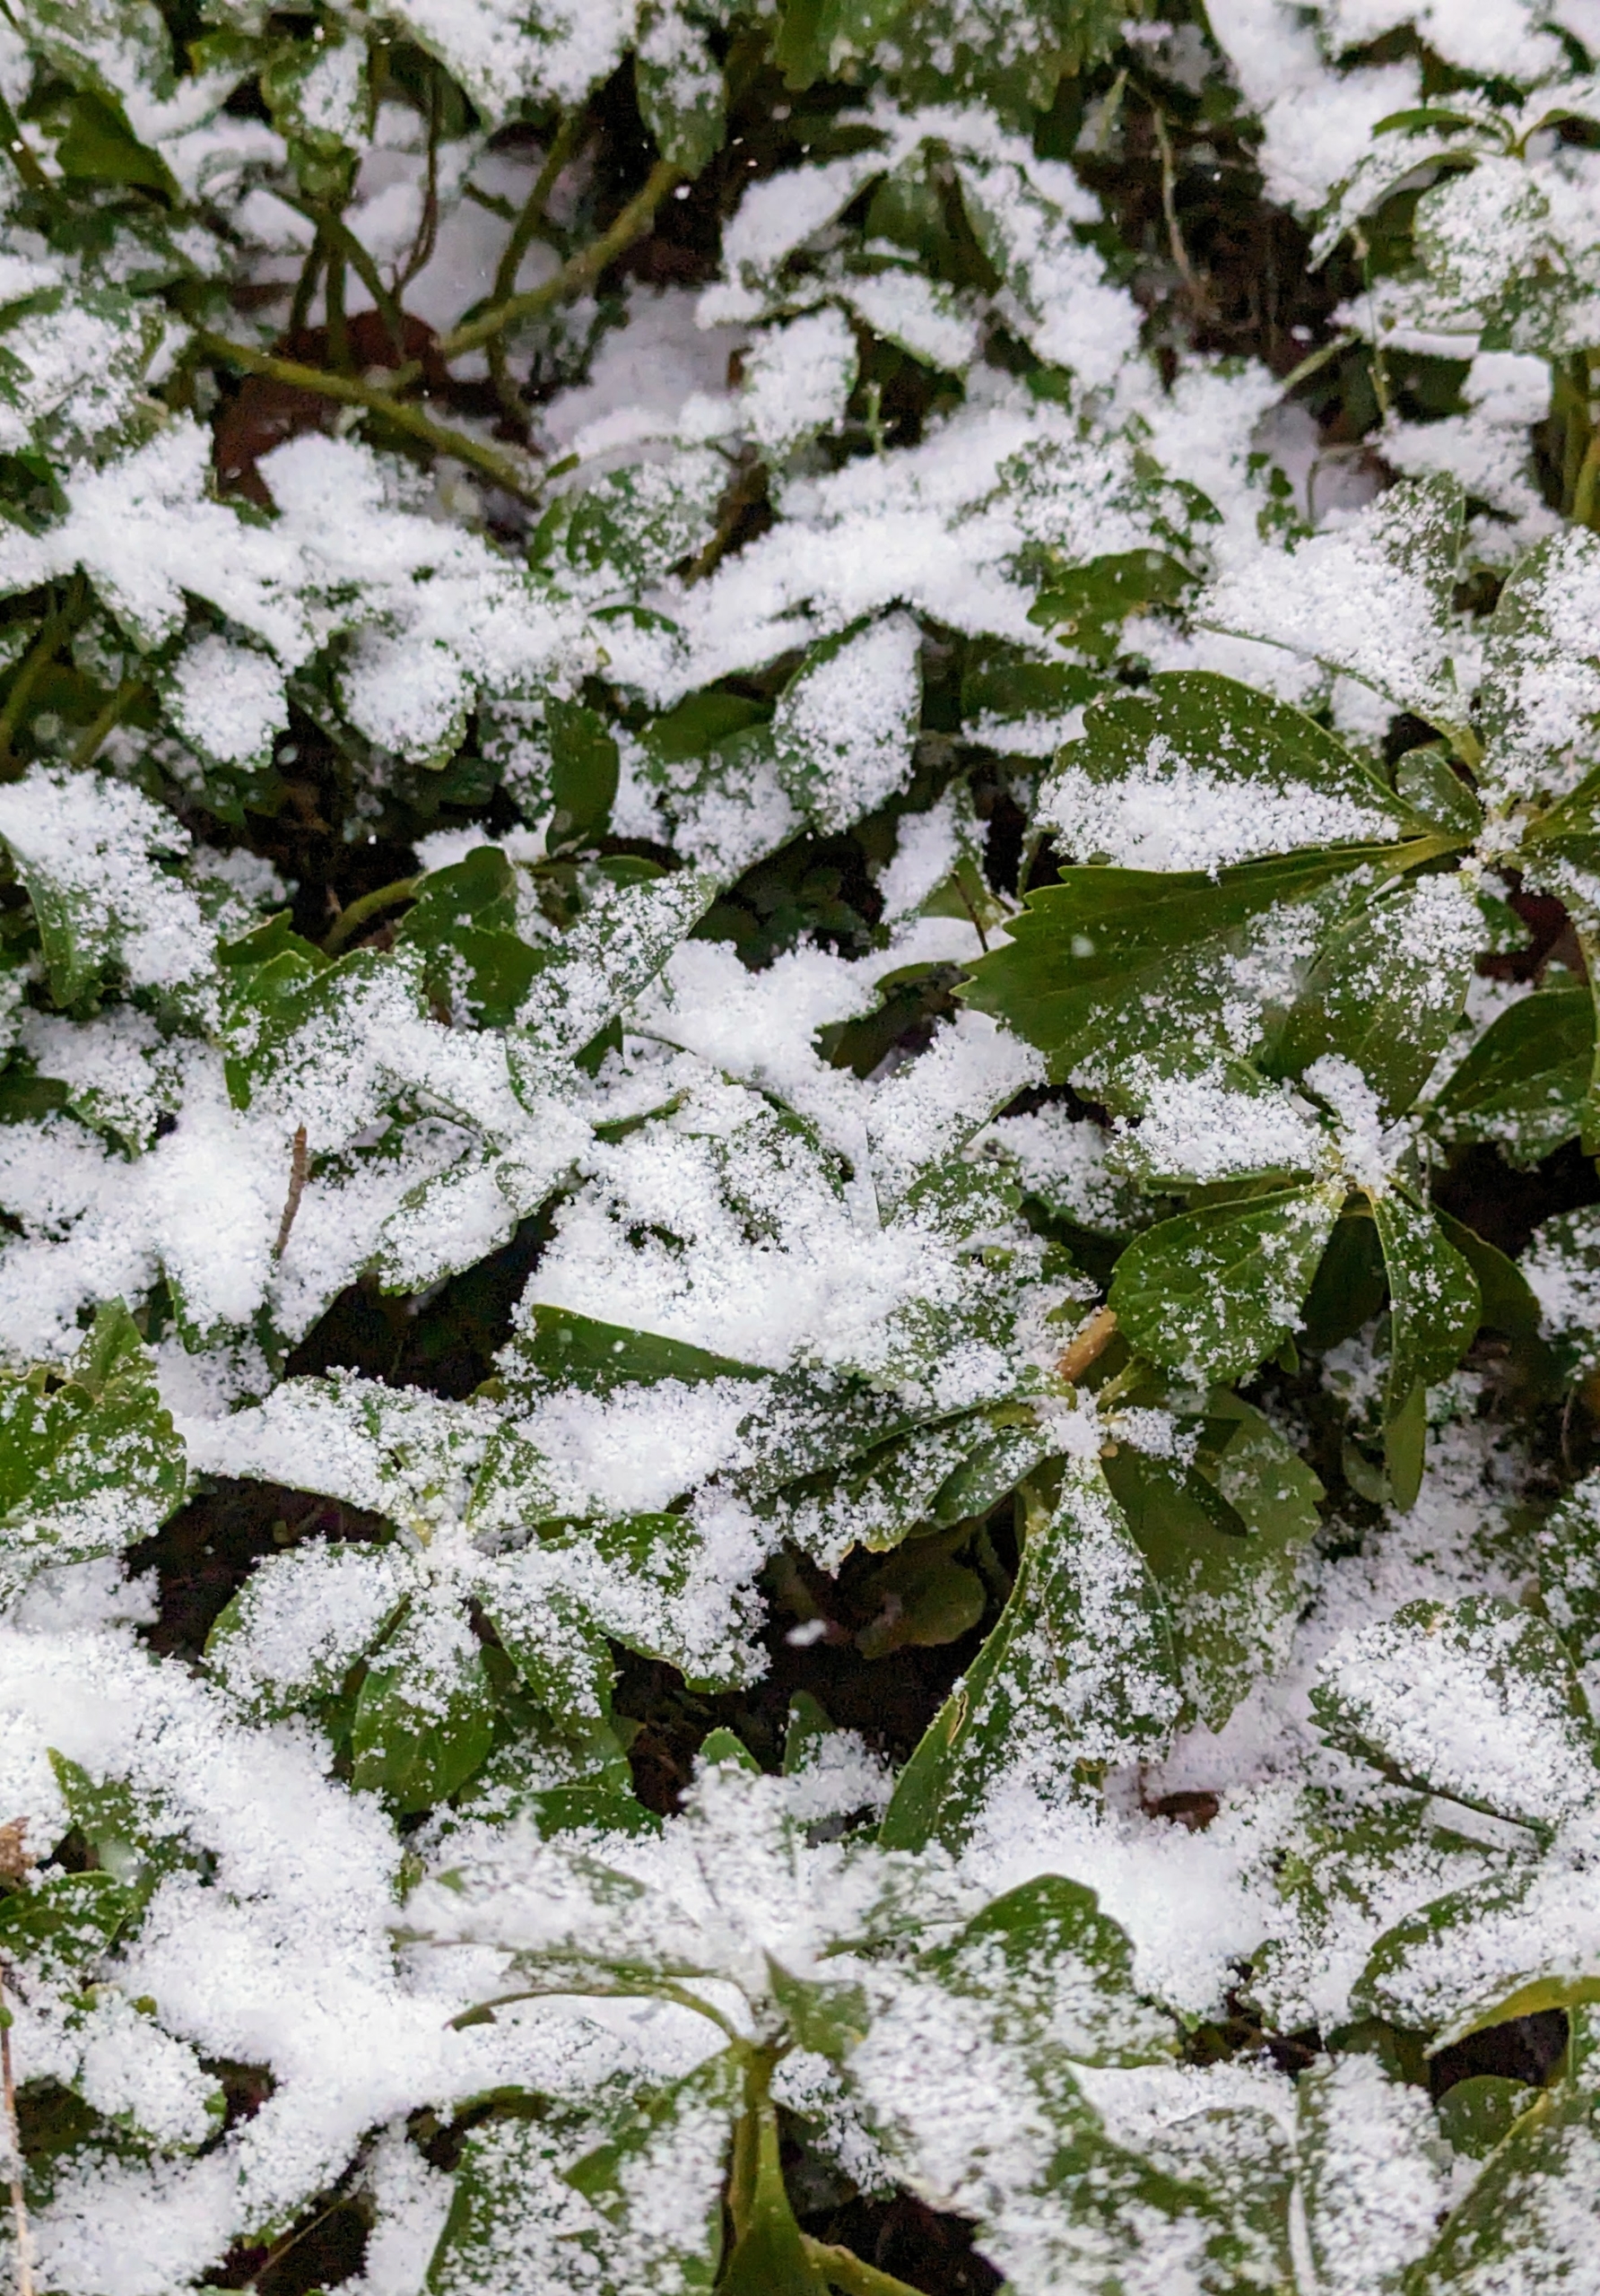
The pachysandra in front of my Winter House was nearly all covered in snow…
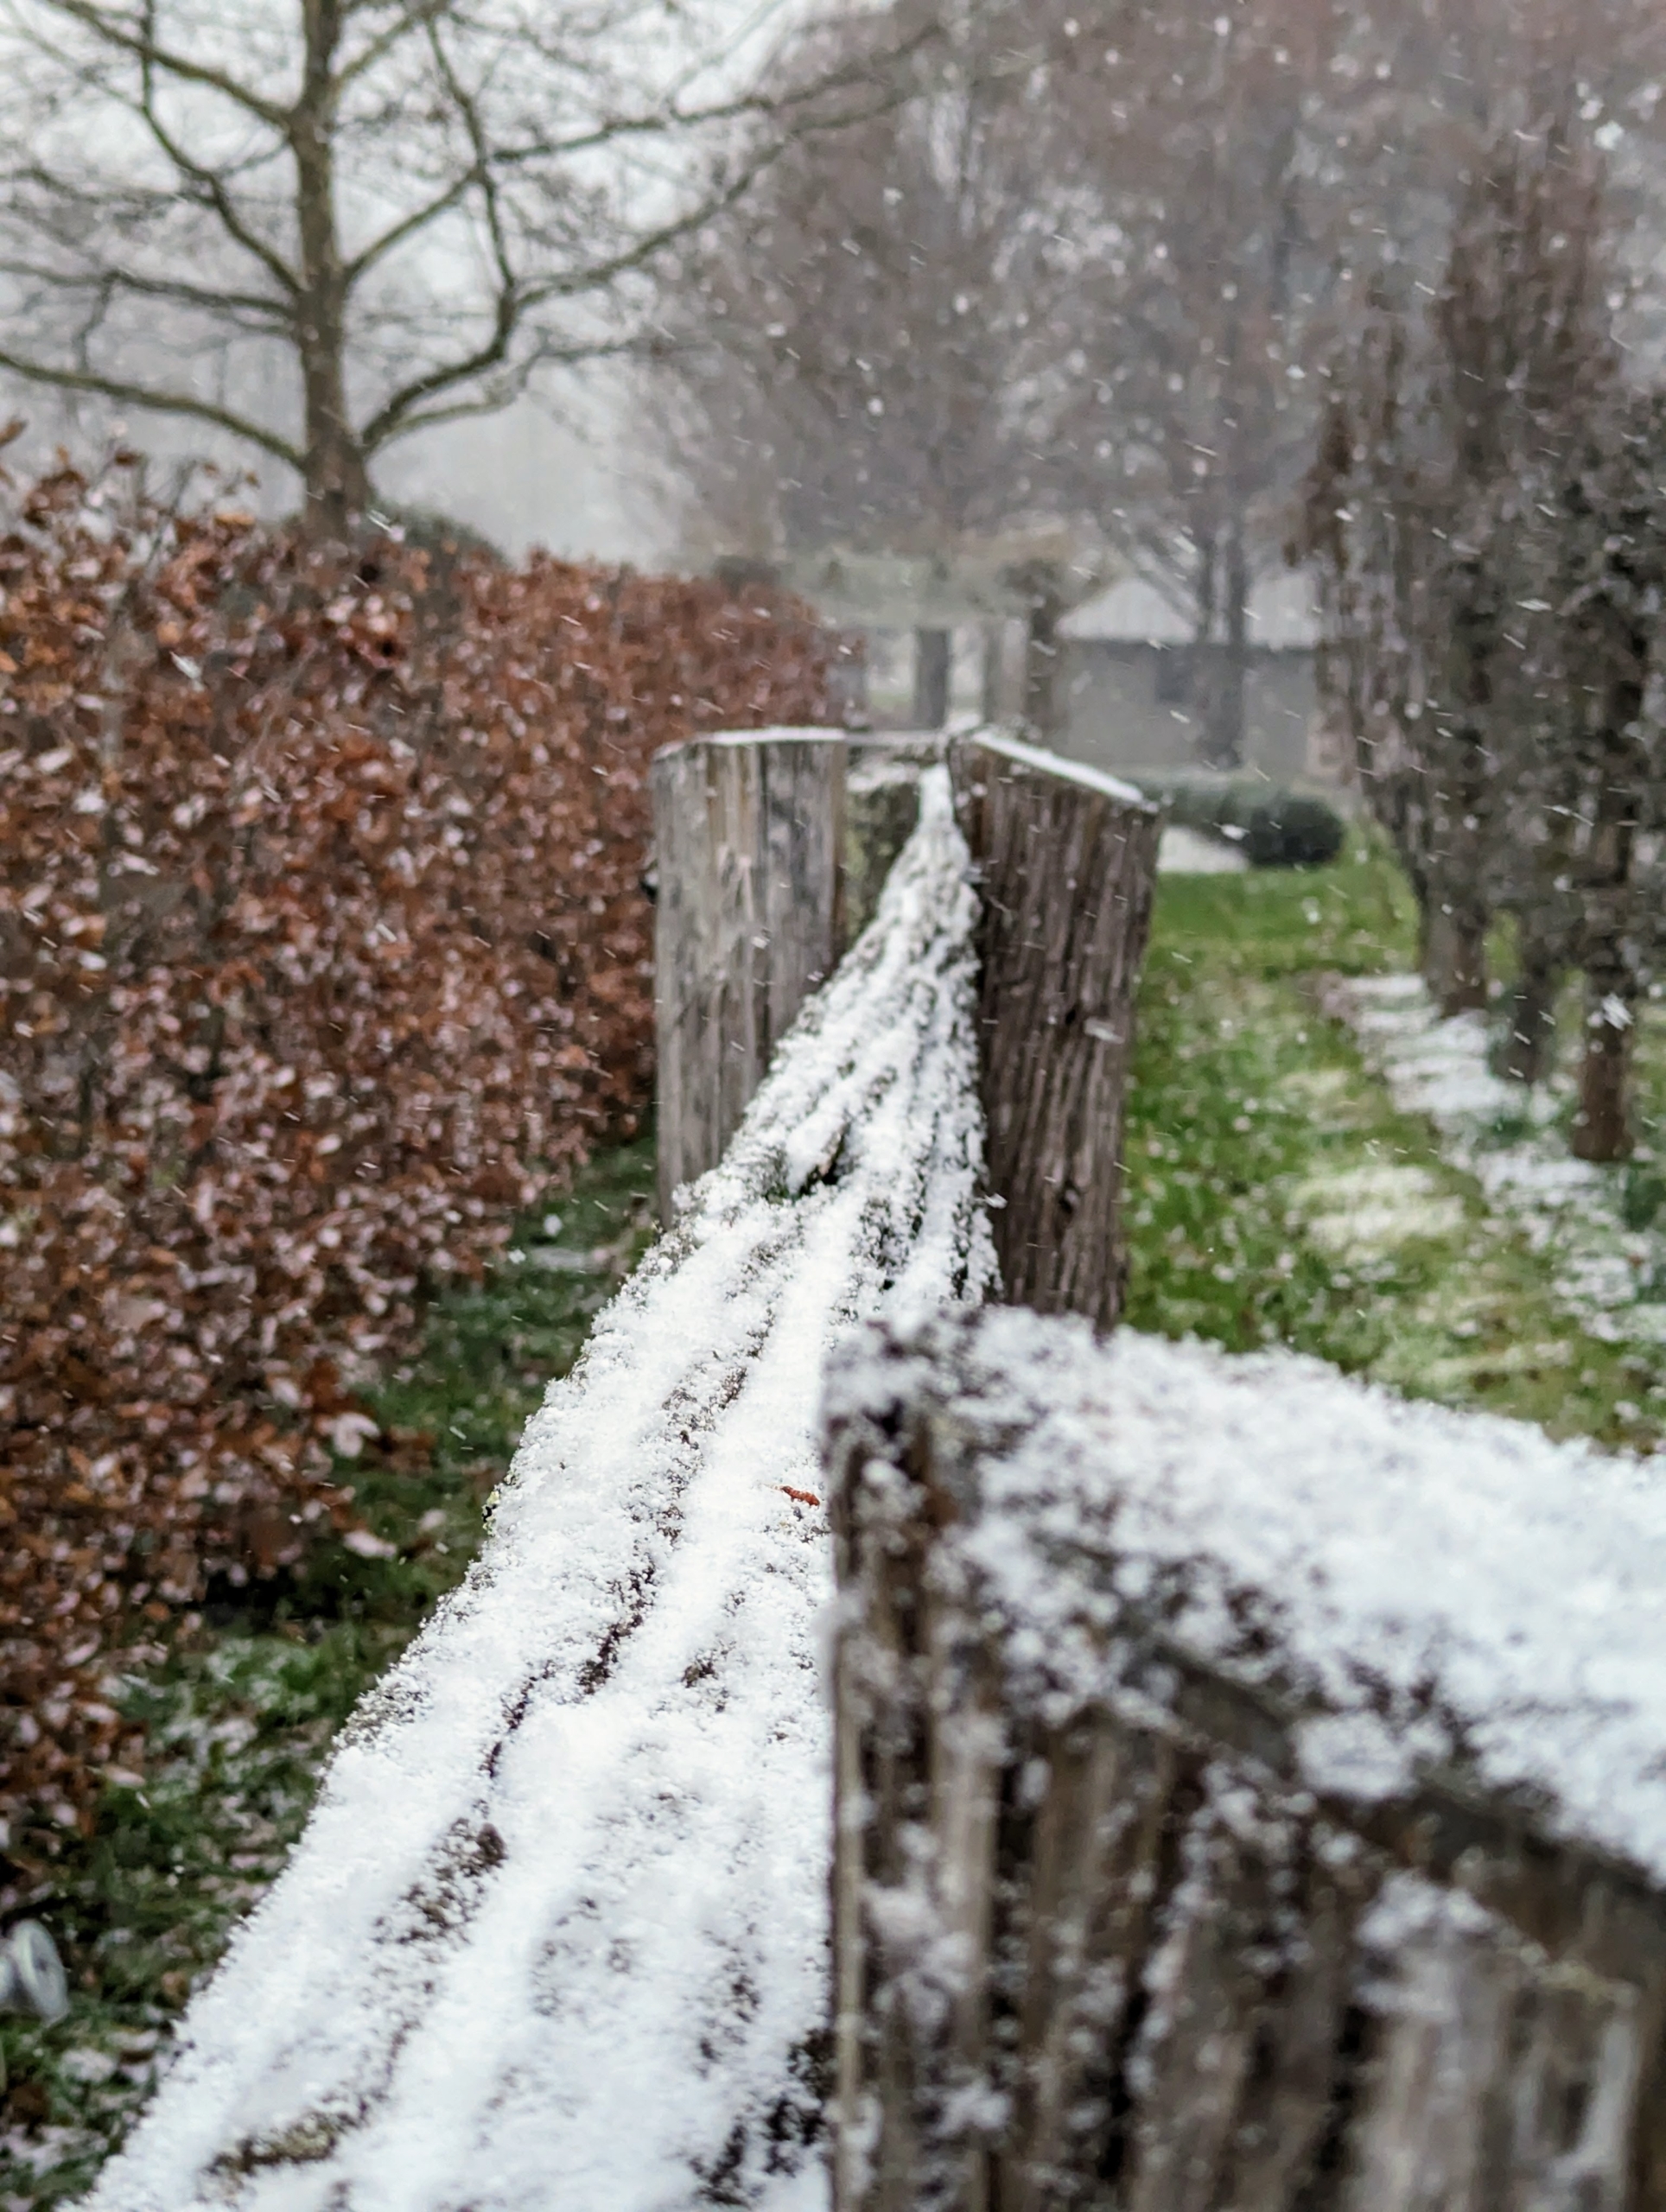
… And so were the horizontal tops of the antique fence rails.
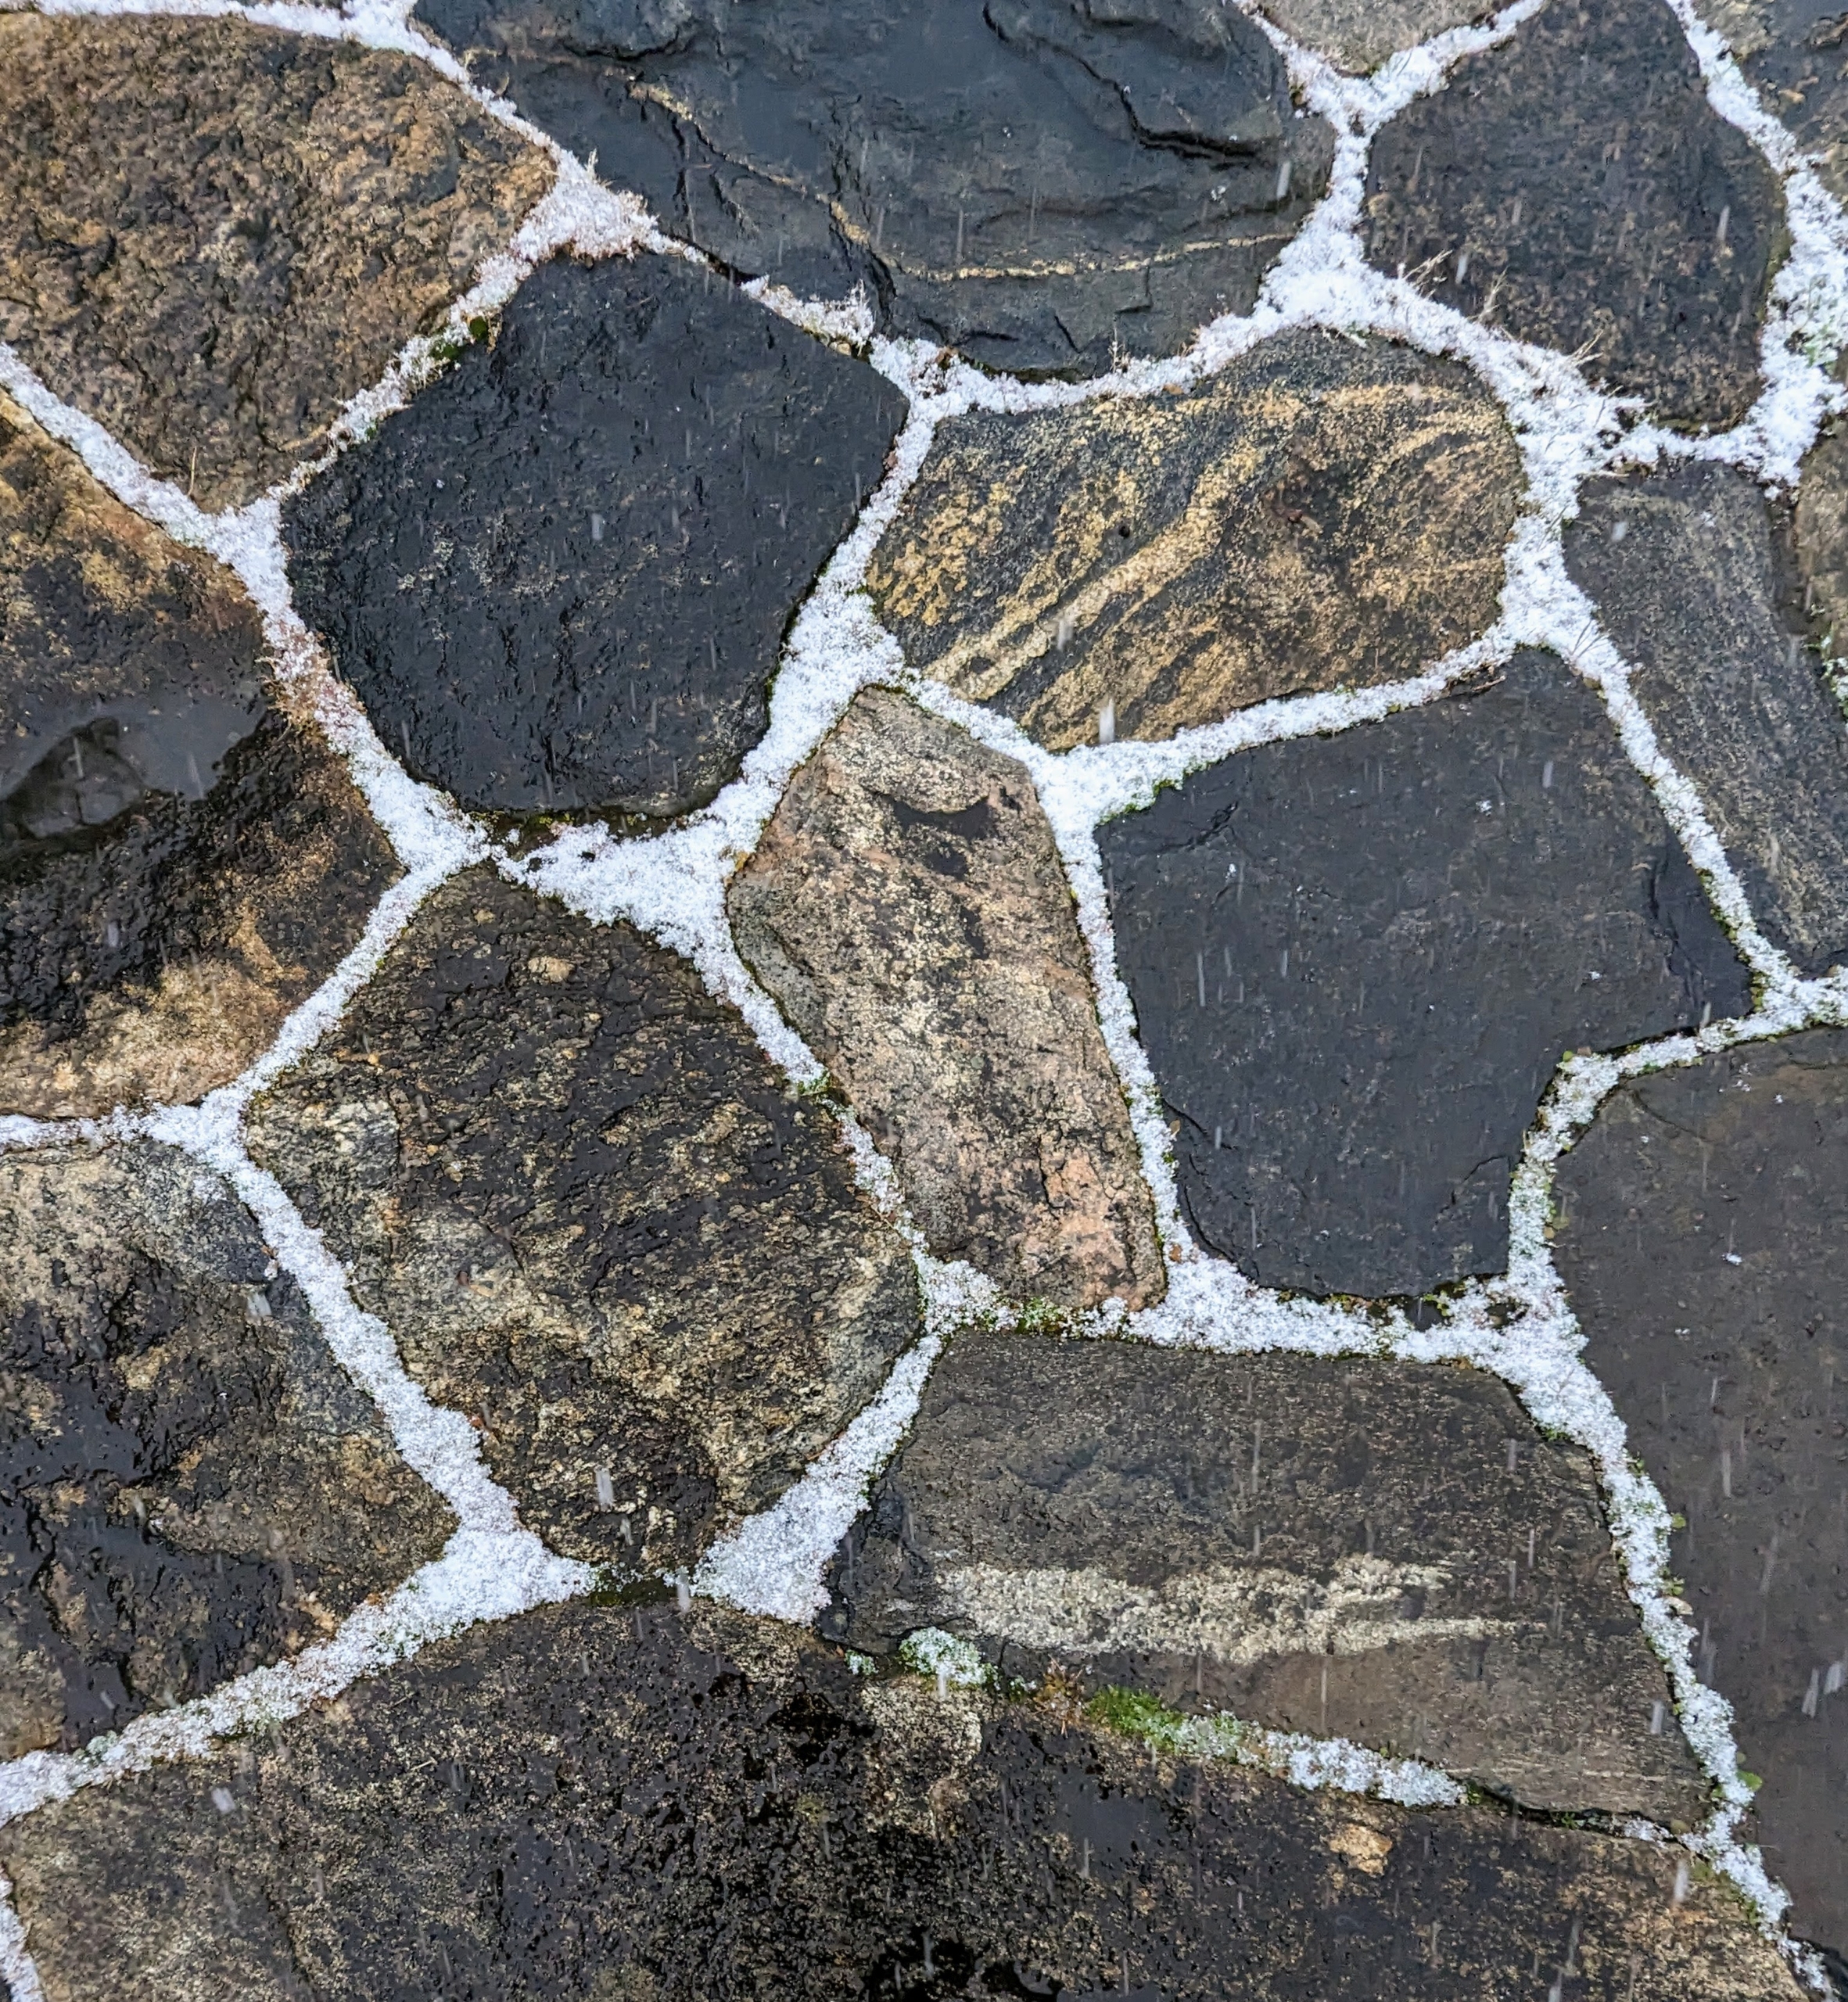
These are the stone pavers on my terrace parterre – outlined in snow. The Old Farmer’s Almanac predicts more than an average amount of snow will fall this season… we’ll see.
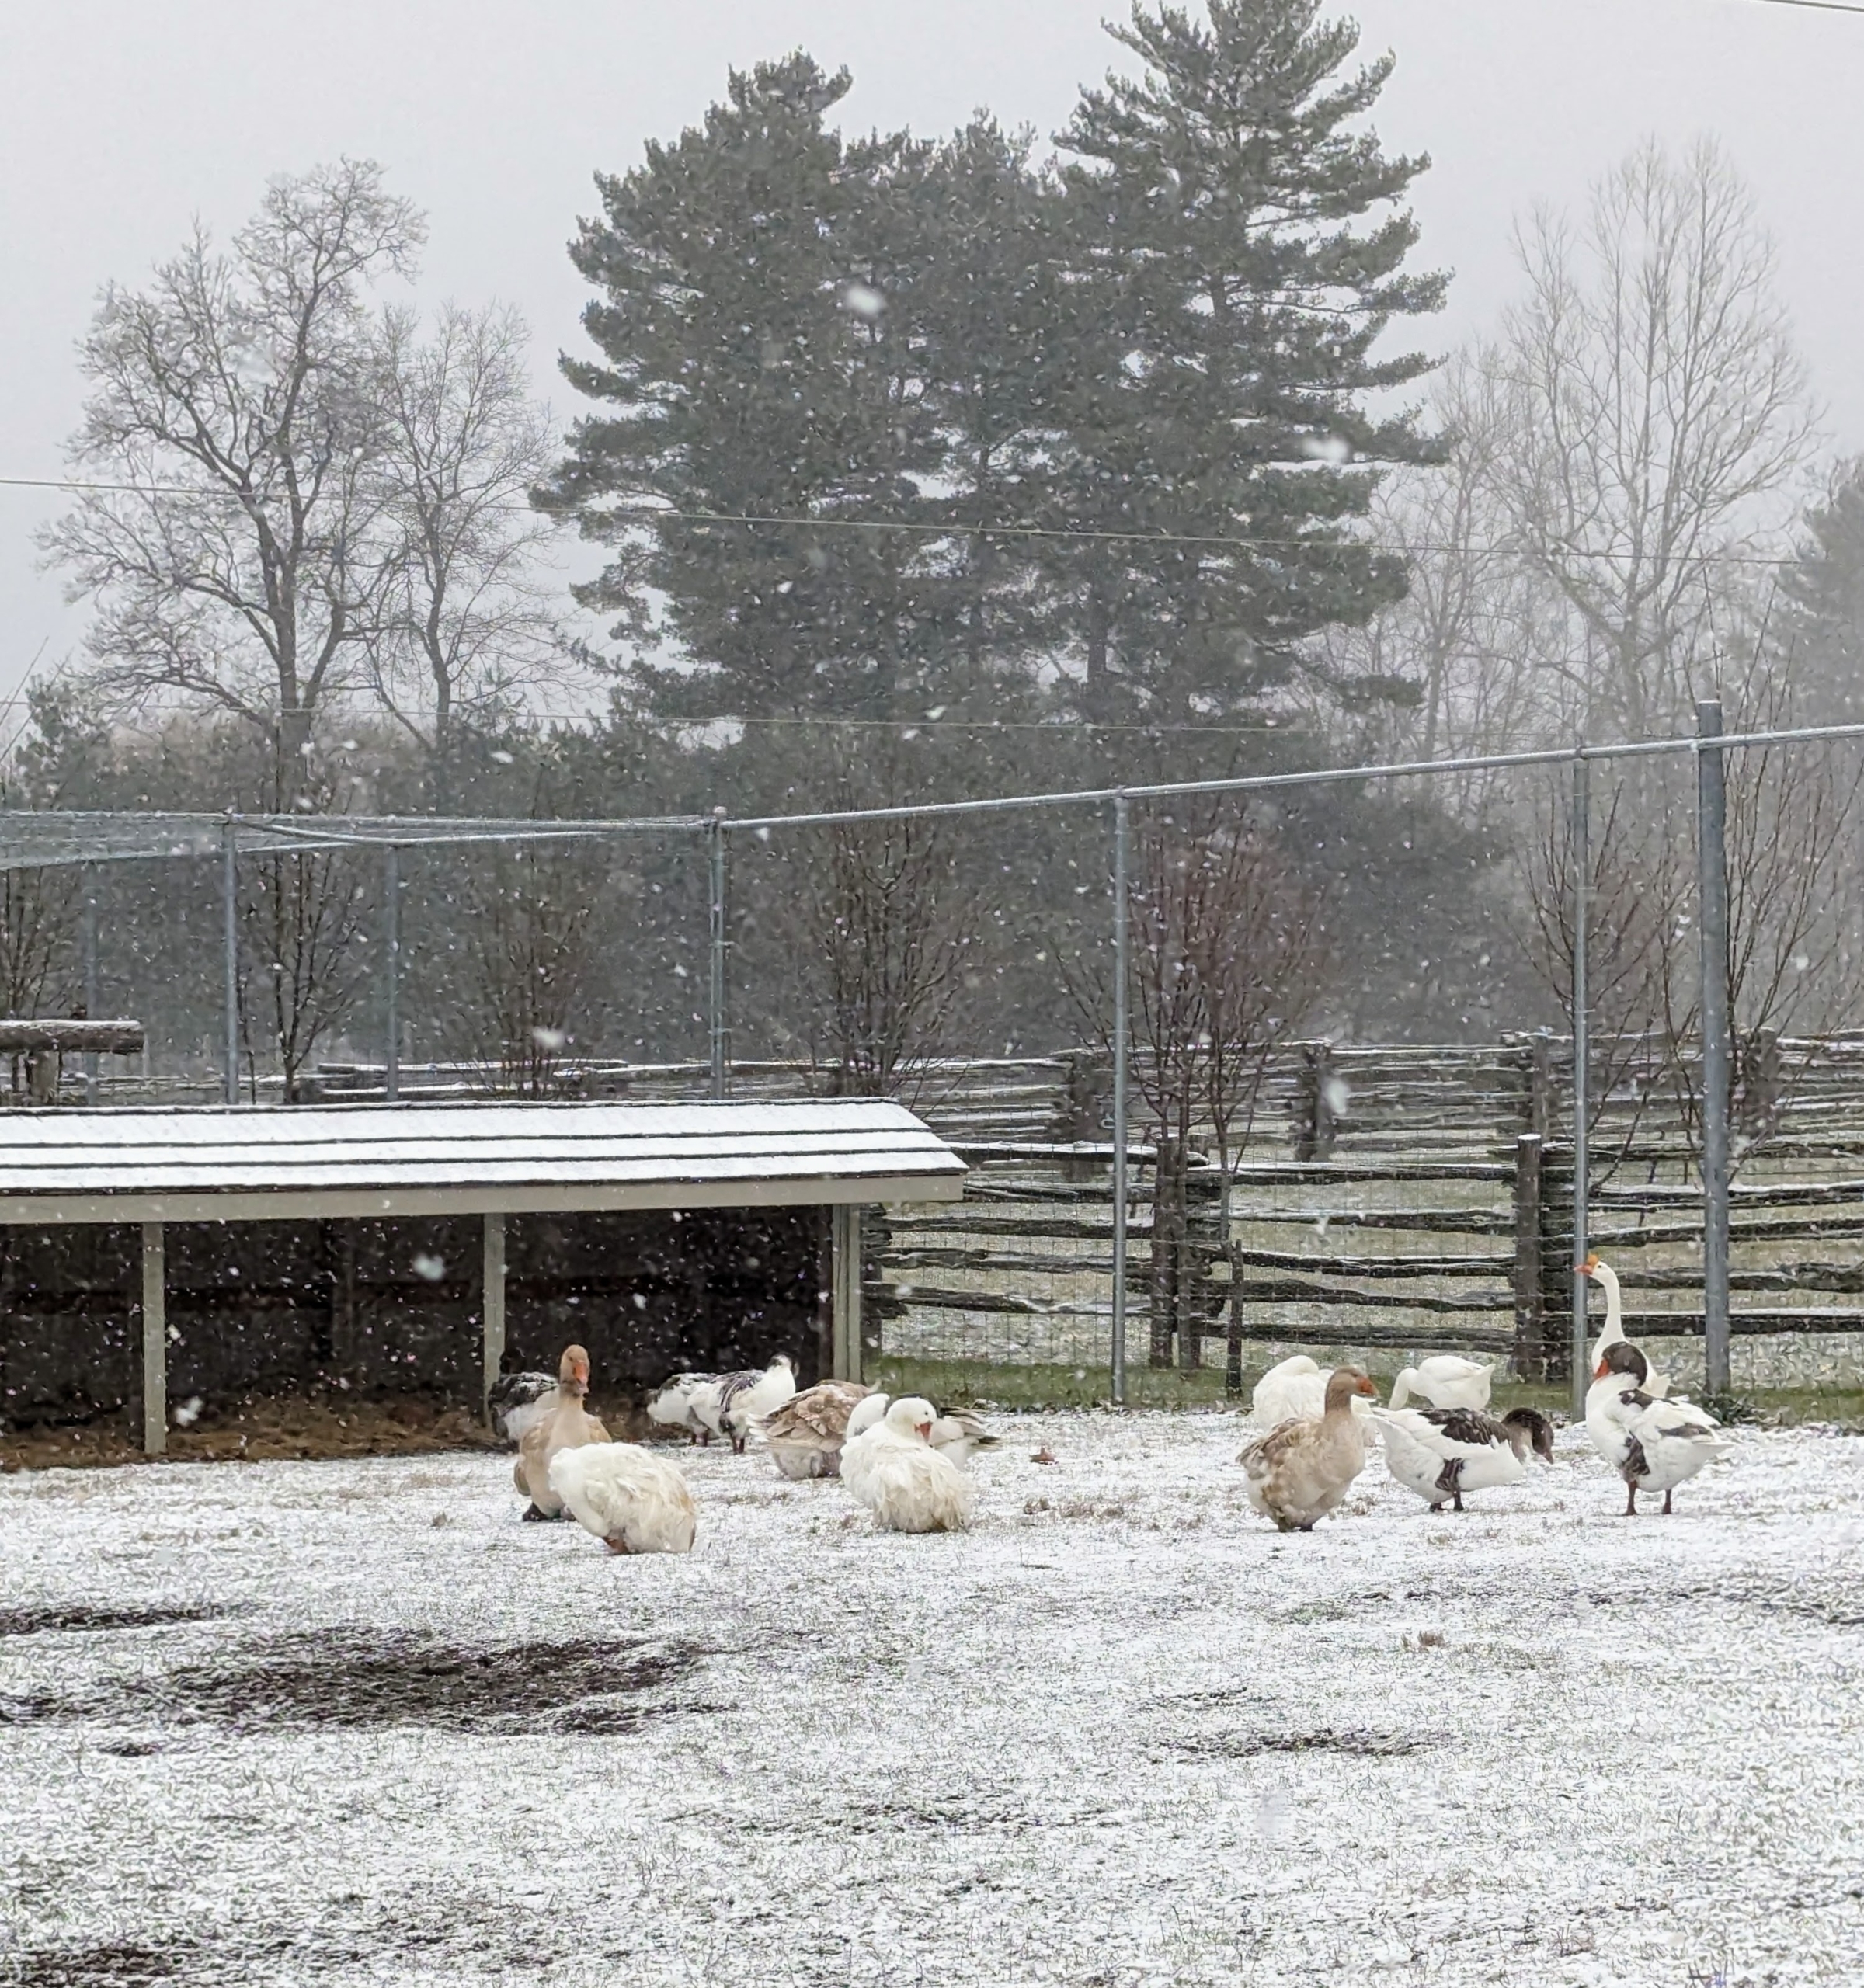
And look at my geese. While there is a large covered shelter just feet away, filled with a thick layer of bedding hay, they all choose to be out in the elements. Geese are actually very cold hardy and resilient birds, and don’t mind the snow and cold at all.
The snow slowed down within the hour. There were even some peaks of blue in the skies overhead. The cold season is here. Temperatures today are expected in the high 30s with below freezing temperatures at night with possible rain this weekend.