Come spring I'll have even more spectacular peonies blooming than ever before here at my Bedford, New York farm.
I simply adore peonies and have been growing them for quite some time. I have a long tree peony border planted under the semi-shade of giant sugar maples at one corner of the property. I have a giant bed completely dedicated to pink and white herbaceous peonies just across the carriage road from my home. I have tree peonies and Itoh peonies planted in the formal sunken garden behind my Summer House. And last week, we planted 75 bare root peony divisions in what will be my new cutting garden - my former vegetable garden adjacent to my chickens. These varieties will thrive here at Cantitoe Corners.
Enjoy these photos.
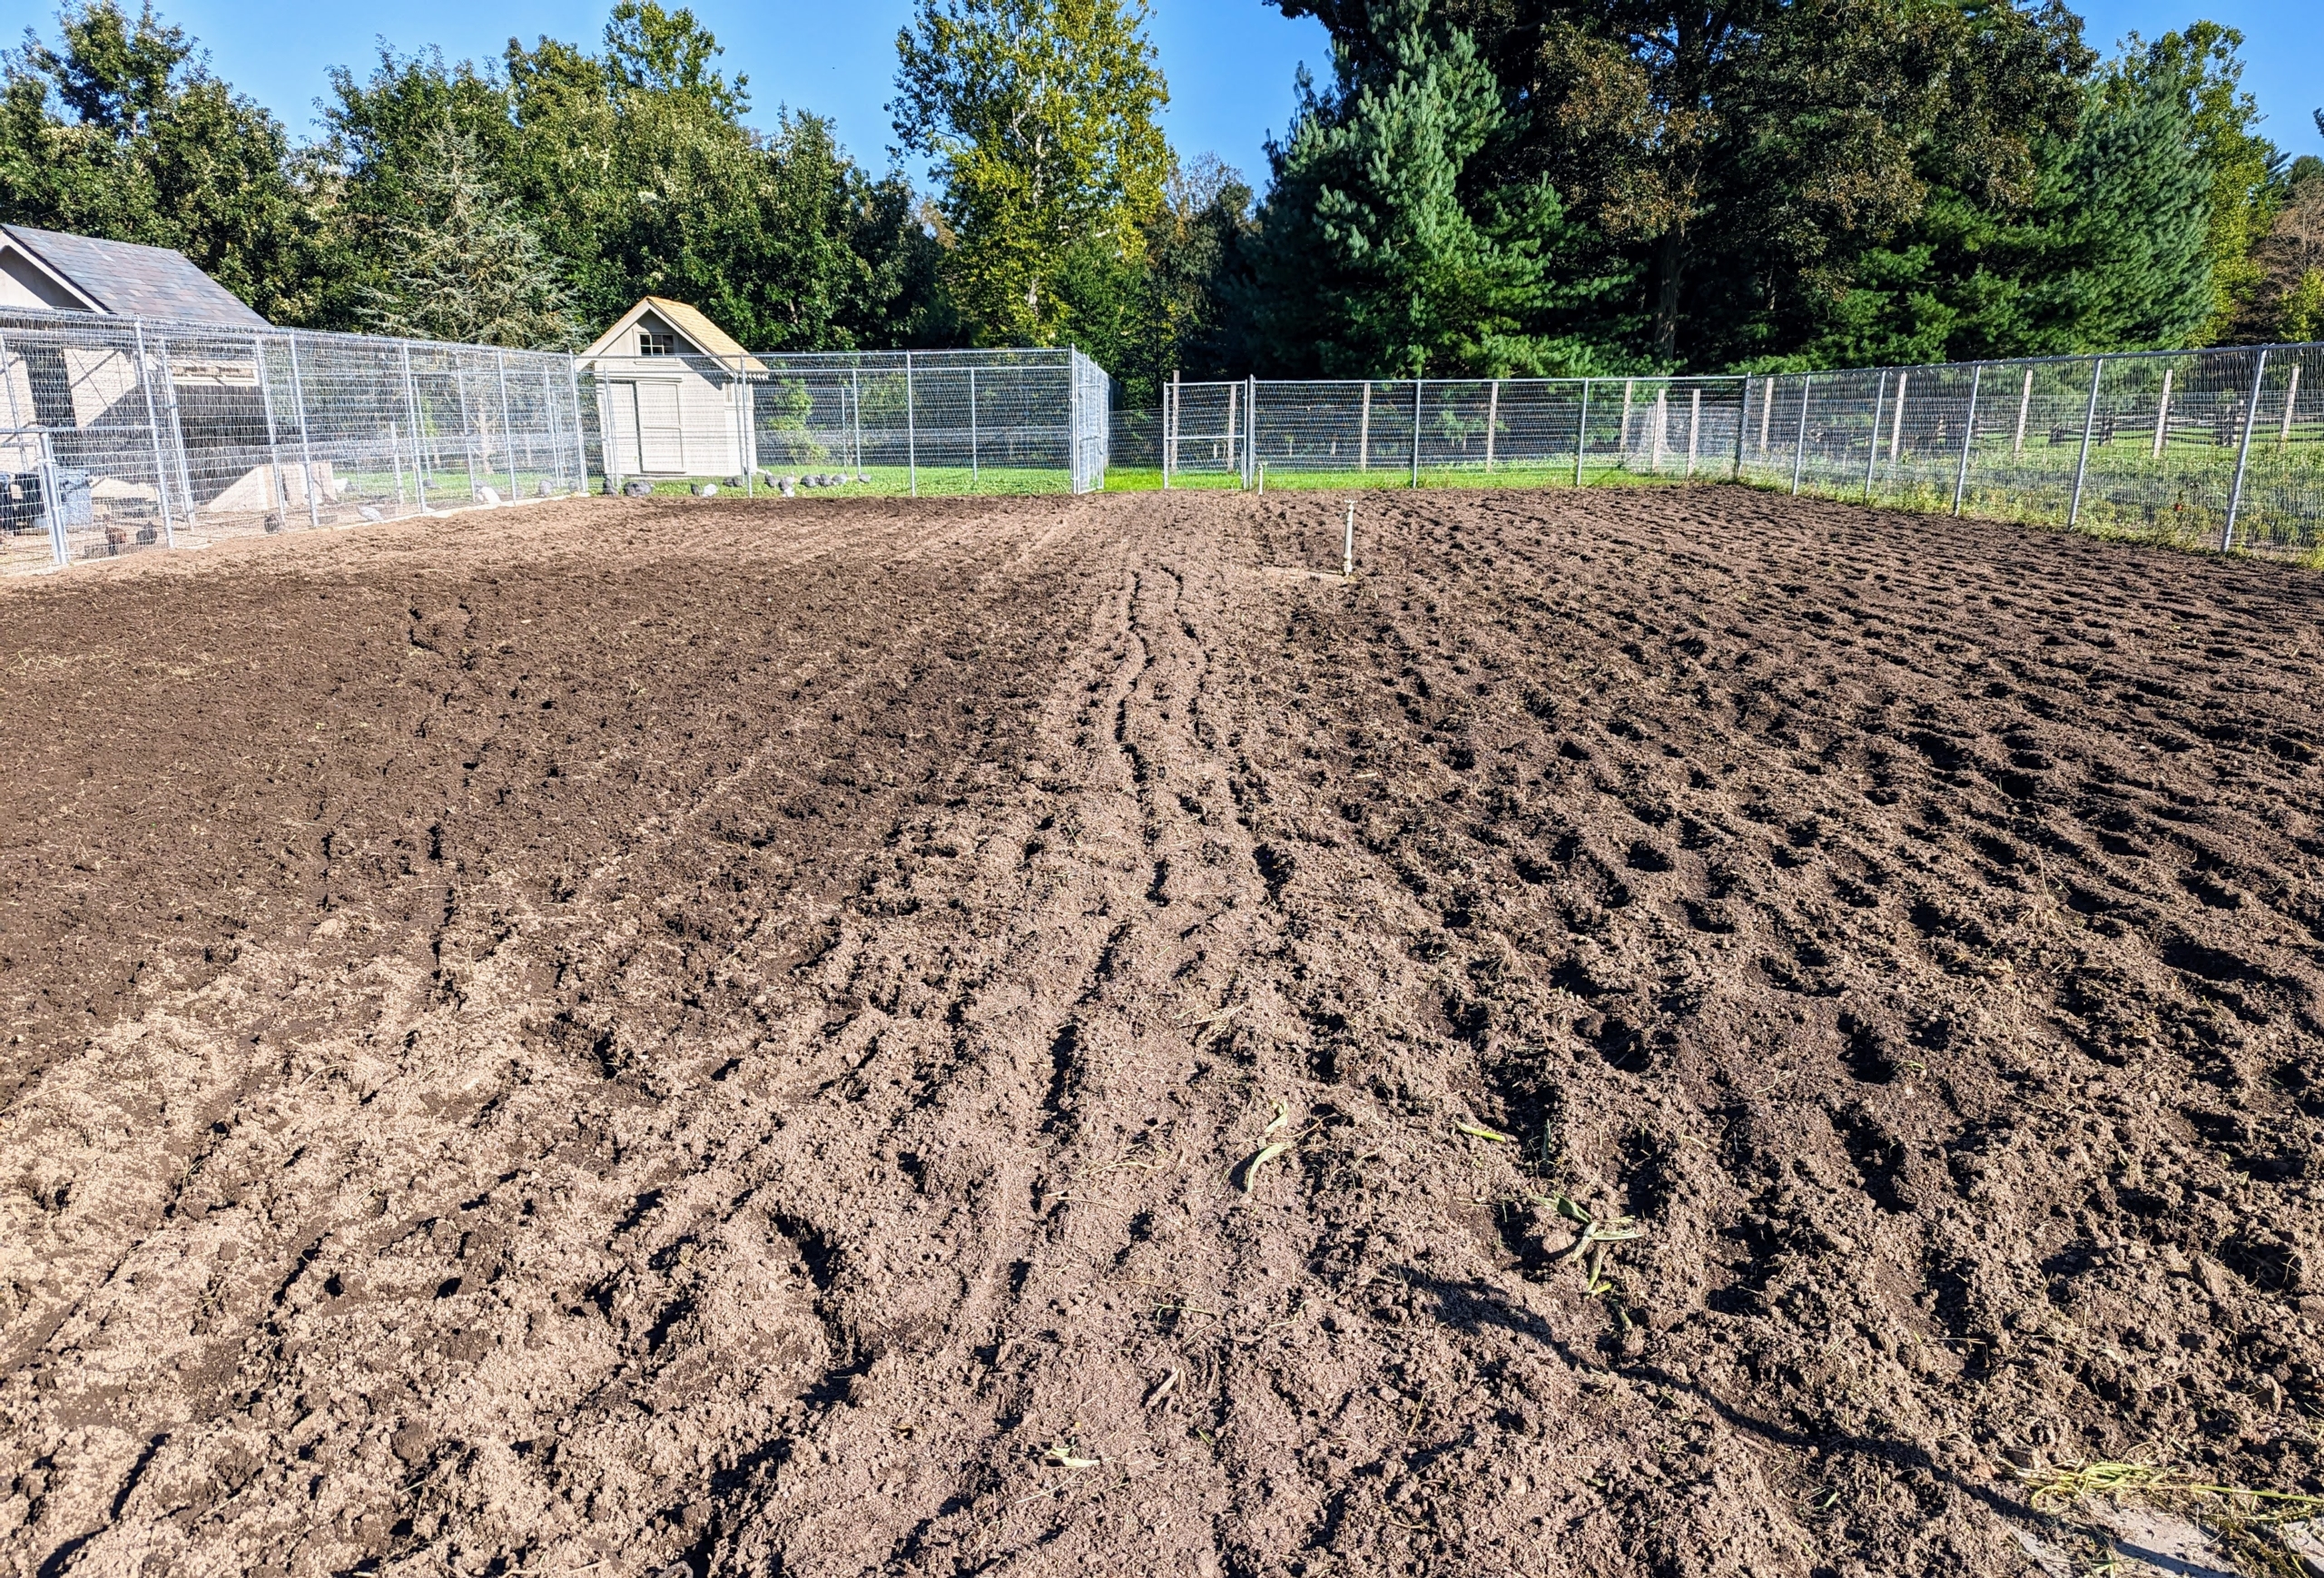
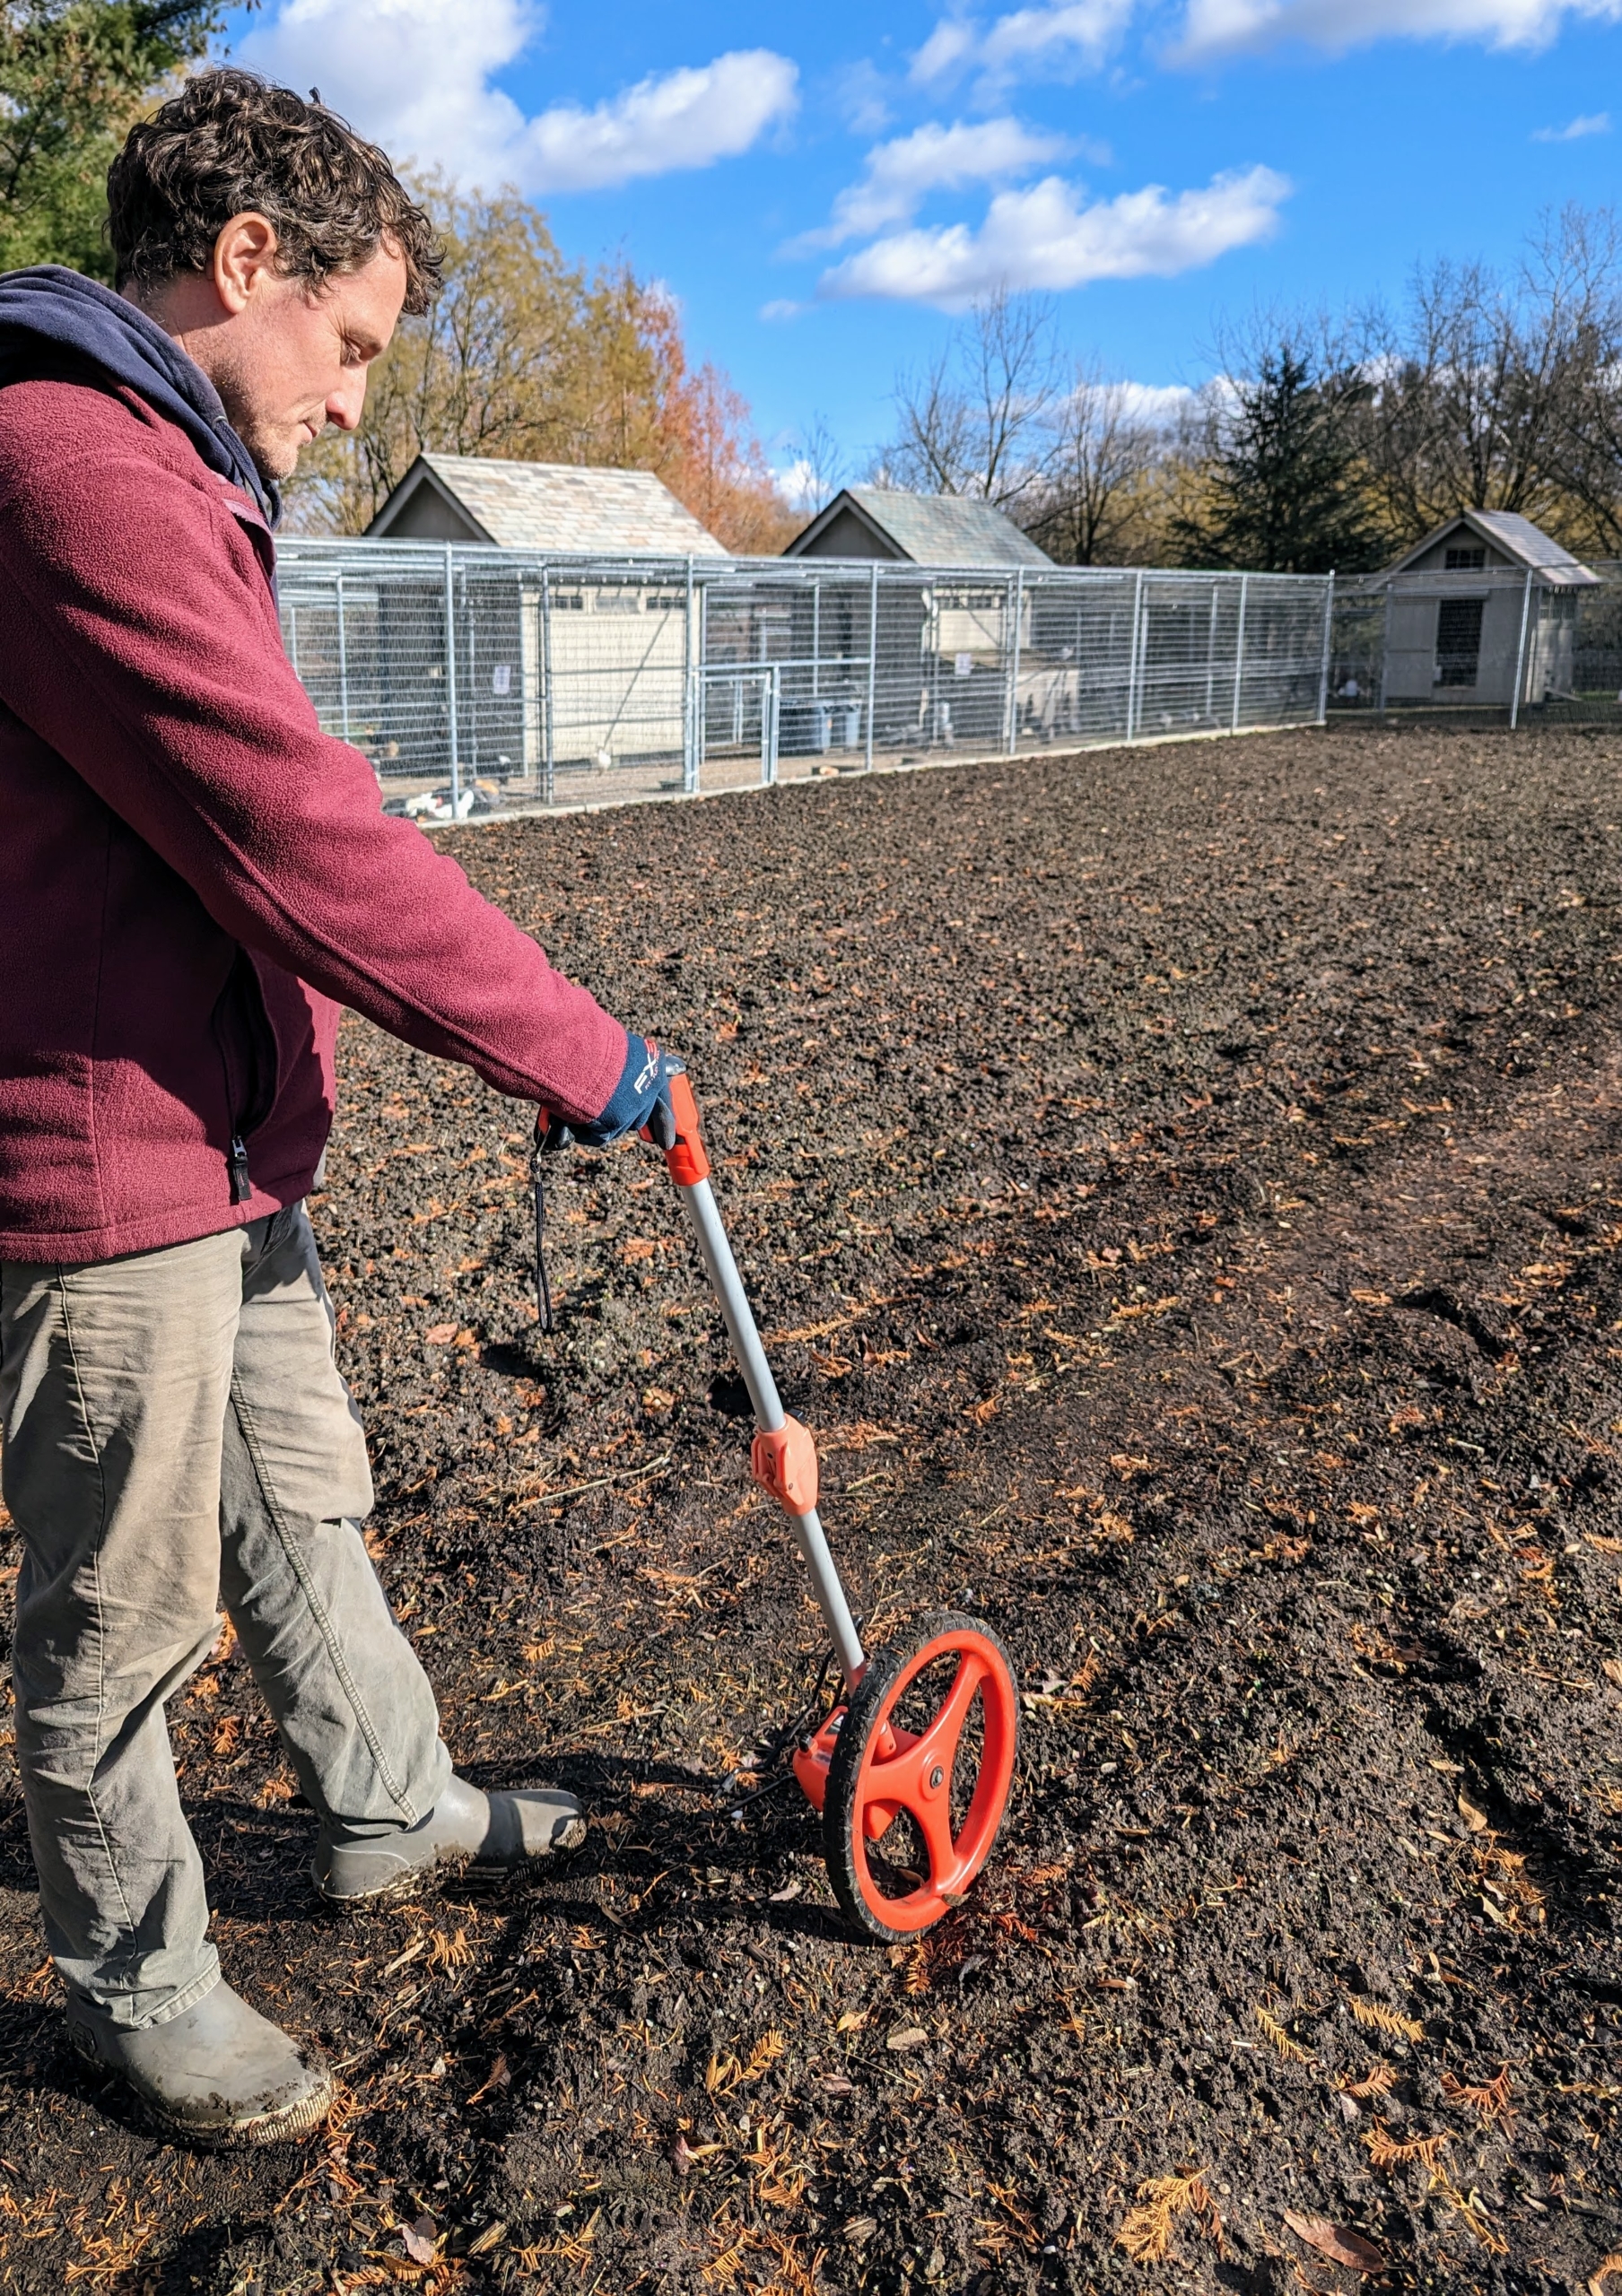
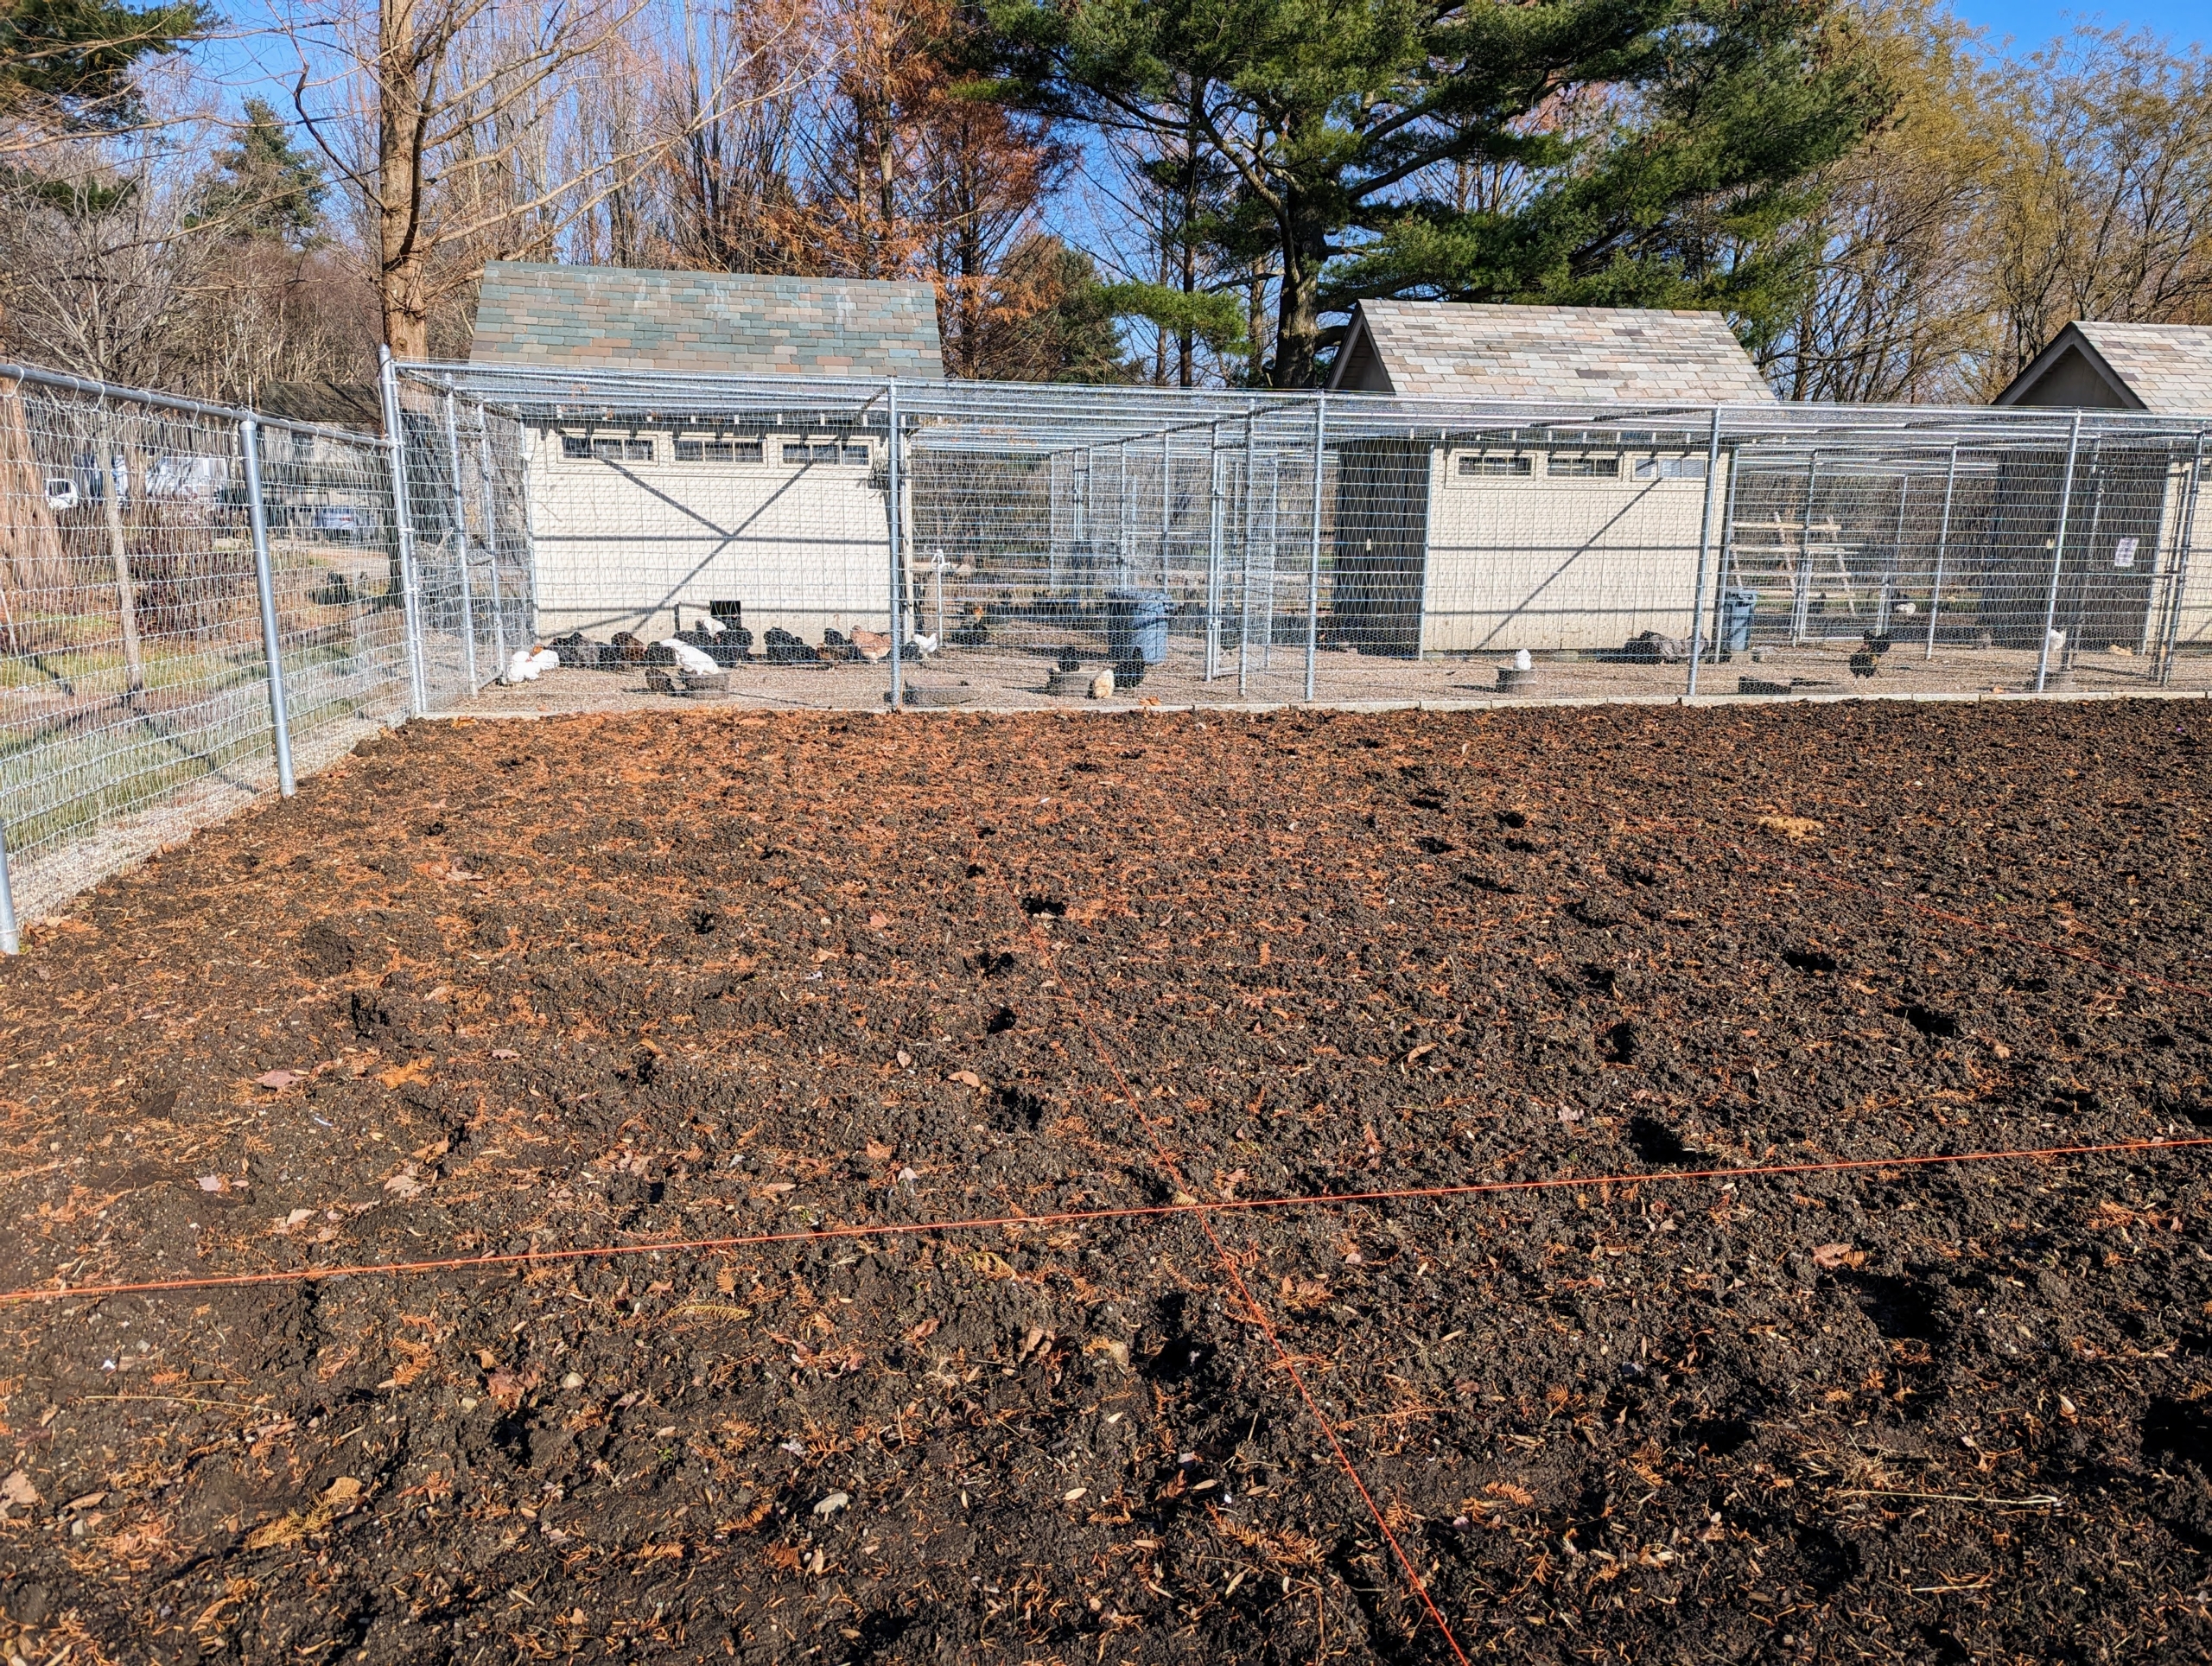
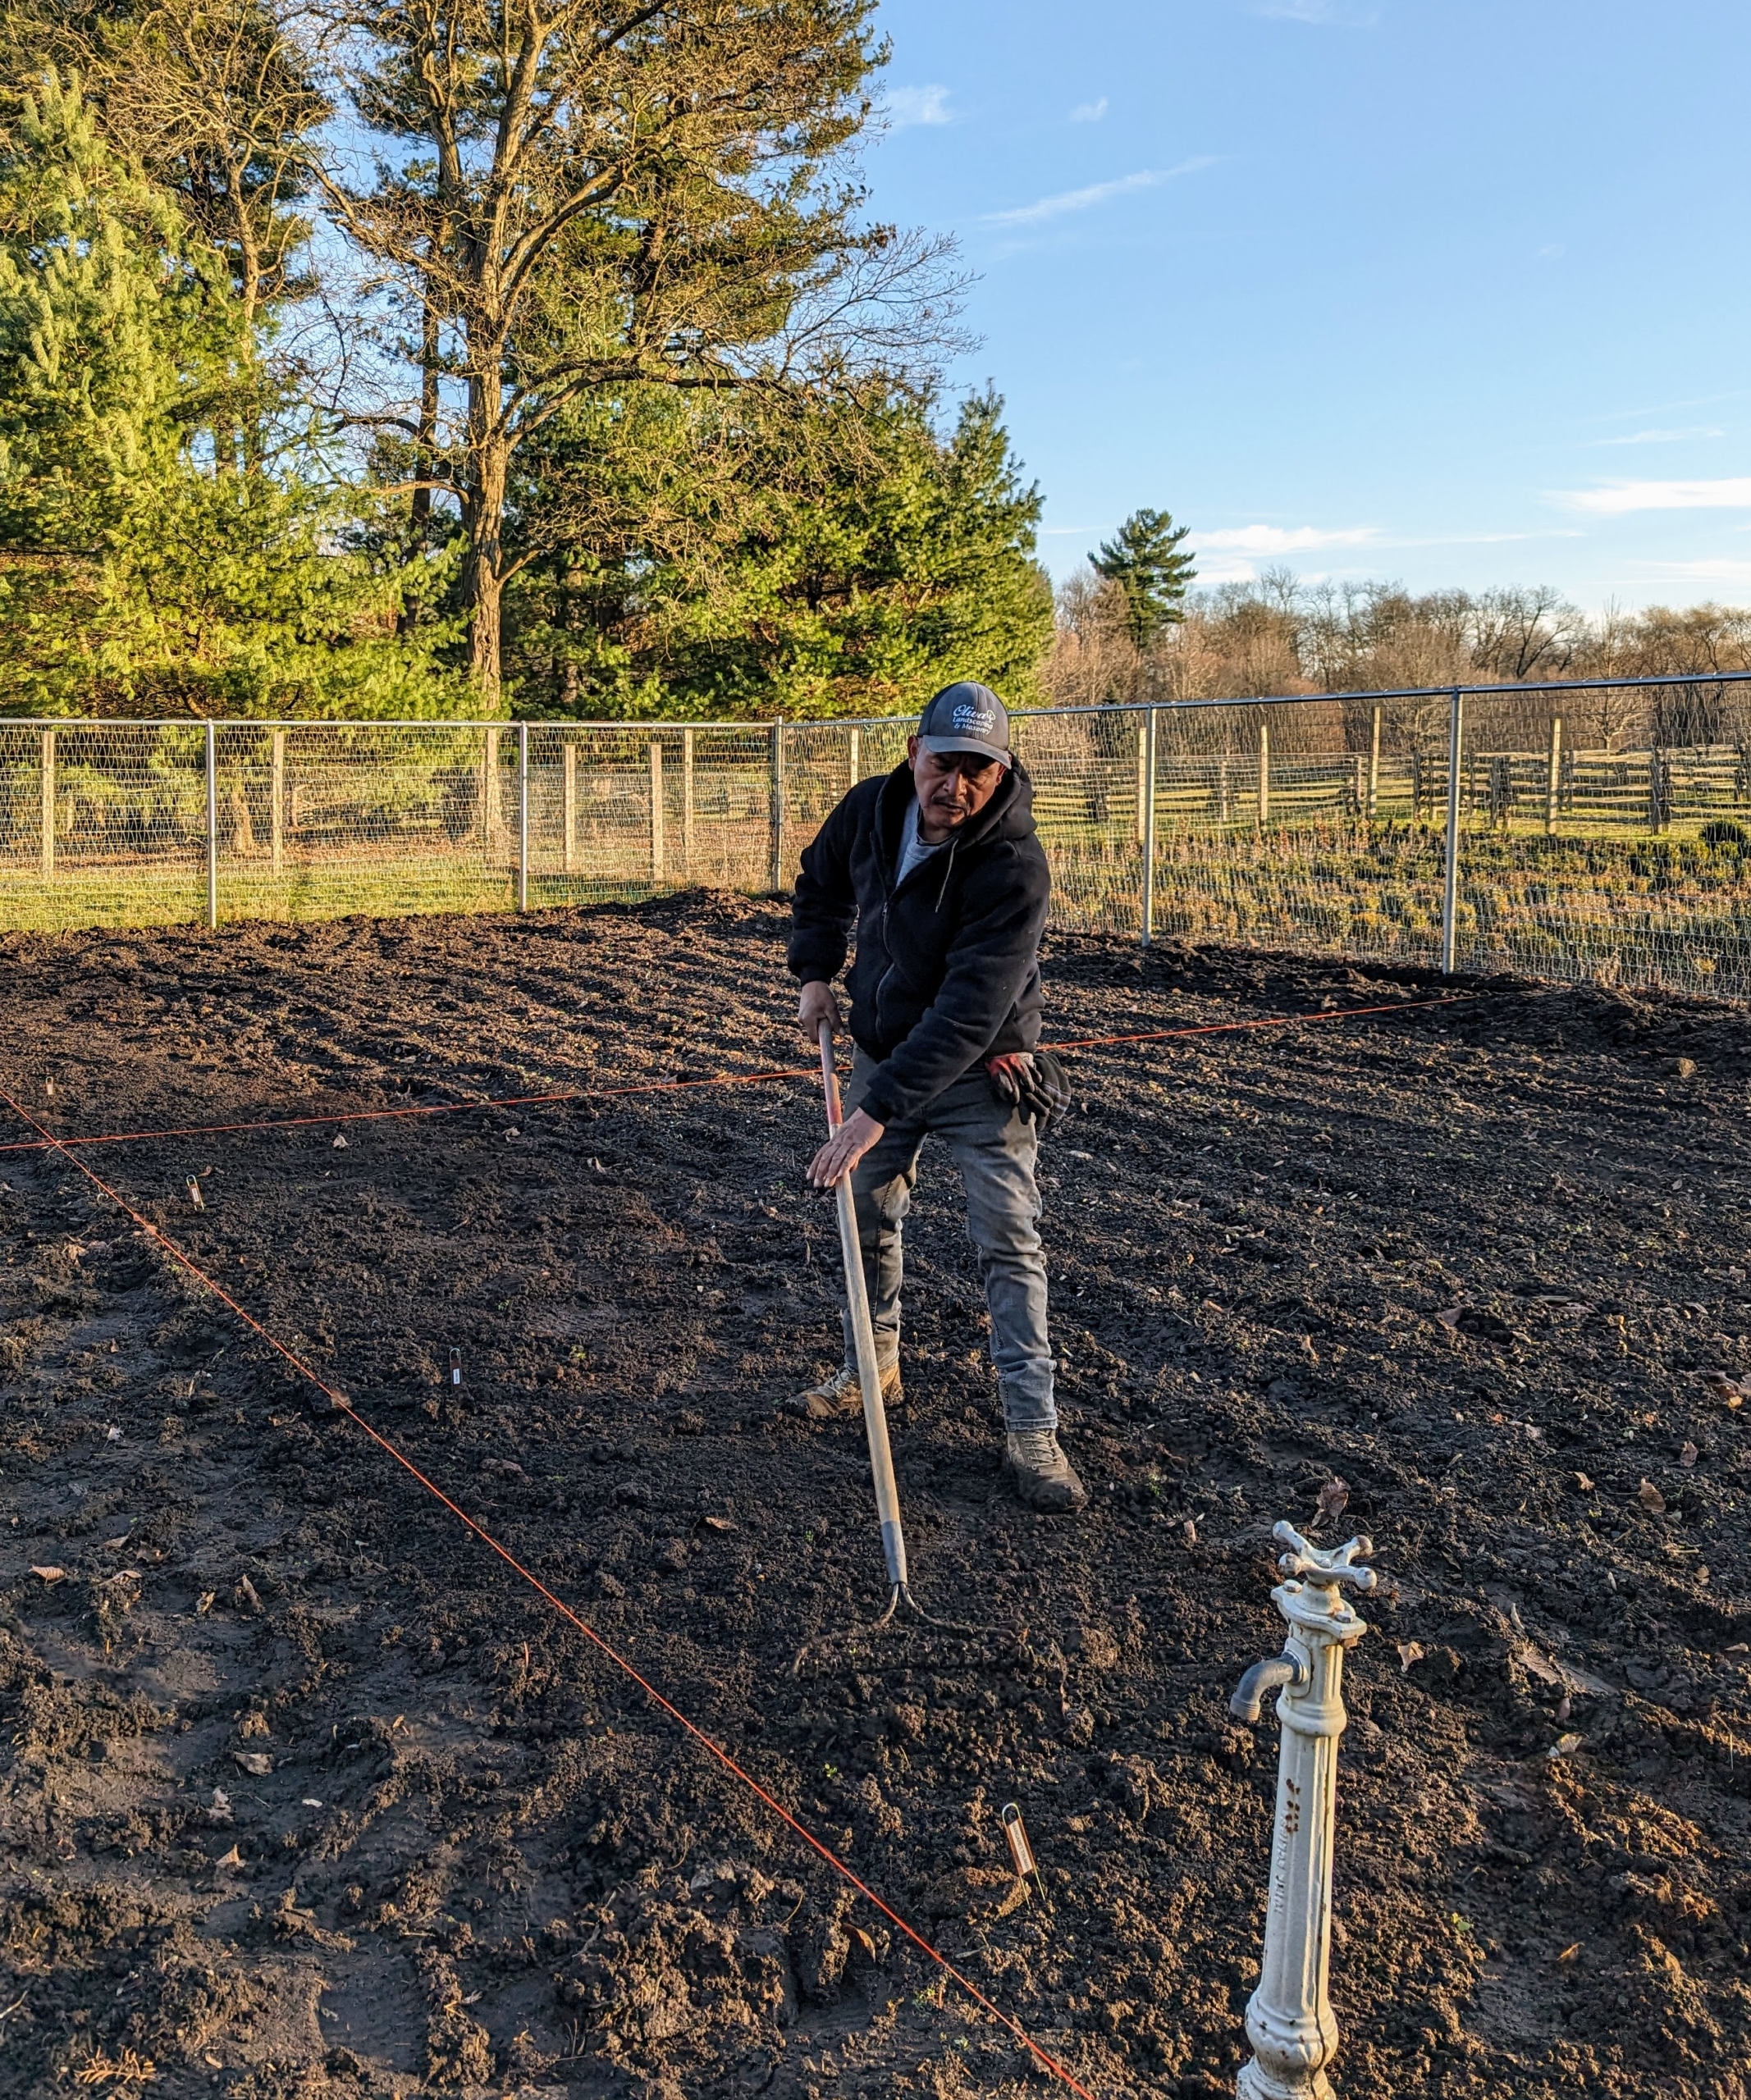
Many of you will remember this as my vegetable garden. This past summer, after planting my new raised bed vegetable garden closer to my home, I used this space to grow our pumpkins and squashes. Once that crop was harvested, I decided it would be a perfect cutting garden, where I could grow neat and tidy rows of gorgeous flowers. Here it is all cleared and tilled – not once…
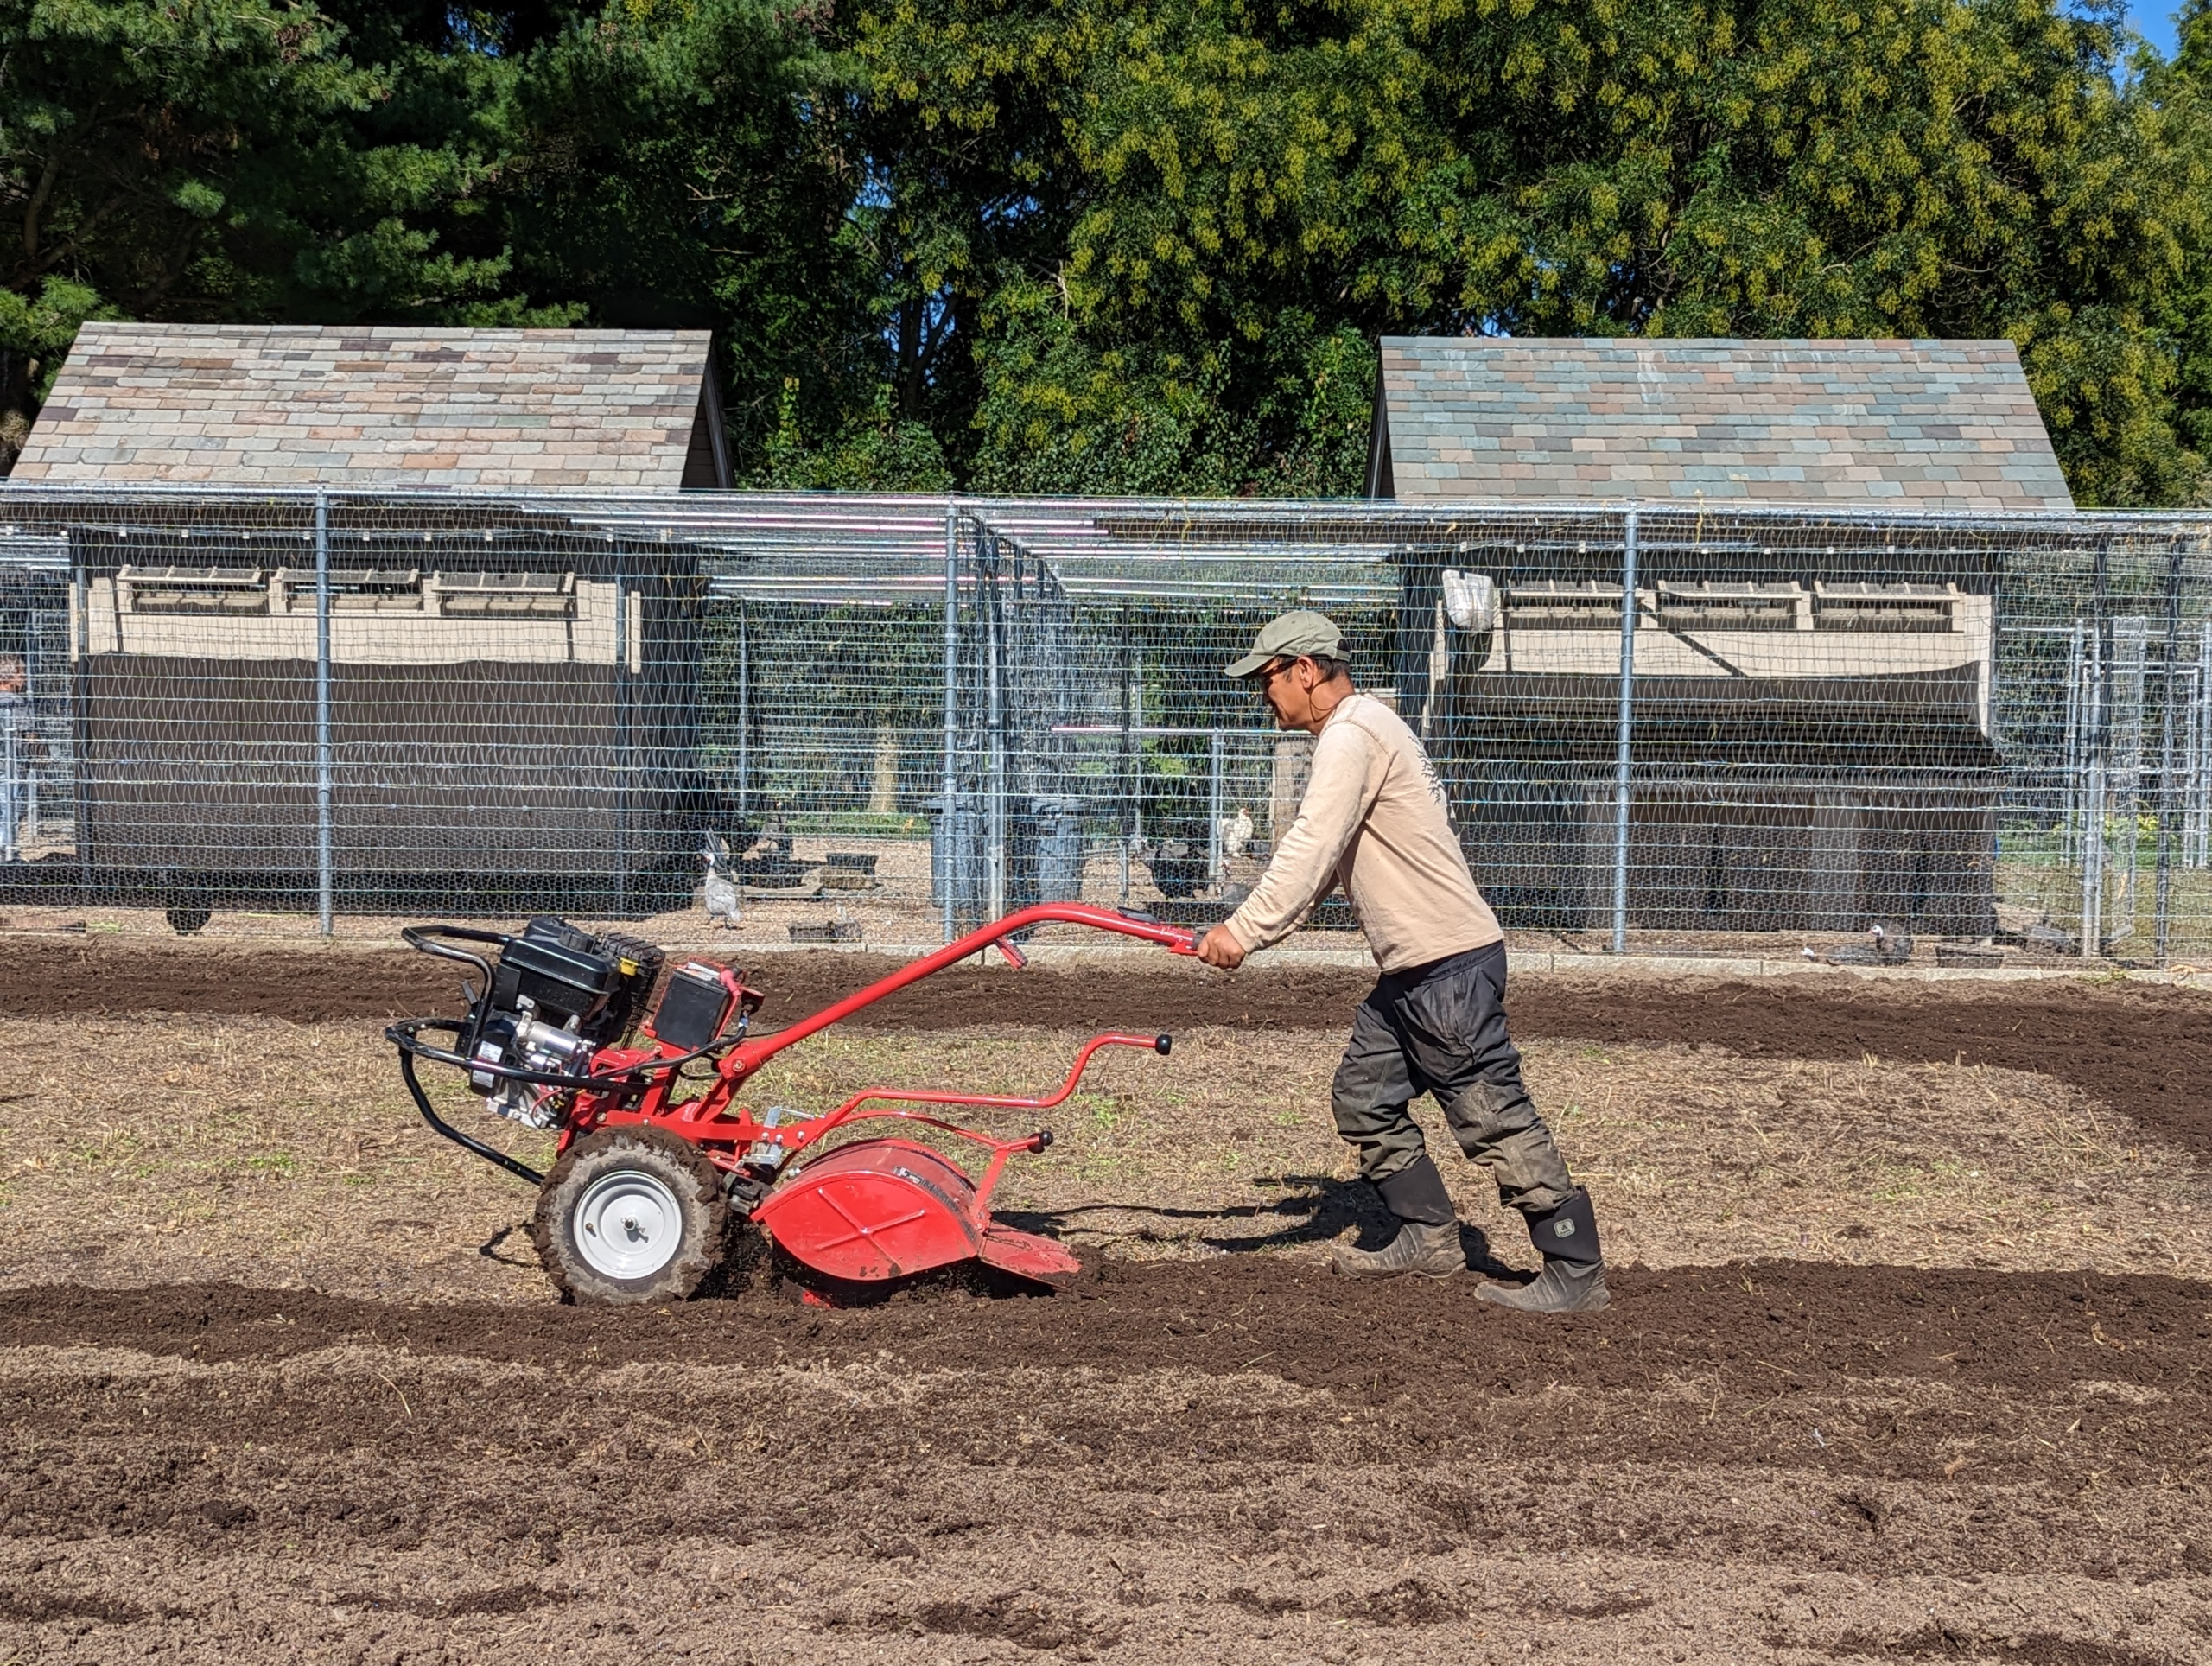
… but twice. This is my outdoor grounds crew foreman, Chhiring Sherpa, rototilling the area earlier this season.
And if you follow my blog, you probably know my giant herbaceous peony garden where I grow hundreds of beautiful pink, blush, cream, and white peonies. I knew I wanted my cutting garden to also have gorgeous peonies.
The peony is any plant in the genus Paeonia, the only genus in the family Paeoniaceae. They are native to Asia, Europe, and Western North America. Peonies are one of the best-known and most dearly loved perennials – not surprising considering their beauty, trouble-free nature, and longevity.
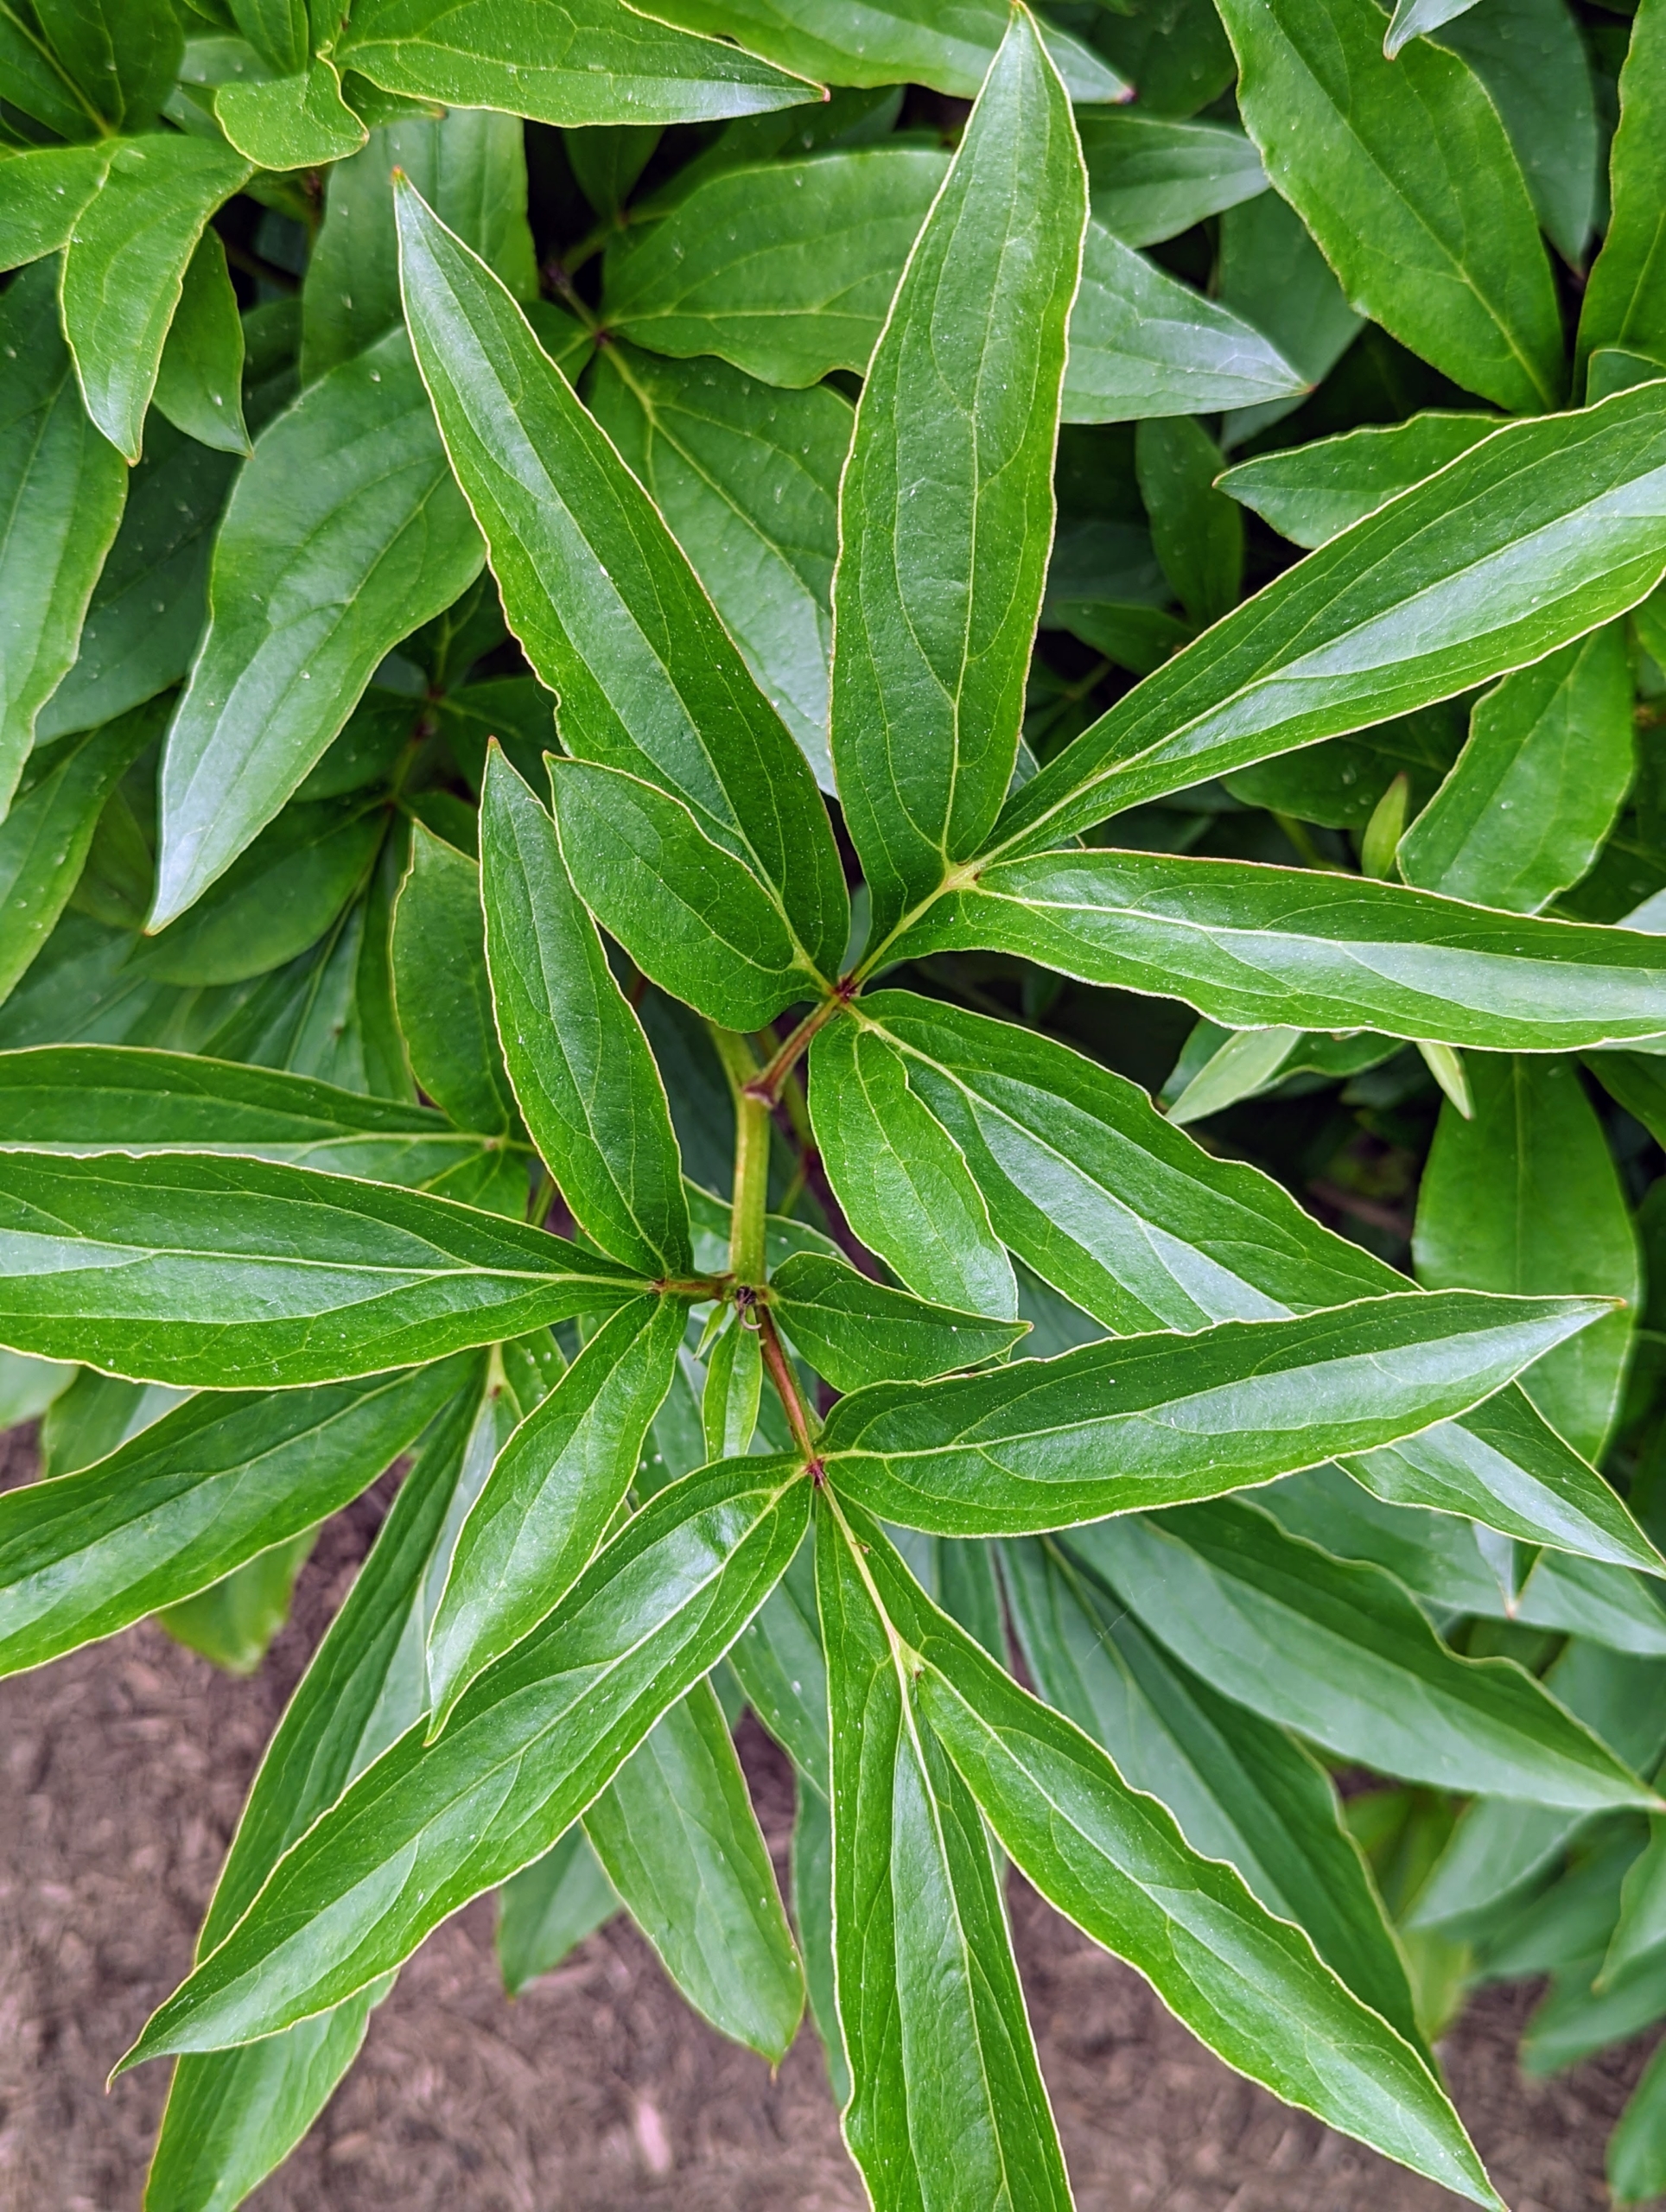
The leaves of herbaceous peonies are pointed with a shiny, deep green color.
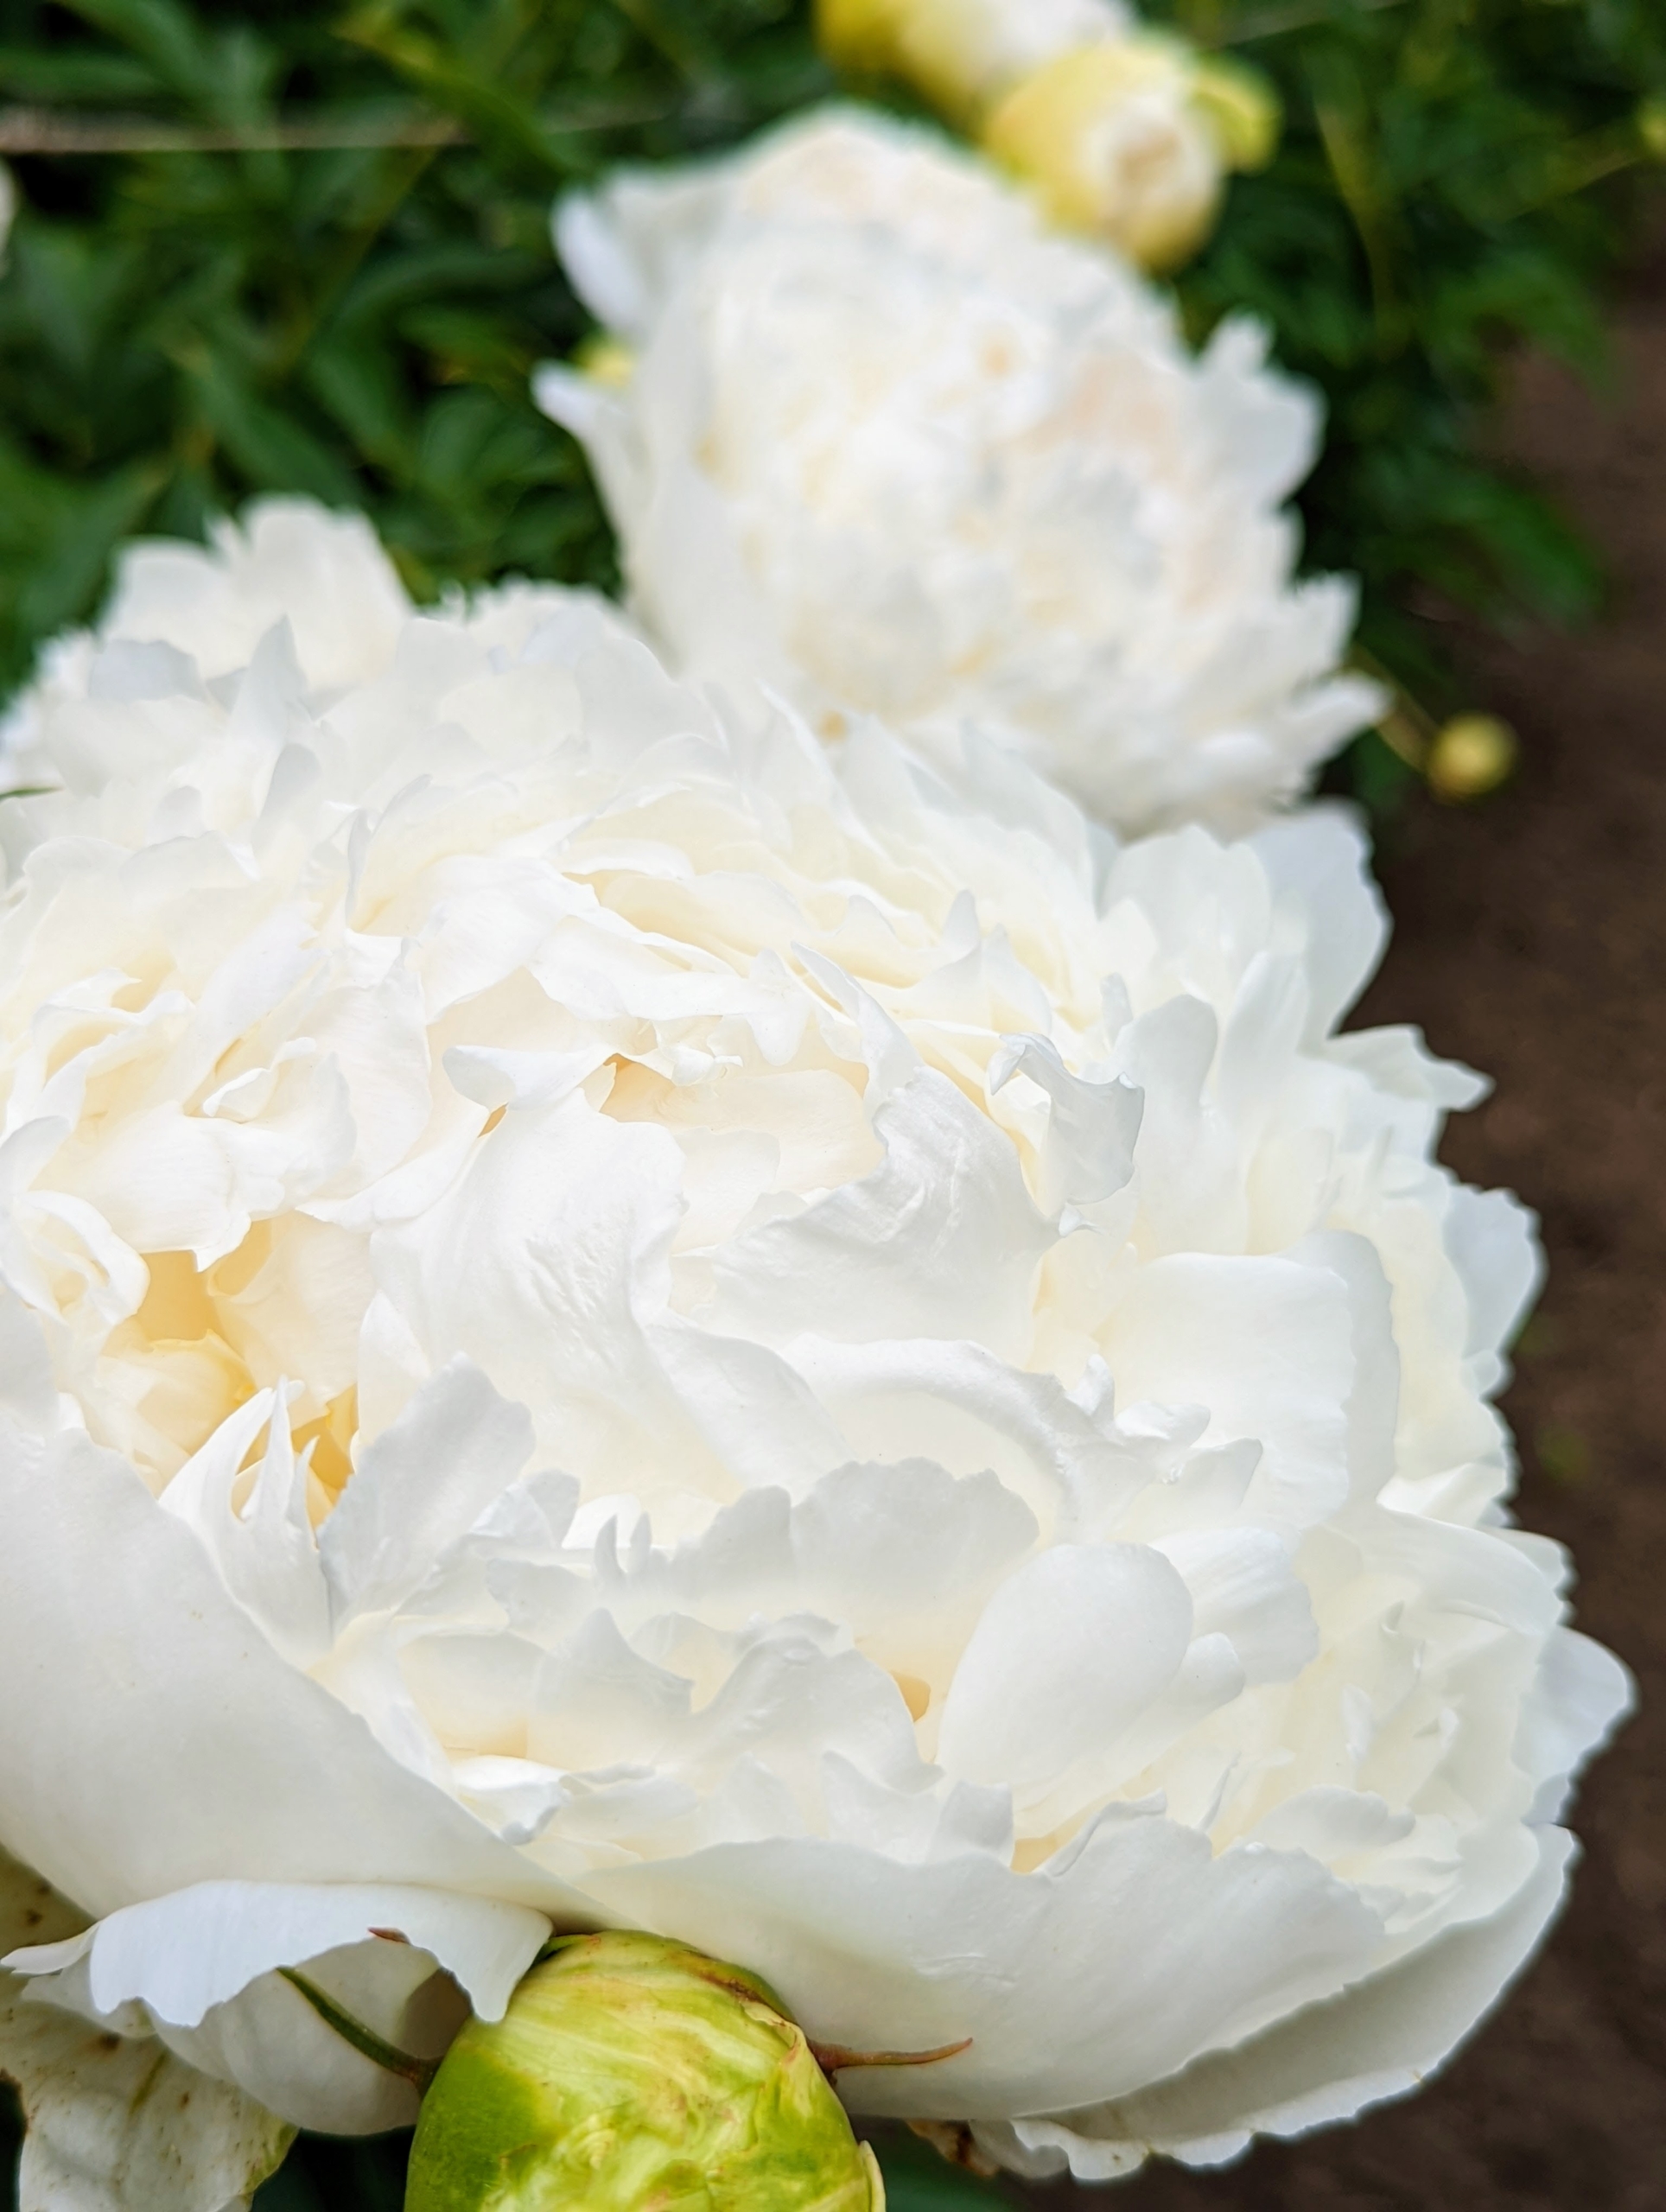
Peony blooms range from simple blossoms to complex clusters with a variety of petal forms. Here at my farm, the herbaceous peony garden is abloom during the first week of June. one of the most anticipated sights on the farm.
Back in the new cutting garden, the first step is to measure out the space. Ryan does this so he can calculate the proper spacing for the peonies.
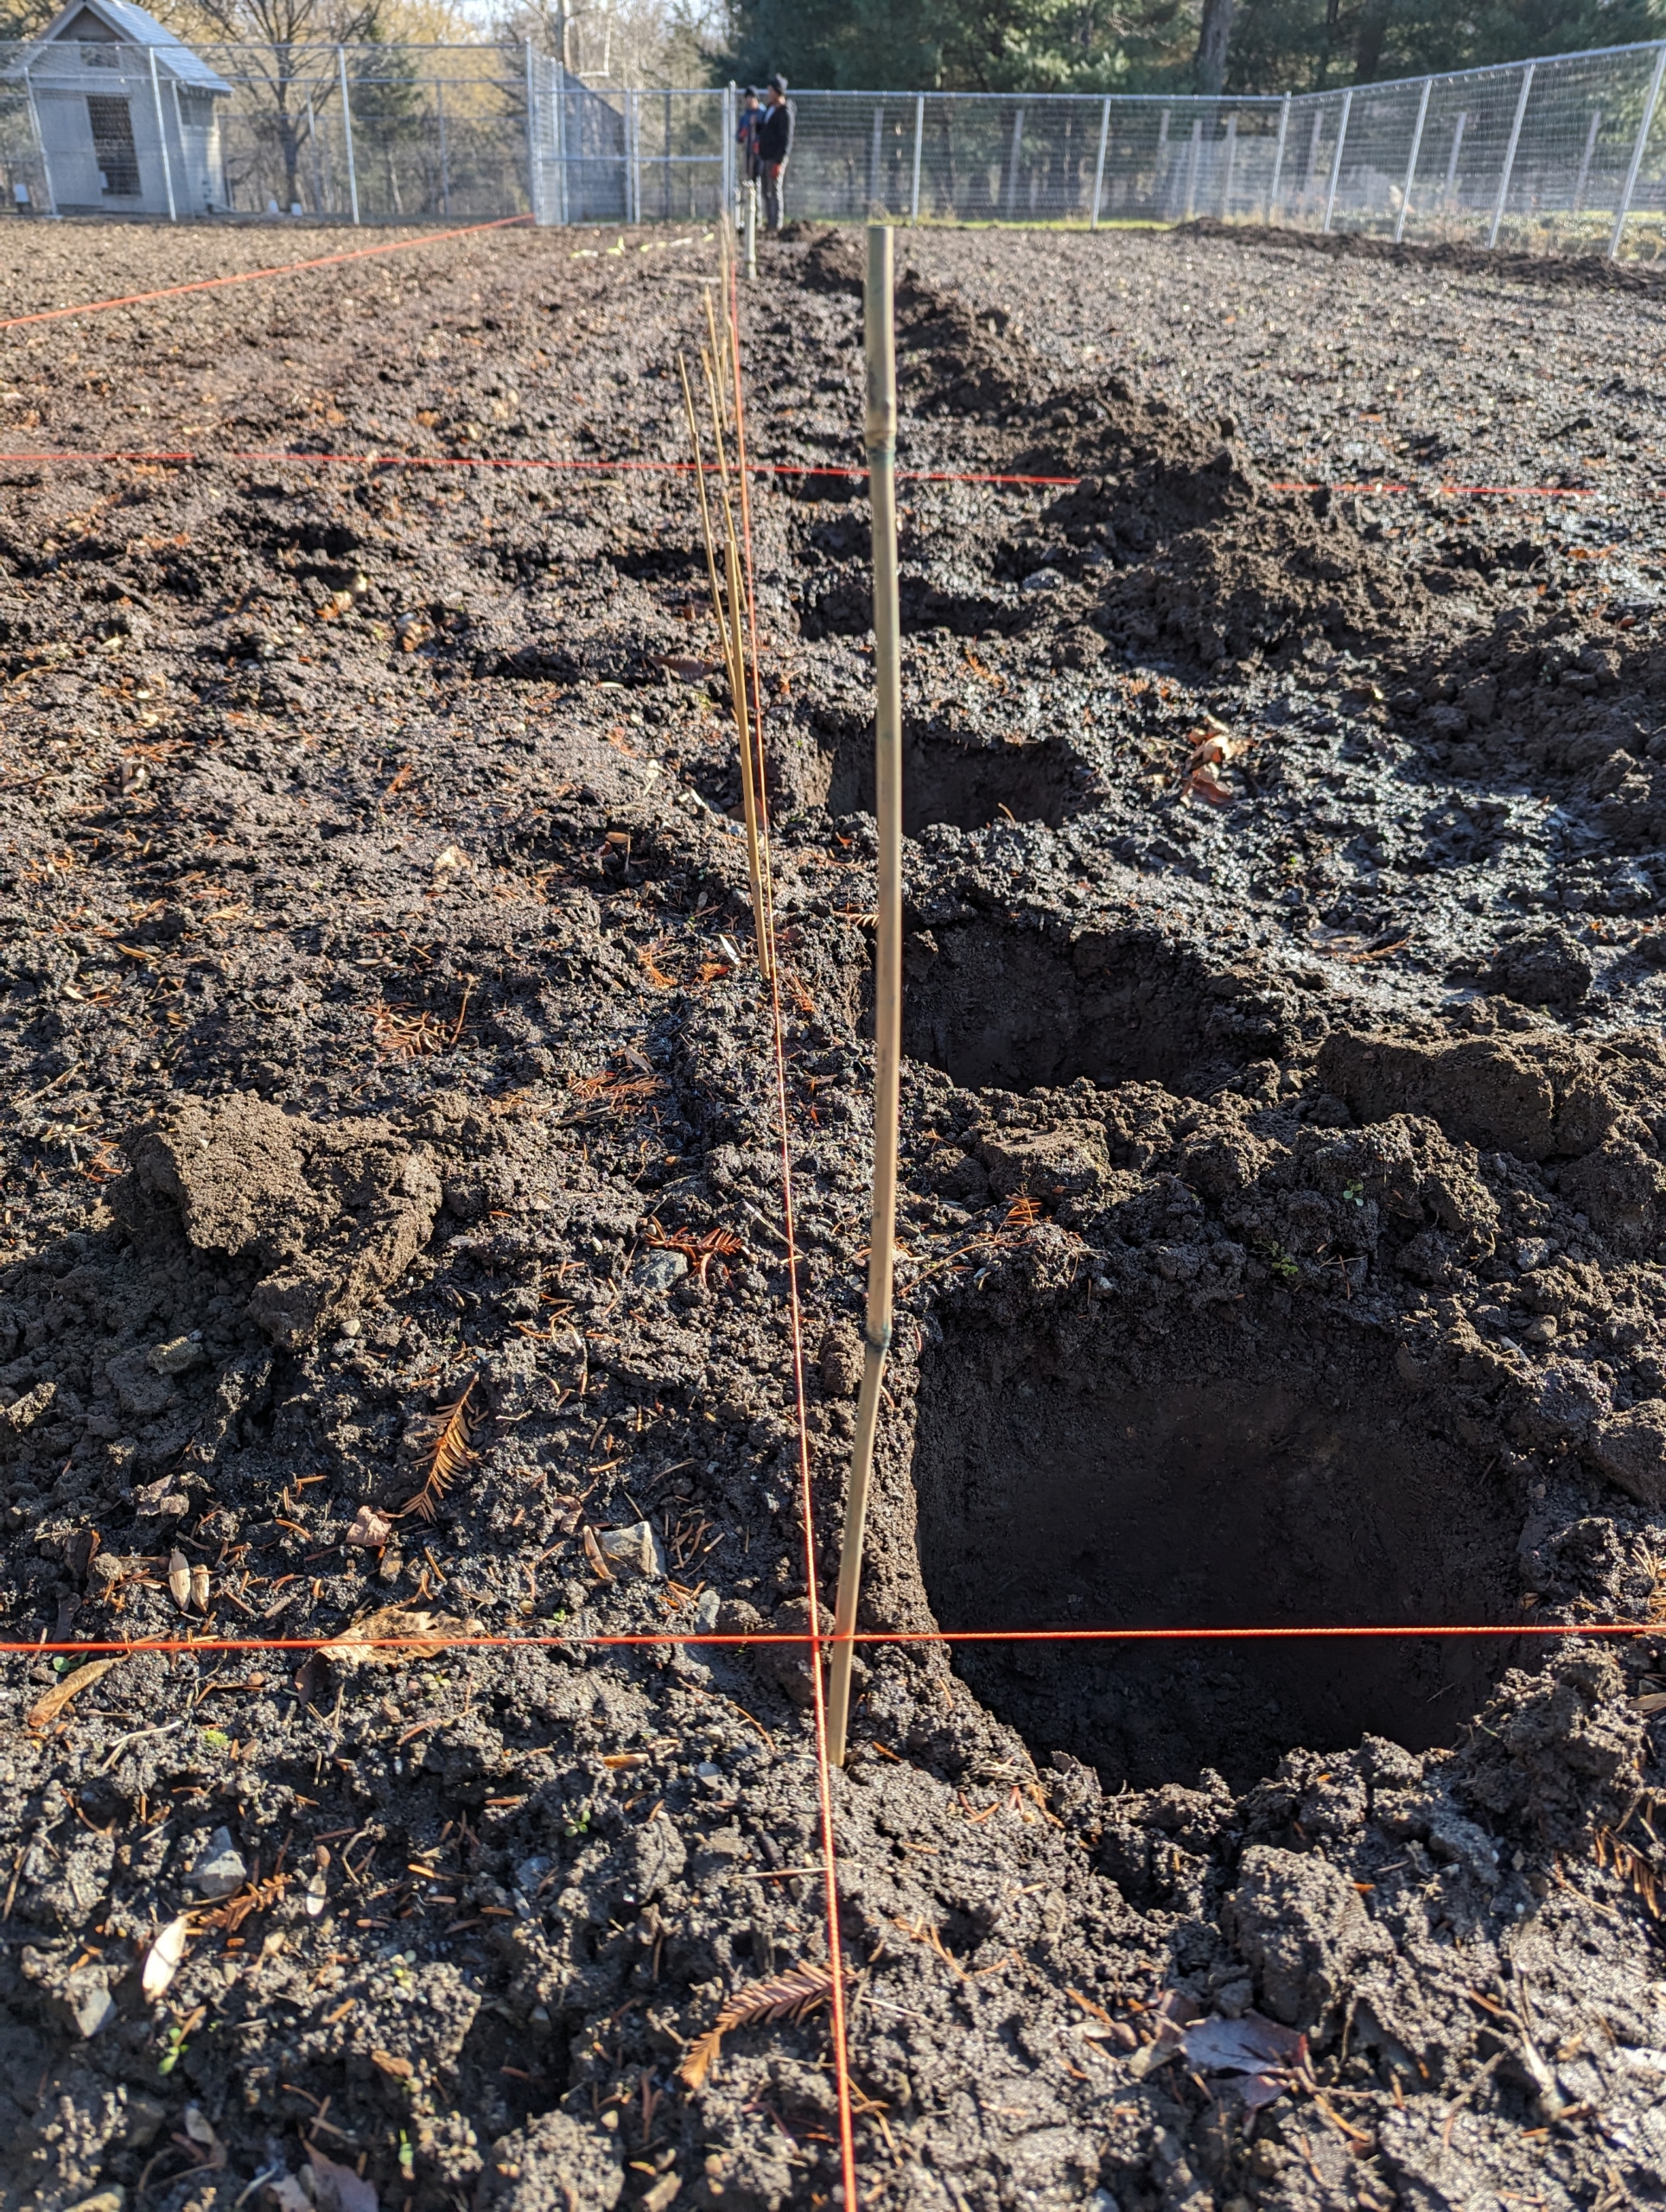
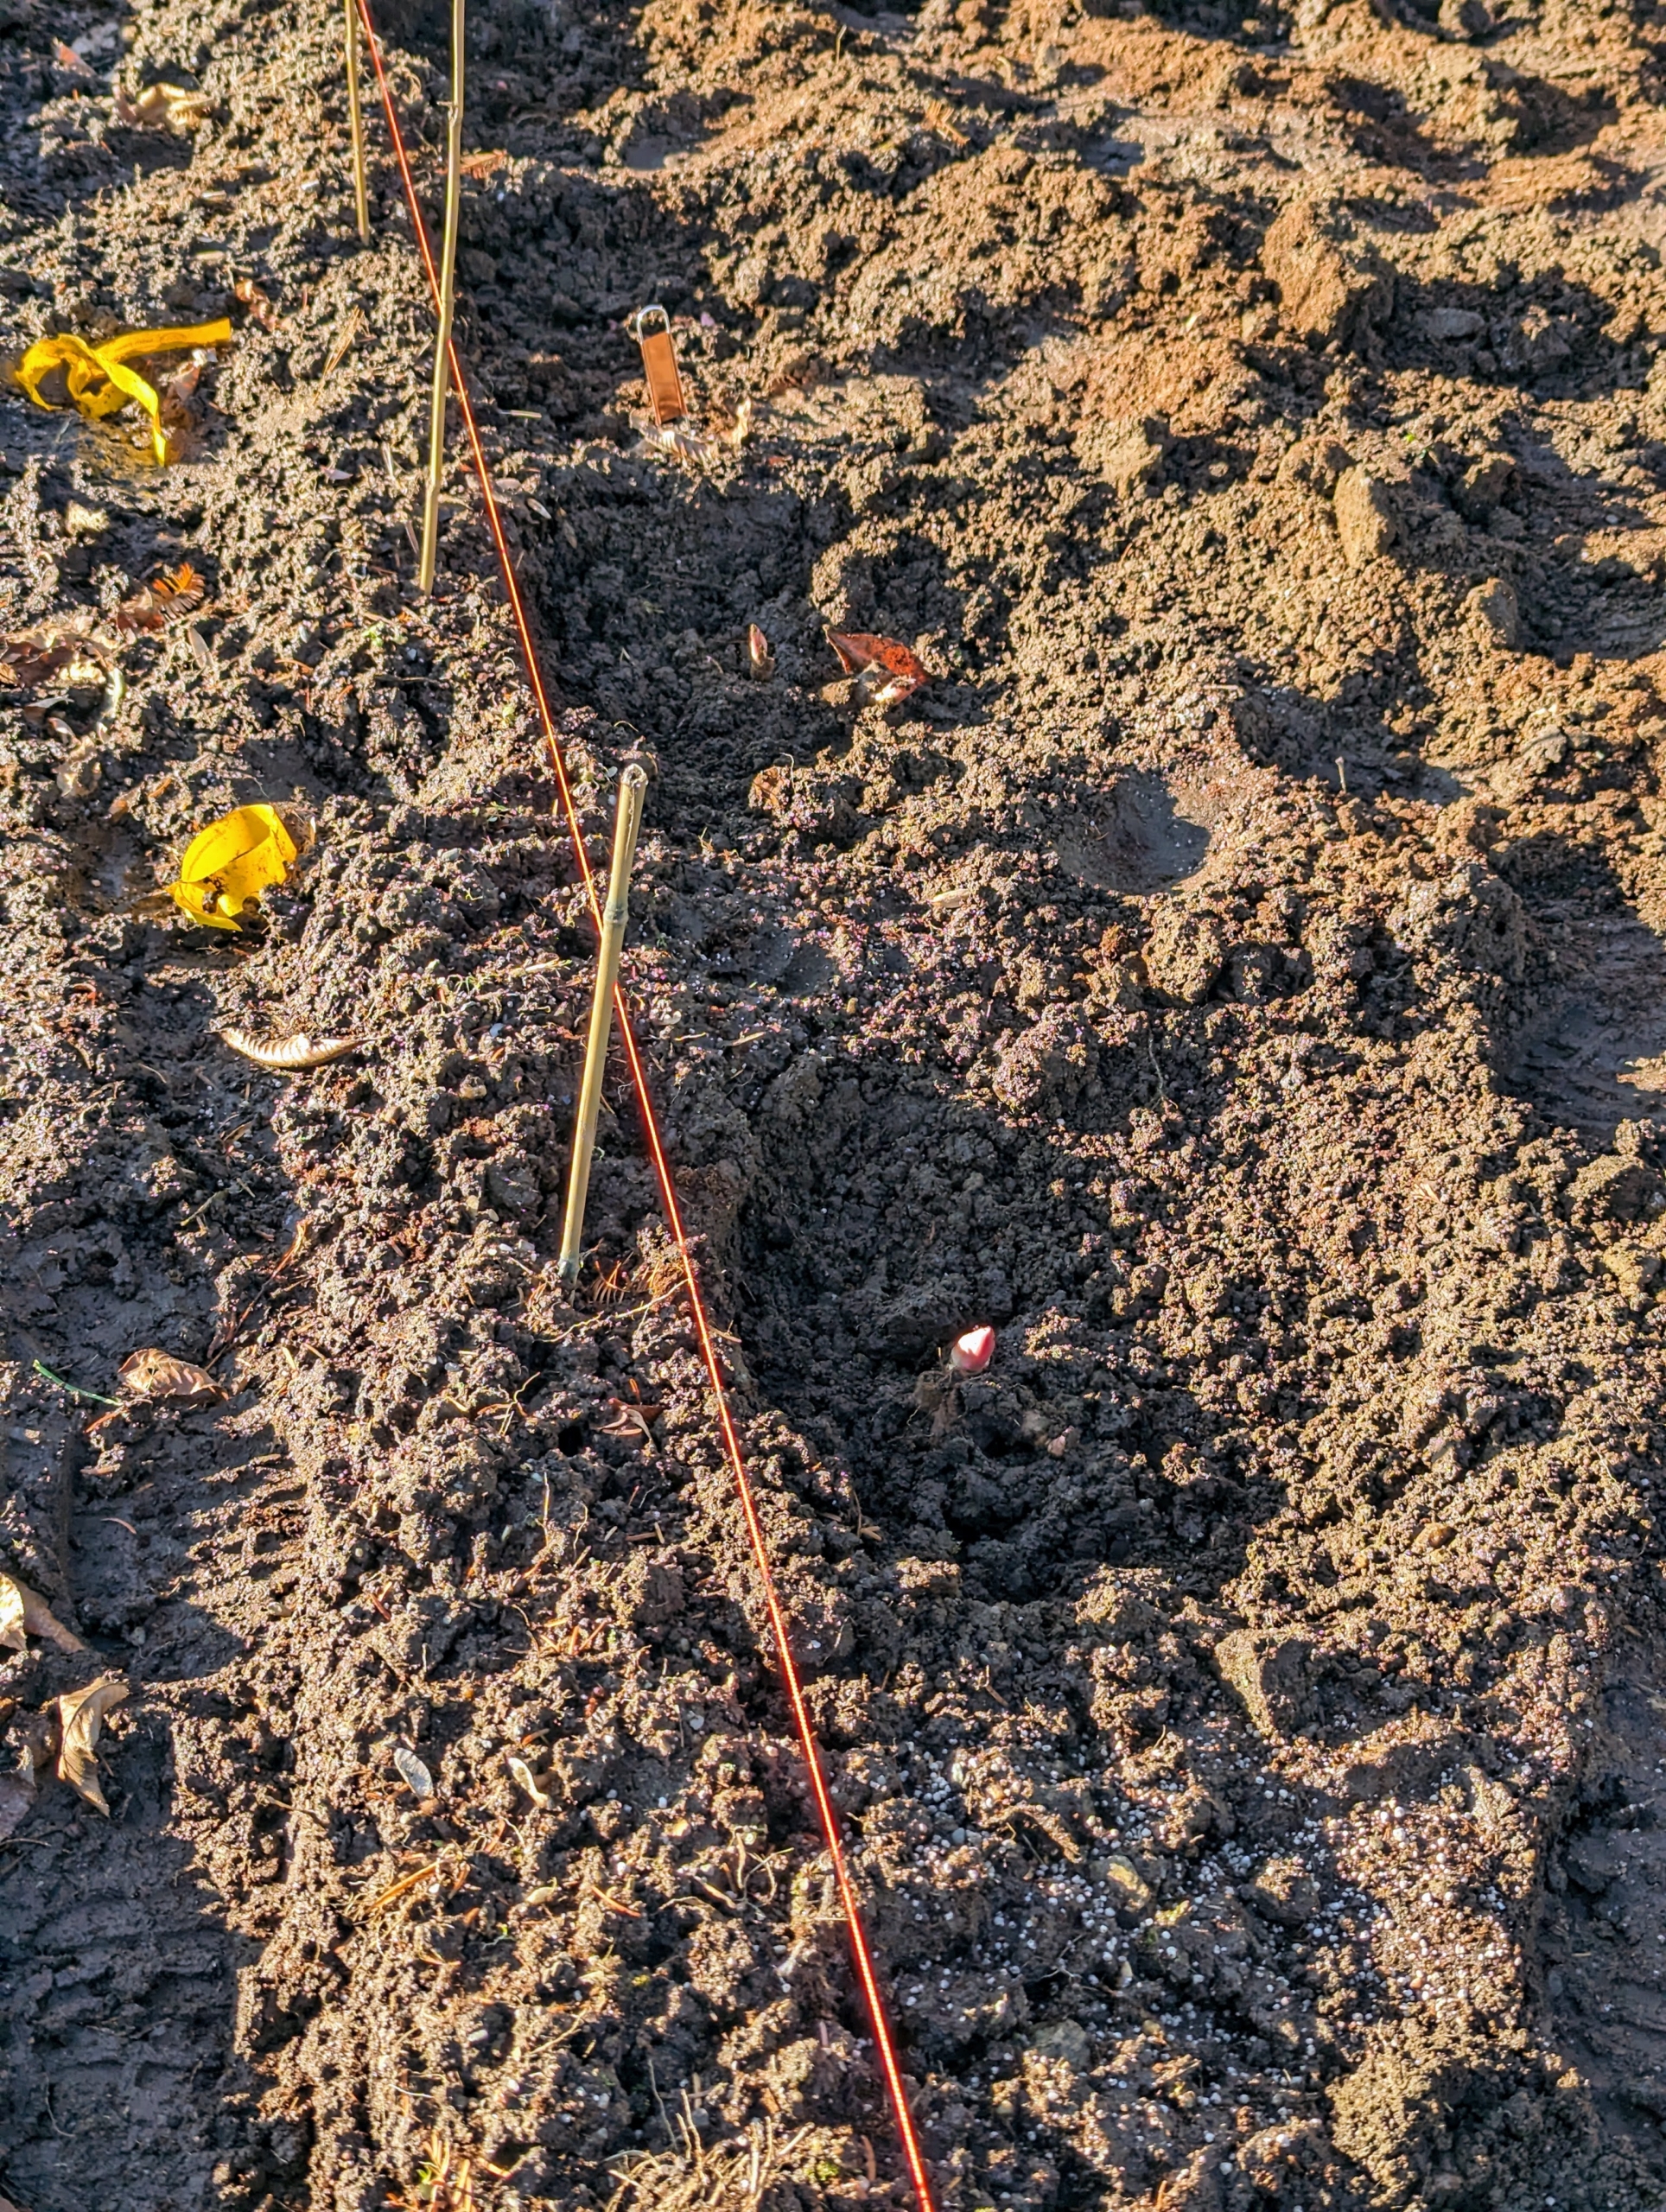
Ryan then places bright colored landscape twine where the peonies will be planted. Since this is now a planned cutting garden, the flowers will be planted in rows and sections by variety.
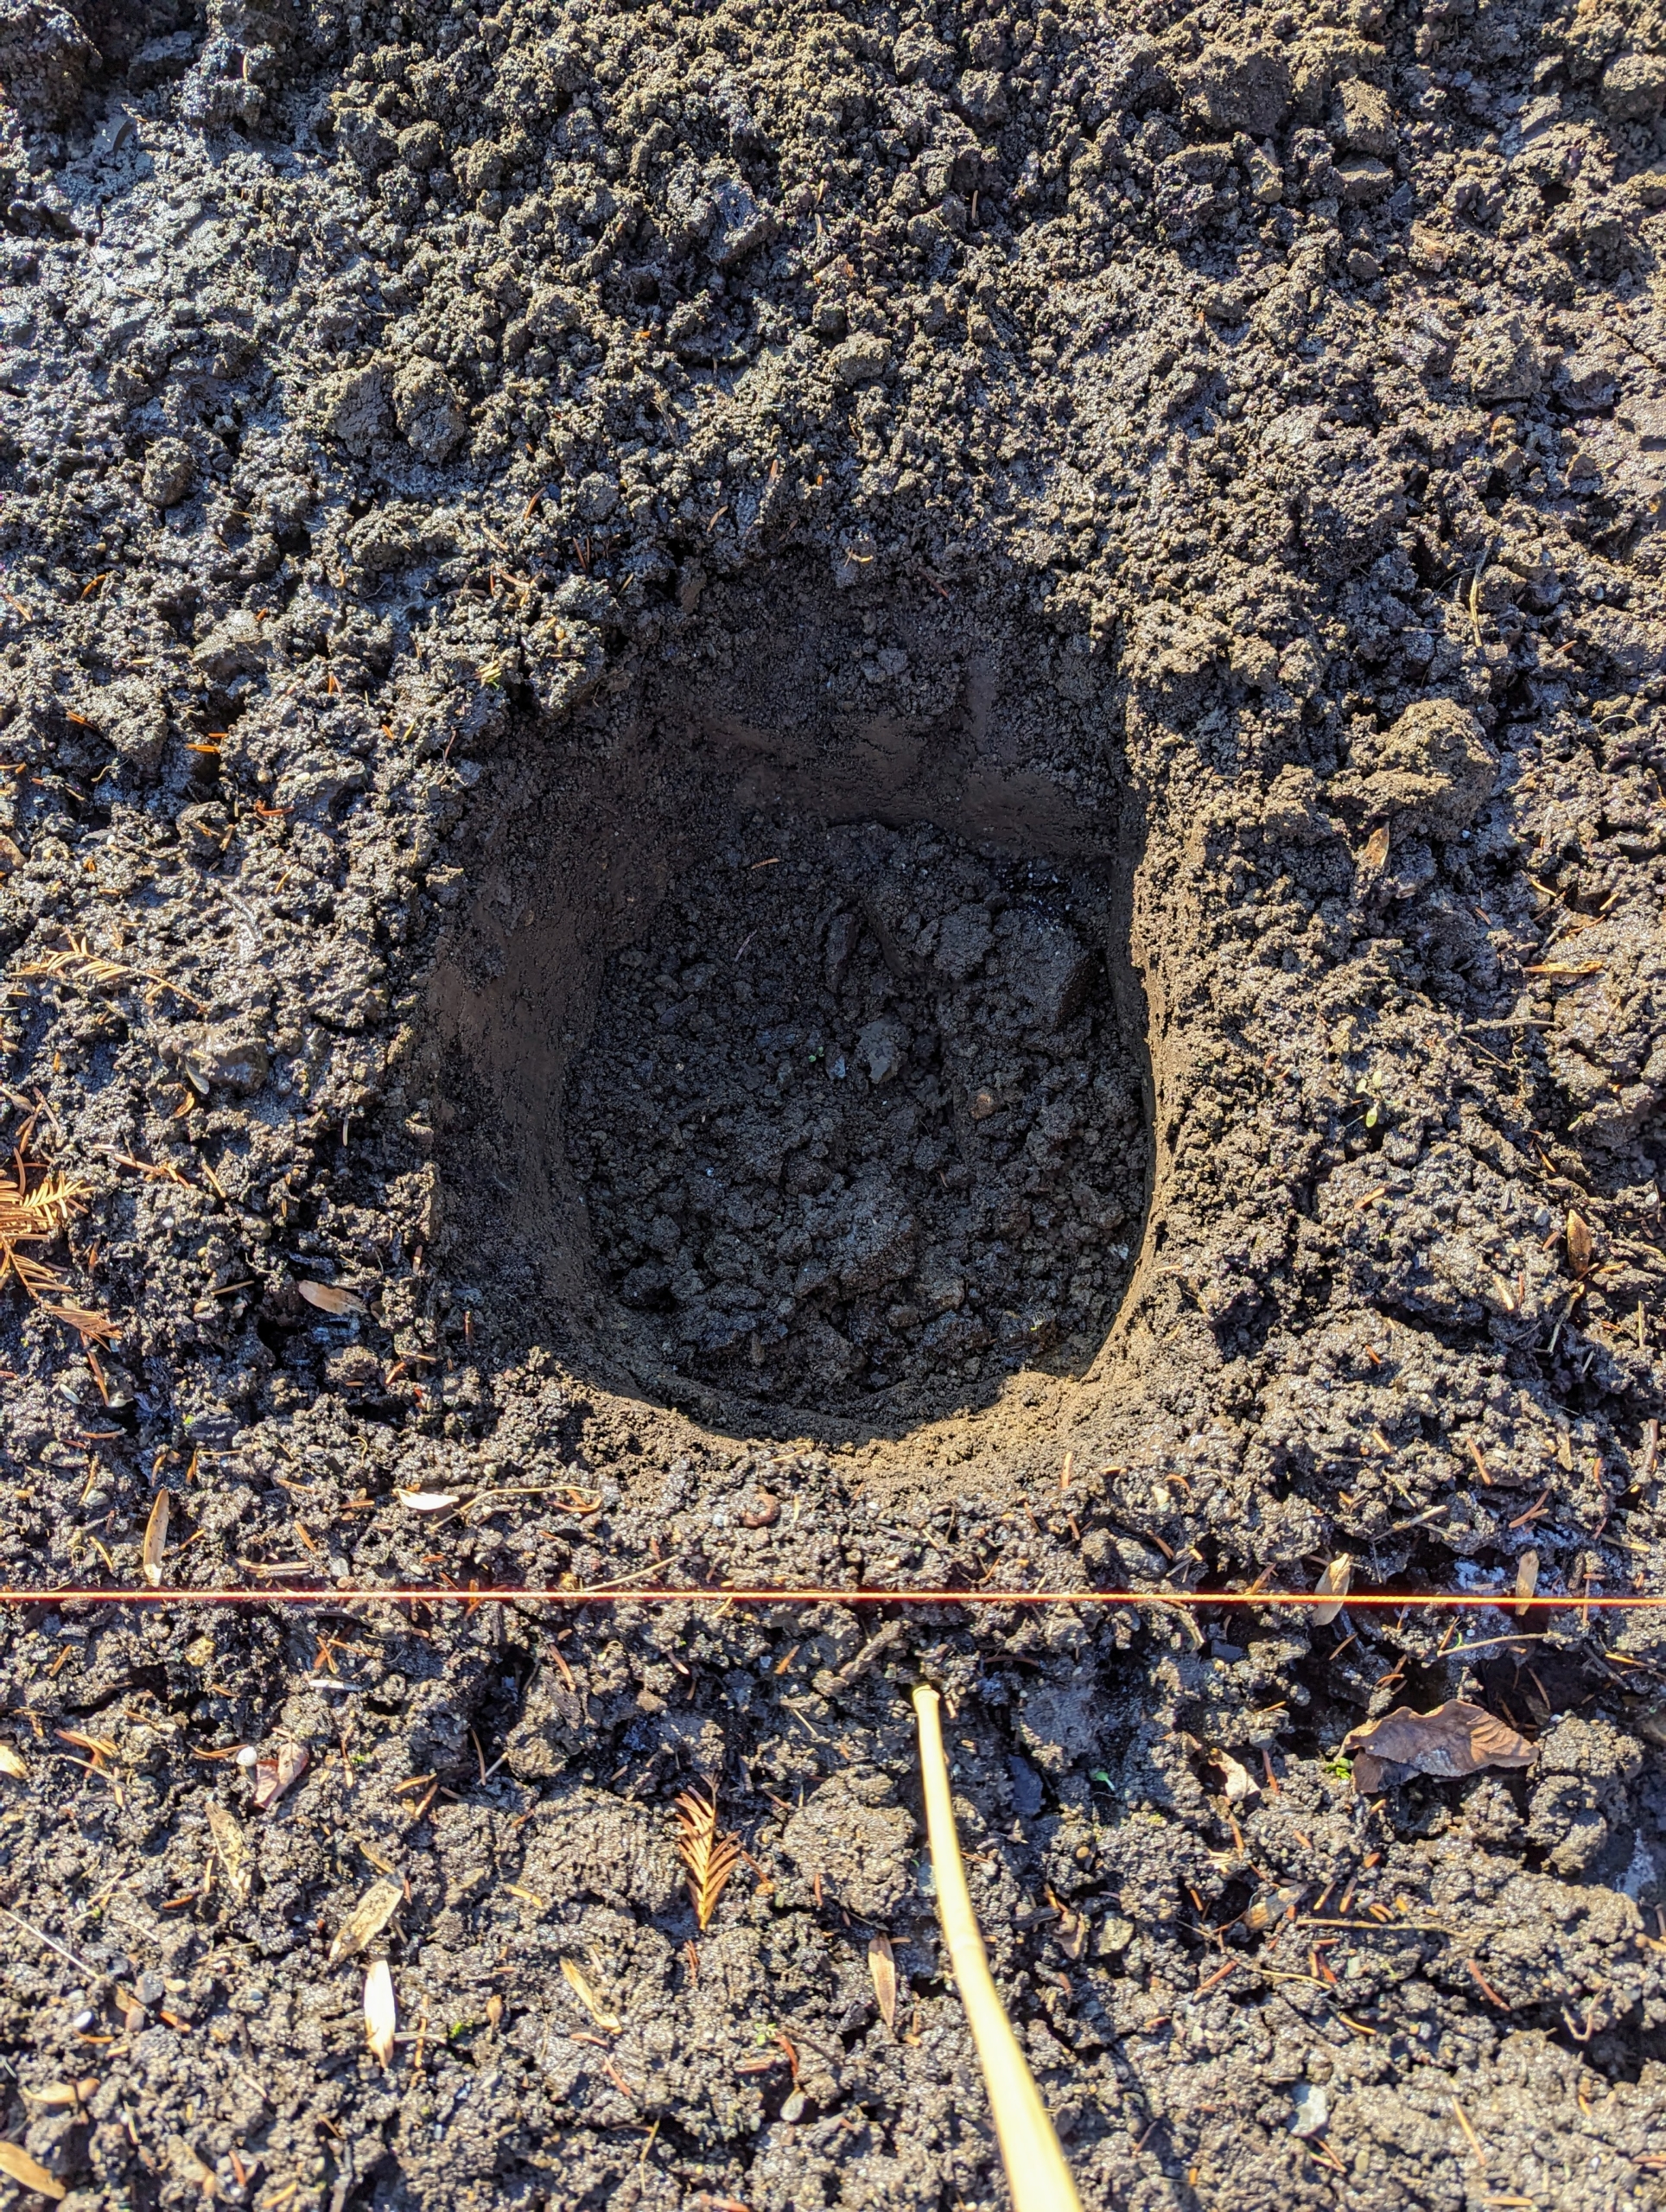
Each hole is dug in moist soil that is deep enough to accommodate the entire bare root division.
These peonies are planned for both sides of the center footpath. Each hole is measured precisely and marked. Herbaceous peonies grow two to four feet tall with sturdy stems and blooms that can reach up to 10-inches wide.
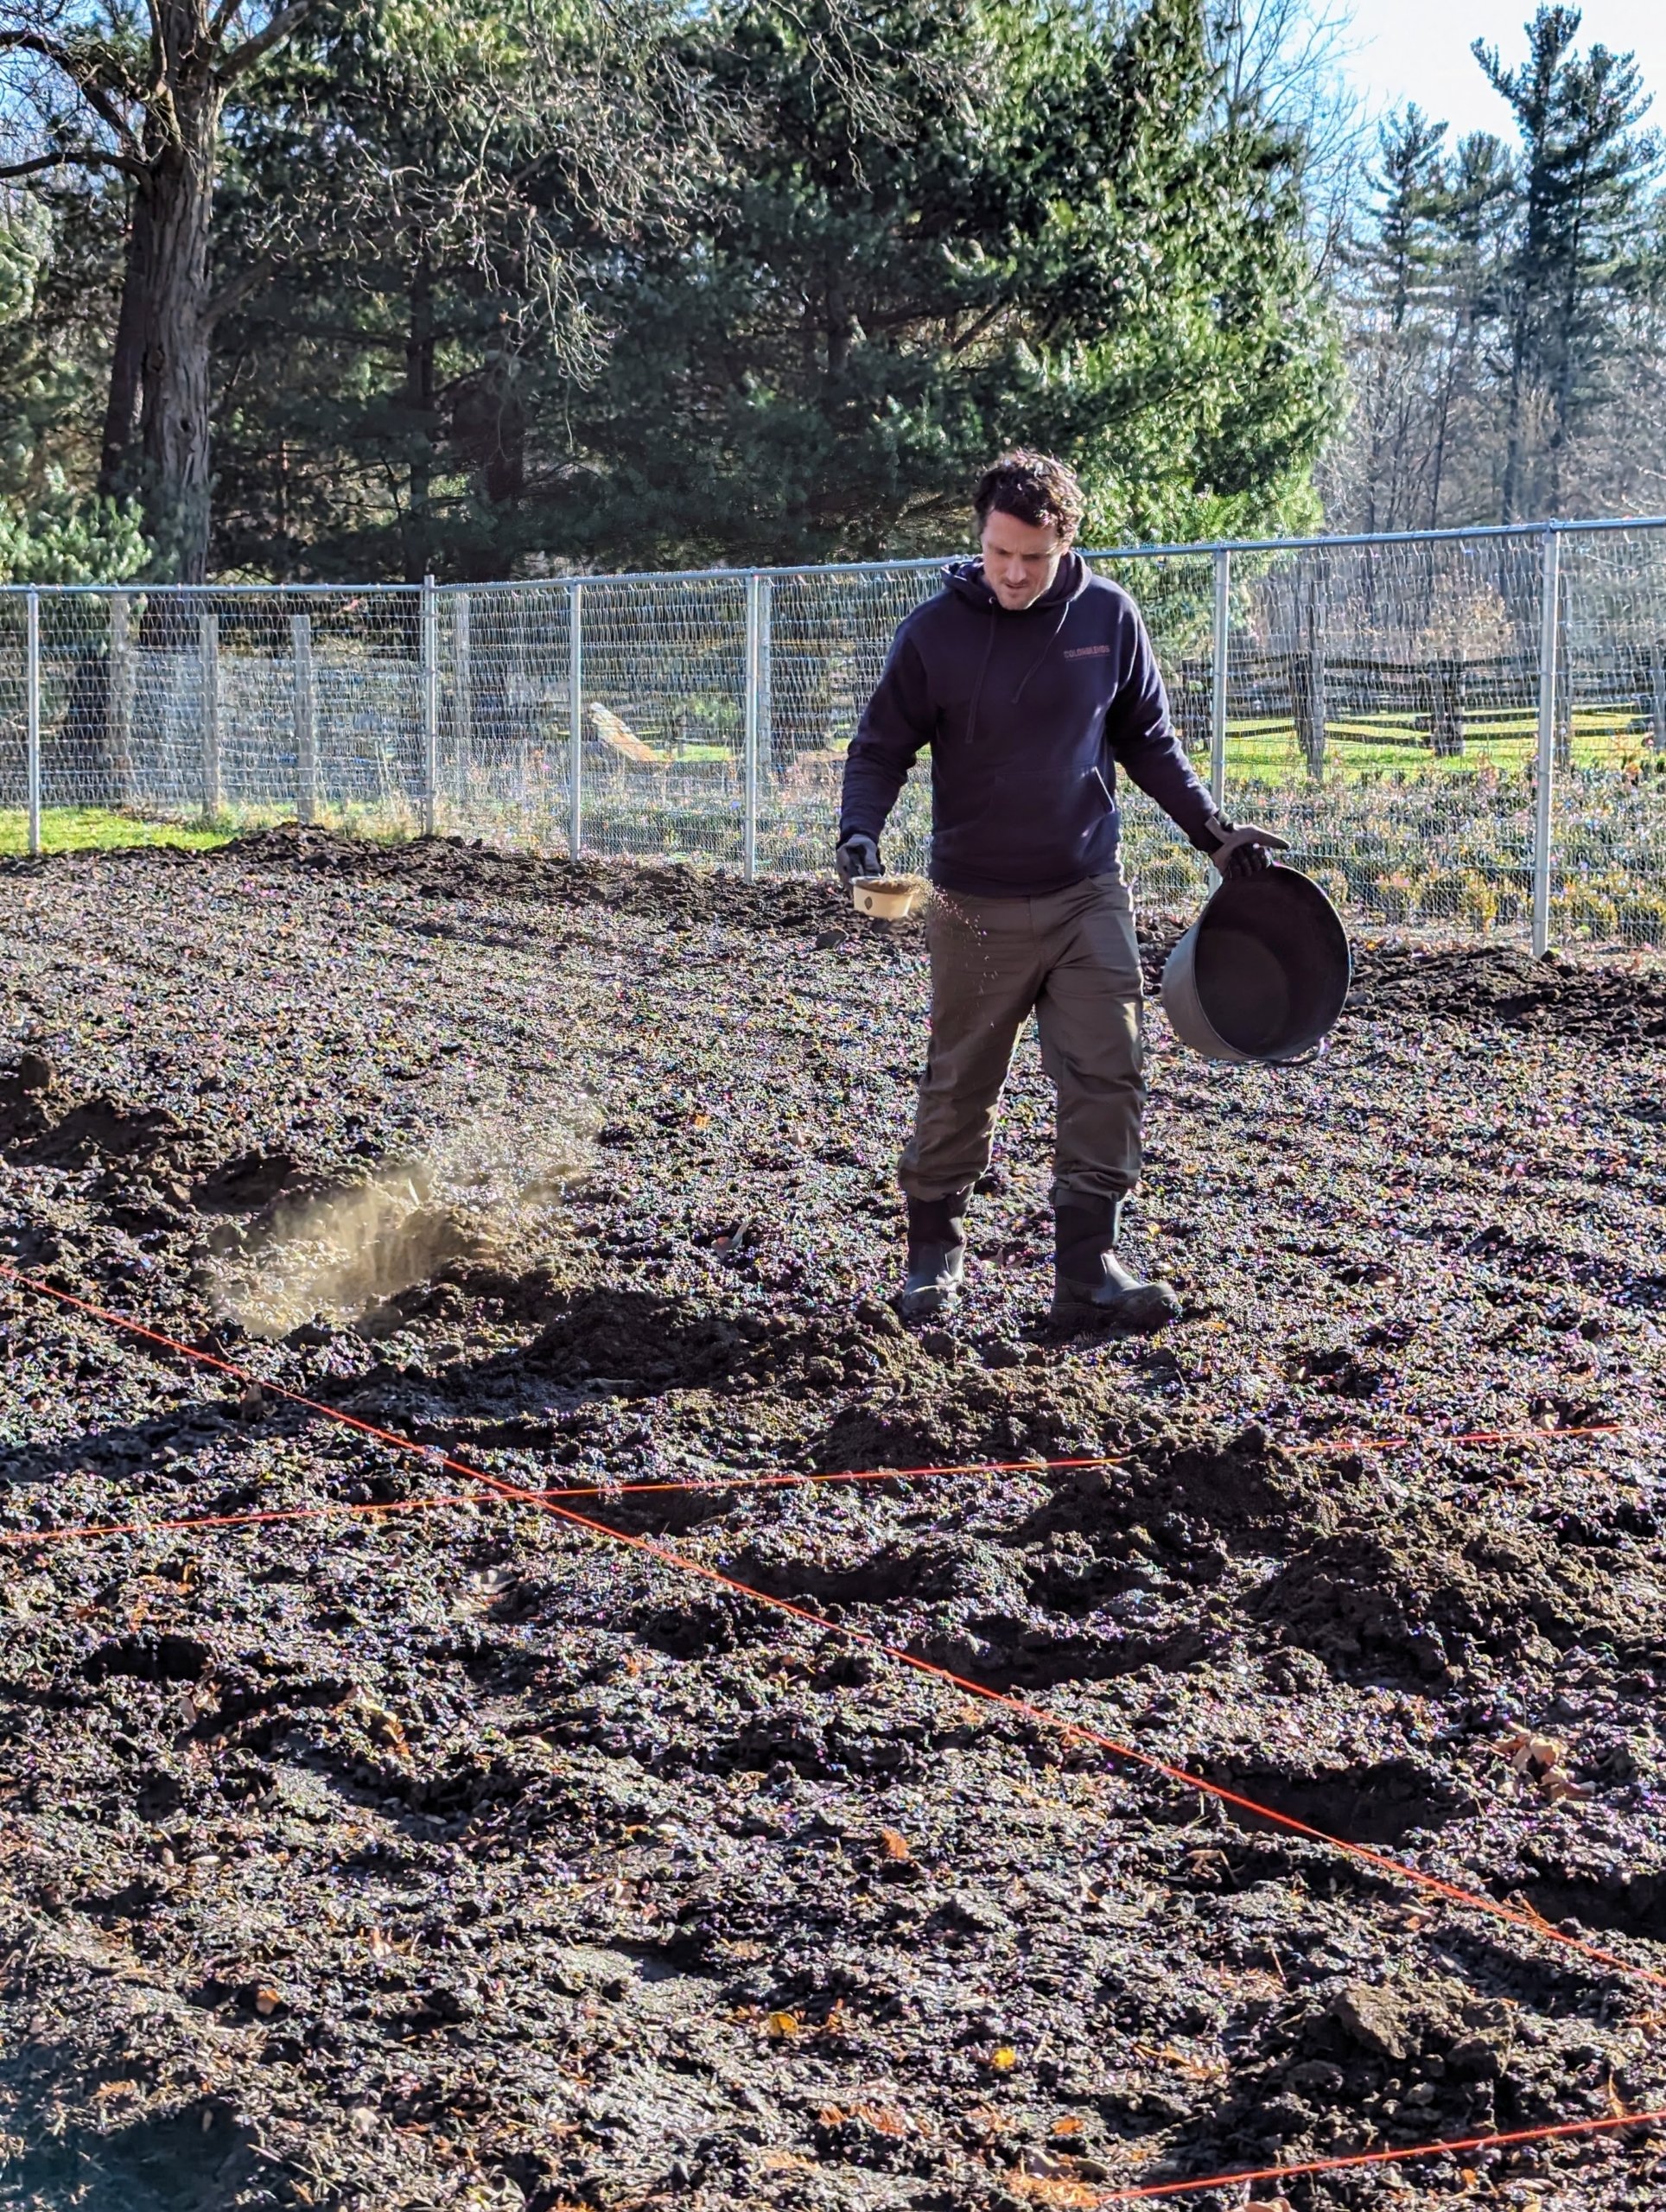
As the holes are being dug, Ryan sprinkles a generous amount of fertilizer. We’re using Azomite – a natural product mined from ancient mineral deposits that contain more than 70 trace elements and minerals. It is used as a remineralizer to improve root systems, yields, and increase plant vigor. We also add triple super phosphate fertilizer which is excellent for gardens and outdoor plants.
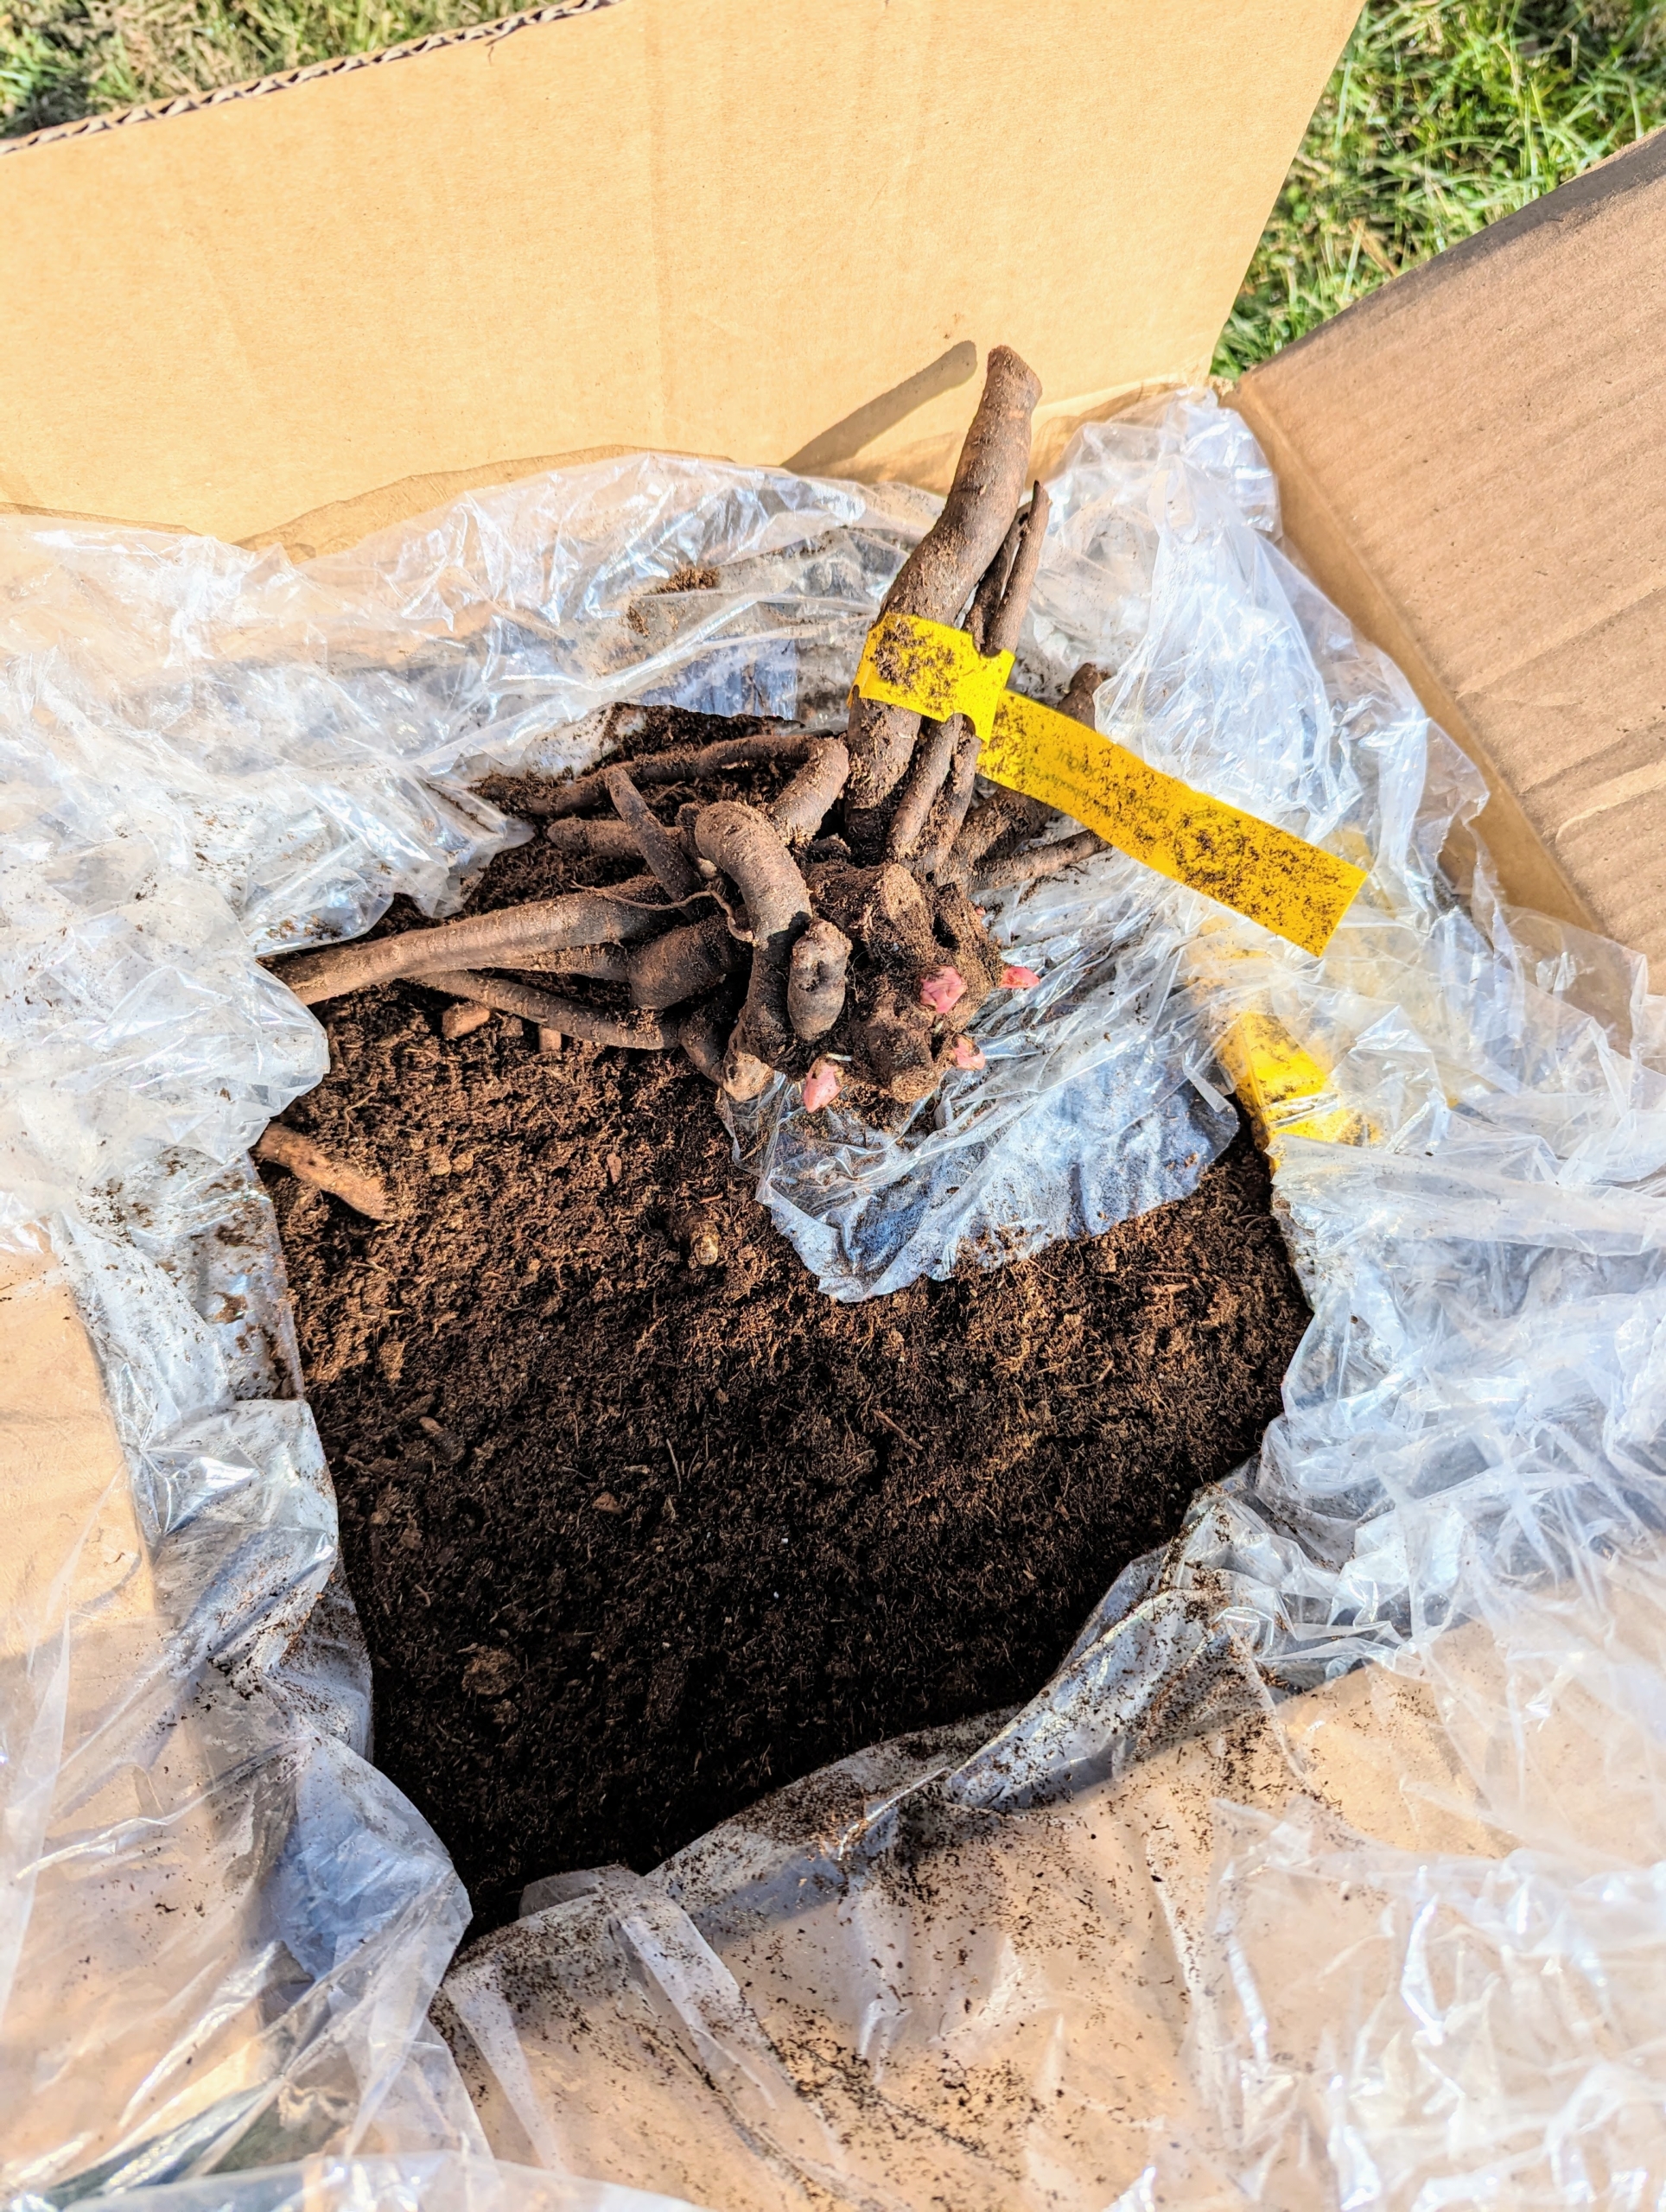
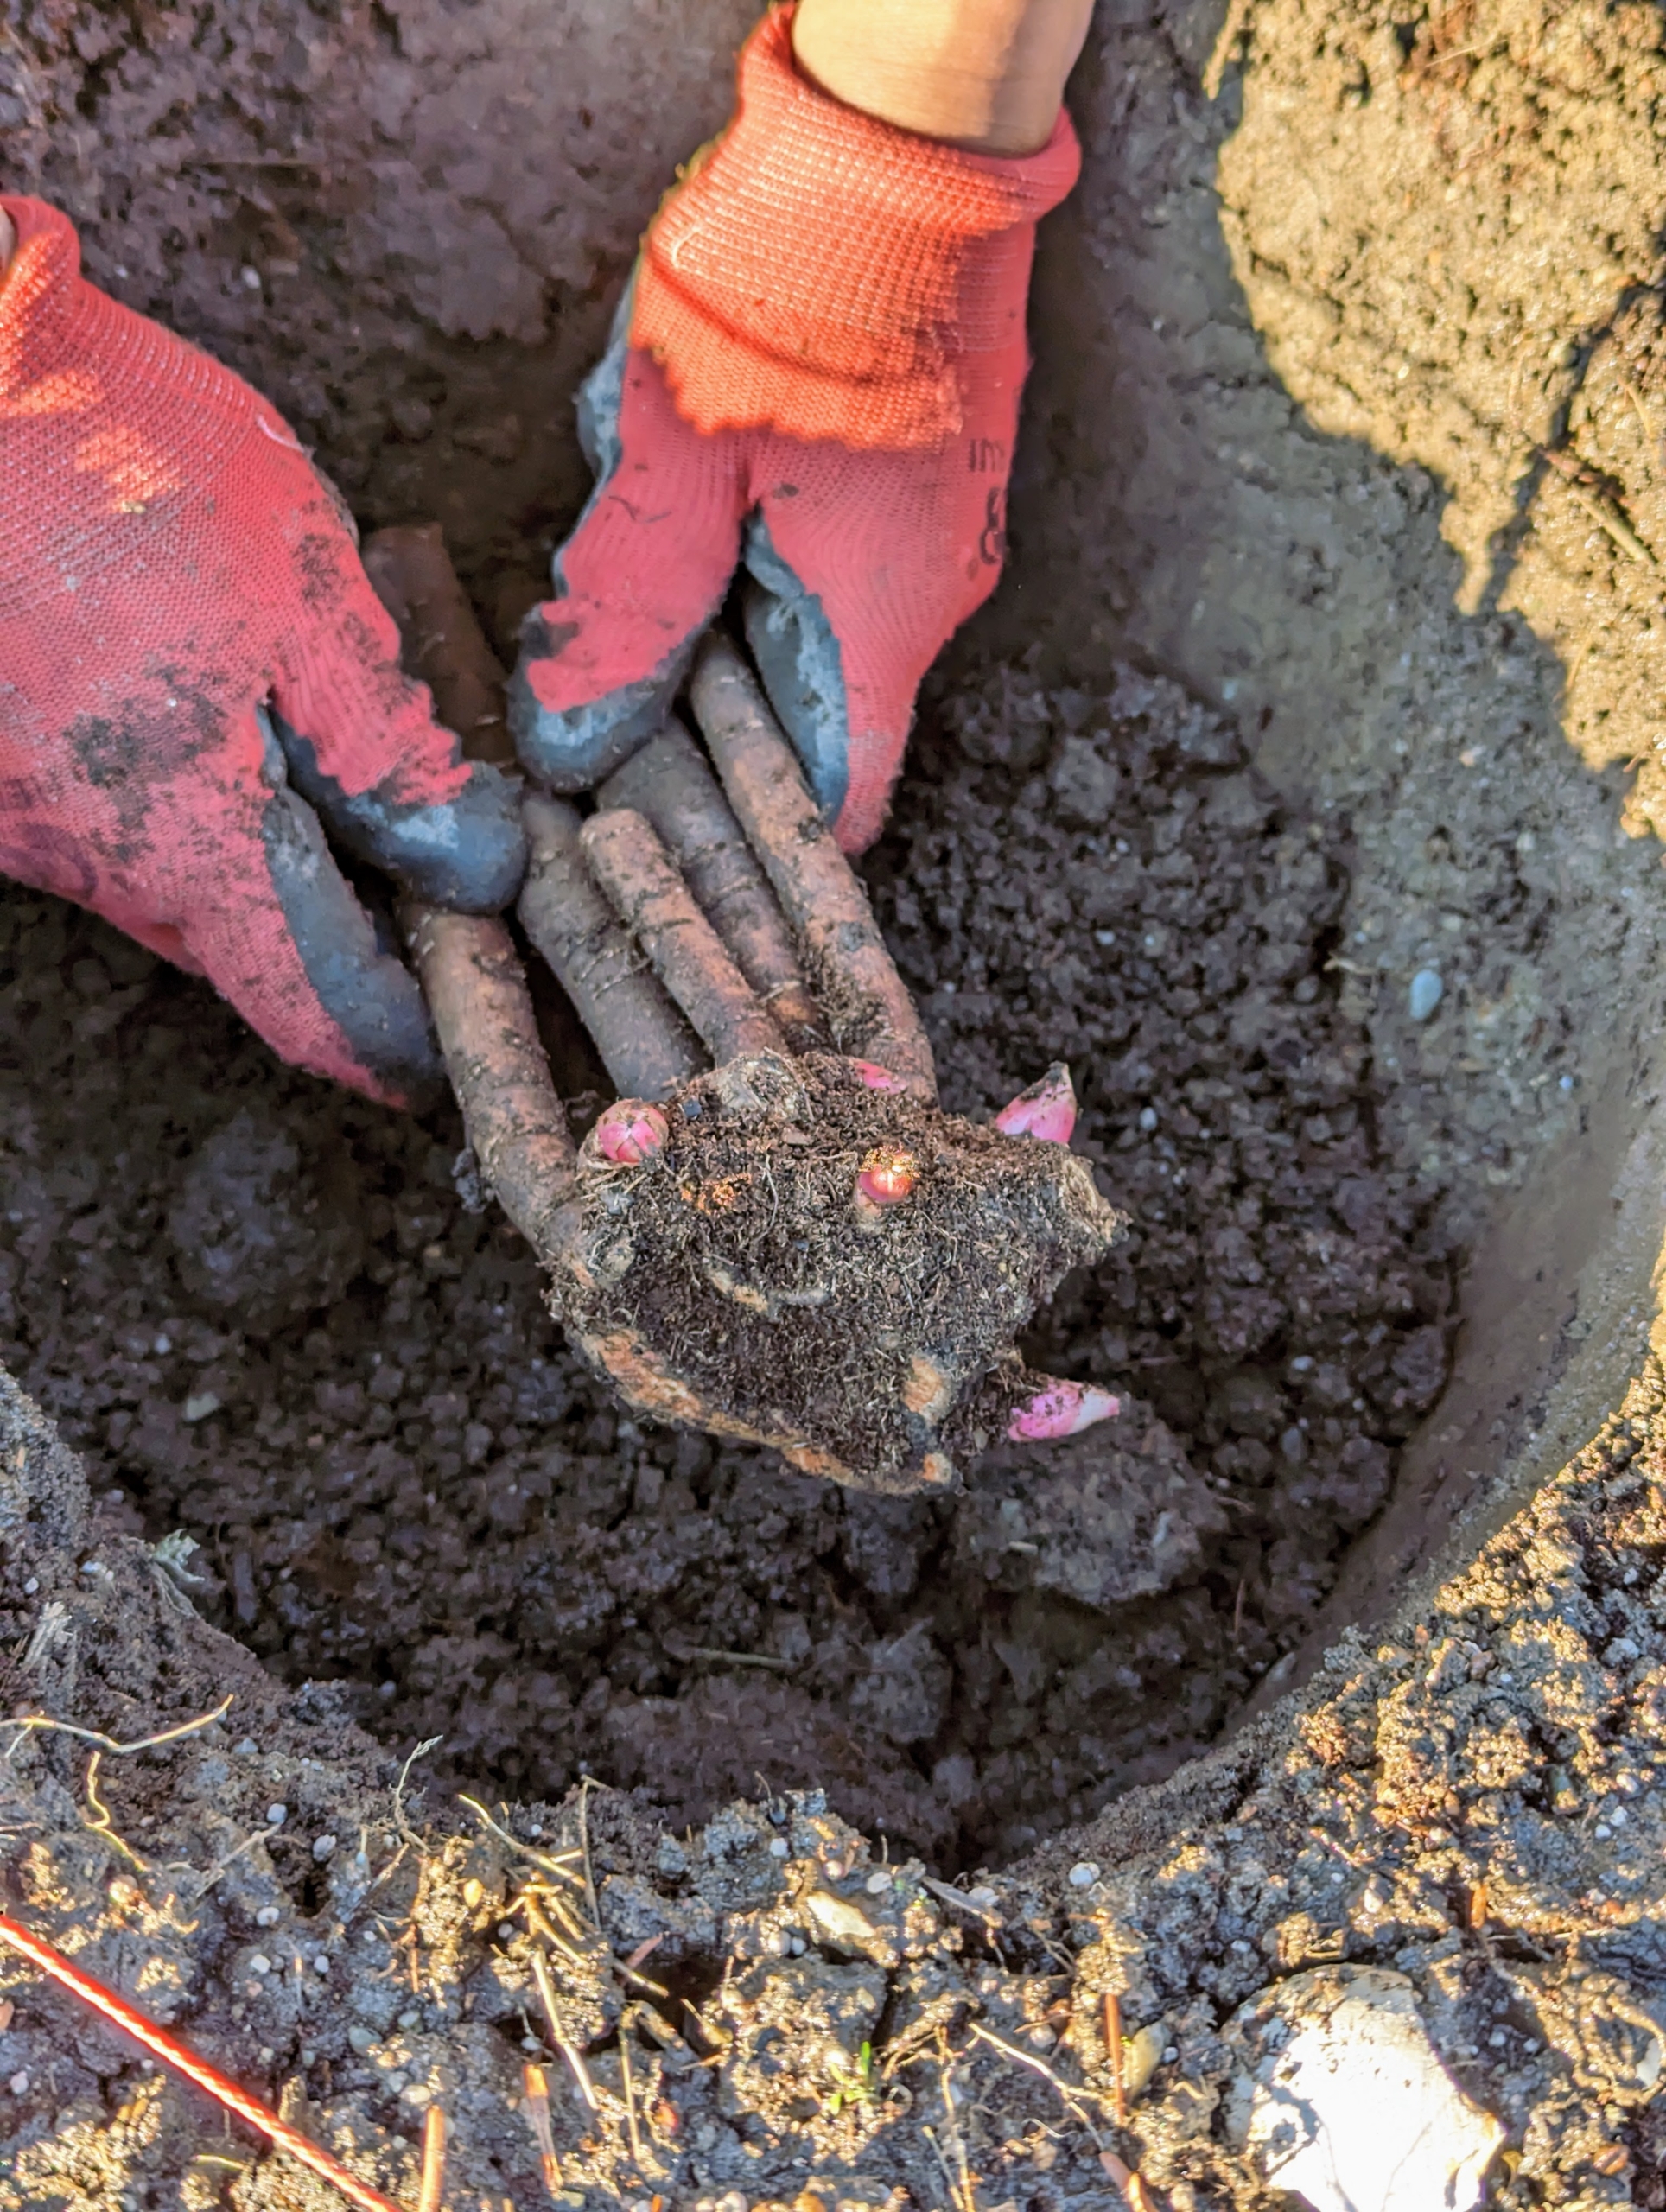
I ordered 75 peonies from Hollingsworth Peony Farm, a registered peony grower and hybridizer in Skidmore, Missouri. Each peony root division, or “start” is packed in moist sphagnum peat moss for protection during transport.
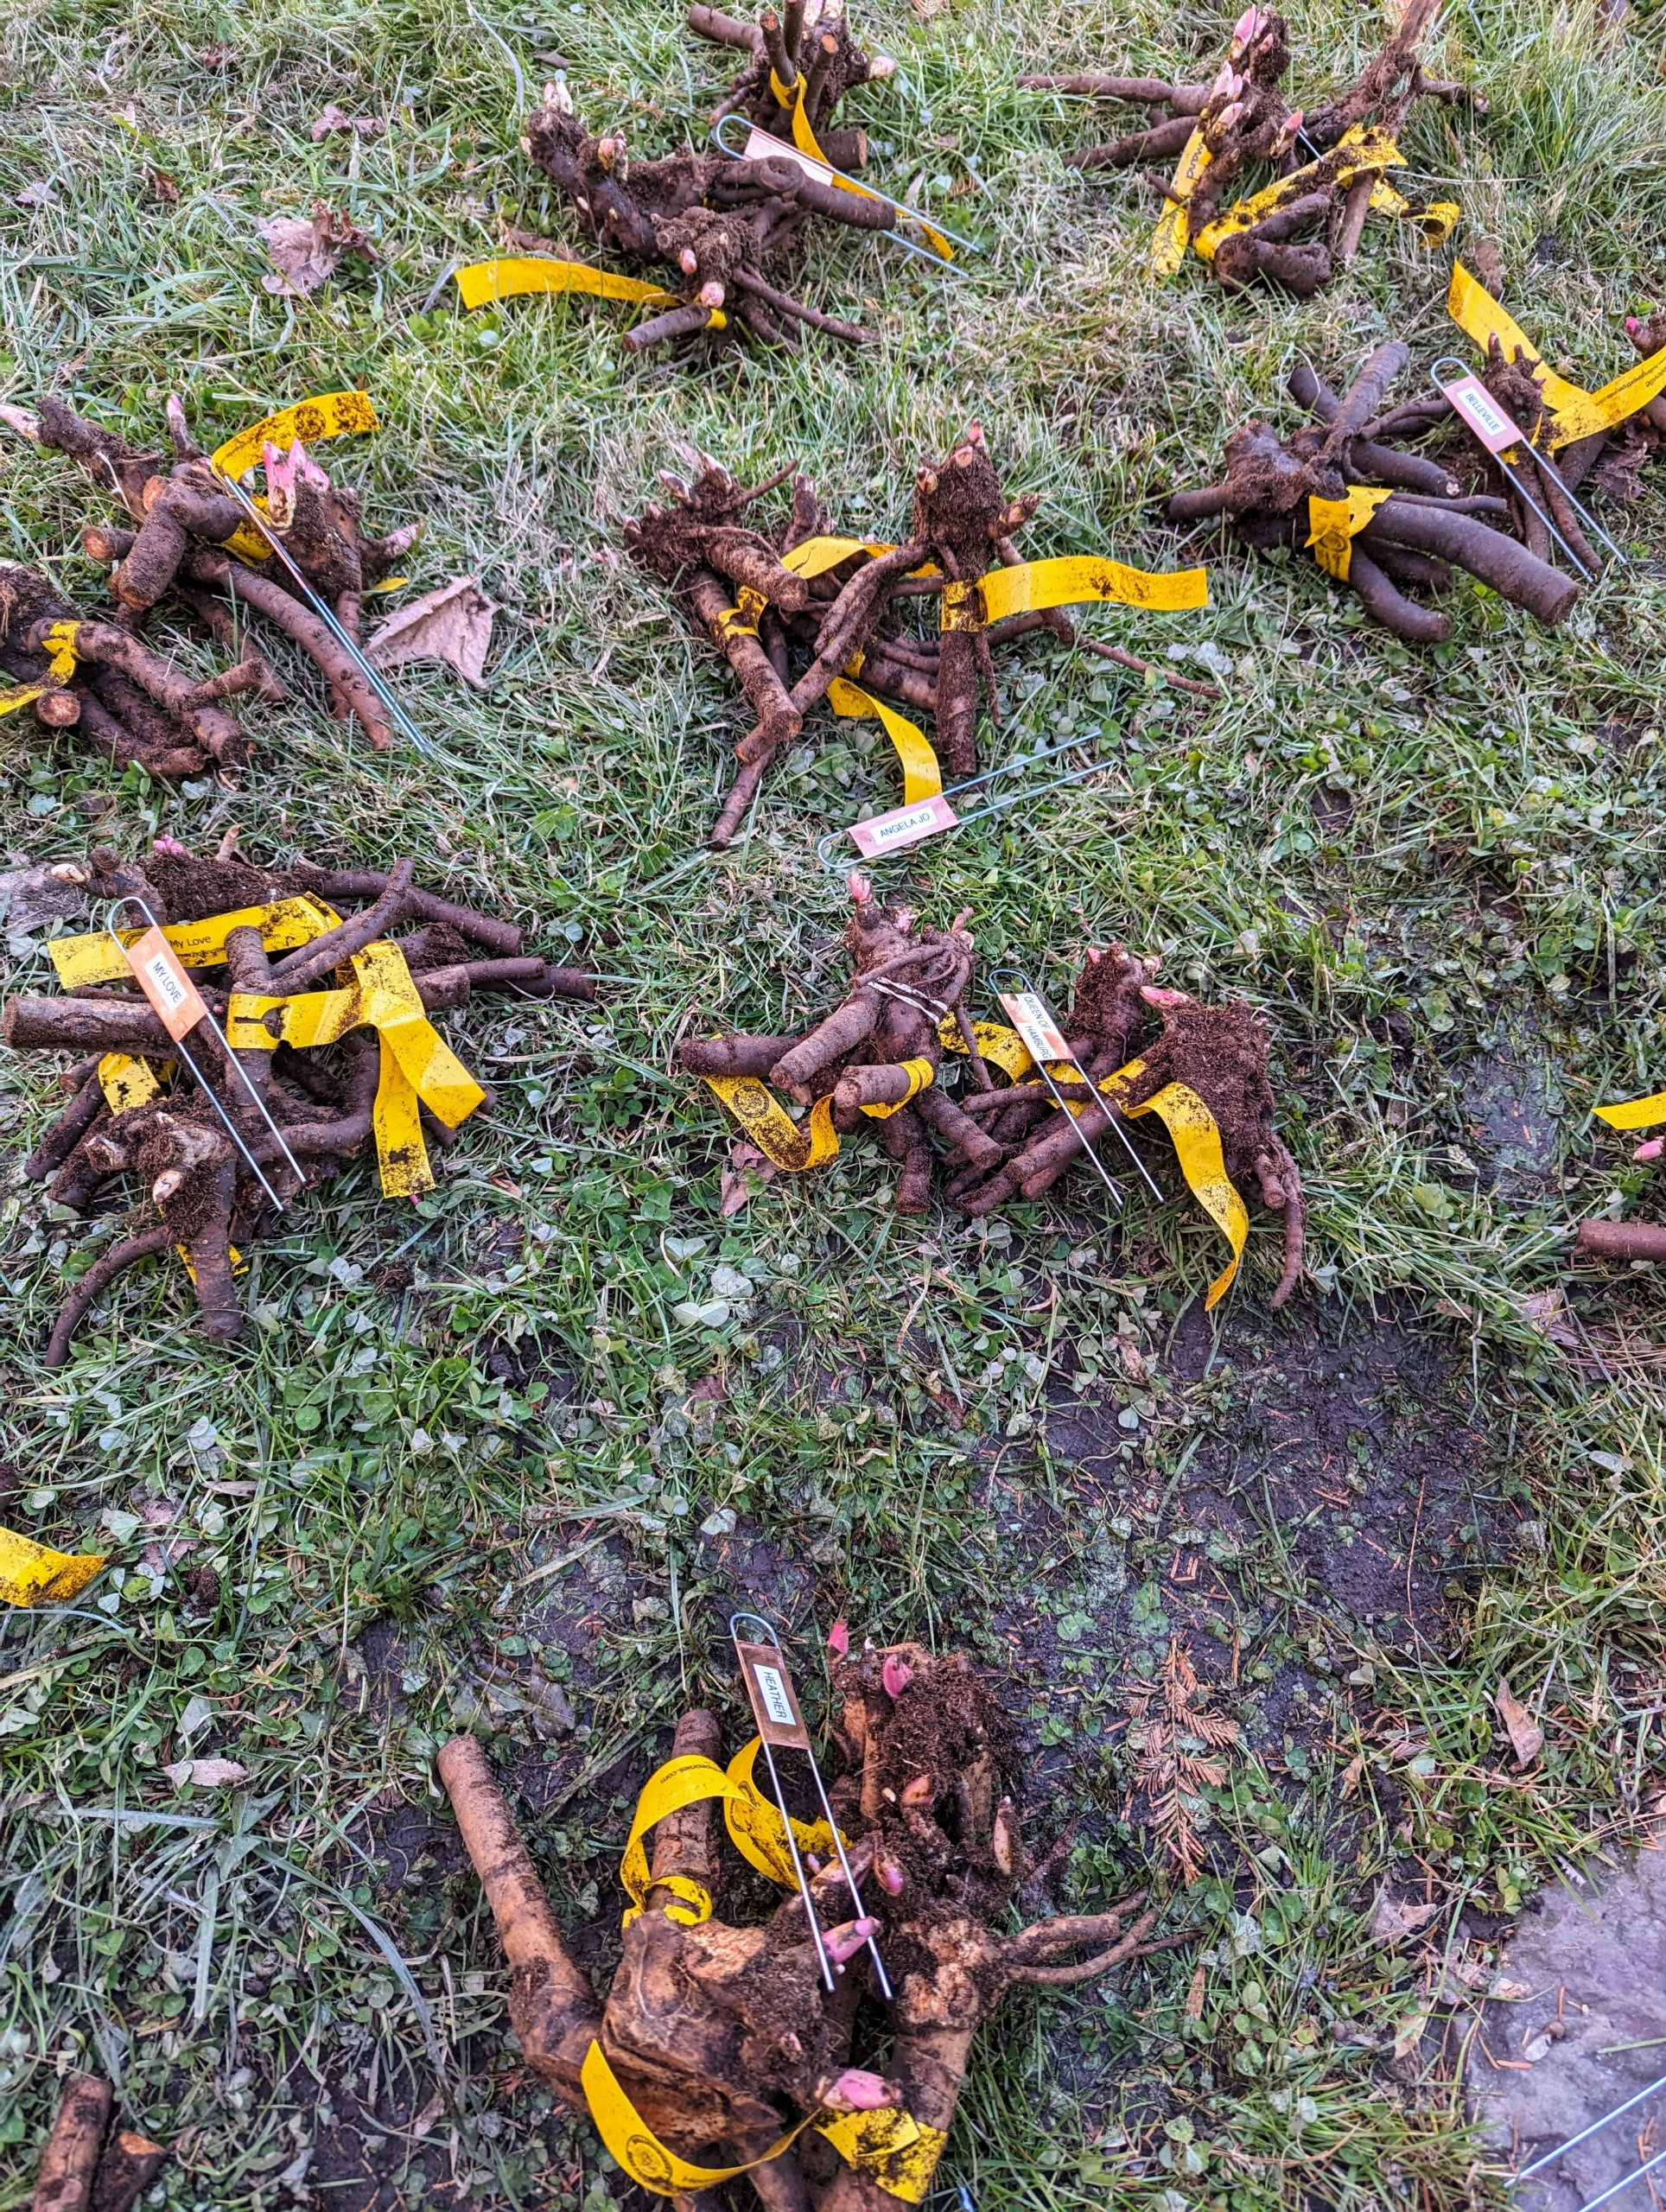
Bare root peonies do best when planted in the fall. Ryan organizes the peonies by color and form. These divisions are cut from plants that are at least four years old, so these are programmed to flower in the first year. These divisions include pink, white, and yellow colored peonies. The varieties include ‘Amalia Olson,’ ‘Angela Jo,’ ‘Belleville,’ ‘Command Performance,’ ‘Doreen,’ ‘Gena Marie,’ ‘Grace Batson,’ ‘Heather,’ ‘Henry Sass,’ ‘Judith Eileen,’ ‘LaDonna,’ ‘Largo,’ ‘Lumiere,’ ‘Margaret Truman,’ ‘Mary Elizabeth,’ ‘Mother’s Choice,’ ‘Mr. Ed,’ ‘My Love,’ ‘Nelda’s Joy,’ ‘Philomele,’ ‘Queen of Hamburg,’ ‘Raspberry Delight,’ ‘Spring Sun,’ ‘Stellar Charm,’ ‘Vivid Rose,’ and ‘Lauren.’
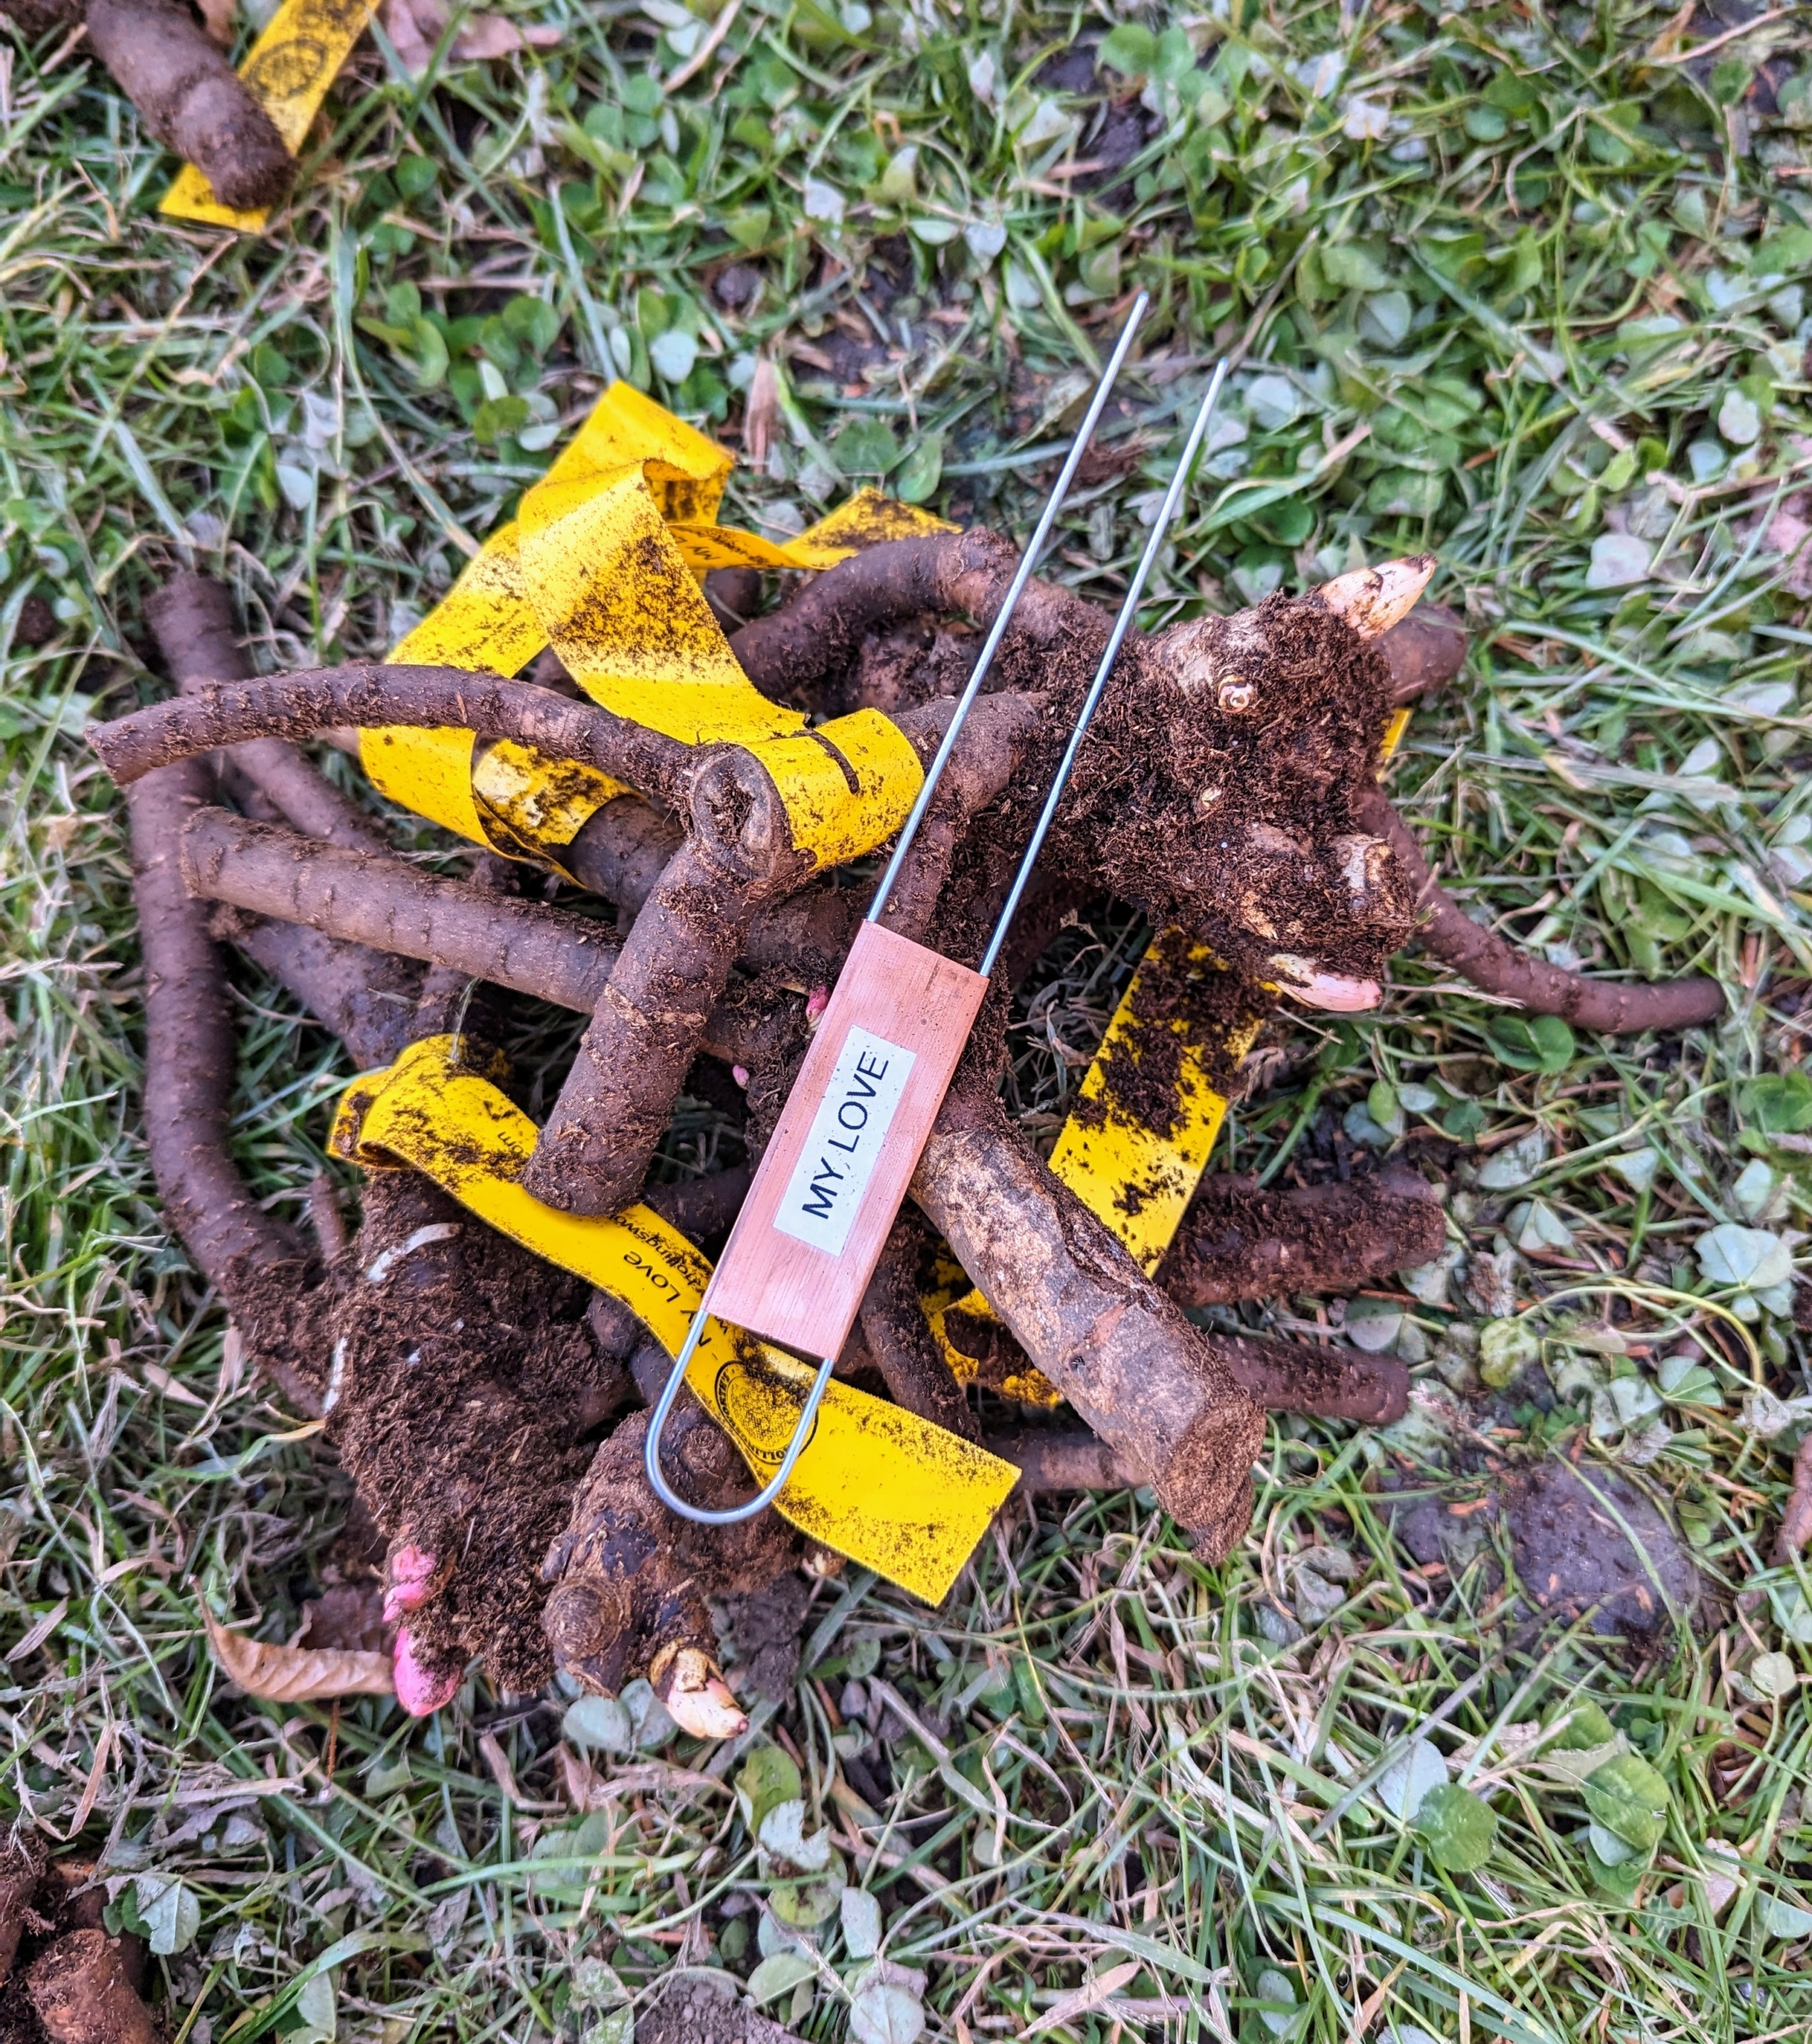
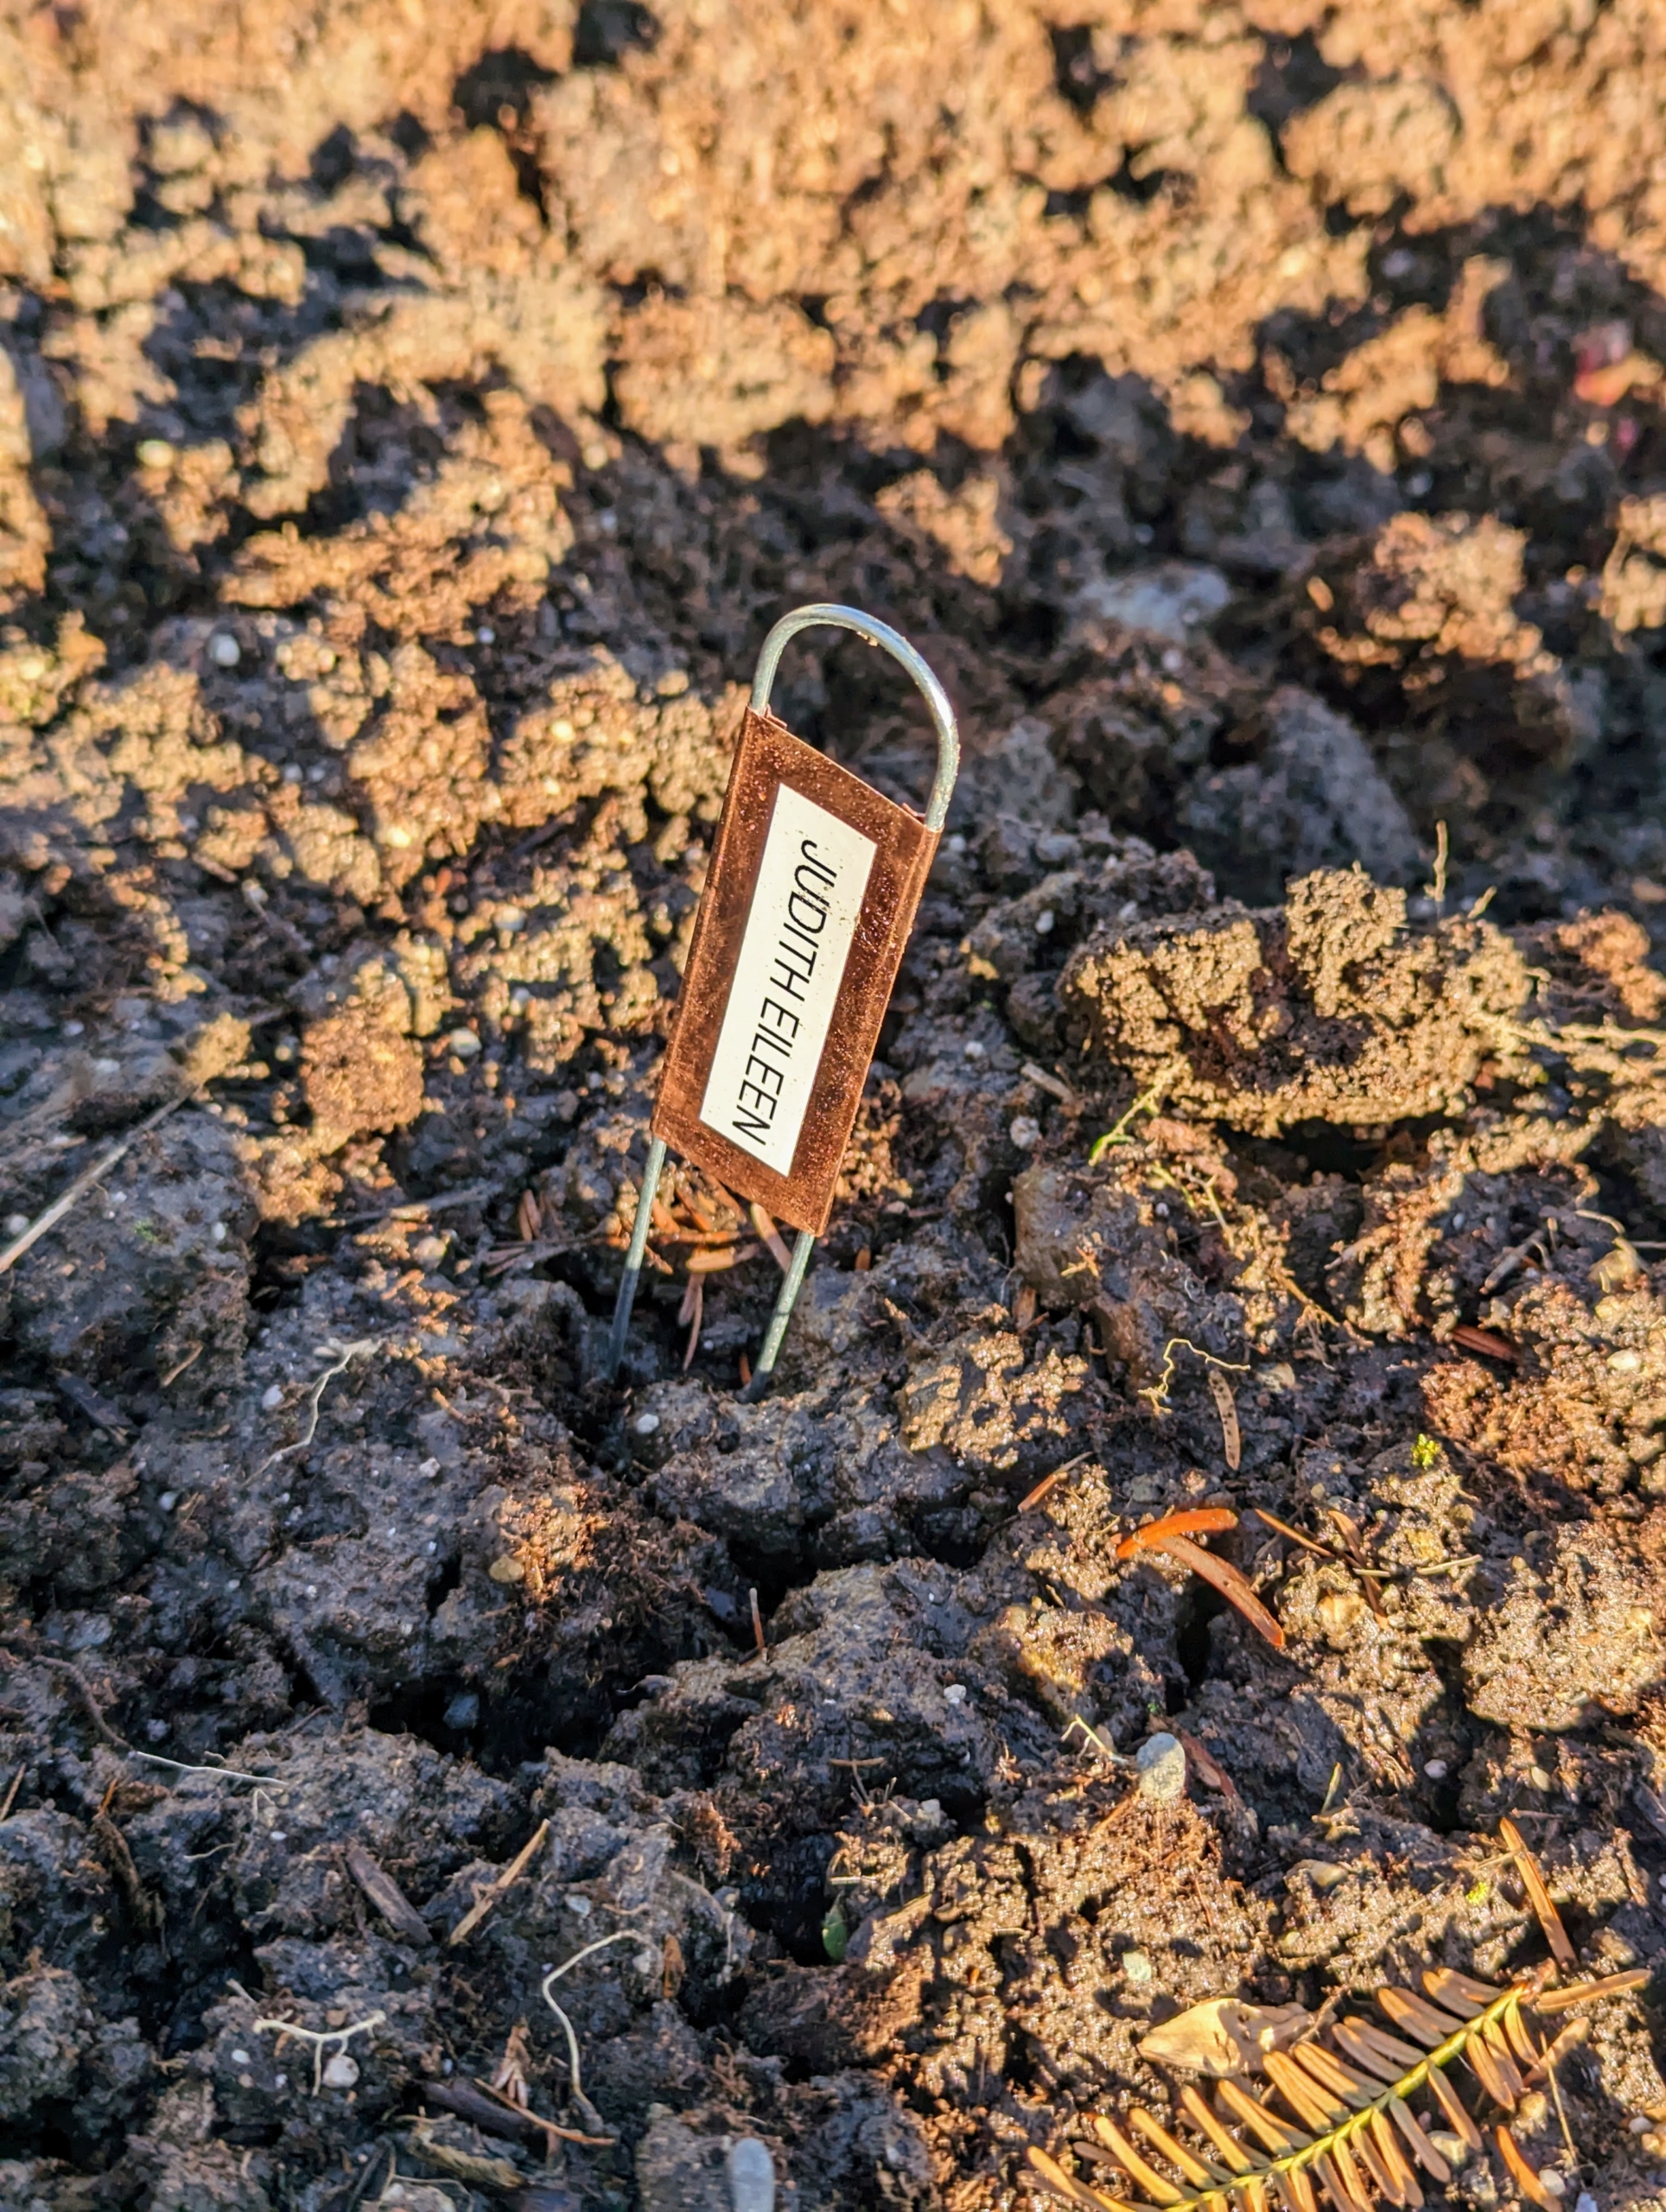
Ryan creates a marker for each division, so we can identify all the varieties and know which ones do best in this garden.
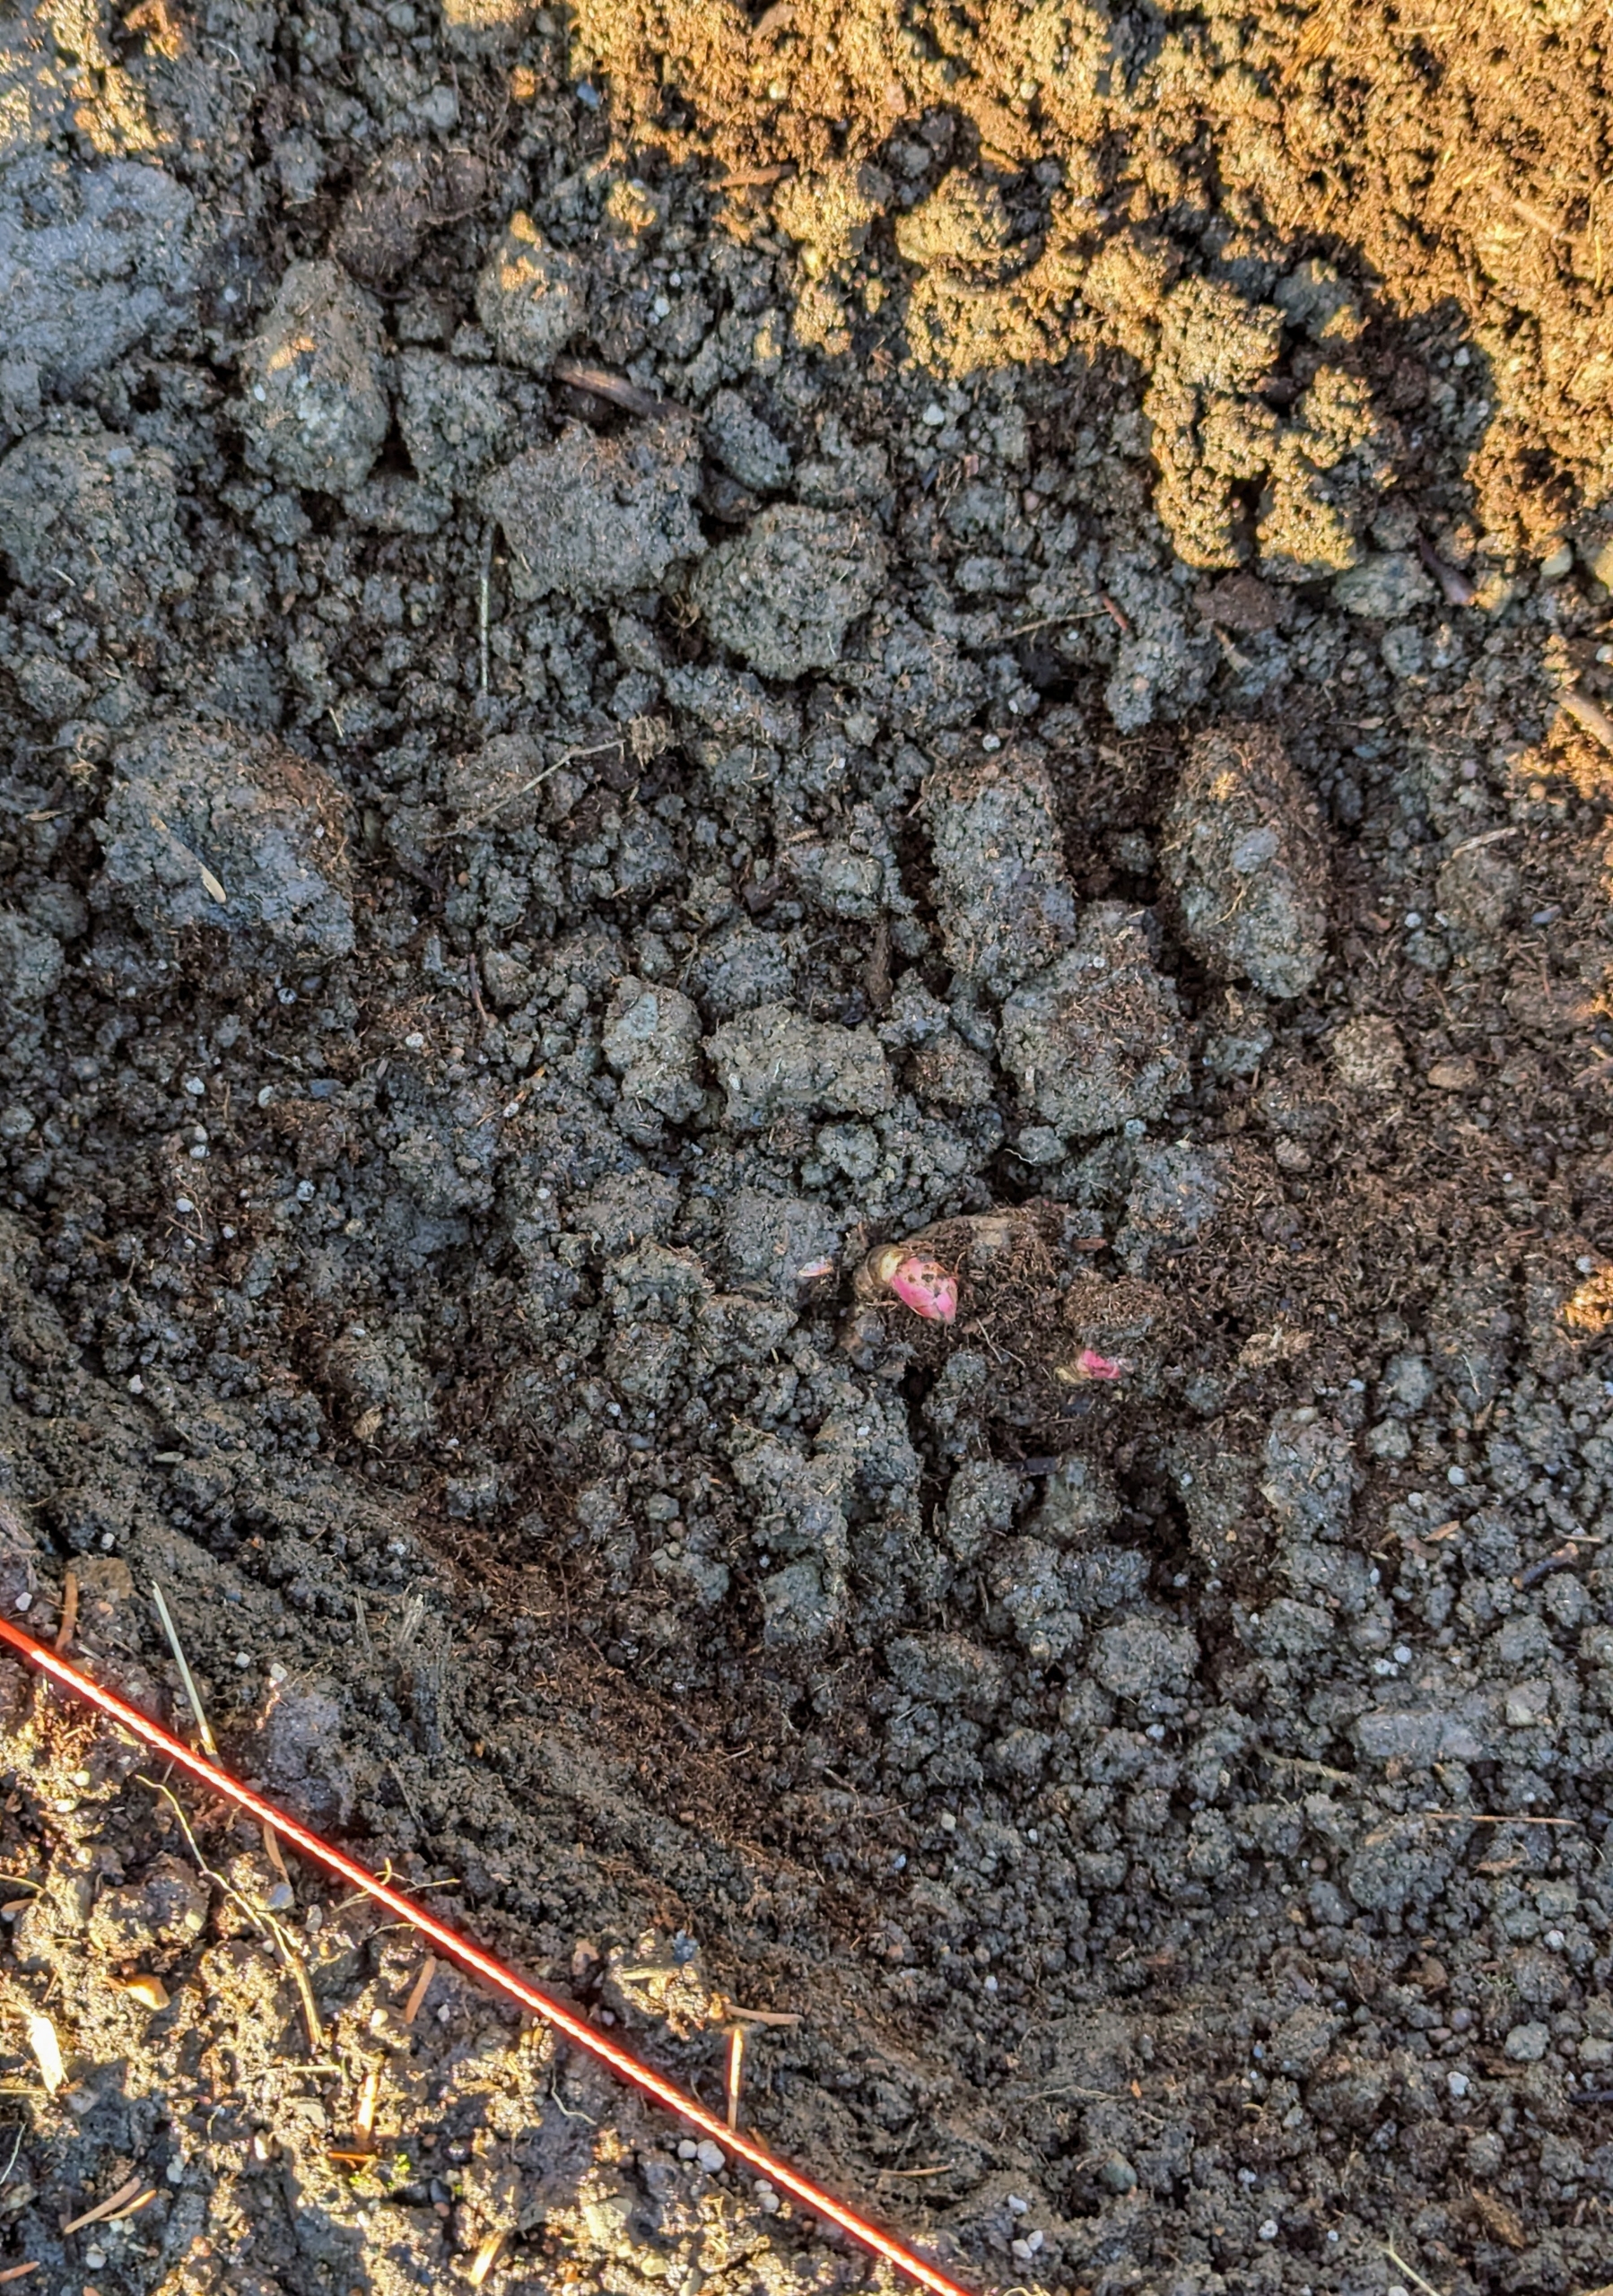
The division is carefully placed into the hole – deep enough so the bottom of the shoot buds, also called the “eyes” will be at least two inches under the soil line.
Byron ensures the roots are faced downward and outward for best growth, and that the buds are facing up.
Then he carefully backfills the hole, so it is lightly packed and all the parts of the division are fully covered.
Byron also checks that the peony remains at the right depth, especially when watered. A layer of compost will also cover the area to protect the young planting from frost.
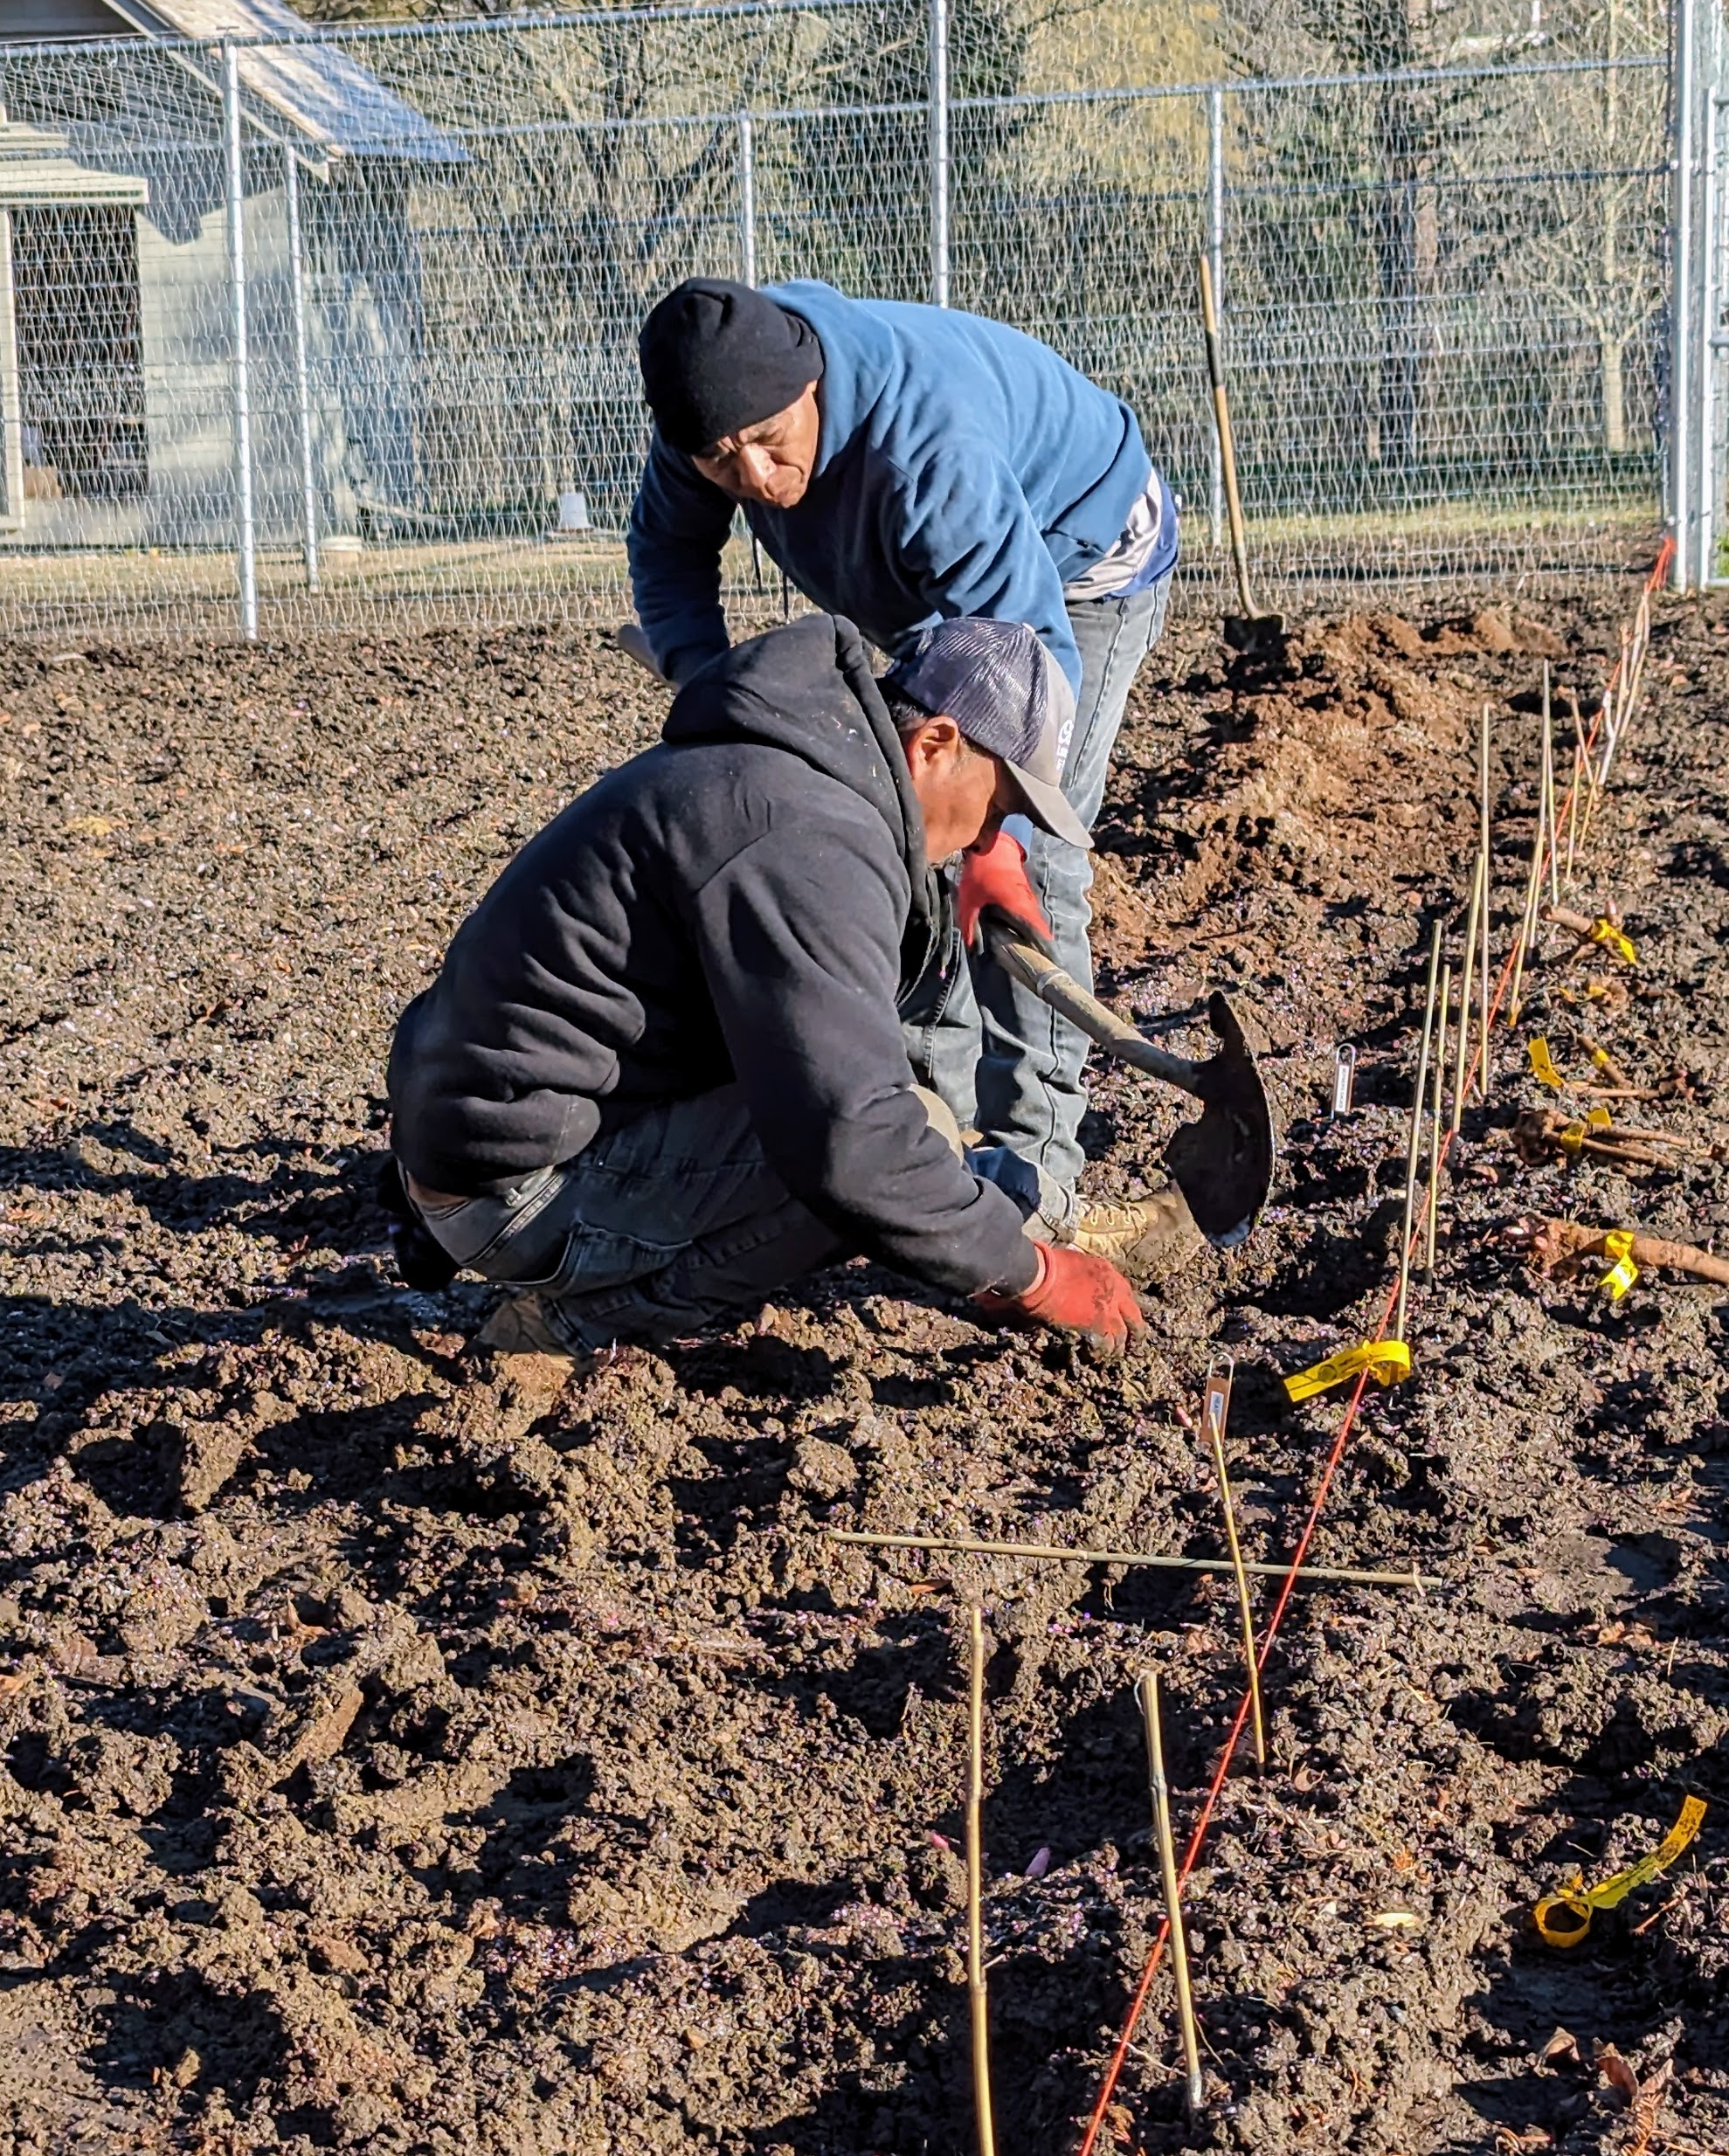
Here, Byron and Ernesto work together in a production line fashion – as one holds the plant in place, the other fills the hole with soil.
Now all the peonies are planted. One of the reasons peonies do so well here at my farm is because of the soil. It has a pH of 6.5 to 7.0, which is ideal. Peonies also prefer full sun and do even better with light midday shade and protection from strong winds.
A marker is inserted into the soil next to each peony.
Lastly, Byron rakes over the row of planted peonies so it is neat and tidy. Hopefully all these plants will be bursting with color next May. When properly planted and cared for, these fragrant specimens can live for 100 years or even more.
Do you know... some vegetables taste even better after a frost? Many root vegetables are best when harvested in colder weather.
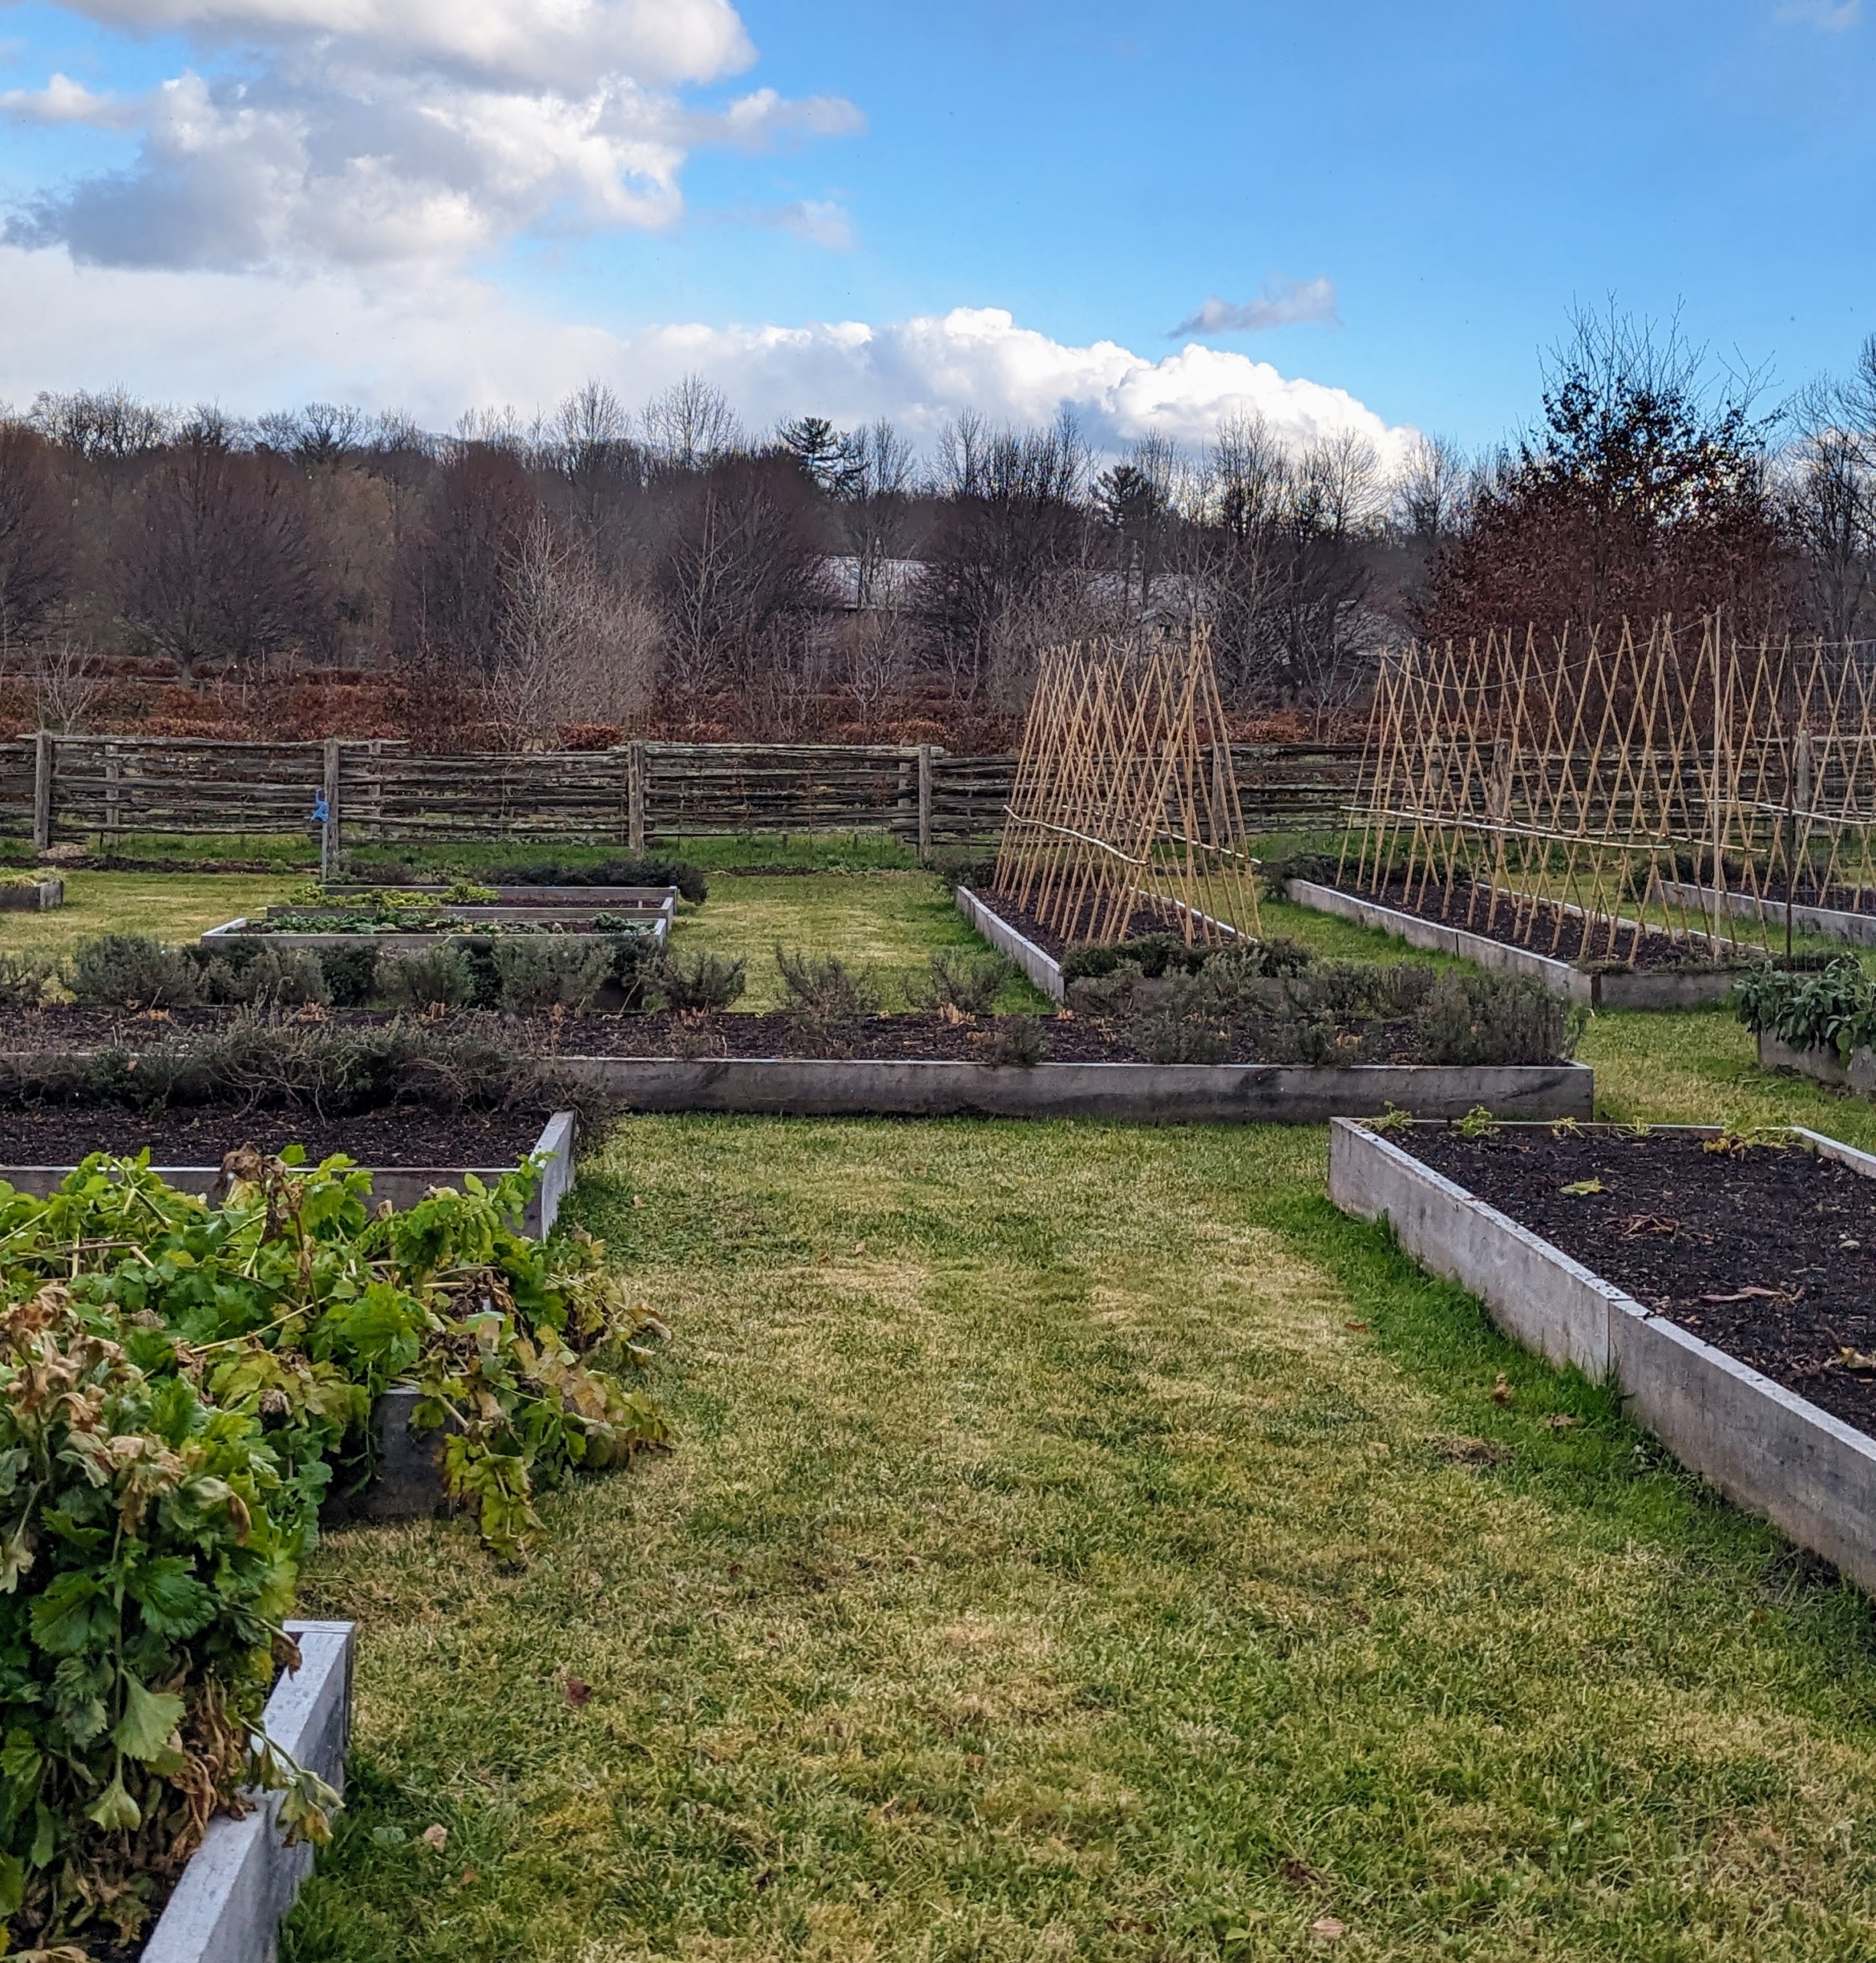
Here, at my Bedford, New York farm, much of my new raised bed vegetable garden is already cleared and cleaned for winter, but a few beds still continue to thrive with an abundance of parsnips, and one of my favorites, celeriac. These vegetables take the longest to reach maturity - about four months, but when they're finally picked, they're so delicious.
Enjoy these photos.
This half acre garden has produced bounties of wonderful vegetables this year. Even now that the weather is colder, we’re still able to harvest delicious organic produce.
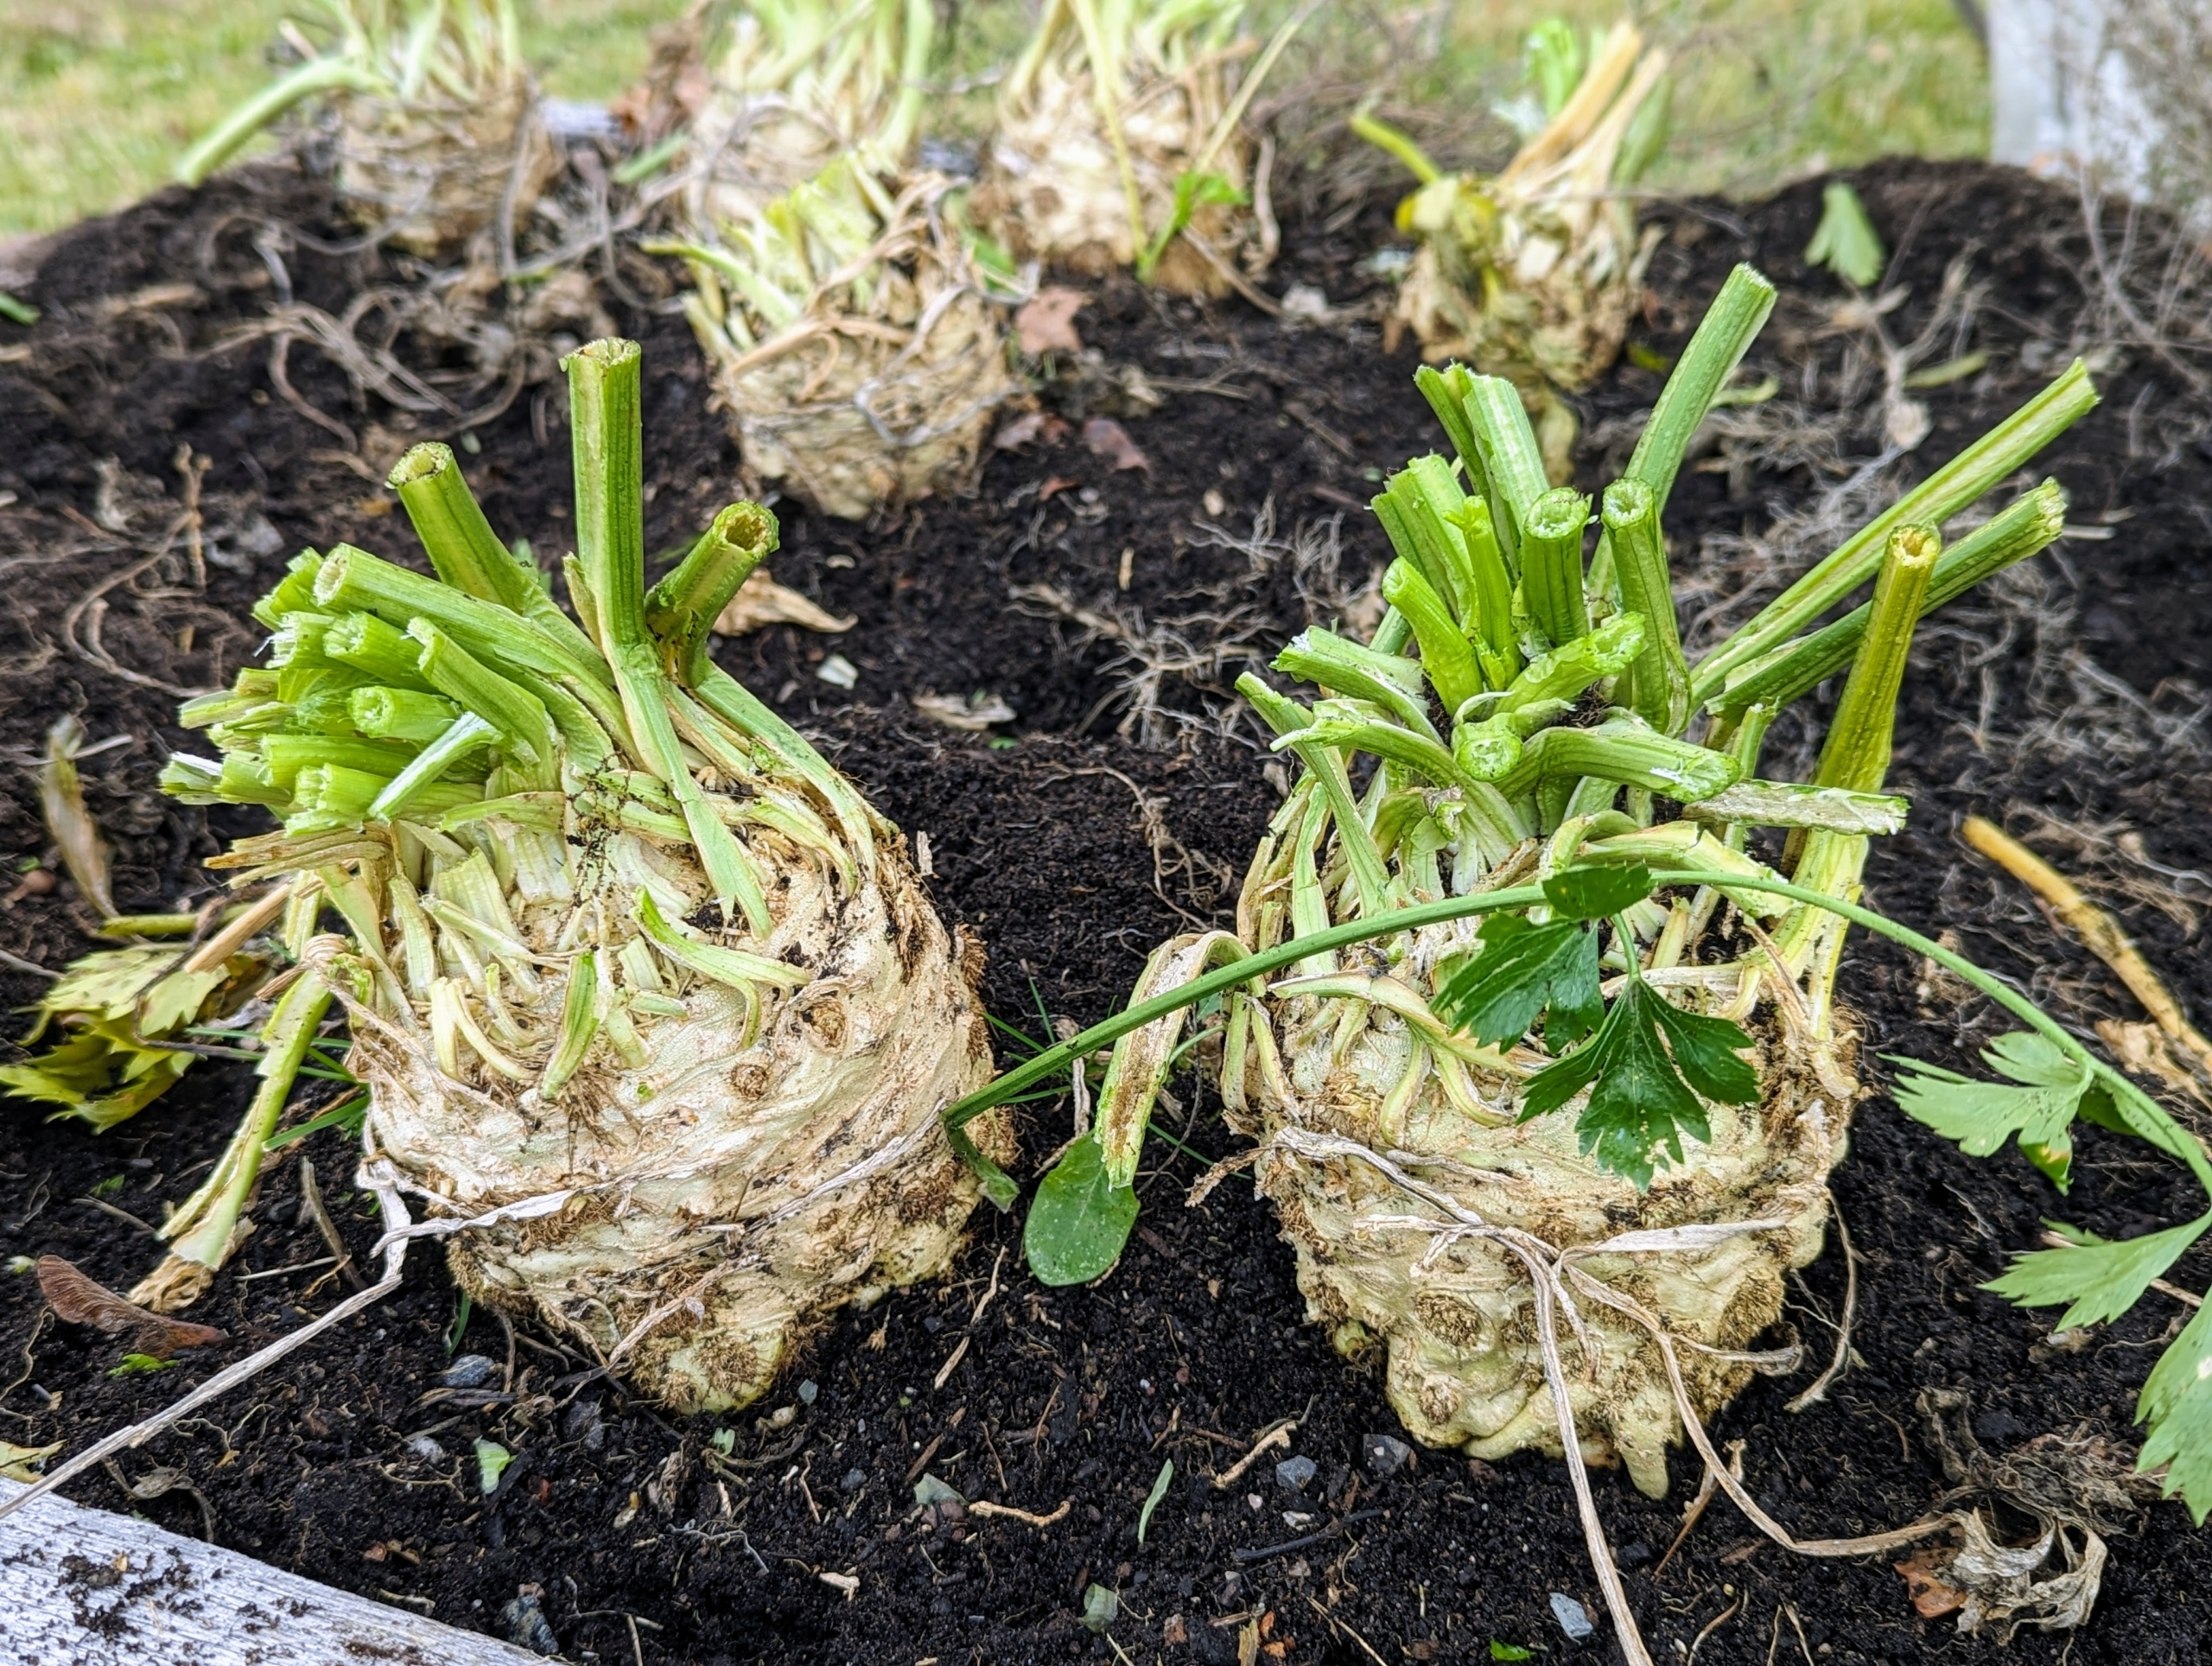
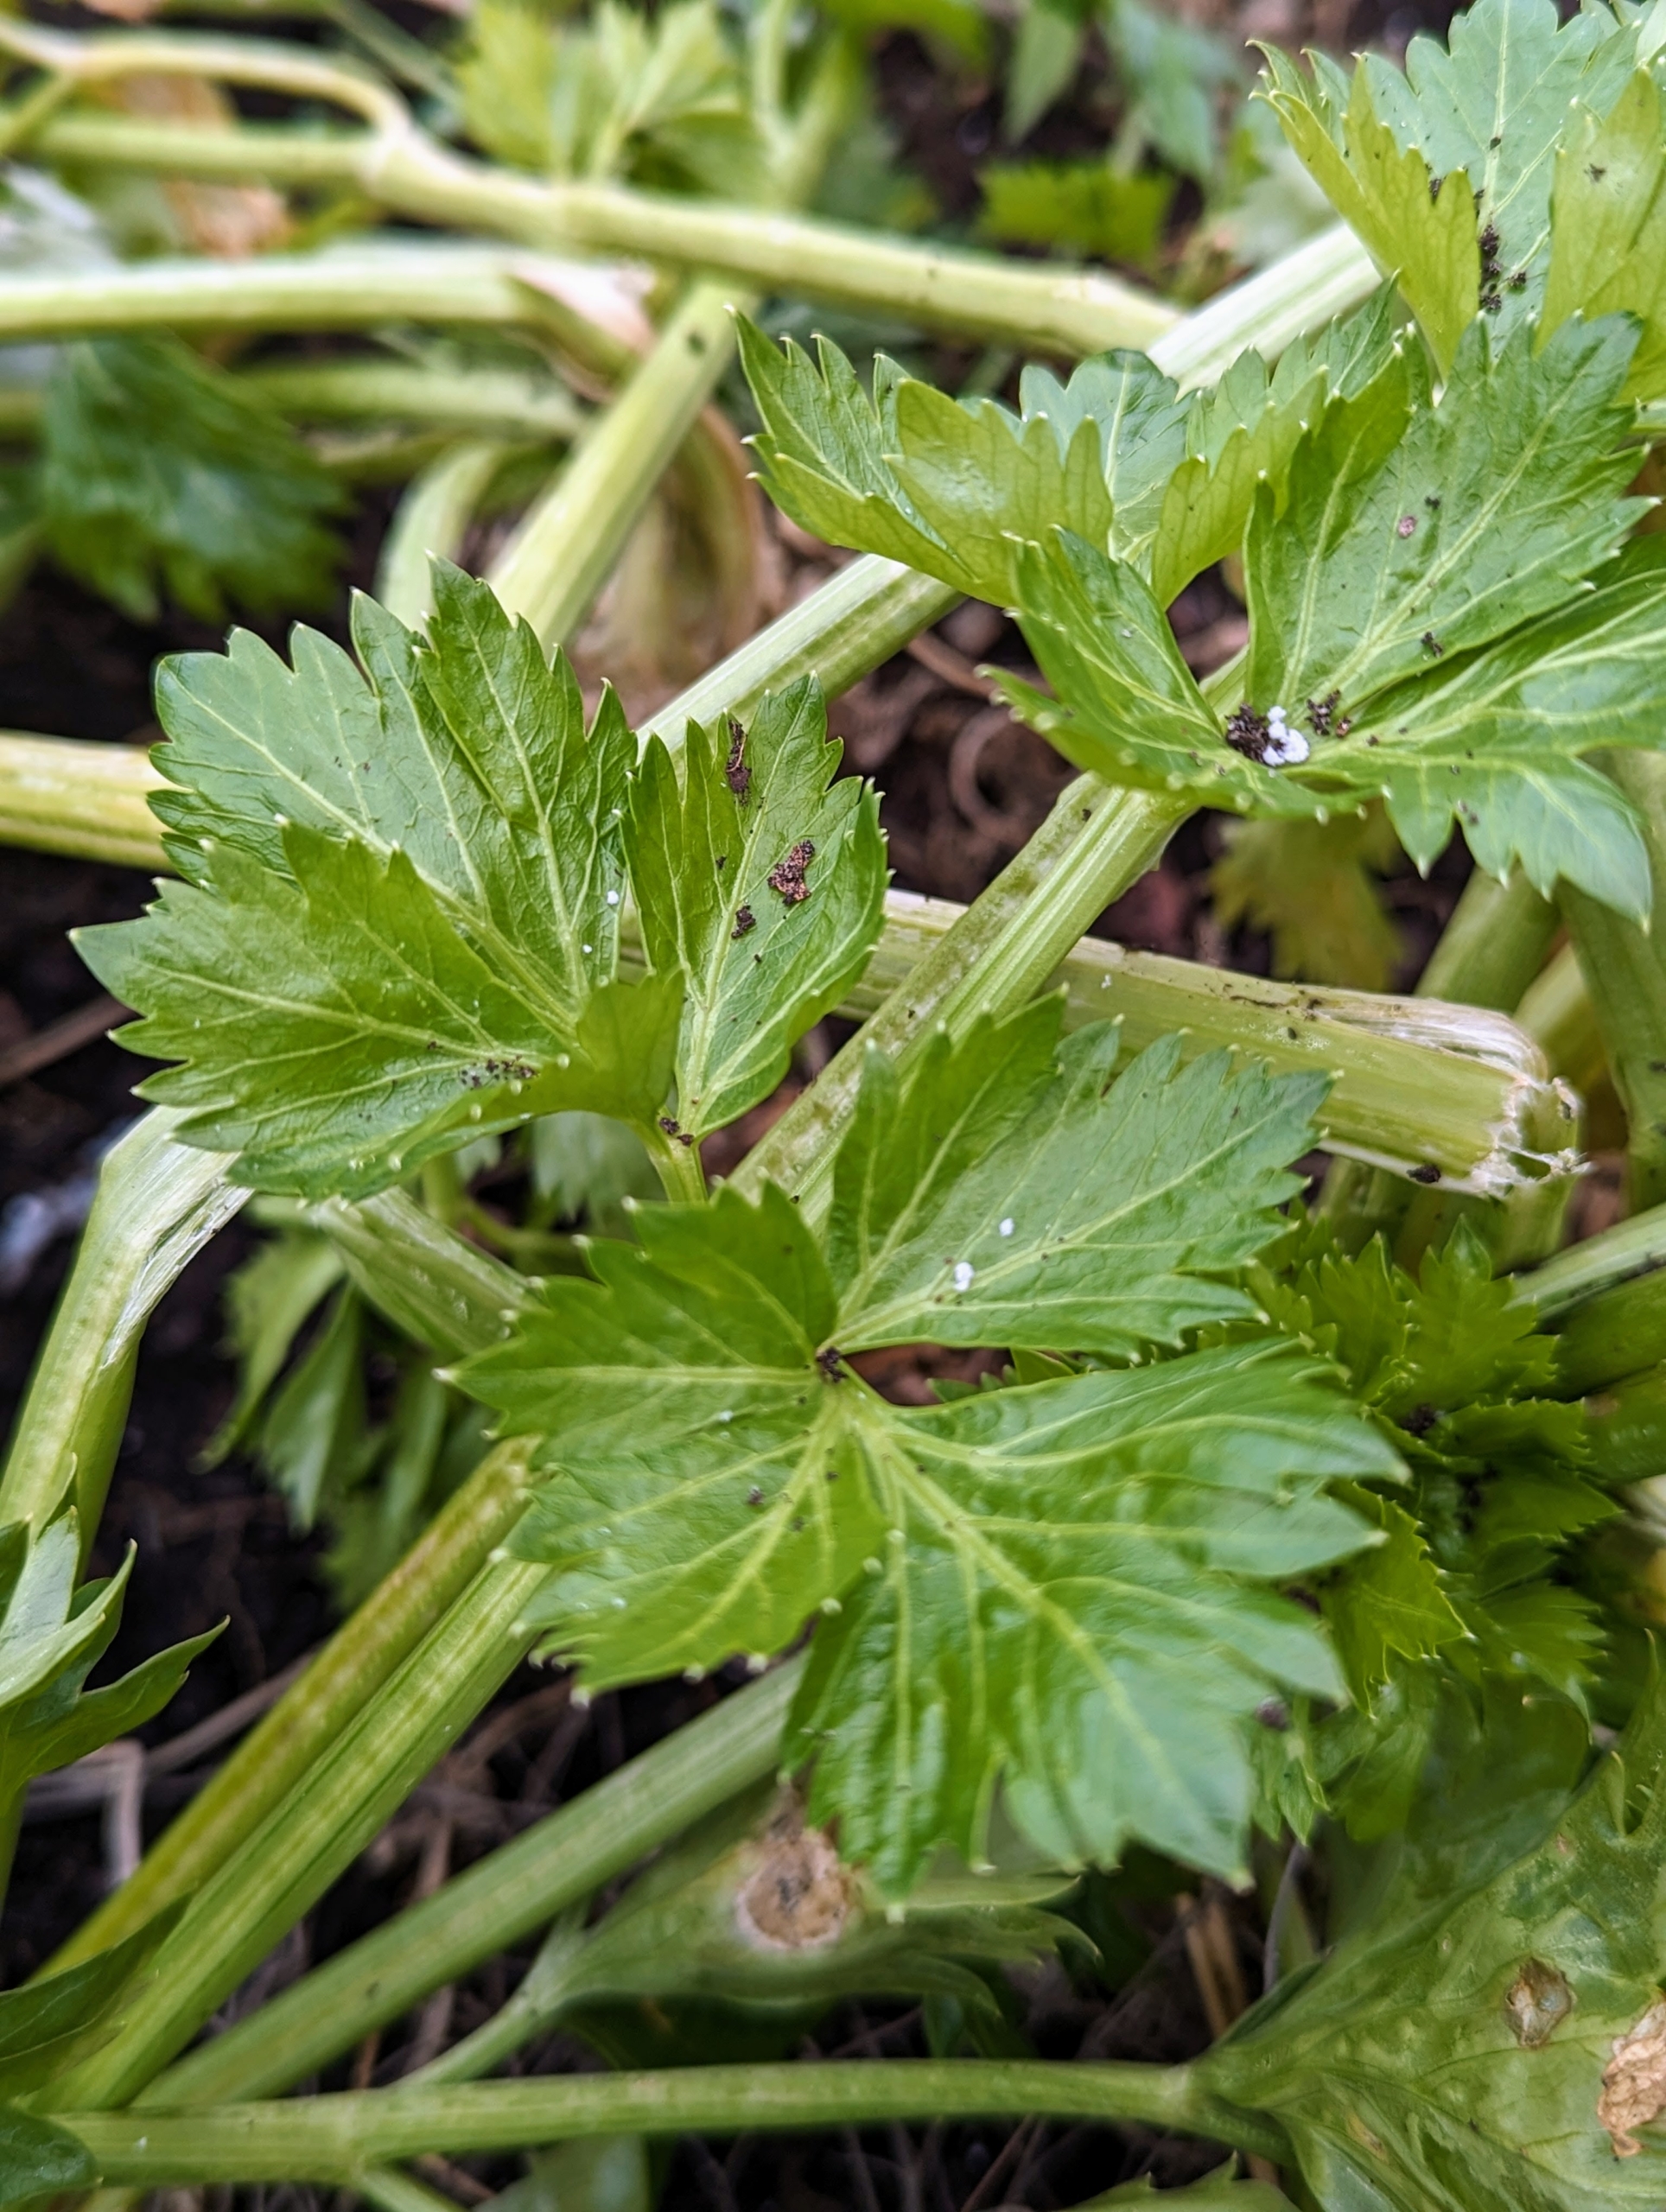
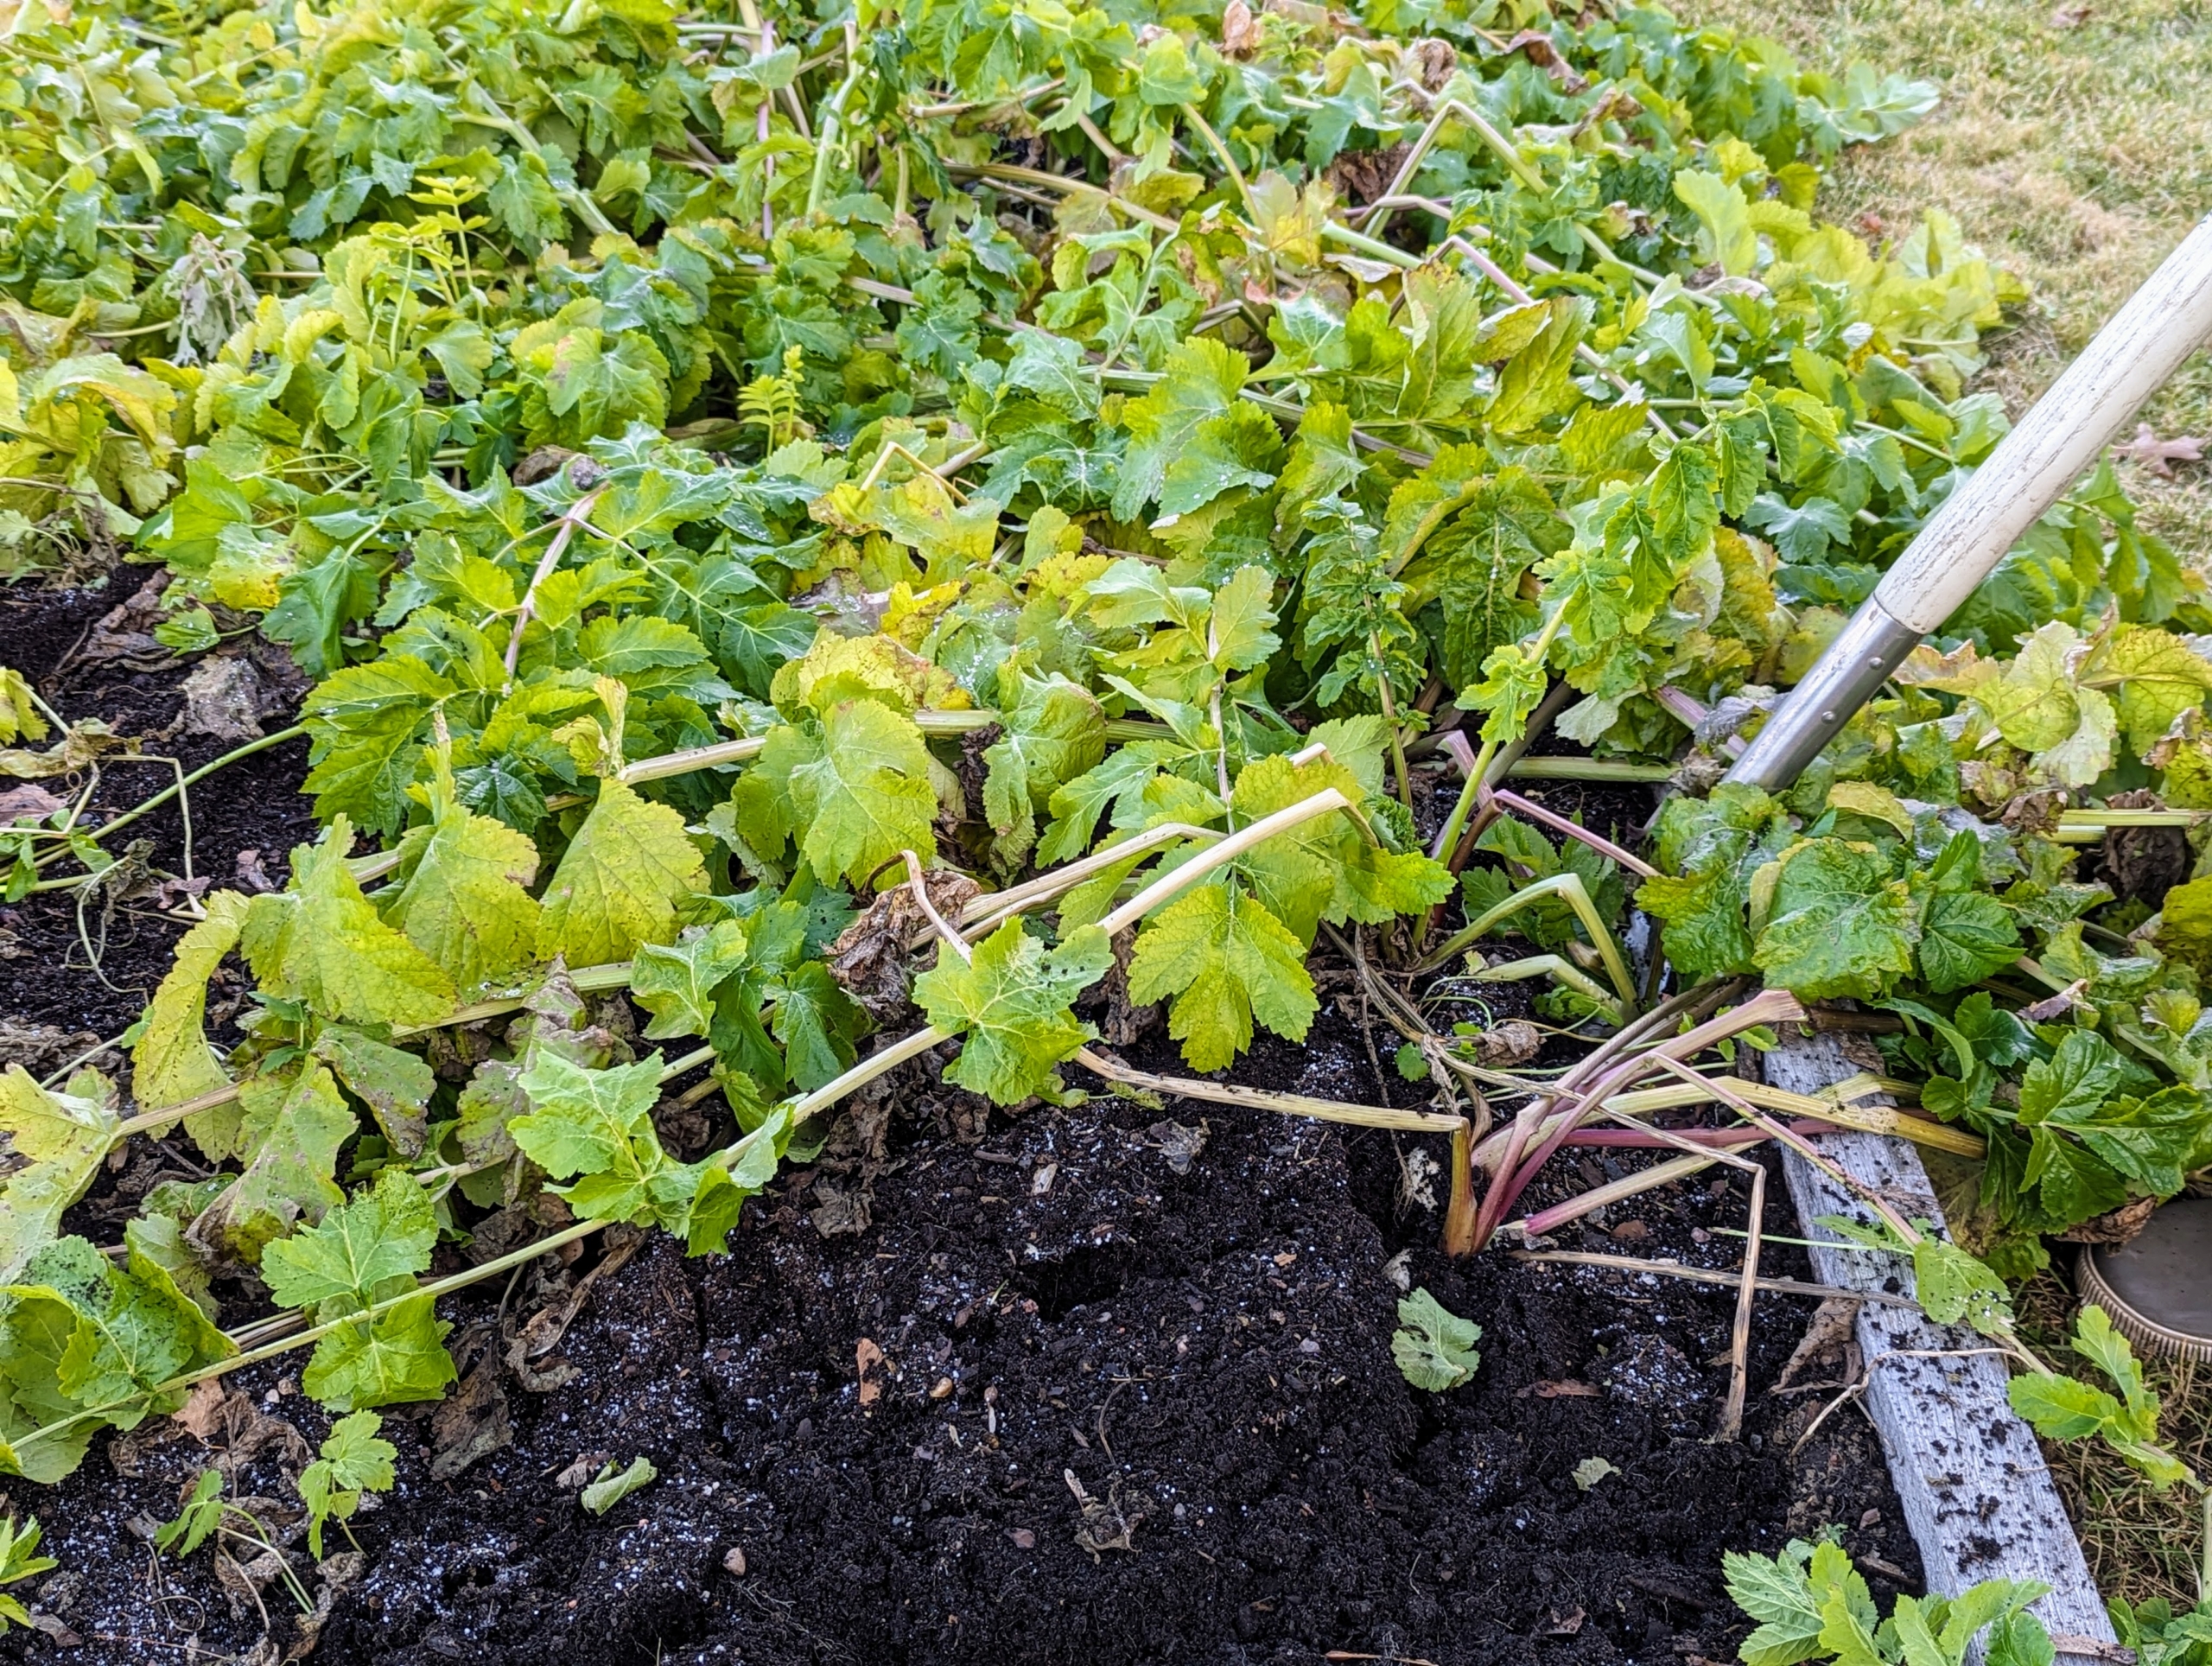
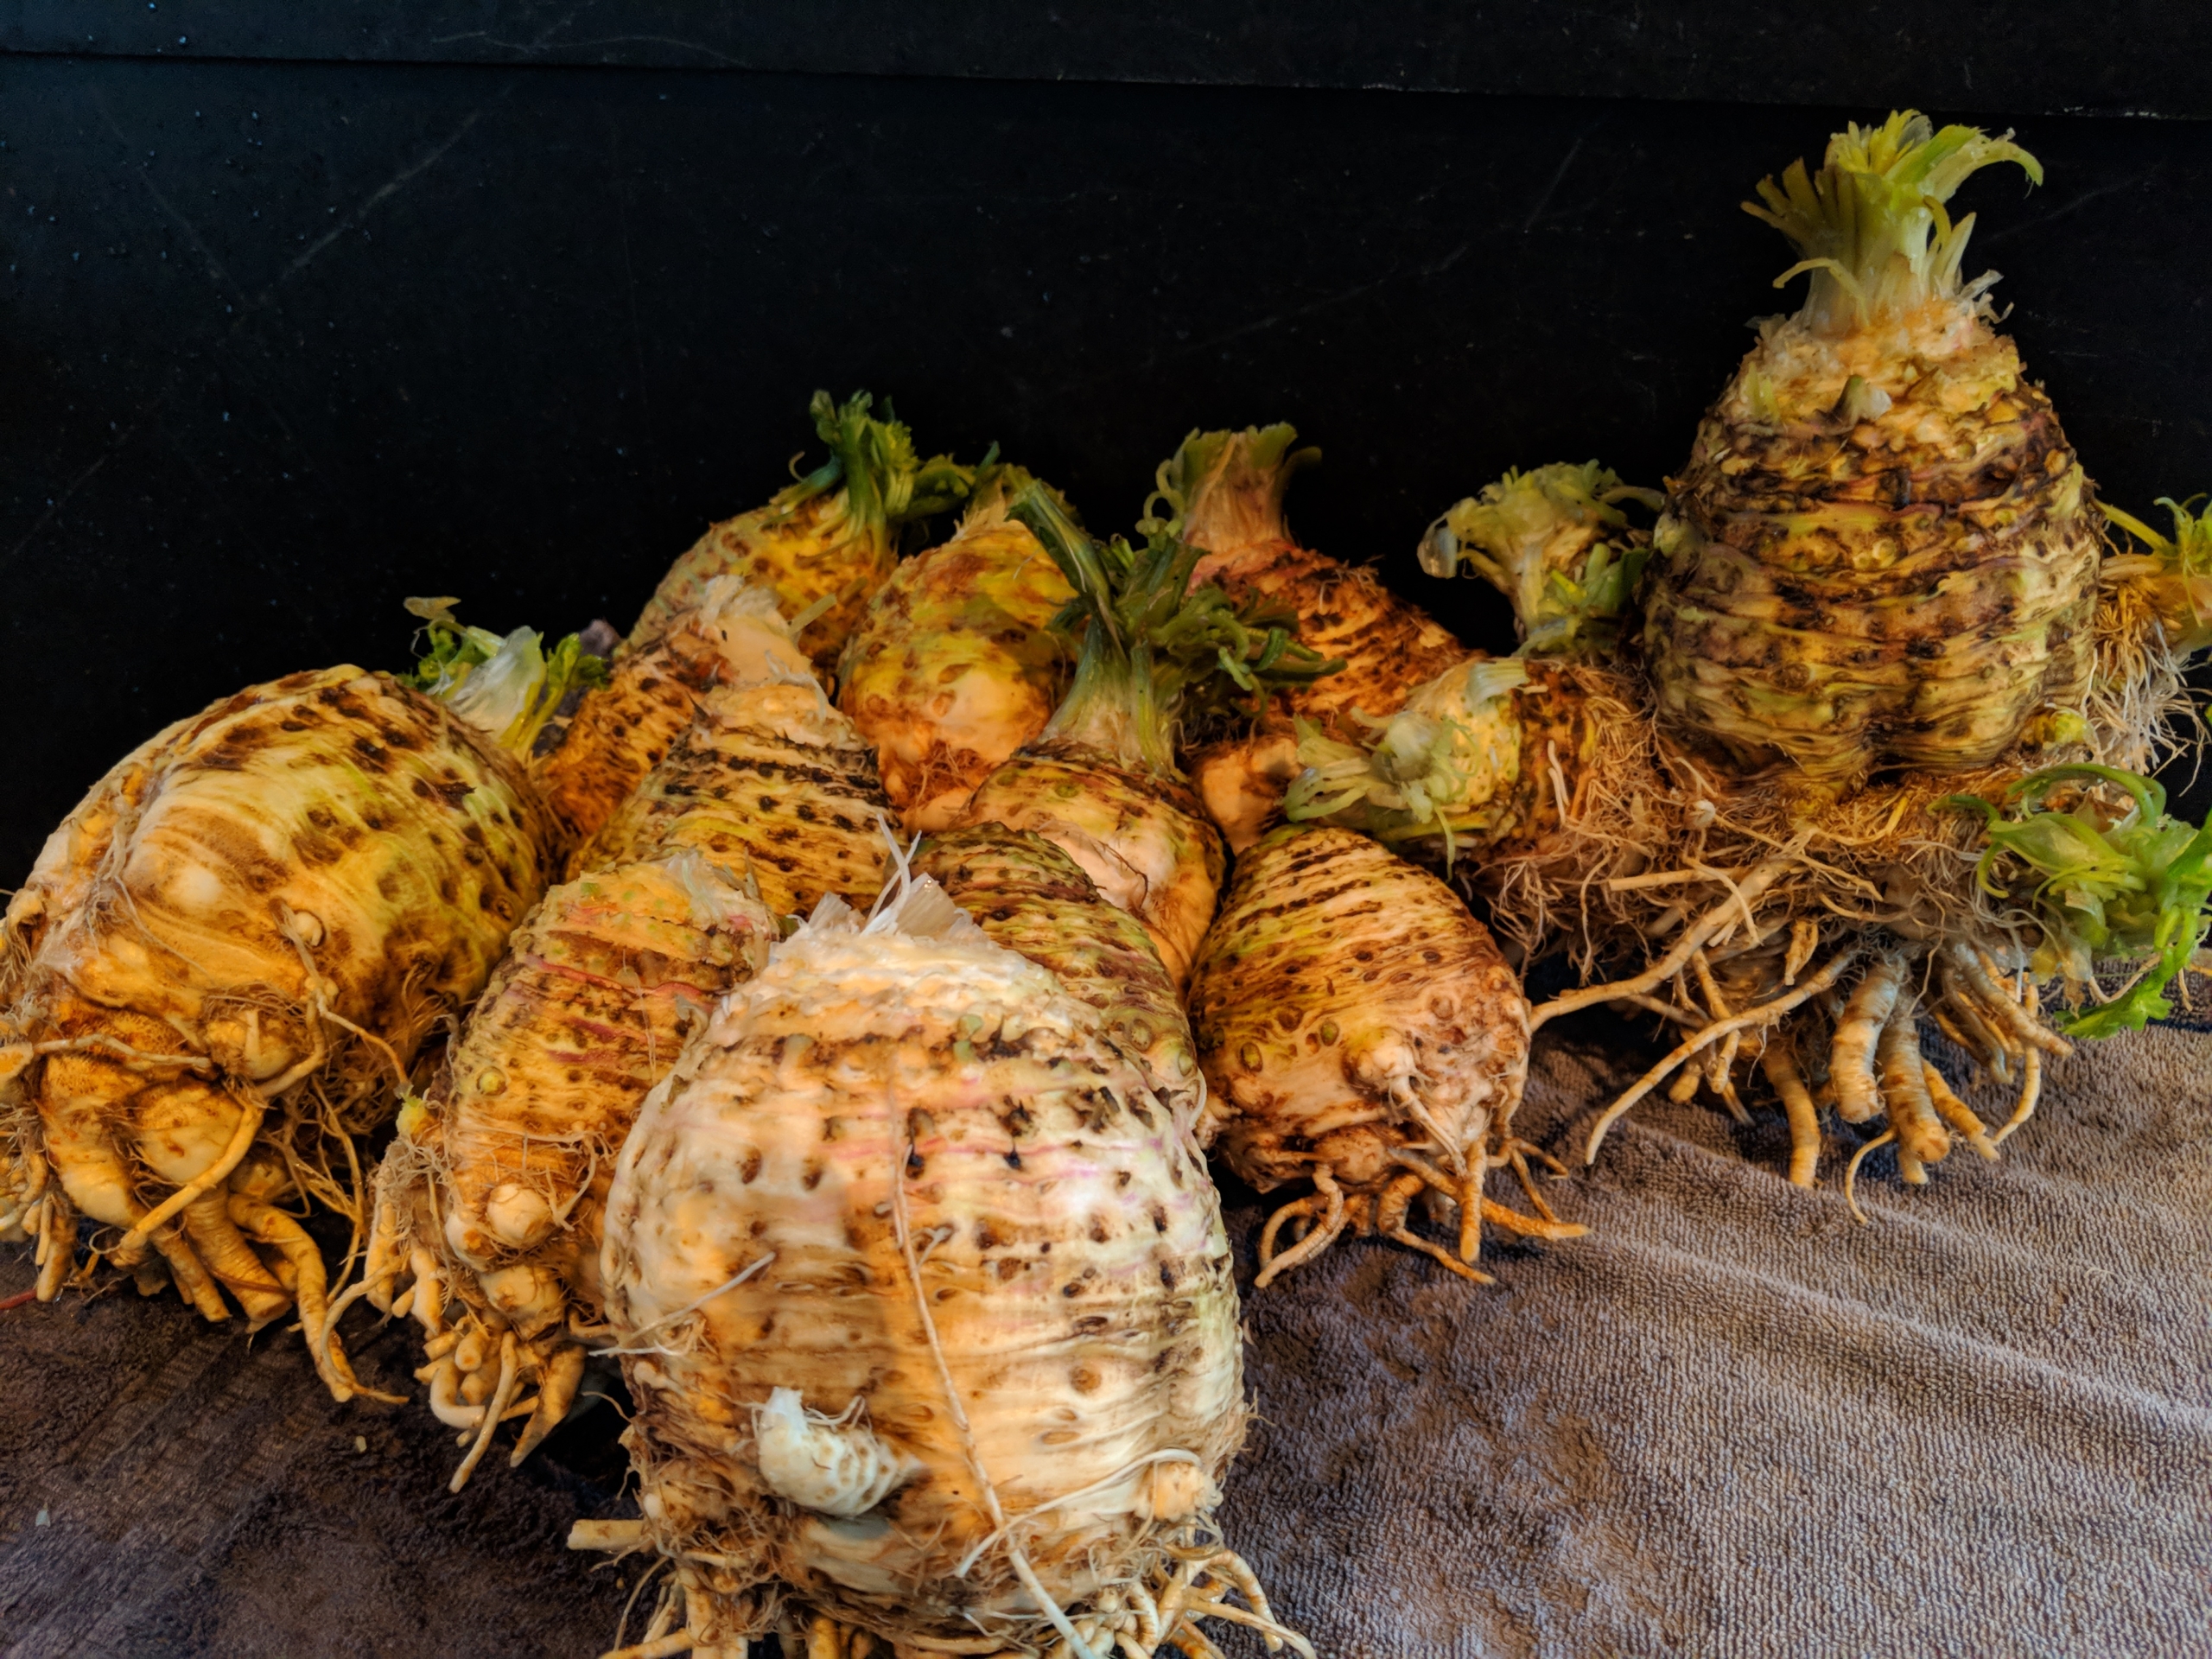
Among them, celeriac – also known as celery root, knob celery, and turnip-rooted celery. It is a variety of celery; however, while celery is grown for its succulent stalk and foliage, celeriac is cultivated for its edible and bulbous stem or hypocotyl, and shoots.
The leaves of celeriac are also edible and can be chopped finely and used as a garnish or to flavor soups and stocks.
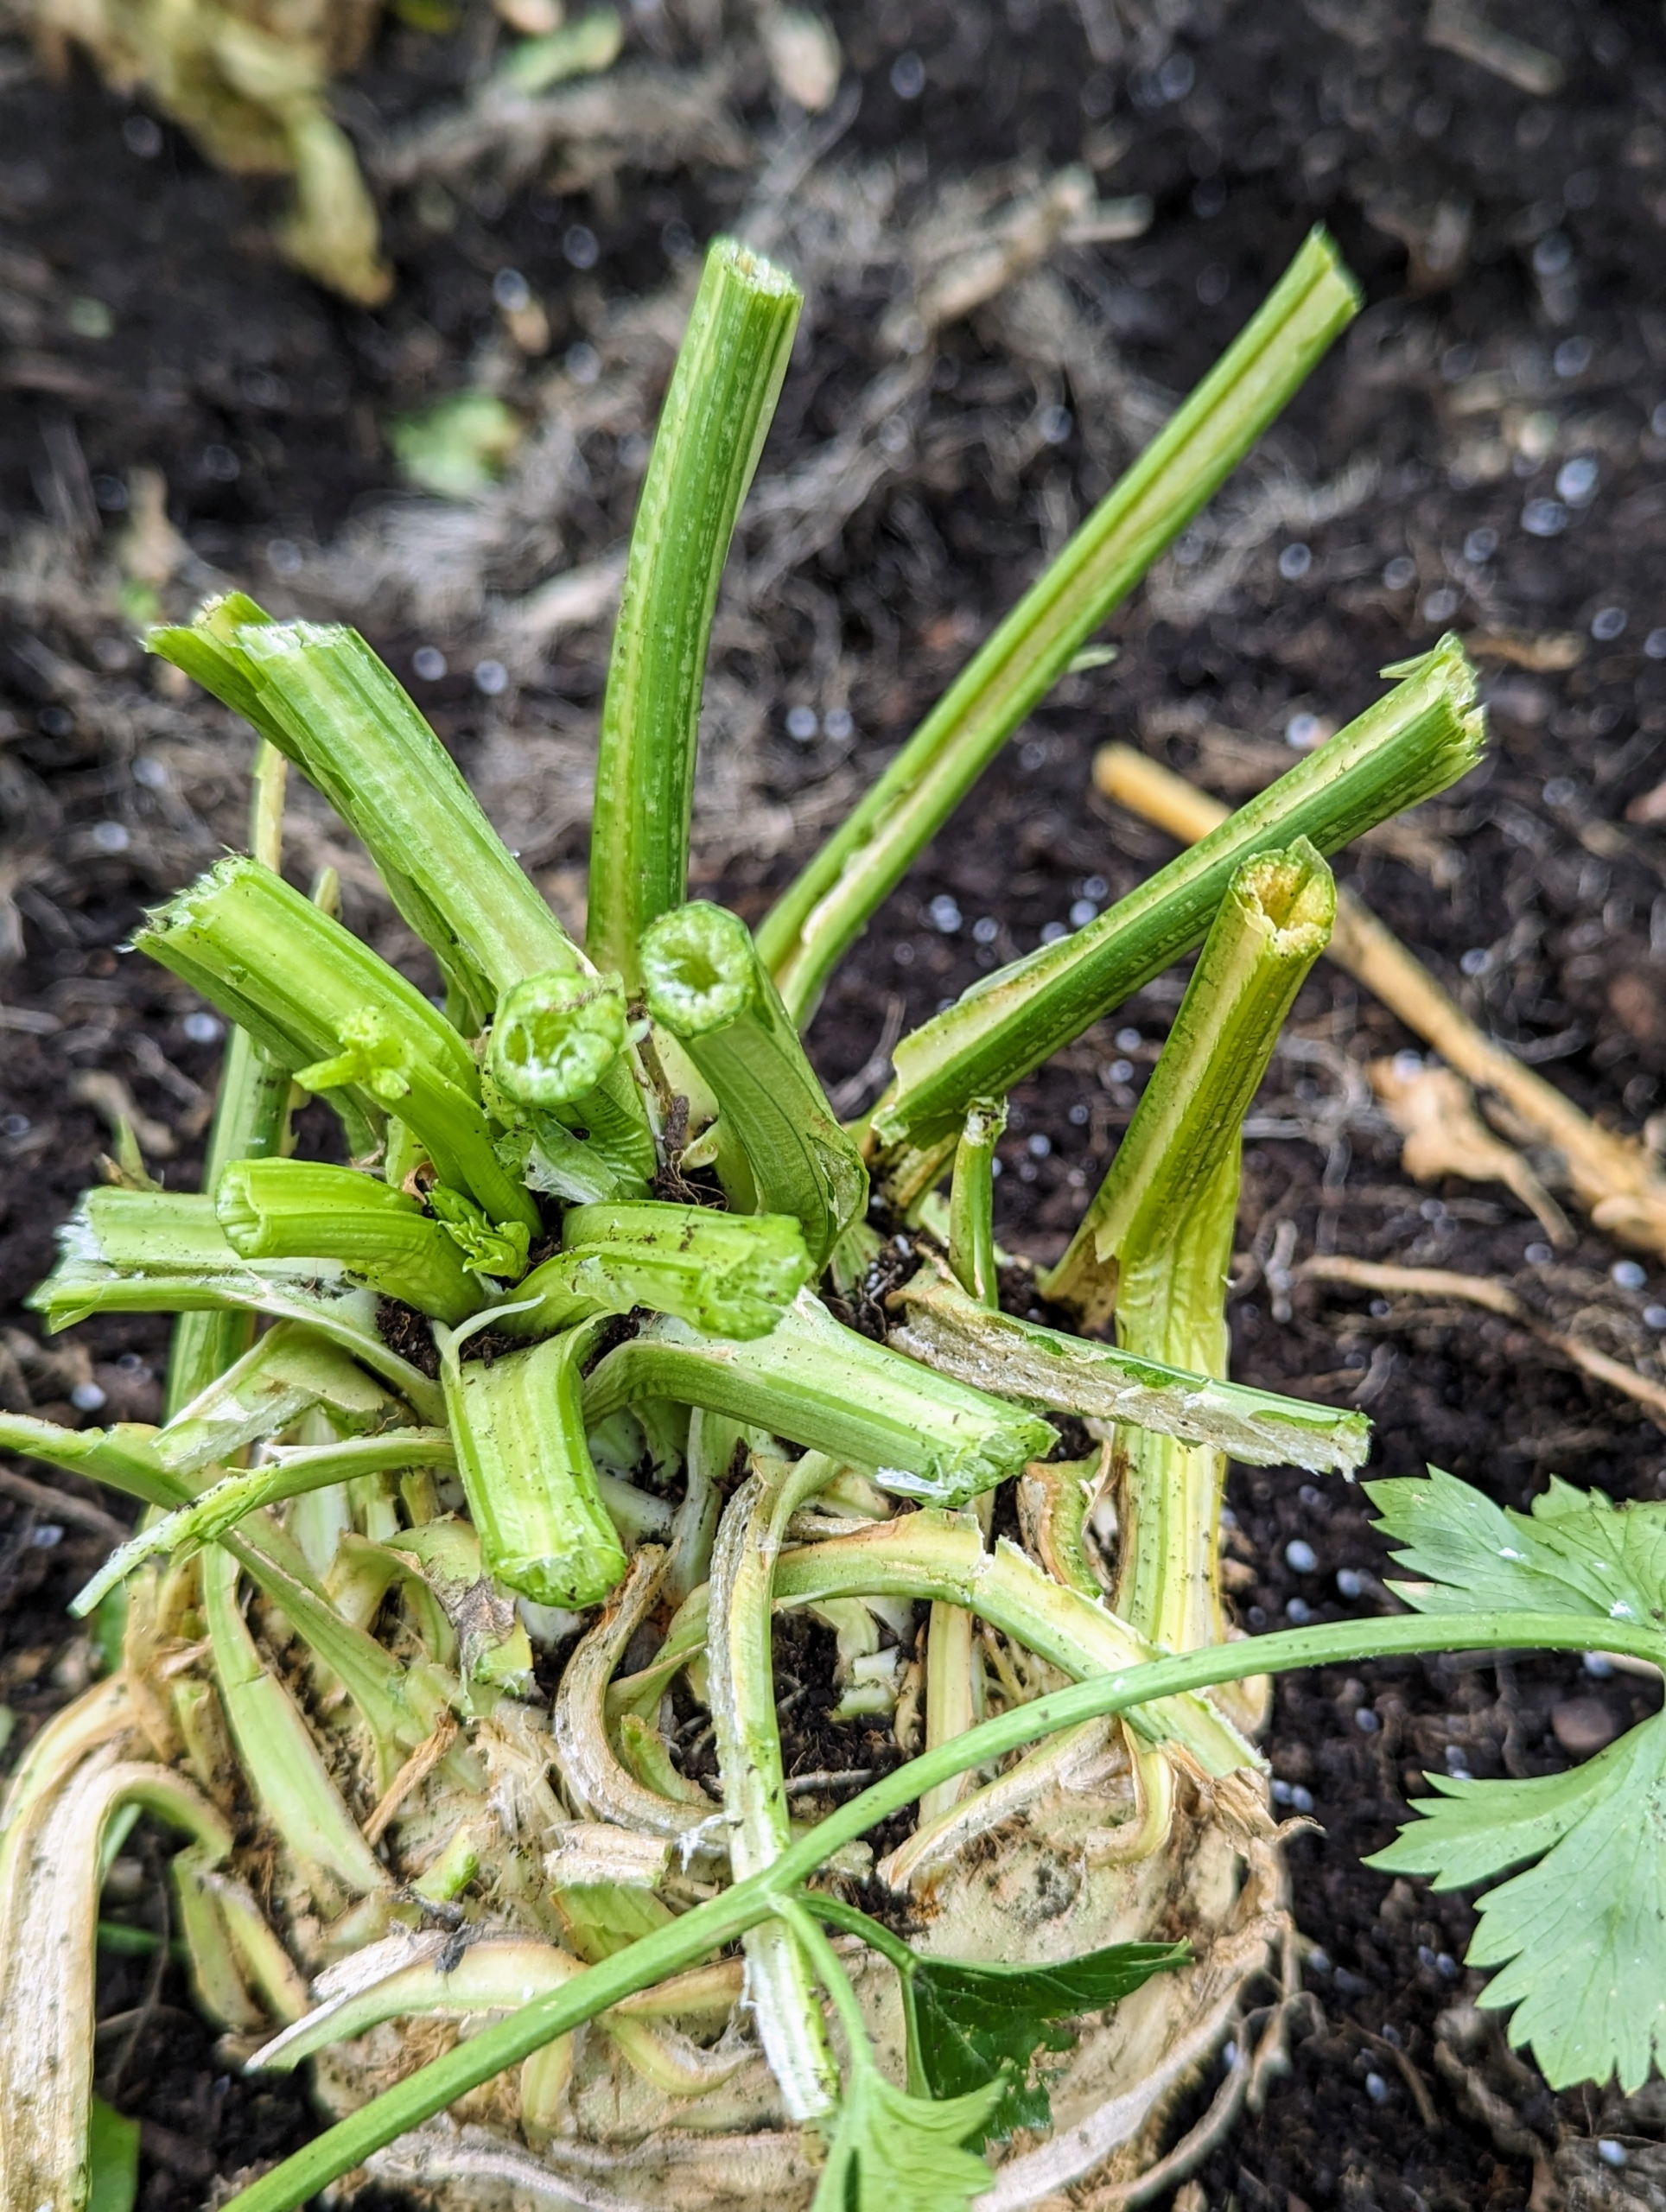
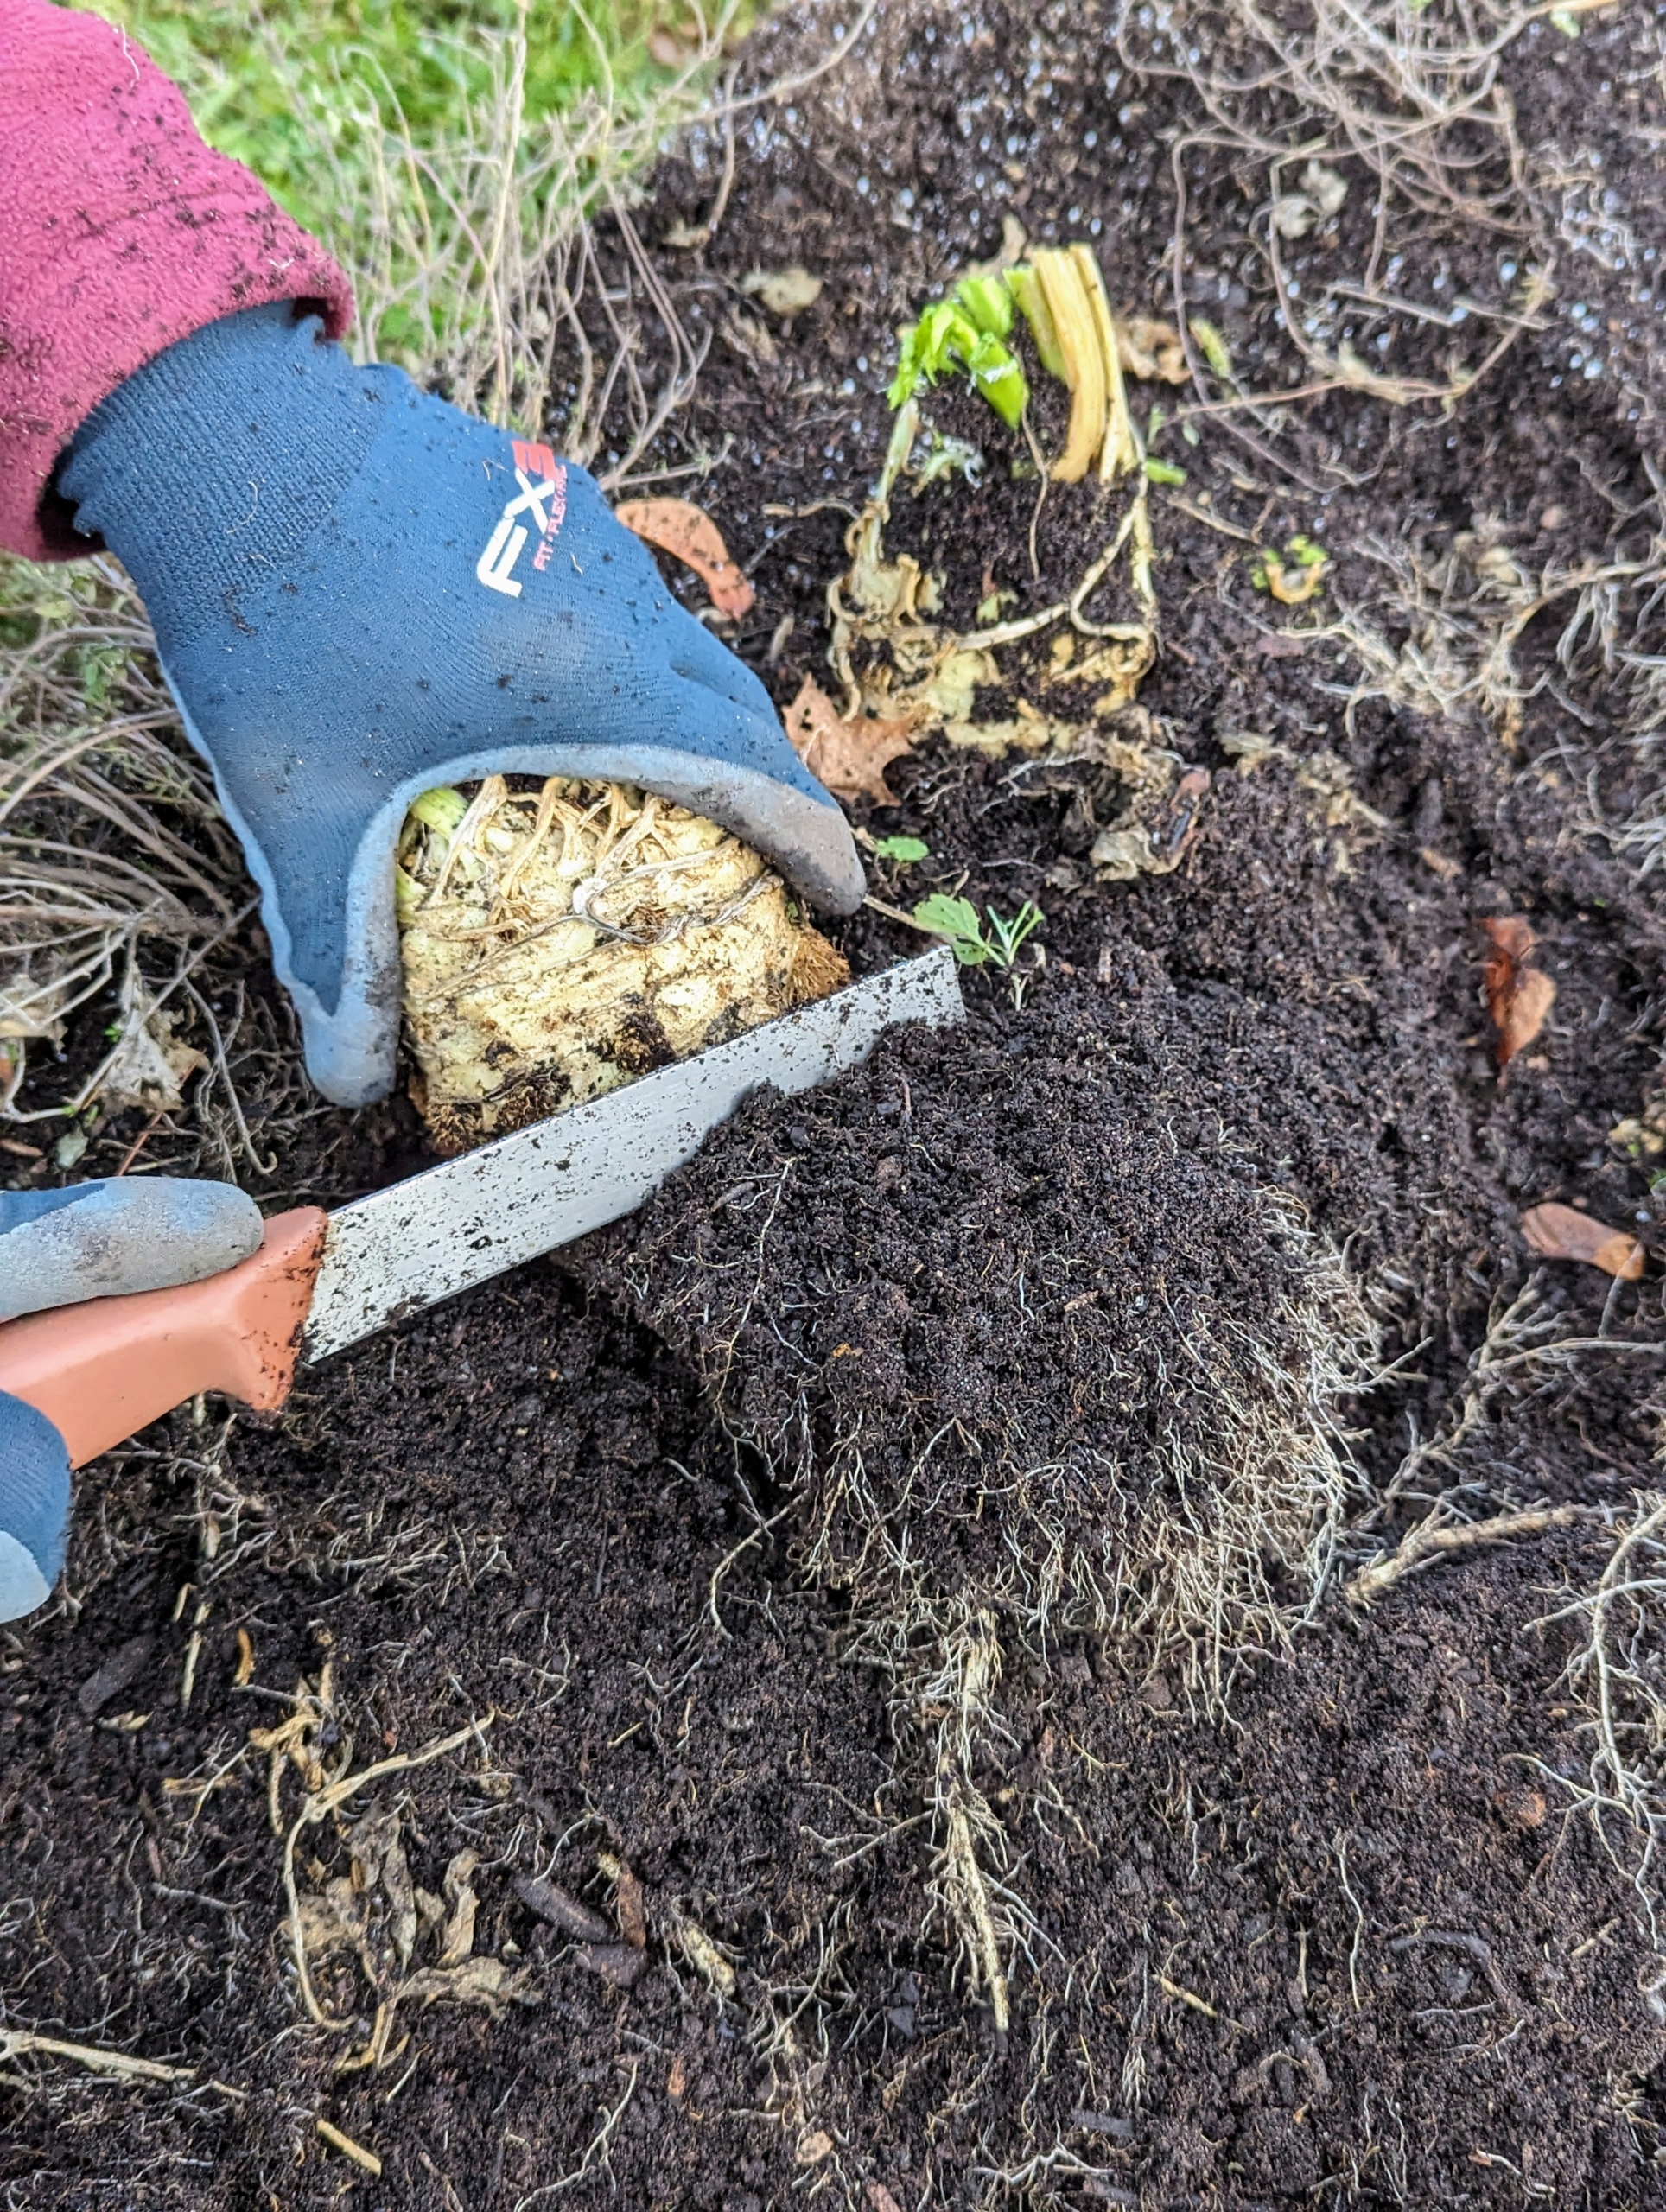
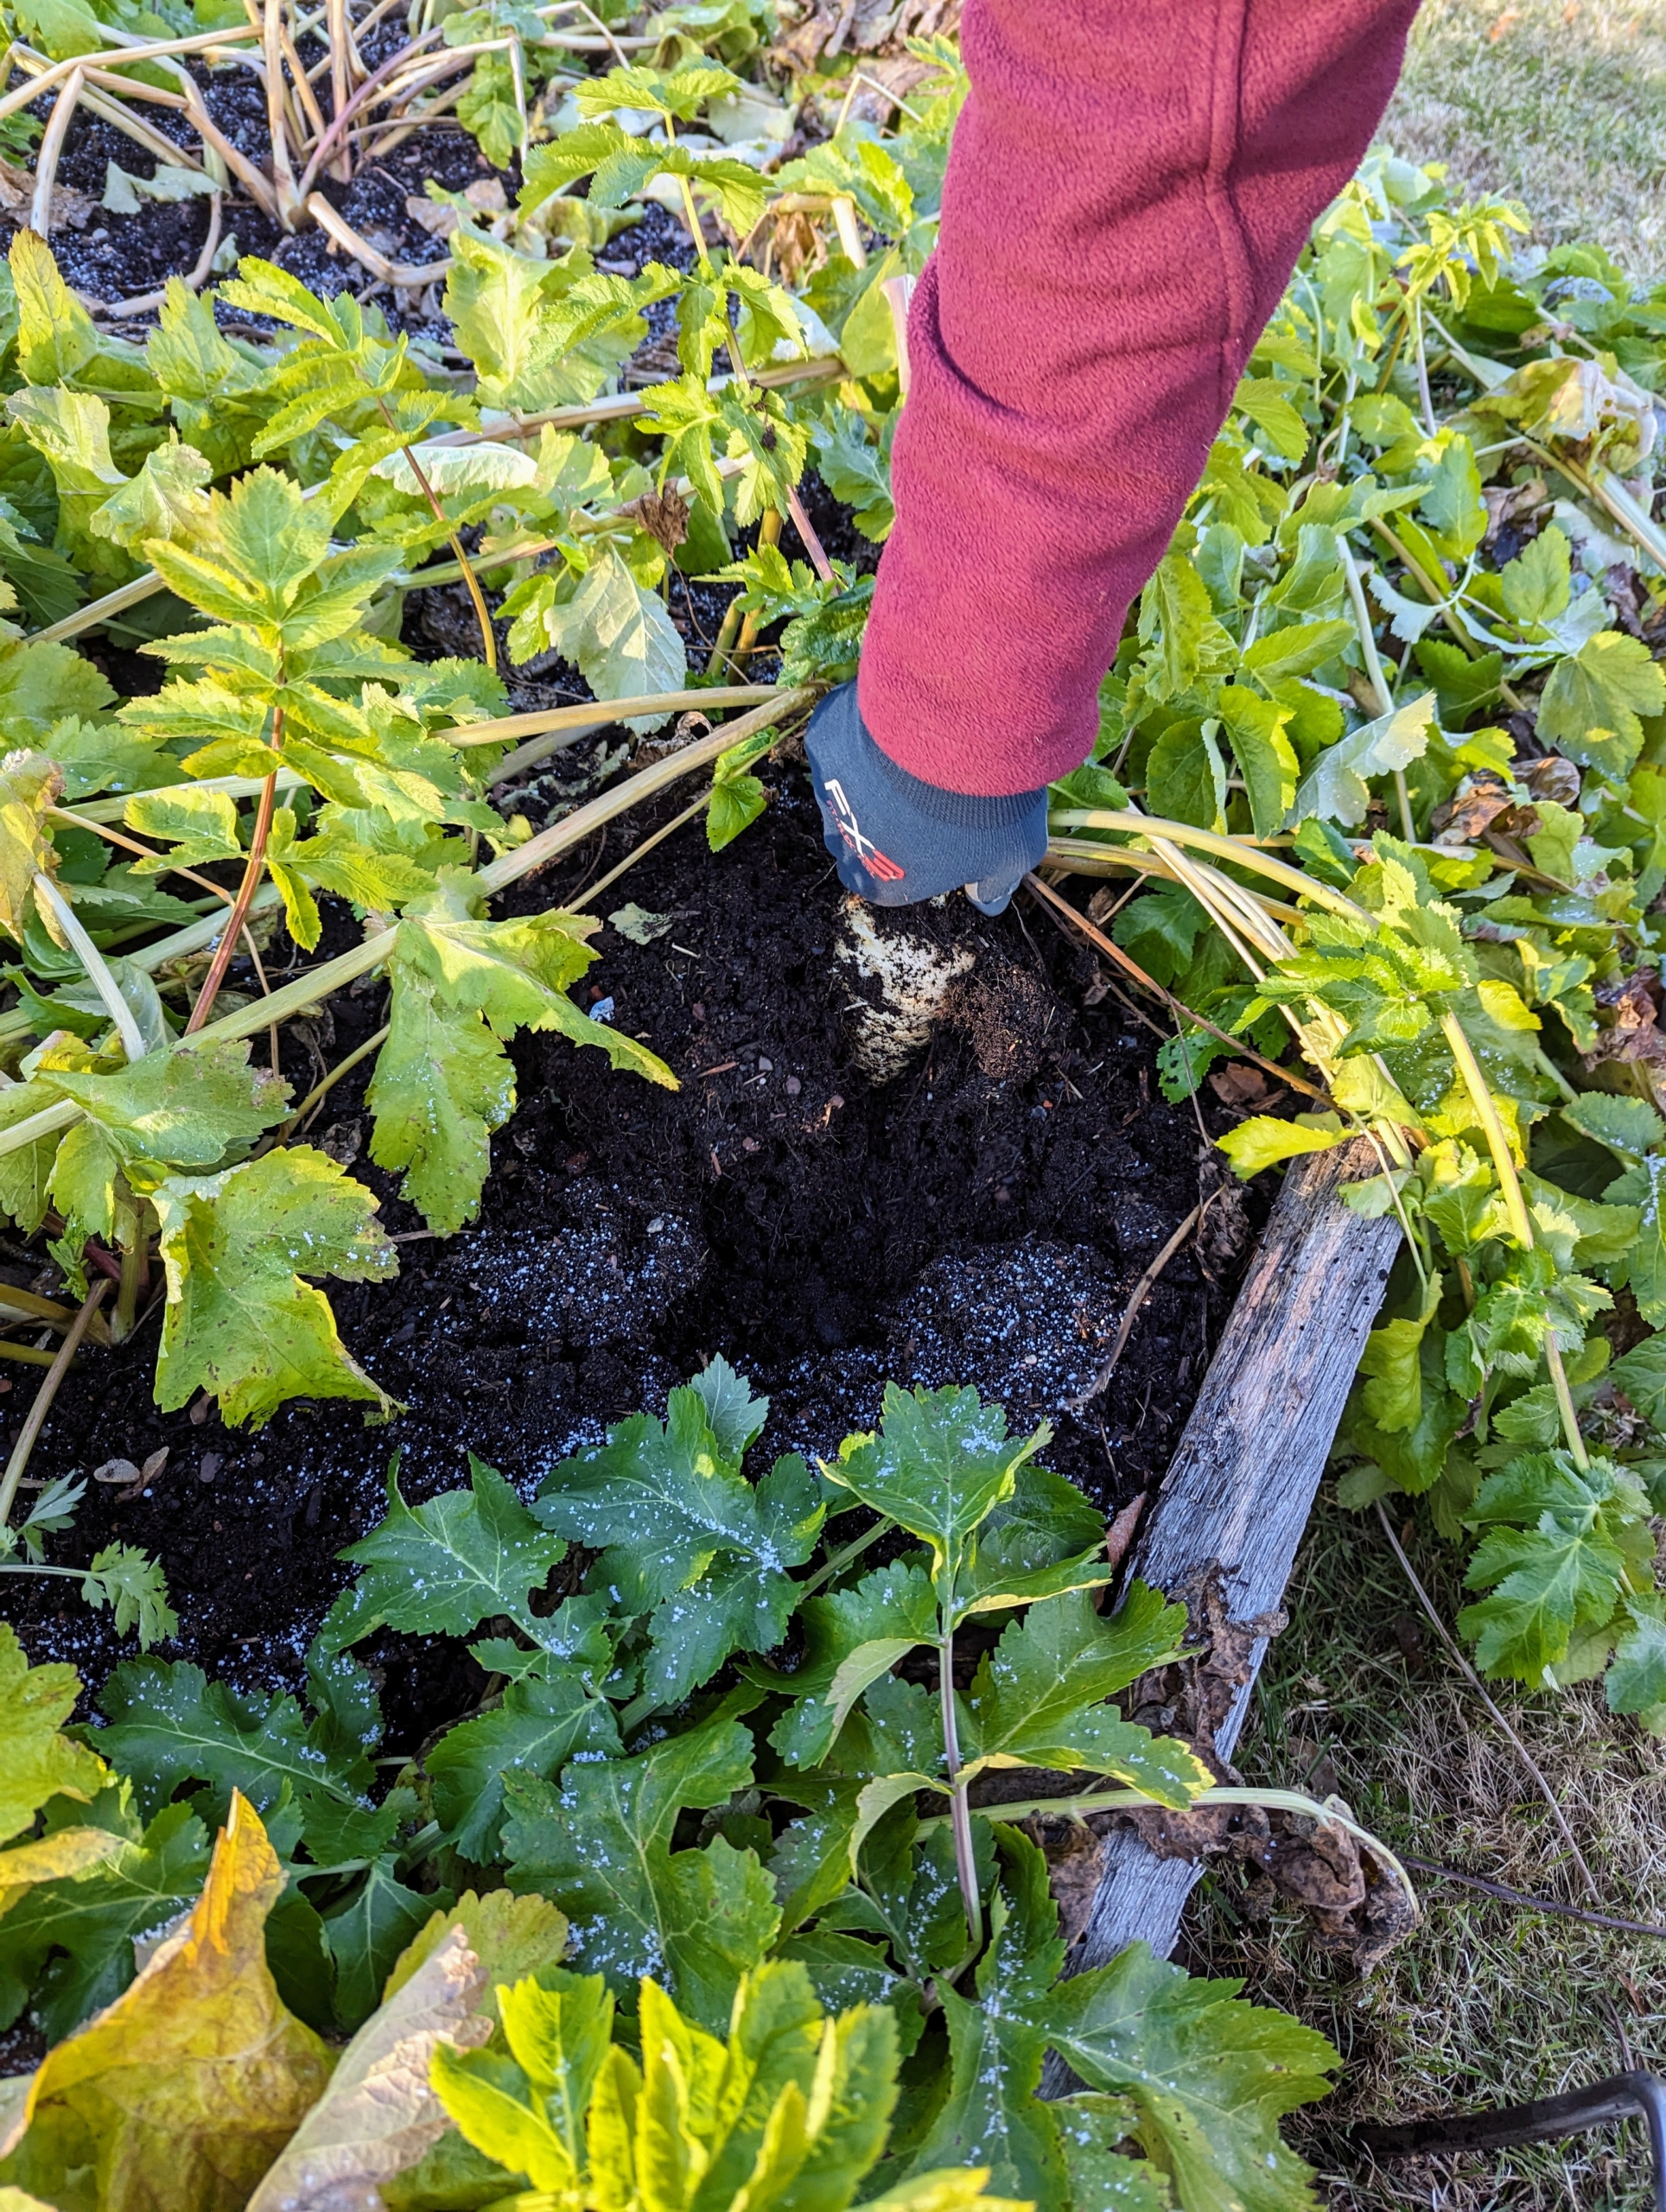
First, Ryan cuts the leafy stalks to reveal the celeriac.
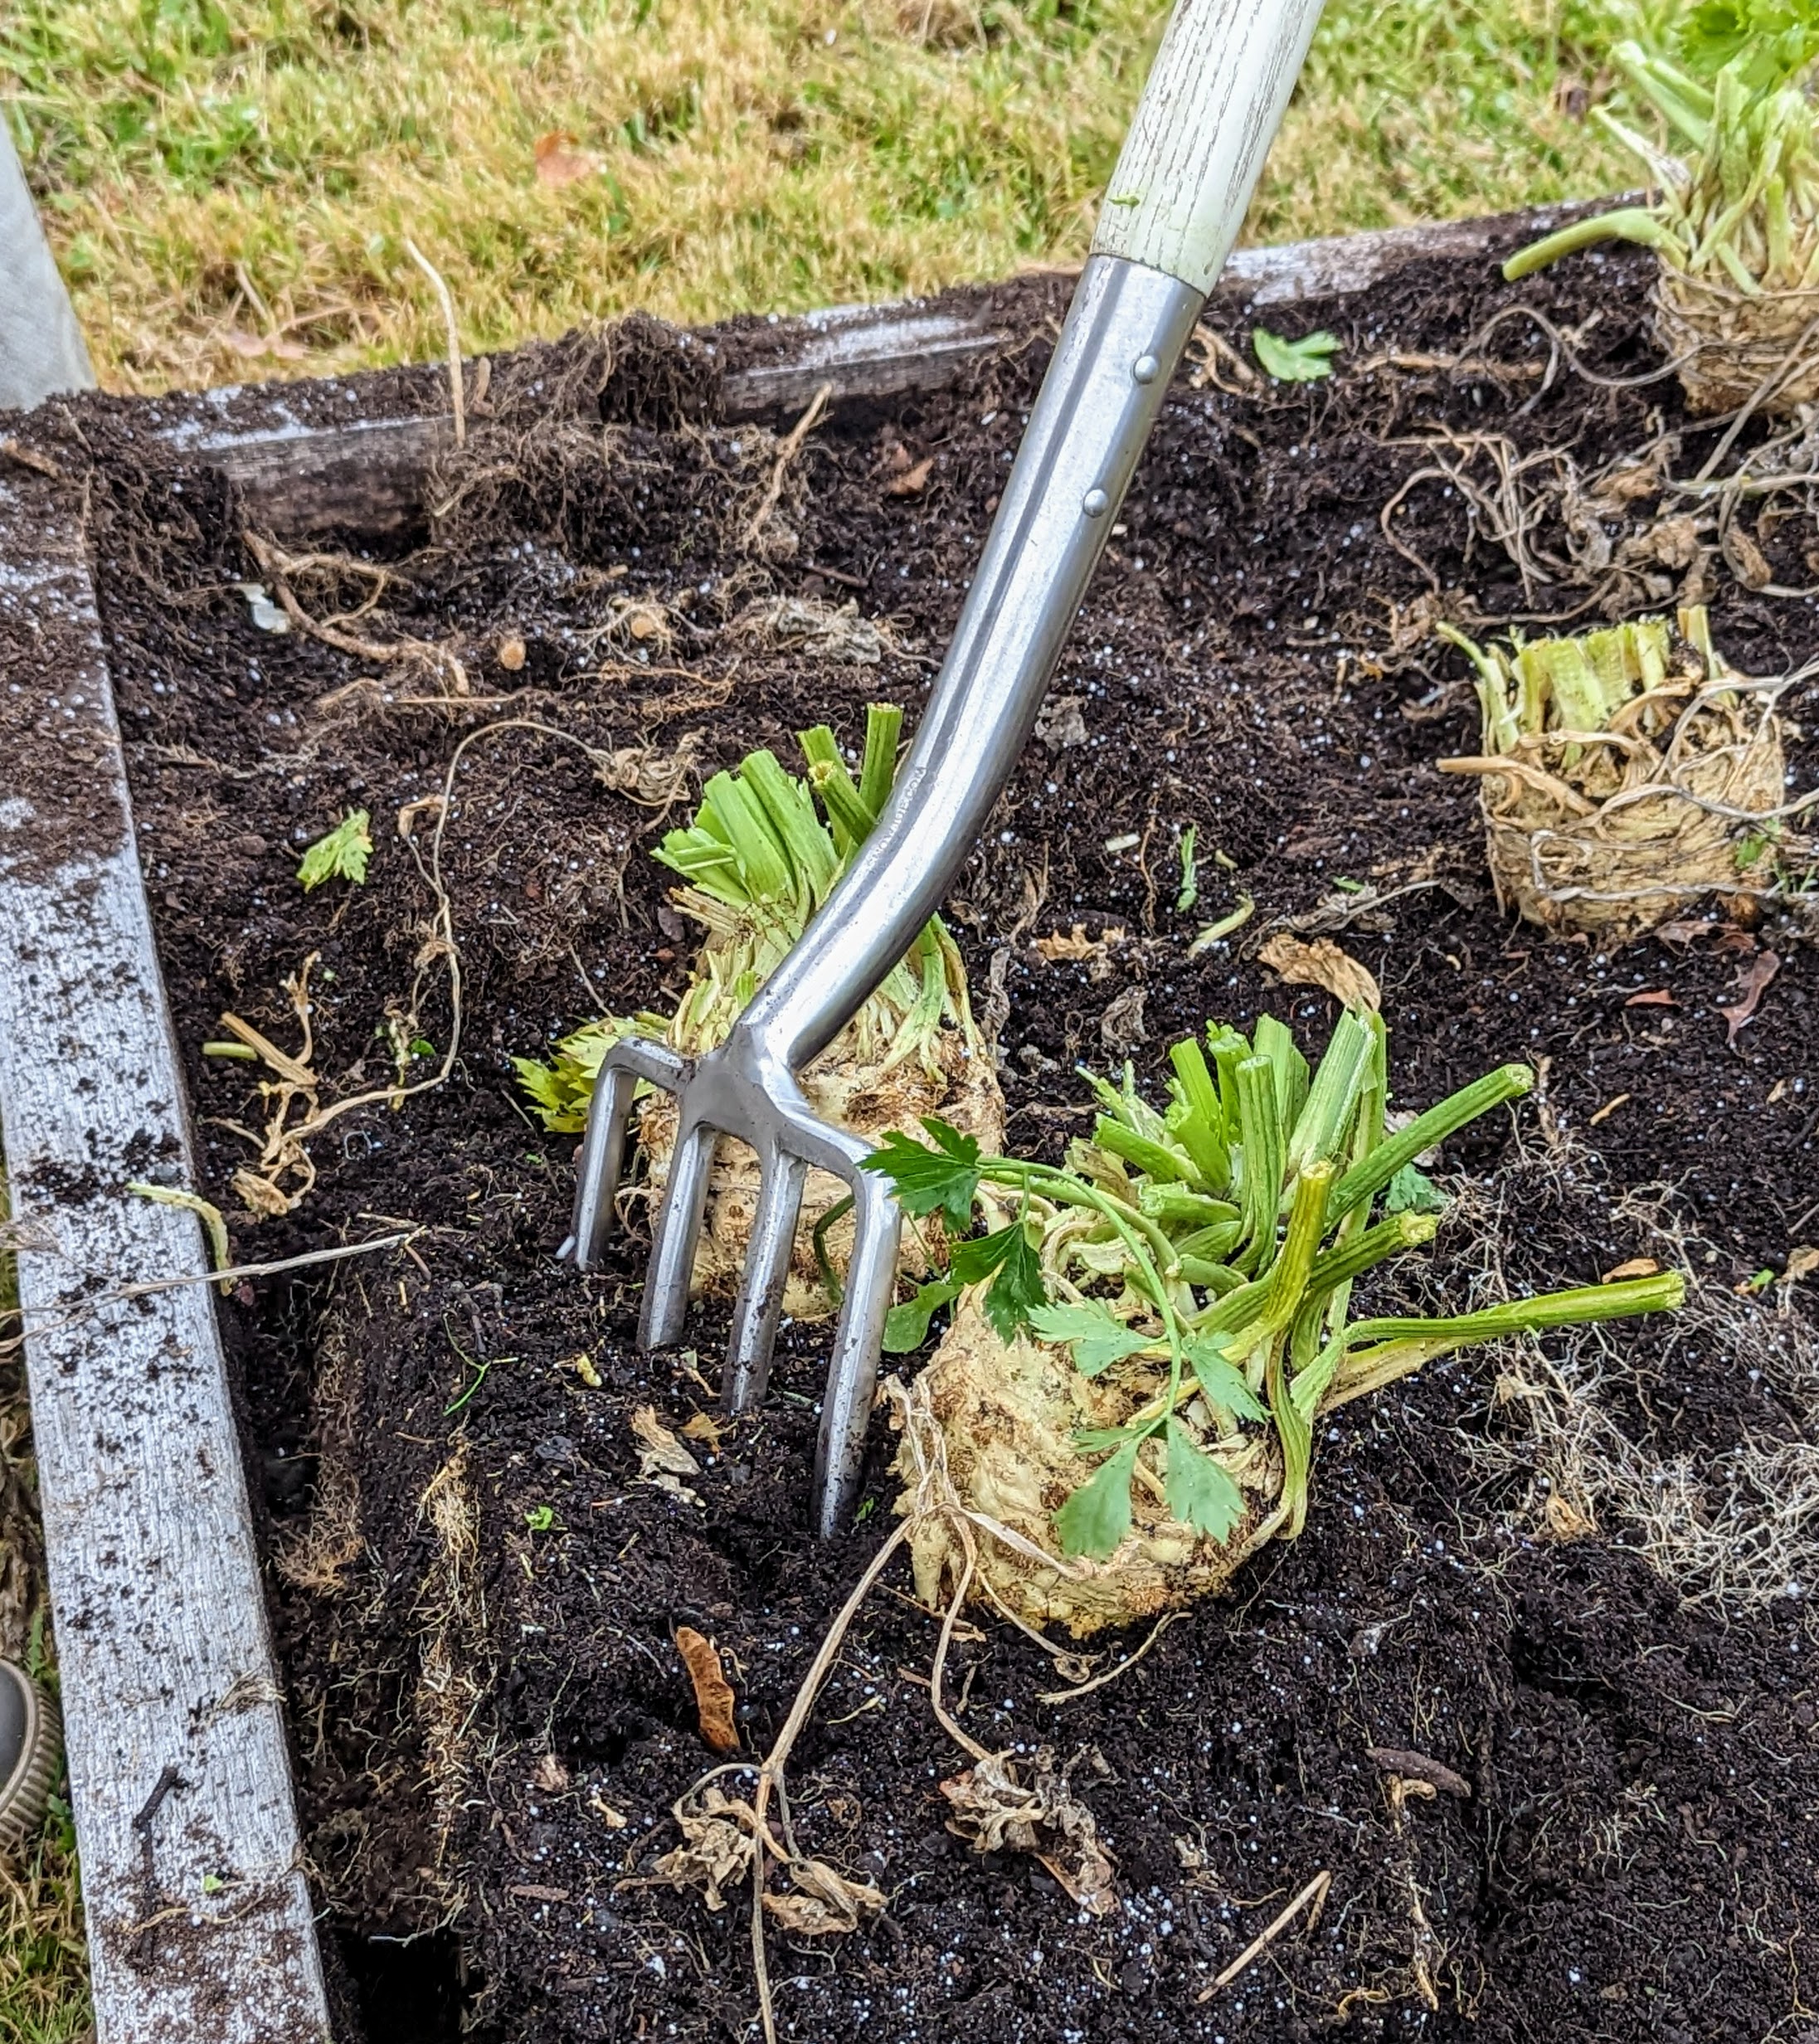
And then he eases each ball slowly from the bed using a pitch fork.
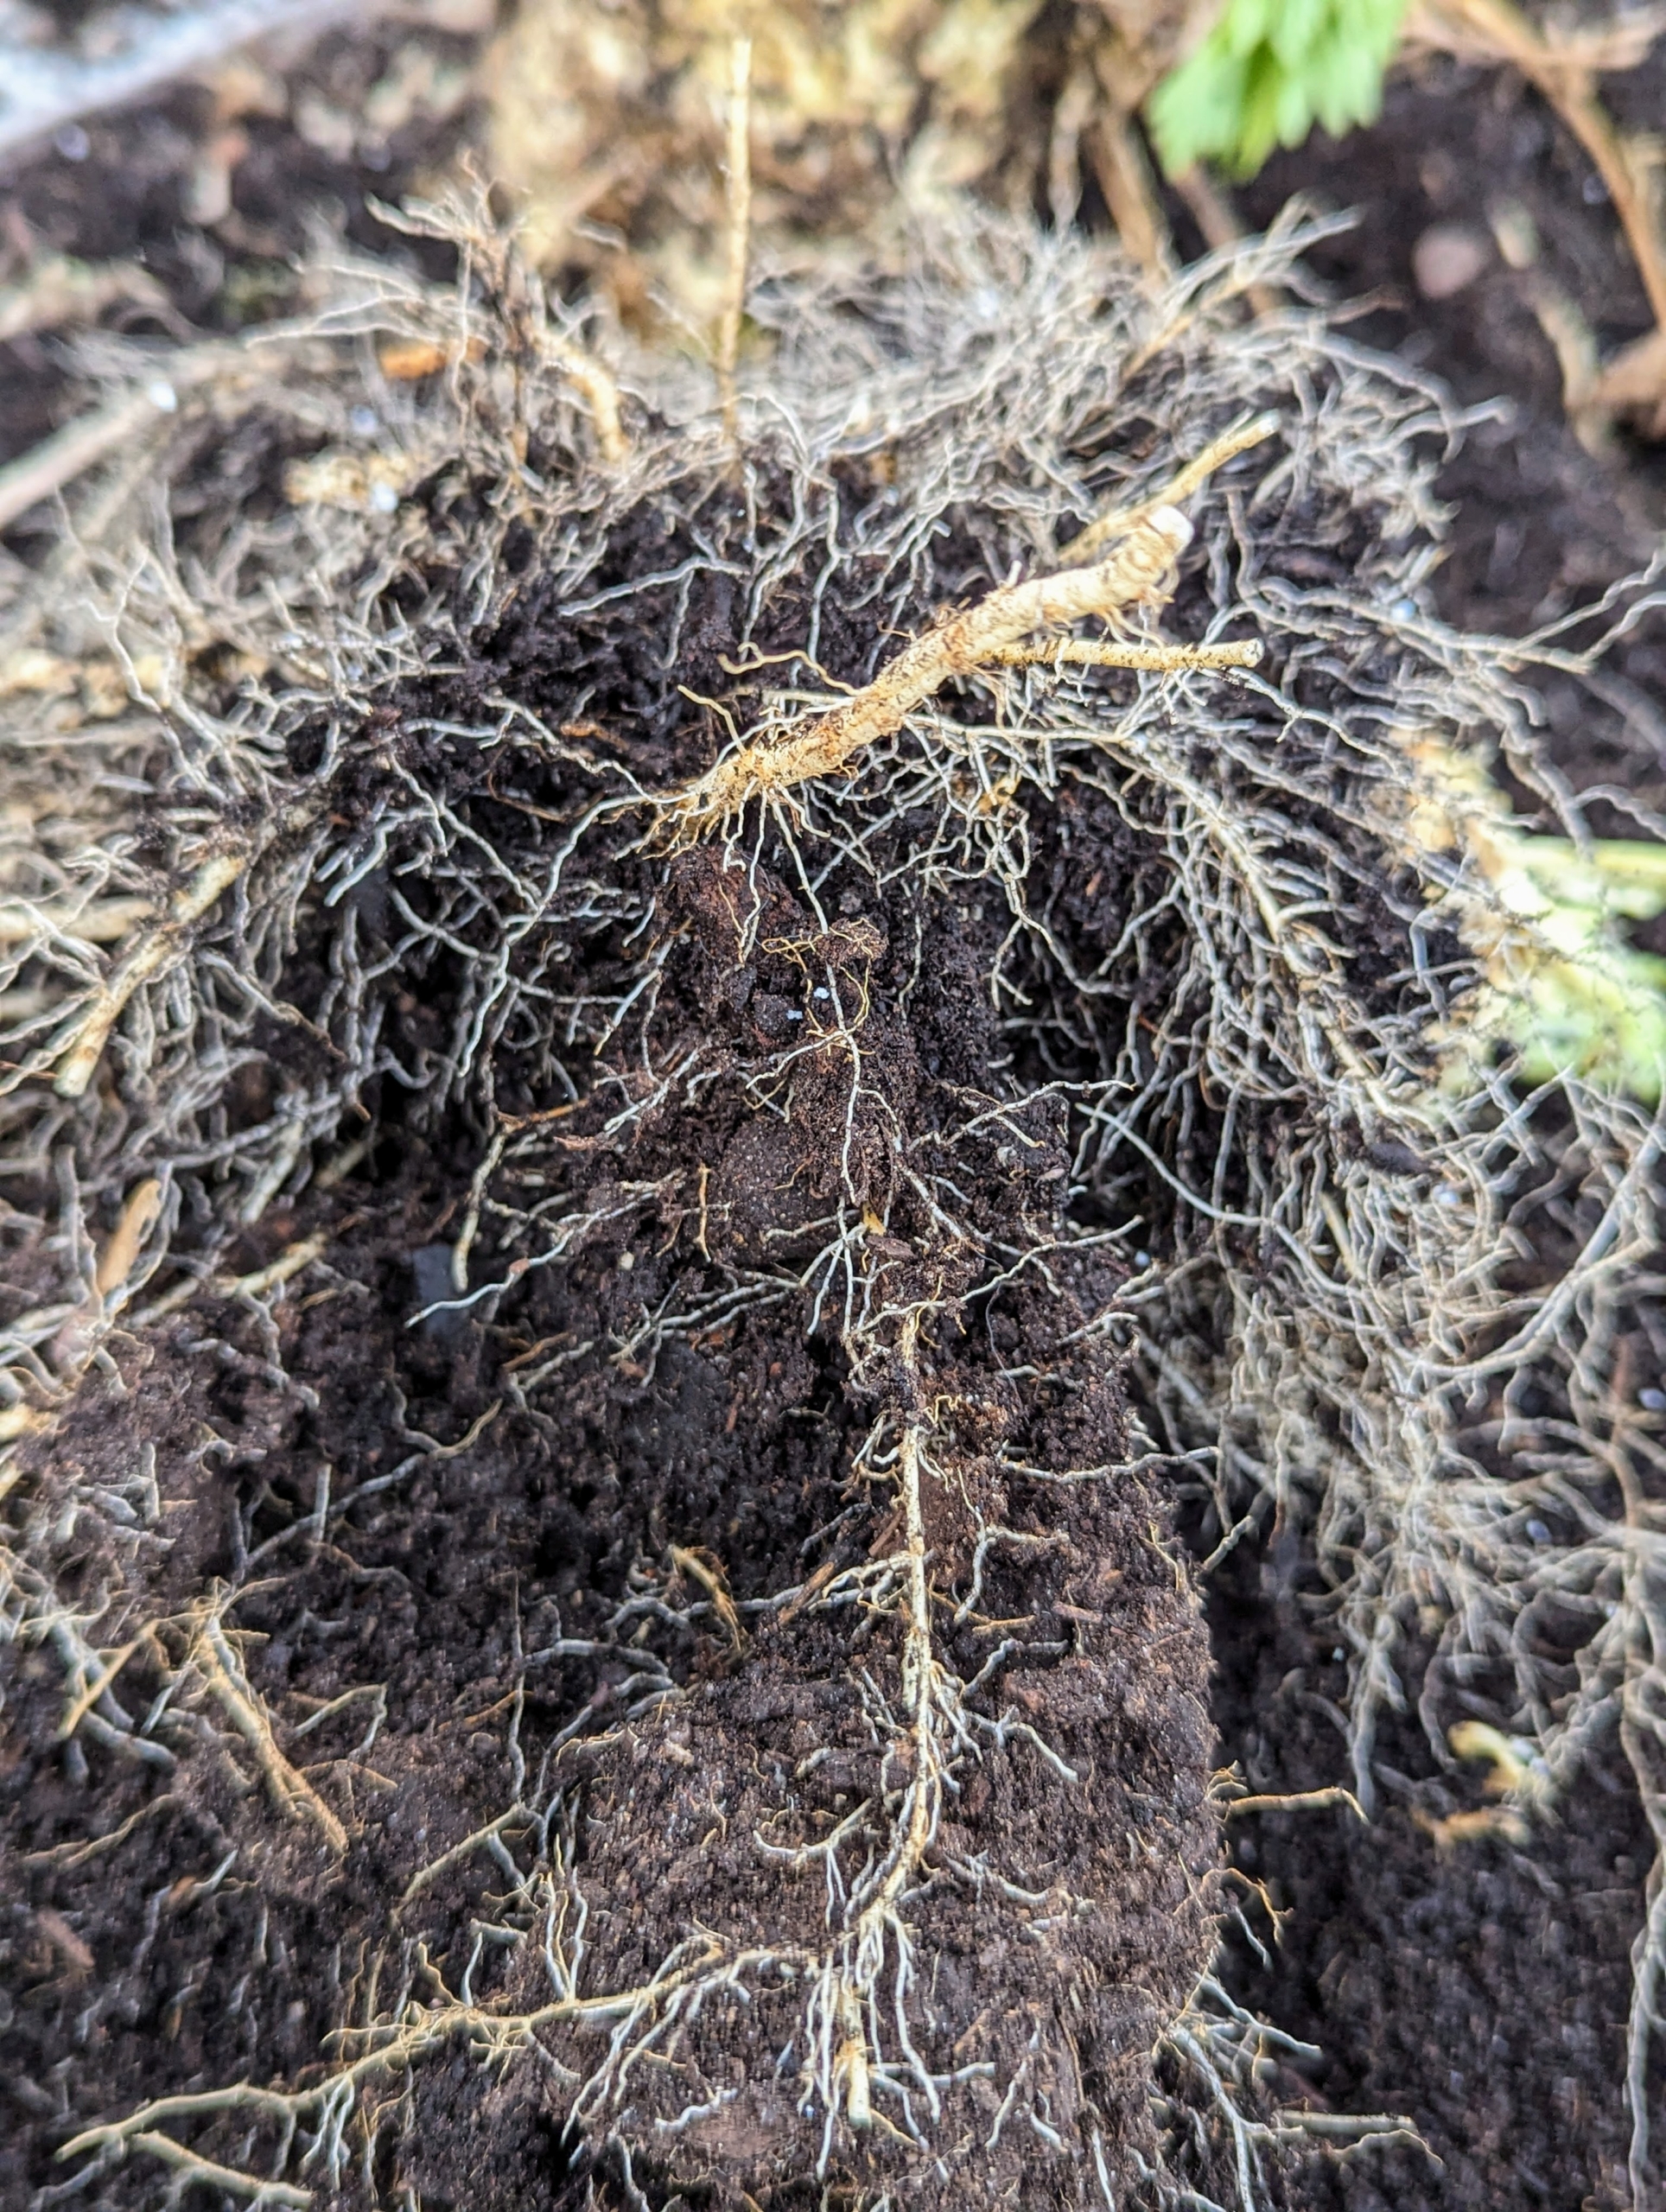
Celeriac has many small roots, so it is sometimes hard to pull from the ground.
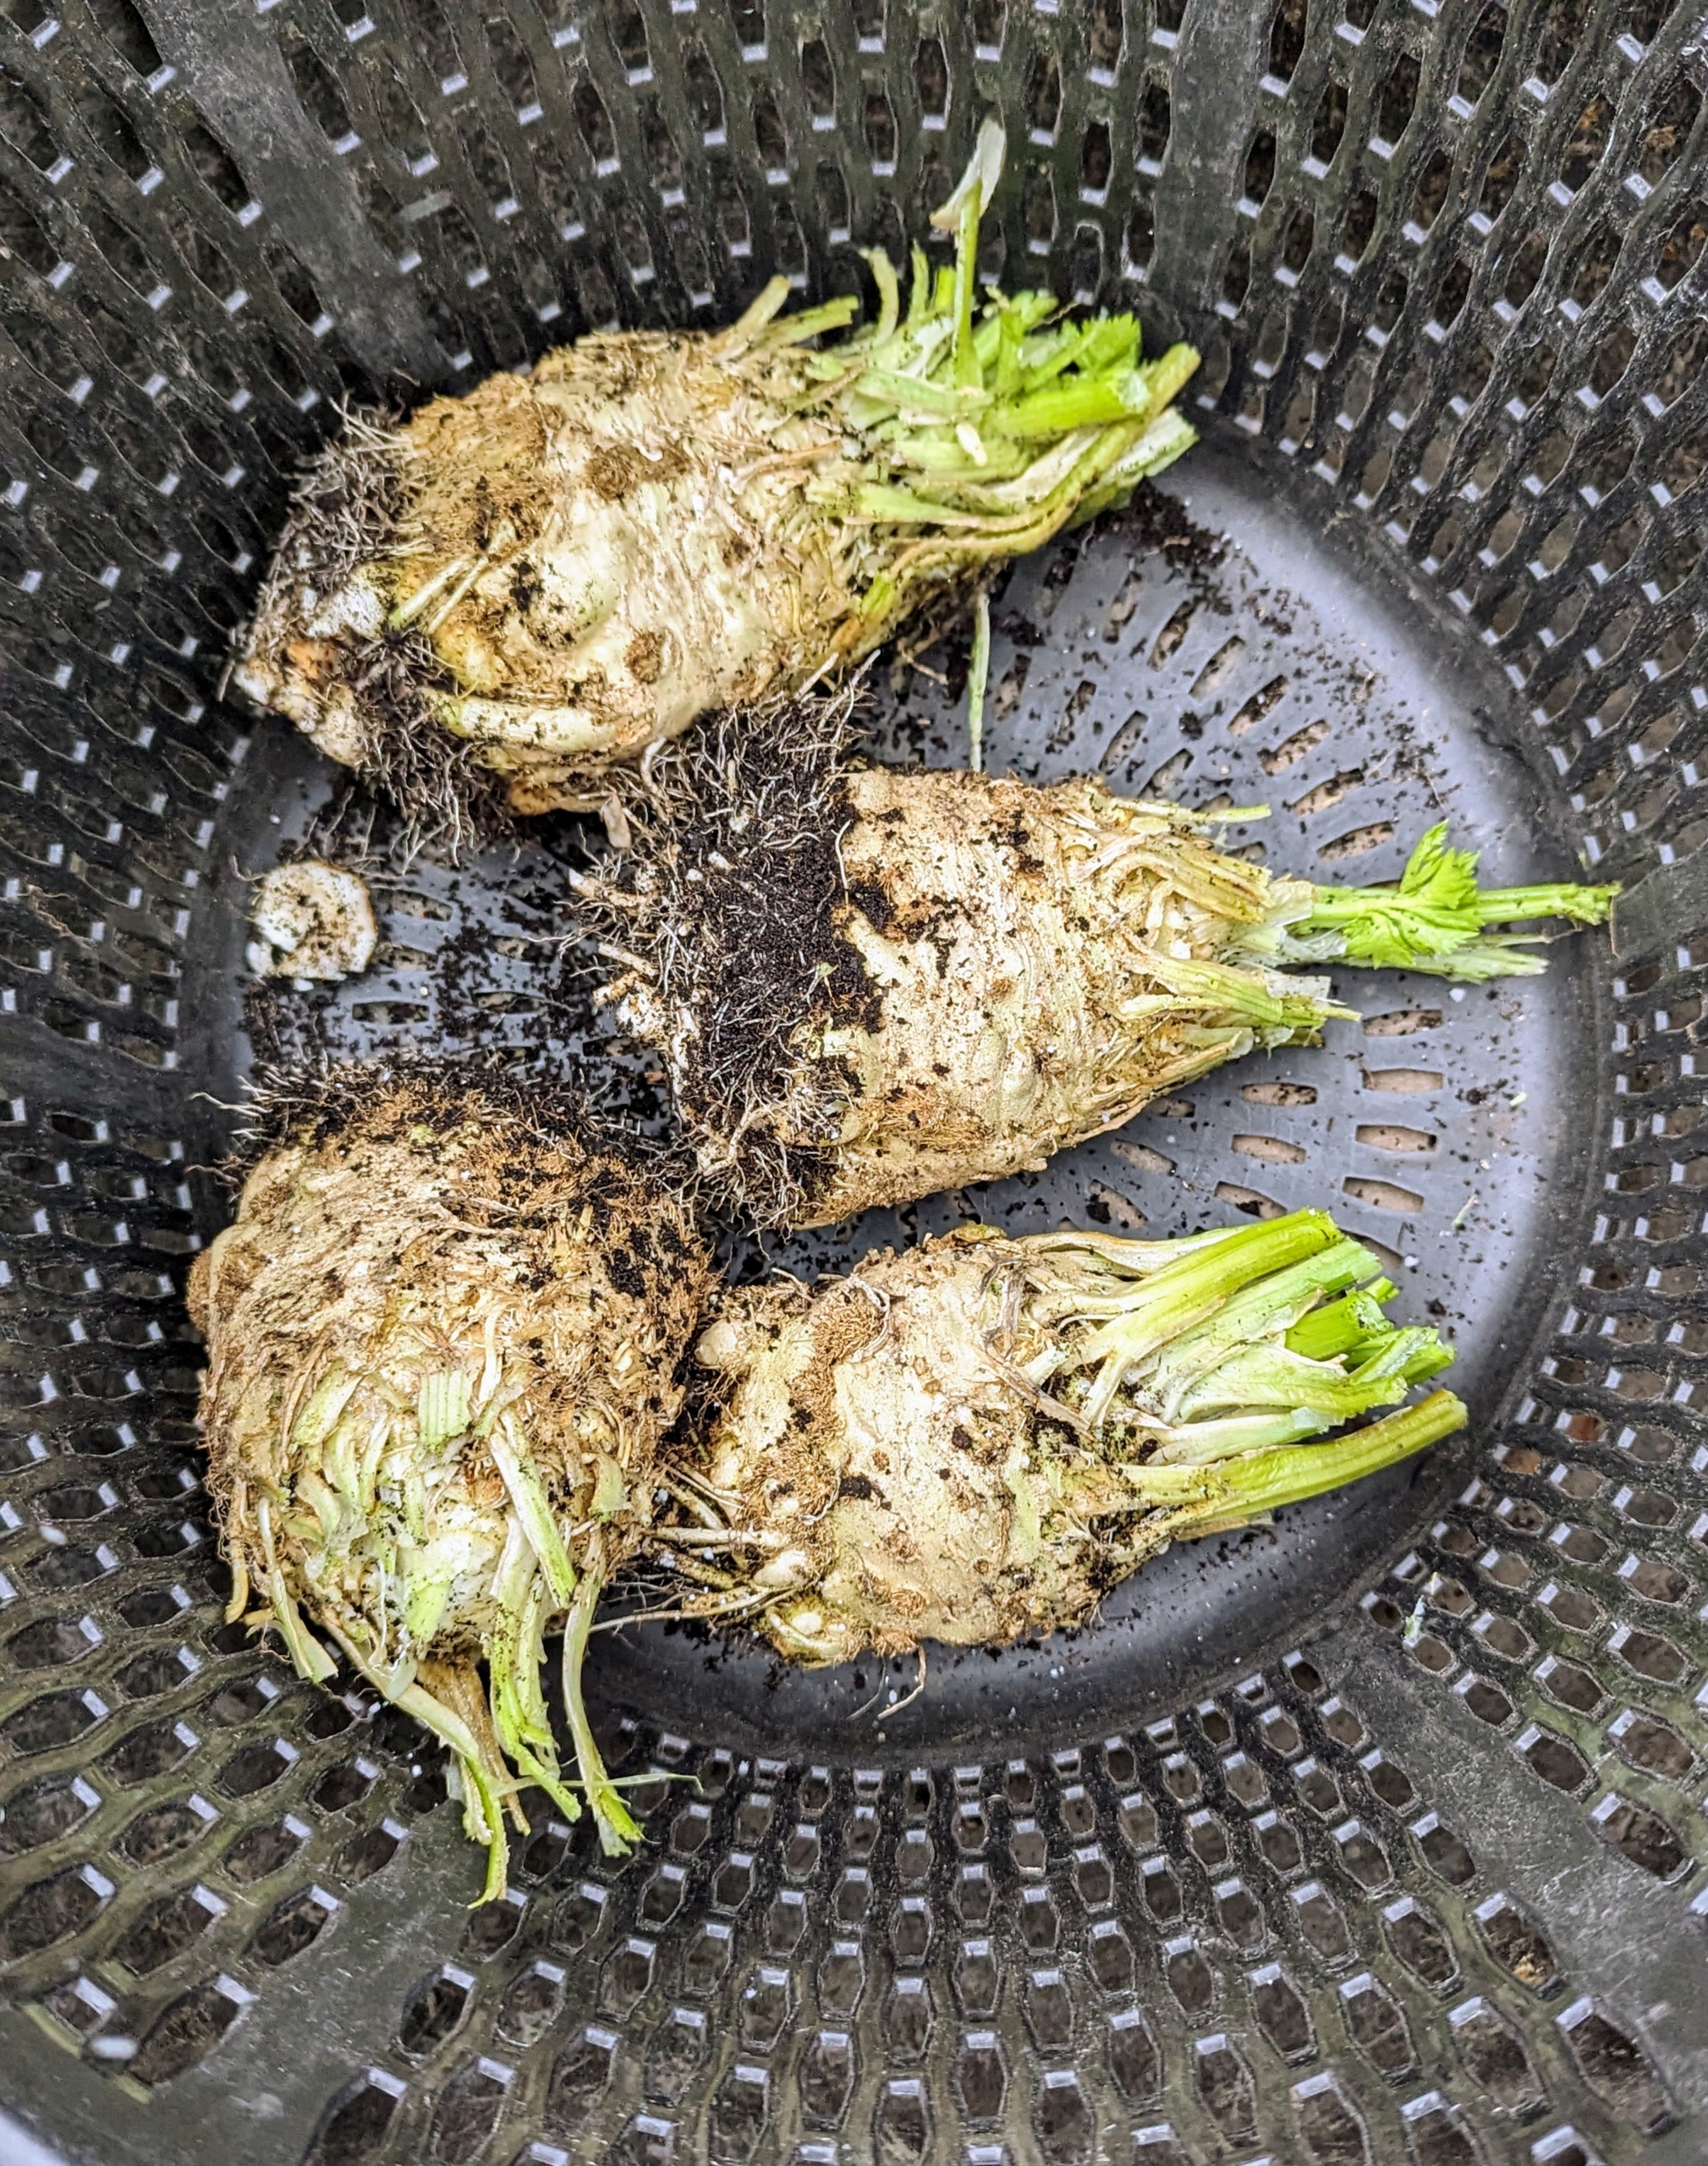
Once harvested, Ryan cuts off the stringy roots from the bottom of the celeriac ball.
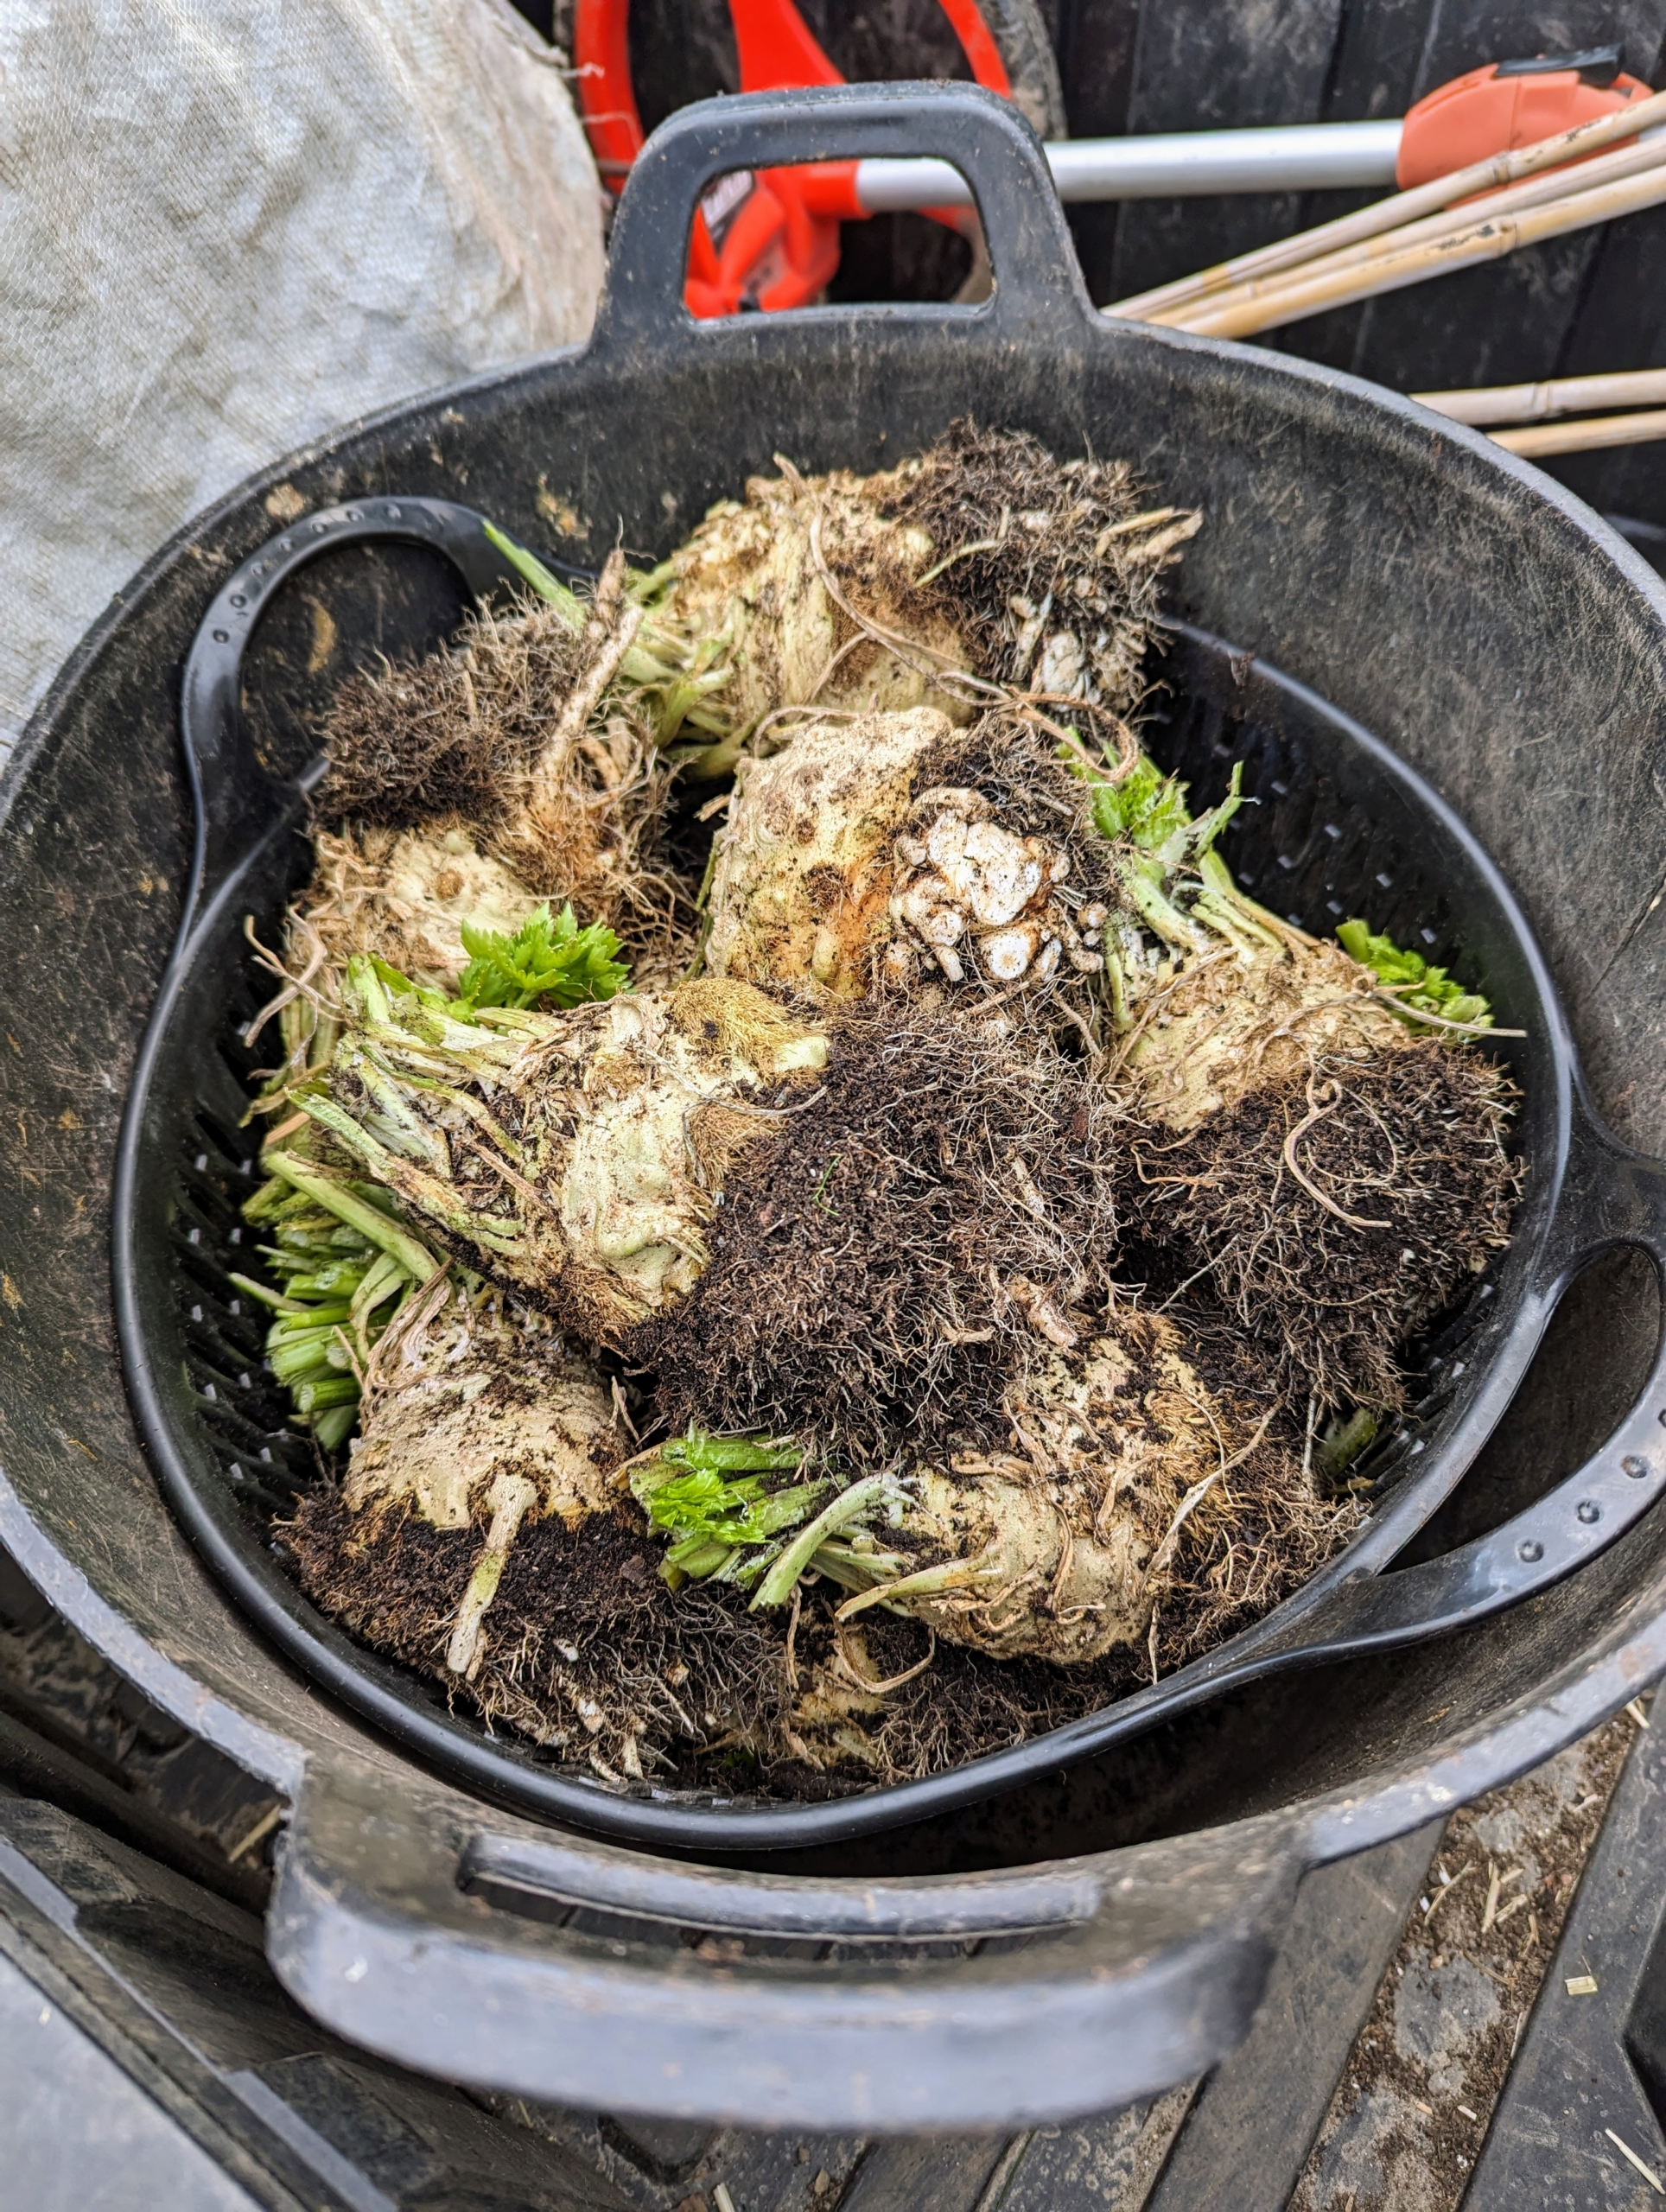
Ryan does the same for each of the celeriac in the bed. He harvested two of these buckets full of celeriac. I’ll use them for soup. The flavor is very mild, slightly sweet and nutty, and doesn’t have any bitterness.
In just a few minutes, this bucket is full. Celeriac is a concentrated source of many nutrients, including
vitamins C, K, B6, potassium, phosphorous, and fiber.
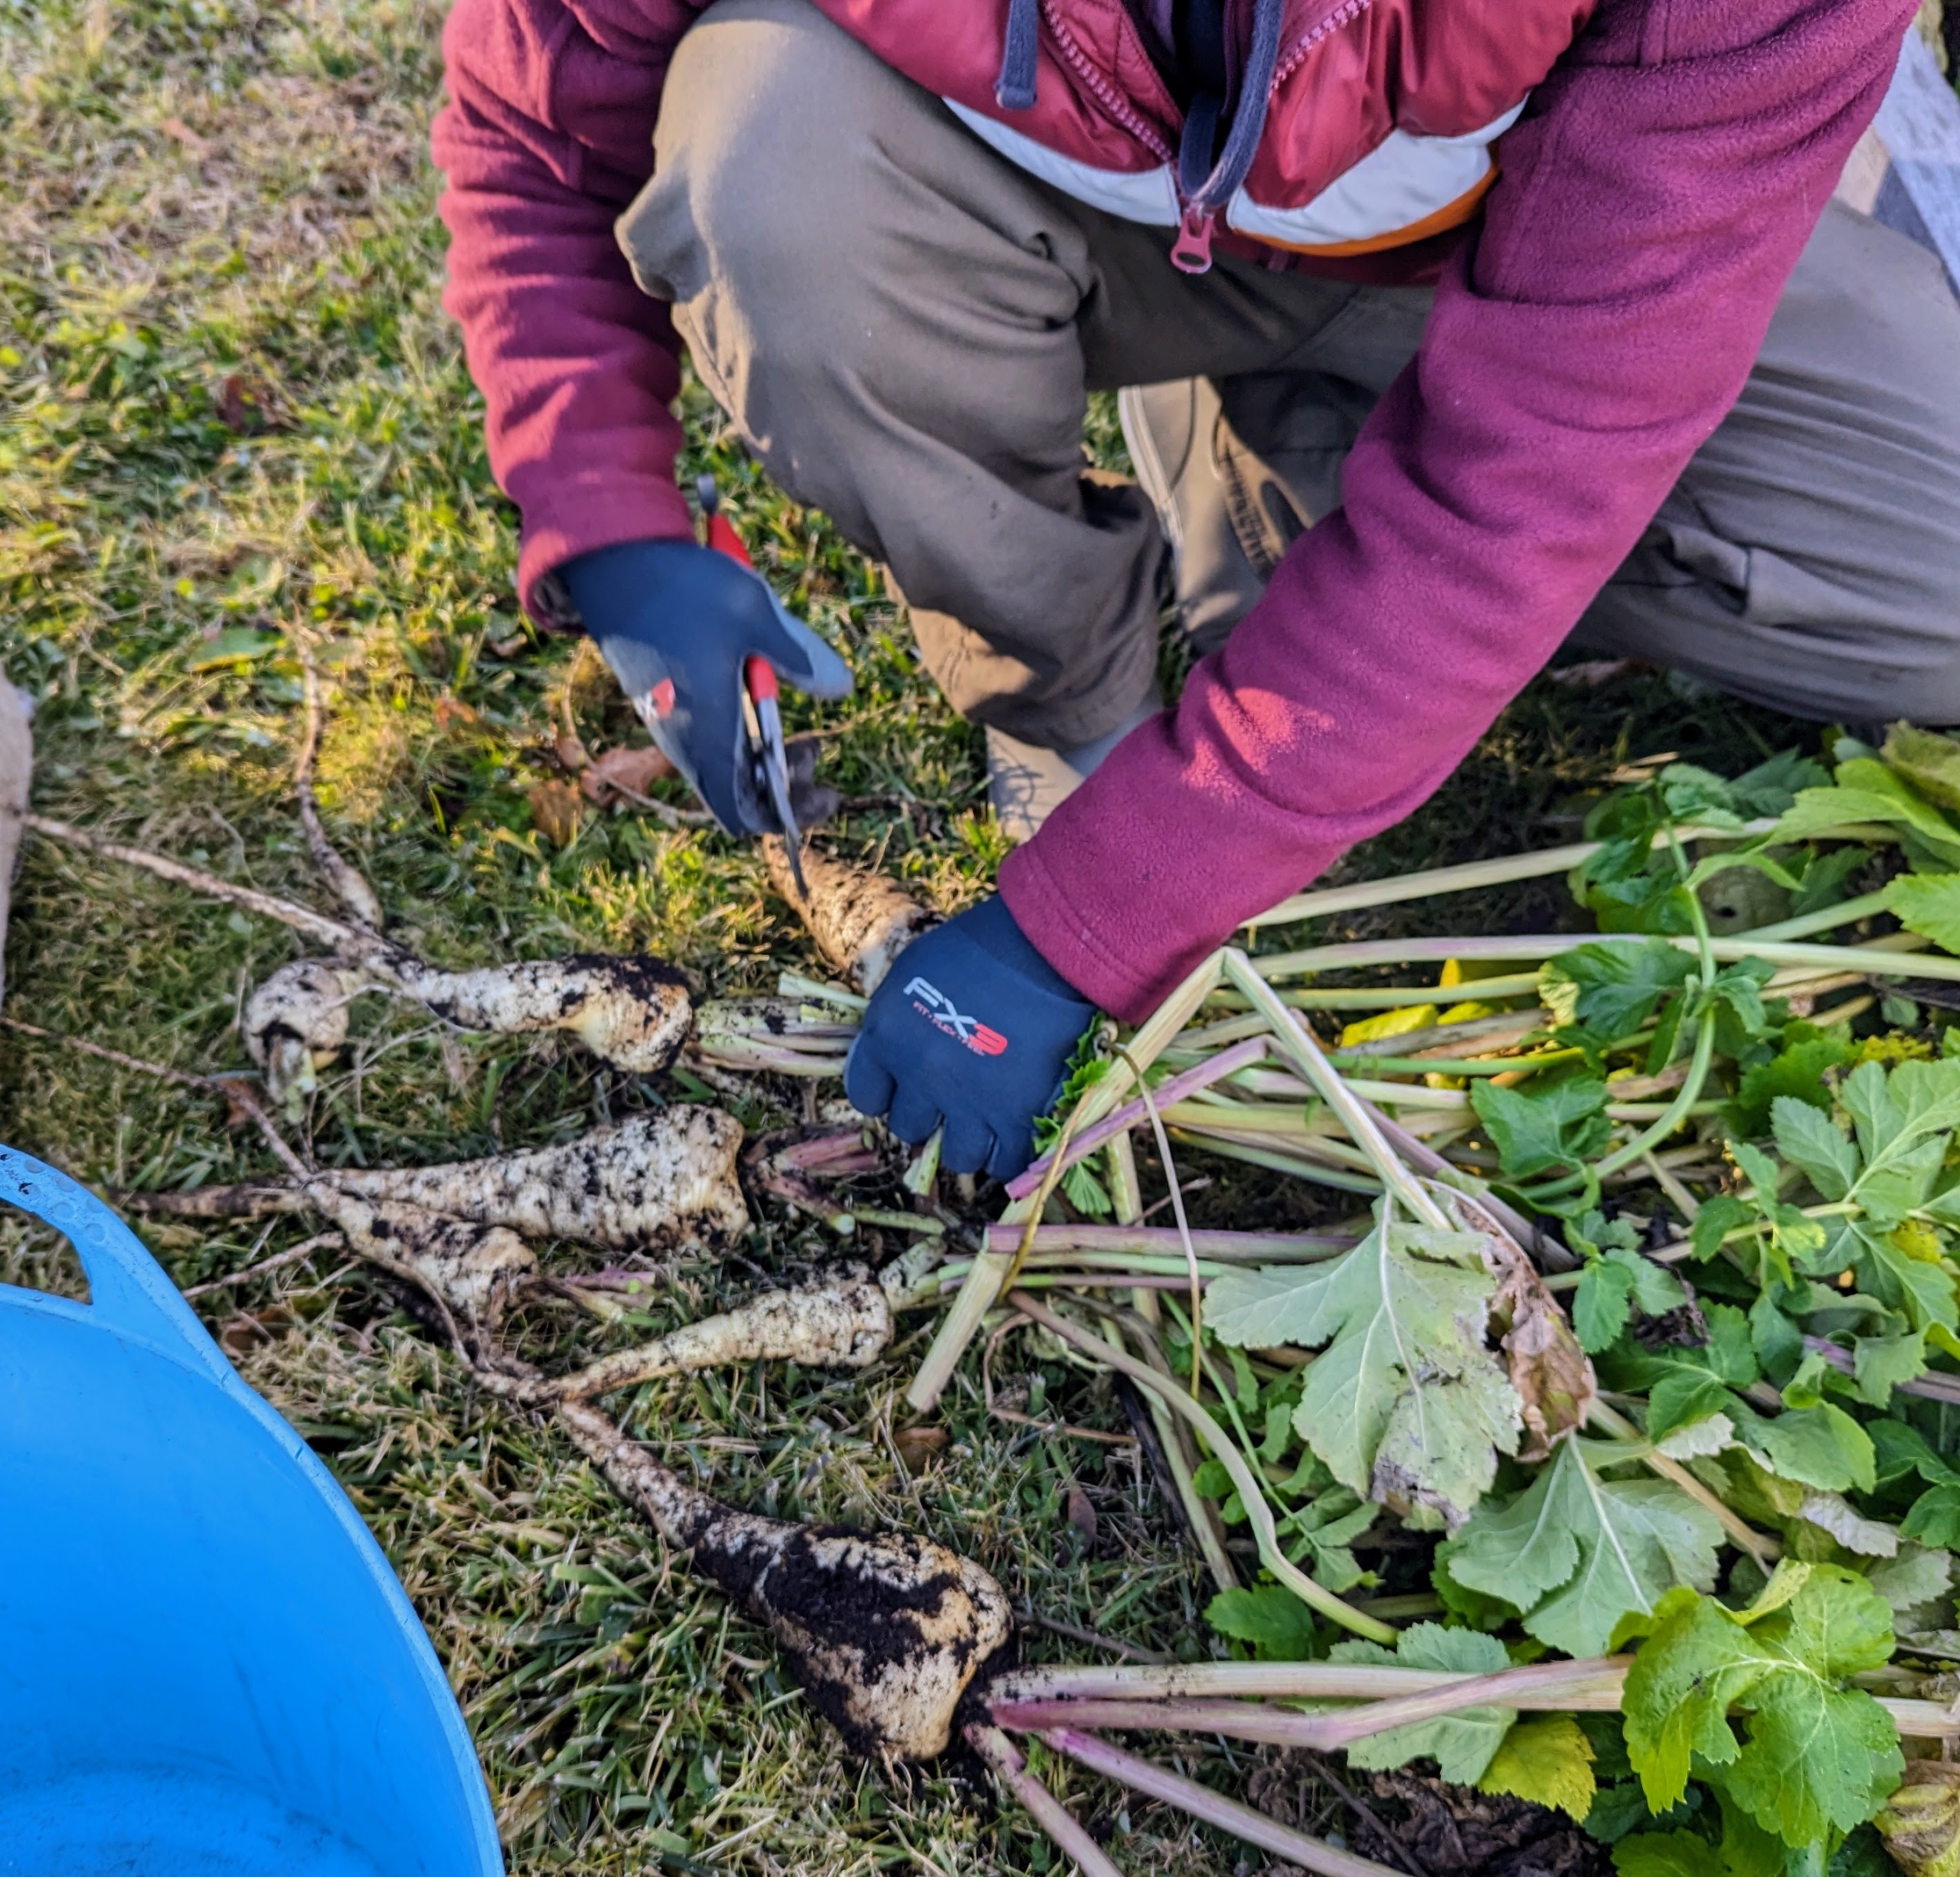
Next, Ryan moves to another bed to loosen the parsnips from the soil.
Ryan is careful when he uses the pitchfork – one does not want to pierce the parsnips if possible.
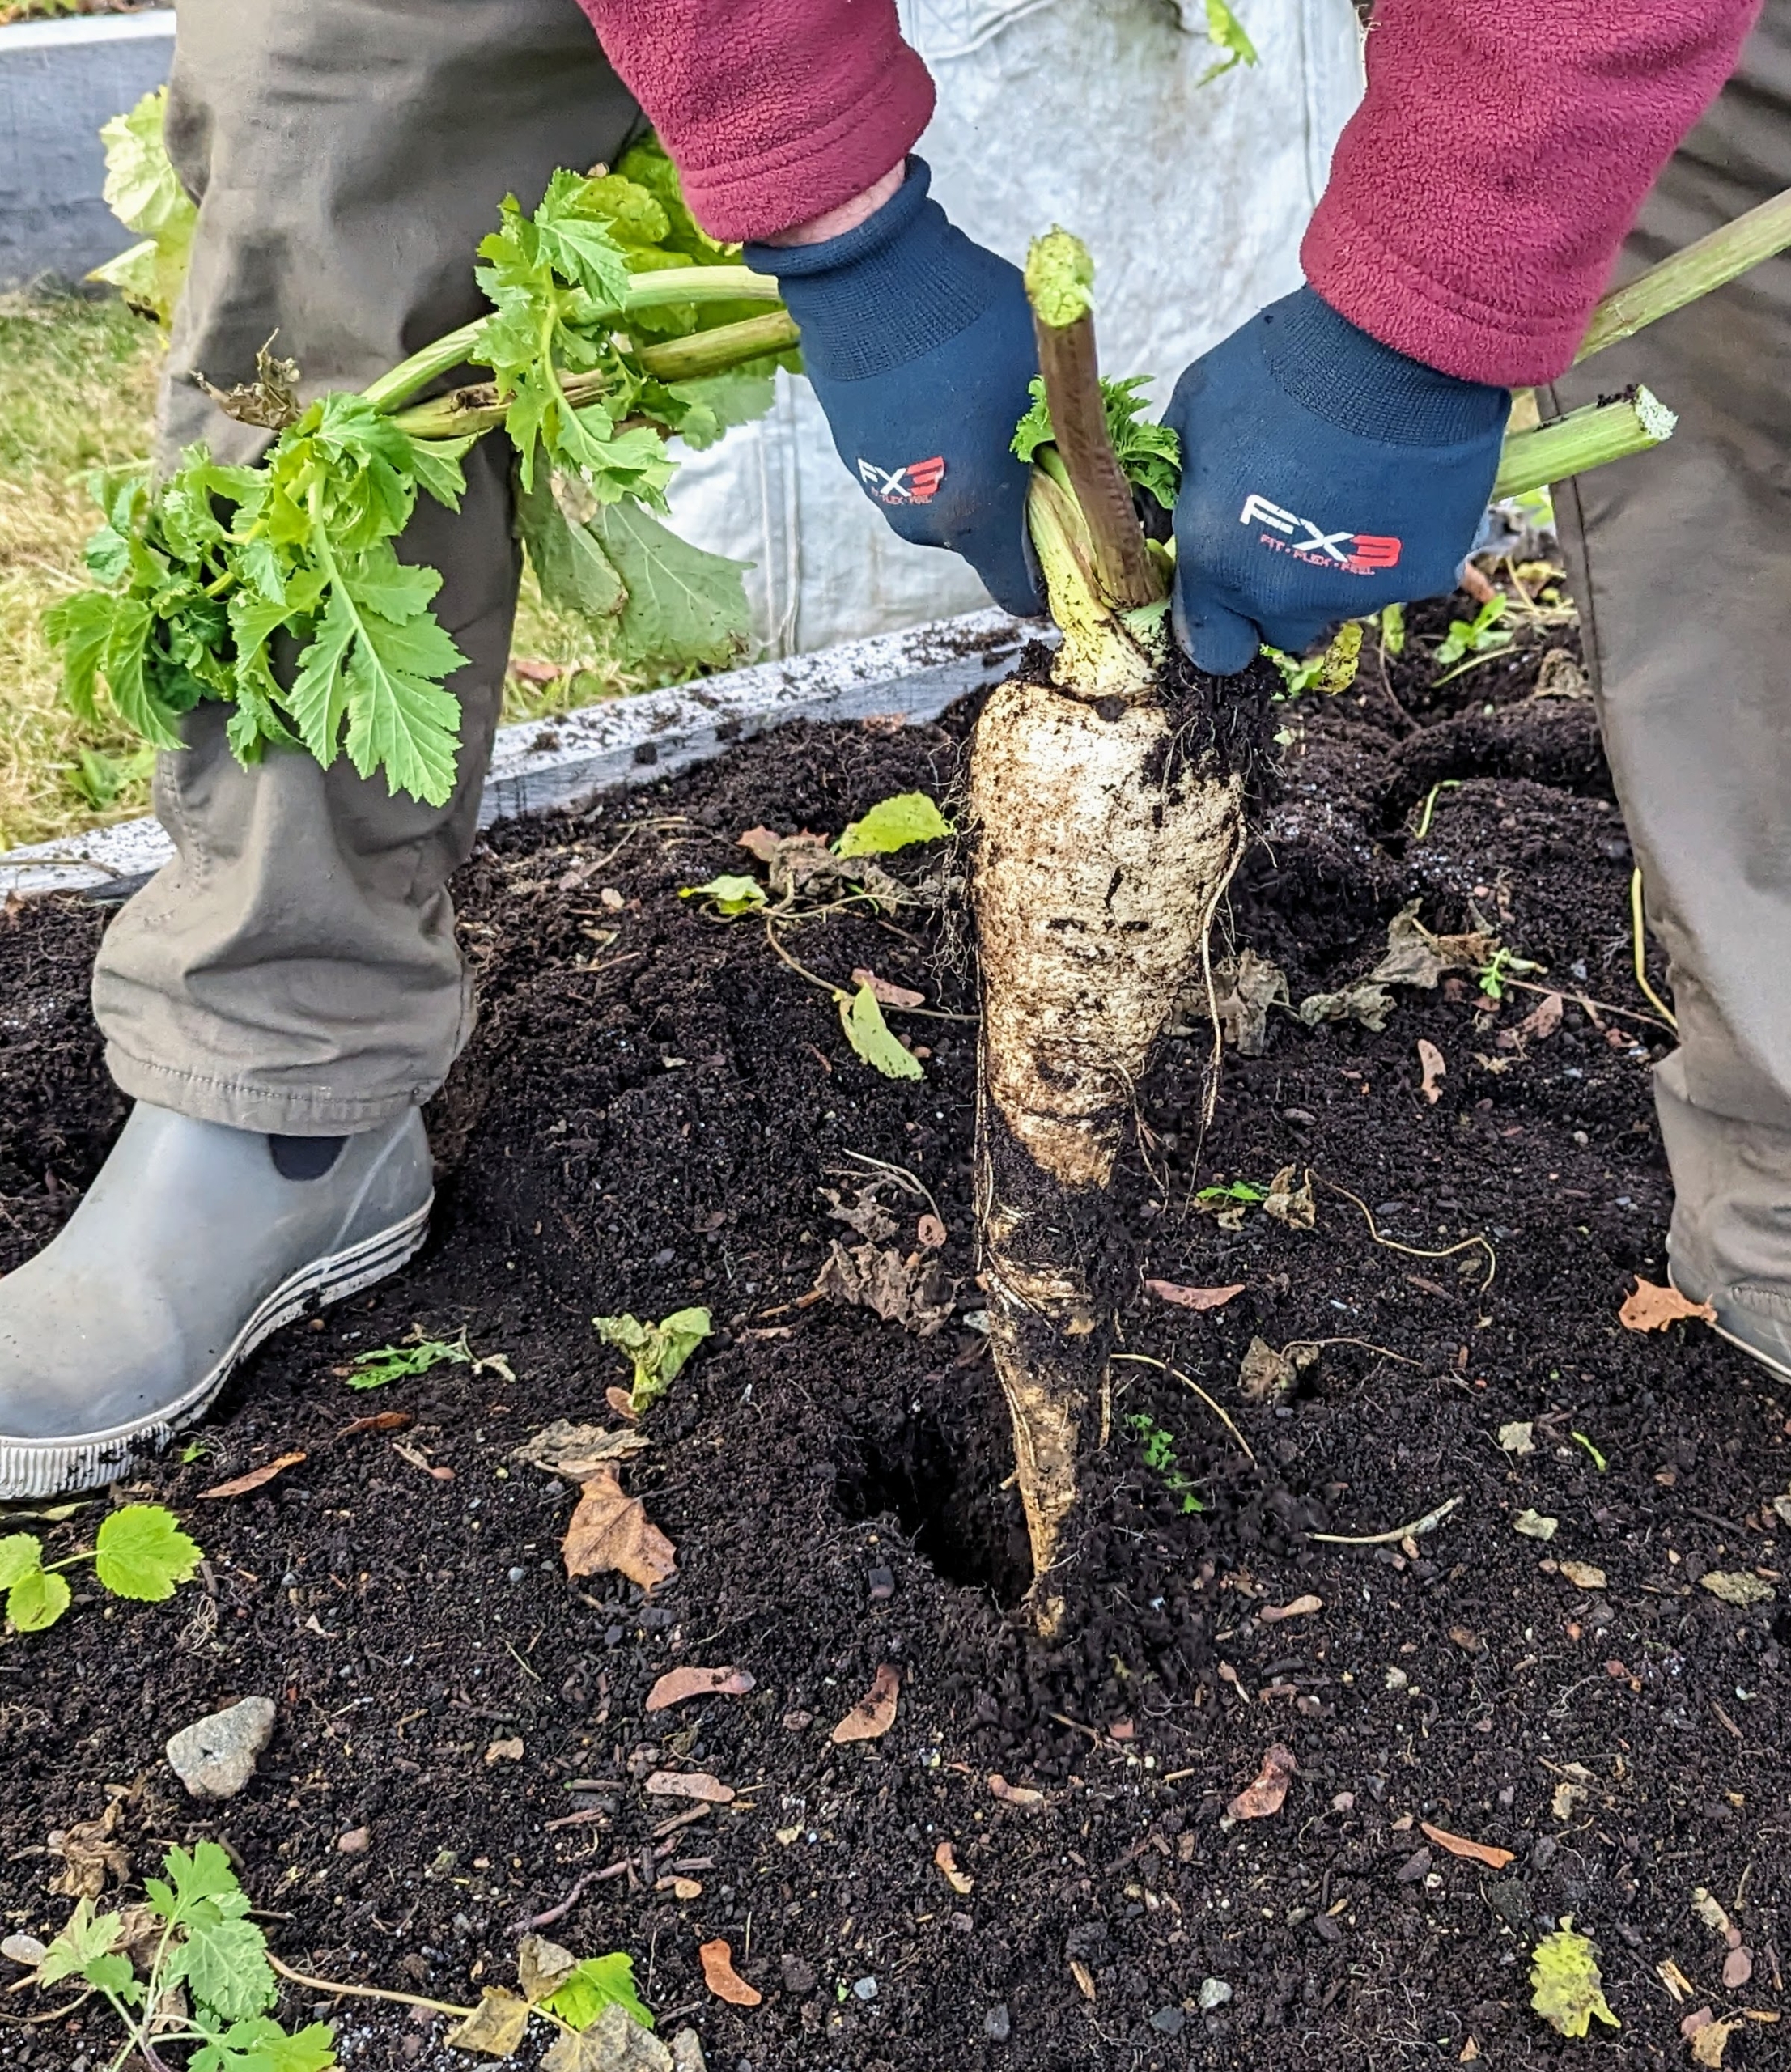
Once the soil surrounding the parsnips is loosened, Ryan pulls each parsnip carefully, much like harvesting carrots.
And out comes a well-sized parsnip. The parsnip is closely related to carrot and parsley, all belonging to the flowering plant family Apiaceae.
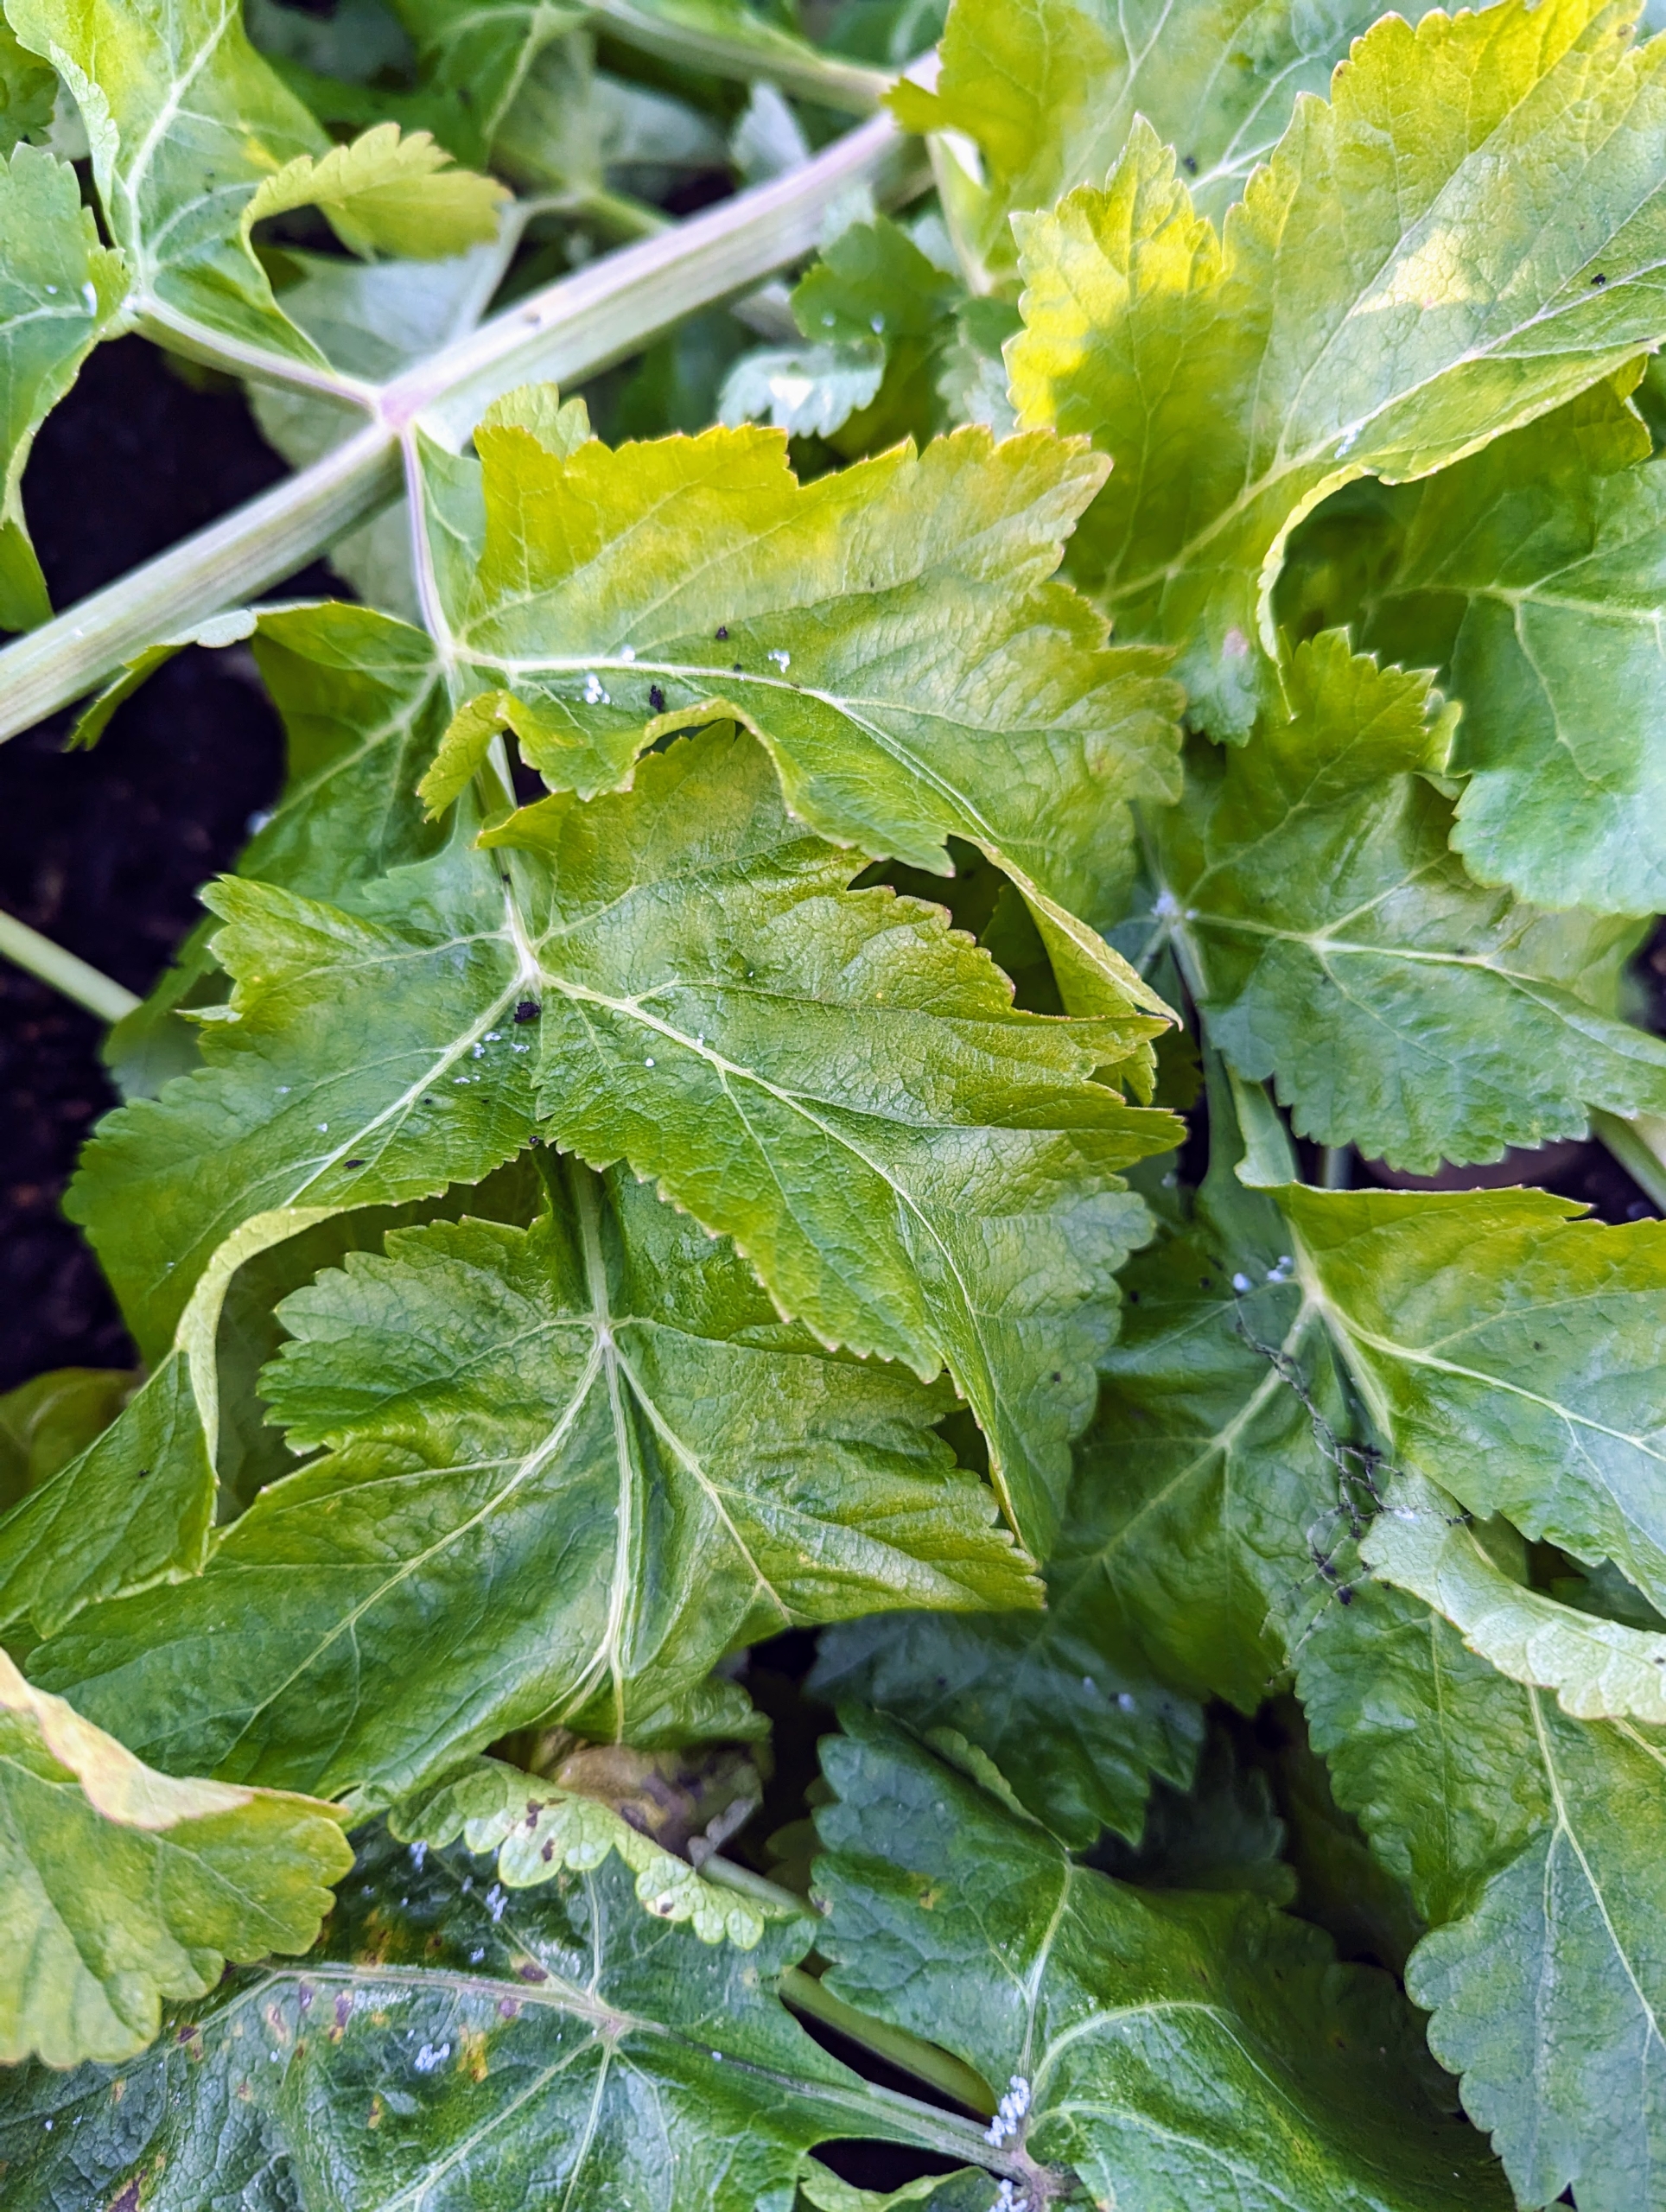
Parsnips have broad, hairless, ovate, compound pinnate leaves, up to six inches in length. These leaves and the stems can also be eaten or used to flavor soups and stews.
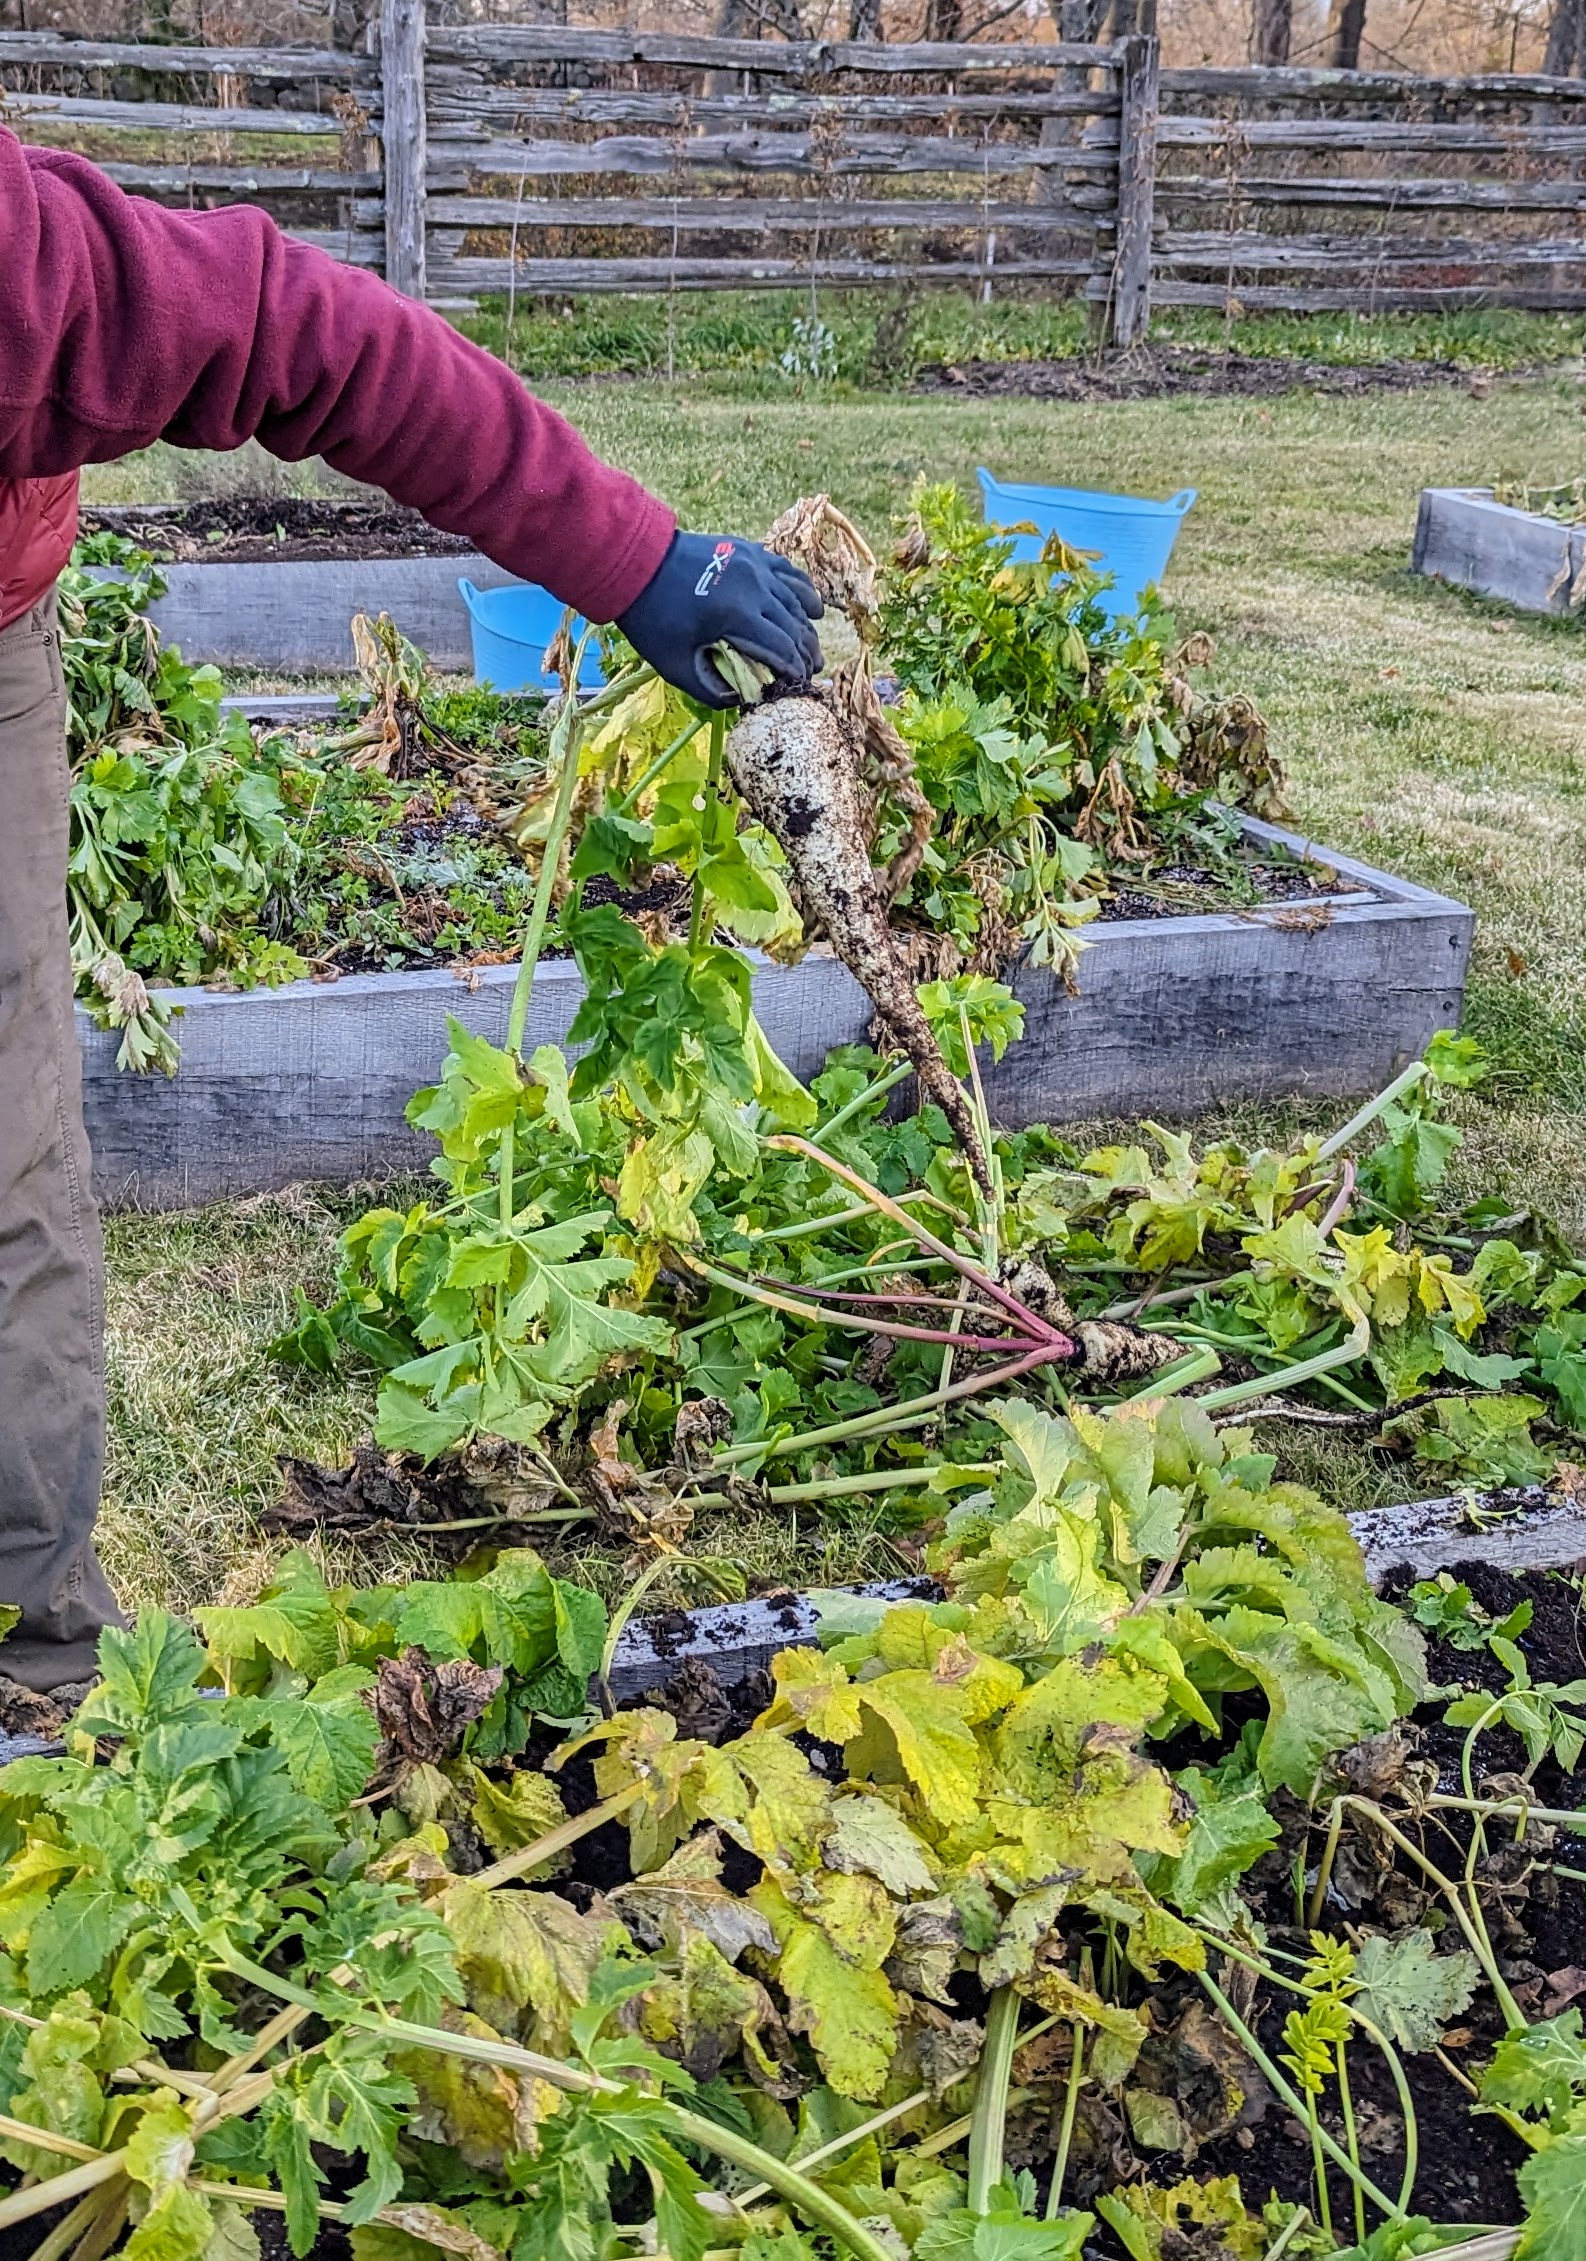
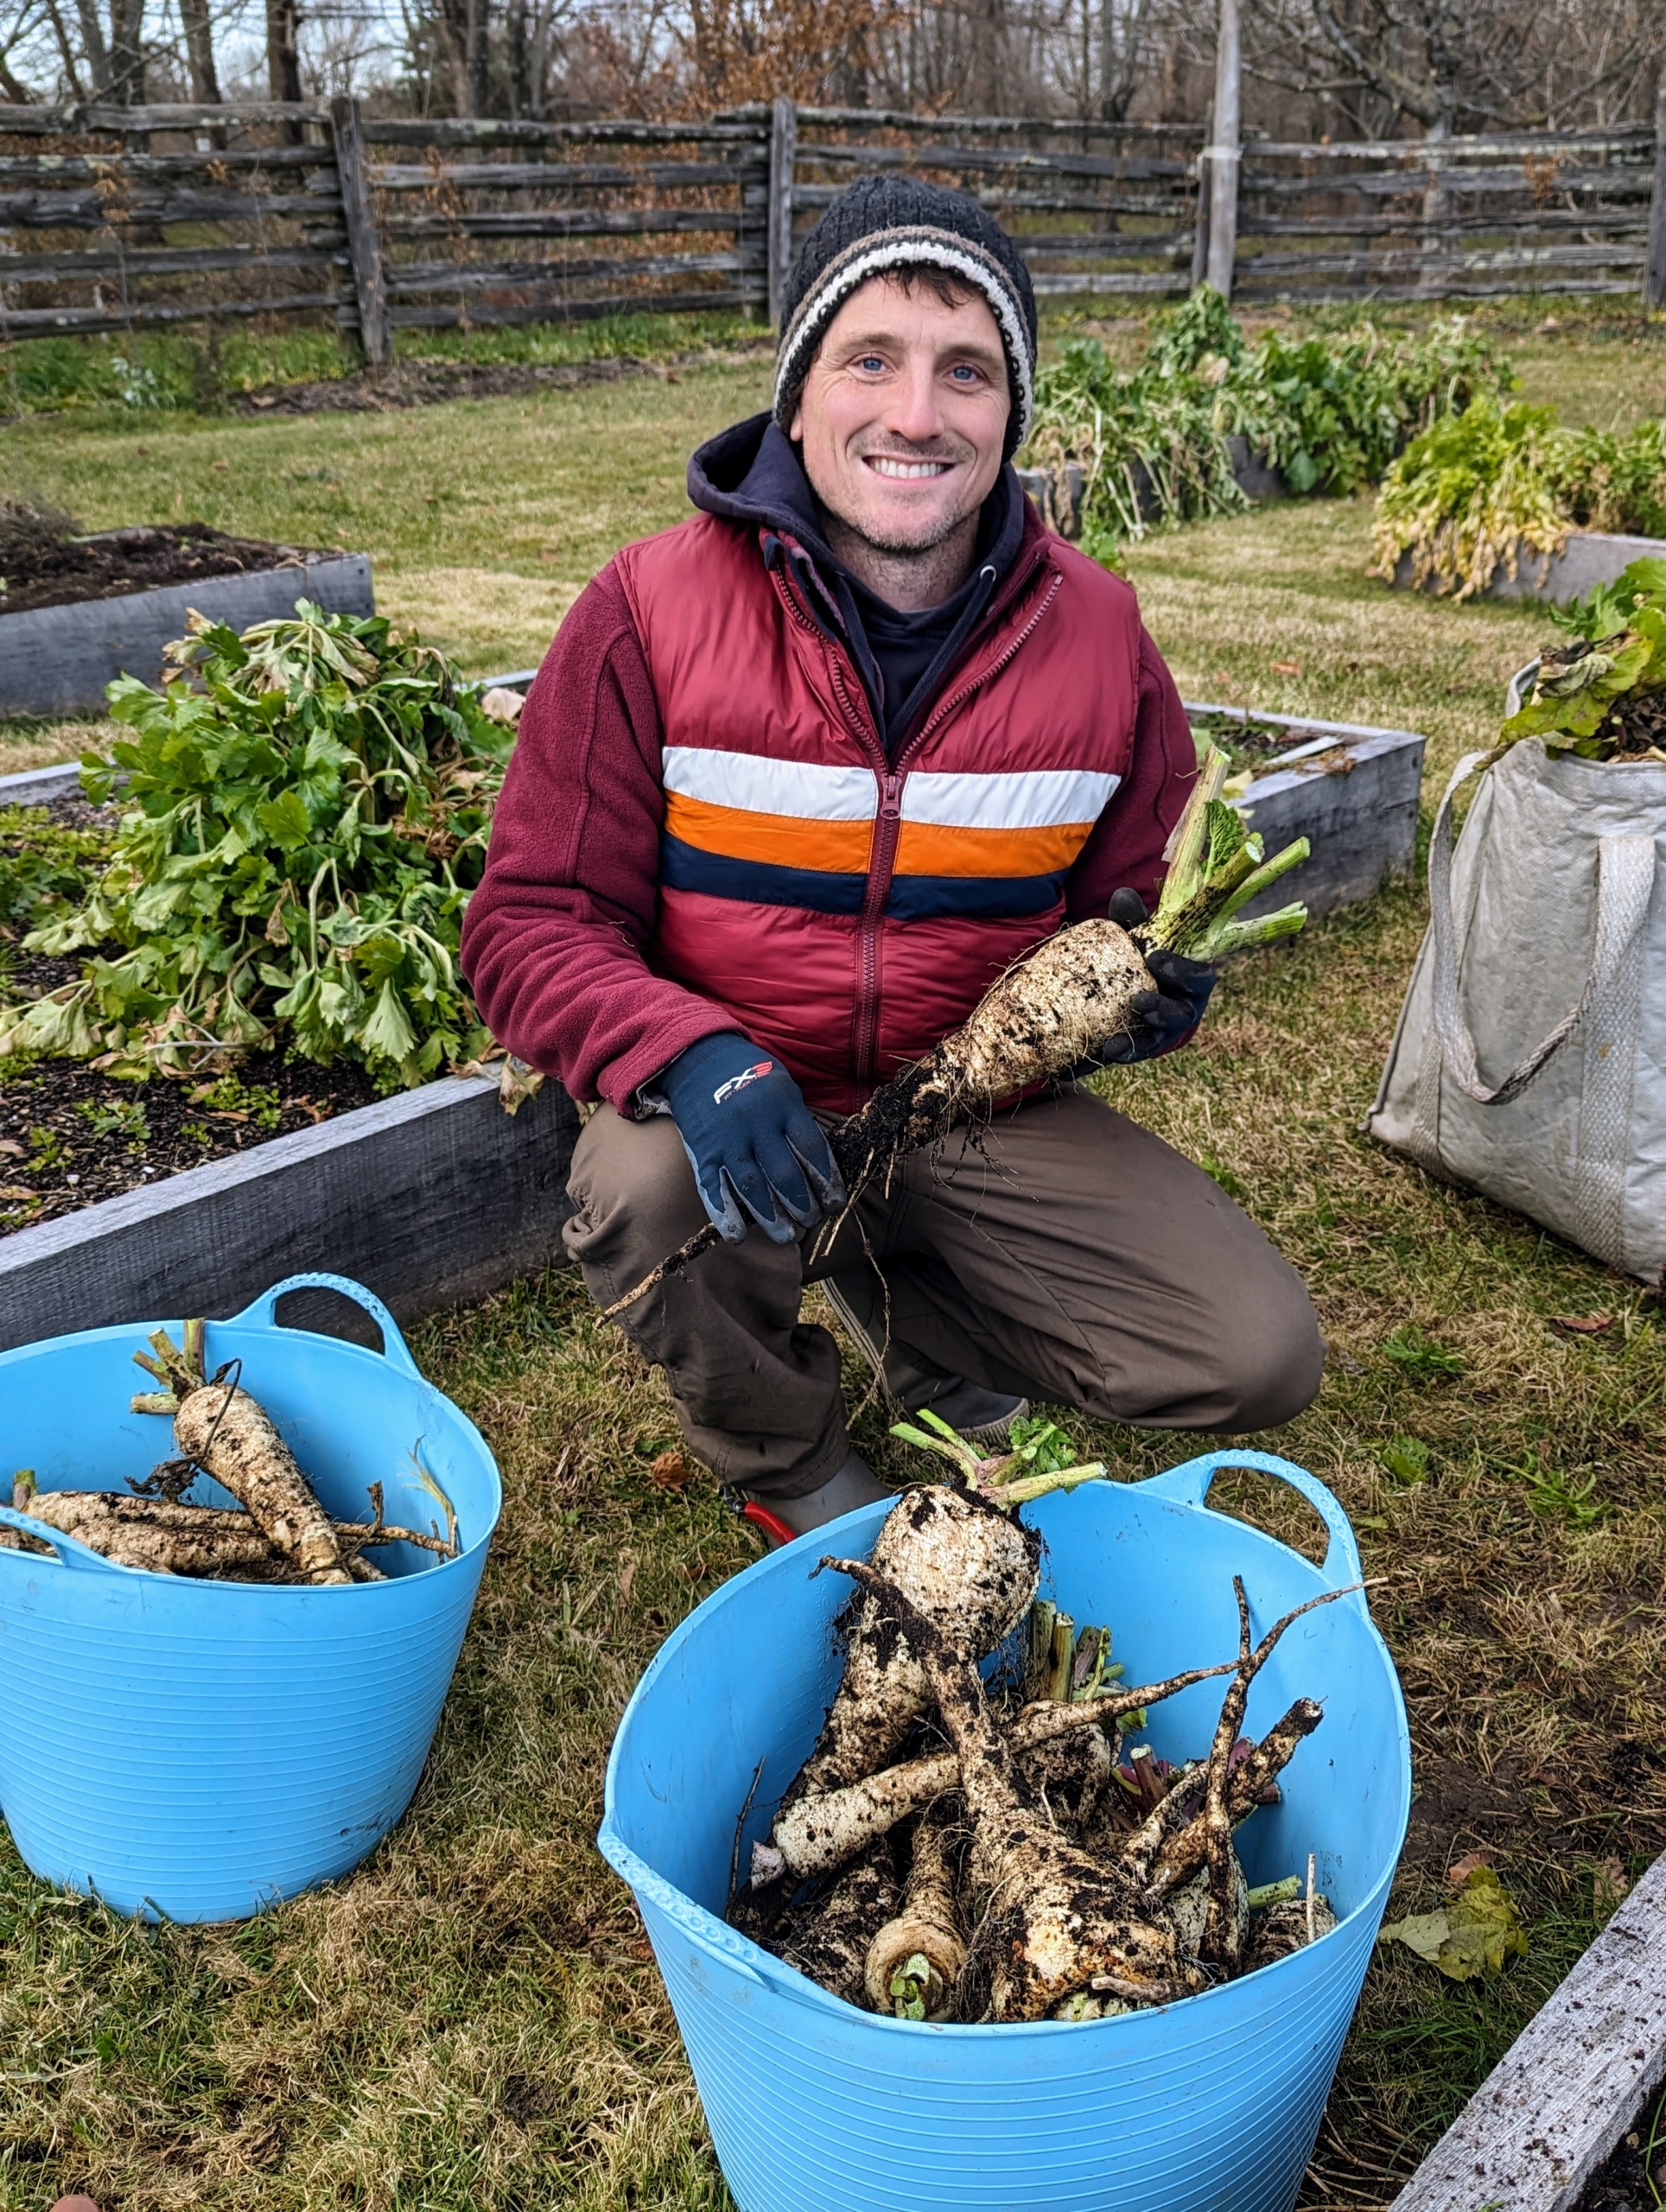
Here’s a closer look at one large parsnip being pulled from the ground.
Parsnips that are about eight to 10-inches long are the best tasting. They have thicker skin and a woodier center compared to carrots, but they are delicious cooked.
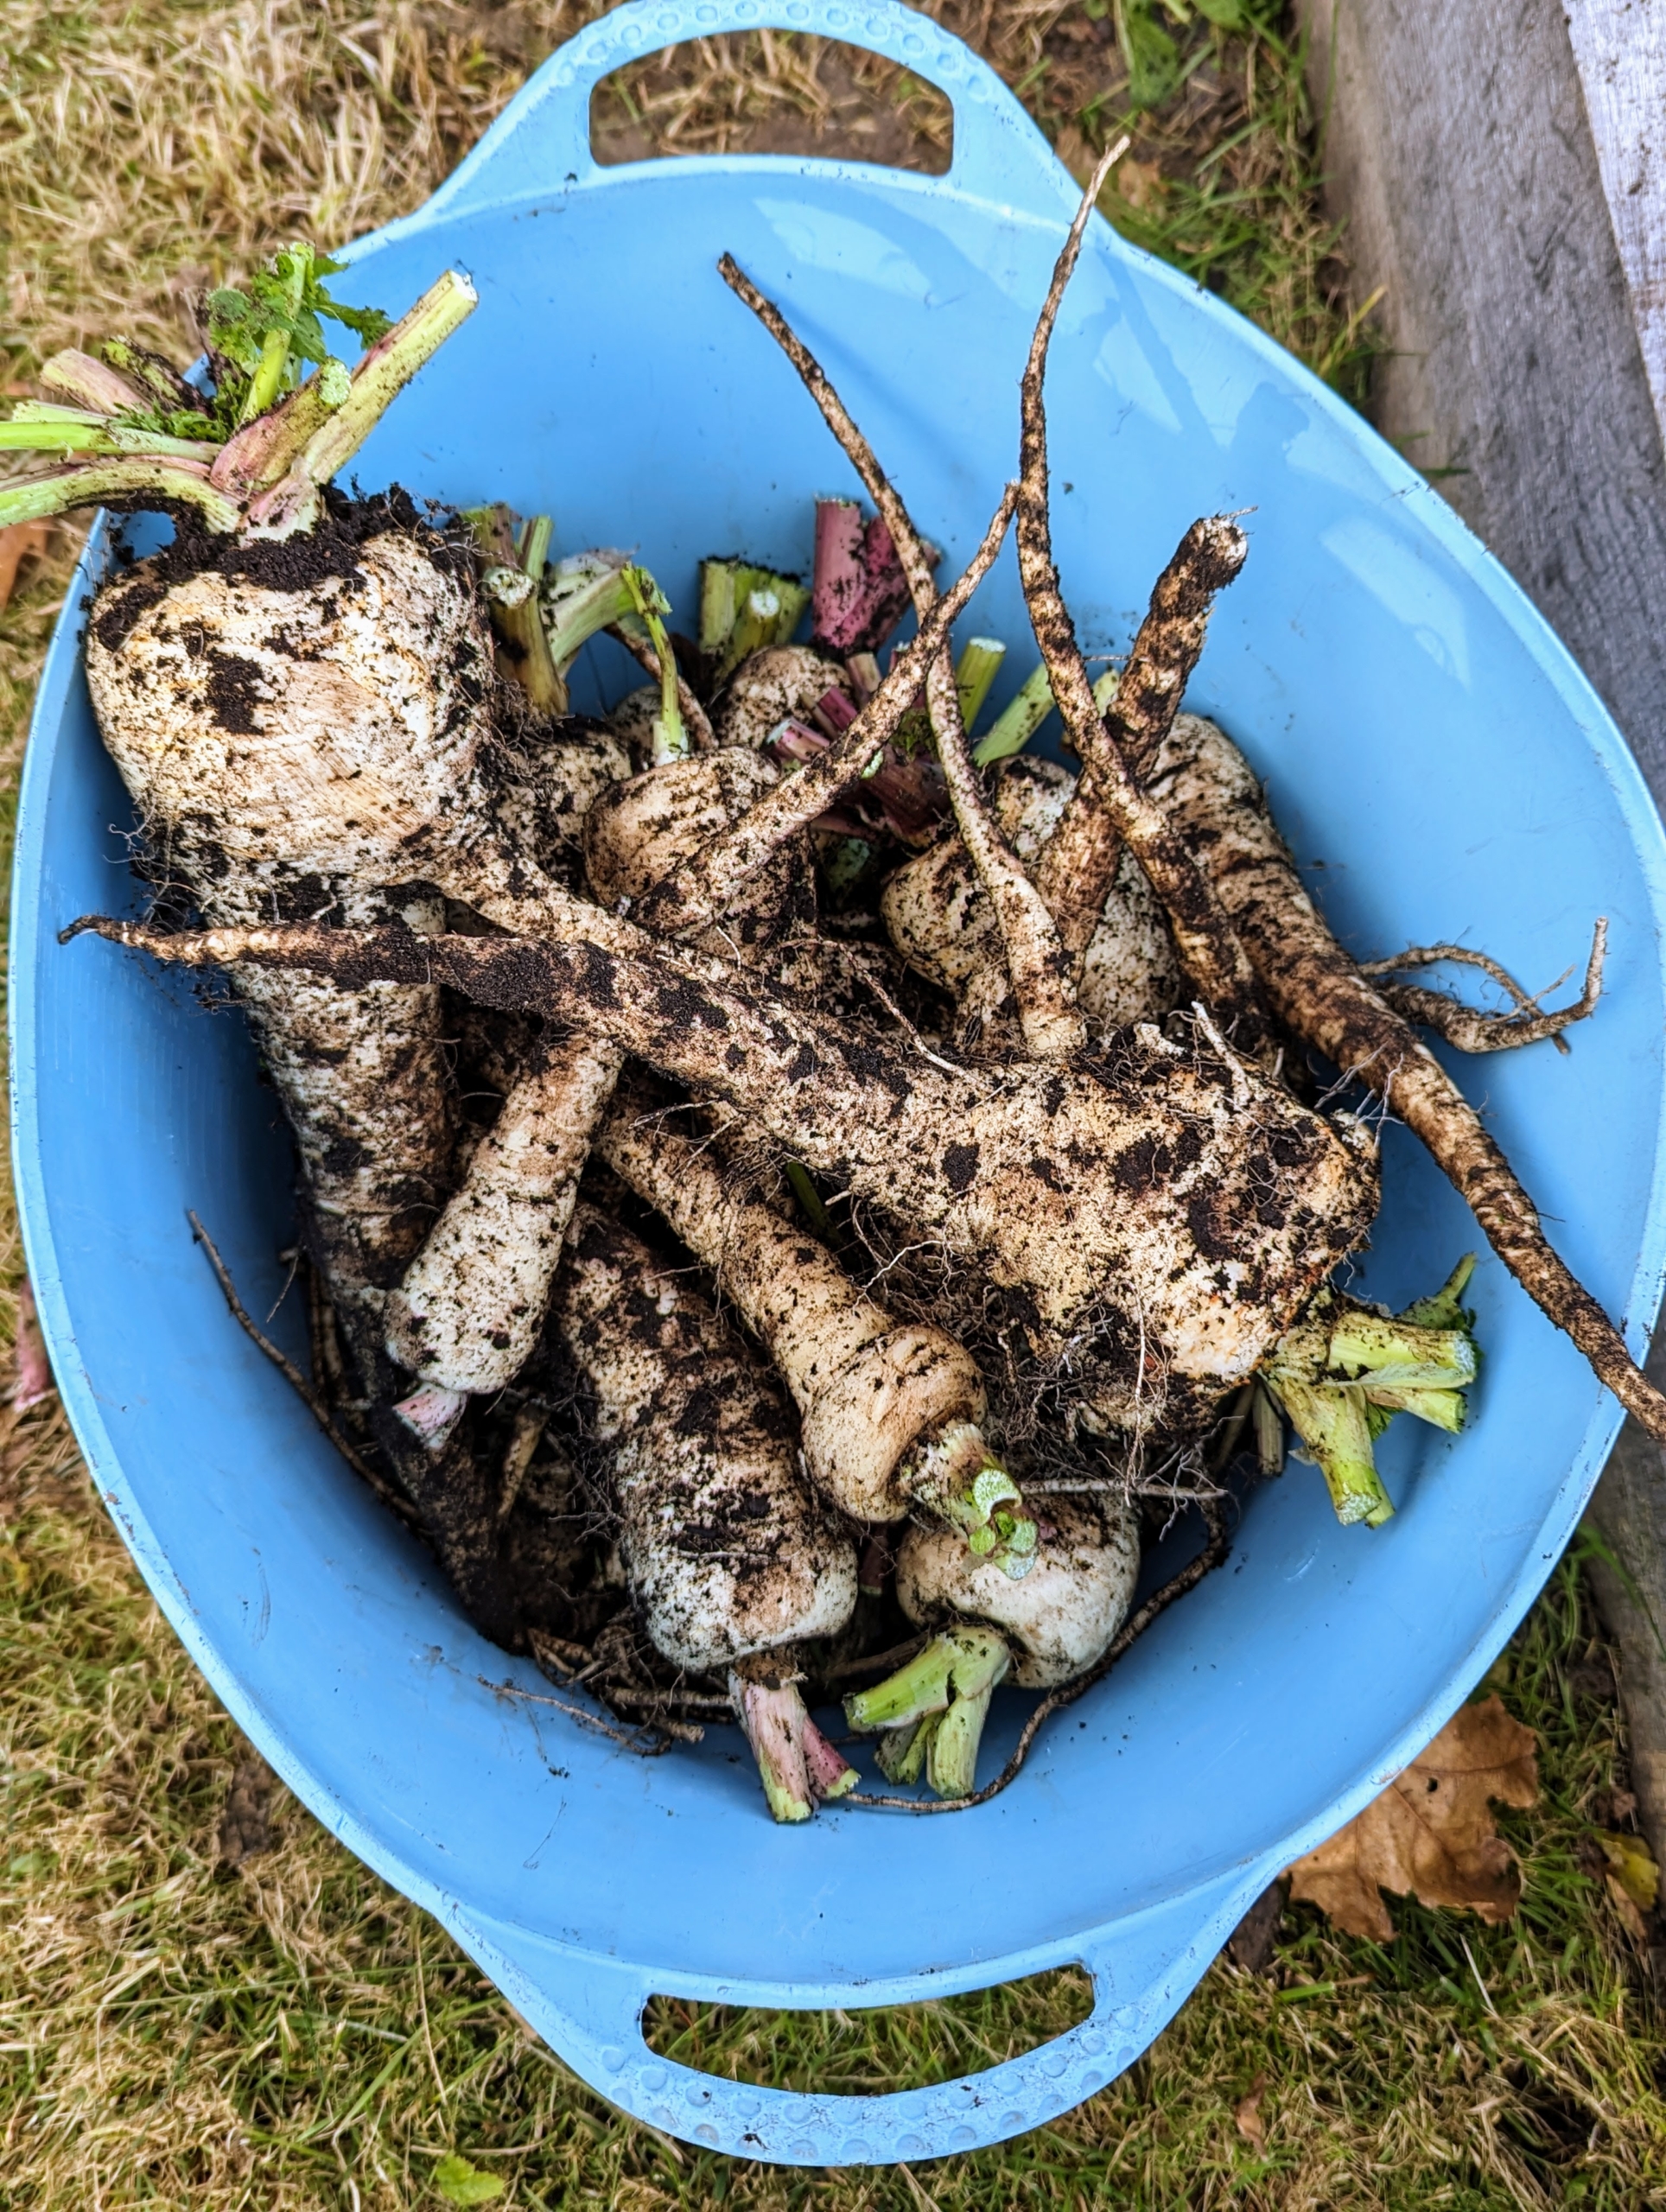
Ryan picked many parsnips and also filled two large trug buckets.
Here he is trimming the foliage off and getting them ready to bring up to my flower room for cleaning and storage.
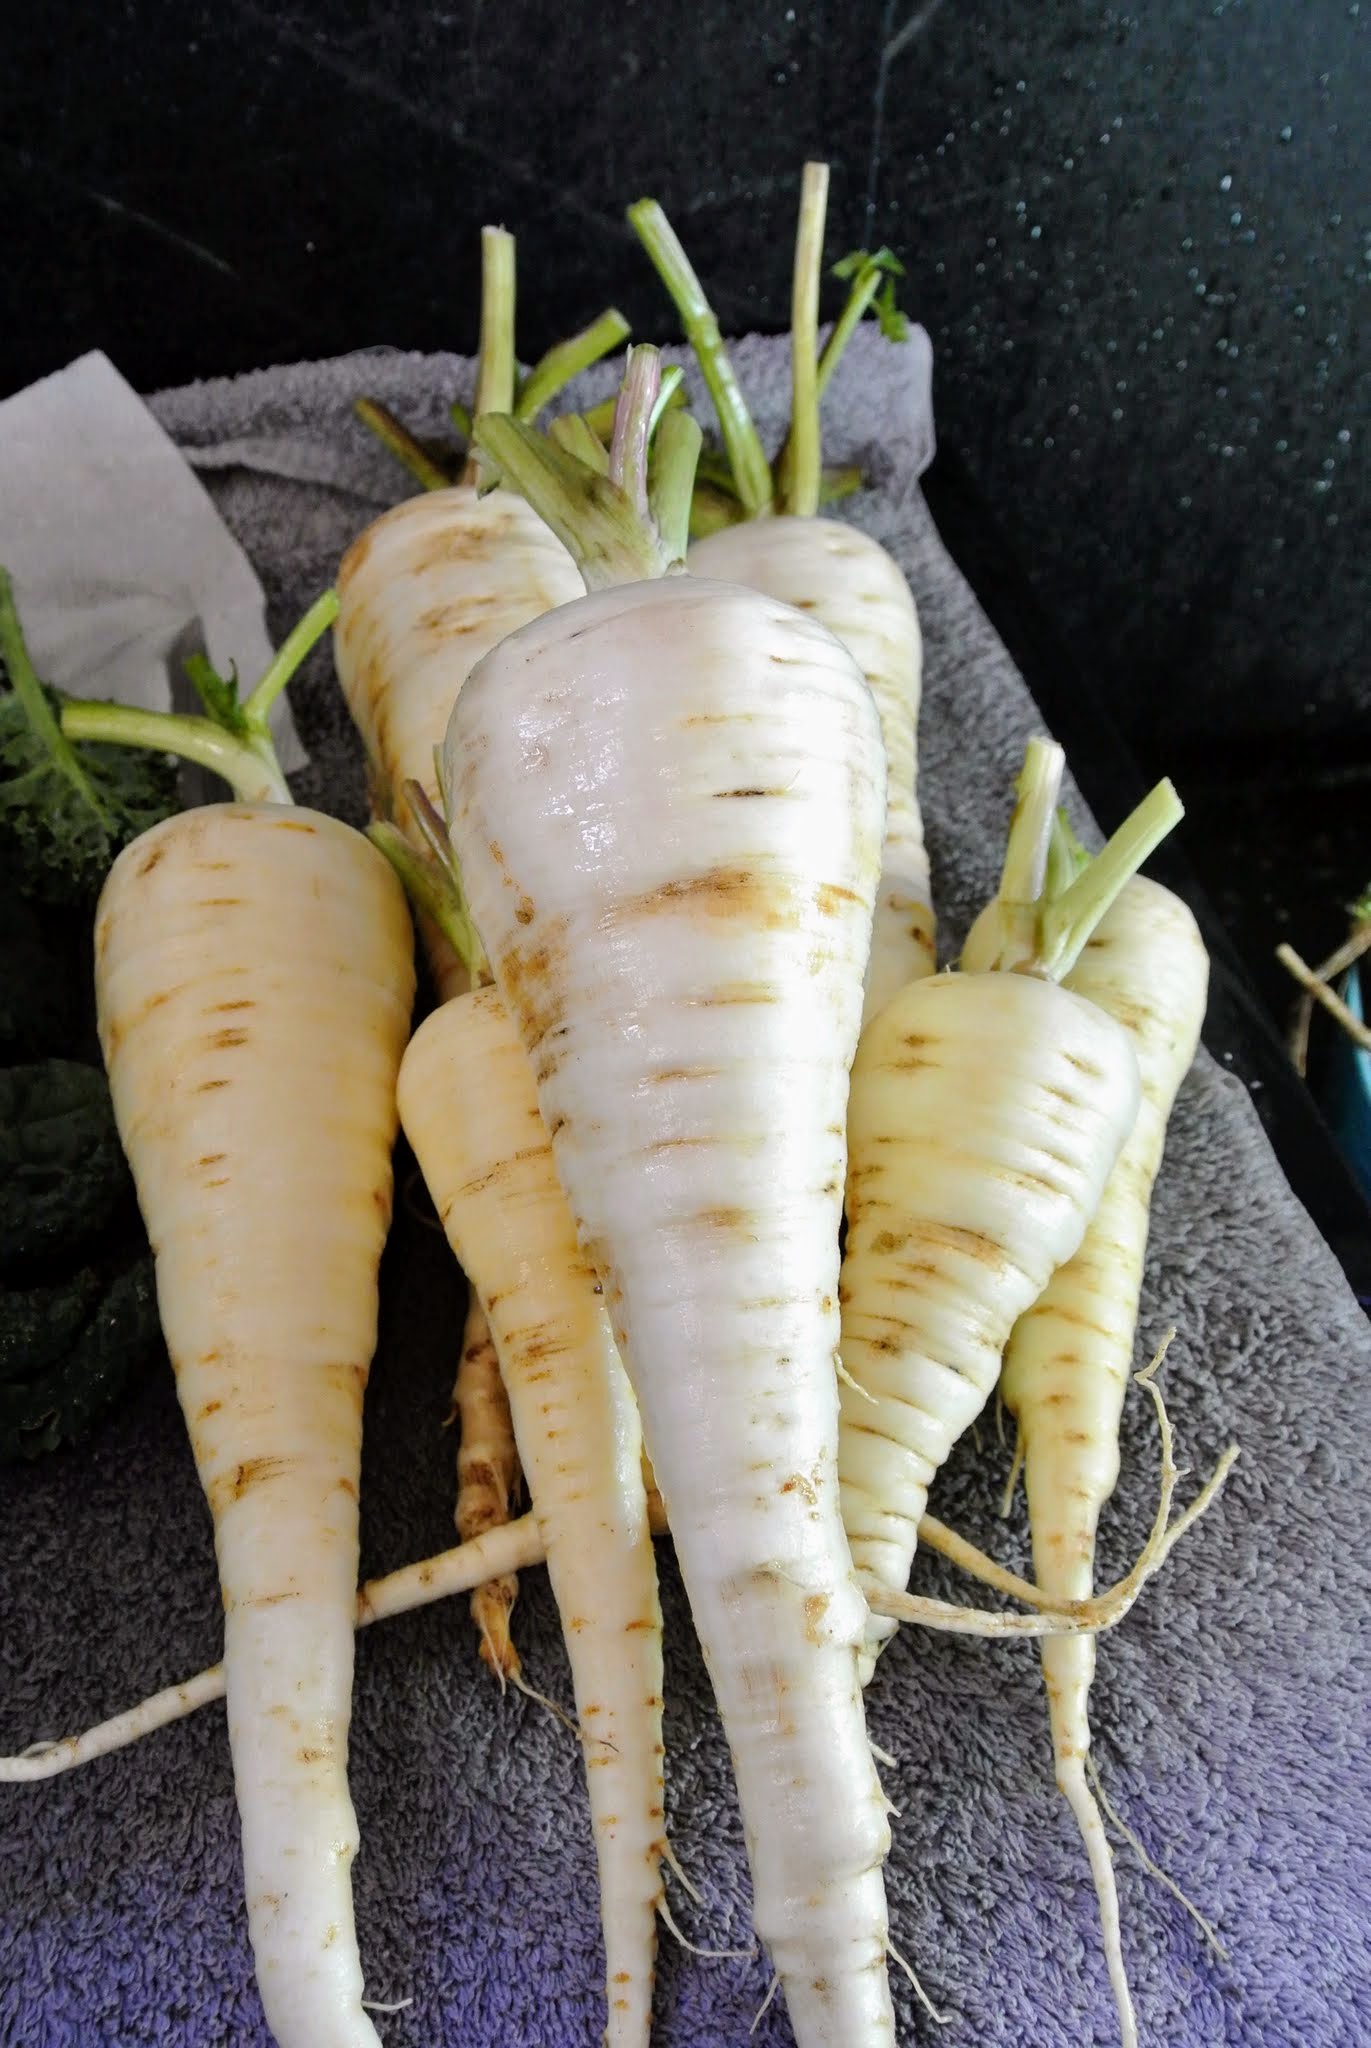
When cleaning, wash the parsnips under cool running water using a vegetable brush. Never use soap. Once they are clean, they can be wrapped in paper towel and stored in the refrigerator for up to two weeks.
The celeriac is also scrubbed thoroughly and placed into the refrigerator. I am always so excited to see what comes out of the garden. If you haven’t tasted them yet, give parsnips and celeriac a try – you’ll be glad you did.
This week, we all enjoyed seeing holiday photos from my colleagues, business partners, friends, and followers - now here are some of my own Thanksgiving memories.
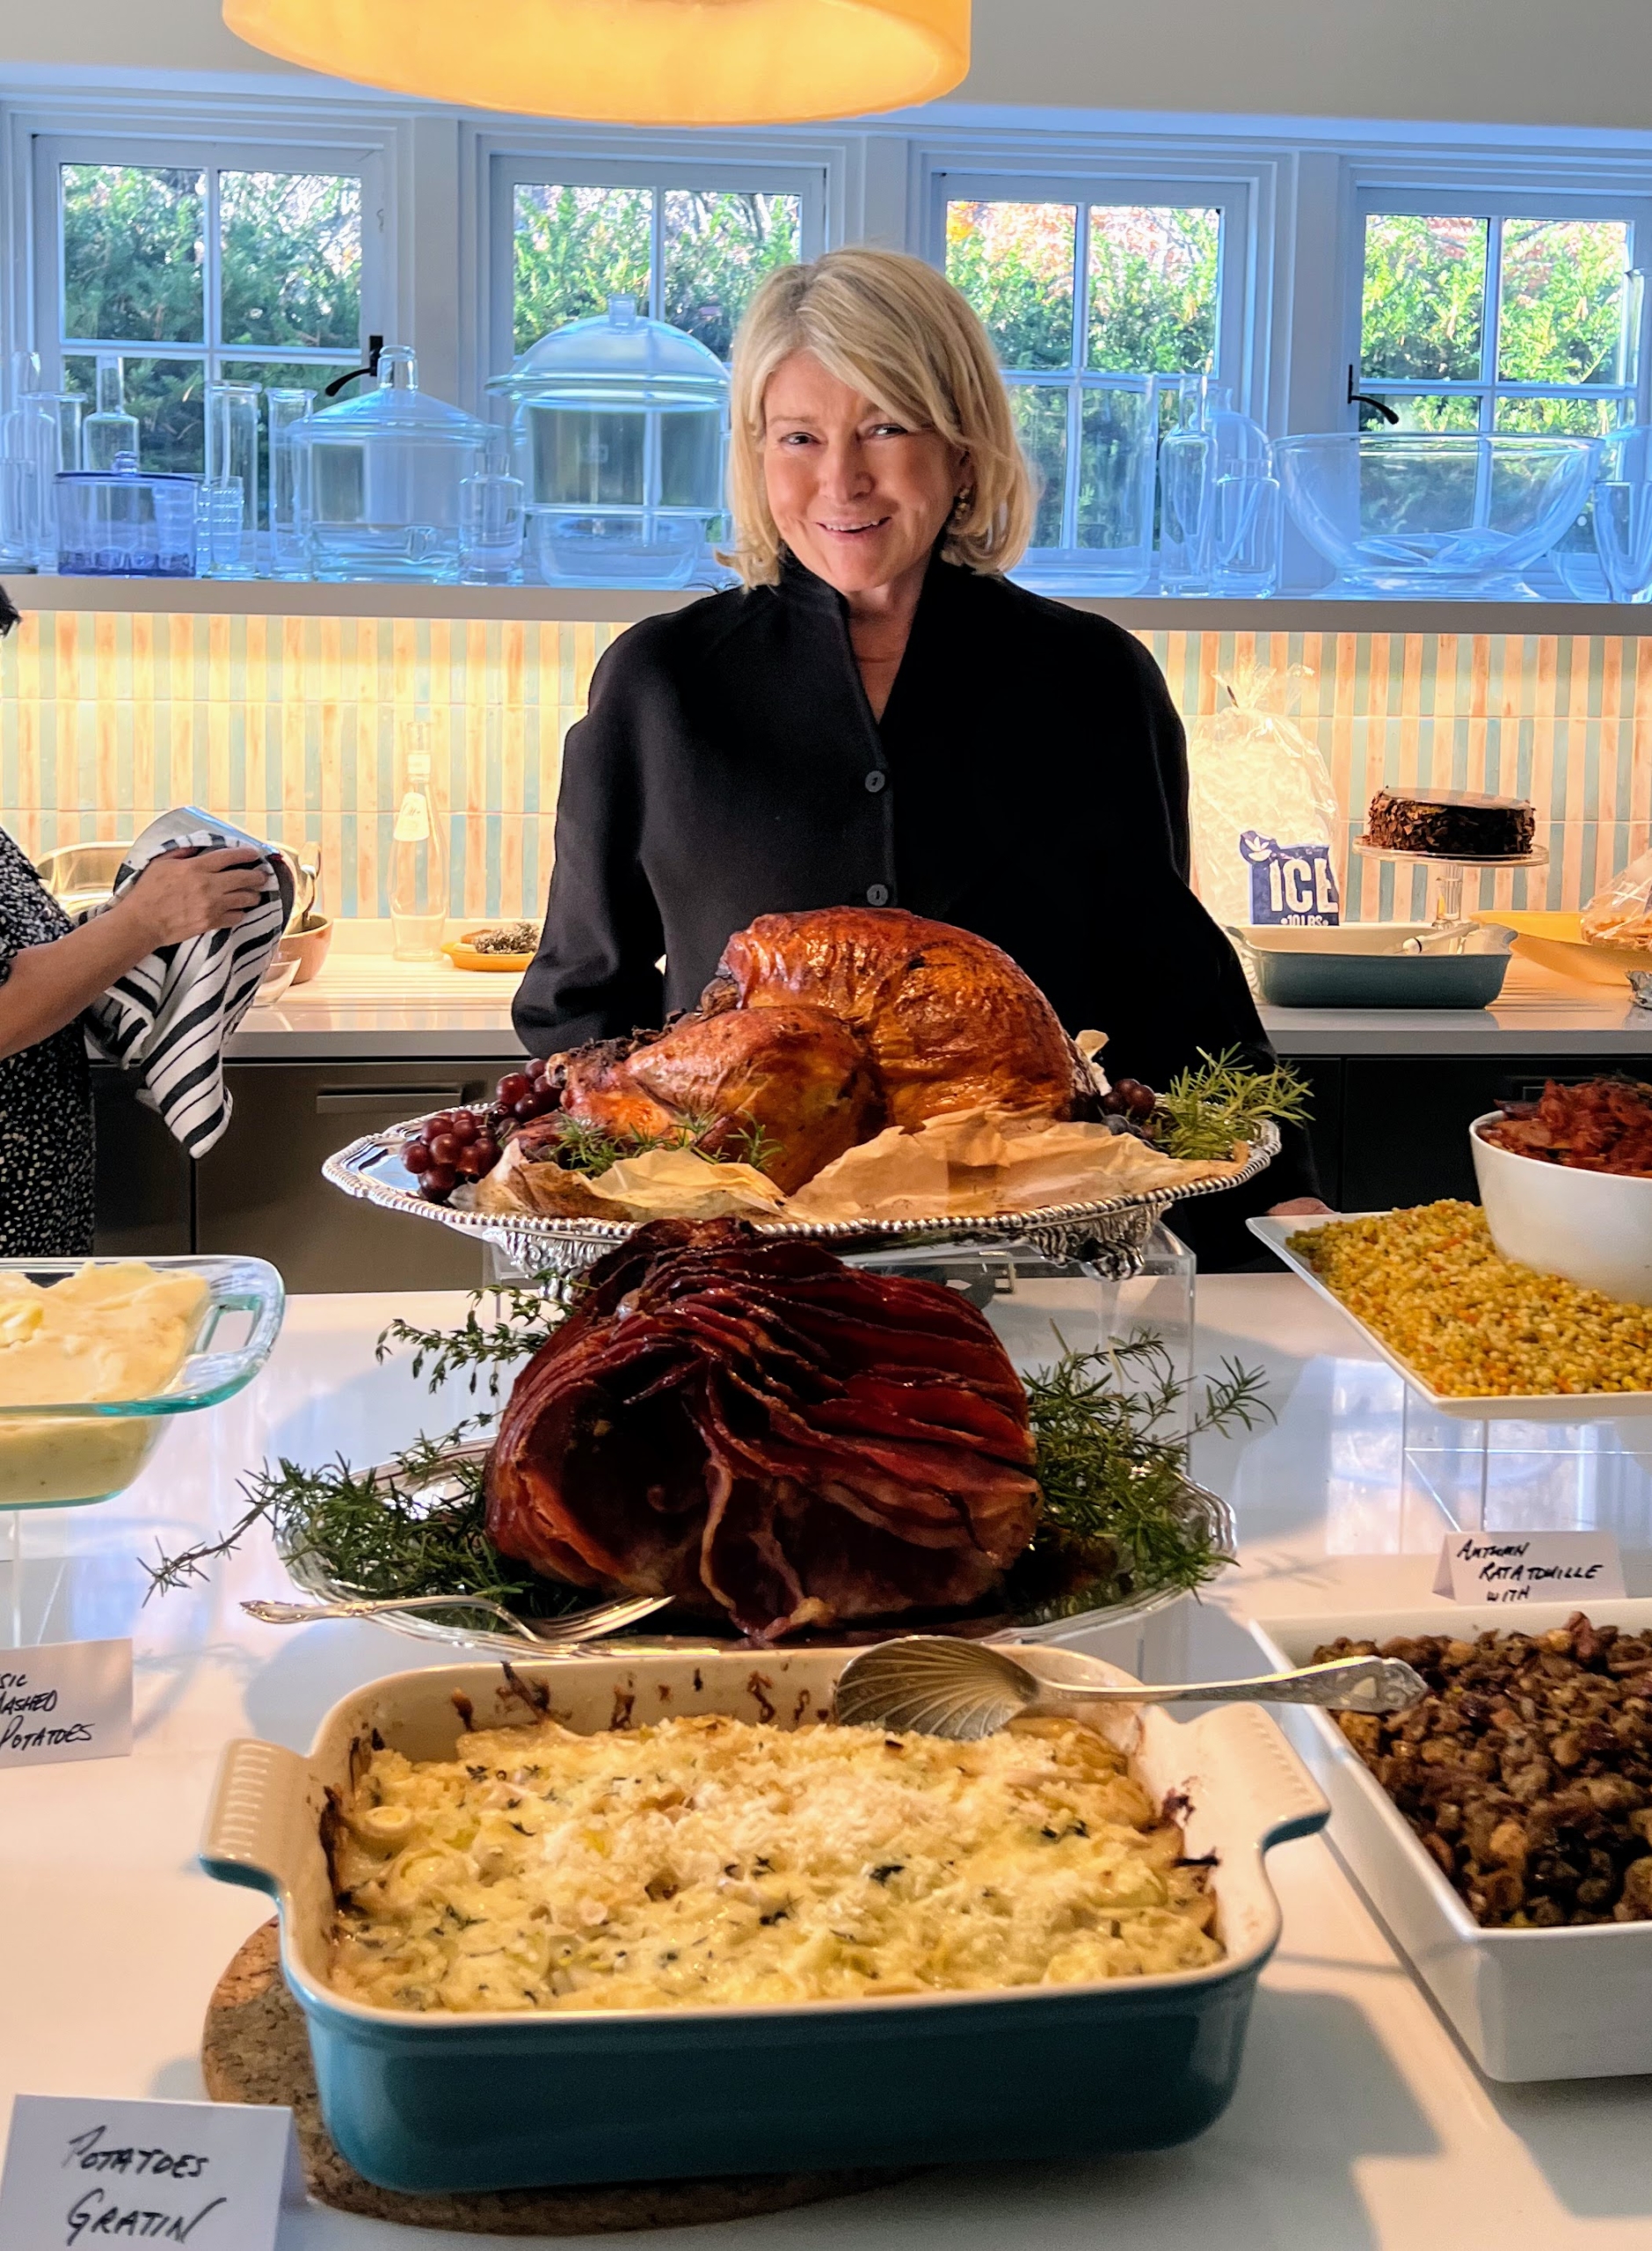
This year, I attended Thanksgiving lunch at the home of my friend and distinguished interior designer, Stephen Sills. He organized a big buffet for all his guests, so I brought a beautifully stuffed and roasted 20-pound organic heritage turkey to supplement the meal. I prepped and cooked it Thanksgiving morning, and it was perfectly golden by afternoon - just in time. It was a most enjoyable gathering with friends, and a wonderful feast for all.
Here are photos from my Thanksgiving Day, enjoy.
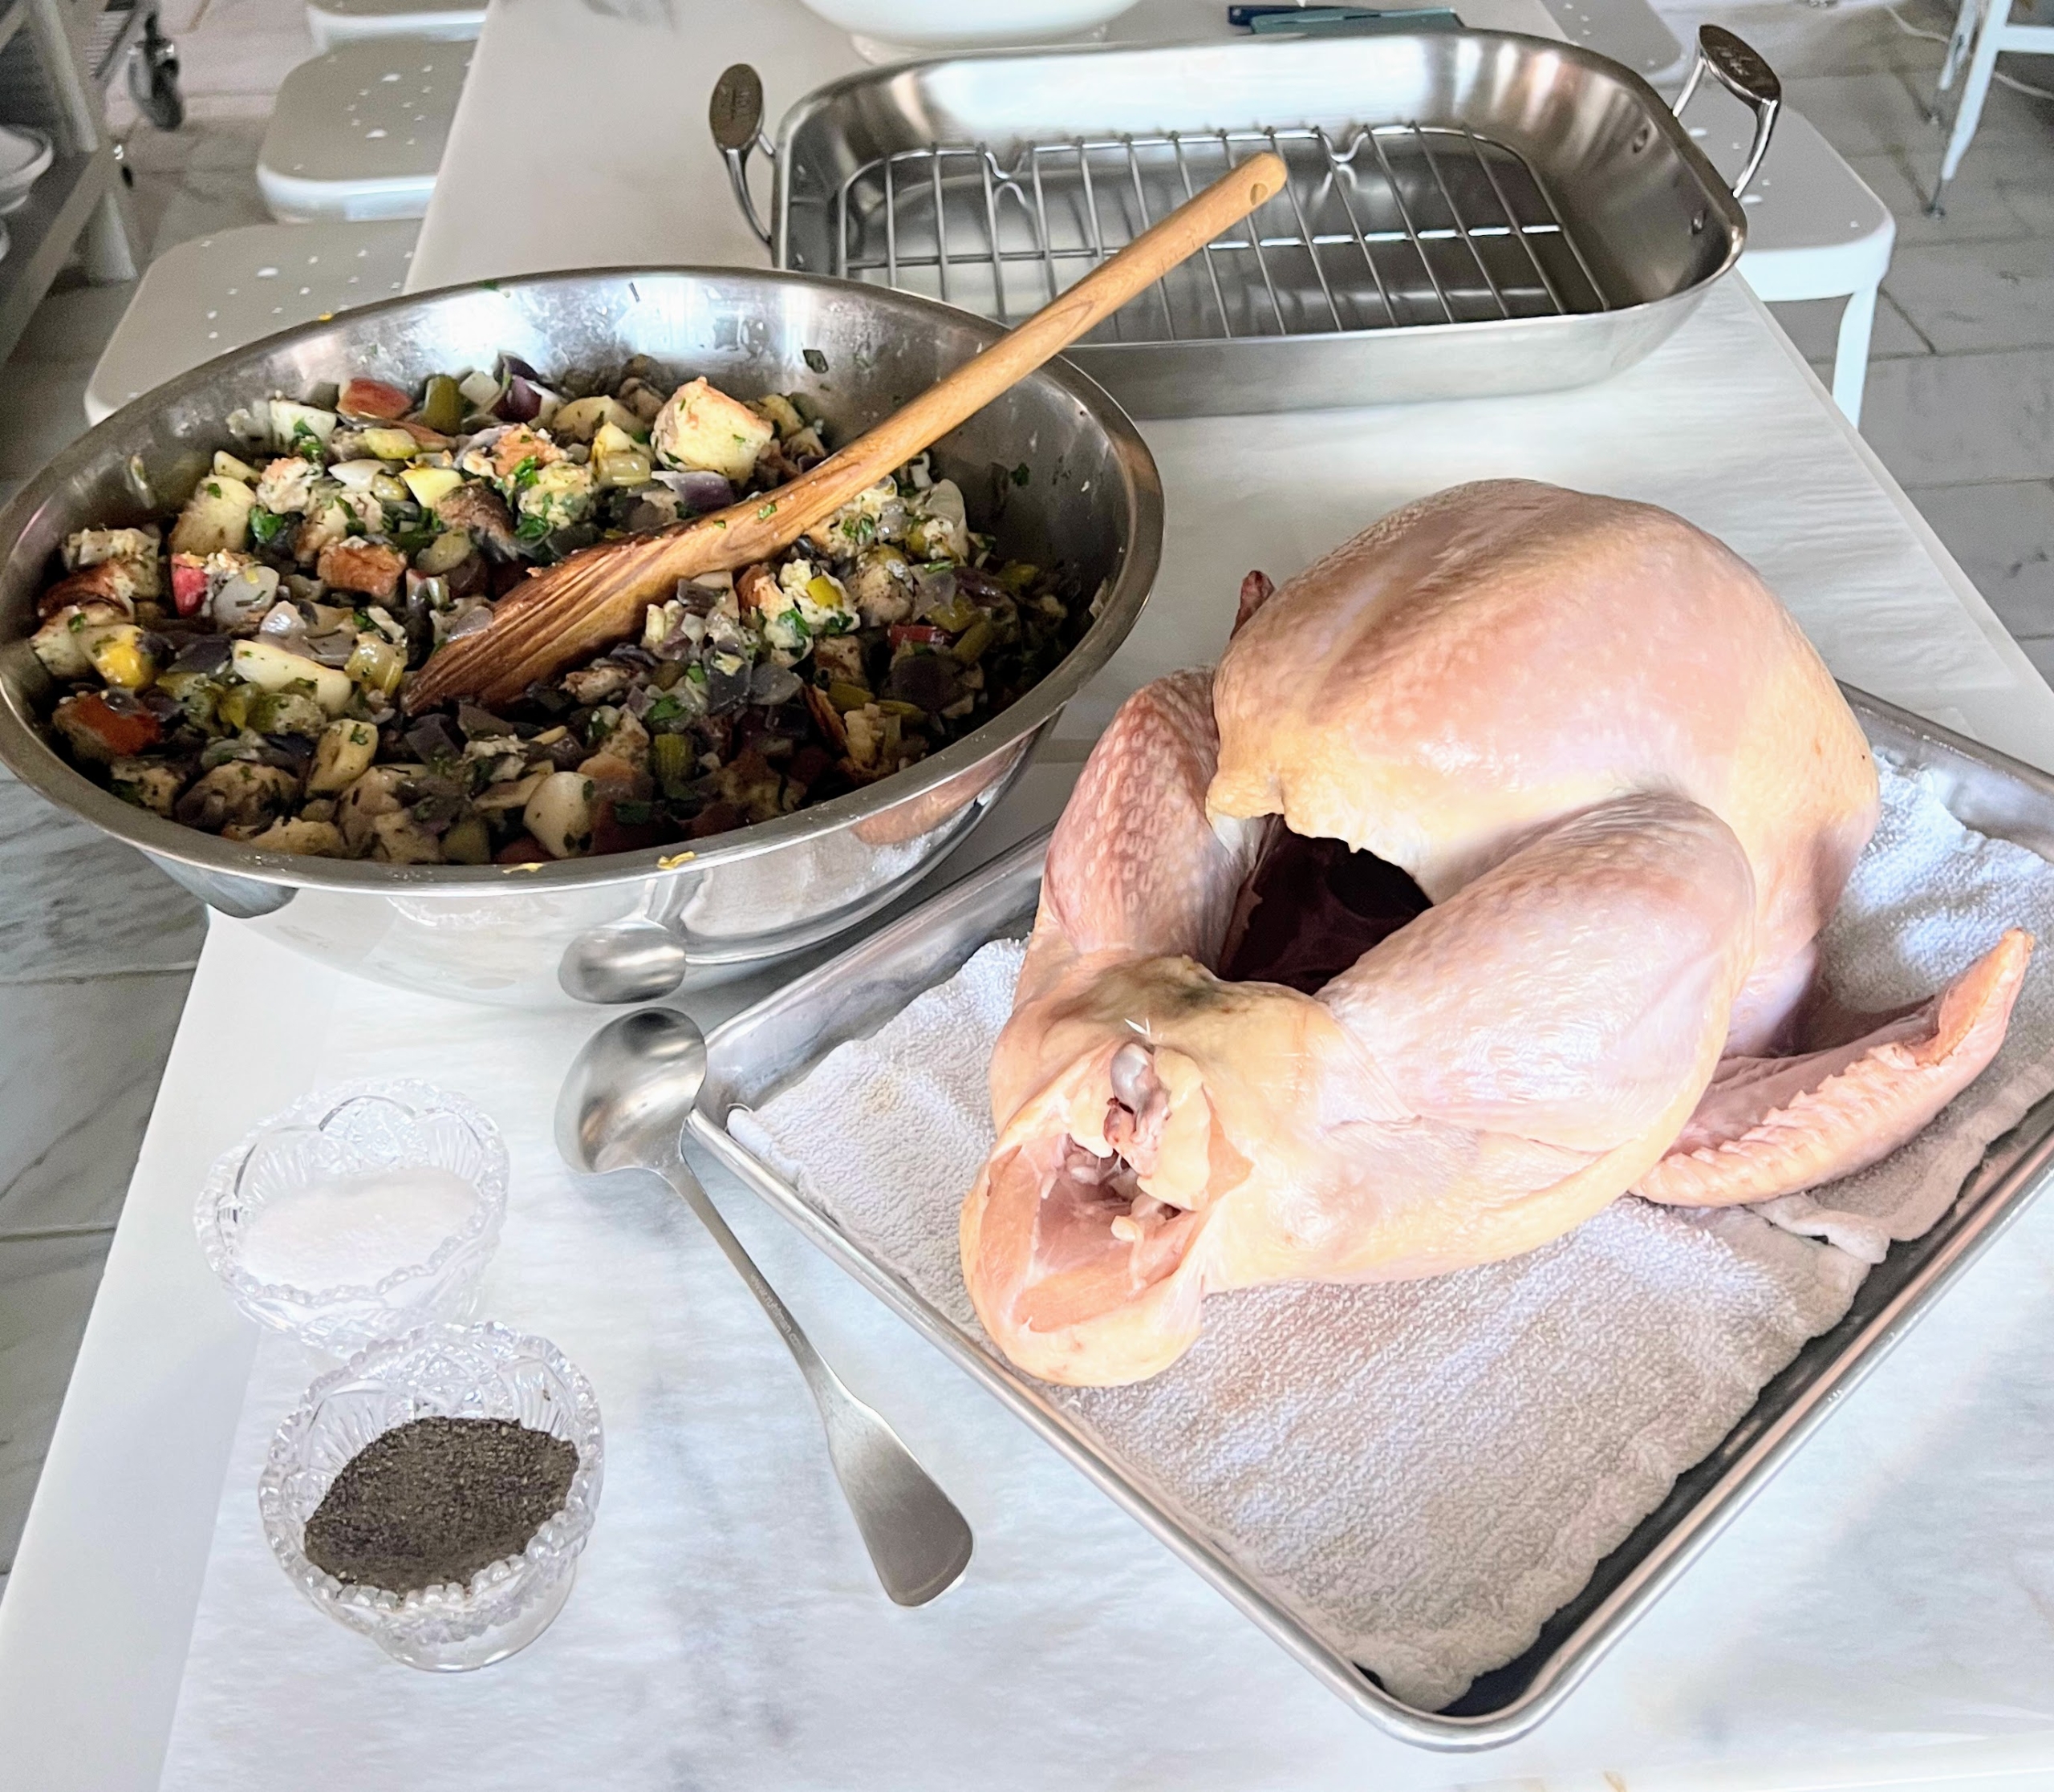
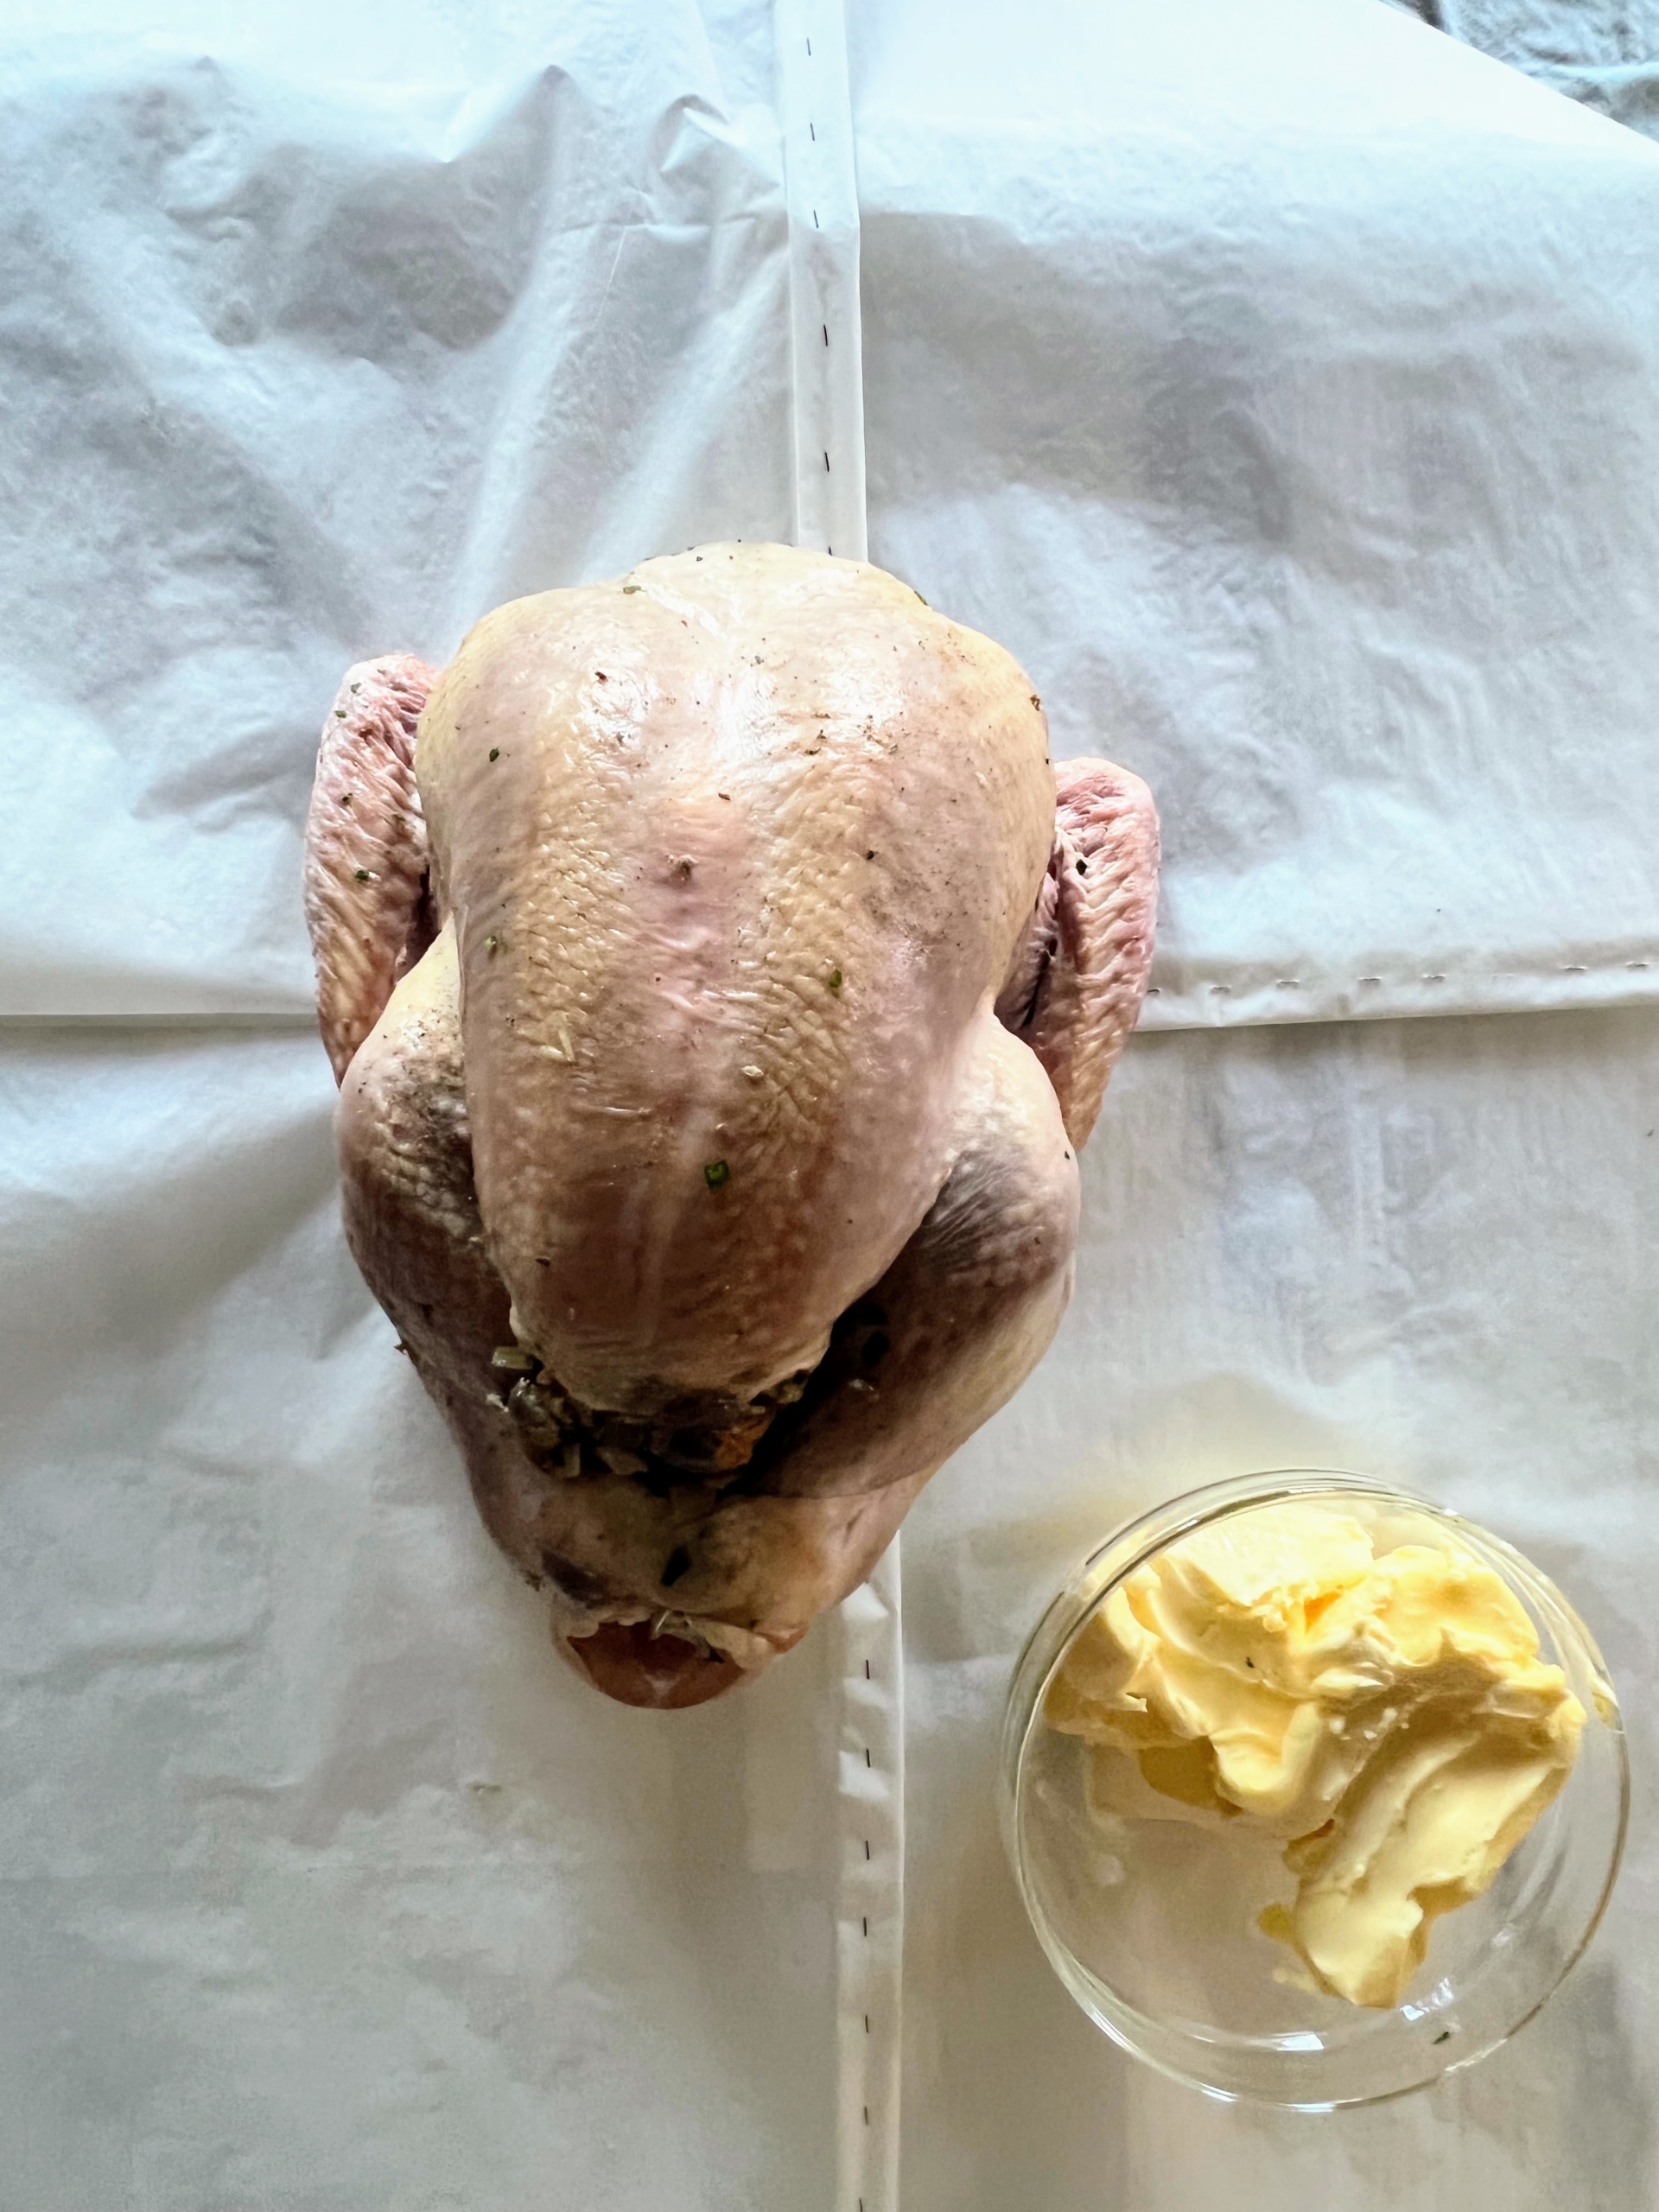
On Thanksgiving morning, just one day after I made 30-pies for my hard-working staff, I’m back in my kitchen preparing a 20-pound organic heritage turkey for lunch. Here is the bird on the counter before it is prepped. A turkey will cook more evenly and faster if it starts out at room temperature, so remove the turkey from the refrigerator about an hour before roasting.
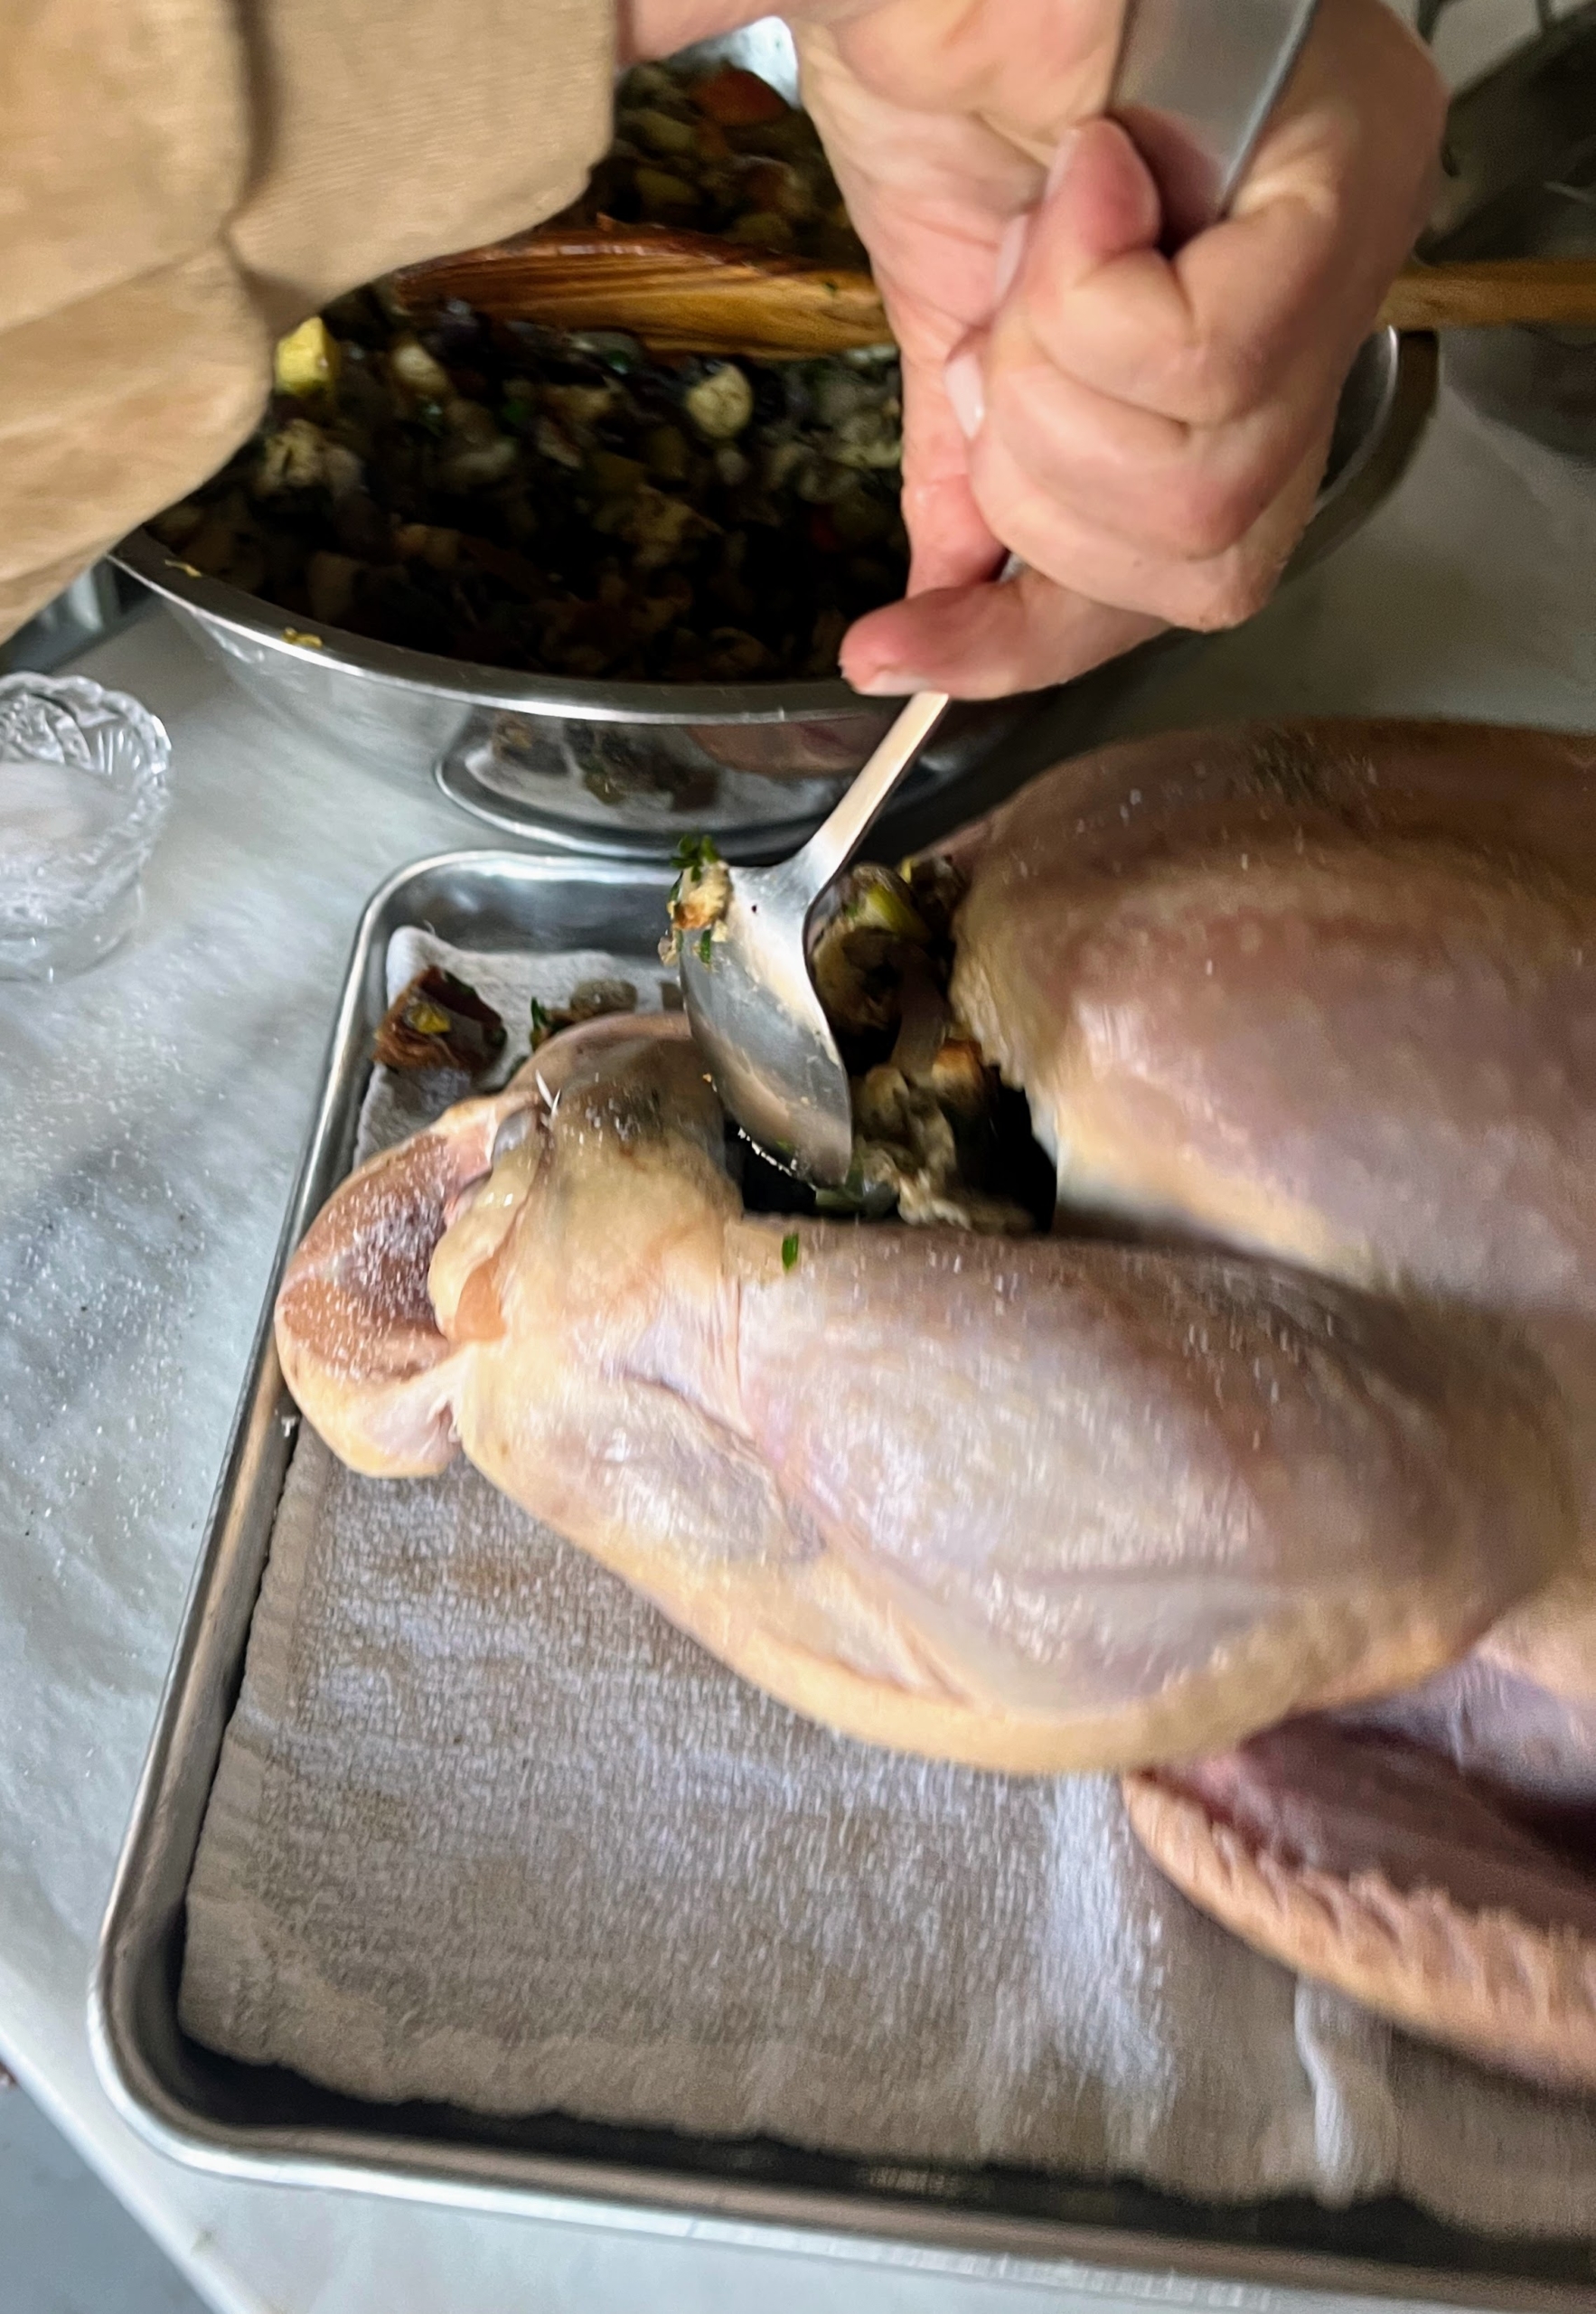
Once the turkey is patted dry and seasoned, I spooned several cups of apple and pear stuffing inside the bird’s cavity. The capacity of the cavity will vary with every bird. Any remaining stuffing can be baked separately.
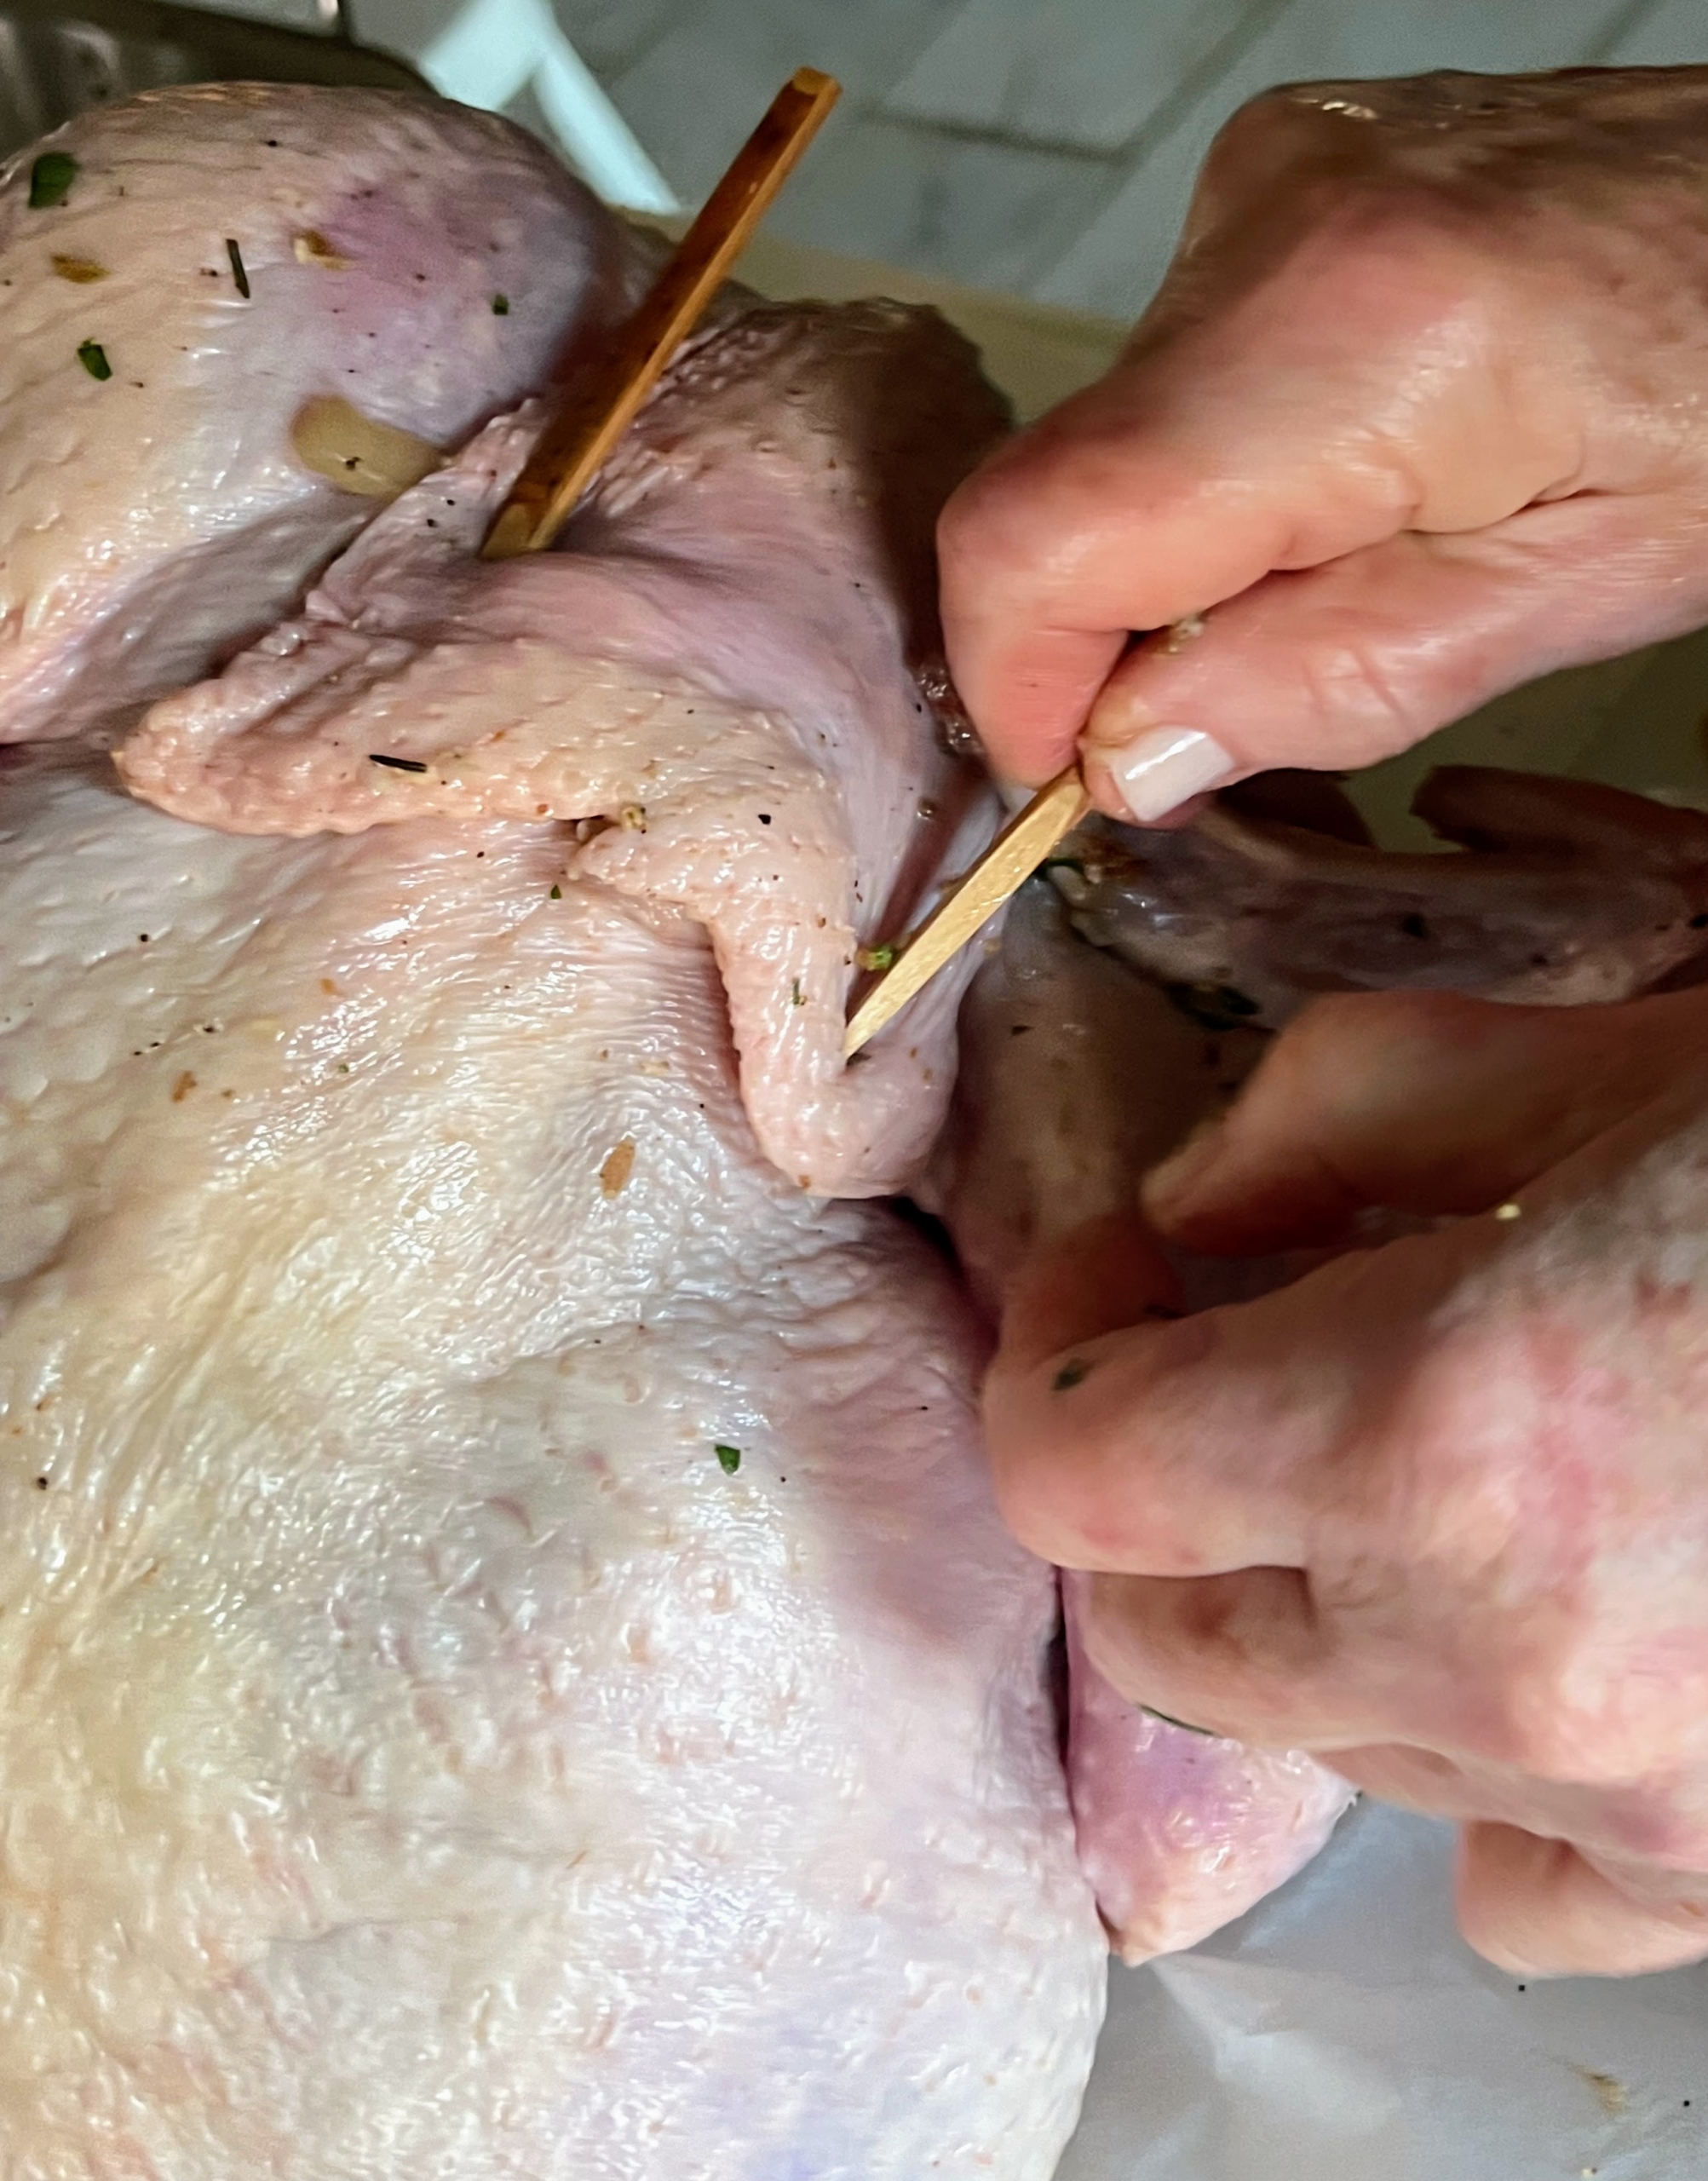
Then I secured the flaps with big wooden picks.
I decided to cook this turkey “en papillote,” or “al cartoccio” in Italian. It is a method of cooking food carefully placed into a folded parchment pouch then roasted or baked. Here is the turkey before it was buttered and wrapped.
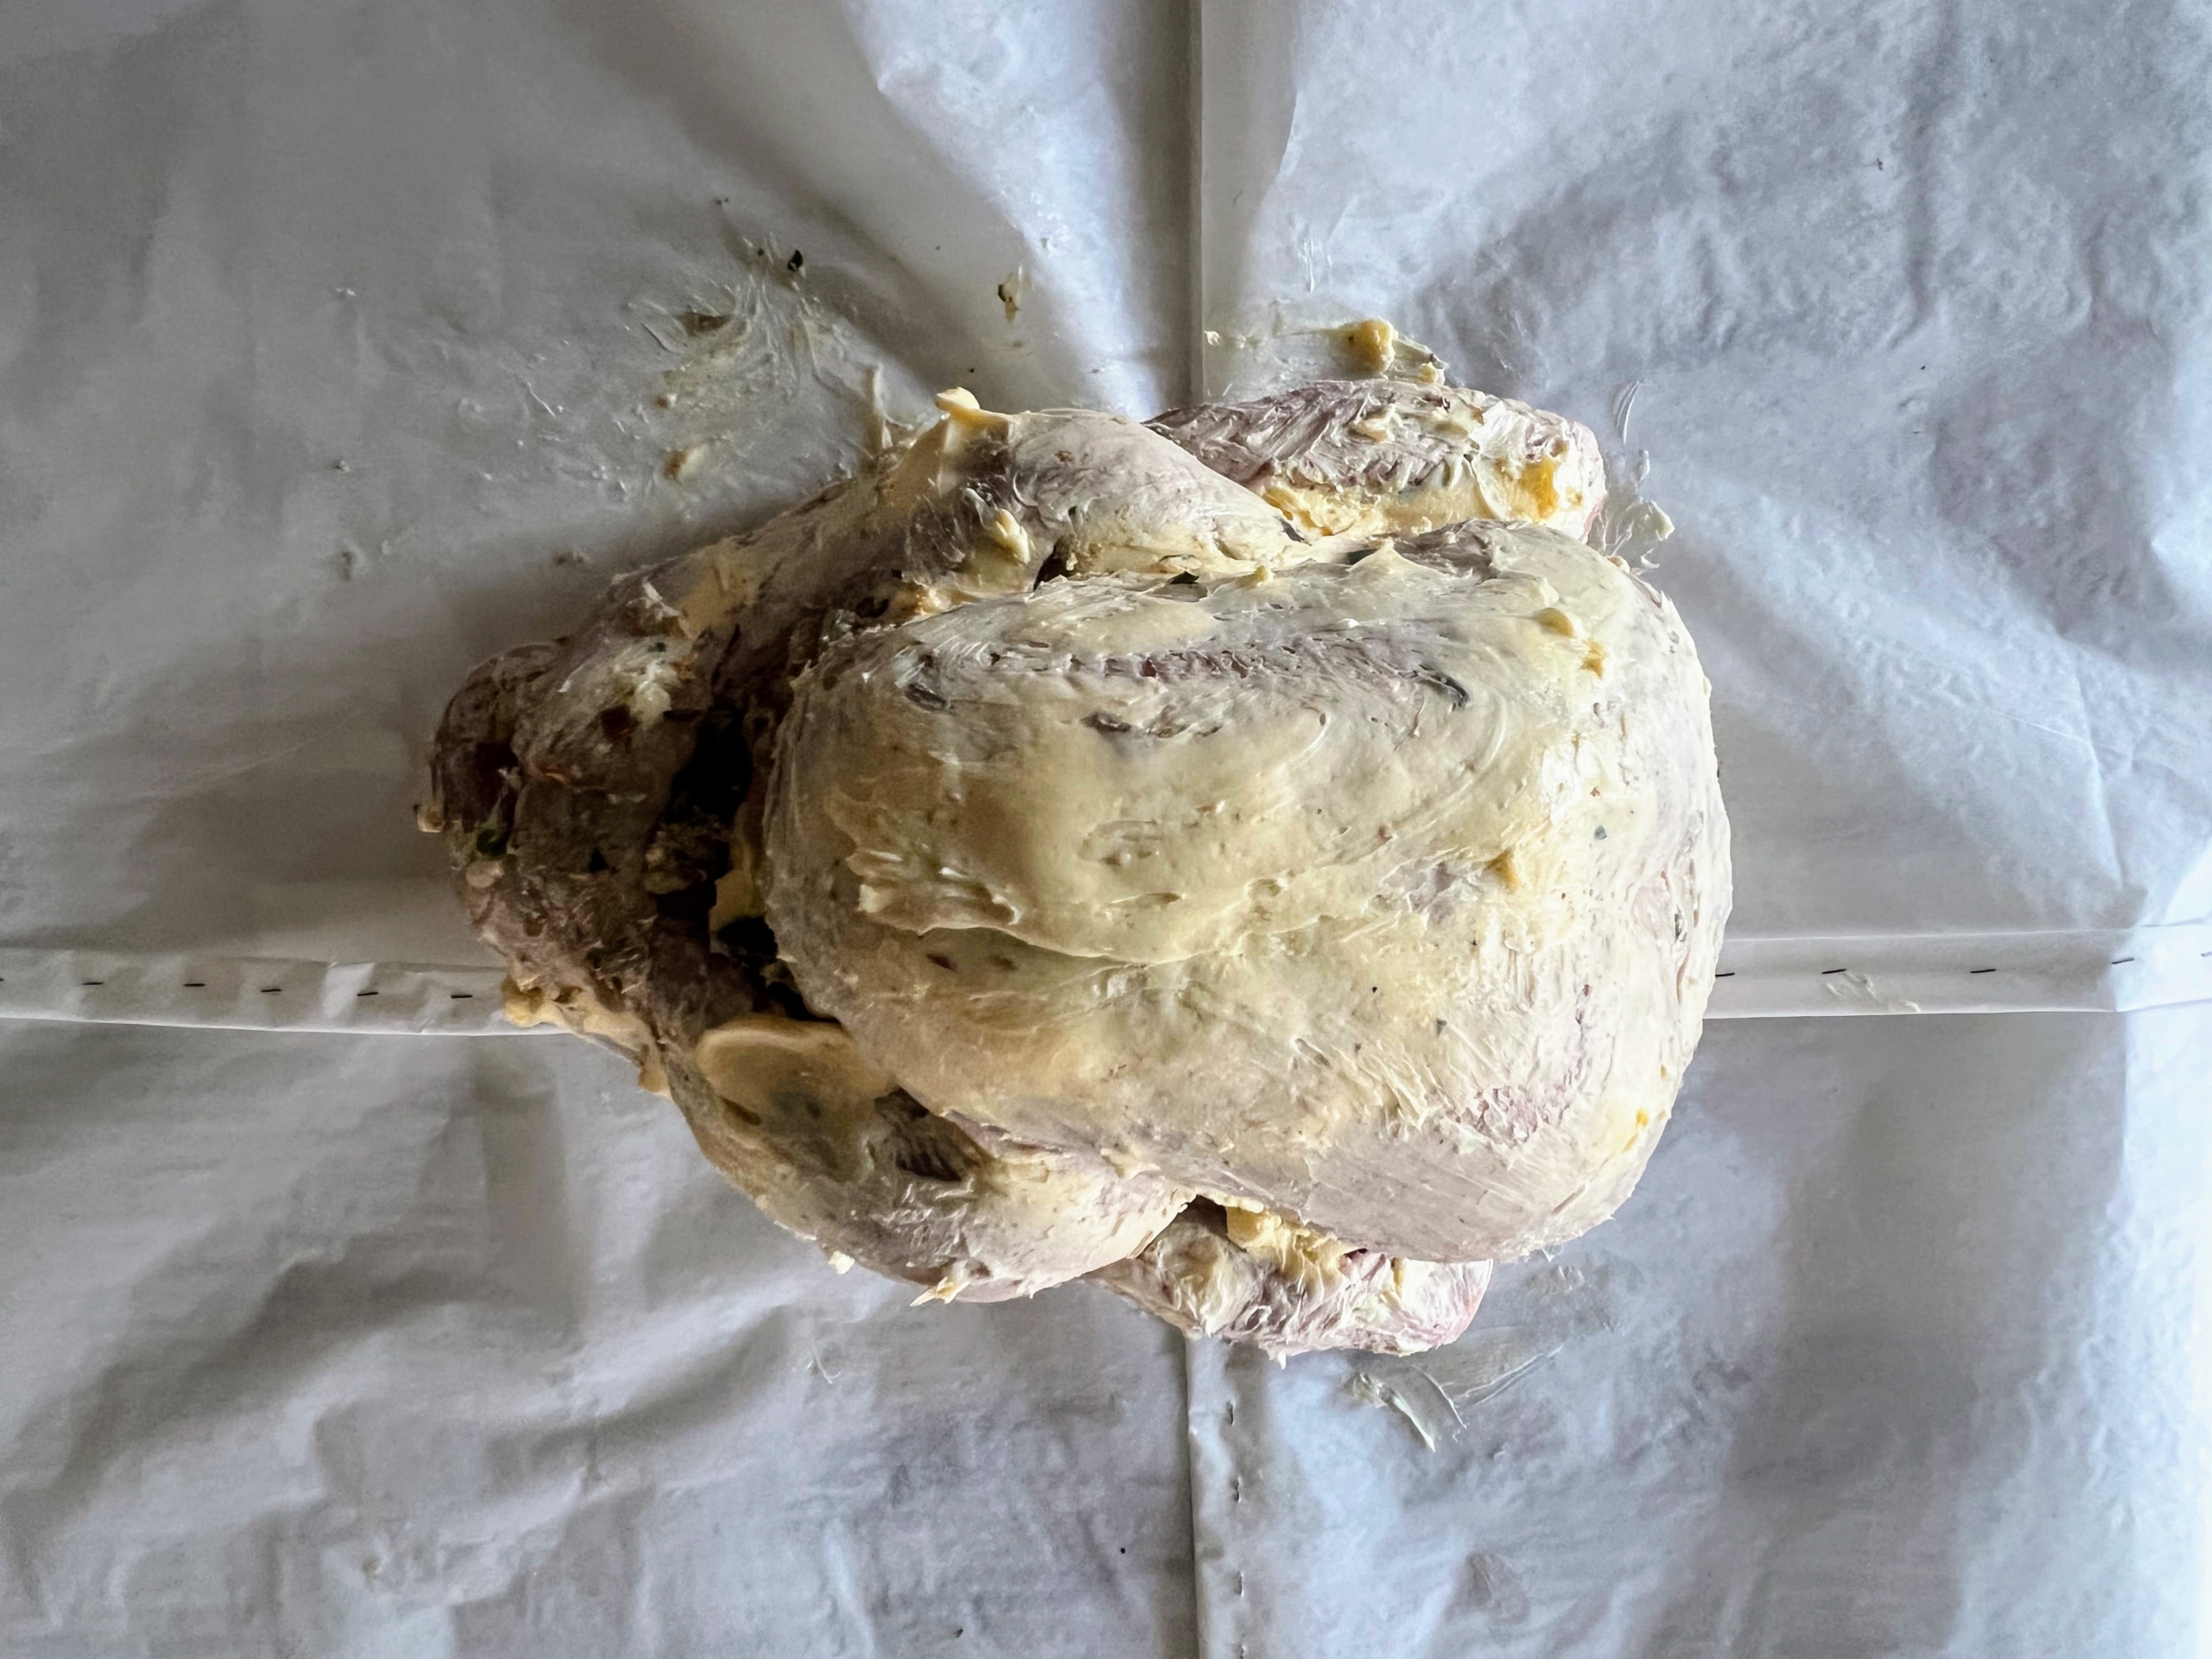
And here is the turkey after it is well buttered. I spread a generous amount of softened unsalted butter over the top of the turkey – about six to eight tablespoons.
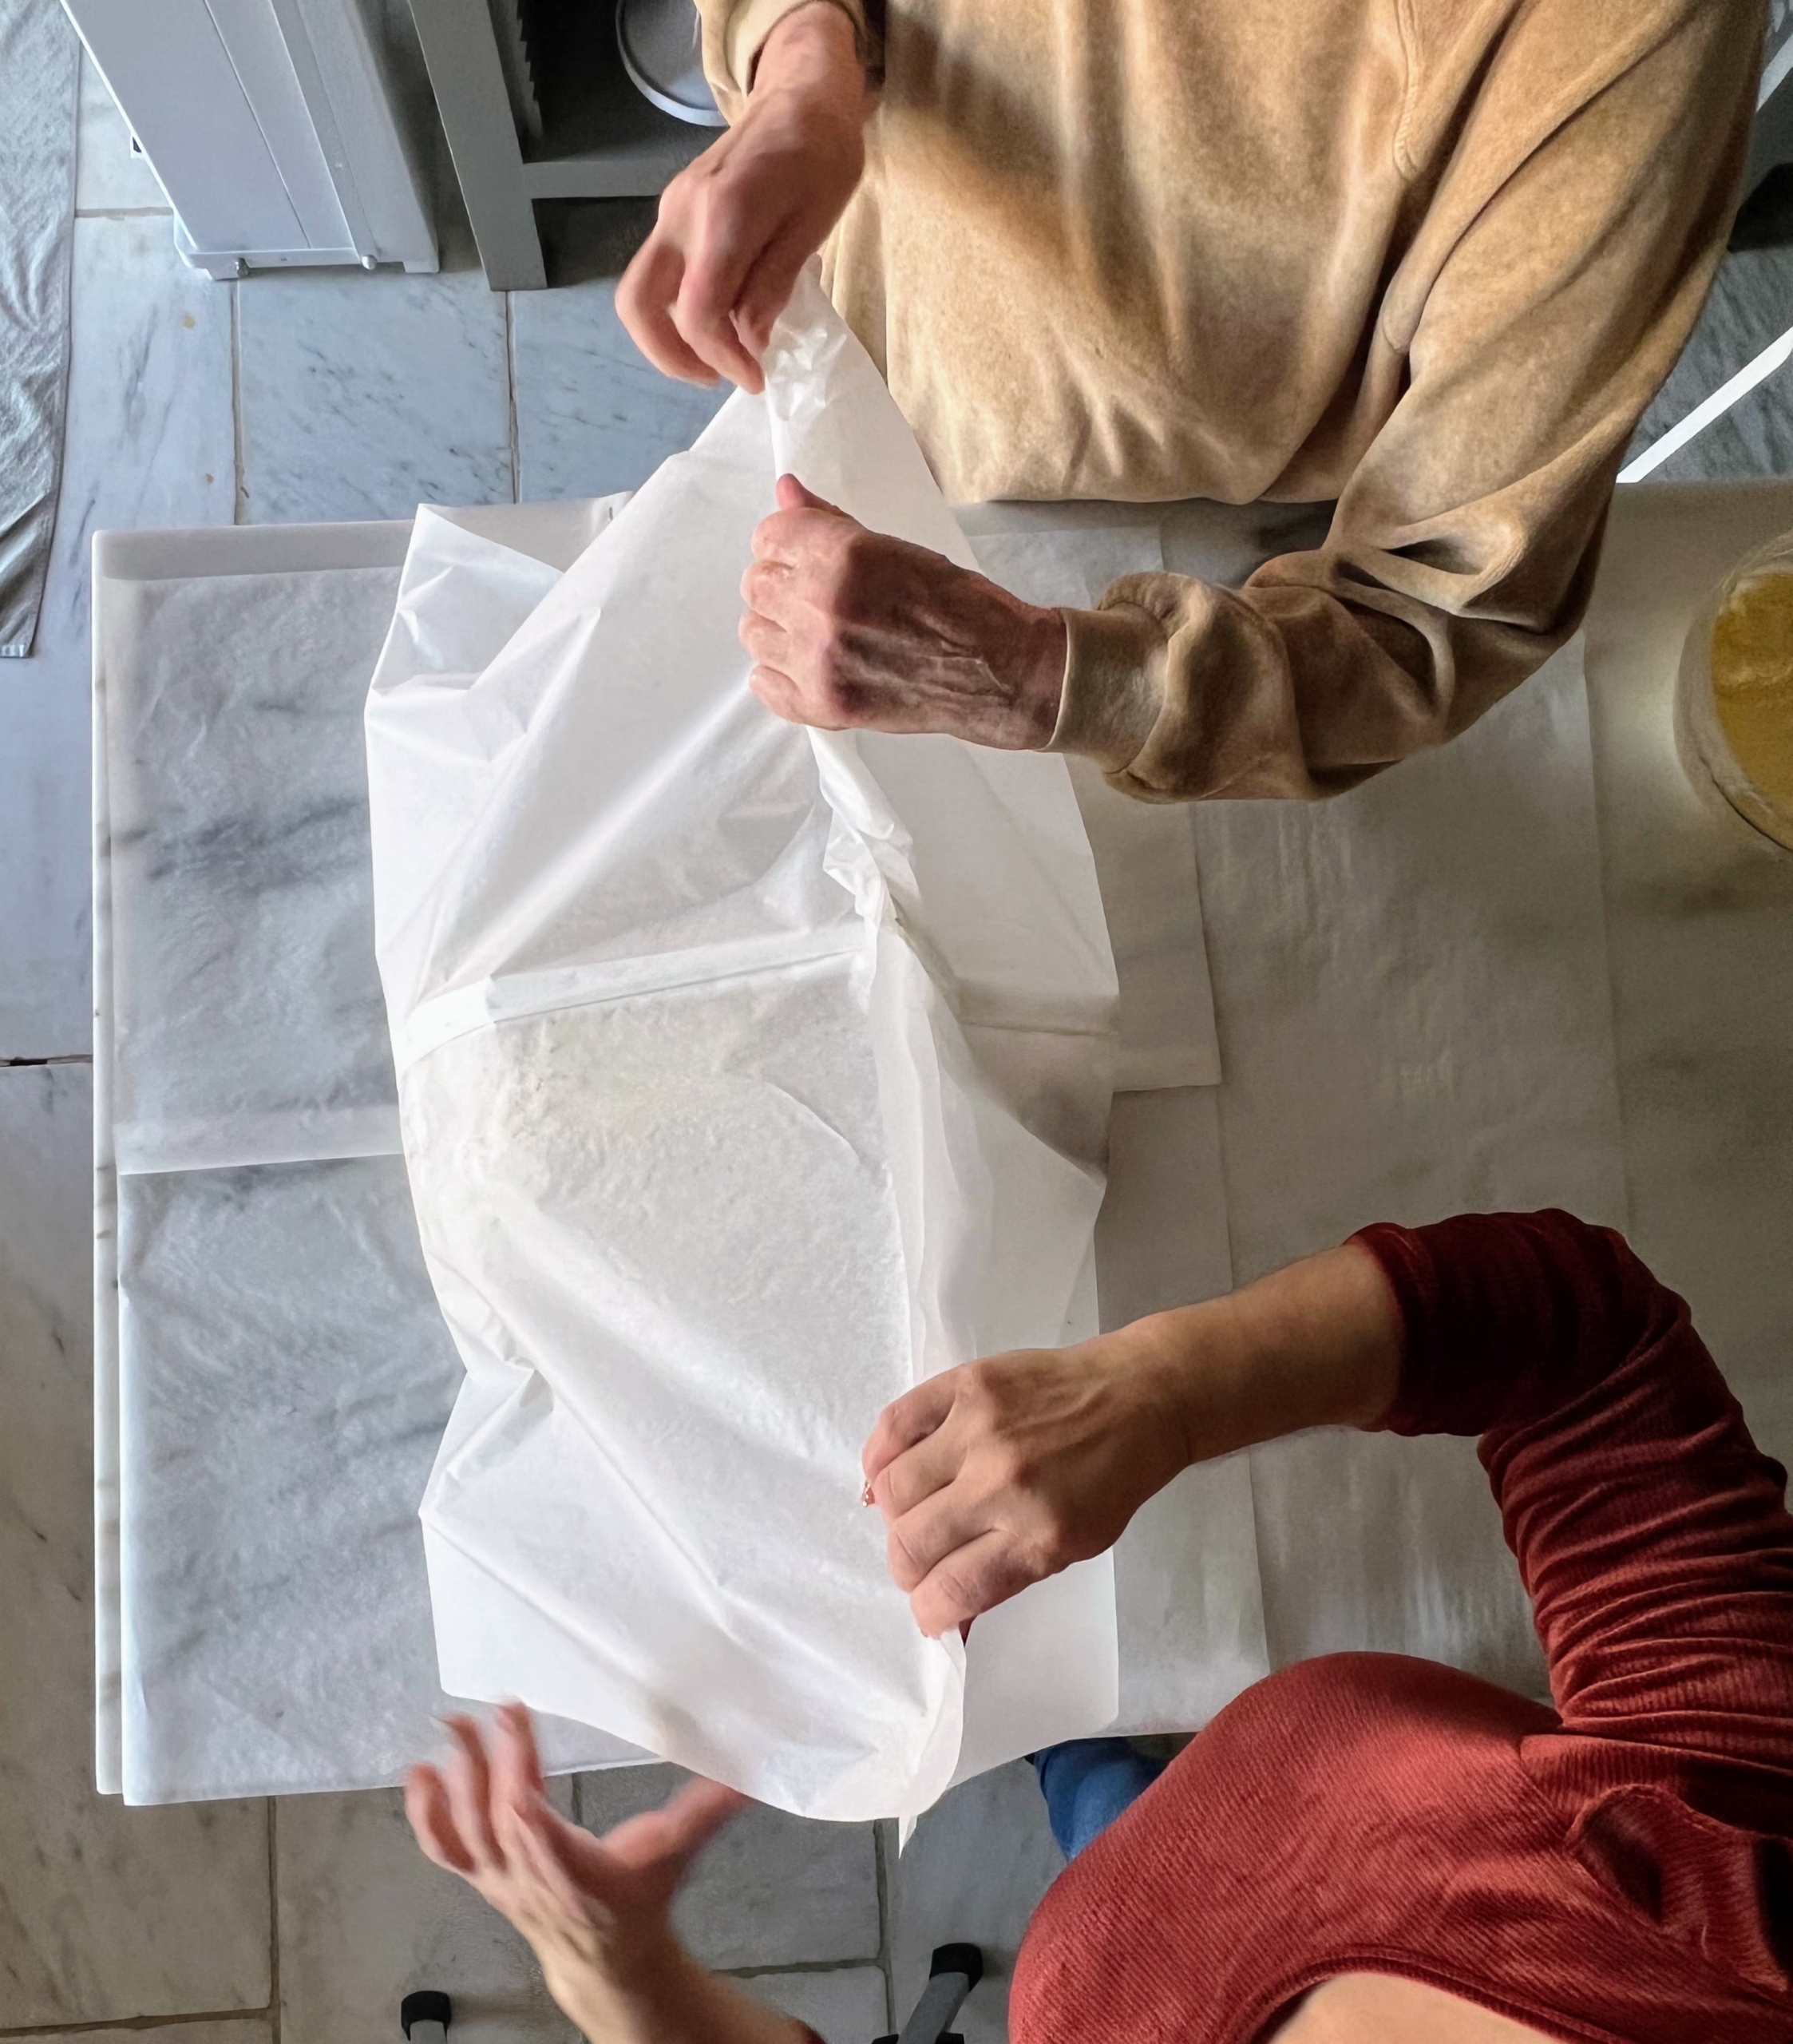
Next, I start wrapping it in a giant sheet of parchment. And only use parchment paper when cooking – never wax paper. Wax paper is NOT heat resistant, and could melt or even catch fire in the oven.
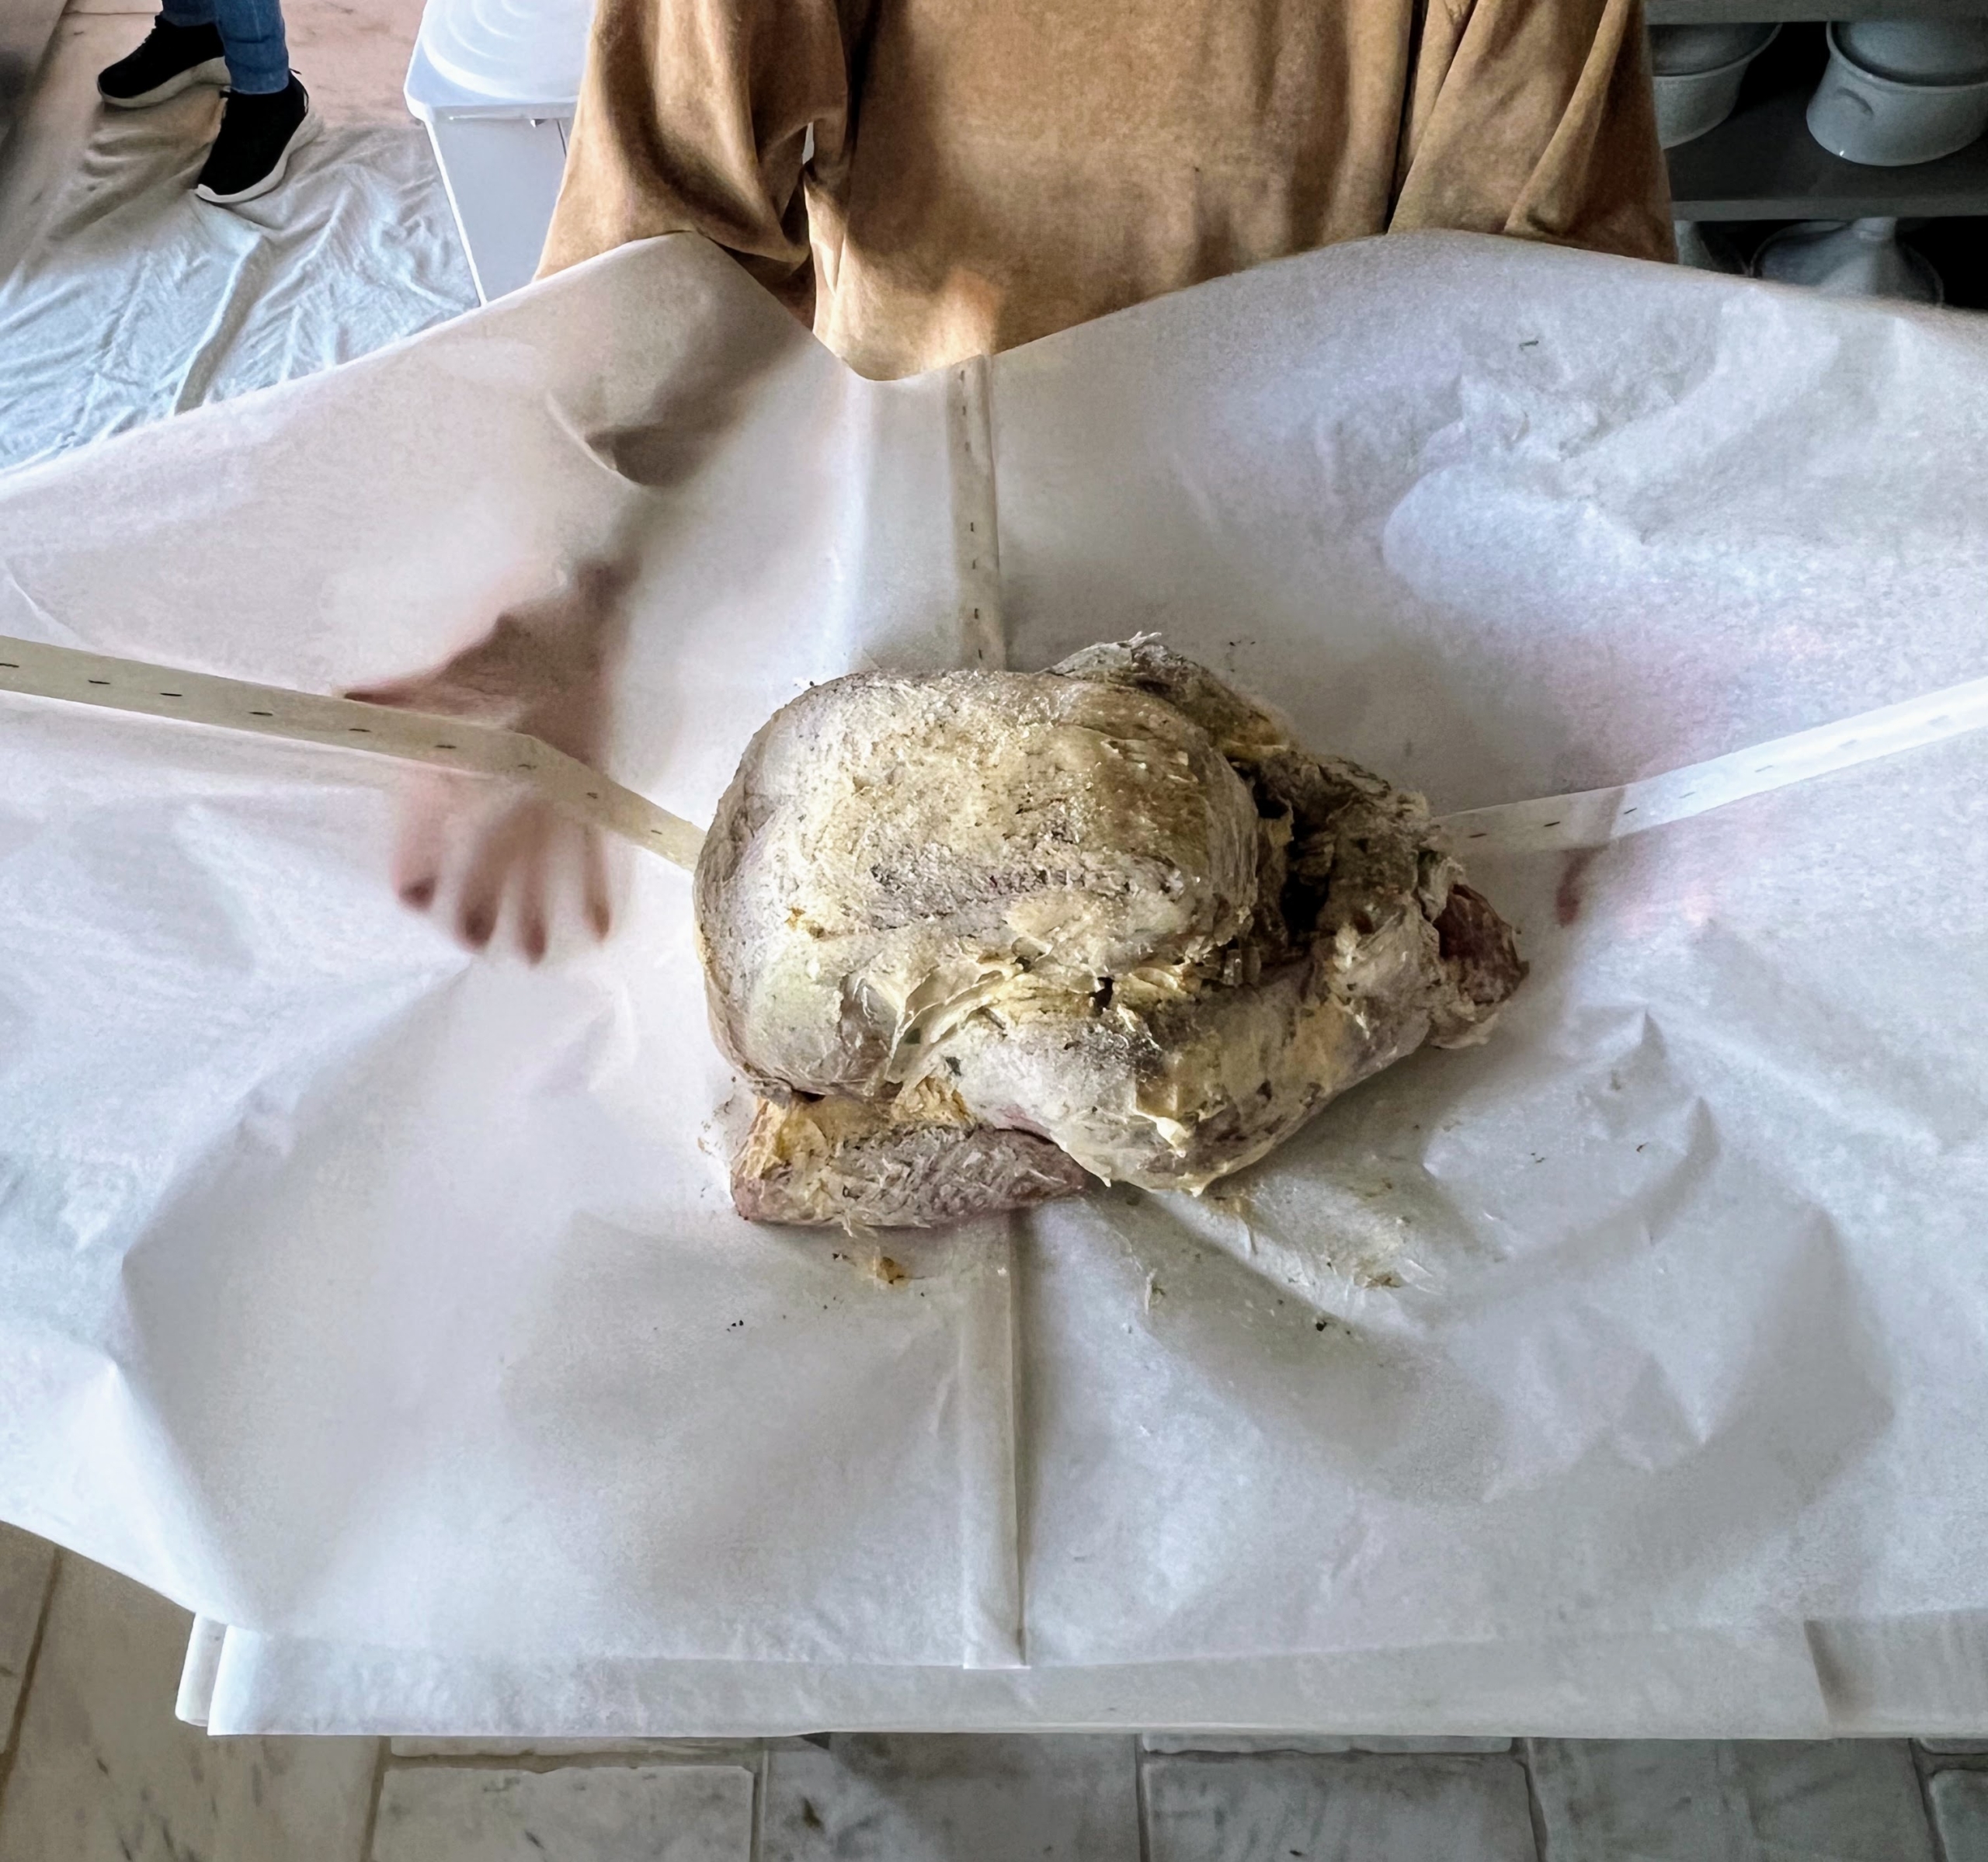
One can purchase big roles of parchment paper, but if it is not big enough, staple two long sheets together and then wrap the turkey.
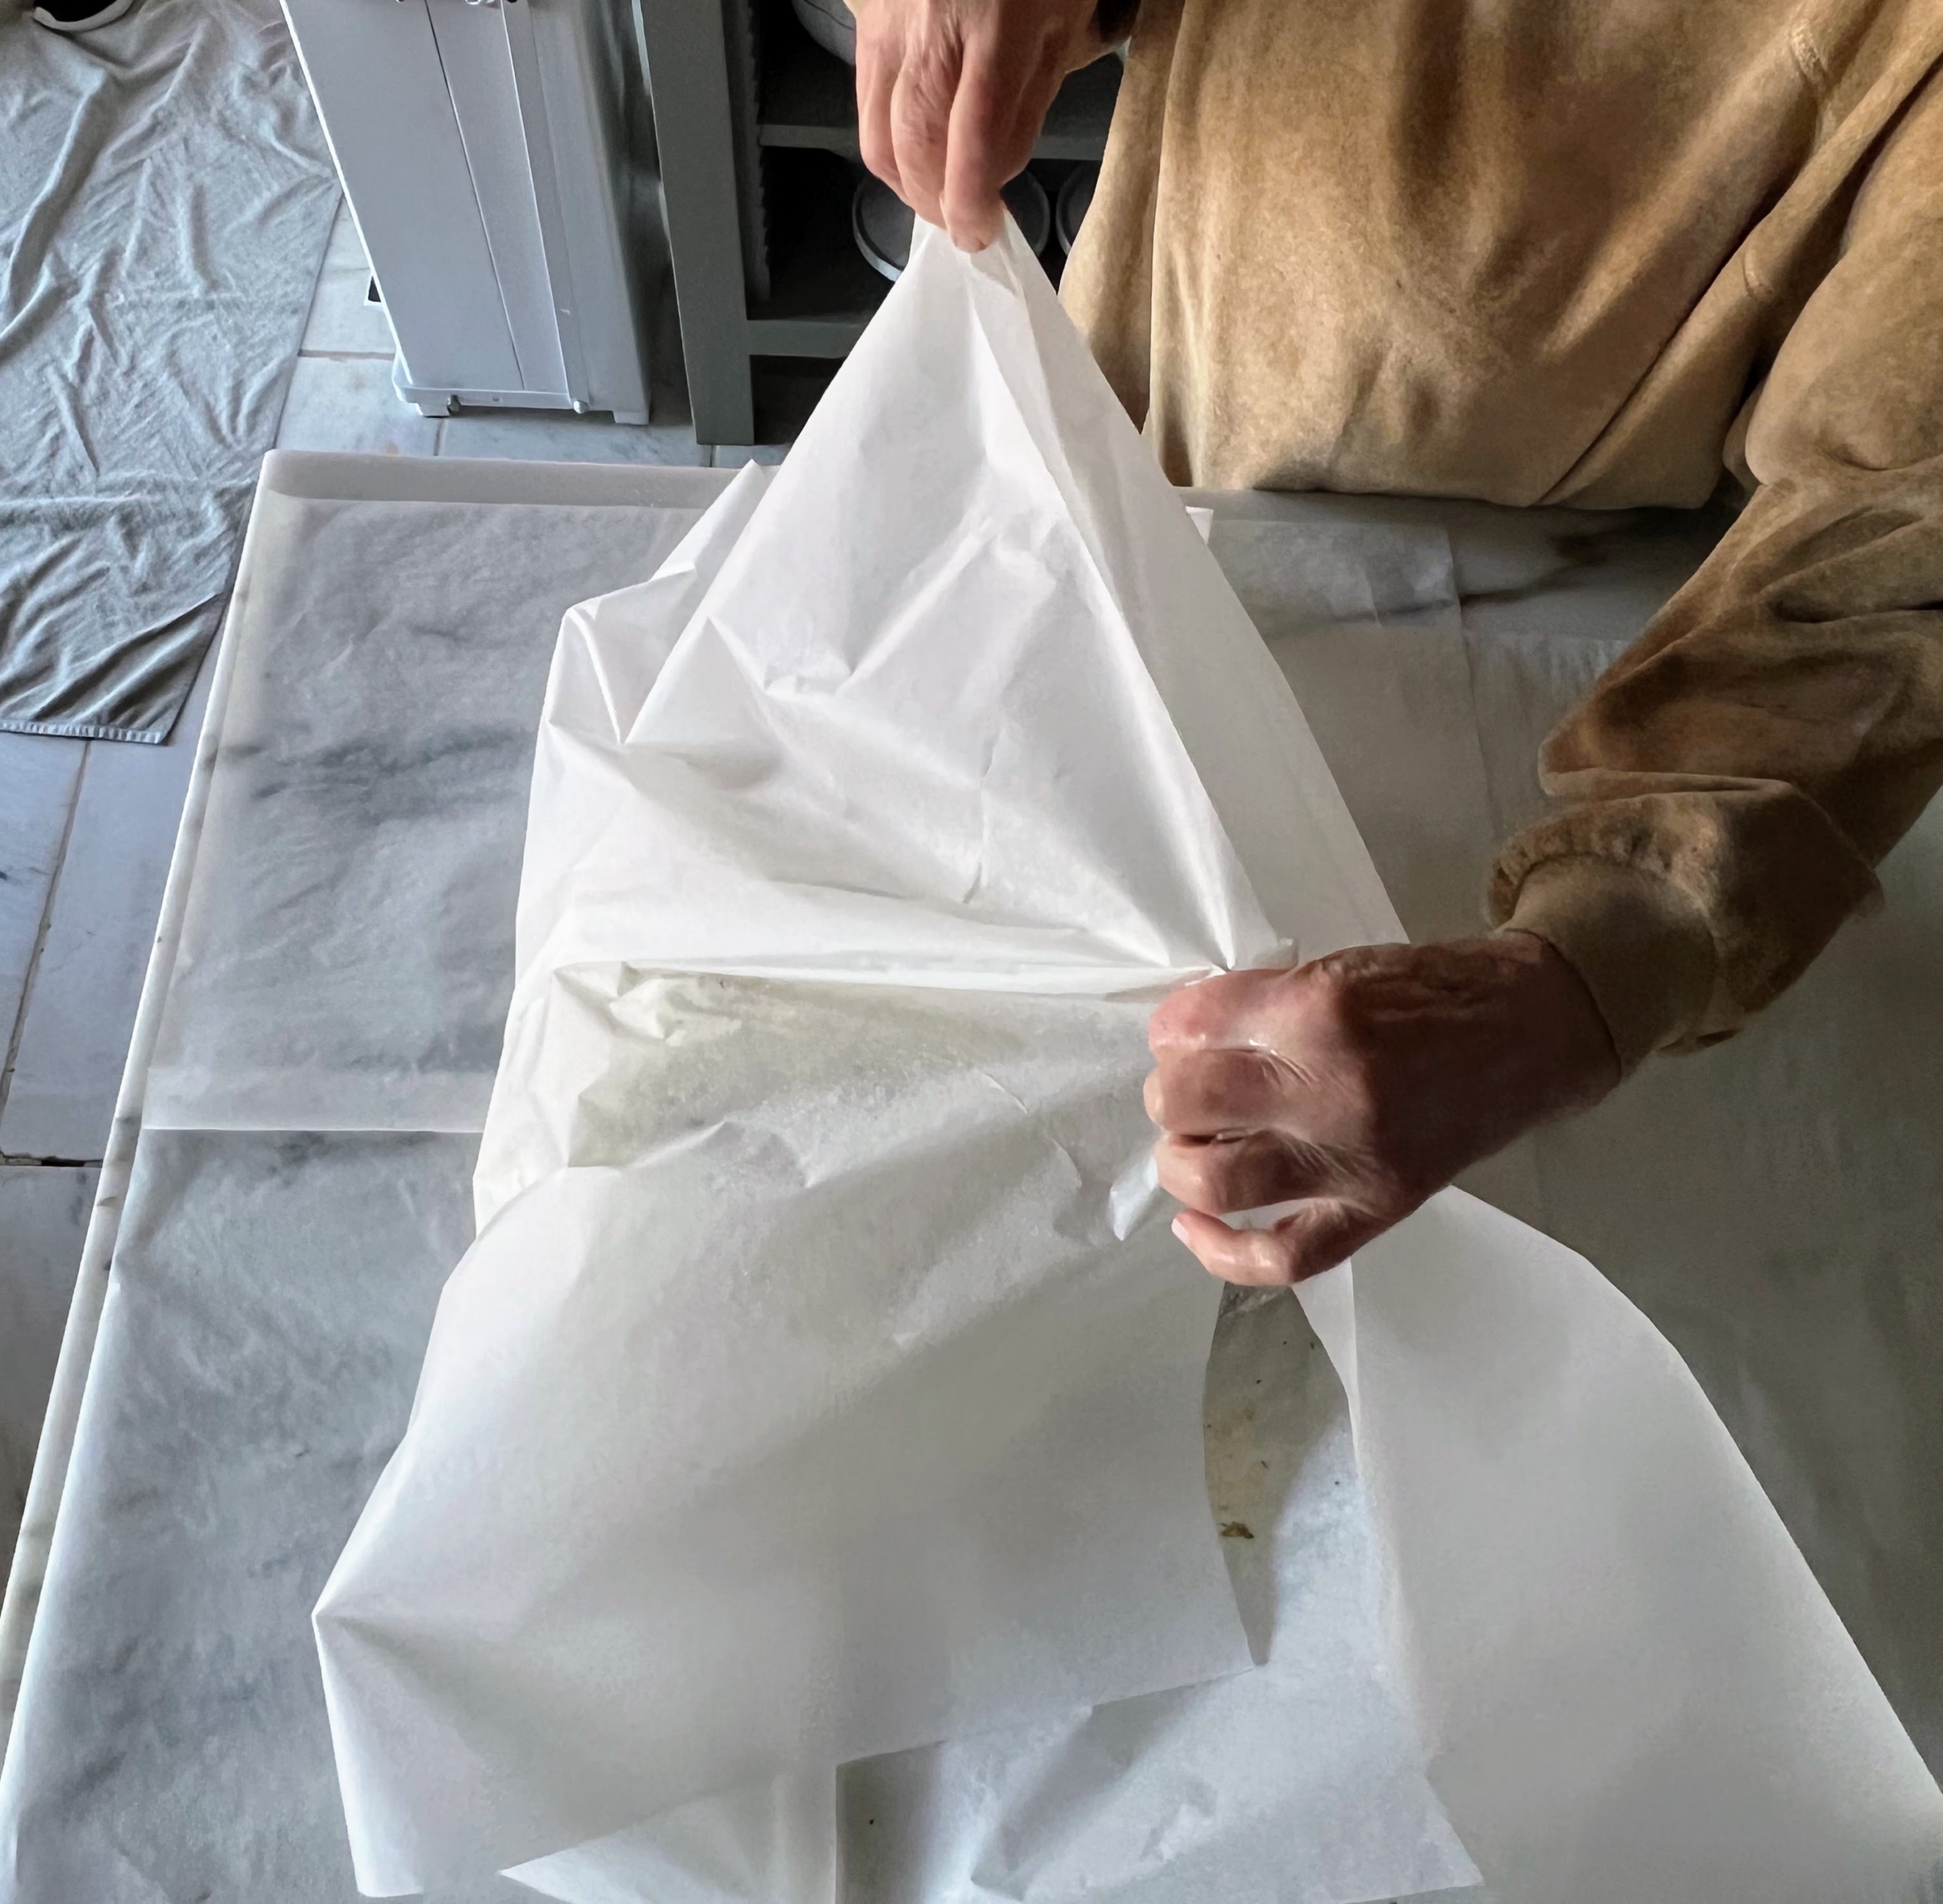
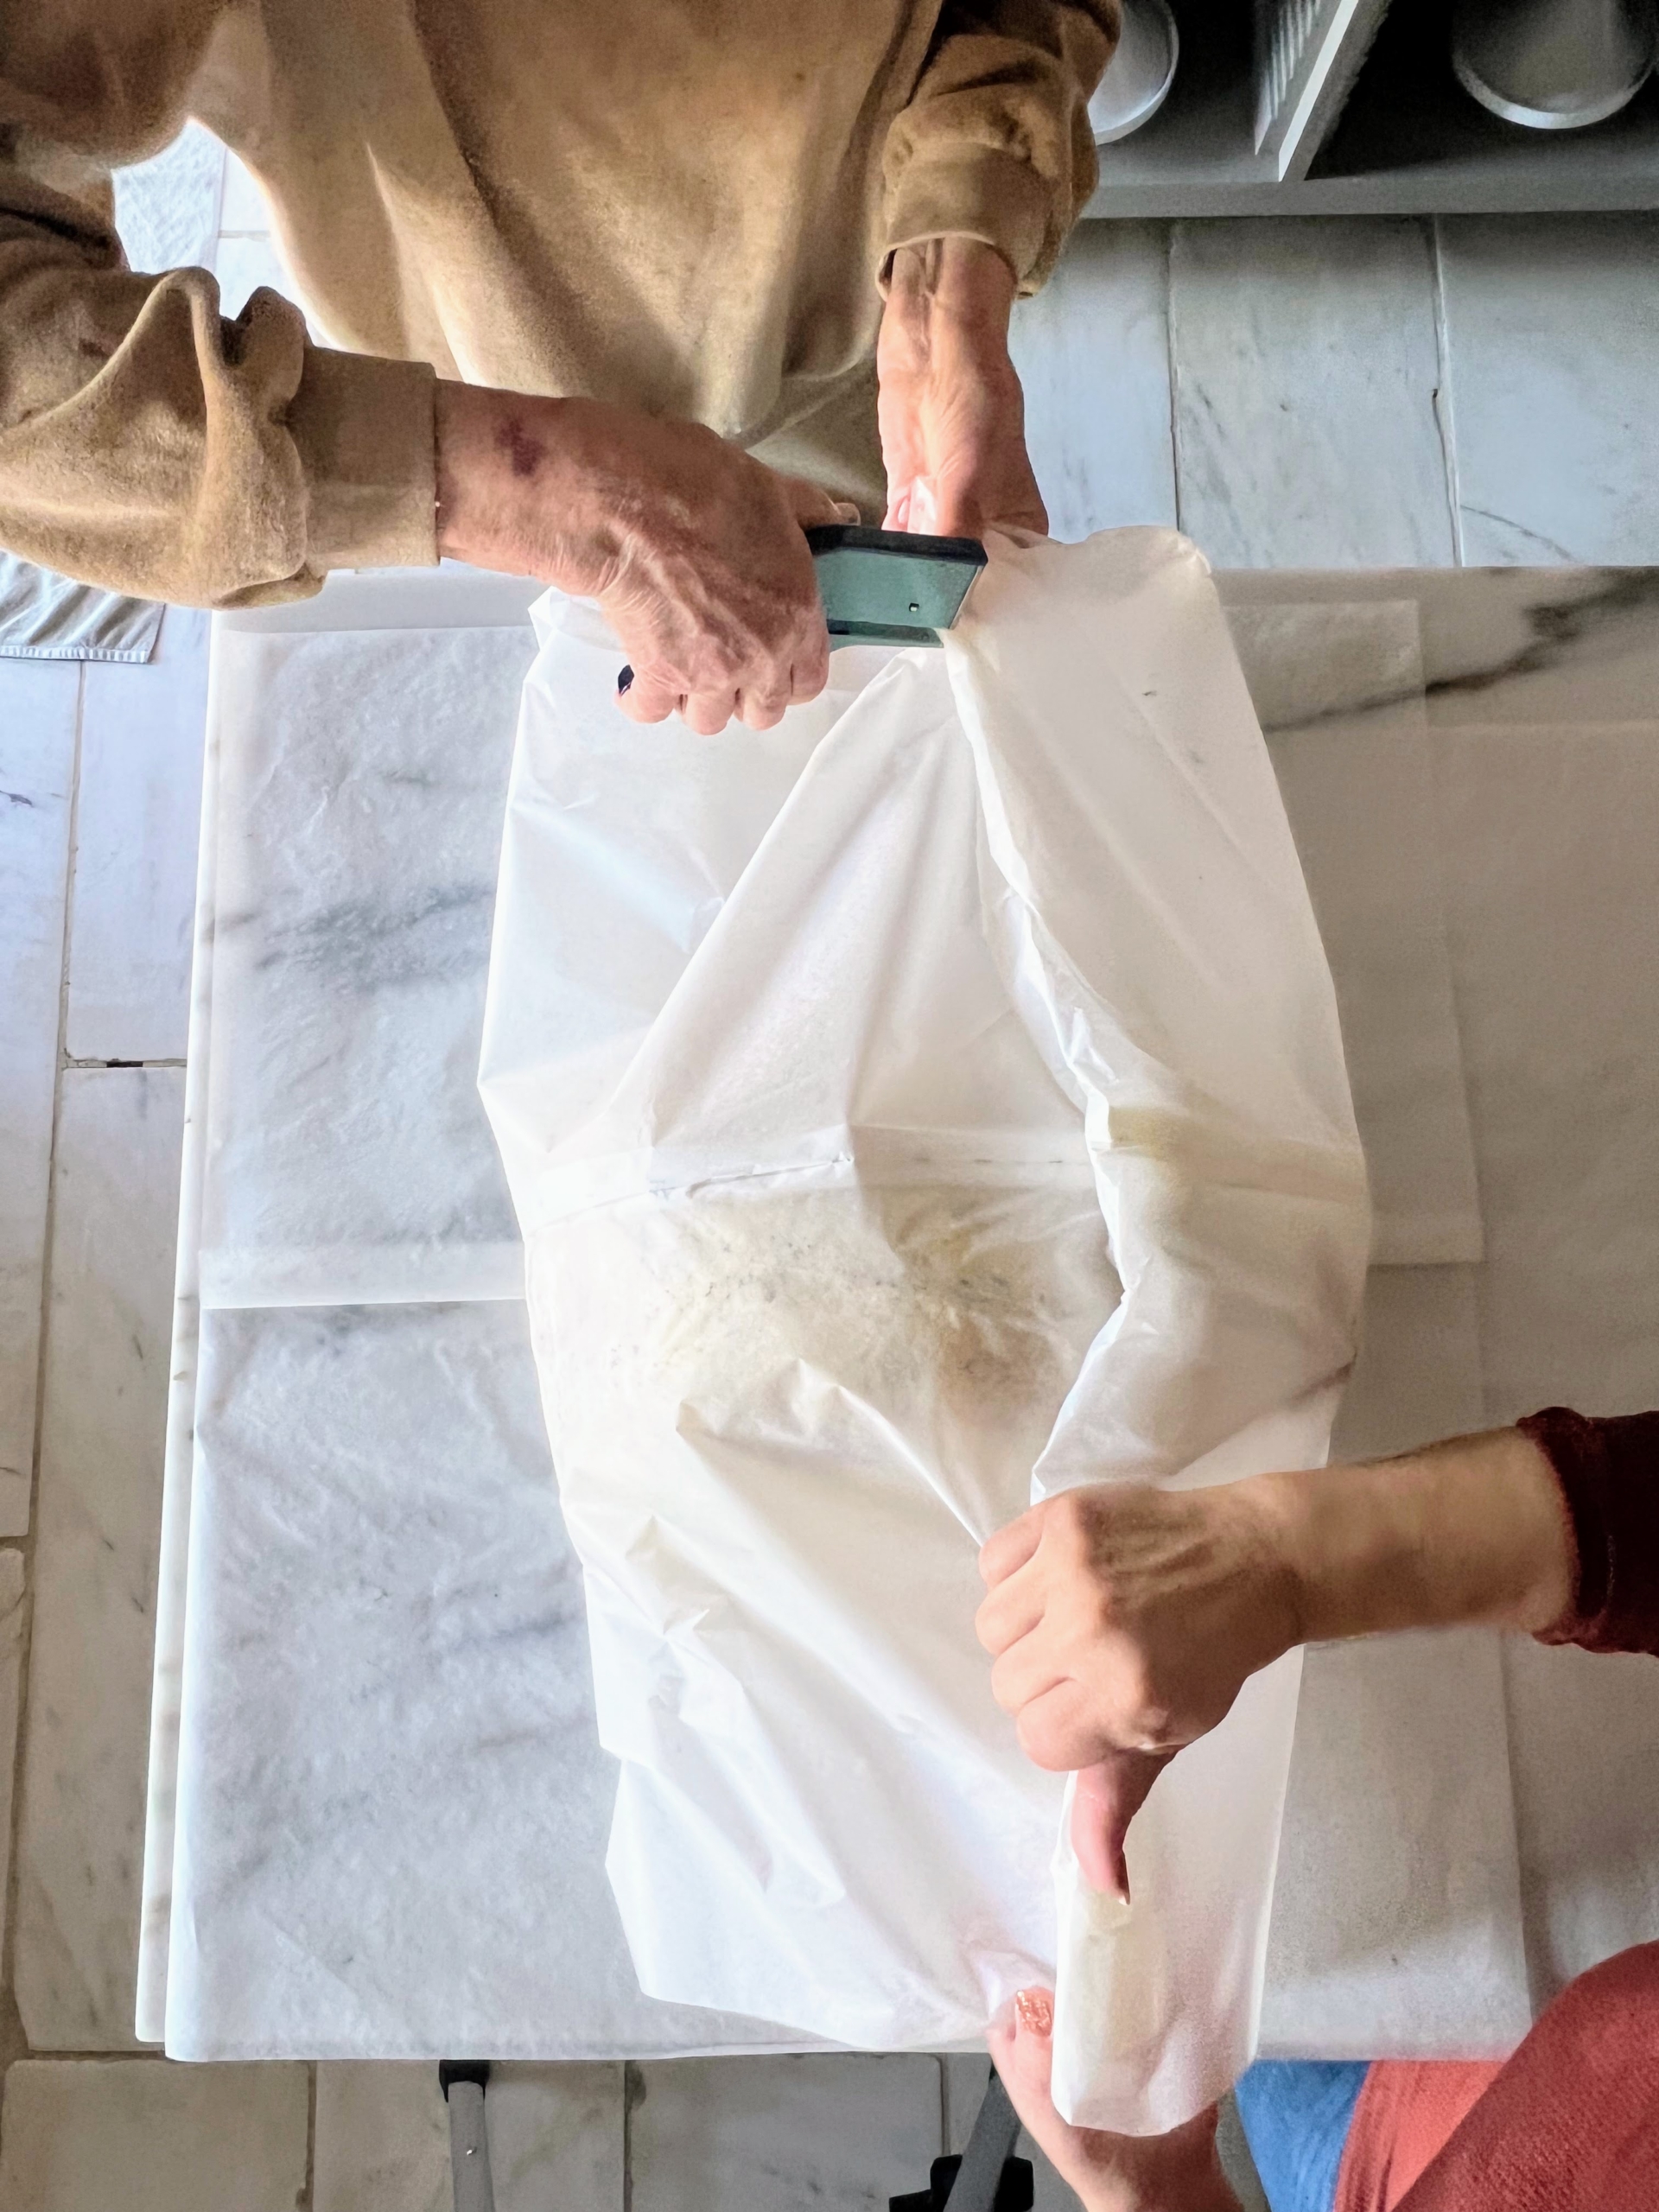
Here, Enma helps me roll the paper tightly at the top. It is important to have enough to come up and over the turkey.
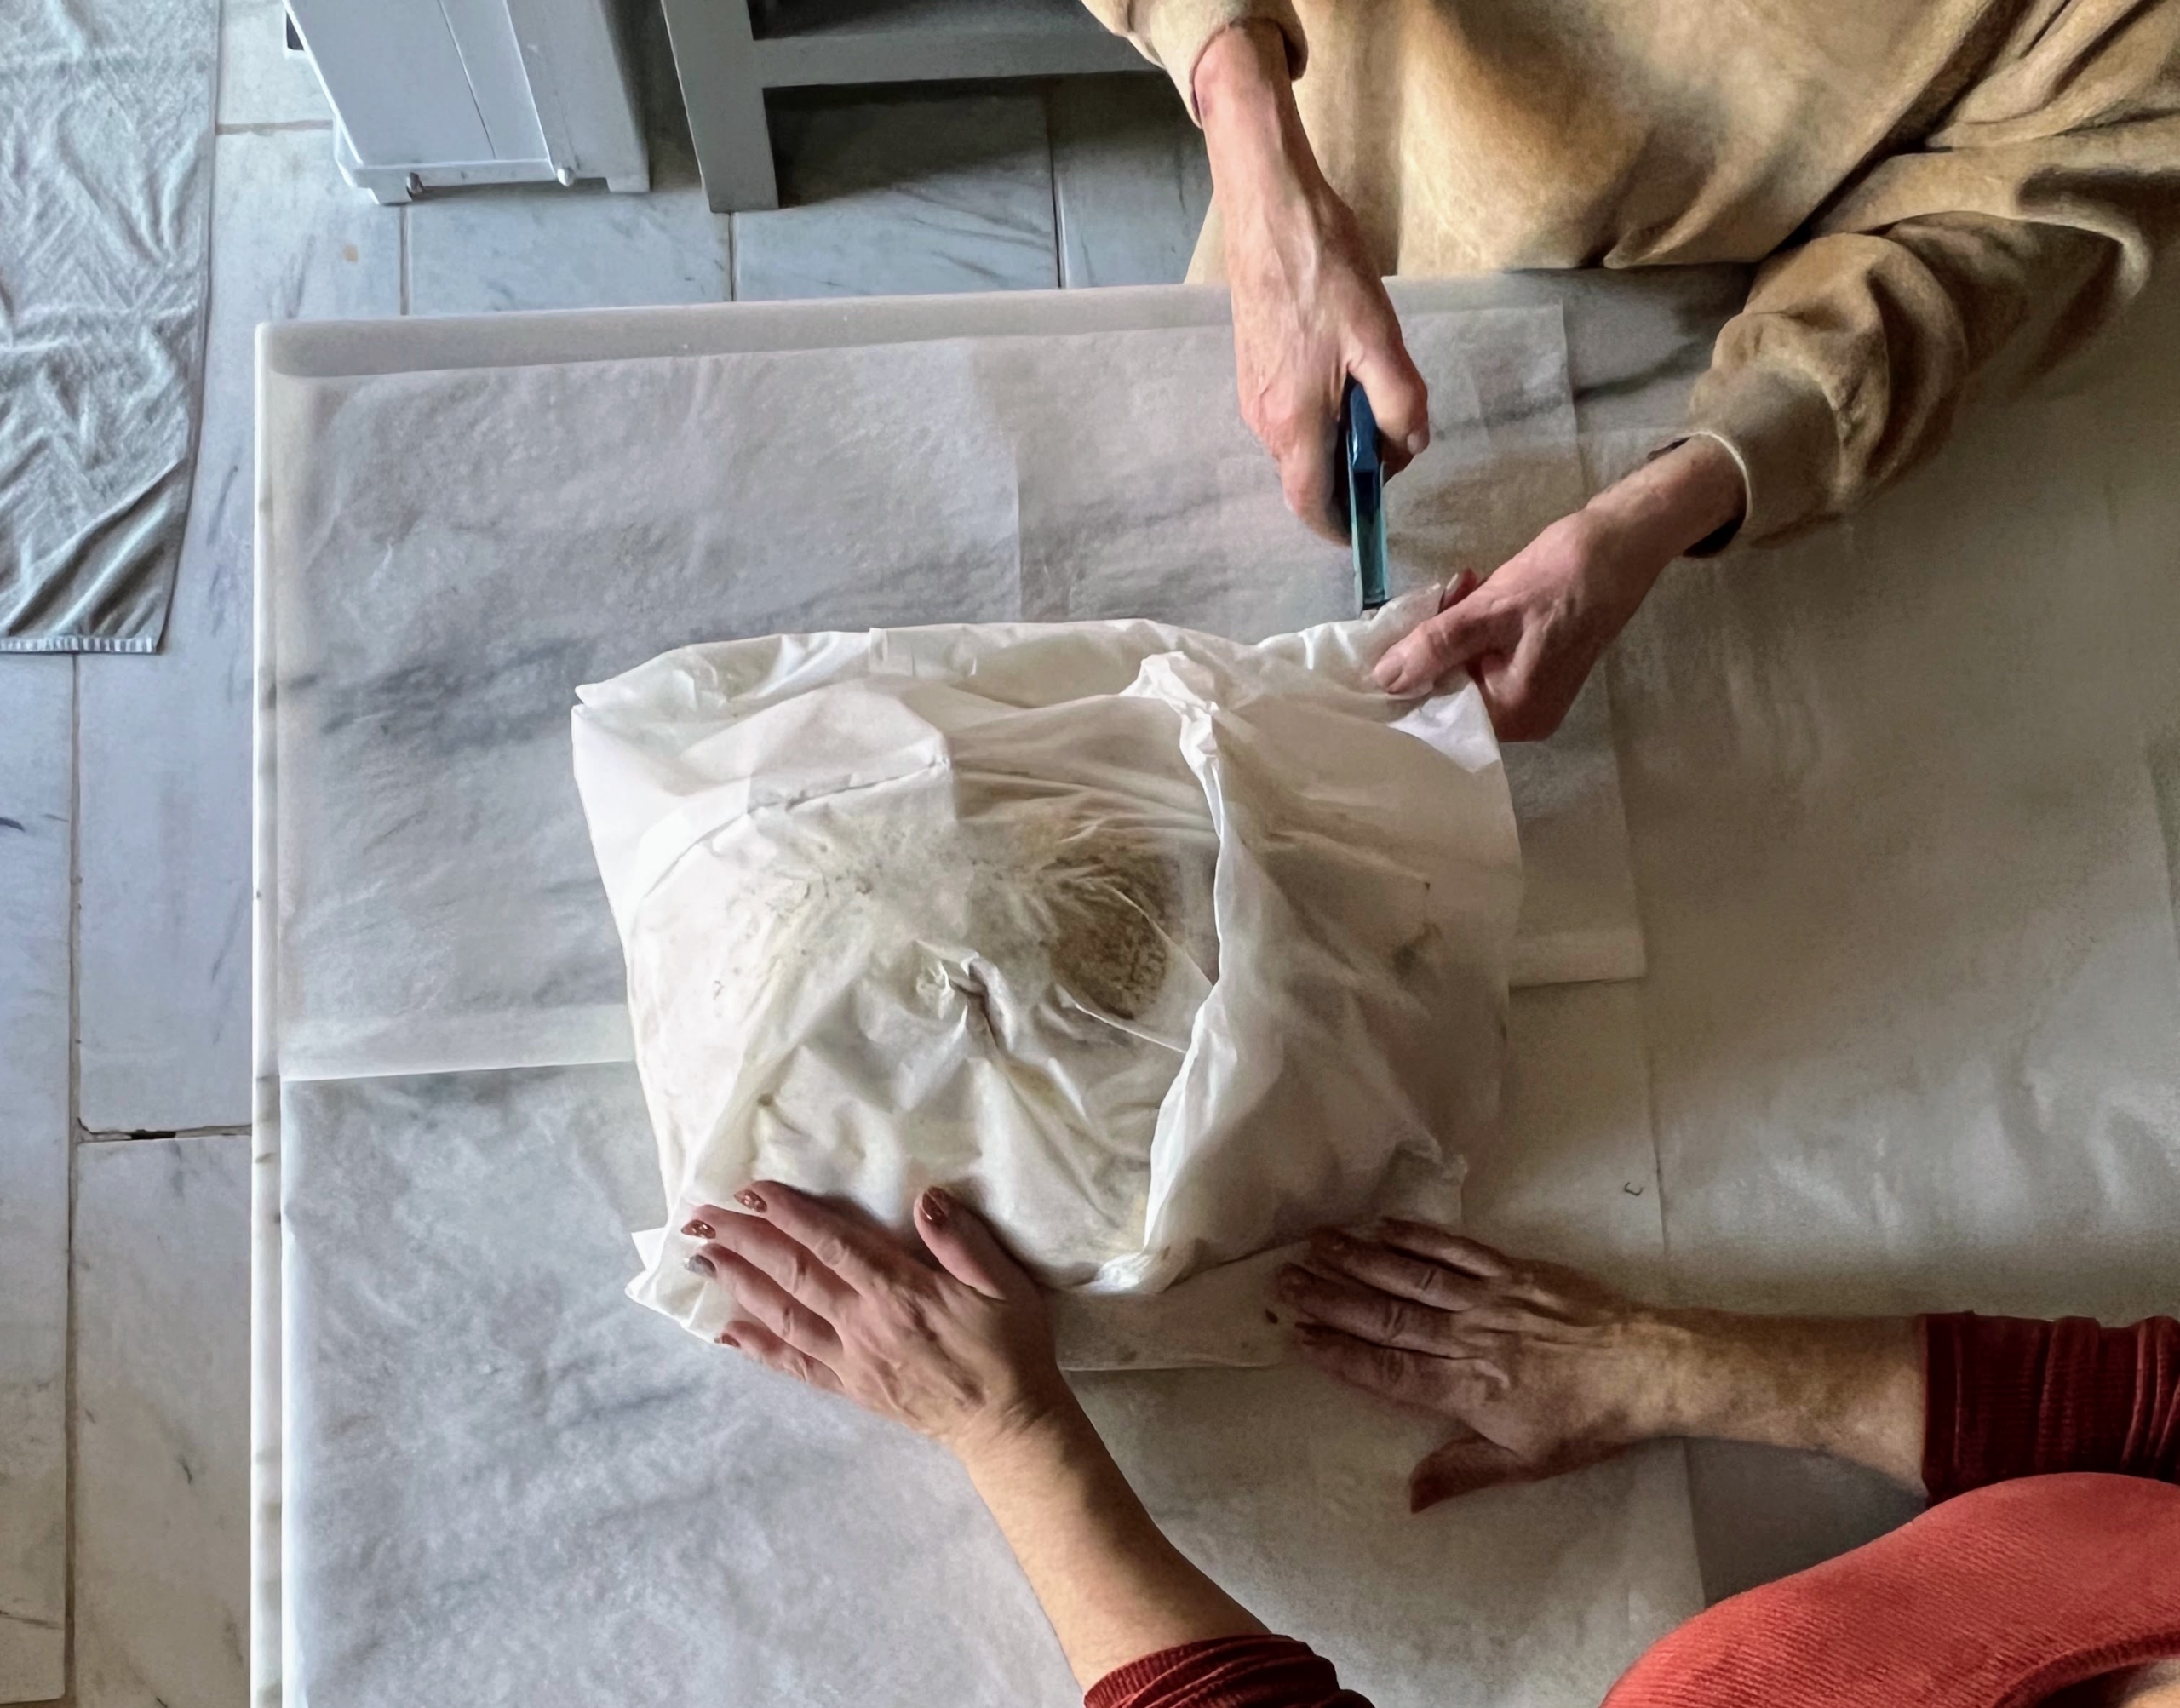
Once covered on top, crimp the parchment paper and staple it closed.
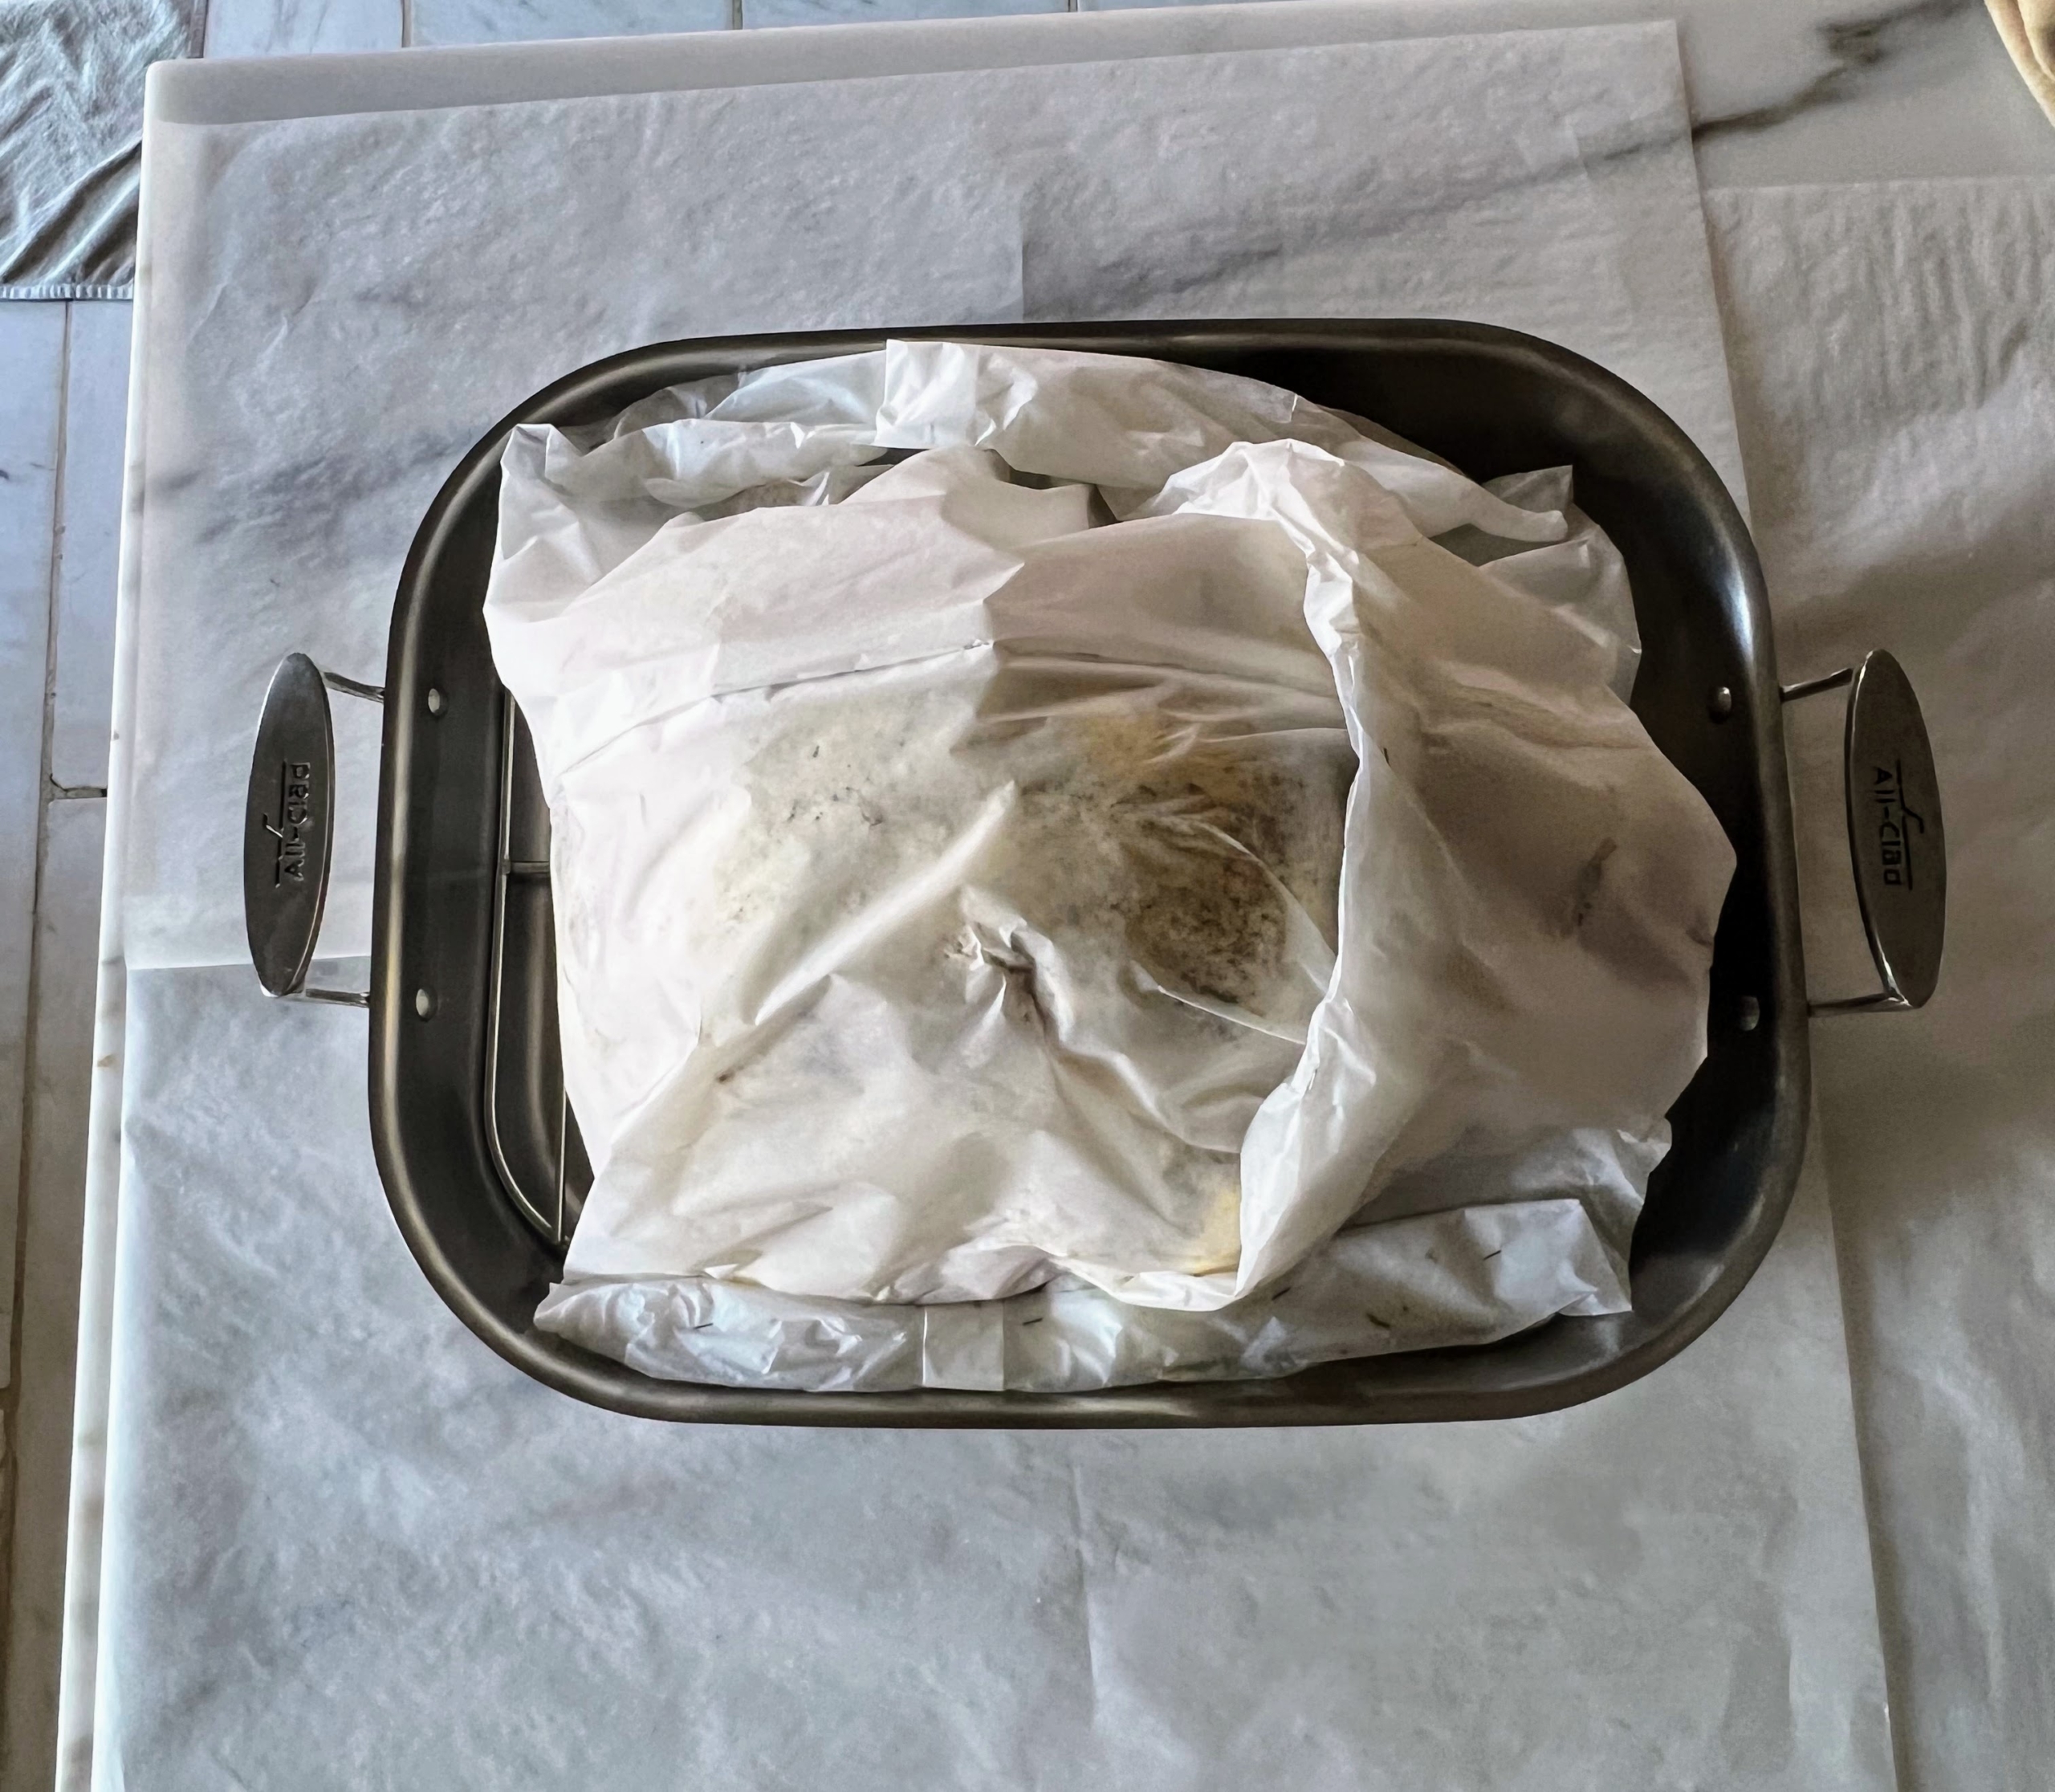
I also stapled the sides, so it was a snug fit around the entire bird.
Here it is just before it goes into the oven. Many of you have used my recipe, “Roasted Turkey in Parchment With Gravy.” It yields moist meat and crisp, golden skin every time.
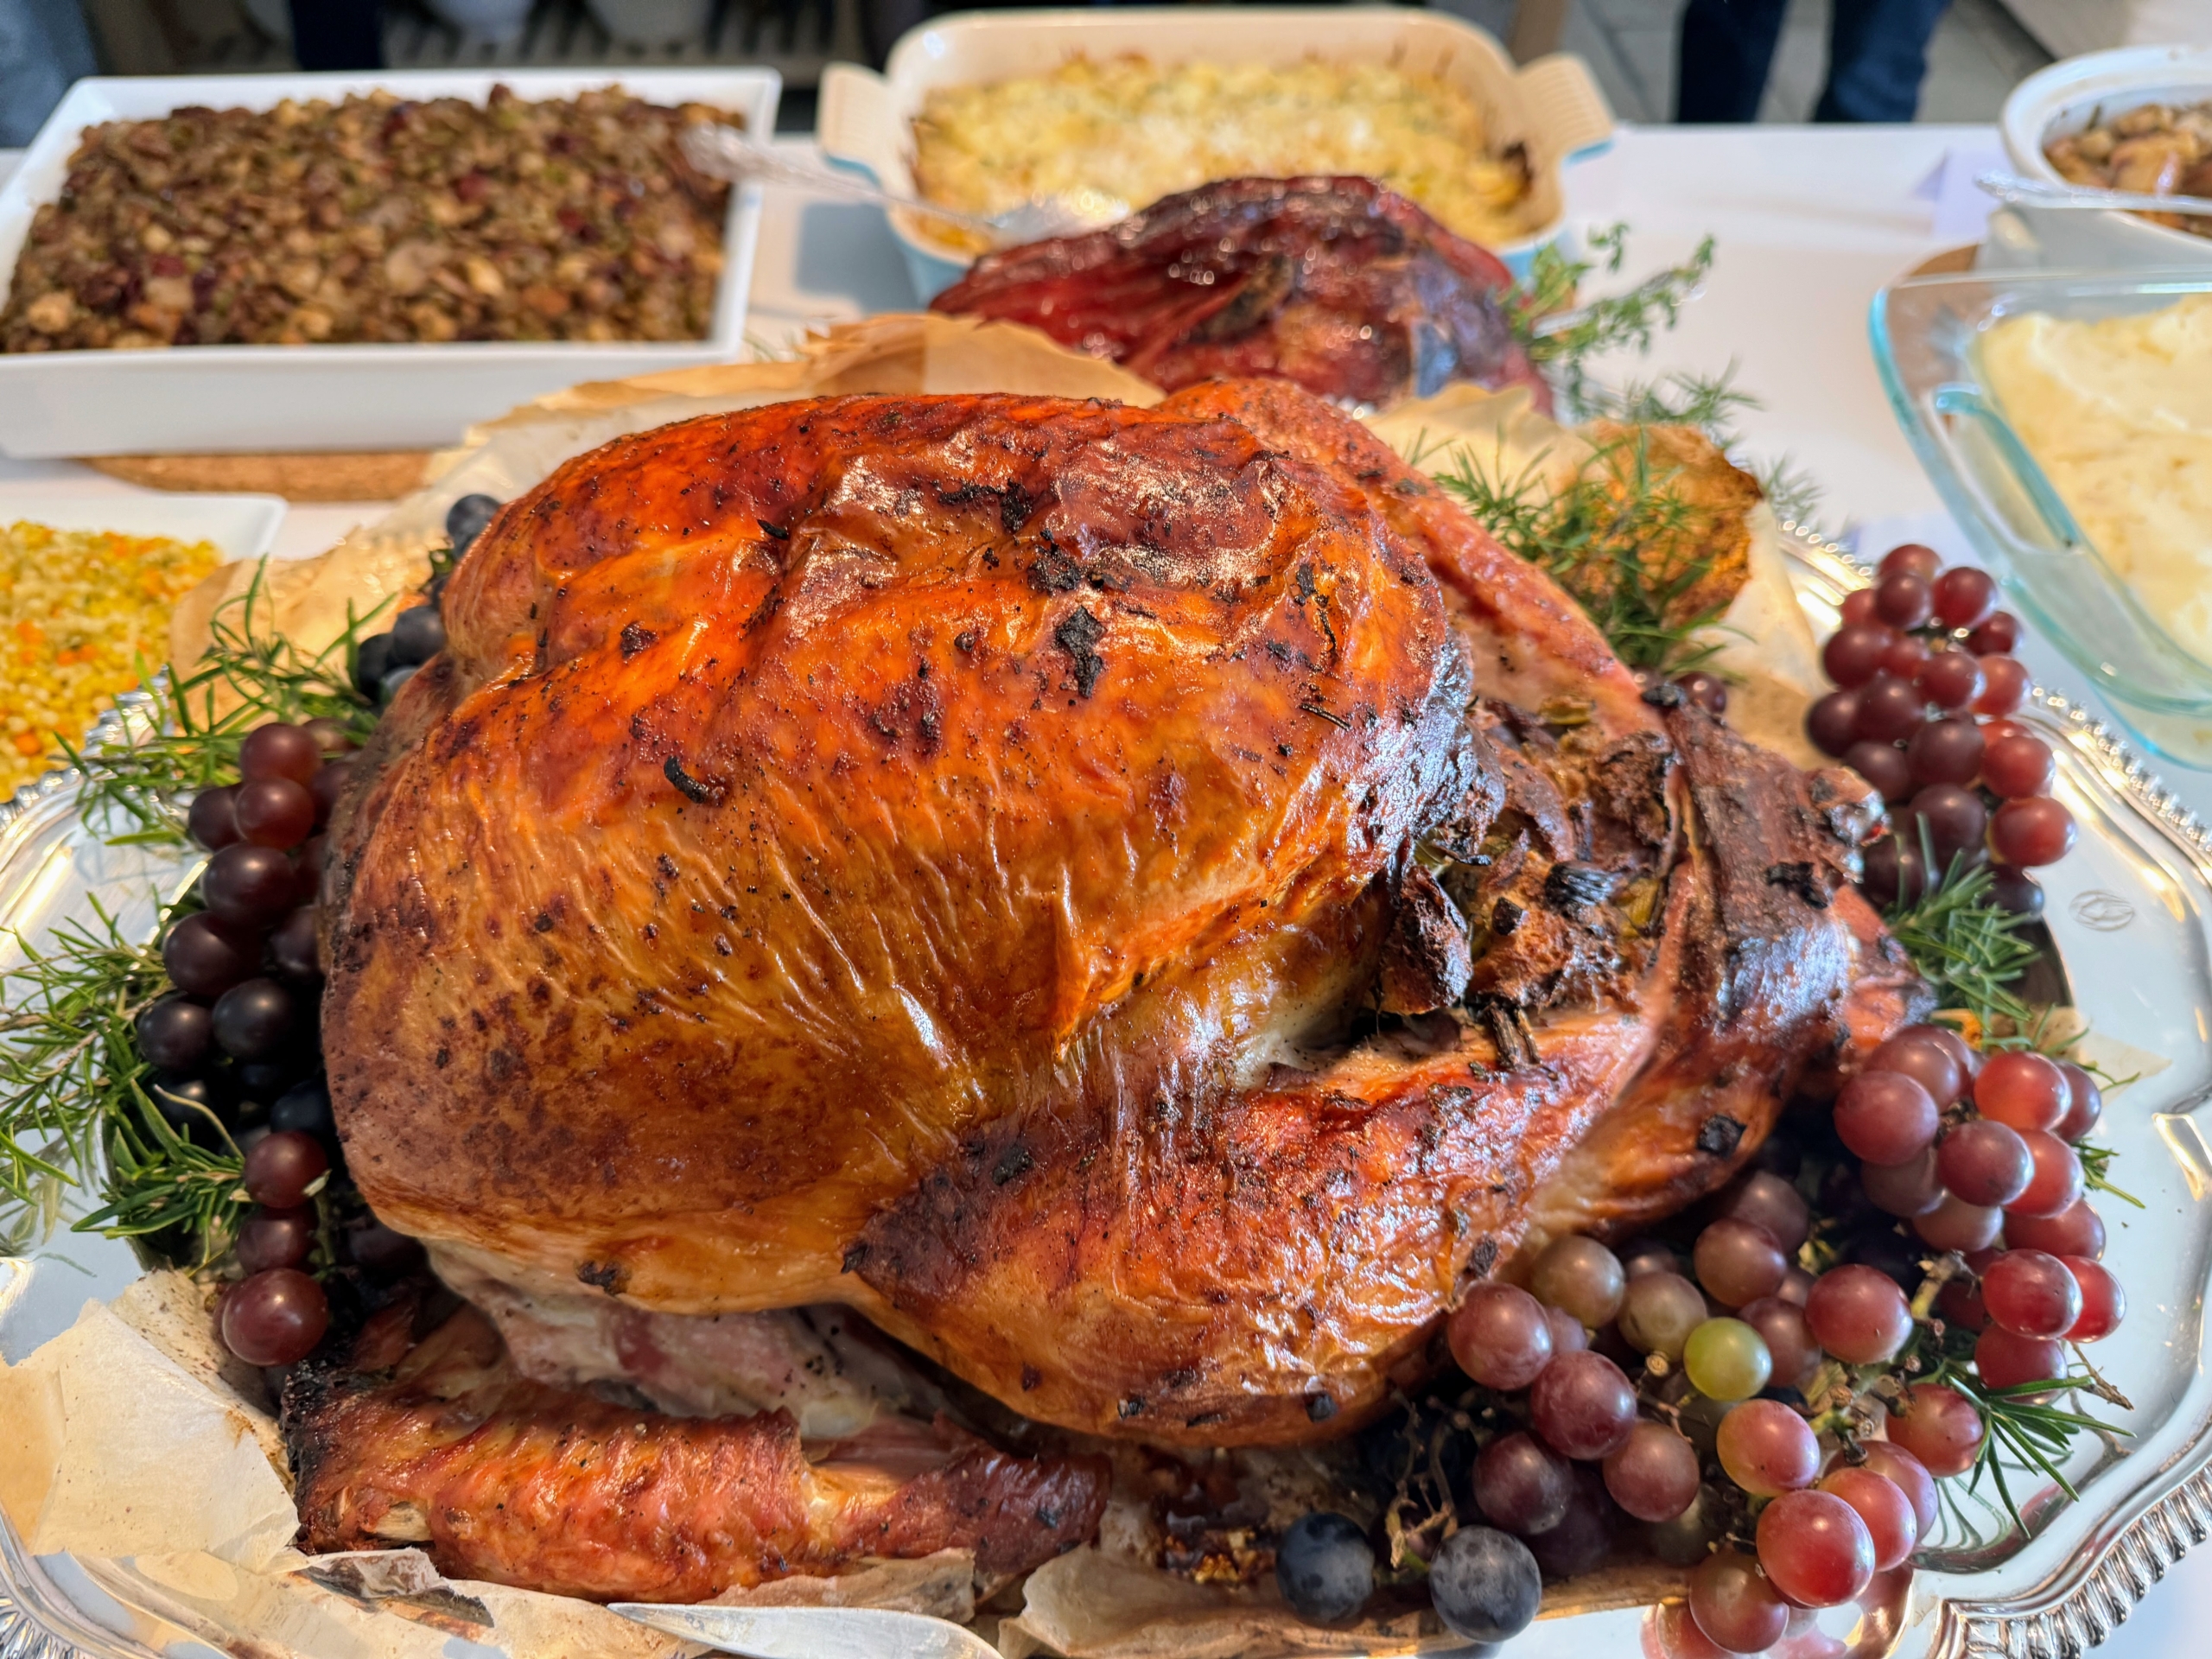
And here it is – out of the oven and dressed with rosemary and grapes on the platter. It is perfectly golden.
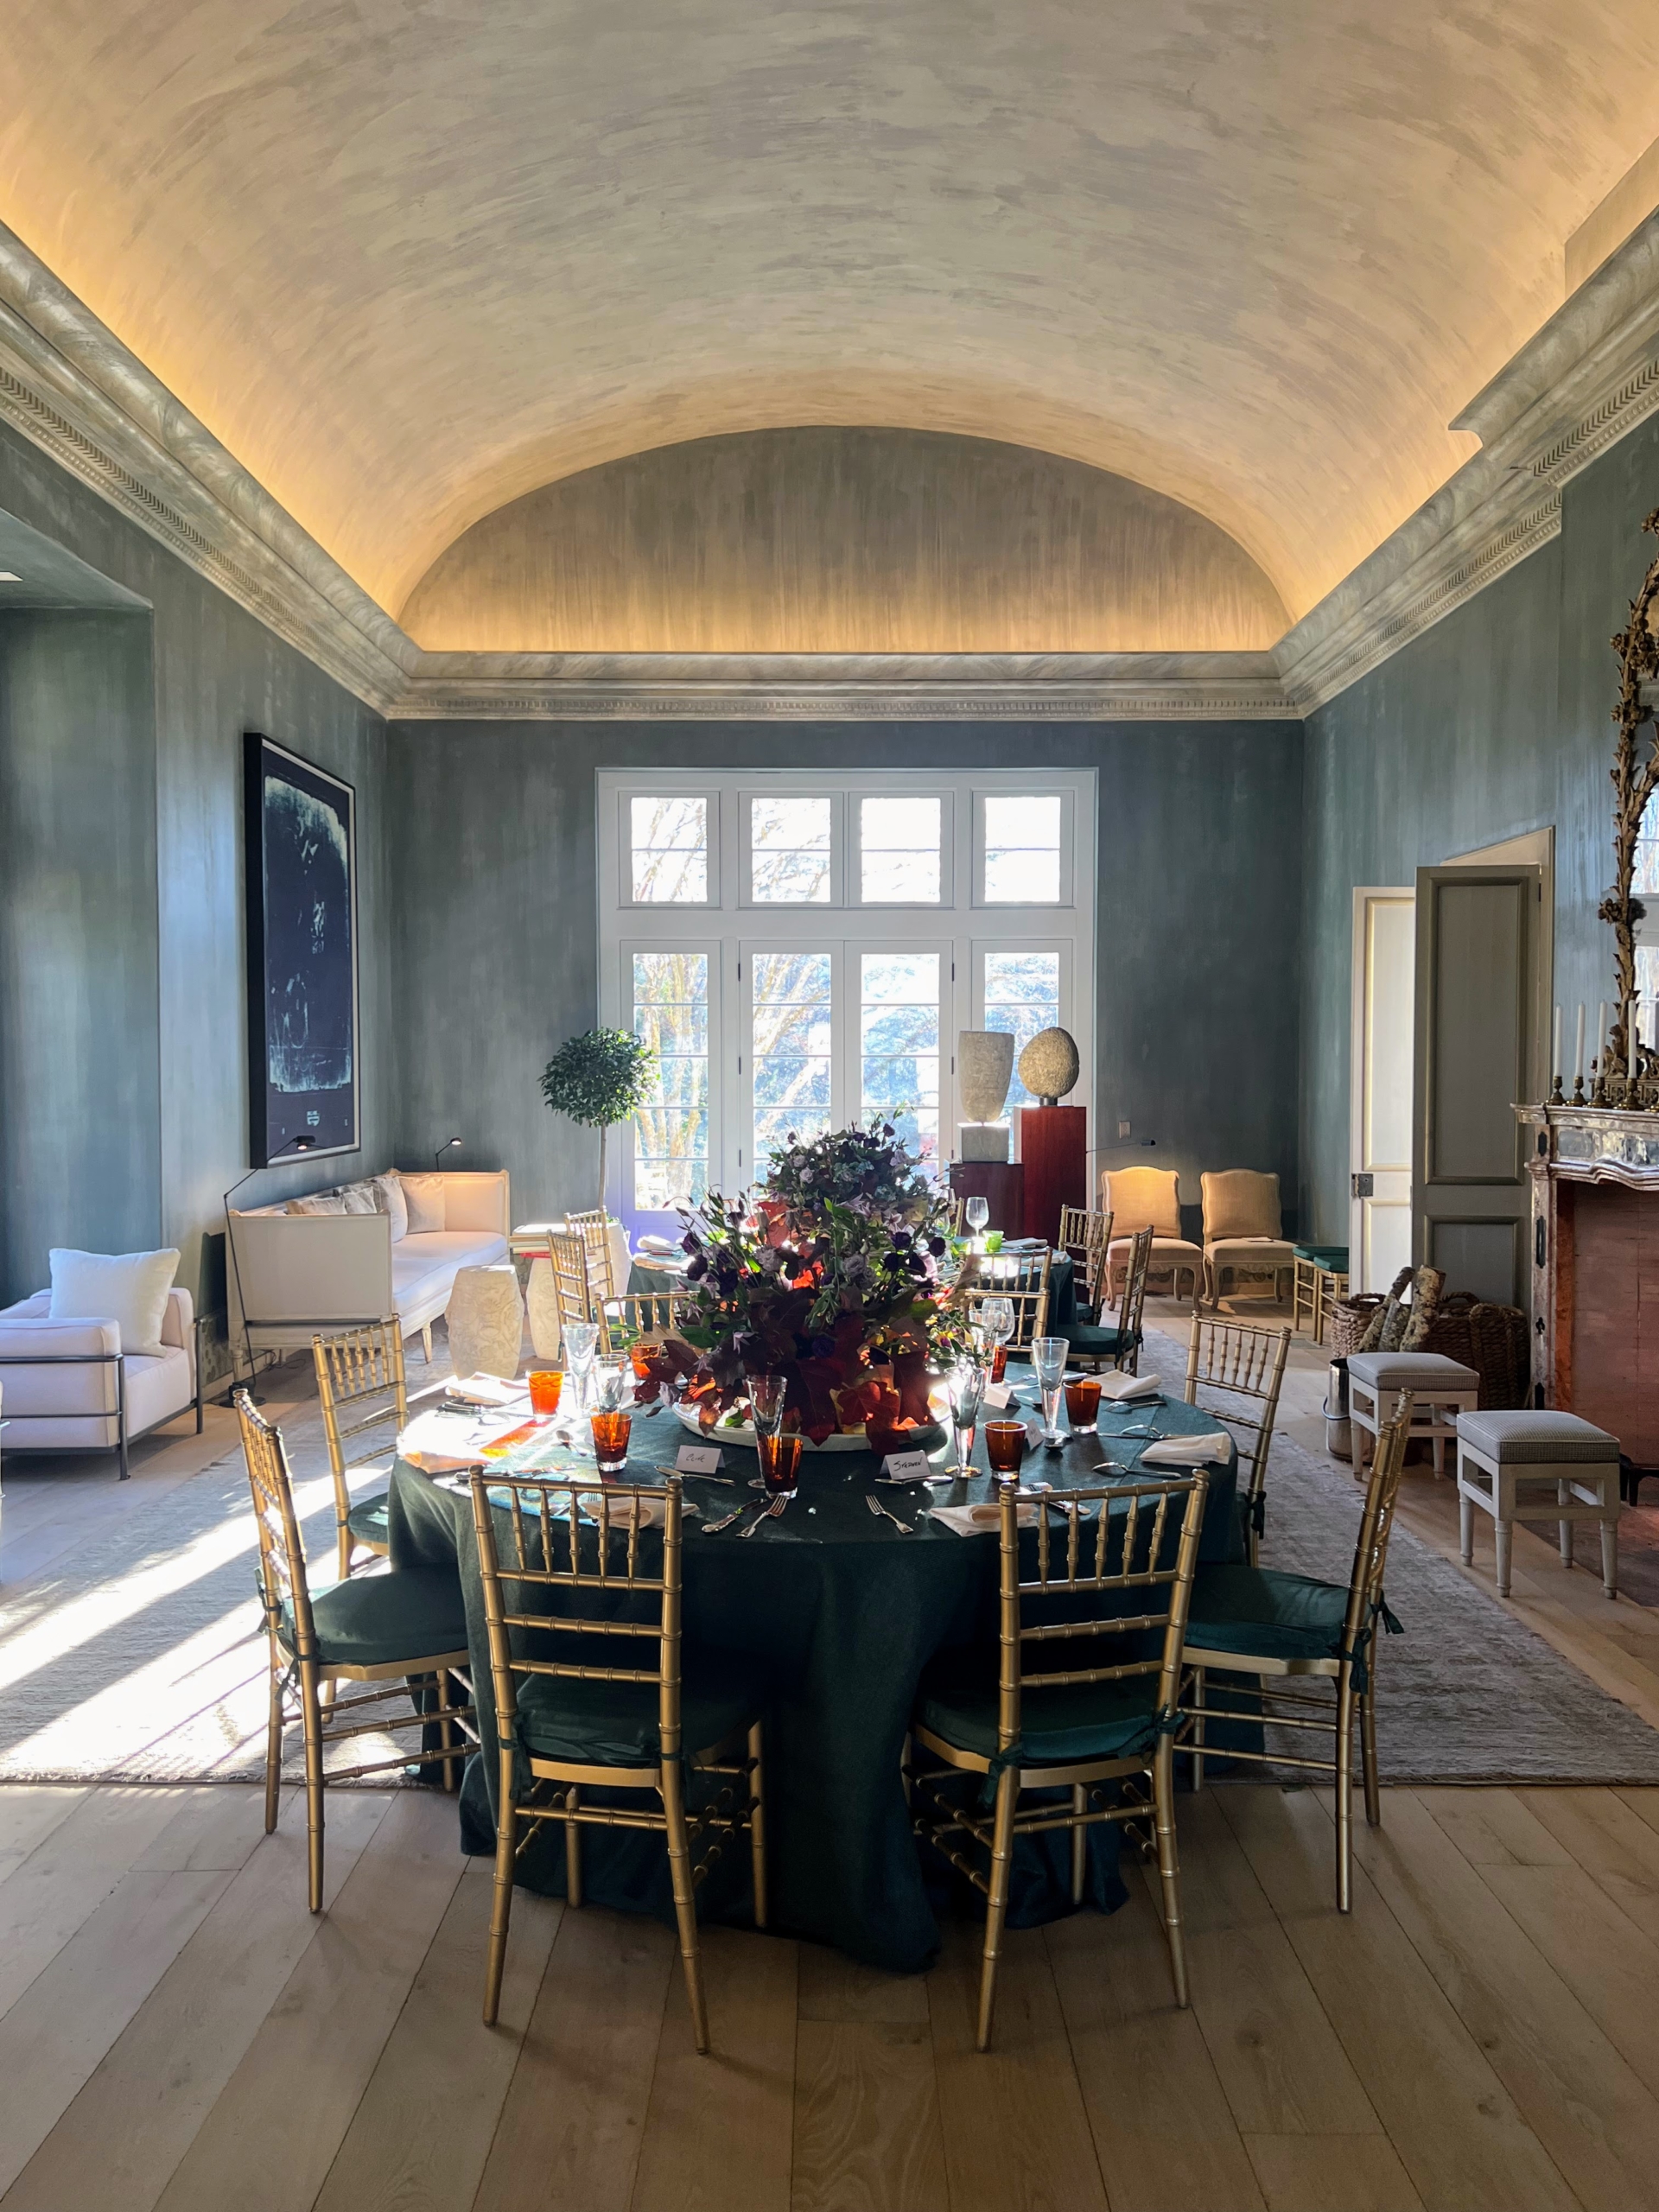
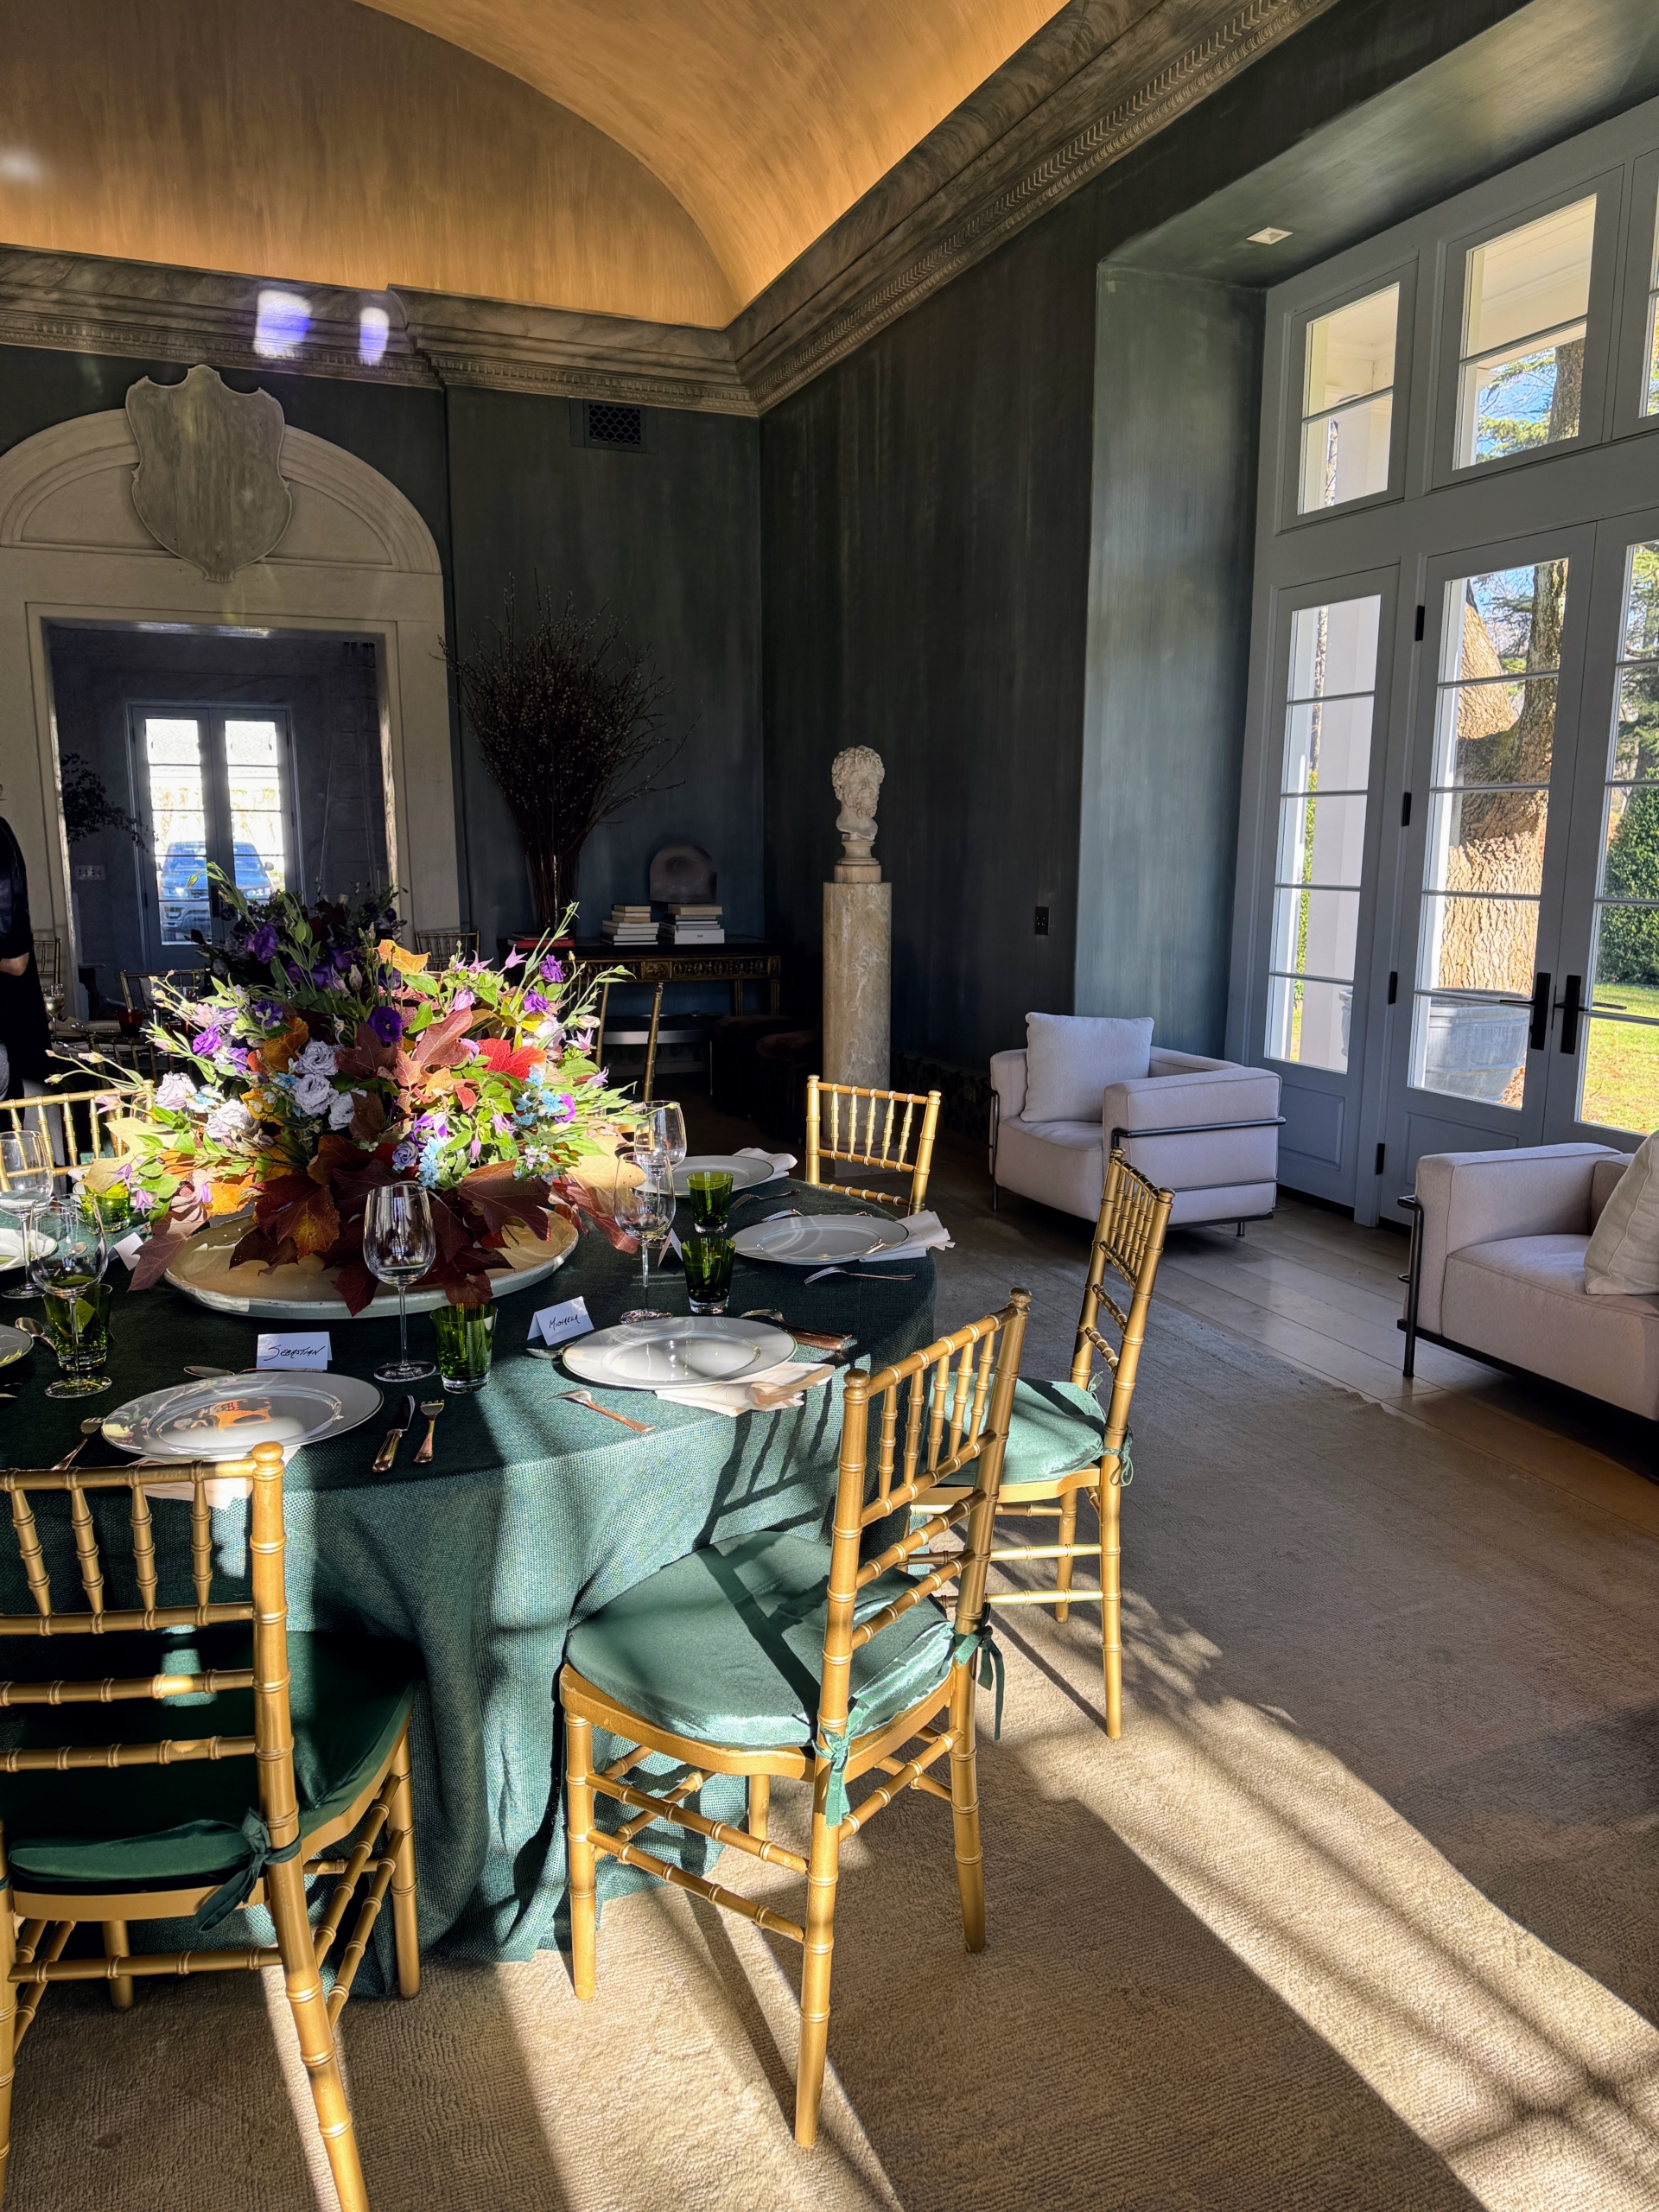
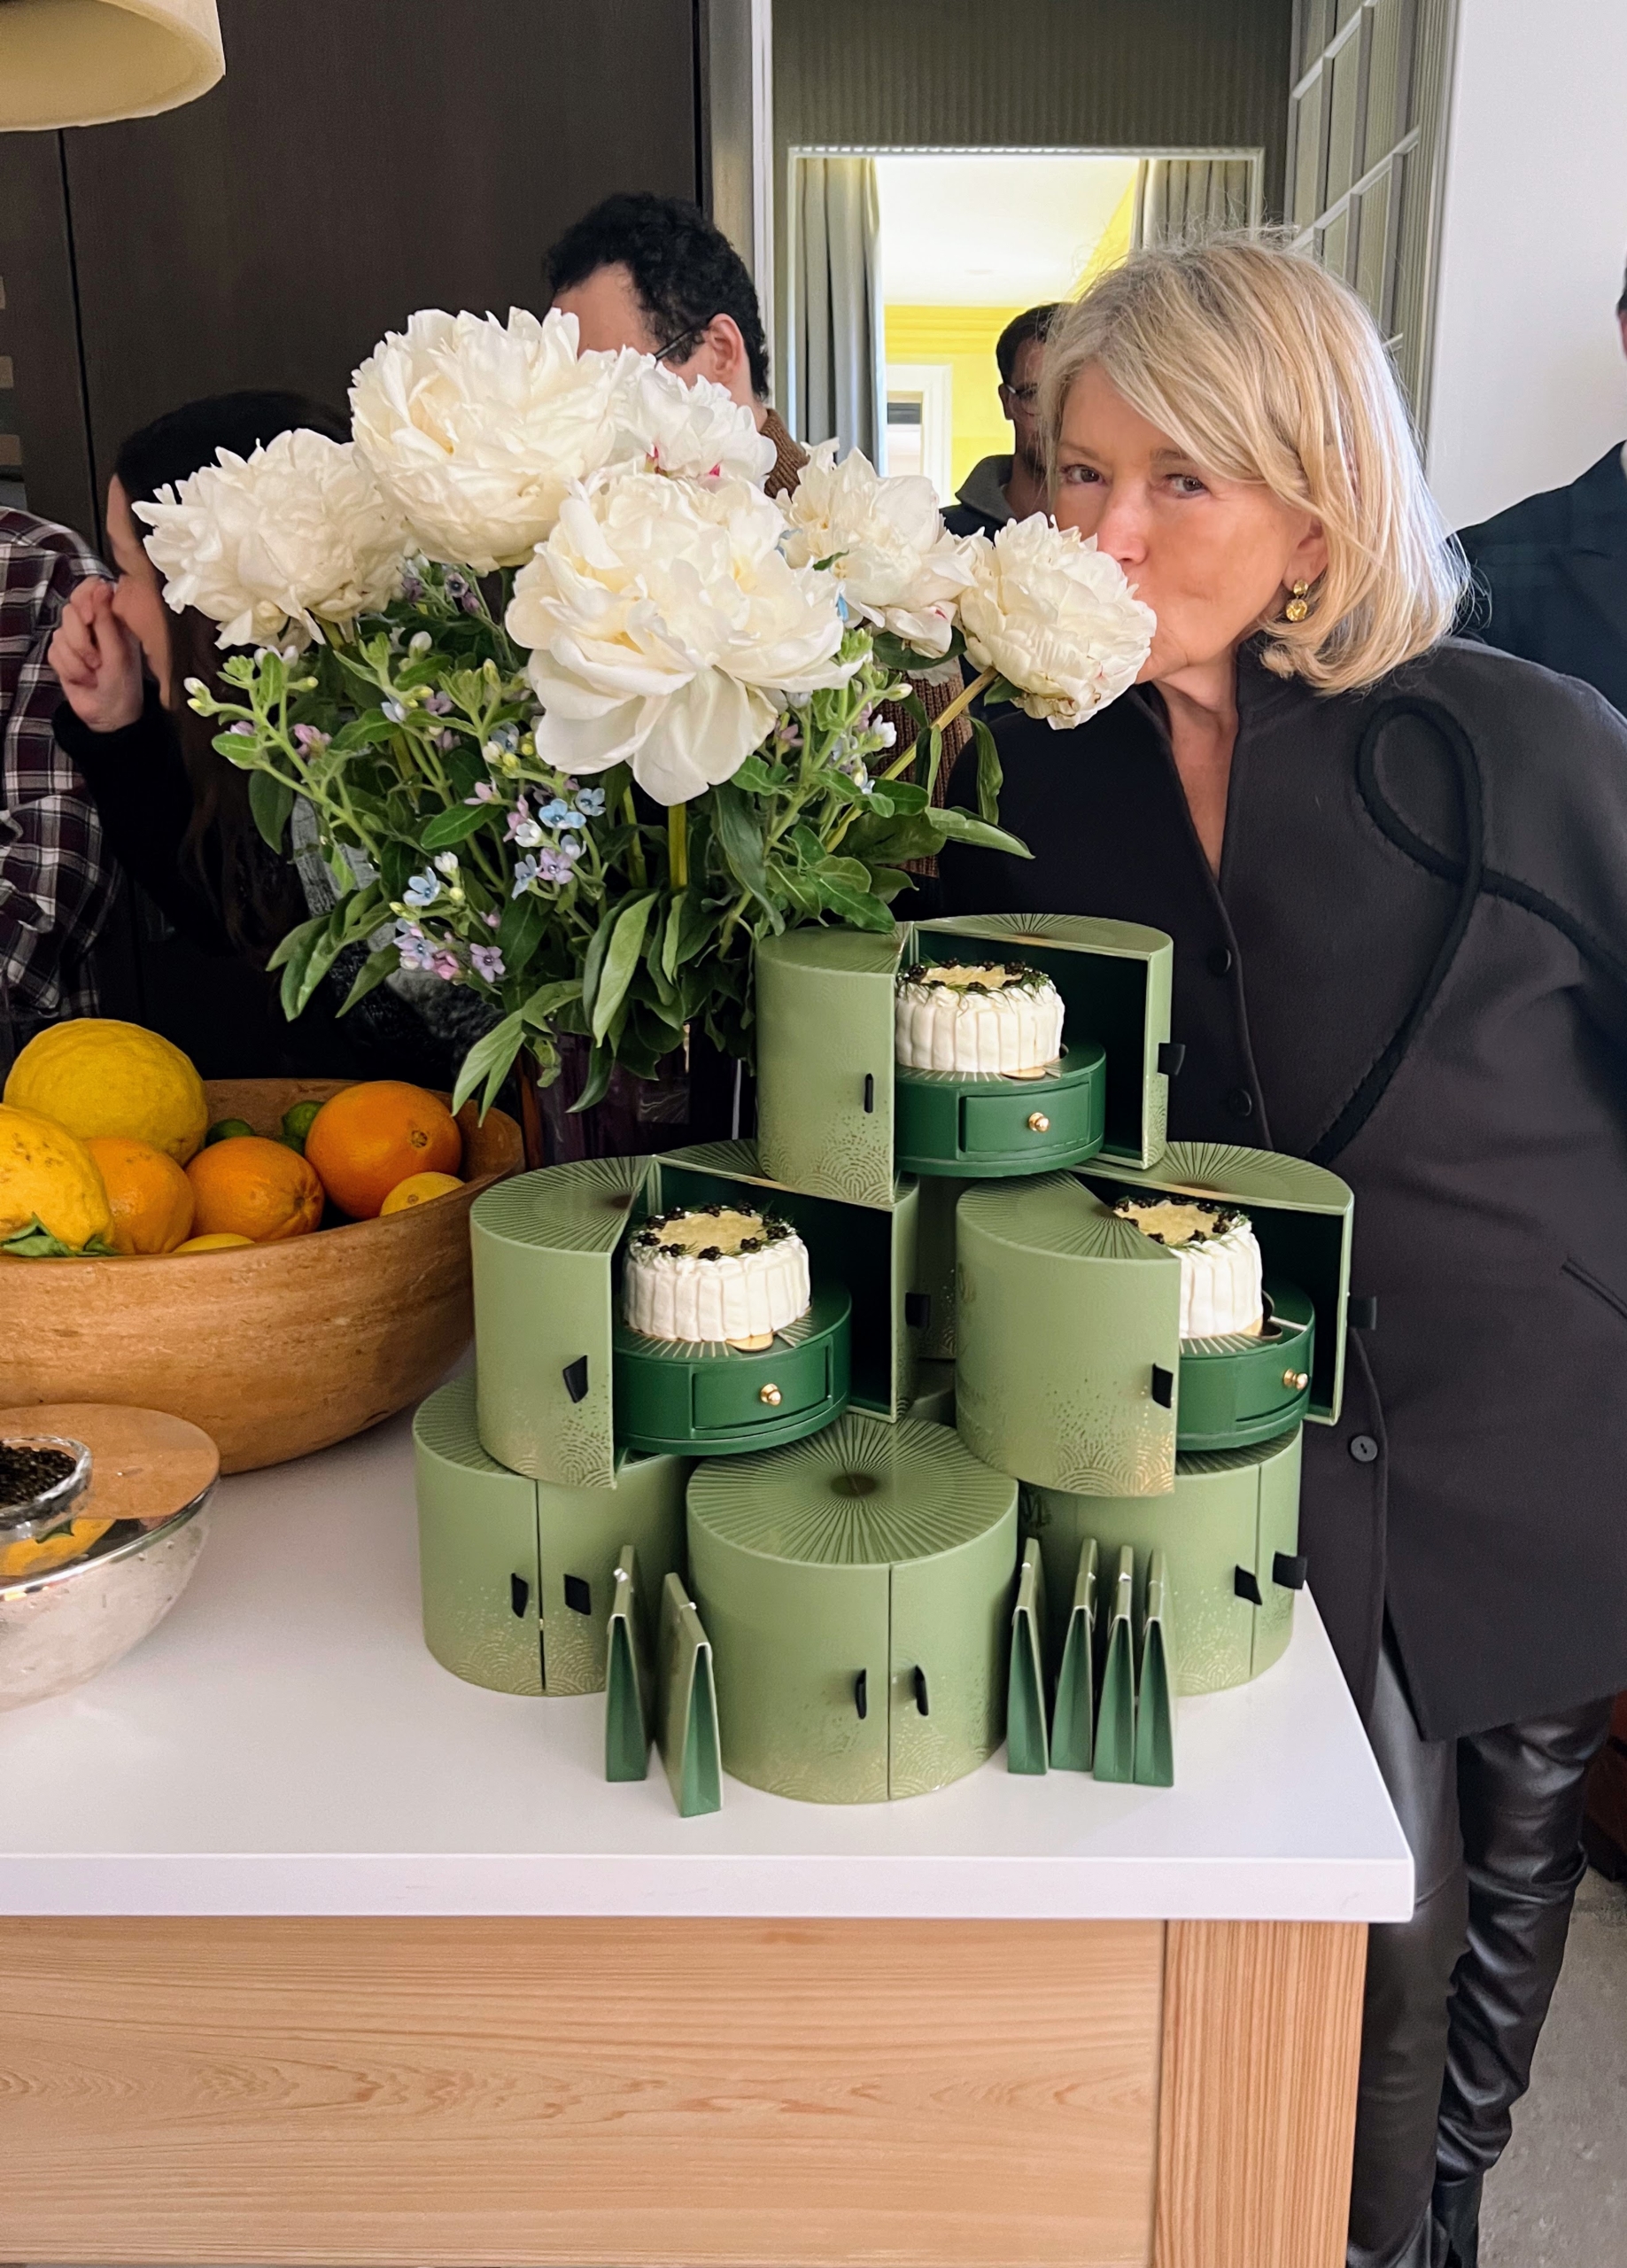
And then it was off to Stephen’s home not far from my farm. Stephen’s home is exquisite. This is his newest room renovation.
The dappled Thanksgiving Day light through the large windows was just perfect. As a hugely celebrated interior designer, Stephen knows exactly how to transform a room, so it is both stunning and timeless.
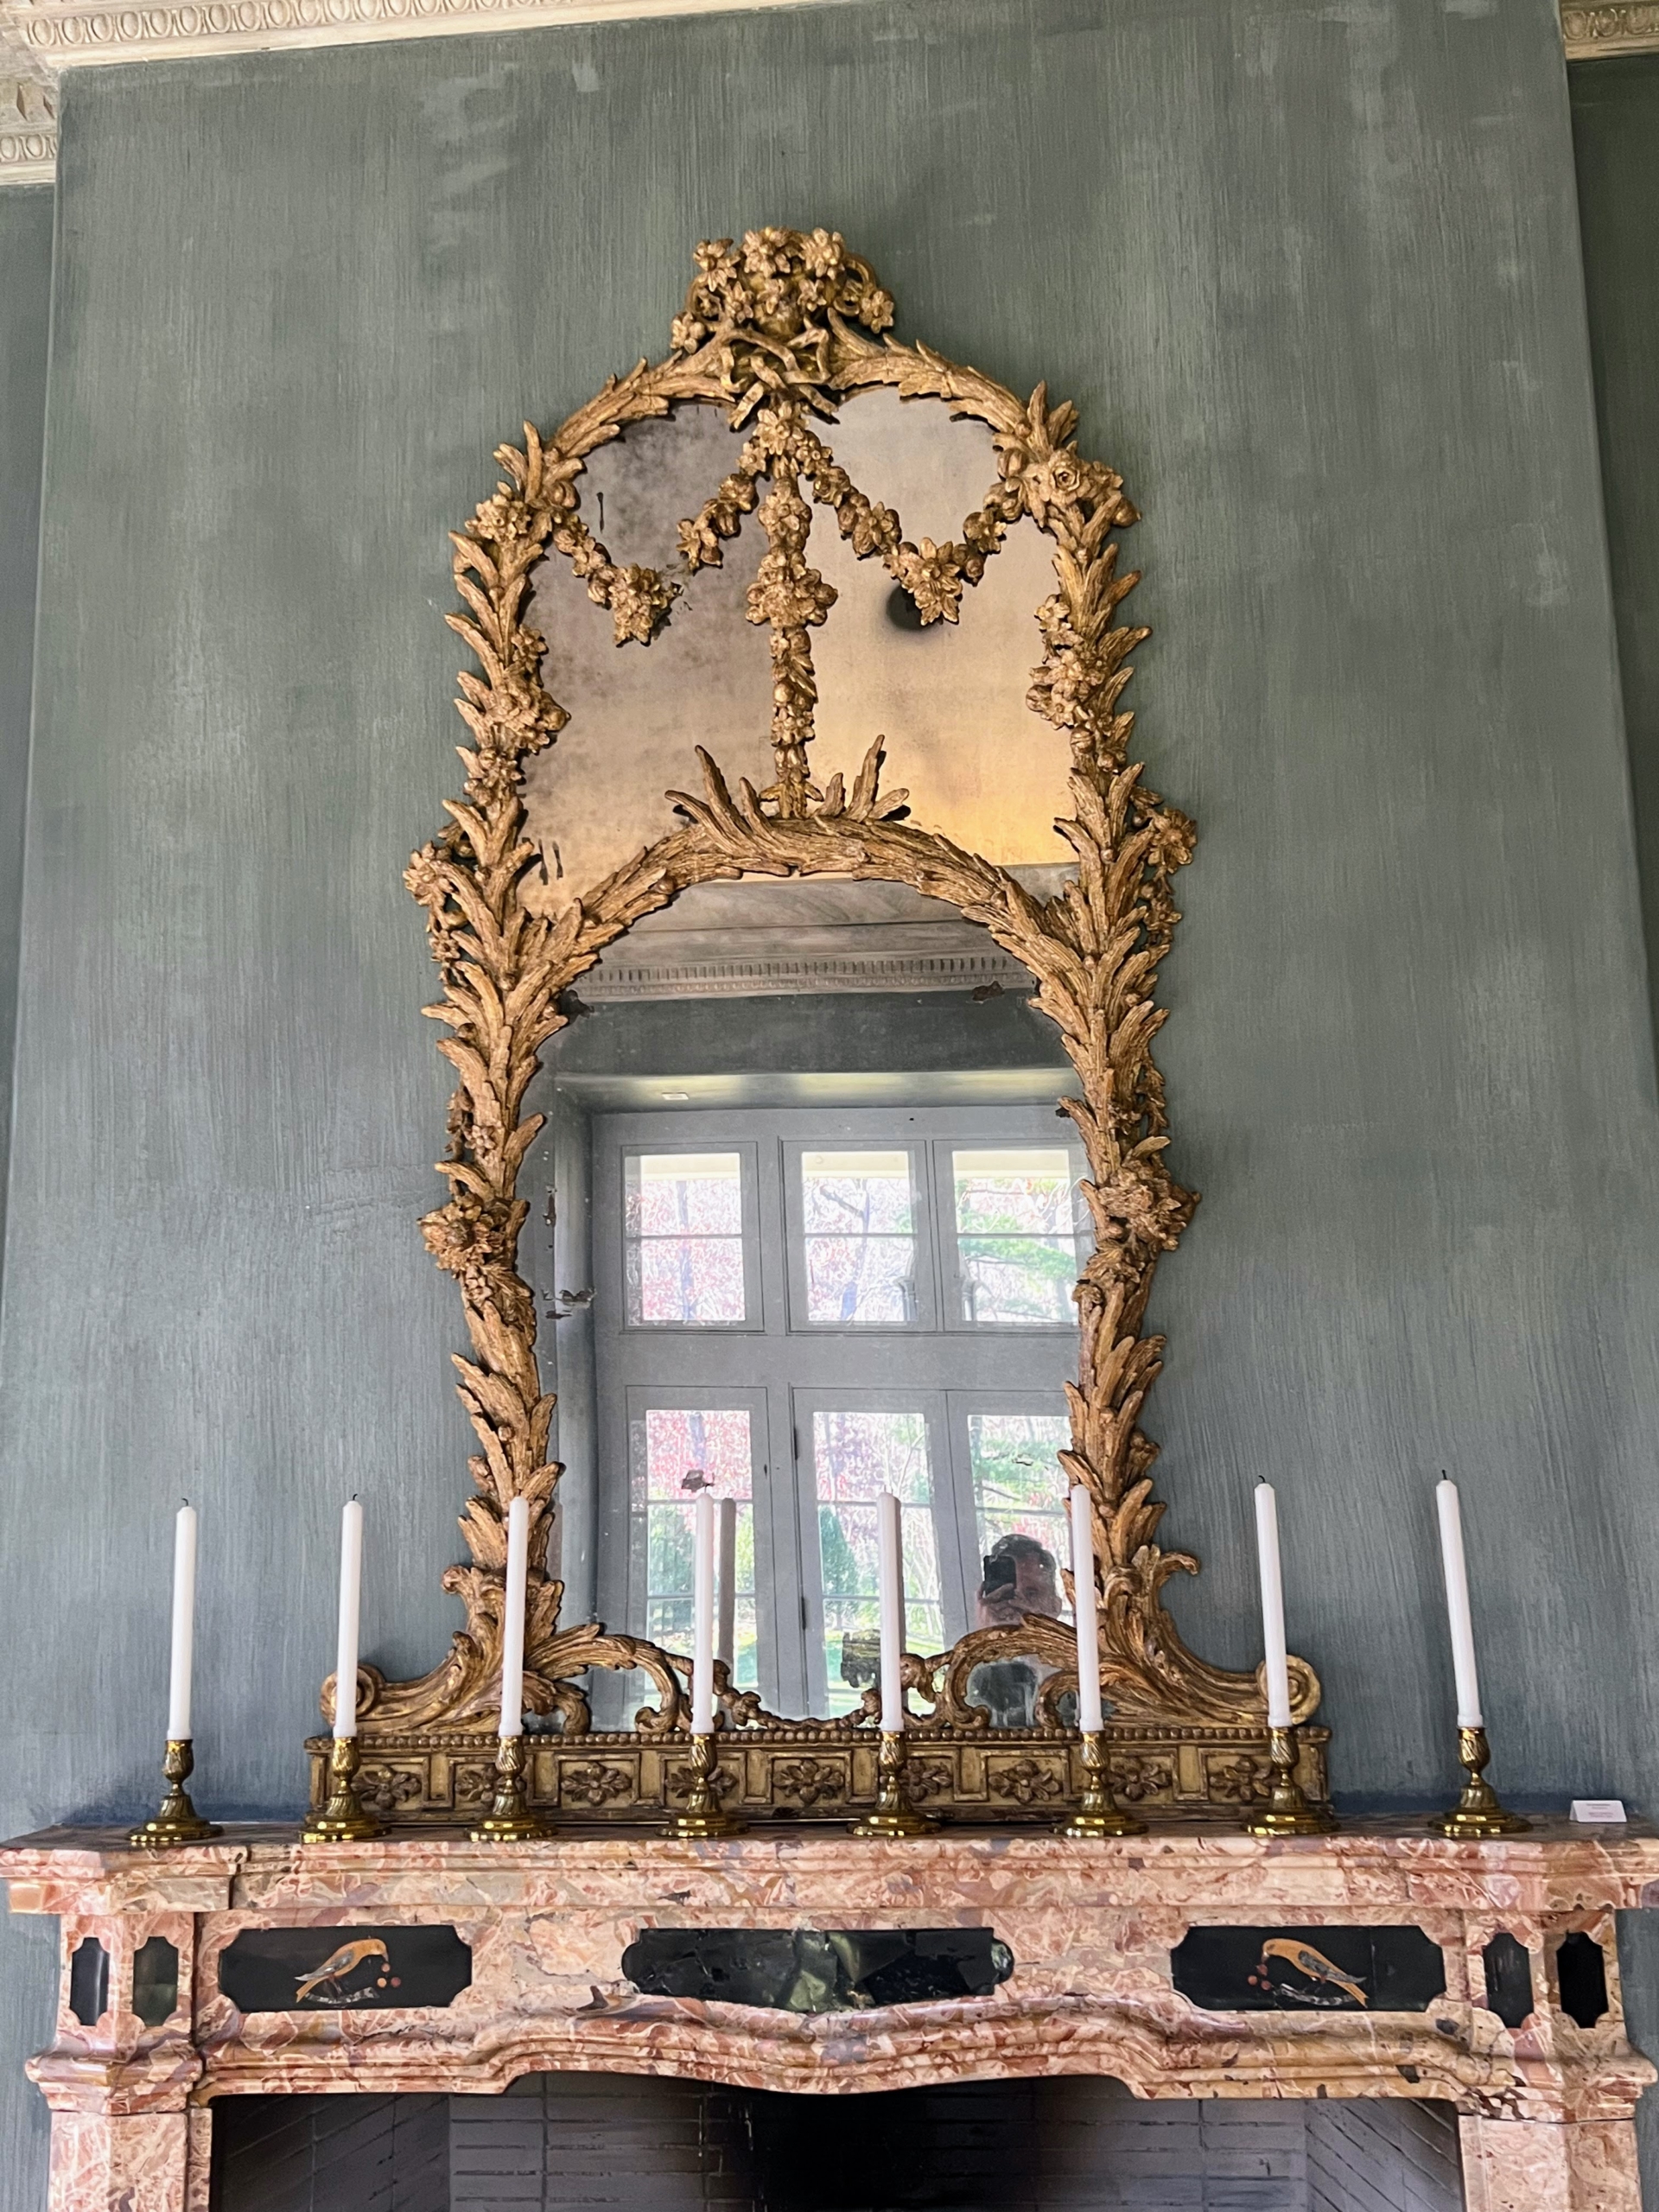
I admired this gorgeous mirror above the fireplace.
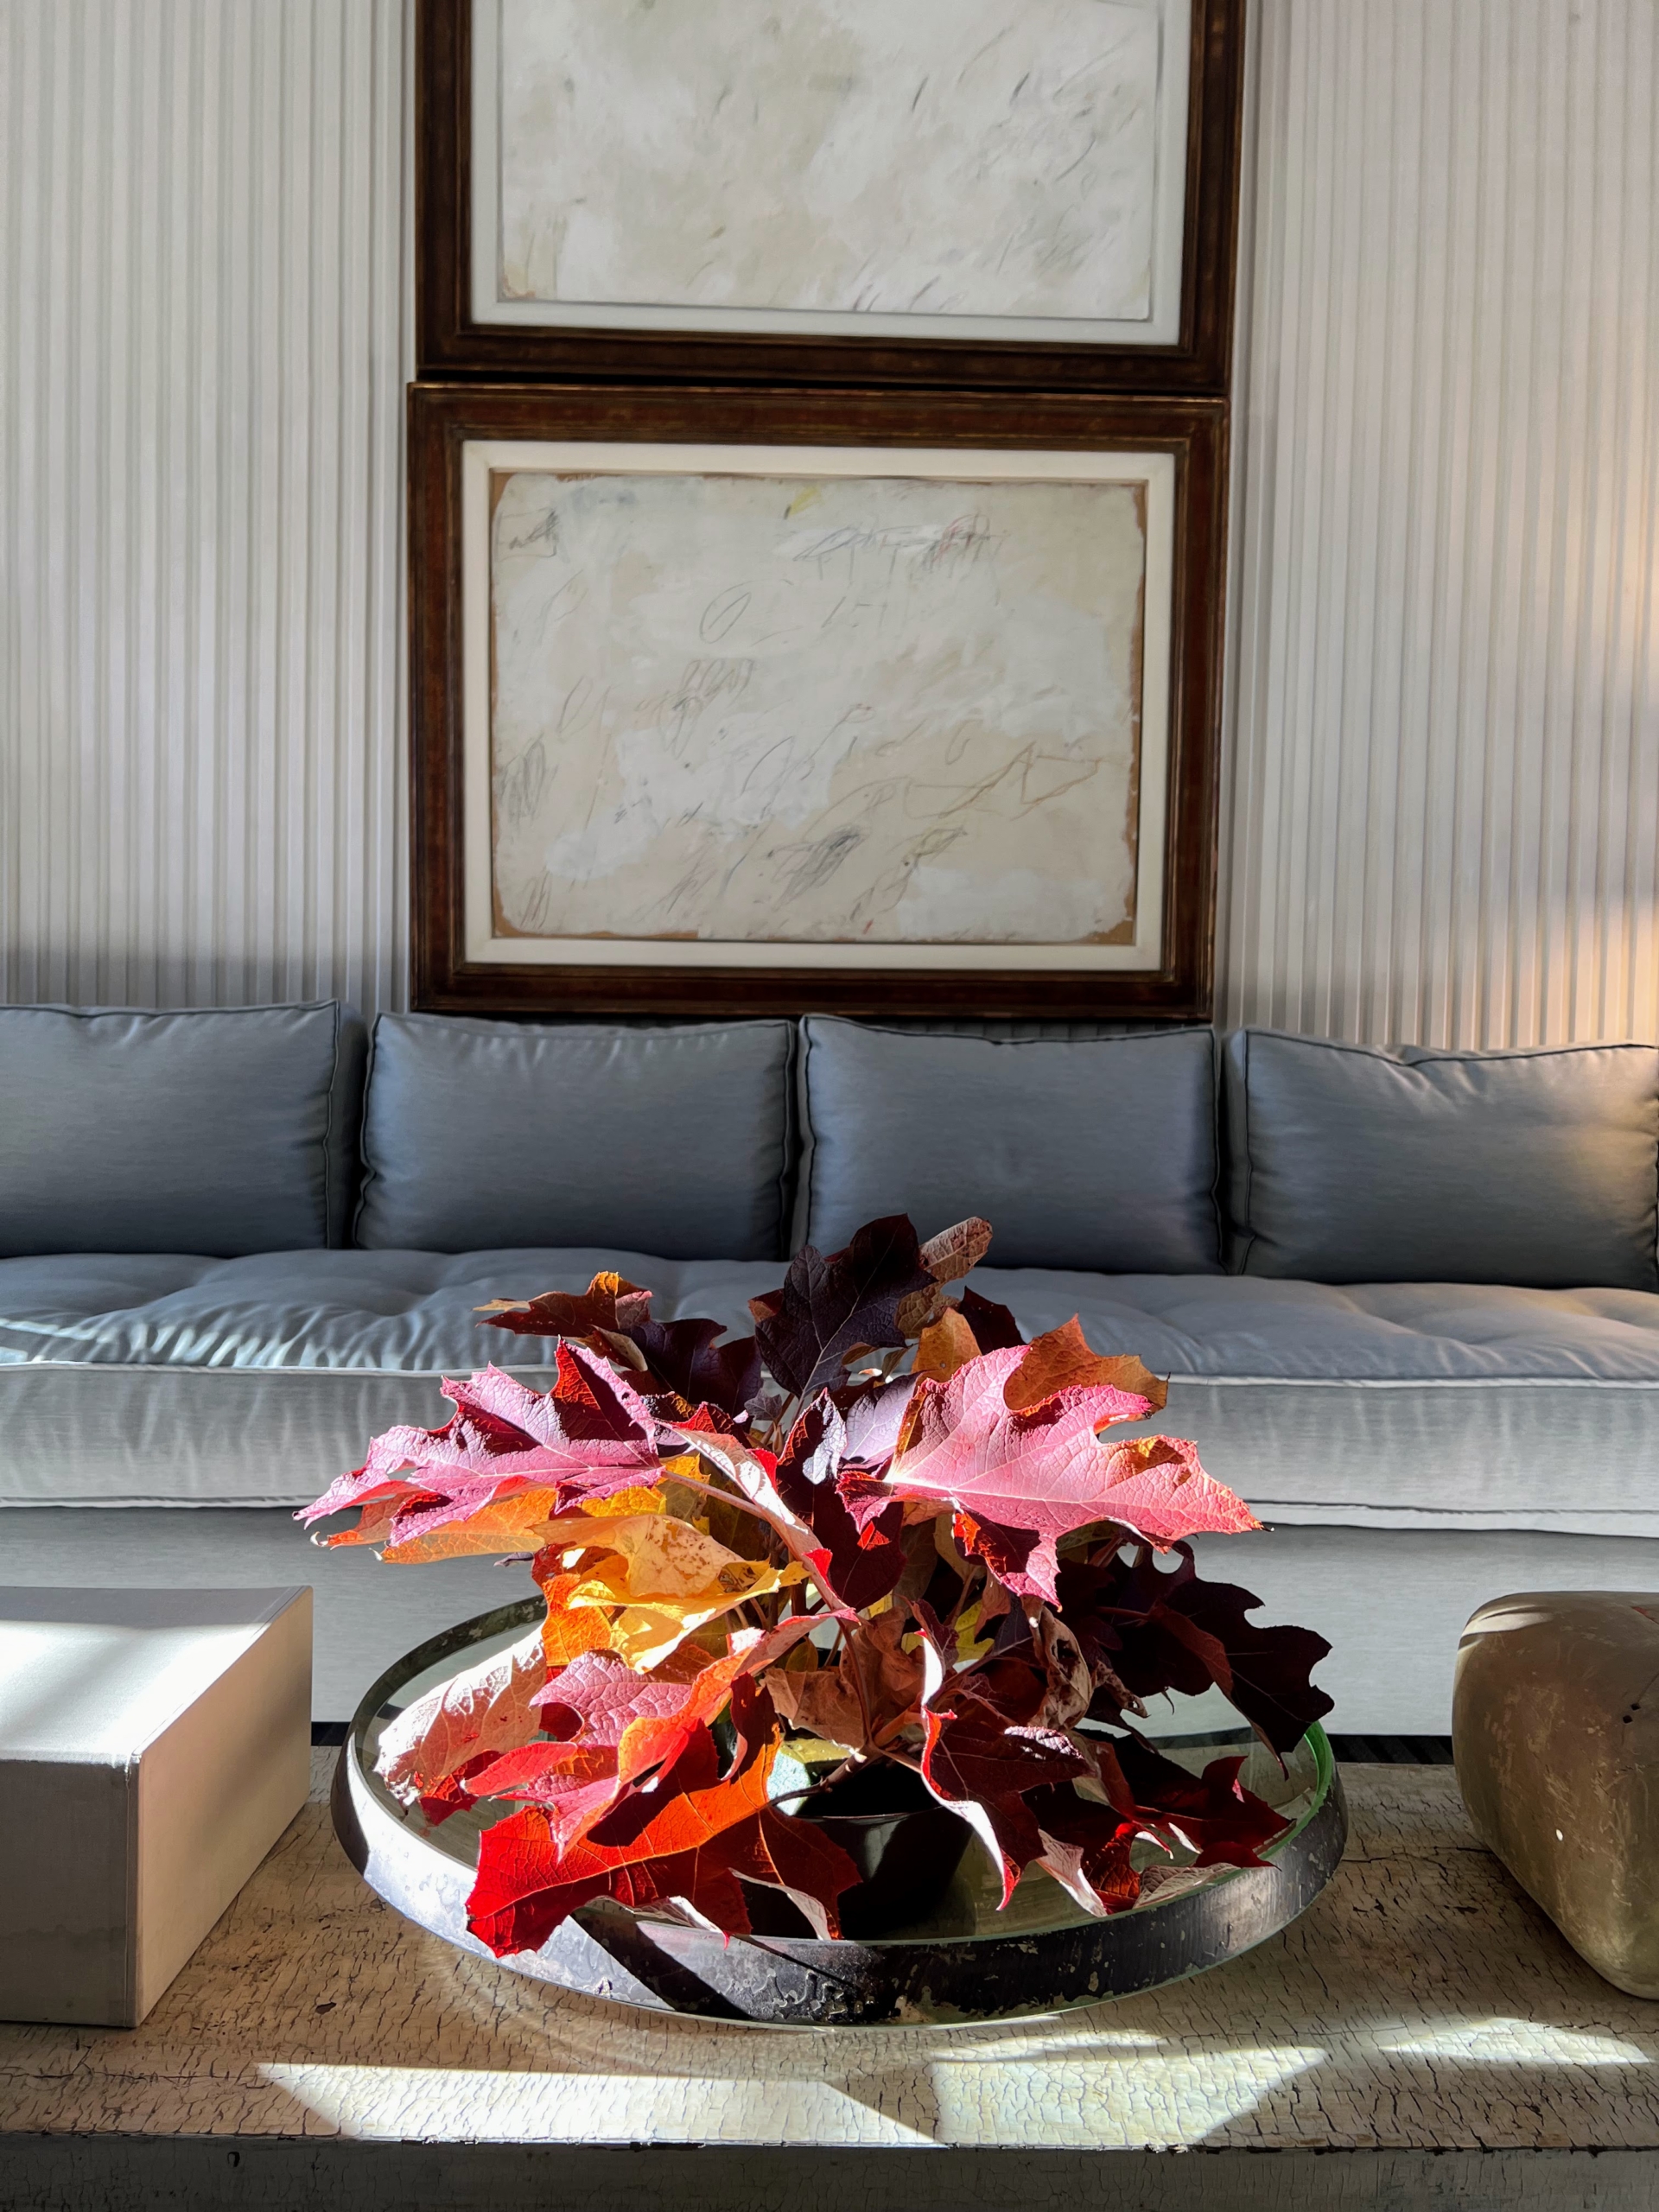
… and this arrangement of fall leaves on the coffee table – simple yet elegant.
I walked in and smelled the cut peonies right away. And do you know what these gift boxes from Petrossian contained? Look closely – small Caviar Mill Crêpe cakes, where layers of crêpes are stacked to form a cake with caviar-infused pastry cream. Each cake is decorated with lemon dill gelée and fresh dill sprigs.
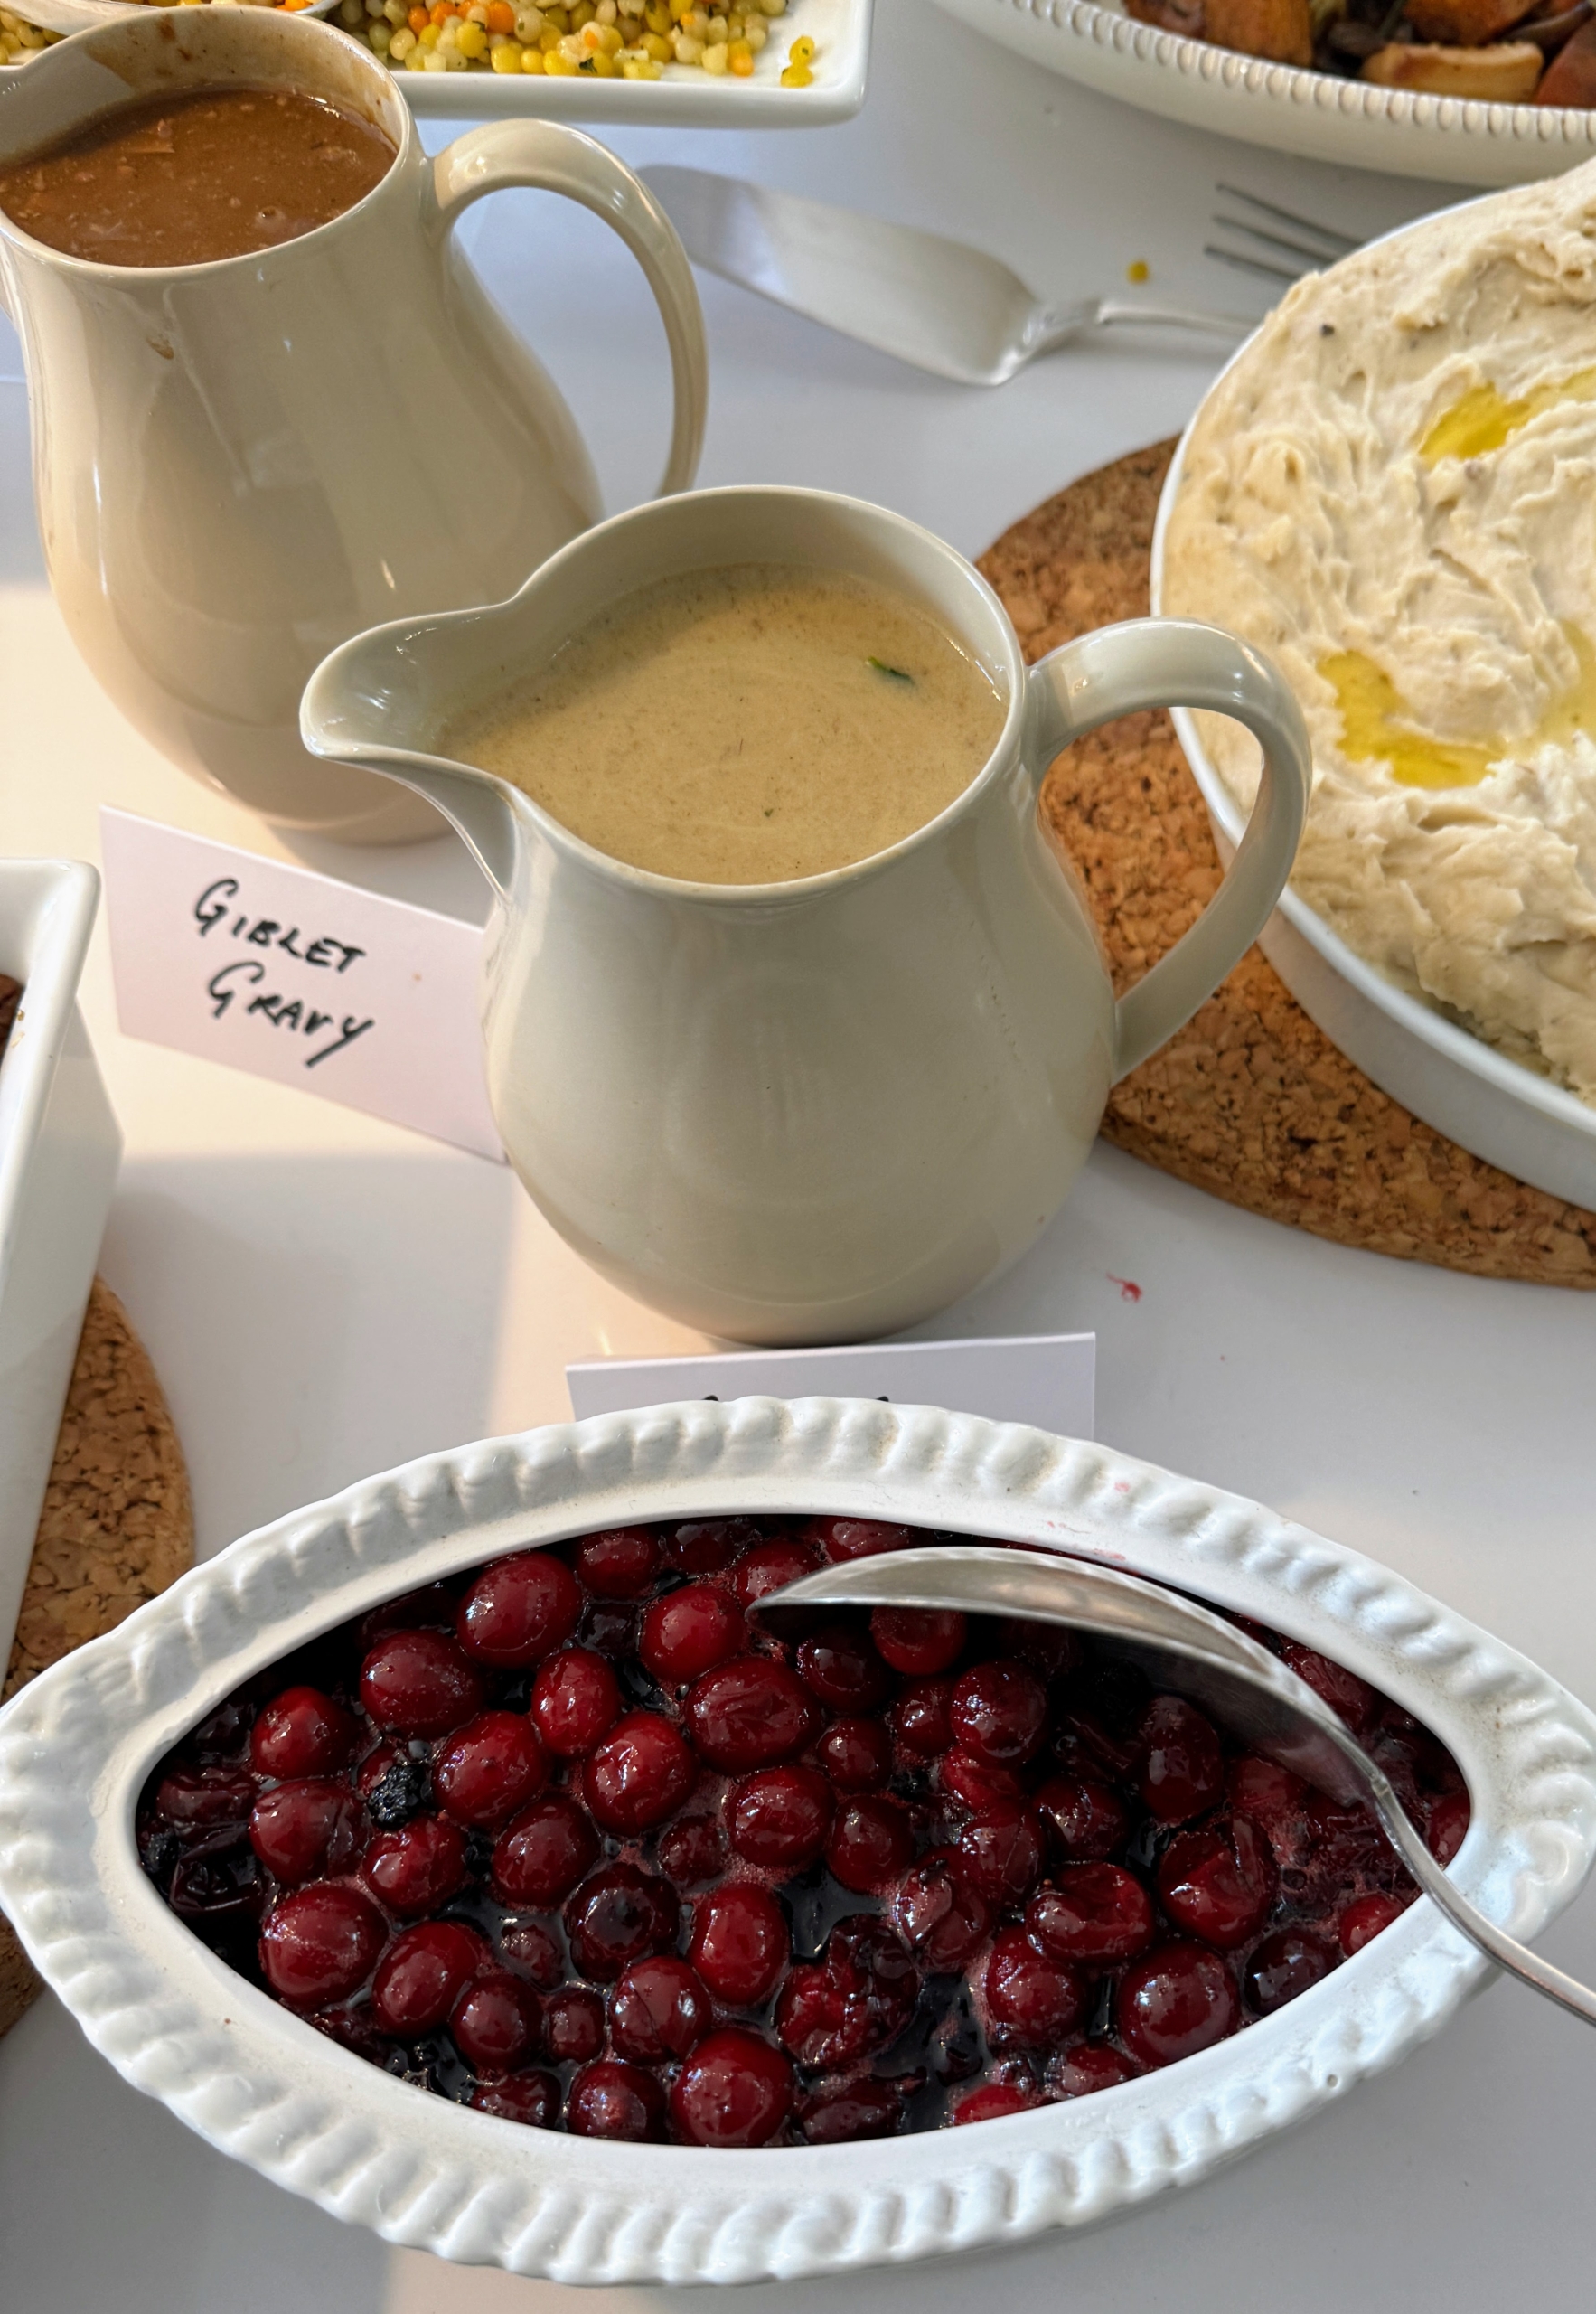
Other sides on the buffet included giblet gravy, and homemade cranberry sauce.
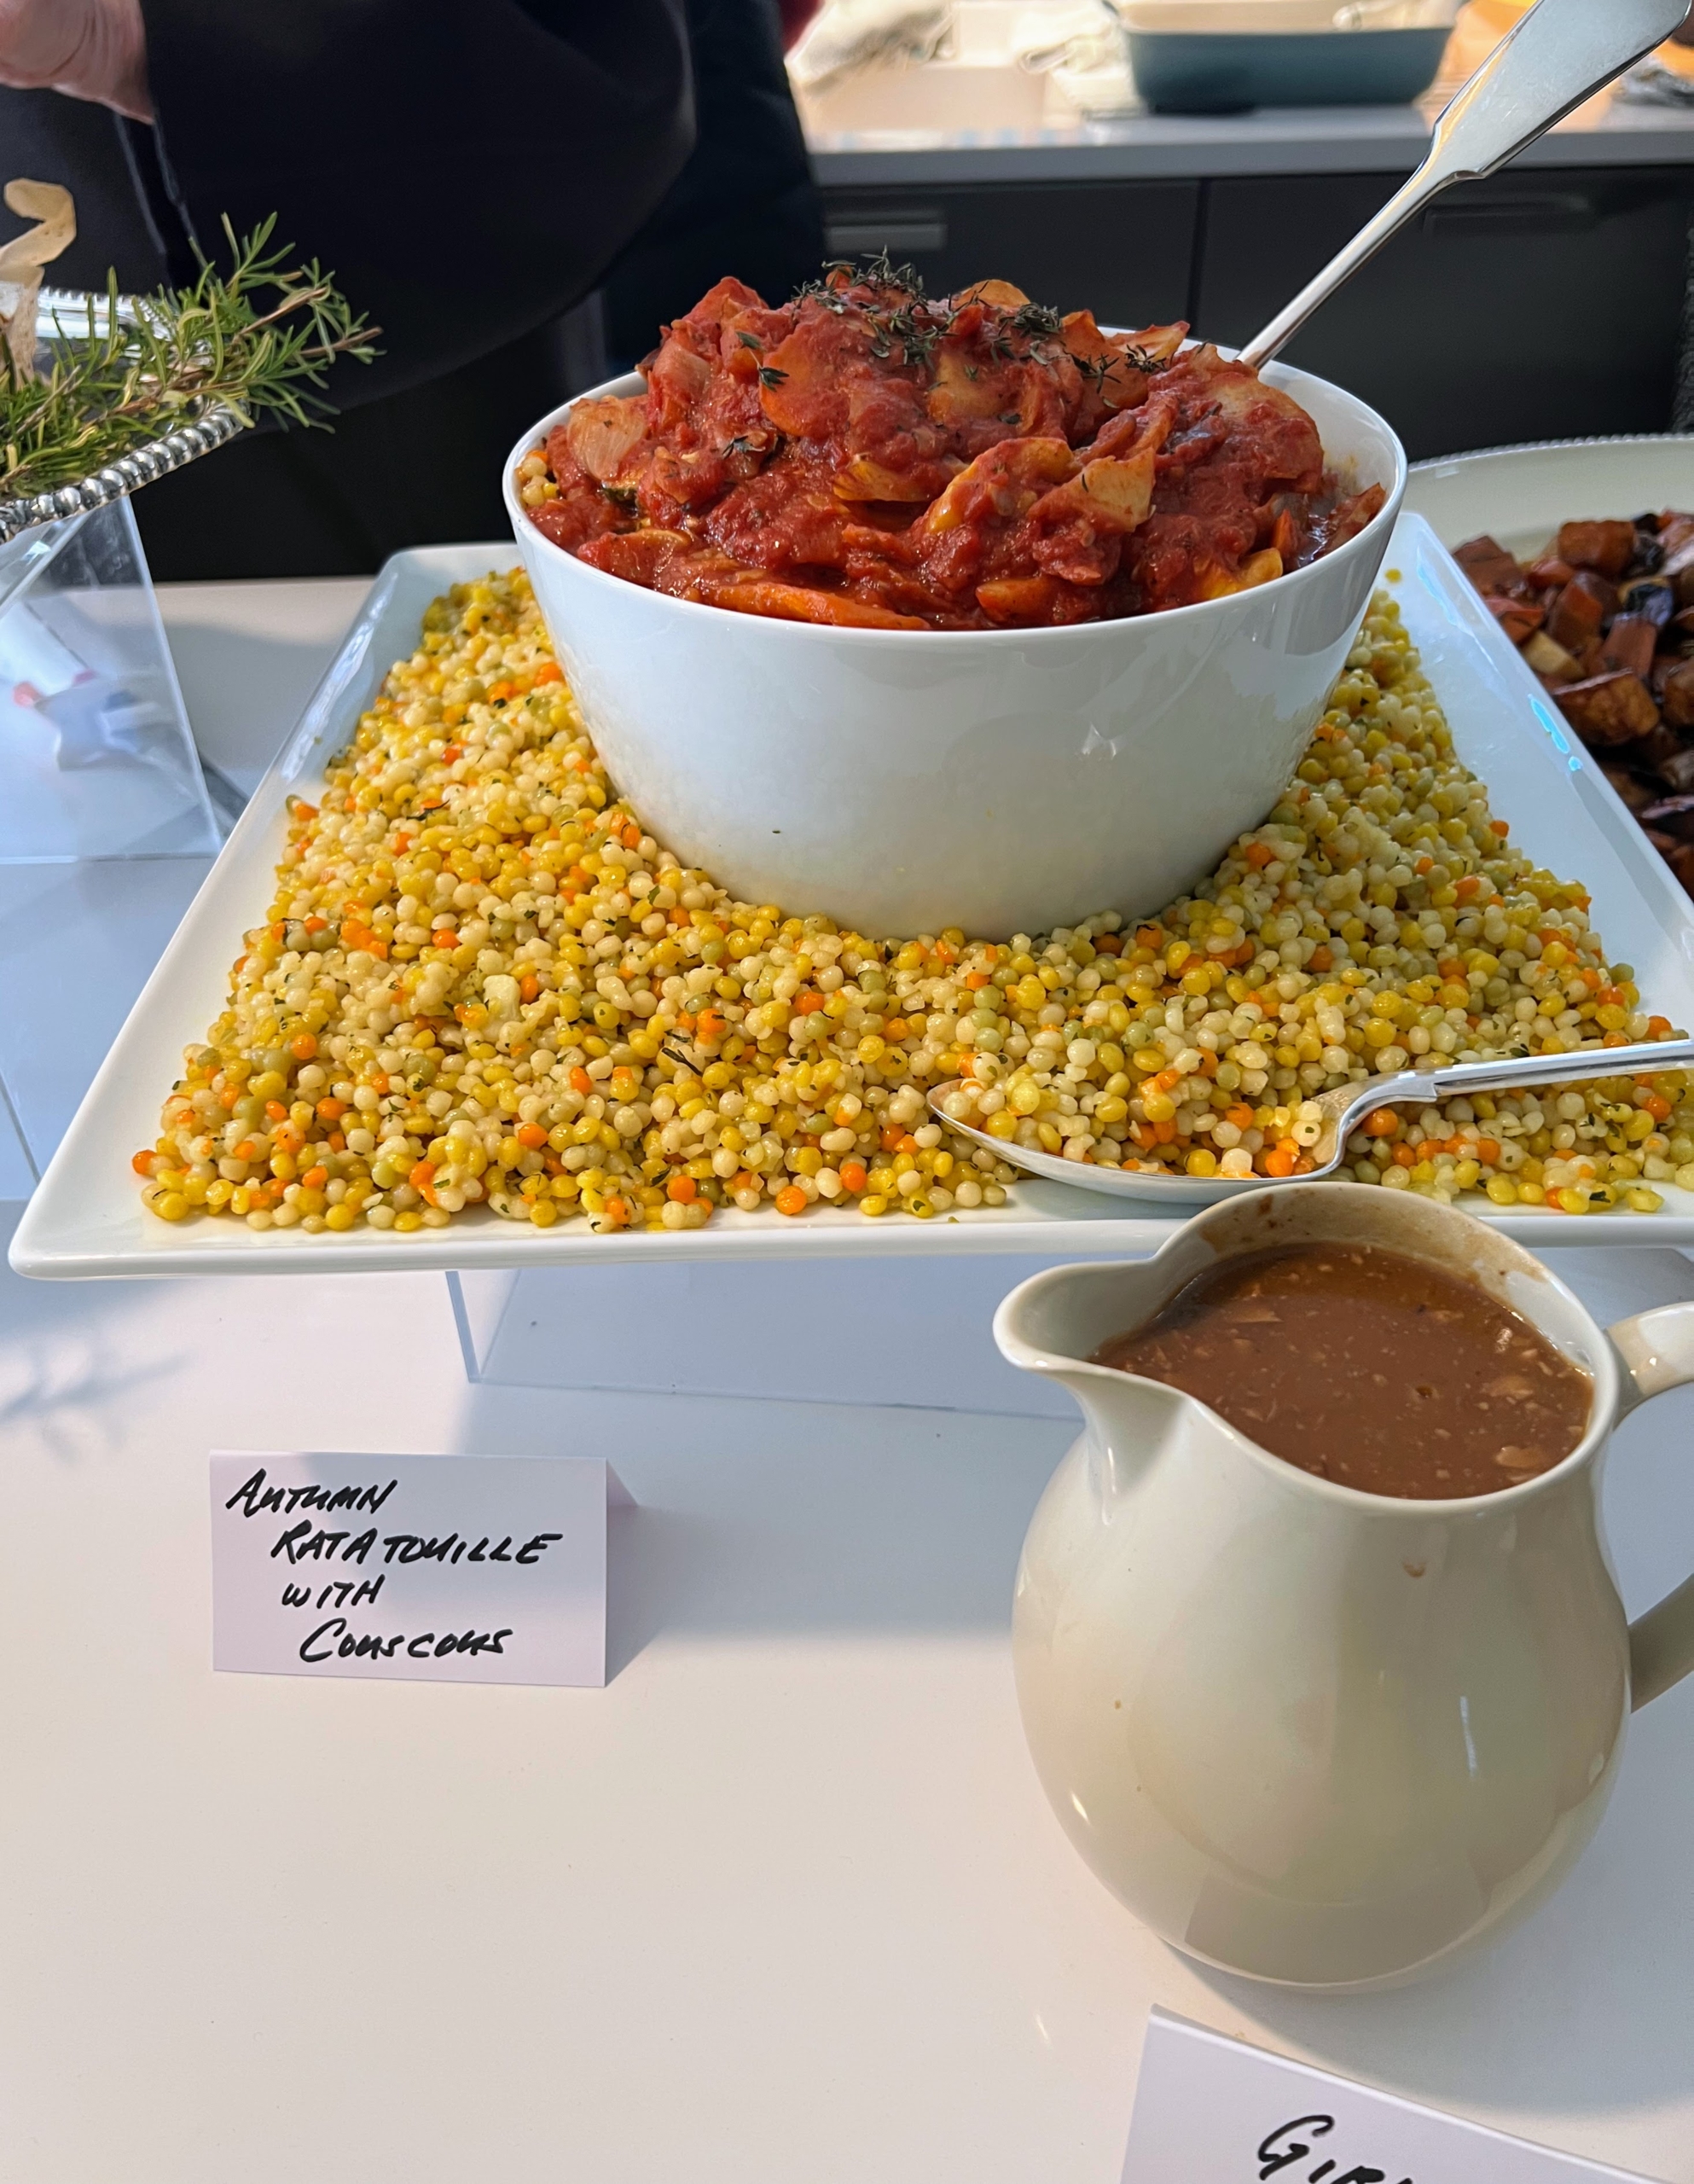
There was autumn ratatouille with couscous. Ratatouille is a French Provençal dish of stewed vegetables that originated in Nice. Couscous is a North African dish made from tiny steamed balls of semolina flour – a type of pasta. Every dish was clearly labeled.
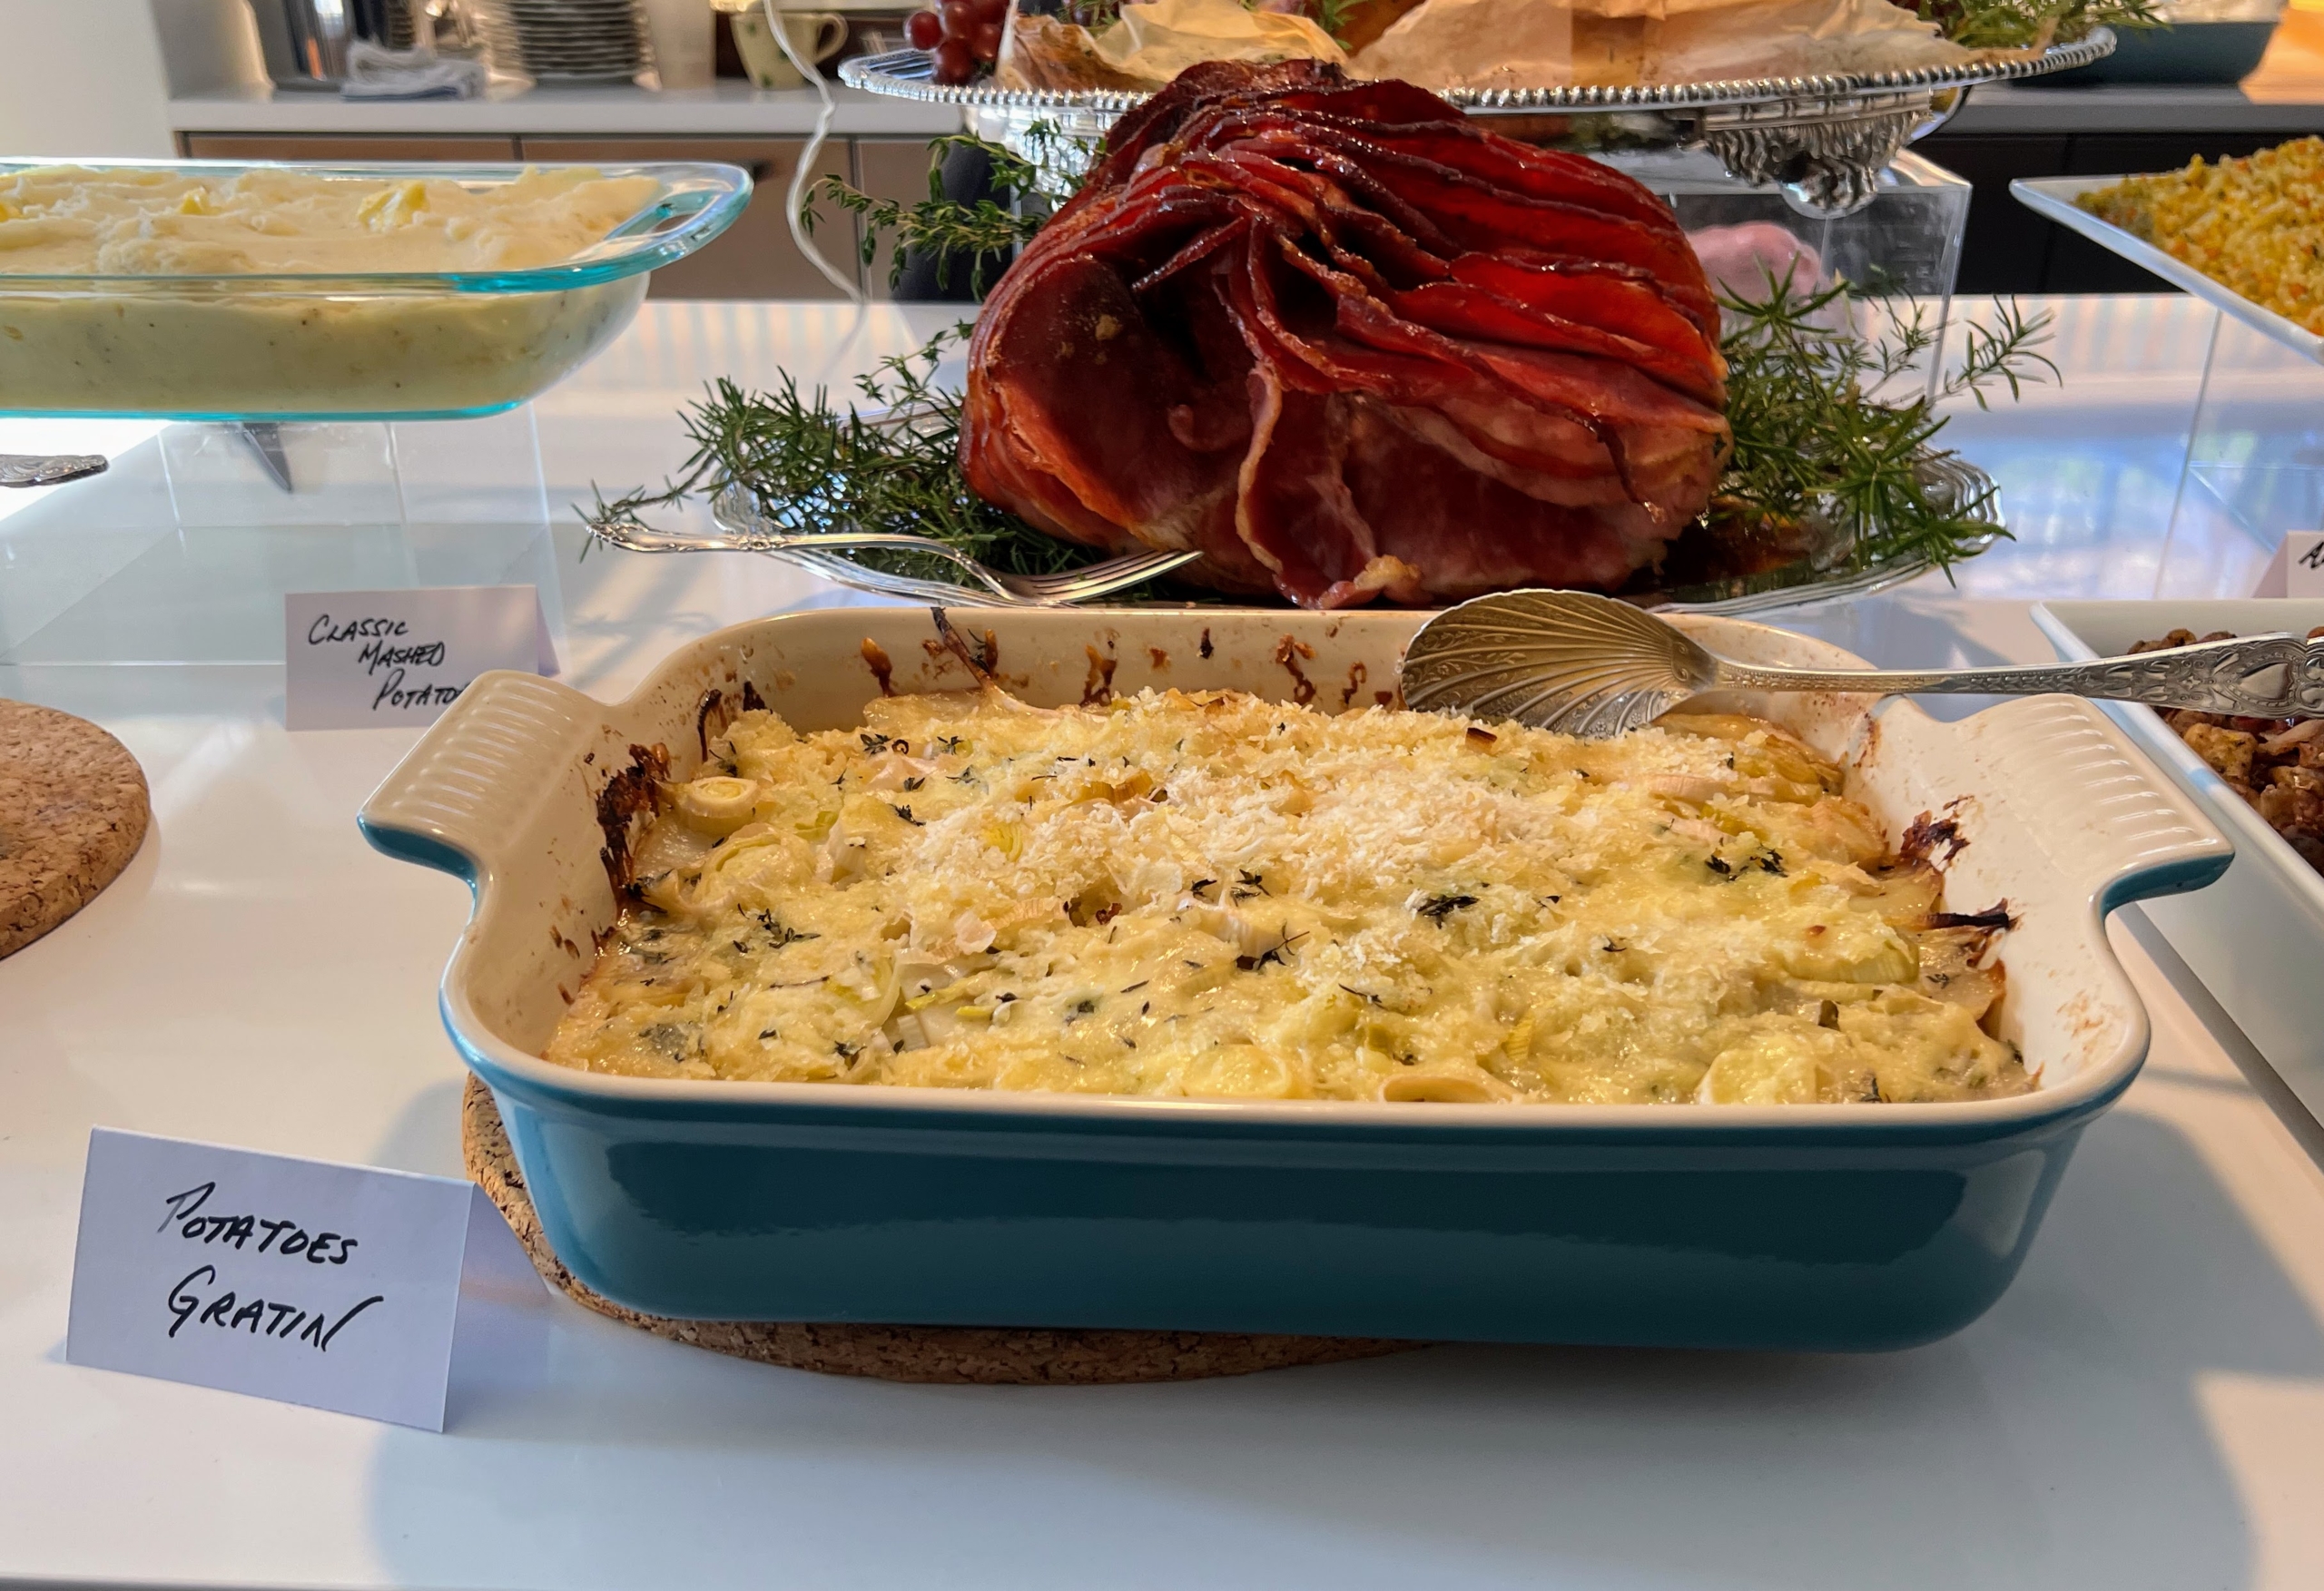
Here’s a dish of classic potatoes au gratin, also known as scalloped potatoes.
And here I am with the delicious roasted turkey – ready to devour.
I was asked to carve the turkey, and Stephen insisted I use his electric knife. It worked, but you know what I would have preferred to use…
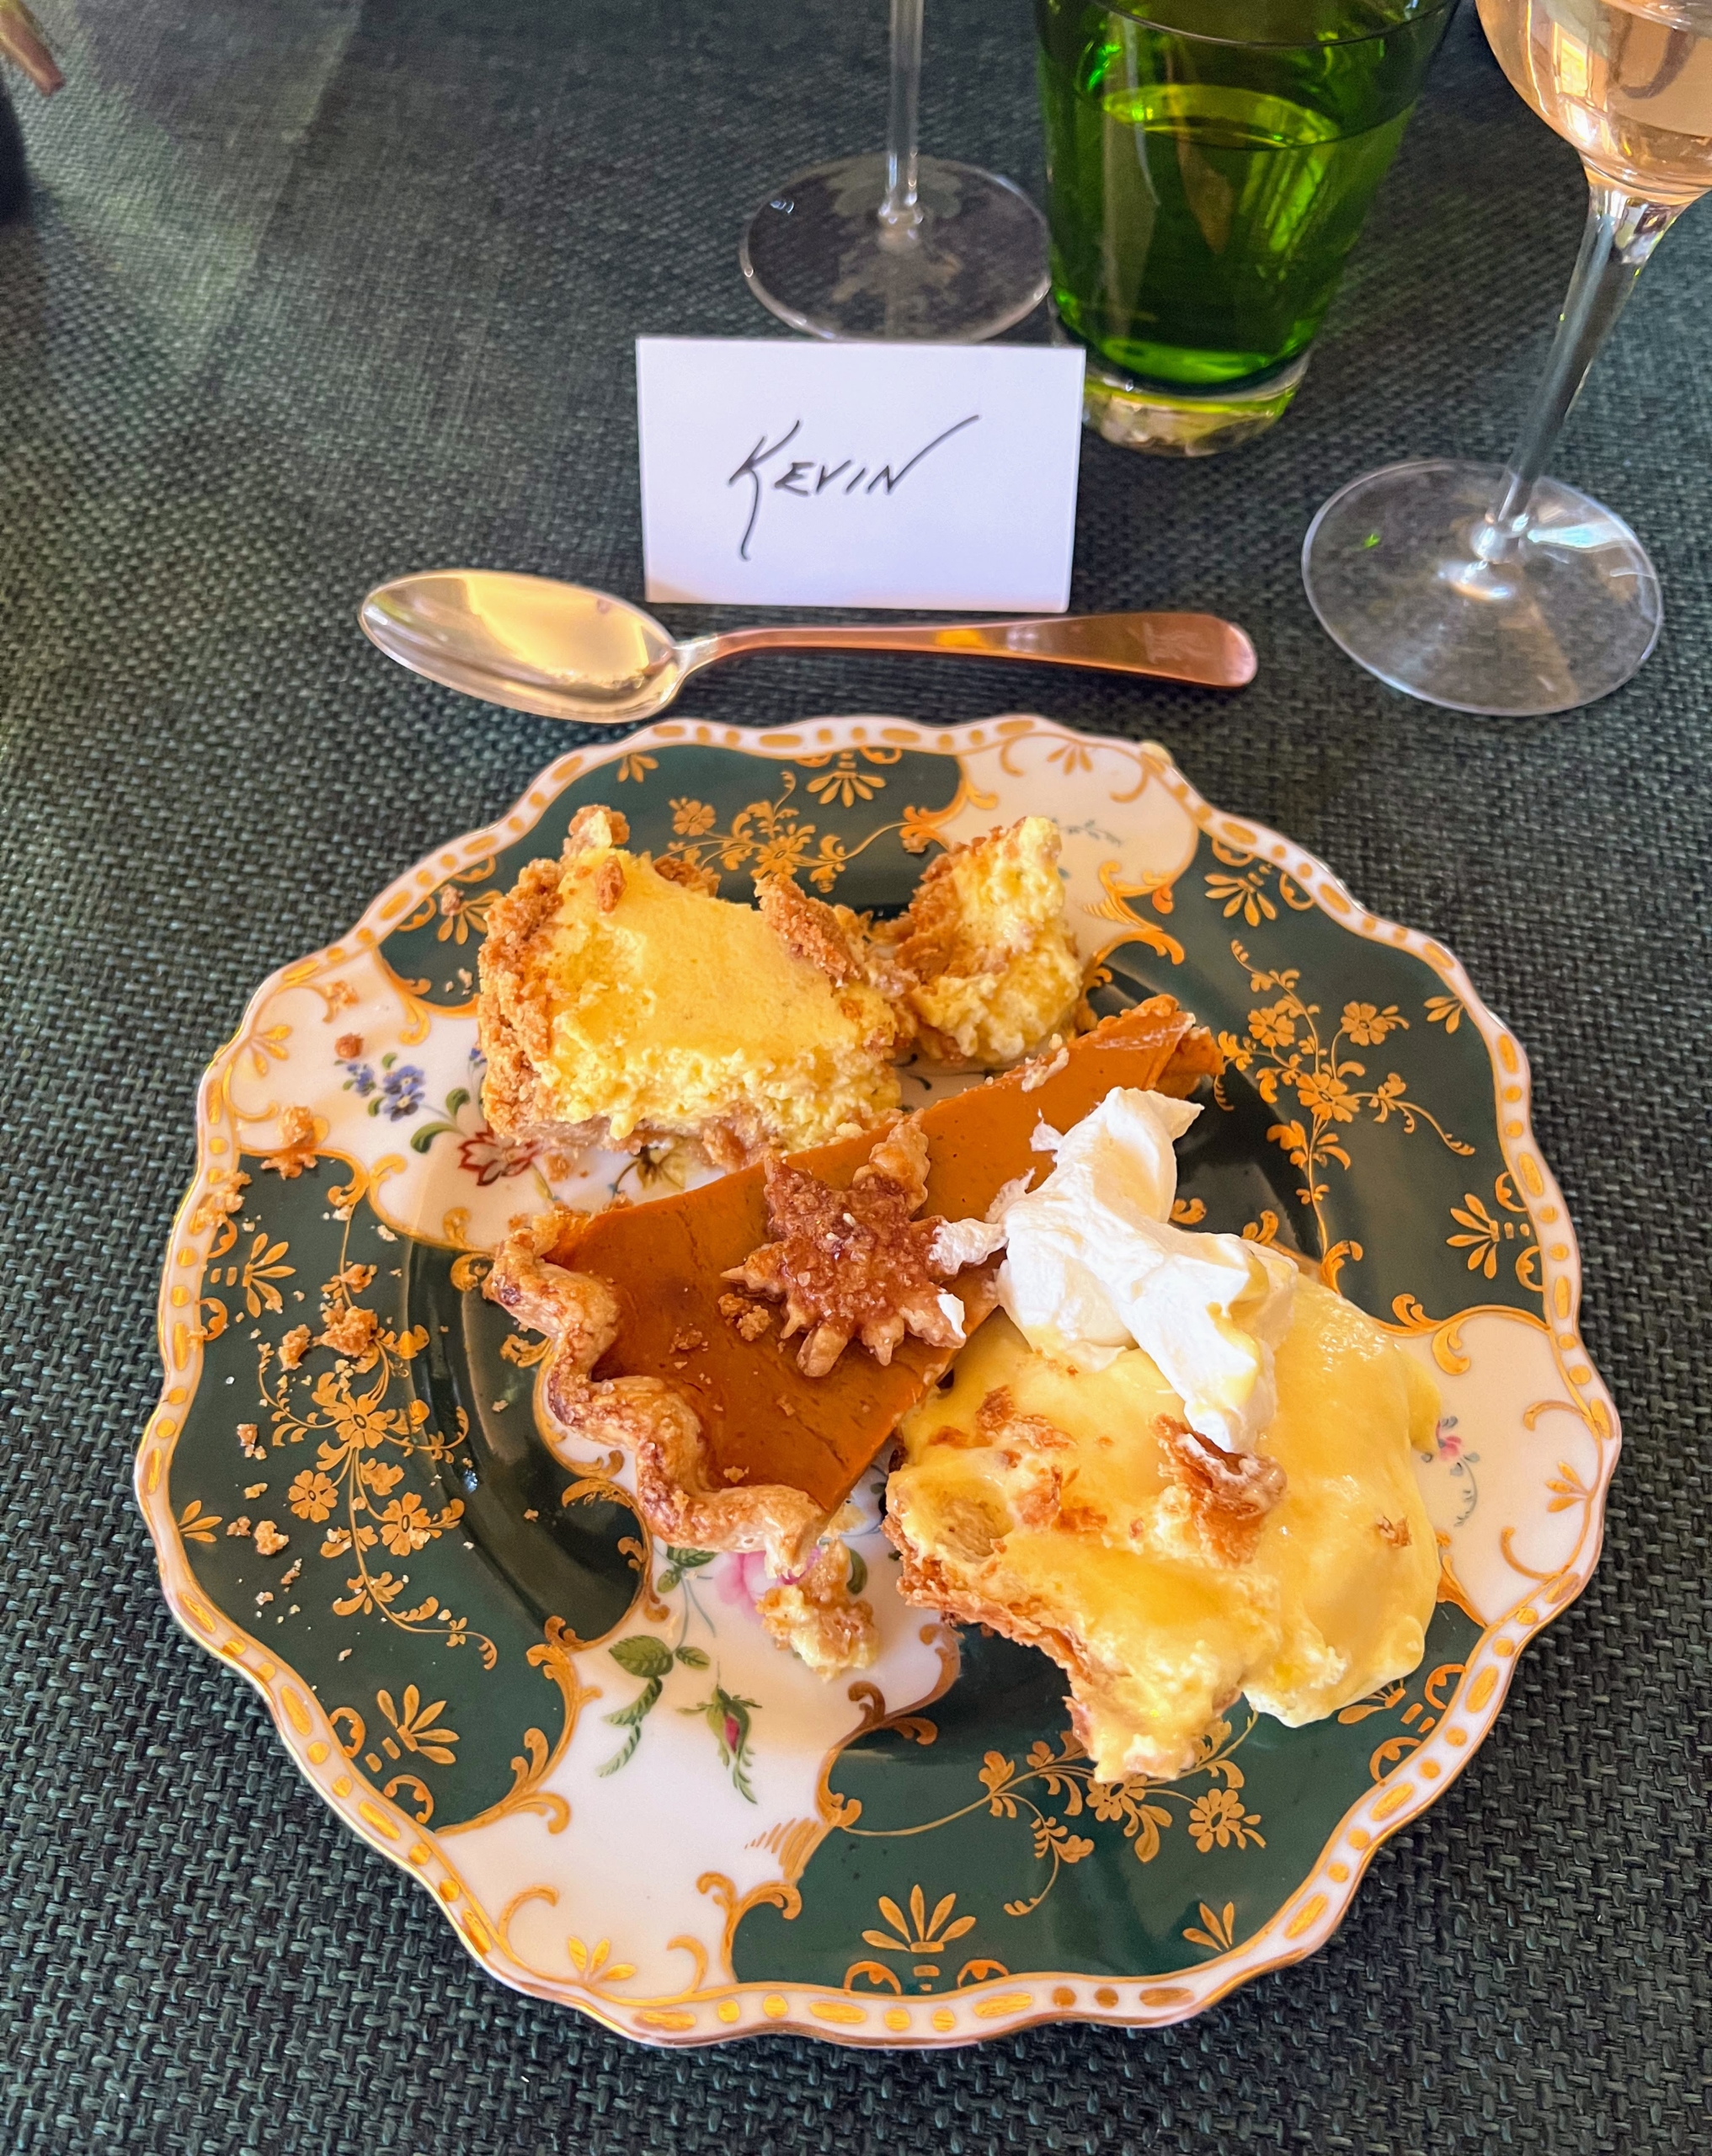
Here is Kevin’s plate – his first serving. Everything was so delicious, we all went back for seconds, some even thirds.
And don’t forget dessert! It was a terrific holiday lunch, with all the fixings. Thanks to everyone for submitting your beautiful photos. And here’s to a great continuation of the holiday season ahead.