If you're interested in raising chickens or just love learning about all the different and fascinating breeds, find a poultry show near you! Whenever my schedule allows, I always try to attend the annual Northeastern Poultry Congress in Springfield, Massachusetts.
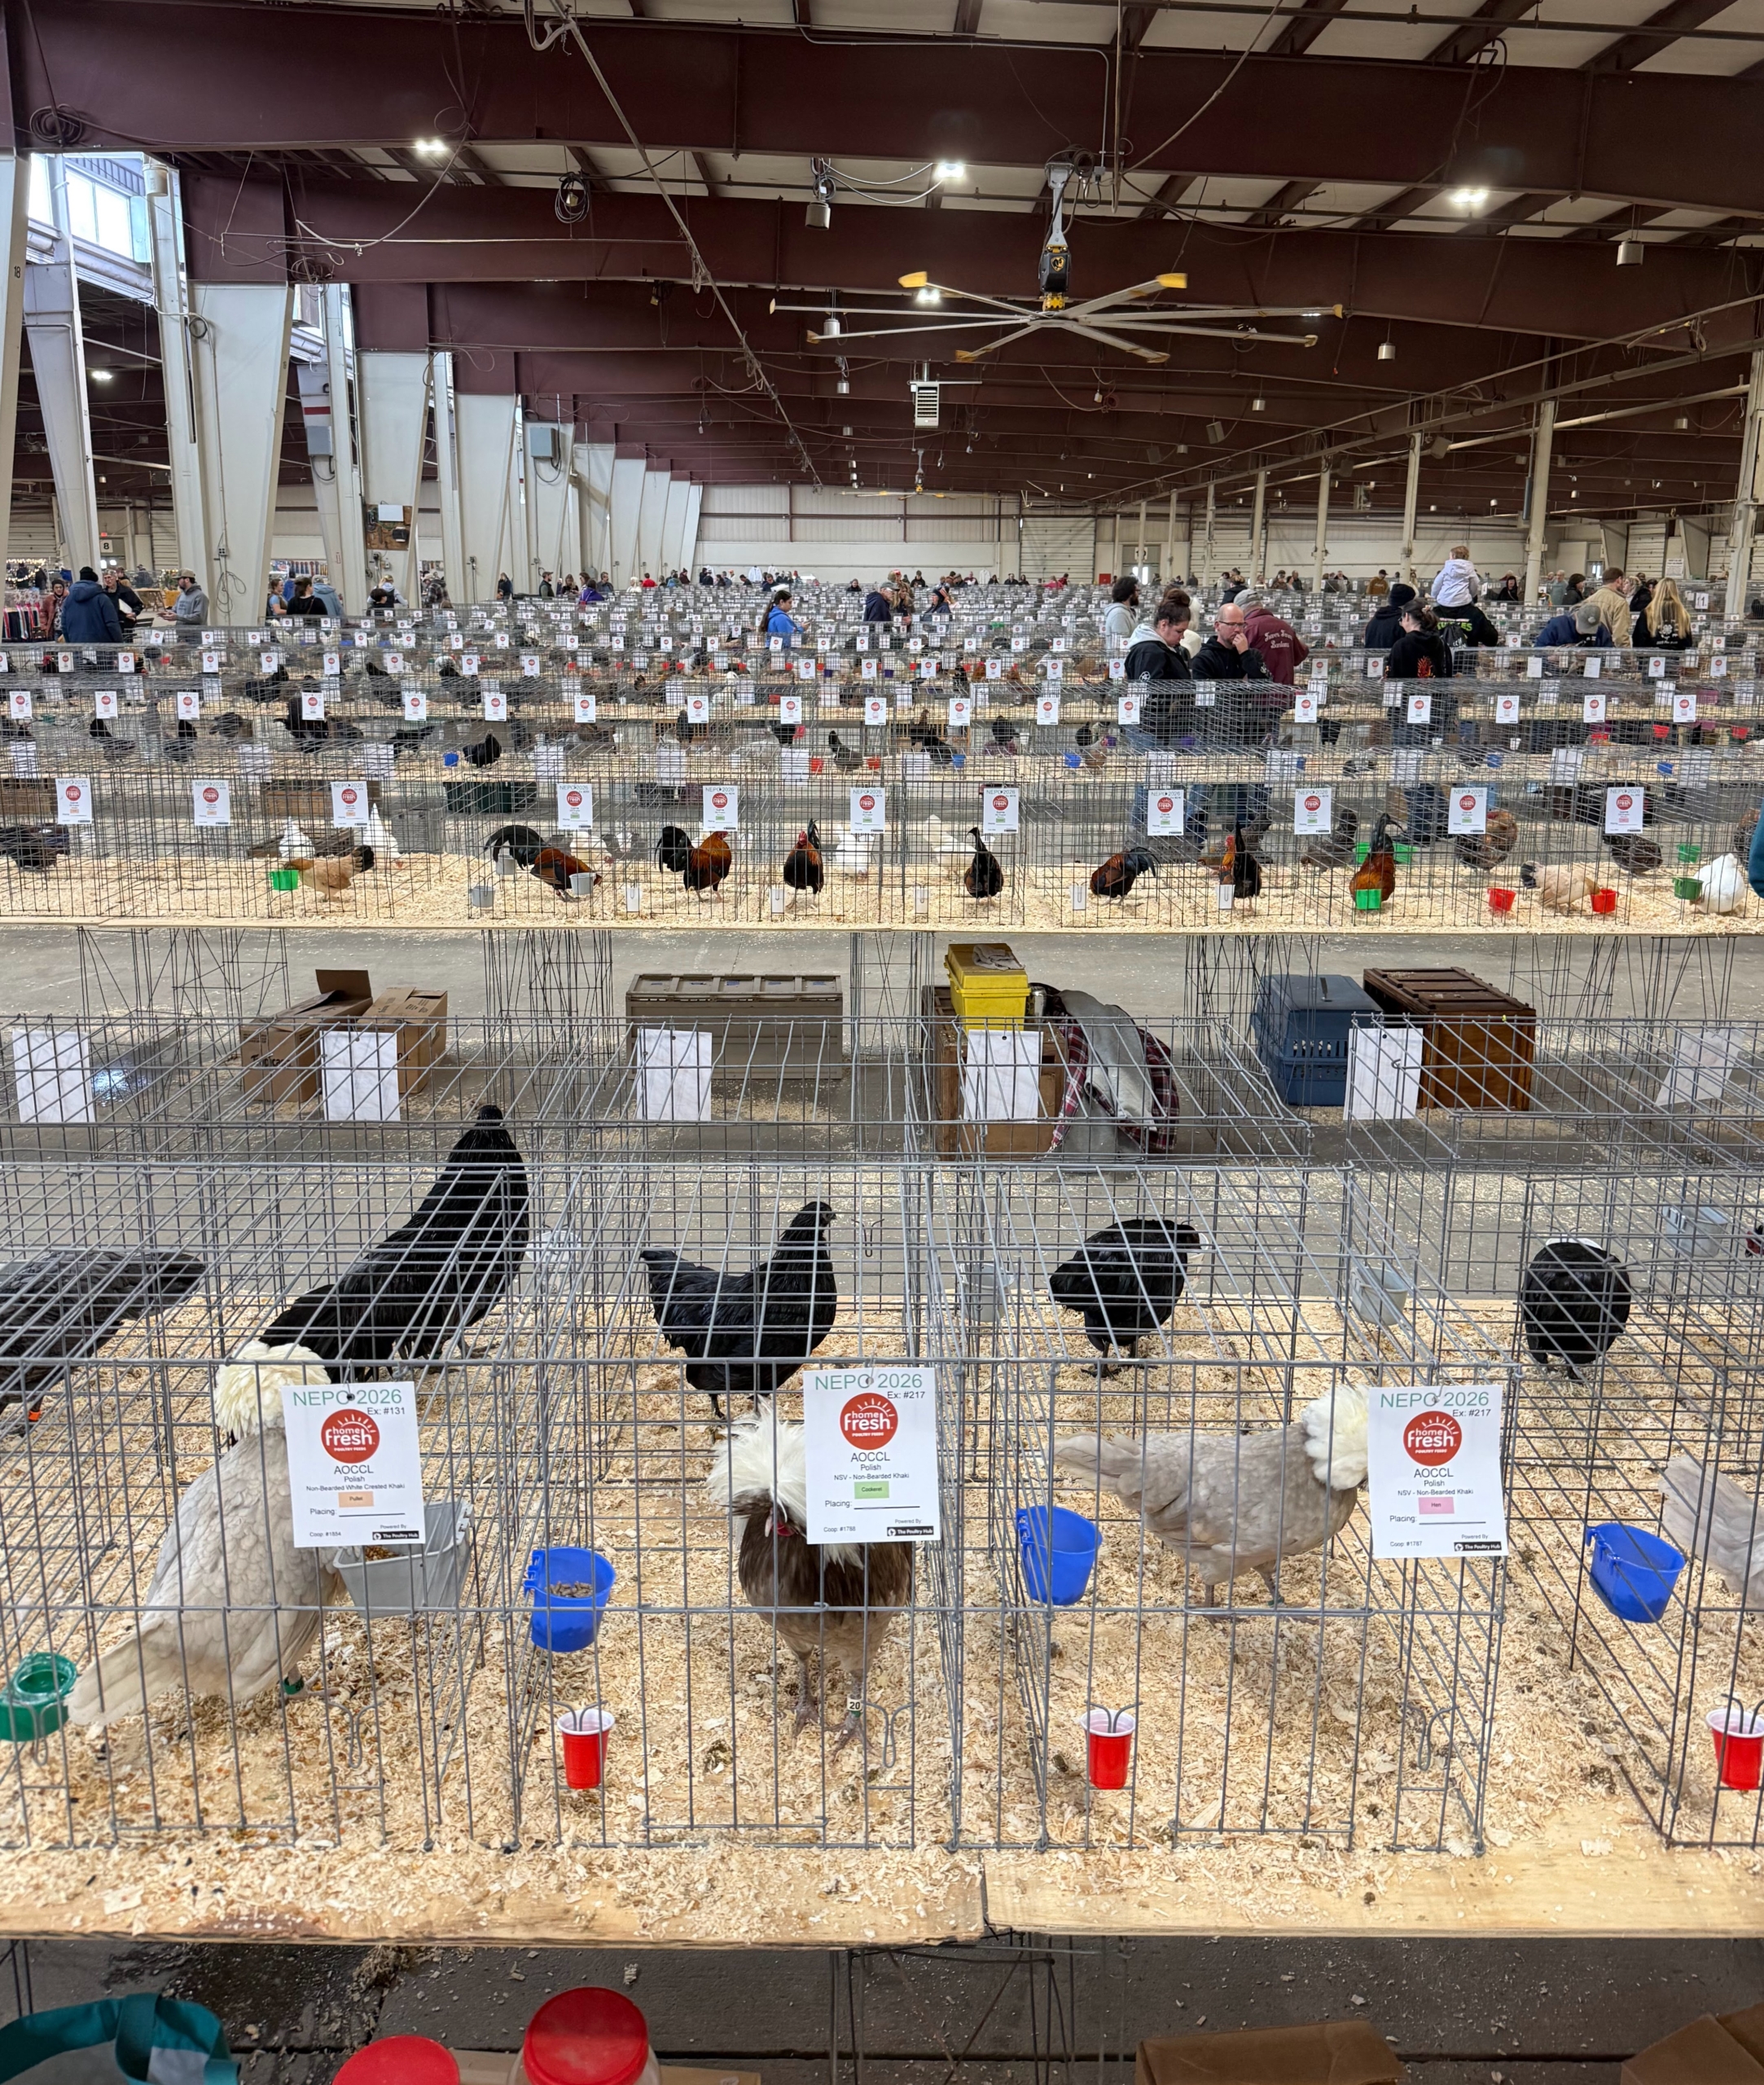
The event is held every year at the Eastern States Exposition Center and features more than three-thousand birds, including large fowl, waterfowl, turkeys, pigeons, Guineas, and of course, a variety of wonderful breed chickens. It’s a great way to see beautiful chickens up close and to build relationships with knowledgeable, passionate breeders. There are also informative seminars offered on different topics, and an area for vendors of good, nutritious feed, and other supplies. This year, I brought home 13 birds including Araucanas, Silkies, Sultans, Crested Polish, Buff Orpingtons, and Rhode Island Reds.
Enjoy these photos.
The Northeastern Poultry Congress holds its show every January. I have been making the trip for several years – it is a very popular and well-attended event. All the show birds are exhibited and judged in the Mallory Complex of the Expo Center.
Poultry shows are family-friendly and allow visitors to see both traditional and new breeds. The first poultry show in the United States was in 1854, before there were even standards for showing.
Visitors are able to see the various breeds up close in their crates. Each cage is tagged with the bird’s breed, color or variety, and gender.
These birds are very accustomed to traveling and being shown. Breeders and exhibitors take excellent care of their birds.
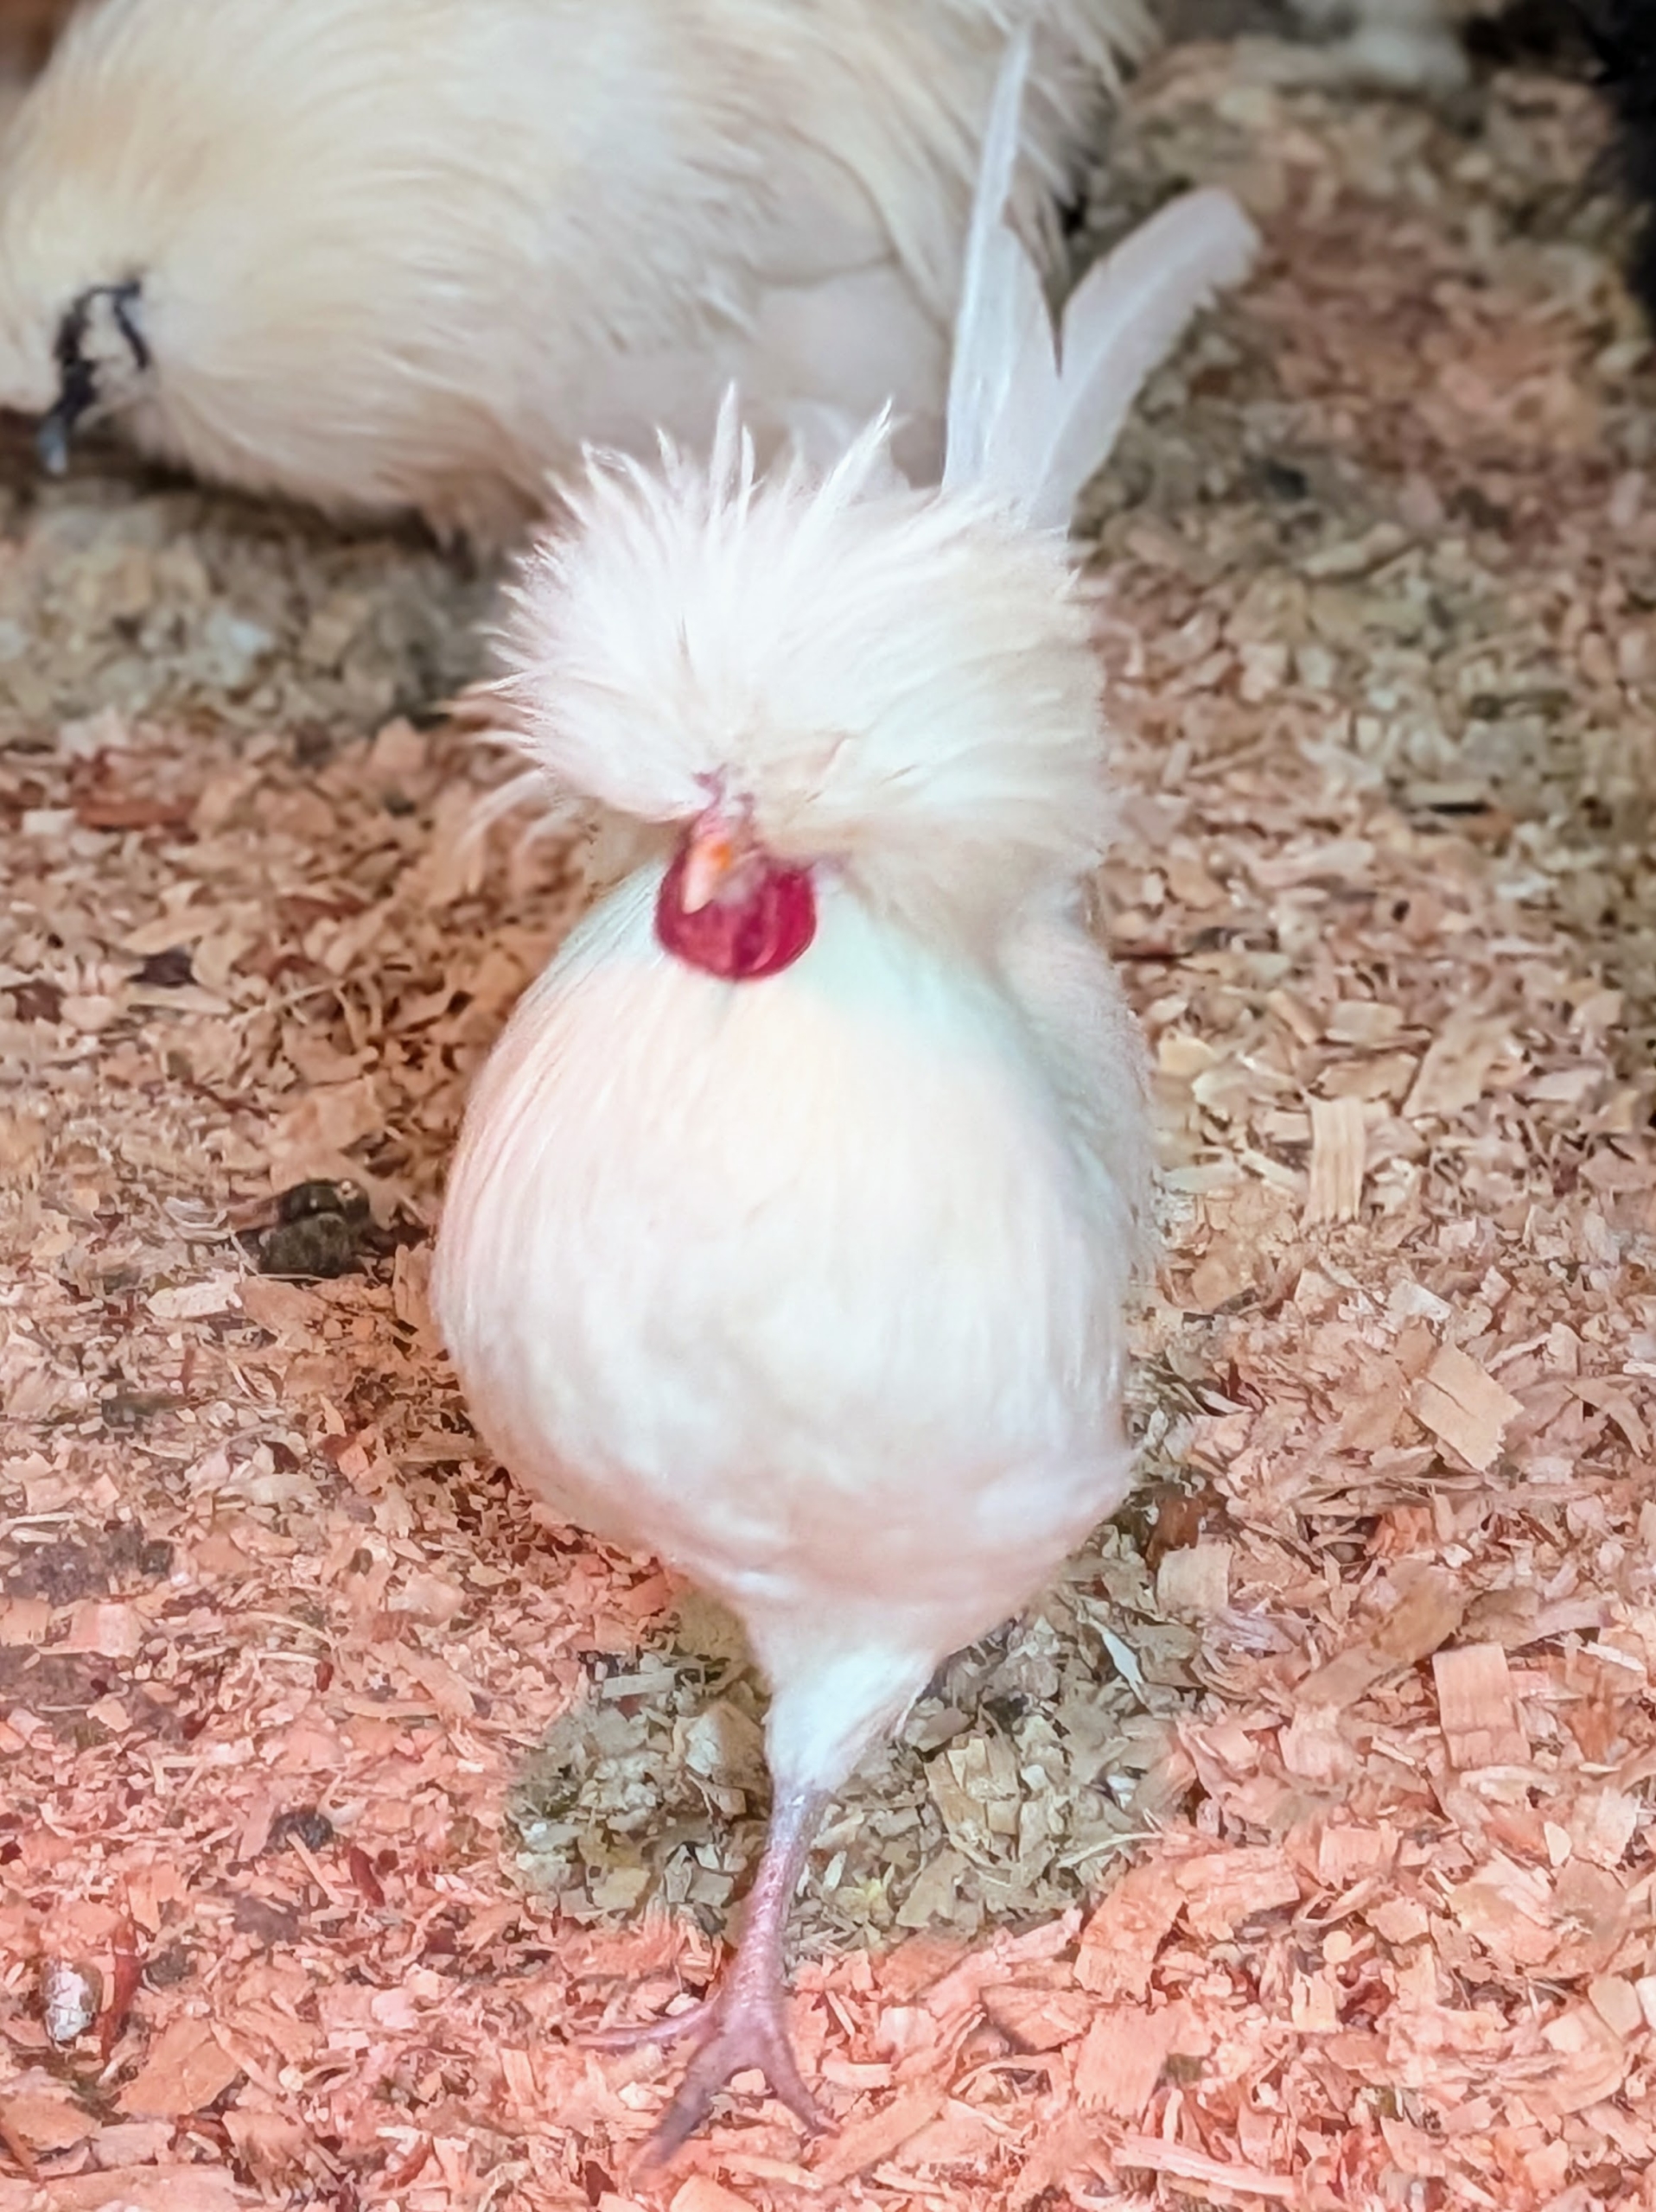
This is a non-bearded White Crested Black Polish pullet. A pullet is a young hen under one year old.
Here’s my friend and fellow poultry fancier, Christopher Spitzmiller. We love attending this annual event whenever we can.
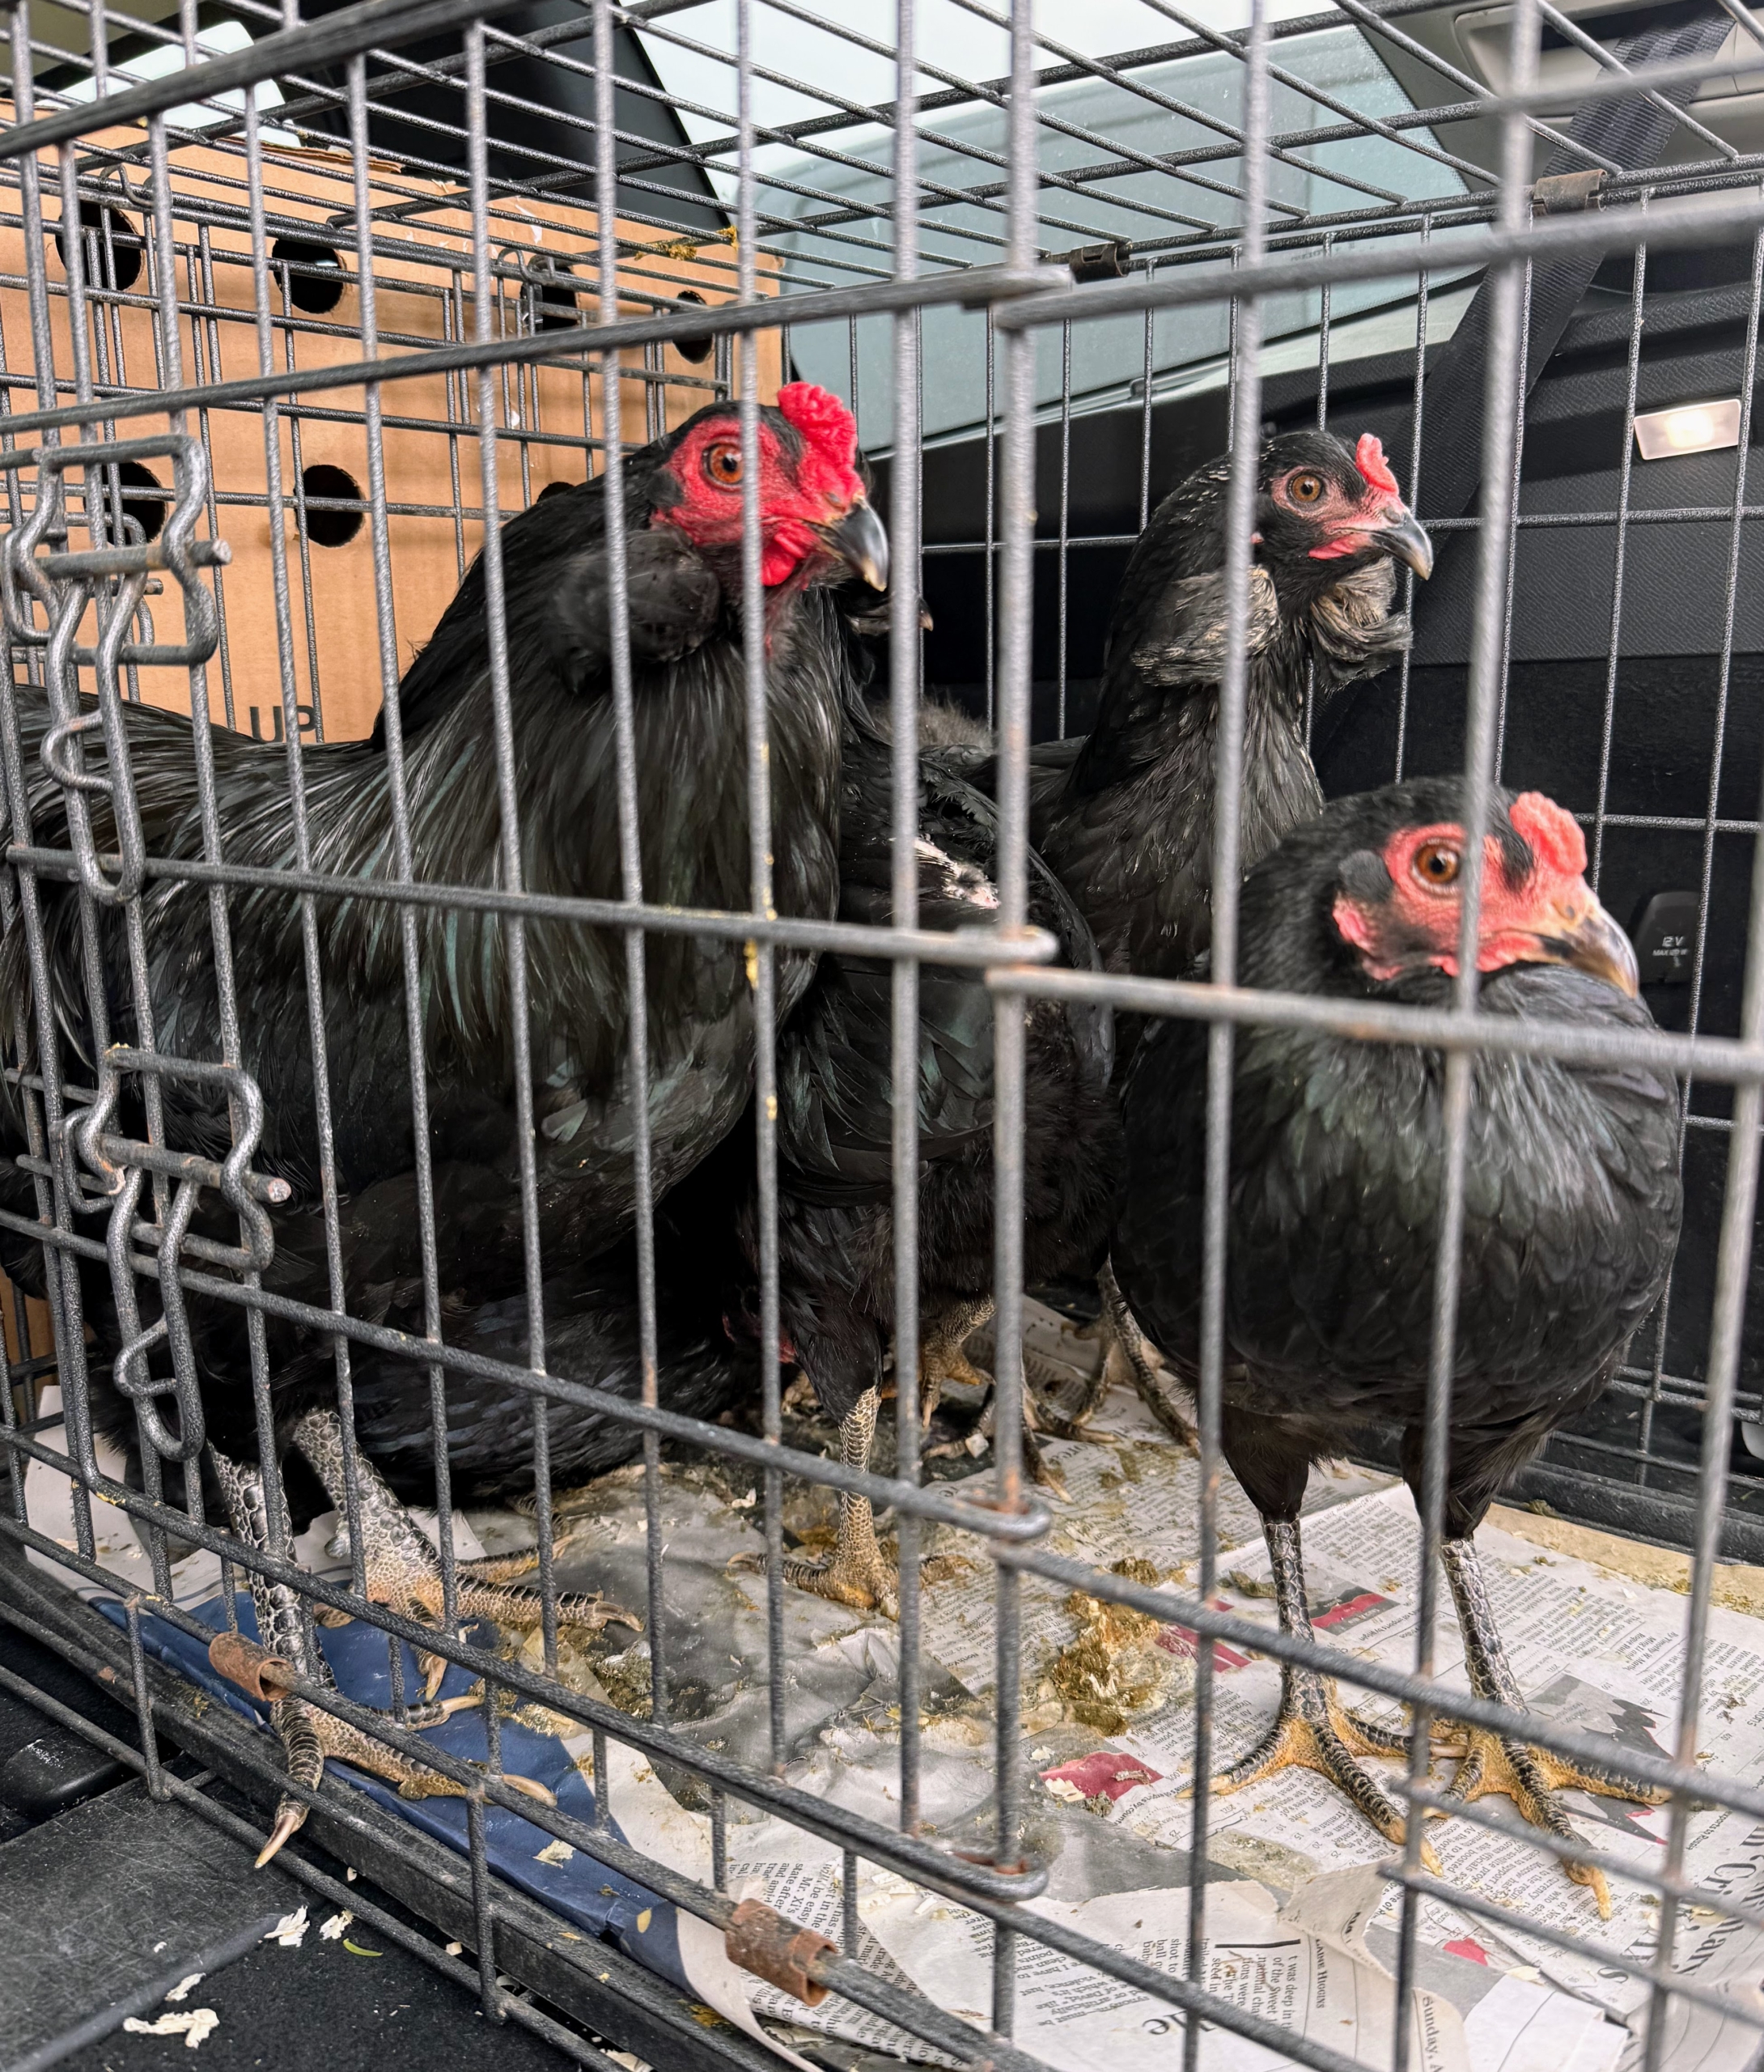
This year, I brought home 13 beautiful chickens. Once they arrive at the farm, the chickens are placed in an enclosure designated for new birds. They will be mixed in with the rest of my flock later.
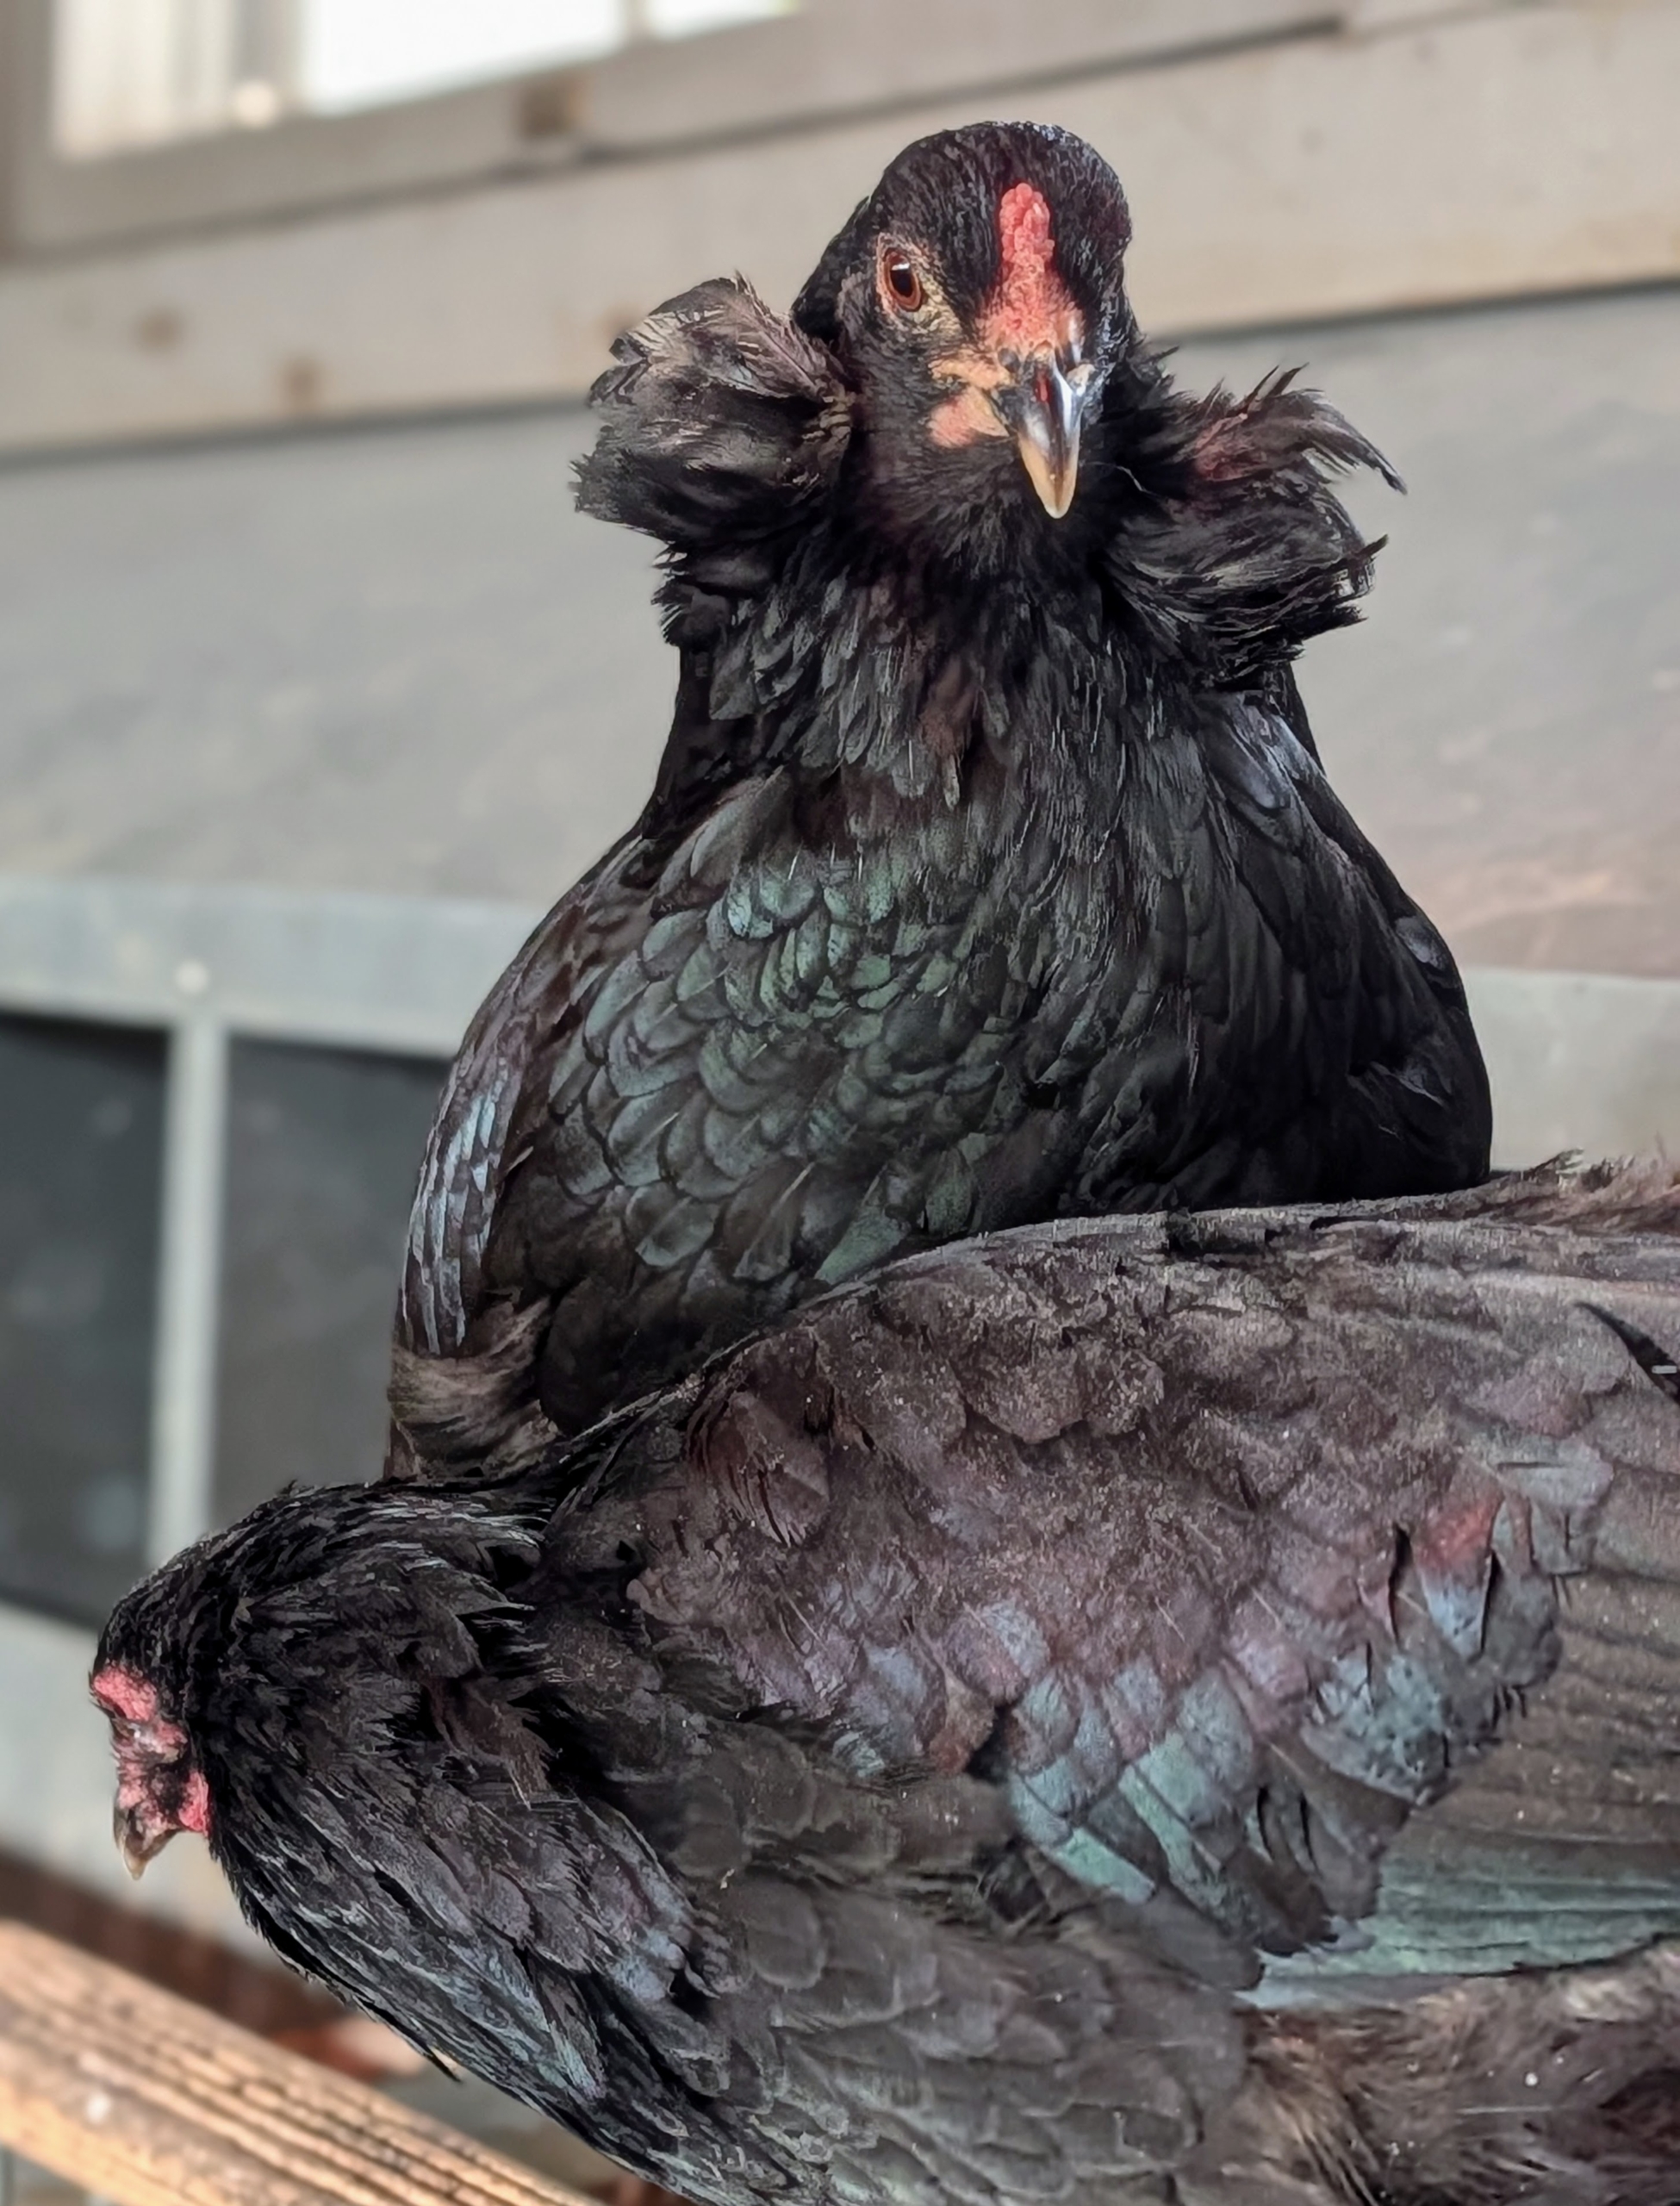
Here is a black Araucana hen. She is stunning! And her eggs have pale blue shells.
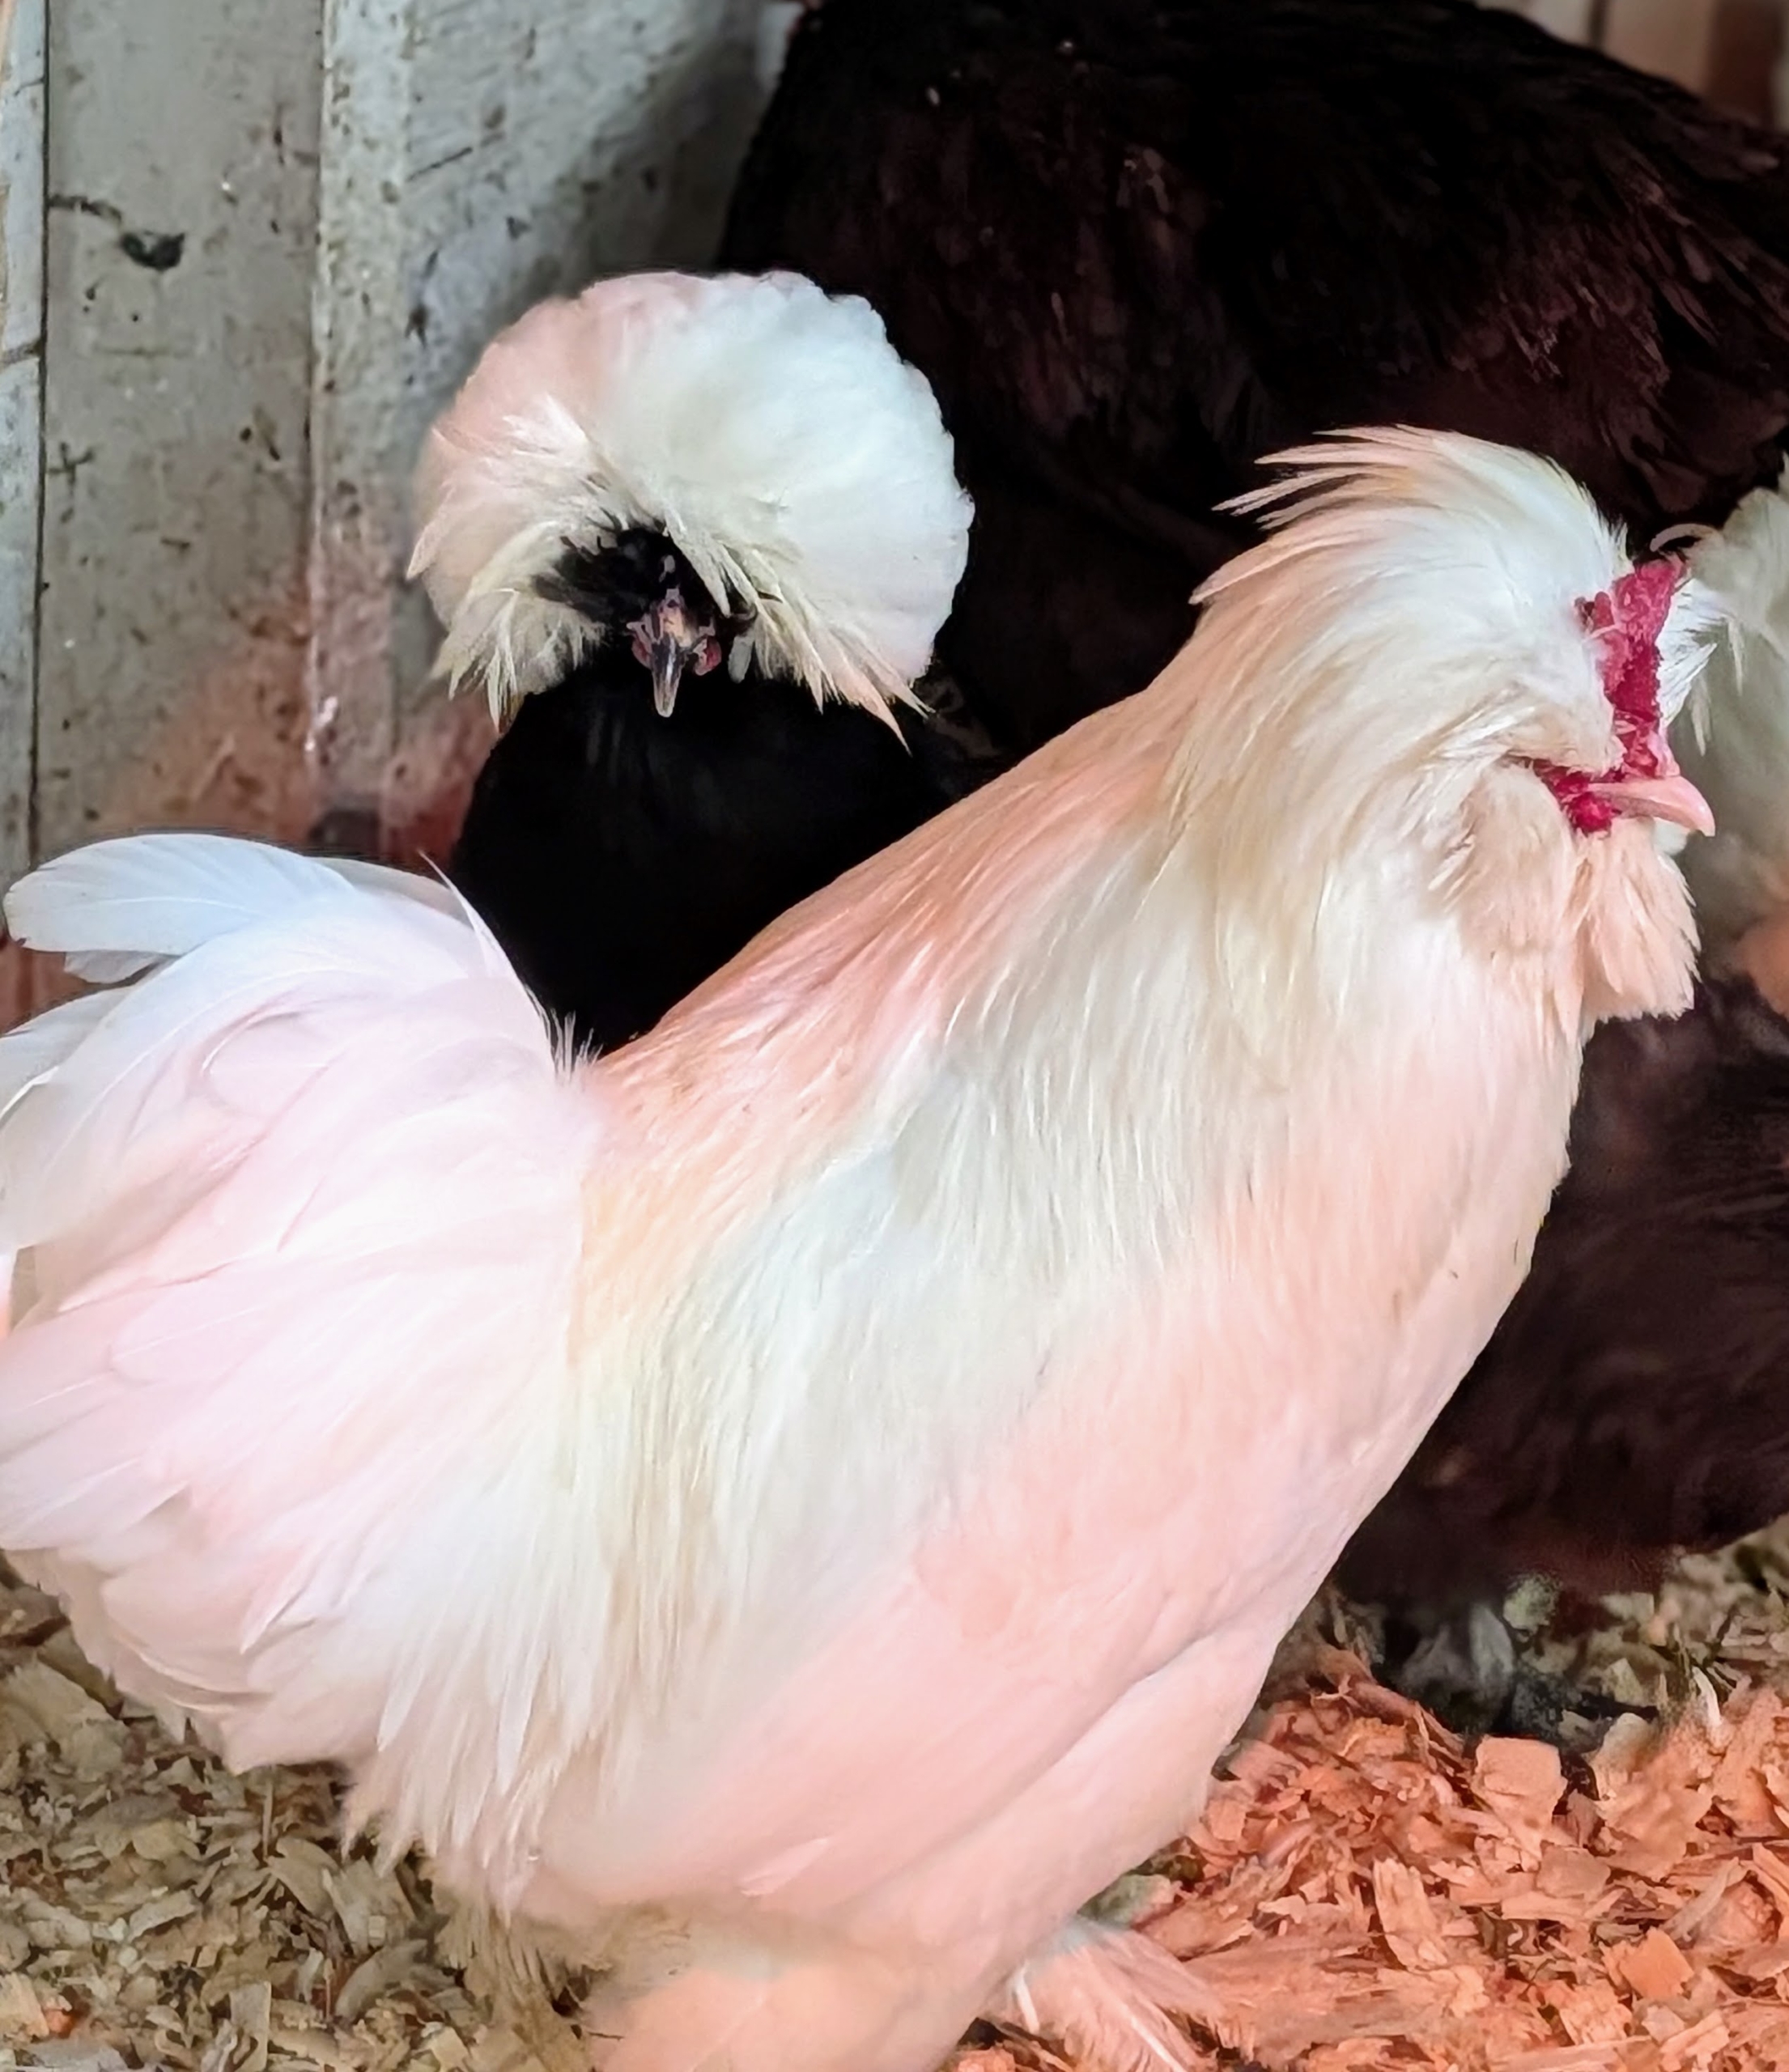
White Polish roosters are quite handsome with their dramatic top crests and long legs.
Here is the white Polish rooster in front of a white Silkie rooster.
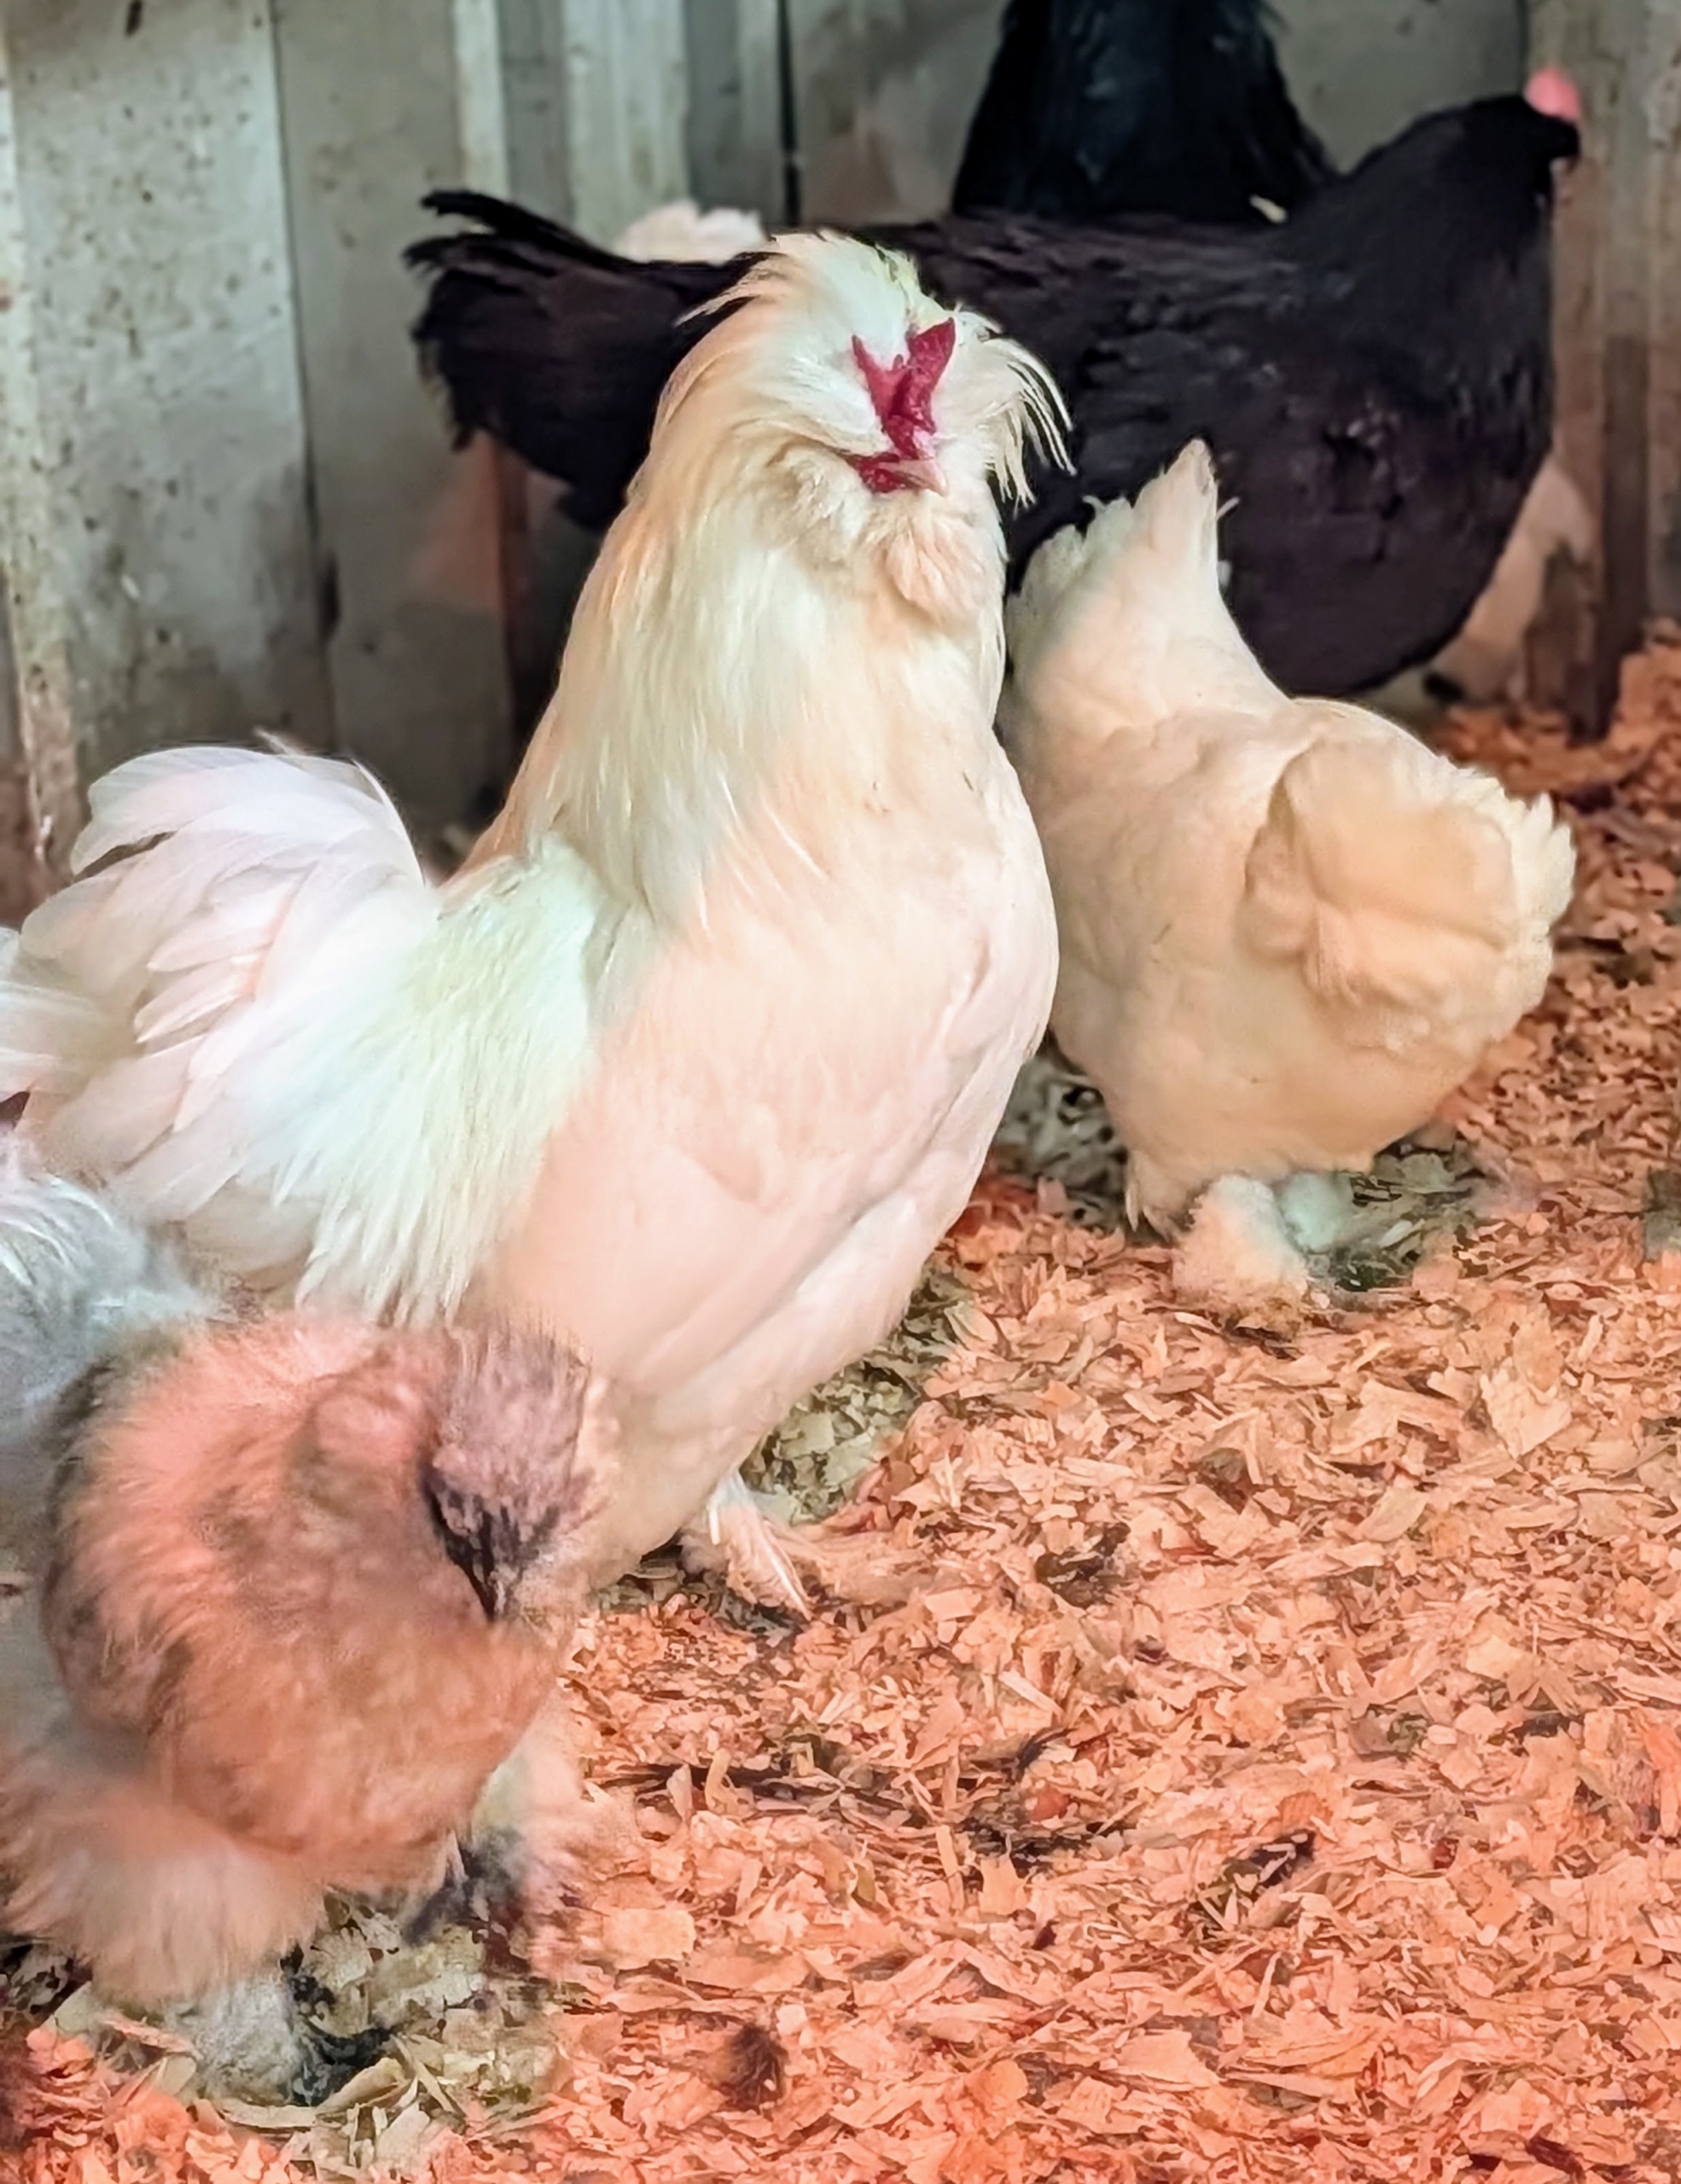
This is a white Sultan rooster – a rare and very old ornamental breed once loved by rulers of Turkey. It has pure white feathering with a dramatic bright red comb.
This large rooster is a Buff Orpington. Its color is often described as gold. They were introduced from England in the 1800s and are very popular among poultry fanciers here in the US.
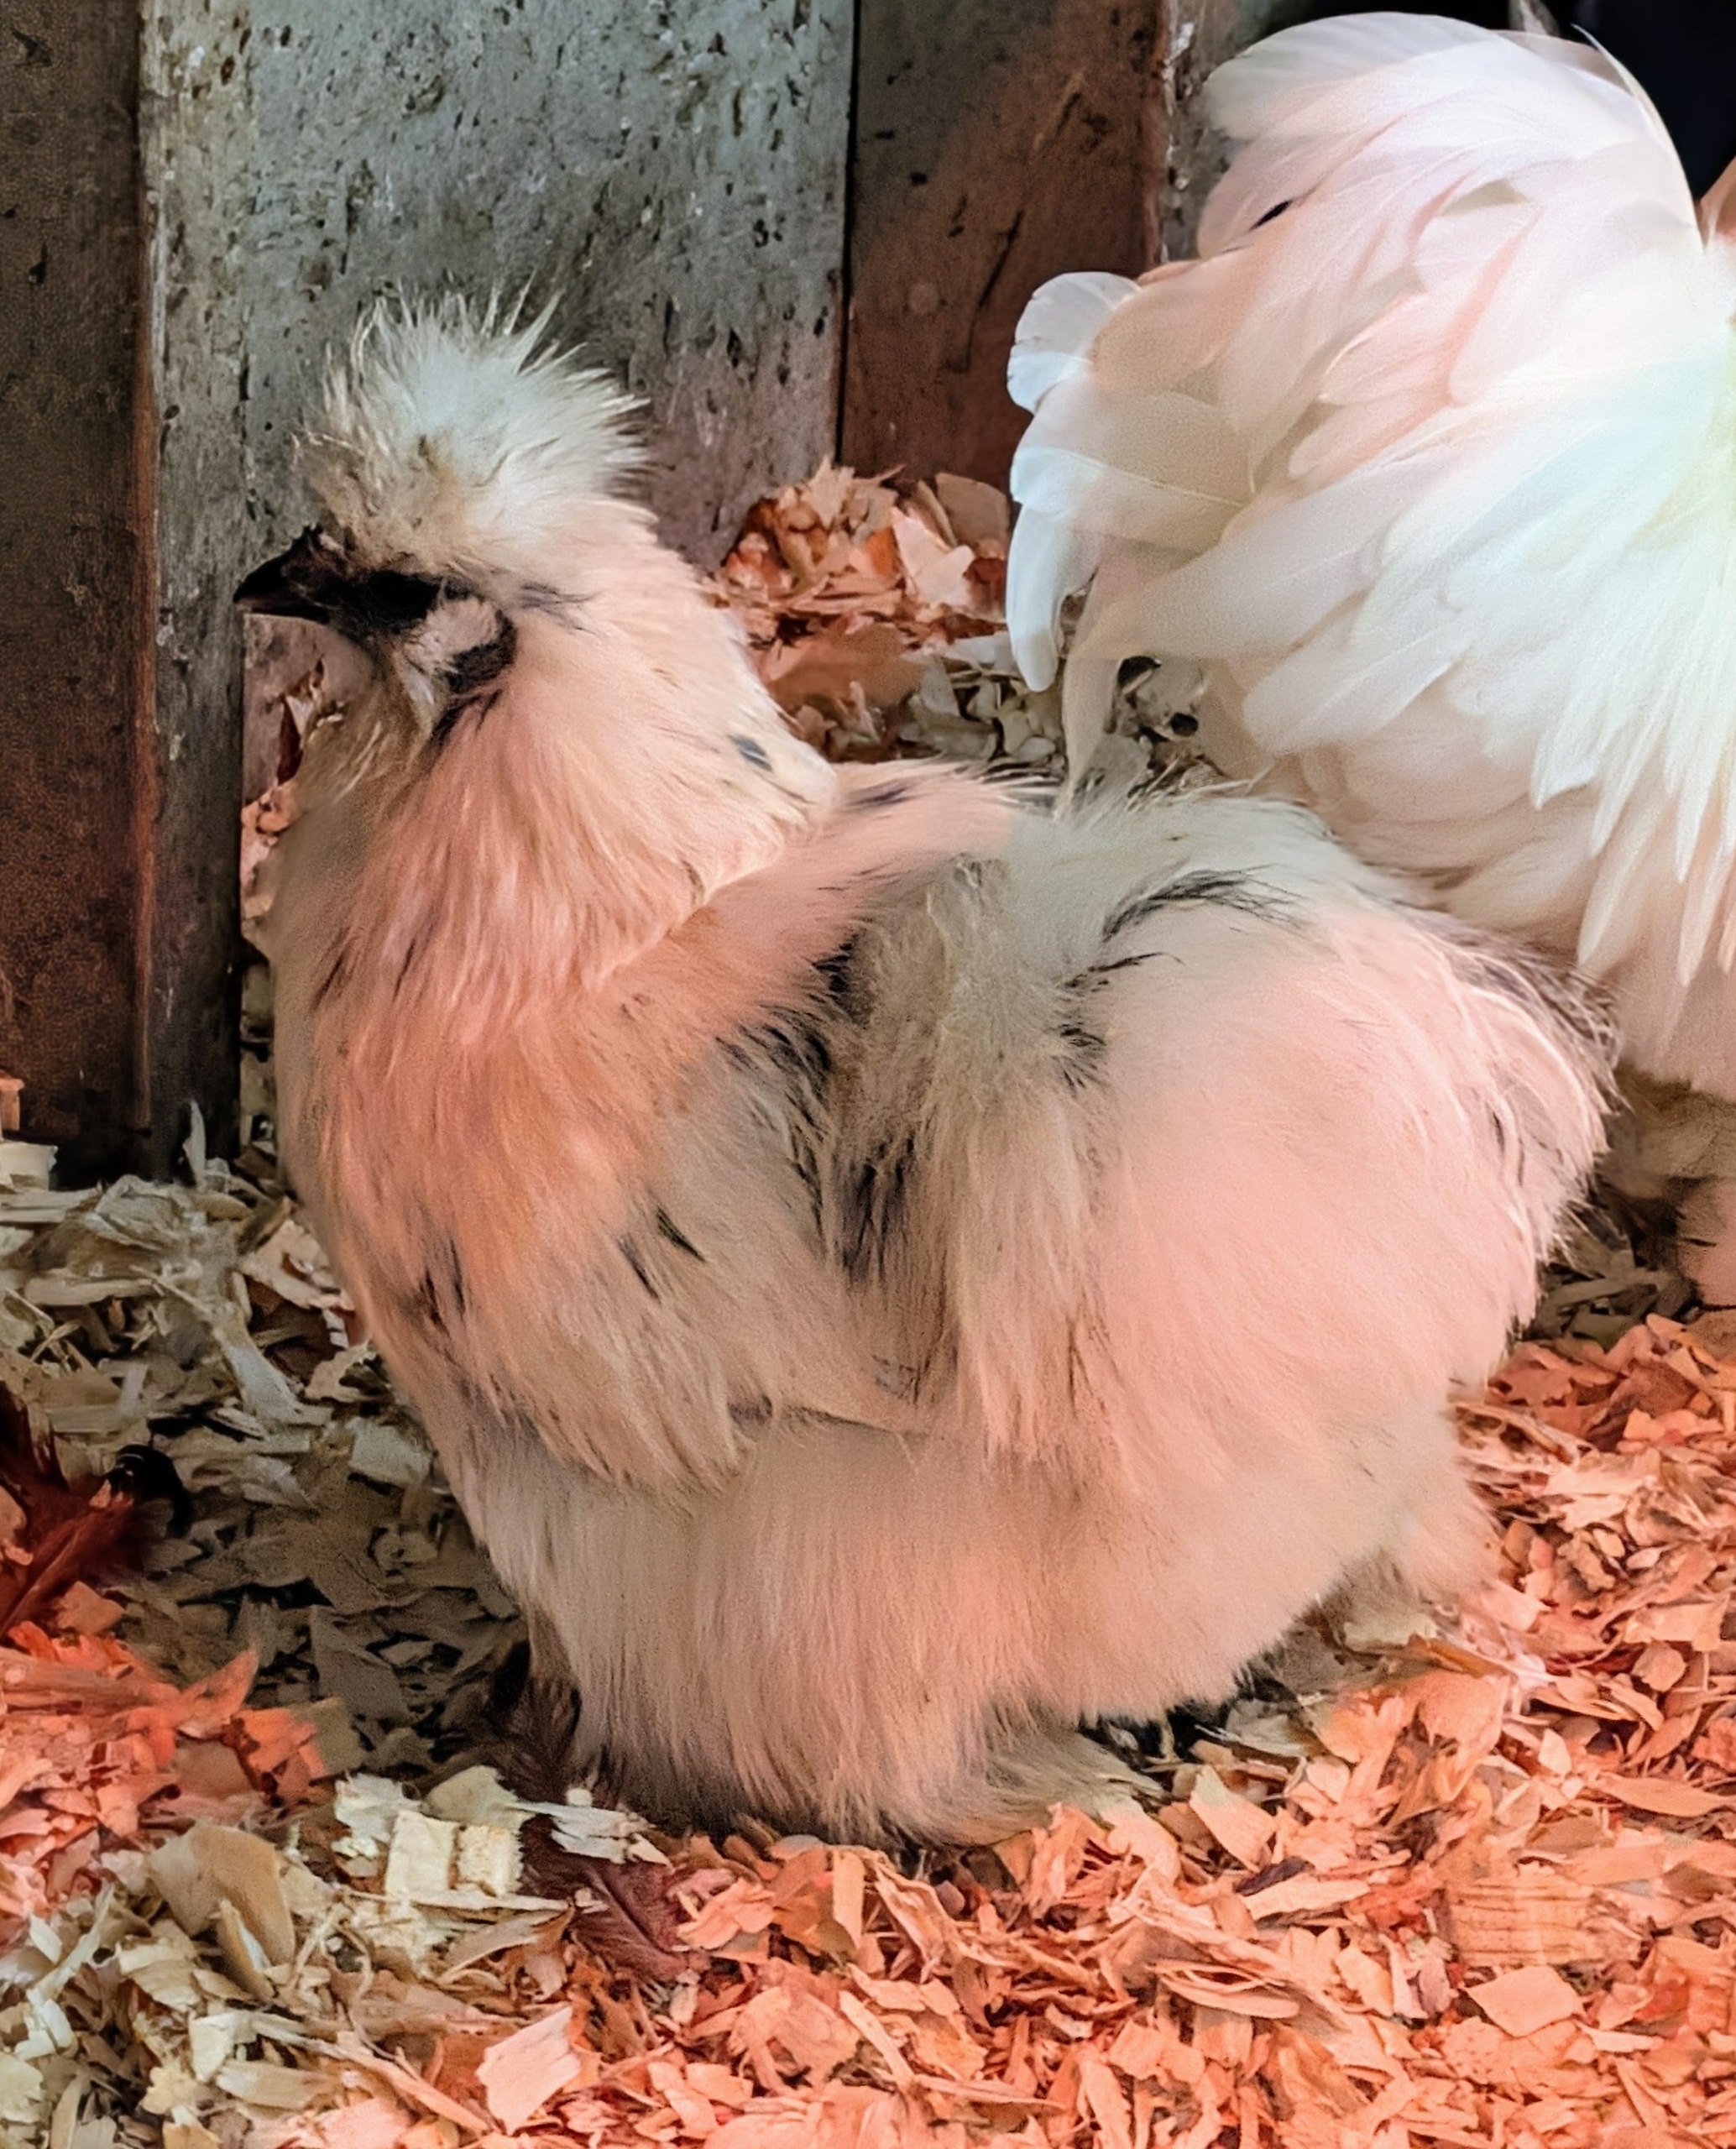
I always have at least several Silkies in my flock. This is a black splash Silkie hen. The Silkie, also known as the Silky or Chinese silk chicken, is soft to the touch – like silk – and so friendly.
The Silkie’s head is small with a crest of feathers on top. These birds come in a variety of colors including black, blue, buff, gray, splash, and white.
Naked neck chickens are unique breeds characterized by the featherless necks. They are gentle, hardy, and have nice temperaments.
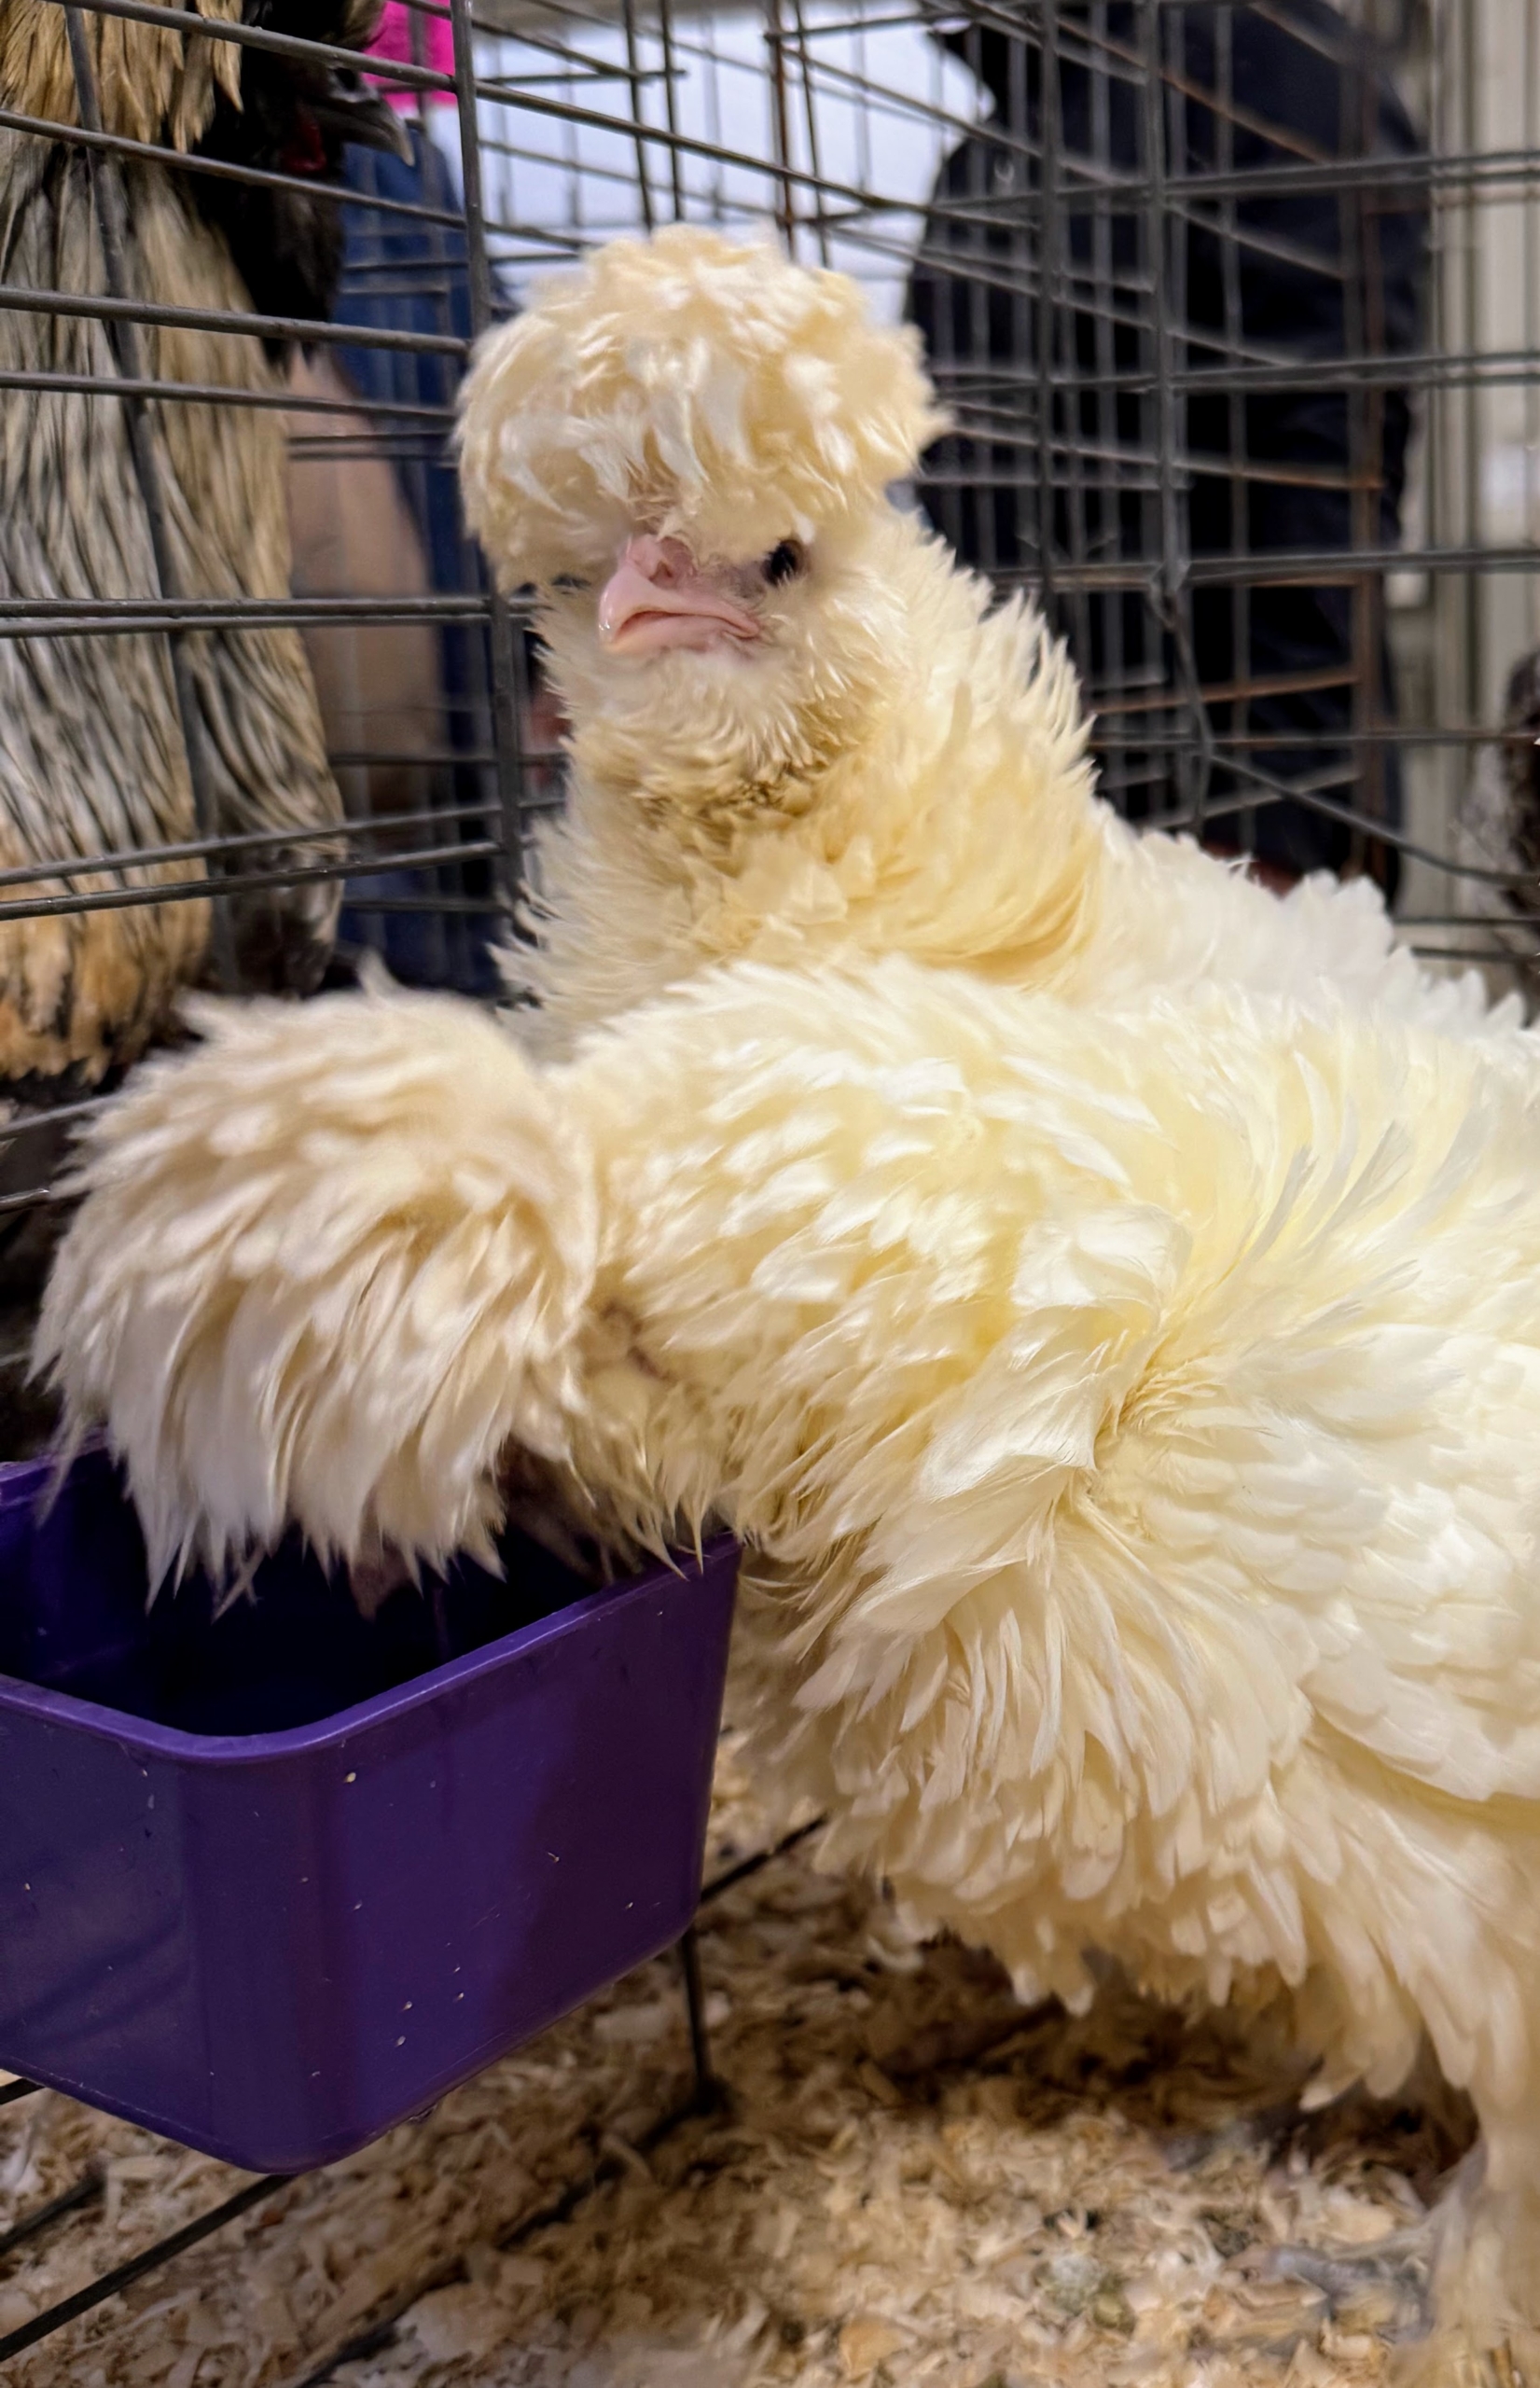
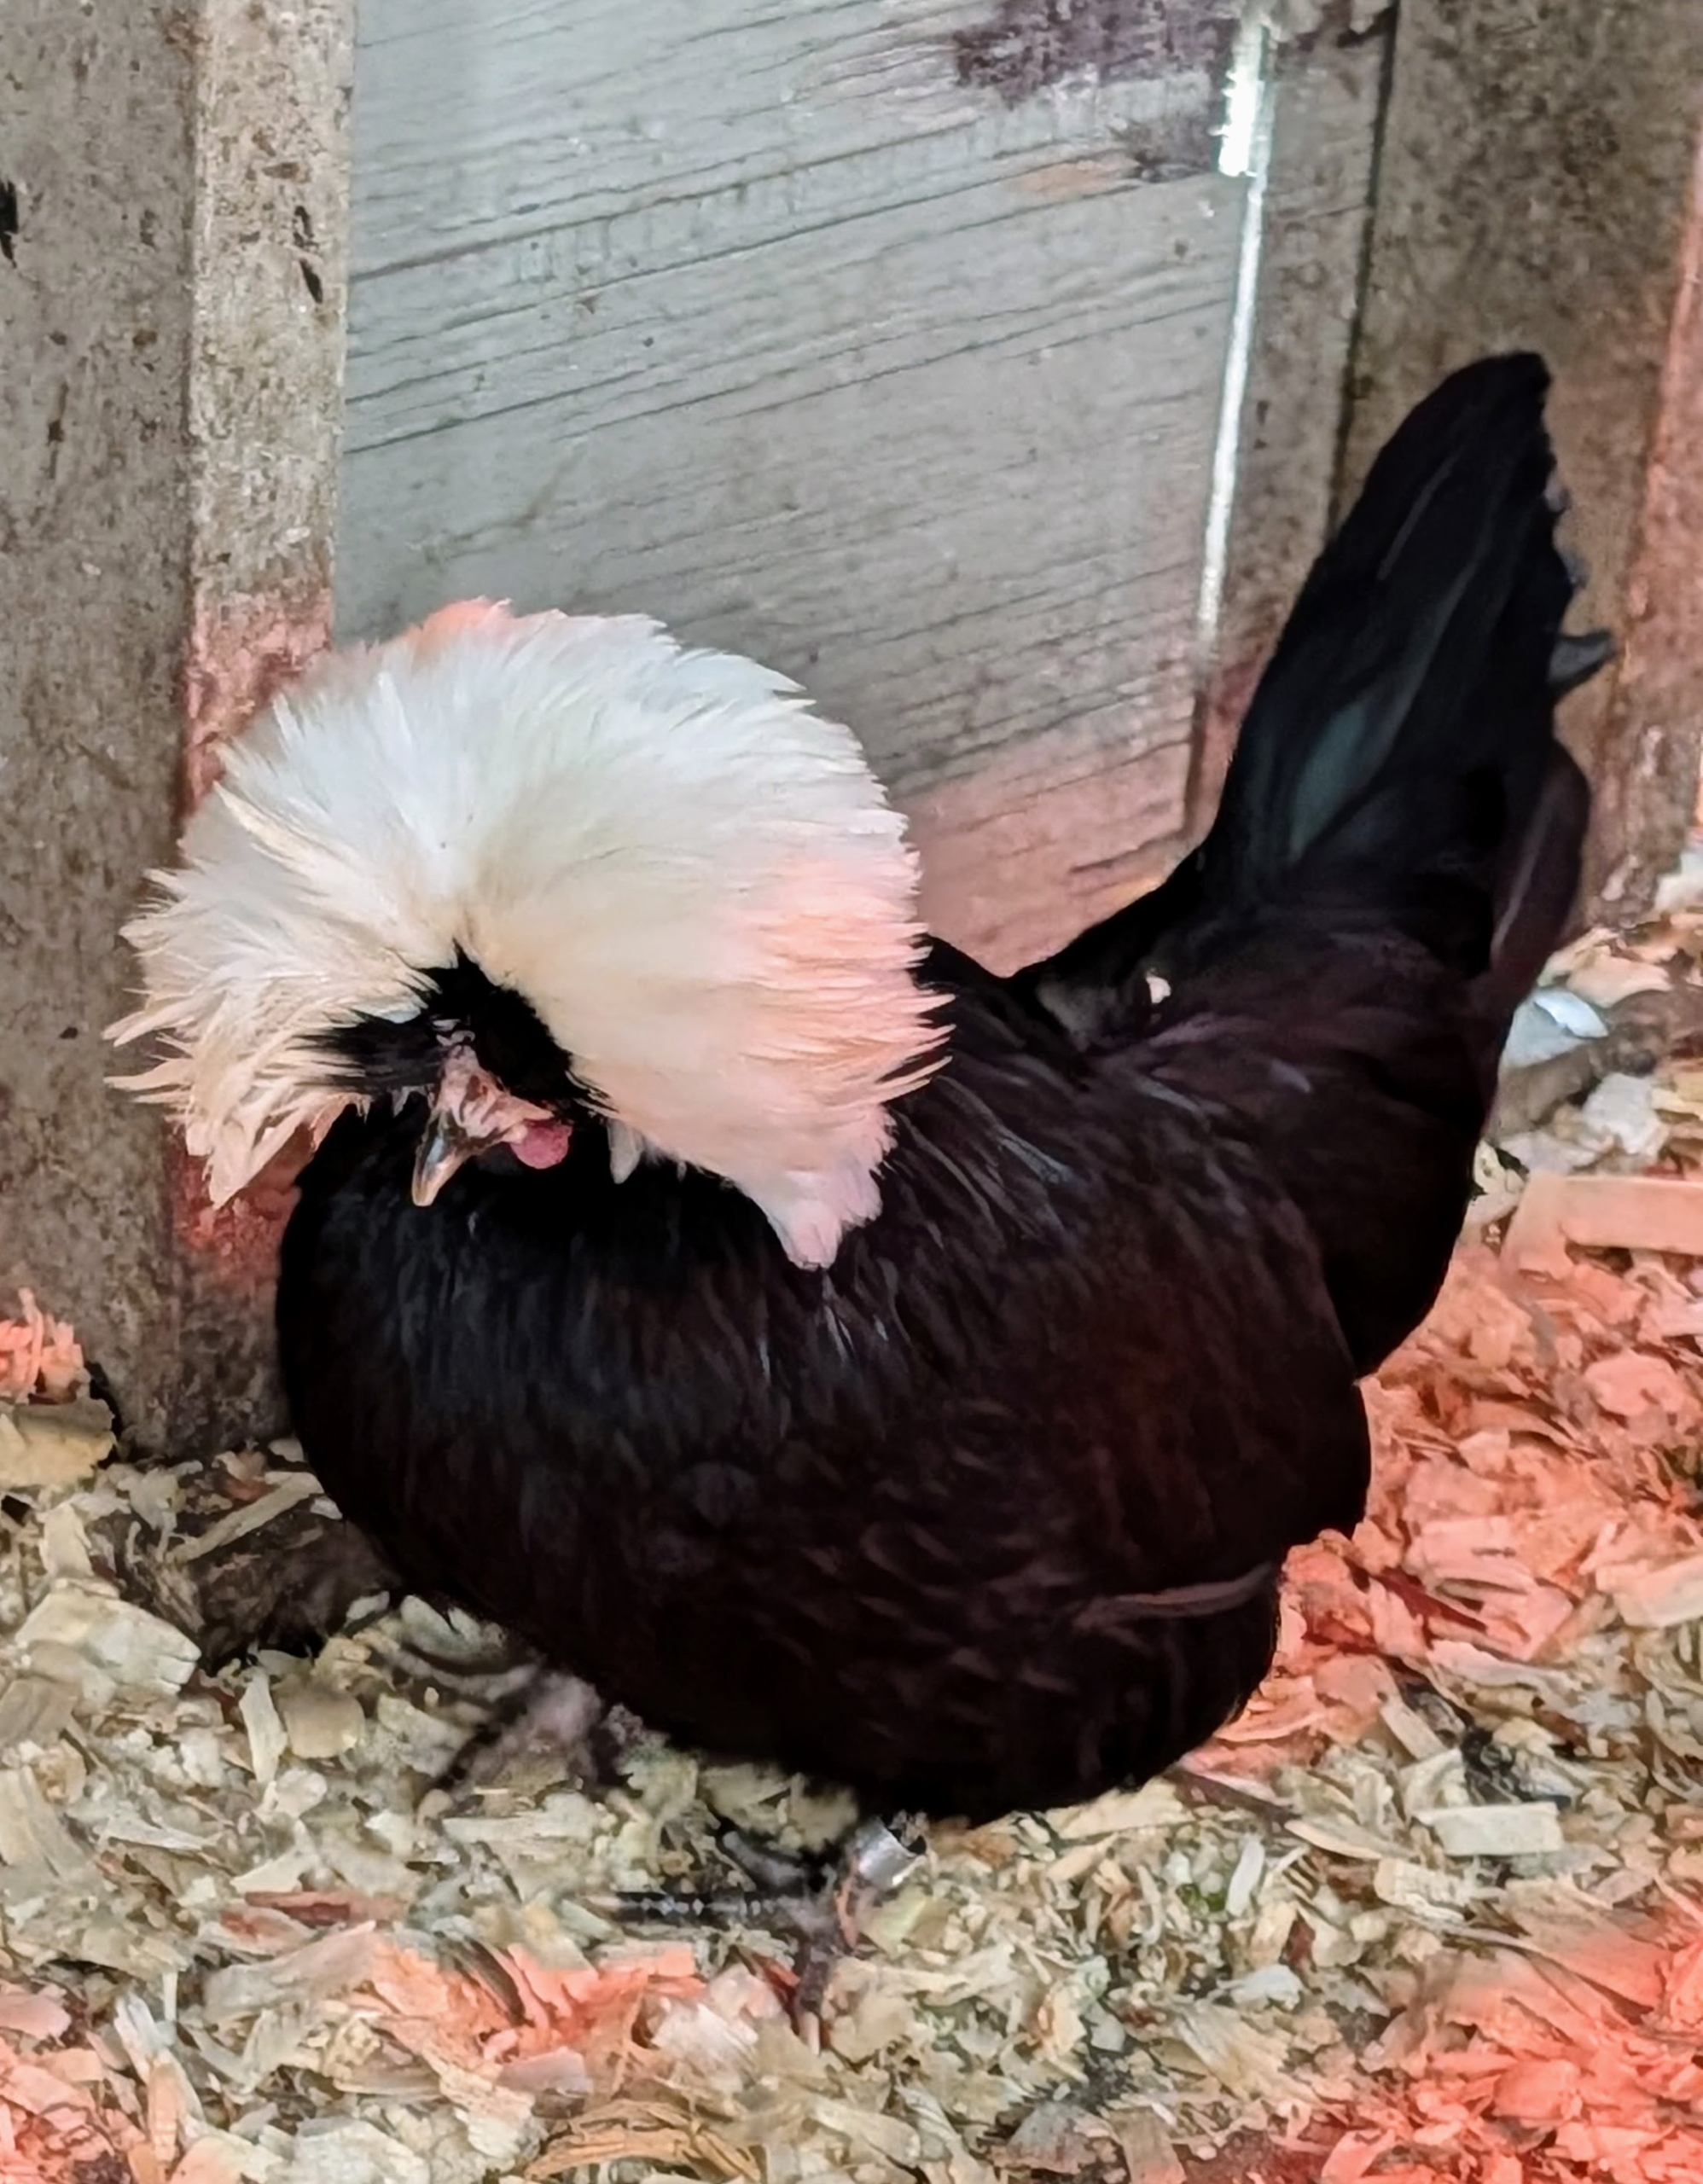
The White Crested Black Polish is known for its fun and unique appearance, friendly temperament and excellent egg-laying capabilities. It has lustrous black plumage and a distinctive white “top hat.”
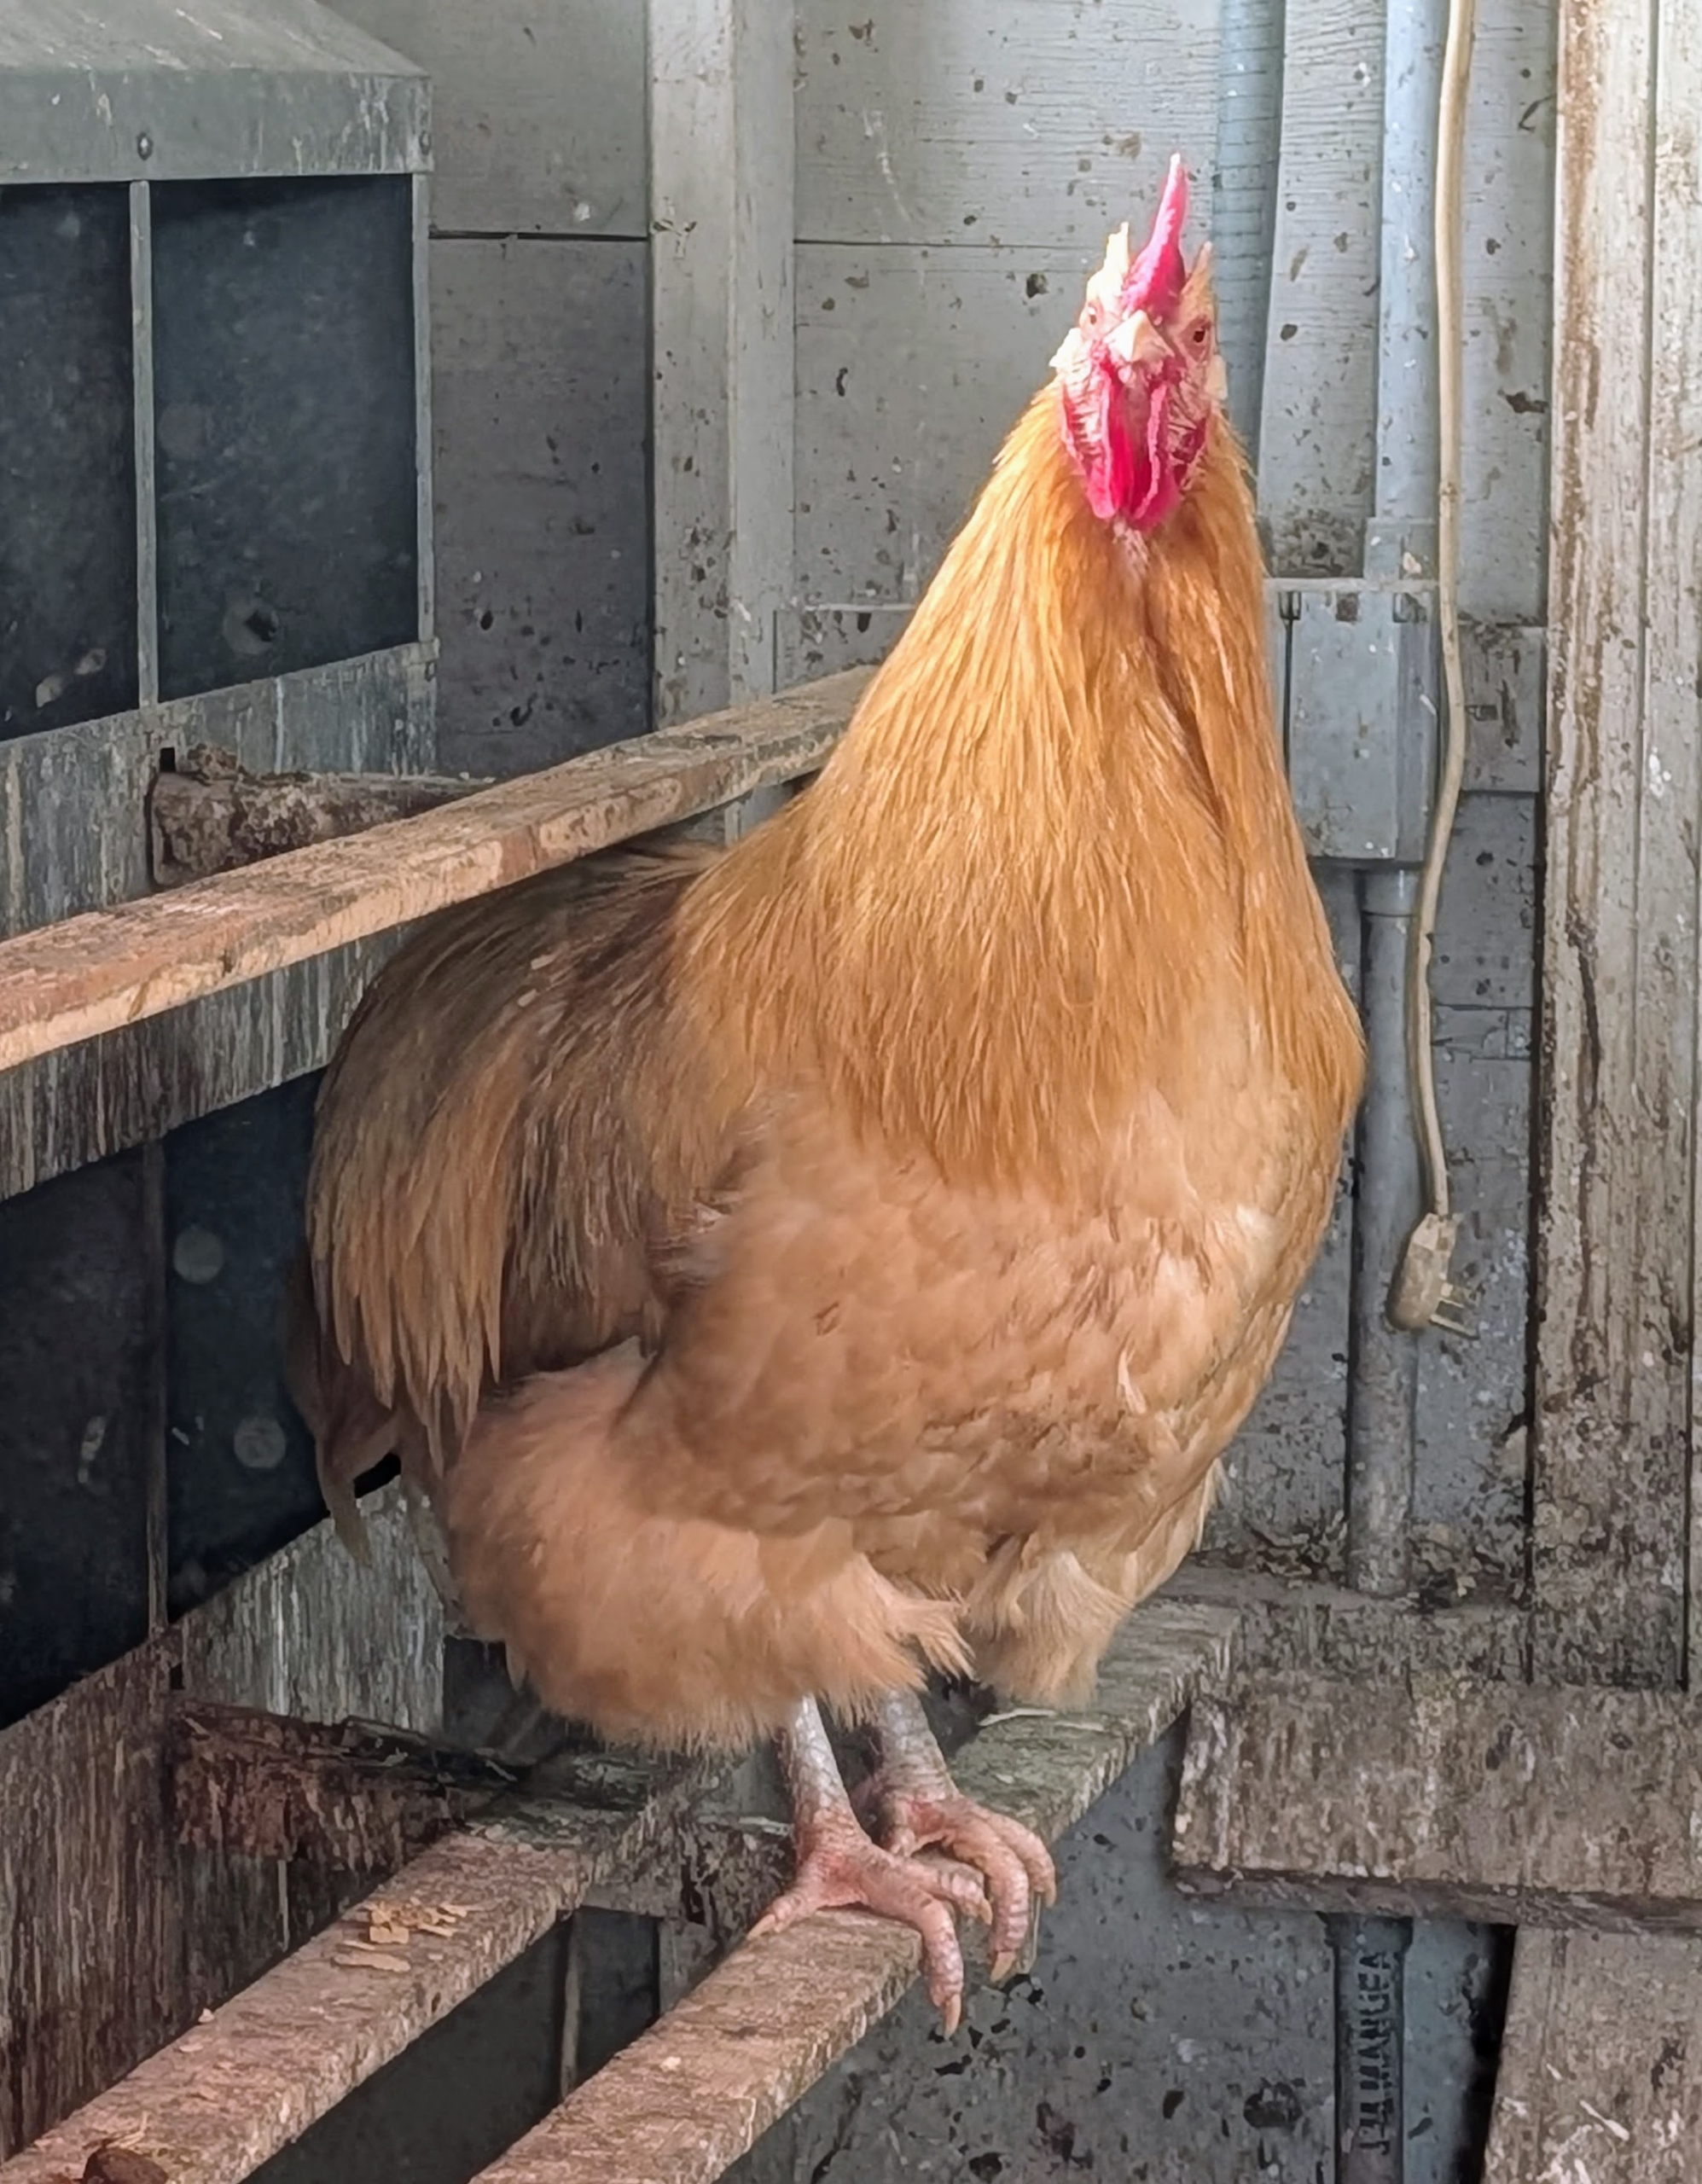
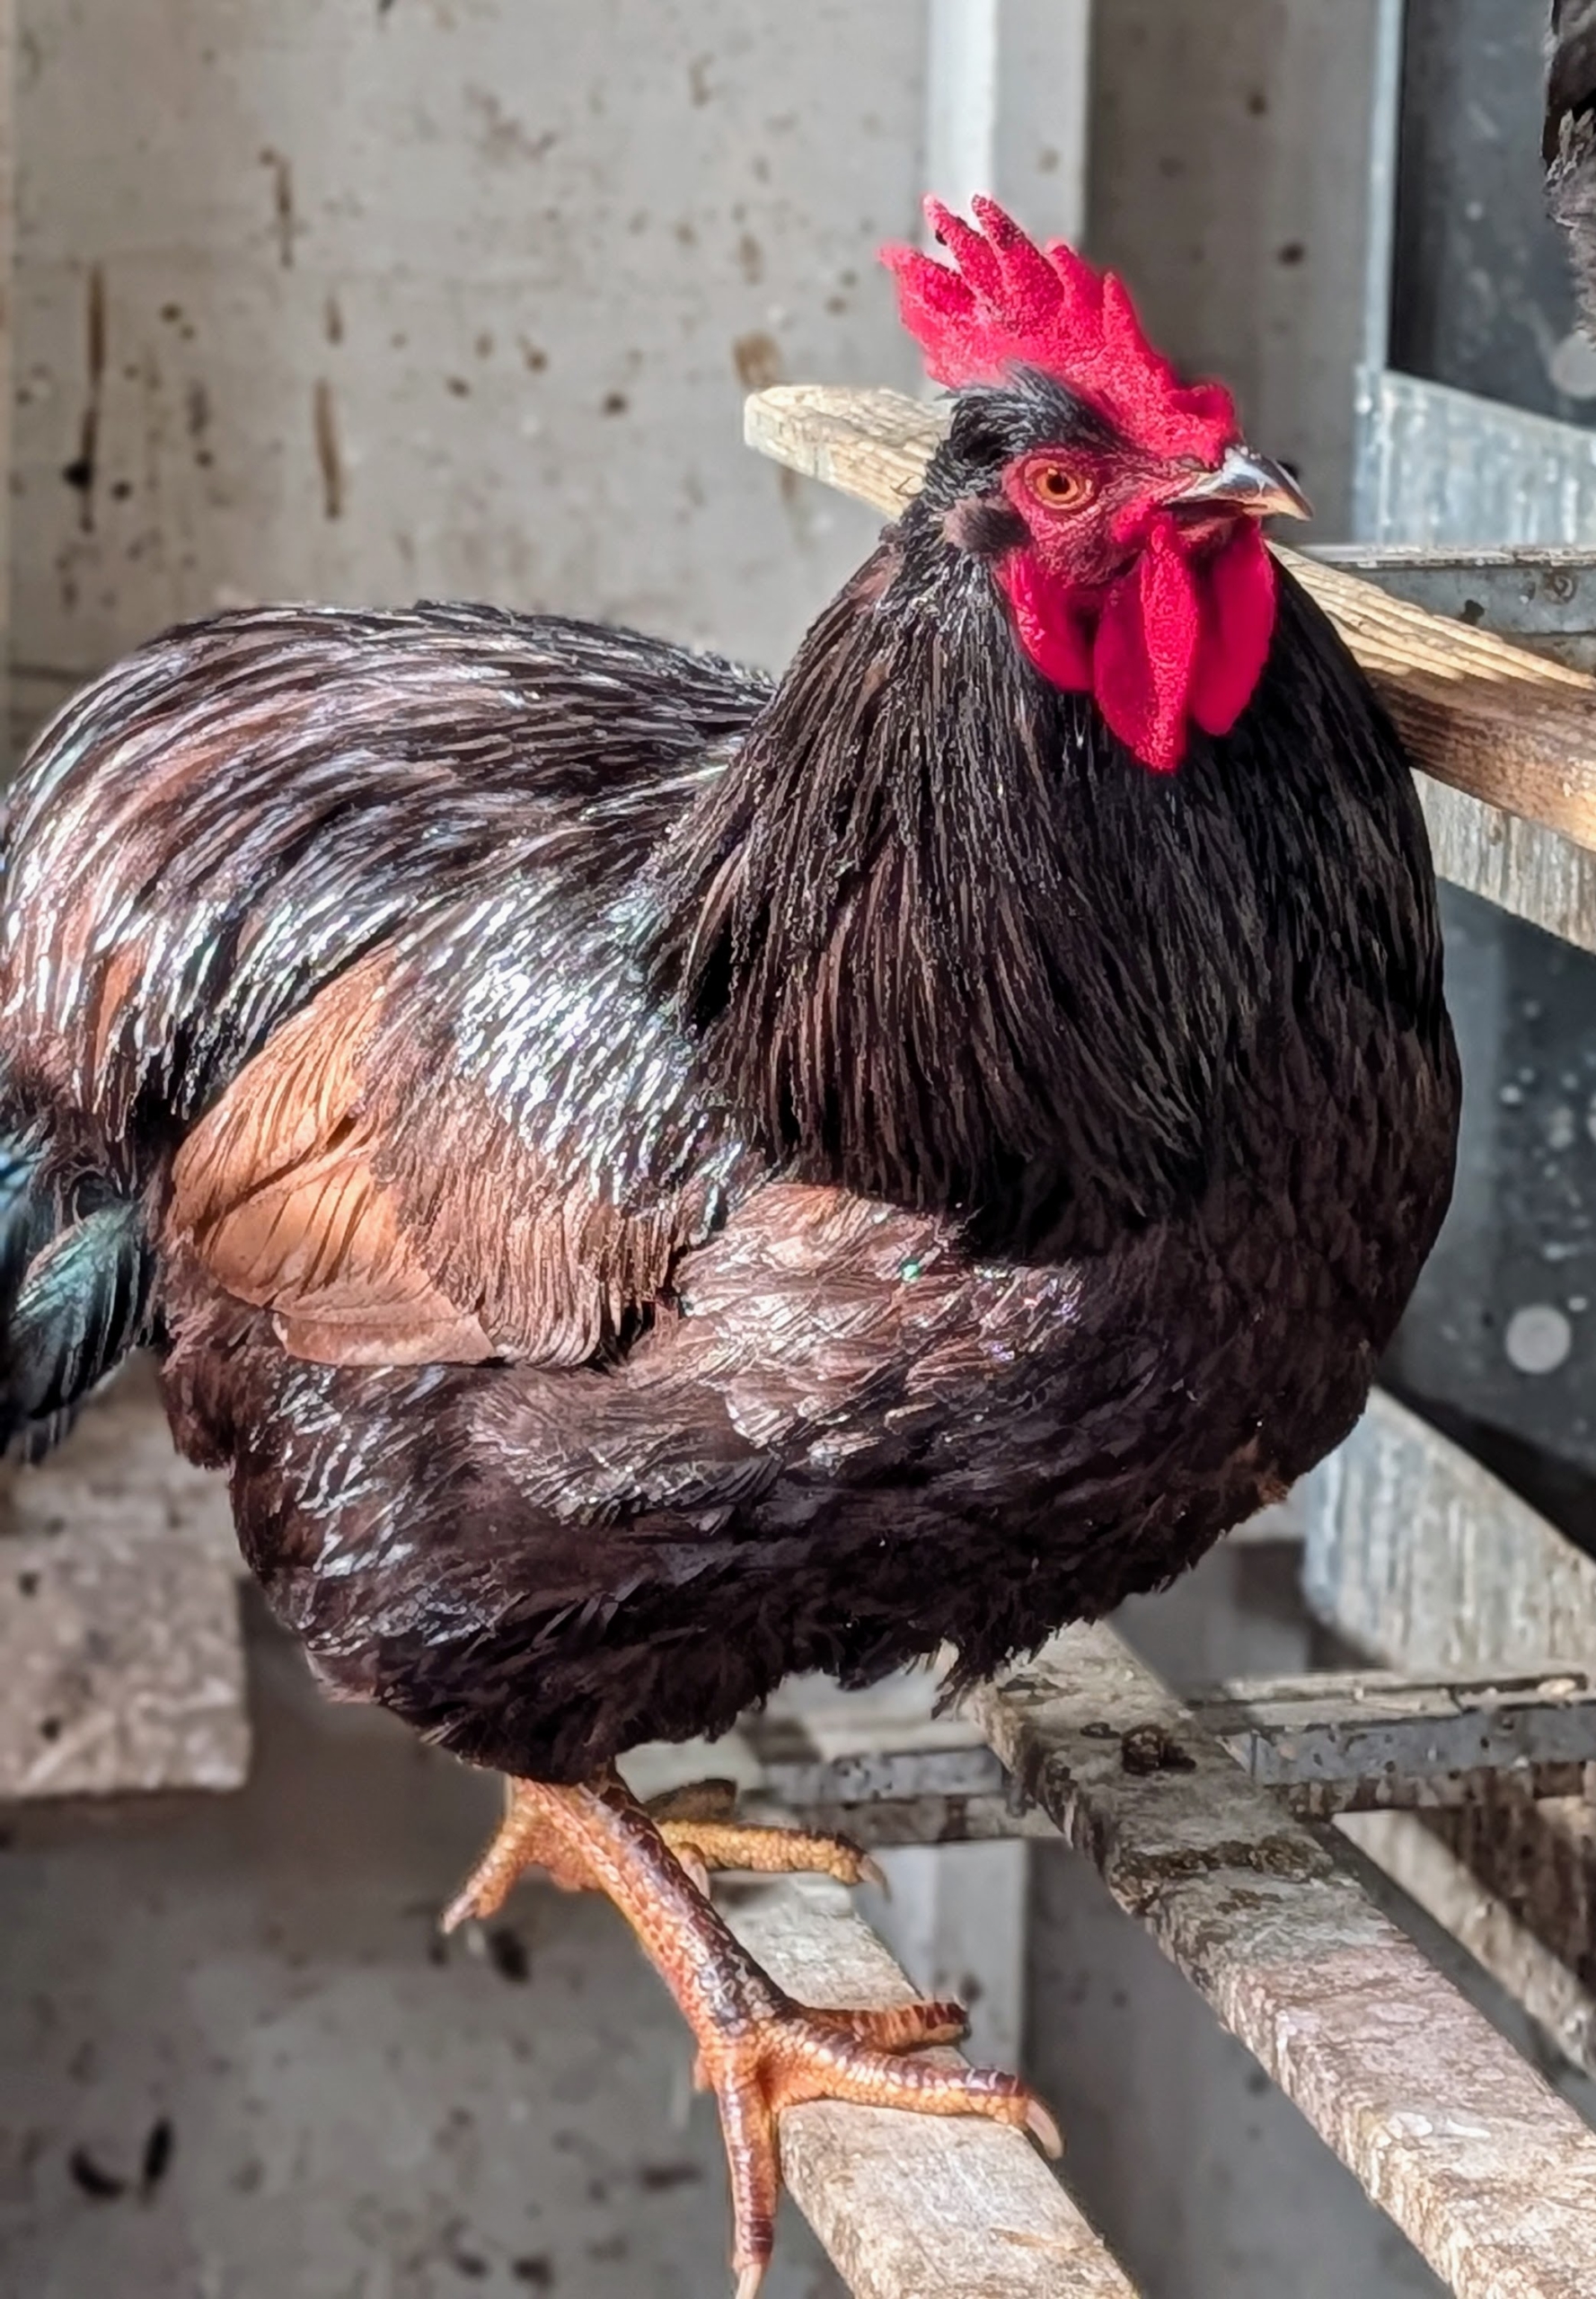
Rhode Island Reds are also striking birds. This is a rooster. This breed is known for its hardiness and friendly disposition. One can see its deep colored plumage. Their combs and wattles are bright red and significantly larger than the hen’s.
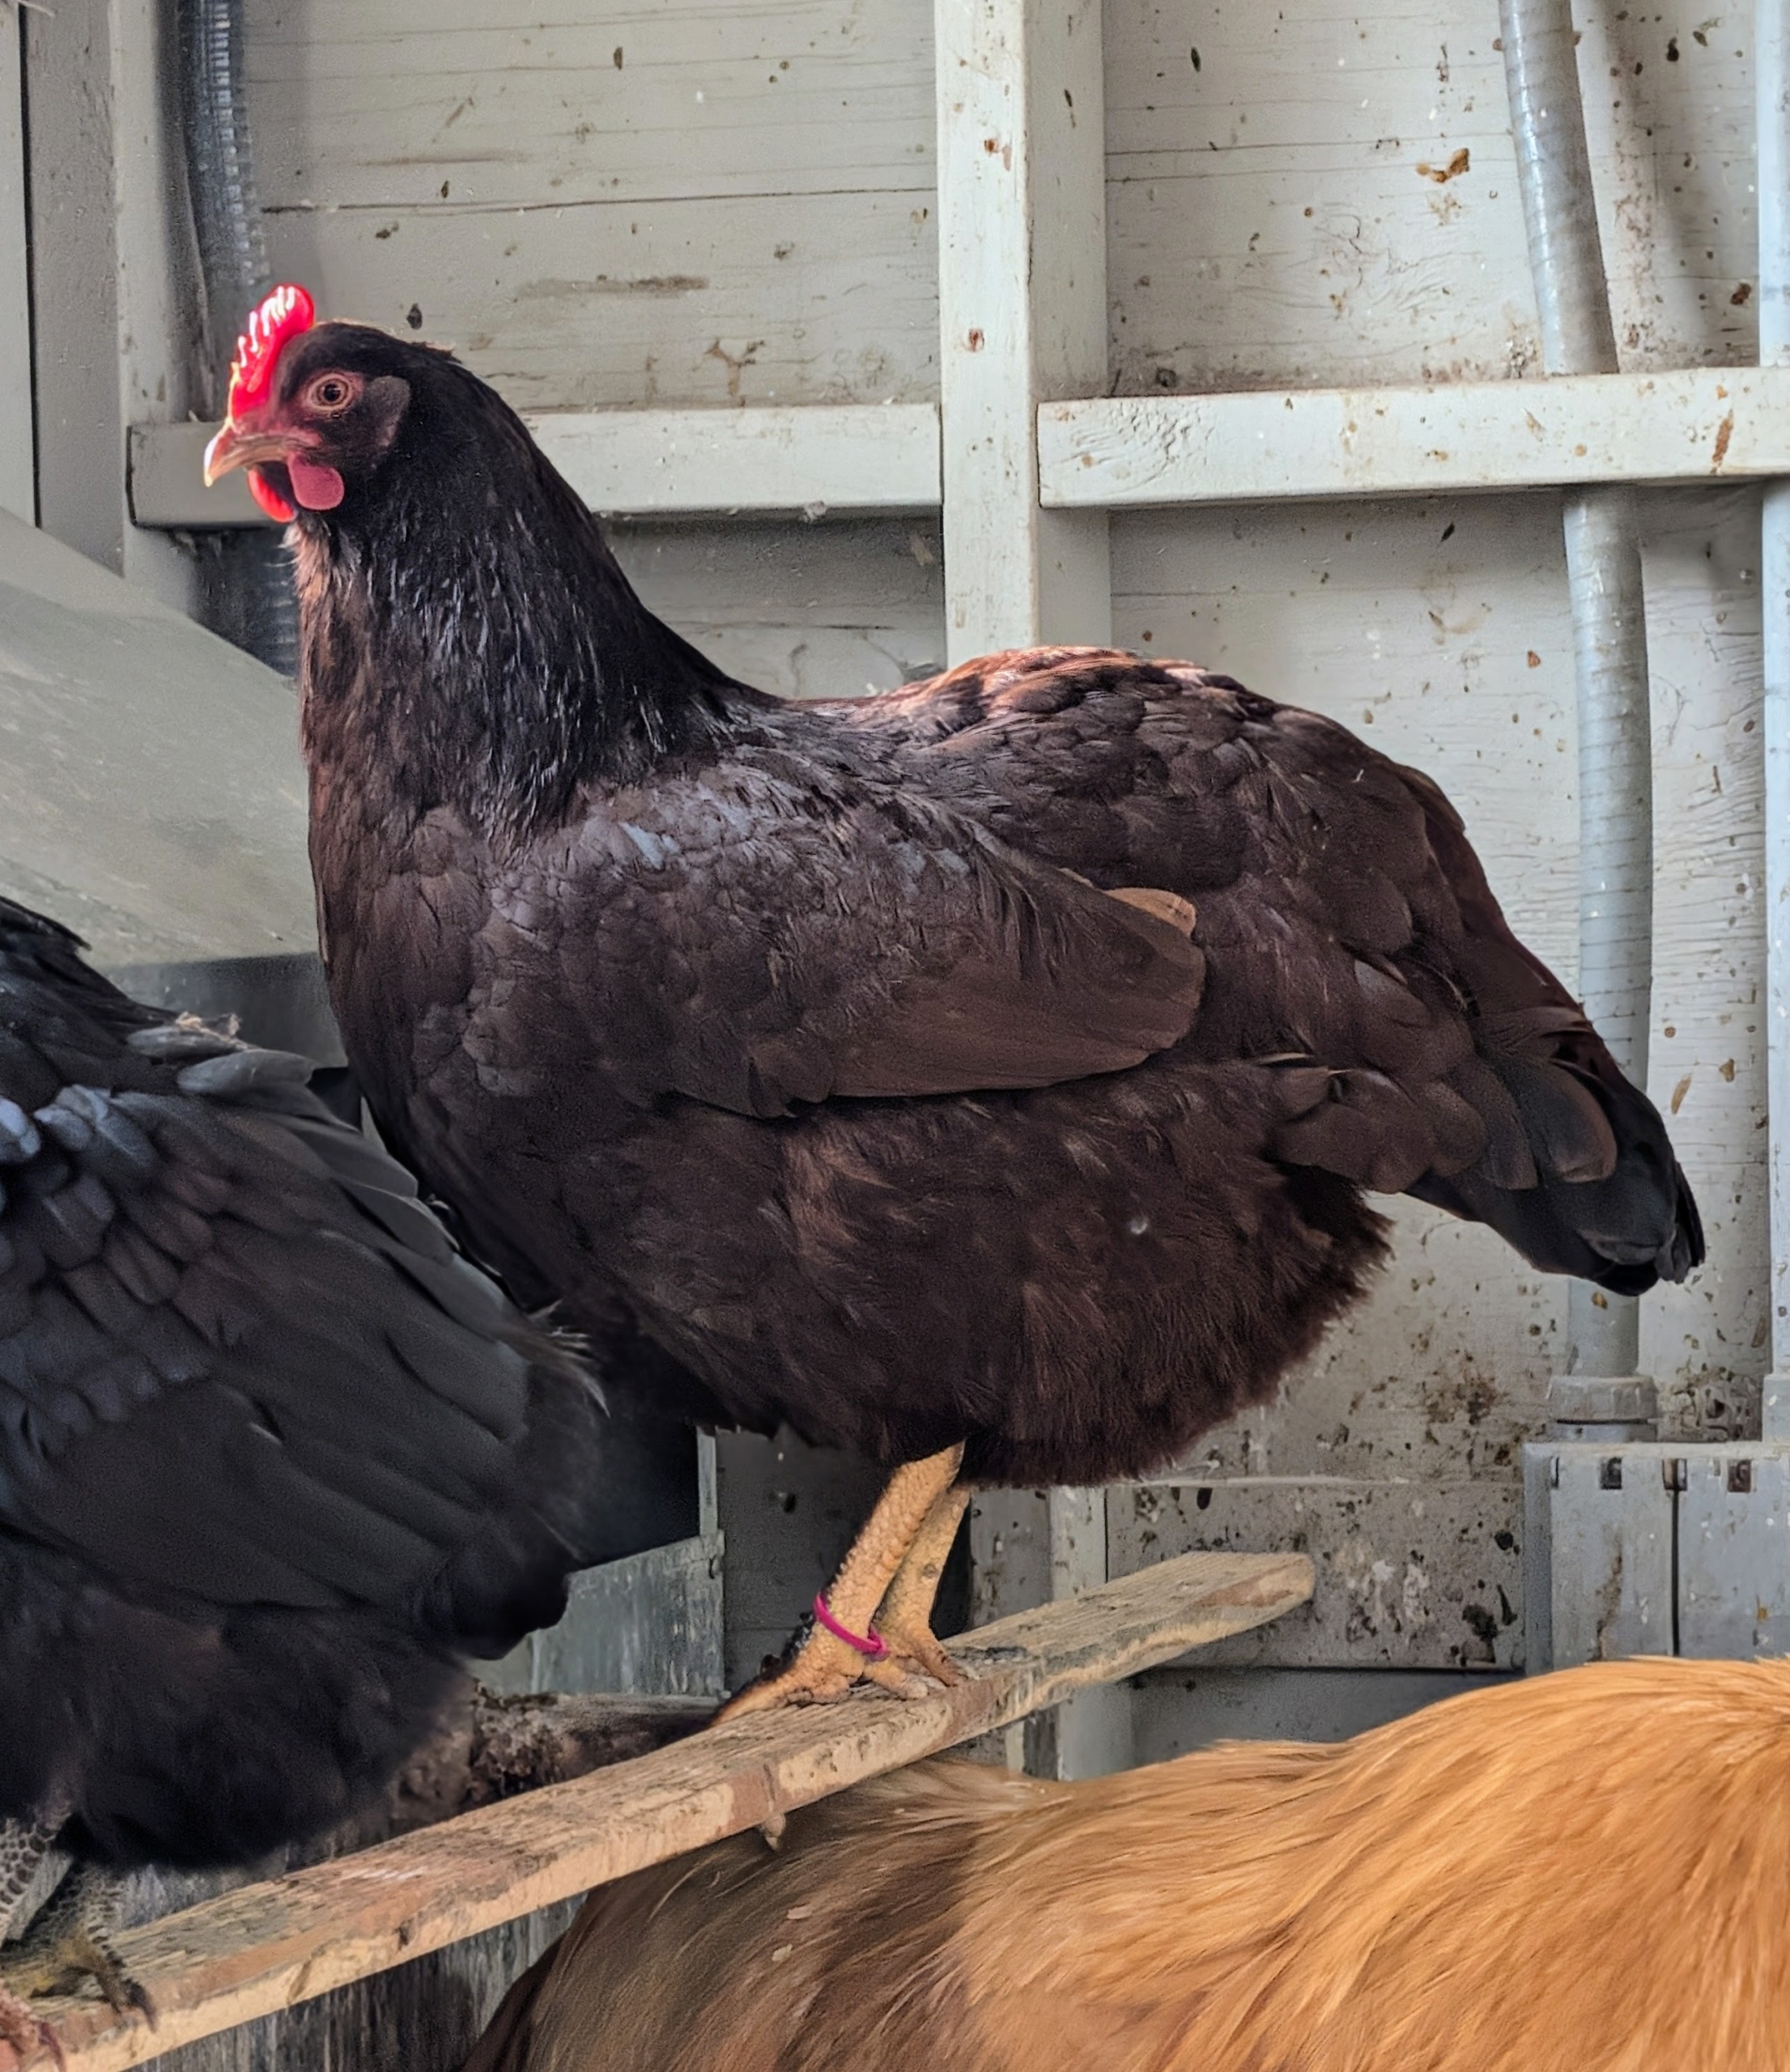
Nearby is this Rhode Island Red hen. She is an excellent egg layer and can produce 200-300 brown eggs per year.
I have always loved raising chickens and other fowl – not only for their beauty, but also for their great companionship. I have more than 100 different chickens of various breeds at my farm.
If you want to learn more about raising chickens, geese, pigeons and other birds, I encourage you to attend a poultry show near you – you’ll love it.
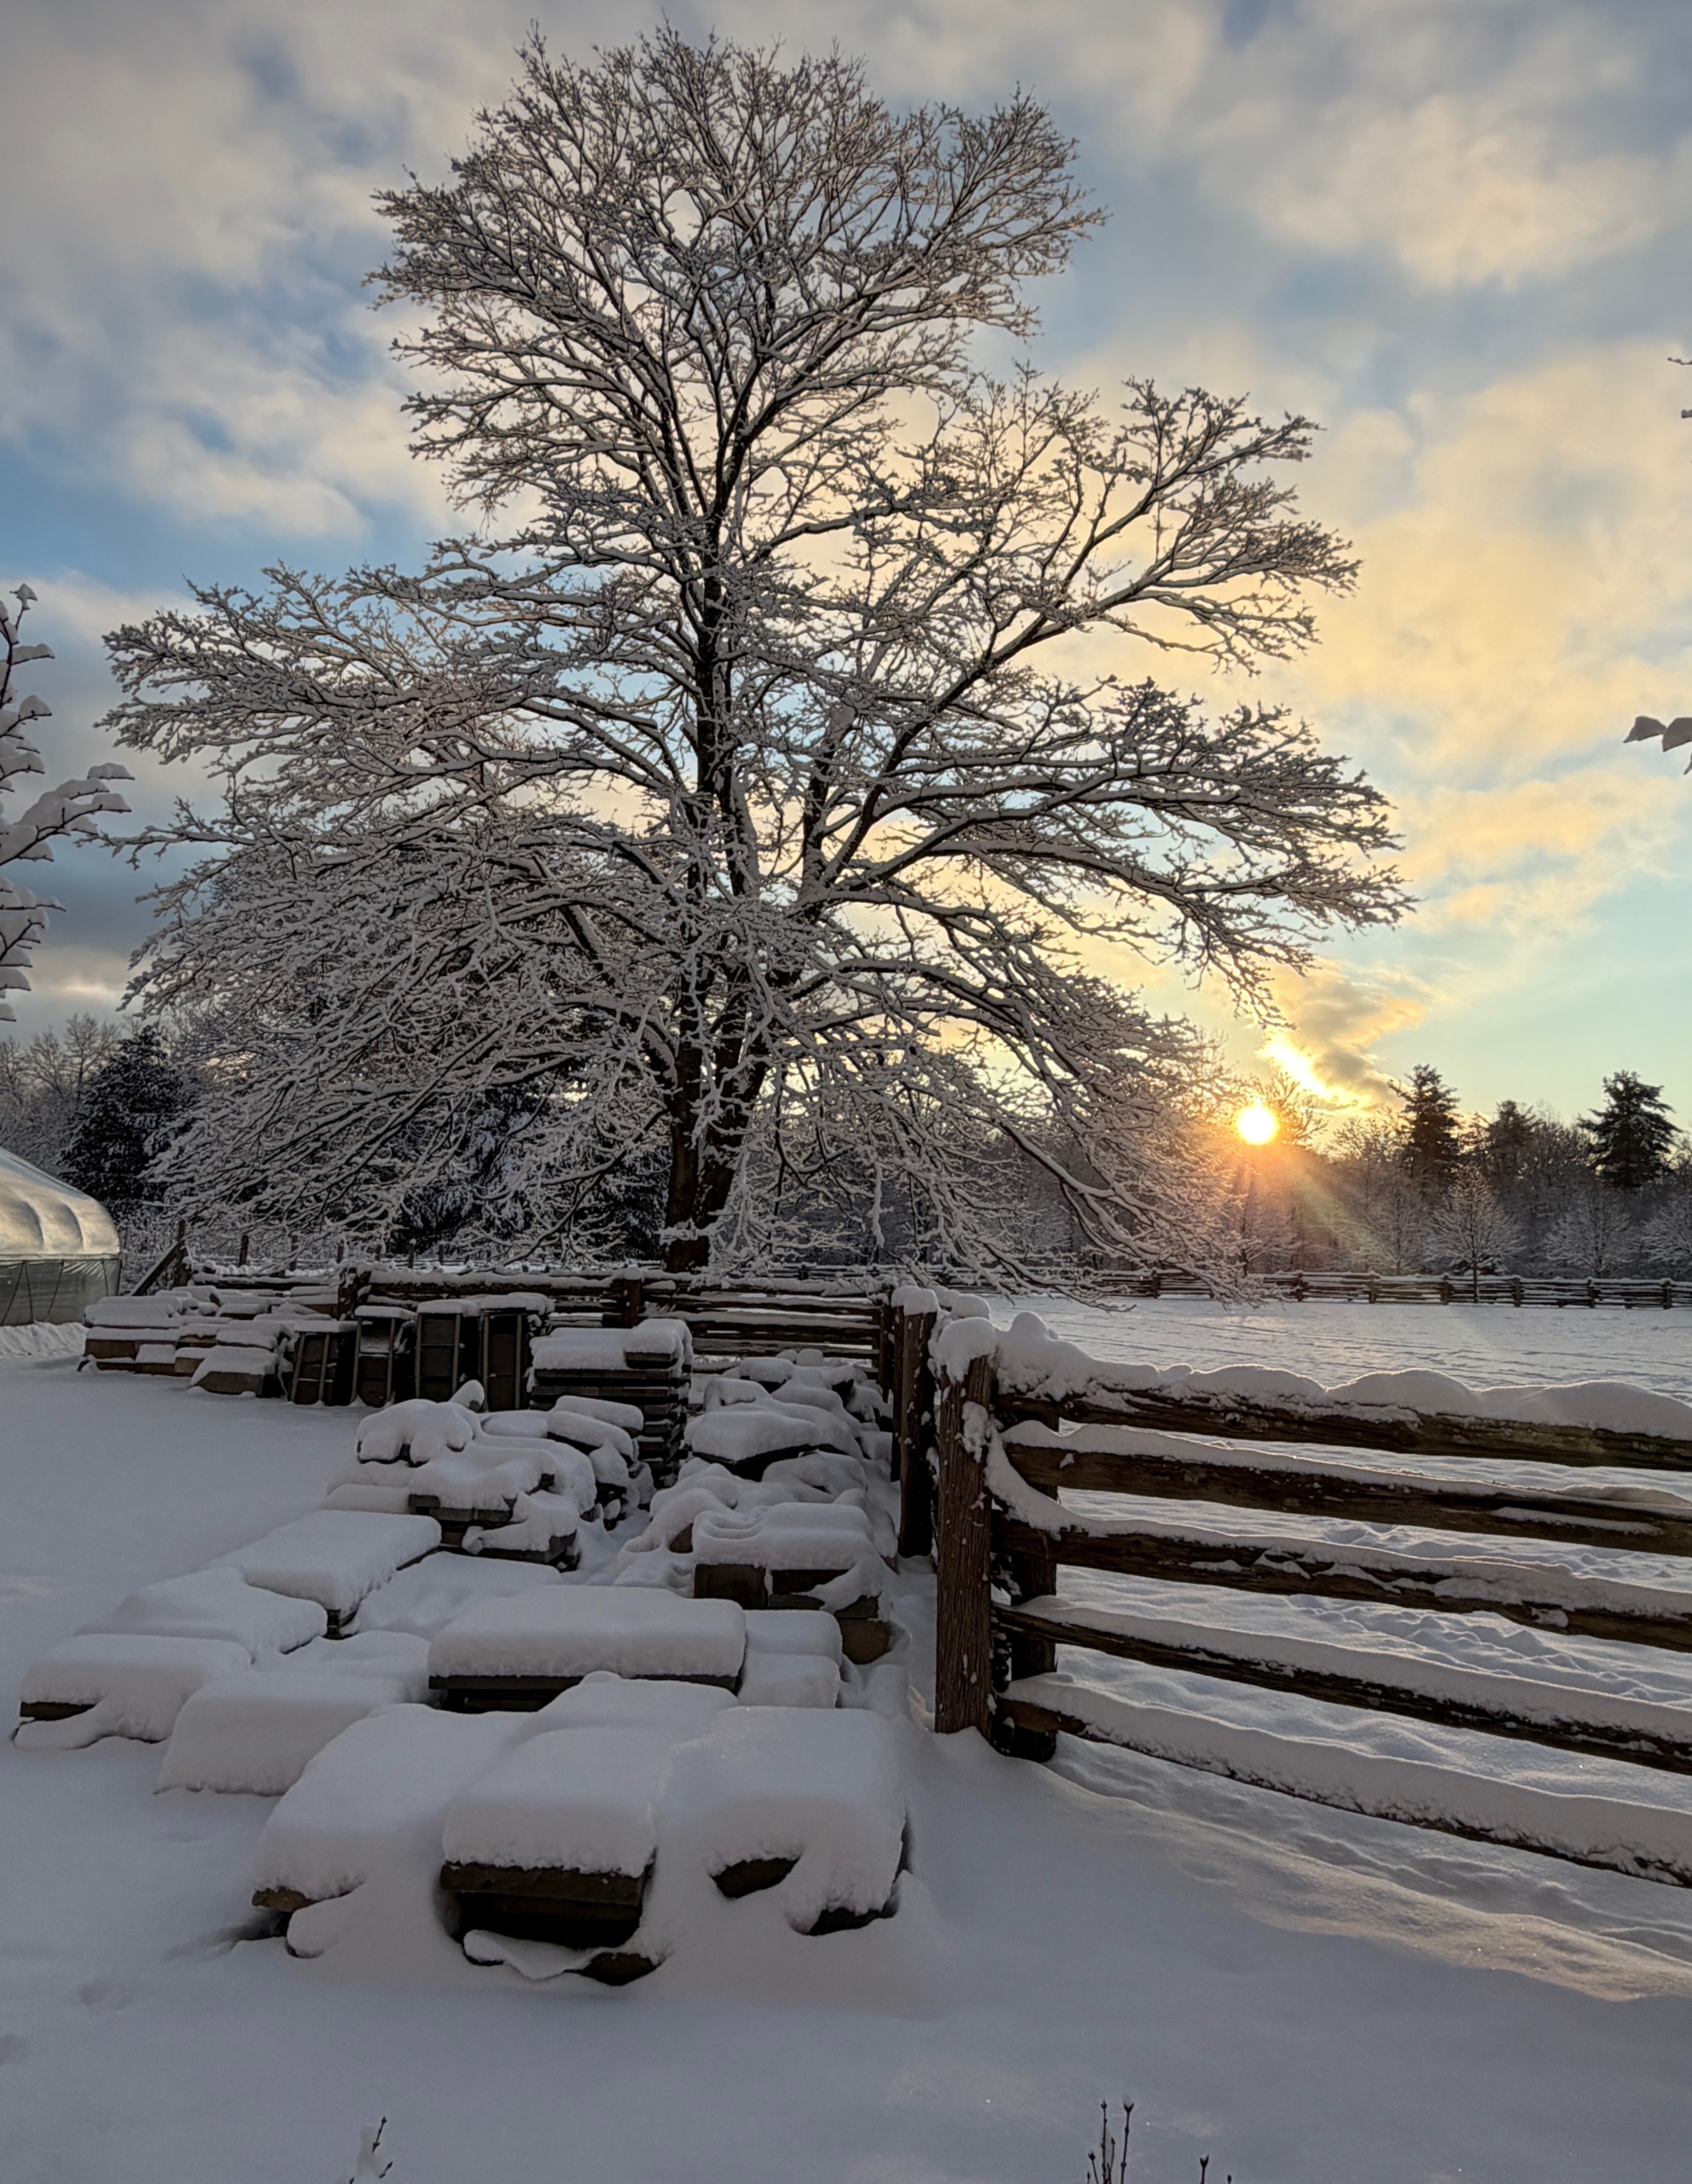
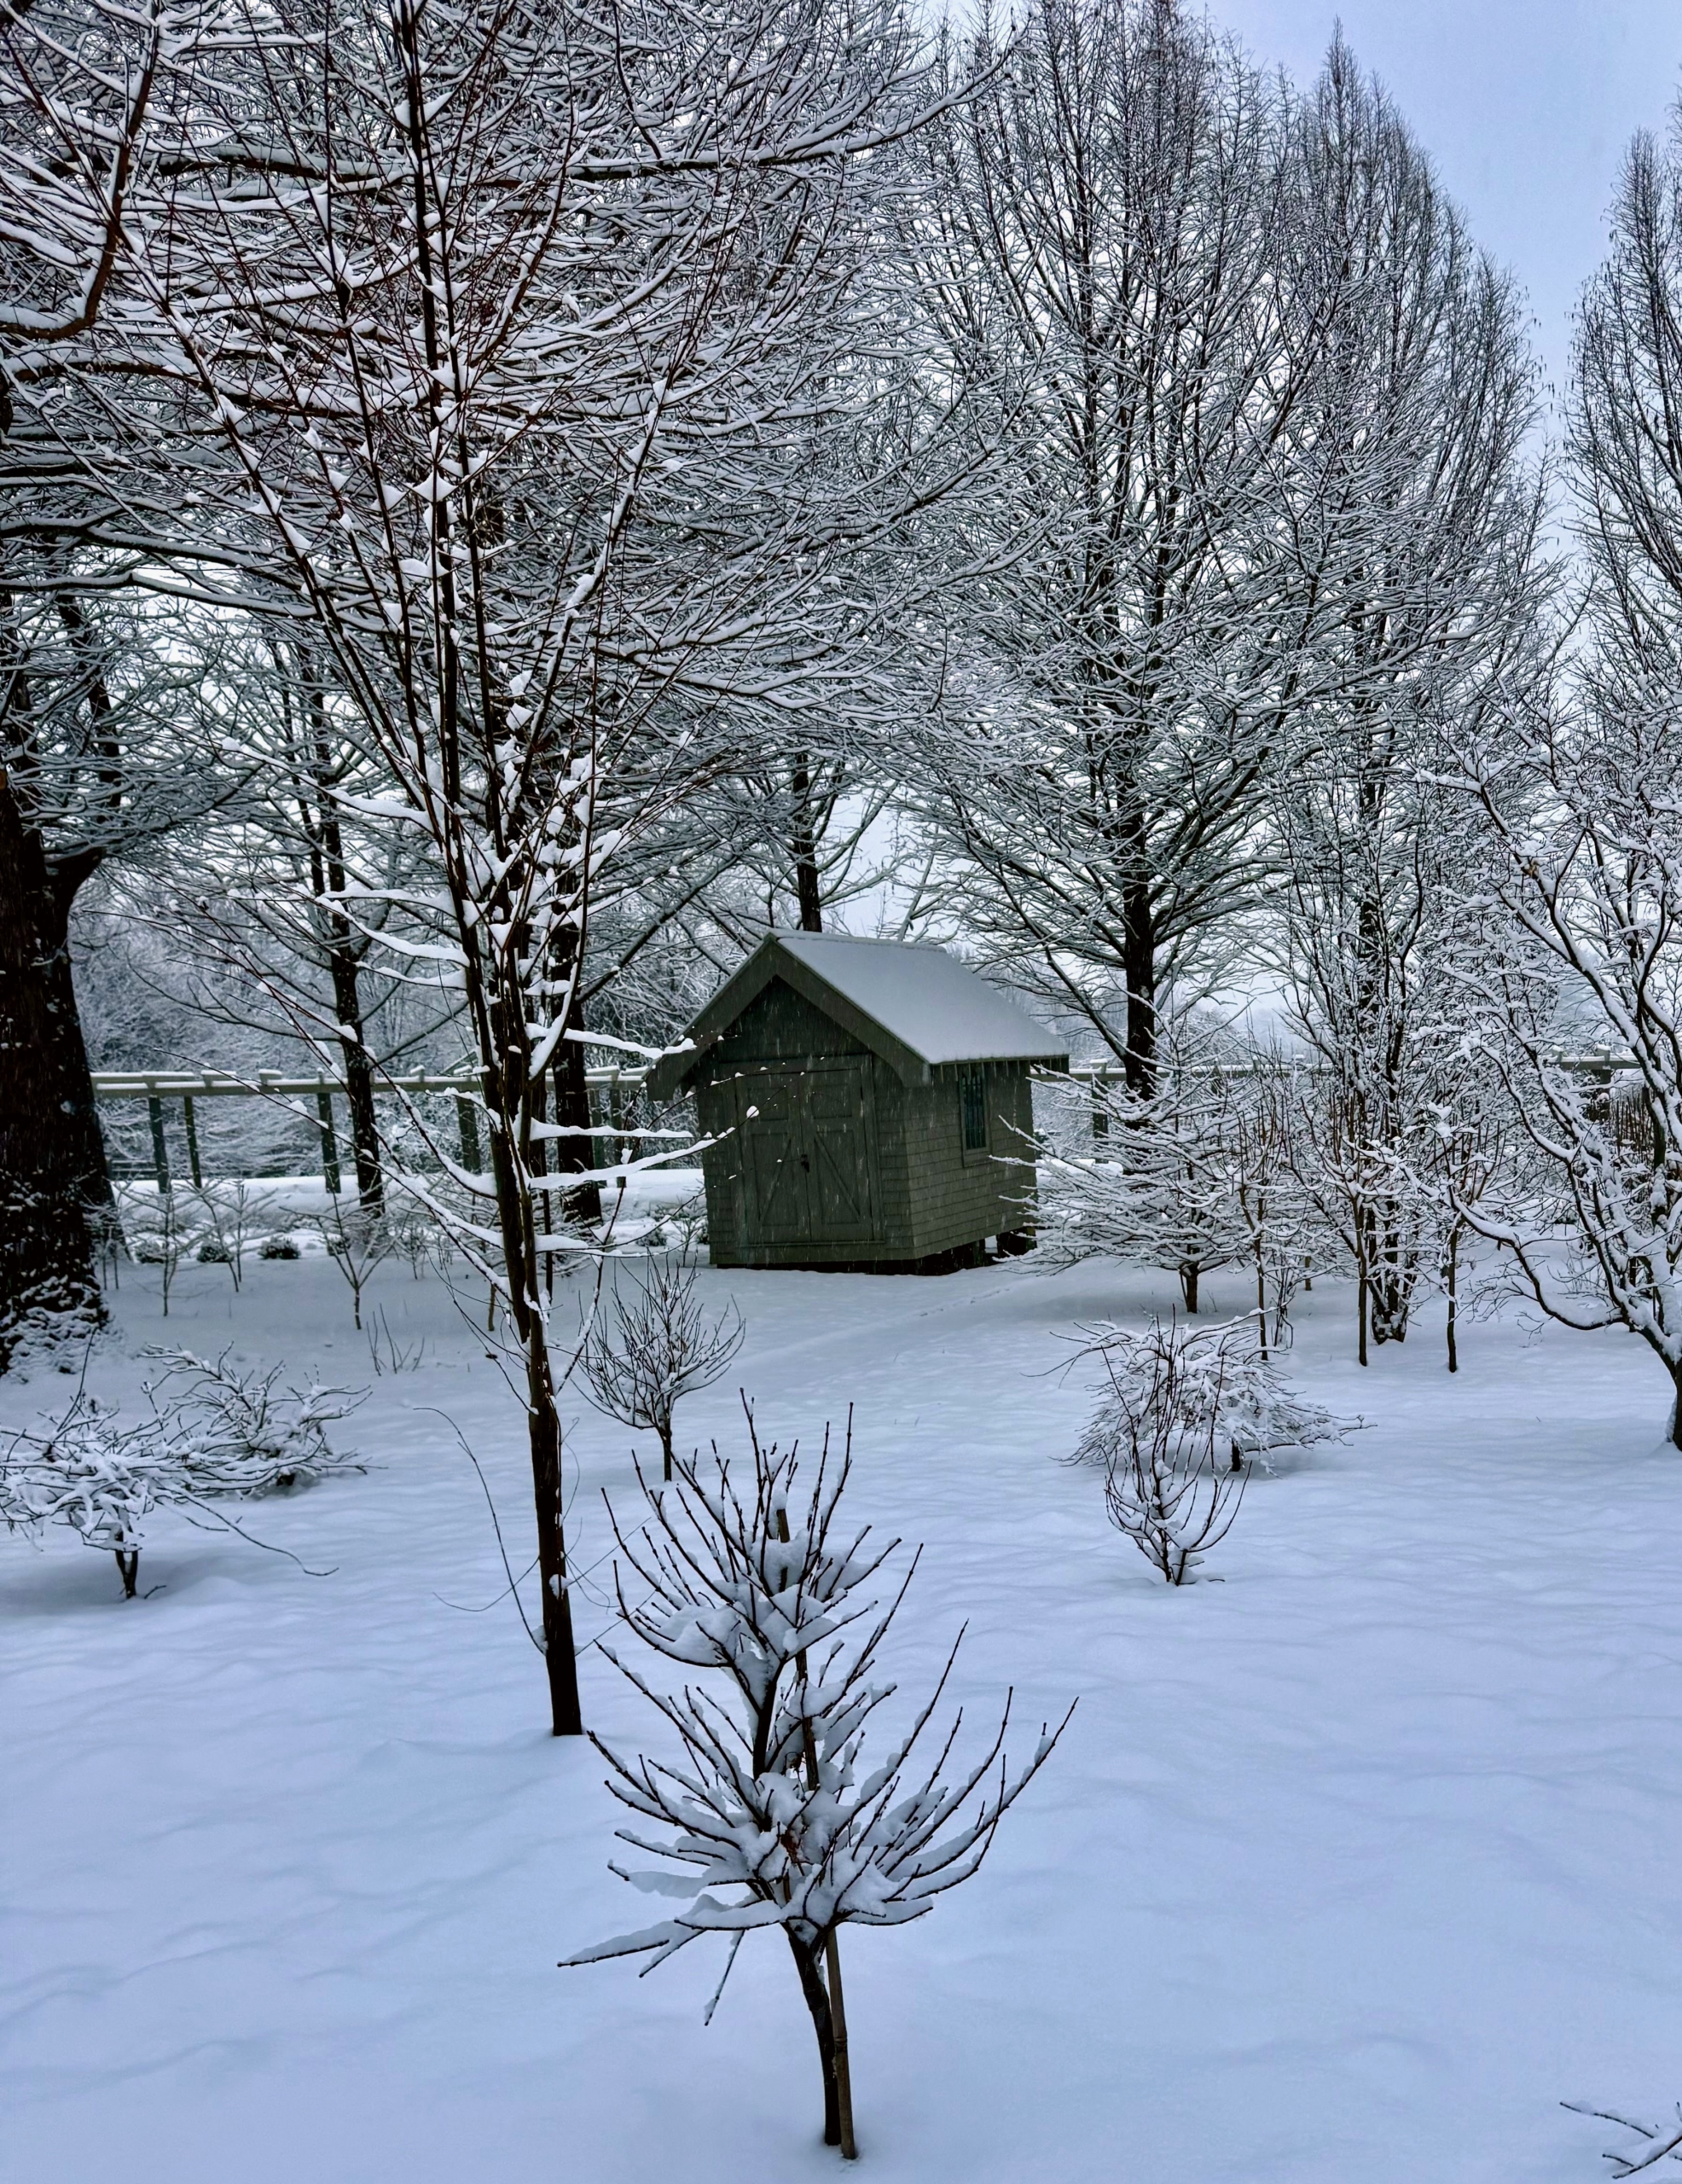
Hard not to love a picturesque snow-covered landscape, especially at my farm.
I hope you saw the photos on my Instagram page @marthastewart48. Over the weekend, we got at least five inches of snow - light, powdery snow that stuck to the tree branches and shrubs, stone posts, walls, and steps, and the tops of all the burlap-encased boxwood and ornamental urns. I always take lots of photos when it snows - that is, when I am not too busy plowing the four miles of carriage road.
Enjoy these photos. And more snow is coming. We're expecting another storm this weekend.
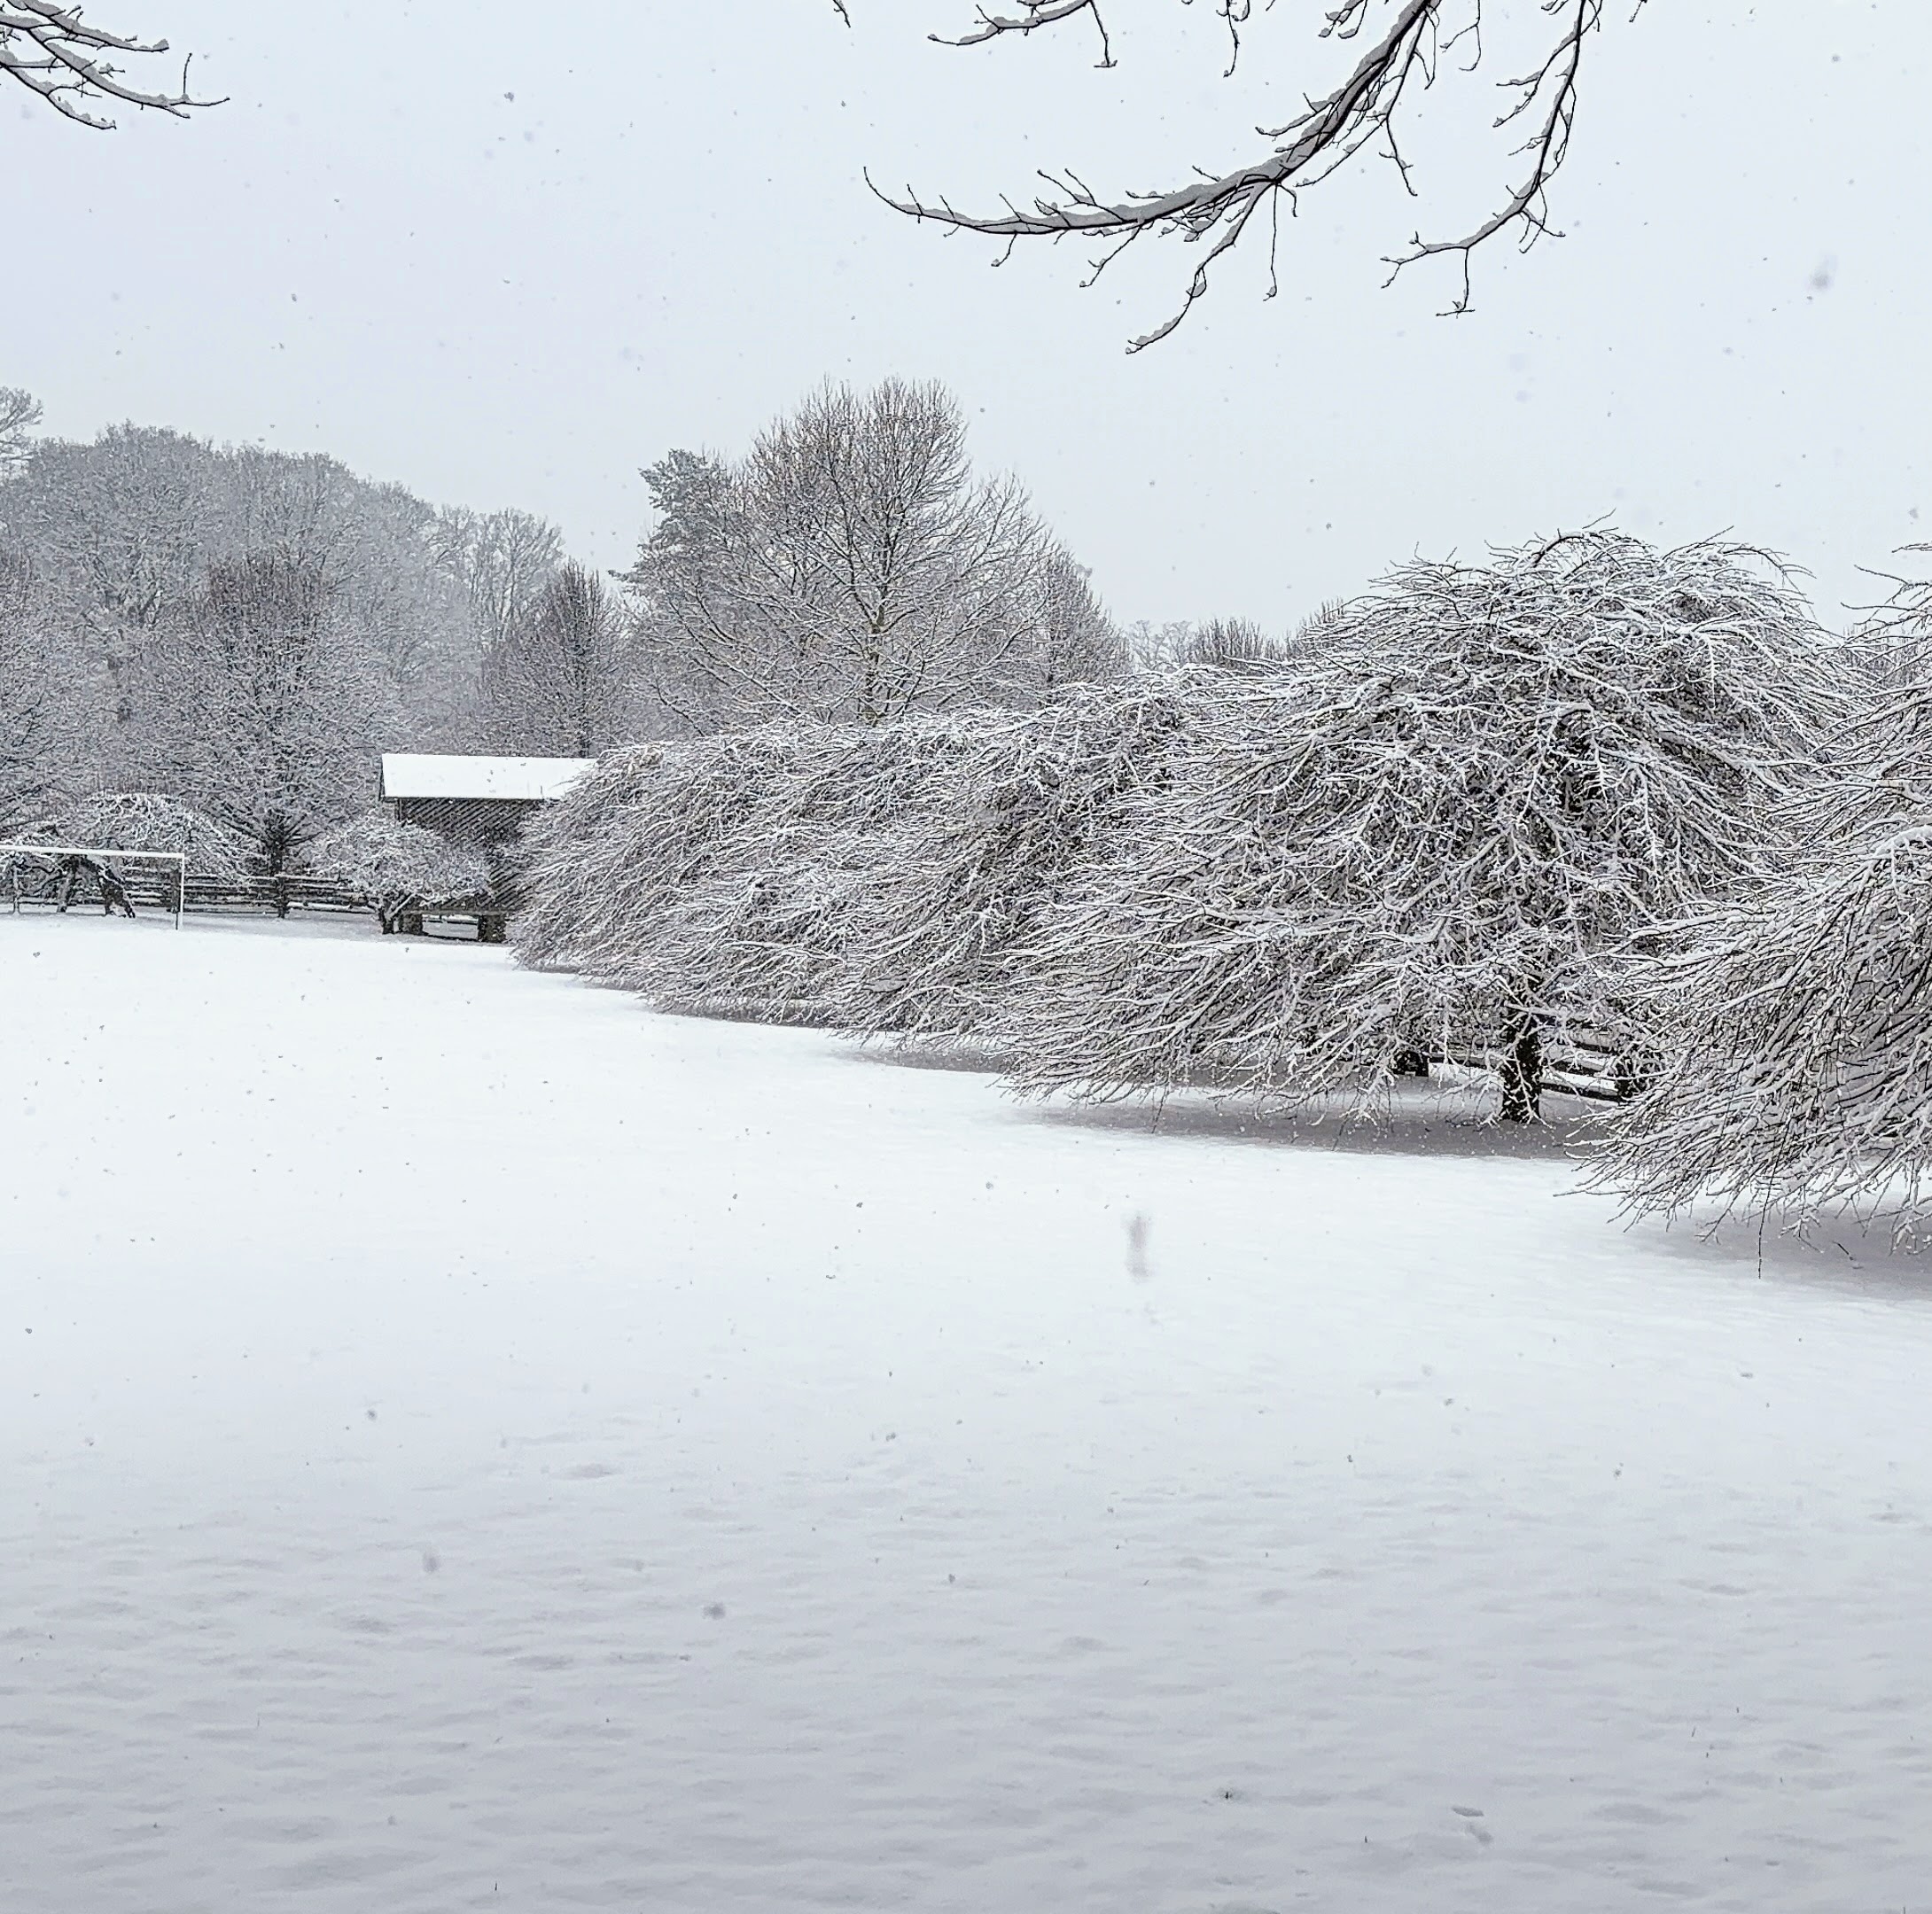
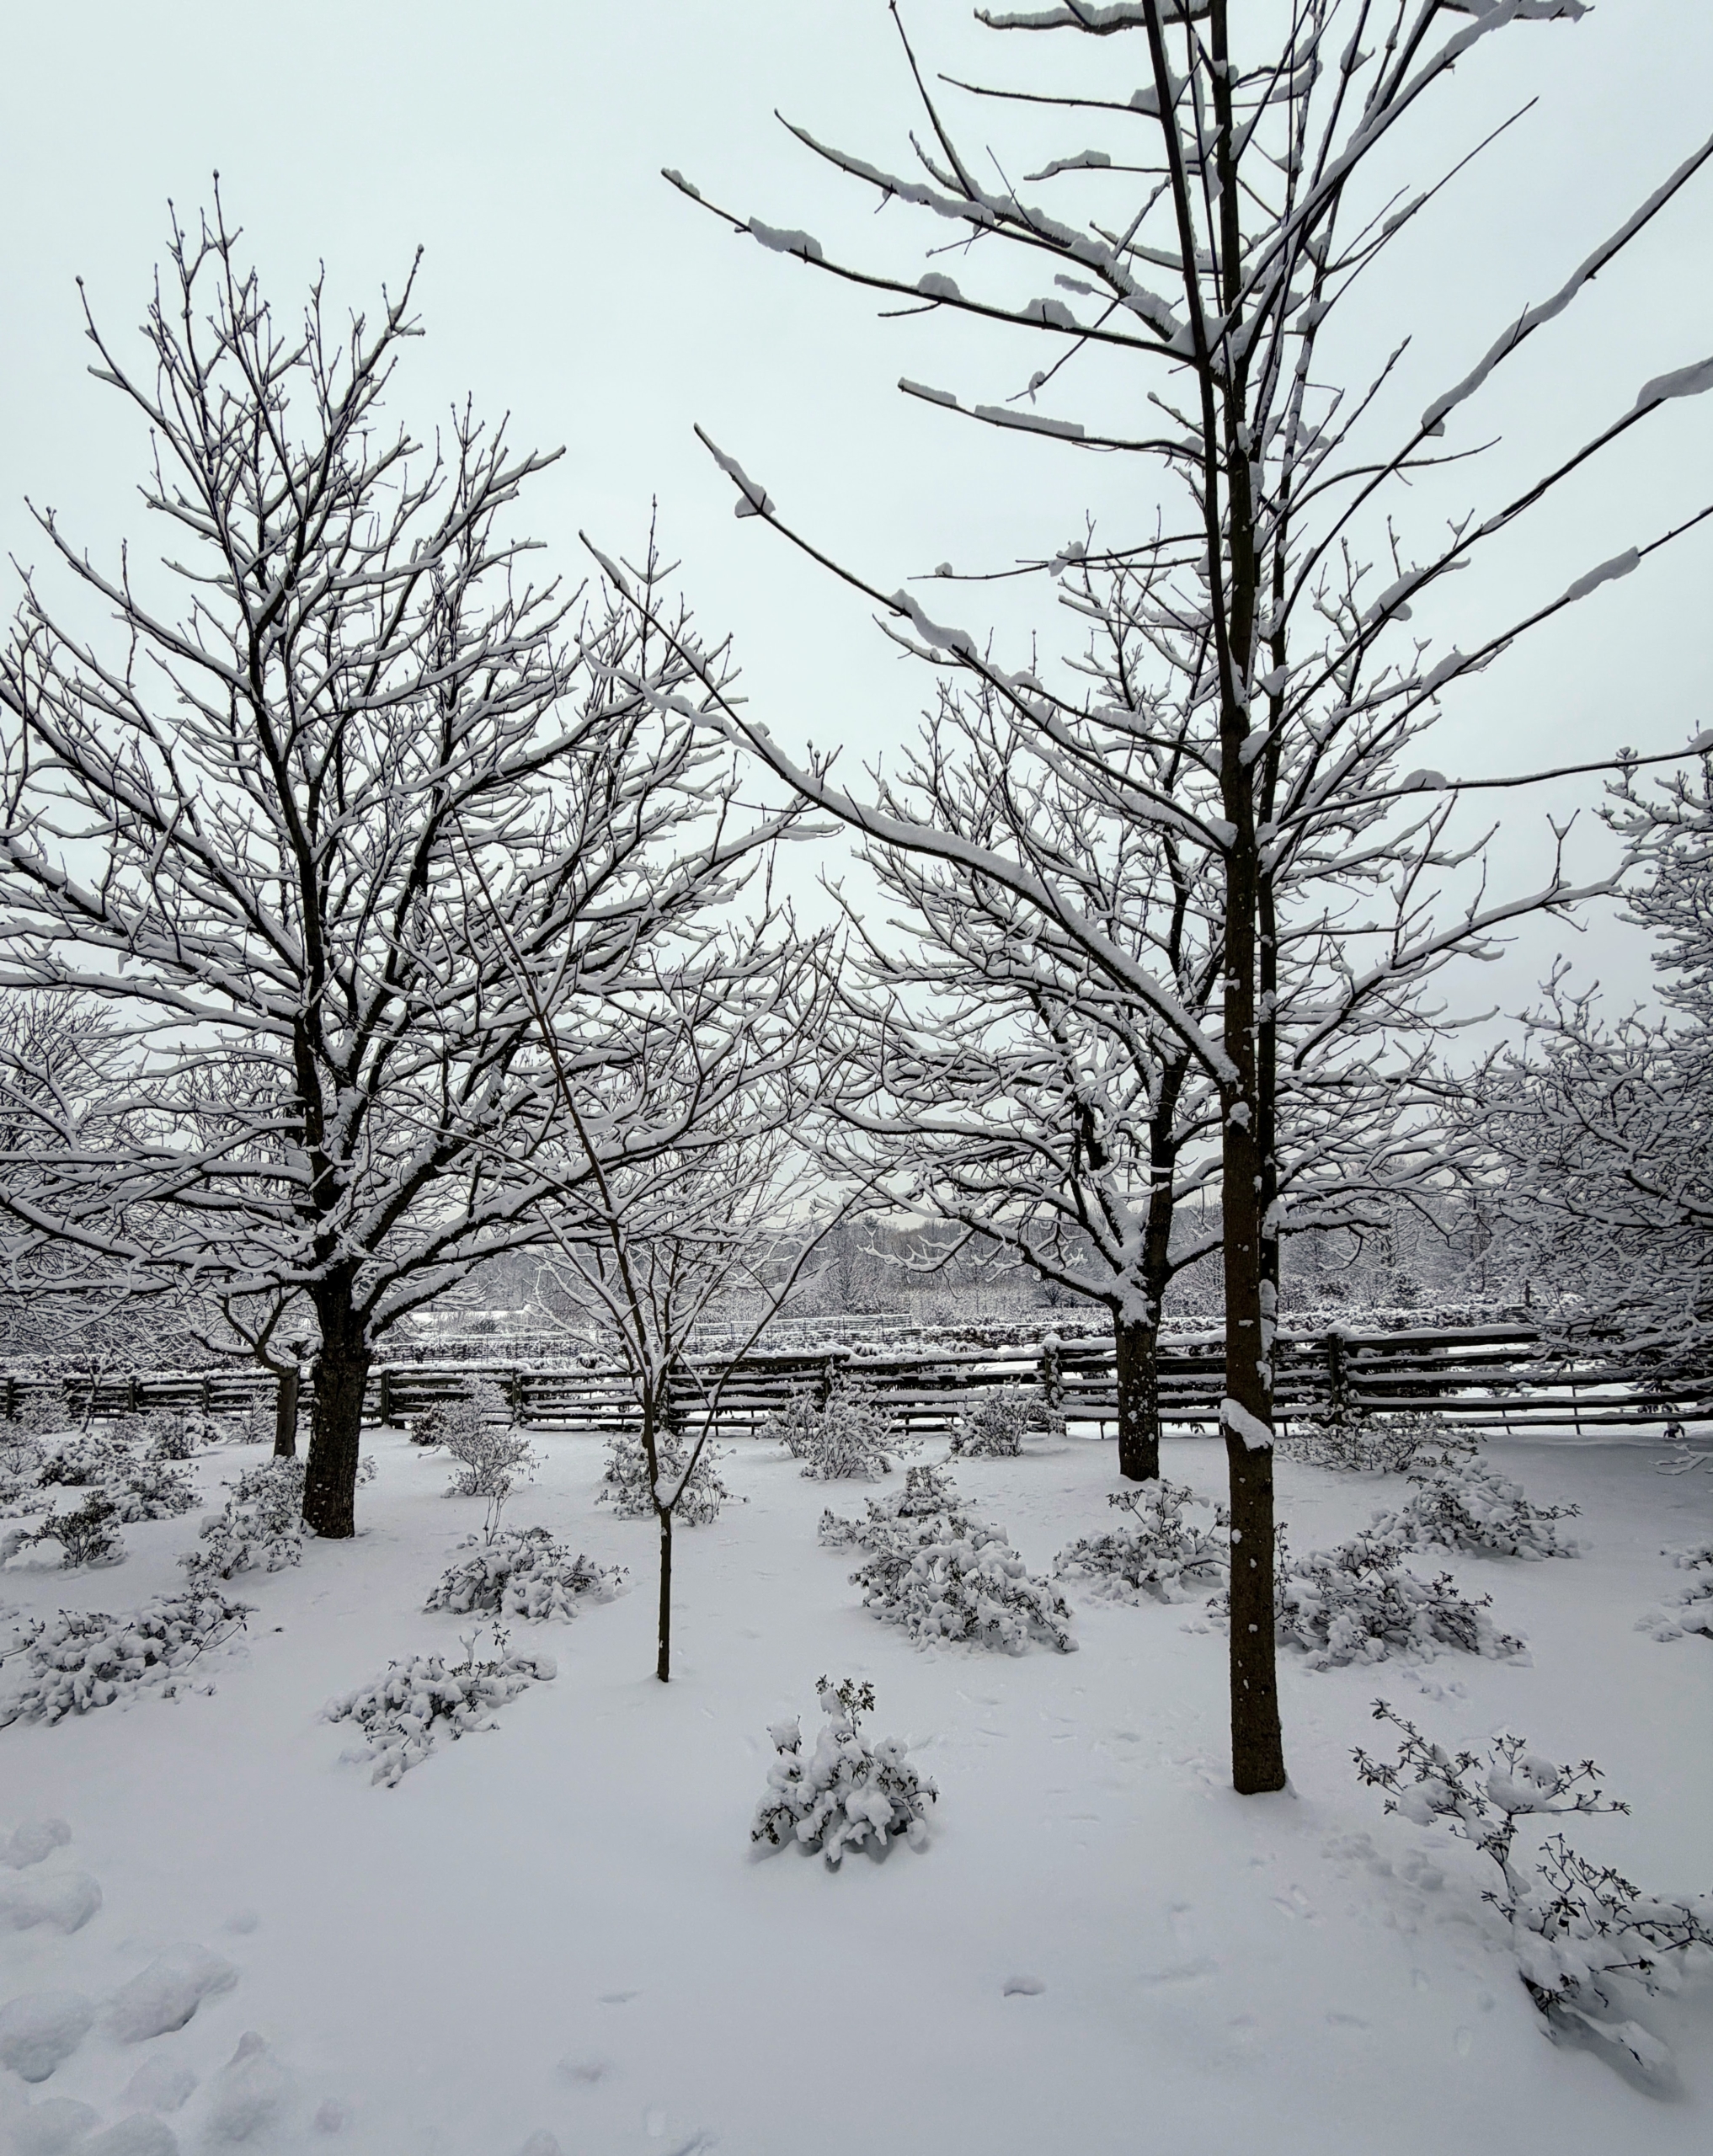
This is a row of six rare weeping hornbeams, Carpinus betulus Pendula. They line one side of the soccer field I set up for my grandson, Truman. These are such graceful and shapely specimen trees, very densely branched and adaptable to various soil conditions. In the distance is my old corn crib.
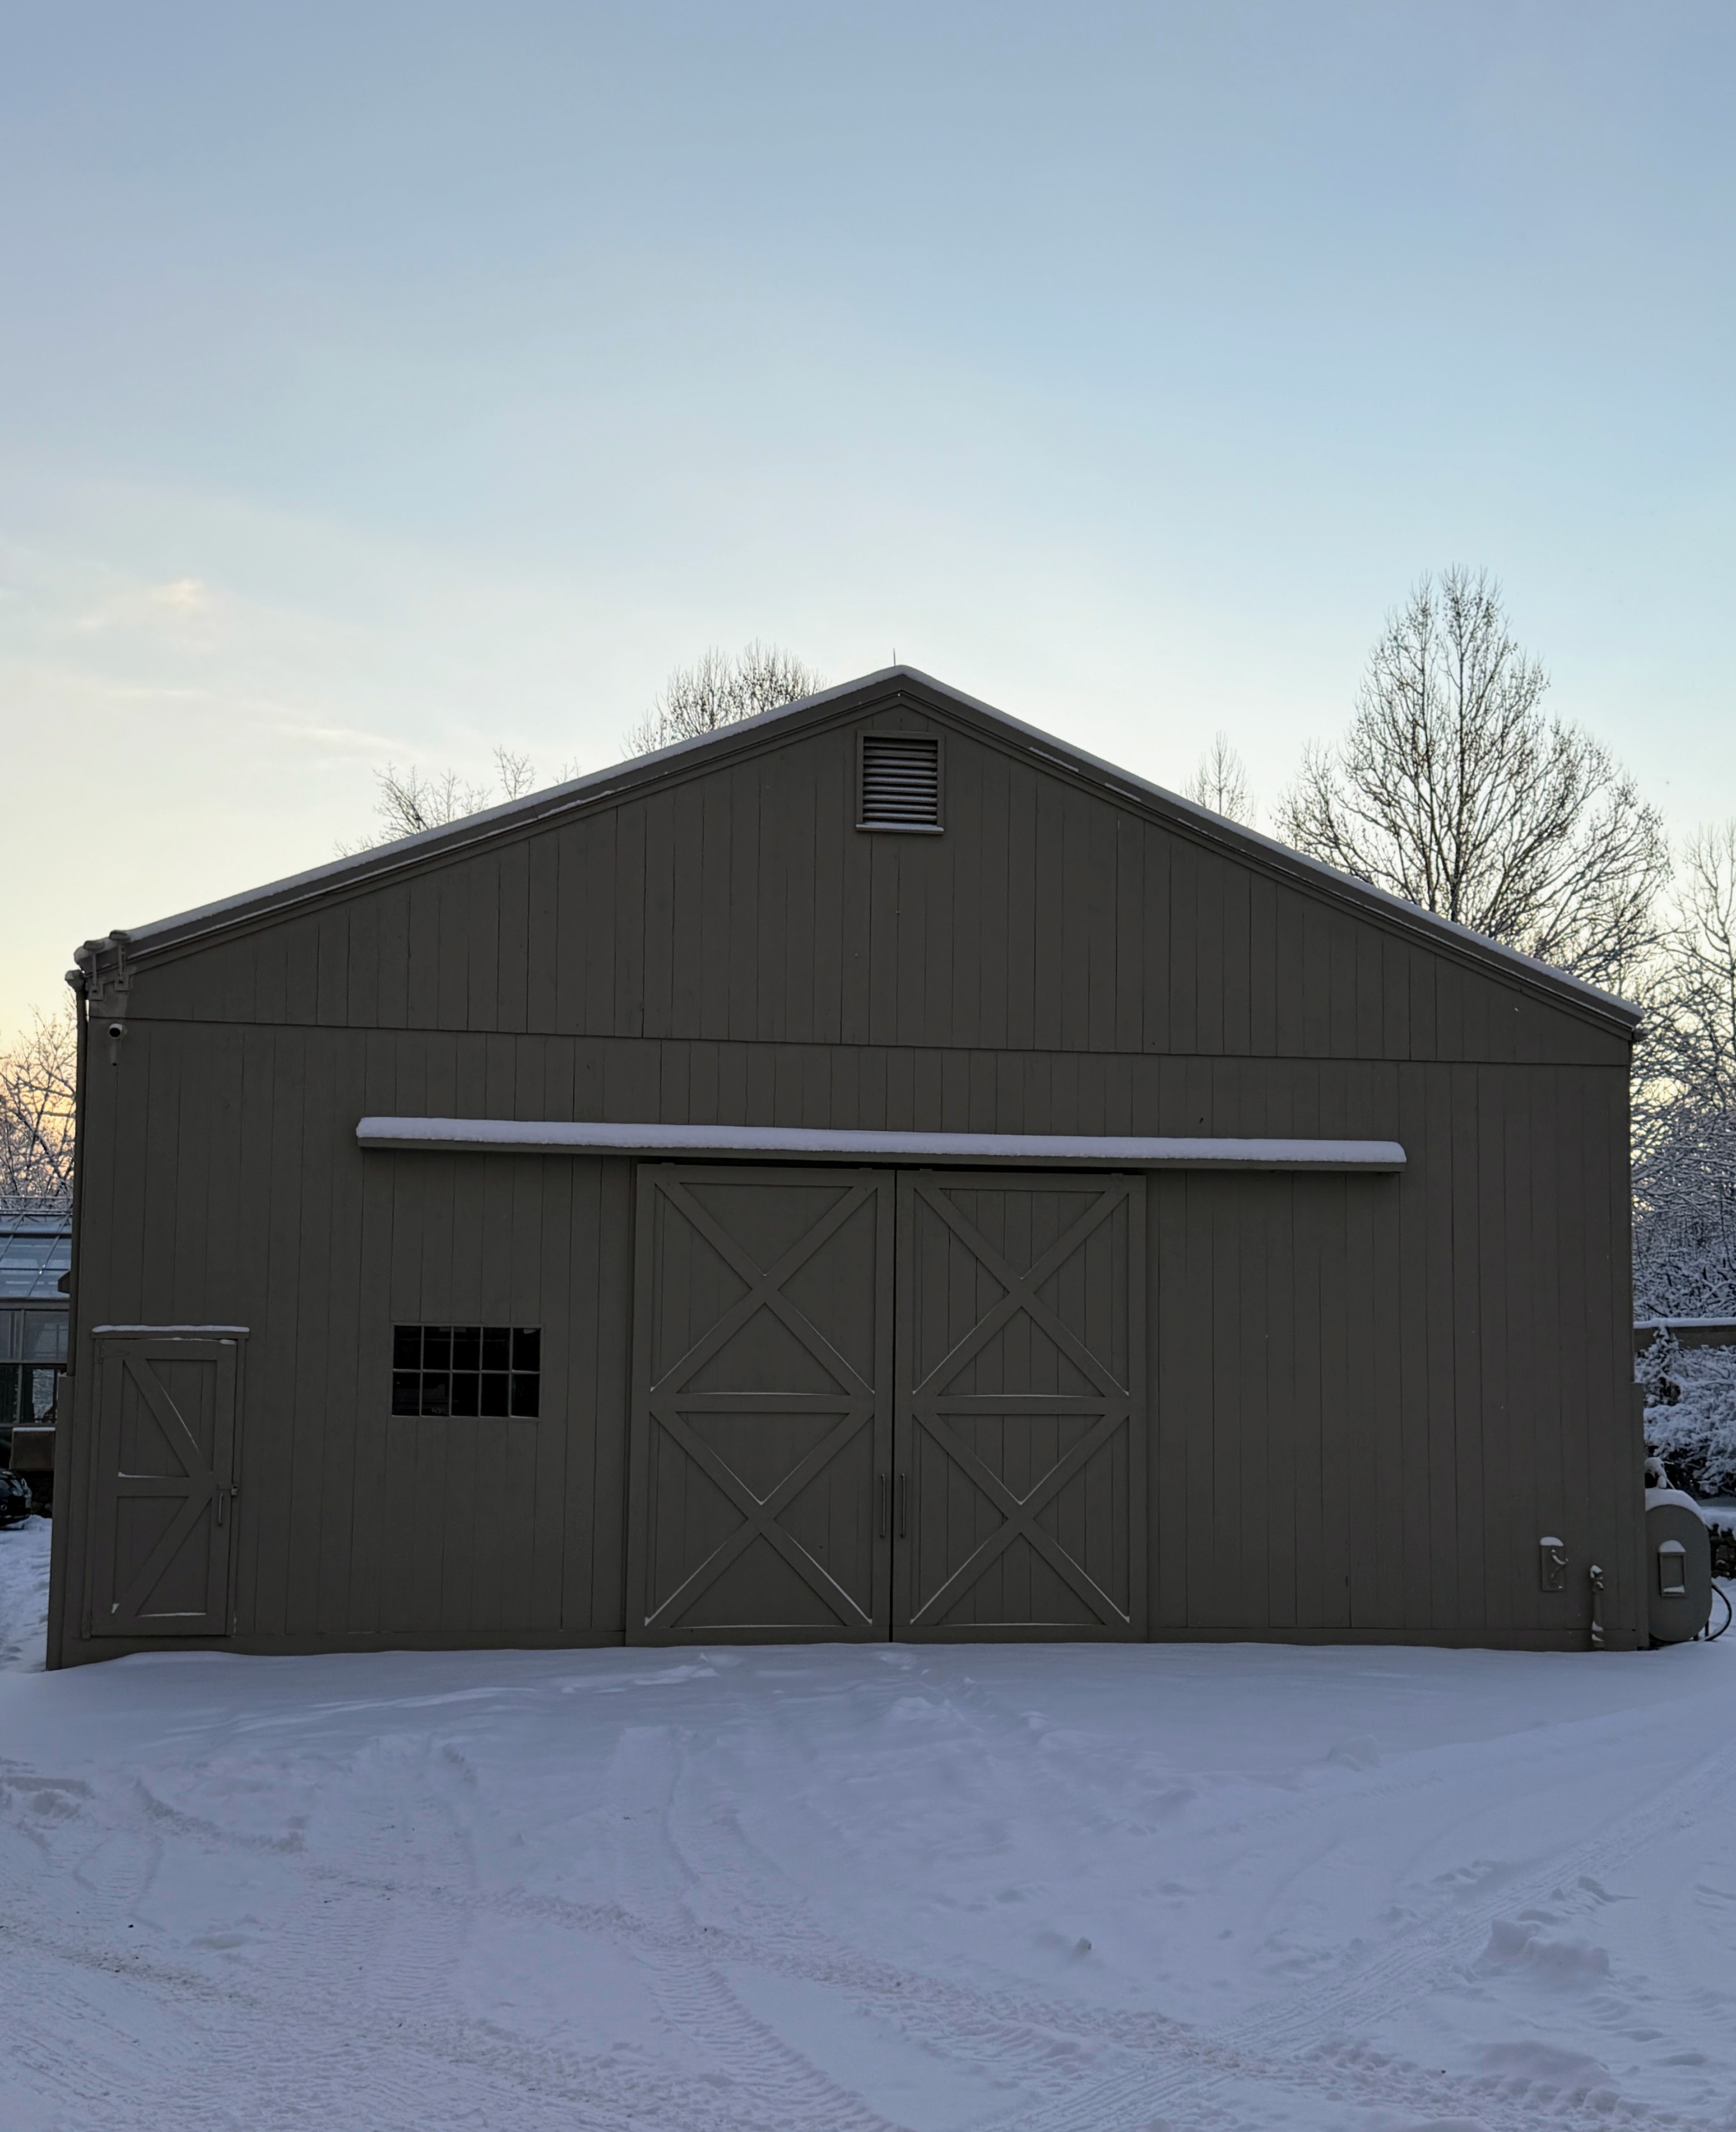
The weeping nornbeams are near these mighty pin oaks, Quercus palustris, that grow alongside my Equipment Barn. I took these photos early in the morning when all the tree branches were filled with snow.
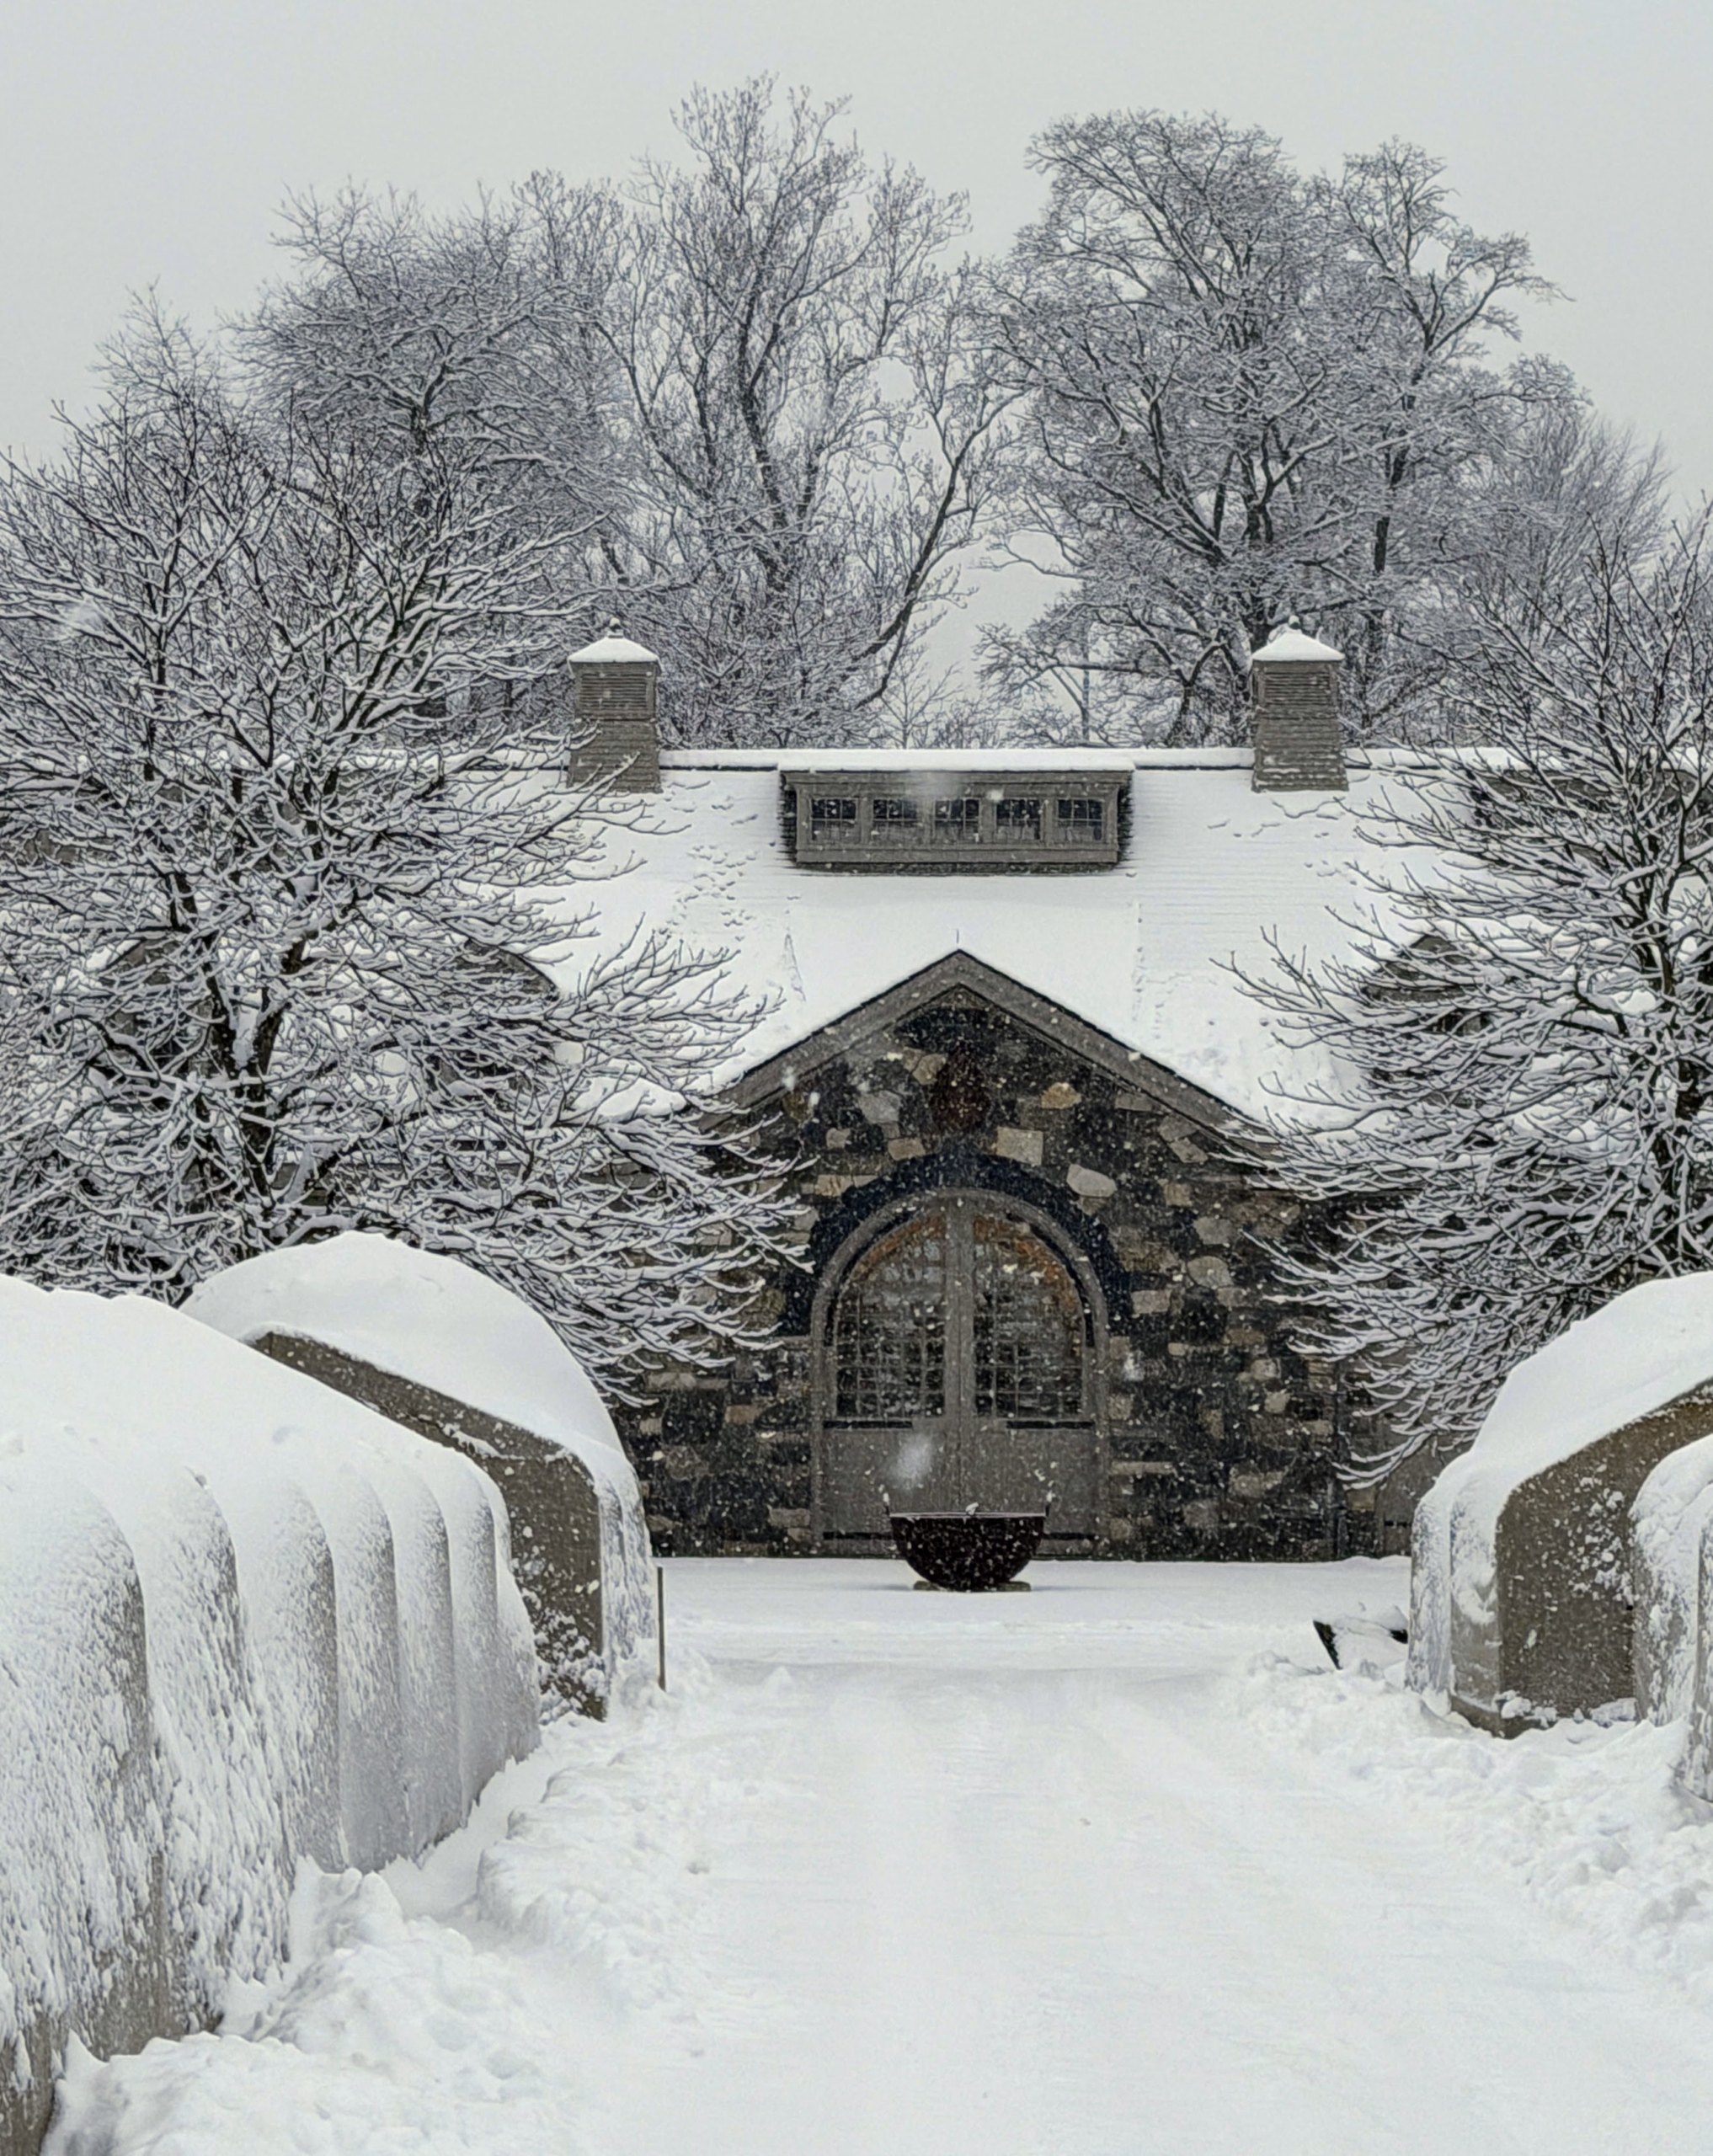
Here is a view of my stable – a different look compared to spring and summer when the horse chestnut trees are lush with foliage and the allée of boxwood is bare of any protective burlap.
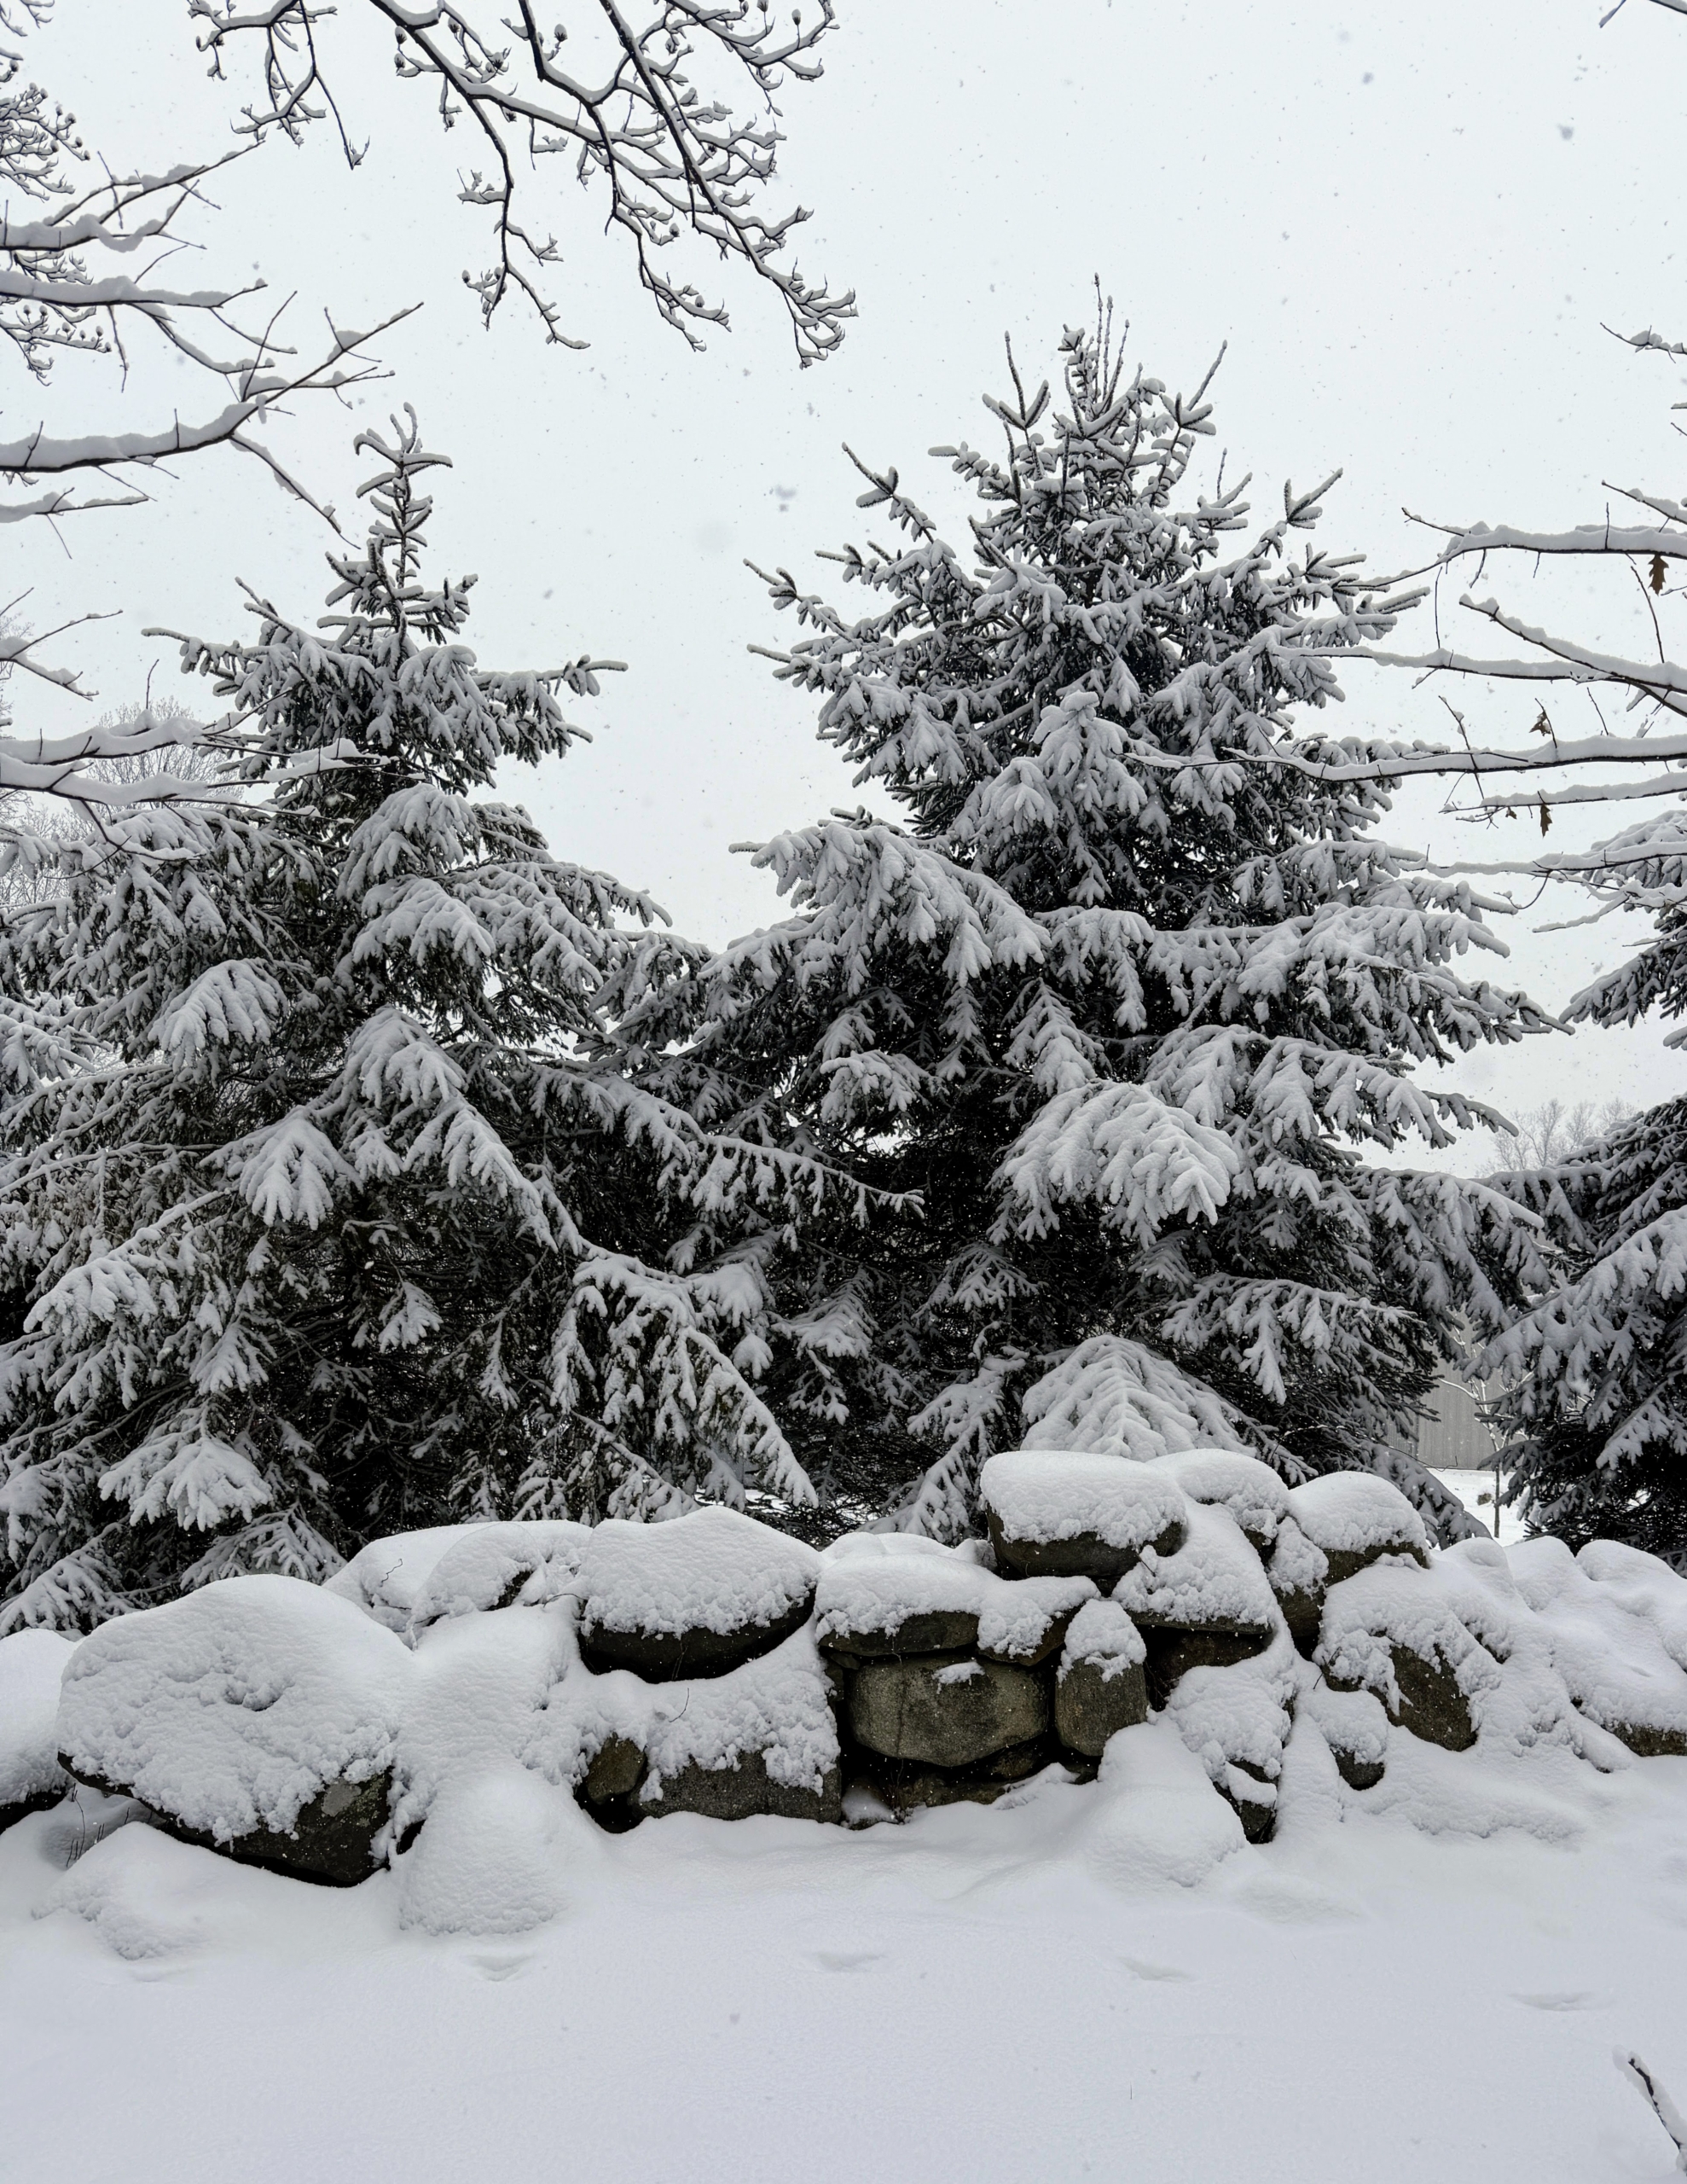
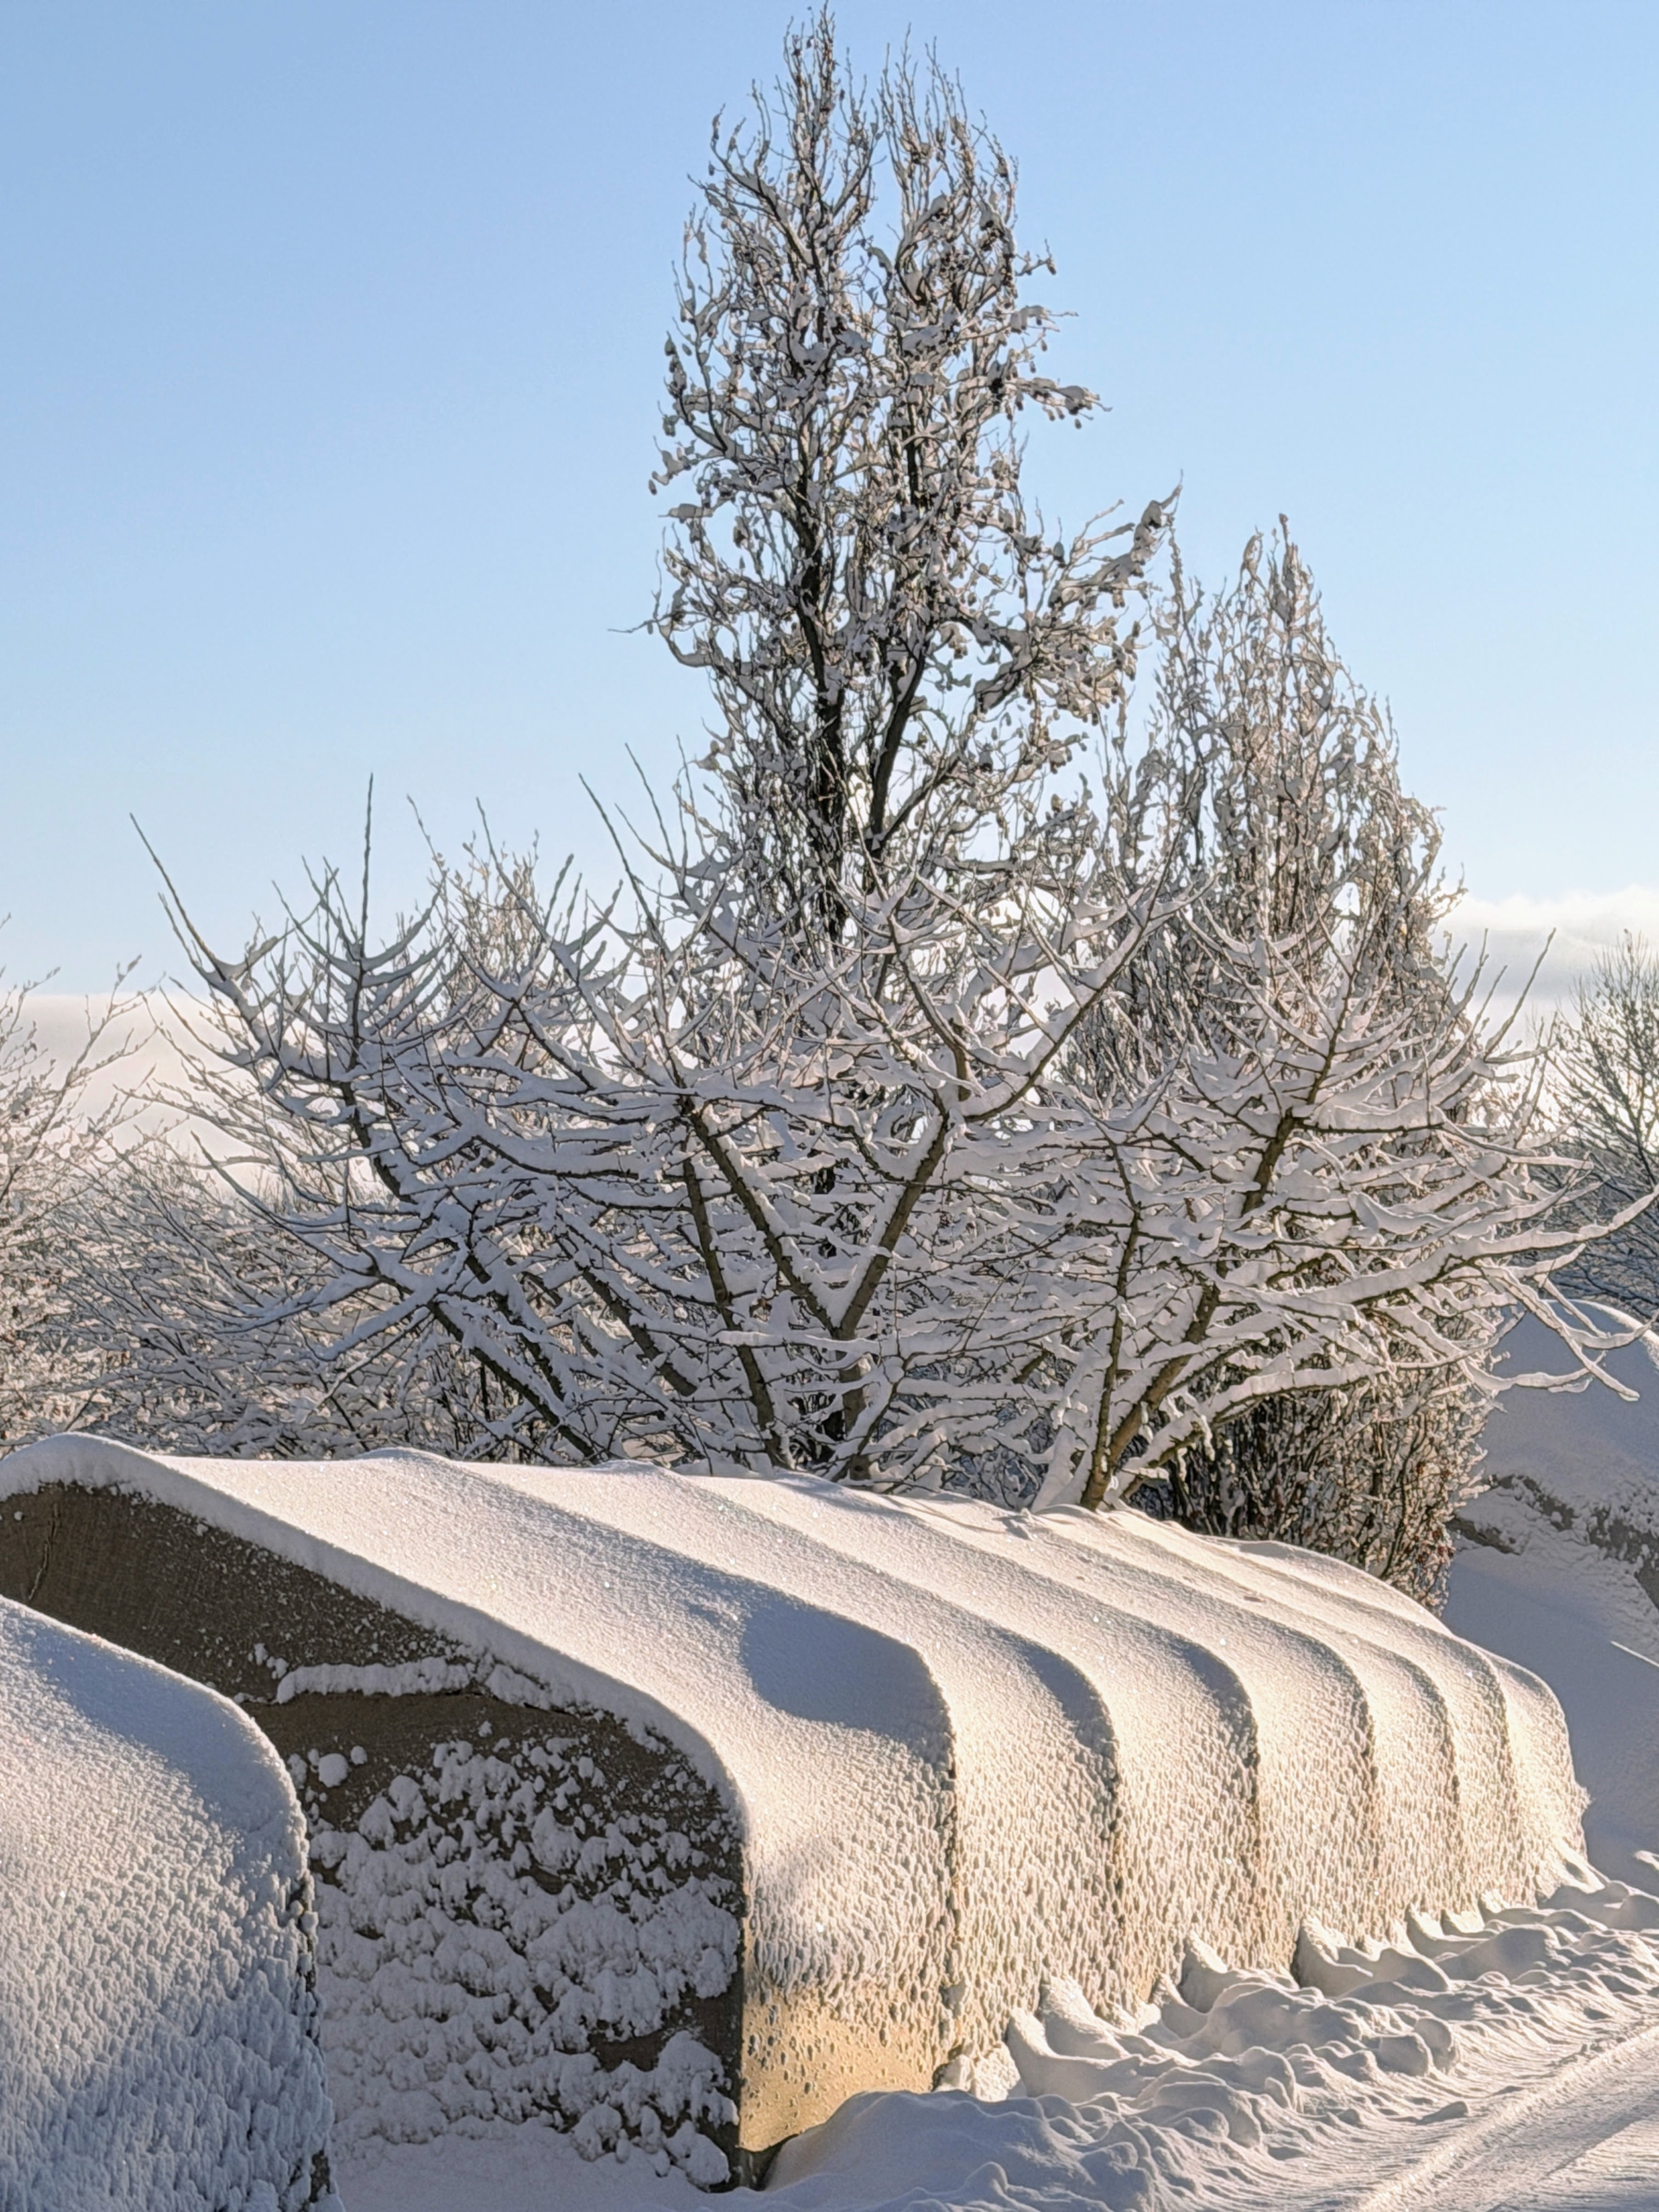
The snow accumulated on many of the tree branches, but did not weigh any down too much. The light fluffy snow forms when all layers of the atmosphere are below freezing. Because the air is cold, all the way down to the surface, snowflakes don’t melt. It was about 25-degrees Fahrenheit in the early morning and stayed cold the rest of the day.
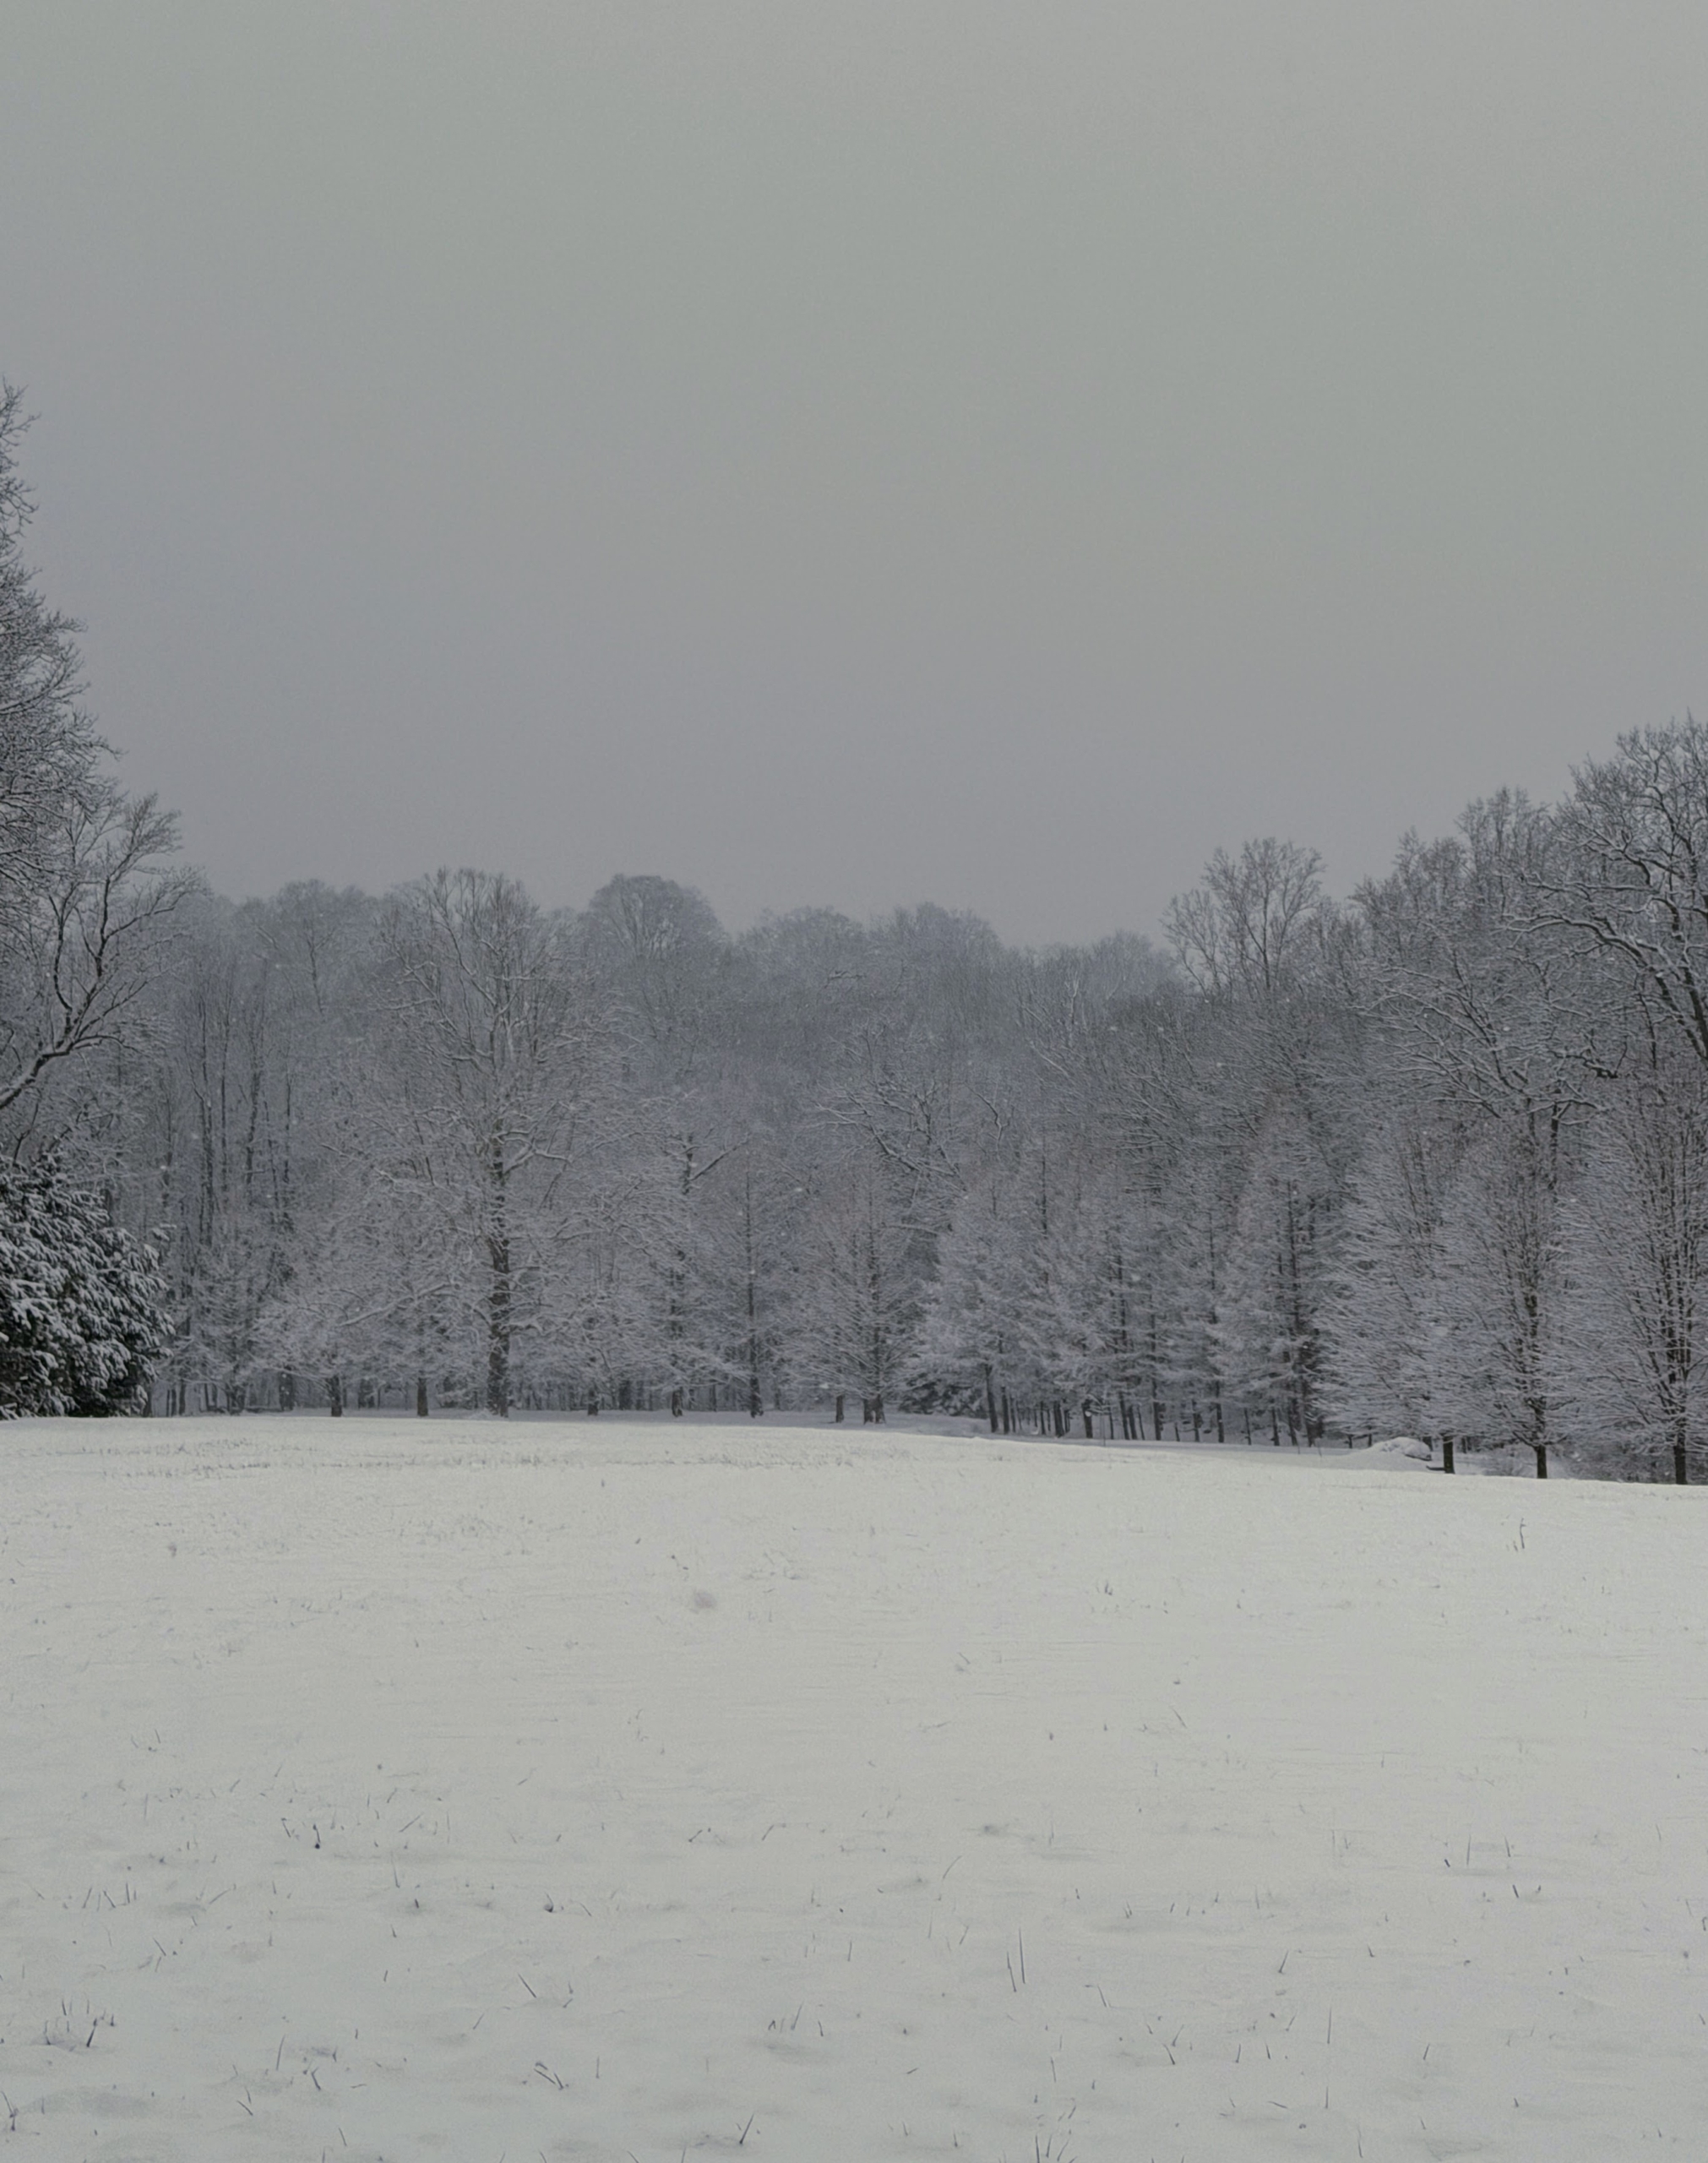
This is the back hayfield where I grow lots of hay for my horses. It is so quiet, one can just hear the snow falling in clumps from the trees.
Along this carriage road on both sides are my young azaleas – very different looking from mid-May when they erupt with beautiful bright colored flowers.
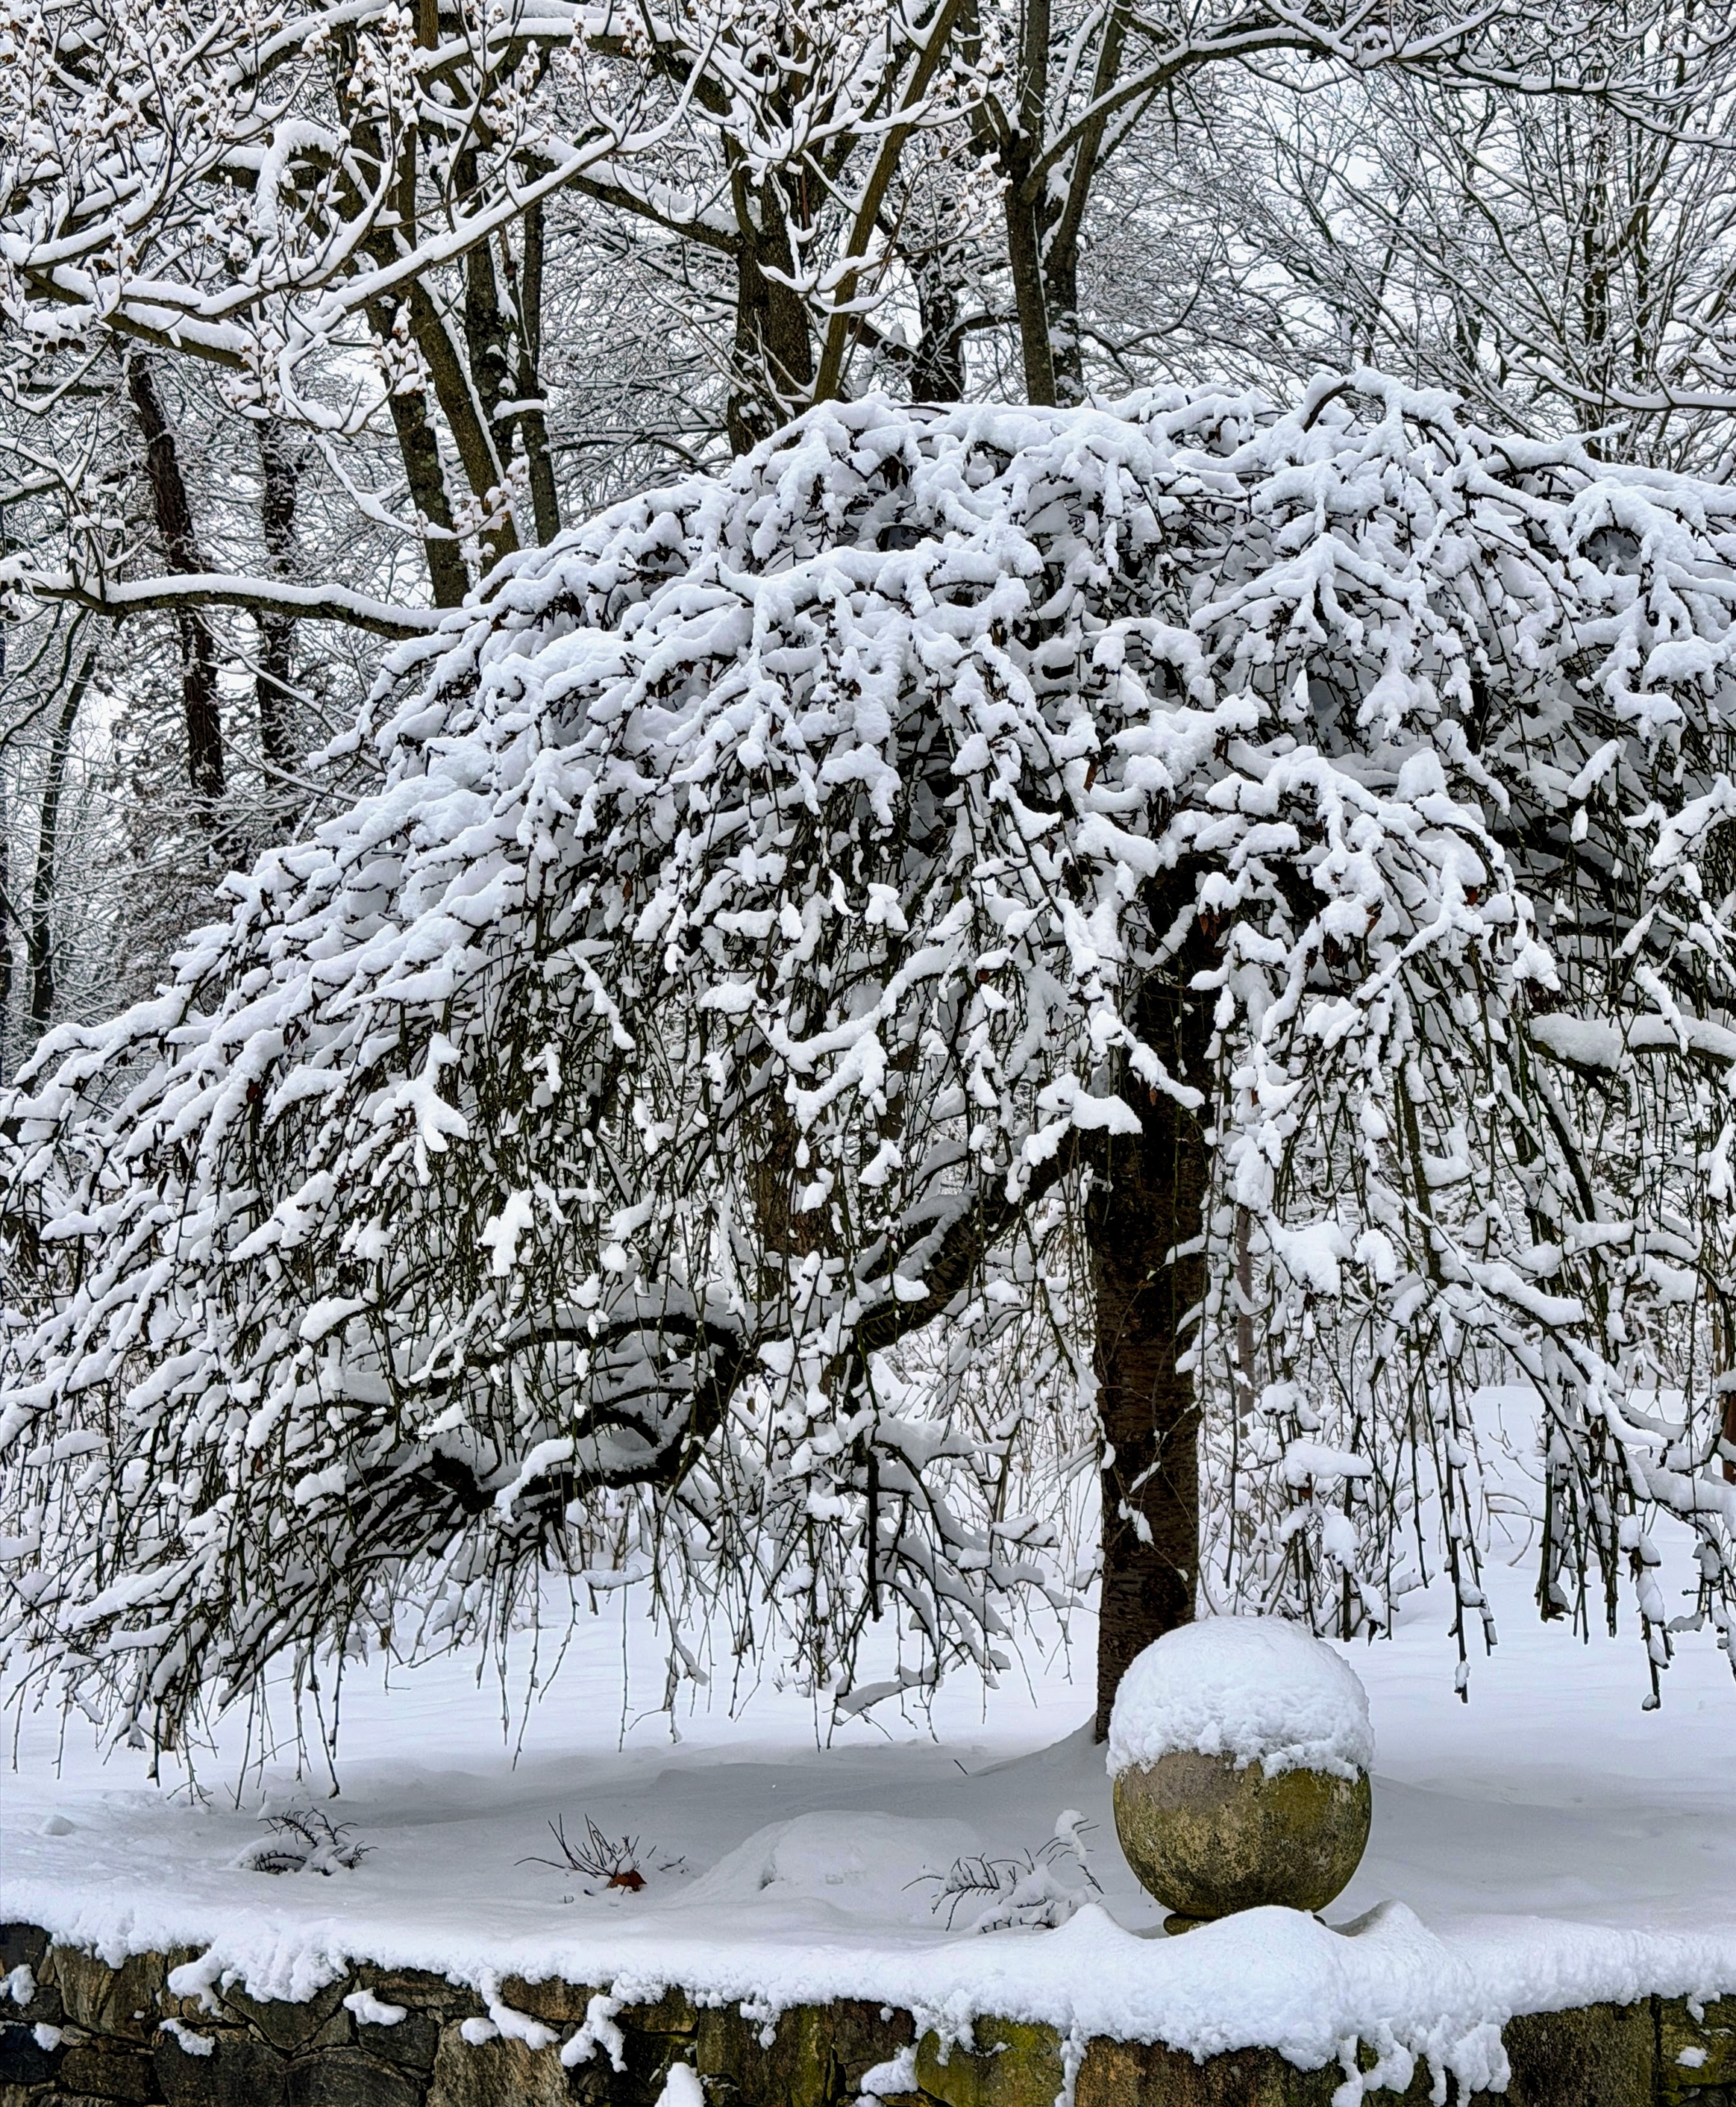
Here is one of two weeping cherry trees down behind my stable. A weeping cherry tree is at its best when the pendulous branches are covered with pink or white flowers in early spring. But the beauty doesn’t last long – only a couple weeks.
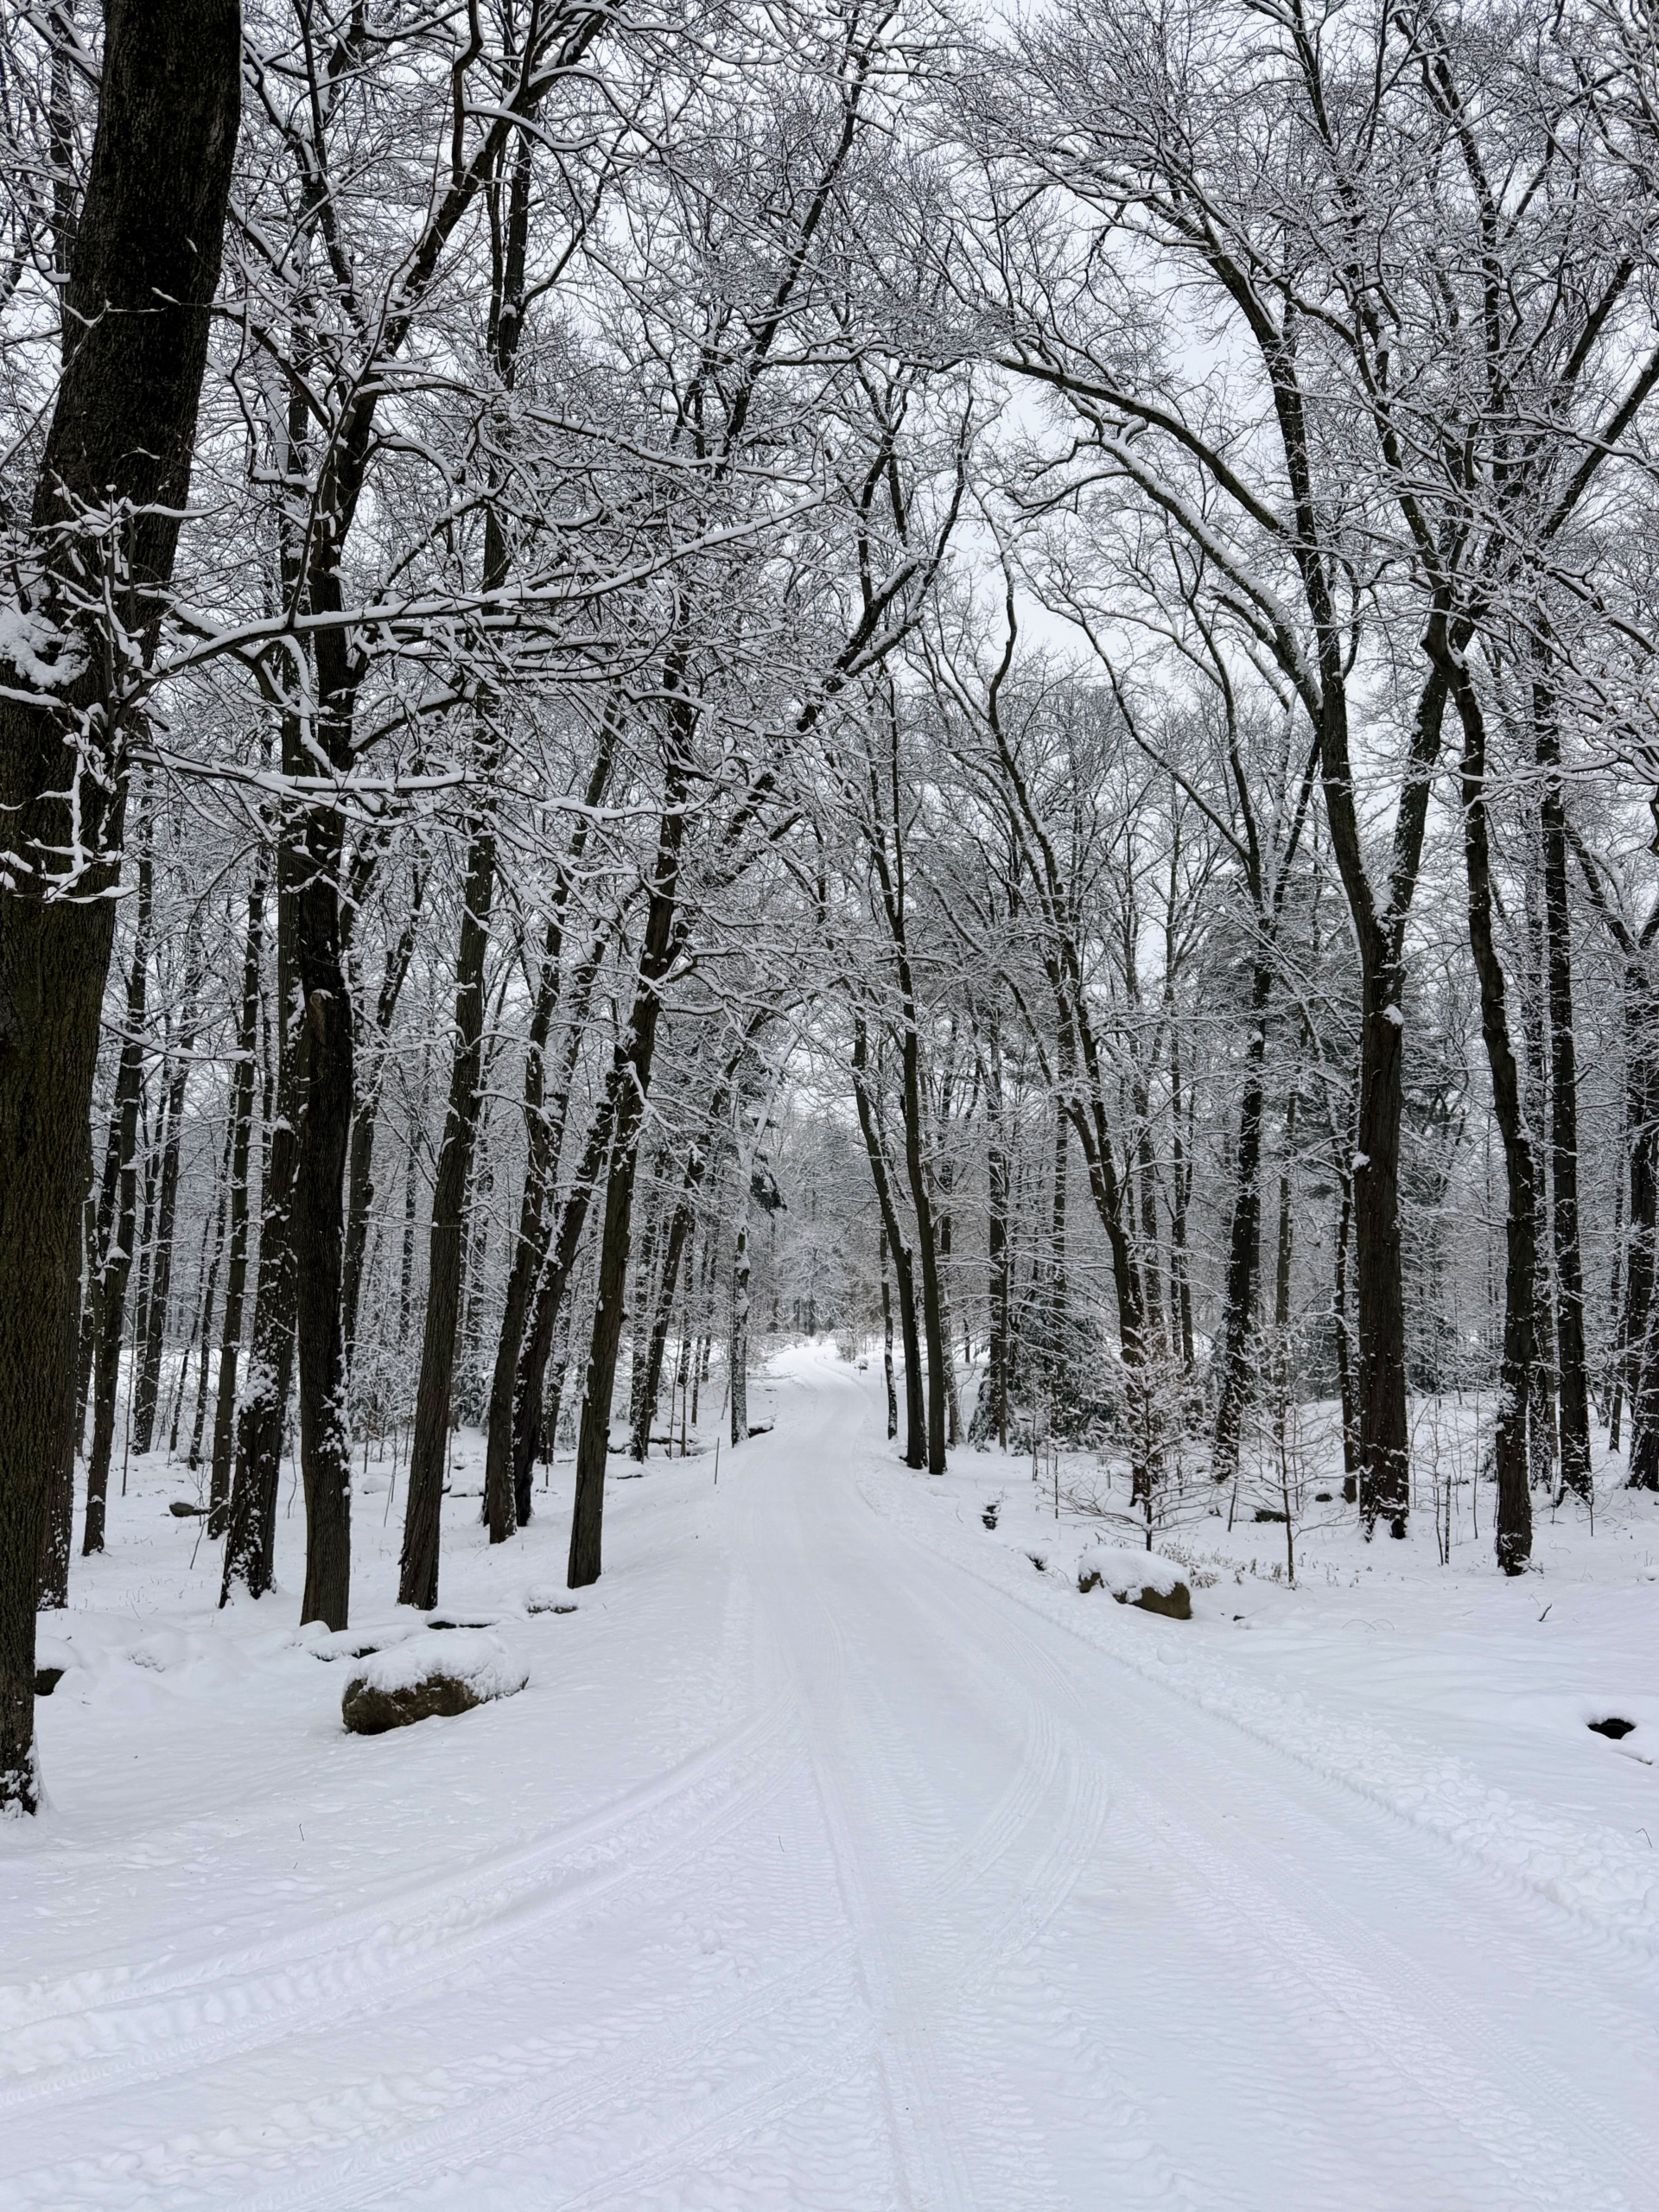
One of the most popular views at the farm – this one looking down the long carriage road to the woodlands. Majestic trees stand tall, with smaller saplings growing below.
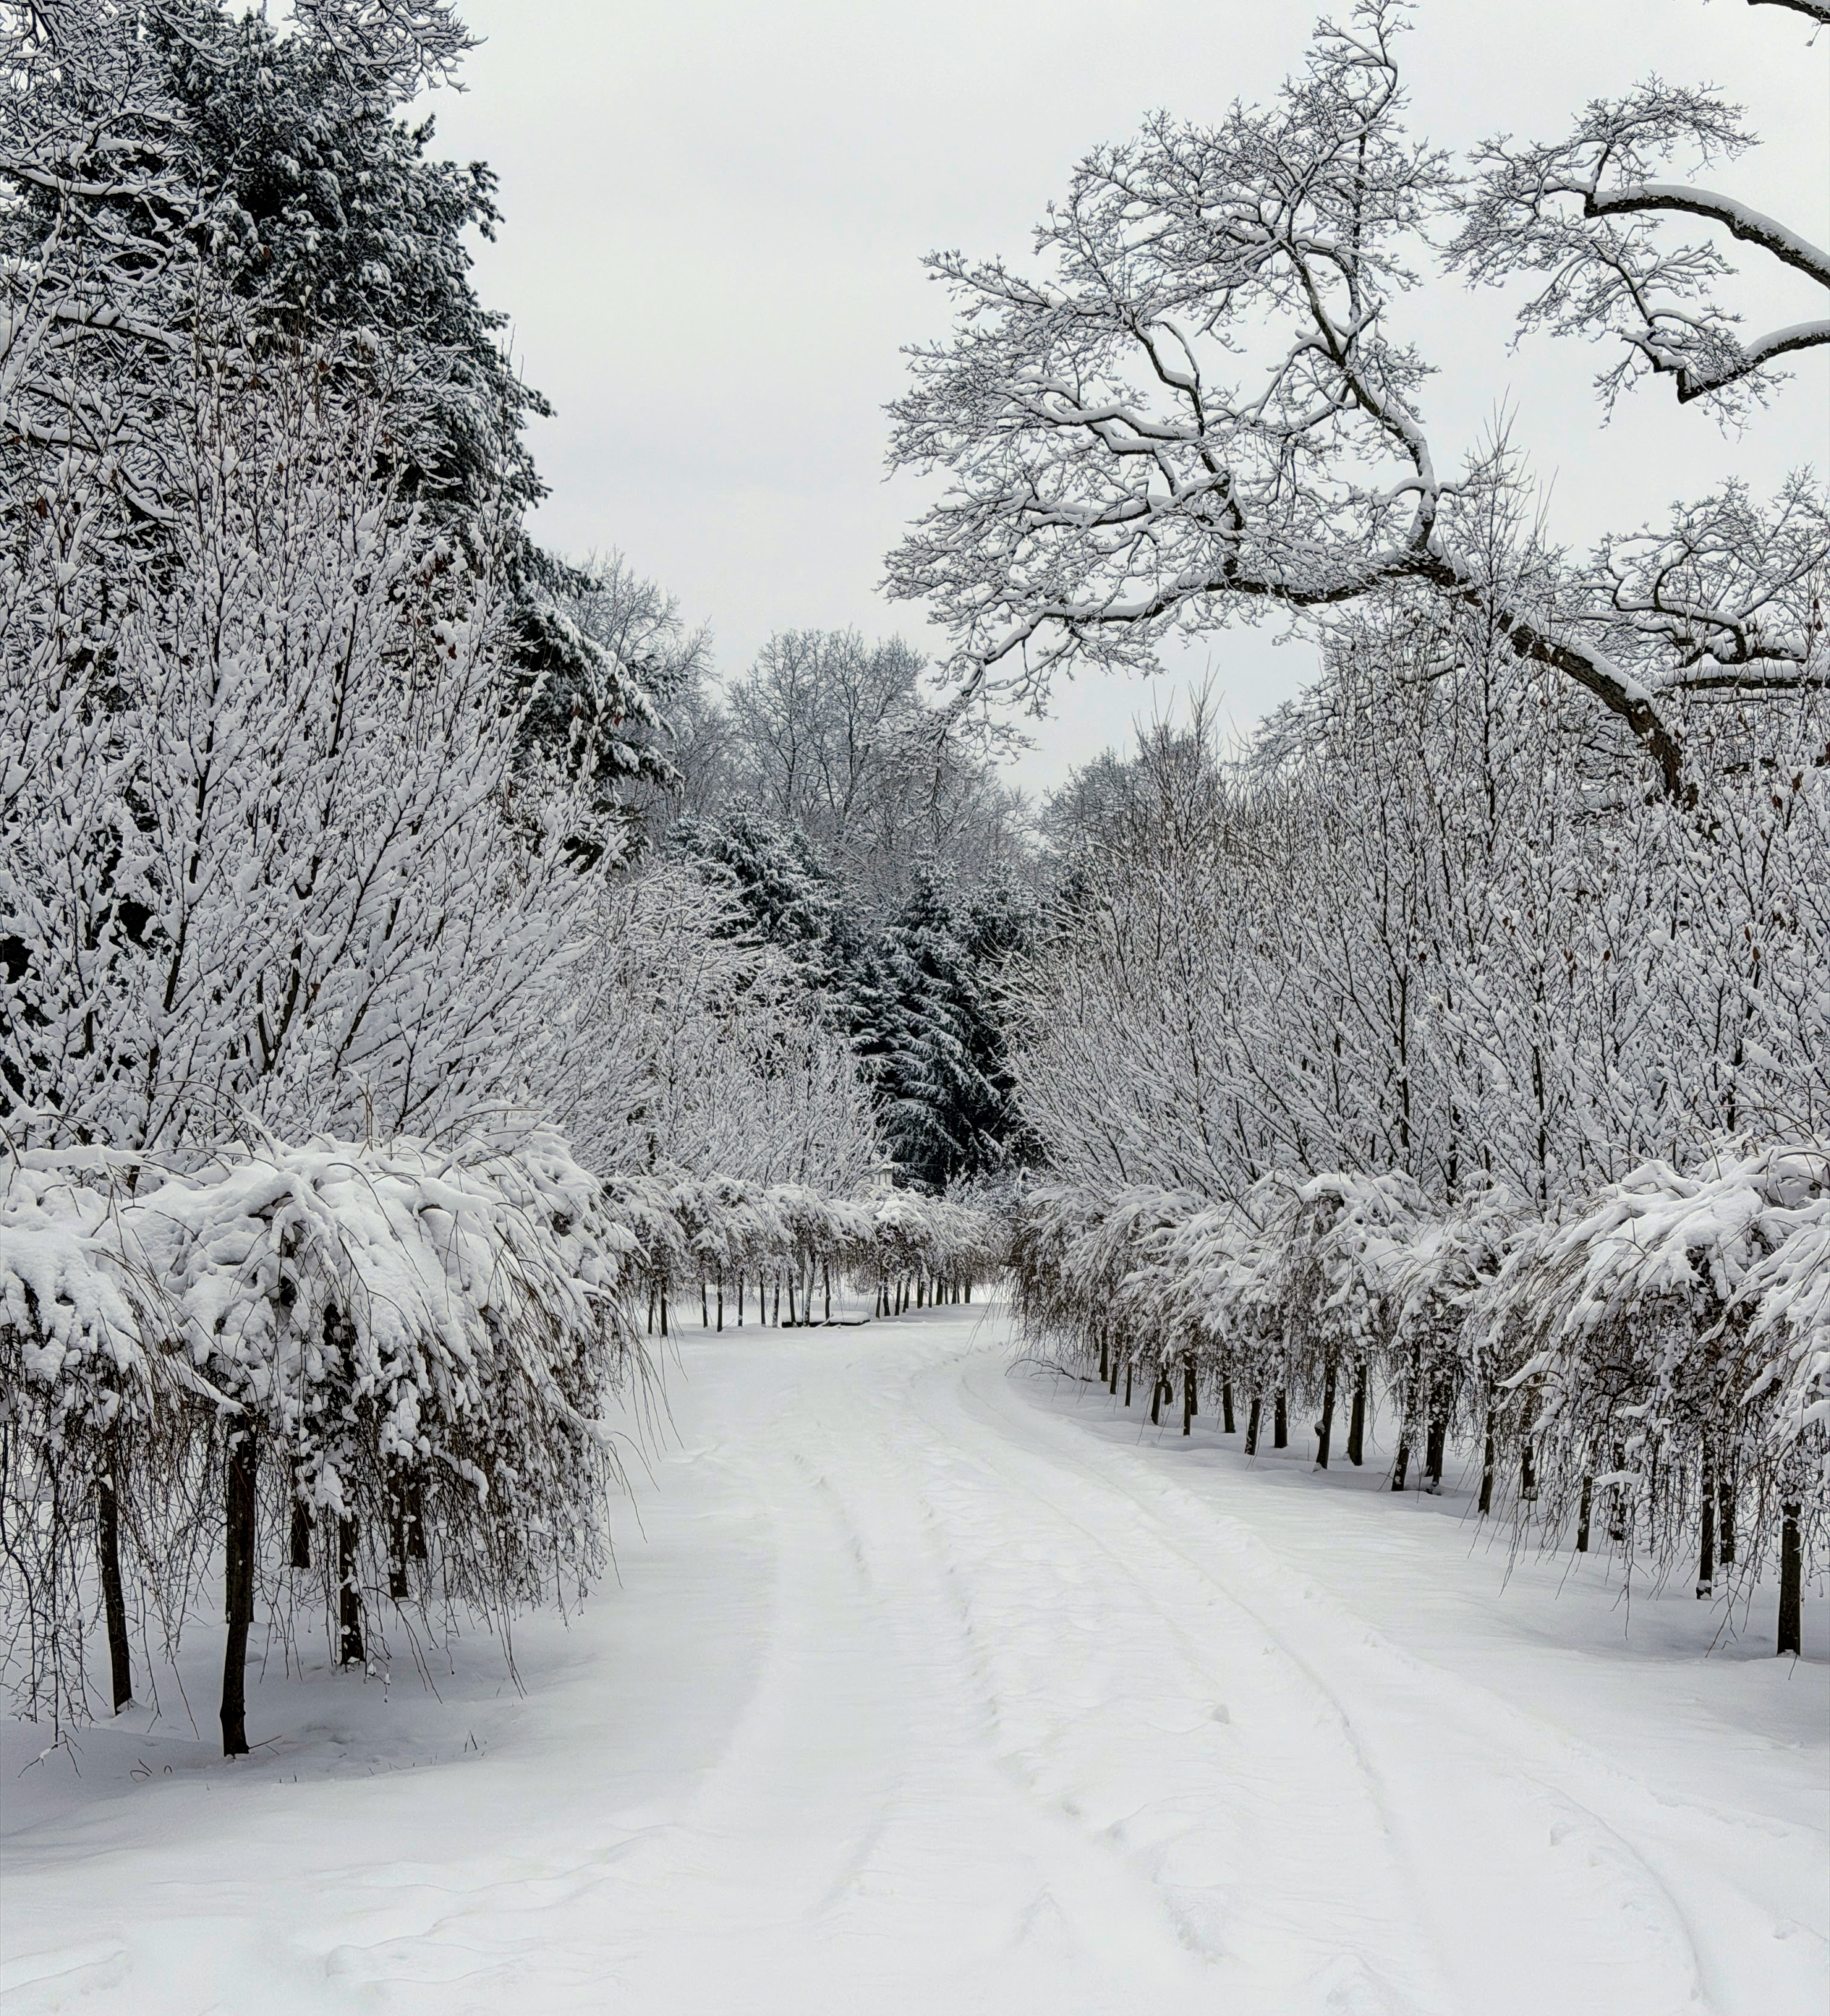
This is the carriage road leading to my tennis court. Flanking both sides of the narrow road are Styrax japonicus ‘Marley’s Pink Parasol’ Japanese Snowbells and Styrax japonicus ‘Evening Light.’
The next morning, I went out again to tour the property after another couple of inches of fresh snow fell overnight. Here, the snow on the flower garden fence looks like a privacy wall.
Here is an image taken of the driveway in front of my Hay Barn before the crew arrives.
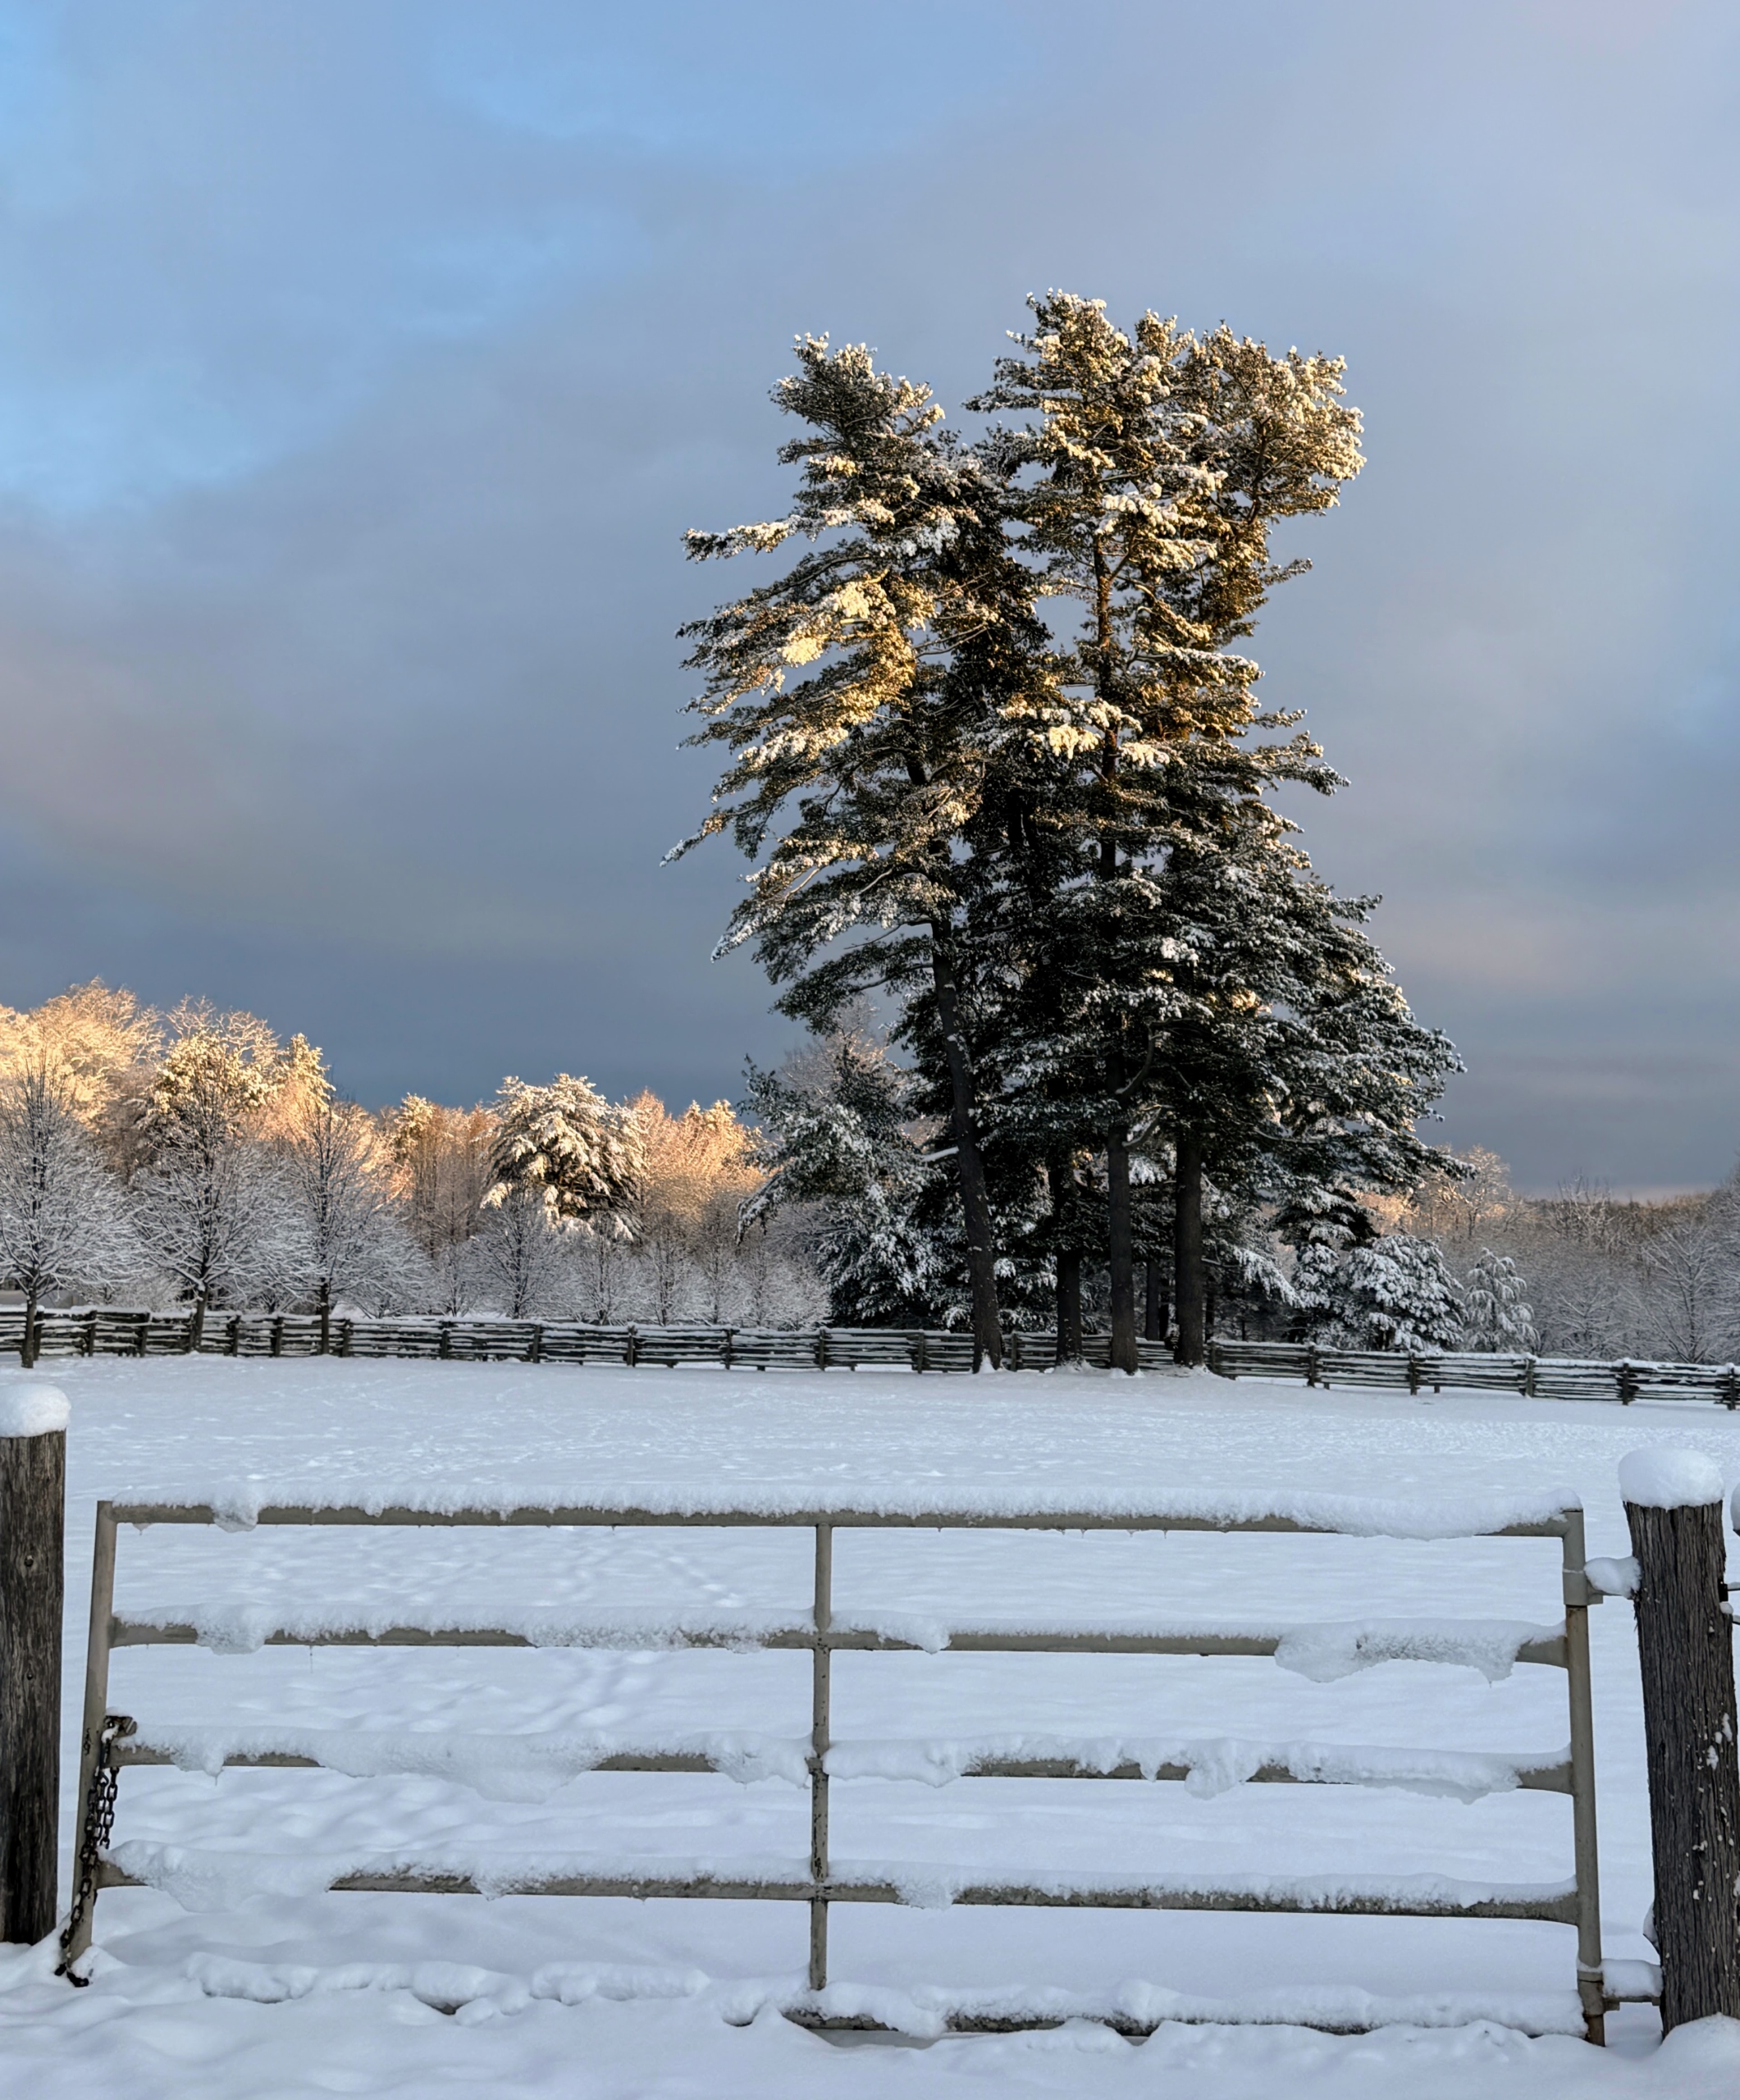
Hard to miss the stand of eastern white pine trees, Pinus strobus. They can be seen from many vantage points at the farm.
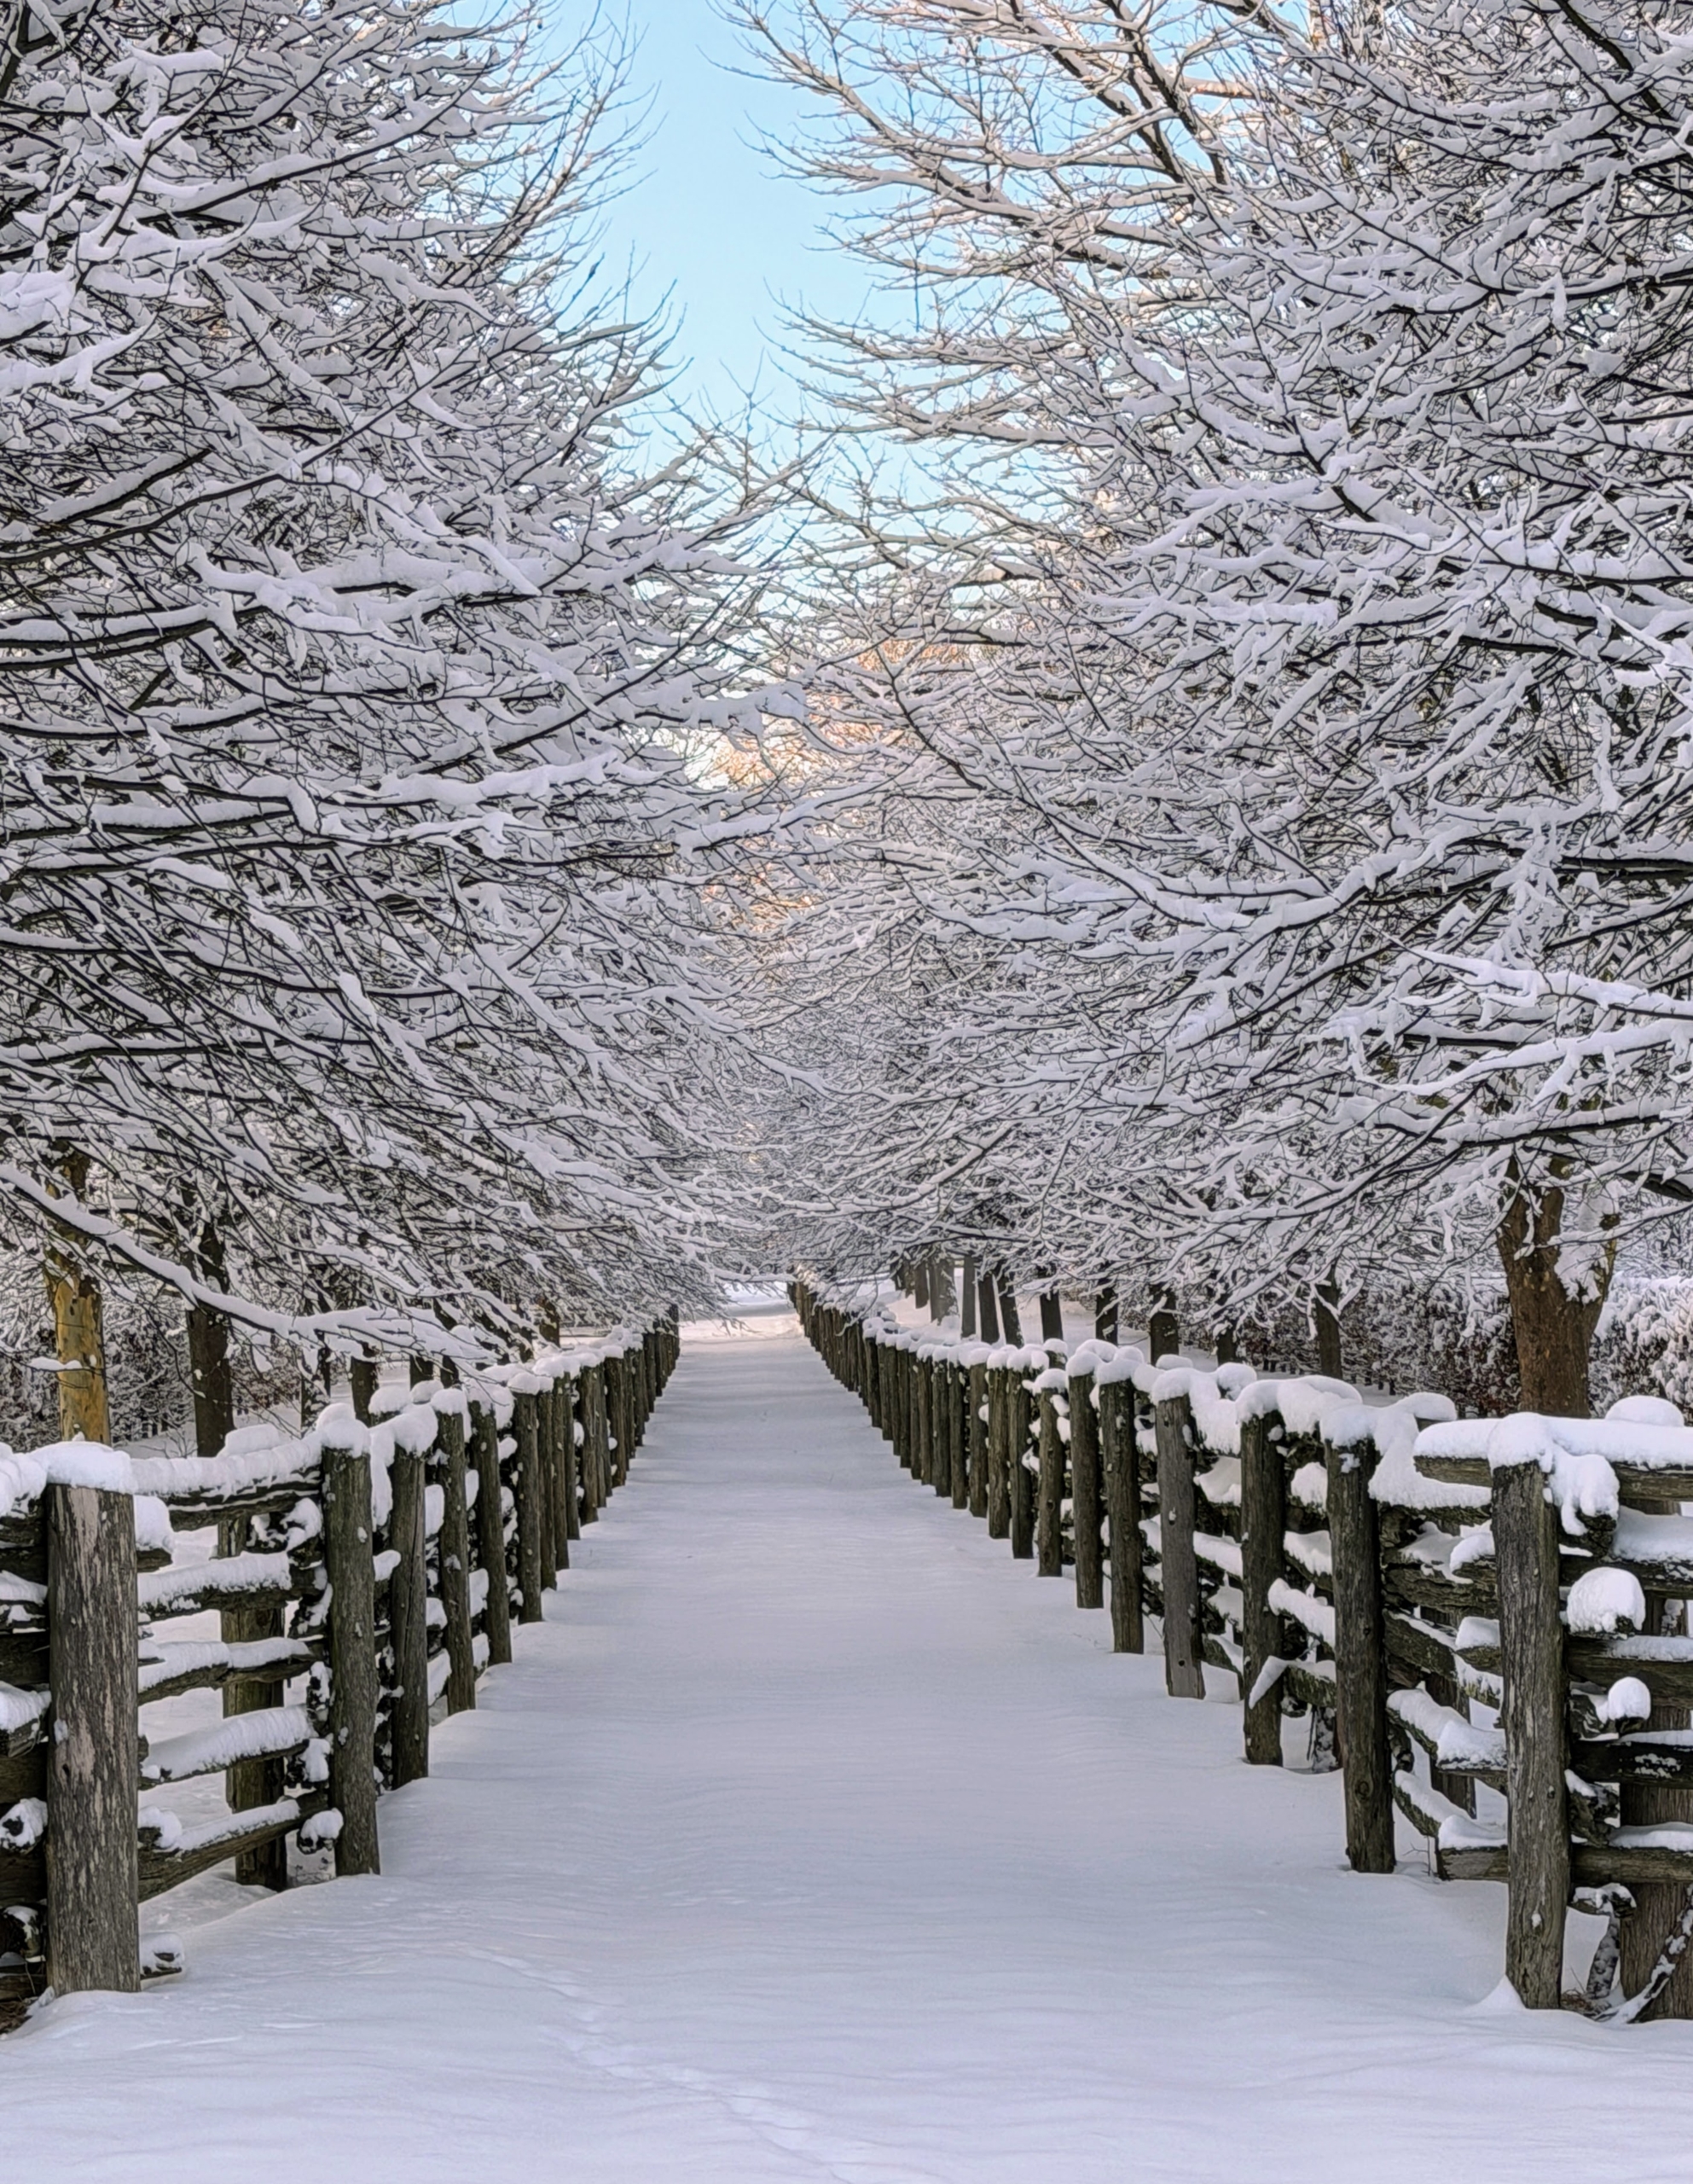
This linden tree-lined path between the paddocks runs from my Winter House and carport down to the chicken coops.
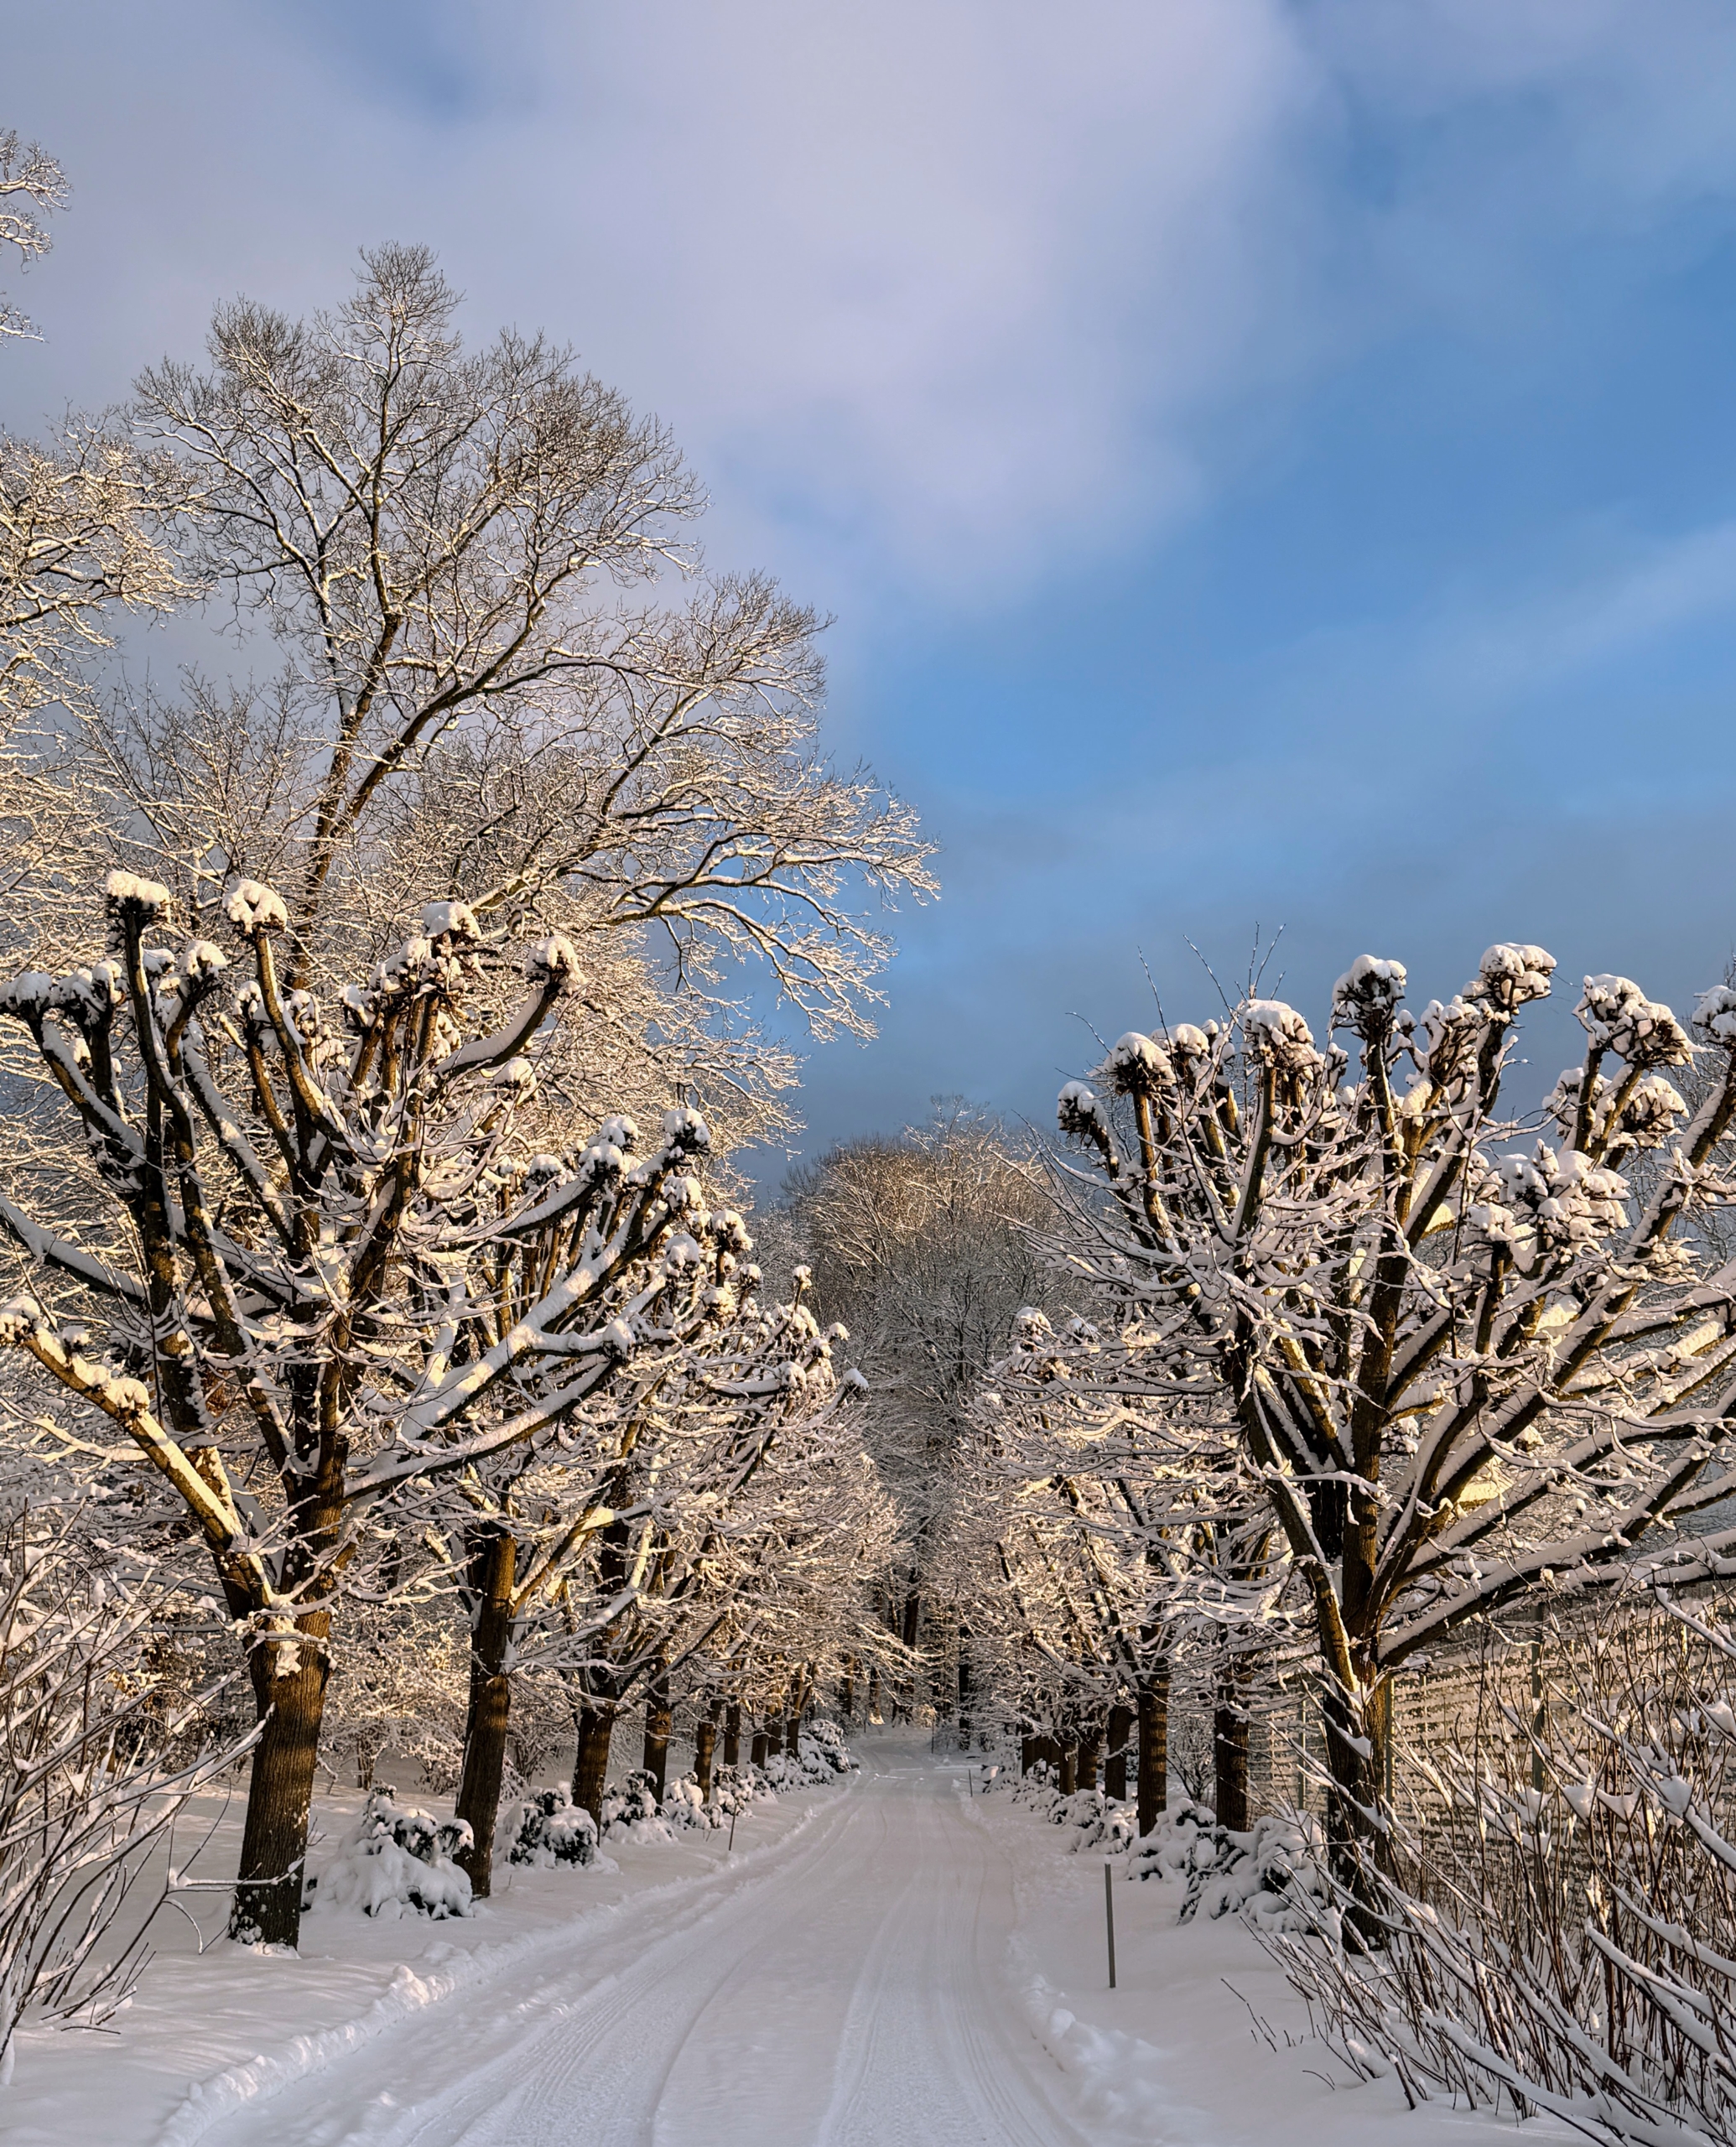
This is my original Allée of Lindens. The linden tree, Tilia, is also referred to as basswood or lime, though it is not related at all to the lime fruit. They are straight stemmed trees with smooth bark. I like to pollard these trees regularly. Pollarding is a type of pruning, a very severe method that involves cutting the branches back either to the trunk, or even all the way down to the top of the trunk to promote the growth of club-headed stems and dense new foliage and branches.
This is my snow-covered stone yard, a place where extra inventory of the many types of stones used at the farm are kept – slate shingles, marble flooring, granite posts, etc. The 100-year old white spruce fencing has stood the test of time. I love how the snow collects on the fence rails. I have photographed sections of this beautiful fence many times through the seasons.
At the other end of my farm is what I call the “run in” pasture – a giant paddock where all my horses can spend the day together. The “run-in” shed is in the distance.
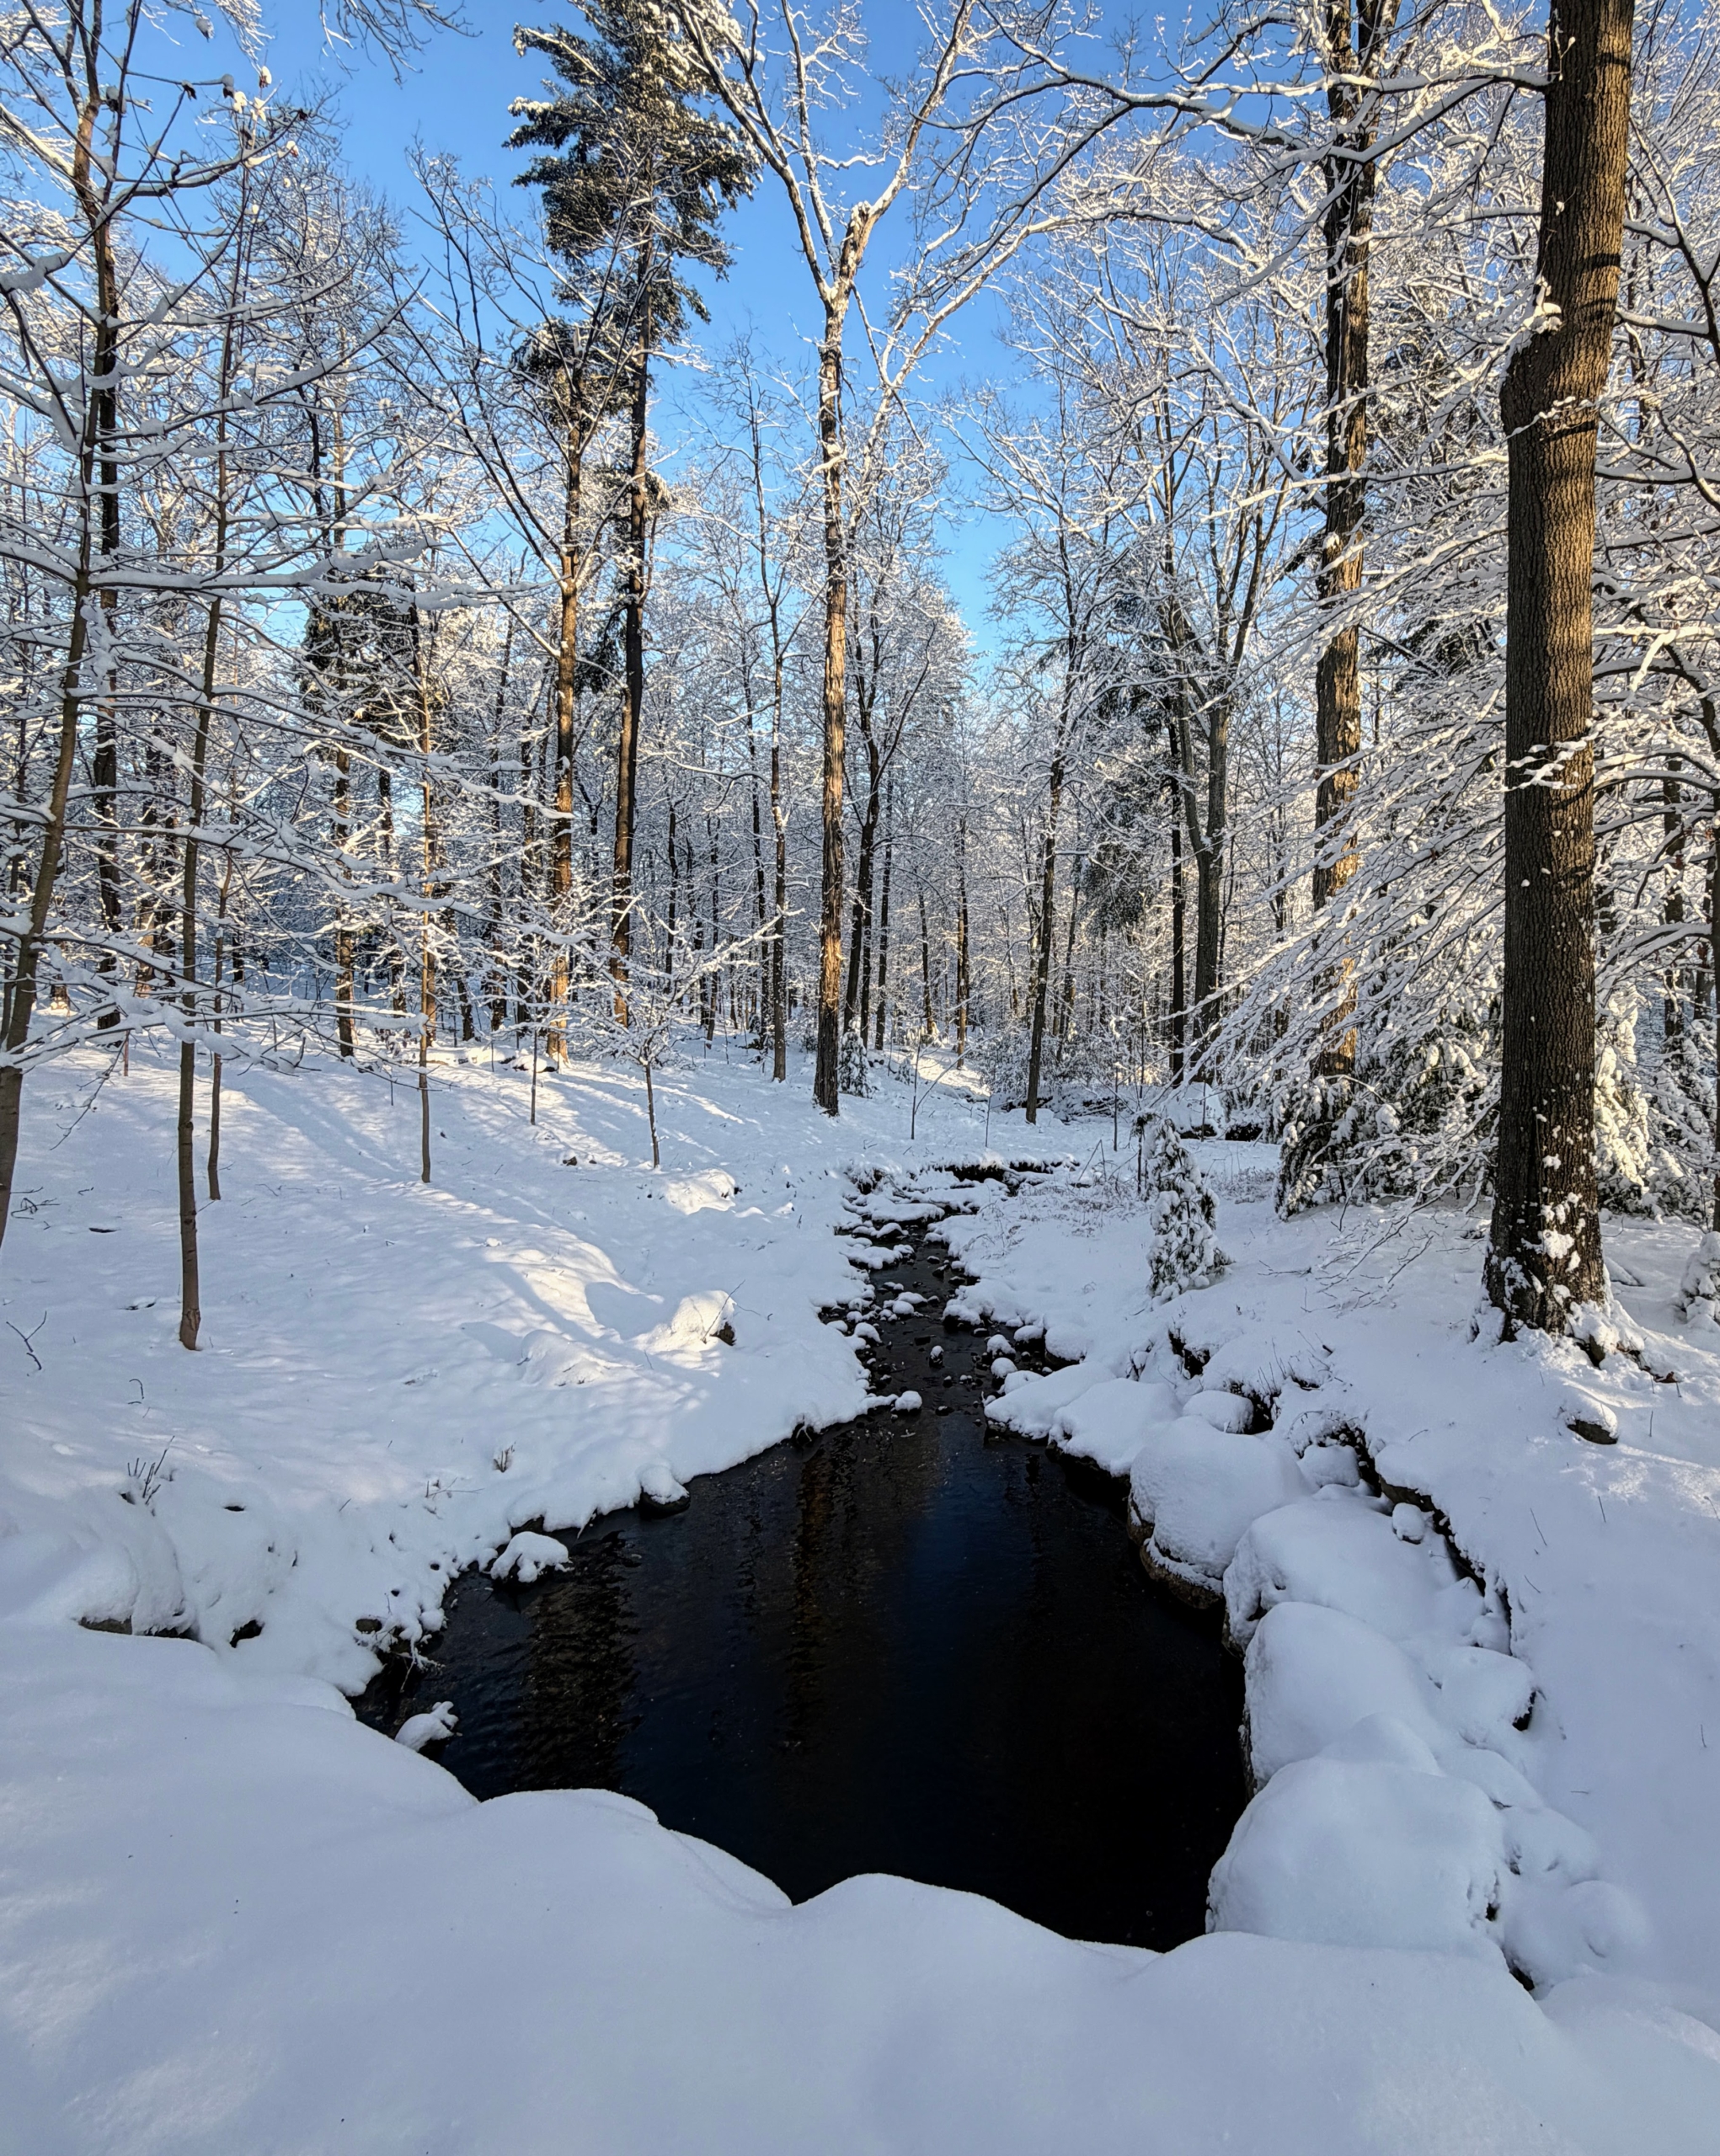
Here’s a look through the woodland. The streams are full – they look so dark against the snow.
This time of year, I am very relieved the boxwood hedges and shrubs are well protected under burlap covers. Heavy snow could splay the branches.
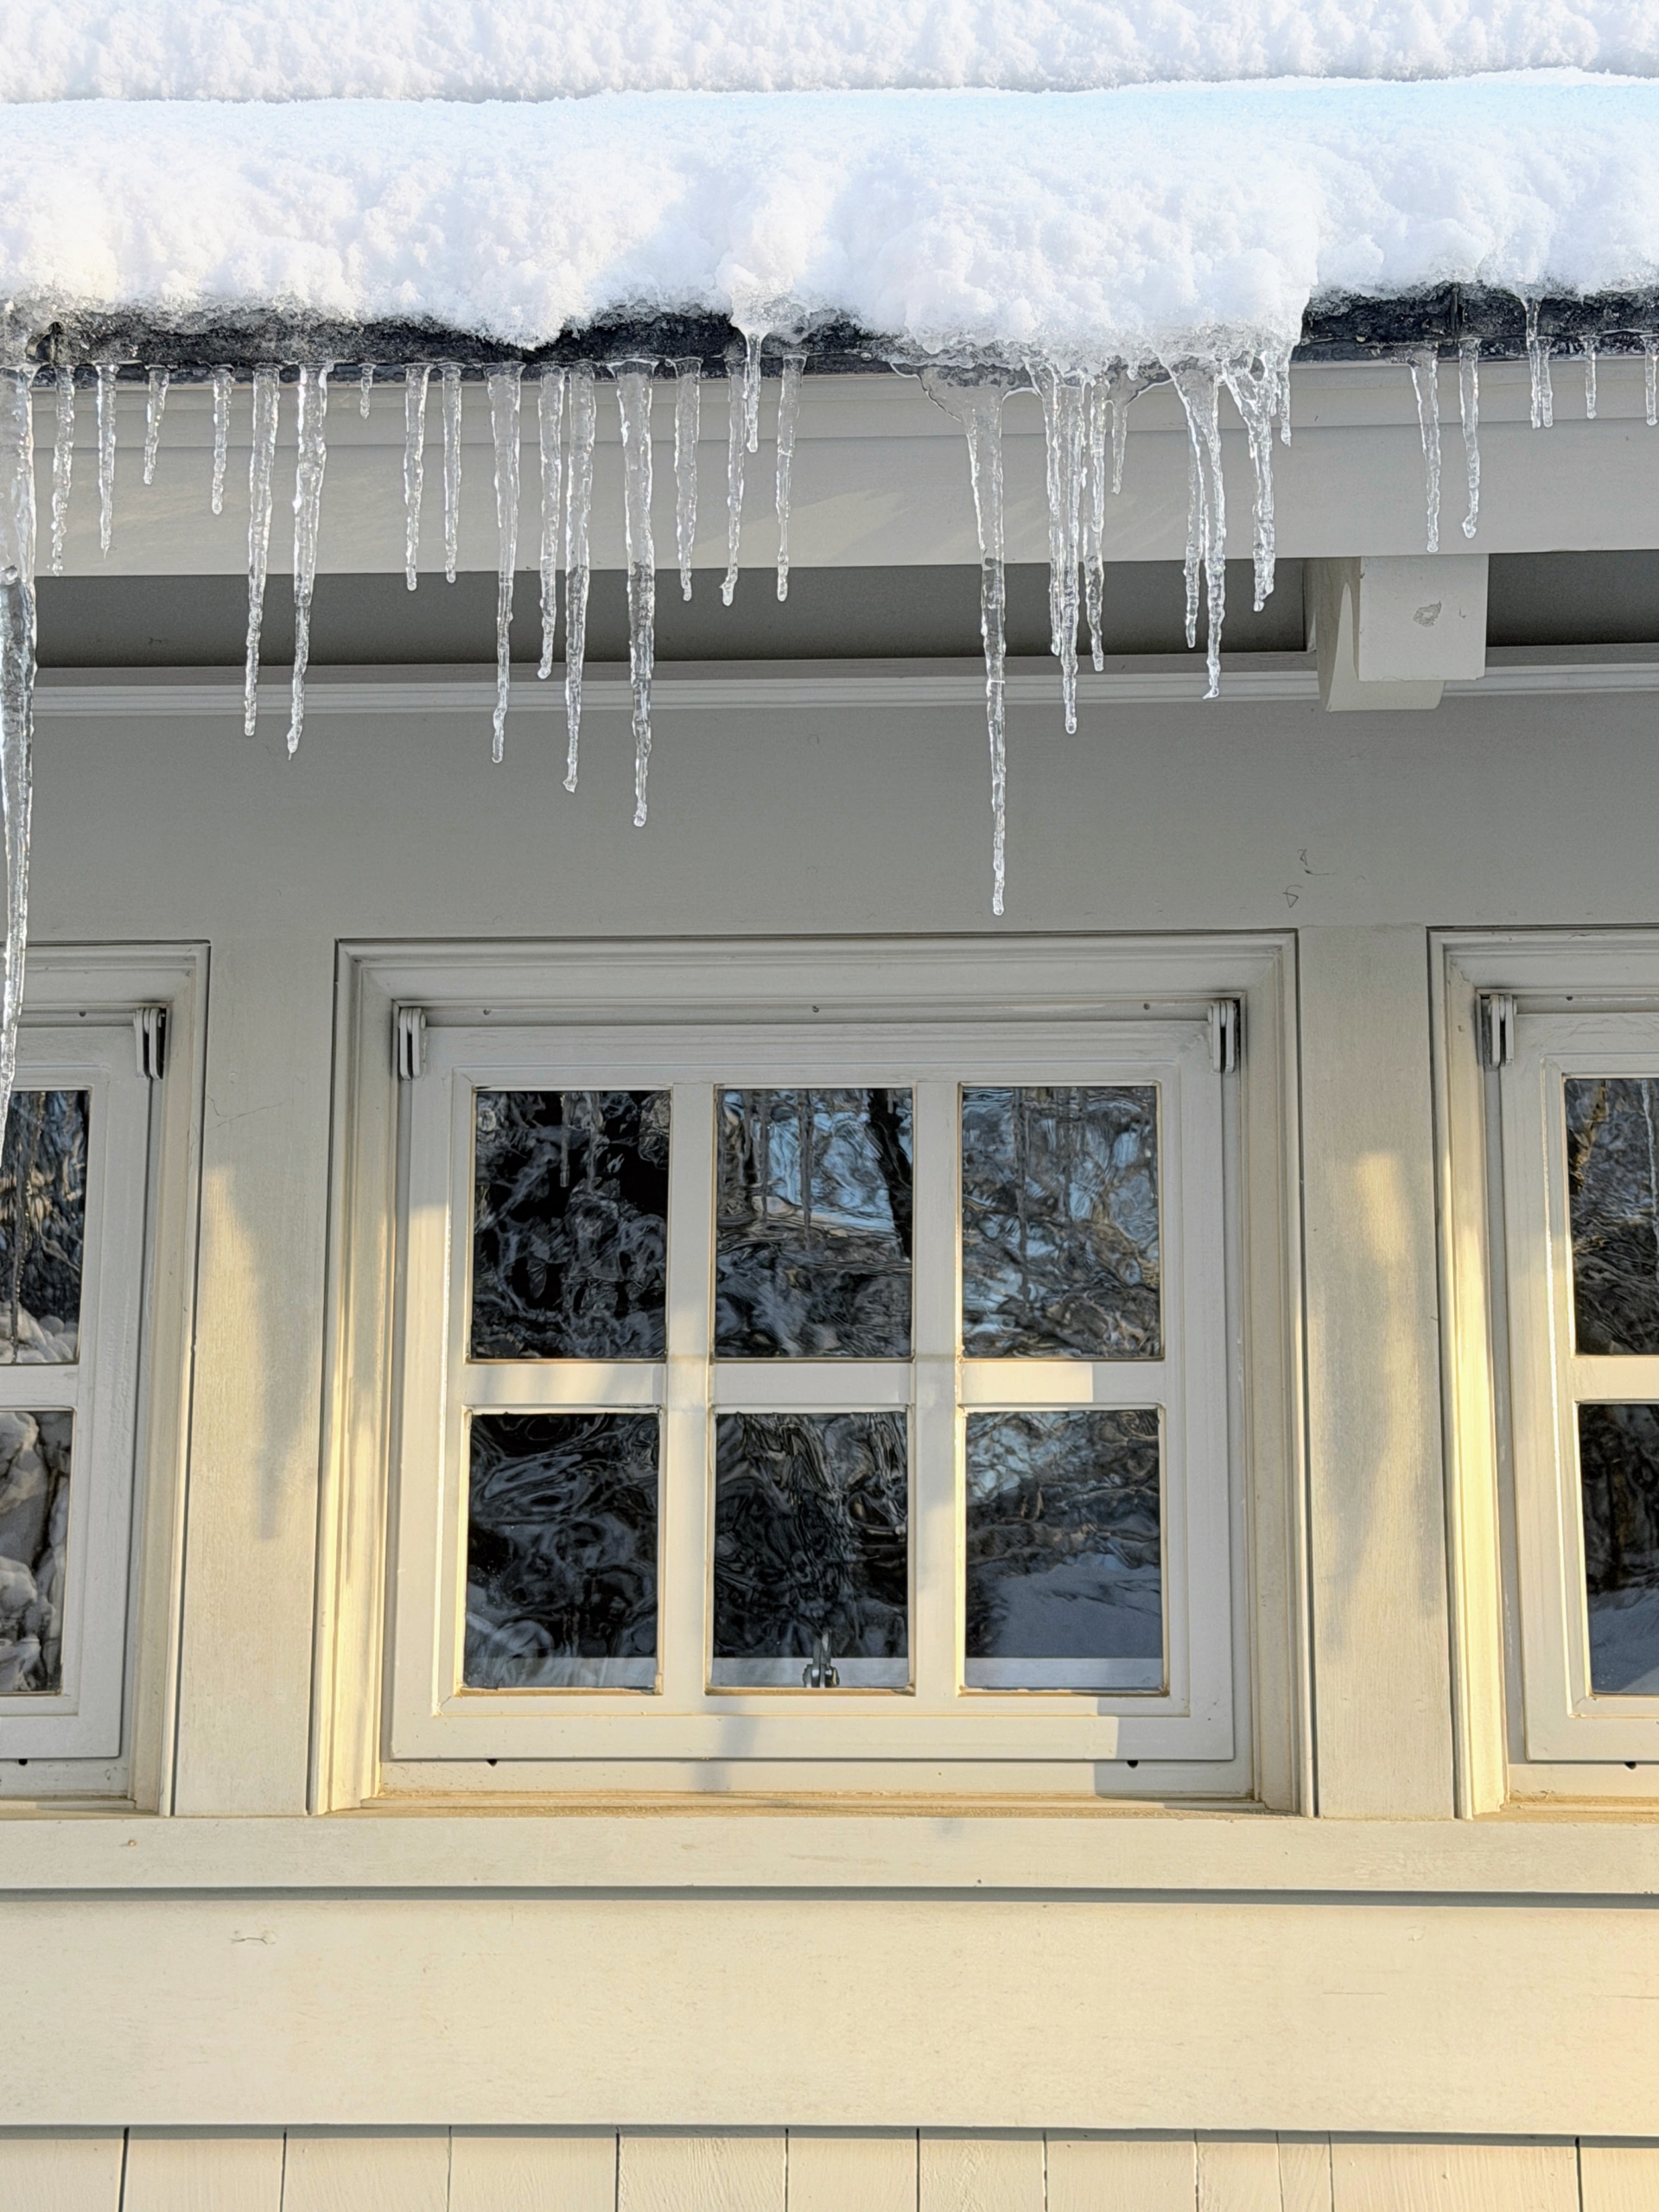
When it is very cold, icicles form along the roof line of my “Flower Room” – an outbuilding across from my Winter House which includes a kitchen and pantry.
My longtime driver Carlos Villamil shares my love for photography. He took this photo of the little Basket House nestled in the grove of bald cypress, Taxodium distichum. We’re expecting more snow to fall this coming weekend. I’m sure to be out there plowing the carriage roads once again – stay tuned for more photos.
When does the spring cleaning bug hit you? For me, spring cleaning starts as soon as the New Year arrives.
Spring cleaning is a great opportunity to refresh and re-organize. I have already cleaned out and re-organized my giant Equipment Barn and several basement storage areas. I've also cleaned all my every day stainless steel pots, pans, and steamer baskets - did you see my Instagram post @MarthaStewart48? And last week, my housecleaner Carlos took on the task of polishing my home's thresholds, the horizontal metal strips at the bottom of my entrance doorways.
Here are some photos, enjoy.
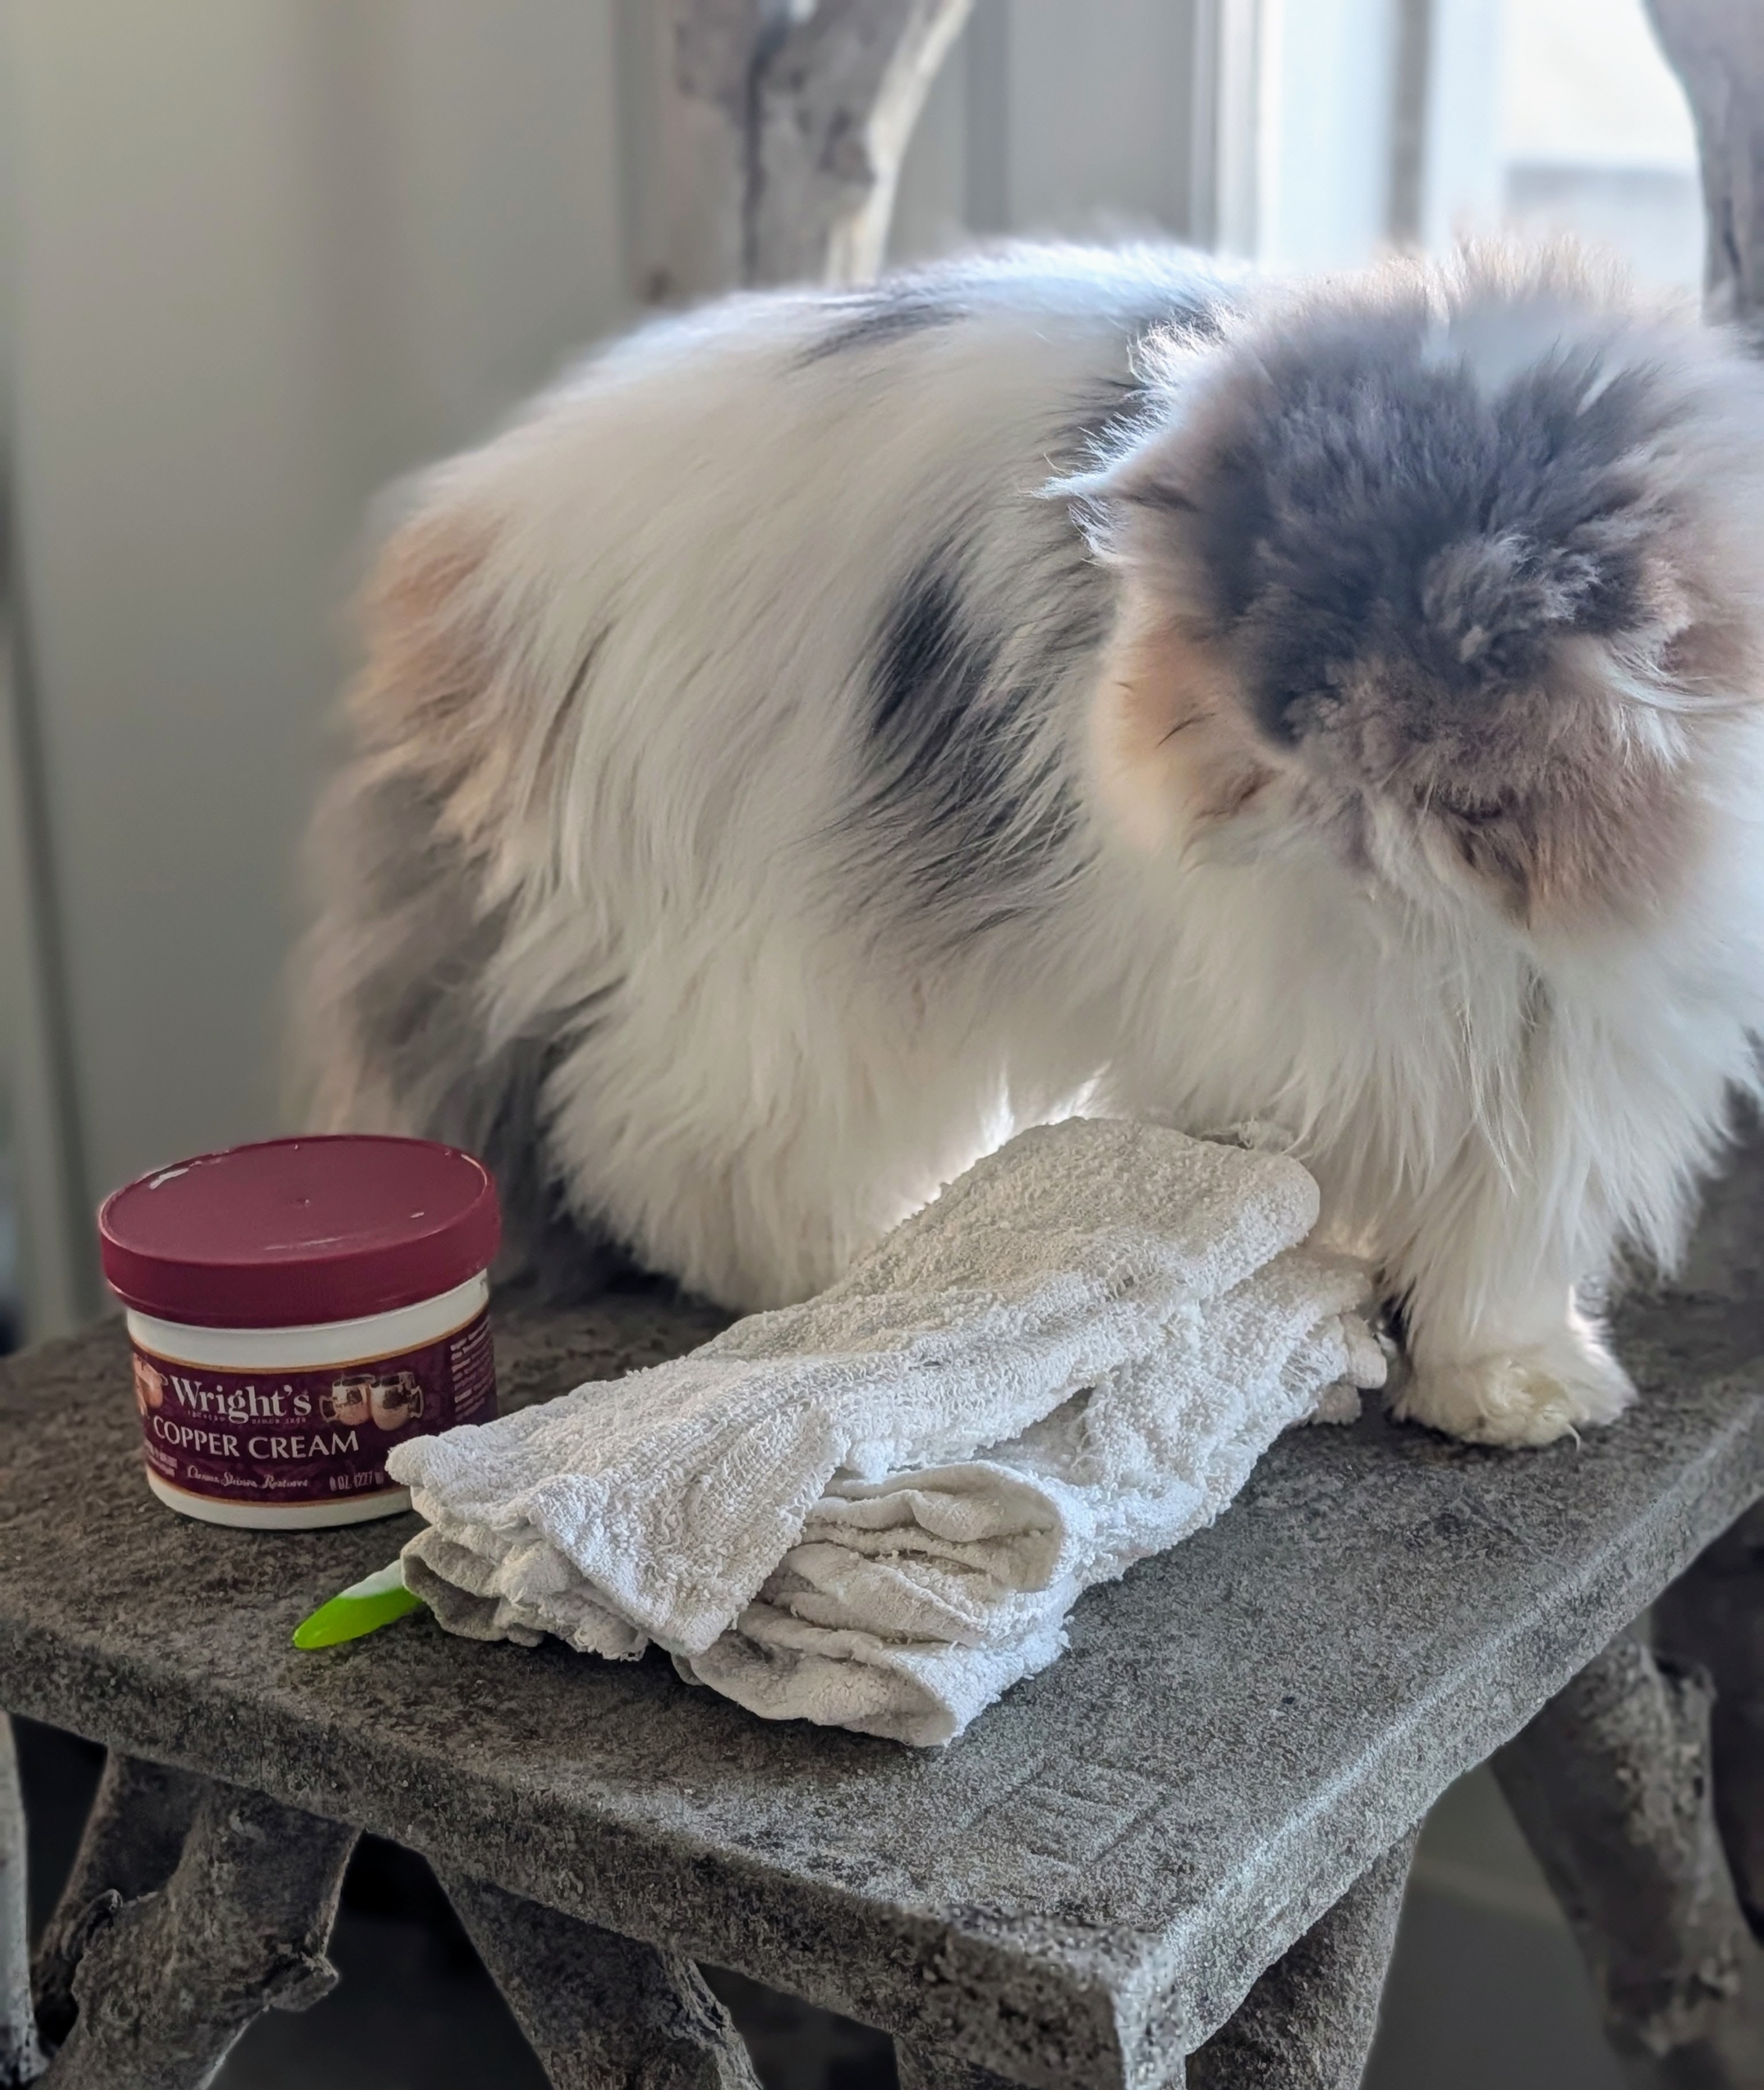
Dahlia is always so curious. Whenever there is activity at my home, she’s right there watching – or is she conducting an inspection?
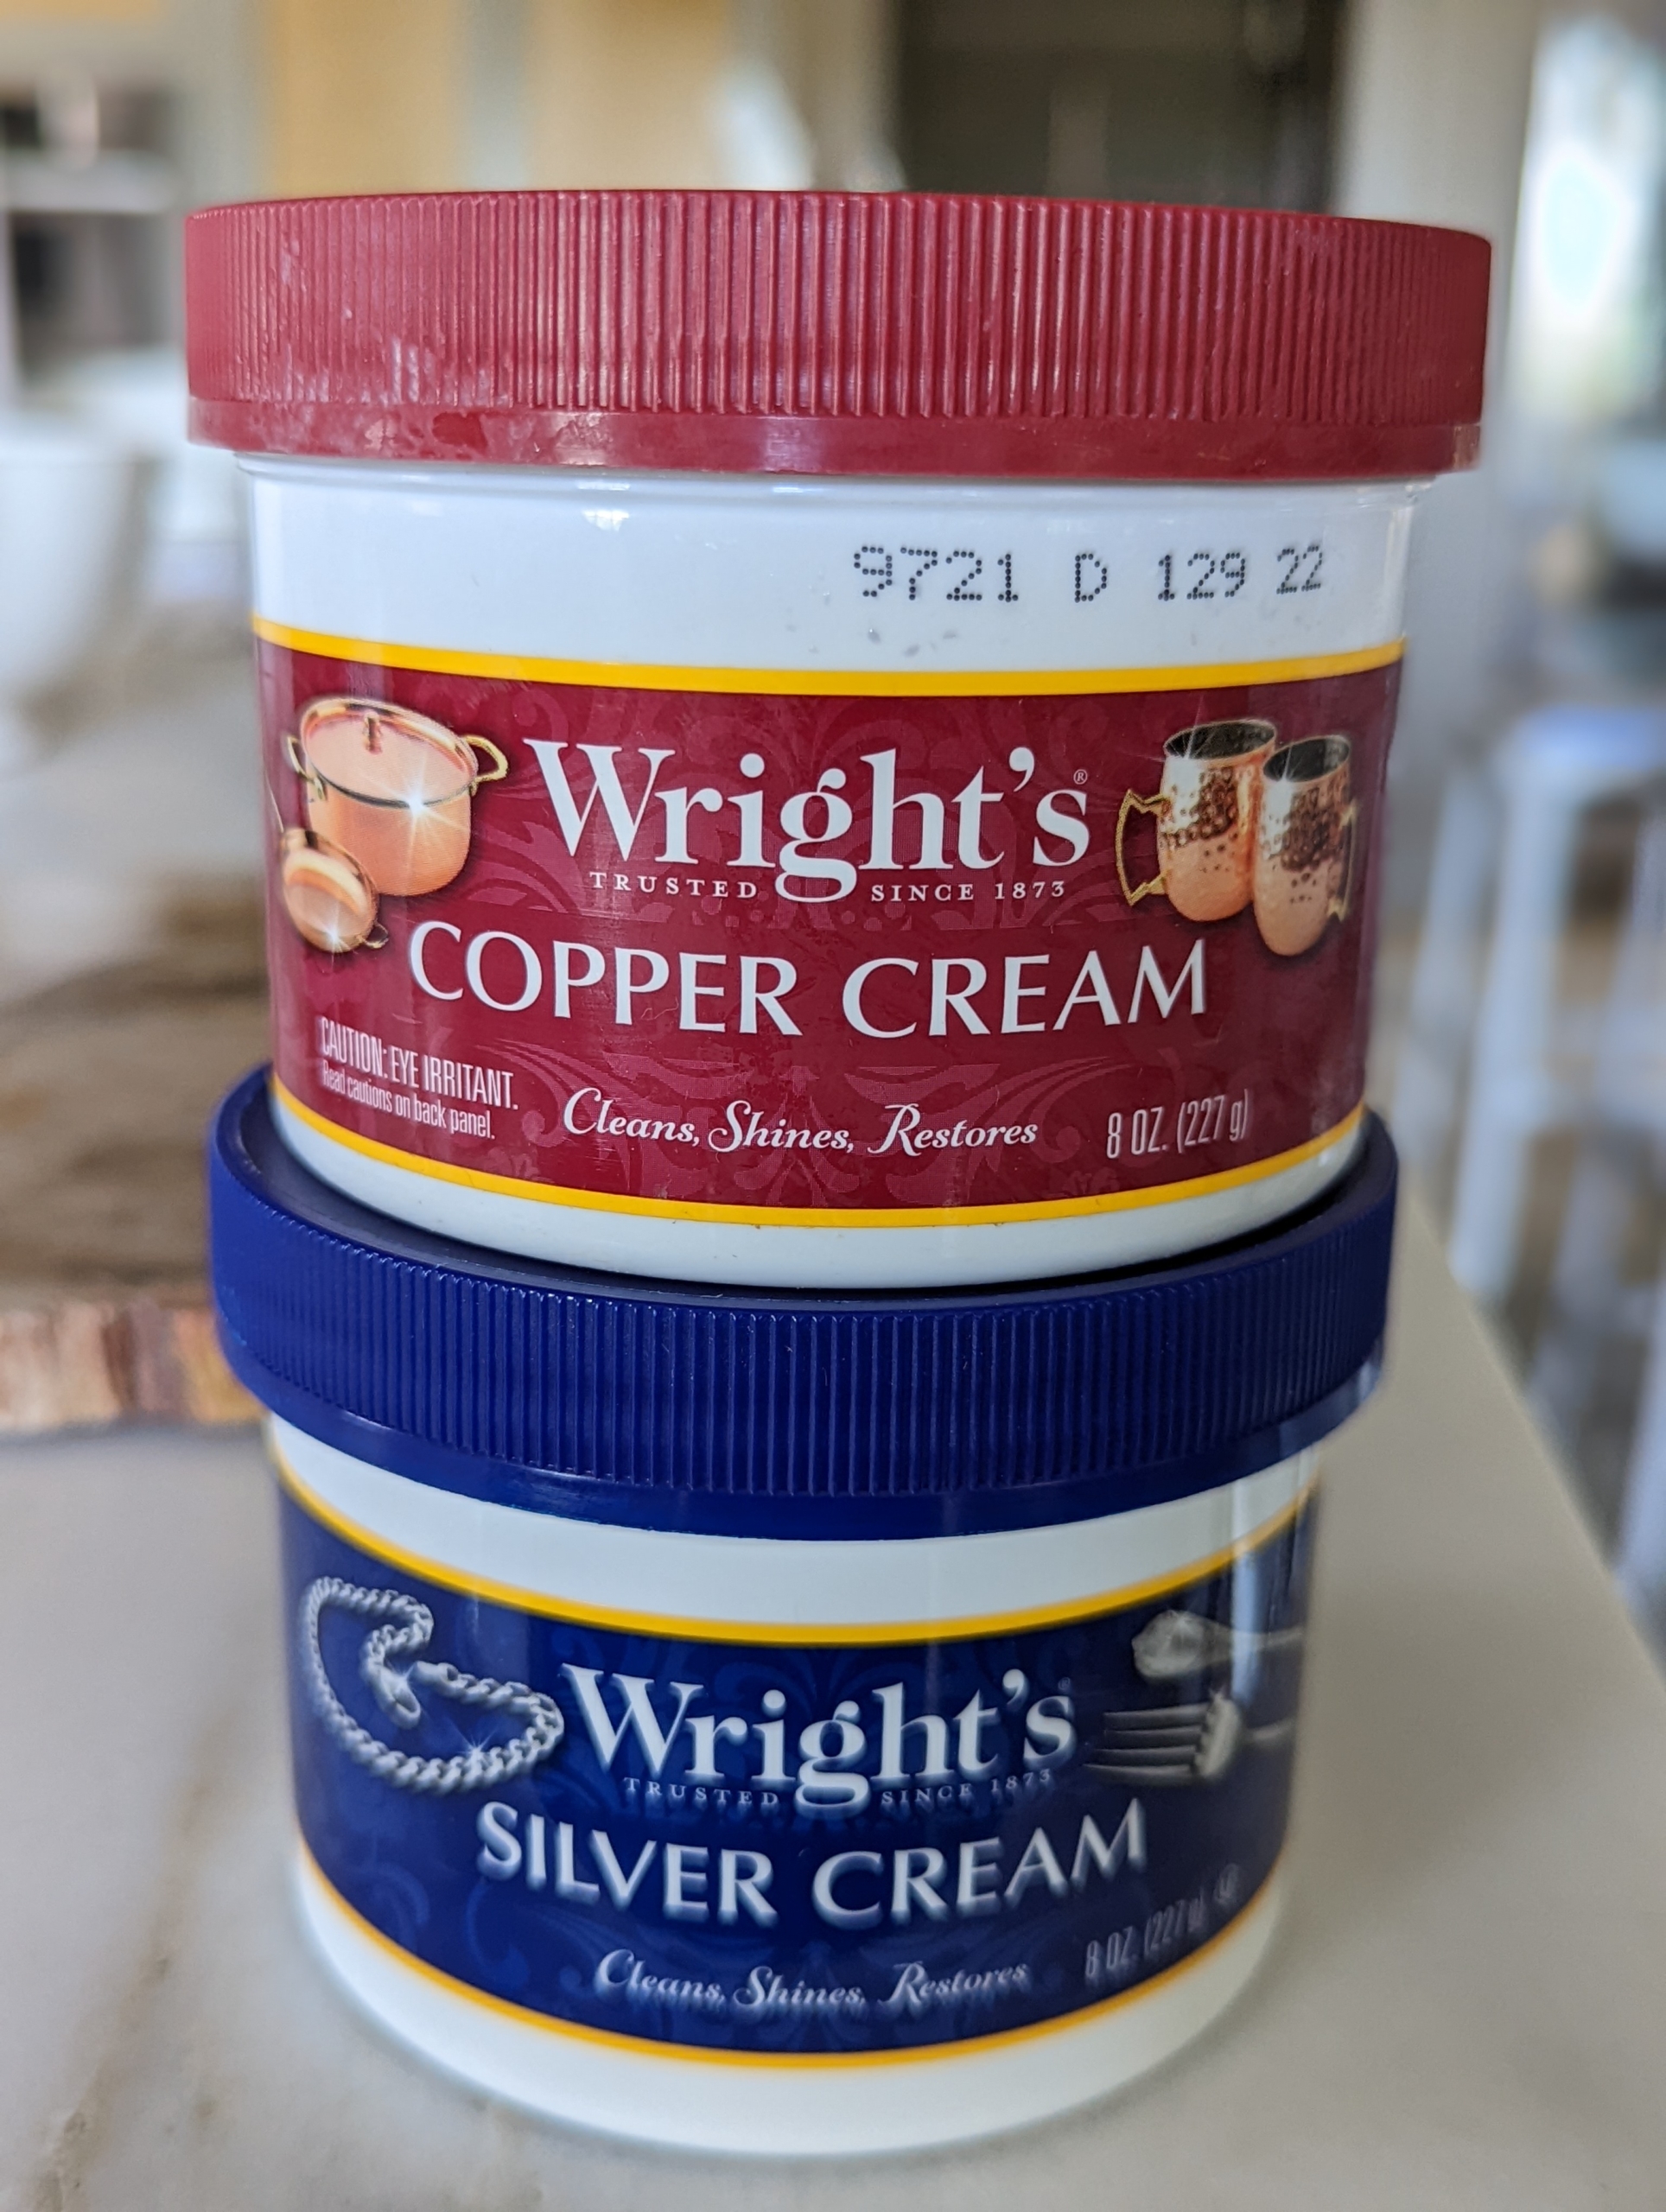
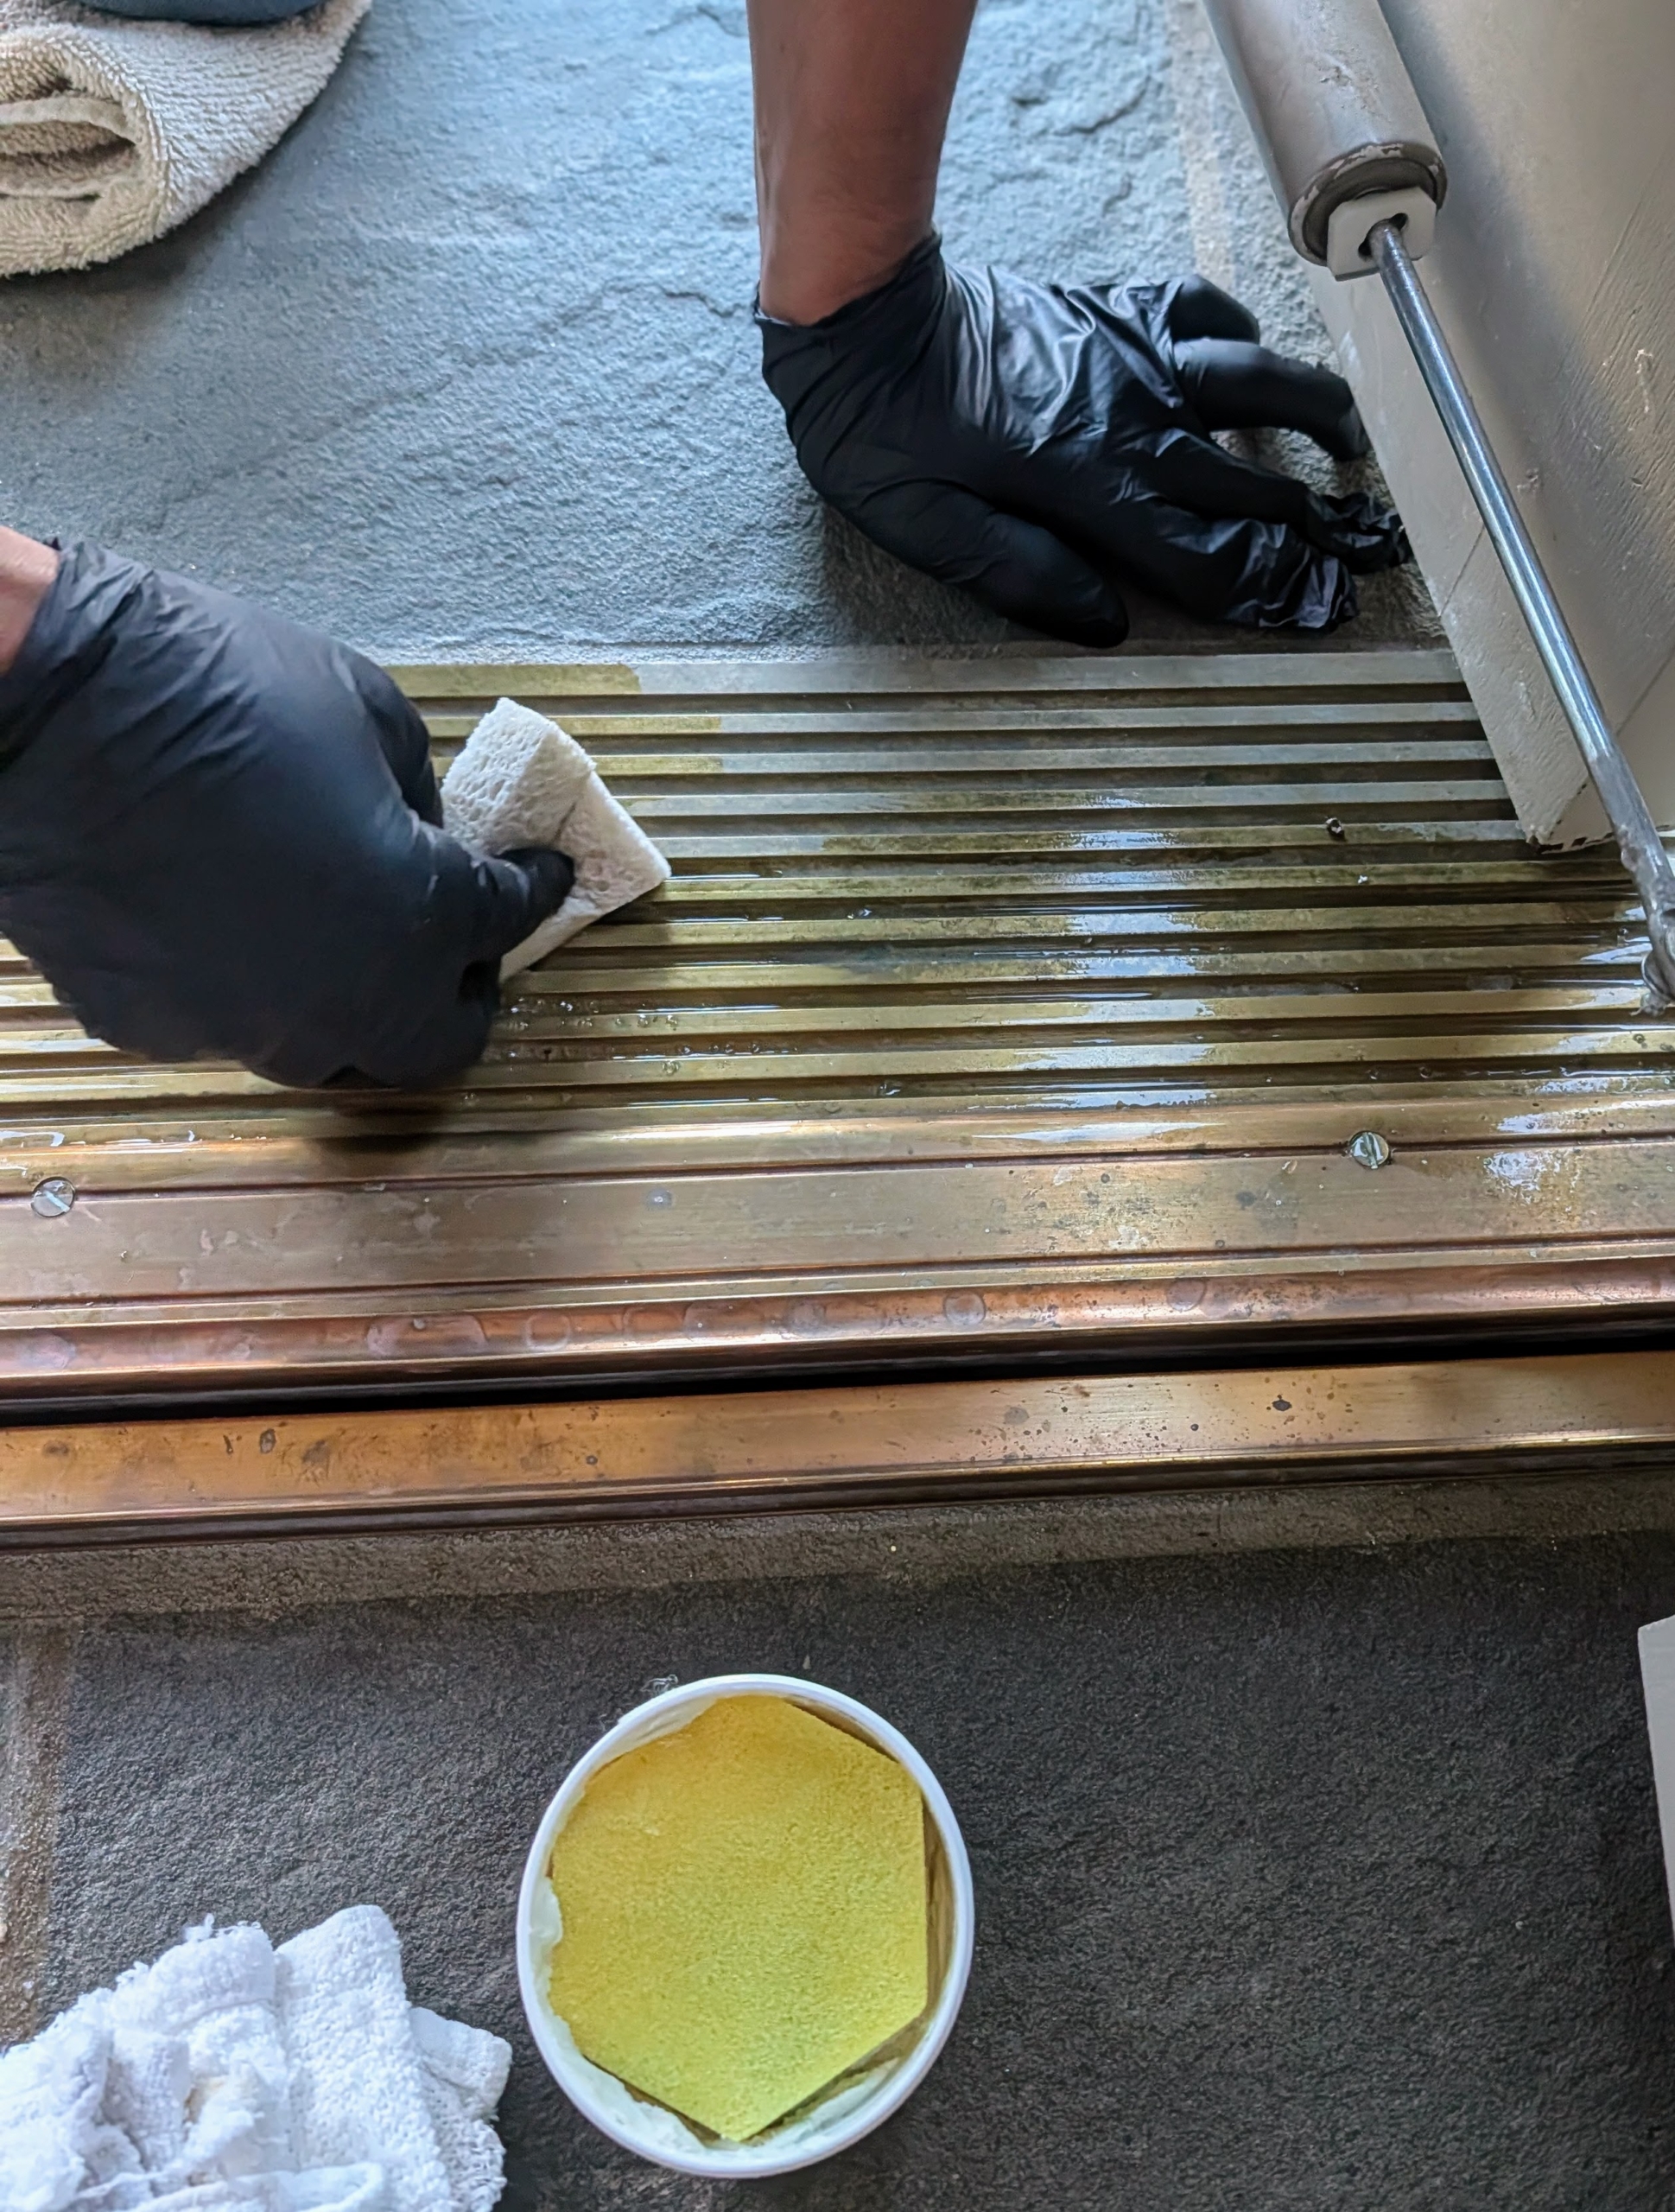
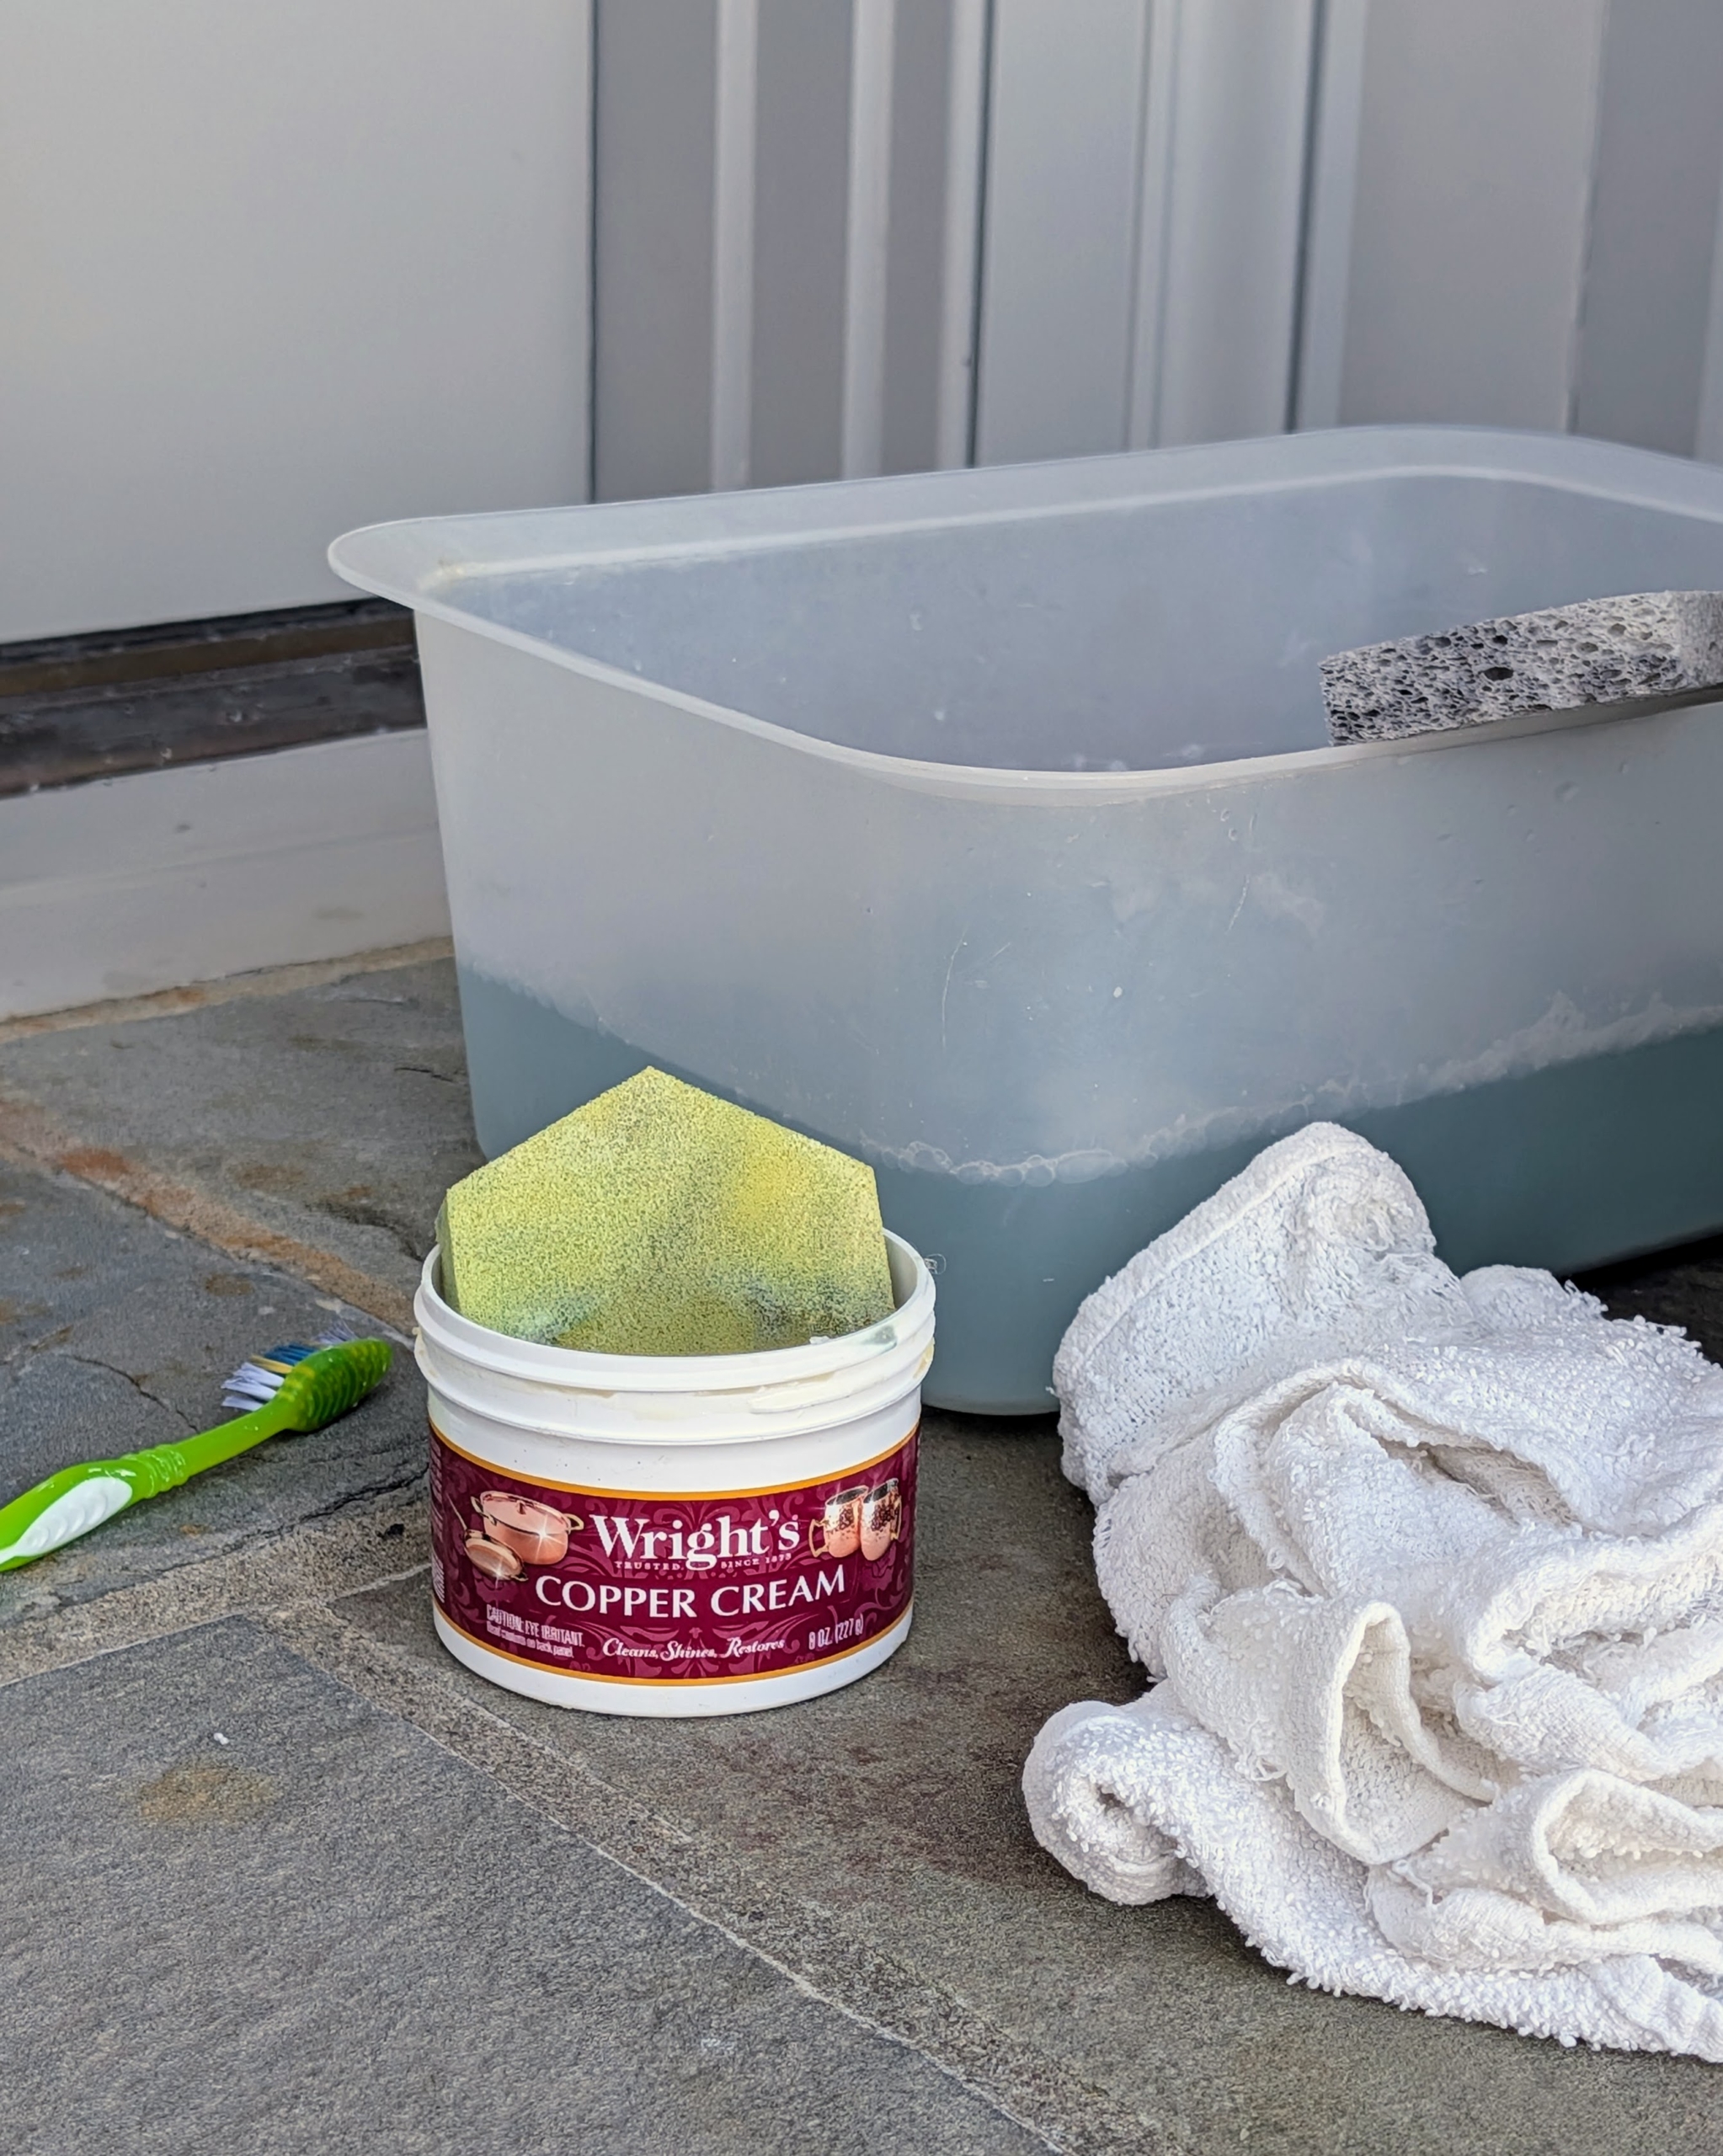
For cleaning various metals, I have long used Wright’s Copper, Brass, and Silver Cleaning Creams. These come in small and large sizes.
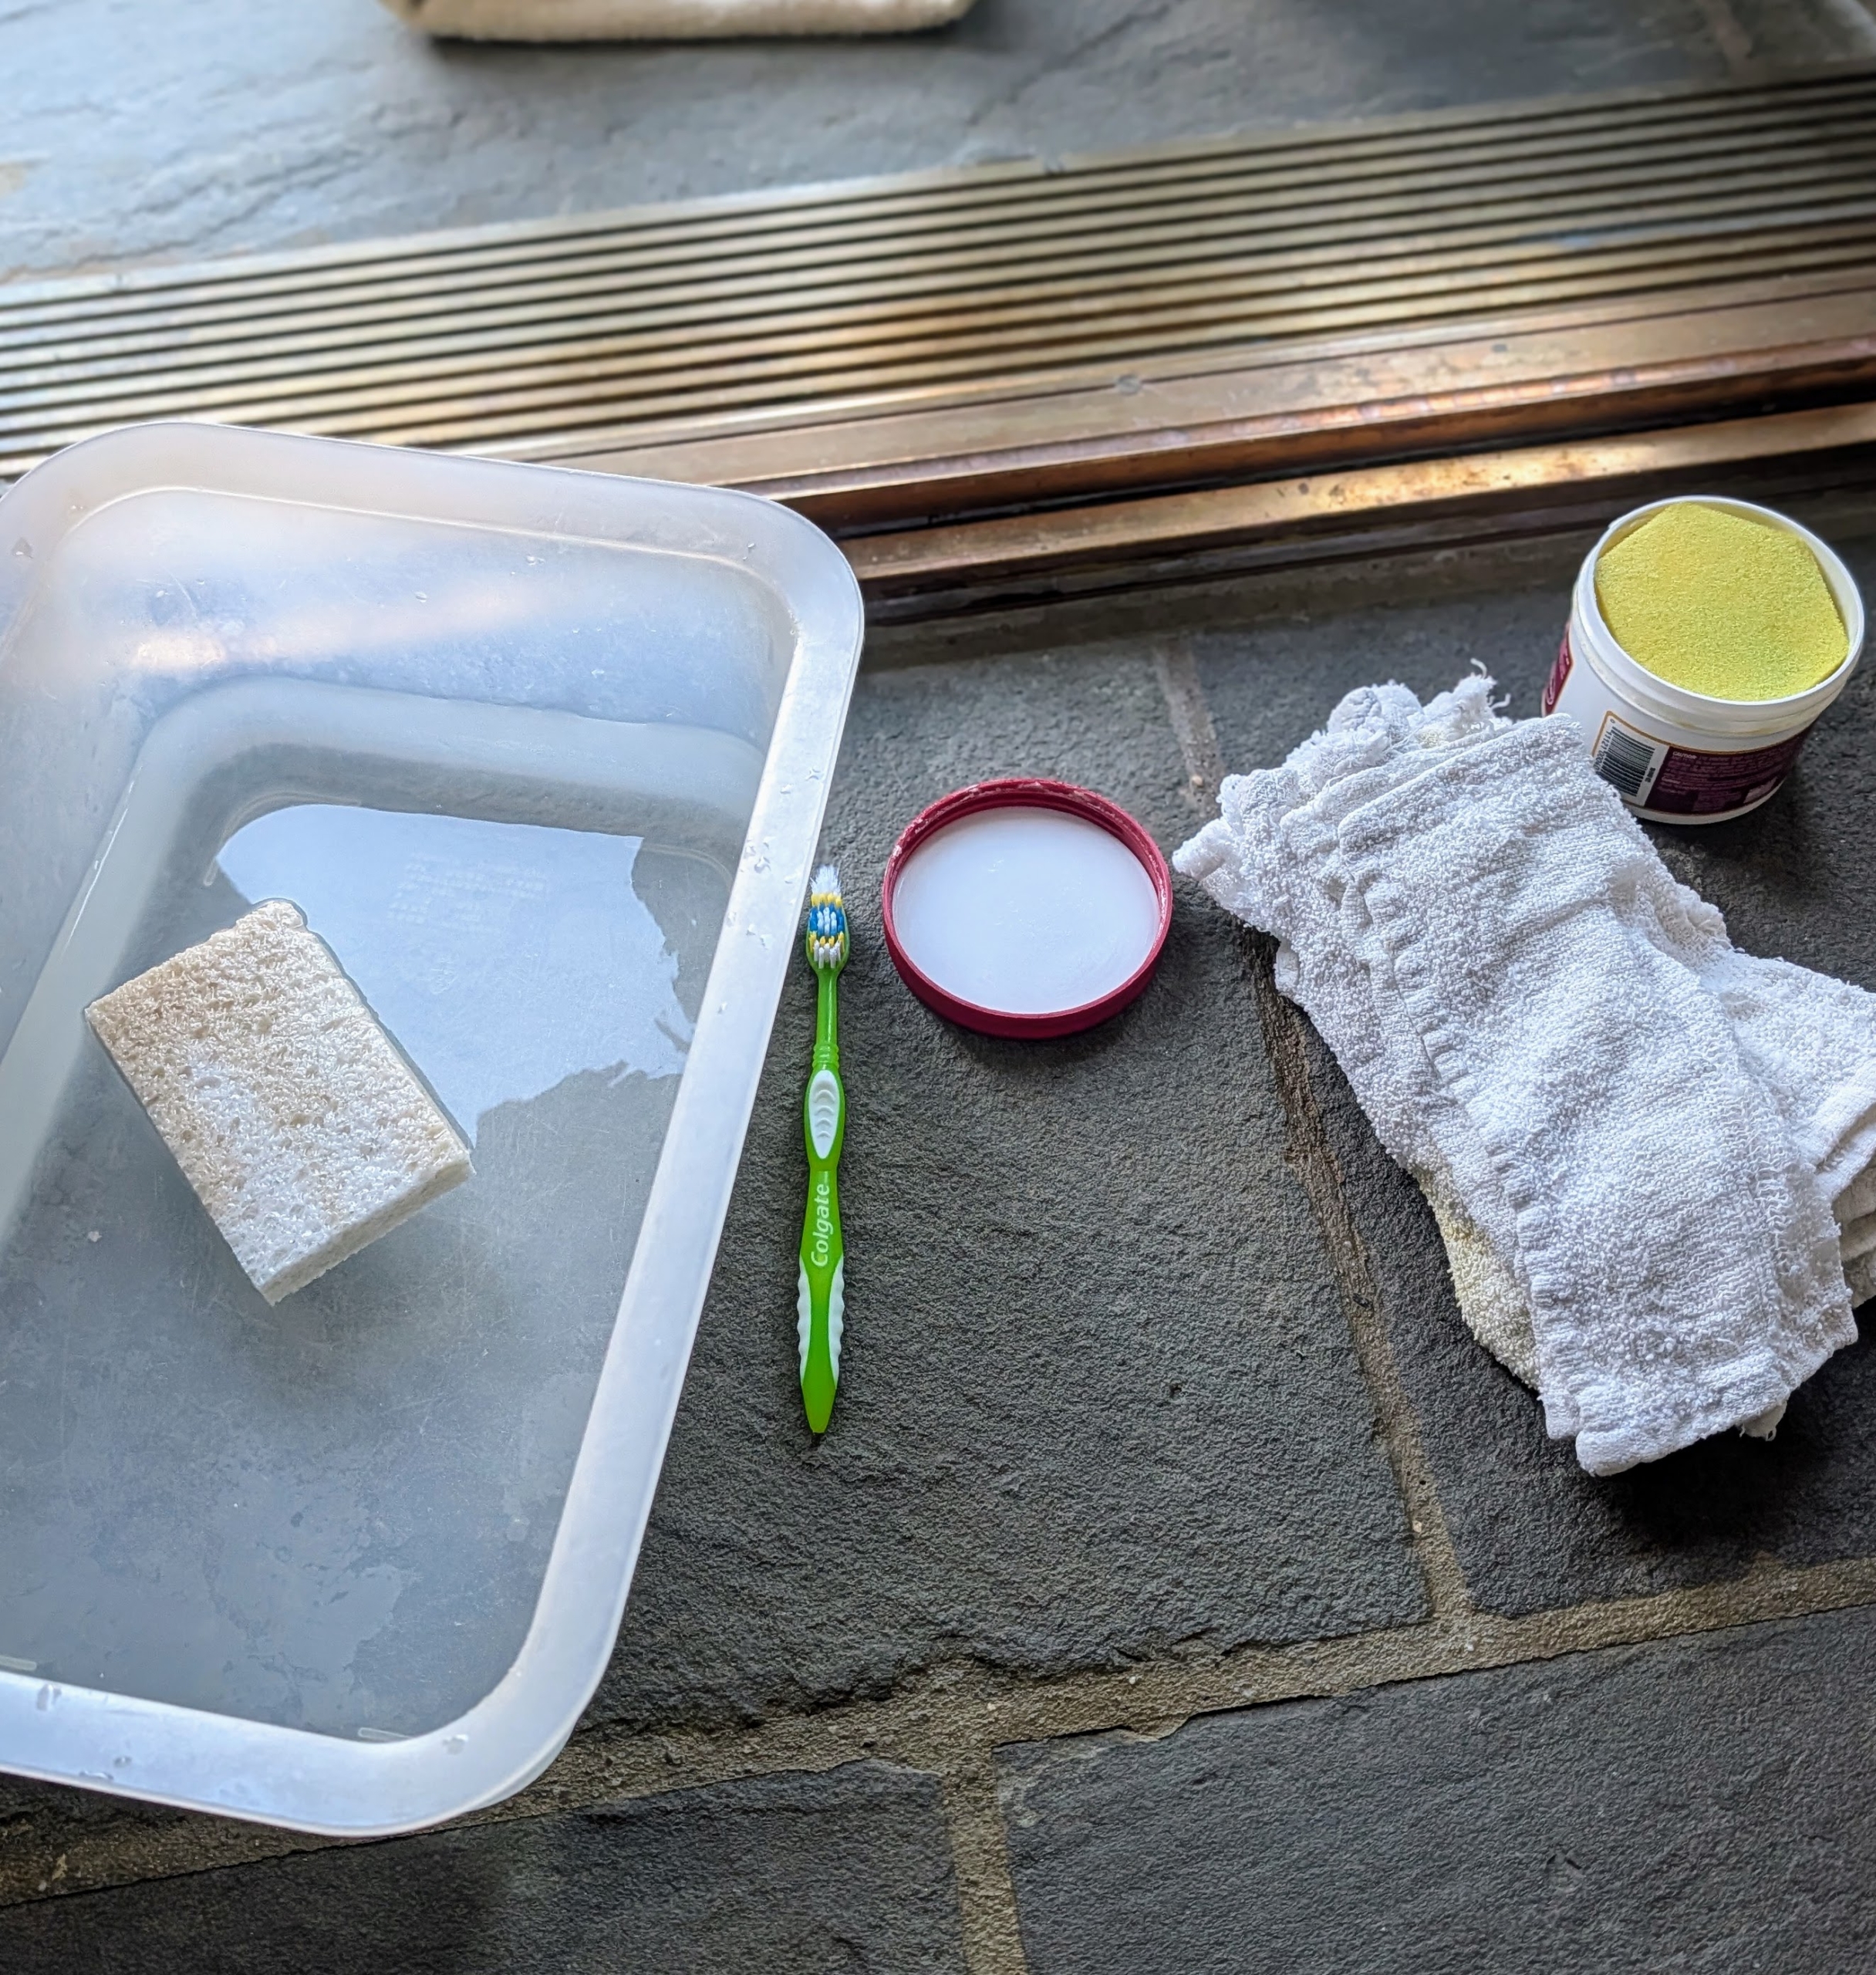
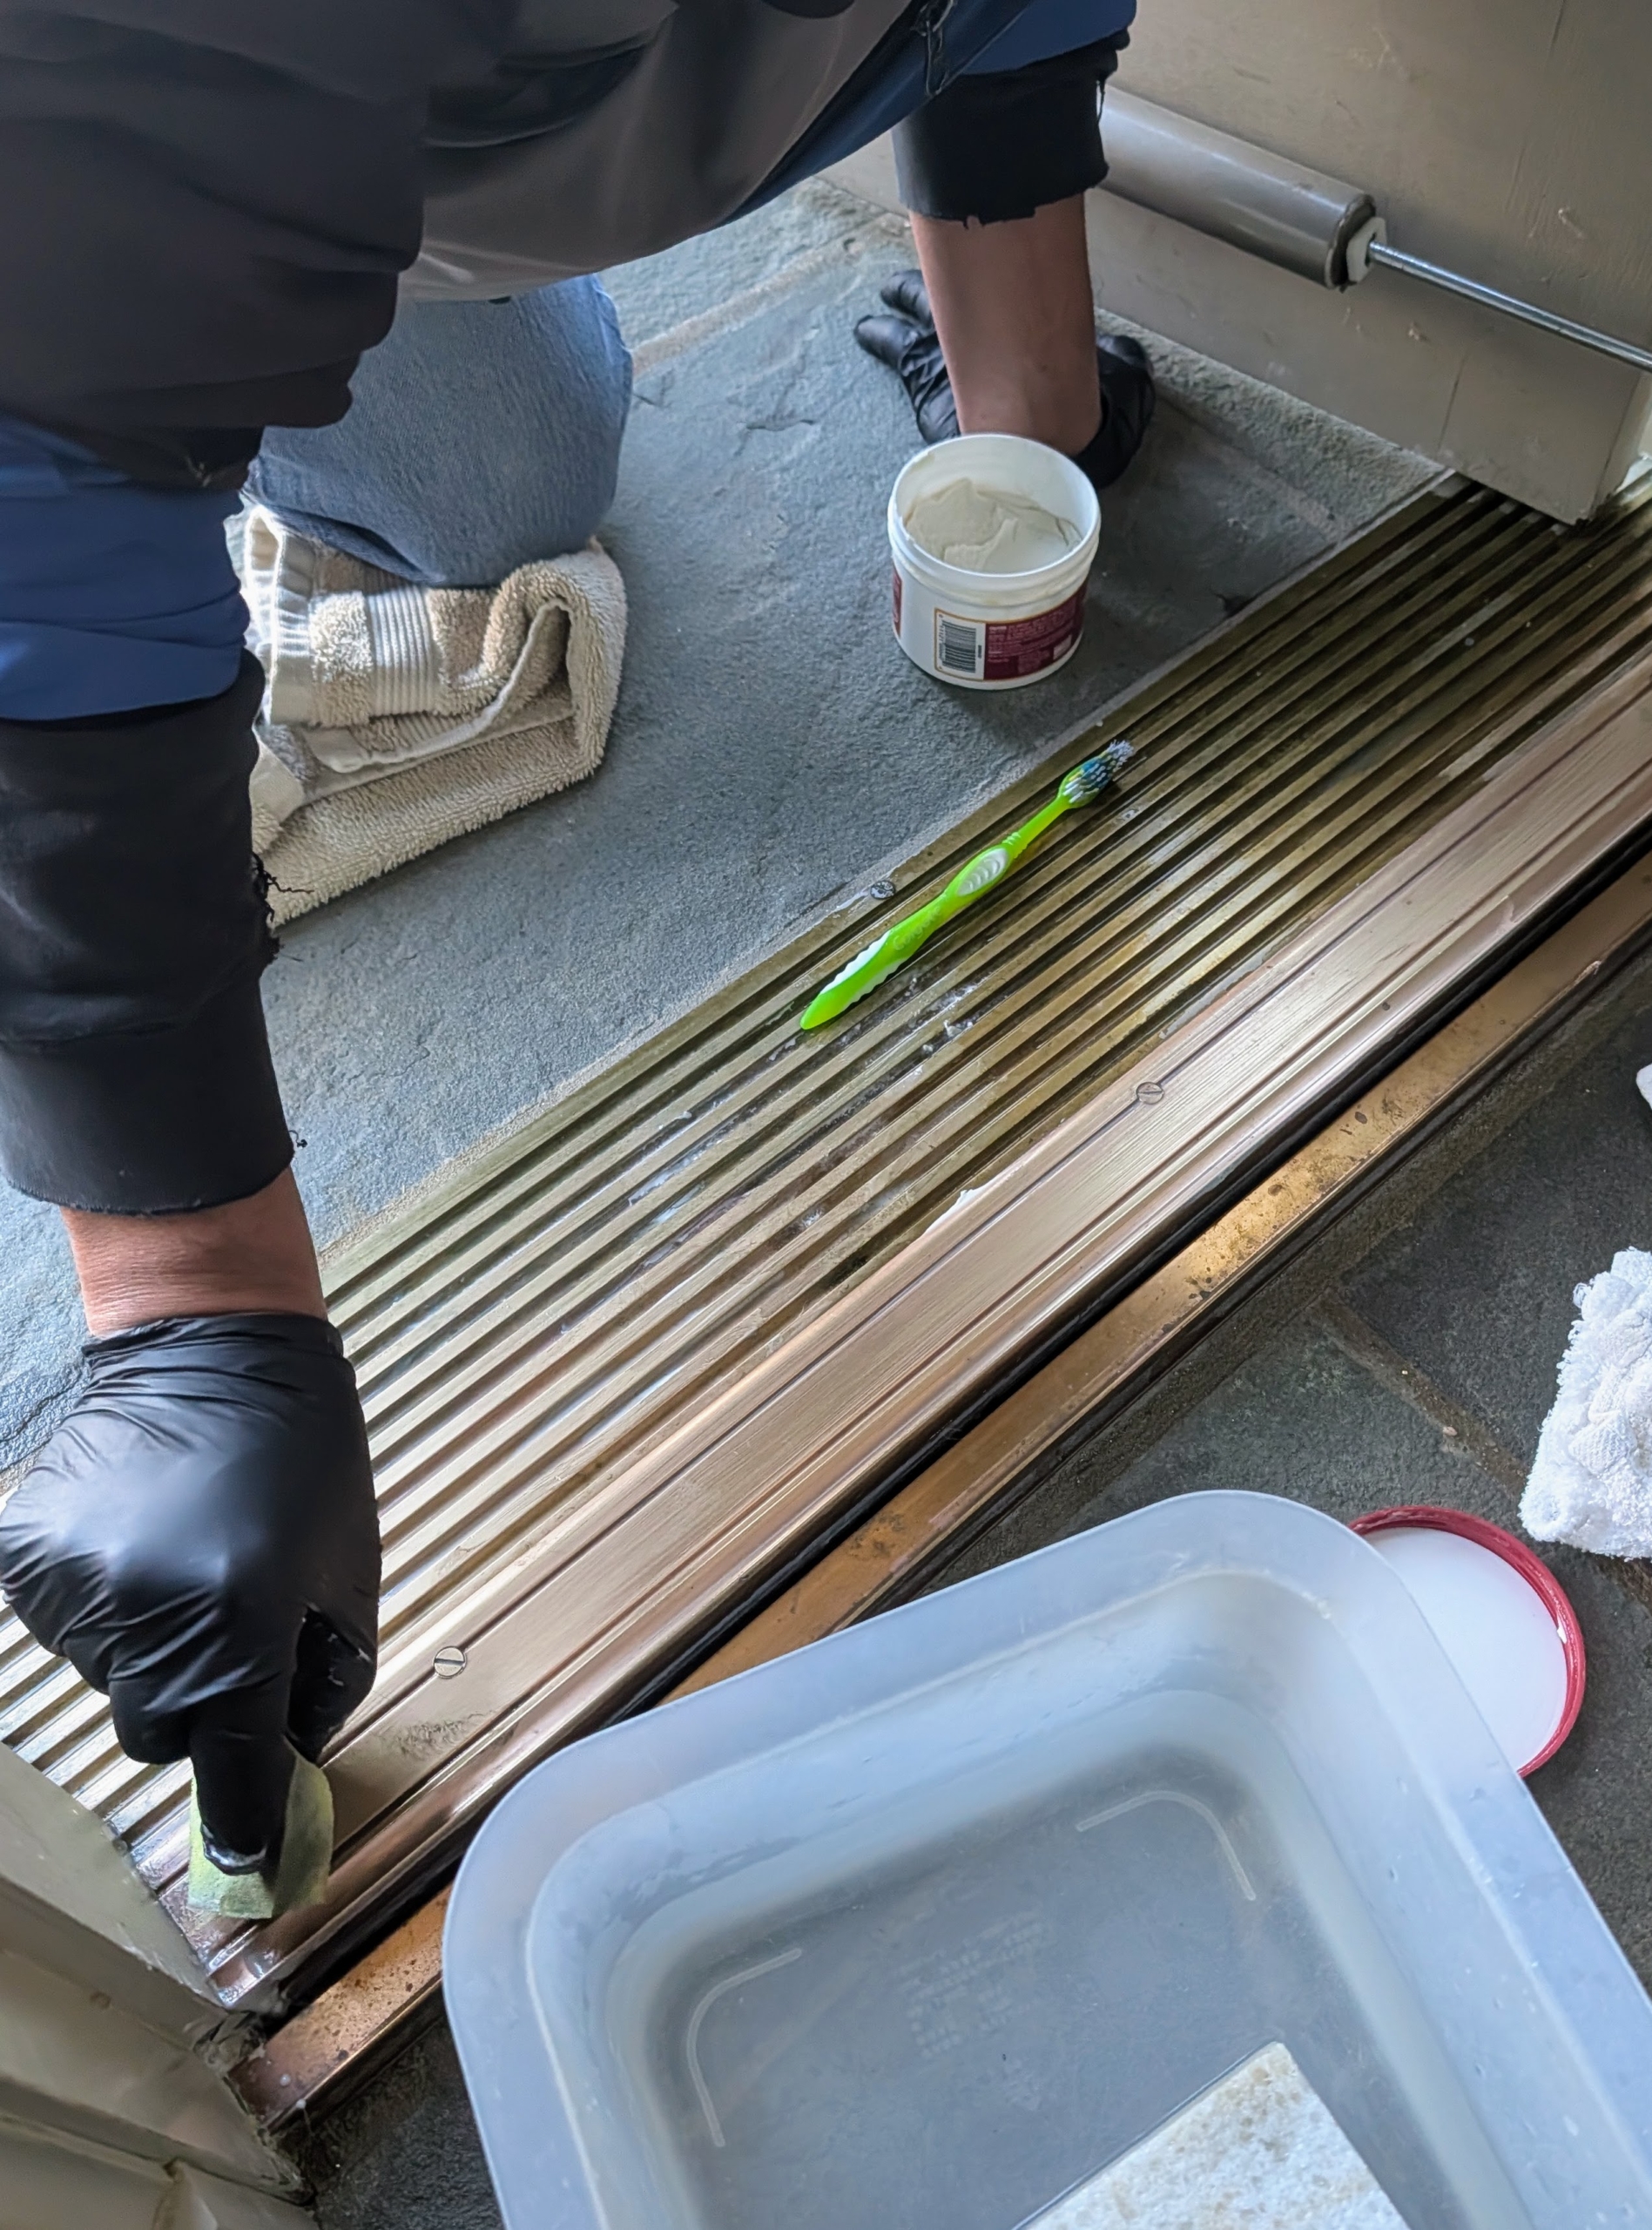
For this job, Carlos gathers the Wright’s Copper Cream, which comes with an application sponge, an old toothbrush, some cleaning rags, and a tub of water with another sponge for removing the cleaner. I always tell my team to collect all the needed supplies first, so it saves time hunting them down later.
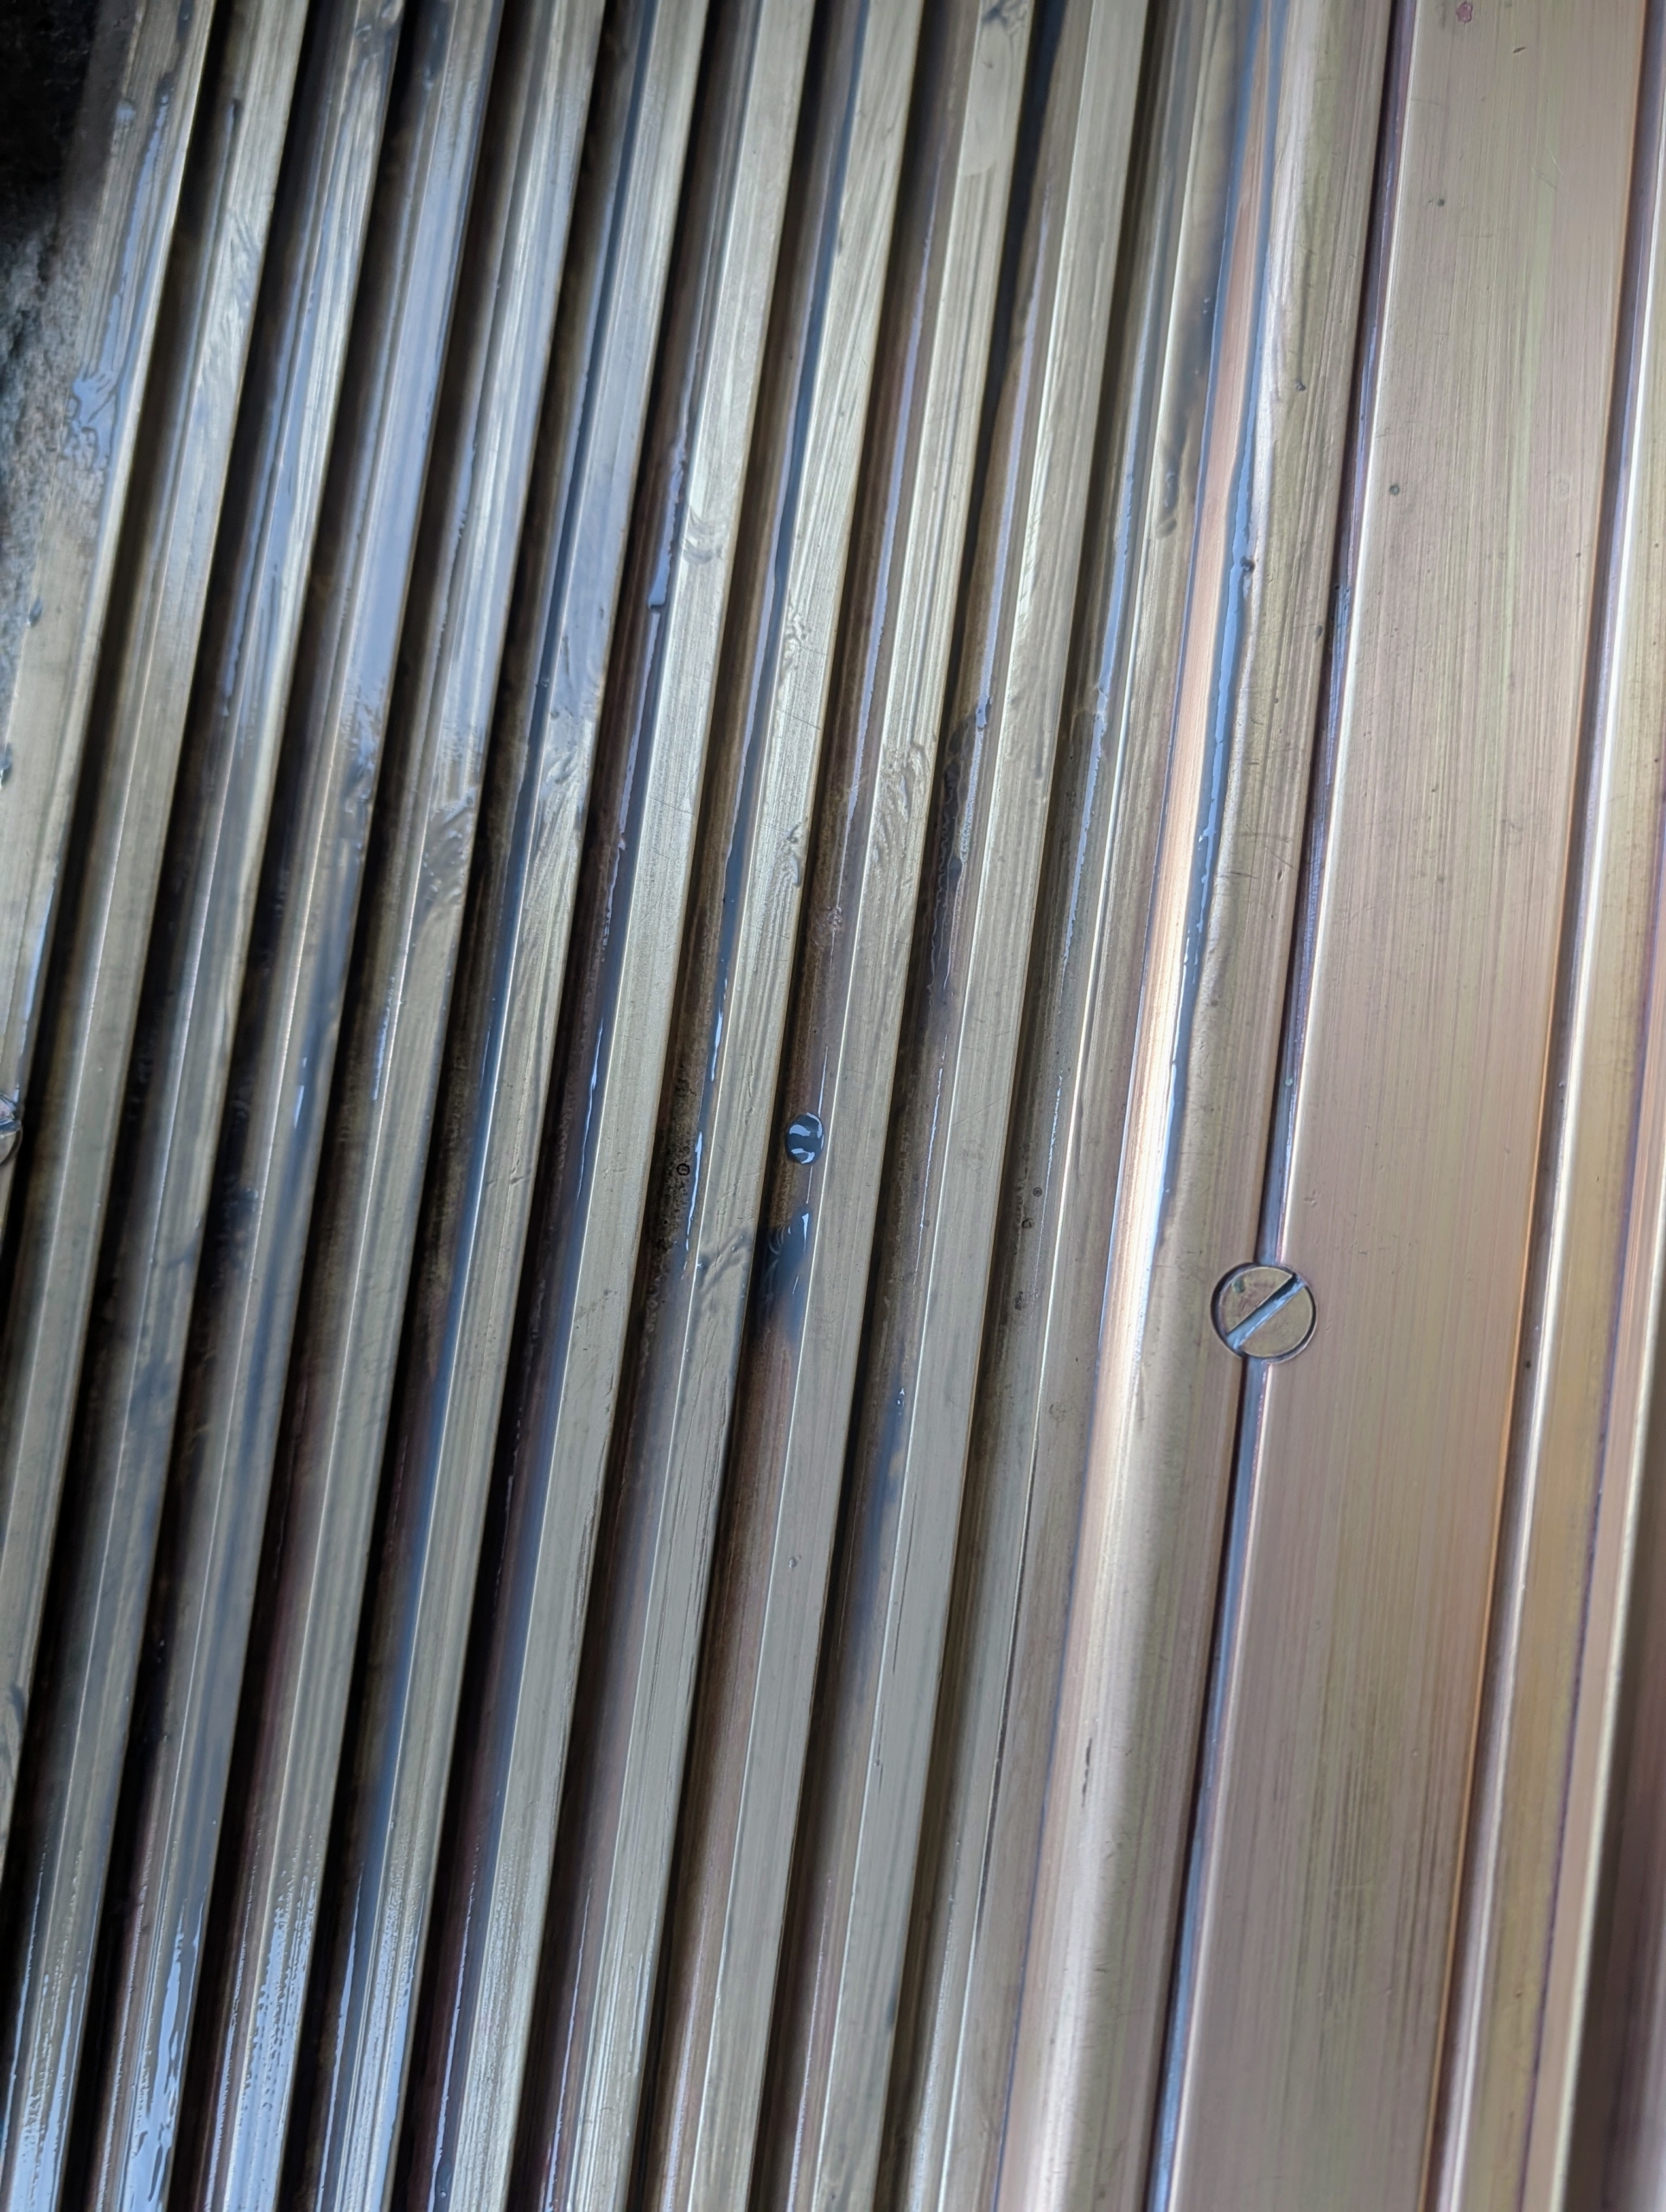
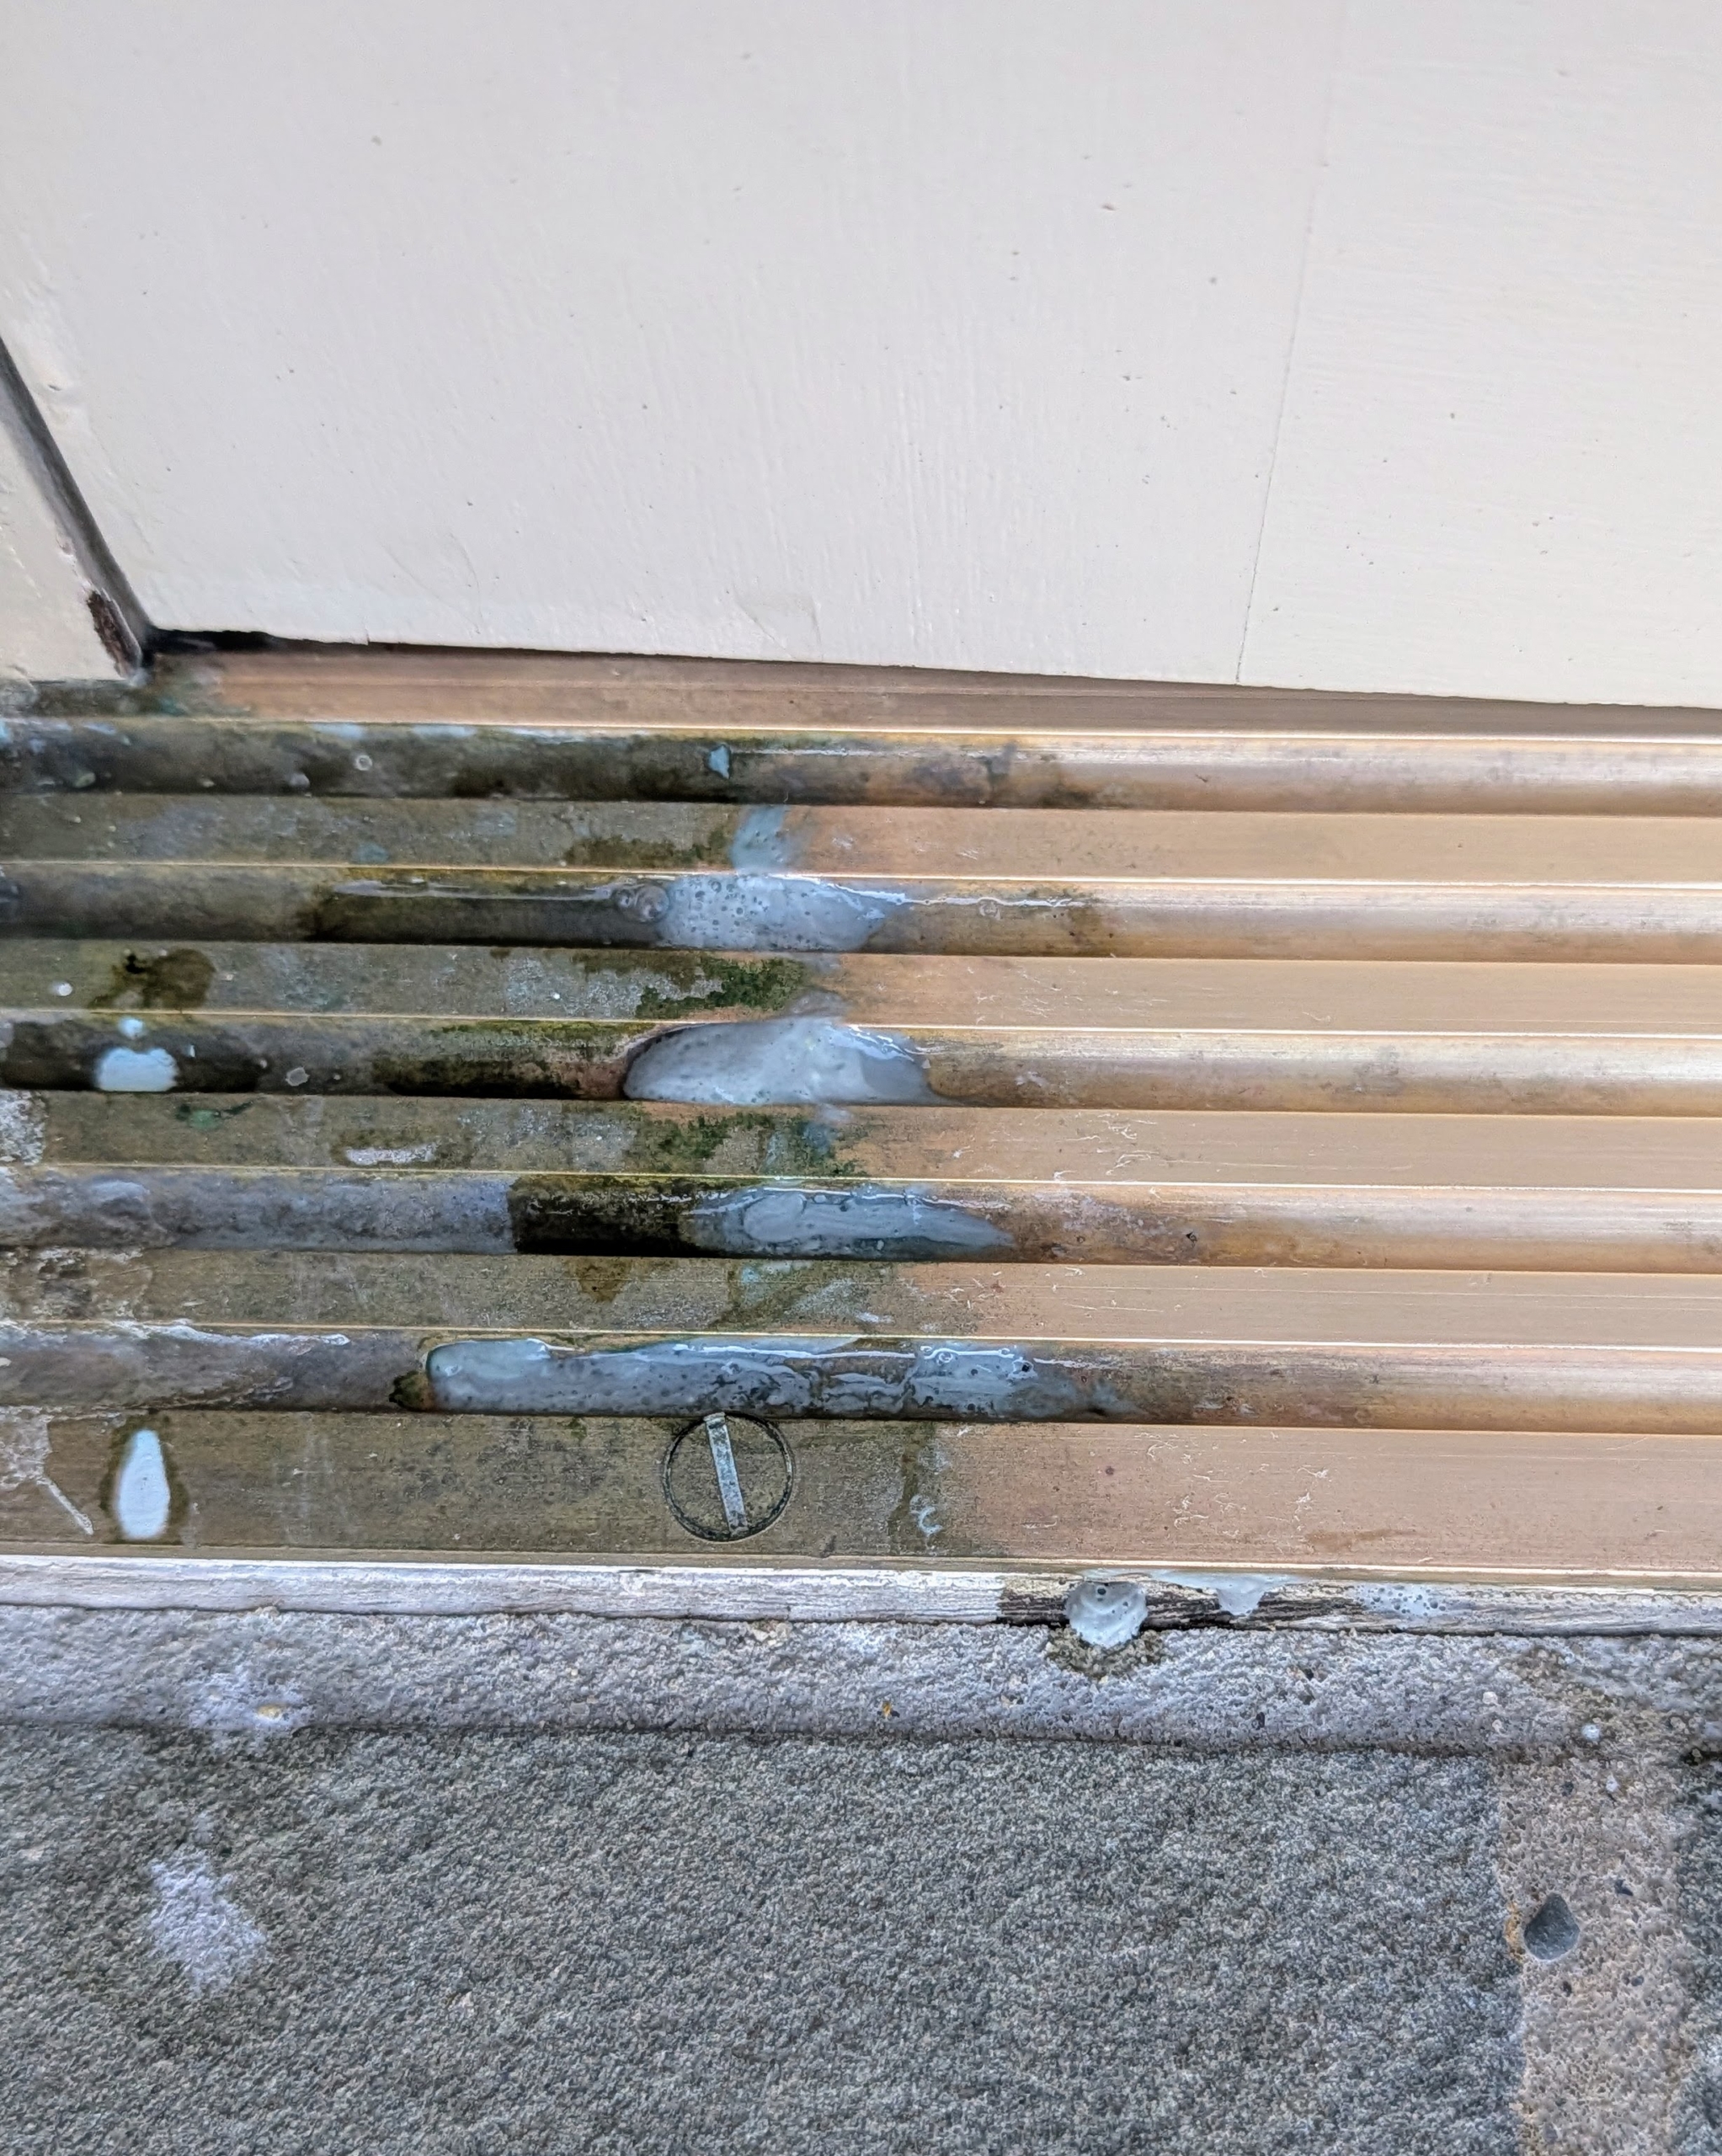
All the thresholds needed a good polishing. Brass and copper thresholds tarnish over time primarily from exposure to environmental factors such as air, humidity, moisture, and use. My thresholds are cleaned at least once a year.
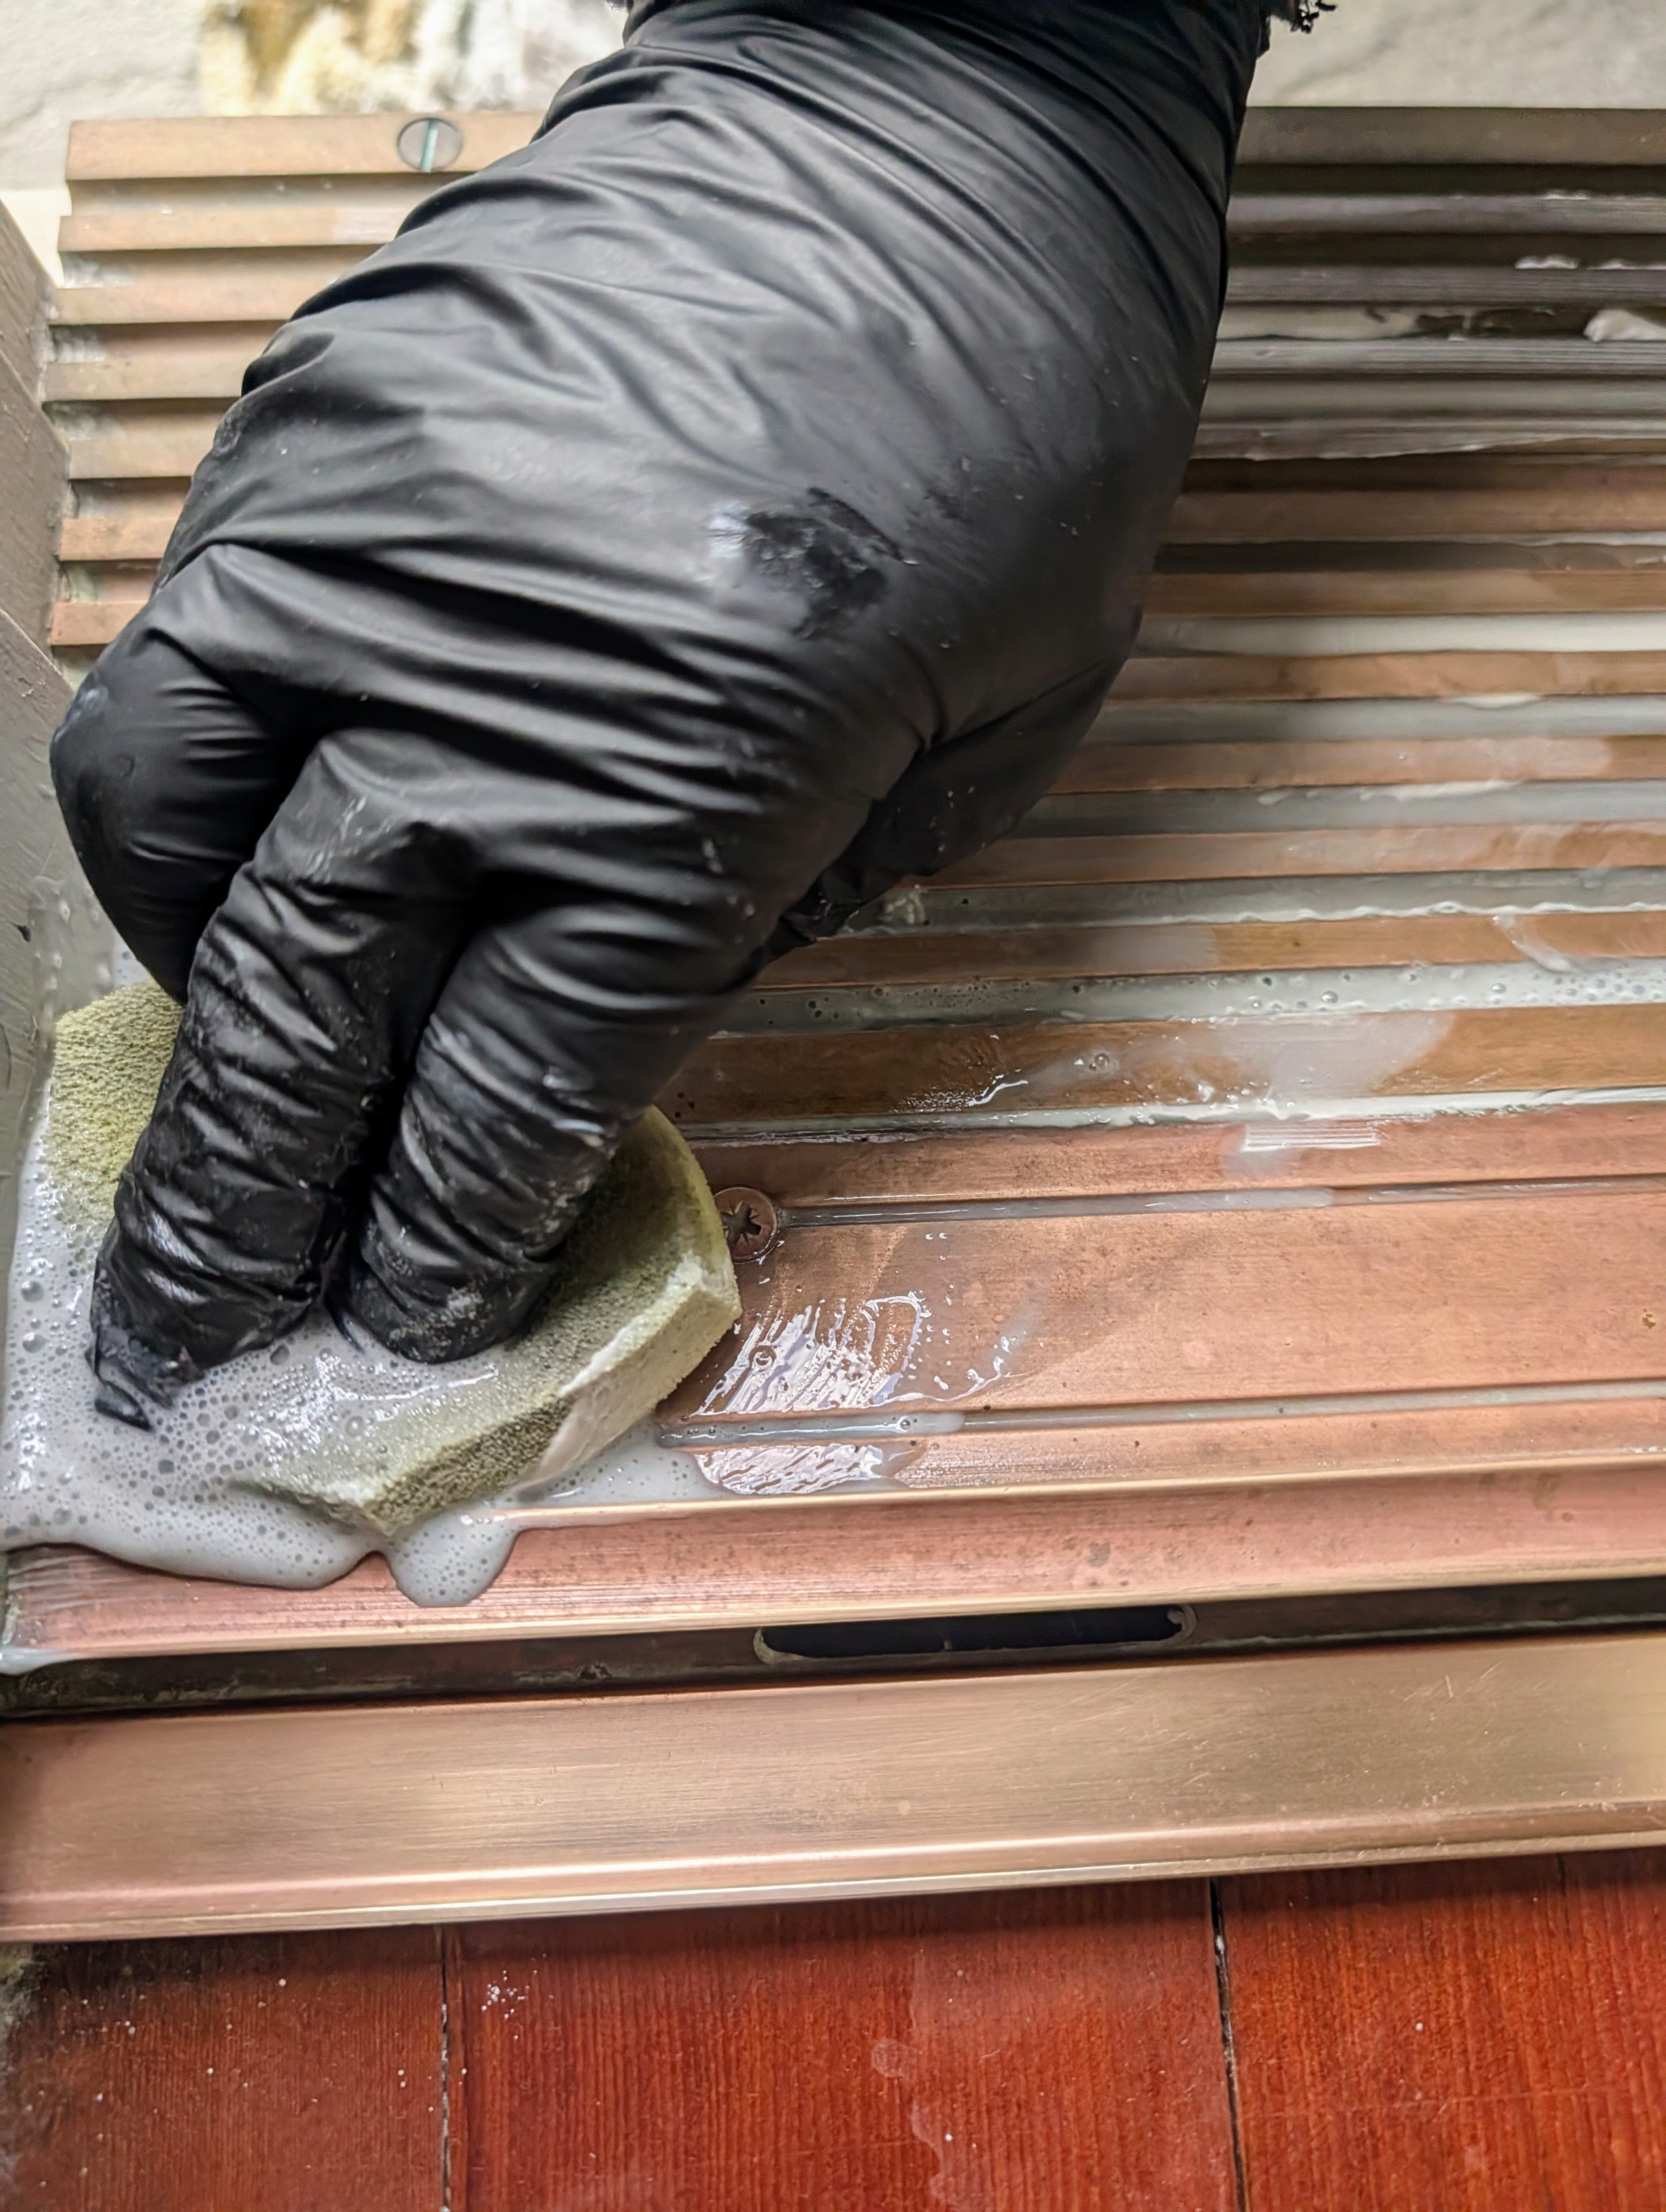
Carlos starts by moistening the area to be cleaned. He uses a wet sponge to loosen the dirt along the threshold. He does this with protective rubber gloves for this cleaning chore.
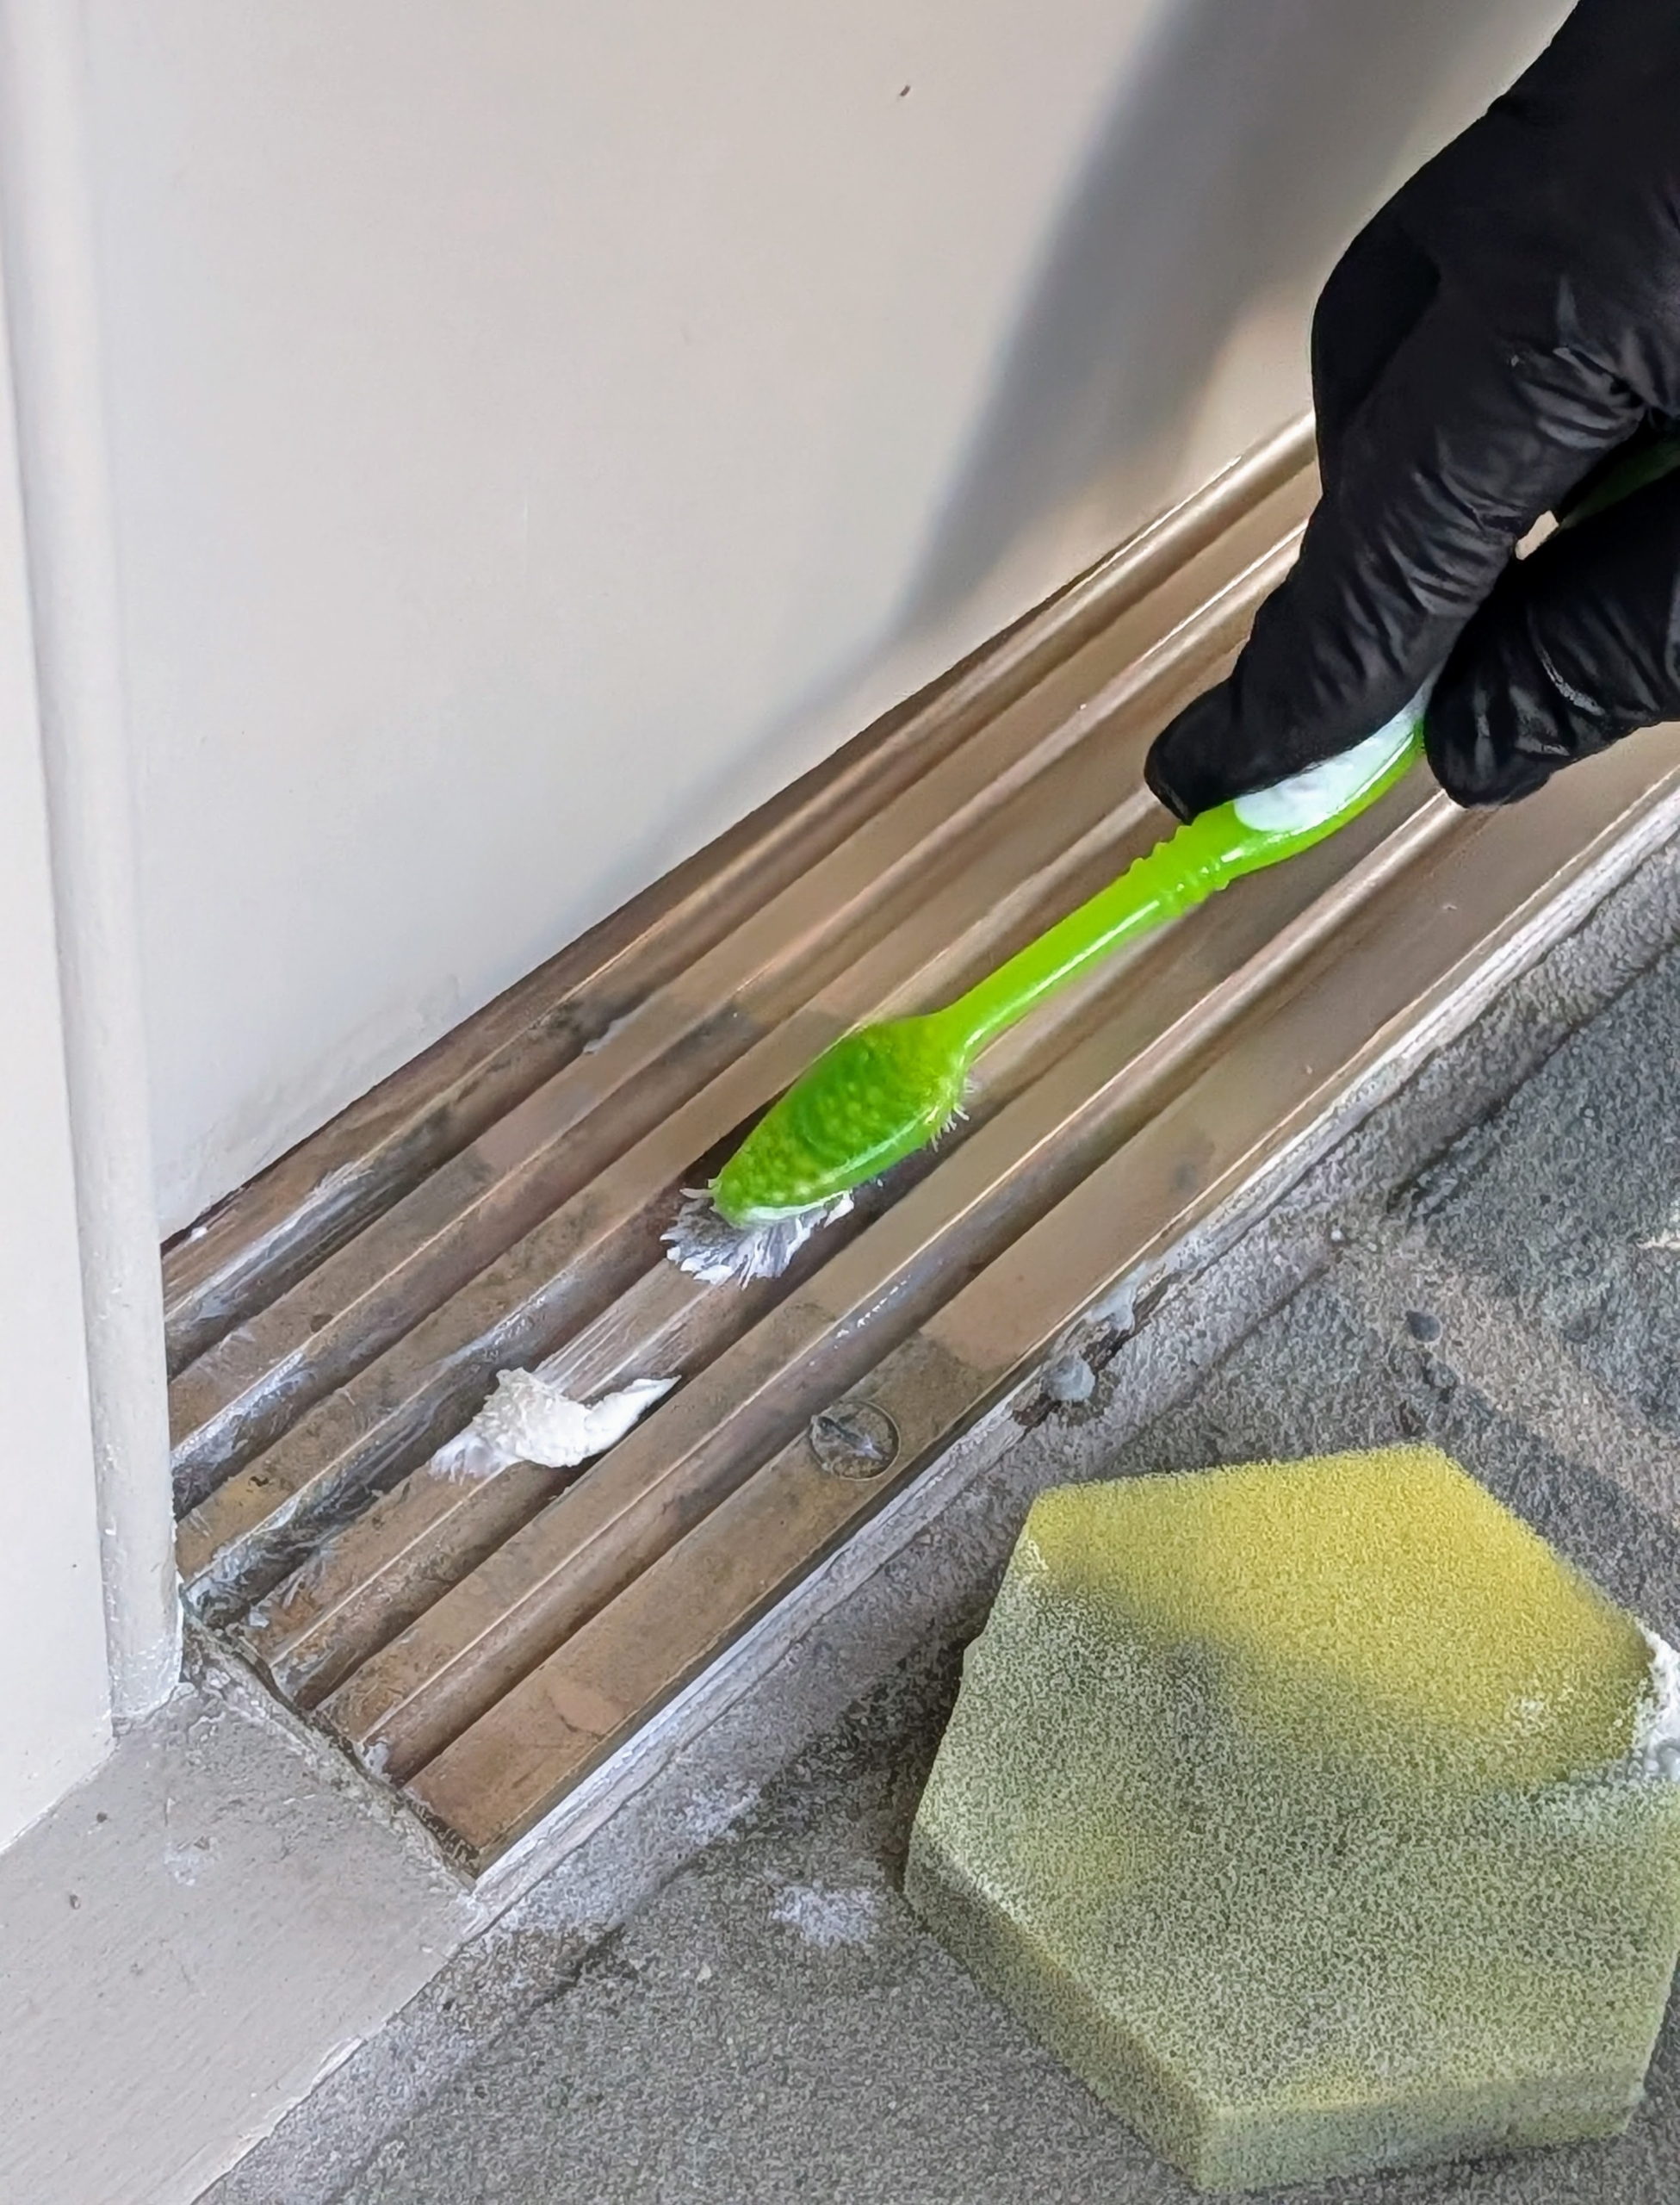
Then he applies some of the Wright’s cleaning cream and gently wipes the dirt from in between the grooves of this threshold.
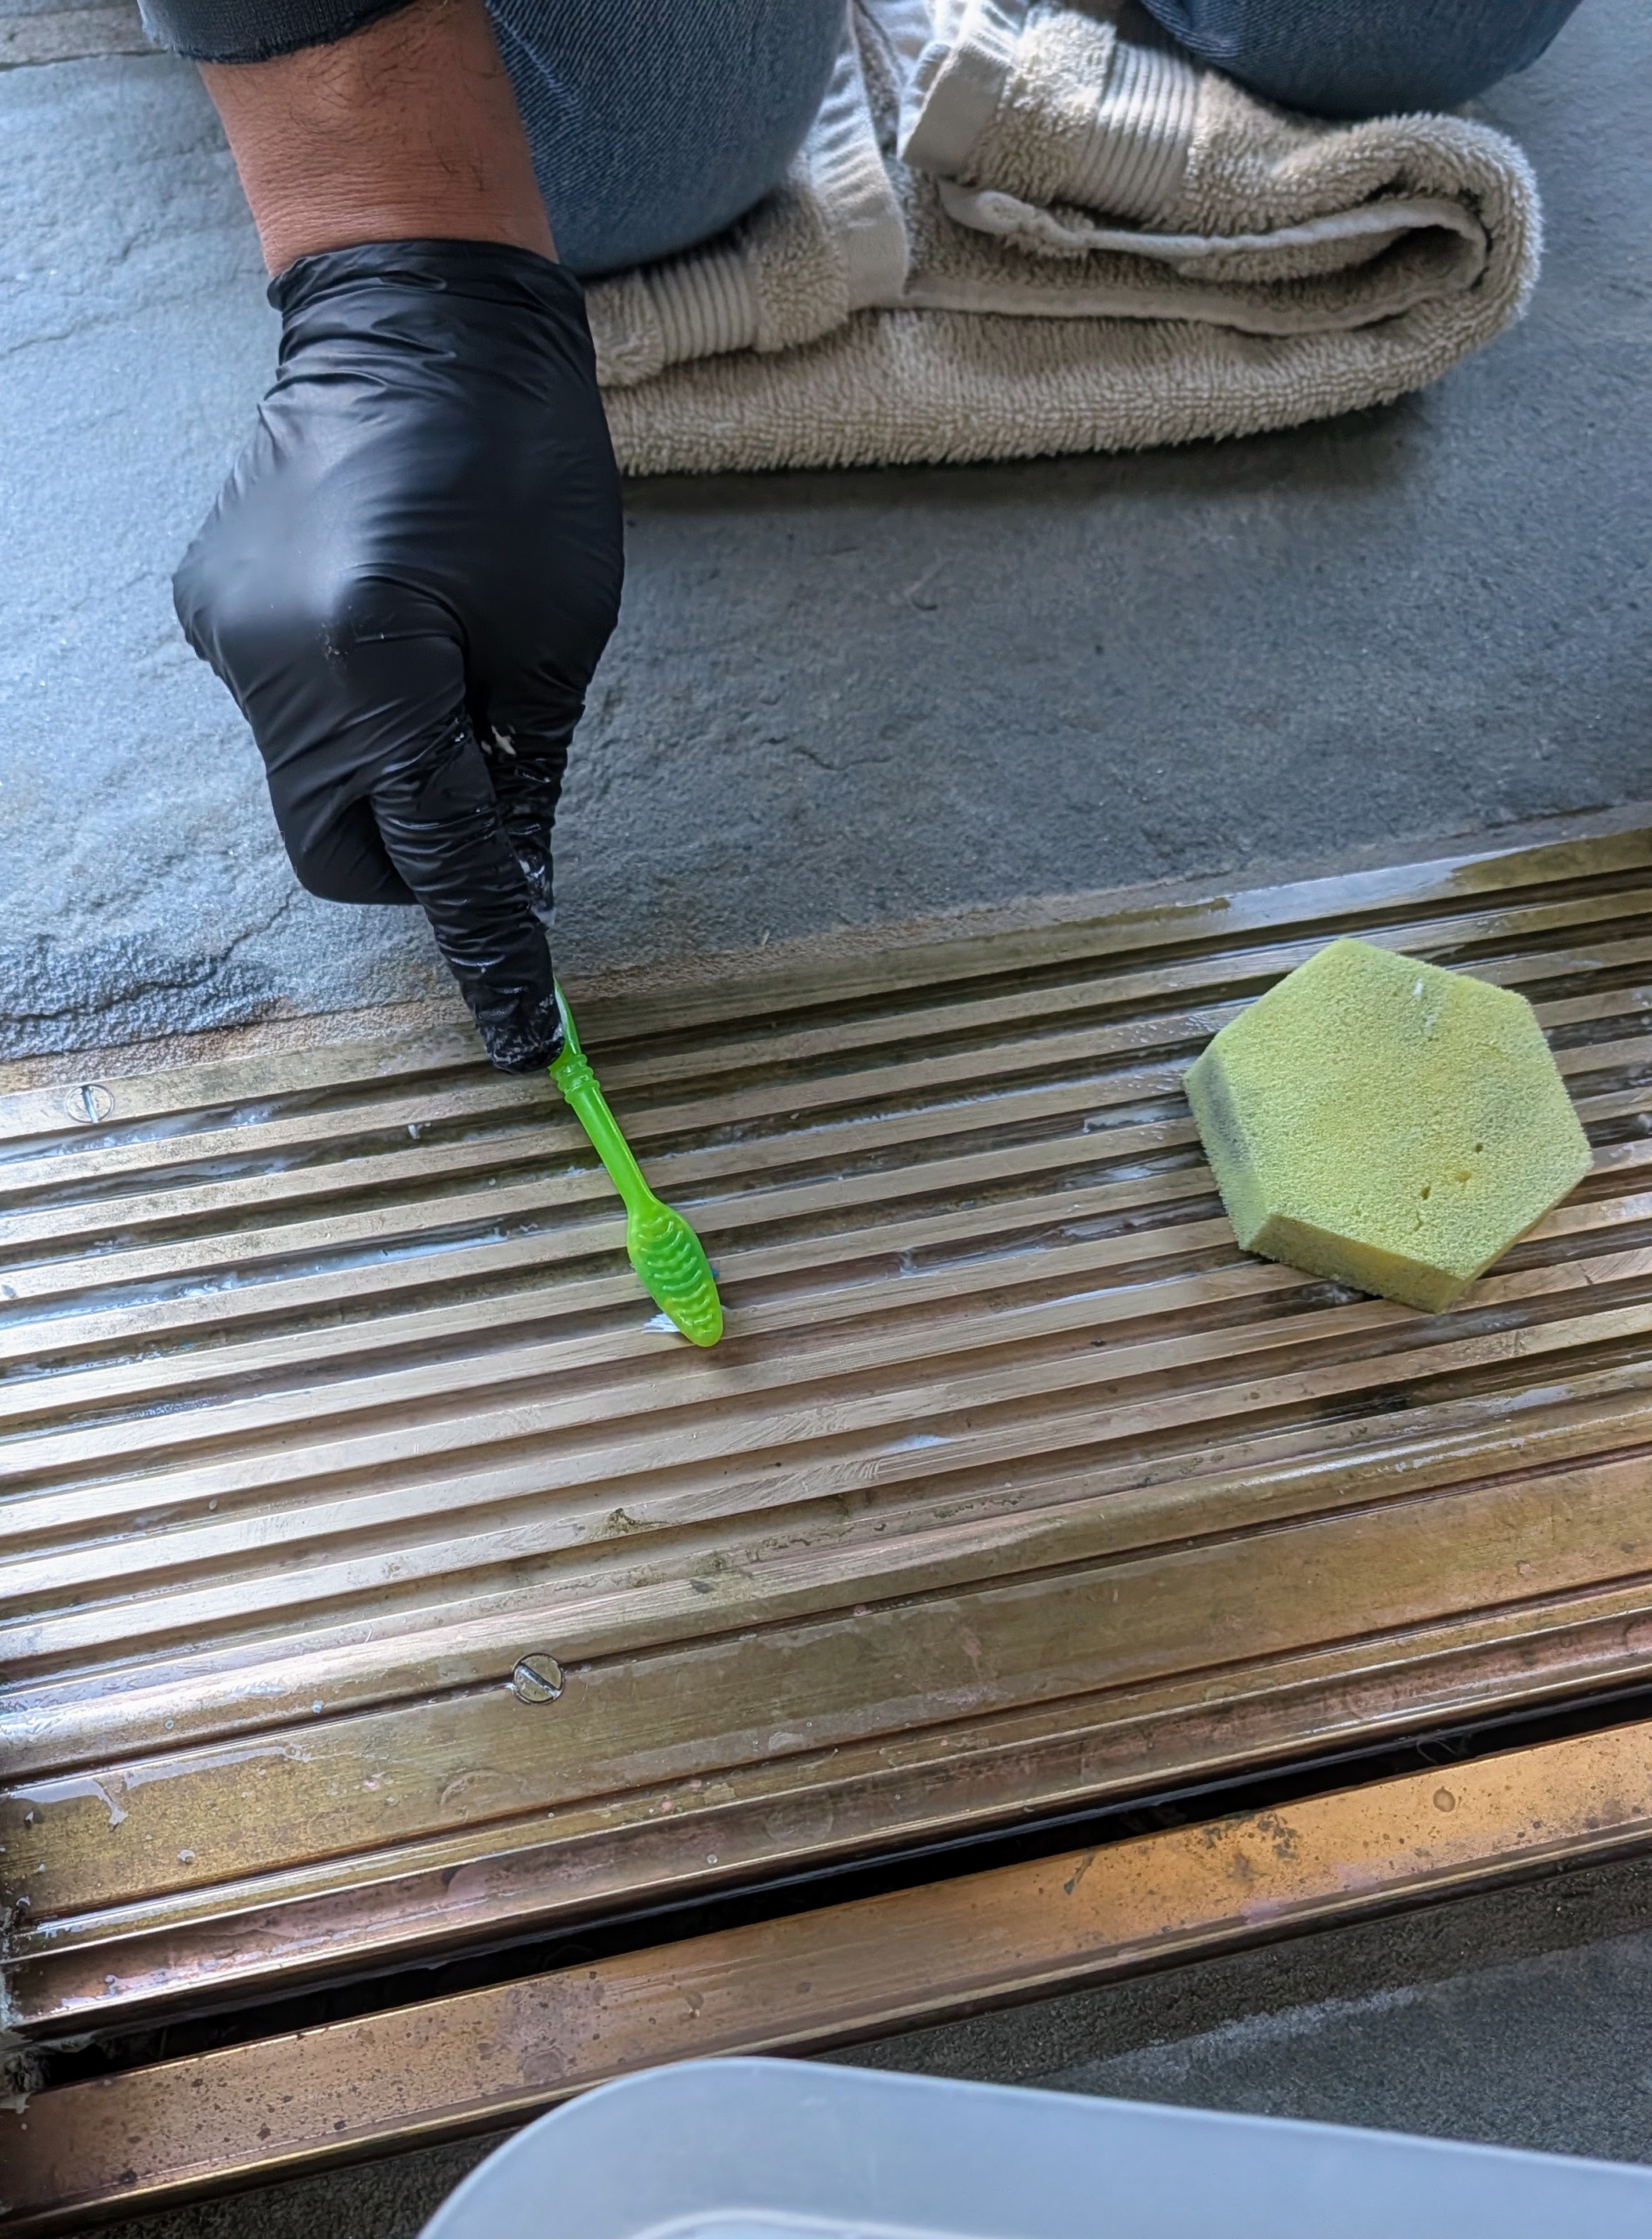
Carlos also uses an old soft-bristled toothbrush to get deep into the grooves.
This is a very repetitive process and one that takes patience.
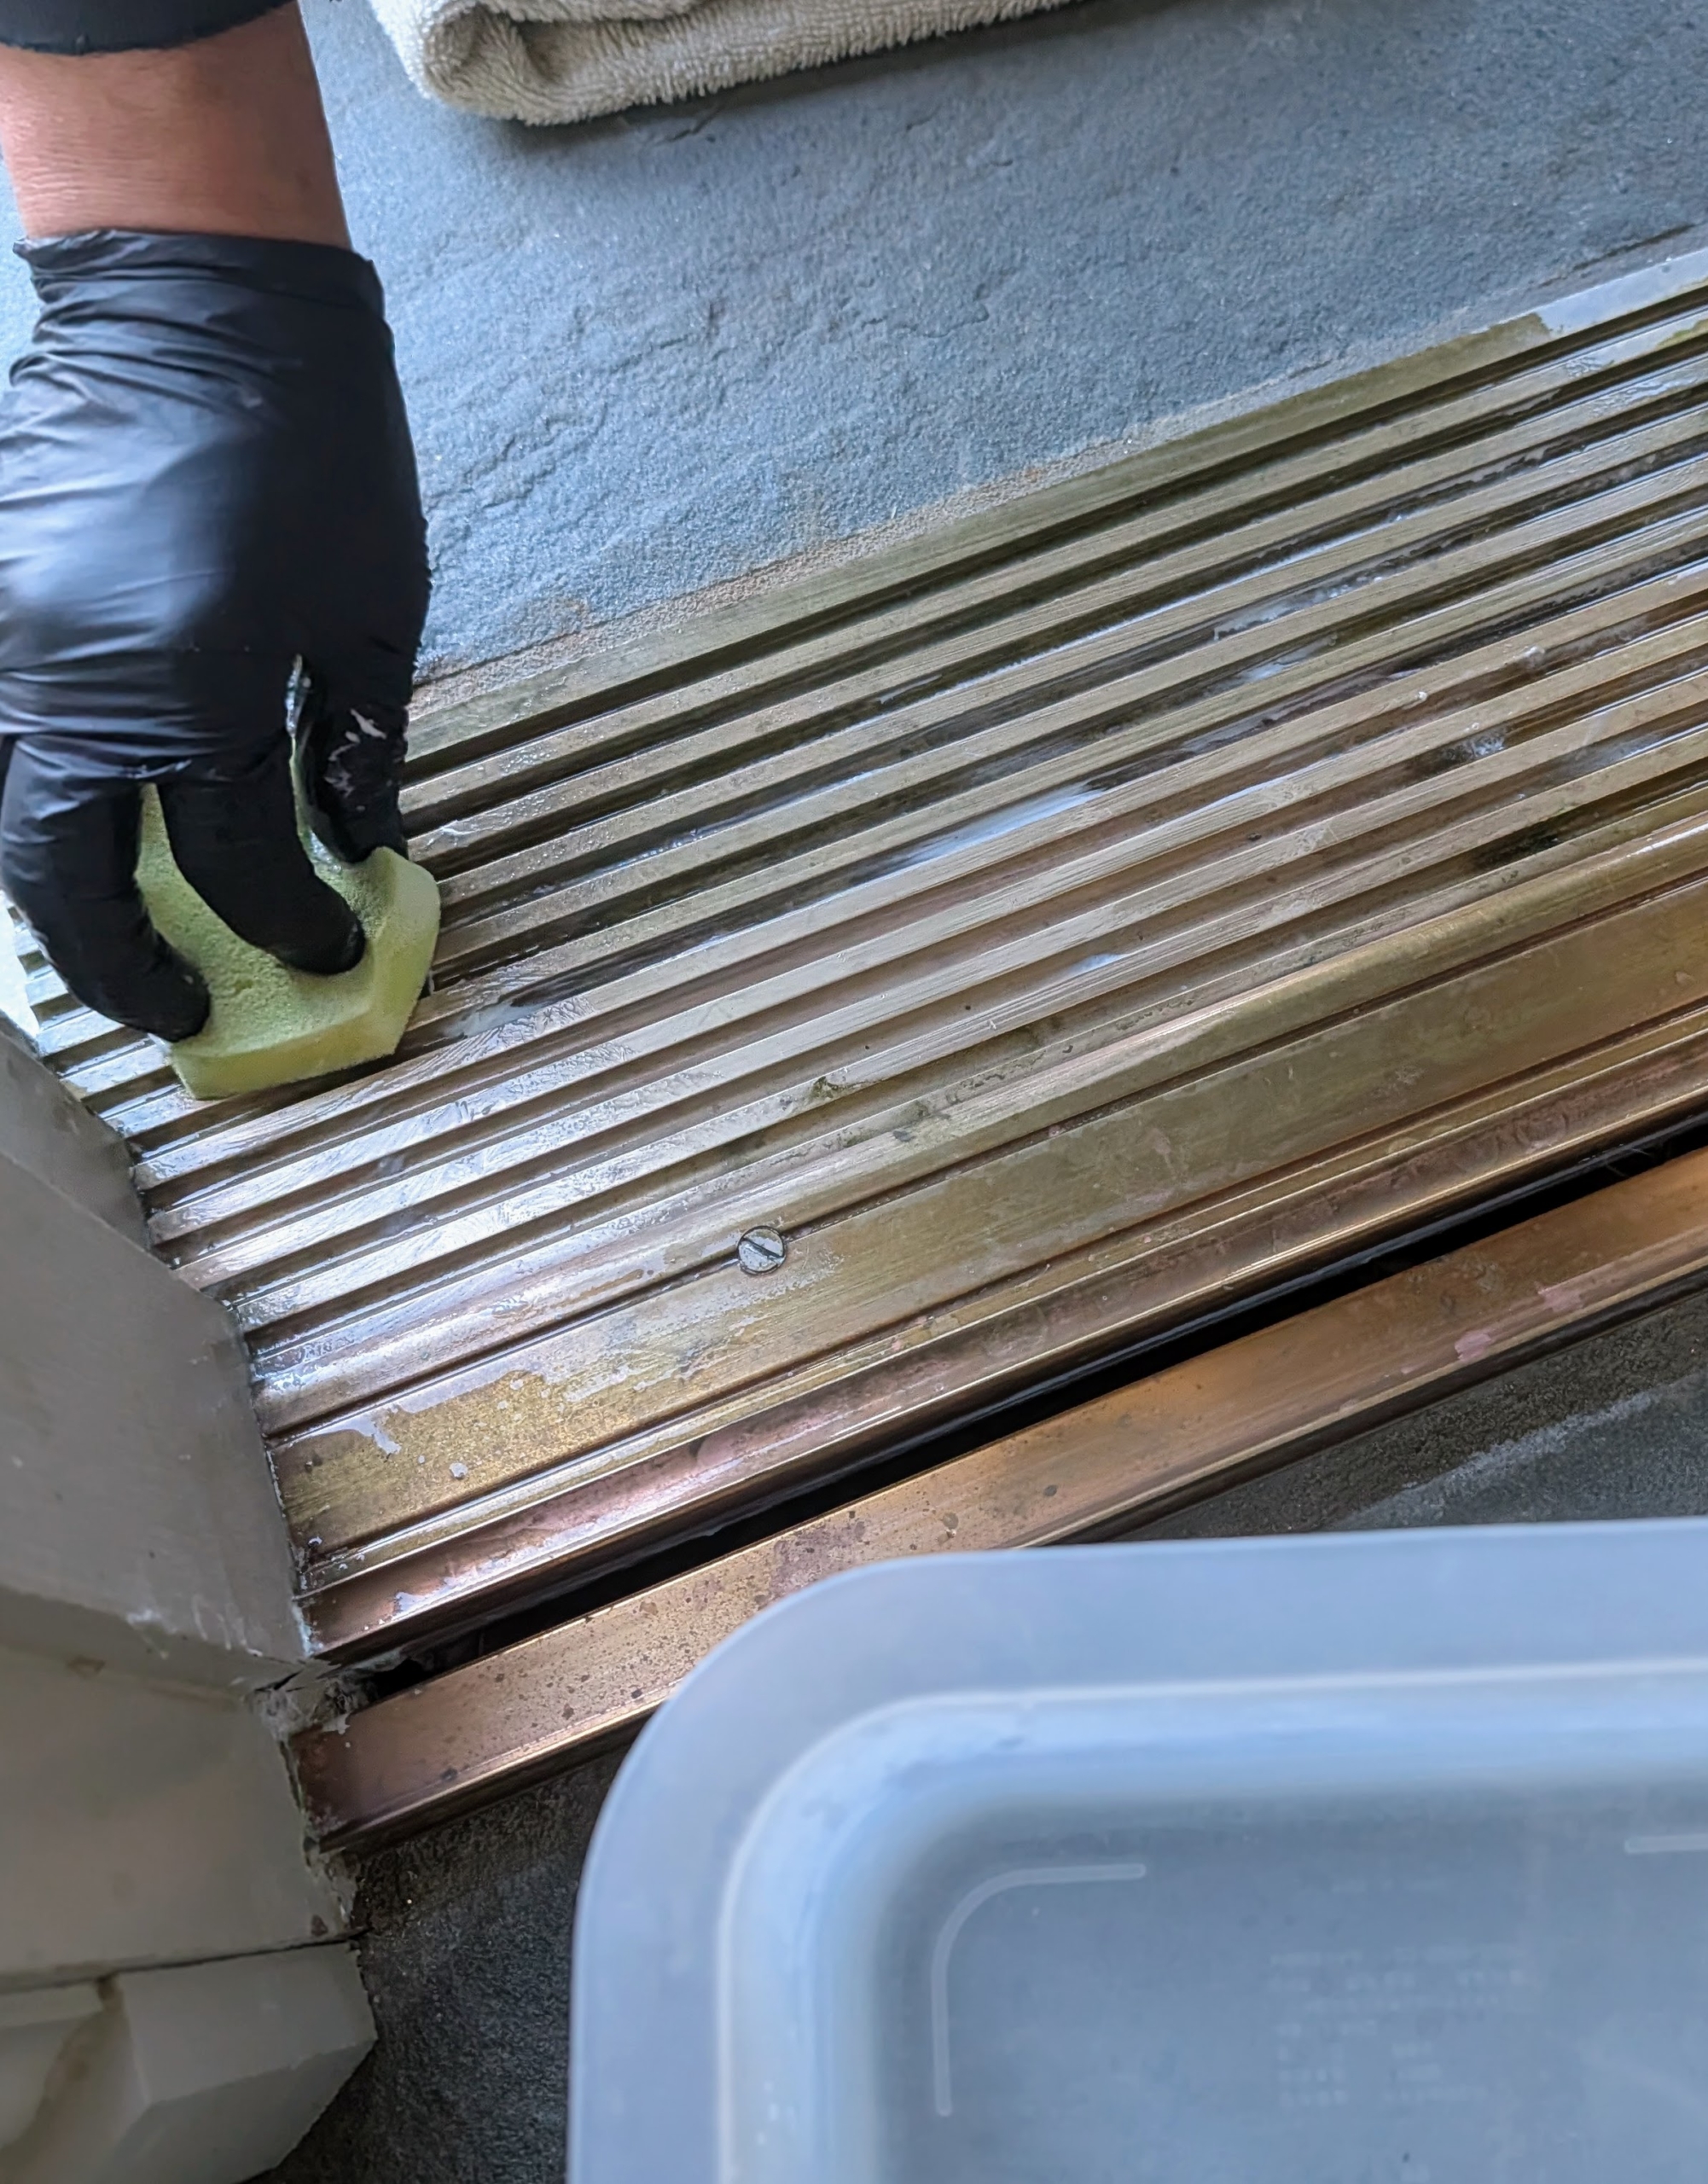
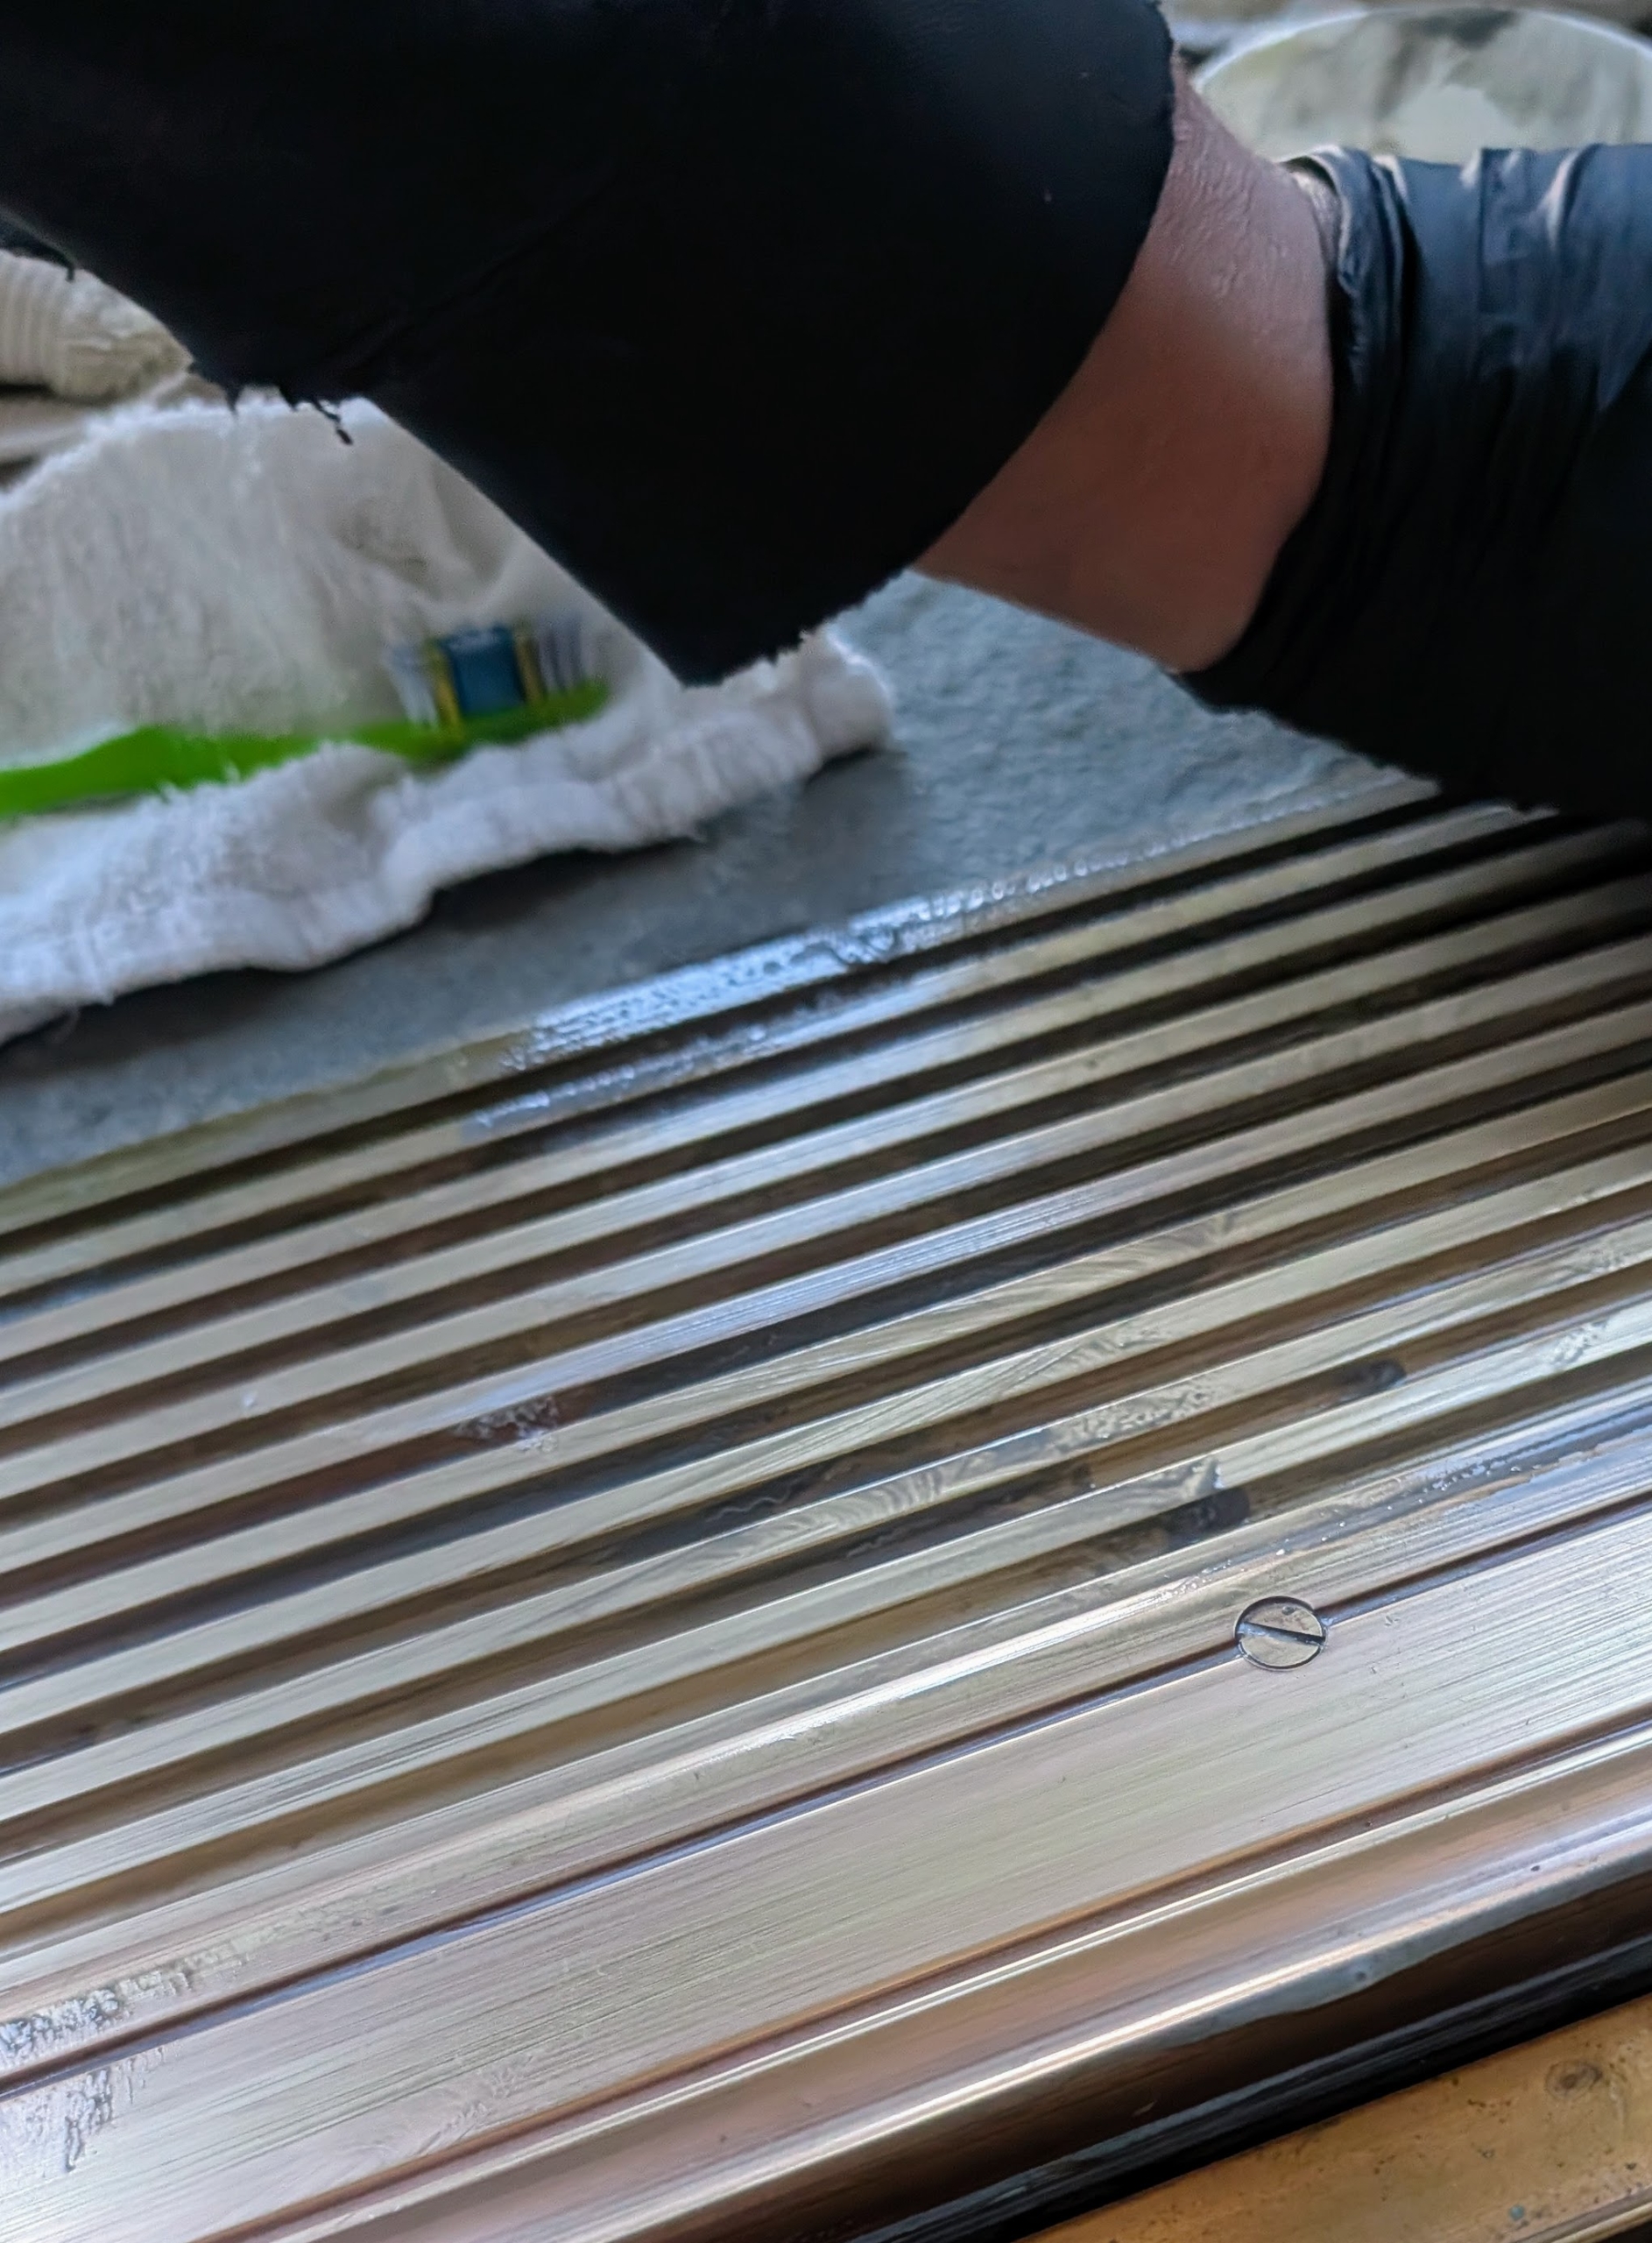
After a few minutes, some areas are looking cleaner. Tarnish ranges in color from a light yellowy gold to almost black, depending on how long it has been allowed to develop.
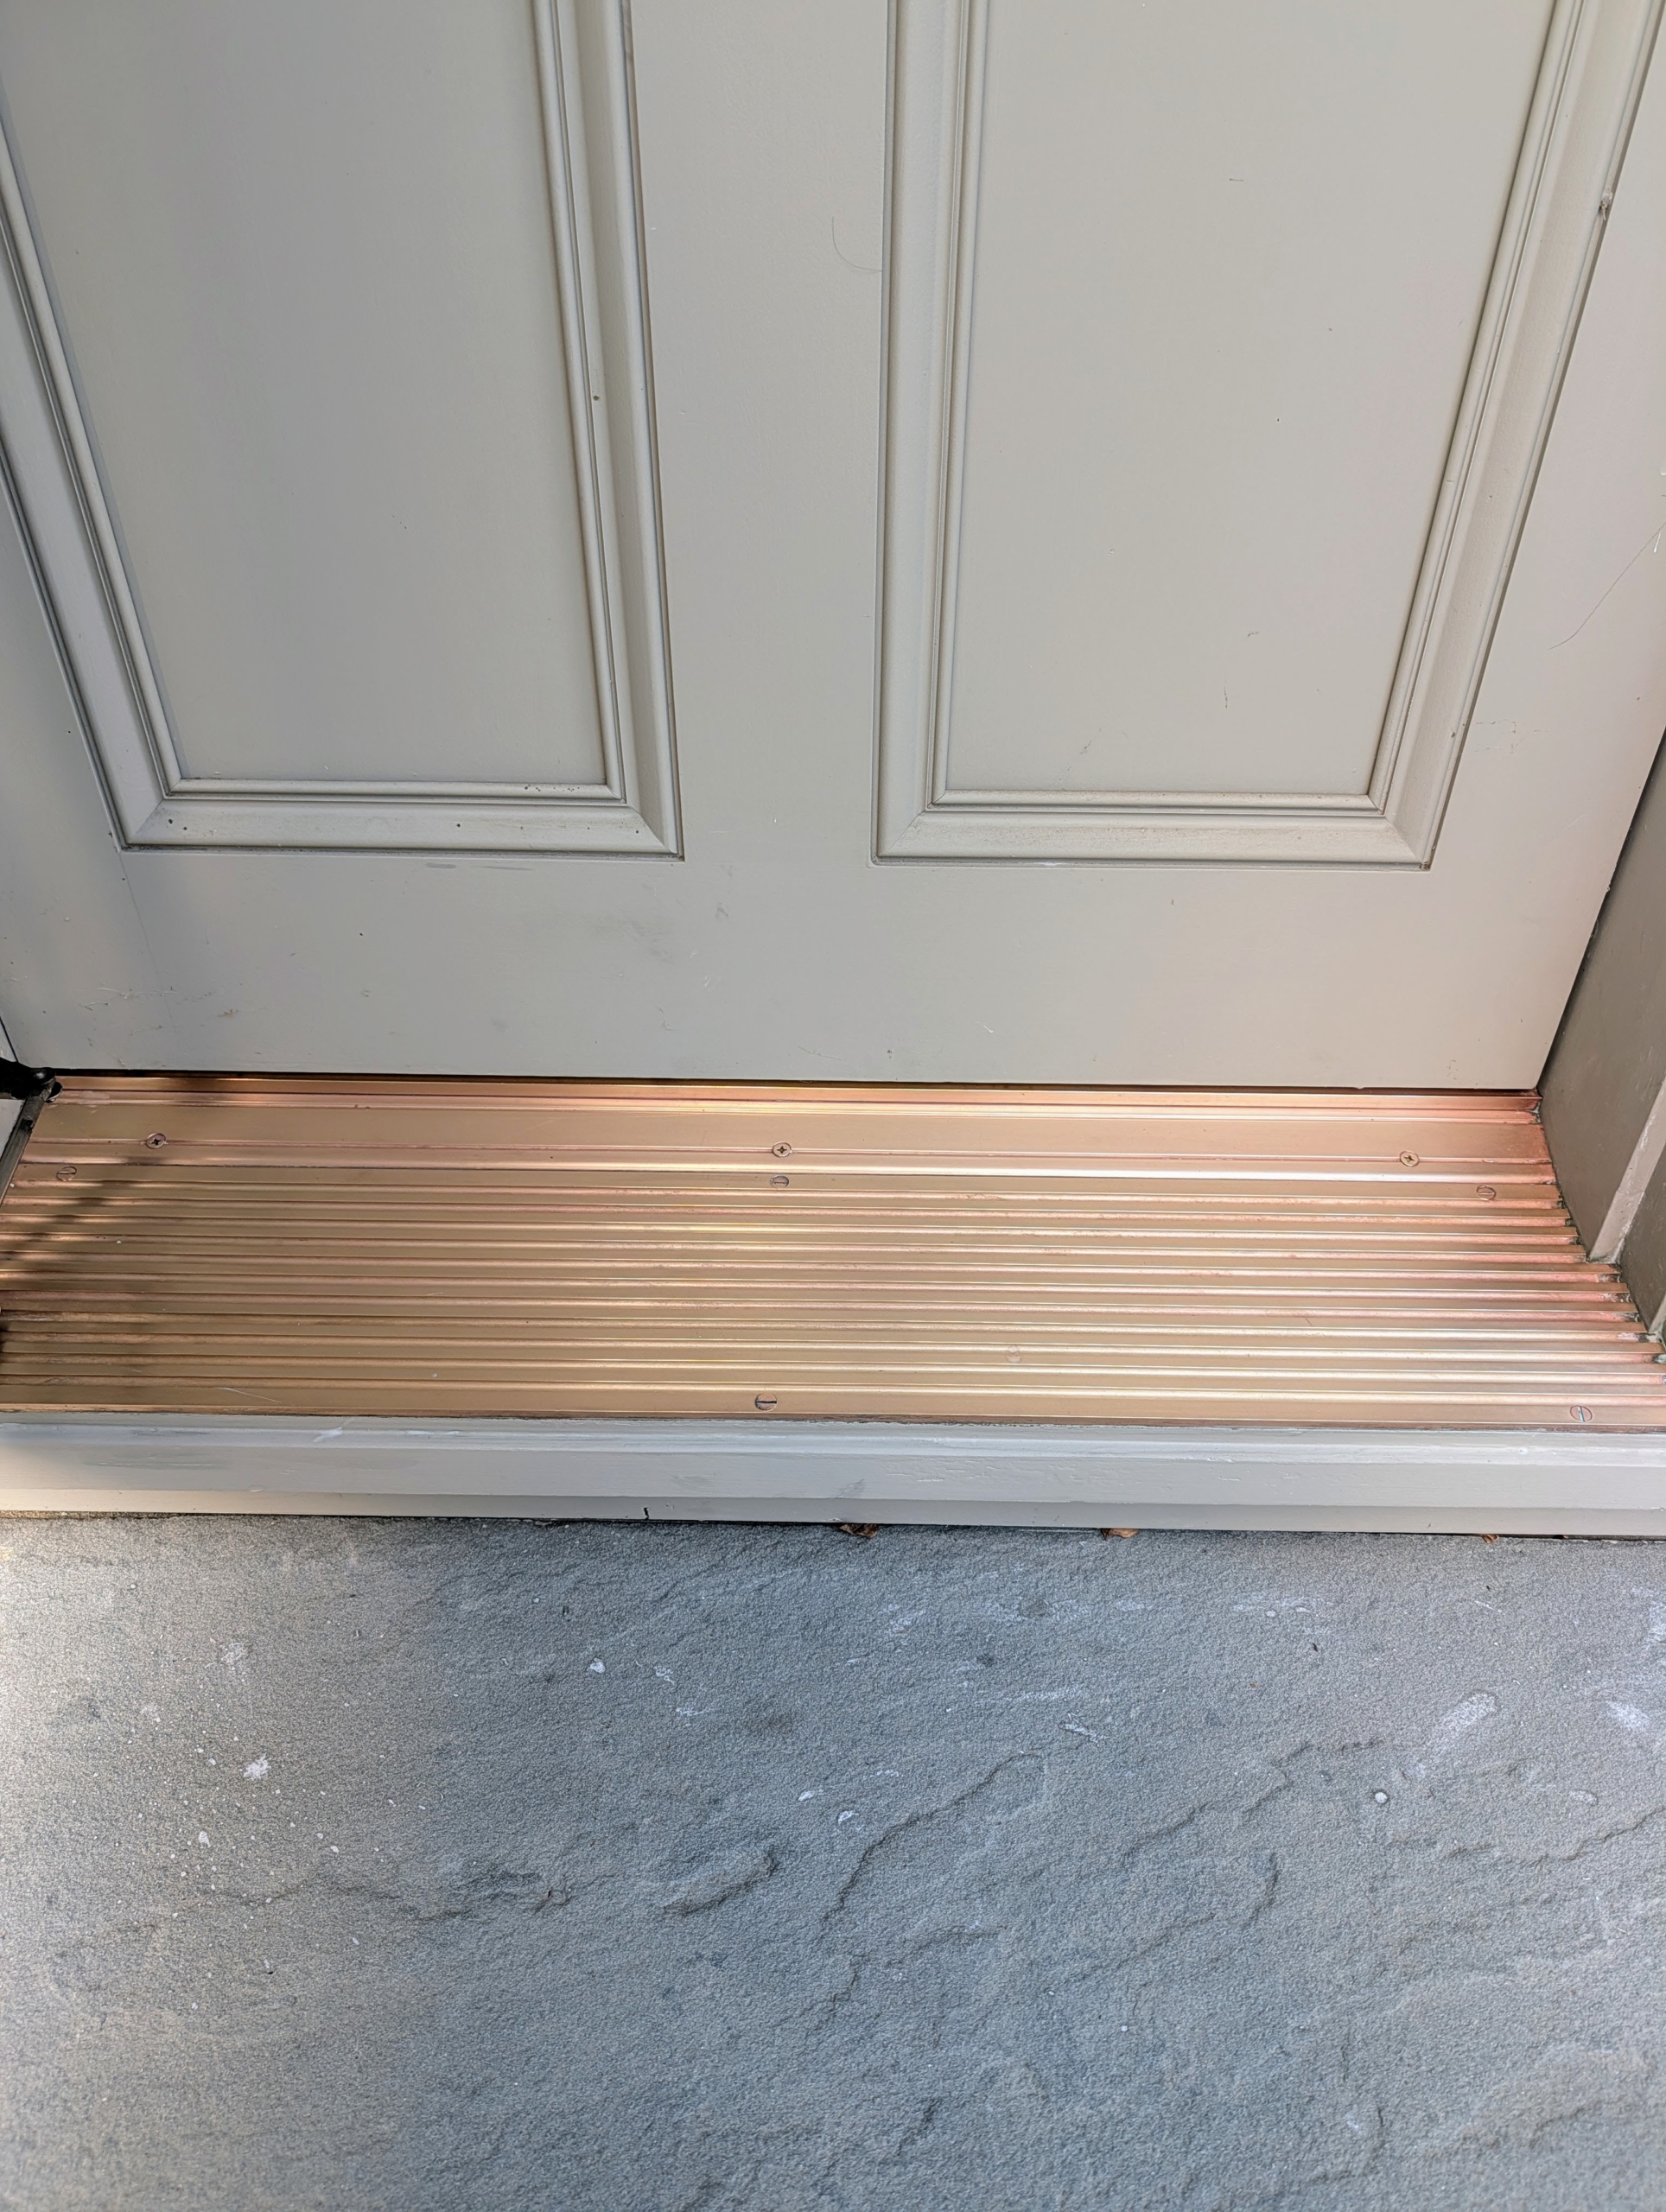
After about 15 minutes, the threshold is looking much better.
Carlos uses the brush to gently clean the edges, where the door frame meets the metal.
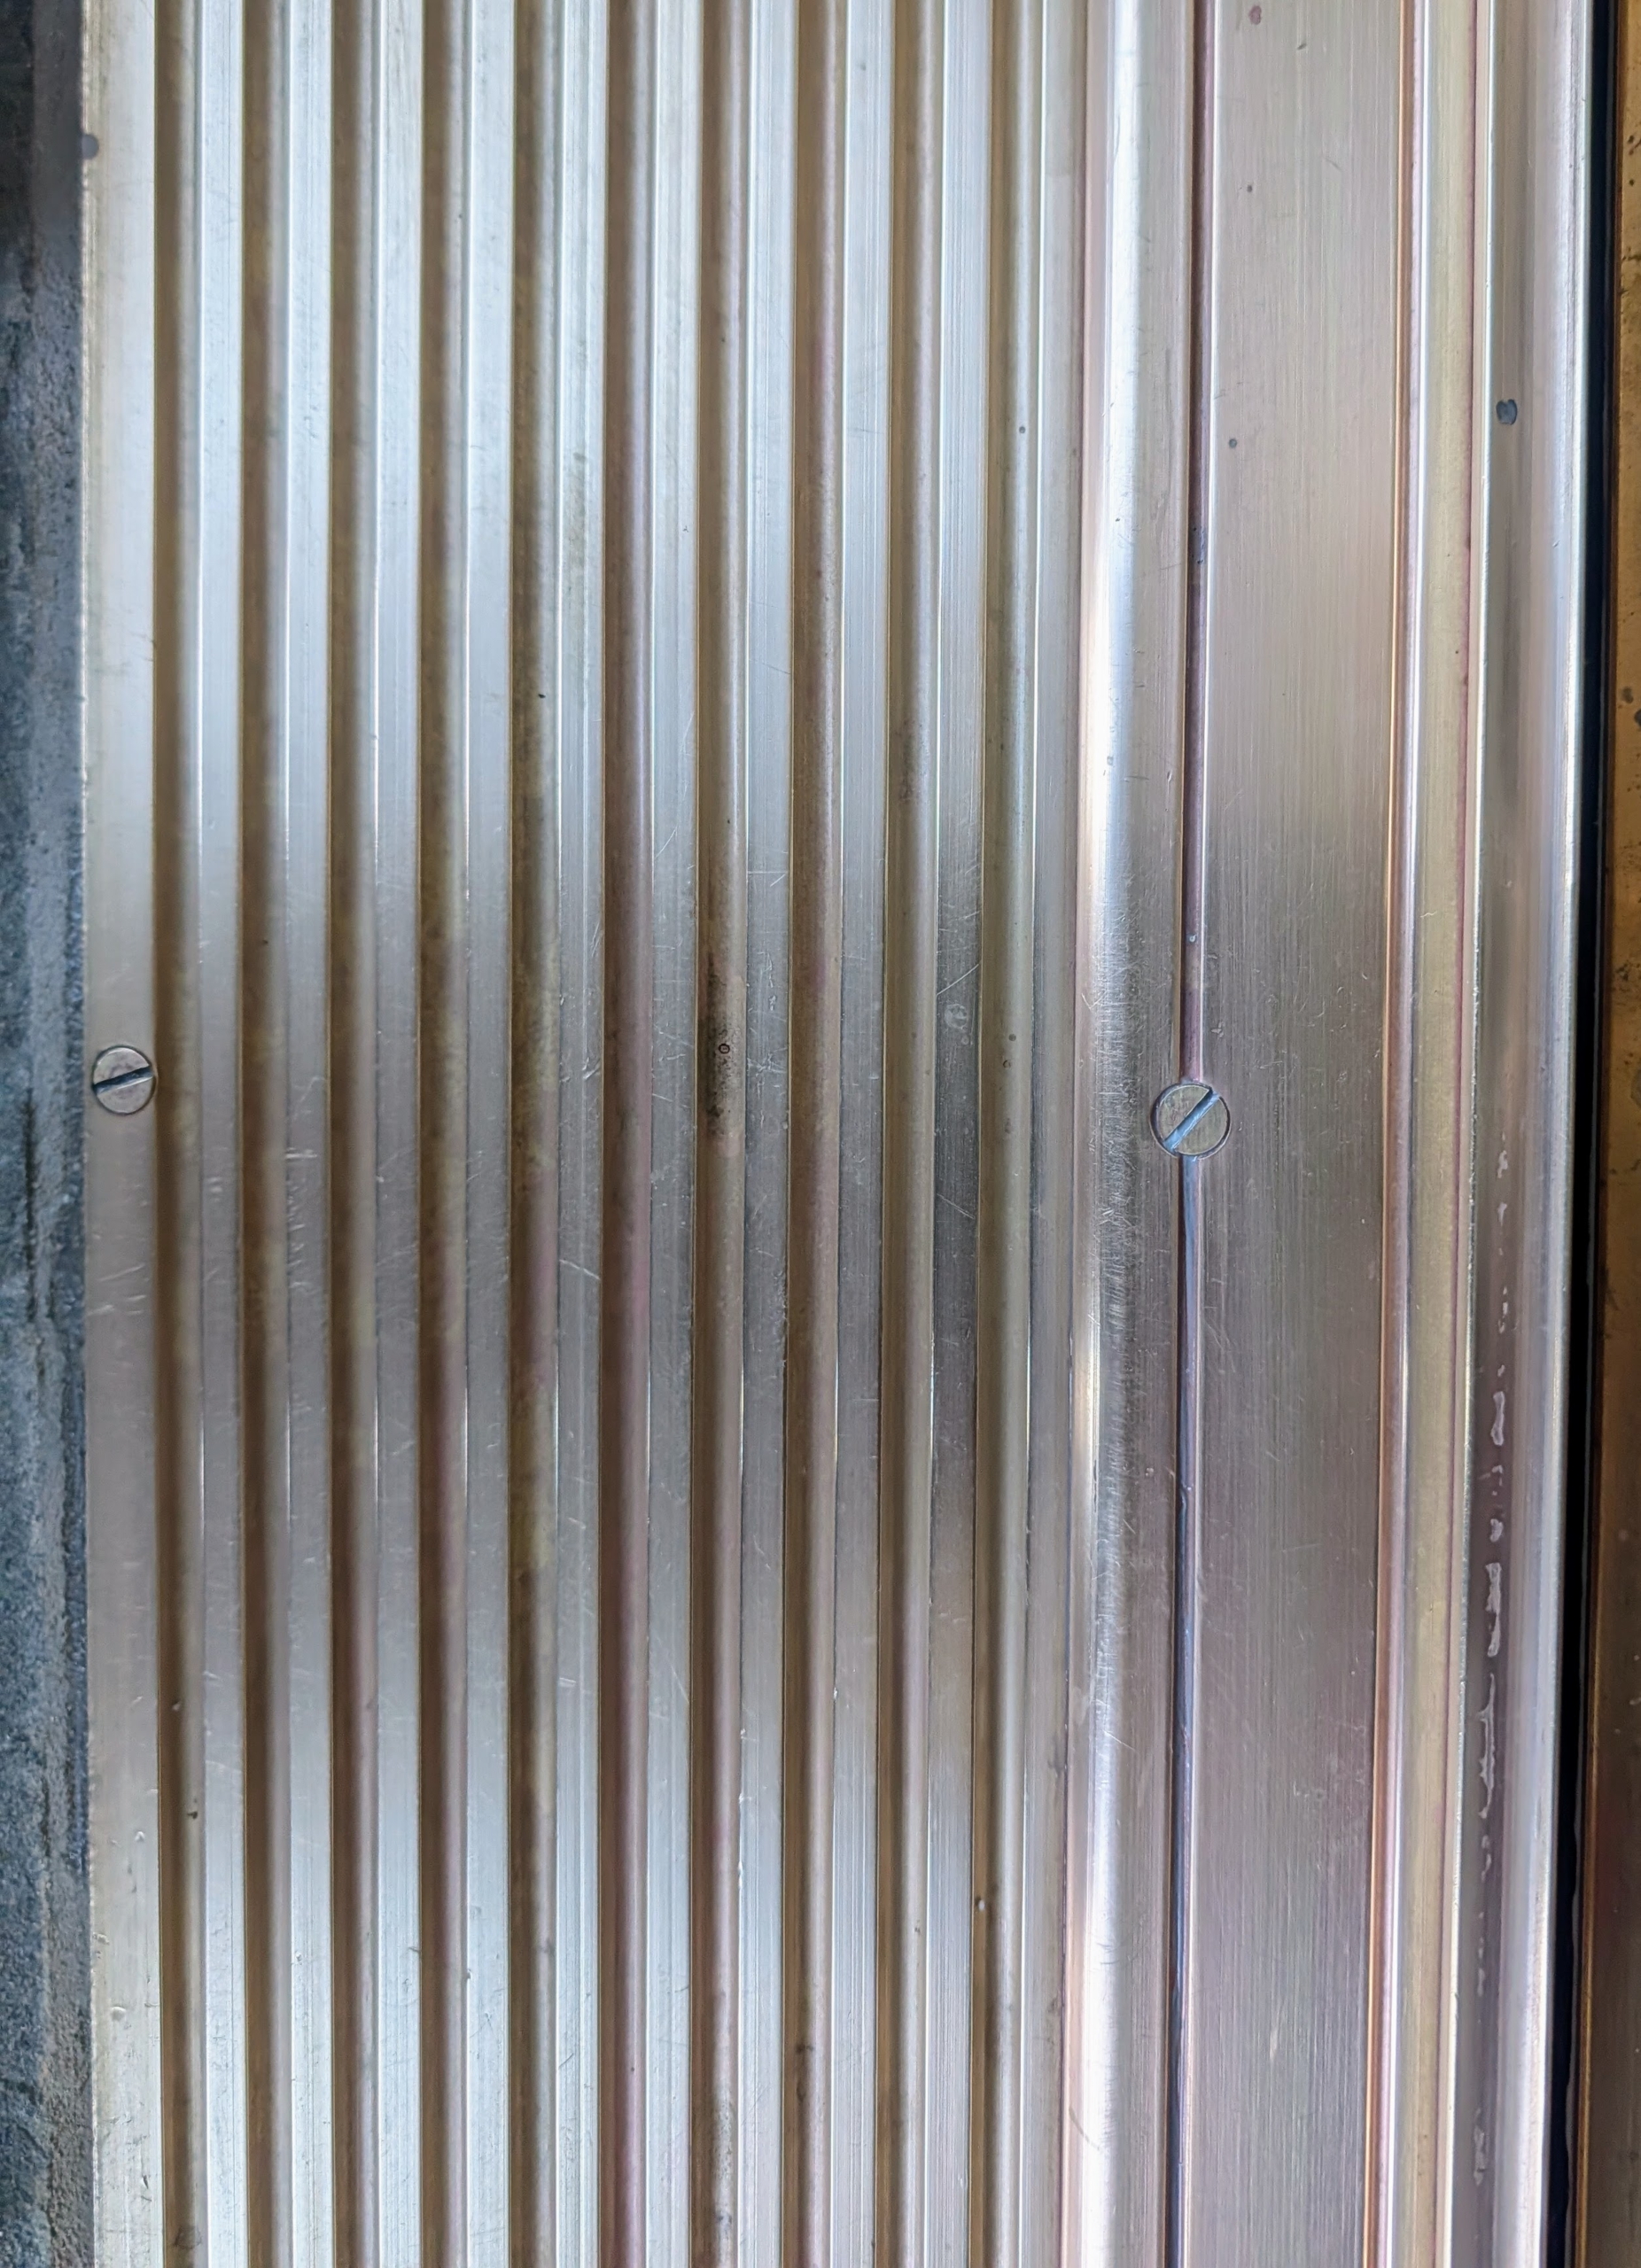
Finally, he wipes it down with a wet sponge to remove the cream and dries the entire area with a soft rag.
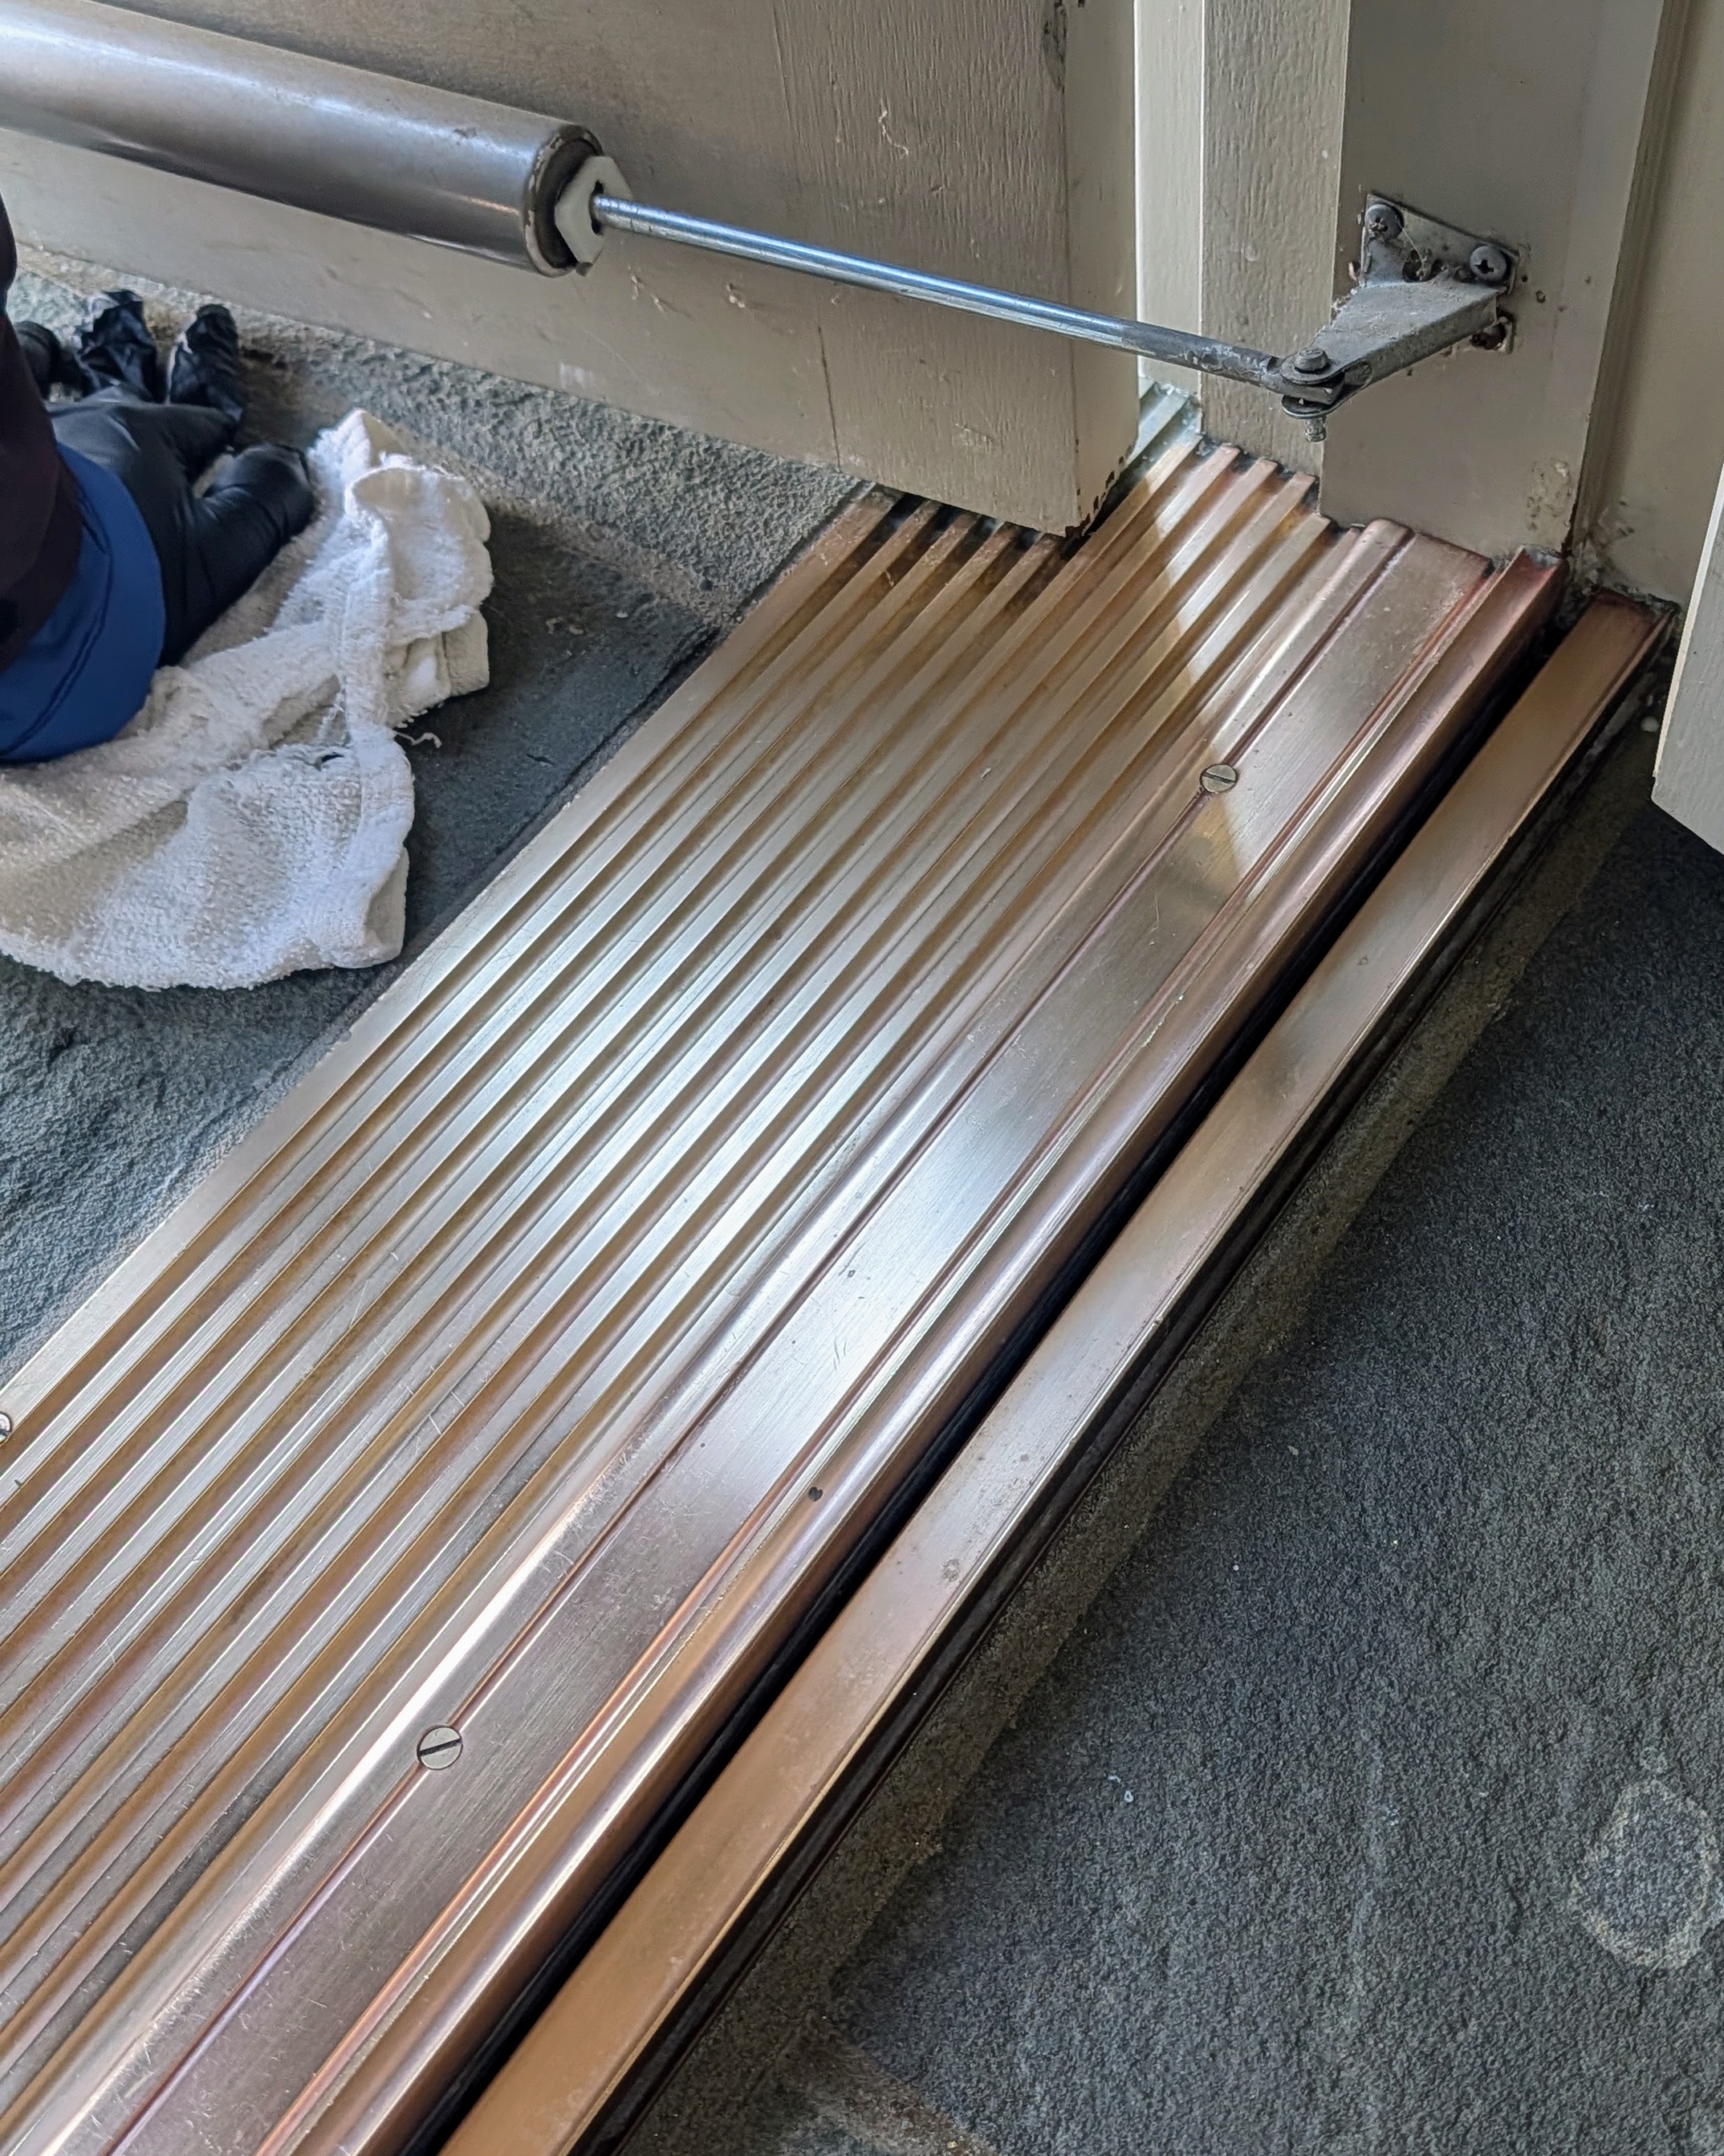
Here is another part of the threshold before cleaning.
Carlos uses a generous amount of cream and goes back and forth through the grooves. Whenever polishing metals, be sure you use a product that is specifically made for the type of metal being cleaned.
Once again he uses the soft-bristled toothbrush. Always avoid using highly abrasive scrubbing cloths, metal-bristled brushes, or steel wool; these will scratch the surface of the brass or copper.
It’s a good idea to change the water and replenish the rags with every threshold.
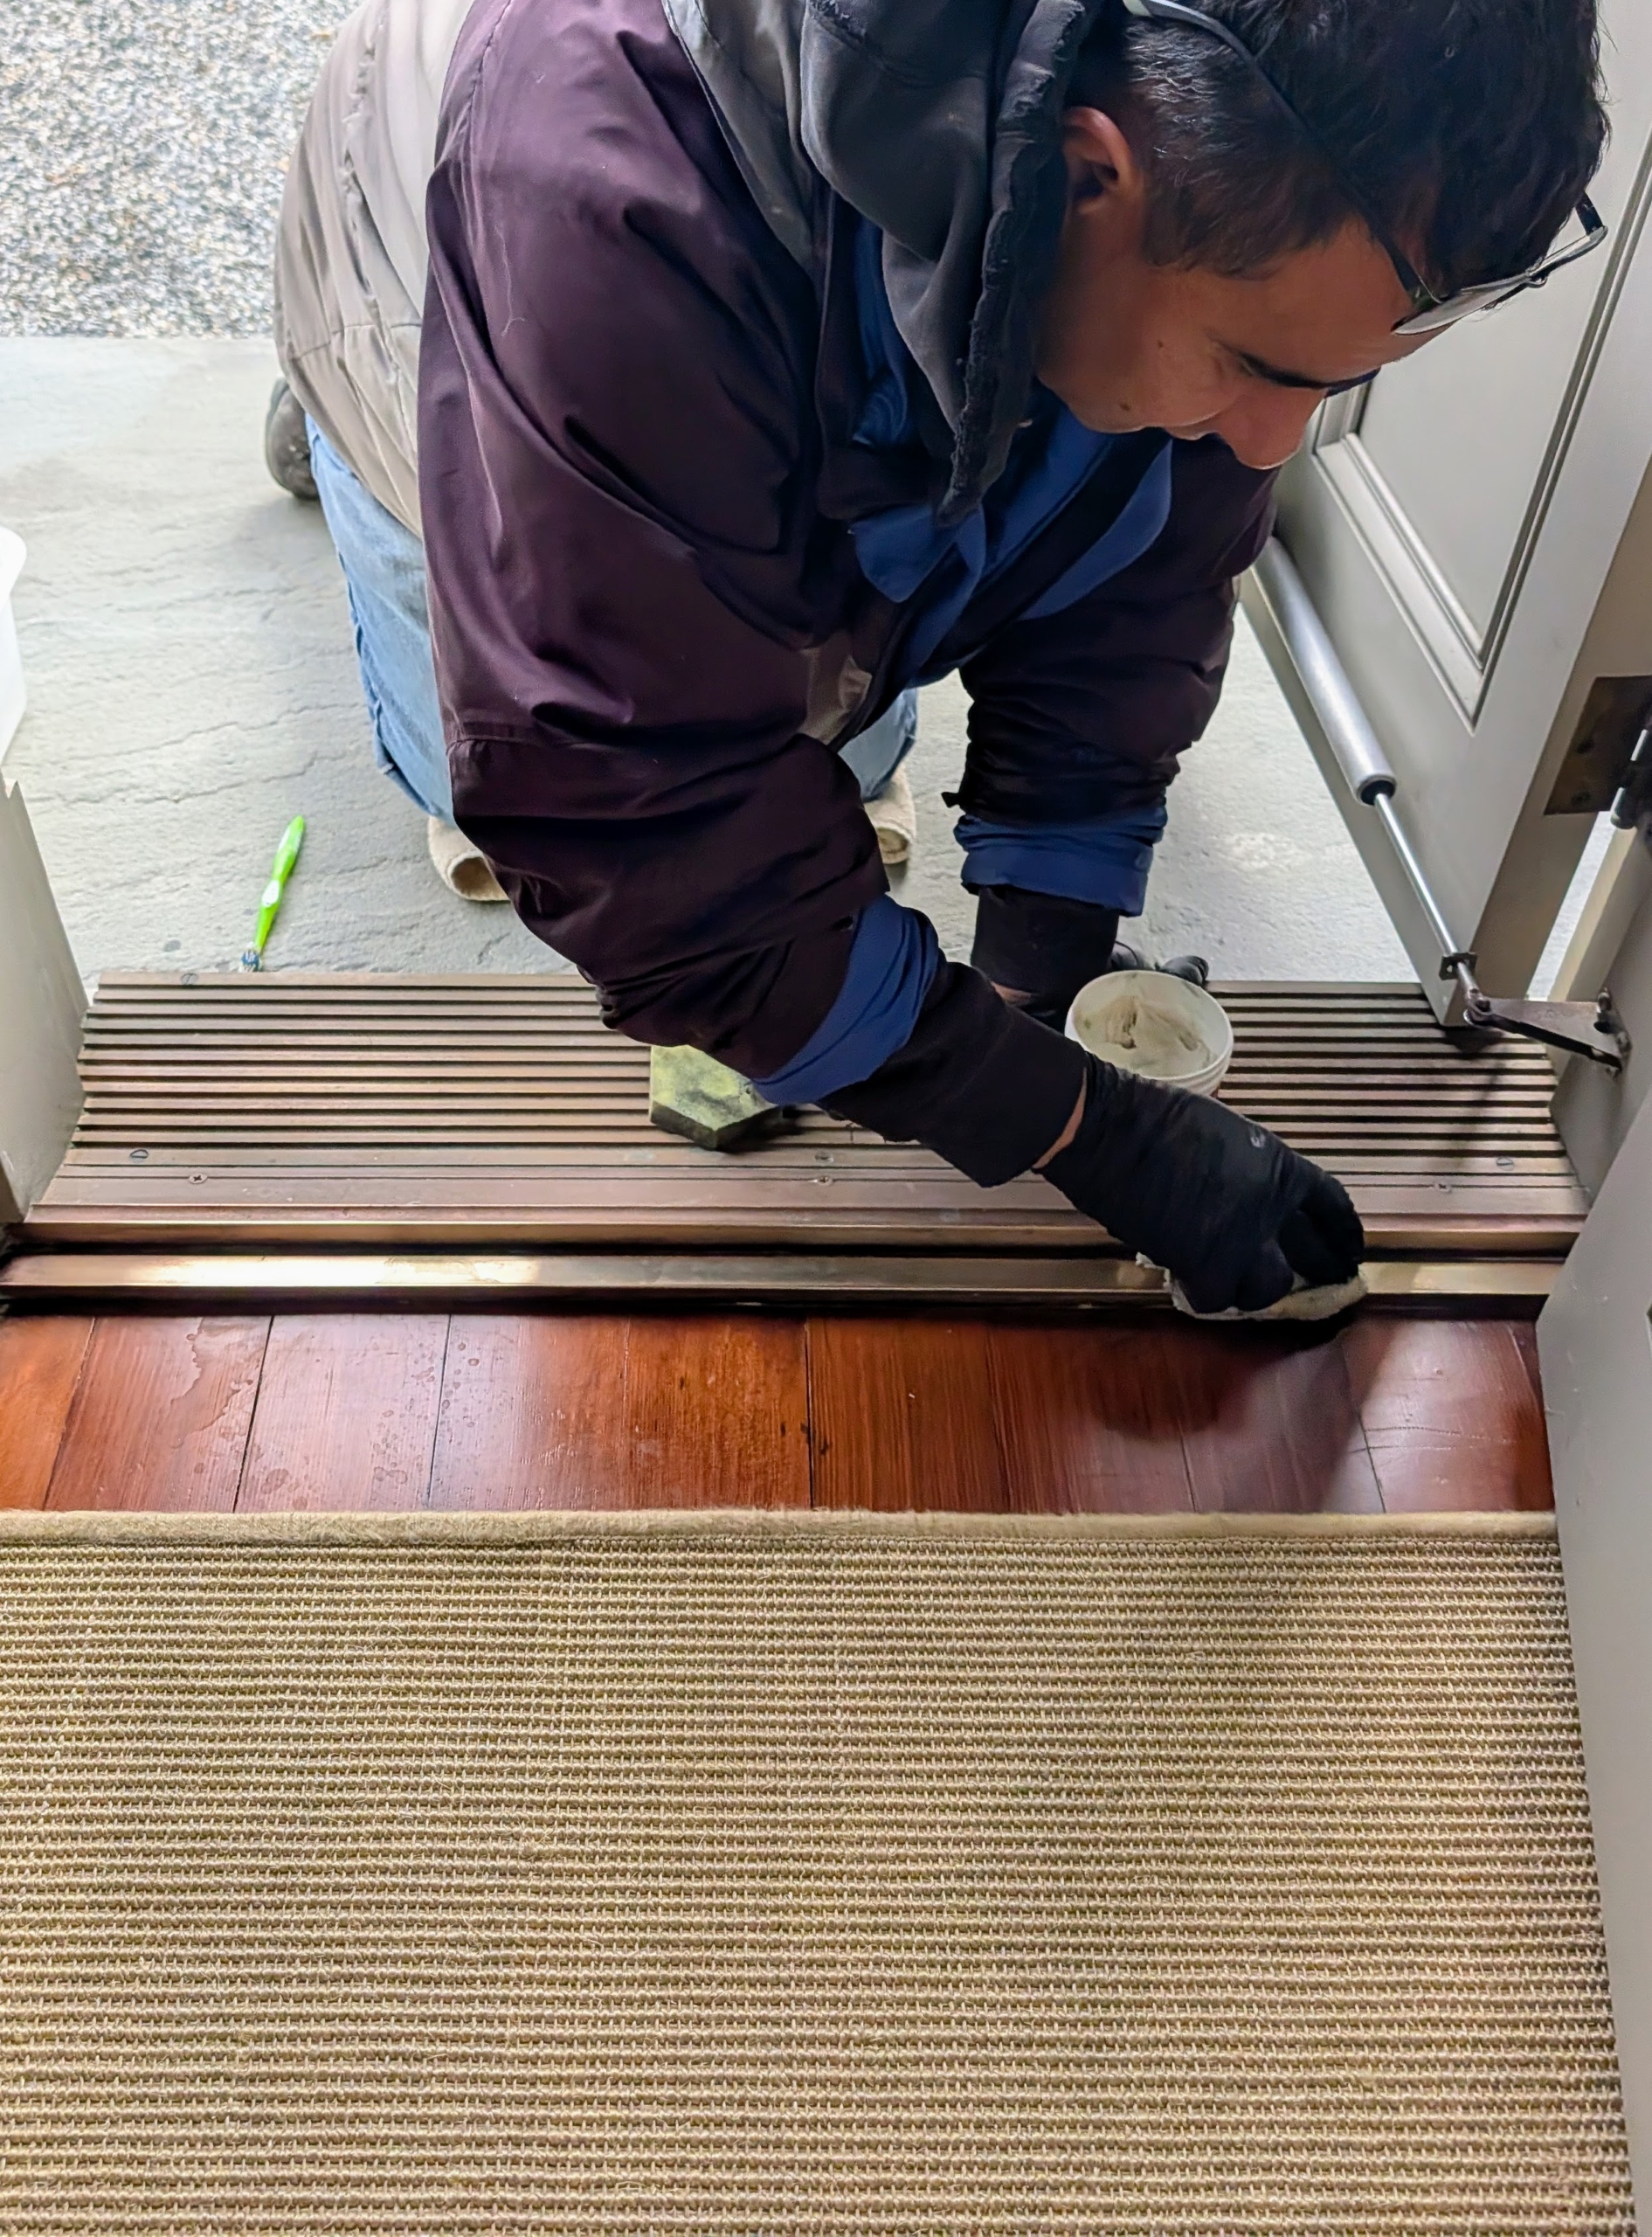
Here, Carlos works on the door to my courtyard.
The sponge starts to darken as the dirt and tarnish are removed.
Carlos also polished the doorknobs. Look how they shine.
Everything glistens once cleaned and polished. The thresholds look so much better. It’s still January, but let the spring cleaning begin!