Bright, beautiful, and colorful dahlias are starting to bloom here at my farm.
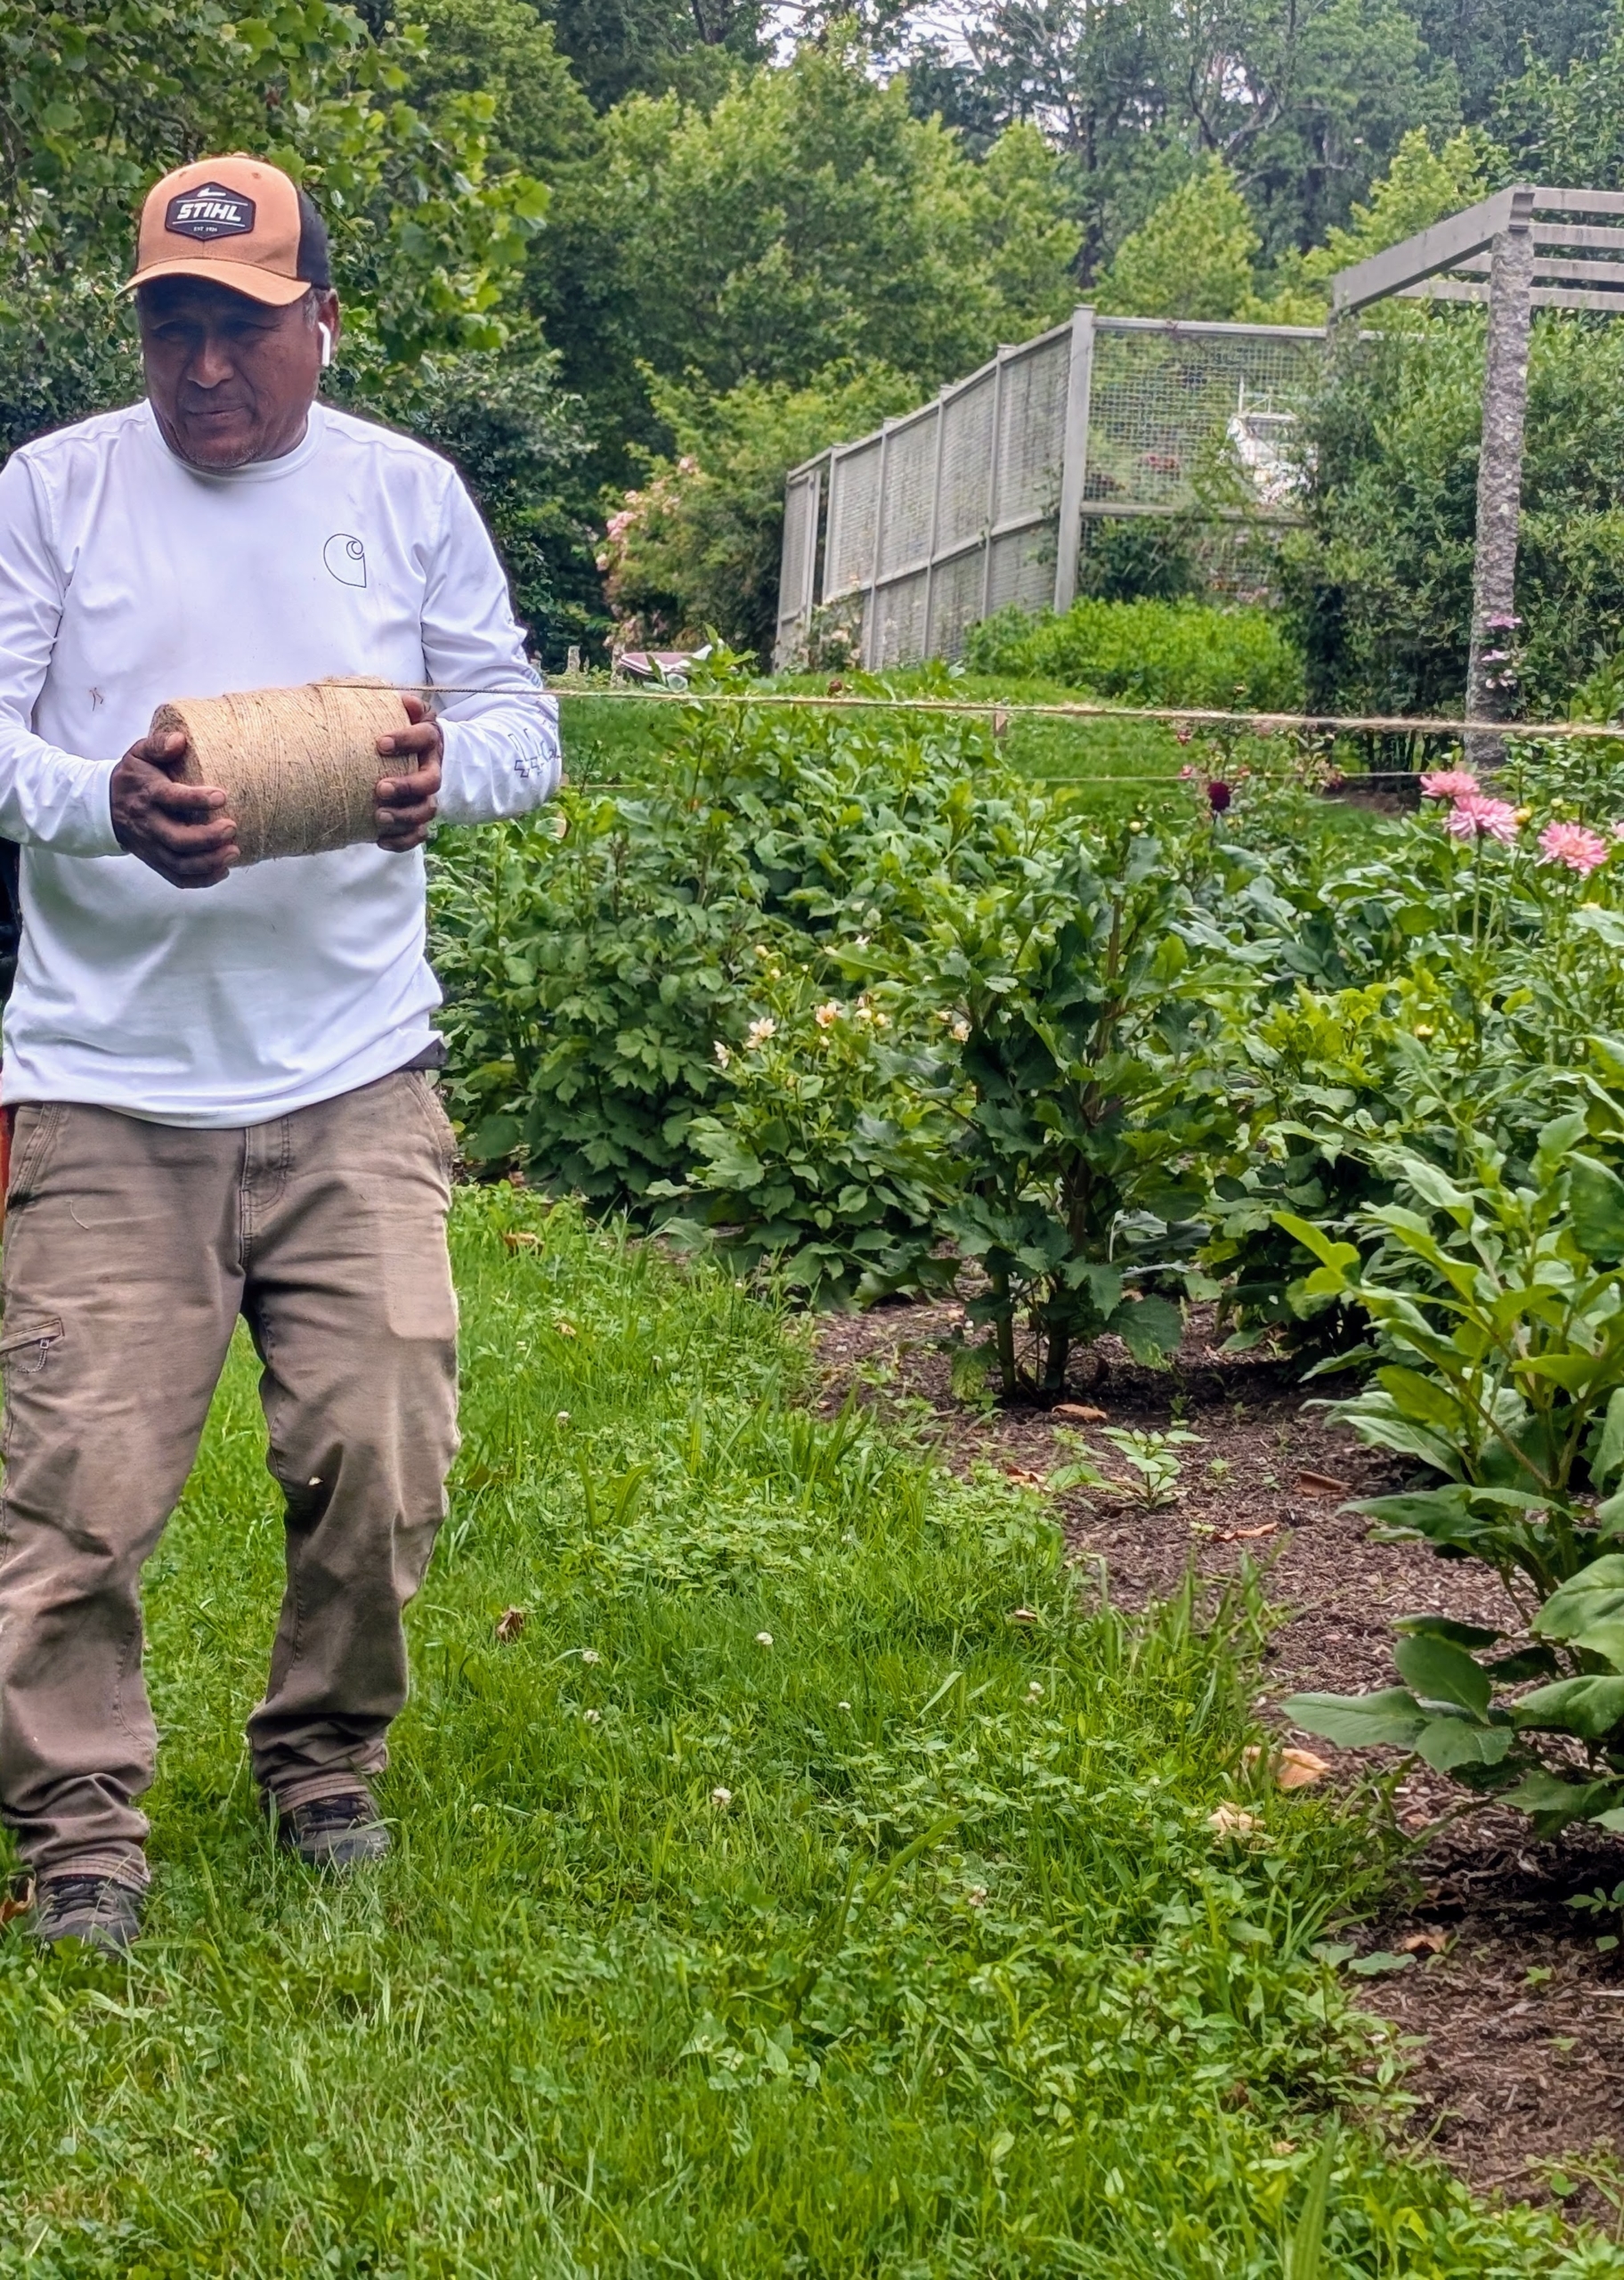
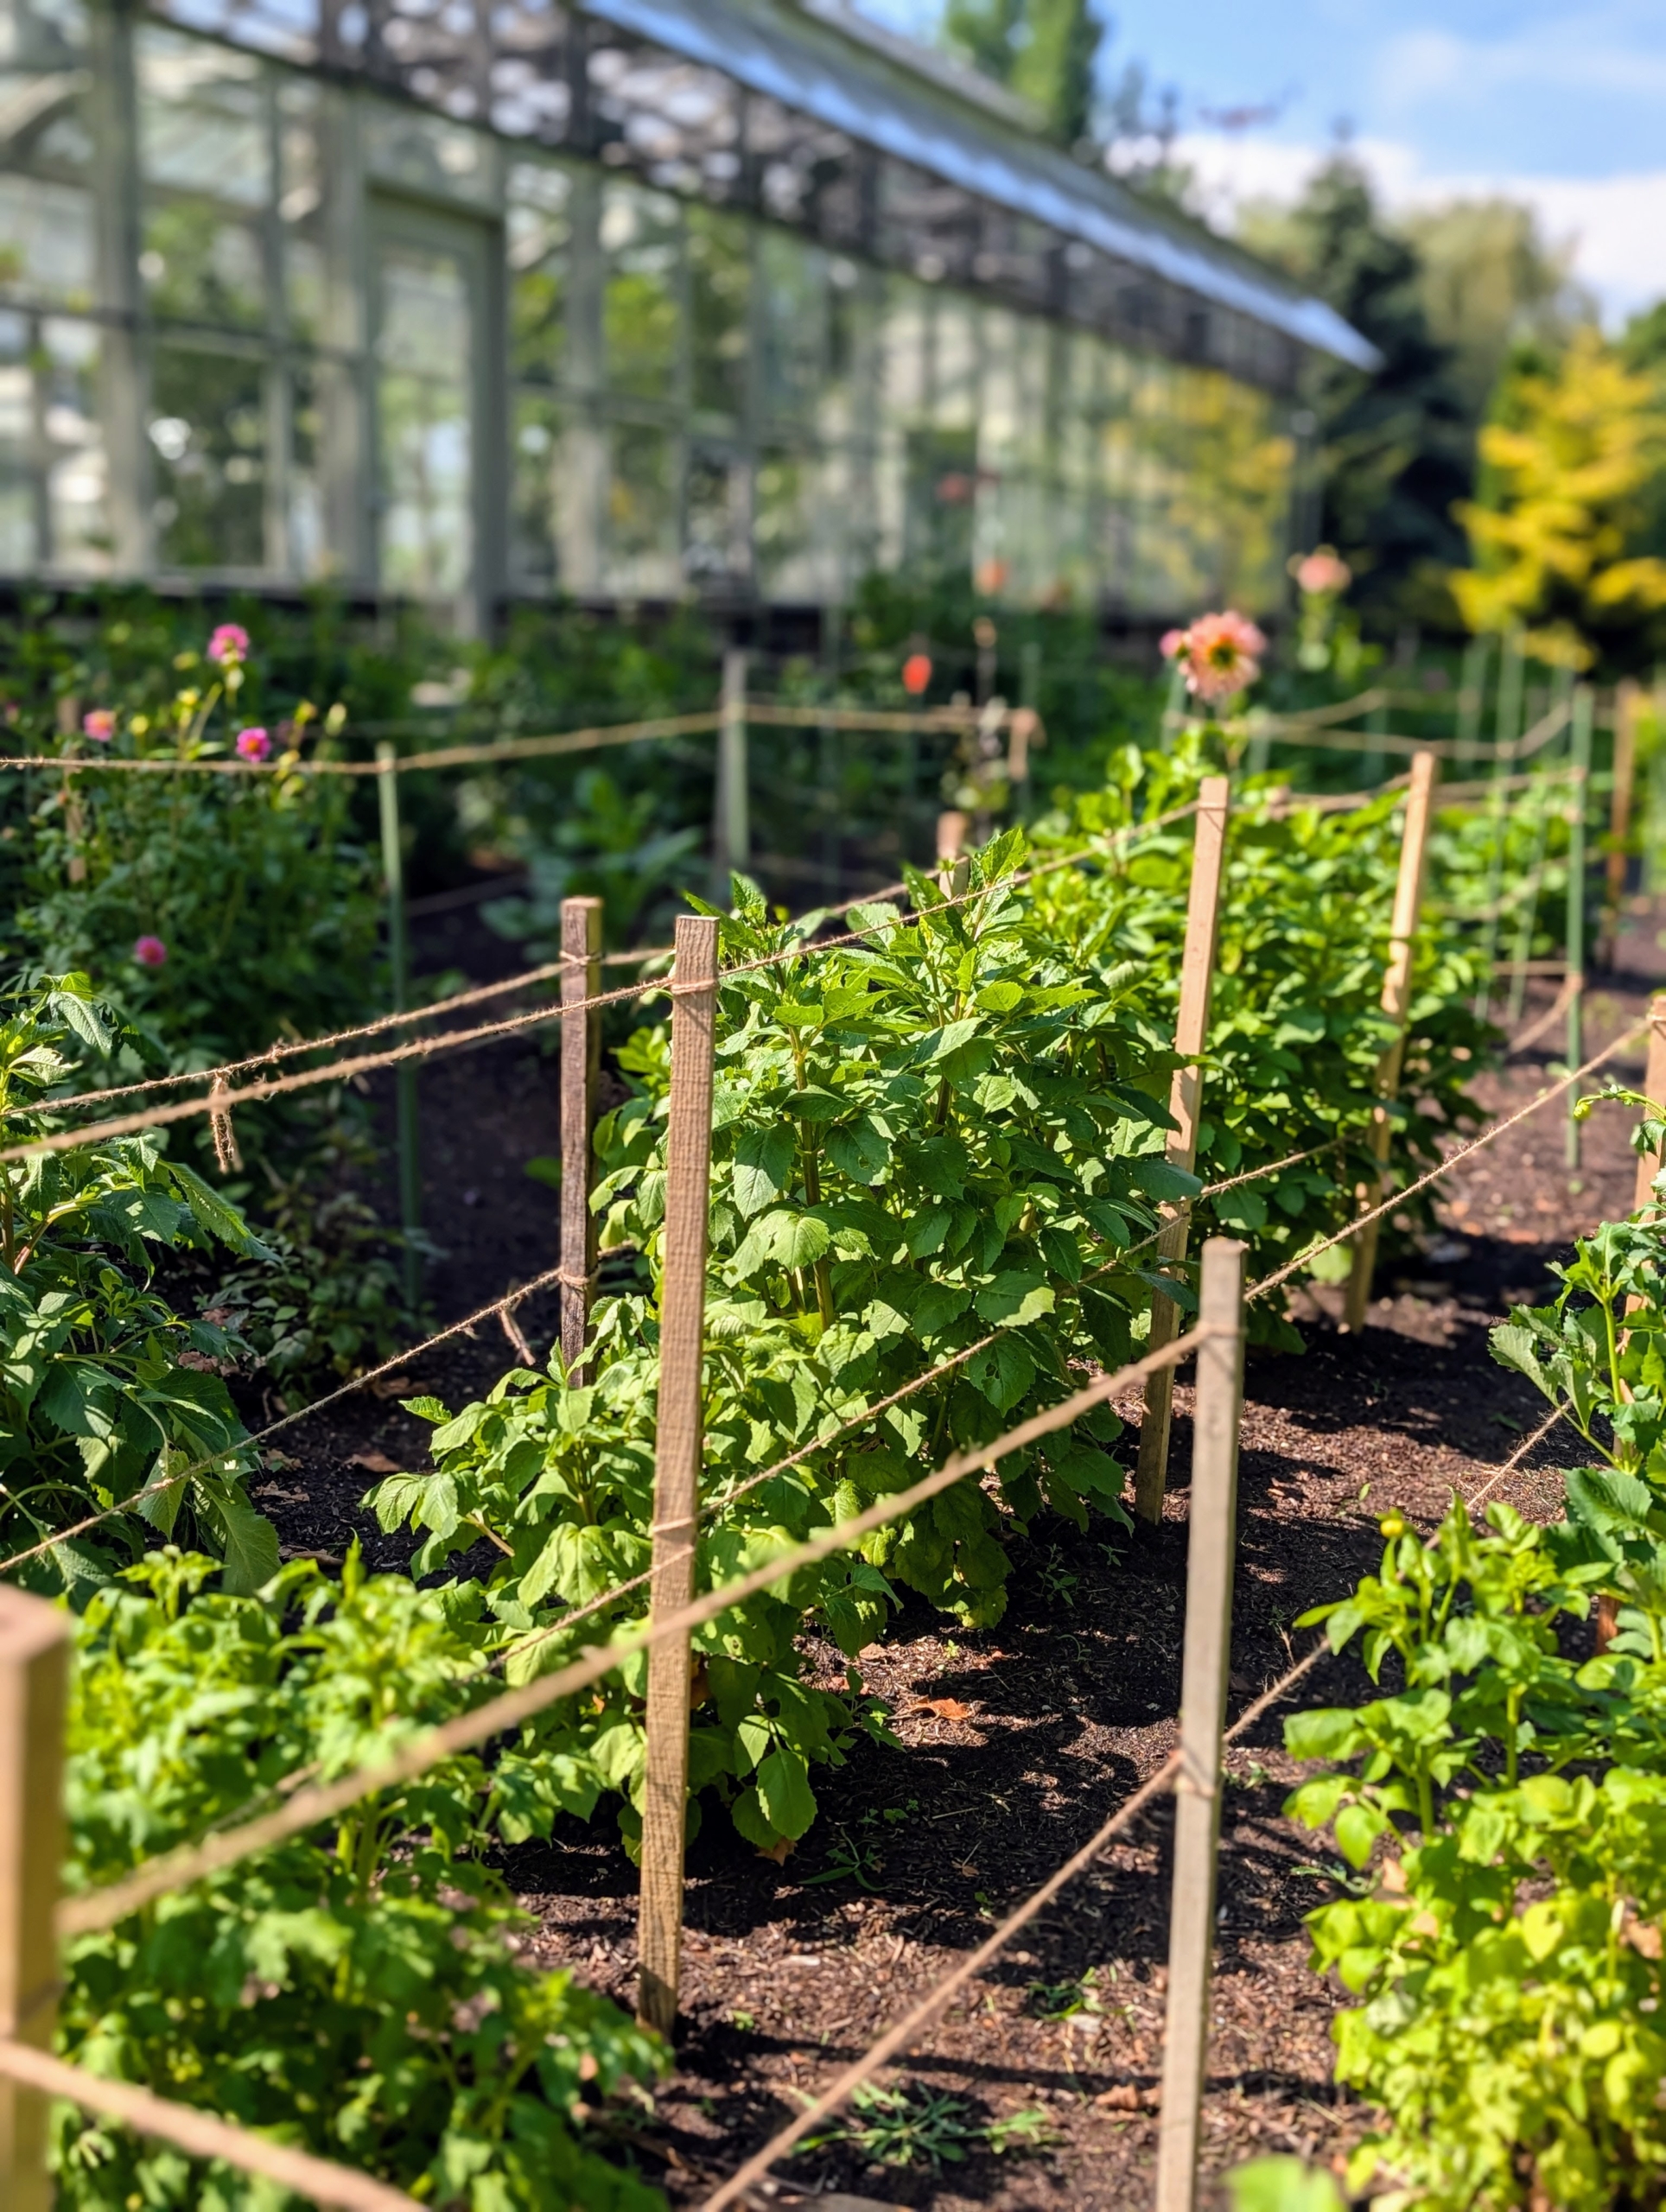
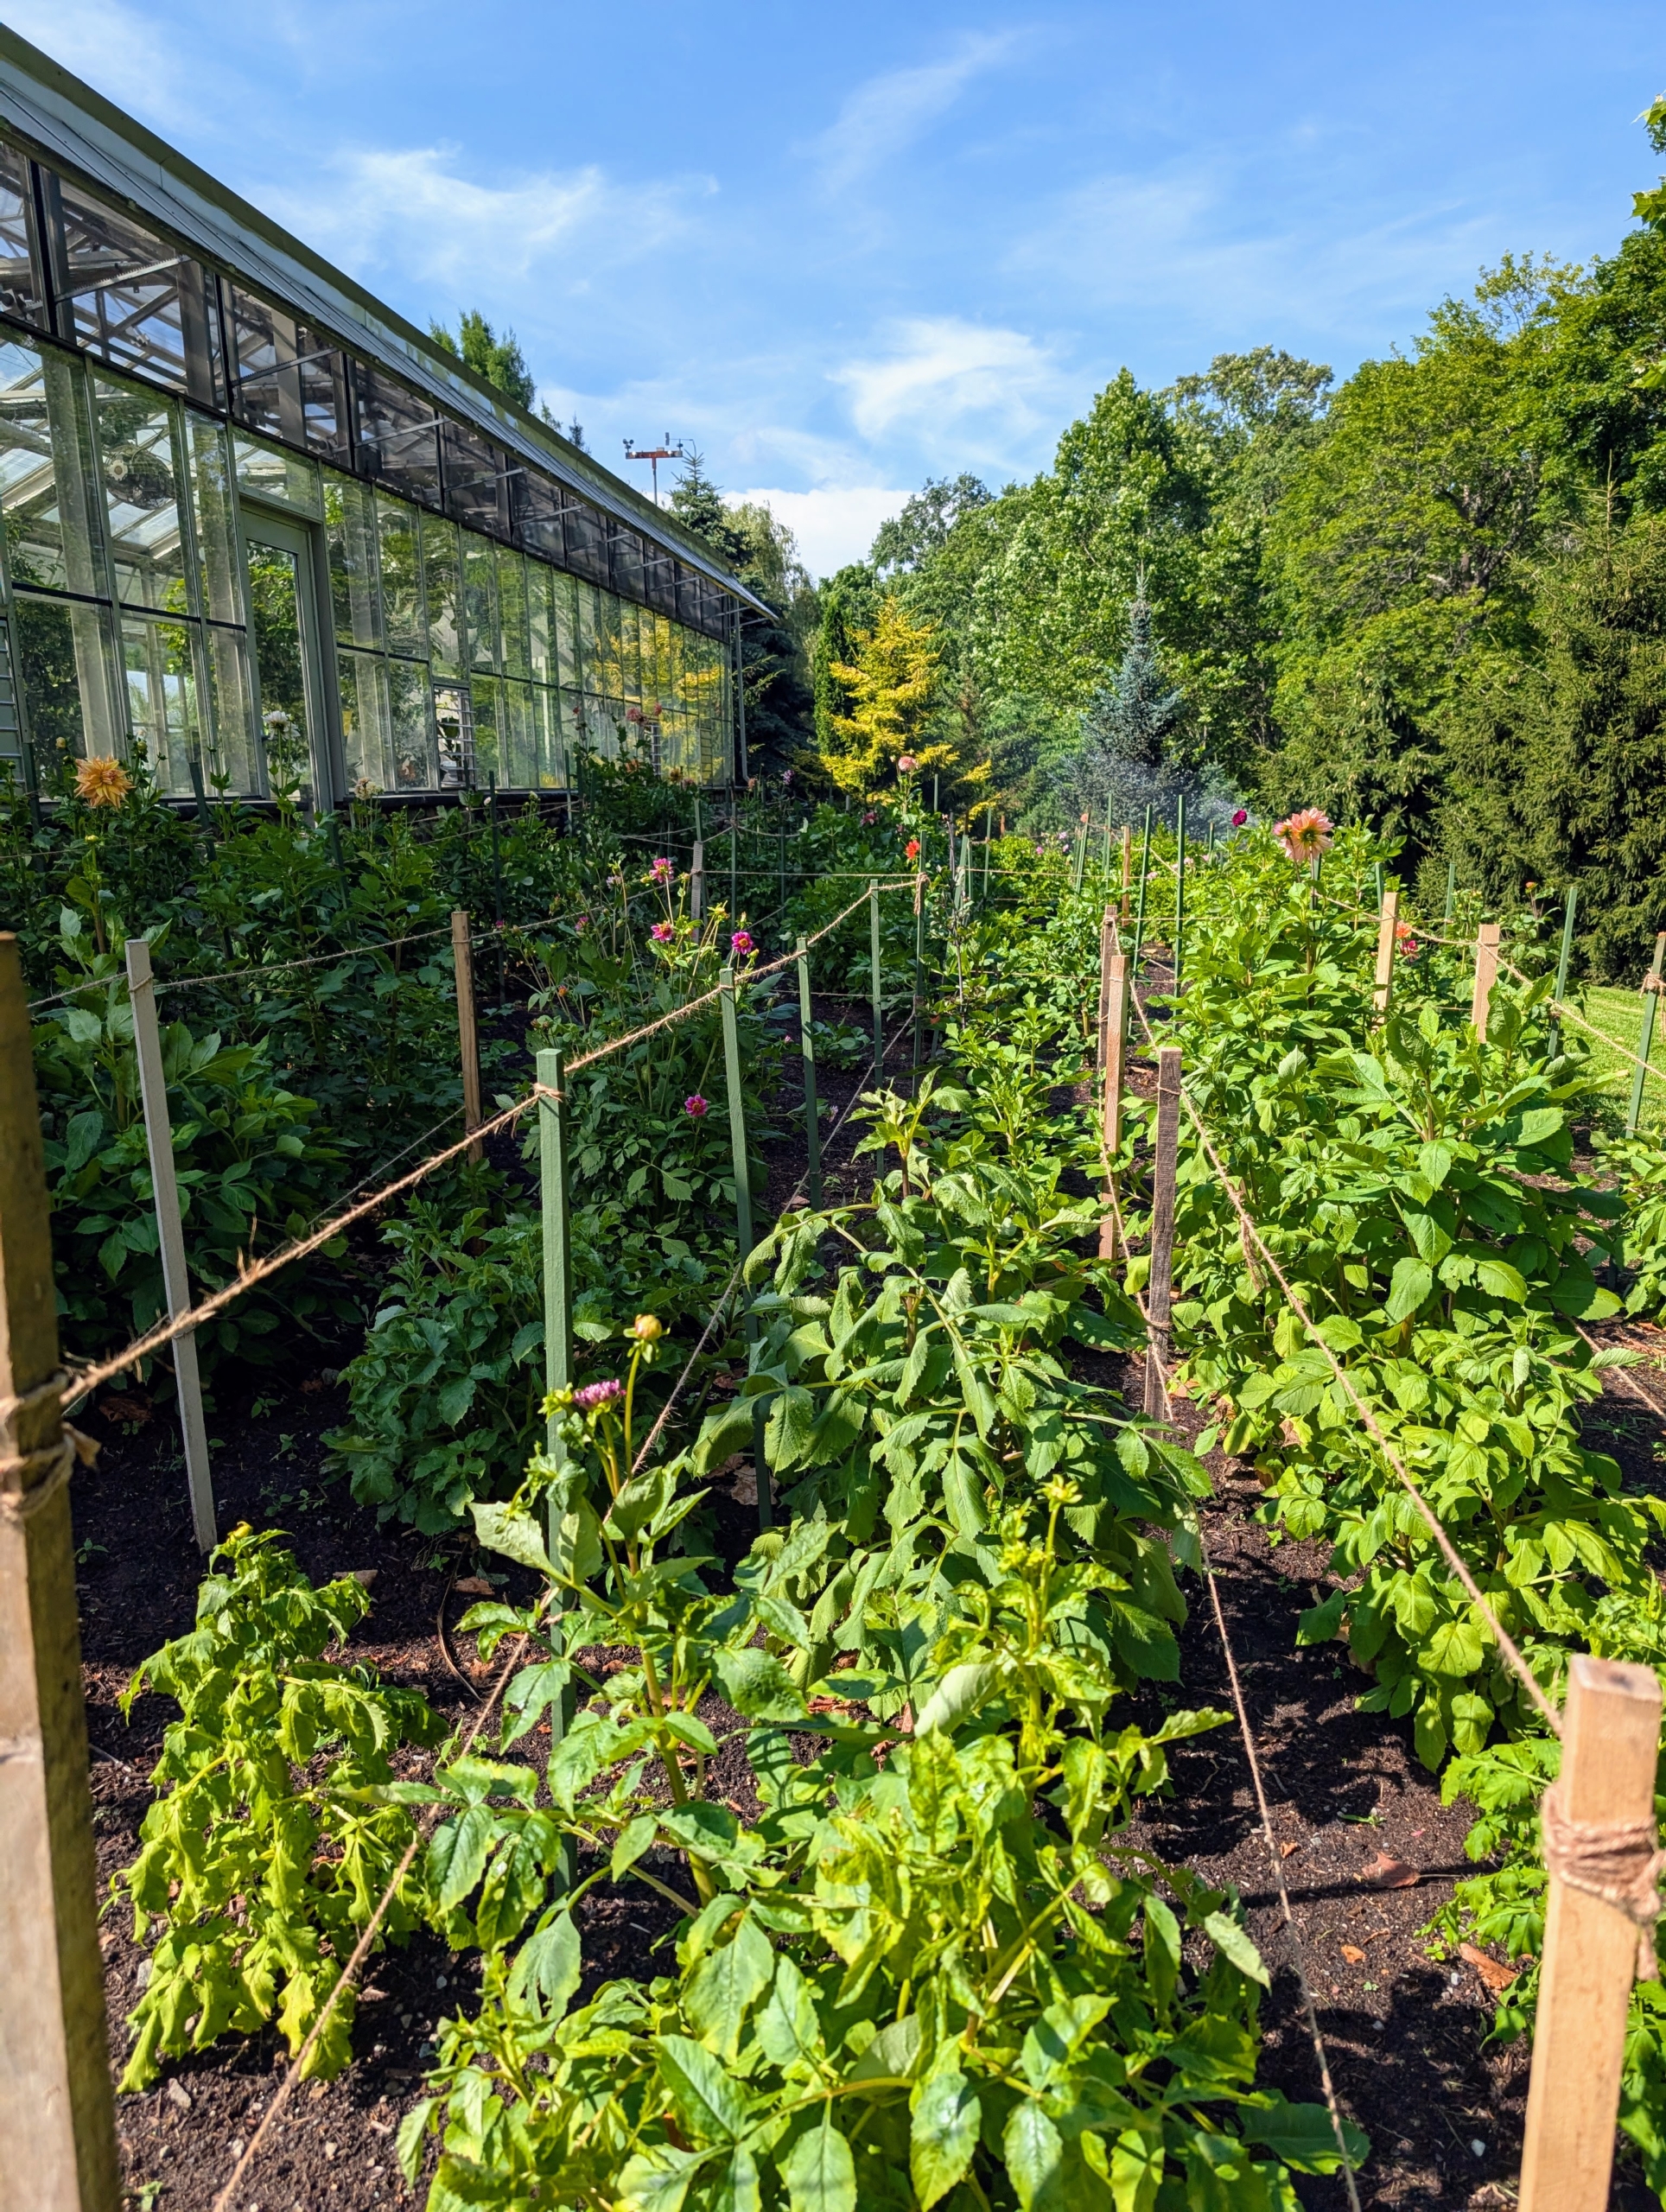
Dahlias begin to flower with great profusion just as many summer plants pass their prime, and they last right up until the first frost. My dahlia garden is tucked behind my vegetable greenhouse in an area exposed to full sun and protected from strong winds; however, as they grow it's important to provide tall, hollow, dahlia stems with good support to prevent them from flopping. My crew stakes each plant every year using wood and jute twine.
Here are some photos, enjoy.
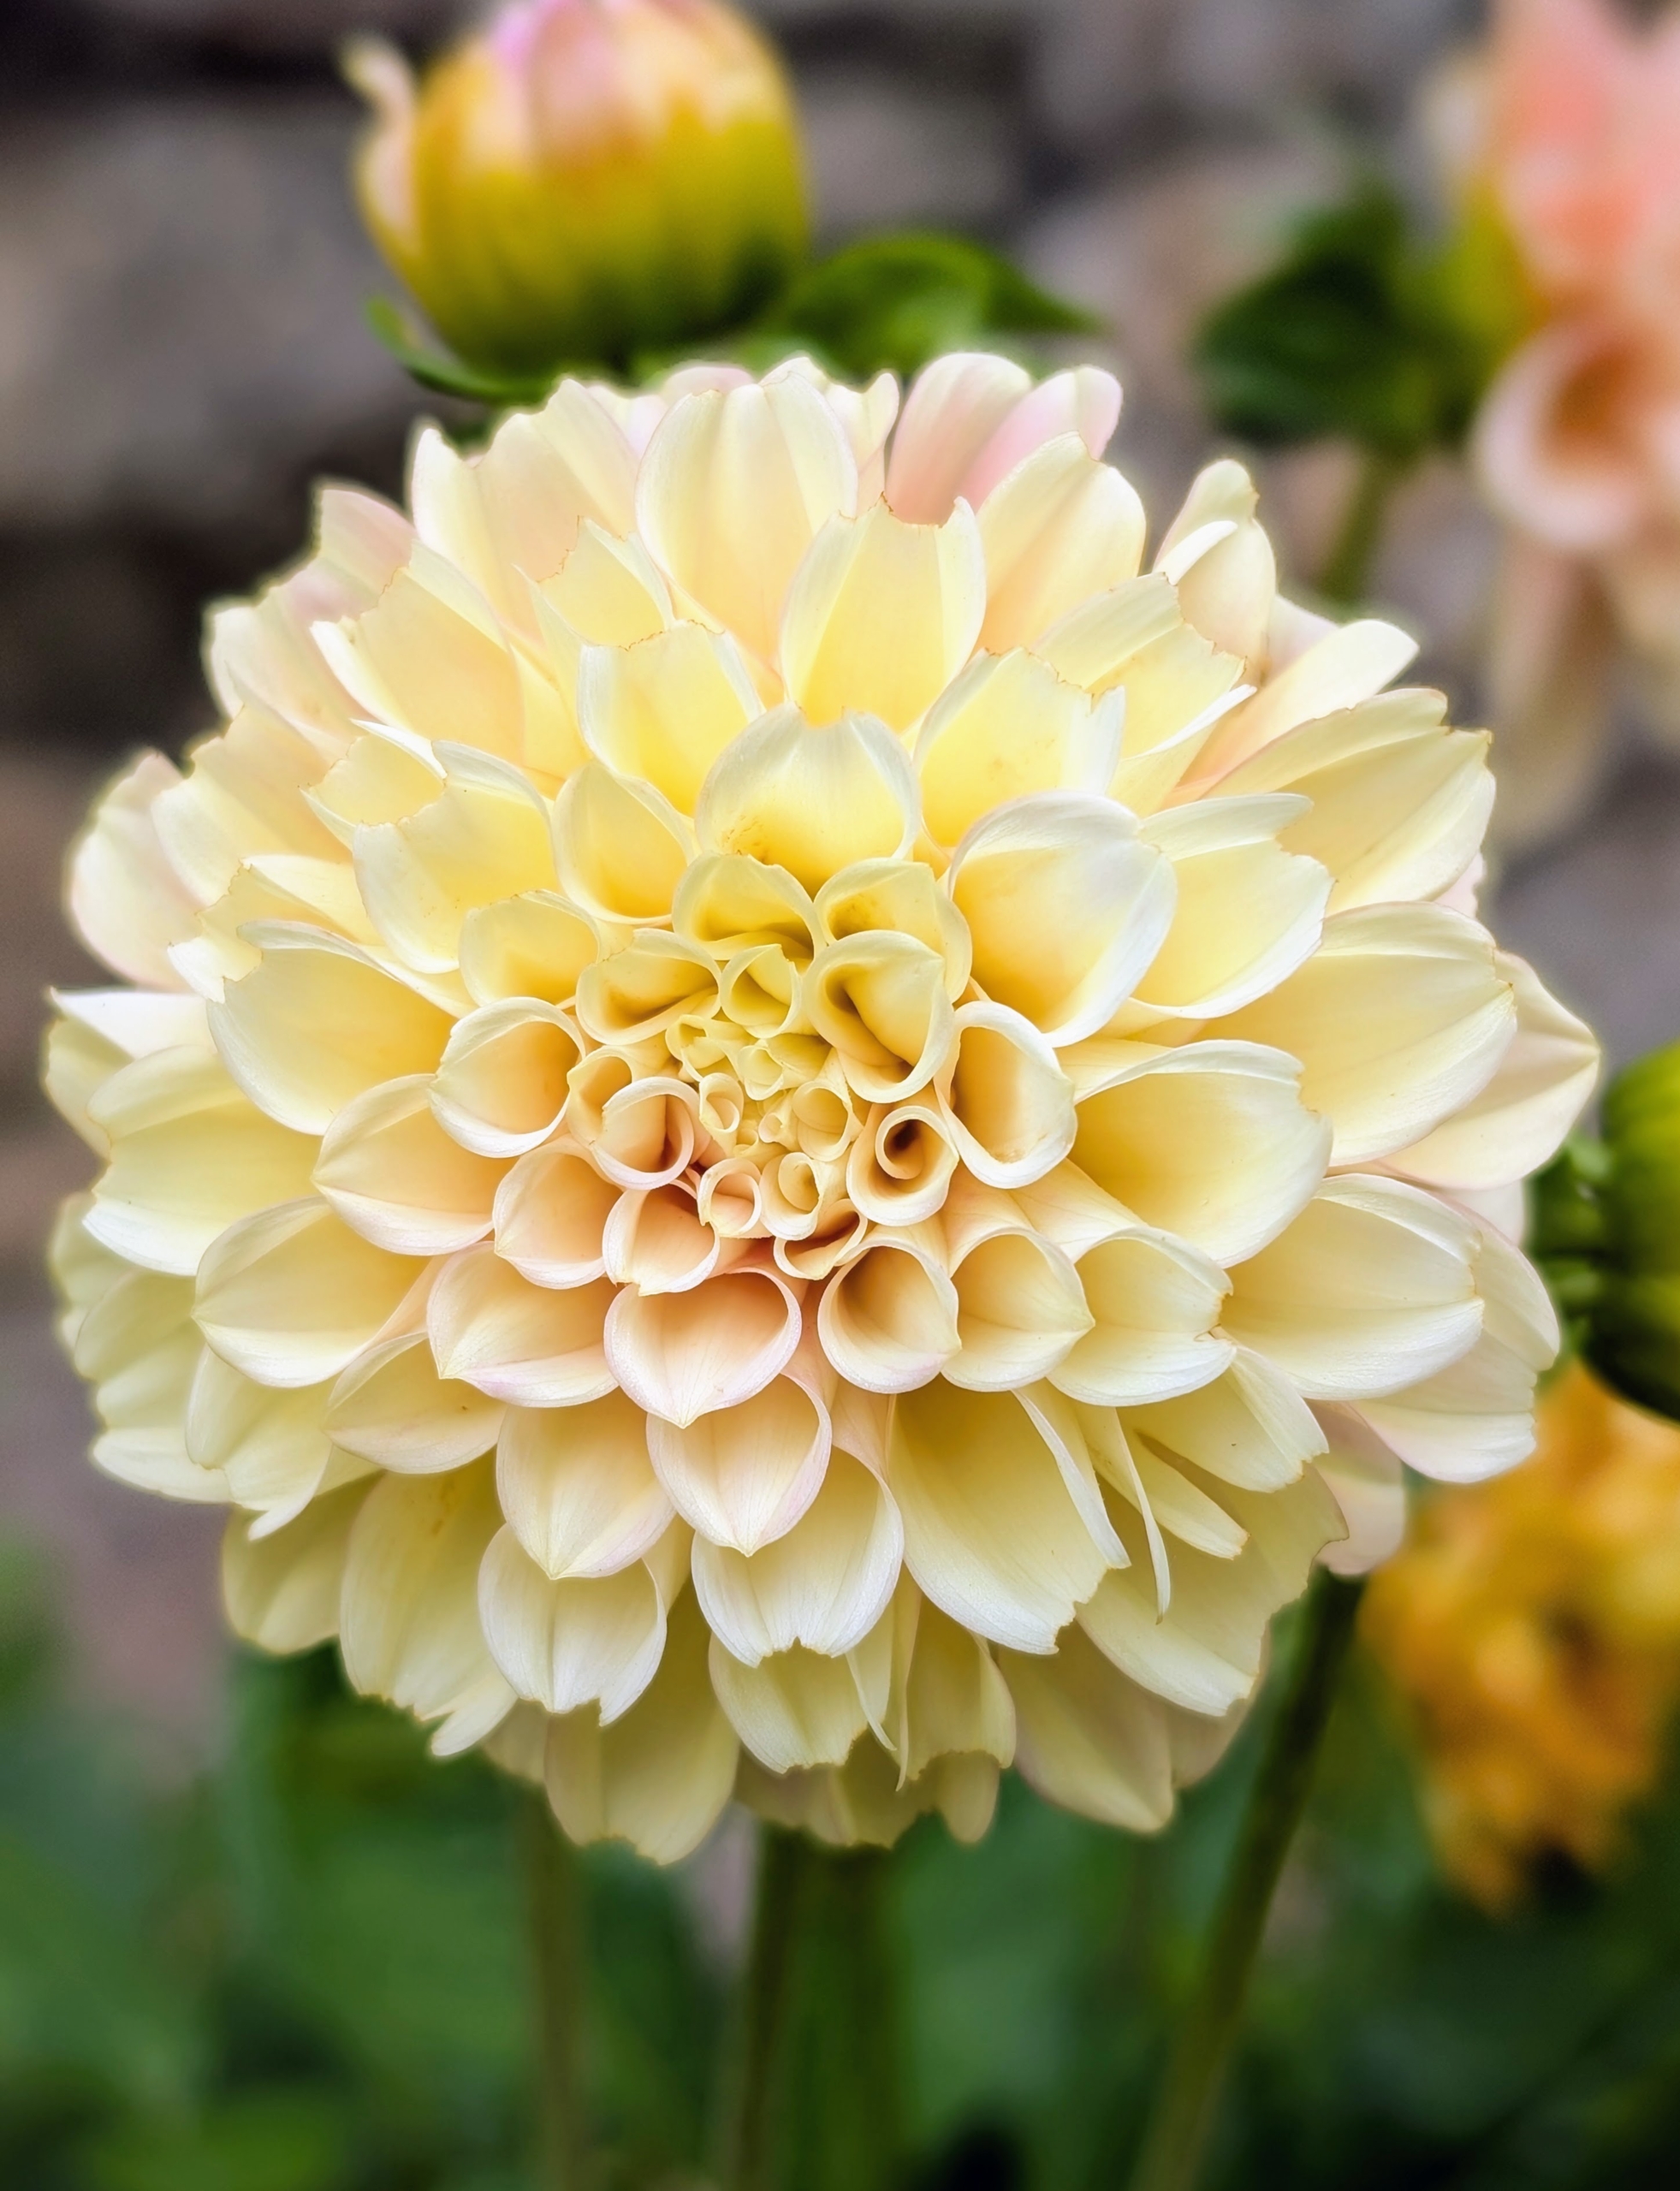
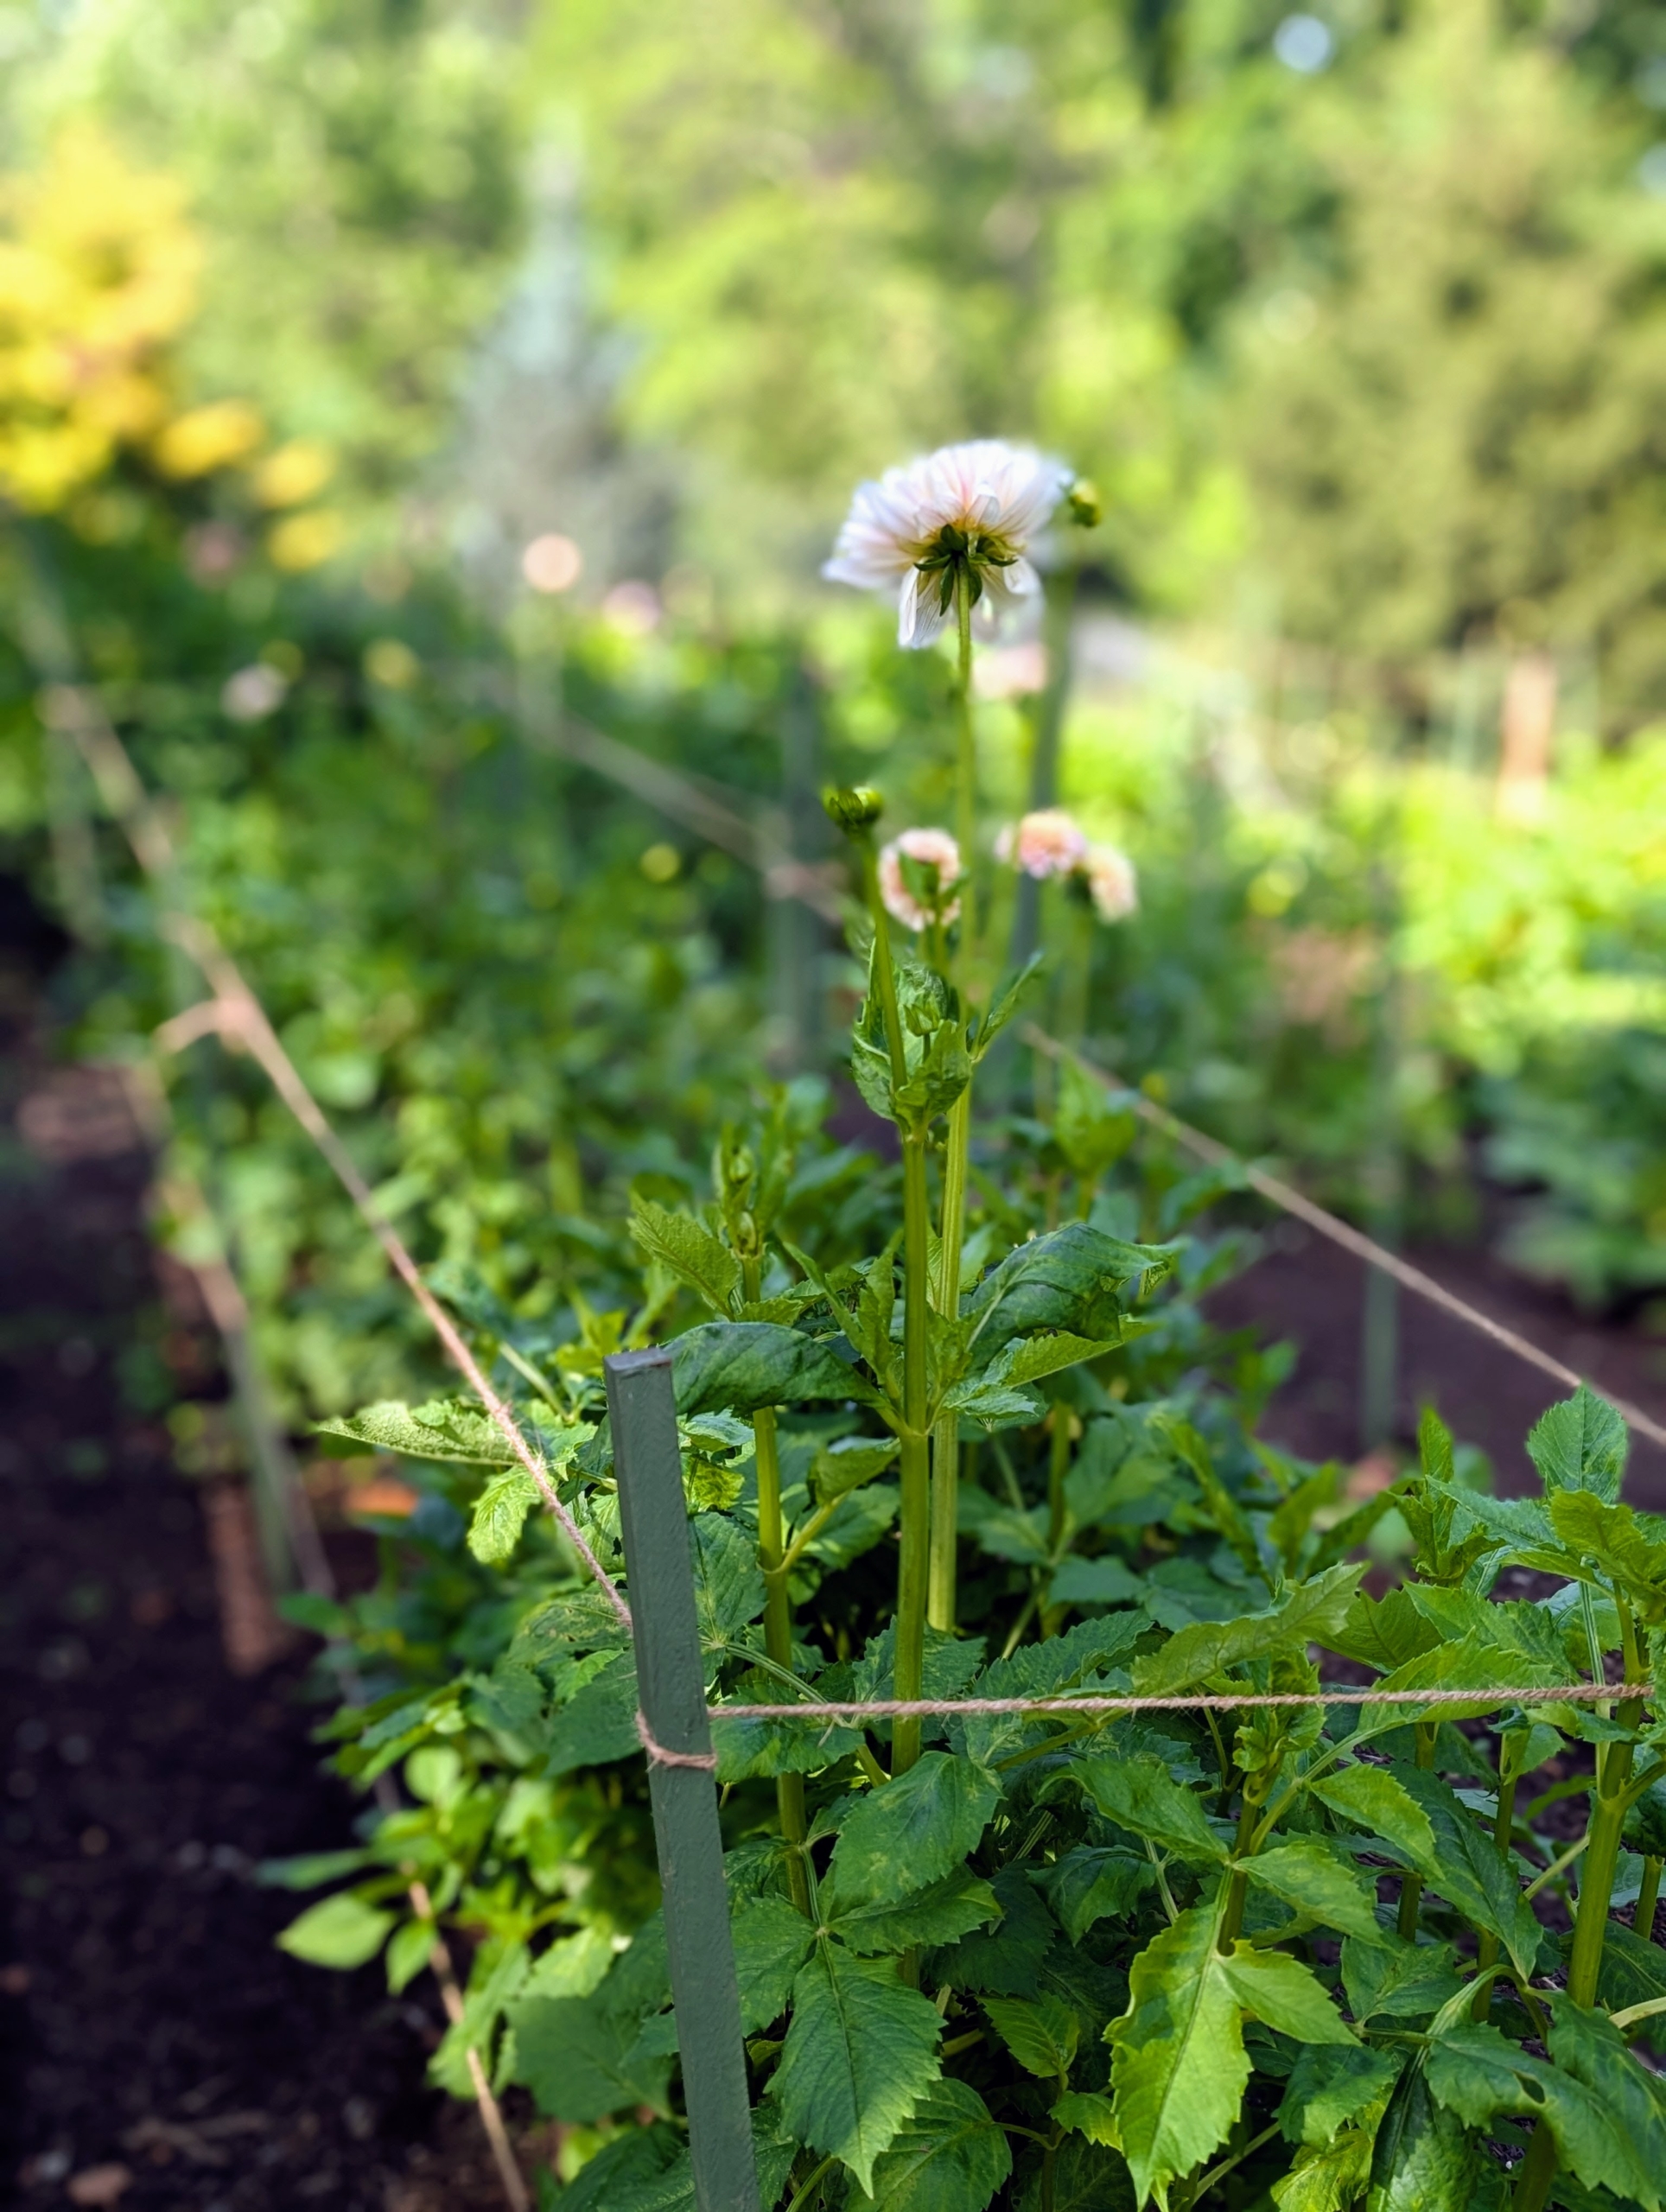
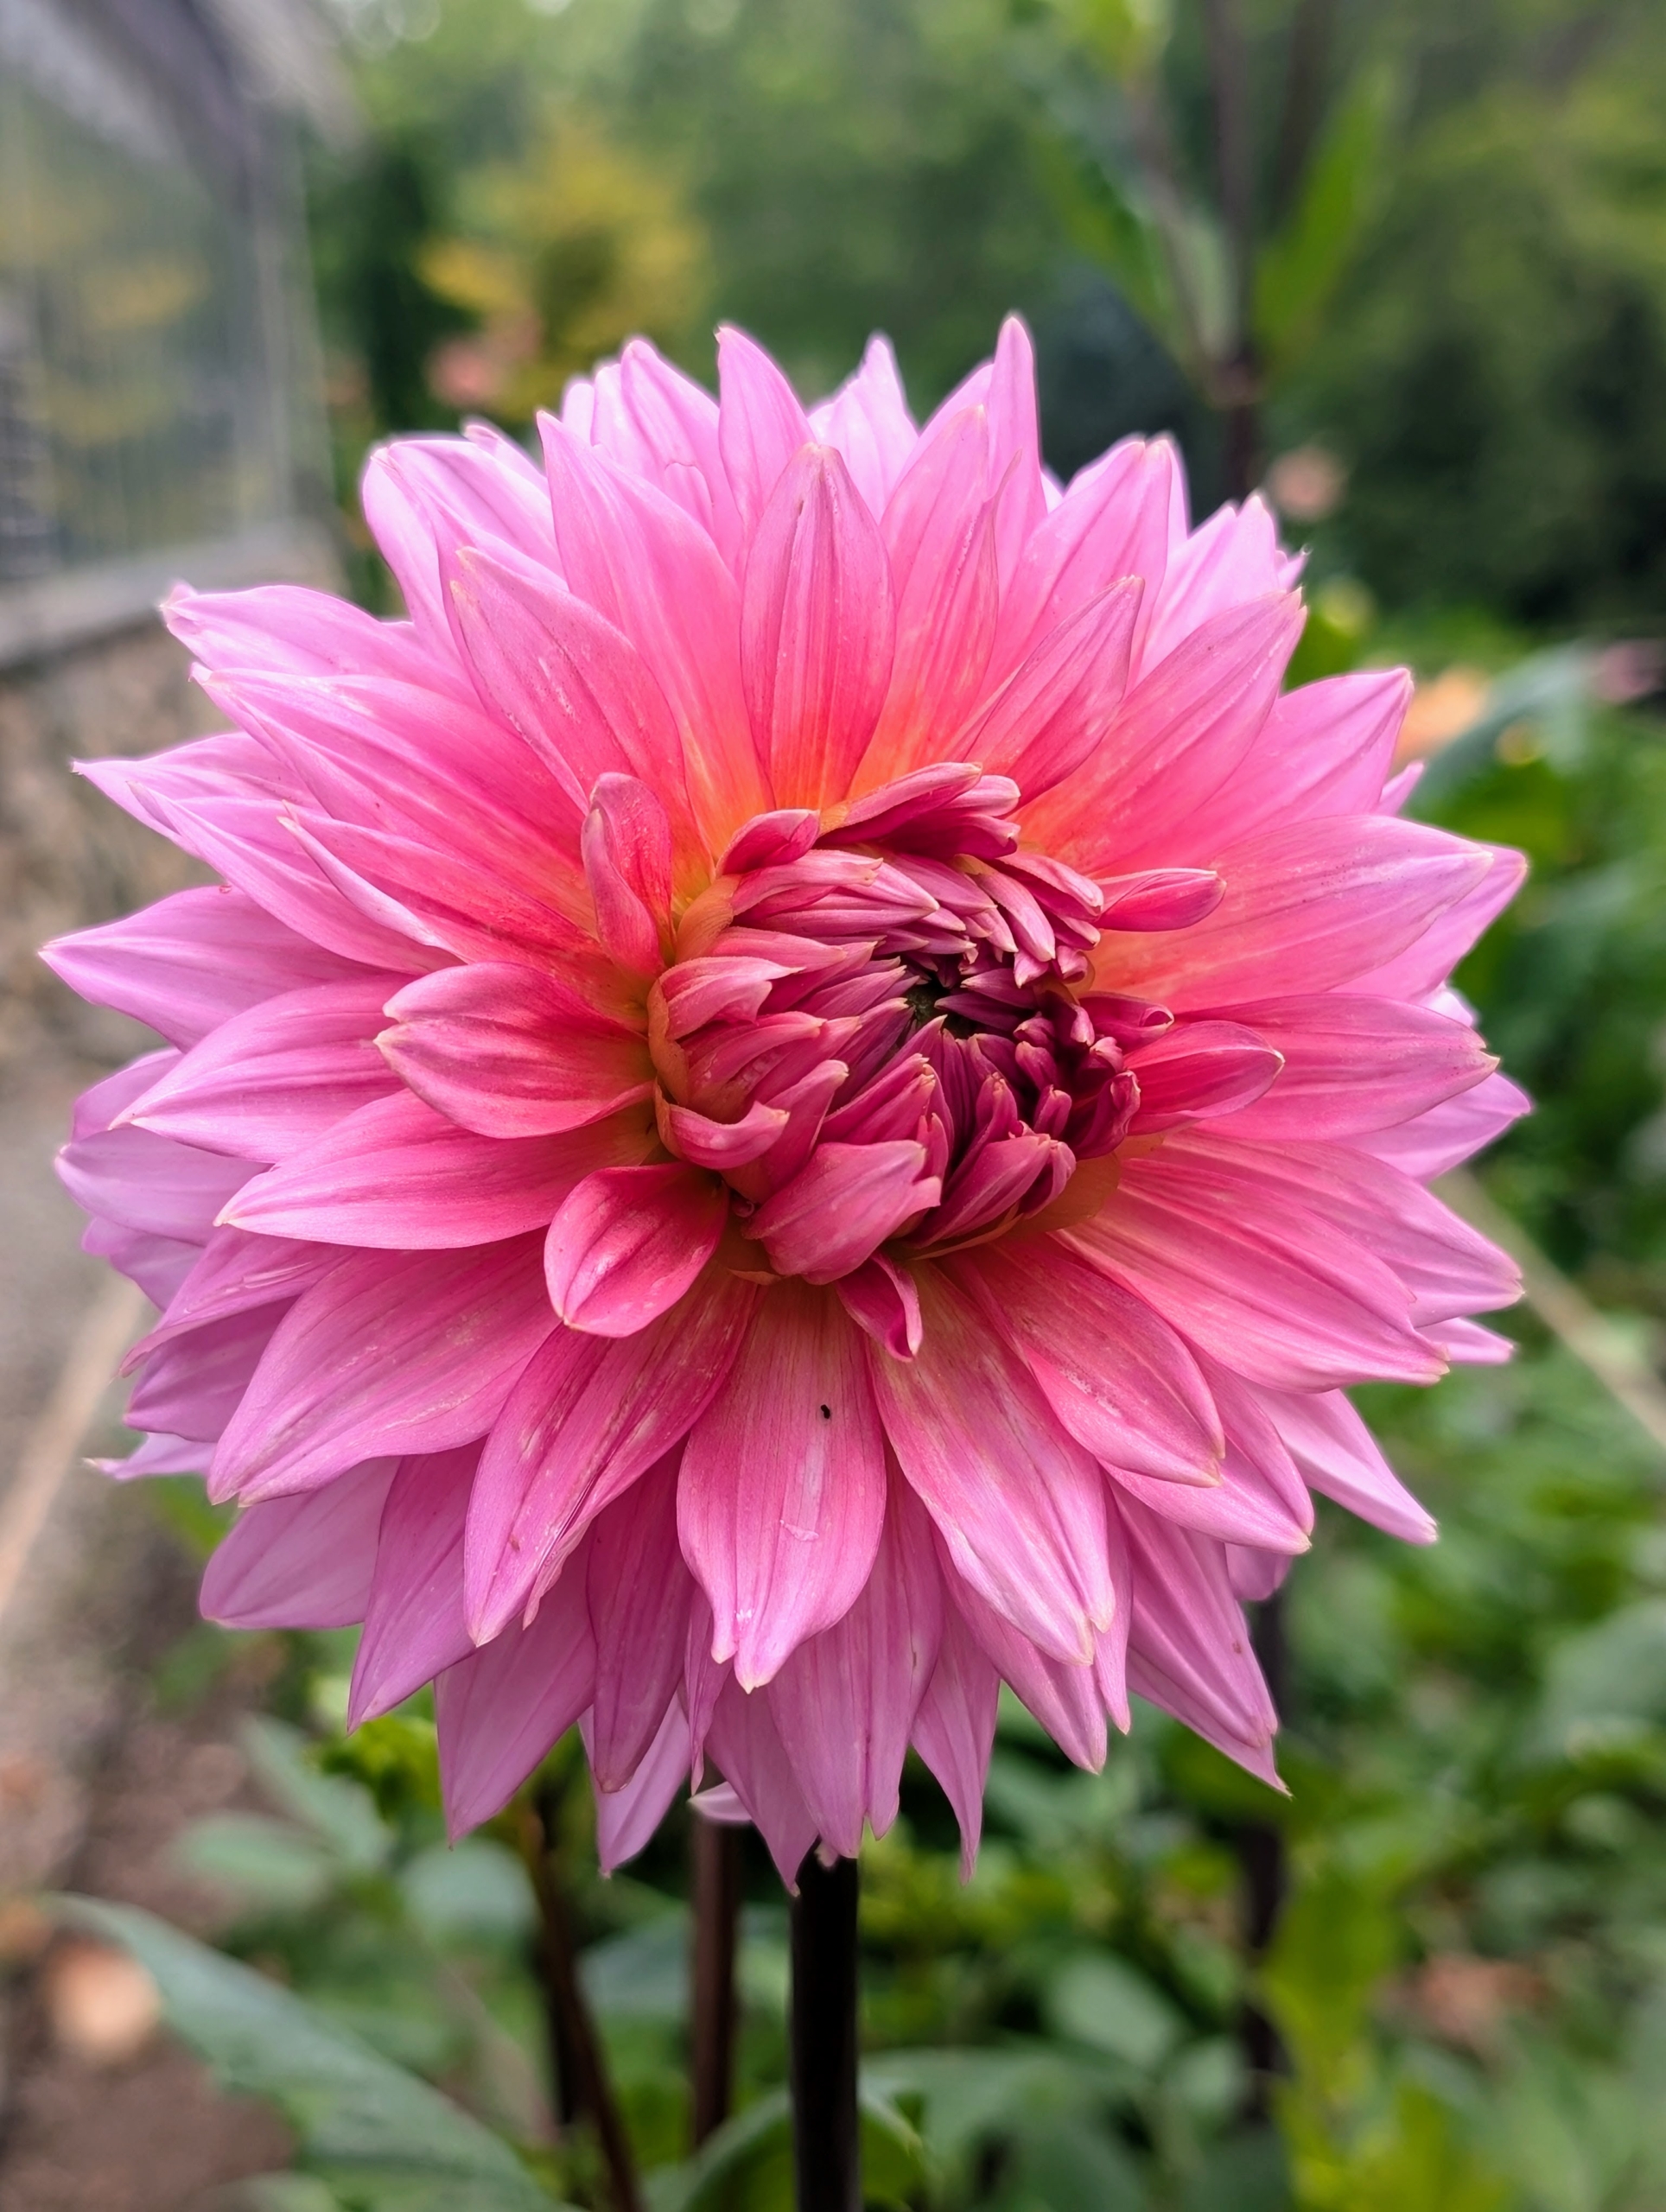
Well-maintained plants will never disappoint -here is one of the first dahlias to bloom this season. Dahlias grow more blooms when they get at least six to eight hours of direct sunlight per day.
Dahlias are named after 18th-century Swedish botanist Anders Dahl. He actually categorized dahlias as a vegetable because of their edible tubers. The tubers are said to taste like a mix between potatoes and radishes.
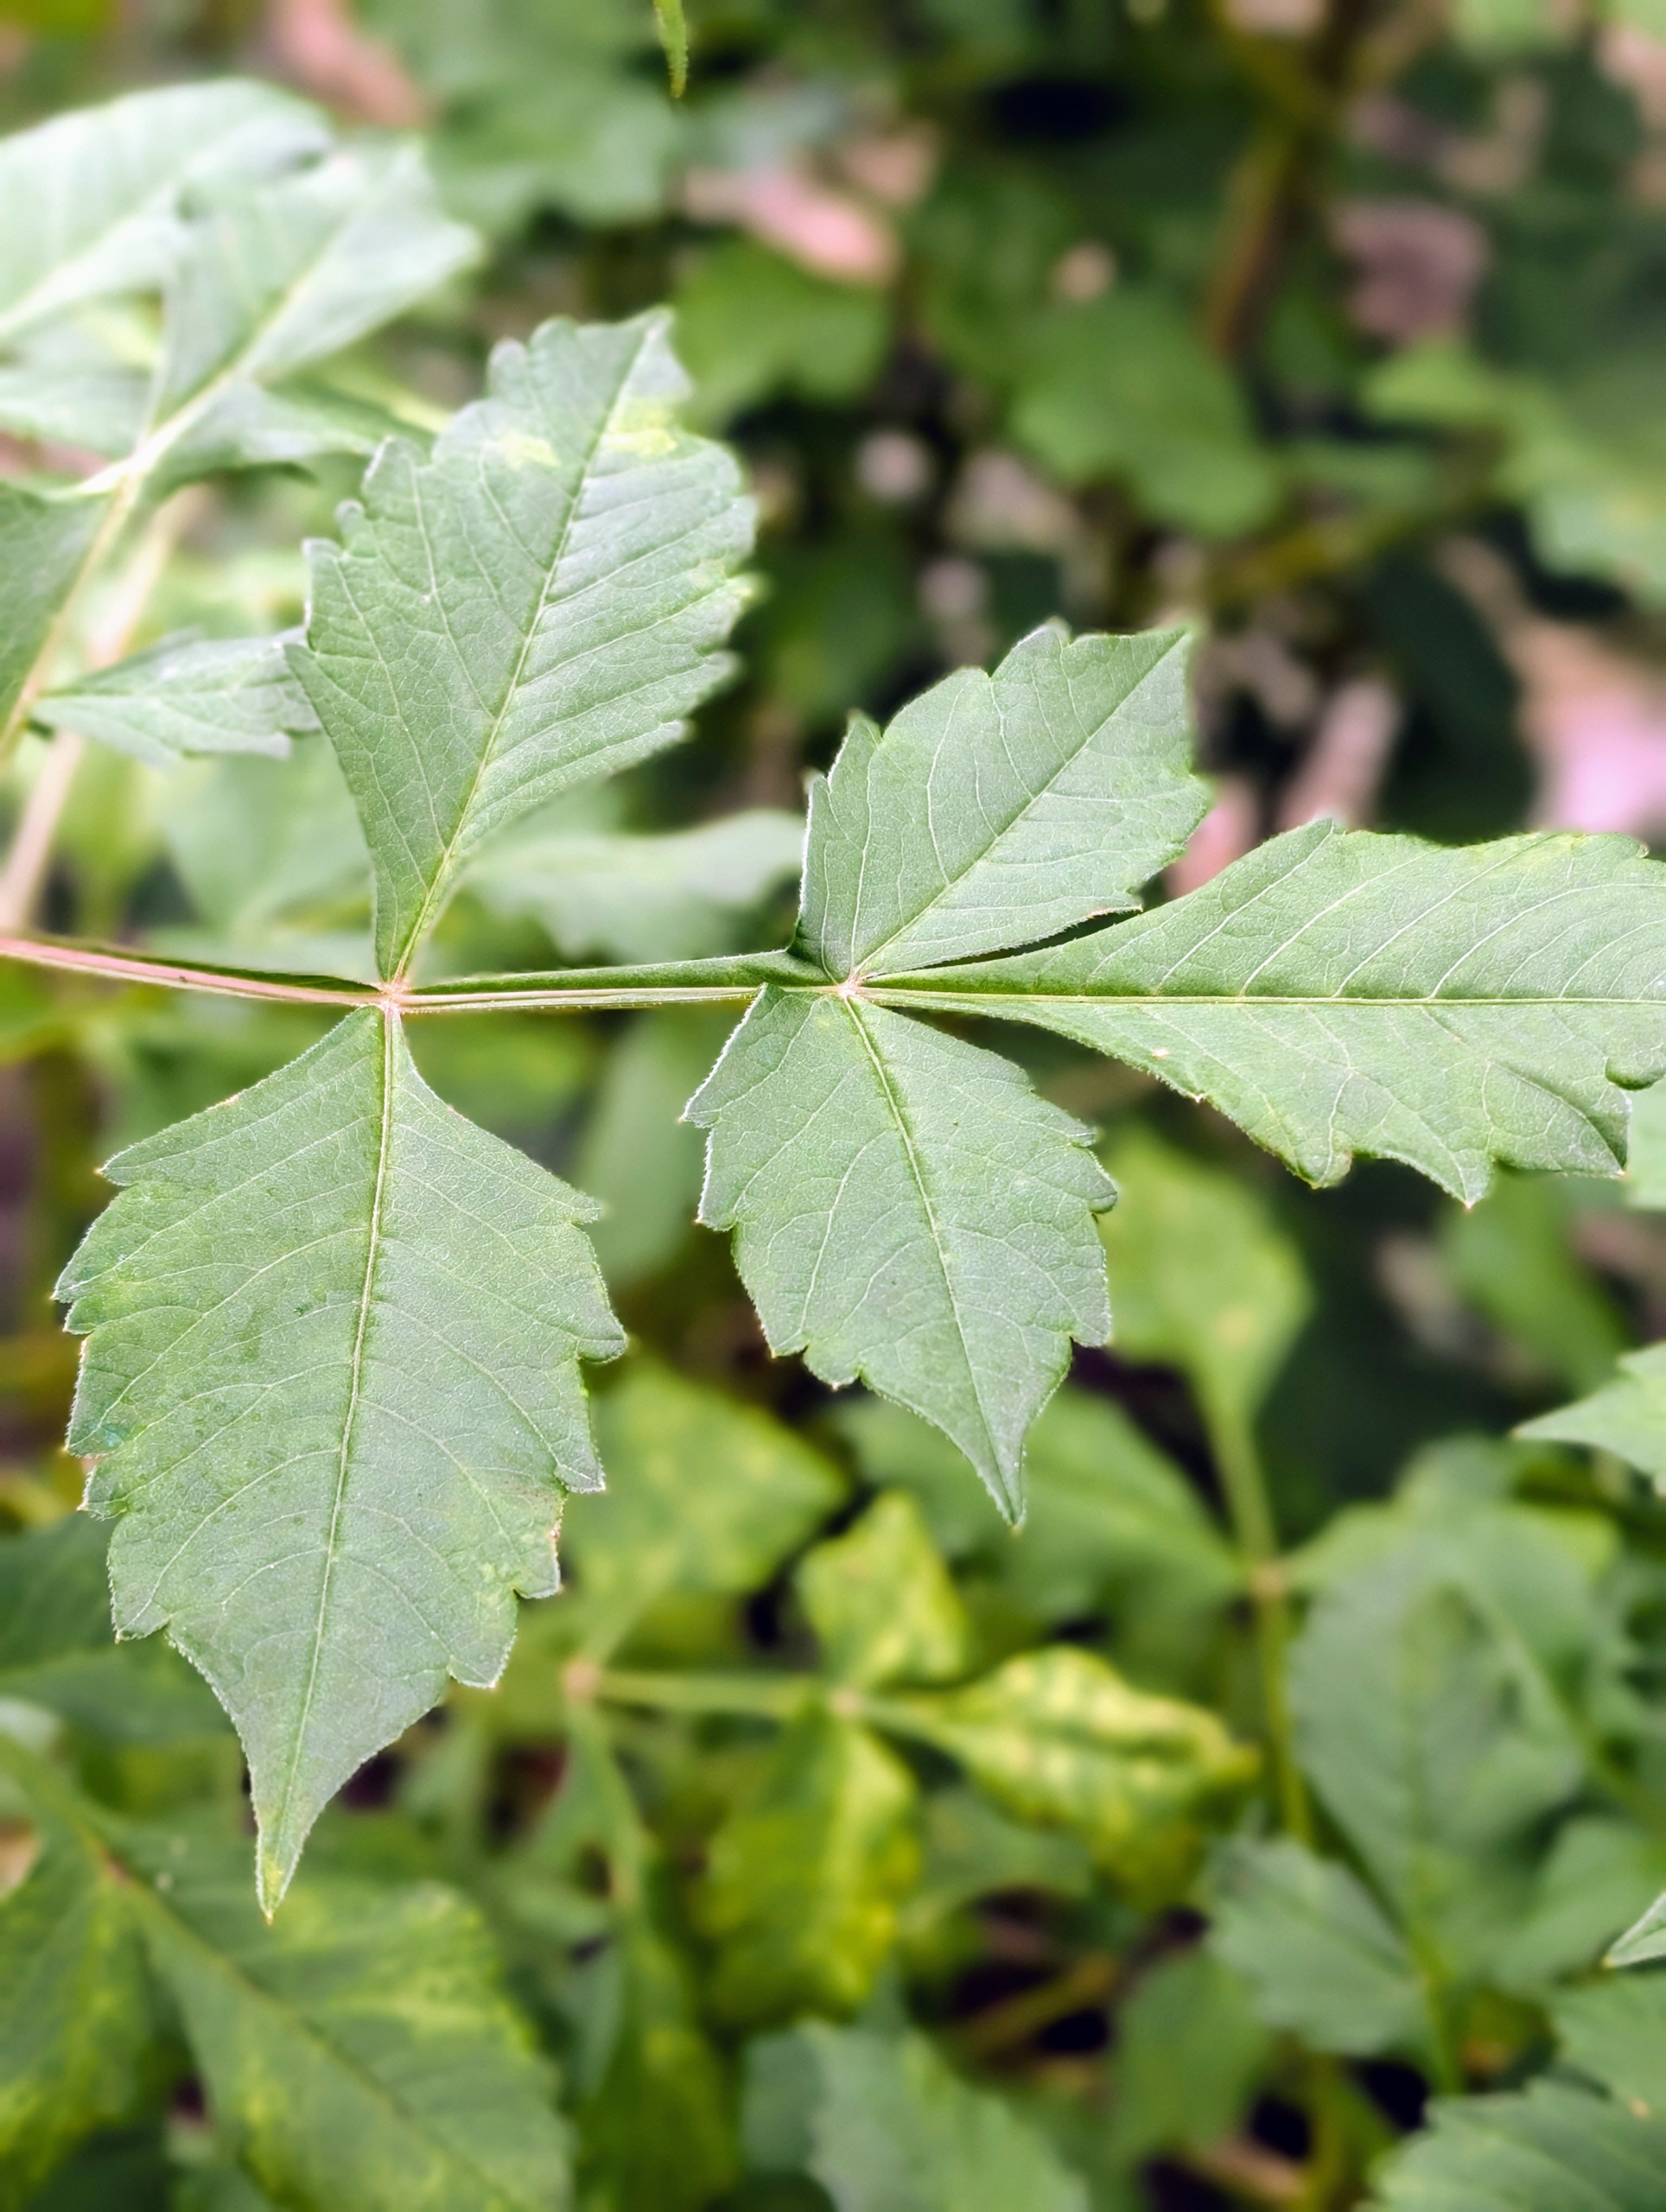
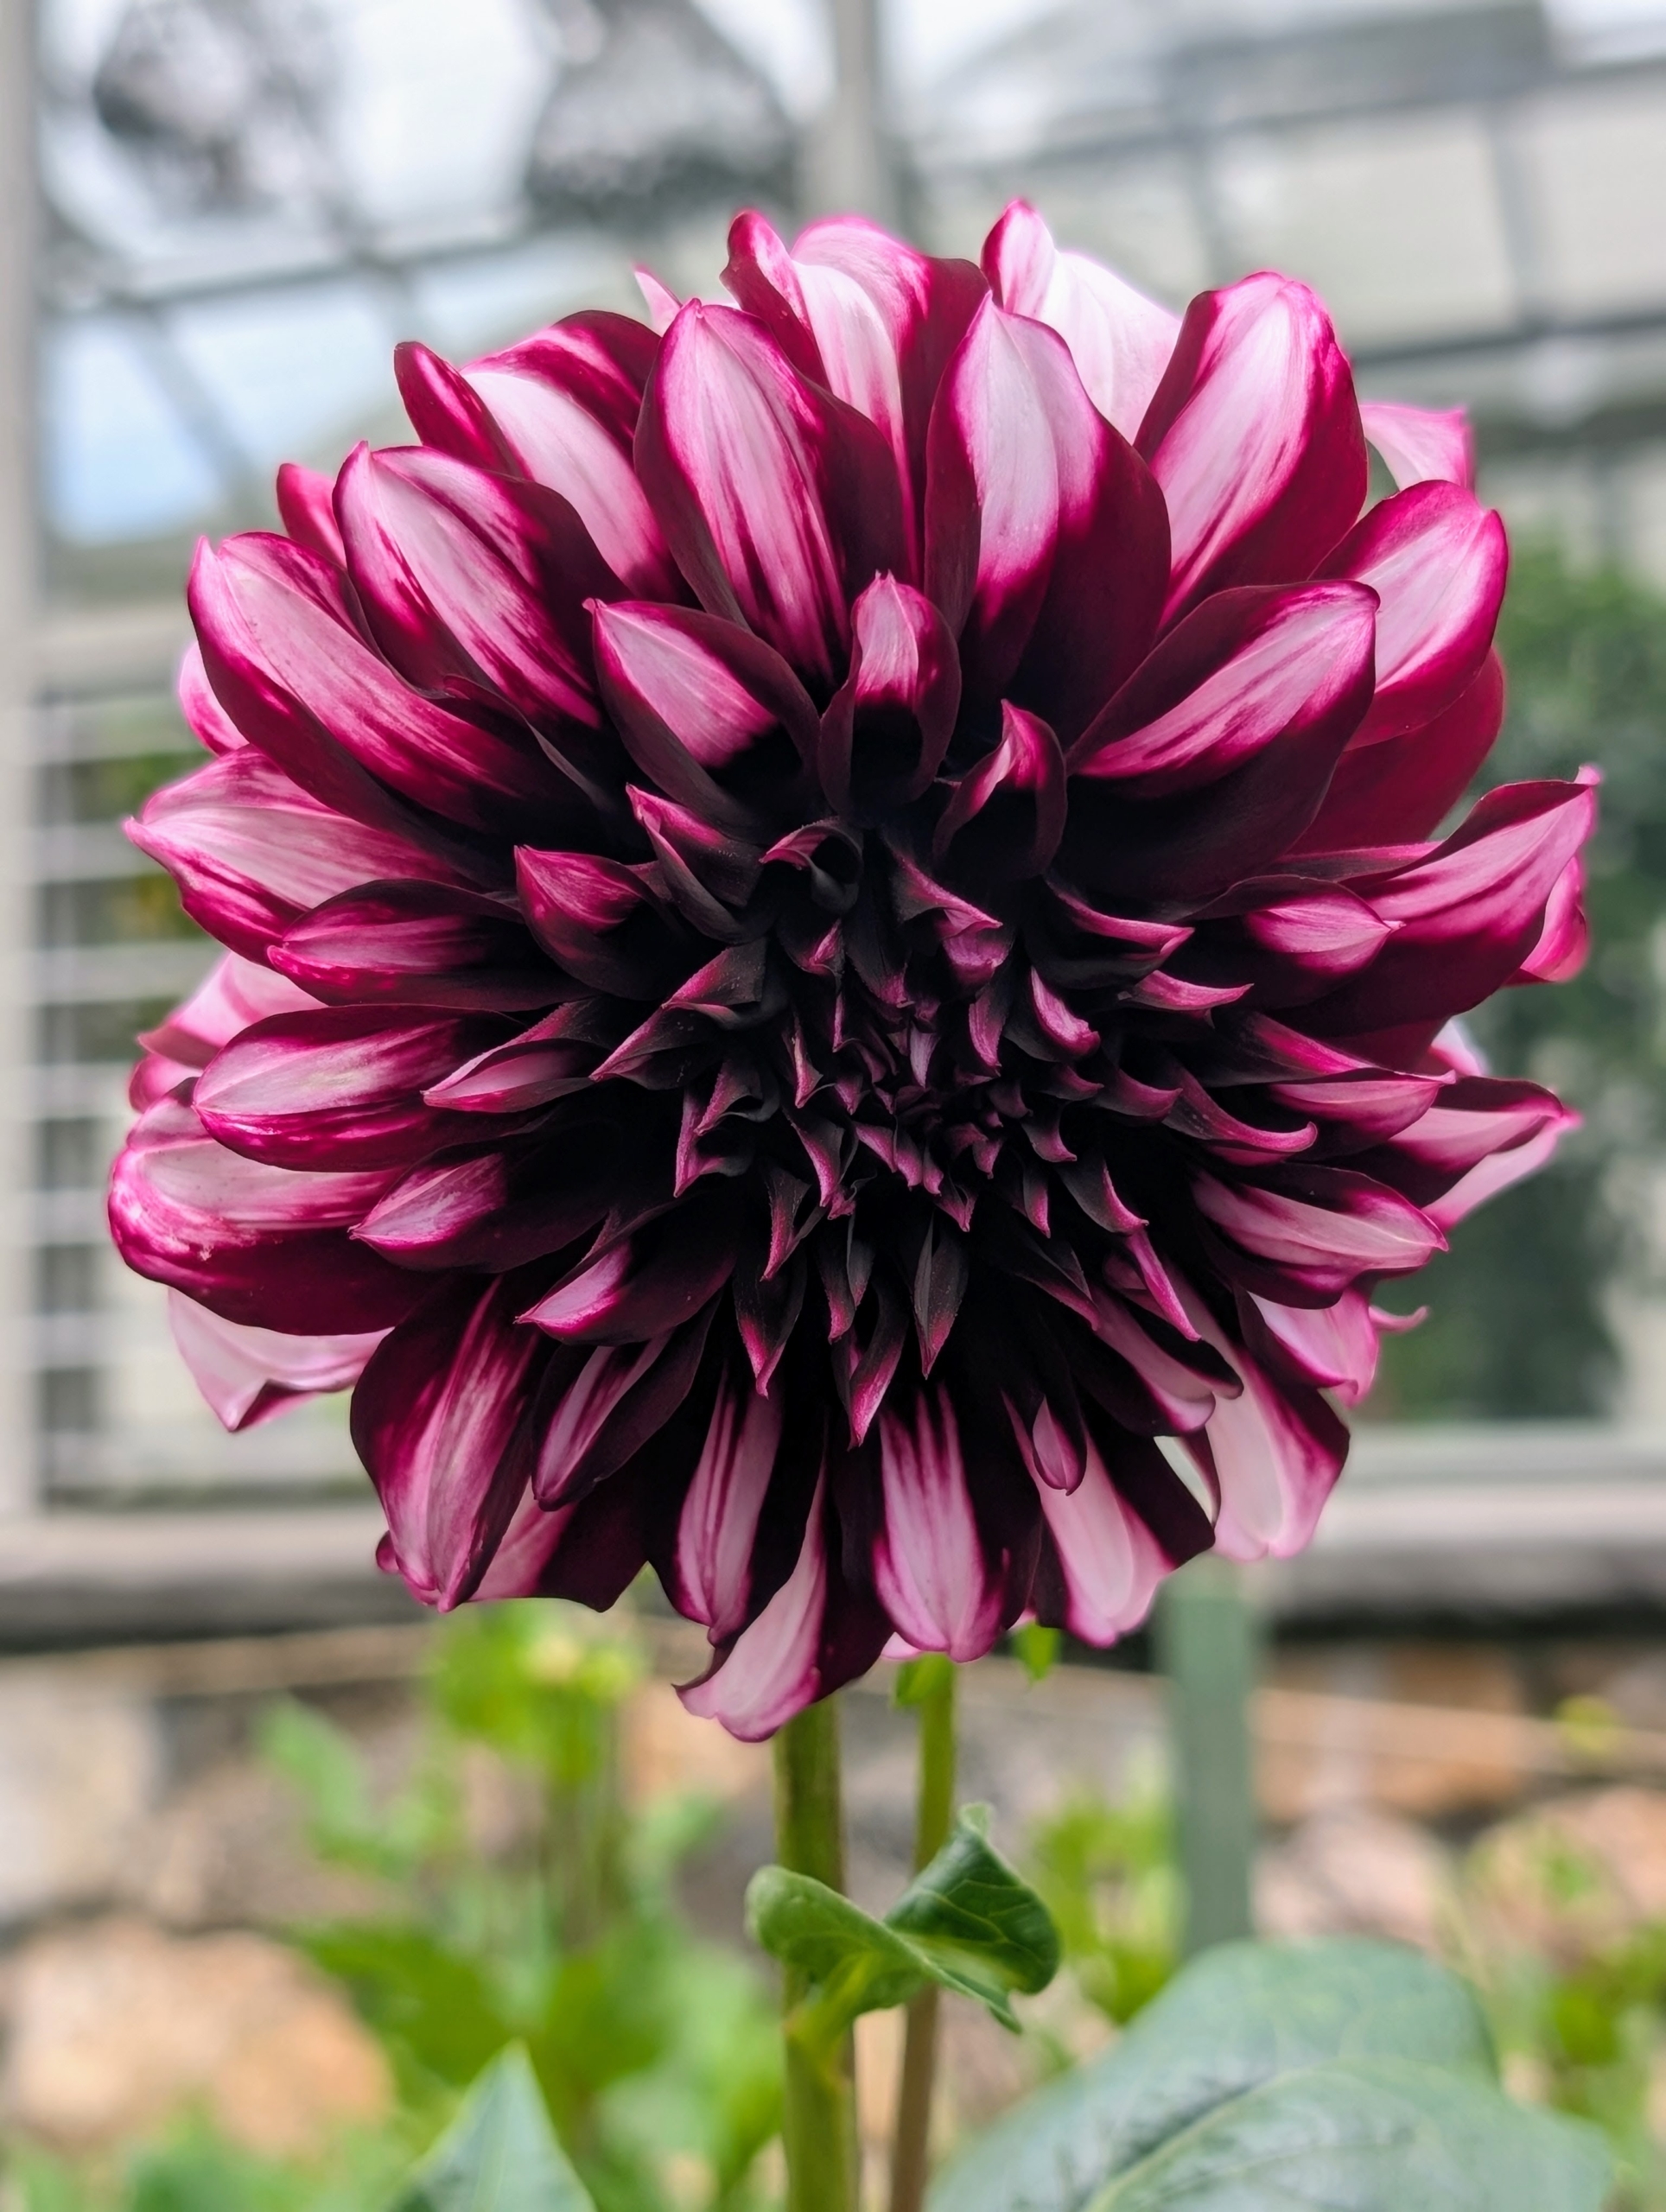
Dahlia plant leaves grow segments that are ovate to oblong to lanceolate in shape. The leaf margins may be lobed or dentate. Leaves may be green, reddish-purple, or purple-black depending on the variety.
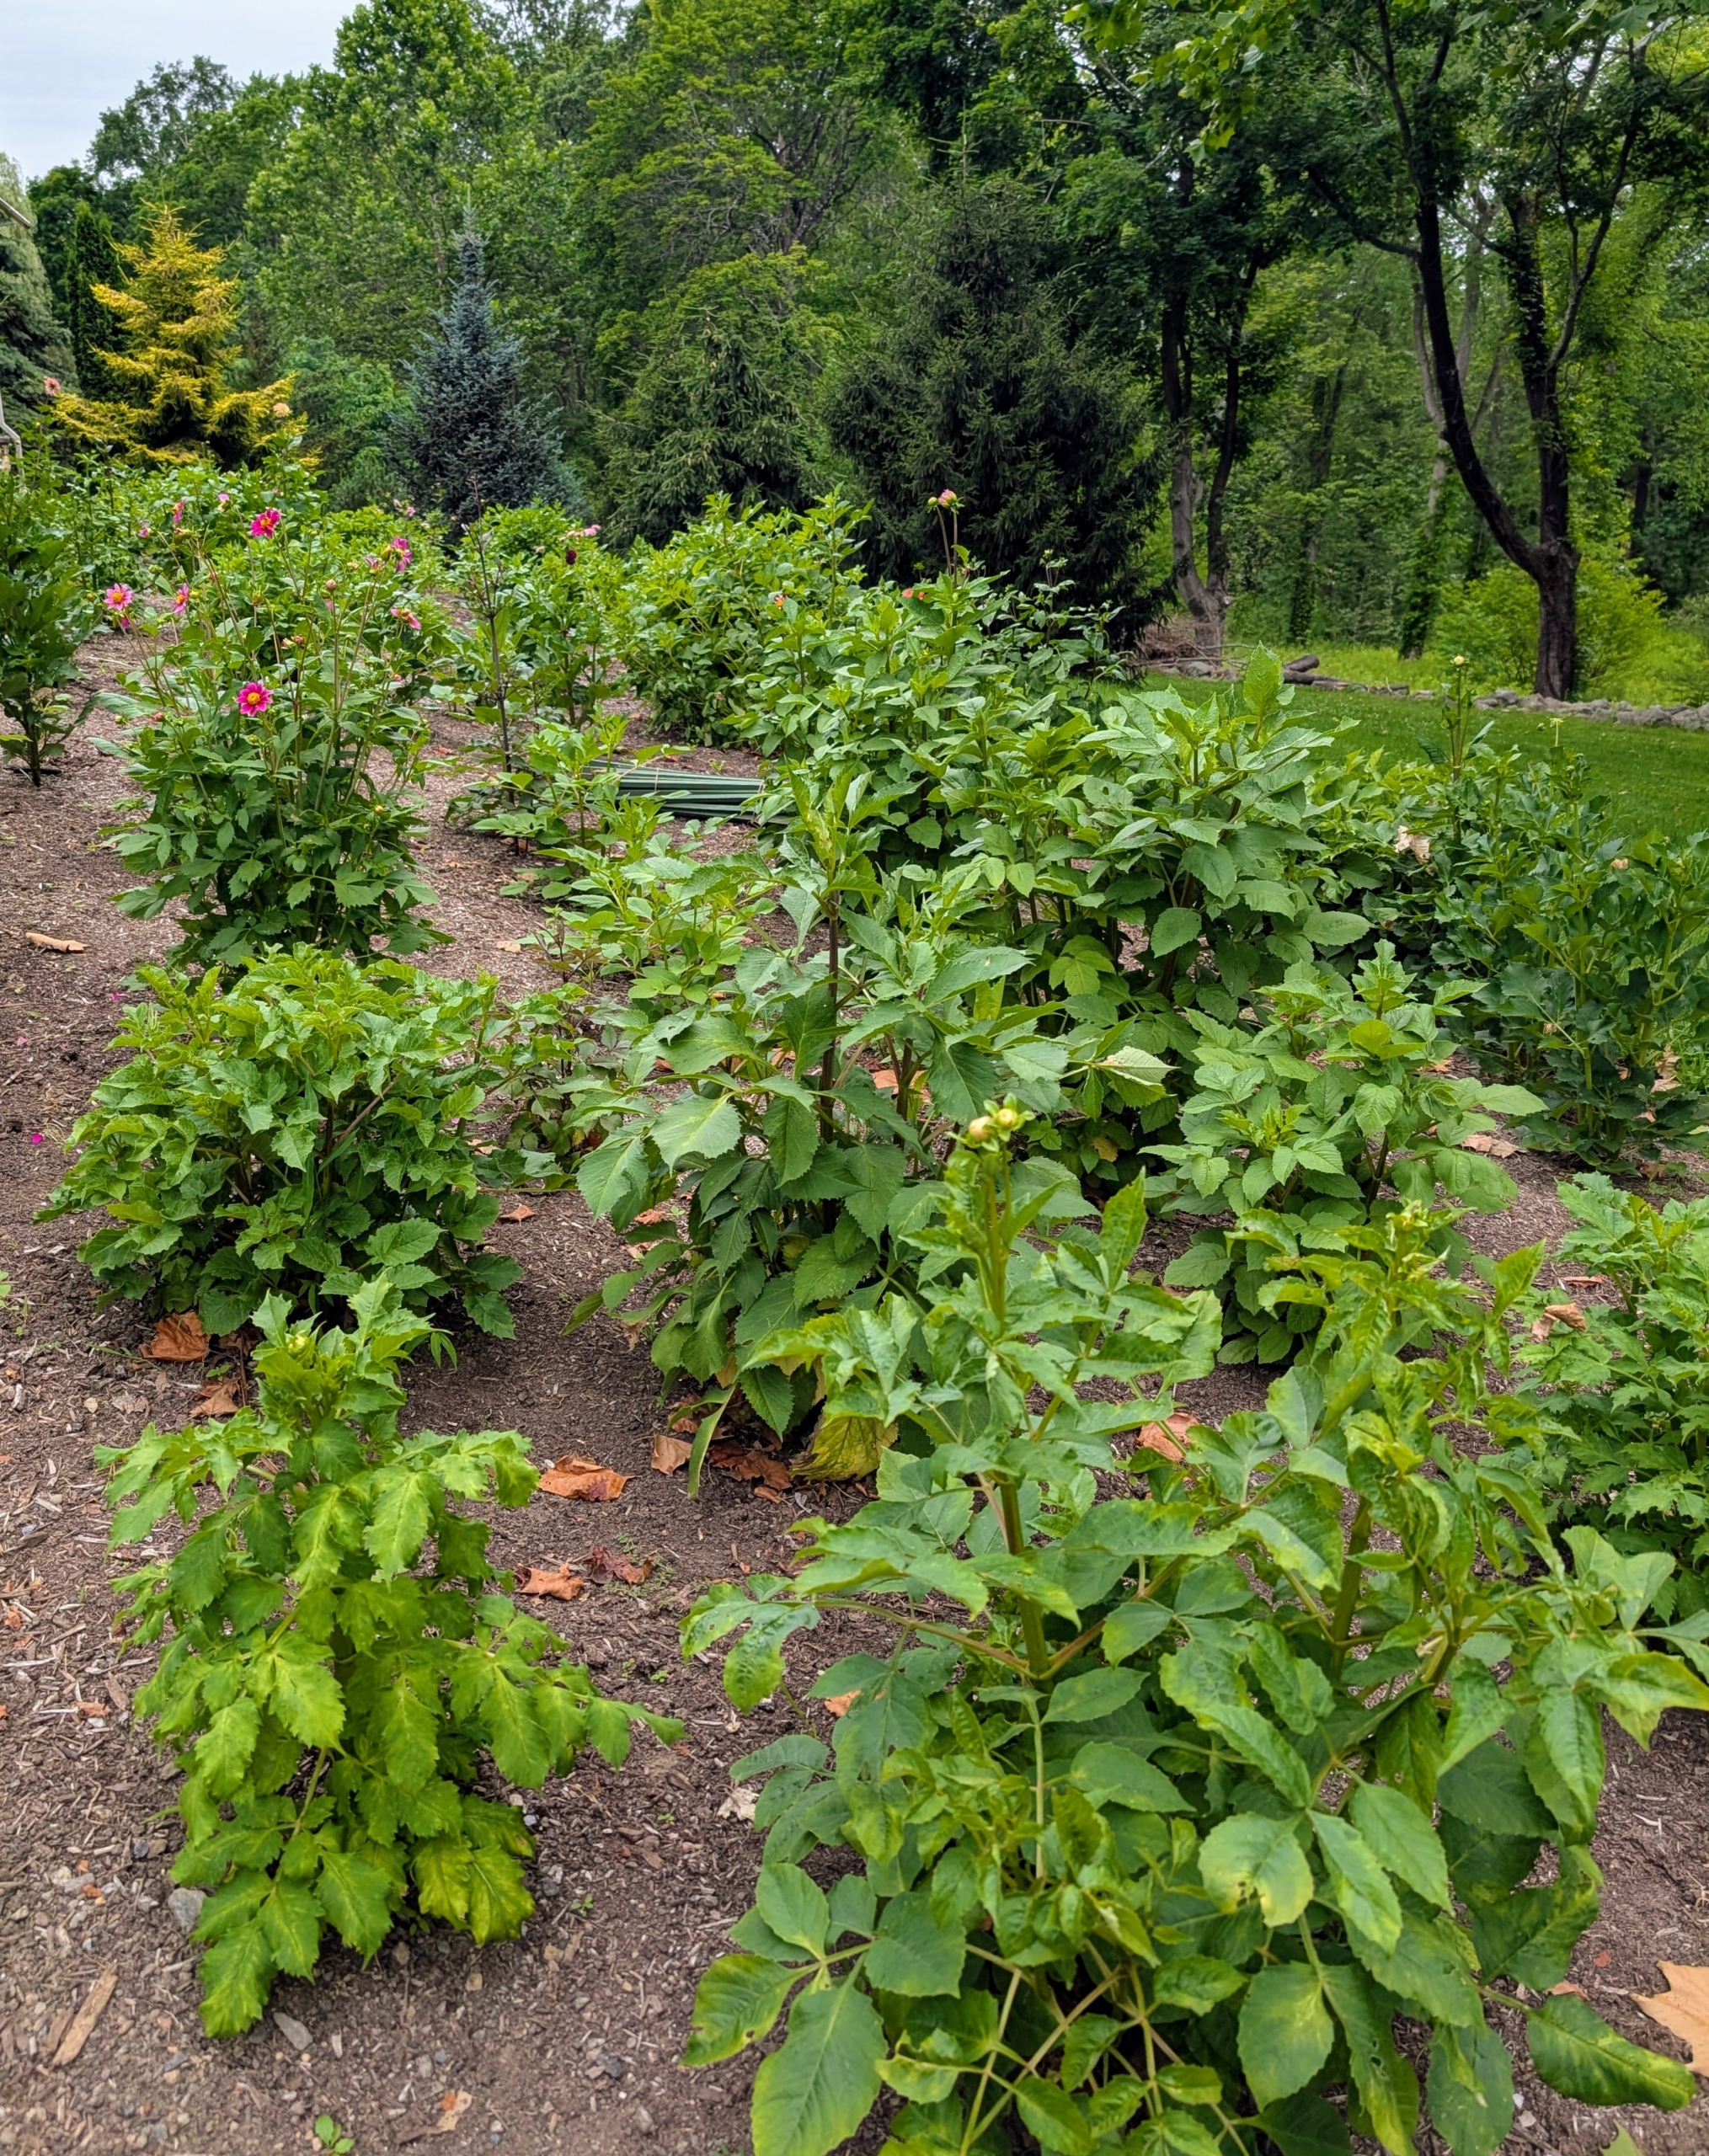
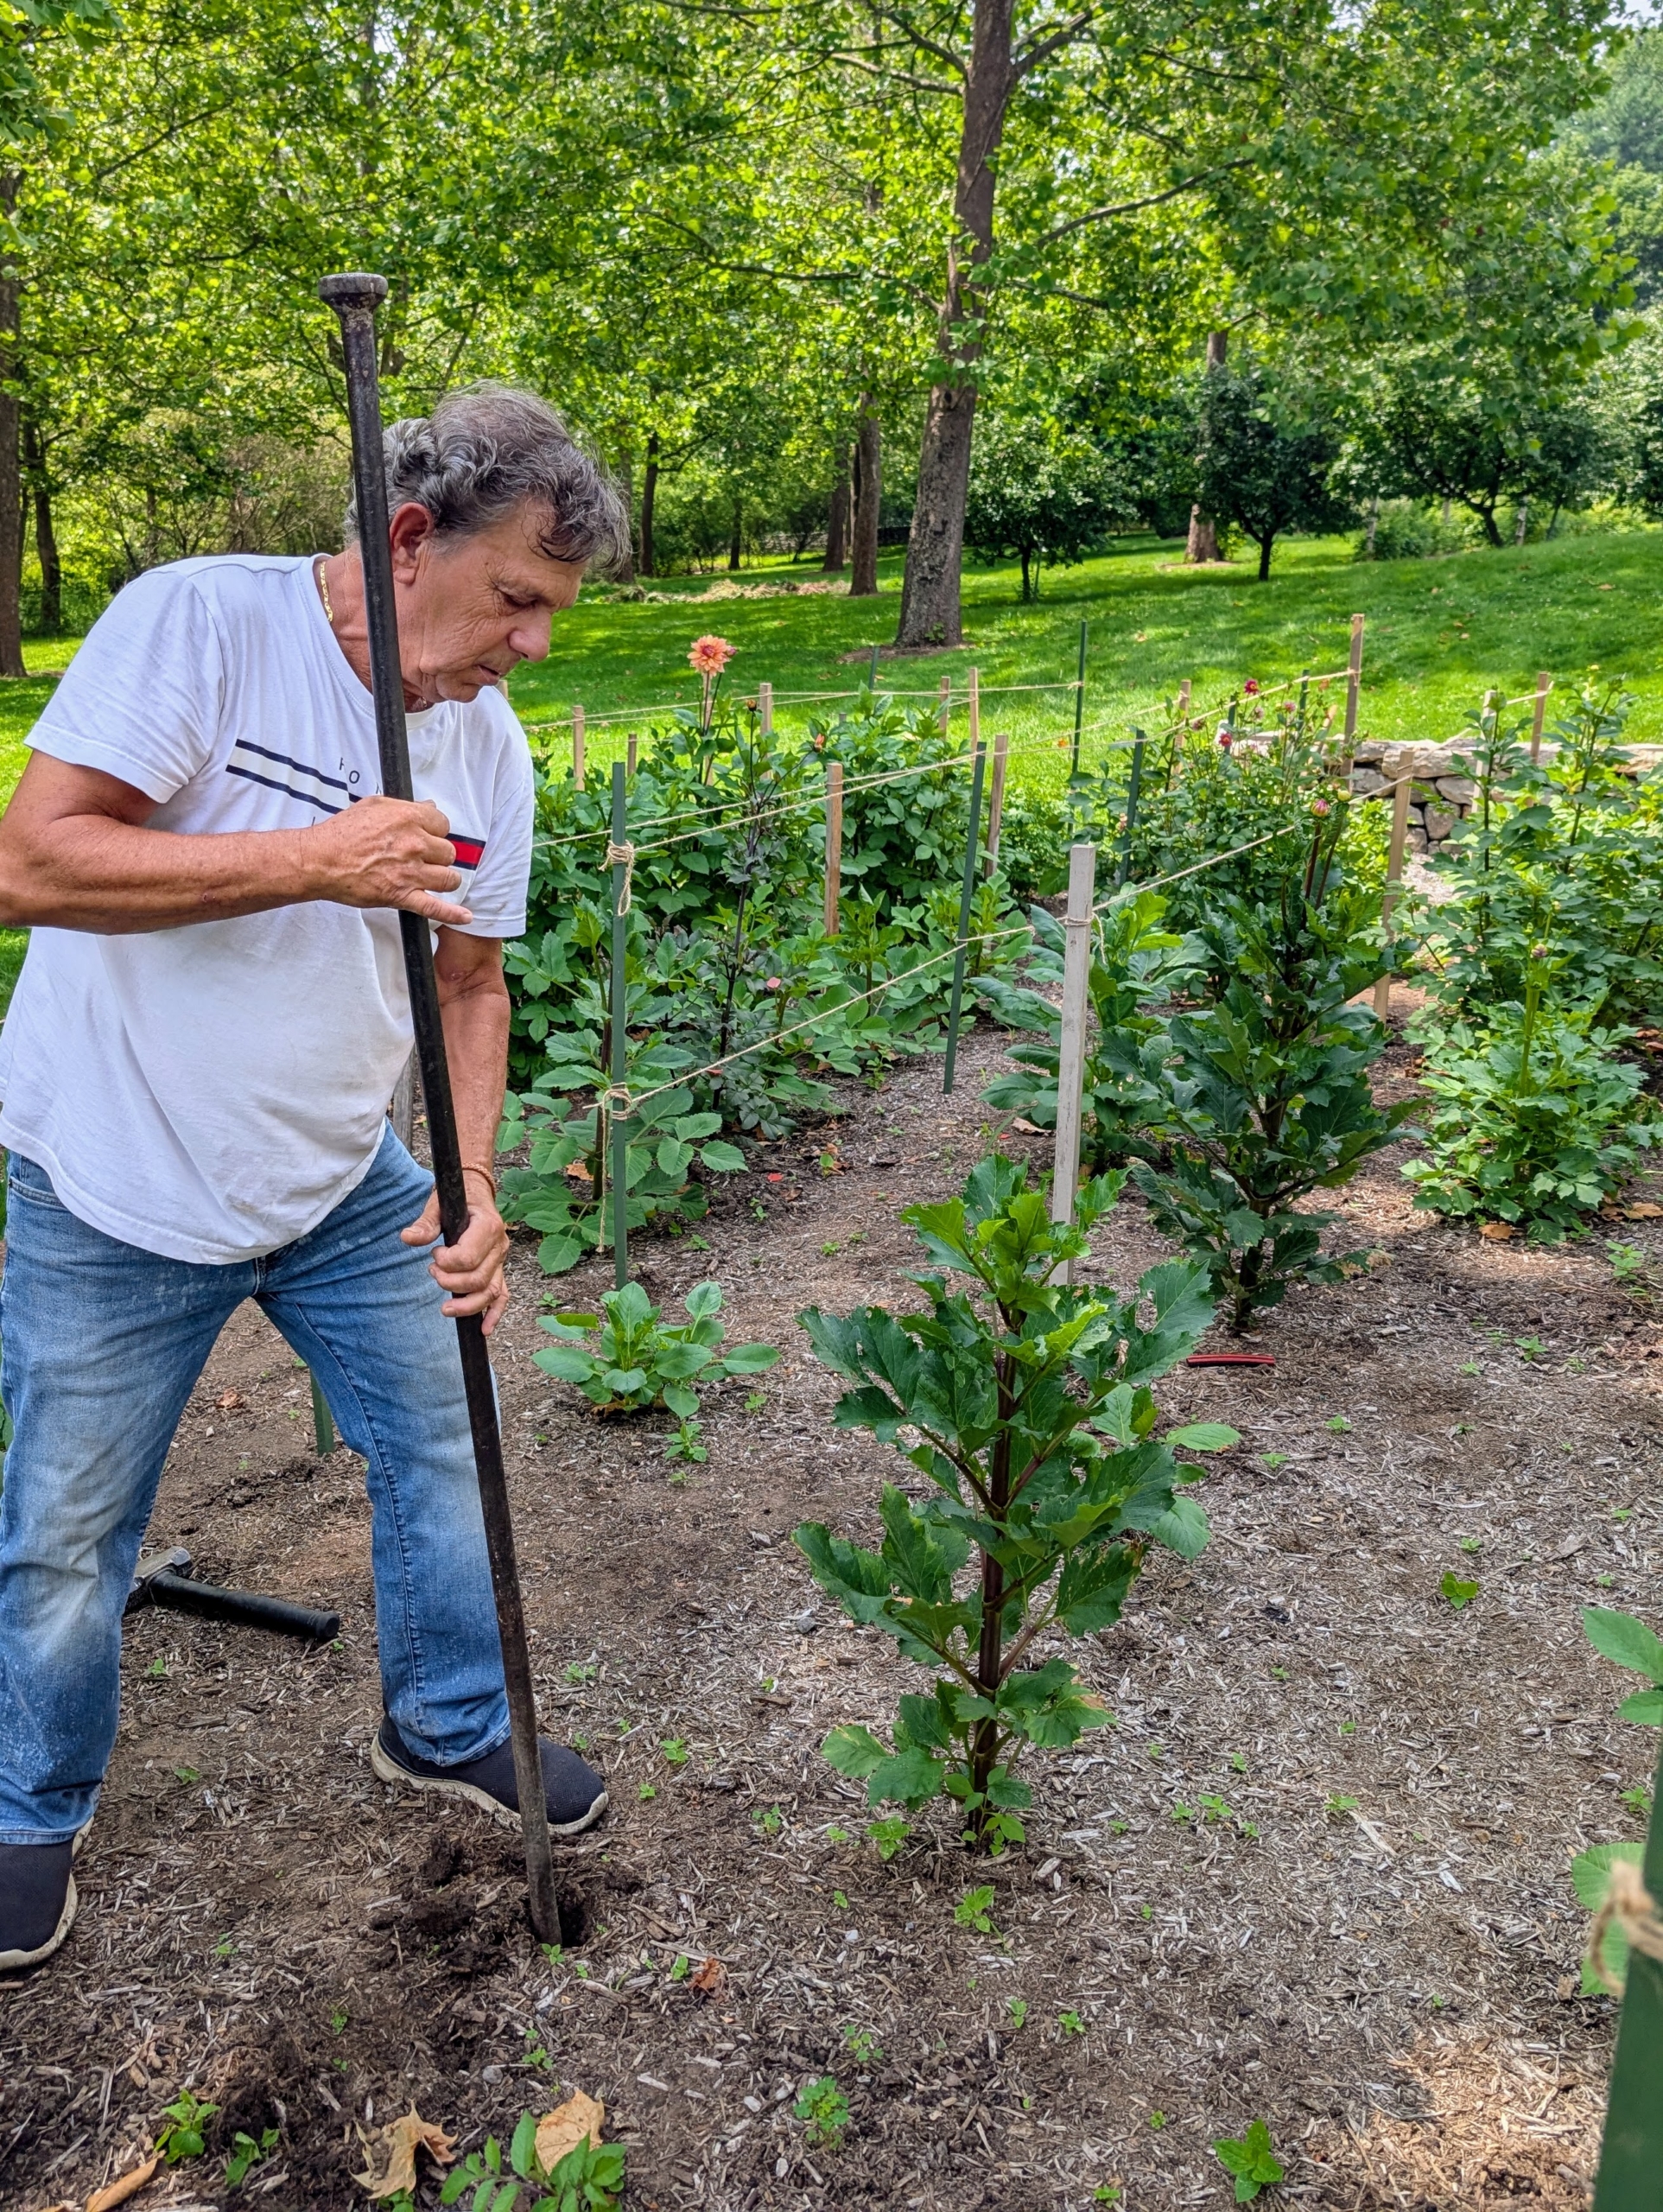
Most of these dahlia plants are about waist high already – some even taller. It’s important to make sure they are properly supported as they grow, especially those that produce larger, heavier blooms.
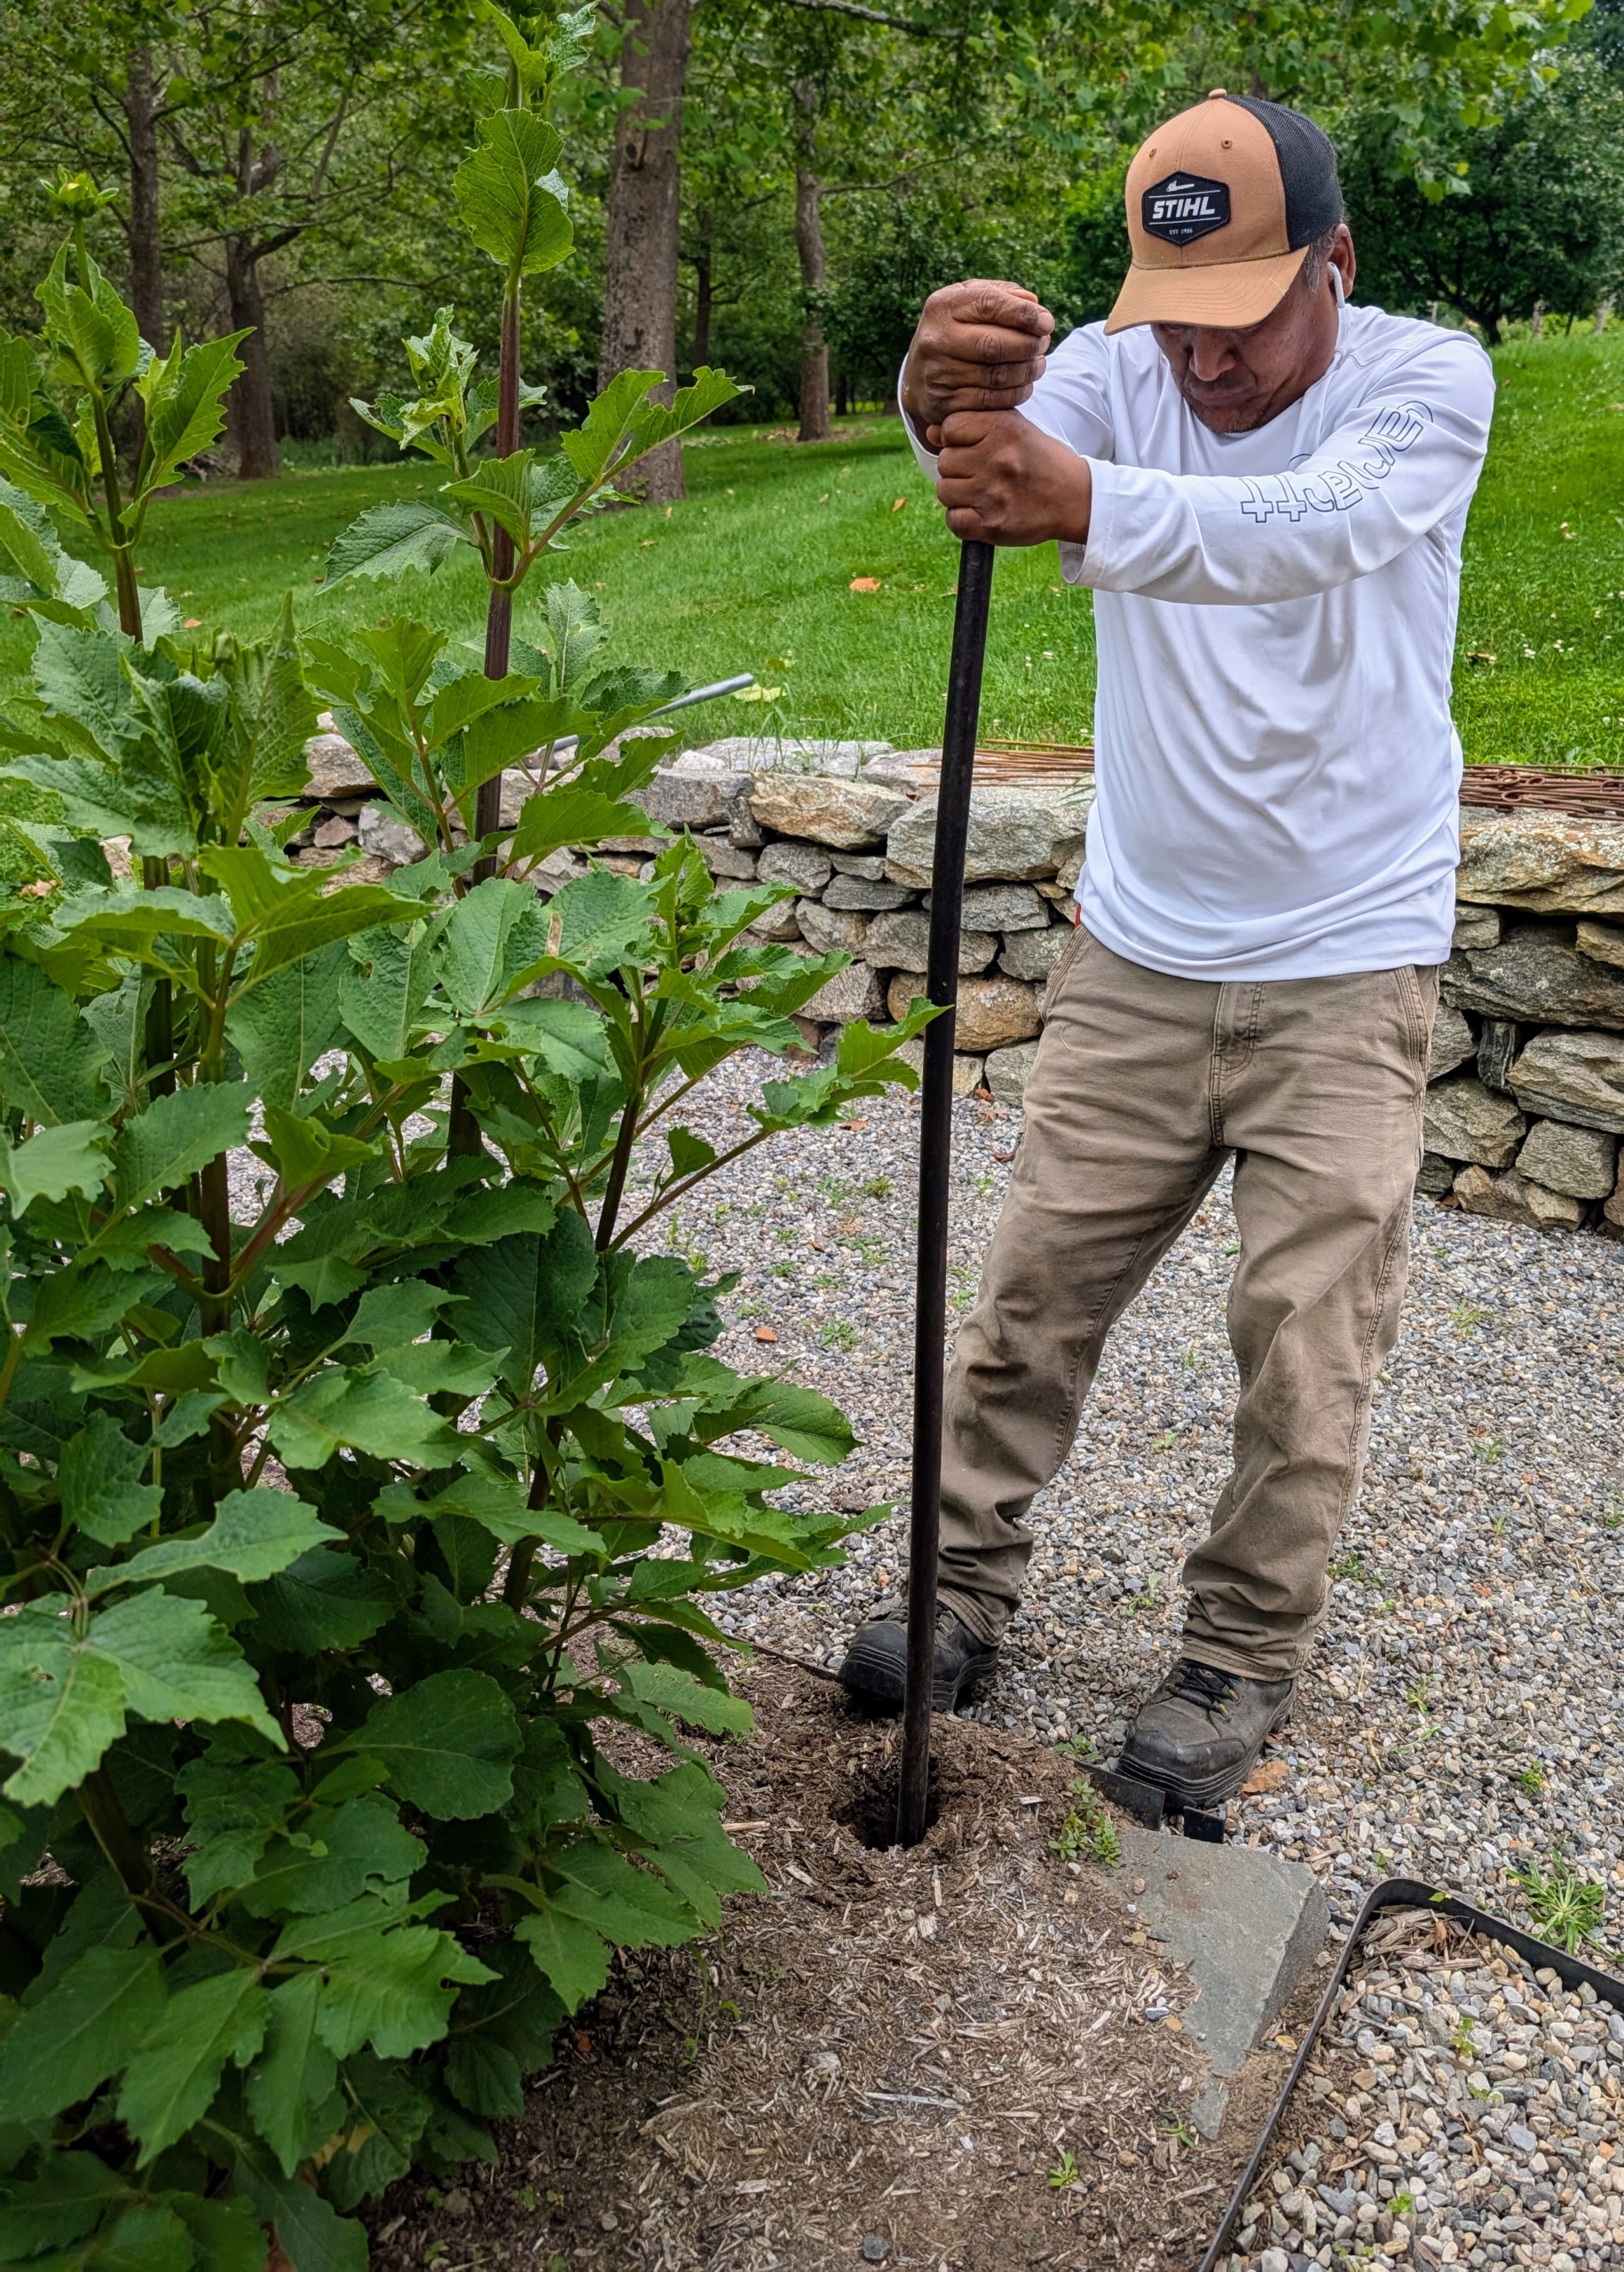
Pete starts by making the stake holes along the outside of the bed.
Then he pounds in strong stakes about a foot deep to anchor the outer edge. The twine here is used to ensure the stakes are straight.
Pete does this around the entire perimeter to support any stems on the outer edge.
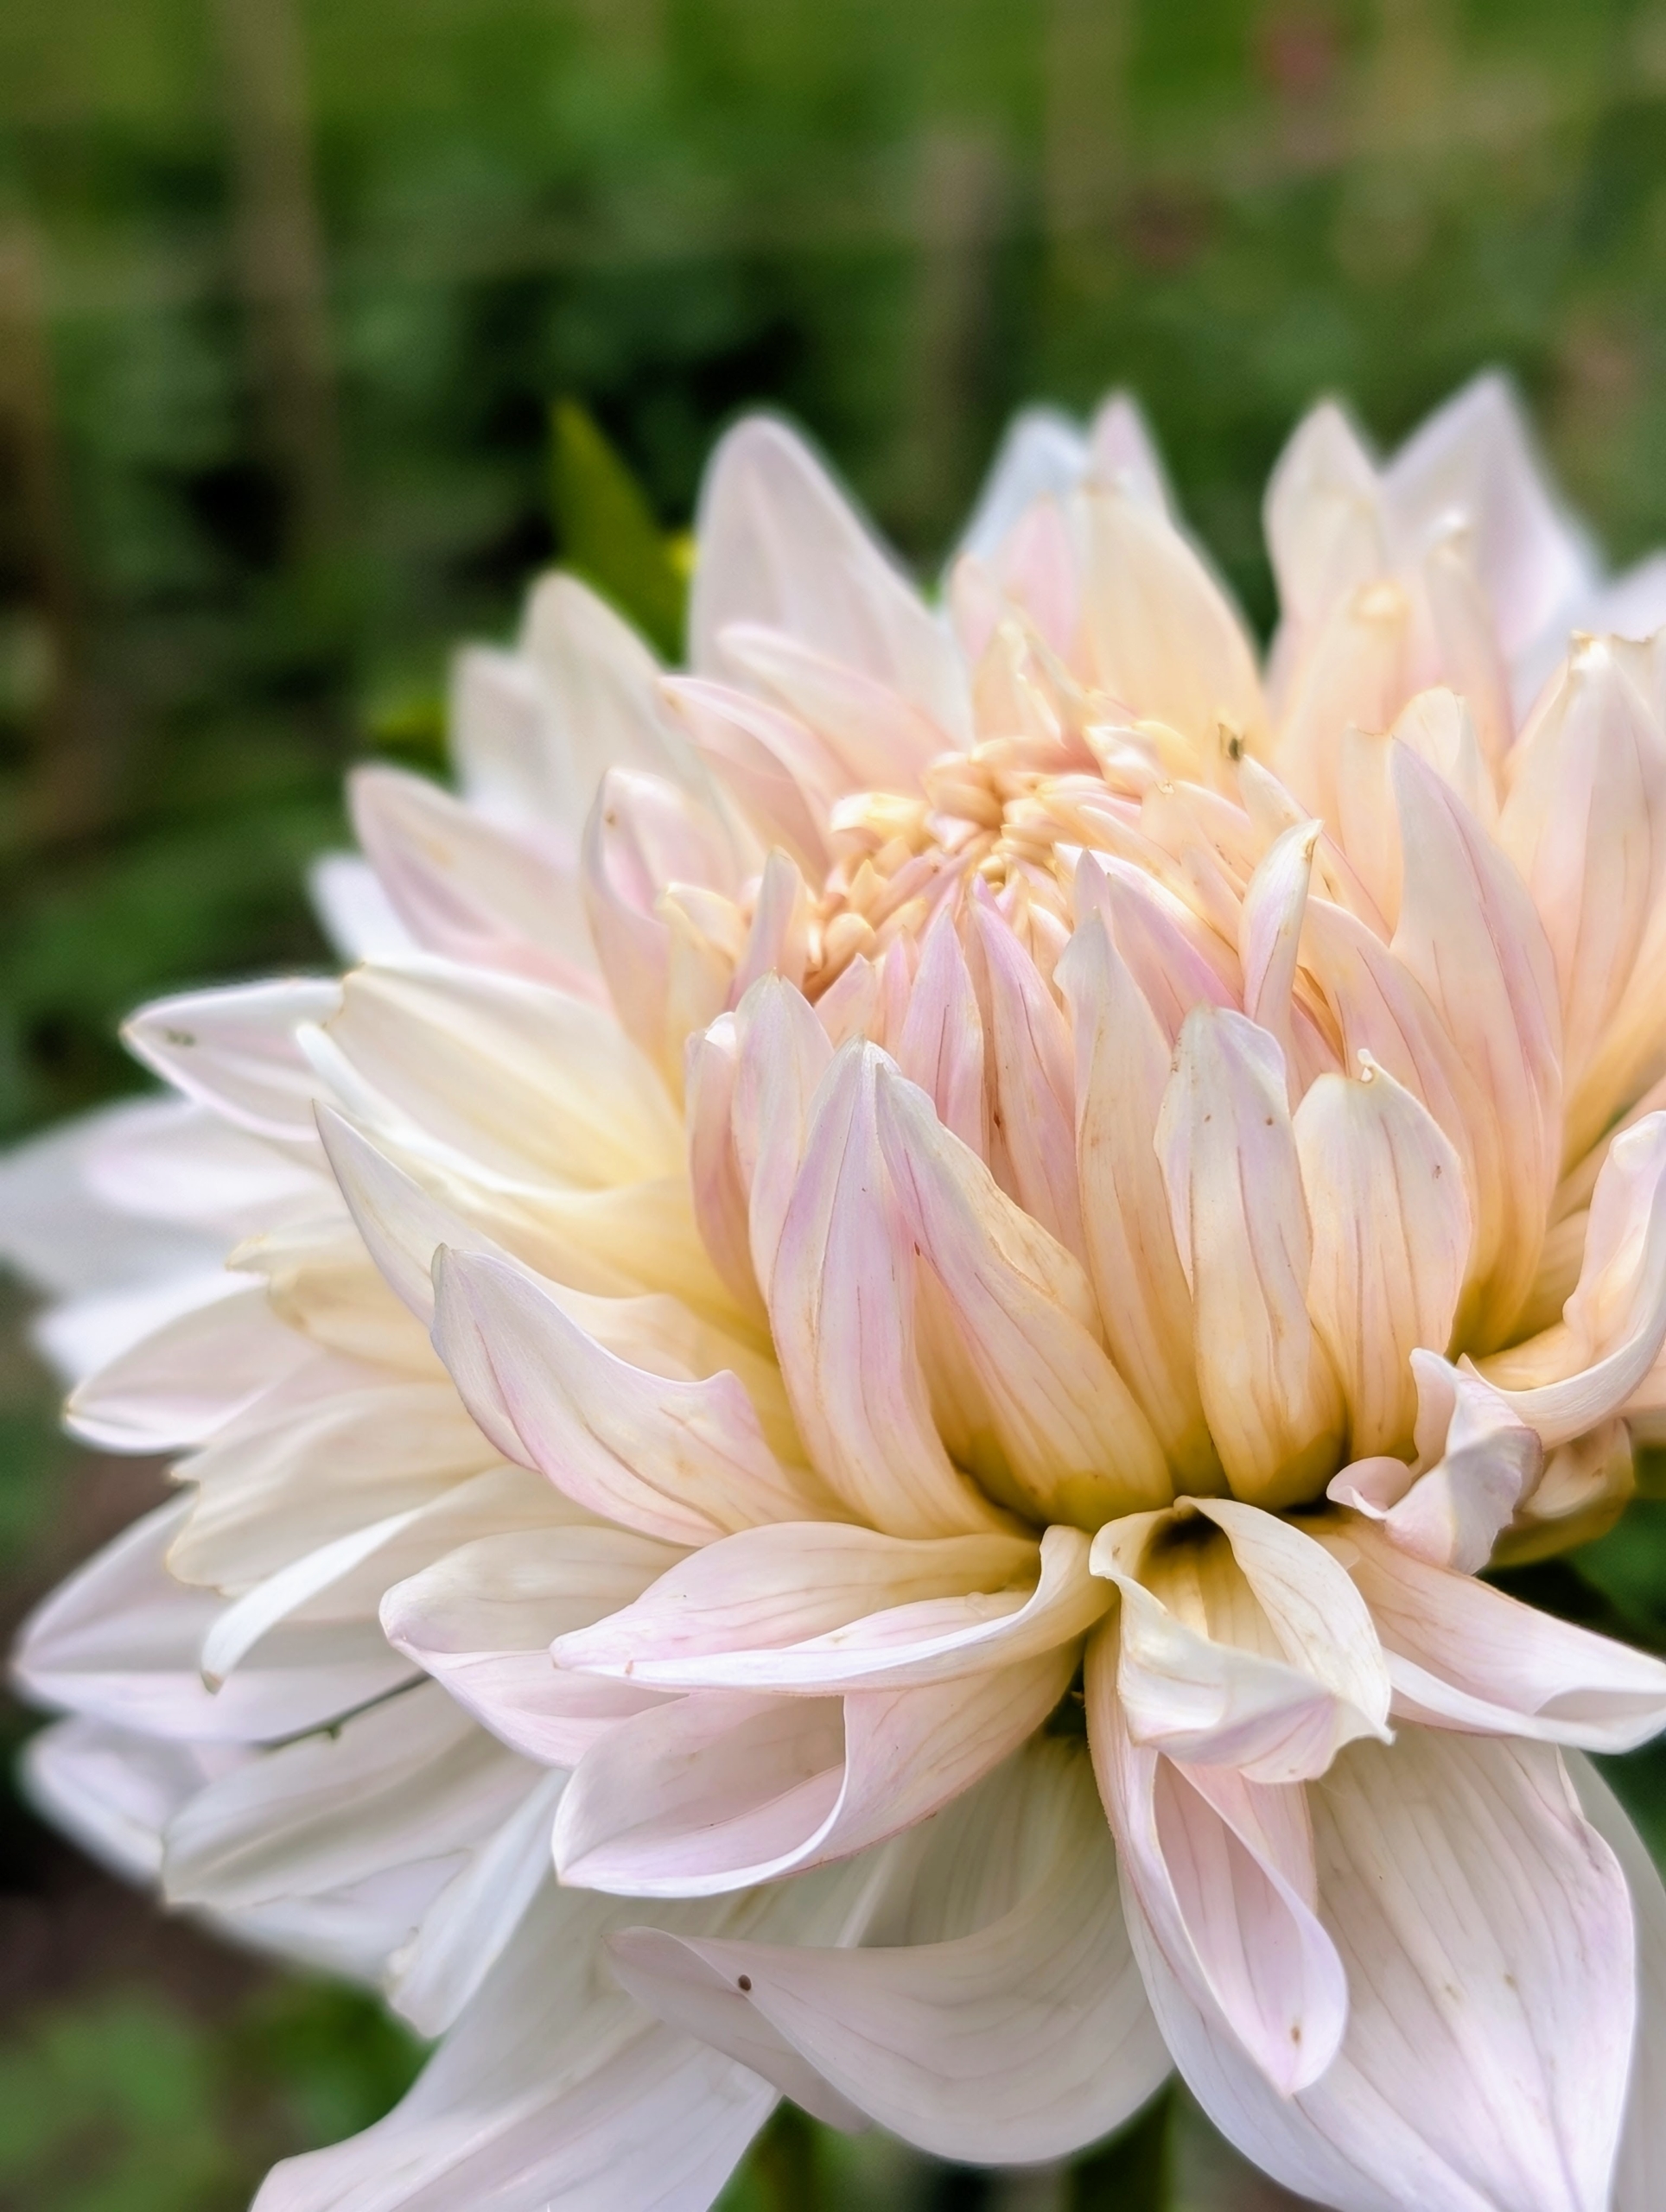
Here, one can see how tall some of the flowers have grown.
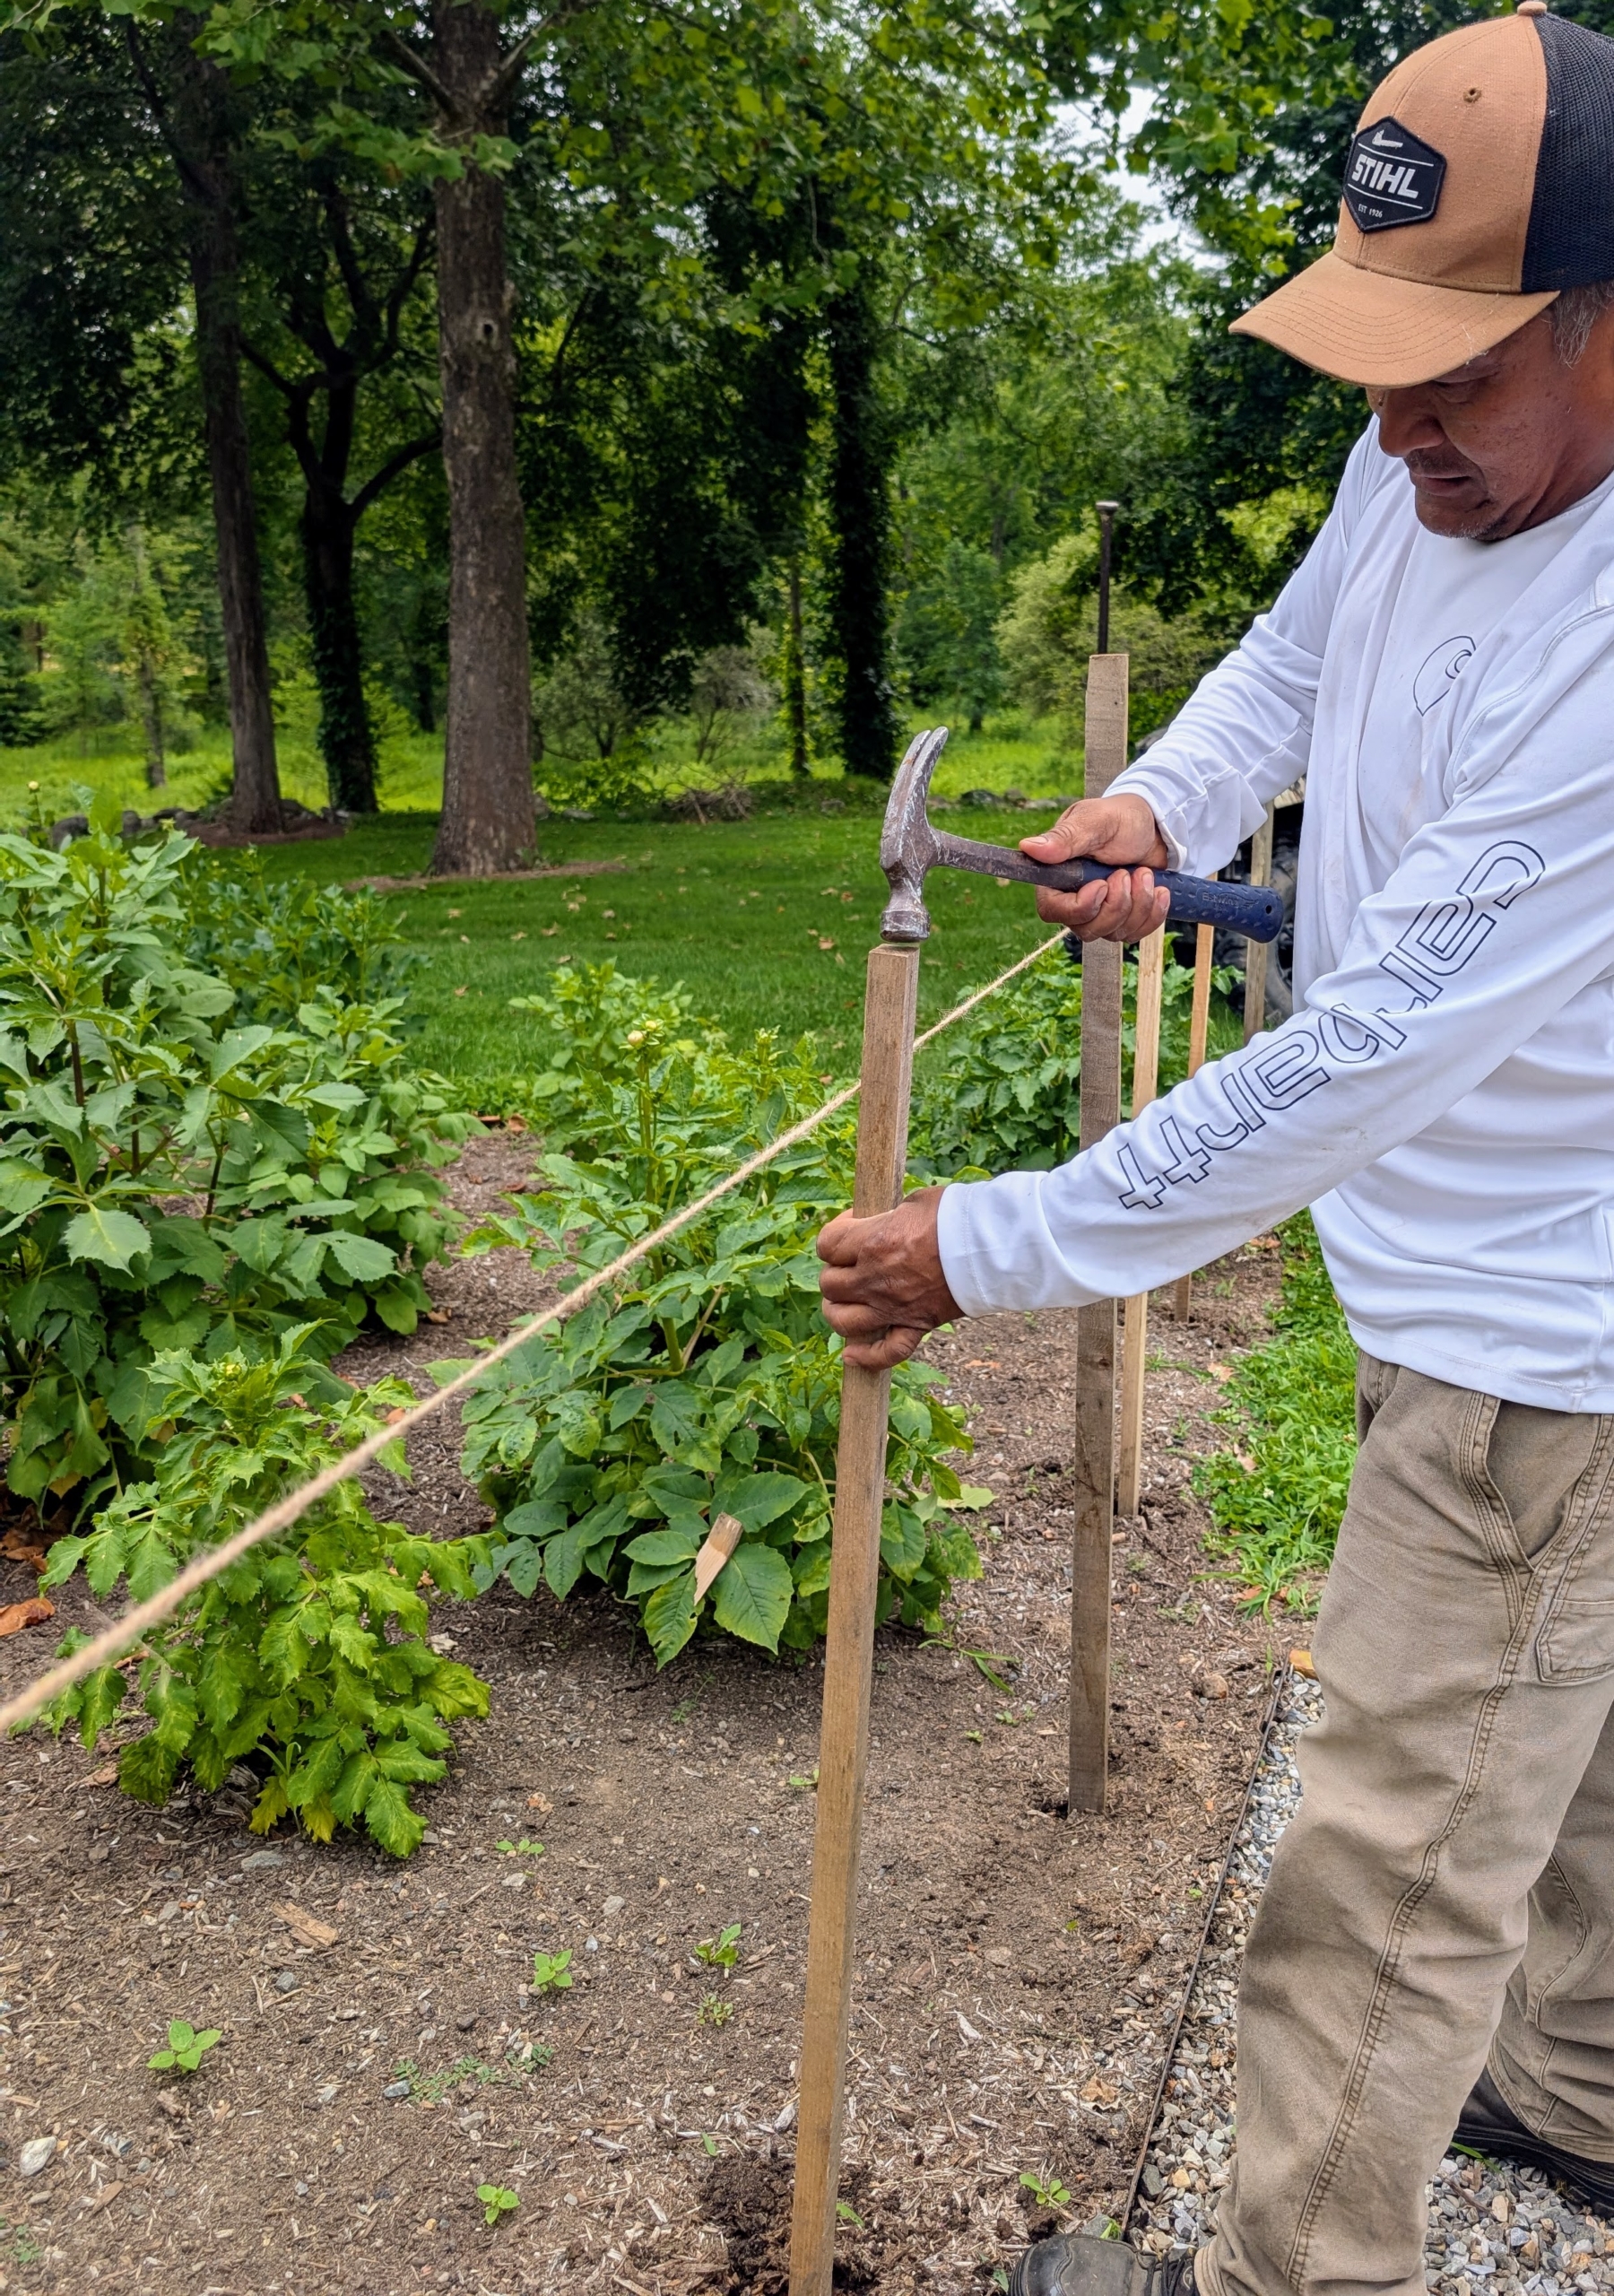
Next, Pete stretches the twine from one end to the other…
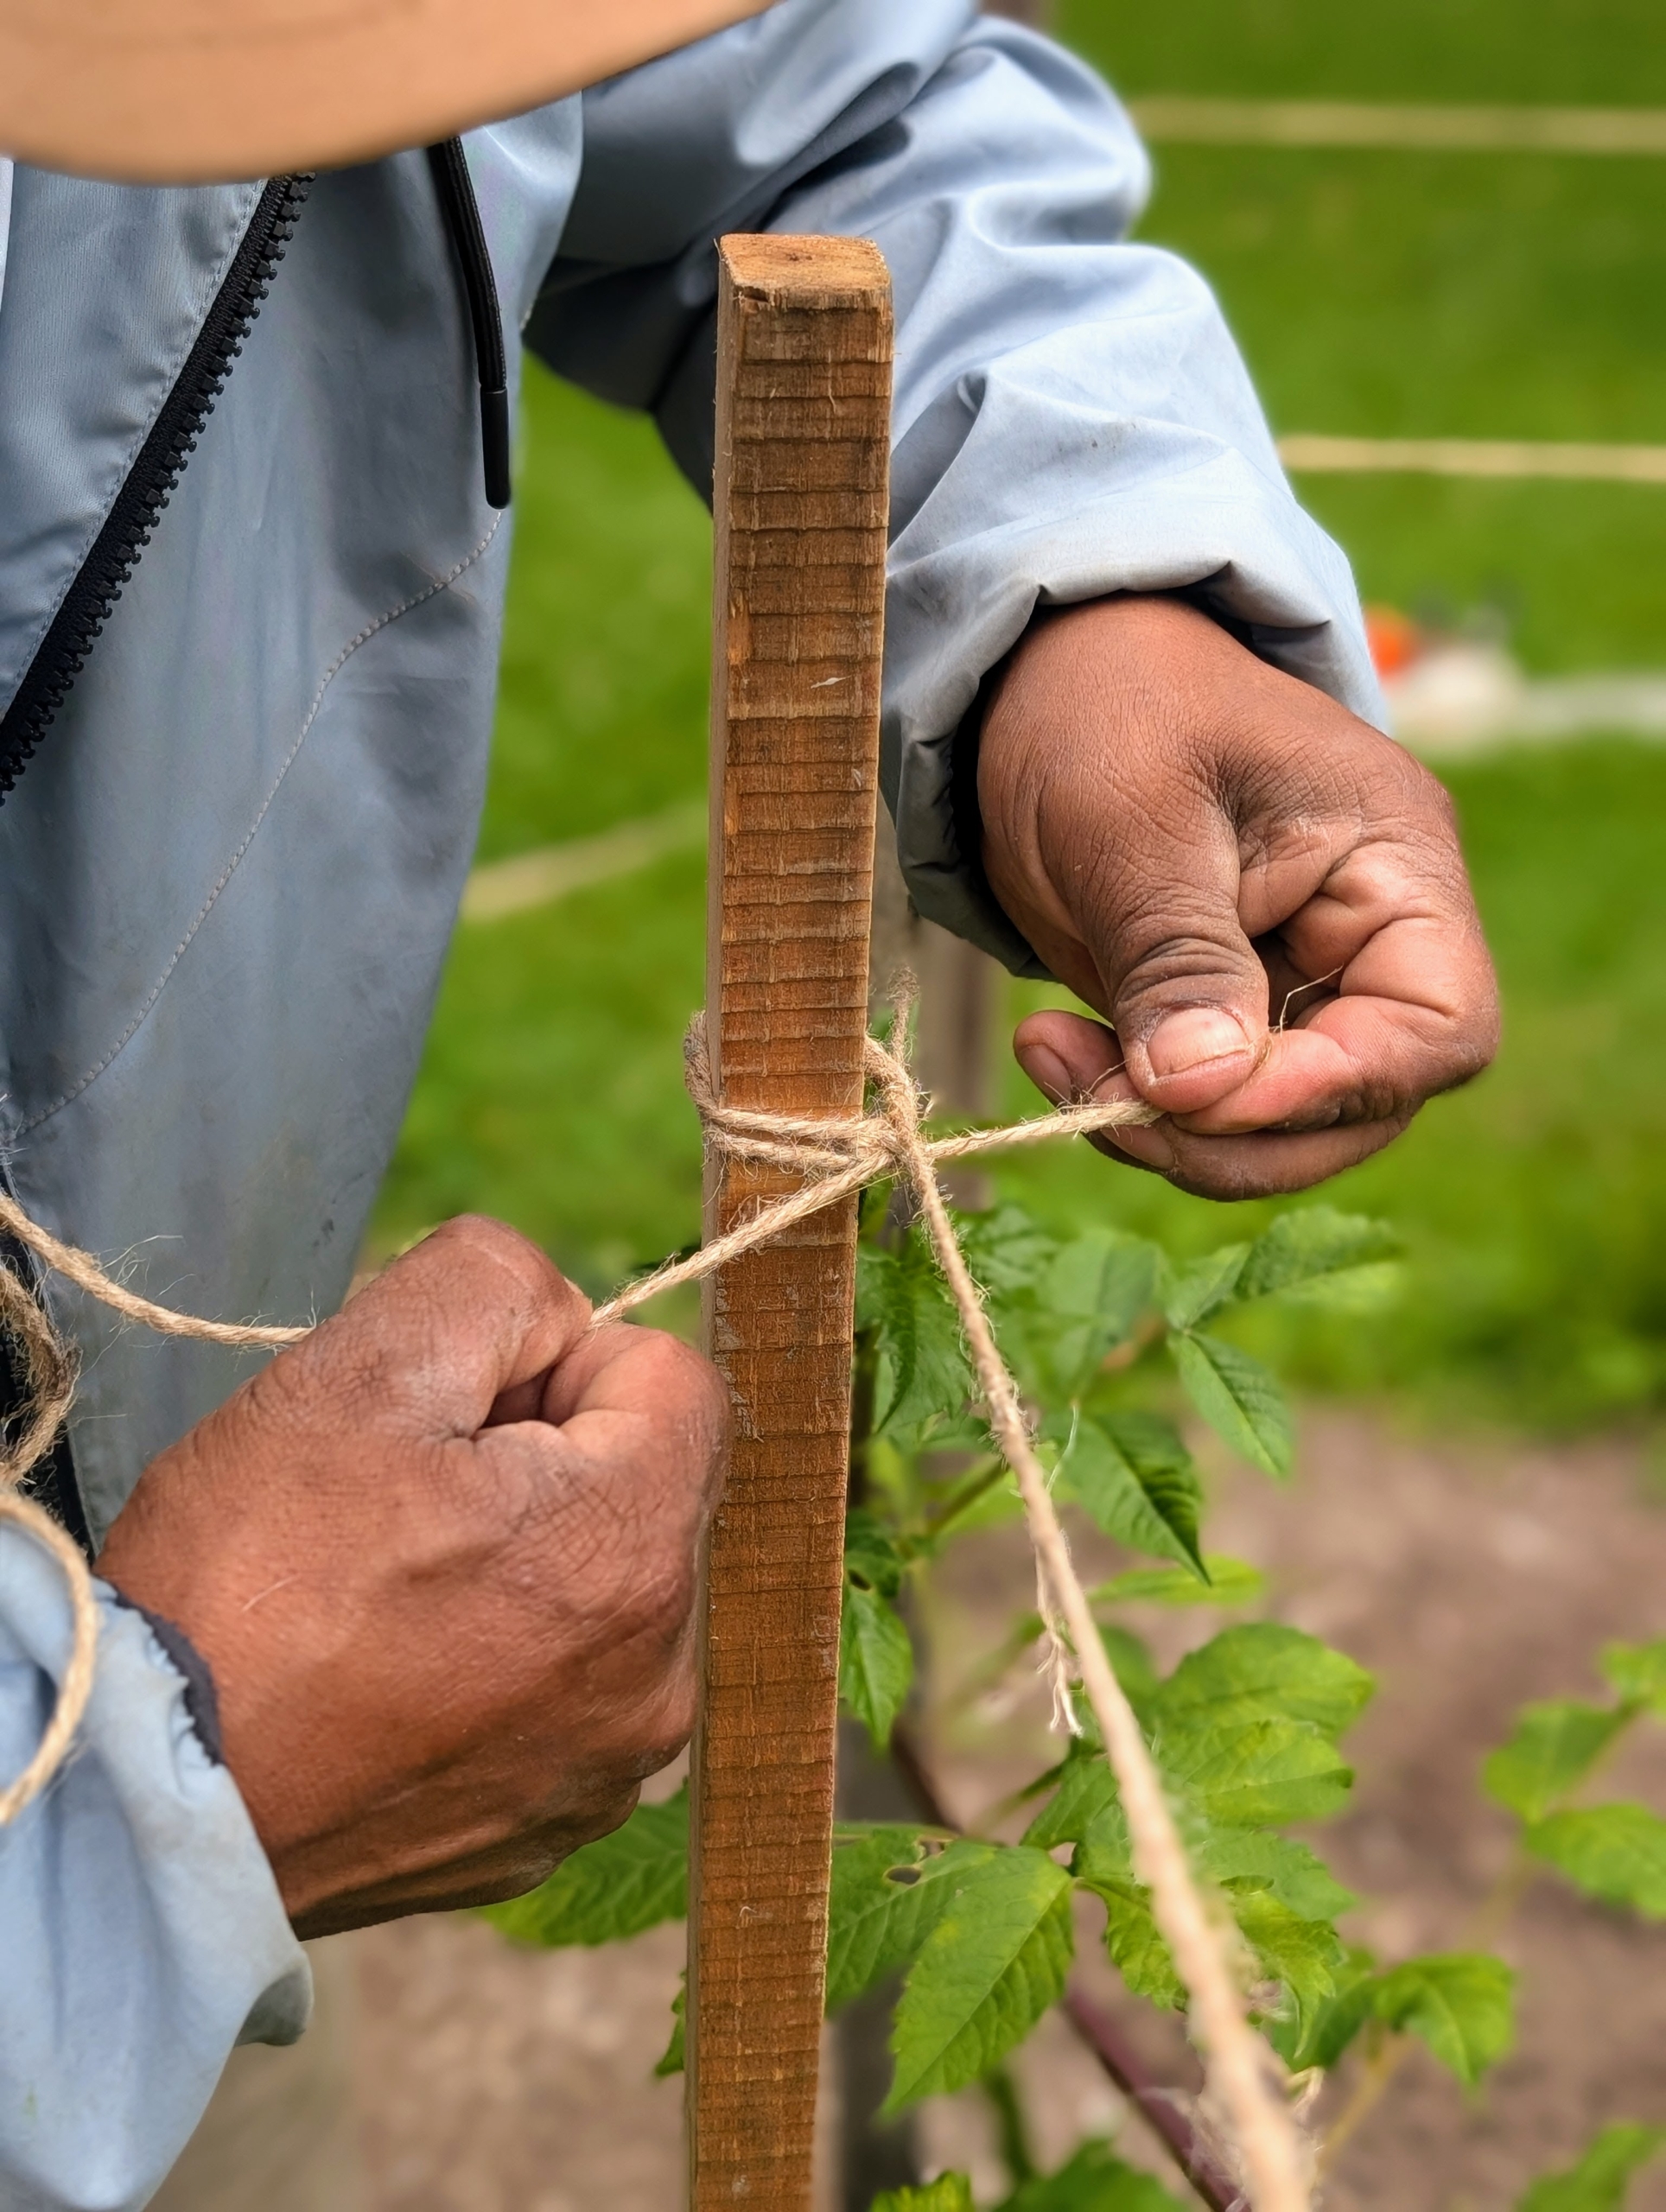
… tying it securely to the wooden uprights. Jute twine is available in different thicknesses and its tensile strength can reach about 140-pounds, but because it is a natural material, it can degrade over time. Pulling the twine tightly will help it keep its form through the season.
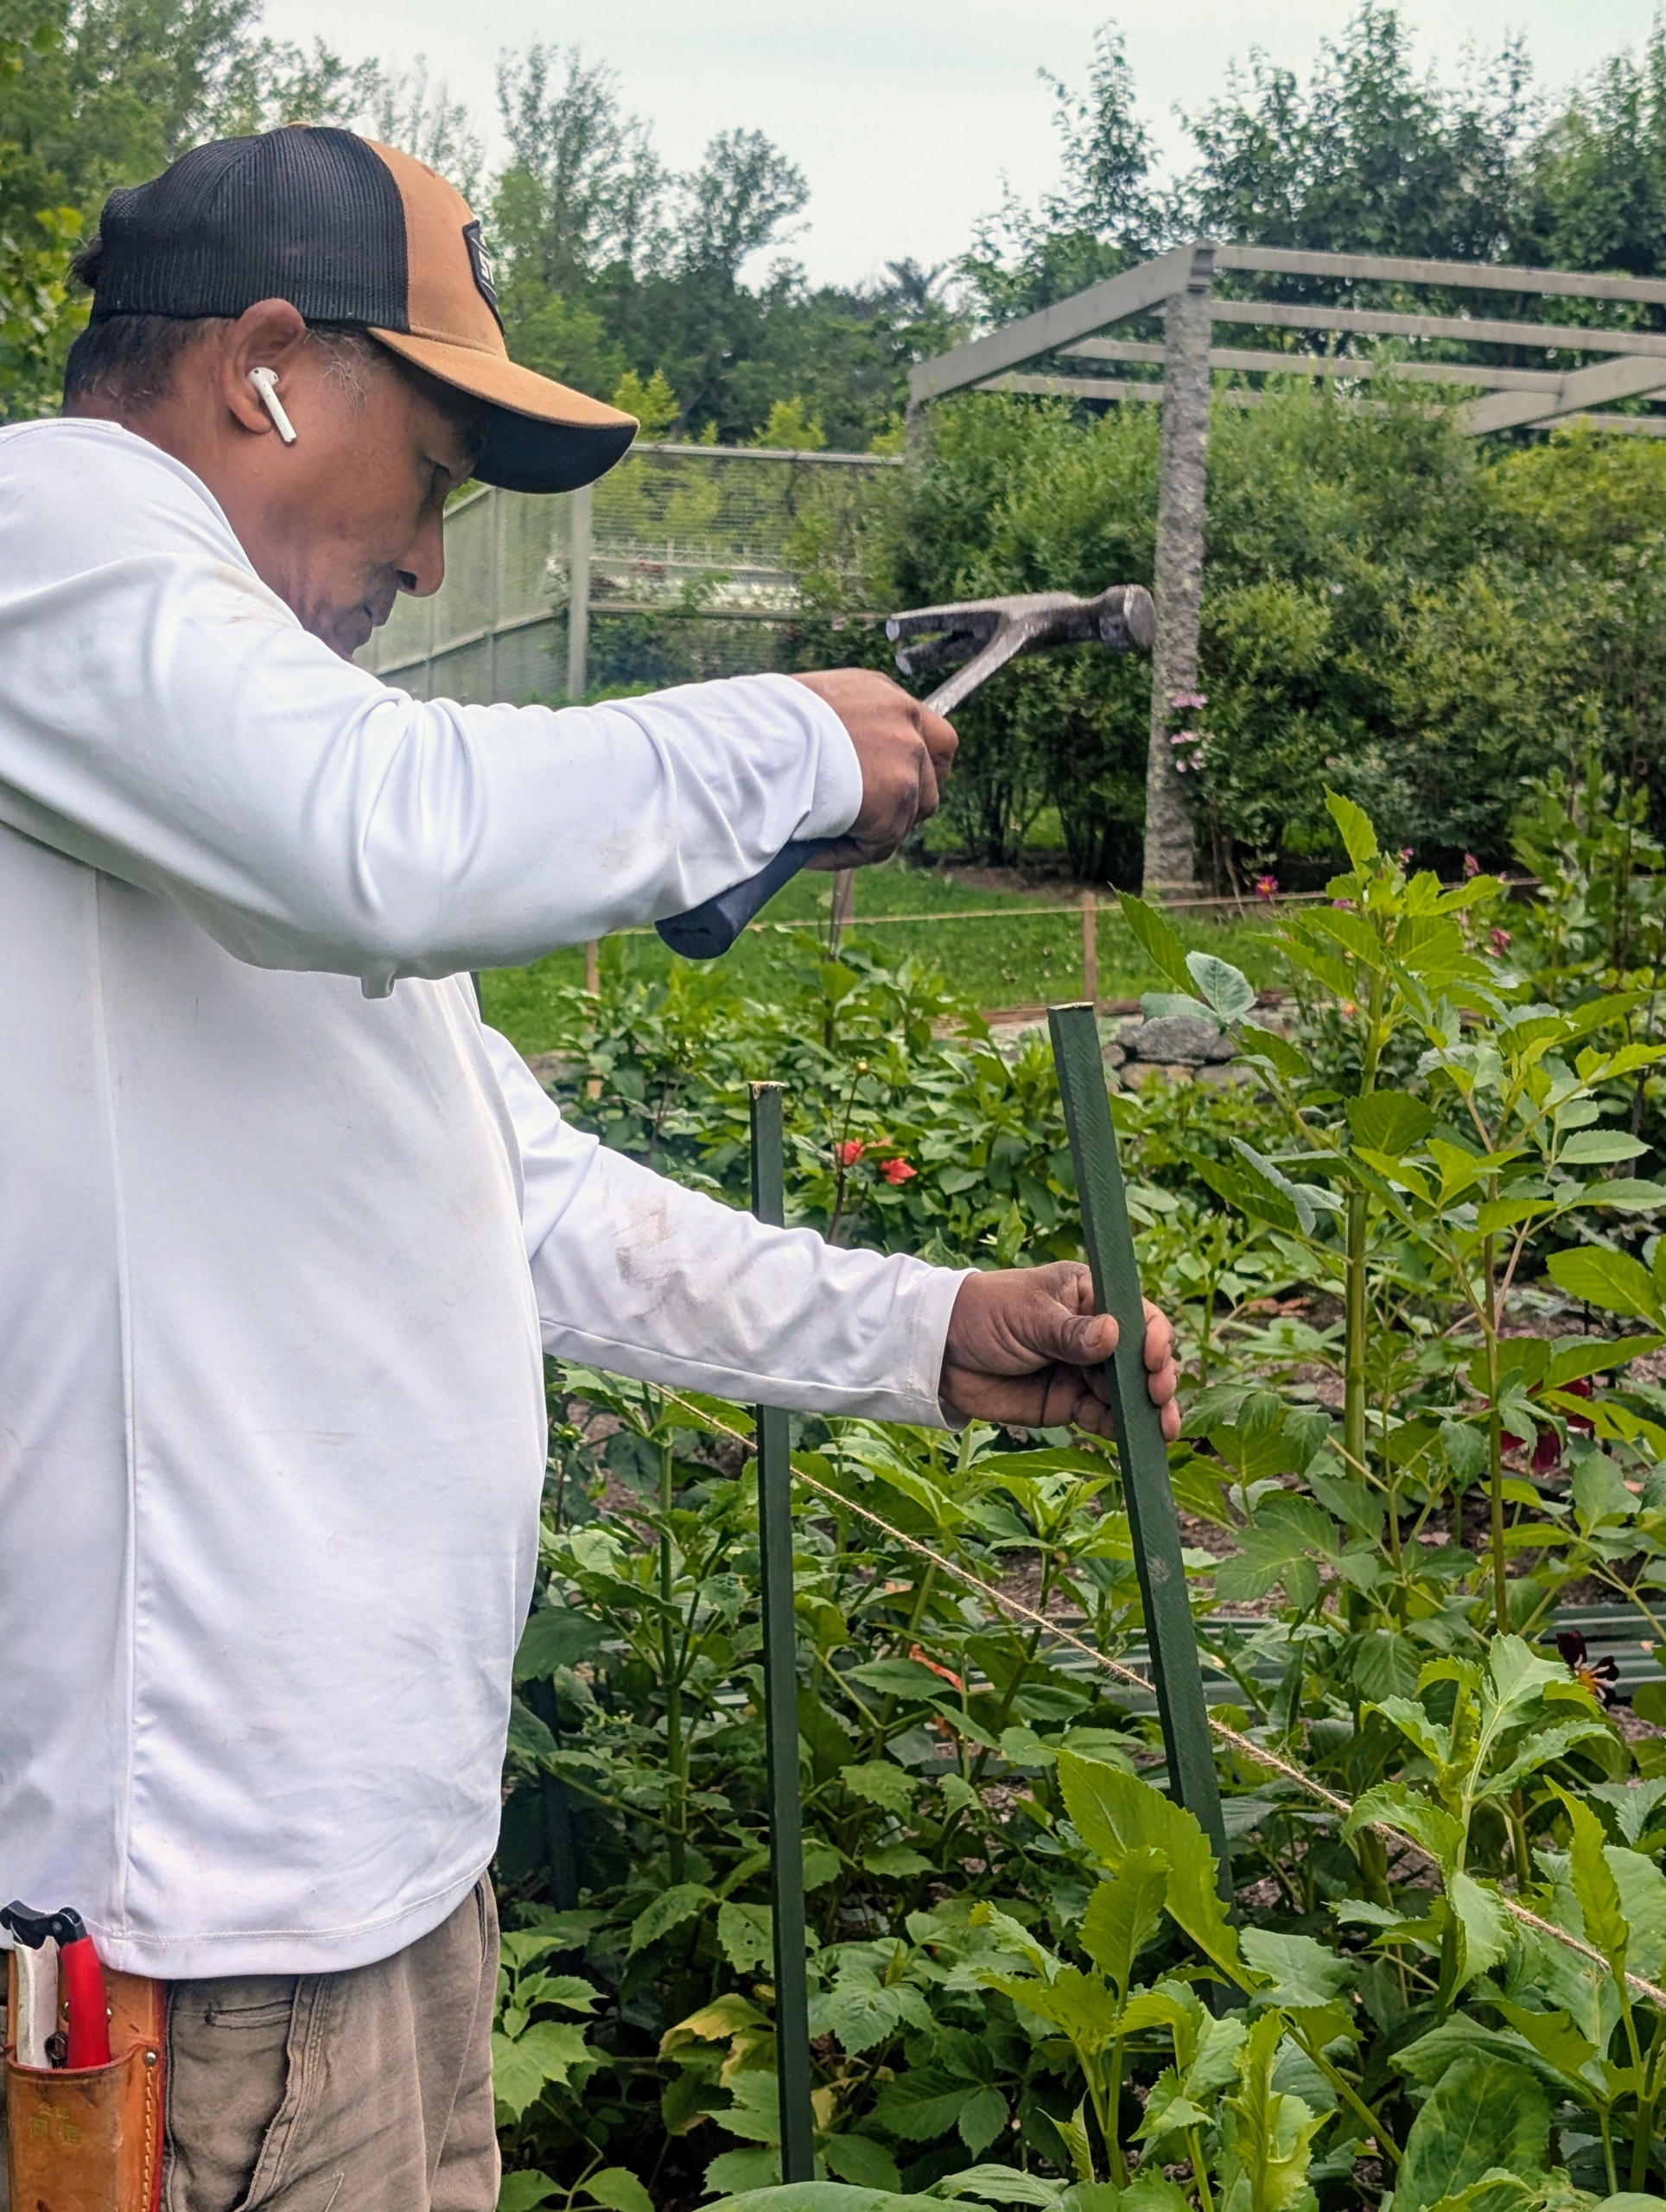
Fernando works from the inside of the bed, making holes and securing stakes.
He stakes the larger plants individually, and the smaller ones in groups, supporting them on all four sides.
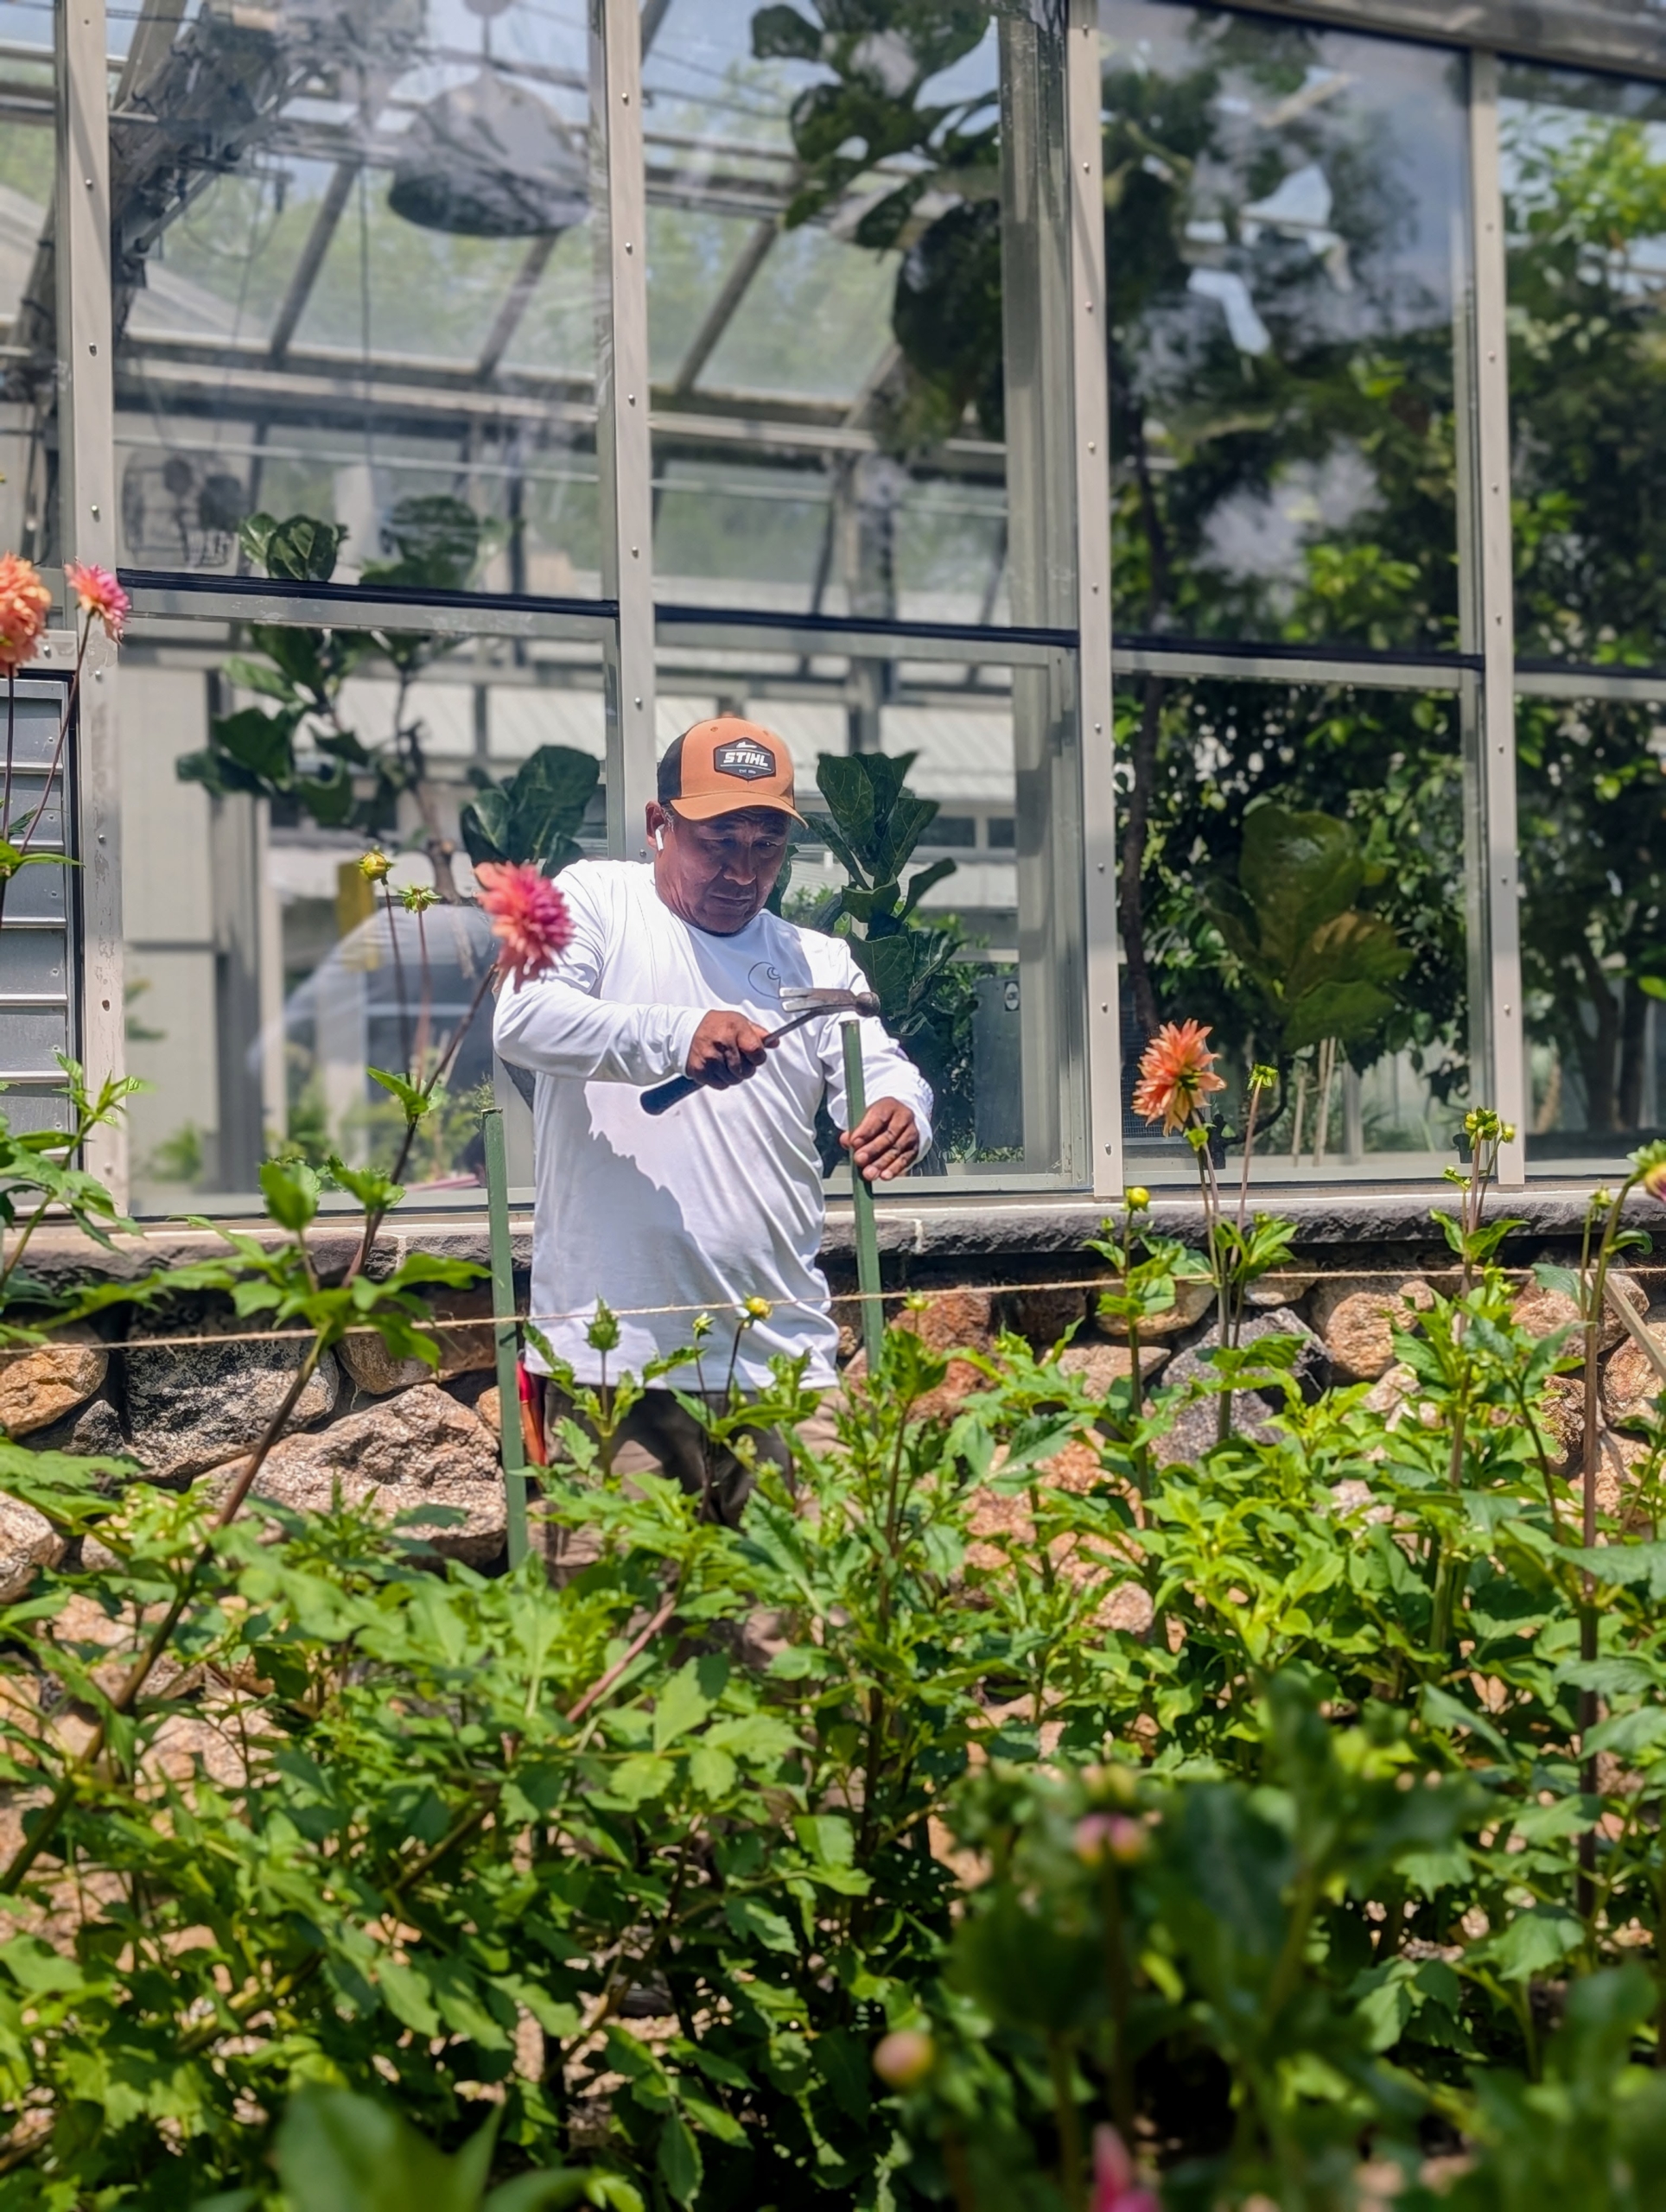
Here is one section staked nicely. As plants grow, twine will be added to support more stems.
Pete and Fernando also make sure the aisles are clear, so it’s easy to access and cut flowers during the season.
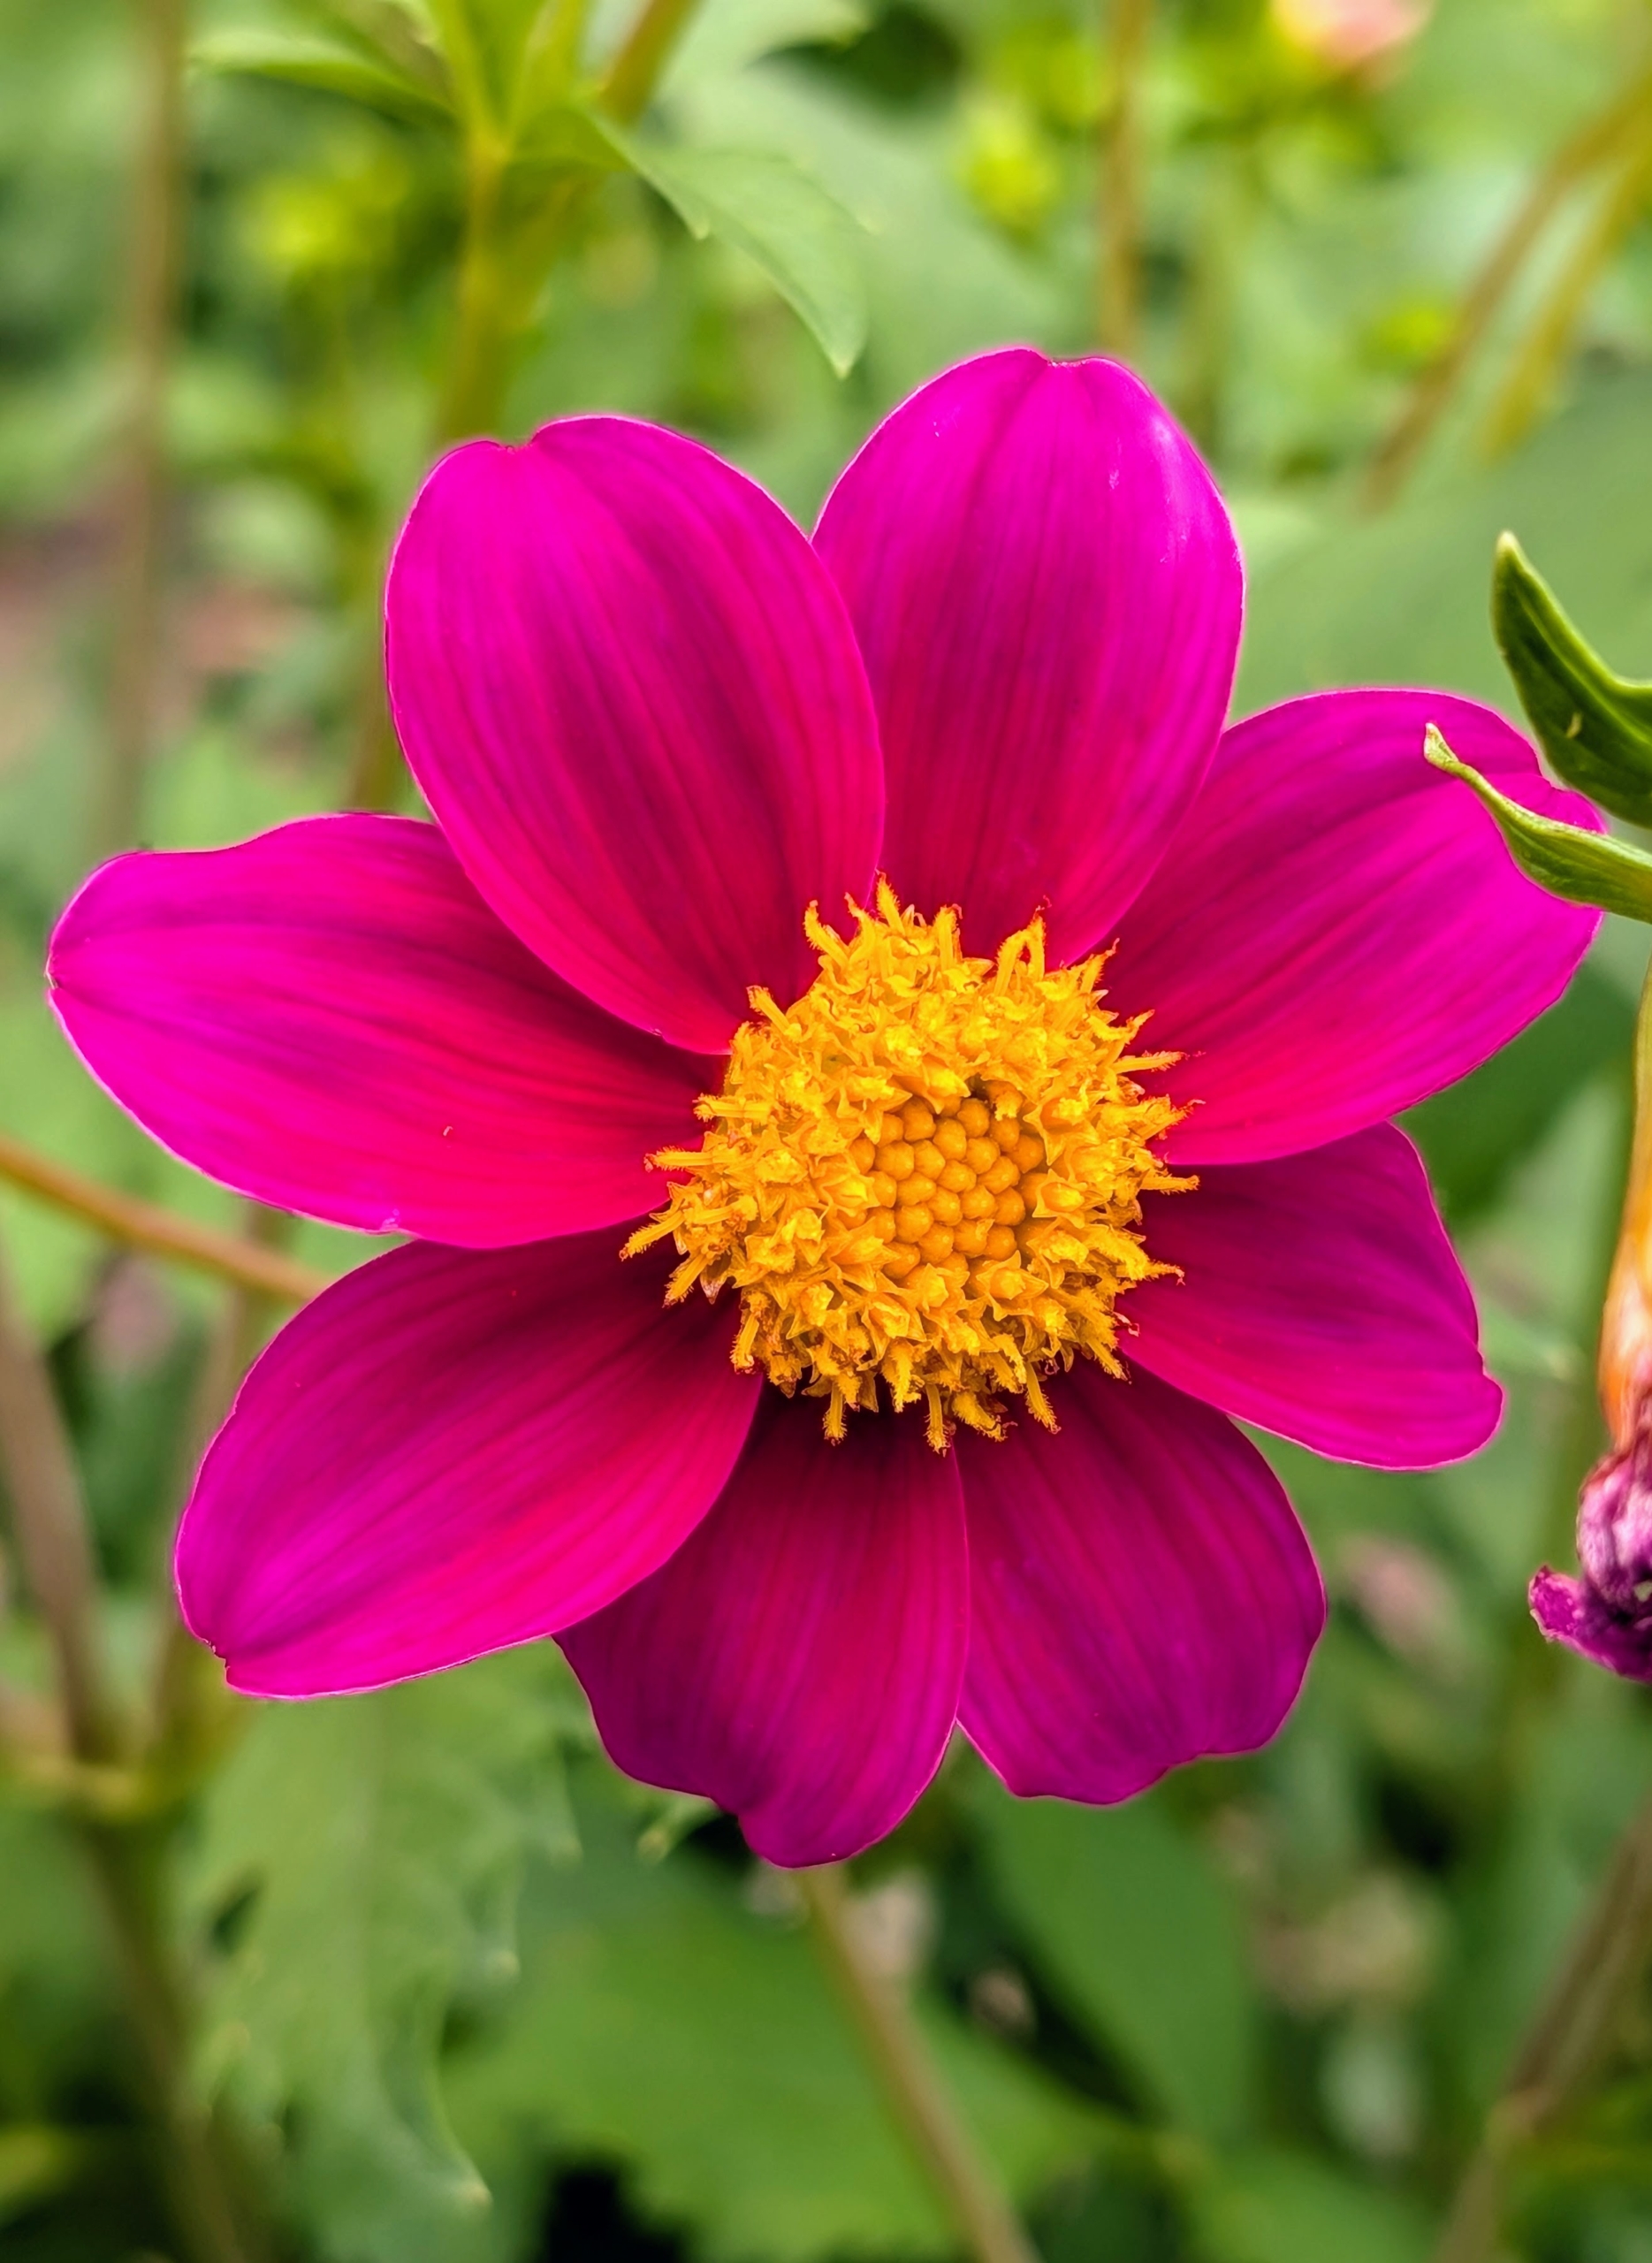
Dahlias are classified according to flower shape and petal arrangement. This is a single dahlia with just one row of petals surrounding the center disc.
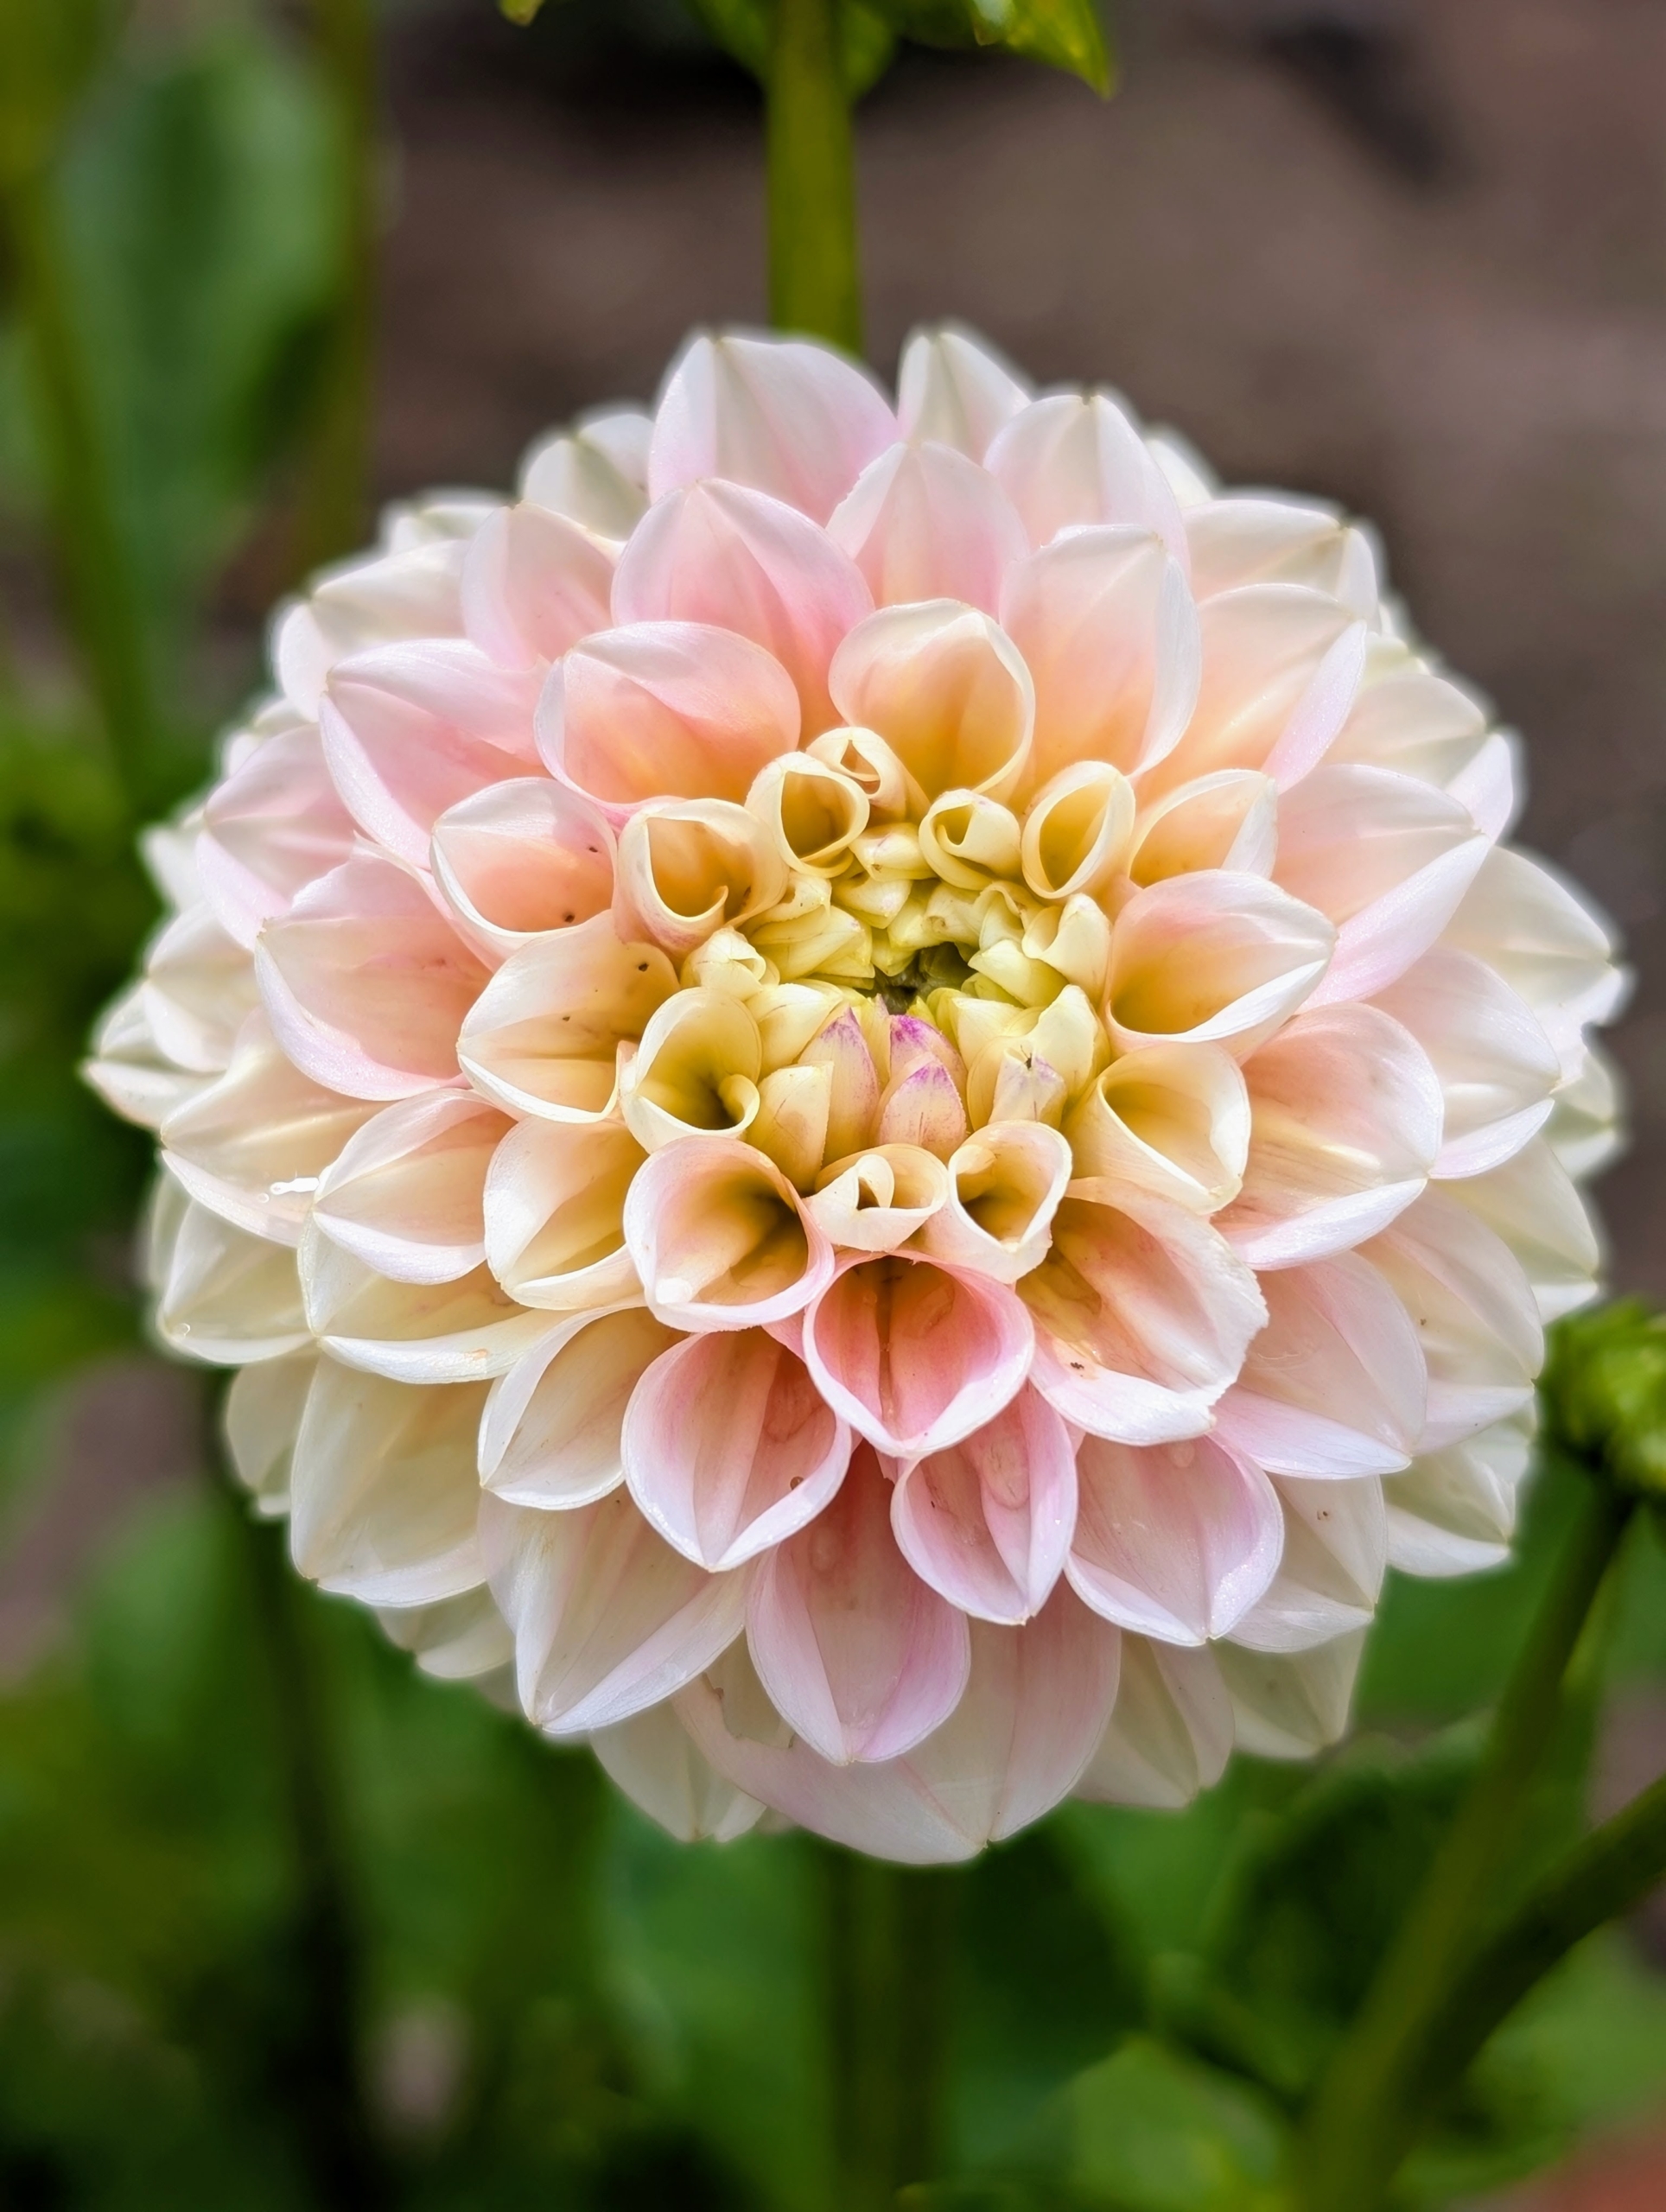
They range from a charming single, daisy-like flower to the popular double varieties which can be two-inch-pompons to 12-inch dinner plate size. They are divided into 10 groups: single, anemone, collarette, waterlily, decorative, fall, pompon, cactus, semi-cactus, and miscellaneous.
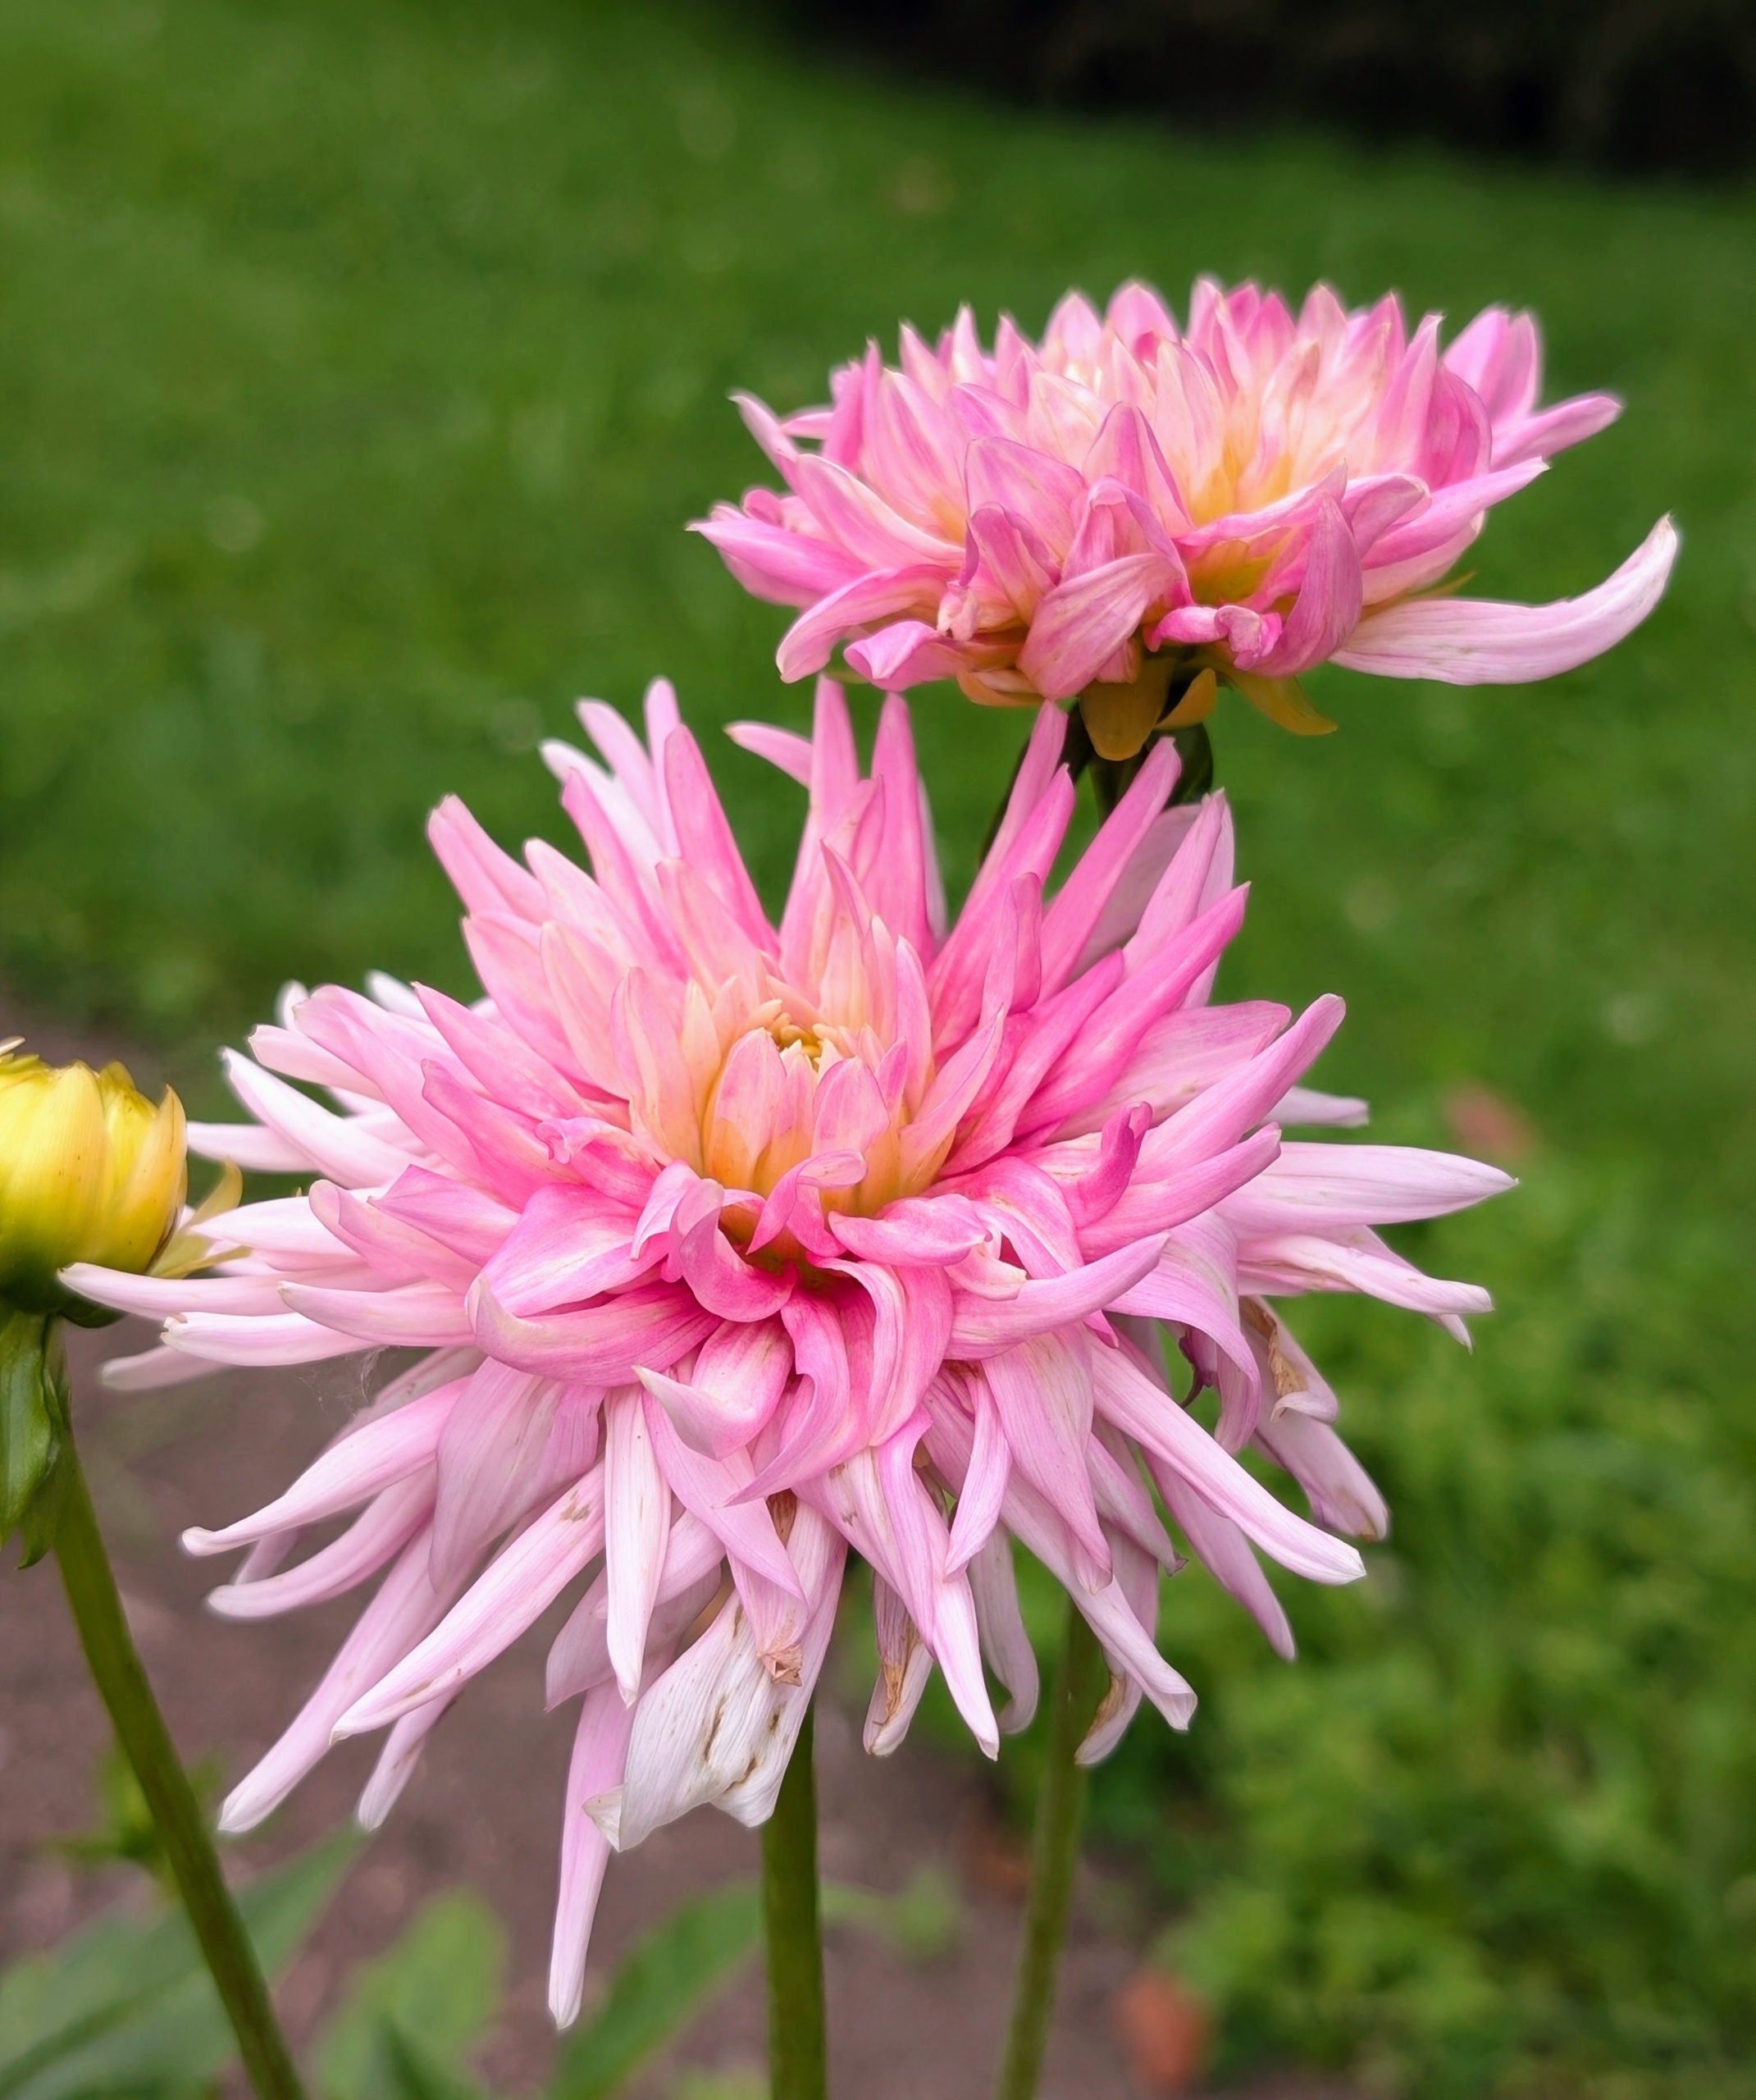
This cactus variety is called ‘Park Princess’ with tightly rolled rich, vibrant pink petals. It is a prolific re-bloomer and an excellent cut flower.
Currently, there are more than 40 species of dahlia, with hybrids commonly grown as garden plants. A member of the Asteraceae family of dicotyledonous plants, some of its relatives include the sunflower, daisy, chrysanthemum, and zinnia.
The majority of dahlia species do not produce scented flowers or cultivars, but they are brightly colored to attract pollinating insects.
The genus Dahlia is native to the high plains of Mexico. Some species can be found in Guatemala, Honduras, Nicaragua, El Salvador & Costa Rica as well as parts of South America where it was introduced.
This area was once used for growing grapes. Now, it’s proven excellent for growing dahlias. I am looking forward to seeing more and more of the gorgeous blooms in the weeks ahead.
As a passionate gardener, I am always very interested in learning how I can improve my gardens.
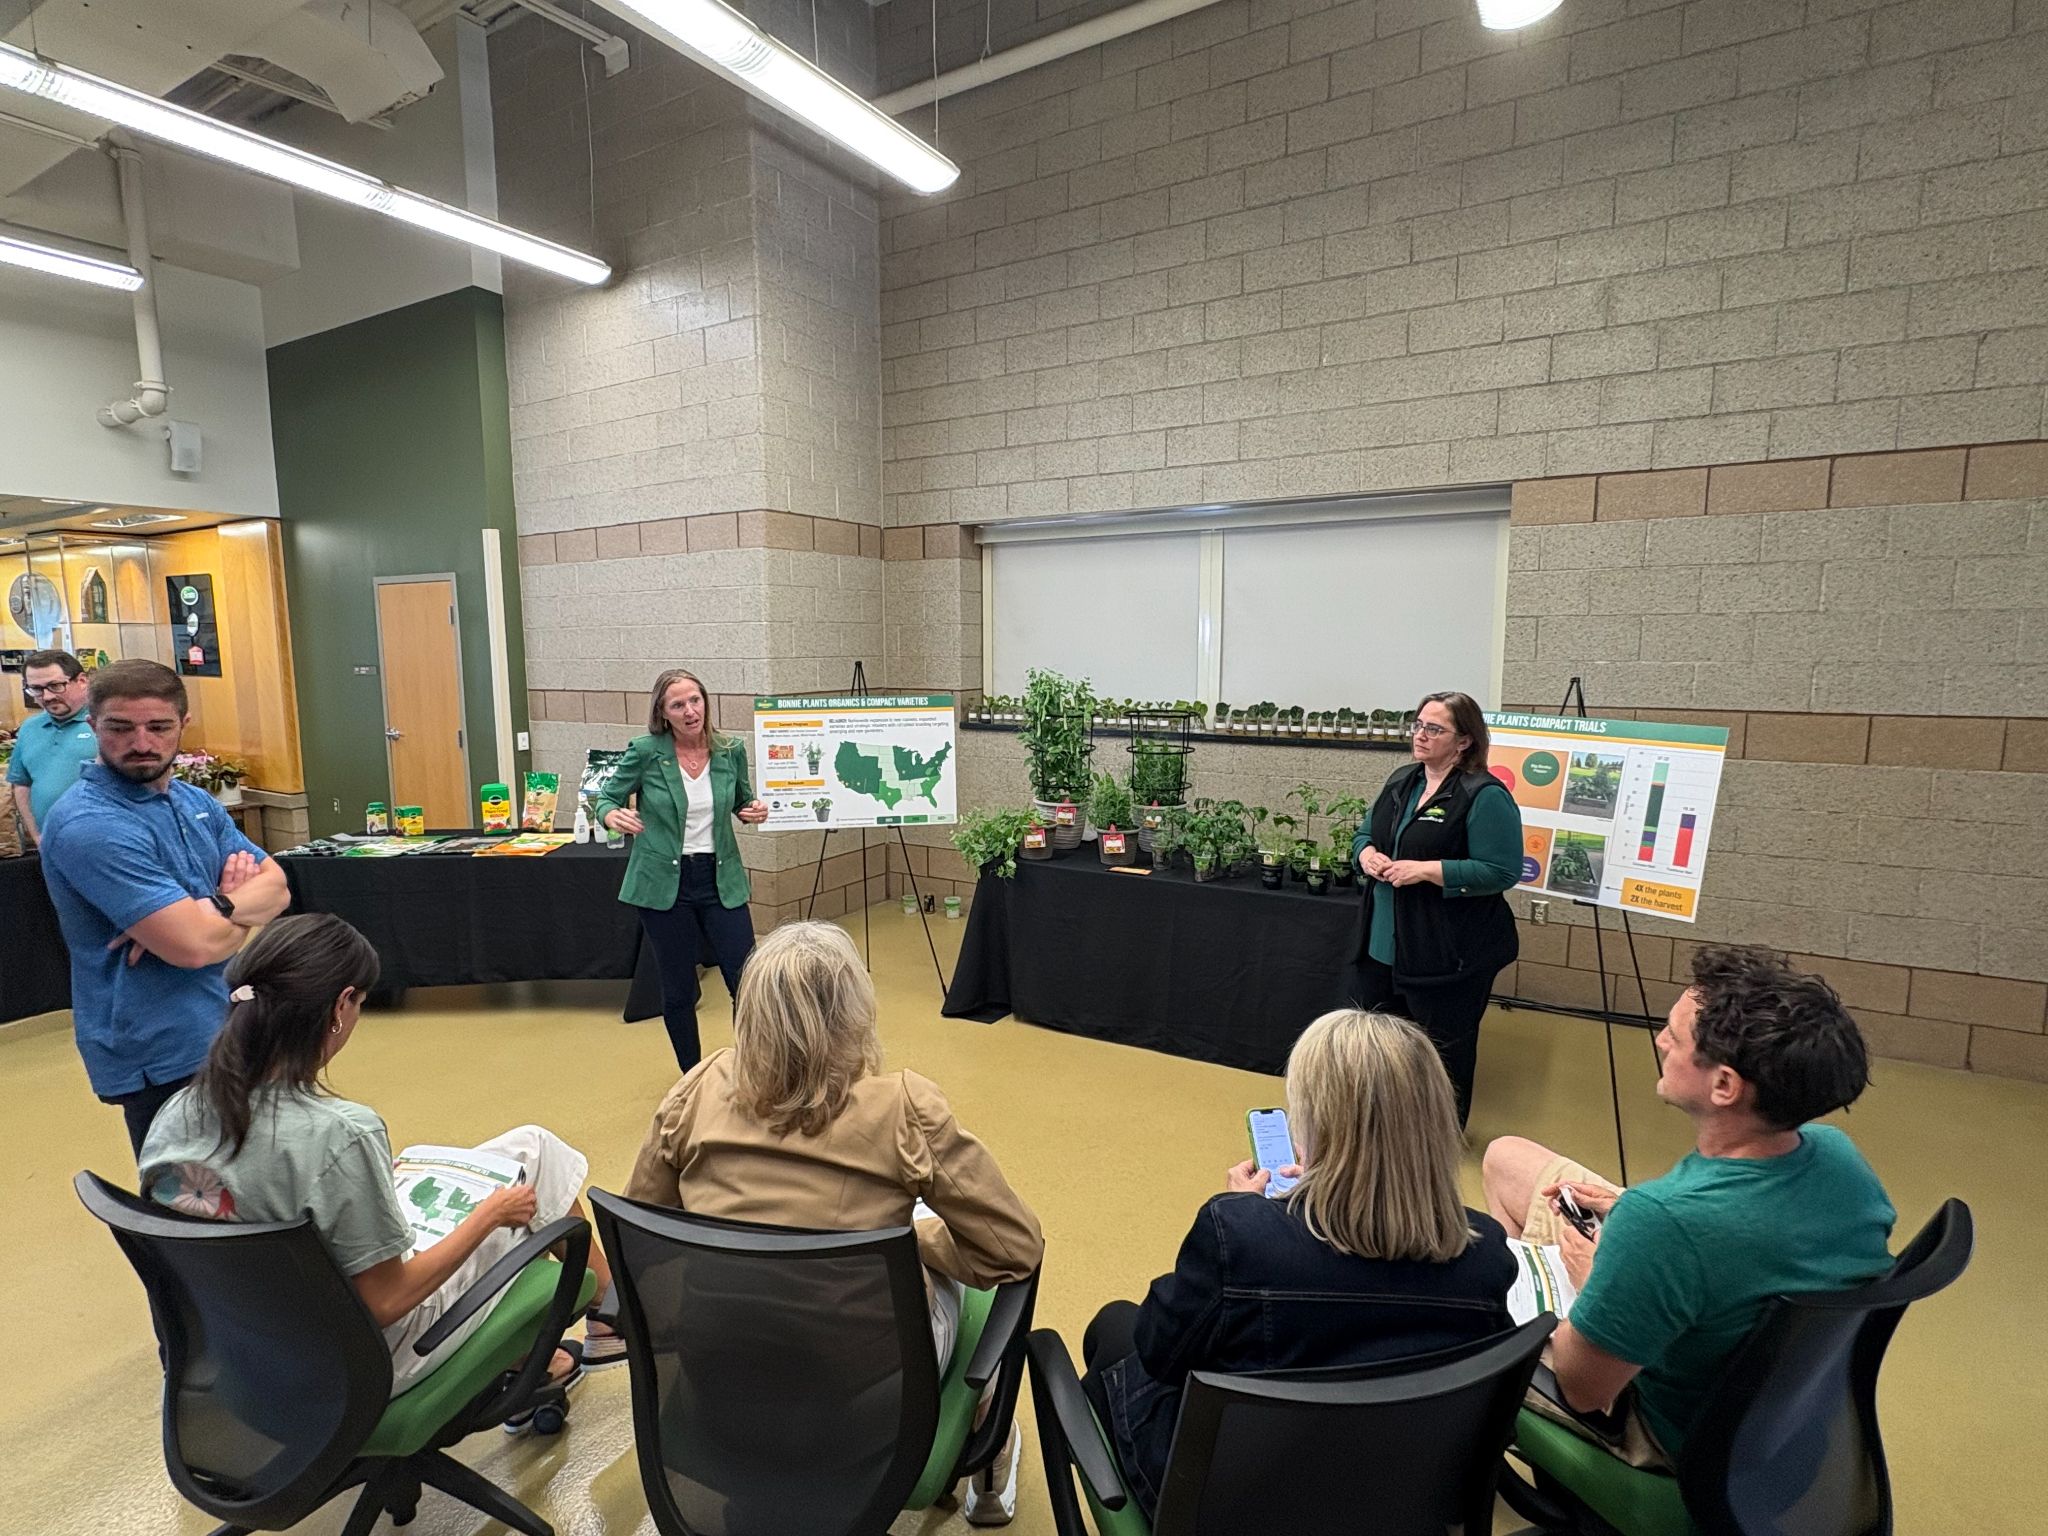
This past spring, I travelled to Marysville, Ohio, to visit the Scotts Miracle-Gro Company, the world’s largest marketer of branded consumer lawn and garden products. The Scotts Company was founded in 1868 by O.M. Scott as a premium seed company for the United States agricultural industry. In 1995, the company celebrated a significant milestone when Scotts, the leading lawn care brand, merged with Miracle-Gro, the leading gardening brand, creating the Scotts Miracle-Gro Company. During my day-long visit, I was happy to meet the Research and Development and Brand teams, and to hear about and provide insights on key strategies and new innovations they are developing.
Here are some photos.
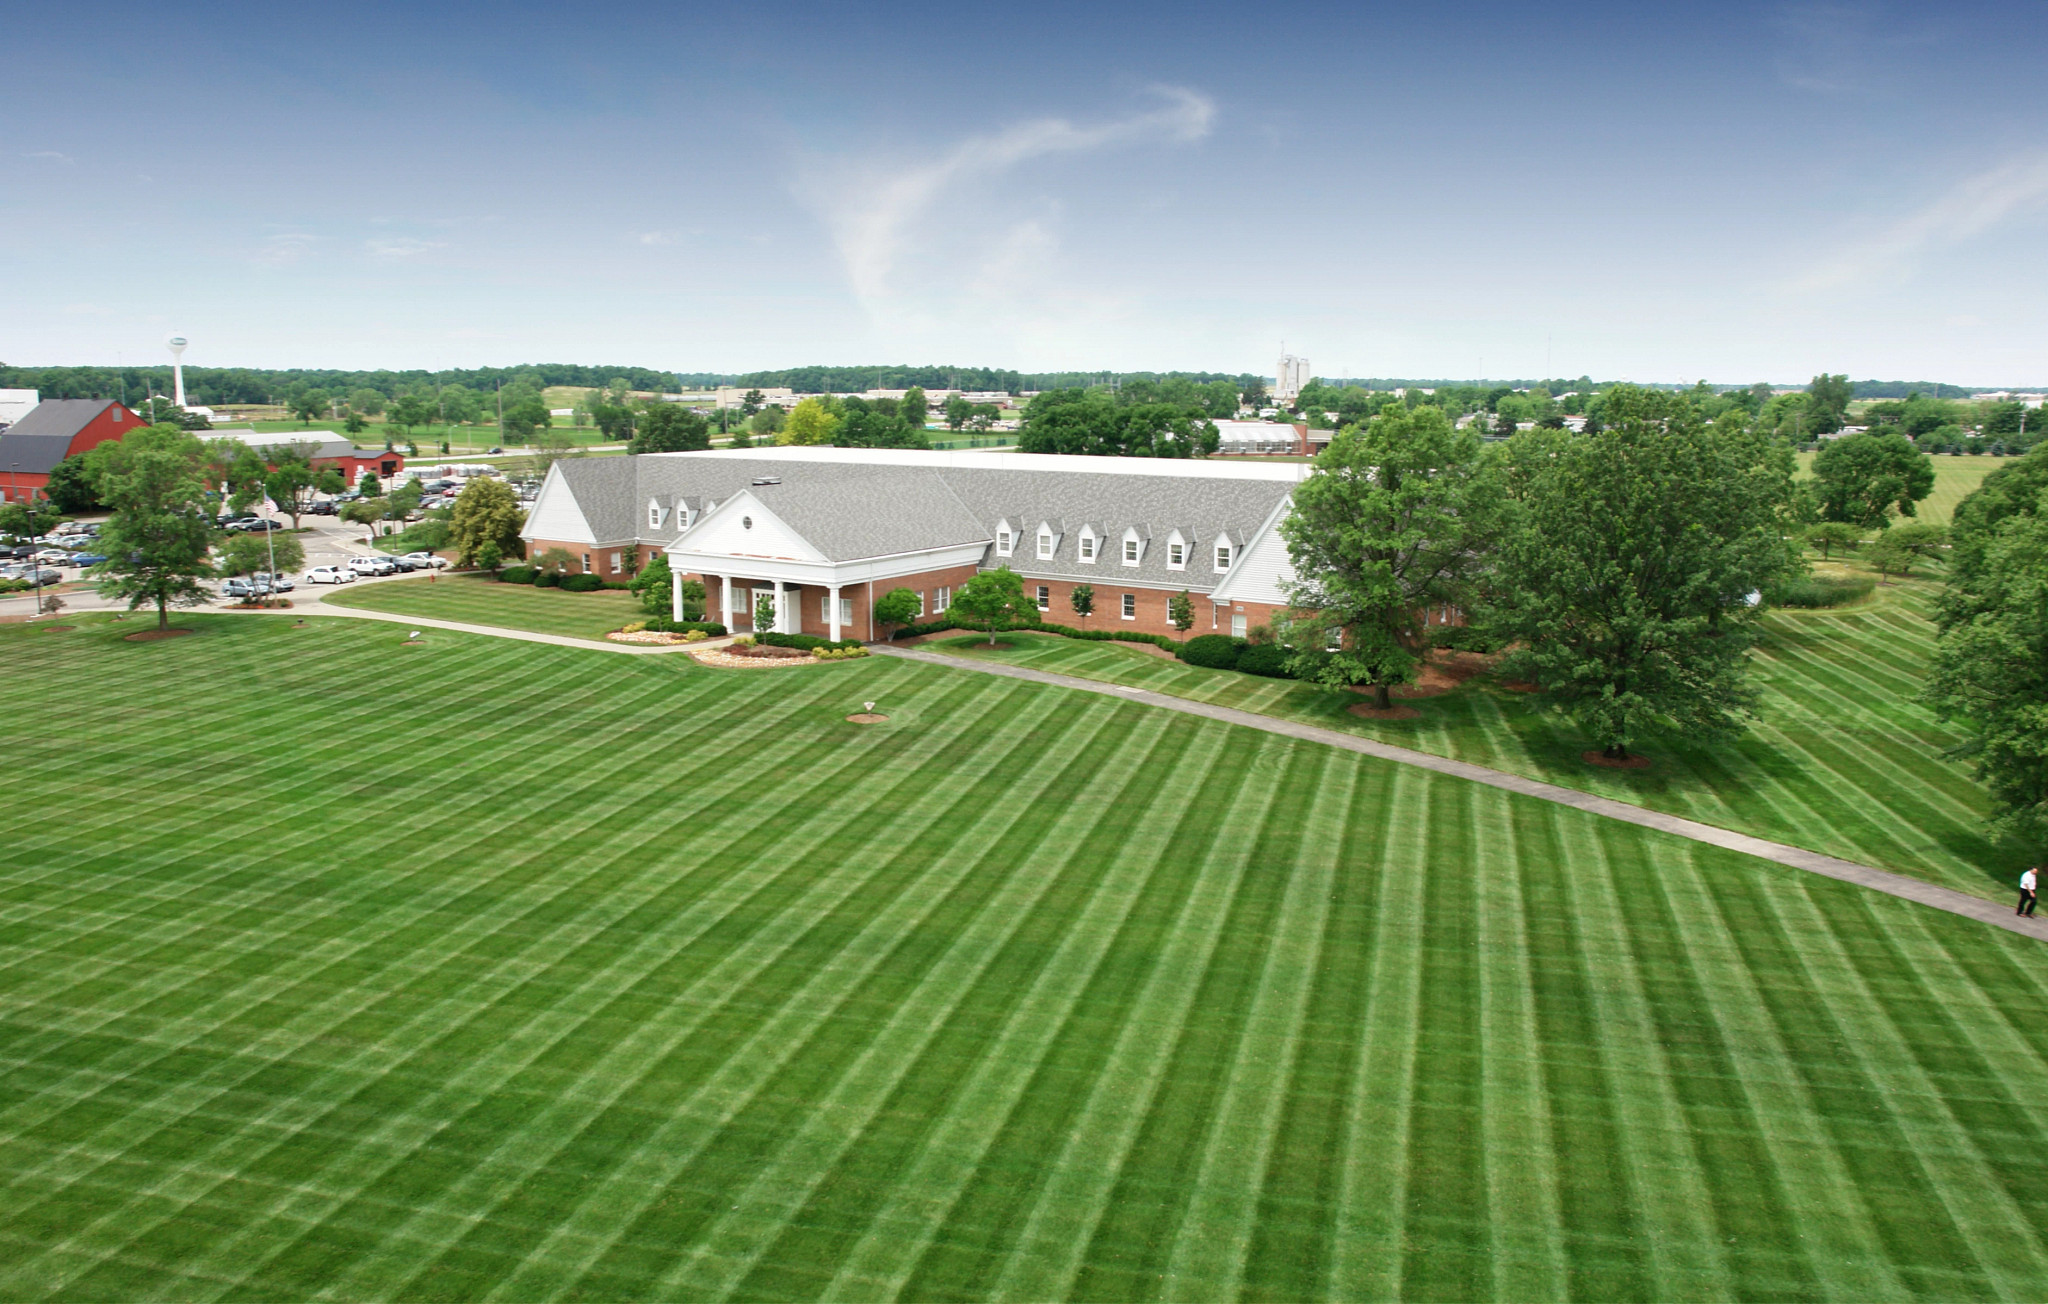
The Scotts Miracle-Gro Company headquarters is still located in Marysville, Ohio where O.M. Scott began selling seed. He sold weed-free seed to local farmers and then expanded to selling seed to homeowners after the turn of the century.
All administrative departments have been located on this campus along Scottslawn Road since 1982.
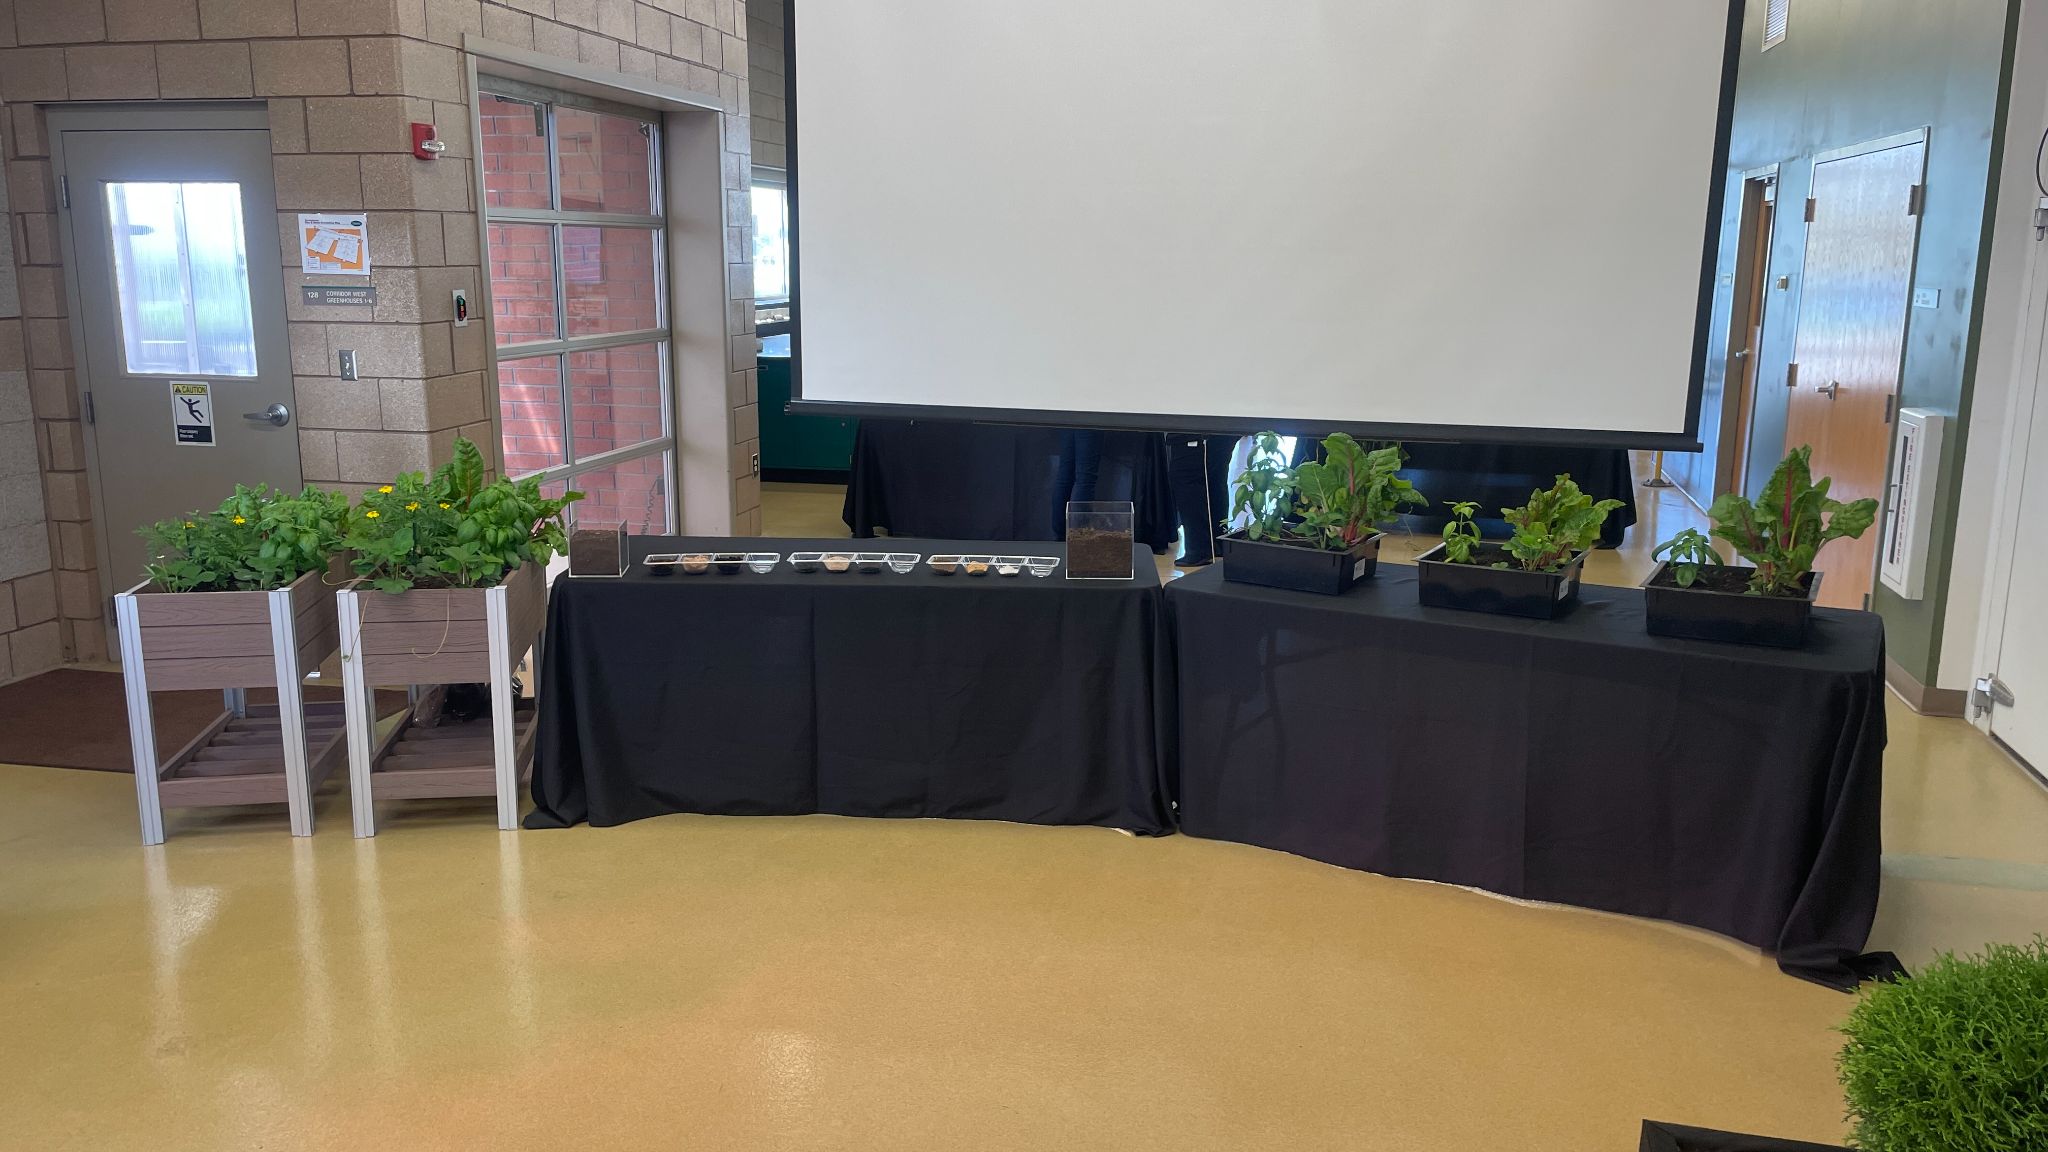
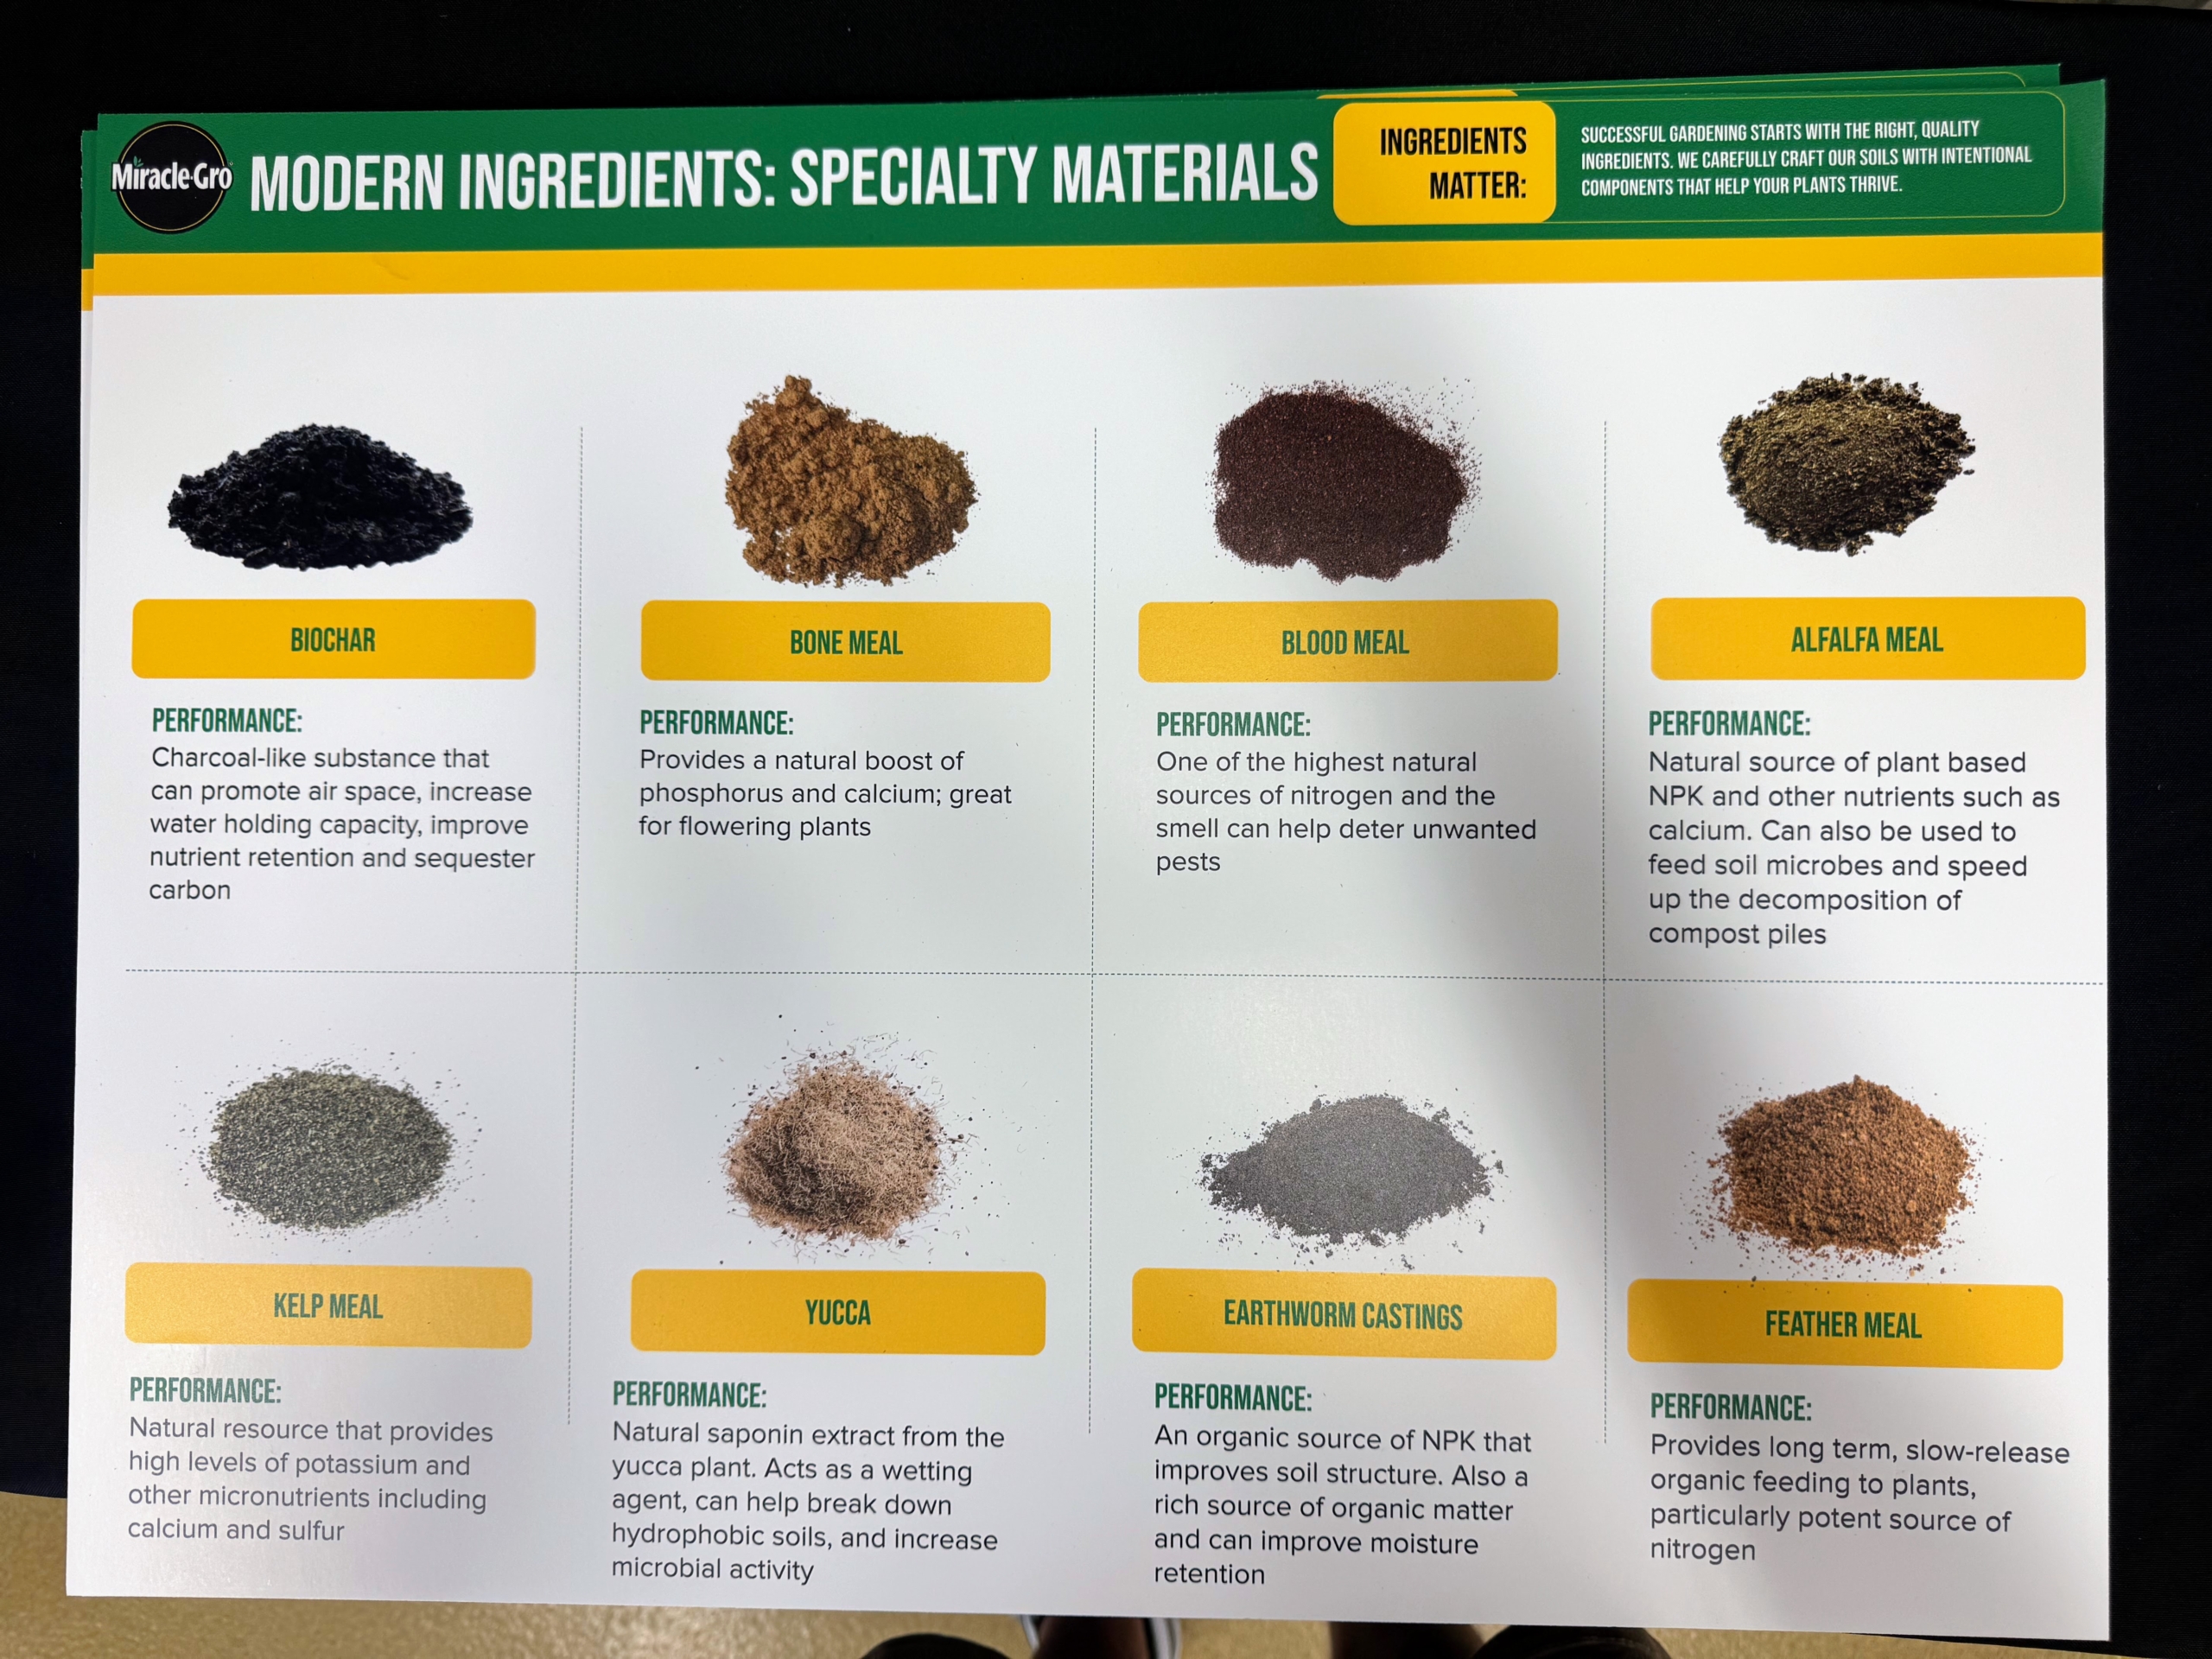
The day’s visit included several presentations. The Miracle-Gro team discussed ways that would make better use of the benefits of organic raw materials like earthworm castings, biochar, bone meal, and poultry litter. One of their goals is to help refresh old depleted soil leftover in raised bed gardens.
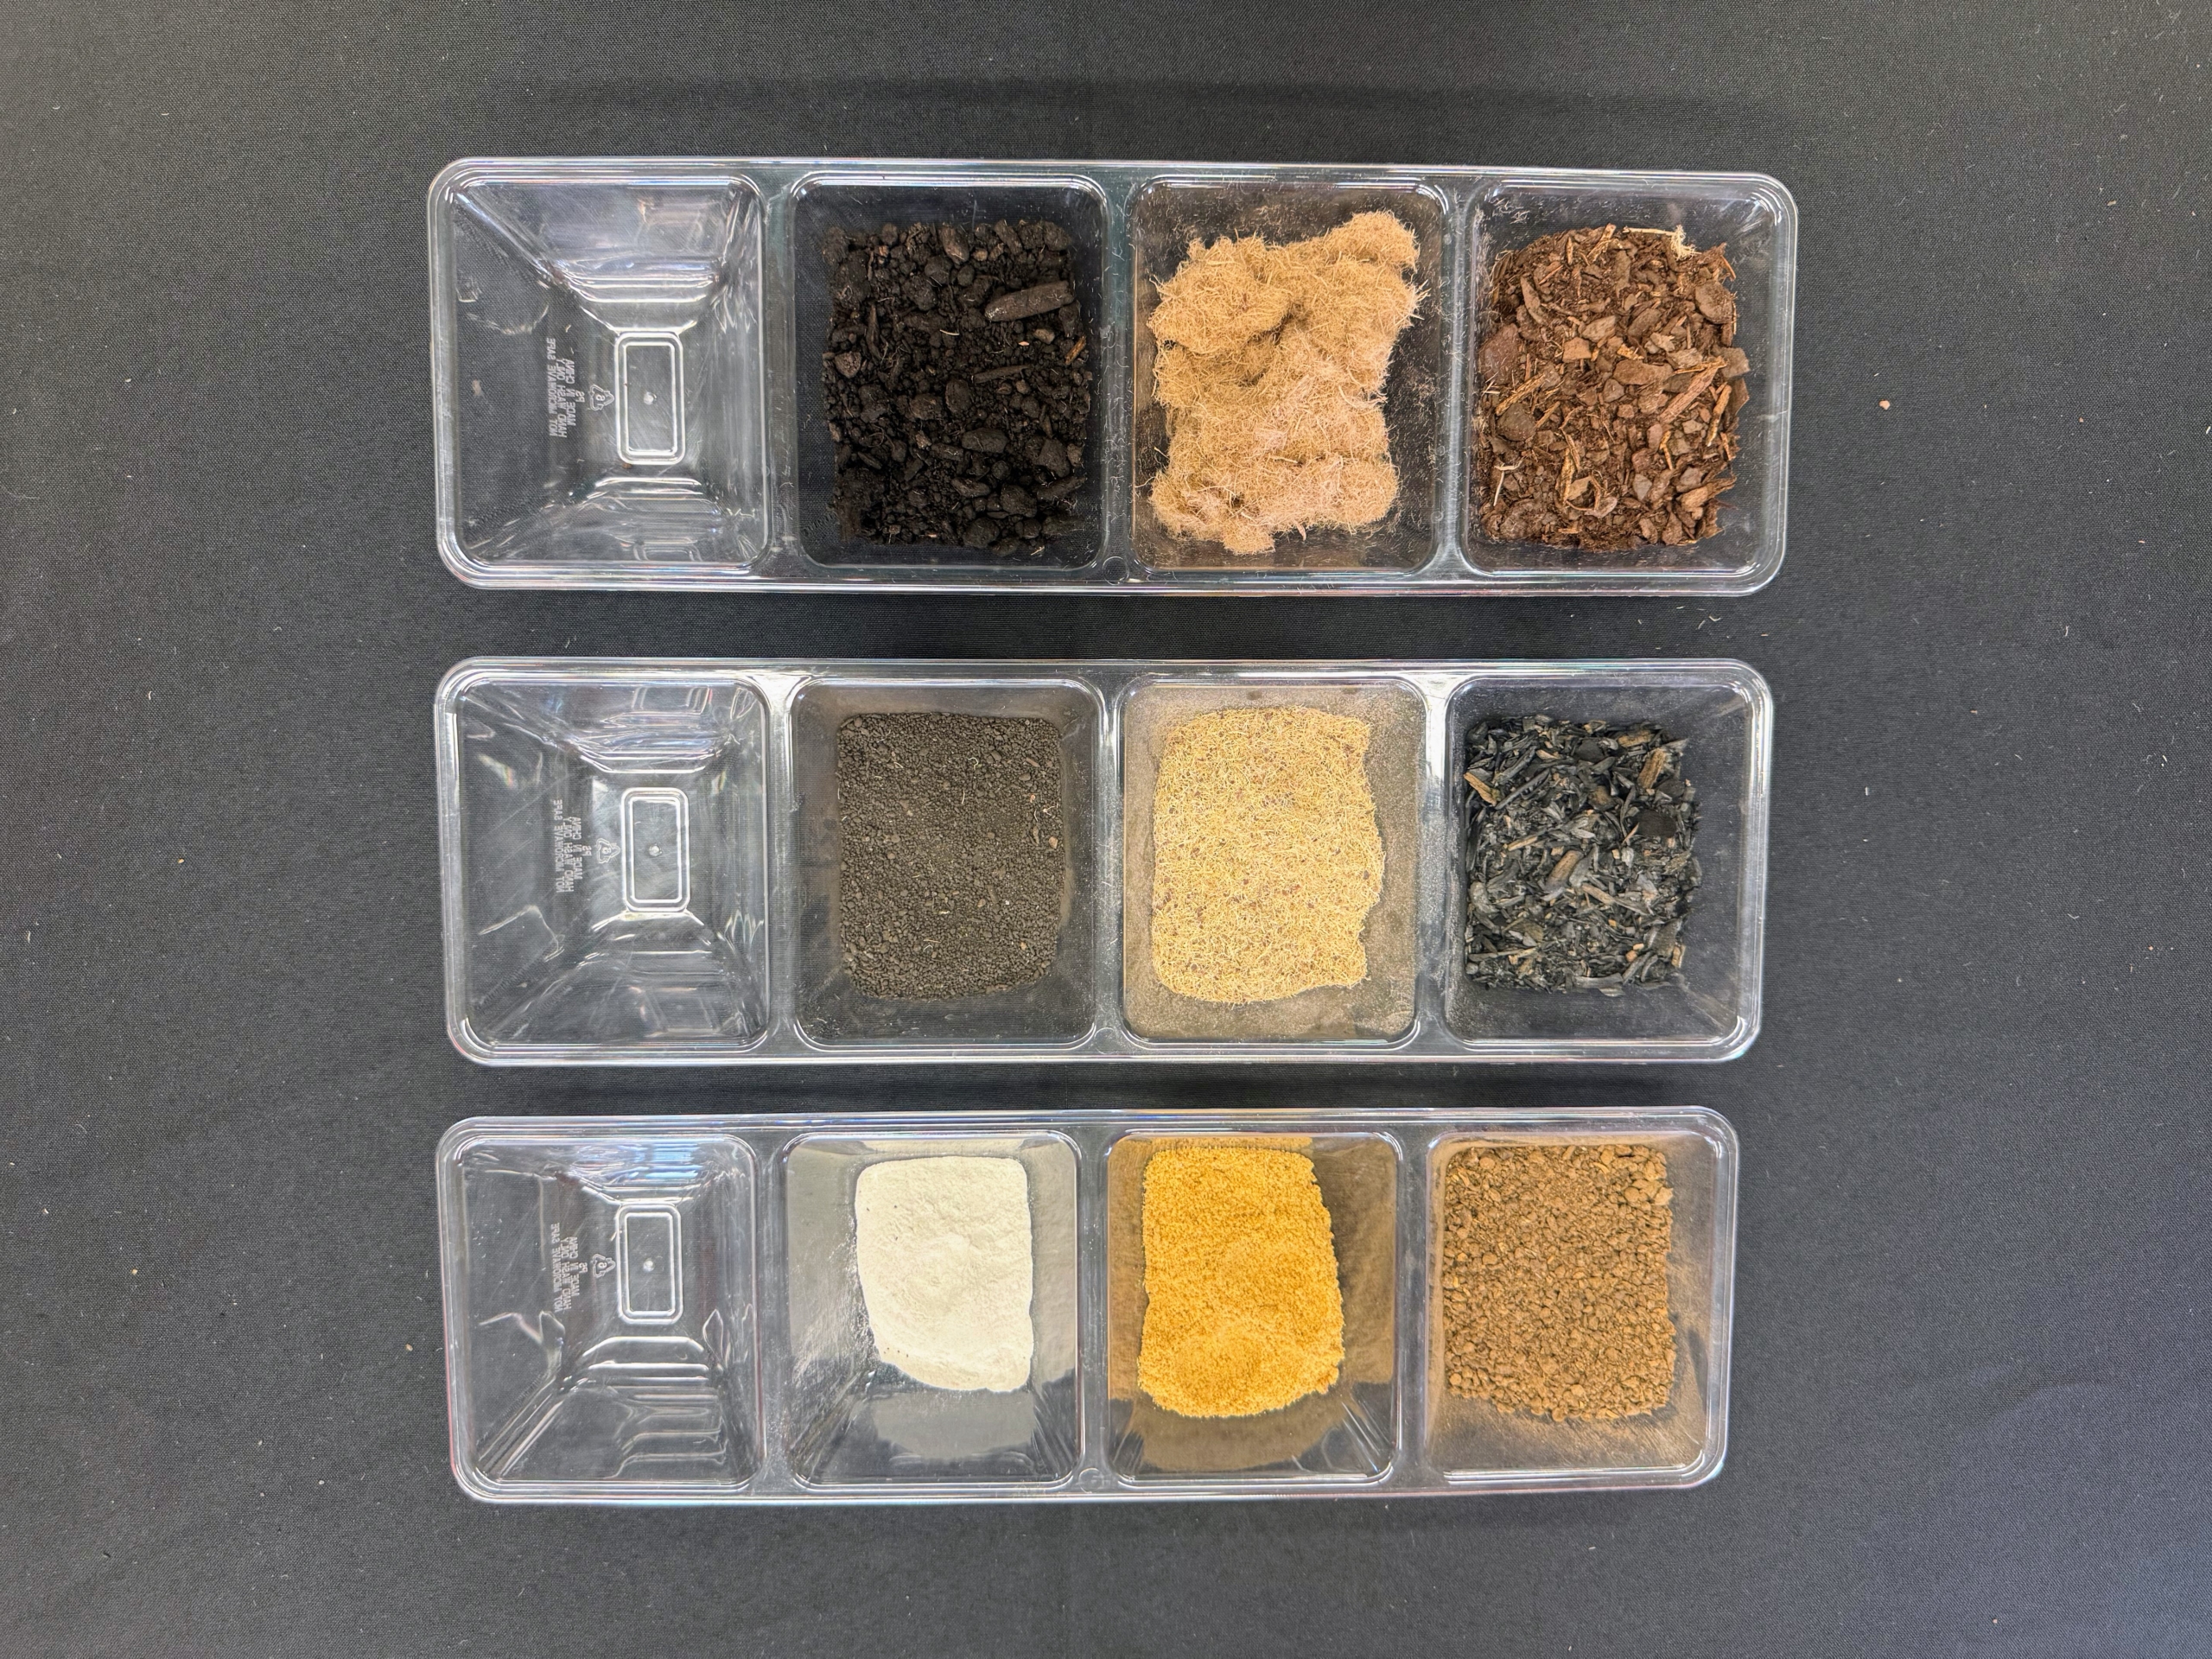
These Miracle-Gro samples show a variety of the different raw materials. Many of them act as natural fertilizers and soil amendments which improve soil structure, enhance nutrient availability, and boost plant health and productivity.
Miracle-Gro already adds quality base ingredients to their soil mixes.
Here, Bonnie Plants shares trial work they are conducting on compact plant varieties to help shape the future of fruit and vegetable specimens so that consumers can grow even more successfully in small spaces.
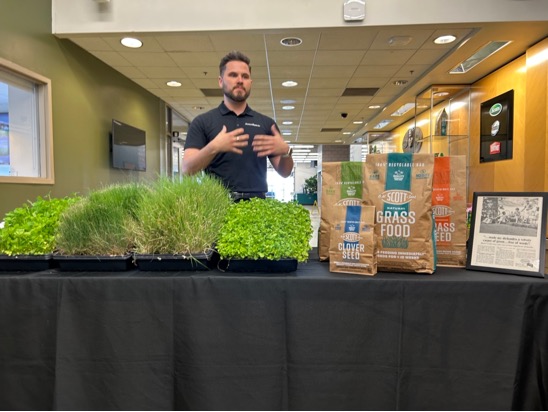
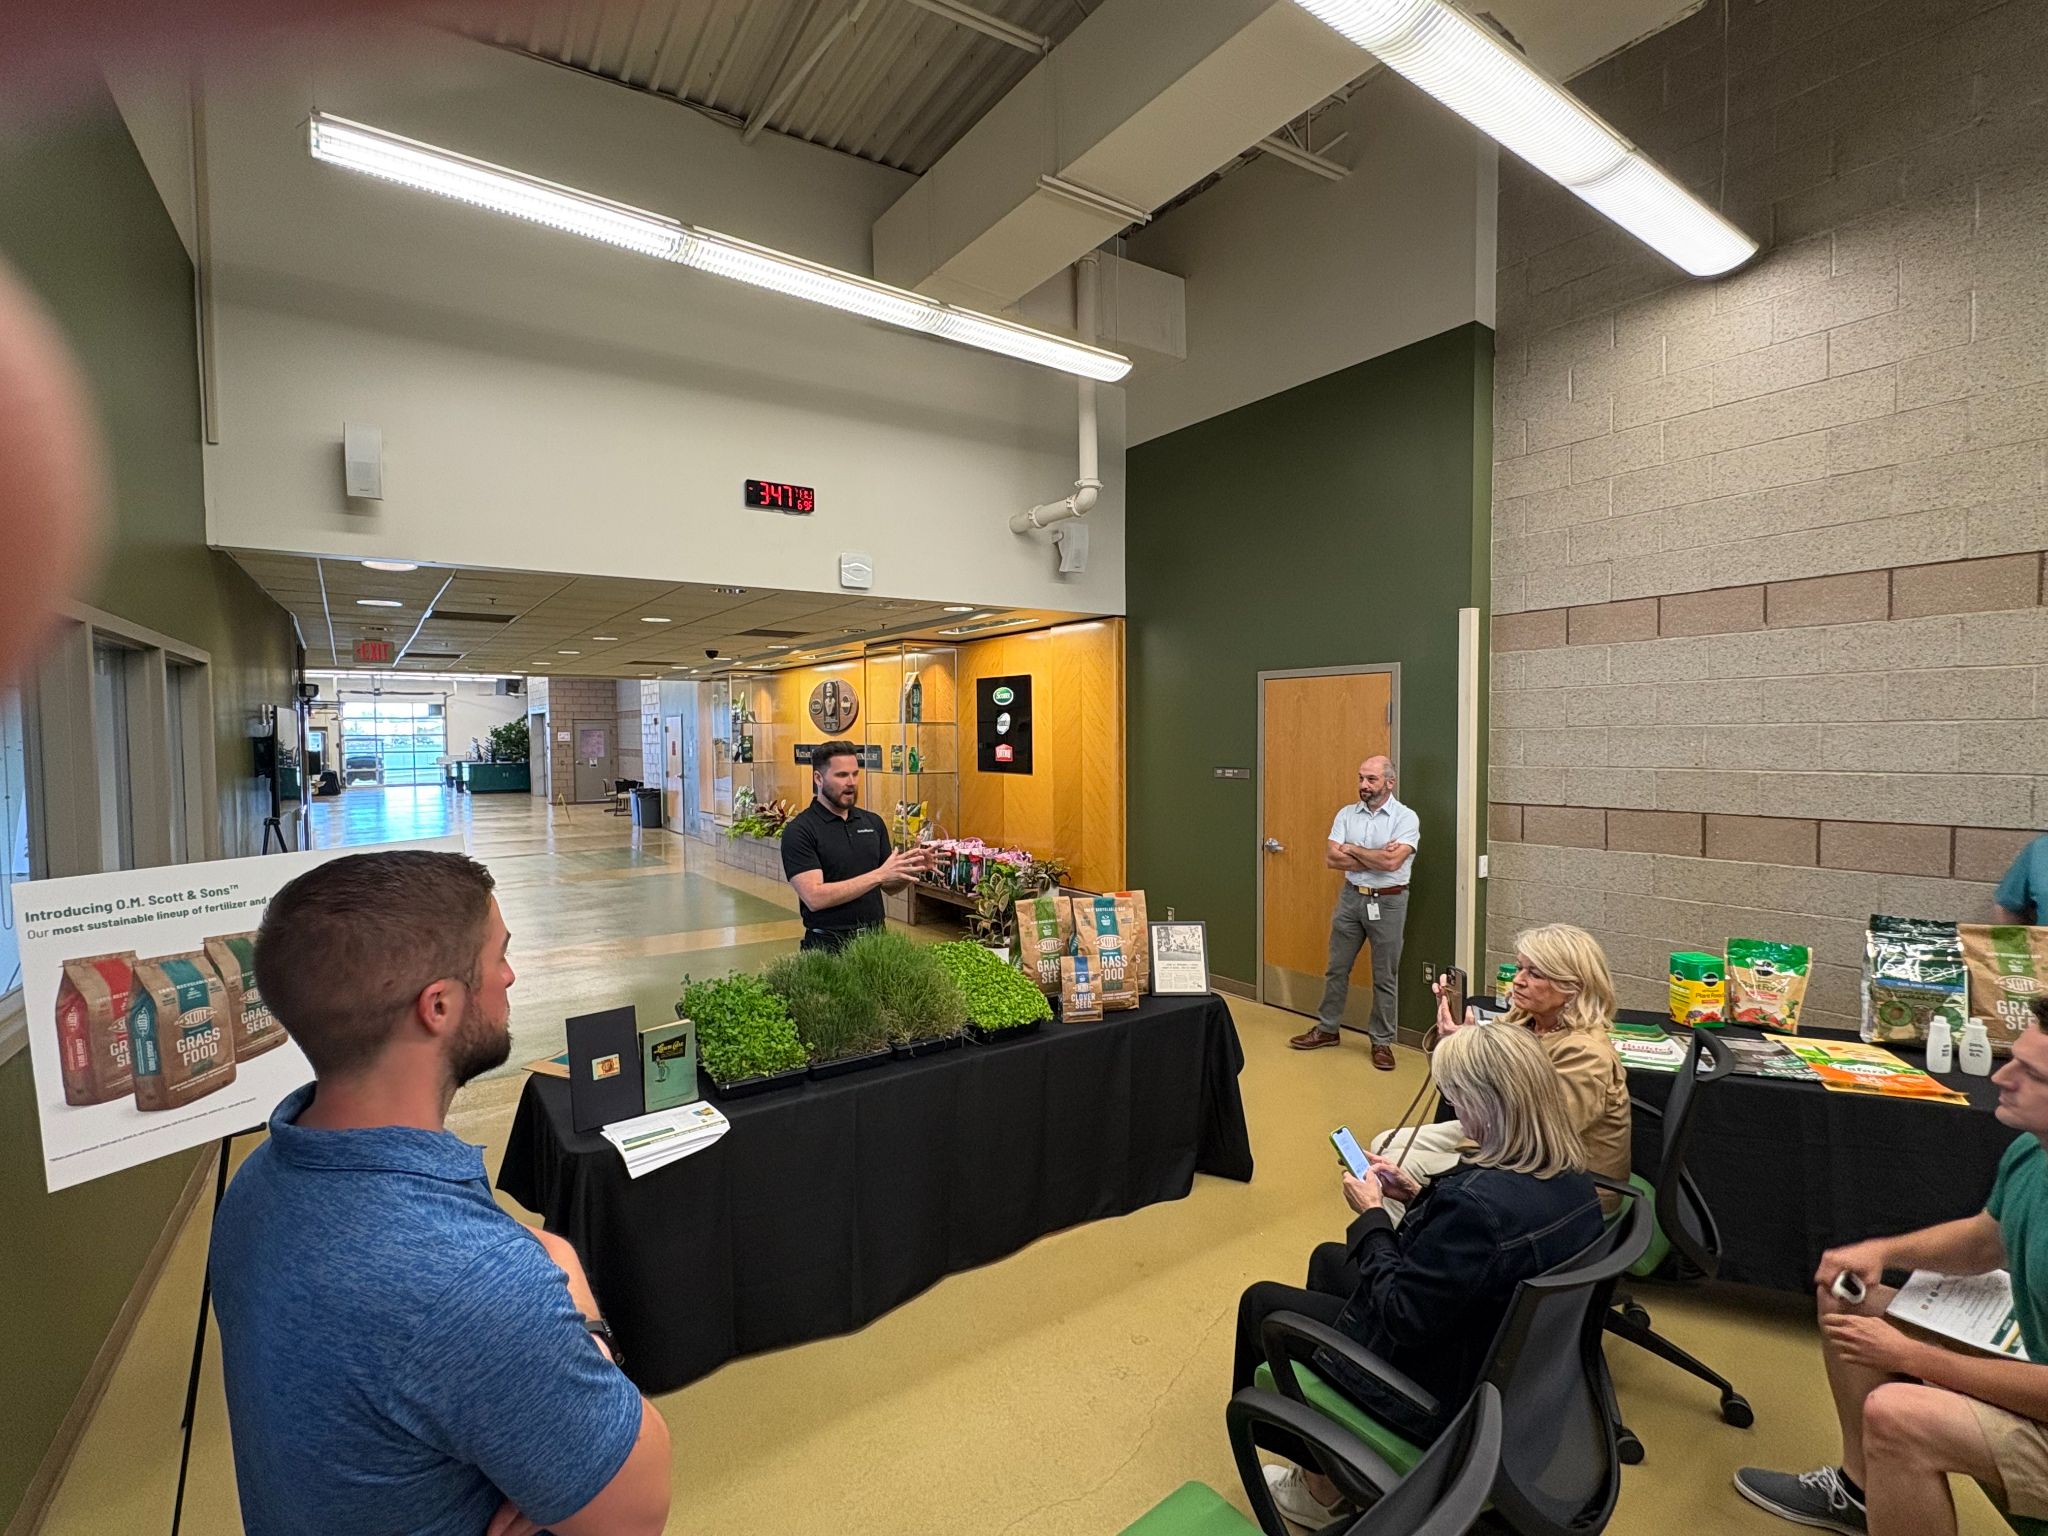
The Lawns team shares their new brand, O.M. Scott & Sons, which features a product line-up of natural grass food and grass seeds, including alternatives seeds like clover. All of the products are safe for use around people and pets, contain no added official ingredients or pesticides, and are packaged in a curbside recyclable paper bag.
These products begin feeding the lawn as soon as it is applied and then continue to feed for up to 10-weeks.
It was nice to see up close how passionate the Scotts Miracle-Gro teams are to creating more innovative and user-friendly products for the home gardener.
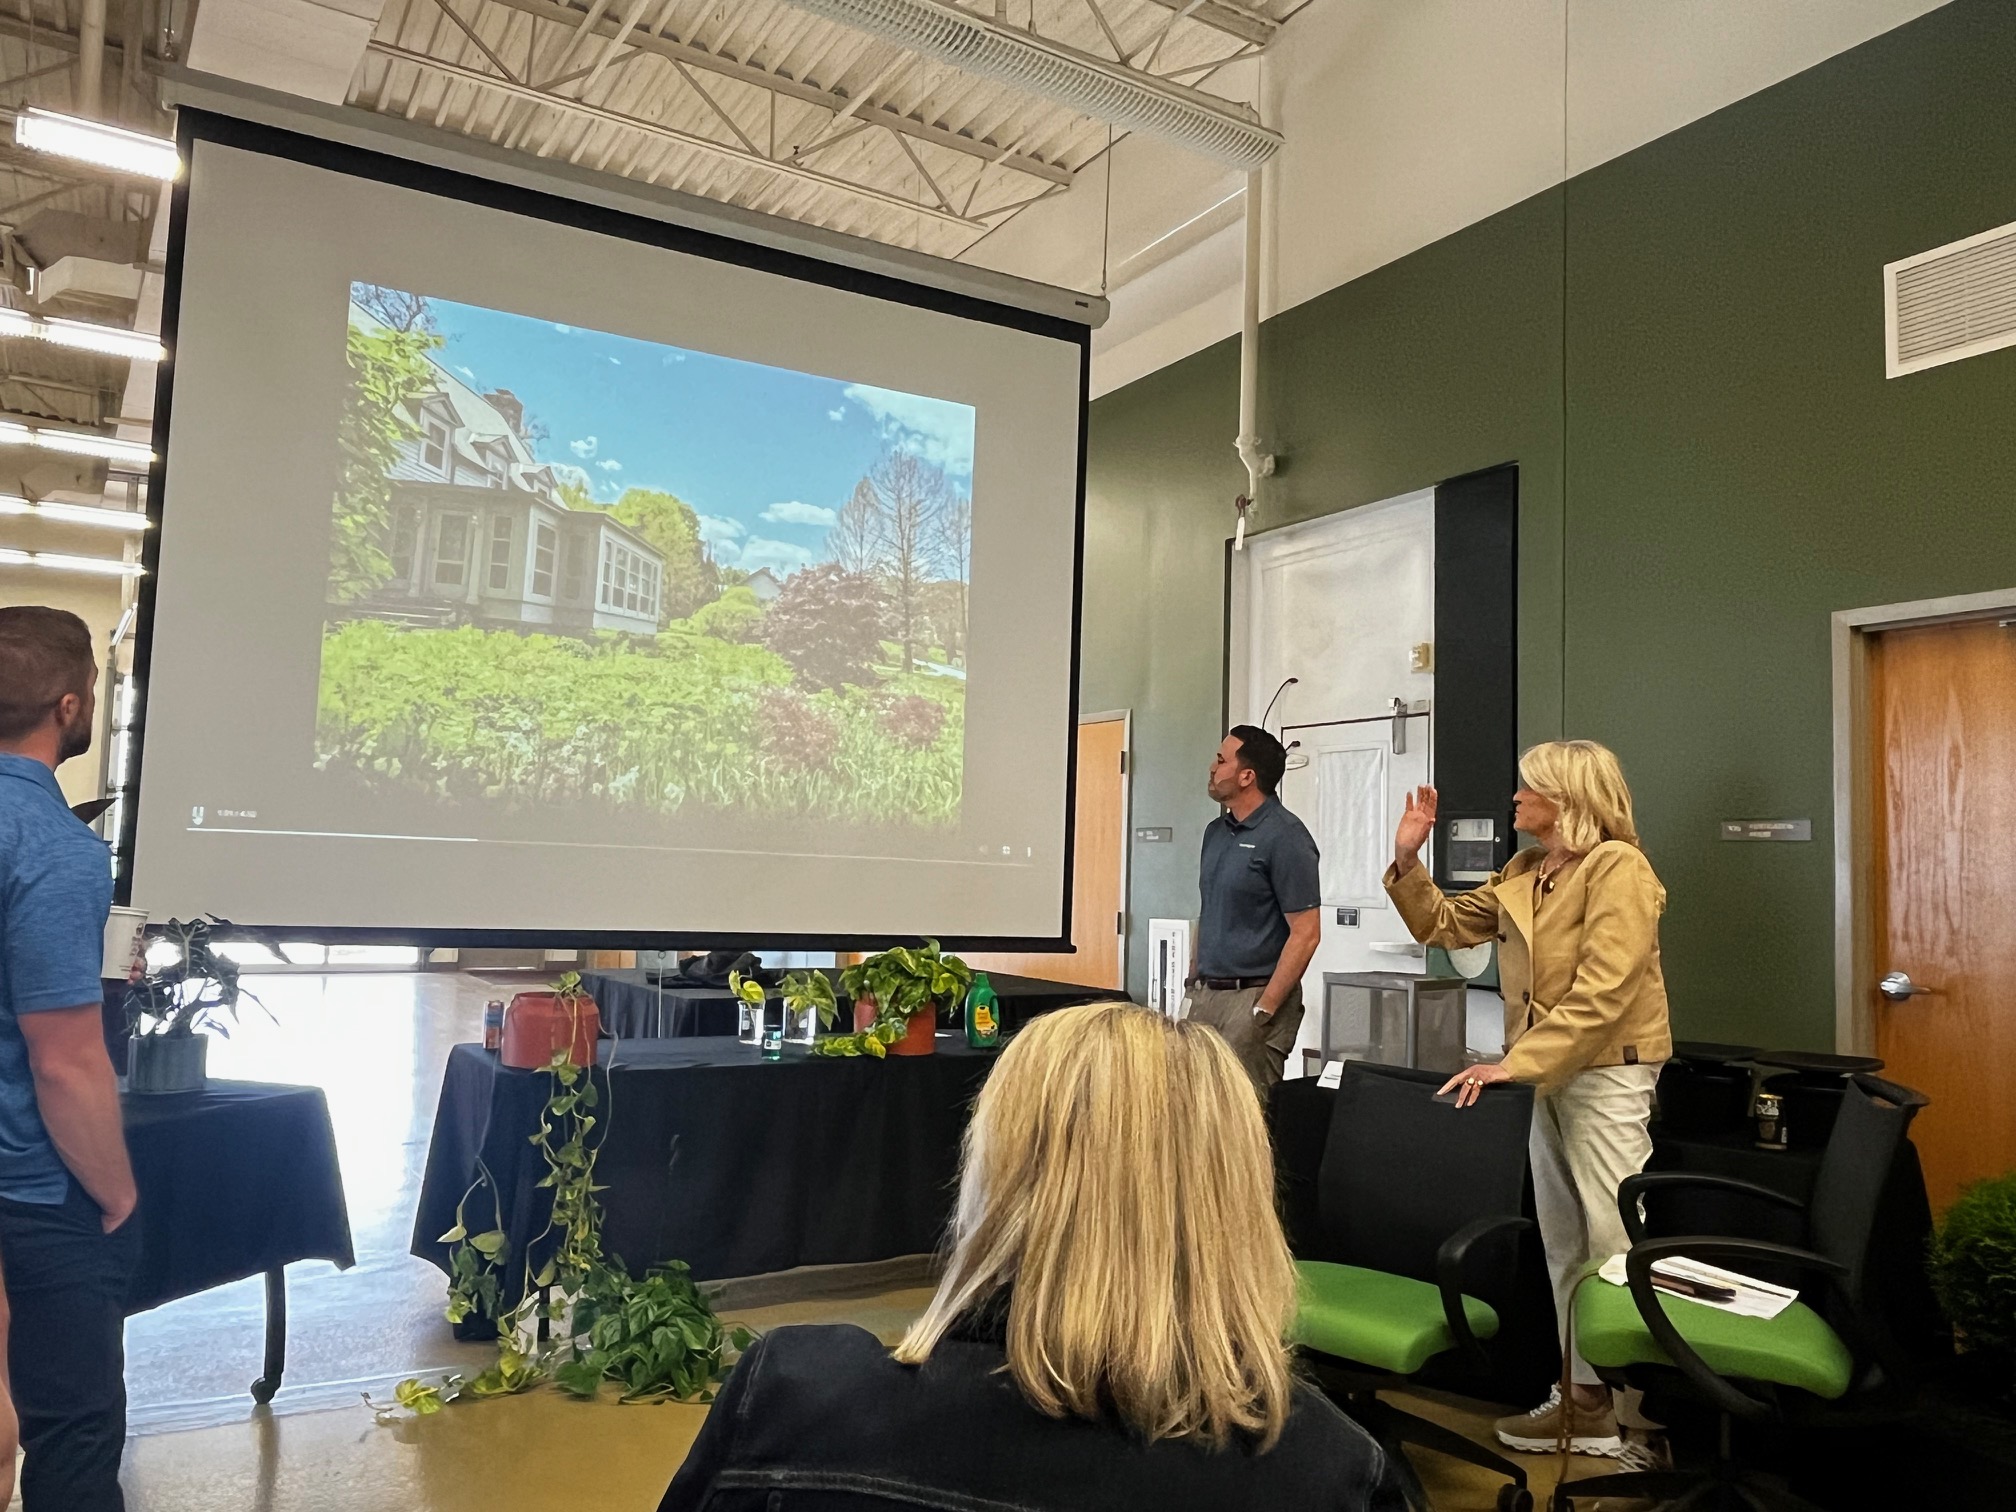
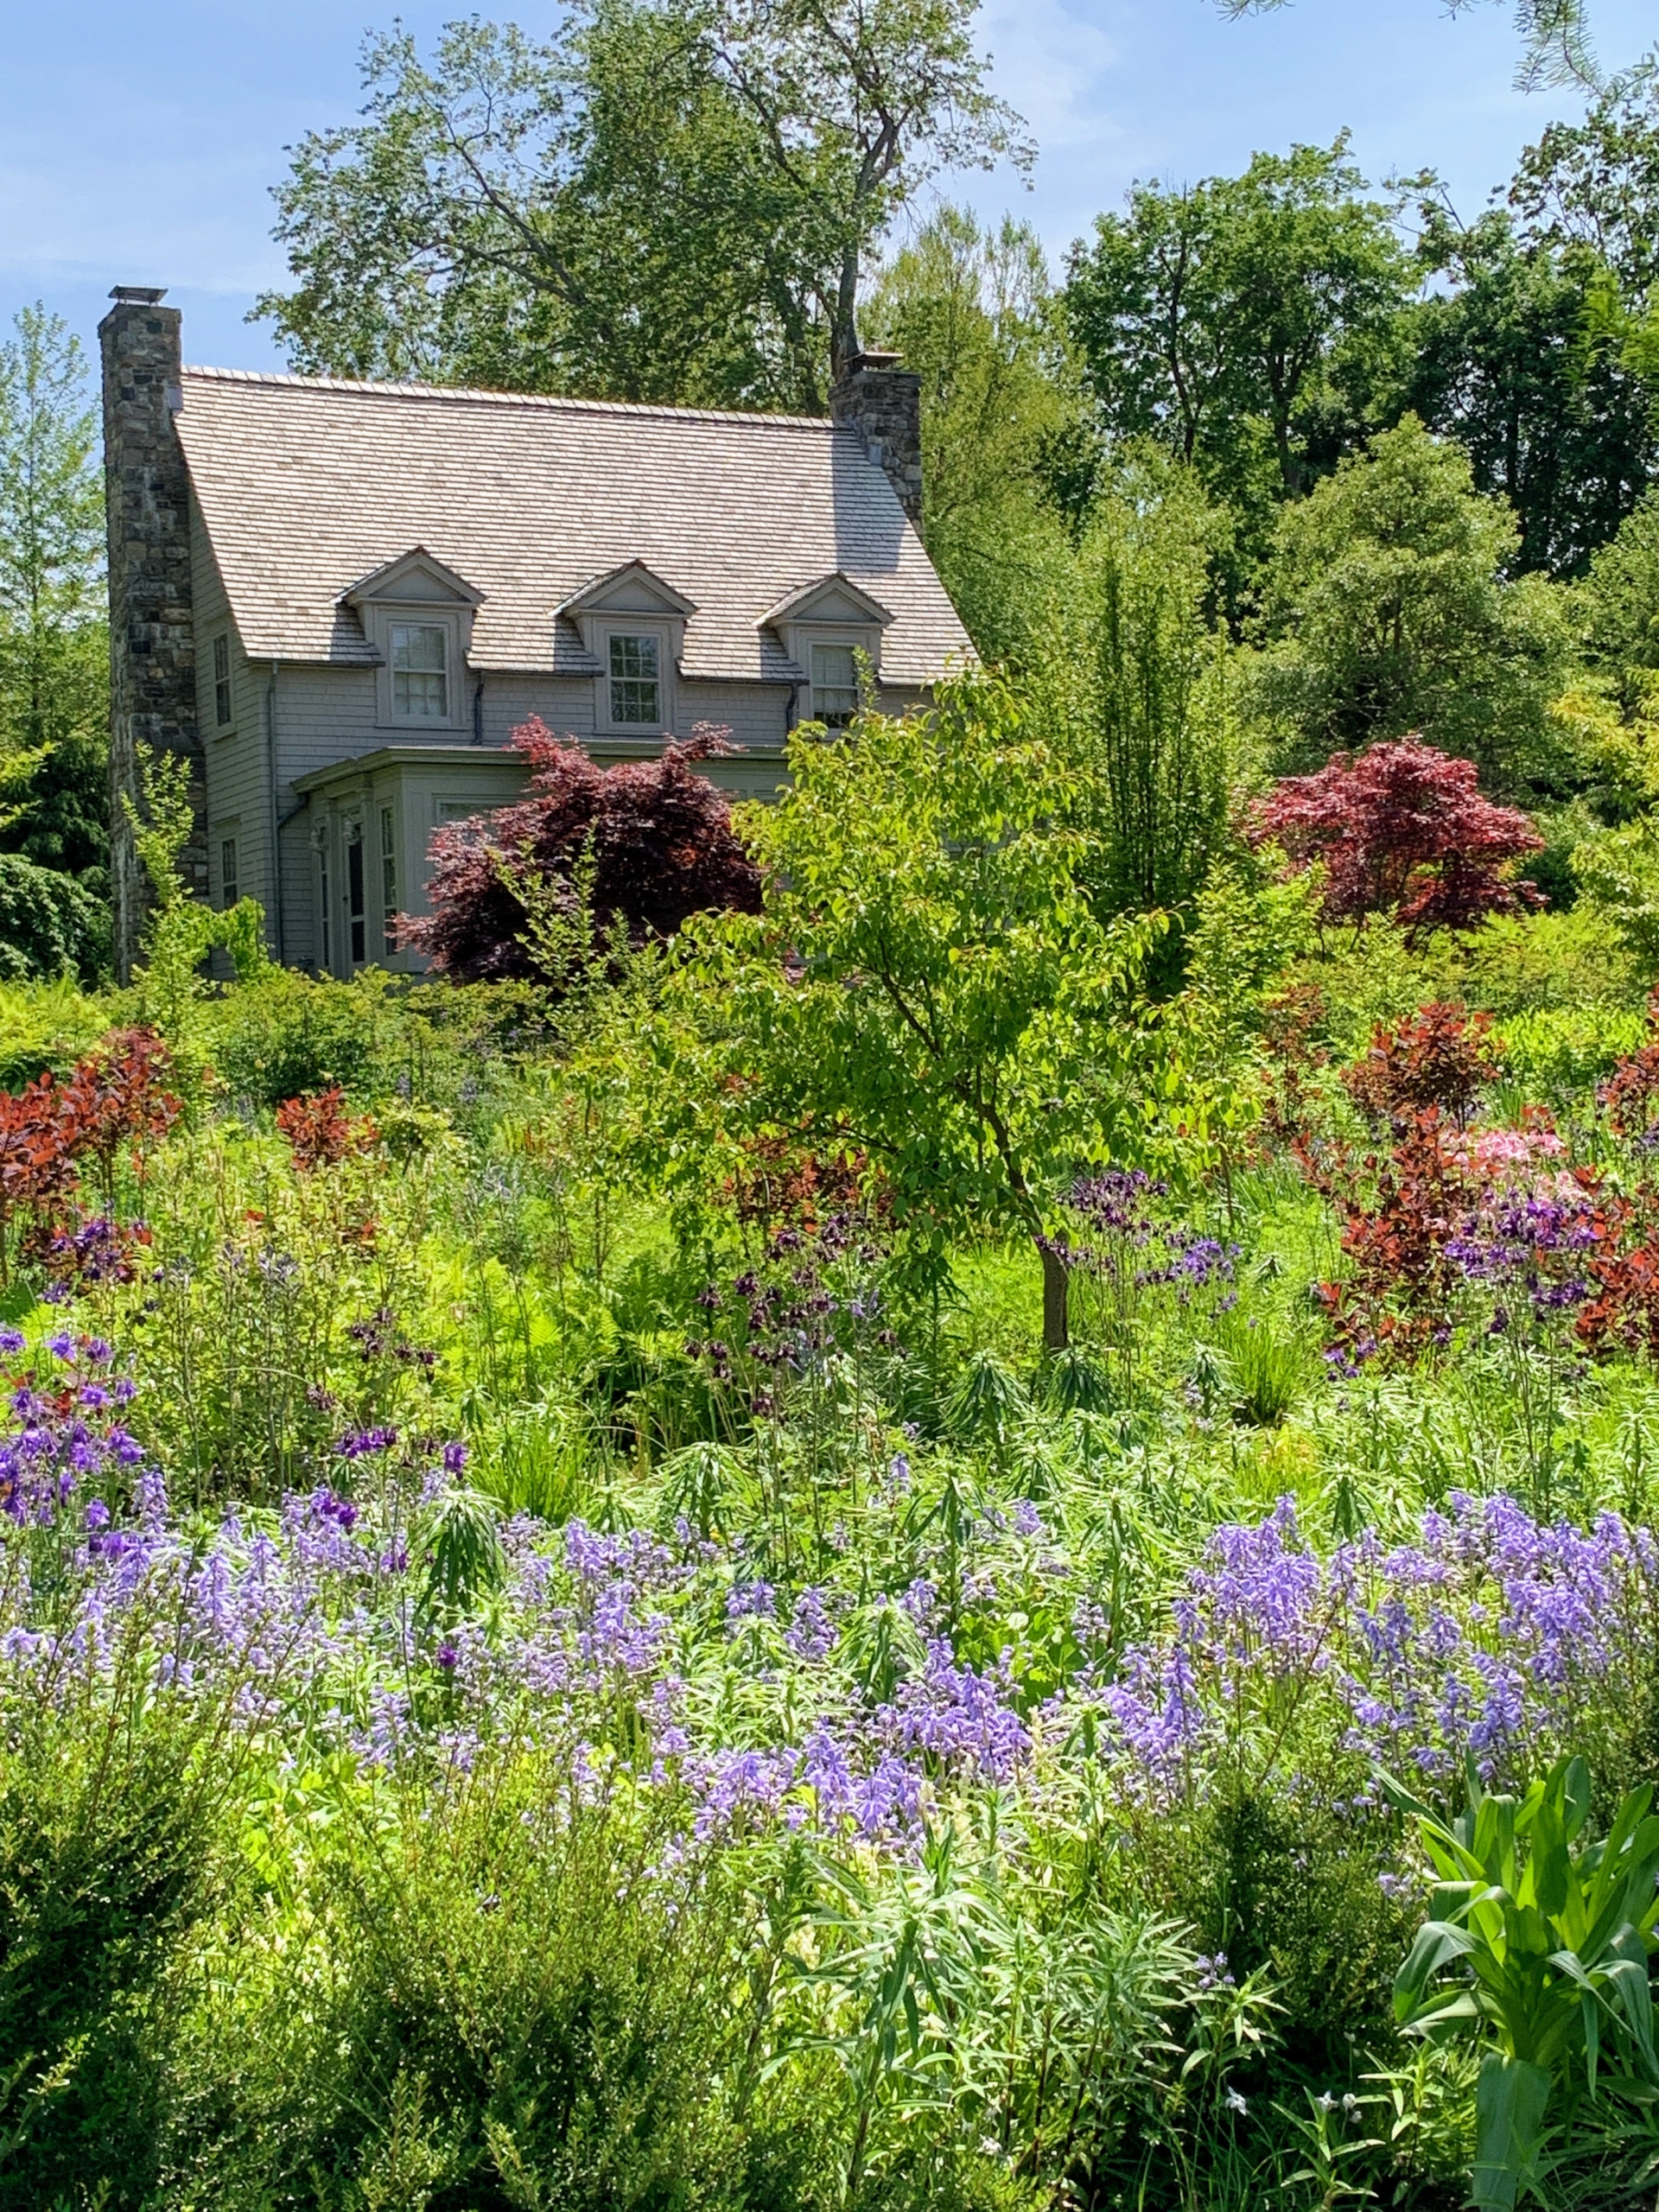
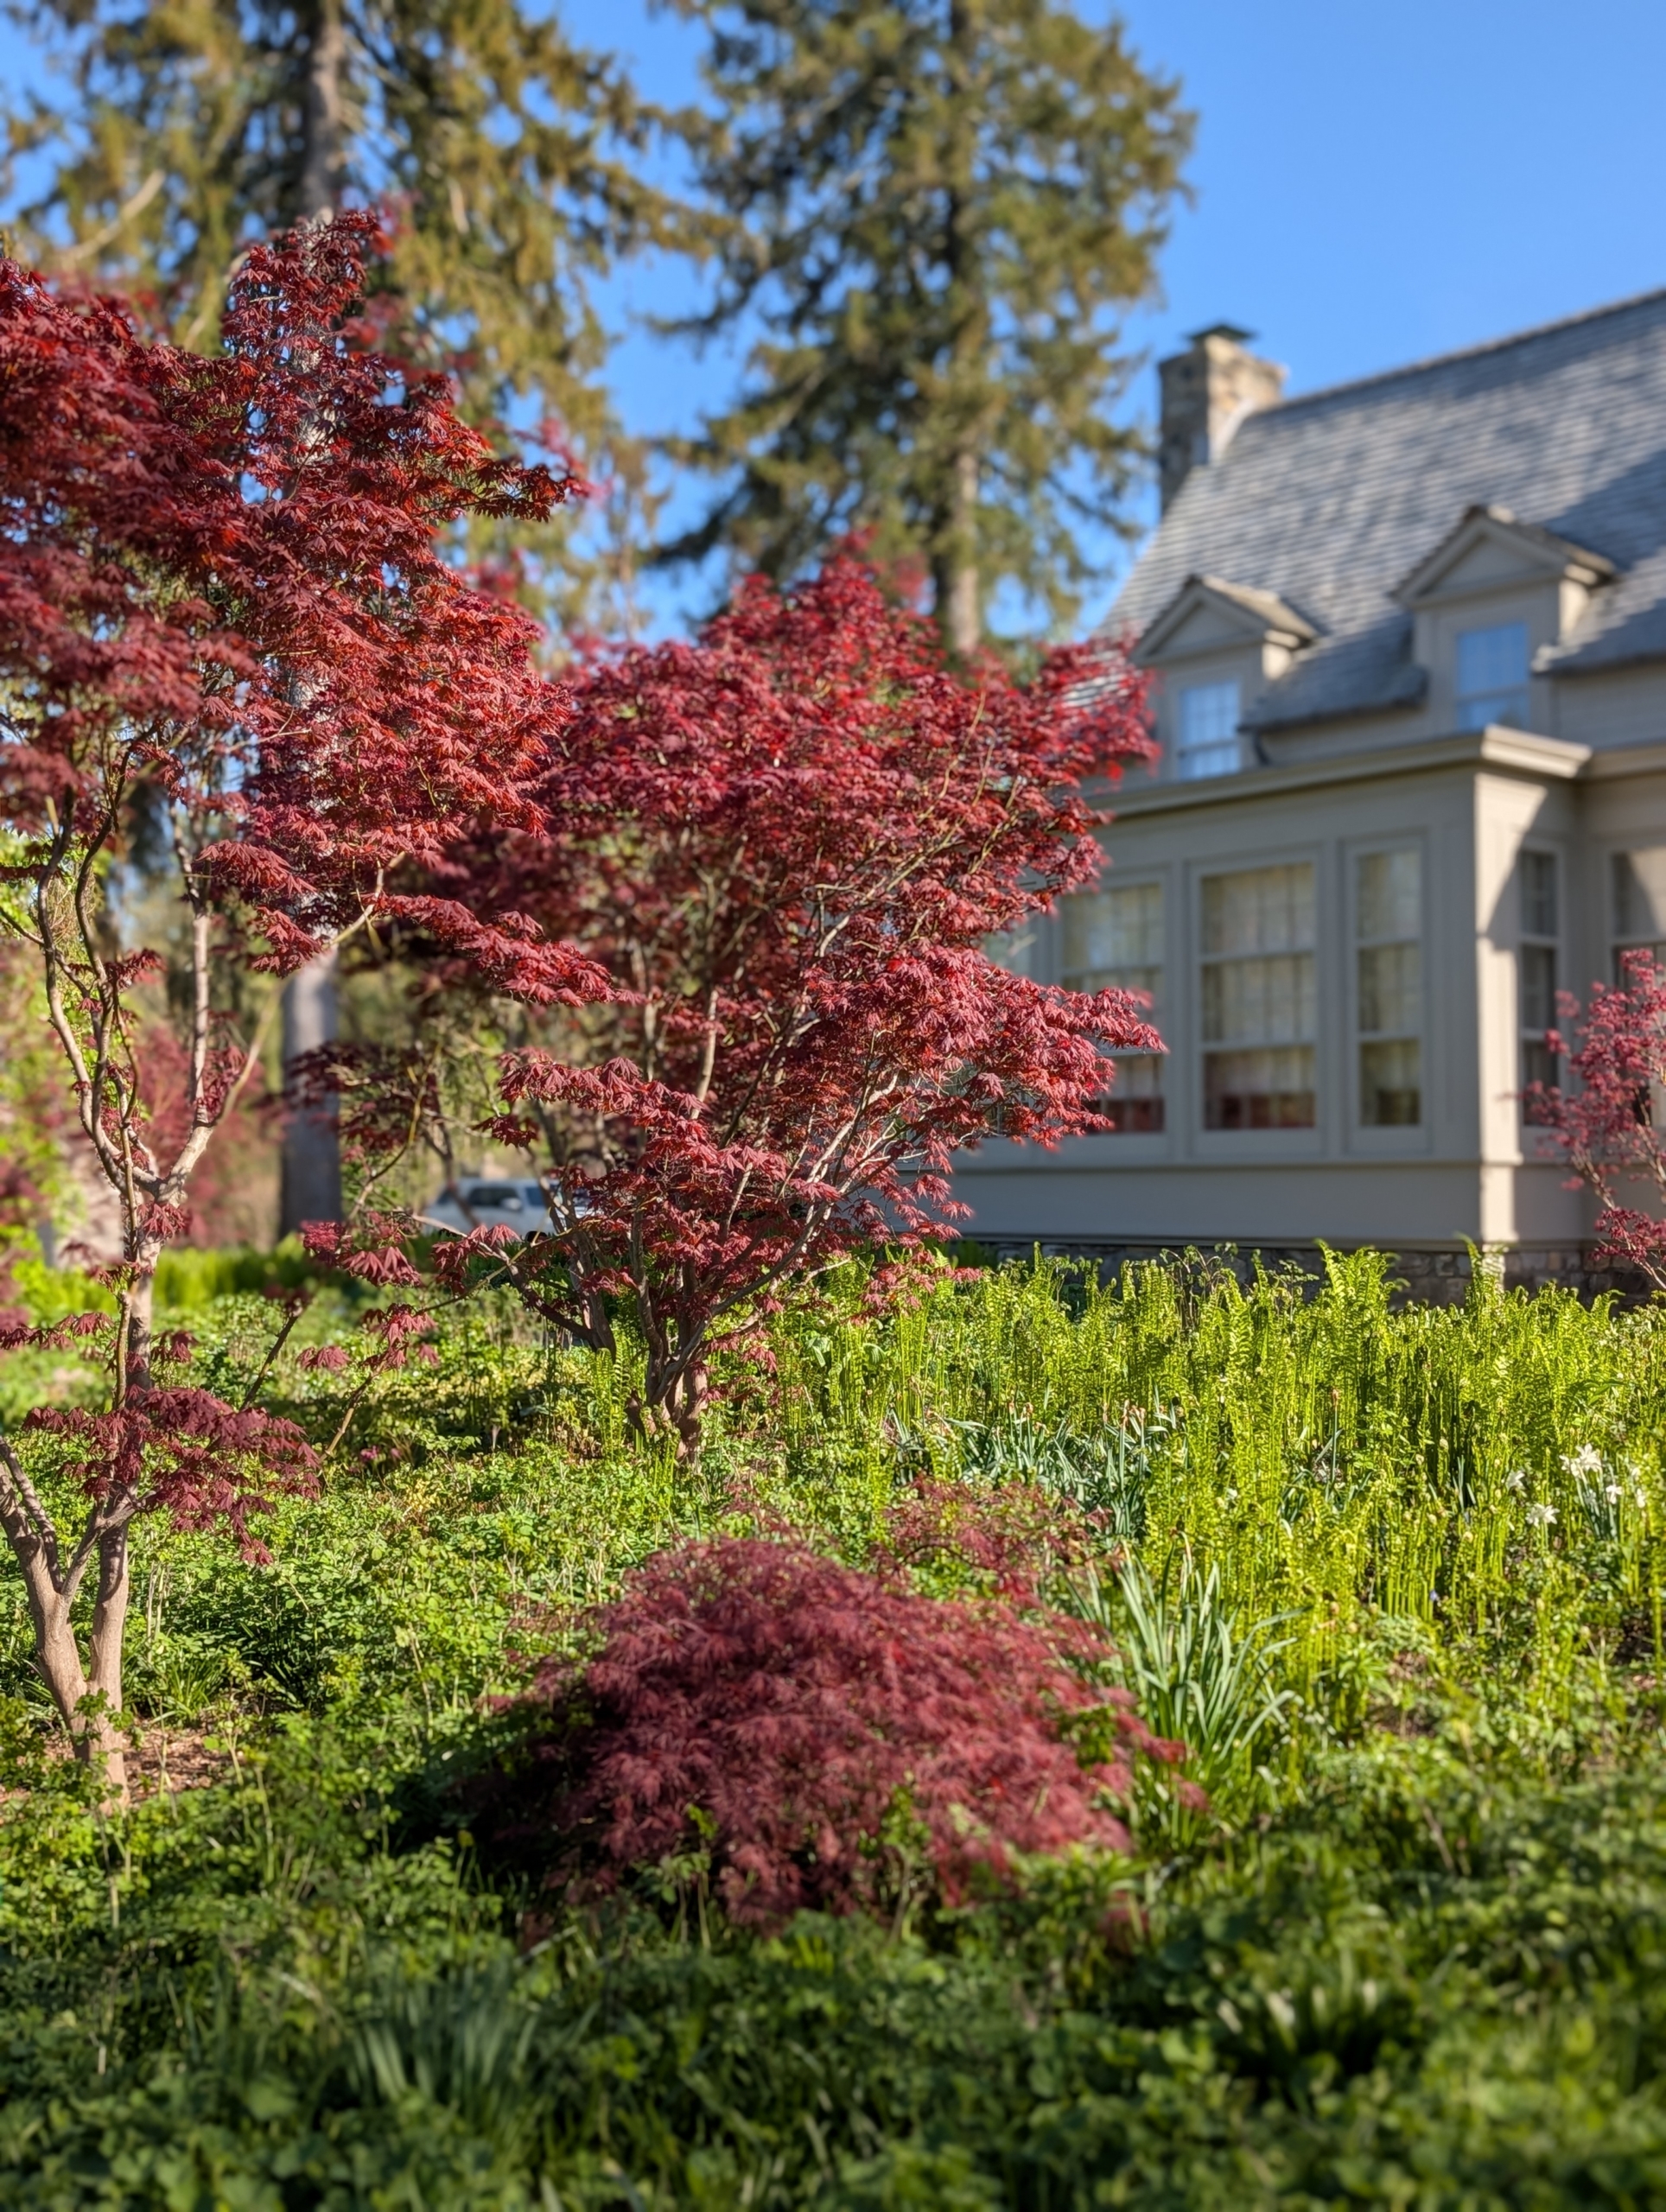
Next, I showed photos of my farm and gardens – and how beautiful they have grown because of my nutrient-rich soil and use of Miracle-Gro Plant Food. This is a photo of my Stewartia garden. It is a perennial bed located behind the house where my daughter and grandchildren stay when they visit.
The space used to be planted with rows and rows of ferns and lilies. Now the garden is filled with beautiful Stewartia trees and lush, green shade-loving specimens including Epimediums, Syneilesis, Polygonatum, Astilboides and so much more.
I also have a variety of Japanese maples in this garden that add superlative color and texture.
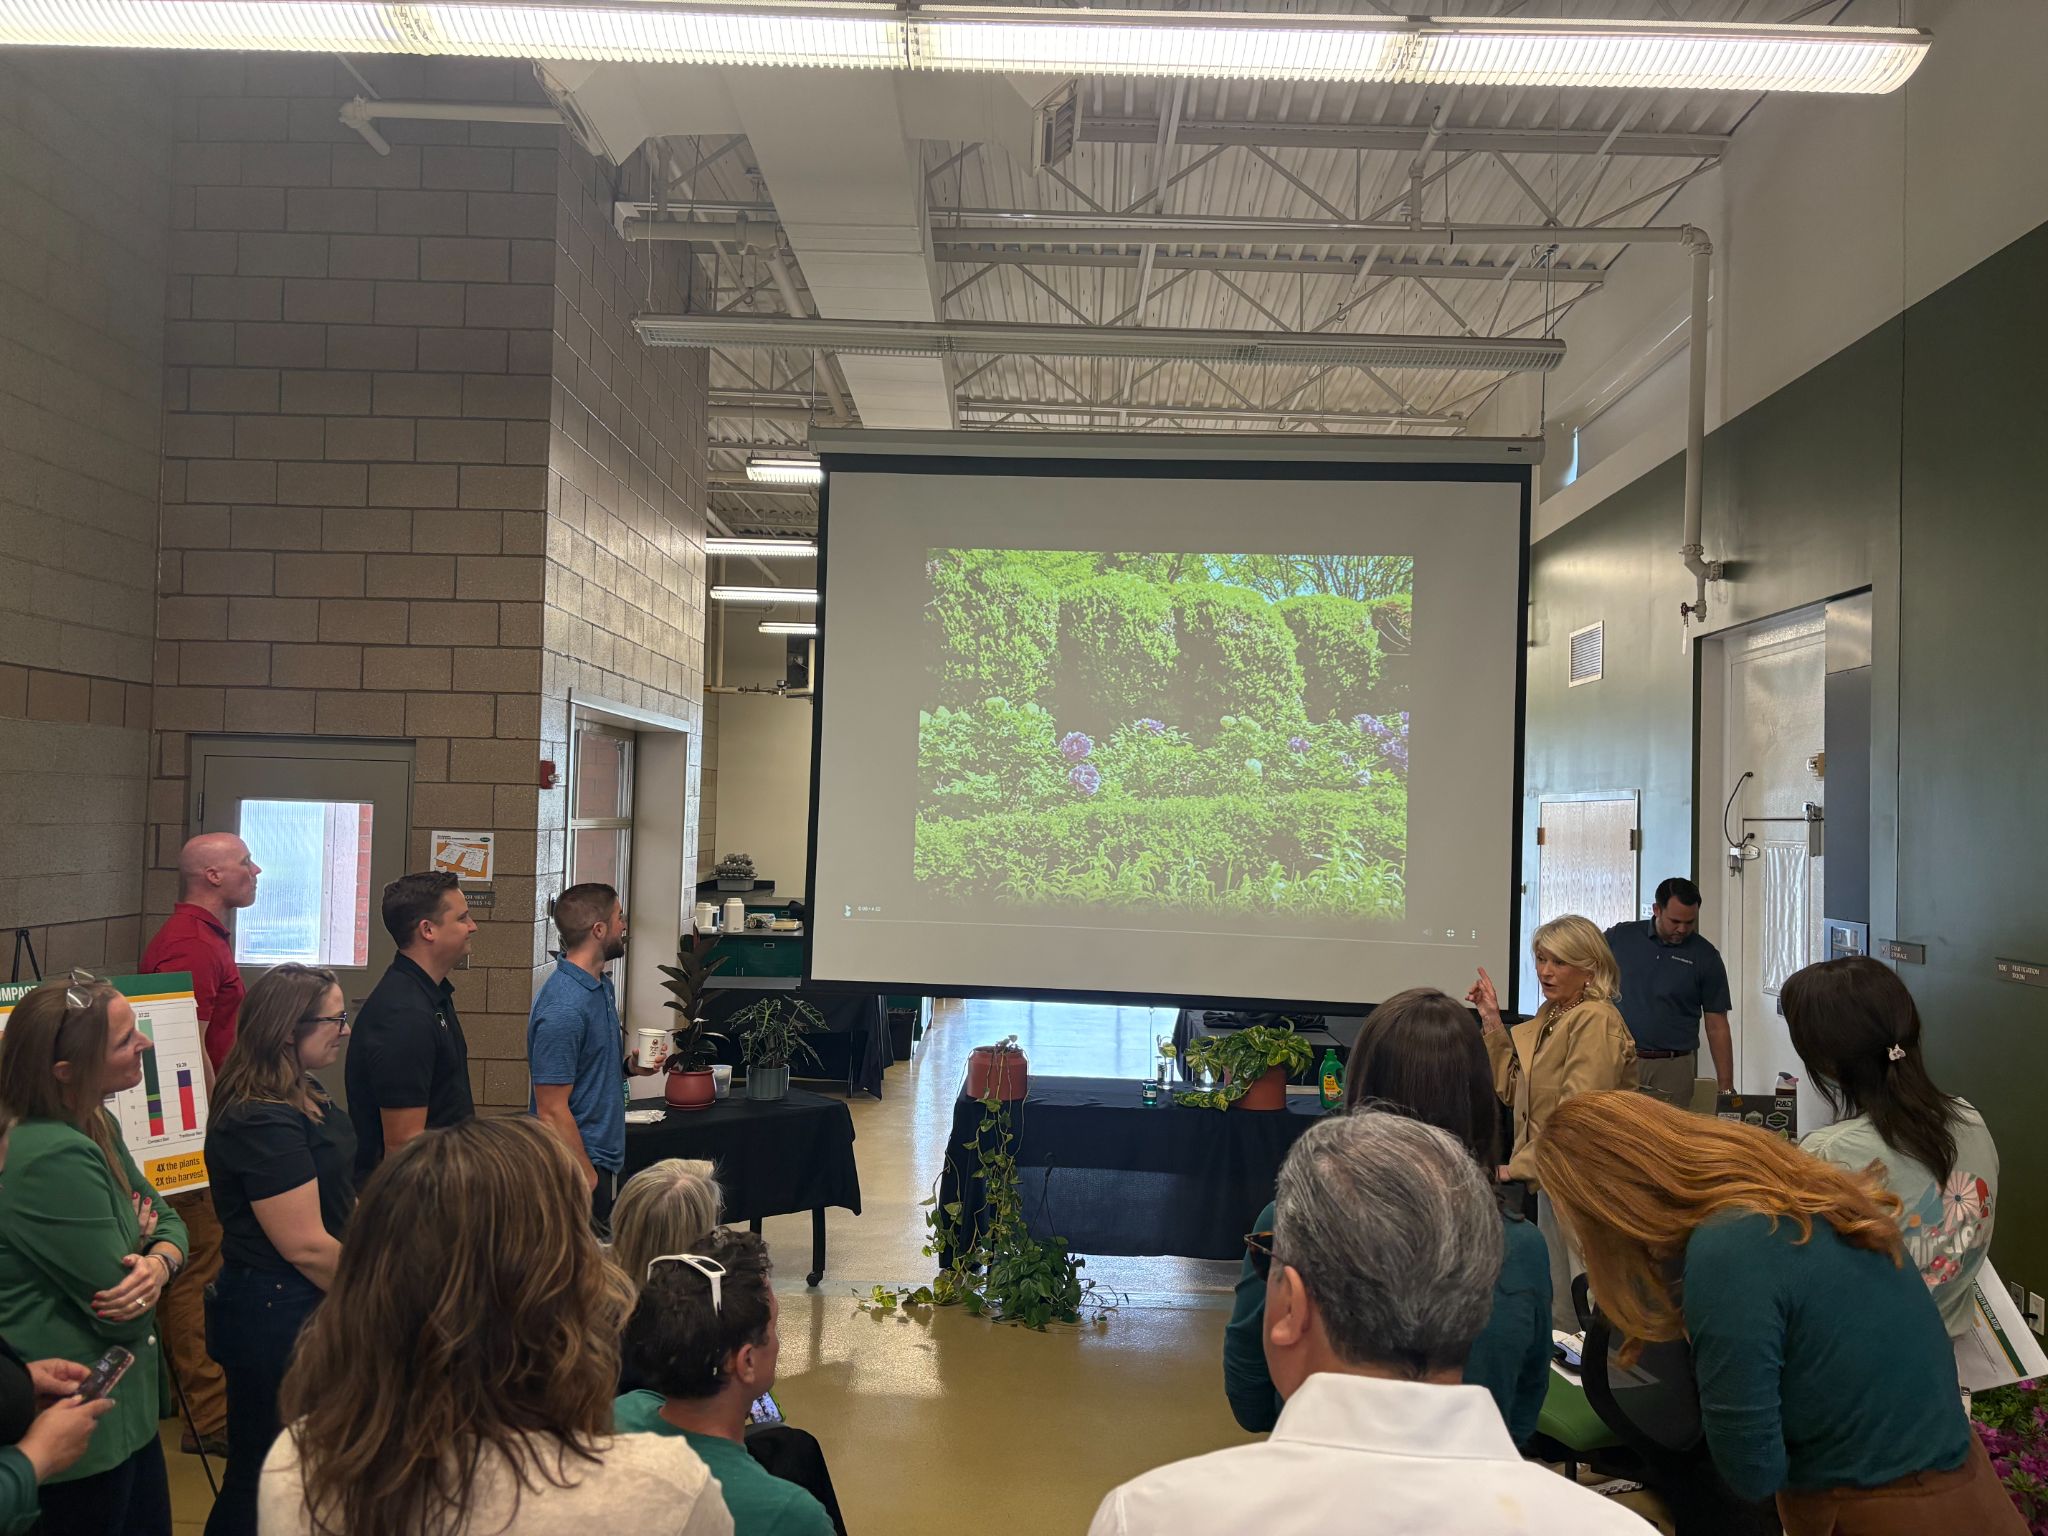
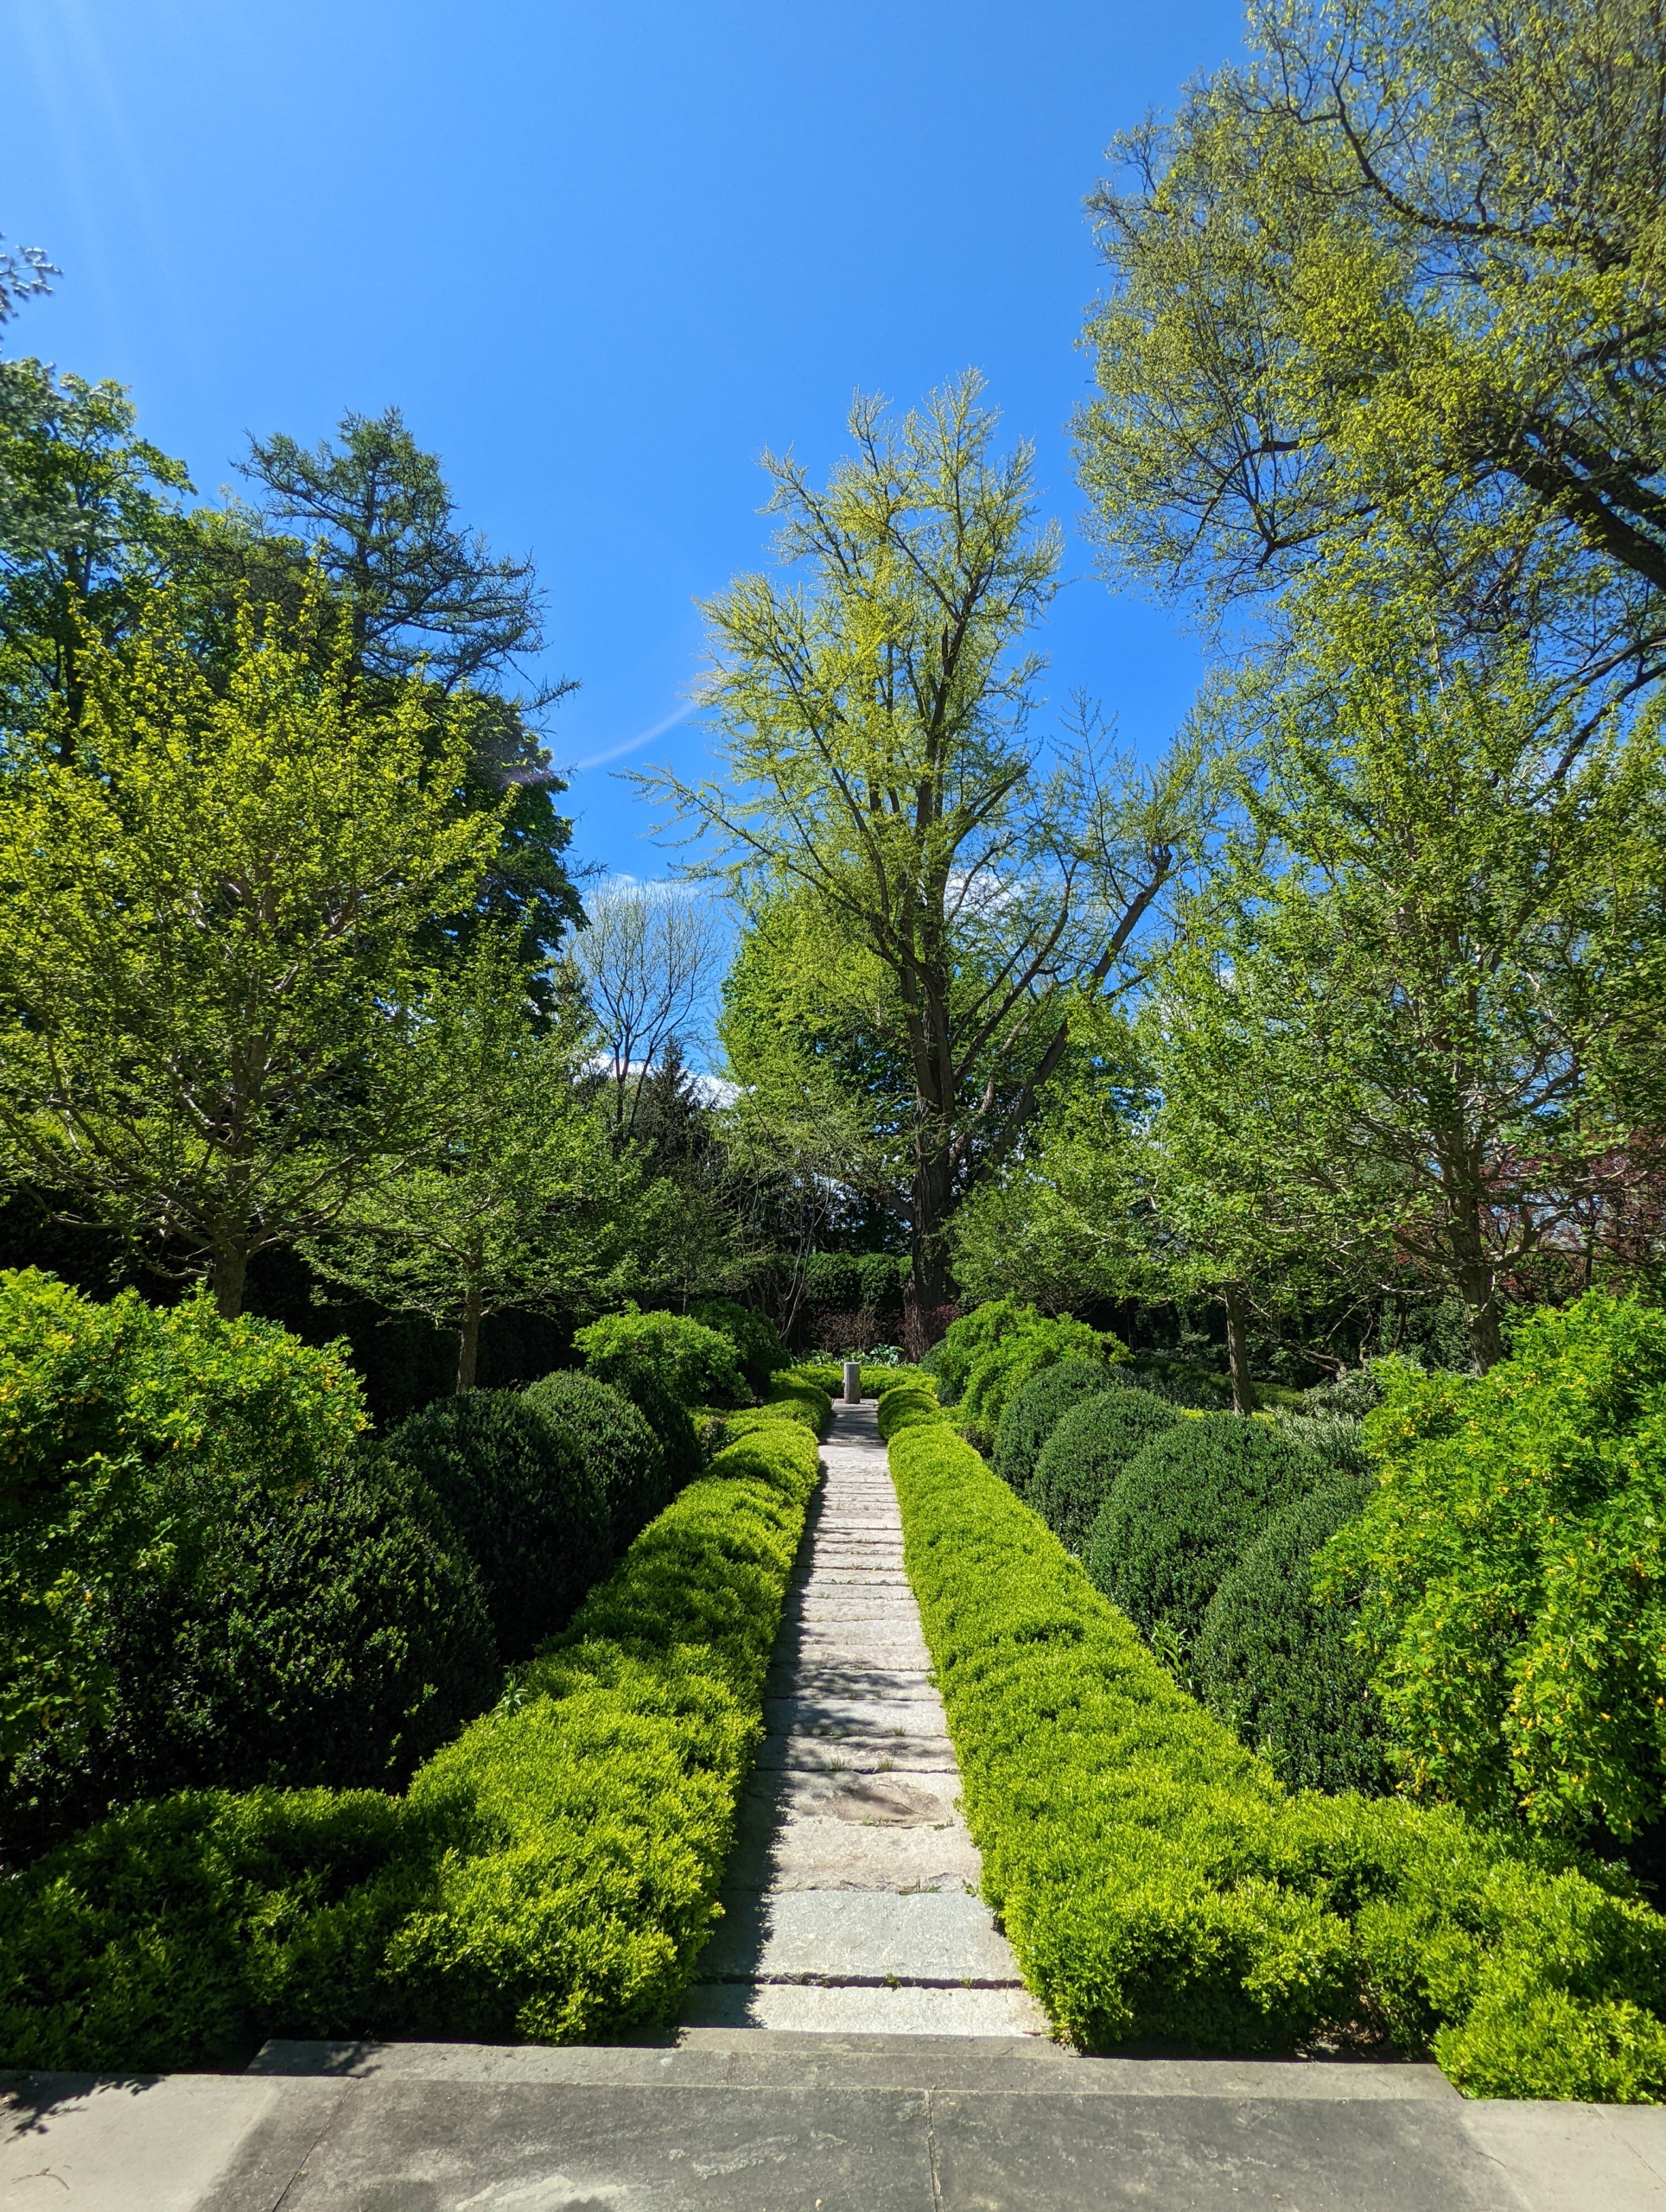
This slide is of my Summer House Garden, a formal sunken garden I designed and created shortly after moving to the property.
It is a kind of “room” walled by a tall hedge of boxwood. The focal point is the great old ginkgo tree at the back of the space that is original to the farm. Over time, I’ve planted American and English boxwood, smaller ginkgo trees, smoke bushes, Siberian weeping pea shrubs, peonies, hostas, lilies, Leucojum, and others.
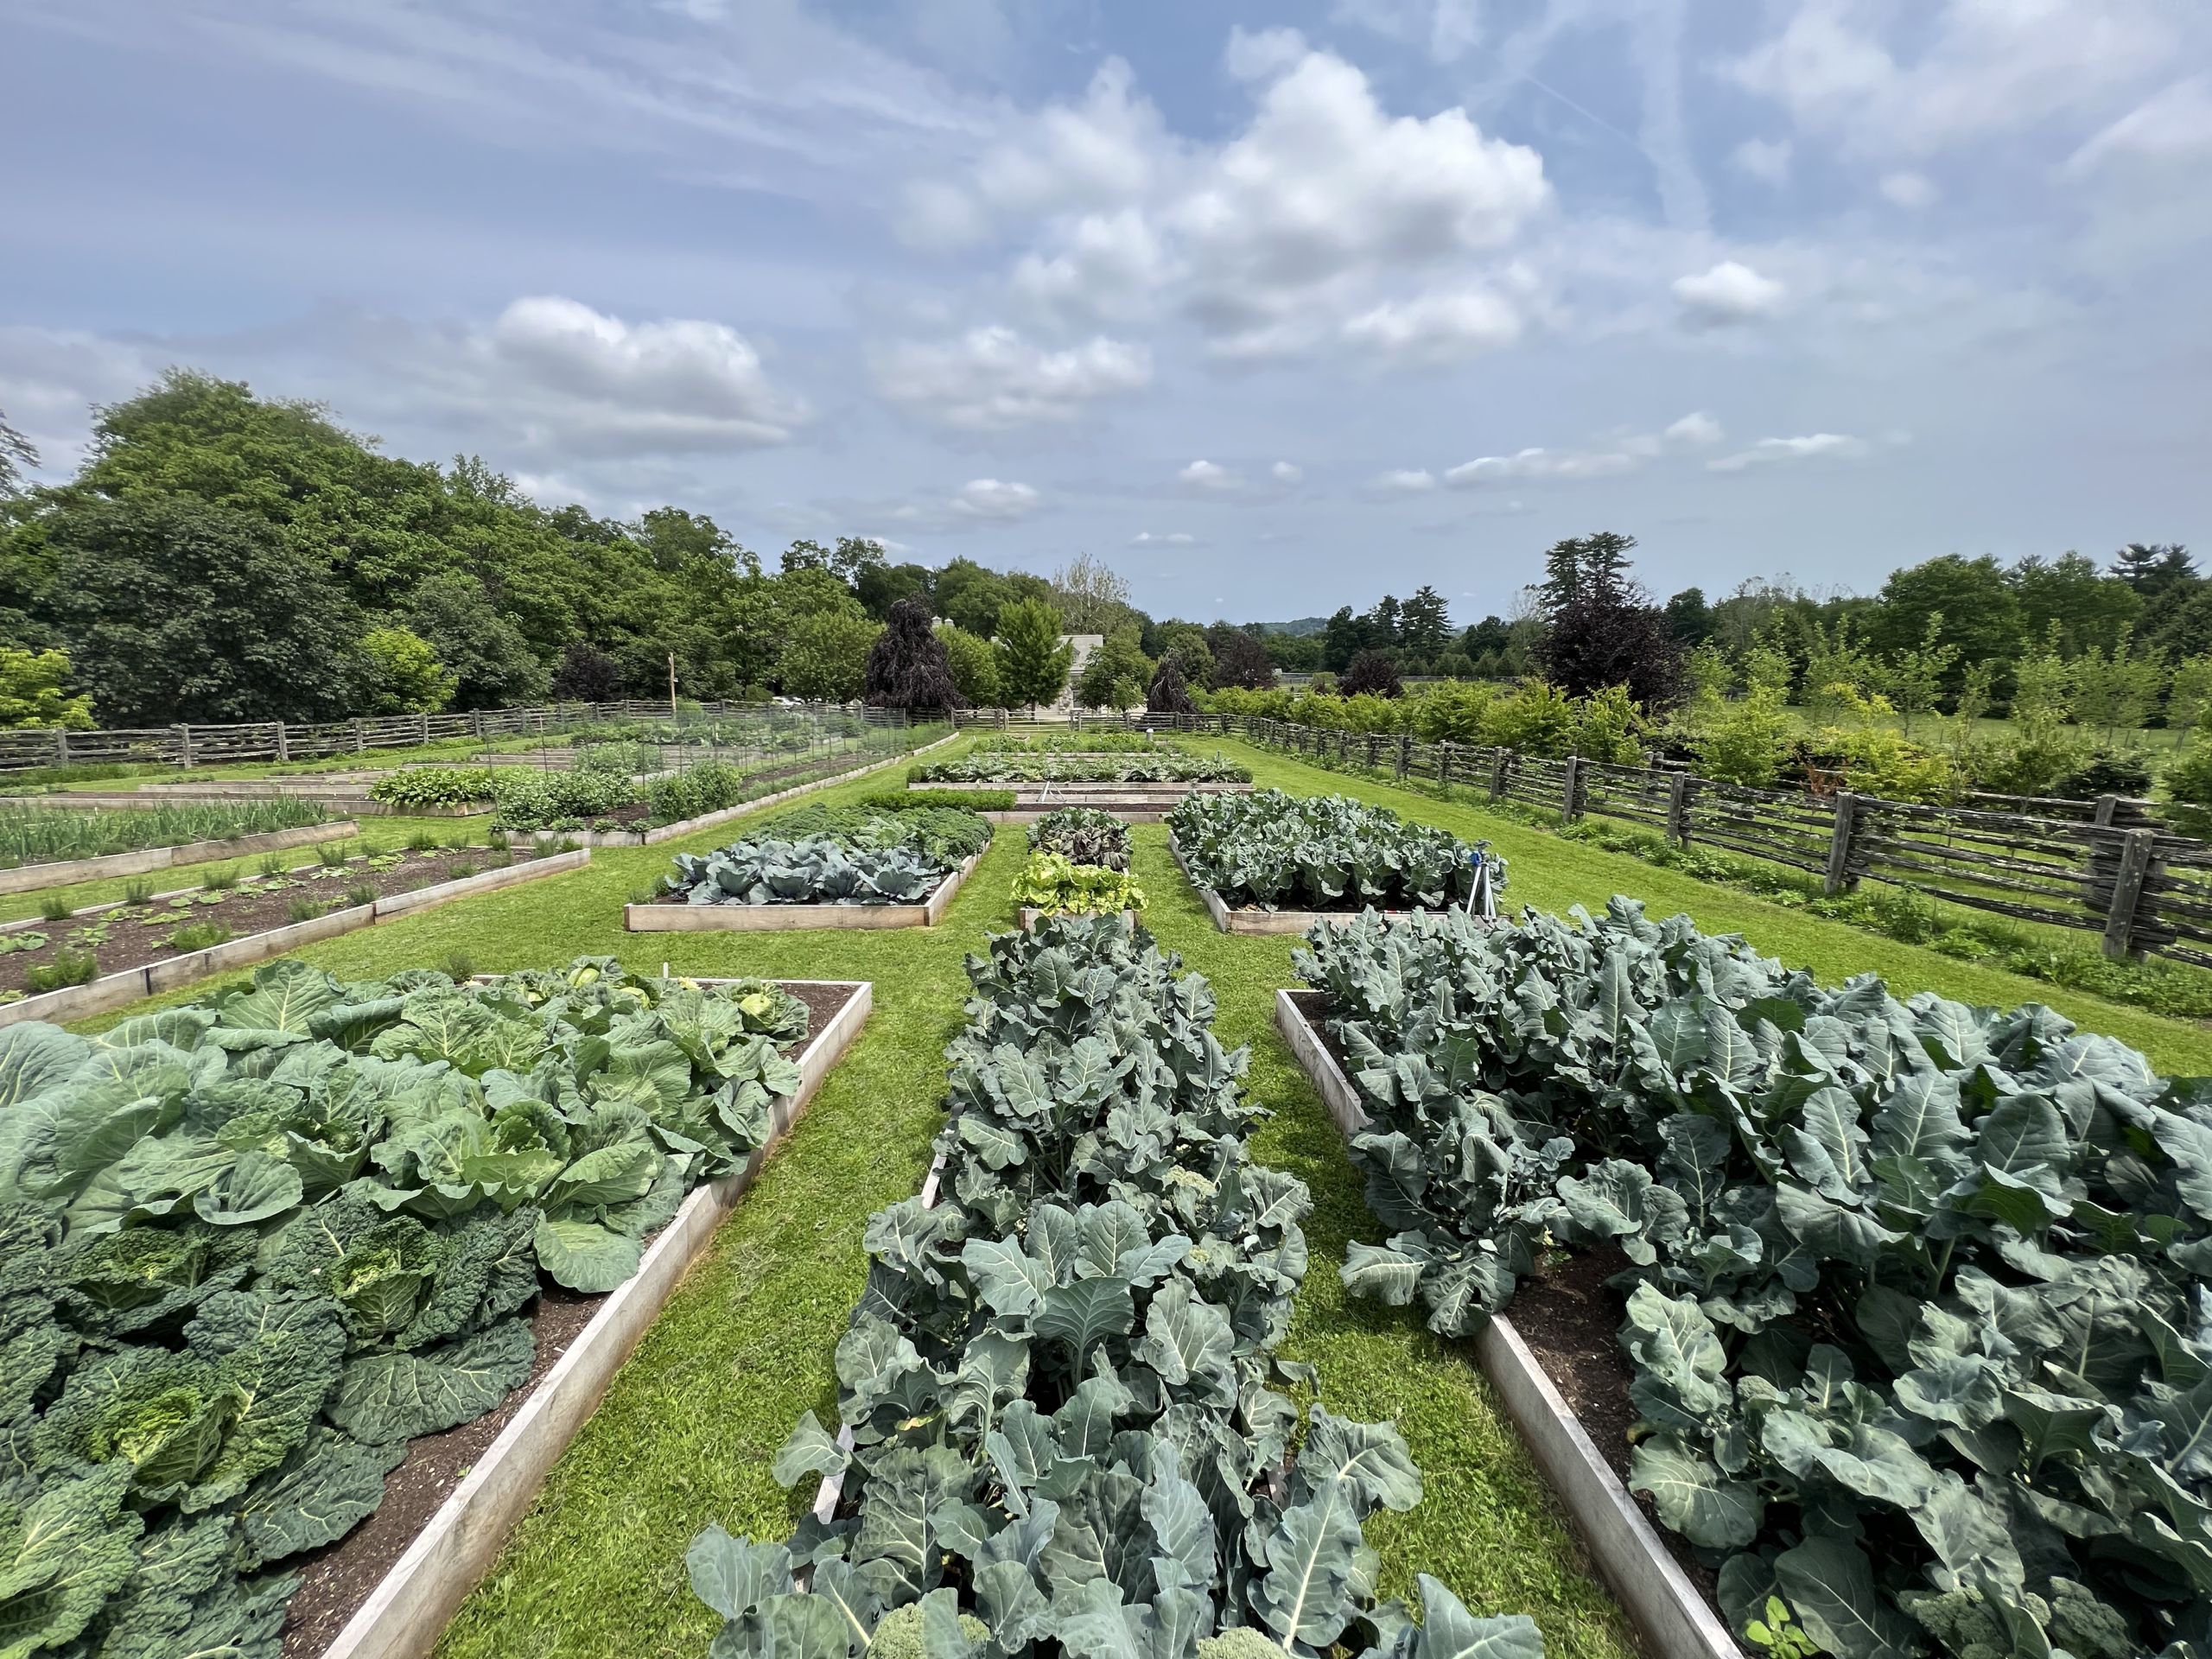
And of course, I showed my half-acre vegetable garden where I’ve used lots of wonderful Scotts Miracle-Gro Organic soil. This garden, which is now in its third growing season, is already planted with many wonderful crops – tomatoes, brassicas, artichokes, fava beans, celery, carrots, sweet and hot peppers, peas, all sorts of herbs, etc.
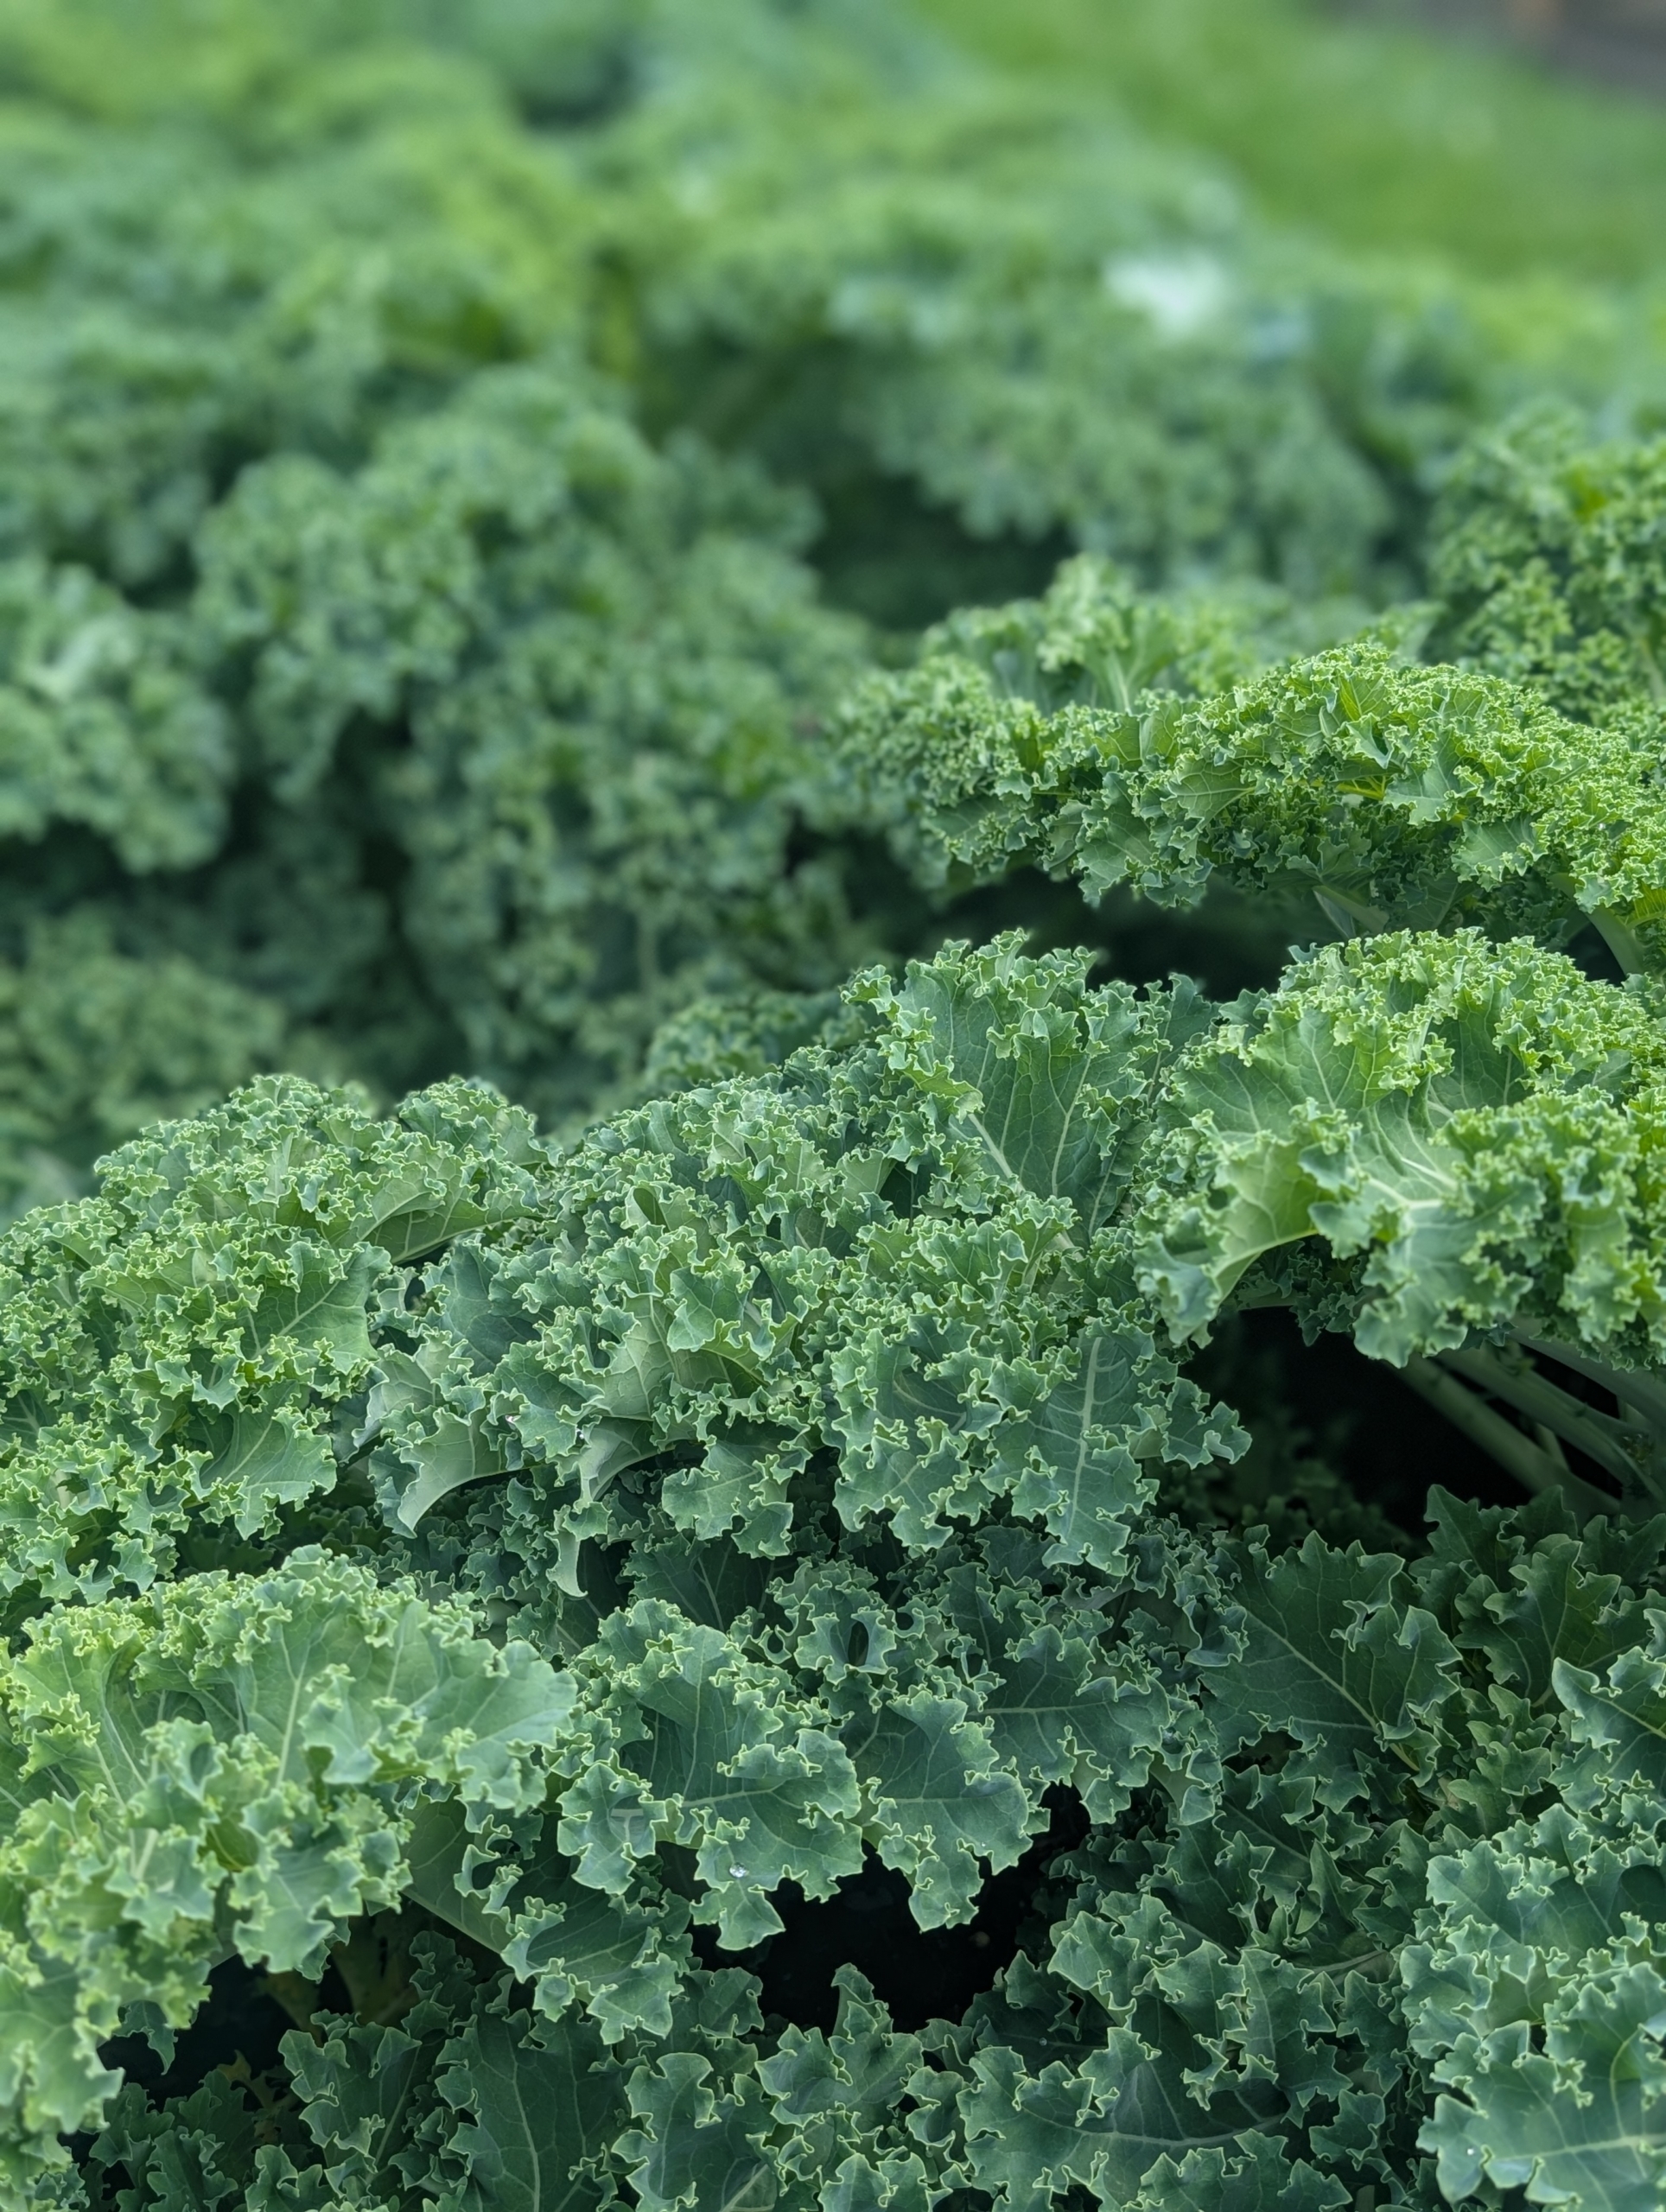
Here is this year’s kale bed – so lush and green.
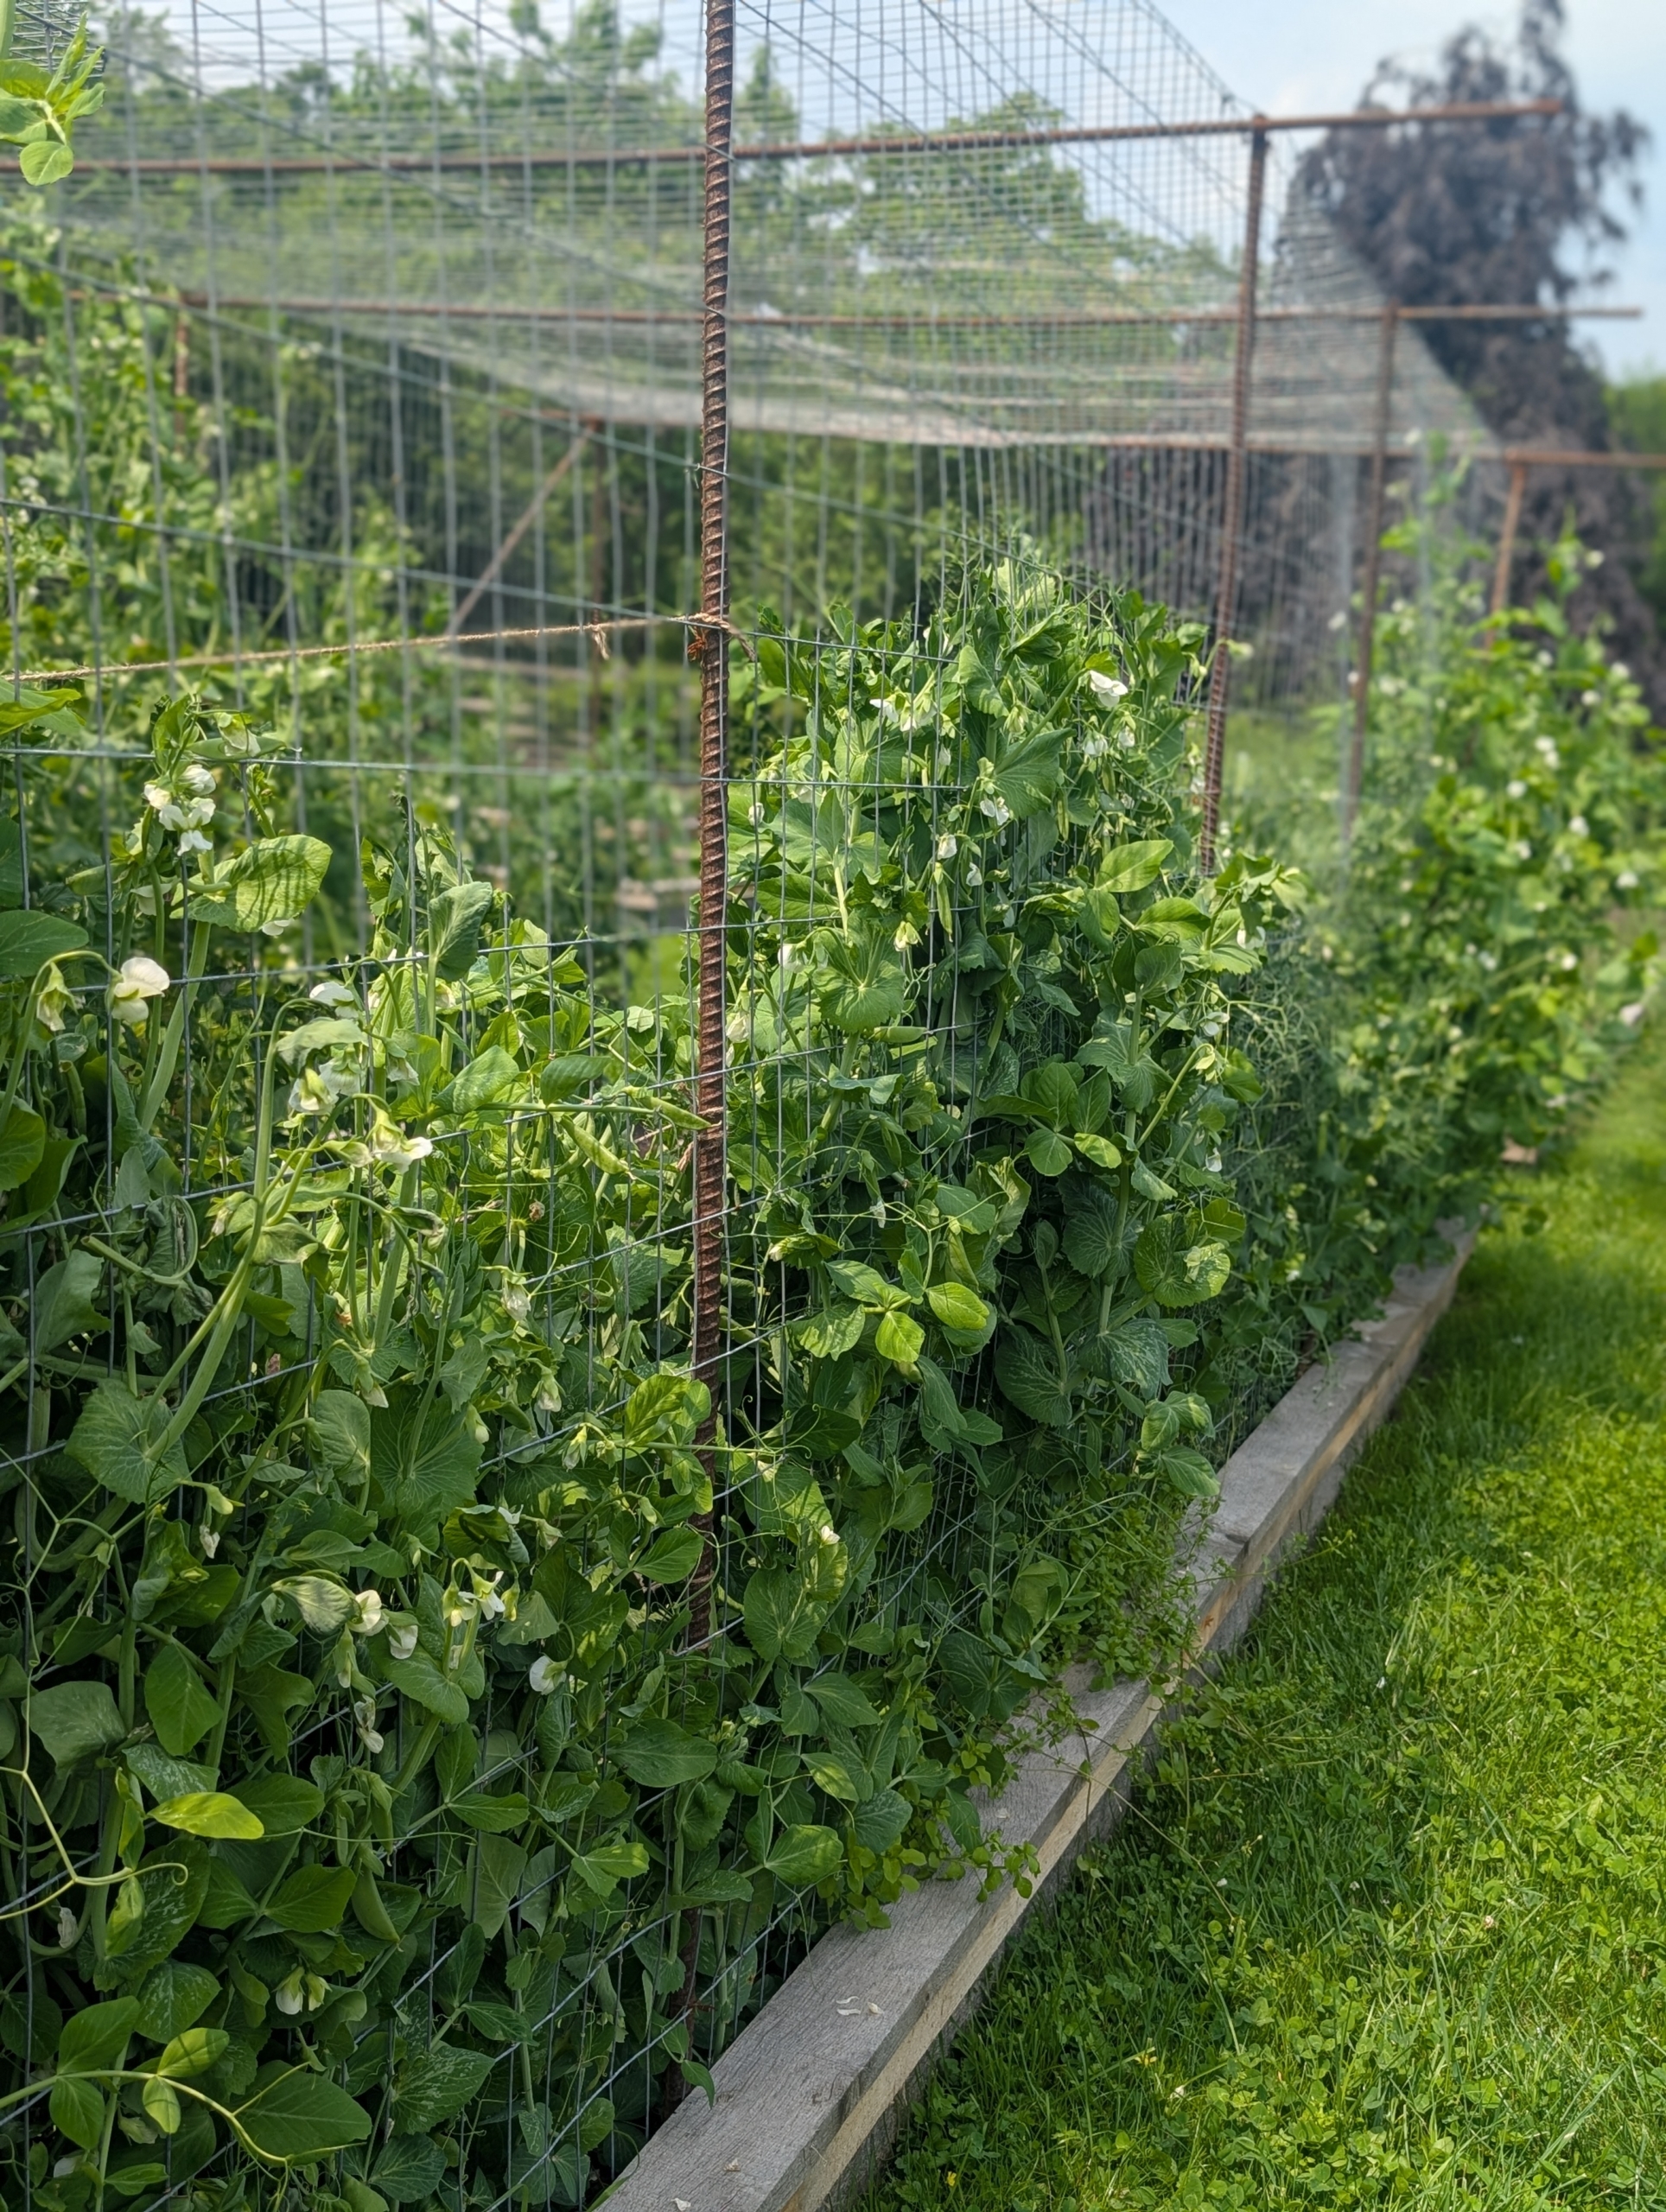
And here is the long center bed where I grow lots of peas – one section for shelling peas, which need to be removed from their pods before eating, and another for edible pods, which can be eaten whole, such as our snap peas.
We all enjoyed the informative day with the scientists and brand managers at Scotts Miracle-Gro learning about their organic solutions to everyone’s gardening problems. I’m looking forward to implementing what I learned back at my farm. For more information, fo to the Scotts Miracle-Gro web site.
Totally transforming an existing garden bed is a good way to revitalize an outdoor space.
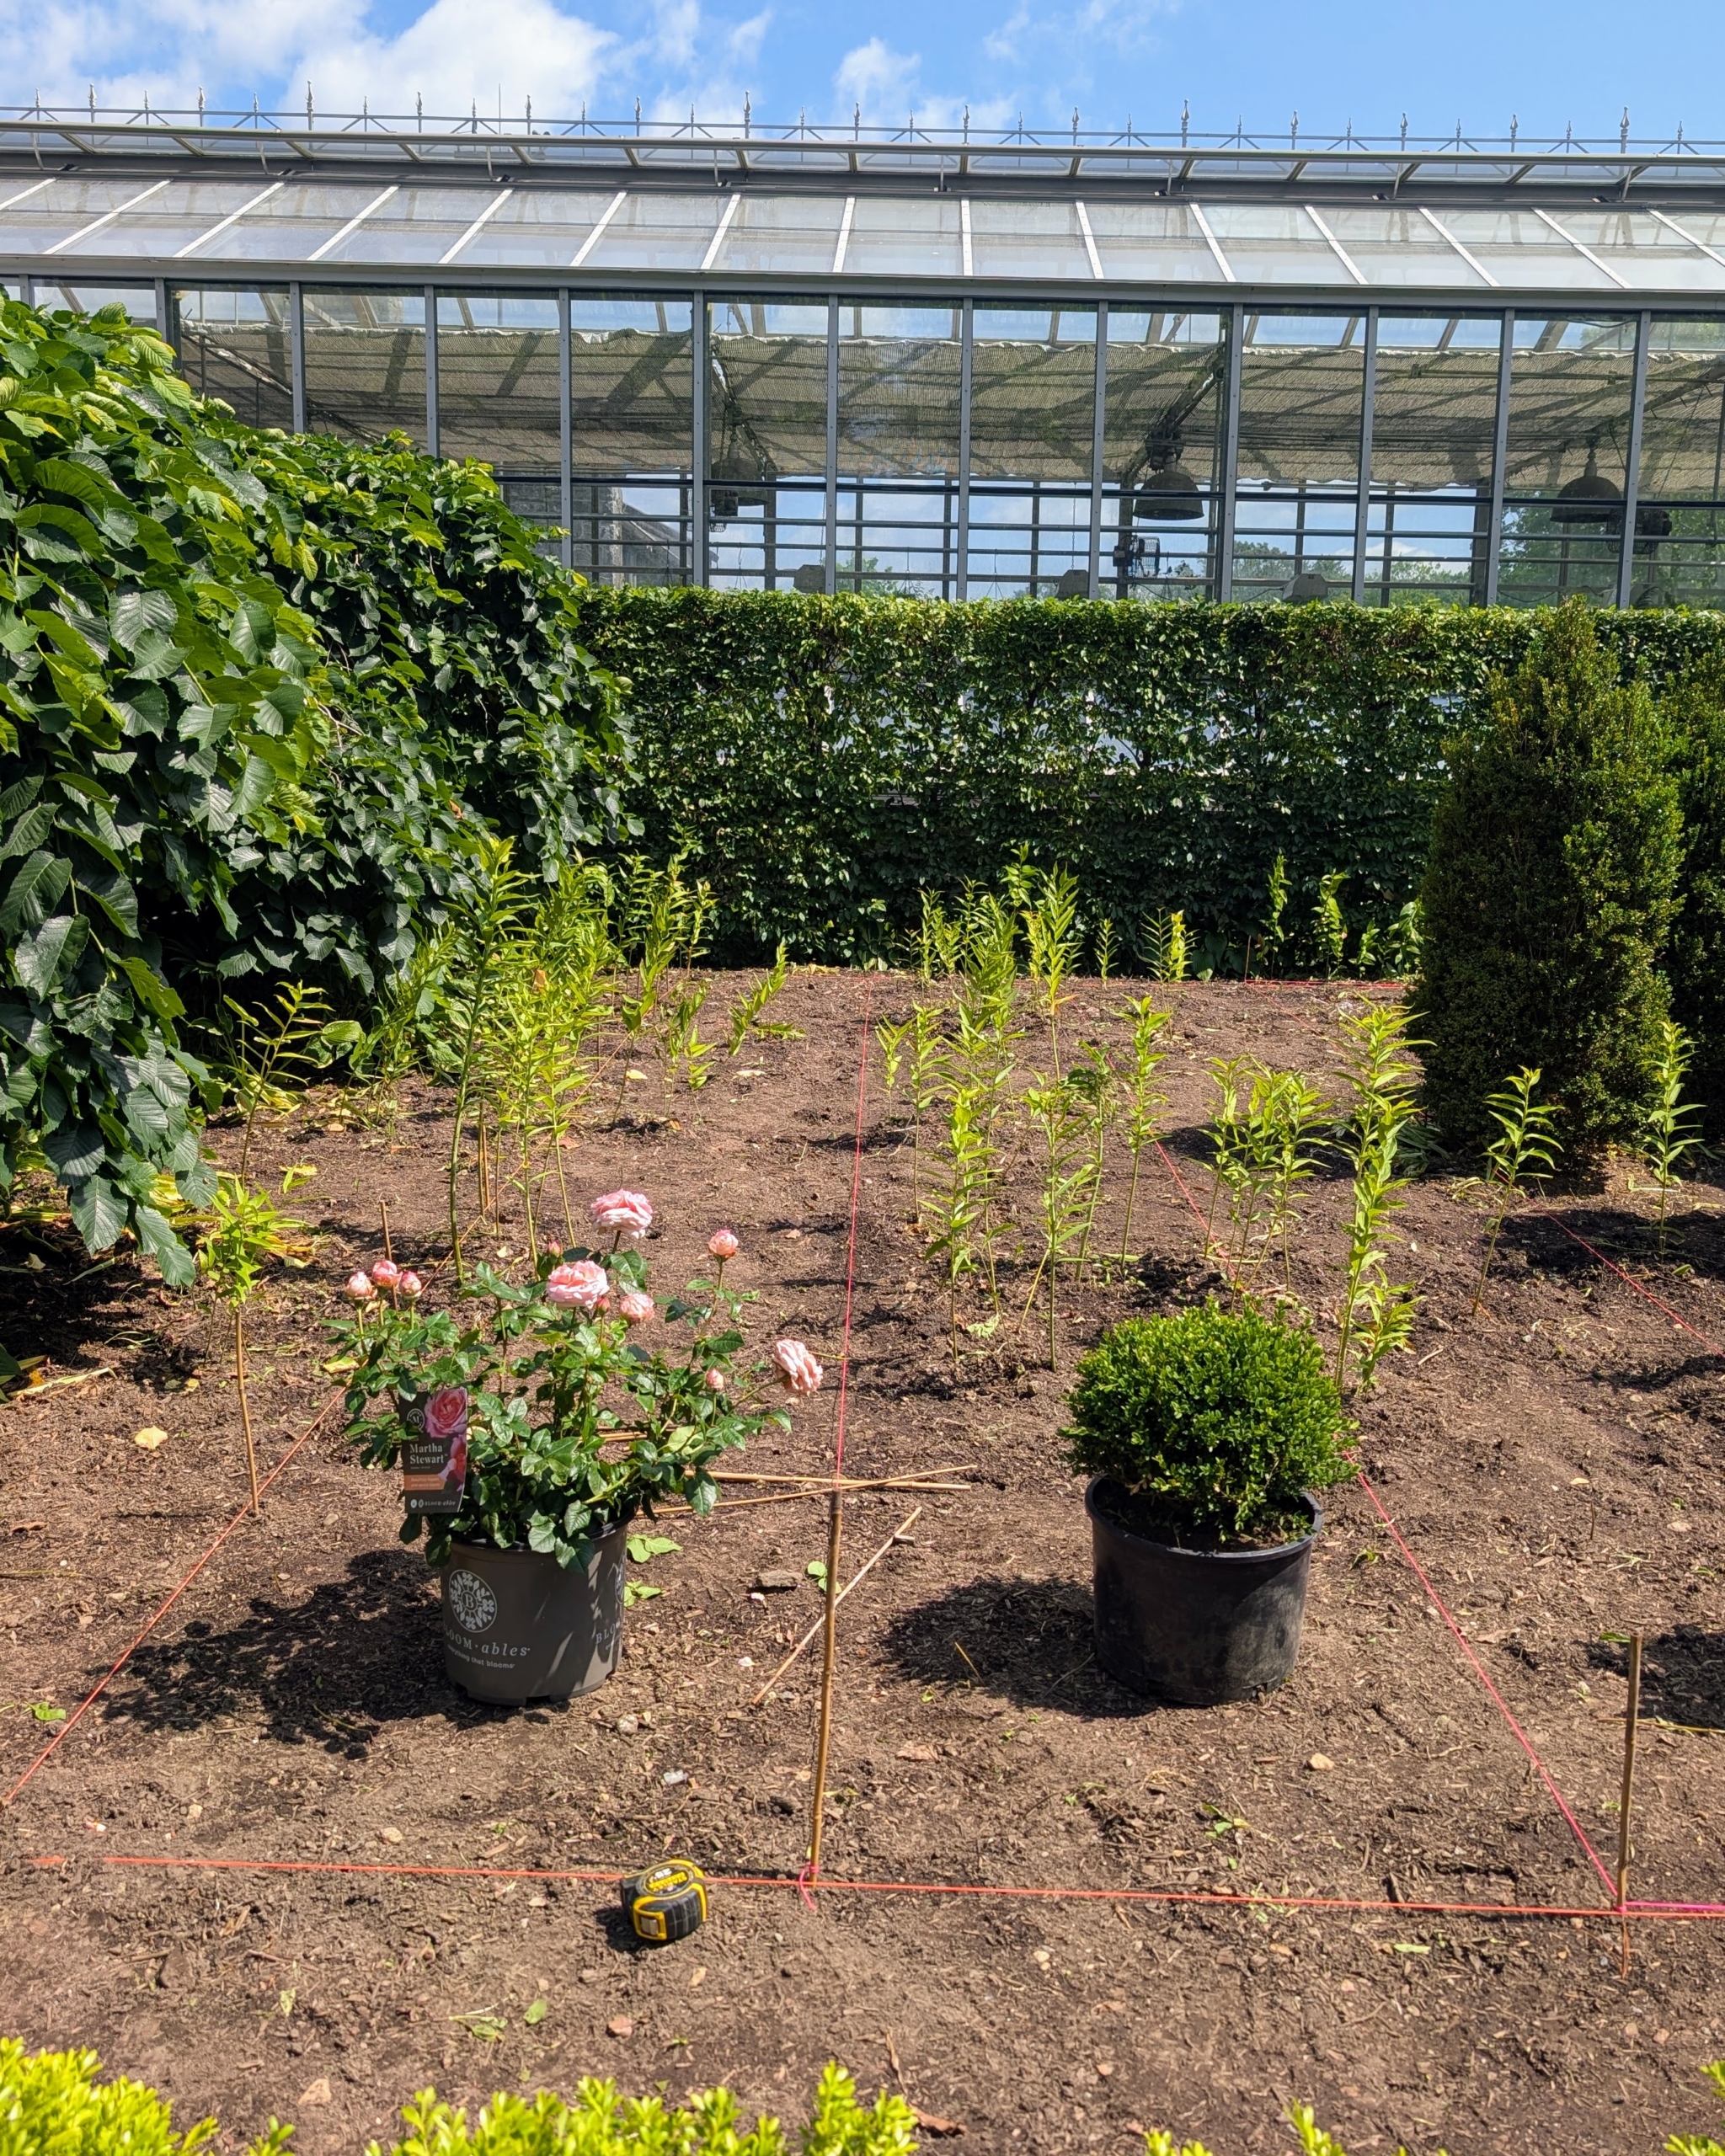
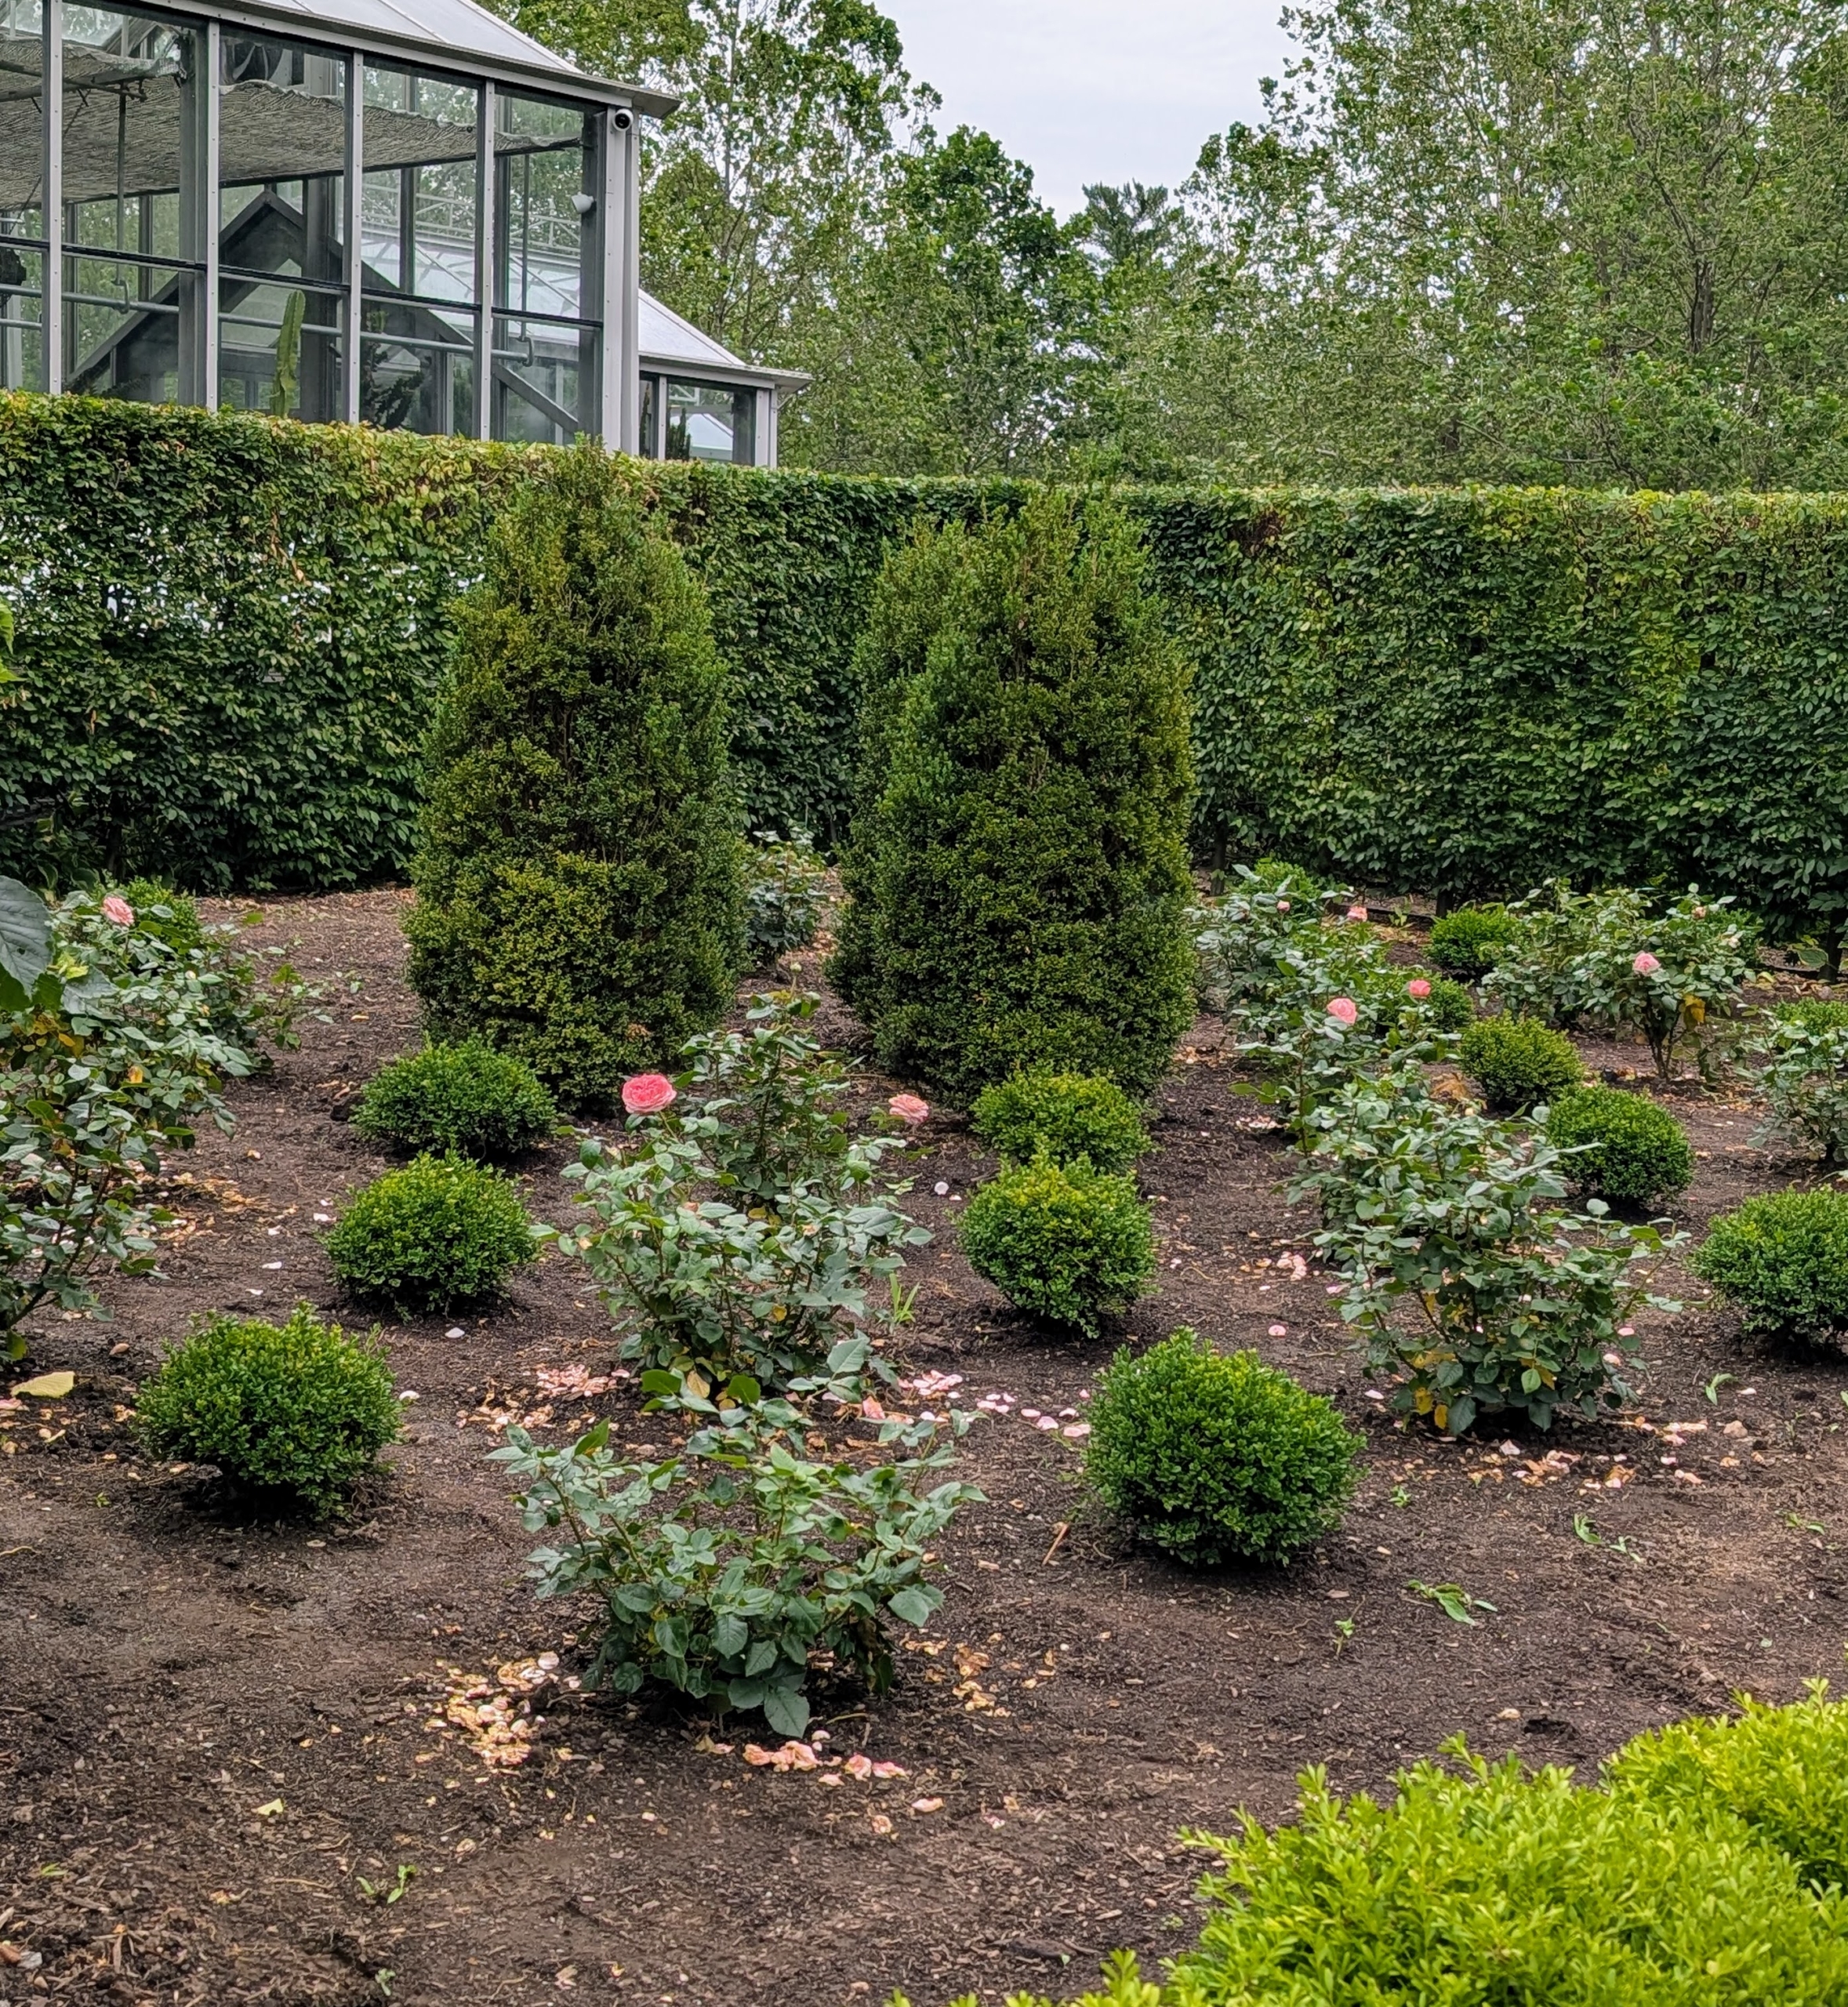
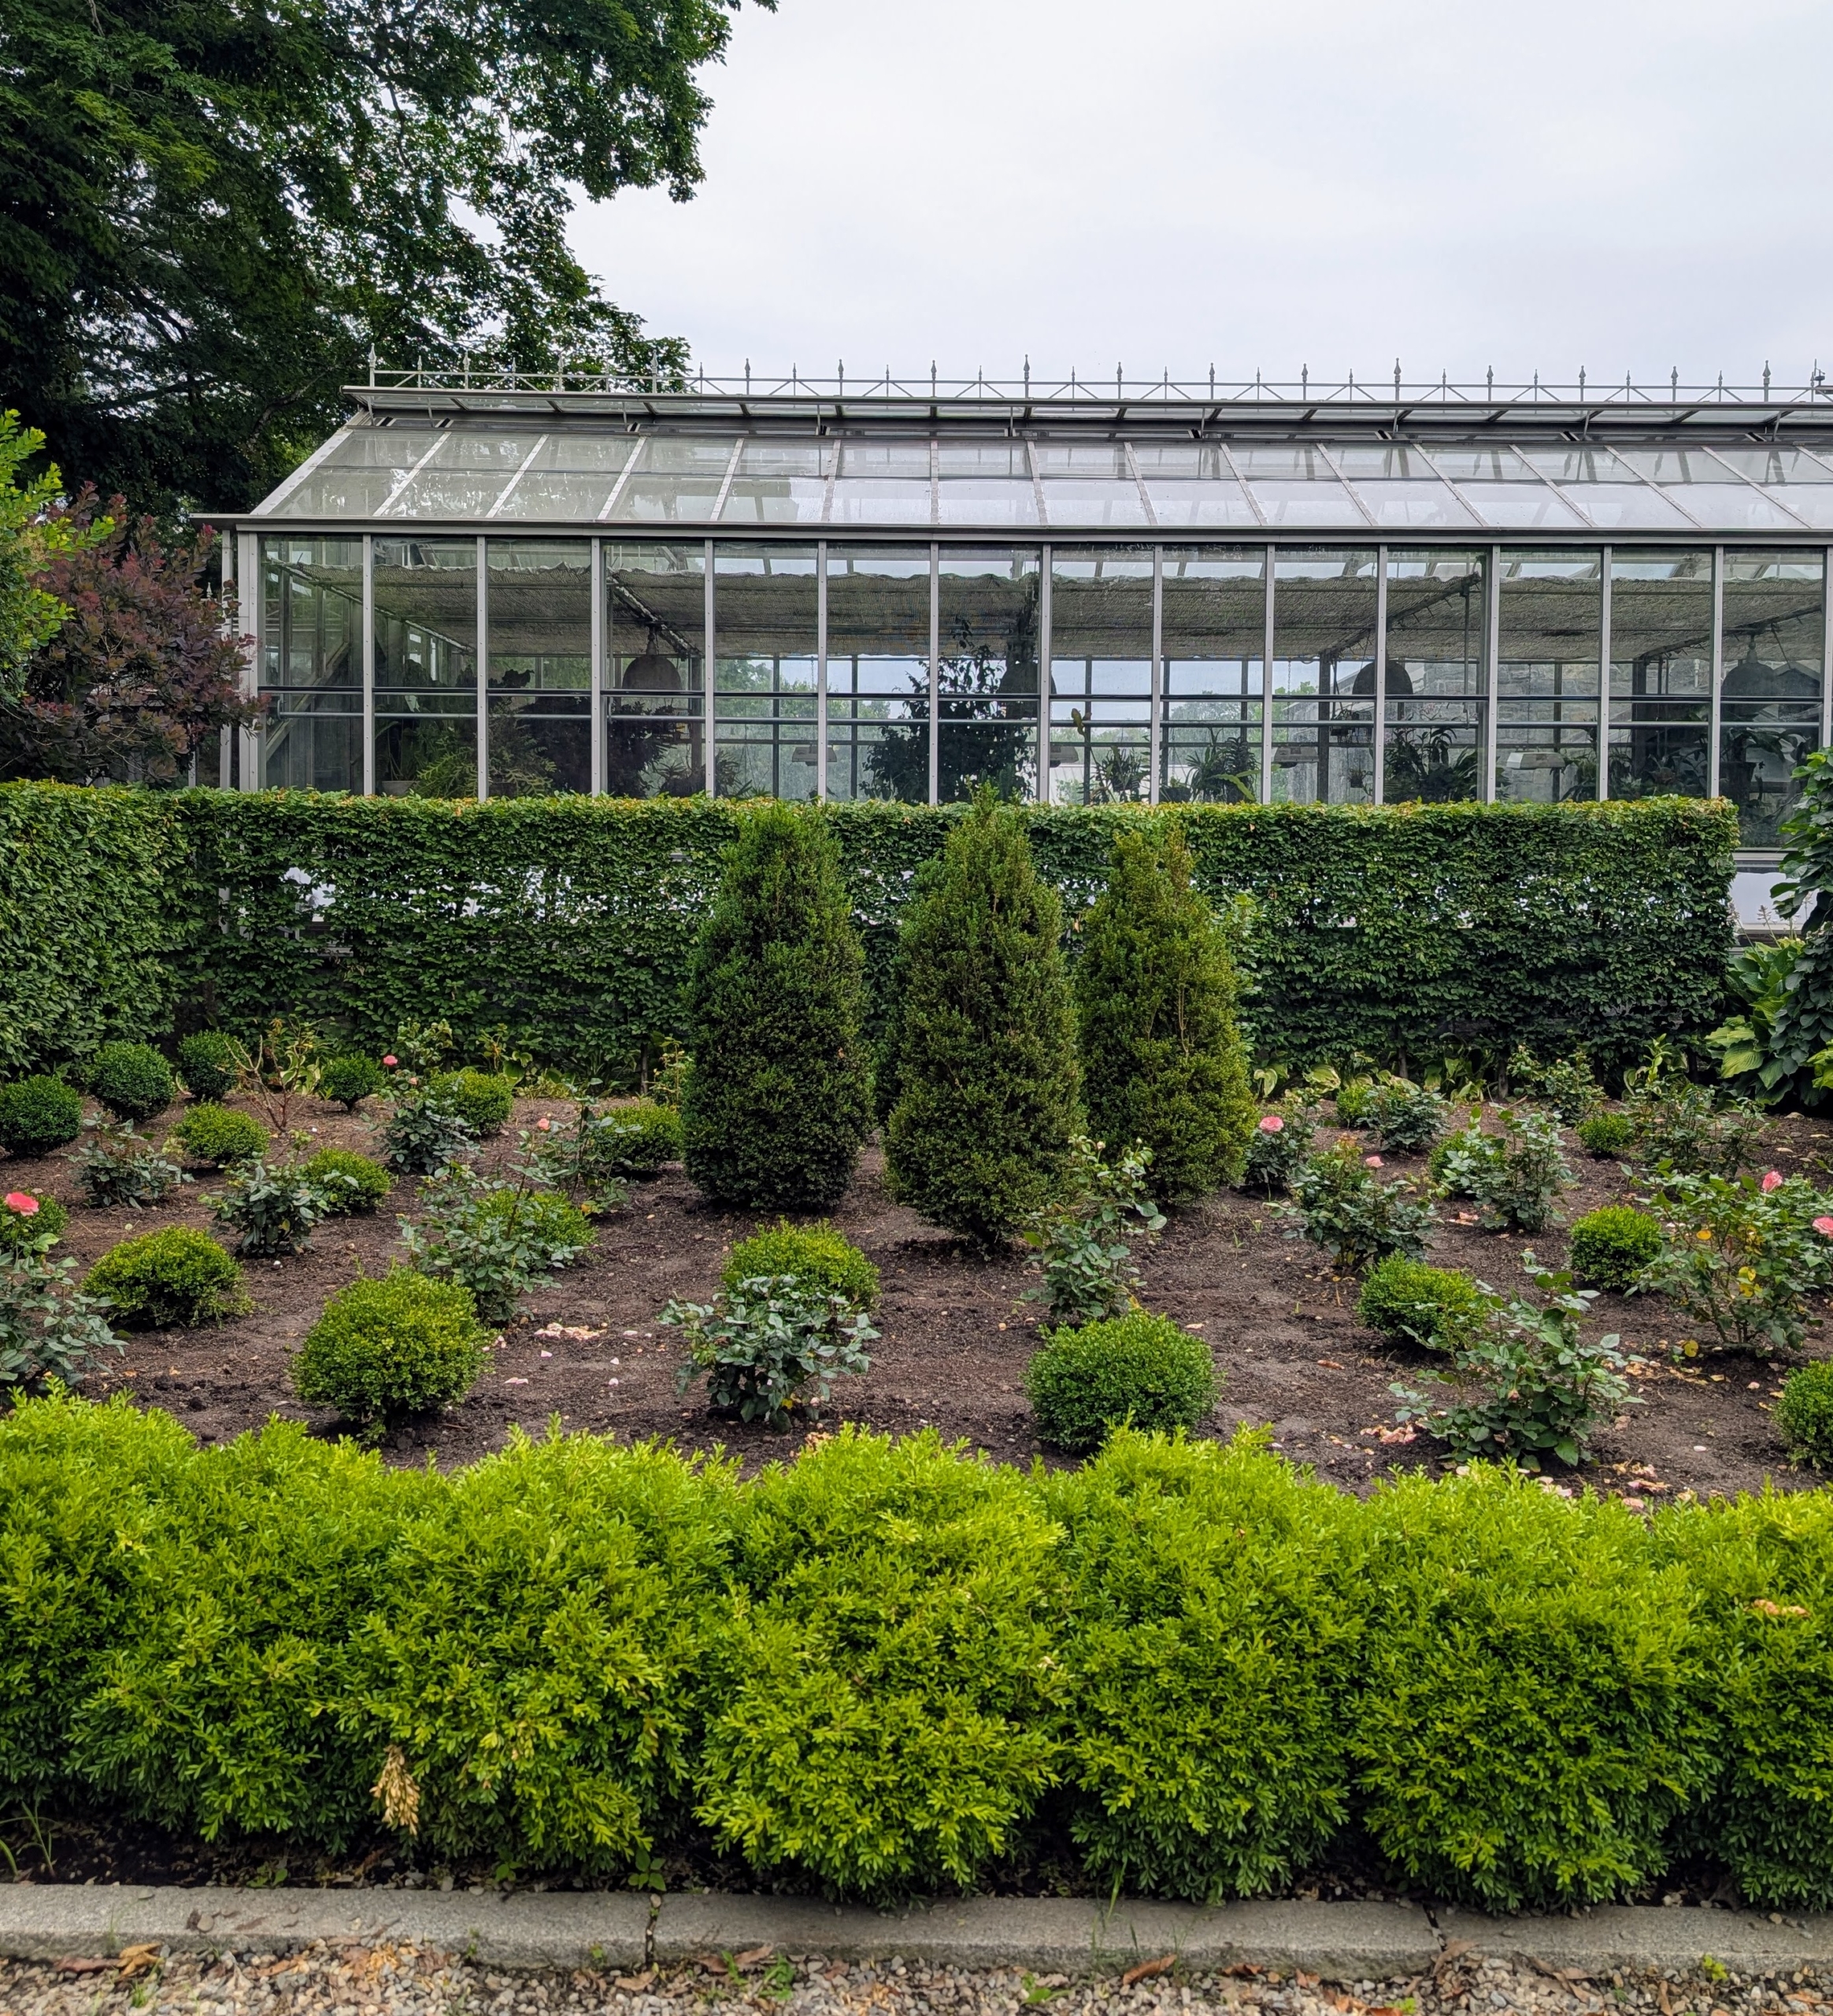
The two garden beds in front of my main greenhouse were once home to my currant bushes. Six years ago, I moved the berries and created more formal gardens with hostas and white lilies. Recently, I decided the beds would be perfect for displaying my new Martha Stewart Hybrid Tea Roses. I wanted them to be planted in a grid pattern alternating each rose with boxwood. In the center of each bed, I planted four tall conical boxwood. I know these gardens will grow so beautifully in the coming years.
Here are some photos.
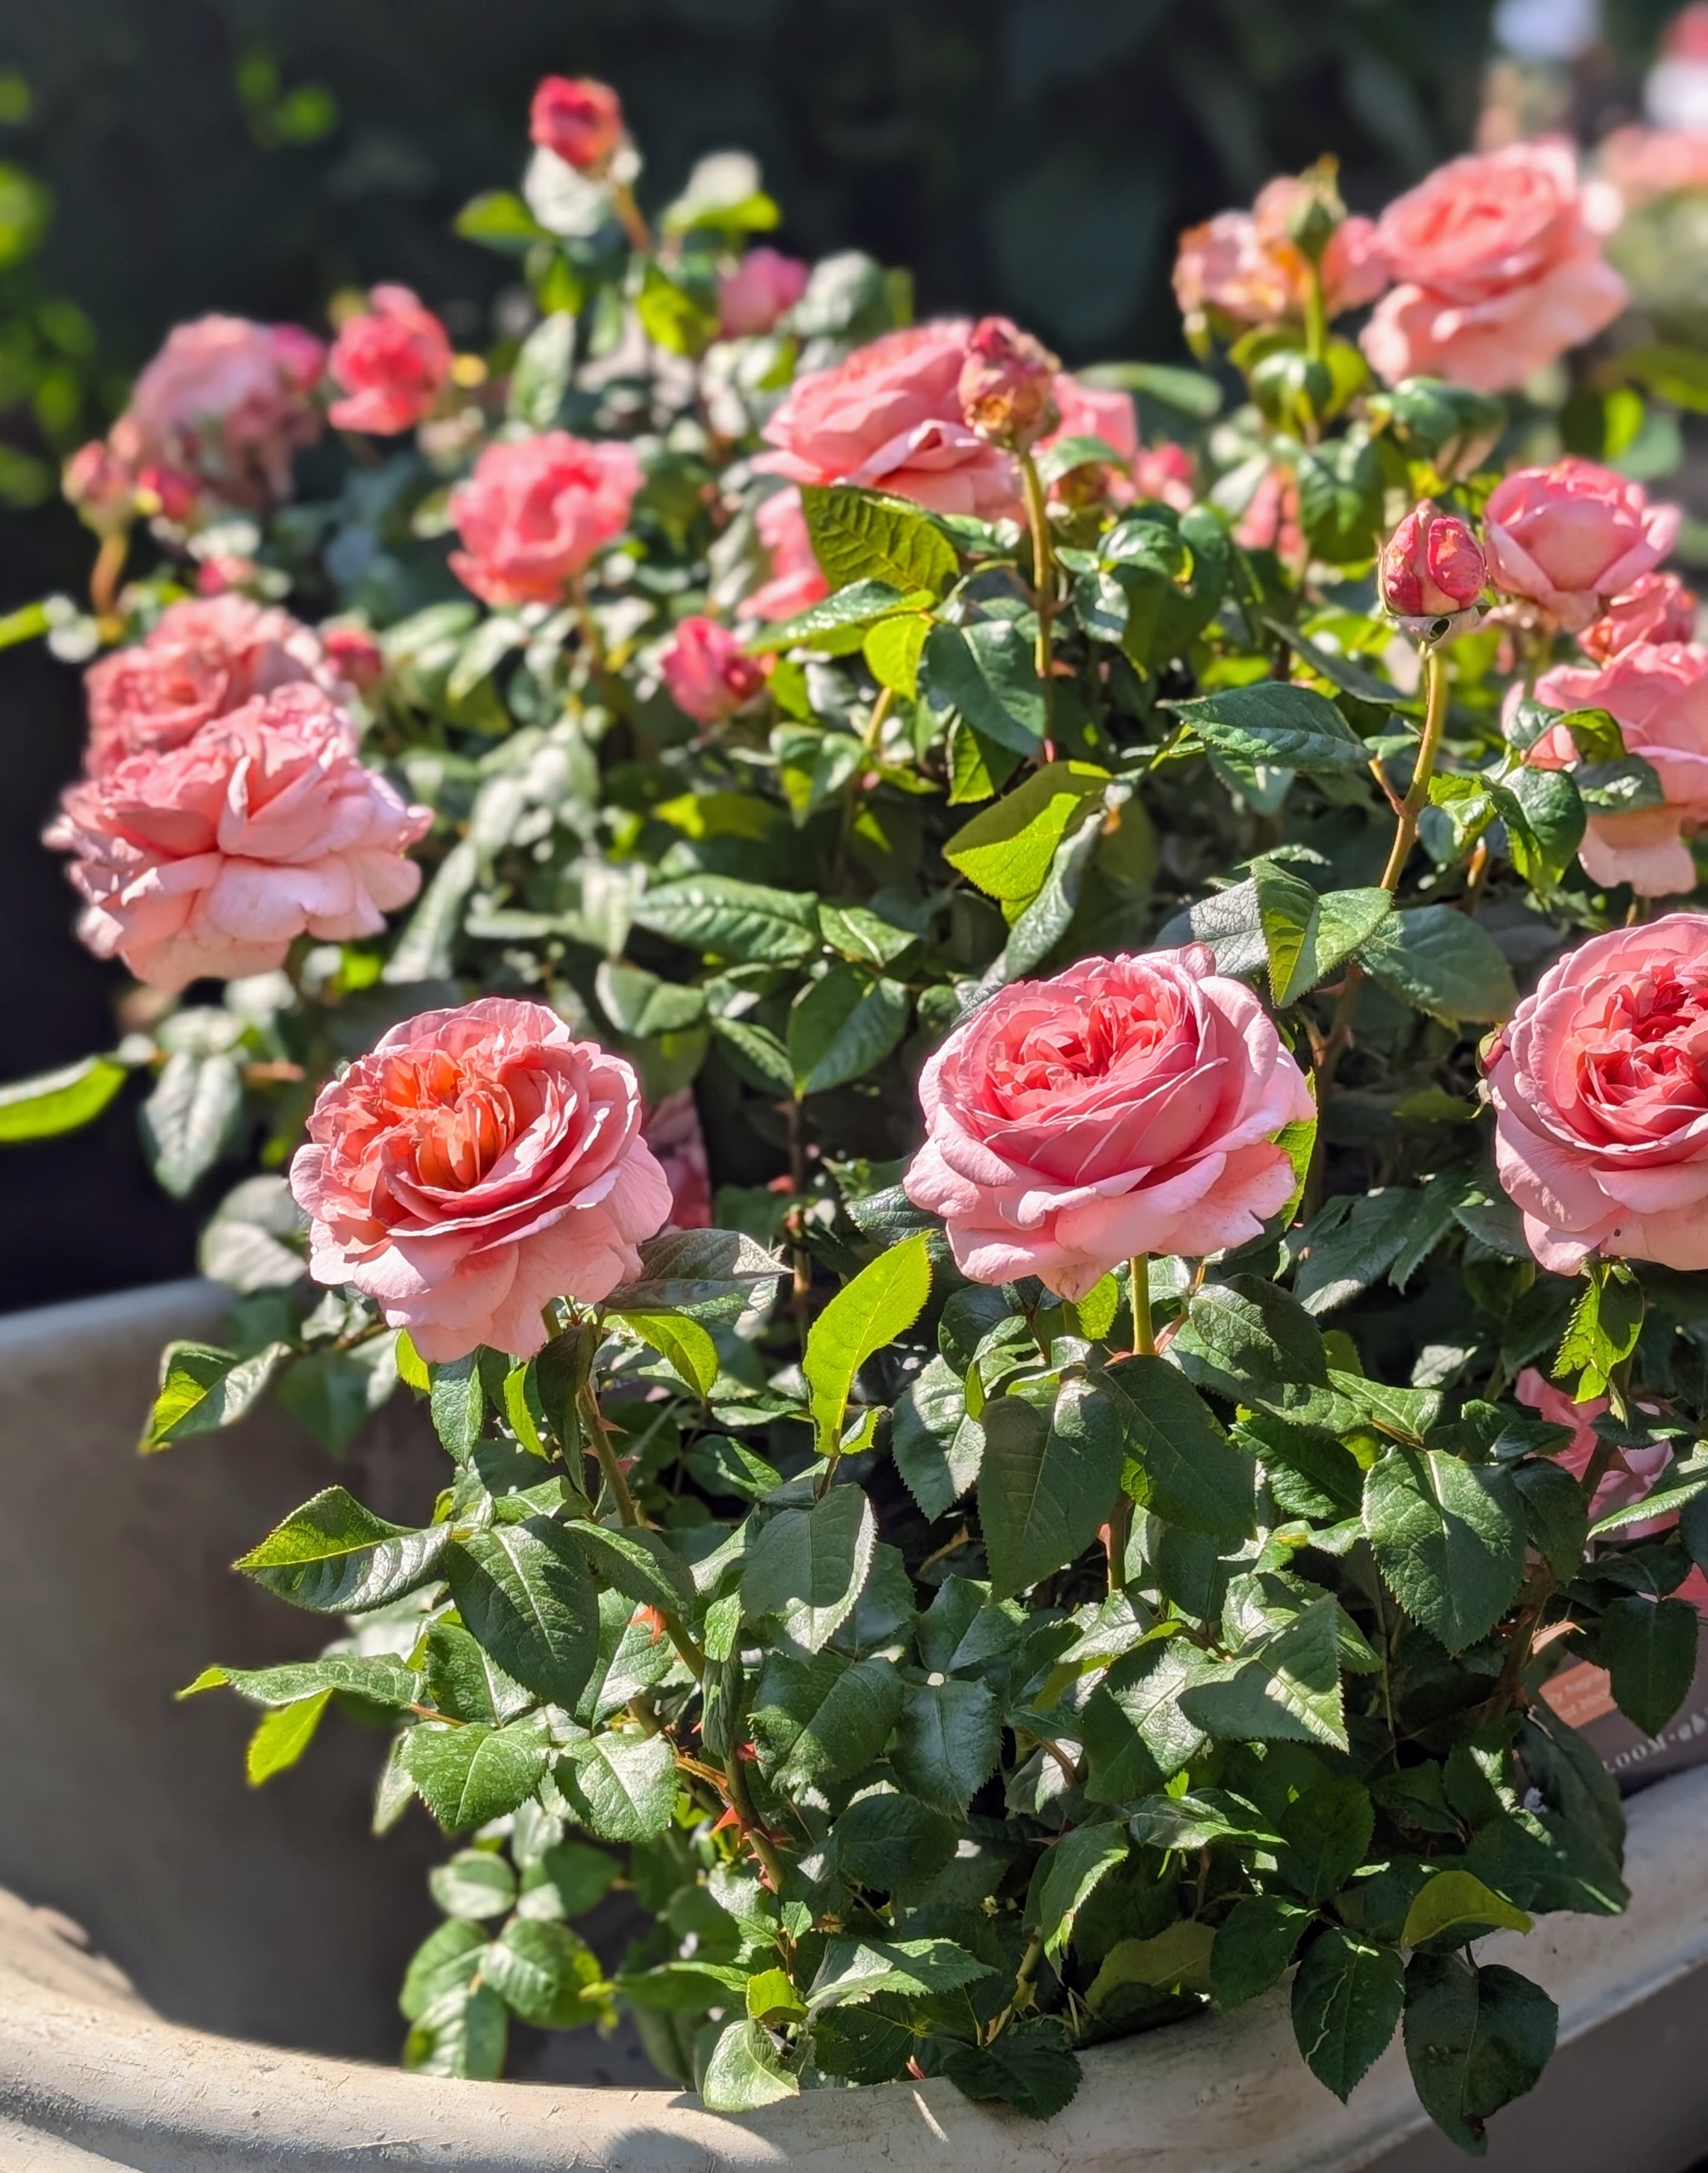
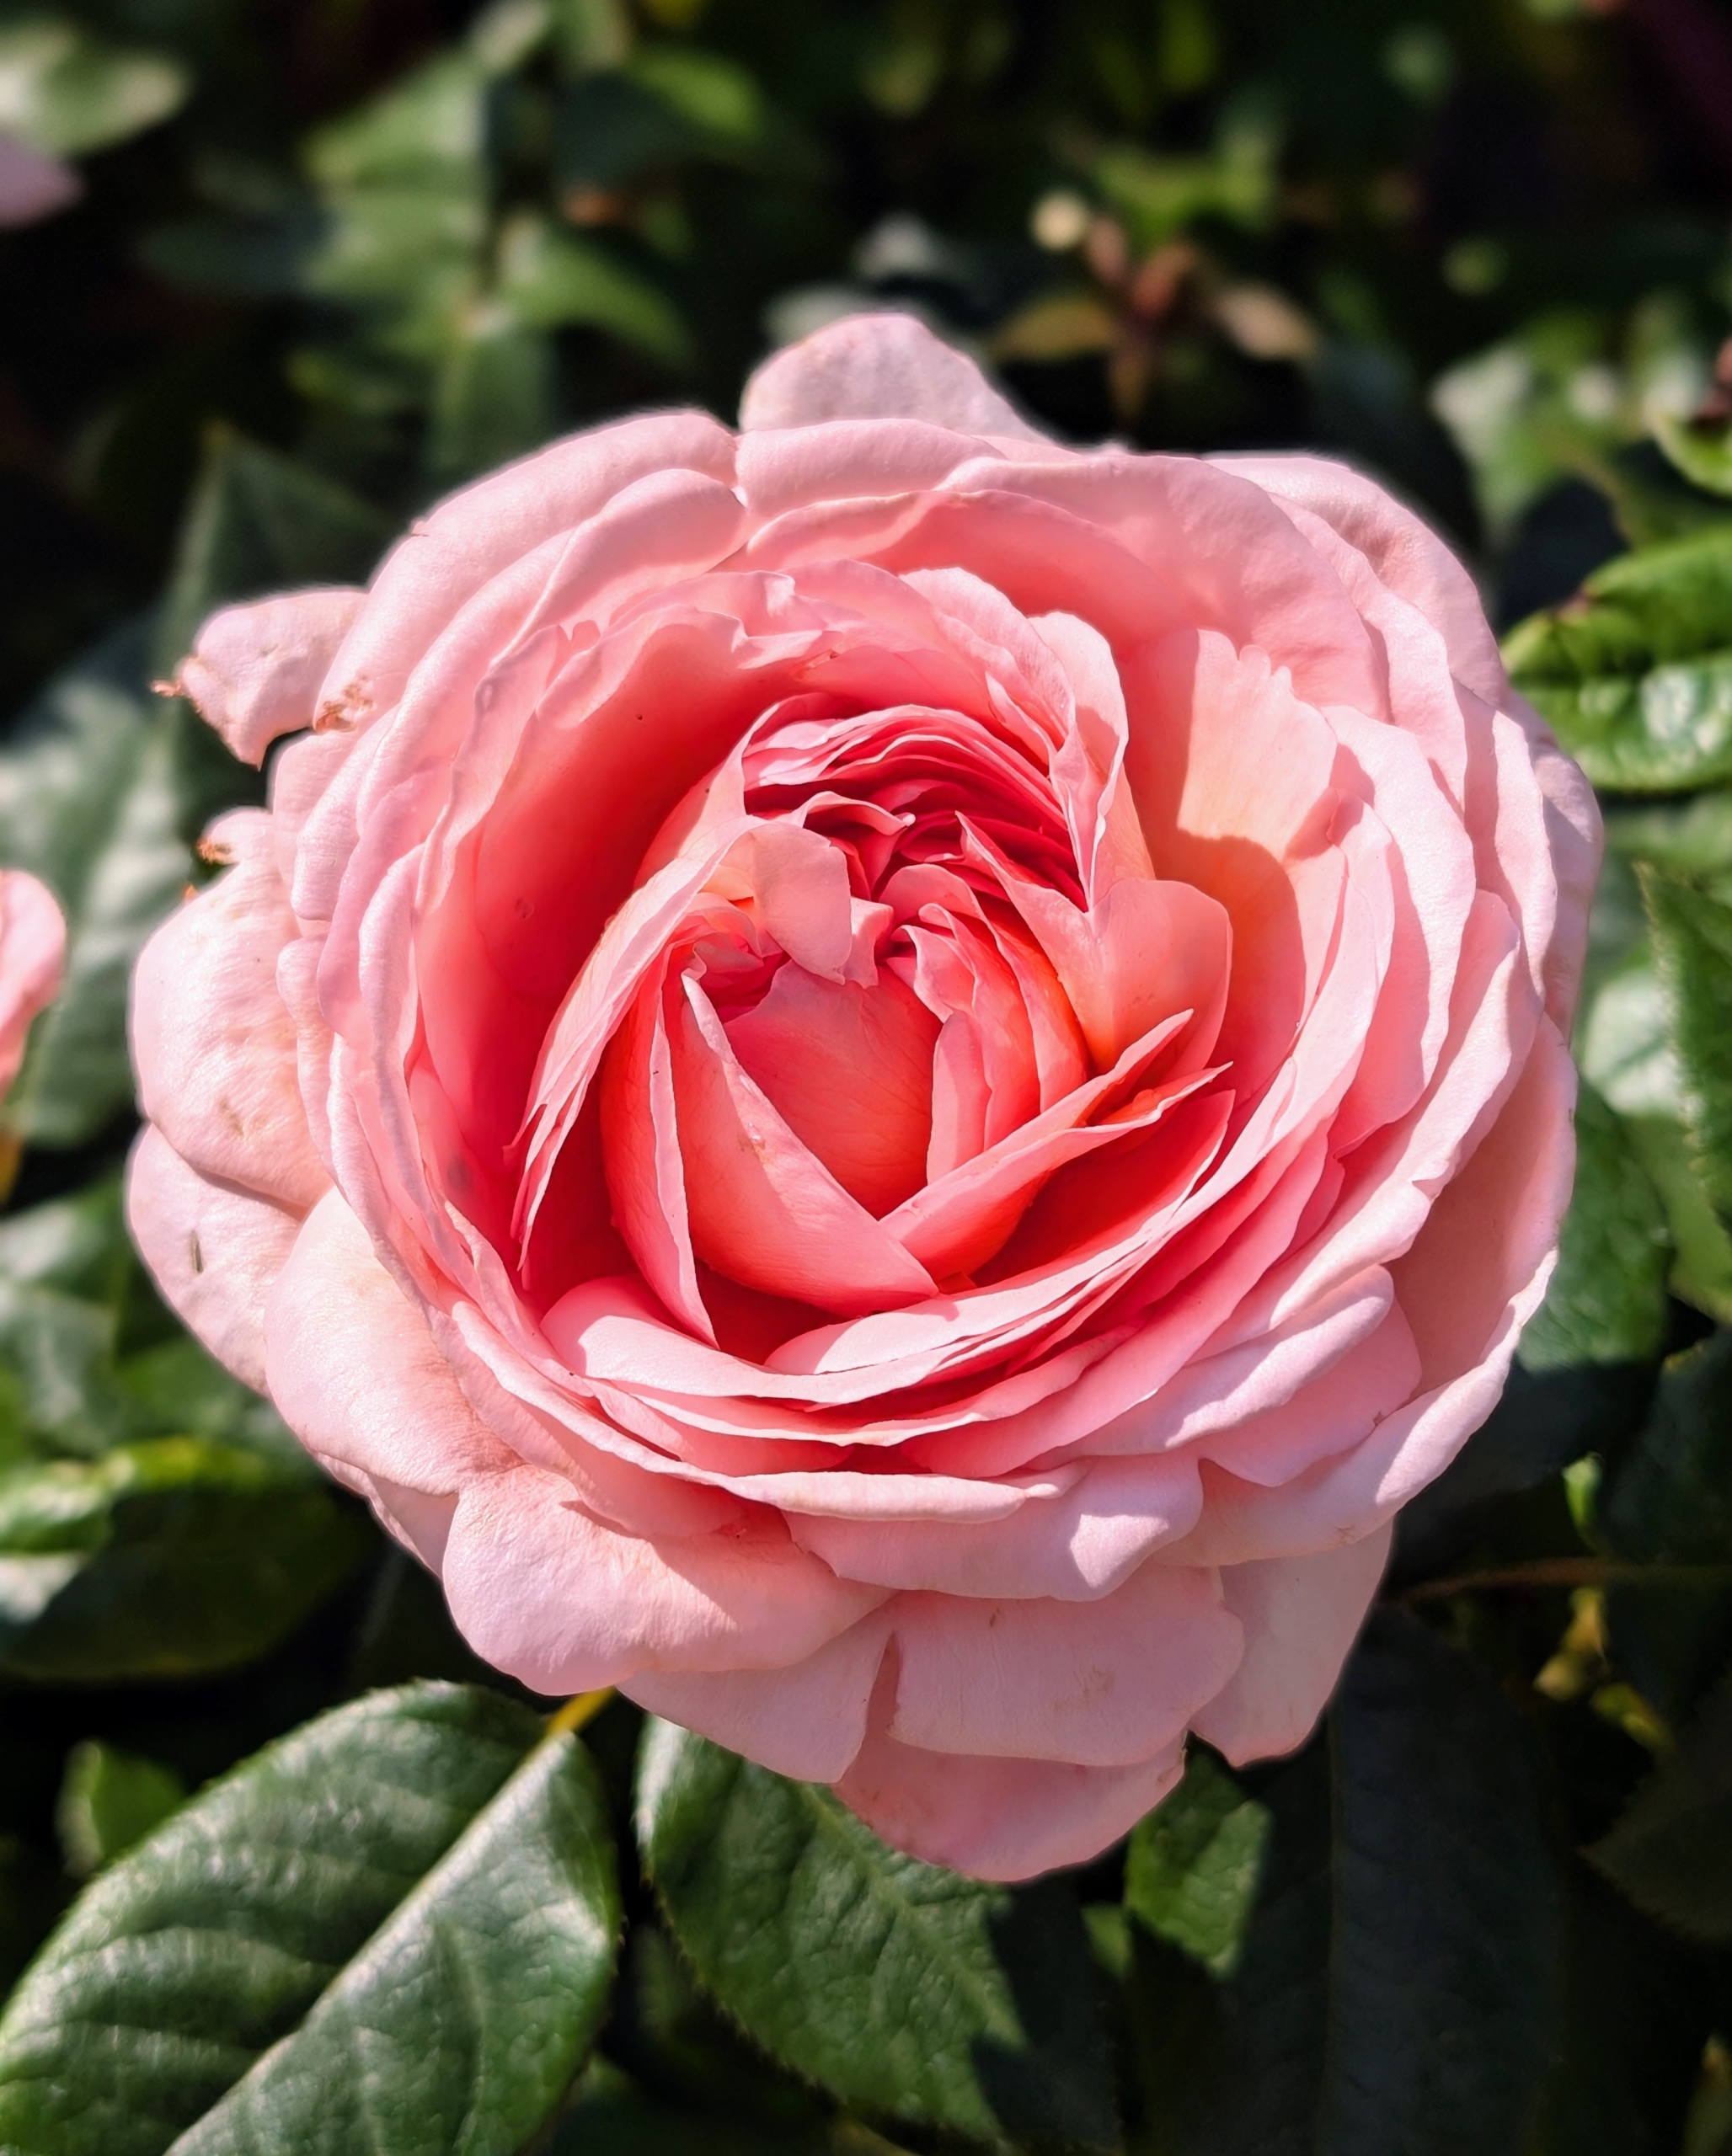
How would you display a rose named after you? These are blooming Martha Stewart Hybrid Tea Roses, bred by Meilland, a six-generation family-owned rose-growing business, and launched in North America through Star Roses and Plants. I knew these would look excellent in front of my main greenhouse at my farm.
My new rose has large pink blooms, dark green foliage, and a most wonderful and sweet fragrance. Plus, each five inch bloom has more than 100 petals.
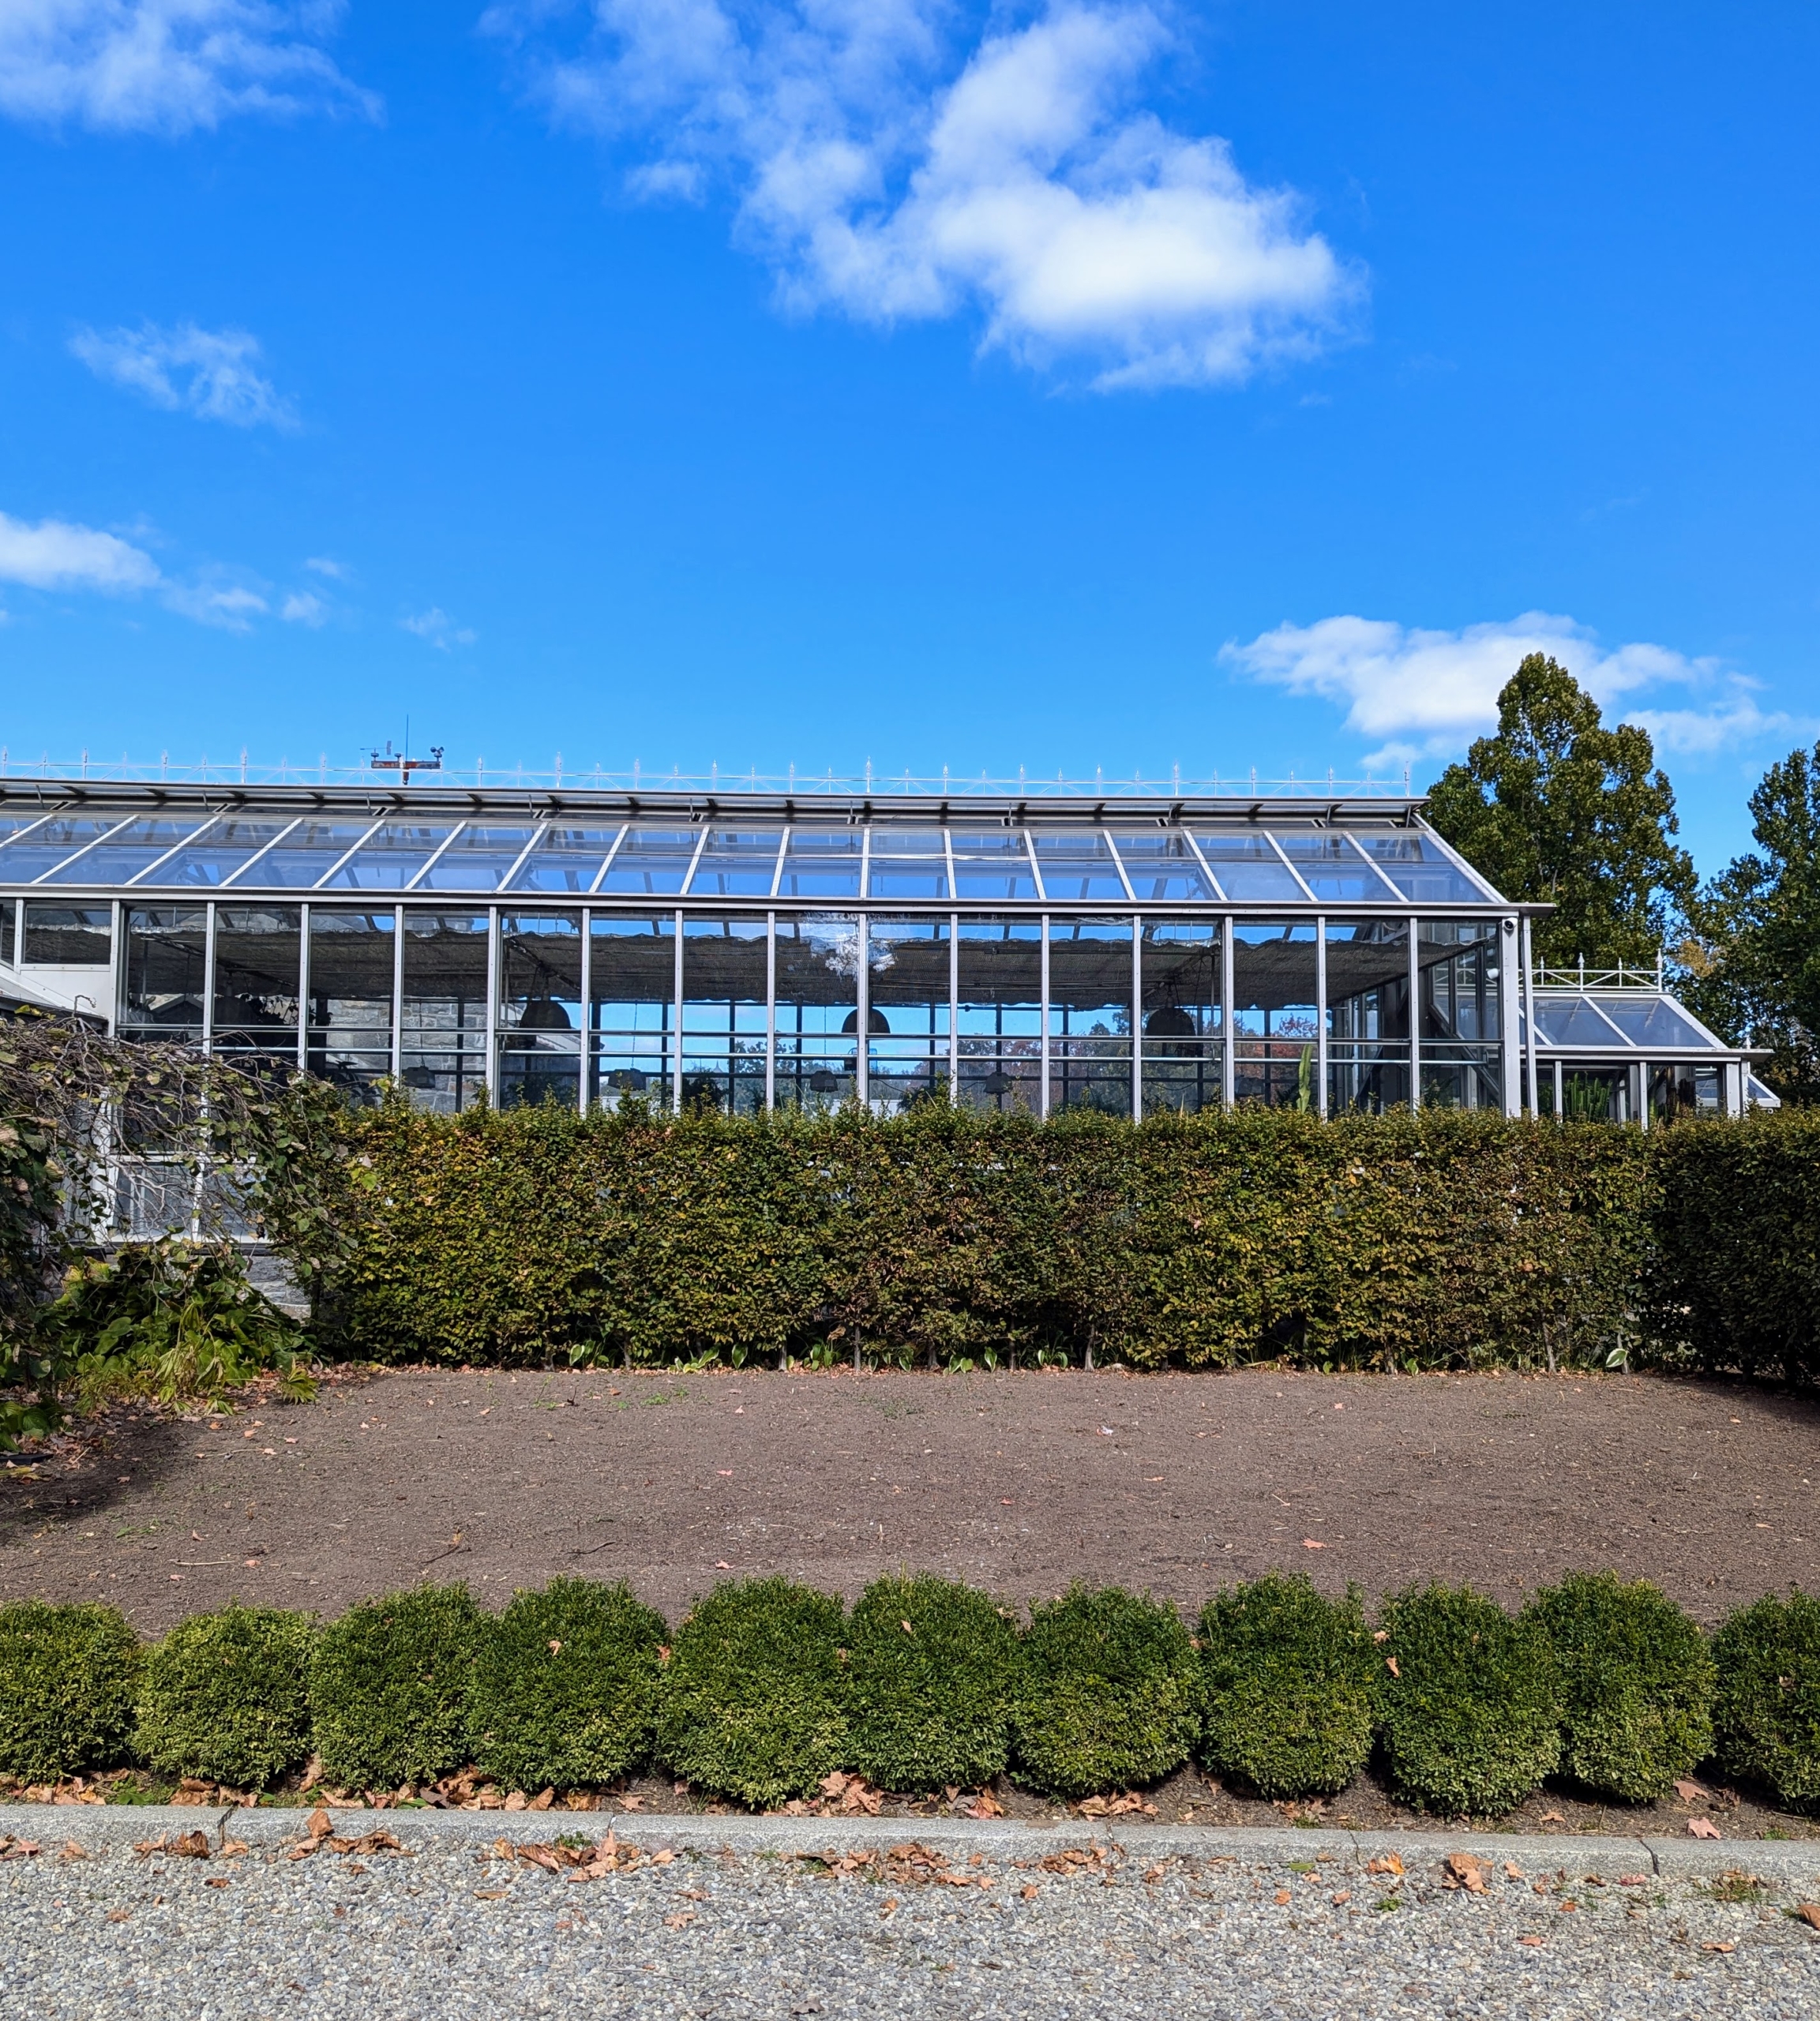
These garden beds in front of my glass greenhouse are already bordered by European hornbeam hedges and boxwood shrubs. Last fall, the beds were also cleared, tilled and fed before any work was started to redo them.
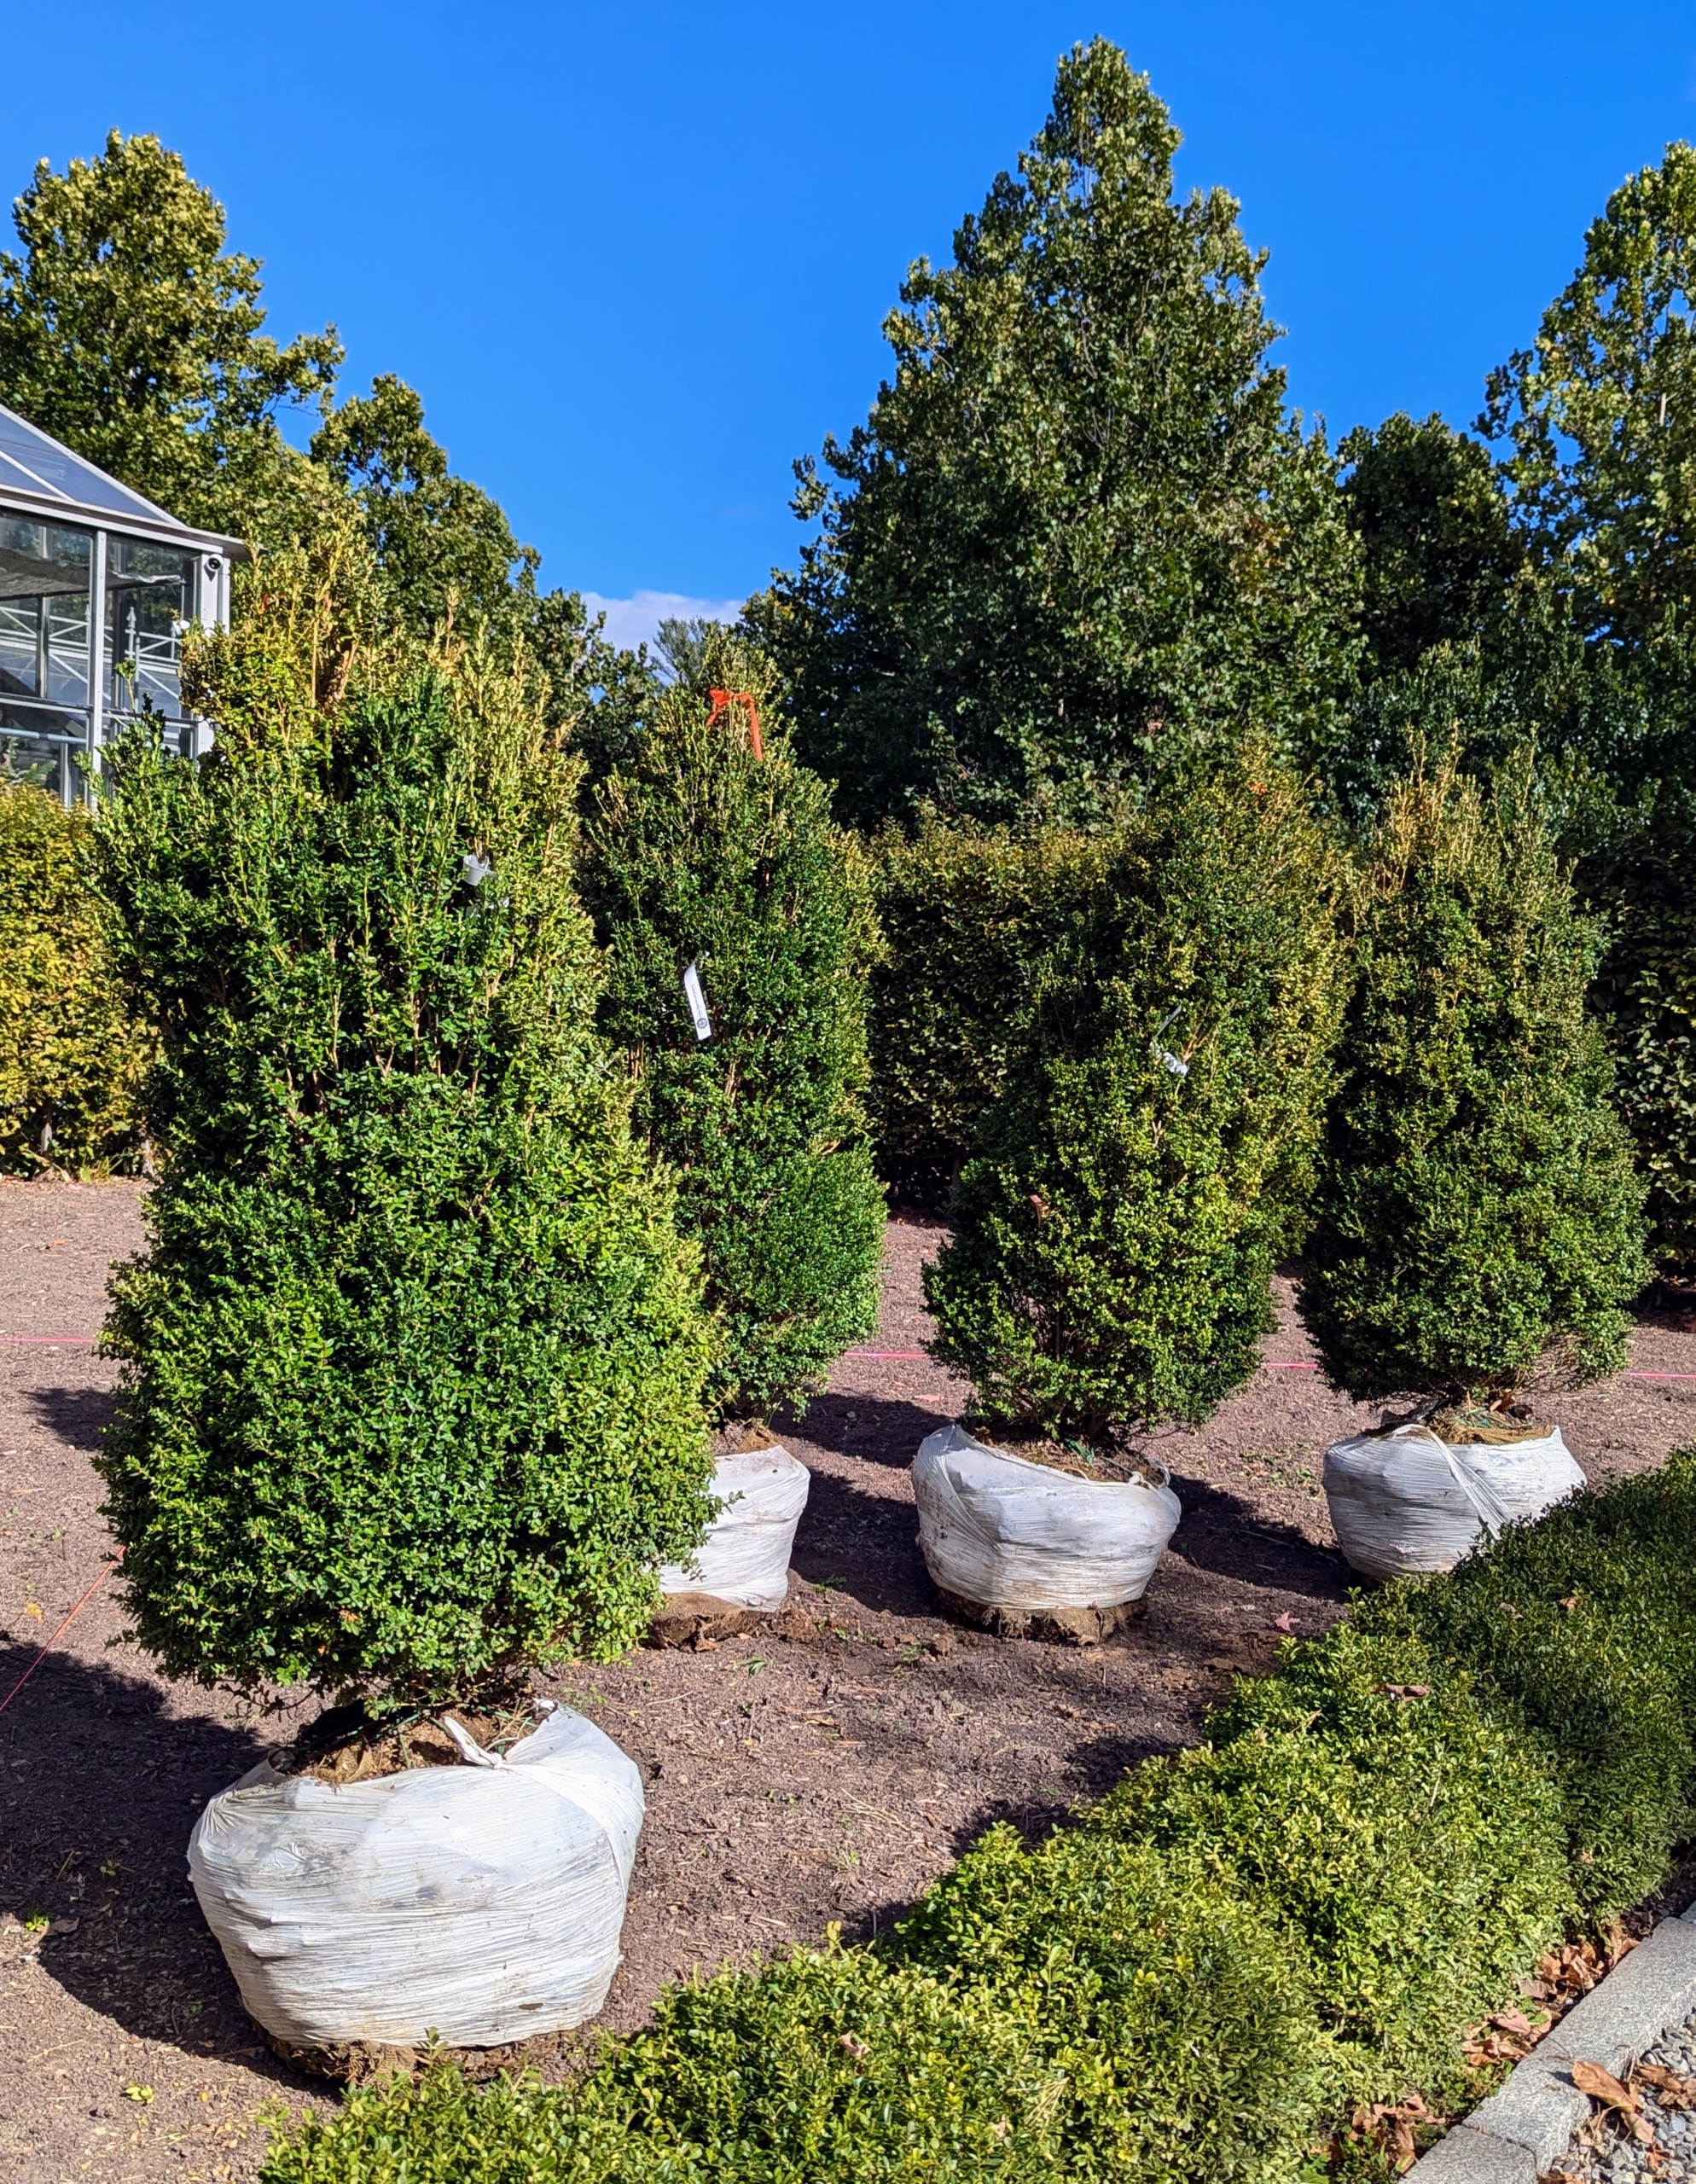
In the center of each bed, I planted four Buxus microphylla ‘John Baldwin’ from nearby Select Horticulture in Pound Ridge, New York. ‘John Baldwin’ is grown for its broad, conical habit. New foliage starts with a blue tint which slowly fades to blue-green.
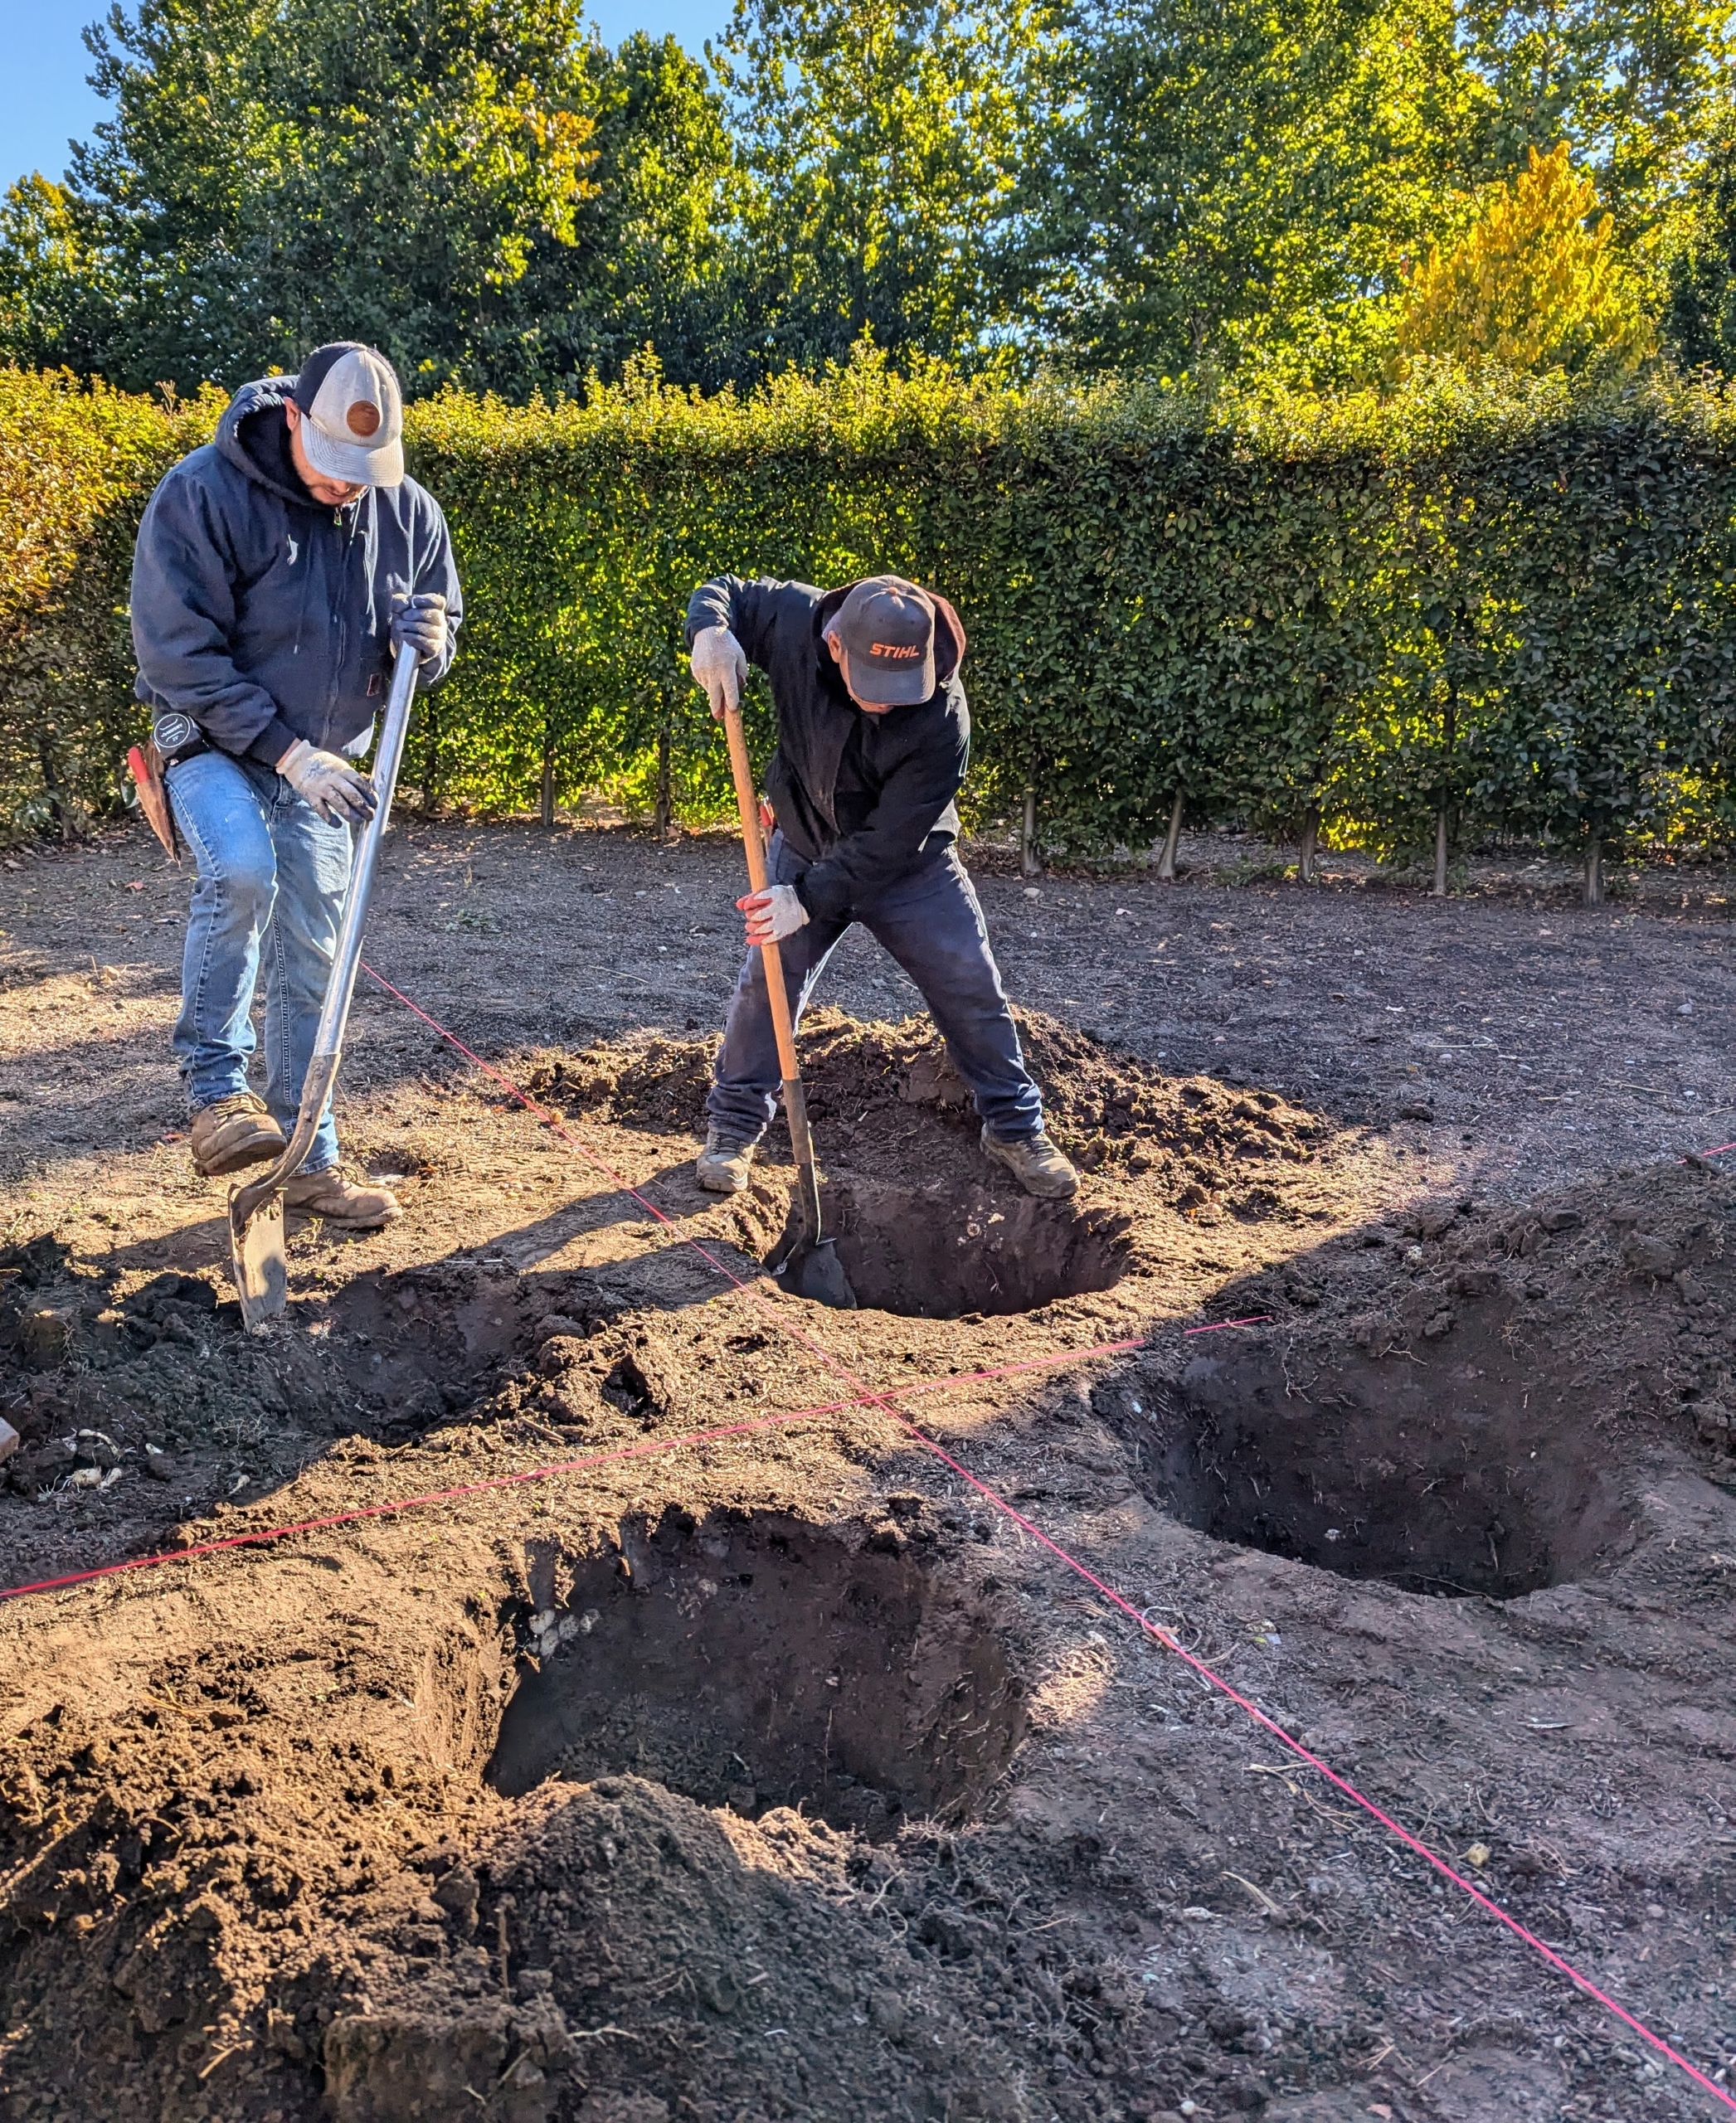
I always encourage my gardeners and outdoor grounds crew to measure everything. Here is Phurba marking the true center of each bed.
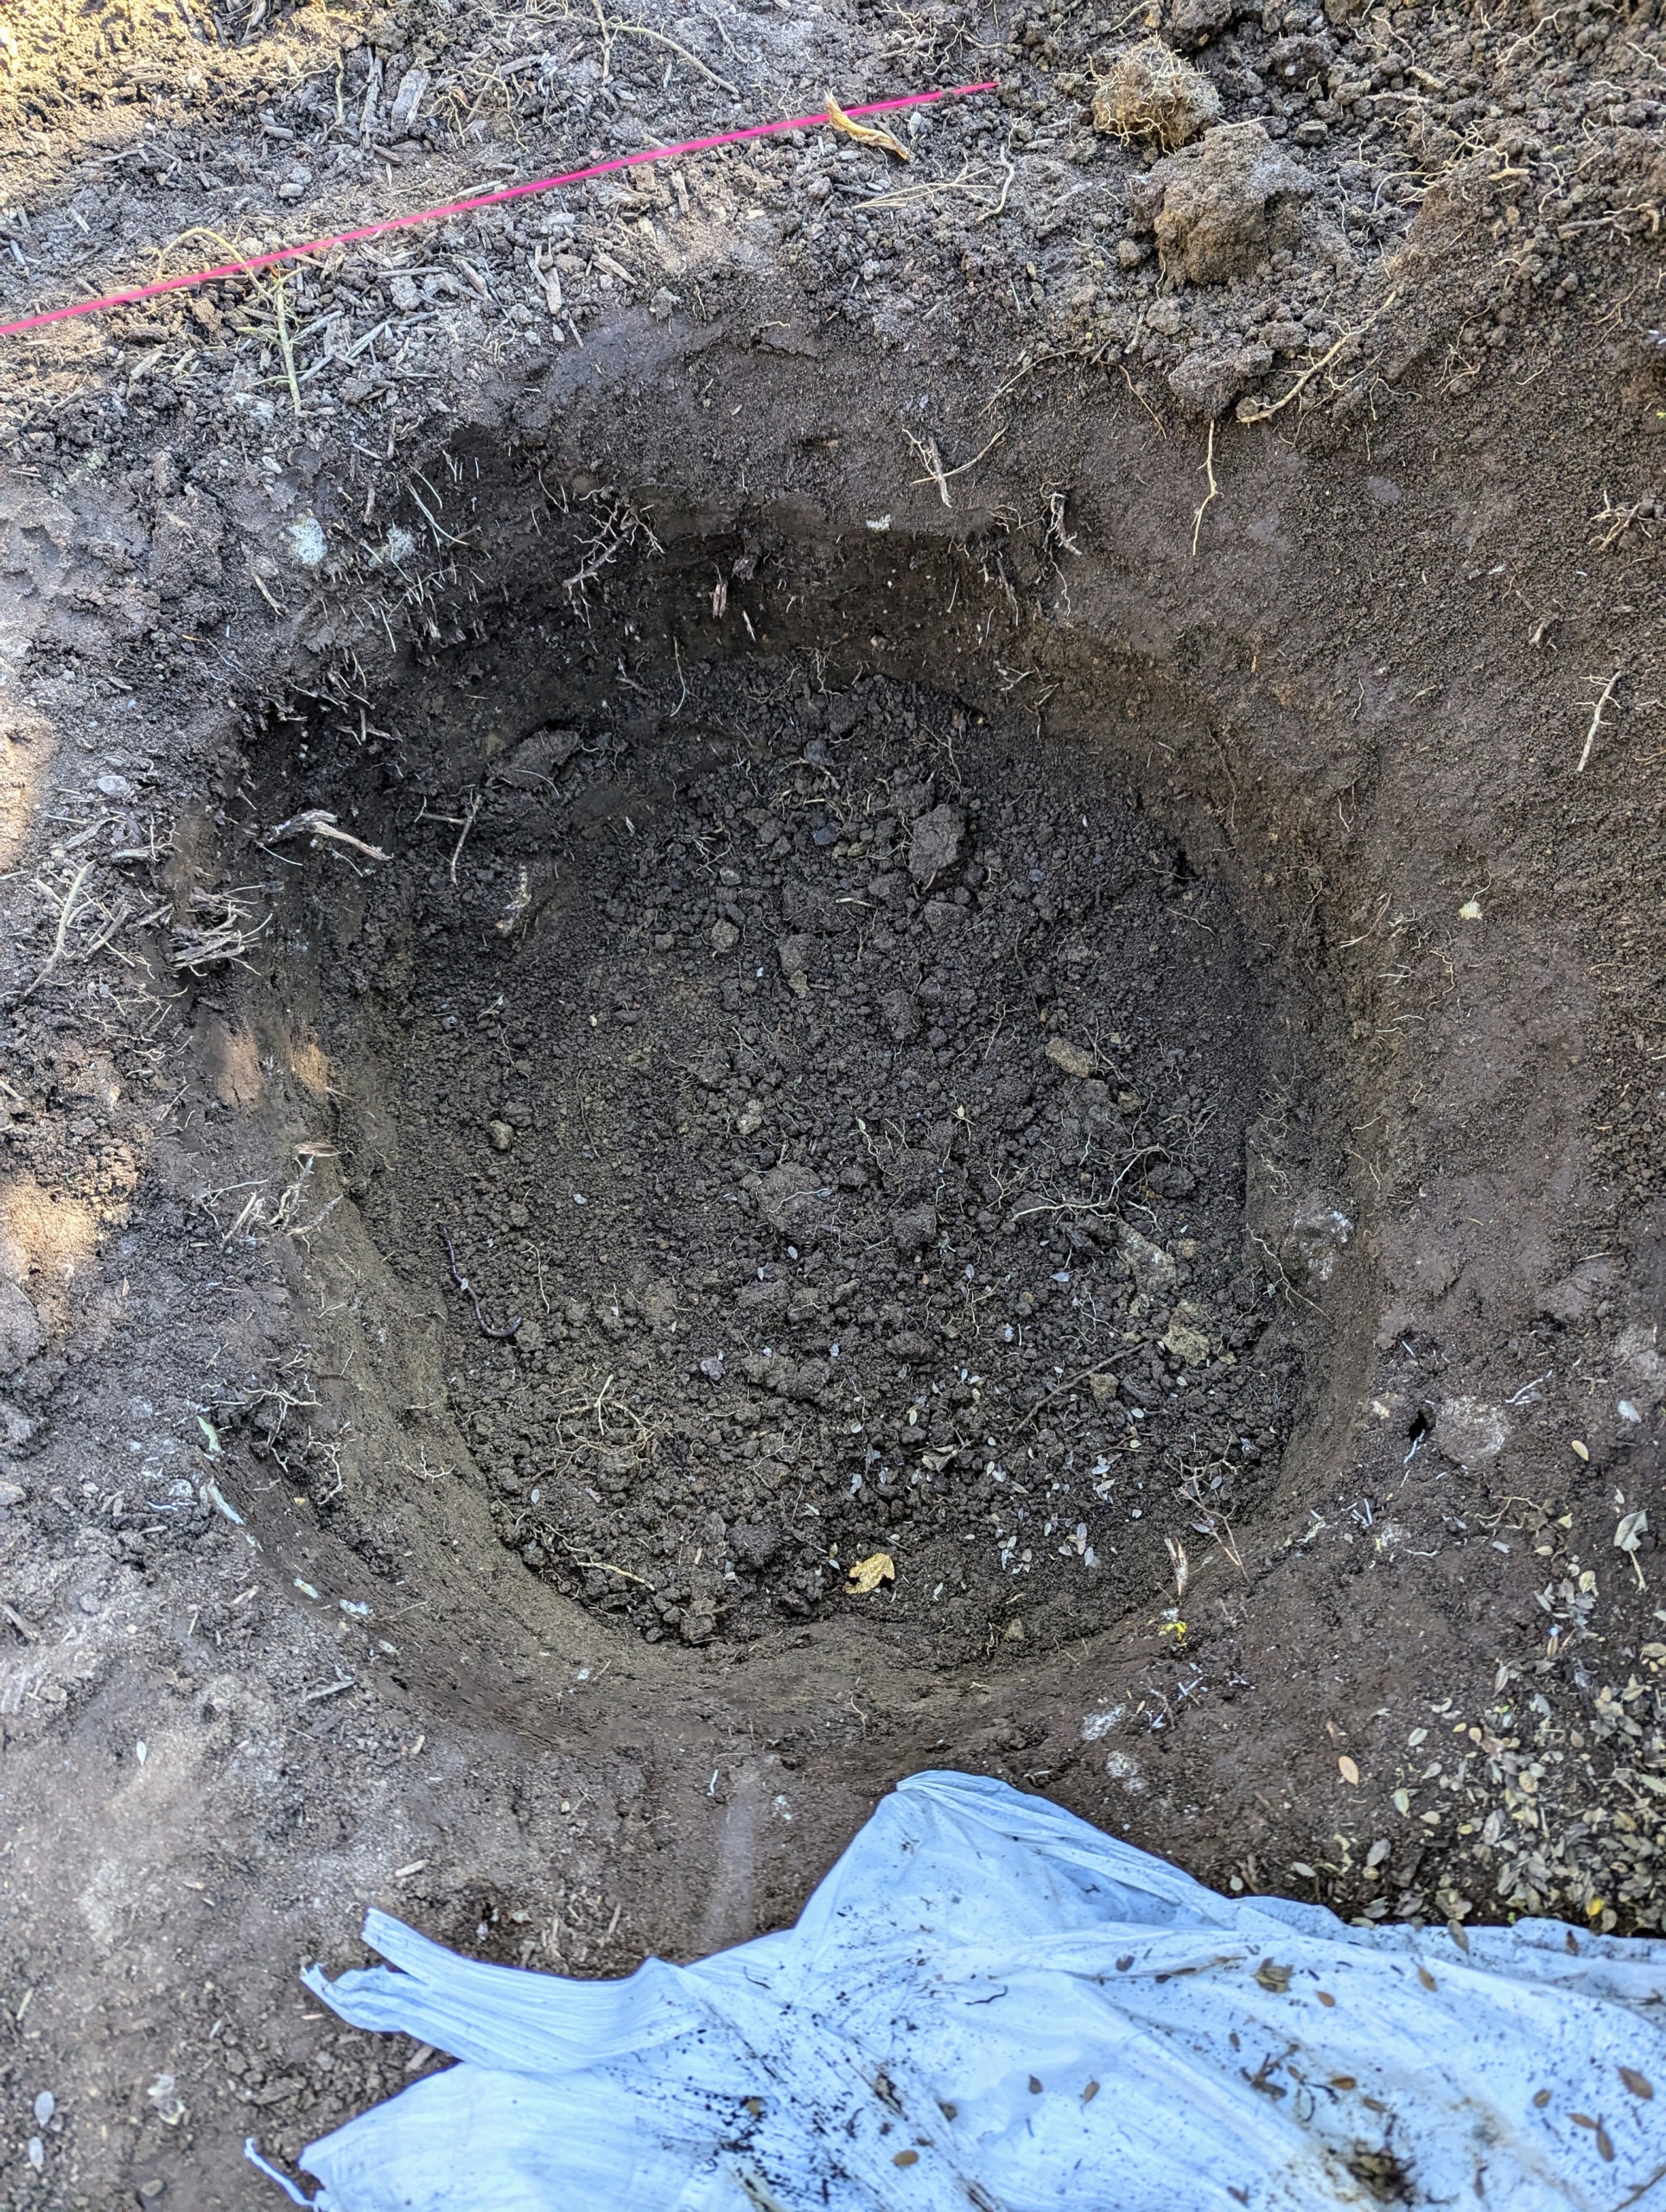
Next, holes are dug out for each of the four boxwood.
Each hole should be at least two to three times as wide and as deep as the height of the boxwood root ball.
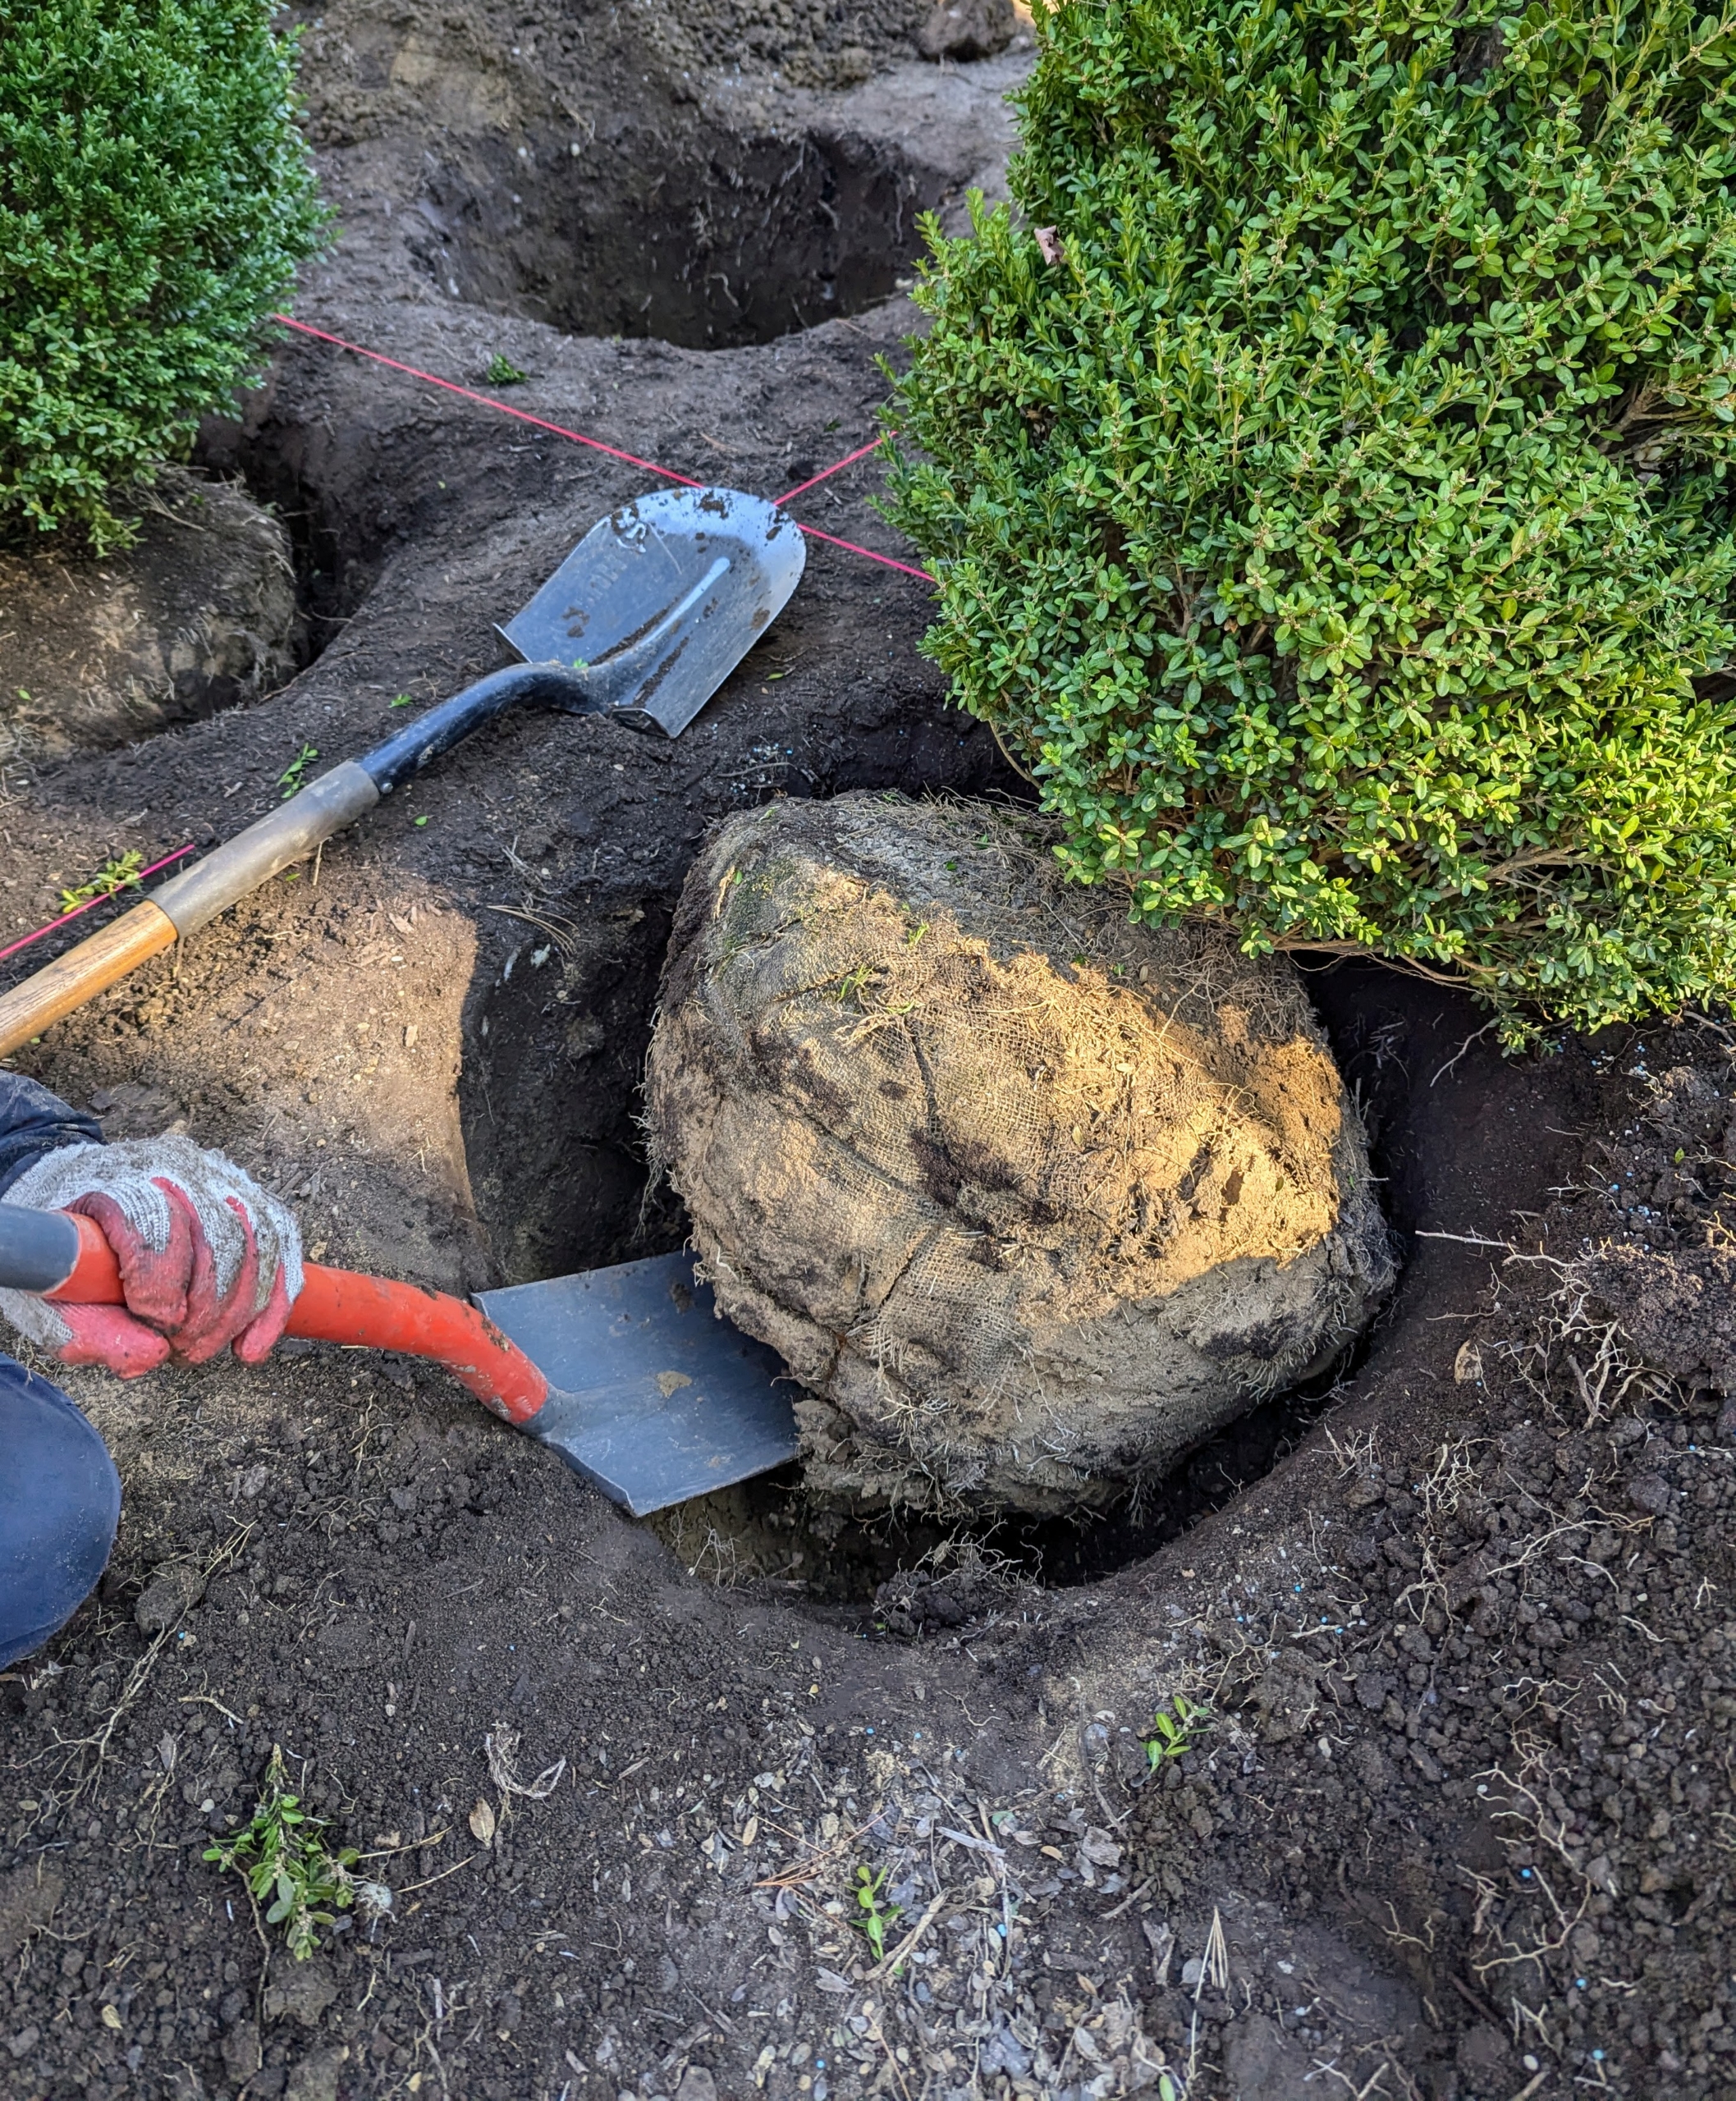
Then, each boxwood is carefully placed into the hole and backfilled. Notice, all the protective wrapping from the root ball is removed and discarded. I like to take everything off whenever i plant, so there is nothing obstructing the roots. The soil is also properly fed with Miracle-Gro.
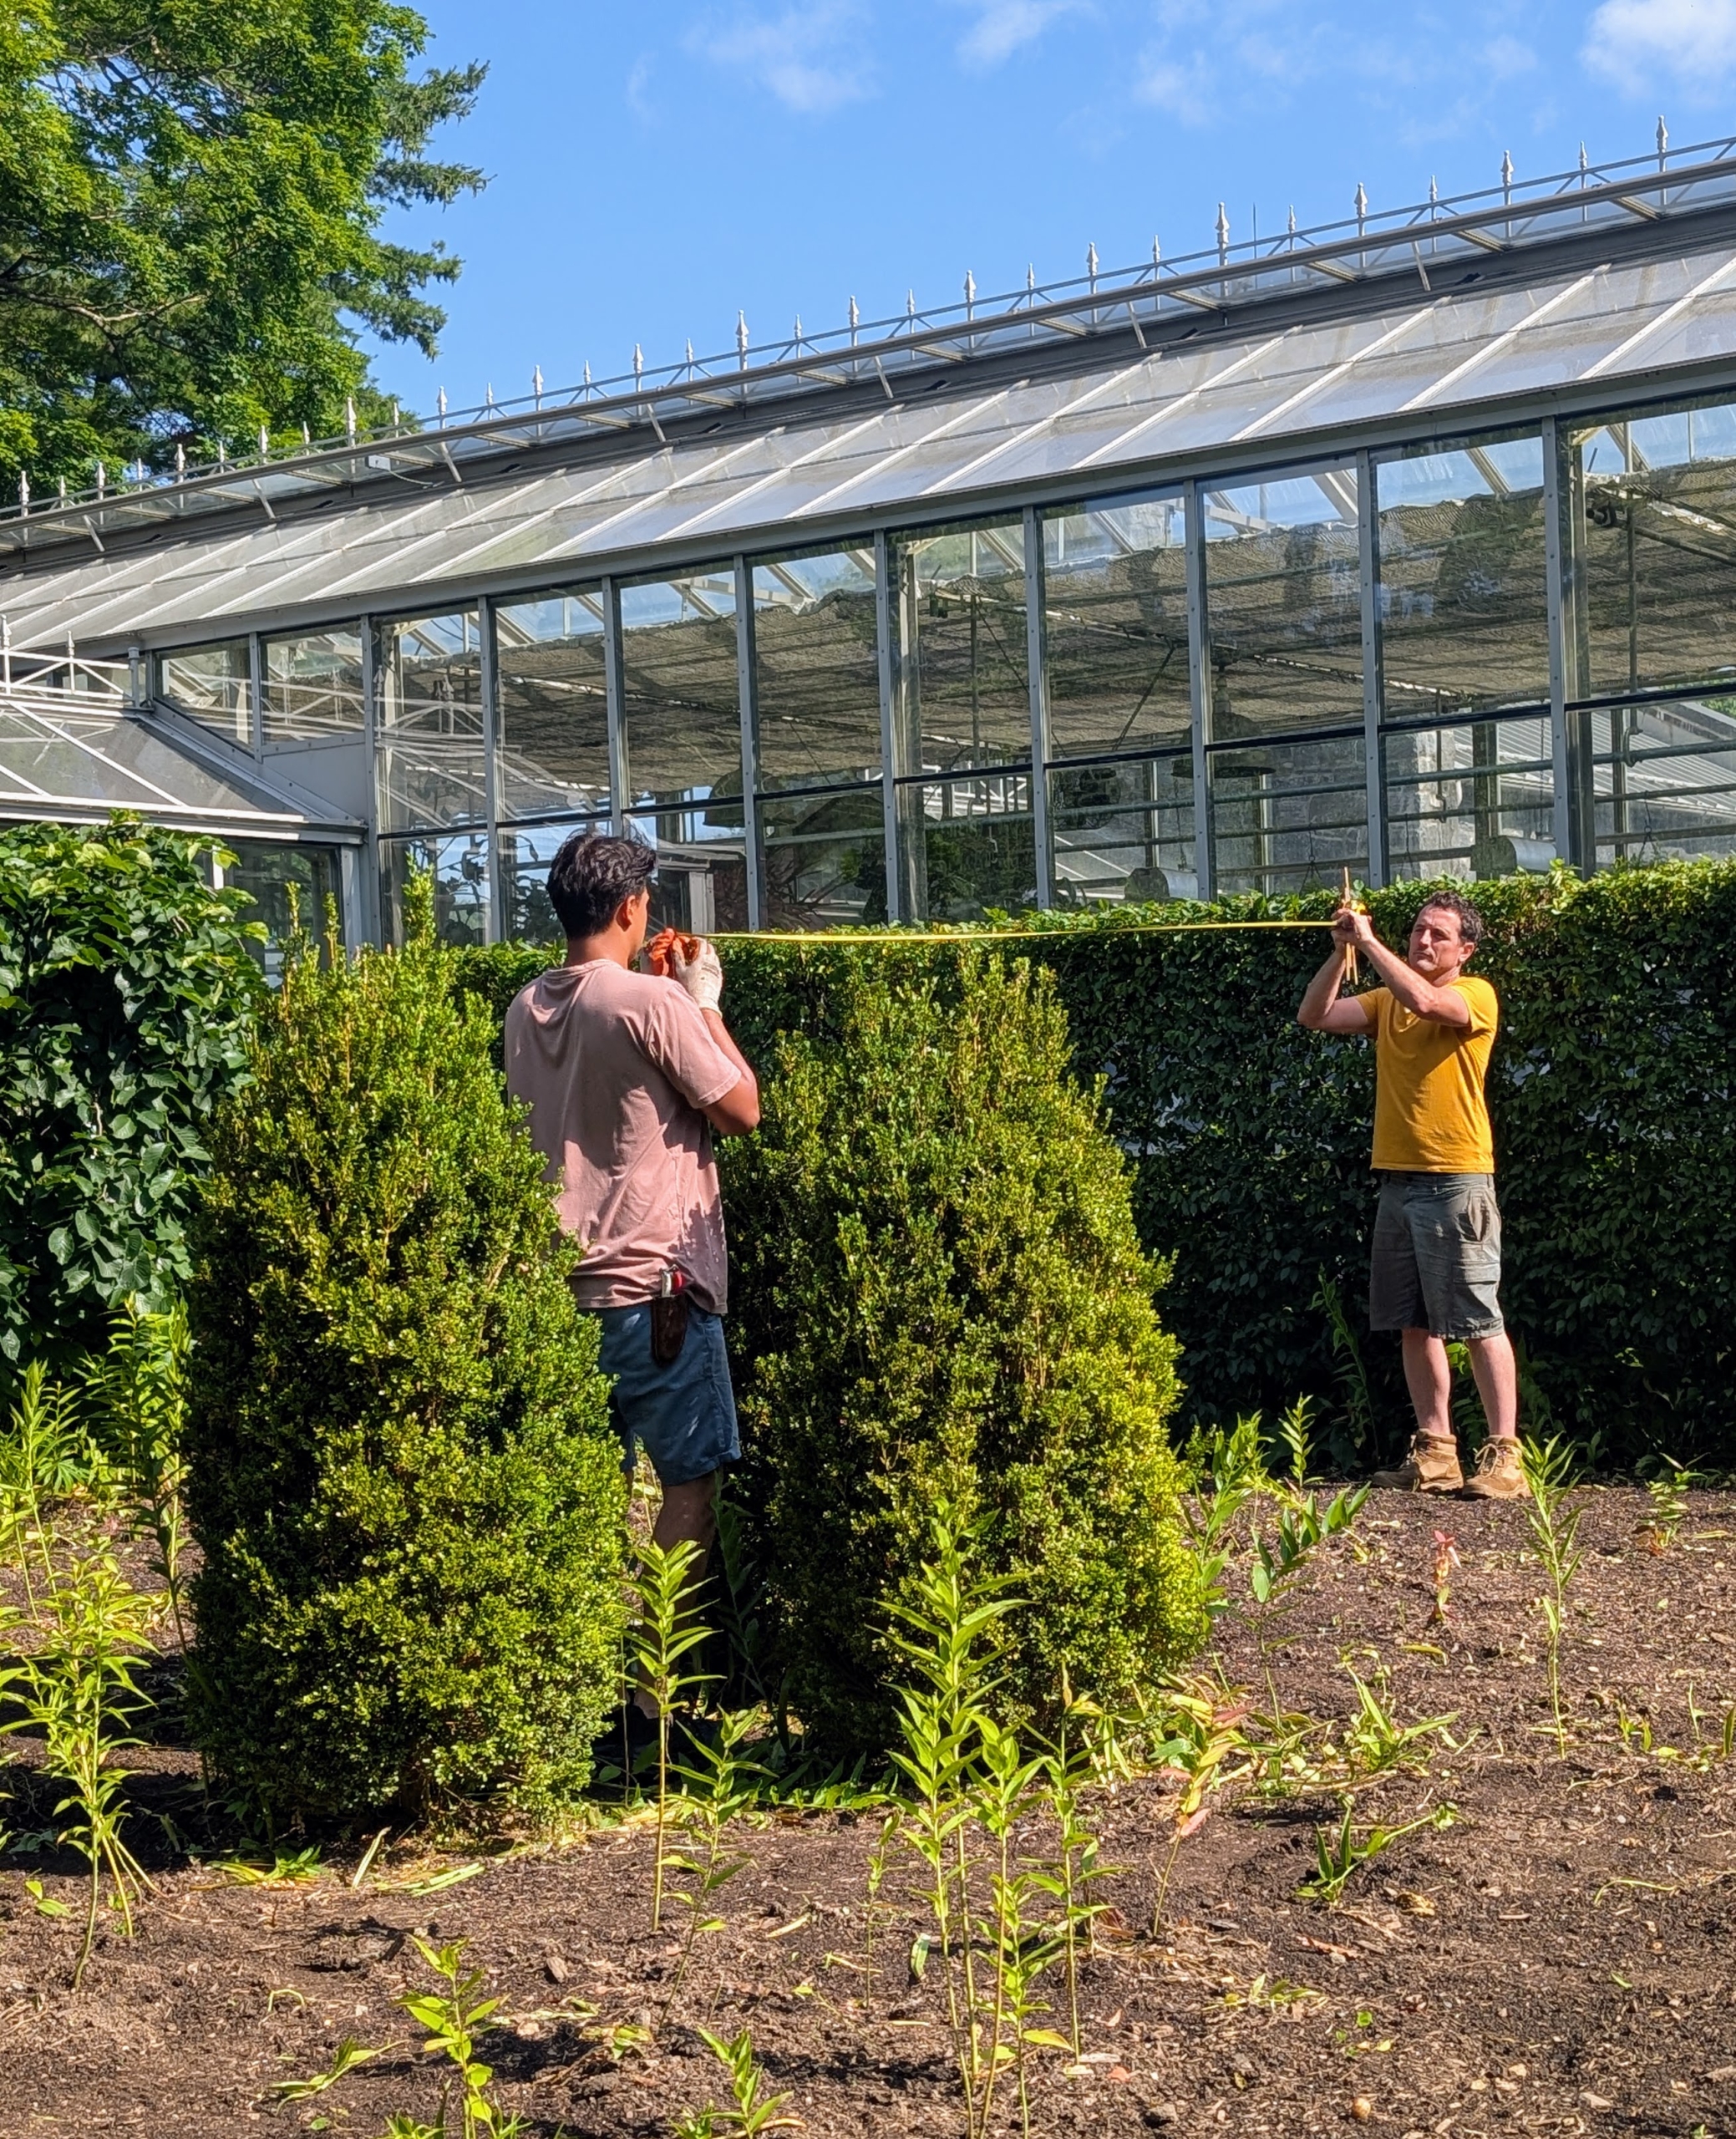
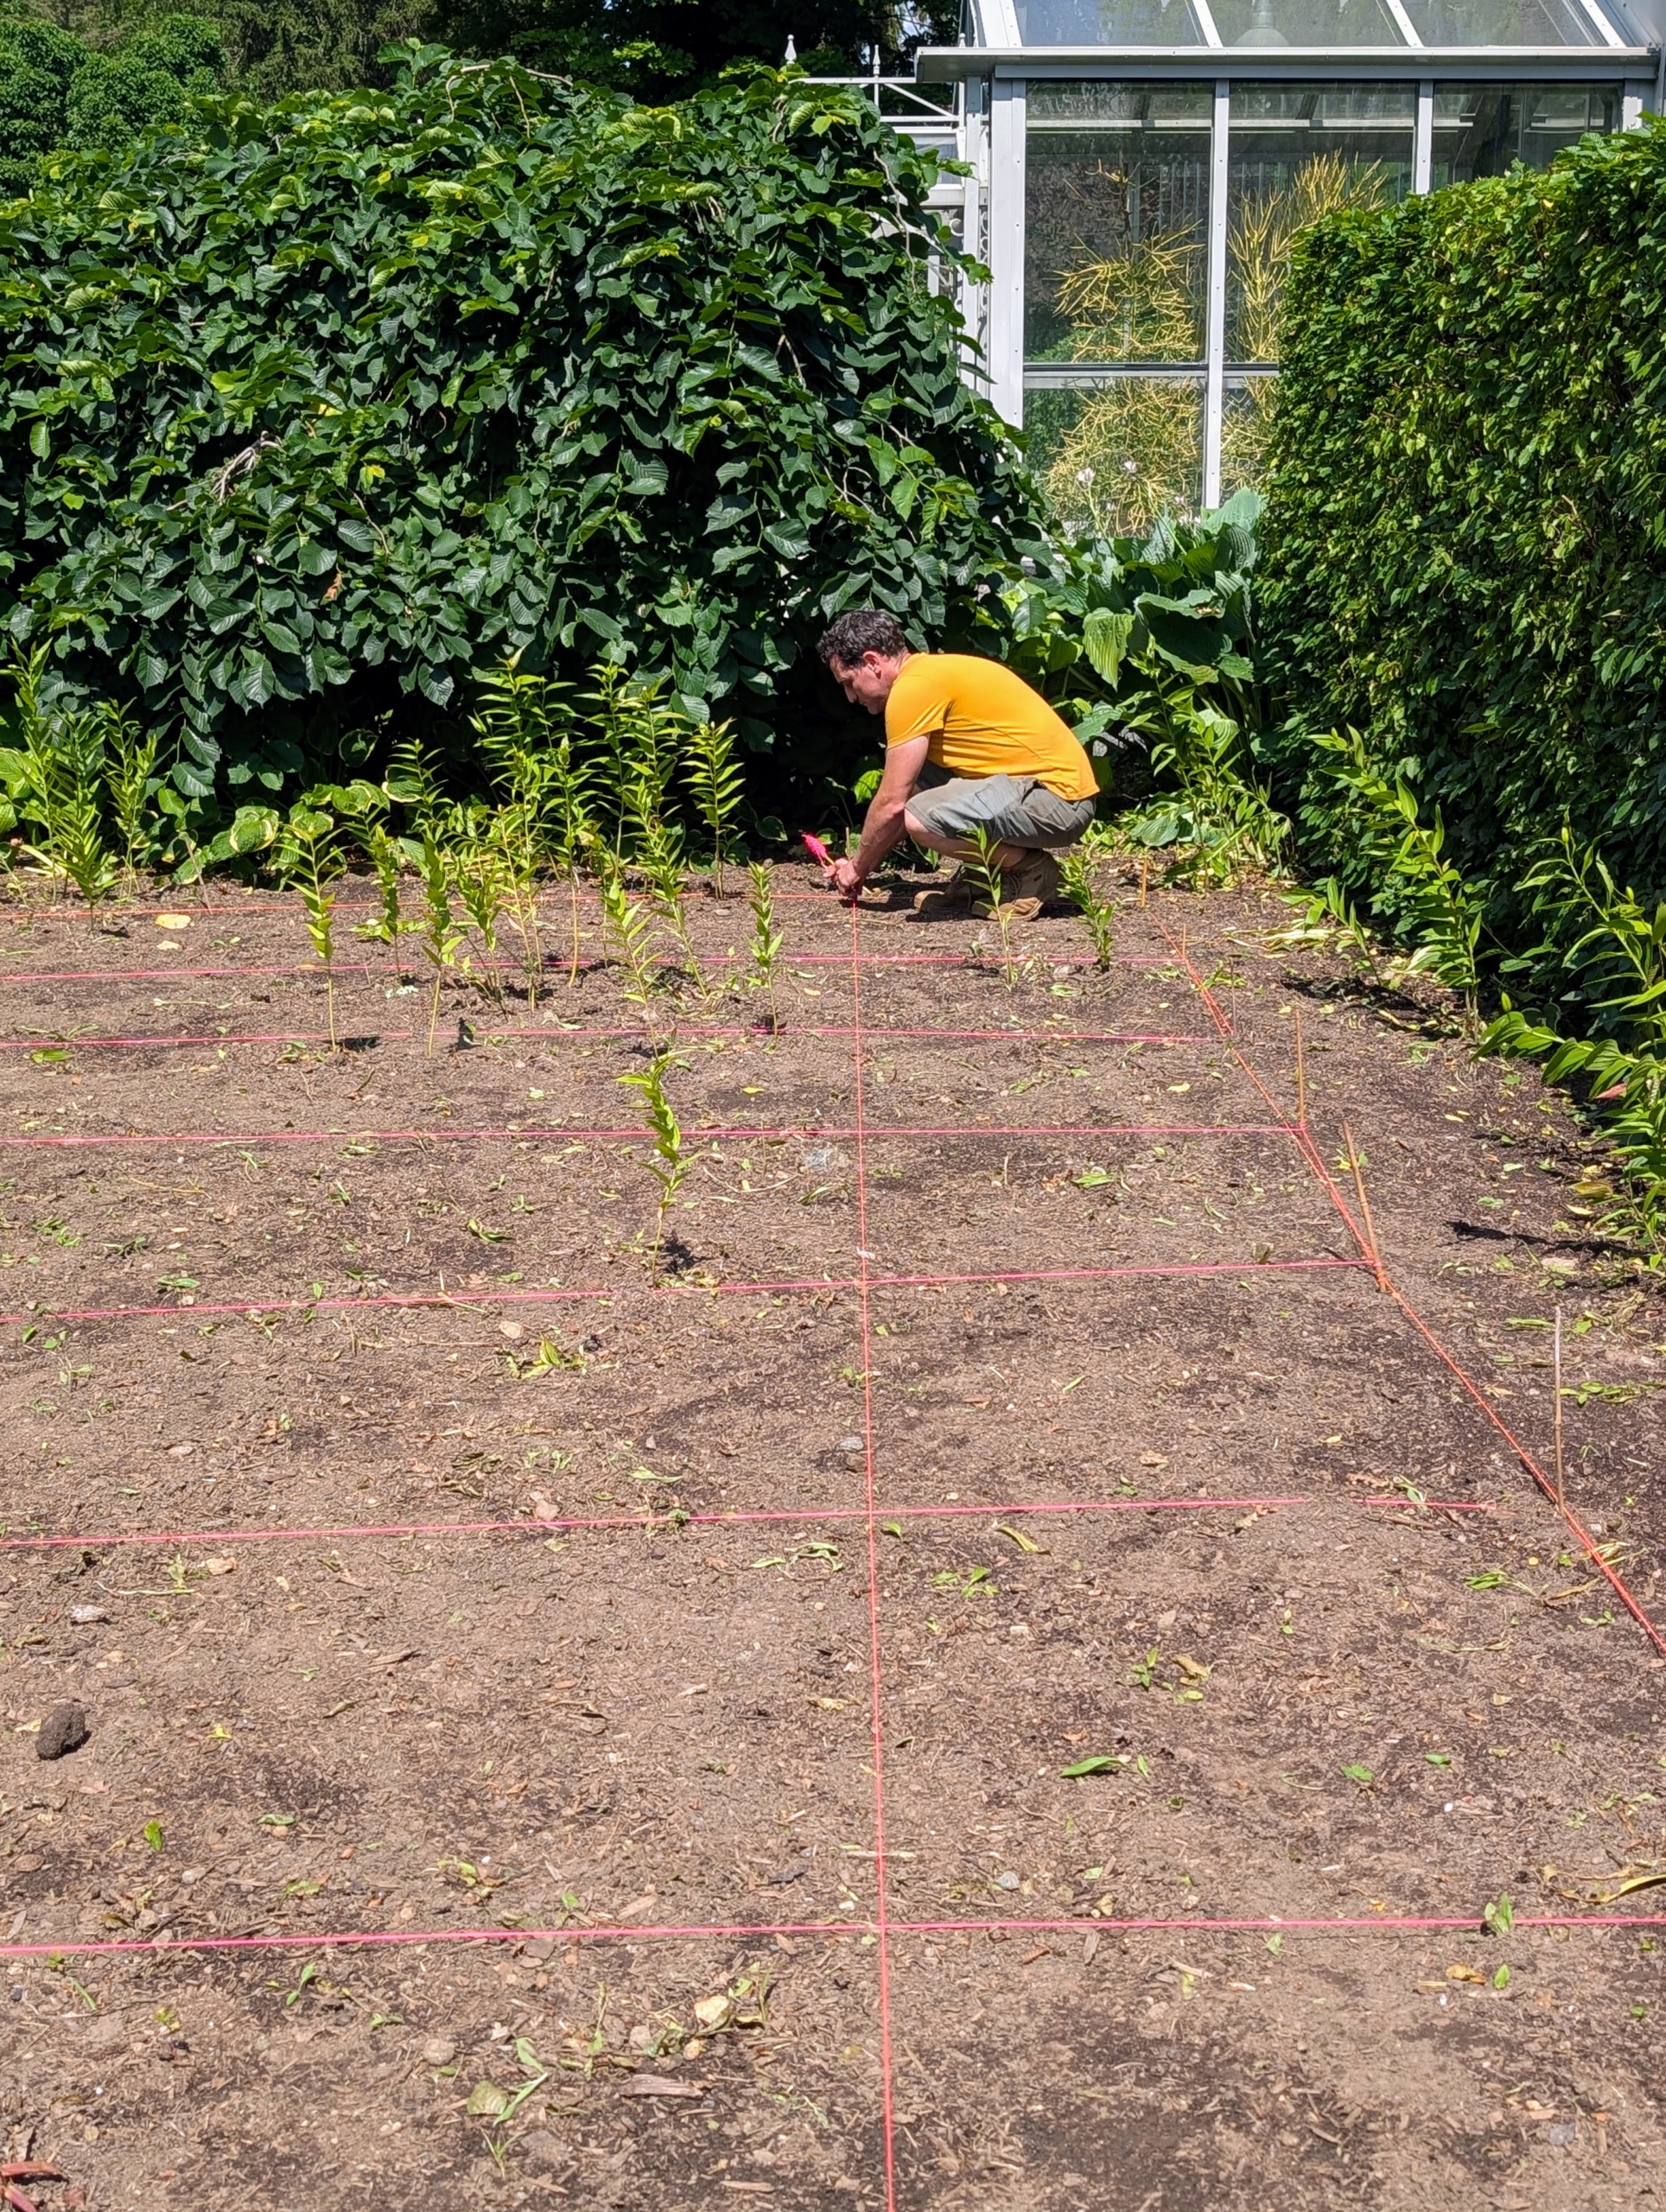
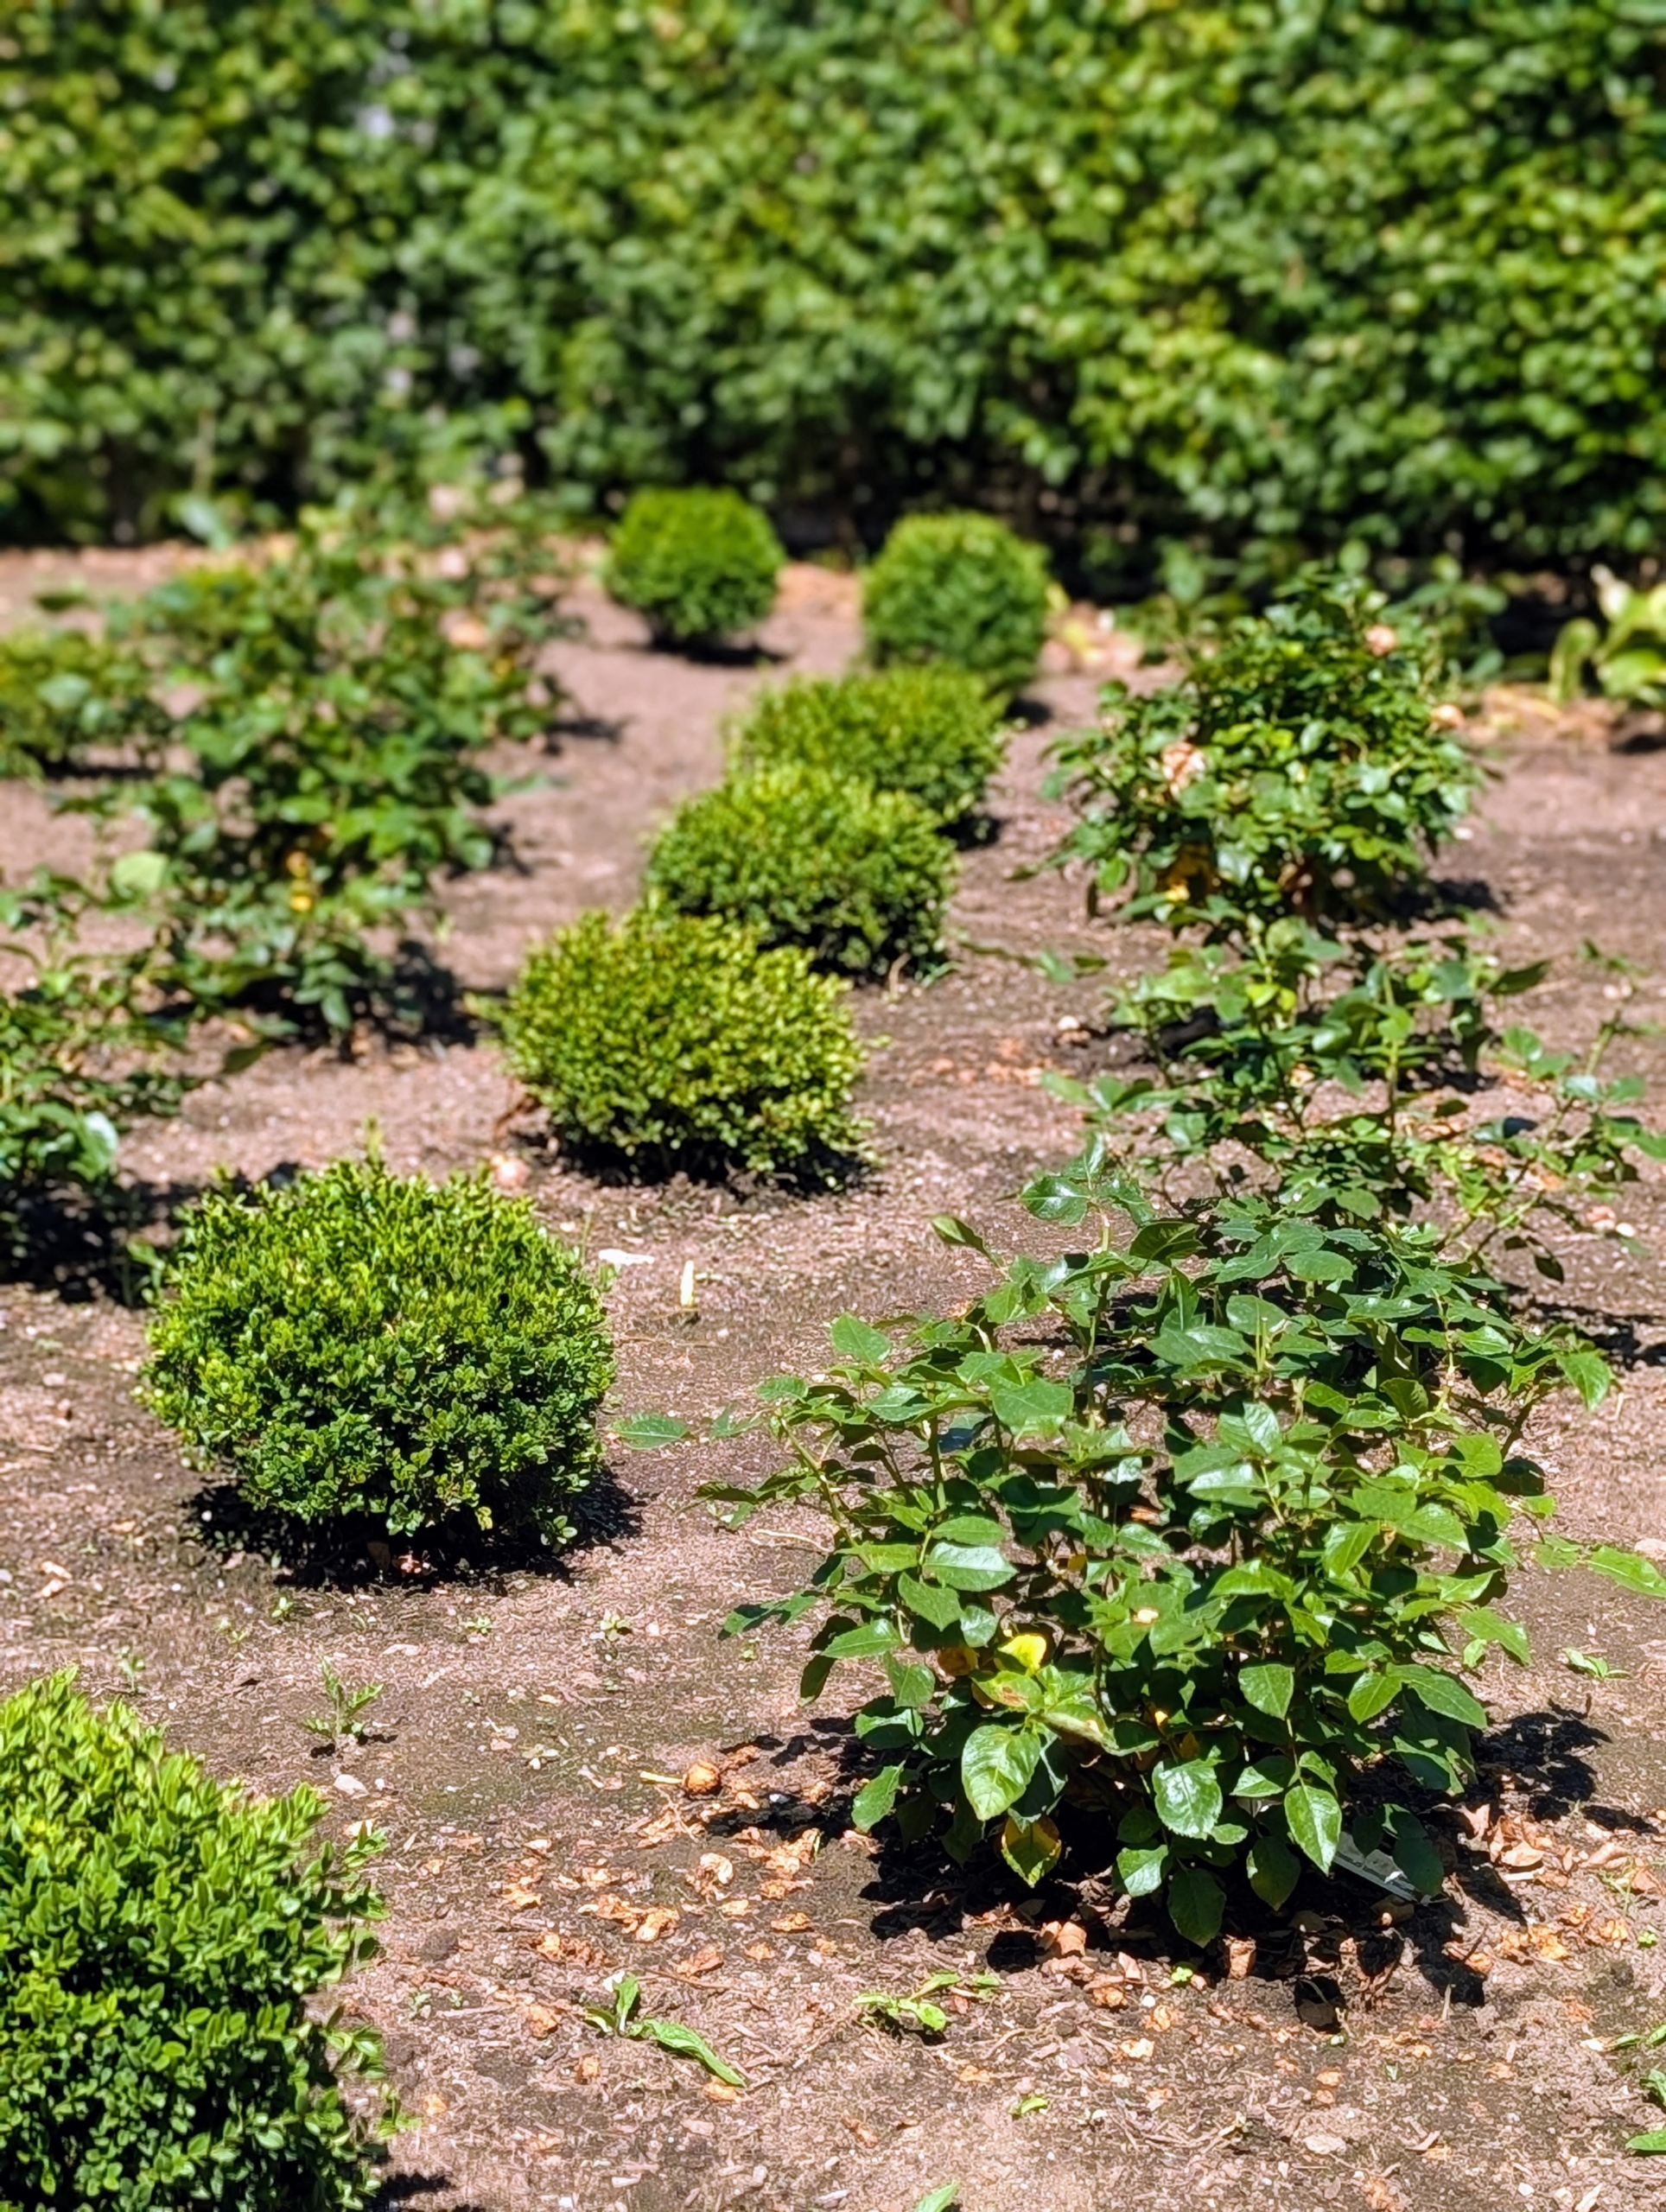
Not long ago, I instructed my head gardener, Ryan McCallister, to measure a new grid pattern for my new rose bed design. Ryan and Matthew measure from the center of the boxwood.
I wanted to alternate the roses and small boxwood shrubs, one in each square of the grid. The boxwood were nurtured here from bare-root cuttings.
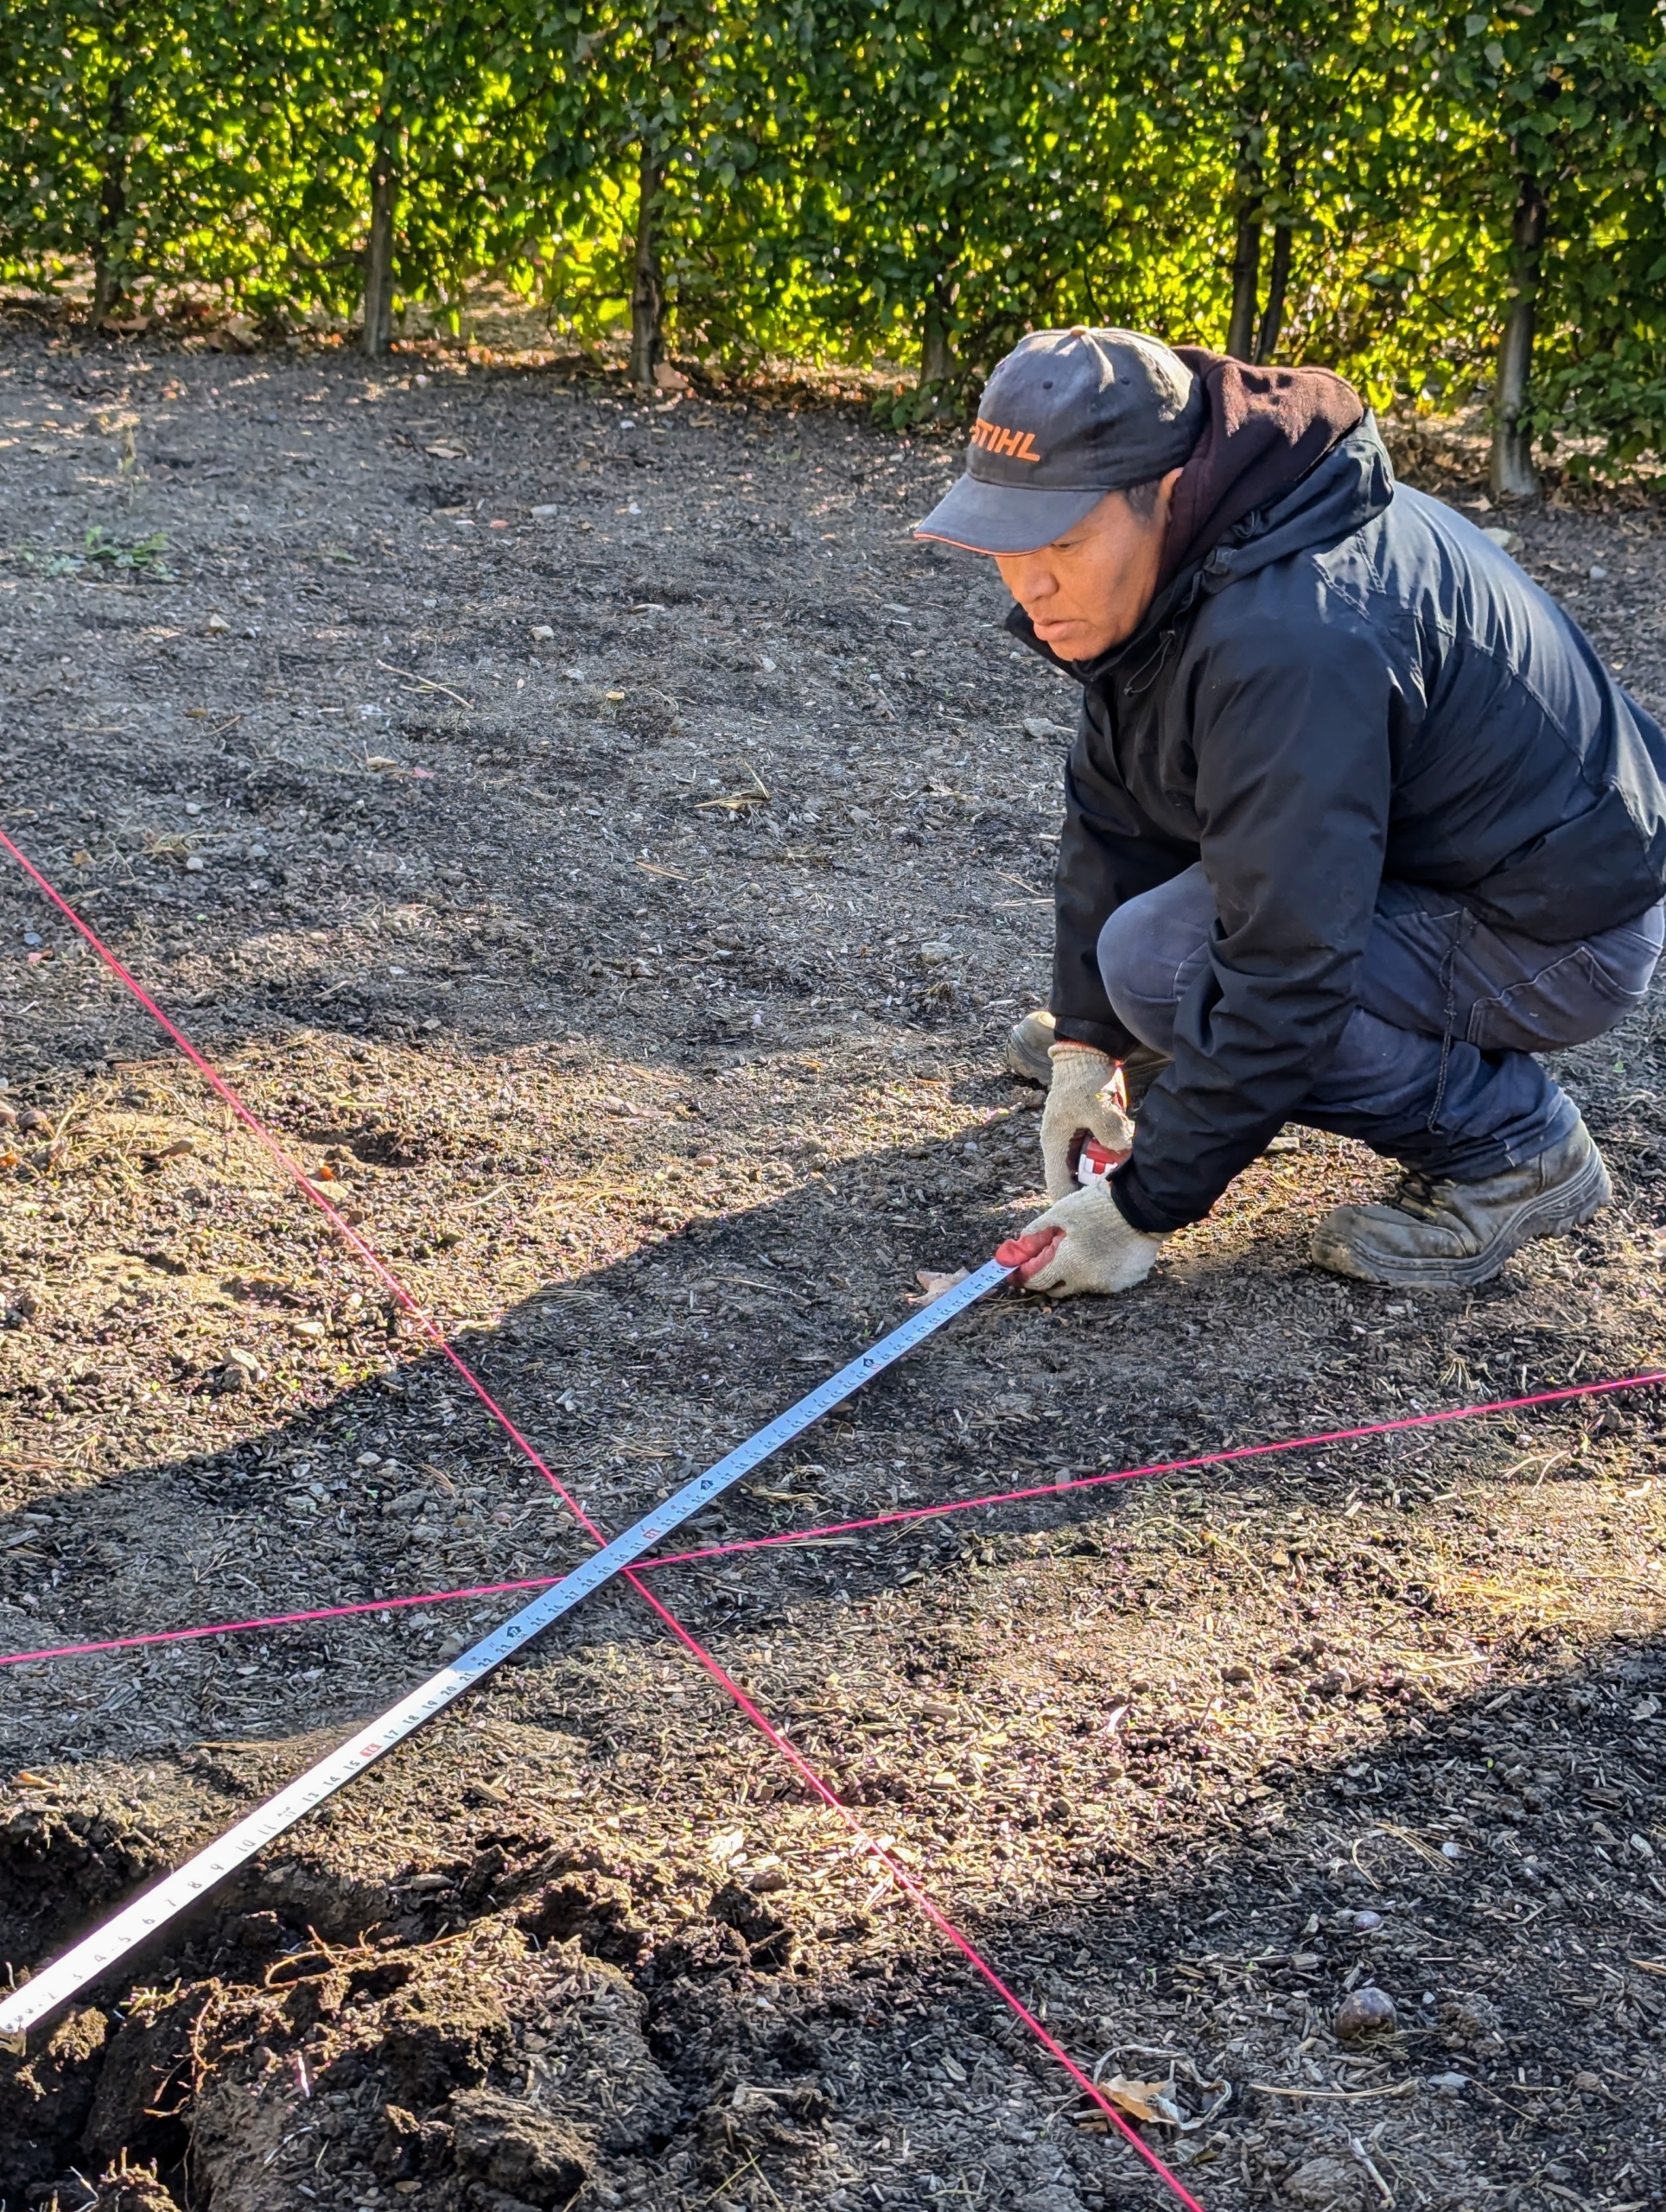
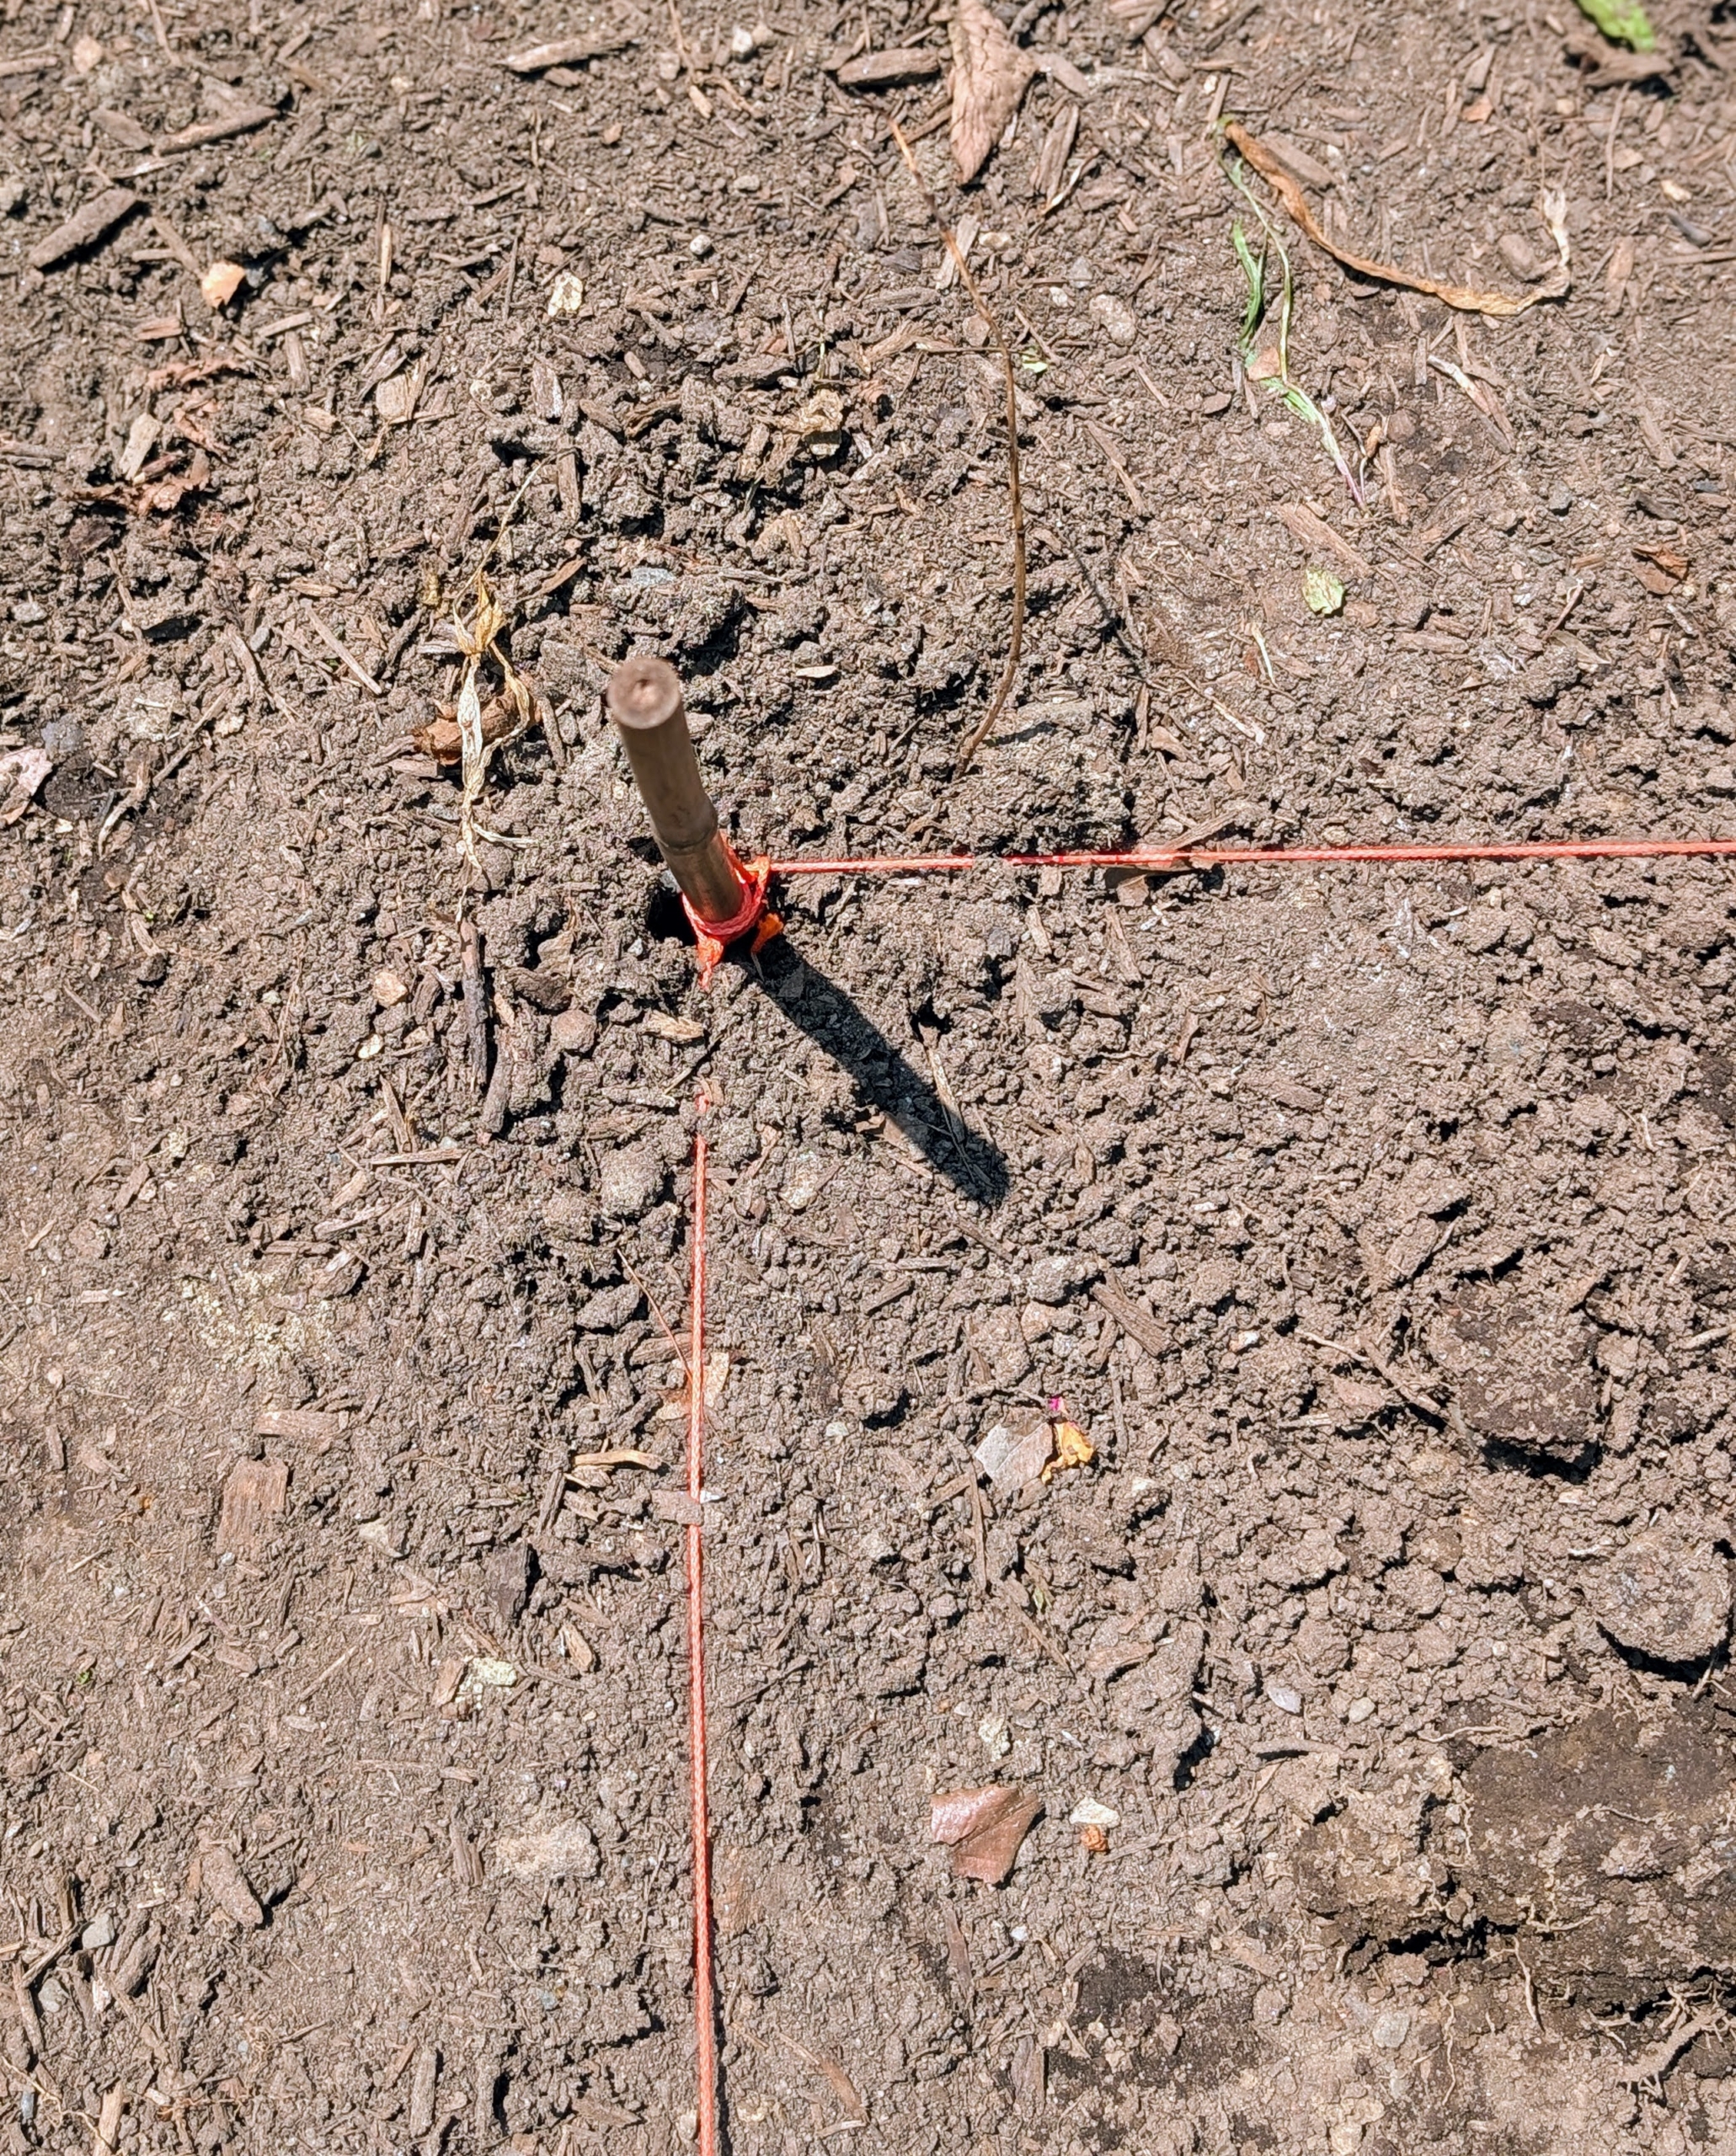
Bright colored landscape twine is used to mark the pattern.
Ryan meticulously measures each square to be three feet by three feet.
The rose plants are selected, counted, and brought to the planting site. I think they will all look so wonderful growing in these beds.
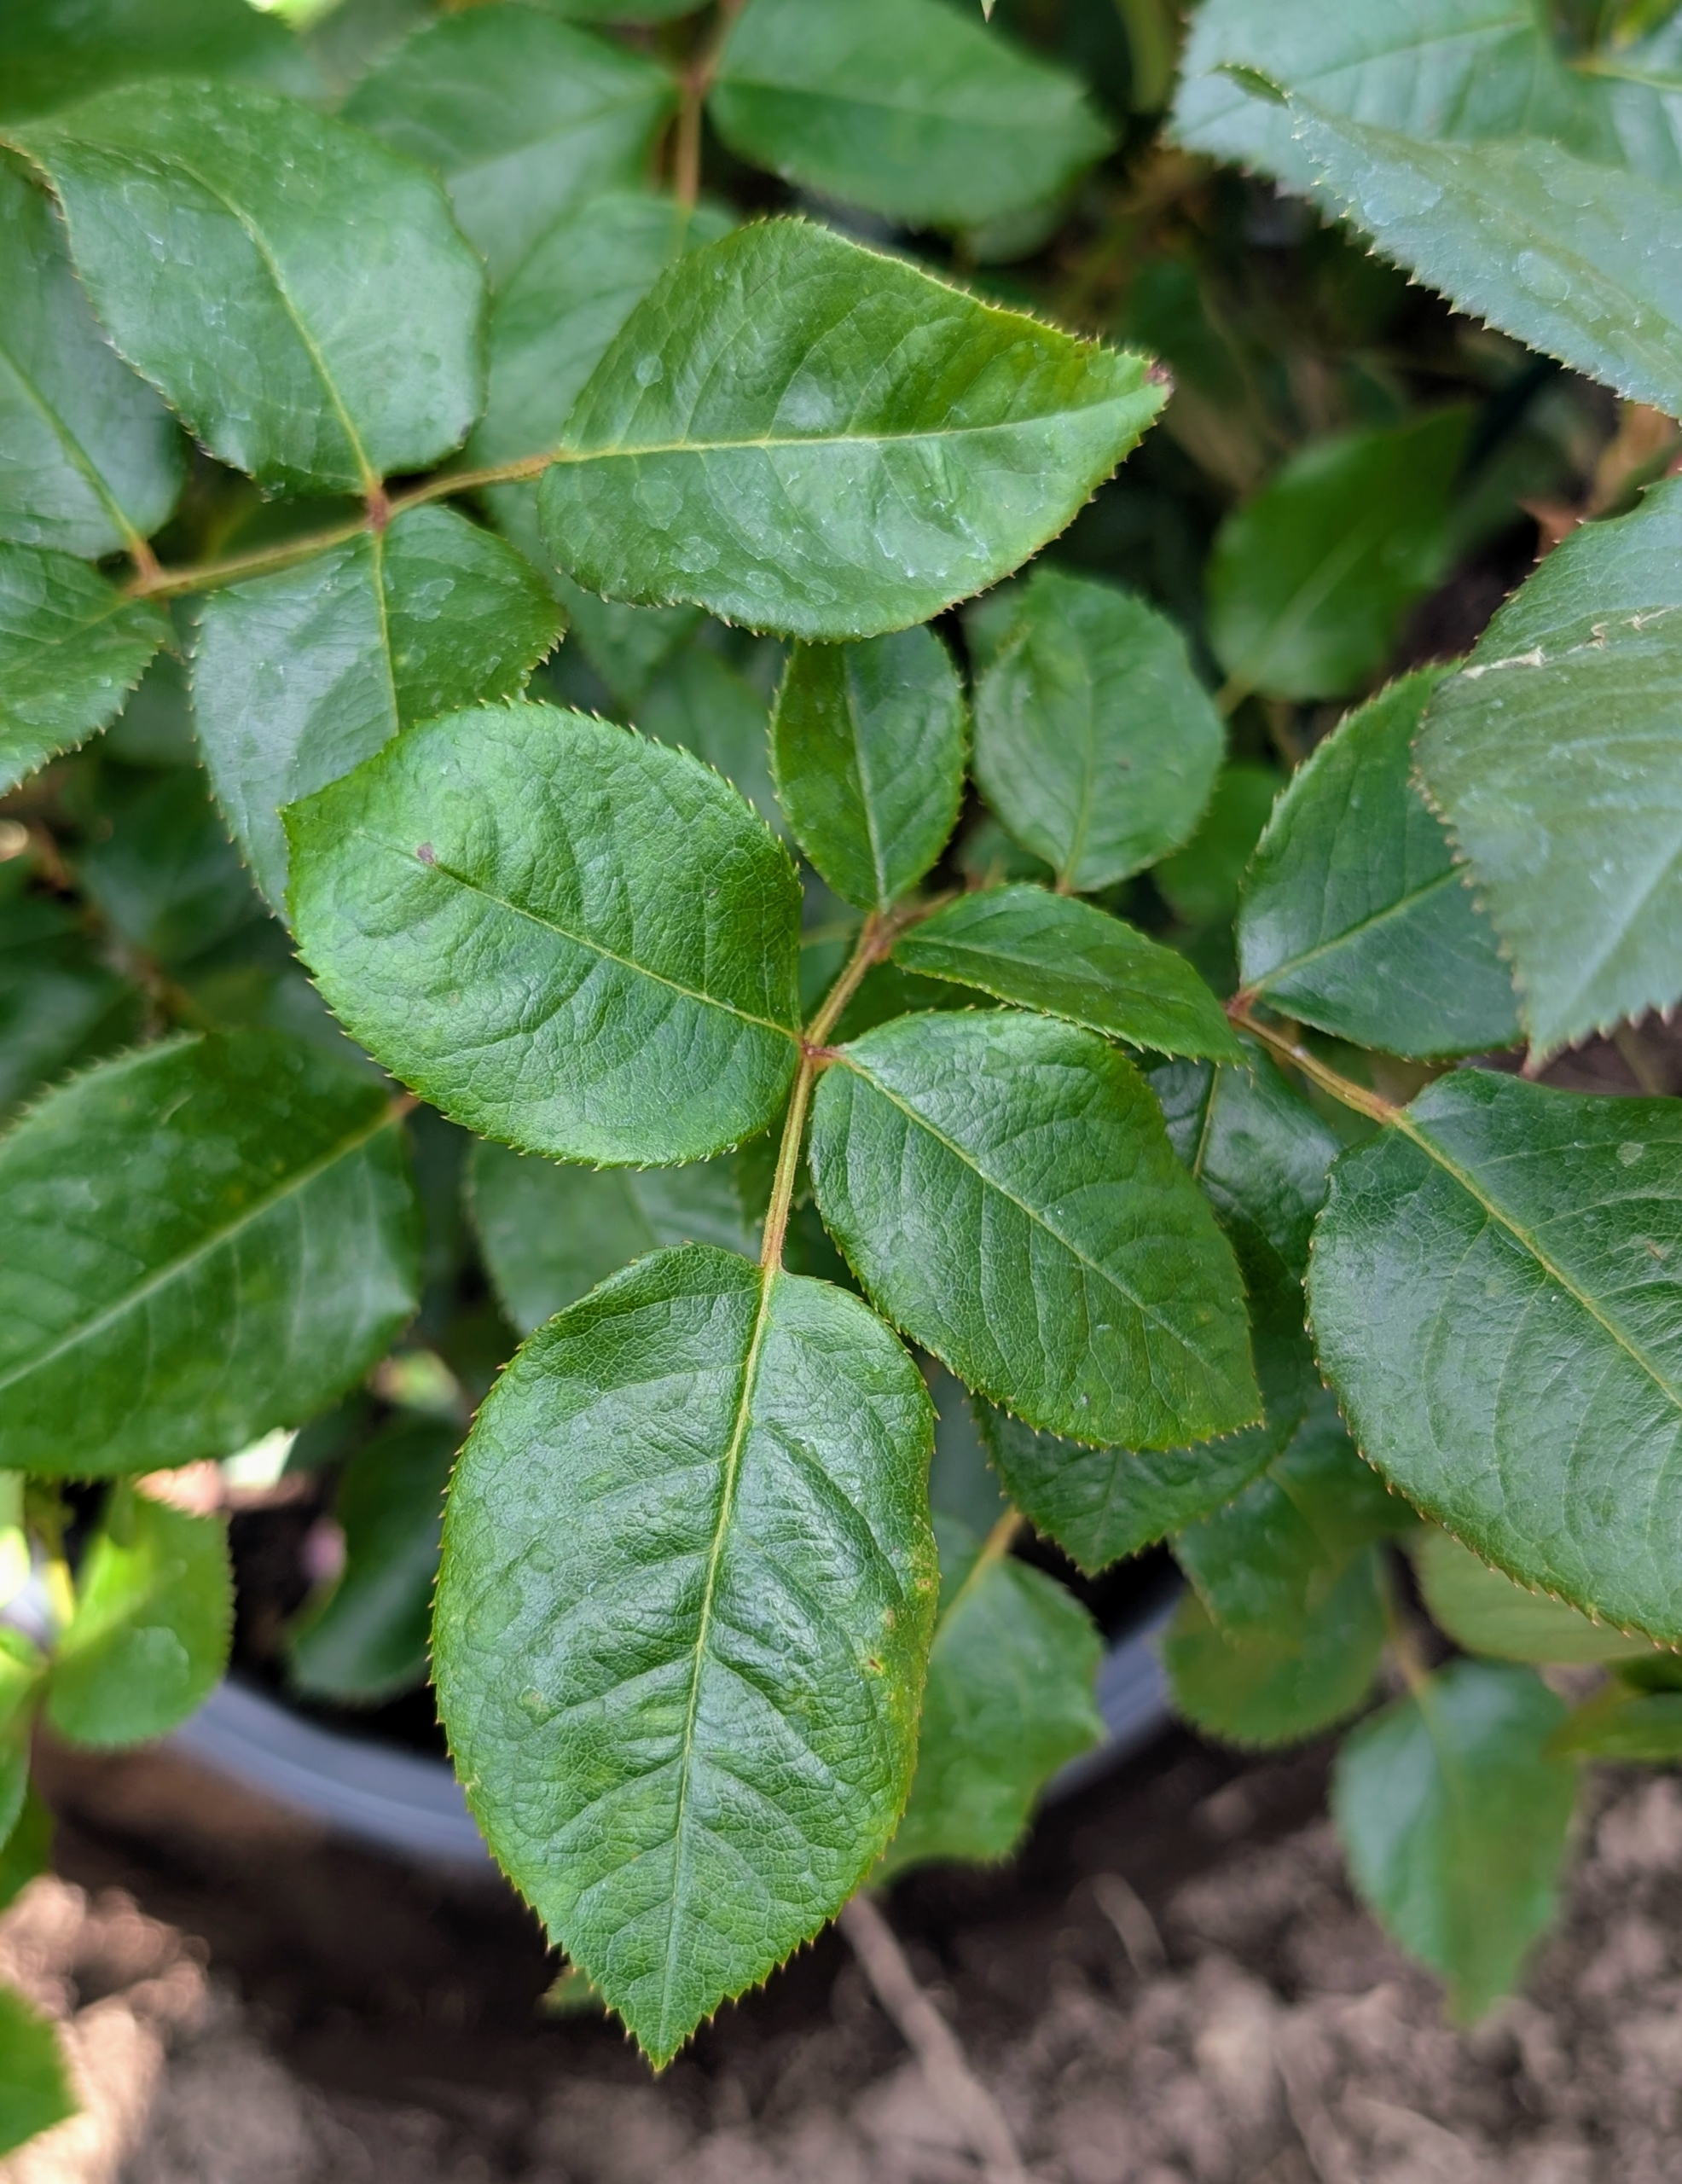
The leaves of the rose are described as “pinnate” – meaning there is a central rib and then leaflets off to each side, with one terminal leaflet. Rose leaves can have anywhere from two to 13 leaflets.
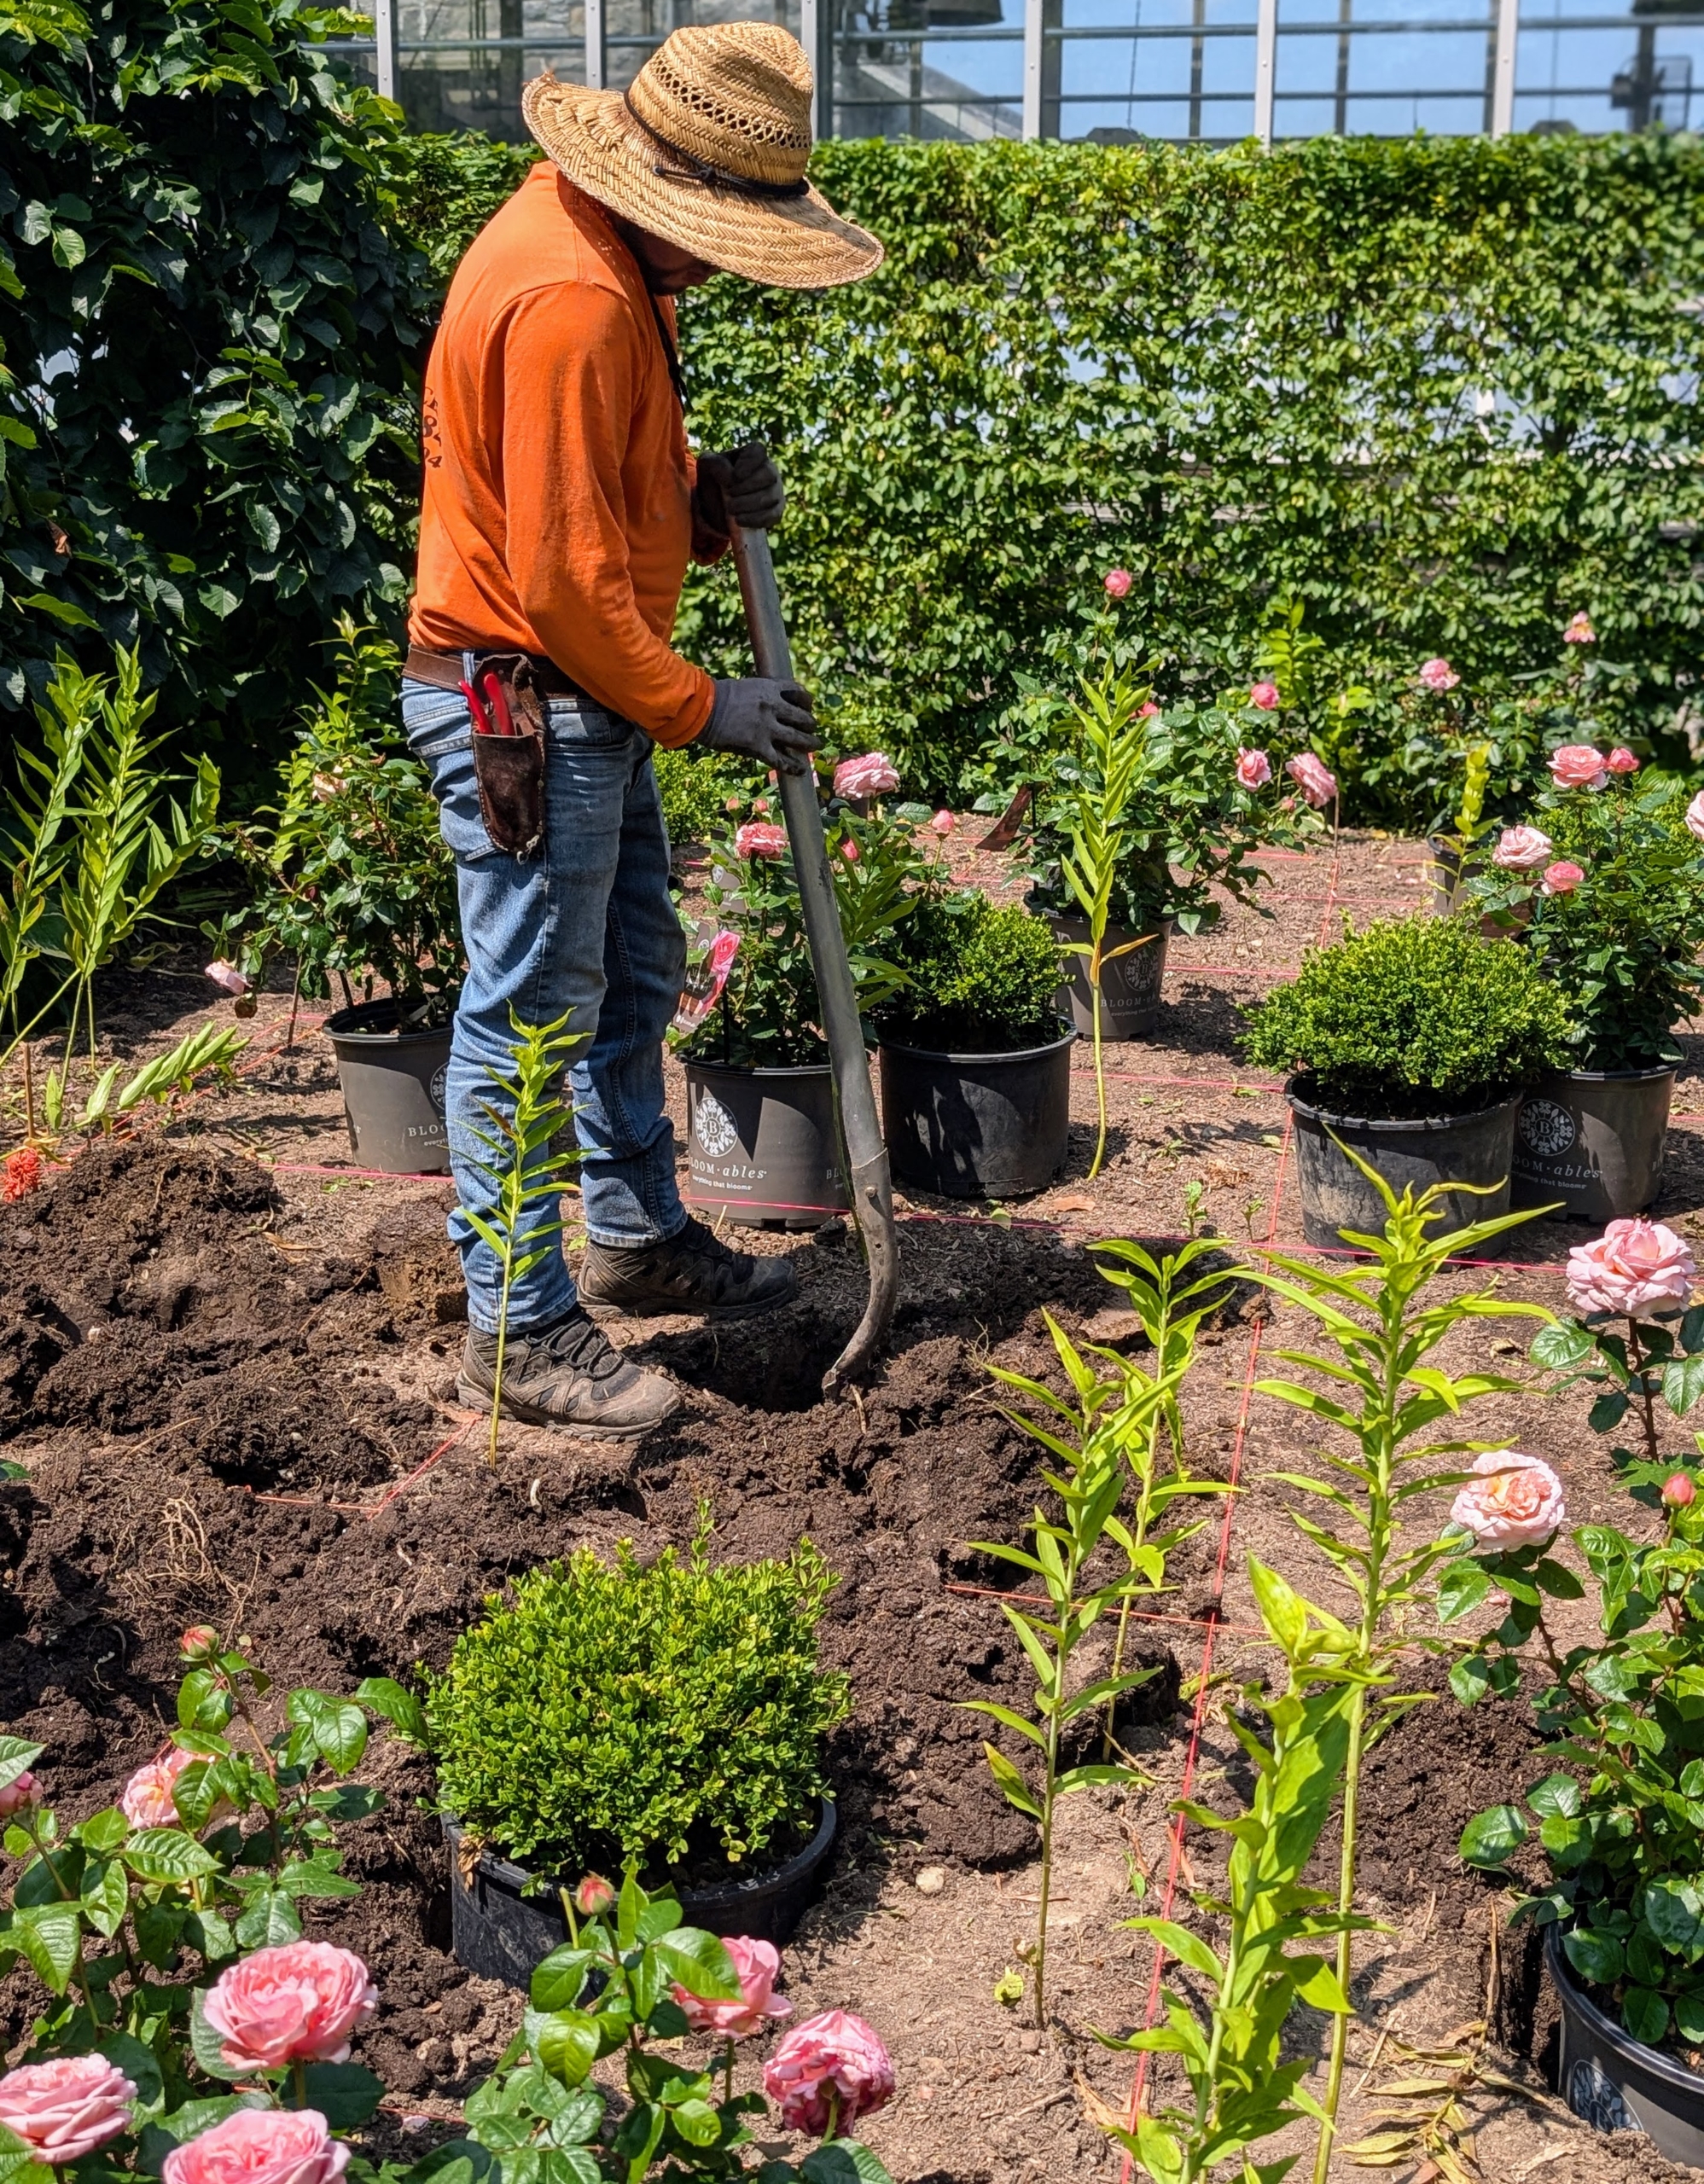
Then more digging… When planting, make sure the hole is slightly wider but equal in depth to the rose’s root ball. This will generally be about 15 to 18 inches deep by 18 to 24 inches wide.
The boxwood and roses are placed into the holes for me to see before planting. Each hole is also fed with Miracle-Gro.
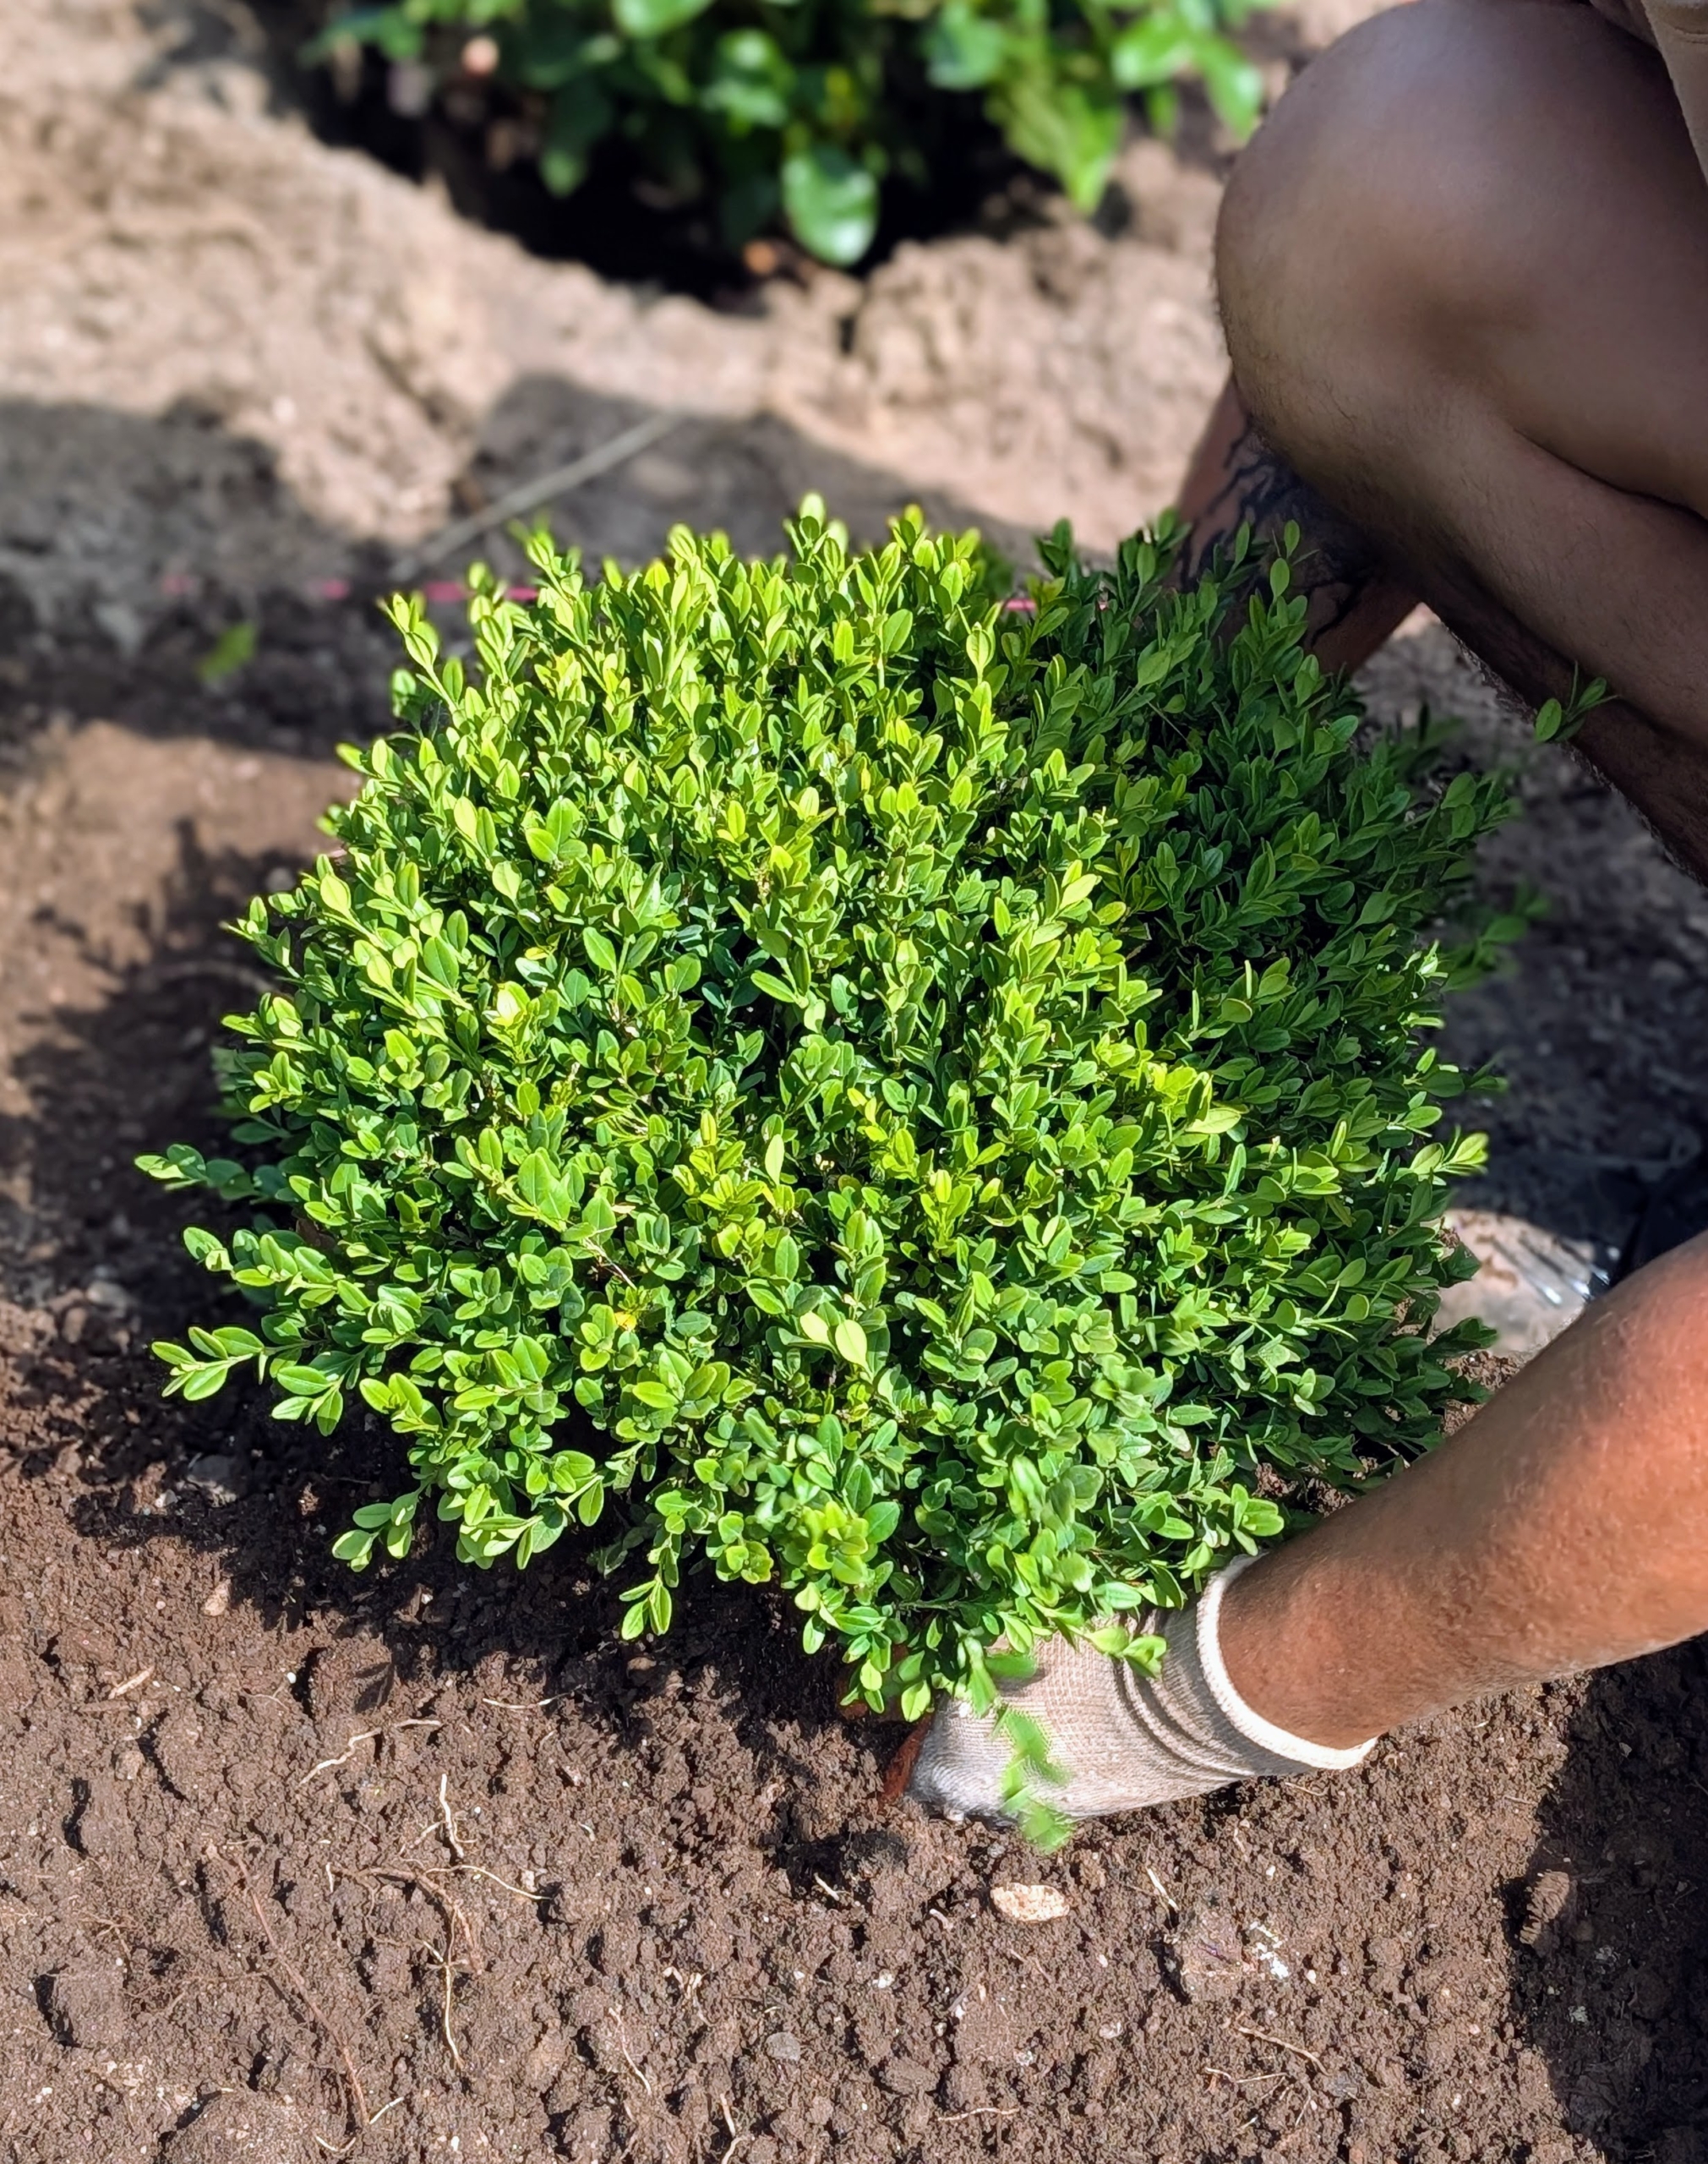
And then planting can start. Buxus is a genus of about 70 species in the family Buxaceae. Common names include box or boxwood. Boxwood is native to western and southern Europe, southwest, southern and eastern Asia, Africa, Madagascar, northernmost South America, Central America, Mexico, and the Caribbean. One boxwood…
… and then one rose. Matthew places the rose into the designated hole and checks to see that it is at the same level as it was in the pot. He makes sure the top of the root ball is about an inch above the edge of the hole before he backfills. He also looks to see that the plant is straight and the best side faces front.
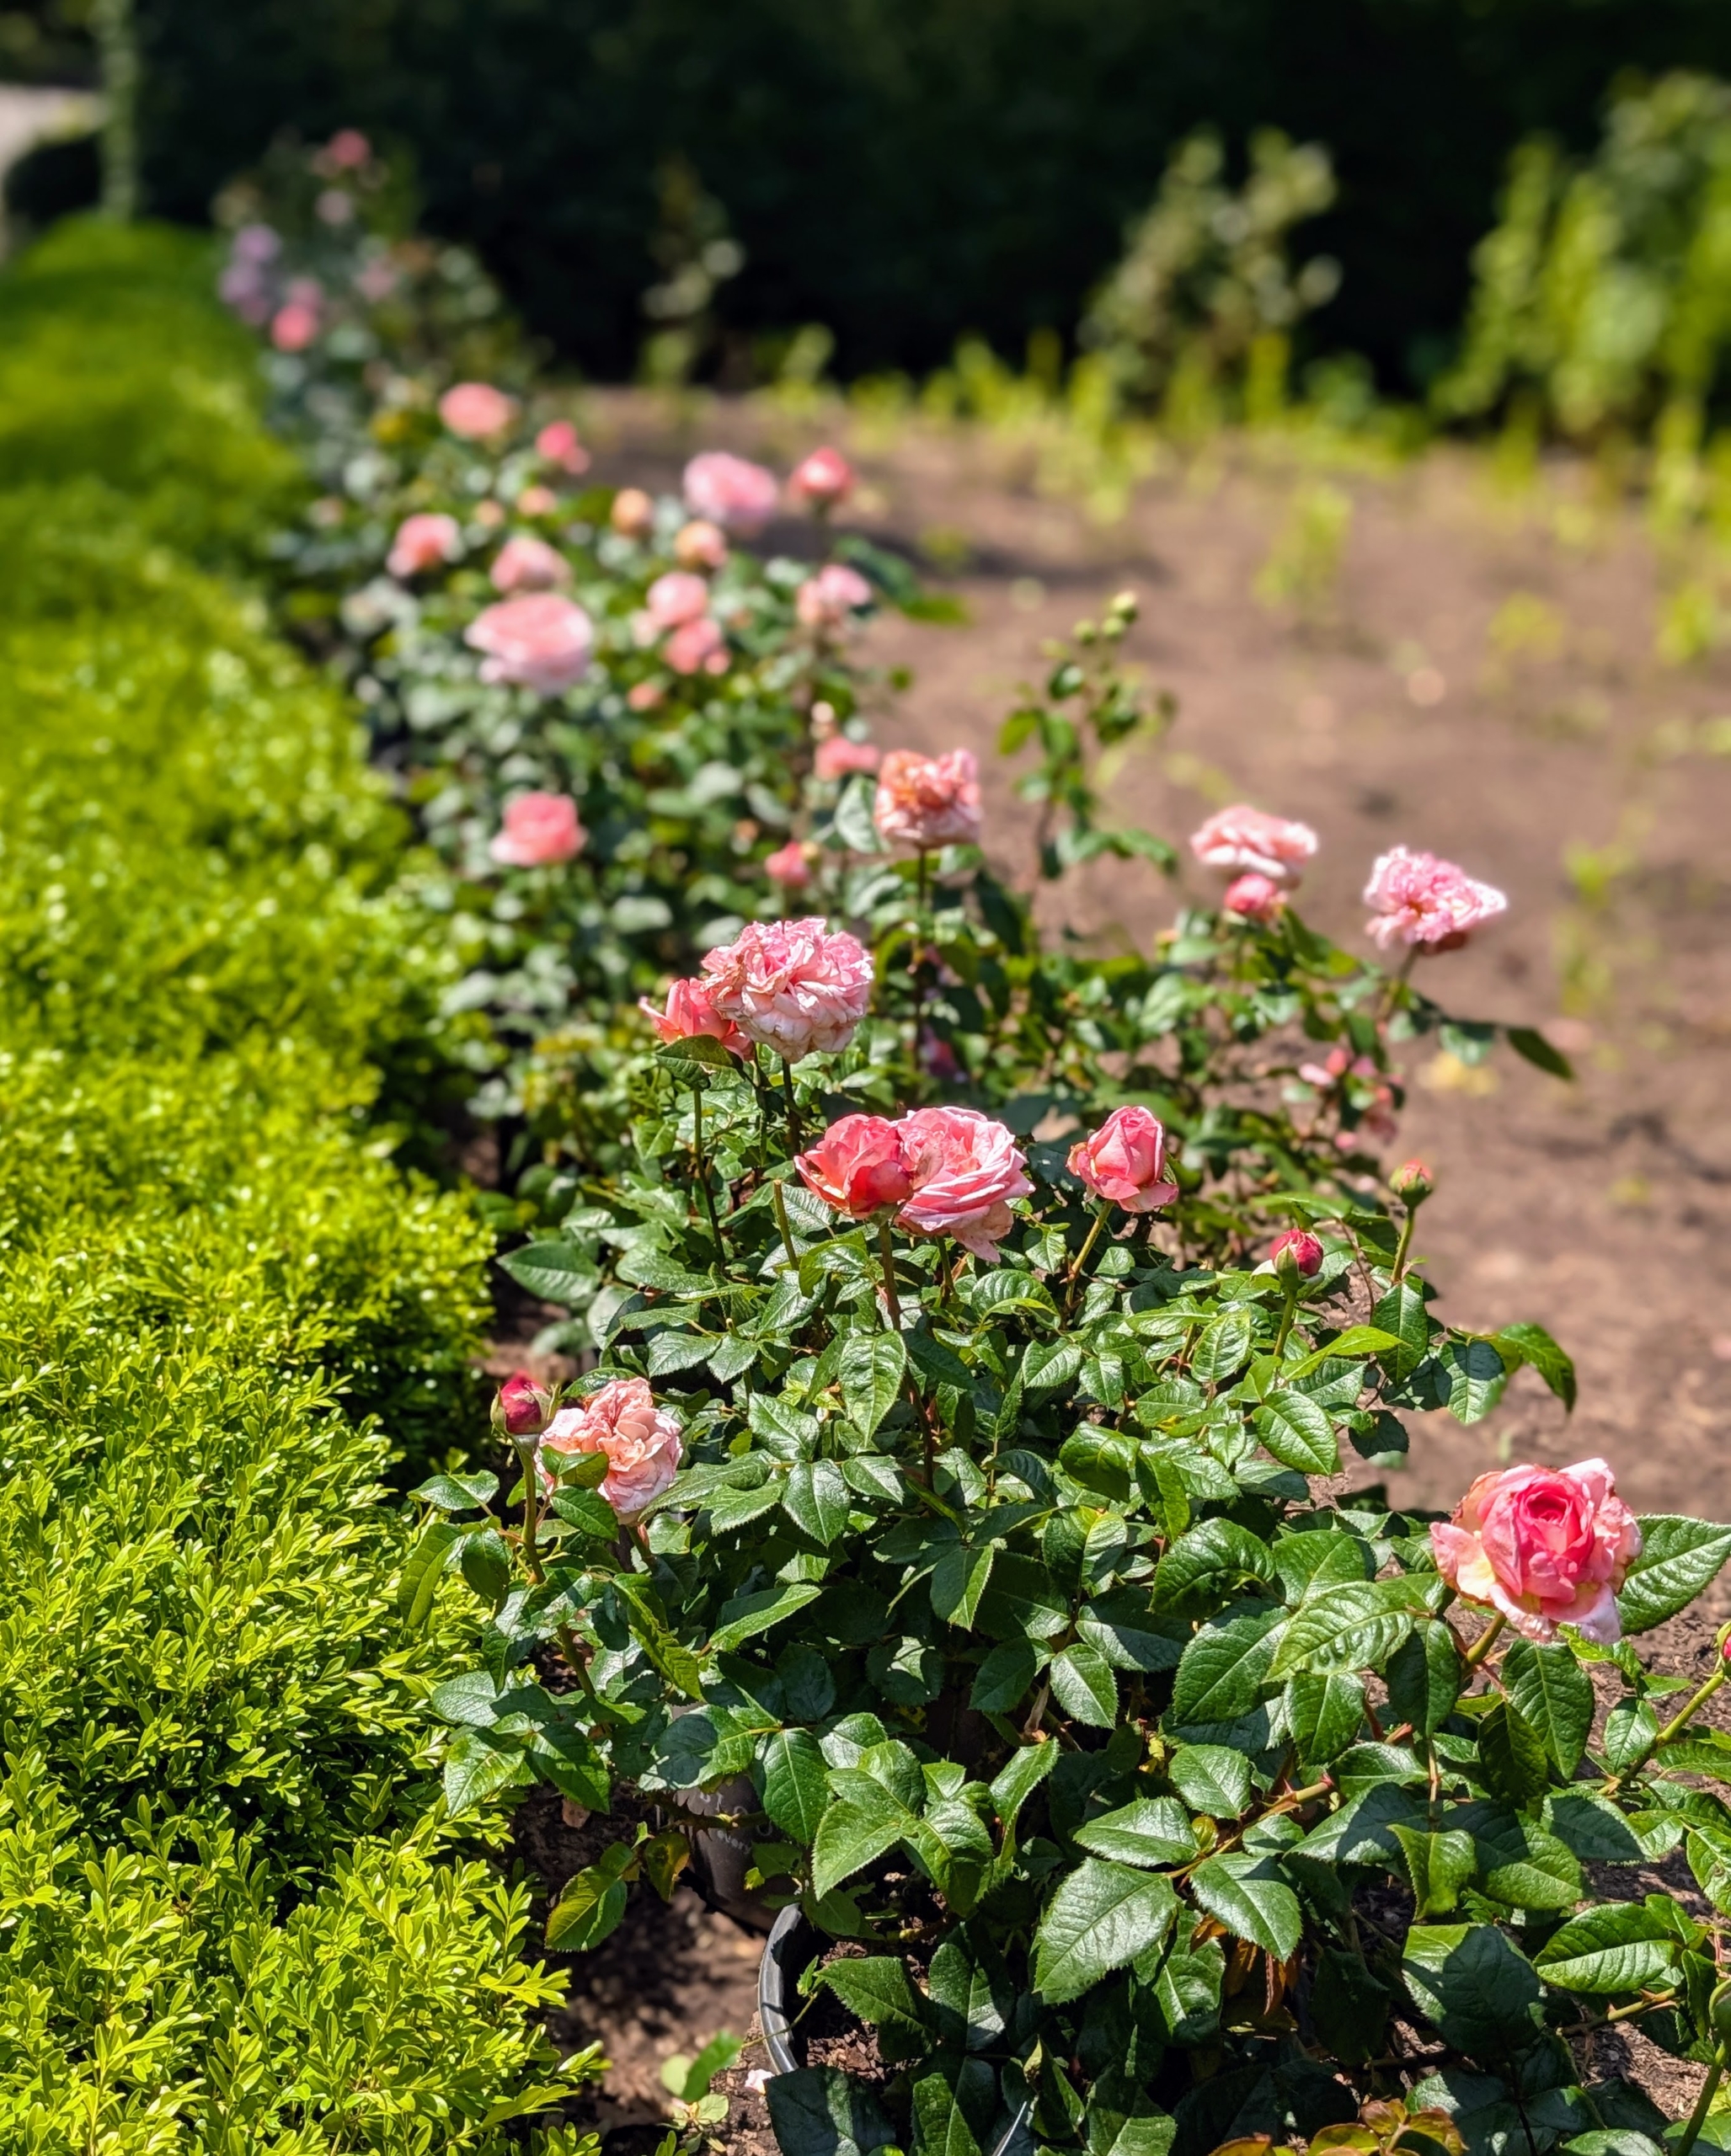
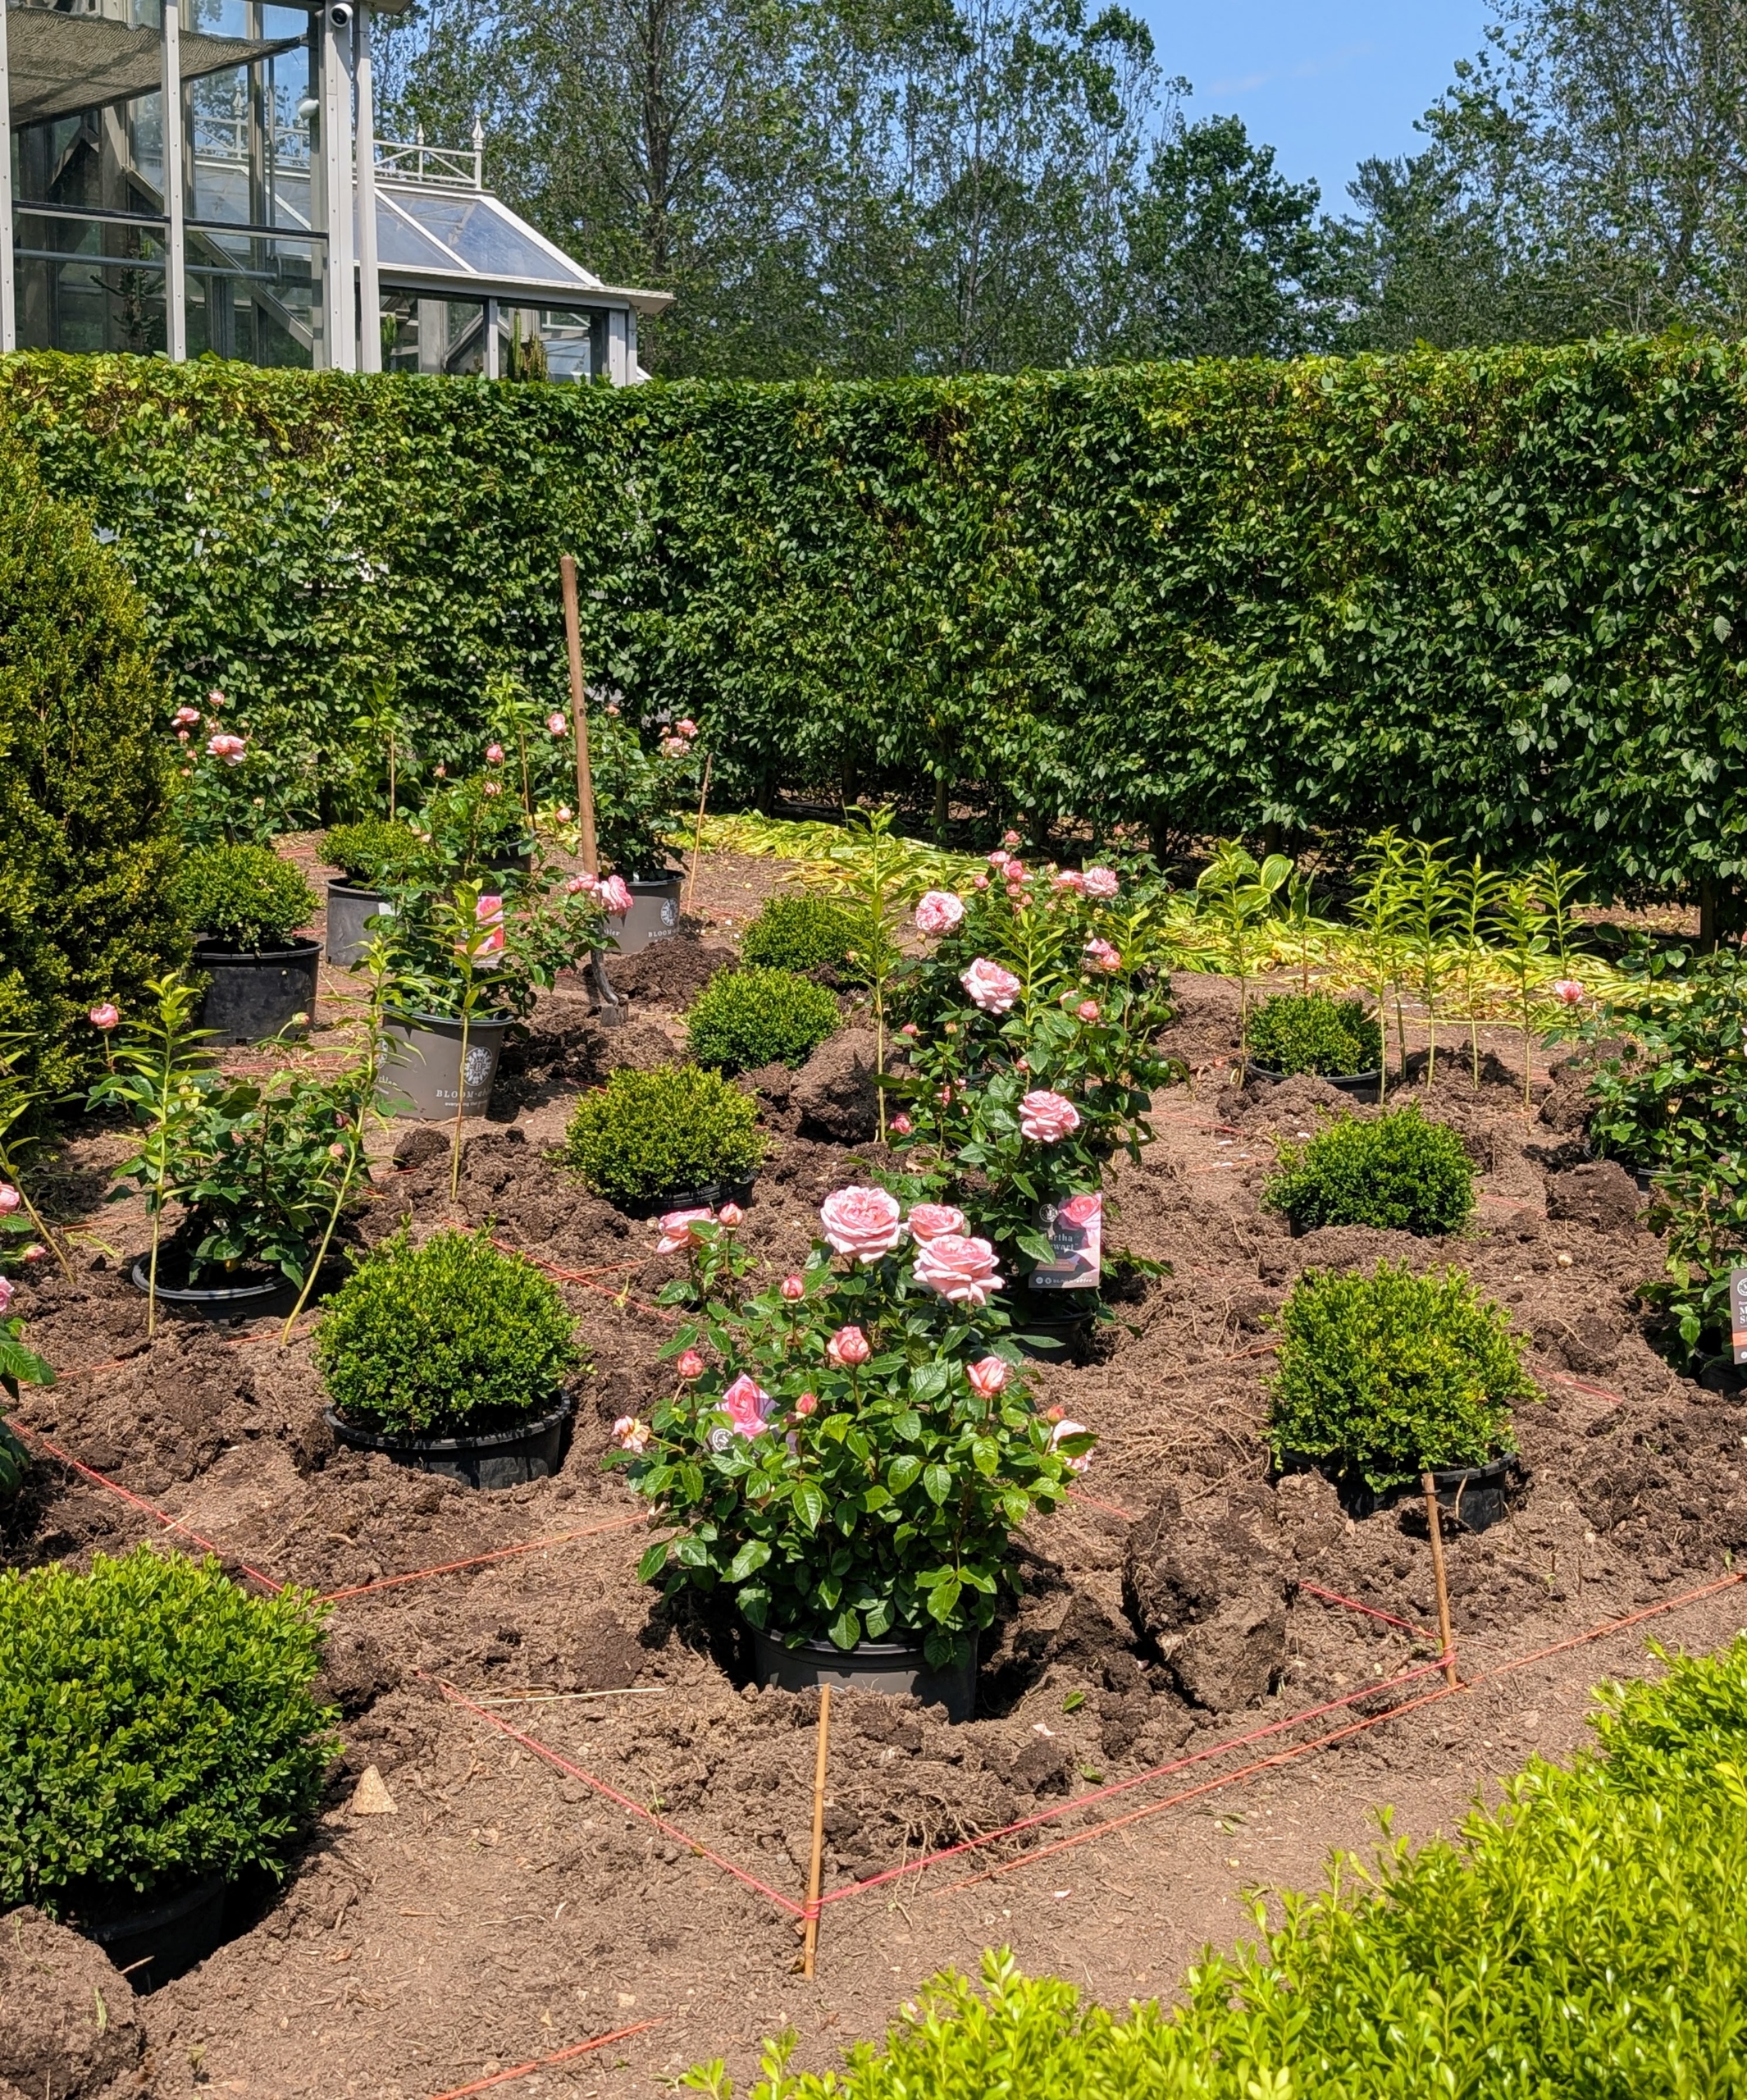
Here is the garden all planted. When planting roses, depending on the variety, they need at least two to five feet in between plantings. These are spaced perfectly.
The roses and boxwood shrubs will grow beautifully together. I am looking forward to watching them mature.
Here’s the garden on the other side. I will be sure to share more photos as the plants become established and bloom again. Happy gardening.