Here in the Northeast, we're all crossing our fingers for a good soaking rain.
We're expecting some precipitation today in Bedford, New York and up at Skylands, my beloved summer home in Maine. It has been so very dry in this region - we haven’t had significant rain for quite some time. Fortunately, we've been able to keep many of the trees, shrubs, and plants irrigated with our watering supplies from Gilmour. I use many of their hoses, sprinklers, and nozzles.
Here are some photos of how we water around Skylands, enjoy.
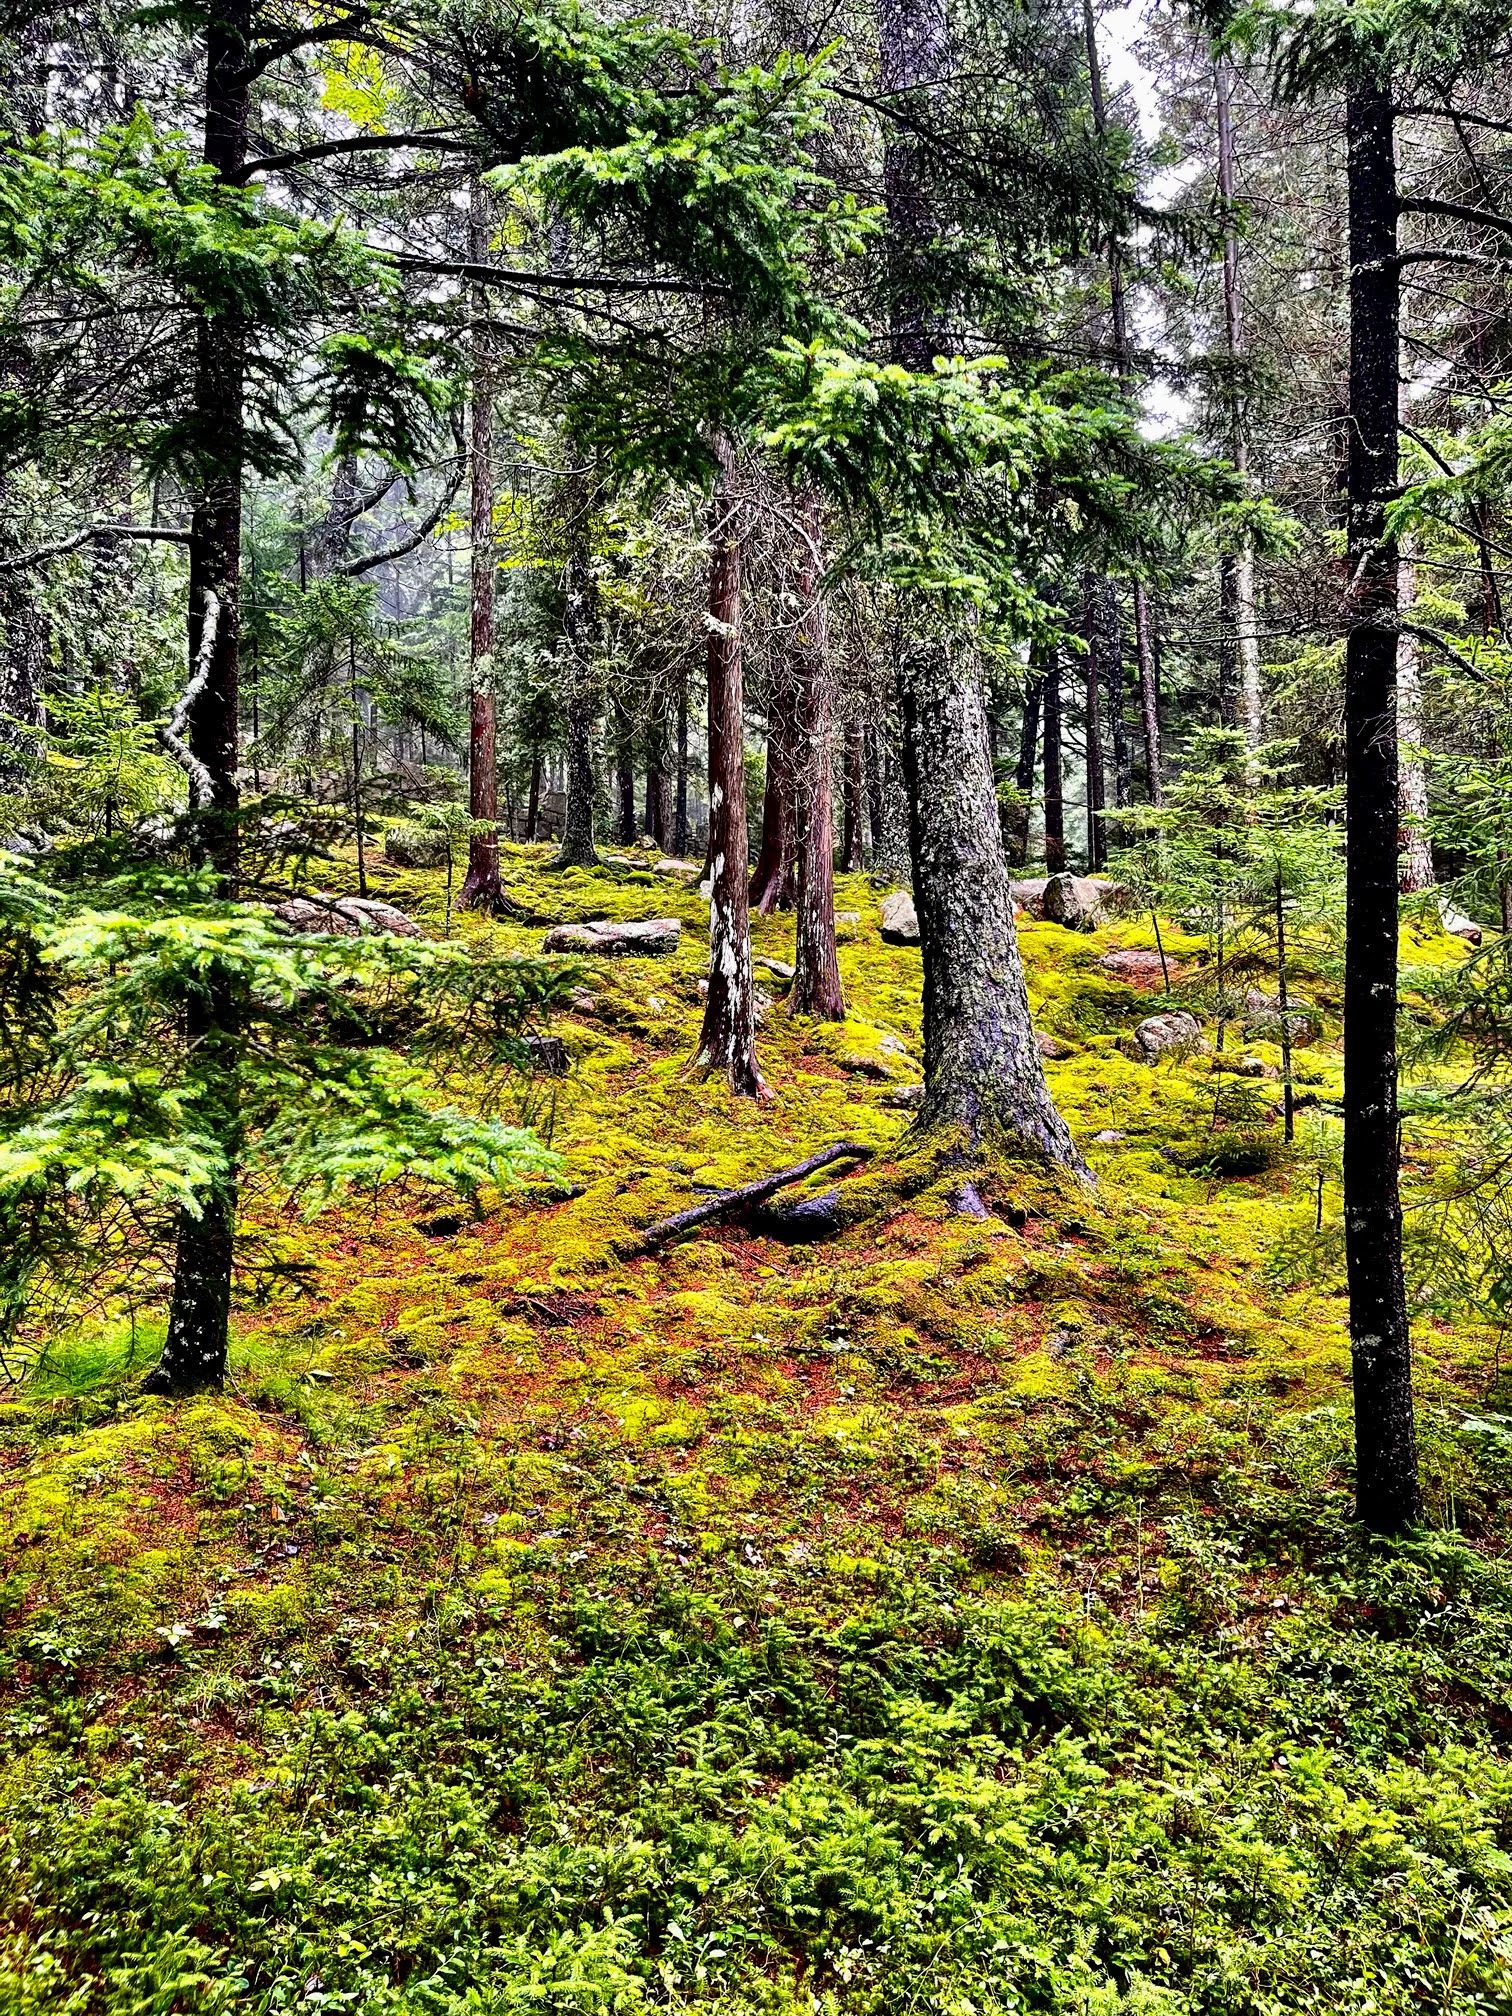
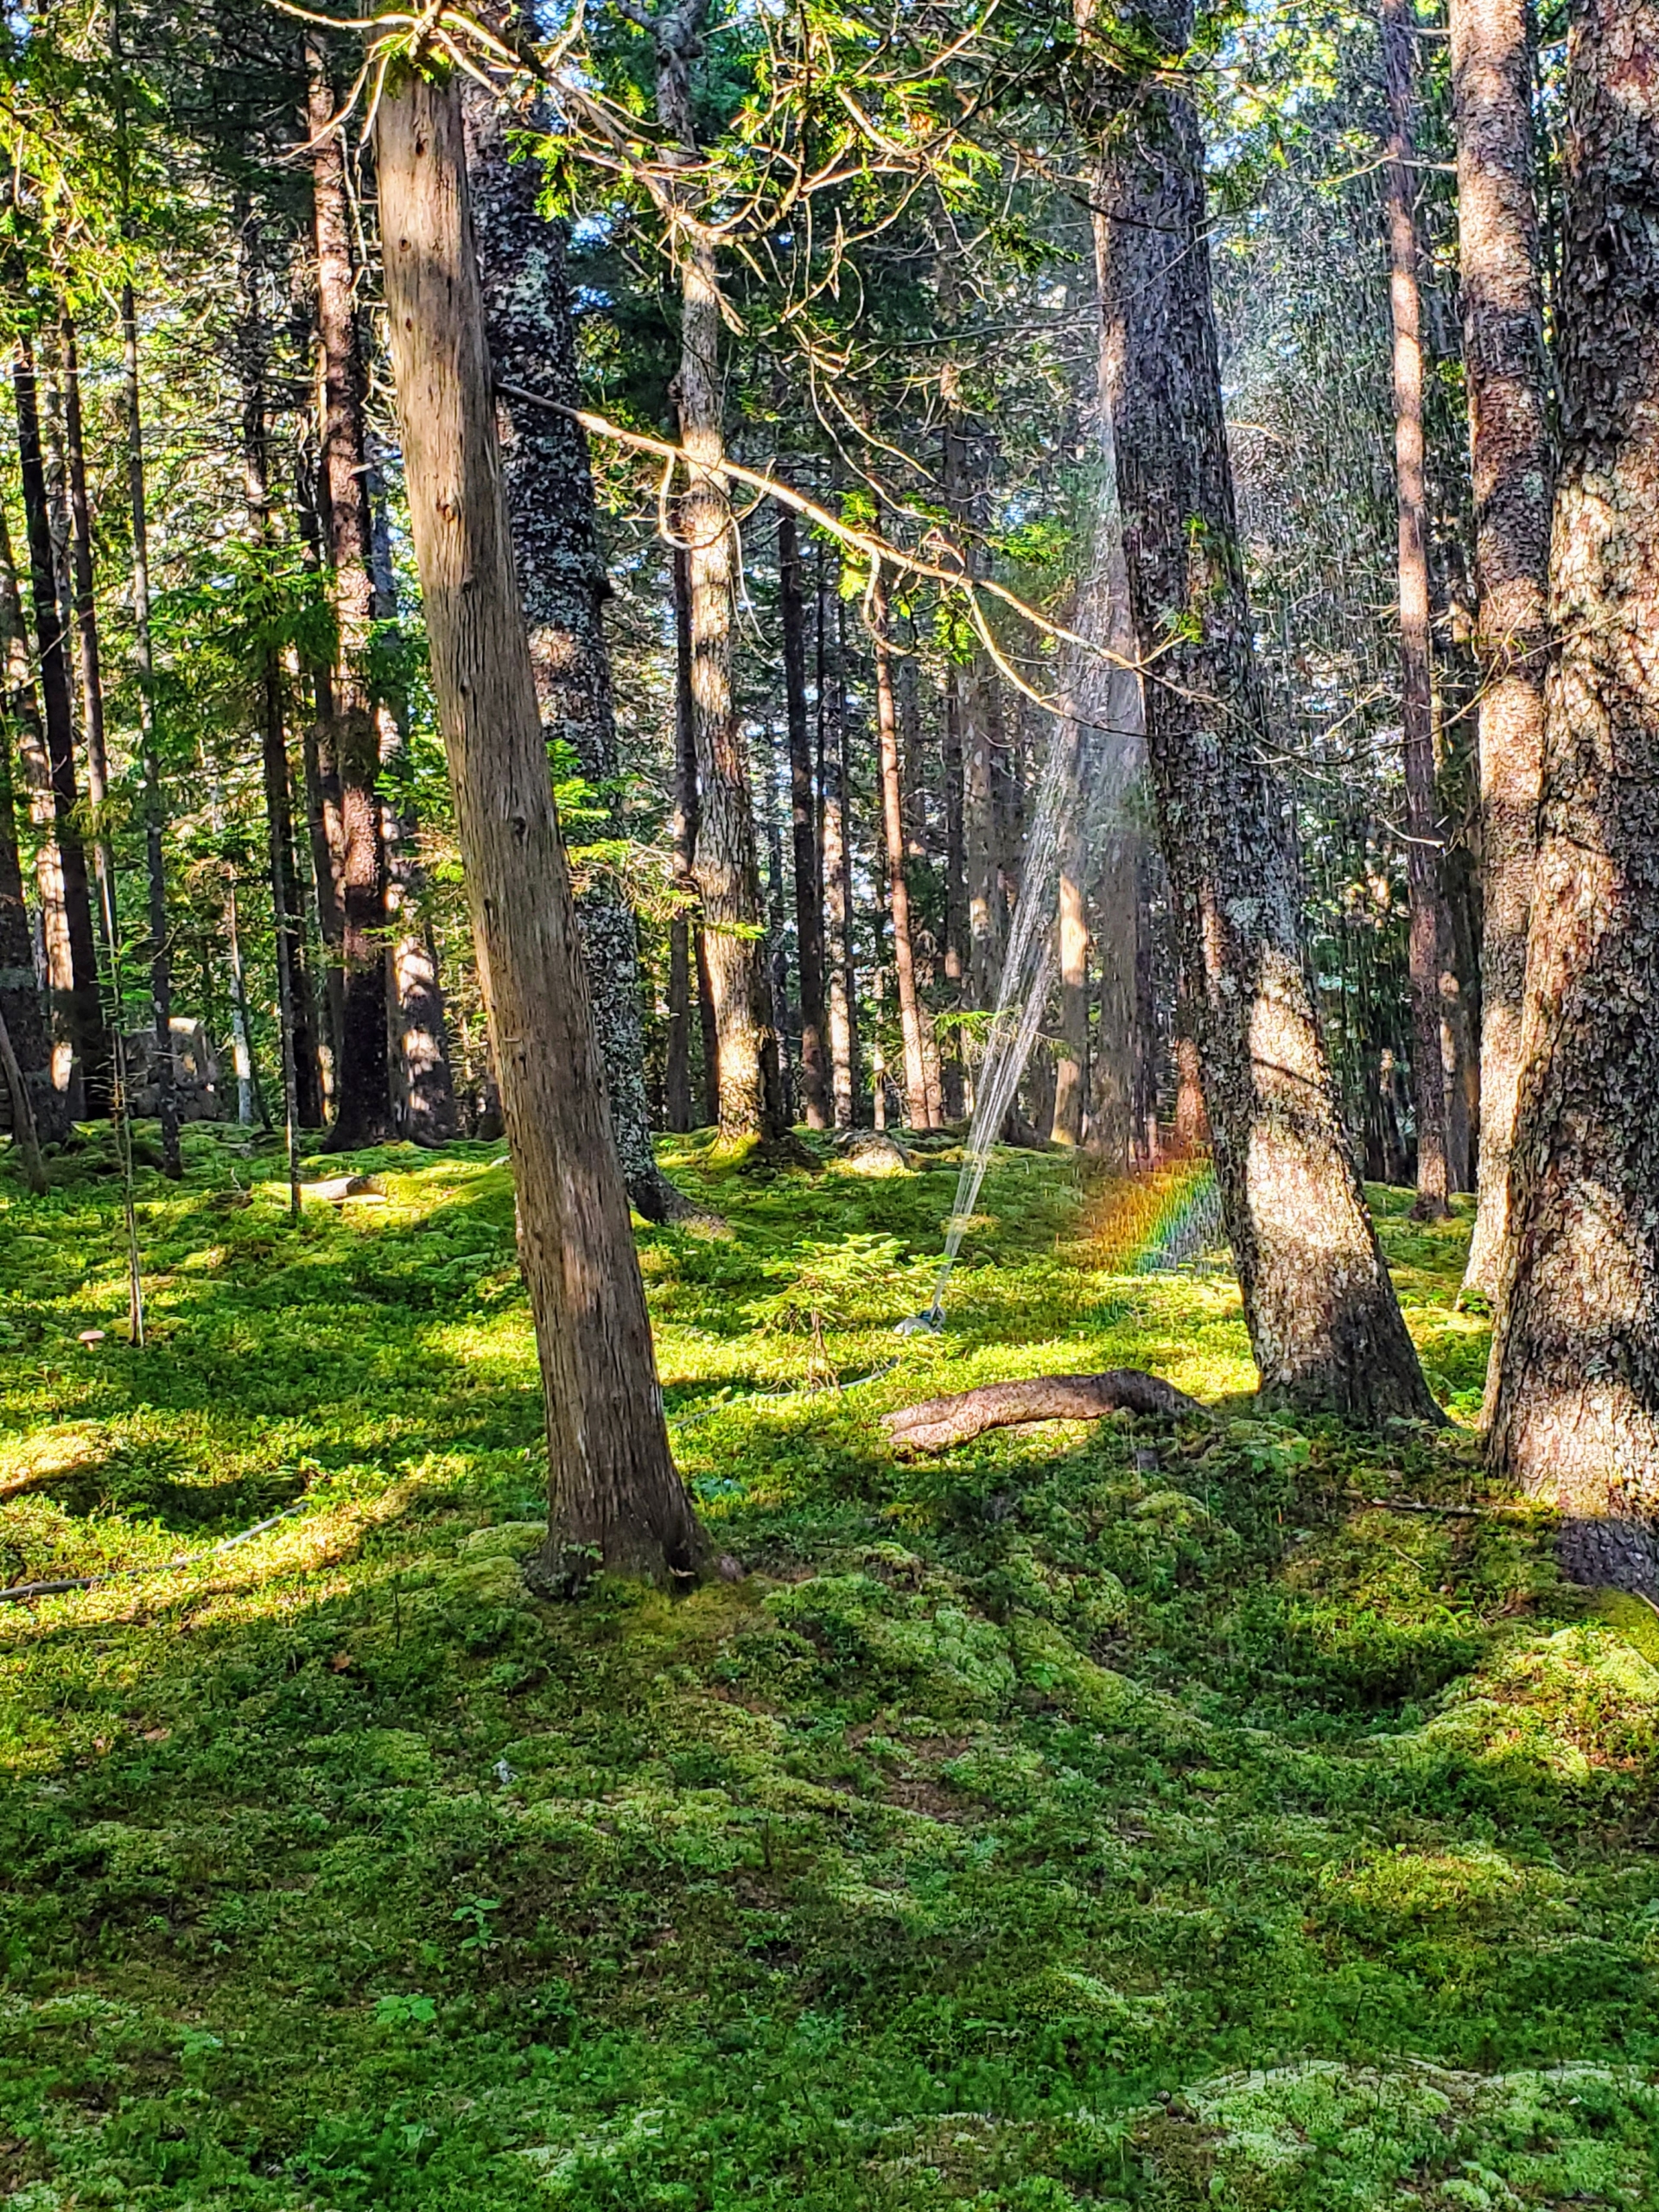
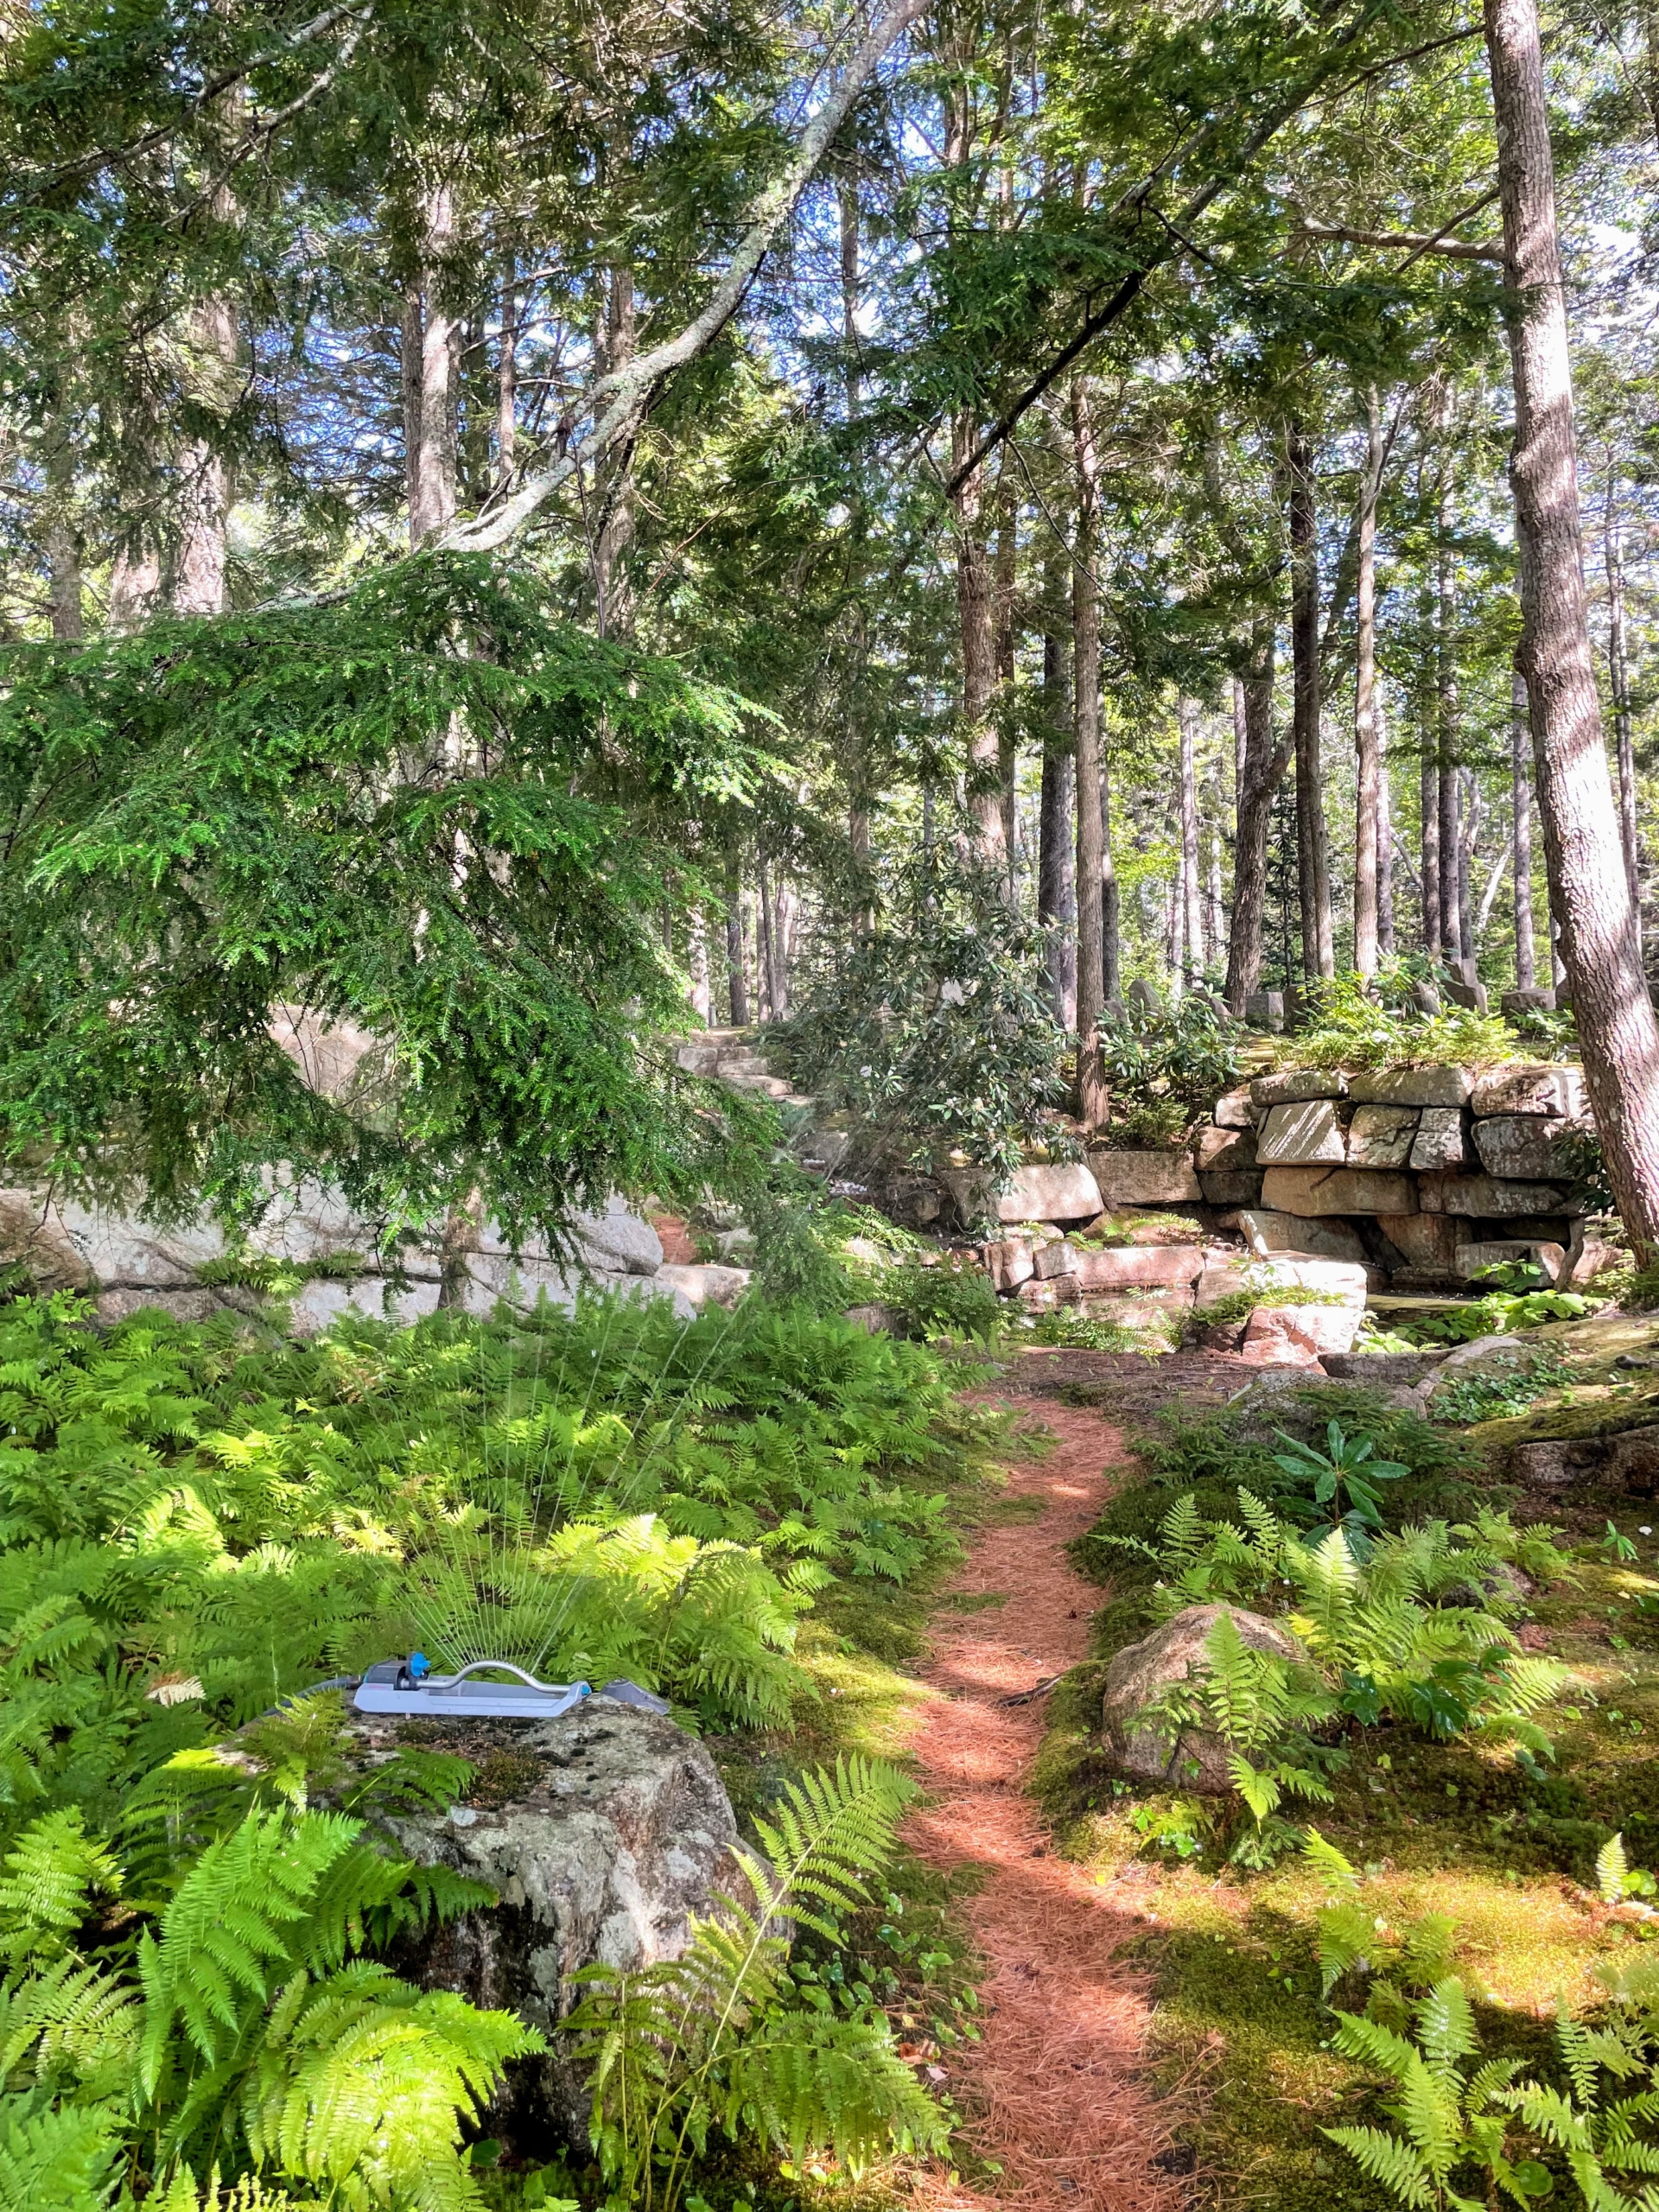
Up at Skylands, views of the moss-covered woodlands are just as picturesque as those of Seal Harbor. This summer has been particularly hard on the plantings – it’s been very, very dry all along the eastern seaboard.
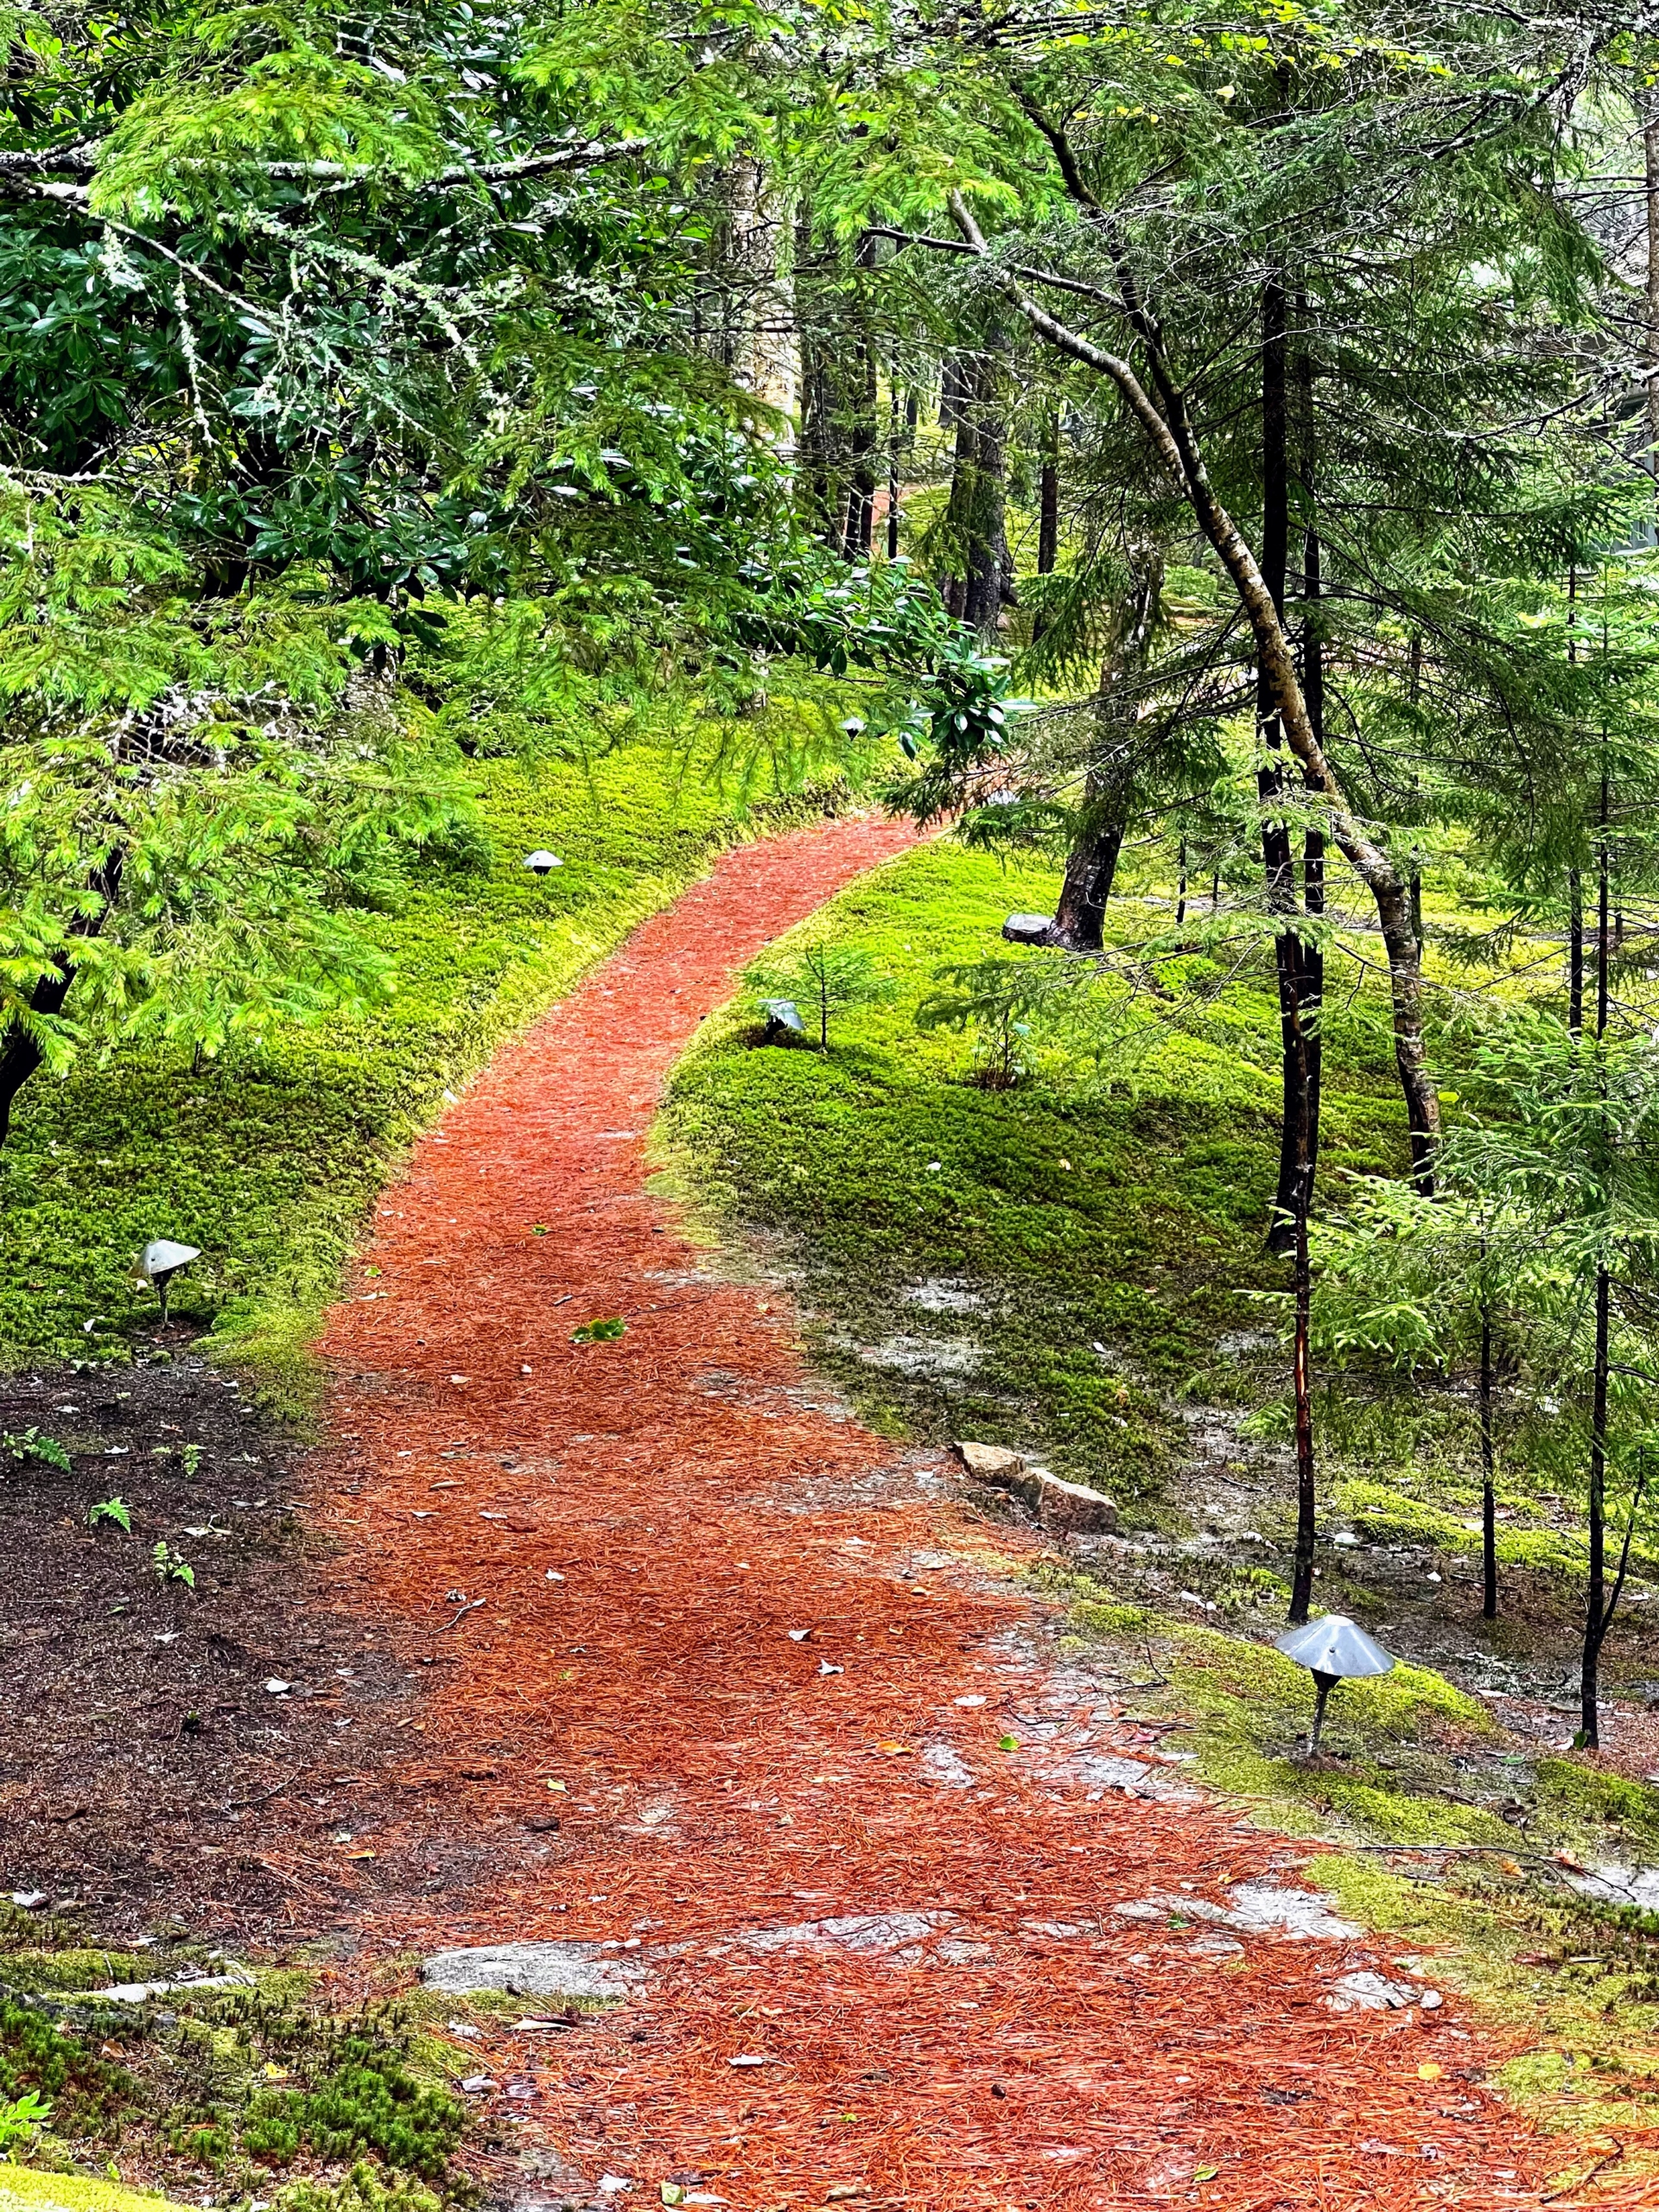
Here is one section of a pine-needle covered footpath that meanders through the property. On both sides, one can see lots of moss growing. During the summer, I always fill several of my garden planters with some of the natural elements found in the woodlands. Various mosses, lichens, seedlings, pine needles, and old pieces of wood are brought in to create miniature forests that last all season long.
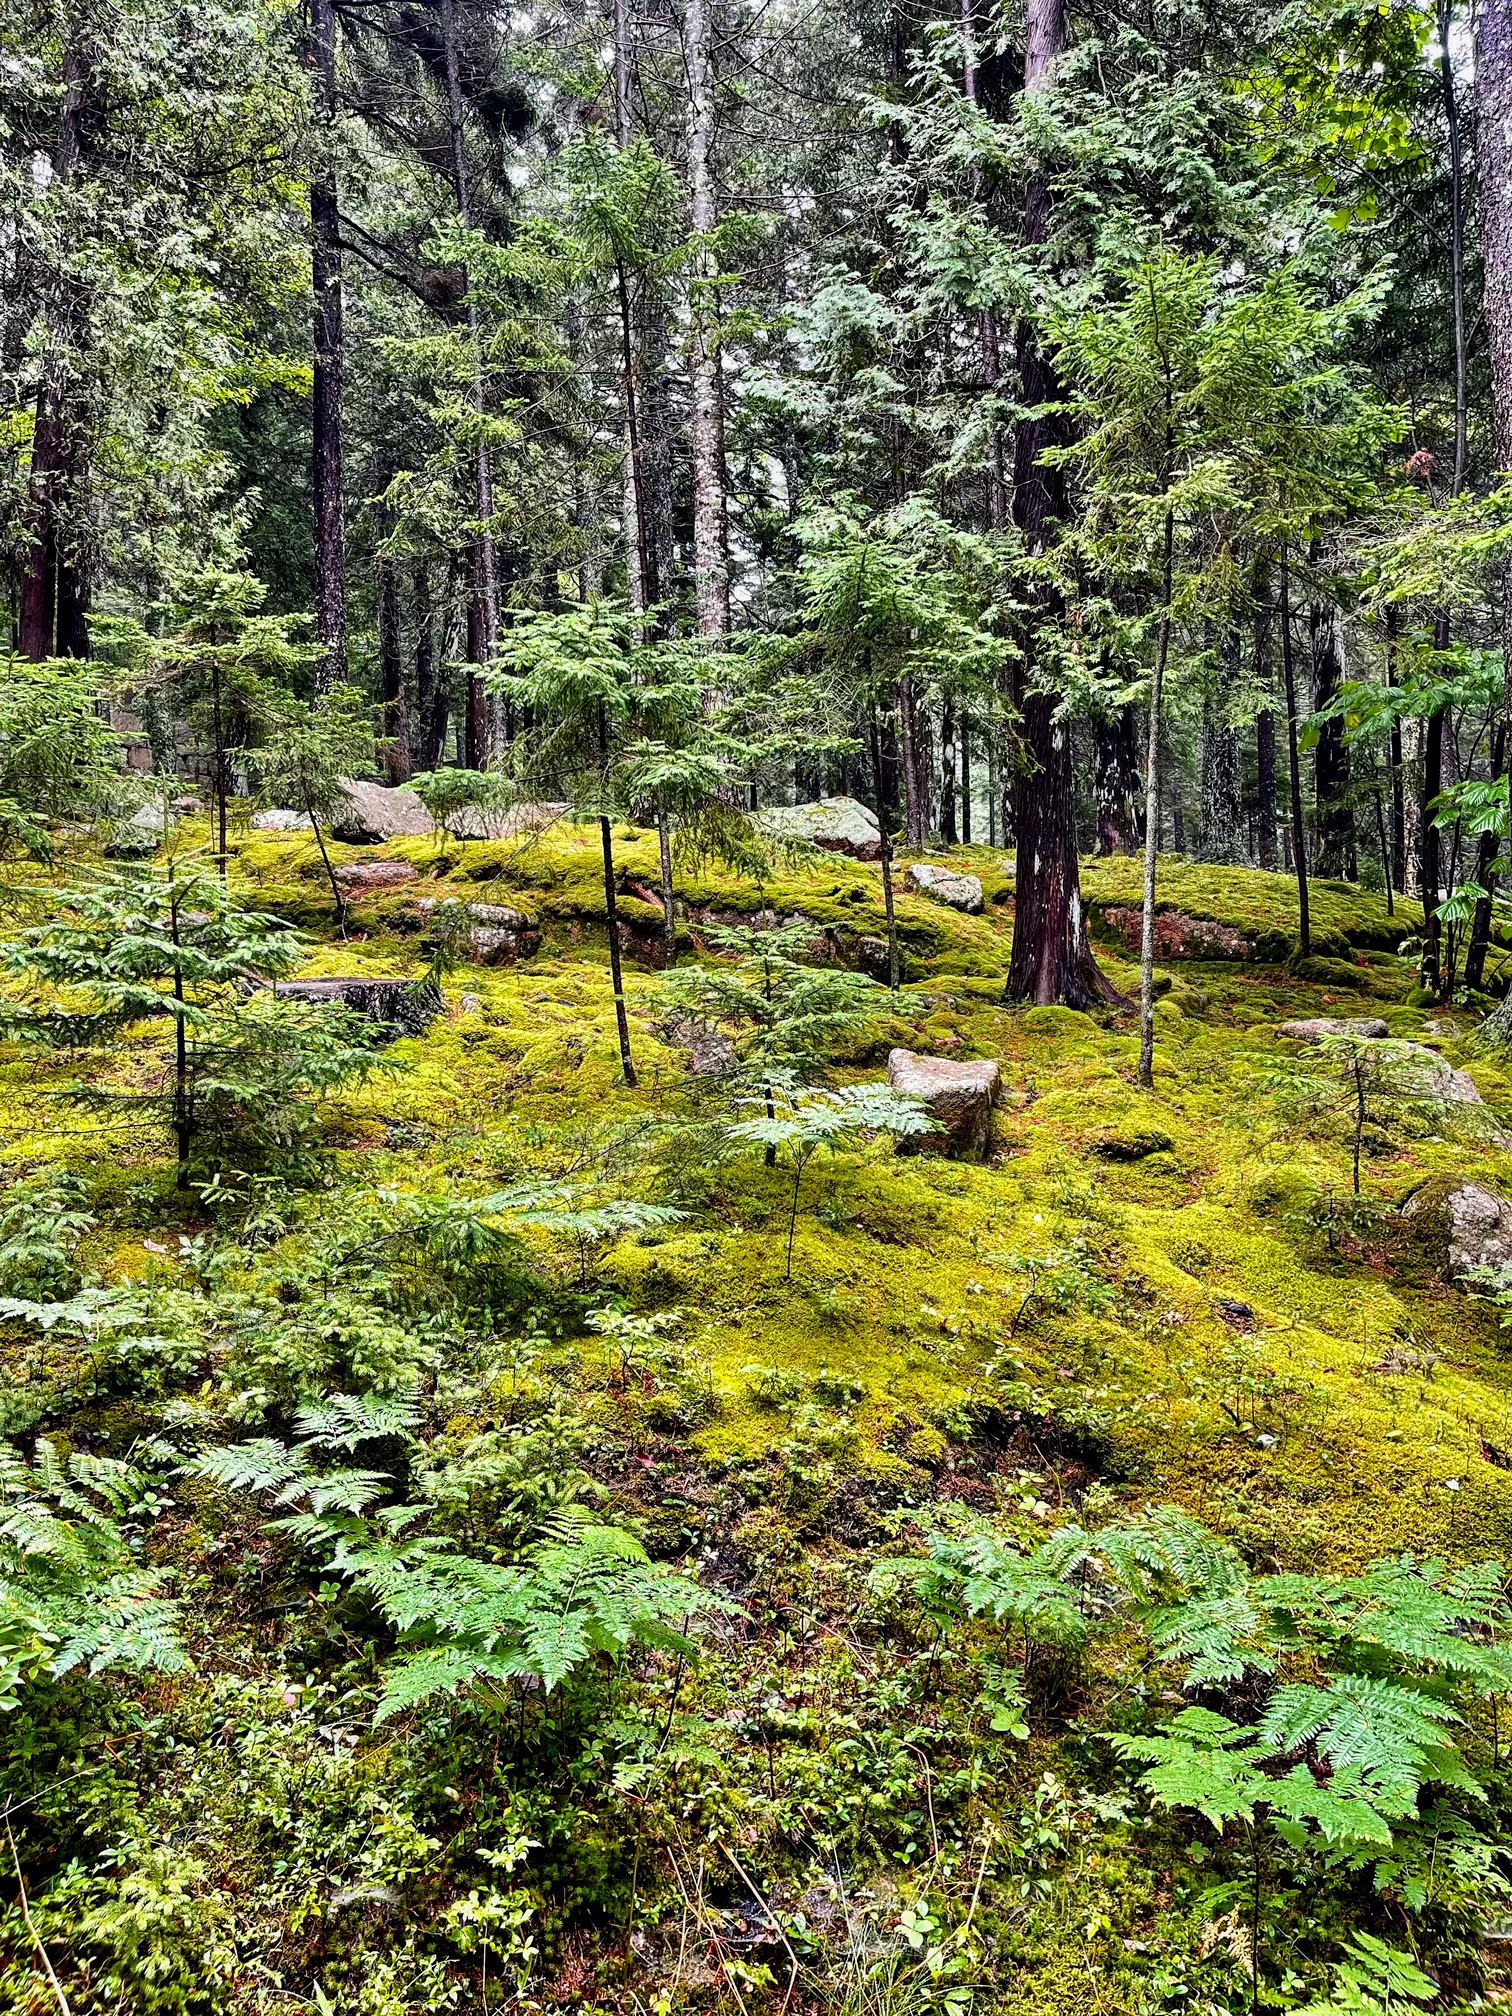
Here, more moss, young trees, and ferns in the foreground. Moss is a slow growing wild plant that should never be harvested in large amounts – in fact, it is illegal to take any moss from national forests without permission. Once the season is over, we always make sure the moss we harvested is returned to the forest where it can regenerate and flourish. All these plants need our watering help.
And so does my flower cutting garden, which is now filled with so many gorgeous blooms.
To keep everything well-irrigated until the next rainfall, we use watering supplies from Gilmour, a Madison, Wisconsin-based company that’s been manufacturing watering equipment and solutions for more than 65-years. With so many trees, shrubs, and plants to maintain, it’s important we use only the best quality outdoor tools.
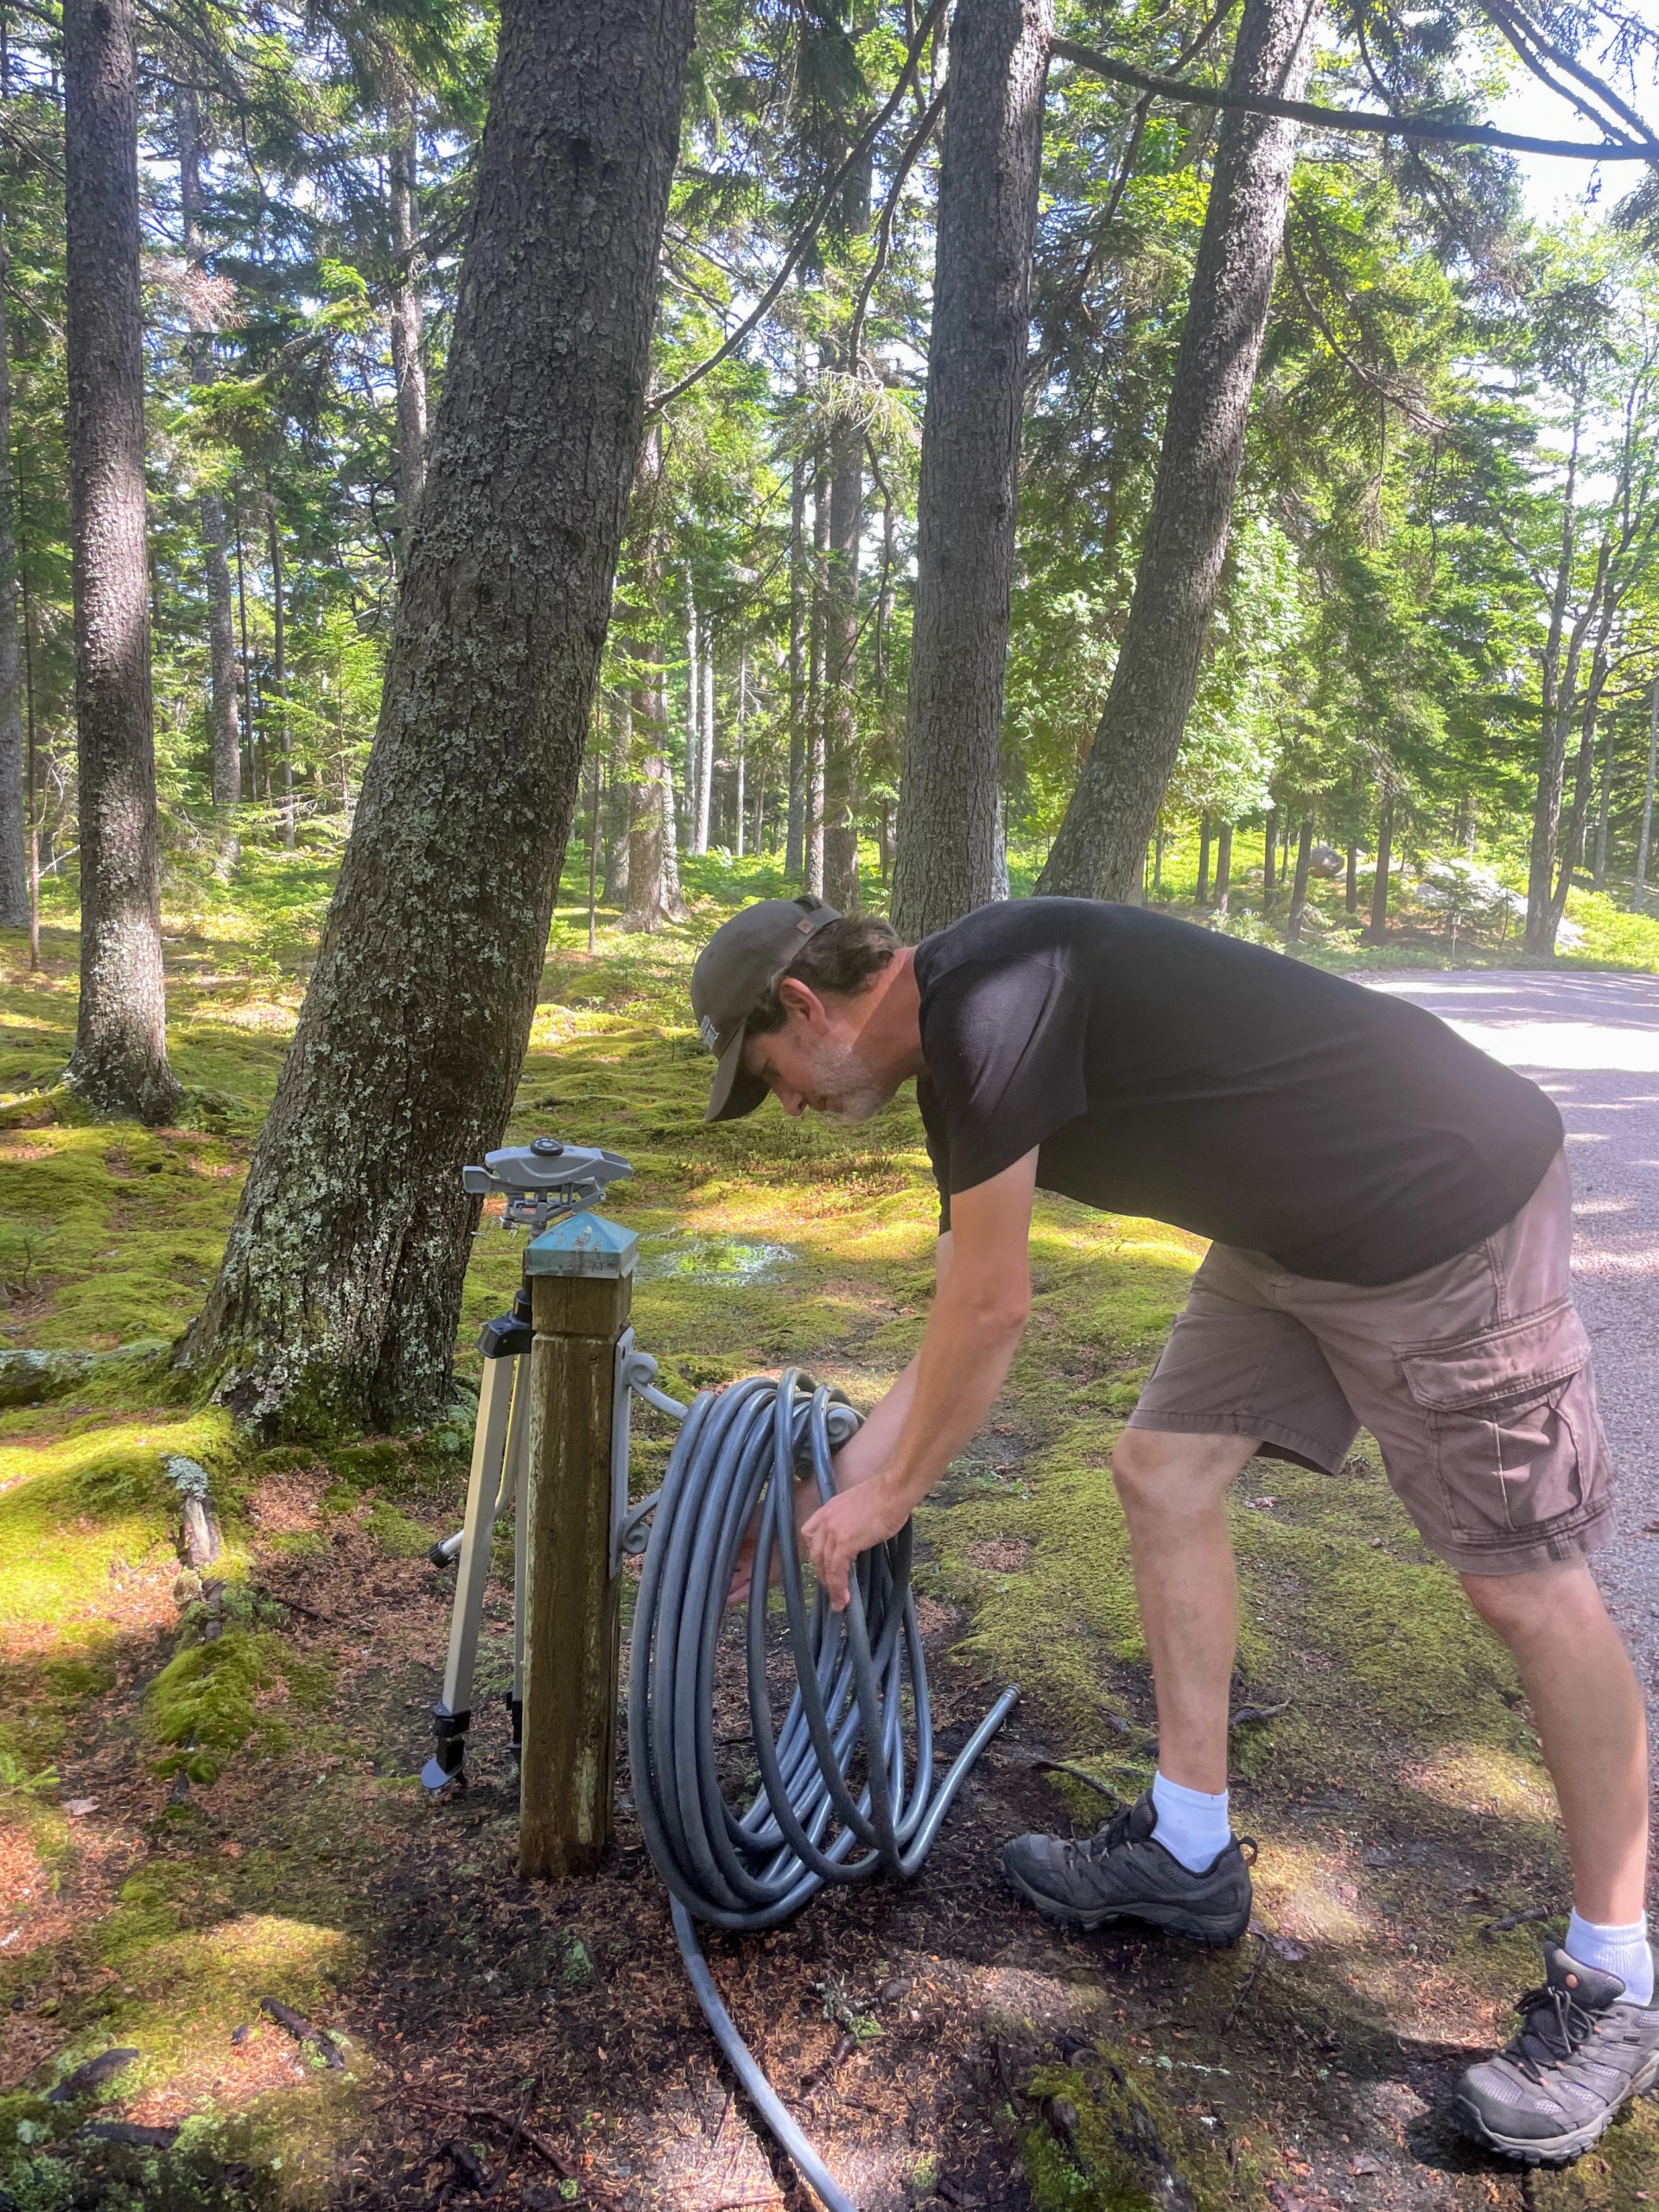
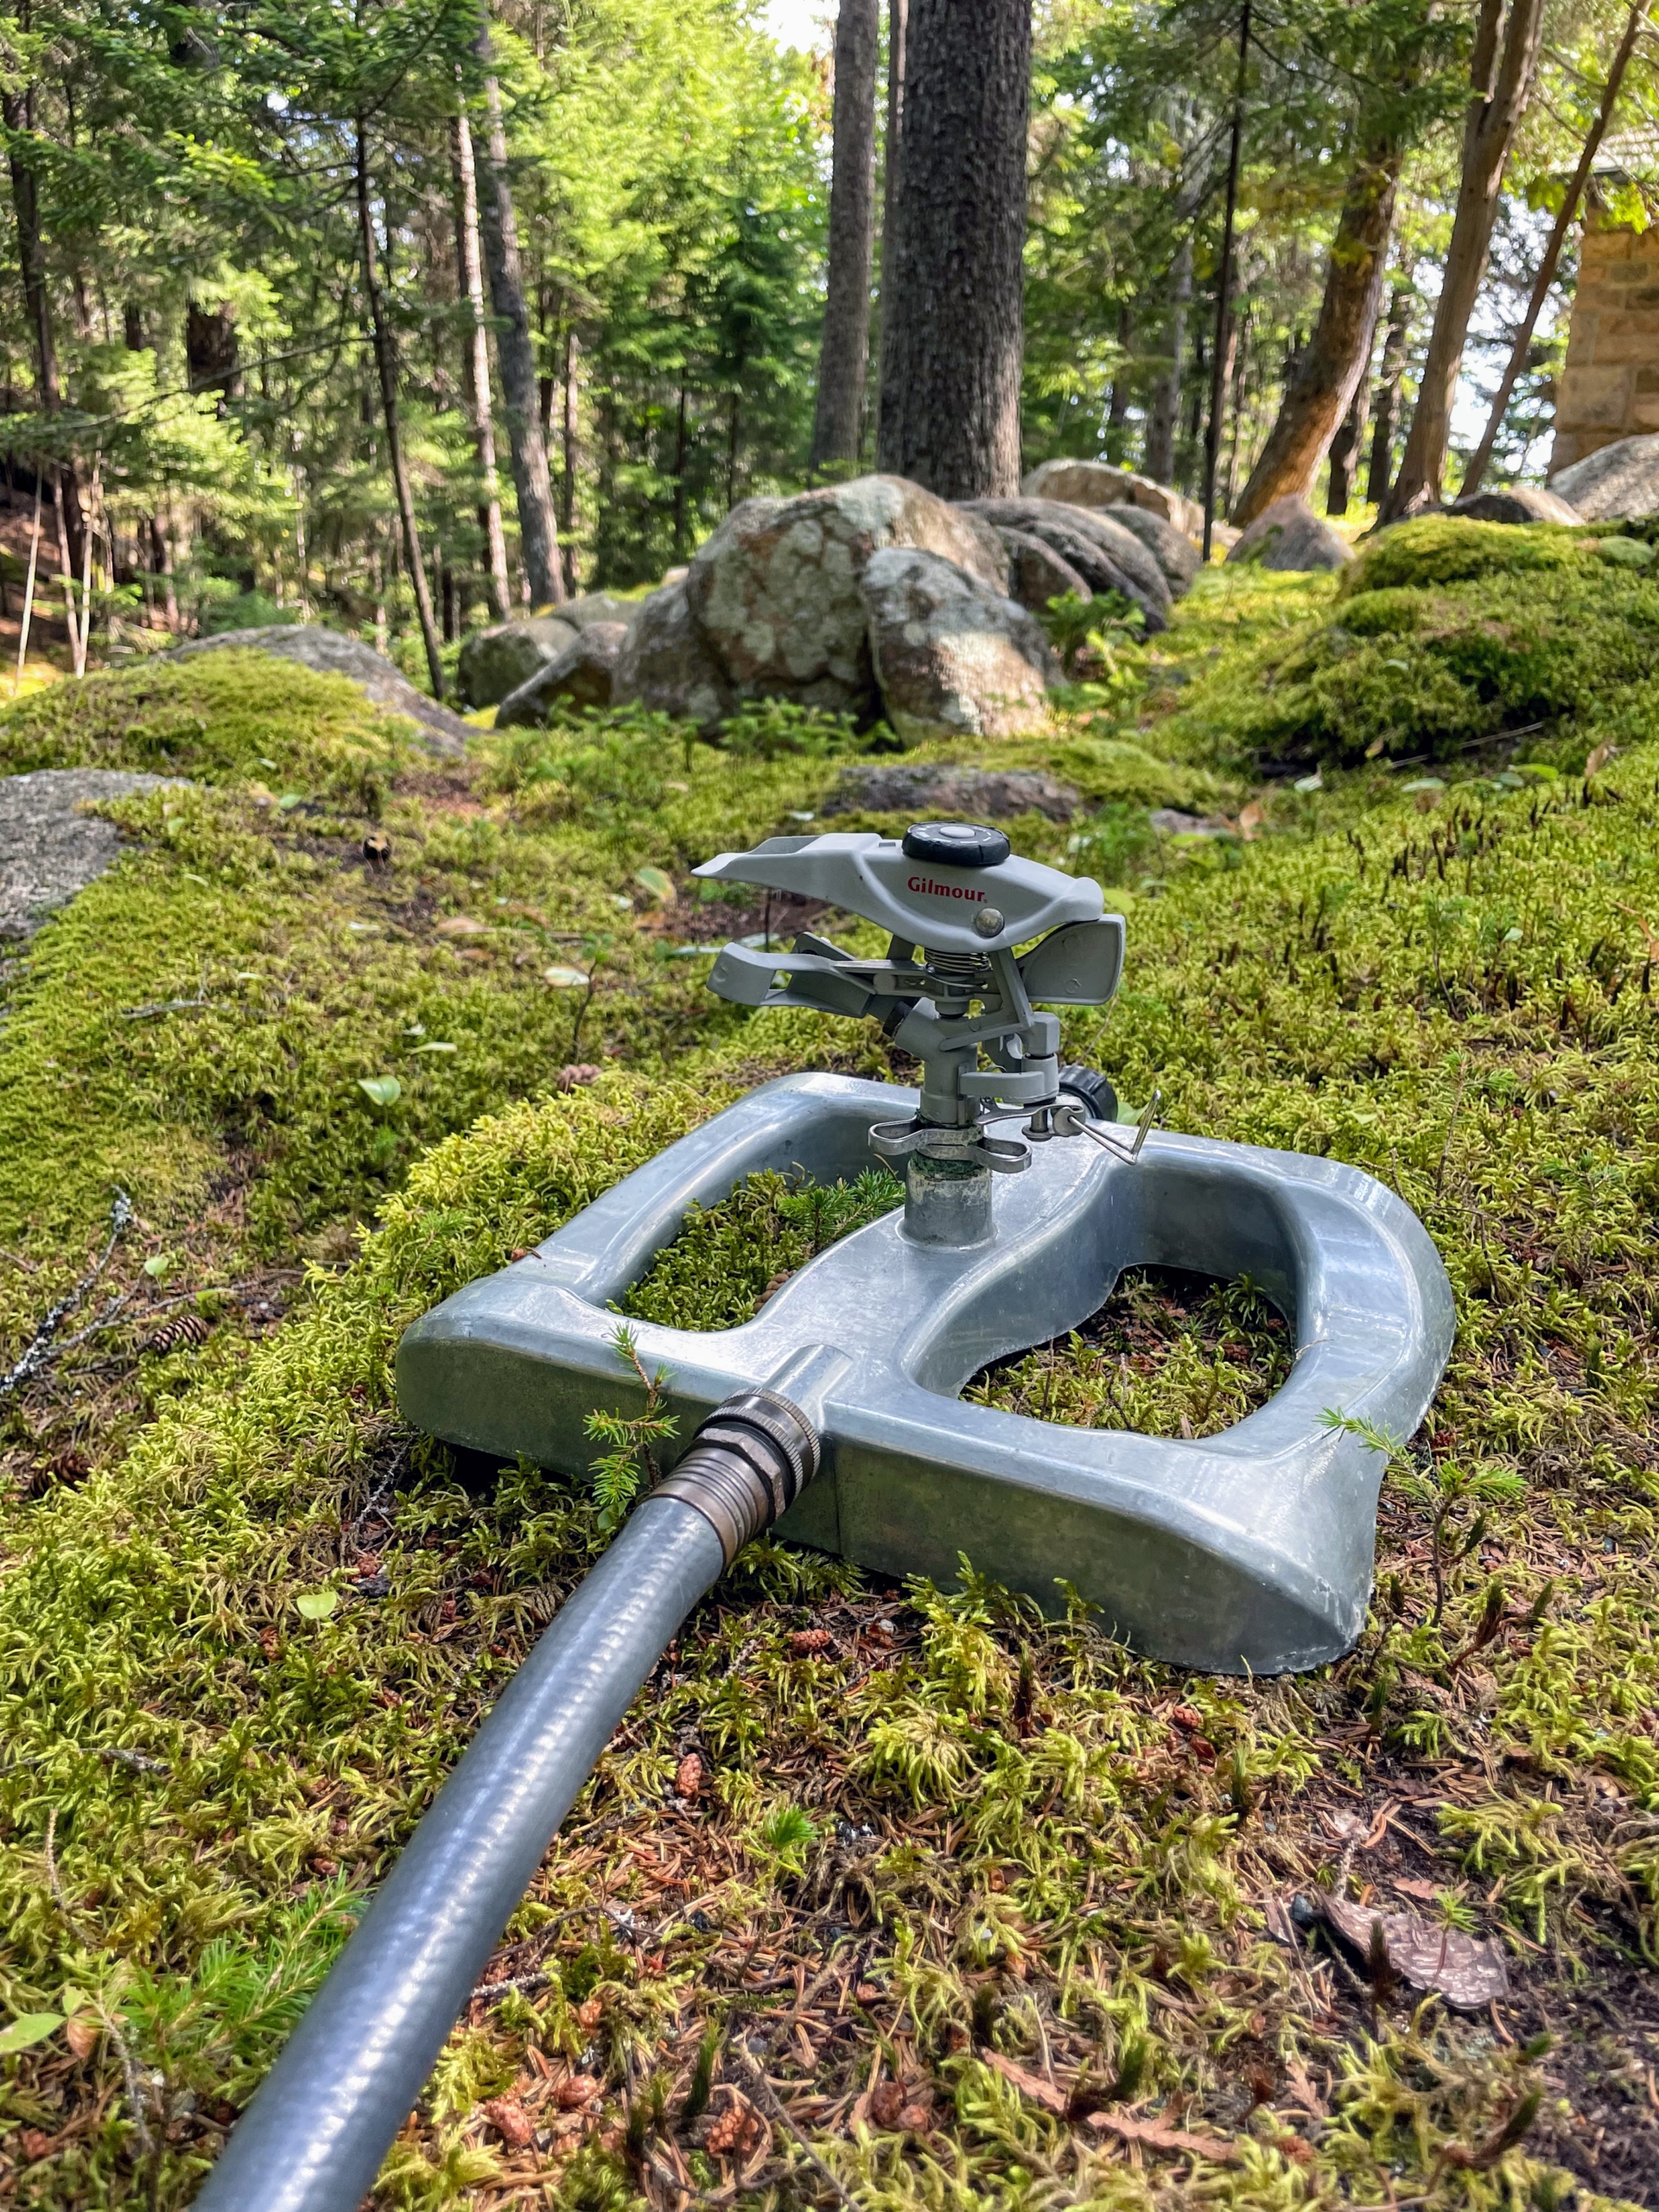
My Skylands gardener, Mike Harding, begins to uncoil the hose for watering. These Gilmour hoses curve without kinking, connect without leaking, and are easy to store. A hose and at least one sprinkler are placed at every bibb, or faucet. And here’s a tip… to keep it from kinking, when it’s new stretch it along a path or the edge of the lawn and then loop the business end back to the tap.
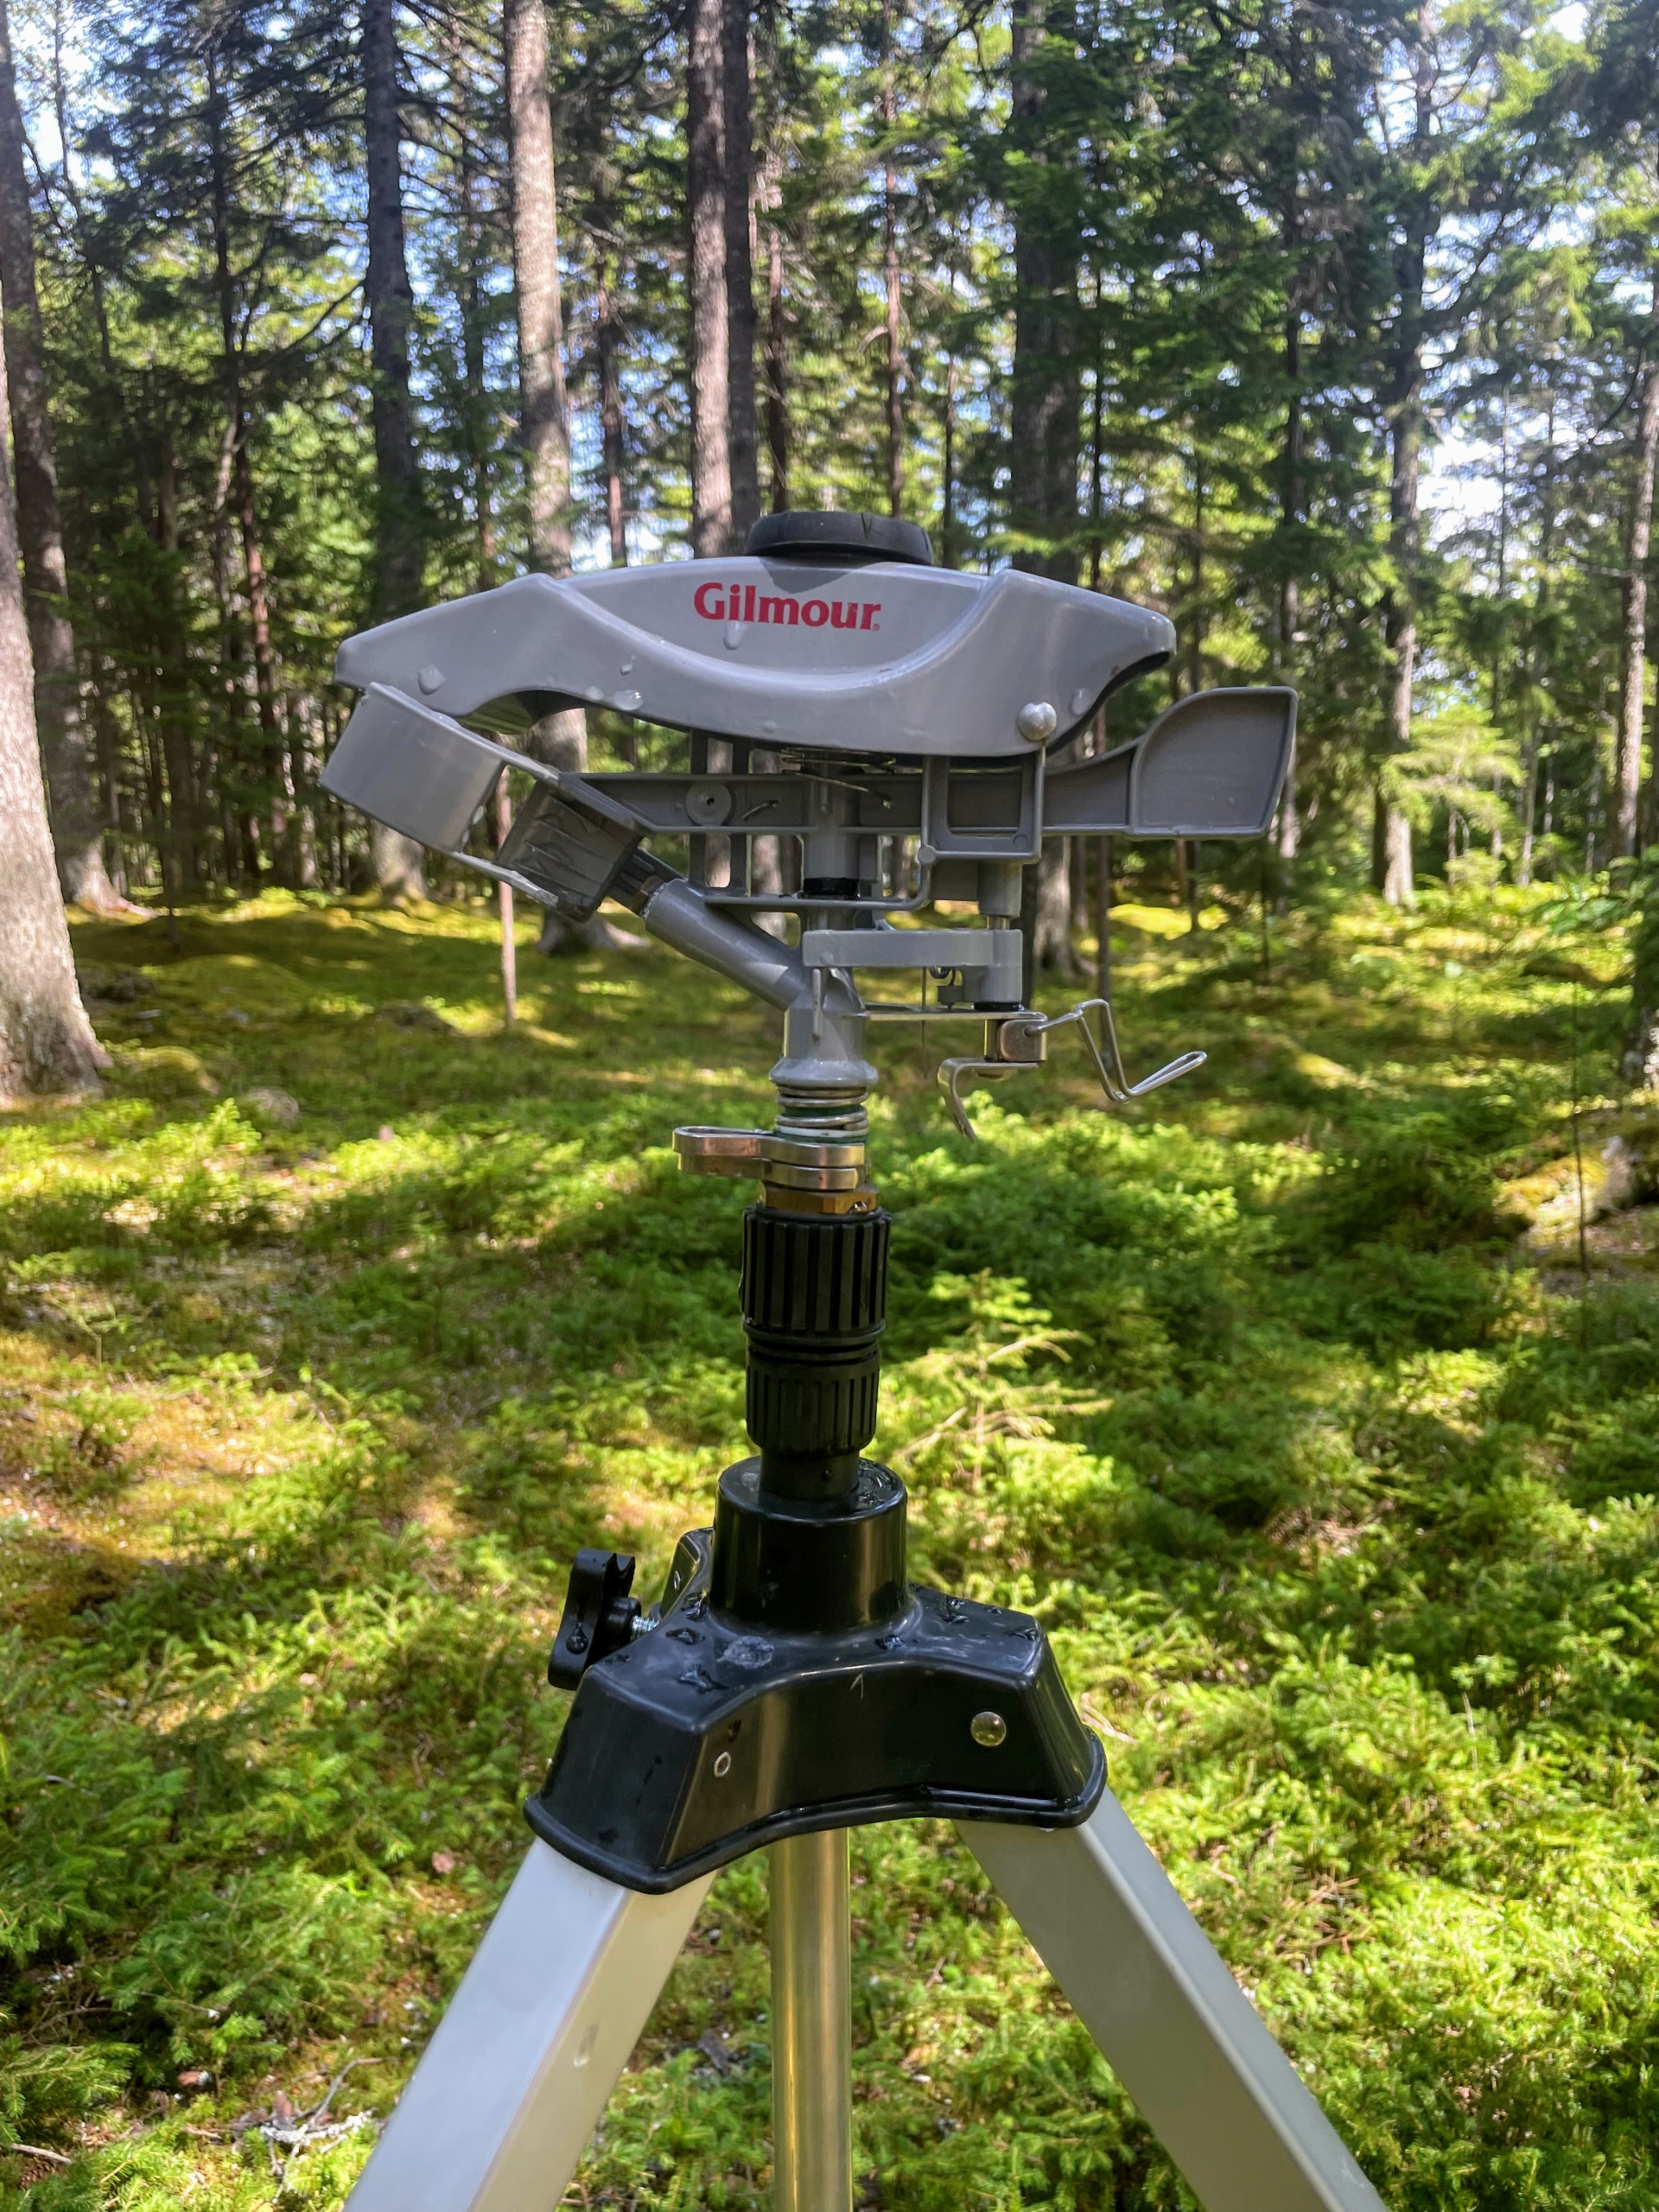
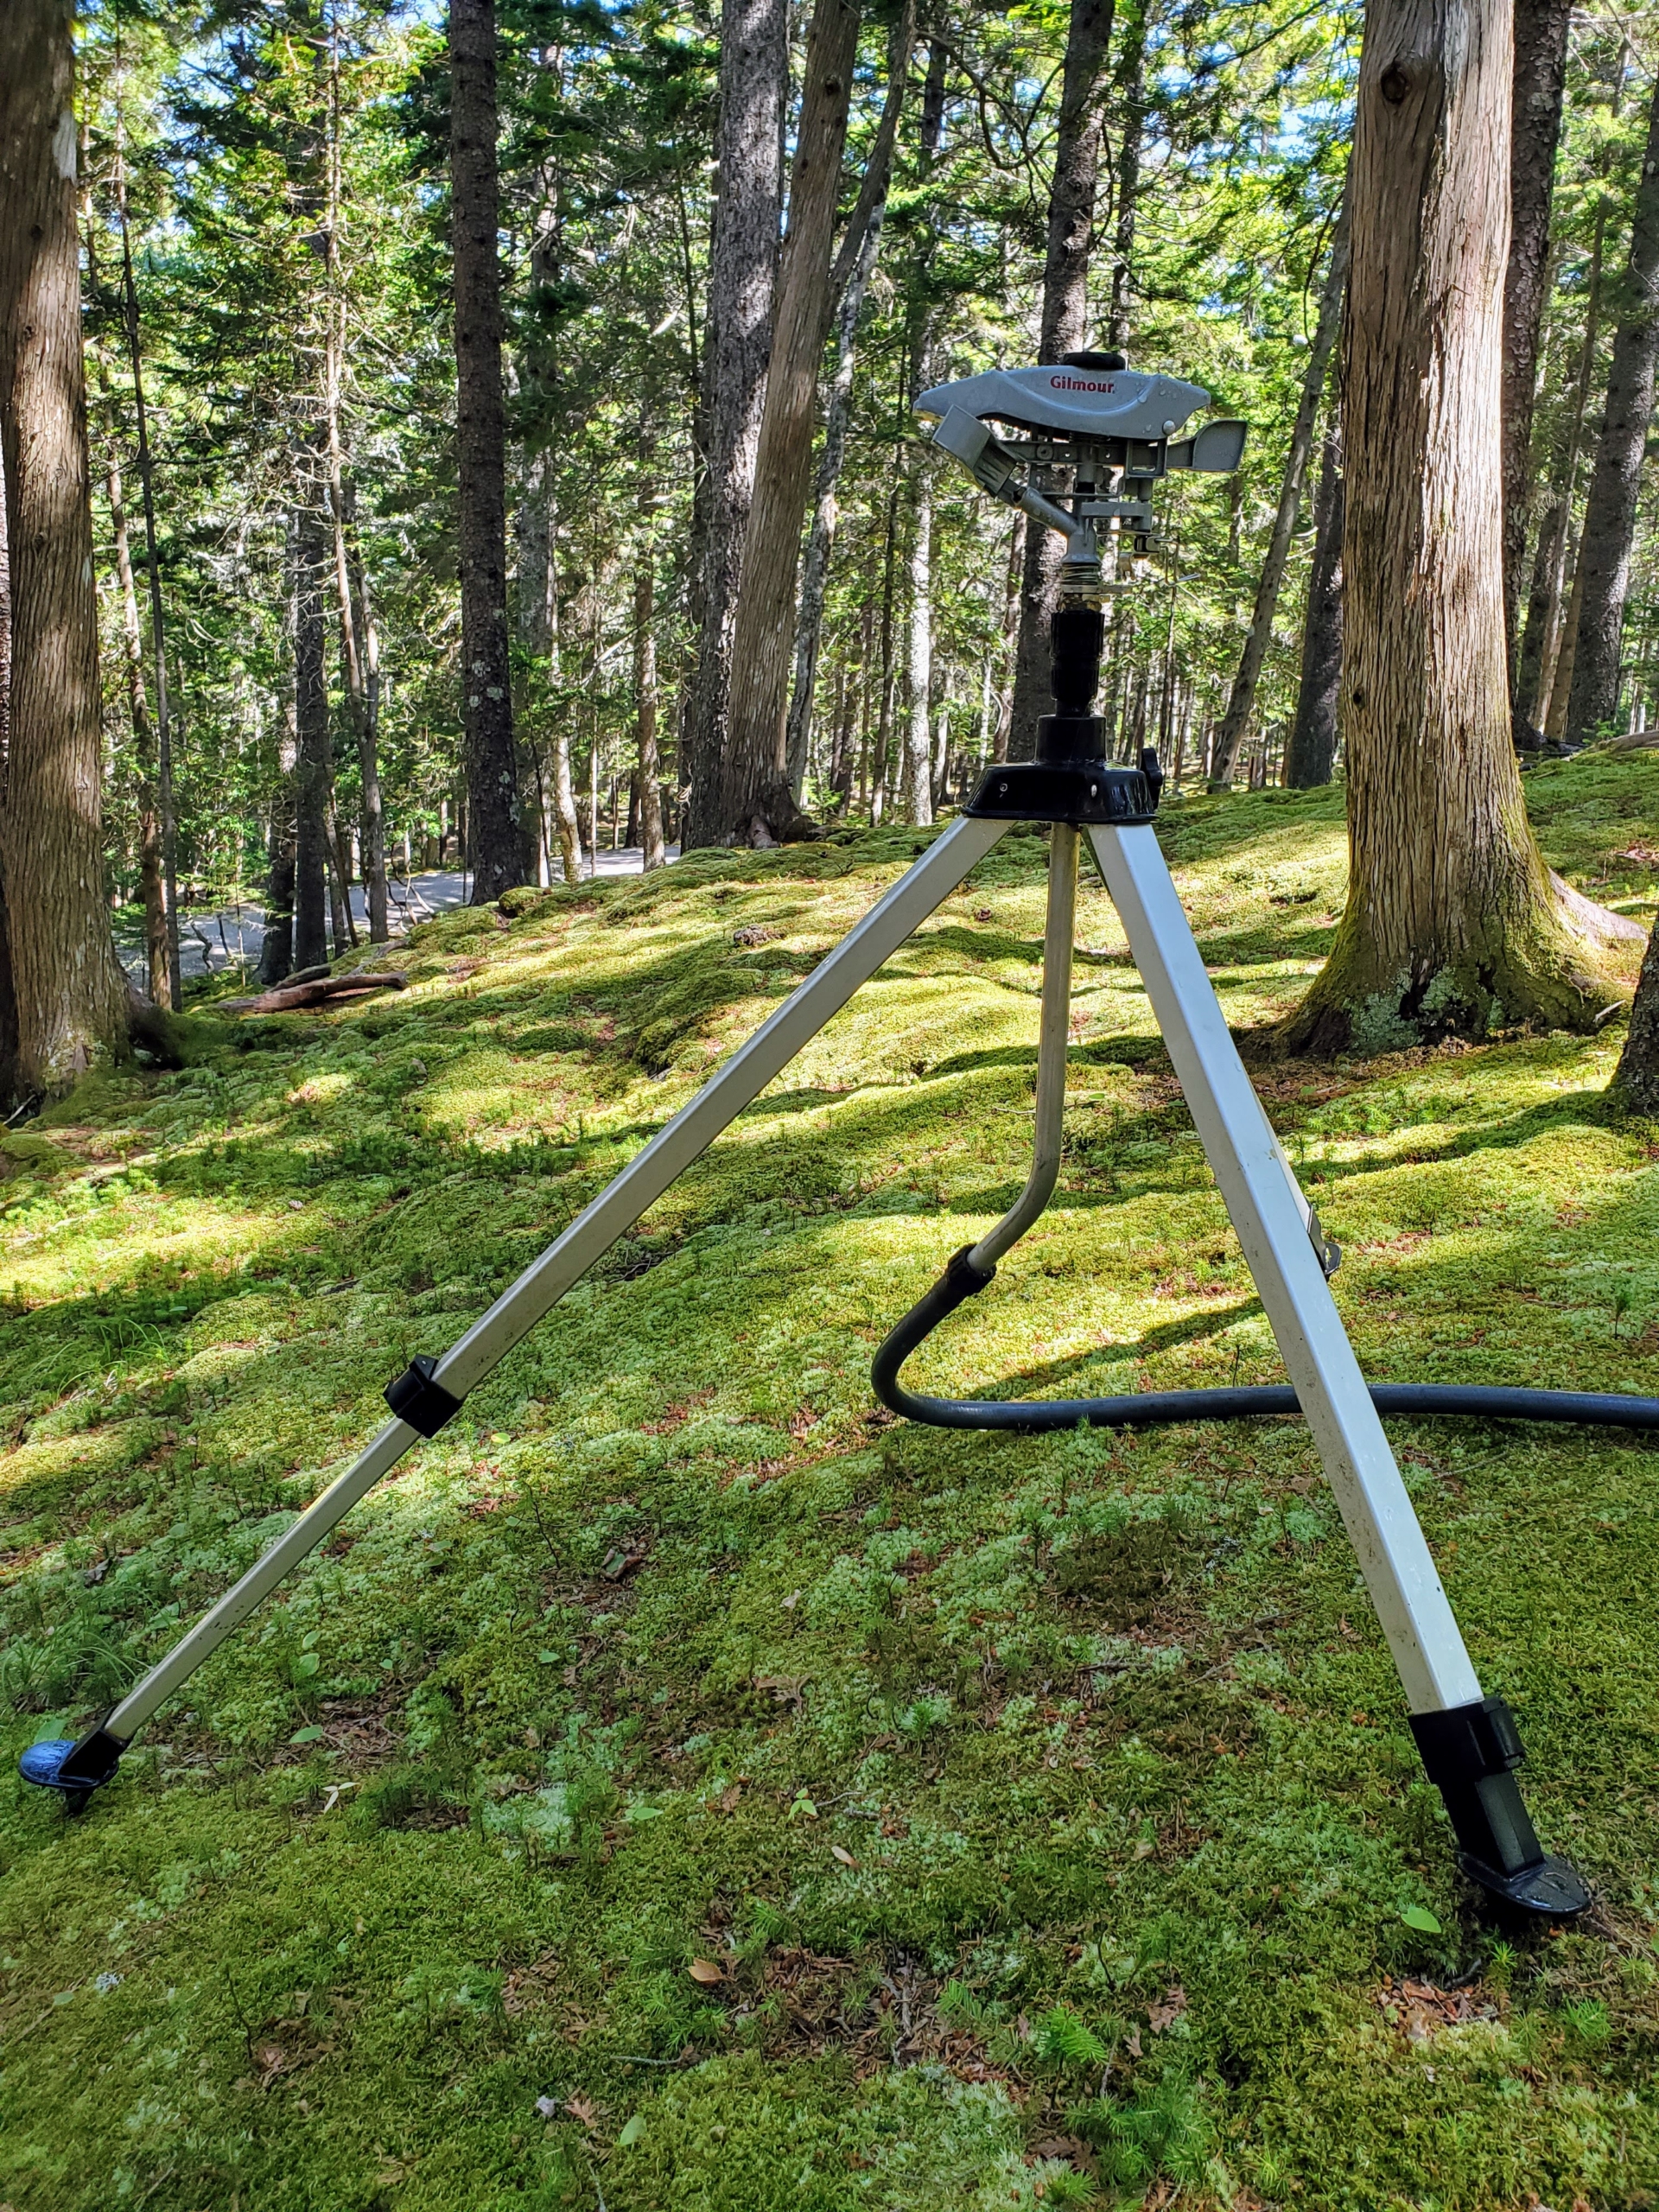
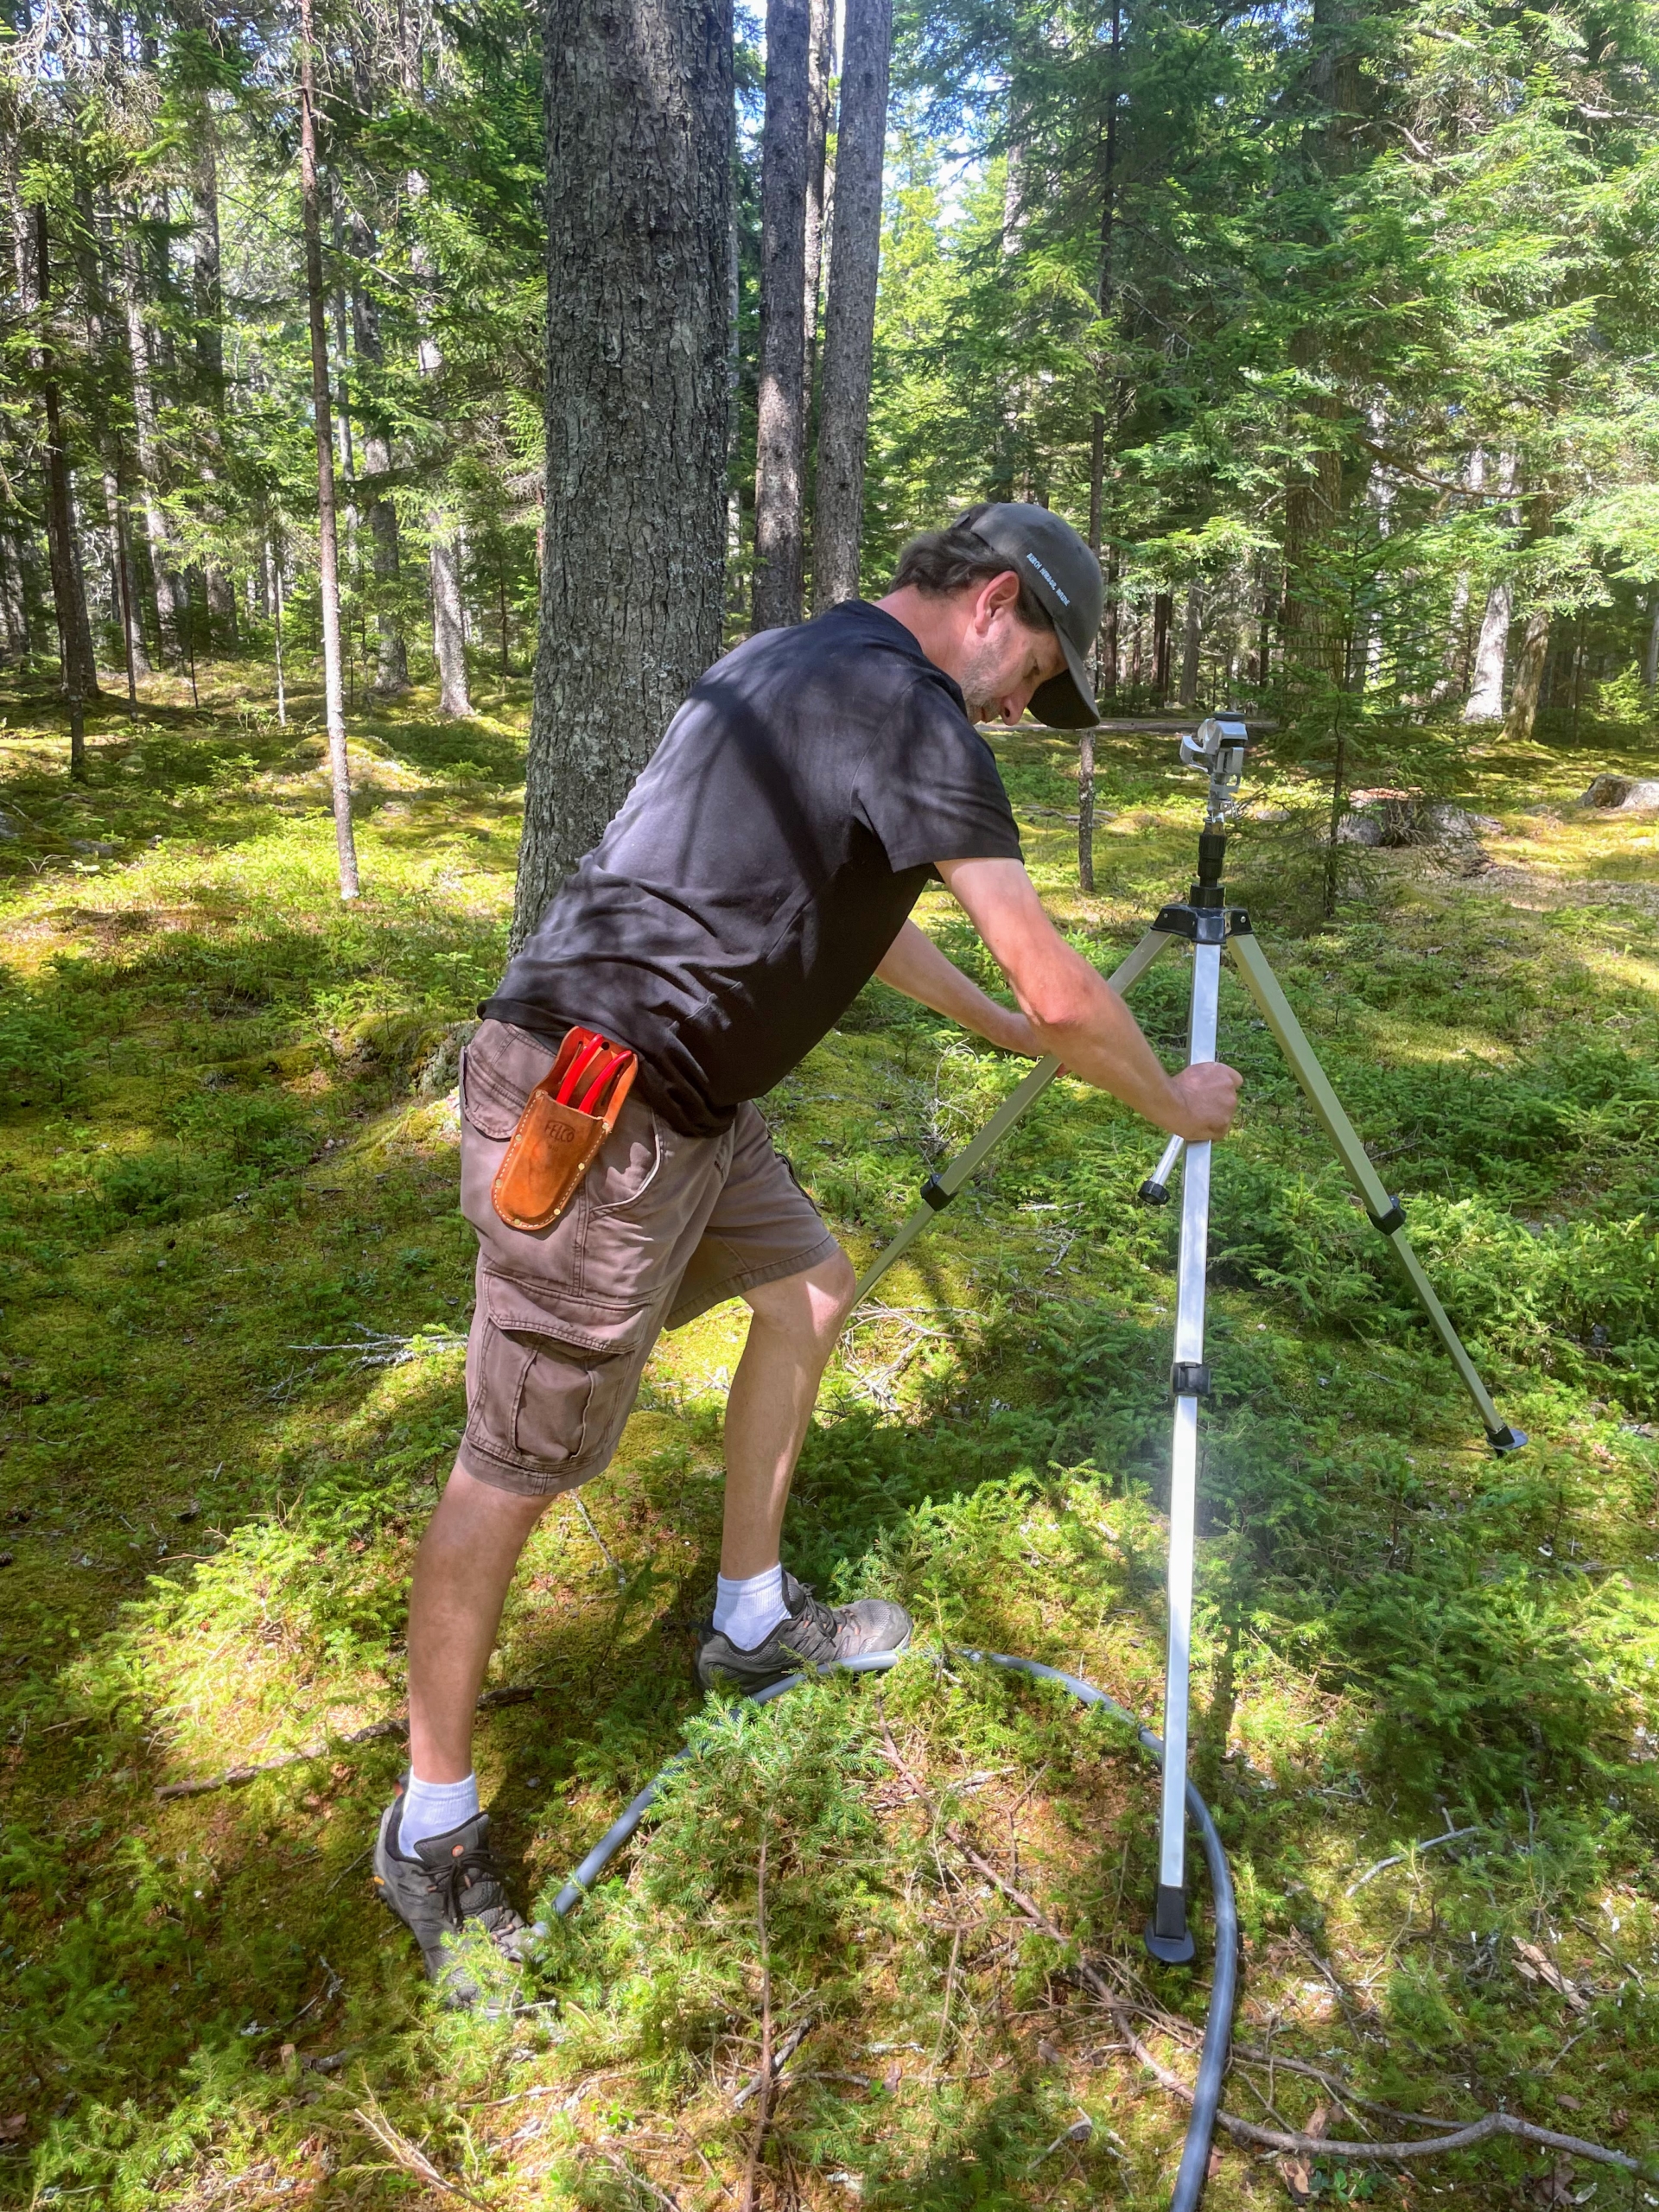
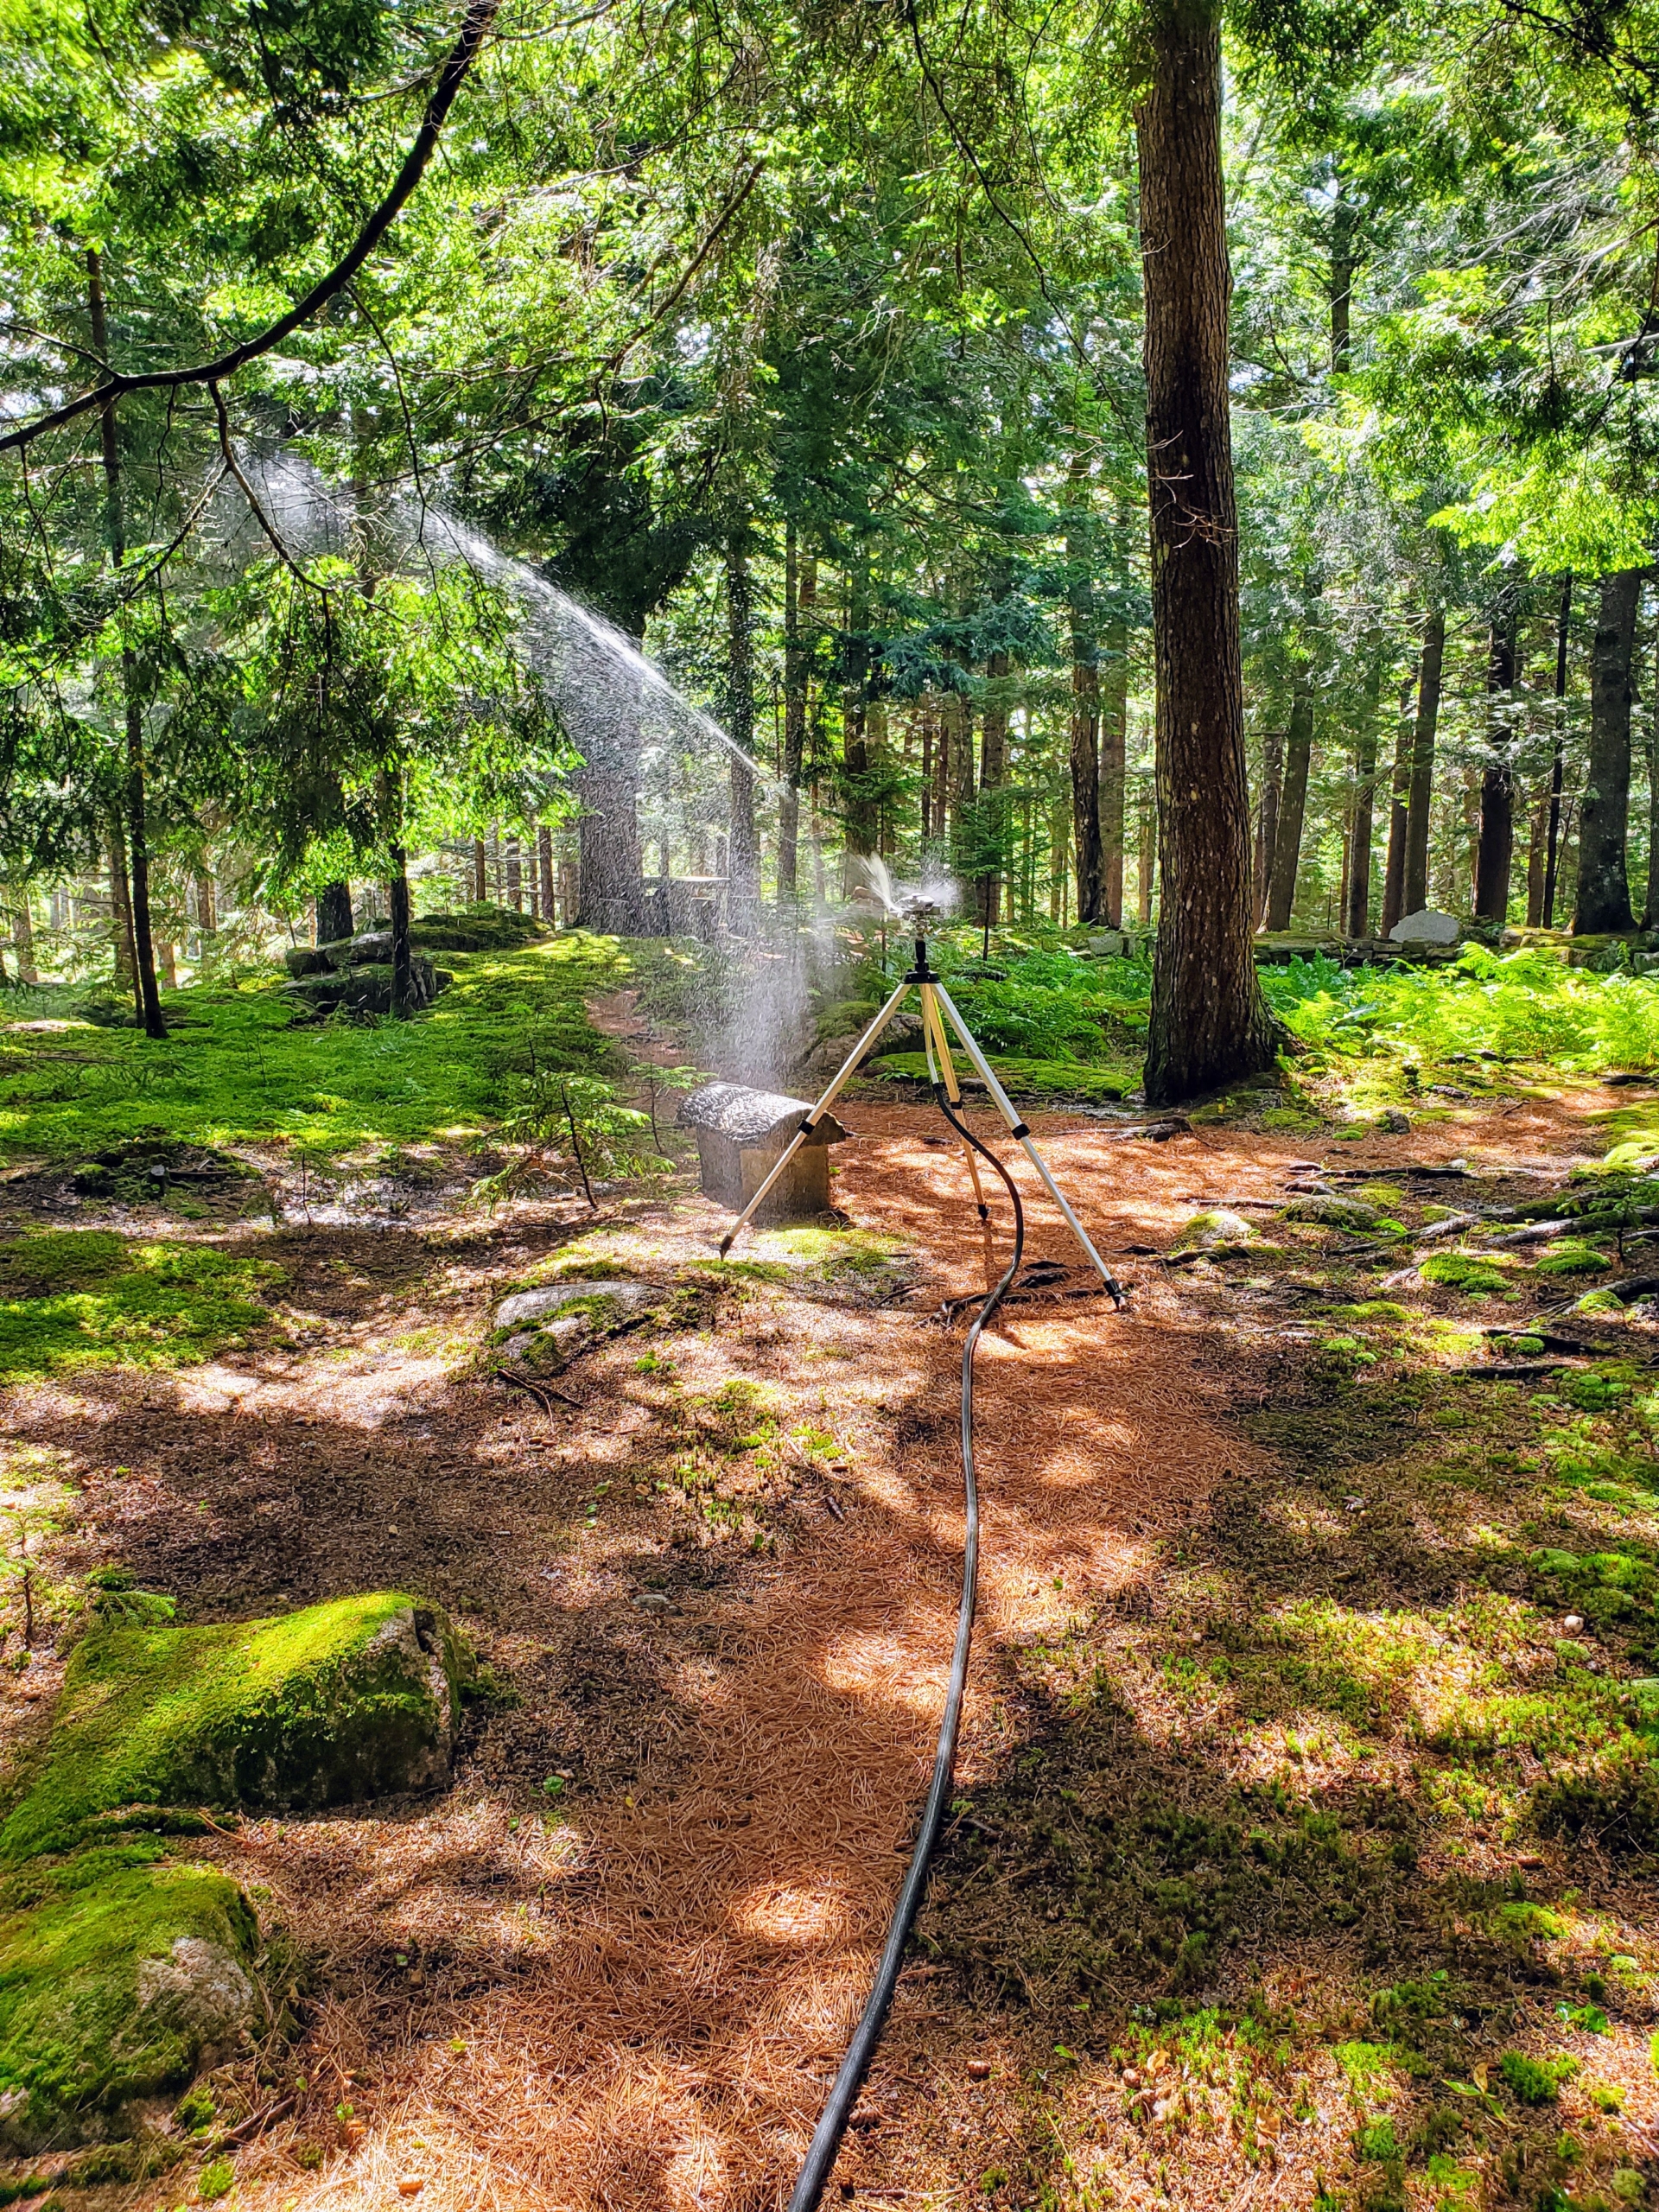
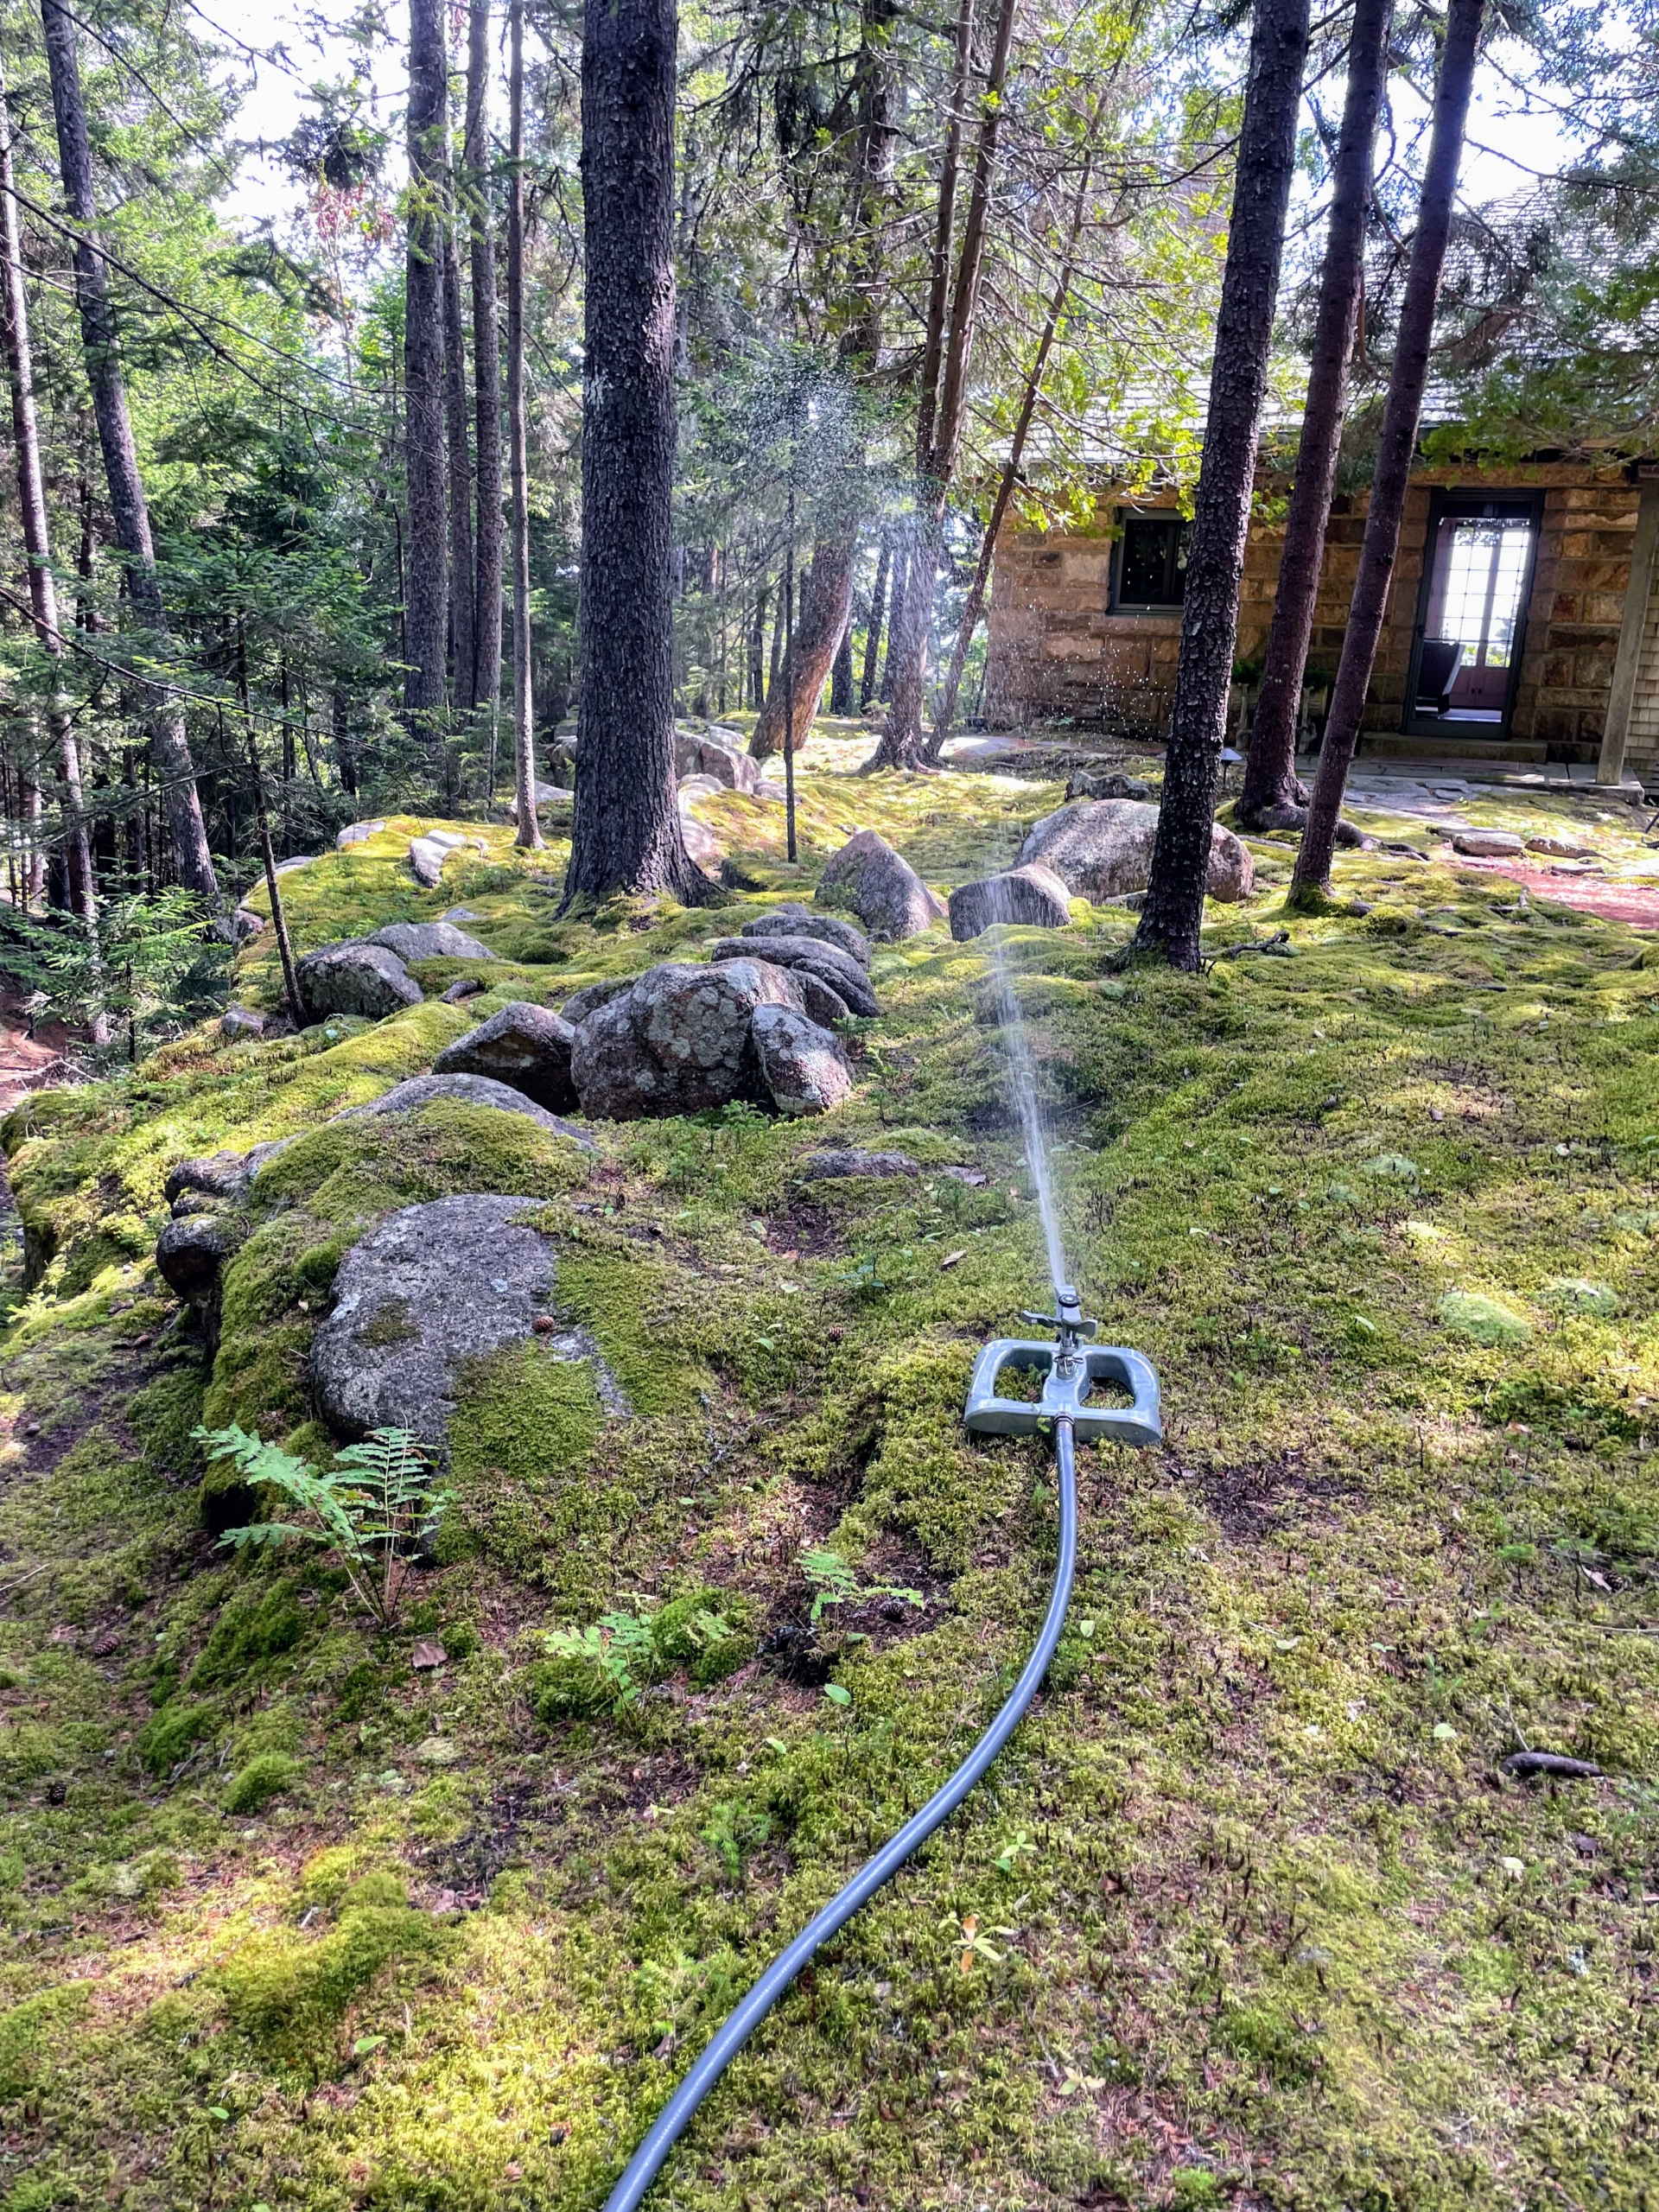
Mike uses a tripod sprinkler to water this area. Tripod sprinklers are best used where there is a need for far-reaching water. This sprinkler has a coverage area of about to 20 to 35-feet in radius.
Mike positions the feet securely in the ground. To avoid dry spots, sprinkler heads should be positioned so they overlap slightly in their coverage areas.
The collar of these tripod sprinklers can be adjusted for partial to full circle coverage. A pin diffuser allows for a customized spray from powerful jet to gentle mist. I show every member of my crew how to use the sprinkler, so they can water properly and efficiently.
Never direct hard spraying sprinklers at trees – this may mar the bark. Instead, use harder sprays for more open spaces or limit watering between the trees.
During the summer, a good watering is done to a depth of about six to eight inches. An even, intermittent sprinkling is best for thorough, deep watering.
The tripod sprinklers are also very, very sturdy, and because they’re all metal, they can stand up to frequent use around the property.
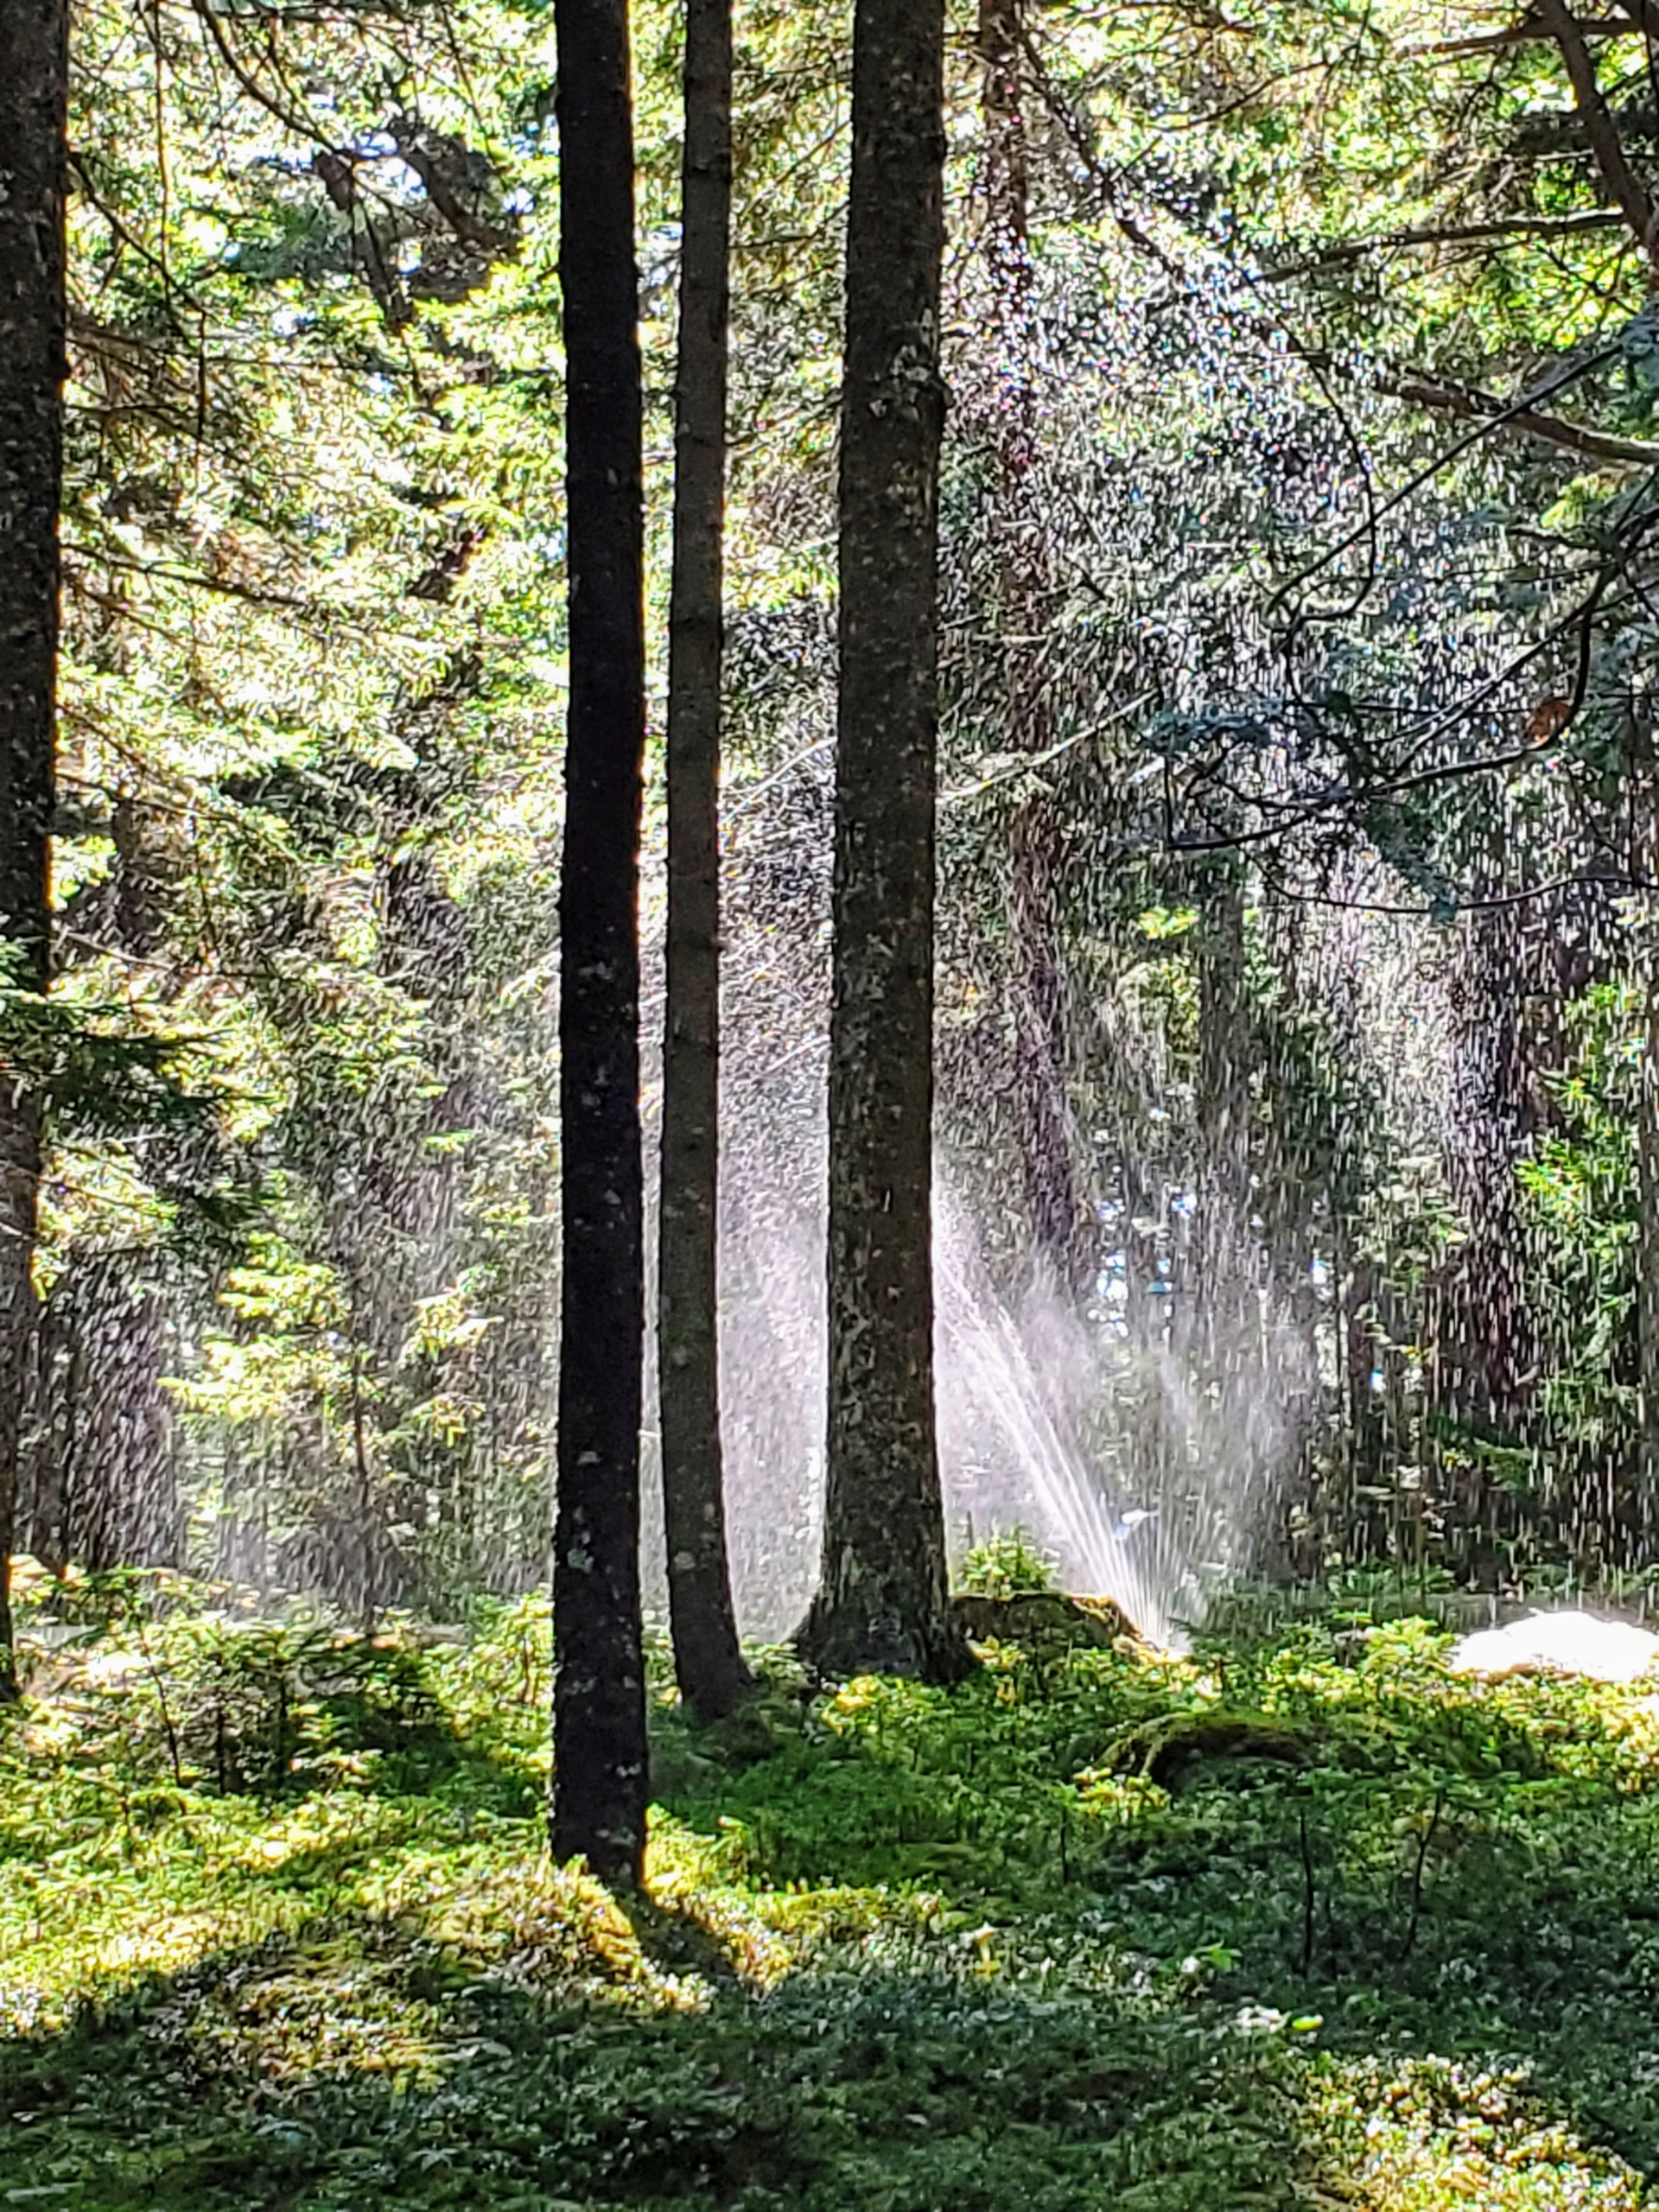
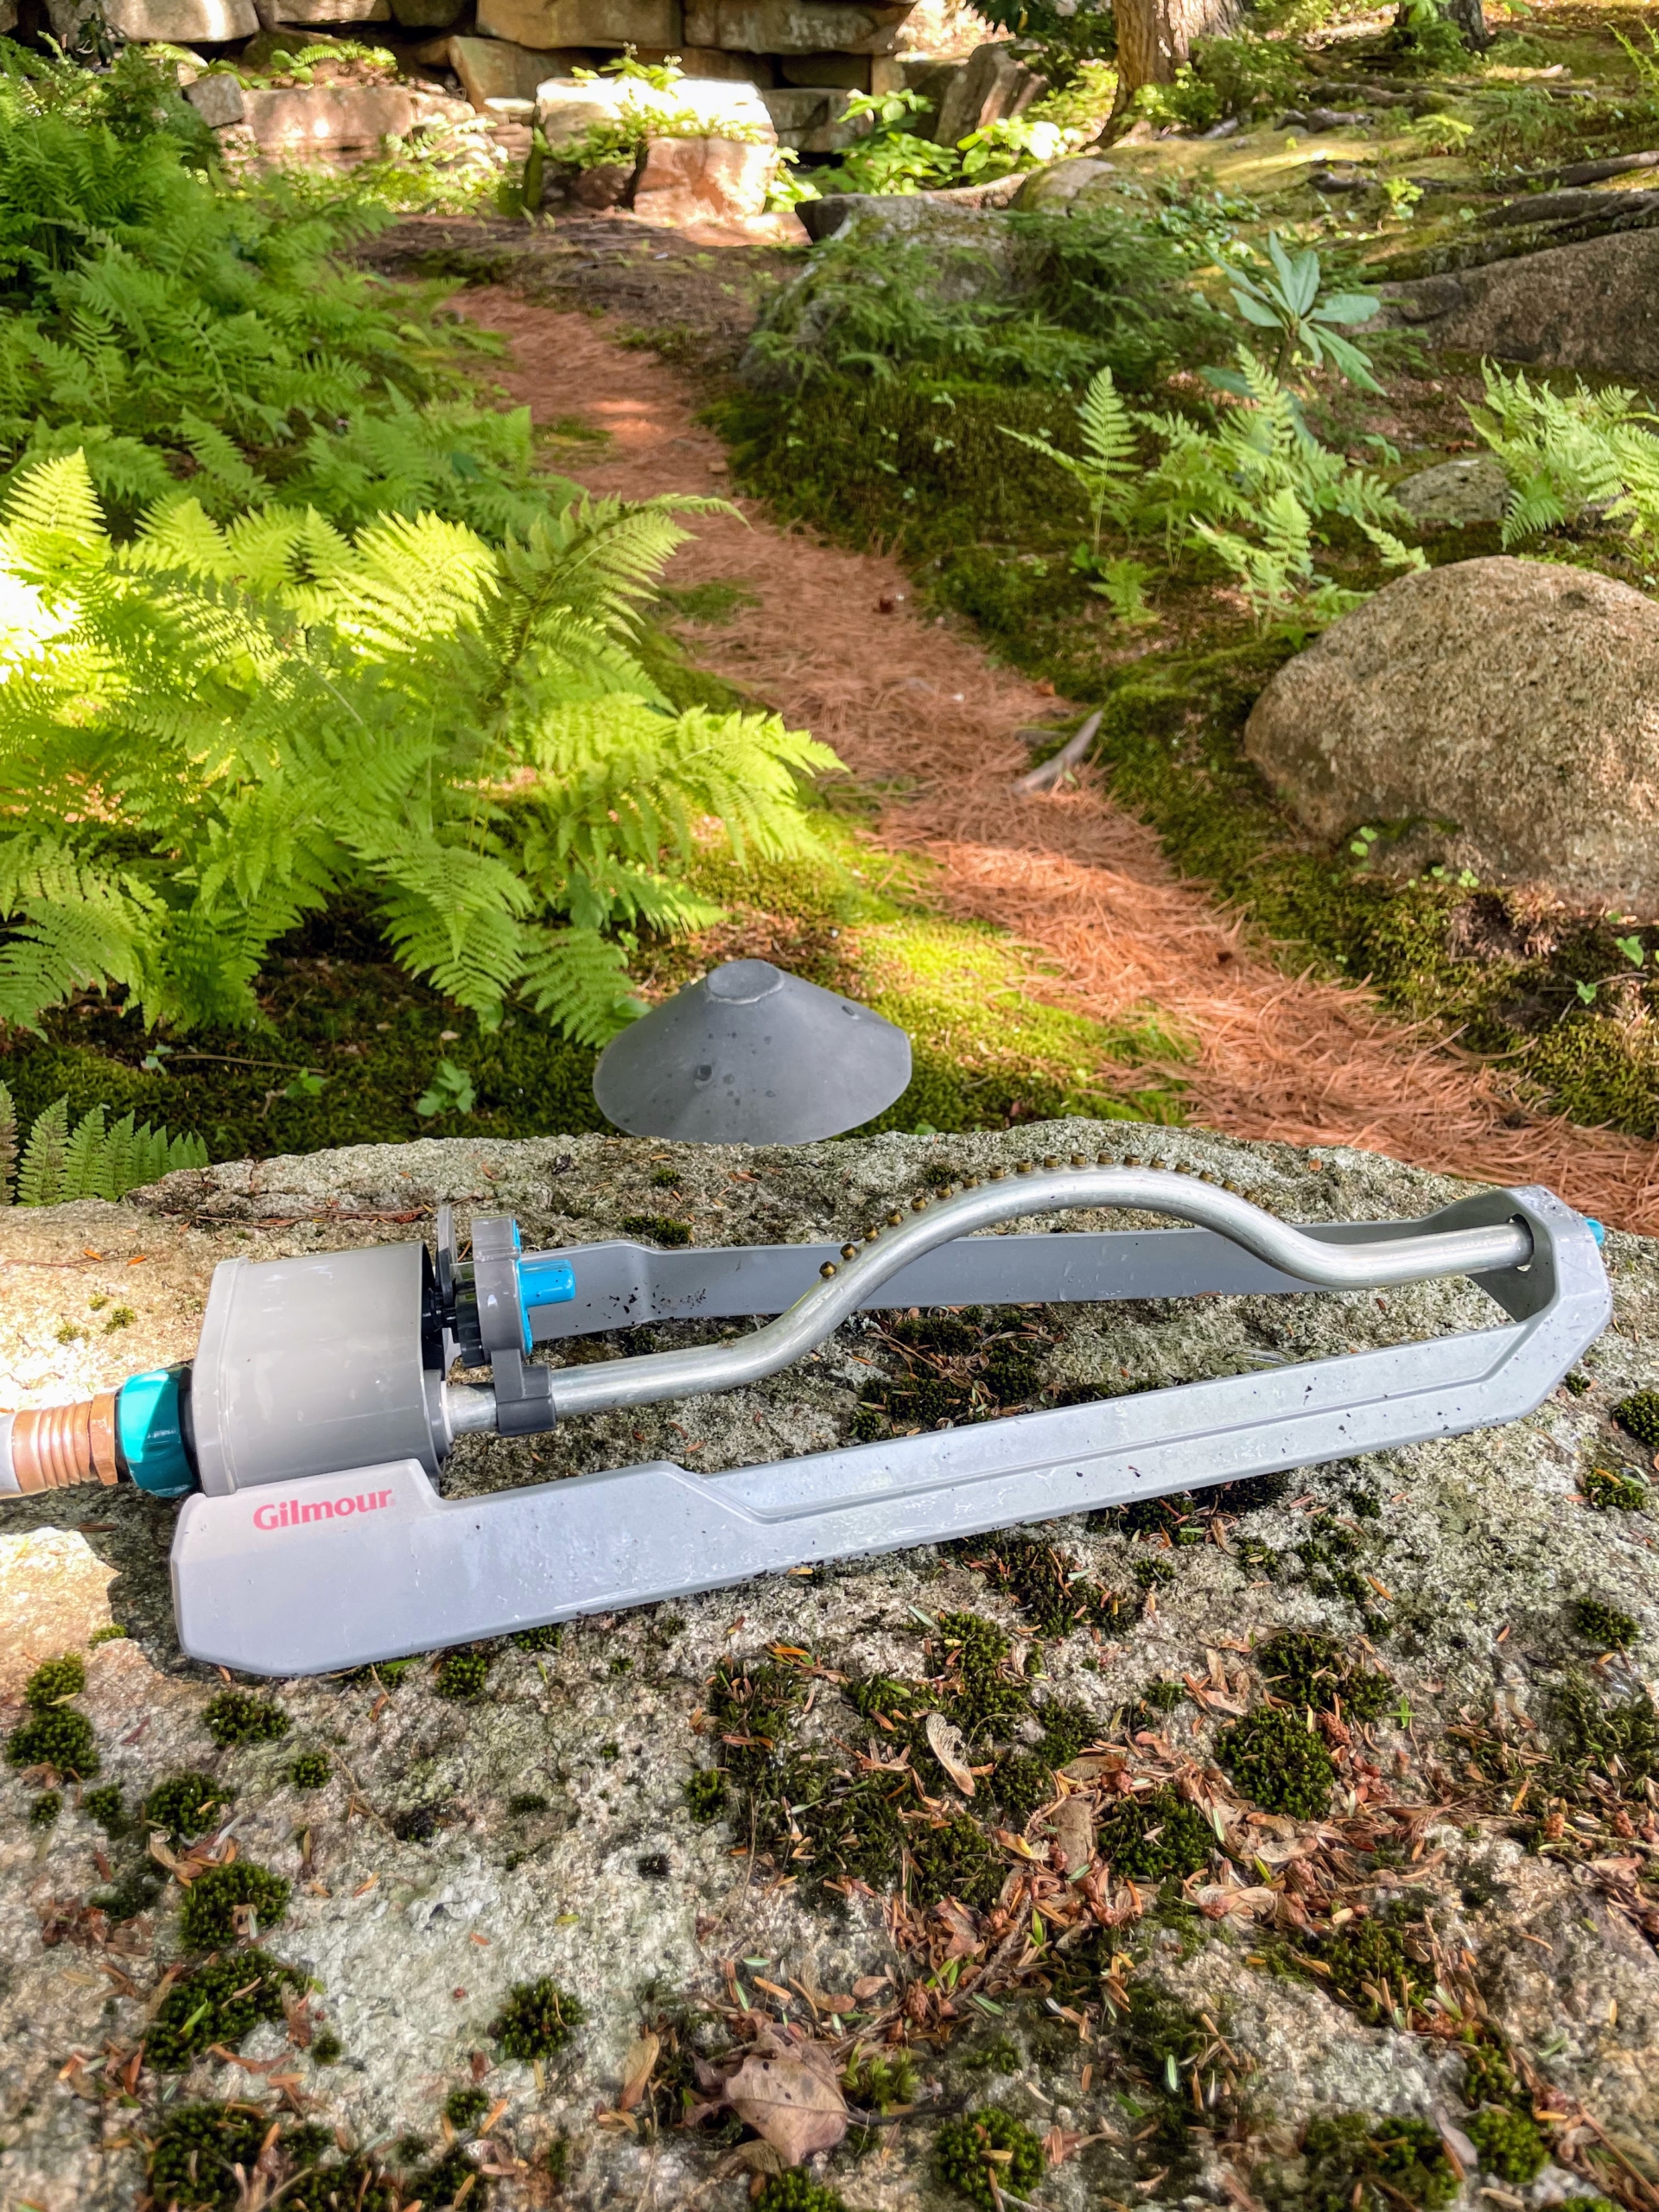
Gilmour also makes oscillating sprinklers that are easy to control in a variety of areas. They provide thousands of square feet in water coverage. They feature a tube with multiple openings that move back and forth to provide even watering.
Here is one positioned on a rock watering another section of ferns and moss.
This is an older model circular sprinkler with a base. Its spray pattern adjusts from partial- to full-circle coverage, and its spray force can be set to powerful jet or gentle rain.
Gilmour sprinklers hold up so well through the seasons. I’ve had this sprinkler for several years.
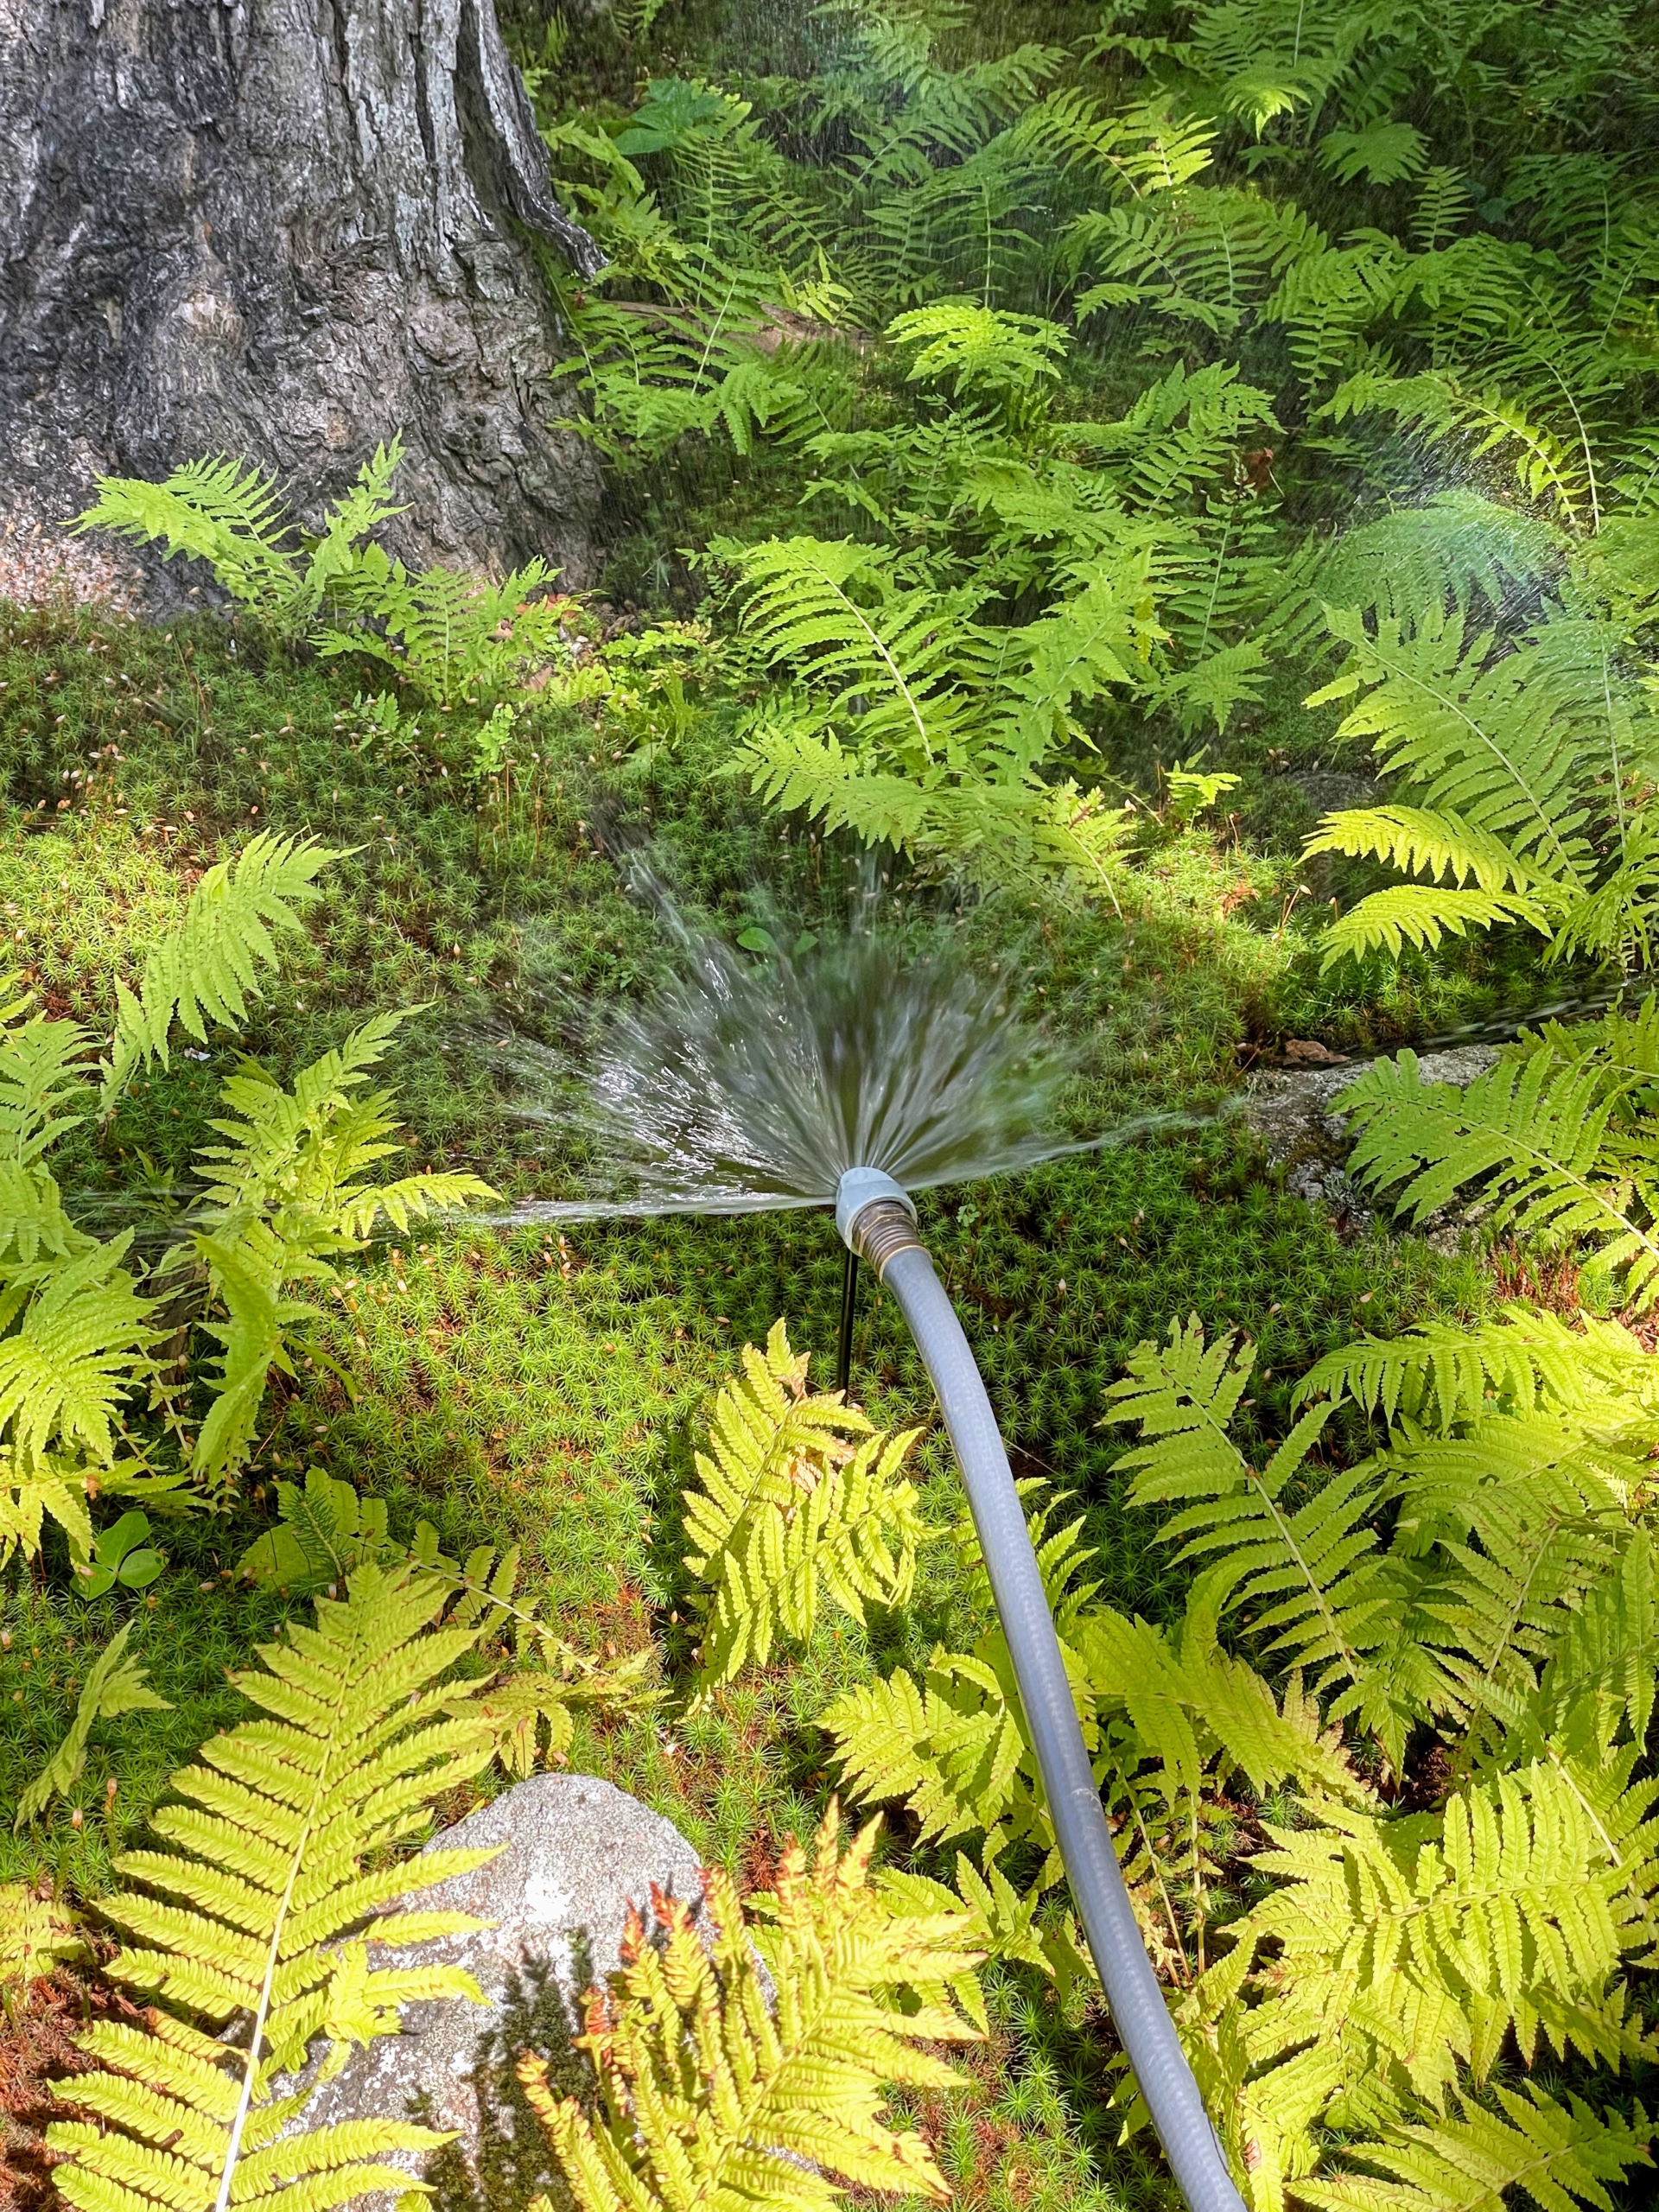
This is a small area stationary sprinkler.
It attaches to the hose lower to the ground for more delicate plantings.
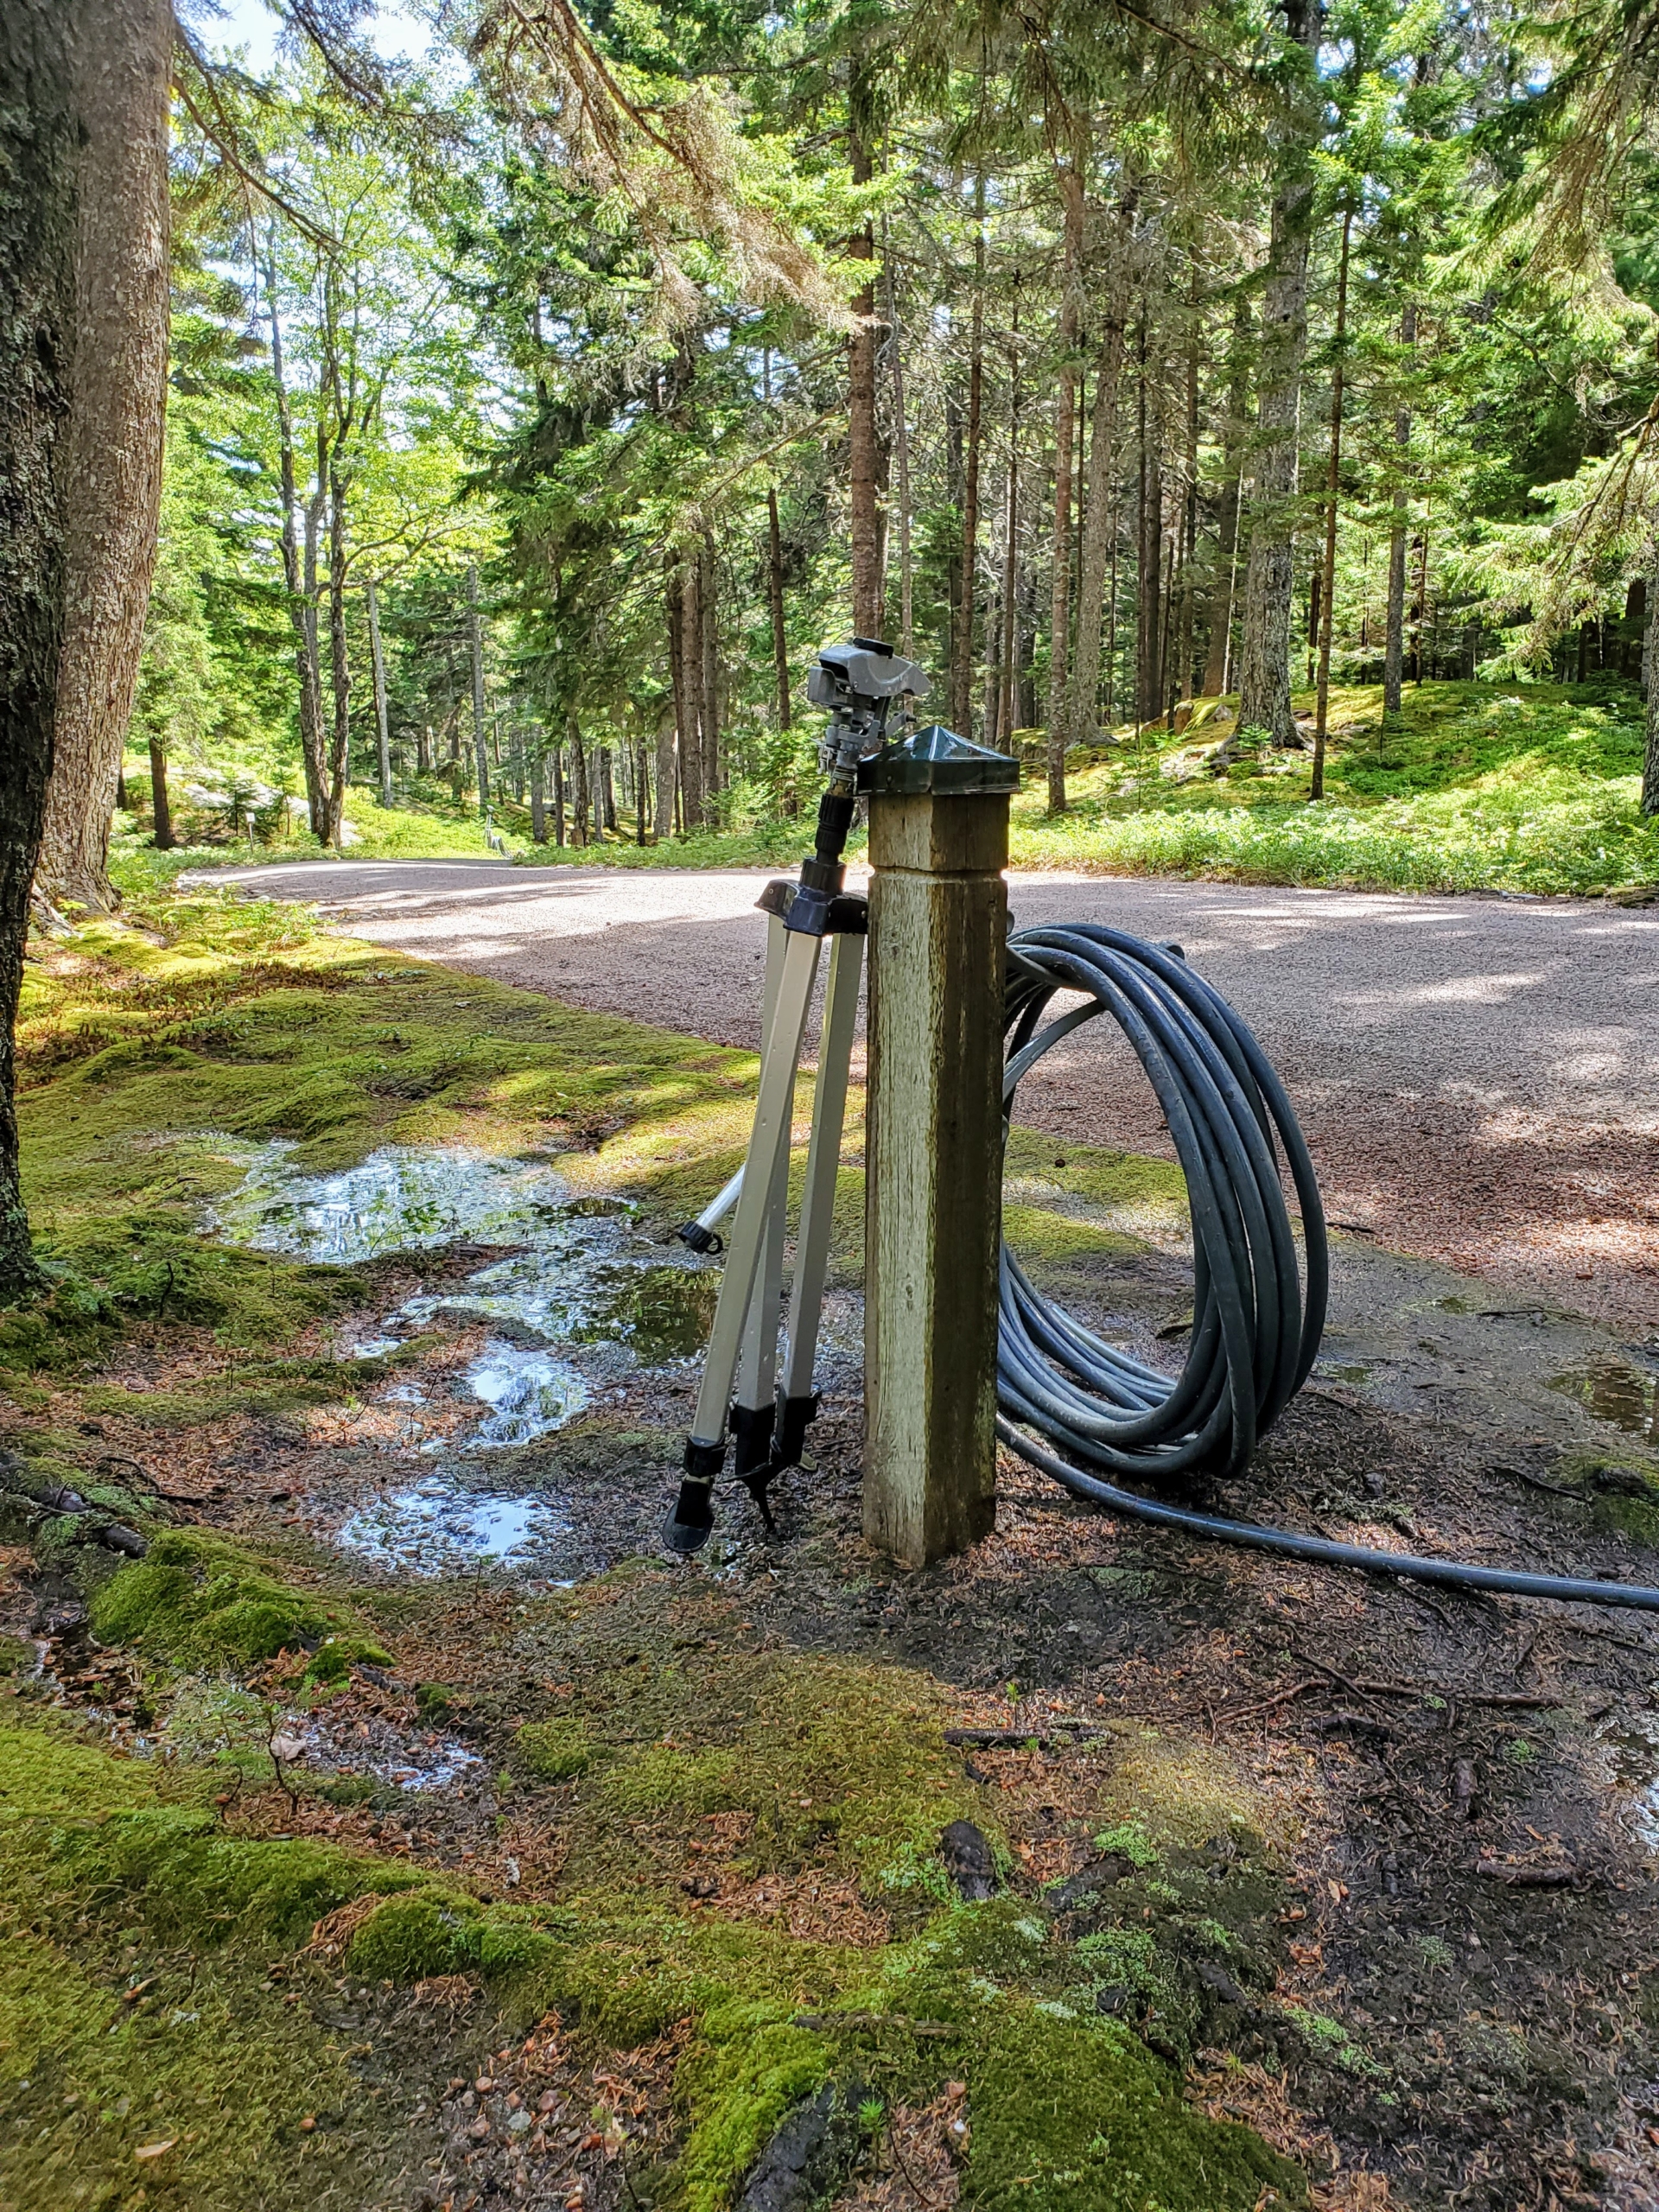
And at the end of the day, each hose is coiled up once again neatly by its designated bib – ready for the next job. And be sure to turn off the water at the source. Just turning off at the sprinkler puts a lot of pressure on the hoses and pipes.
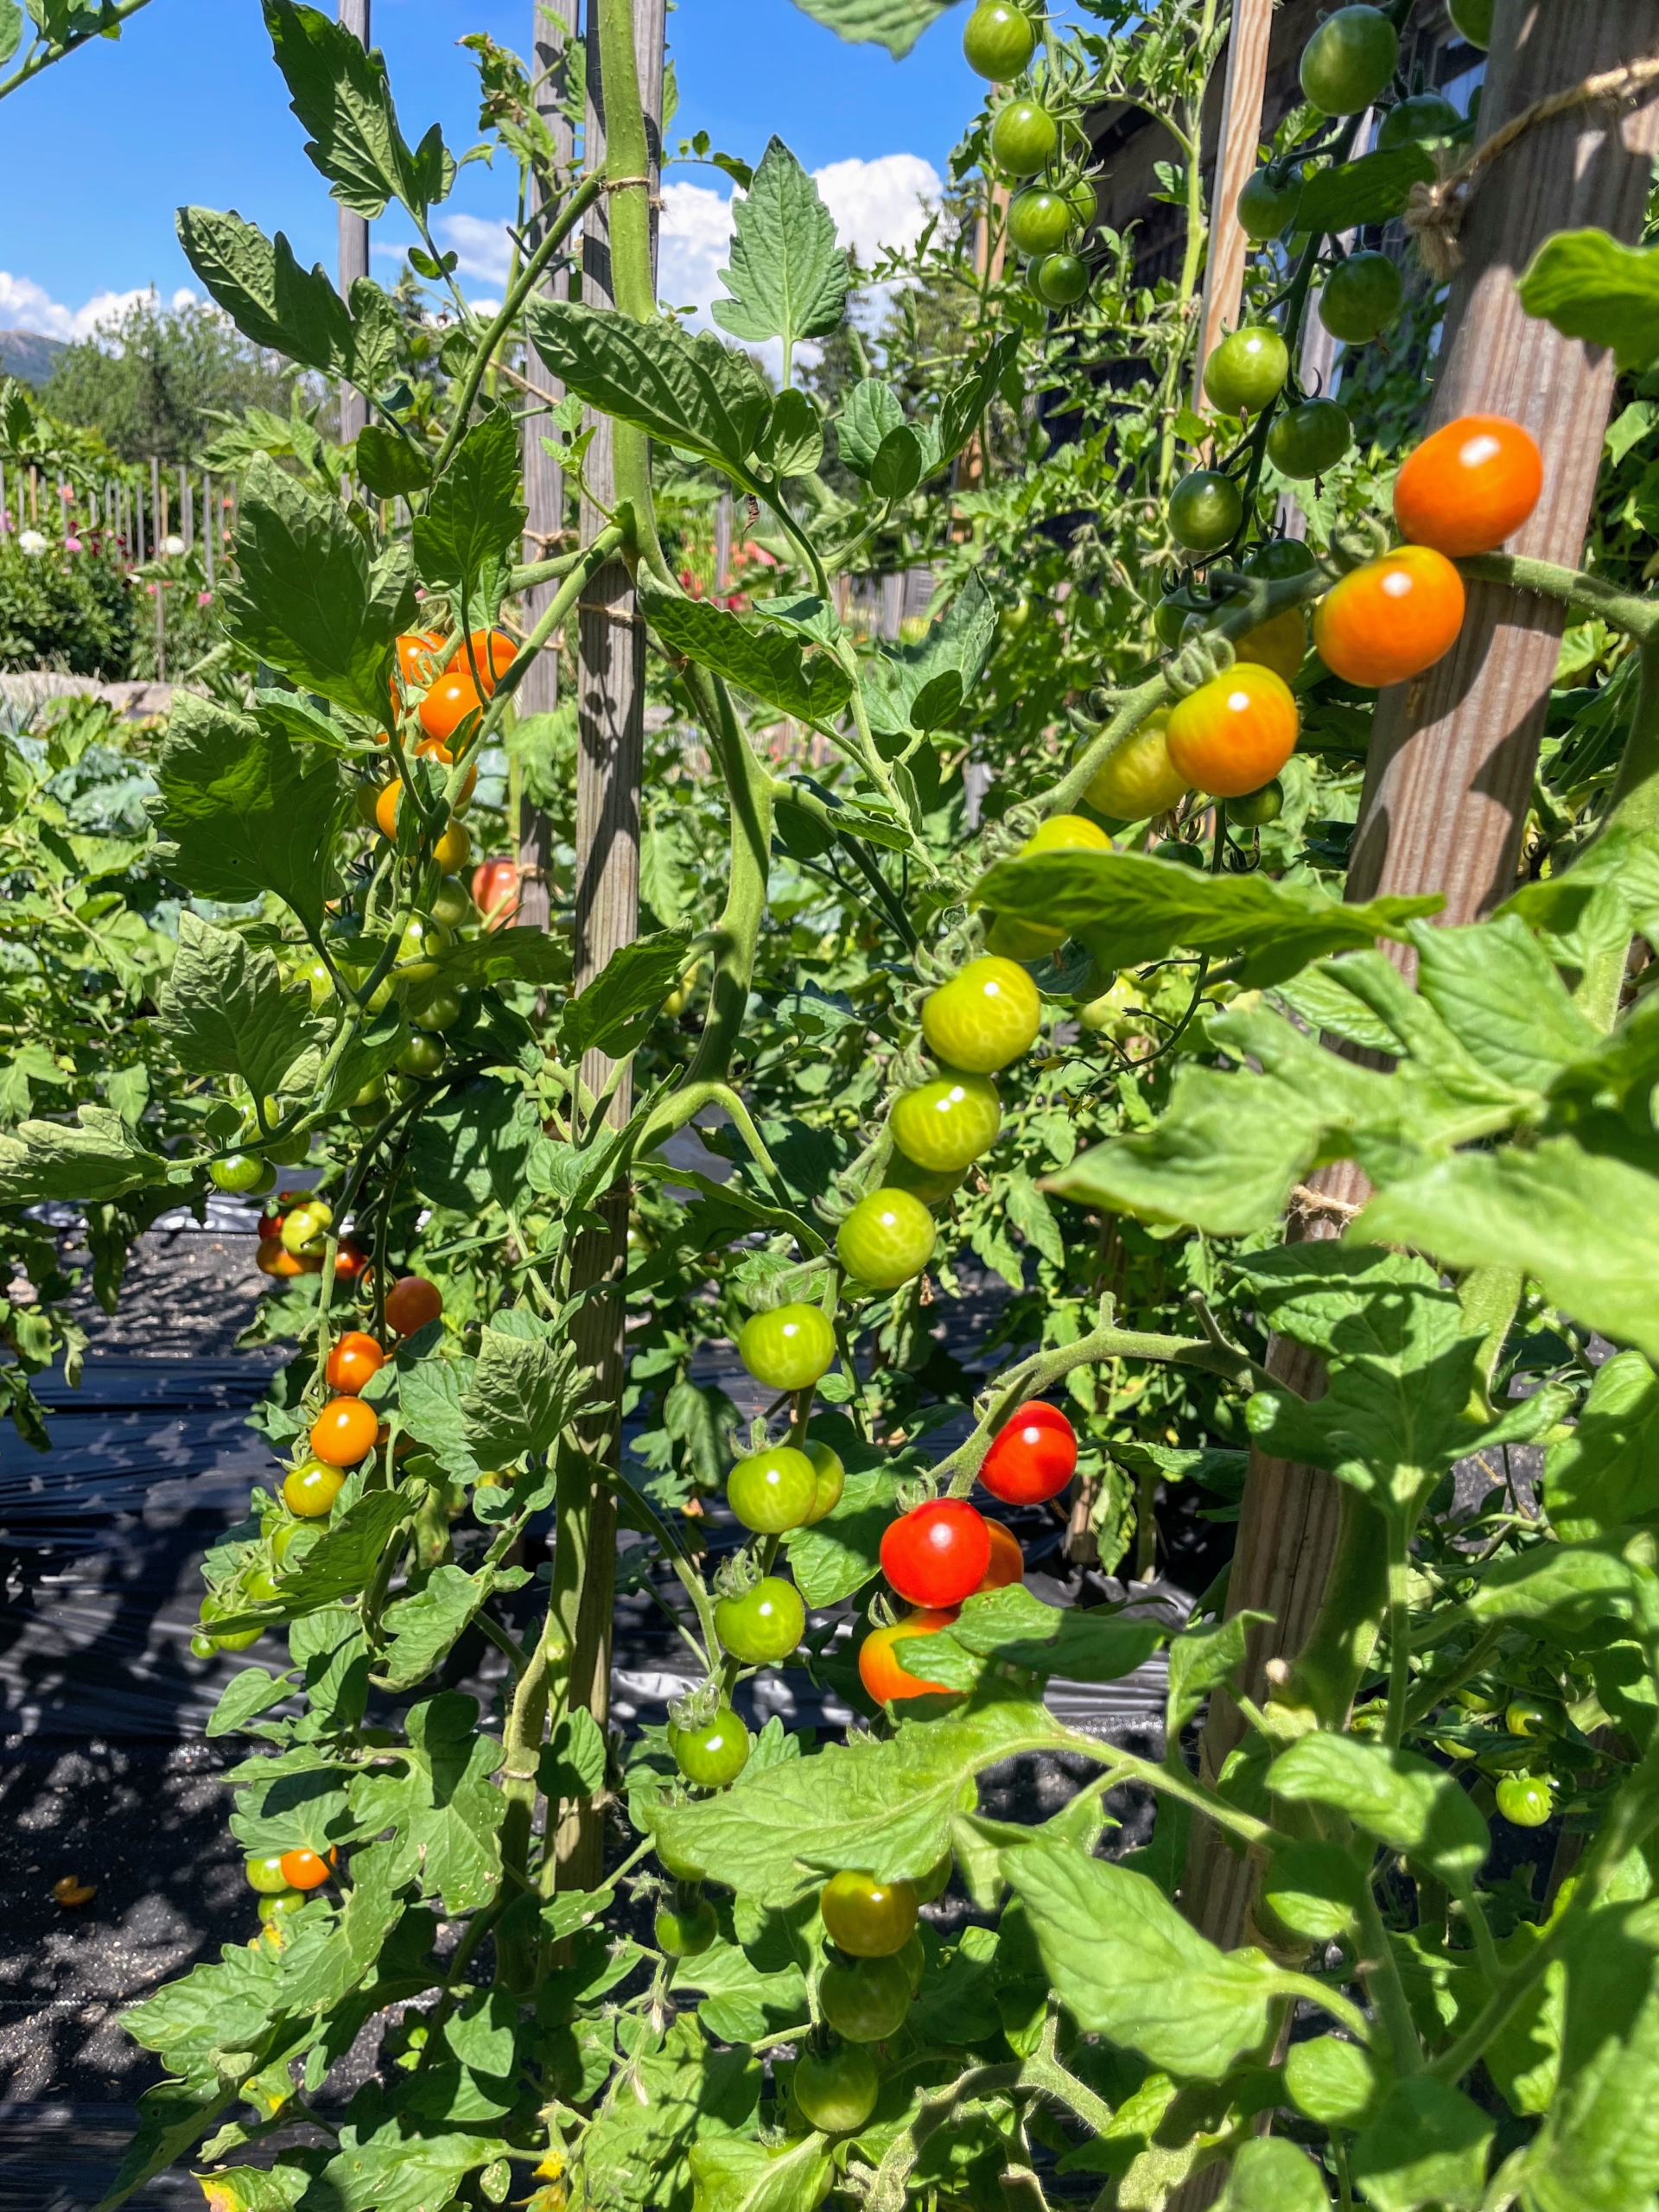
Meanwhile, we have lots of beautiful tomatoes ripening on their vines at Skylands.
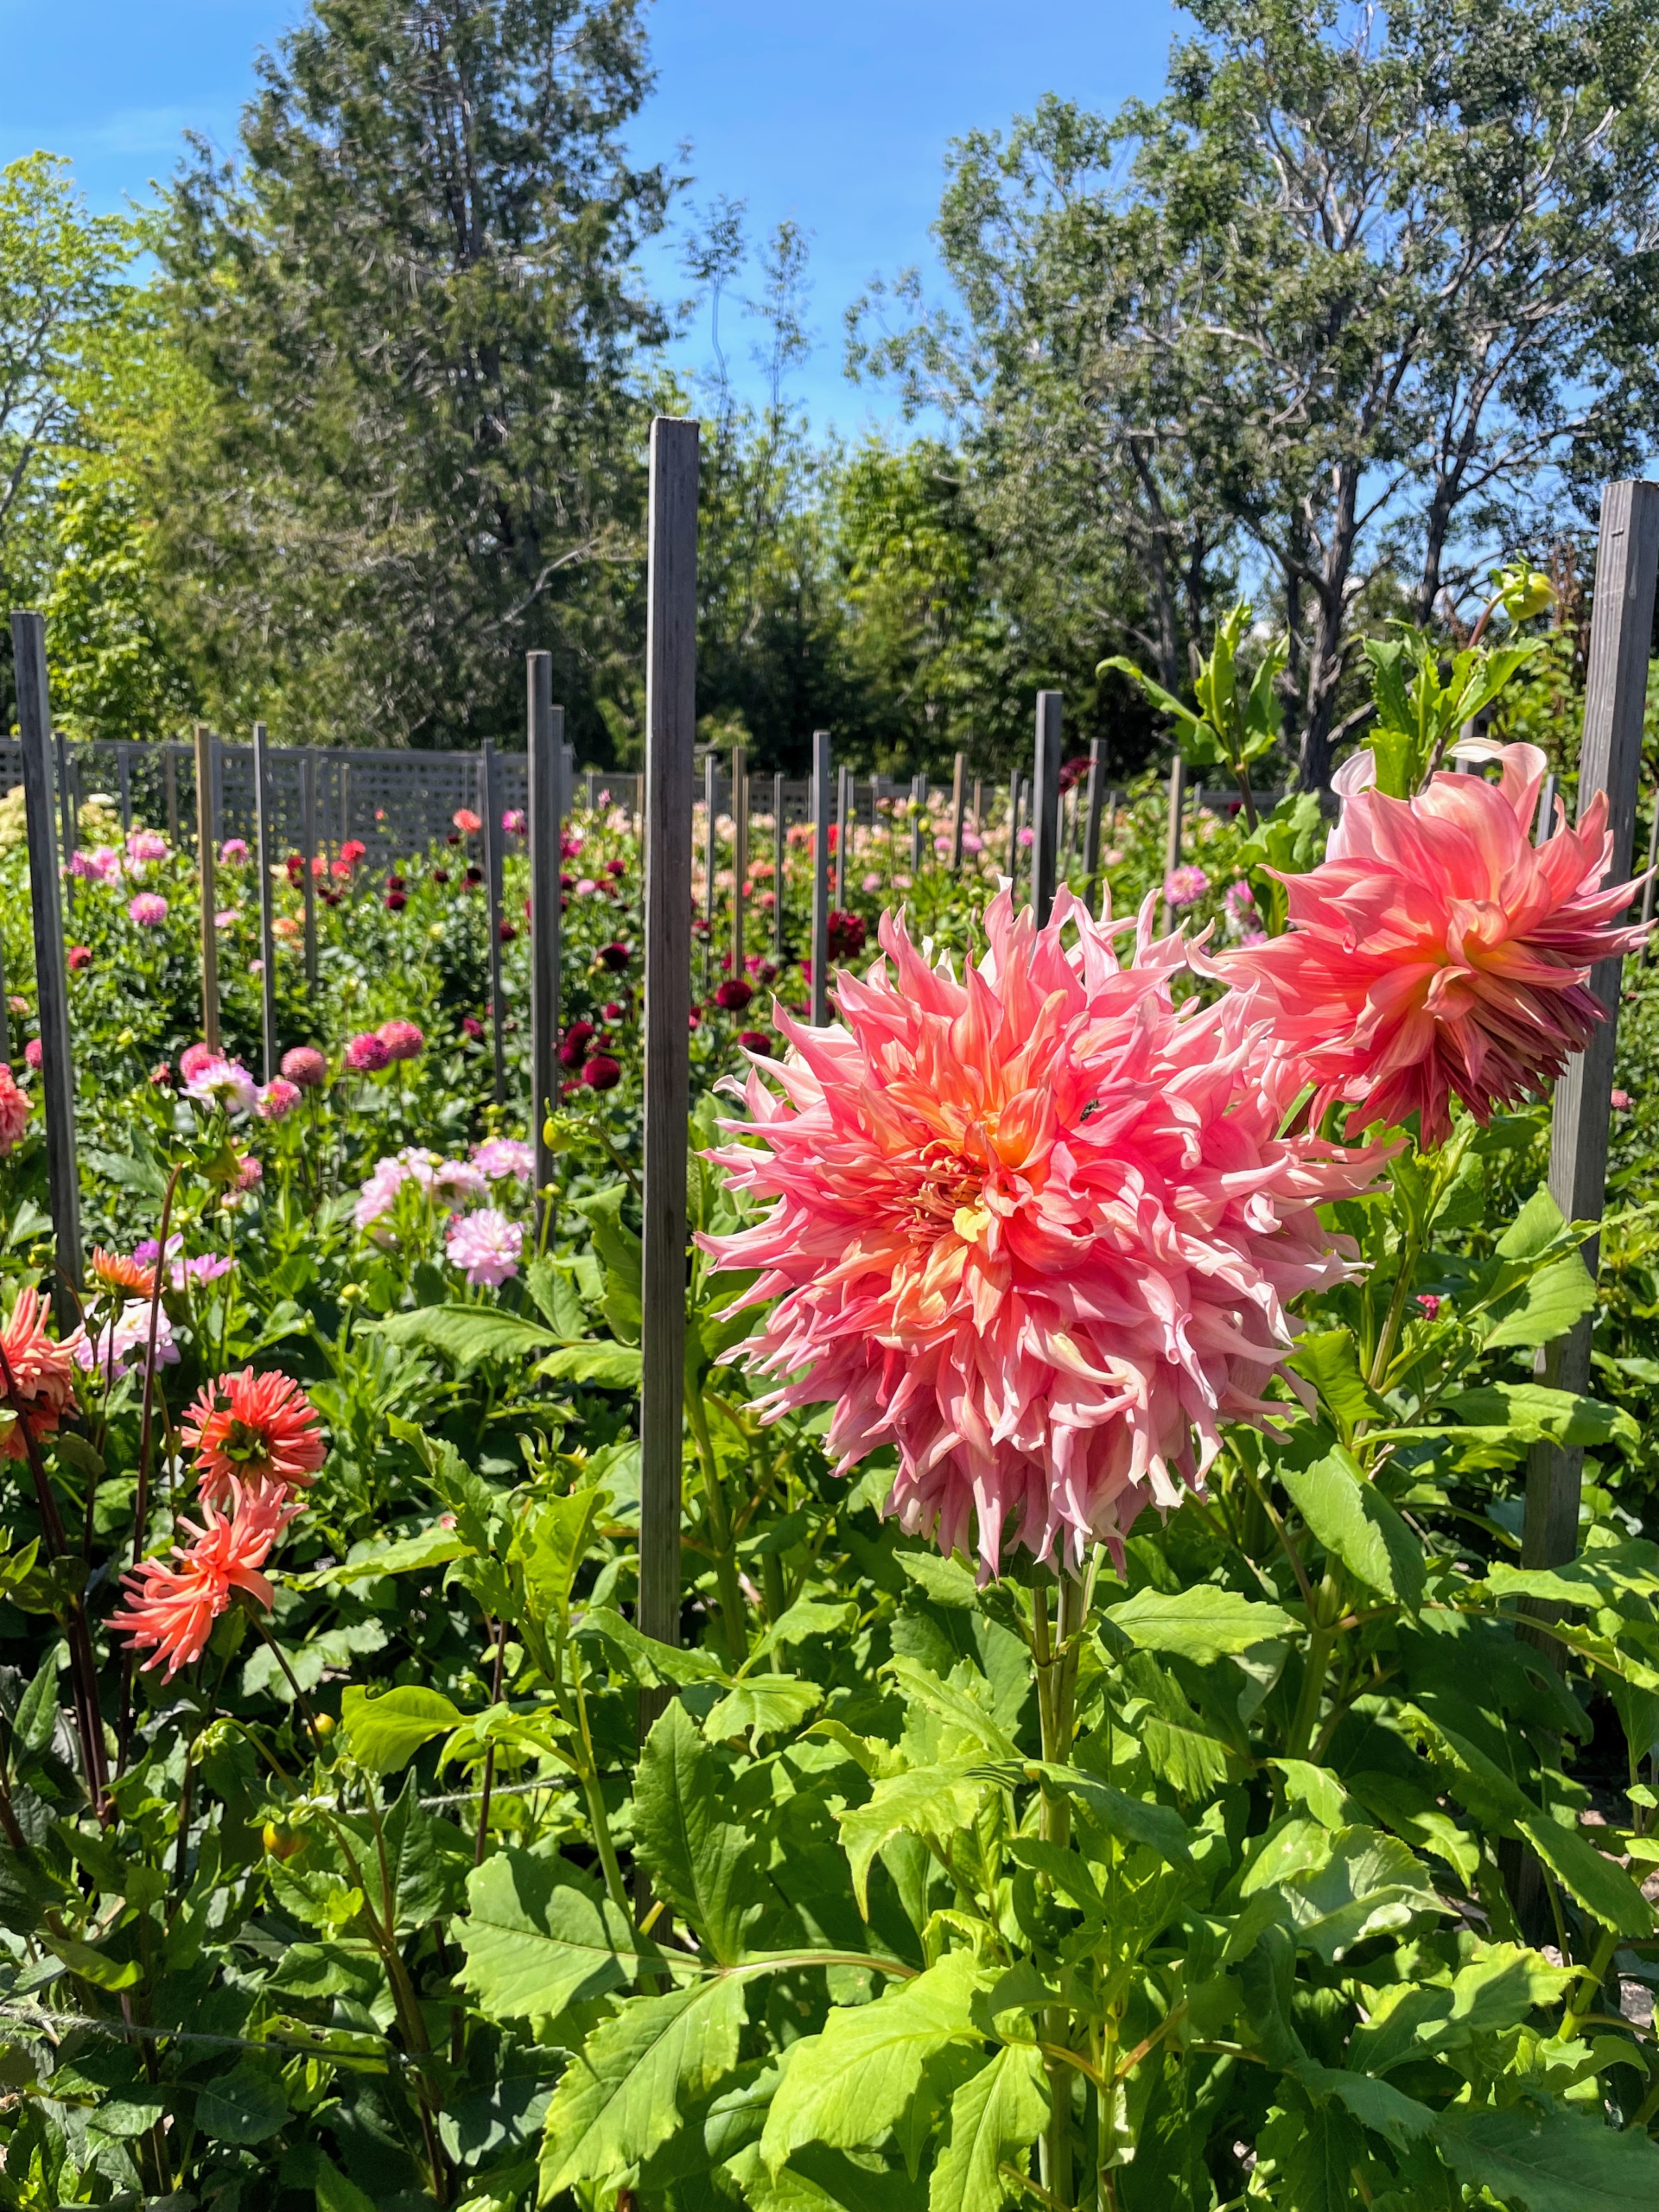
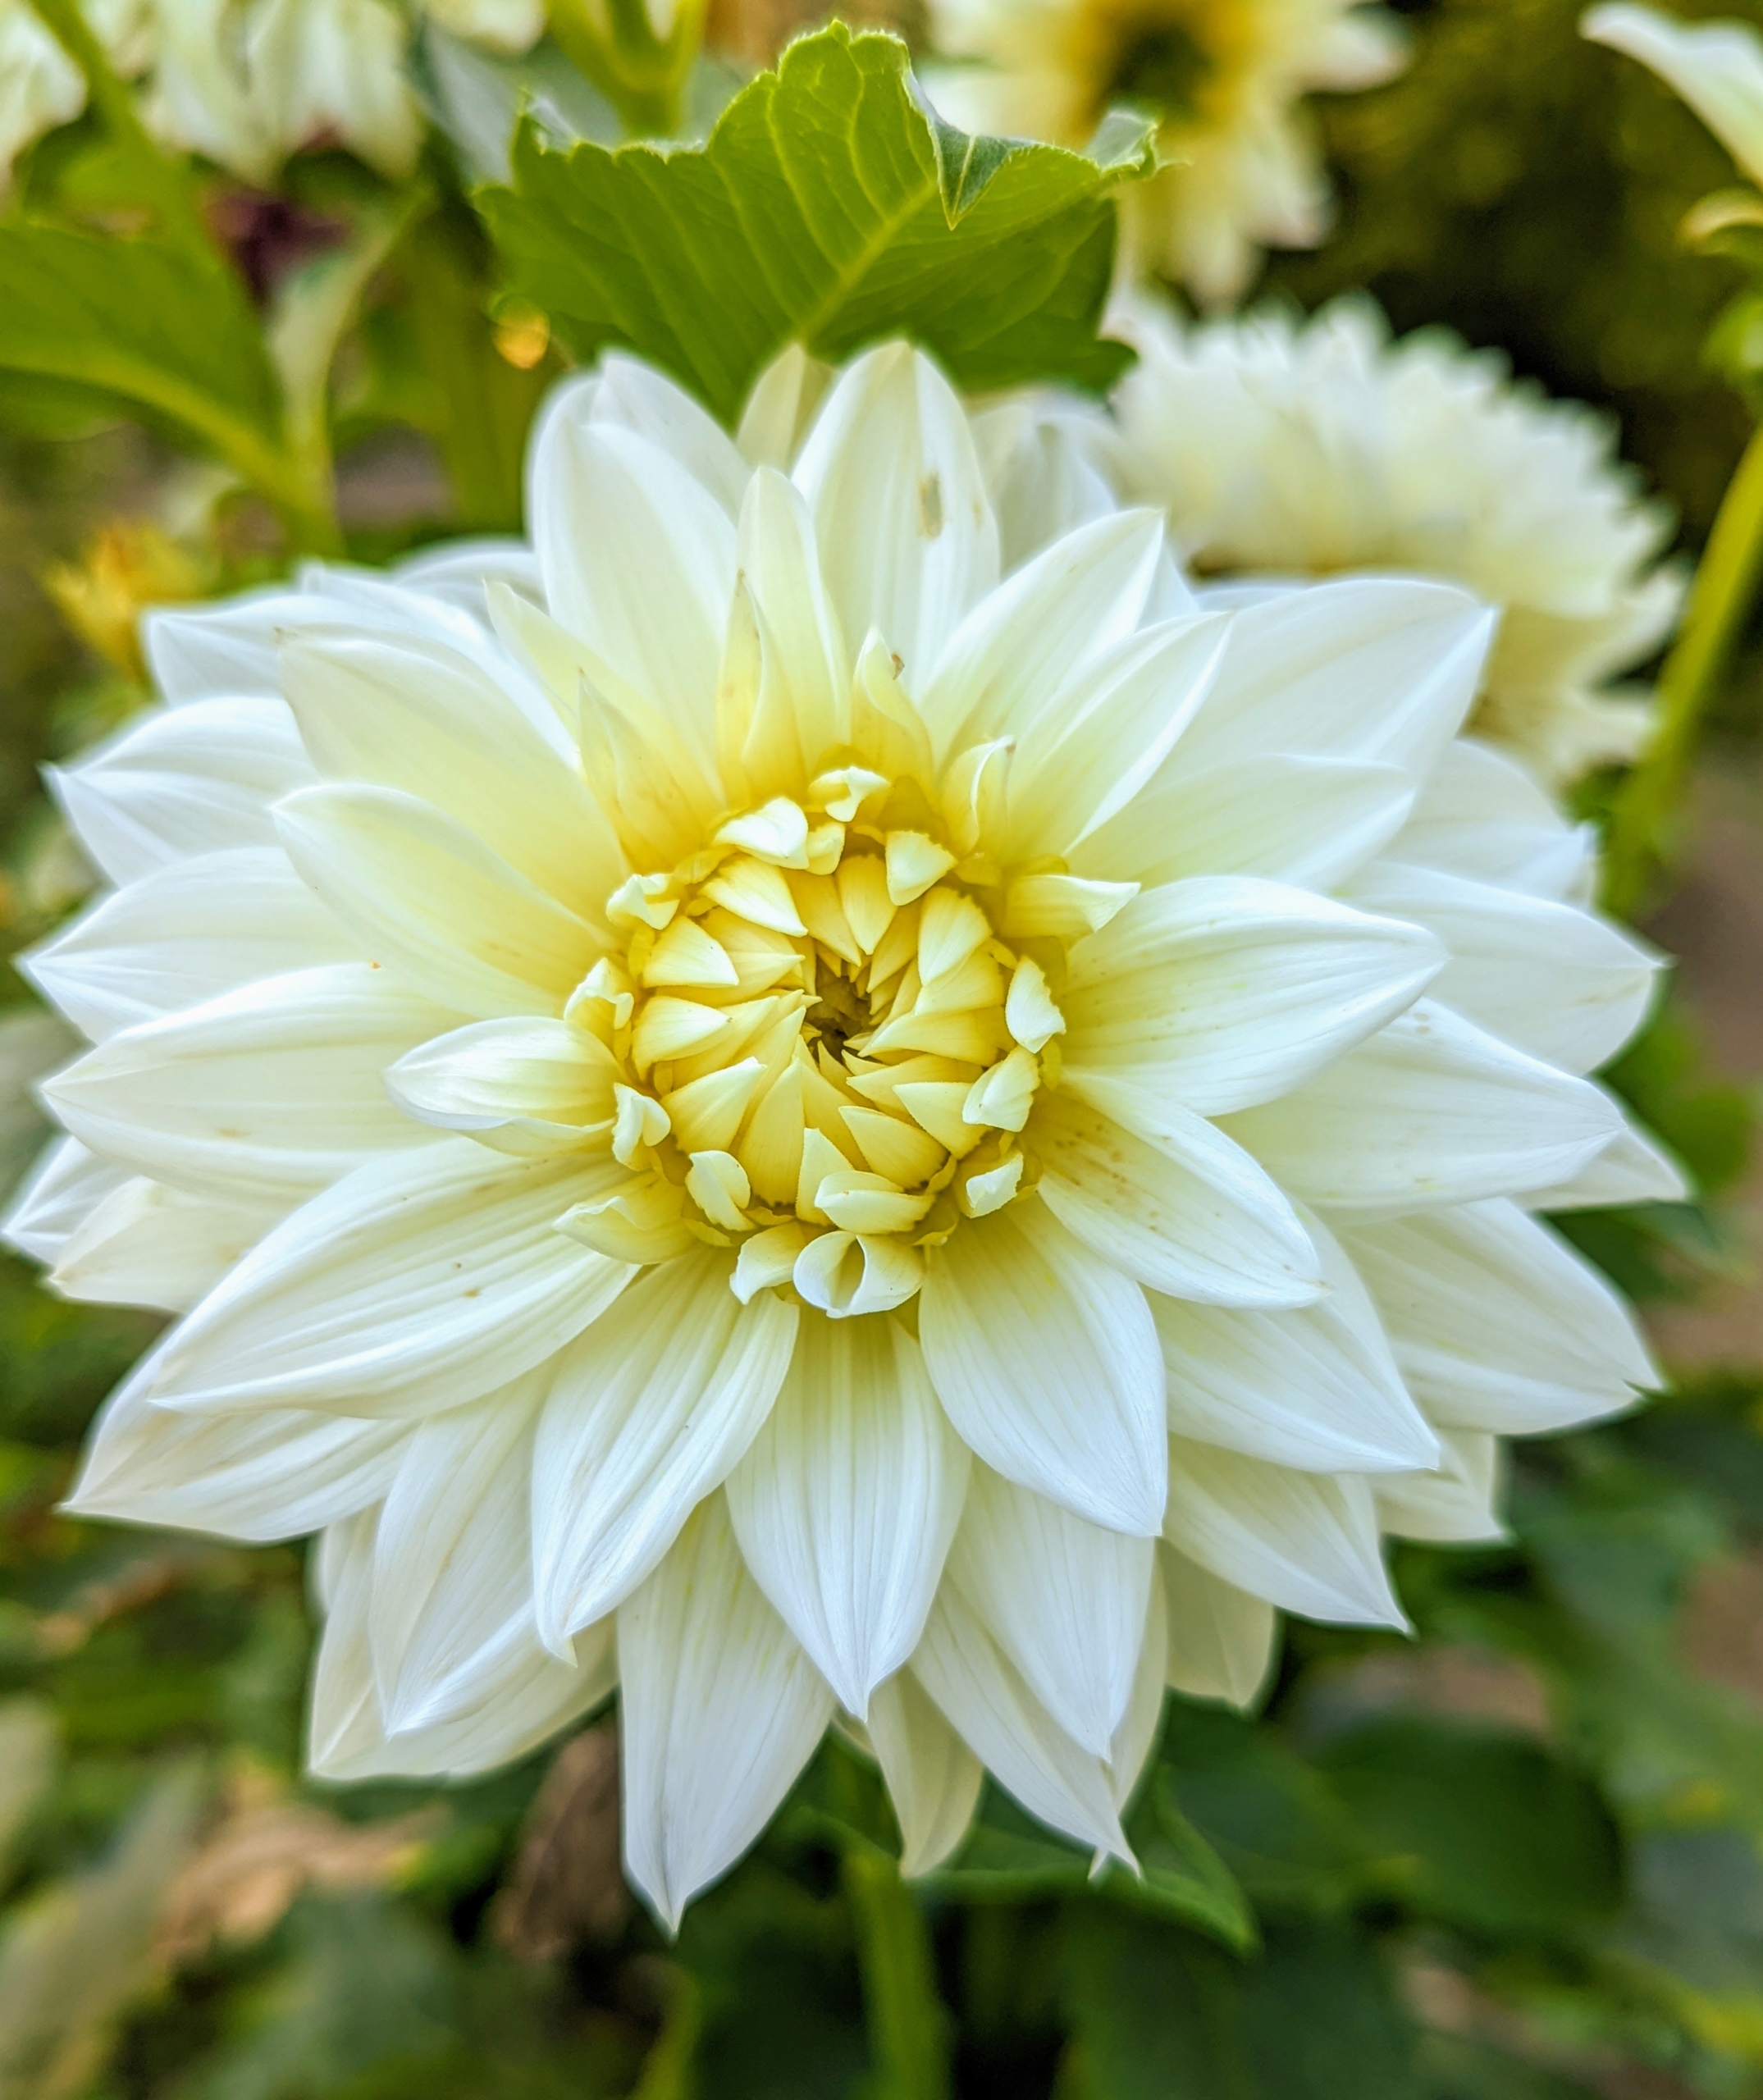
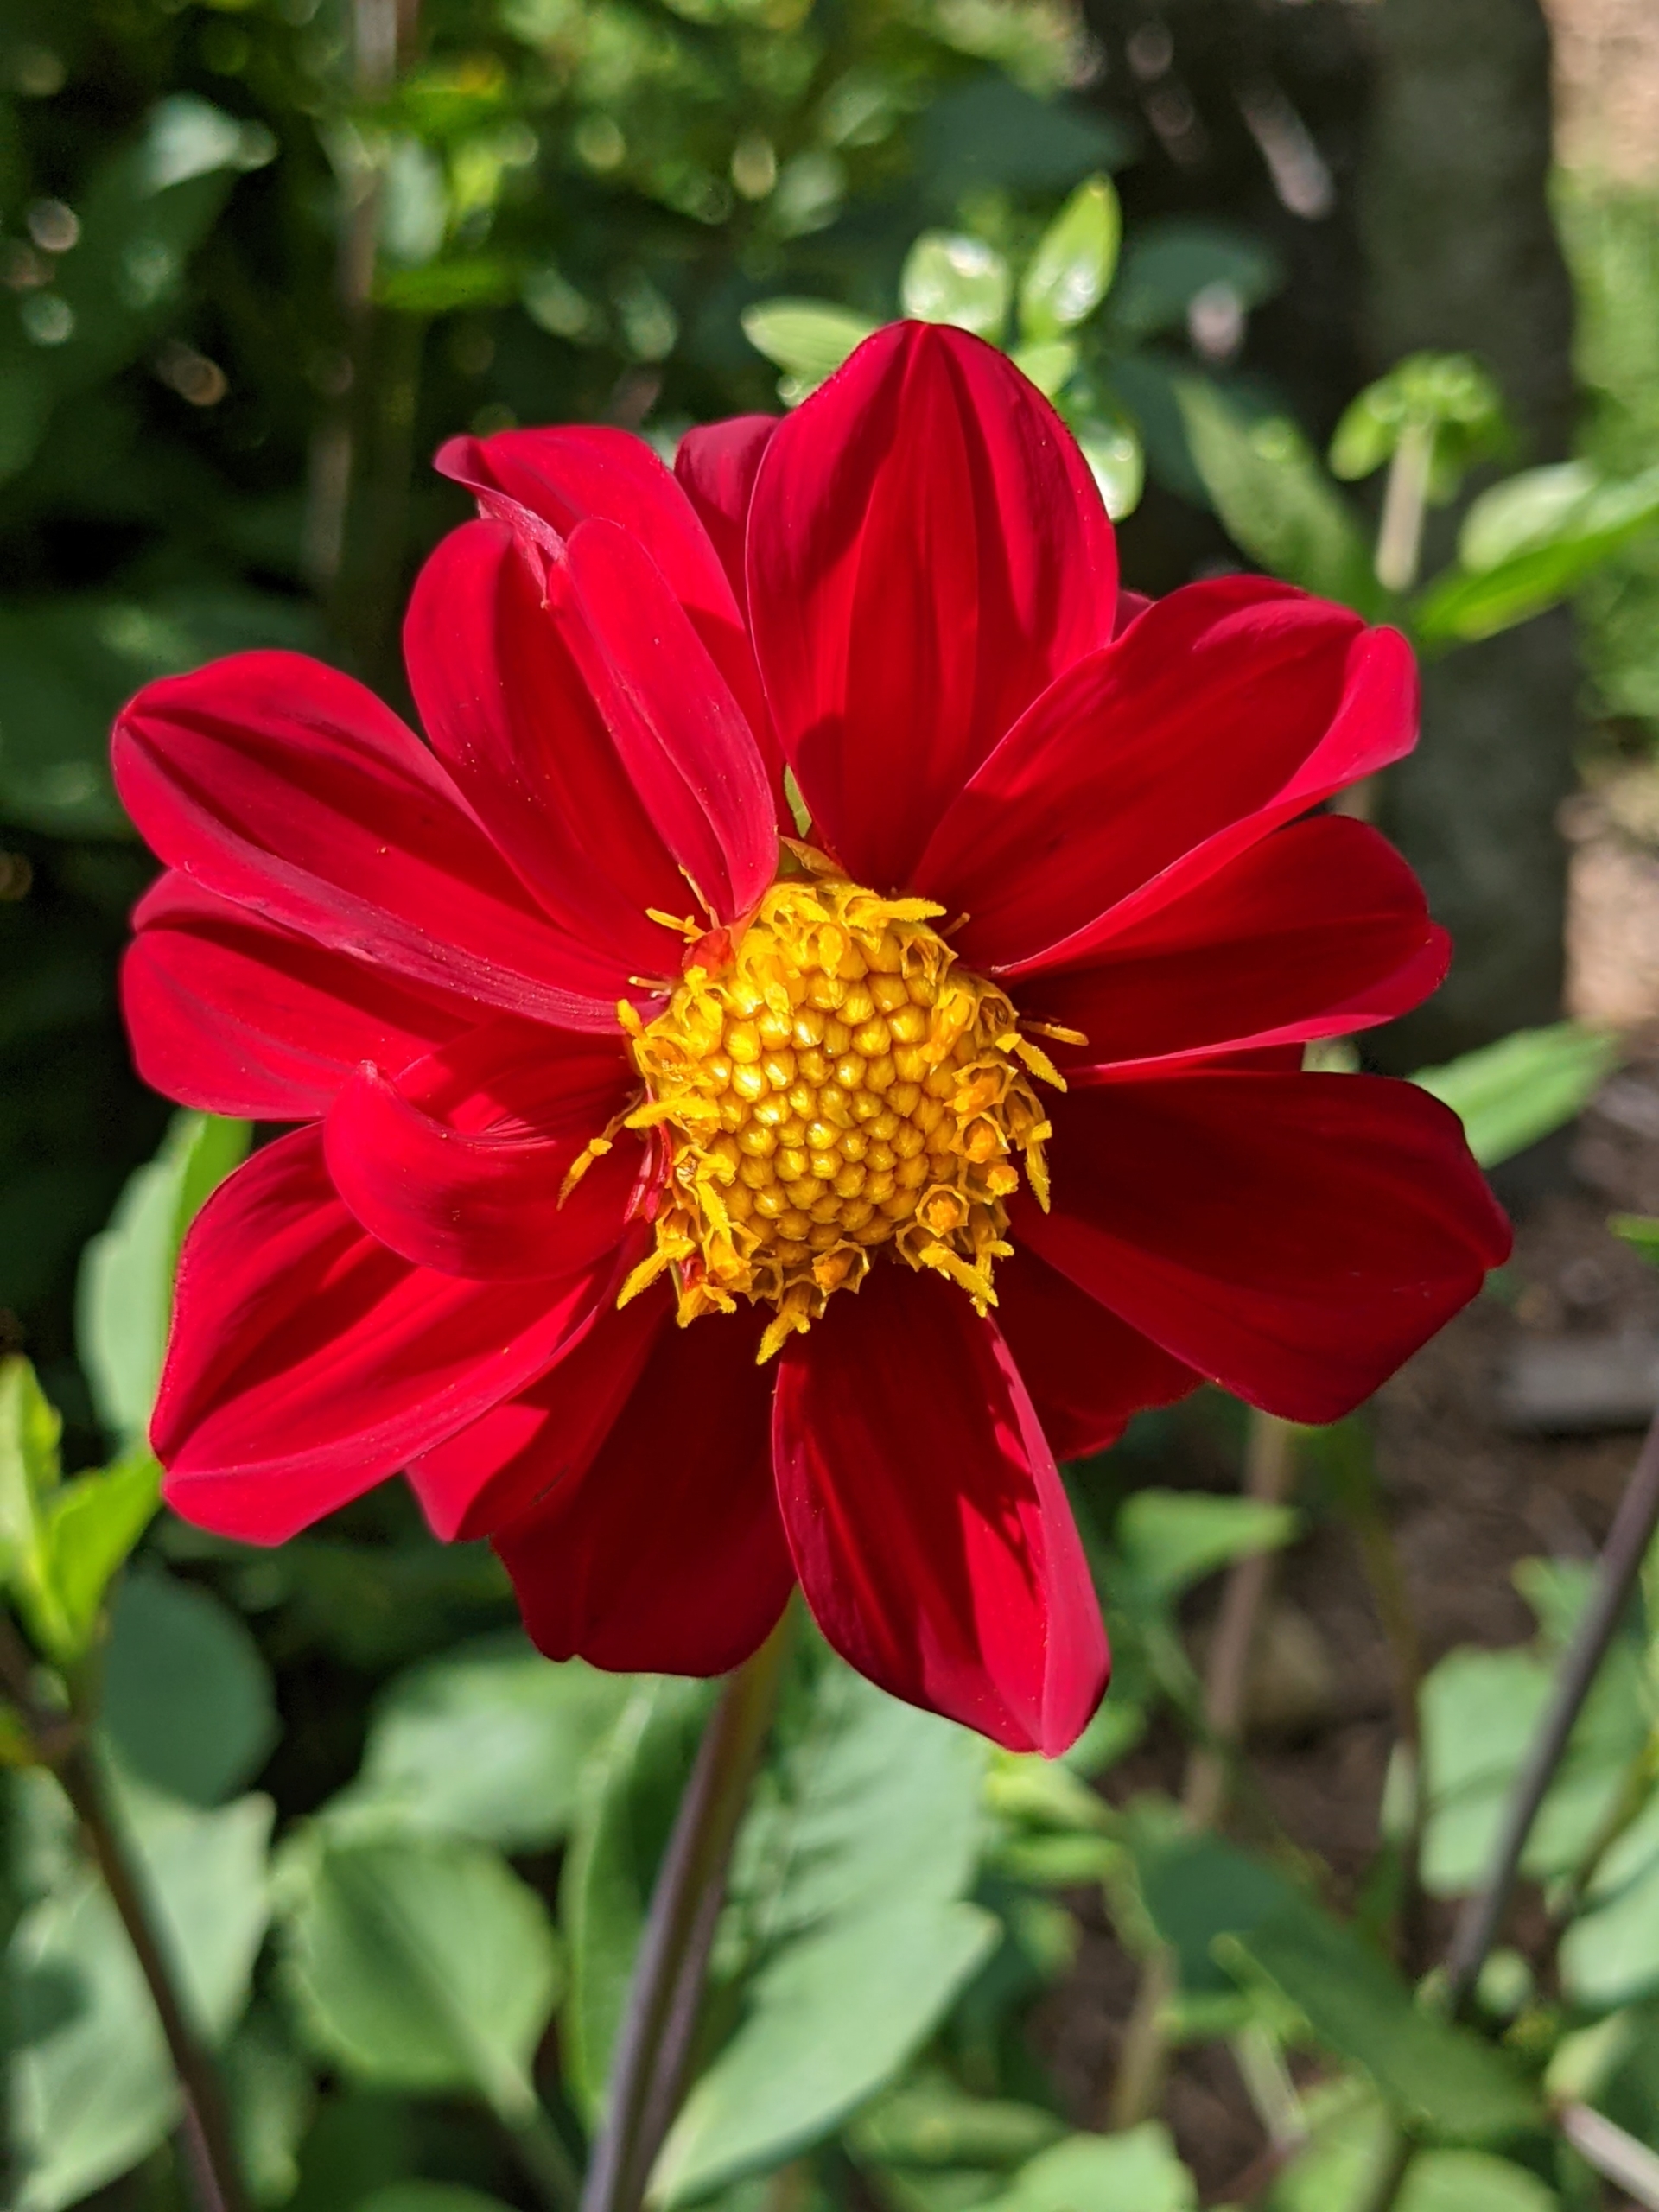
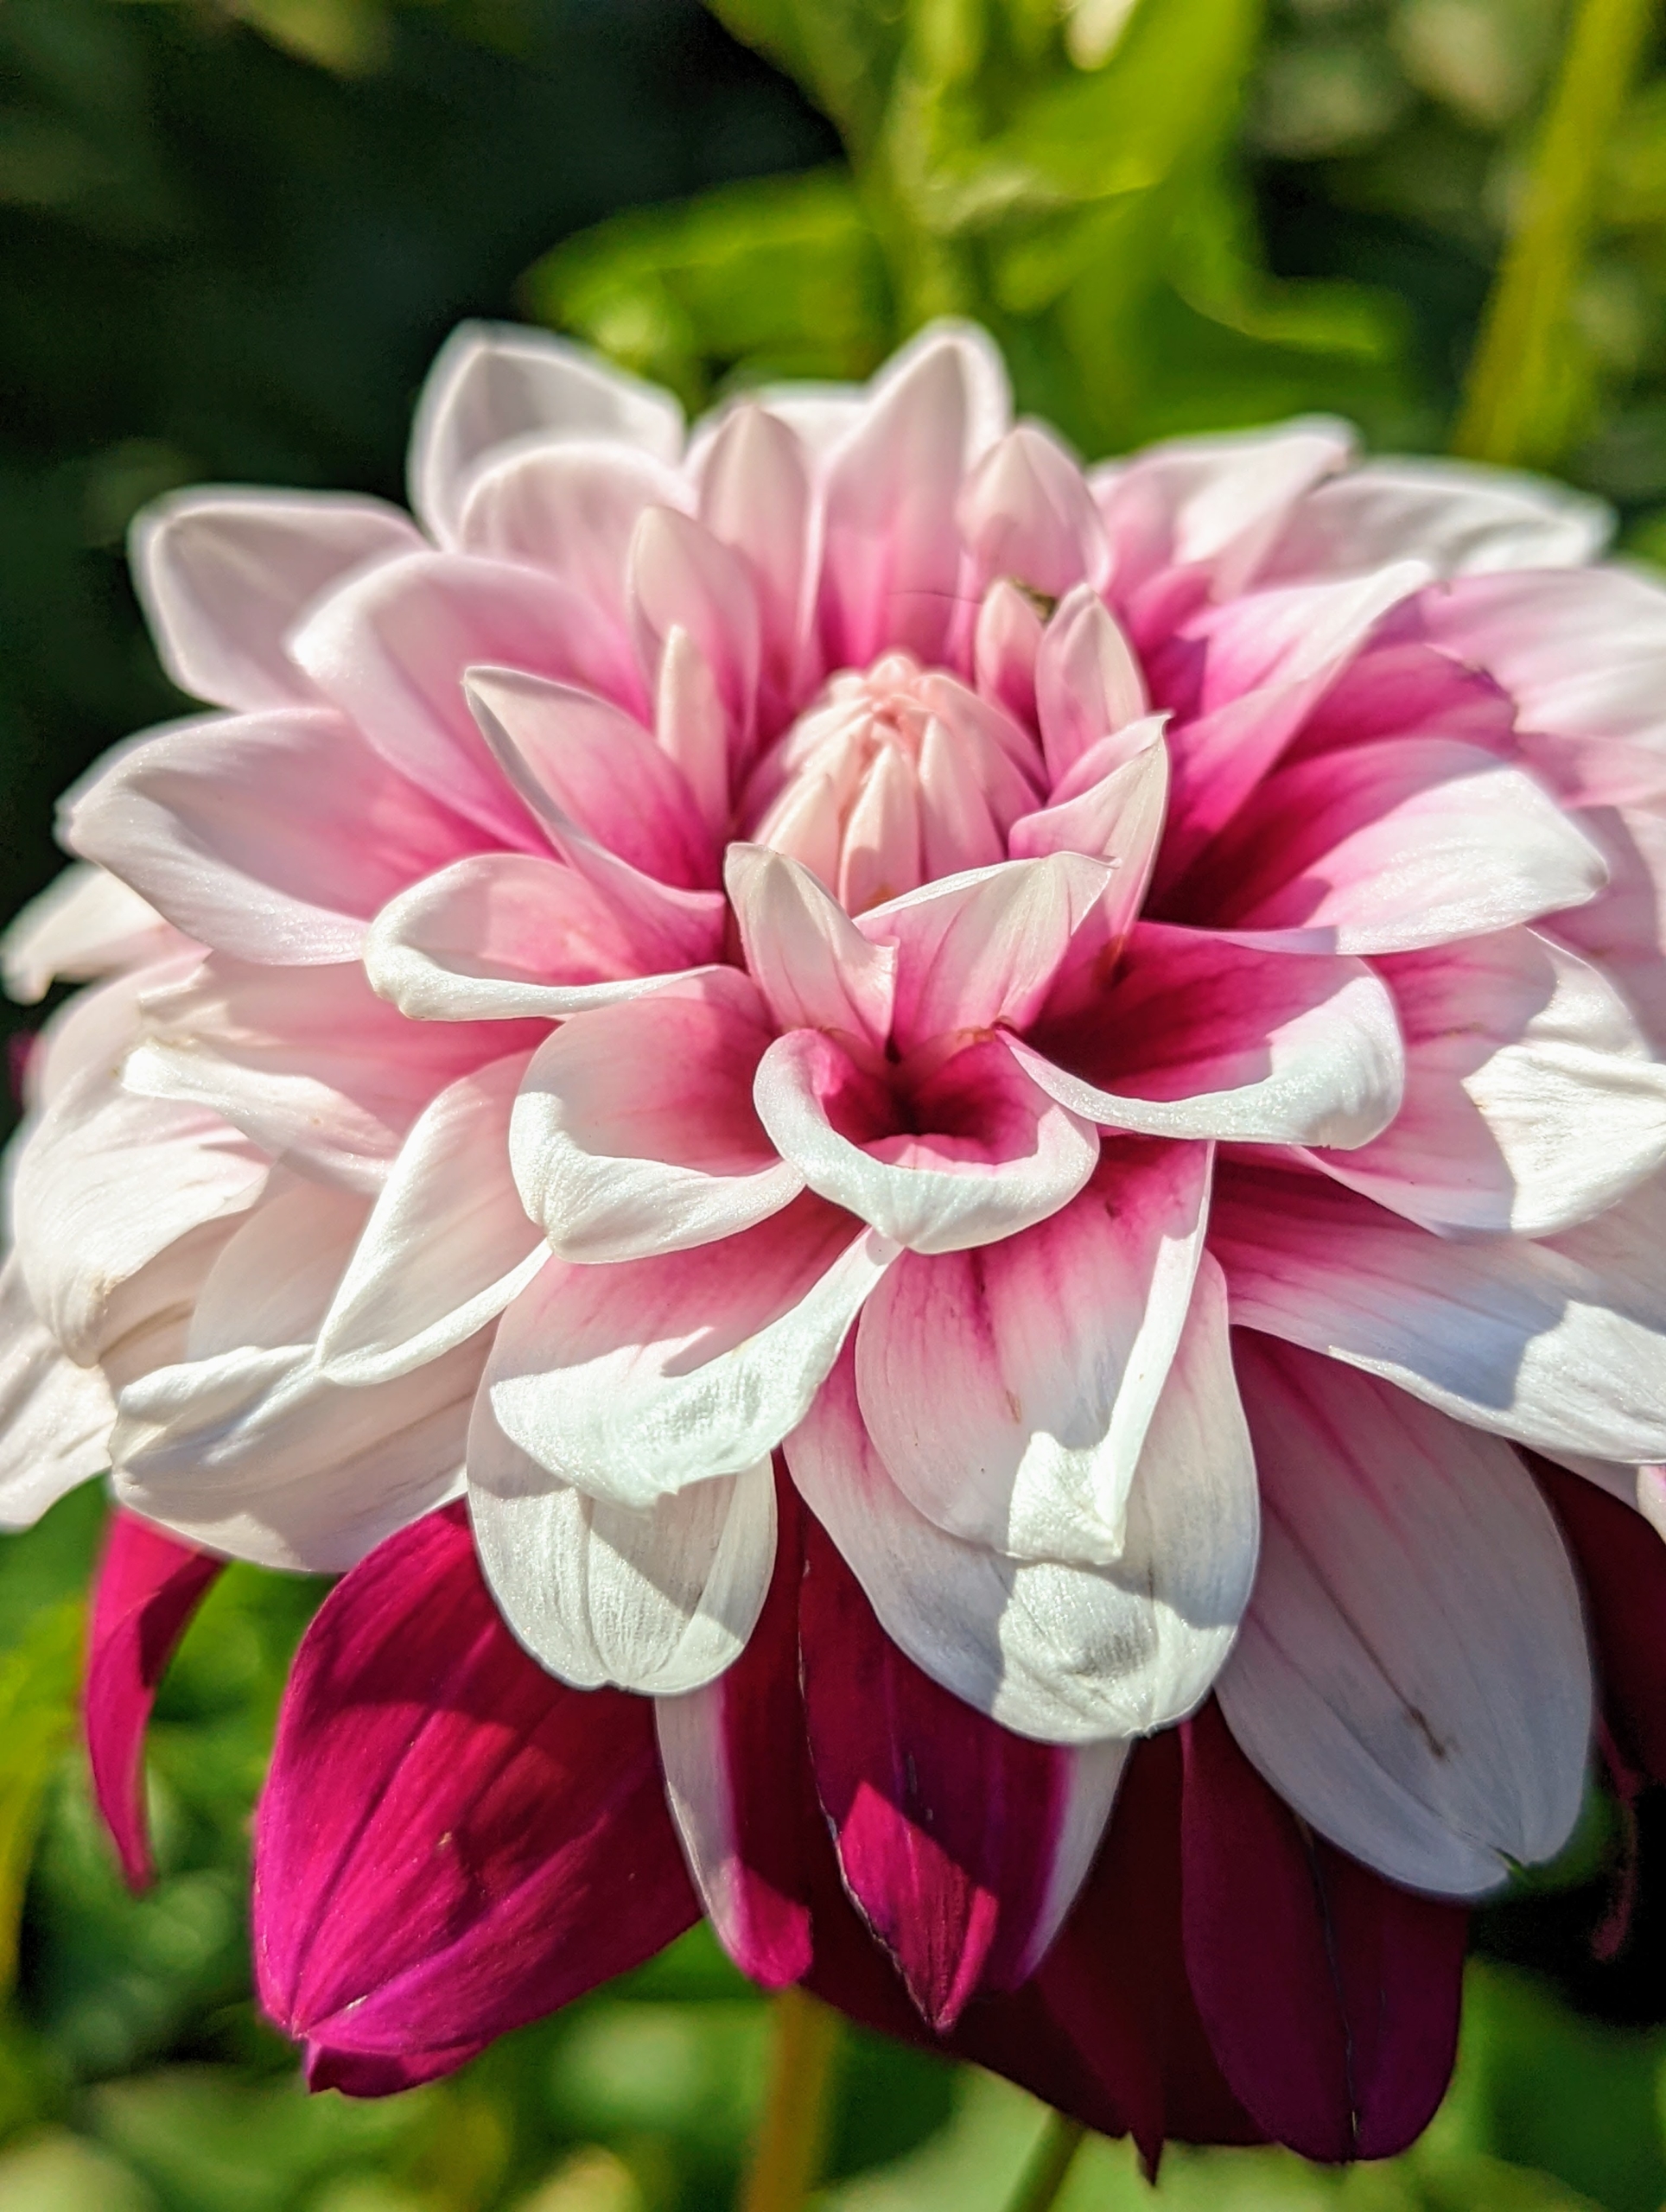
And so many dahlias filling the beds with color.
My gardener, Wendy Norling, took this photo a few days ago, but today, it’s cloudy, with rain in the forecast. Let’s hope it’s a good rain.
Beautiful, colorful dahlias continue to bloom at my Bedford, New York farm.
Dahlias begin to bloom with great profusion just as other plants pass their prime, and they last right up until the first frost. My all-dahlia garden was planted in a large bed behind my vegetable greenhouse and we saw our first dahlias of the season already blooming in June. We have flowers ranging from small to giant dinner-plate size in all different colors and shades - many from Swan Island Dahlias in Oregon, from Floret in the State of Washington, and from The Flower Hat, a flower farm based in Bozeman, Montana.
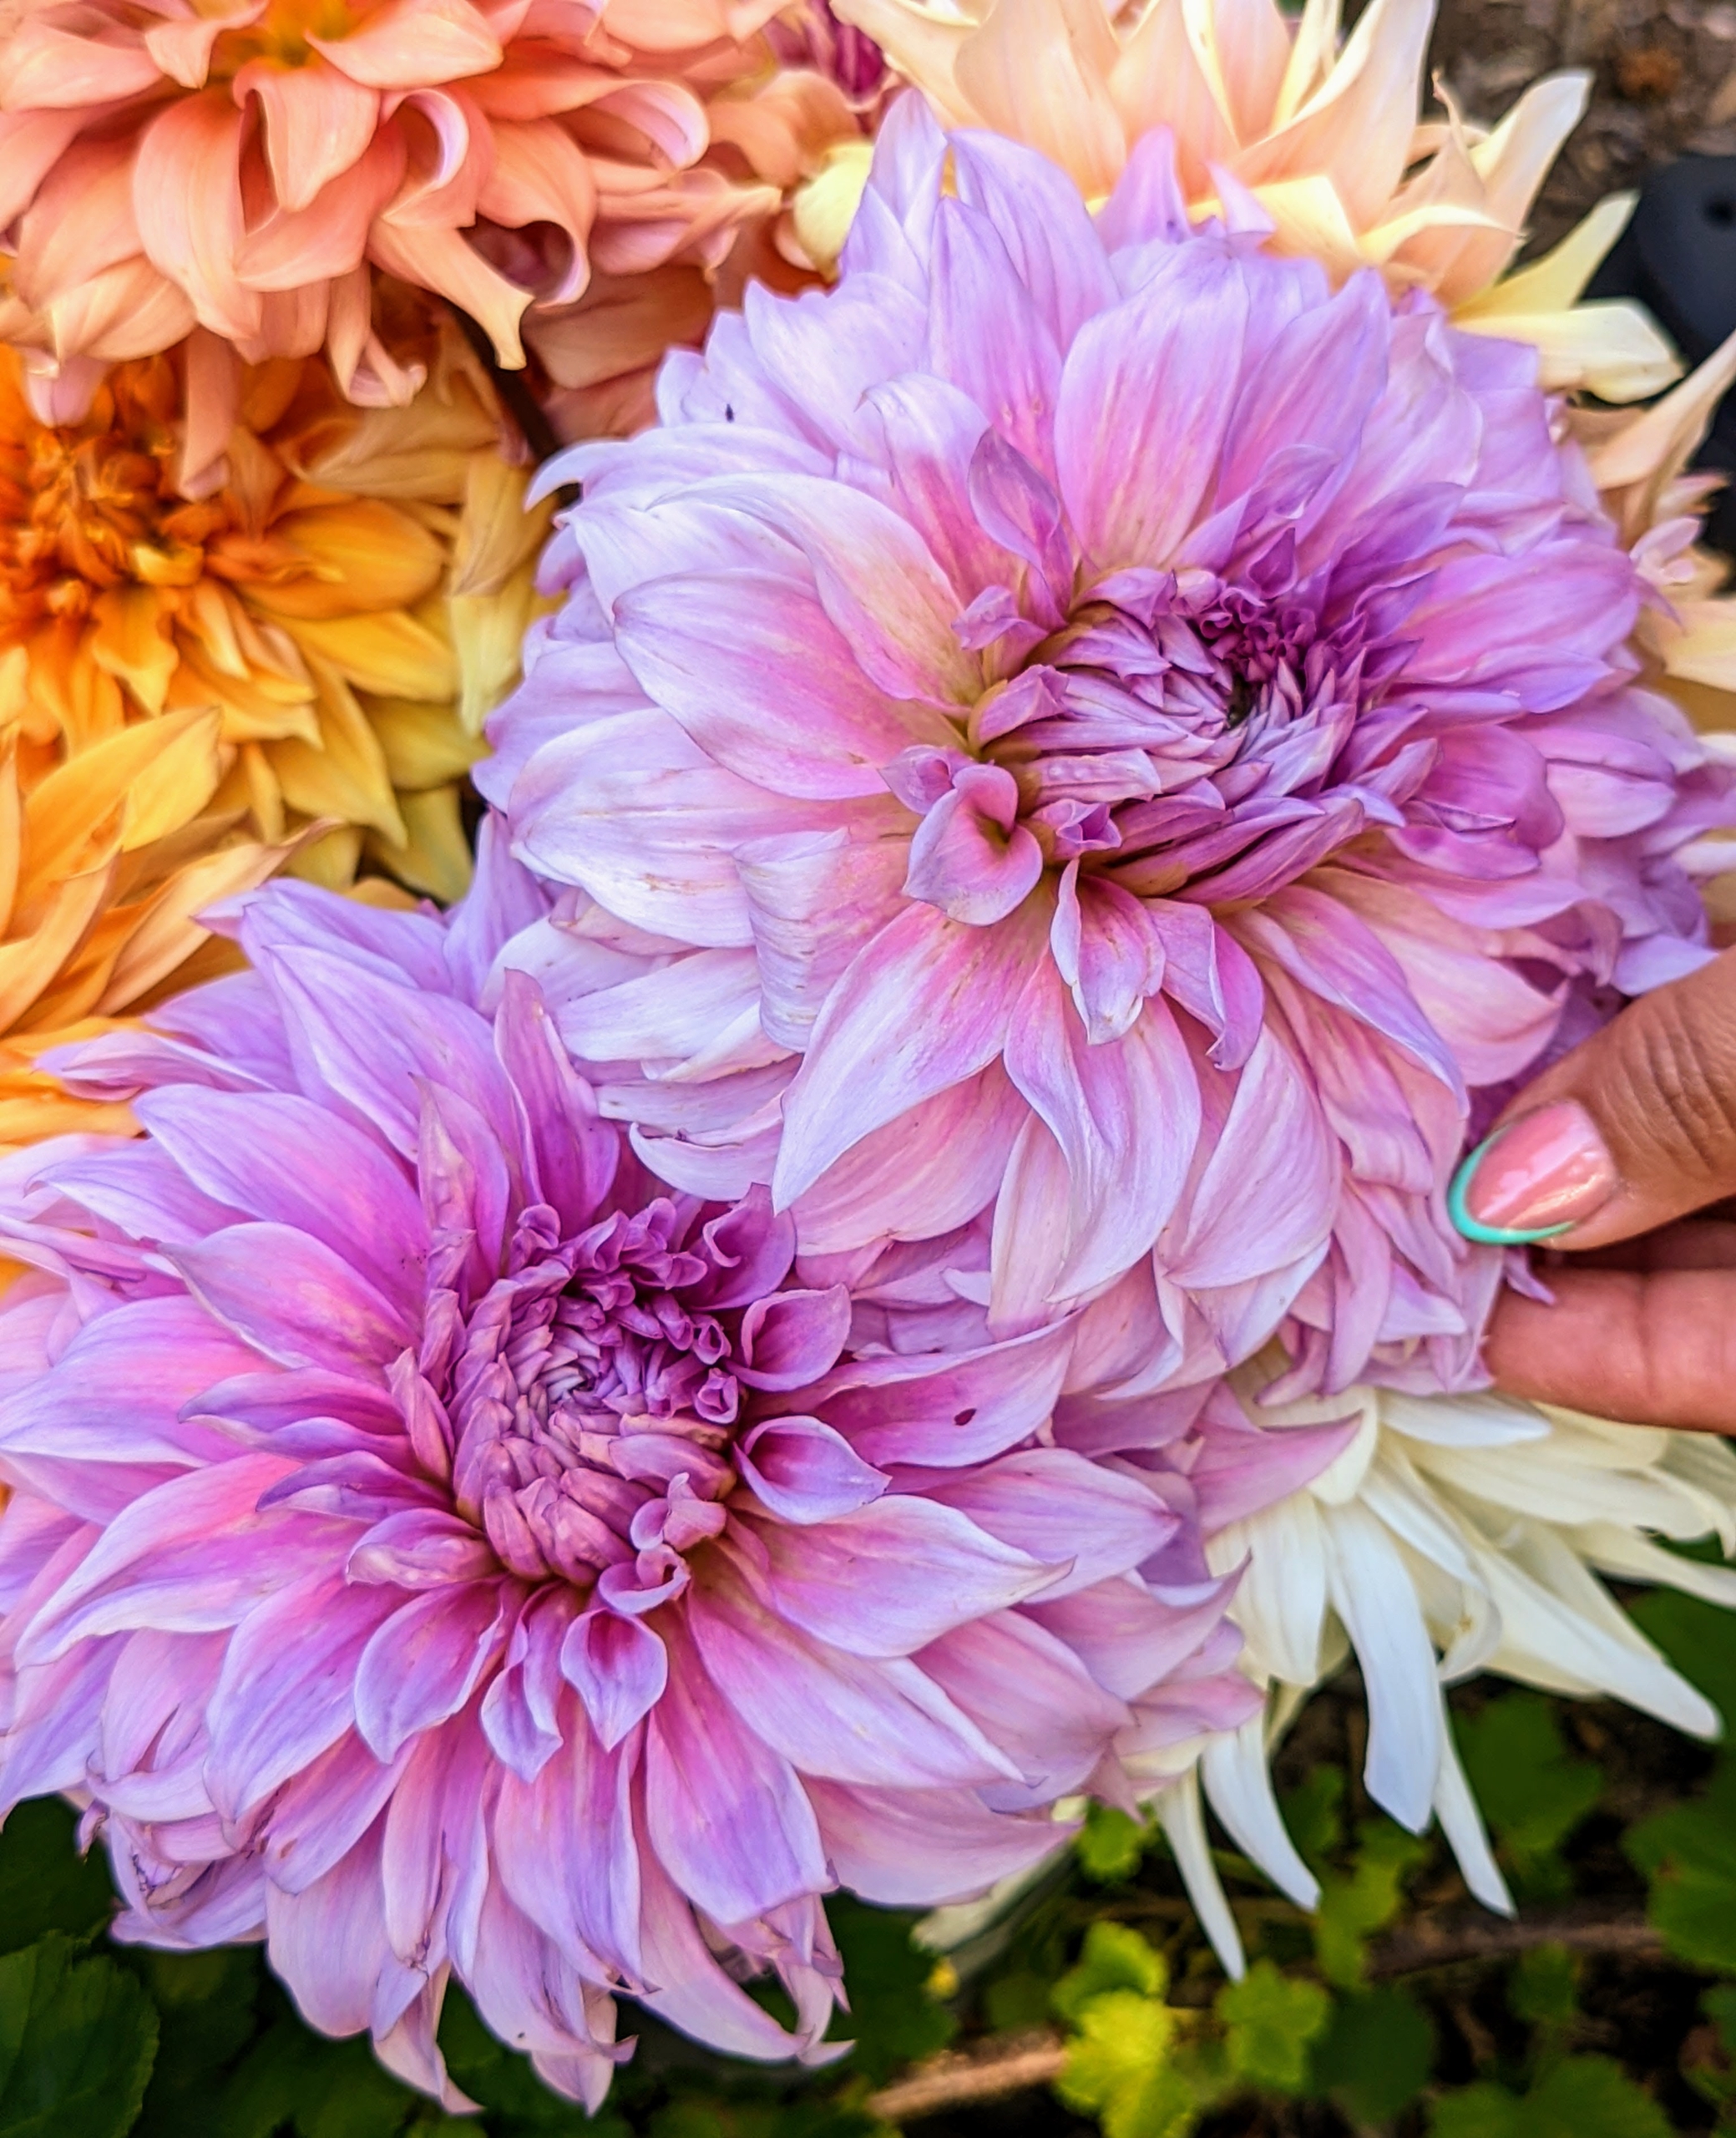
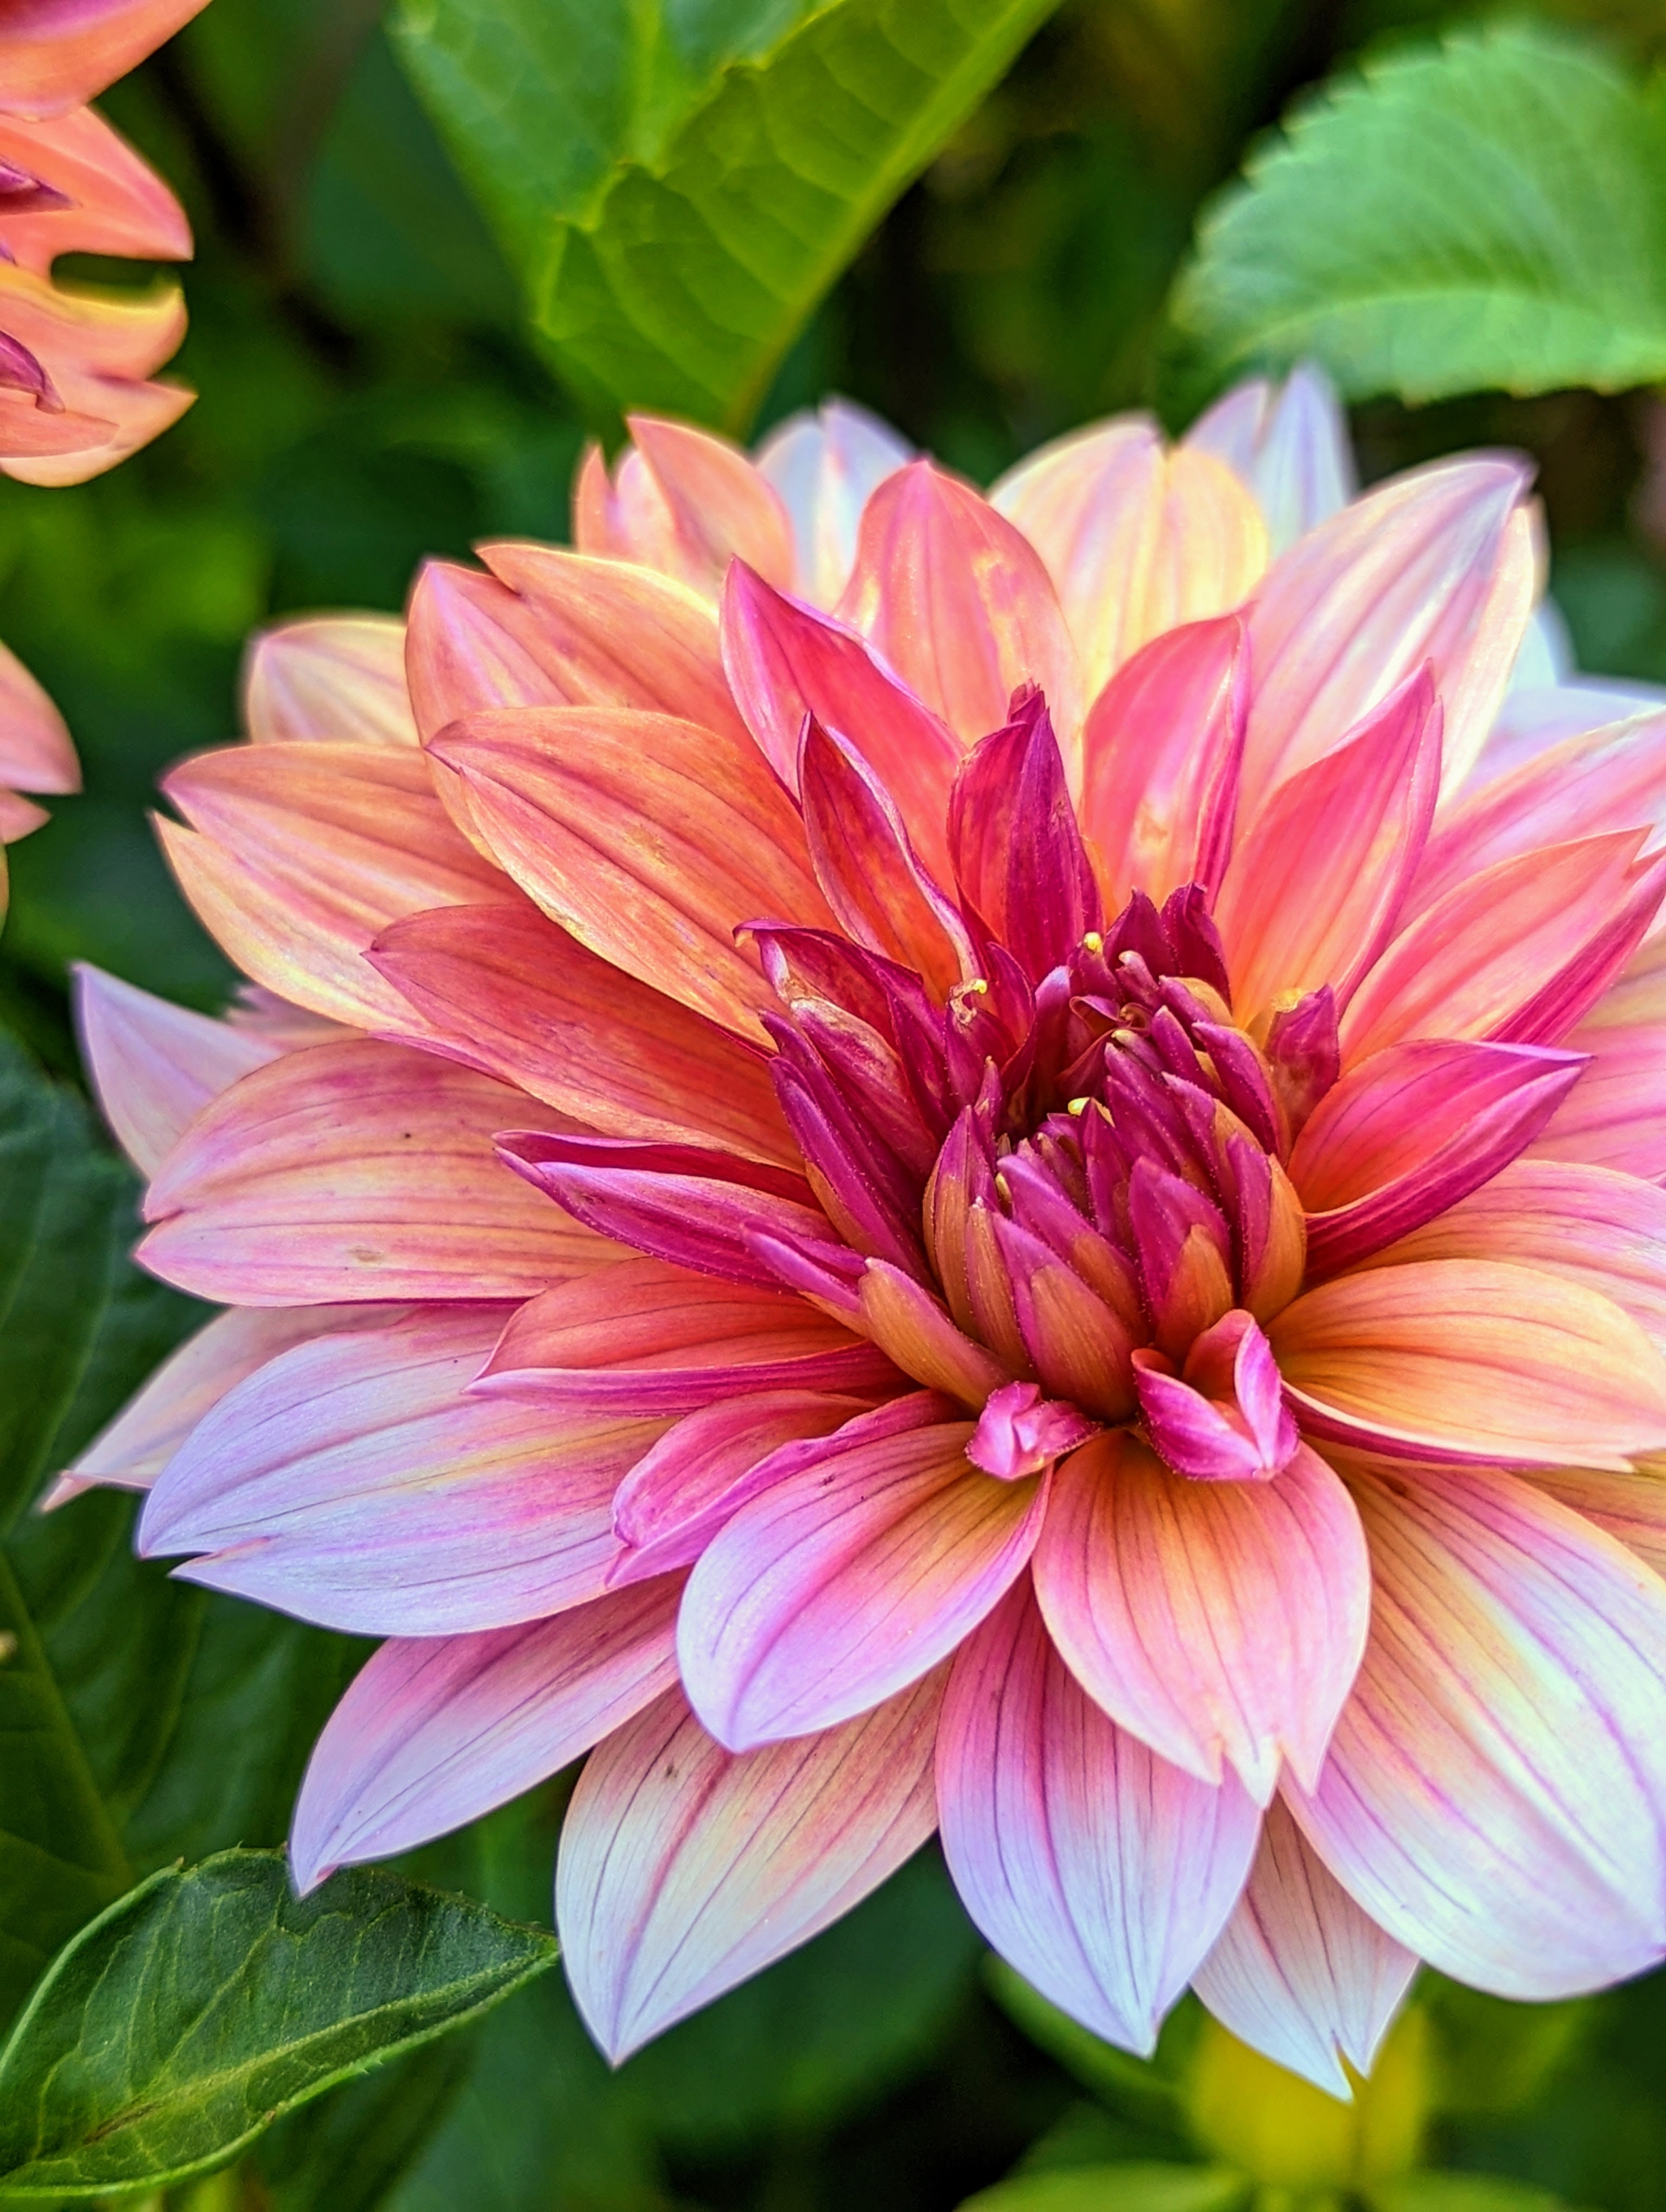
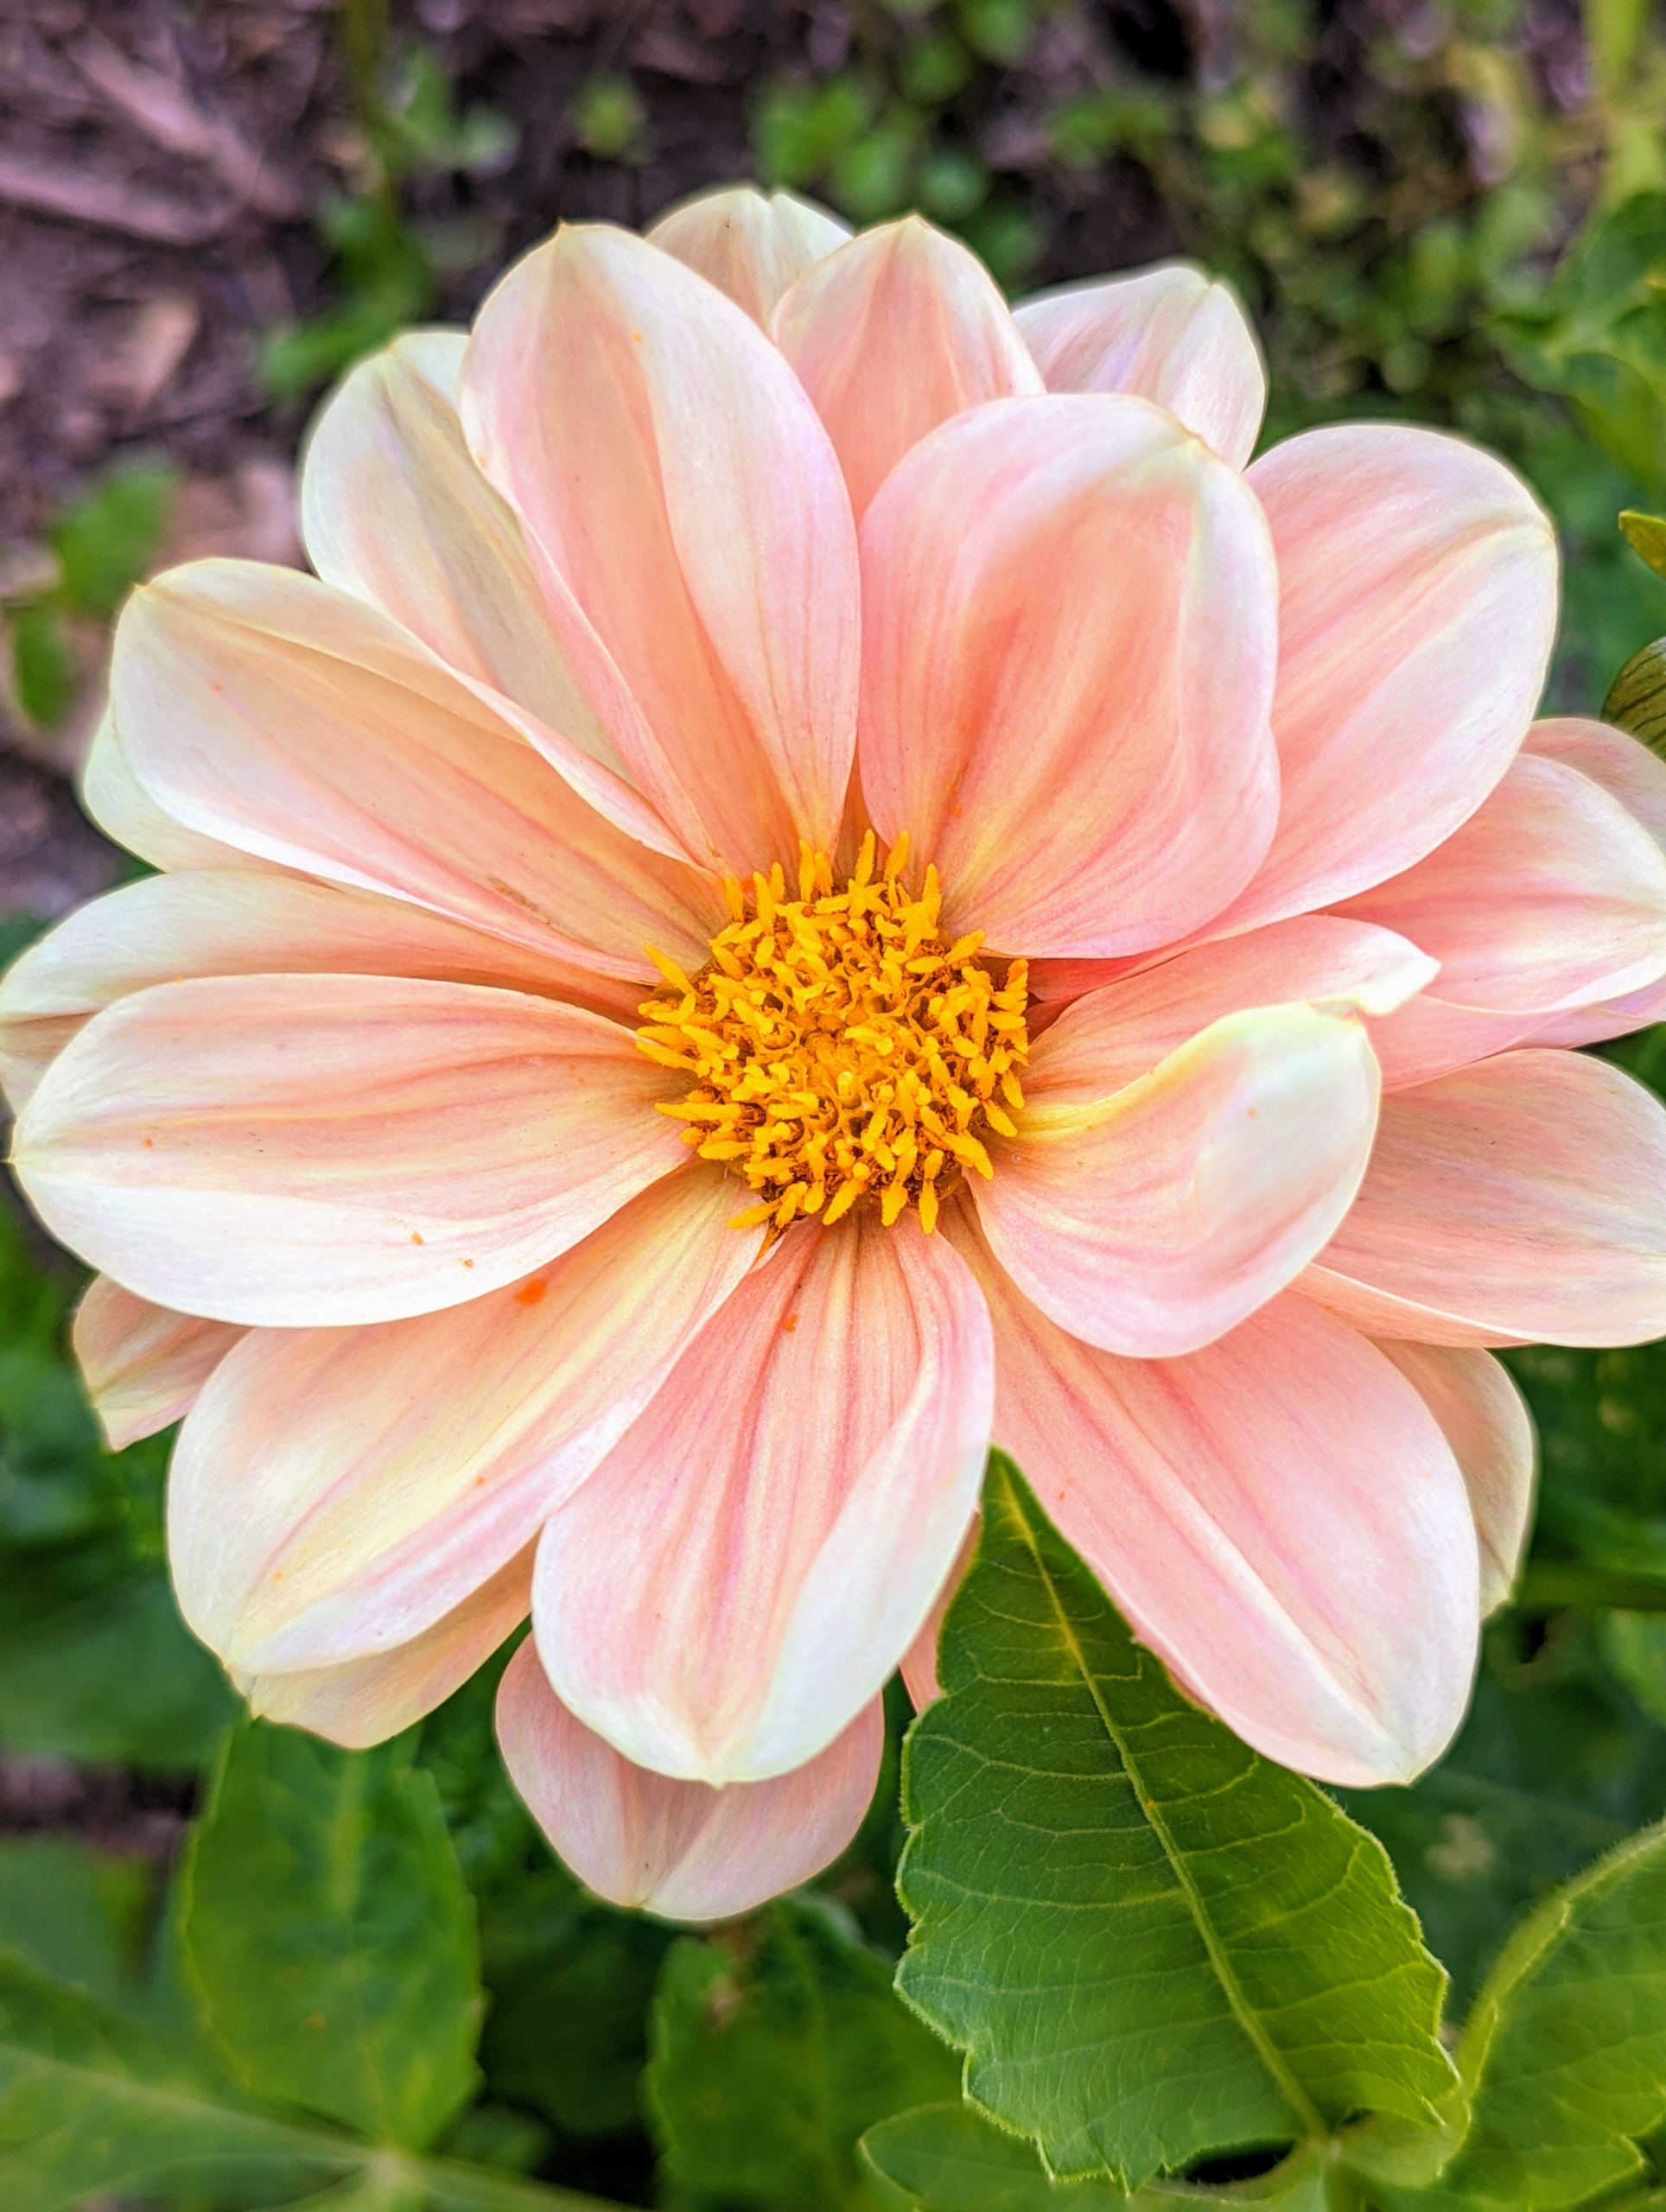
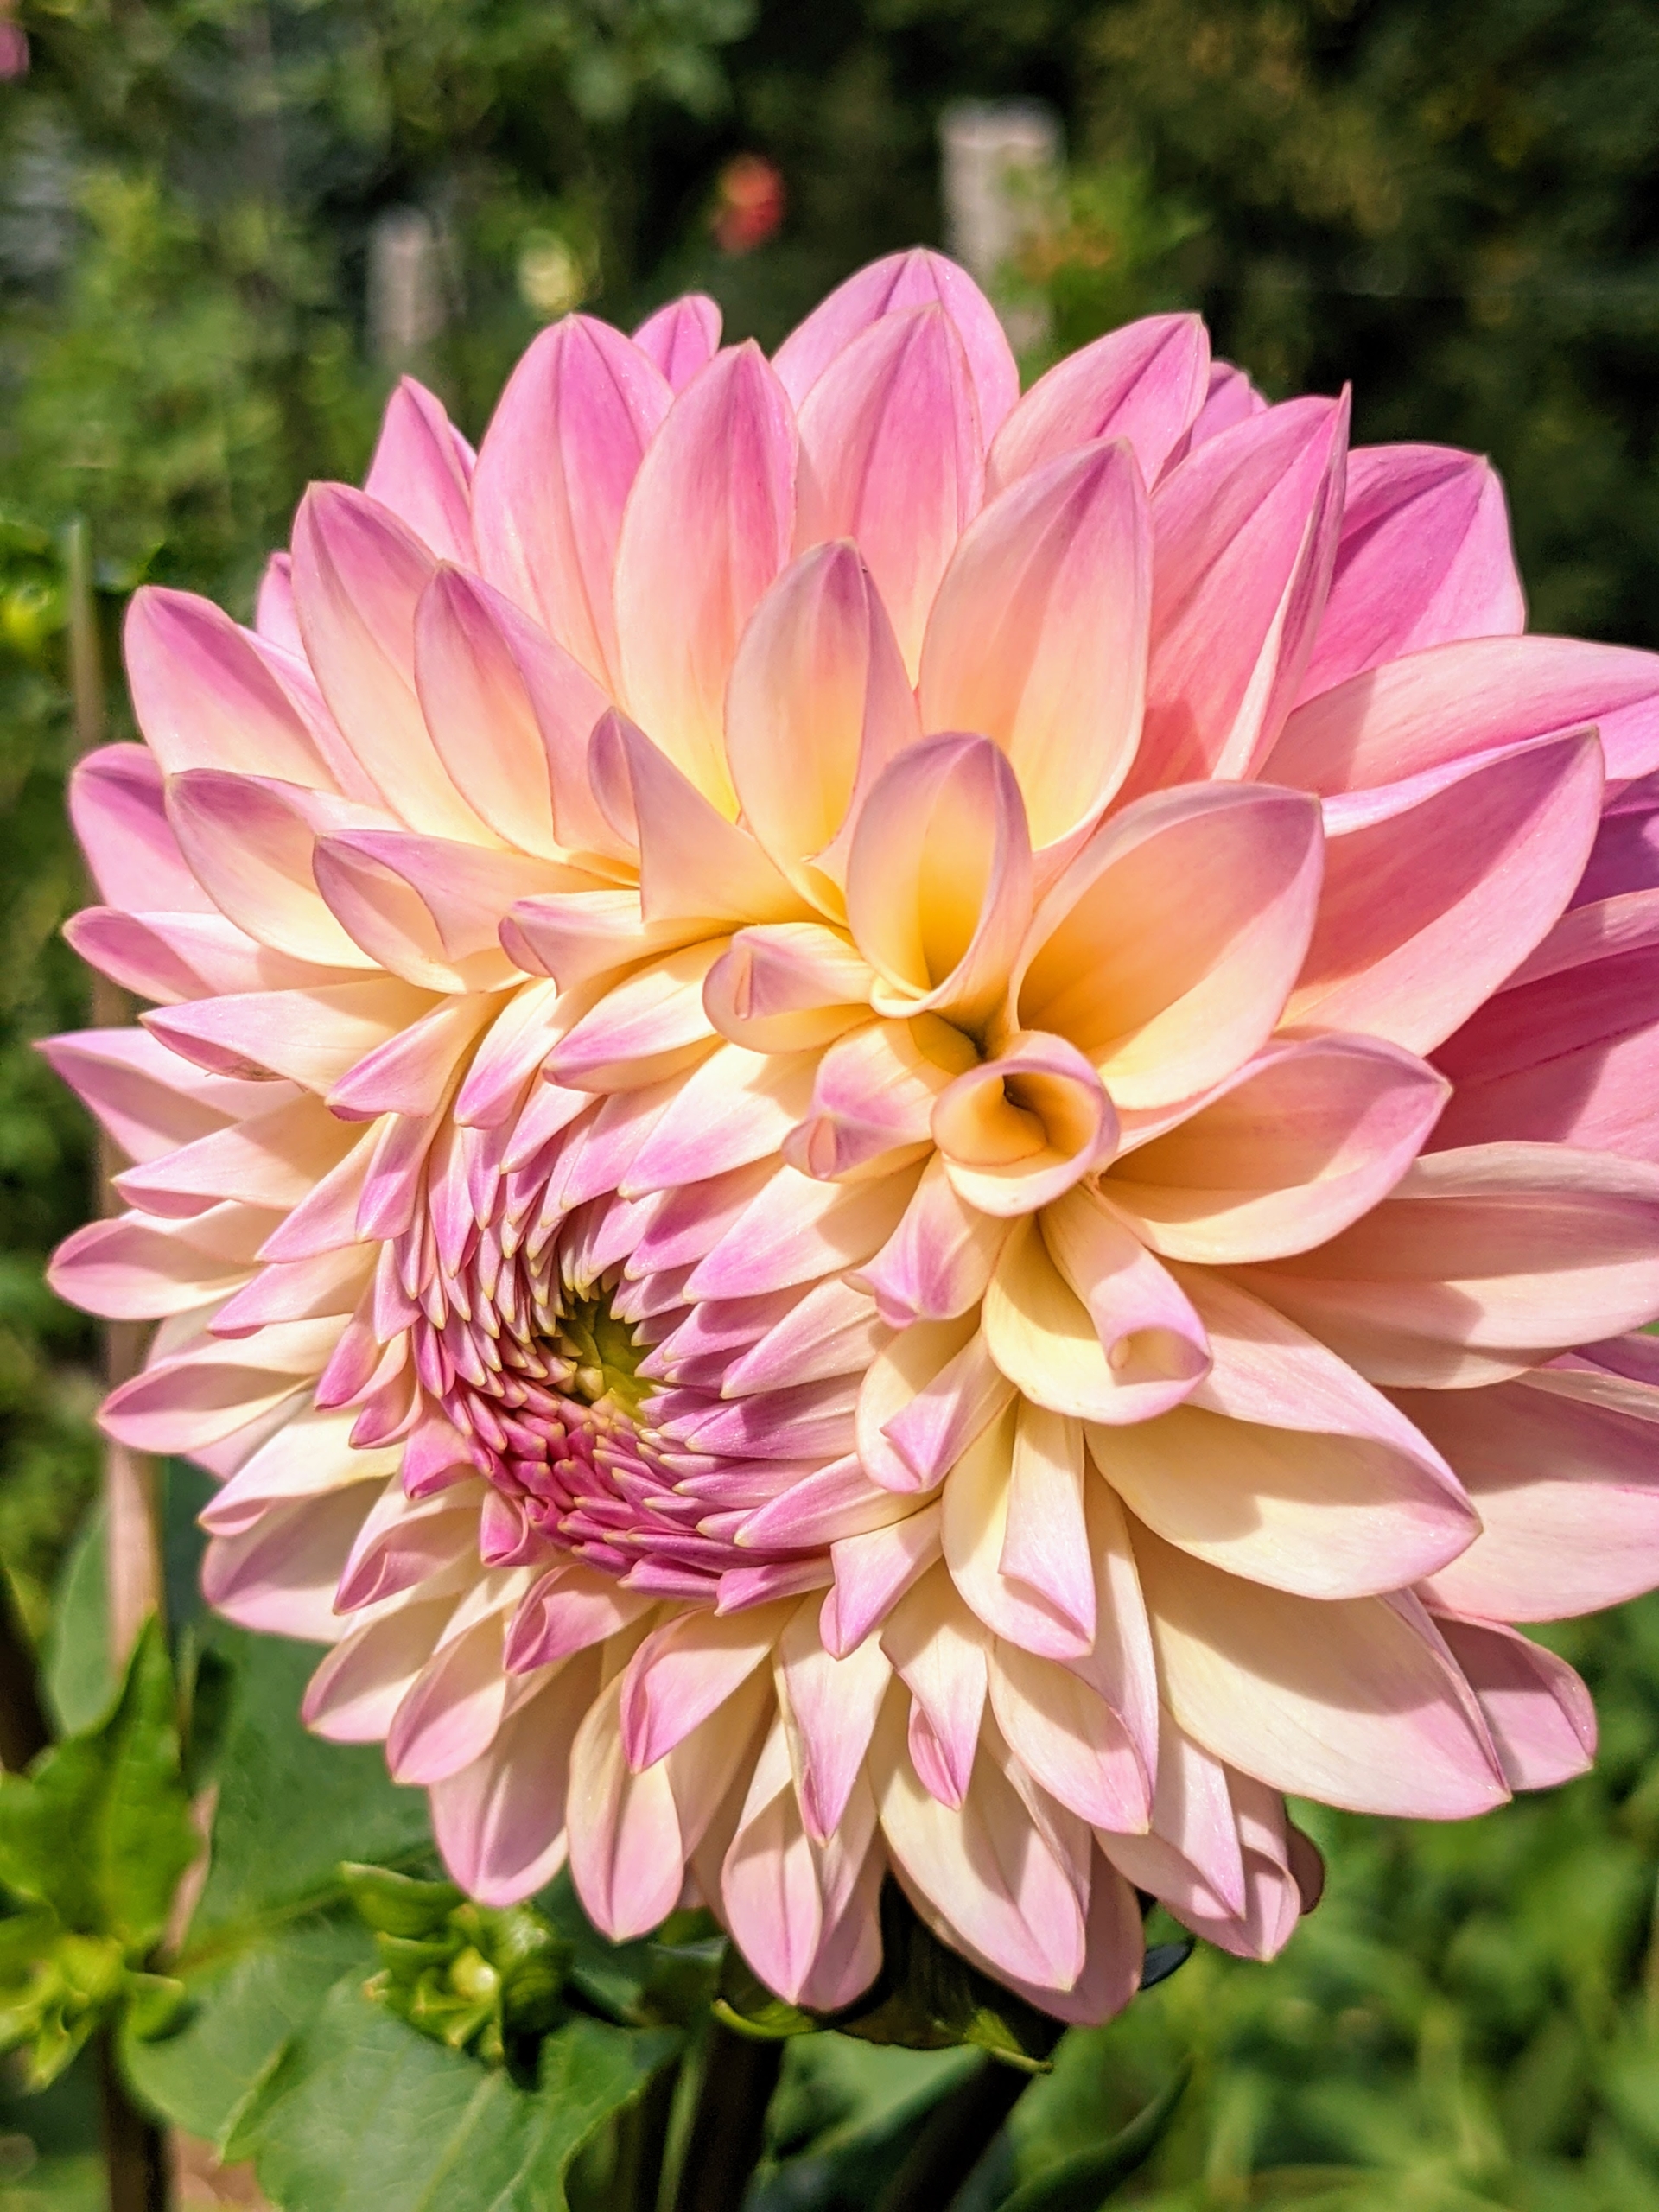
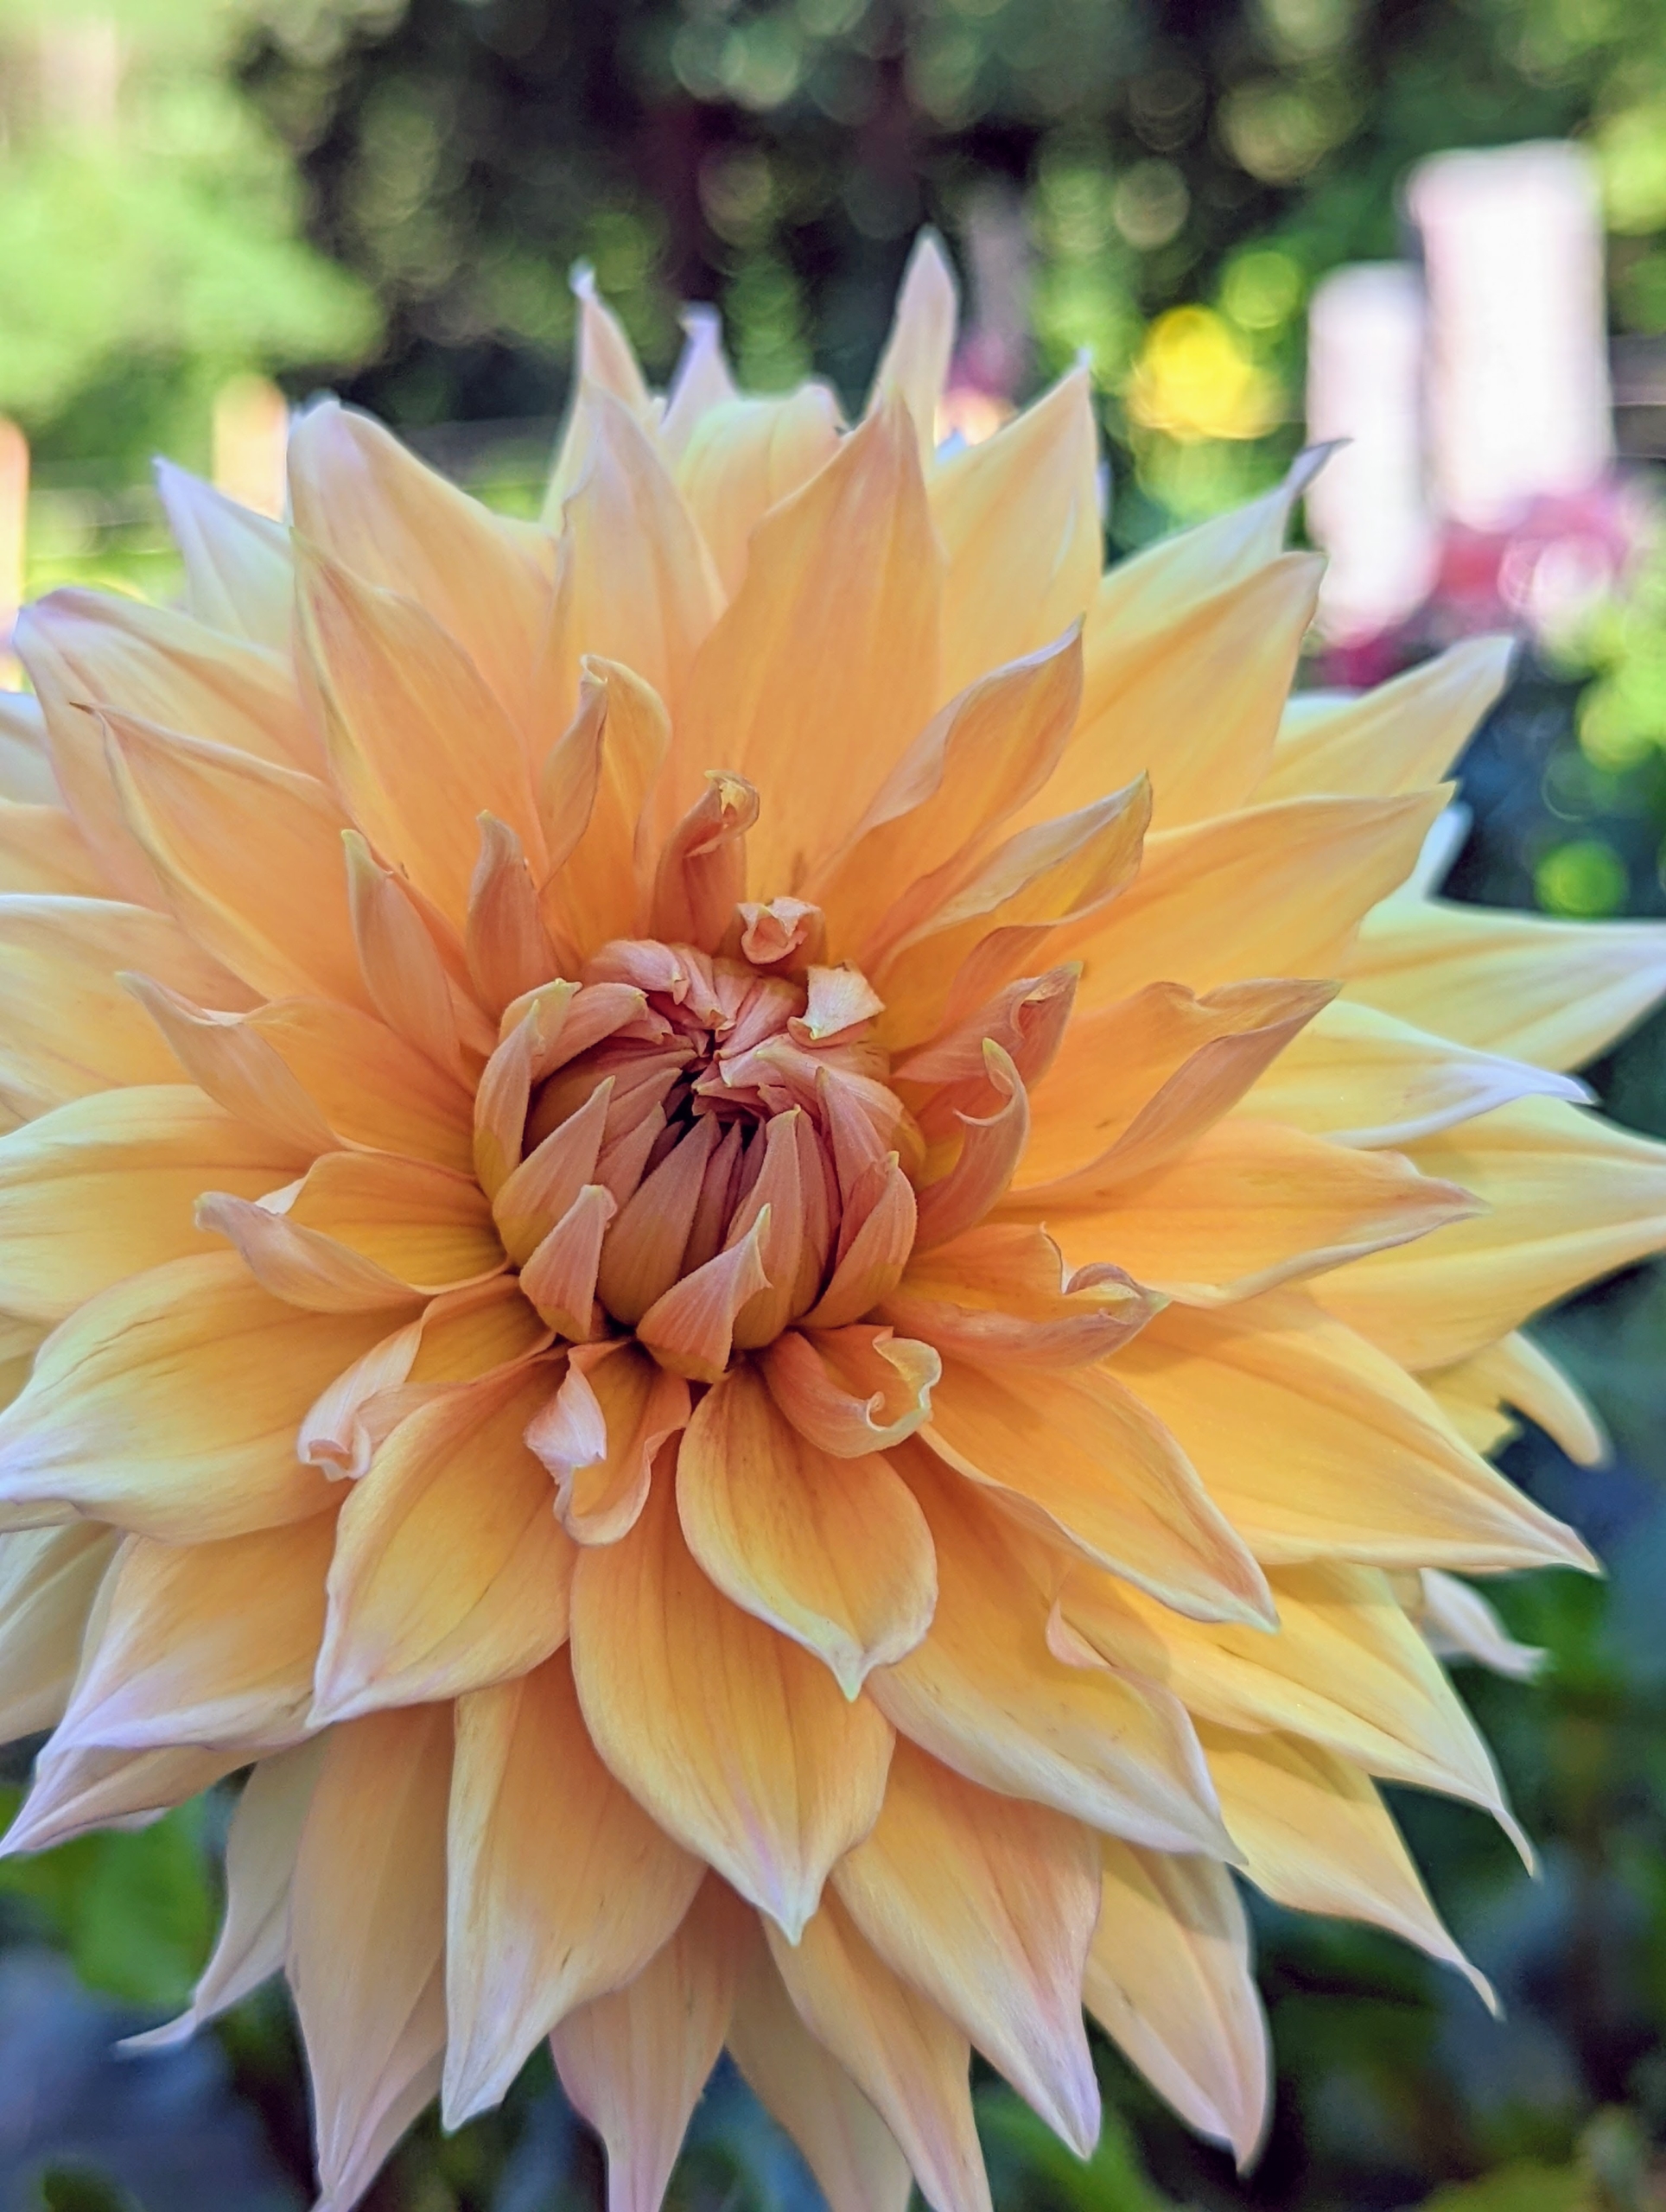
Here are more of the gorgeous flowers in bloom, enjoy.
I have already cut many dahlia flowers to decorate my home this season, but there are still many to enjoy out in the garden.
There are about 42 species of dahlia, with hybrids commonly grown as garden plants. A member of the Asteraceae family of dicotyledonous plants, some of its relatives include the sunflower, daisy, chrysanthemum, and zinnia.
The genus Dahlia is native to the high plains of Mexico. Some species can be found in Guatemala, Honduras, Nicaragua, El Salvador, and Costa Rica as well as parts of South America where it was introduced.
Dahlias were first recorded by Westerners in 1615, and were then called by their original Mexican name, acoctli. The first garden dahlias reached the United States in the early 1830s. Today, dahlias are grown all over the world. I love the many striking colors and forms.
It is also the official flower of both San Francisco and Seattle.
The Dahlia is named after the Swedish 18th century botanist Anders Dahl, who originally declared the flower a vegetable, as the tubers are edible.
Flowers come one head per stem. The blooms can be as small as two-inches in diameter or up to one foot across. They are divided into 10 groups: single, anemone, collarette, waterlily, decorative, fall, pompon, cactus, semi-cactus, and miscellaneous.
It can also vary in height, leaf color, form, and shape. This is because dahlias are octoploids, meaning they have eight sets of homologous chromosomes, whereas most plants have only two.
Dahlias produce an abundance of wonderful flowers throughout early summer and again in late summer until the first frost.
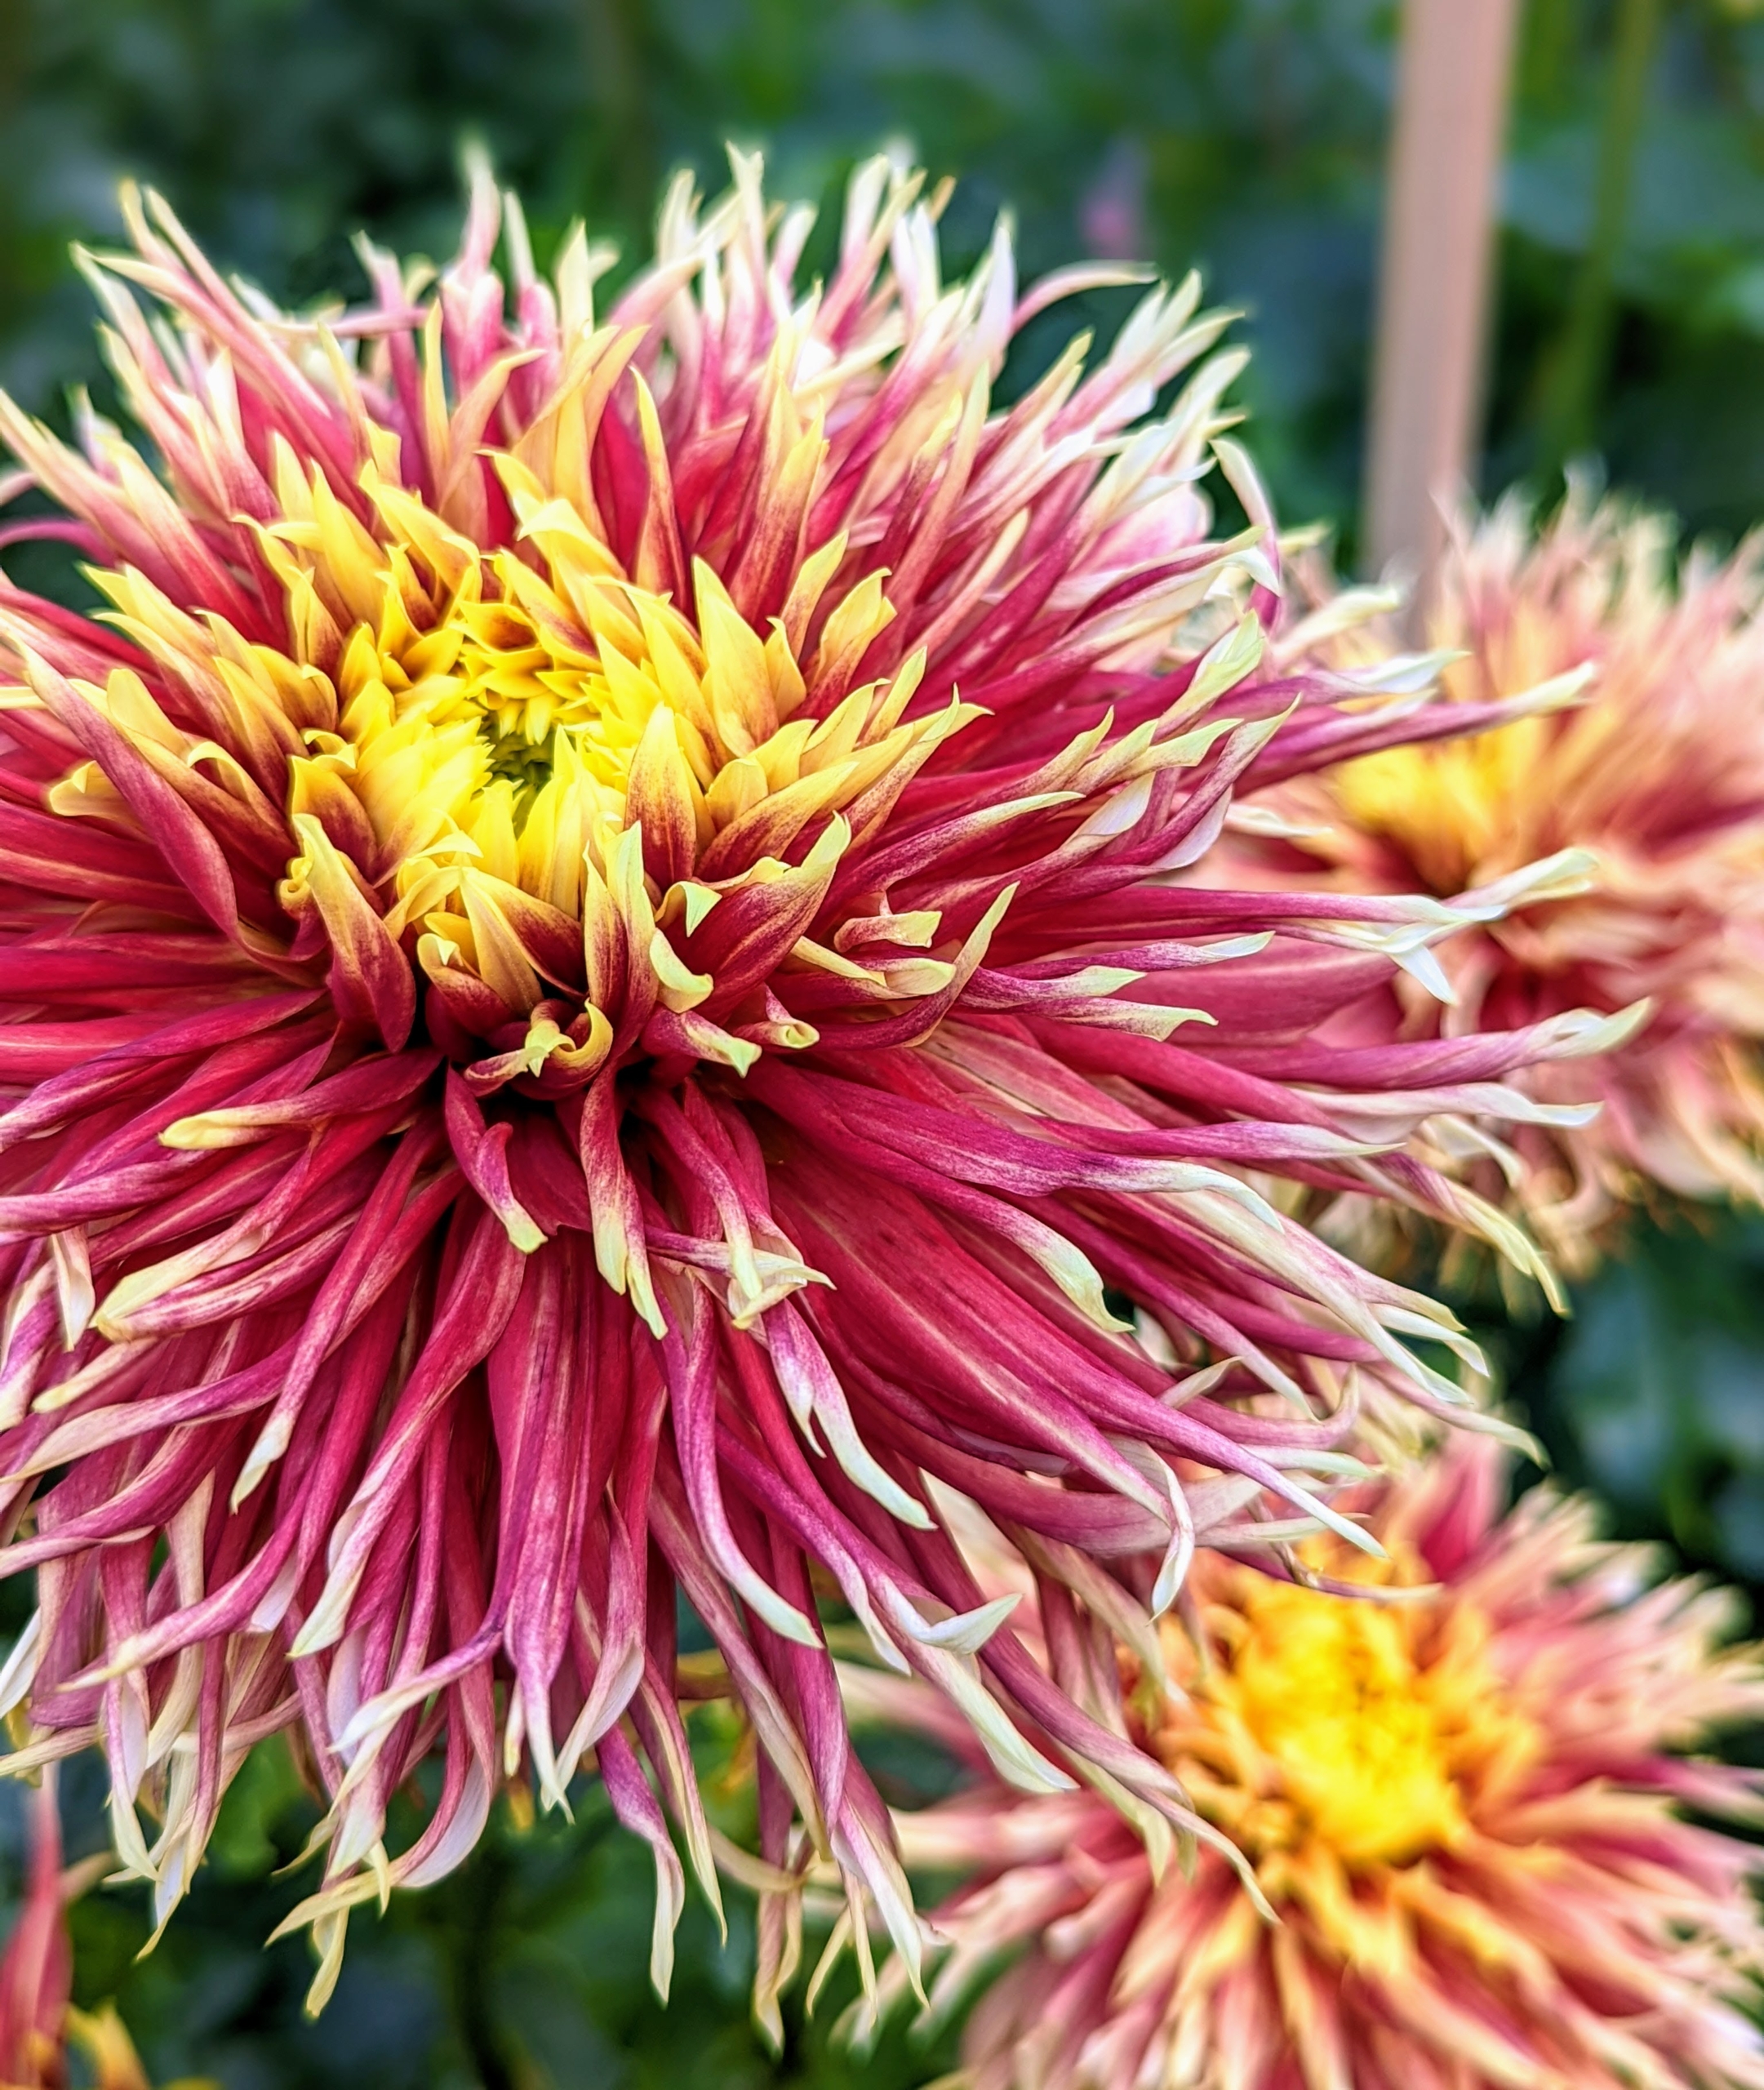
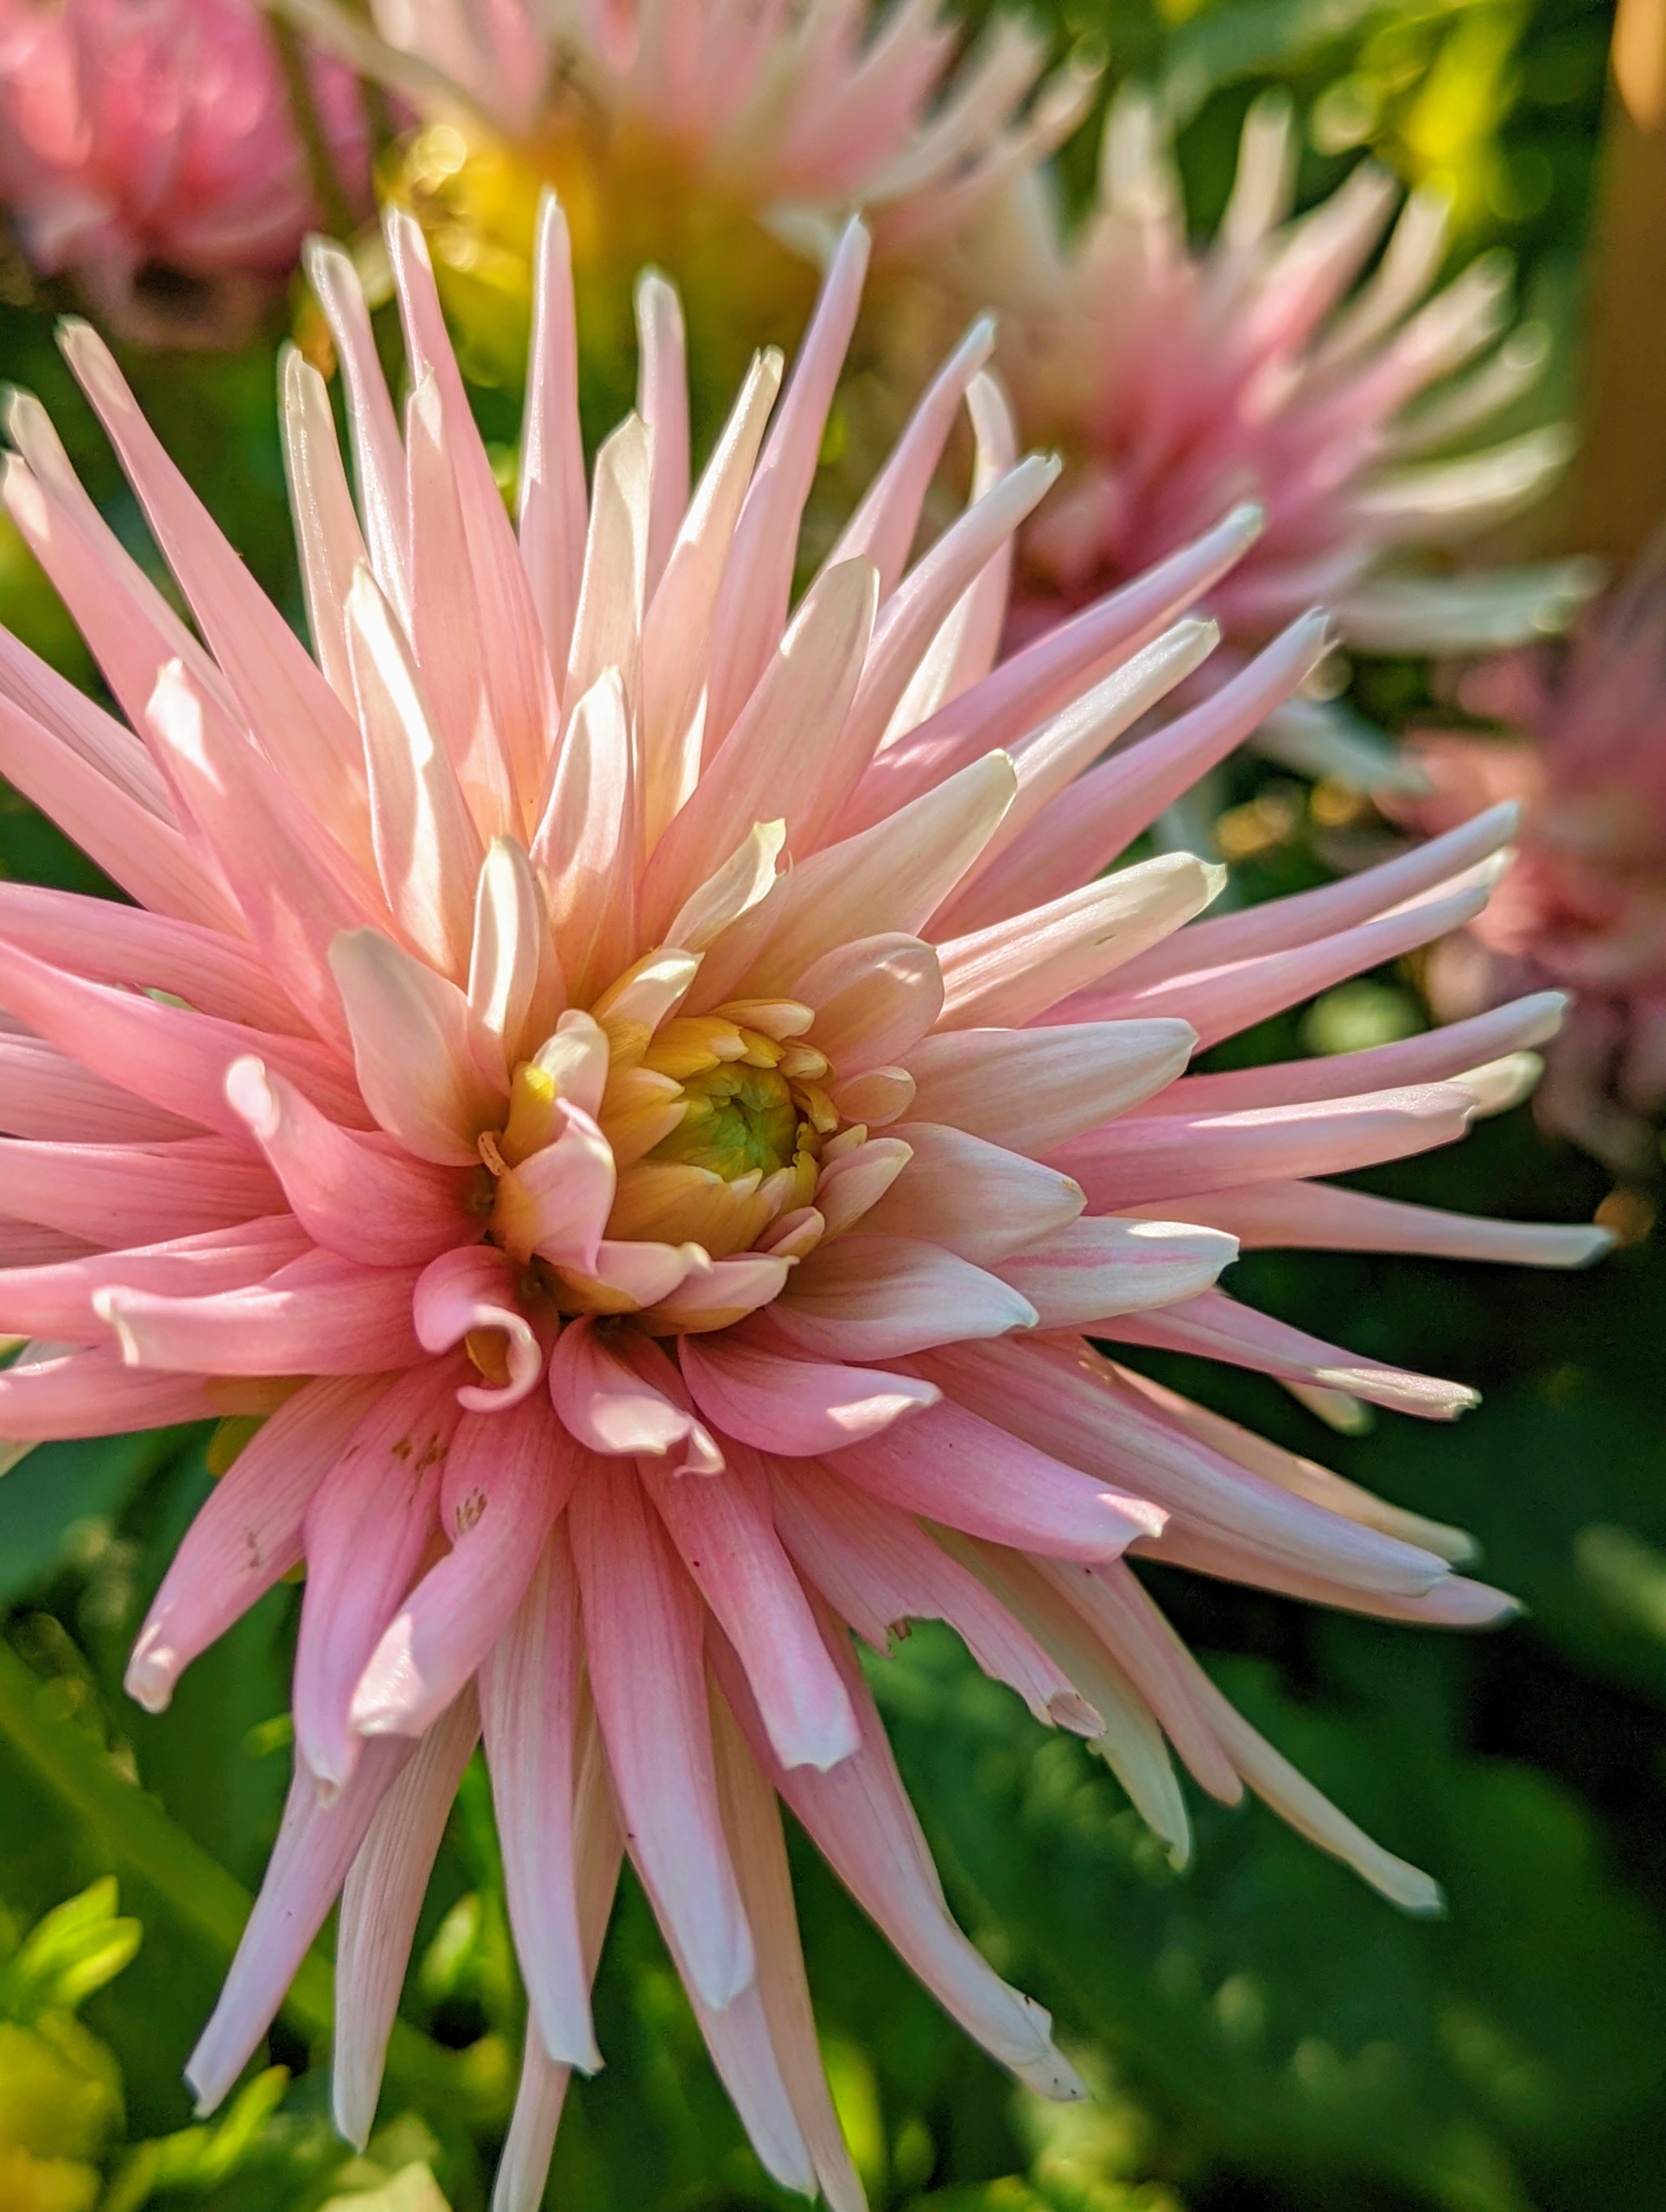
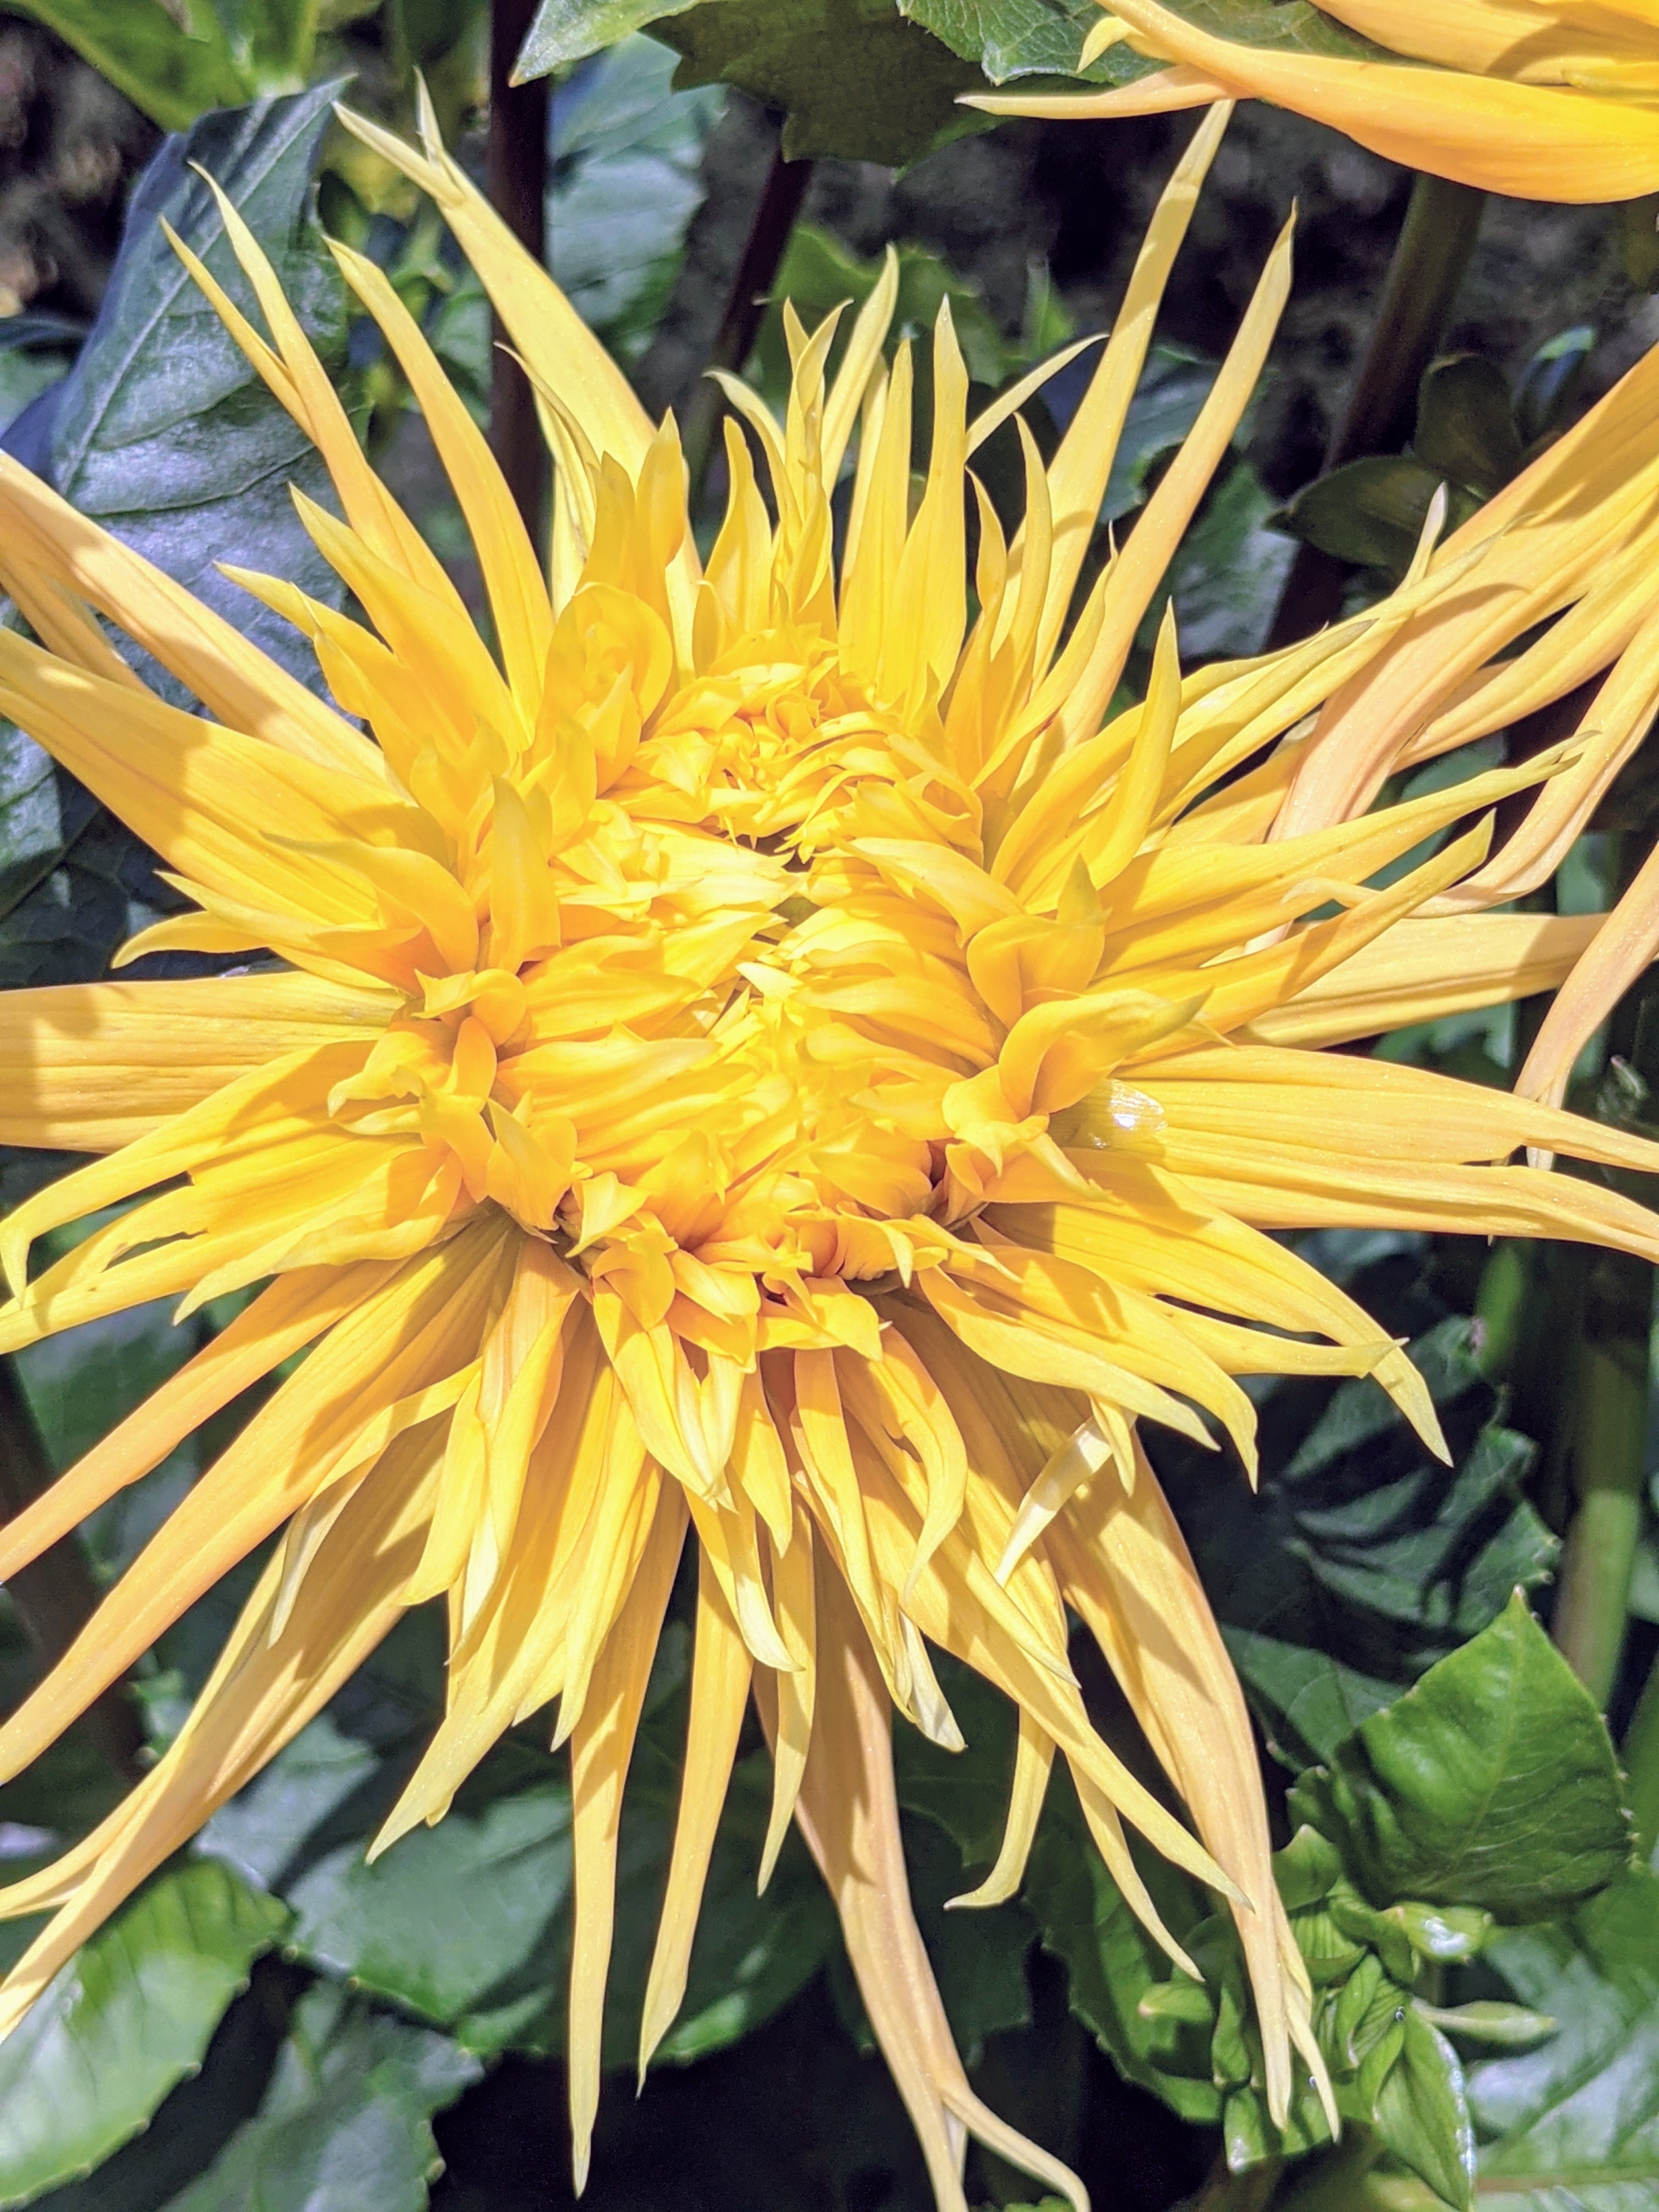
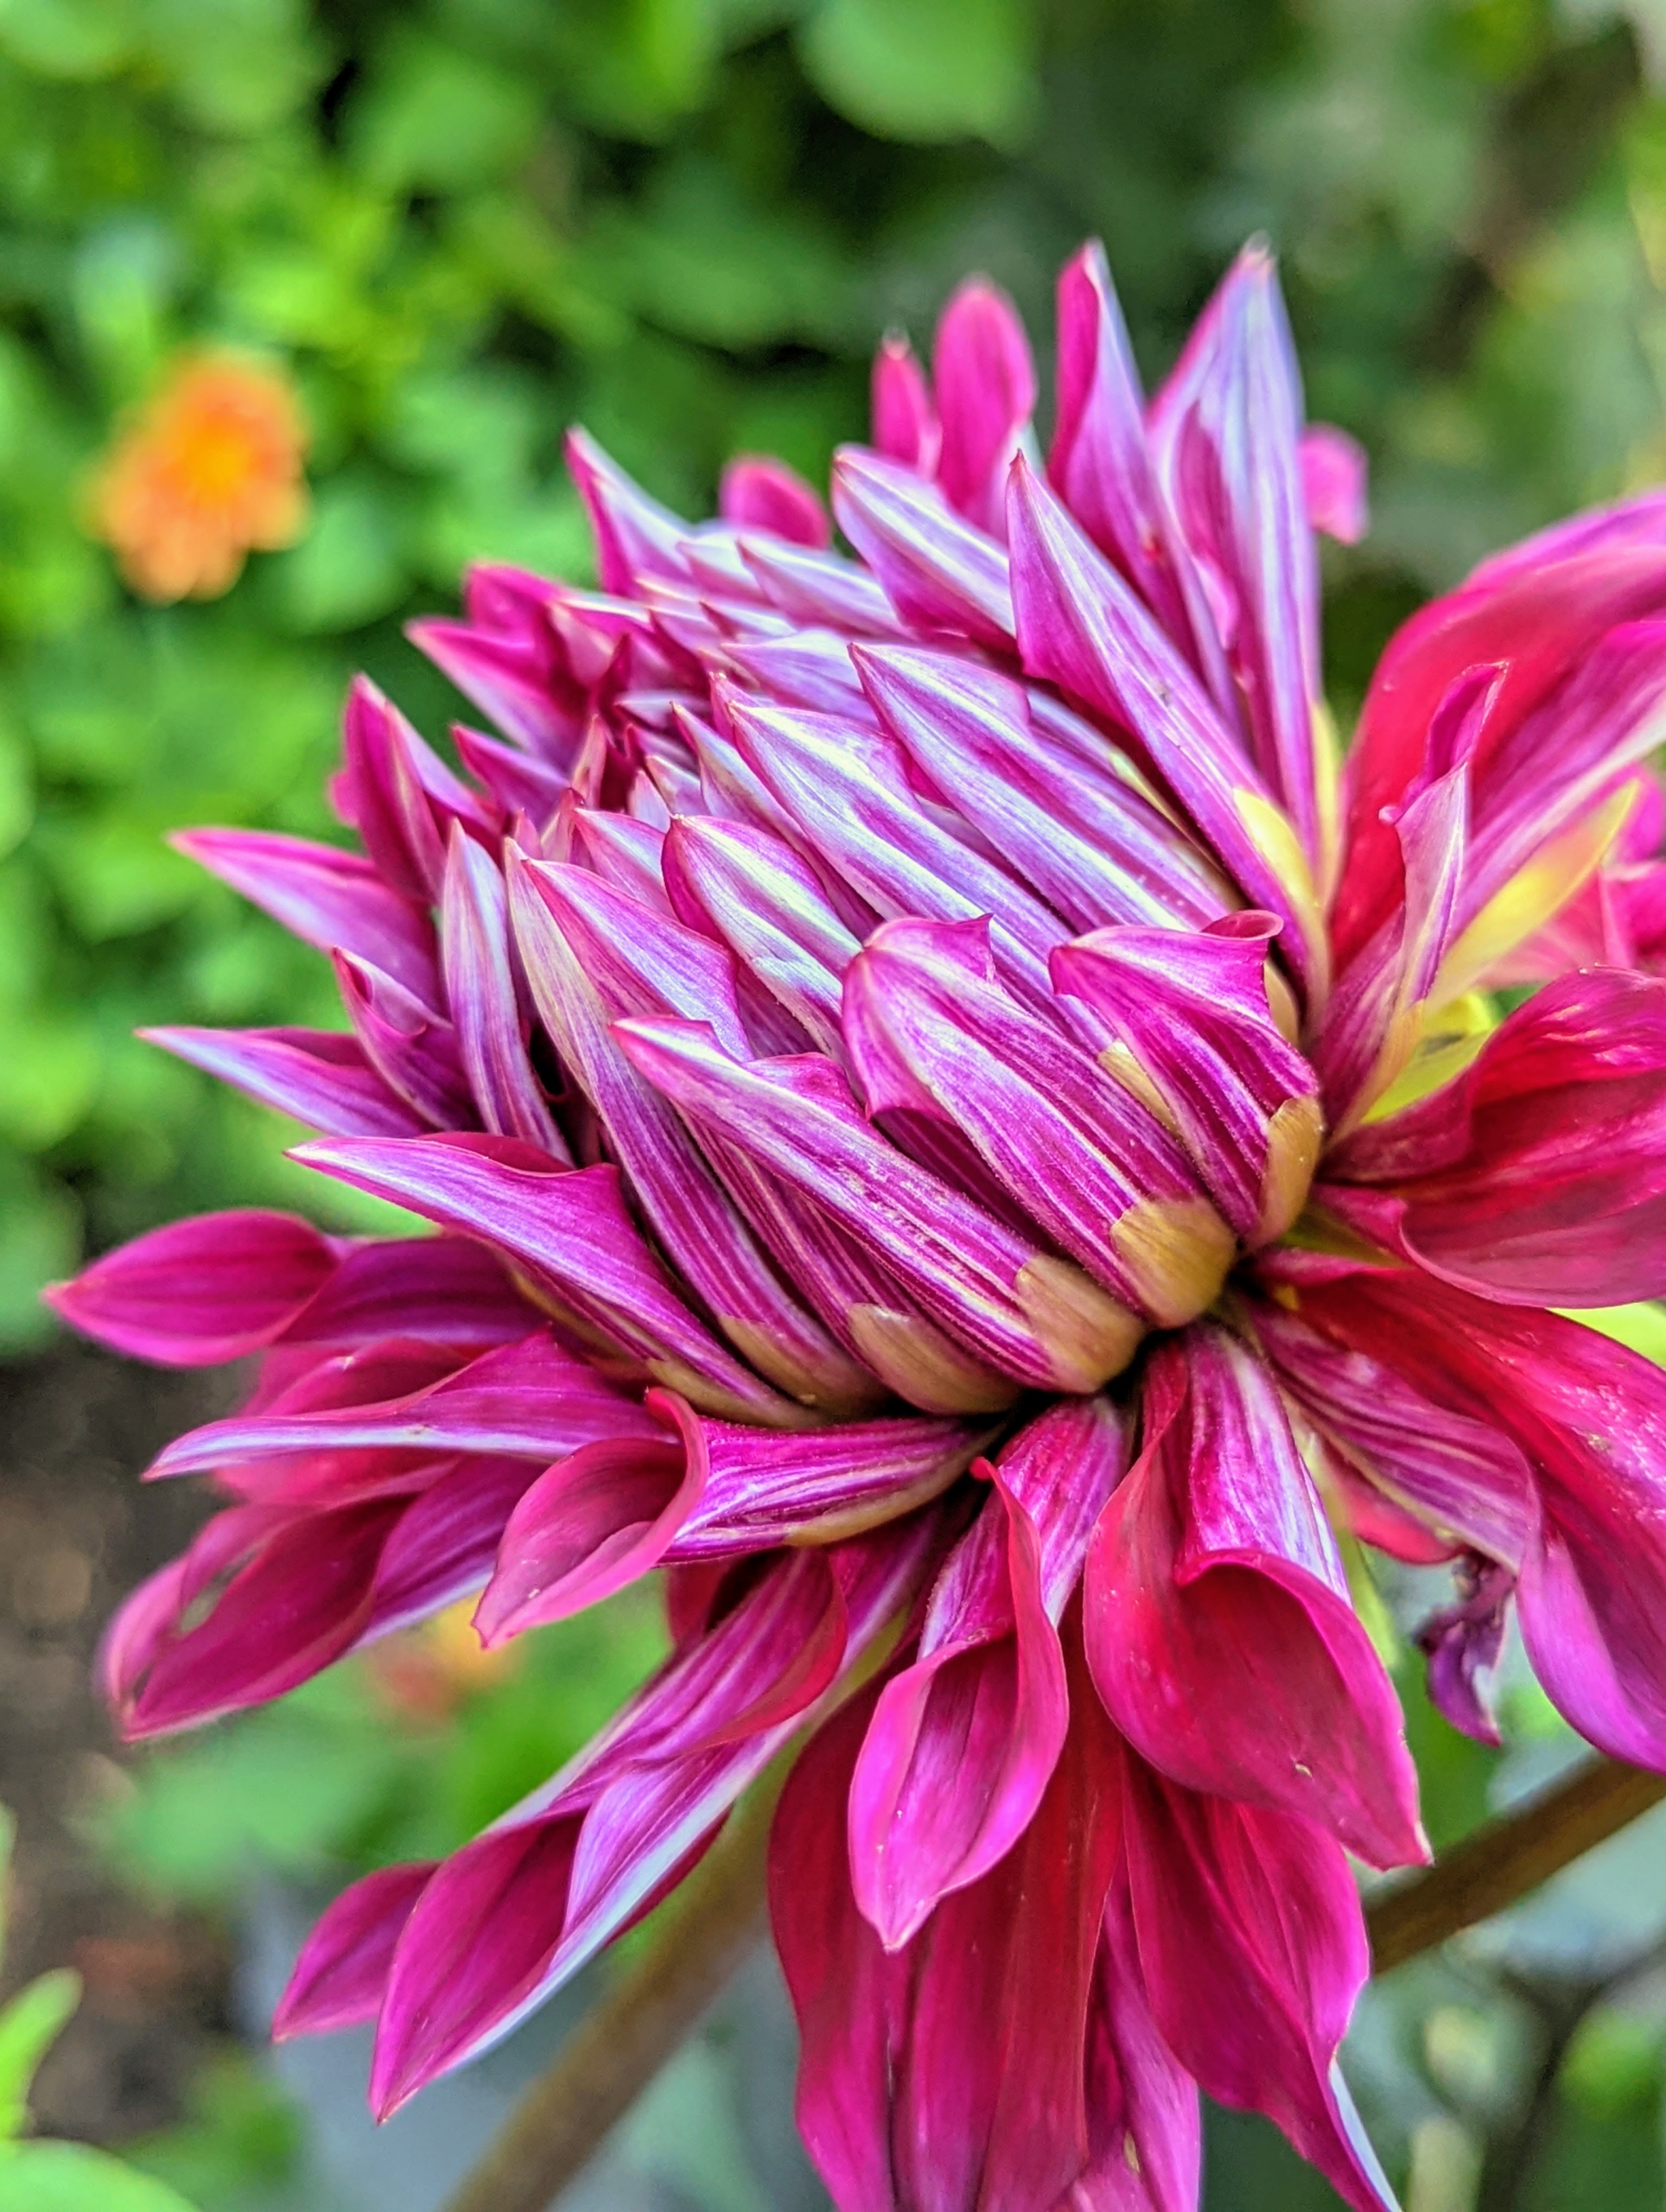
Dahlias are popularly grown for their long-lasting cut flowers. This is a cactus dahlia with its beautiful ‘spiny’ petals rolled up along more than two-thirds of its length.
Dahlias thrive in rich, well-drained soil with a pH level of 6.5 to 7.0 and slightly acidic.
The majority of dahlia species do not produce scented flowers or cultivars, but they are brightly colored to attract pollinating insects.
There are some 57,000 varieties of dahlia, with many new ones created each year.
Josephine Bonaparte, wife of the French Emperor, was so enamored of dahlias she grew prize varieties in her garden at Malmaison.
The dahlia was also a favorite bloom of England’s Queen Victoria.
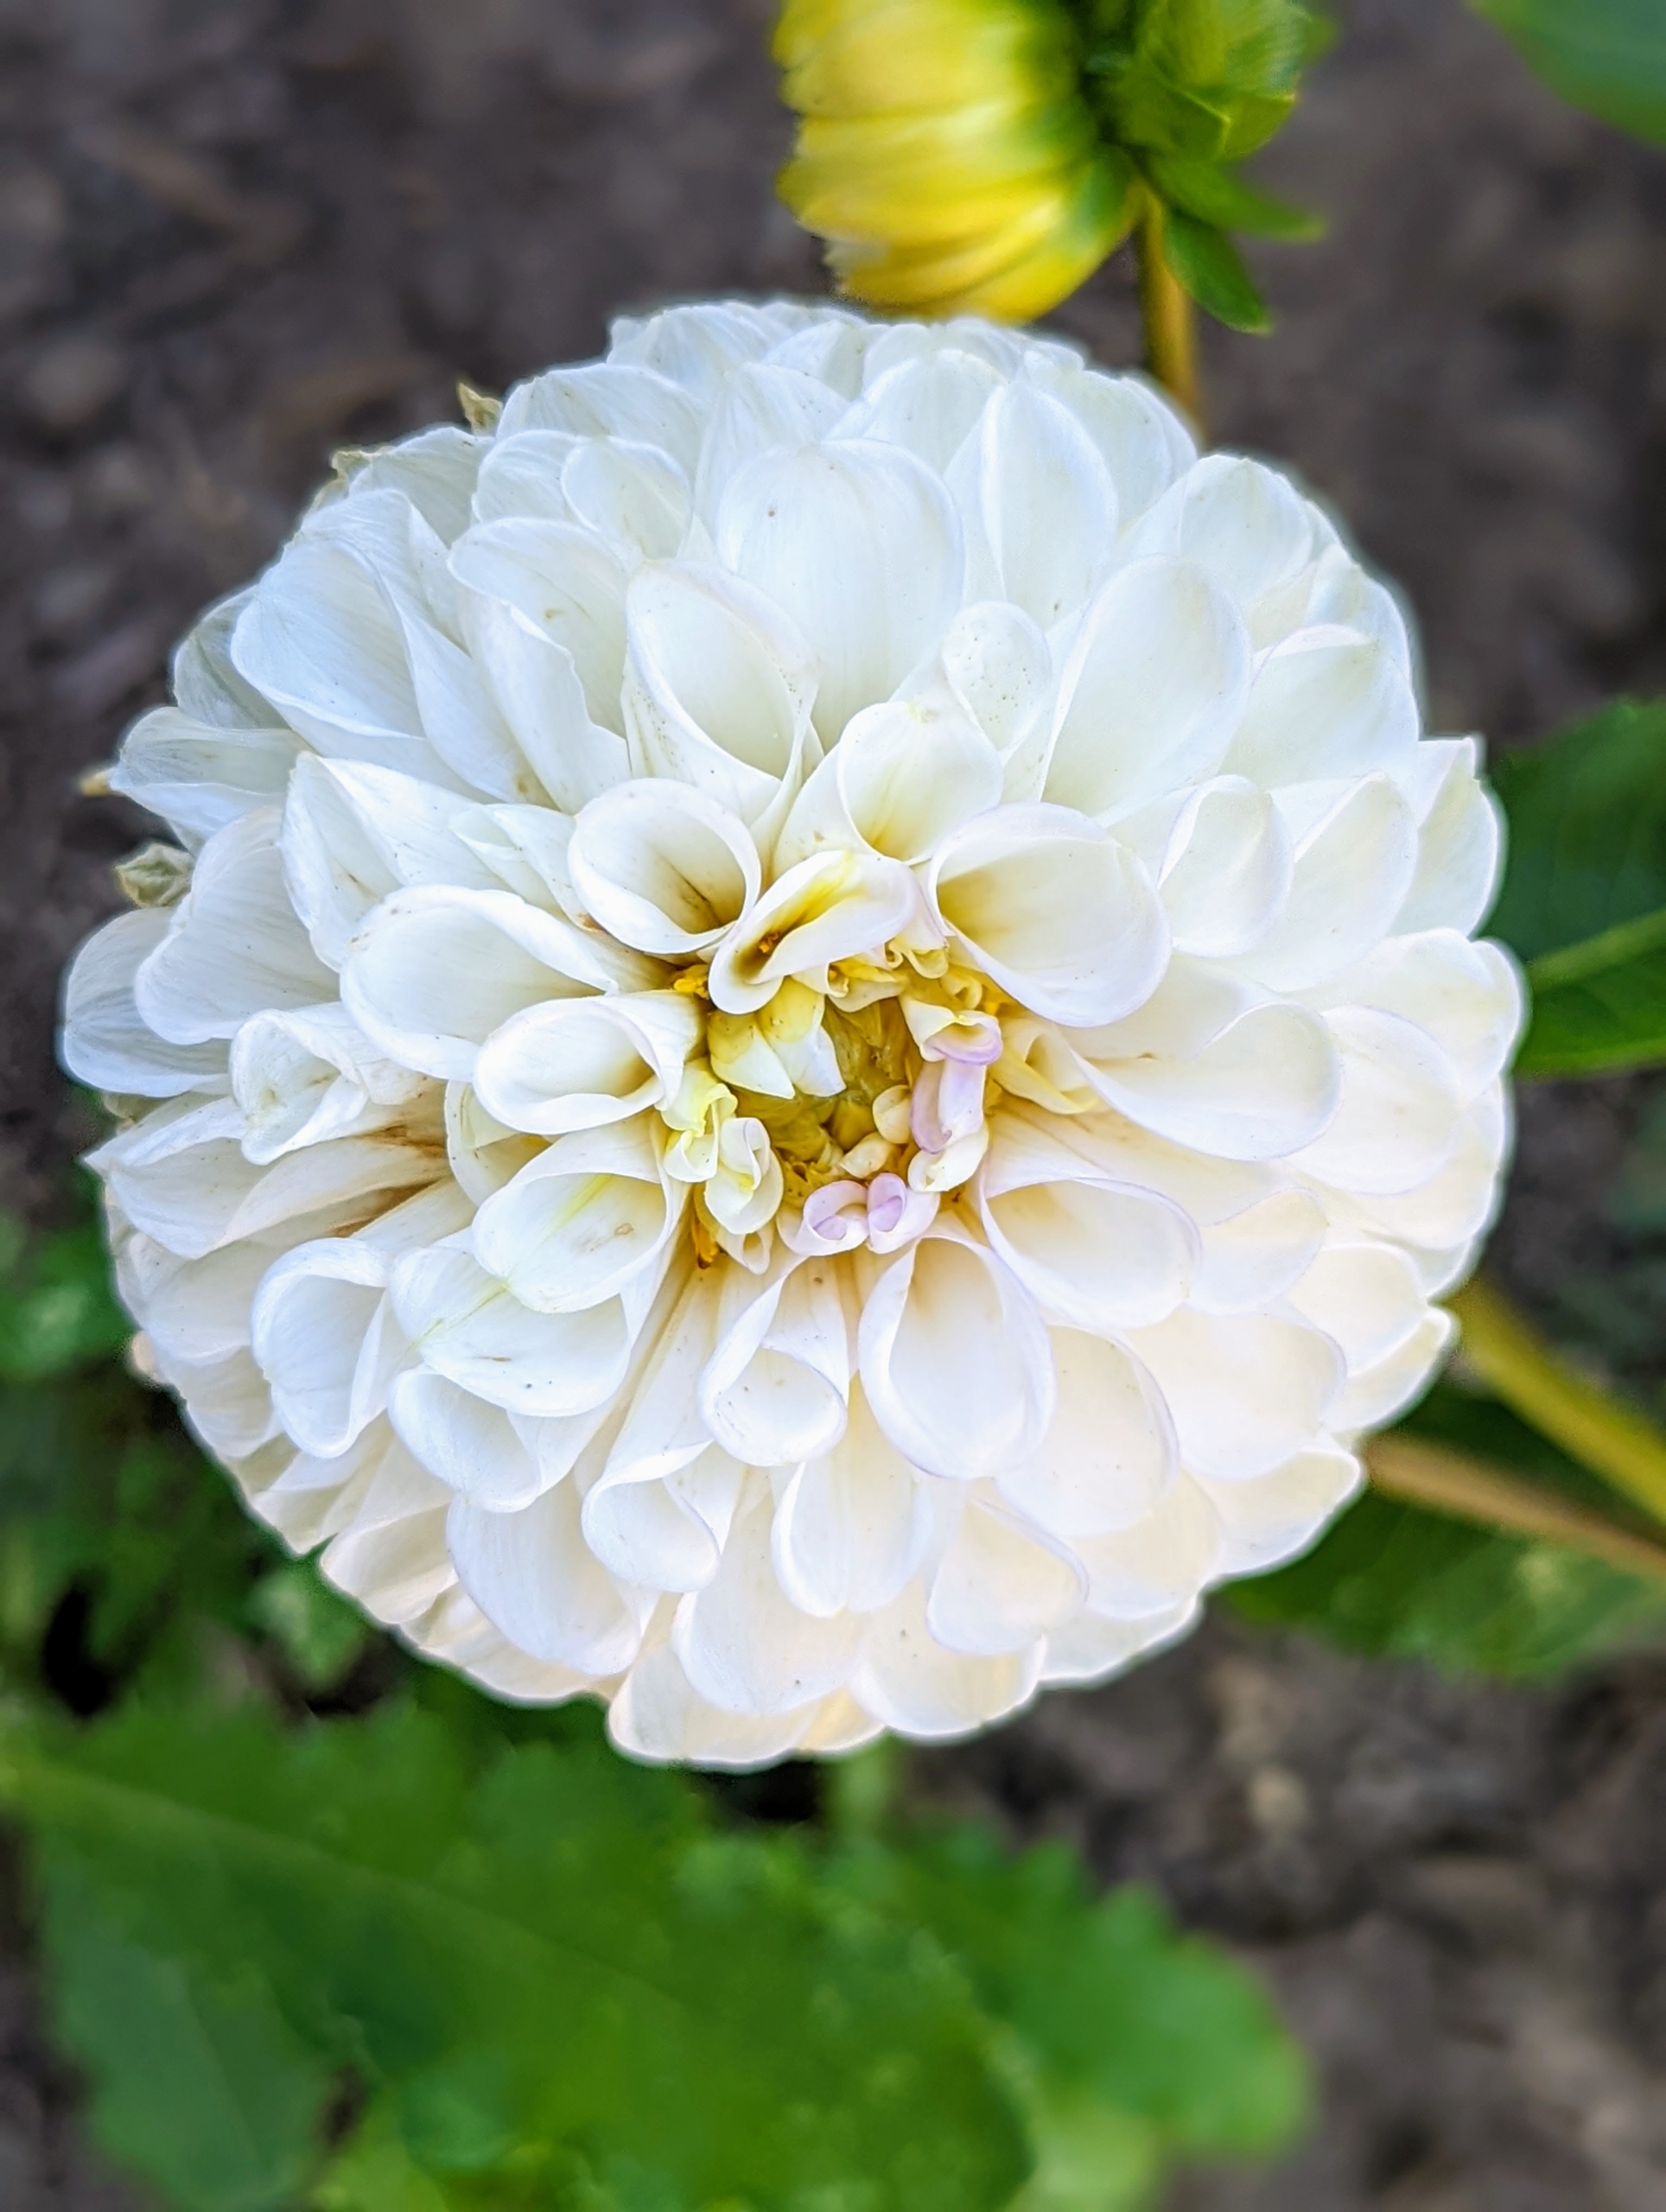
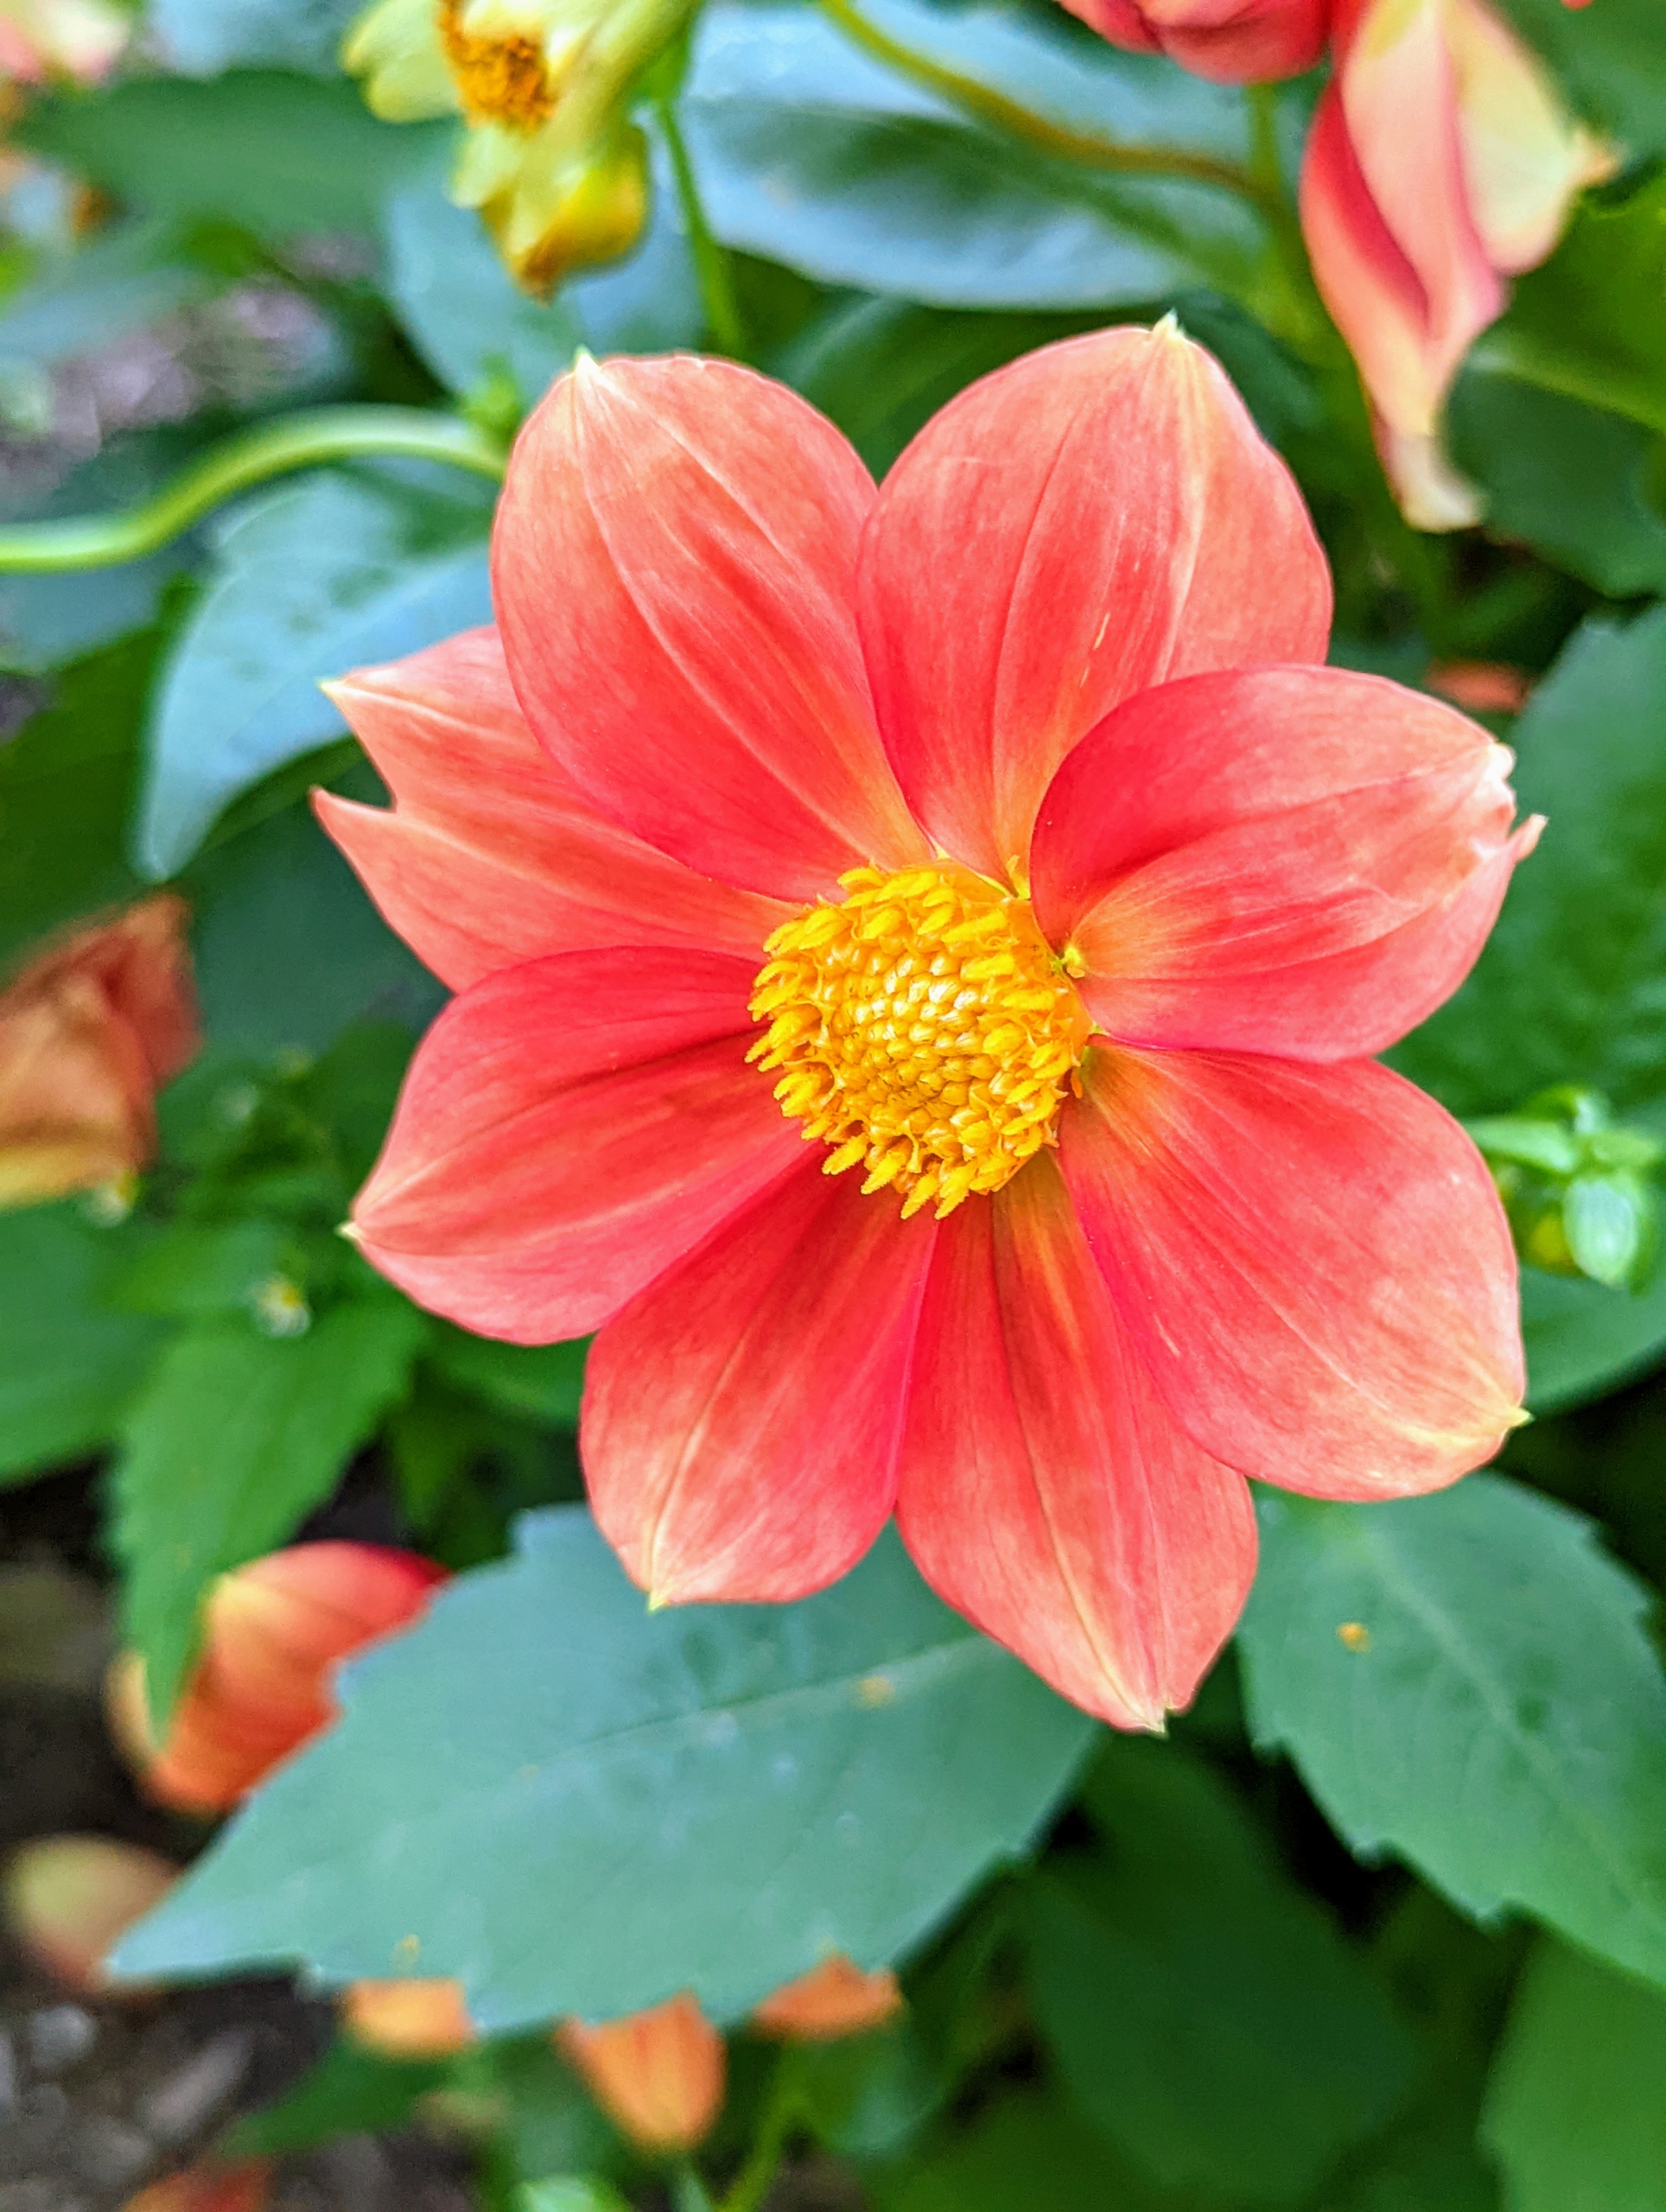
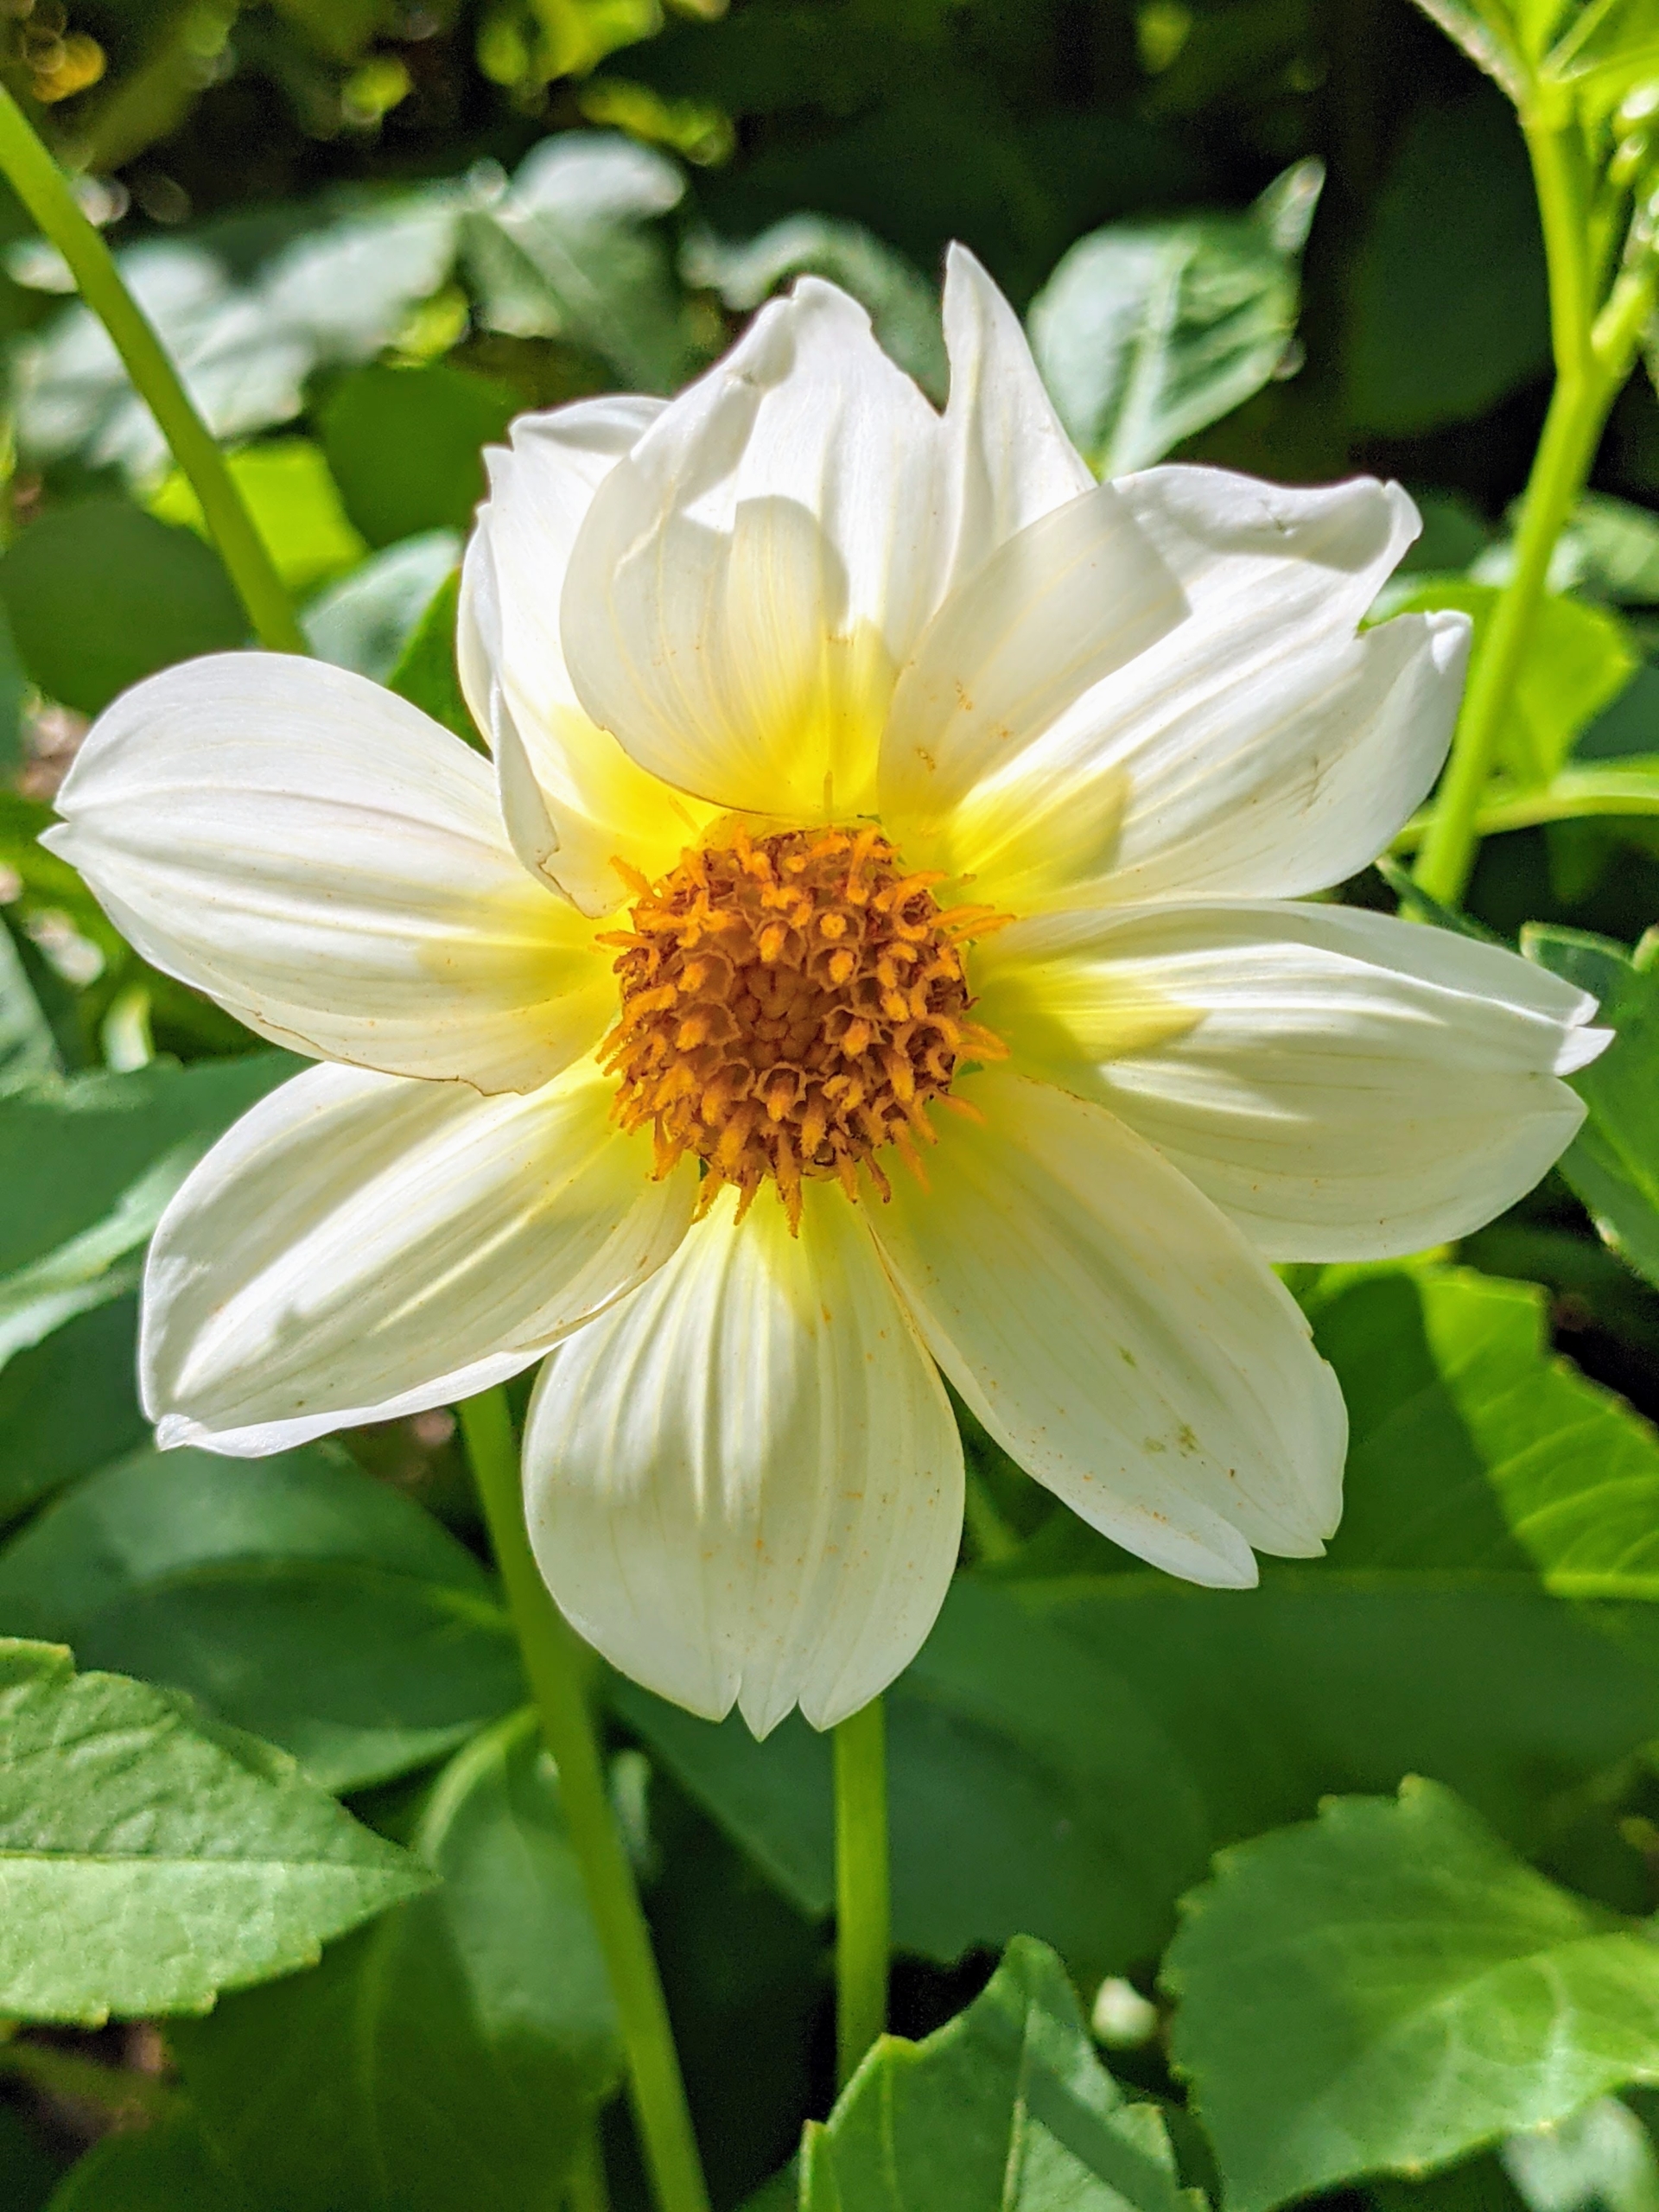
Dahlias come in white, shades of pink, red, yellow, orange, shades of purple, and various combinations of these colors – every color but true blue. In the 19th century, a London newspaper offered a pound, or a little more than a dollar, to the first breeder to create a blue dahlia—the reward was never claimed, but there have been many attempts that are near-blue. Like many flower varieties, there is also no pure black variety—only dark red and dark purple. This one is white with soft lavender tips.
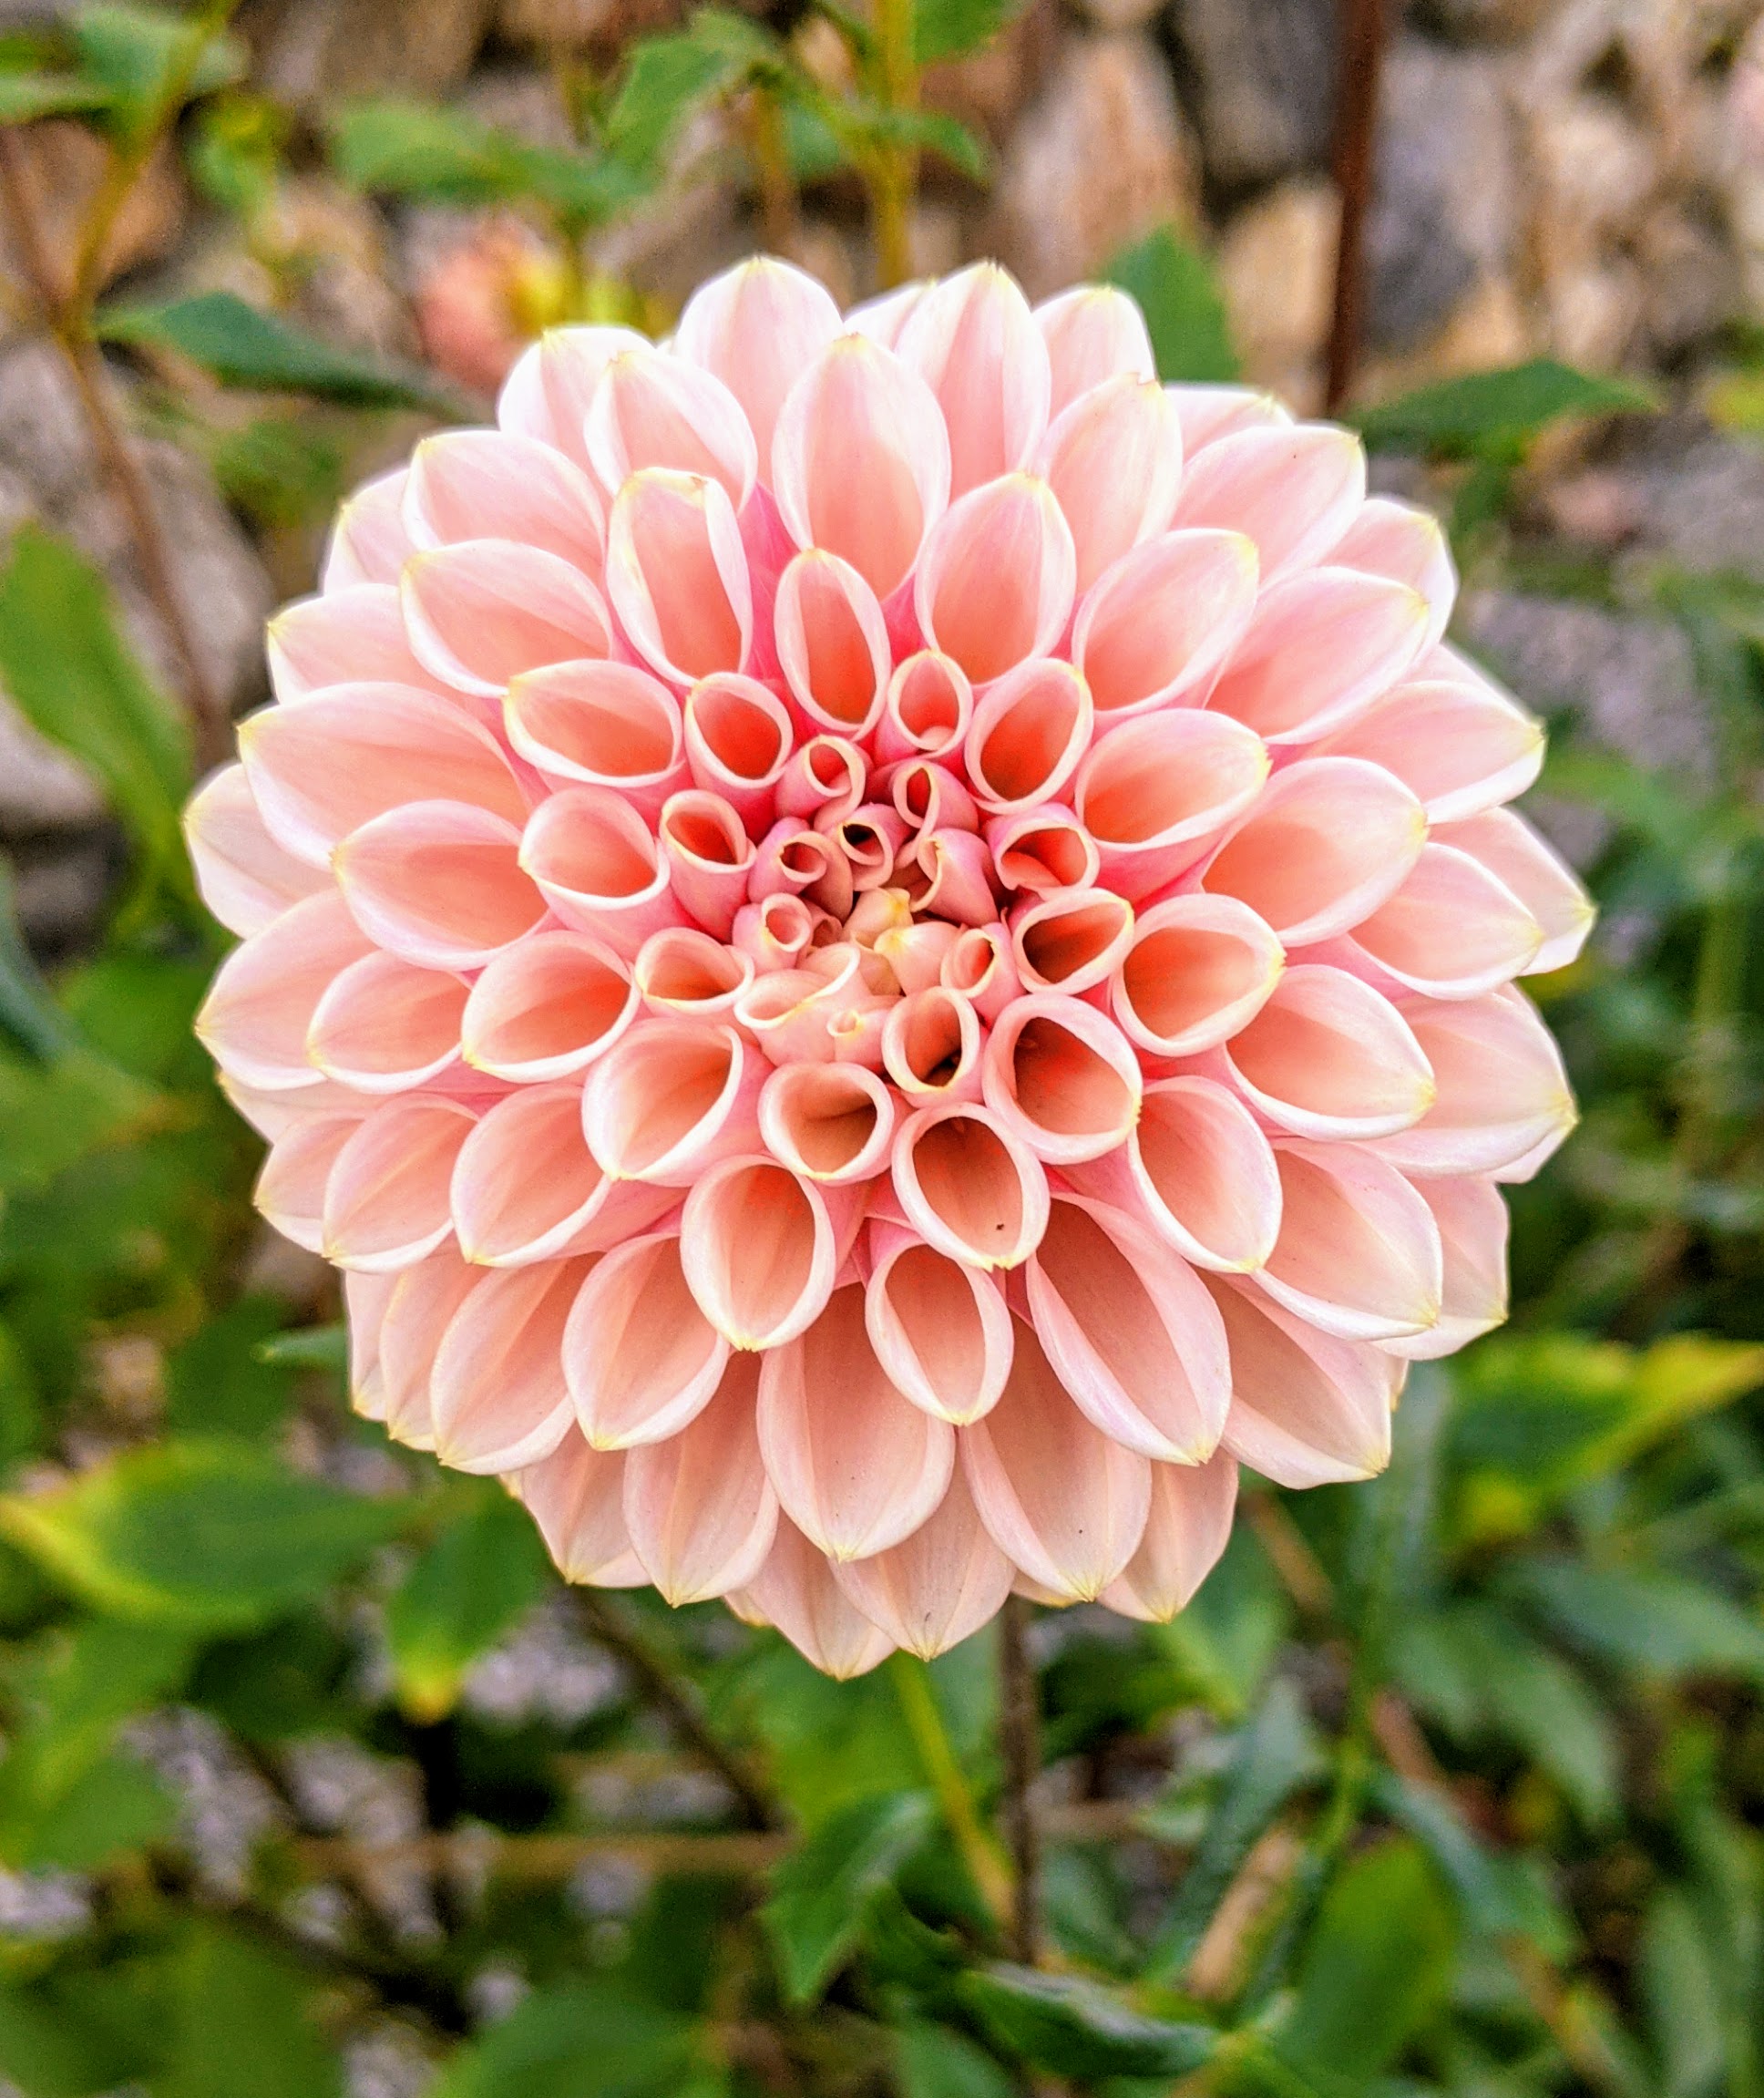
From the side, many dahlia petals grow all around the flower head giving it a very full appearance.
When planting dahlias, choose the location carefully – dahlias grow more blooms where they can have six to eight hours of direct sunlight.
And to prevent wilting, cut only in the early morning or late afternoon. And only cut them after they open to mature size – dahlias will not open after cutting.
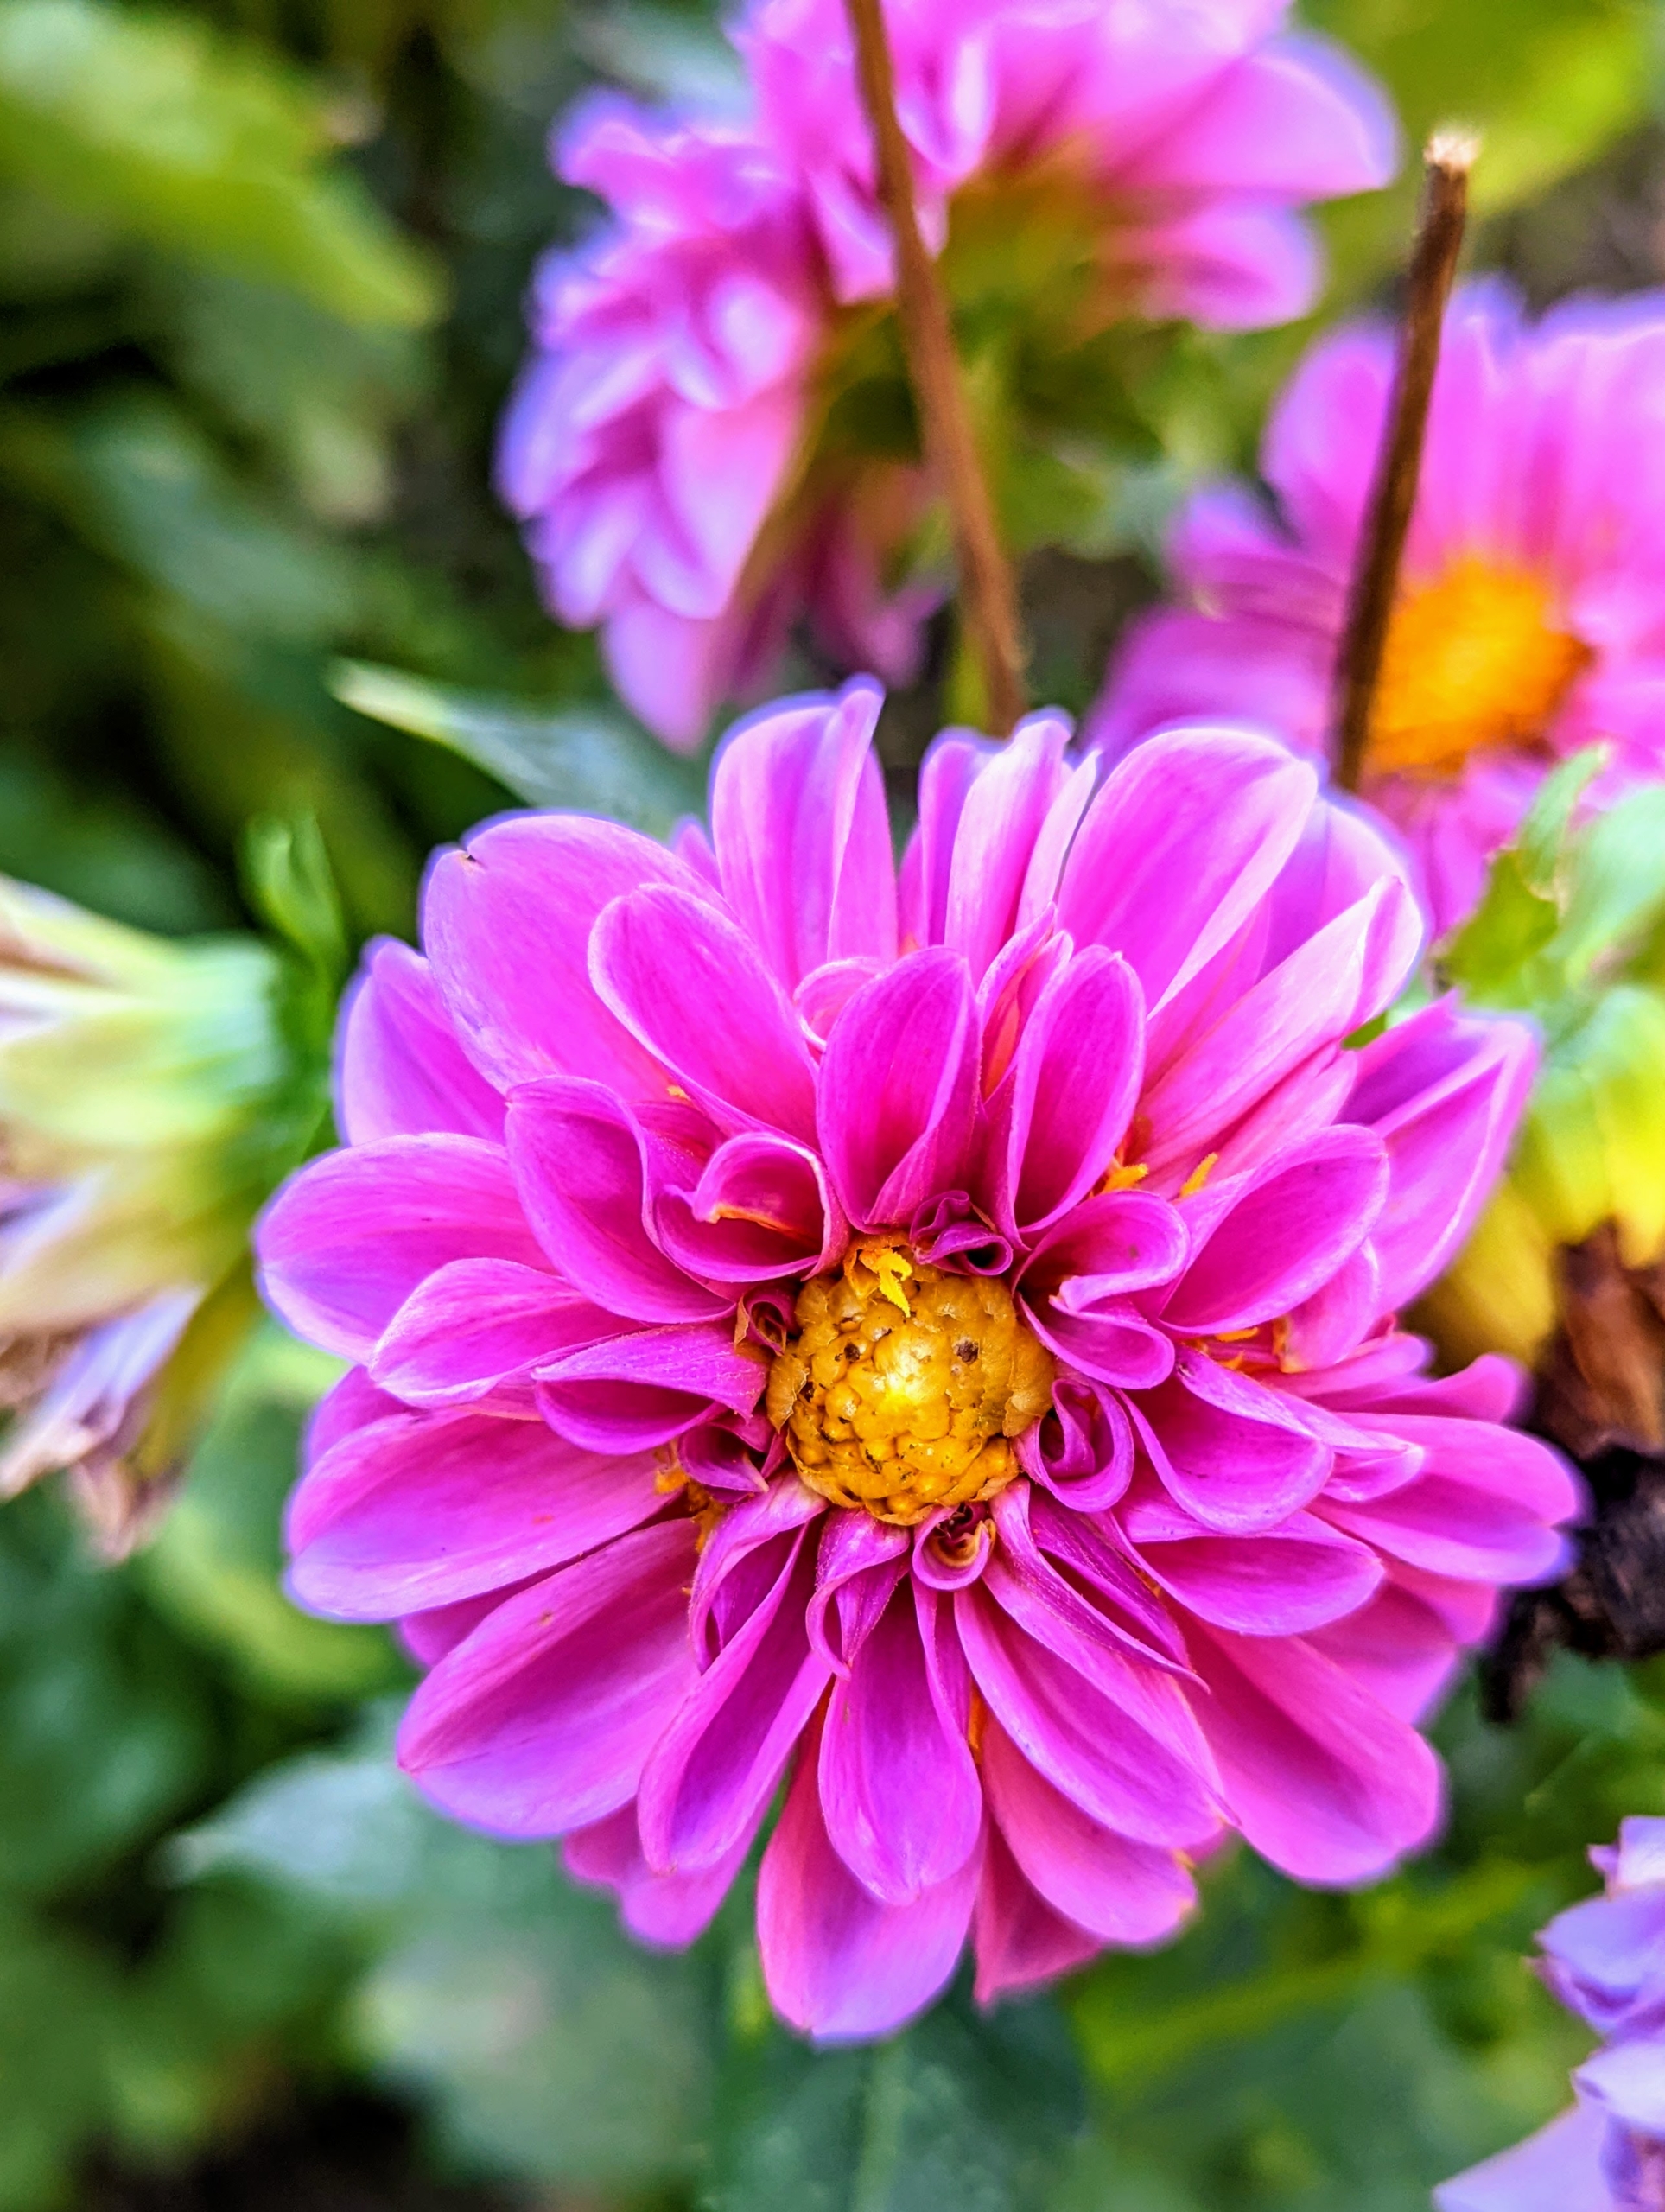
This is a single dahlia with just one row of petals surrounding the center disc.
Here’s another dahlia just opening. I hope to still be seeing beautiful dahlia blooms through the season – maybe even until Halloween. Visit the American Dahlia Society website for the many classifications and colors. What are your favorite dahlias?
It's always so important to keep up with the maintenance of my Bedford, New York farm - especially the four miles of carriage road that meander around my homes, gardens, horse paddocks, and through the expansive woodland.
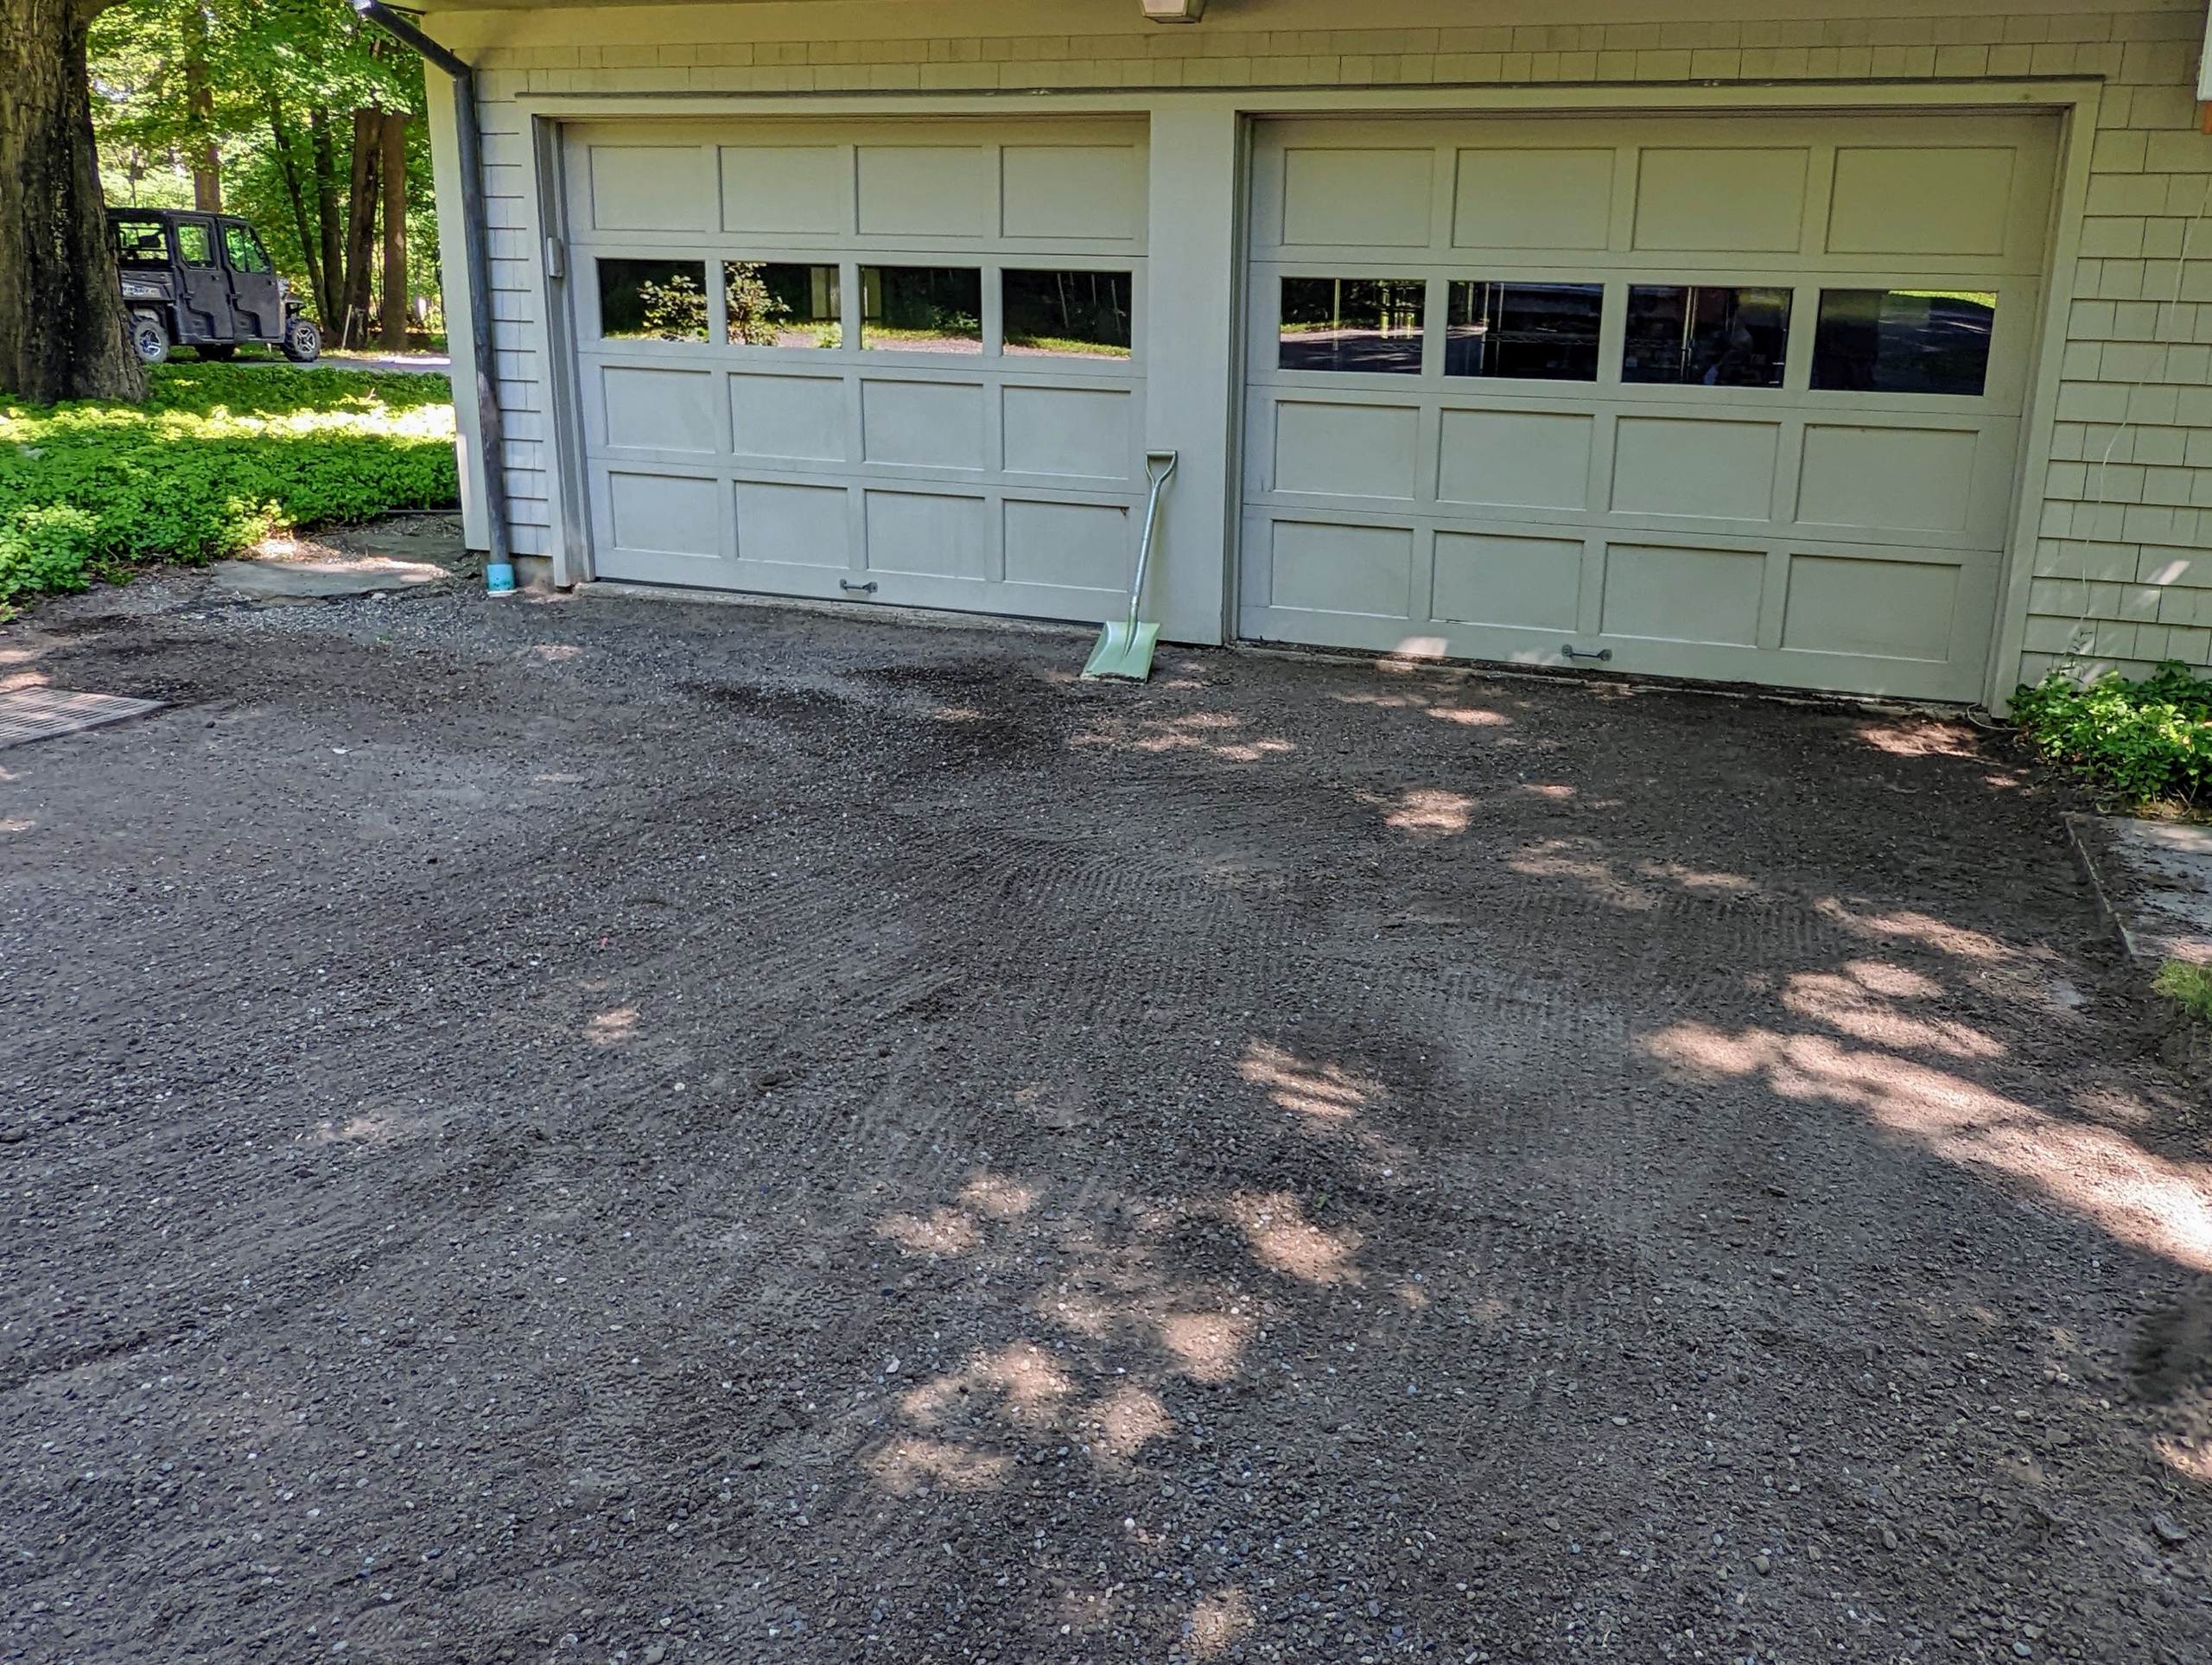
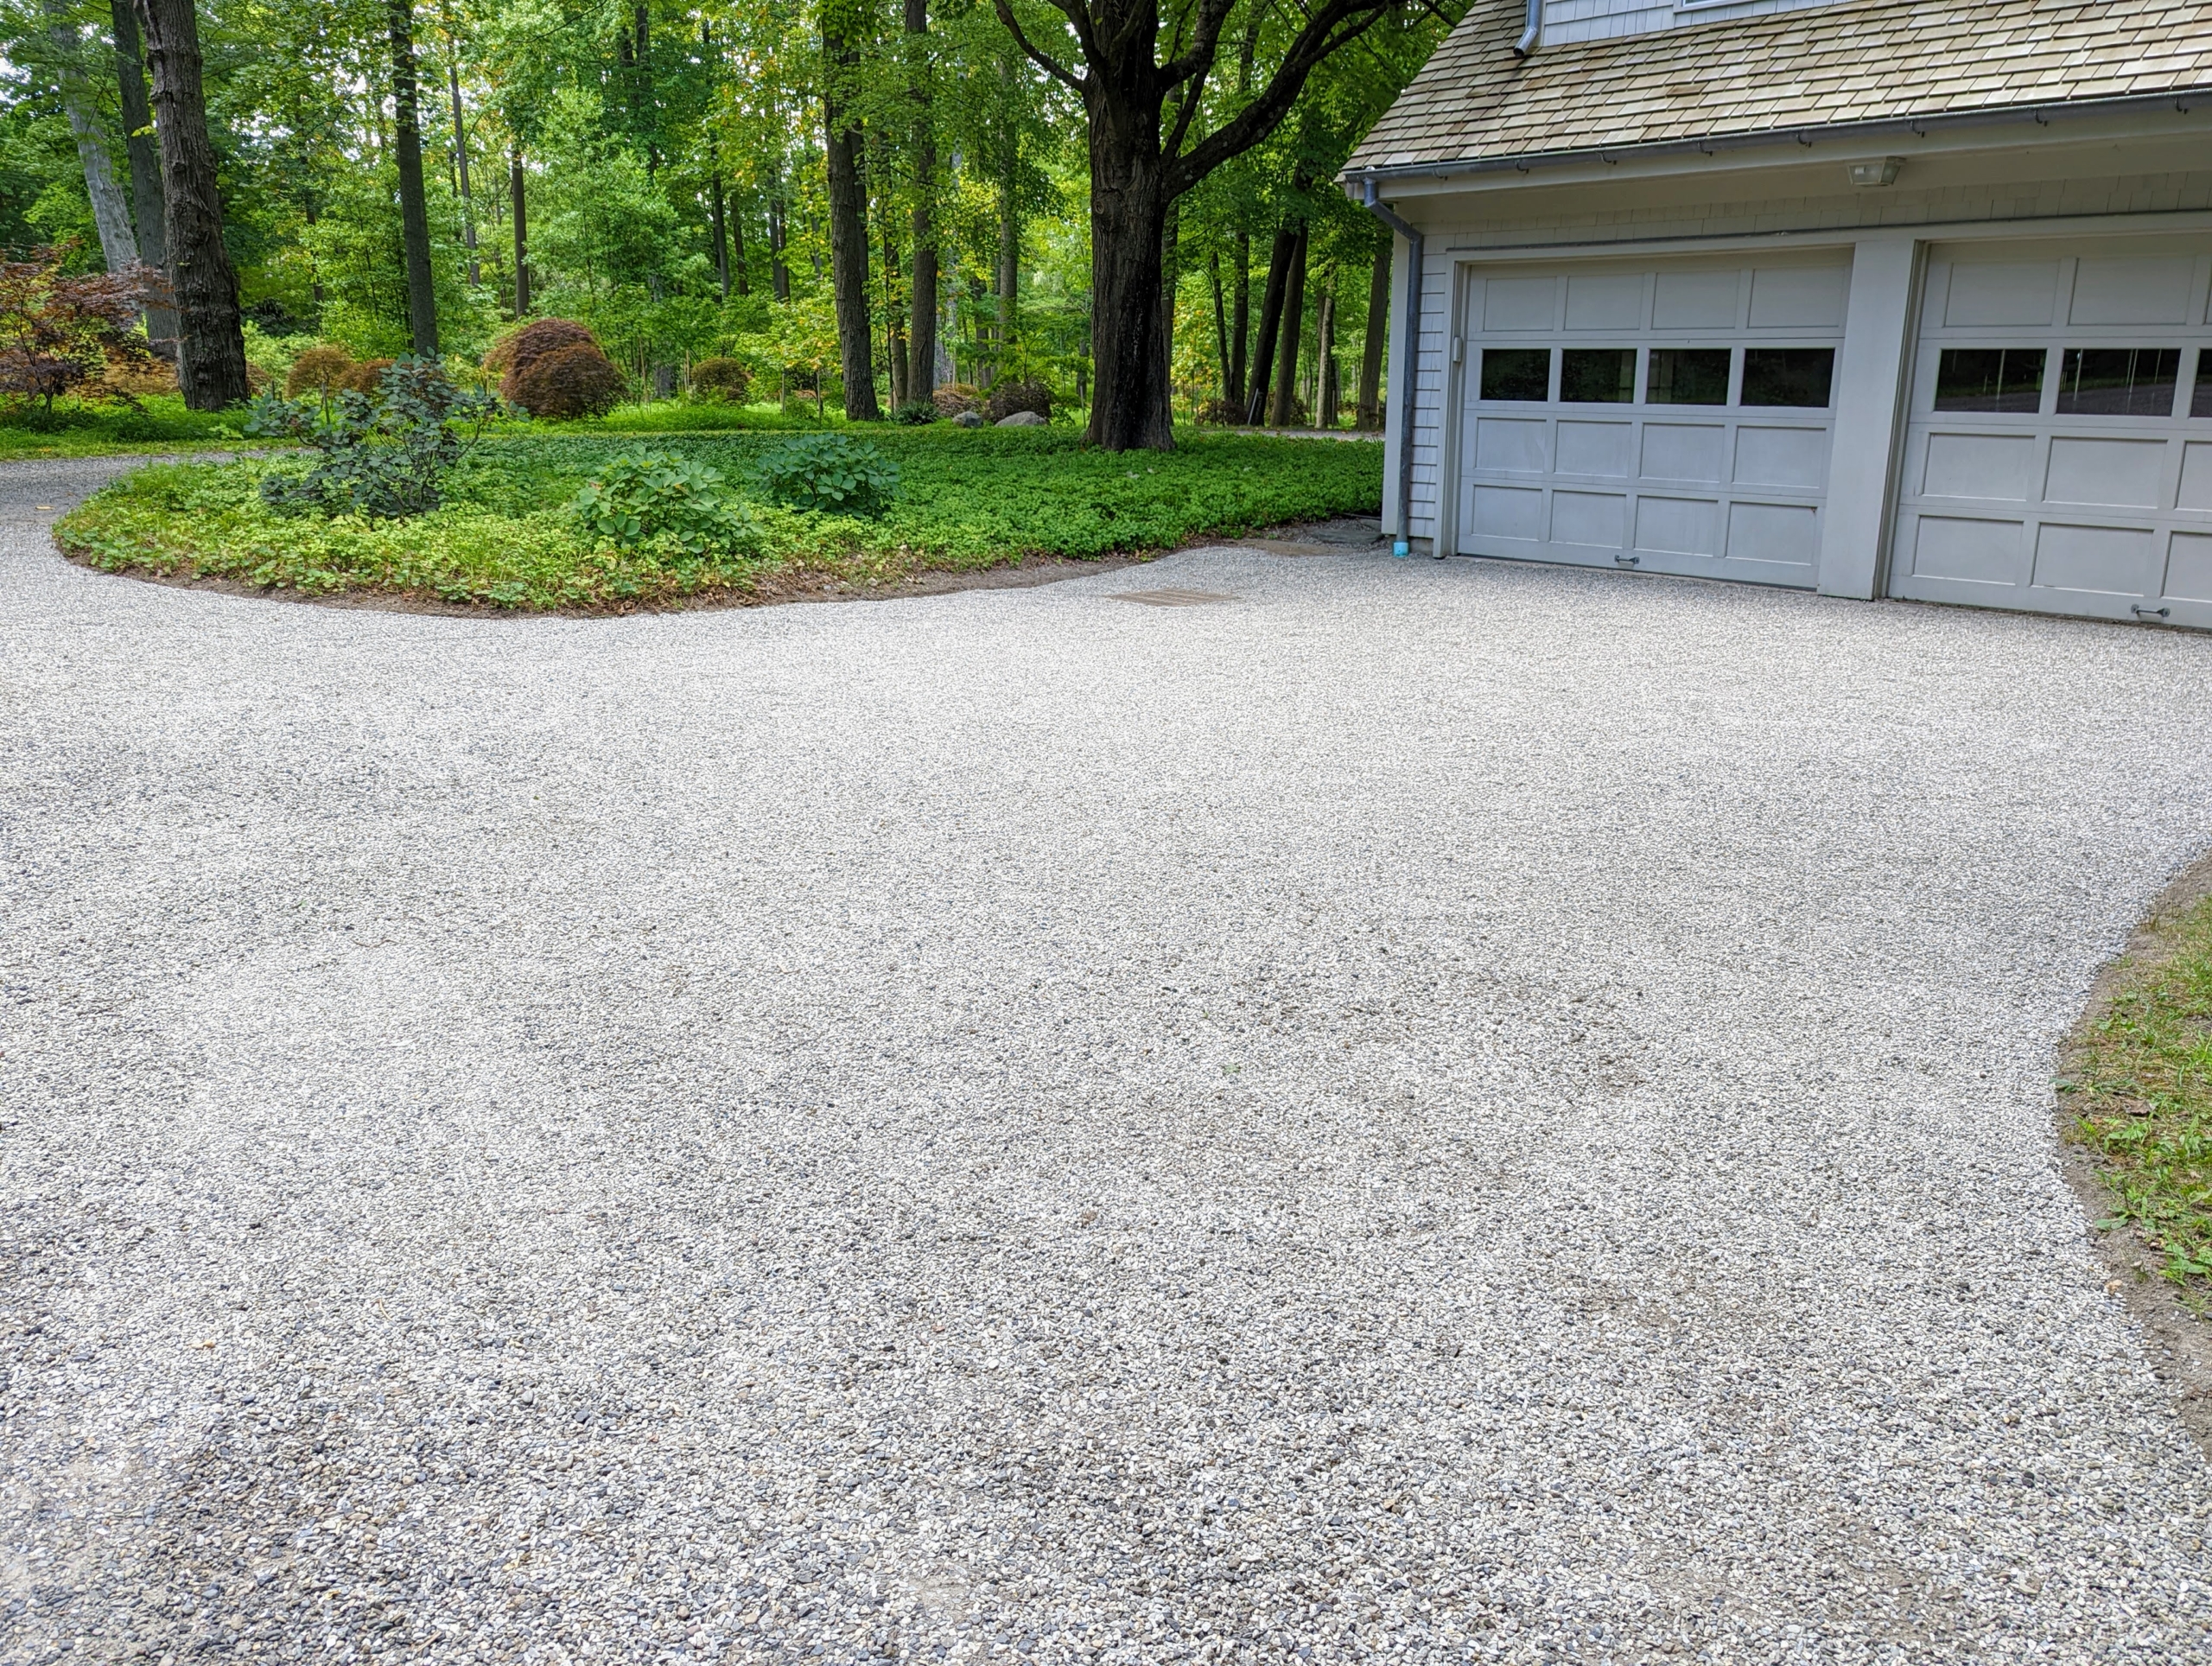
My carriage roads are all covered with natural colored gravel. Over time, rain and traffic cause the gravel to shift or run-off a specific area. Yesterday, Pete Sherpa and Fernando Ferrari took on the task of adding a fresh top layer of gravel to the driveway outside my guest house studio. They edged, weeded, leveled, and then dropped and raked about an inch-and-a-half of new stone. The project took a few hours to complete, but it was an easy way to smooth and maintain the driveway and give it some instant curb appeal.
Enjoy these photos.
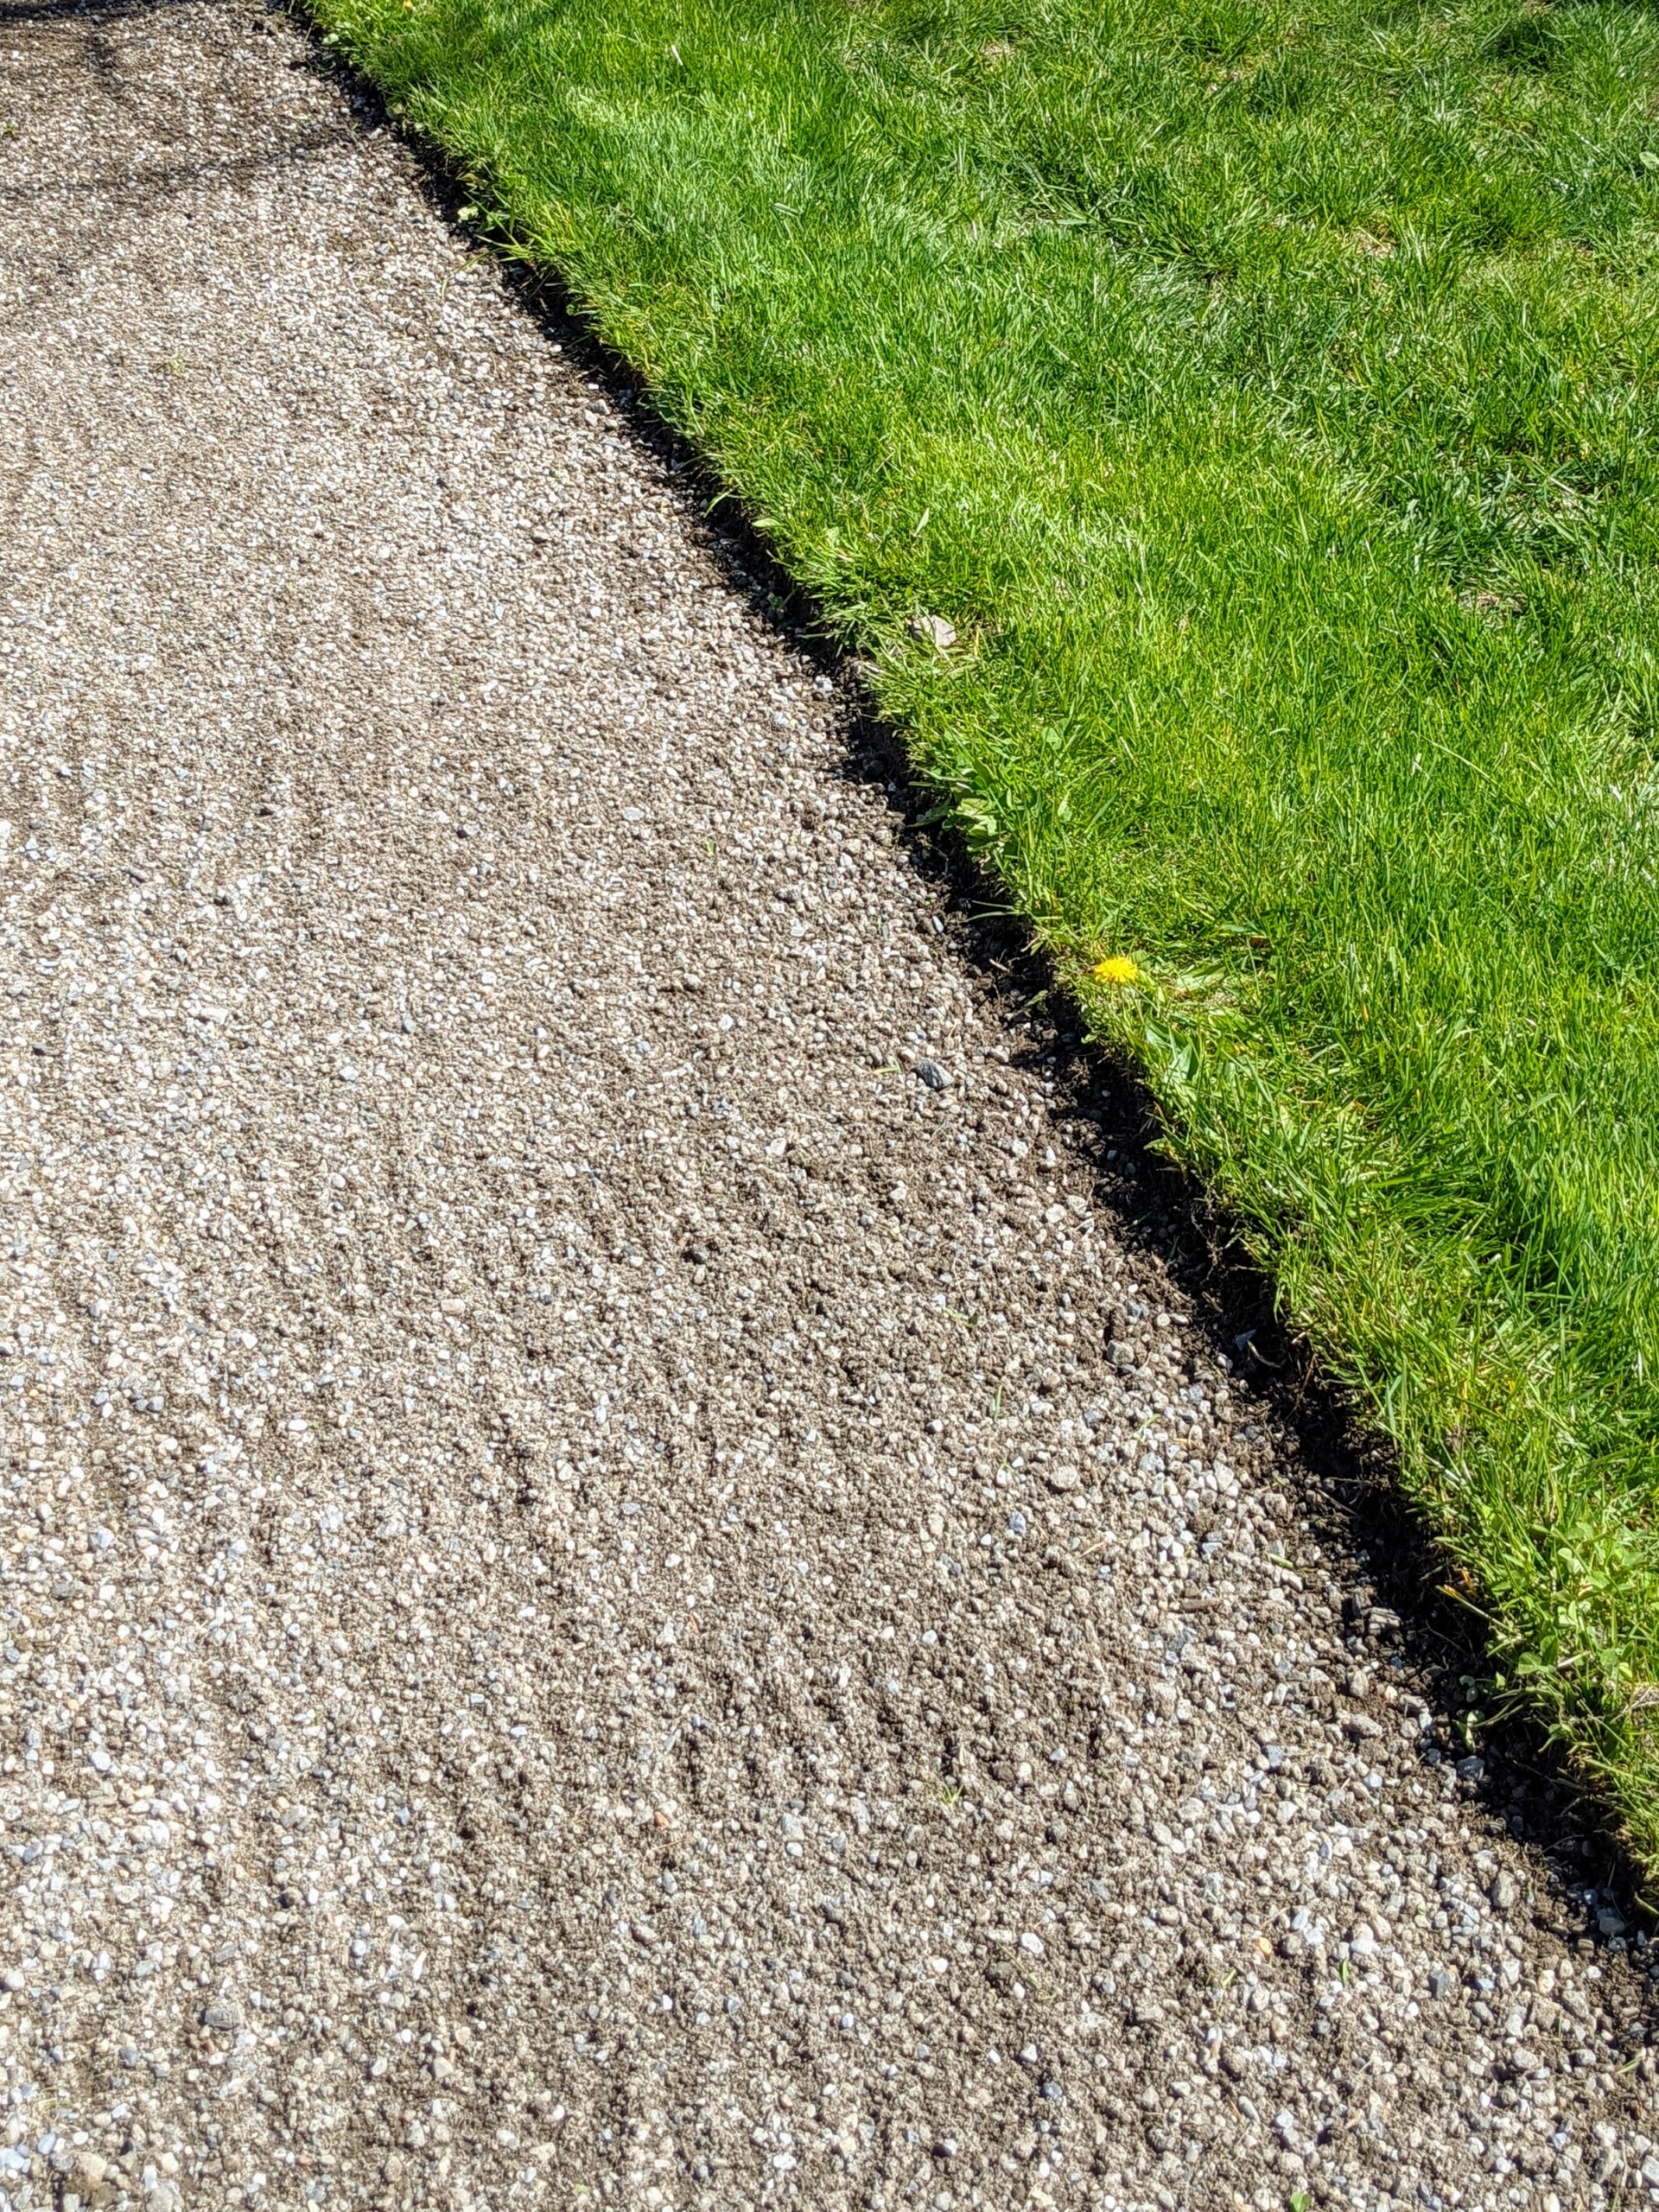
I have four miles of gravel-covered carriage road at my farm. Gravel roads are attractive, easy to maintain, and accumulate less pollutants over time. It’s important to edge and shape the roads regularly, so they drain properly and look tidy.
Here is a closer look at the section of road after it is edged nicely.
The driveway in front of this guest house is a high traffic area. Because I do a lot of shoots in this outbuilding, crews often need to park here to load and unload equipment. Over time, rain and use have shifted the gravel. It was in need of some attention and maintenance.
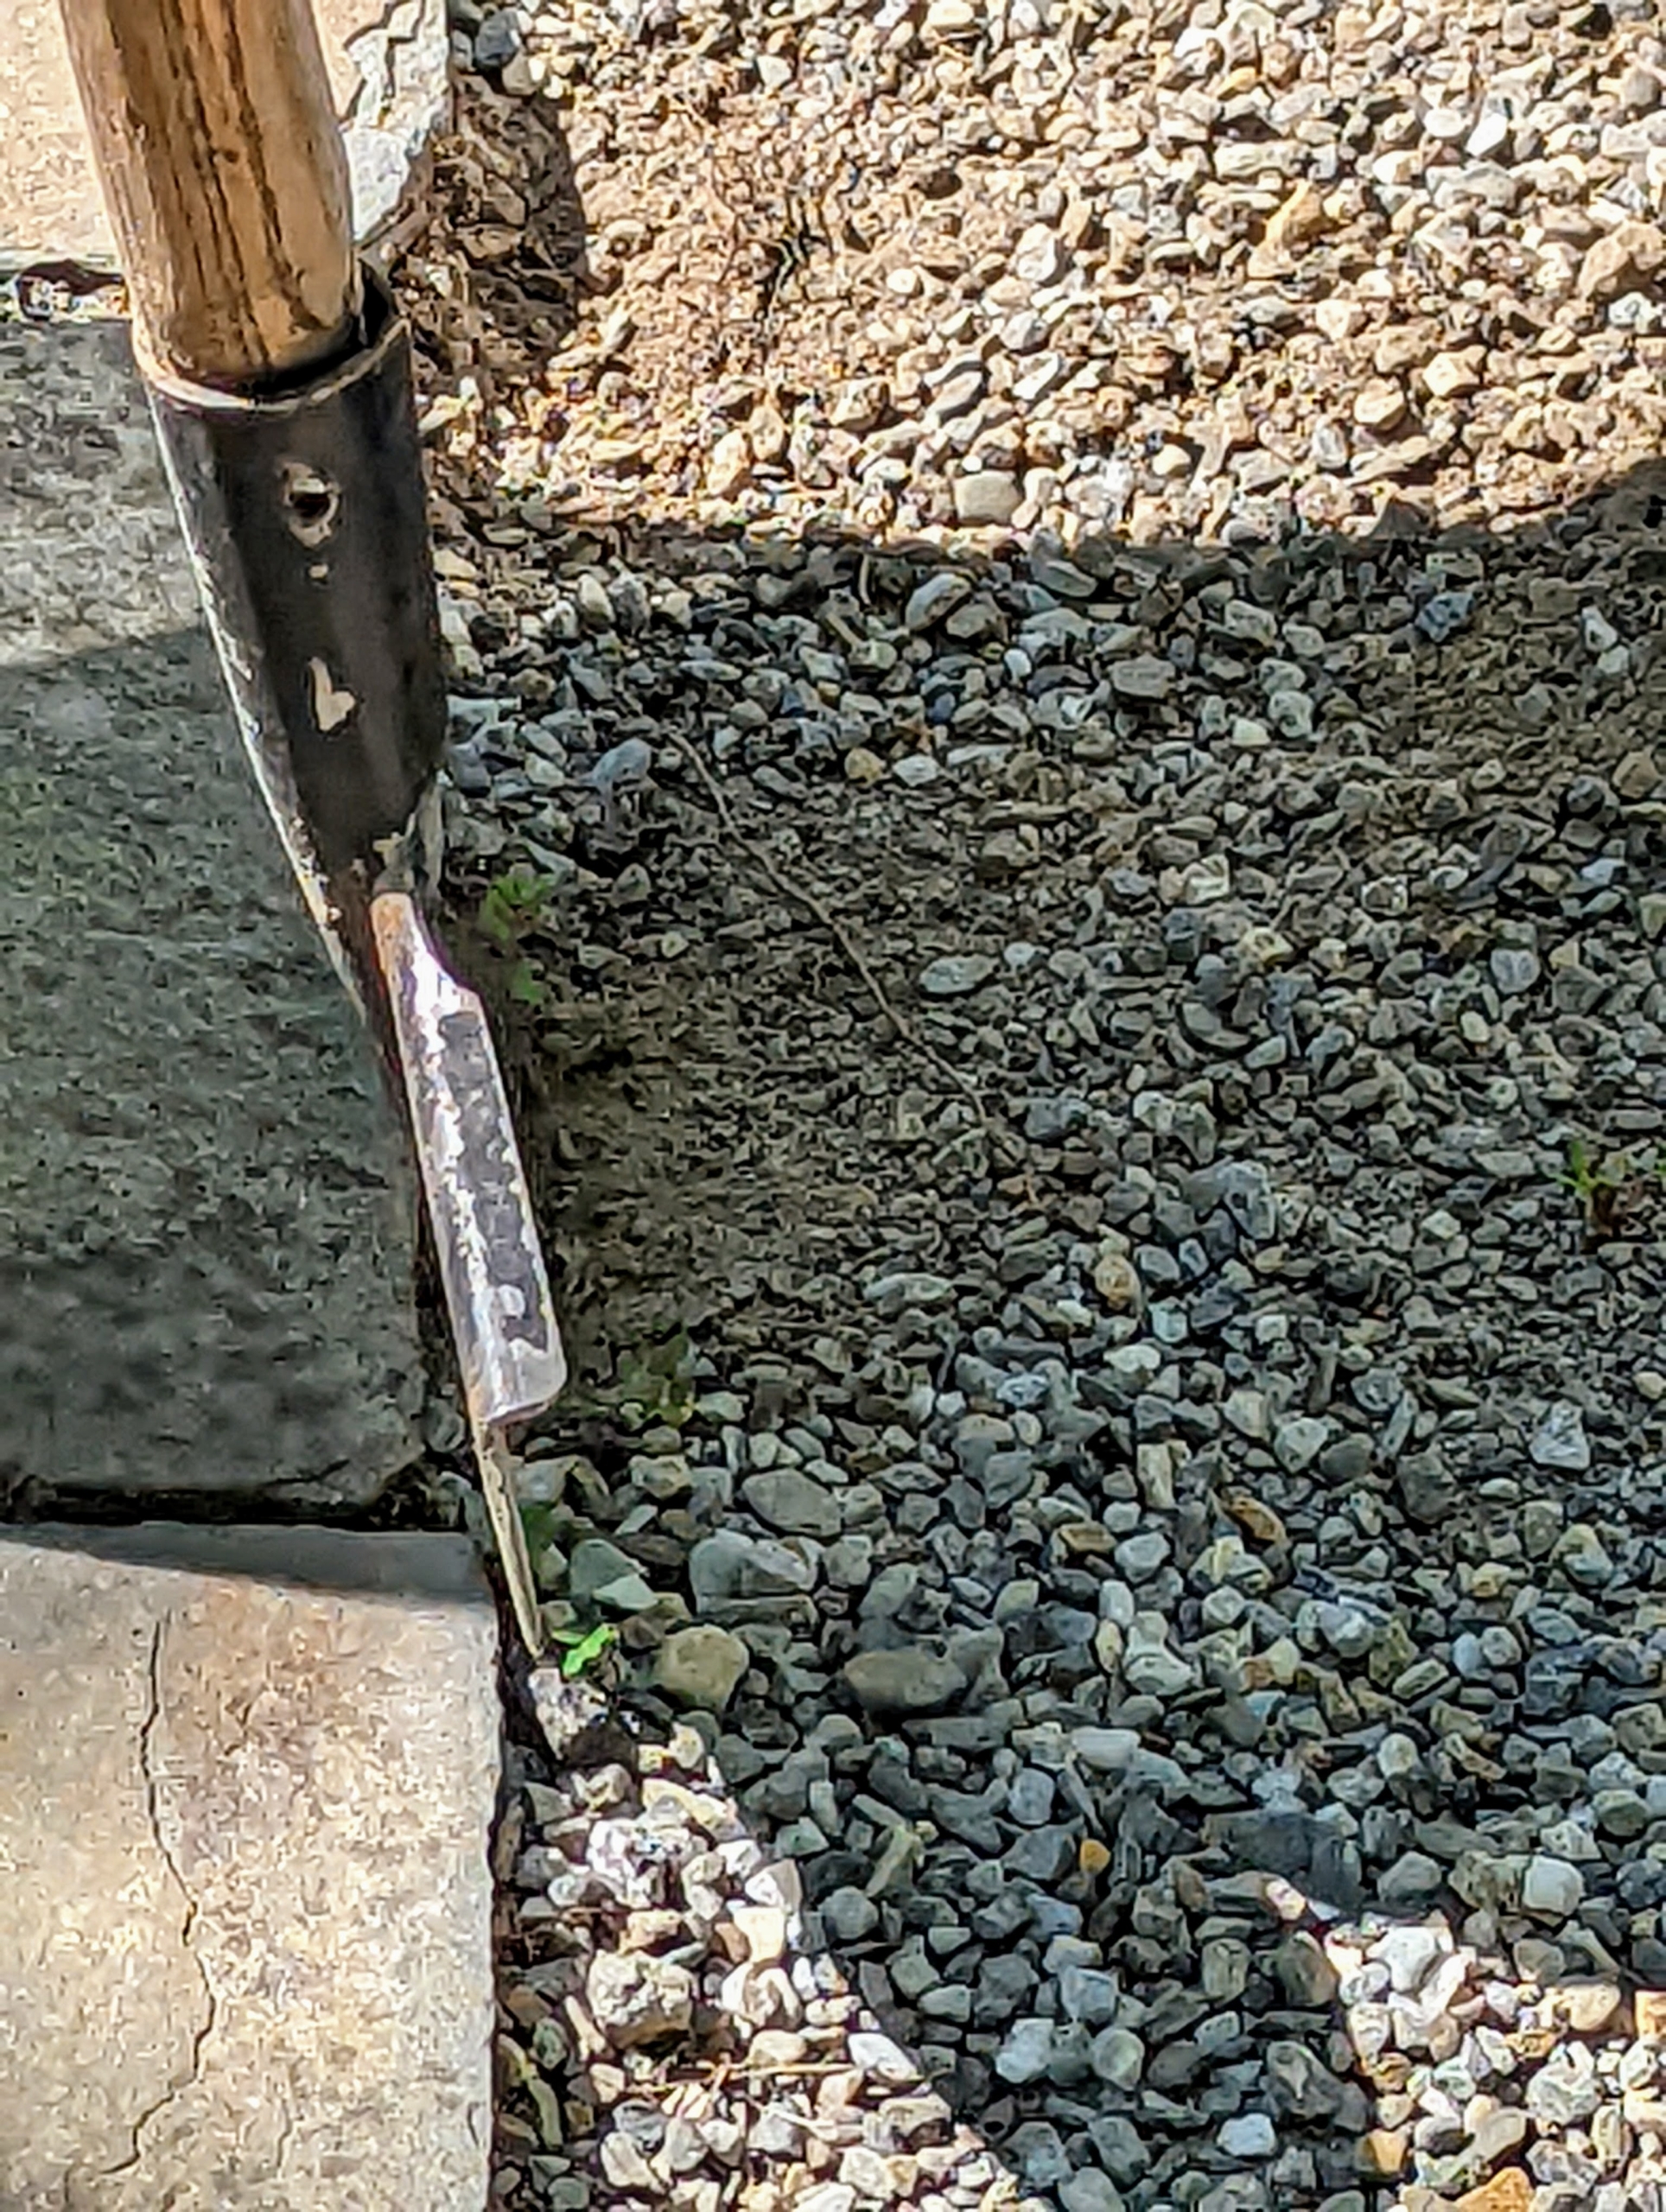
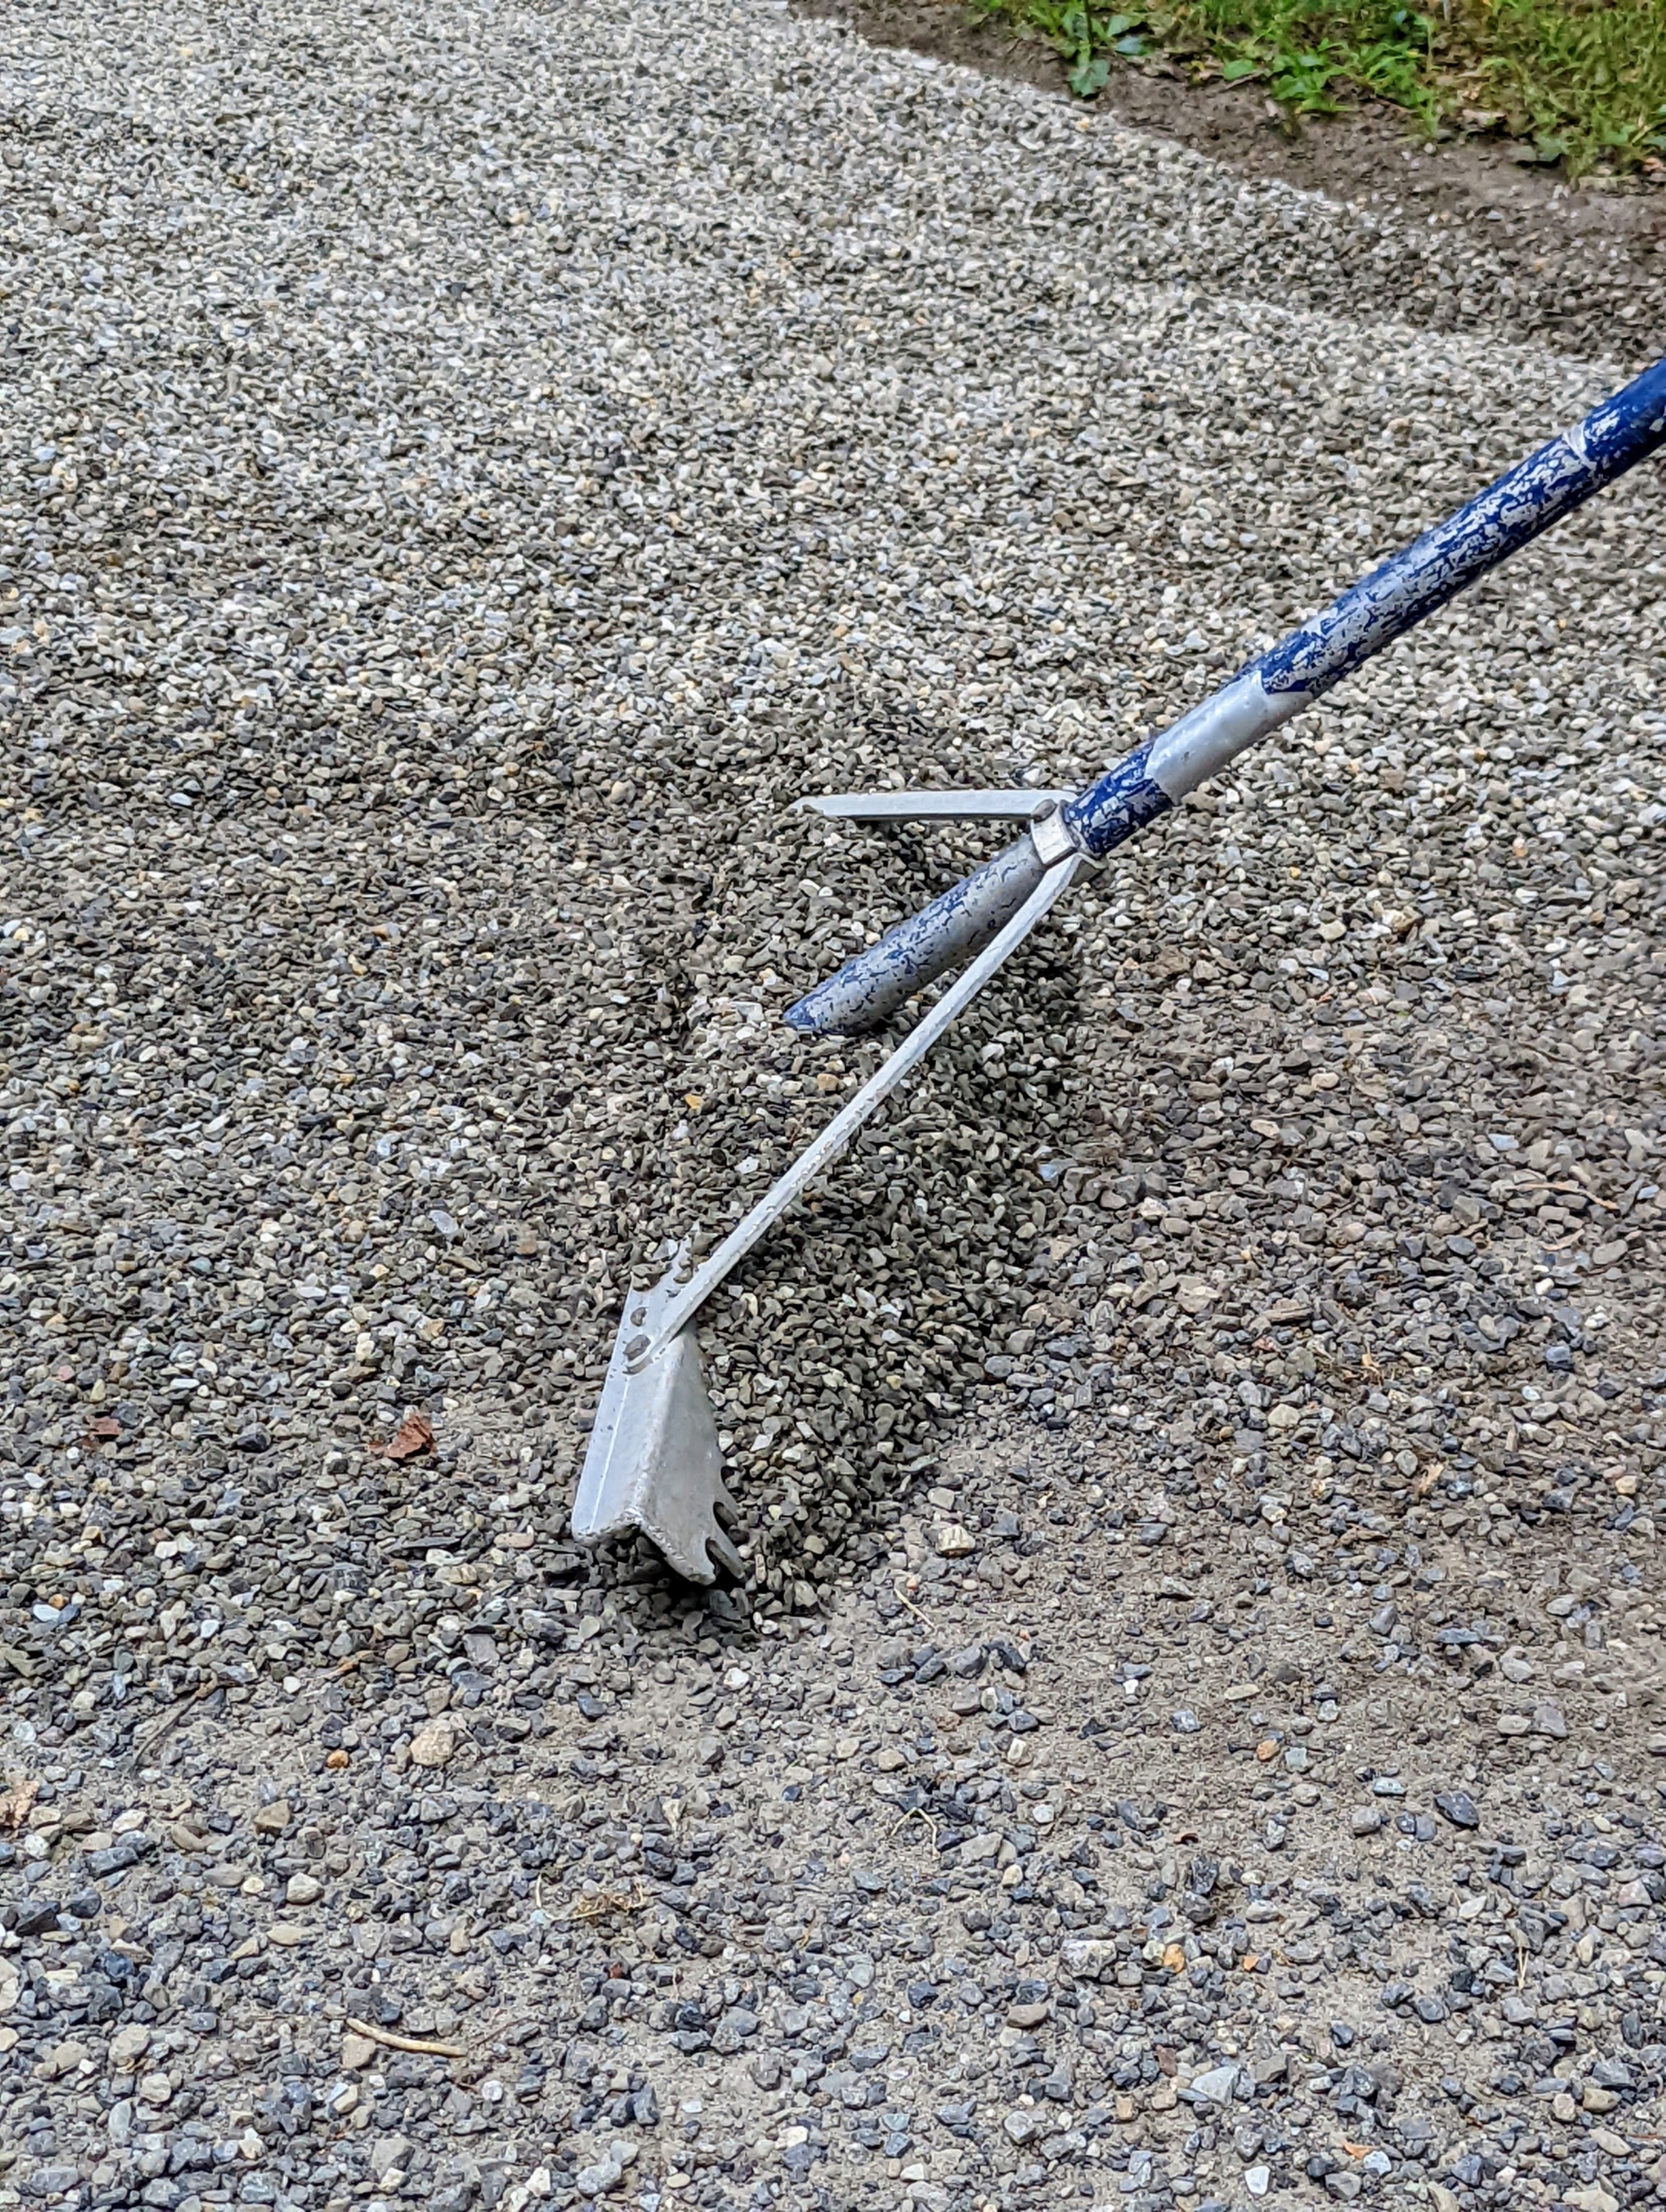
First, Pete used a lawn and garden edging tool to create a fresh and crisp outline for the new surface layer of gravel. He starts by the stone pavers and goes along the edge of the driveway removing any weeds or excess buildup of stone dust and gravel that have washed out of place.
This is a razor-back half moon edger. It’s designed to cut back grass or move rocky soil that ends up over the edges of flower beds and sidewalks. The top edge also has a turned step for secure foot placement.
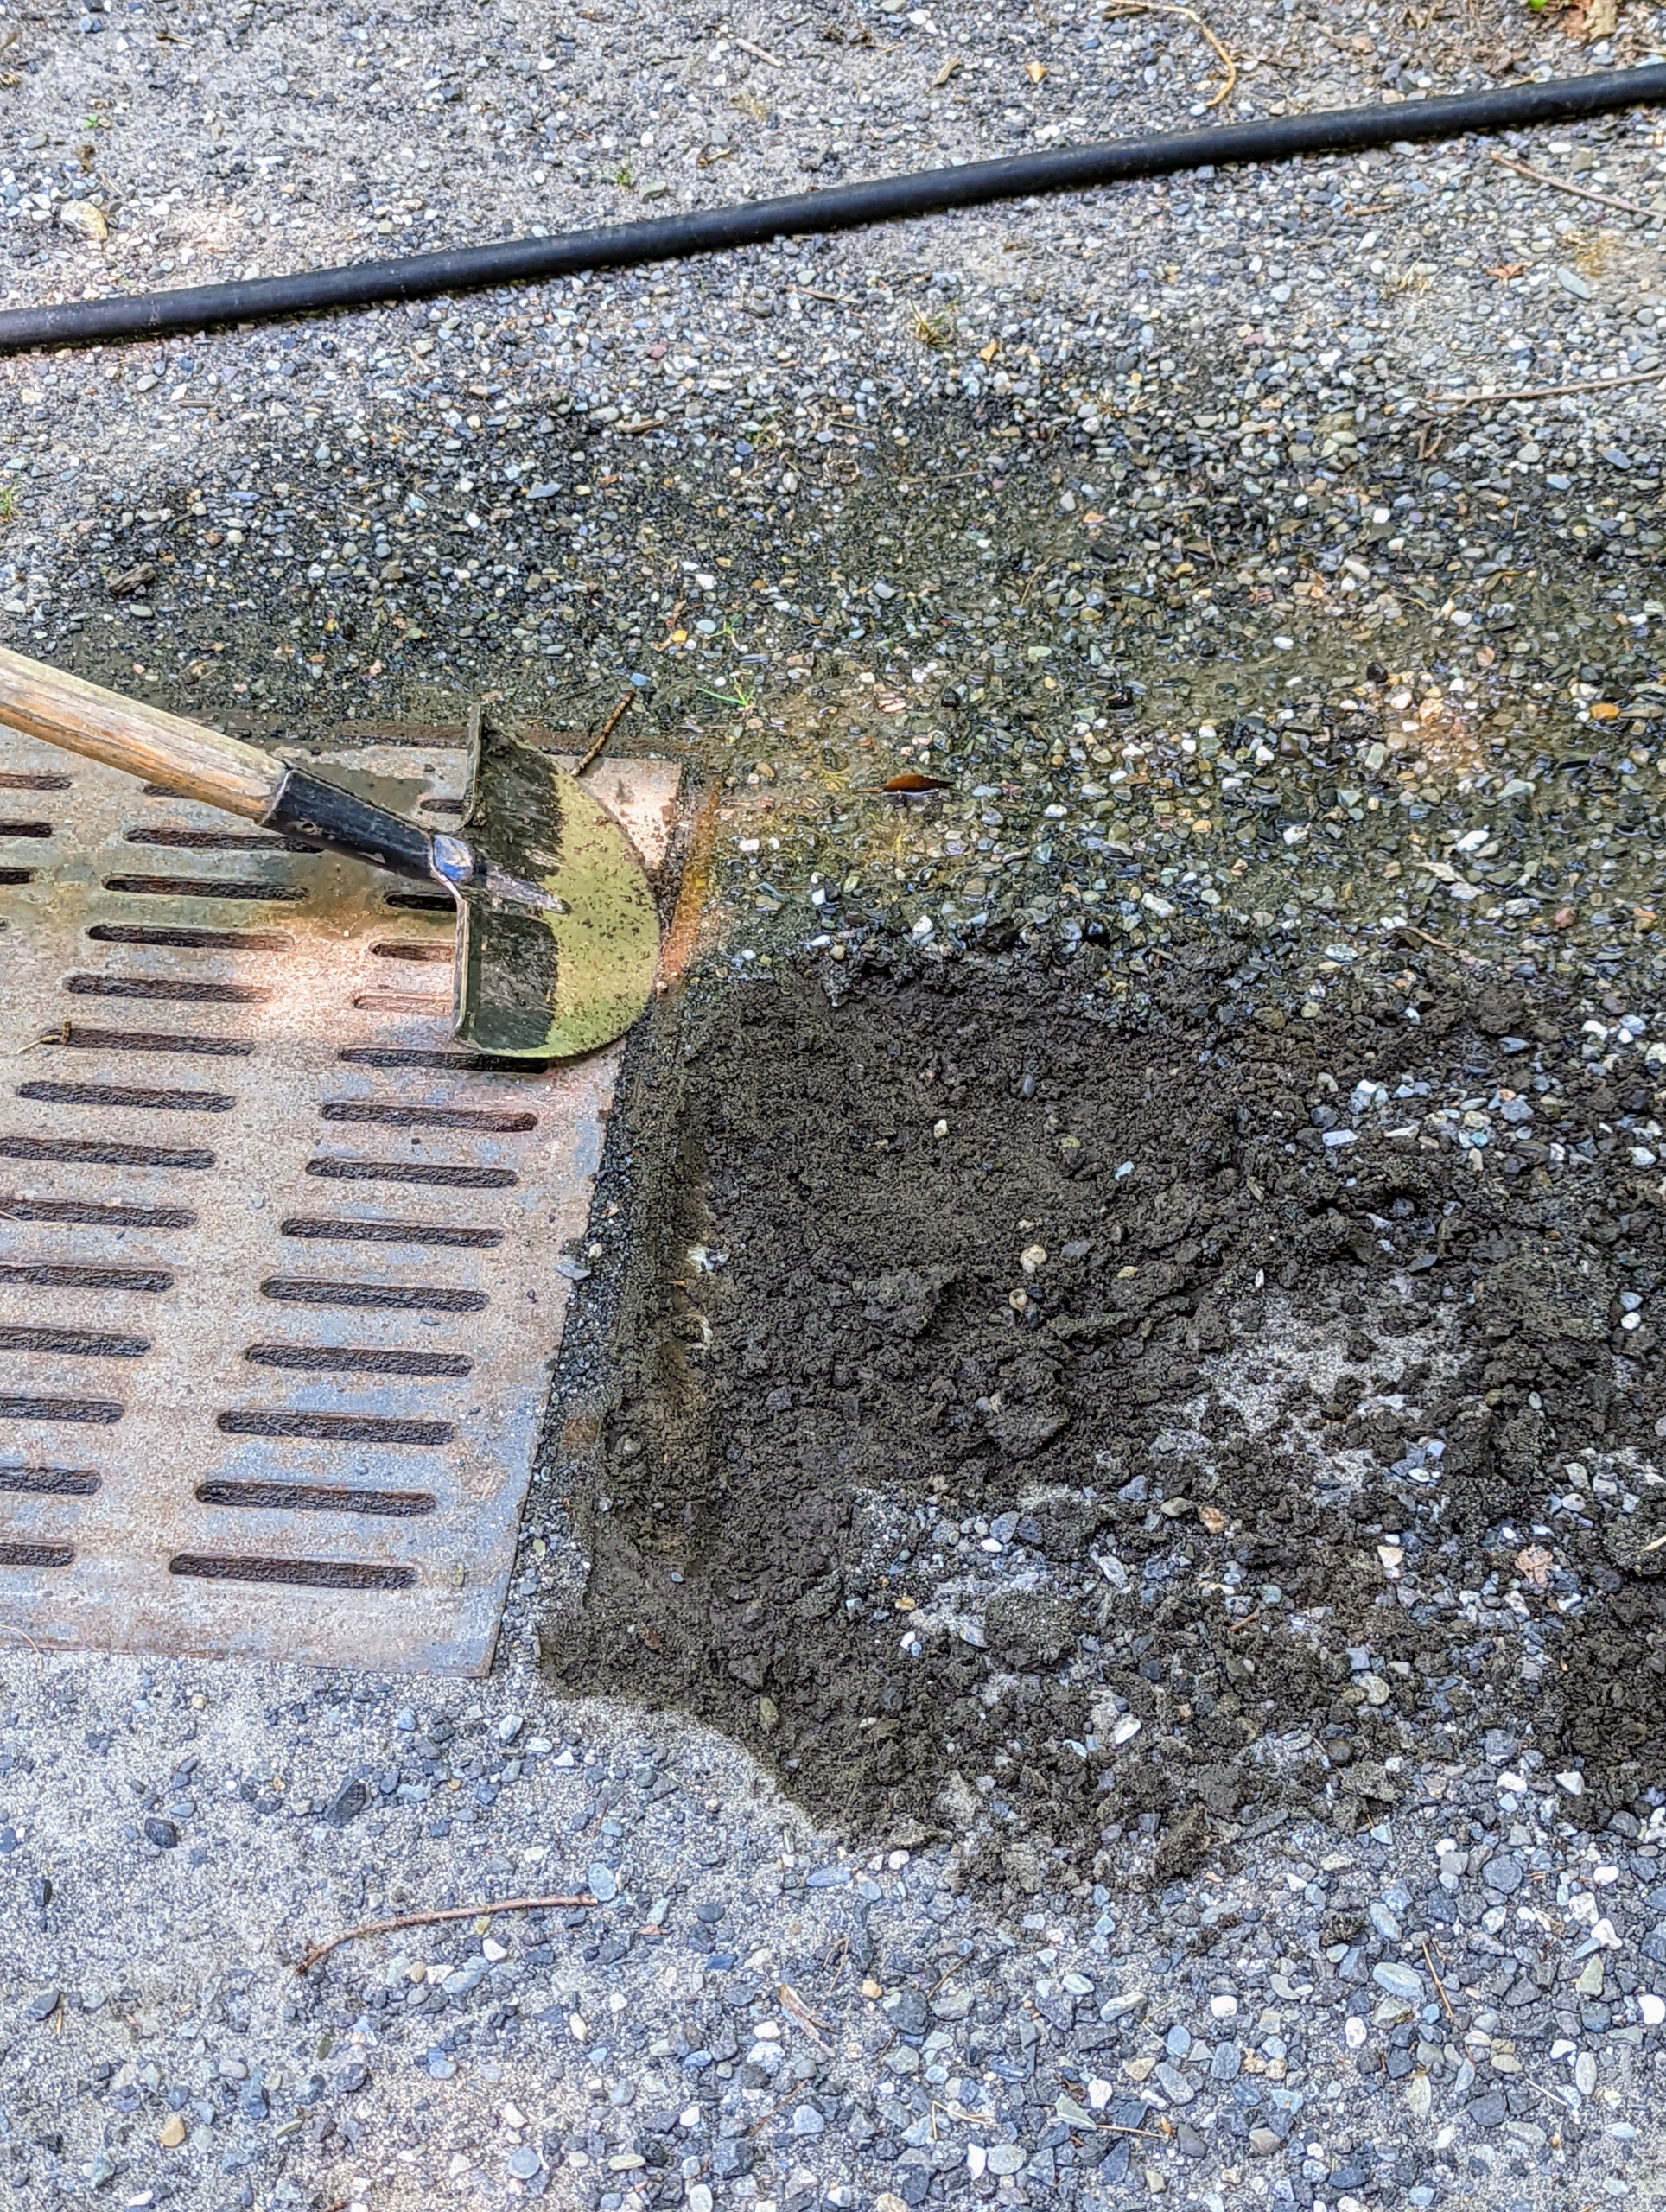
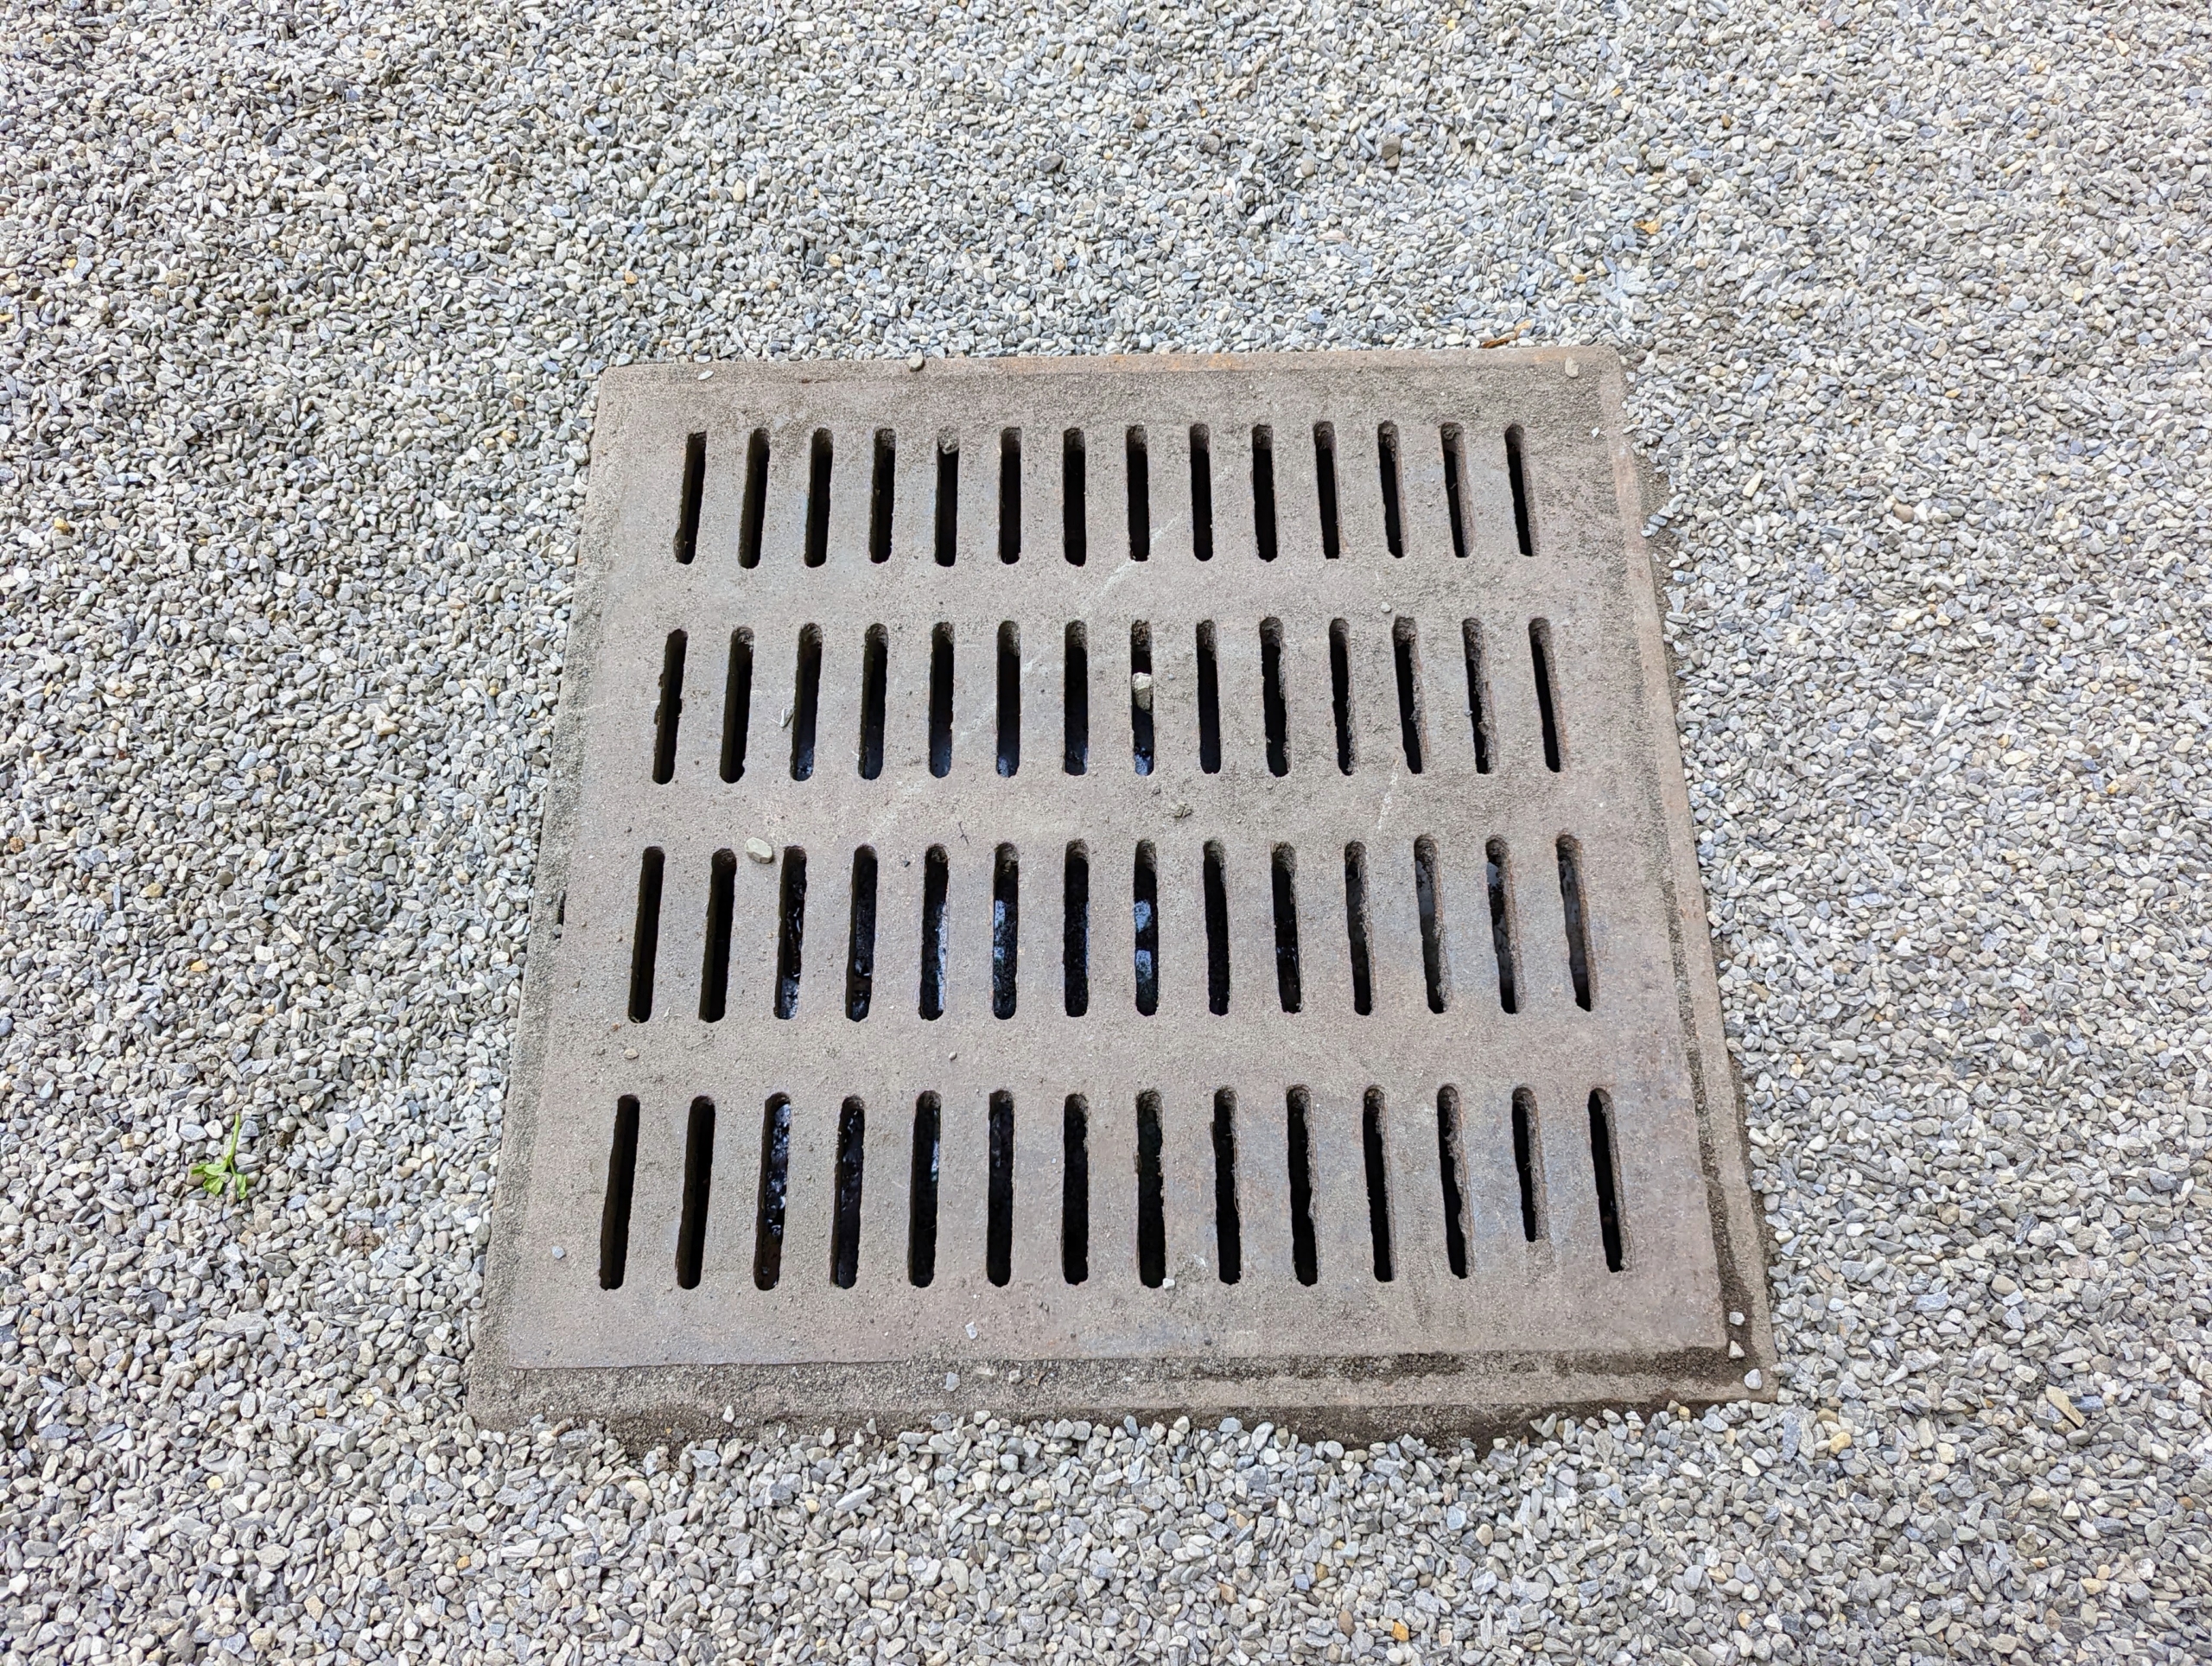
Pete also cleans the edges of the catch basin and shapes the area for better drainage during storms. A catch basin, or storm drain, redirects rainwater to prevent ponding and flooding.
This area tends to get a lot of runoff, so it is important to keep it shaped properly. The old gravel and stone dust have moved quite close to the catch basin and needs to be re-graded. Stone dust is crushed stone, which is sometimes called crusher run, rock dust, or quarry dust. Stone dust is used as a base layer or setting bed for laying stone pavers or gravel.
The carriage road leading to the driveway was also edged.
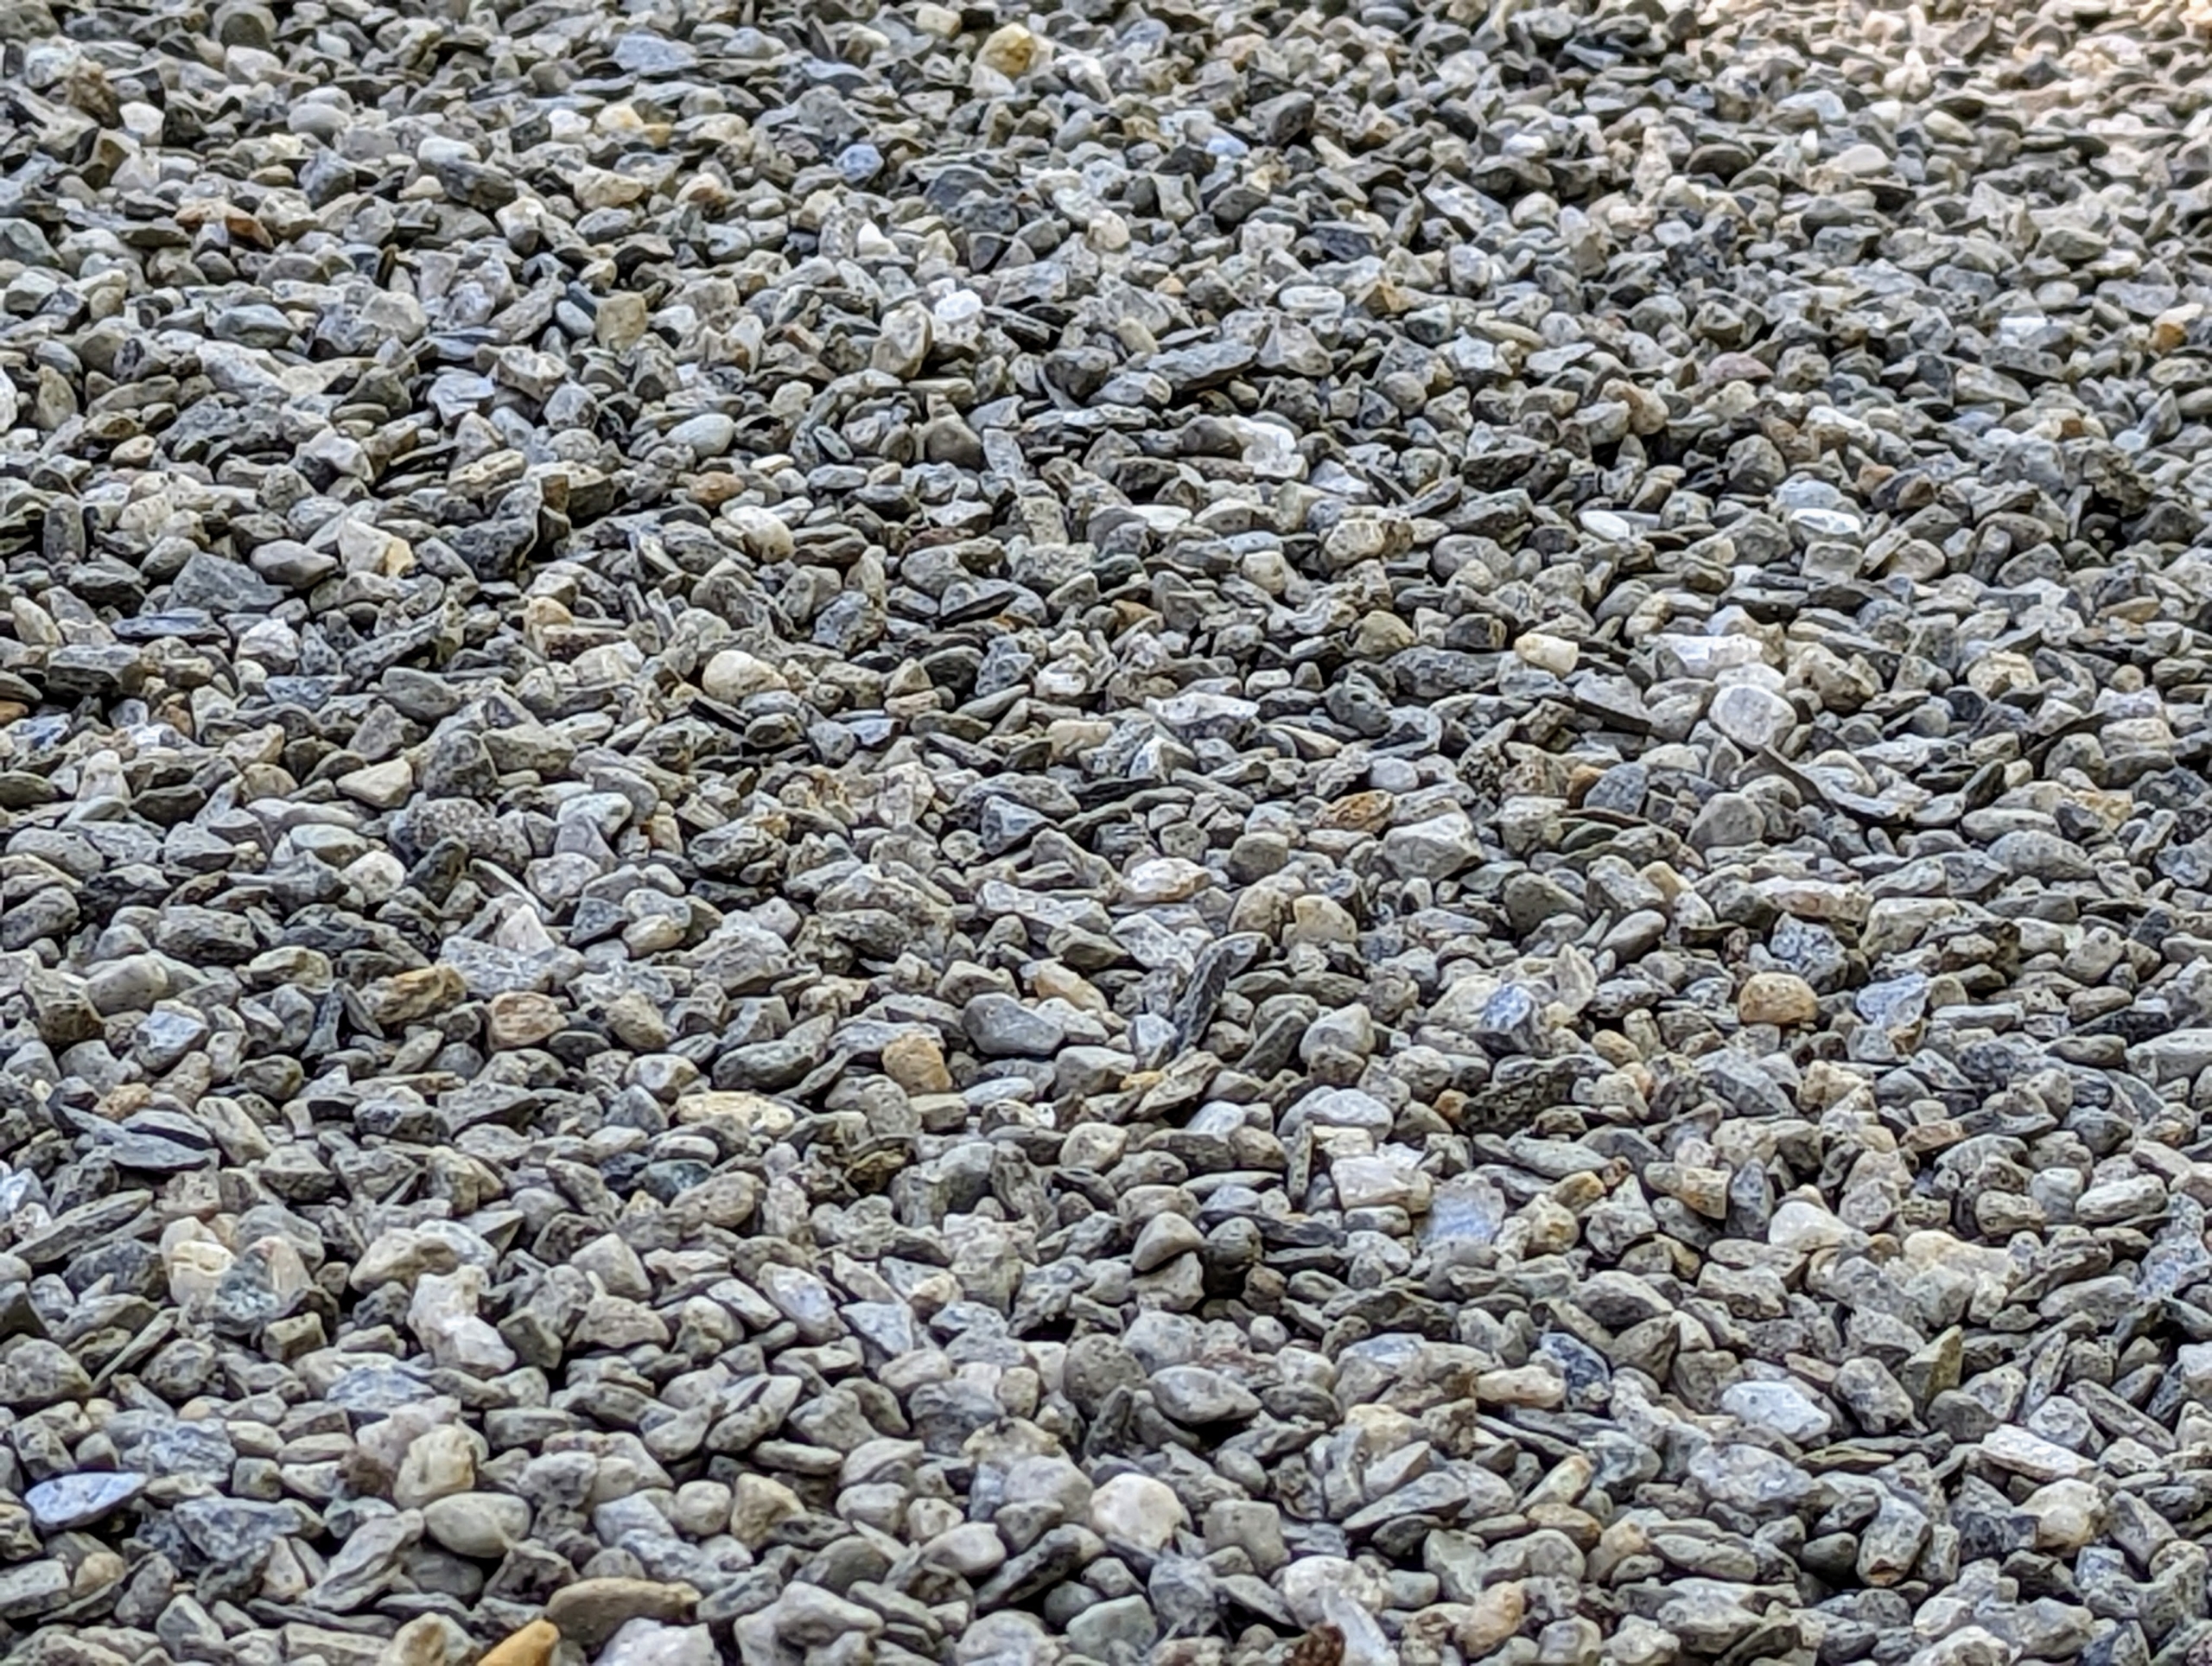
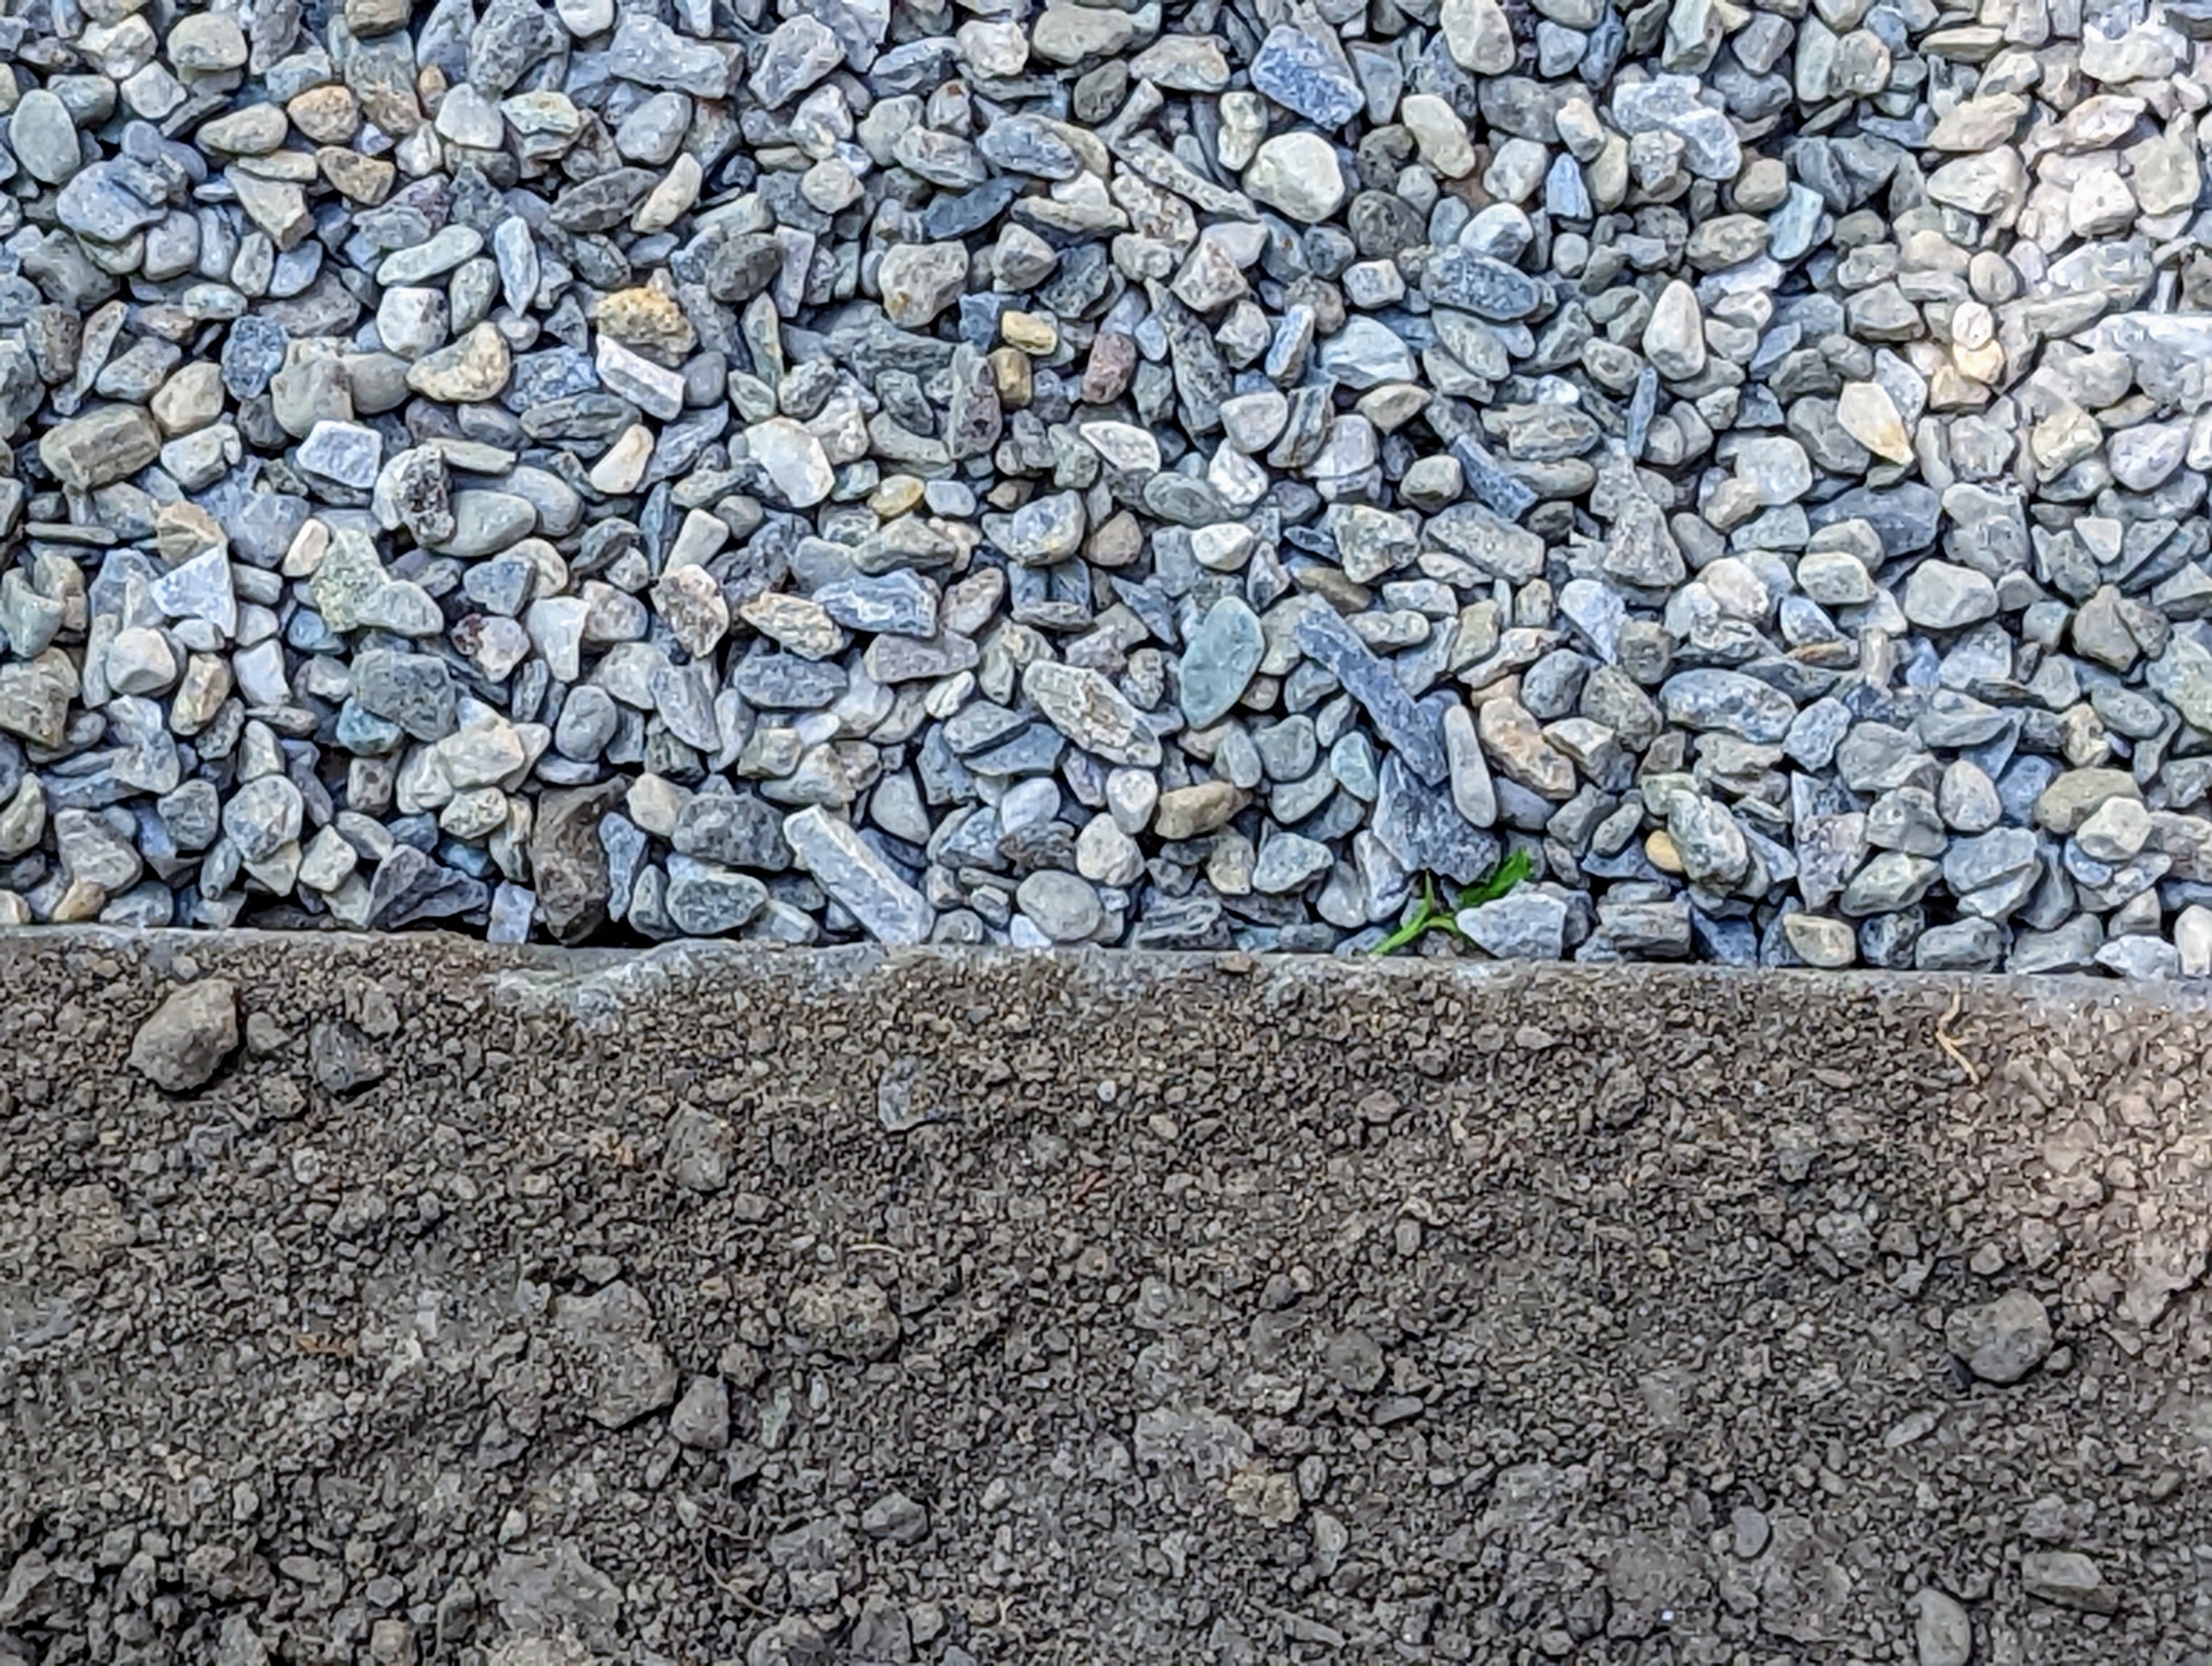
Here is the new gravel for the area. I like to use native washed stone in a blend of gray tones. This gravel is from Lawton Adams in nearby Somers, New York.
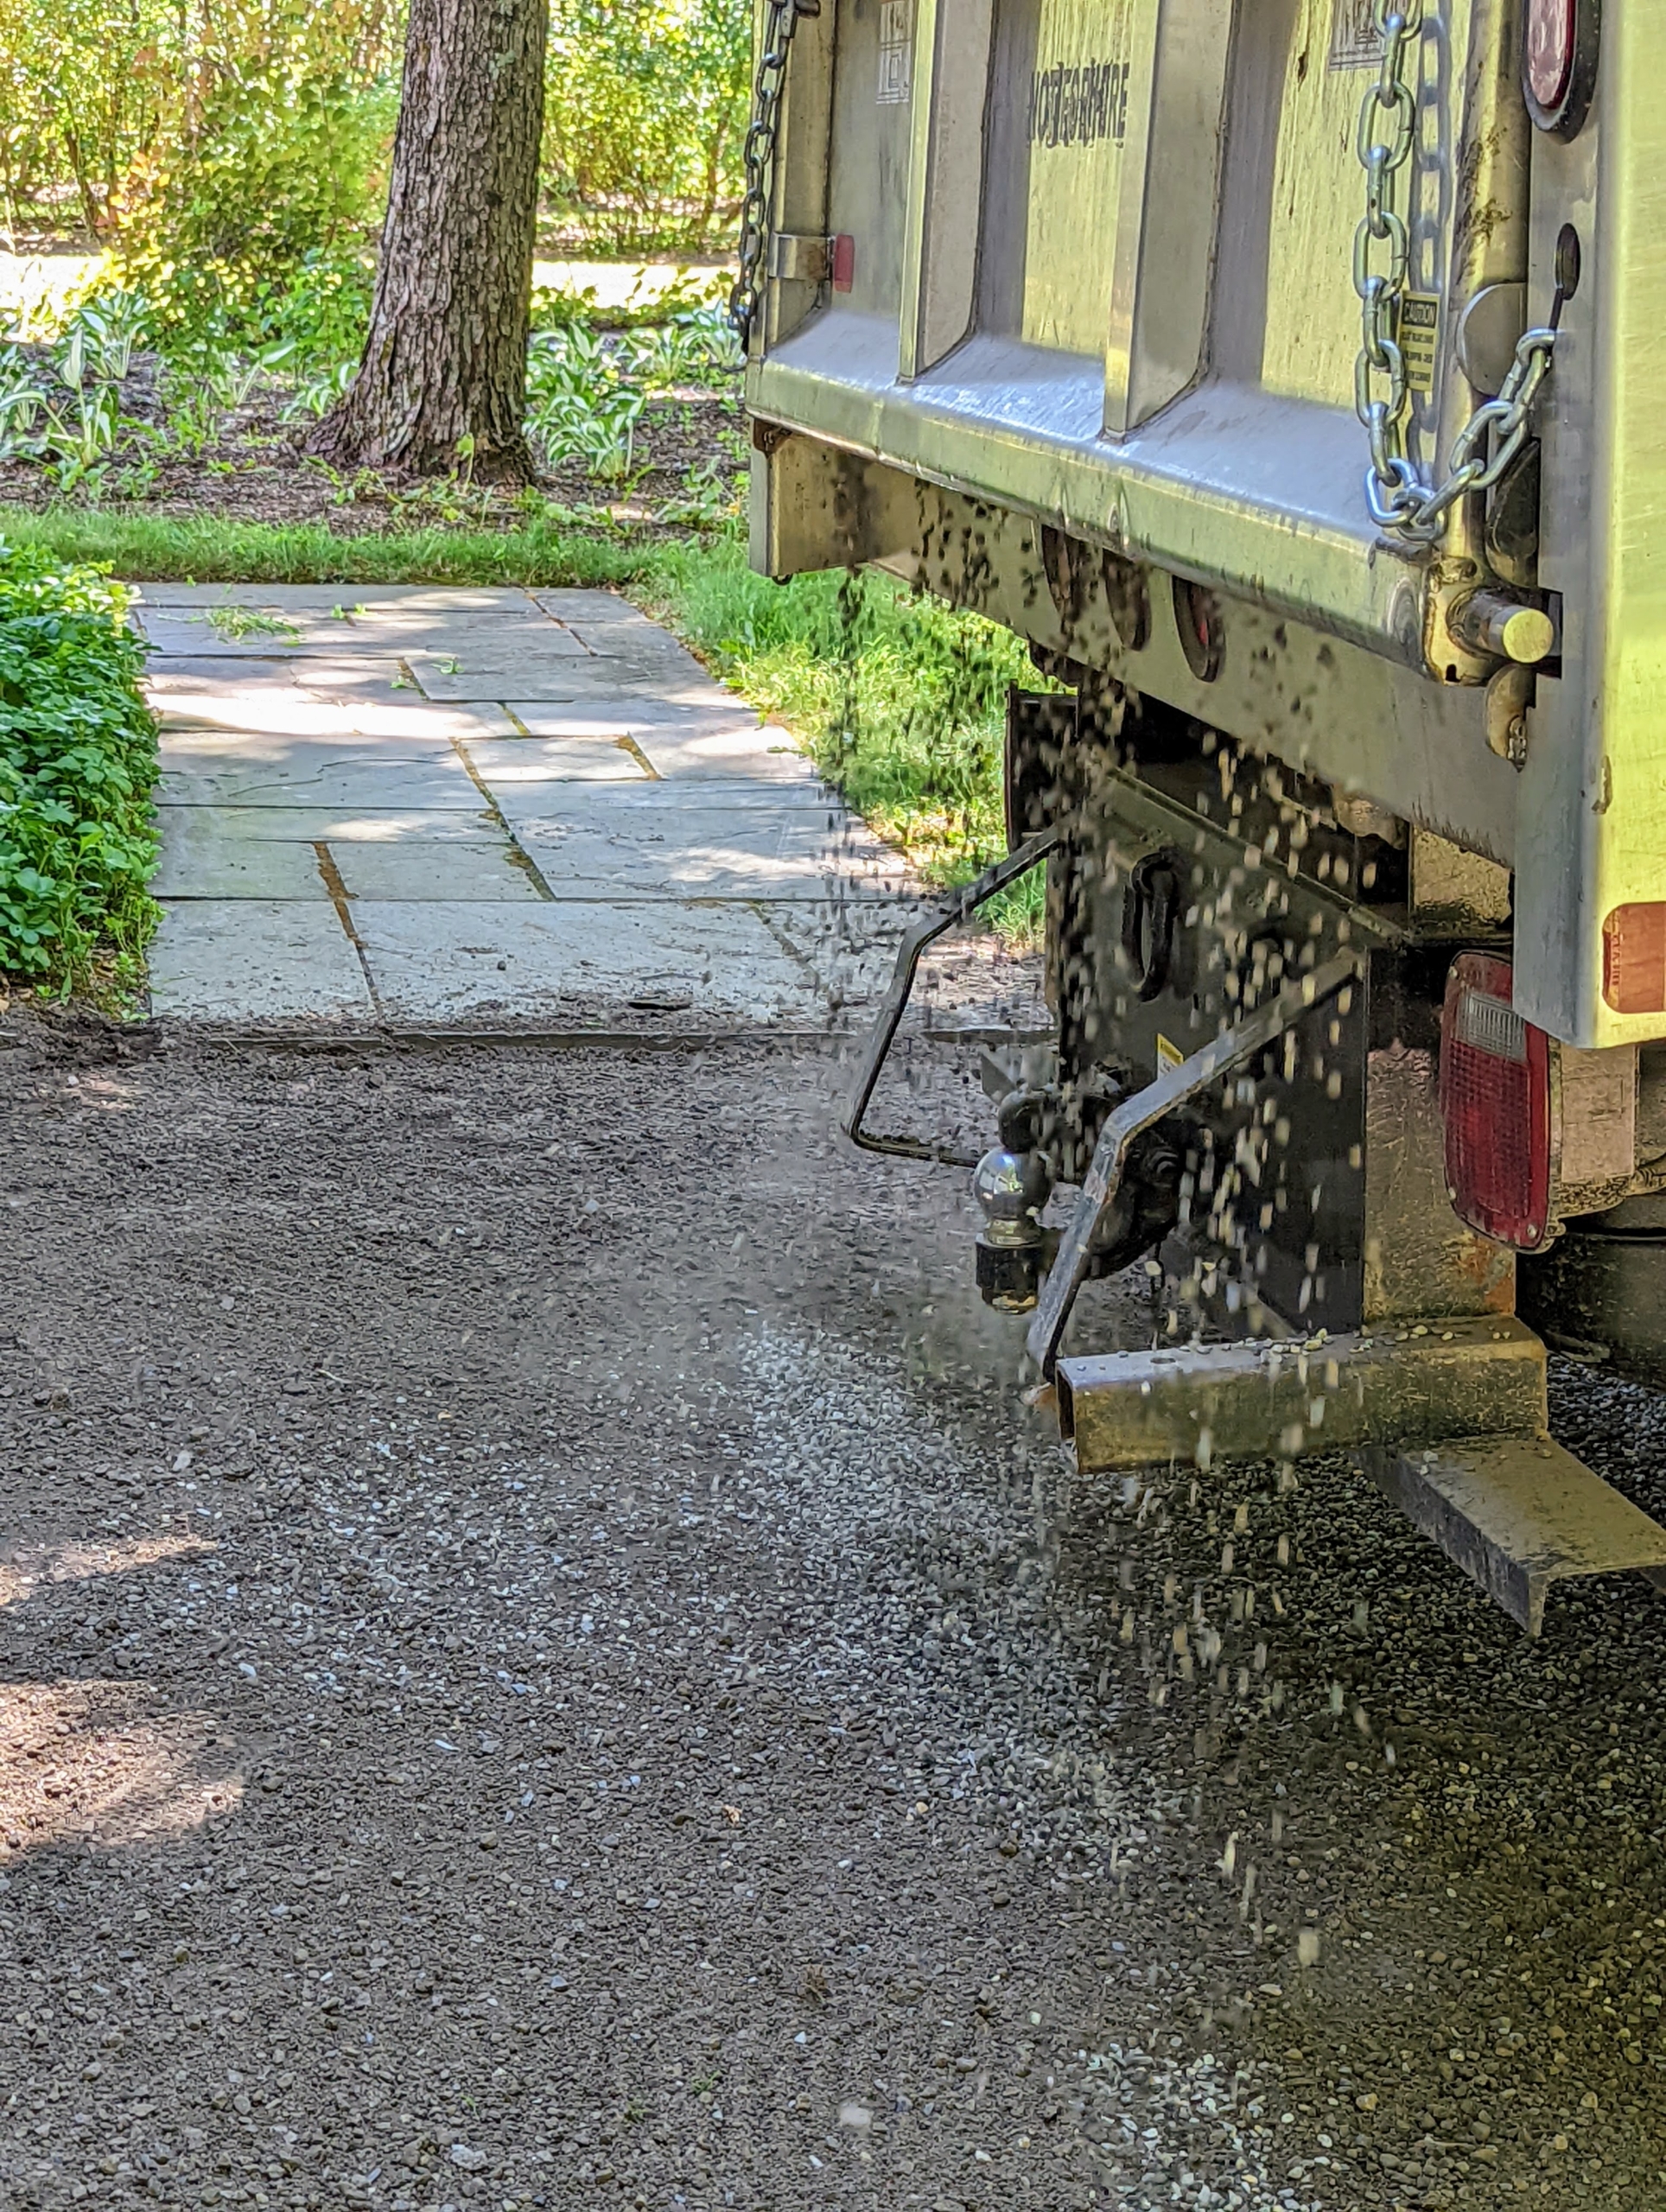
The dump truck with gravel is now ready to pour onto the driveway. When maintaining a gravel road, one only needs to drop about an inch or two of fresh gravel once every two to three years.
As Fernando drives, Pete directs the gravel to drop slowly out of the back of the truck, so it is easier to spread.
Fernando drops a small amount and then moves up a couple of feet to drop a bit more. Doing this saves a lot of time and manual labor.
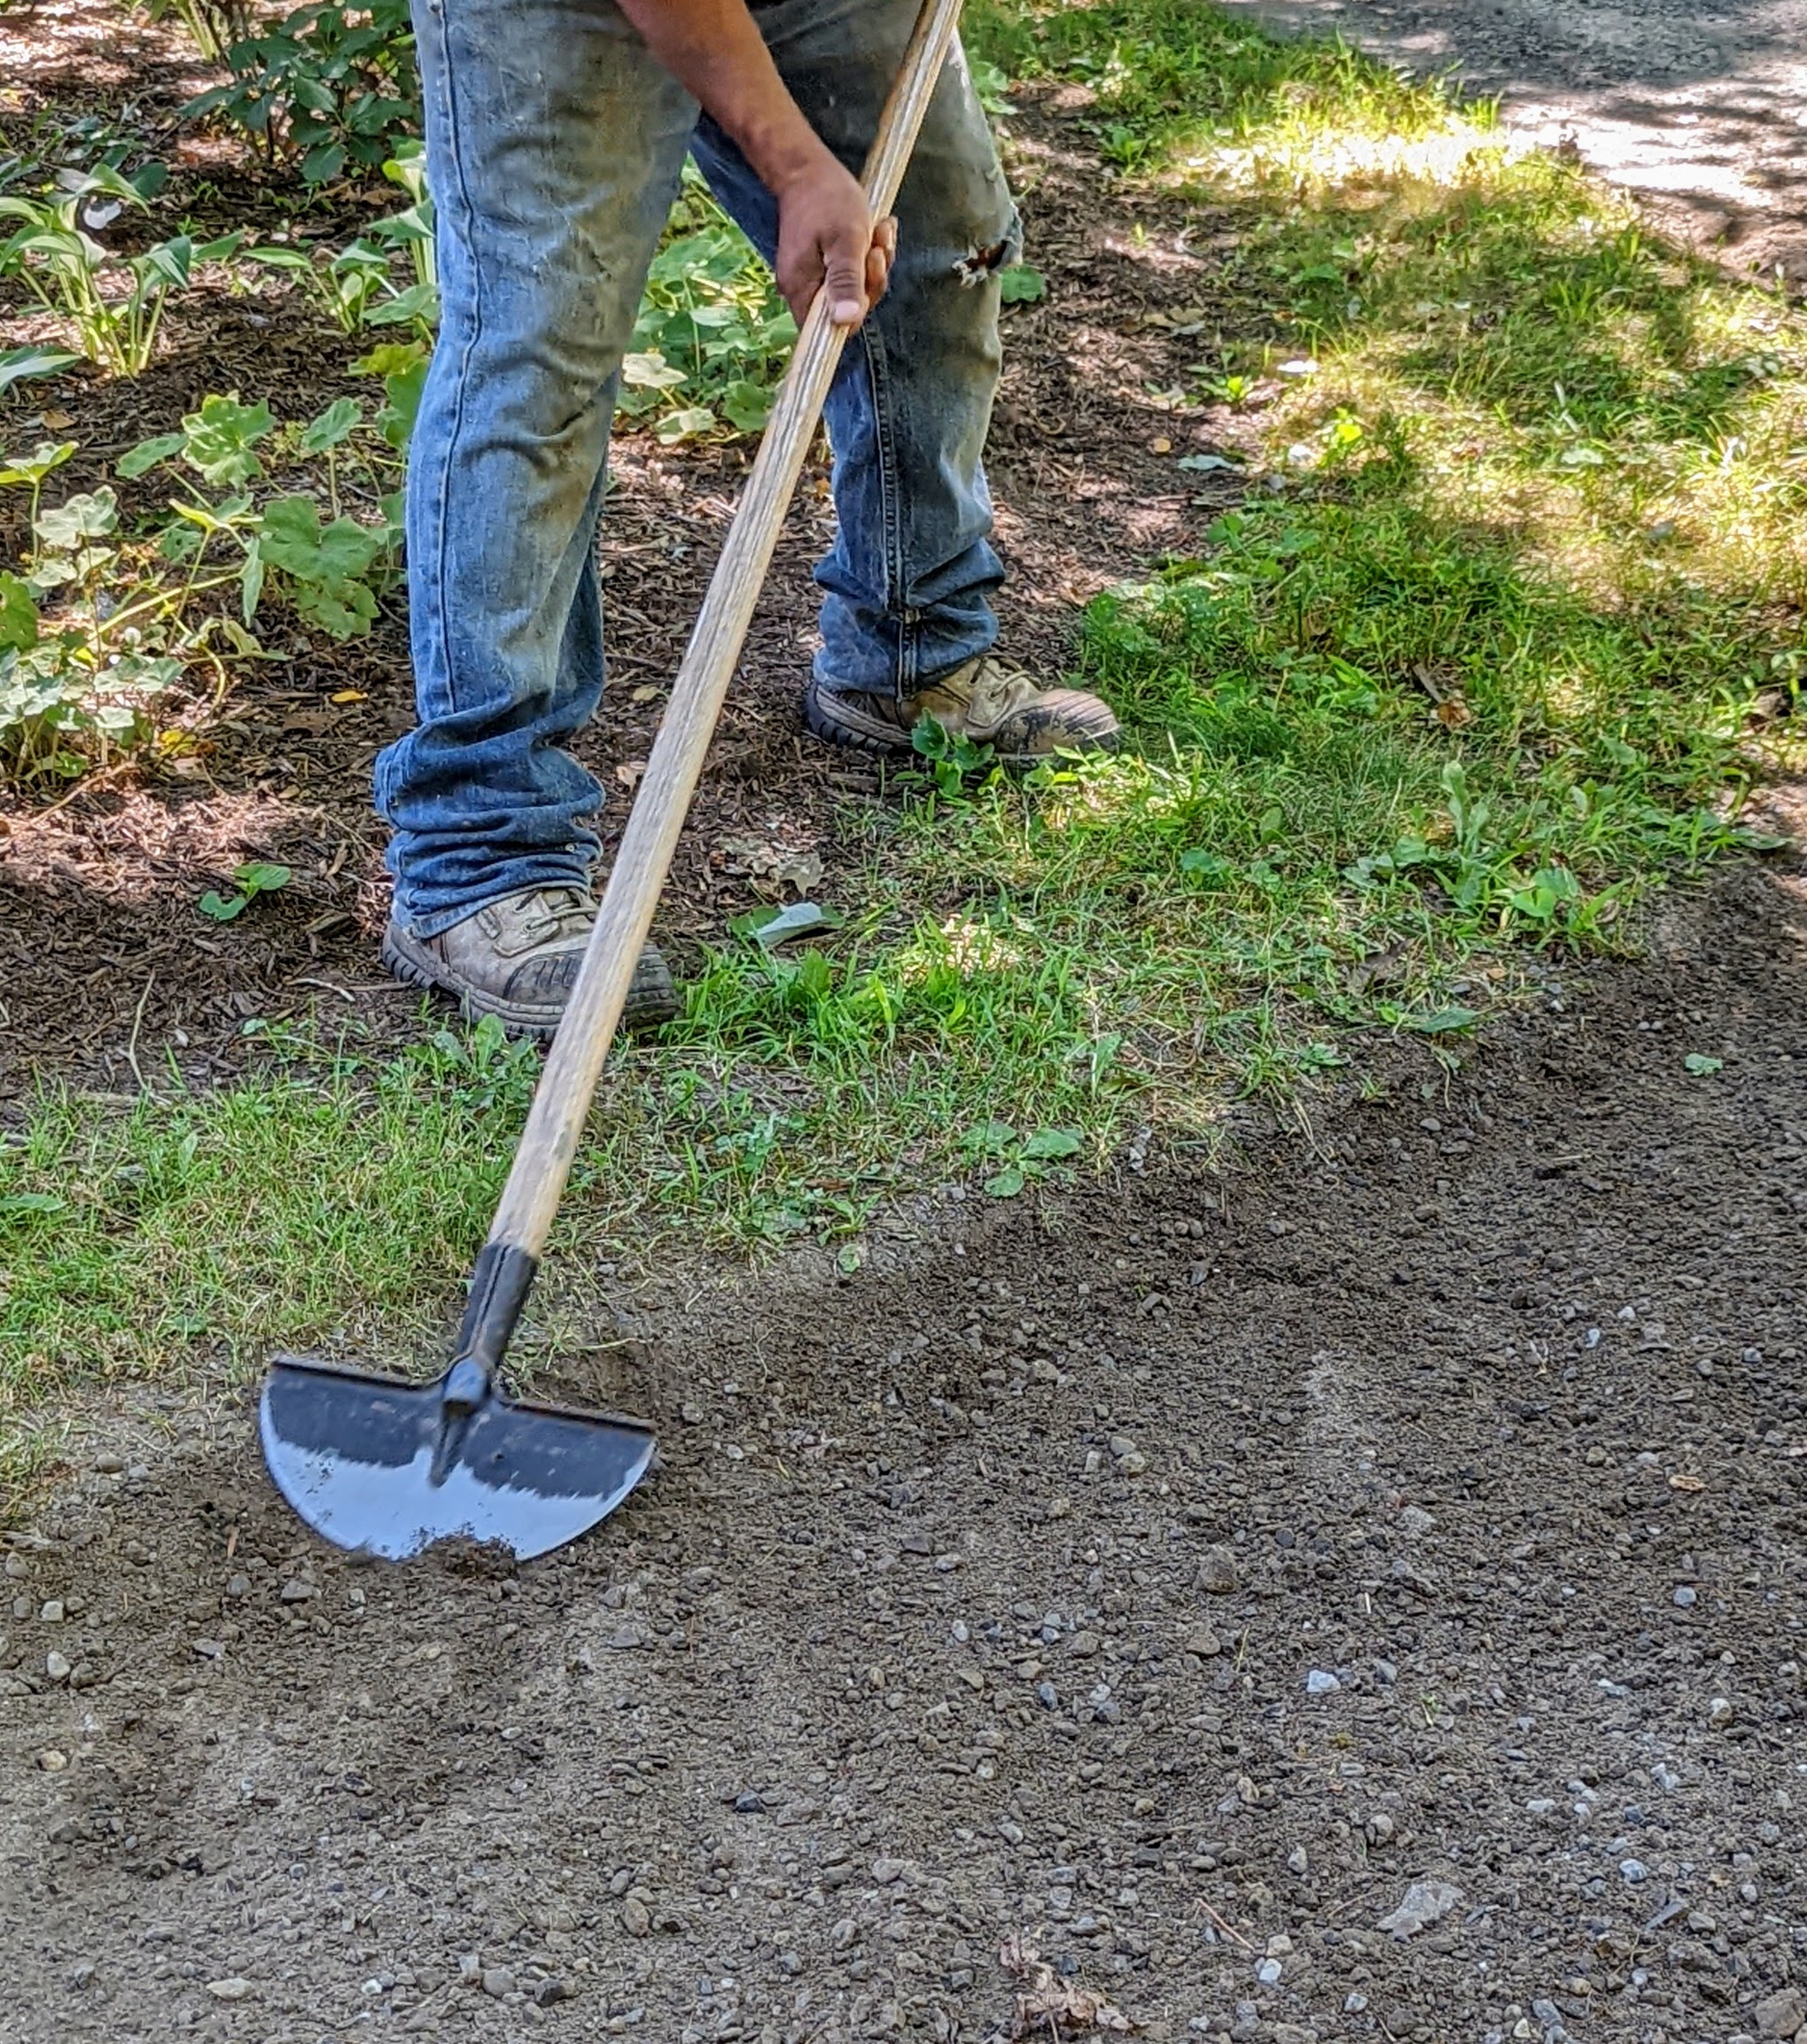
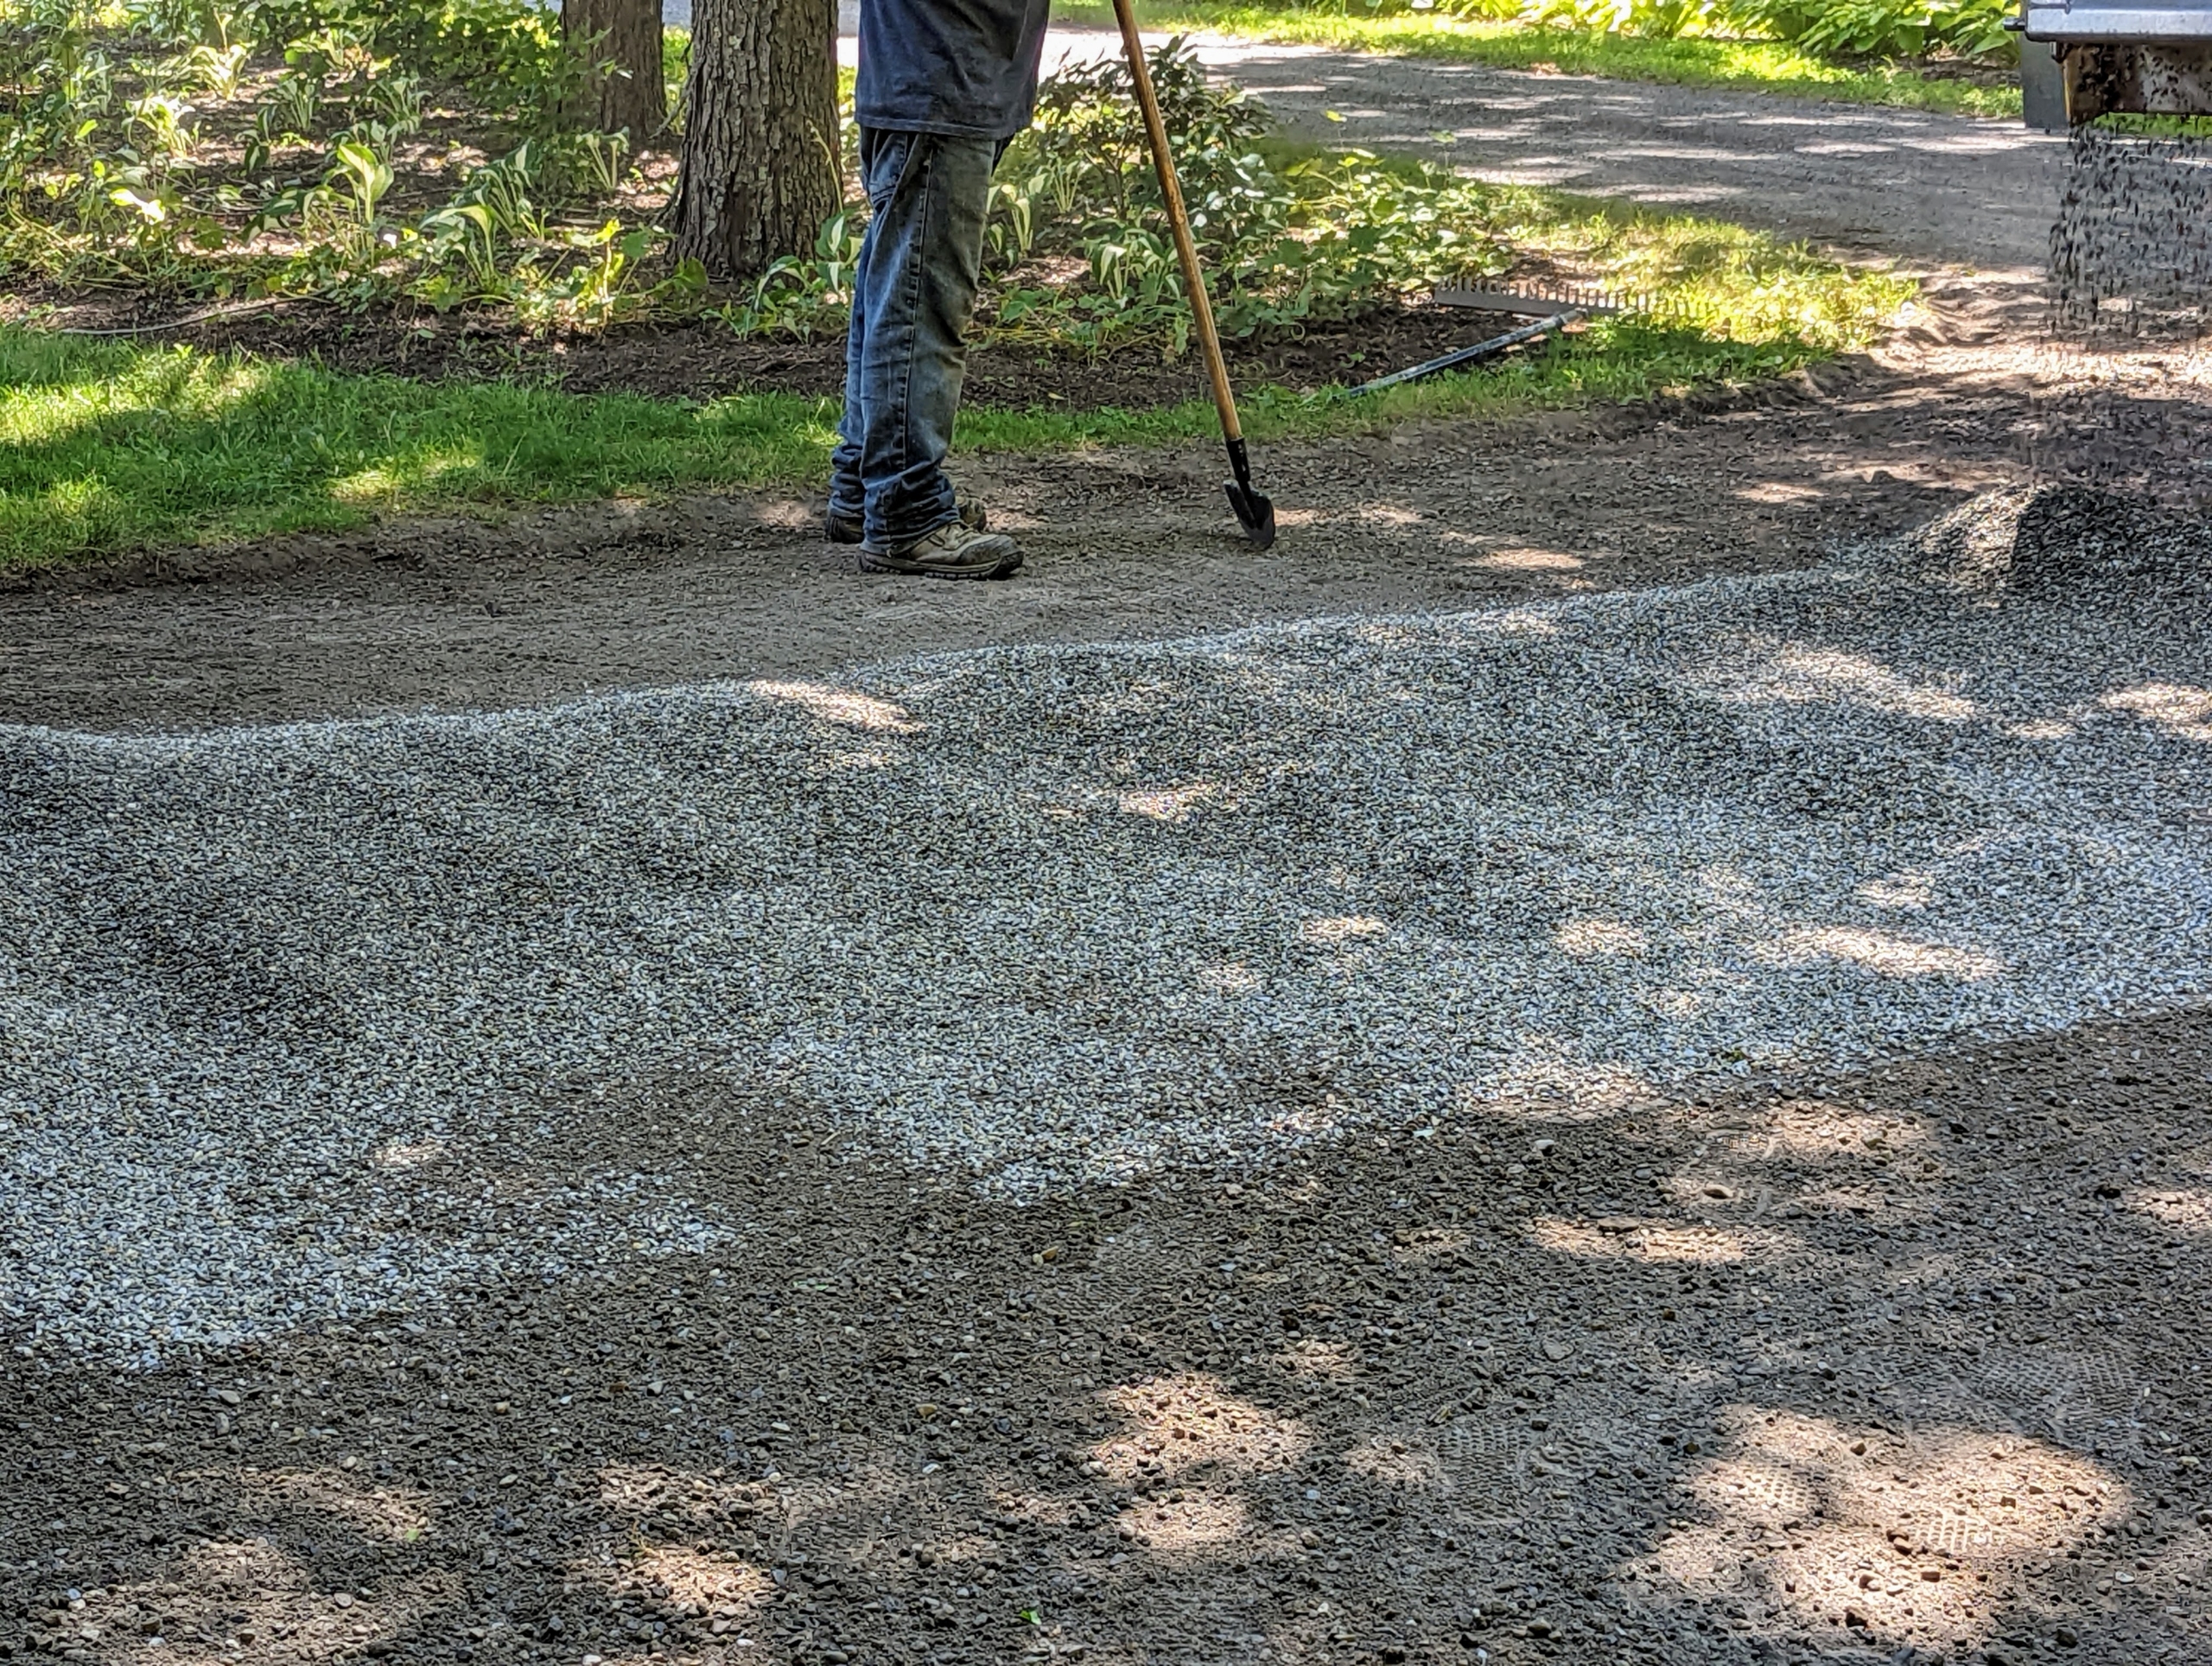
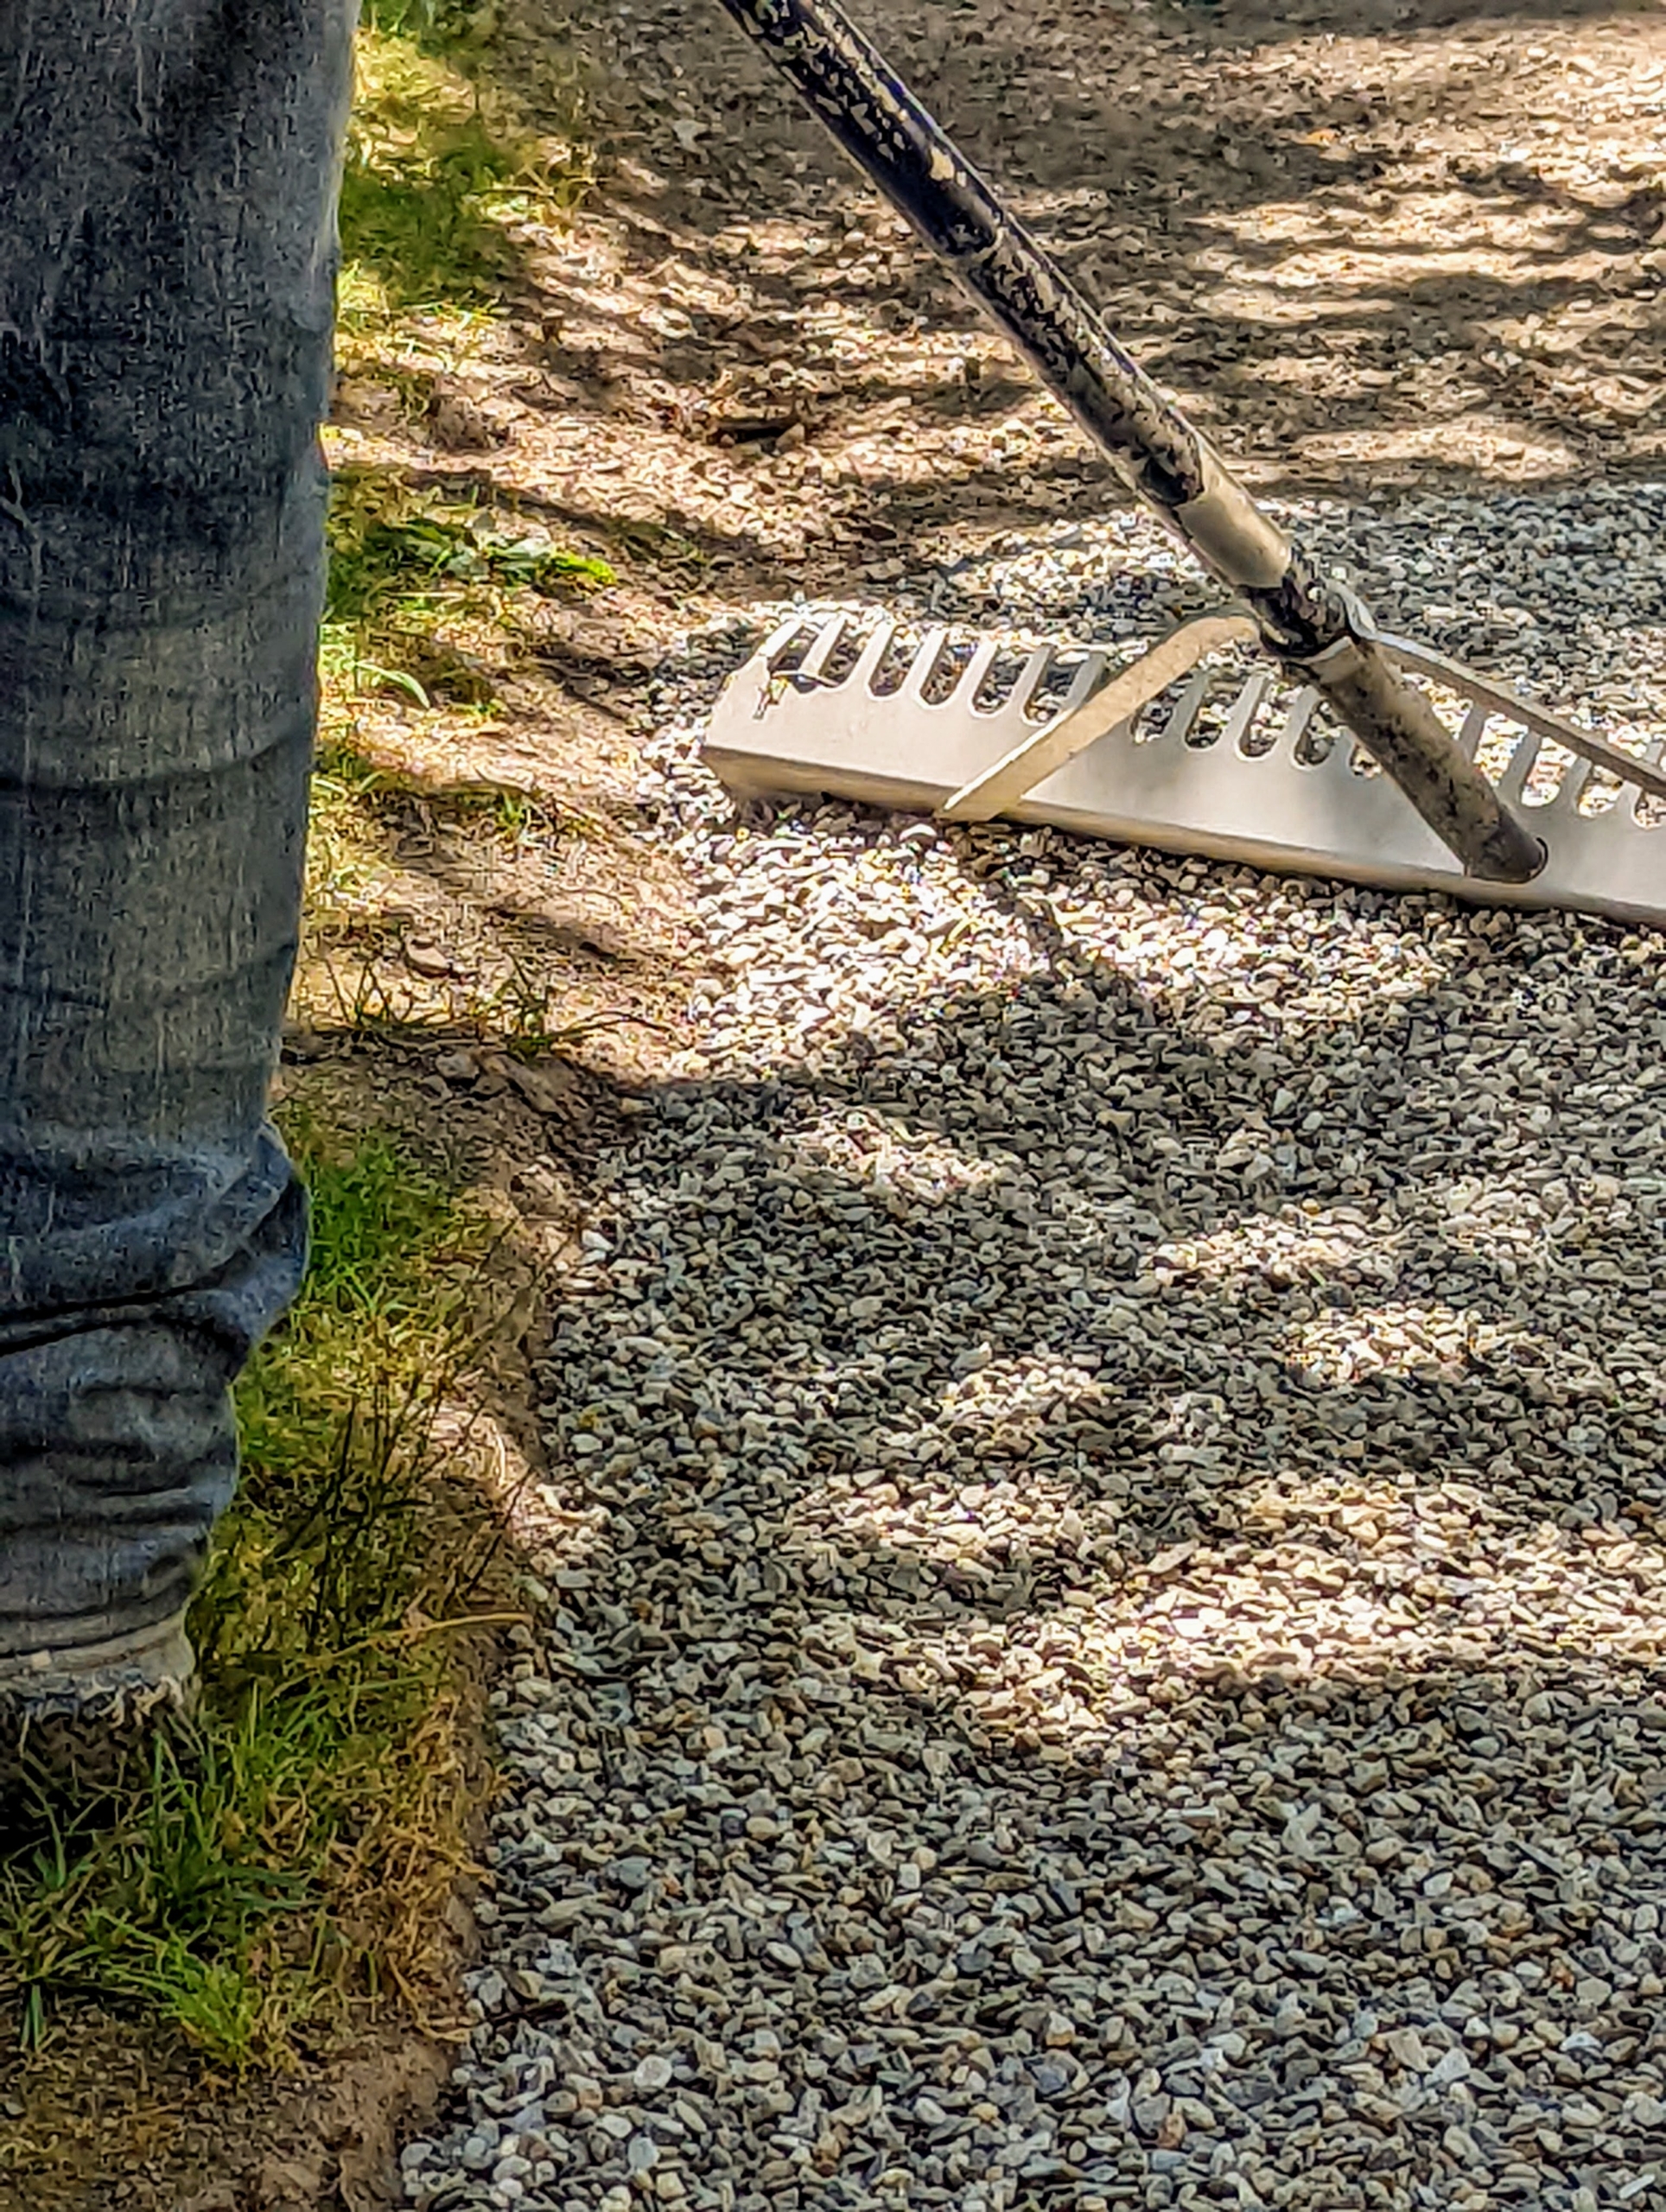
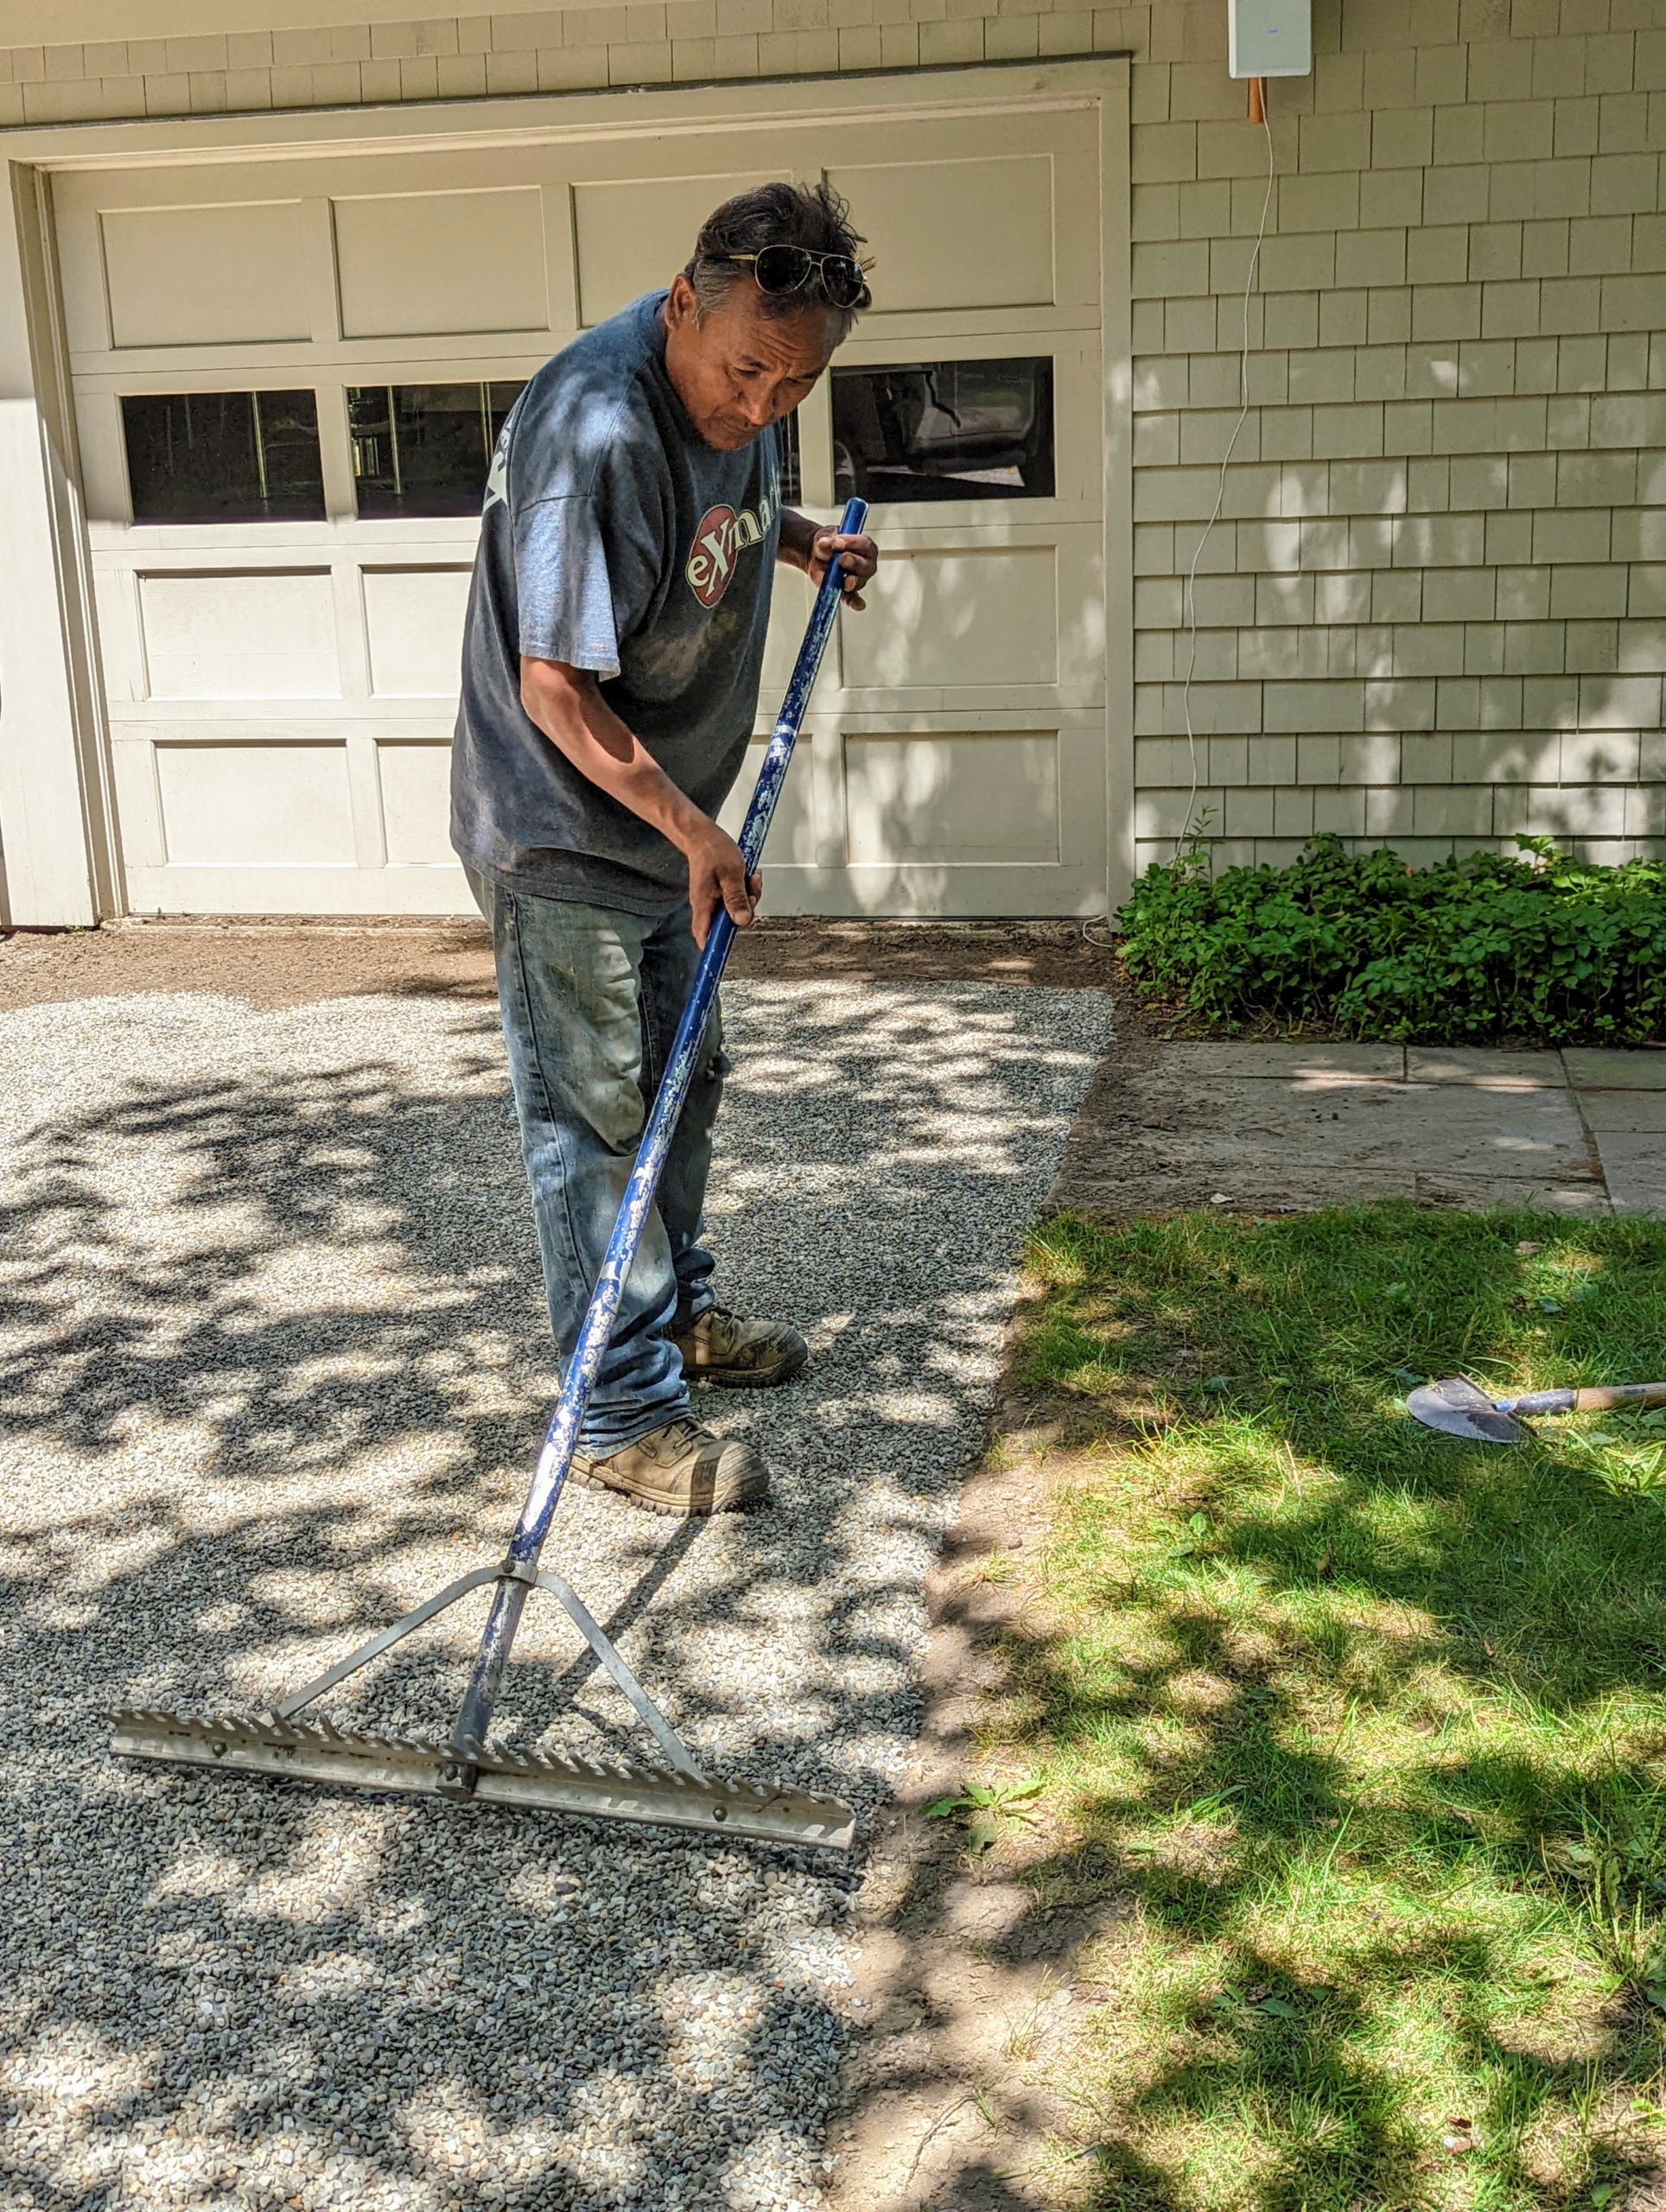
Next, Pete uses a landscape rake to spread and level the gravel.
This razor-back aluminum landscape rake has a wide head and teeth to level gravel quickly and smoothly. These landscape rakes are easy to find at home improvement shops and some gardening centers.
This rake also helps to clear the area of unwanted debris.
Pete starts at the edges of the driveway and works toward the center.
This day was warm with little wind, so flying dust from the gravel was minimal.
Here is the new gravel around the catch basin – it looks so much better than before.
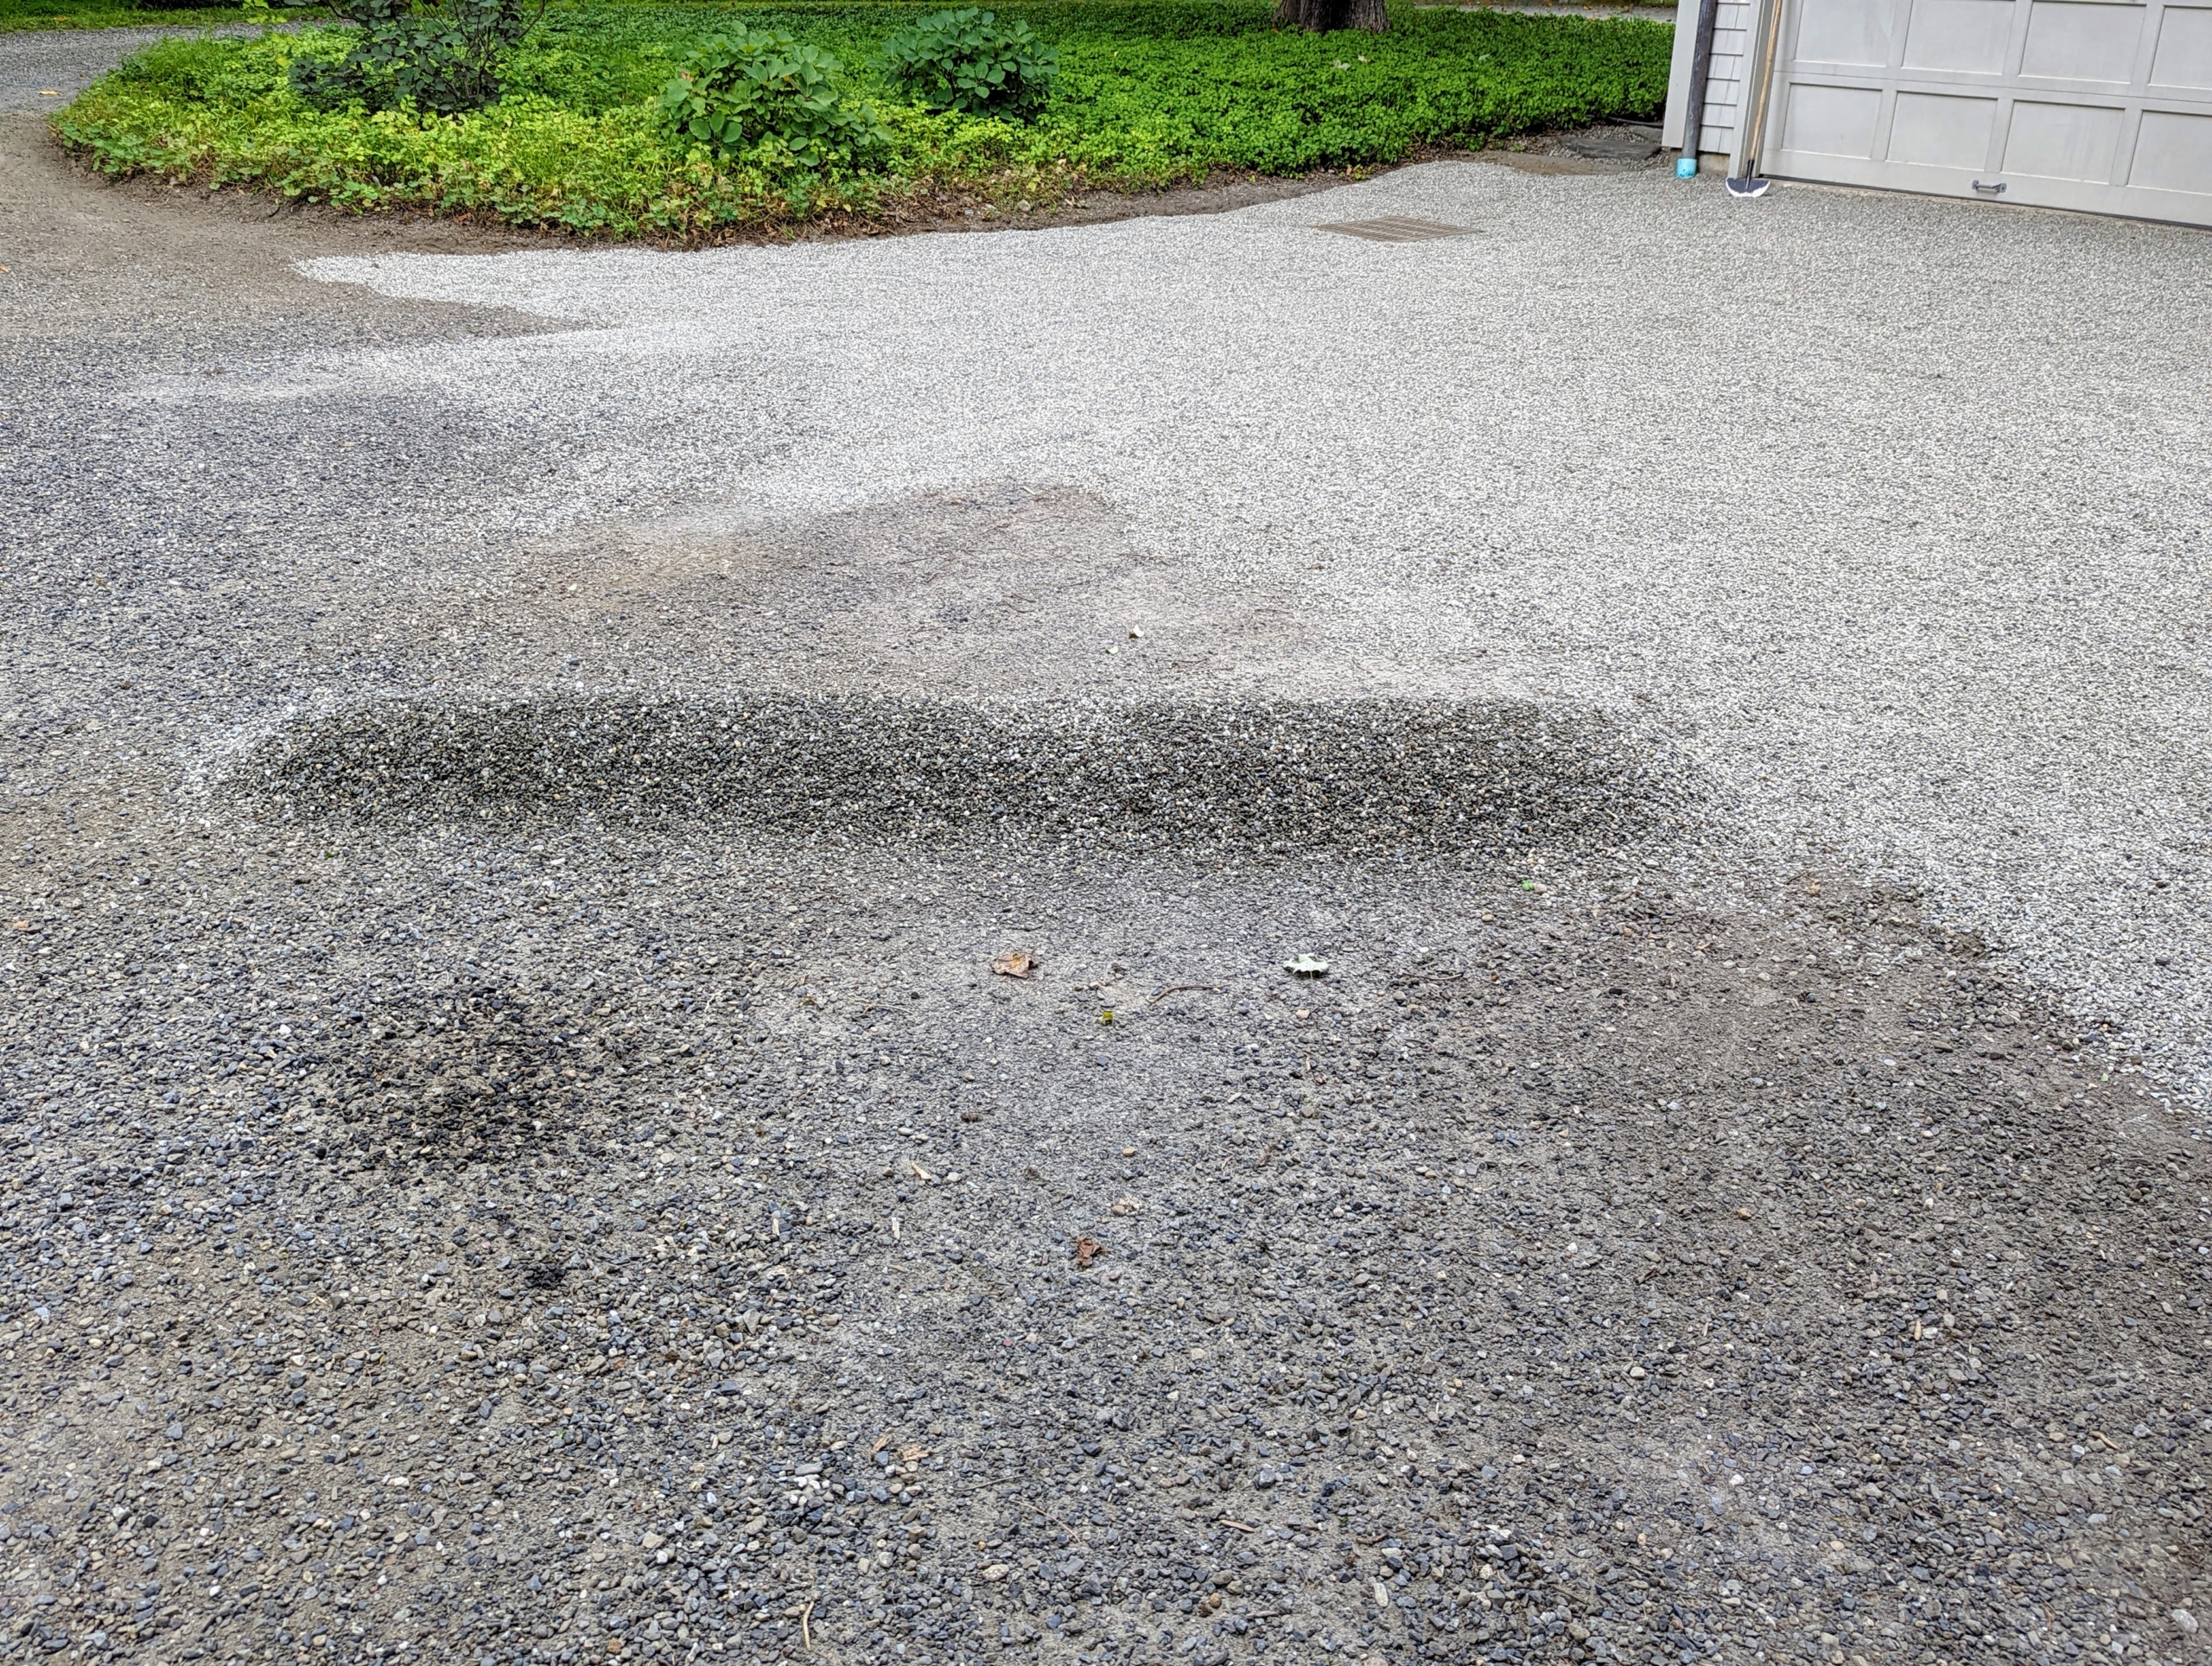
Another mound of gravel was dropped on the other side of the driveway. This is just an added layer of gravel for maintenance. When creating a new gravel driveway, the space should be filled with at least six to eight inches of crushed stone on top of stone dust. To calculate how much is needed for a specific driveway, multiply the width by the length by the depth in yards to find the cubic yards of gravel.
Pete carefully spreads the gravel over the center of the driveway.
He also is sure to grade the gravel for proper drainage – peak in the middle of the driveway and incline slightly to the sides.
After a few hours, the driveway looks completely different with its new surface layer of gravel – another important task checked off our list.