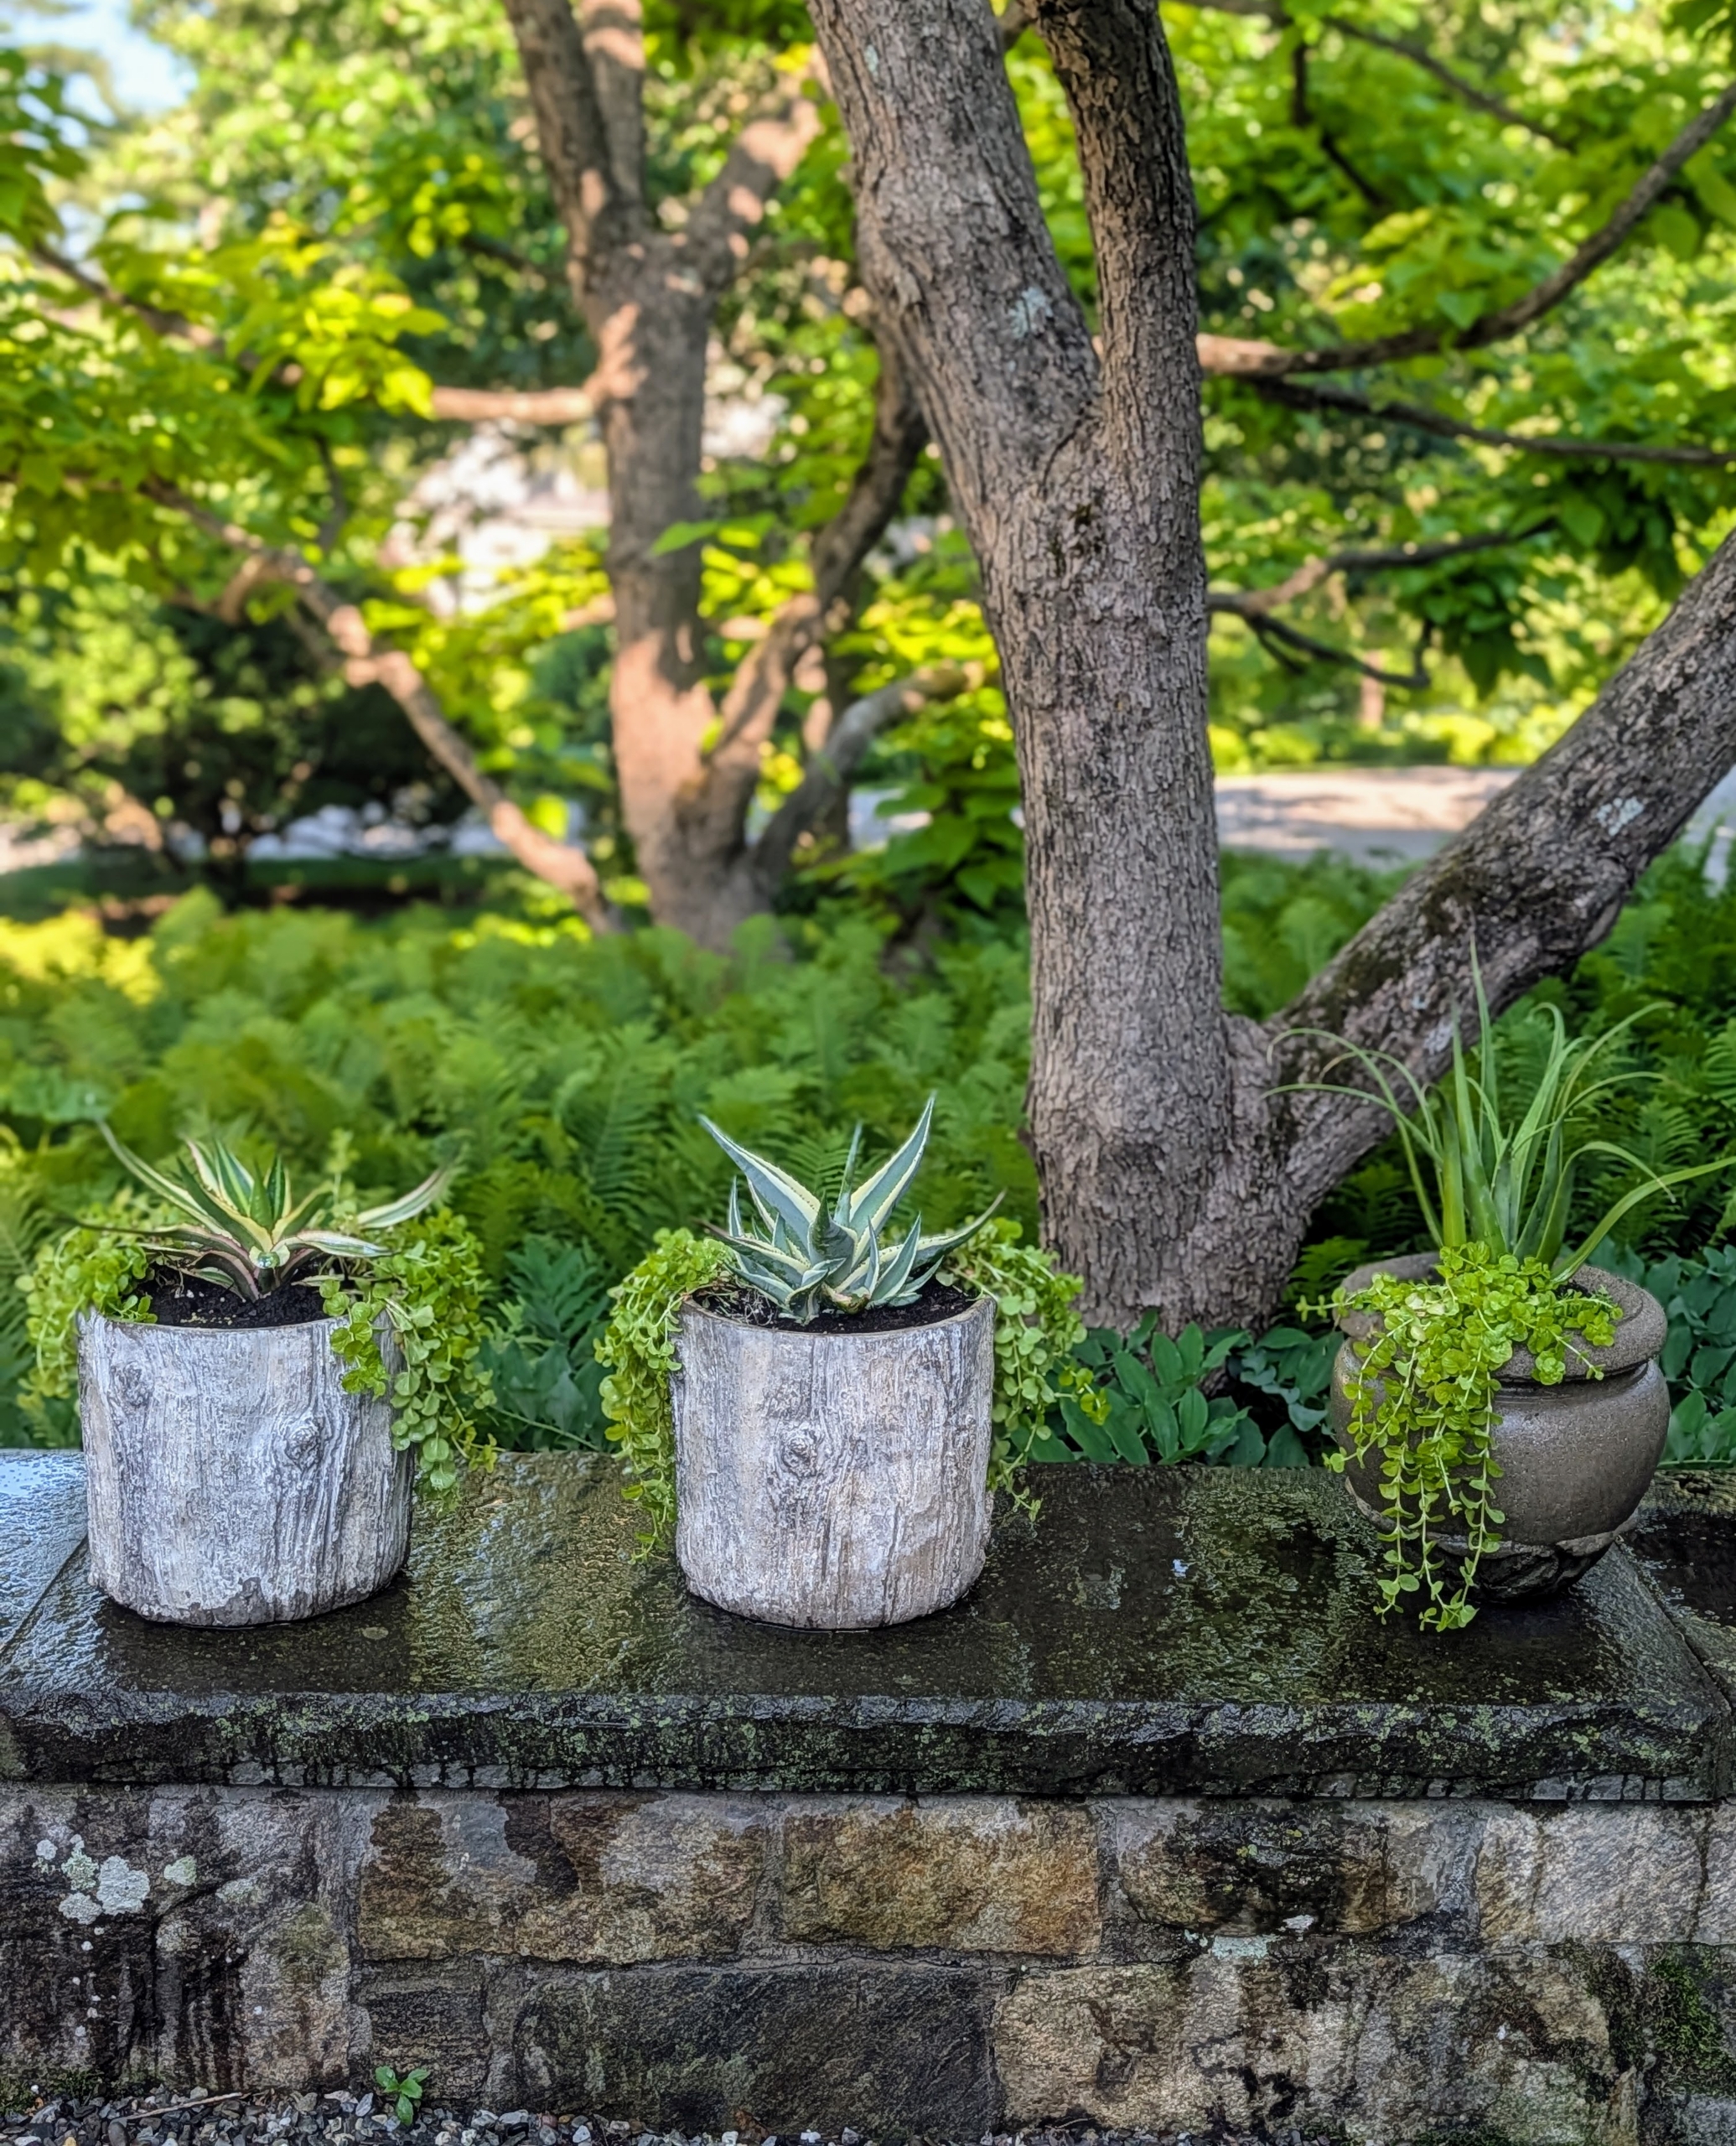
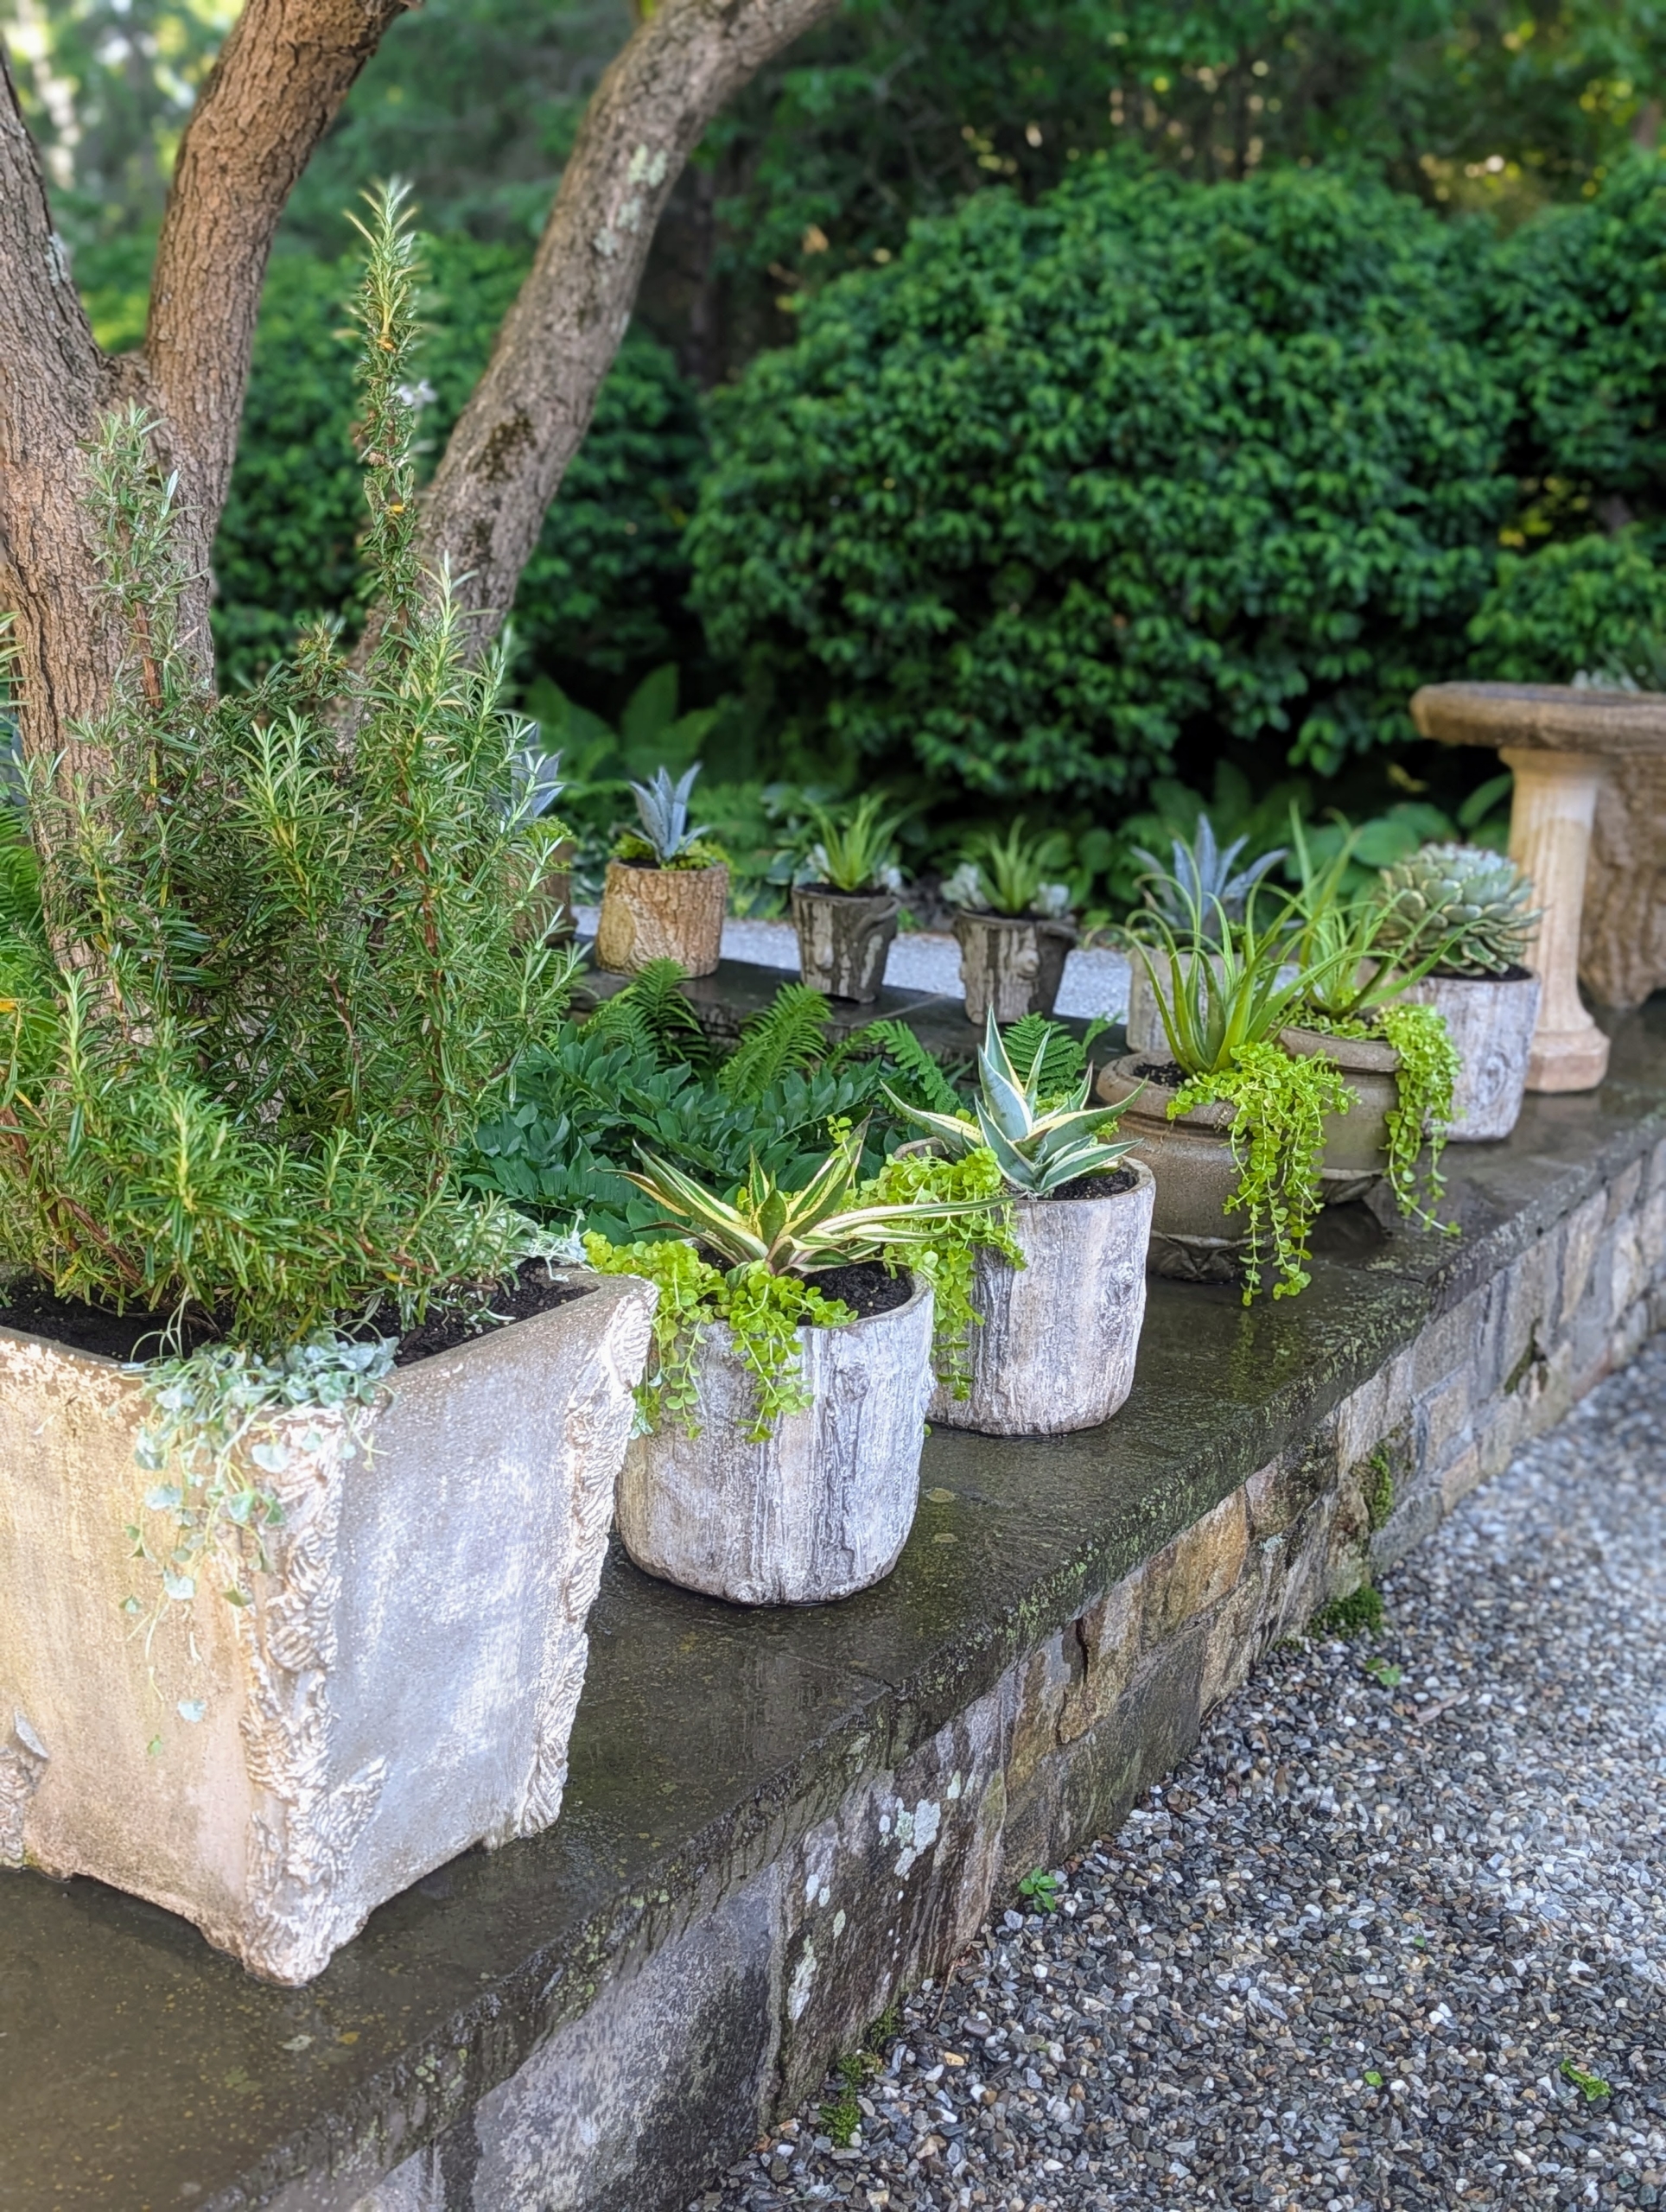
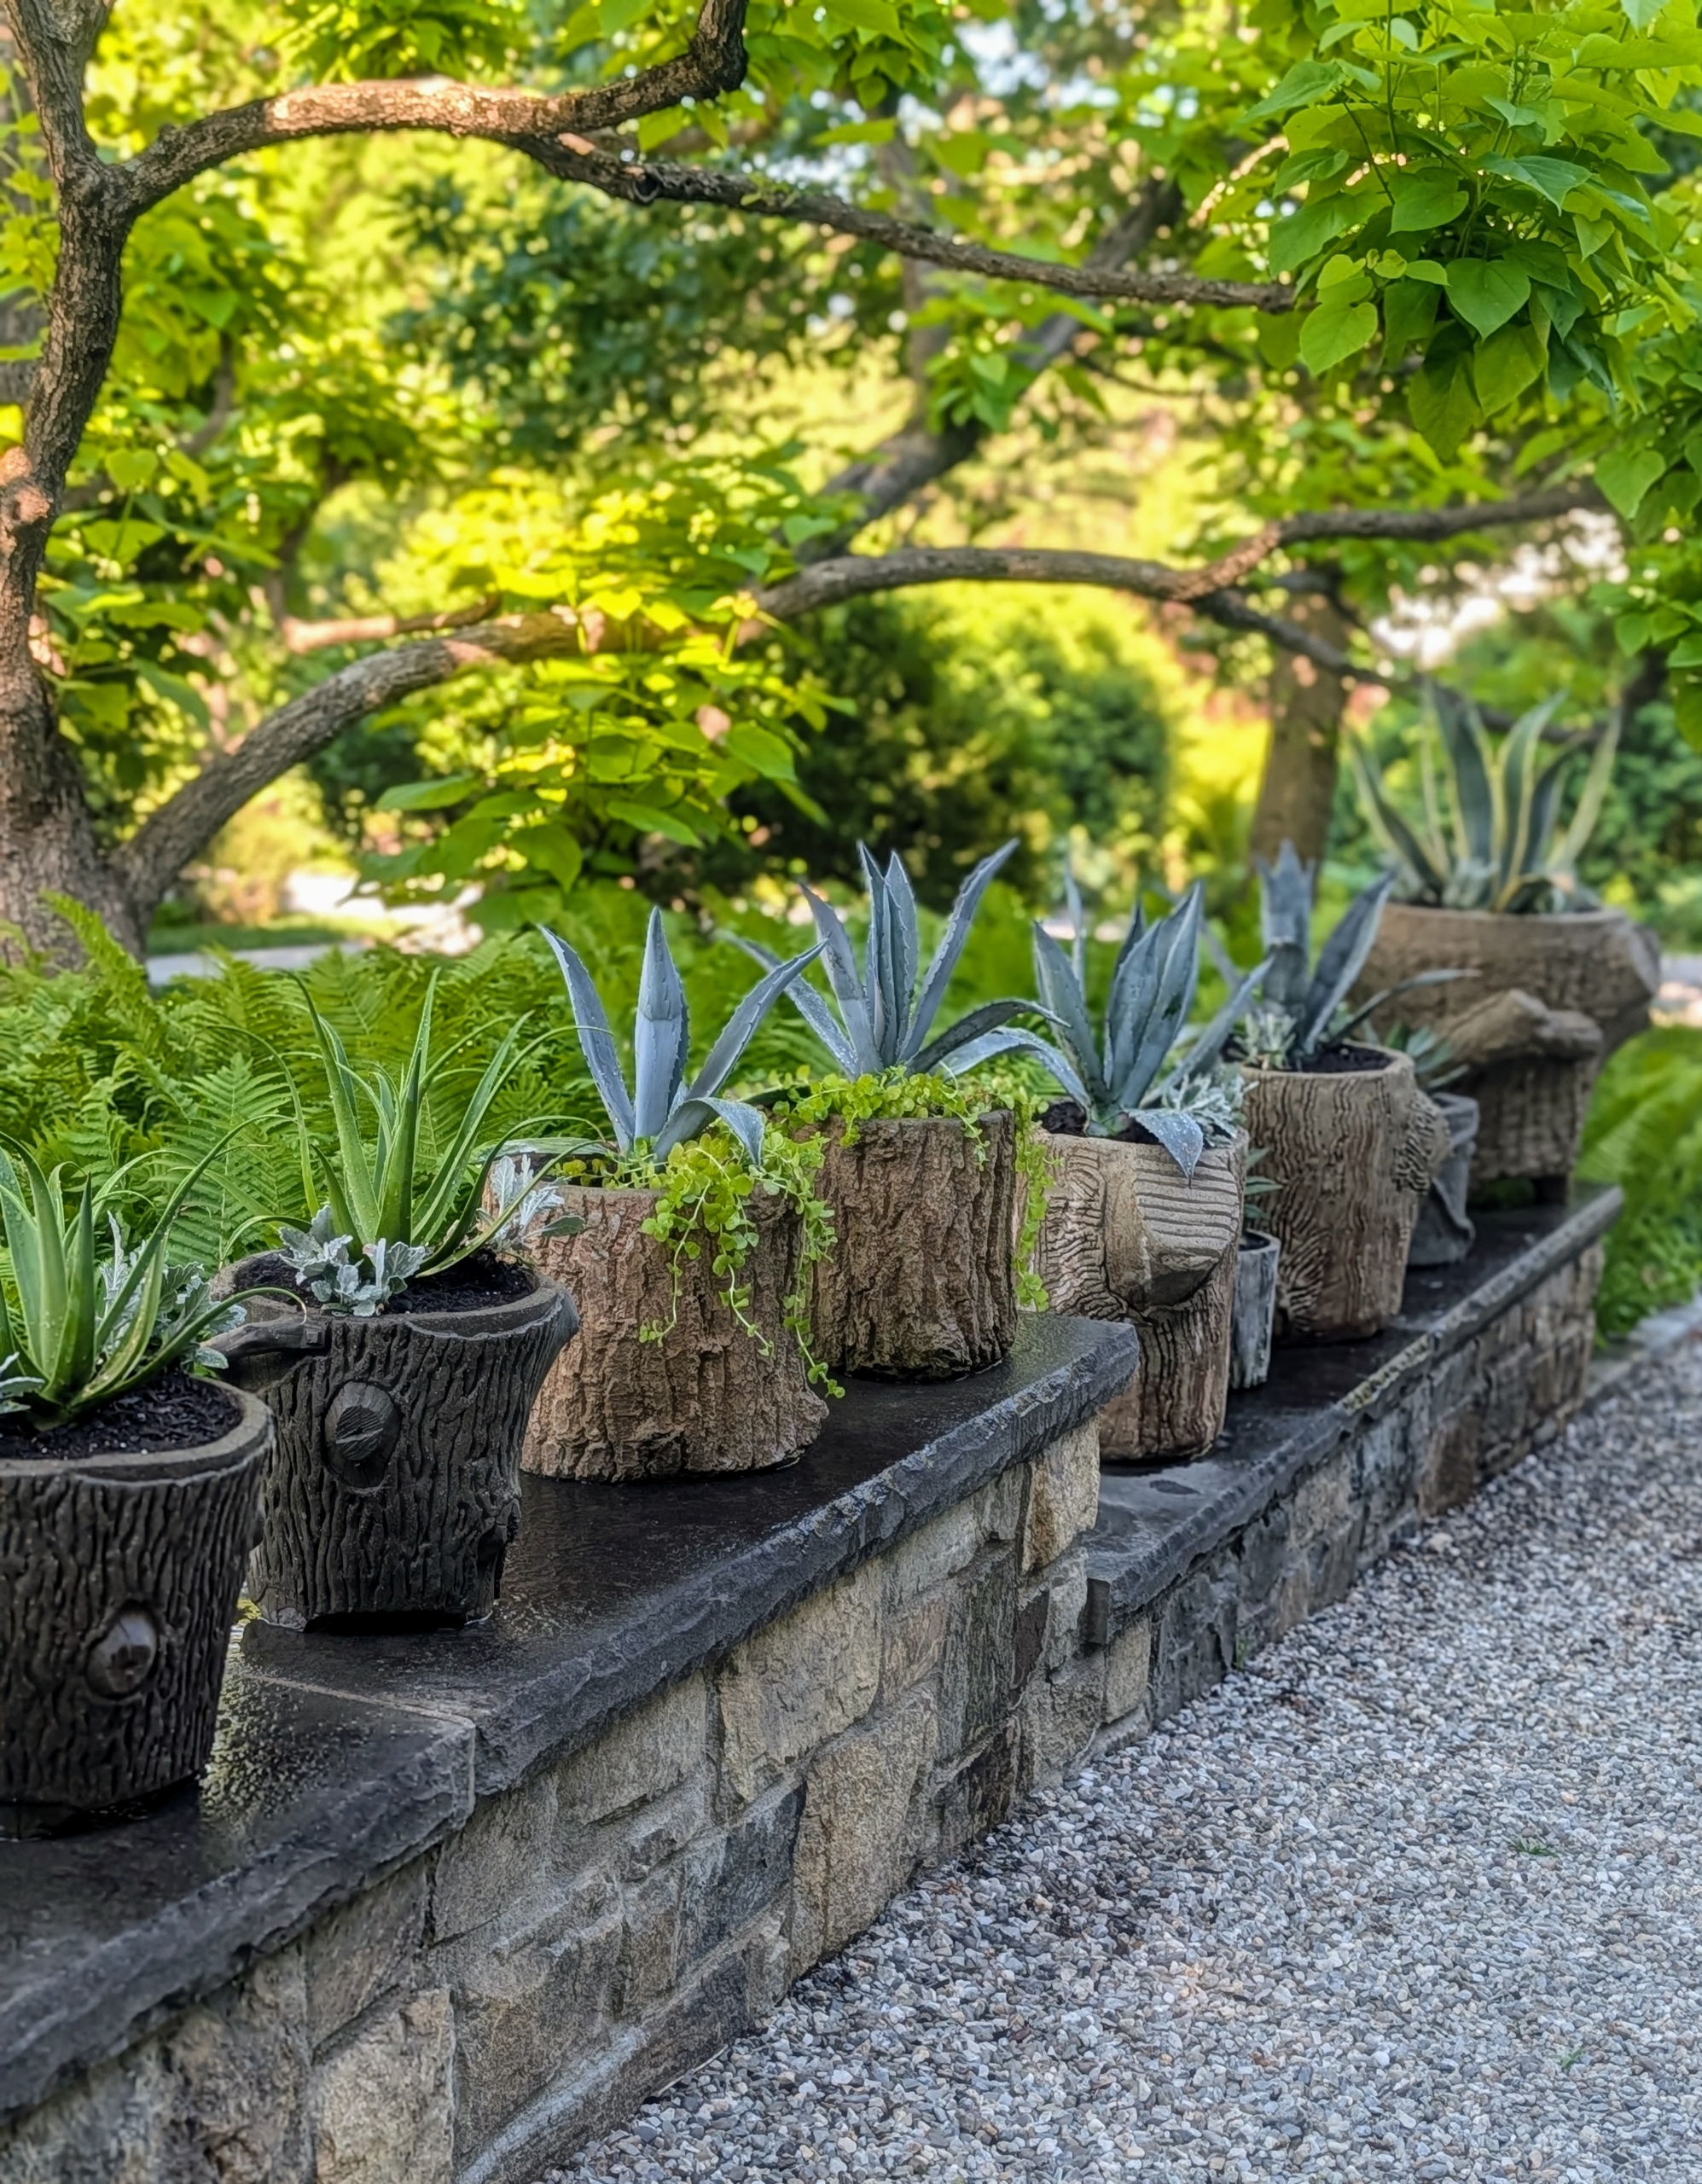
The stone ledges outside my Winter House are now filled with beautiful potted plants.
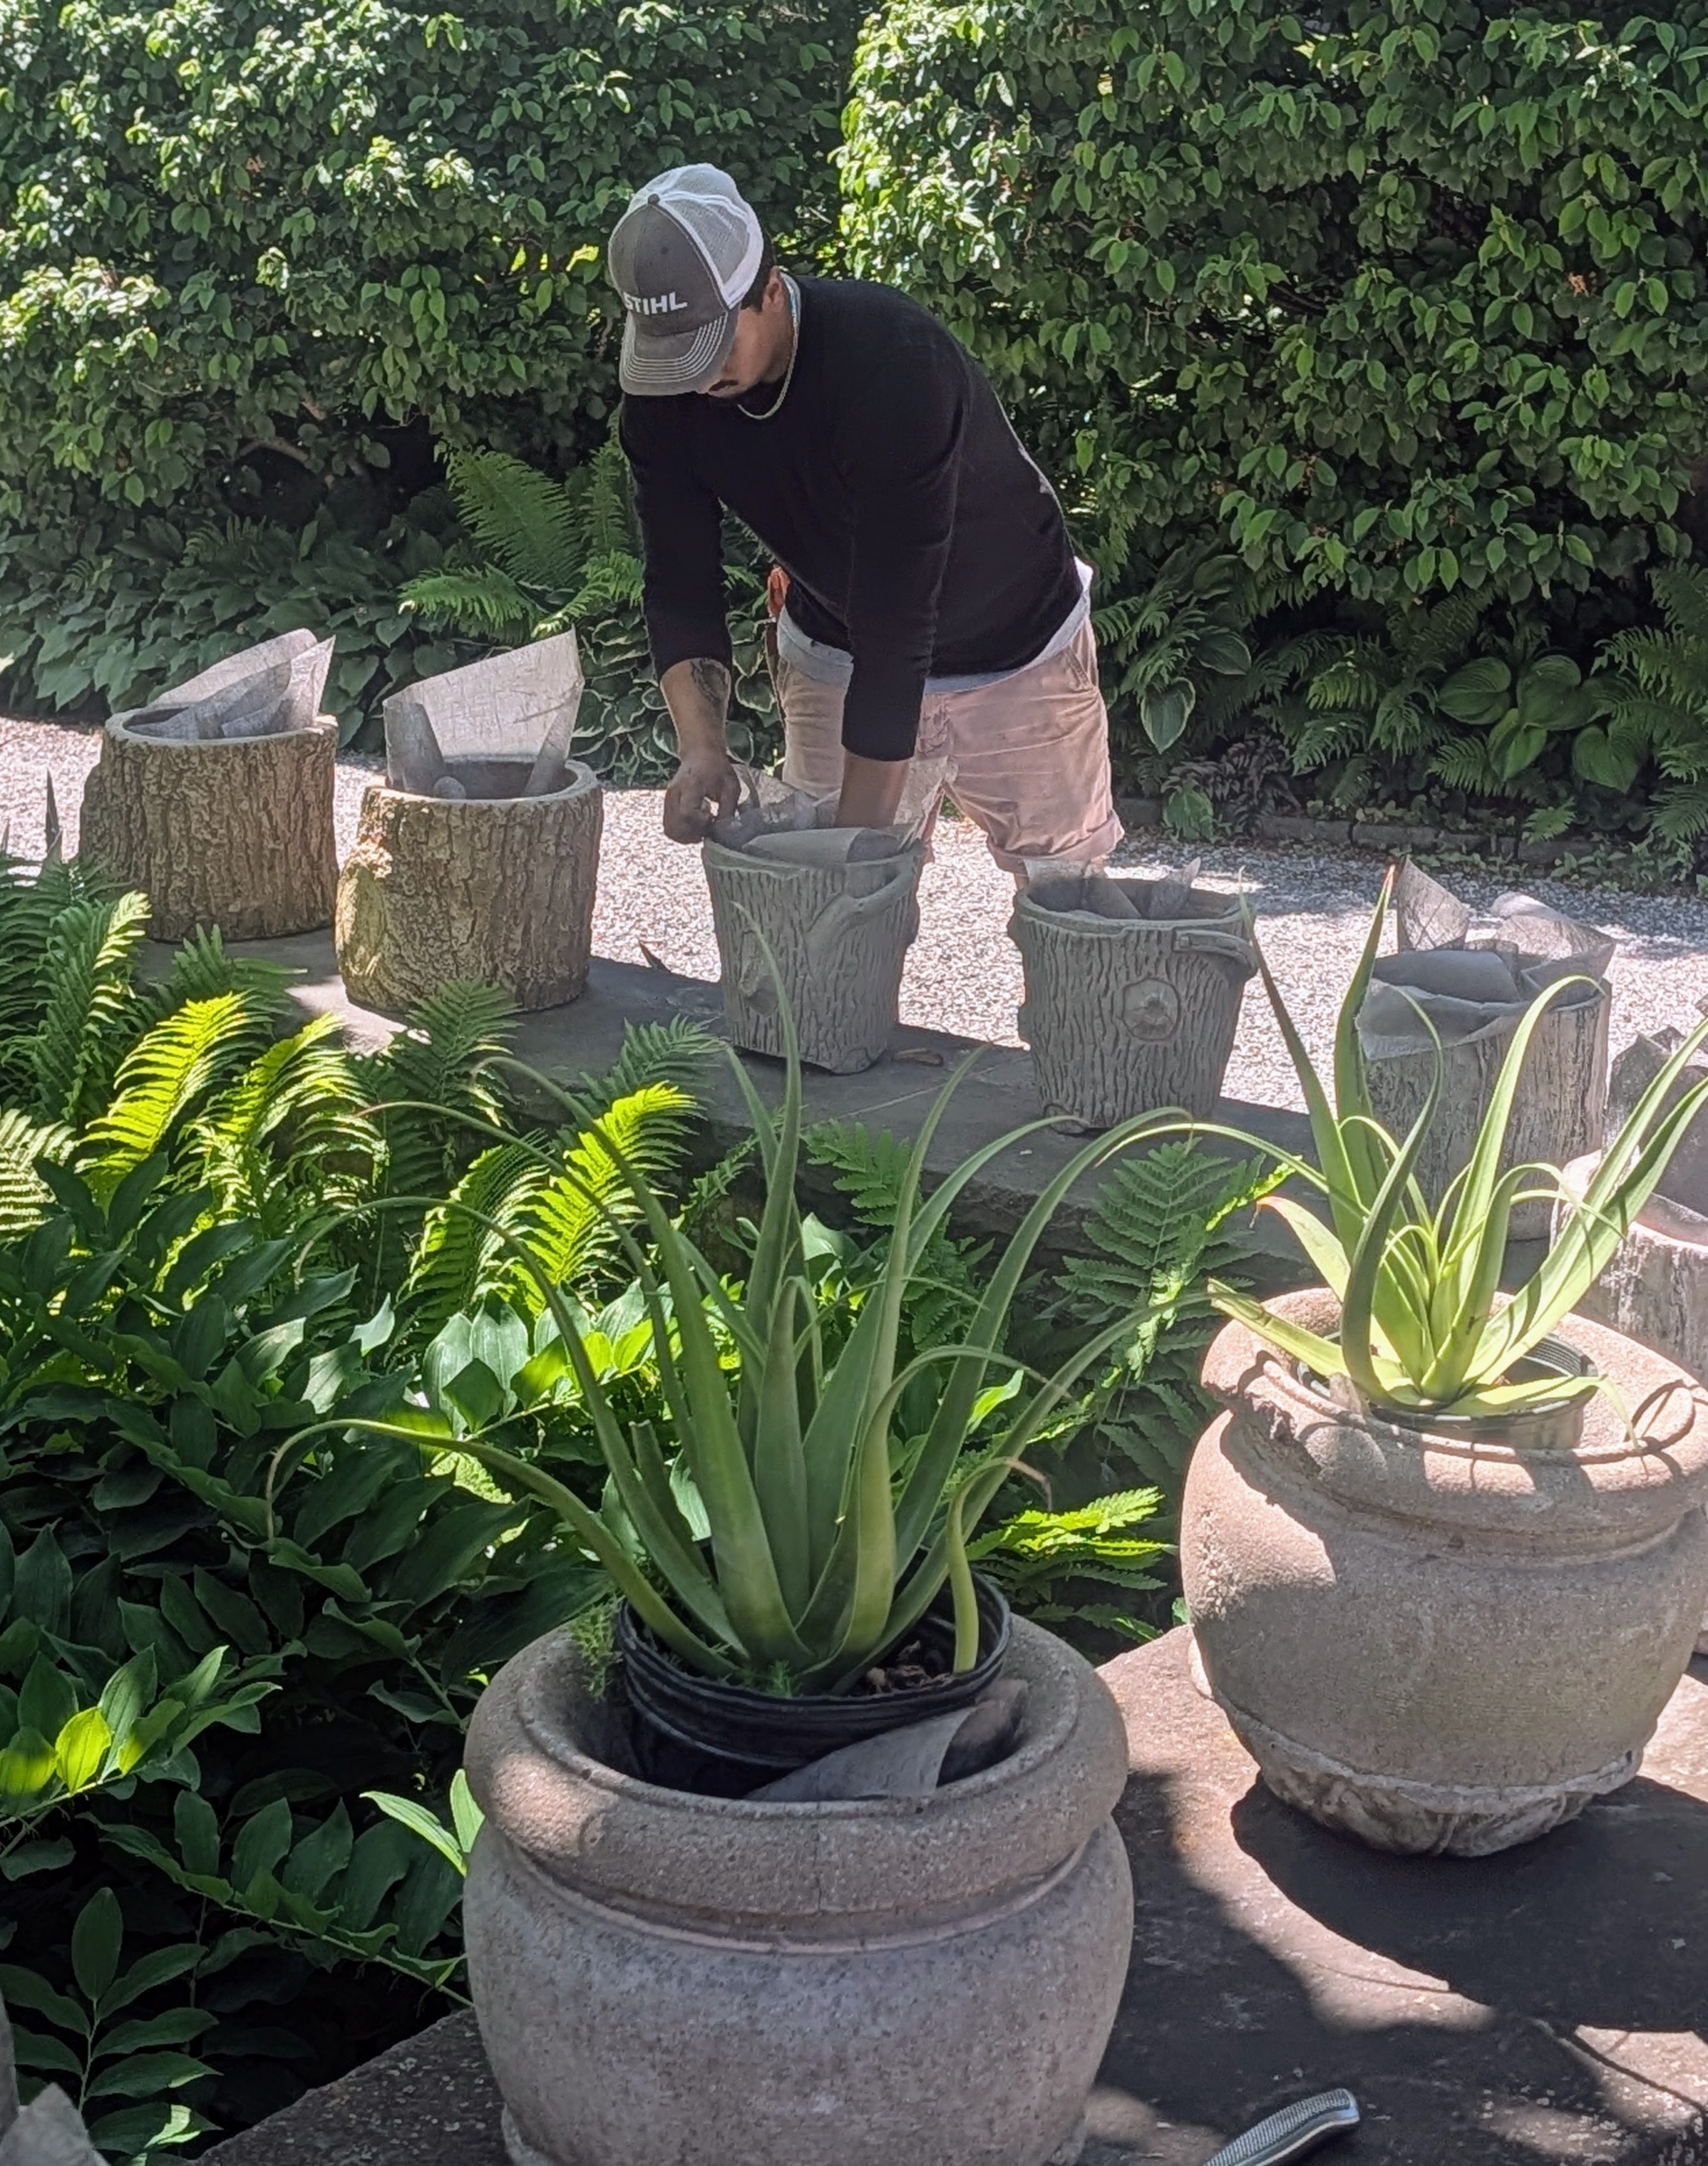
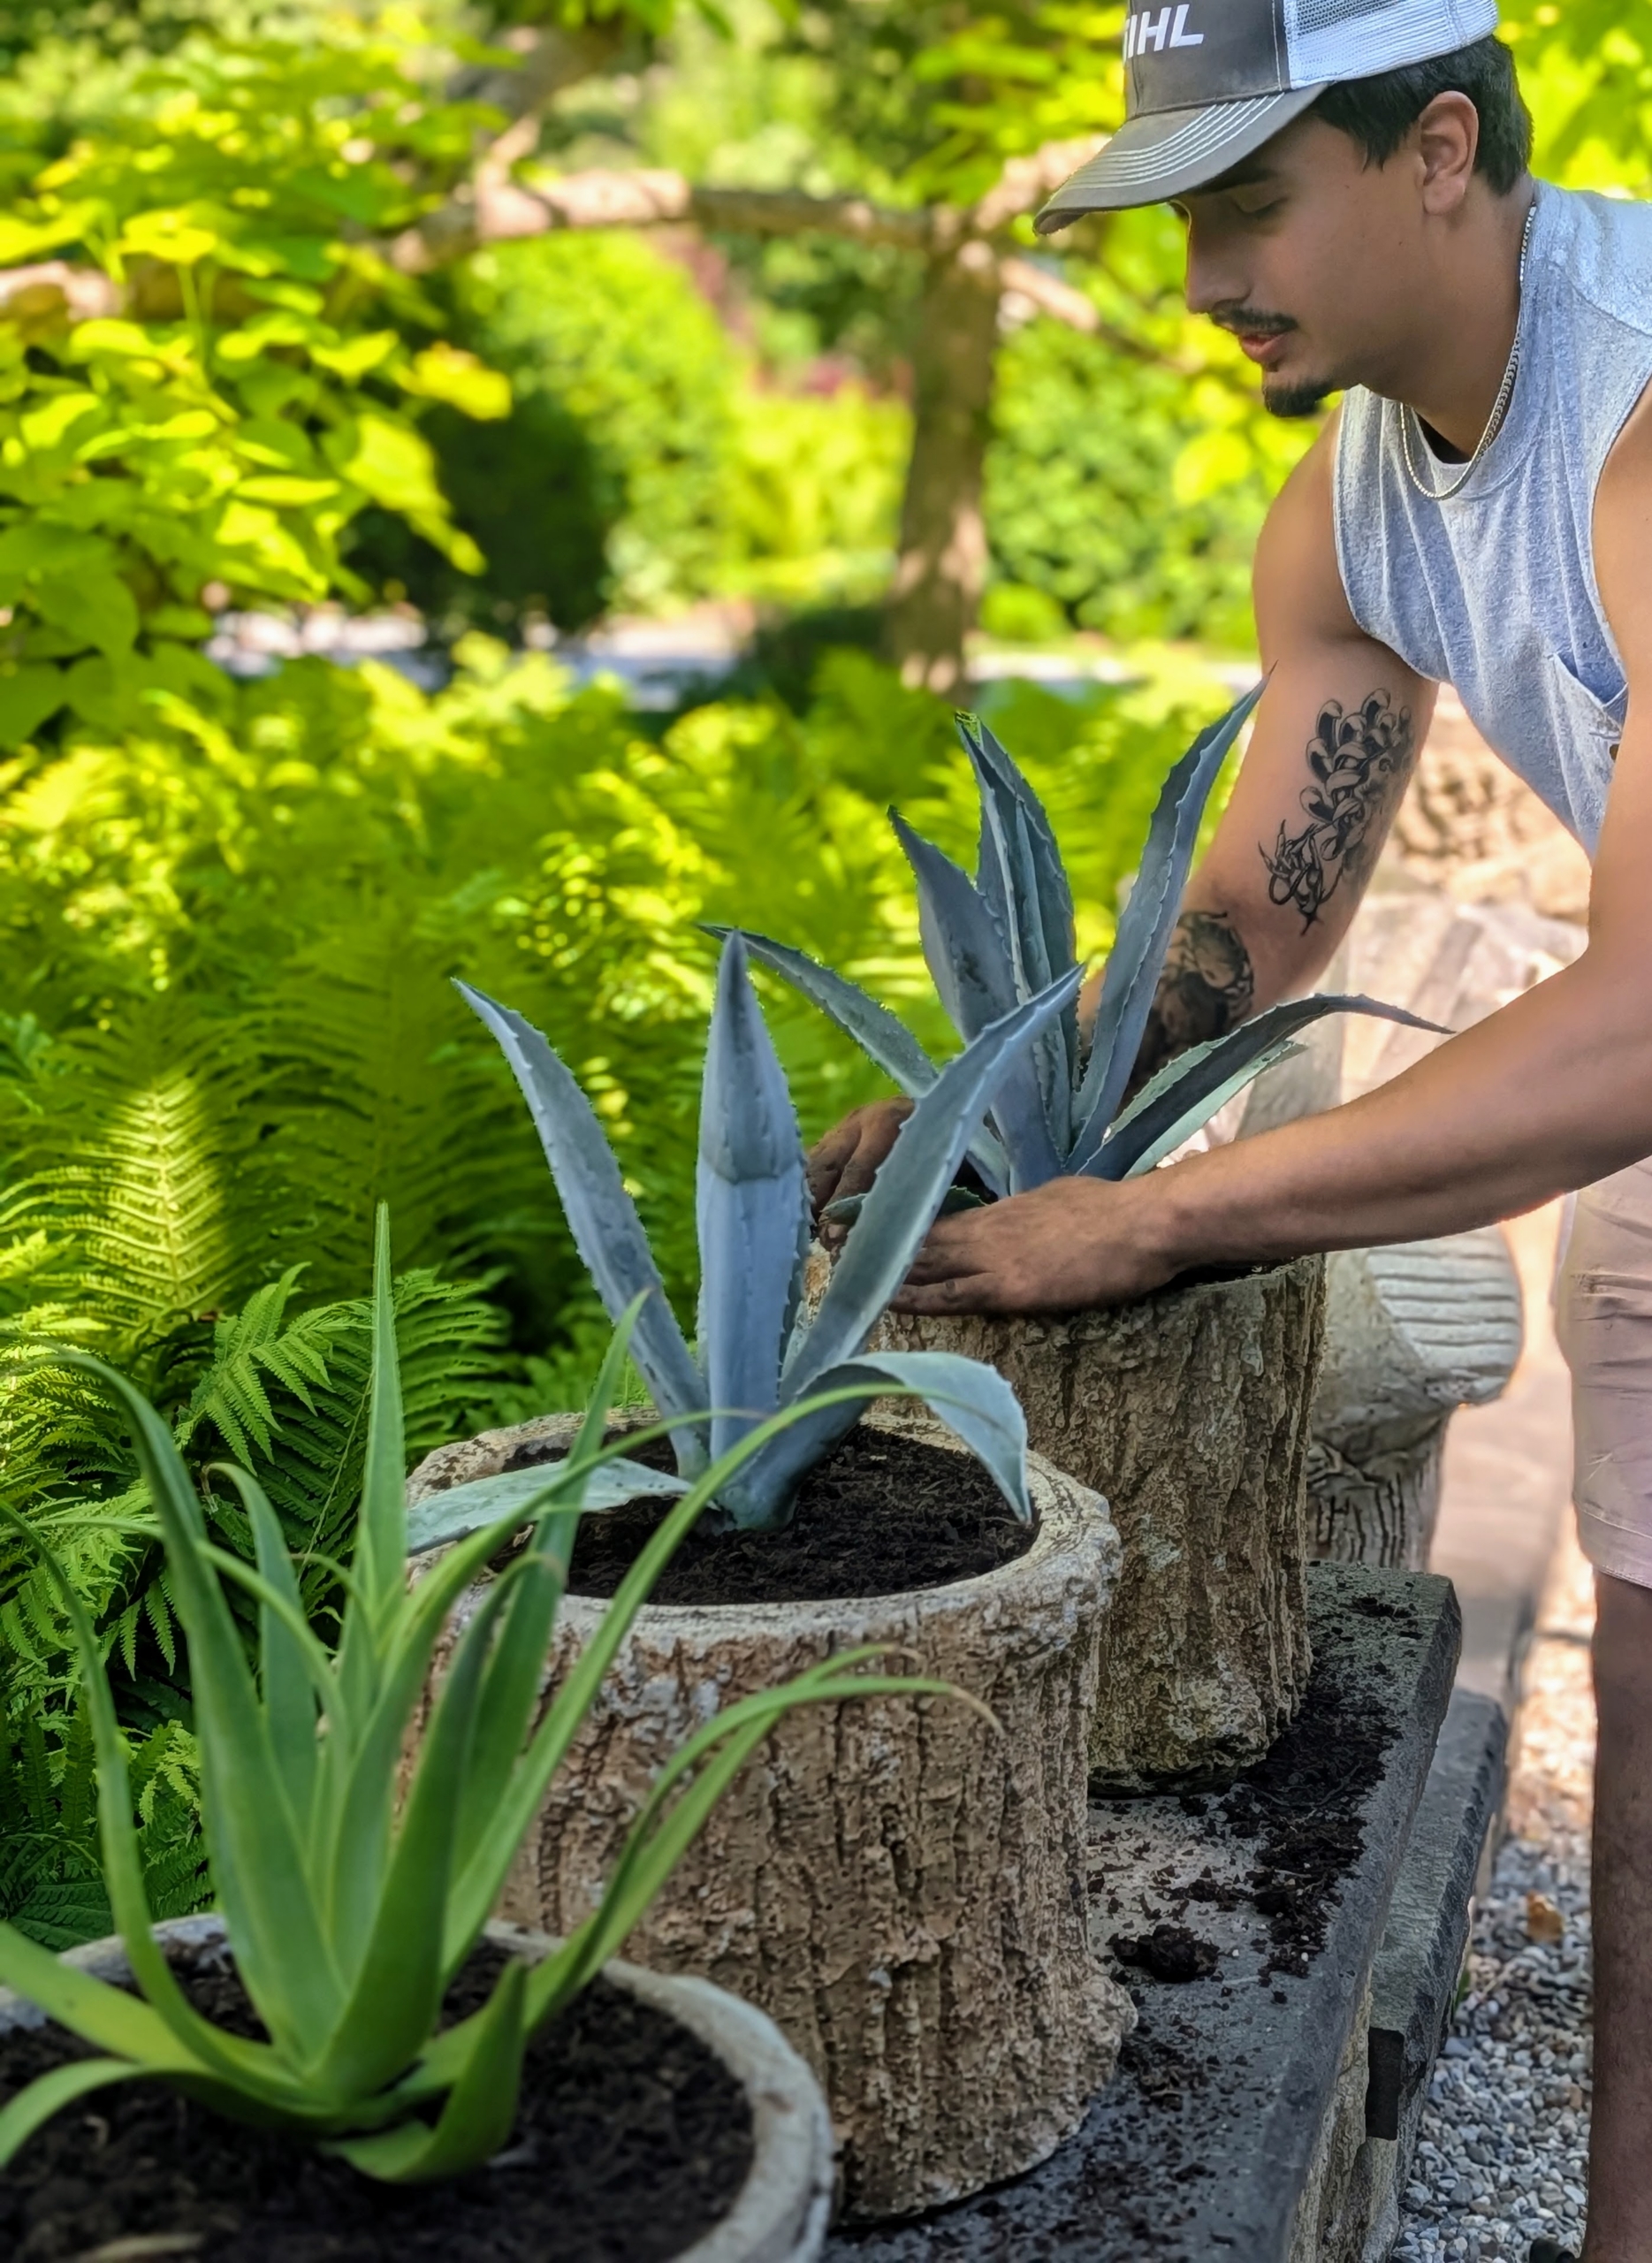
I always display a variety of warm weather specimens around my home during spring and summer - potted flowering herbs, succulents, and even some ground covers that look good planted together in urns. Yesterday, my gardener Matthew Orrego, potted up a collection of faux bois vessels outside my carport. These plants are among the first I see when I walk out of the house and some of the last I see when I return.
Here are some photos, enjoy.
Dressing up a stone ledge with lush green plants makes a space more inviting. I love to display a variety of healthy specimens around my home this time of year.
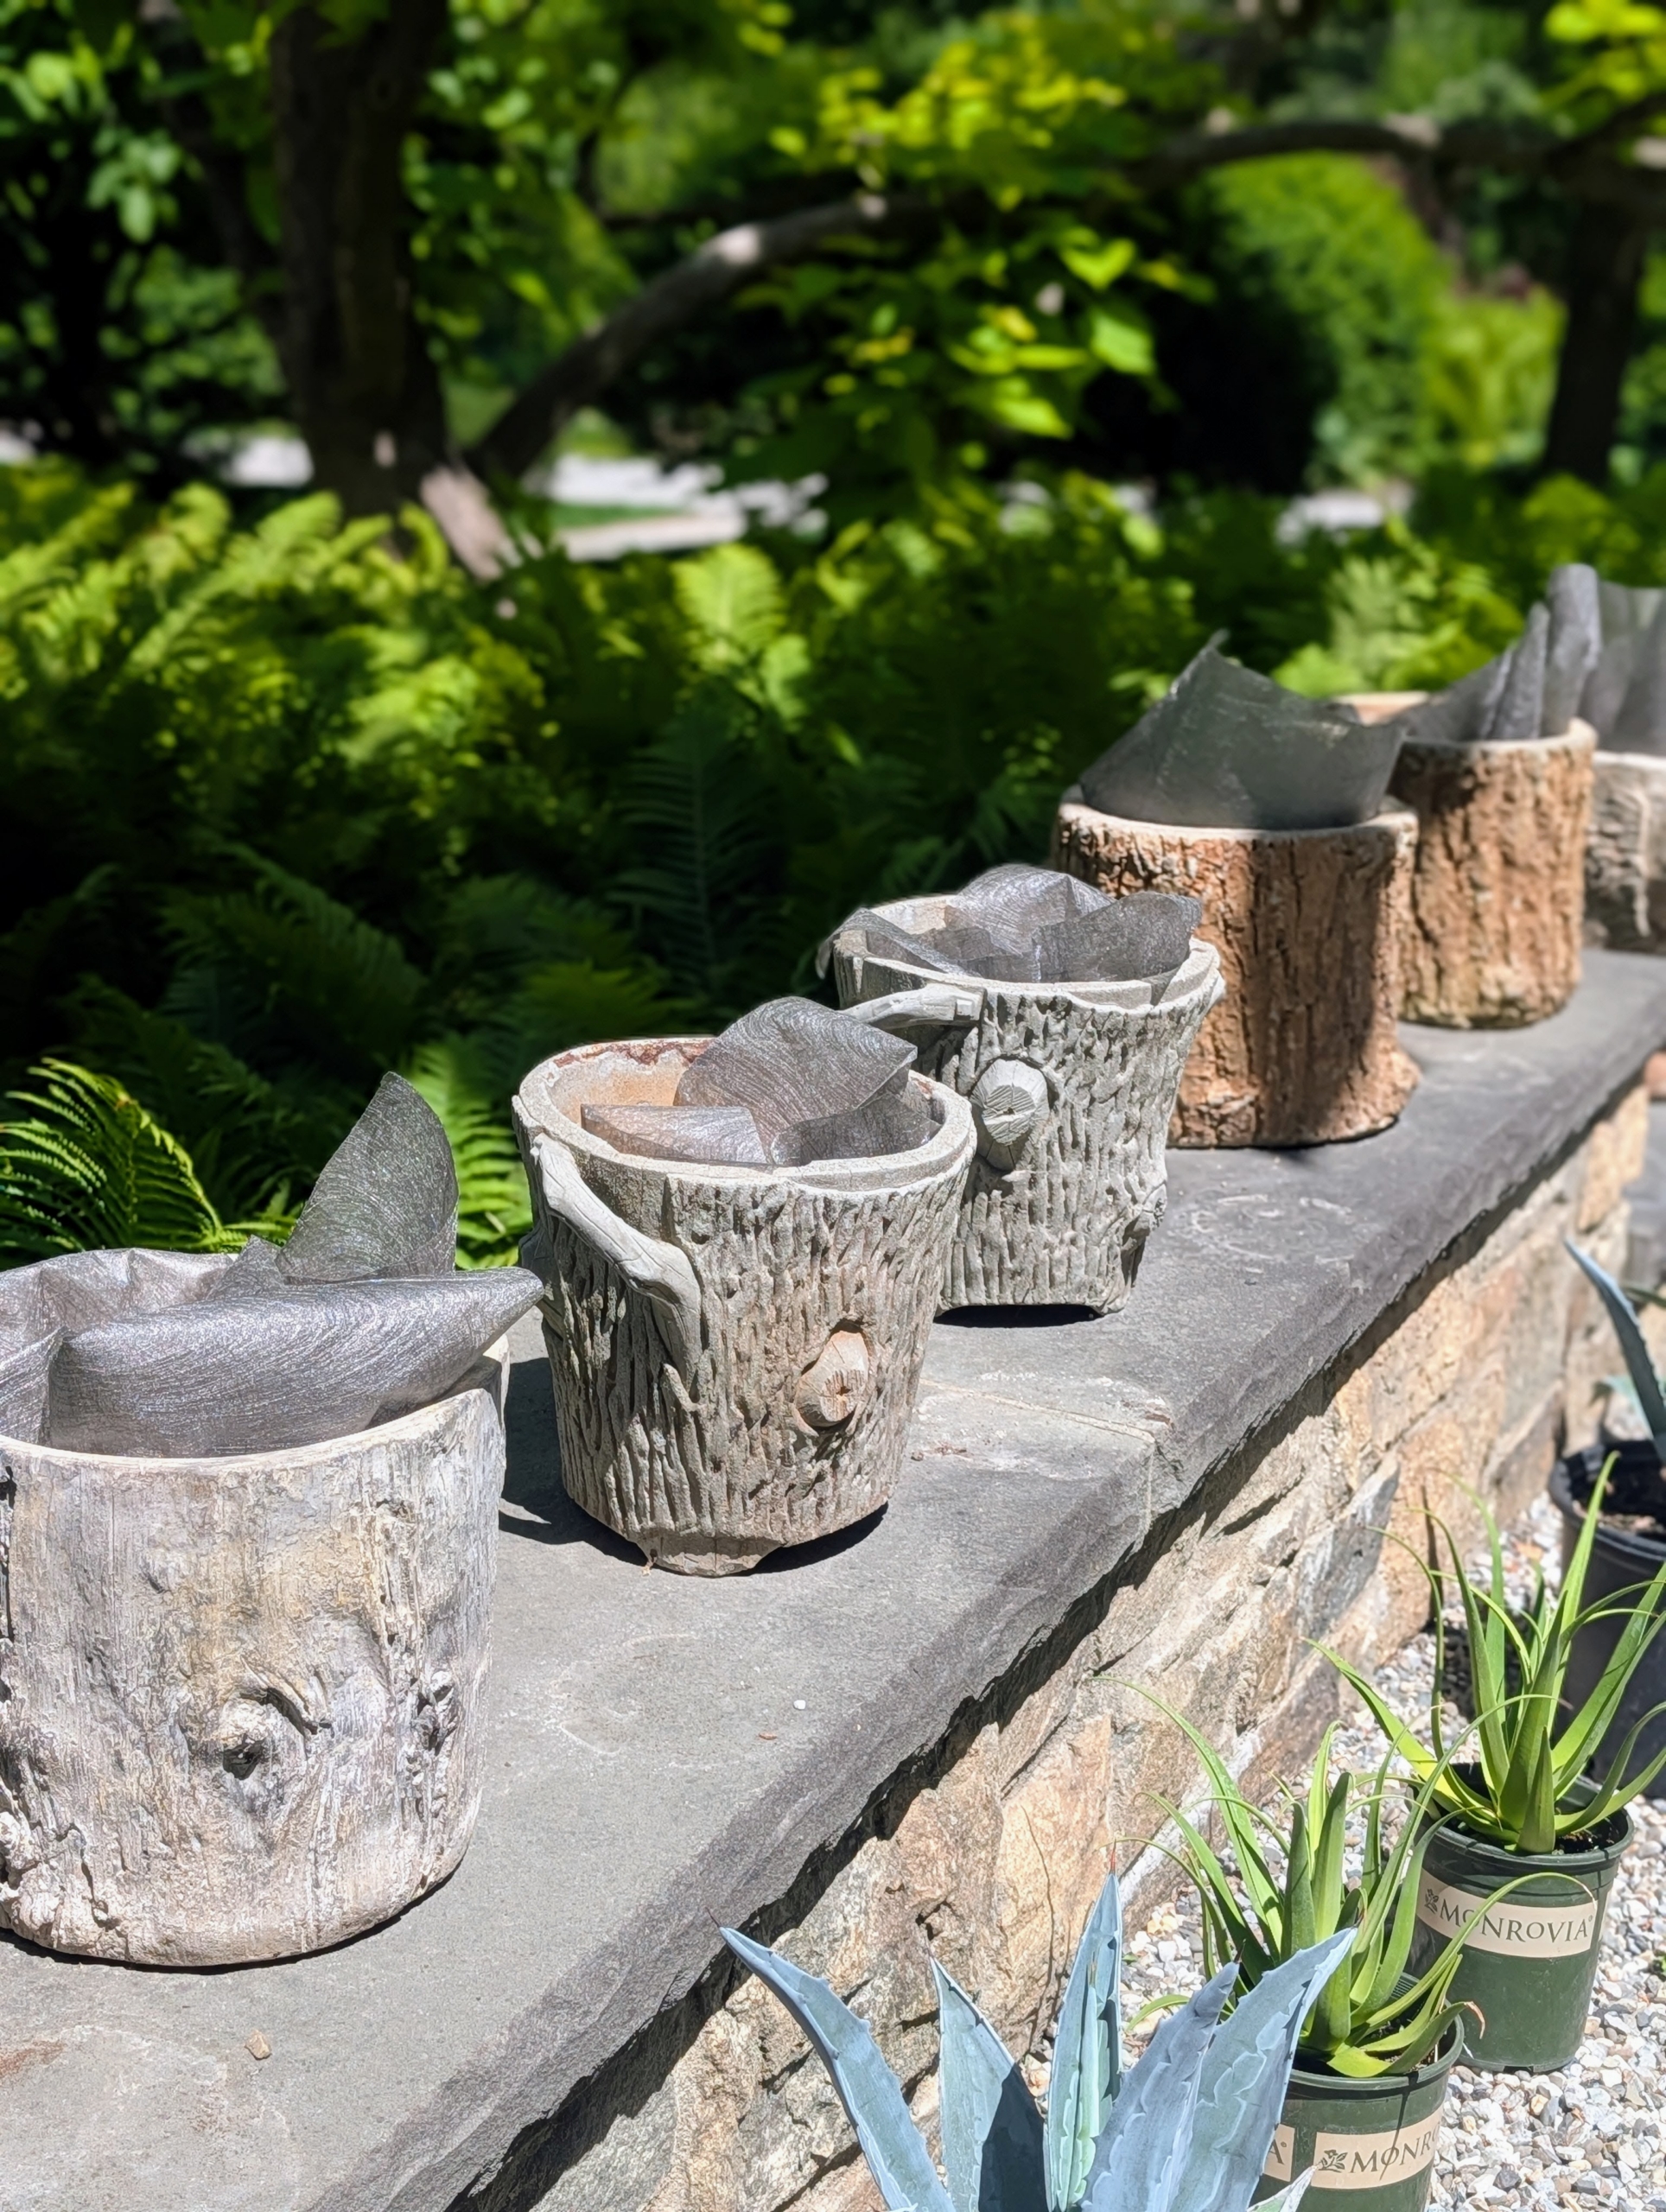
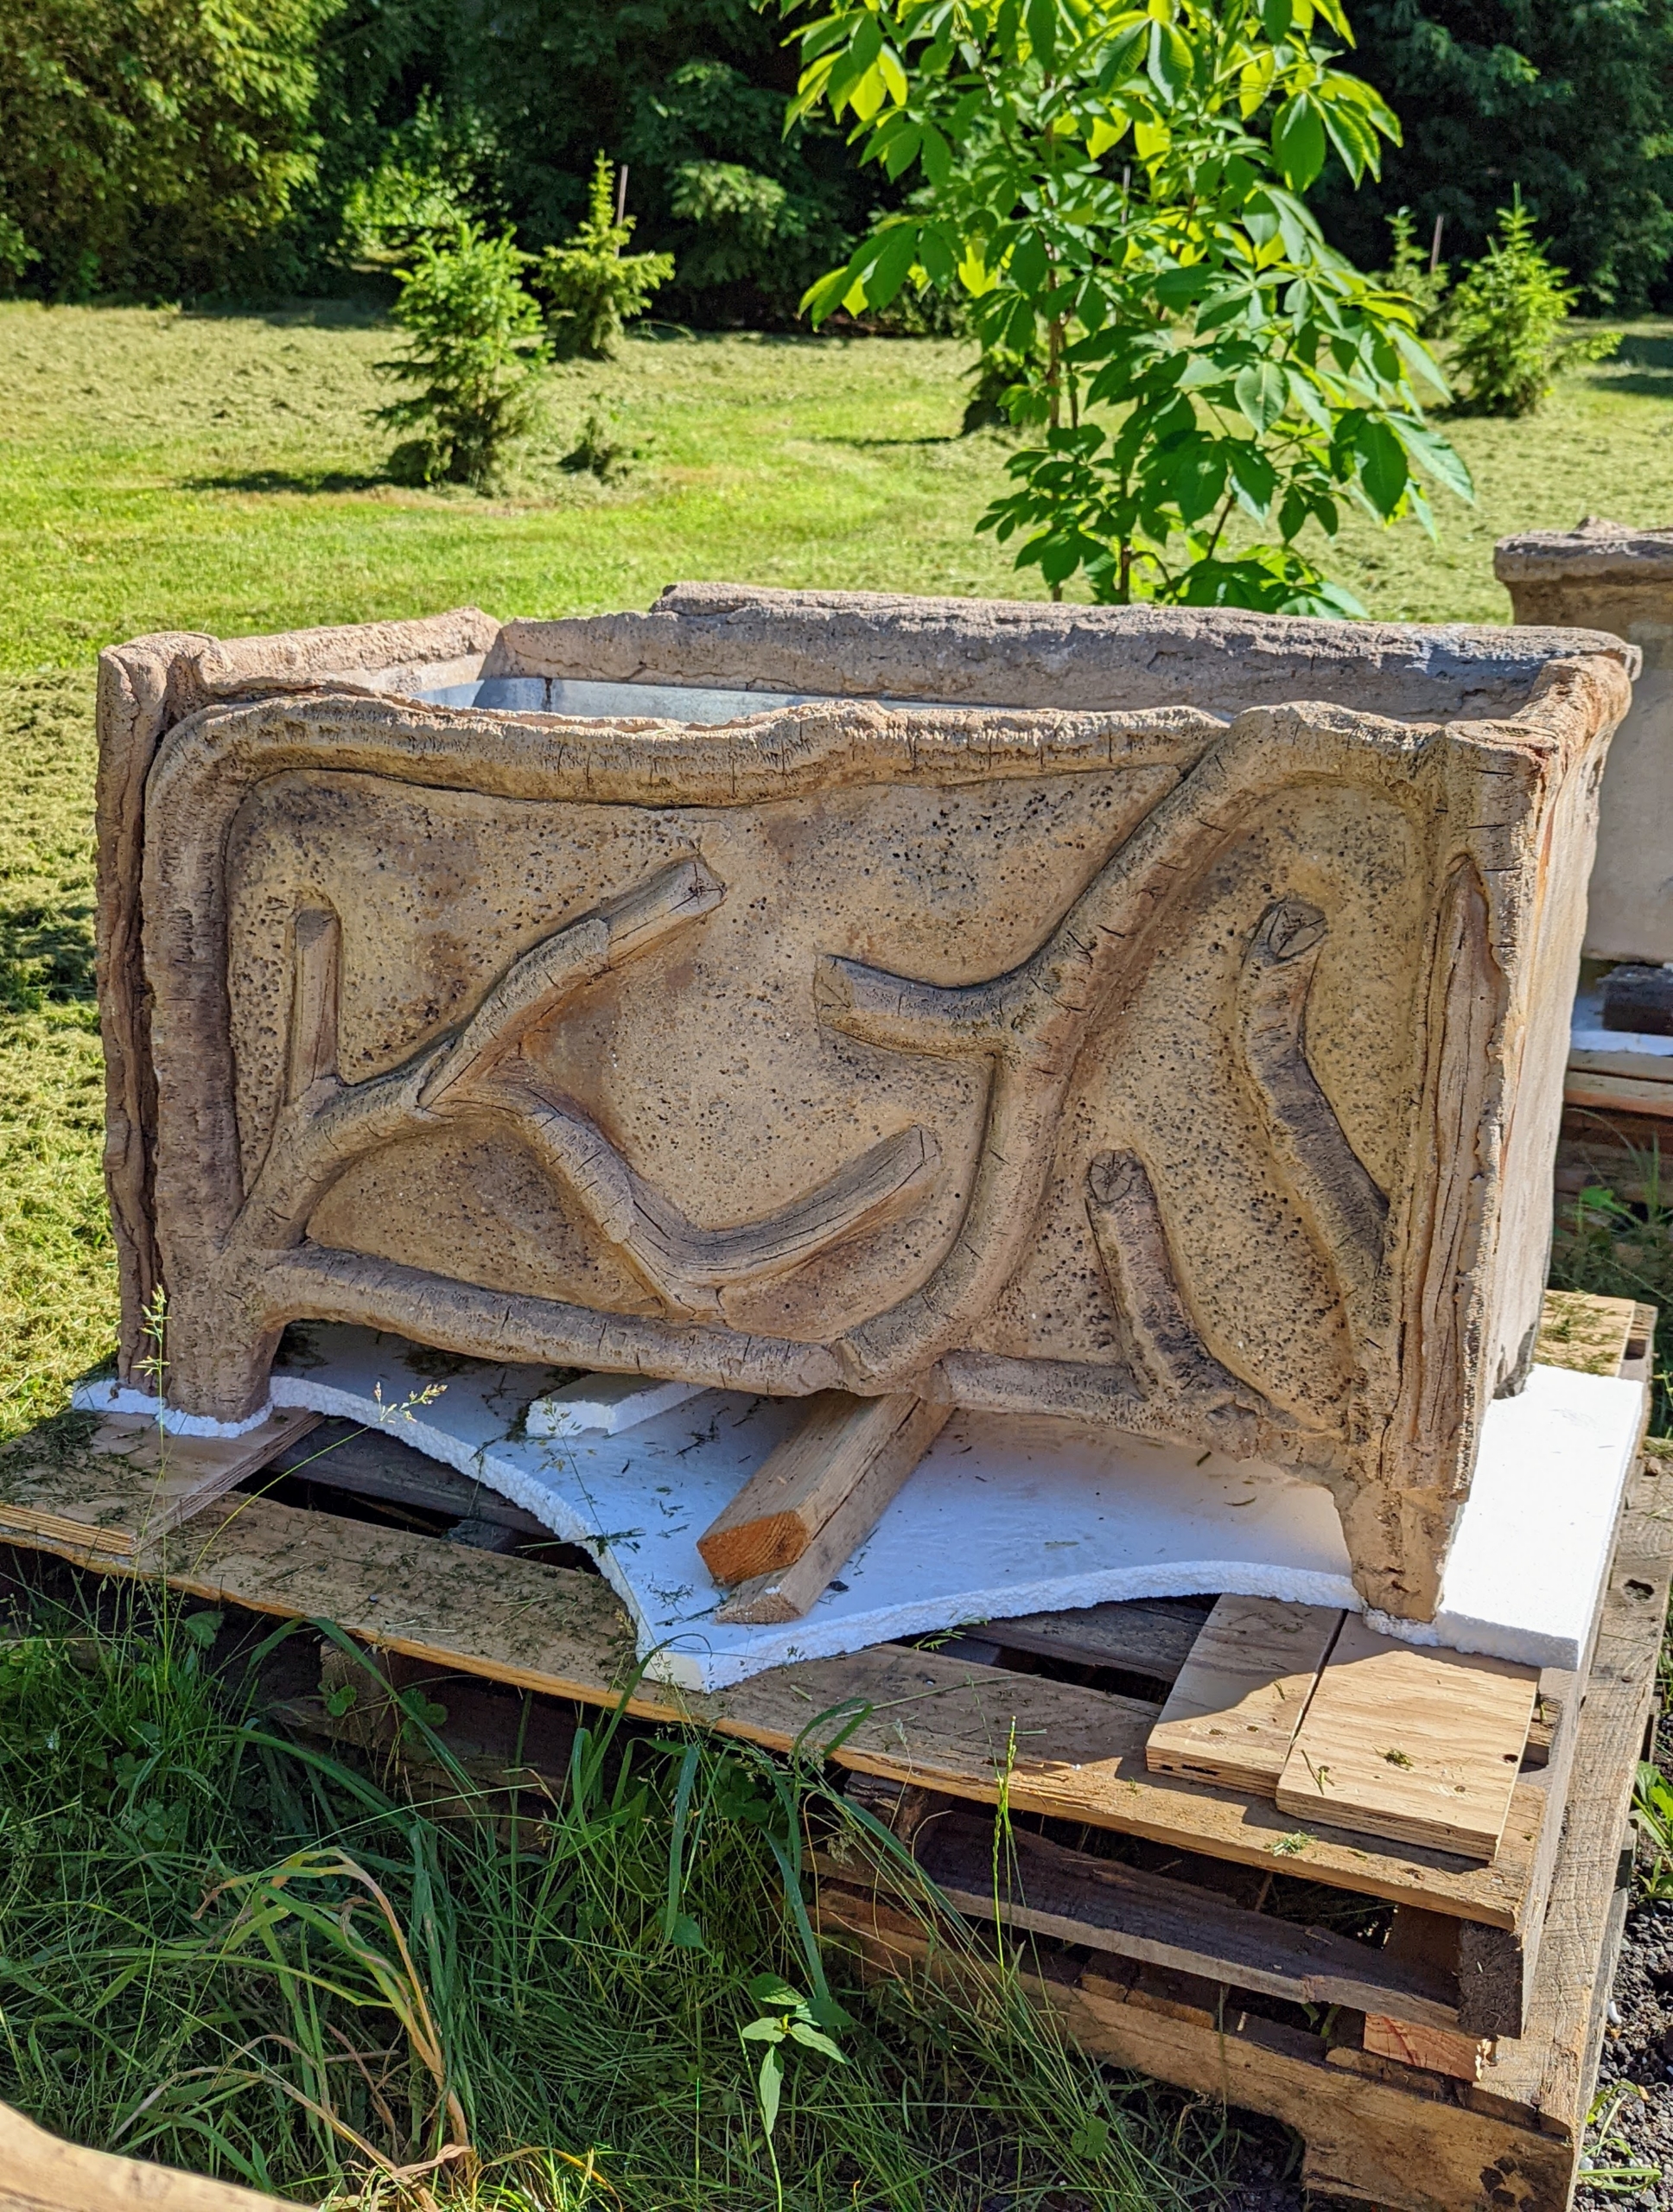
First I select what vessels I will use in a certain location. This year outside my carport, I decided to display a series of faux bois pots – decorative planters that look like real wood using materials like reinforced concrete, plaster, or ceramic. The term comes from the French faux bois, meaning “false wood.” Some are old and some are from my own collection on QVC.
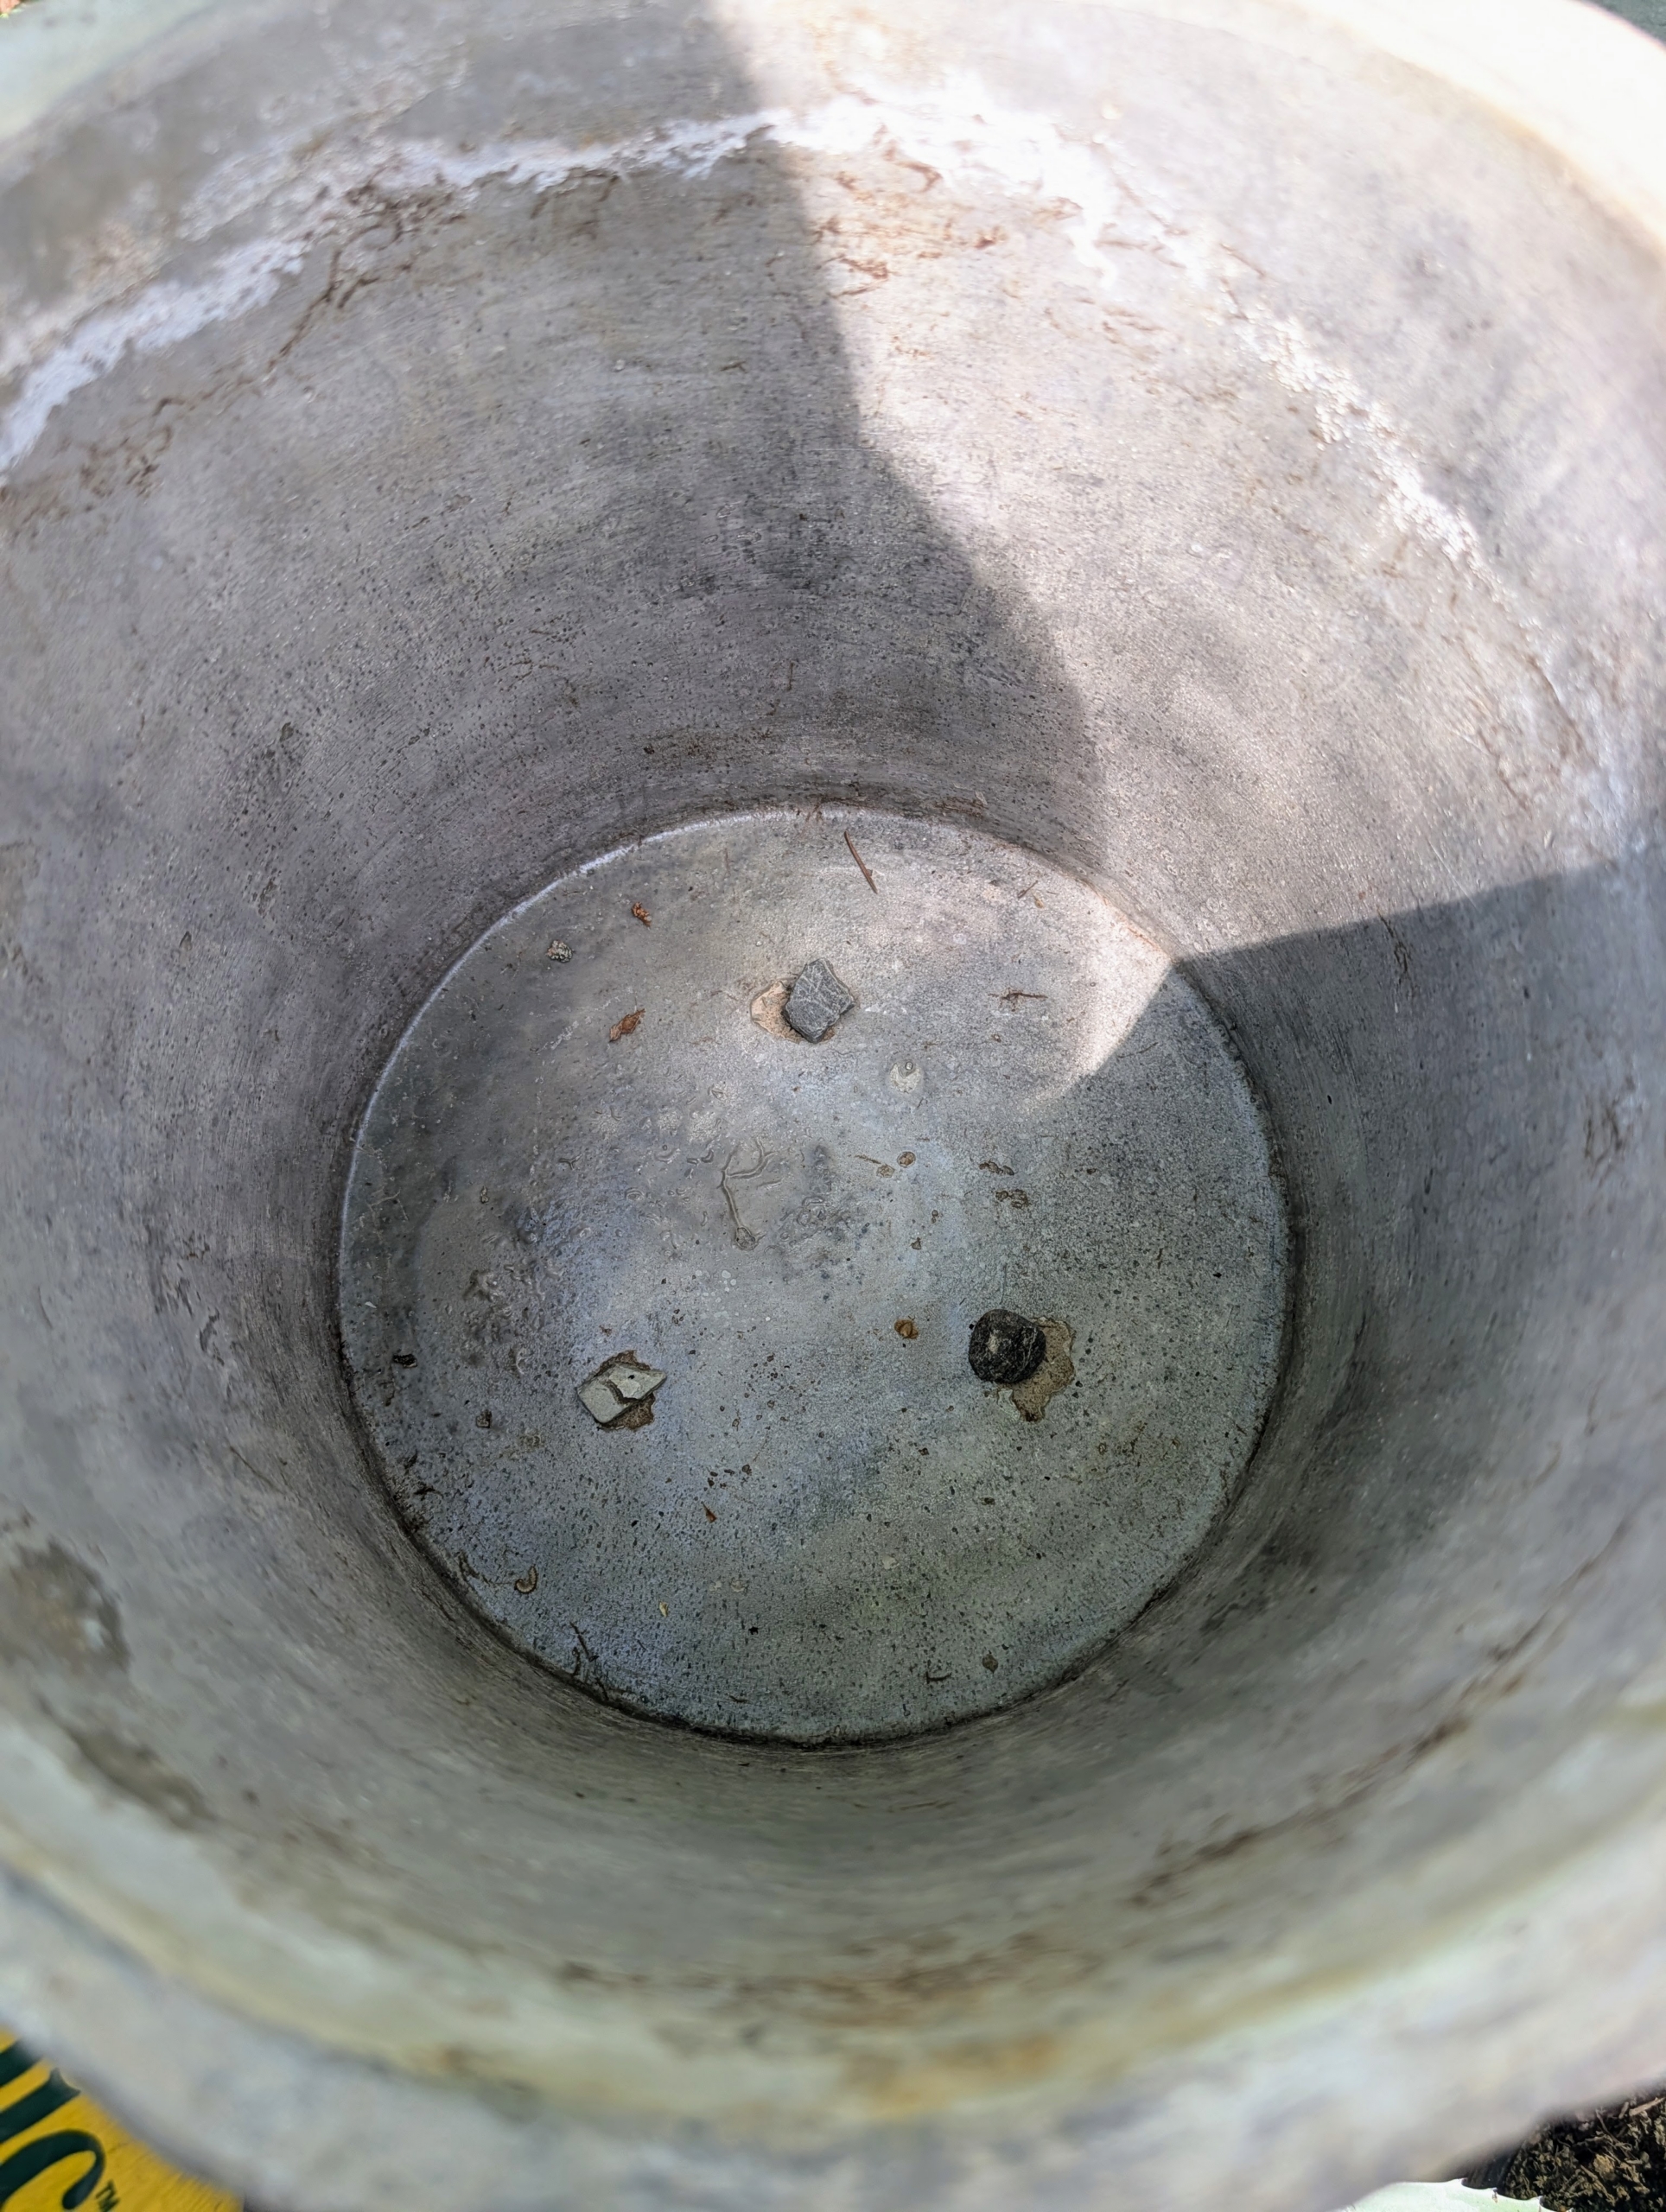
Each pot has drainage holes at the bottom. Matthew covers each hole with a stone to prevent soil from clogging or escaping. Good drainage is very important.
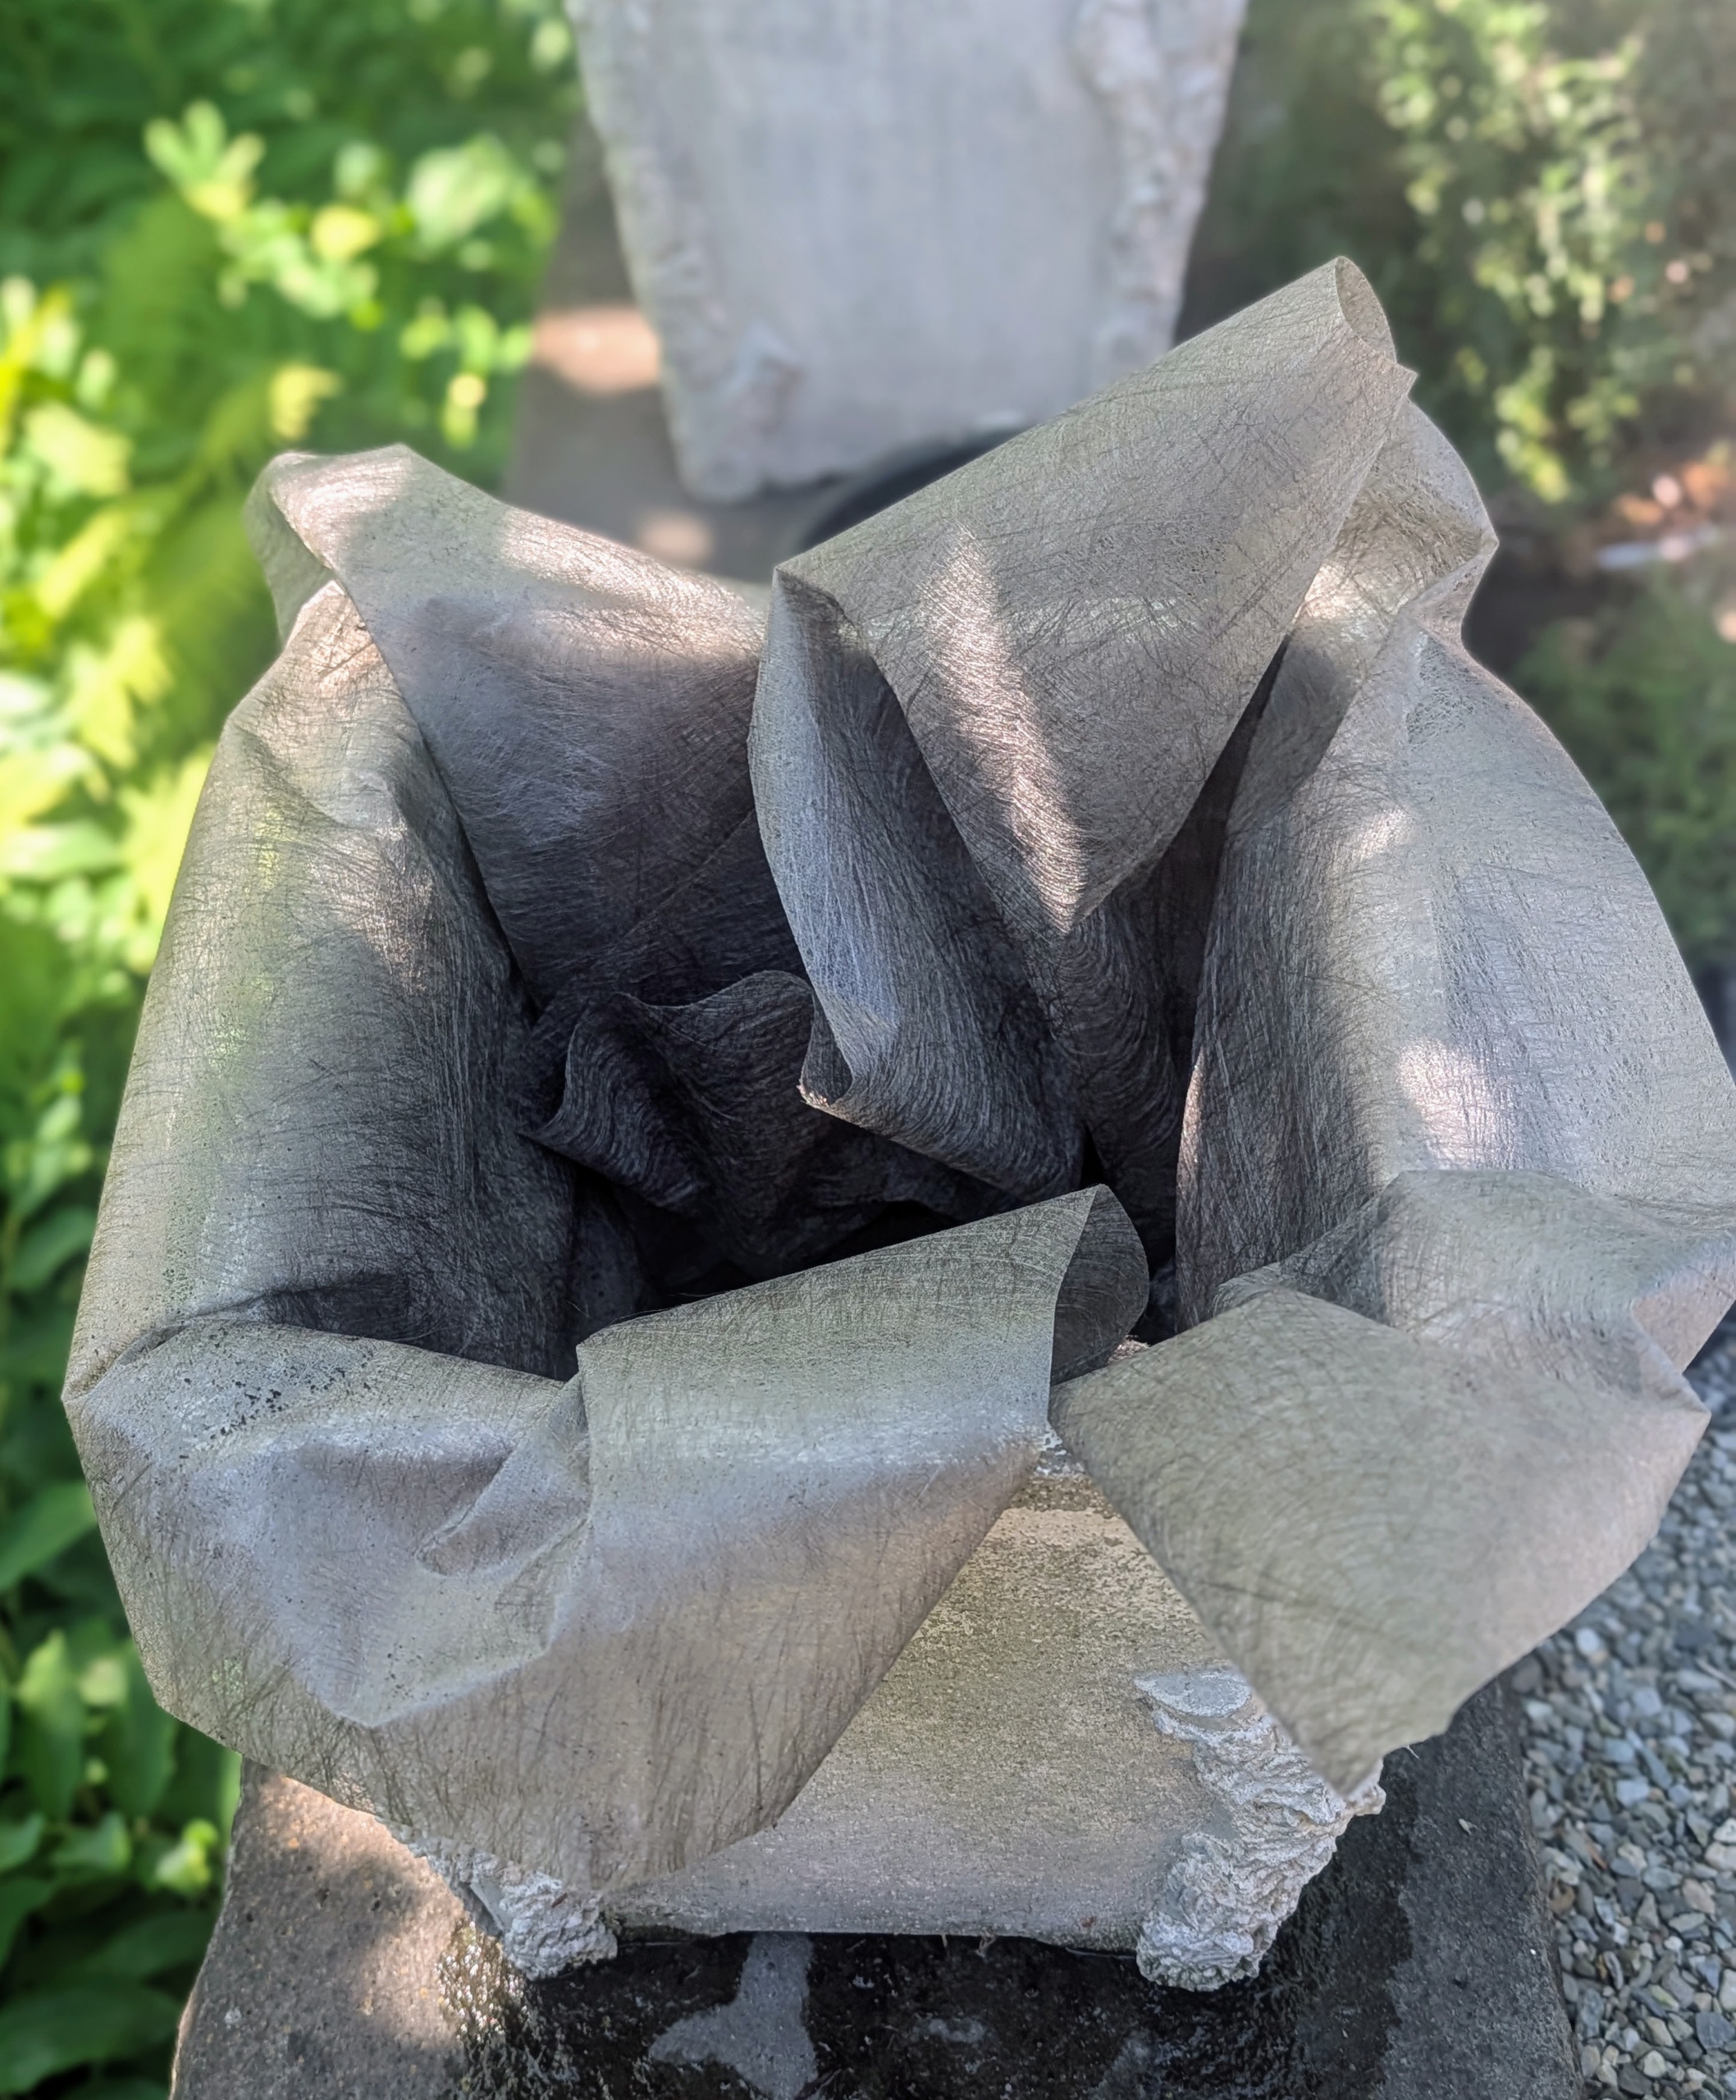
Matthew fills each planter with gardening or landscape fabric. The fabric is made from a solid sheet that allows water to soak through. It is available at any garden shop. He also checks that each plant fits nicely in its designated pot.
Matthew places a layer of fabric in every pot to protect the vessel itself. This will also make it easier to remove the plant next autumn, when it is put back in the greenhouse or planted outdoors.
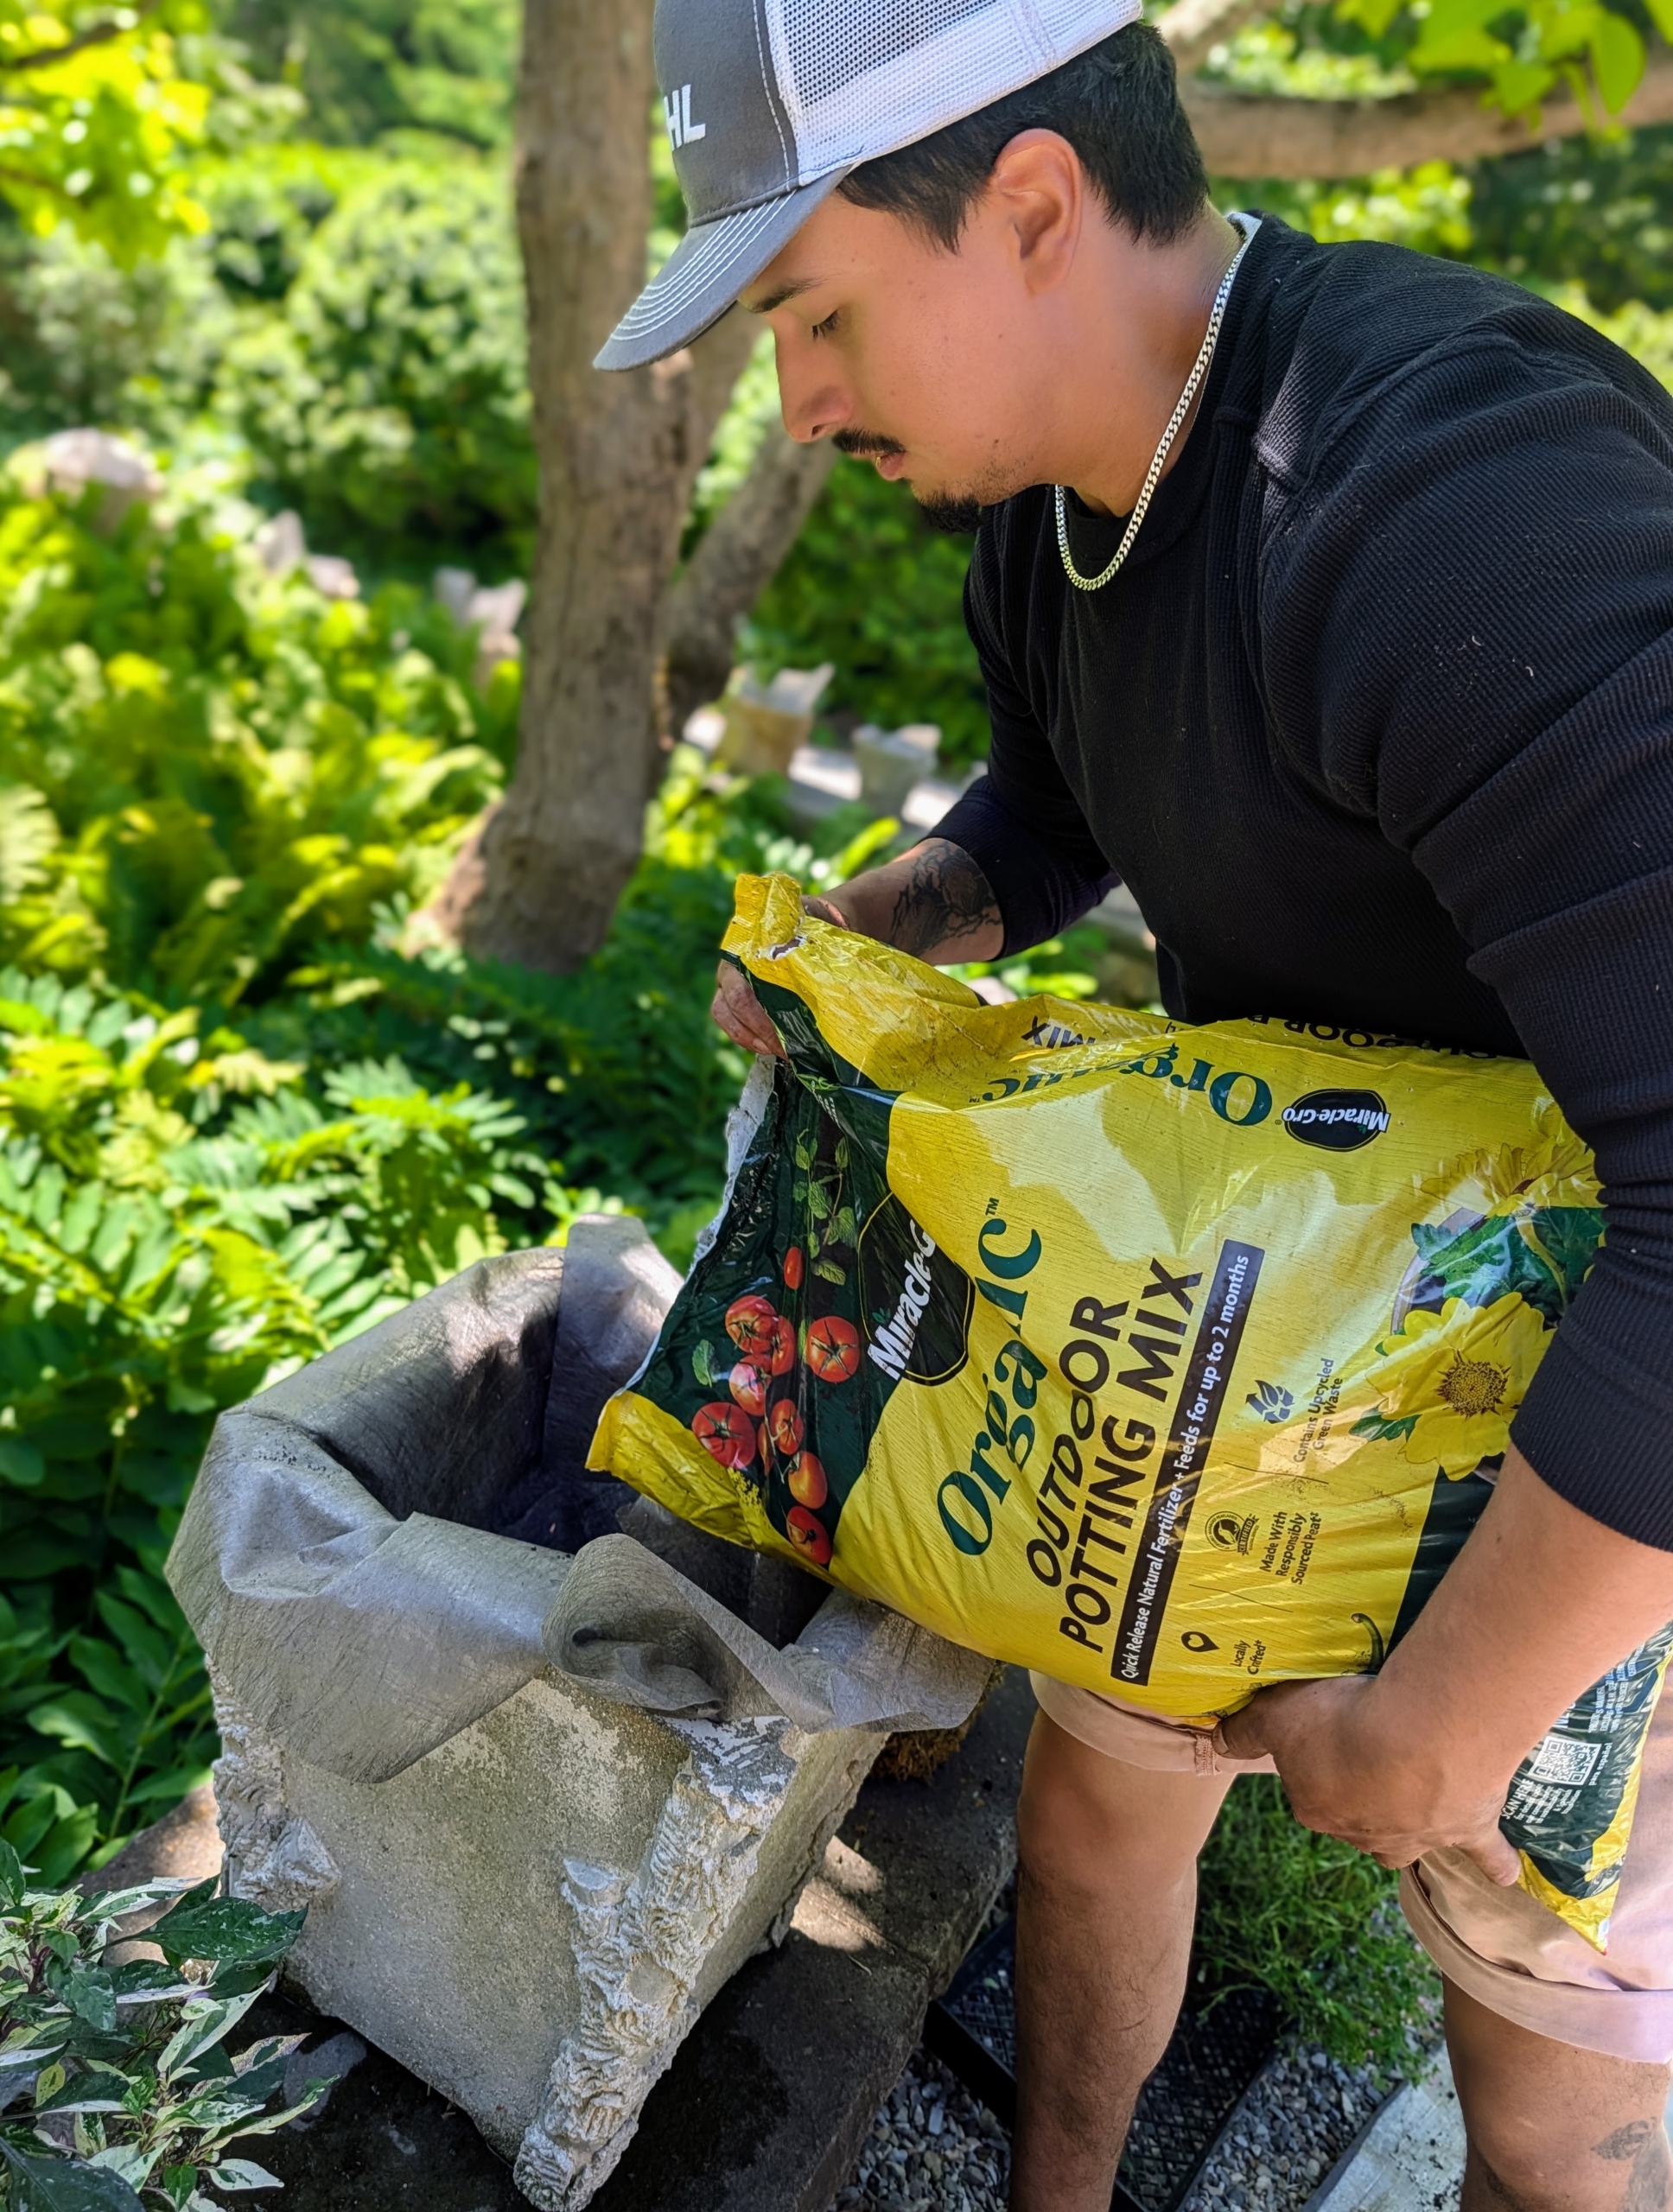
Then the container is filled two-thirds of the way up with a good quality potting soil. Using a proper soil mix will help to promote faster root growth and give quick anchorage to young roots. I use Miracle-Gro Organic Outdoor Potting Mix.
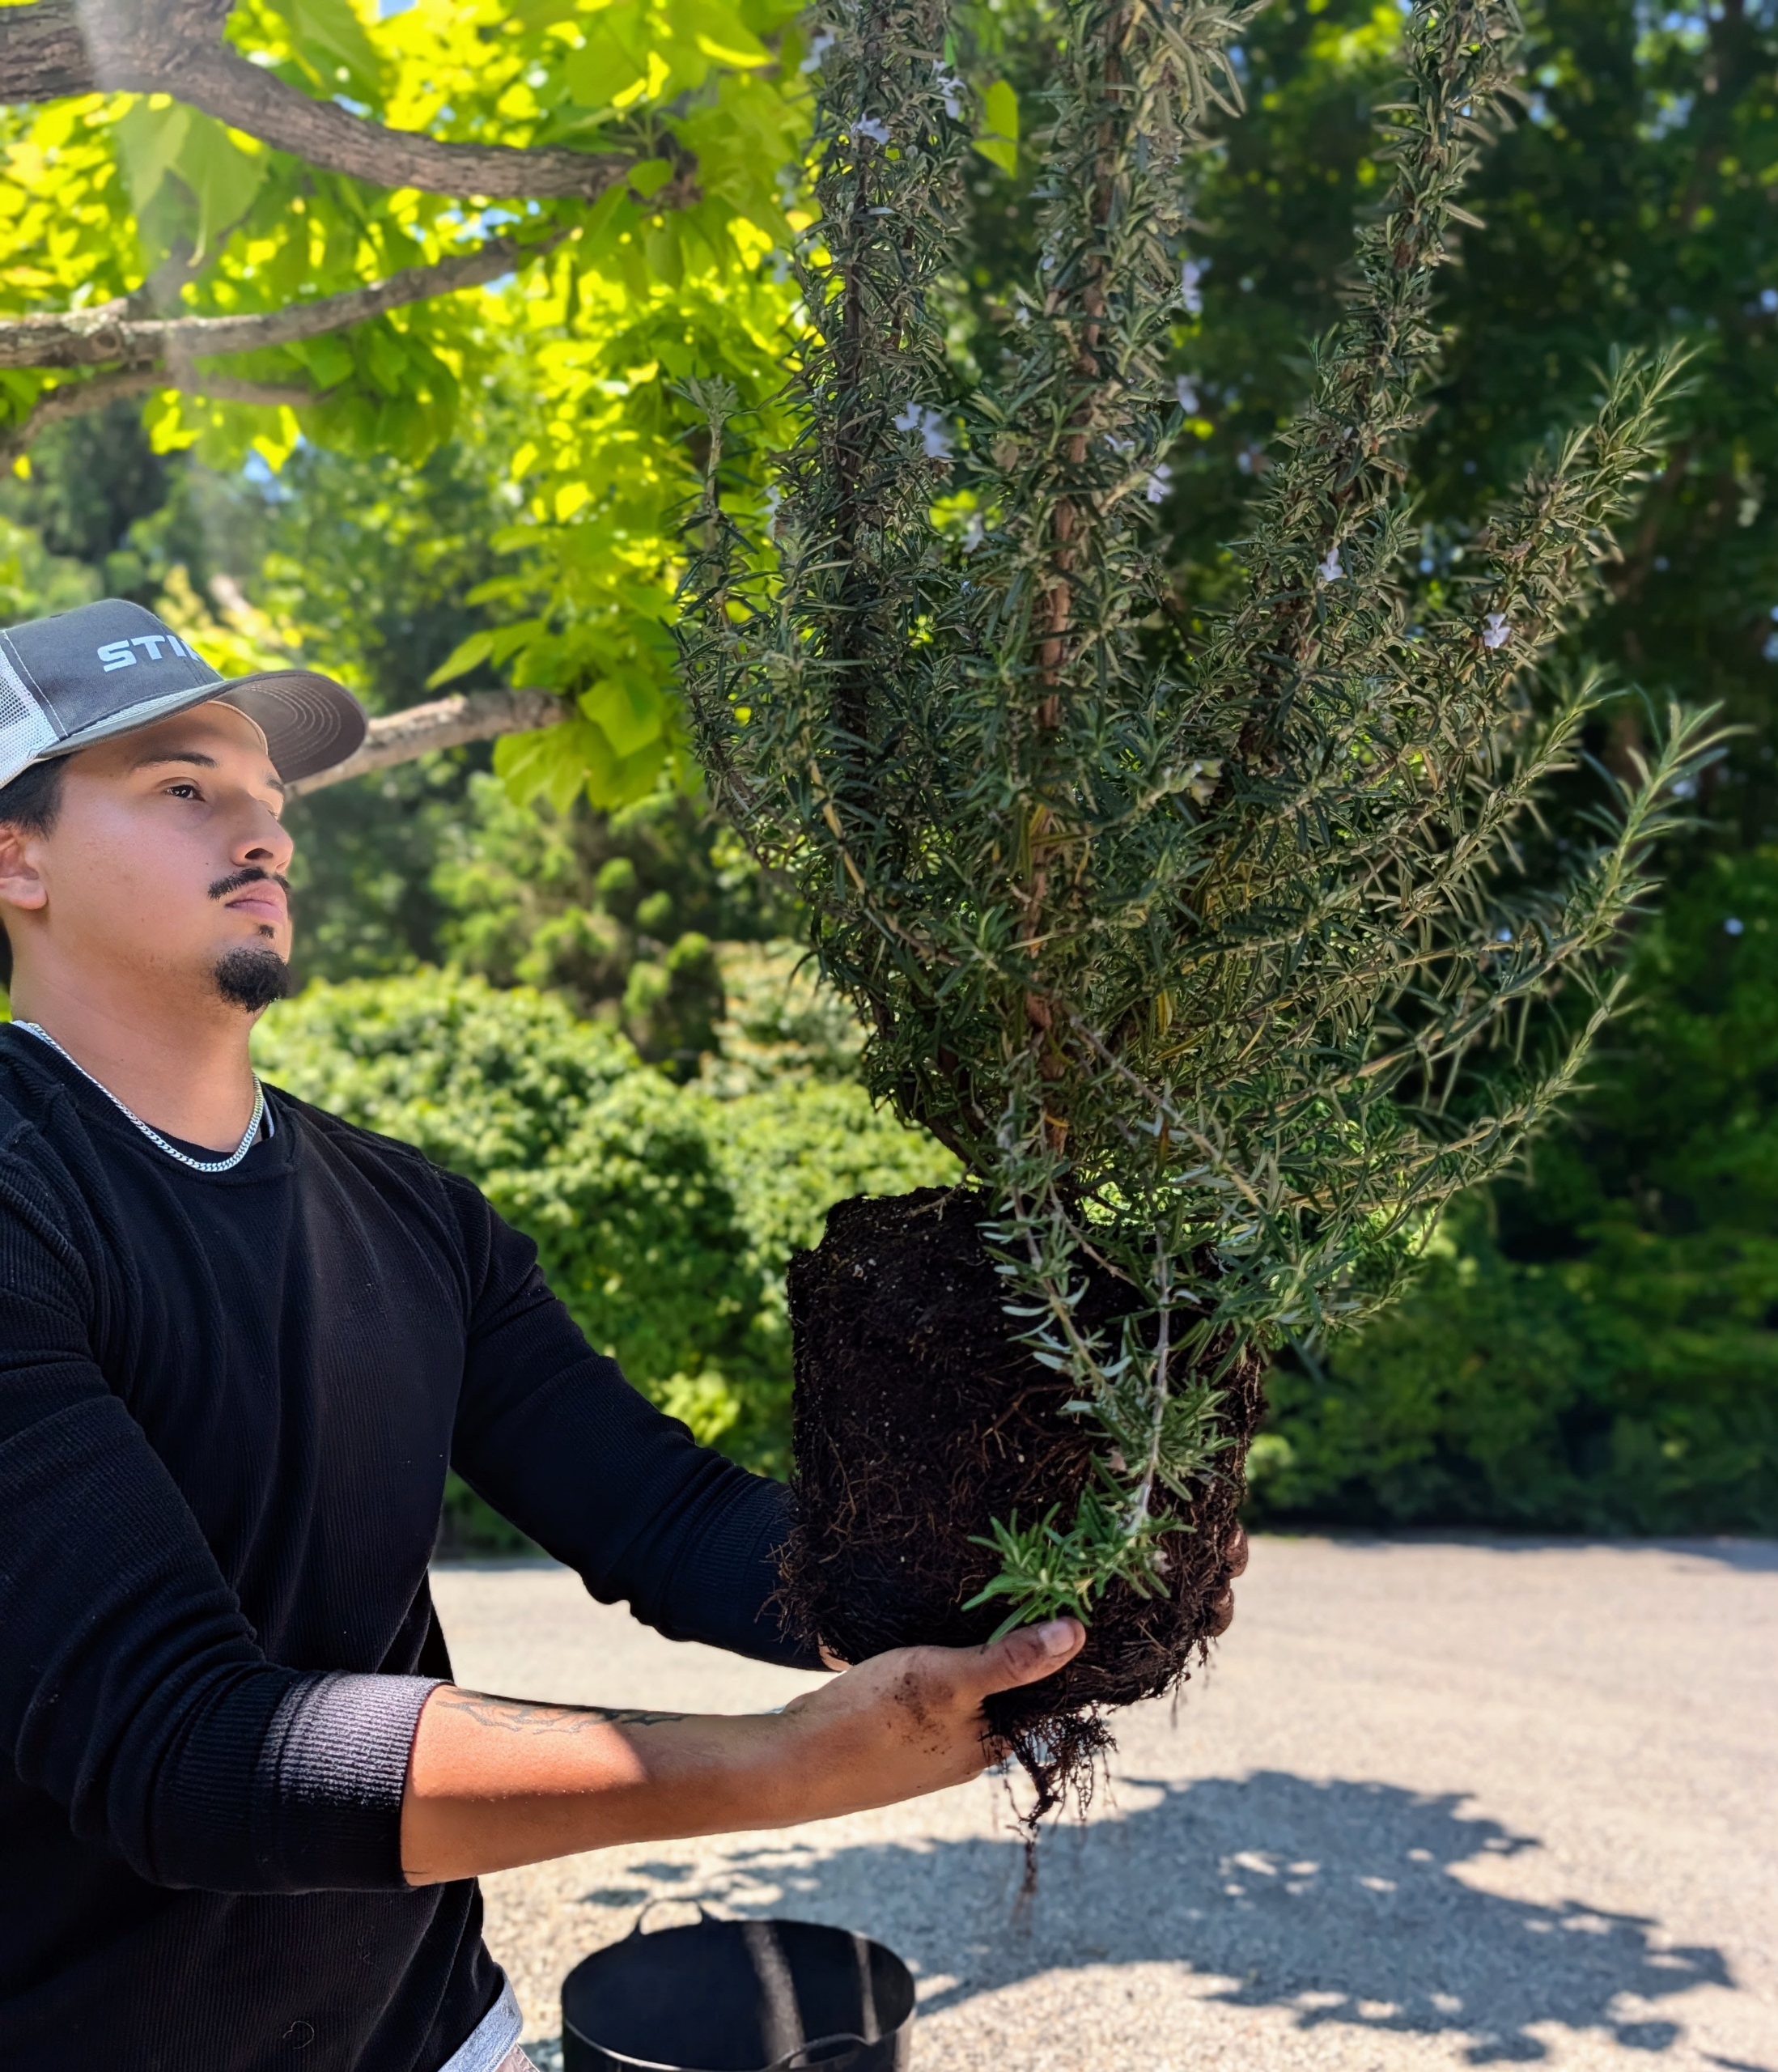
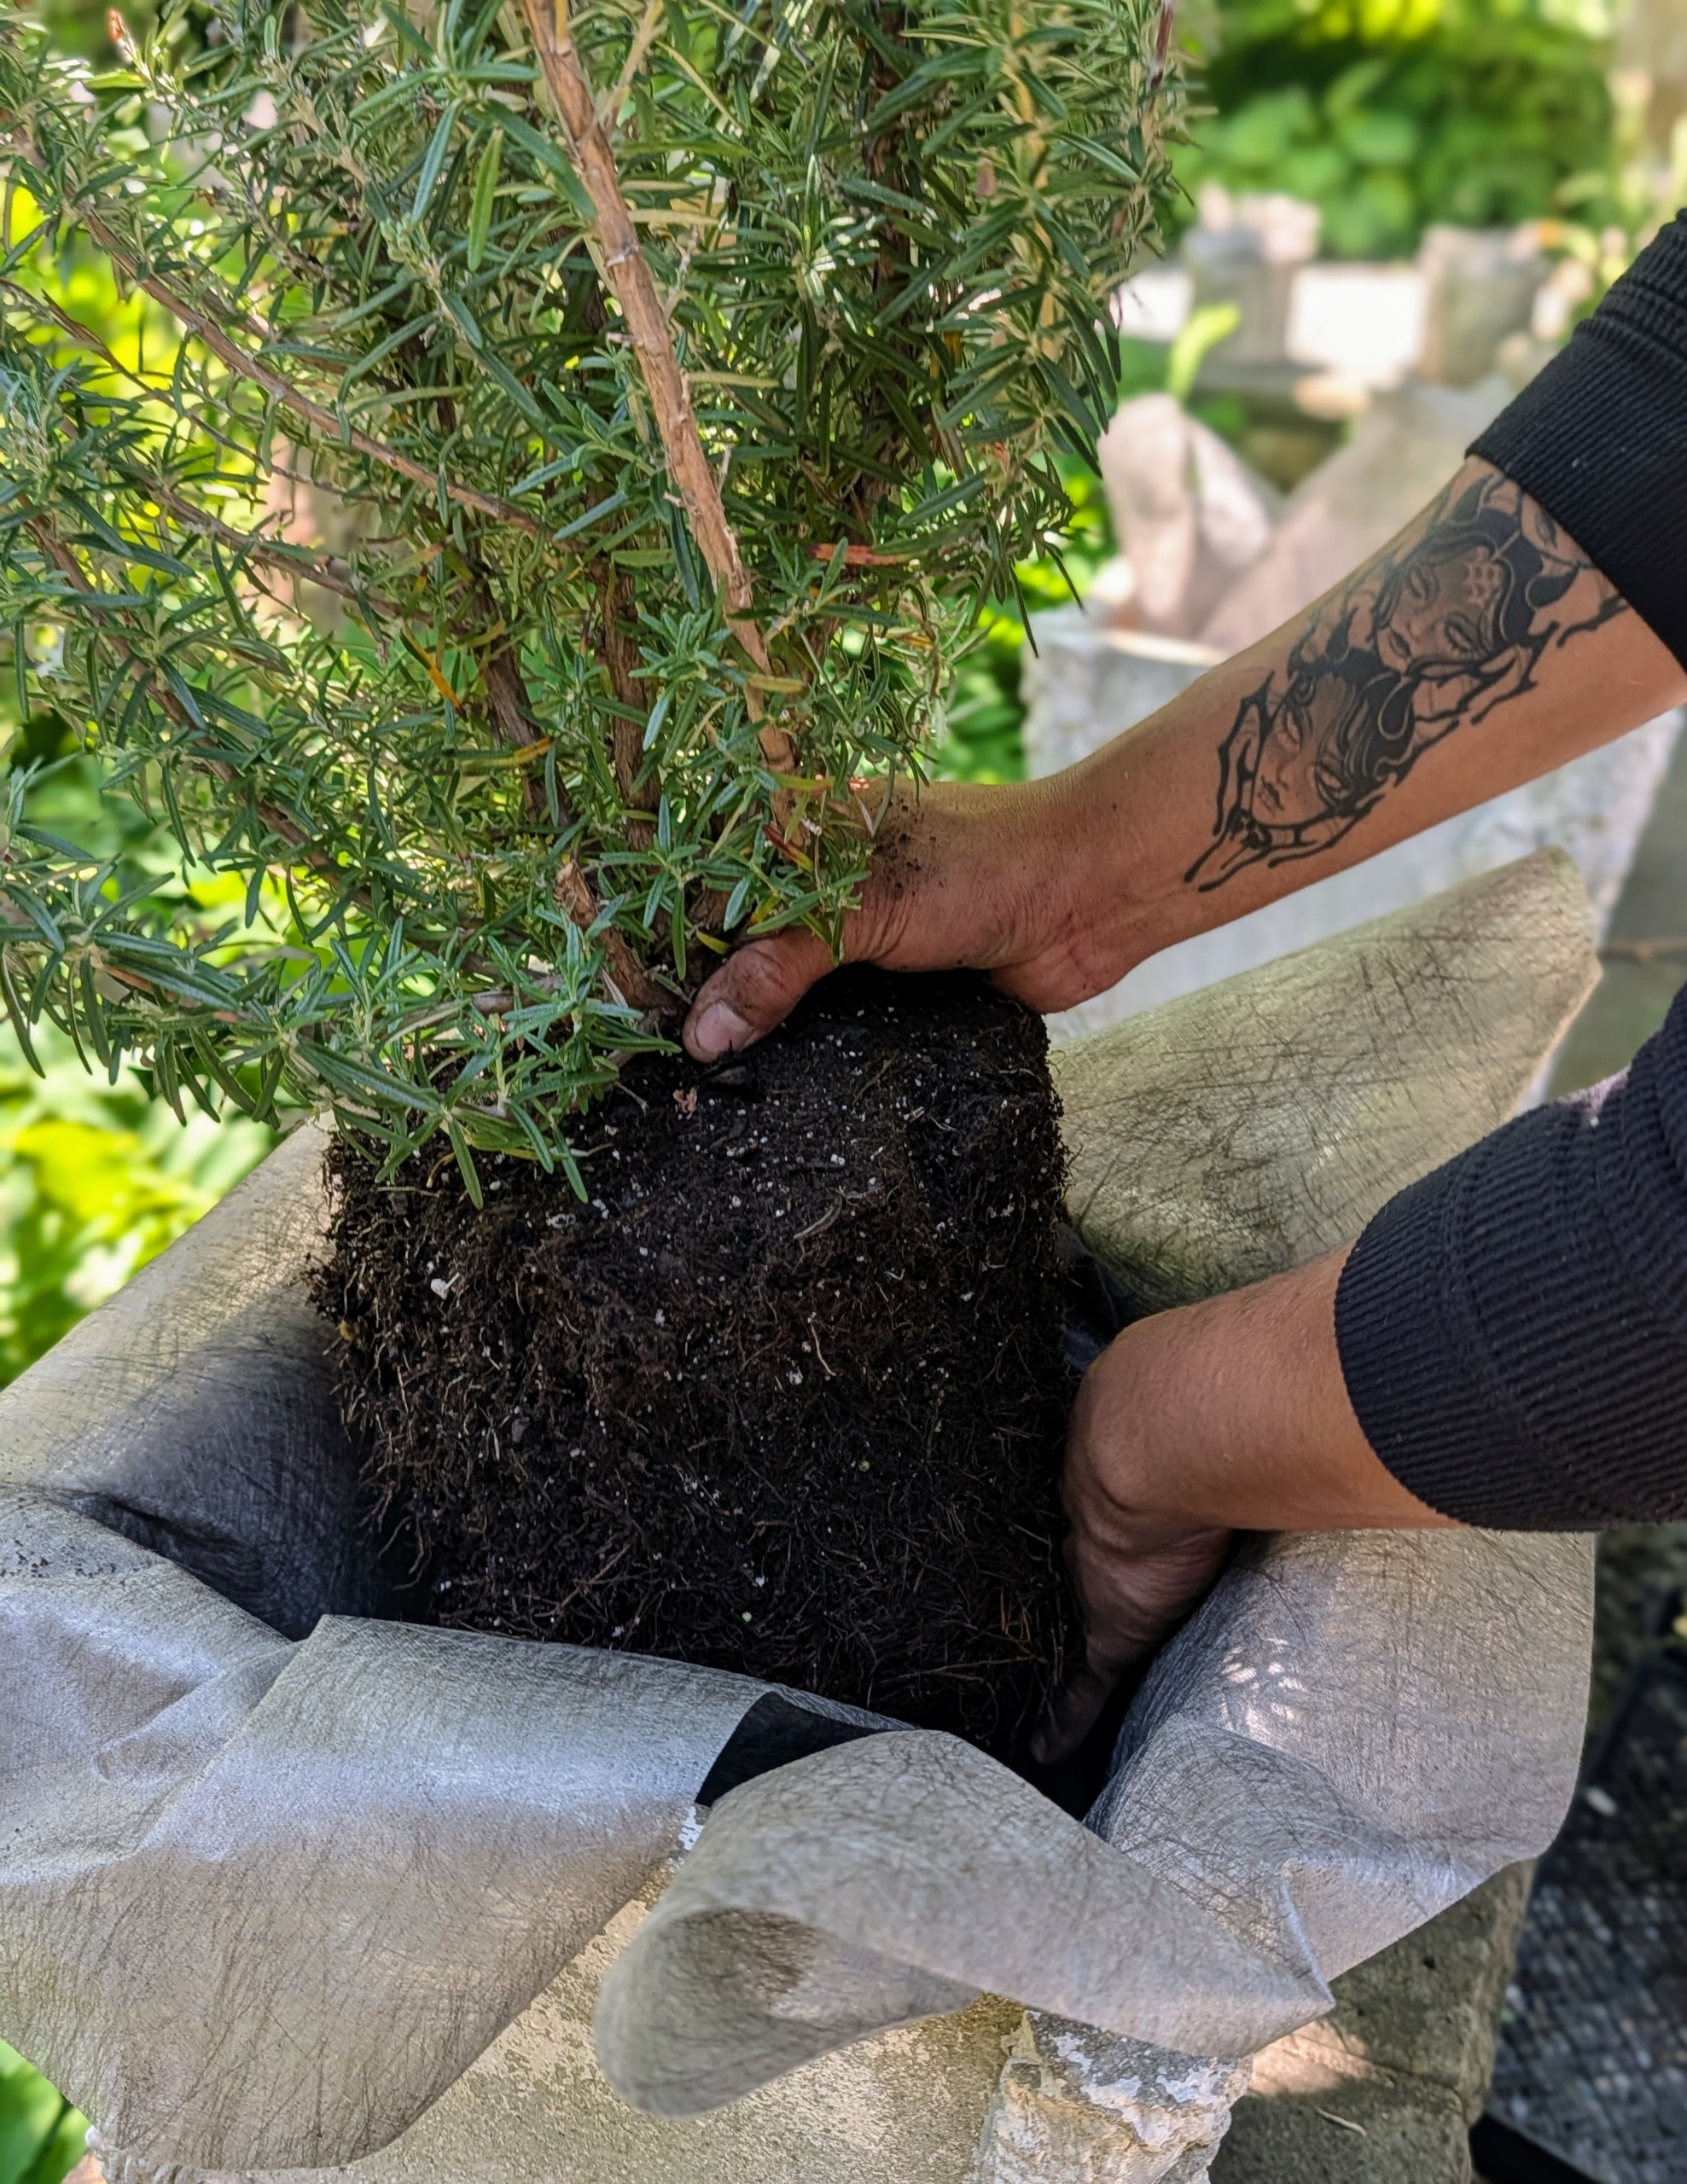
Here, Matthew removes a flowering rosemary plant from its plastic container.
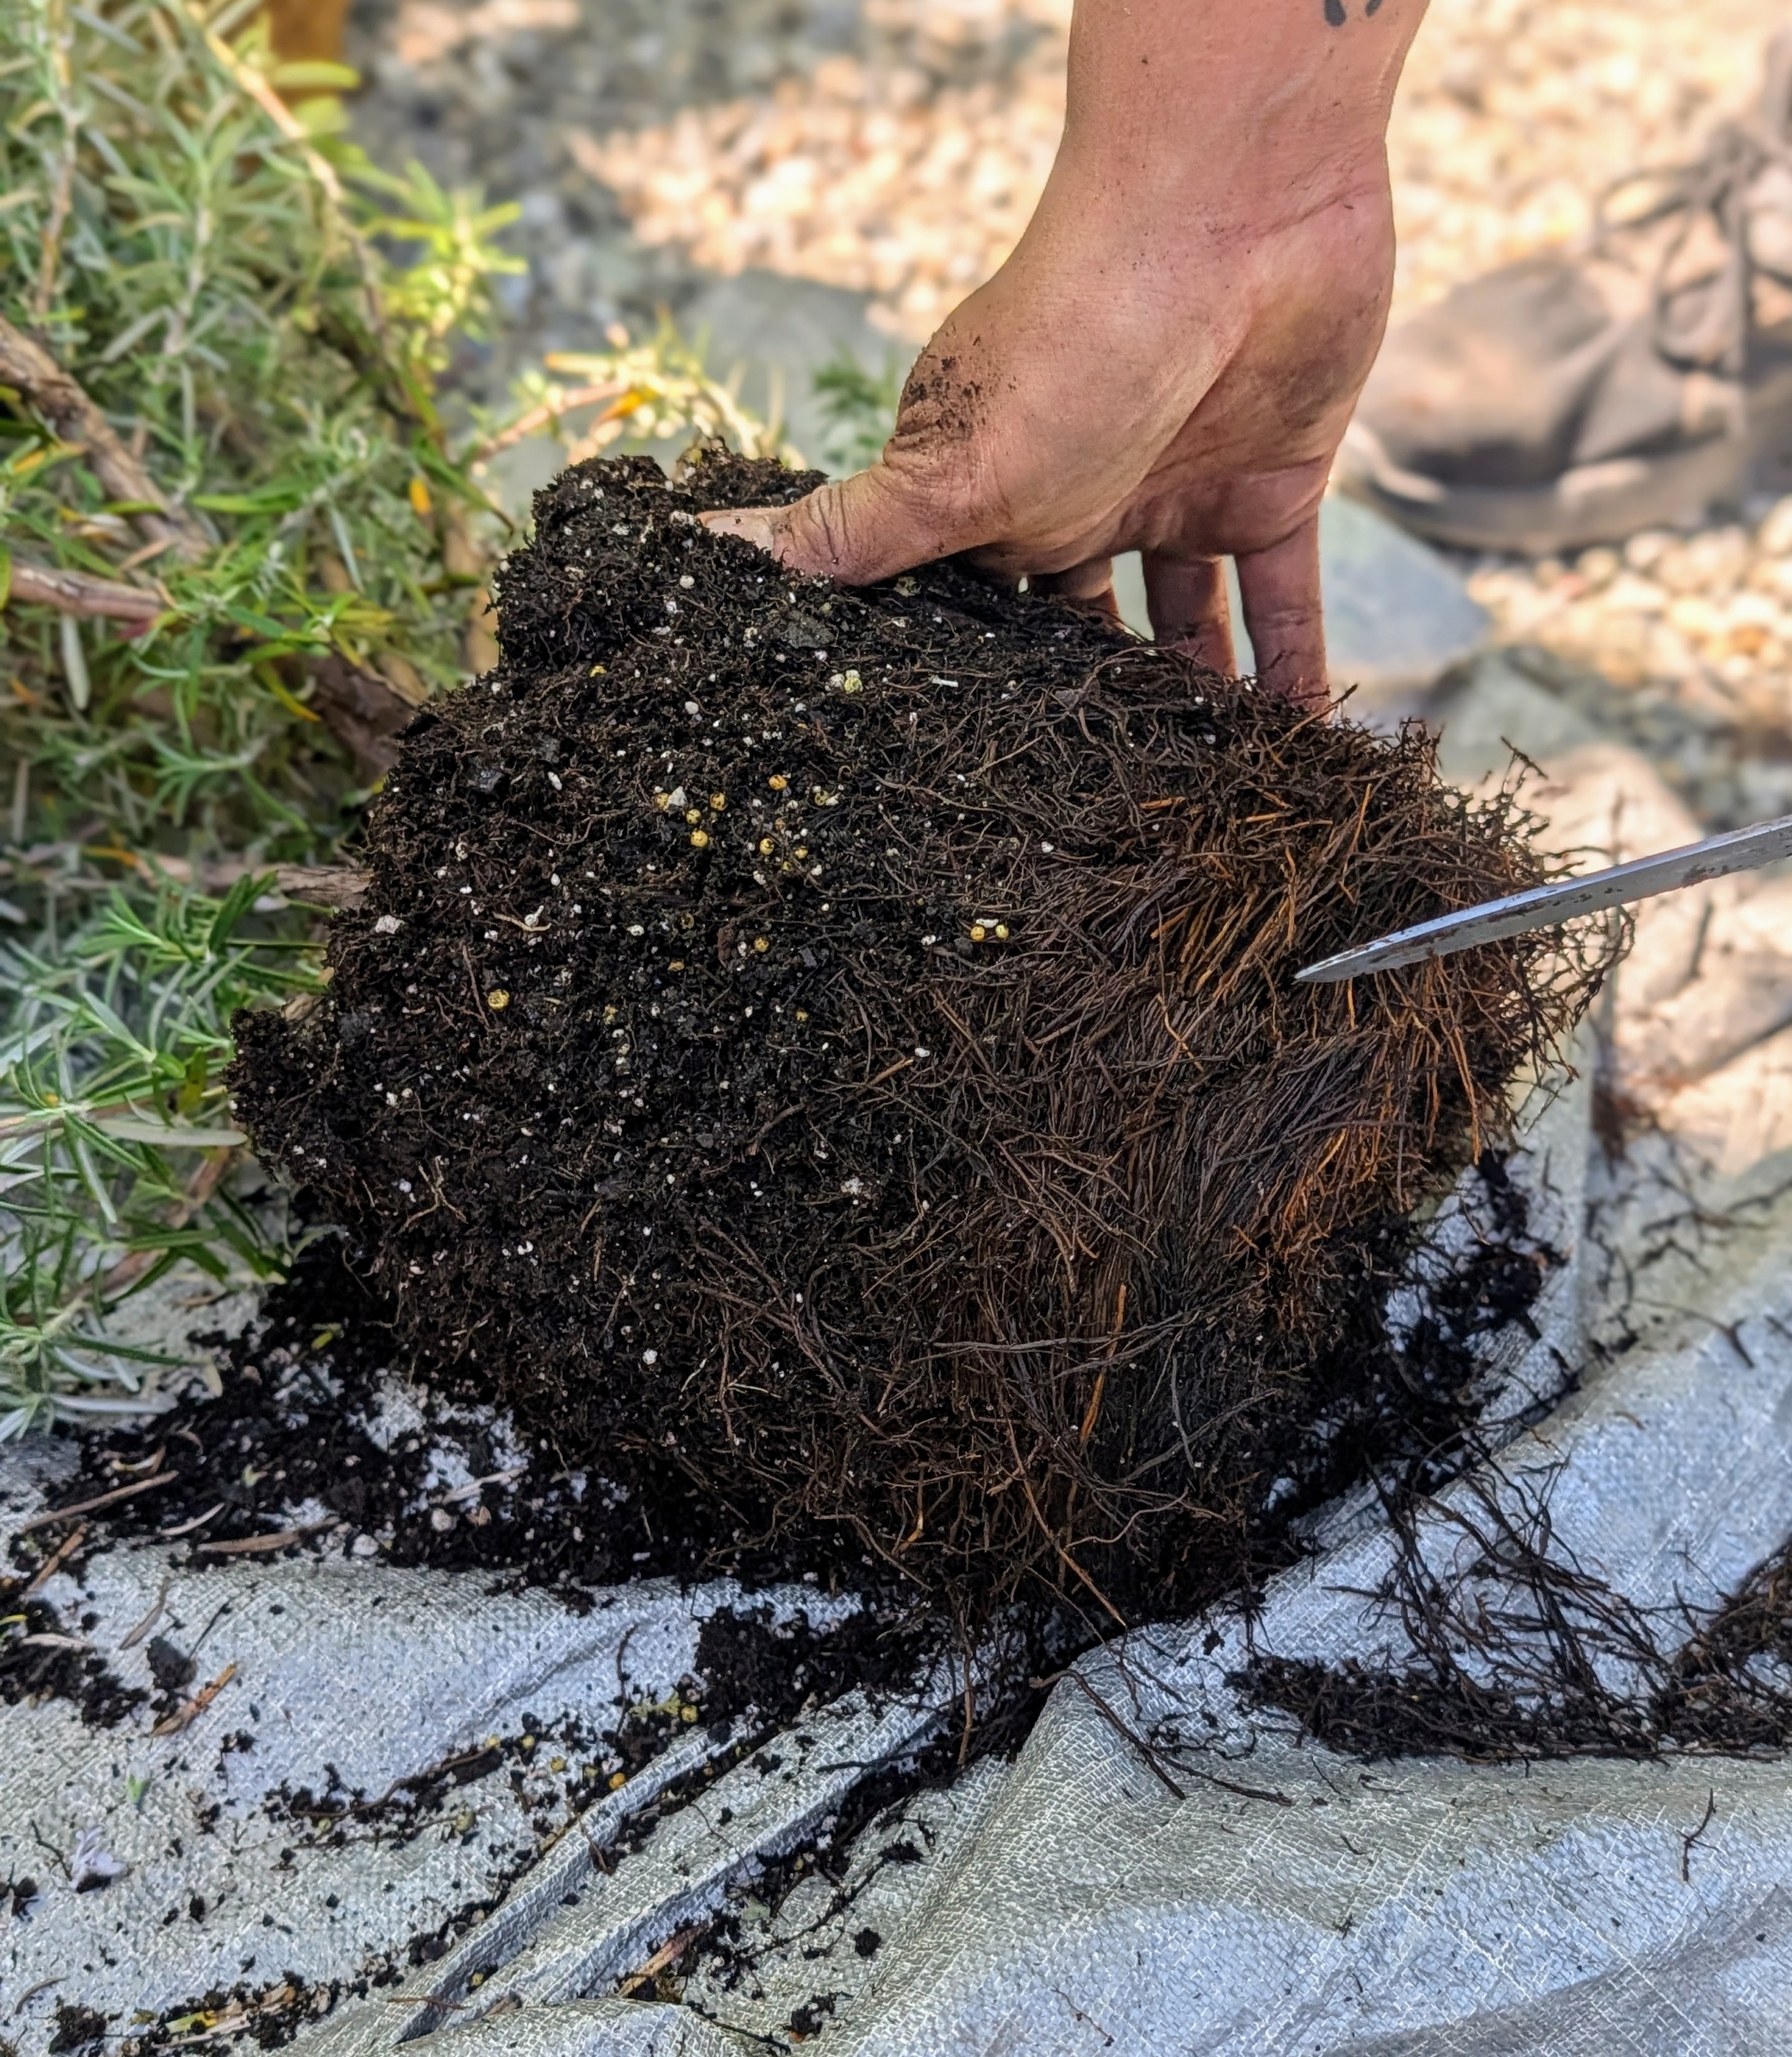
Remember, whenever transplanting always scarify the root ball, meaning tease or loosen the roots, so they are stimulated. This will help the plant roots grow and form a good foundation in the pot.
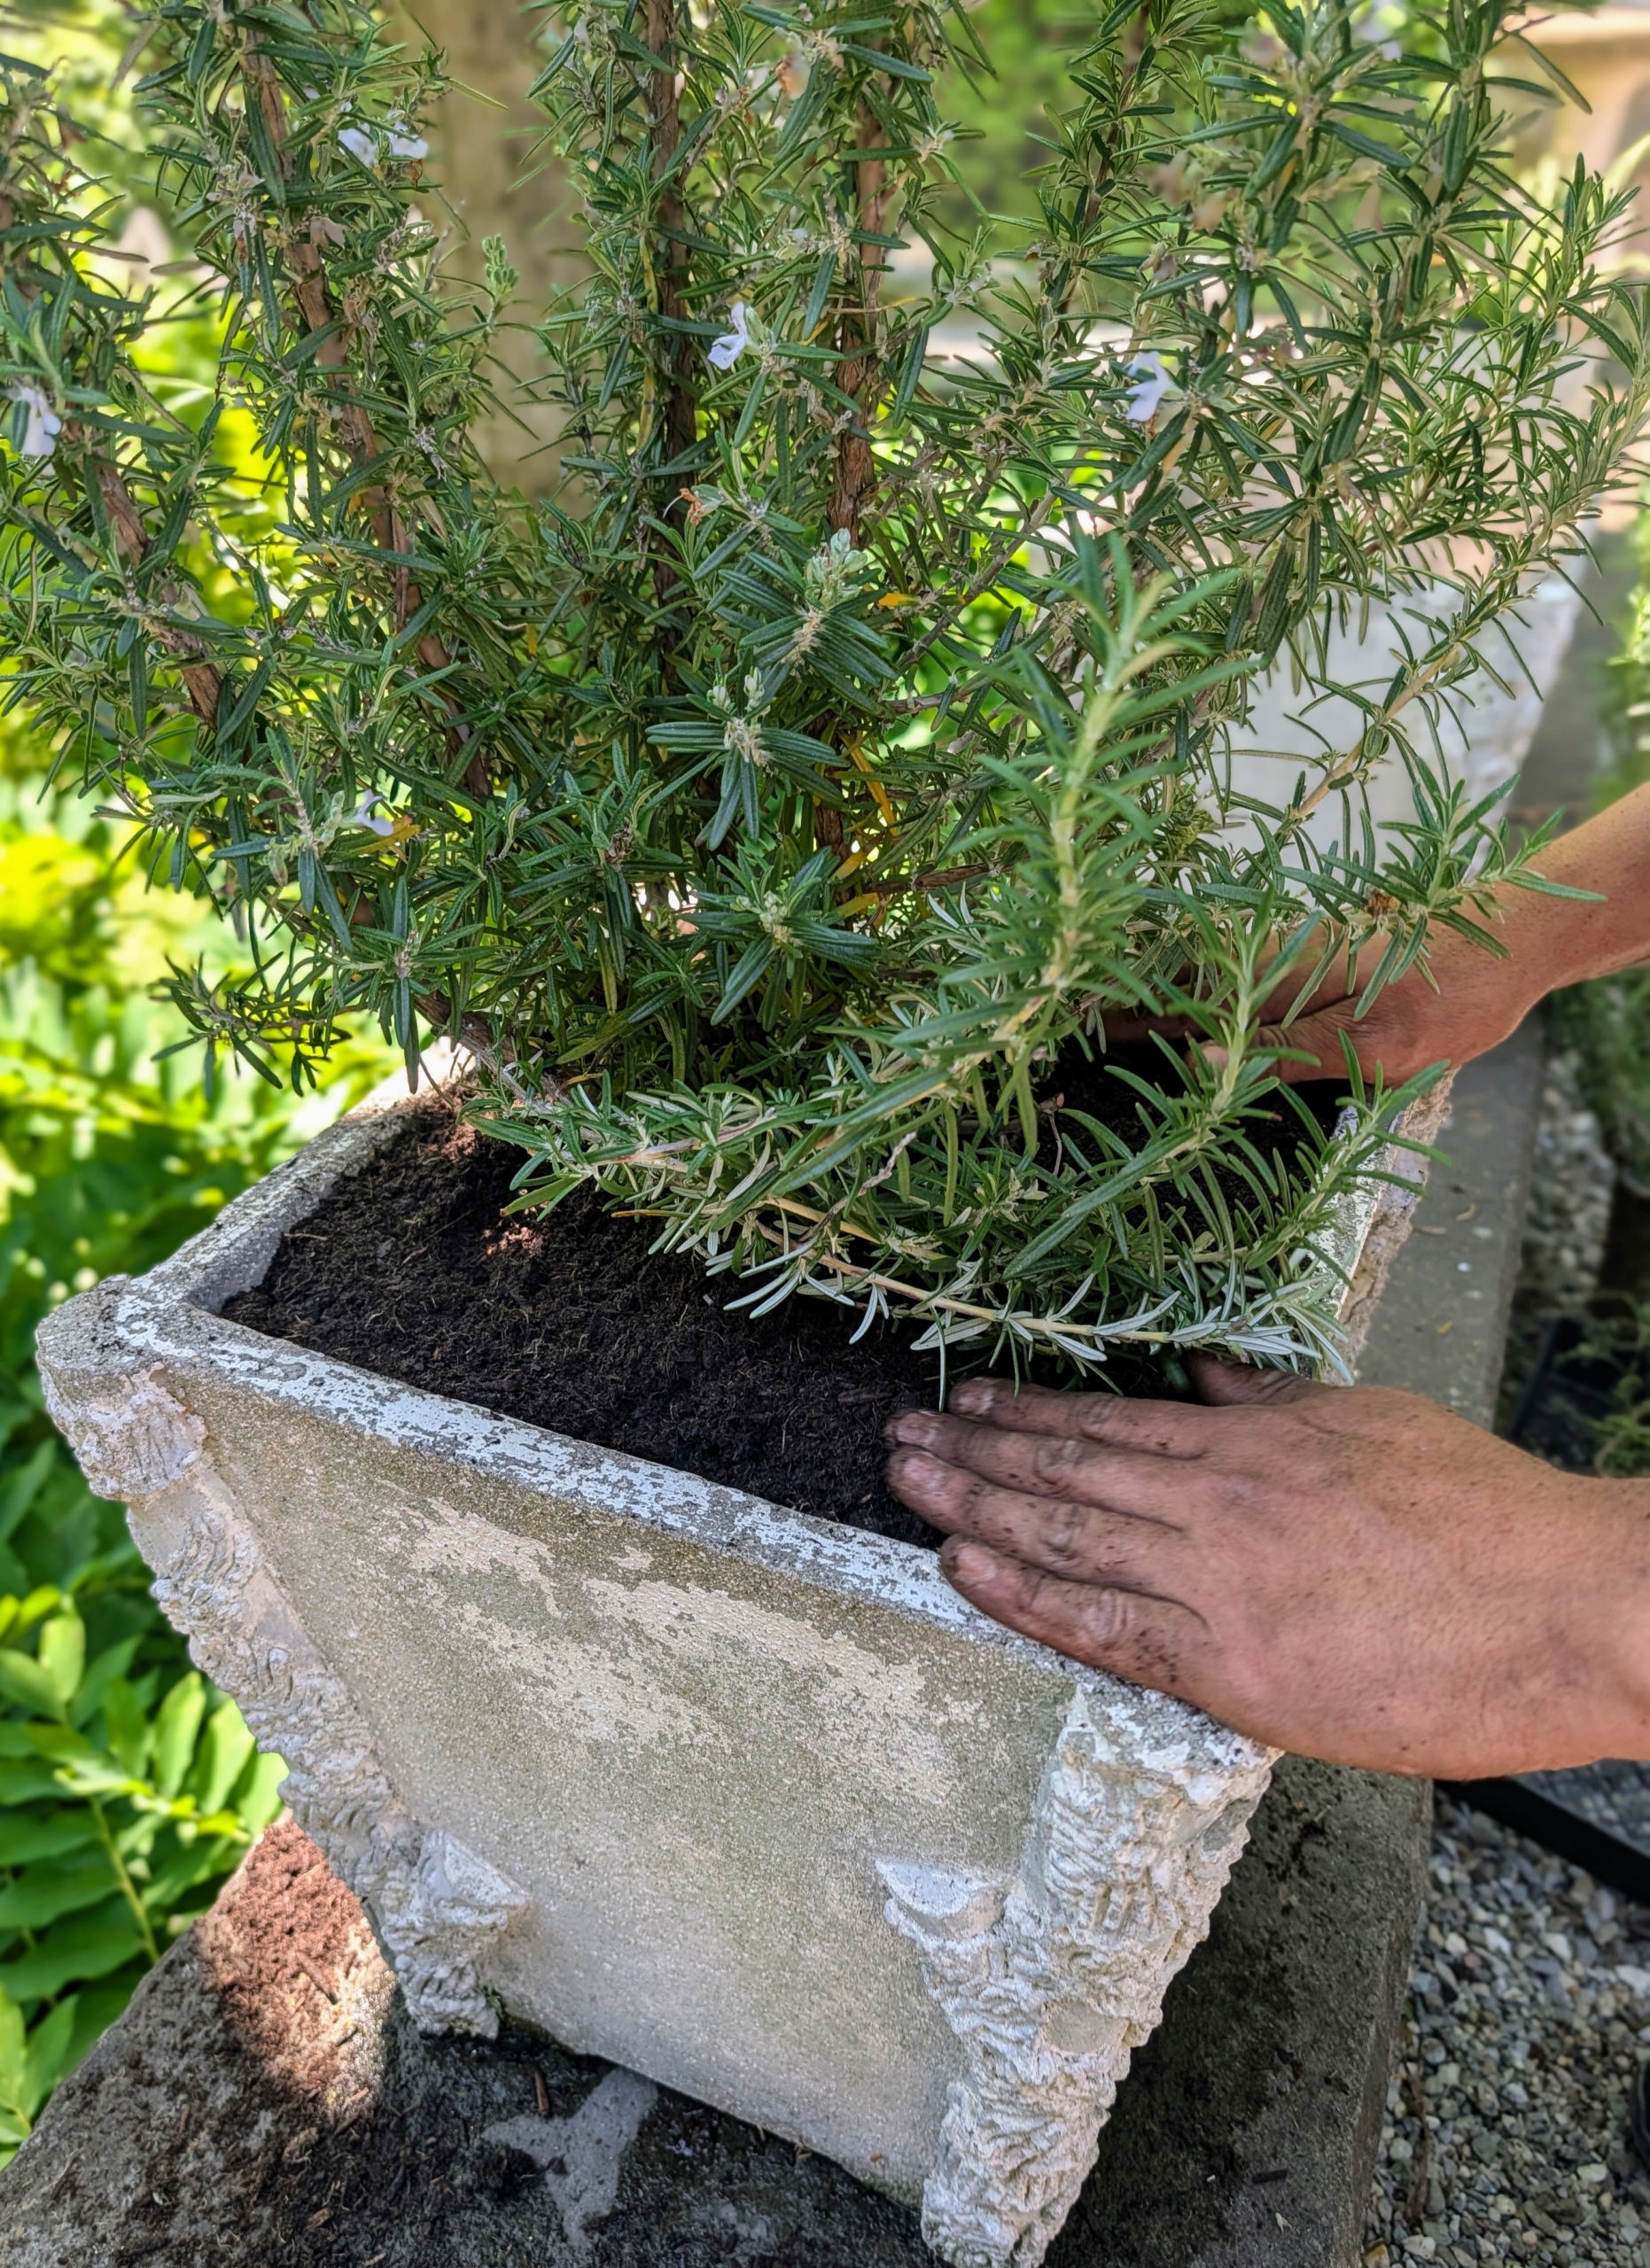
Matthew carefully places the plant inside the designated vessel making sure the plant is straight before filling it with more soil.
Matthew fills the pot with soil to just under the urn’s lip.
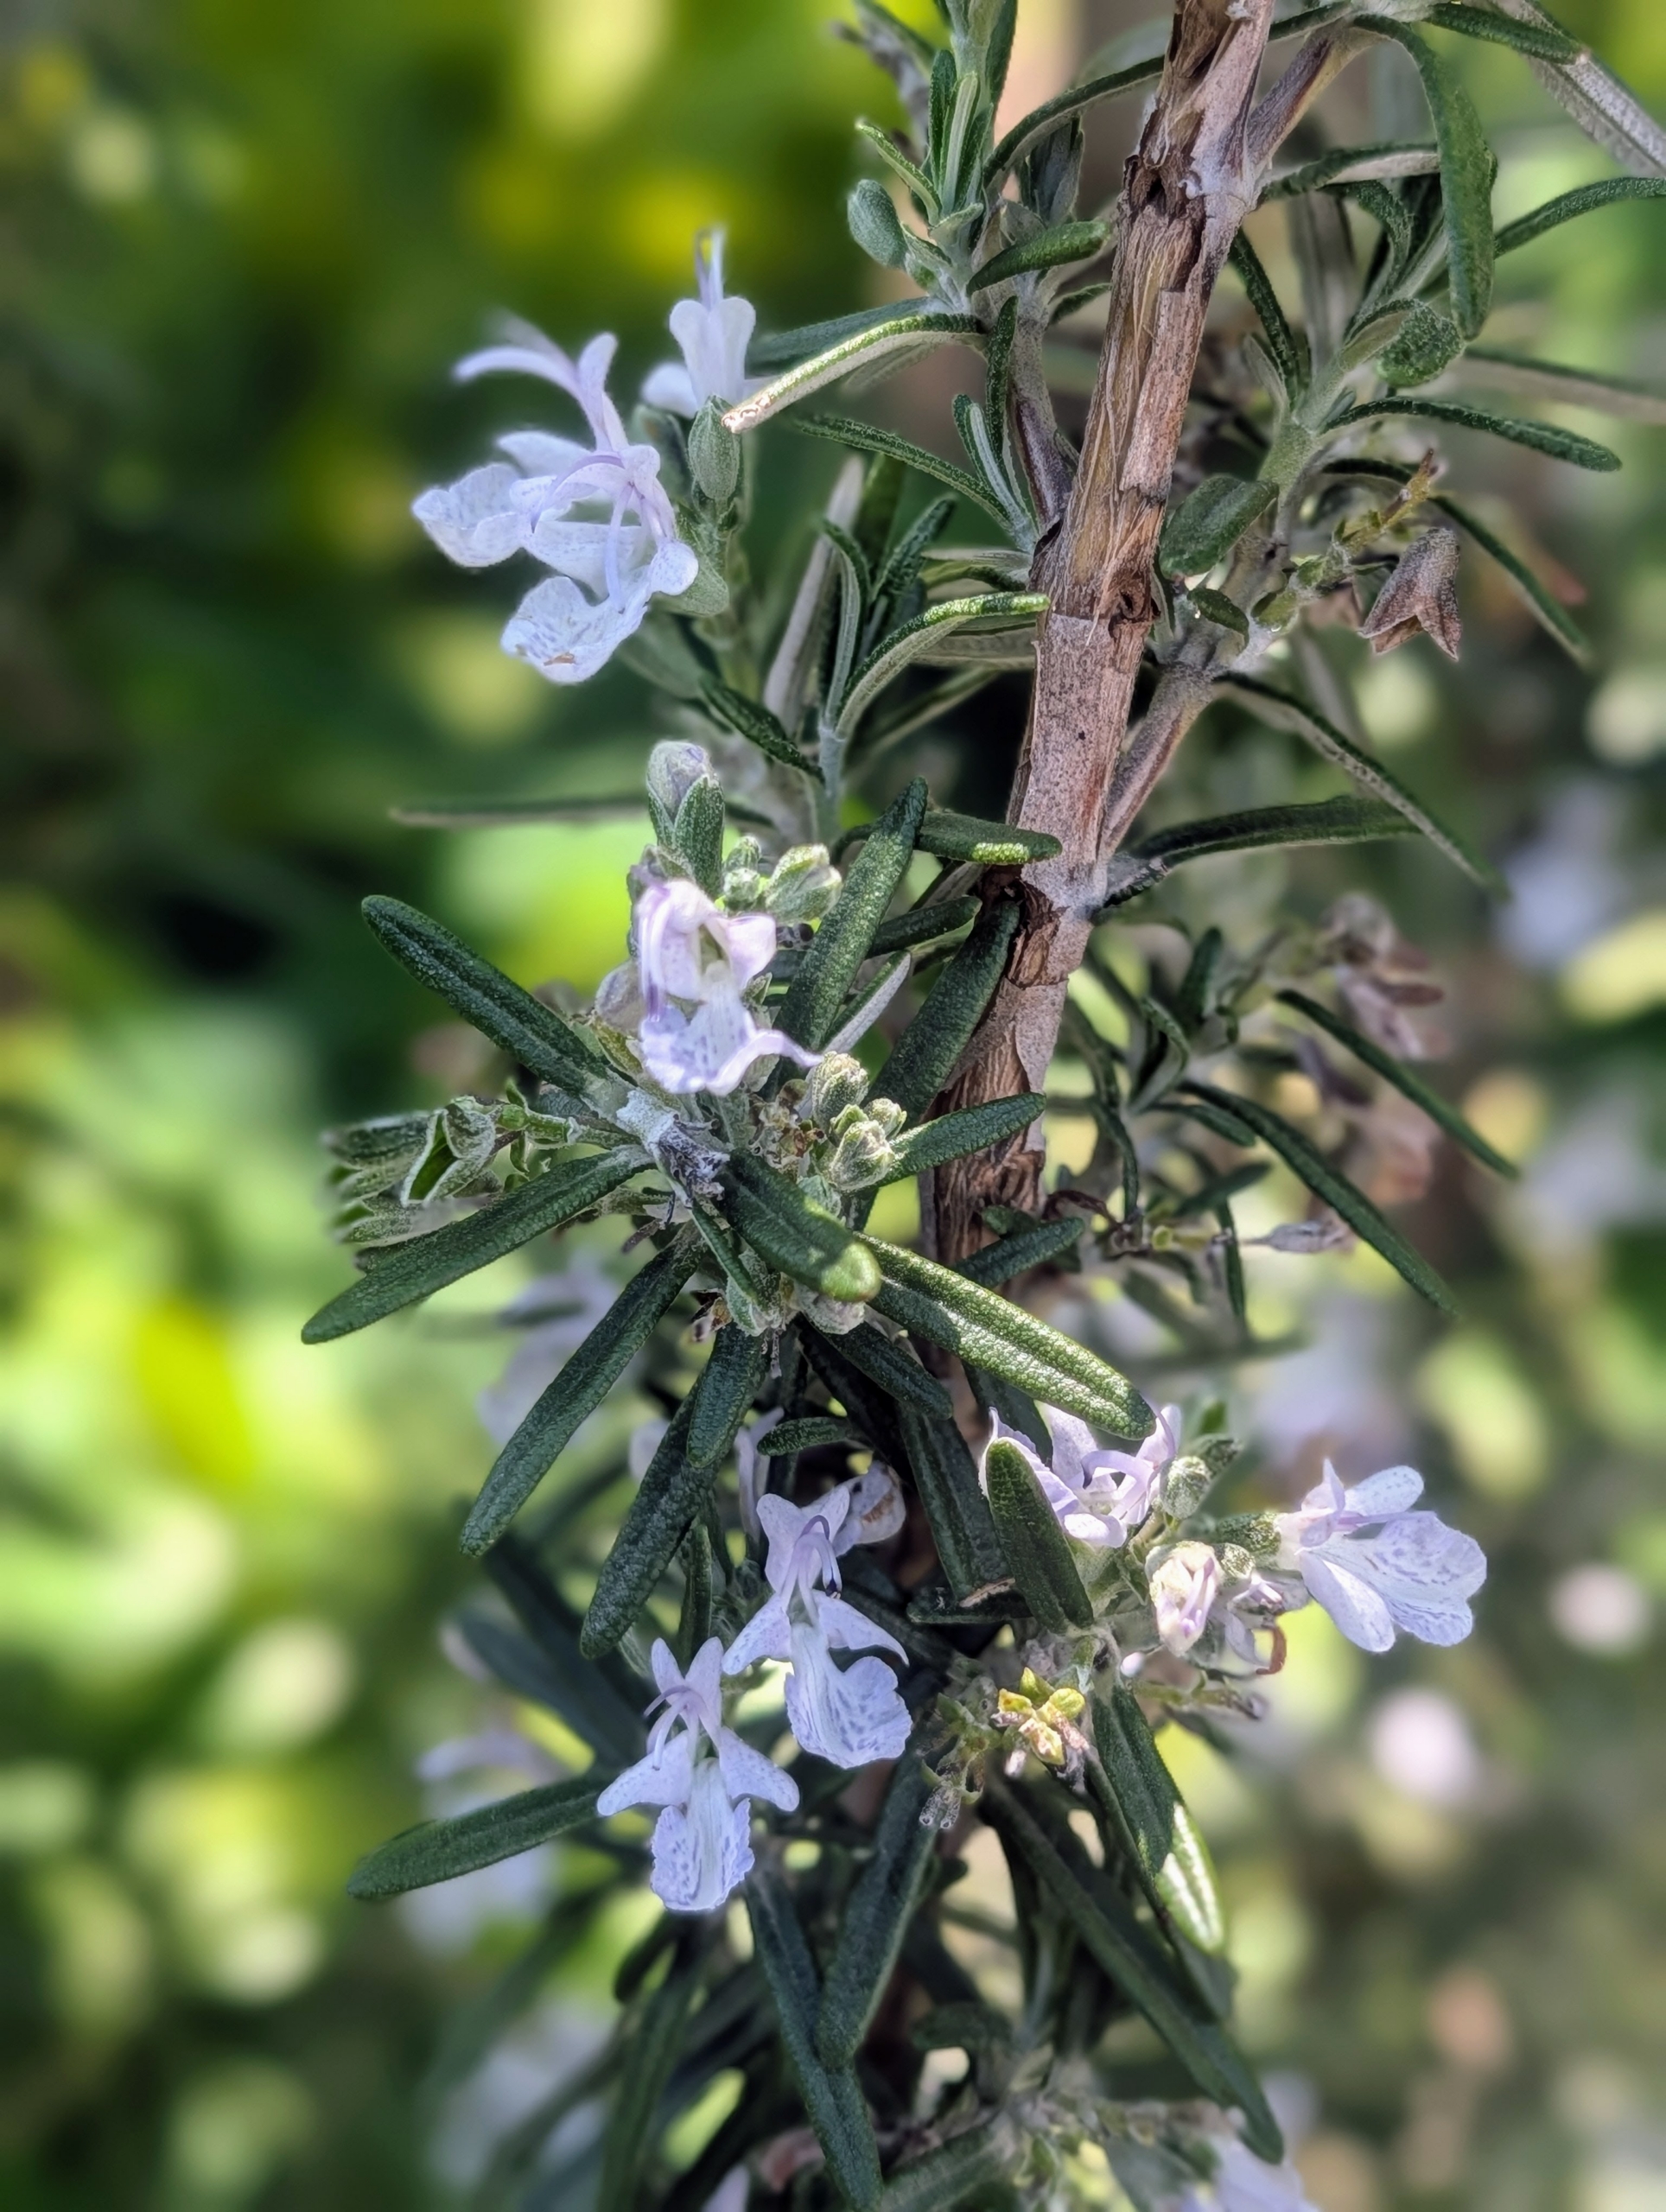
Rosemary produces needle-like evergreen leaves and small, tubular flowers that grow in clusters along the branches. The flowers are delicate, fragrant blooms ranging in color from pale blue to deep purple, white, or pink.
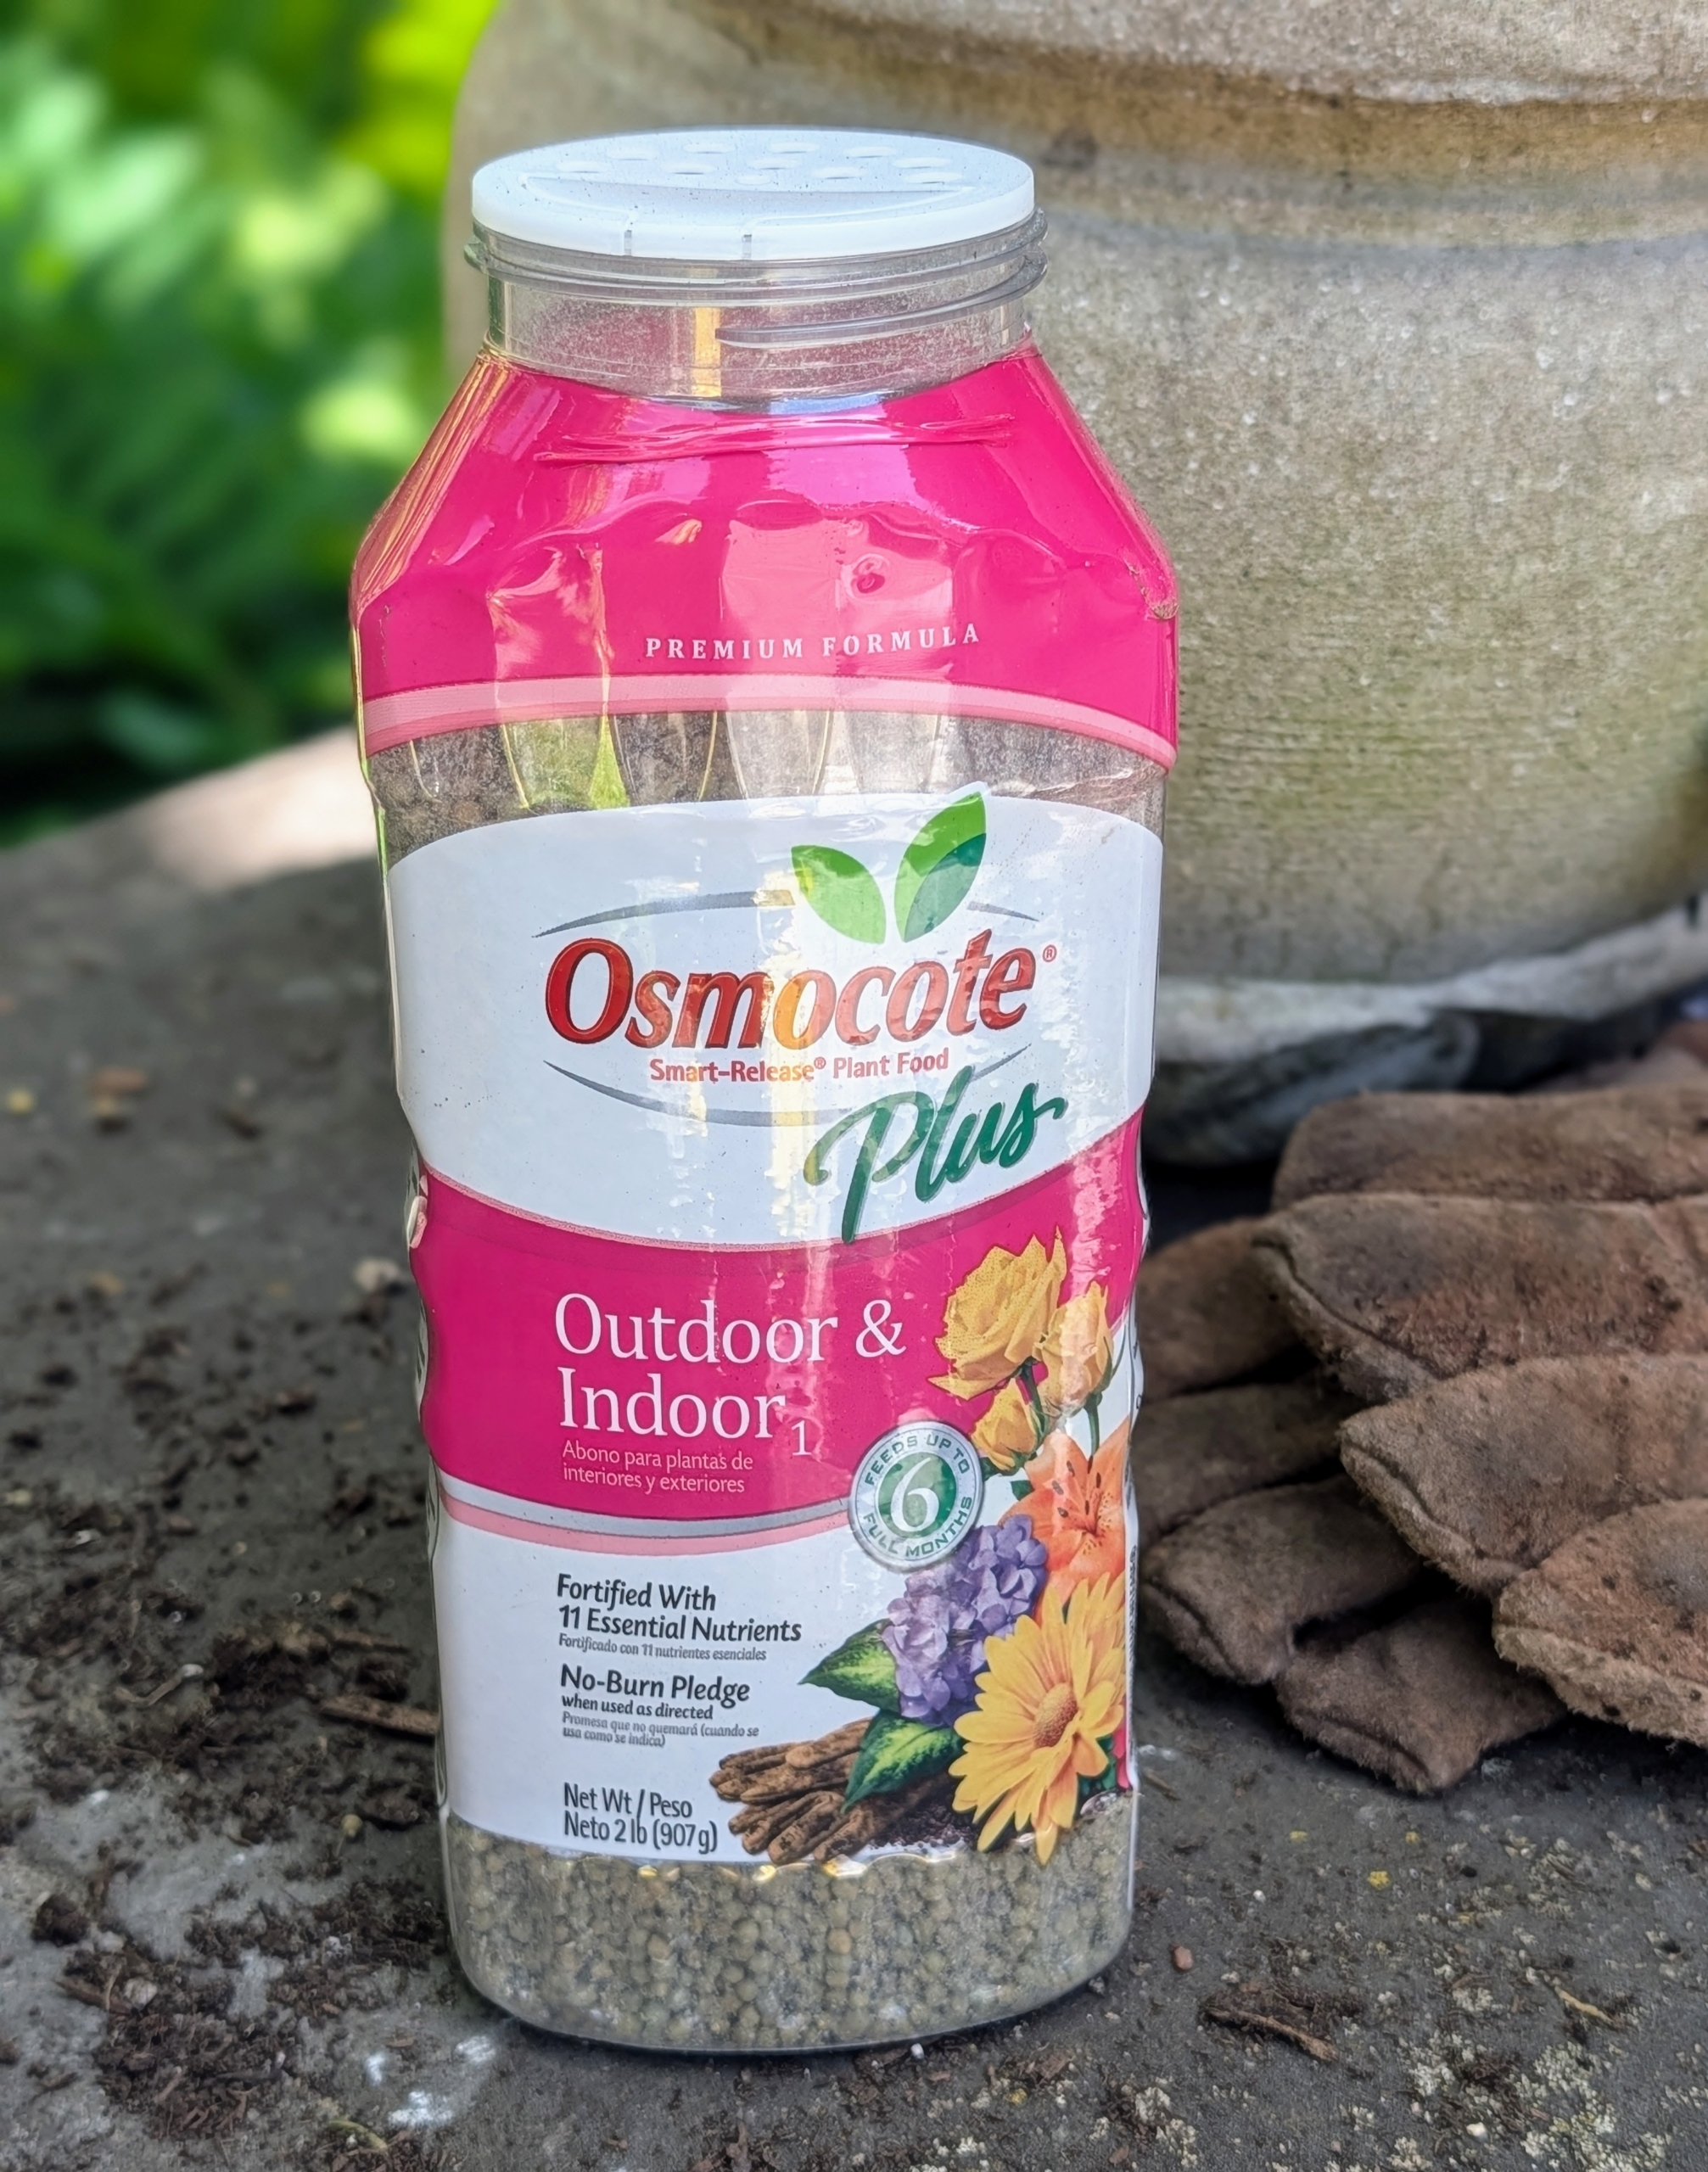
After each specimen is planted, it is fed with a sprinkling of Osmocote, a slow-release fertilizer that provides essential nutrients to plants over several months.
Matthew also plants succulents. A succulent is a type of plant characterized by its thick, fleshy leaves that store water, allowing it to survive in arid environments.
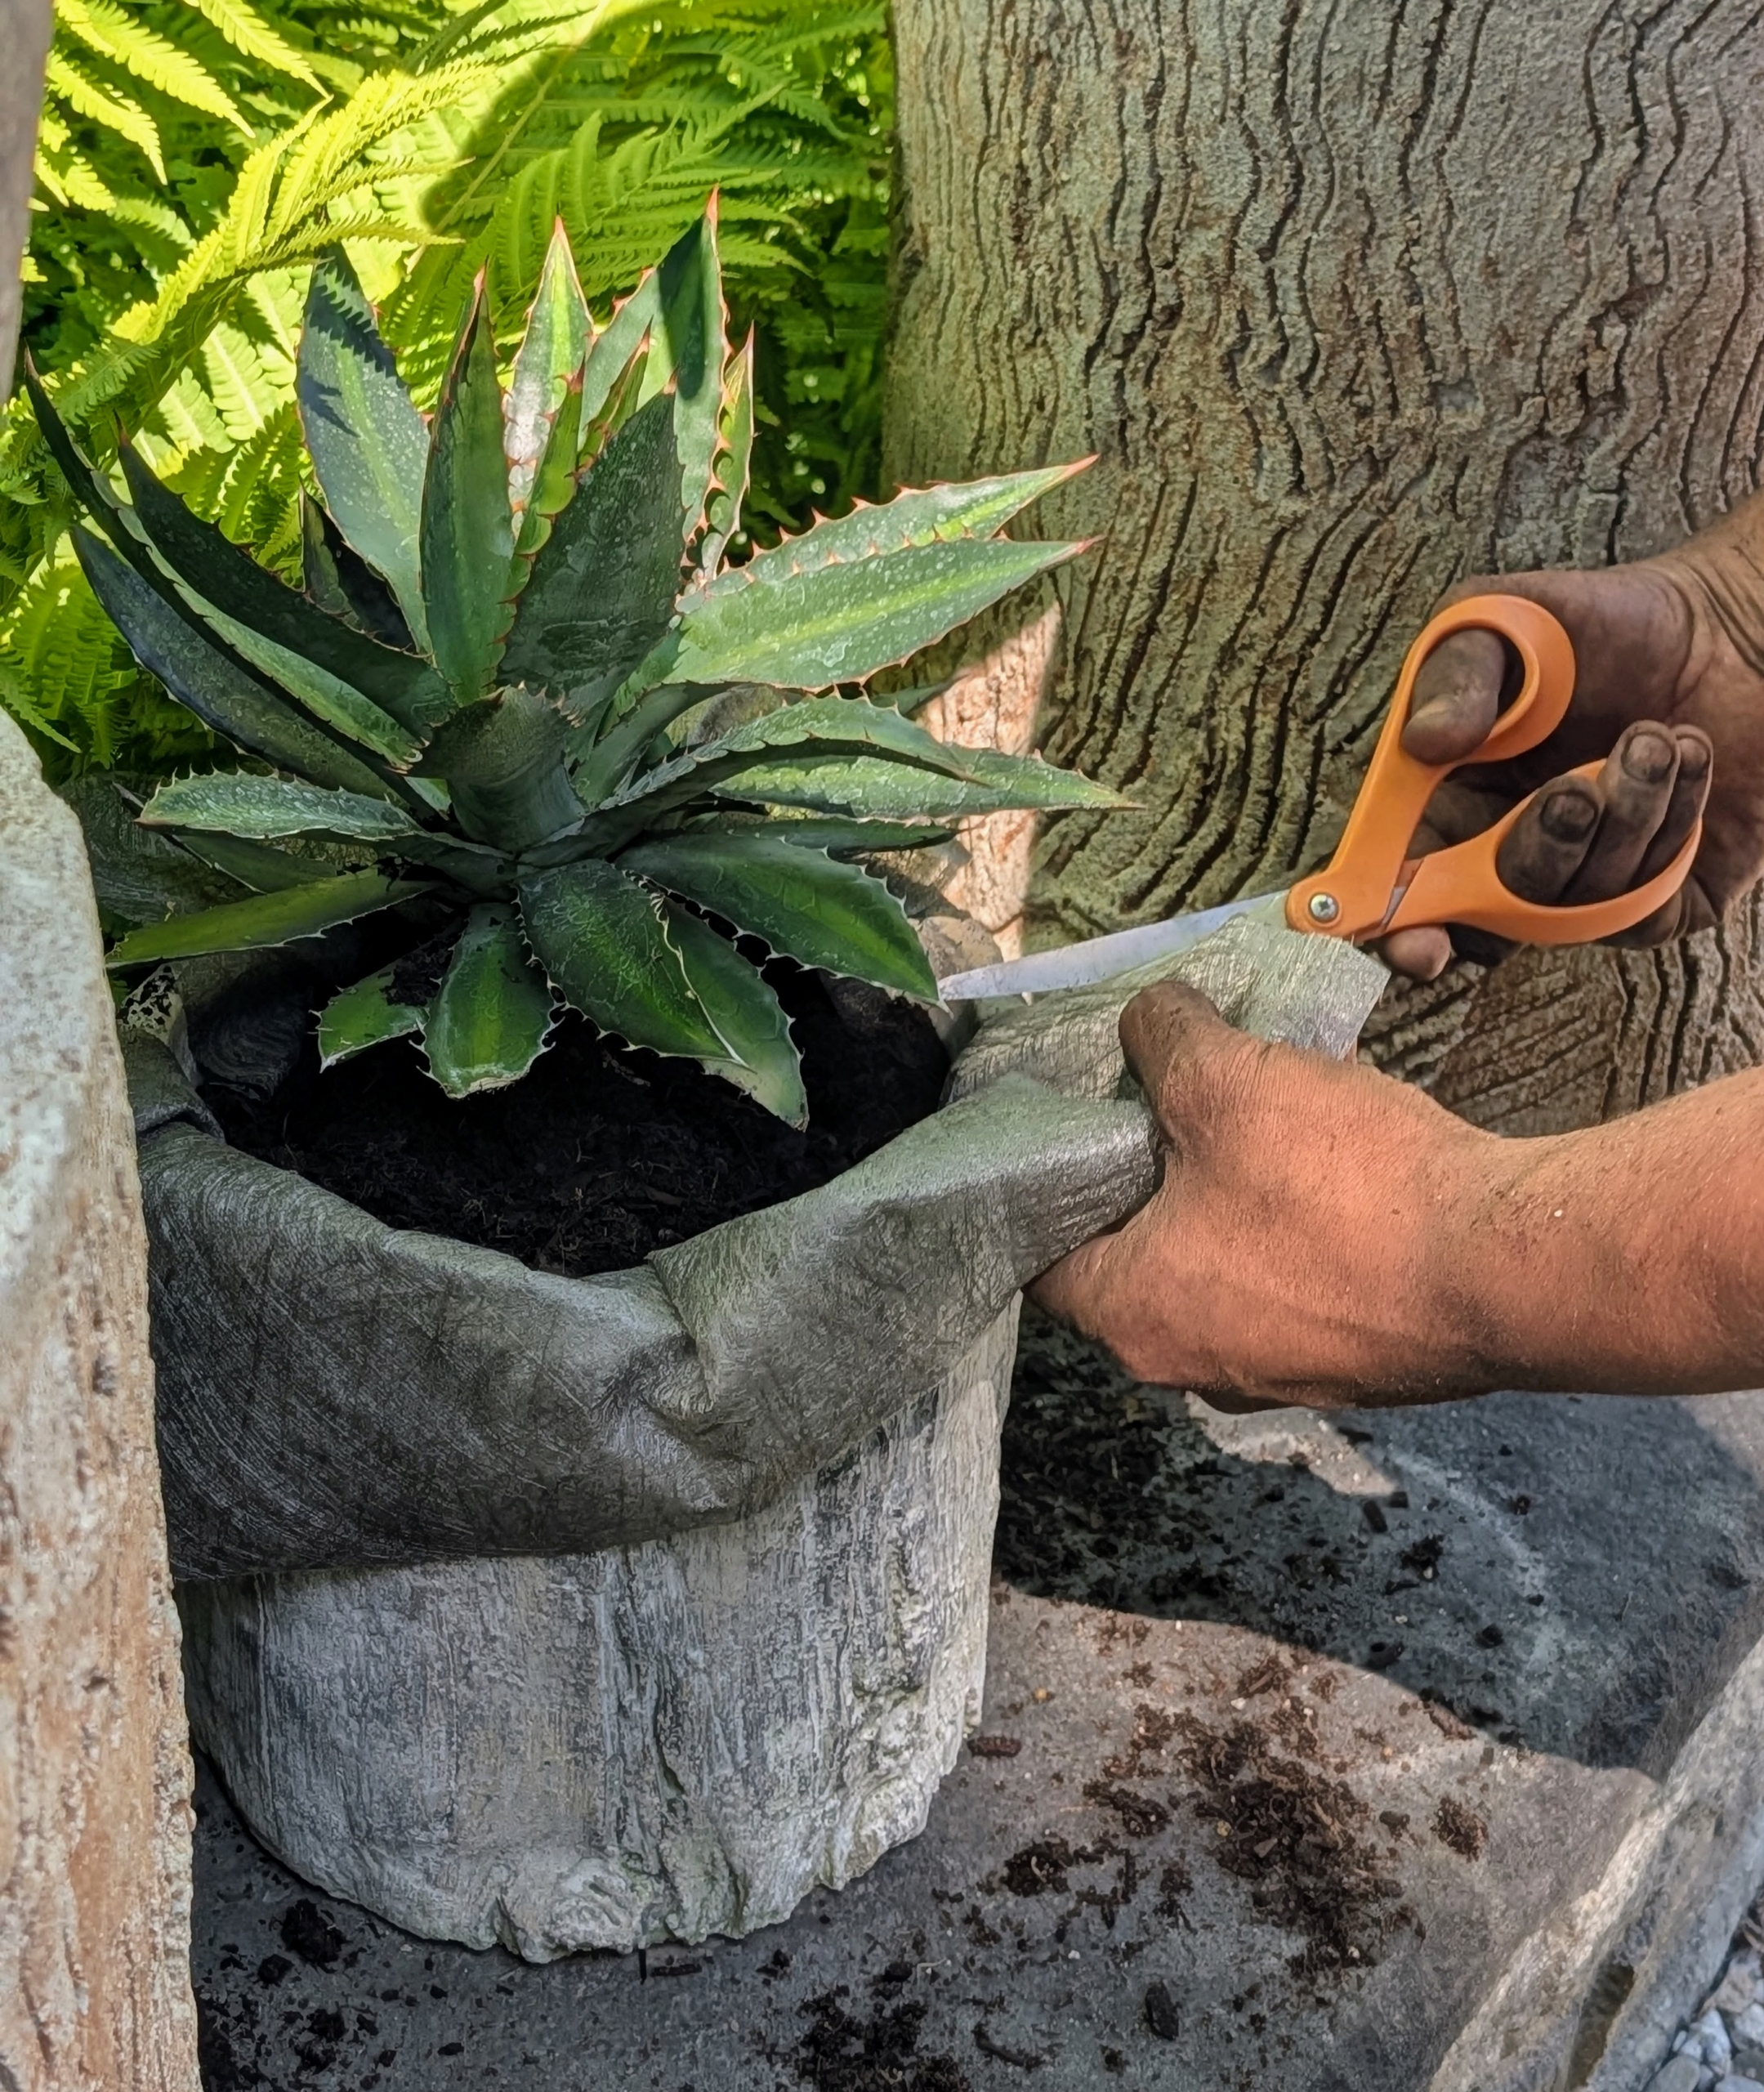
As each plant is potted, he cuts off the excess fabric. Any that can be seen afterward can be tucked into the soil.
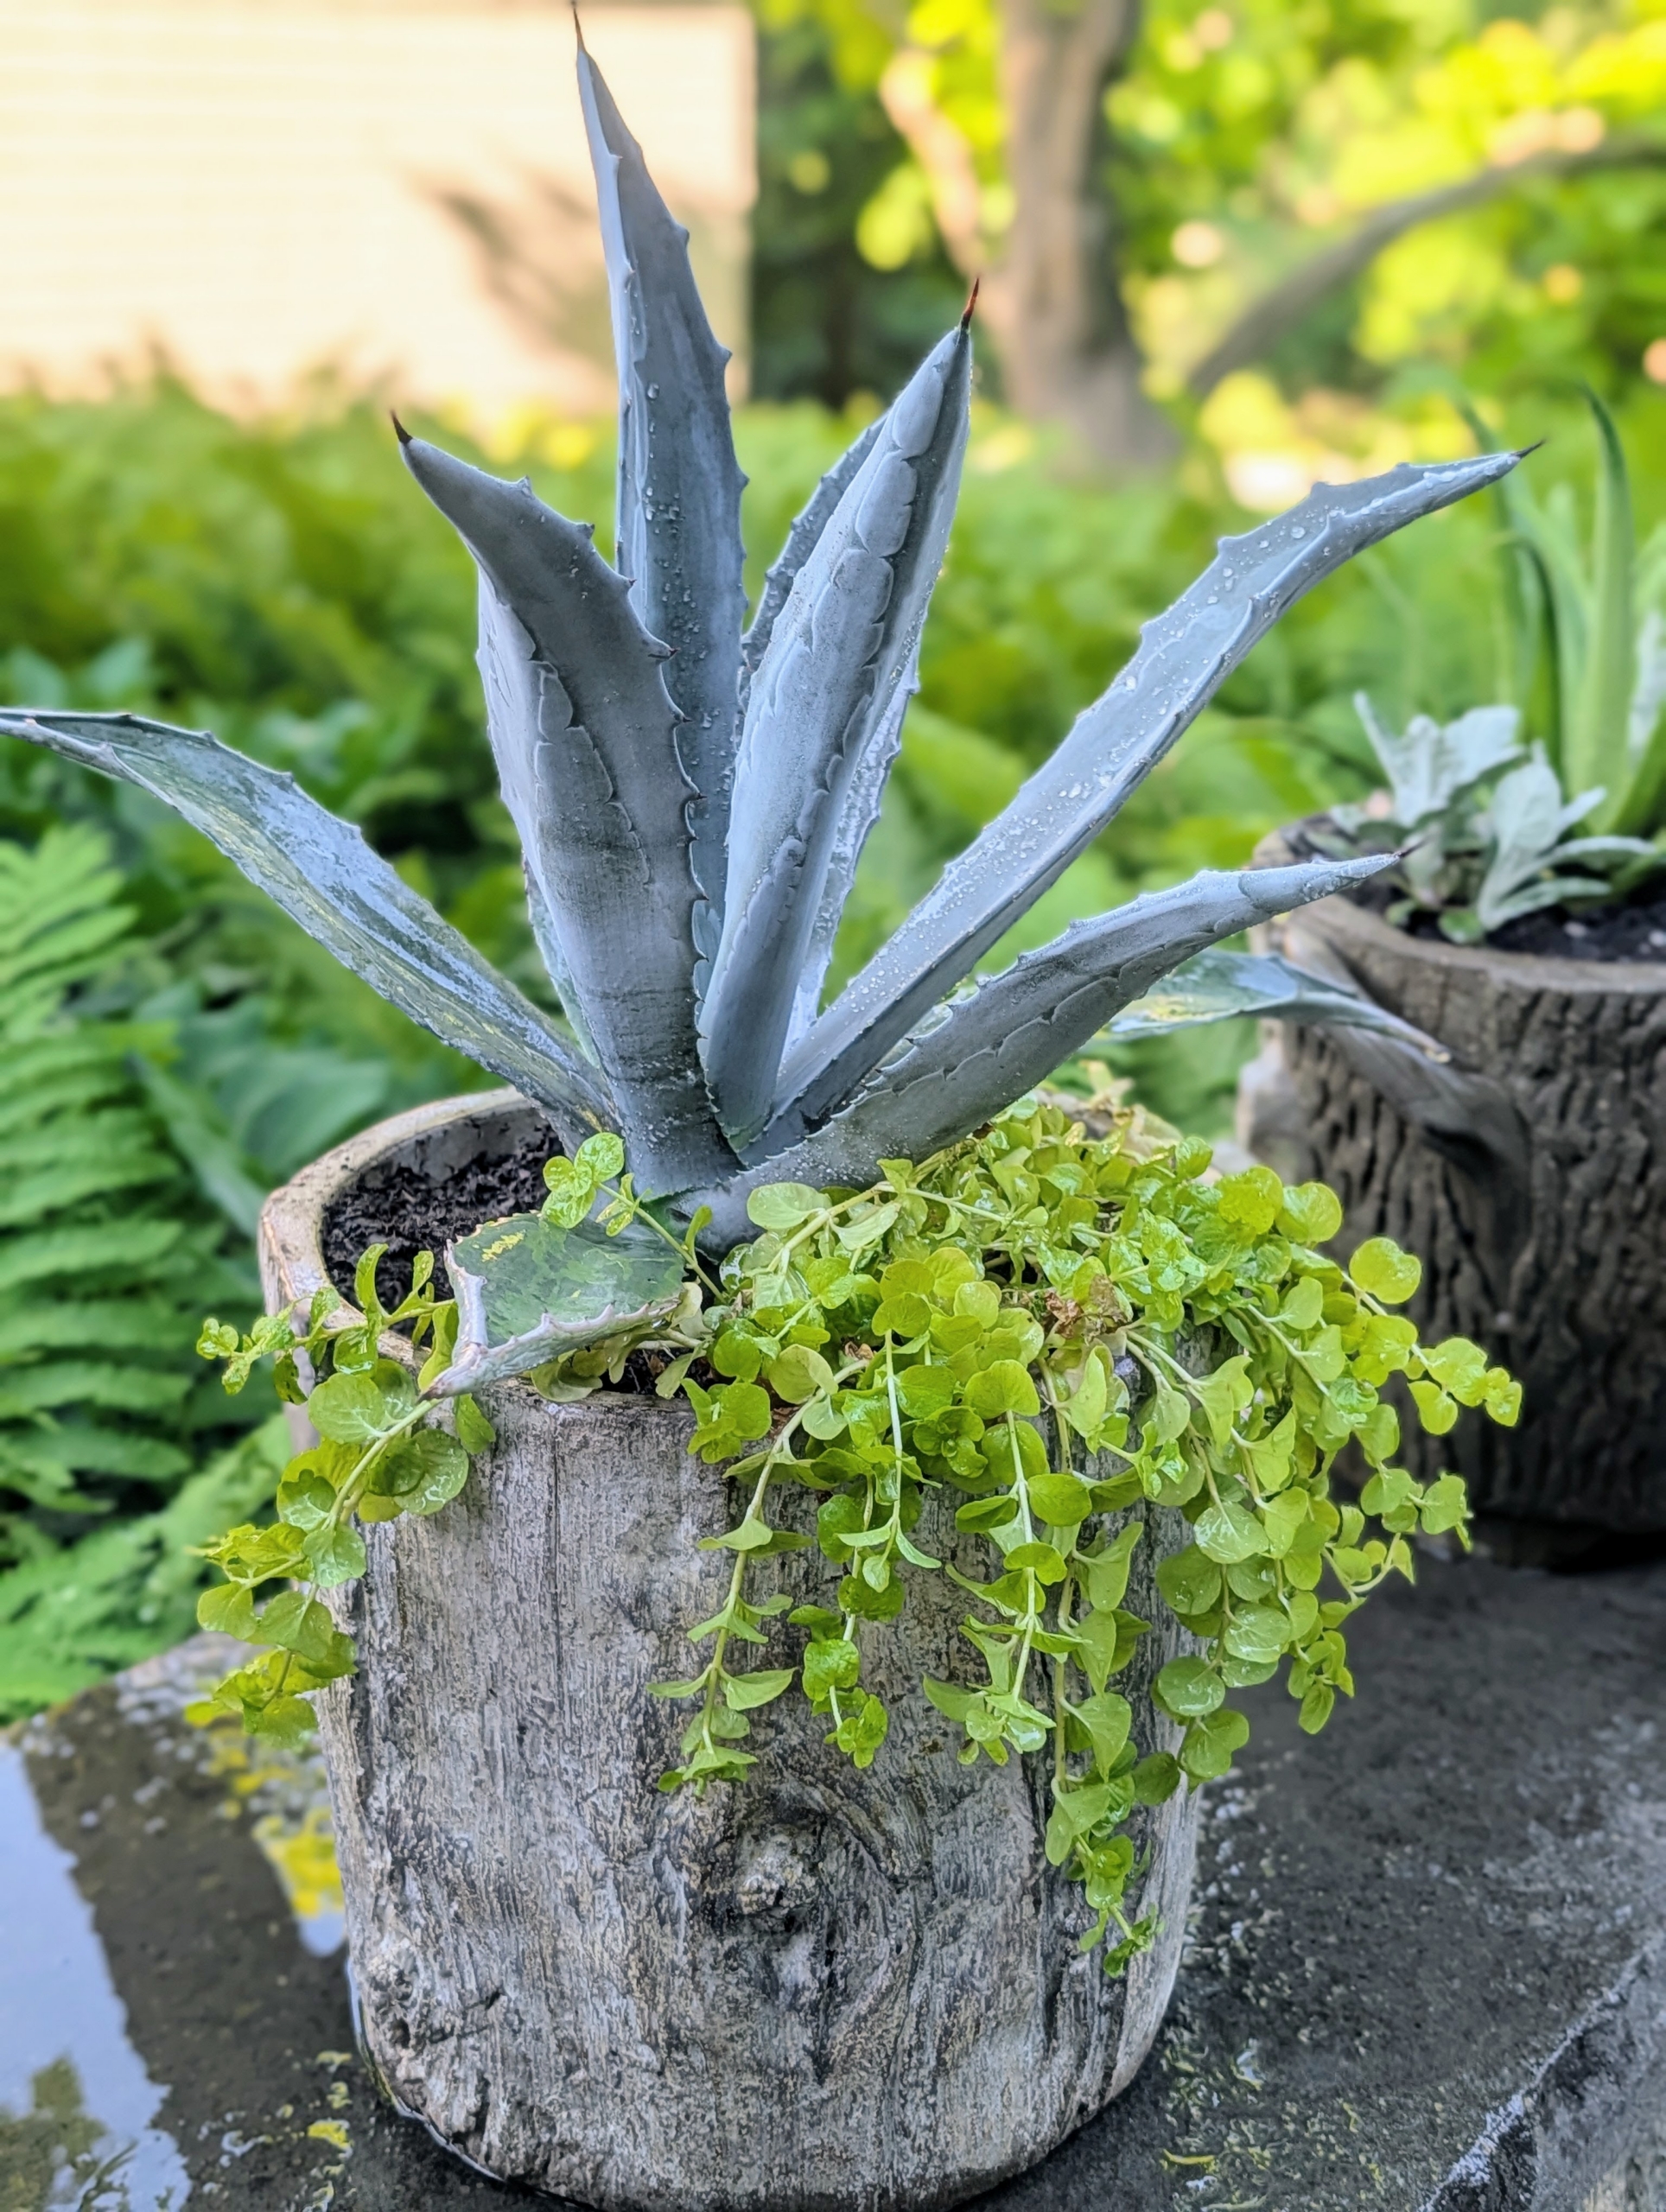
Some of the succulents are underplanted with Lysimachia, a low and fast growing ground cover that will spread and flow nicely over the pot edges.
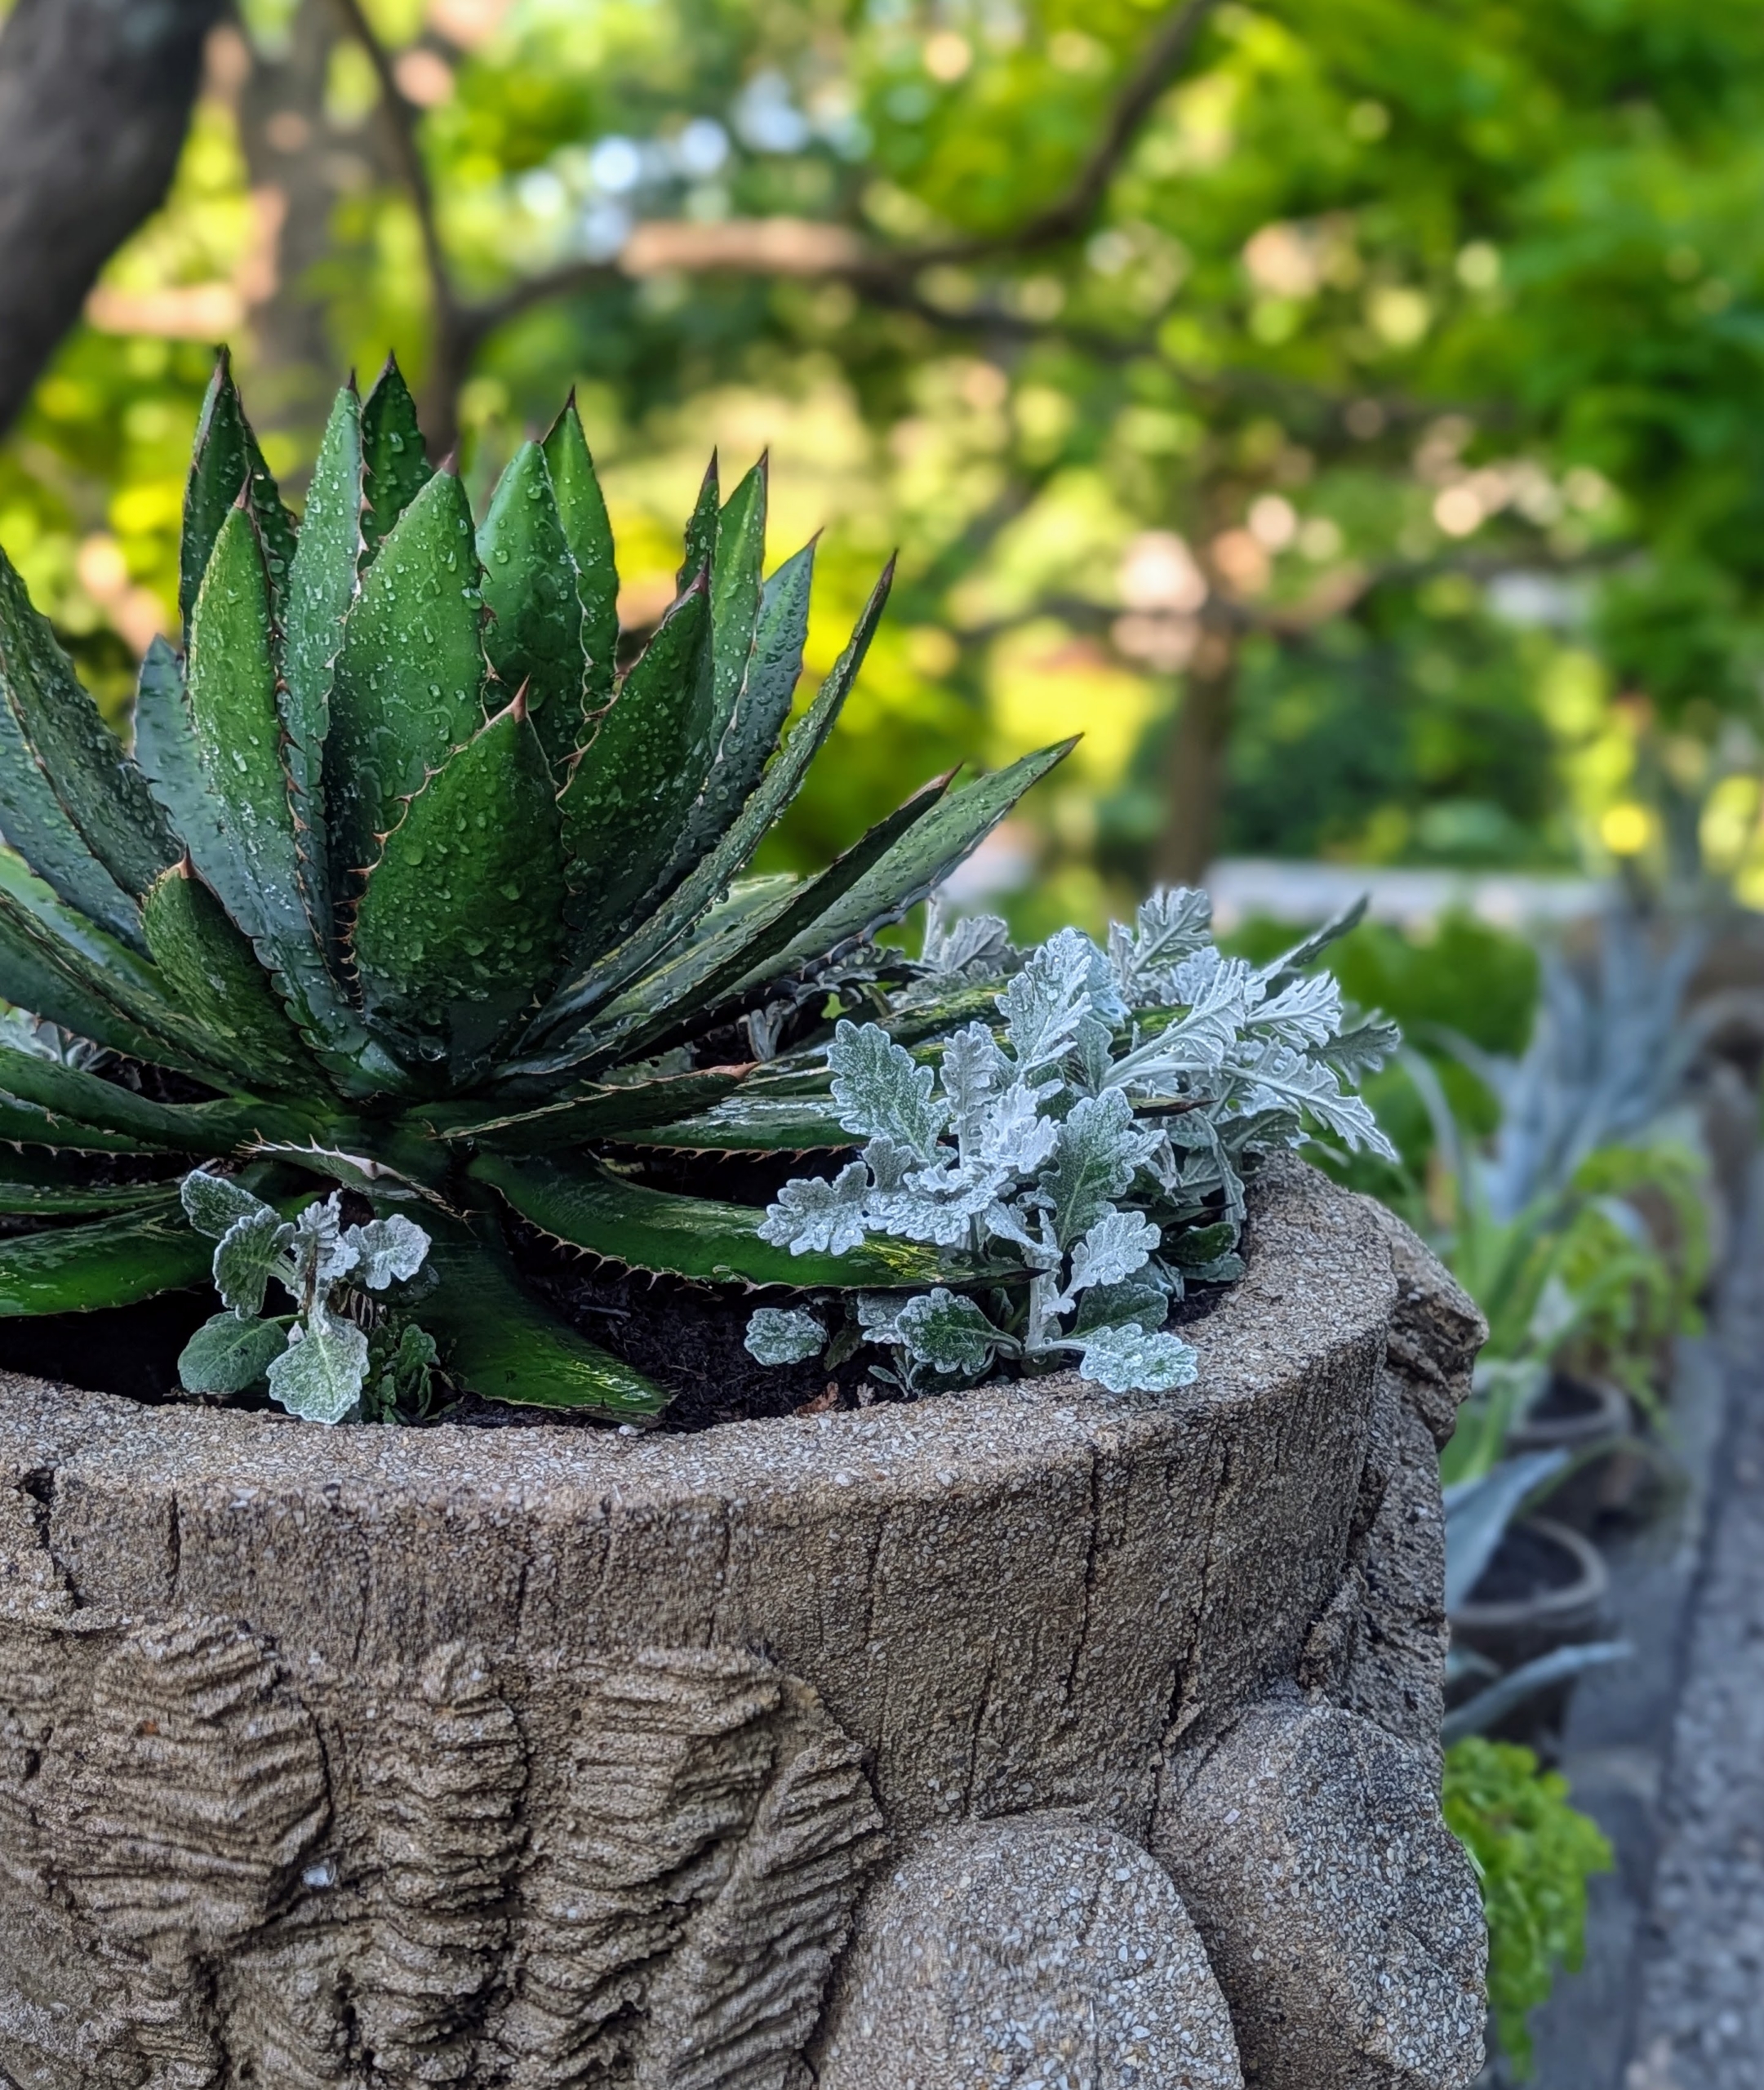
This agave is underplanted with Dusty Miller, a silvery ornamental plant valued for its drought tolerance, low maintenance, and pretty color contrast. When planting different specimens in one pot, be sure to consider the growth habits of each plant to ensure there’s enough room to last all season.
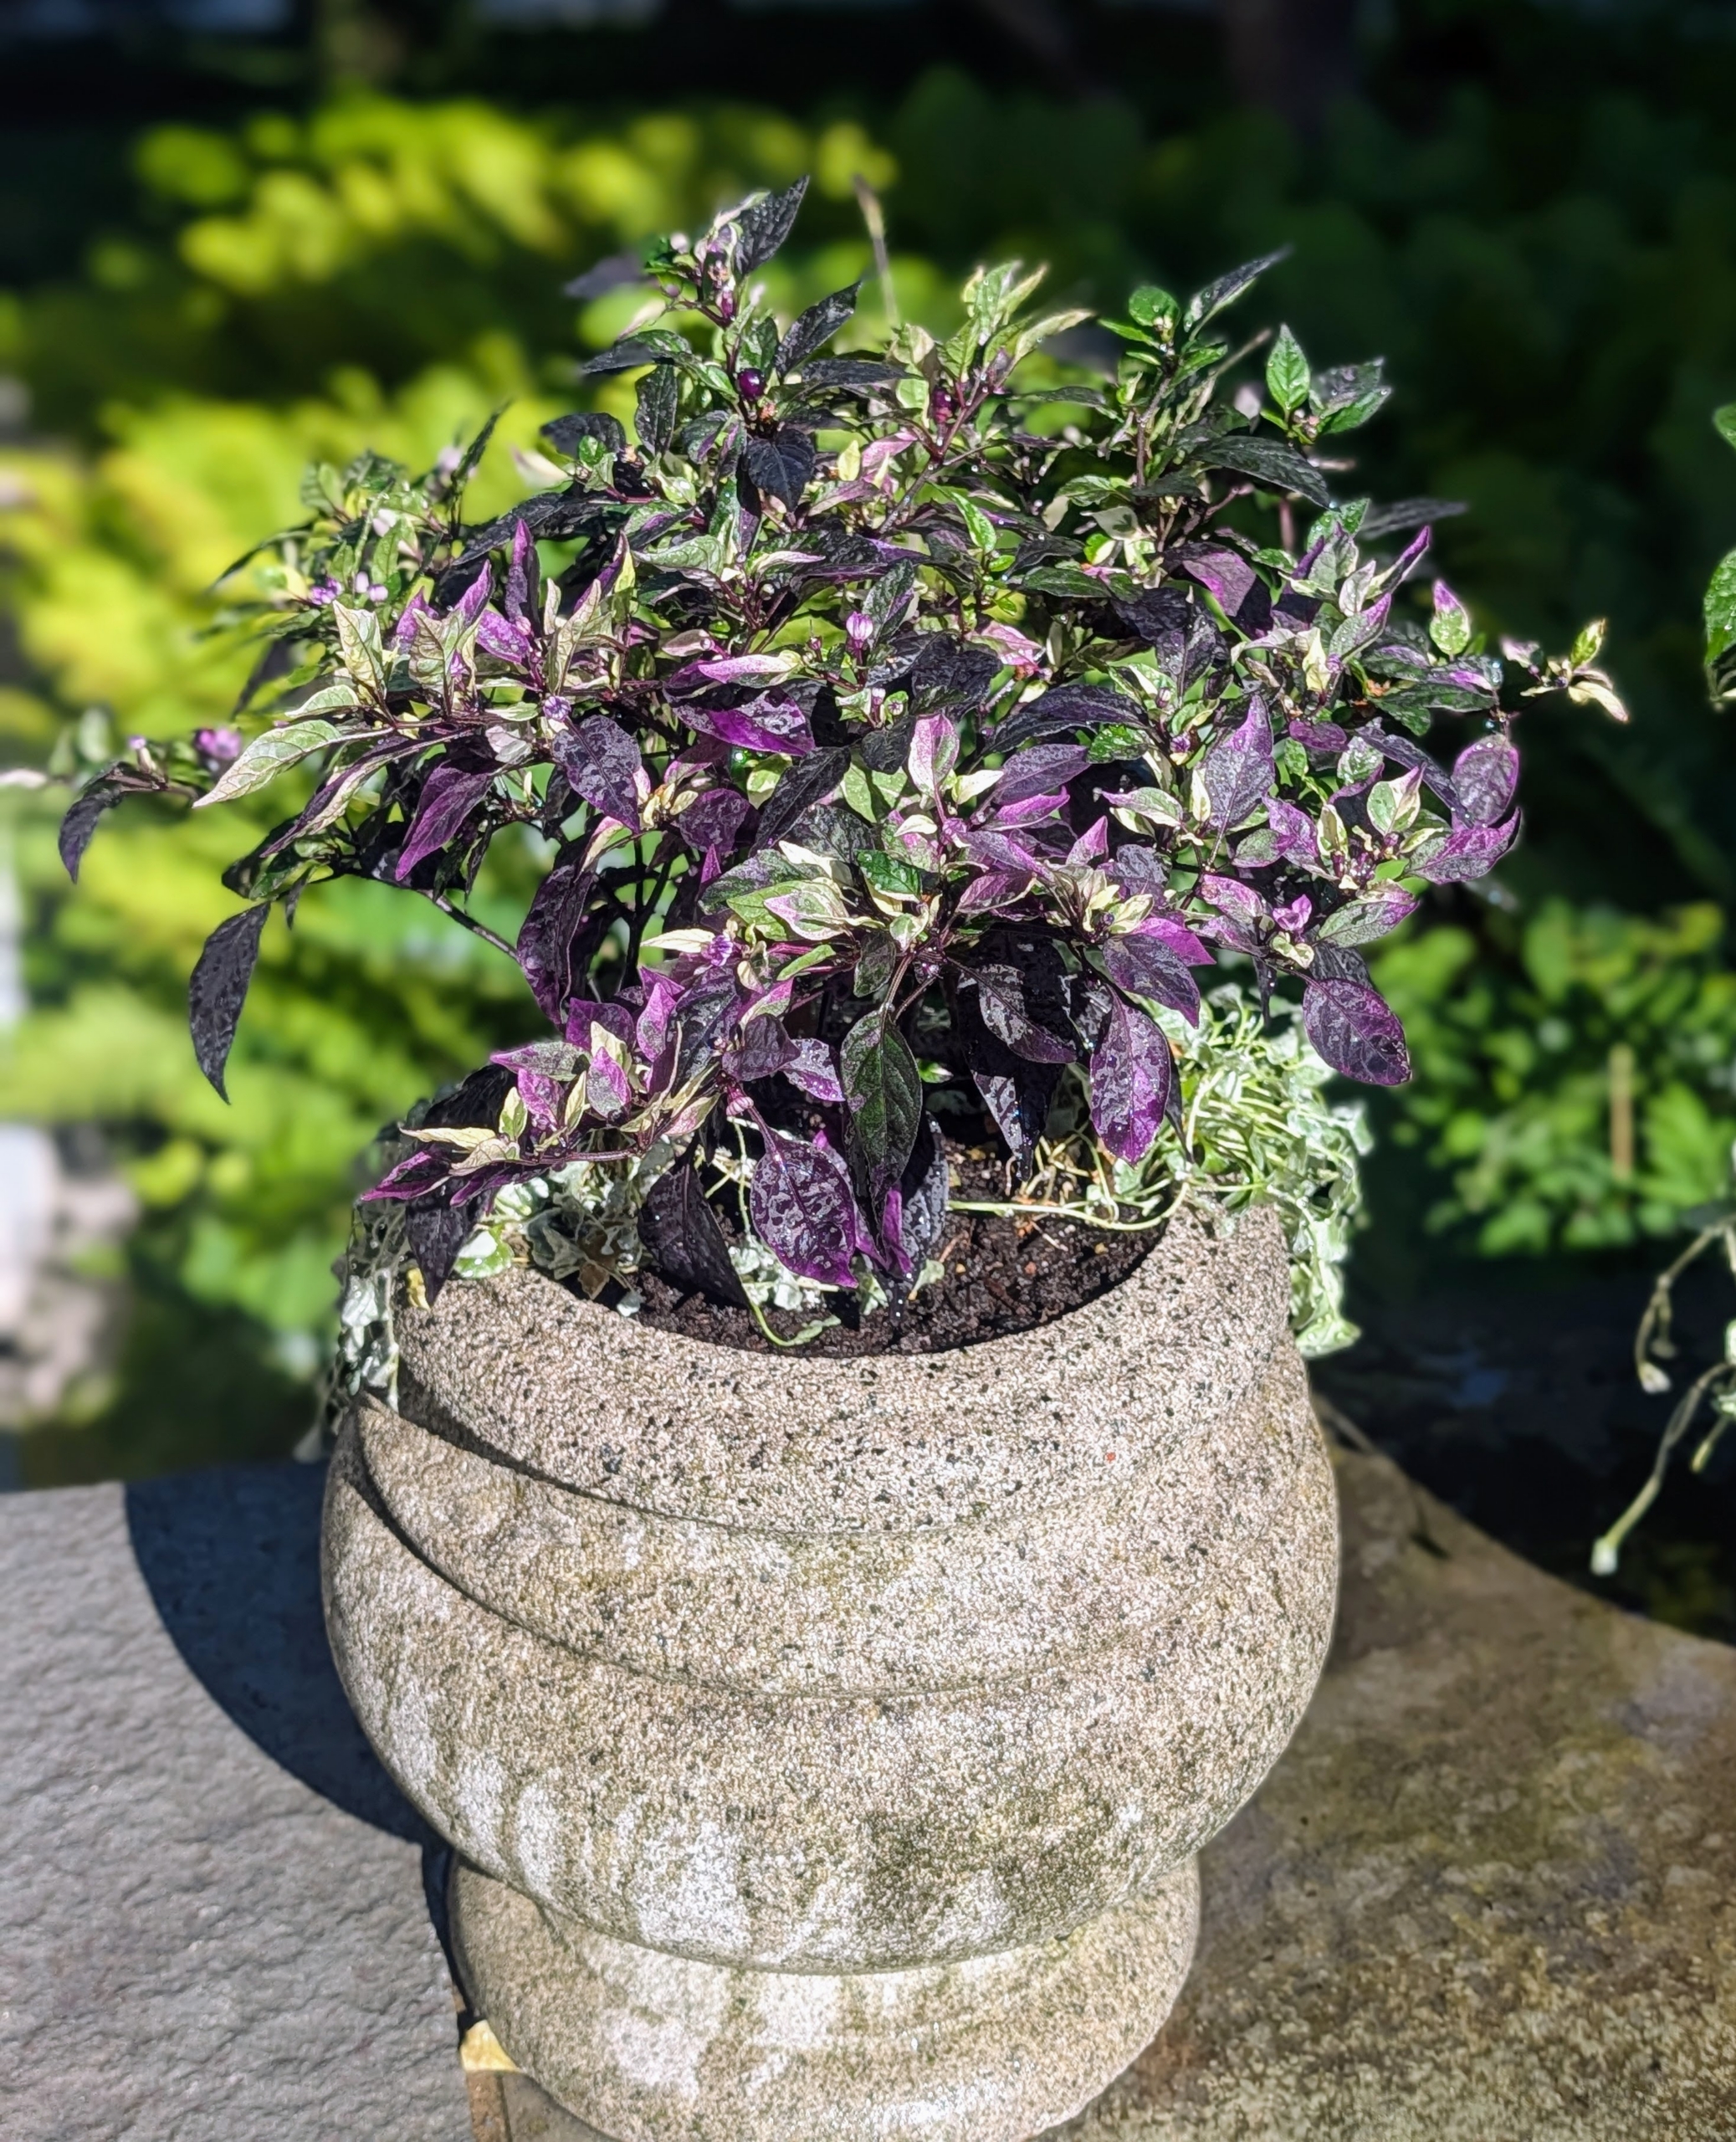
On this ledge, I also chose Capsicum annuum ‘Purple Flash’ – a herbaceous ornamental pepper with near black foliage accented with flashes of bright purple or white and tiny jet black fruit.
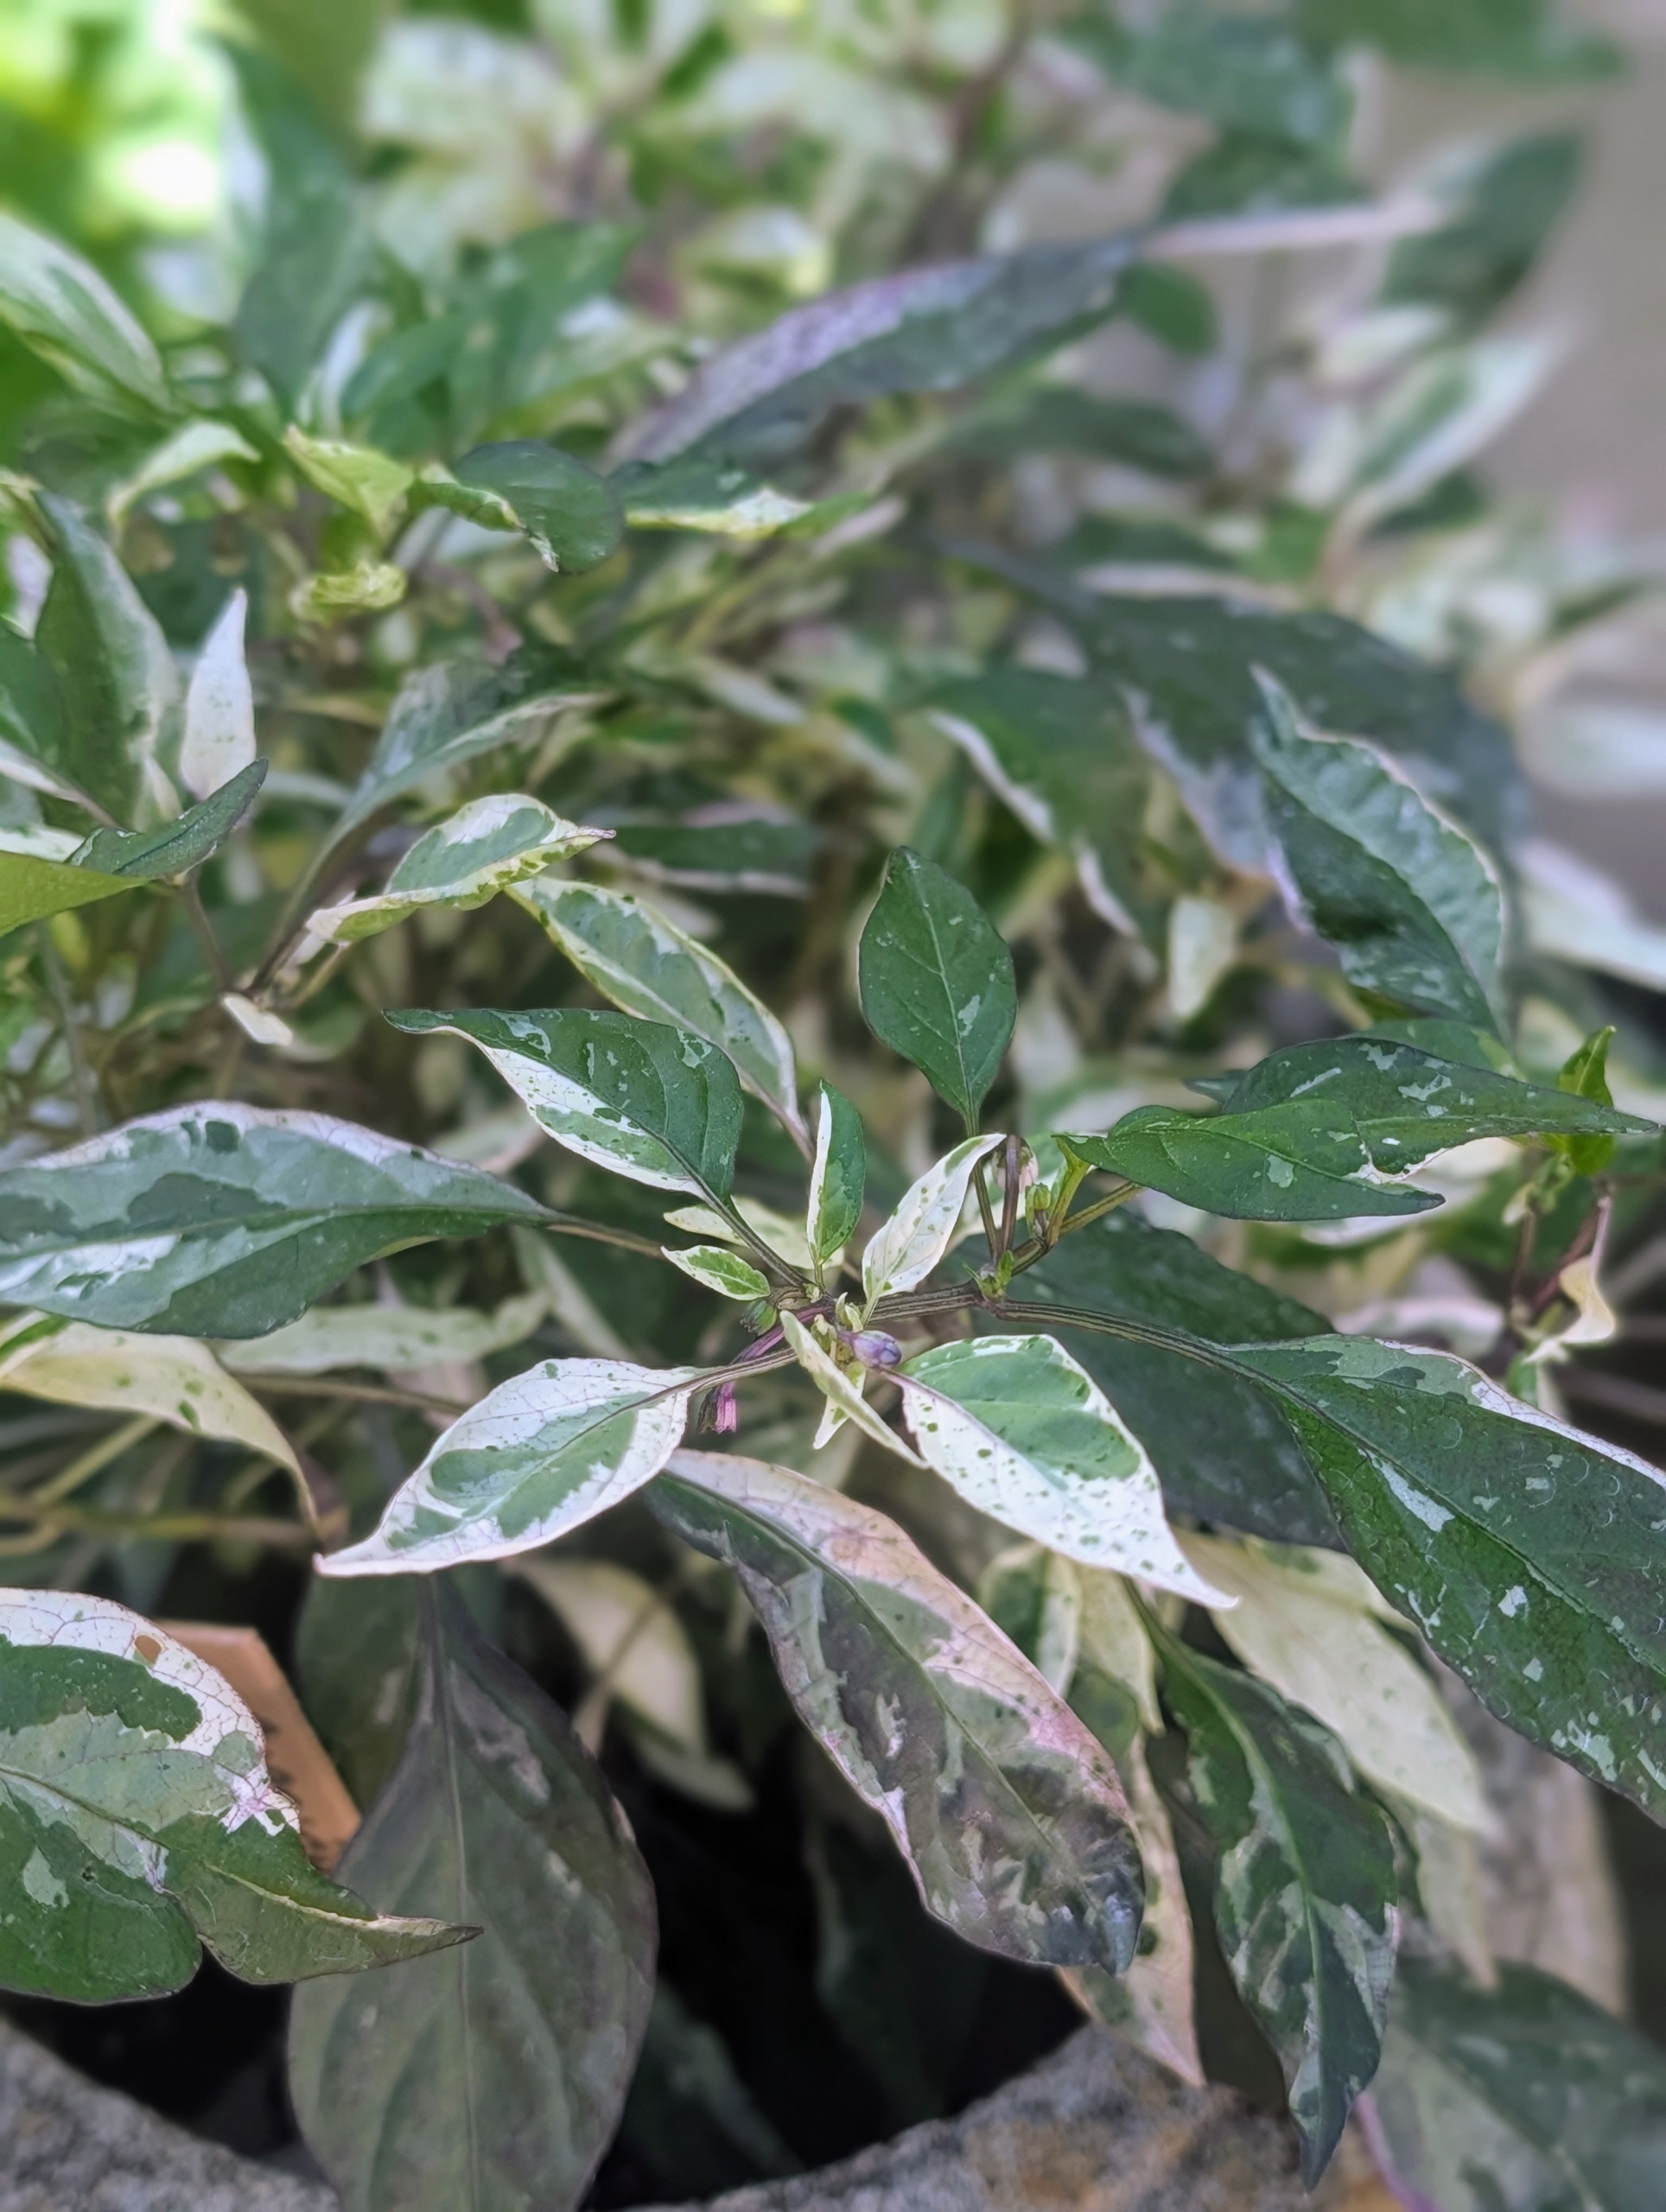
Capsicum annuum ‘Calico’ features variegated leaves with shades of green, cream, and purple.
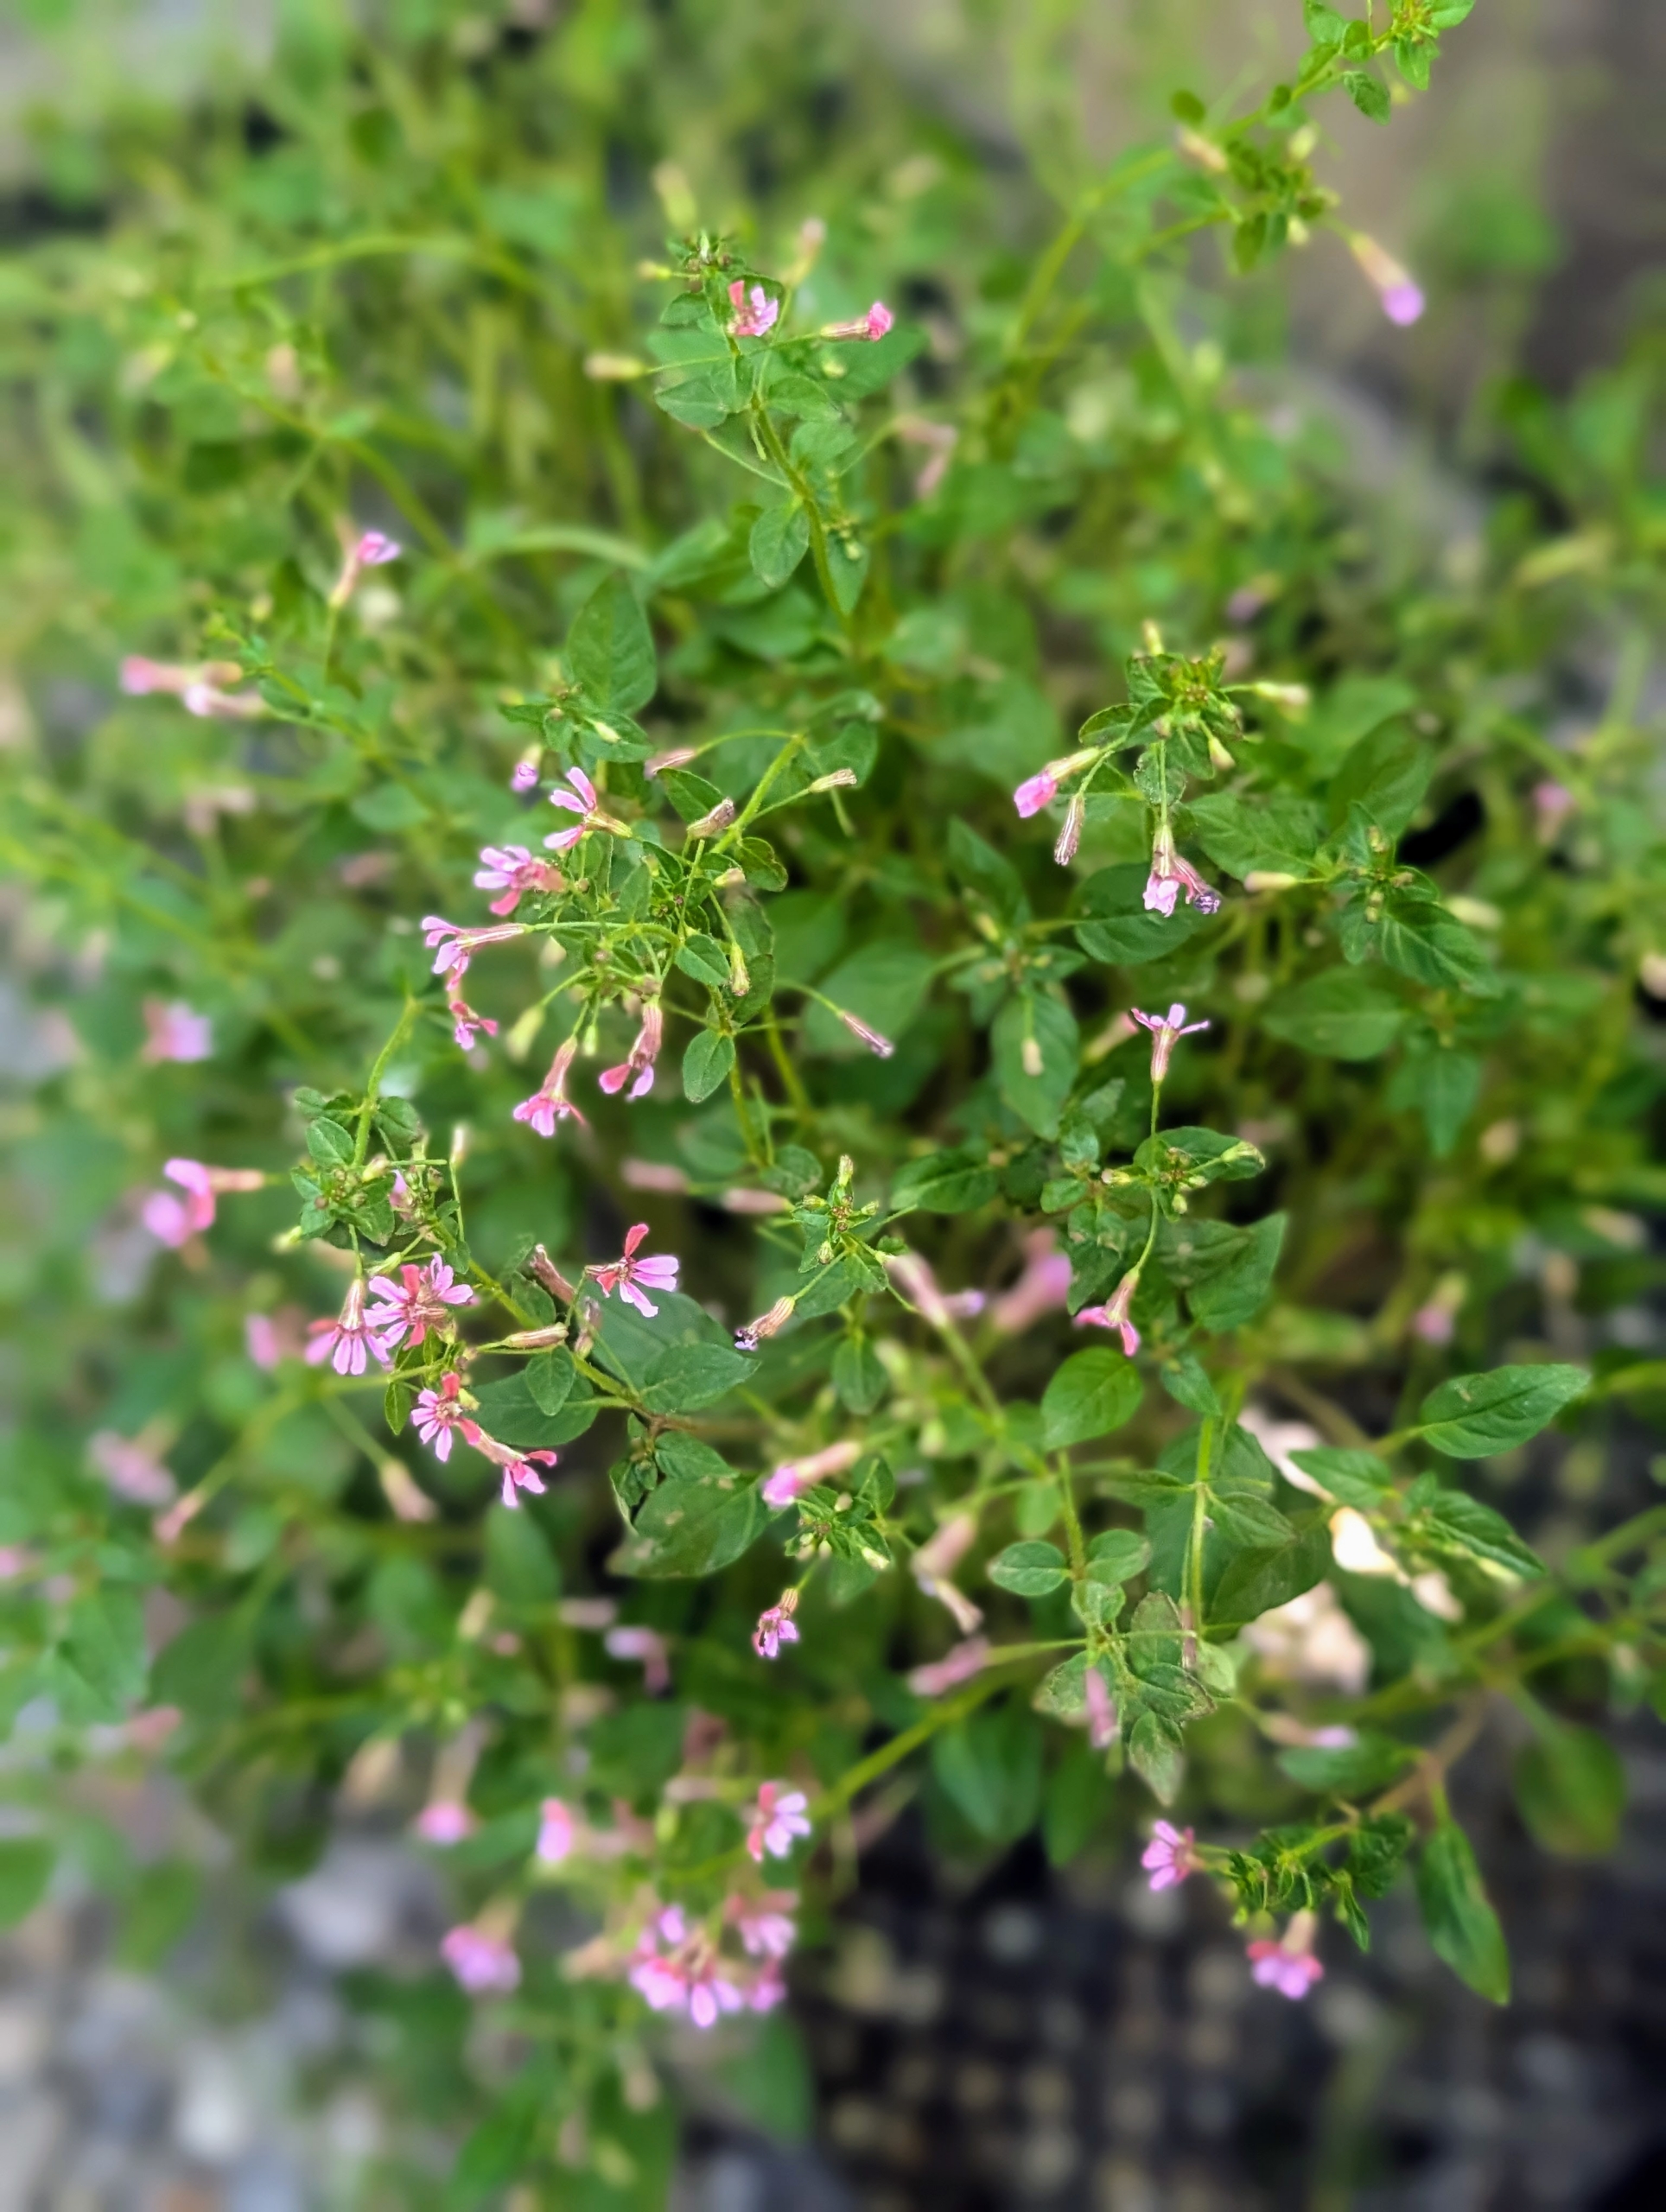
Cuphea ramosissima ‘Pink Shimmer’ is a compact, heat-tolerant ornamental shrub valued for its petite pink flowers and low maintenance needs.
Using potted plants to decorate the outside of one’s home can totally transform a space and add interest and color. These plants will thrive in this location.
After everything is planted, Matthew gives all the plants a good drink. Don’t forget, if you drank today, so should your plants. I hope this inspires you to take out your potted plants and display them outside your home this season.
For anyone passionate about gardening, it's always so rewarding to plant new specimens and watch them flourish.
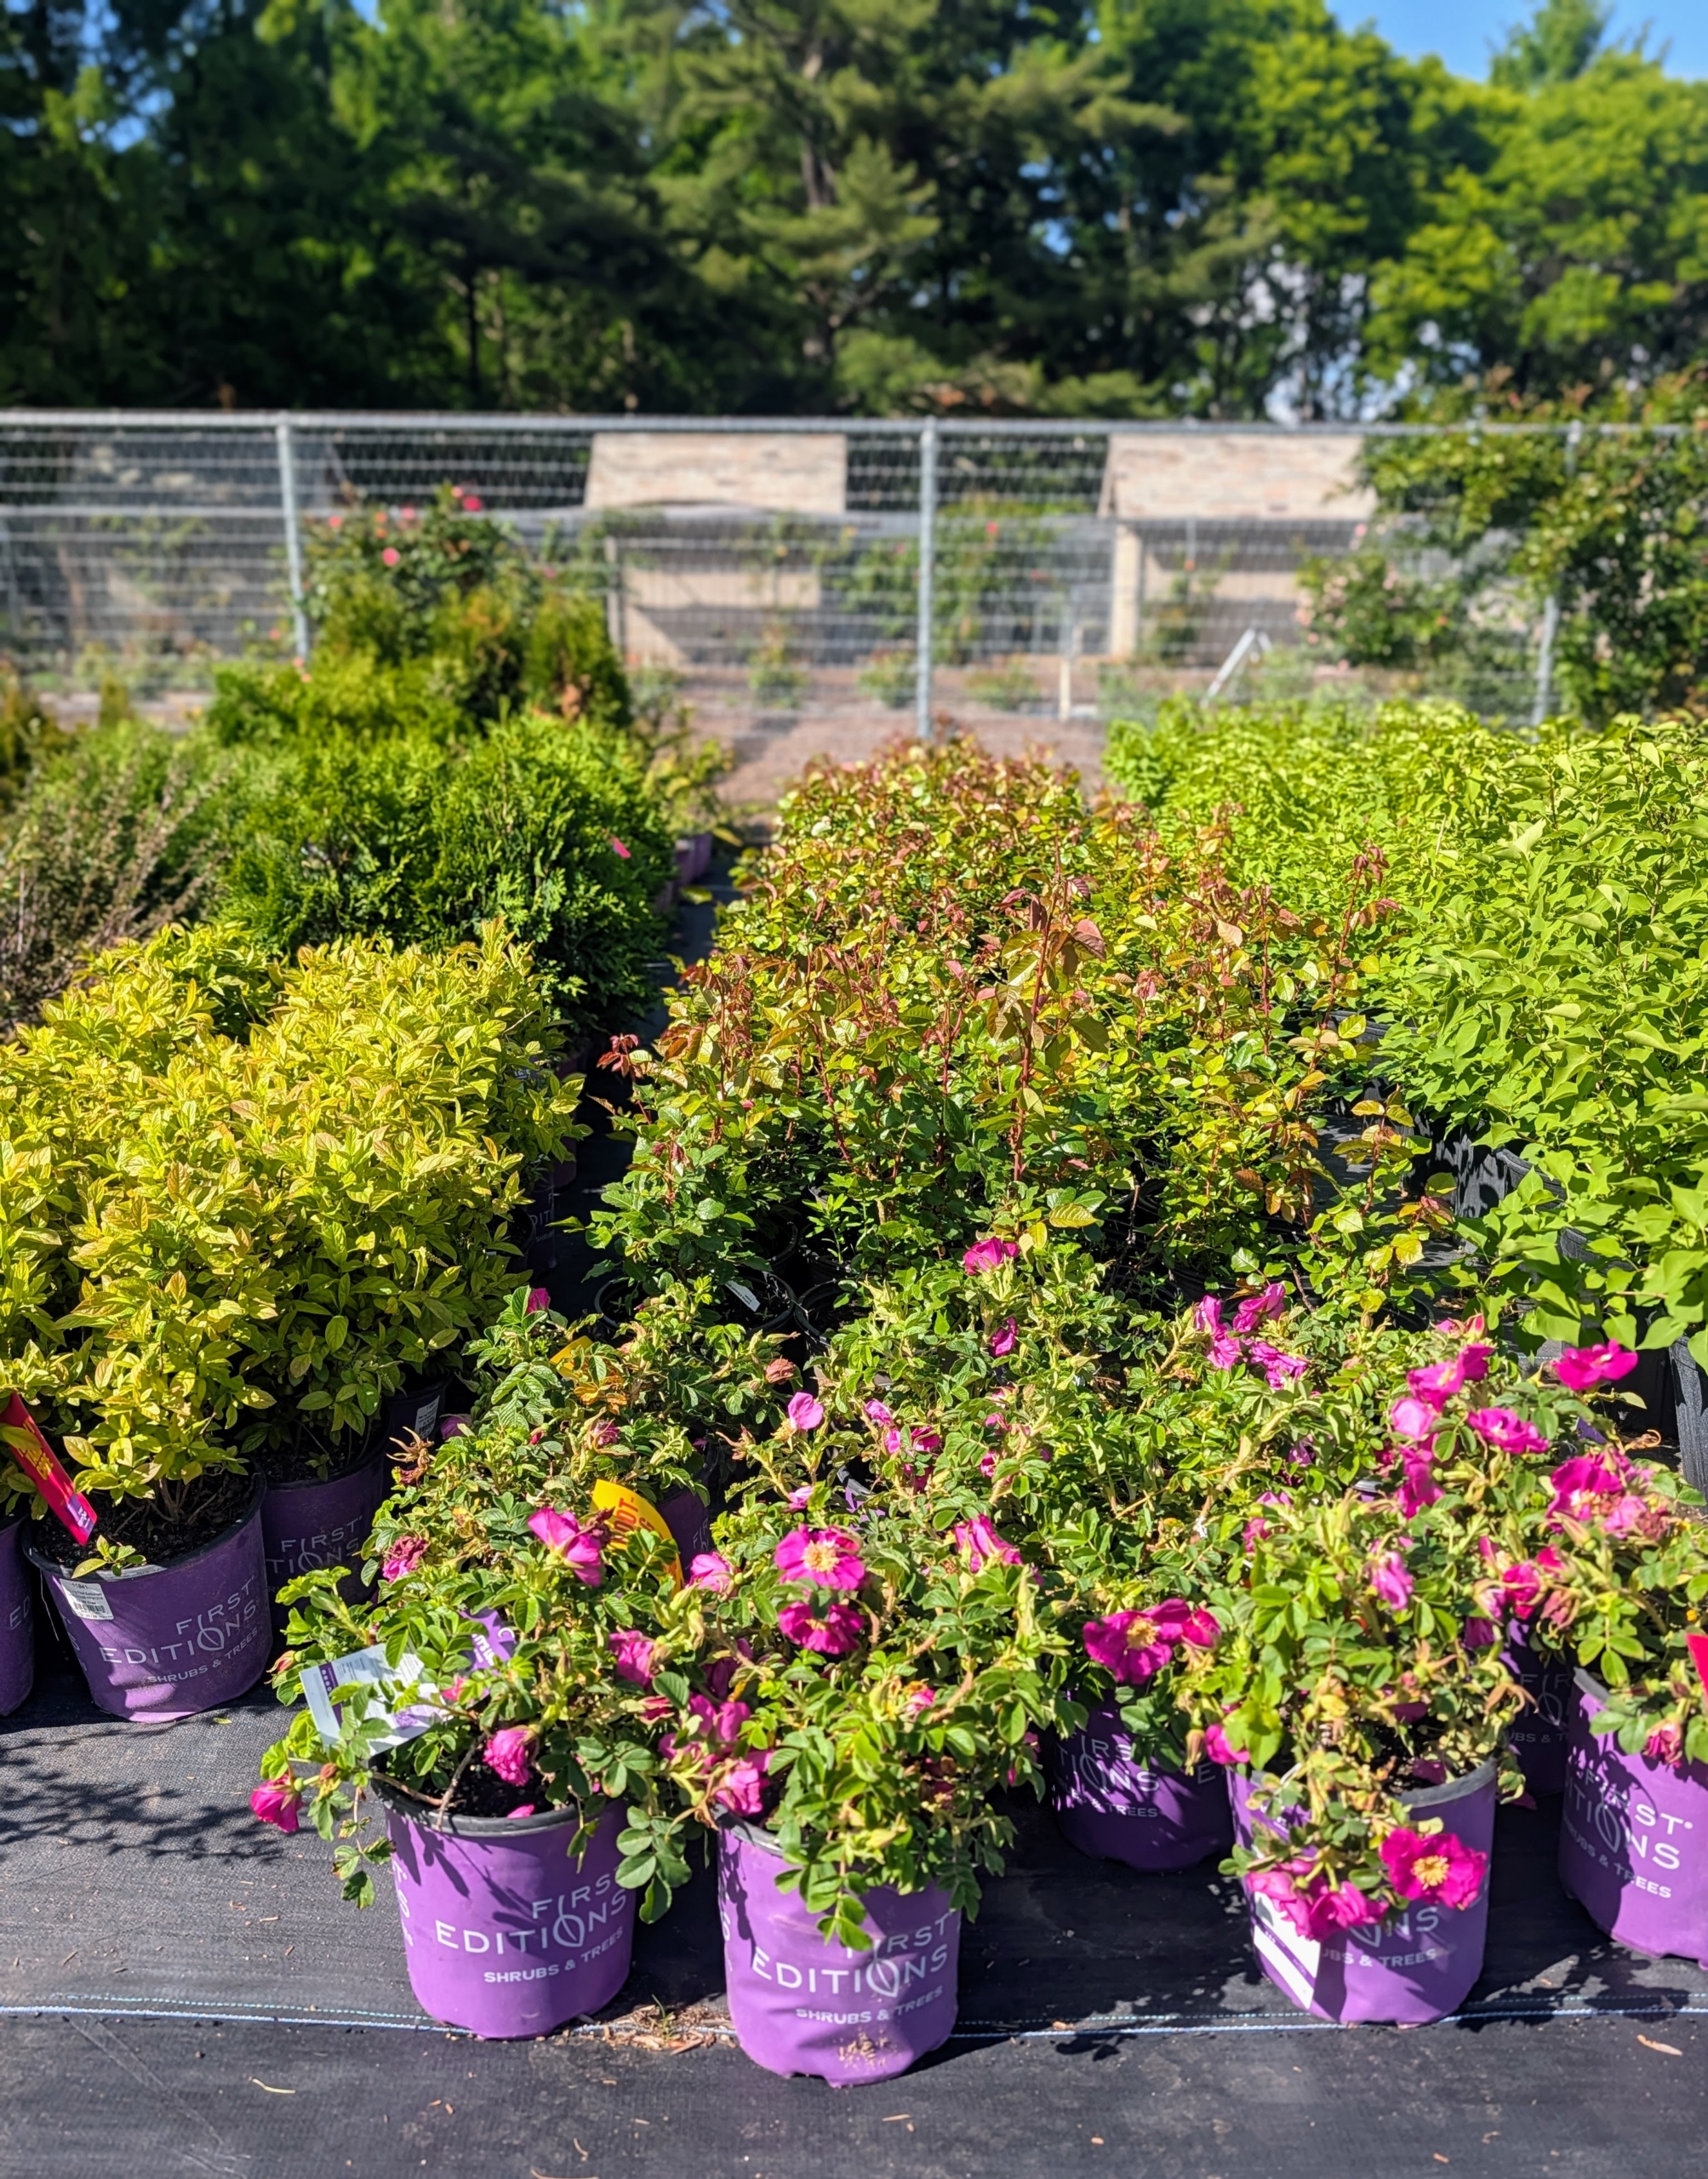
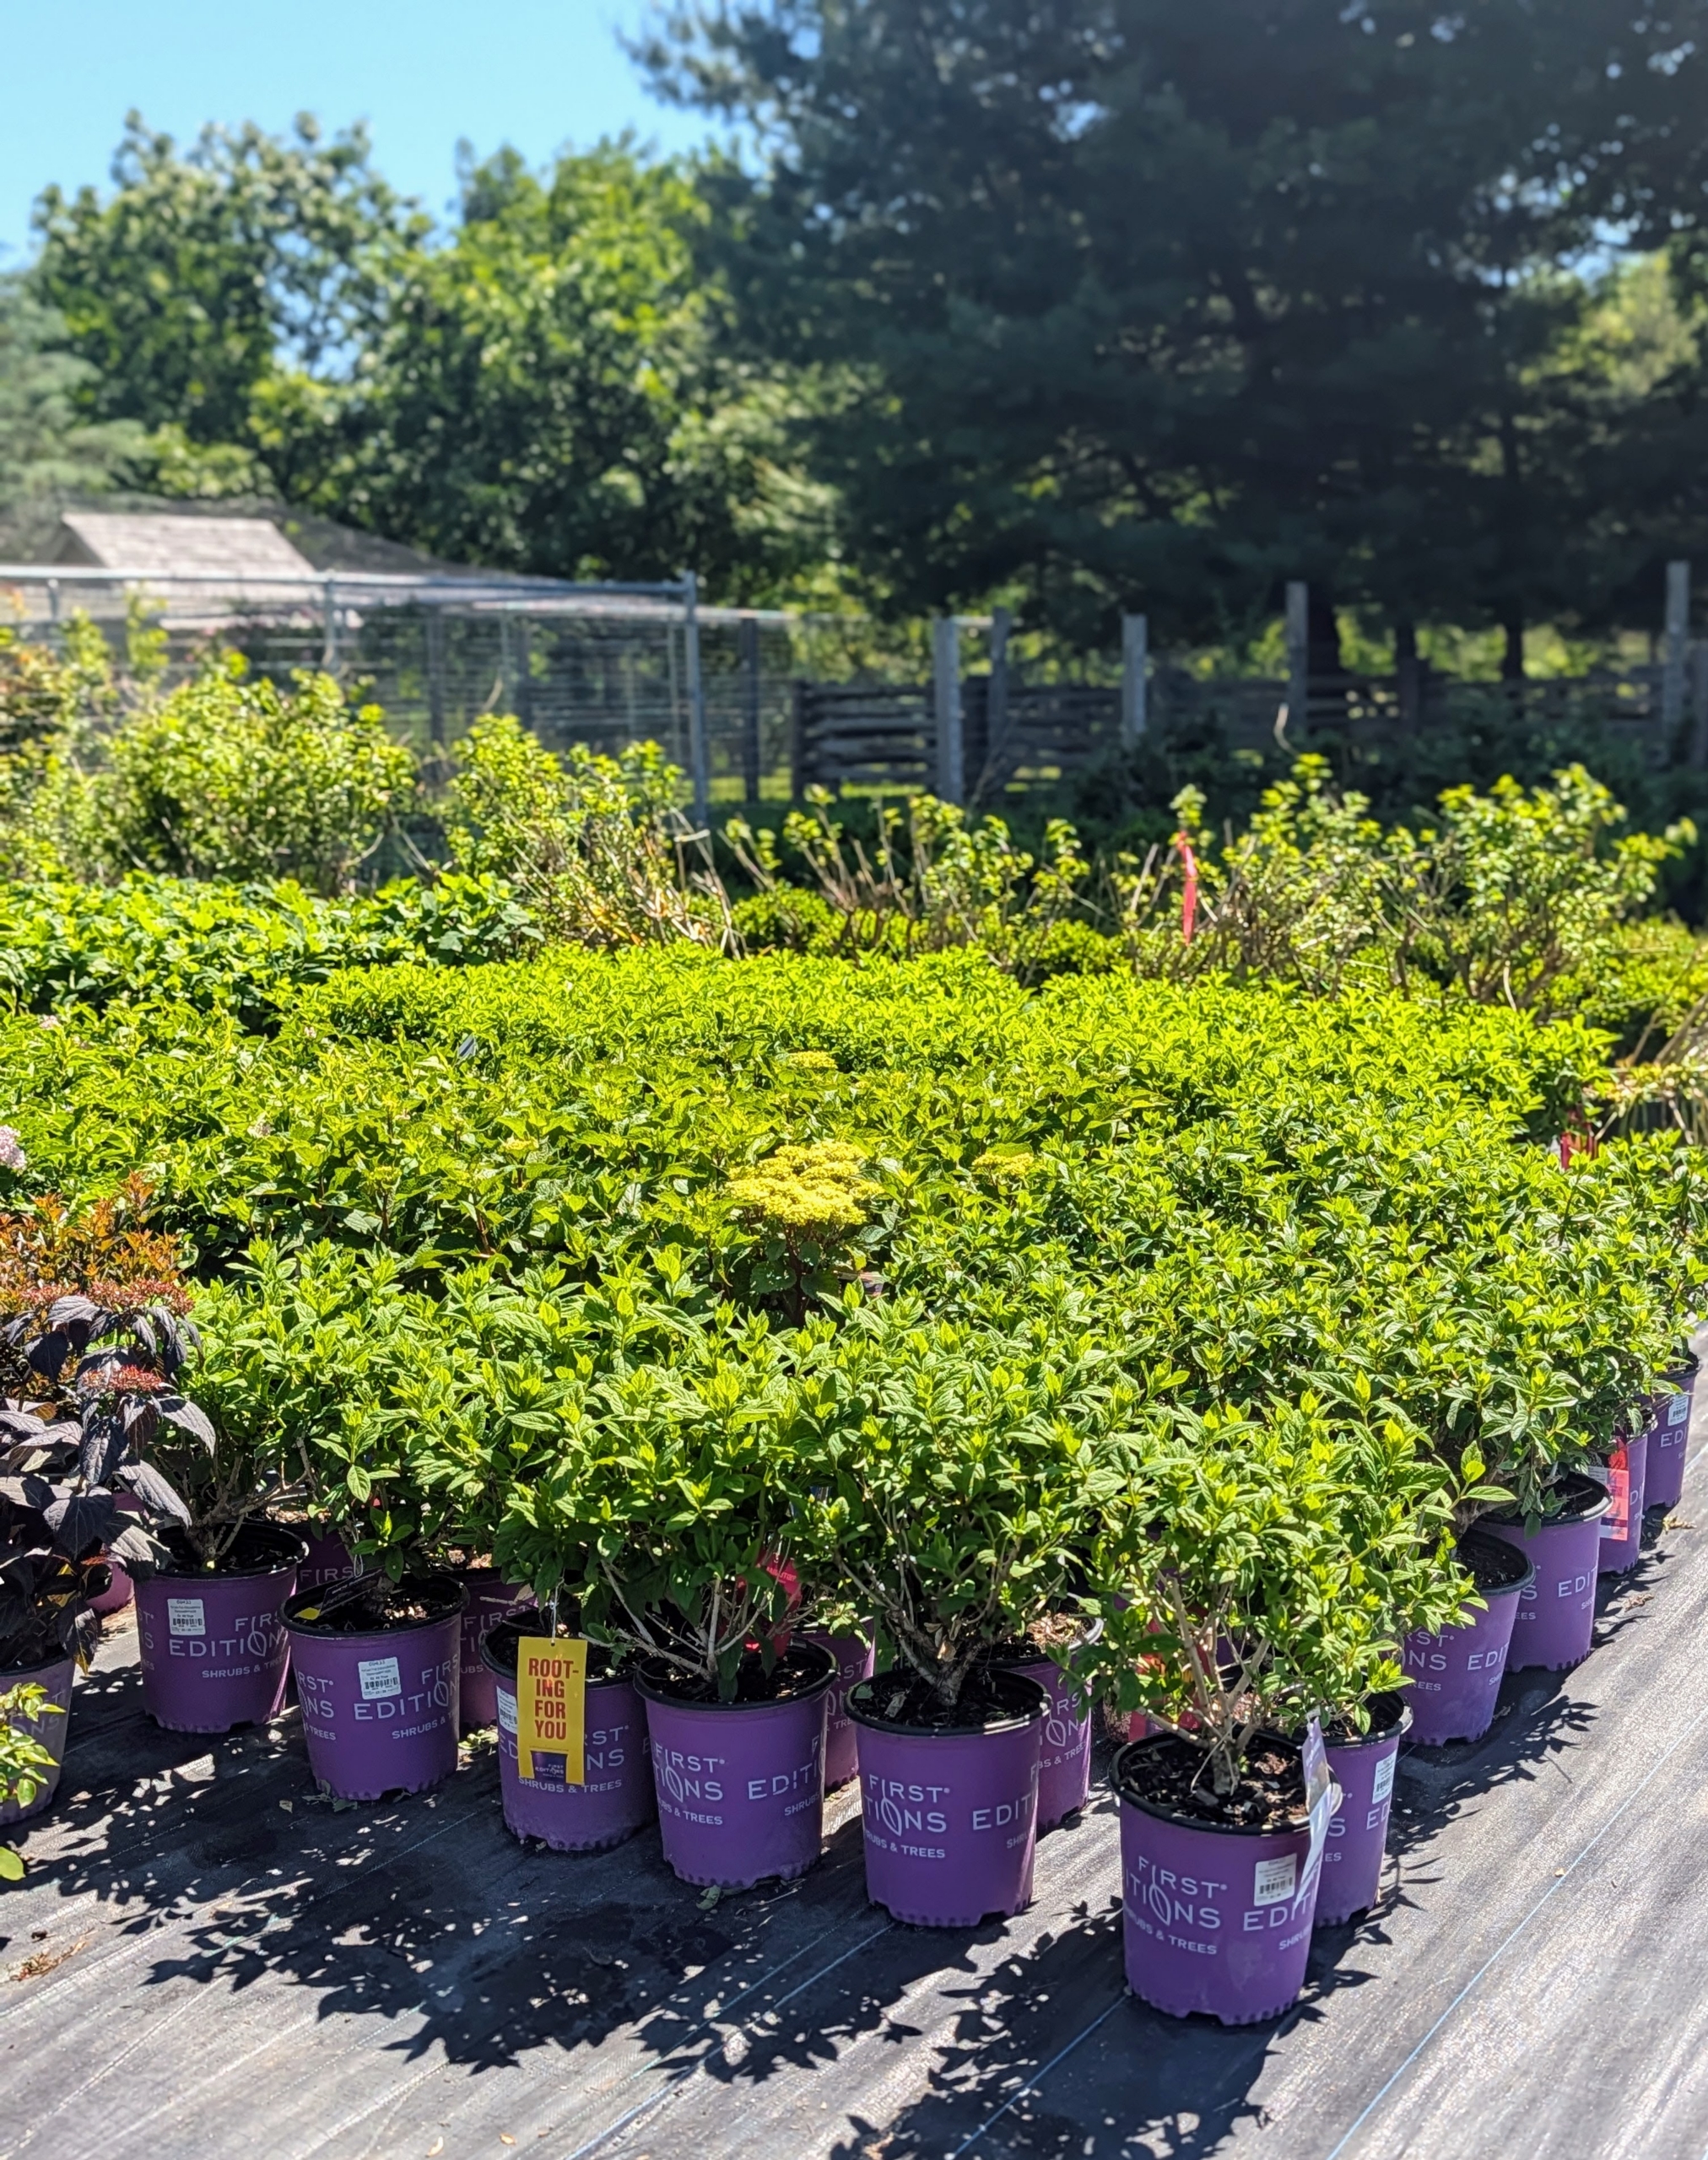
Recently, I received a large delivery from the First Editions and Endless Summer Collections by Bailey Nurseries in St. Paul, Minnesota. These plants will be stored in a fenced in area where they can be properly maintained until they are added to existing gardens and borders around my farm. This grouping of plants includes several varieties of hydrangea, cotoneaster, ninebark, birch trees, lilacs, shrub roses, and others.
Here are some photos, enjoy.
It’s always so exciting when a delivery of plants arrives at the farm. As a serious and curious gardener, I am always looking for ways to add more beauty and texture to my garden beds.
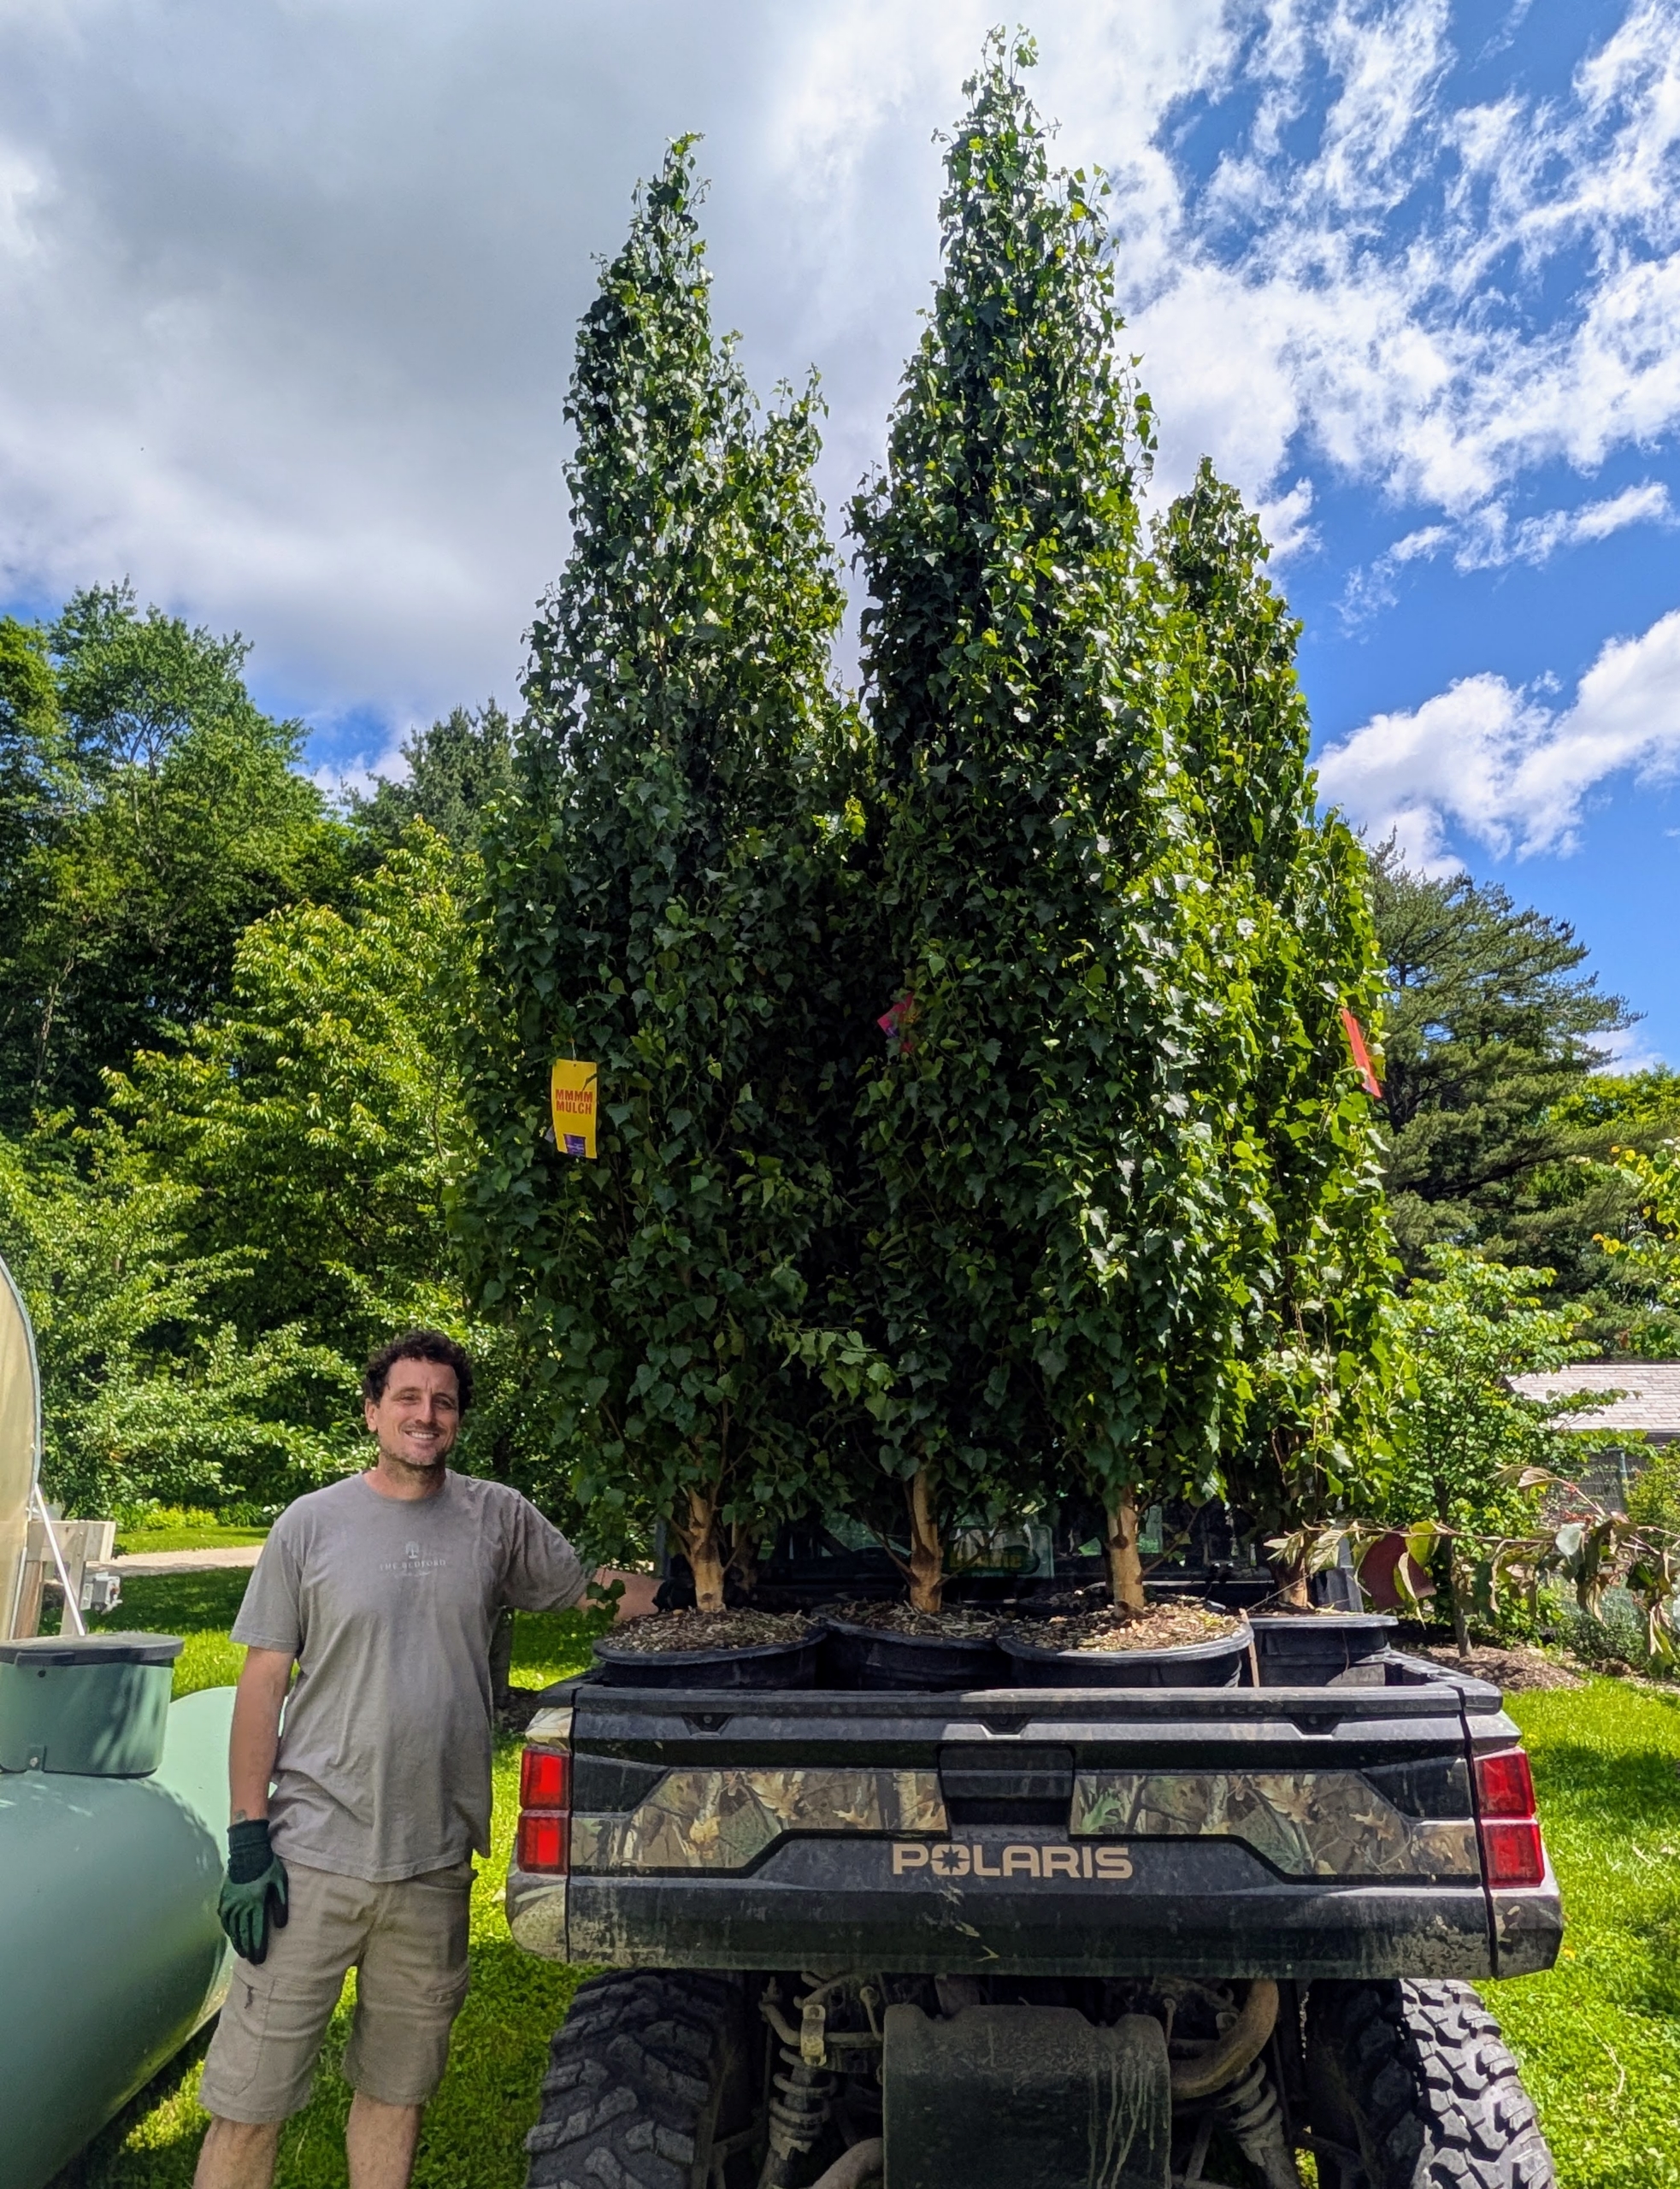
Here’s Ryan transporting a selection of Parkland Pillar® Betula platyphylla ‘Jefpark’ – a beautiful birch tree variety with a narrow, upright, dense habit. It features white bark and dense, dark green foliage that turns a beautiful gold in late fall.
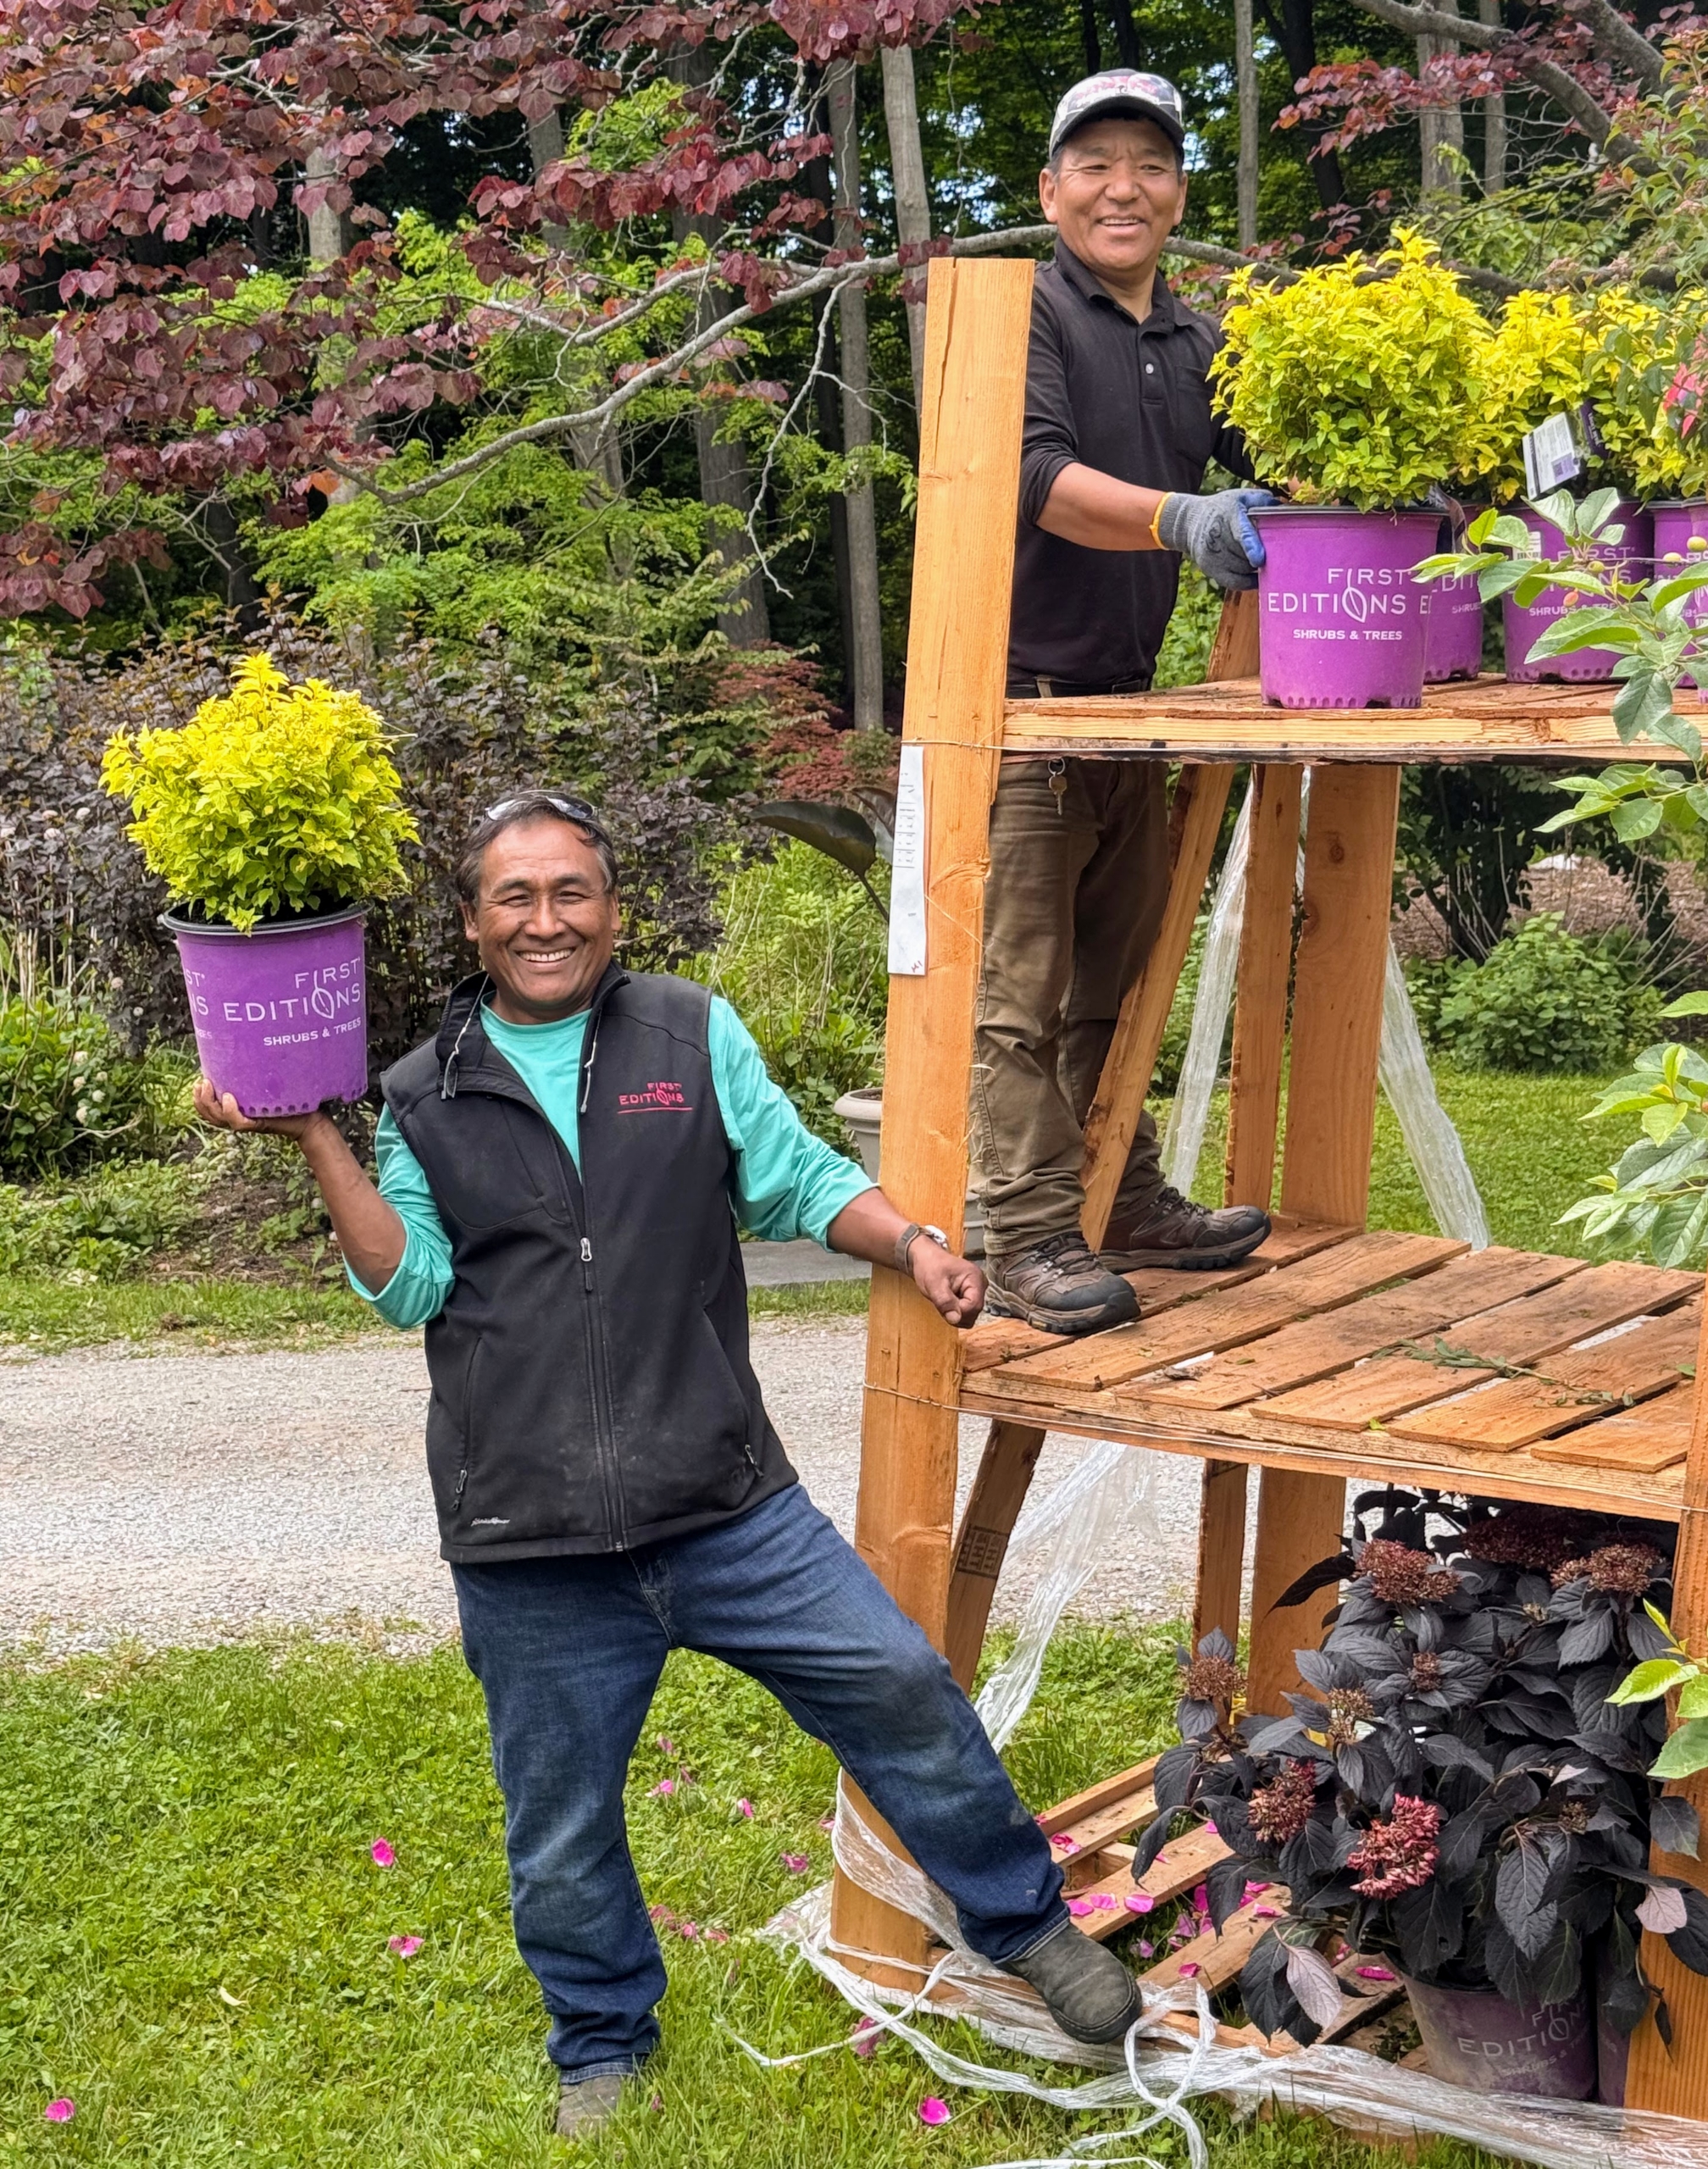
Pete and Phurba from my hardworking outdoor grounds crew unload every palette carefully. They learn a lot from all the different plants I add to my gardens.
Right away, the plants are placed in organized rows according to type so they are easy to see, count, water, feed, and access when it is time to plant.
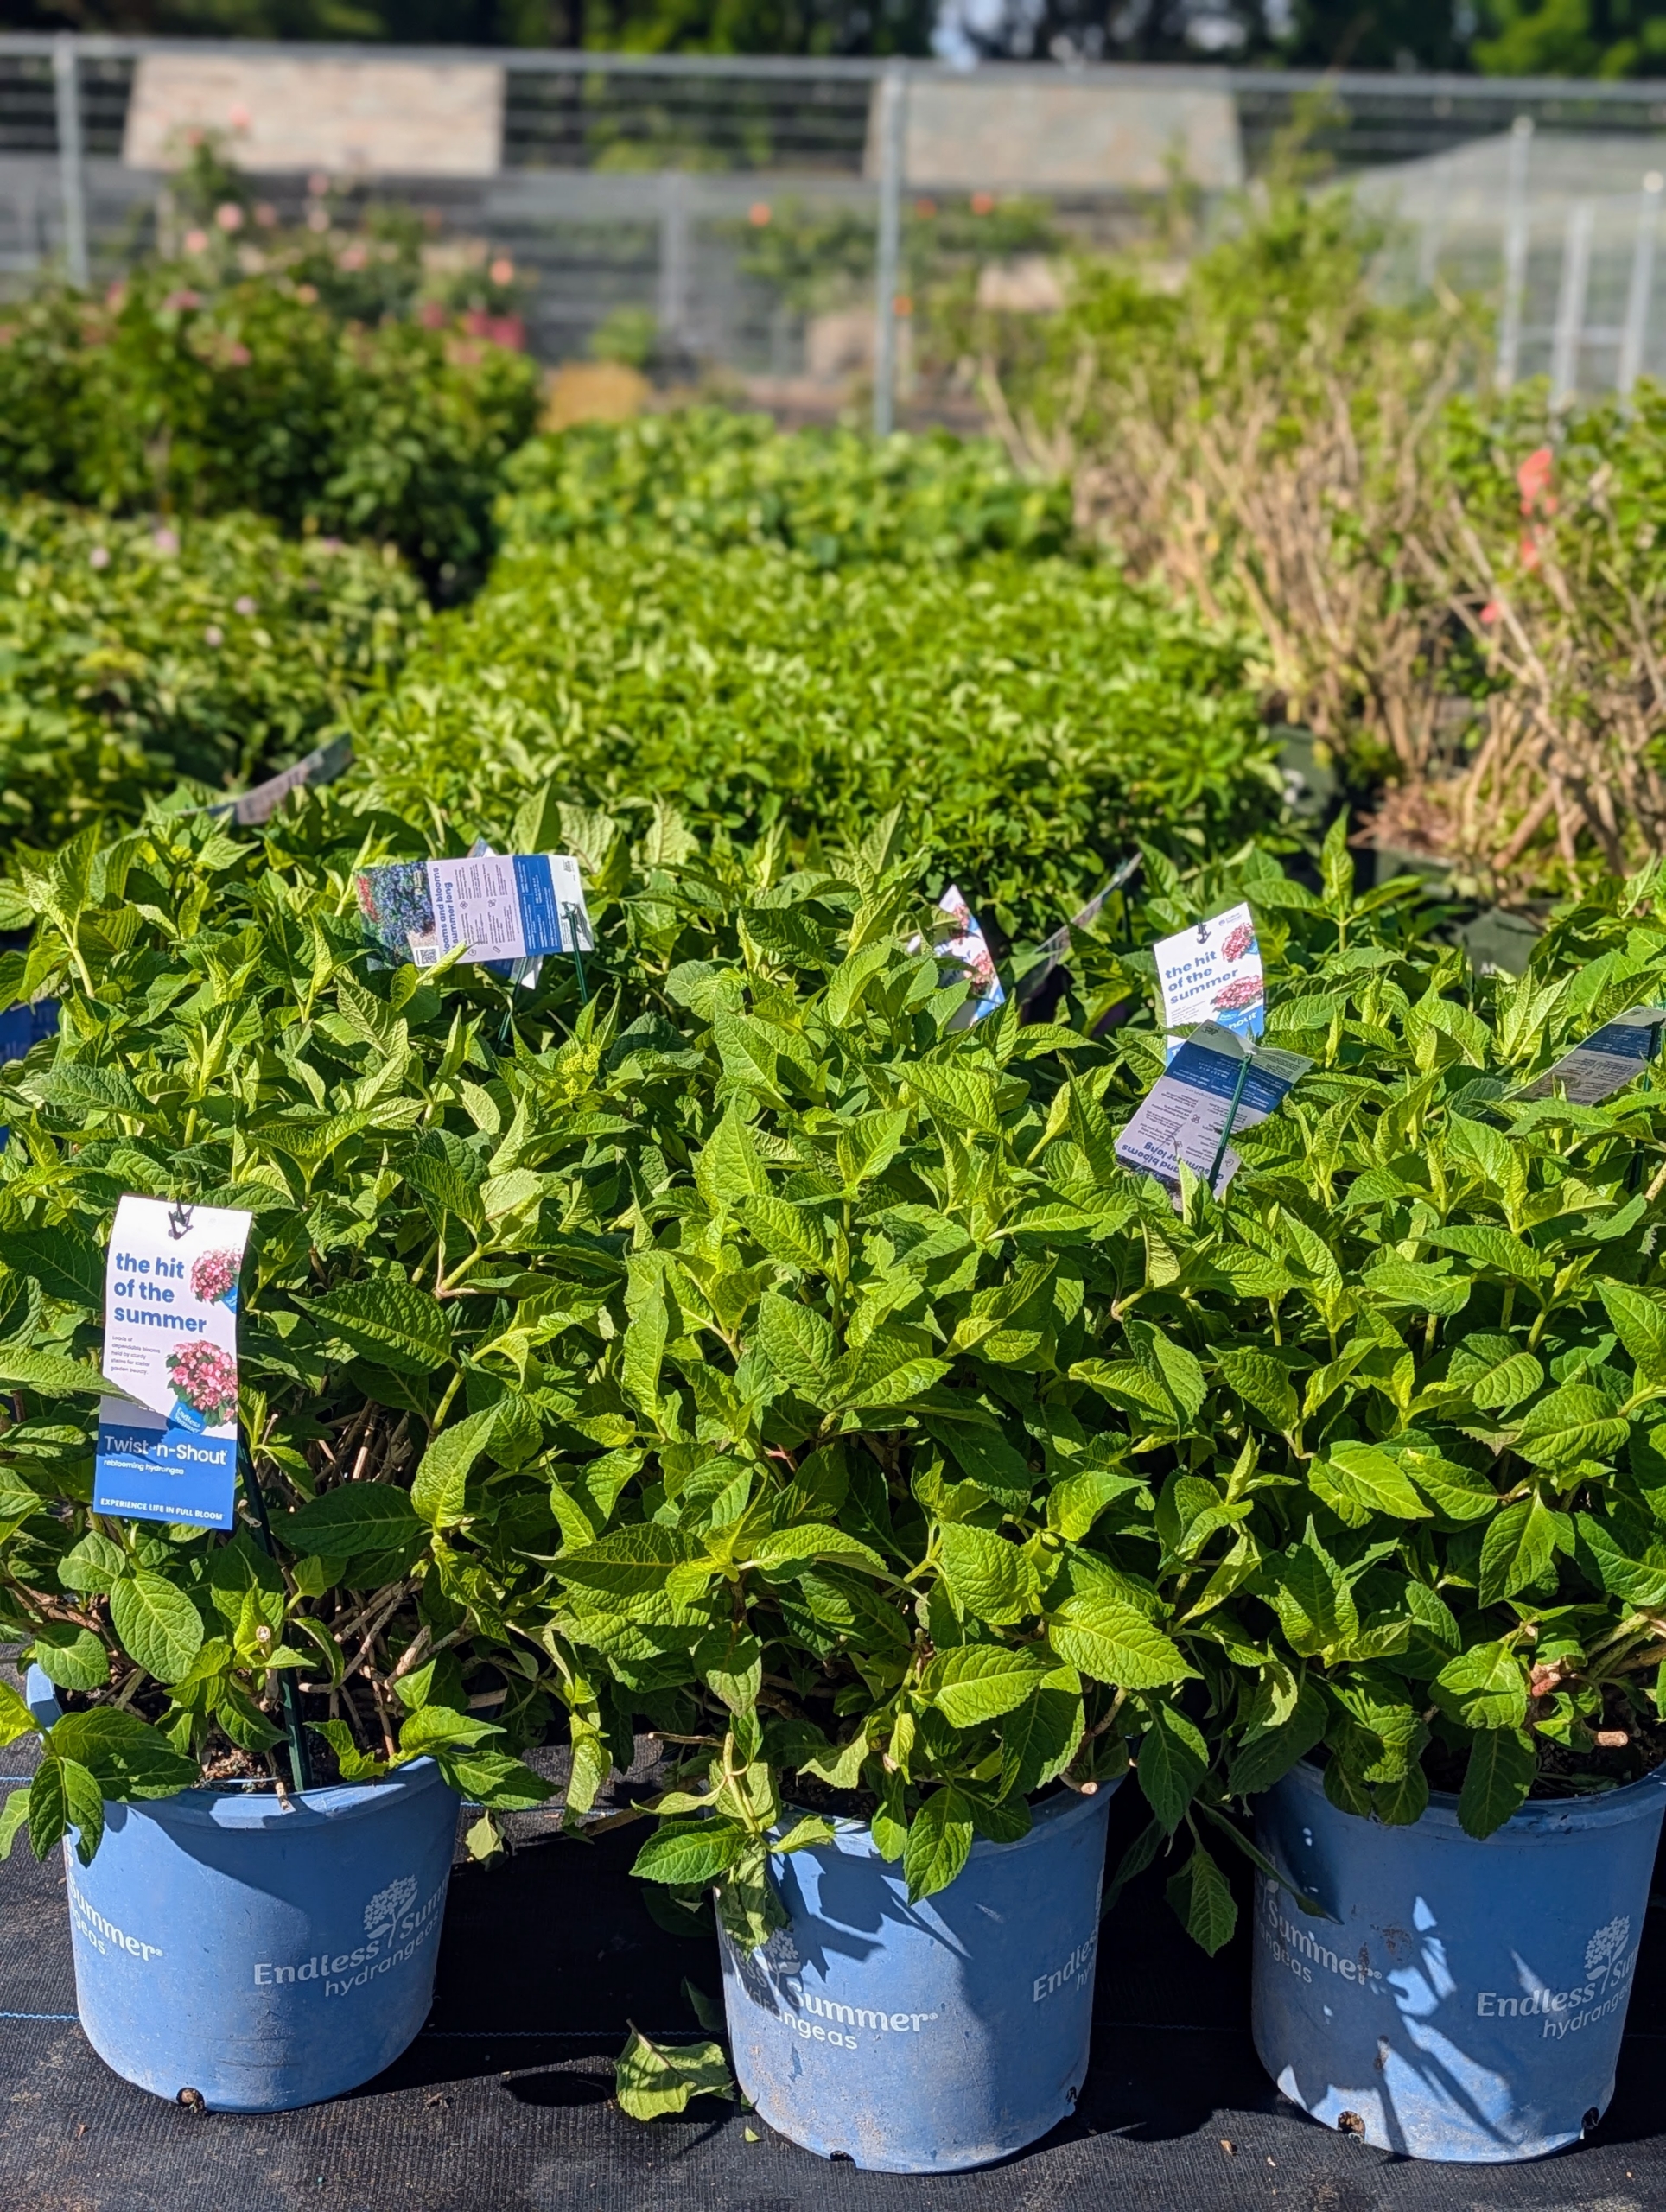
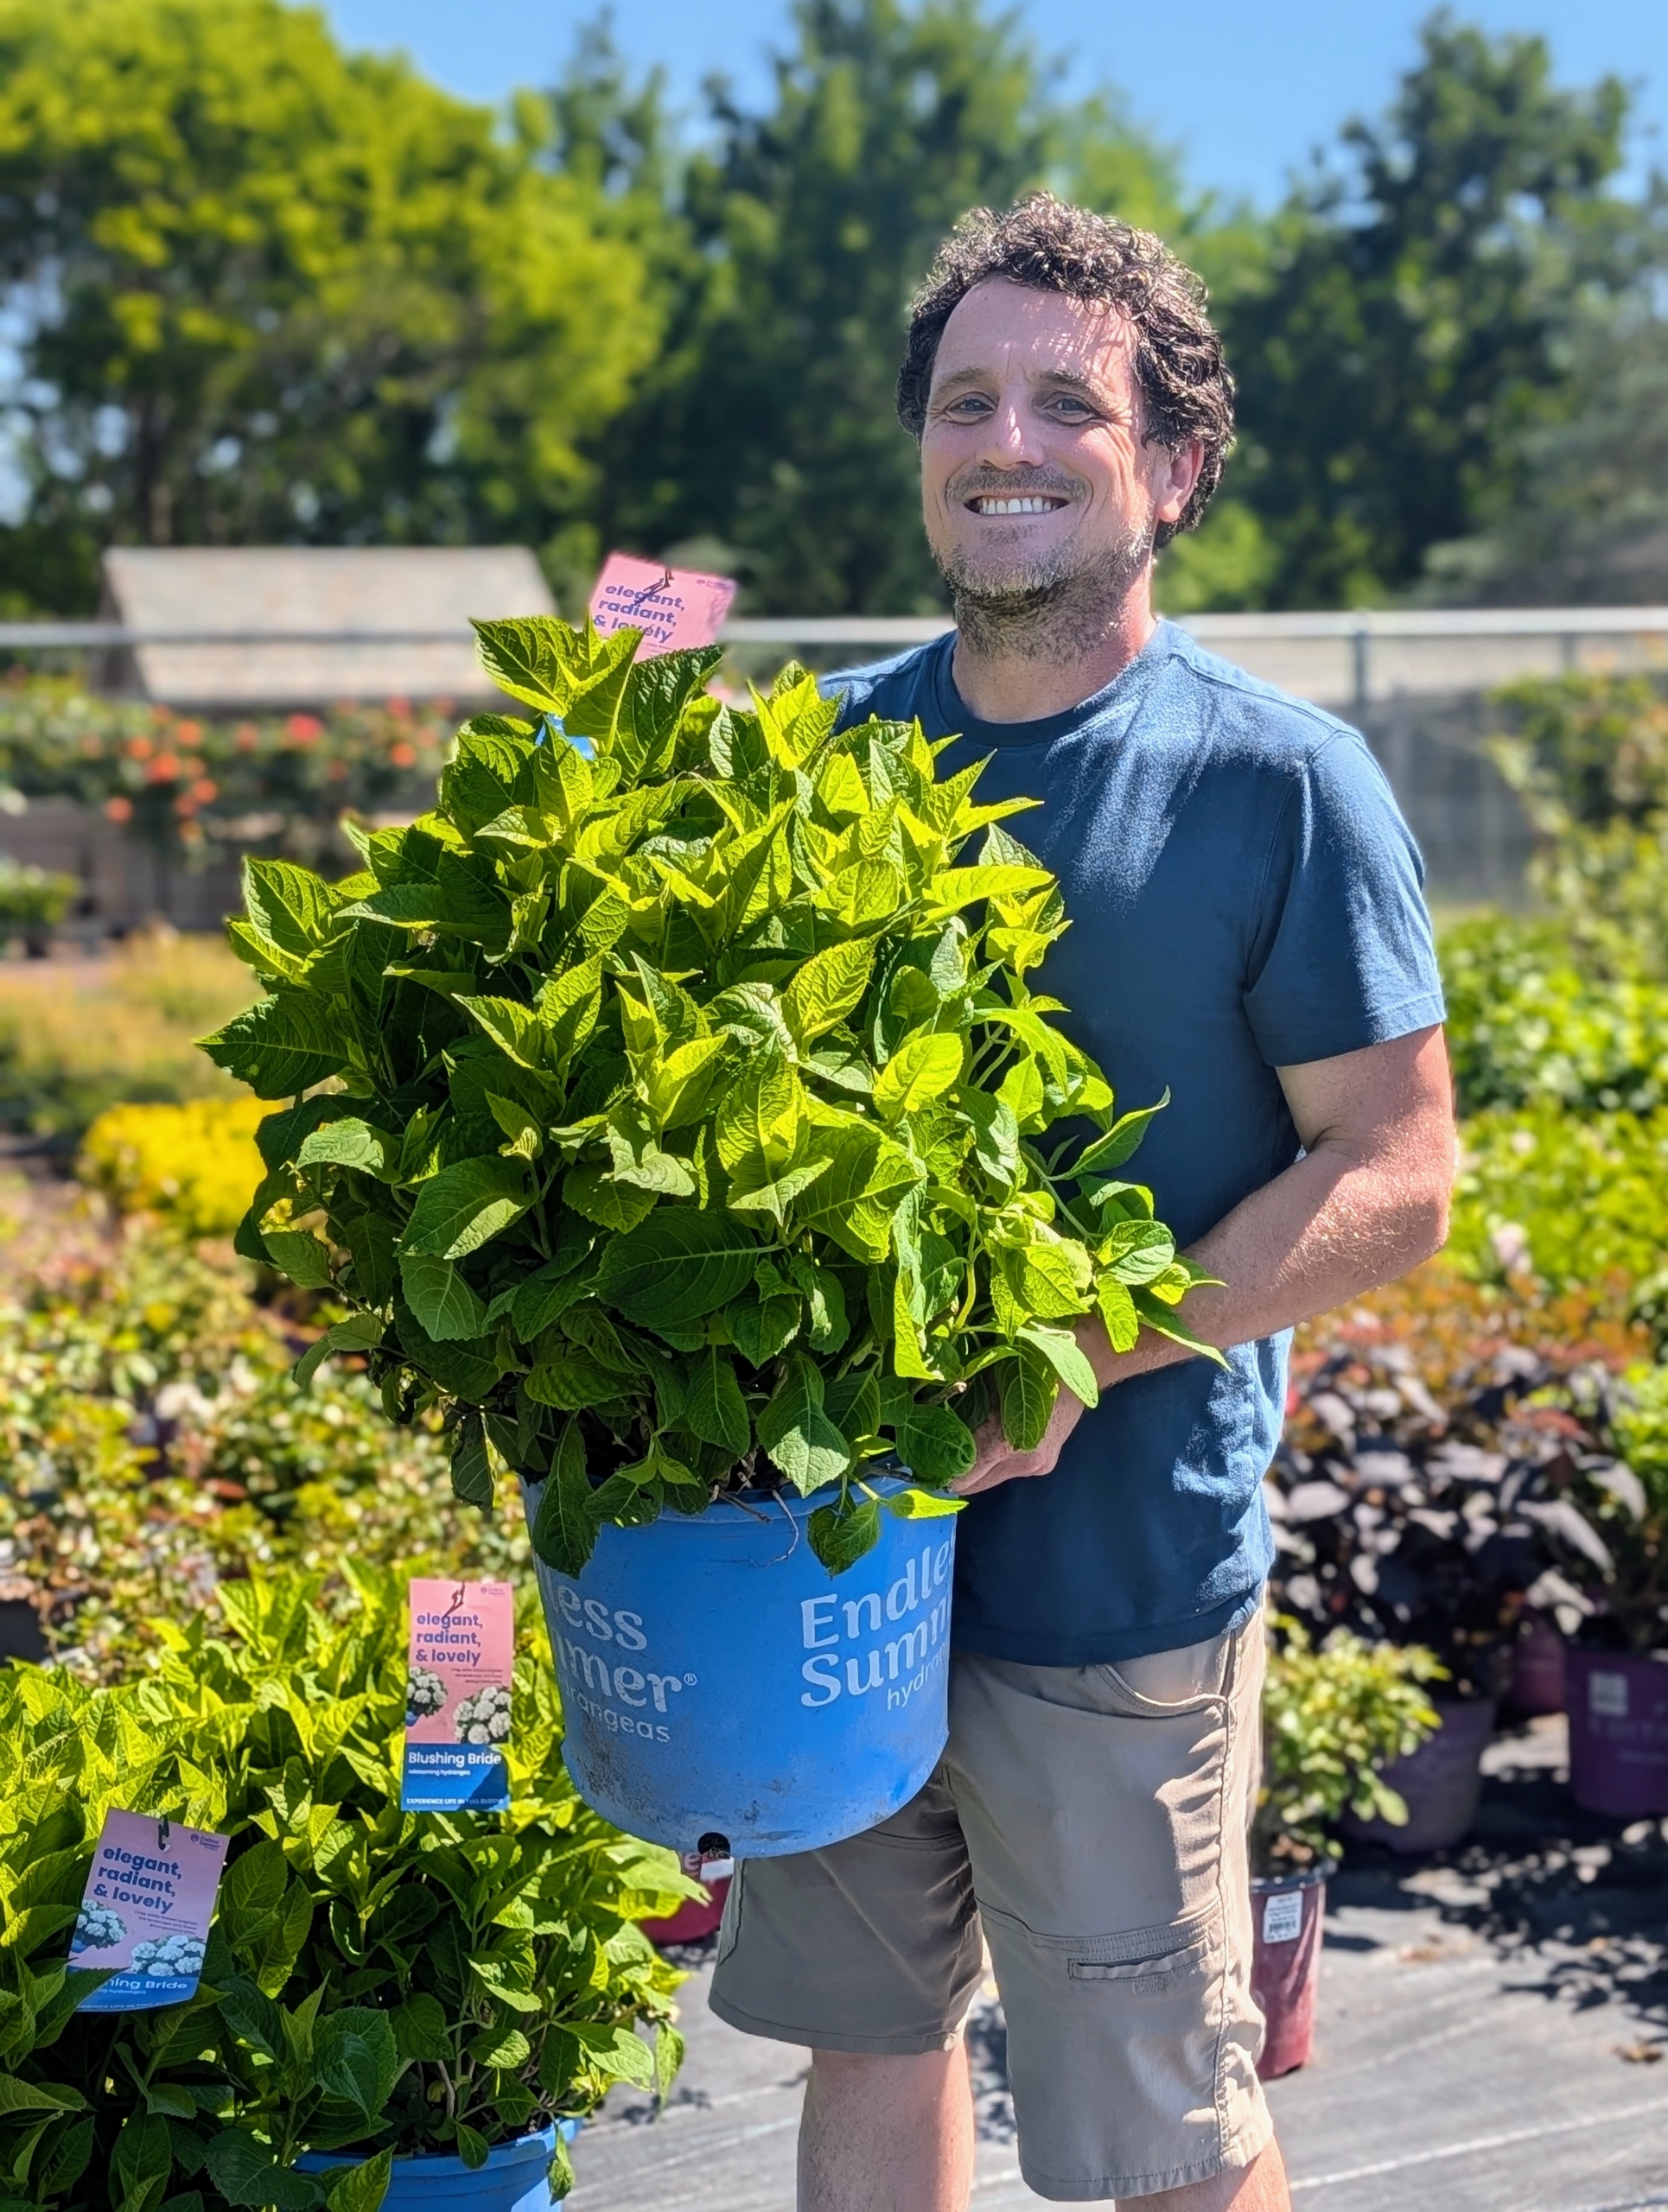
Many in this collection are hydrangeas. Hydrangea, commonly named the hortensia, is a genus of more than 70 species of flowering plants native to Asia and the Americas. Hydrangea flowers bloom from early spring to late autumn. This lush green variety is Endless Summer ‘Twist-n-Shout®.’ It has lacecap flowers that bloom in deep pink or periwinkle blue.
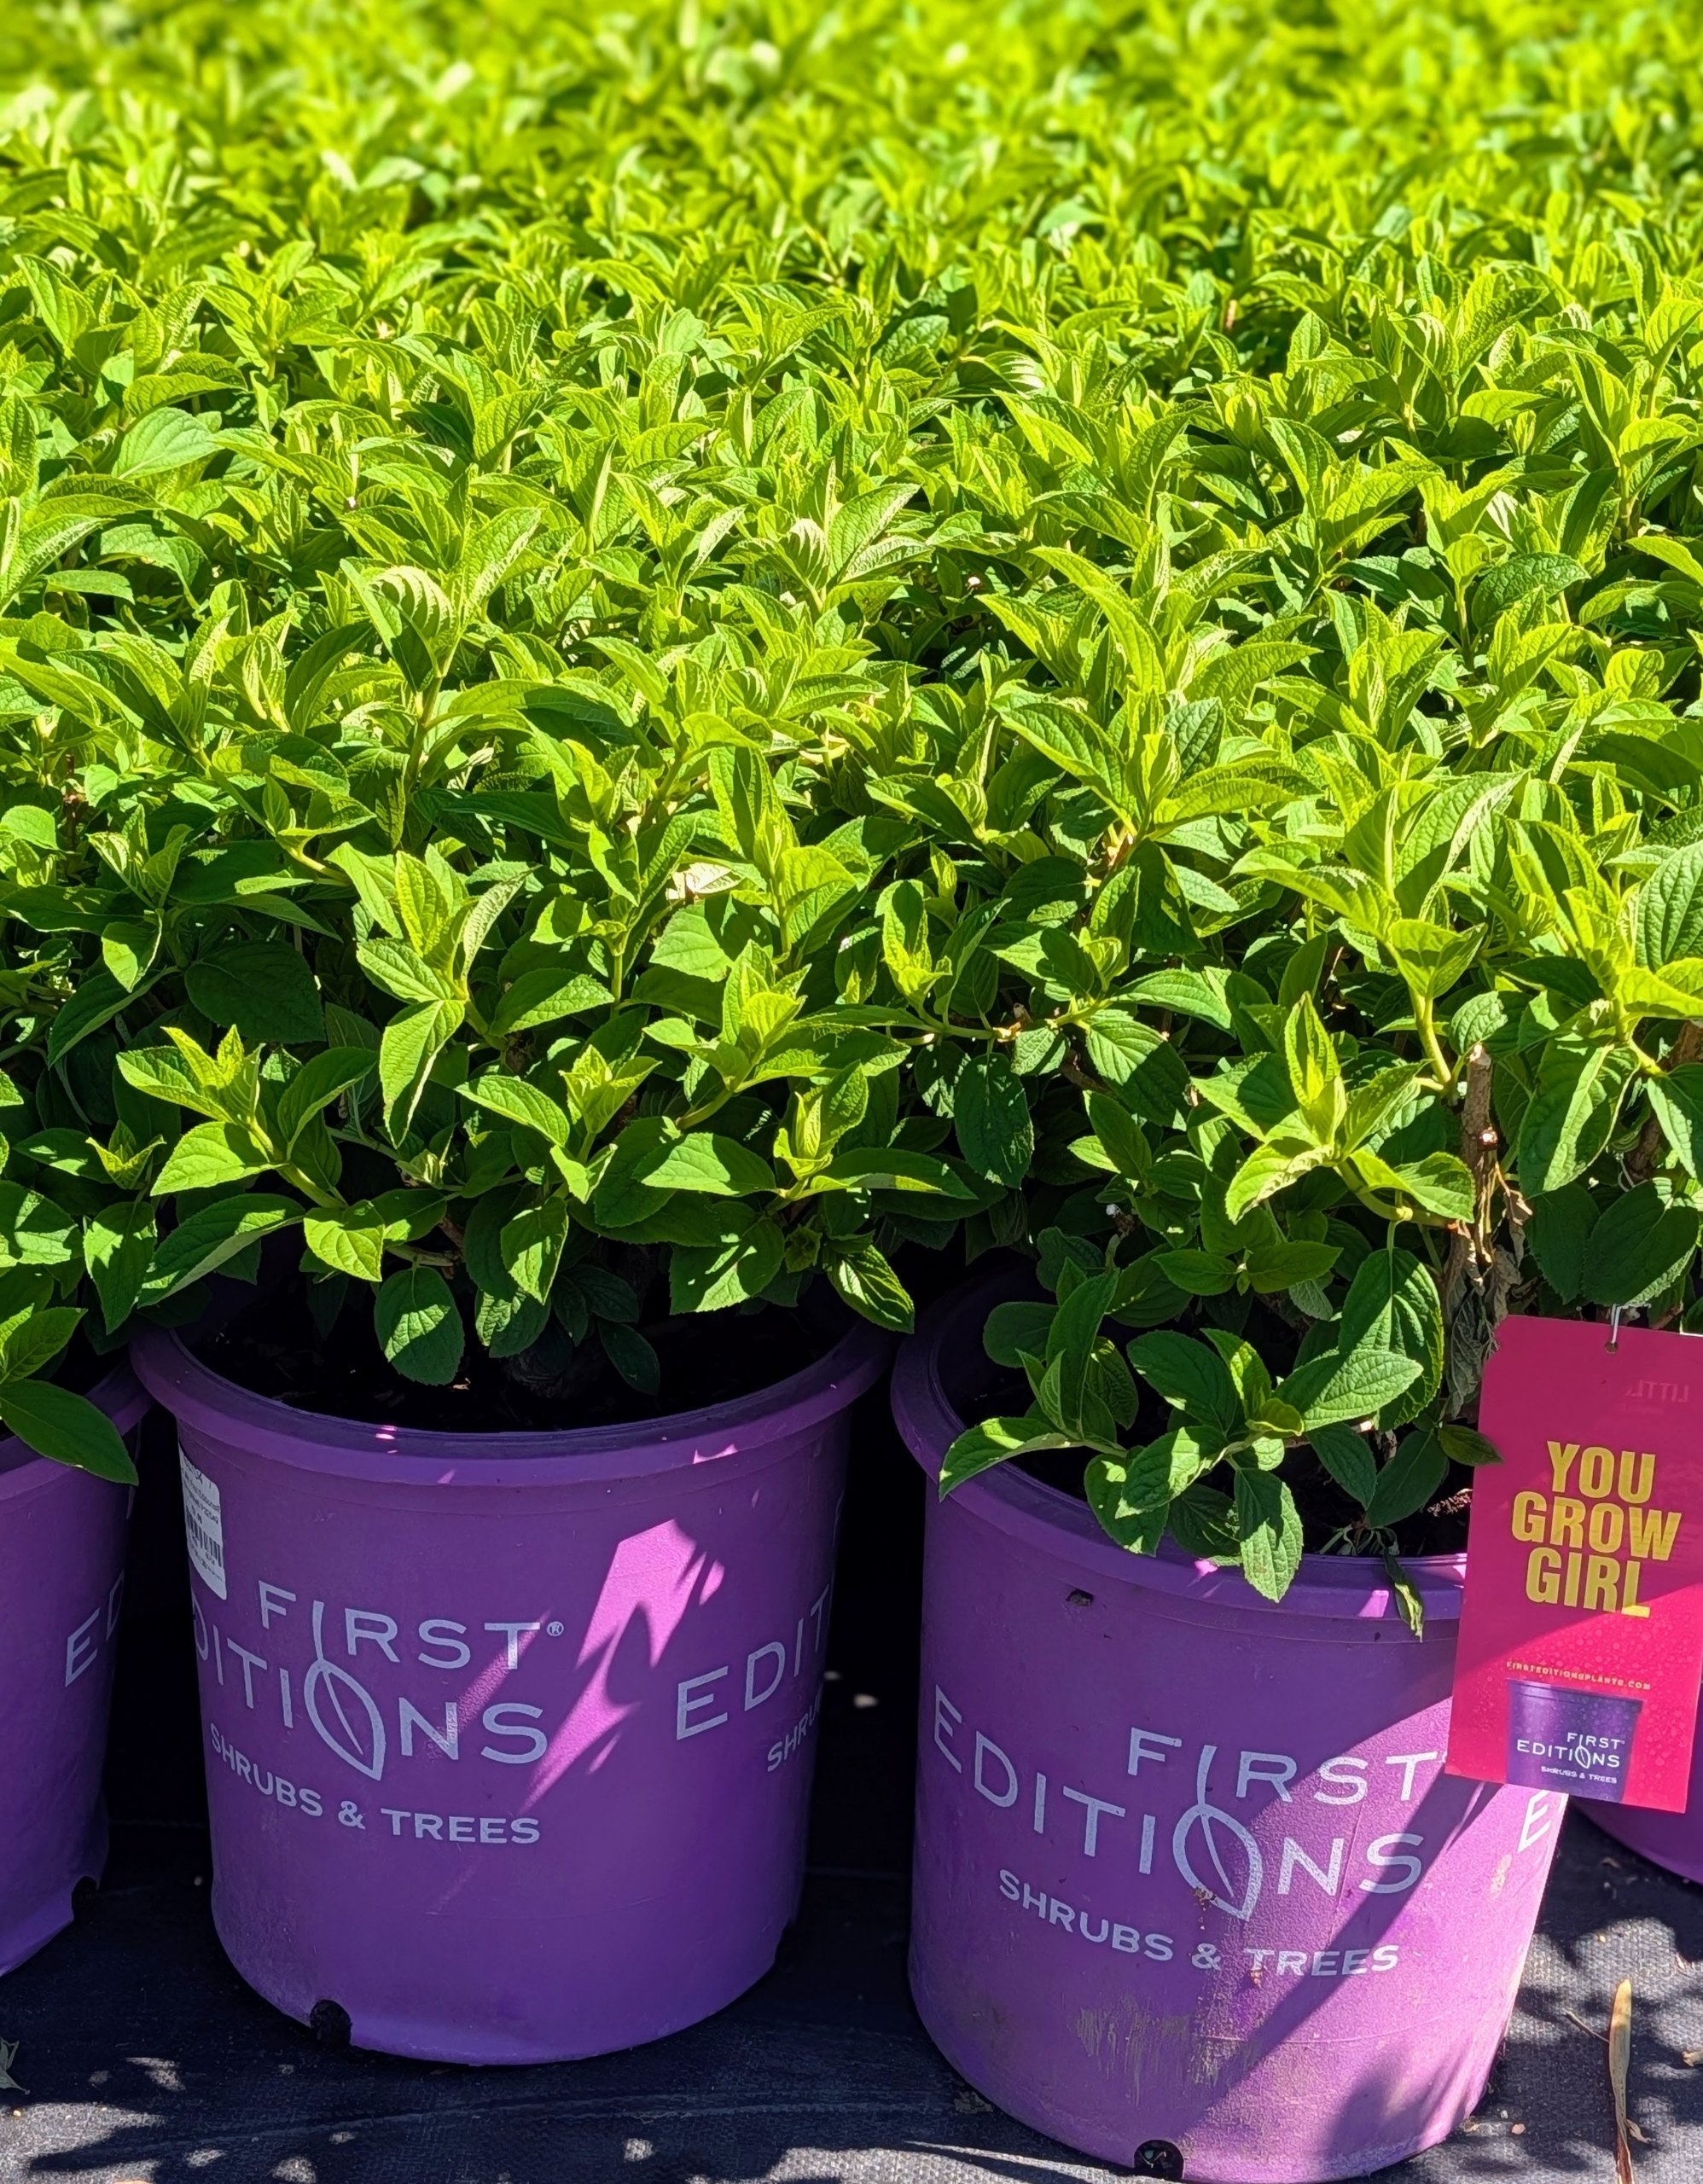
These First Editions Little Hottie® panicle hydrangeas are in such excellent condition. They have white flowers that bloom from late summer to early fall on shrubs that grow three to five feet tall and wide.
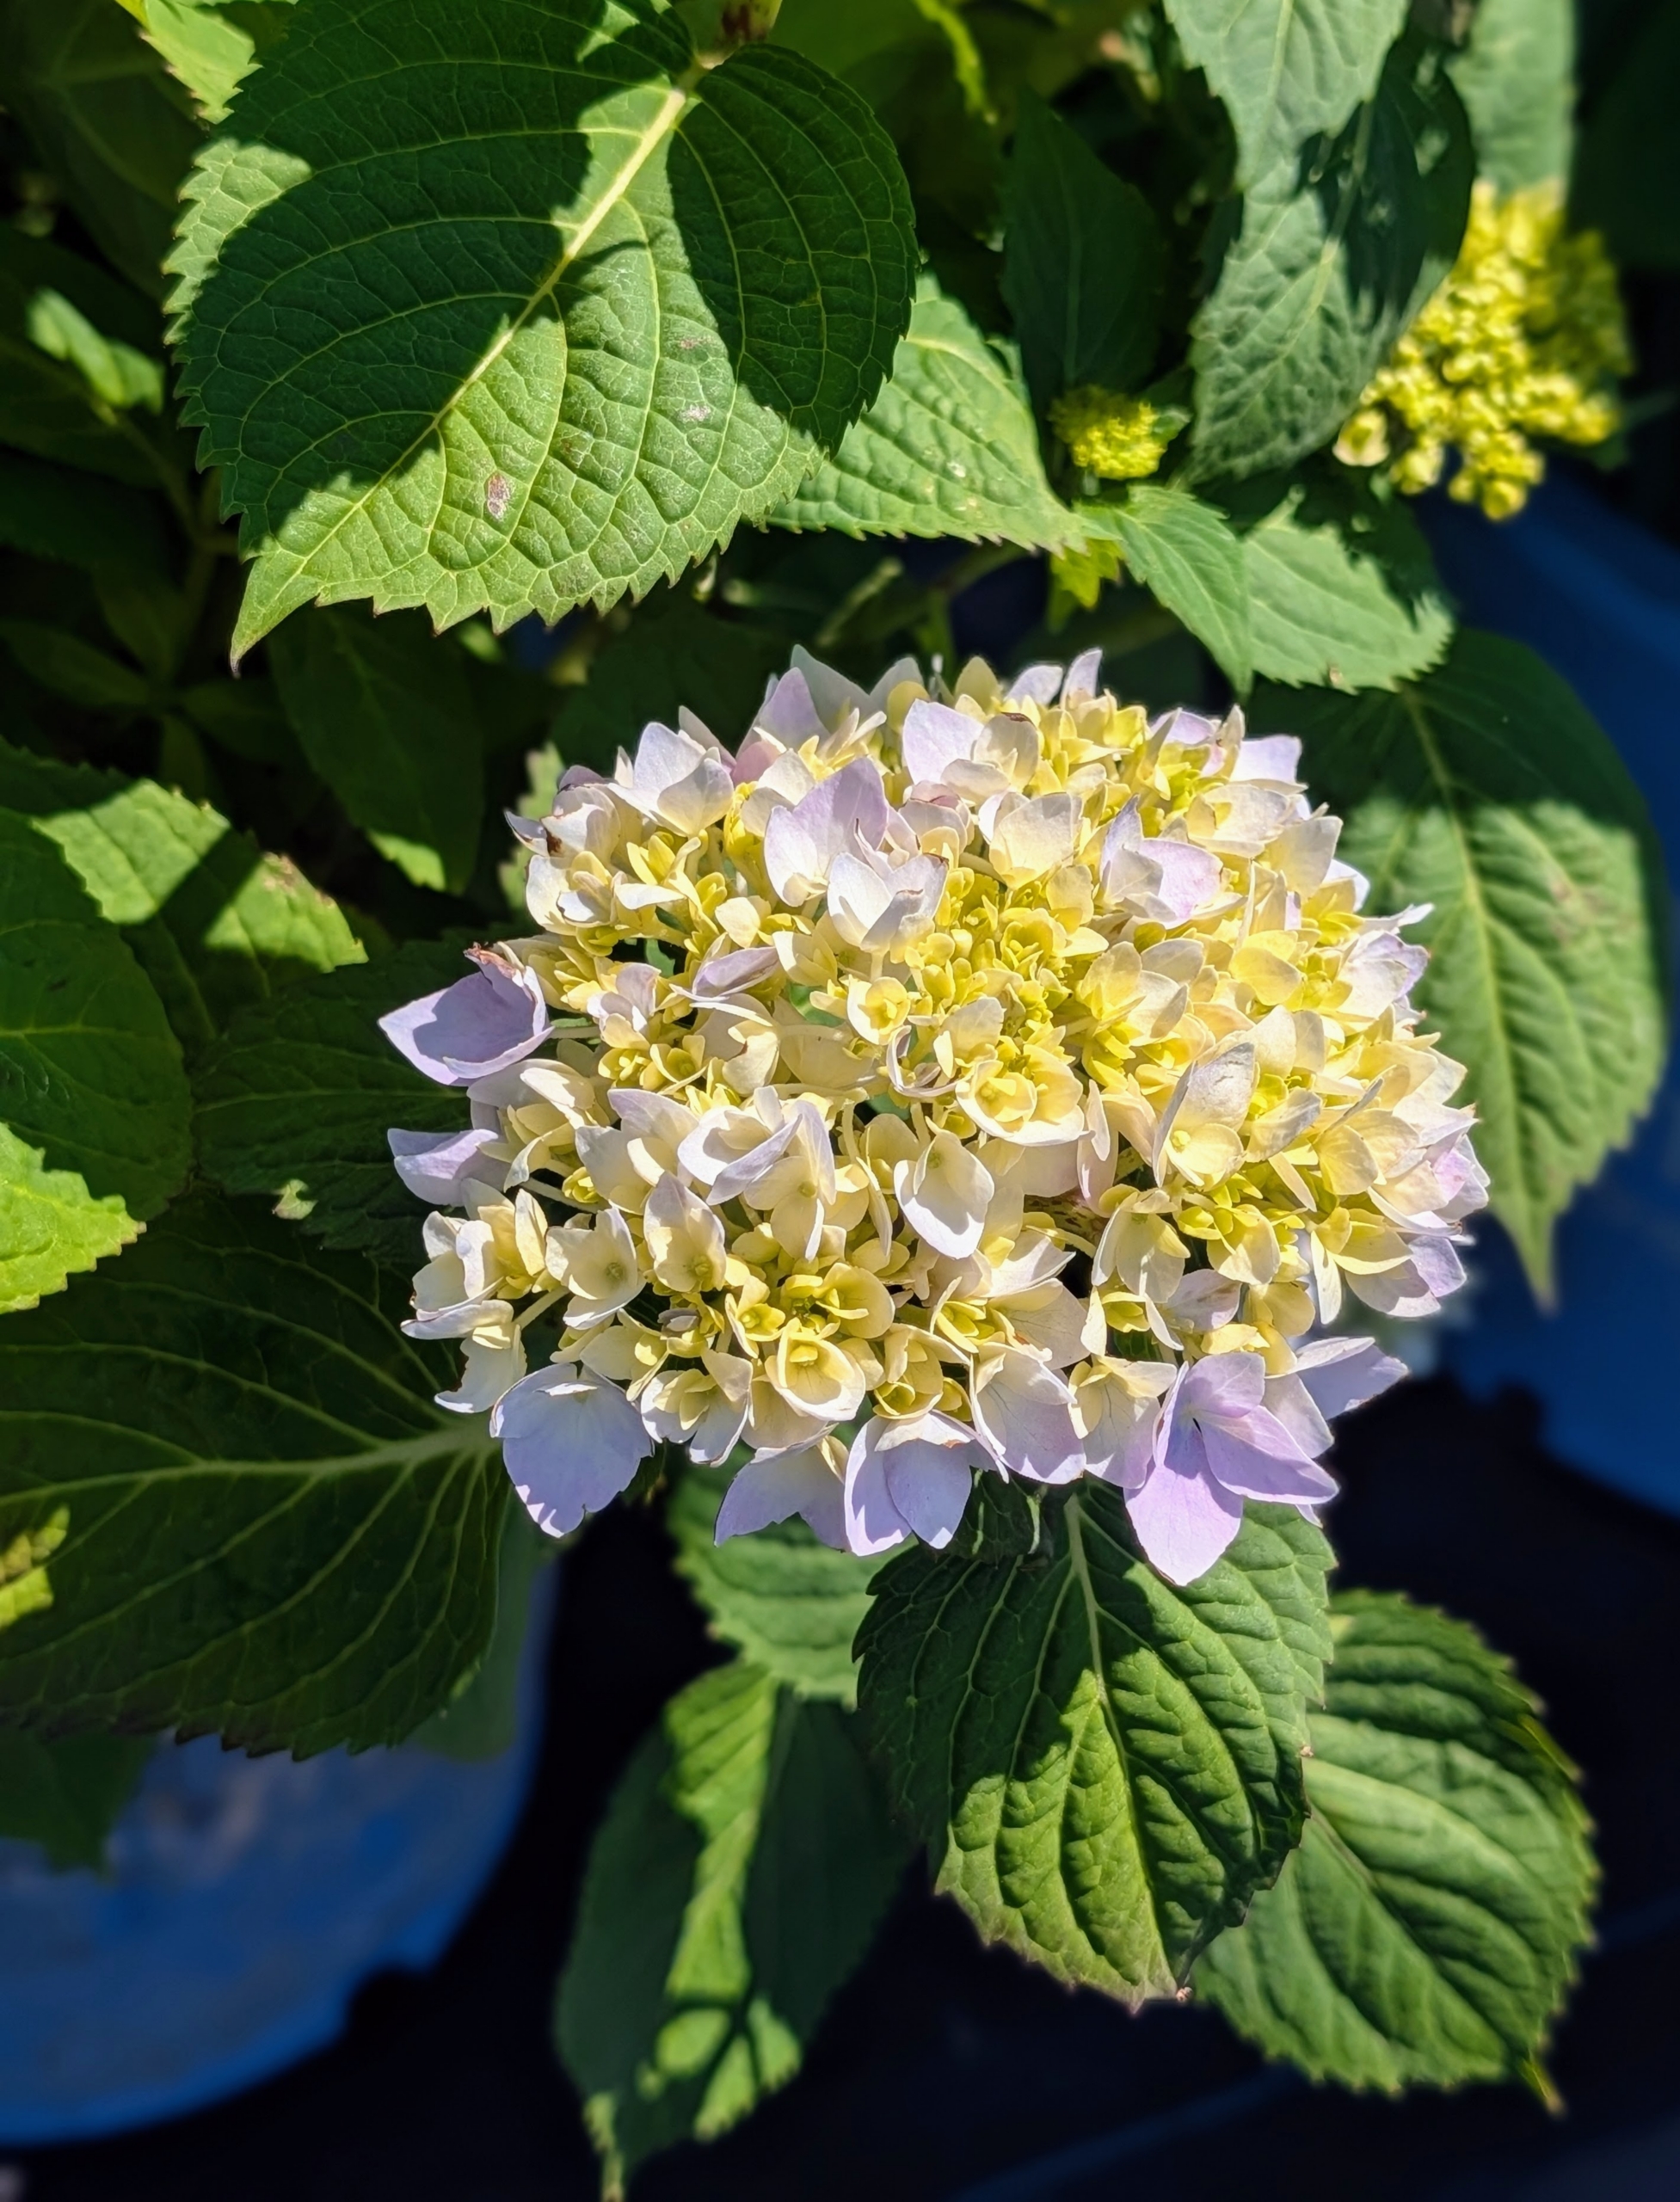
Endless Summer® The Original Reblooming Hydrangea is a mophead hydrangea with the classic blue or soft pink flowers, depending on one’s soil pH. The Original Hydrangea was the first to bloom both on the previous year’s branches as well as the new season’s growth.
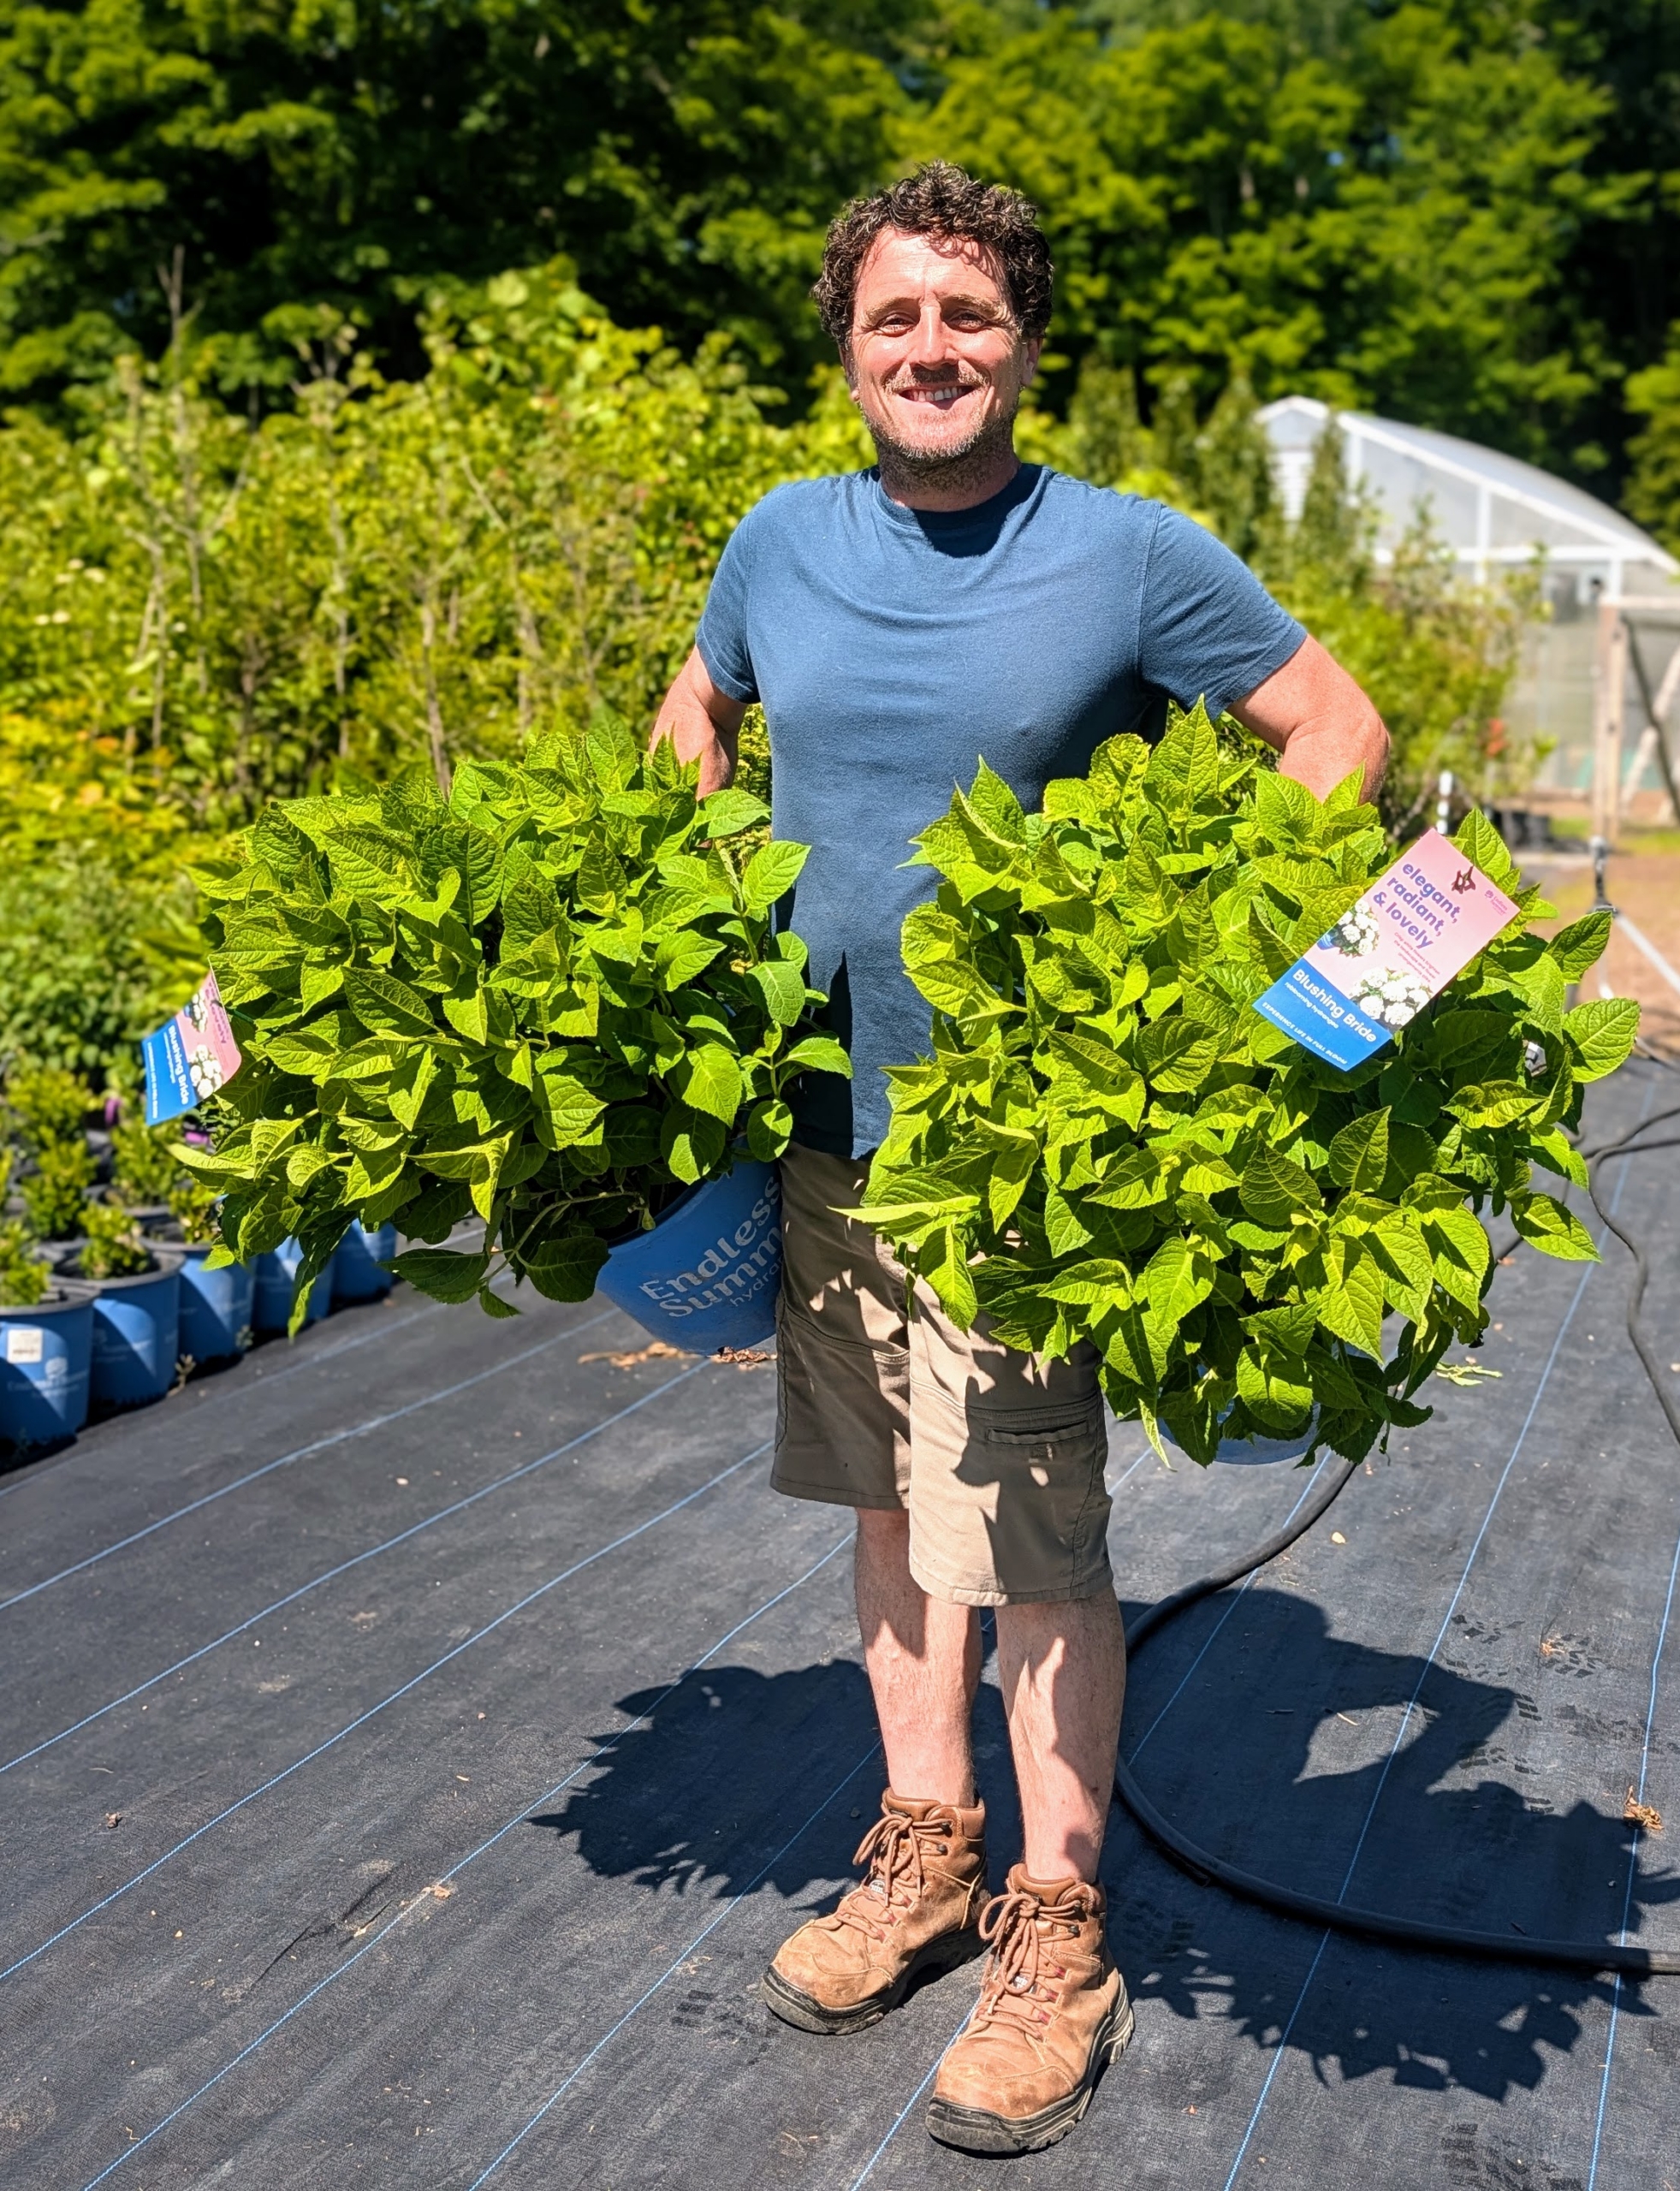
Ryan brings in another variety. The Endless Summer® Blushing Bride Hydrangea is a bigleaf hydrangea that was introduced in 2006. It features large, mophead flowers that bloom repeatedly from late spring through fall.
DreamCloud® Reblooming Hydrangea has bright white blooms that cover the plant and then age to deep pink in certain climates.
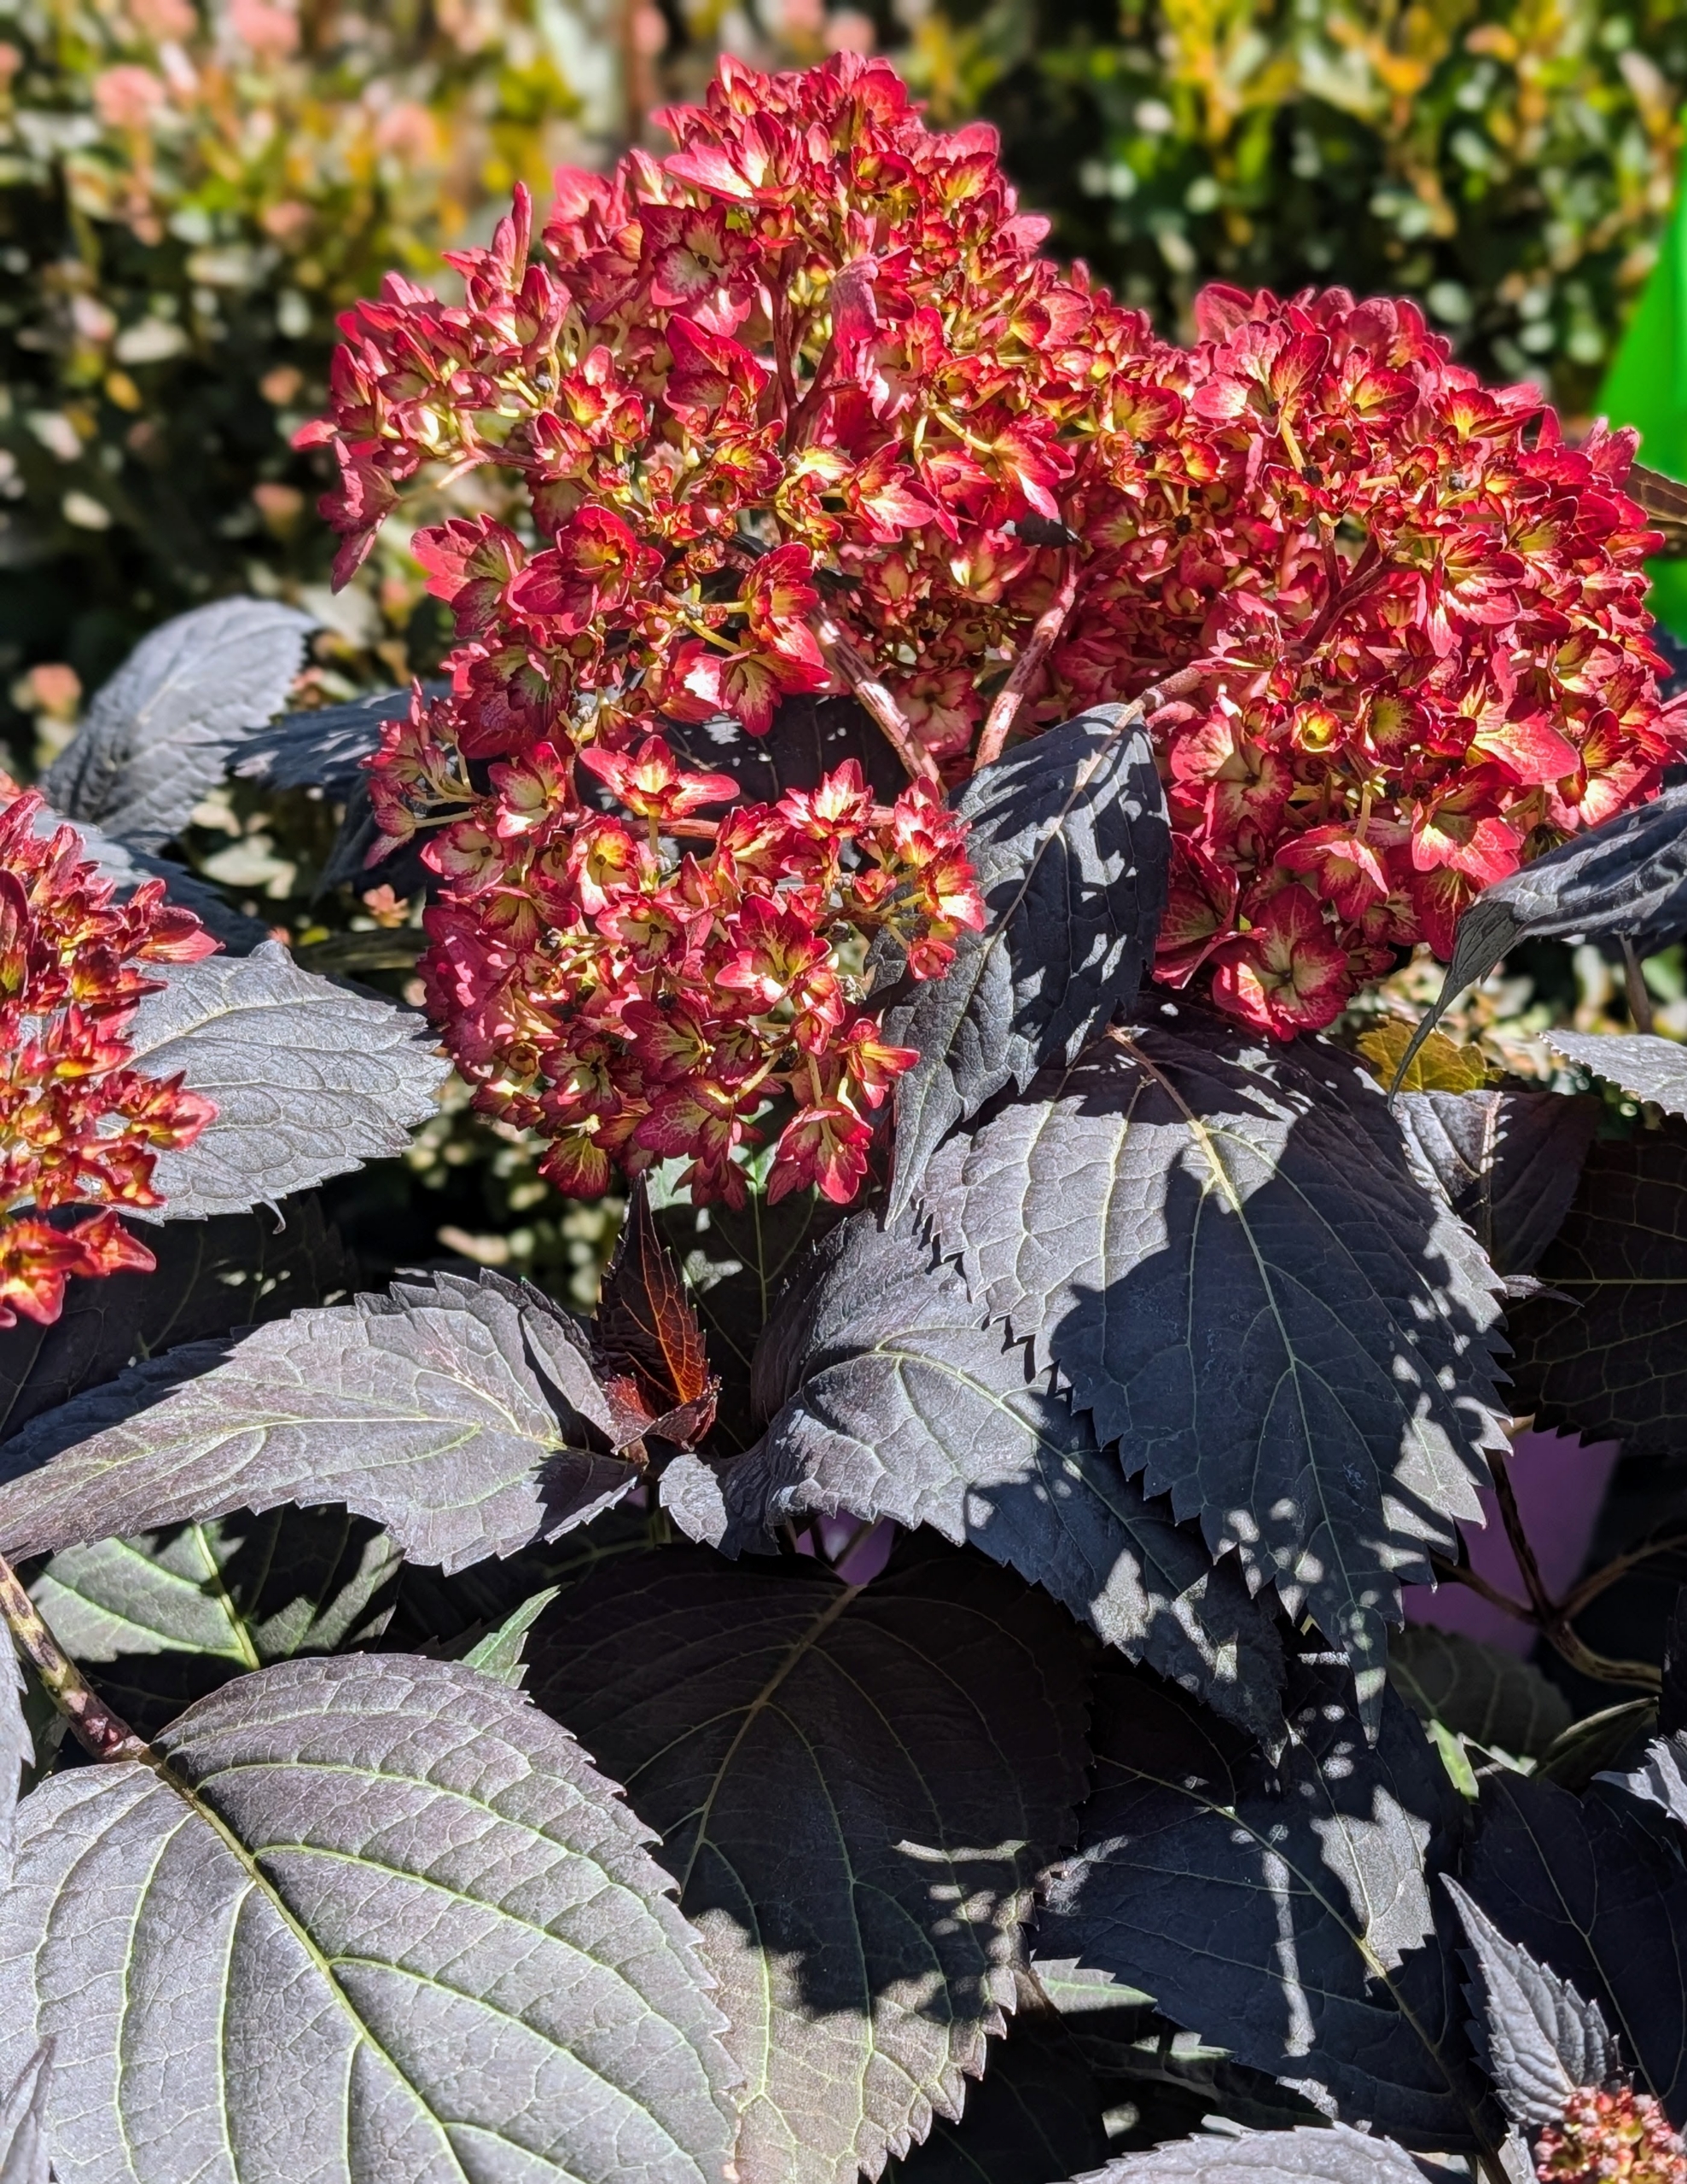
First Editions Eclipse® Hydrangea, Hydrangea macrophylla ‘Bailmacseven,’ is the first true dark-leaf mophead hydrangea. It shows off season-long dark purple leaves that hold their color, even in warm climates. The striking foliage, paired with gorgeous cranberry-colored blooms are striking in any space.
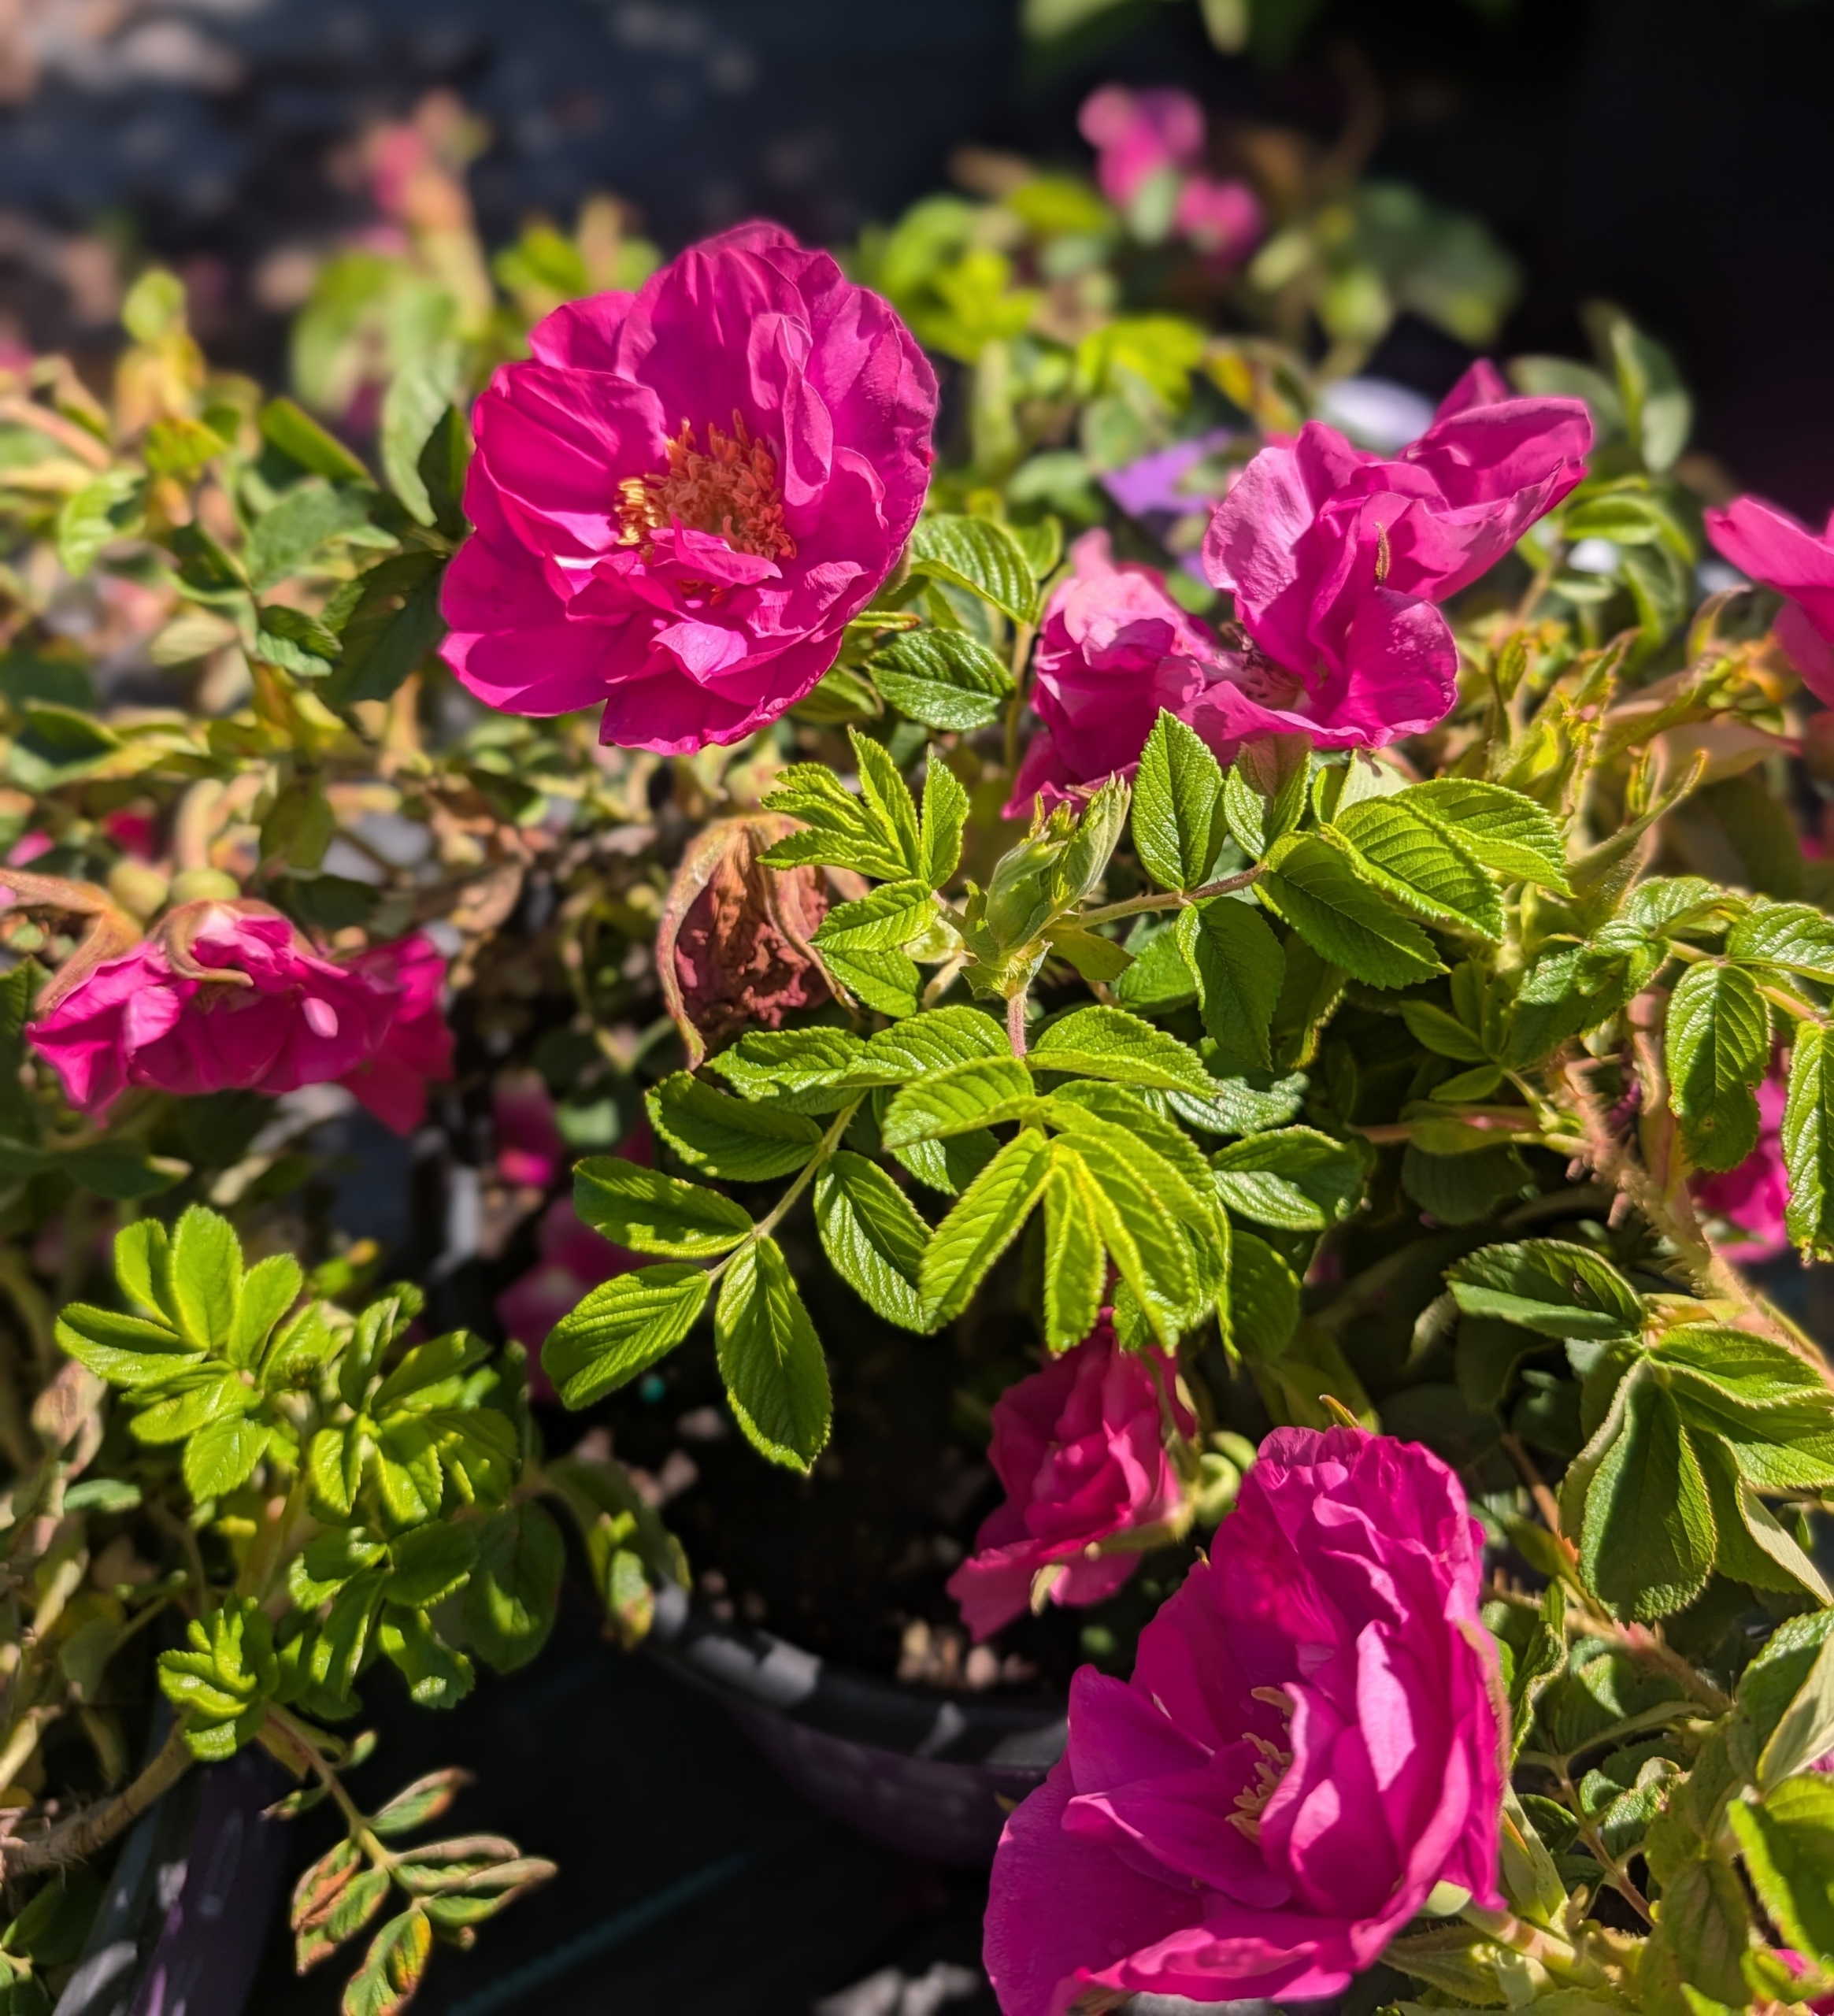
Lotty’s Love® Rose is an ever-blooming rugosa rose that has beetroot purple, semi-double, cup-shaped blooms that have a strong cinnamon fragrance.
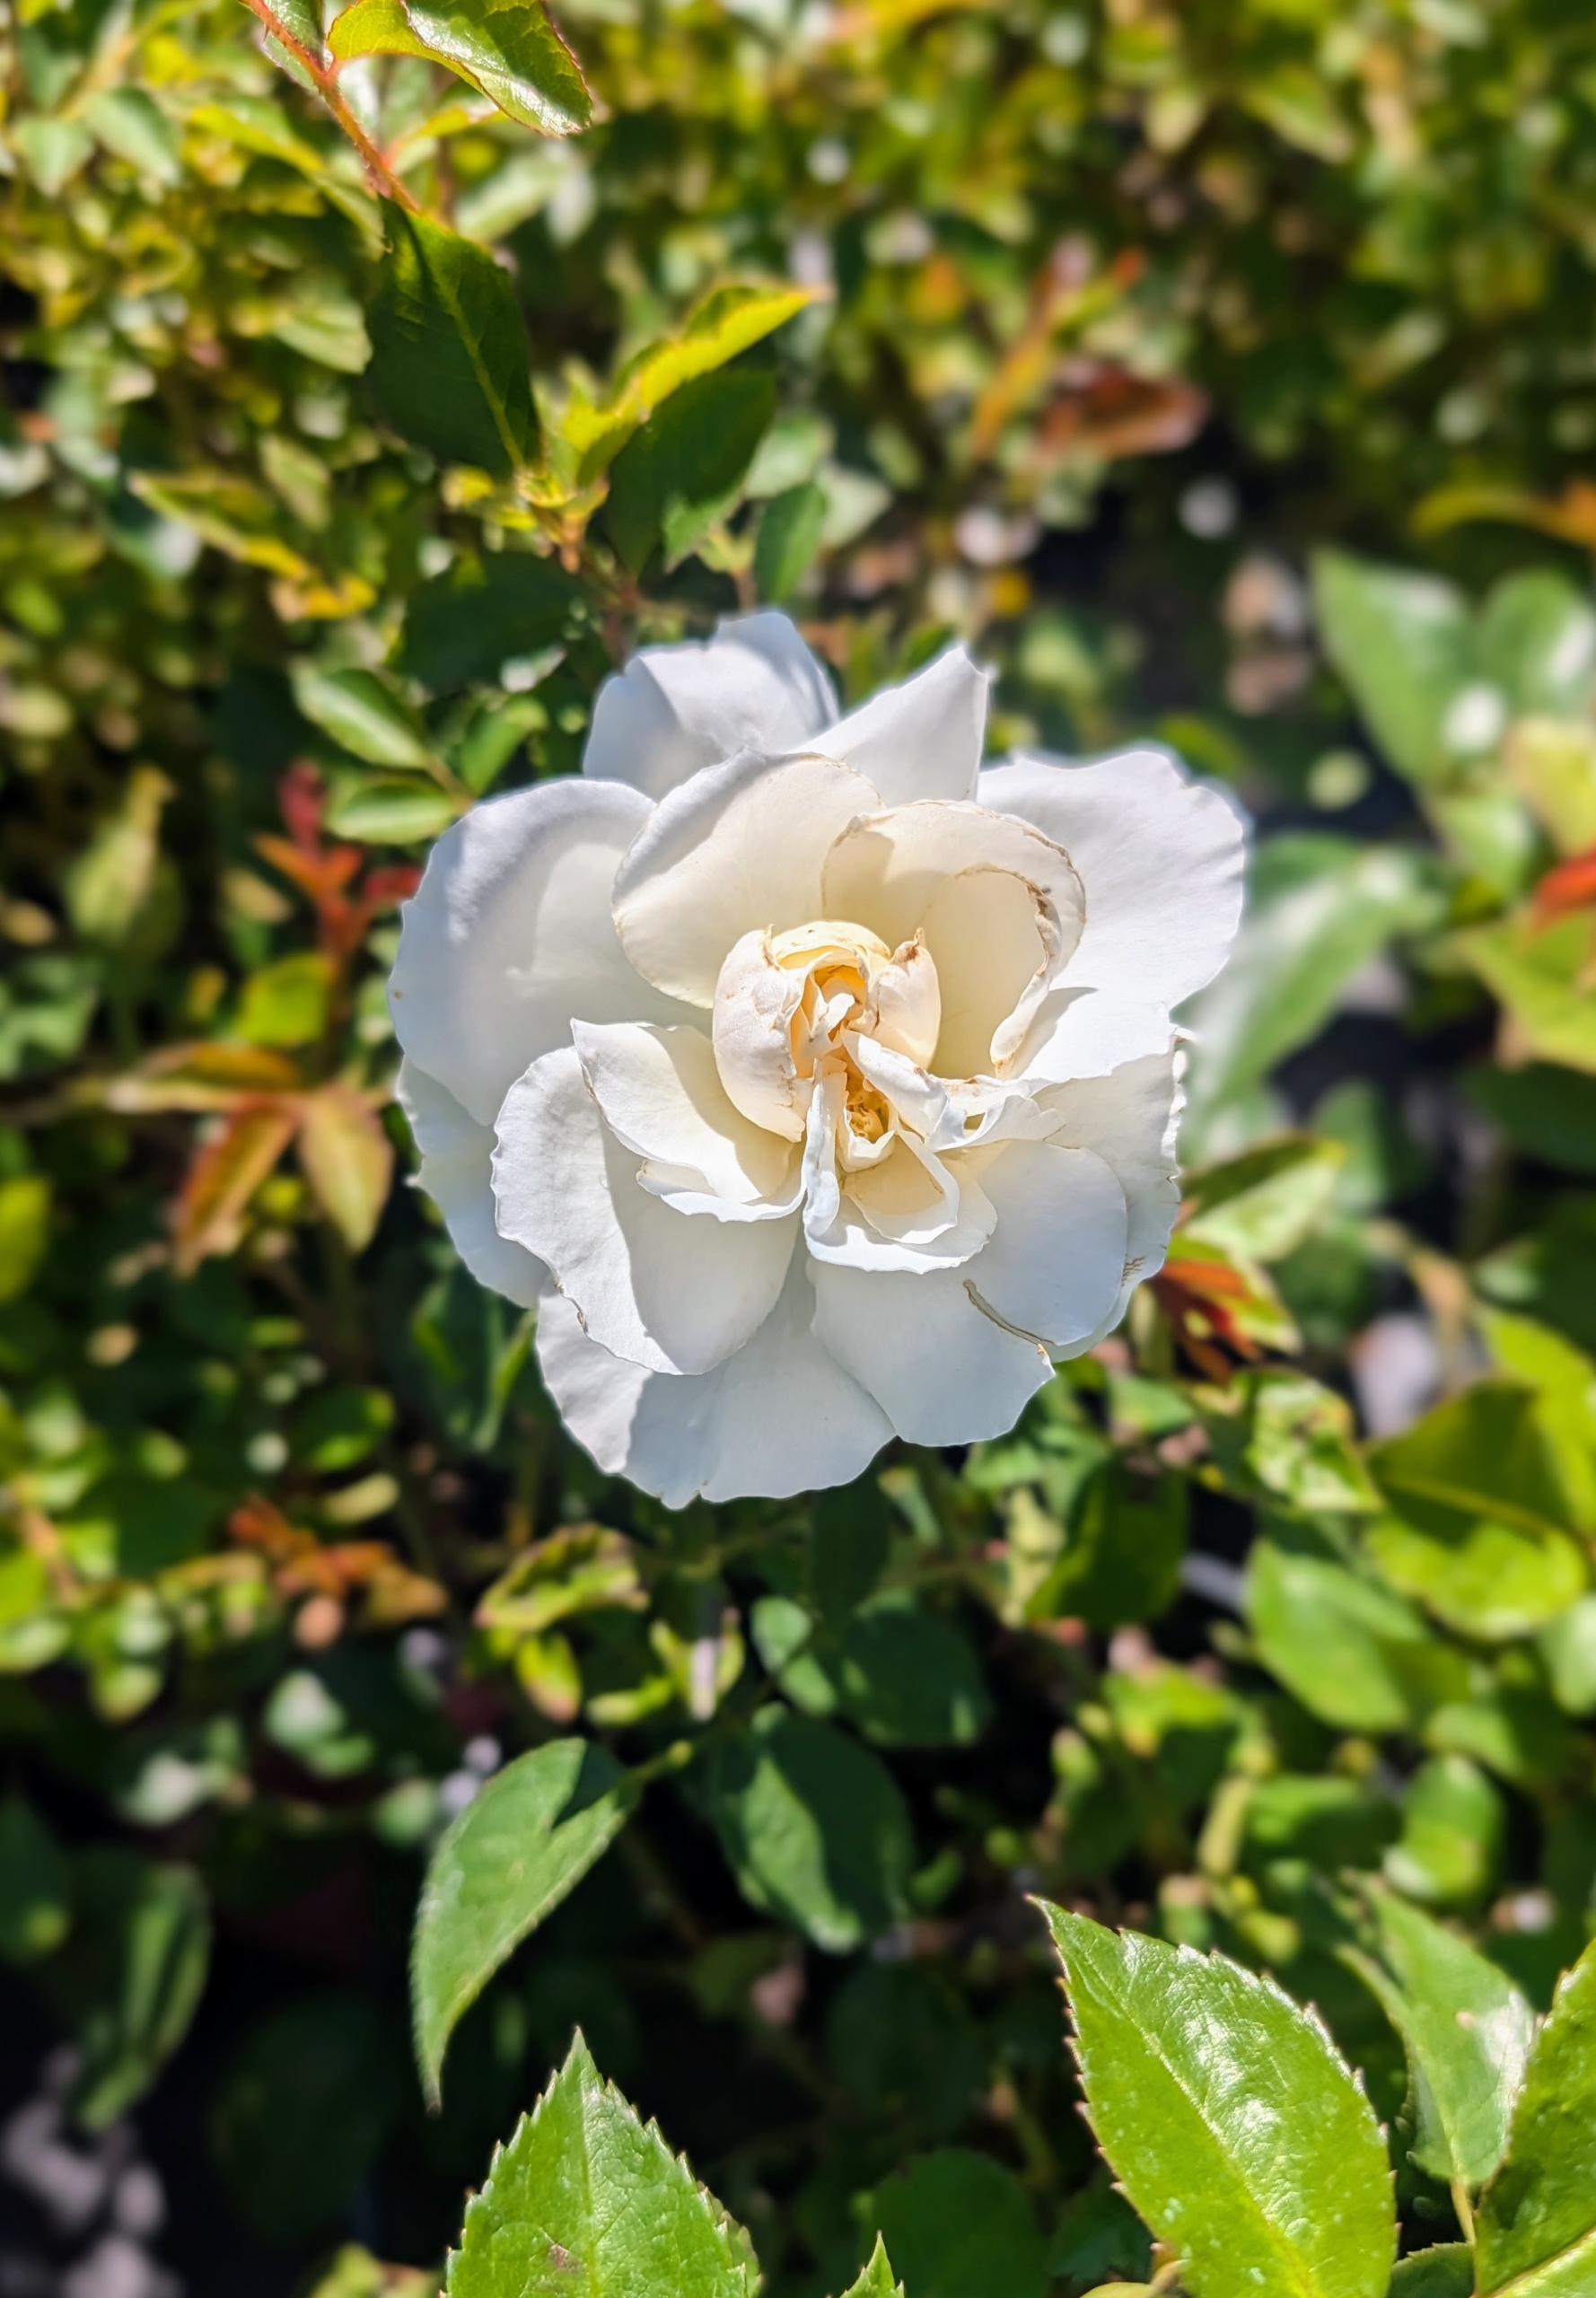
The Easy Elegance Champagne Wishes rose, Rosa ‘BAIcham’, has clusters of soft apricot blooms that fade to white and contrast beautifully with dark green foliage.
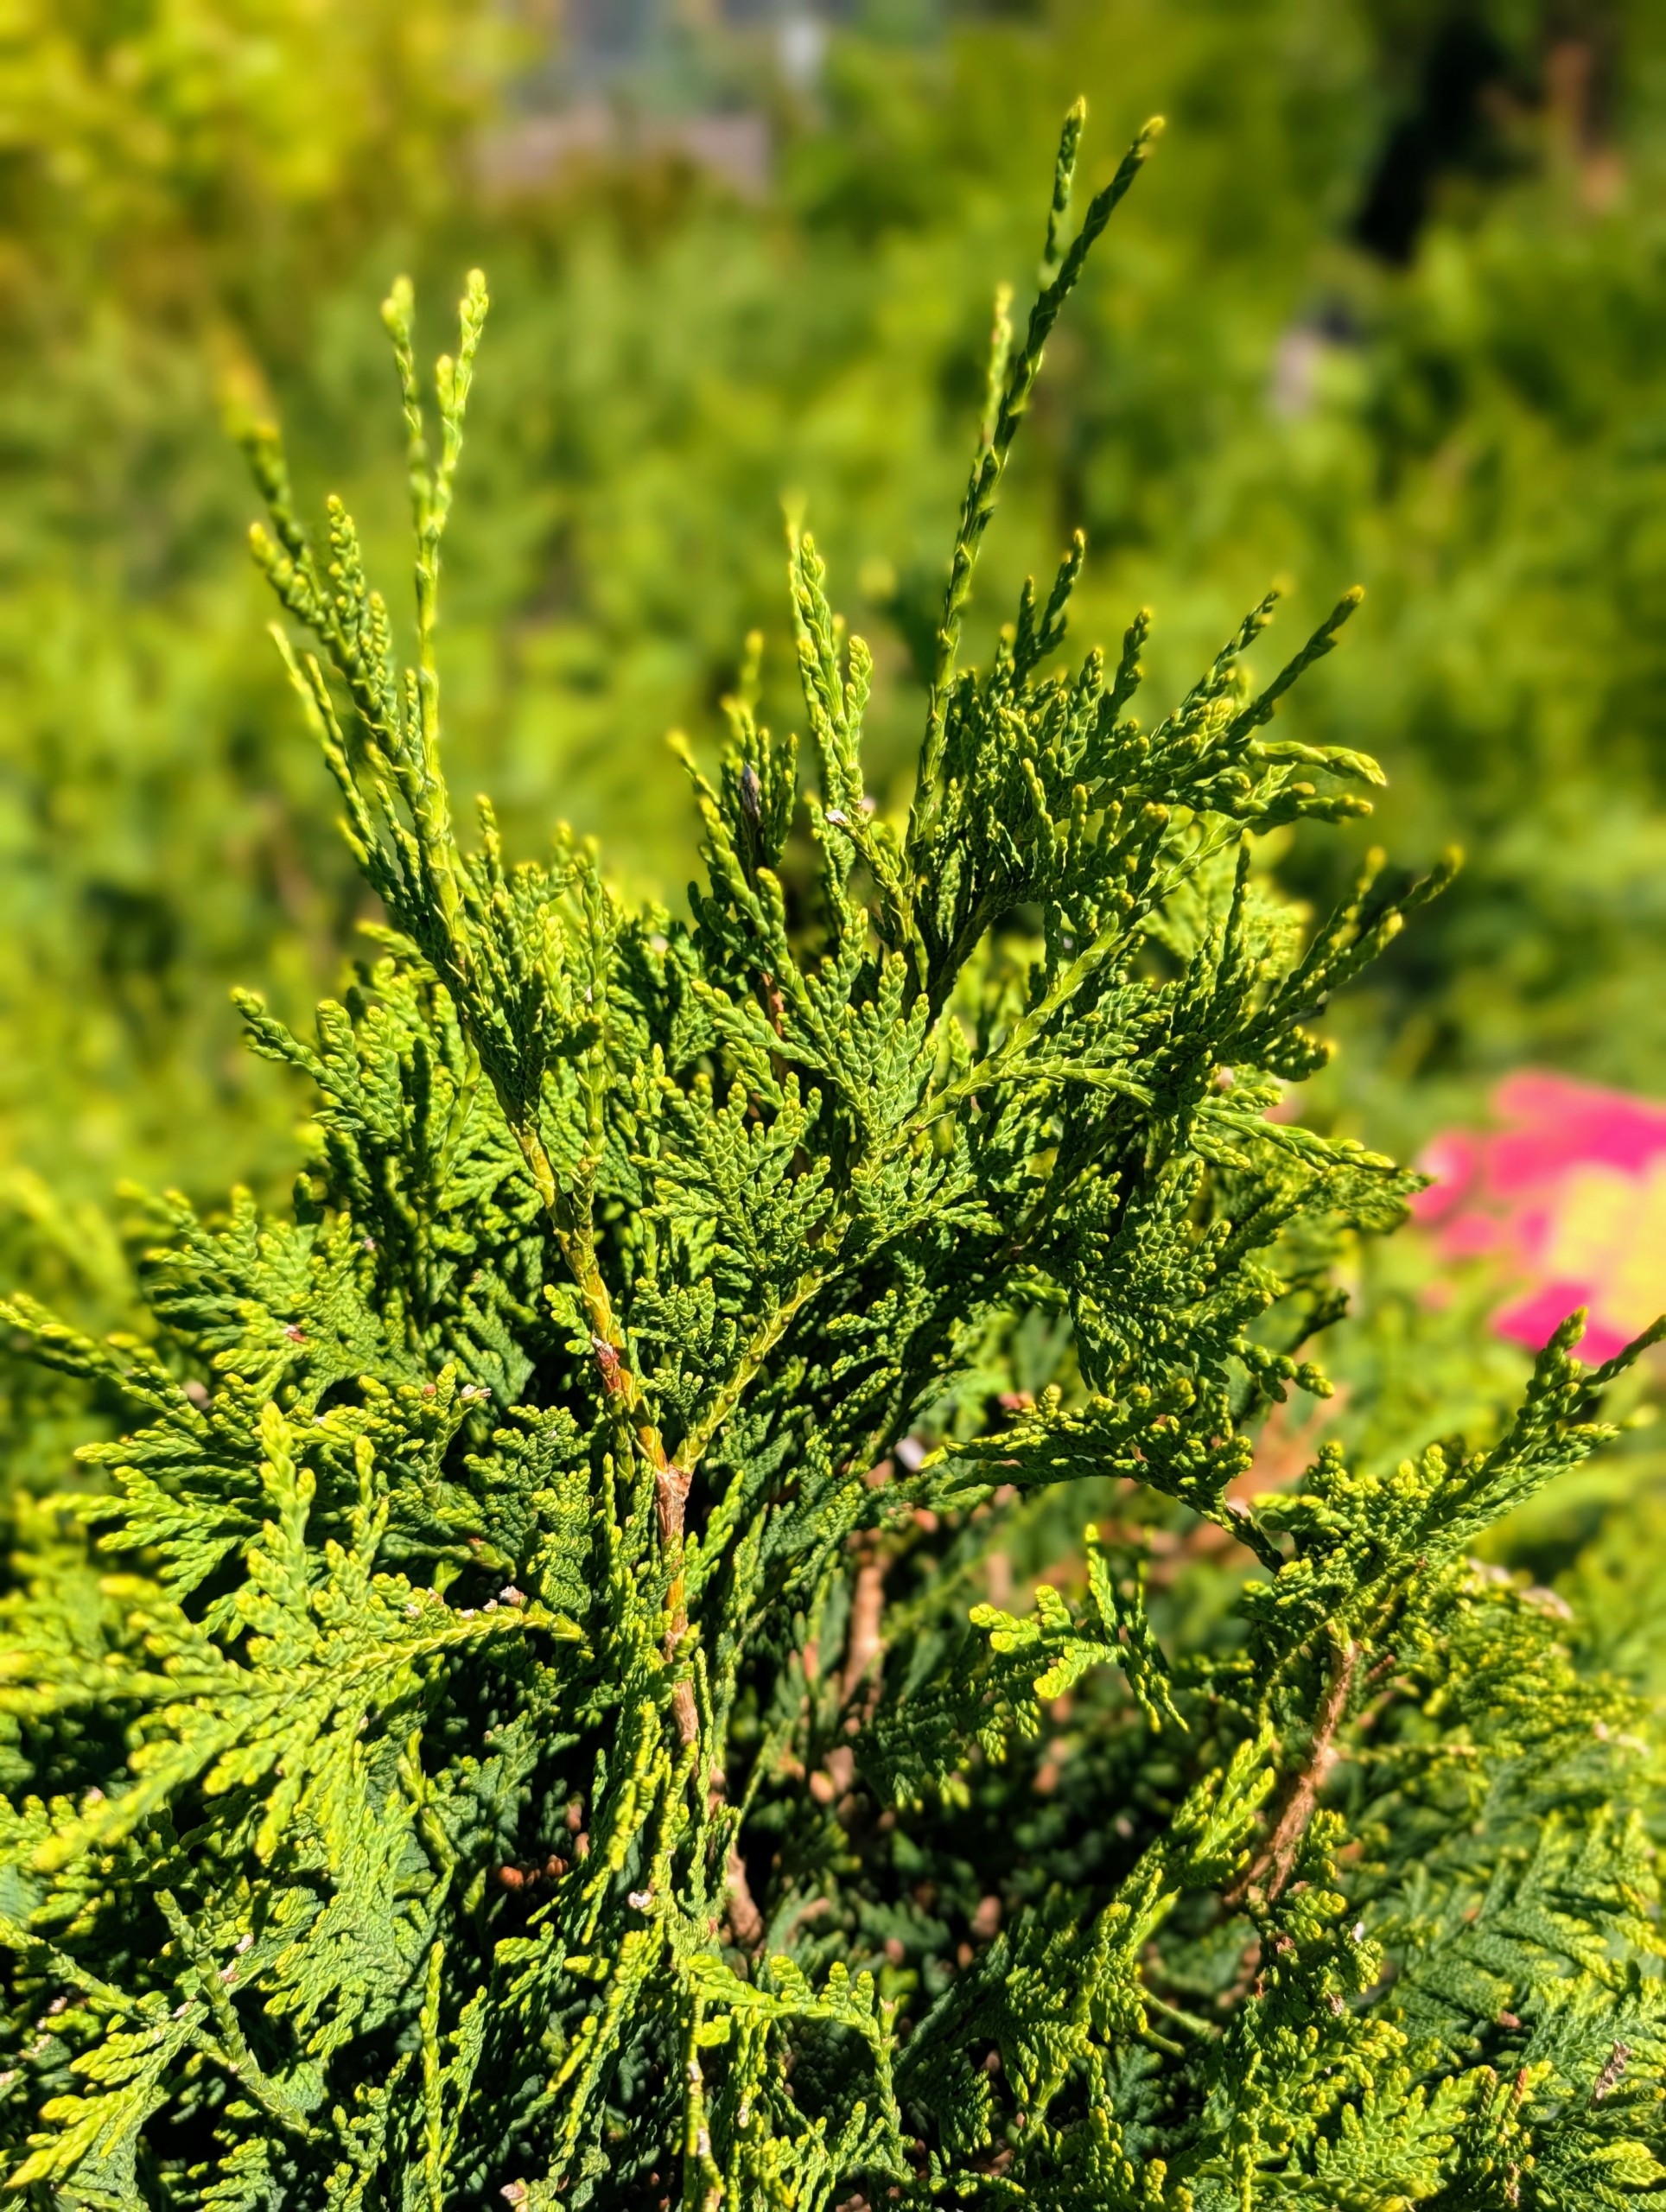
Many may recognize the foliage of arborvitae. This is Technito arborvitae, Thuja occidentalis ‘BailJohn.’ This plant has attractive dark green color that stays through winter. It grows up to 10 feet tall and five feet wide.
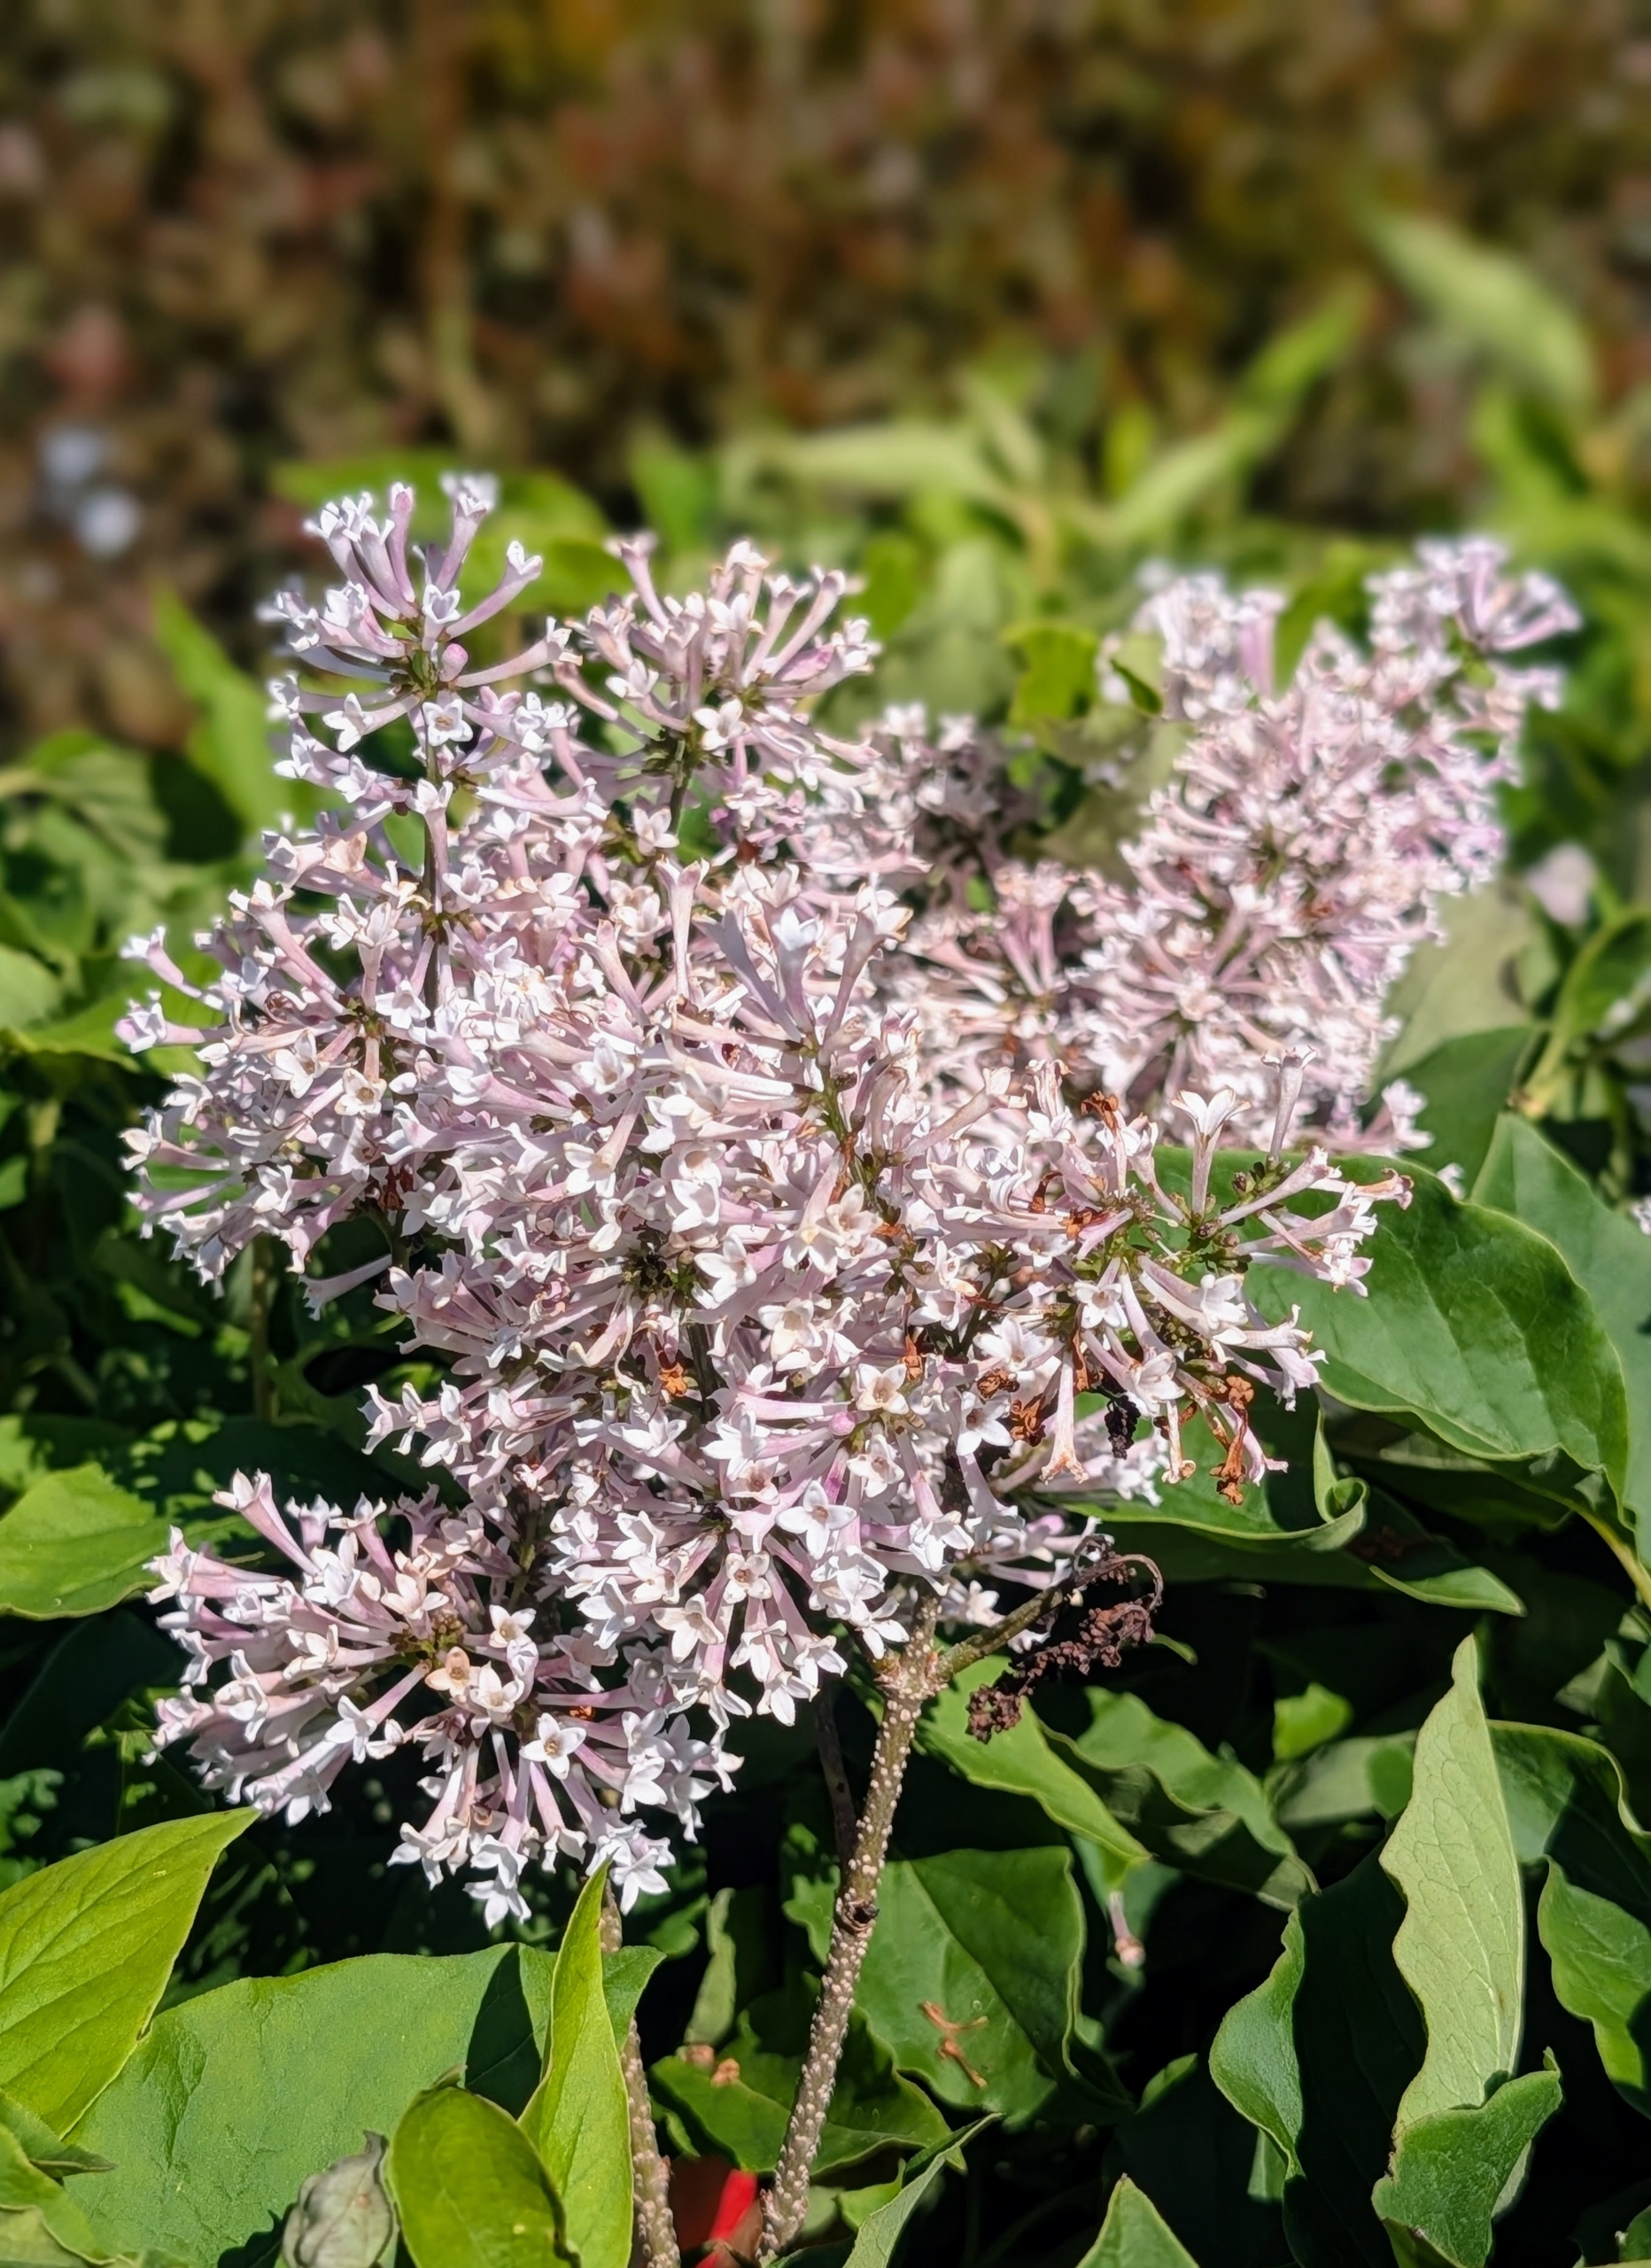
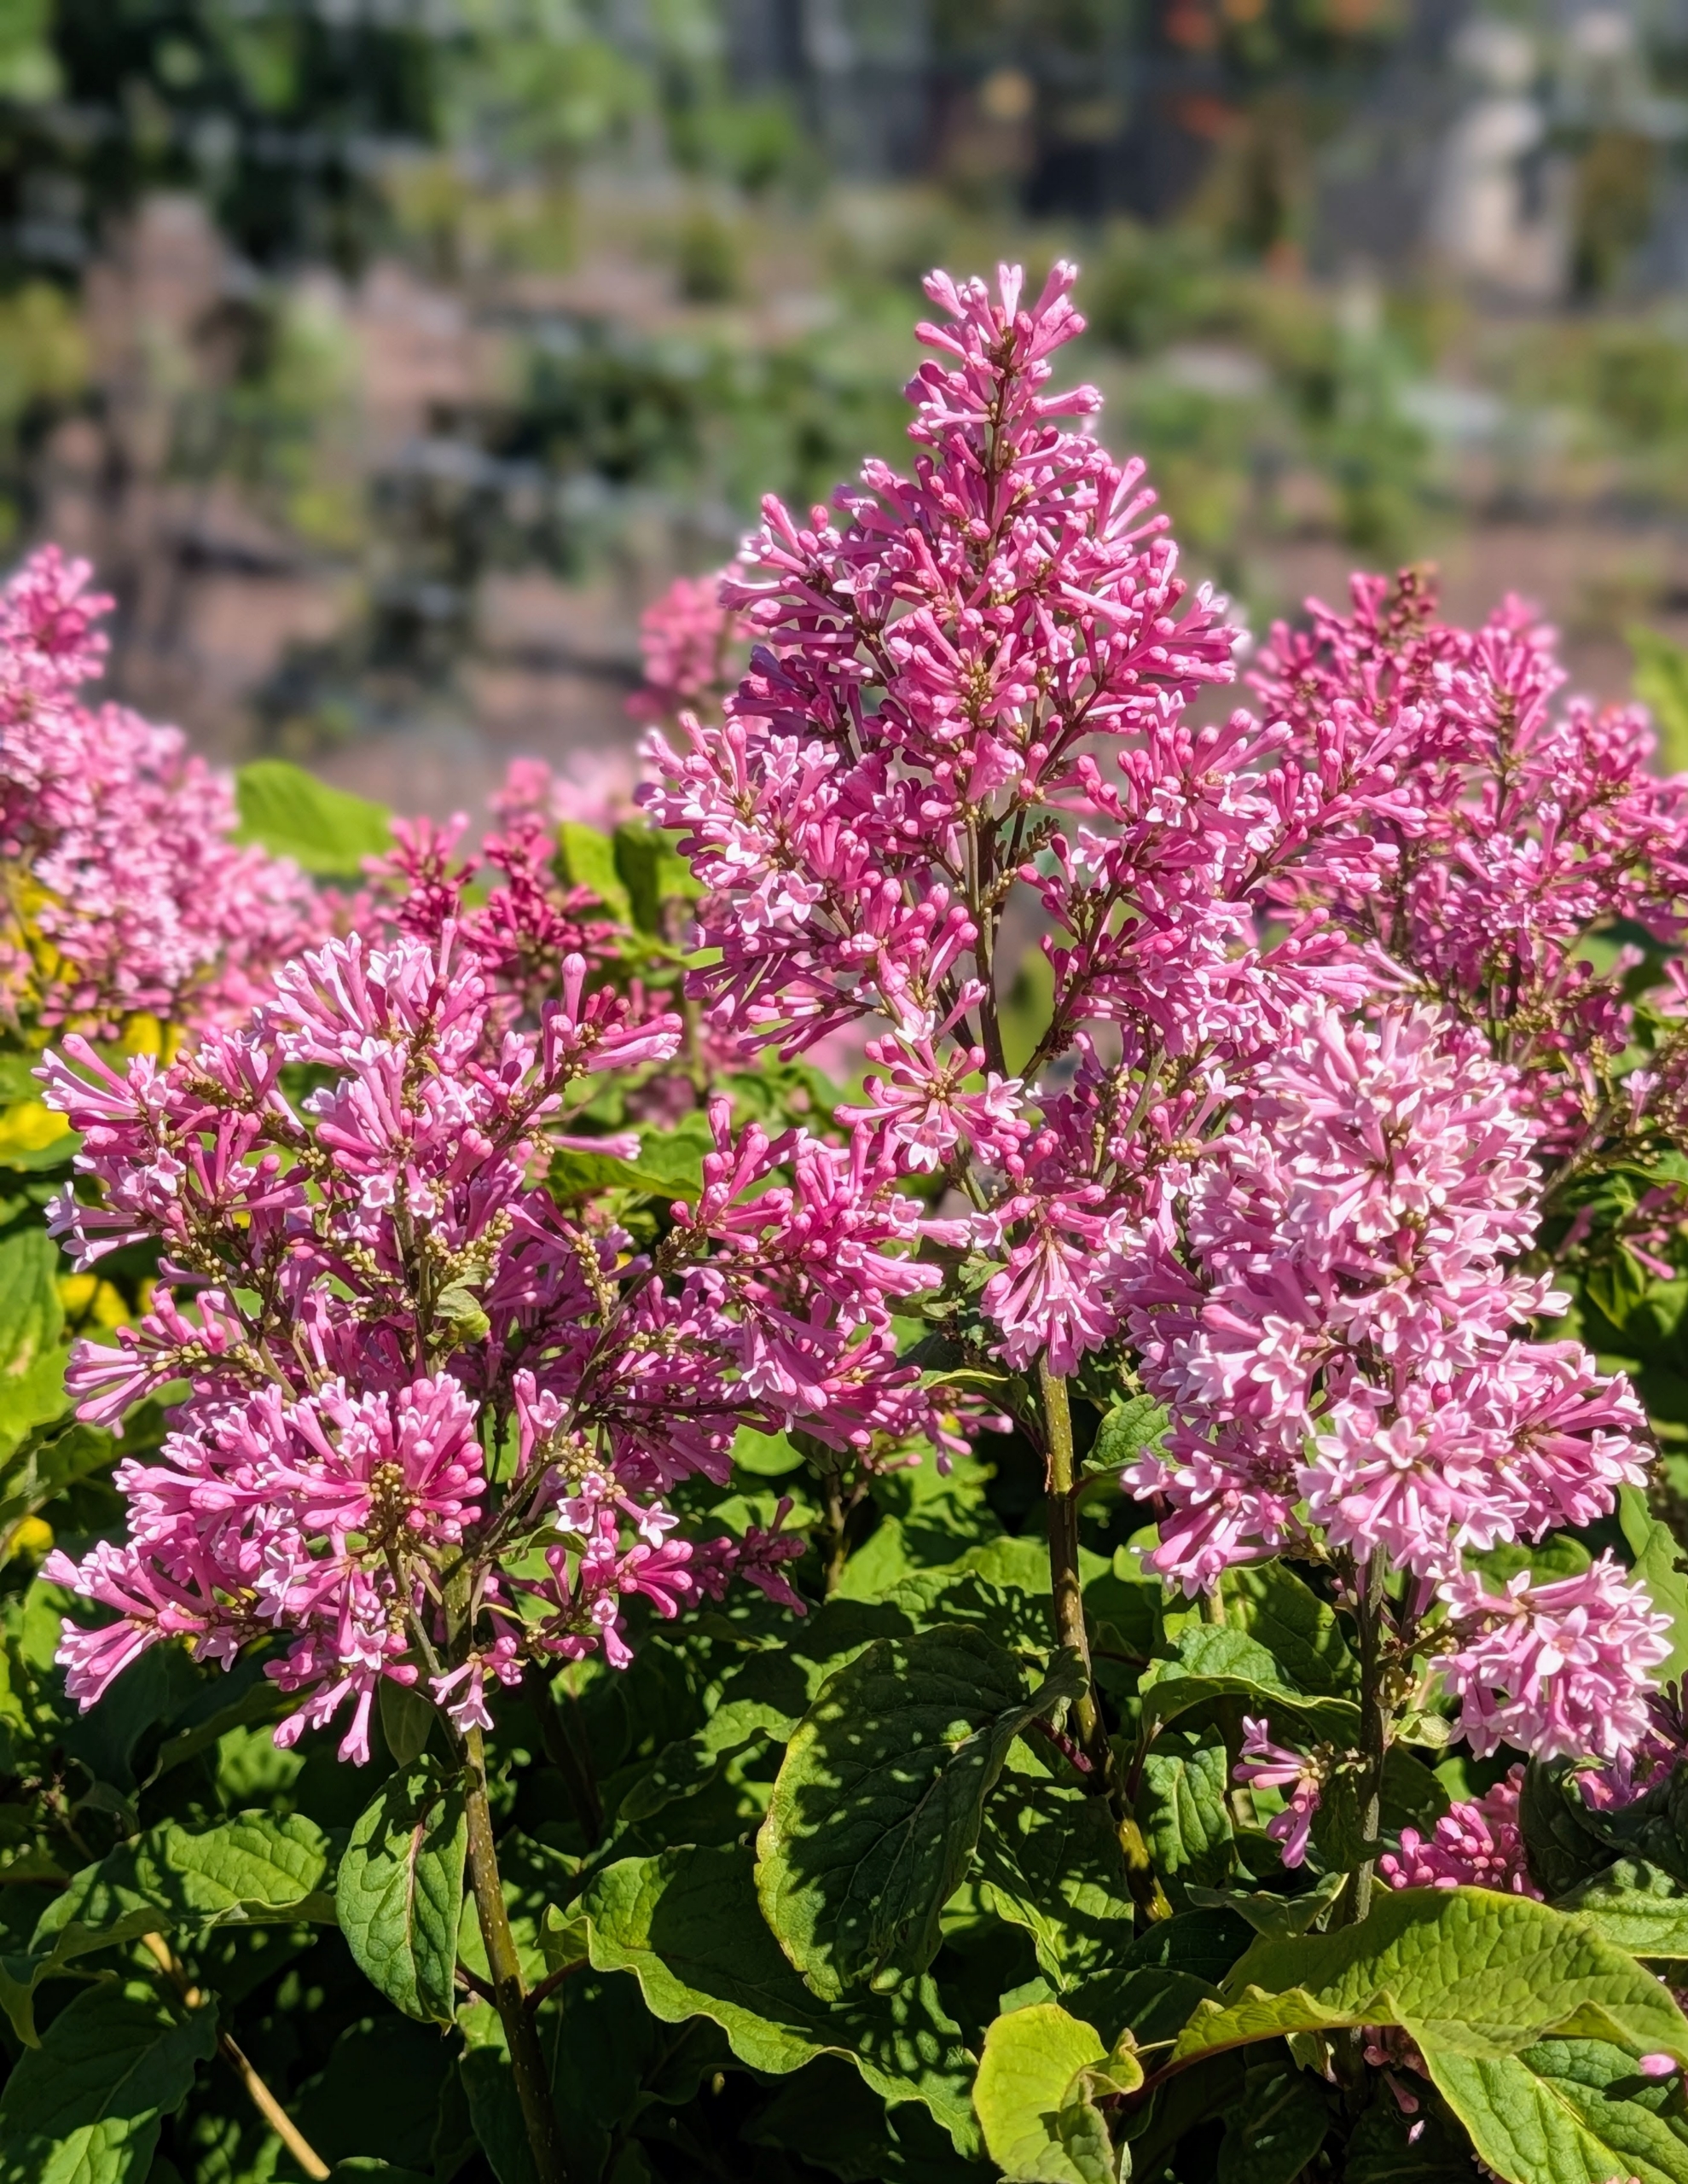
Little Lady™ Lilac blooms in late spring when dark pink buds open to lilac pink fragrant flowers. Its mature size is four to five feet tall and wide.
Pinktini™ Lilac is a cold and drought tolerant shrub perfect for small spaces, reaching just three to four feet tall and three to four feet wide at maturity. Rich pink flowers bloom from late May through early June.
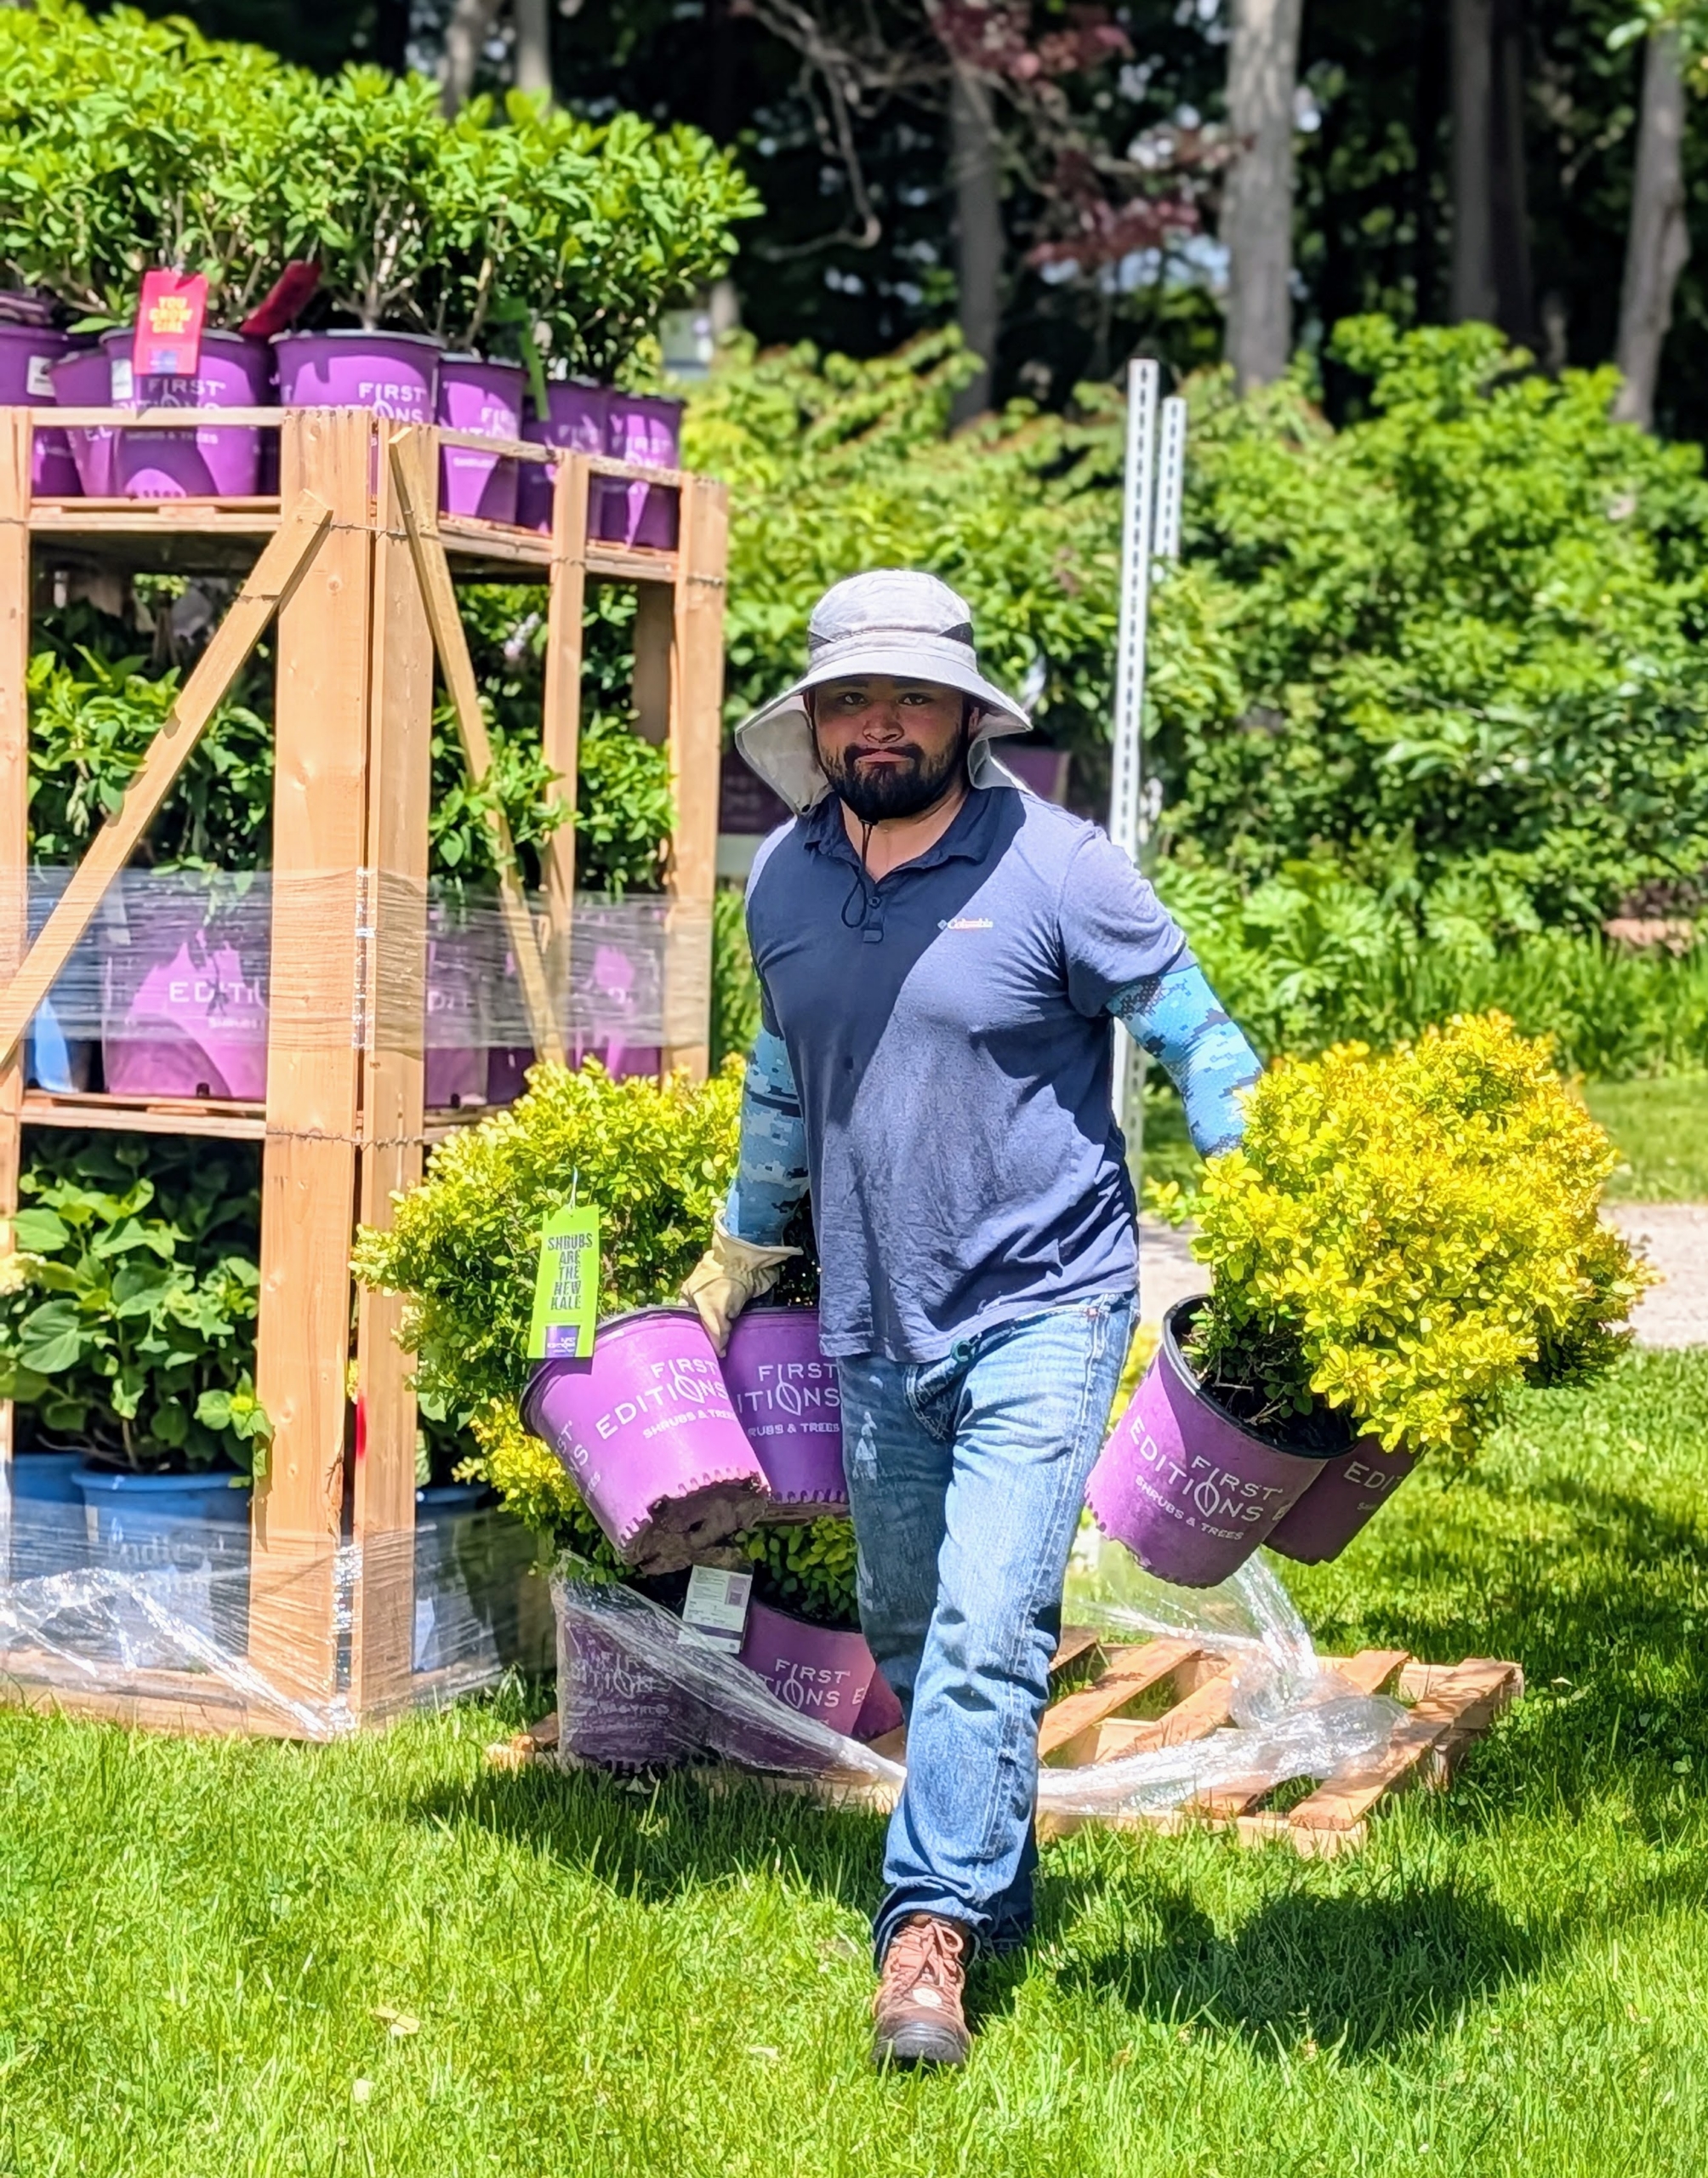
Here’s Jimmy transporting more potted plants into the enclosure. When buying plants in large numbers, be sure to know your garden’s climate zone, soil type, and timeline for planting. It’s also important to plan how many plants are needed for the space. And always shop at reputable nurseries where staff can help answer questions.
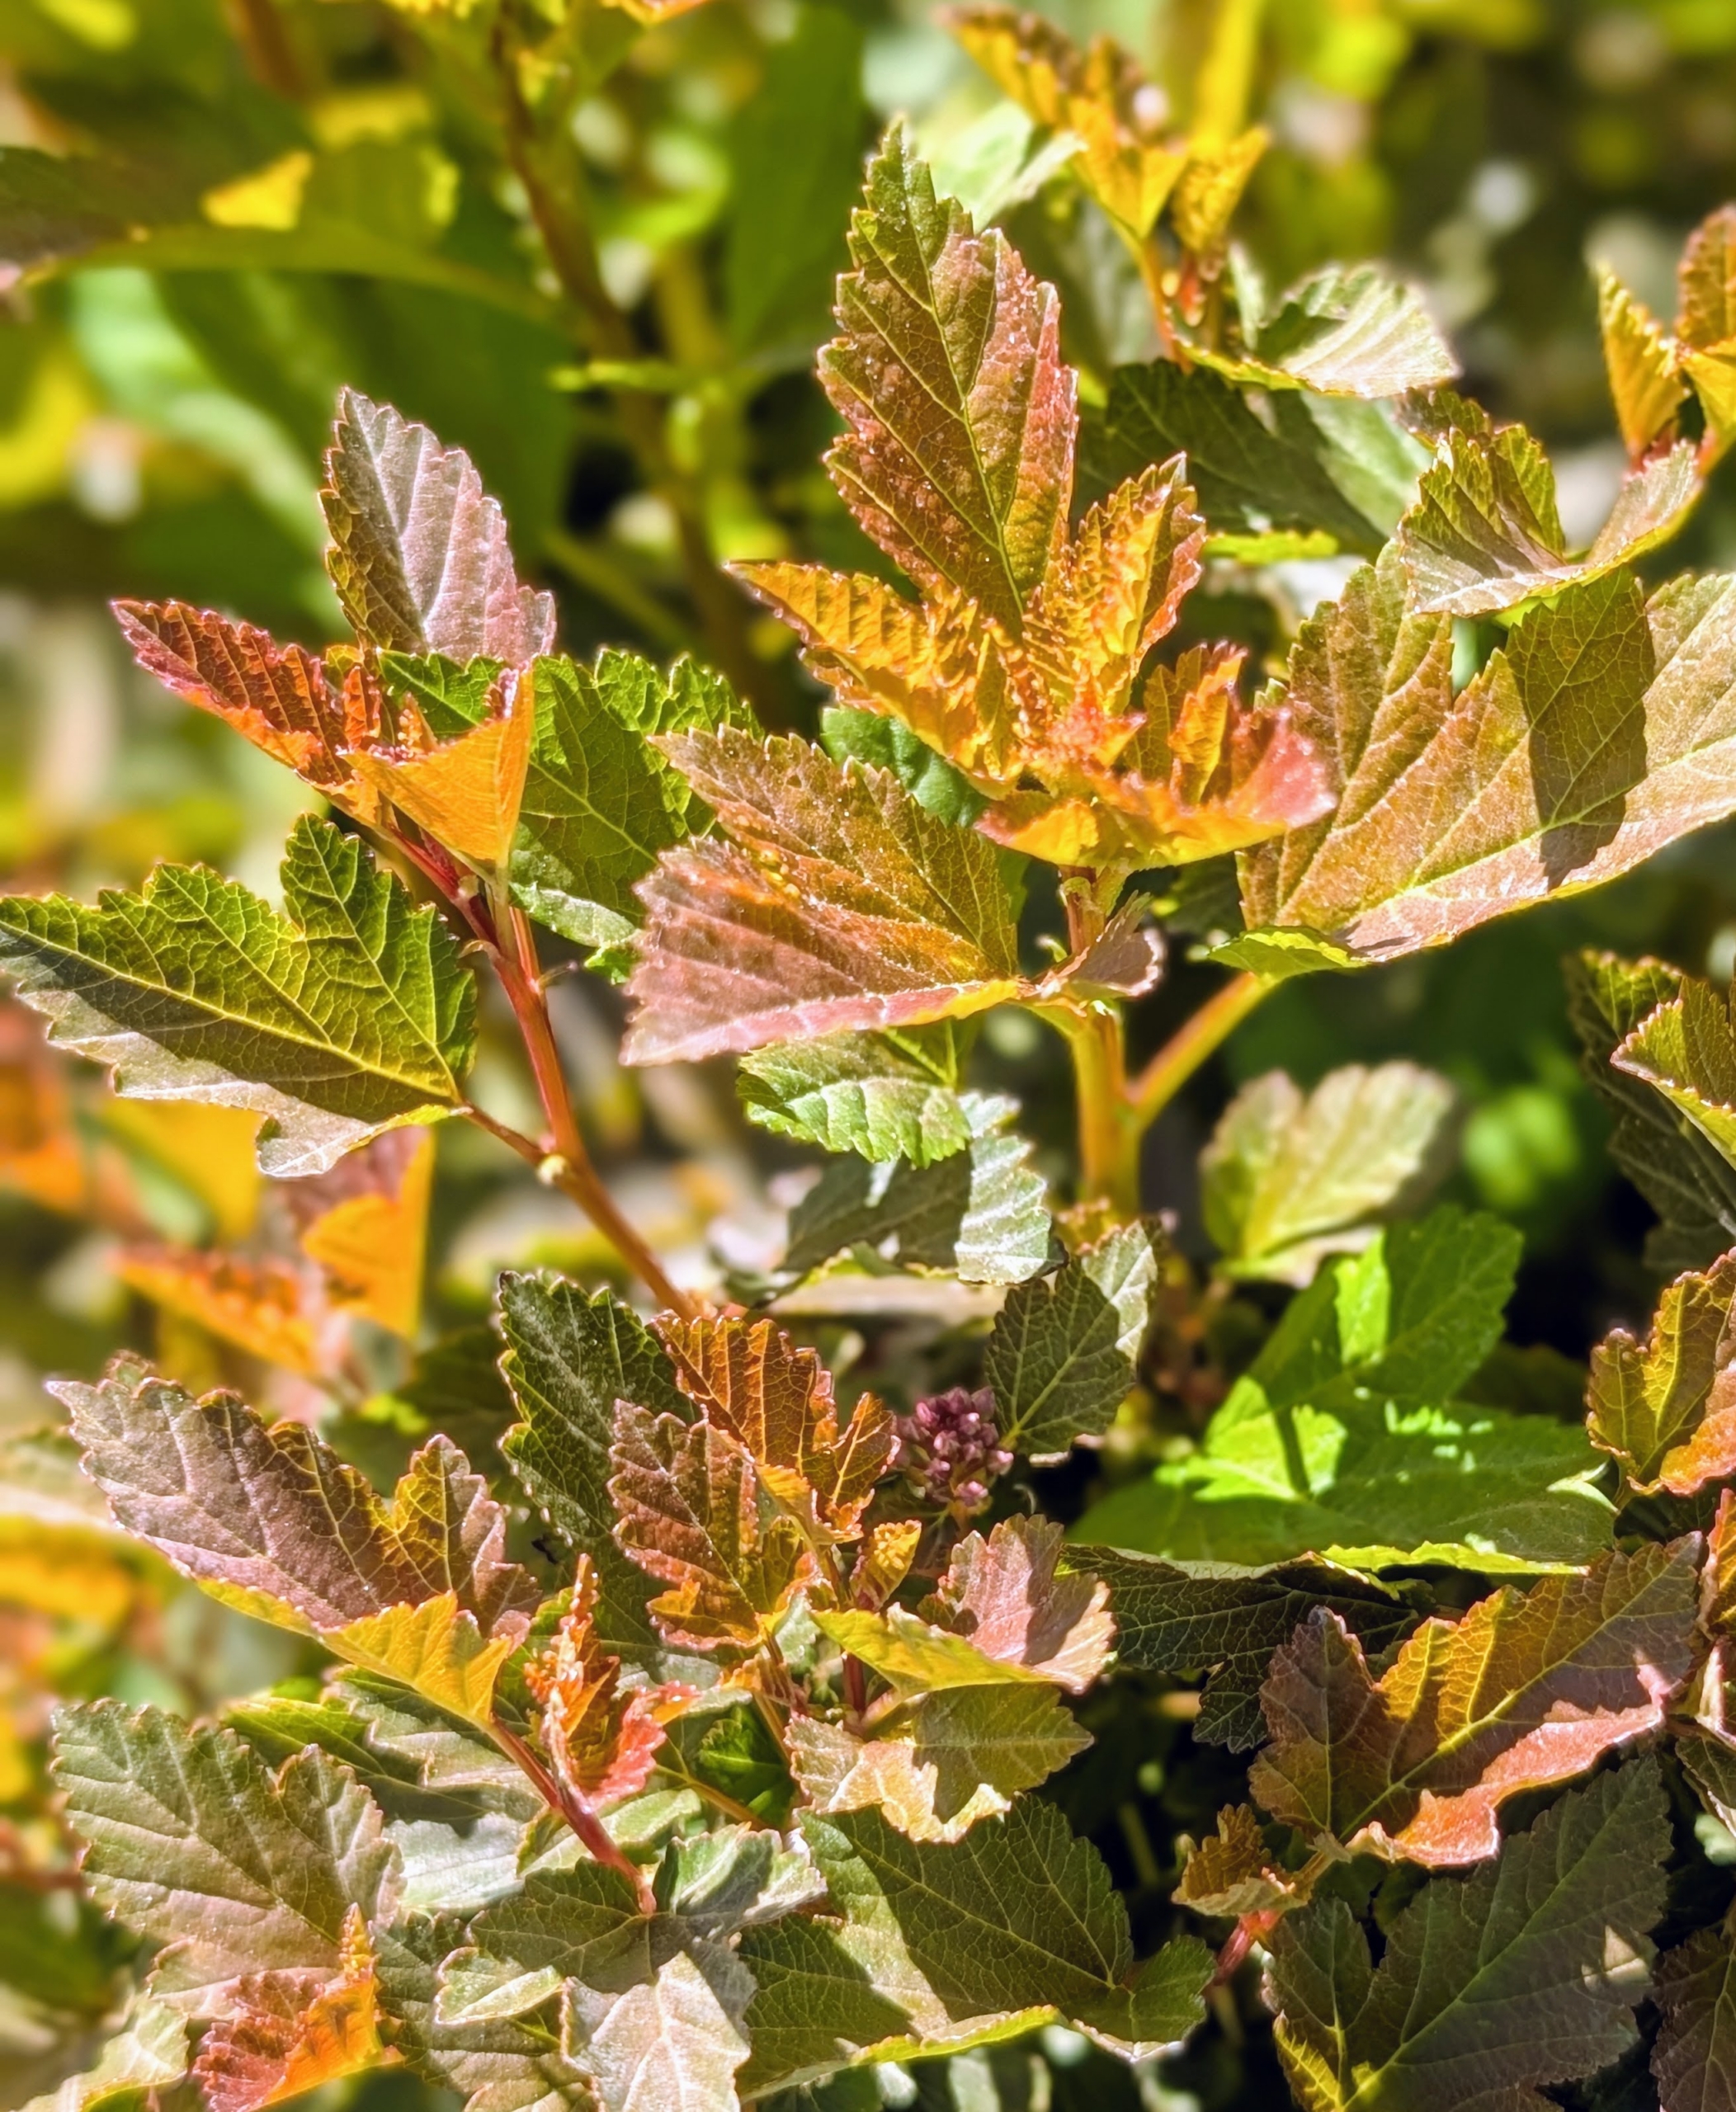
Physocarpus, commonly called ninebark, is a genus of flowering plants in the family Rosaceae, native to North America and northeastern Asia. Ninebarks are large shrubs that grow to about 10 feet tall and wide. They get their common name from the bark, which sheds in reddish-brown strips. This one is Spicy Devil Ninebark with a fiery combination of orange and yellow leaves that mature to a vibrant reddish-purple.
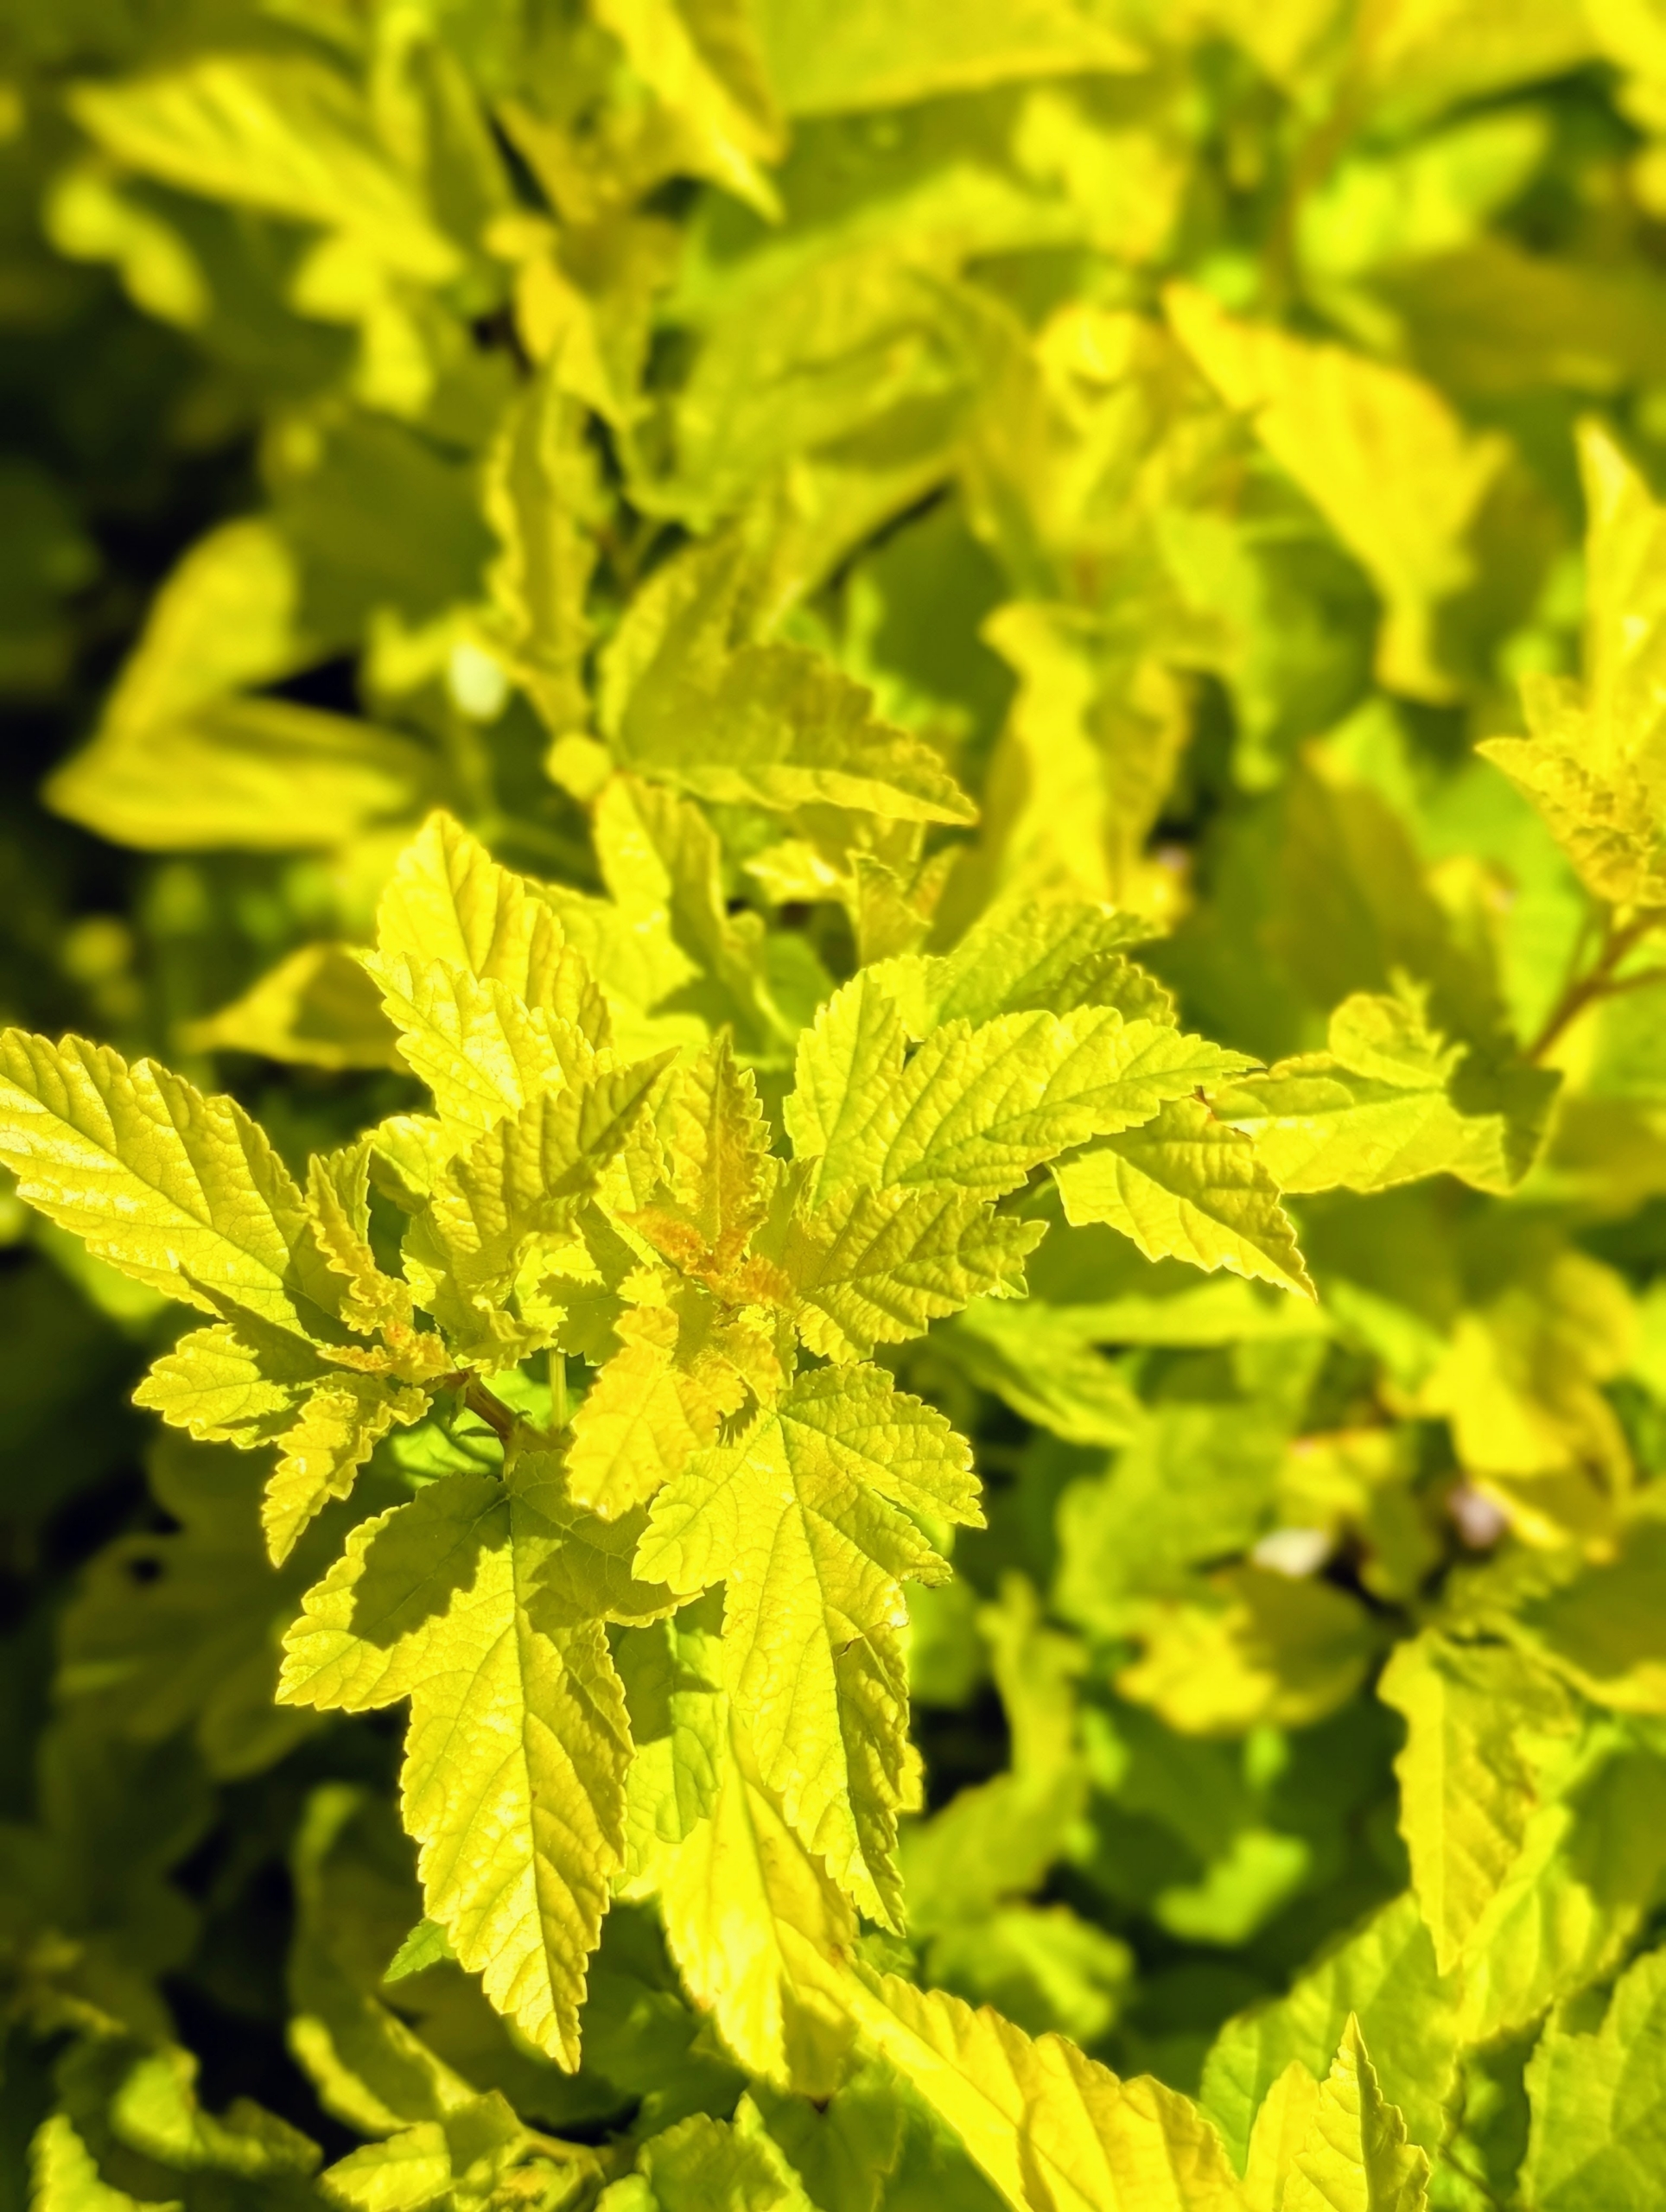
In comparison, this is Lucky Devil Ninebark with vibrant, bright yellow leaves that hold their color even in full sun. In the spring, white flowers provide contrast to the leaves, and in the fall, orange leaves stand out.
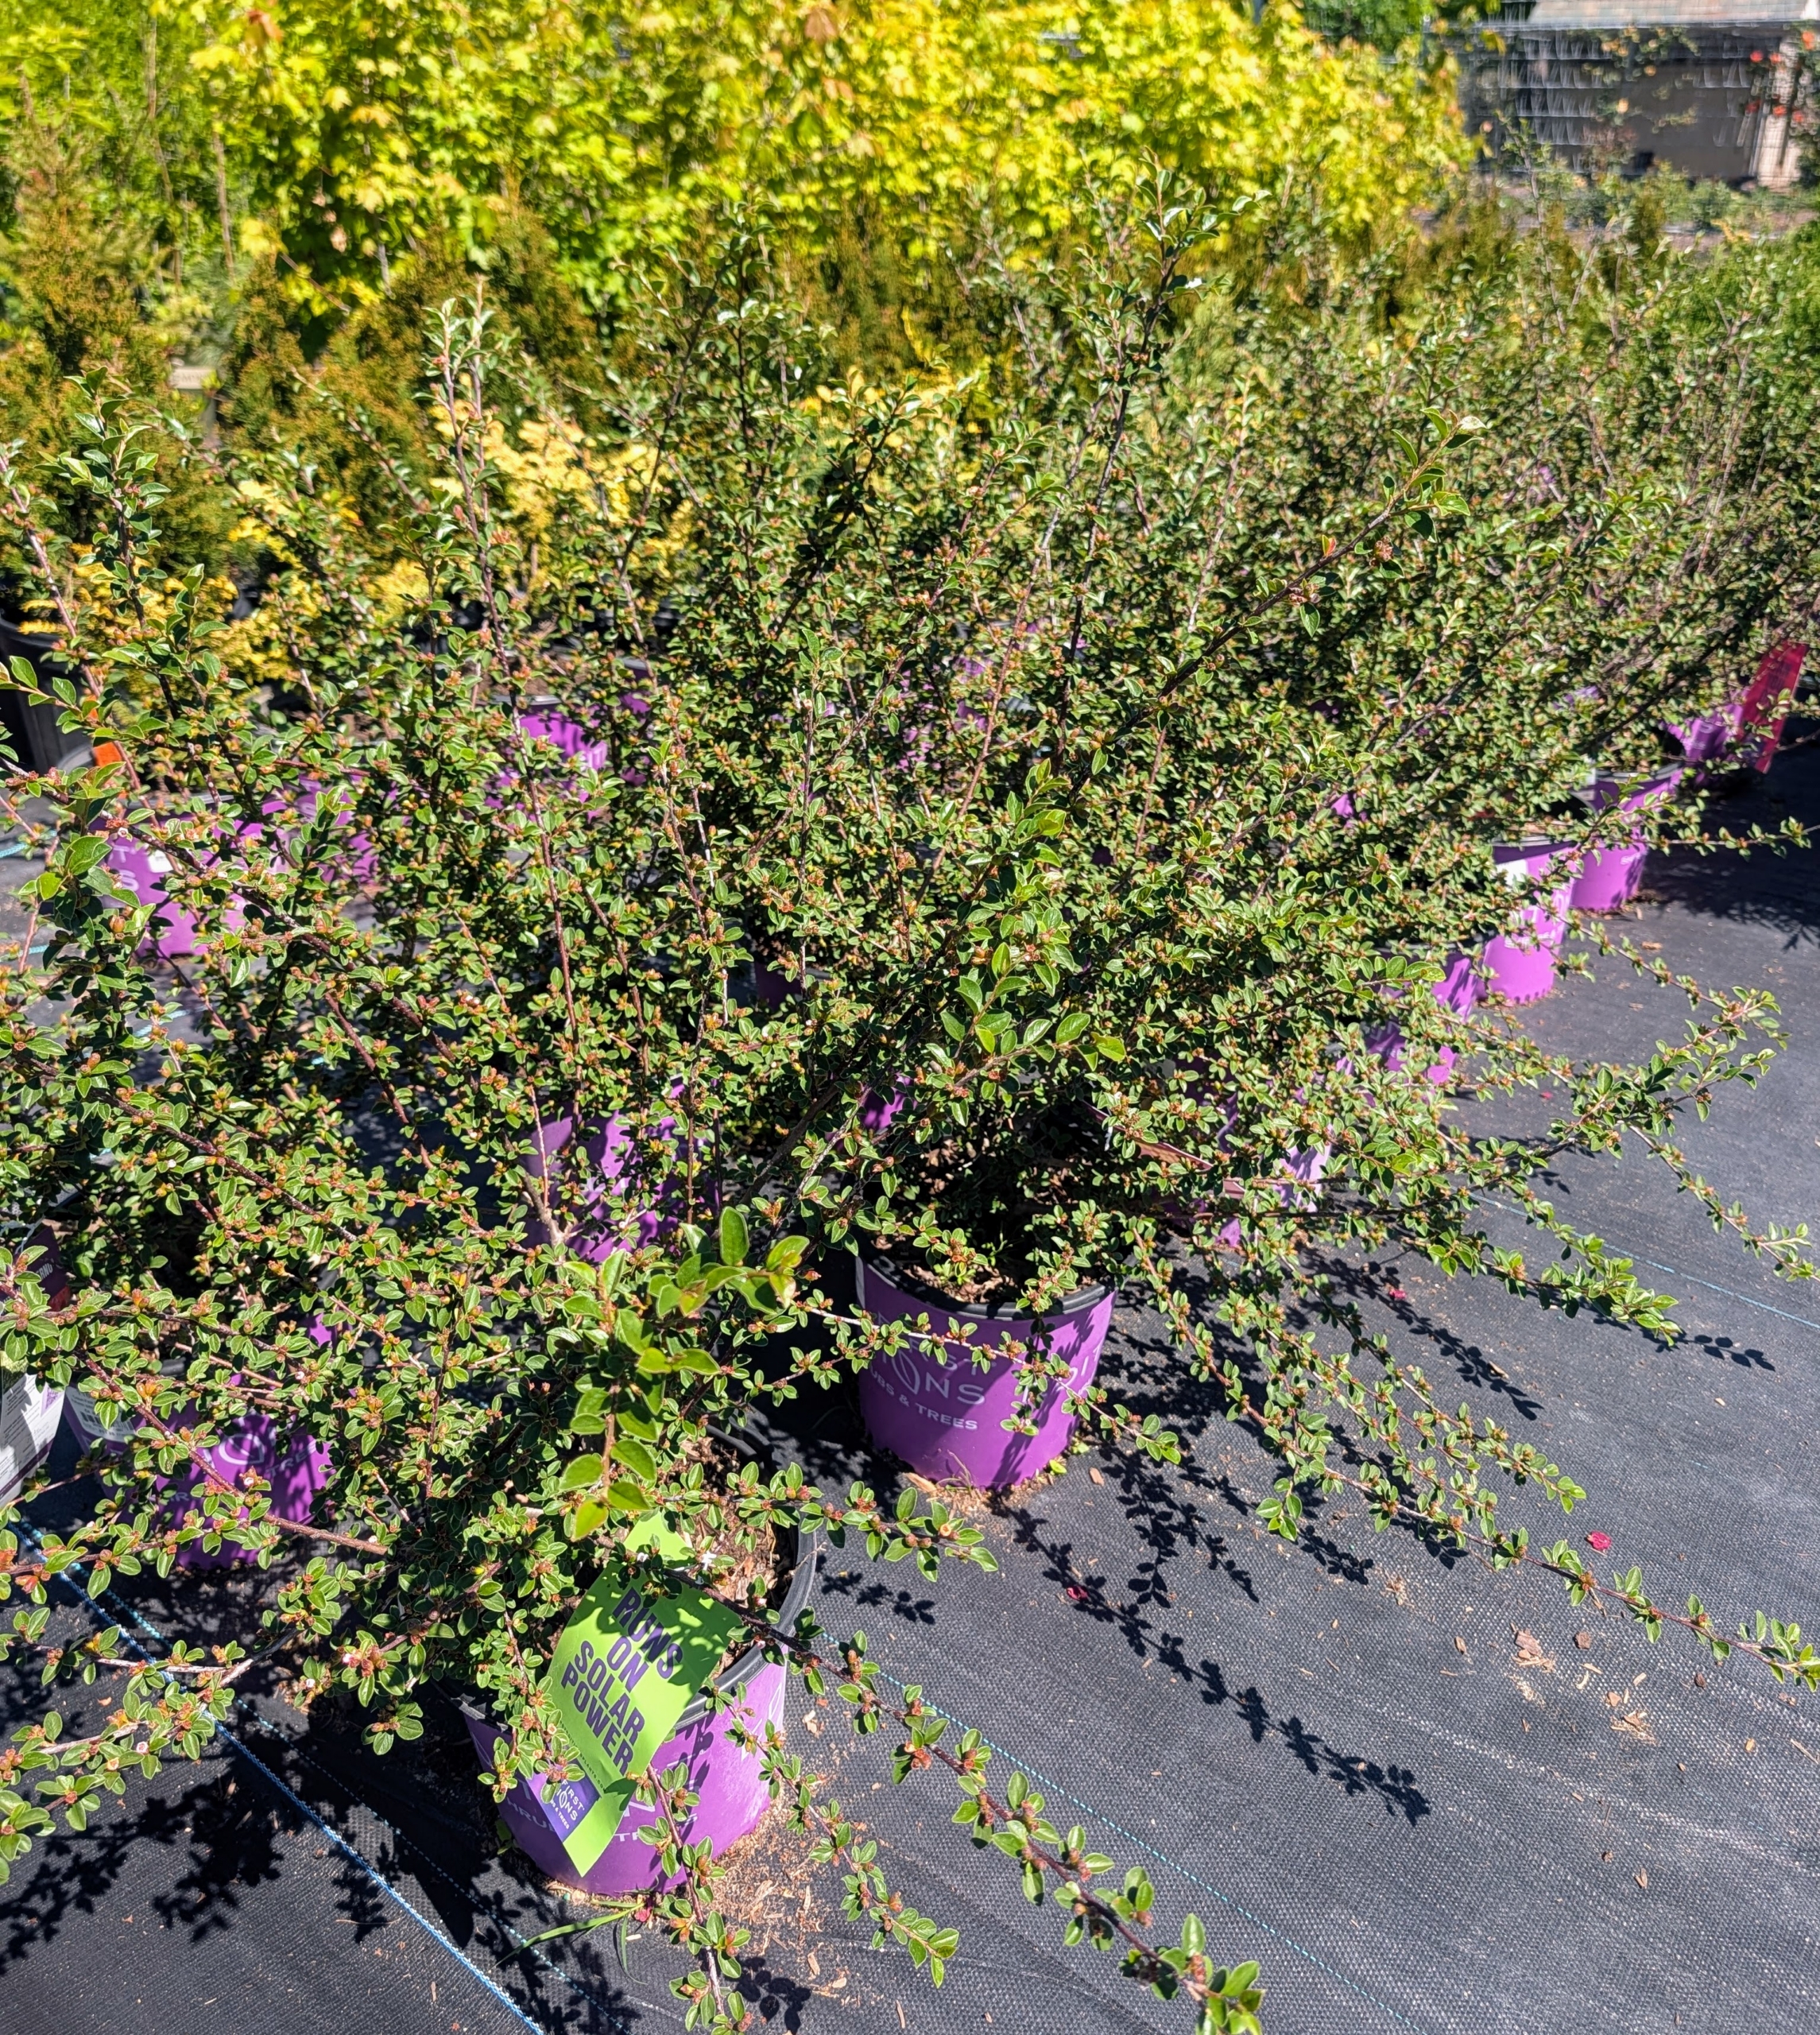
Autumn Inferno™ Cotoneaster, Cotoneaster ‘Bronfire,’ shows clean foliage all season long. It forms small red berries in fall that stay on the branches until visiting birds enjoy them.
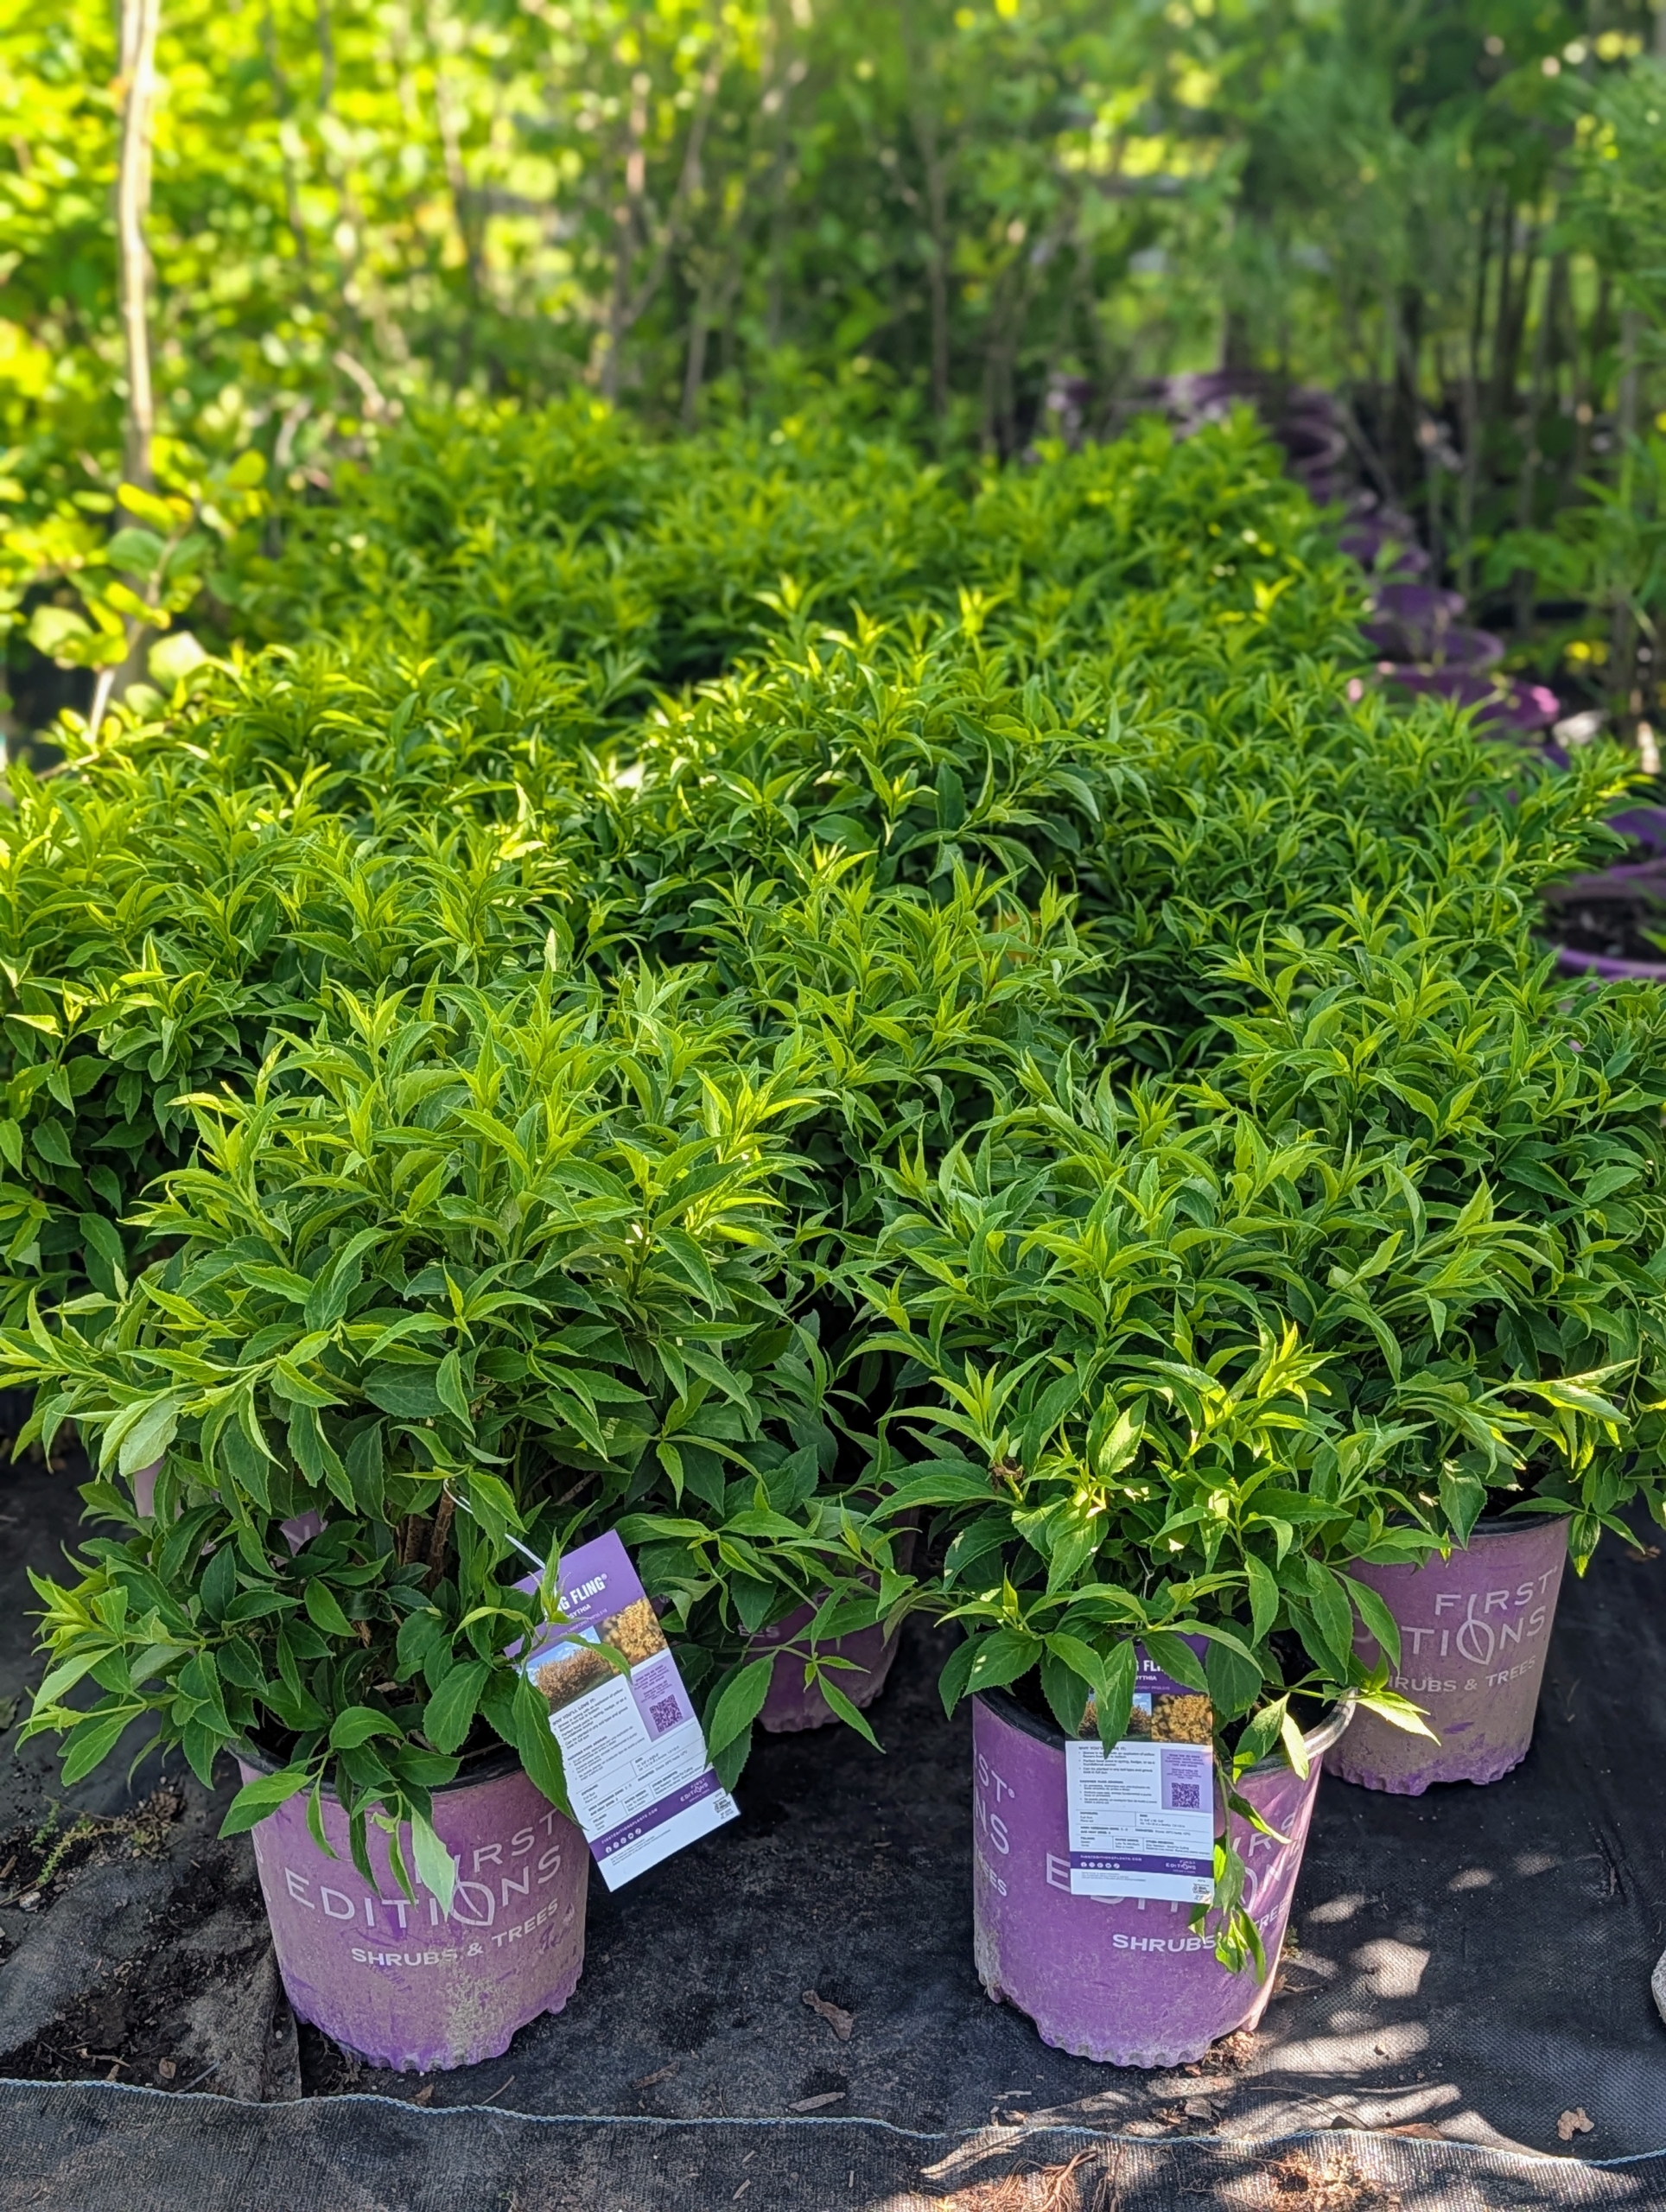
Early in the season, Spring Fling® Forsythia provides an explosion of yellow flowers that covers the plant from top to bottom. Maturing up to six feet tall and wide, Spring Fling® is perfect as a back-of-garden border, hedge, or foundational plant. Growing best in full sun, Spring Fling® is not picky about soil type and can be planted almost anywhere.
Planting season is now in full swing. I hope these plants inspire you to try something new in your garden.
It's always a joy to see beautiful potted plants displayed around the farm.
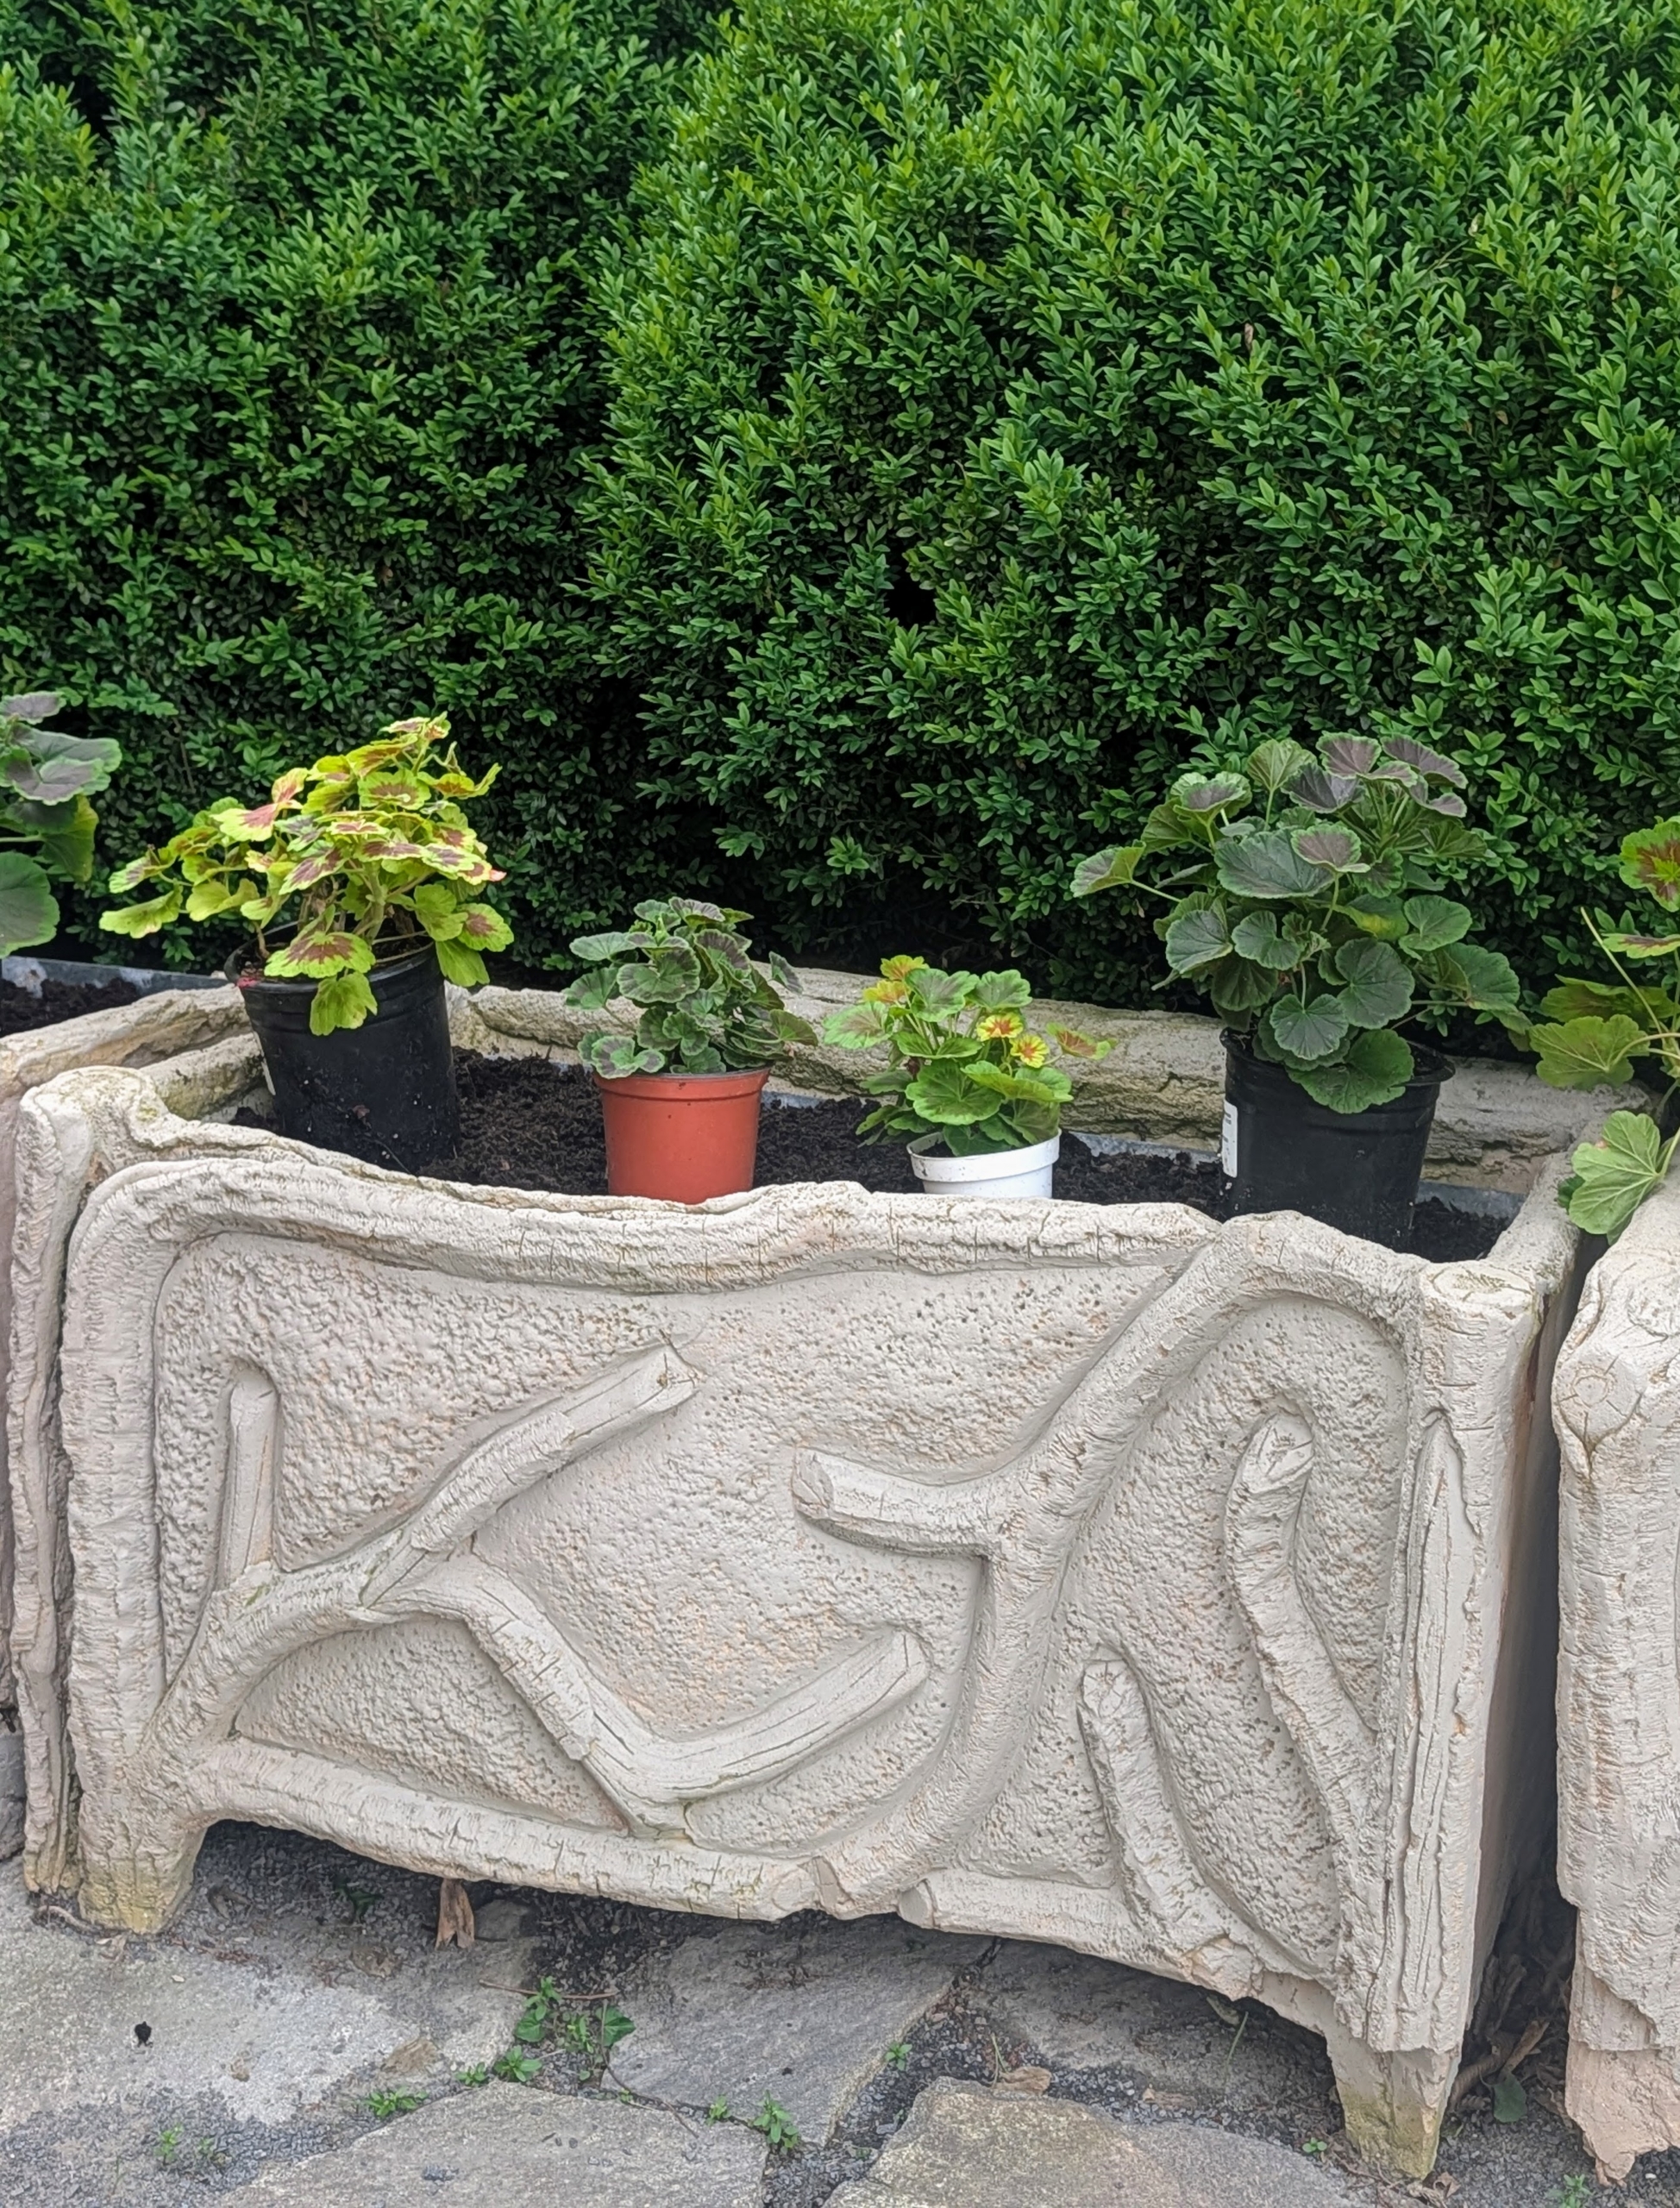
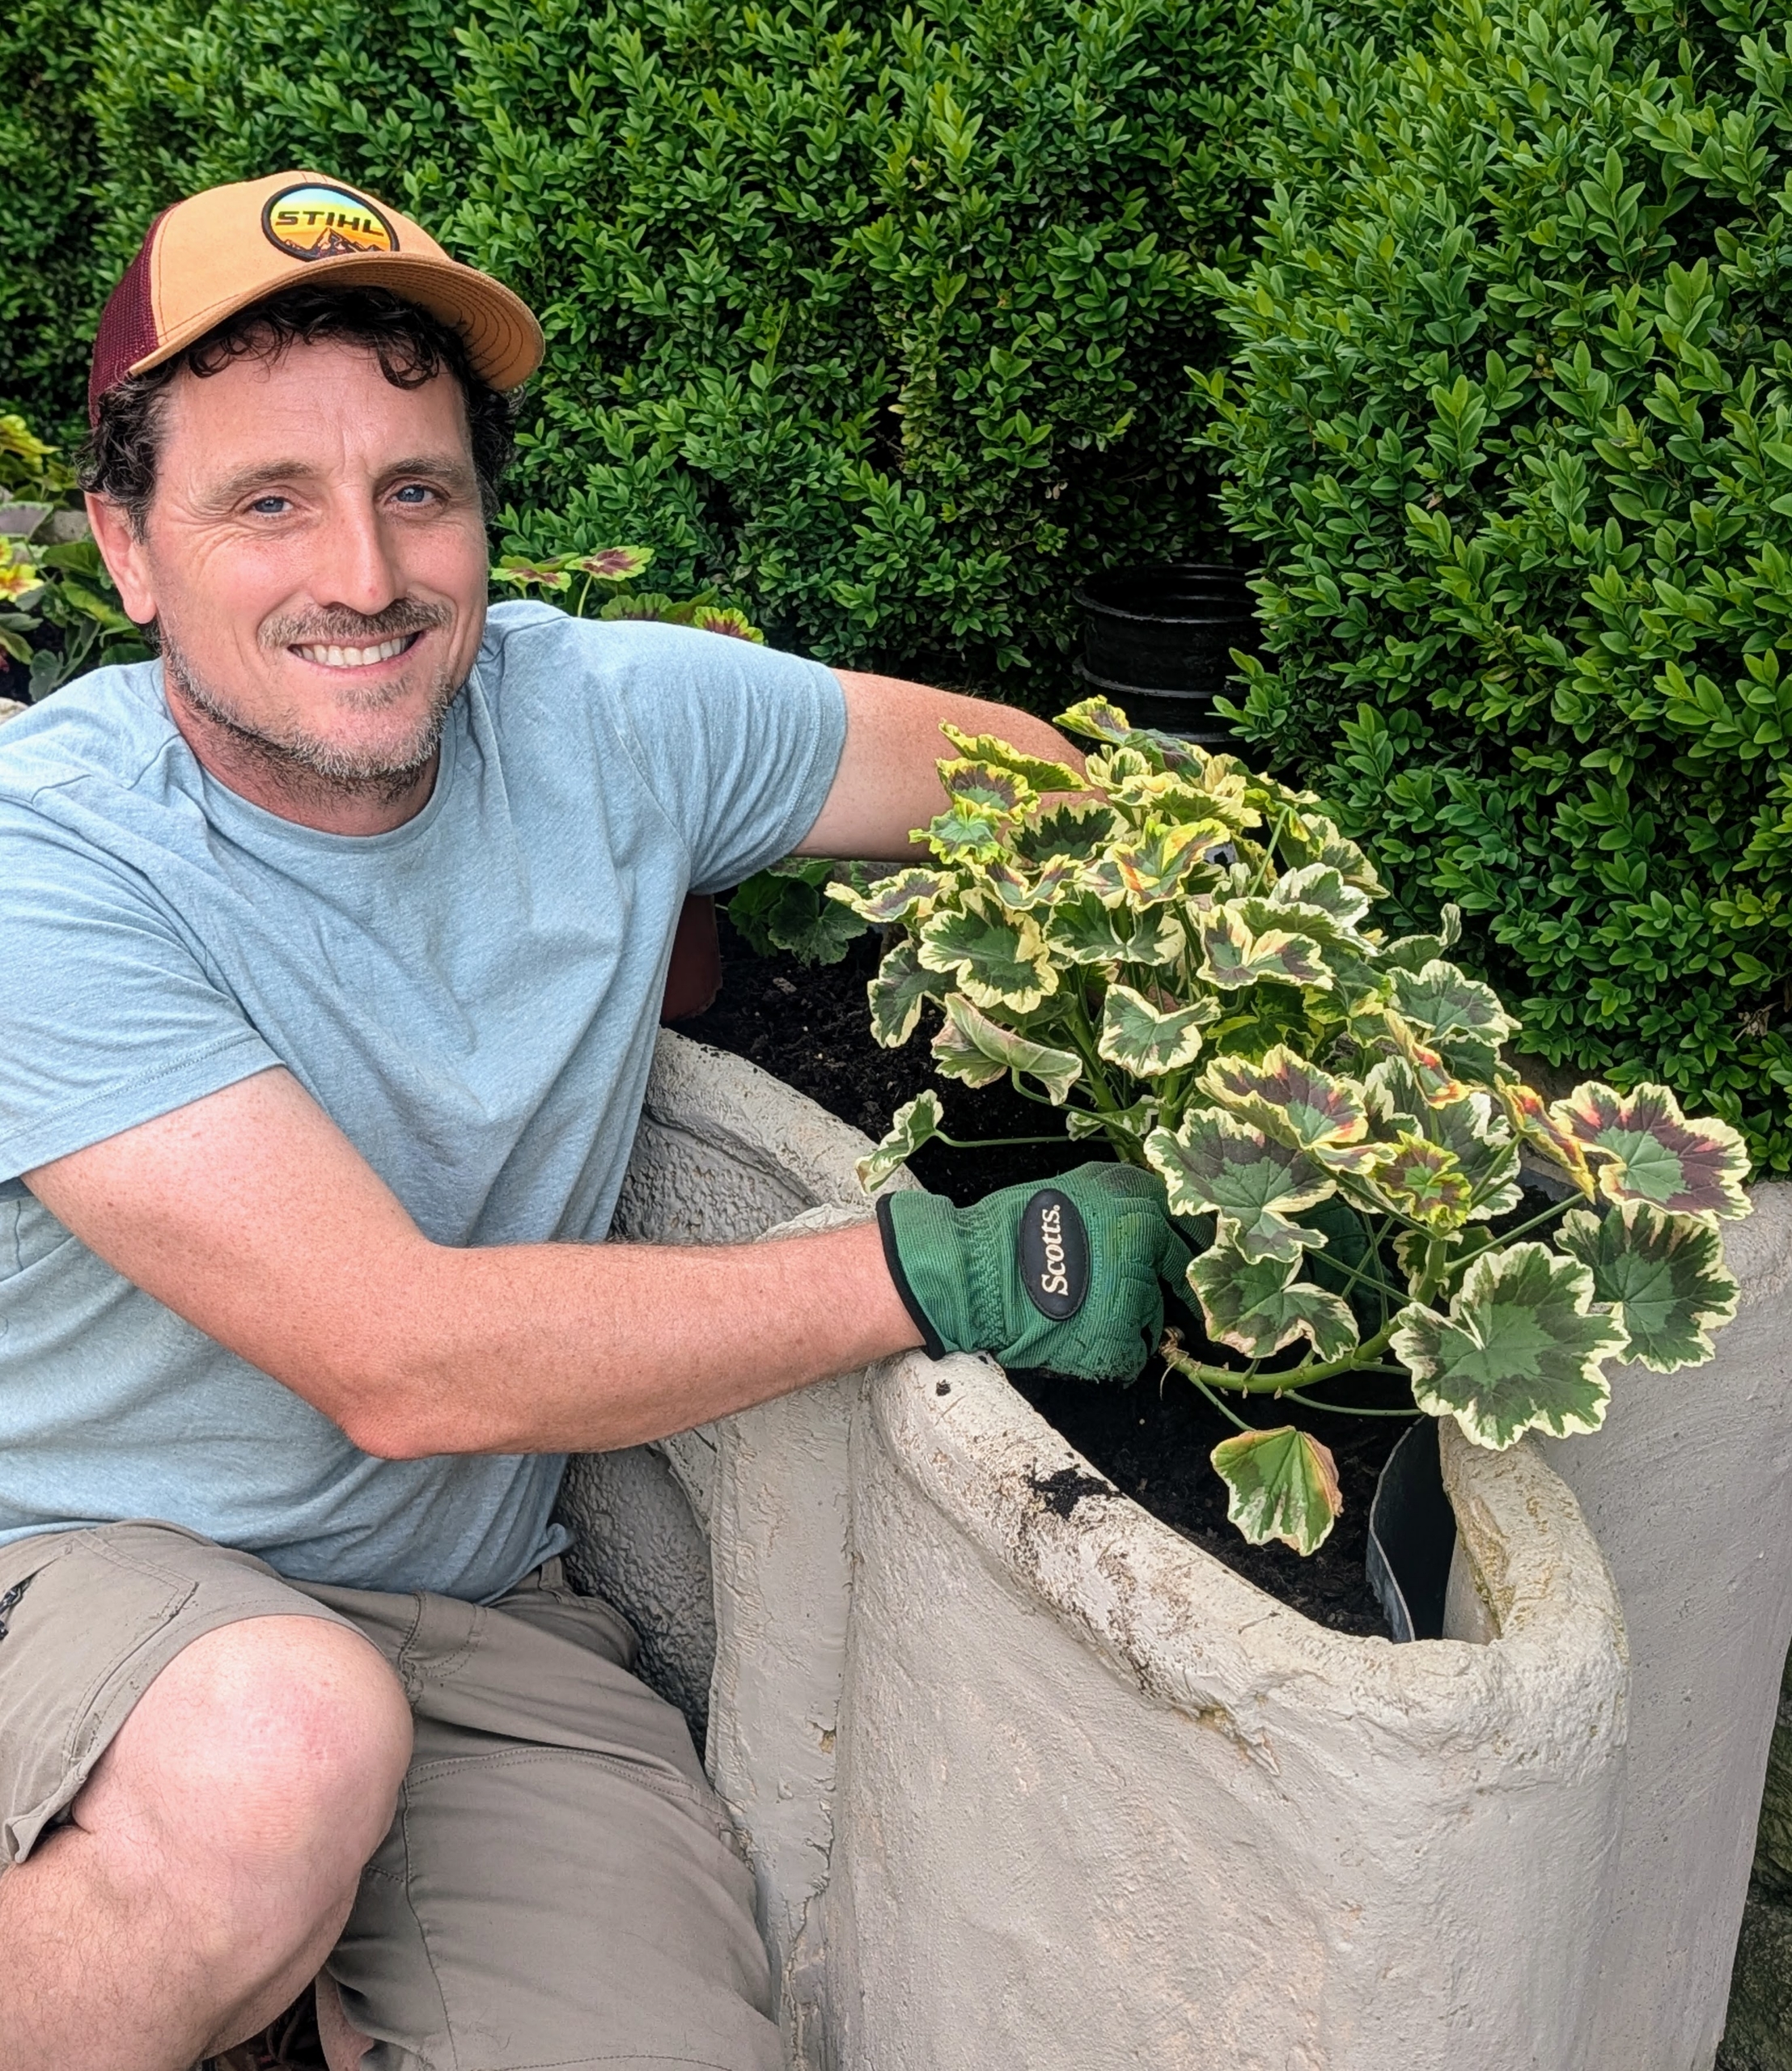
Every year, I take out many of my outdoor ornamental urns and fill them with plants. They do well outside in the warmer months and look great arranged around my home. Last week, I asked my head gardener, Ryan McCallister, to fill the faux bois planters on the terrace outside my Winter House Green Parlor with a variety of different geraniums. The leaves of these plants can vary widely in shape, texture, color, and even scent, making them so interesting when planted together.
Enjoy these photos.
Several years ago, I purchased a very interesting group of faux bois planters from The Tropics, Inc. in Los Angeles. The Tropics, Inc. is a leader in the rare specimen plant and tree industry and carries thousands of tropical plants, trees, orchids, and decorative accessories. I decided these planters would look great on the terrace outside my Winter House Green Parlor.
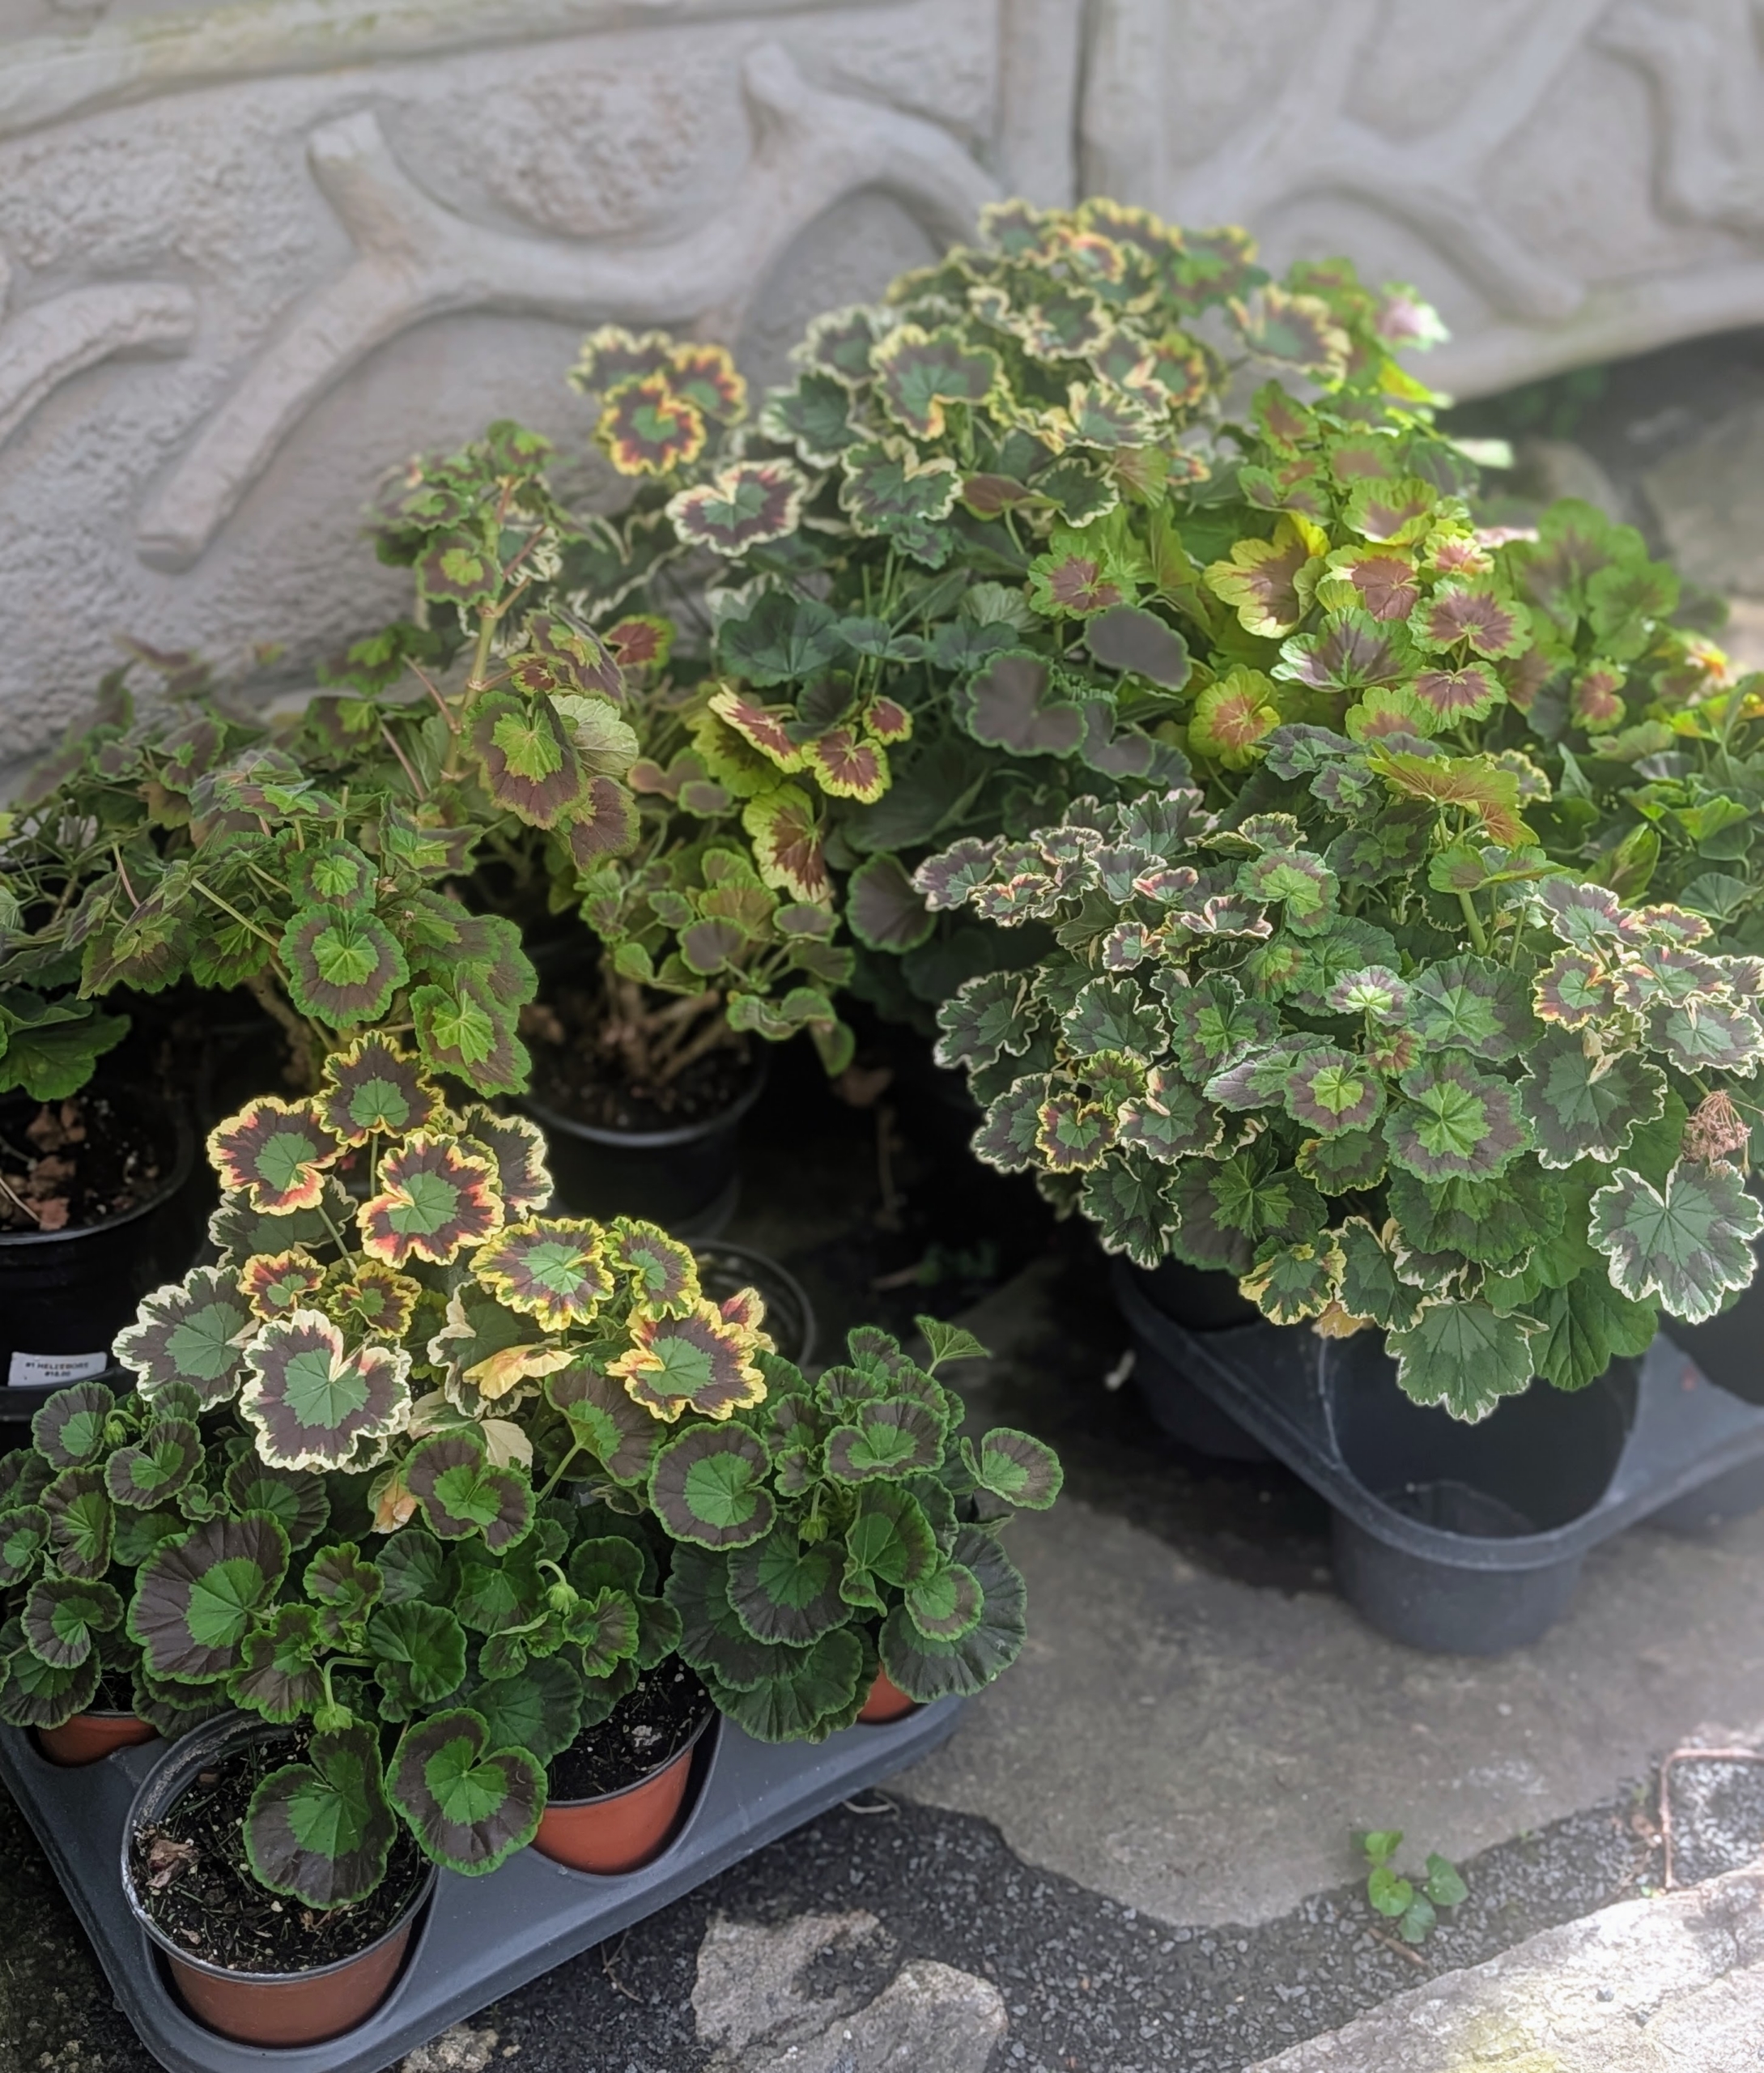
This year, I thought the planters would look lovely potted up with geraniums. These sun-loving plants are loved for their interesting and aromatic leaves, colorful blooms, and versatility both in the garden and in containers.
I enjoy them most for the foliage. These will look so nice in the giant urns.
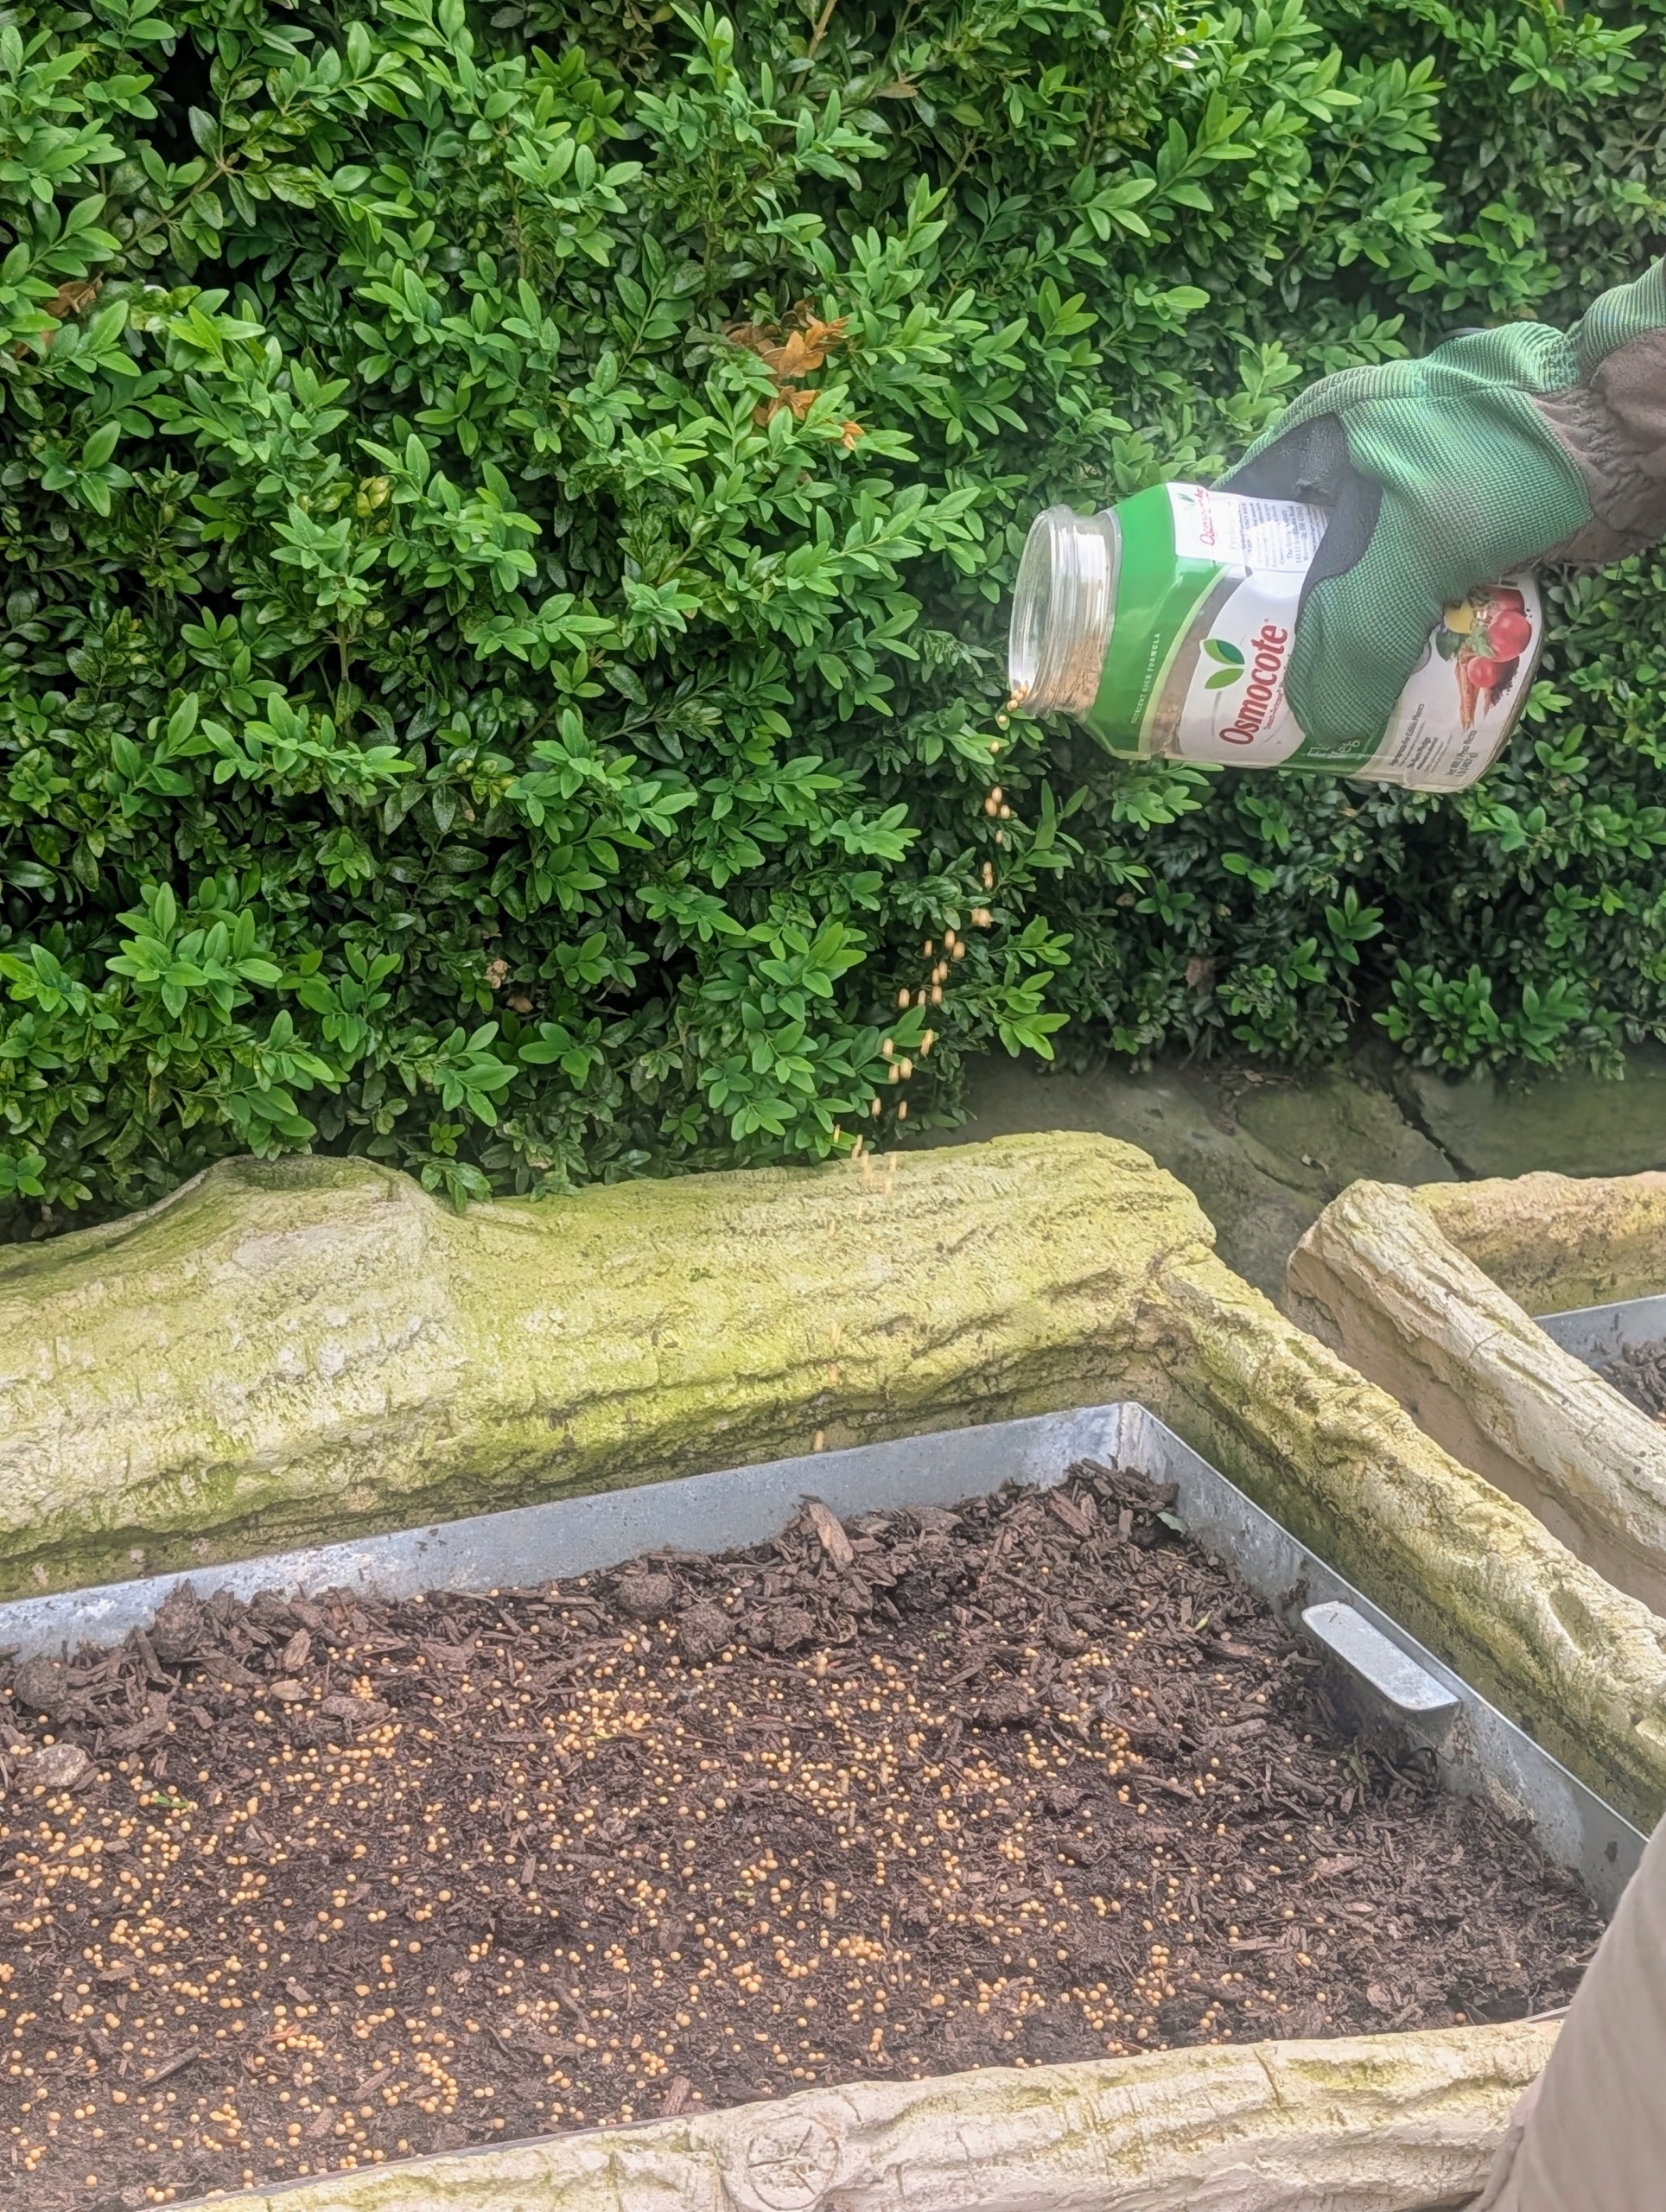
Ryan starts by adding a generous sprinkling of Osmocote – small plant food particles known as prills. These prills coat a core of nutrients including nitrogen, phosphorus and potassium.
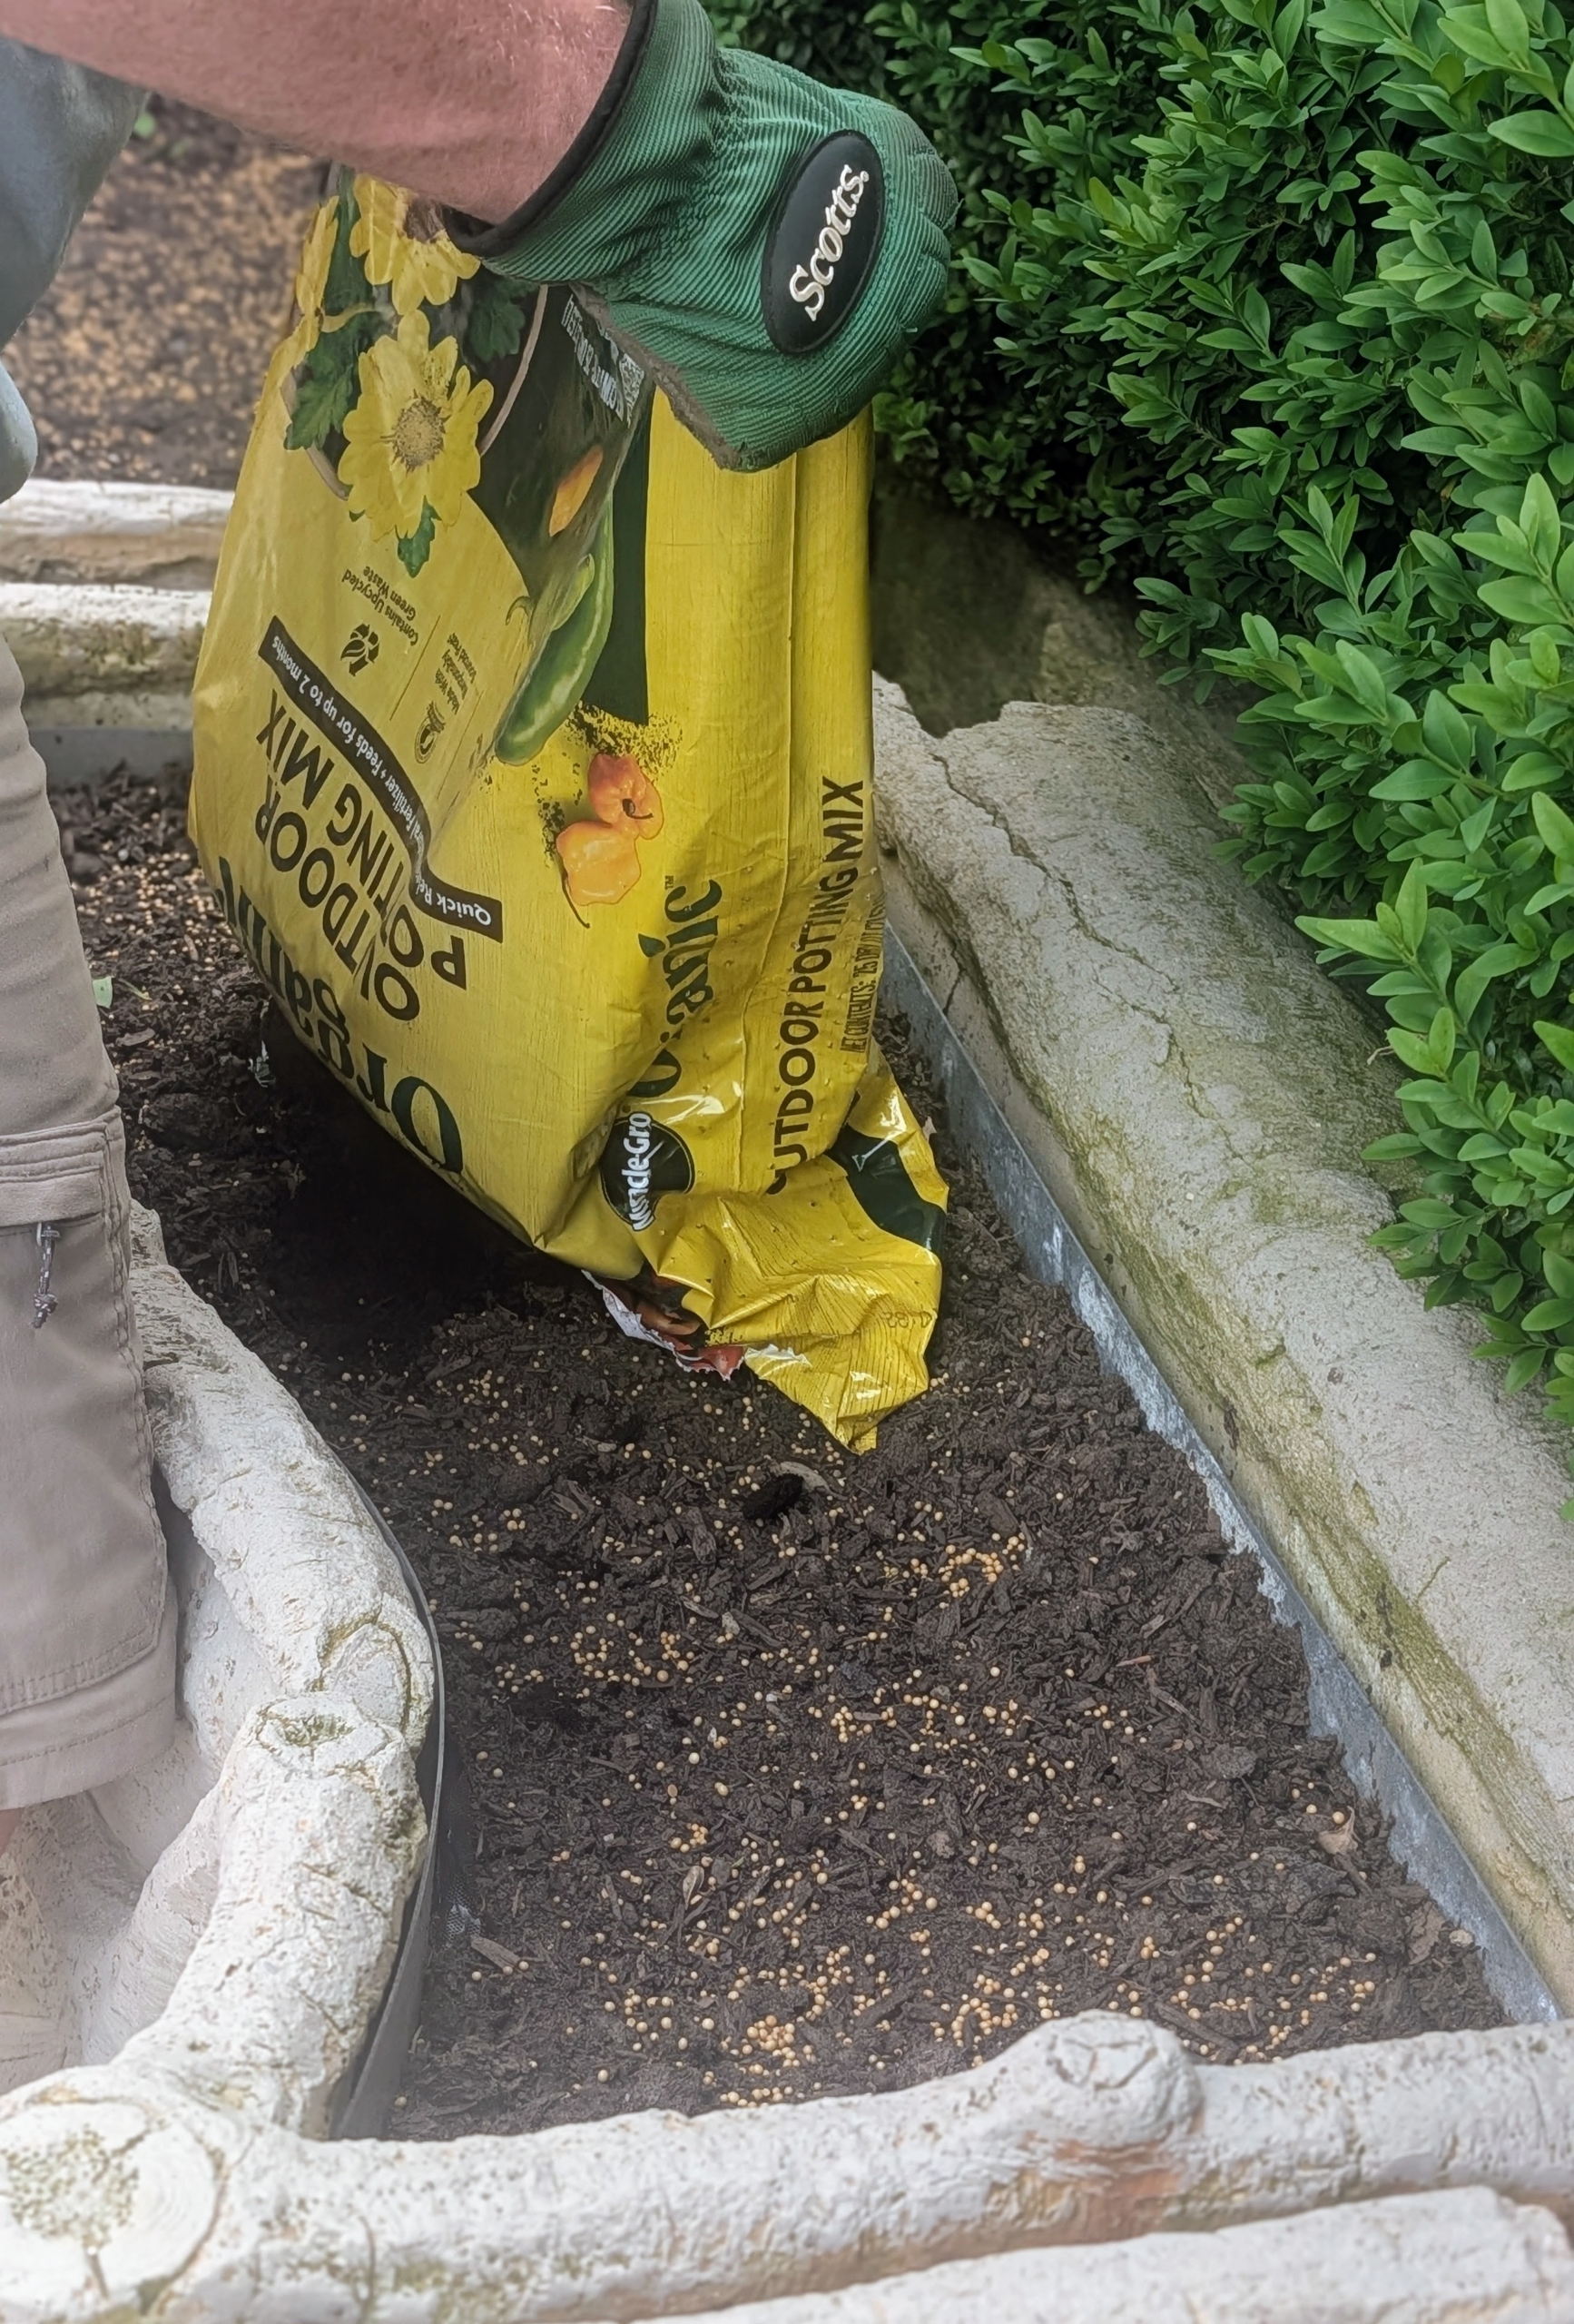
I also use Miracle-Gro Organic Outdoor Potting Mix. It contains a quick-release natural fertilizer that feeds plants for up to two months.
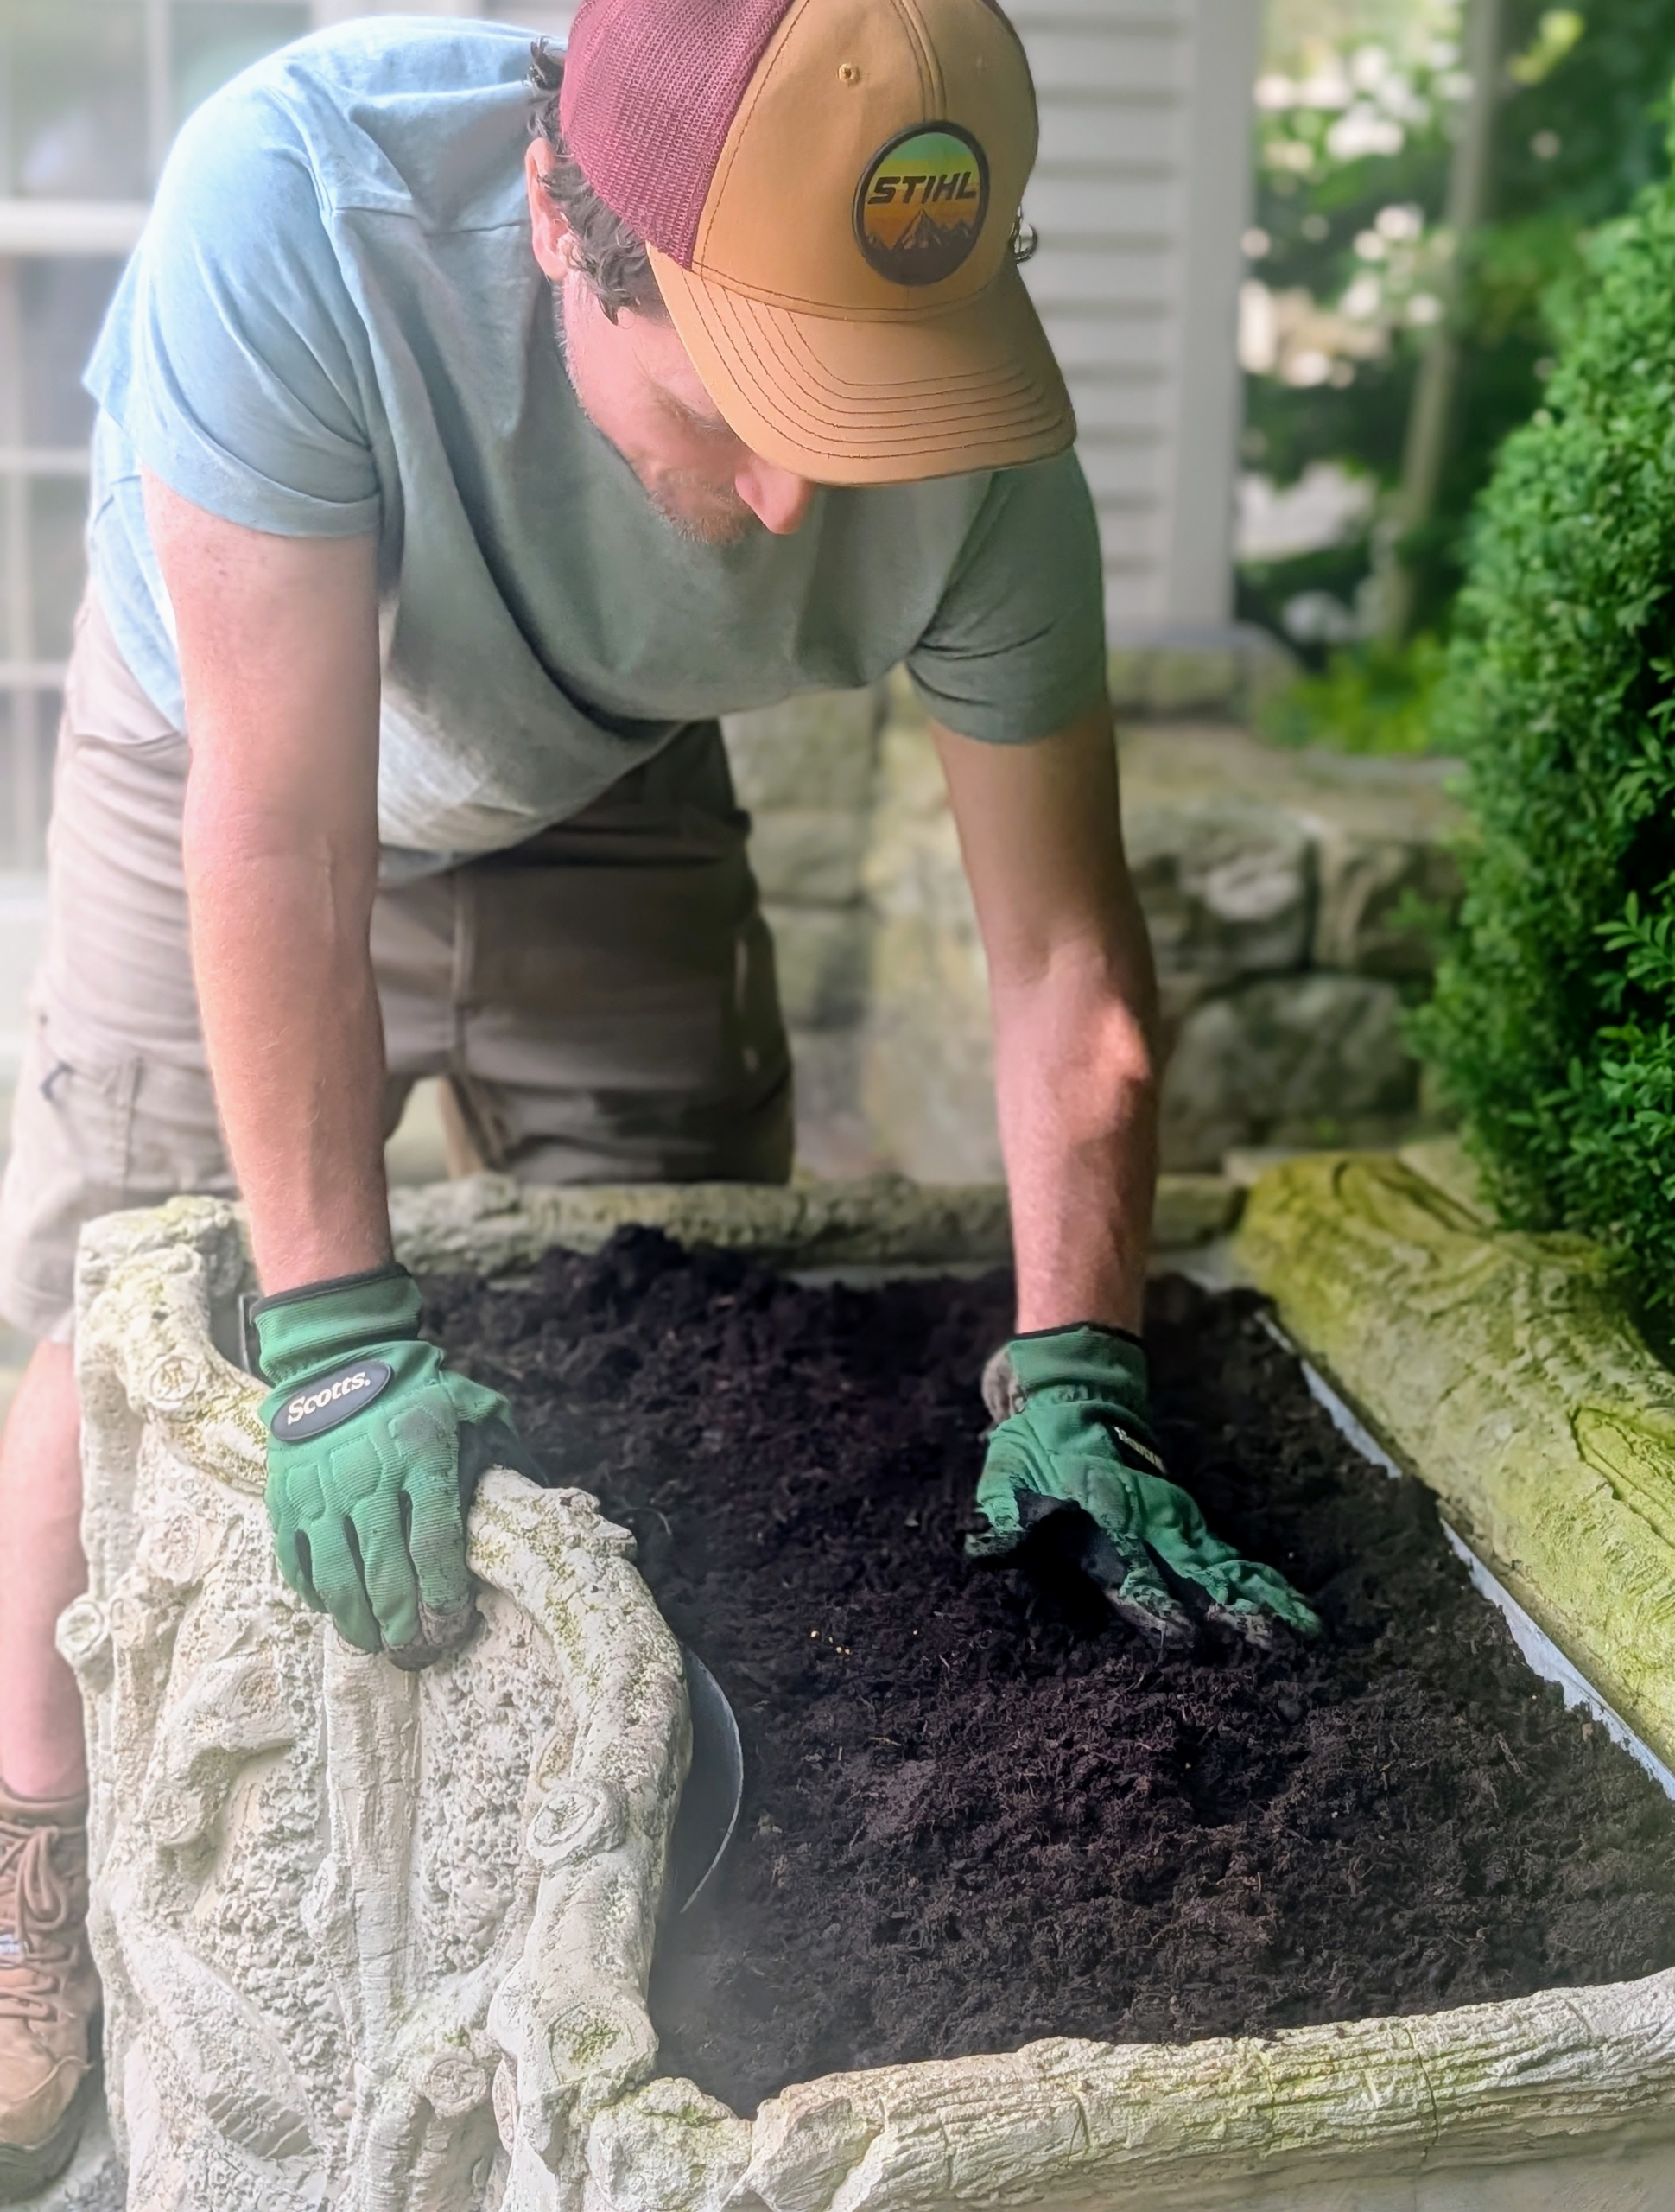
Ryan spreads the soil mix evenly across the planter. Geraniums prefer moist, fertile, well-drained soil.
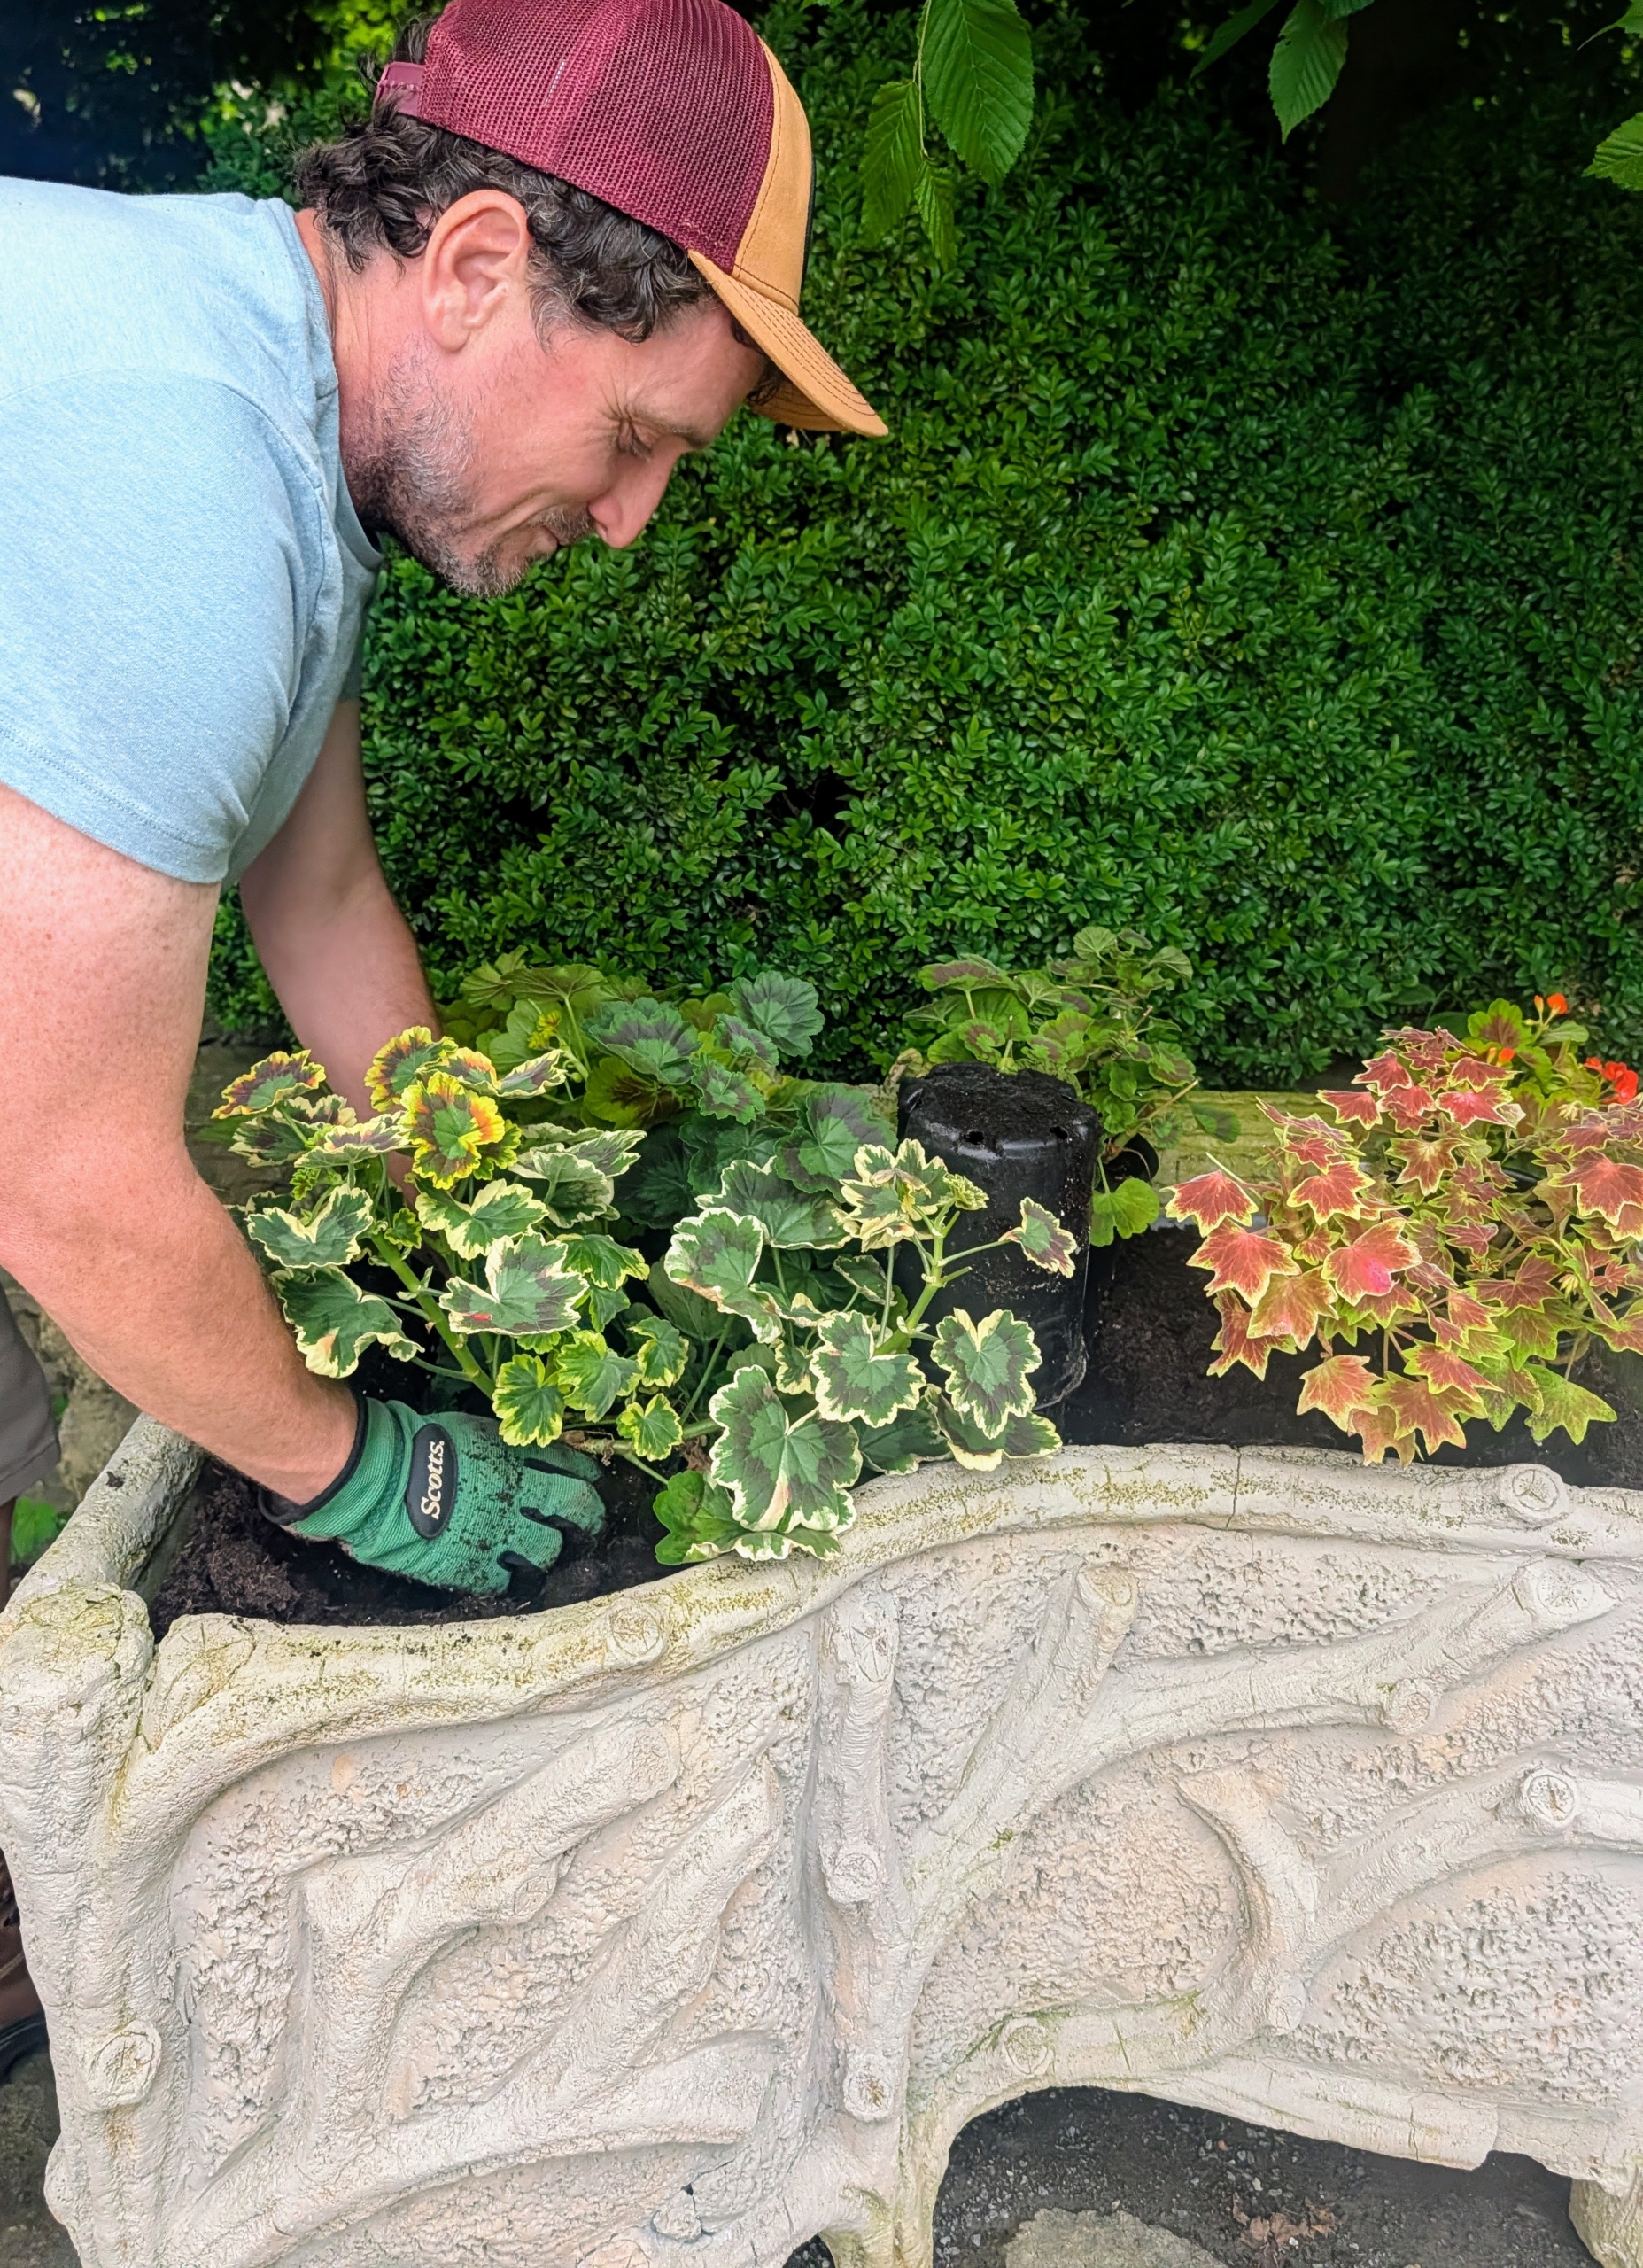
When planting several specimens in one container, it’s a good idea to plan the arrangement first. Be sure the pot can accommodate all the plants’ root systems and that the pot is big enough for all the selected plants when full grown.
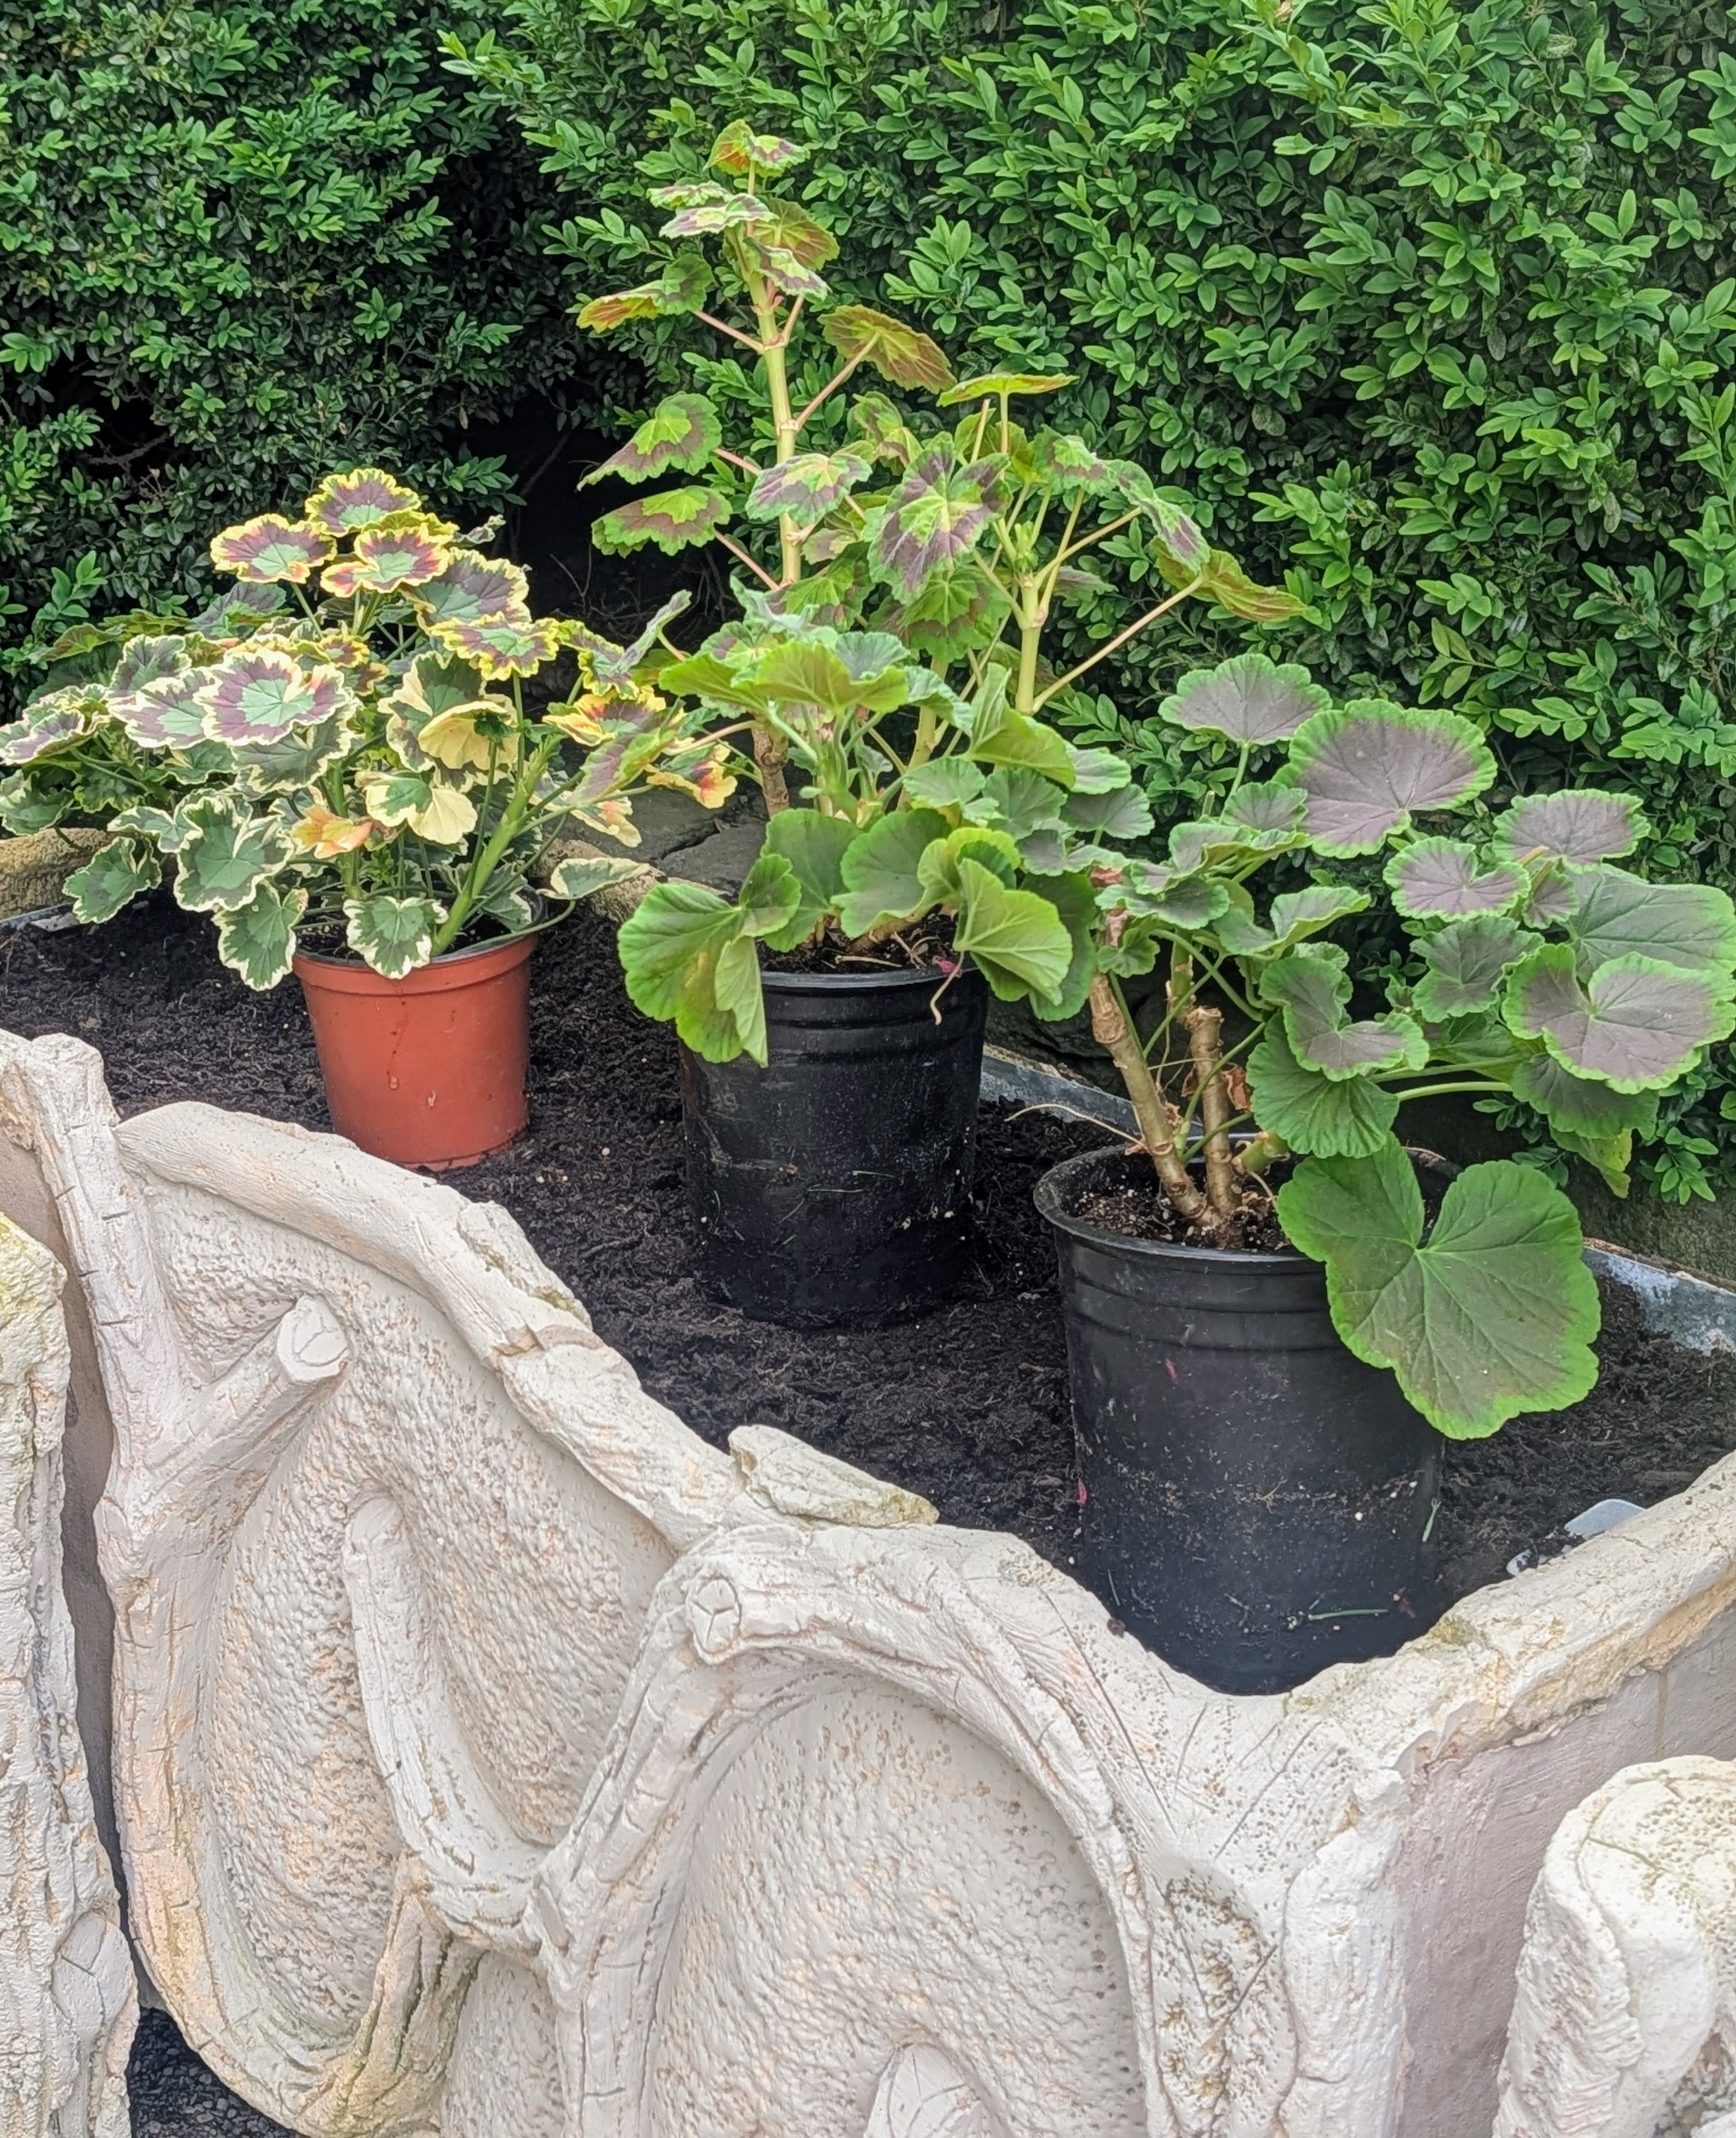
Also arrange them so all the plants can be seen. Here, Ryan placed the larger ones on both ends of the planter with smaller plants in the center.
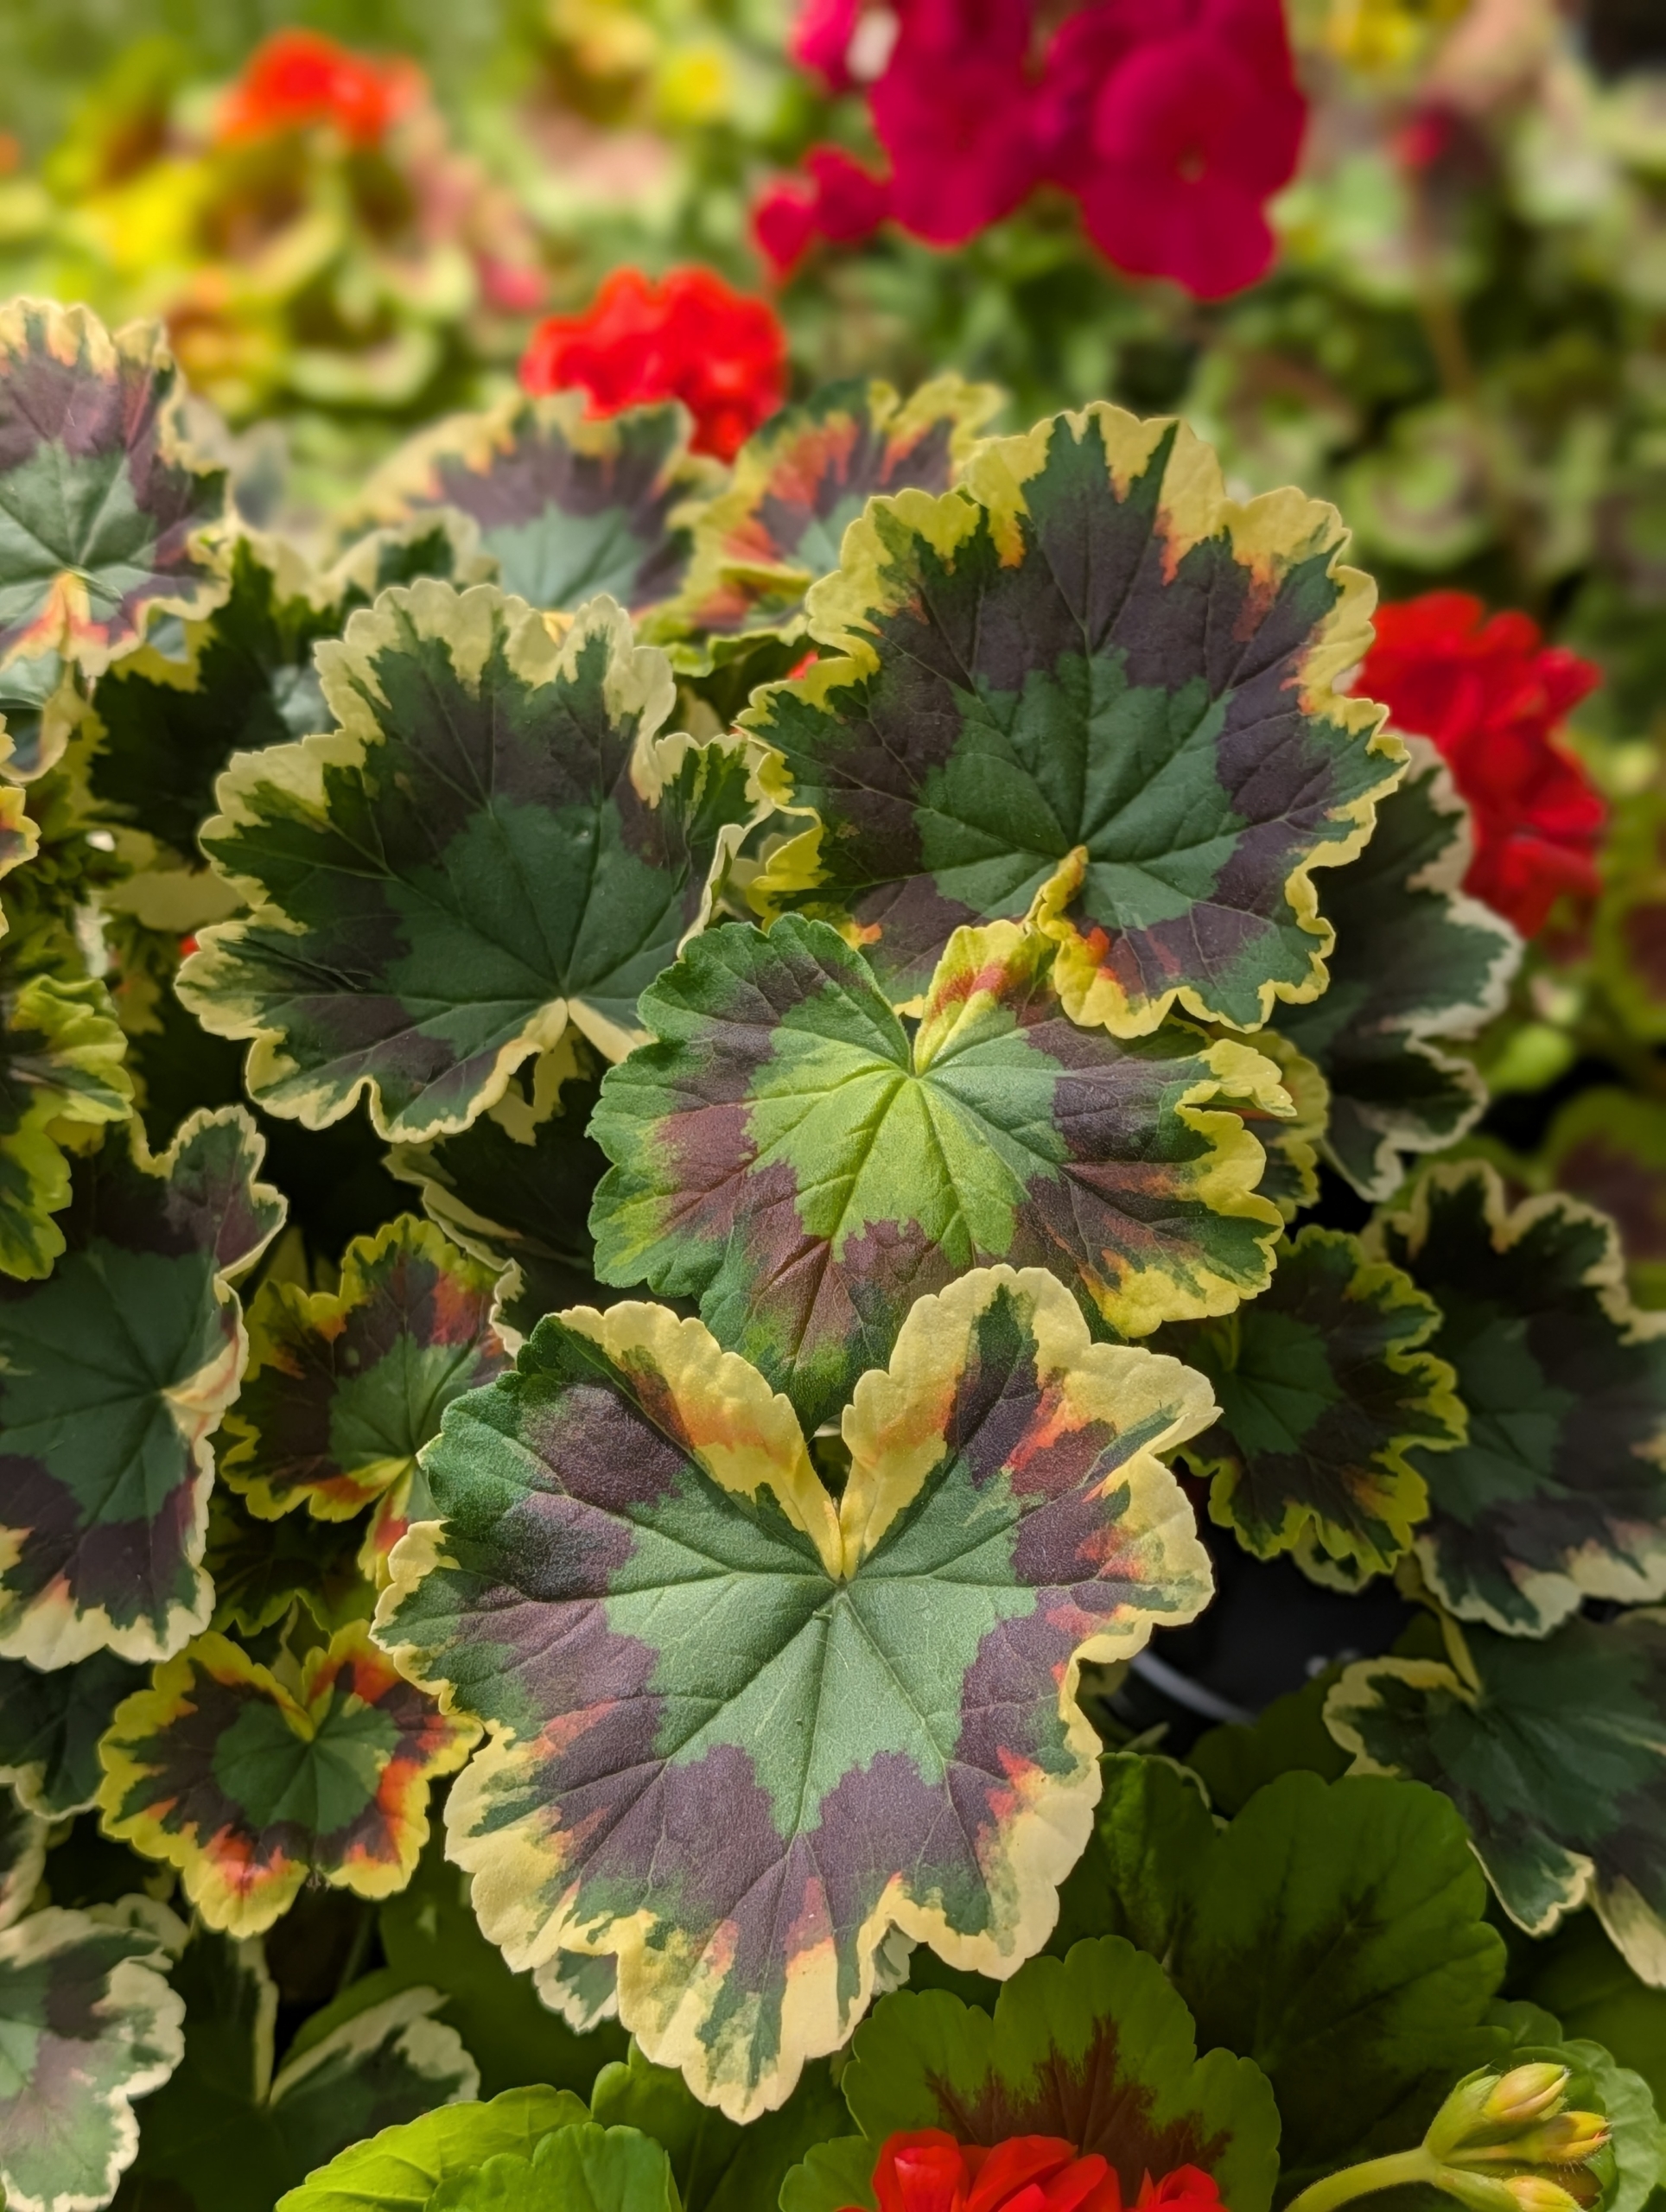
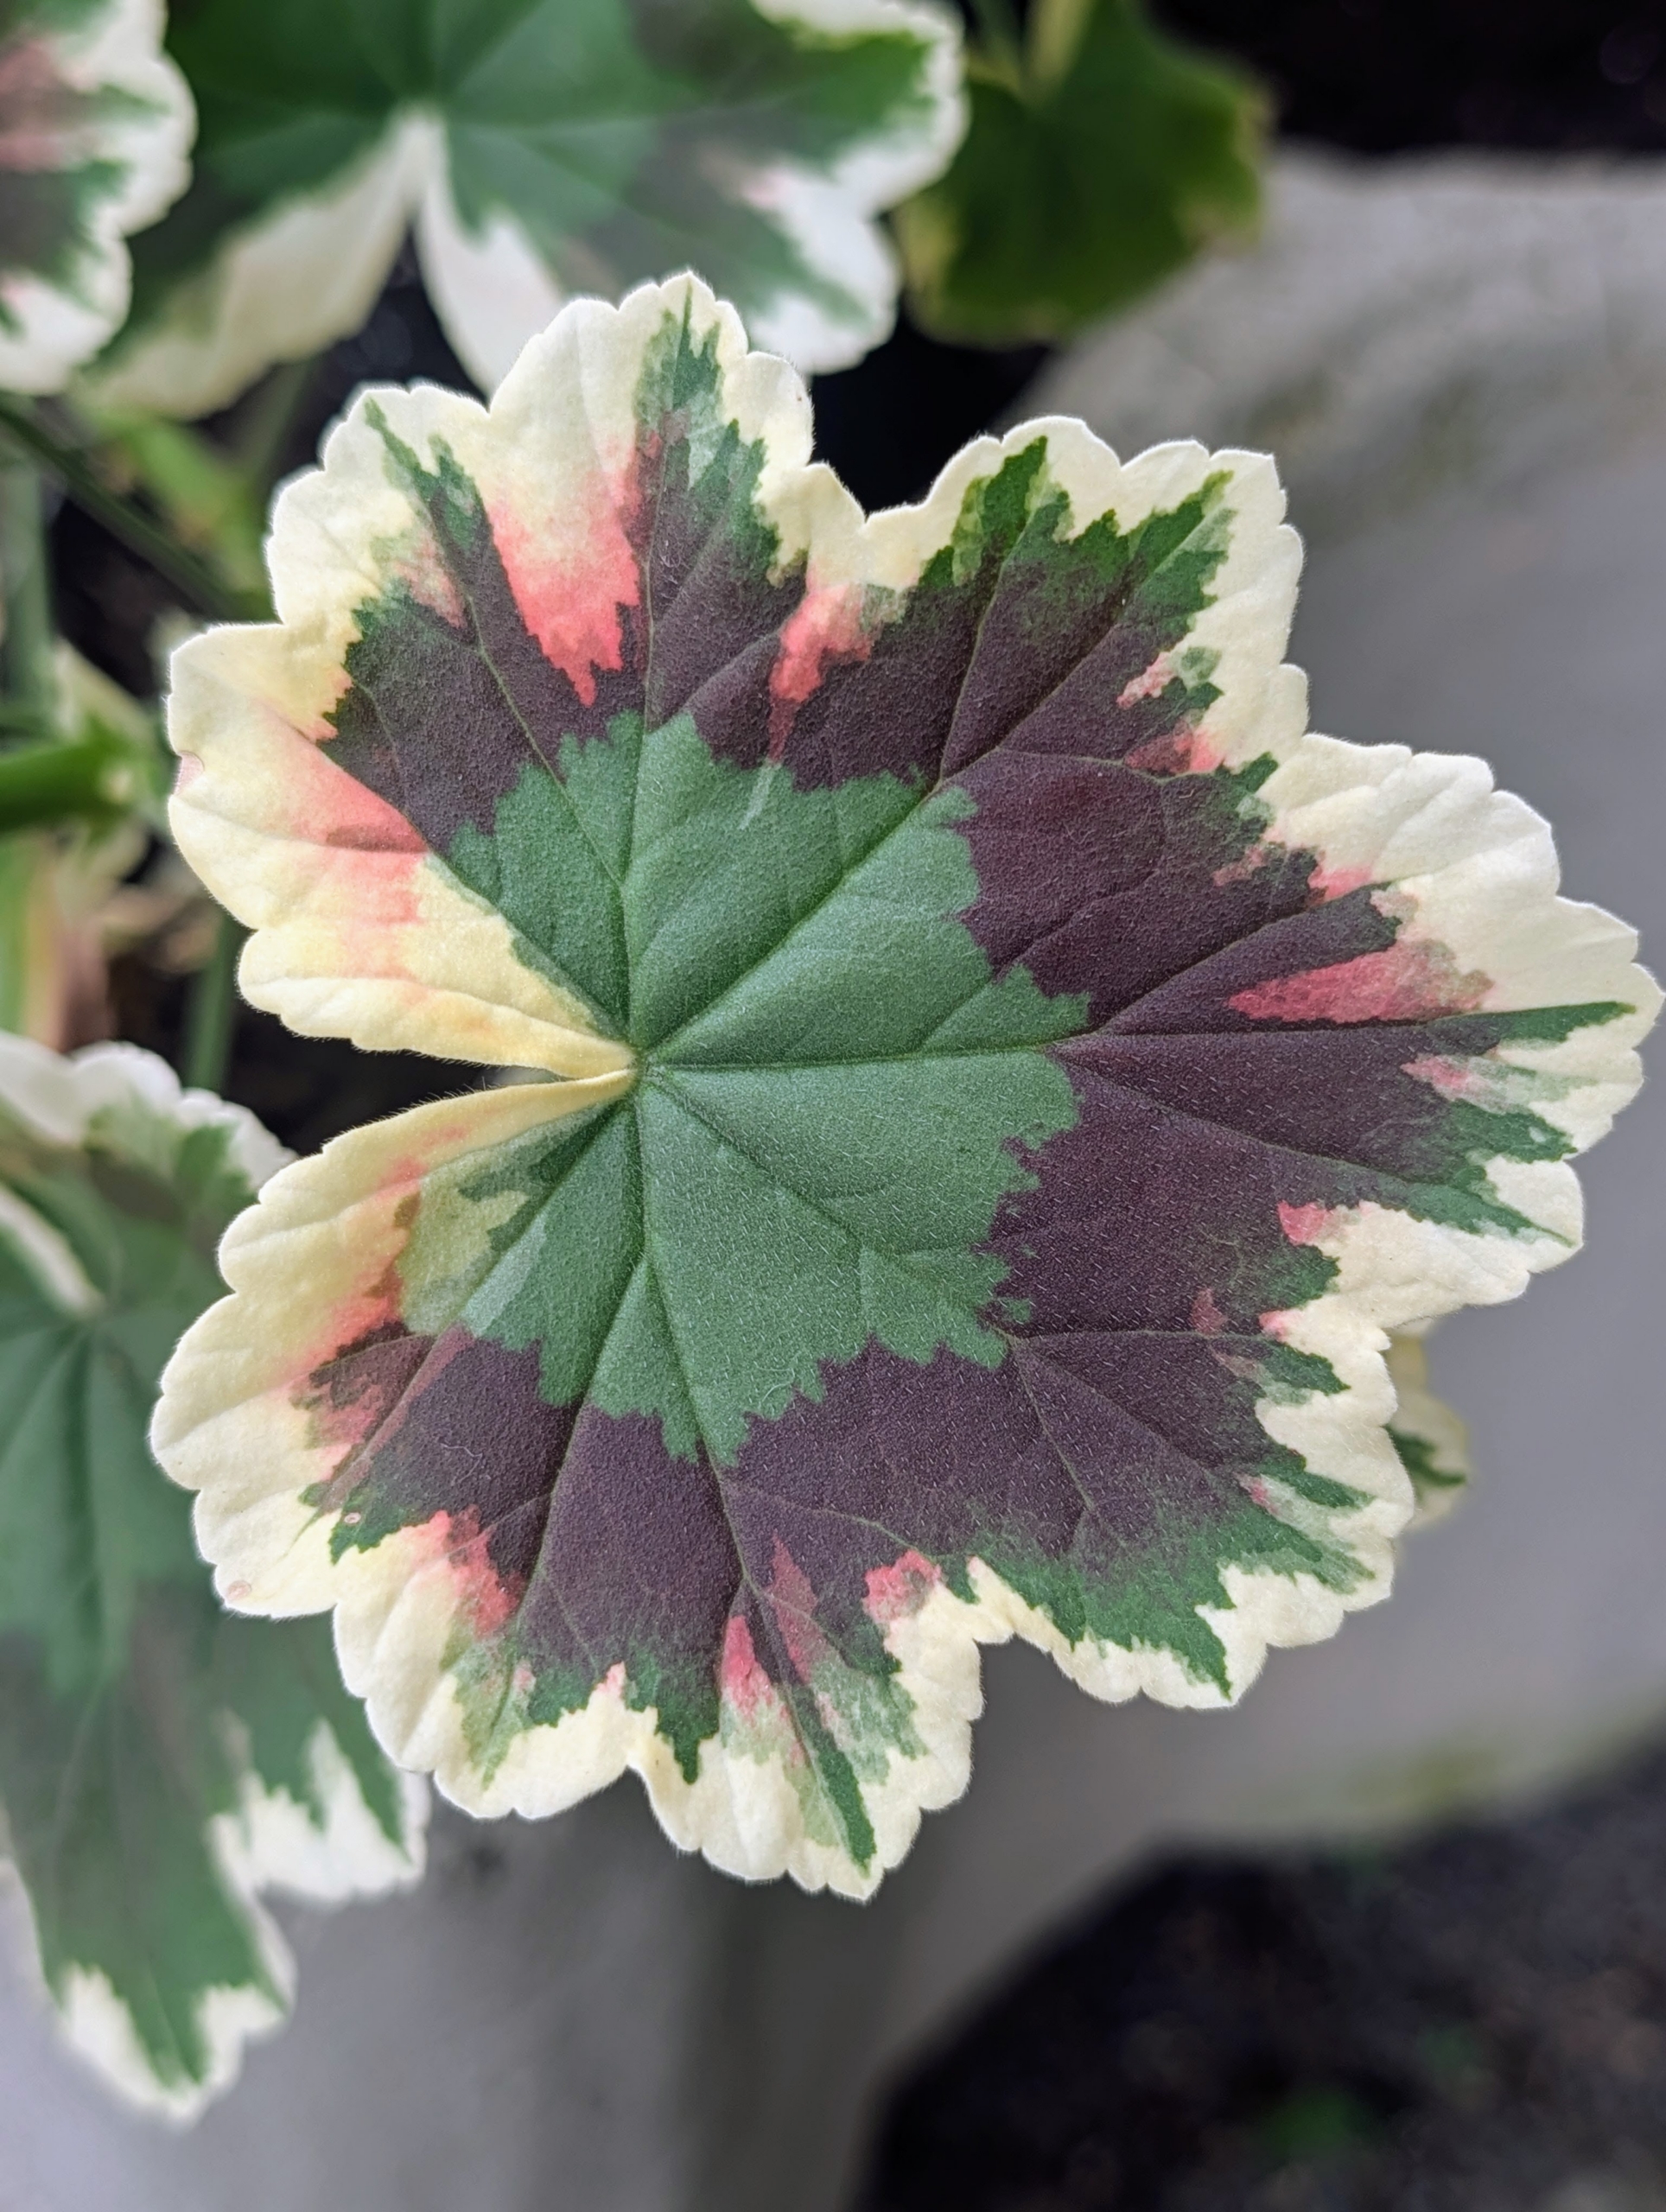
Geranium leaves are typically palmate or deeply lobed, meaning the leaf segments radiate from a central point, as in a hand or fan.
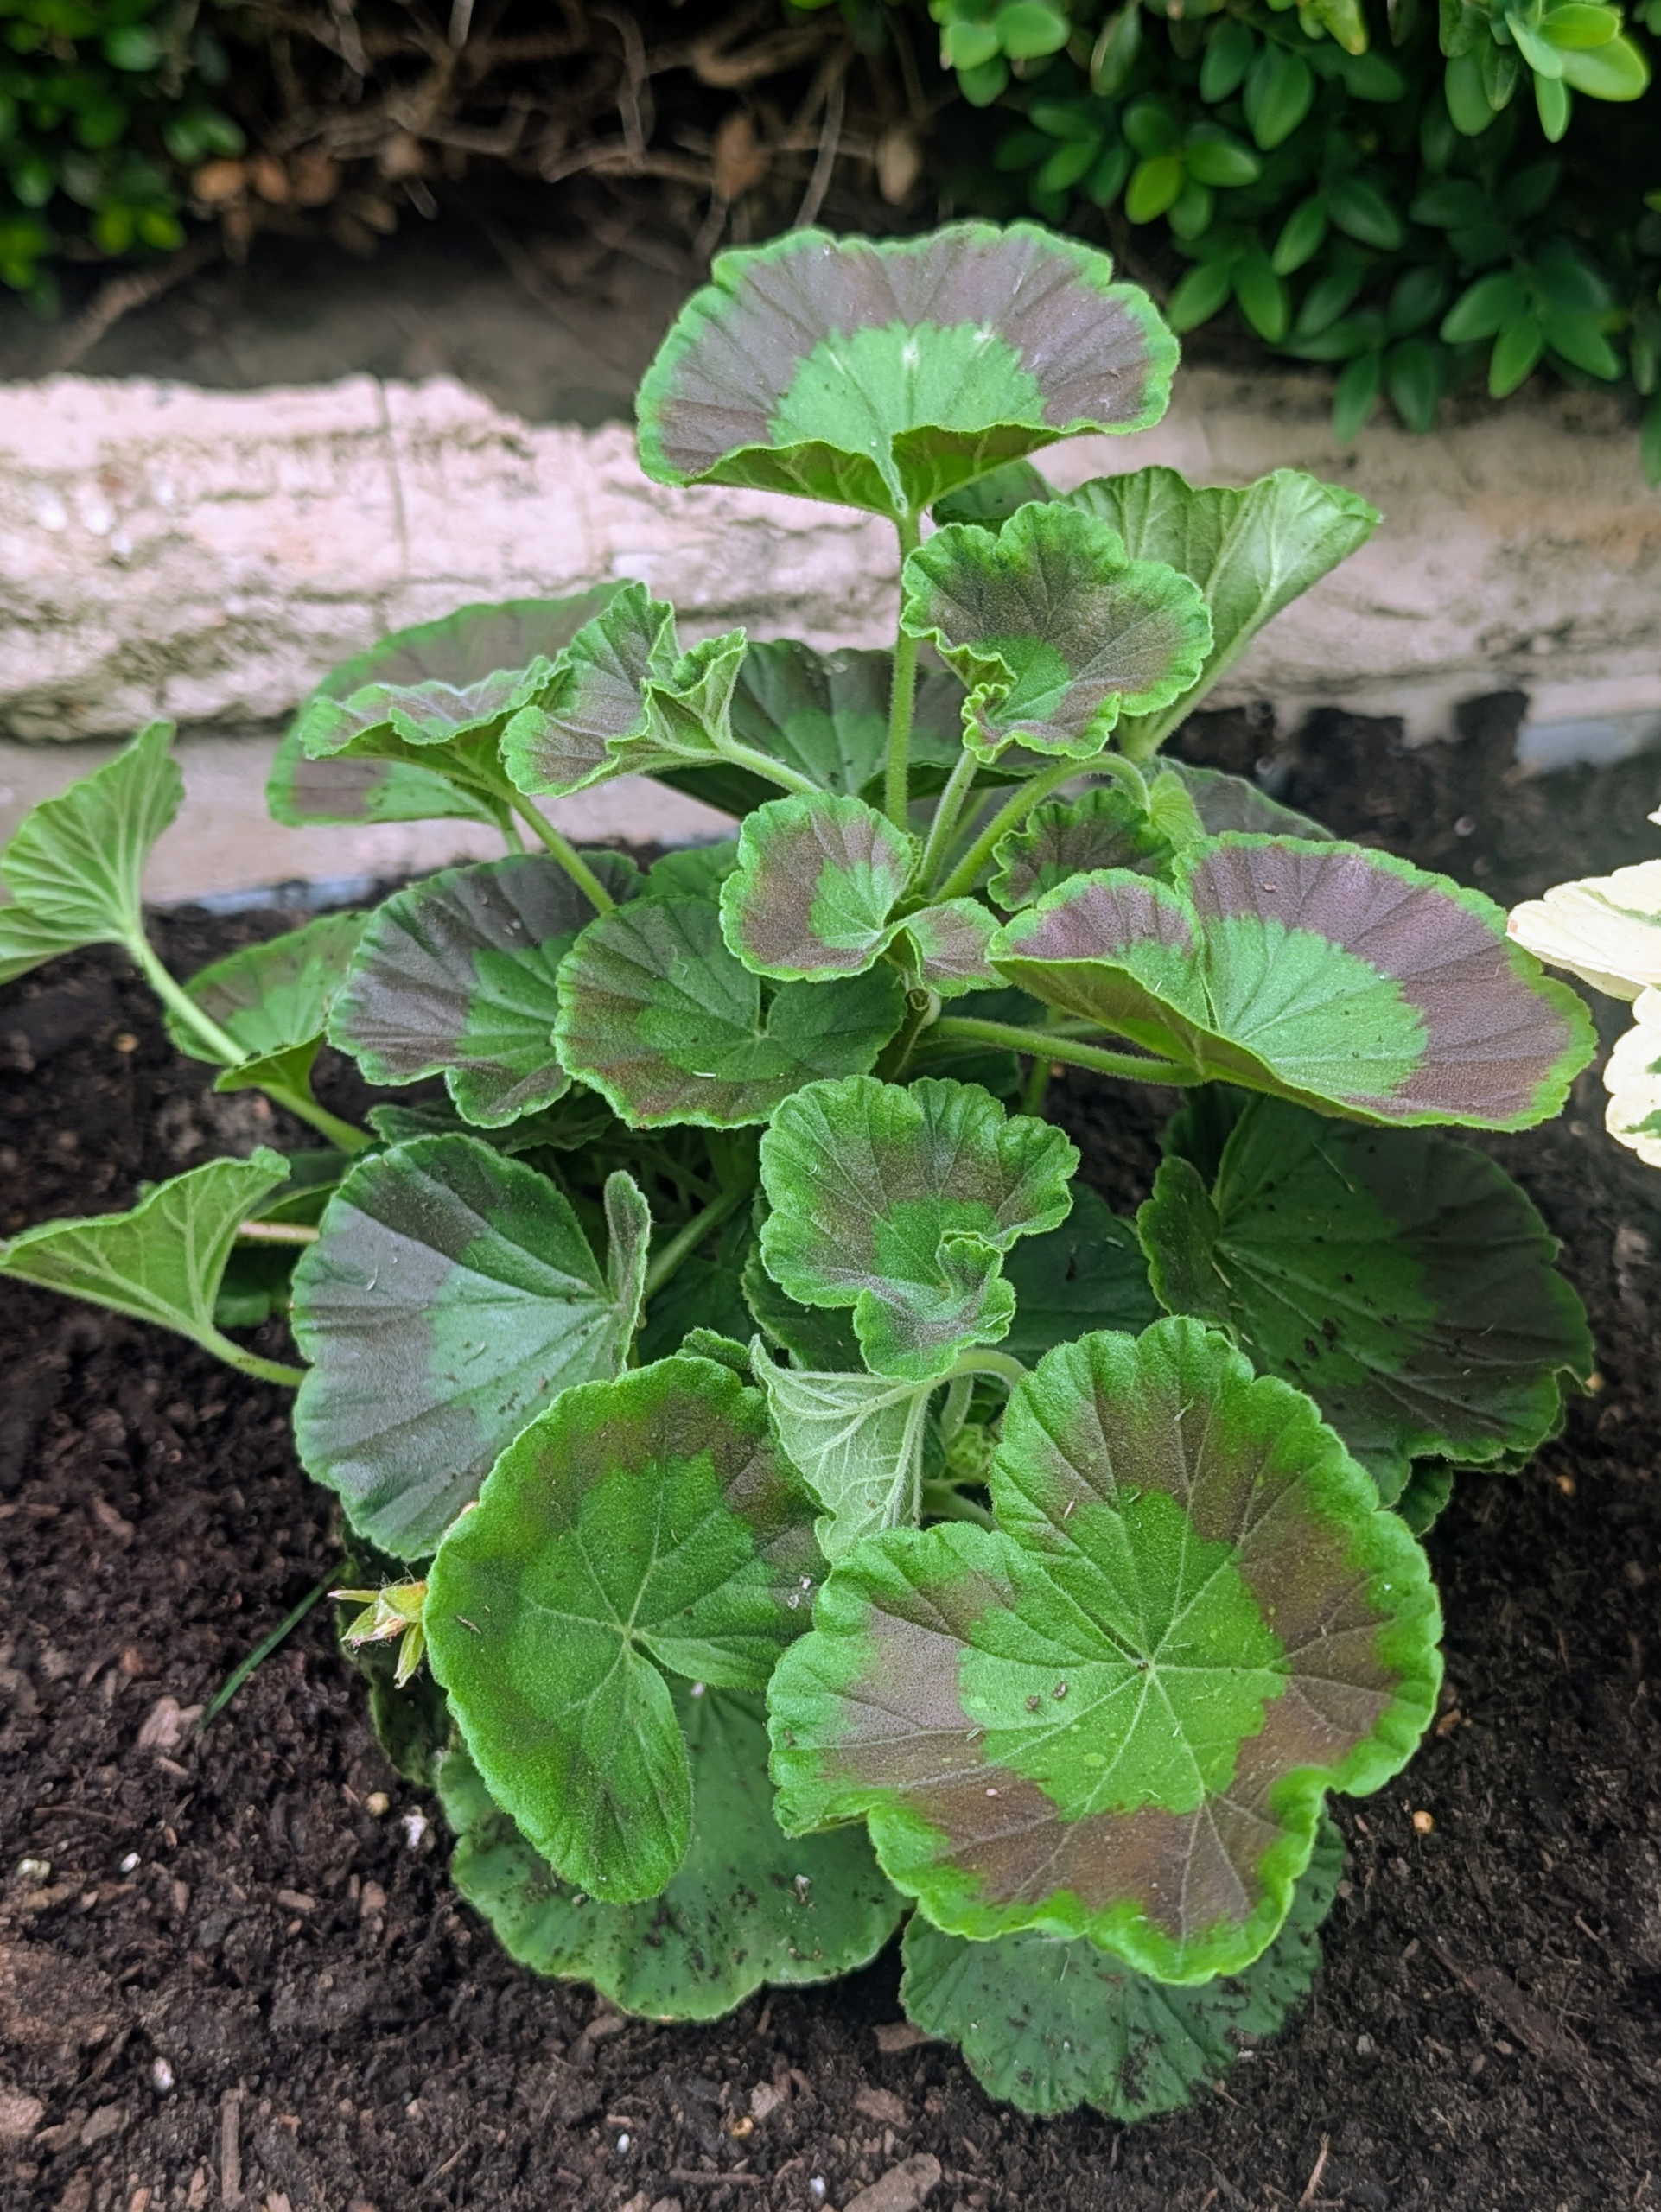
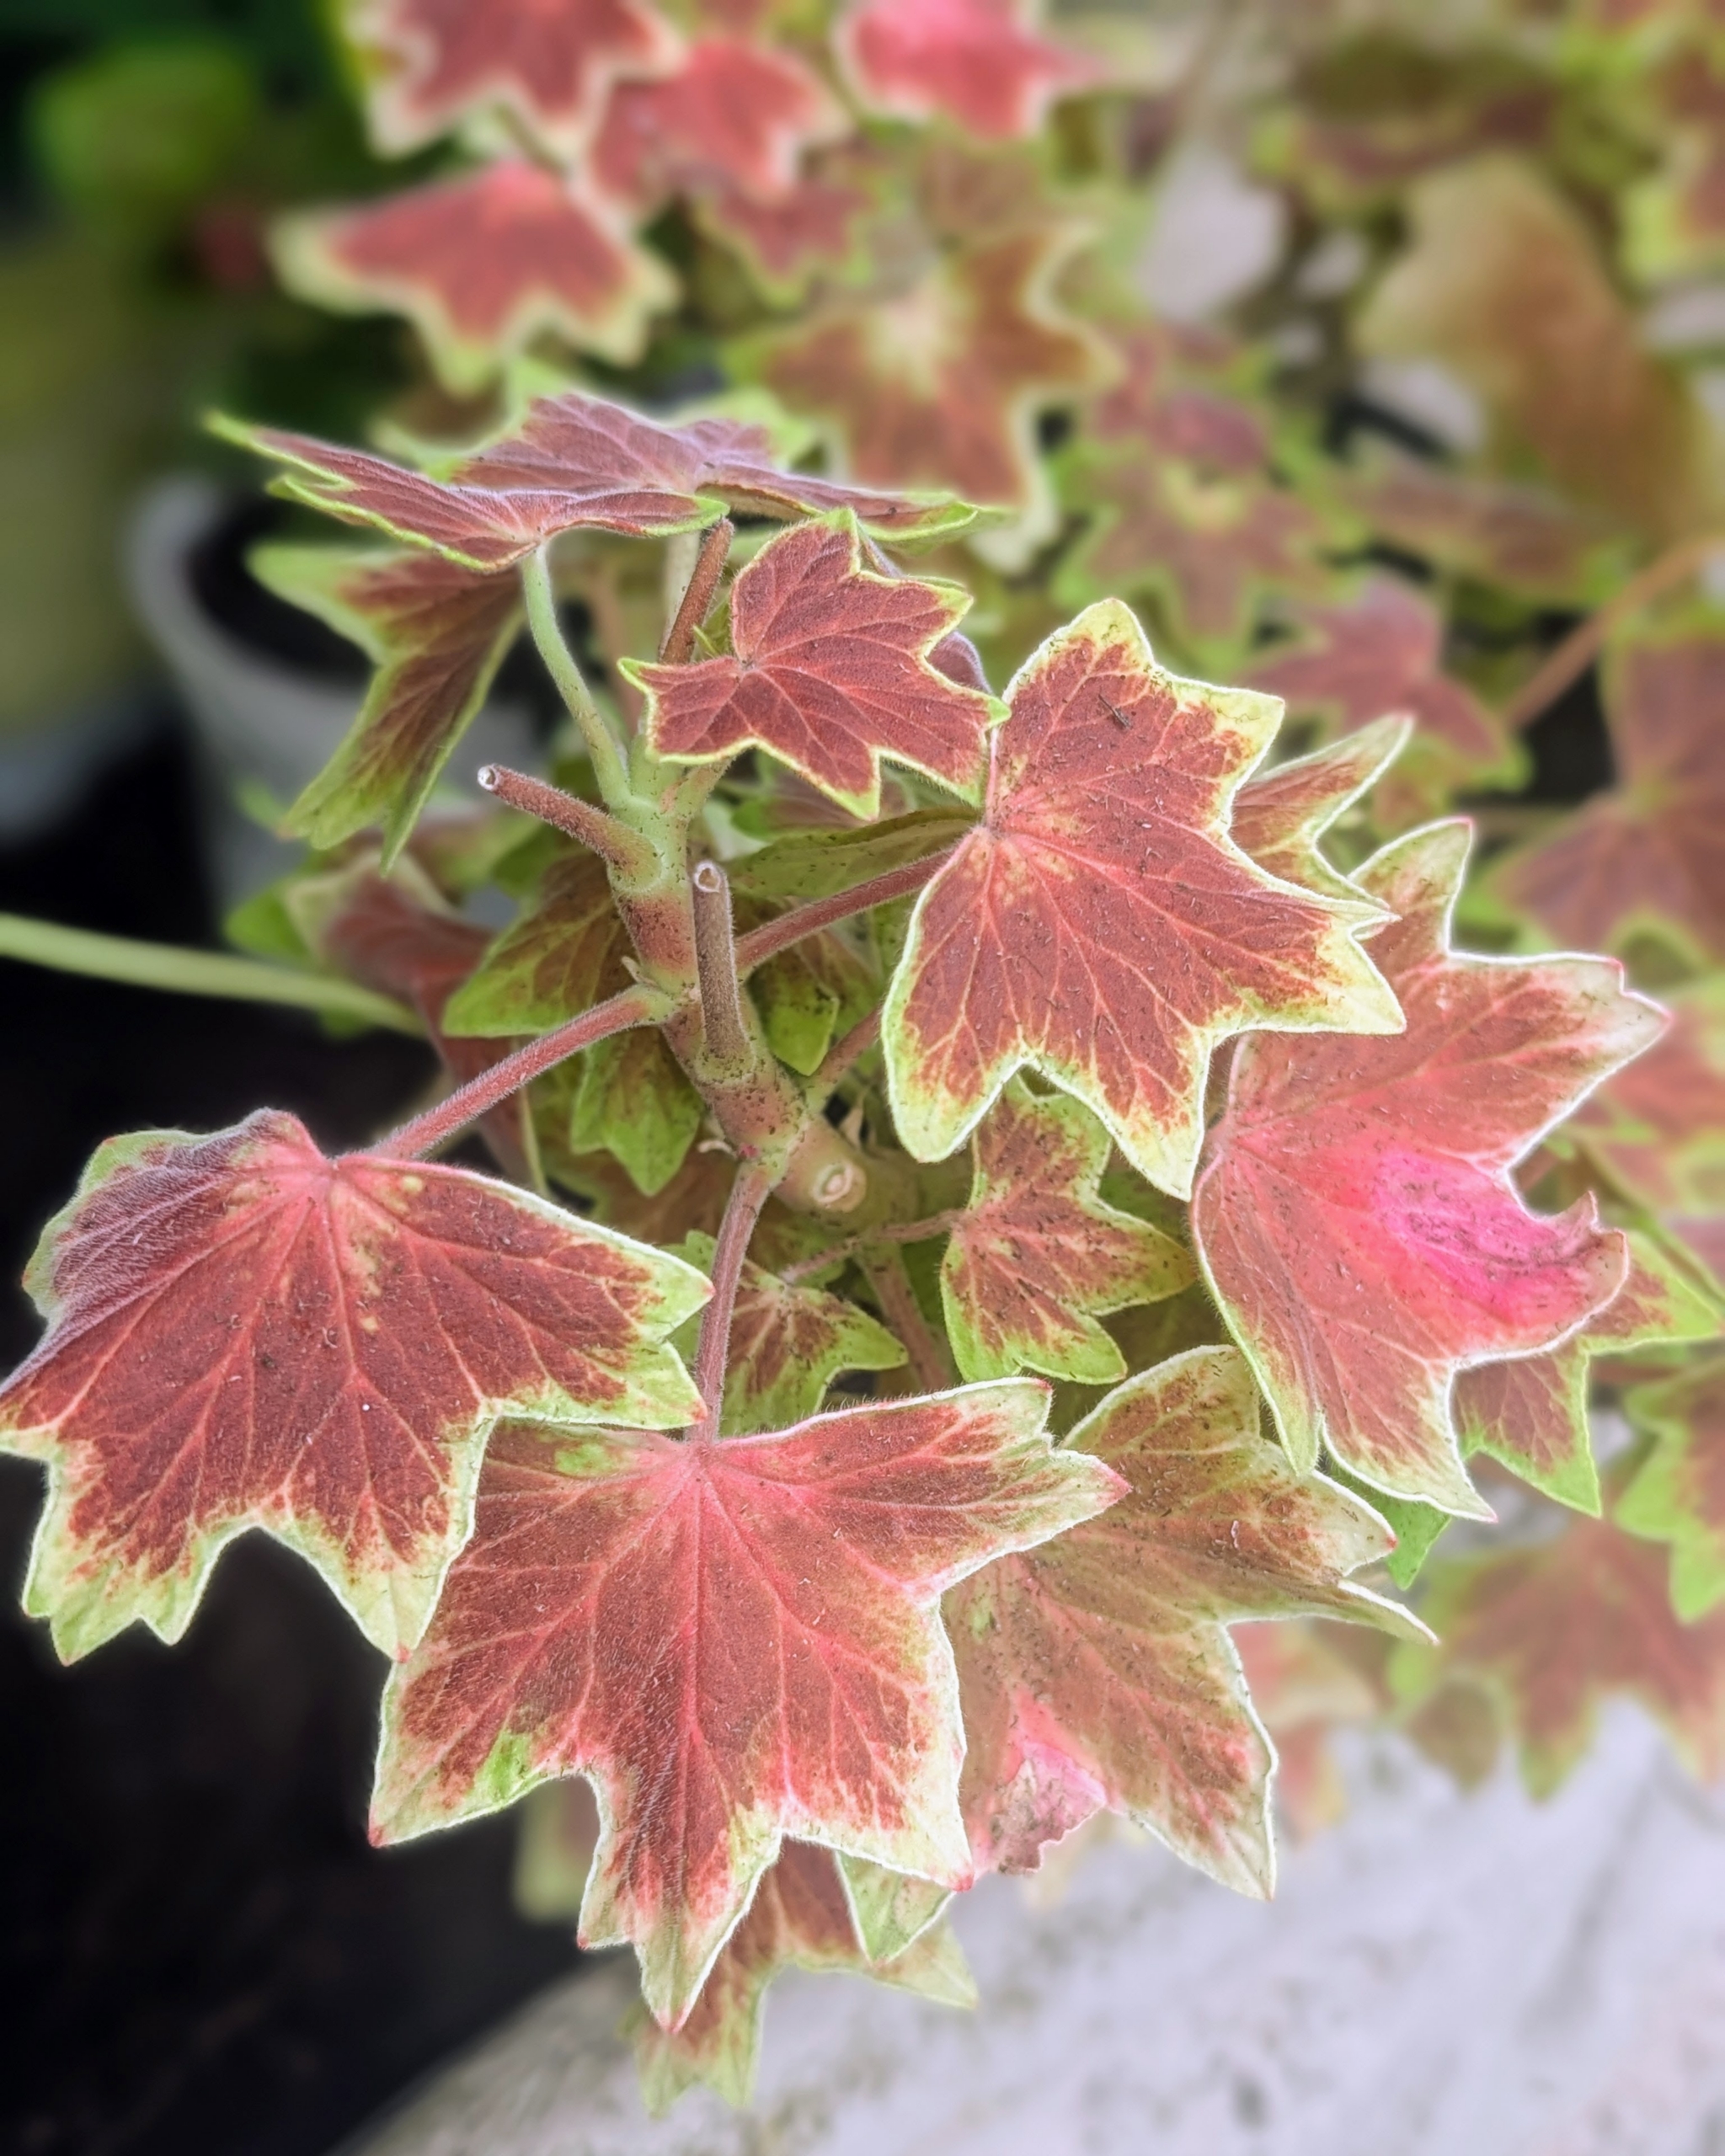
Leaf color is usually green, but many feature variegation and different color markings.
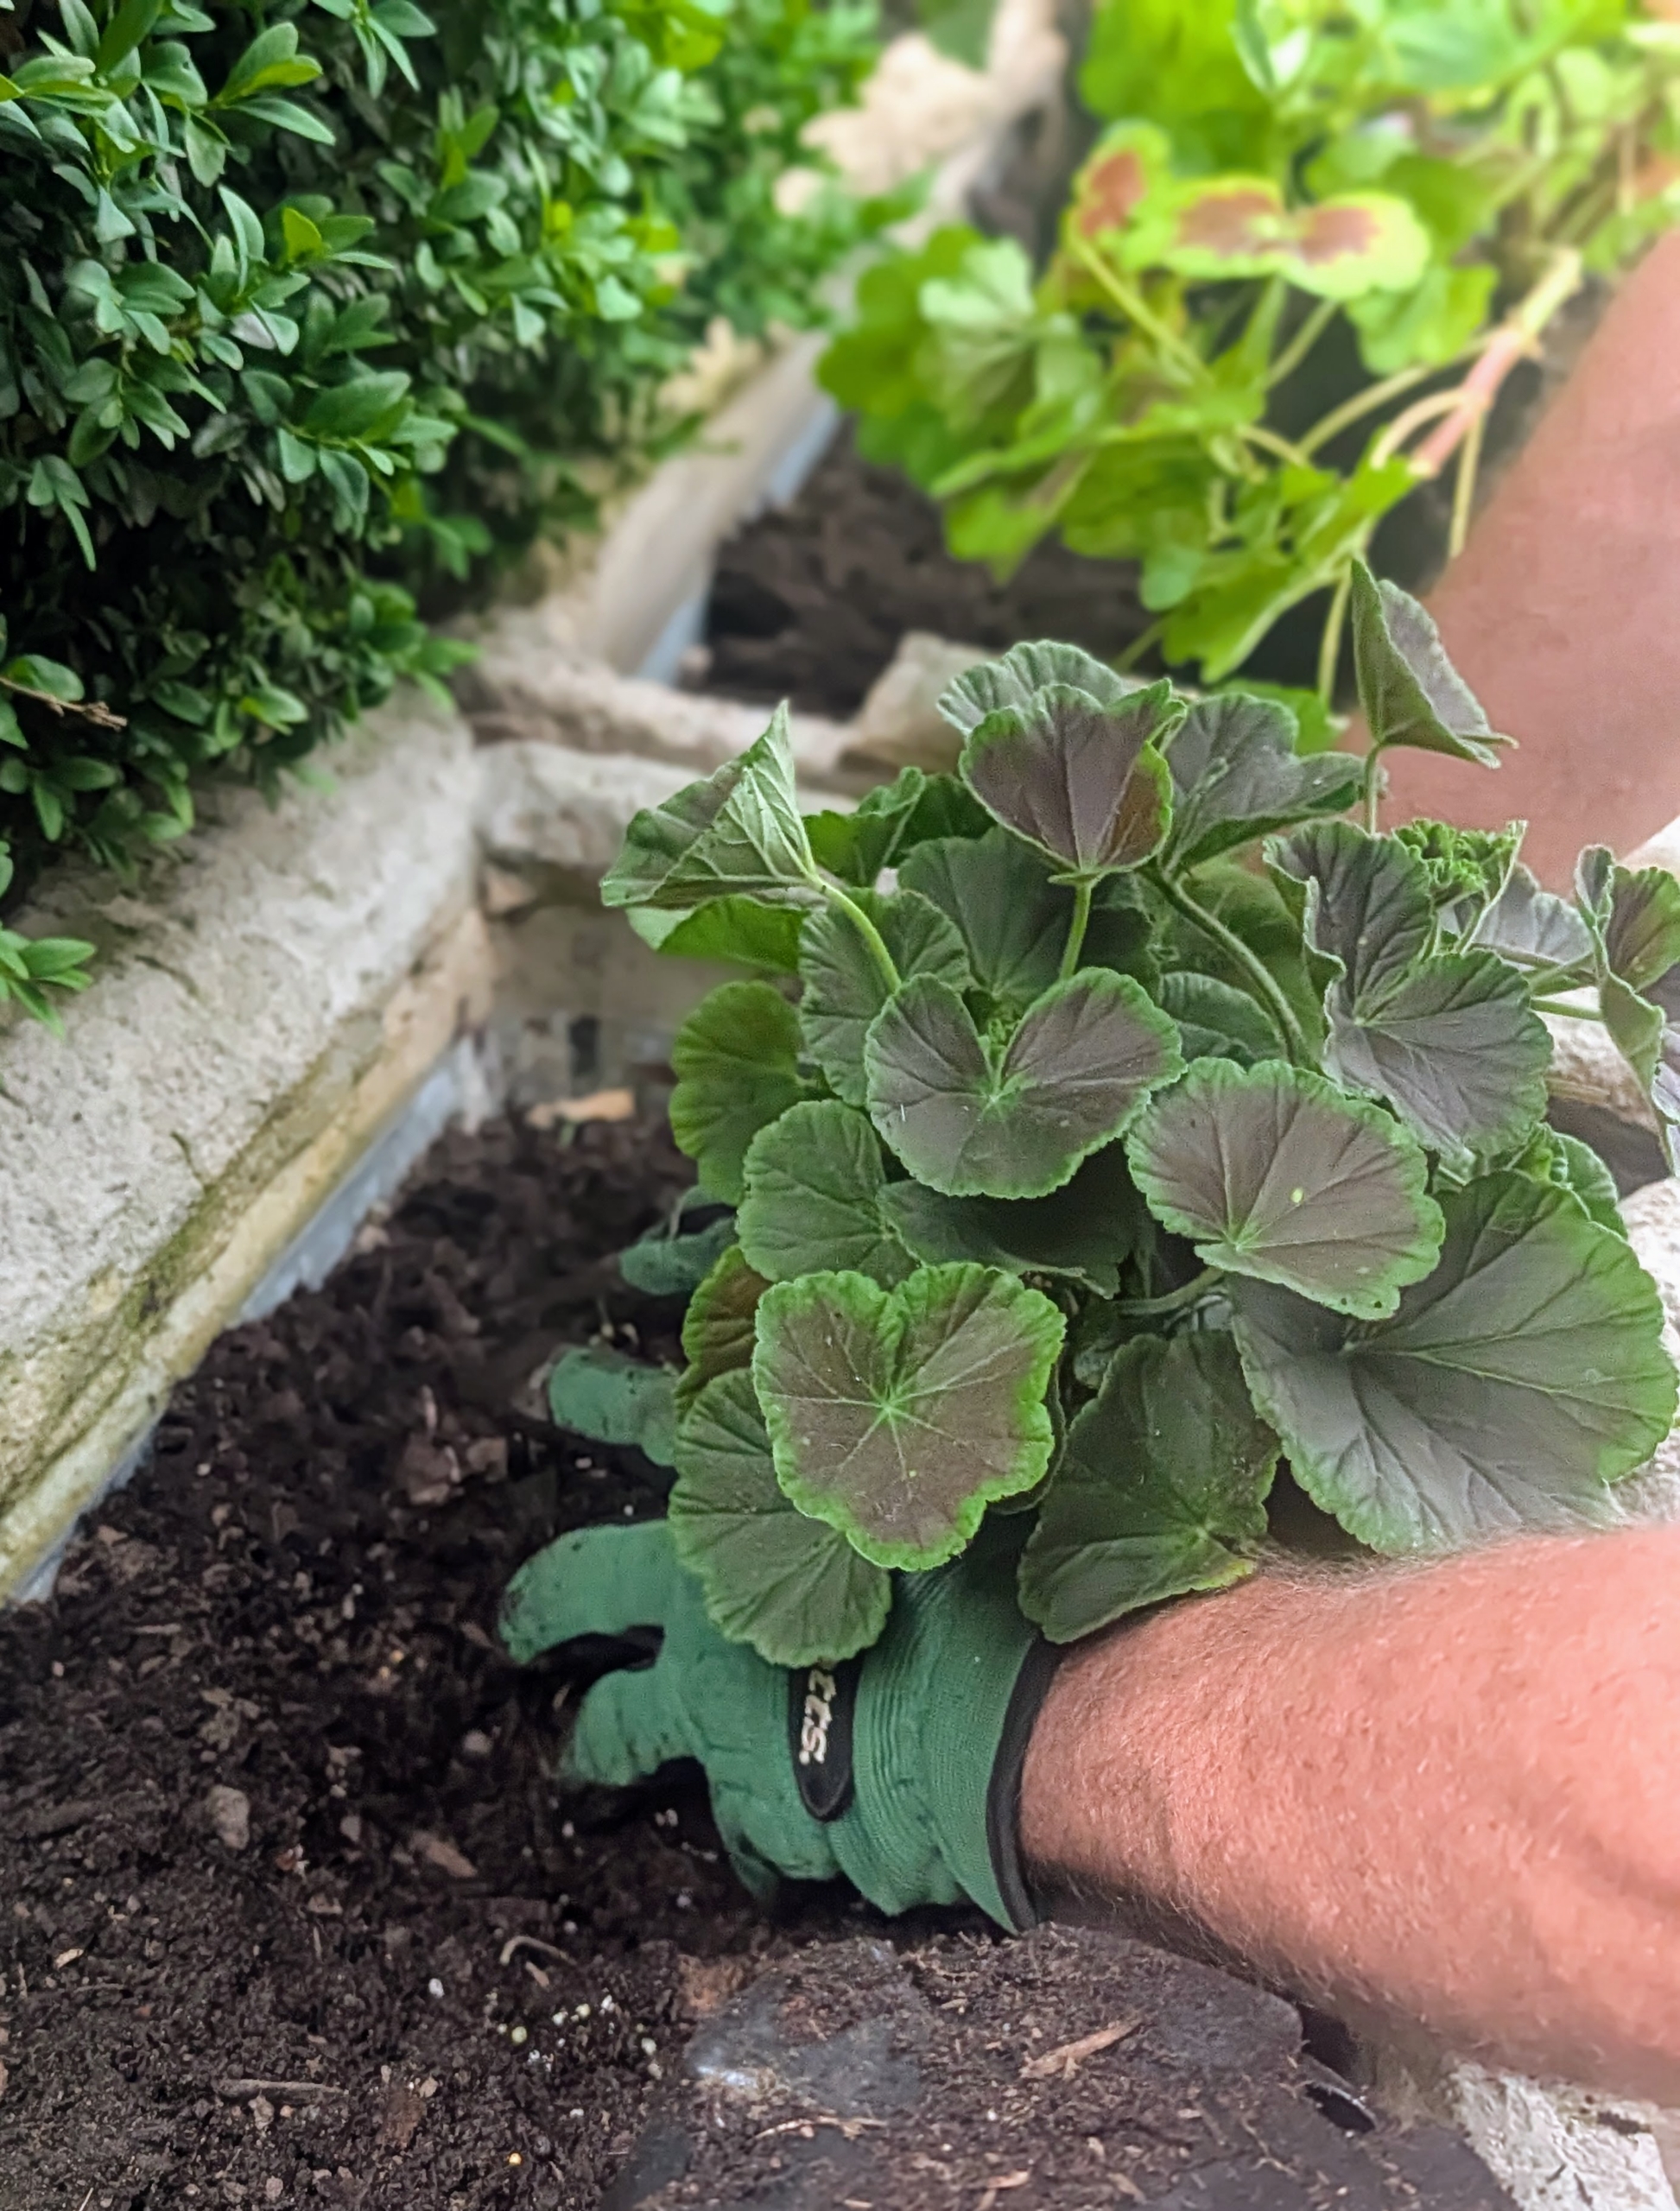
This variety has a red to bronze color leaf, adding more interest even when there are no flowers.
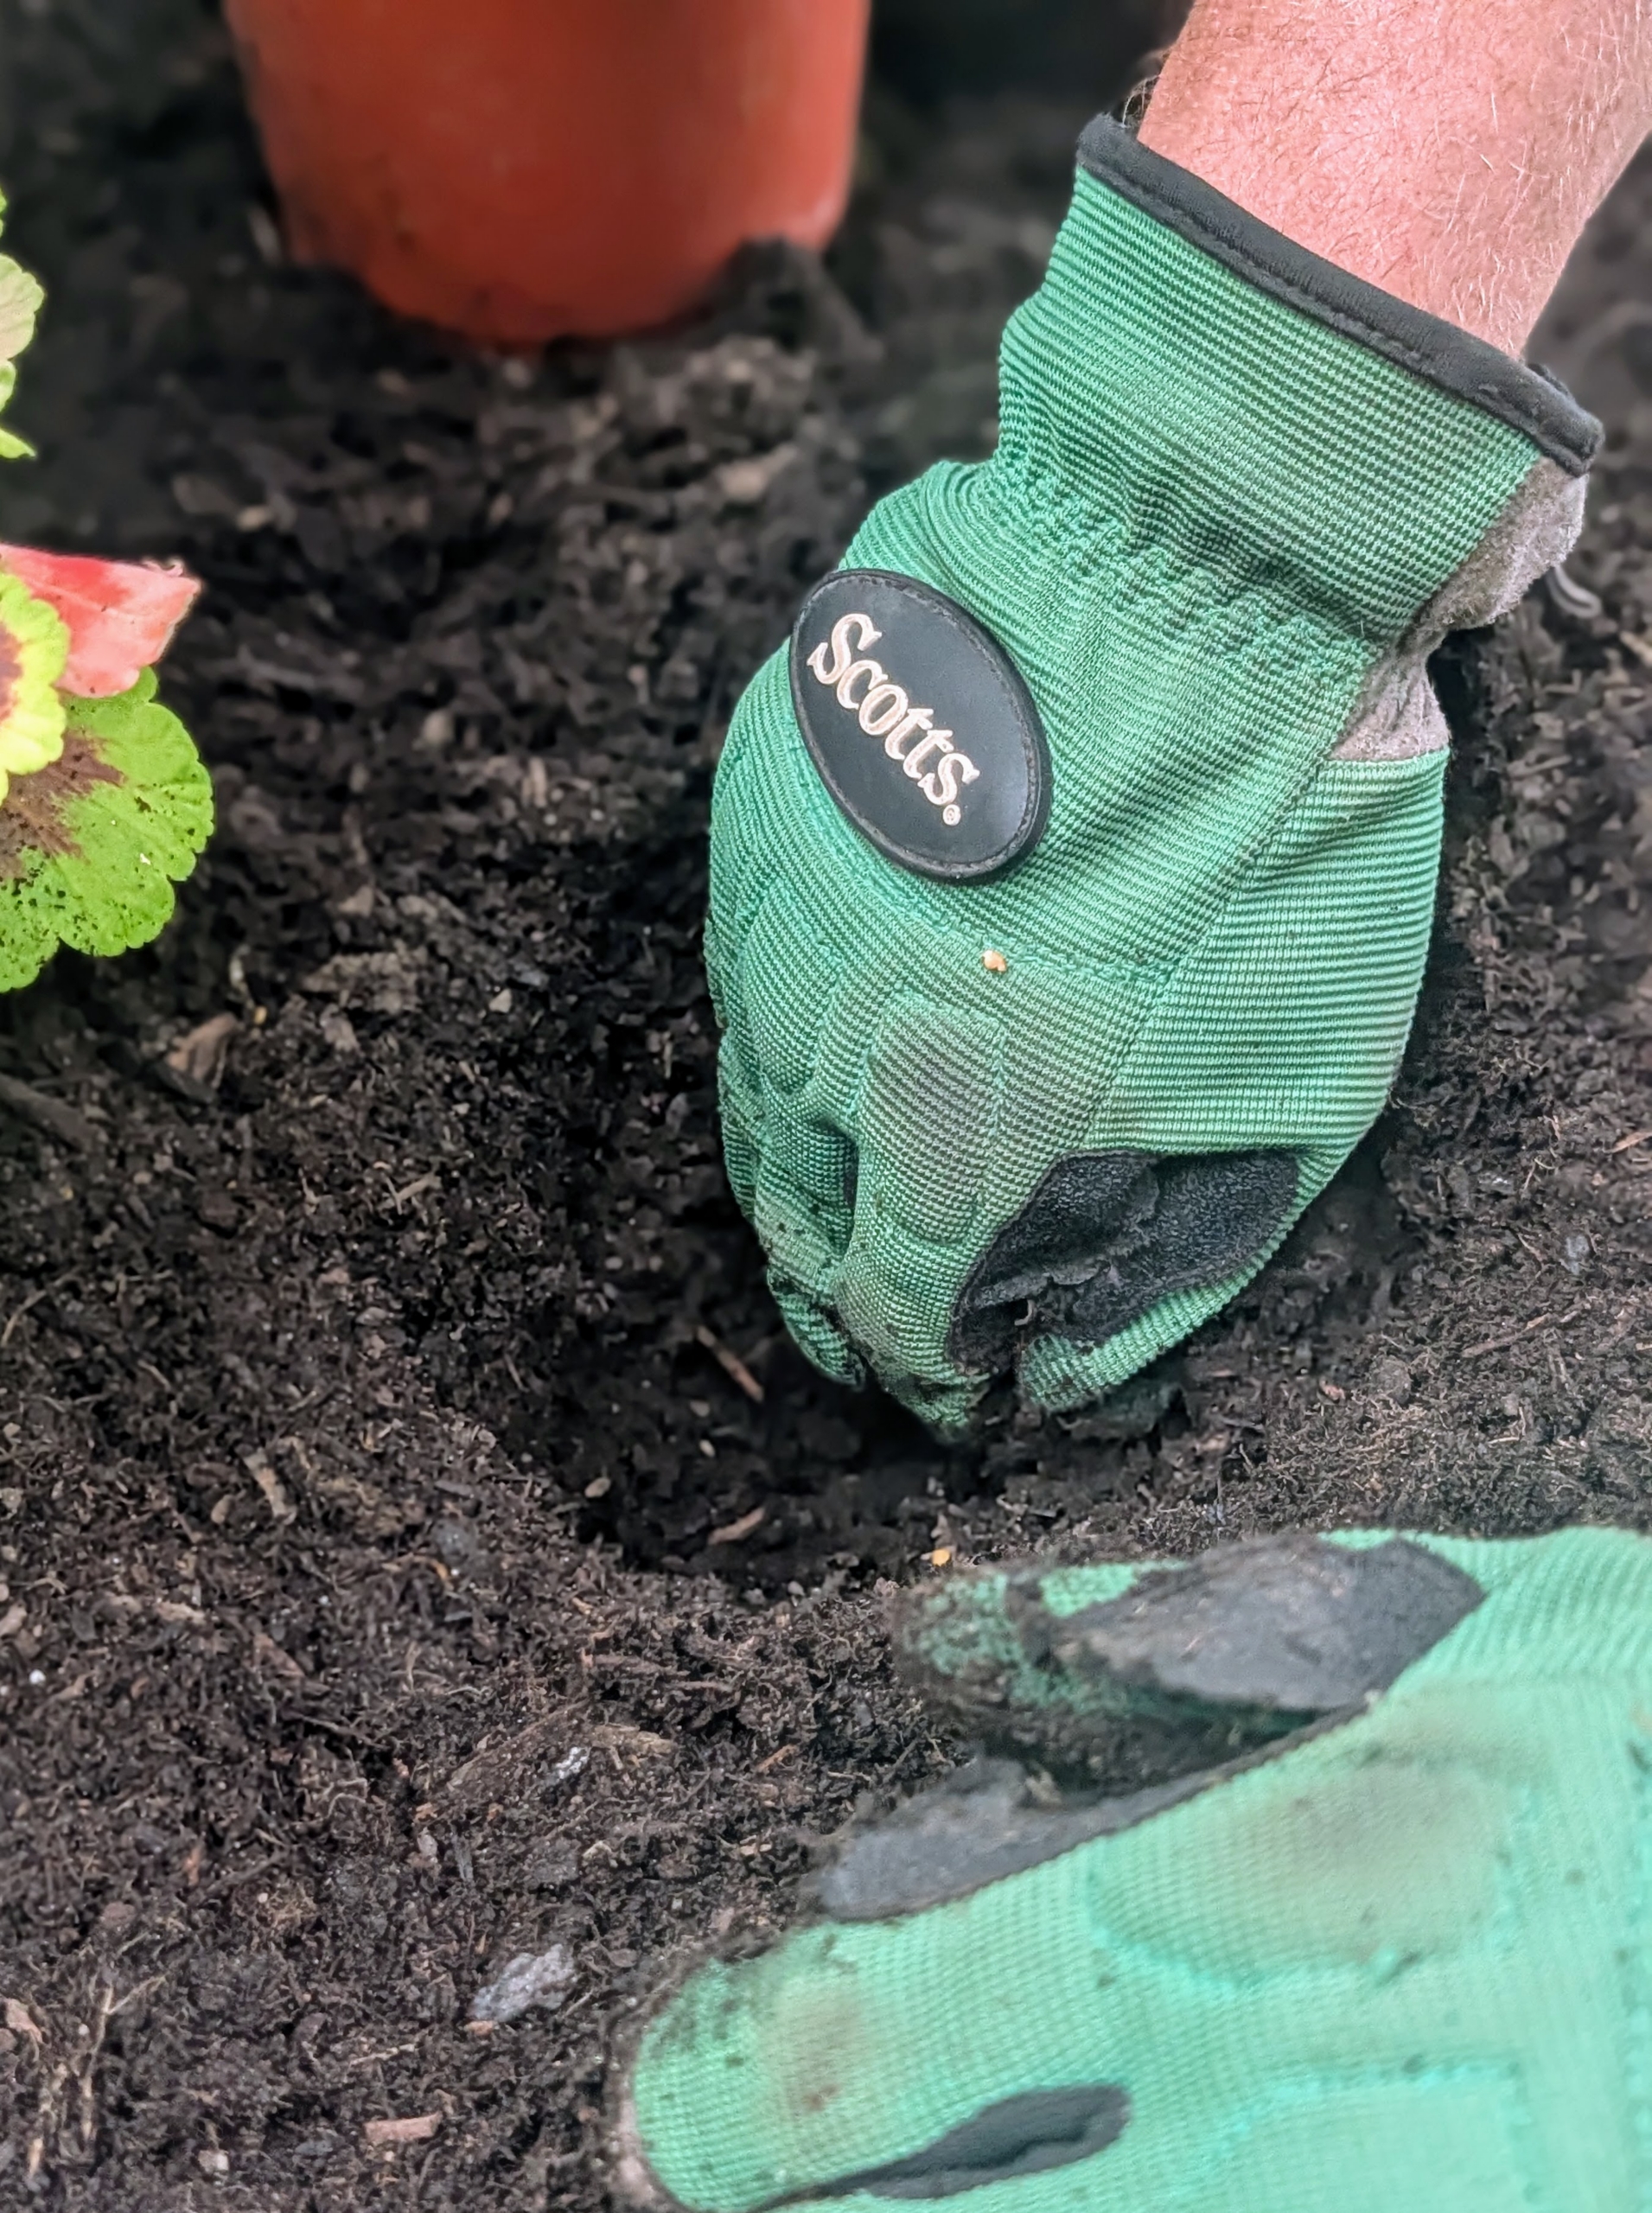
Ryan makes a hole twice the diameter of the root ball.
The hole is also as deep as the root ball.
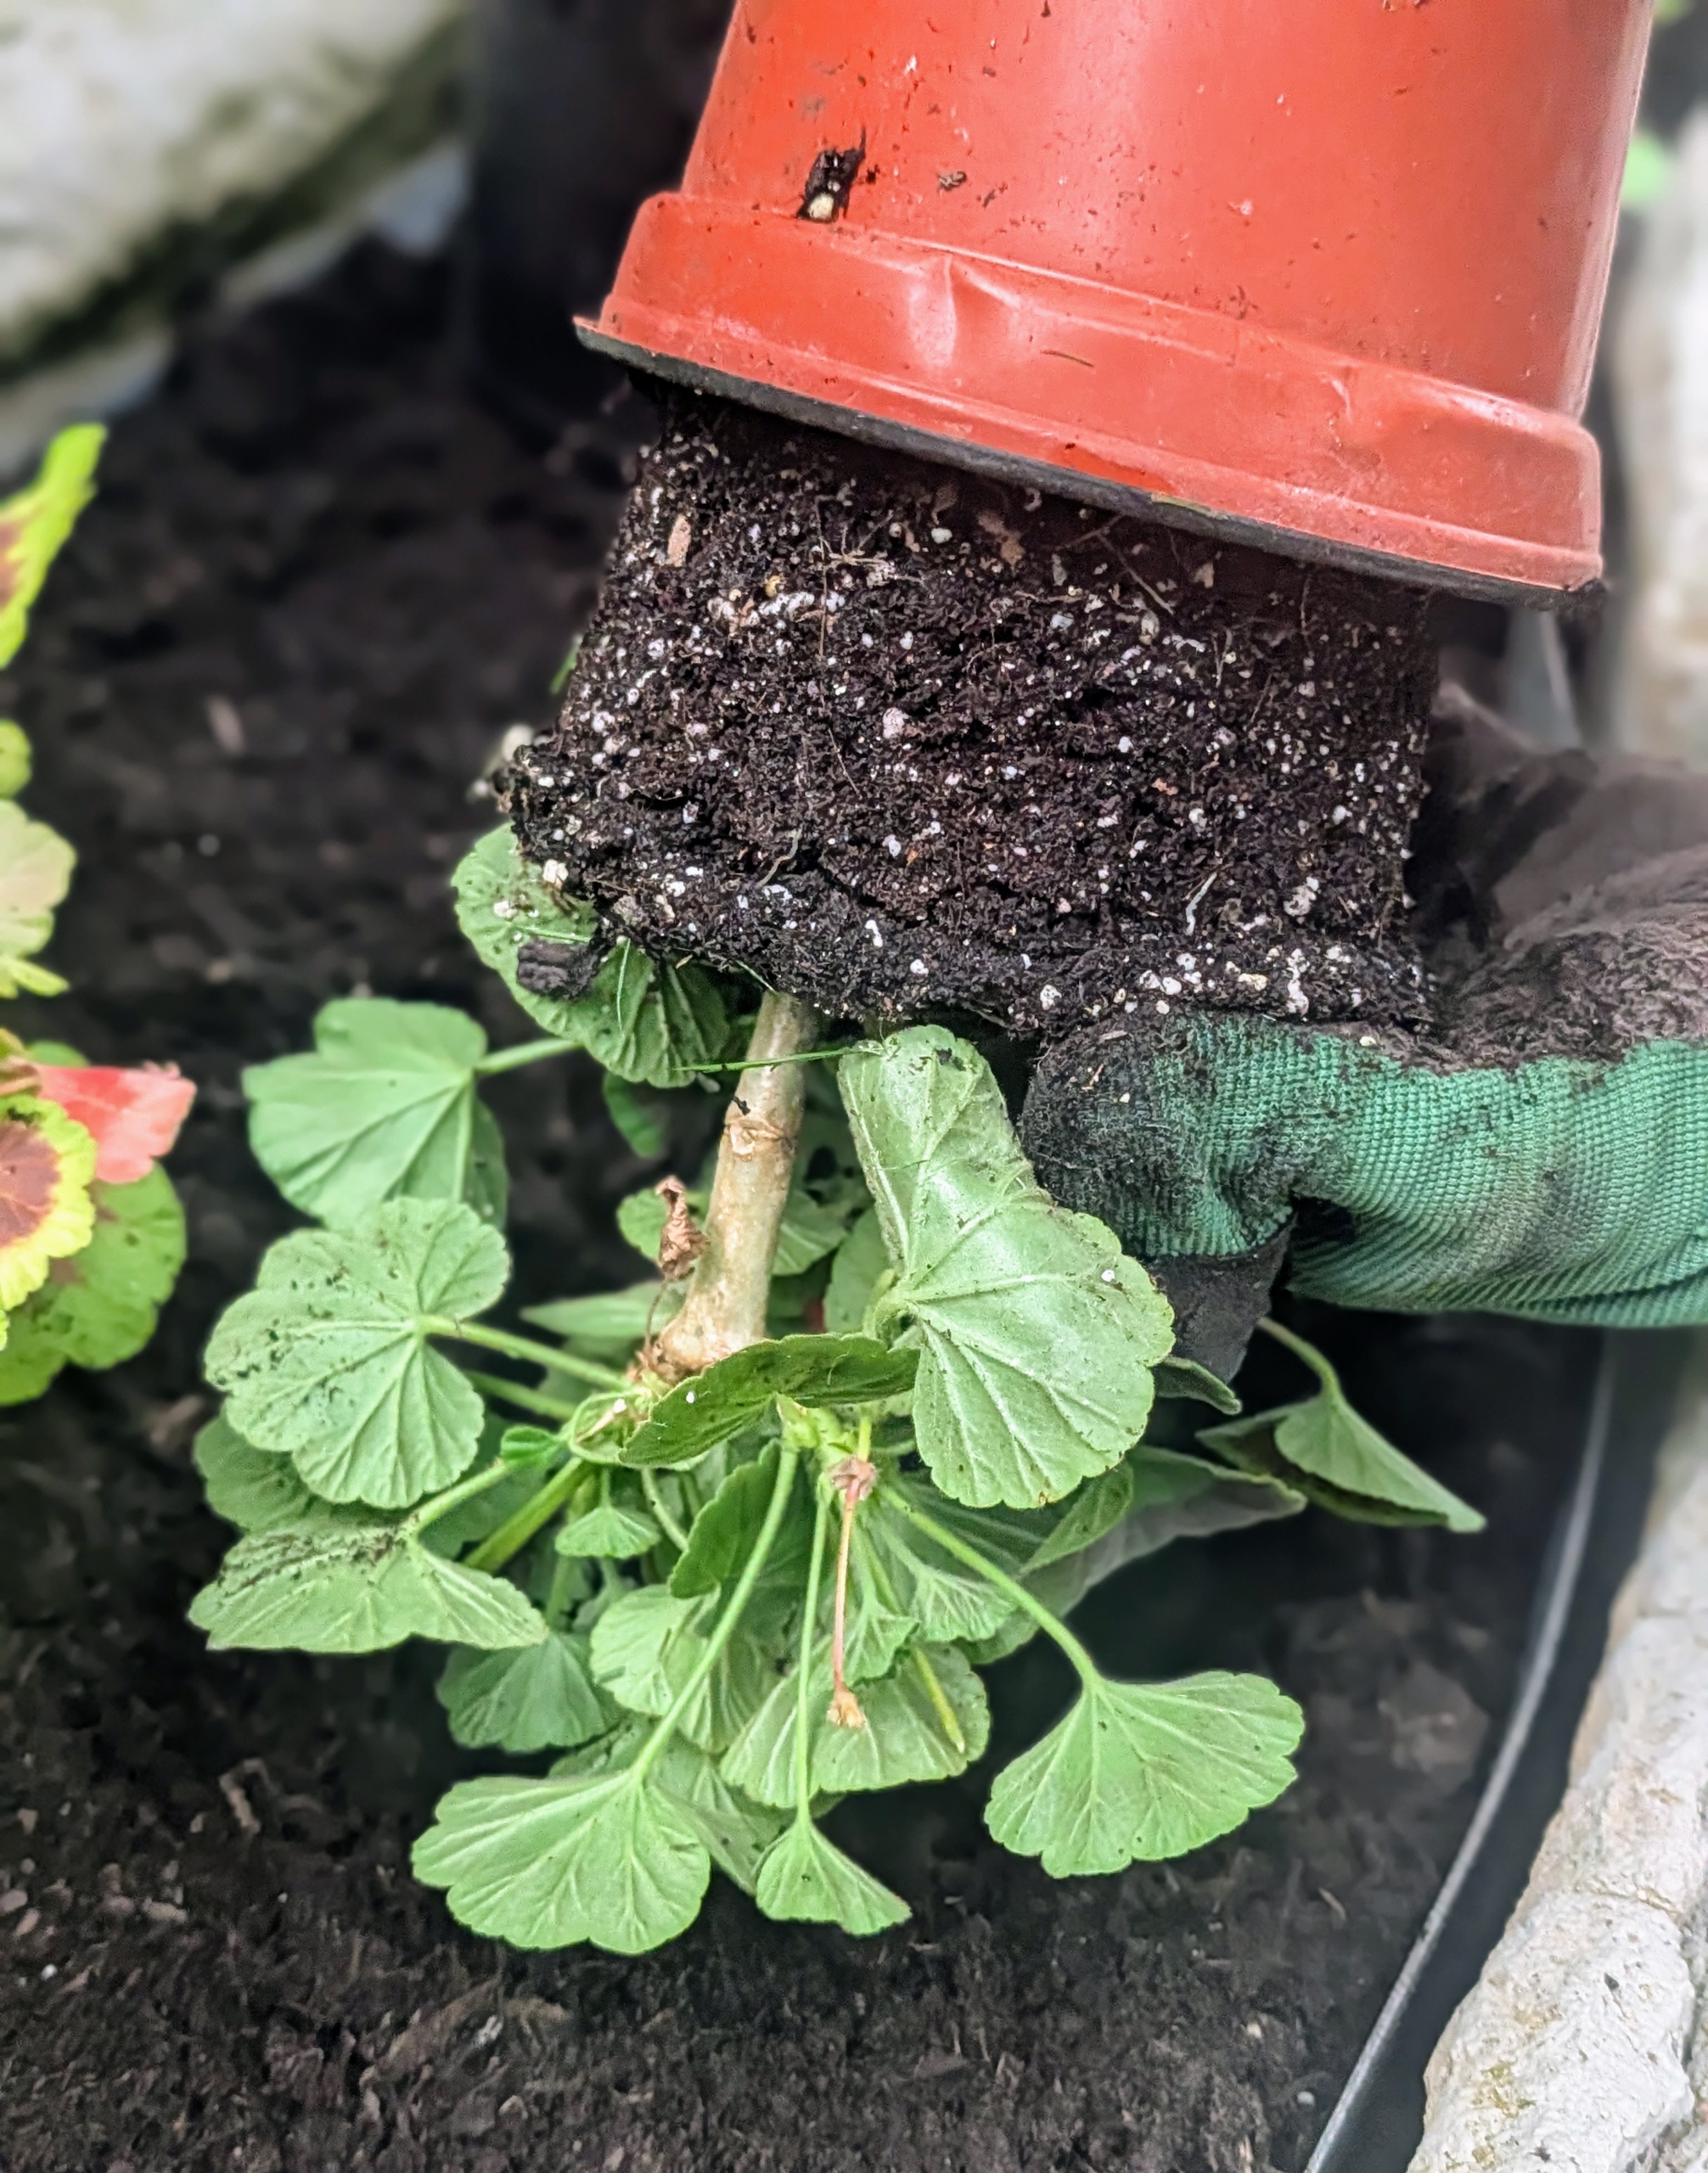
Ryan carefully removes the plant from its pot and teases the root ball to stimulate growth before planting. This is called scarifying.
As each specimen is planted, Ryan tamps the soil down to prevent any air holes and ensure good contact.
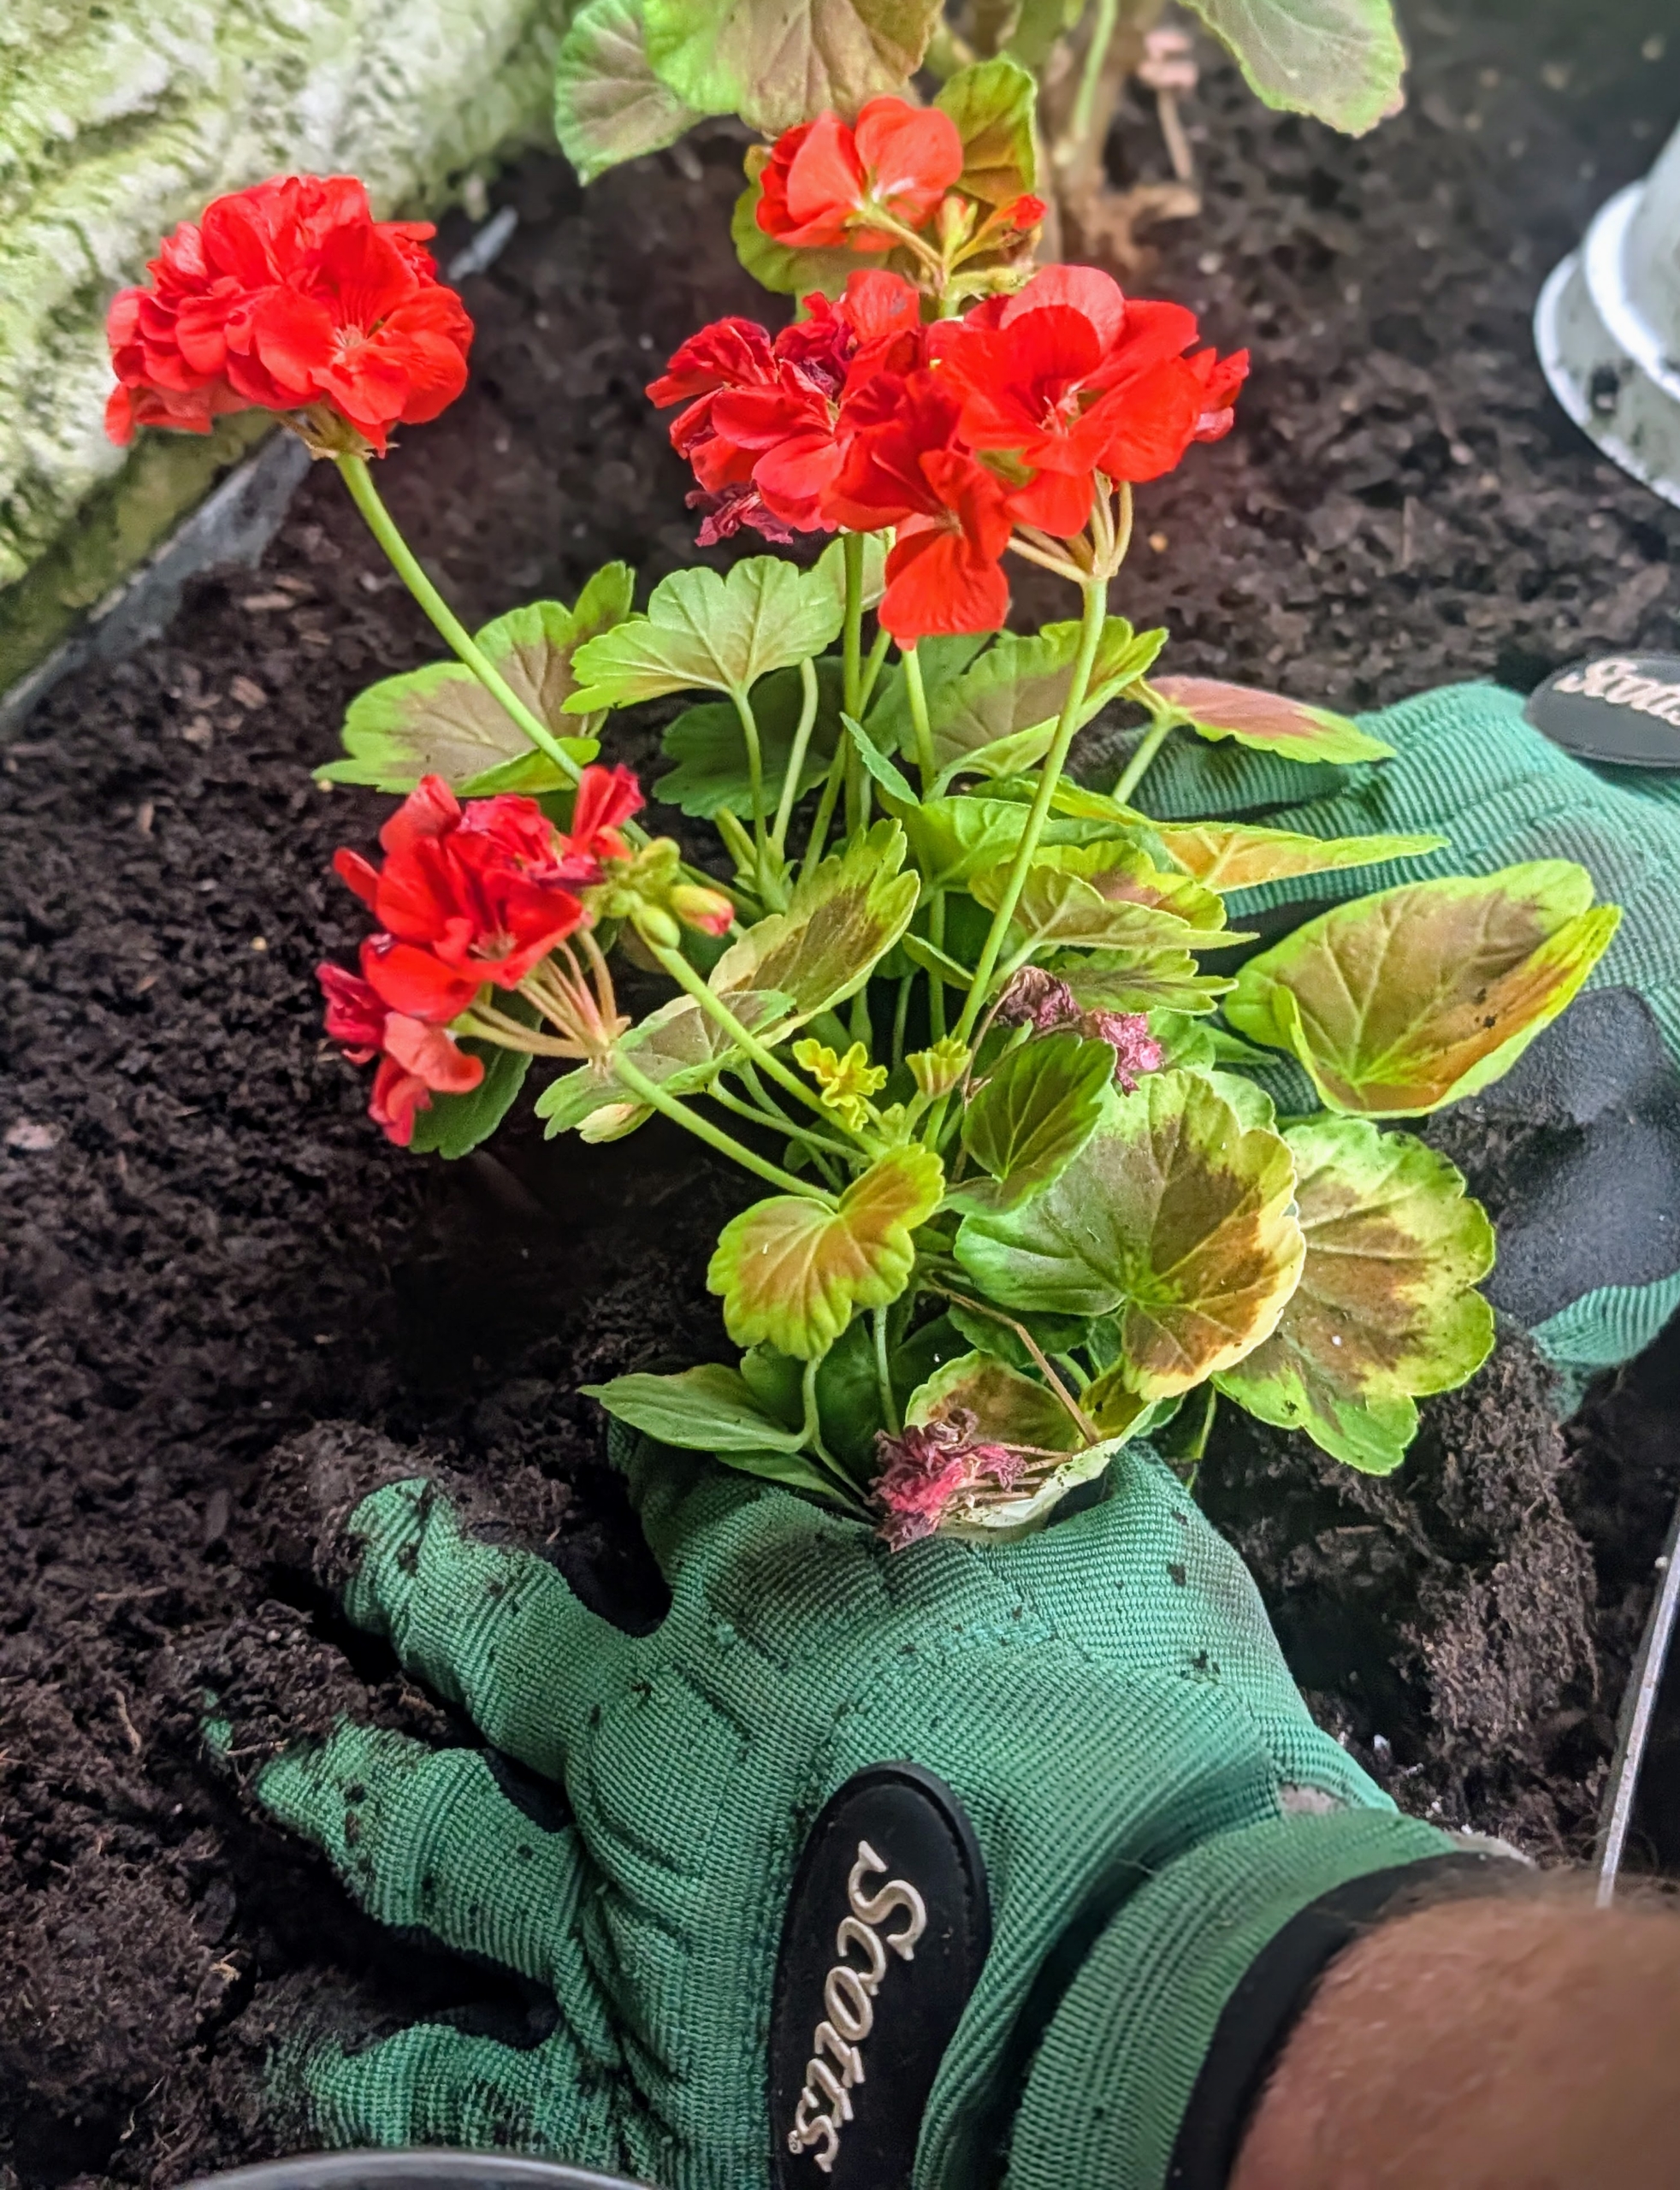
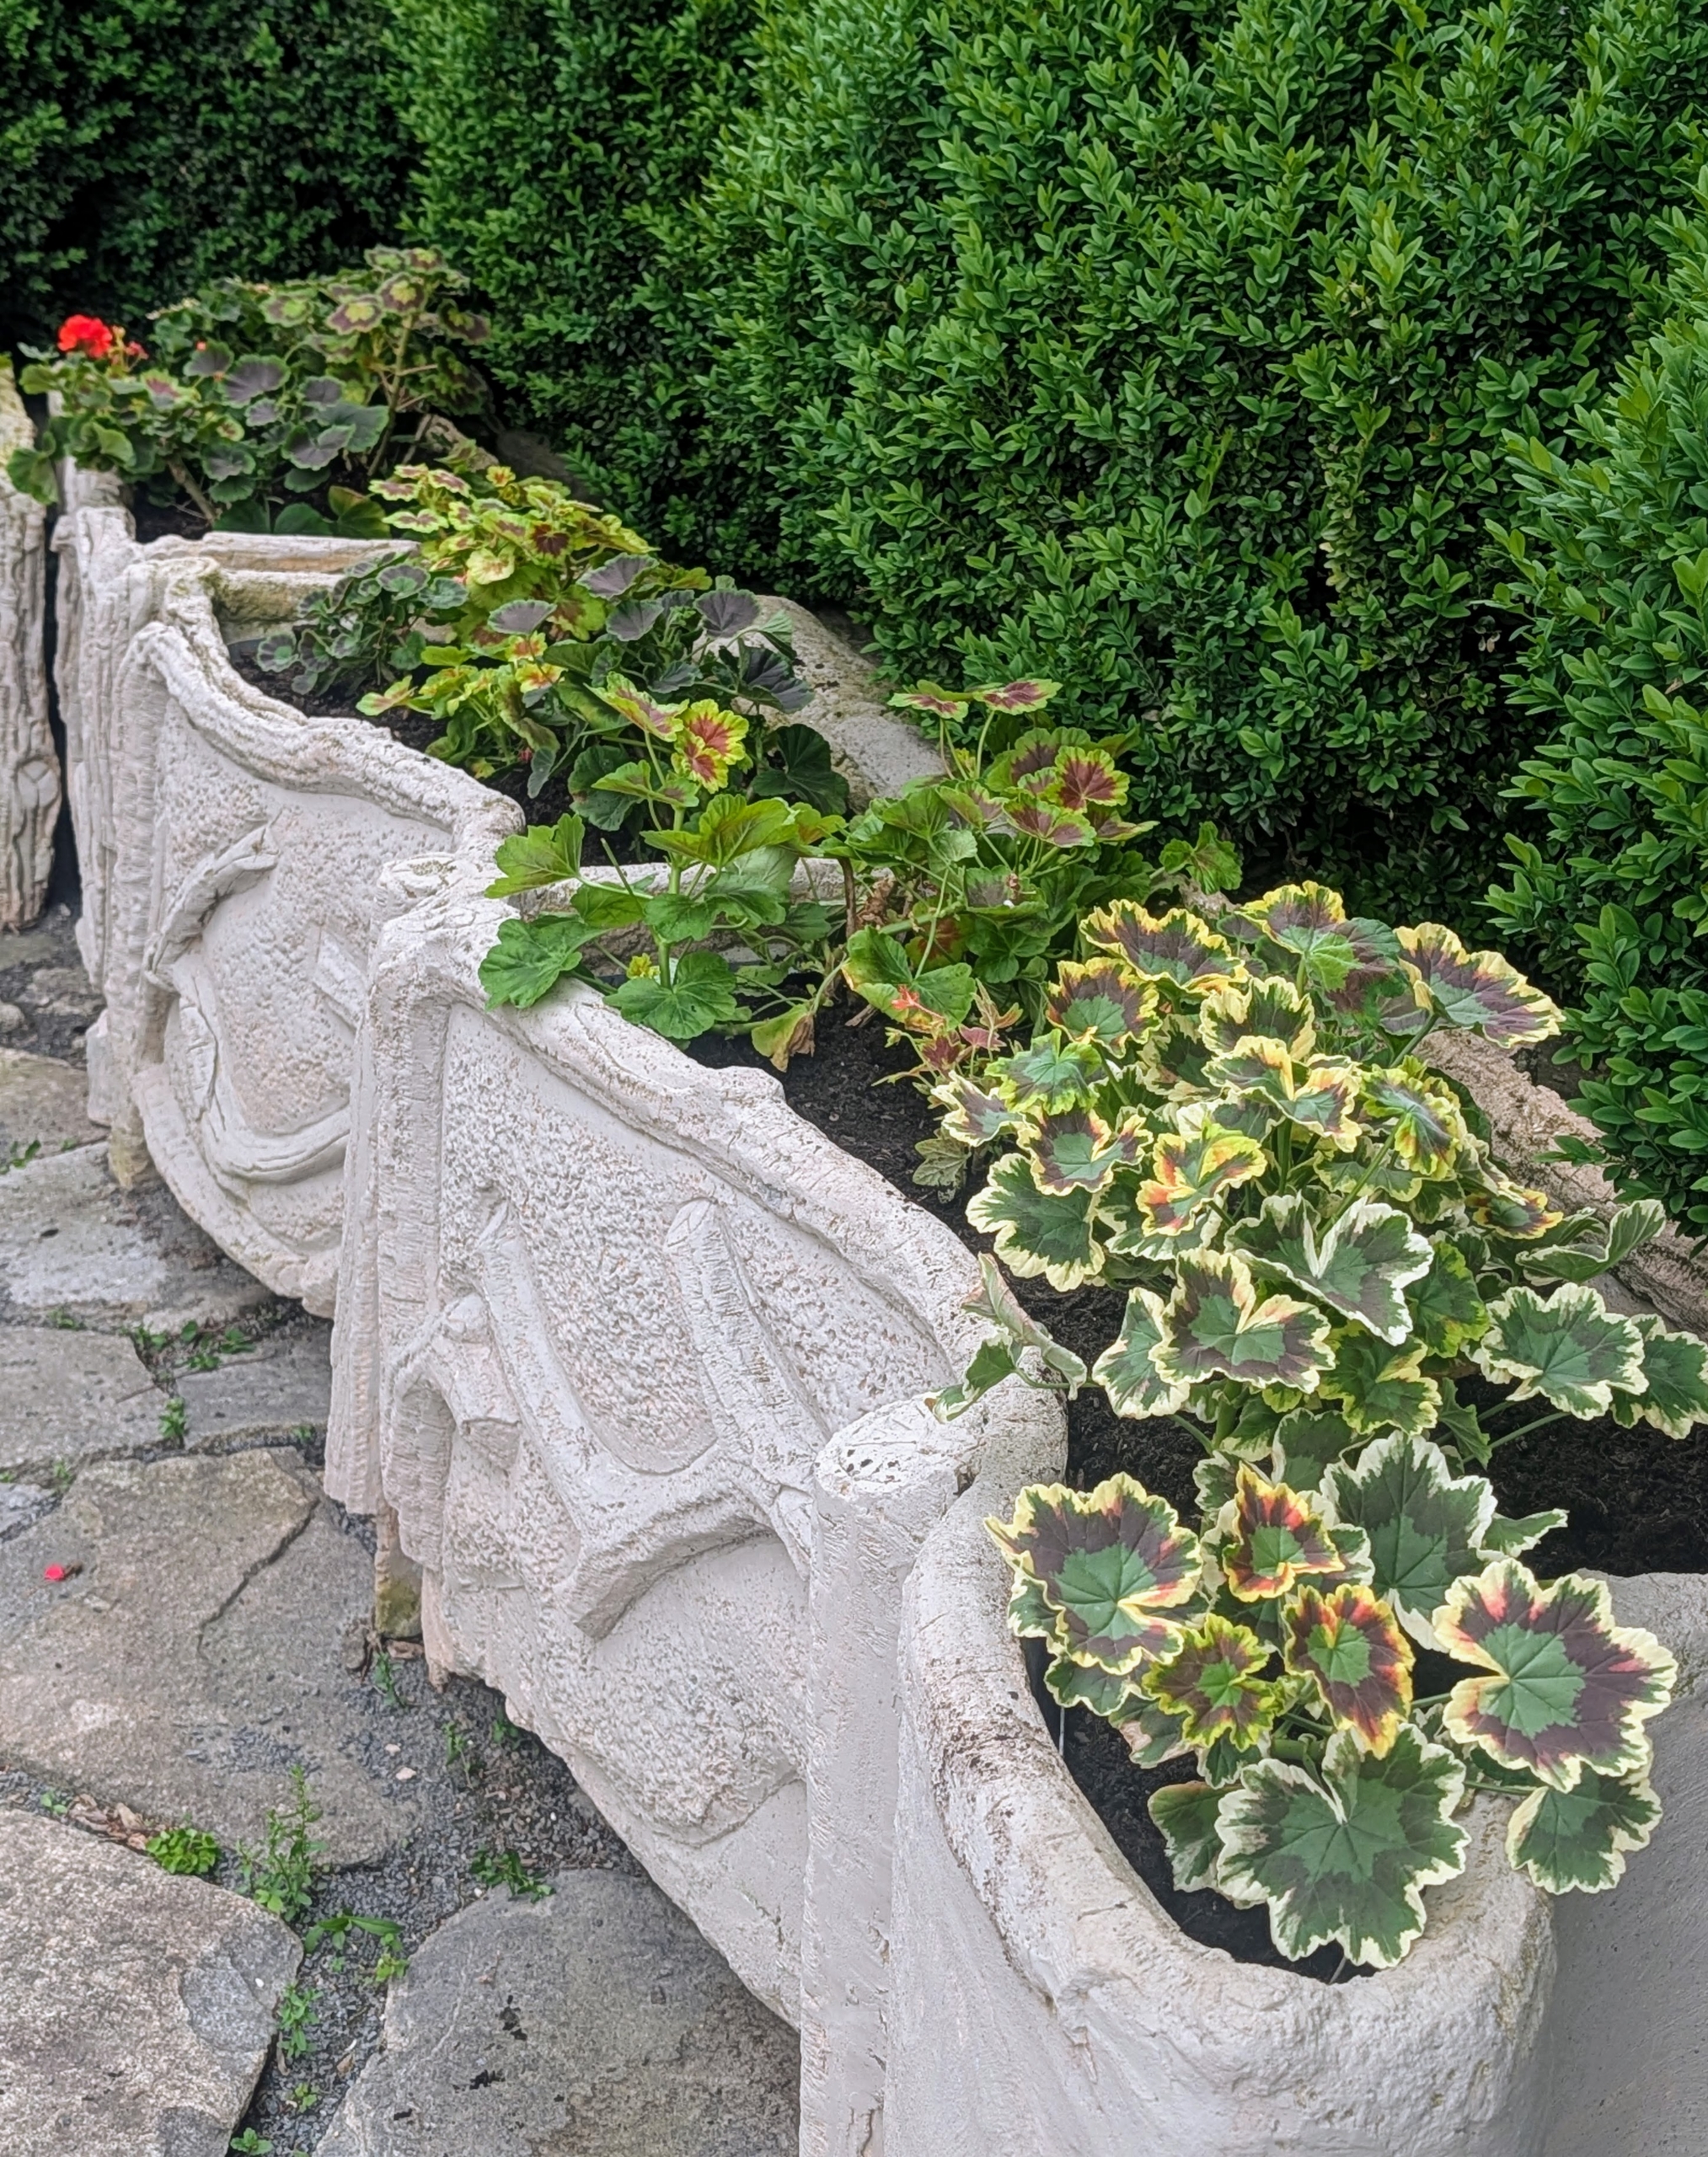
Some of the plants are blooming. Geranium flowers often grow in clusters along long stems and come in a wide spectrum of colors, including soft pastels, vibrant magentas, deep reds, violet-blues, and even white.
Ryan also makes sure there is enough space between plants, so they are not overcrowded and have enough room as they grow.
Ryan mixes the plants together instead of planting like foliage in one pot. Geraniums prefer full sun, but some varieties can also tolerate indirect sun or partial shade.
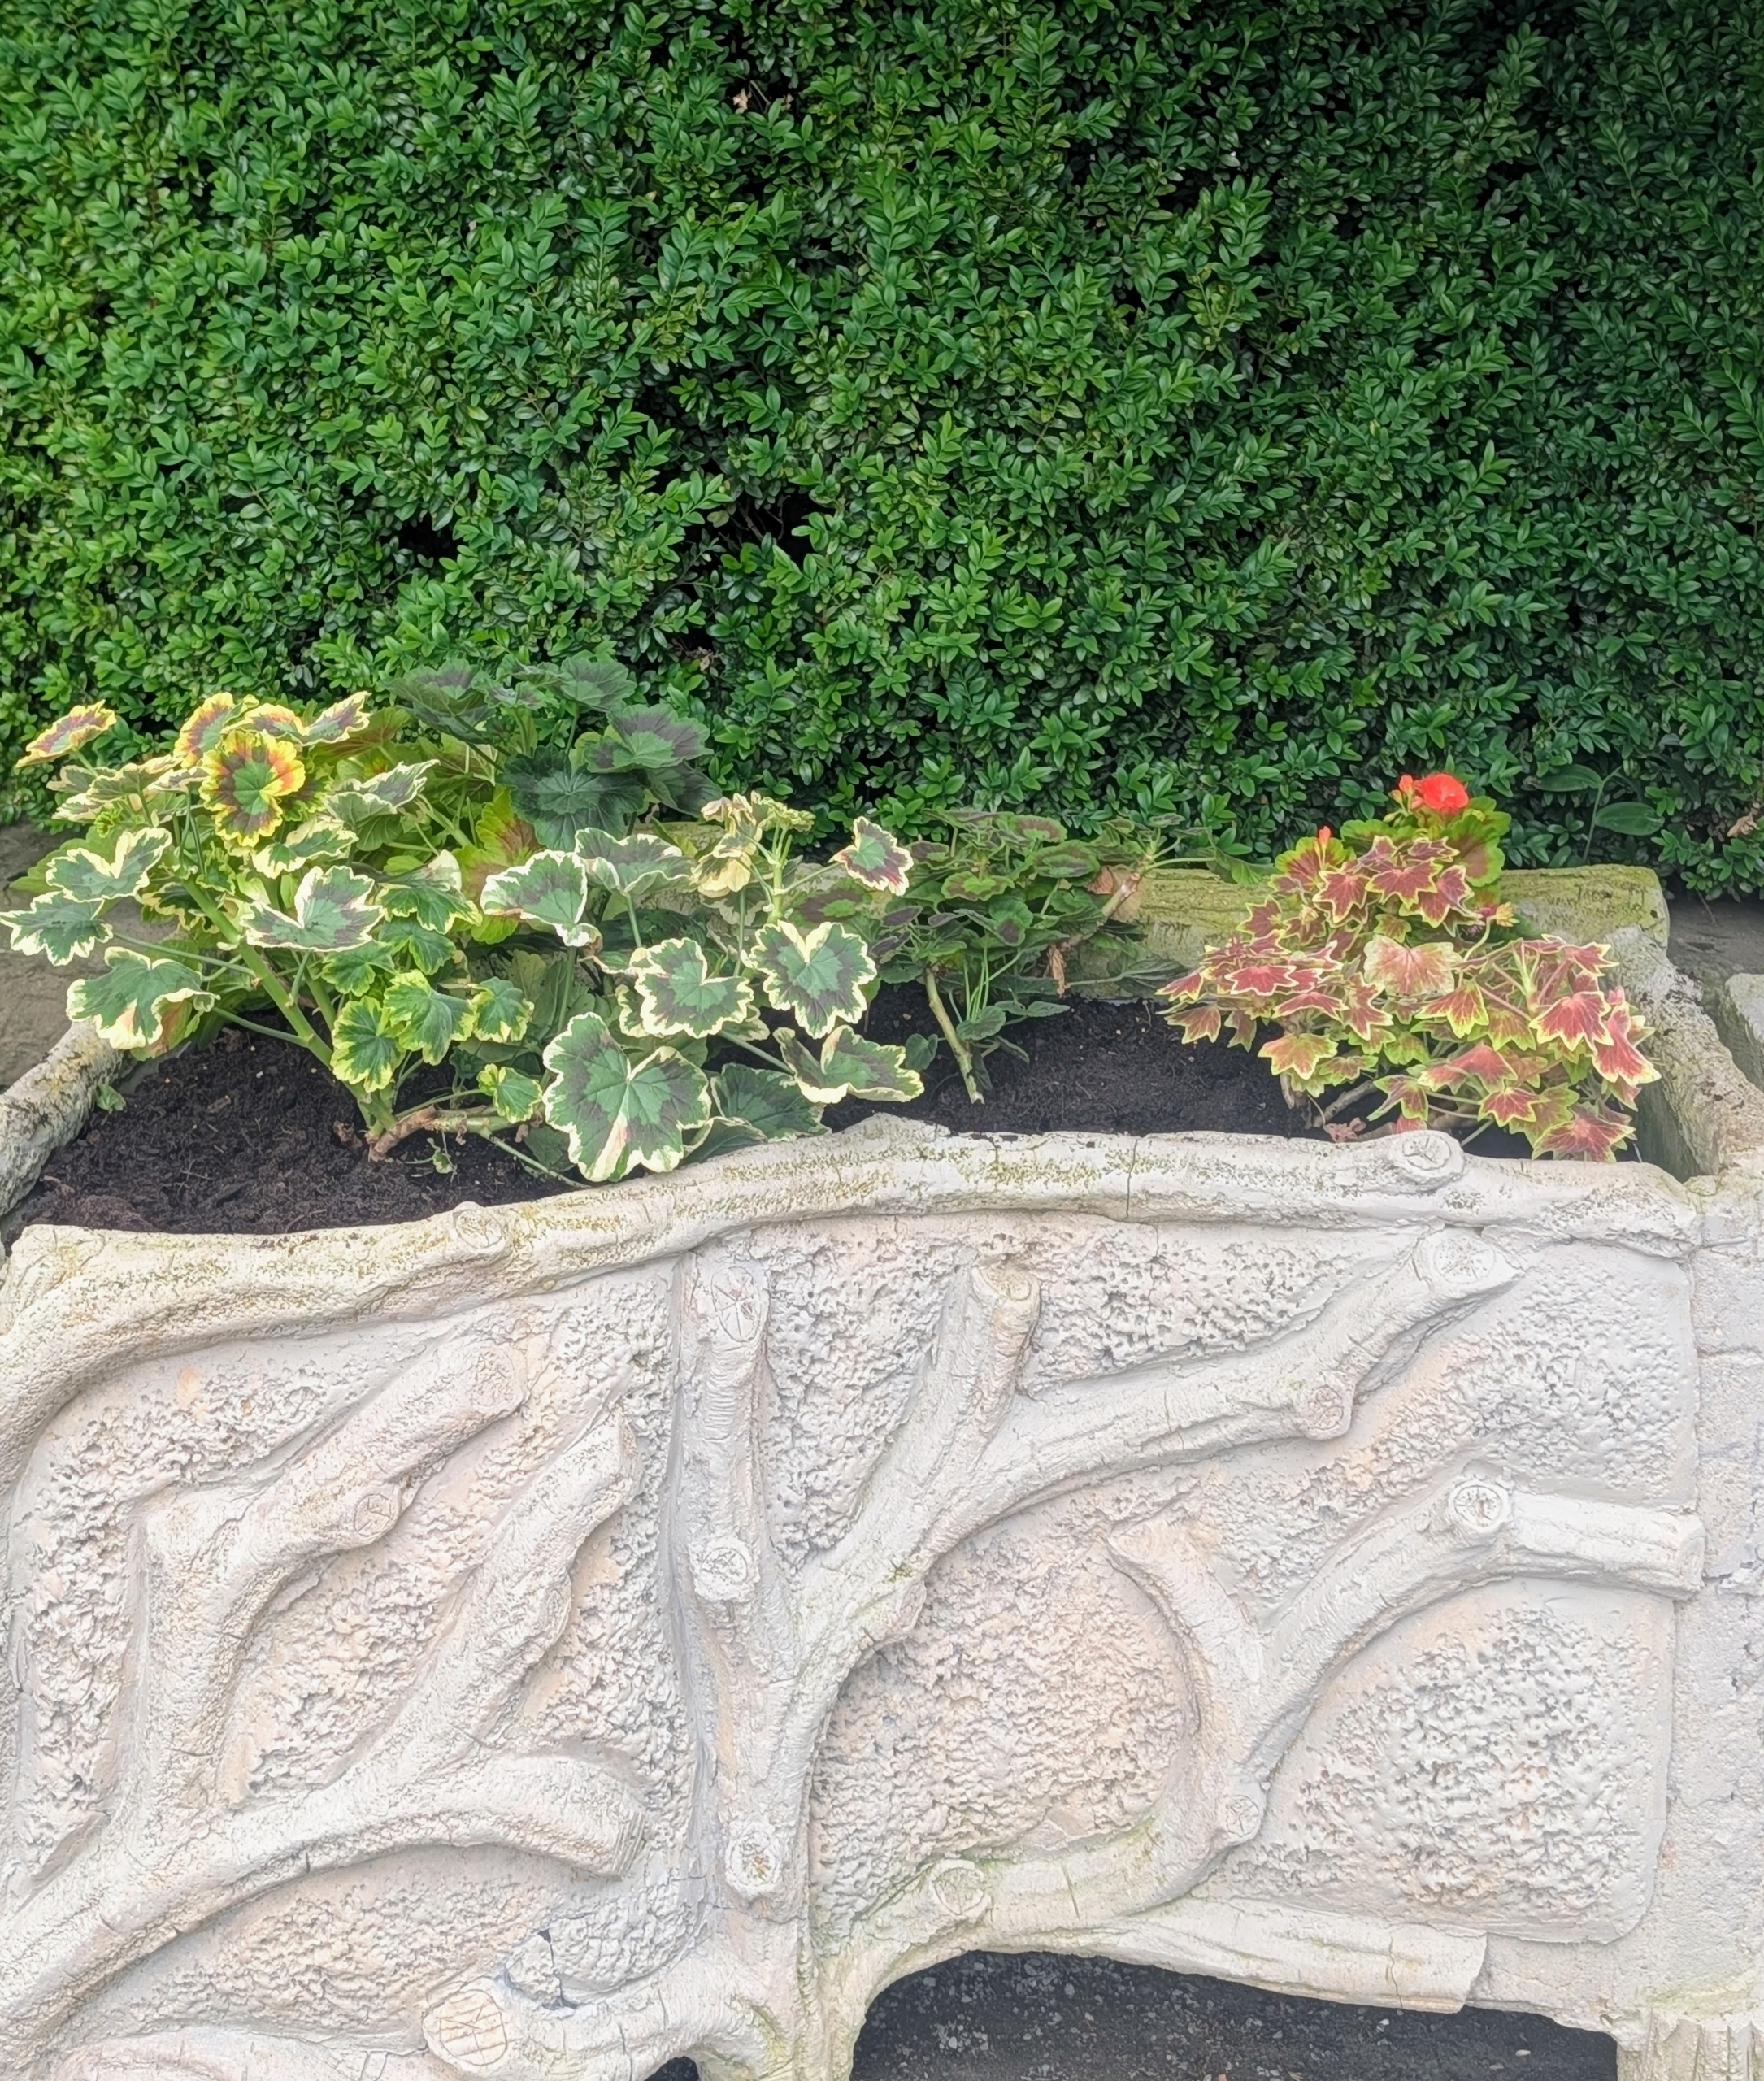
I think the potted faux bois planters look perfect with the geraniums. These plants will grow nicely and provide color and interest to this terrace.
If you’re thinking of filling planters outside your home, consider geraniums – they’re easy to care for and add charm and beauty to any space all season long.