Maintaining and caring for the many trees here at my farm is so important. My mature grove of American and European beech trees, Fagus grandifolia and Fagus sylvatica, and some of the other beeches on the property, are now part of a treatment program designed to help them stay healthy and continue to thrive.
A few years ago, I noticed something was wrong with my beech trees. They did not look as vibrant or as full as they once had. Unfortunately, beech leaf disease is a serious and rapidly spreading condition affecting beeches across much of the eastern United States and Ontario. It is caused by the invasive nematode Litylenchus crenatae mccannii, which can severely damage and, in some cases, kill the trees. To help, I called on Bartlett Tree Experts to evaluate the trees and begin treatment. I am hopeful these magnificent beeches will remain strong and beautiful for many more years.
Enjoy these photos.
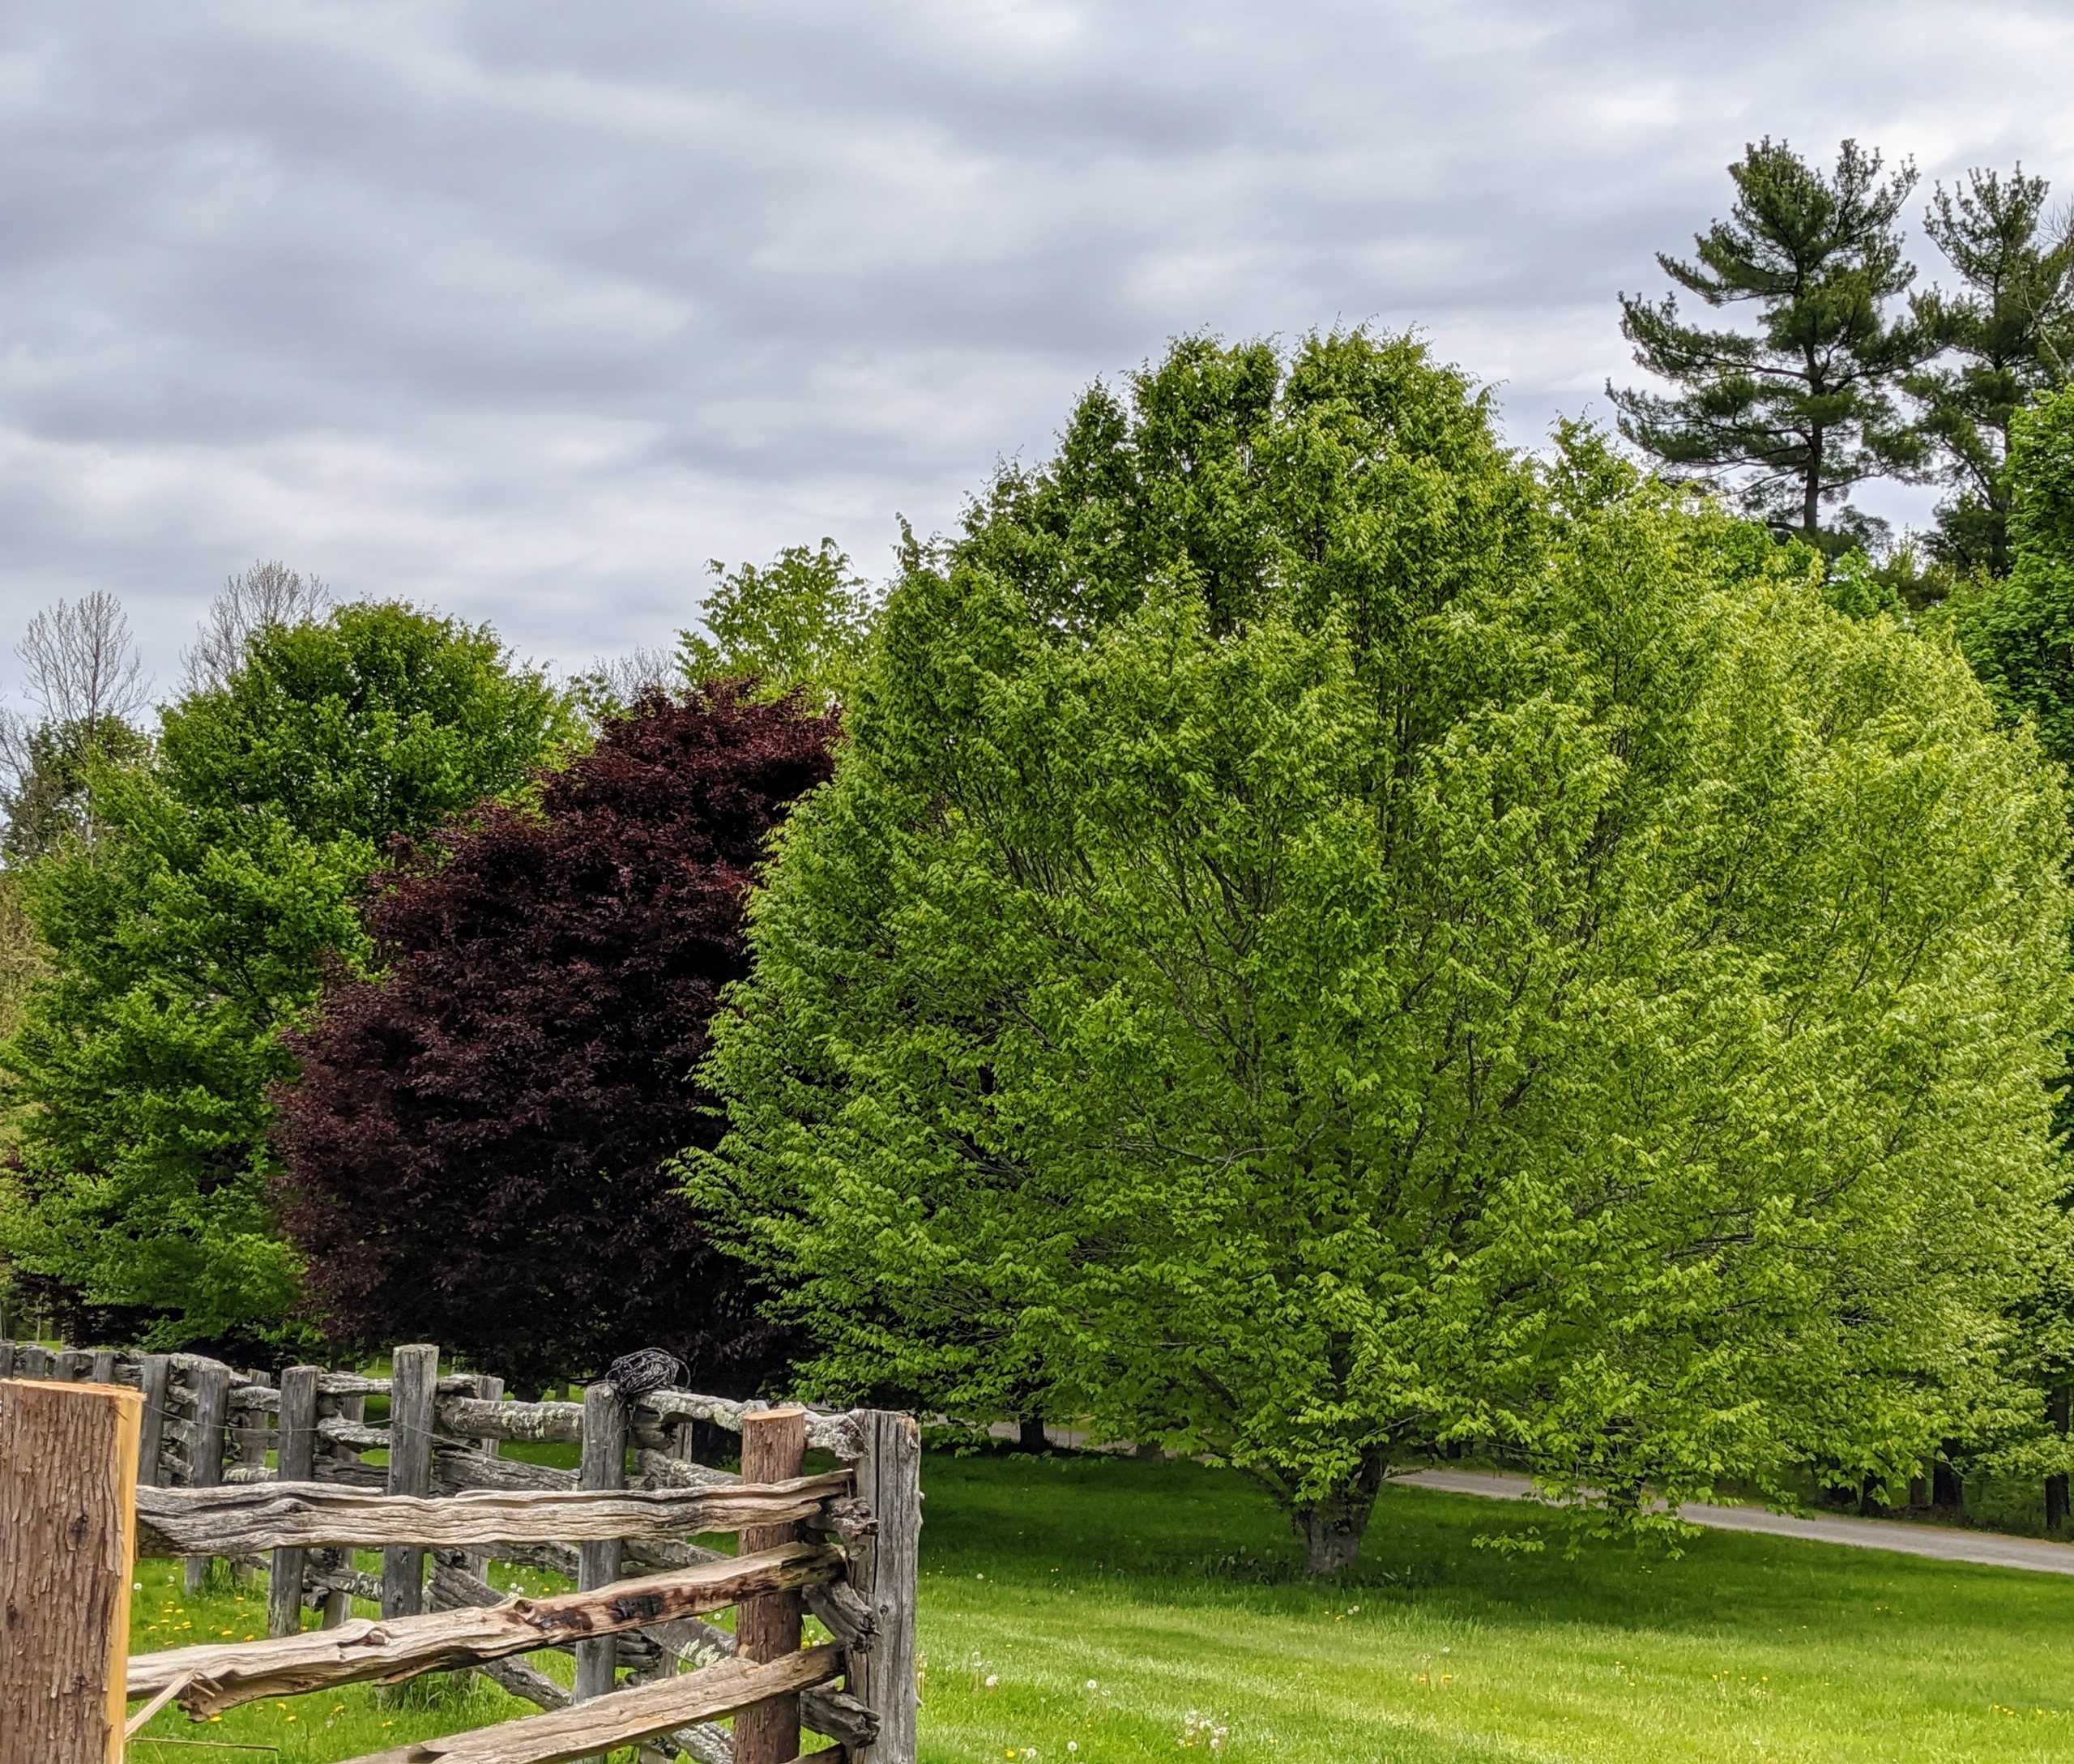
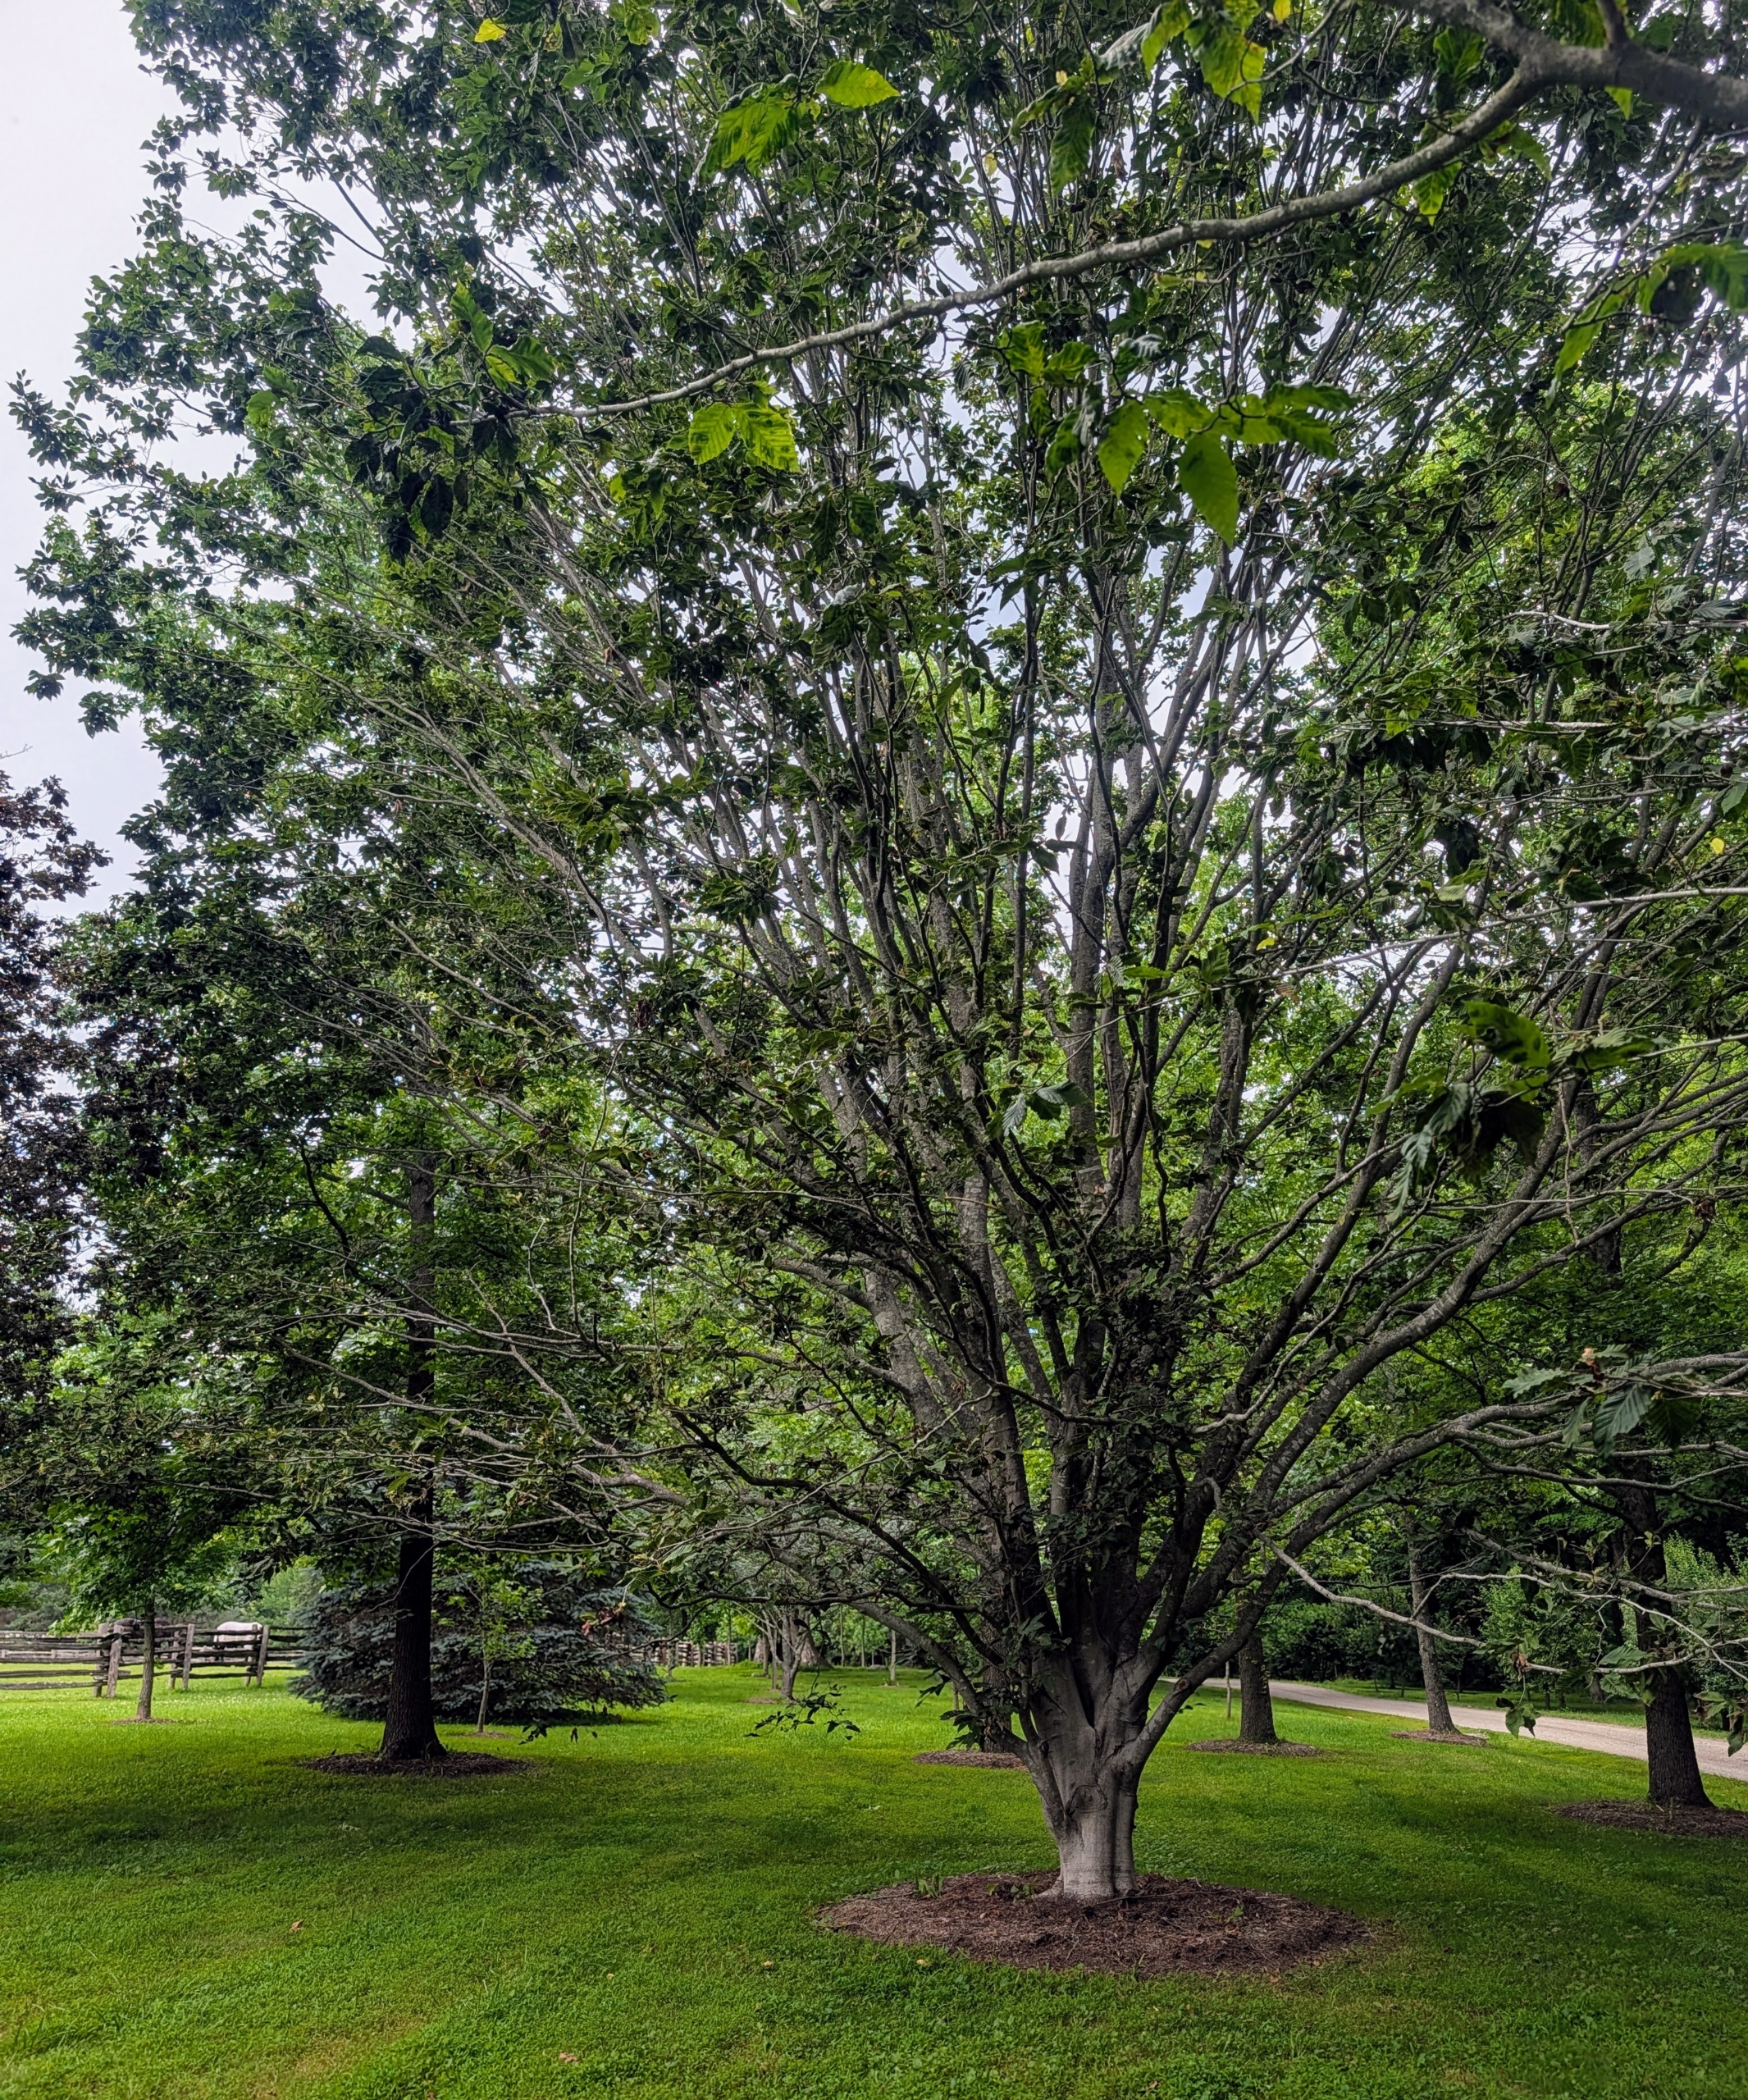
The beech tree is considered both a shade tree and an ornamental tree. They can grow to a height of 50 to 70 feet and a spread of around 40 feet at maturity. This is my beech tree grove in the spring of 2020 when the trees were lush and bold in color.
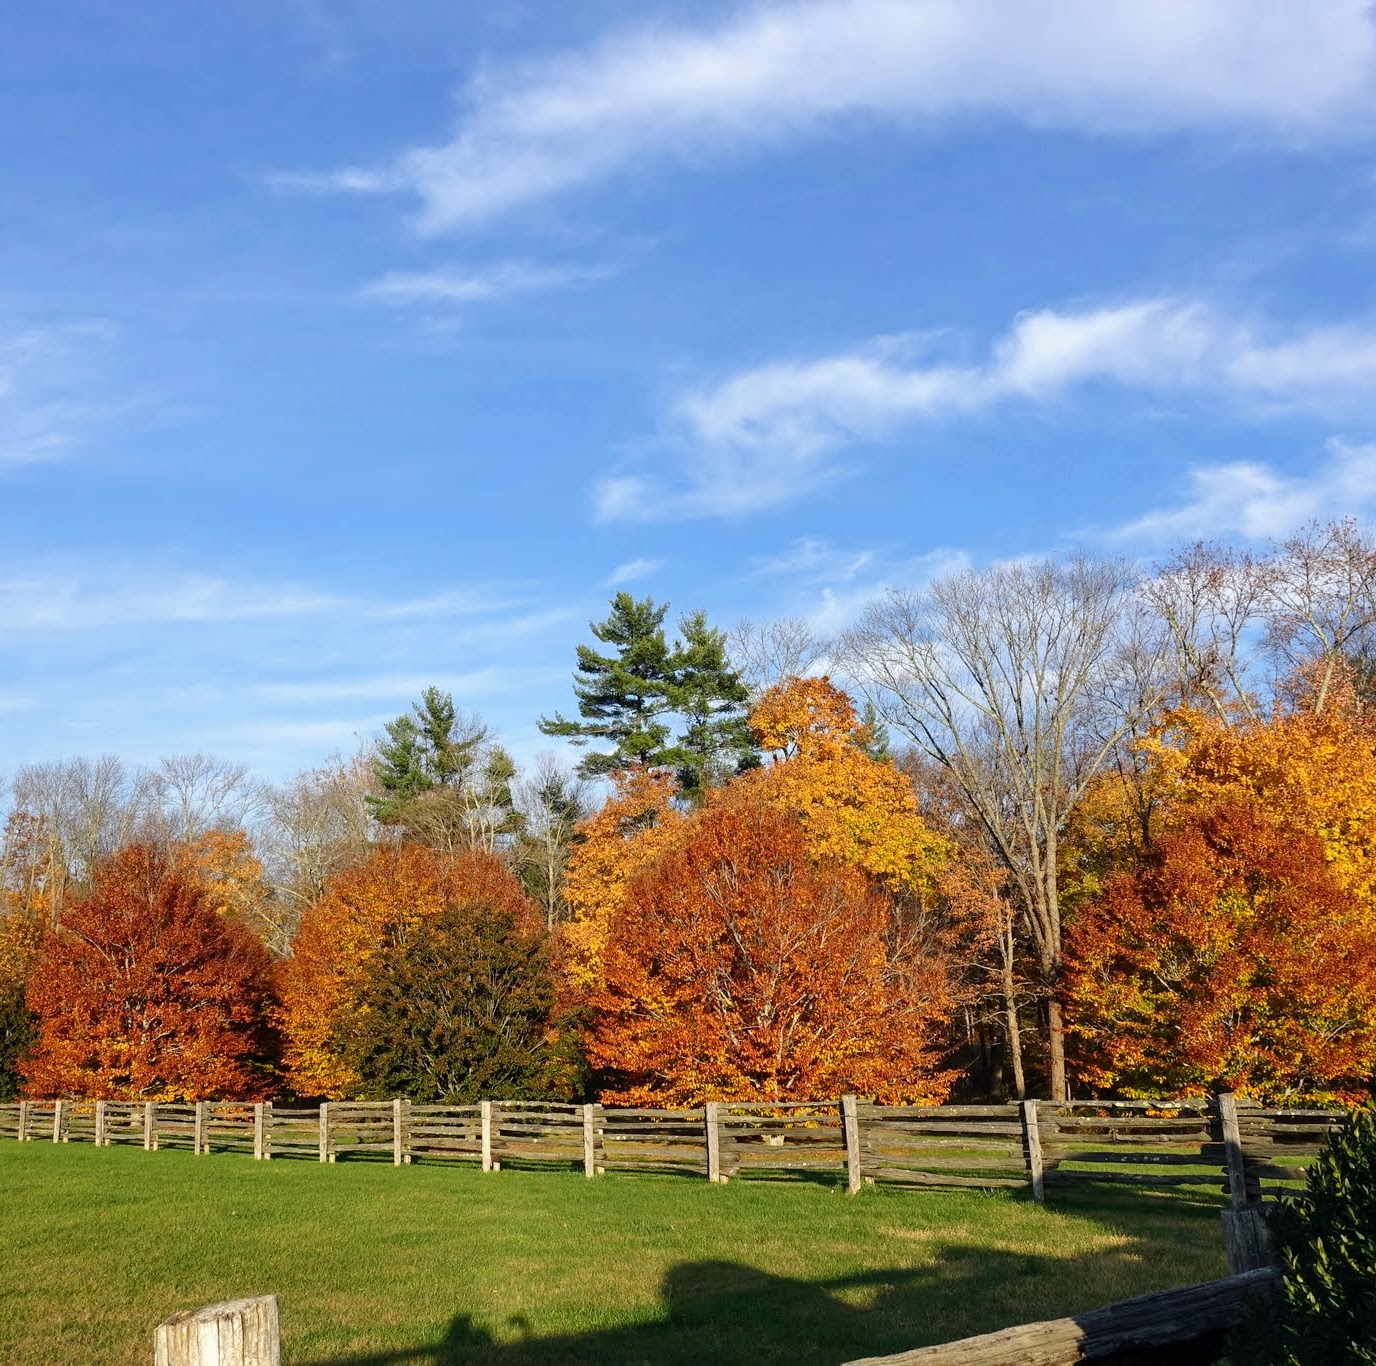
This is an autumn photo of my beech tree grove. These beech trees show gorgeous golden-bronze fall foliage. The leaves persist into winter, after turning a pleasing tan color.
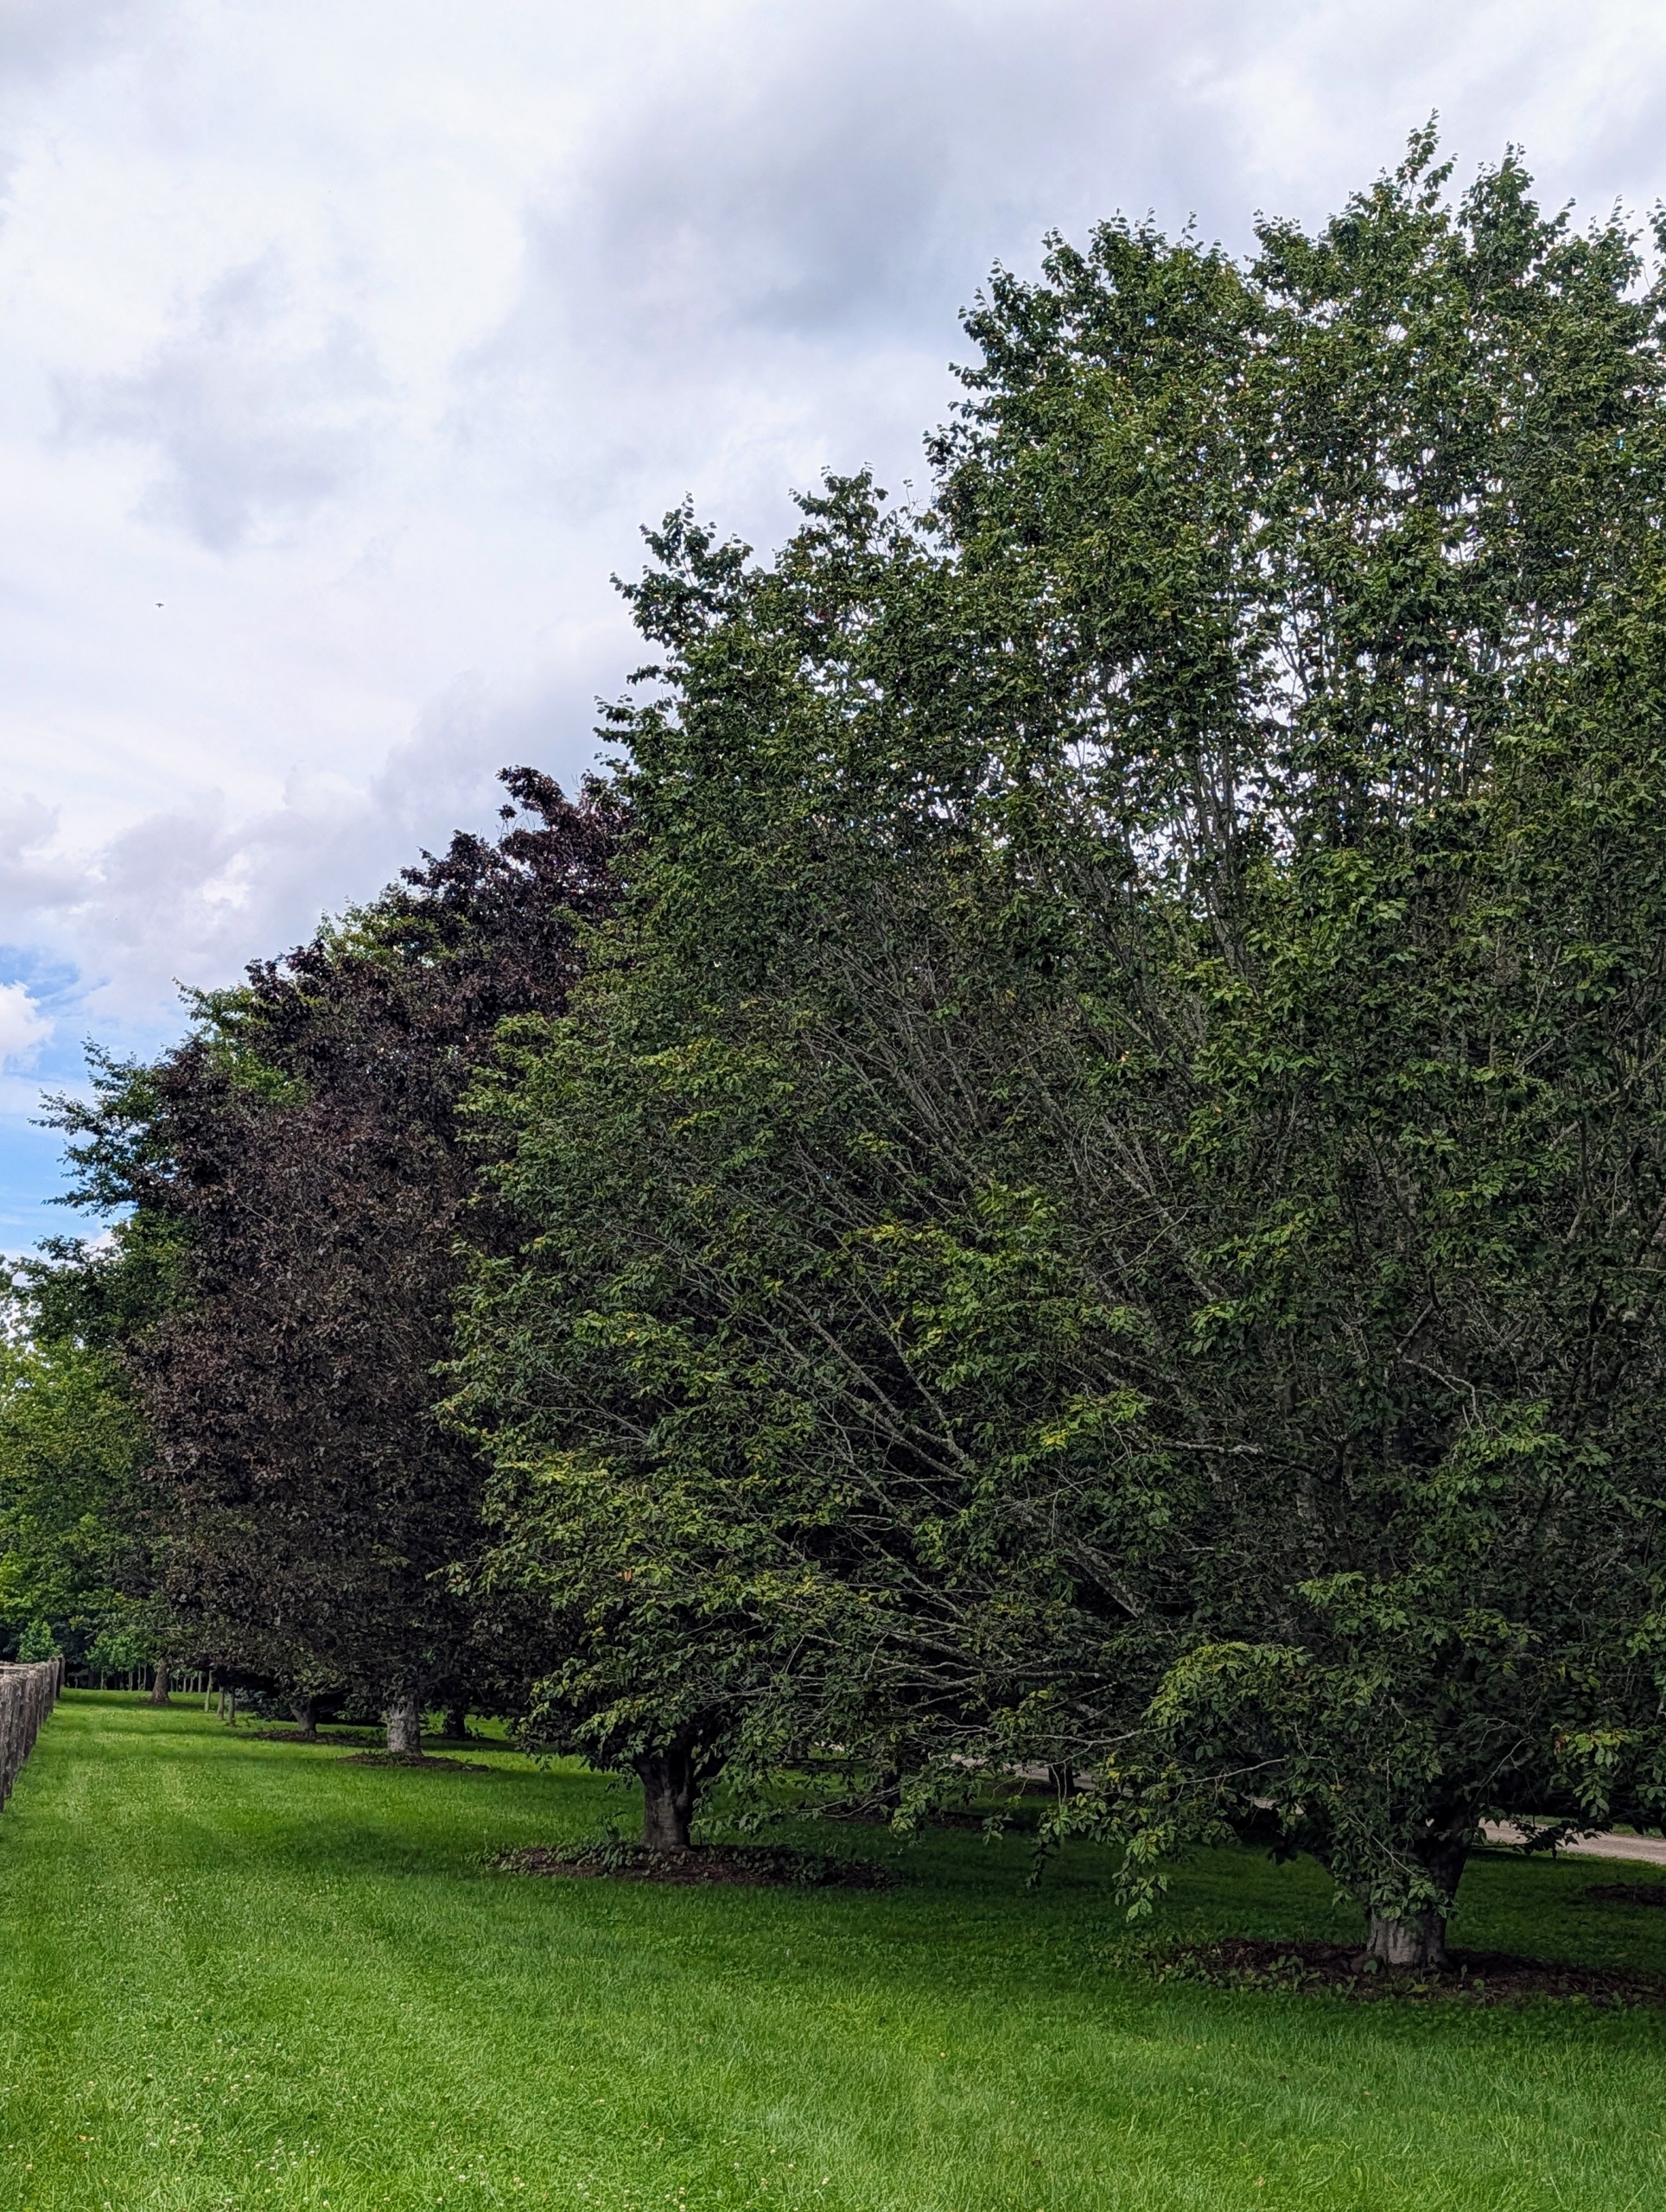
Here’s another photo showing the trees just beginning to change. This grove is located just east of my long Boxwood Allée. Guests always comment on their color and form.
In more recent years, I noticed they didn’t look as lush. I also knew of the beech leaf disease that is killing both mature beeches and saplings. These are my trees now – dull in color and with less growth.
The disease, which was first spotted in northeastern Ohio, causes parts of leaves to turn leathery and branches to wither and then kill a tree within six to 10 years. I definitely needed to help my trees and make sure these beautiful specimens survived.
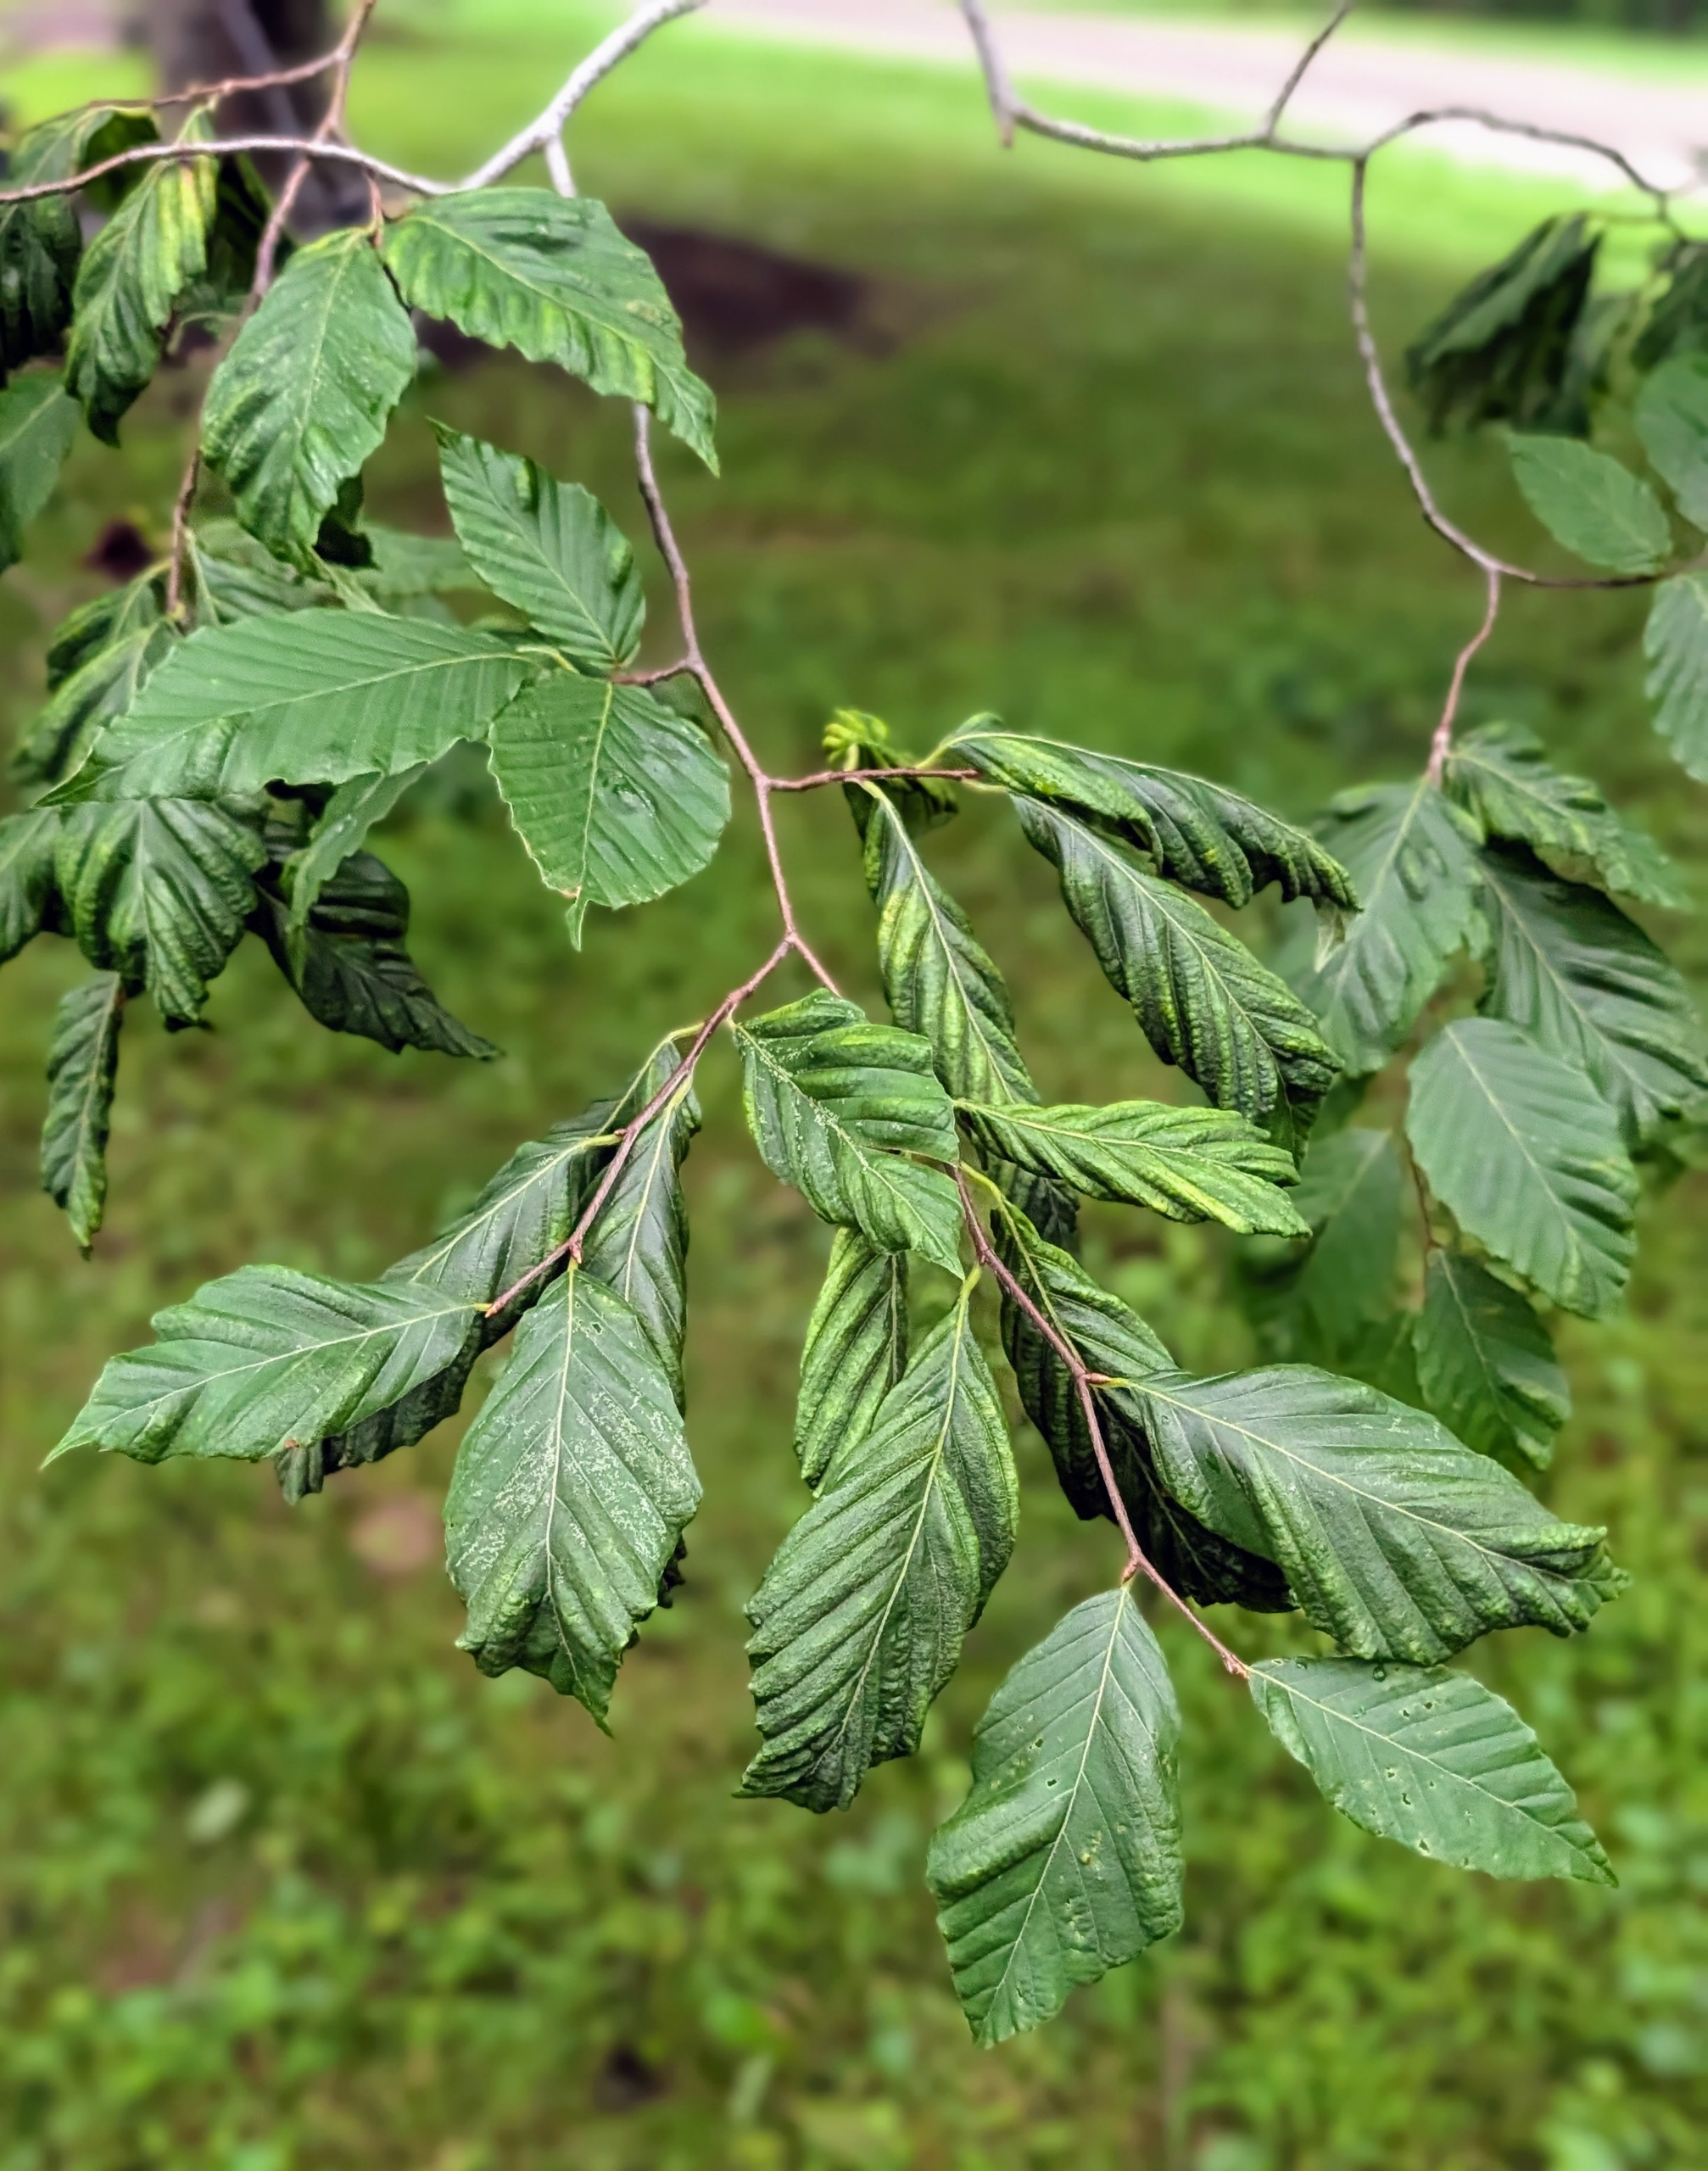
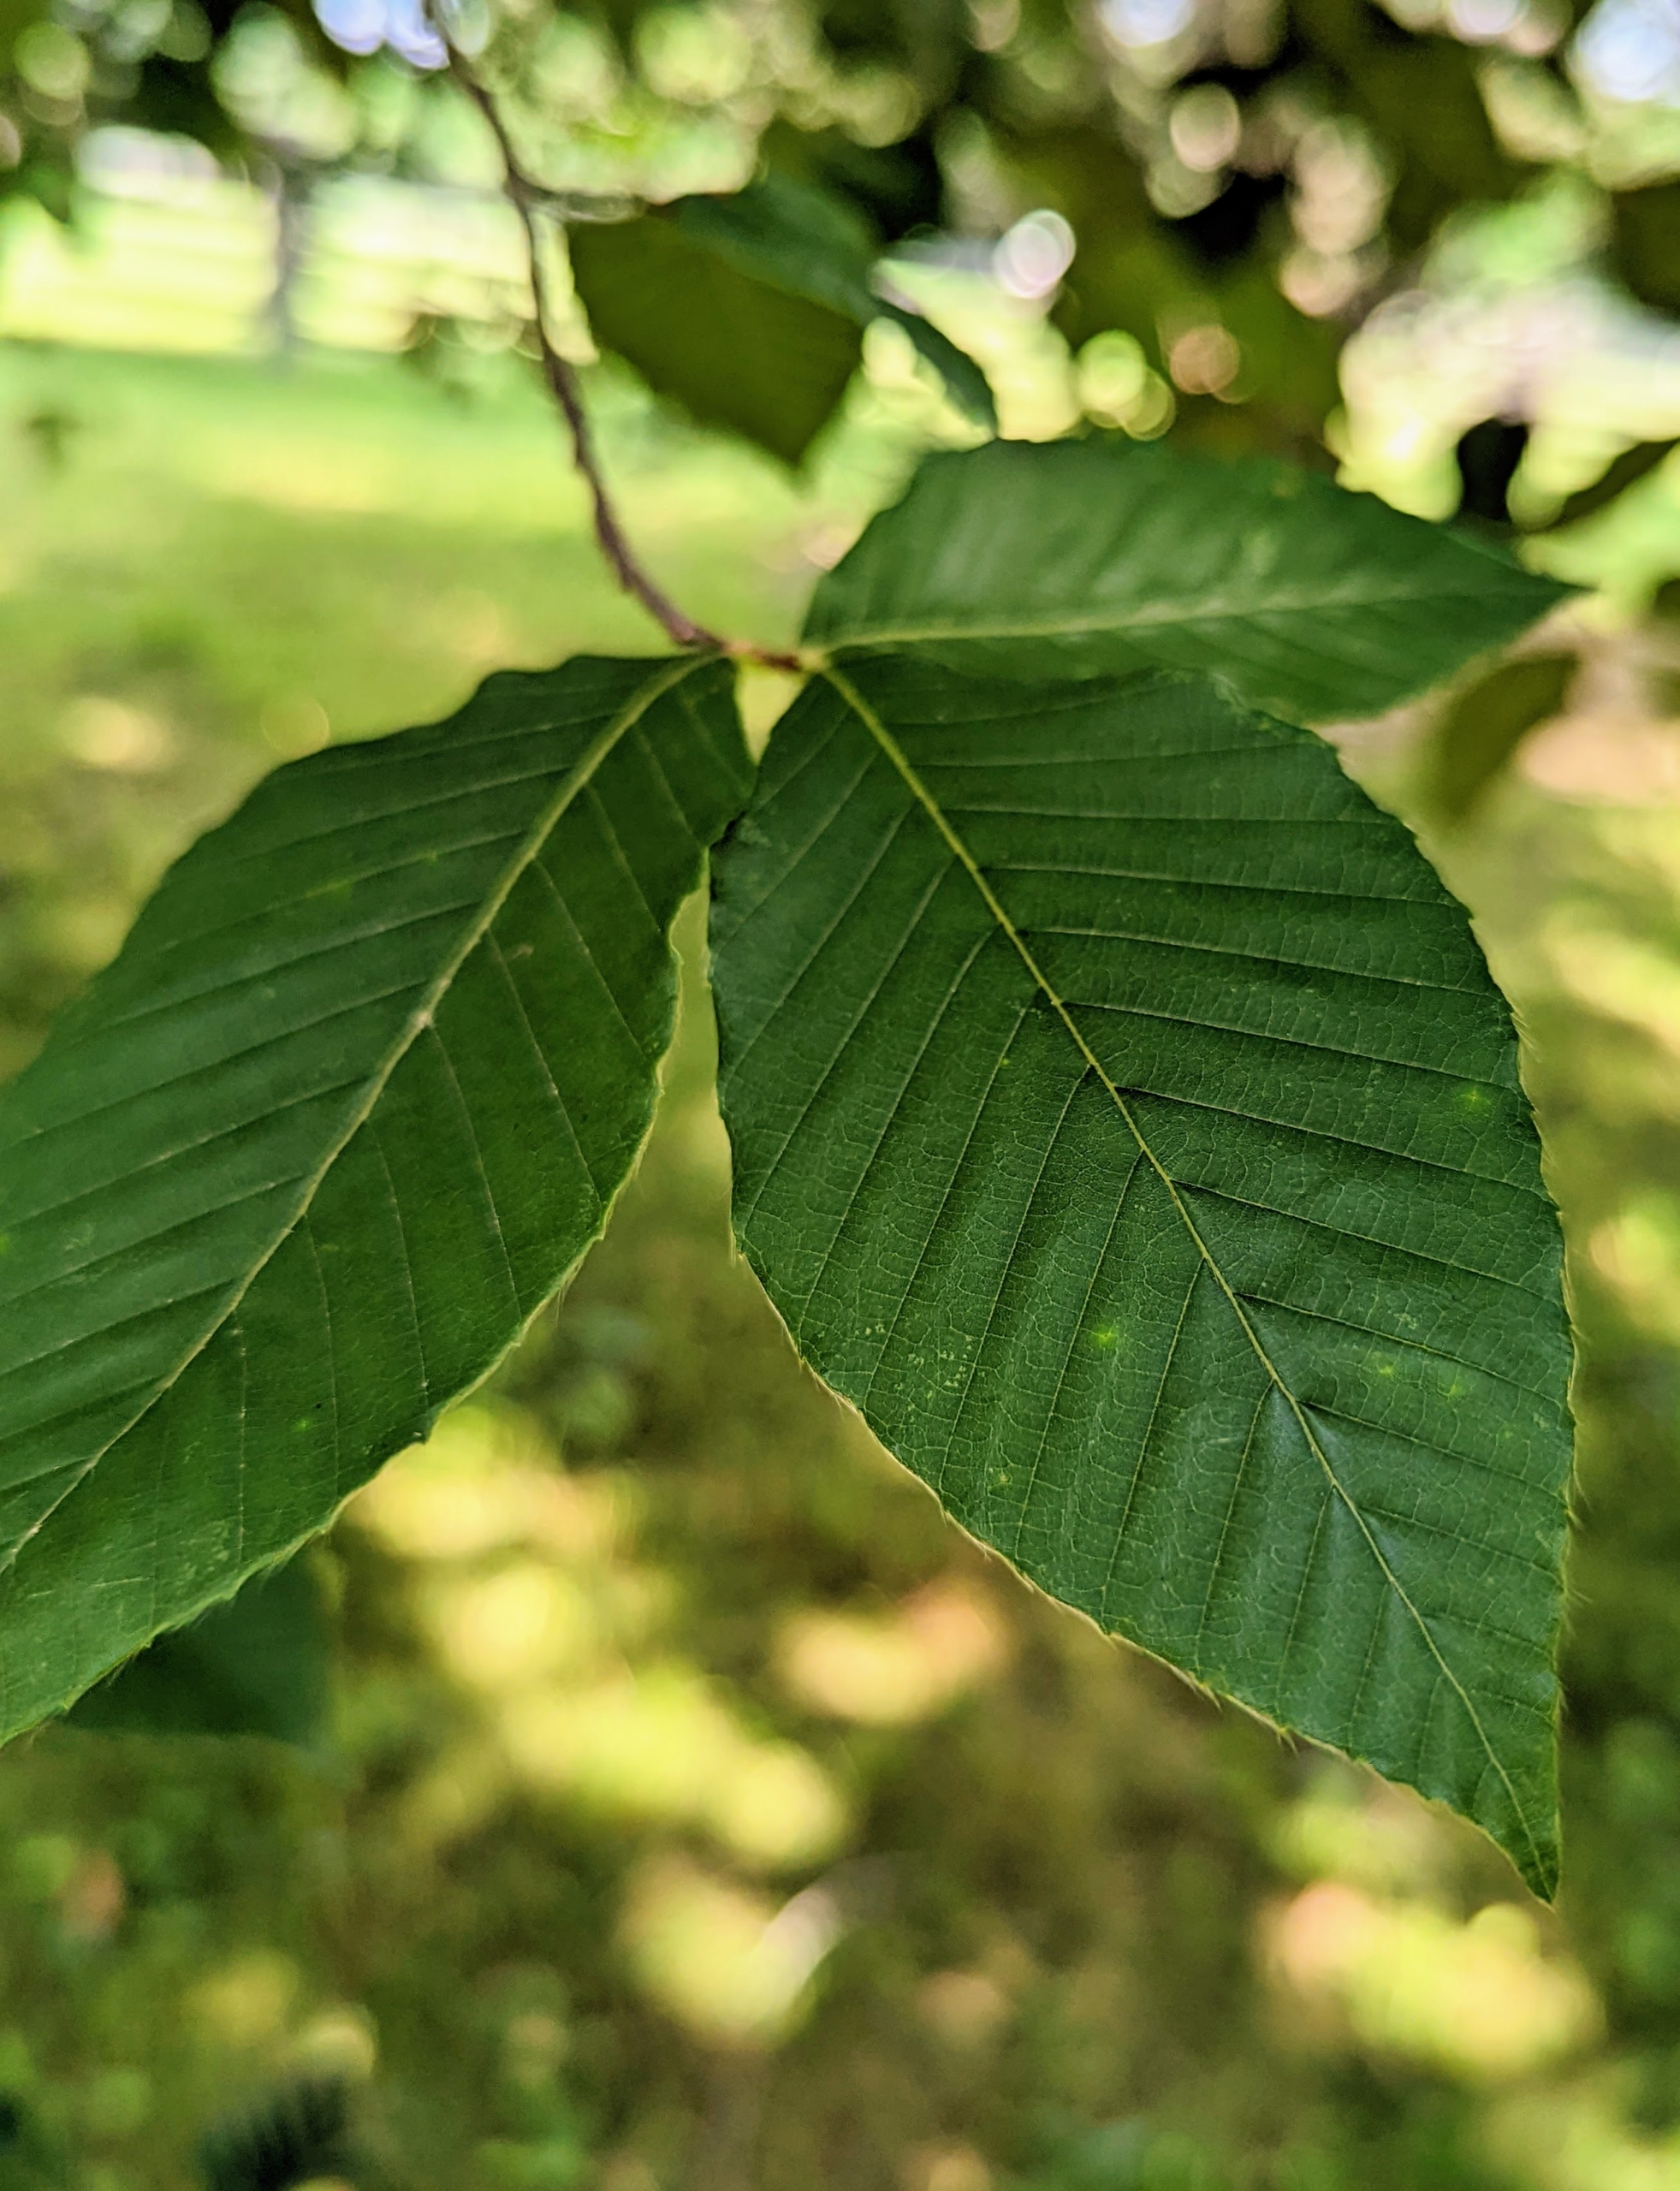
Here is healthy new growth – the leaves are flat and glossy green.
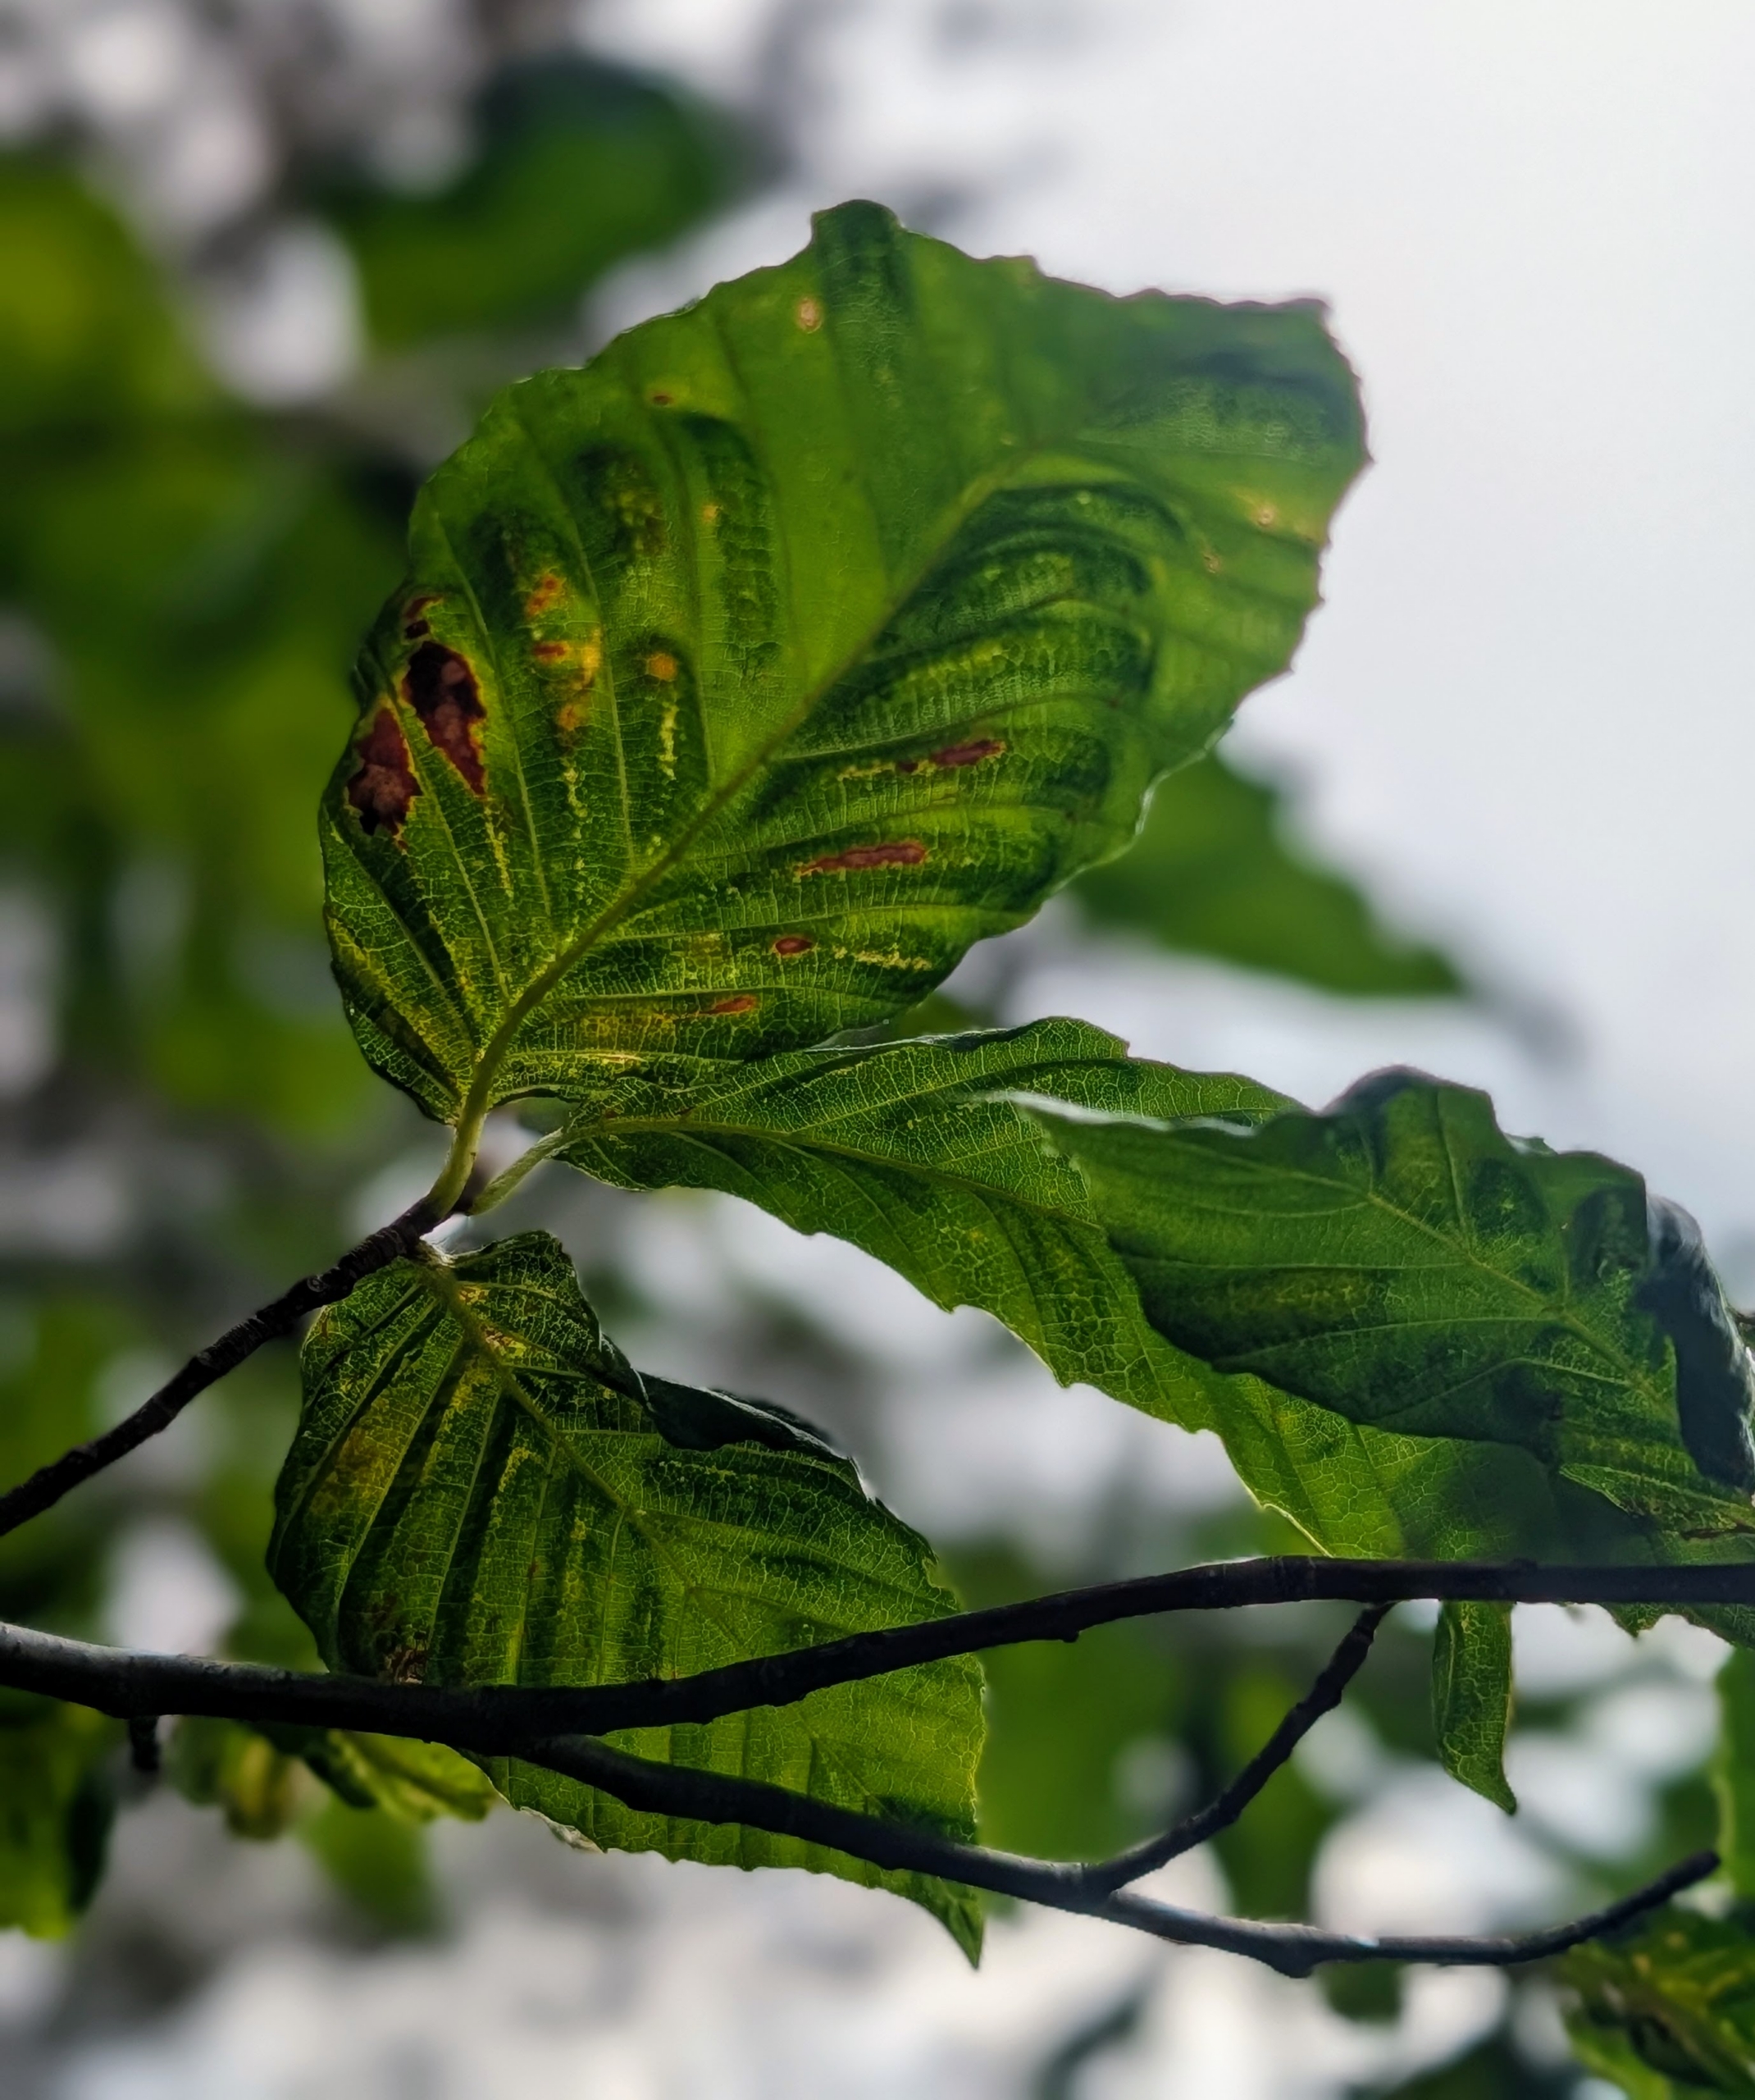
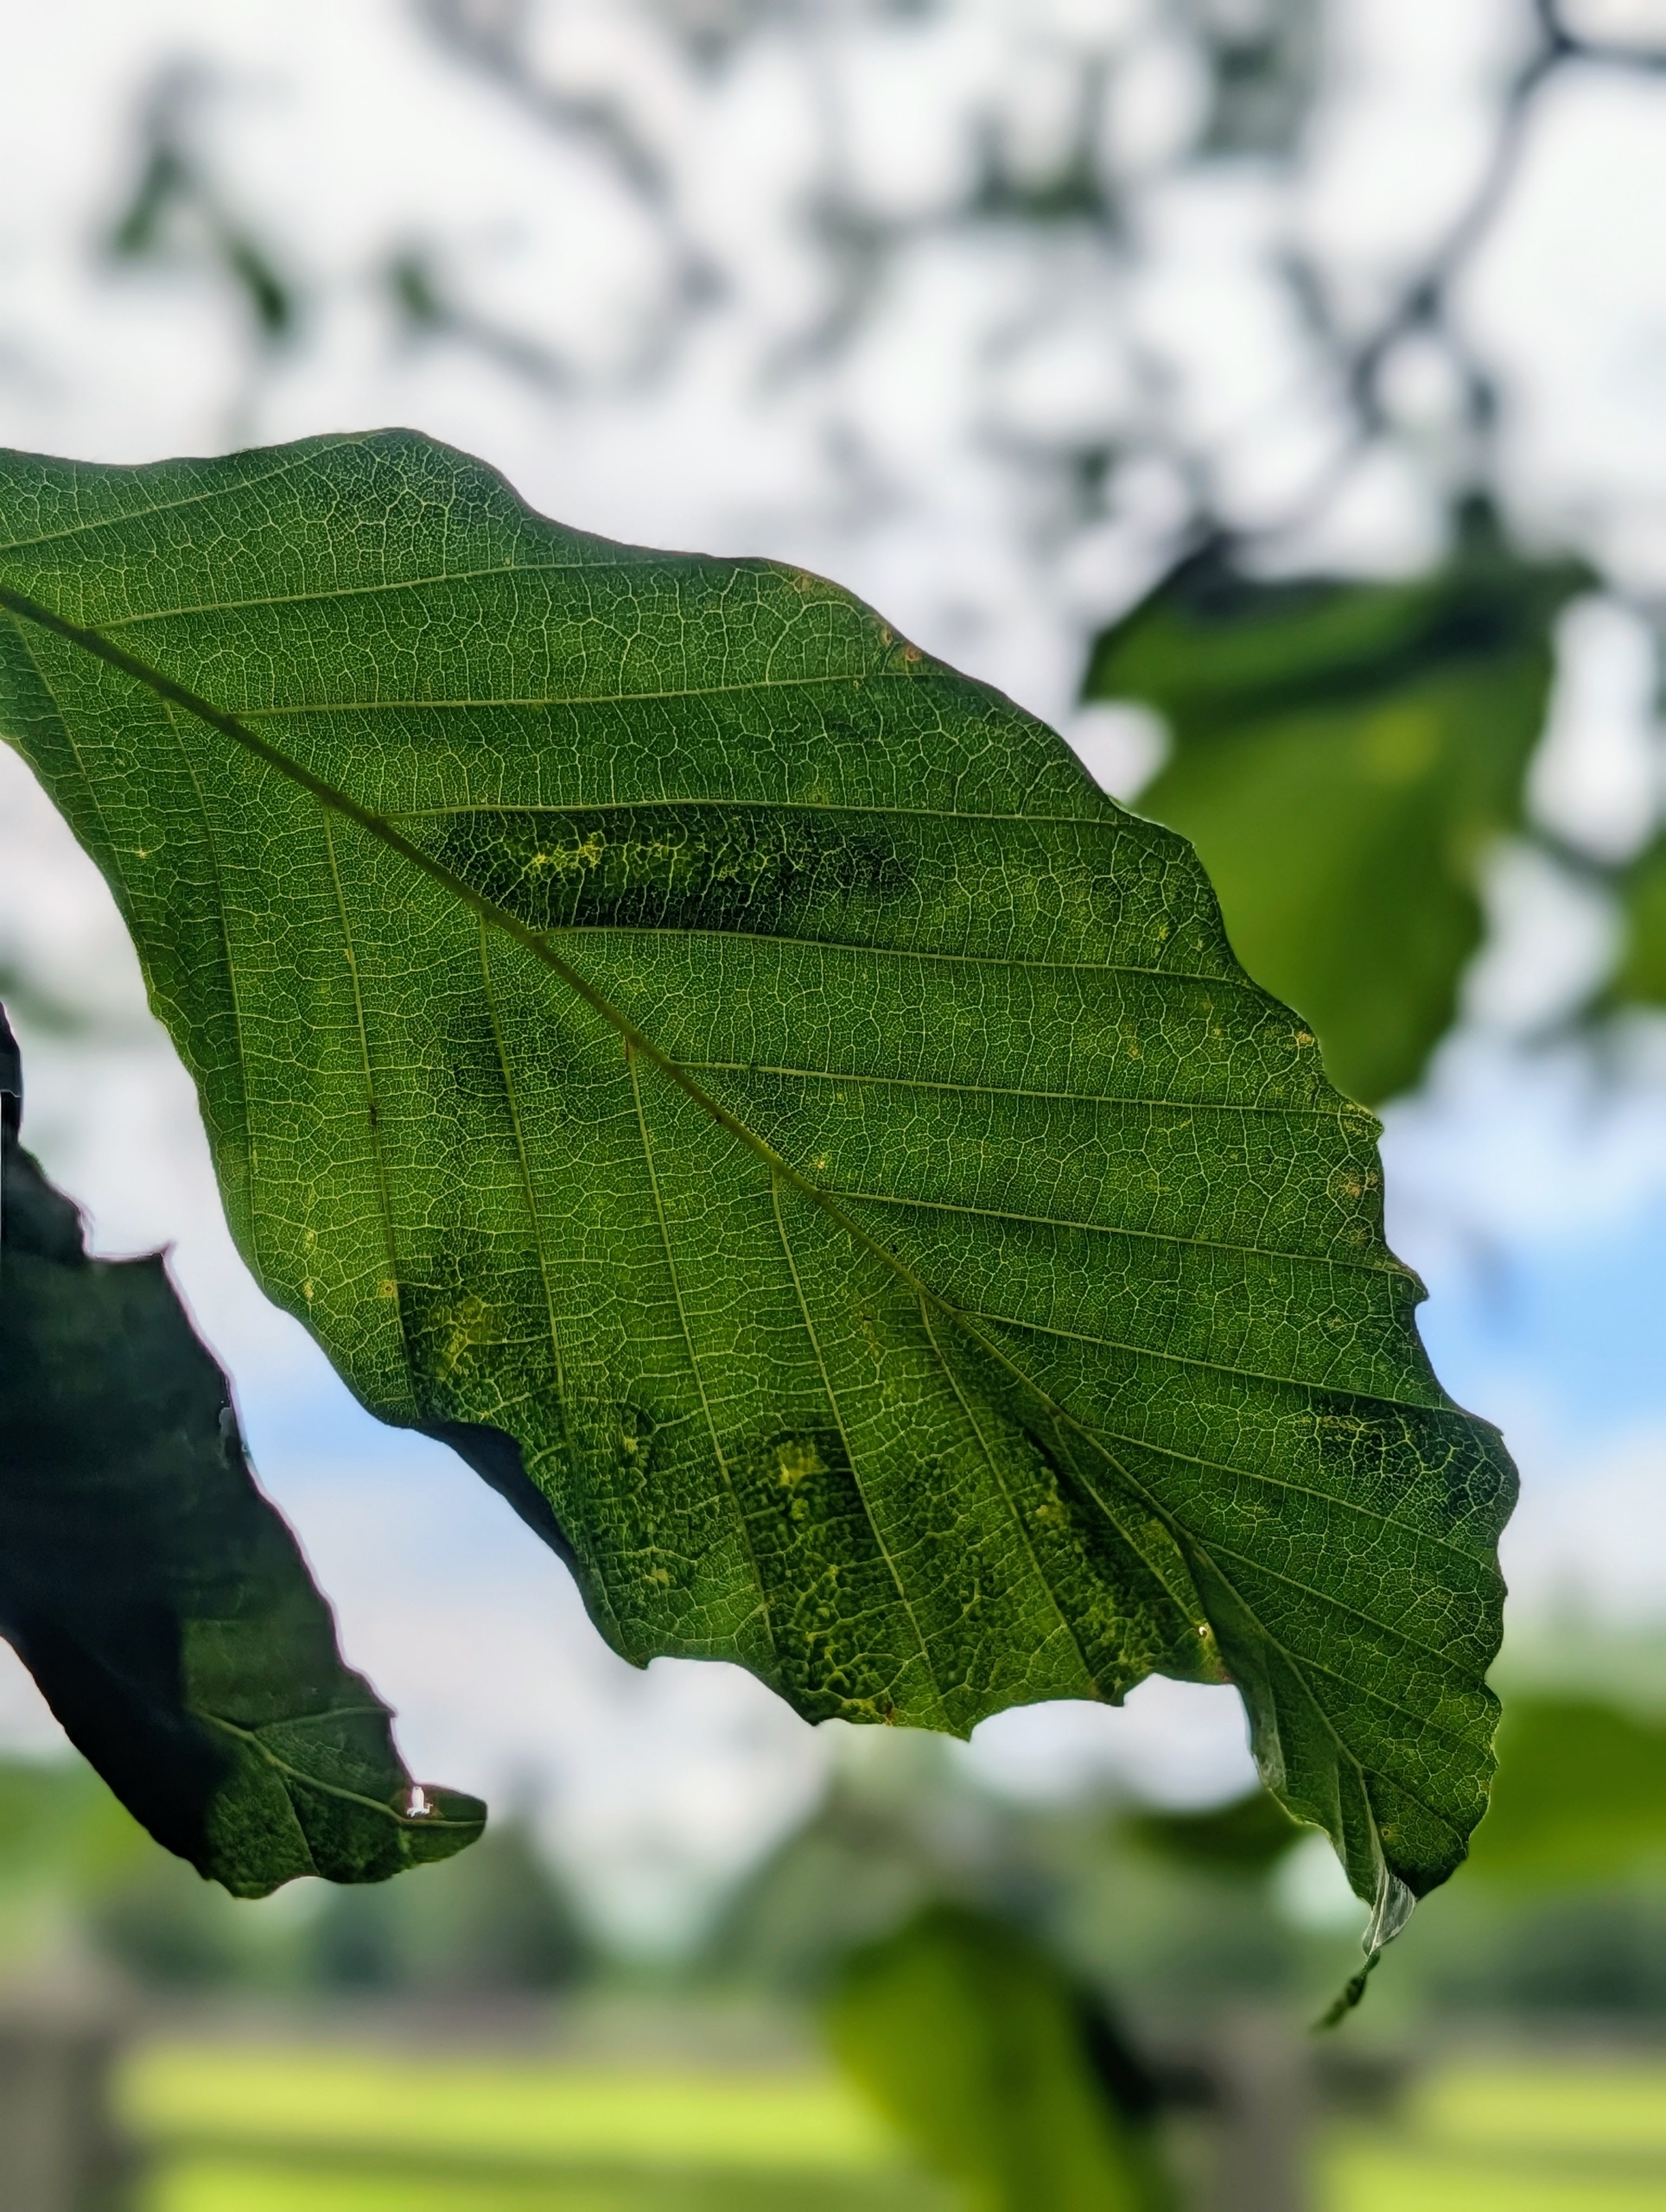
Held up to the sunlight, diseased leaves show dark bands. It typically progresses from the lower canopy upward.
An invasive nematode is believed to be responsible for beech leaf disease. These microscopic worms are present in the leaves and buds of infected beech trees.
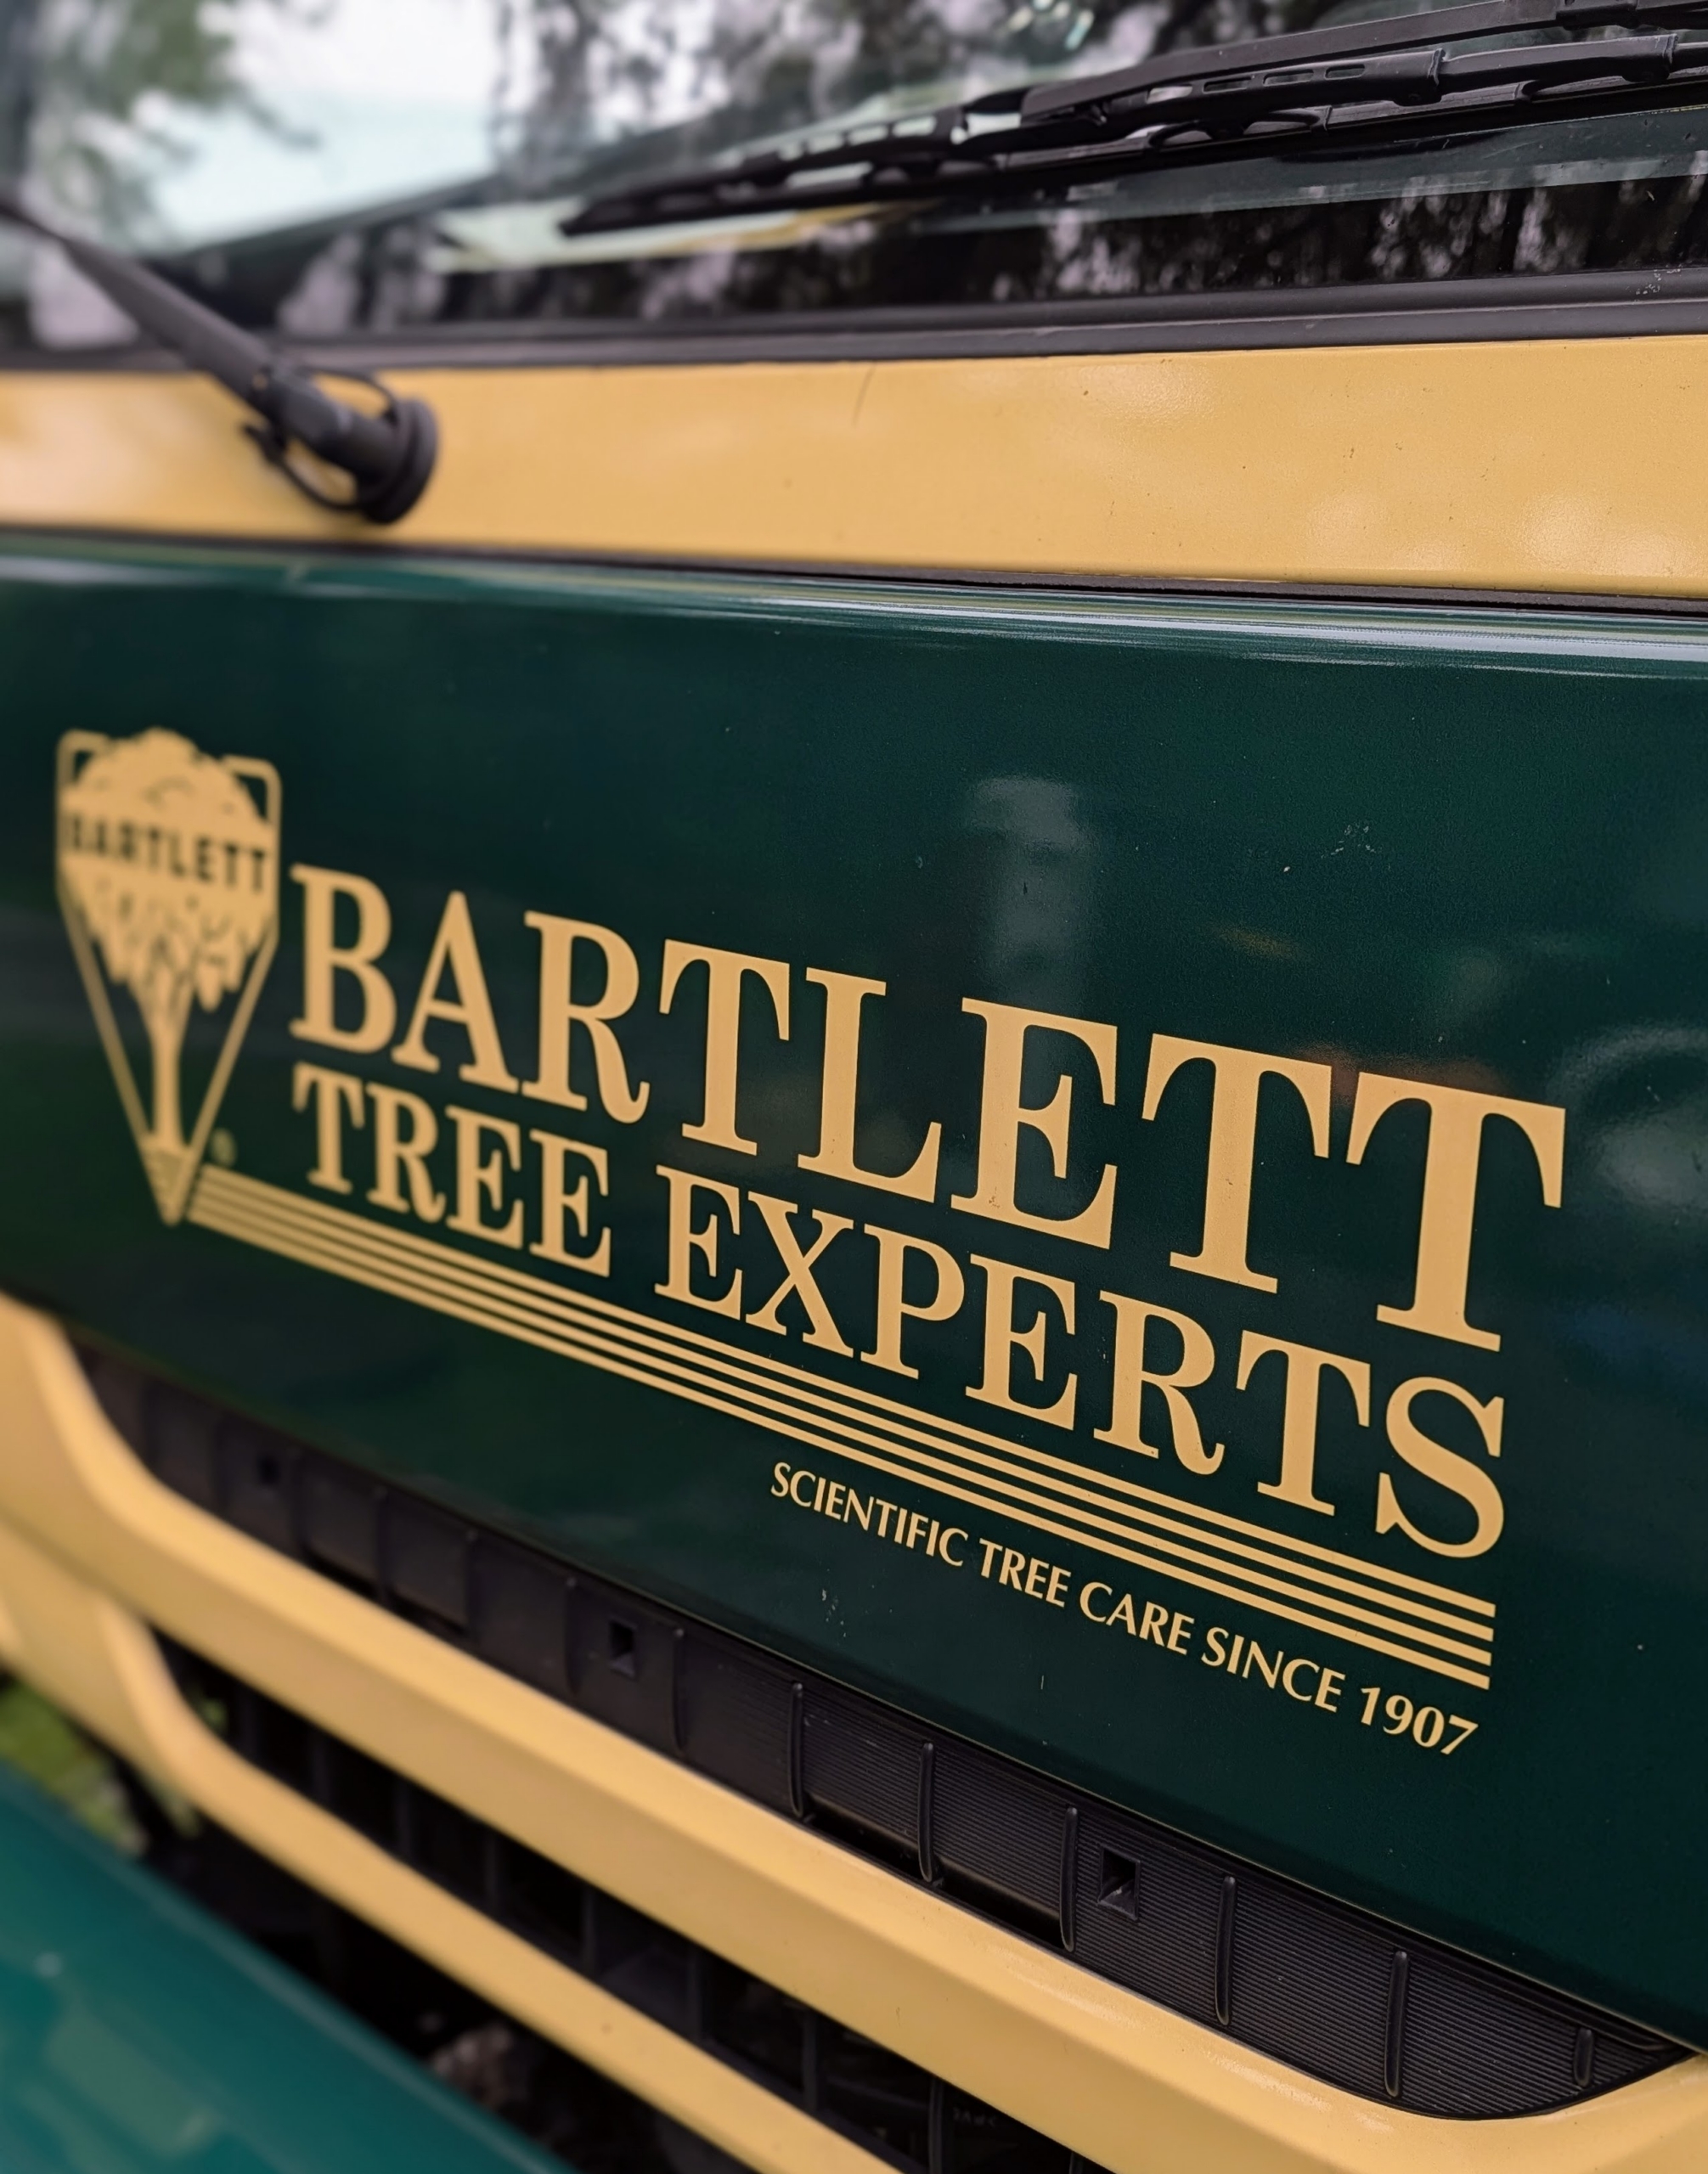
Bartlett Tree Experts was founded by Francis A. Bartlett in 1907 and is the world’s leading scientific tree and shrub care company with more than 125 offices worldwide. The Bartlett Tree Research Laboratories evaluates plant samples and cultures, identifies disease-causing organisms and insects, and performs complete soil analysis services.
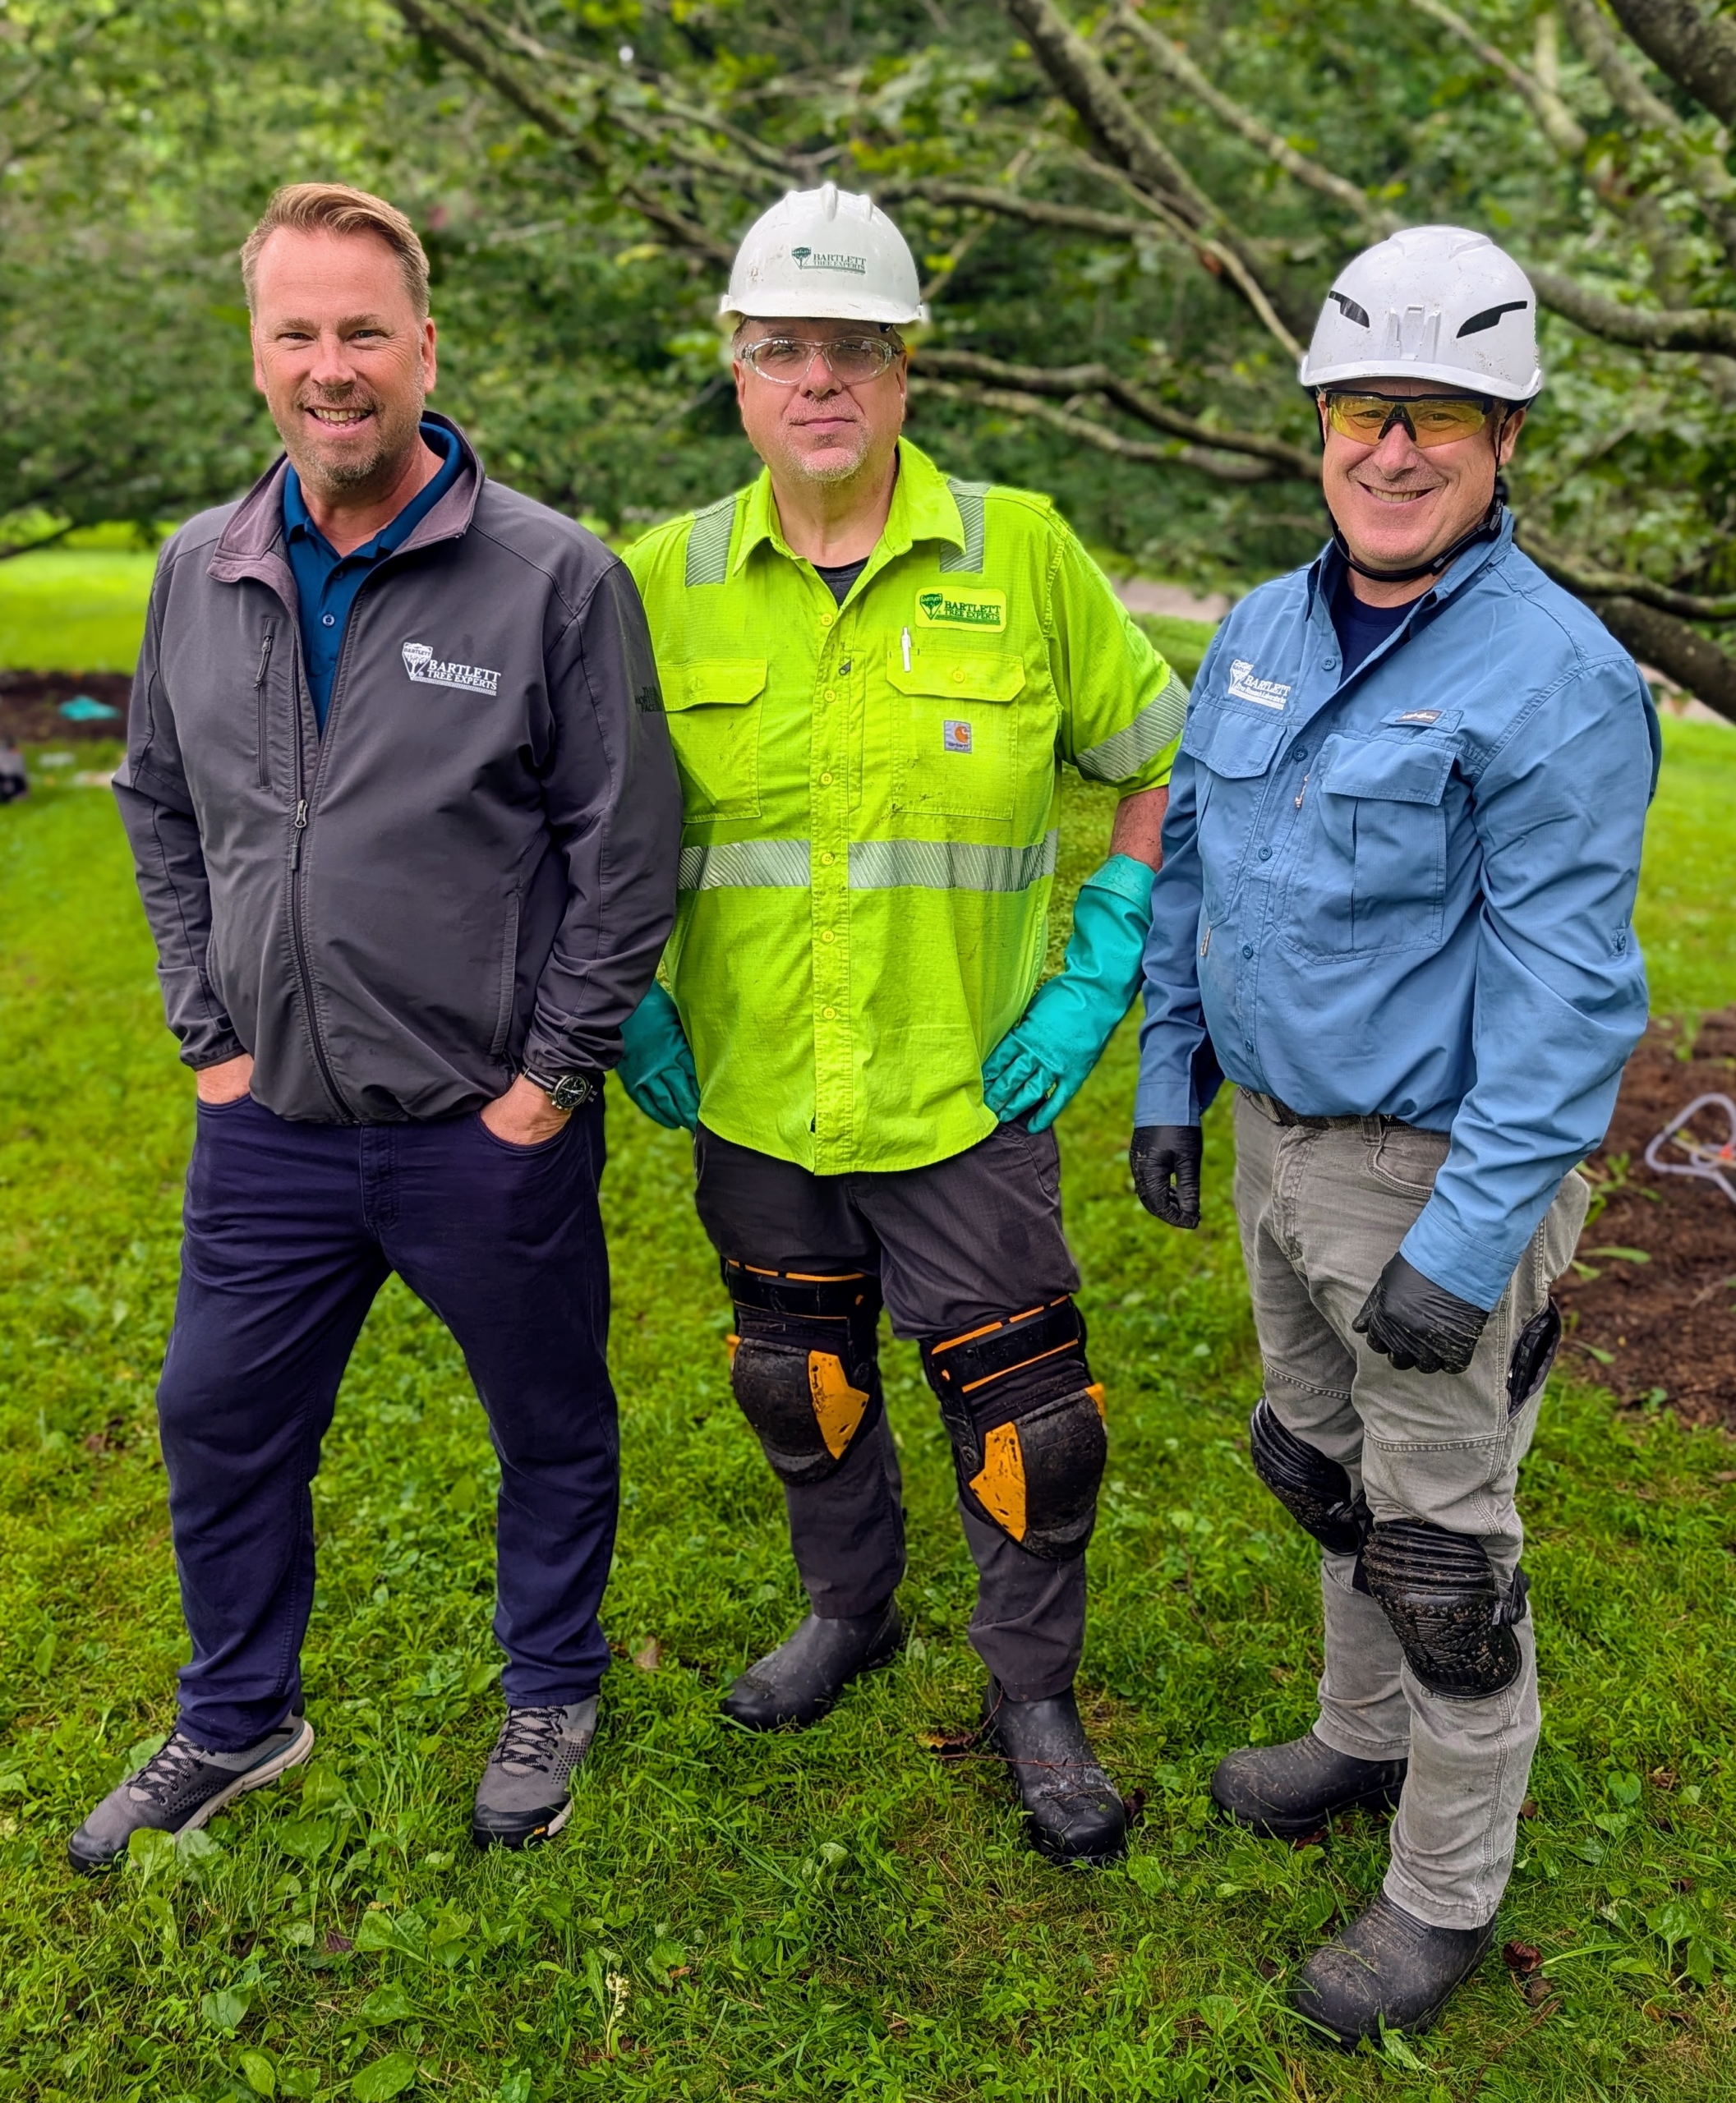
A team of Bartlett’s expert arborists came to asses my trees and create a specific treatment program. On this day, they are ready to inject the trees.
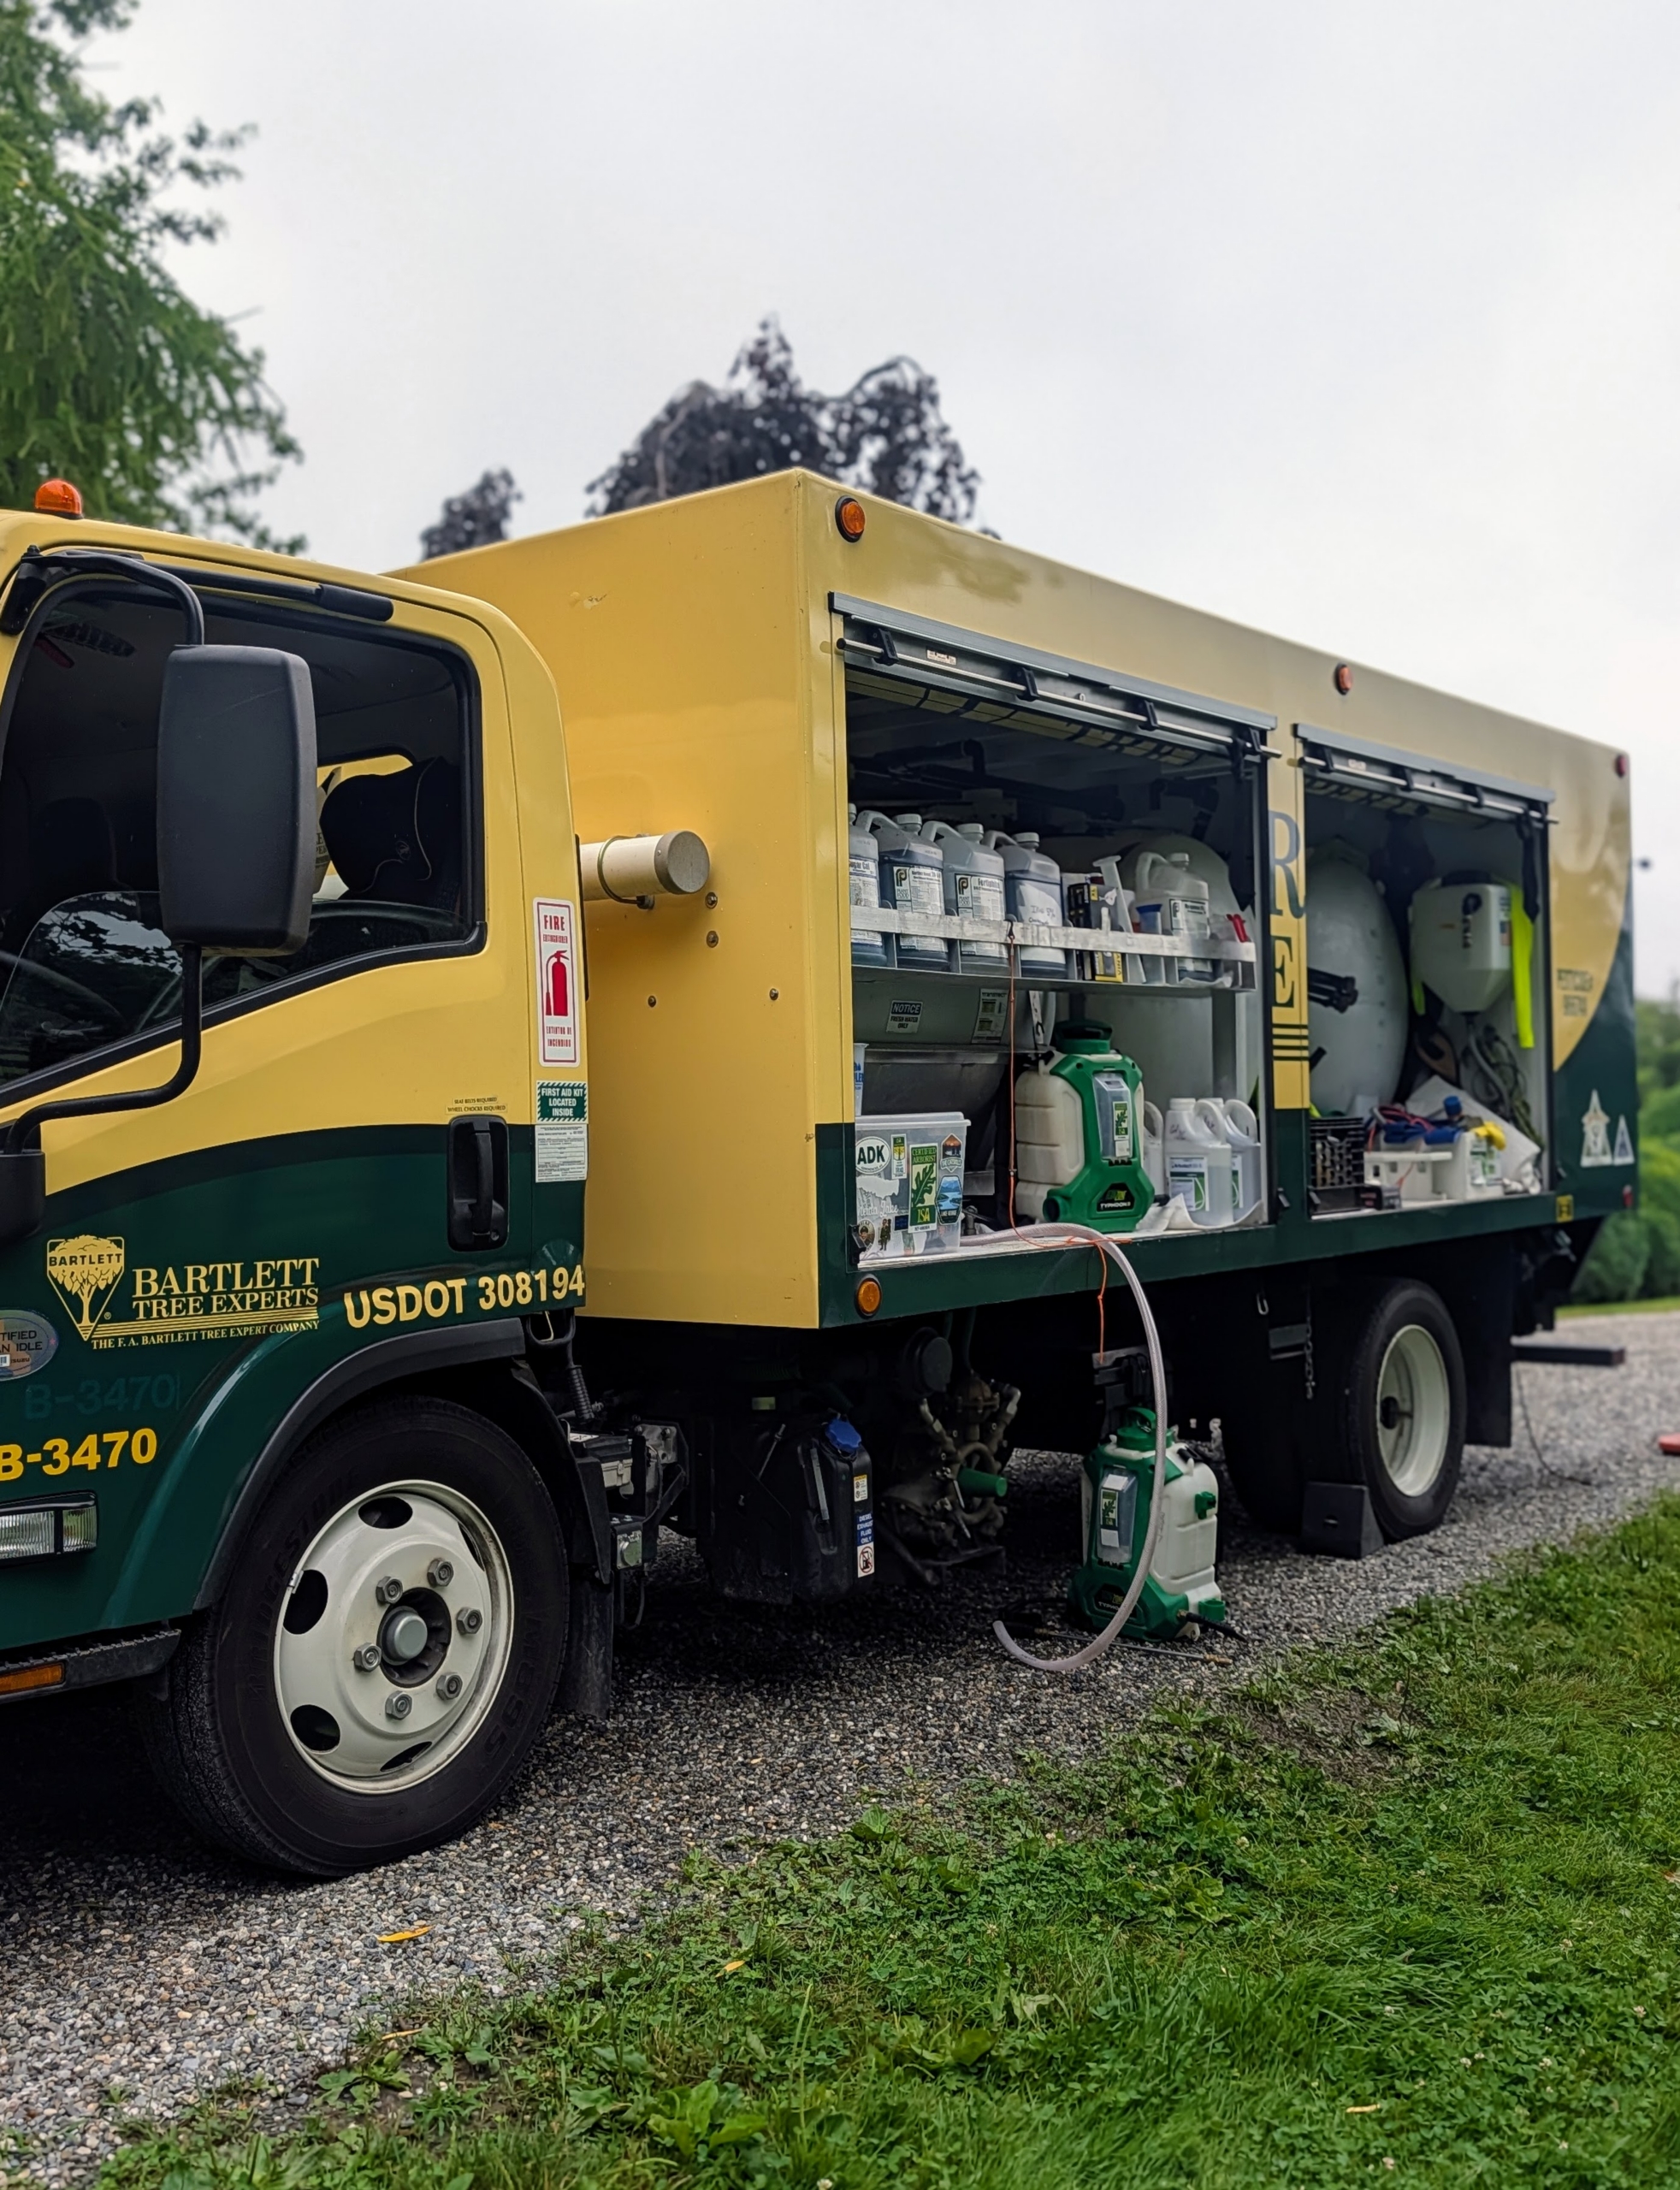
The Bartlett service truck is equipped with all the necessary solutions for treating a variety of tree issues.
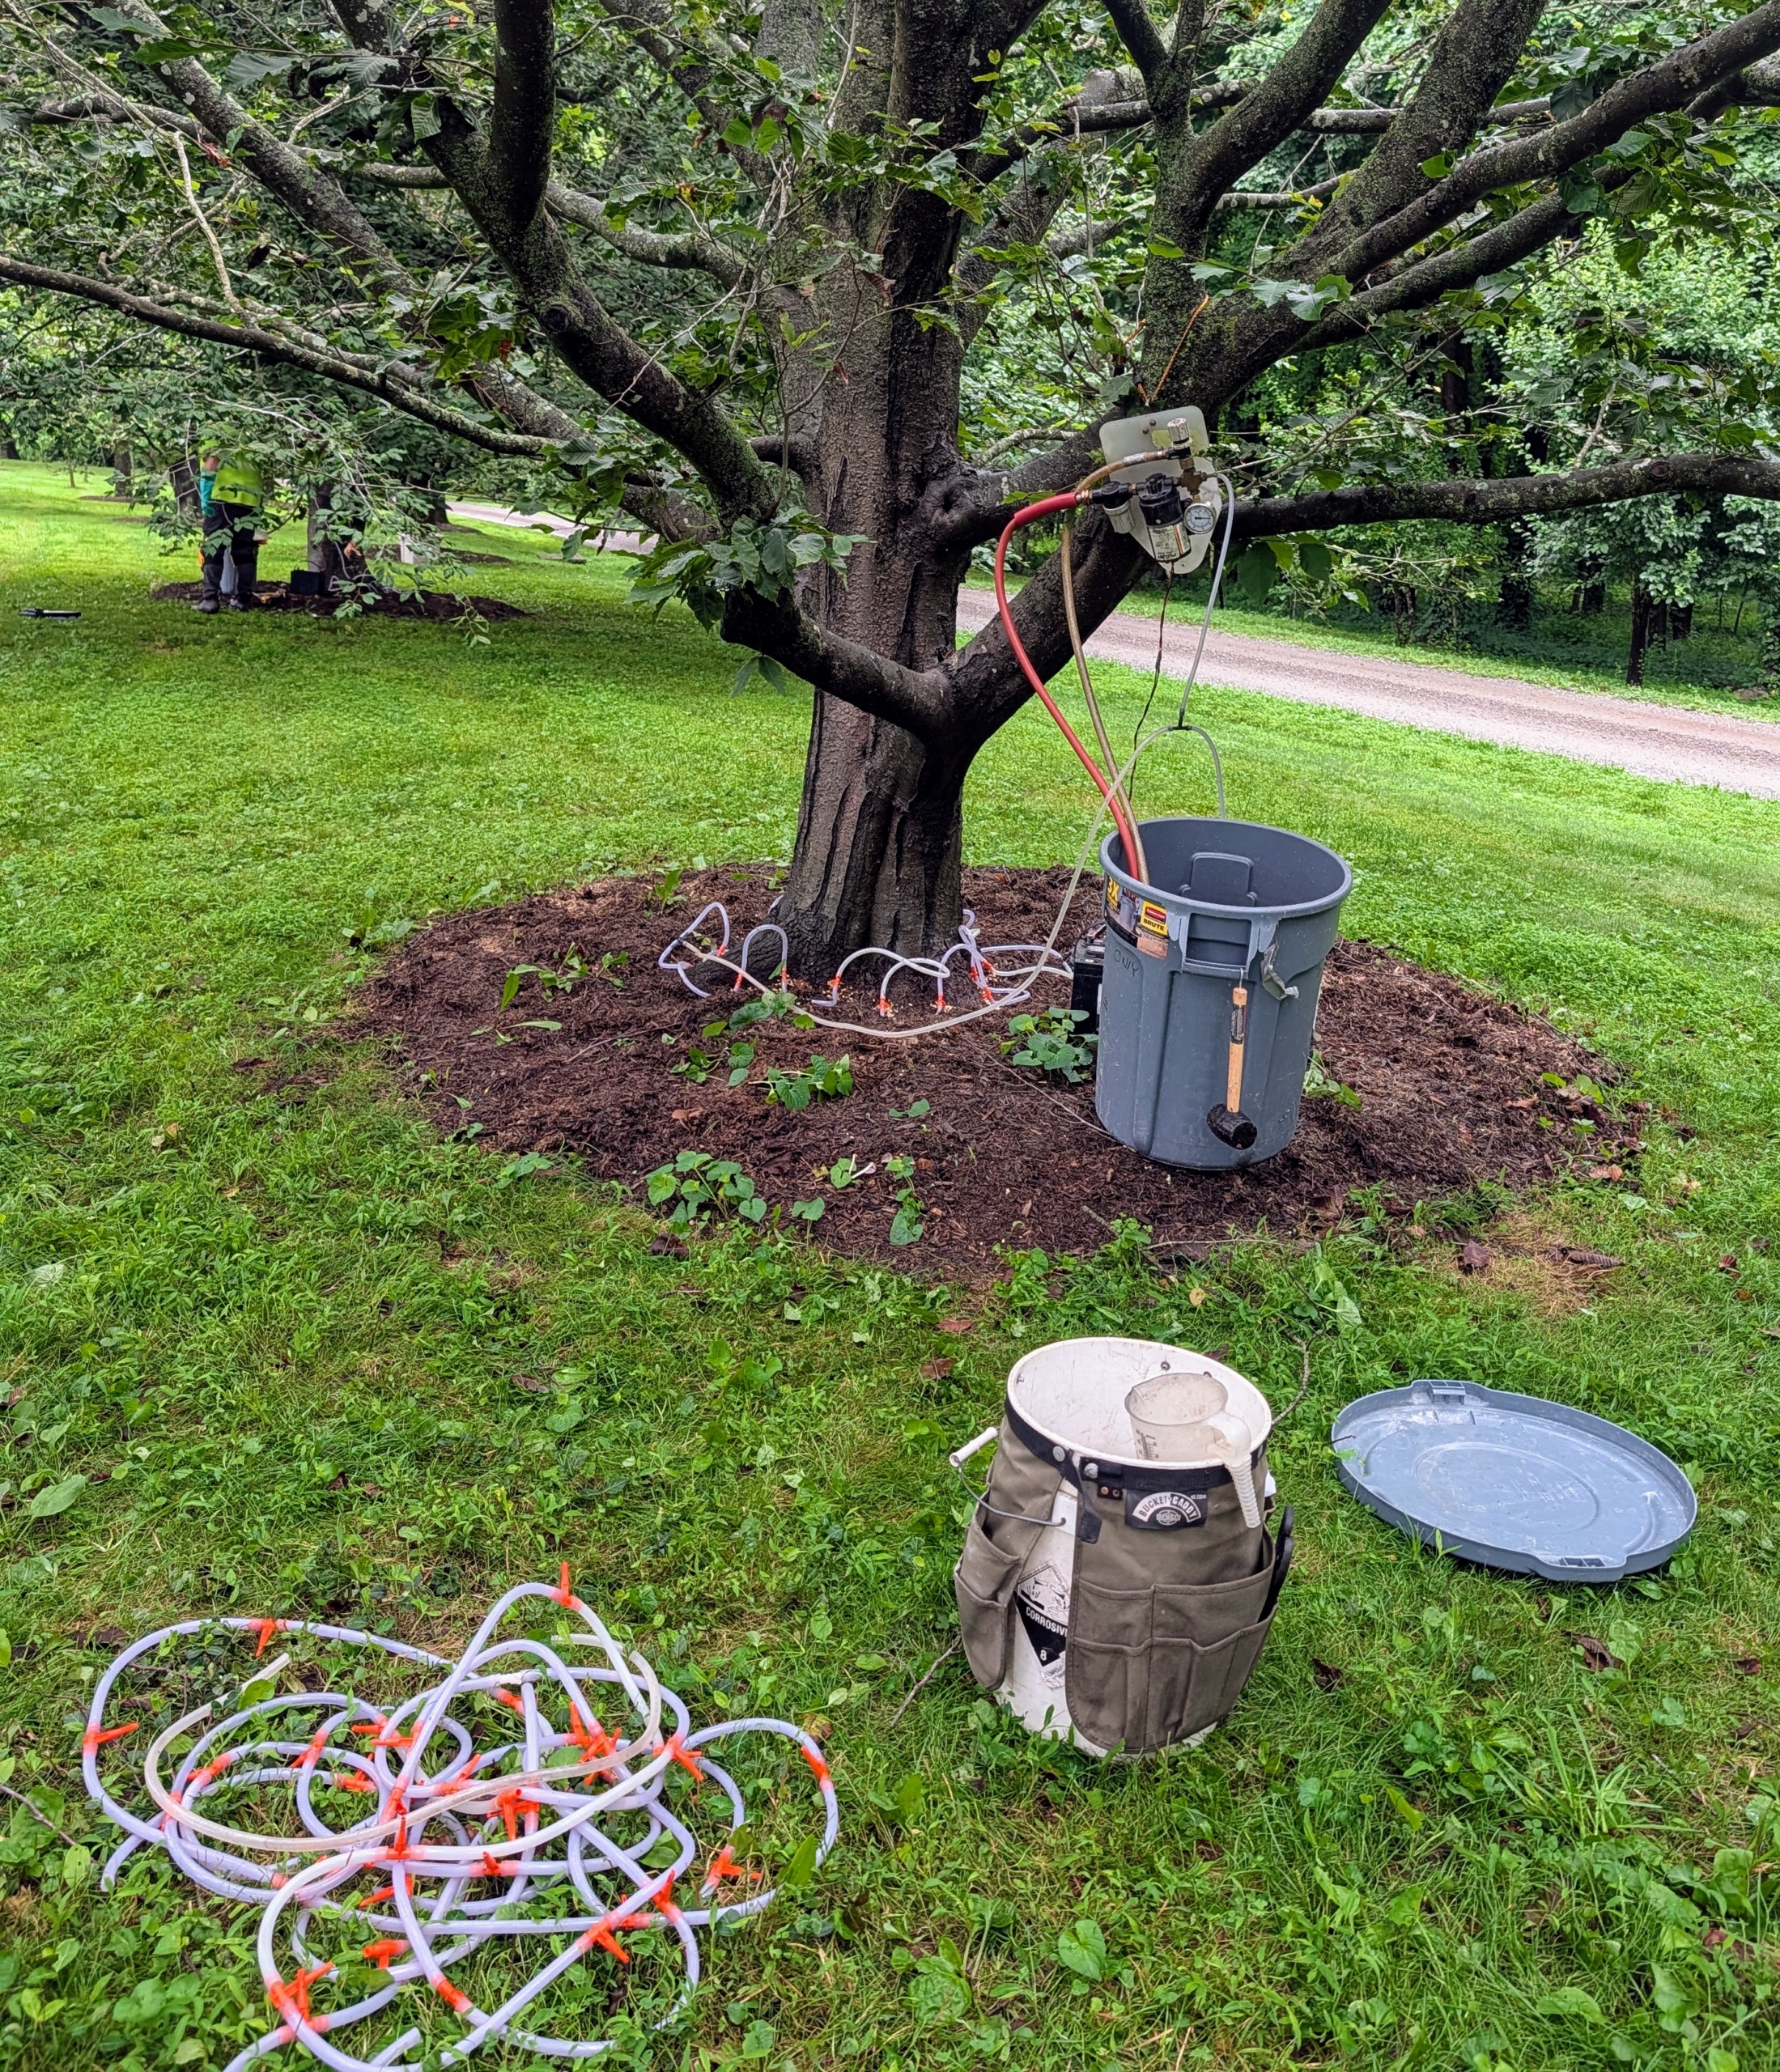
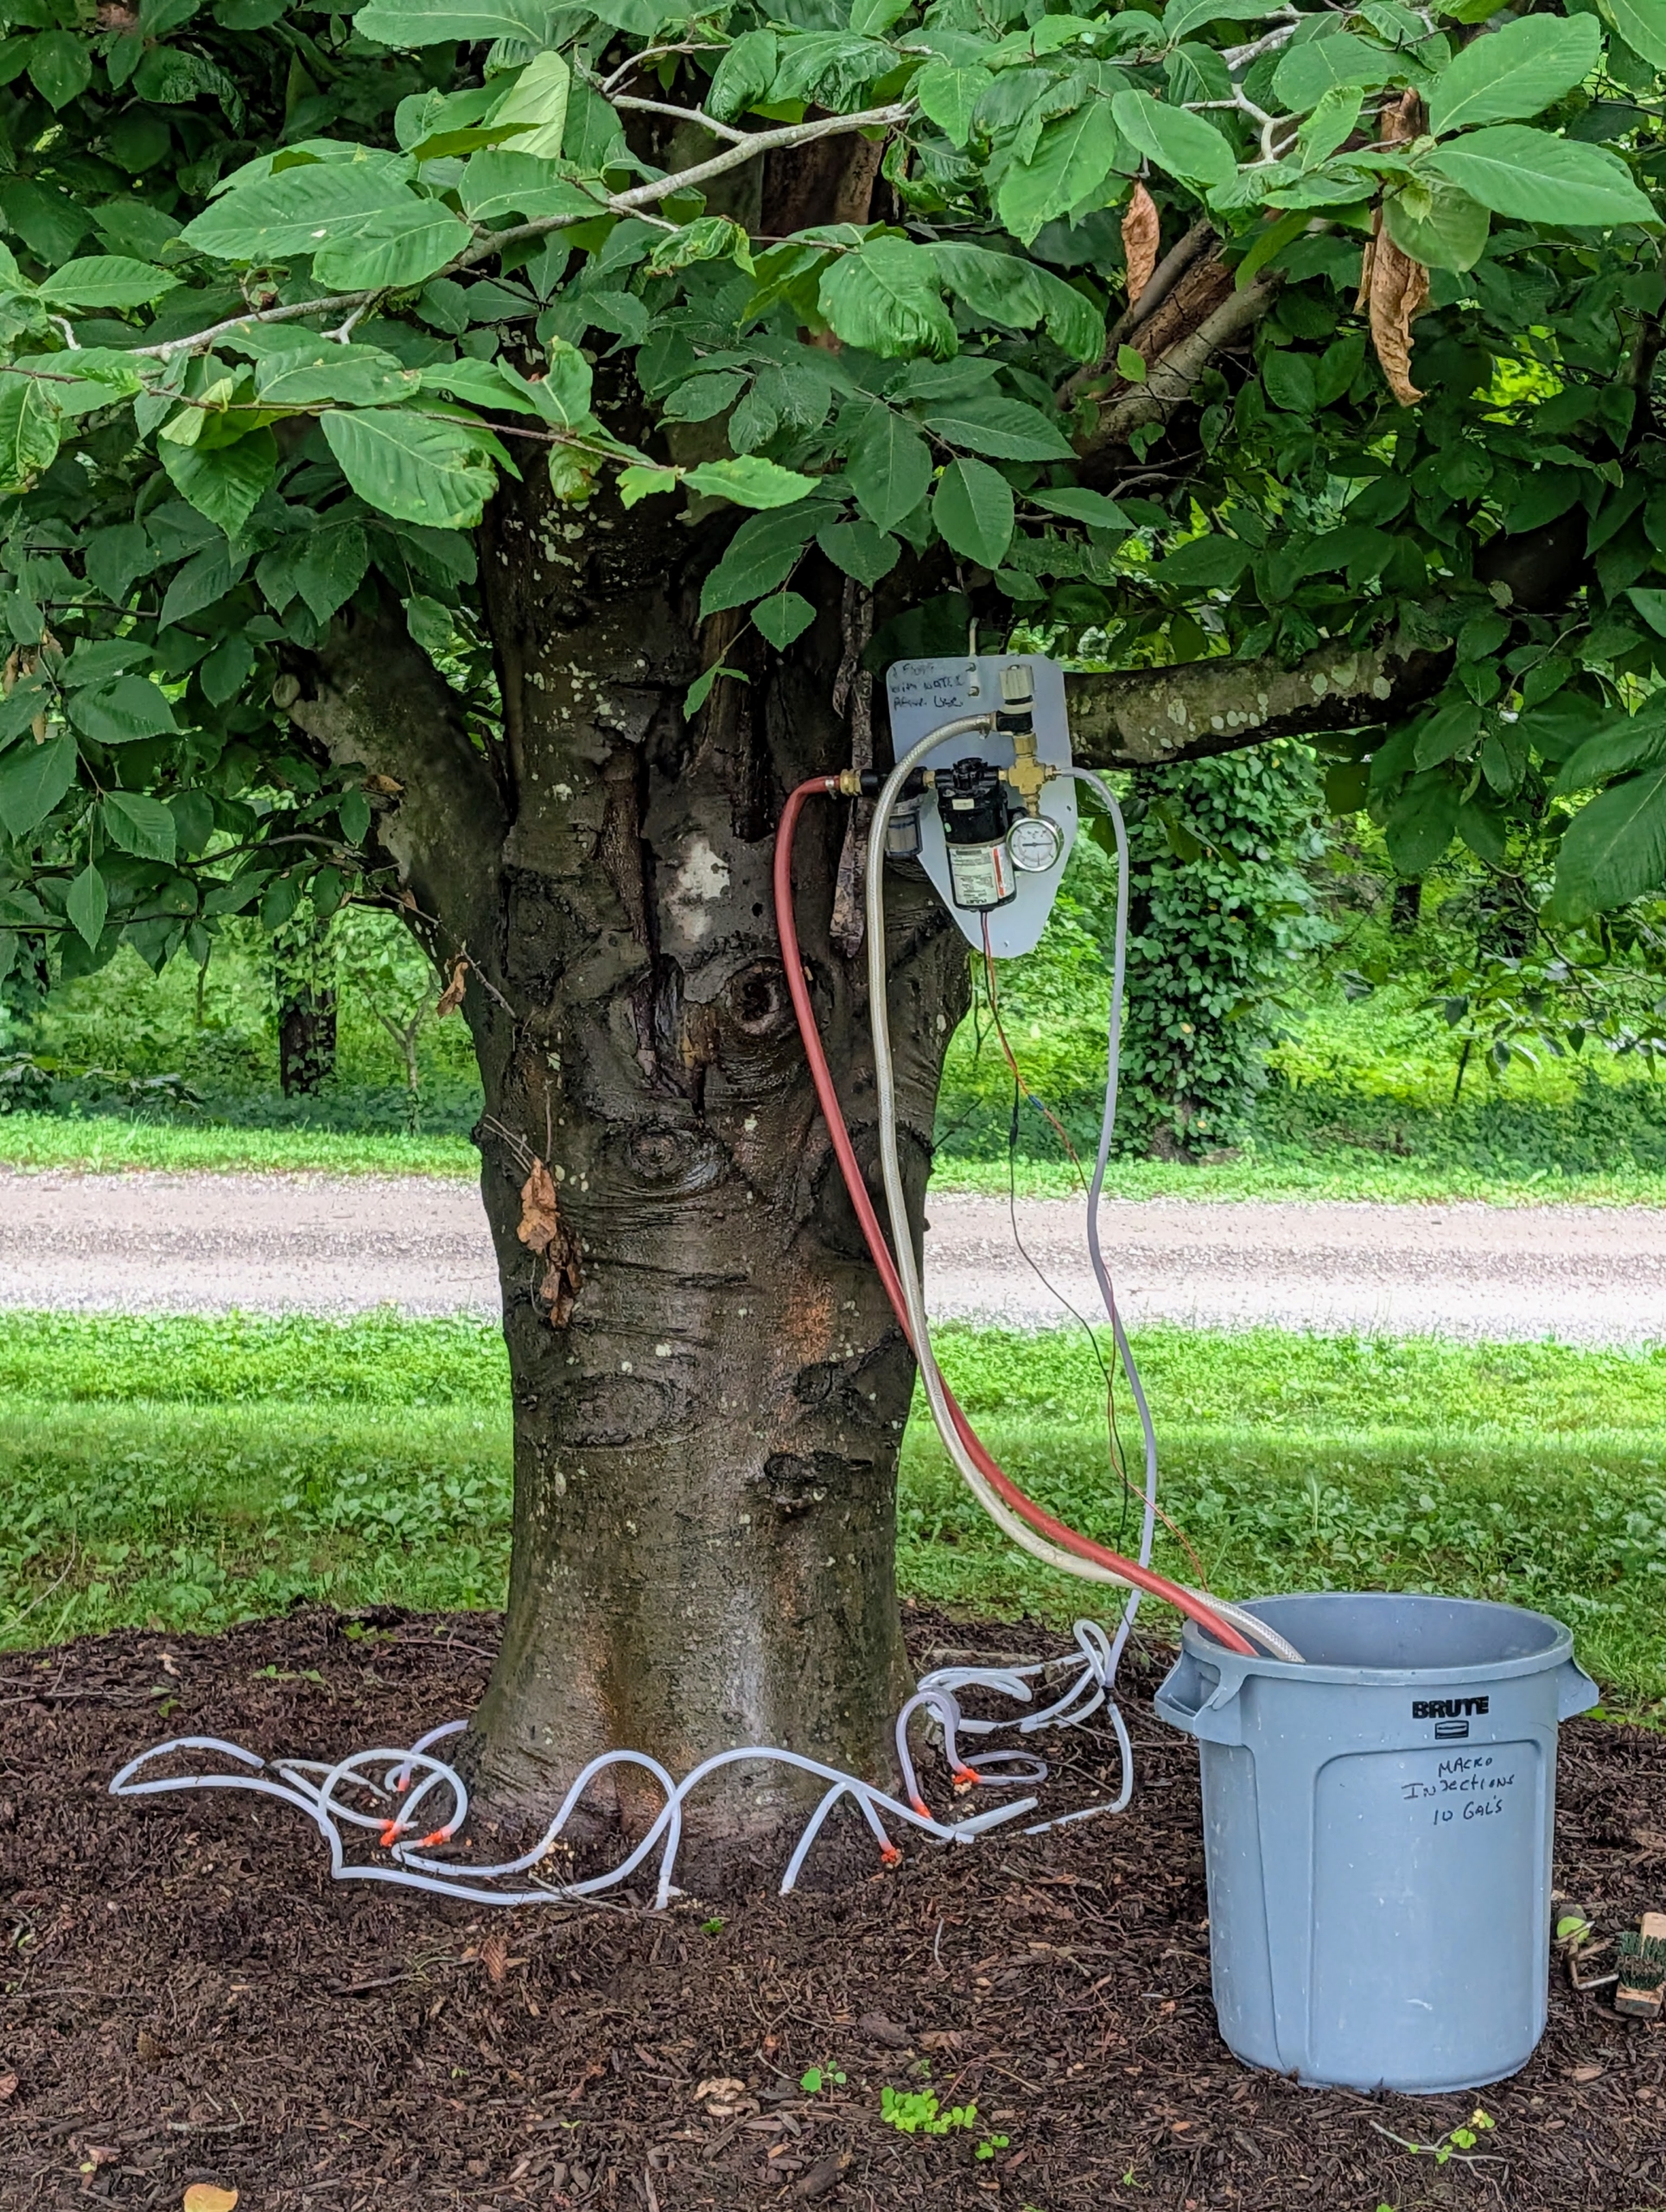
The program utilizes a macro injection treatment plan to help reduce the foliar-feeding nematode populations and minimize migration into developing vegetative buds. Research shows that one injection application can suppress the leaf disease for at least two seasons.
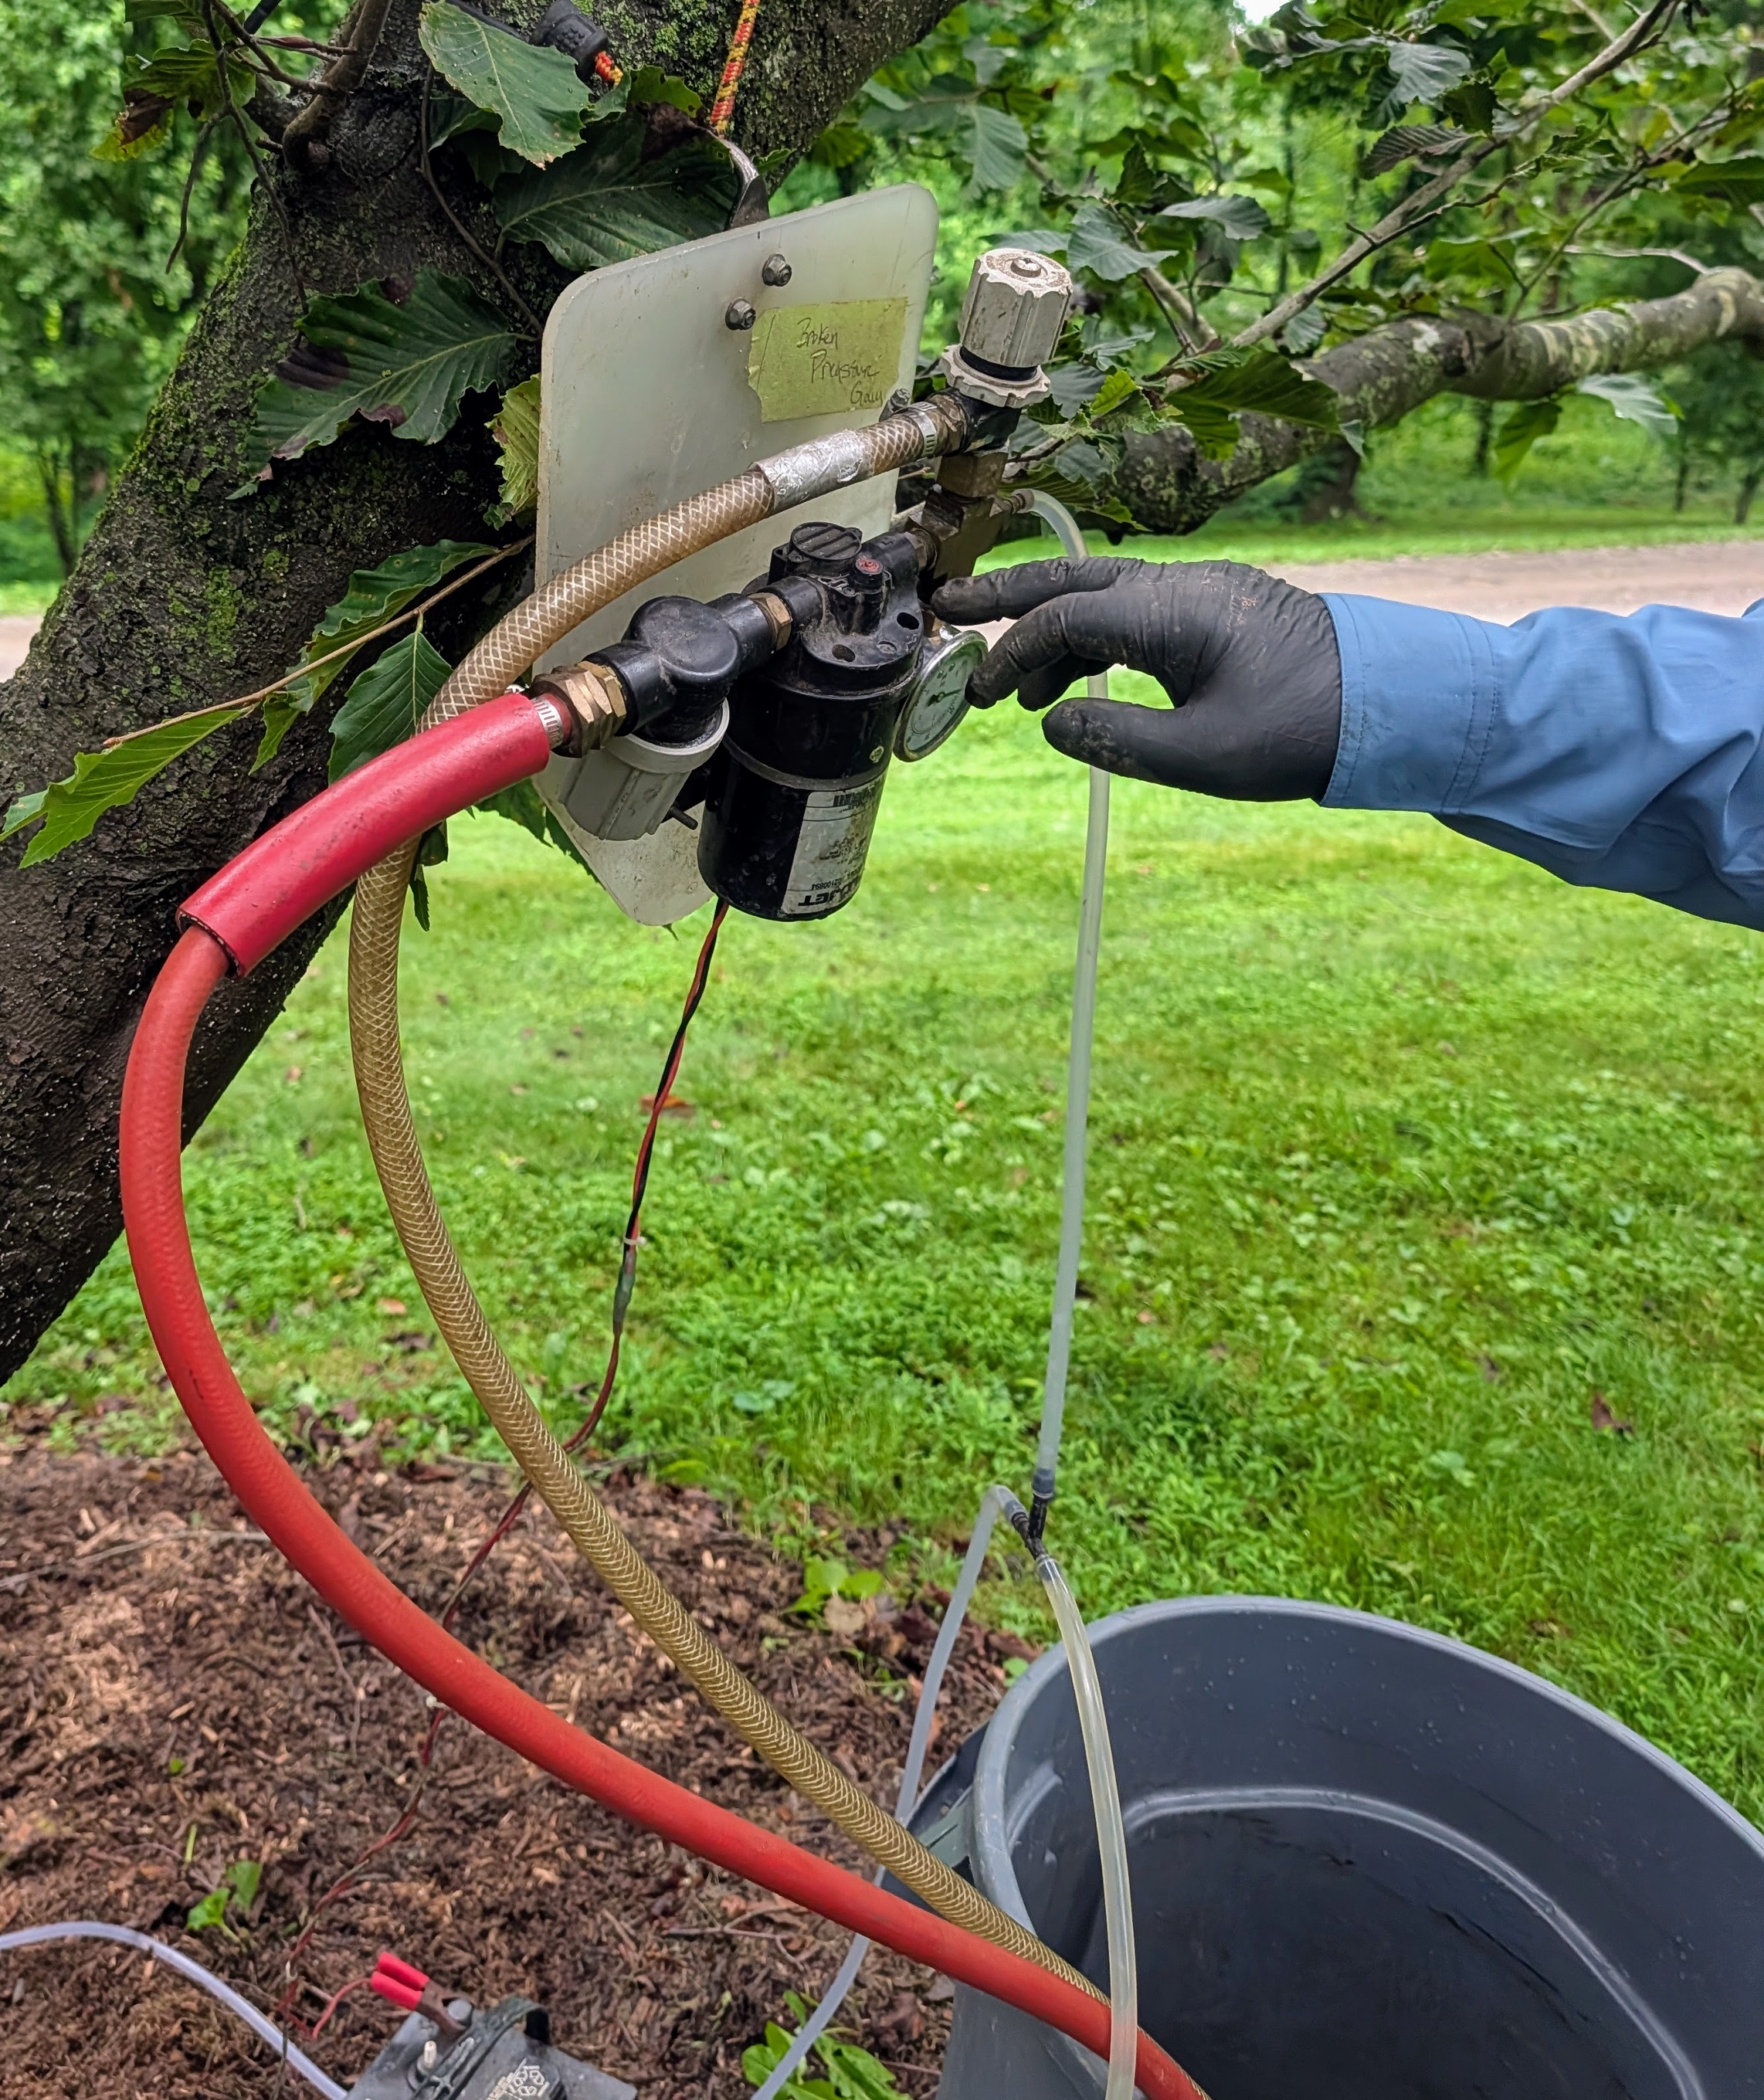
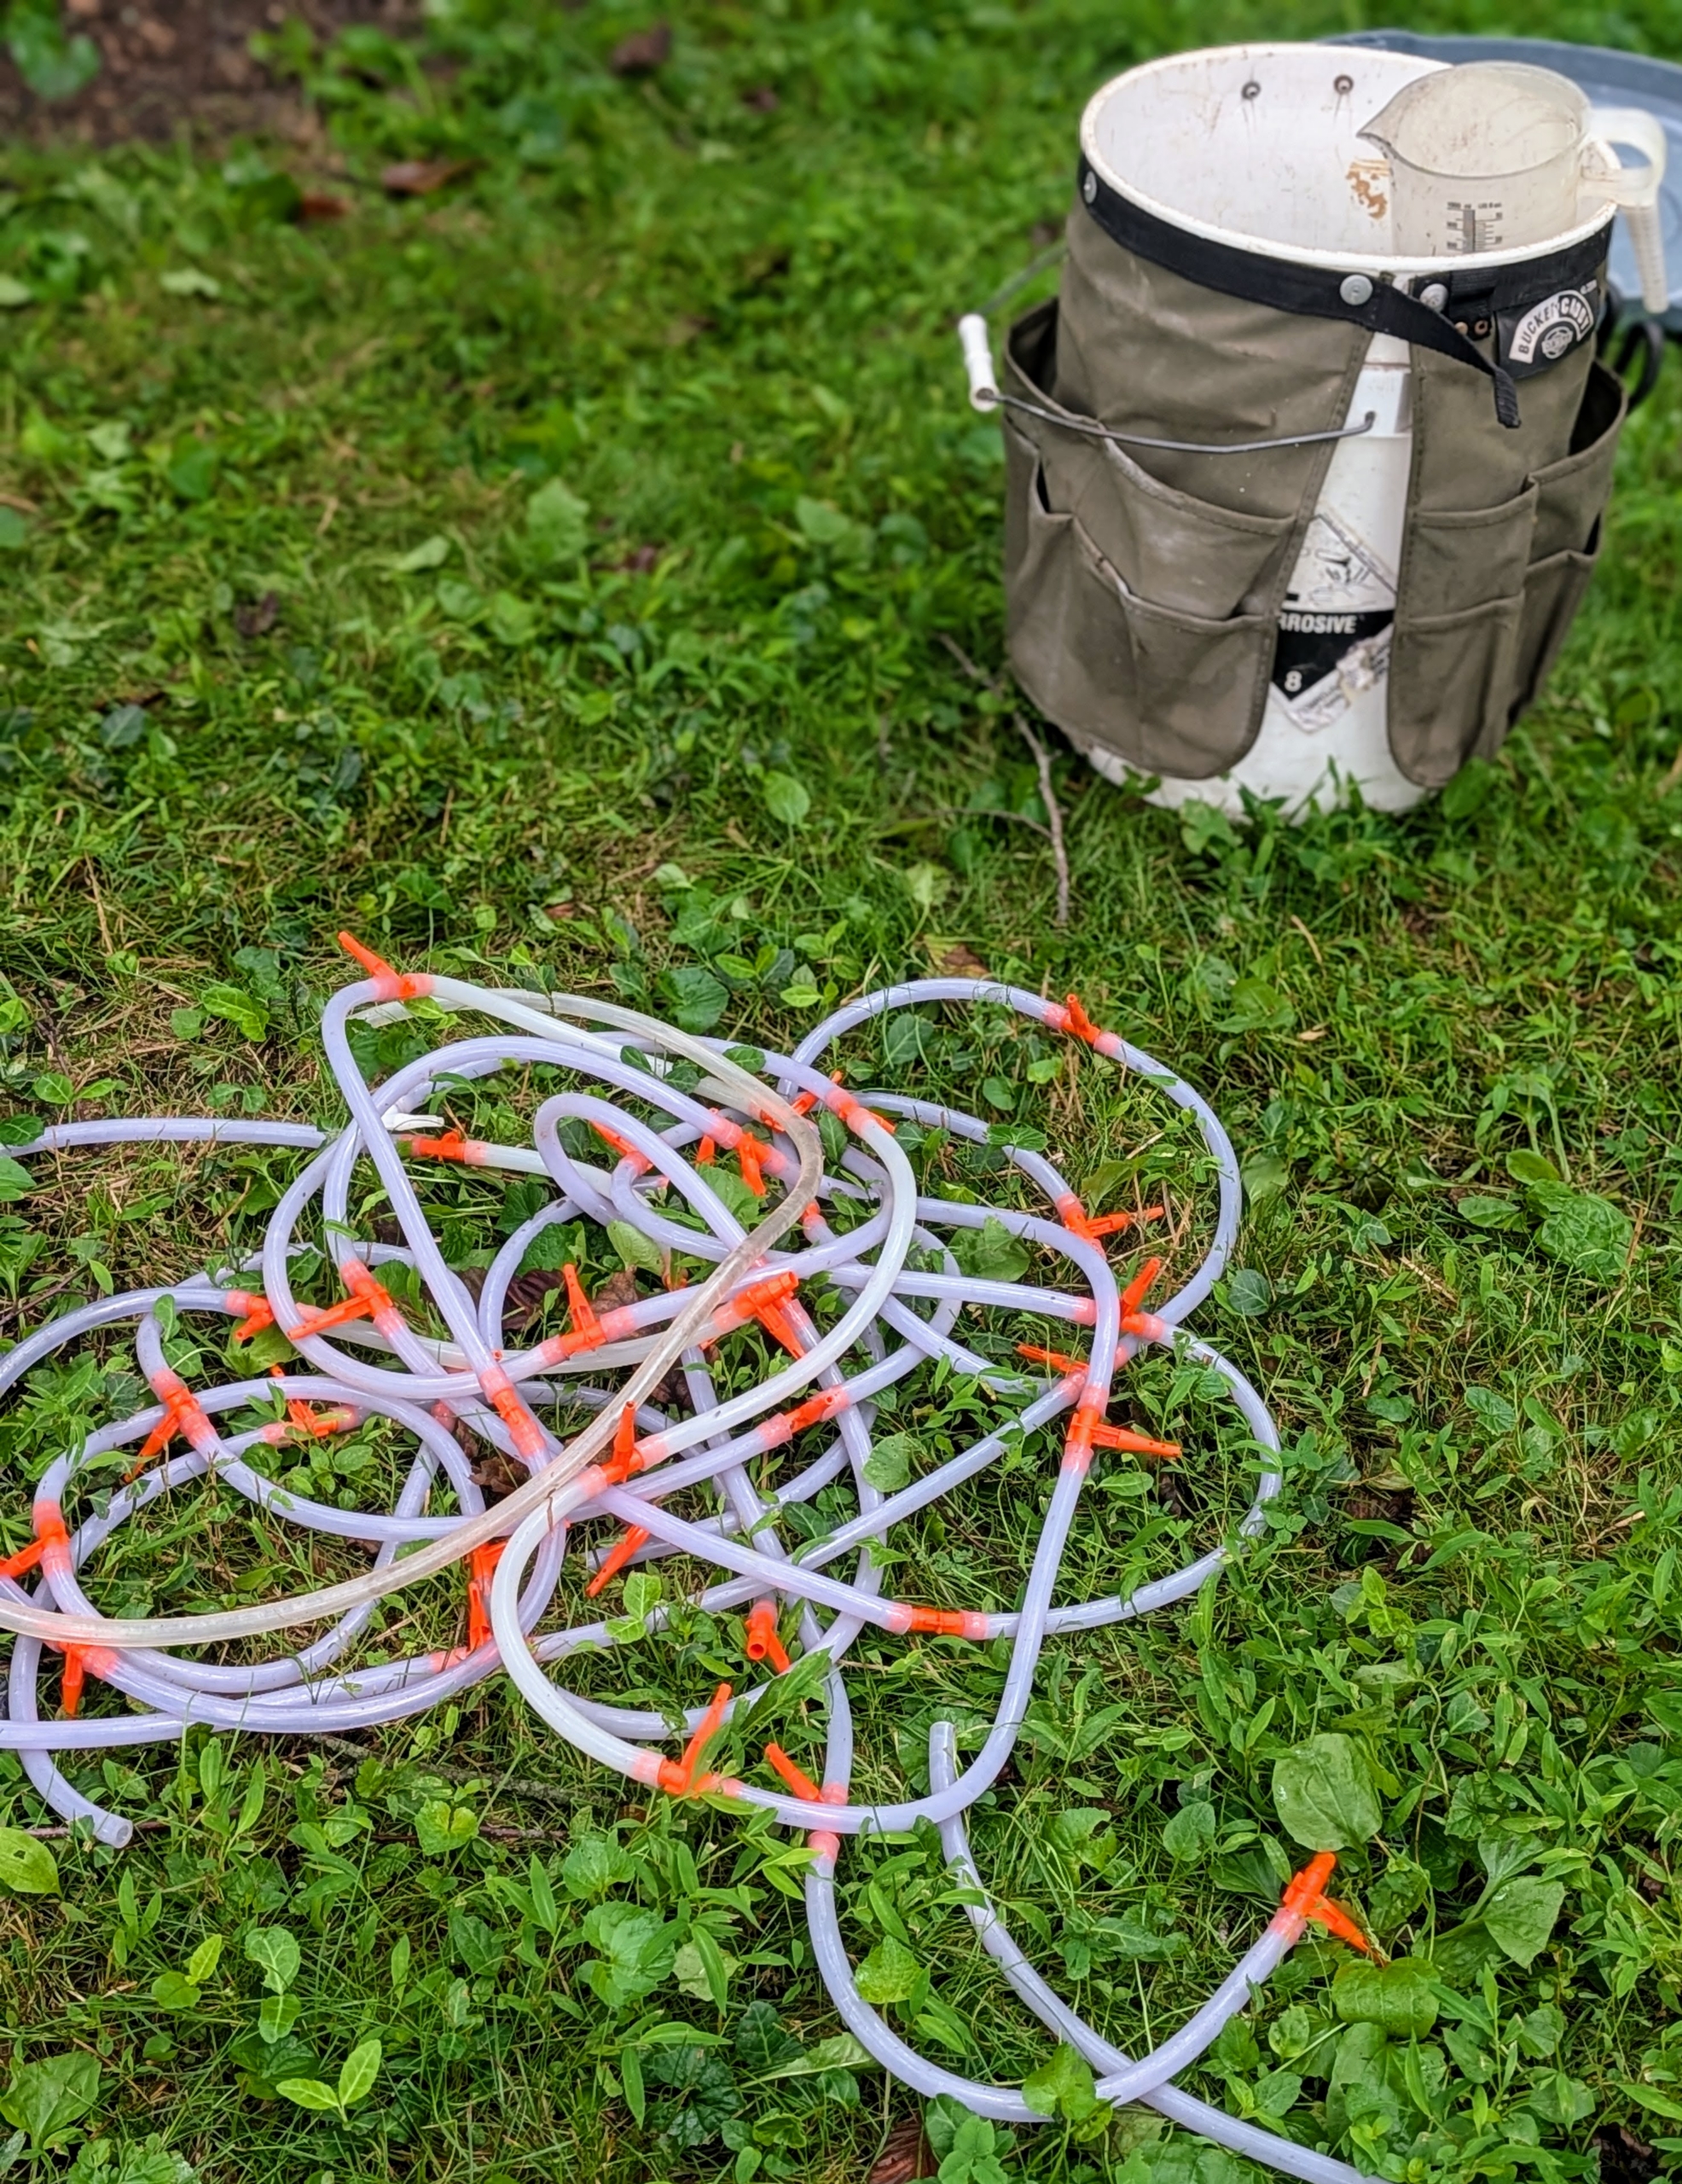
The solution is injected into the root system through small hoses.
My farm got some good rain during the week before this application, so the uptake is faster than usual – the soil is already well hydrated.
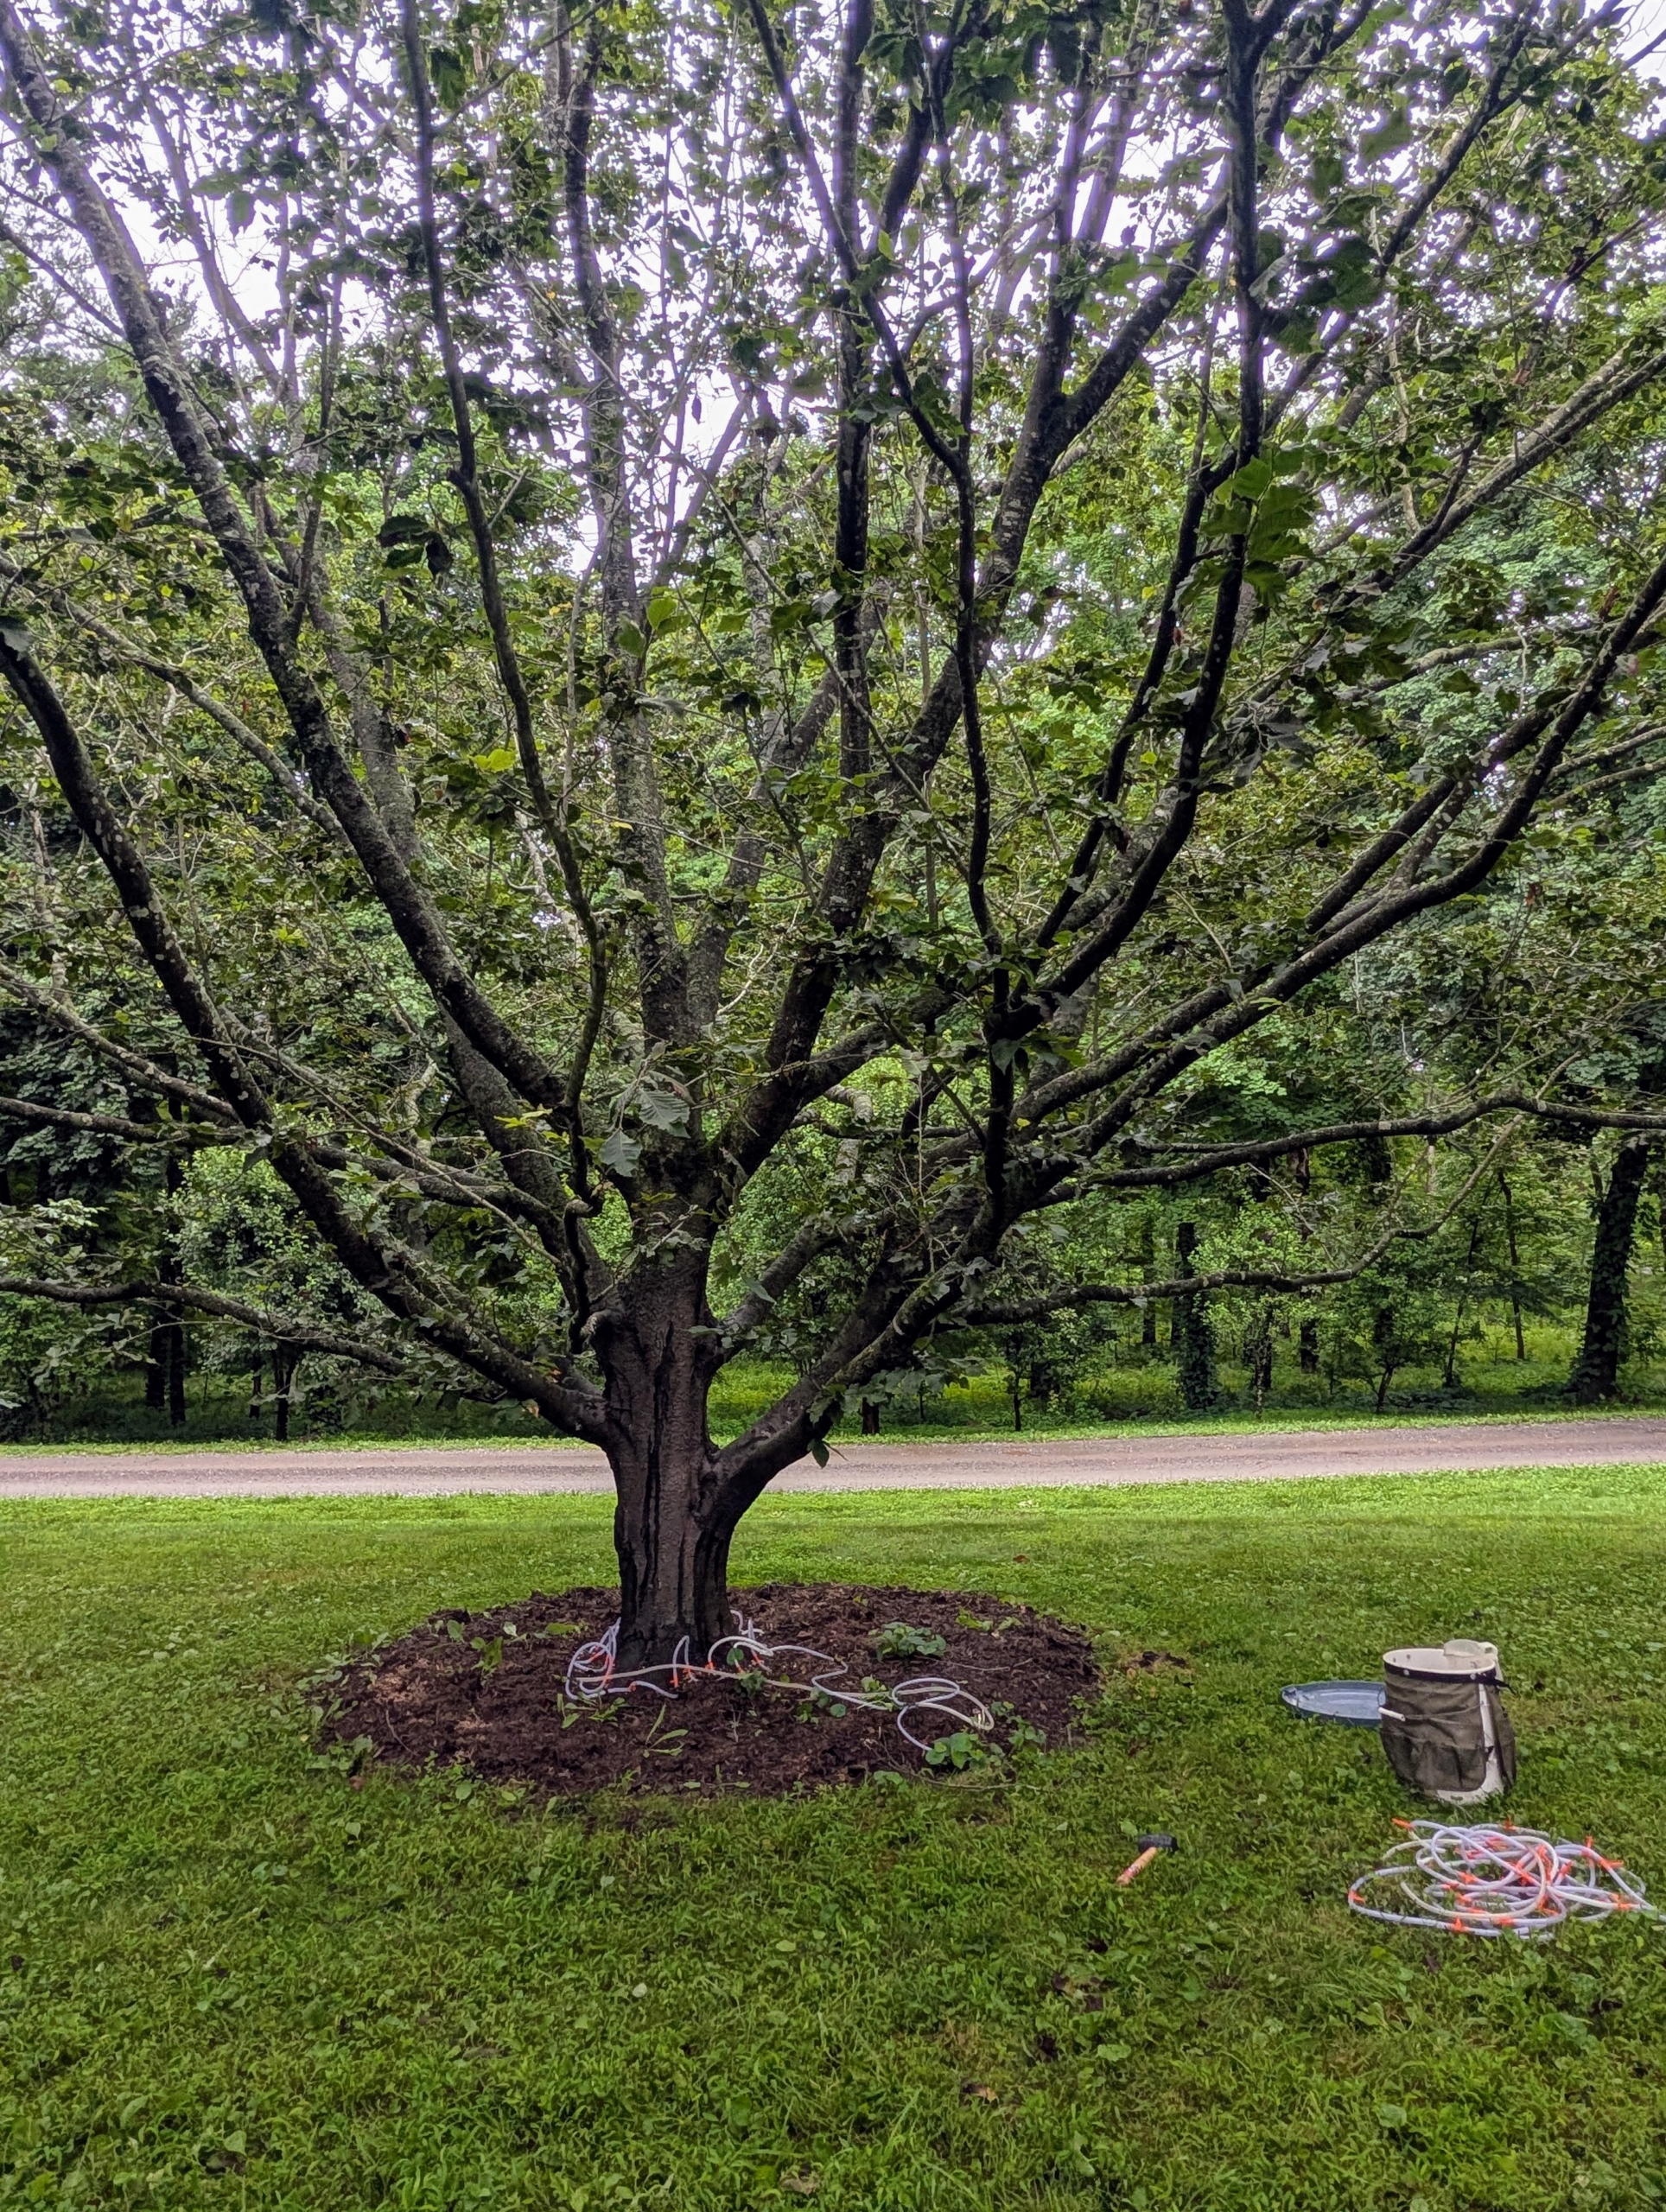
The team is able to do several trees at once, keeping a close eye on all the systems.
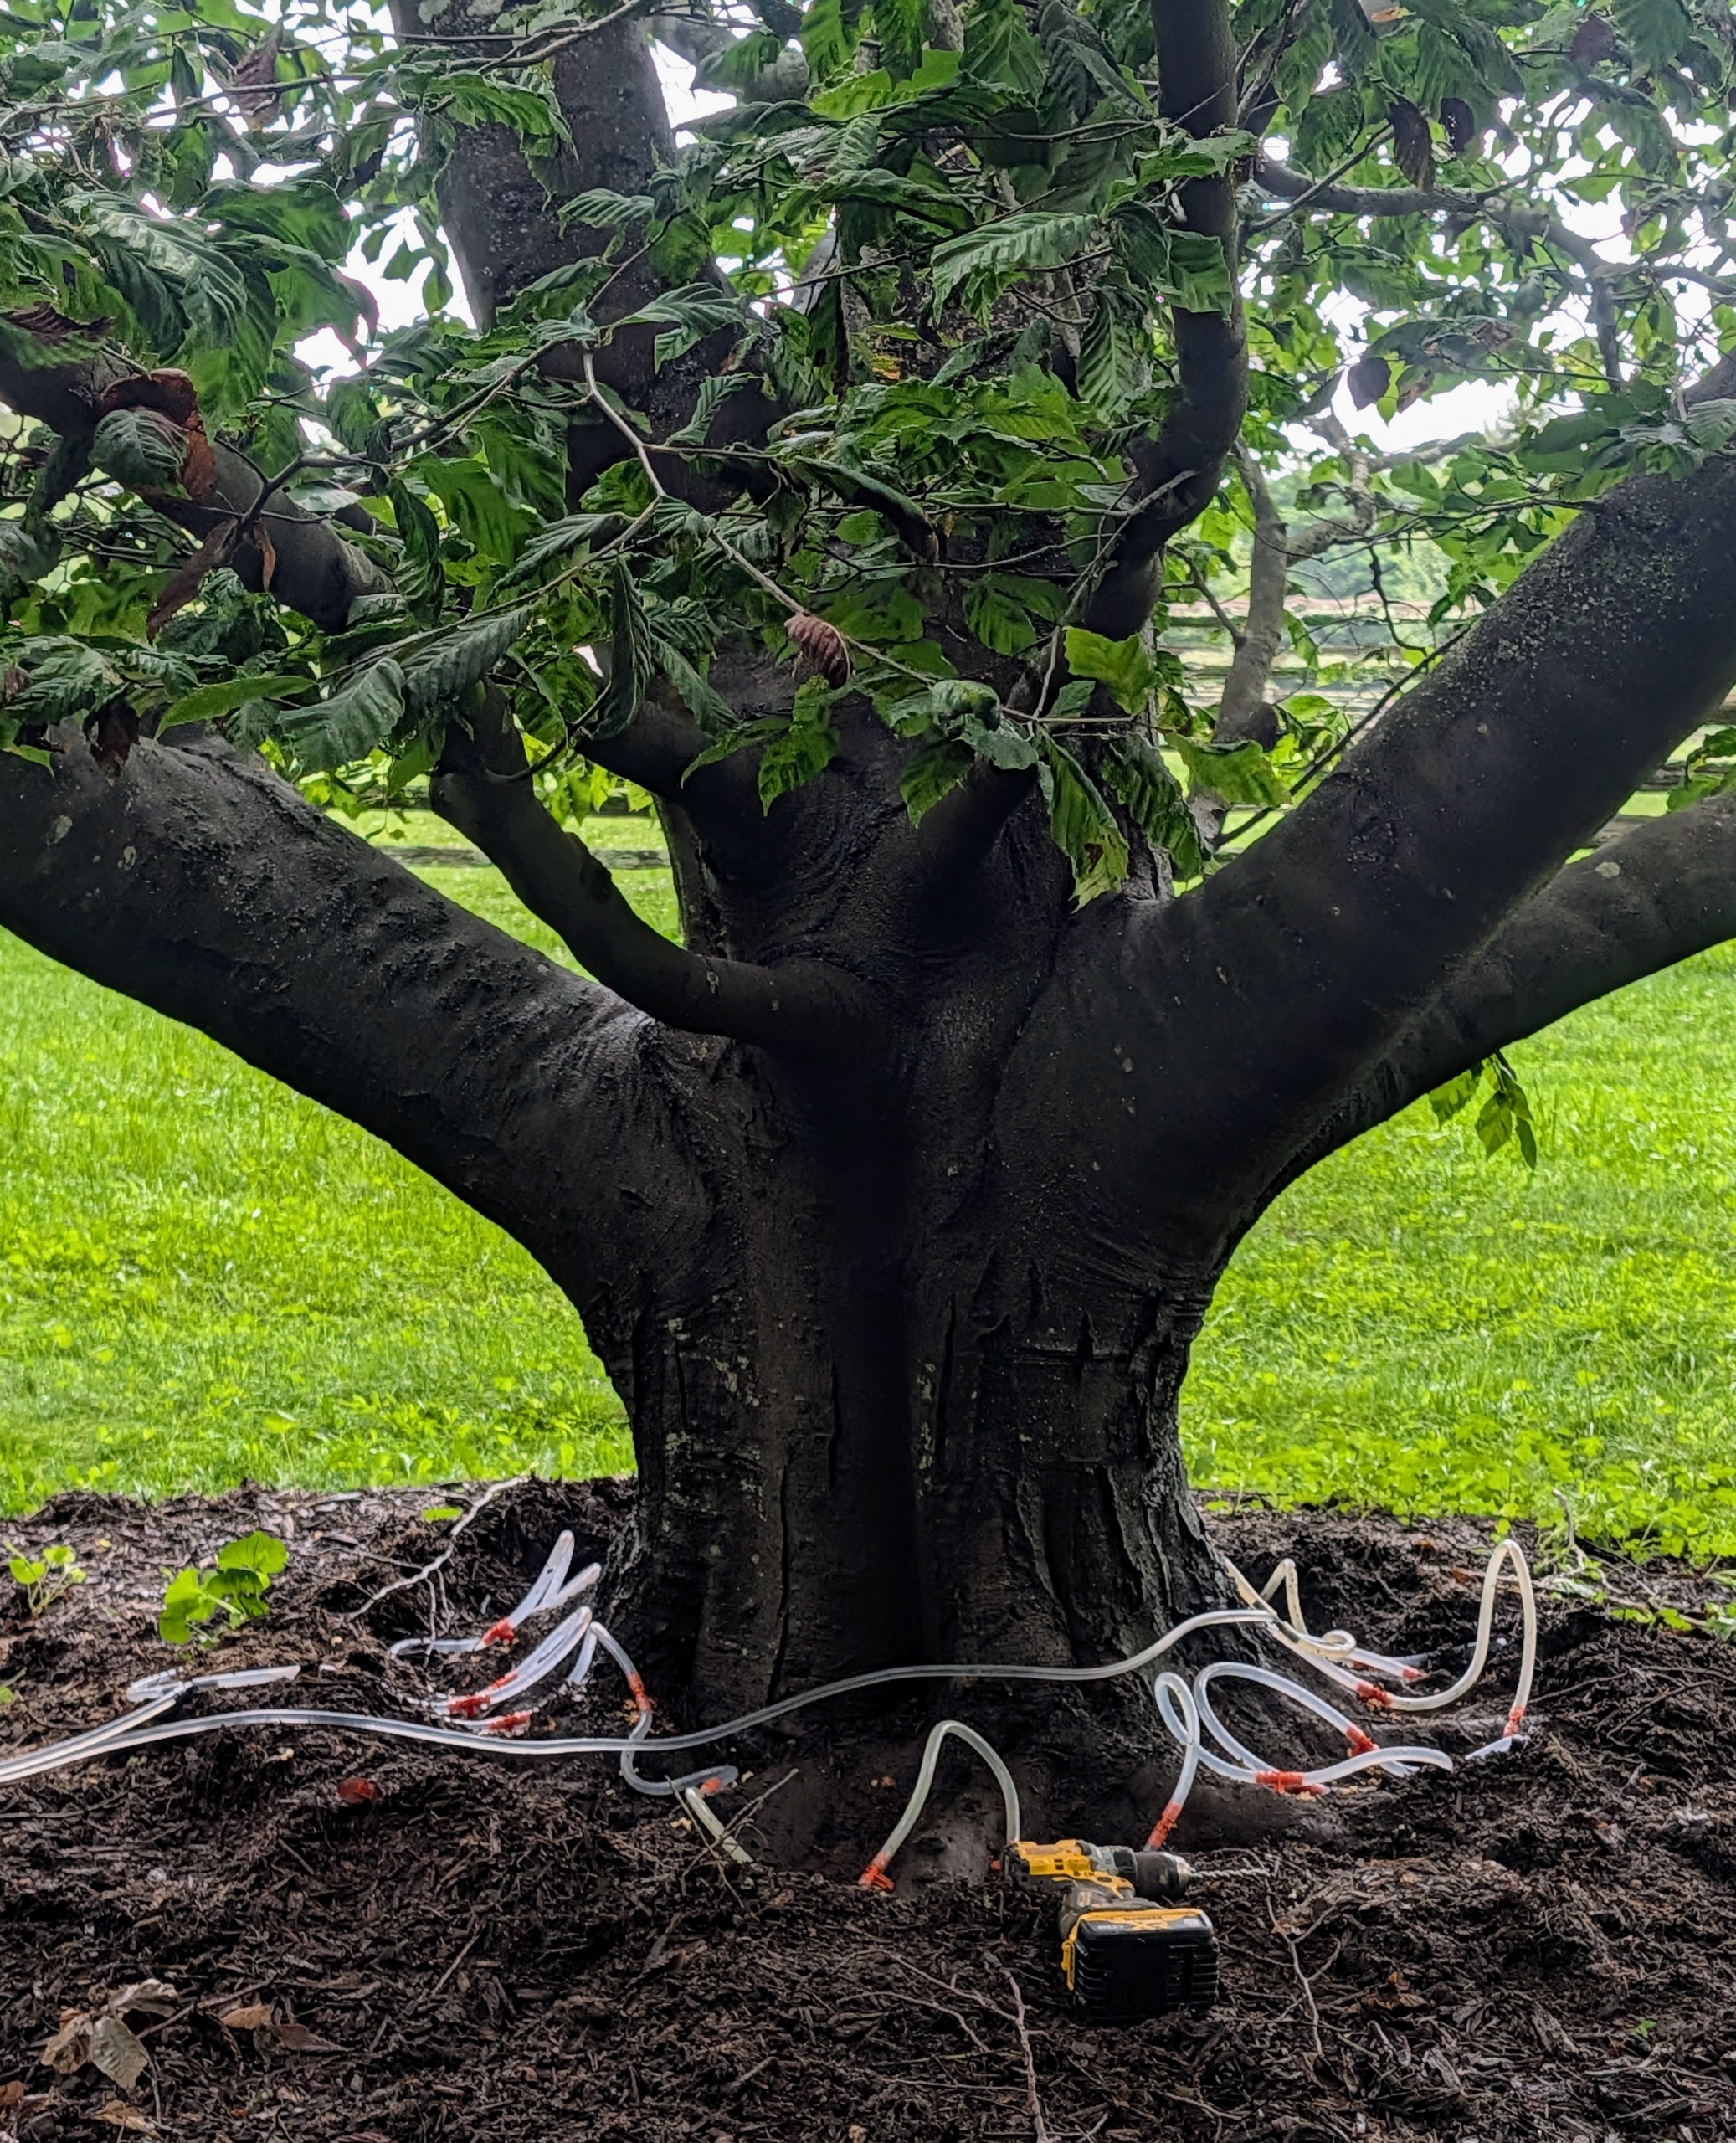
Here is a view of a tree going through its injection treatment. This process takes about an hour per tree.
And here is another tree going through the same process. The uptake distributes the solution throughout the trunk and canopy and then to the leaf structures.
The injection plugs are not big. They are pushed into the soil less than an inch deep.
And program timing is crucial to catch the nematodes at the best stage of life development for significant suppression. It’s important to use the macro root flare injection program by mid-summer. If timing is missed, it’s advised to wait until the following season.
I do my very best to take care of all my trees – feeding them regularly and providing nutrient-rich soil. I’m hopeful this, along with the Bartlett macro root flare injection program, will help my affected beech trees heal and thrive here at the farm. If you’re unsure about the beech trees in your yard, look for the Bartlett Tree Experts.
I am always on the lookout for new and unusual houseplants to add to my collection.
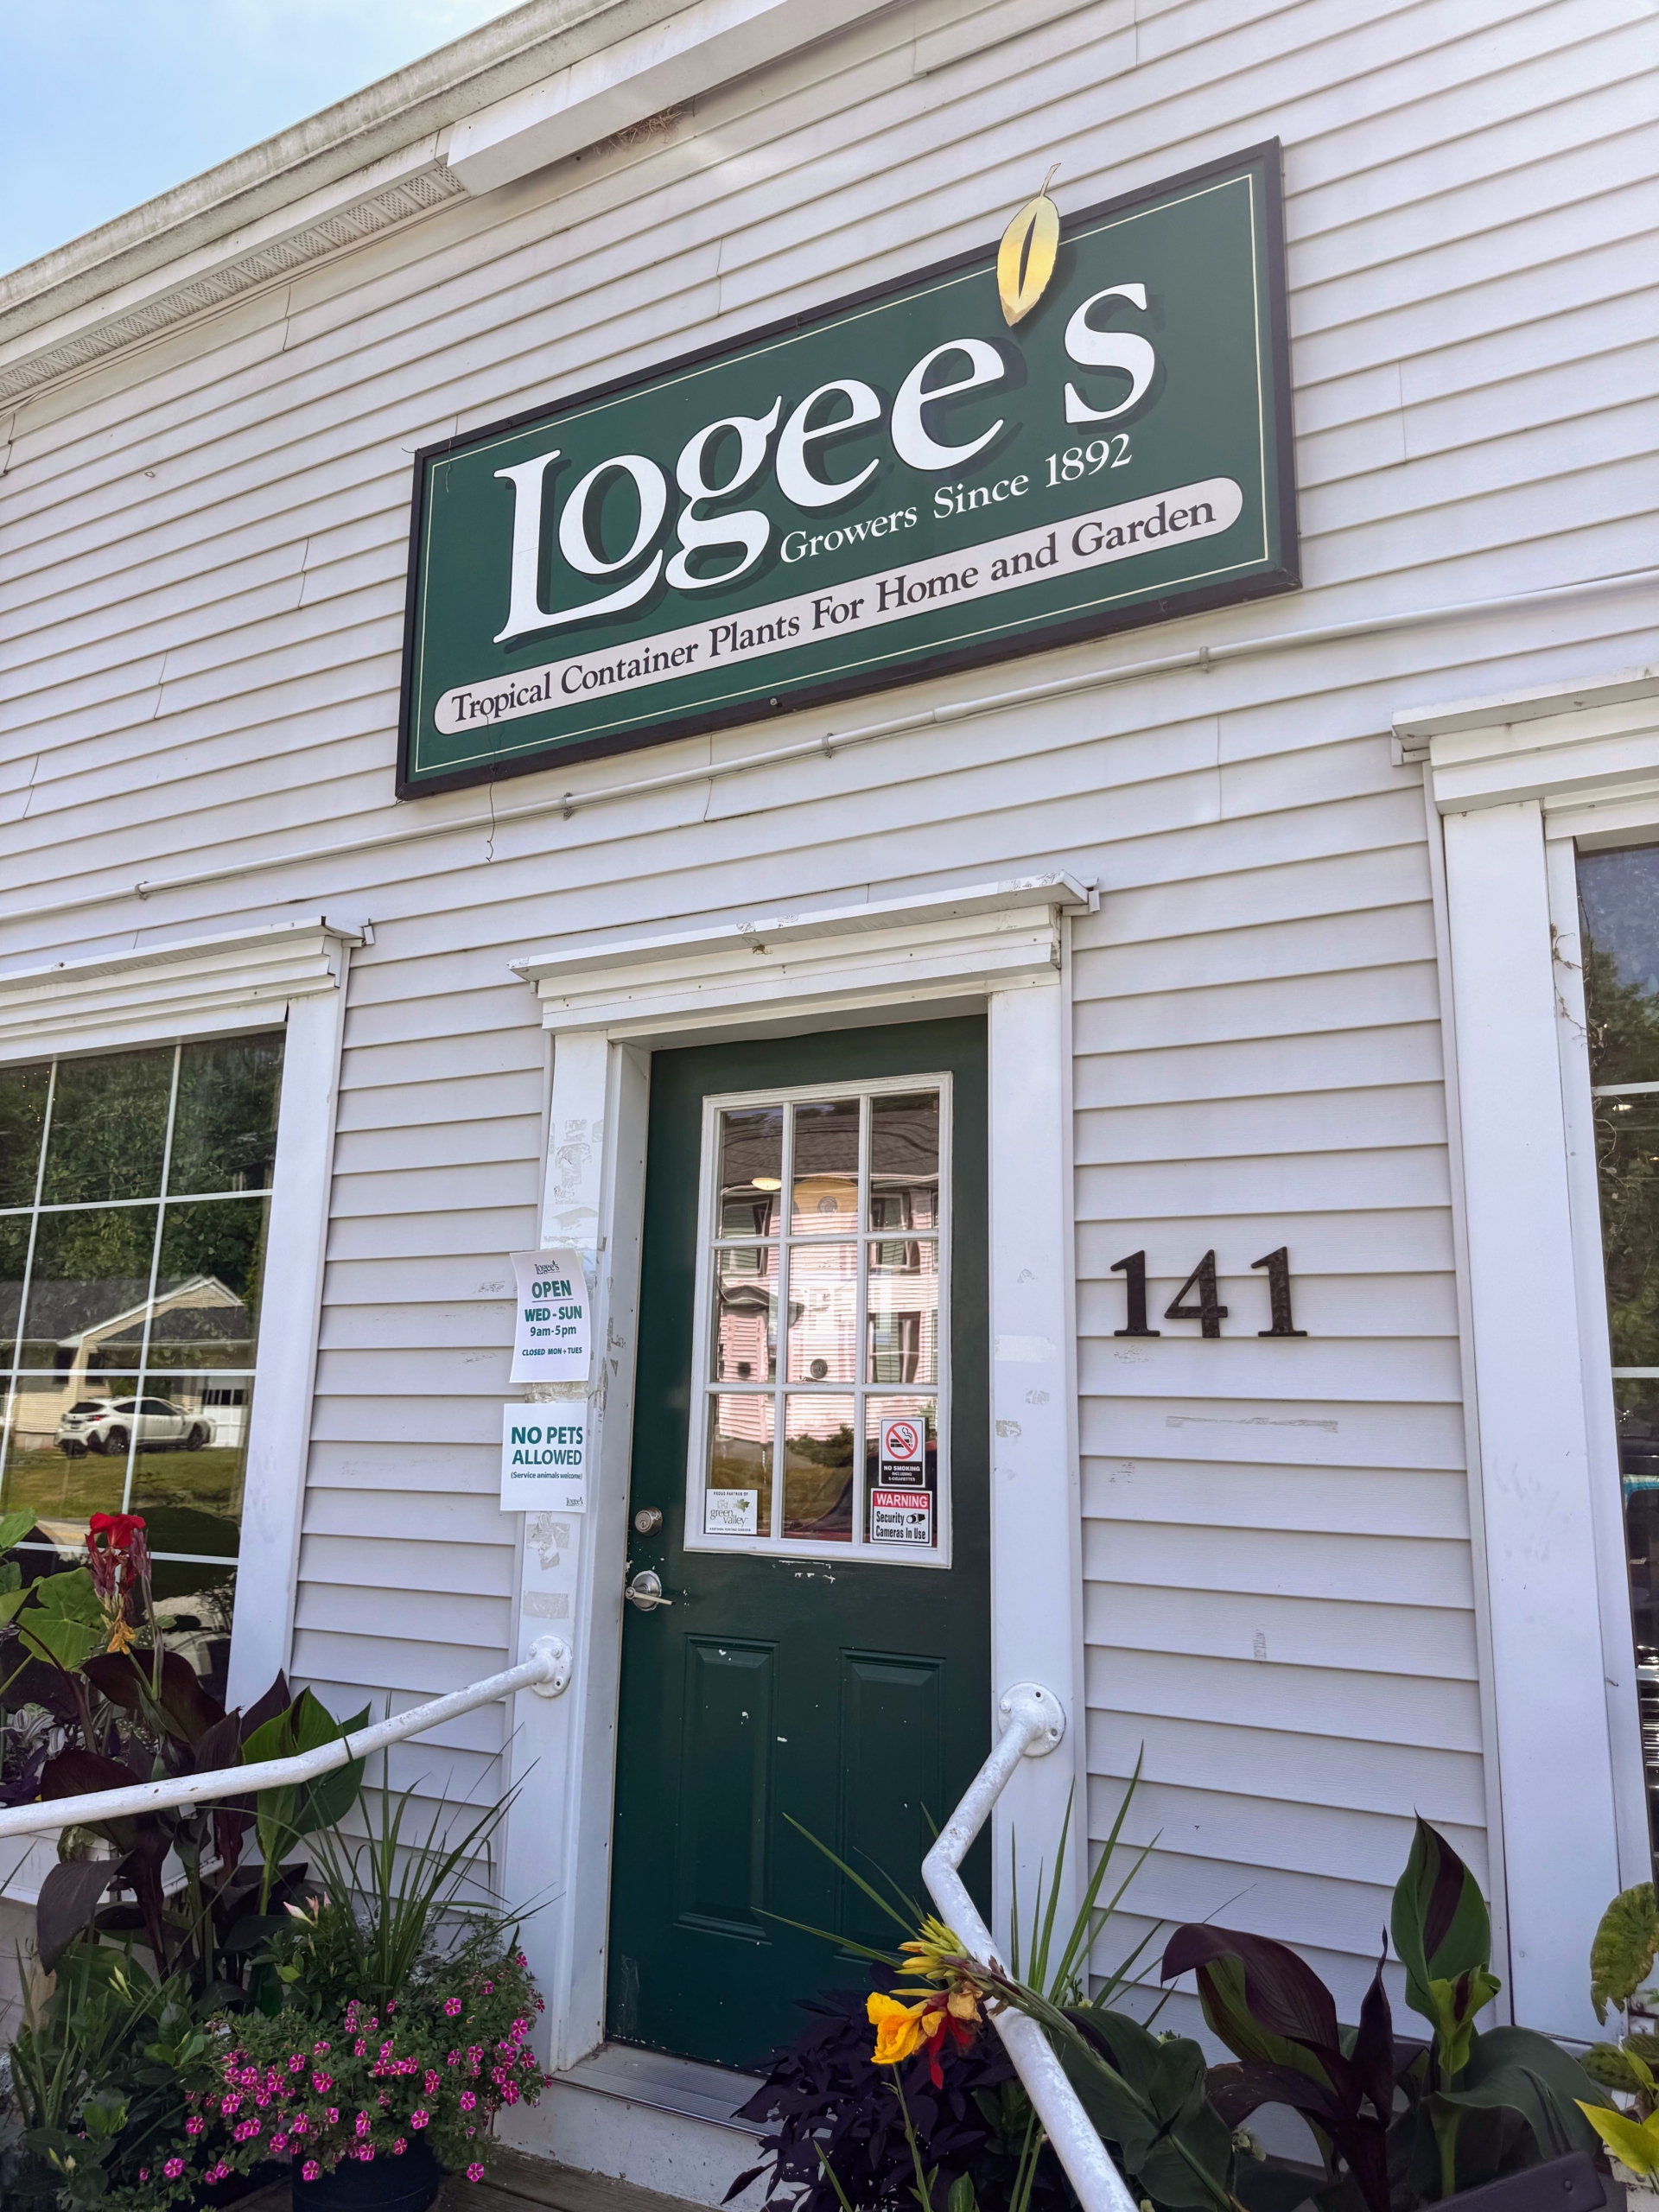
Earlier this week, during a business day trip to Northeastern Connecticut, I made a stop at Logee’s Tropical Container Plants for Home & Garden in Danielson - one of my favorite sources for tropical specimens. Logee’s was founded in 1892 by William D. Logee. He started the business as a cut-flower shop and then expanded it to include tropical container plants. Over time, Logee’s became well known for its hybridizing achievements in the world of begonias. Today, Logee’s is owned and operated by Williams’s grandson, Byron Martin, and his business partner, Laurelynn Martin. The nursery's extensive inventory offers more than 500 types of fruiting, rare, and tropical specimens.
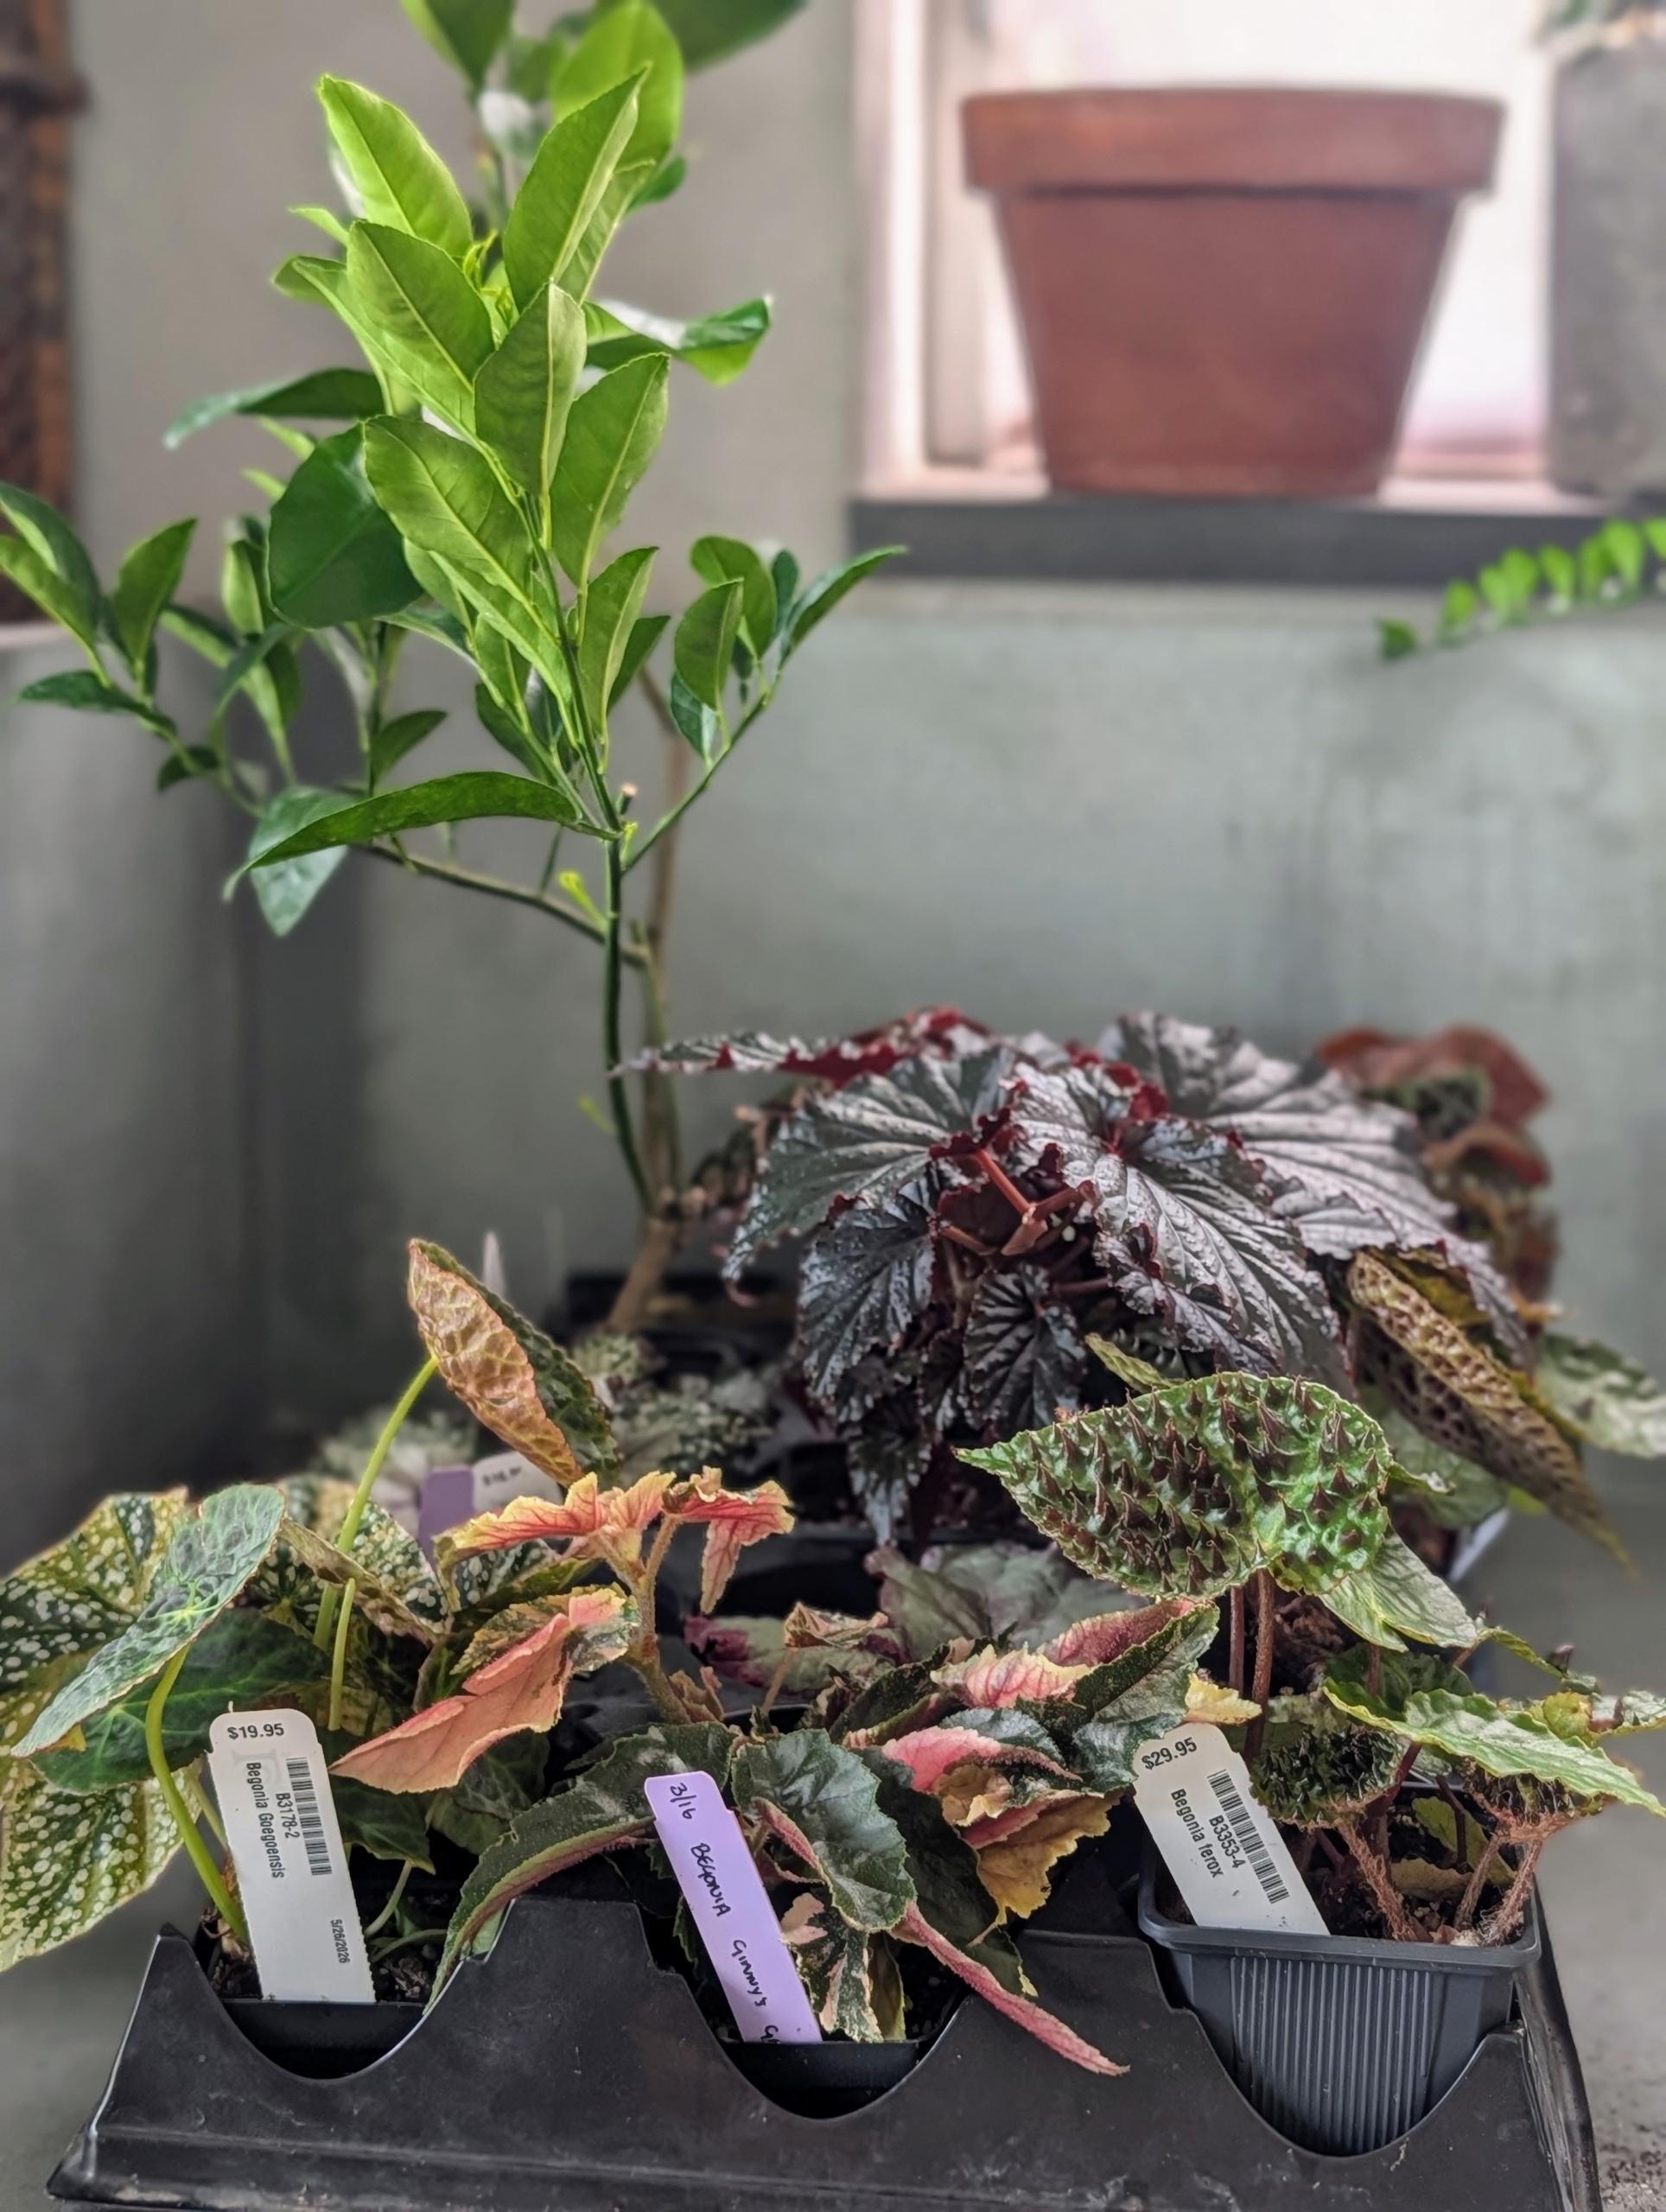
Here are some photos of the newest additions to my begonia collection, enjoy.
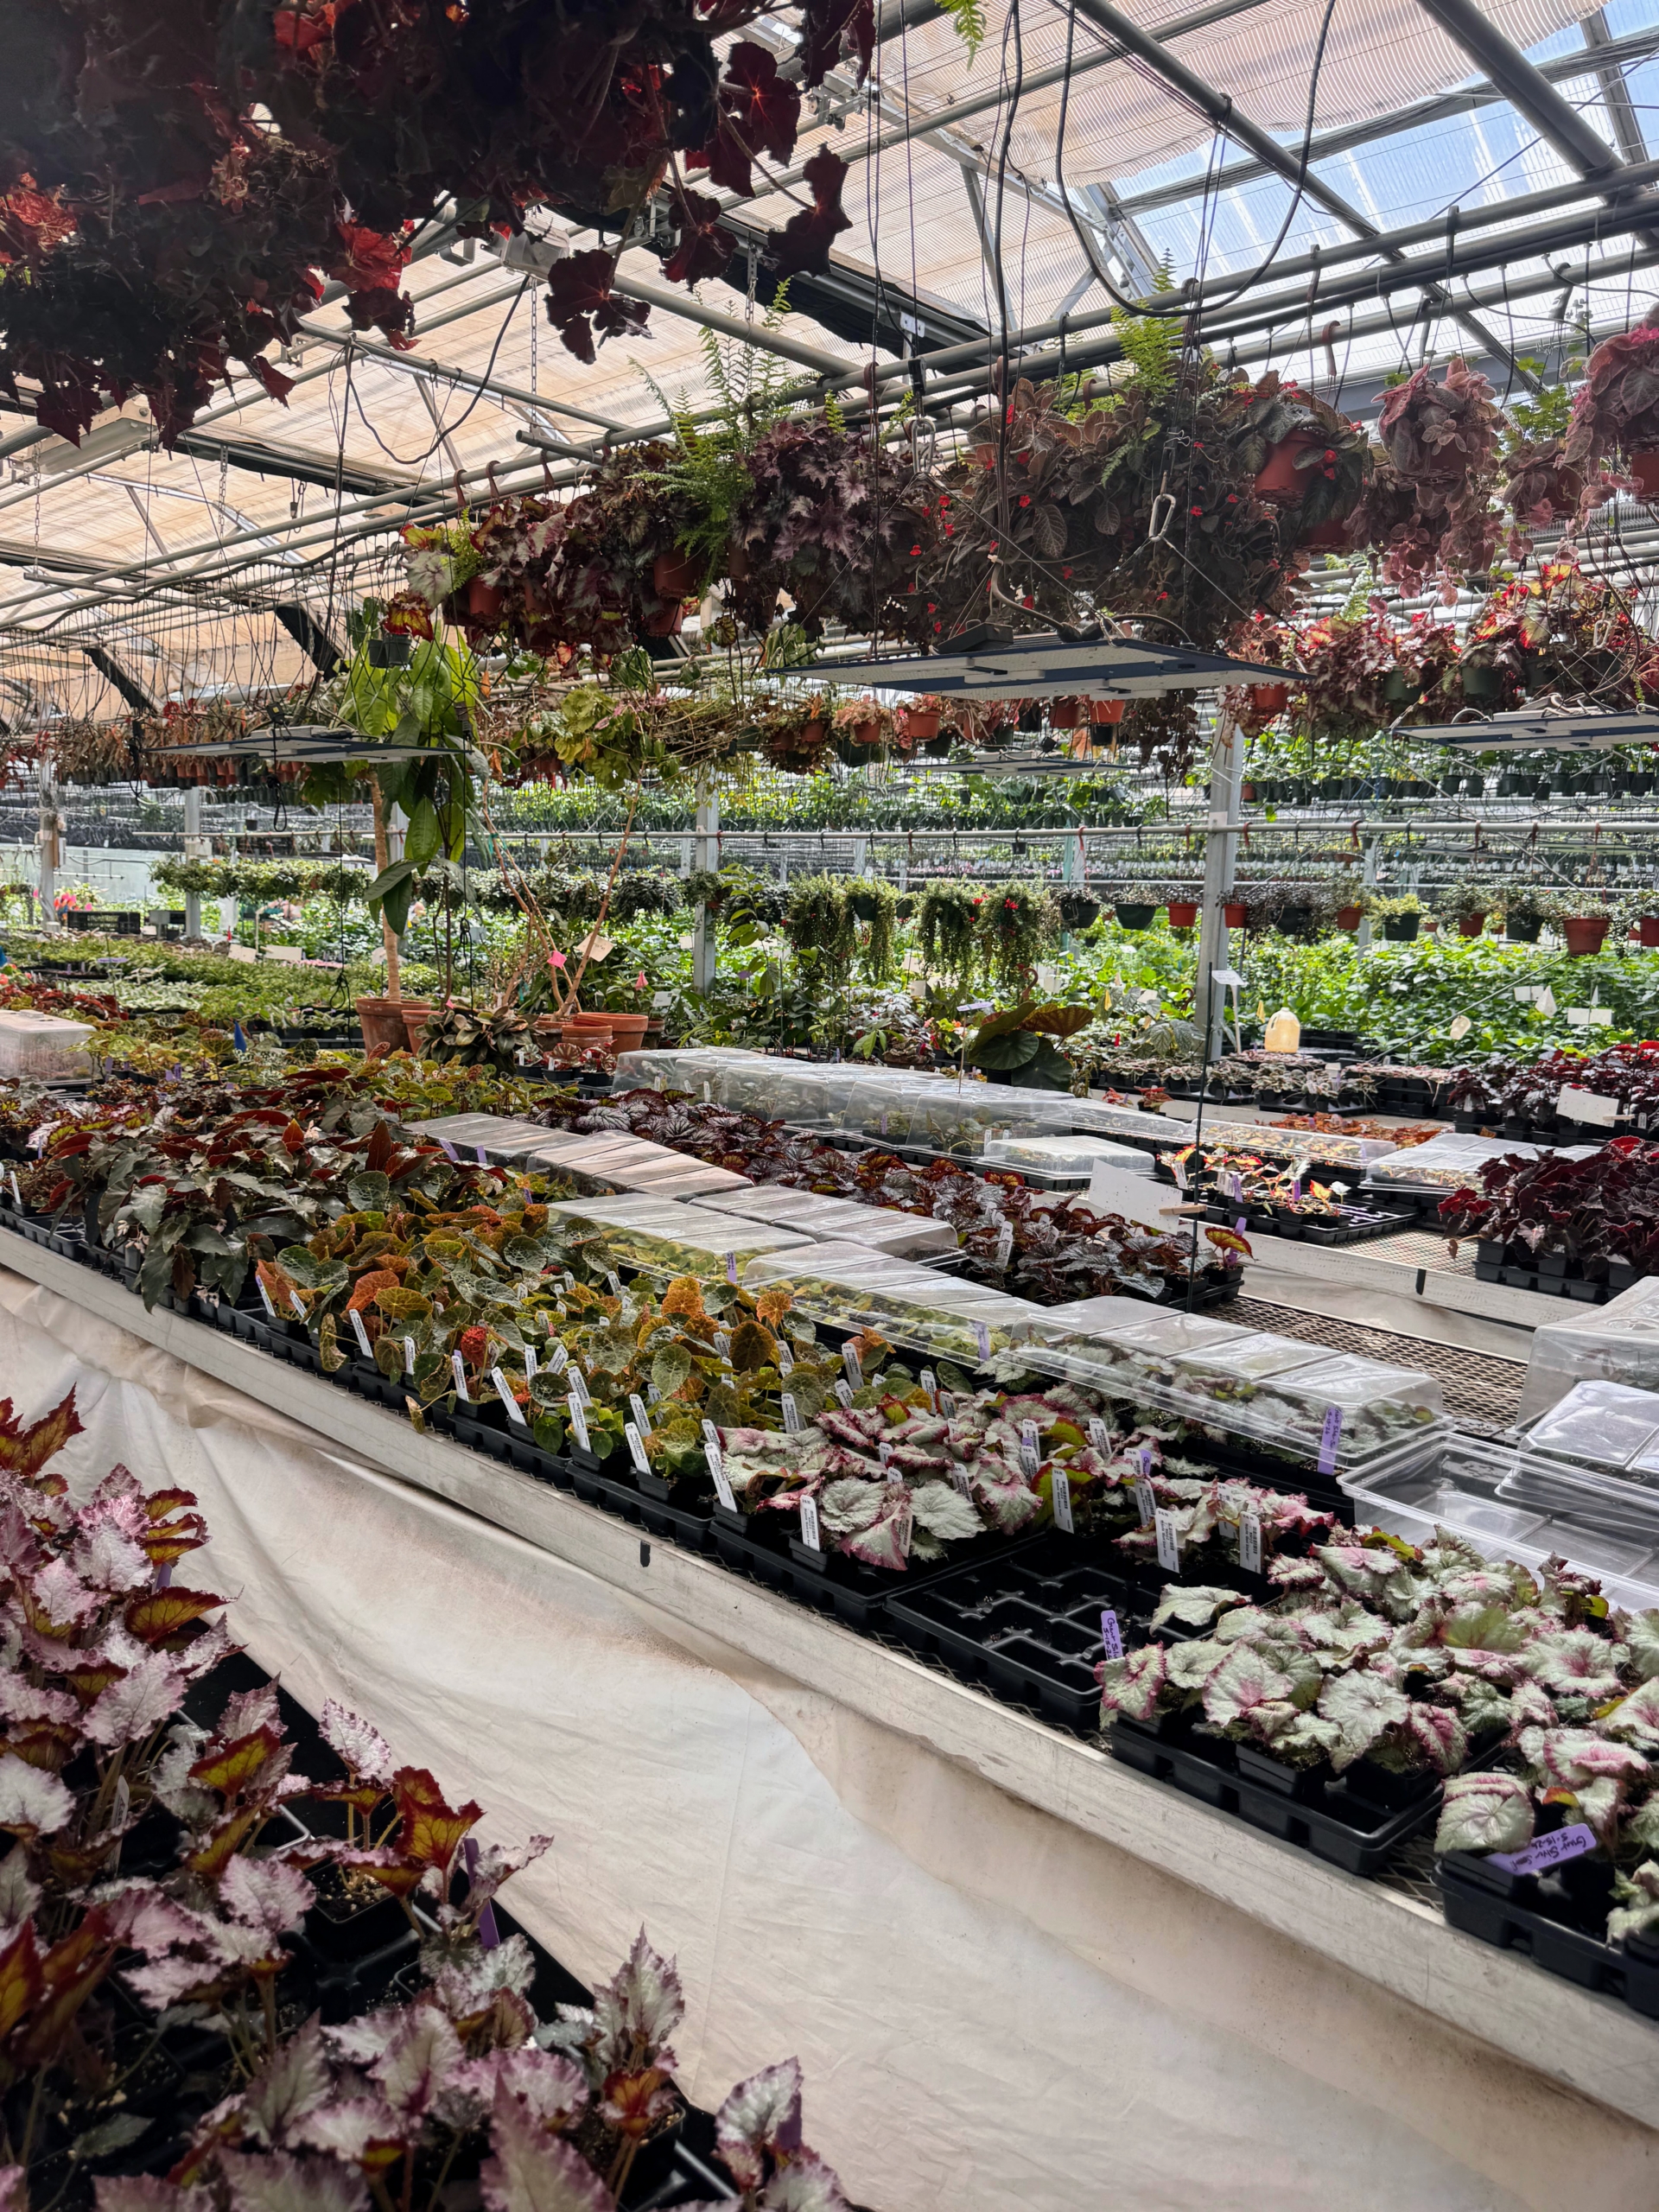
Logee’s is a great source for all kinds of plants – orchids, succulents, fruit trees, exotics, etc. It offers hundreds of unusual tropical flowering and fragrant specimens that perform well in pots.
The greenhouses are packed and neatly arranged and organized. One can learn about new varieties or find old favorites while browsing through the extensive inventory.
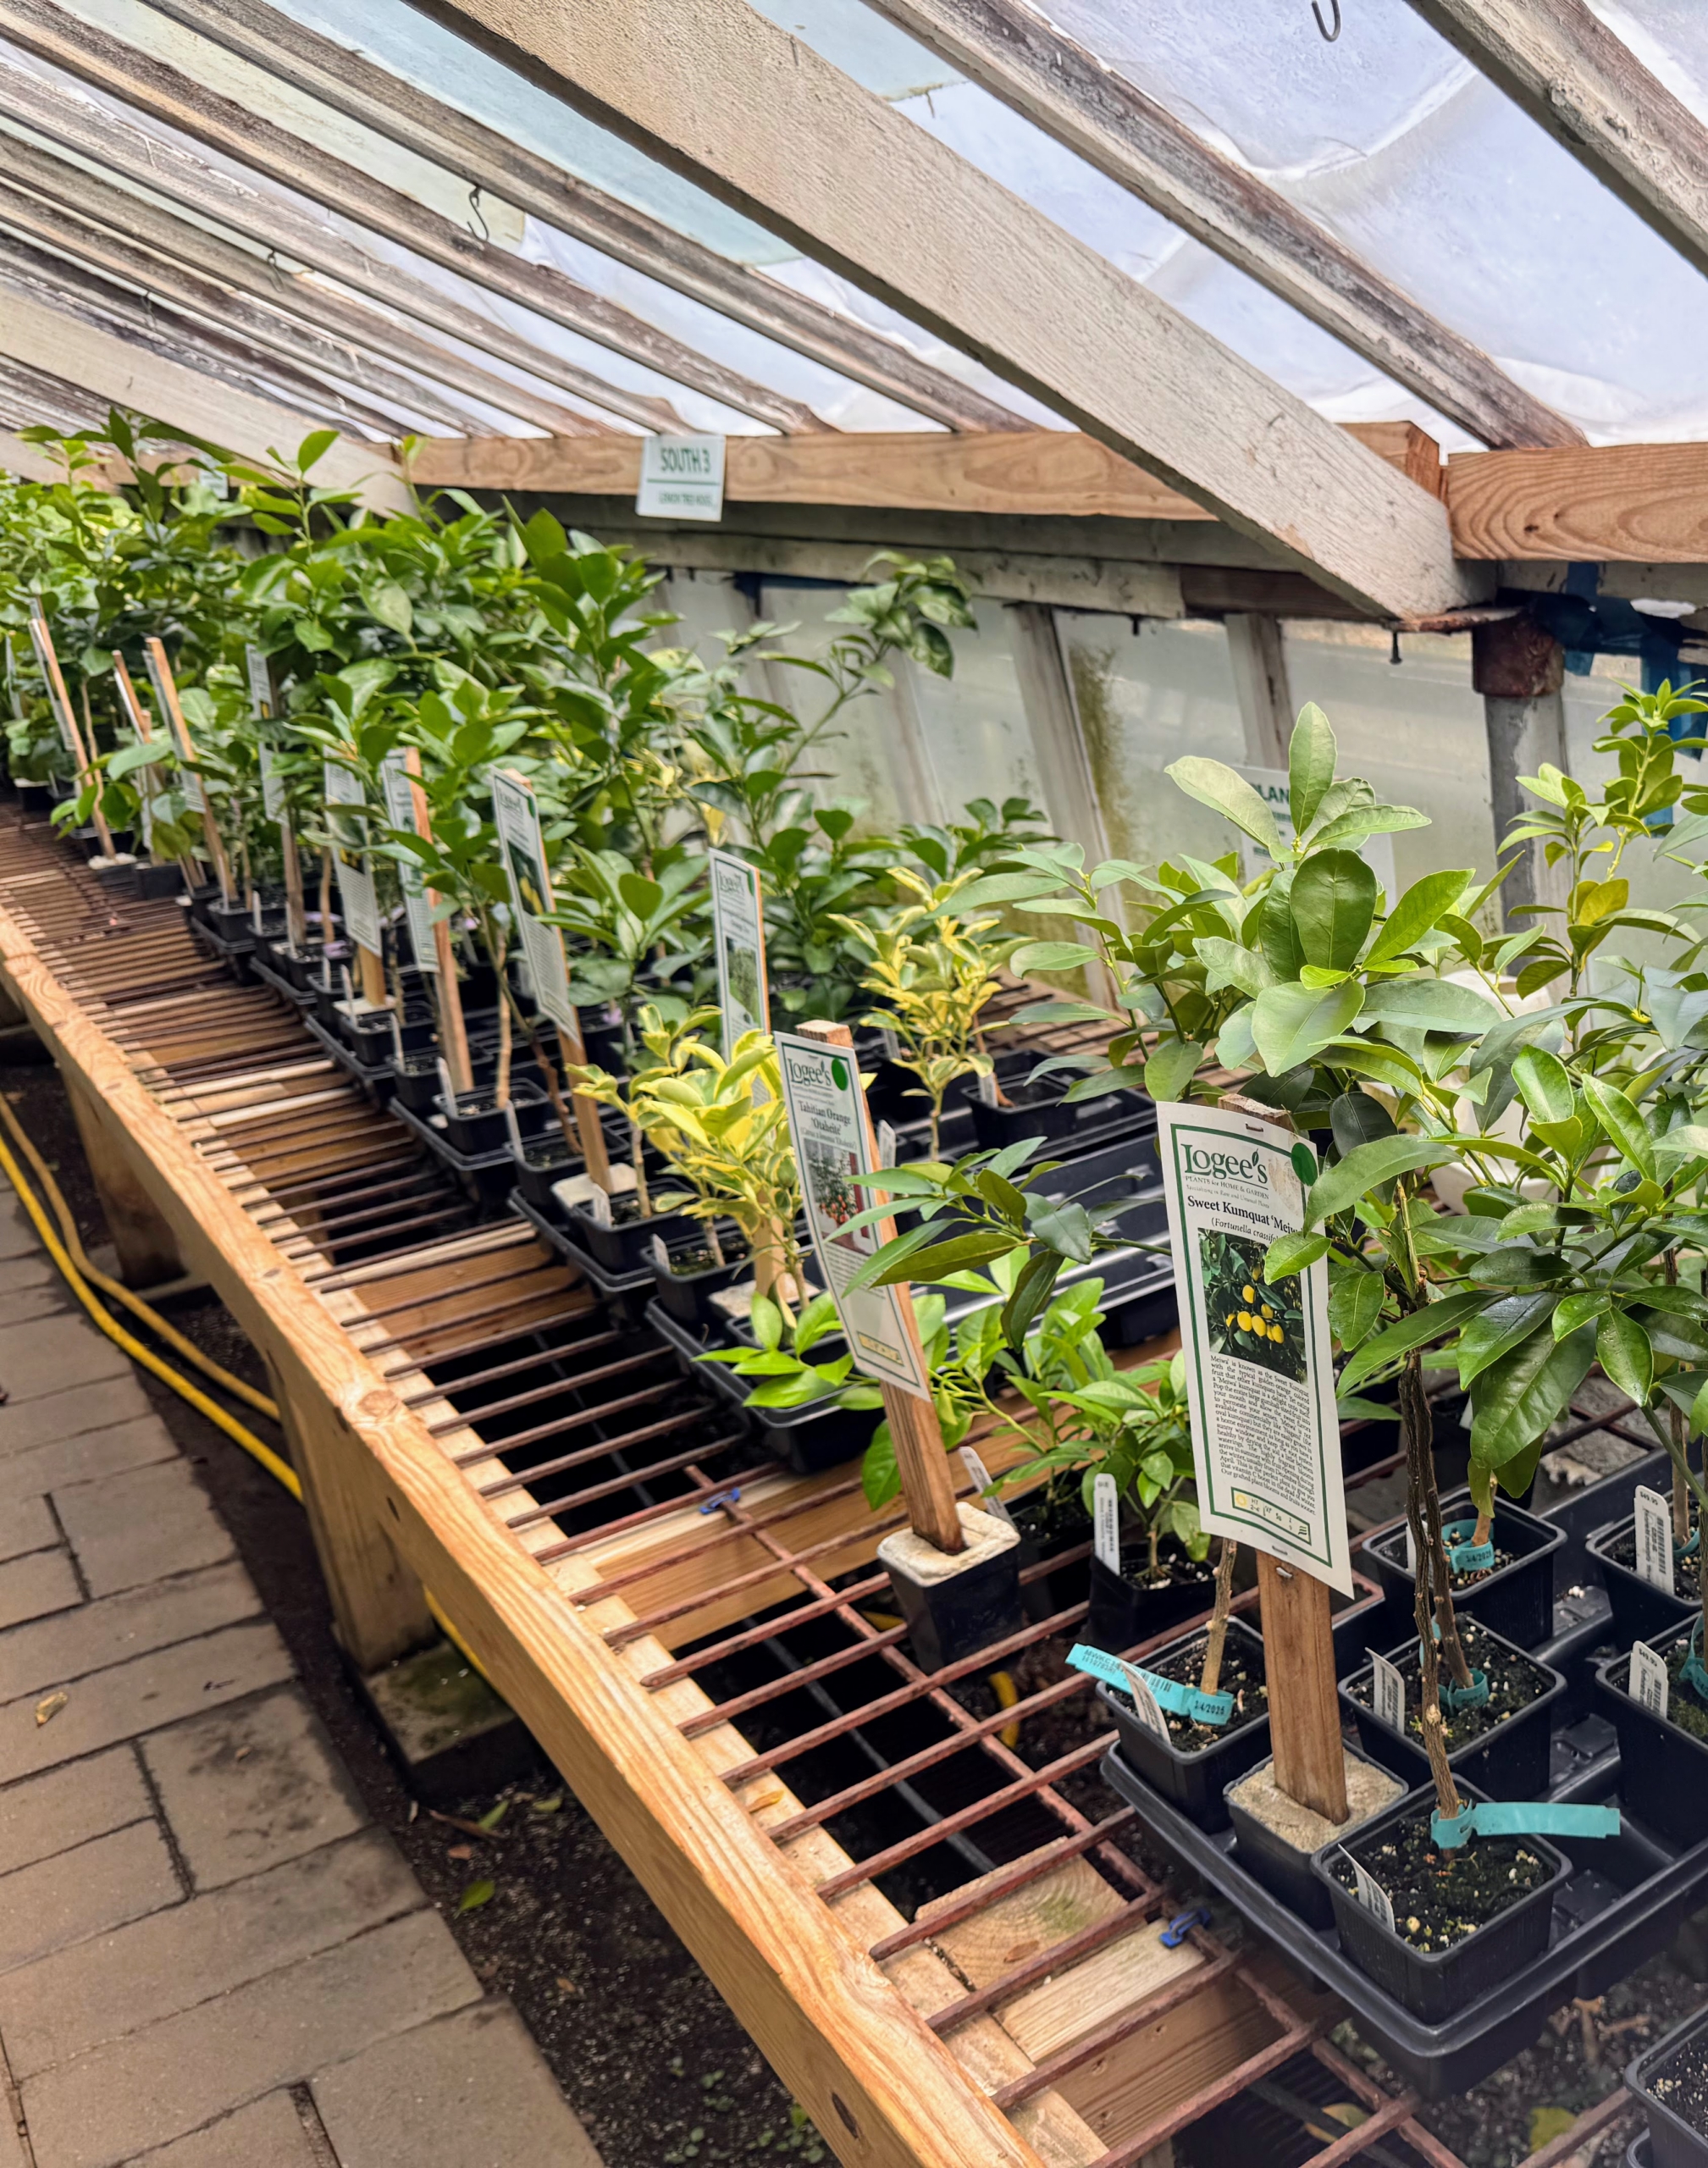
One of Byron and Laurelynn’s major interests is citrus which can be found throughout their greenhouses. Many of my citrus come from Logee’s.
I brought home a selection of rare and interesting begonias and citrus specimens.
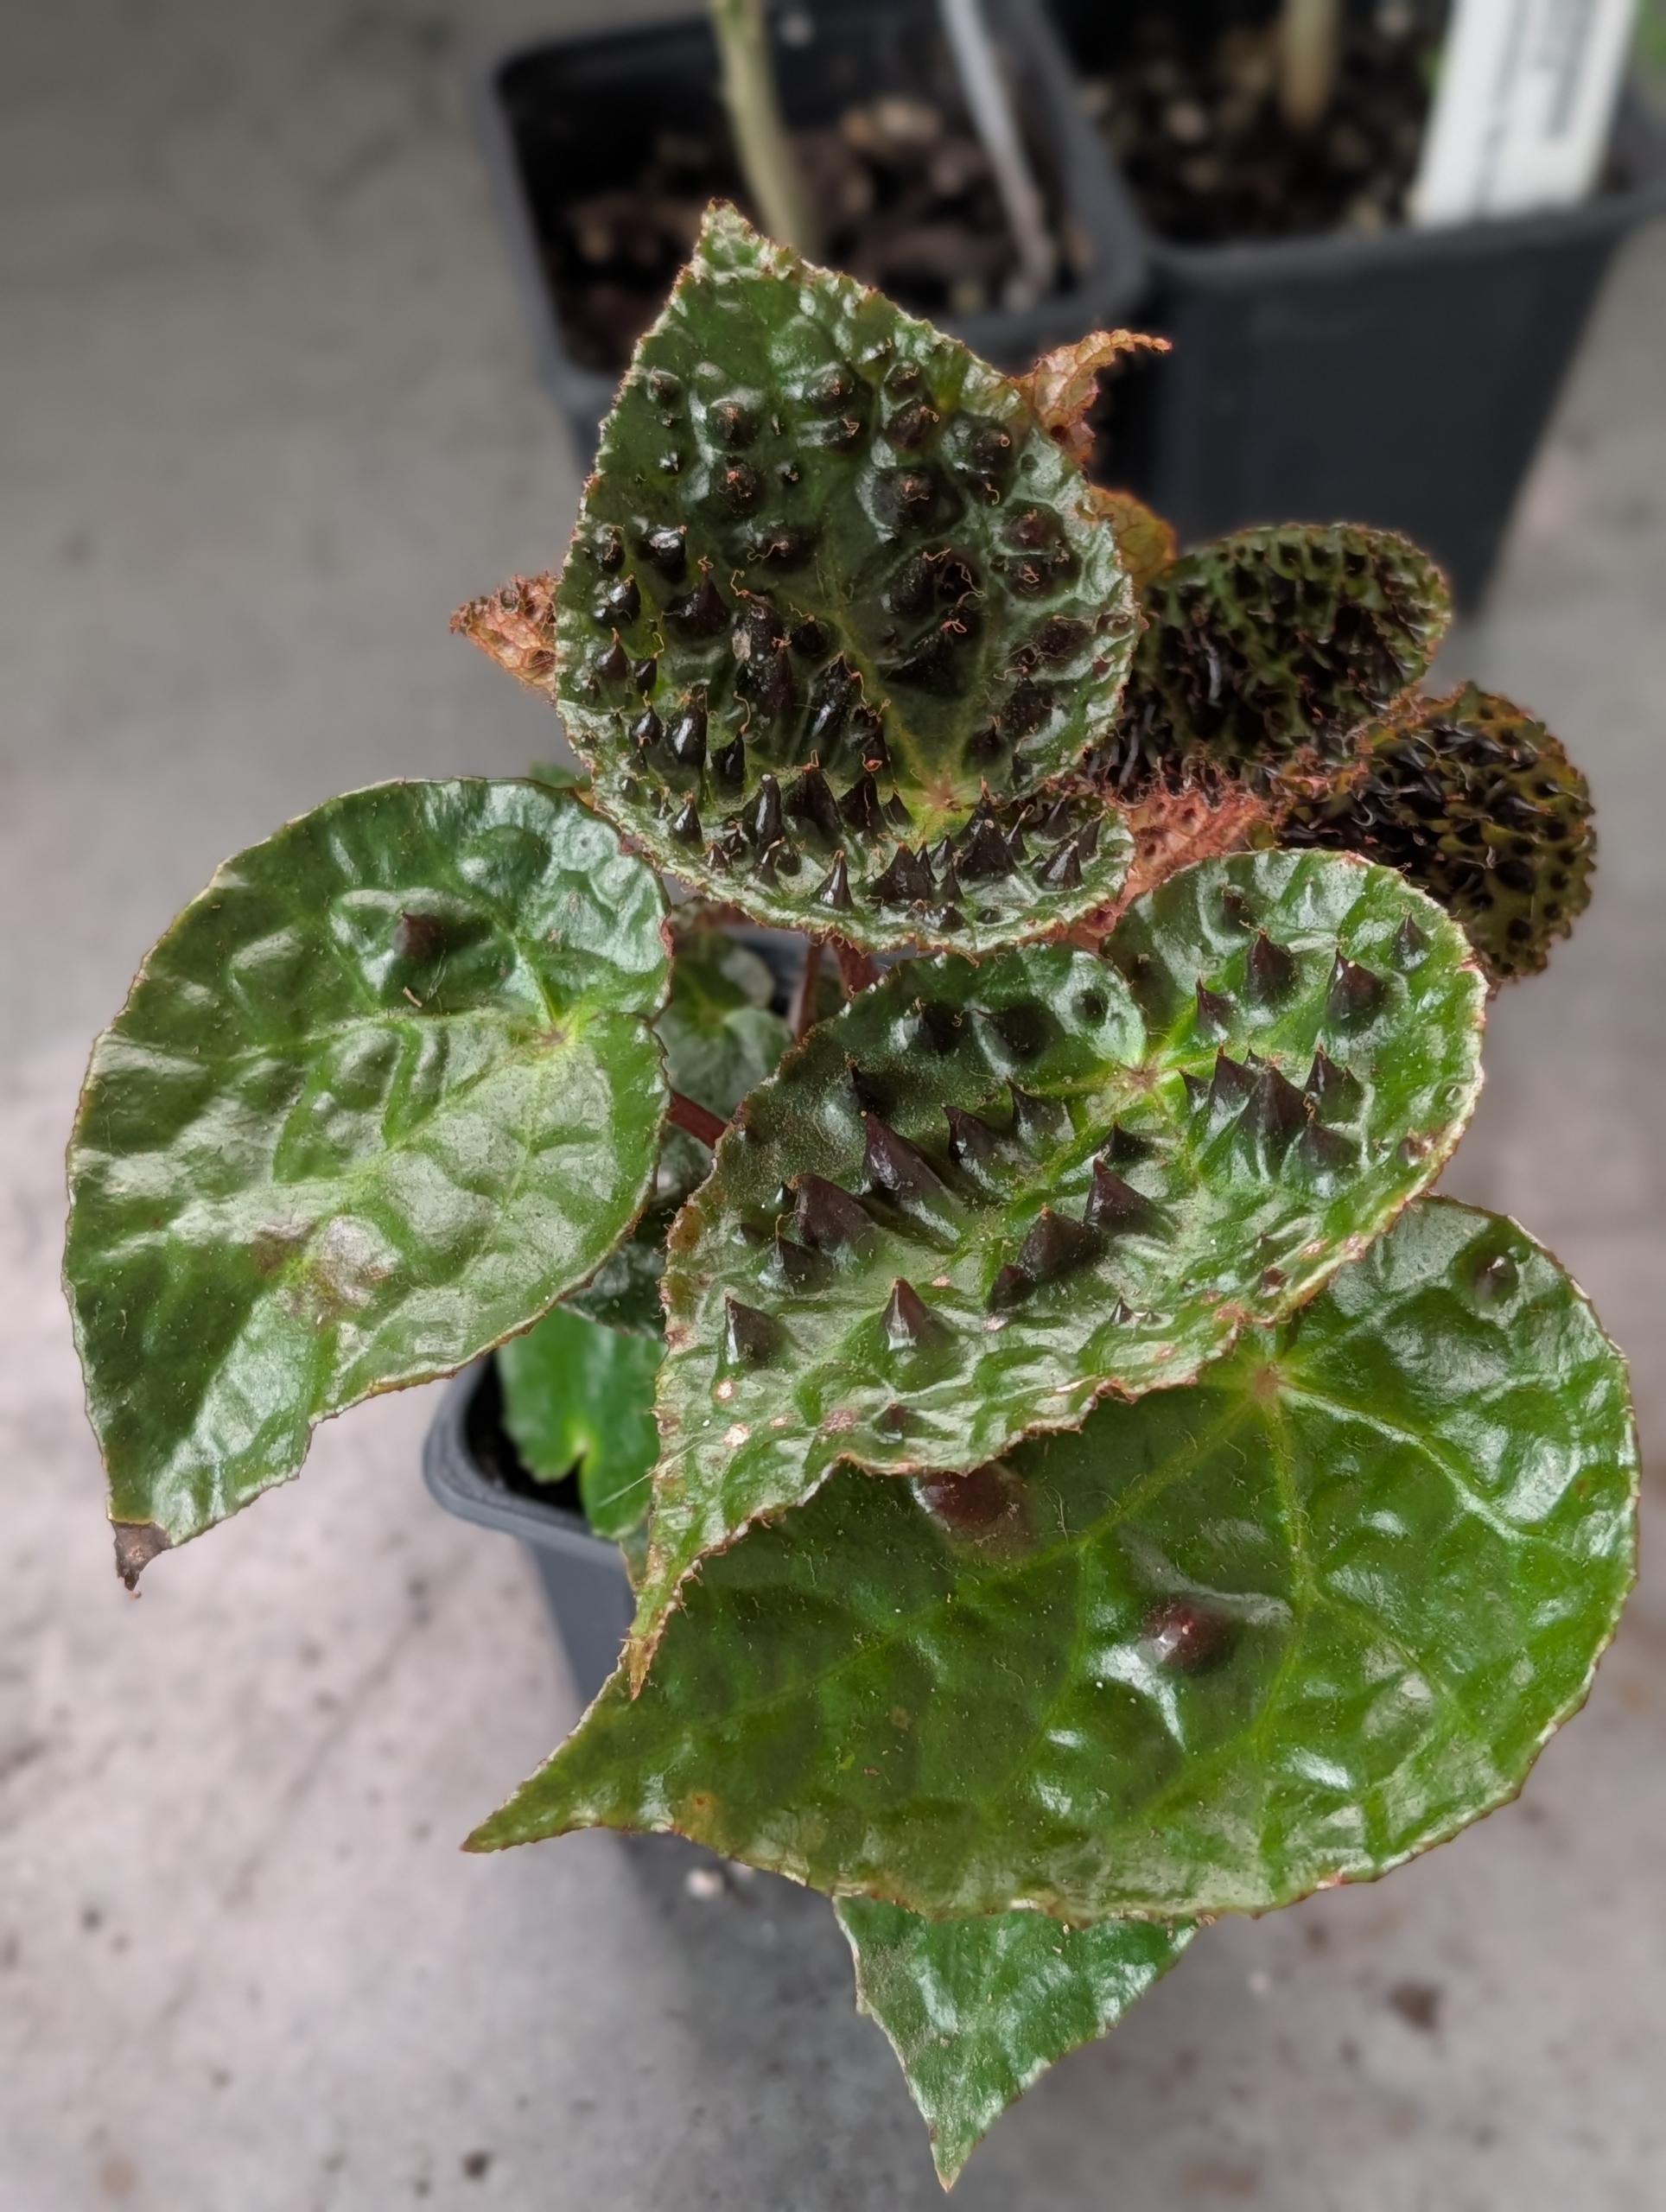
Among my new plants – this very rare Begonia ferox, which has one of the most dramatic leaves in the world of begonias. It has spiky raised cones on the leaves, known as bullae, that develop as the leaves mature.
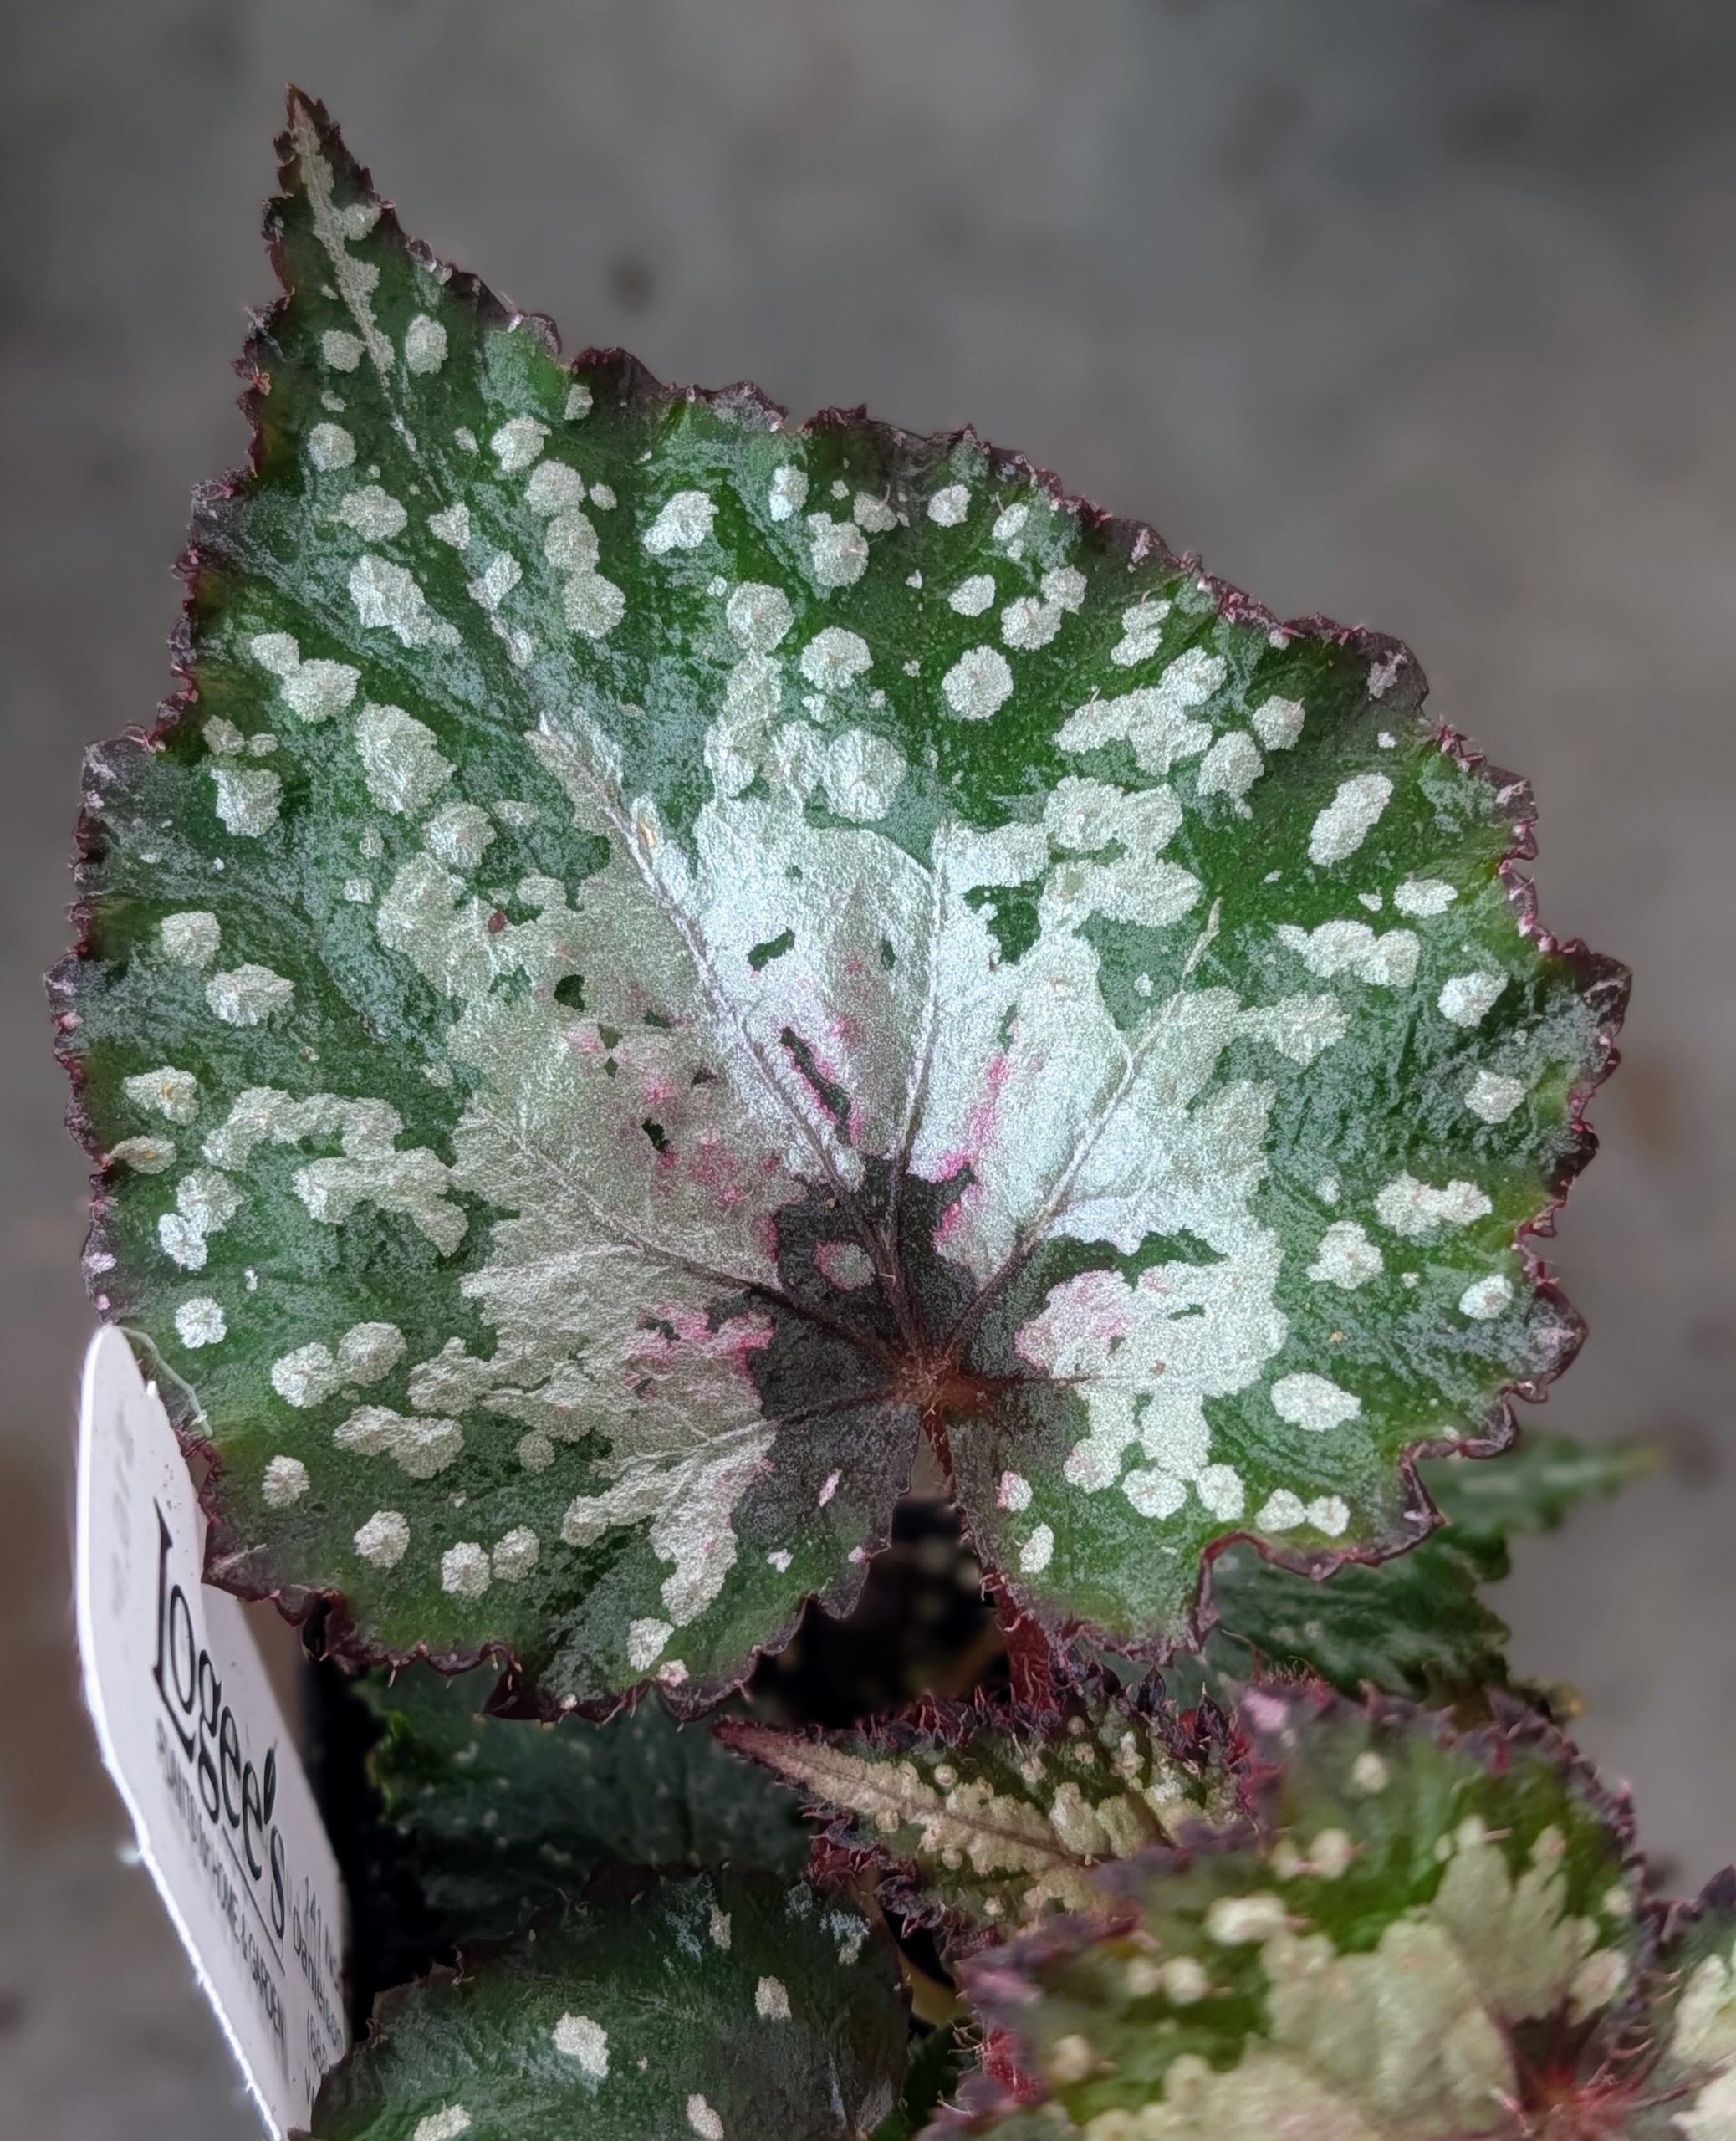
This is the foliage of Begonia ‘Snow Capped’ with angel wing shaped leaves and intense silver spotting.
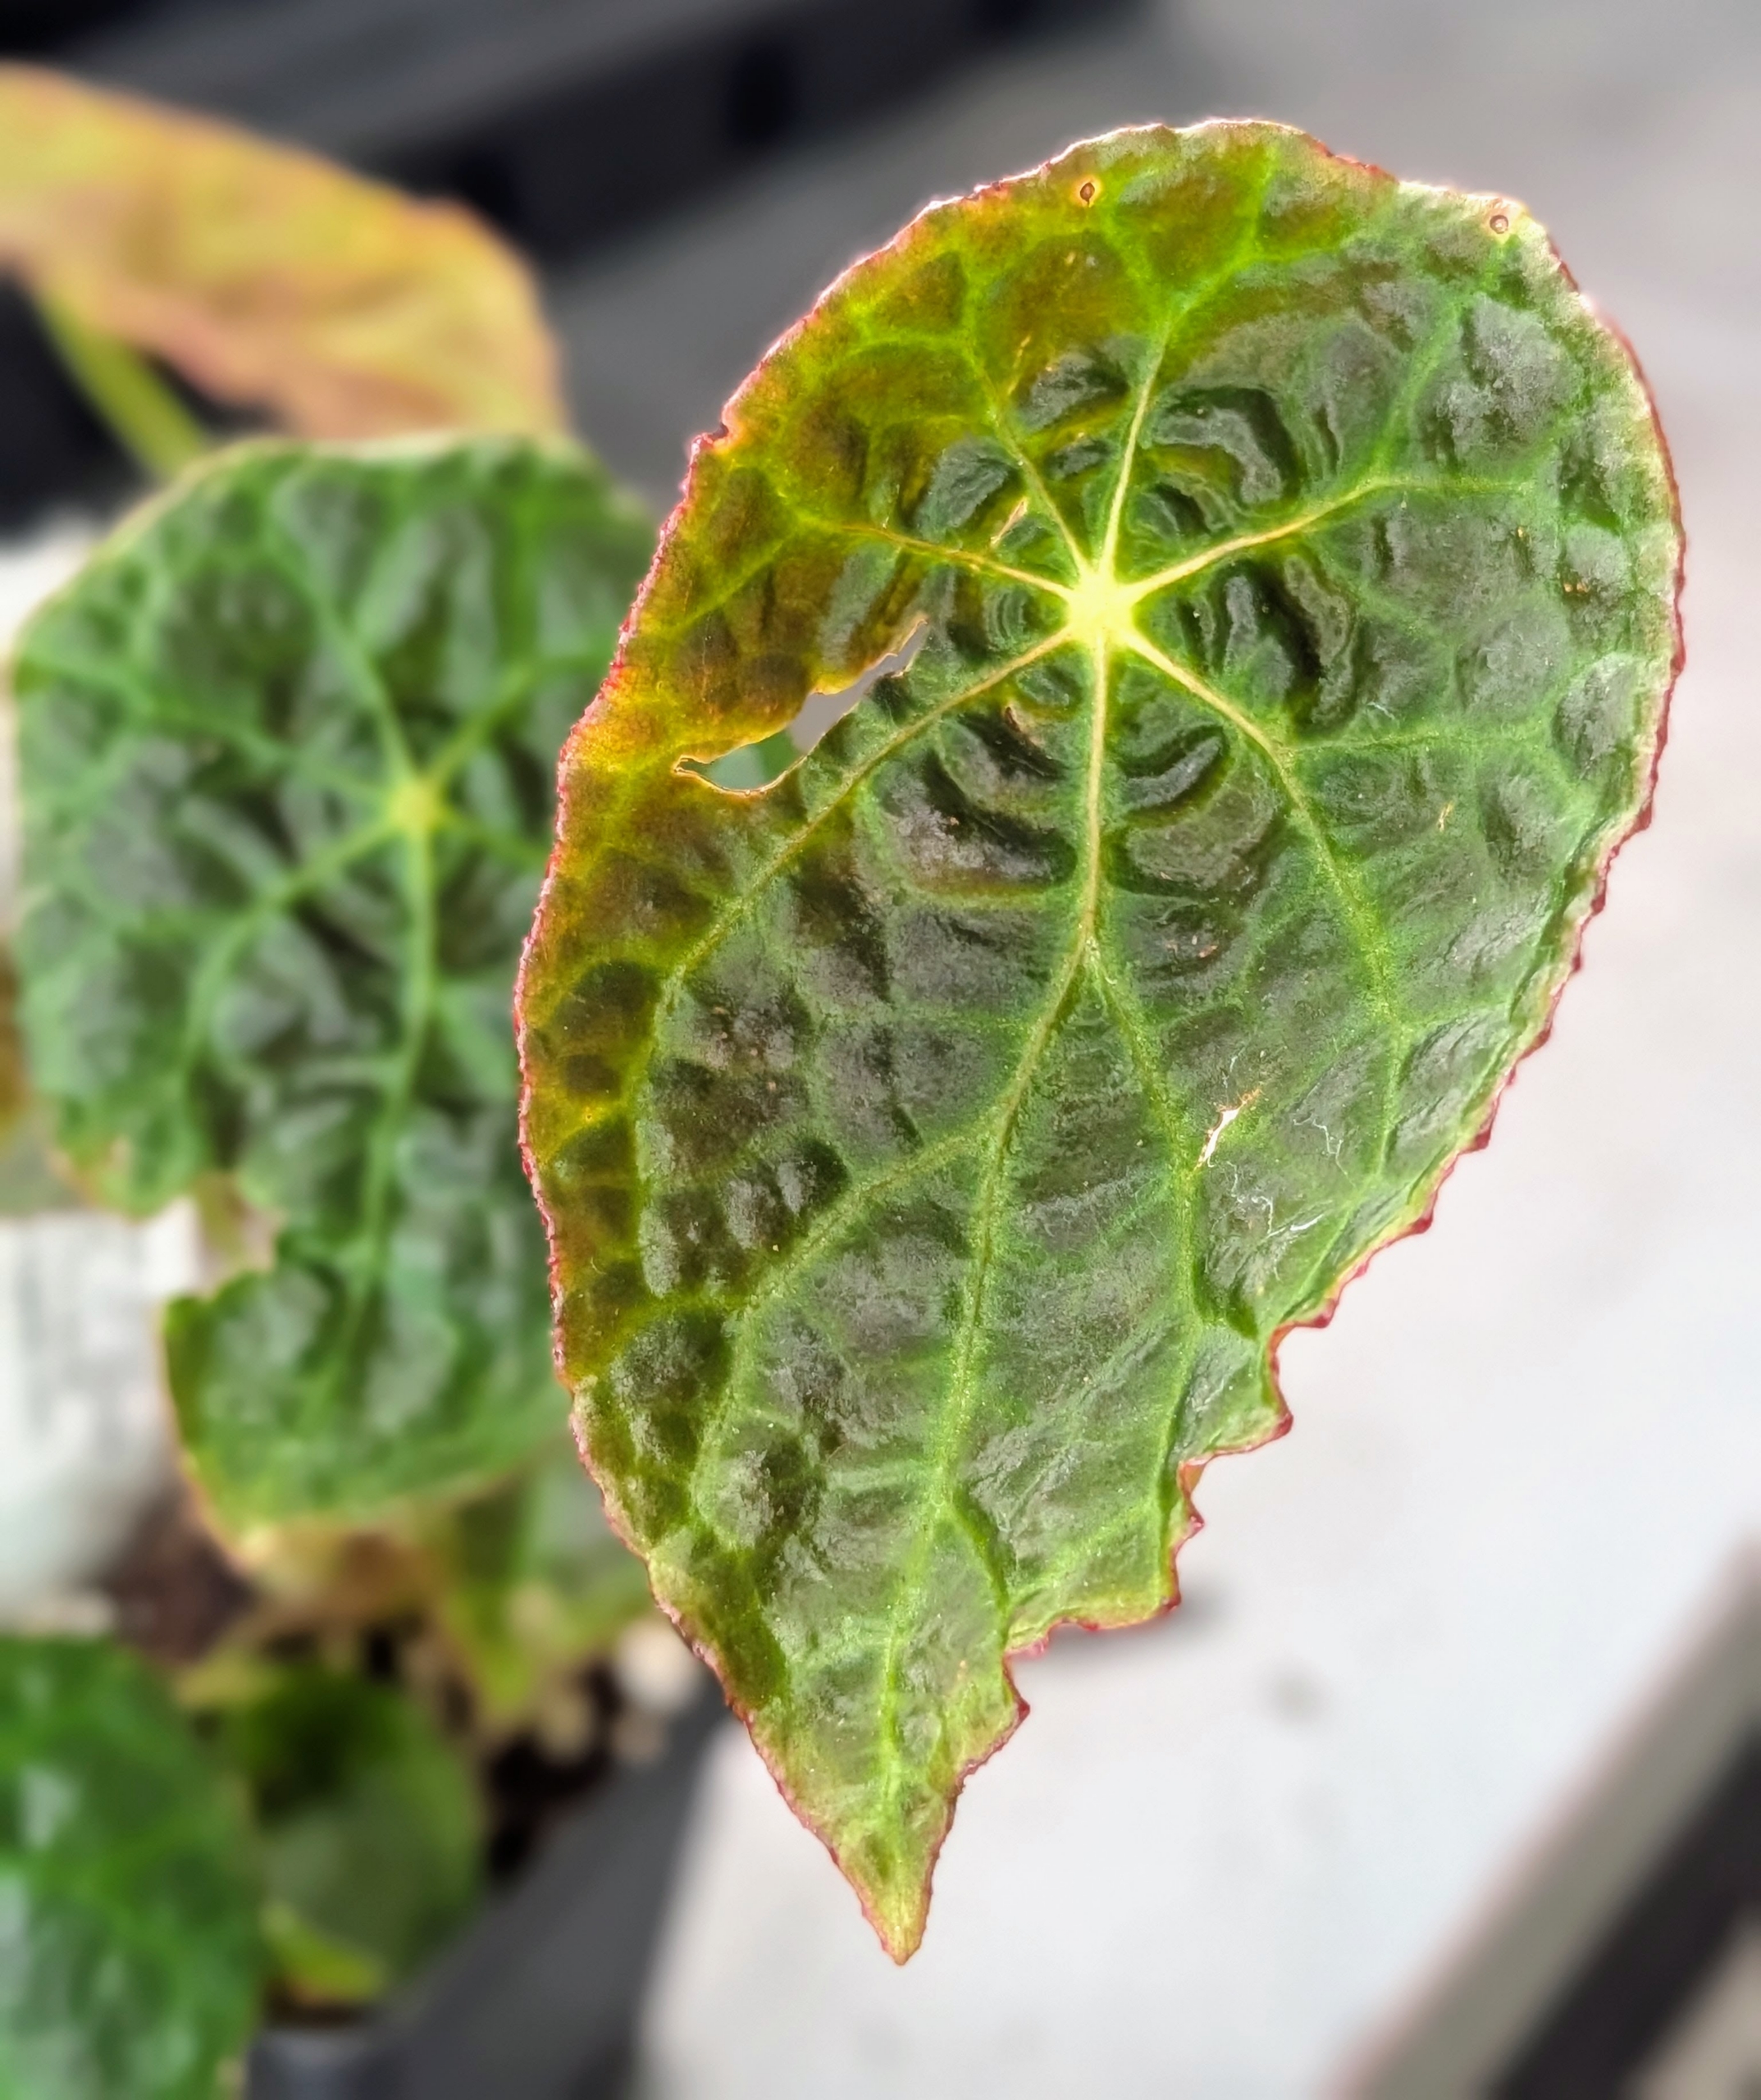
Begonia goegoensis is another rare and hardy species. Brought into cultivation in the late 1800s, it has been part of the Logee’s collection for years. The peltate leaves have an interesting texture and a copper tone on the edges of younger leaves that mature to mottled shades of green. This rhizomatous species can tolerate low humidity, periods of dryness, and low light.
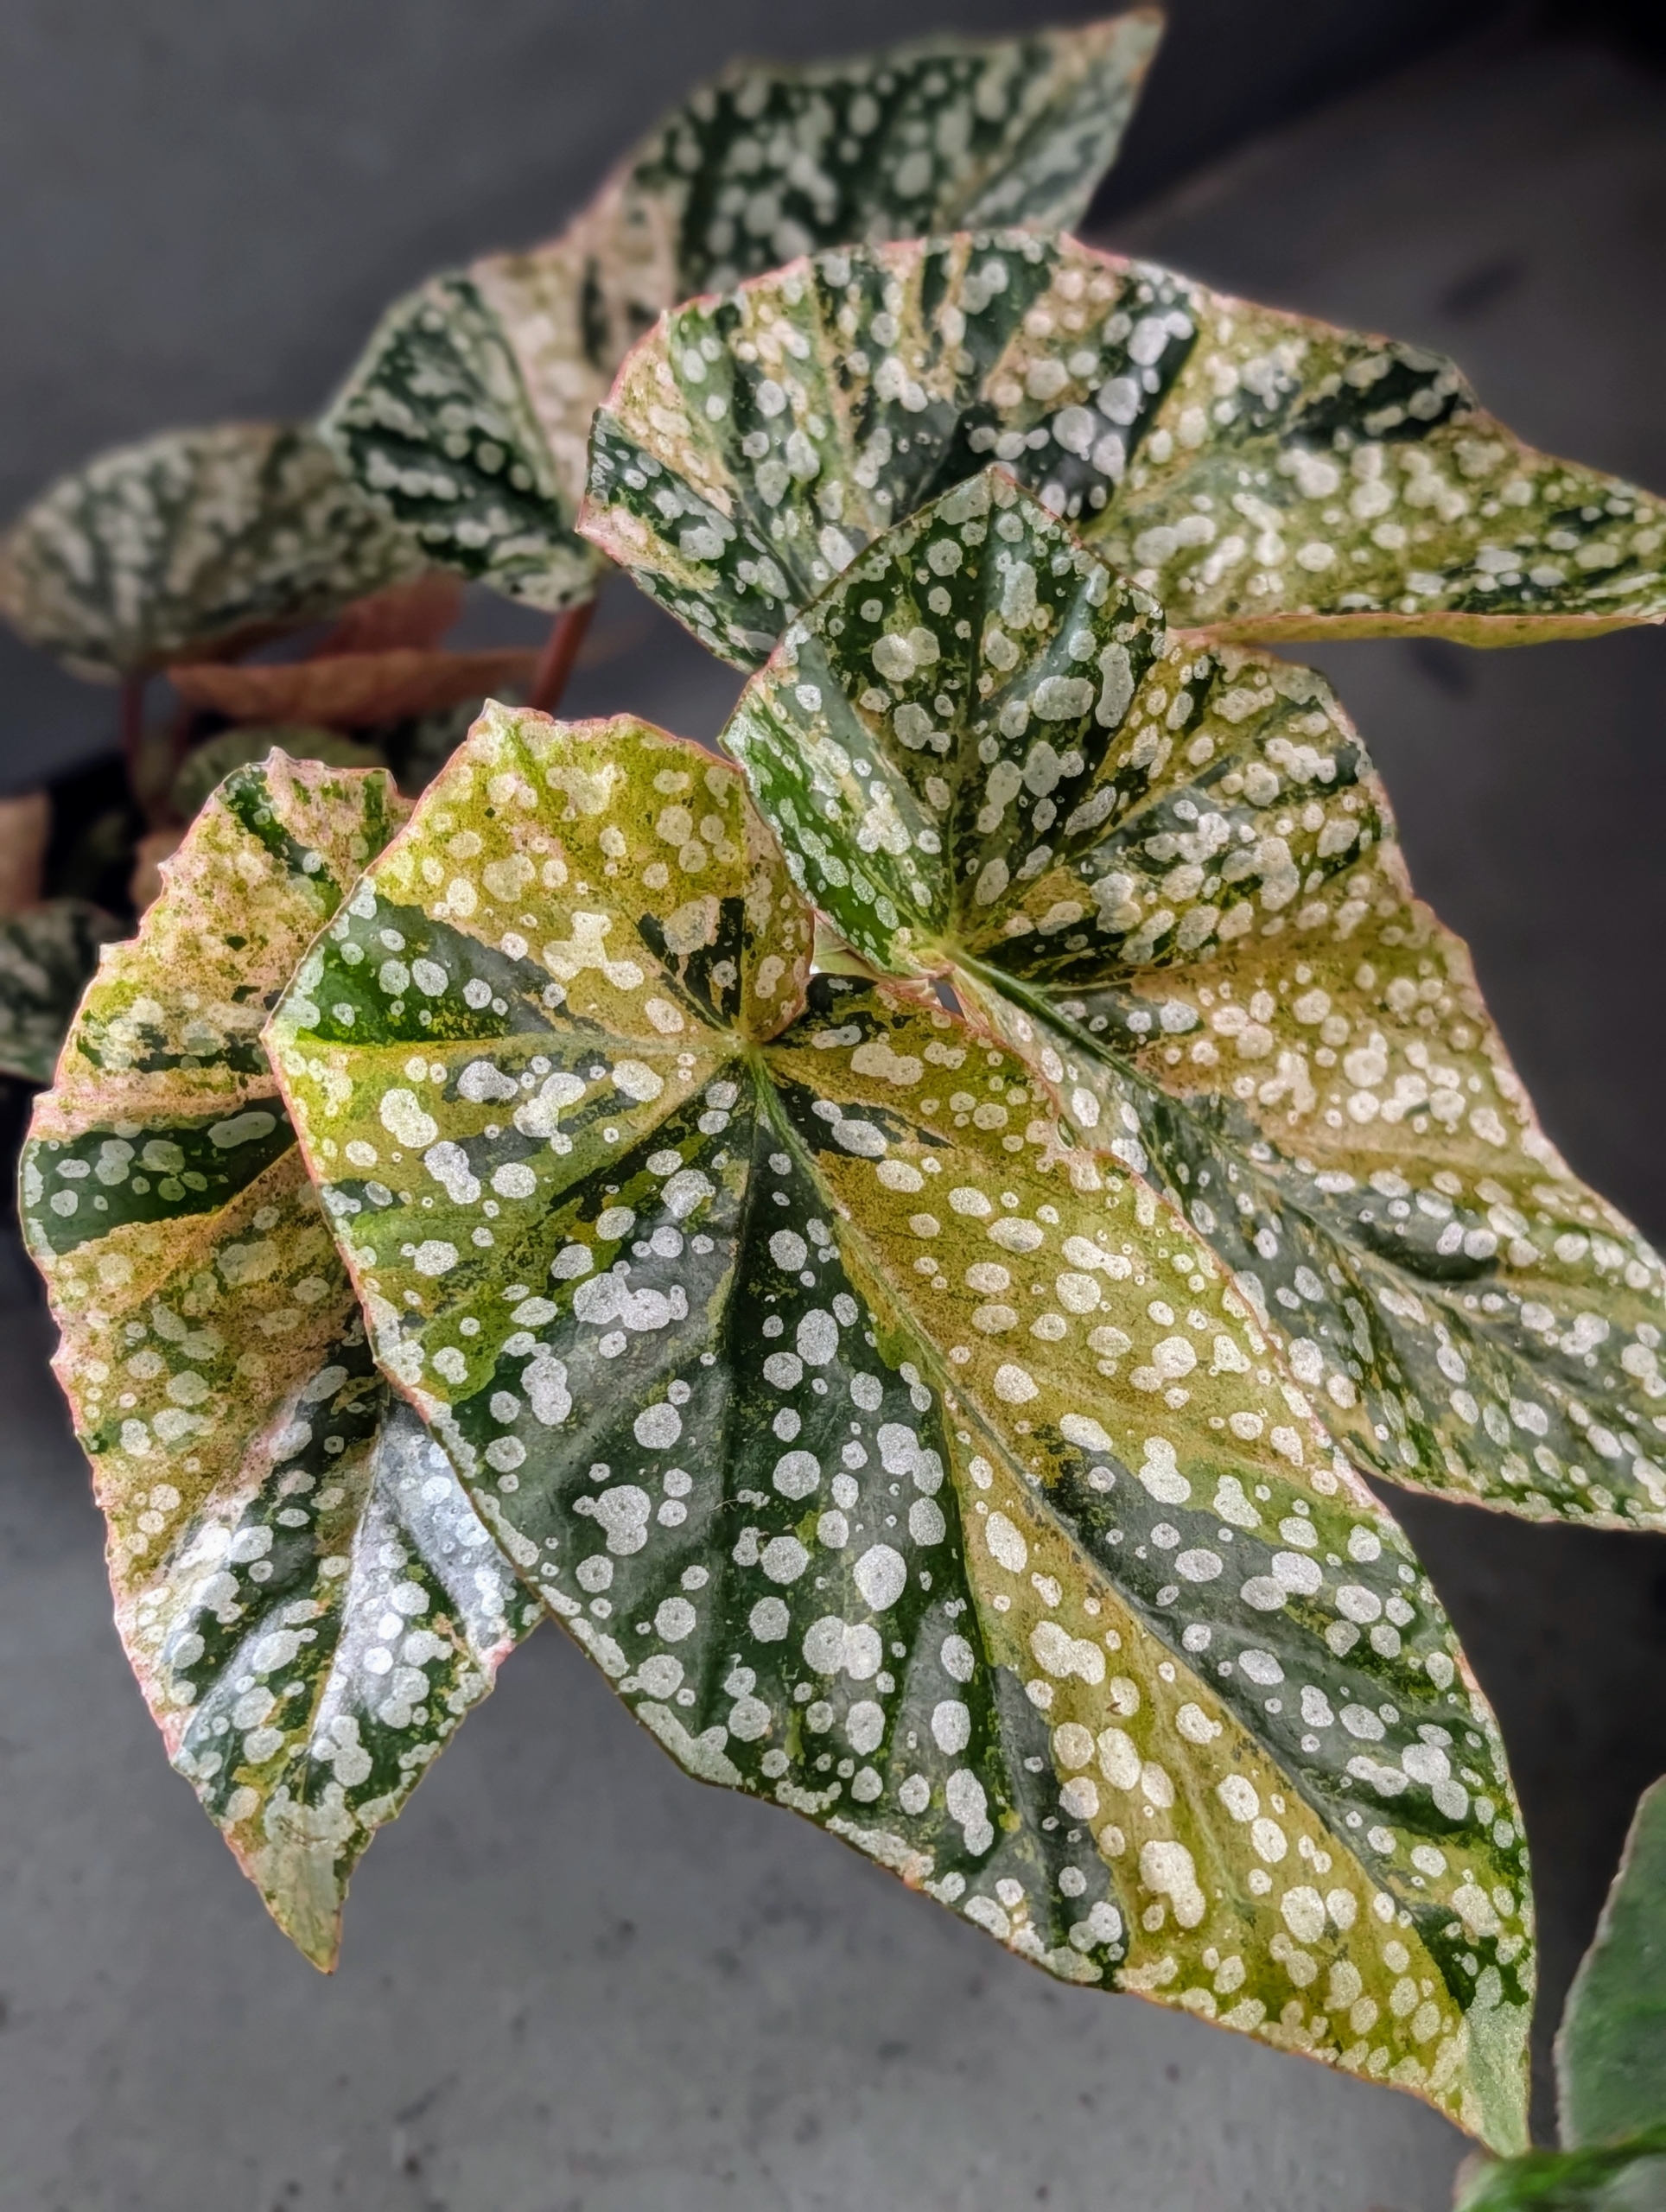
Begonia ‘Midnight Sun’ was hybridized by Byron. It won the Best New Hybrid Introduction in 1980. The variegated foliage has shades of red, pink, and off-white to complement the moss green.
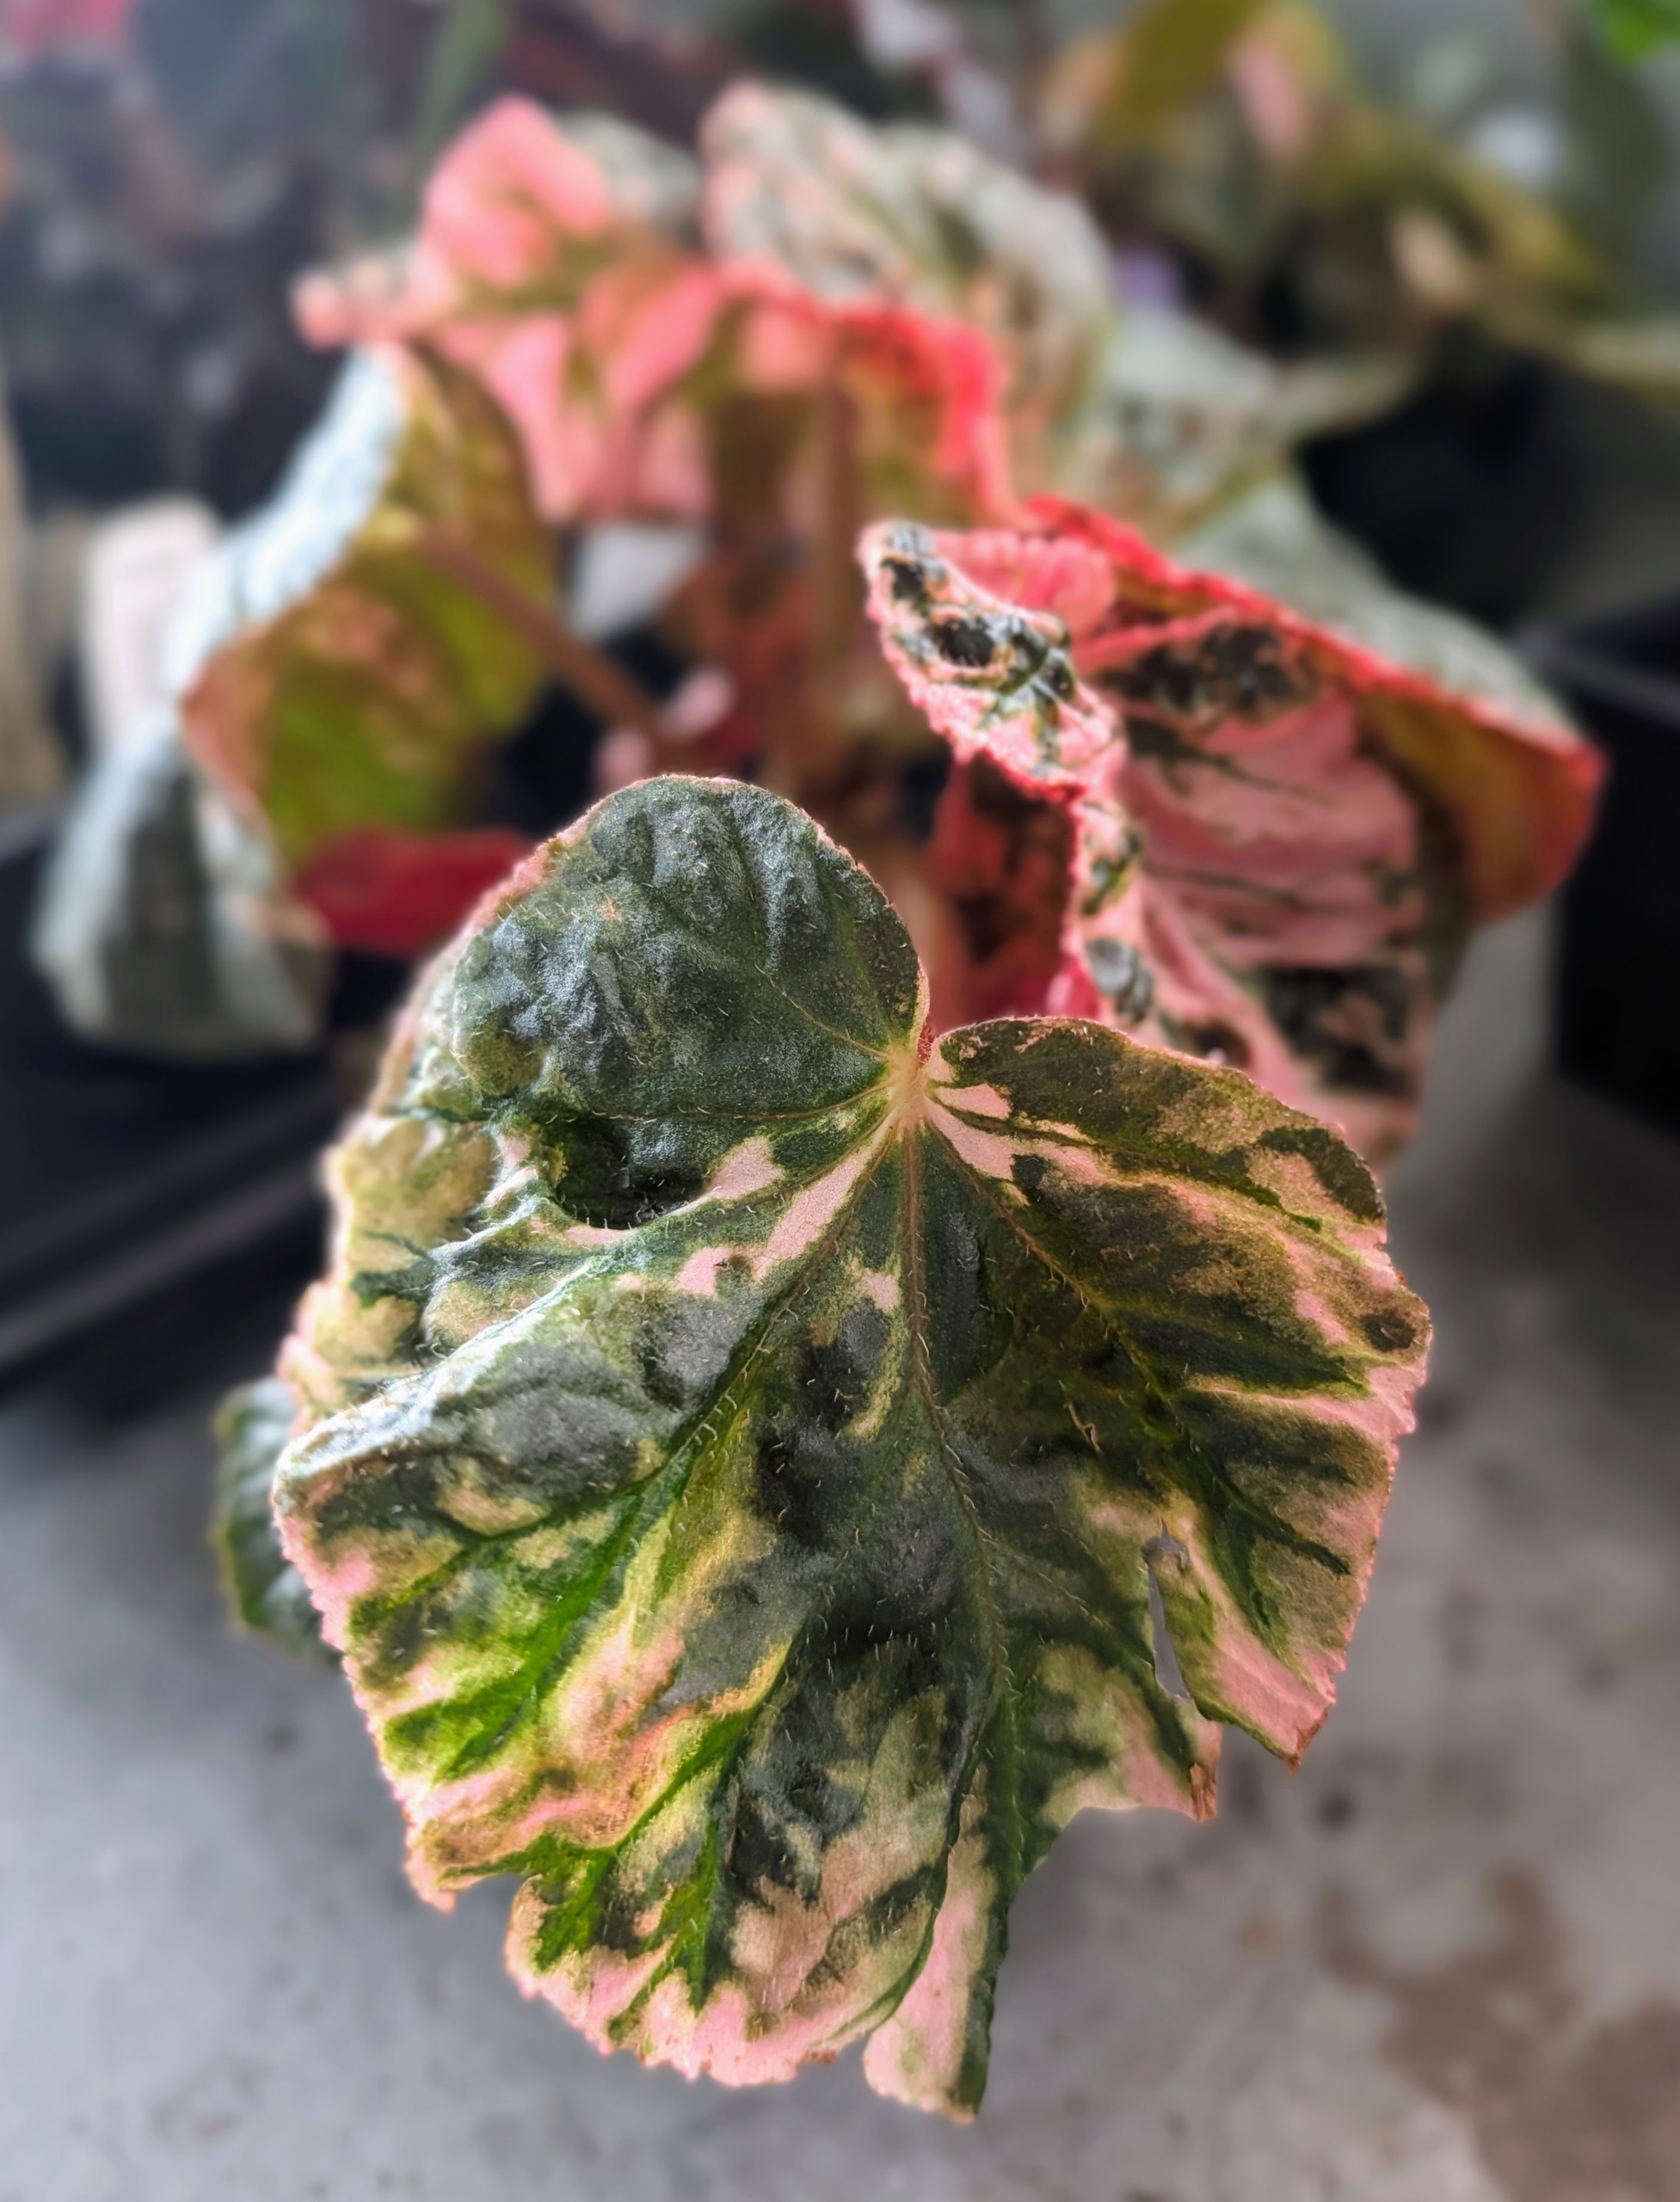
This new compact rex Begonia hybrid is called ‘Watermelon Party.’ Its vibrant reddish-pink center contrasts with the silver and deep green veining. ‘Watermelon Party’ also has sharply pointed leaves with dark green borders and white dots. It is a medium-sized grower with intermittent blooming throughout the year.
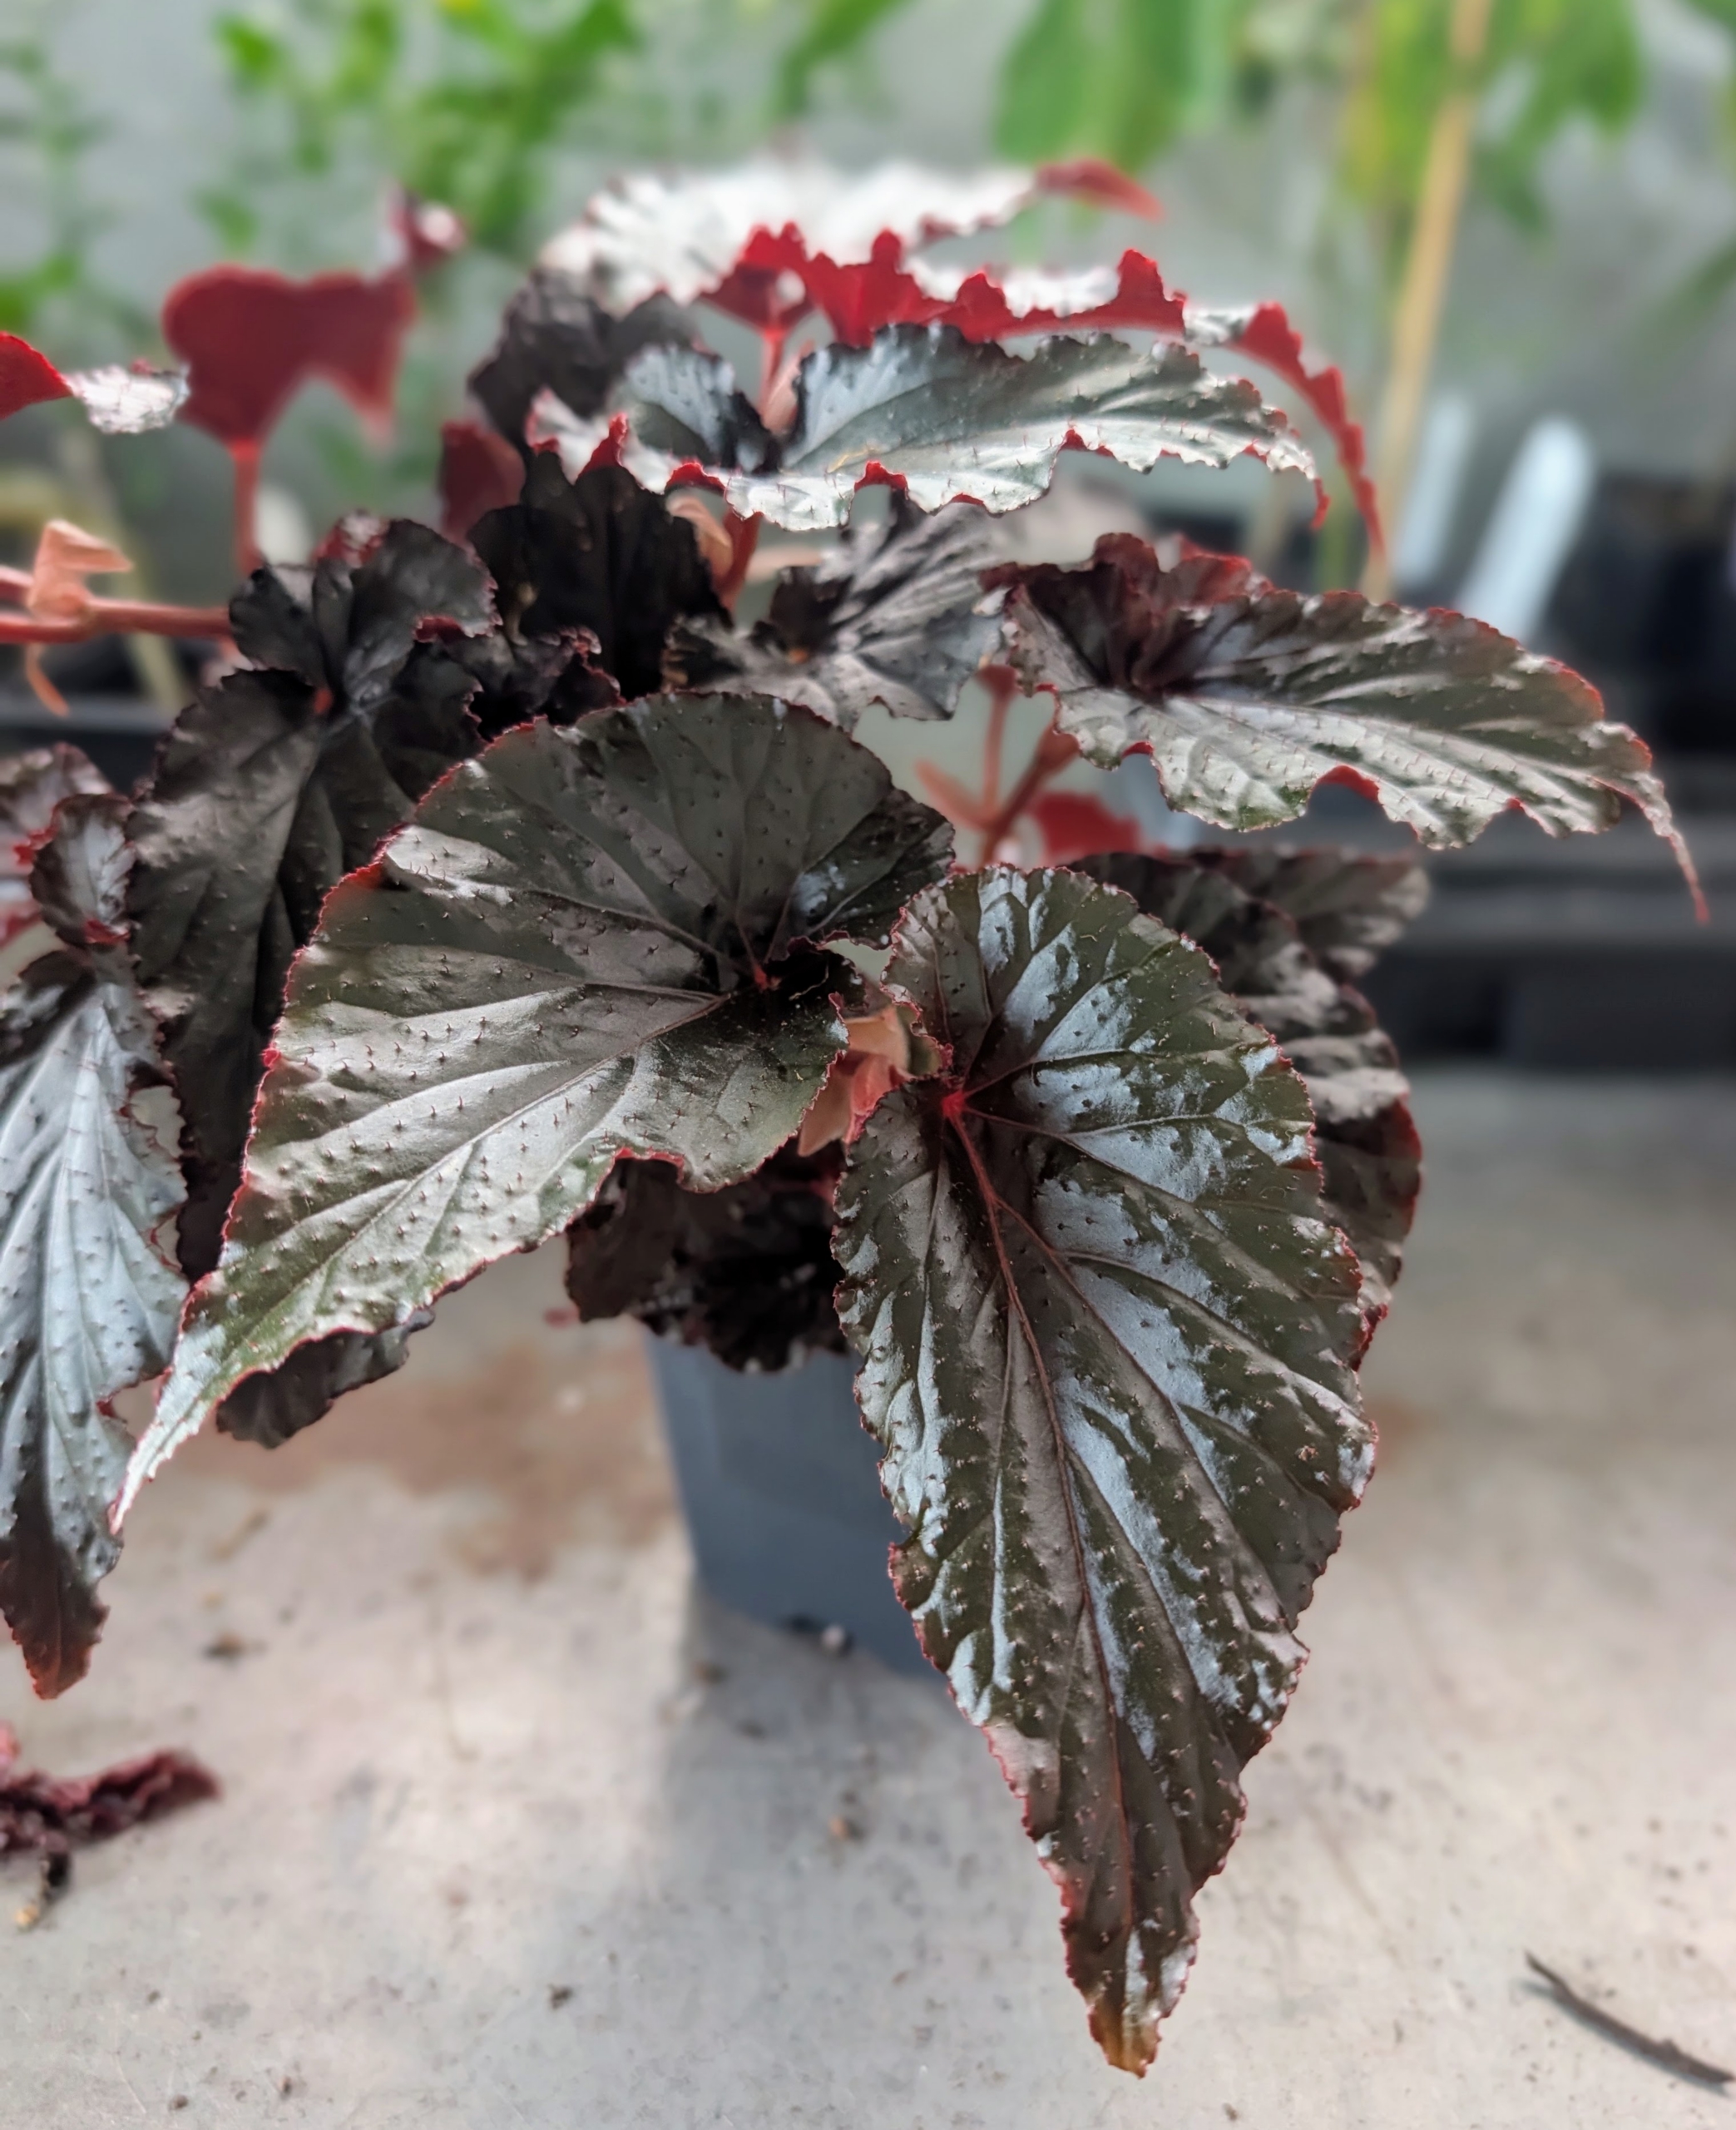
Begonia ‘Black Magic’ is a striking plant admired for its dramatic dark foliage and richly colored red emergent leaves.
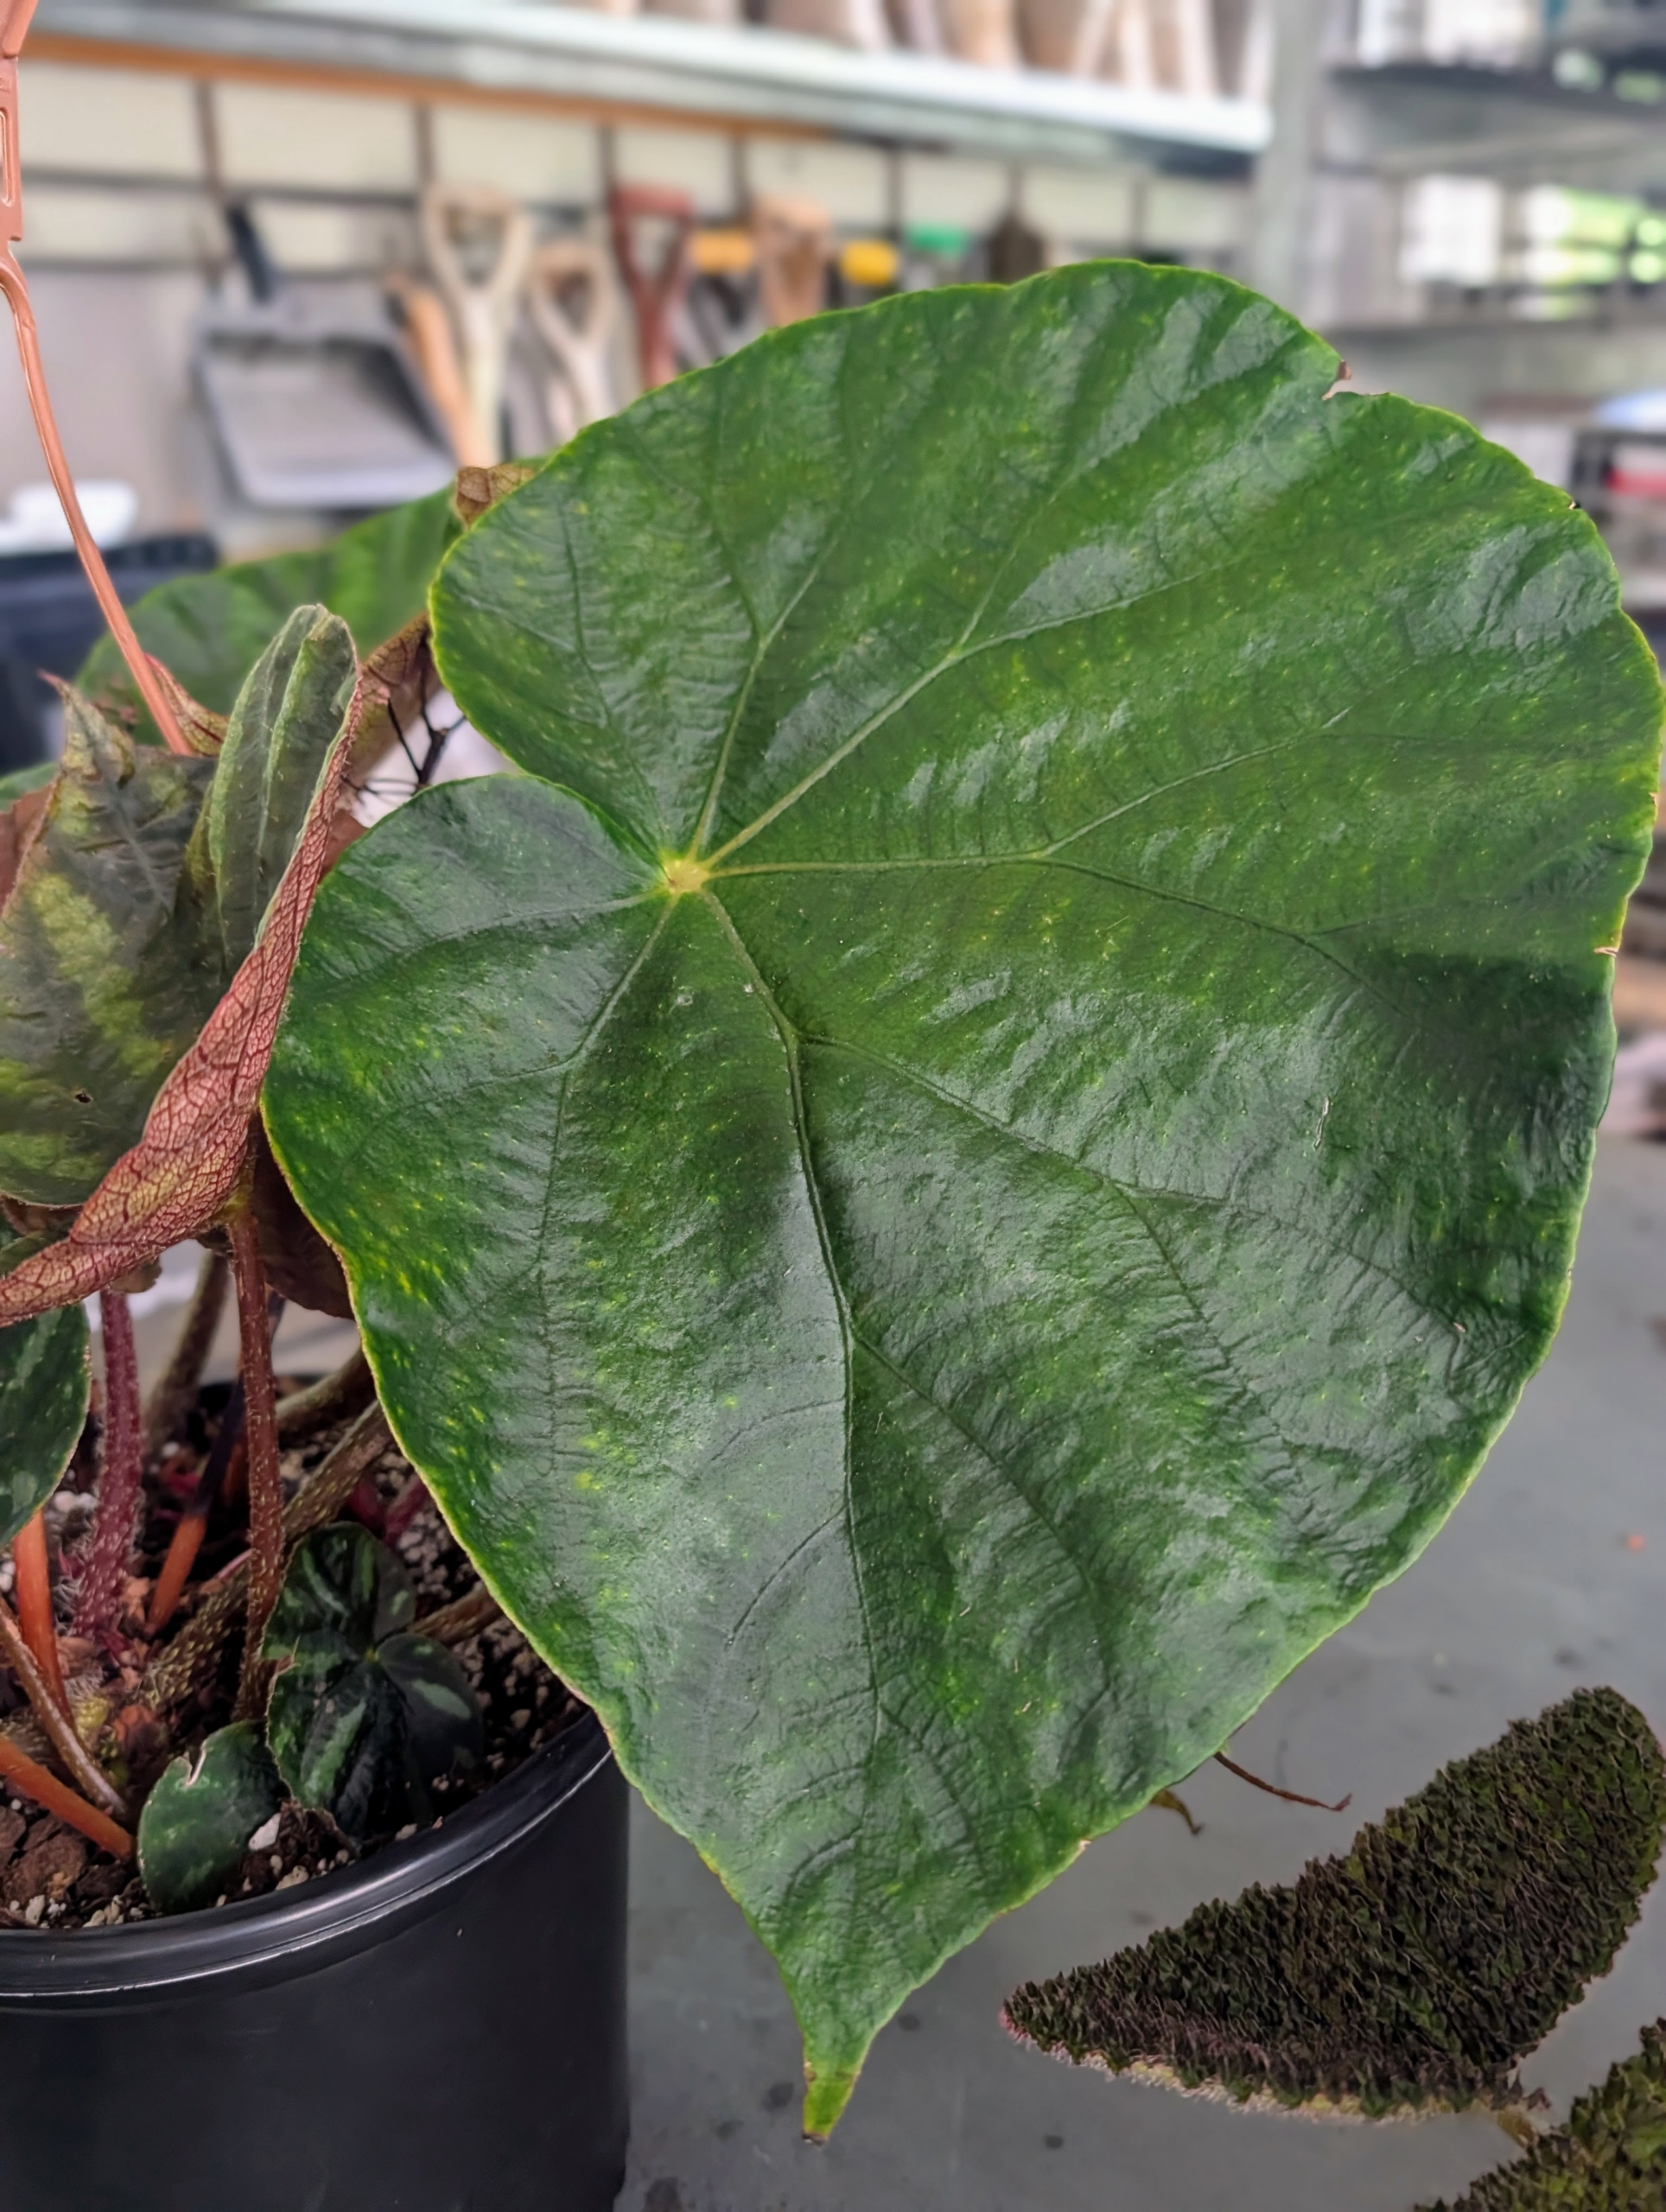
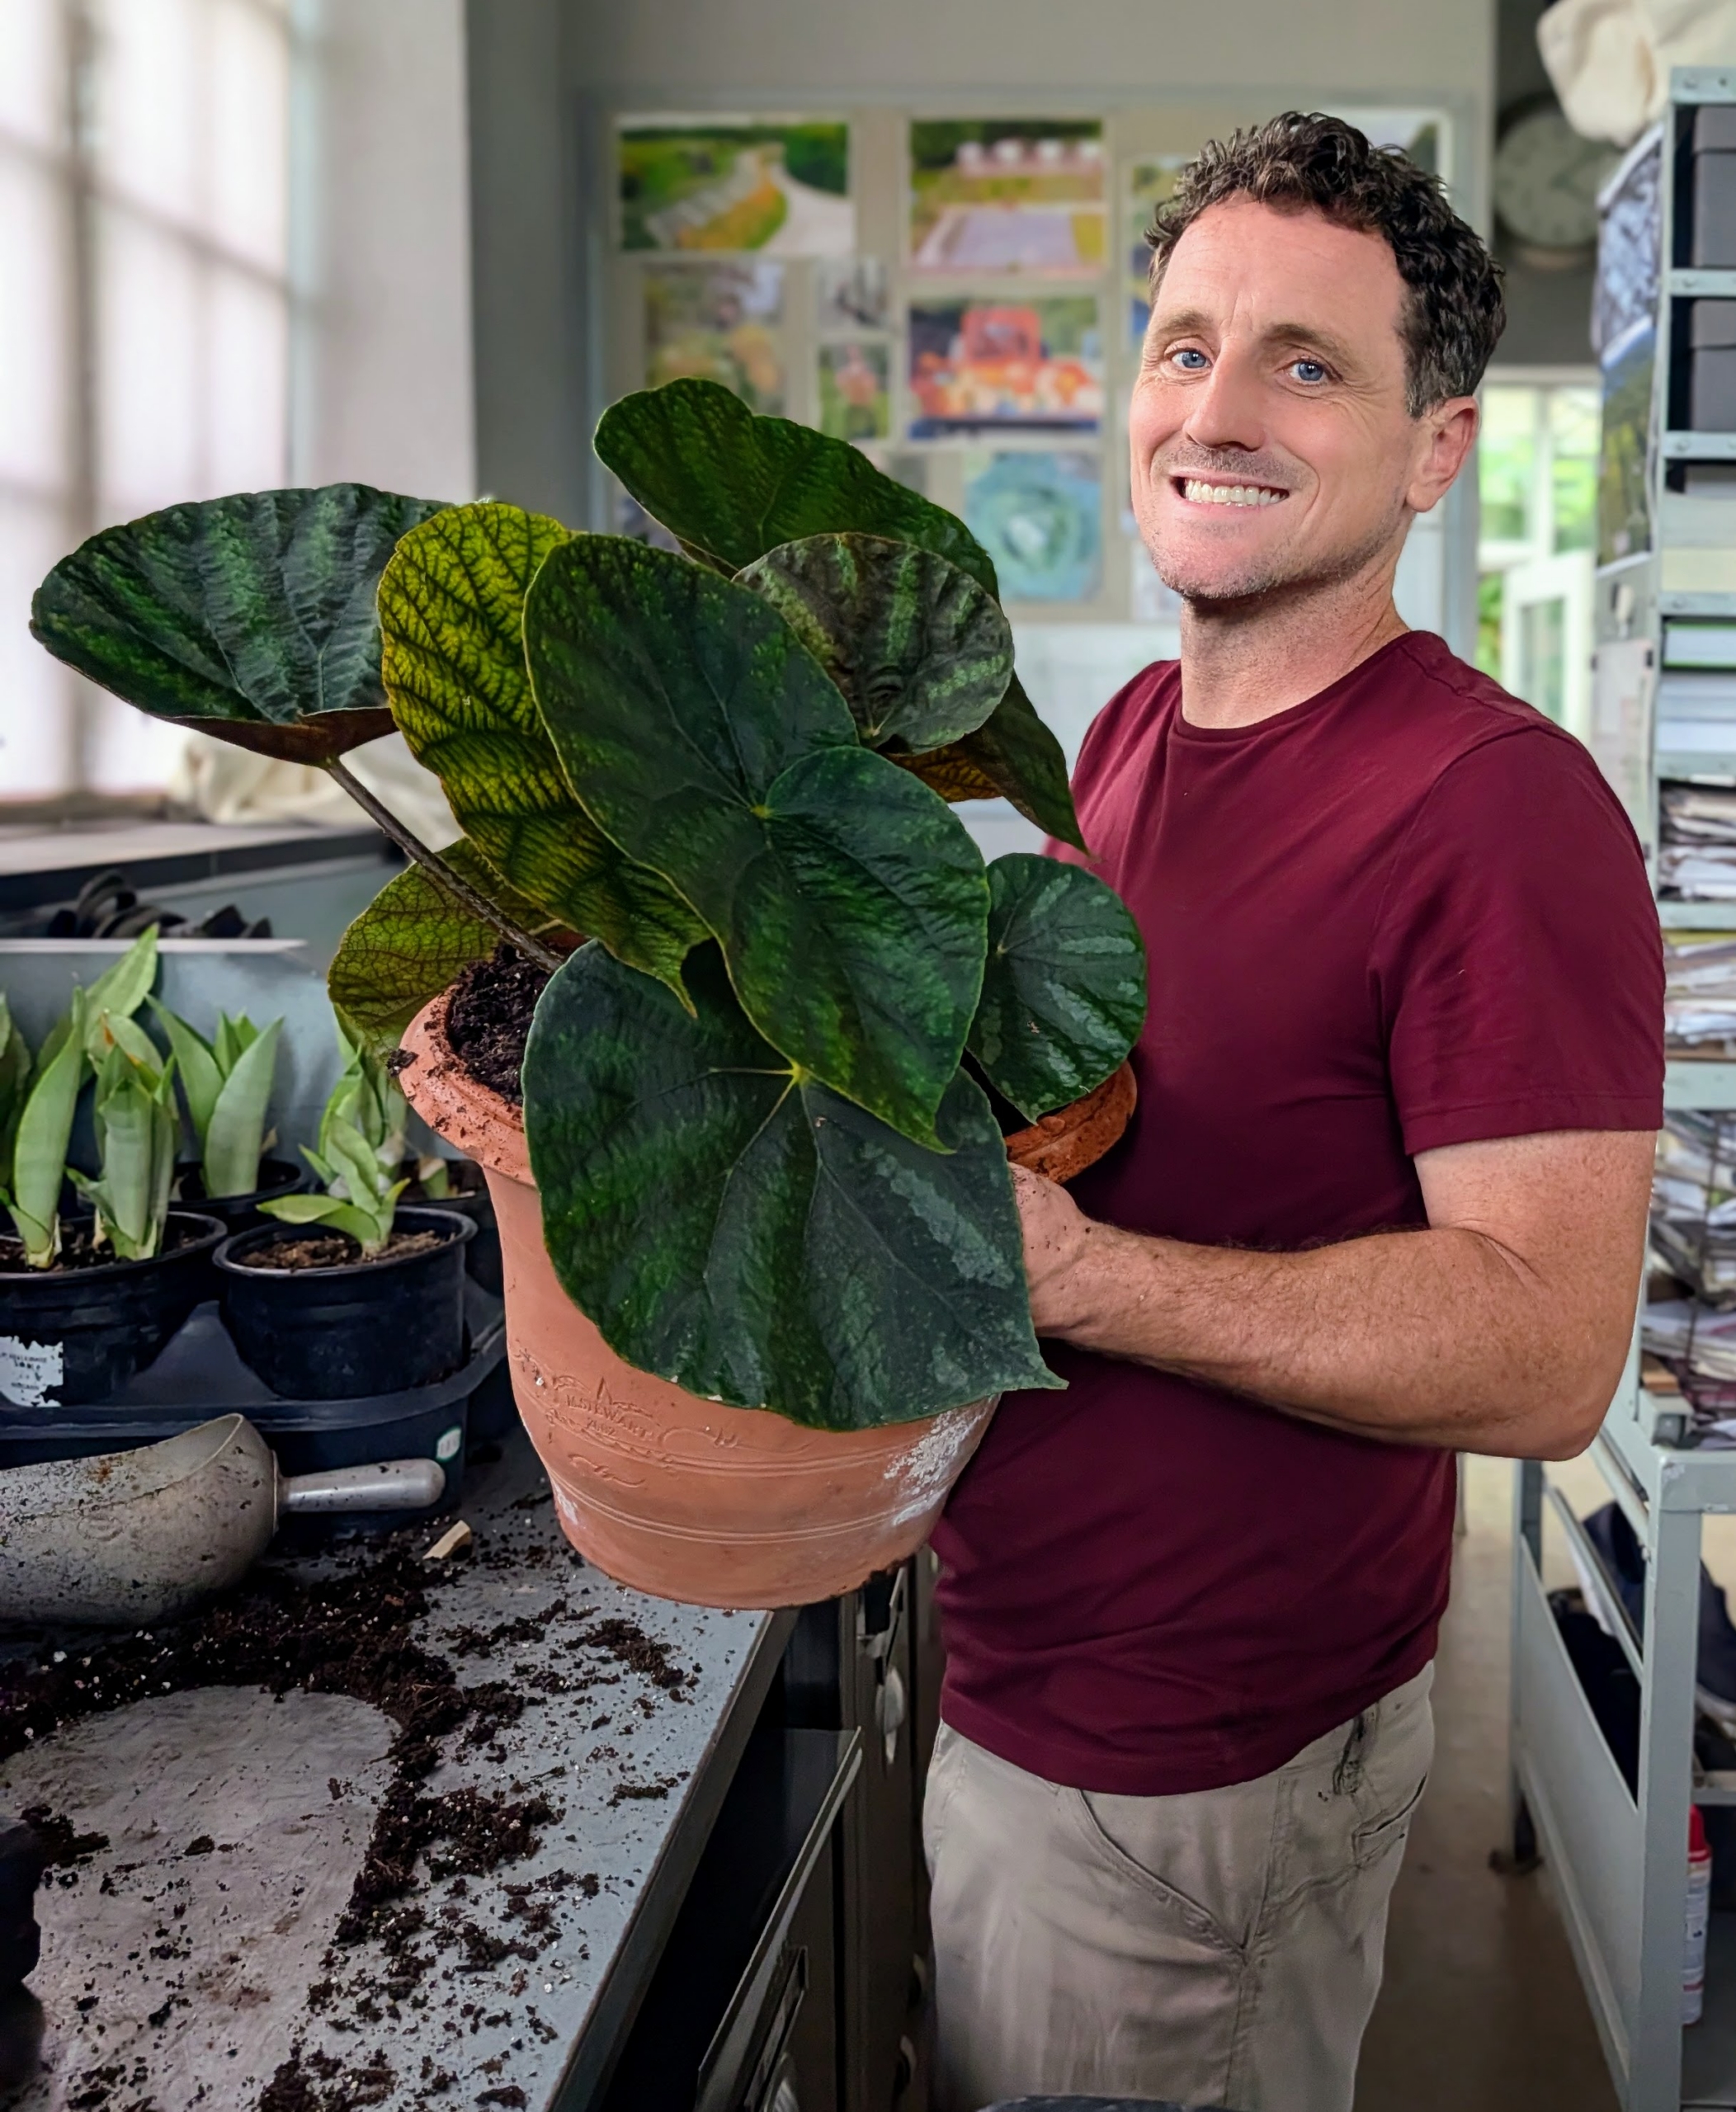
I saw this one and had to take it. This begonia has giant bold green leaves – each one bigger than one’s hand.
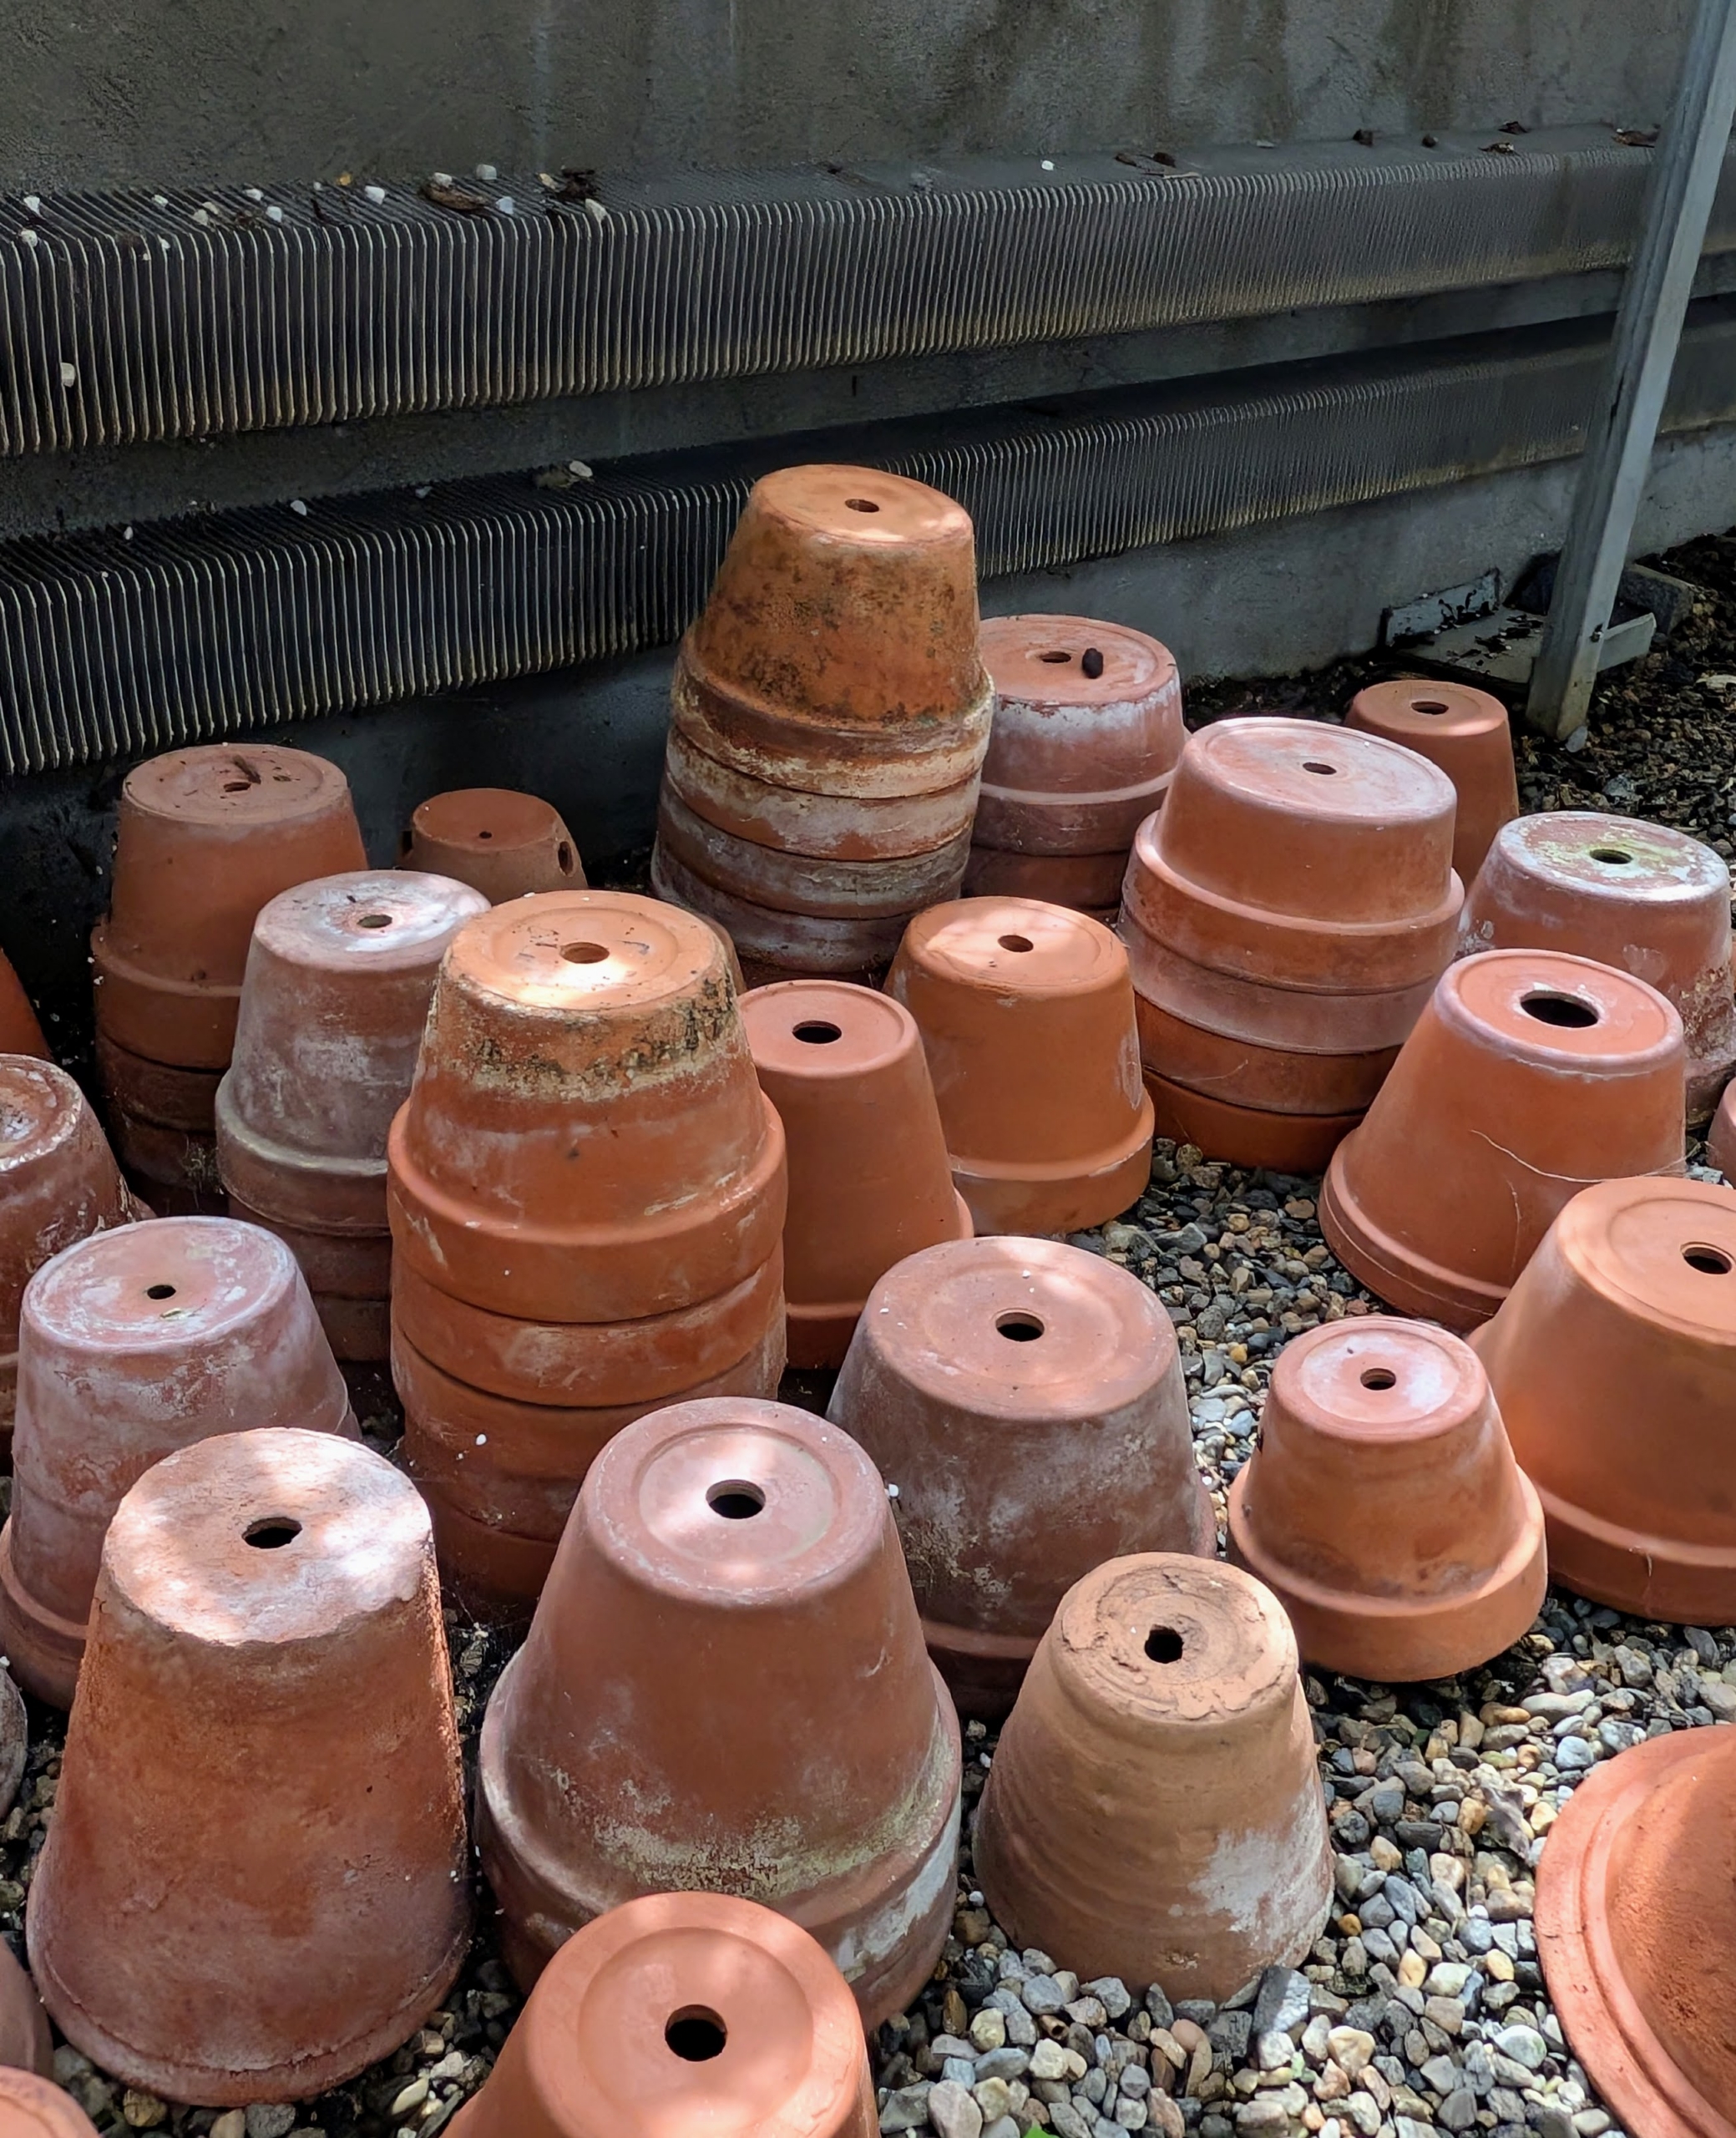
I store many of the empty pots underneath the greenhouse tables where they can be accessed quickly. To successfully grow rhizomatous begonias, It’s a good idea to use clay pots, such as terracotta, as they are more porous and allow the roots to breathe.
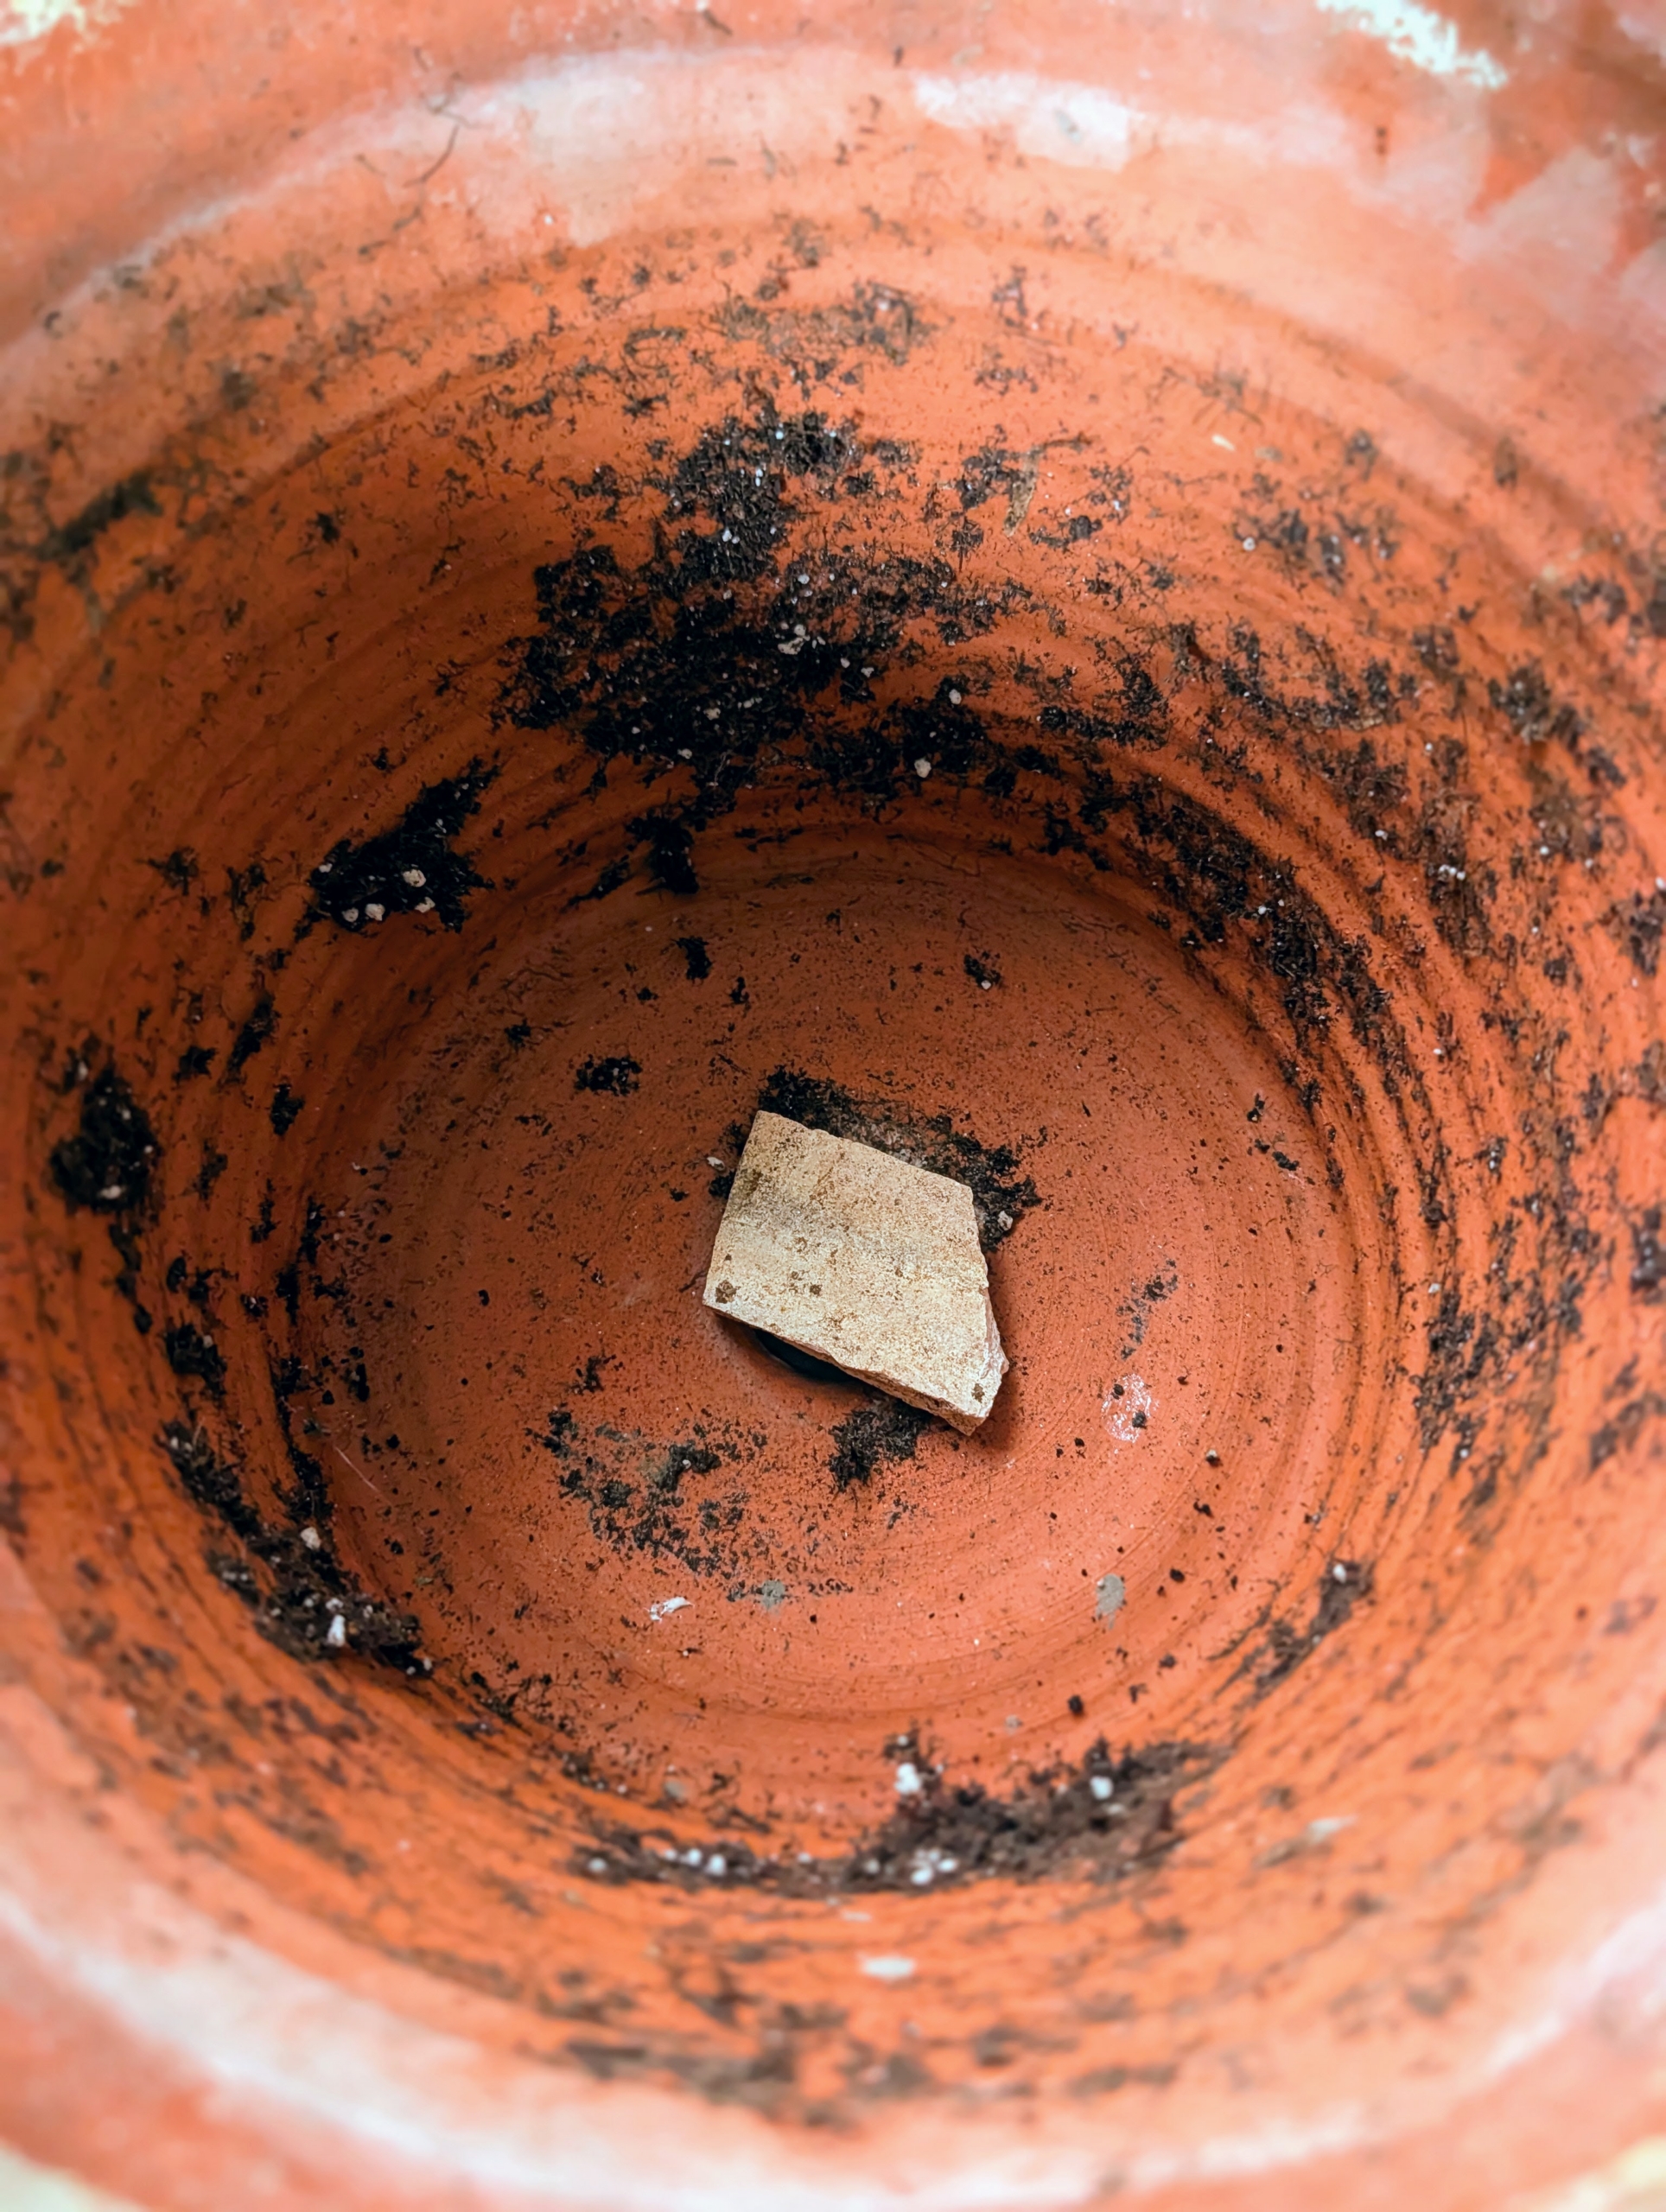
When potting any plant, always place a clay shard or stone over the drainage hole in the bottom of the pot to help with drainage and to prevent any soil from falling out.
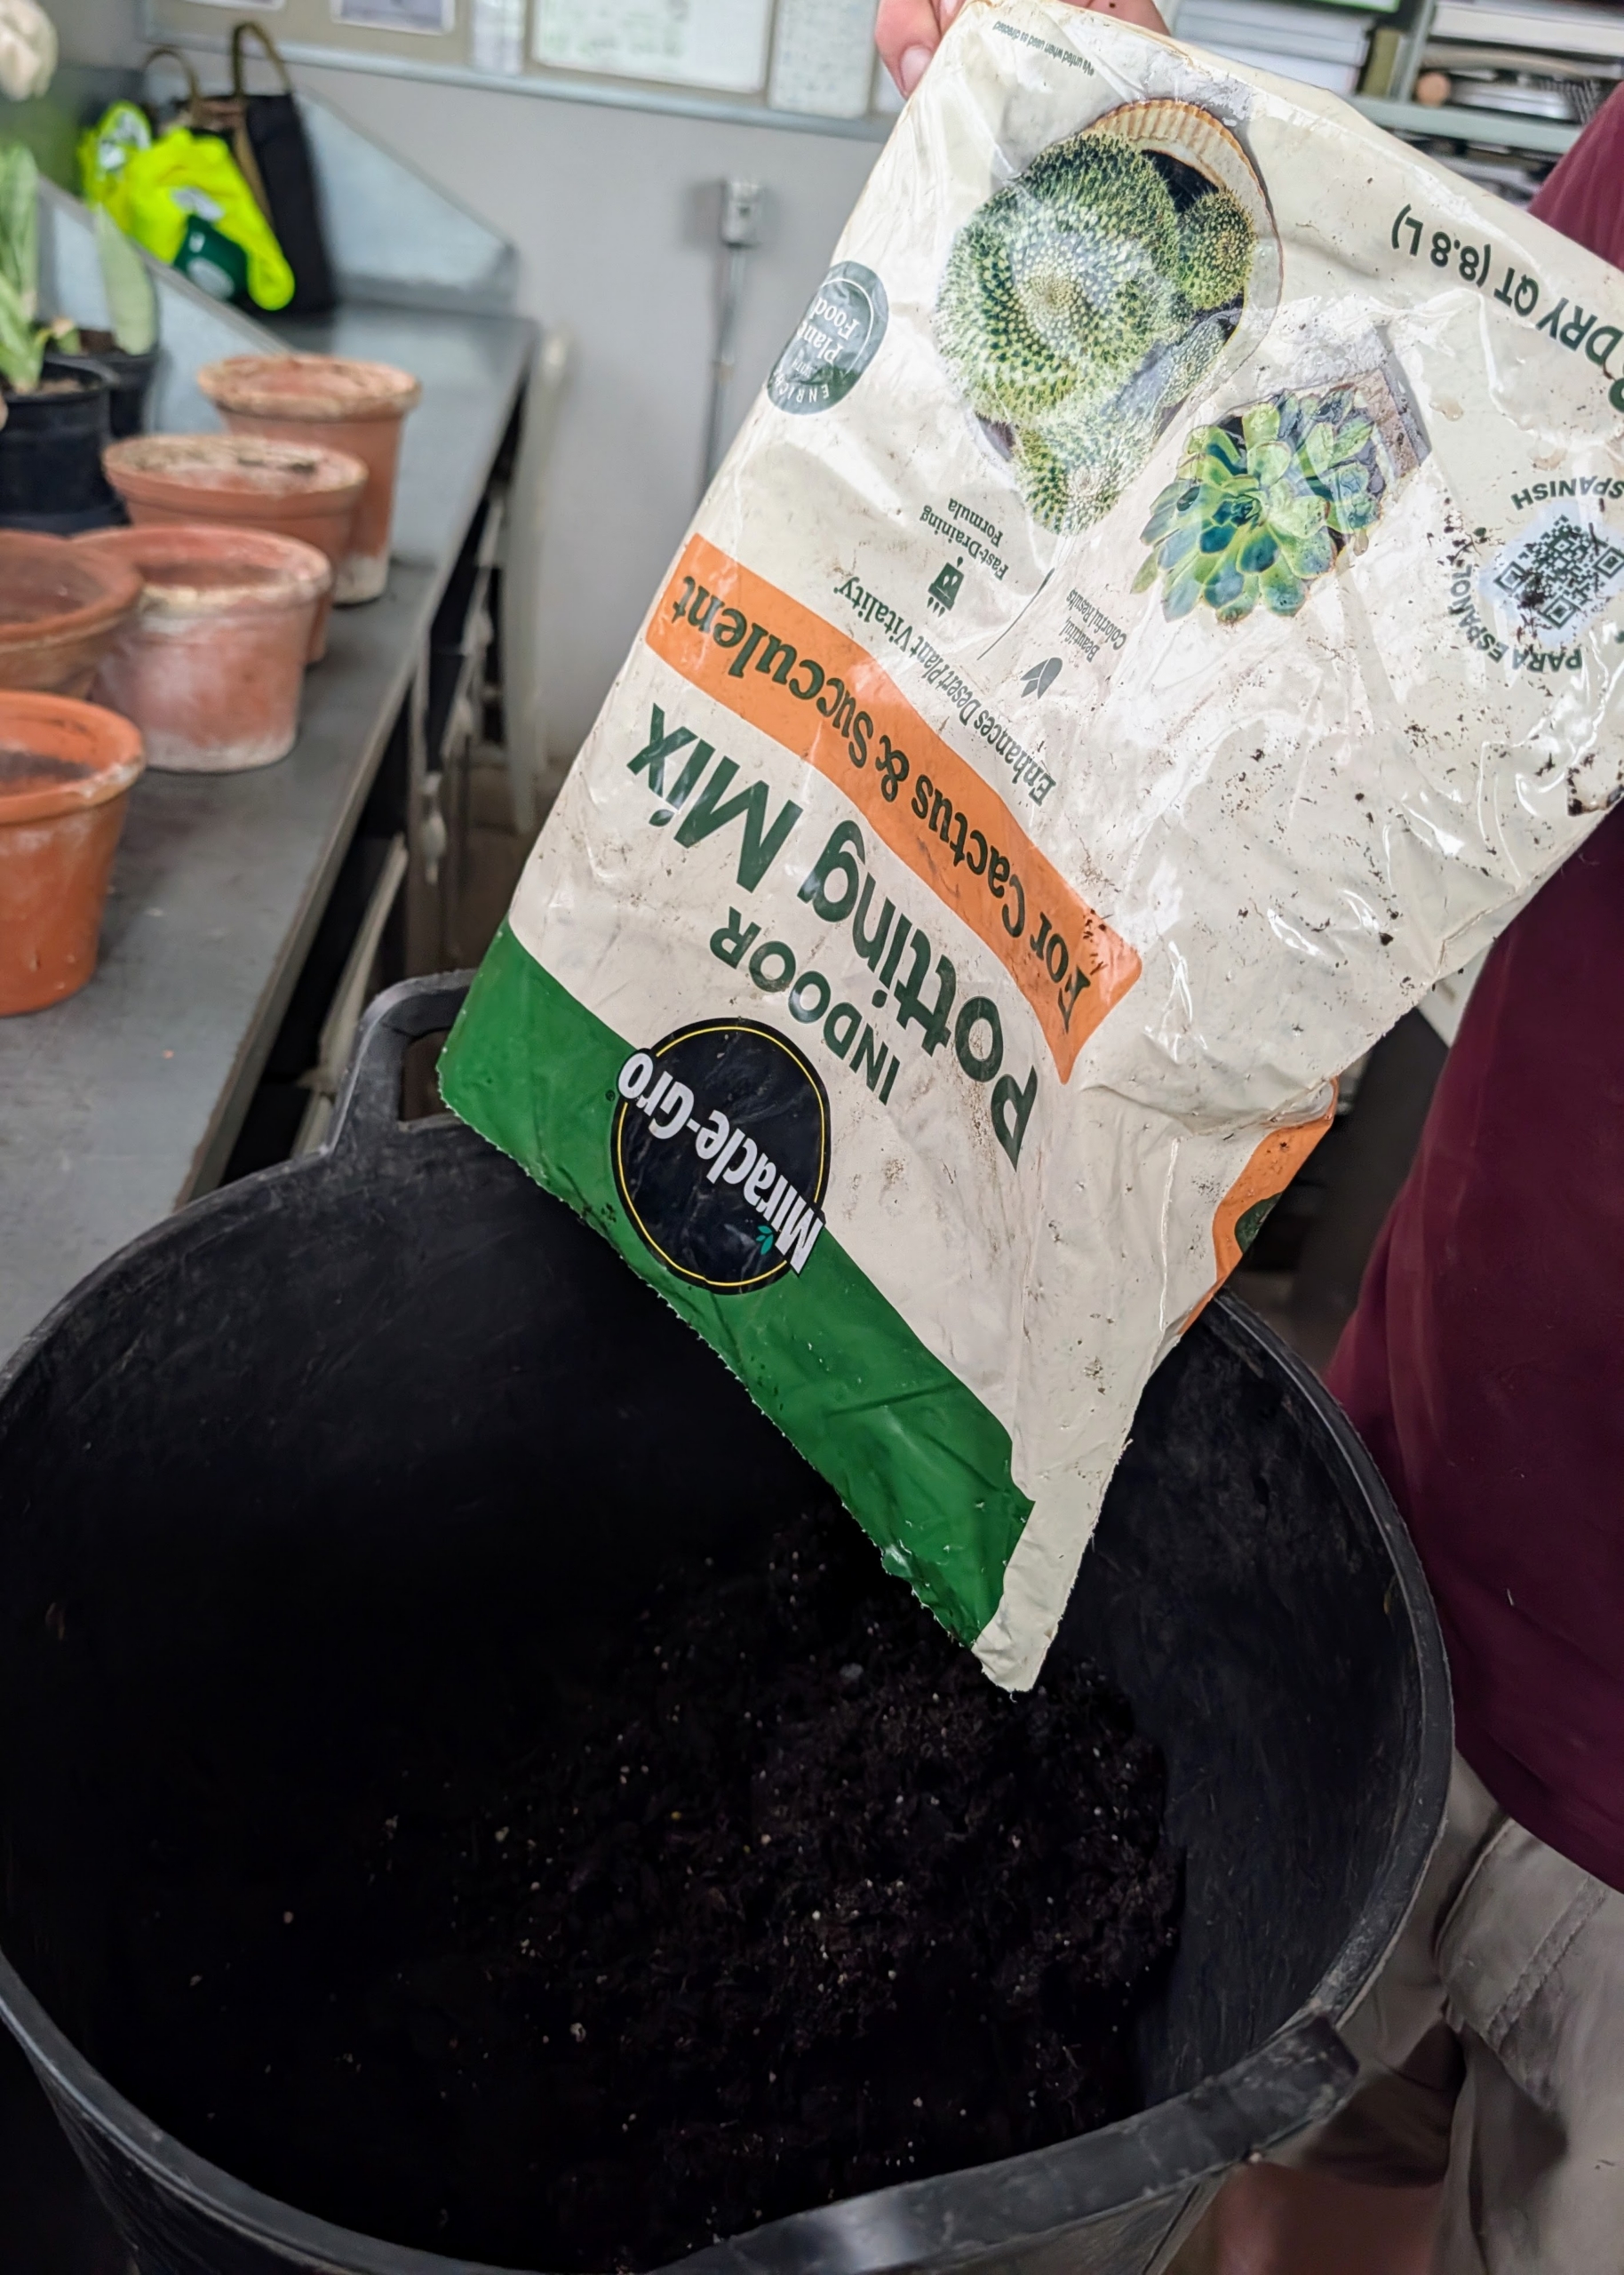
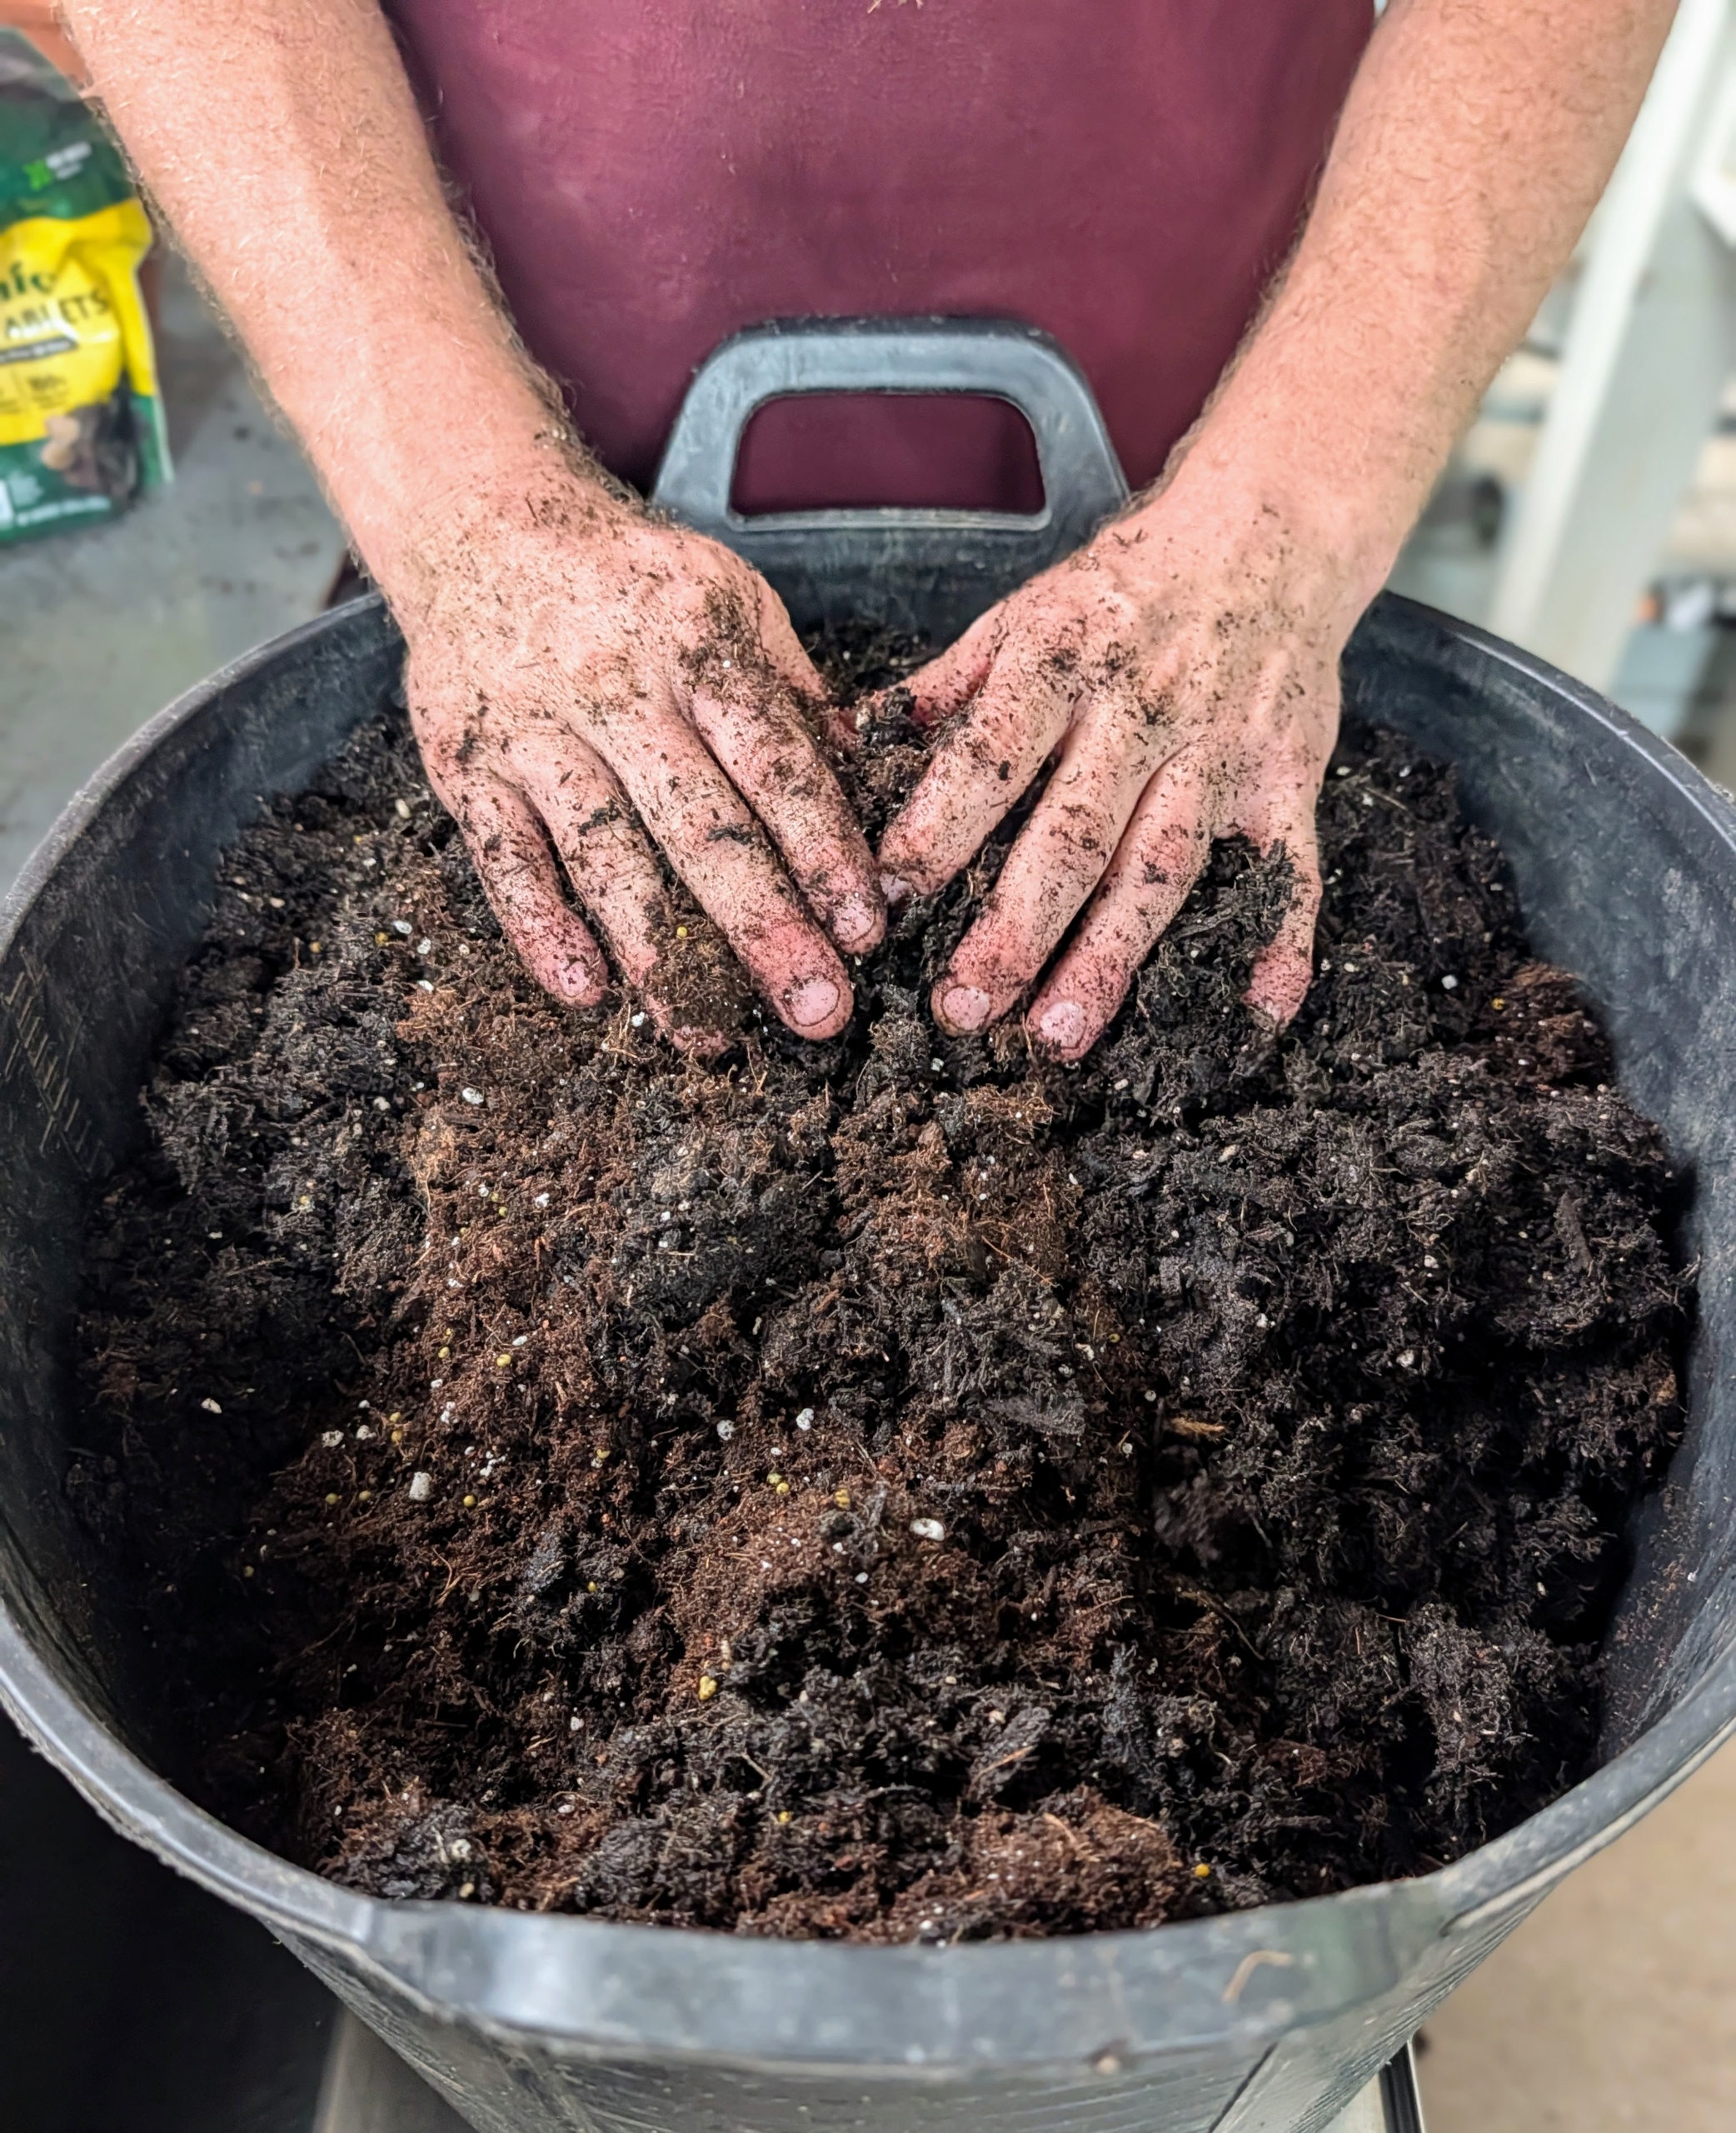
Begonias grow best in light, well-drained soil. Ryan empties a bag of Miracle-Gro Indoor Potting Mix for Cactus & Succulent into a trug bucket.
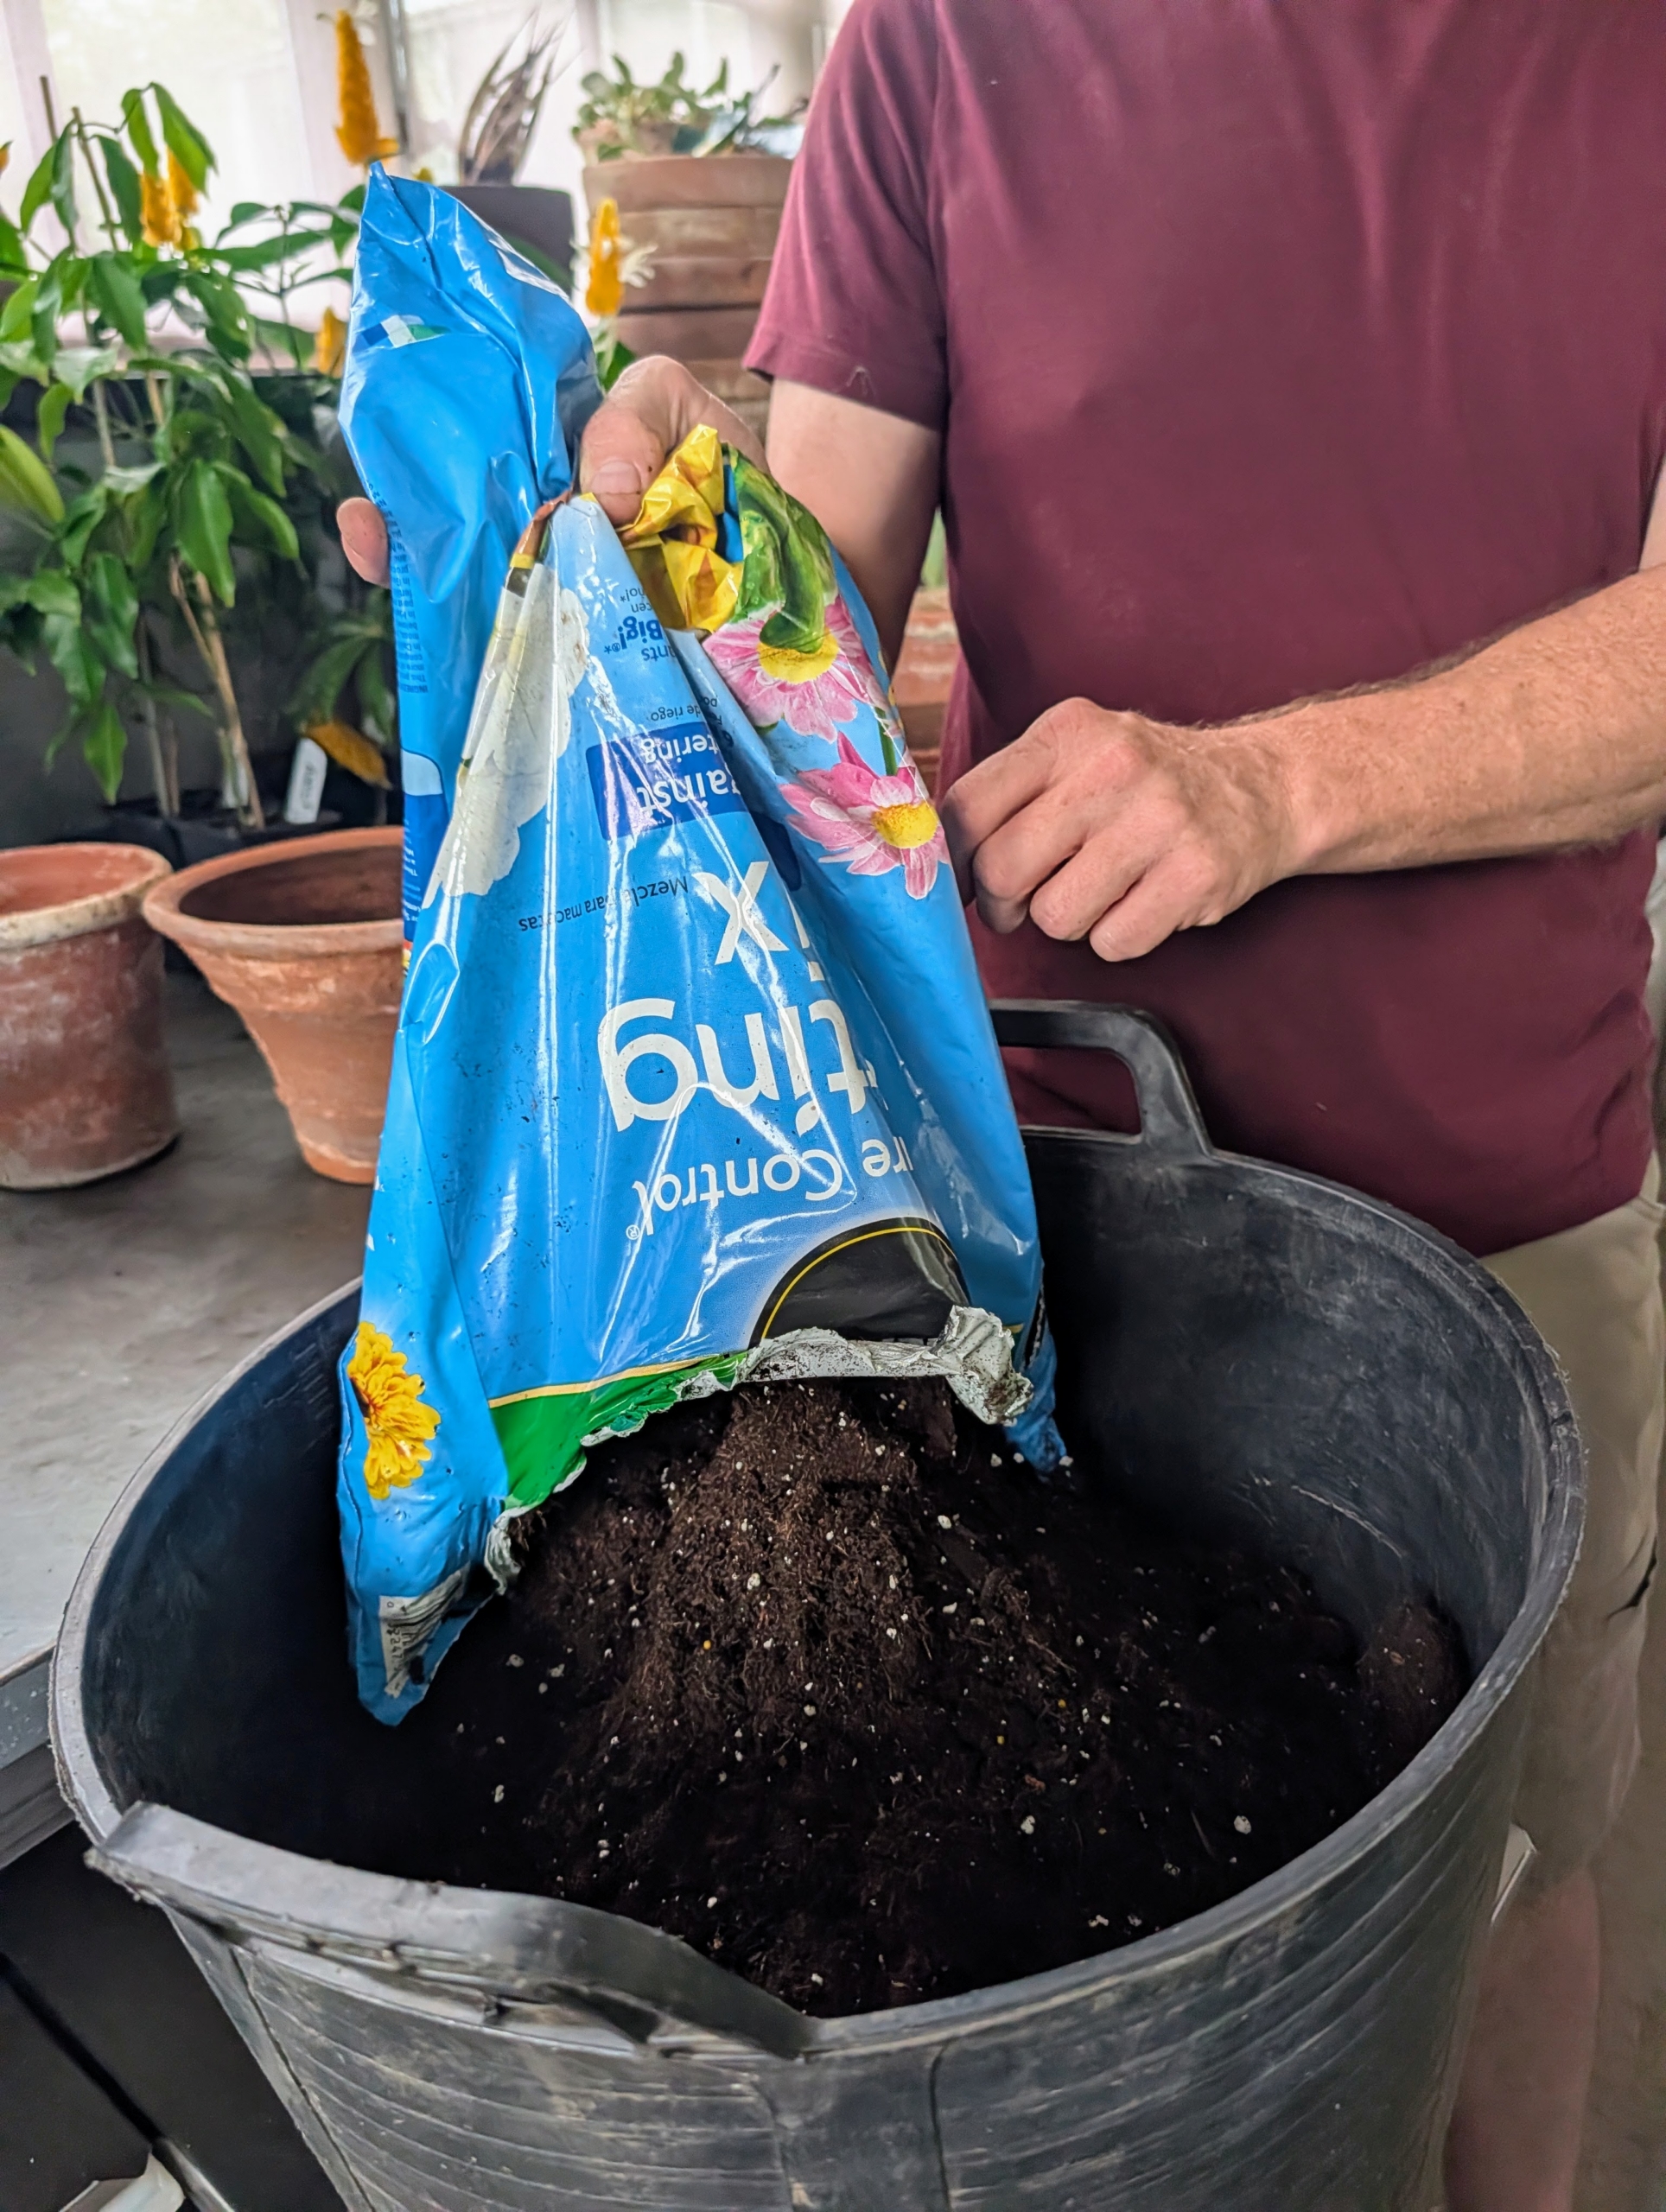
And then he adds a bag of Miracle-Gro Moisture Control Potting Mix into the same container.
After adding a generous amount of Osmocote fertilizer, which will provide a good supply of nutrients to the plant for several months. using his hands, Ryan mixes everything together.
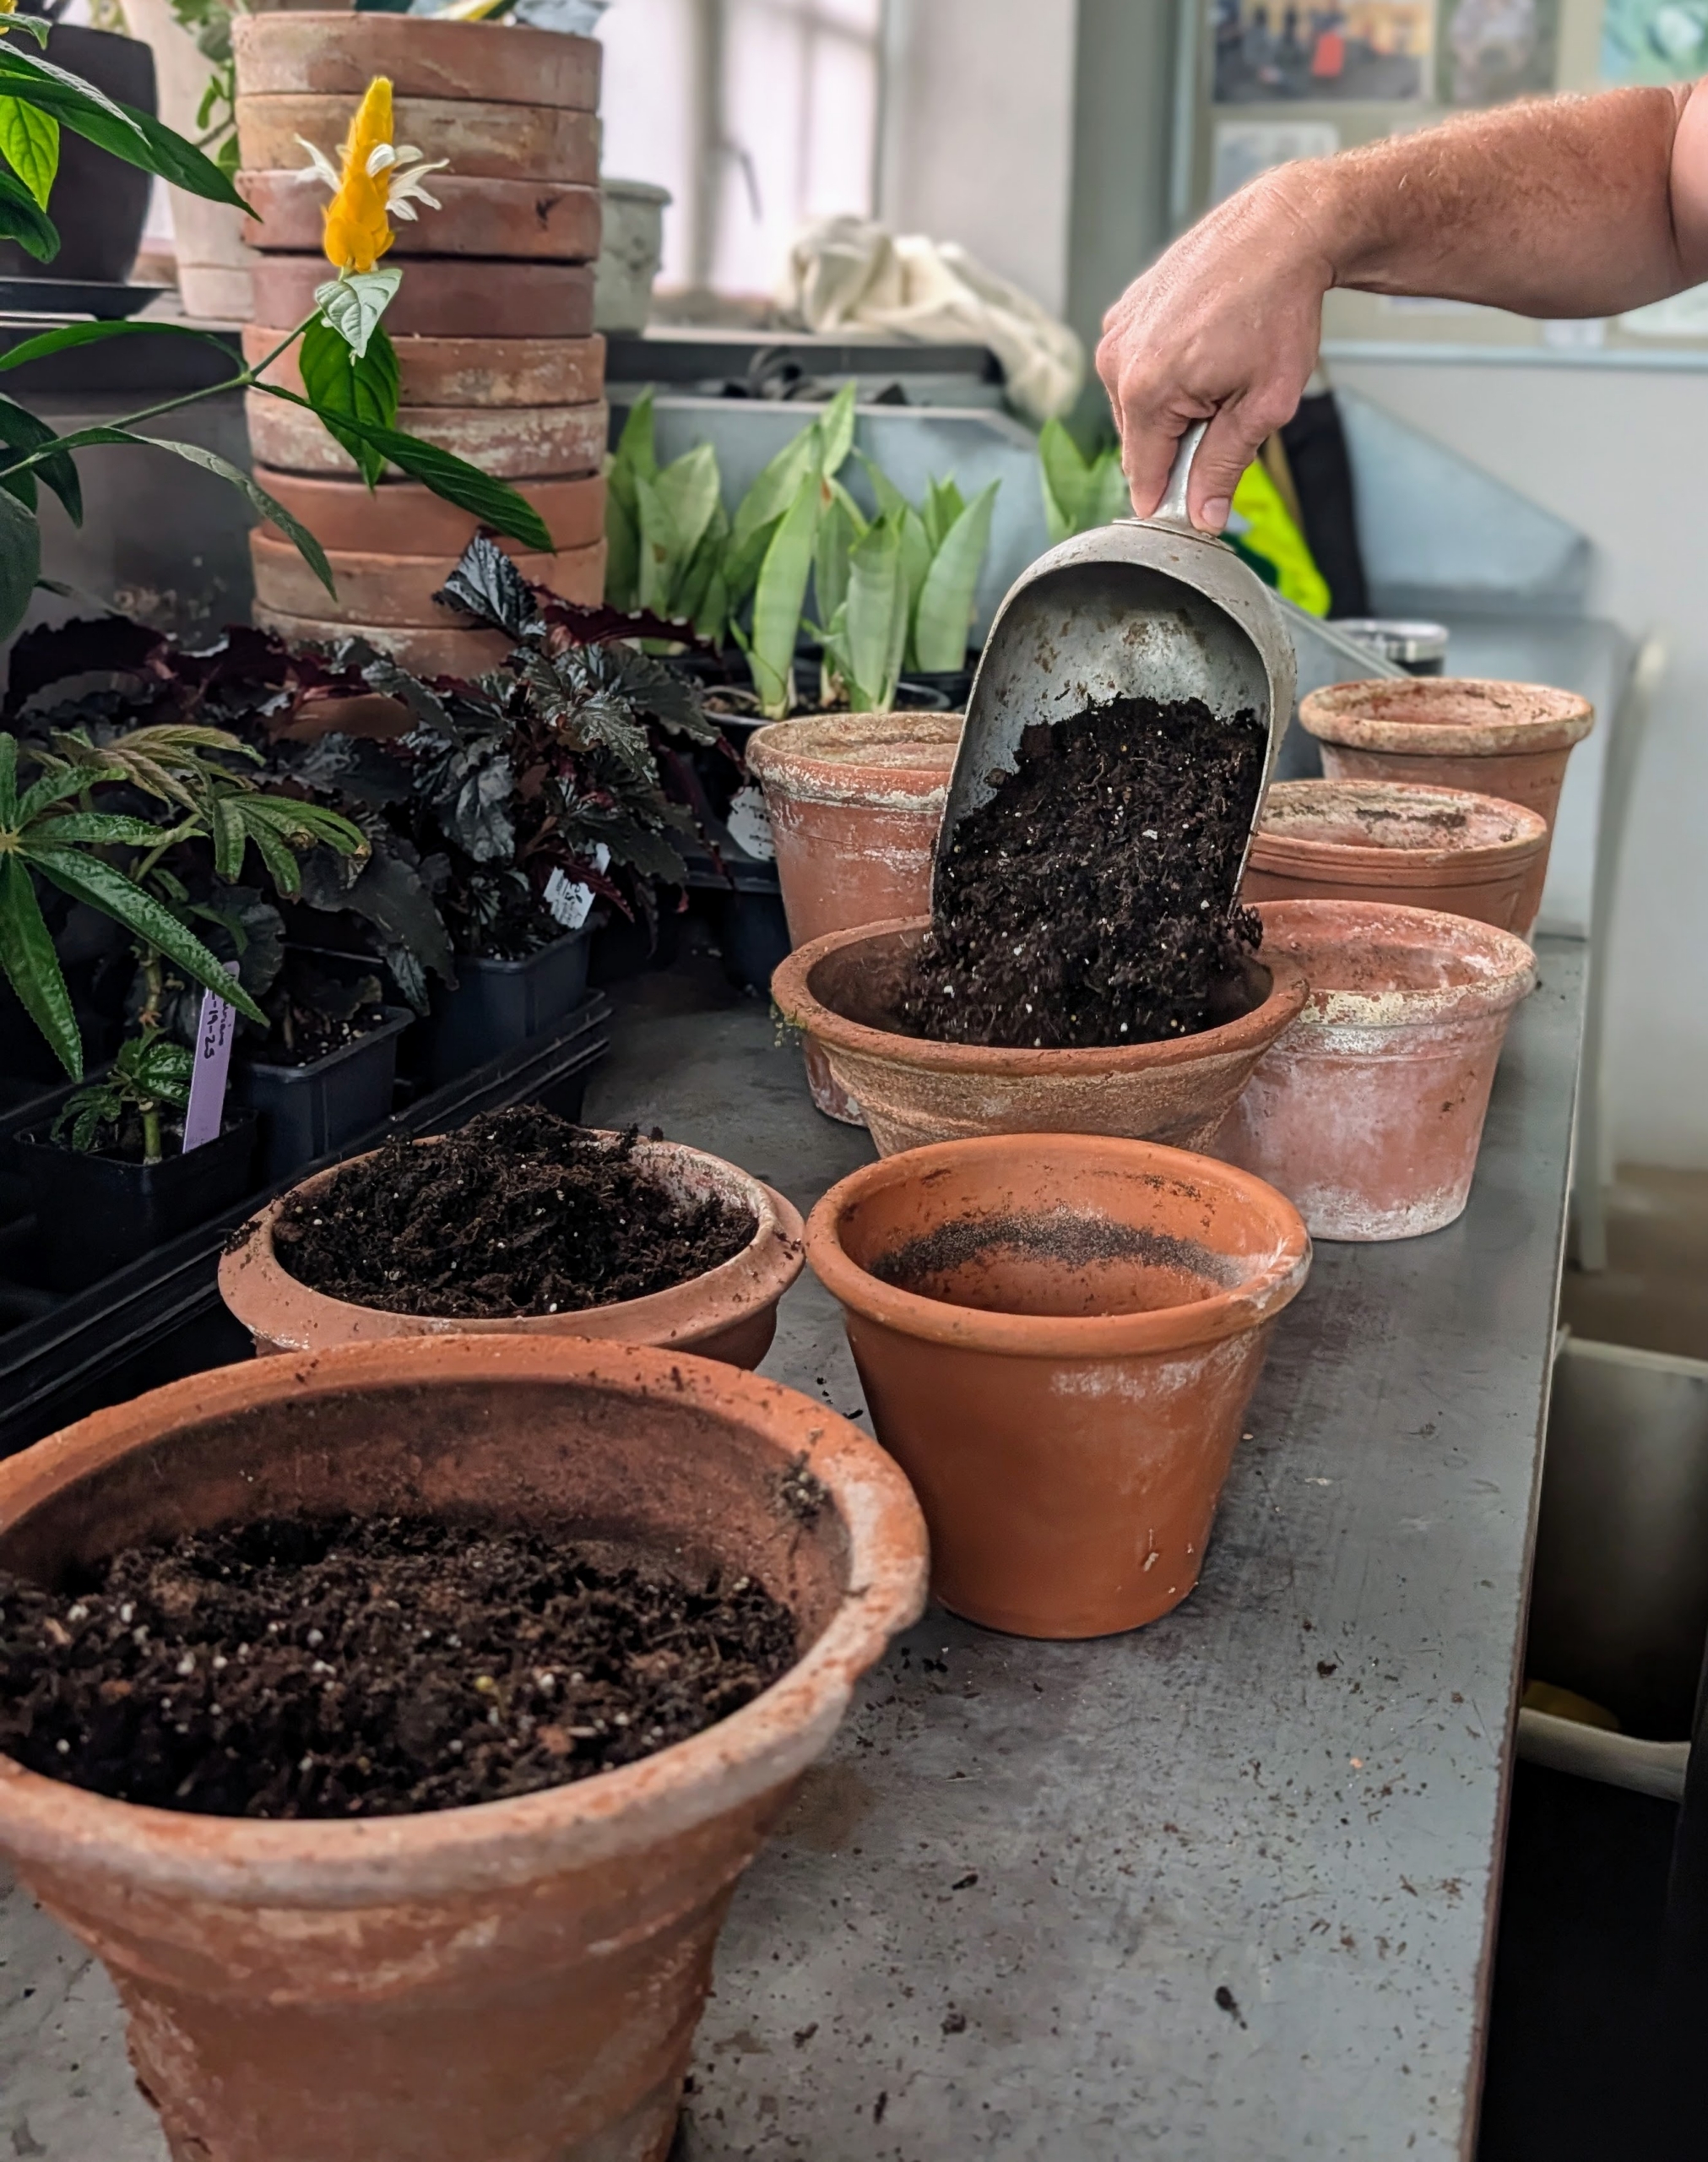
Ryan begins to fill the pots with the appropriate mixed medium.
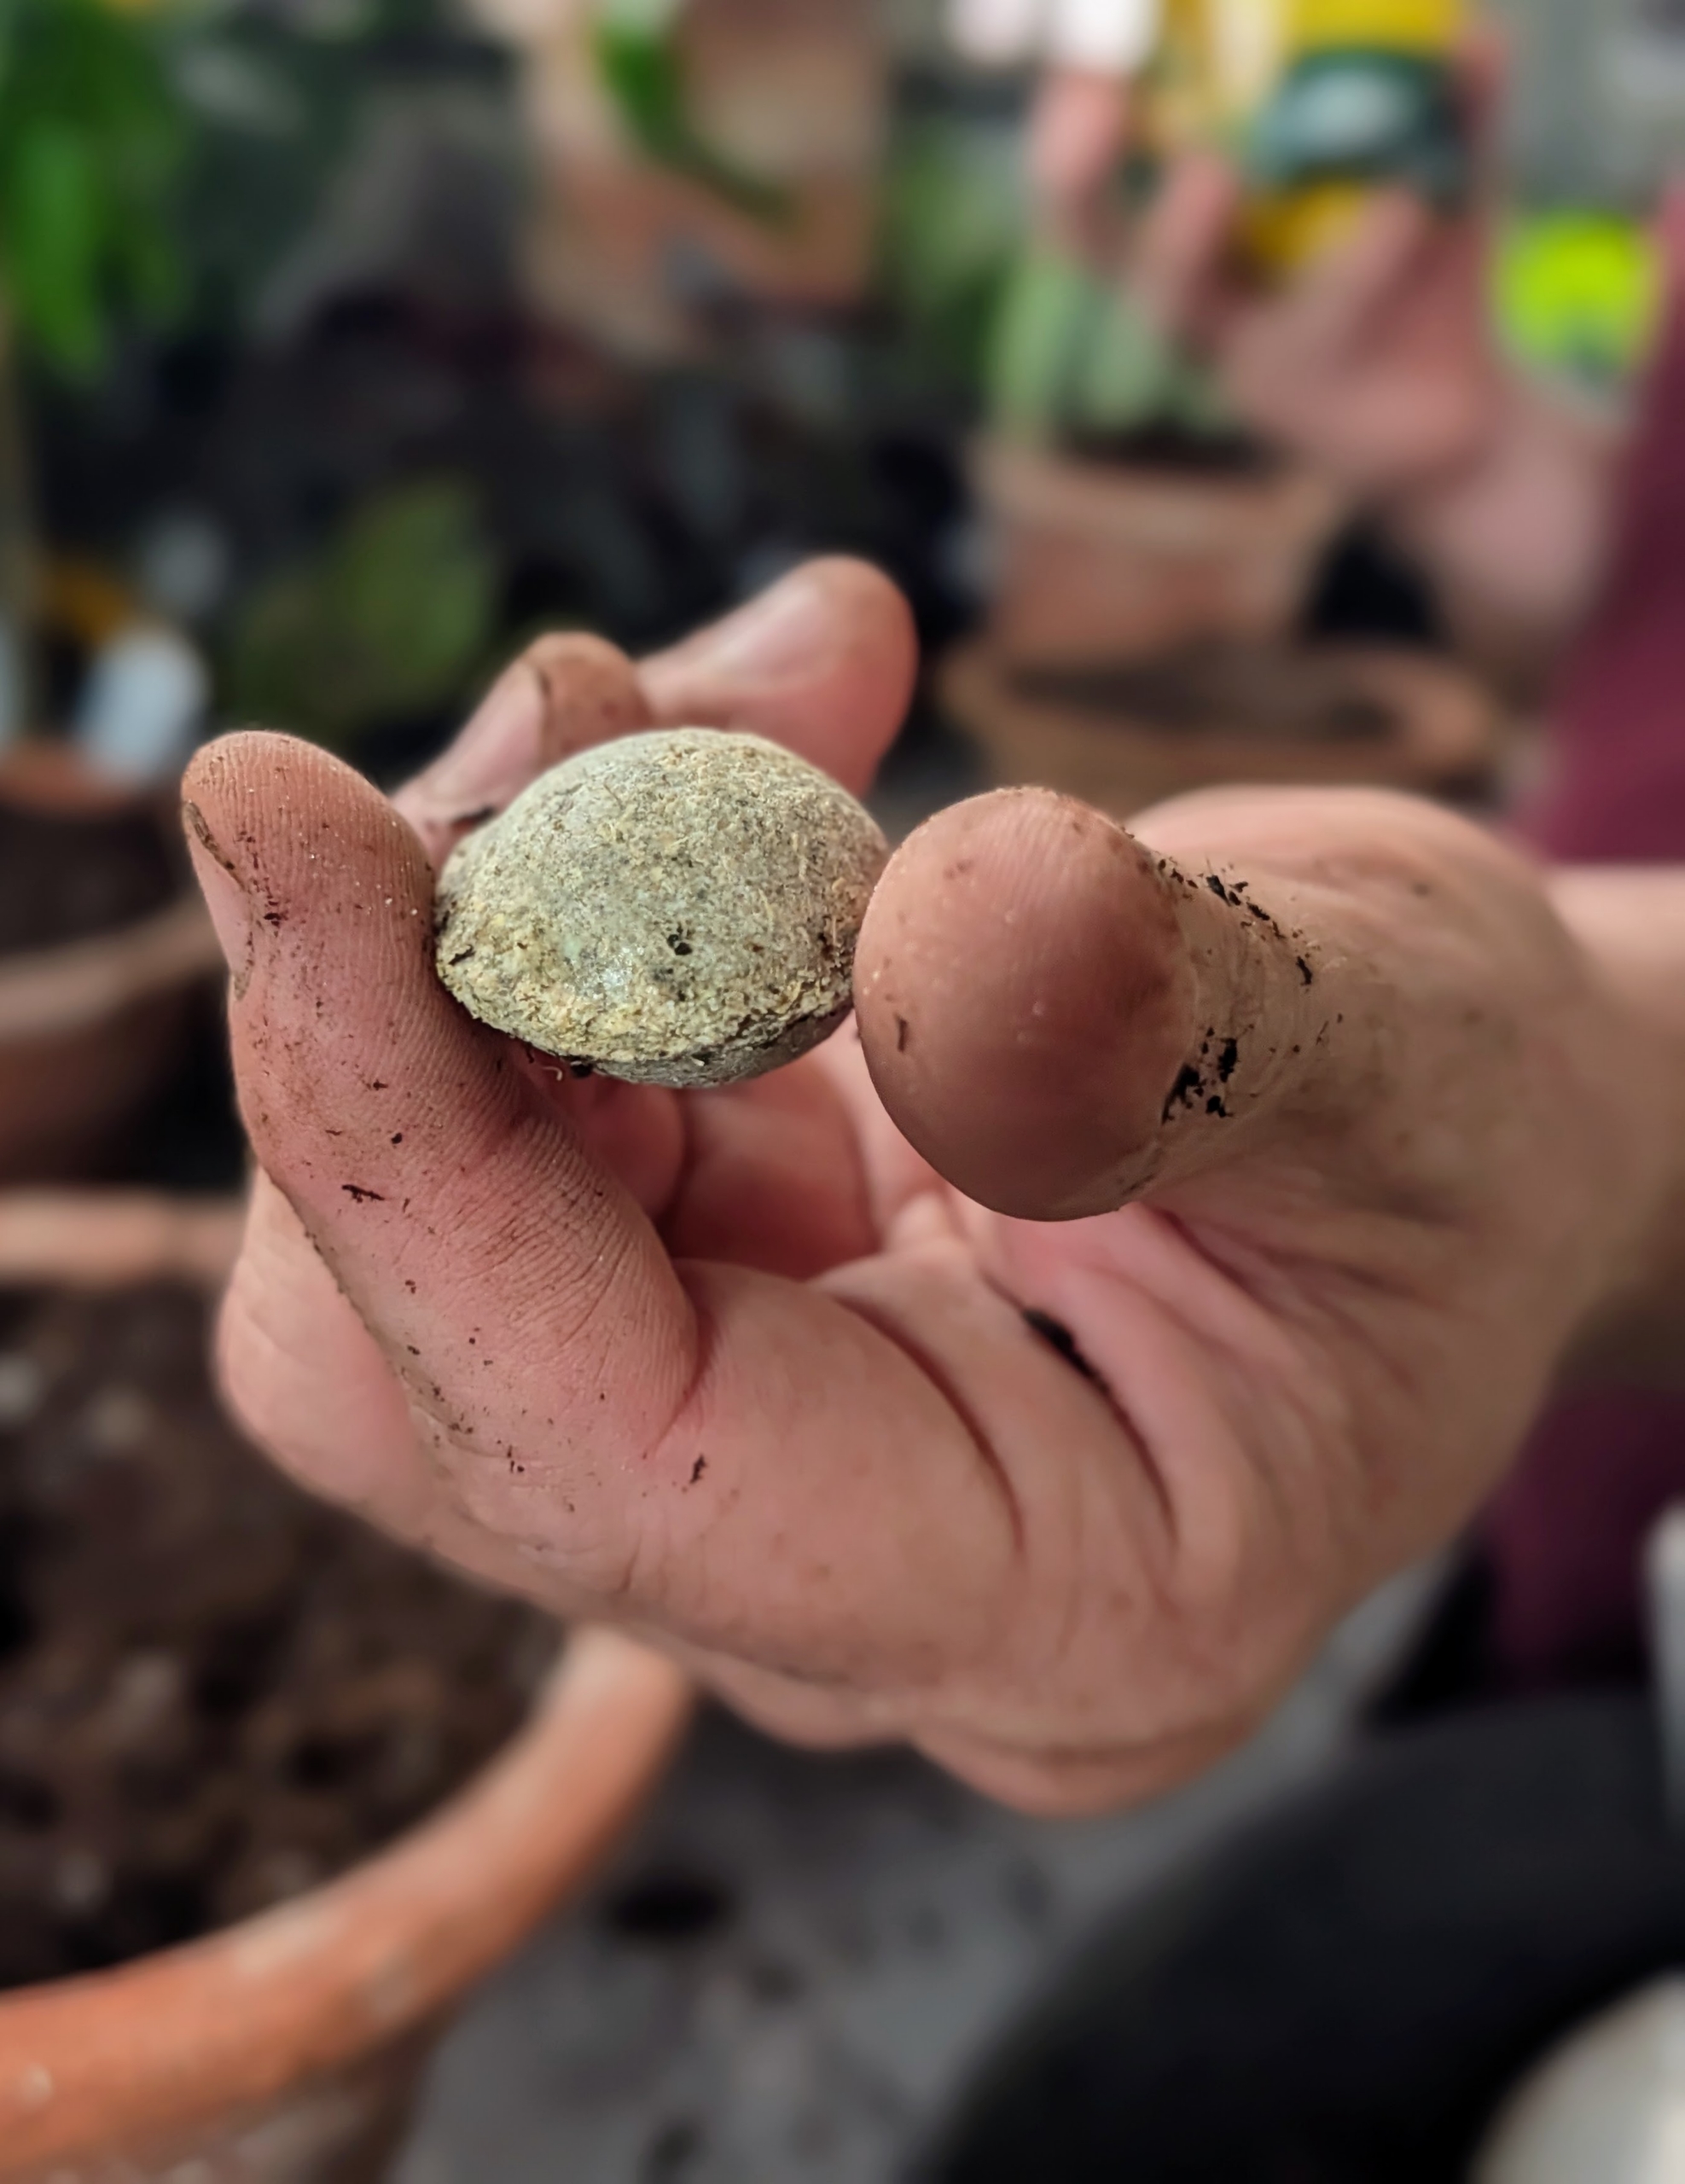
He also adds one Miracle-Gro Organic Planting Tablet into each pot. Each water soluble tablet is great for both transplants and starter plants.
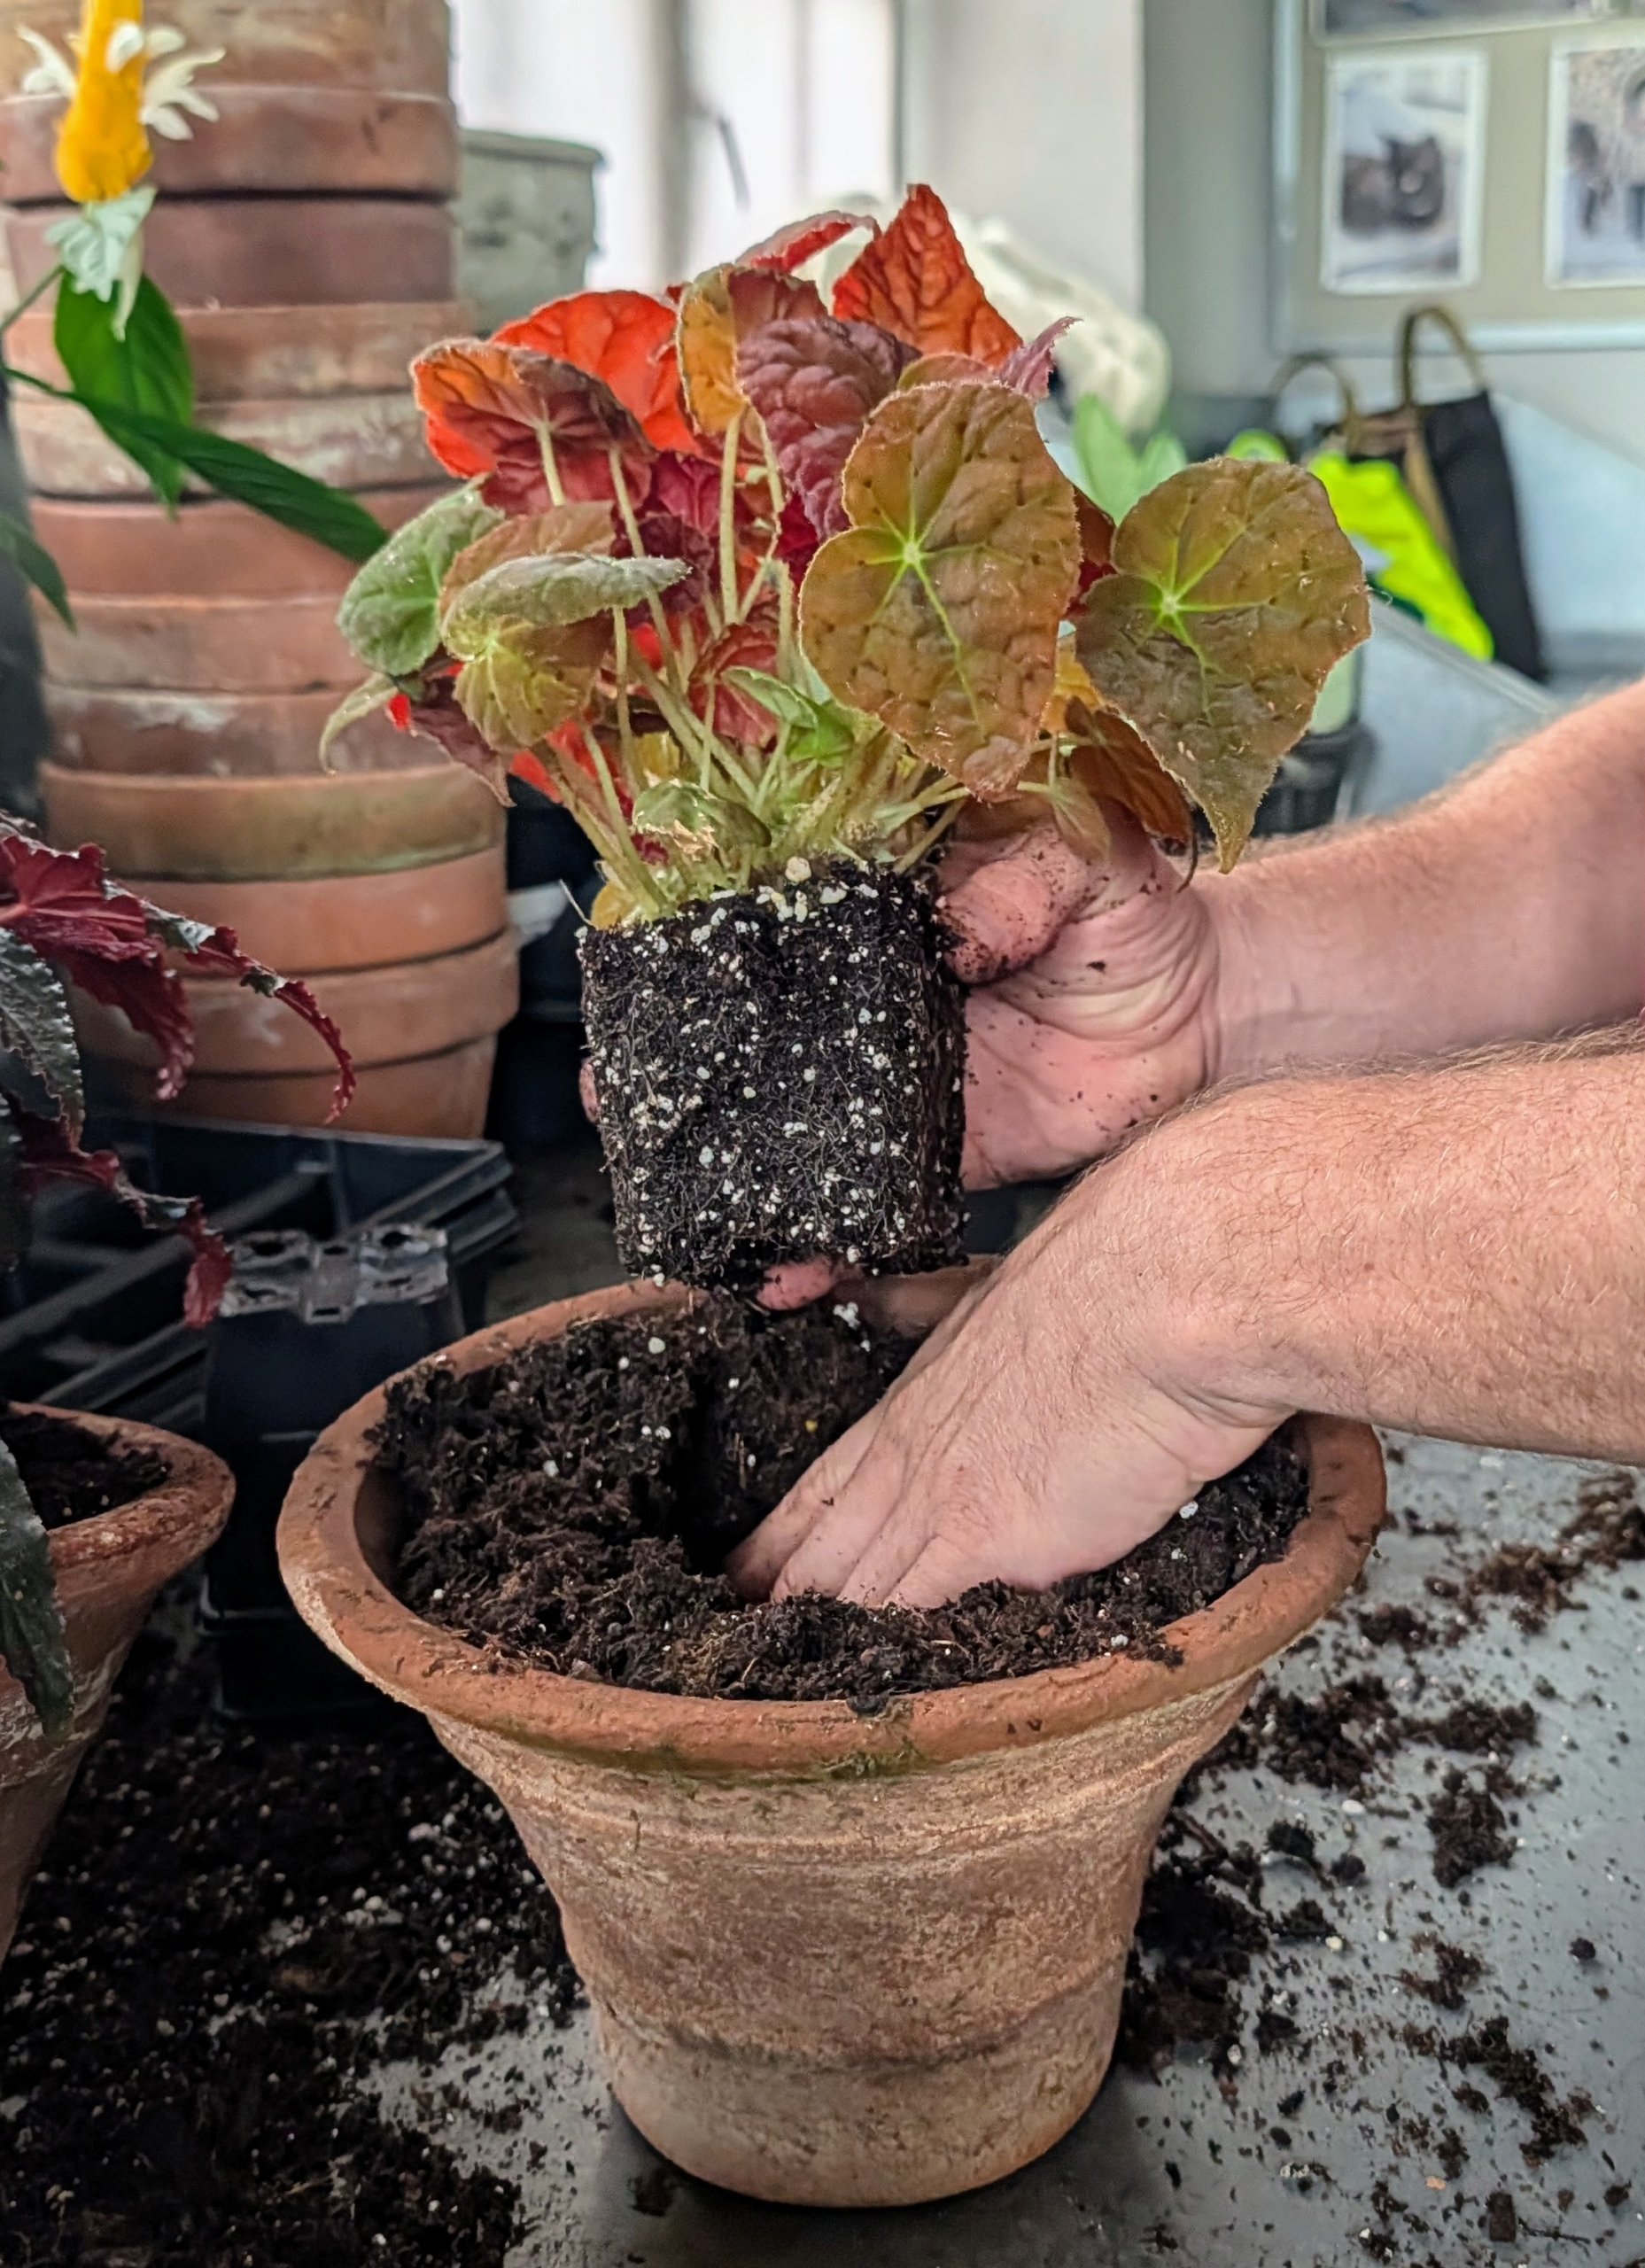
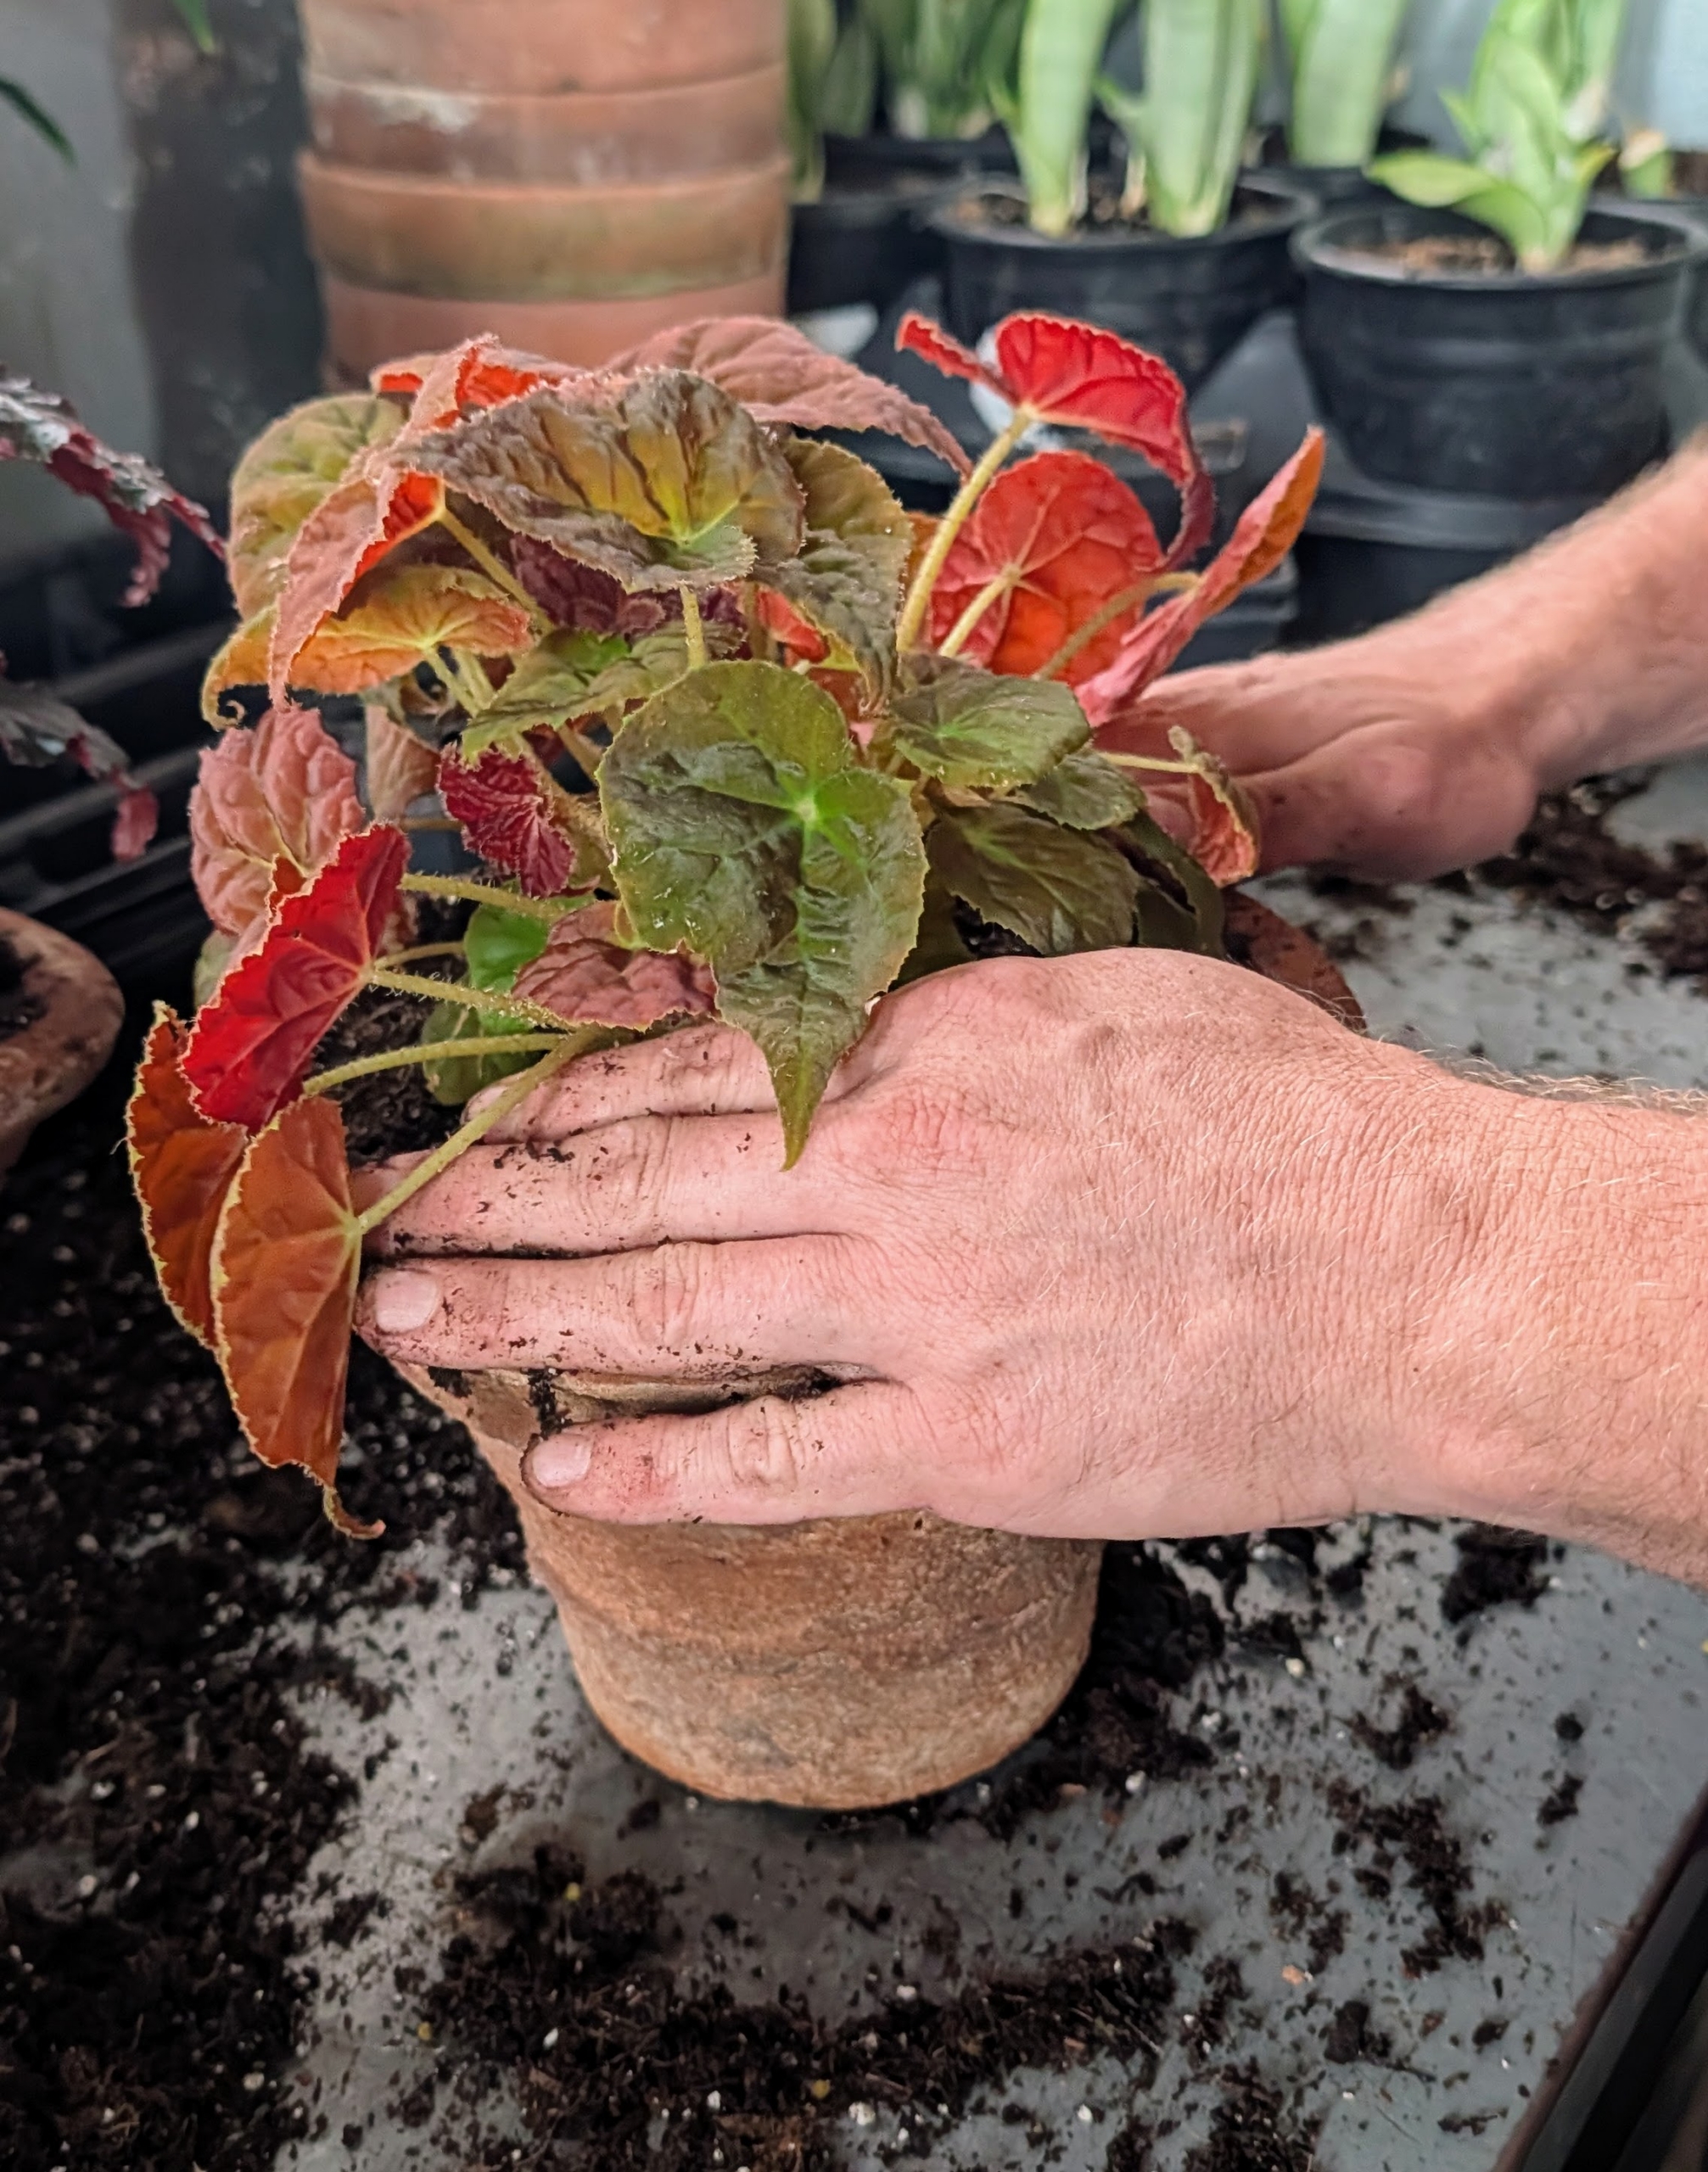
Ryan gently removes the begonia from its previous pot. This is a good root ball – neither rotted nor root bound. He puts it into a pot that’s only one or two inches larger in diameter than the old one. This pot is a good size for this plant.
Ryan plants it at the same depth it was in its original pot, backfills to just under the lip of the vessel, and then presses down slightly on the soil to ensure there is good contact between the plant and the potting mix.
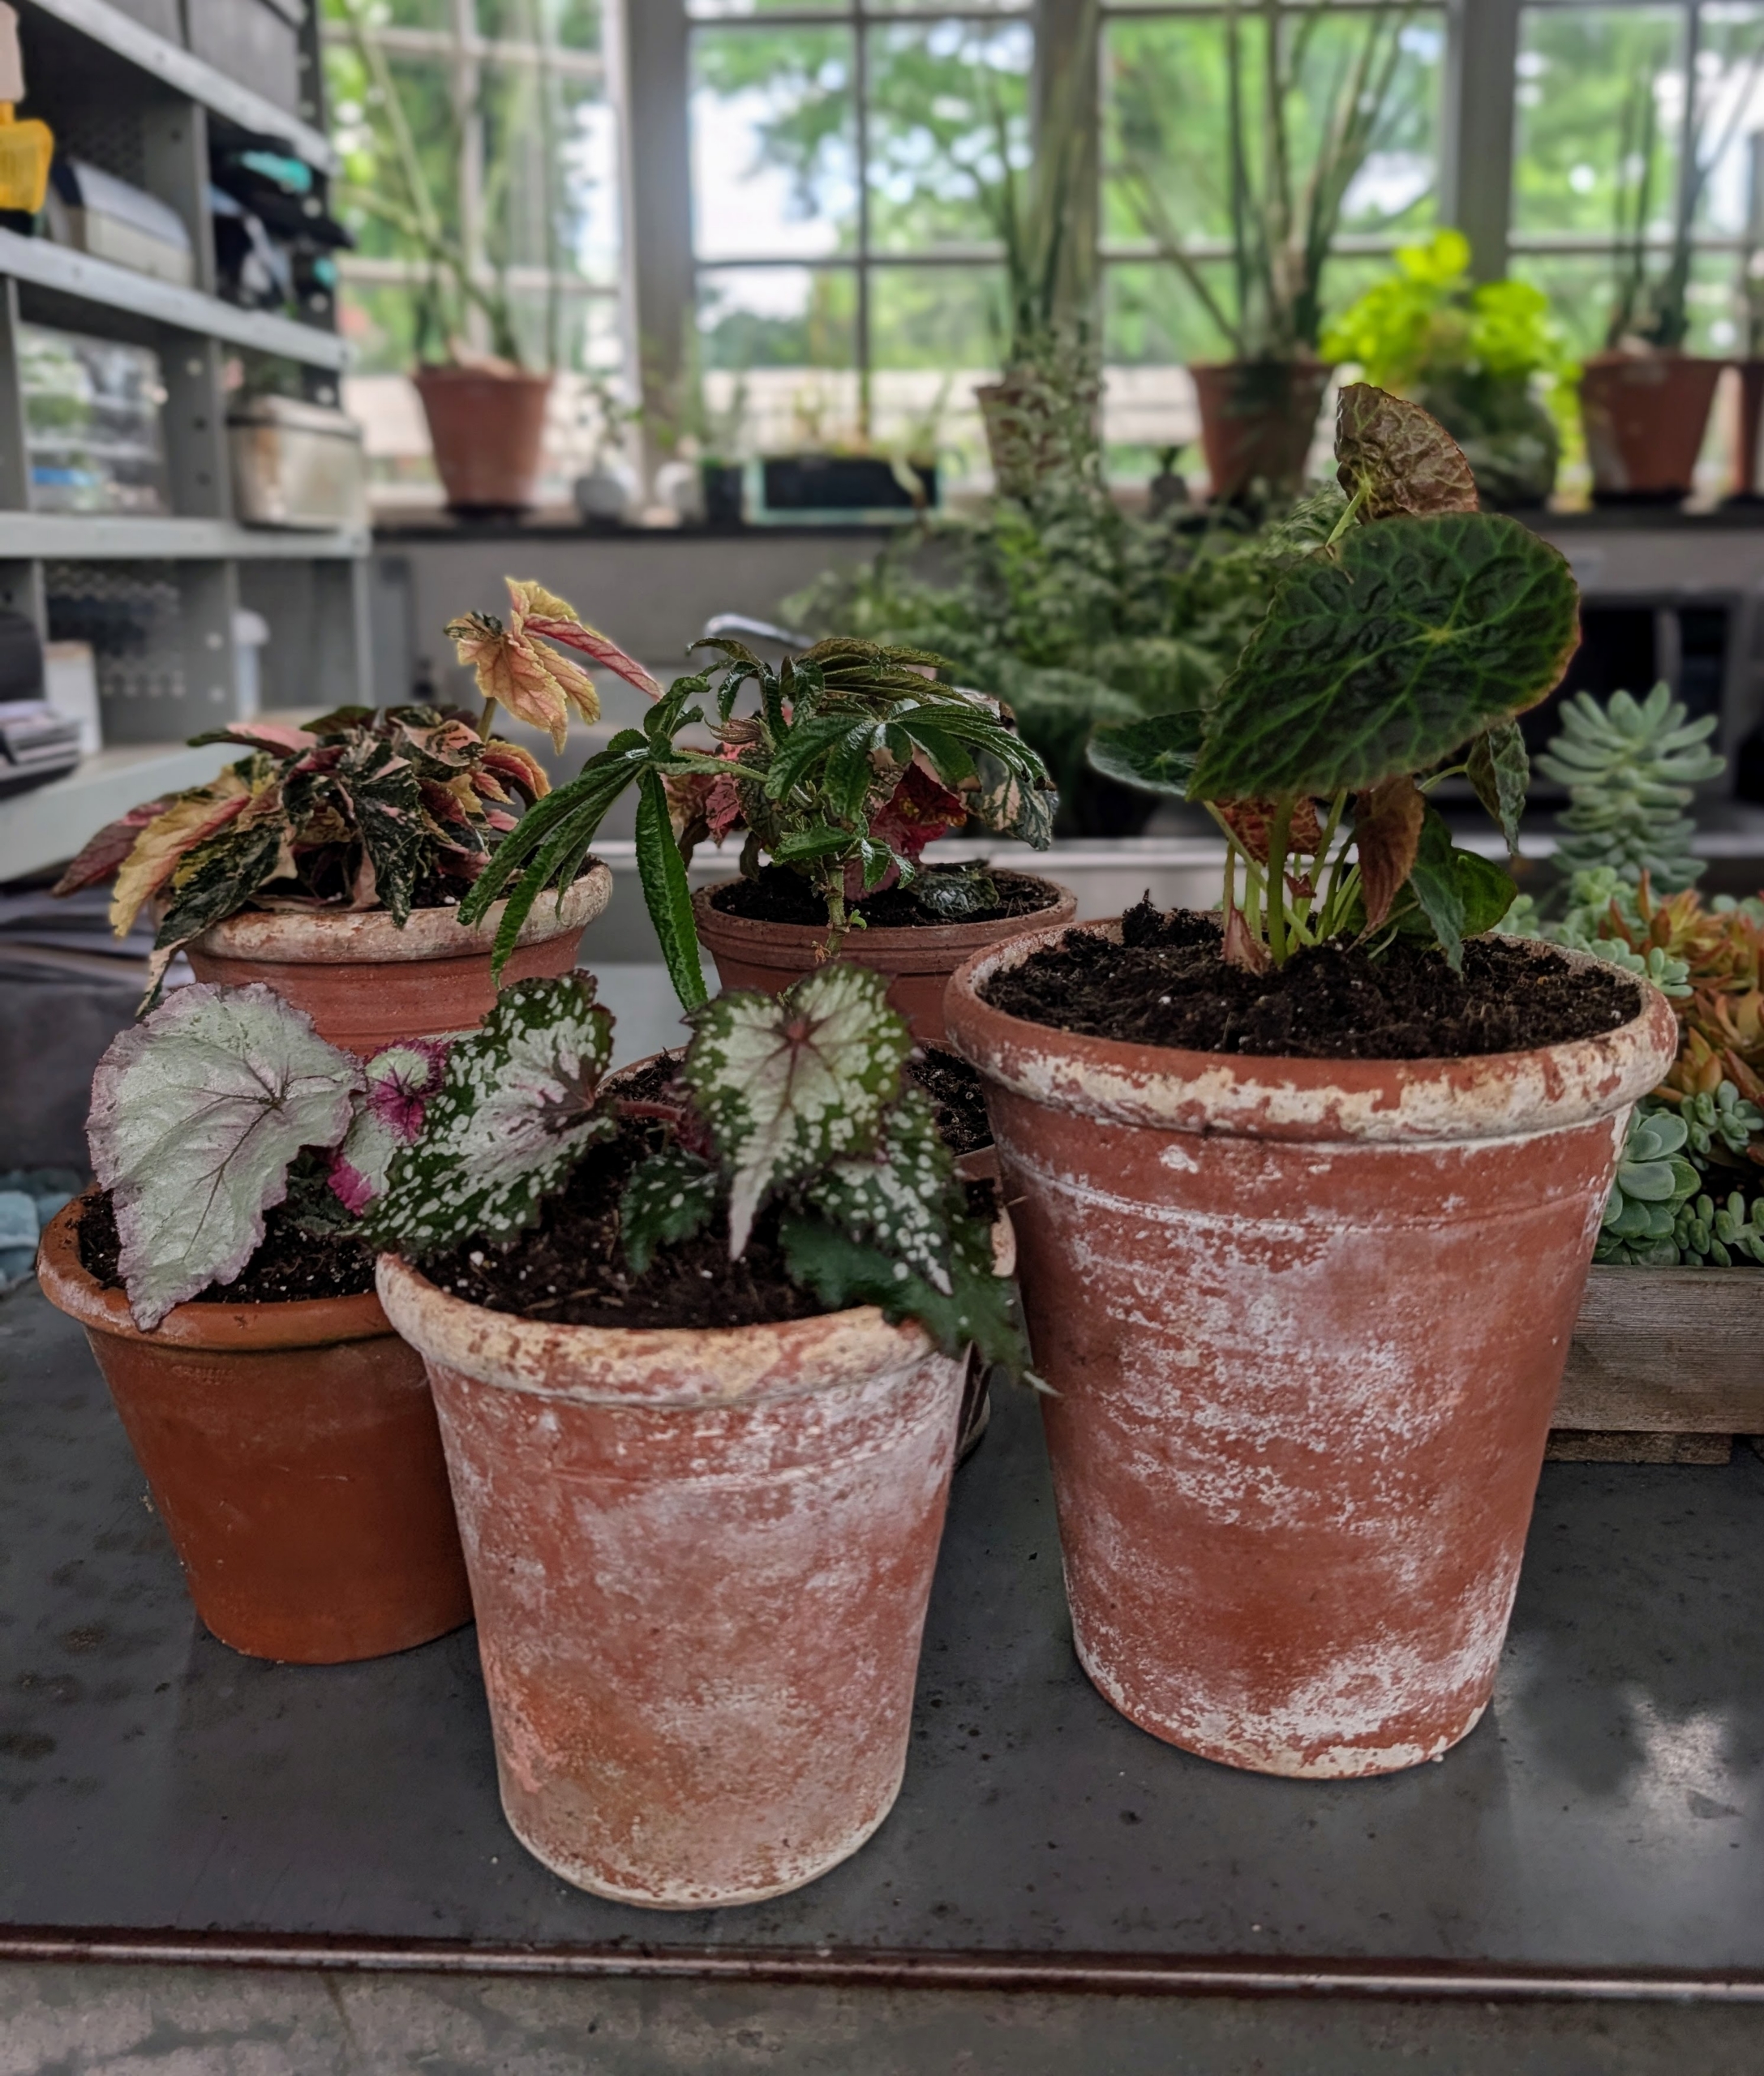
Here are several of the begonias all potted up in their new containers.
Begonias are happy in their pots for some time, but it is a good idea to repot them every couple of years to provide fresh potting mix elements and new well-draining soil.
Here’s Ryan after potting up the big leaf begonia. Once all are potted, he takes the plants into the greenhouse where I have countless others thriving.
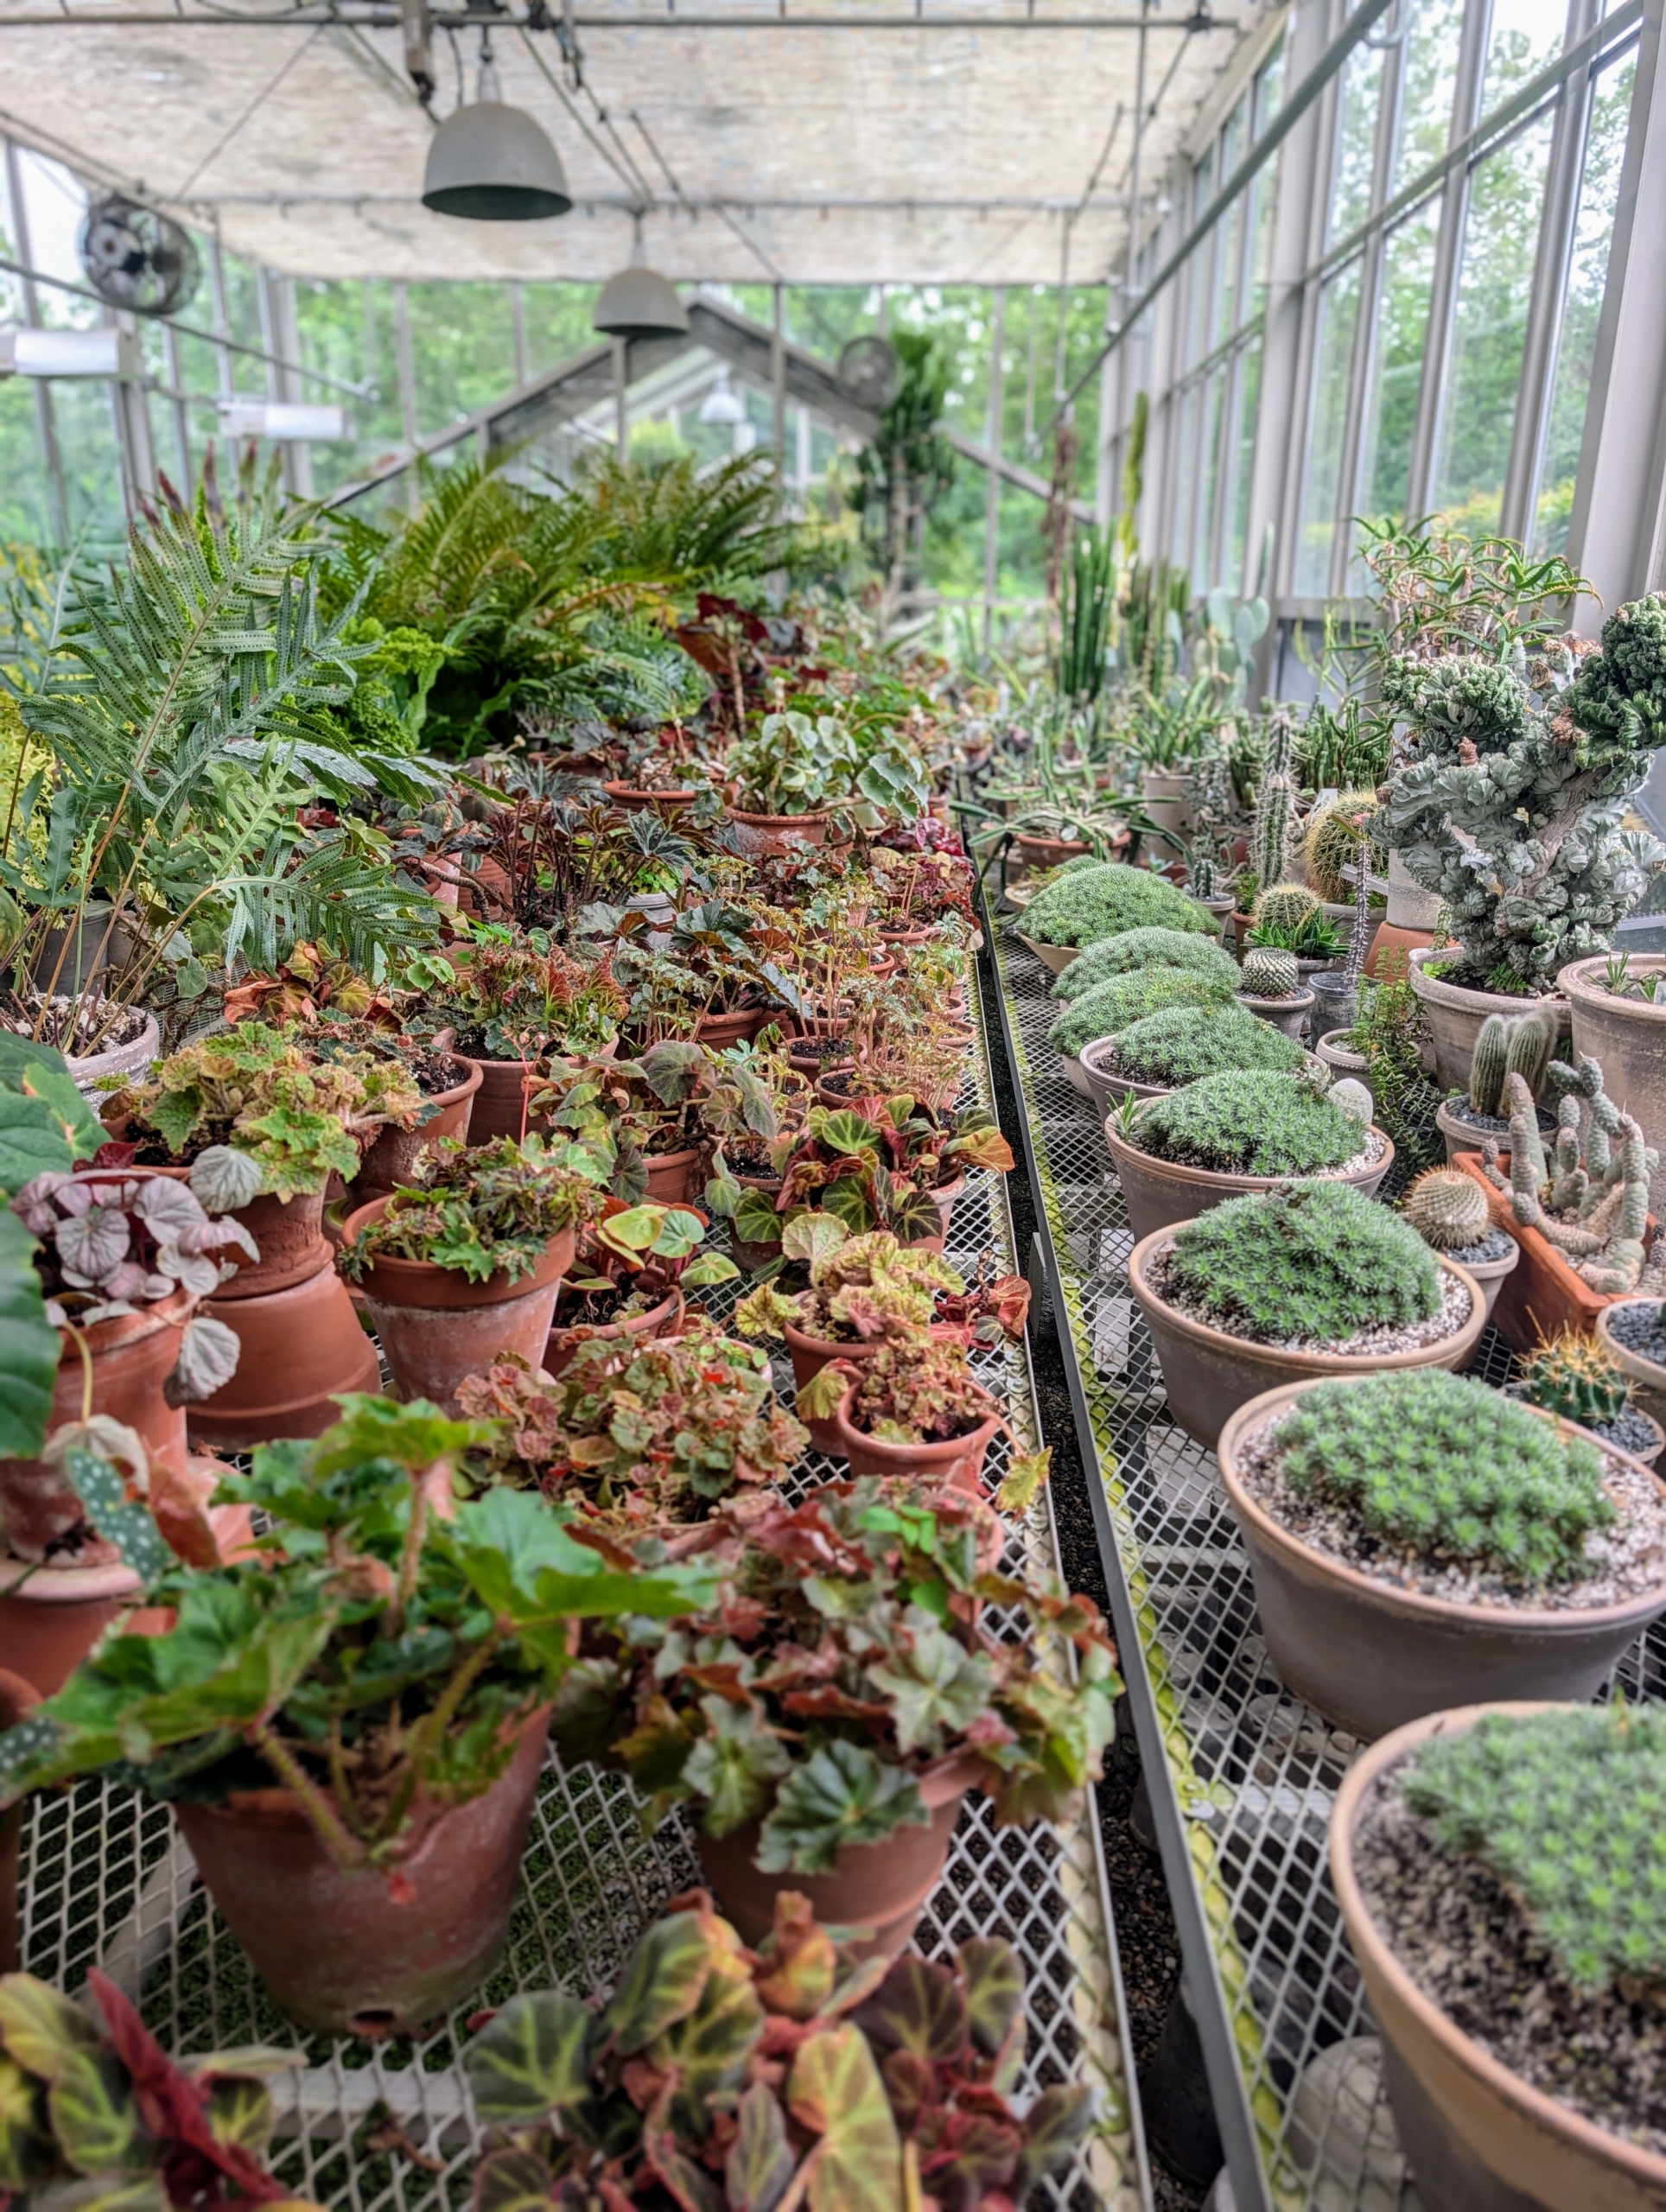
For potted begonias, the most ideal light is bright, indirect sunlight — mimicking their natural tropical, dappled-light habitat. My greenhouse is perfect for begonias – my new additions will be so happy here.
Are the hydrangeas blooming where you are? Here at my farm, the hydrangeas are just starting to put on quite a show with more blooms showing up every day.
Over the last couple of years, I've planted many hydrangeas. I added hydrangeas to a border along the carriage road to my chickens. I have hydrangeas growing around my tennis court, outside my goose and peafowl pens, along the fence of my run-in pasture, behind my main greenhouse, in my living maze, and beneath the London plane and Cotinus trees in the middle field. Last autumn, I also surrounded part of my half-acre vegetable garden with hydrangeas. Hydrangeas are popular ornamental plants grown for their large flower heads, which are excellent in cut arrangements and for drying. And, depending on the species, variety, and one's local climate, hydrangeas can bloom from mid-spring through early fall.
Here are some photos, enjoy.
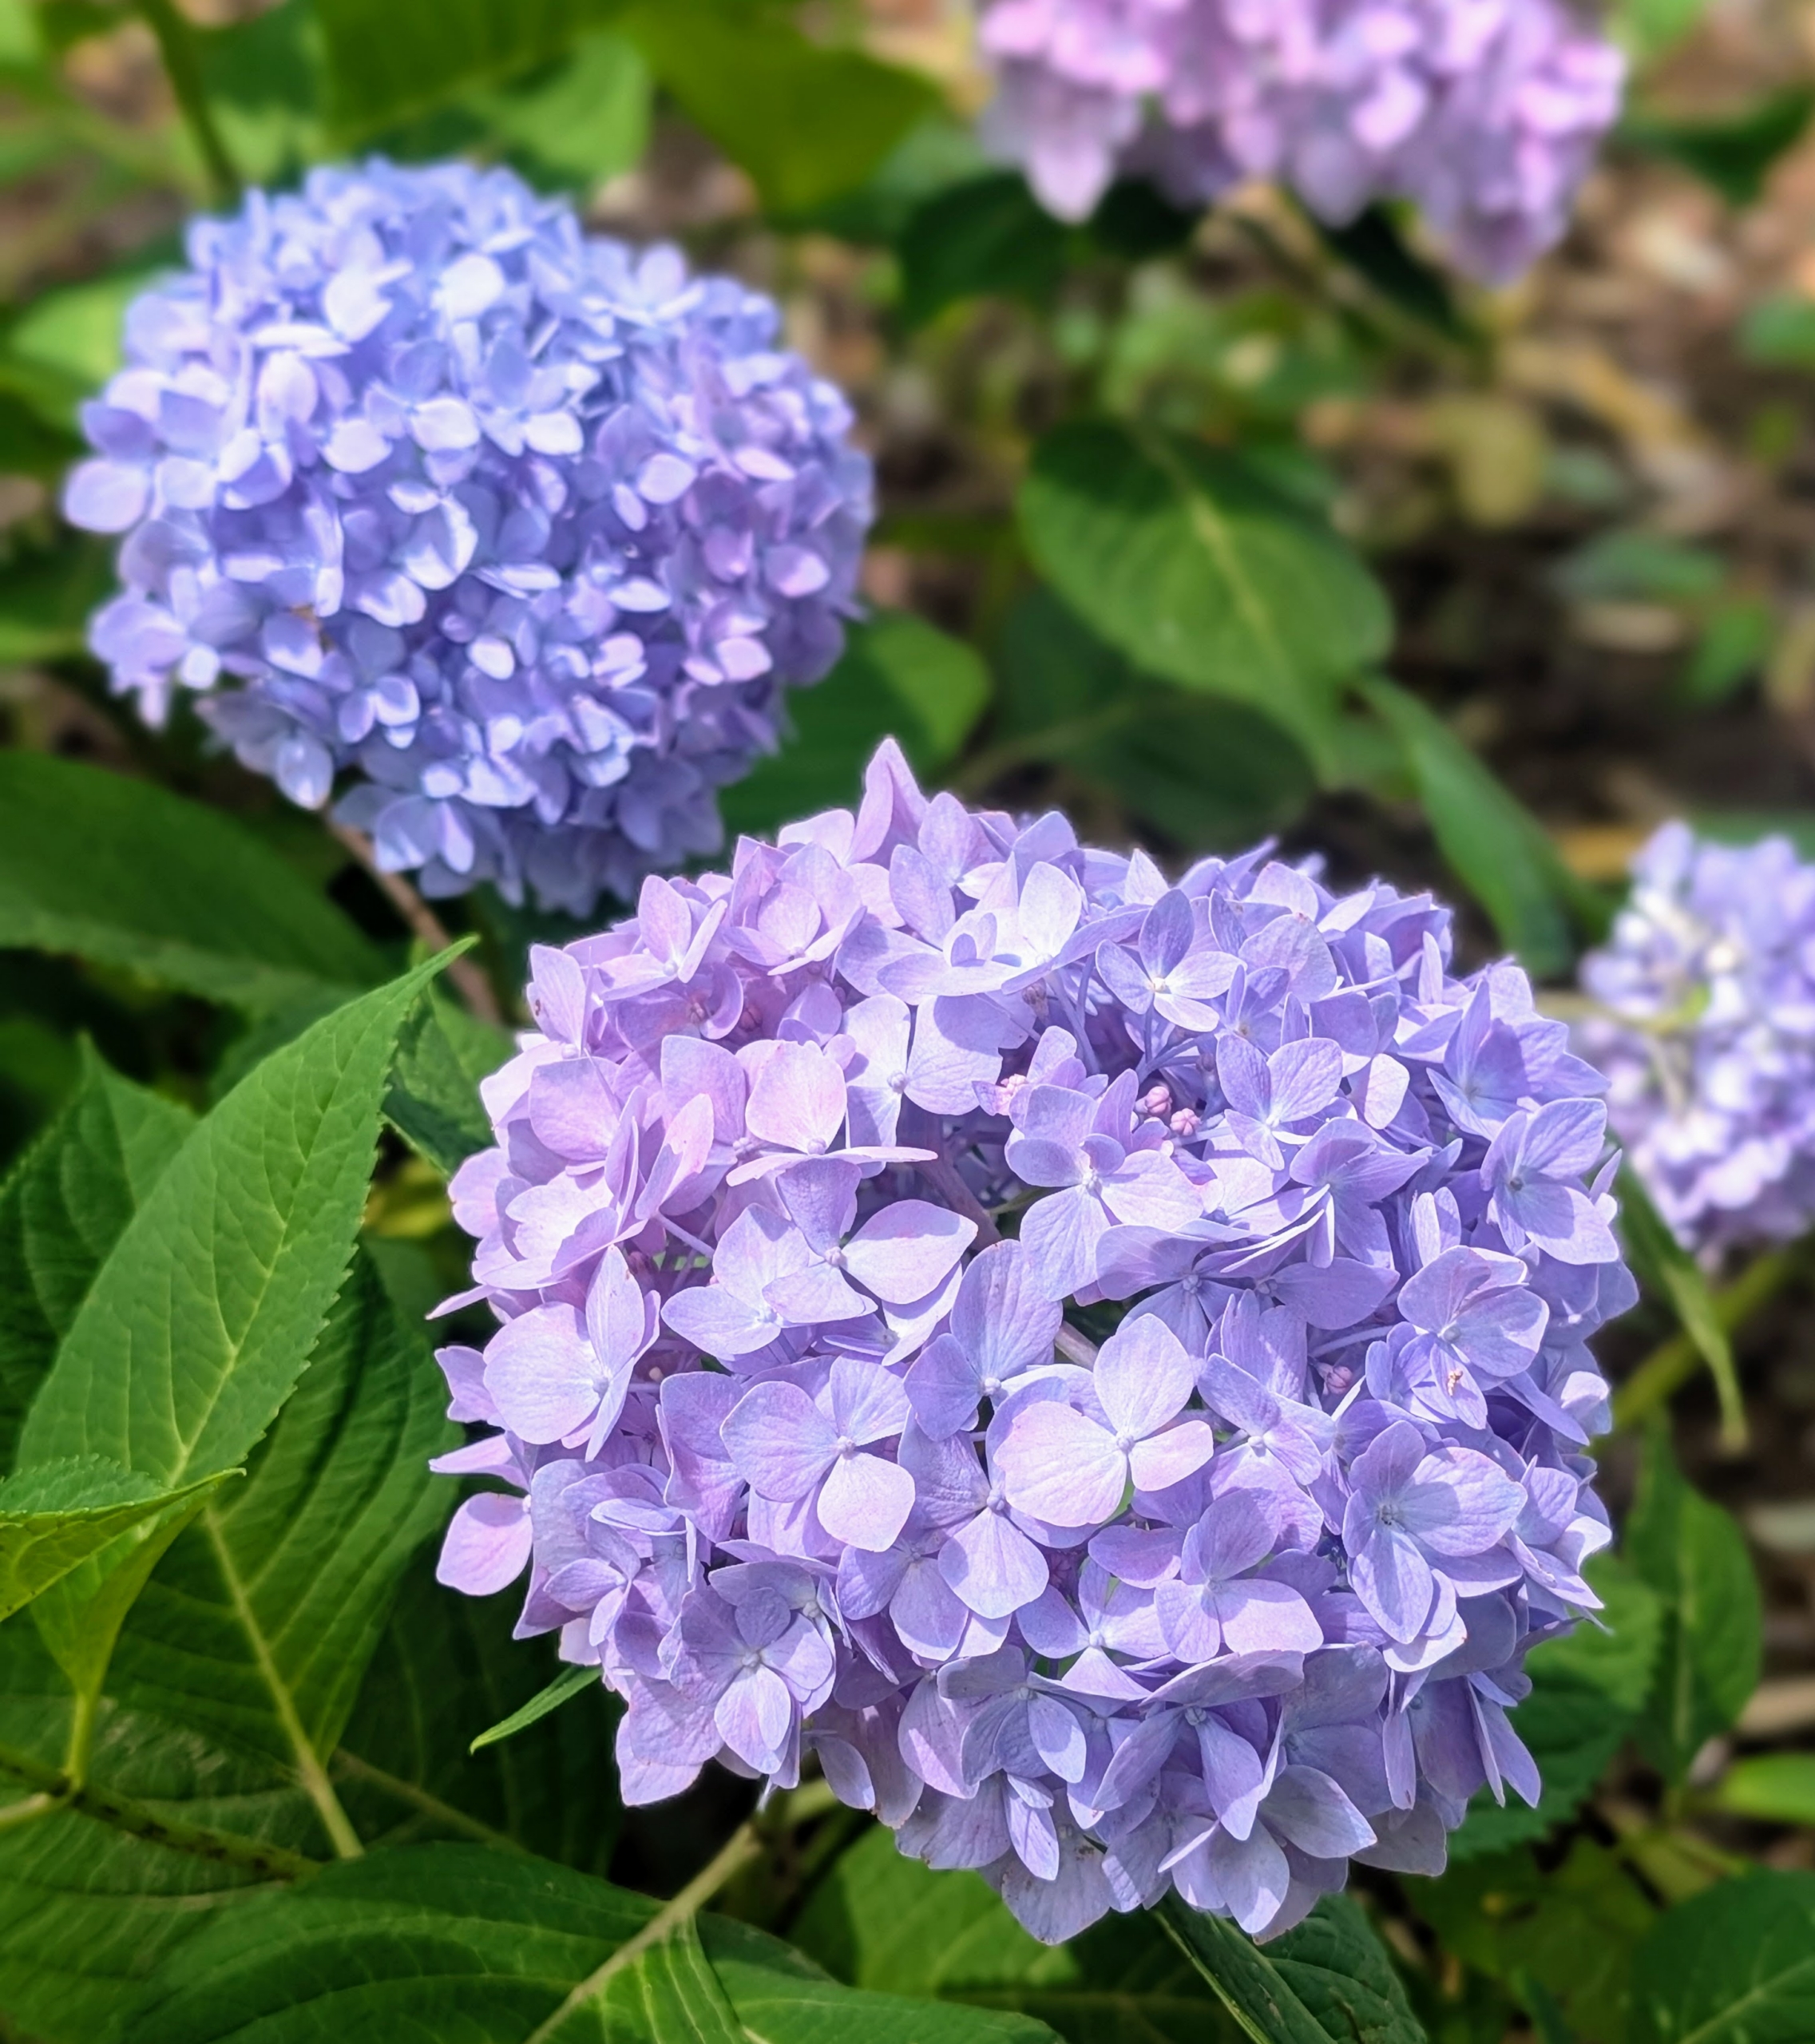
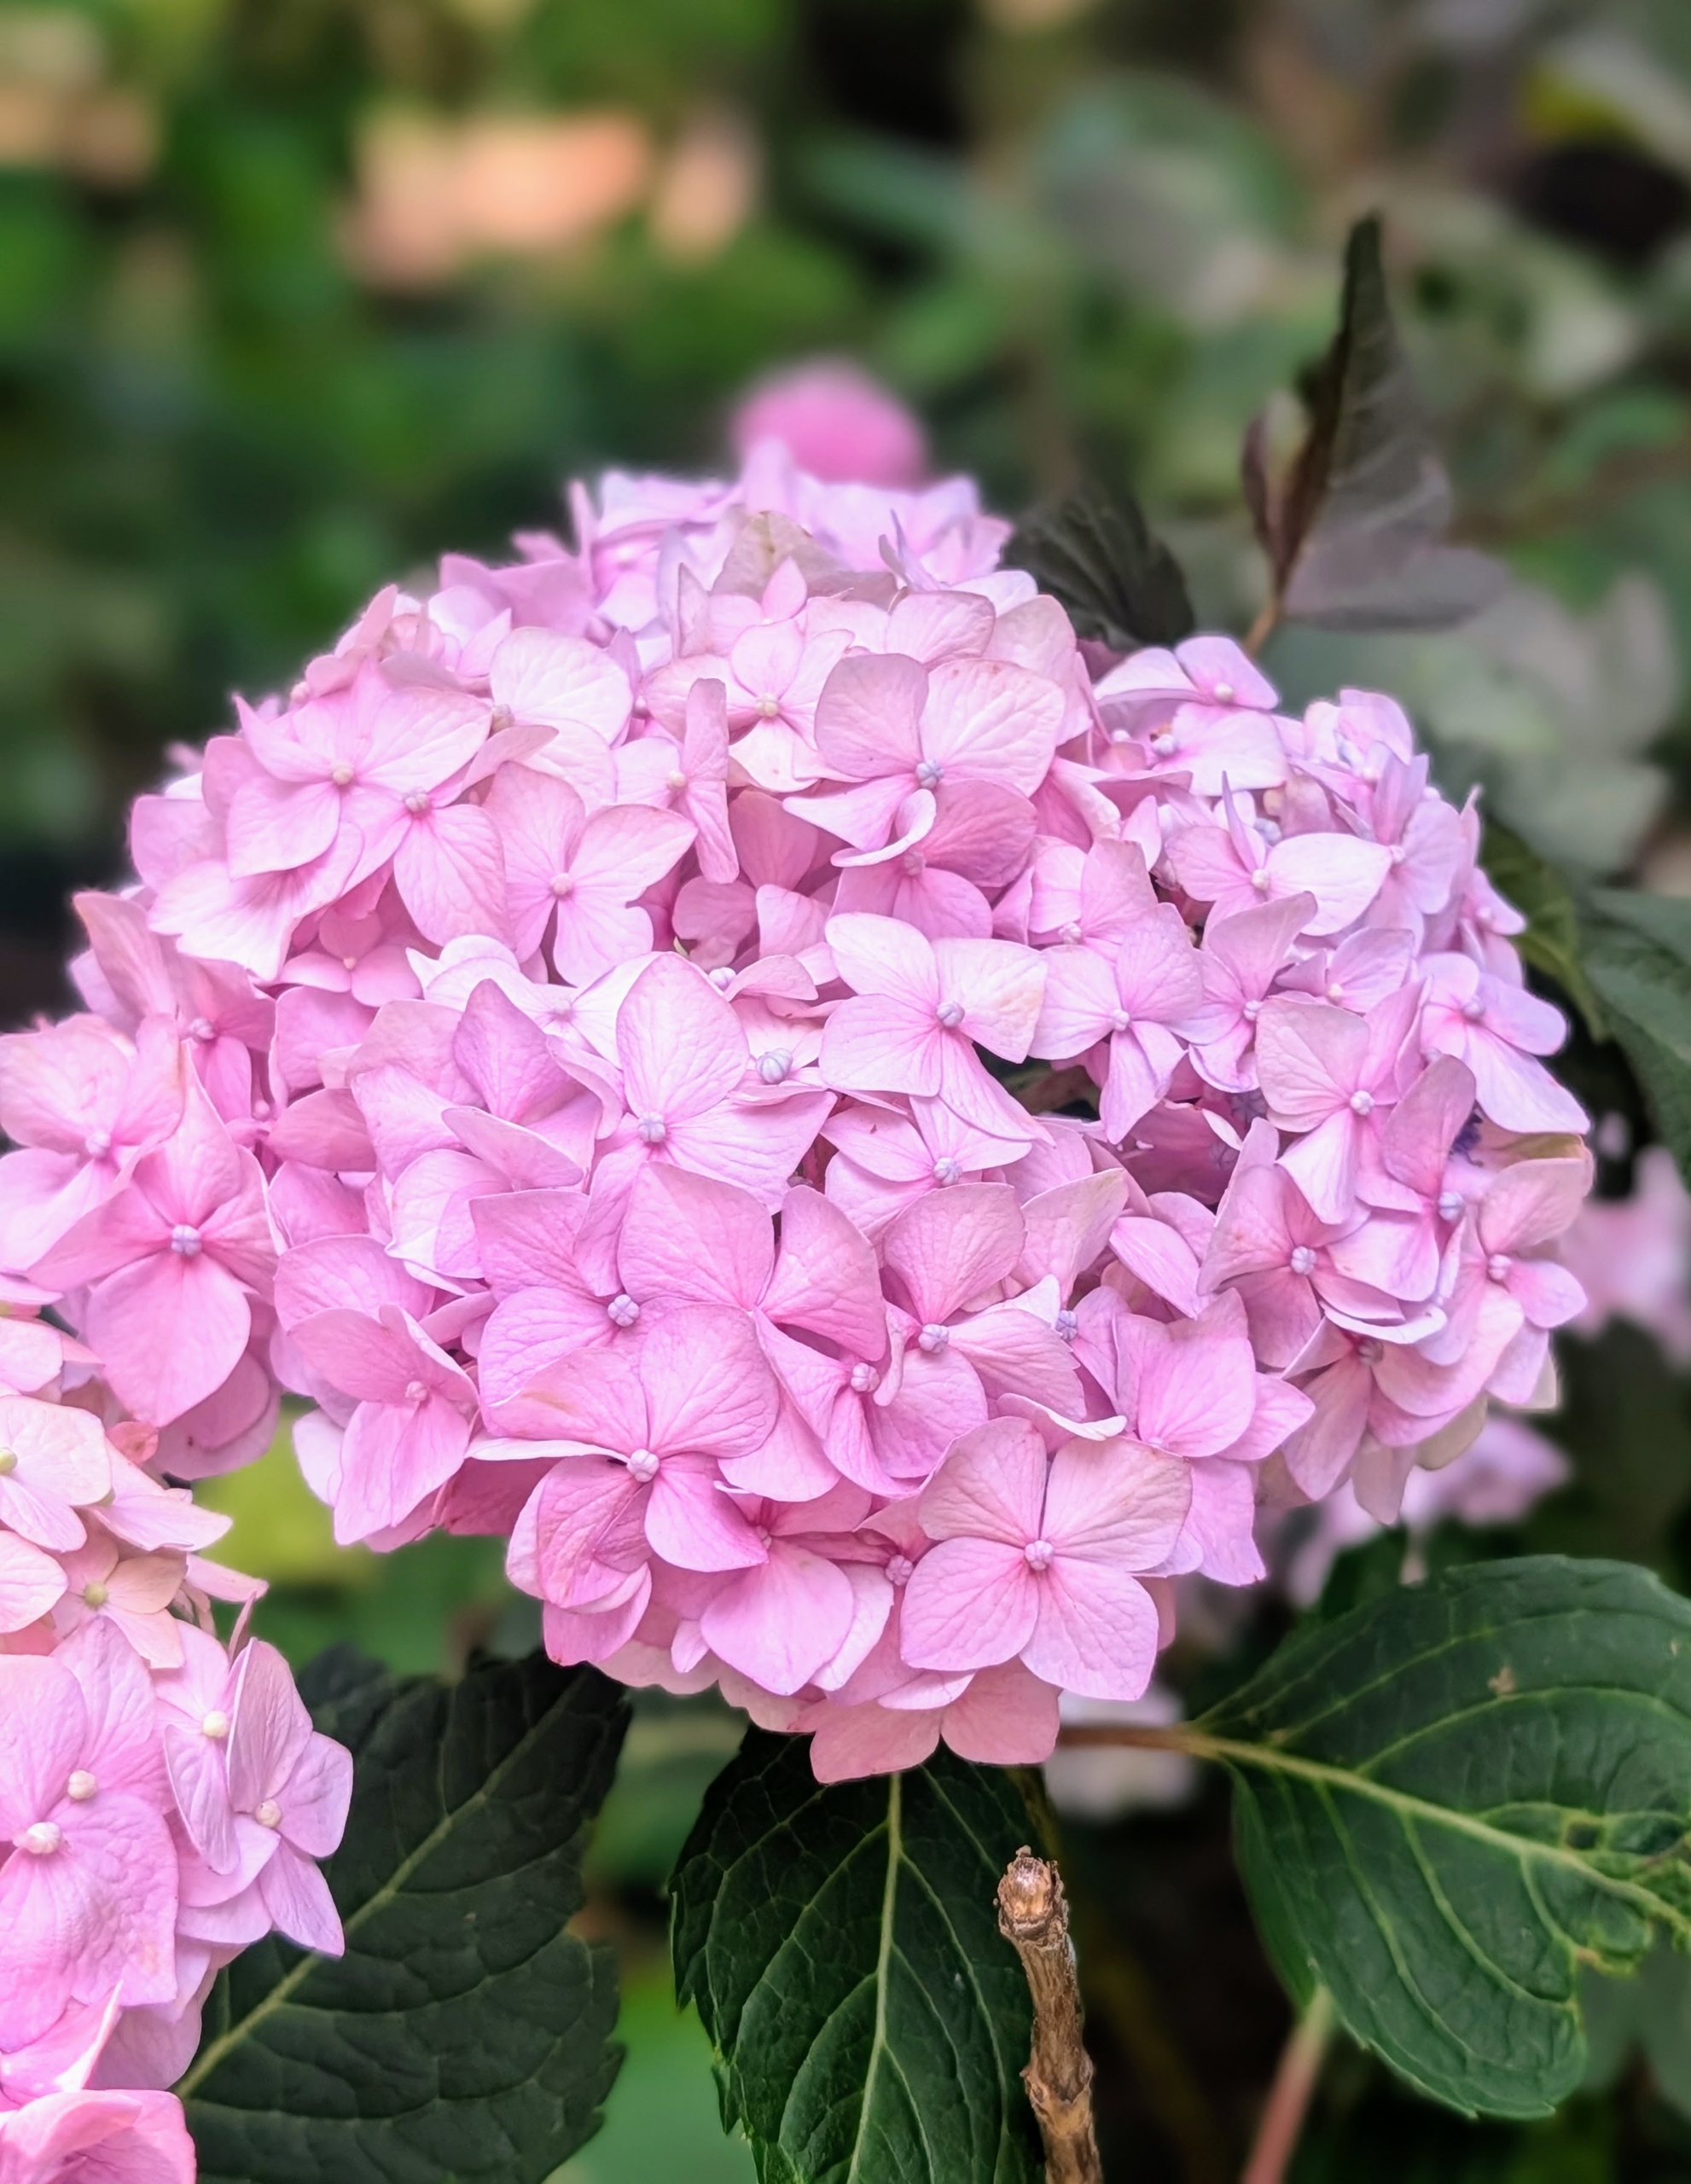
I have long grown hydrangeas. Hydrangeas are one of the most popular ornamental garden plants because of their large spherical bloom heads that come in varying shades of pink, purple, blue, and white.
I transferred about 30 hydrangea plants from my former East Hampton gardens to my farm years ago and have added many more ever since. The name hydrangea originates from two Greek words – “hydro” meaning “water” and “angeion” meaning “vessel” or “container.” Together, the rough translation is “water vessel” which refers to their exceptional thirst for water.
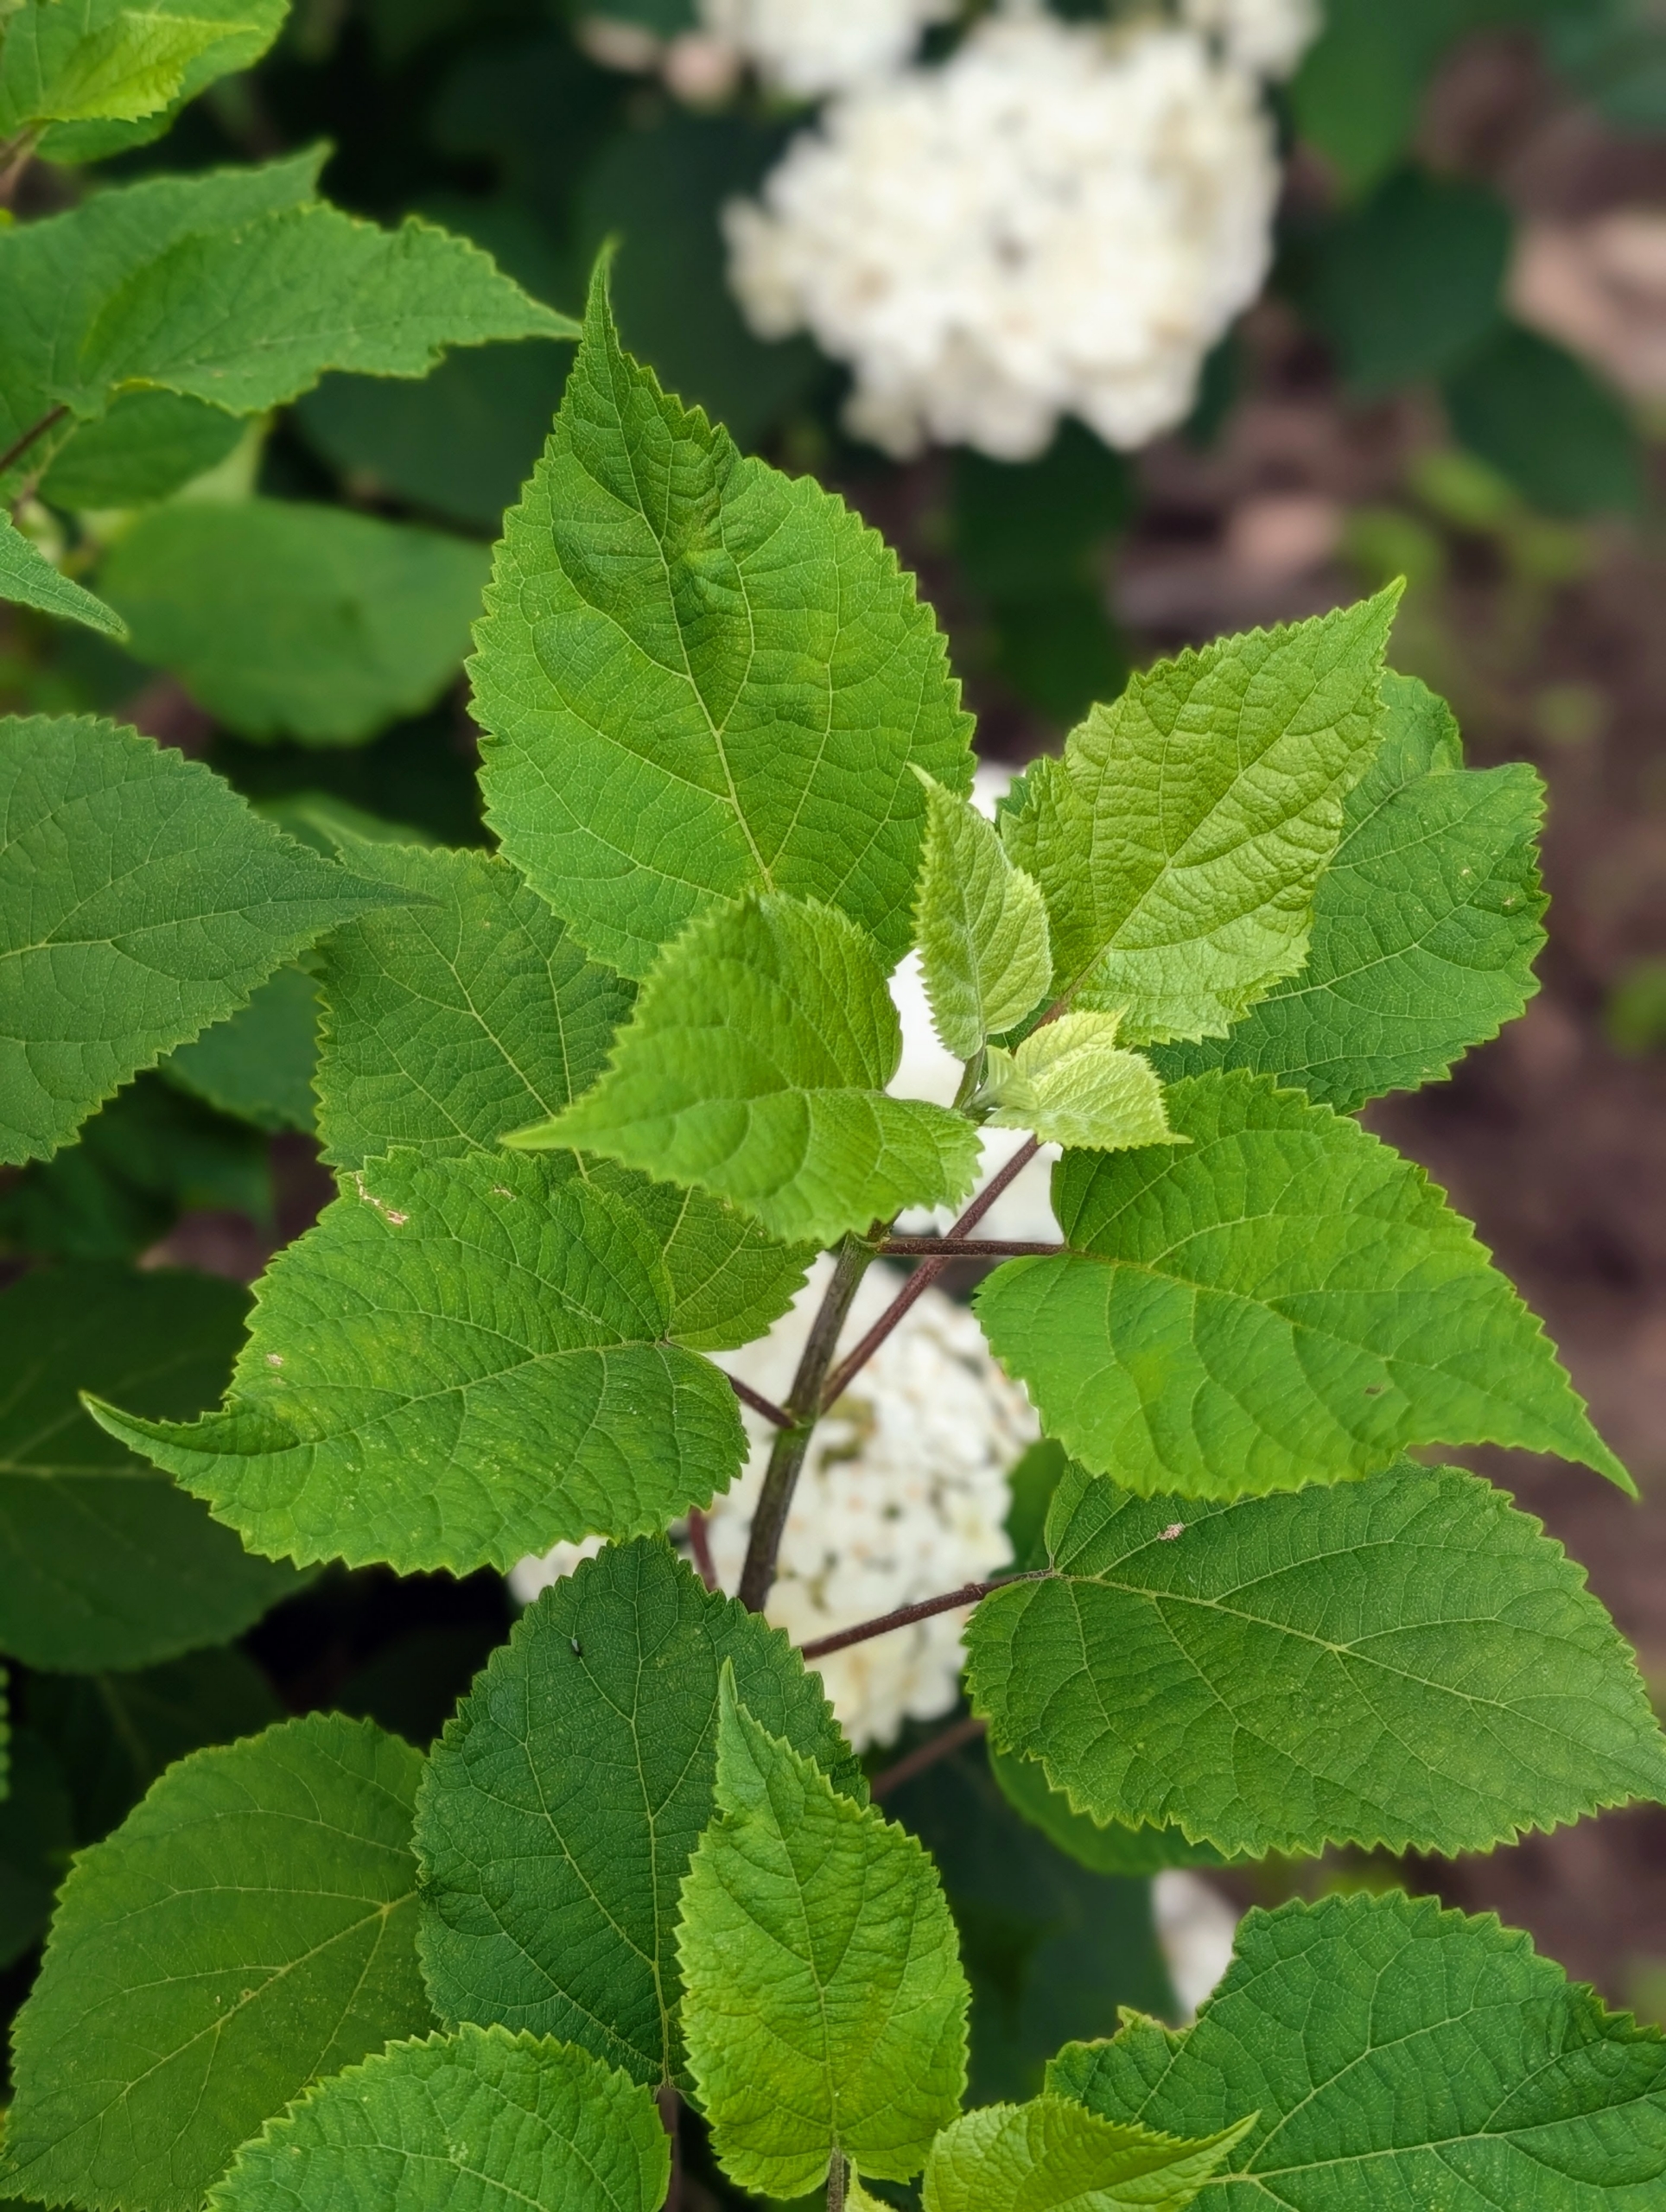
In general, leaves are relatively thick and crisp, shiny, and often heart-shaped. They range in size from four to six inches long by three to five inches wide.
Hydrangea is a genus of at least 70-species of flowering plants native to southern and eastern Asia and the Americas. By far the greatest species diversity is in eastern Asia, notably China, Japan, and Korea.
Hydrangeas are long-lived, and extremely vigorous specimens that offer lavish and varied blooms. They thrive best in partial shade with four to six hours of direct sunlight daily.
Many of my latest hydrangeas come from the First Editions and Endless Summer Collections by Bailey Nurseries. I also have some from Star Roses and Plants.
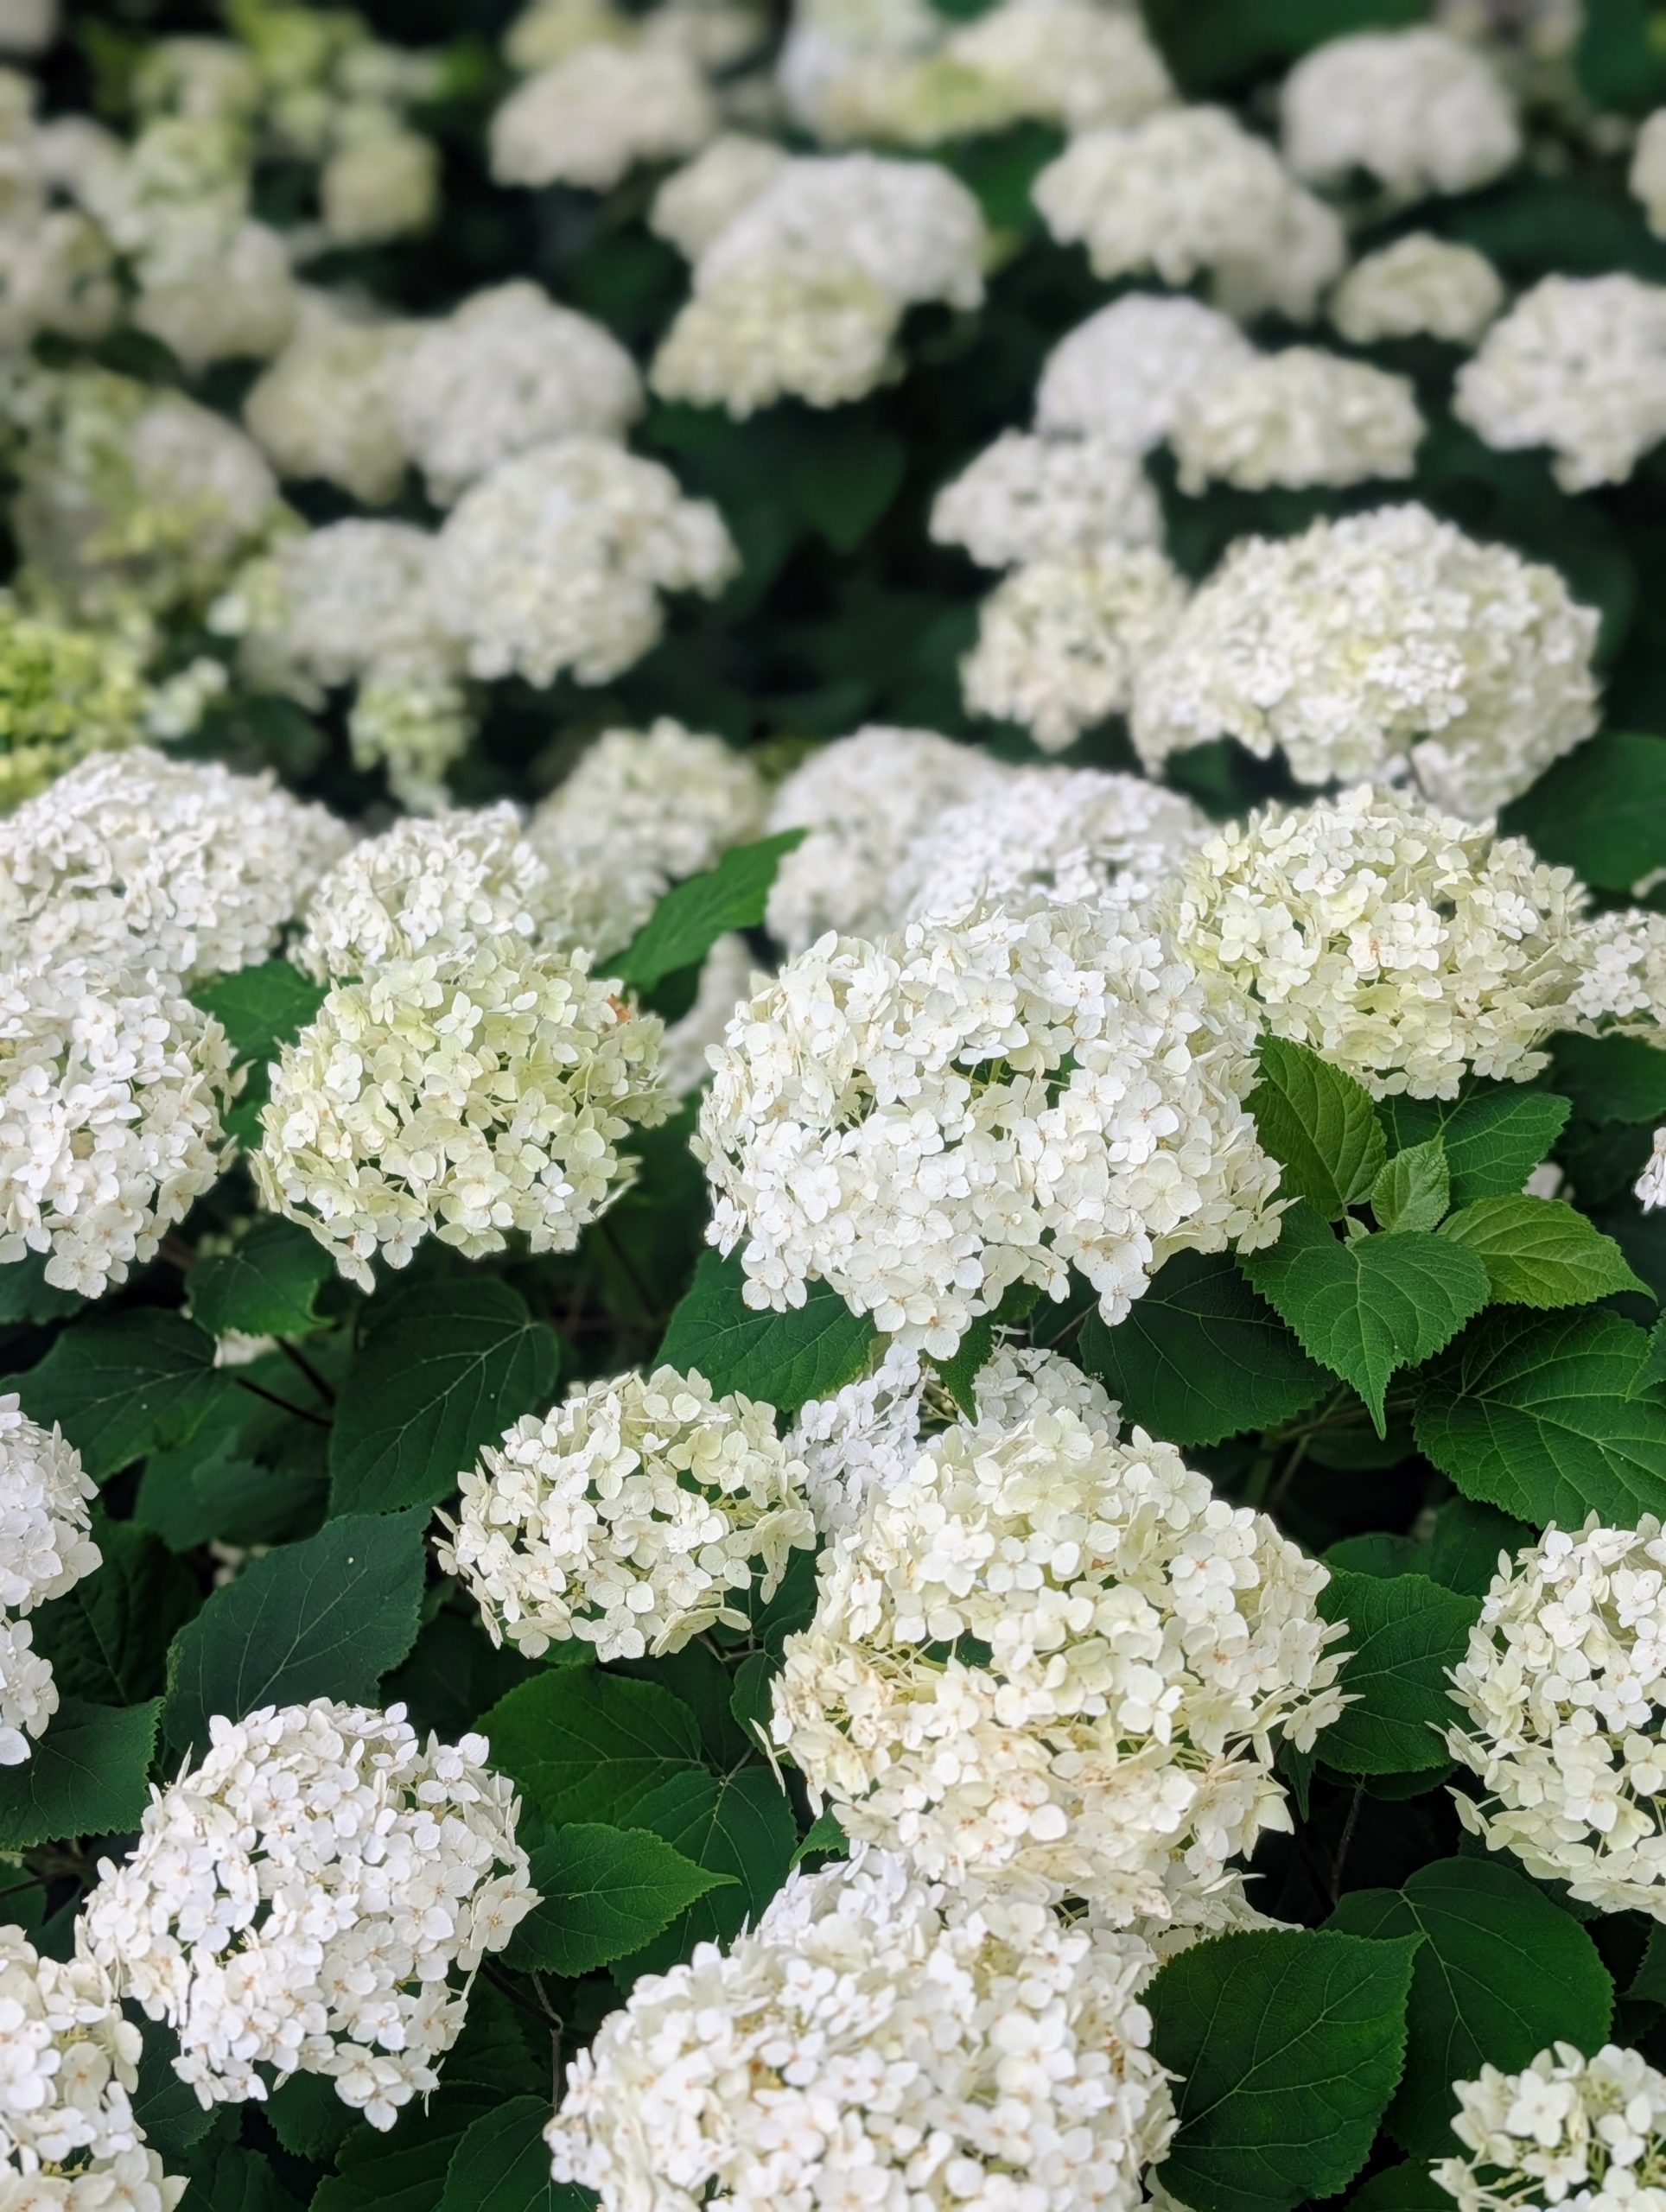
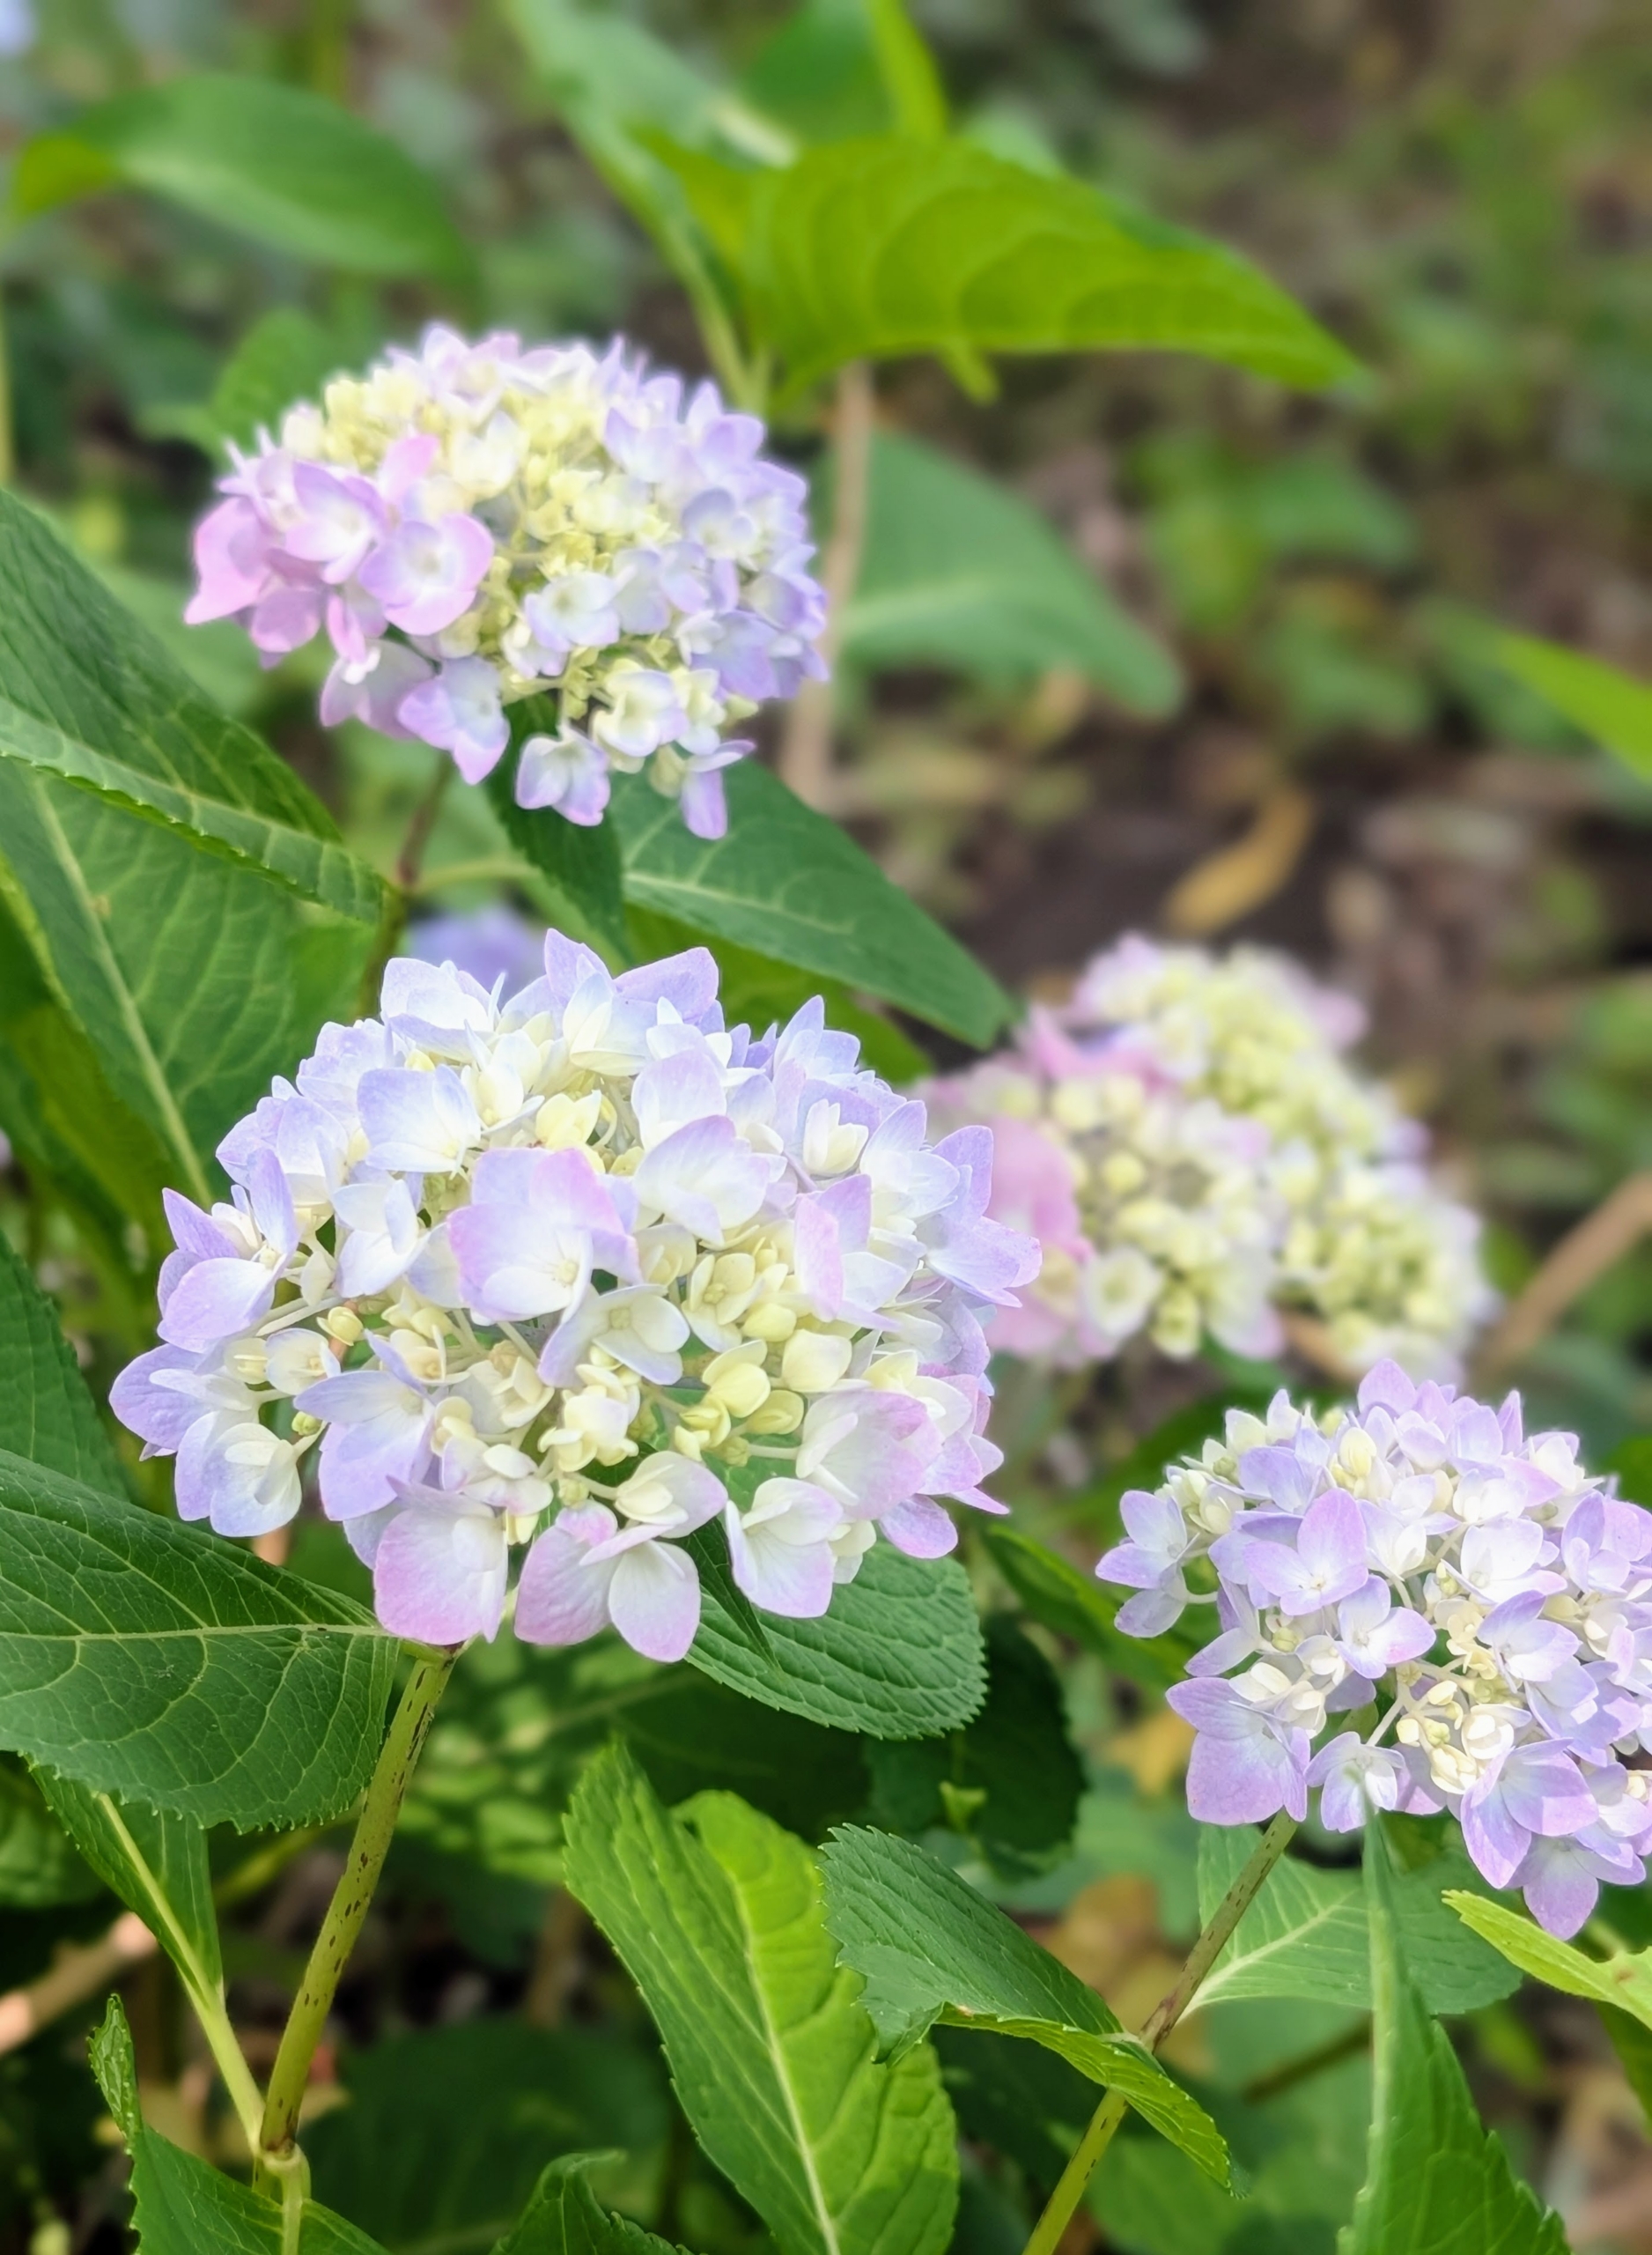
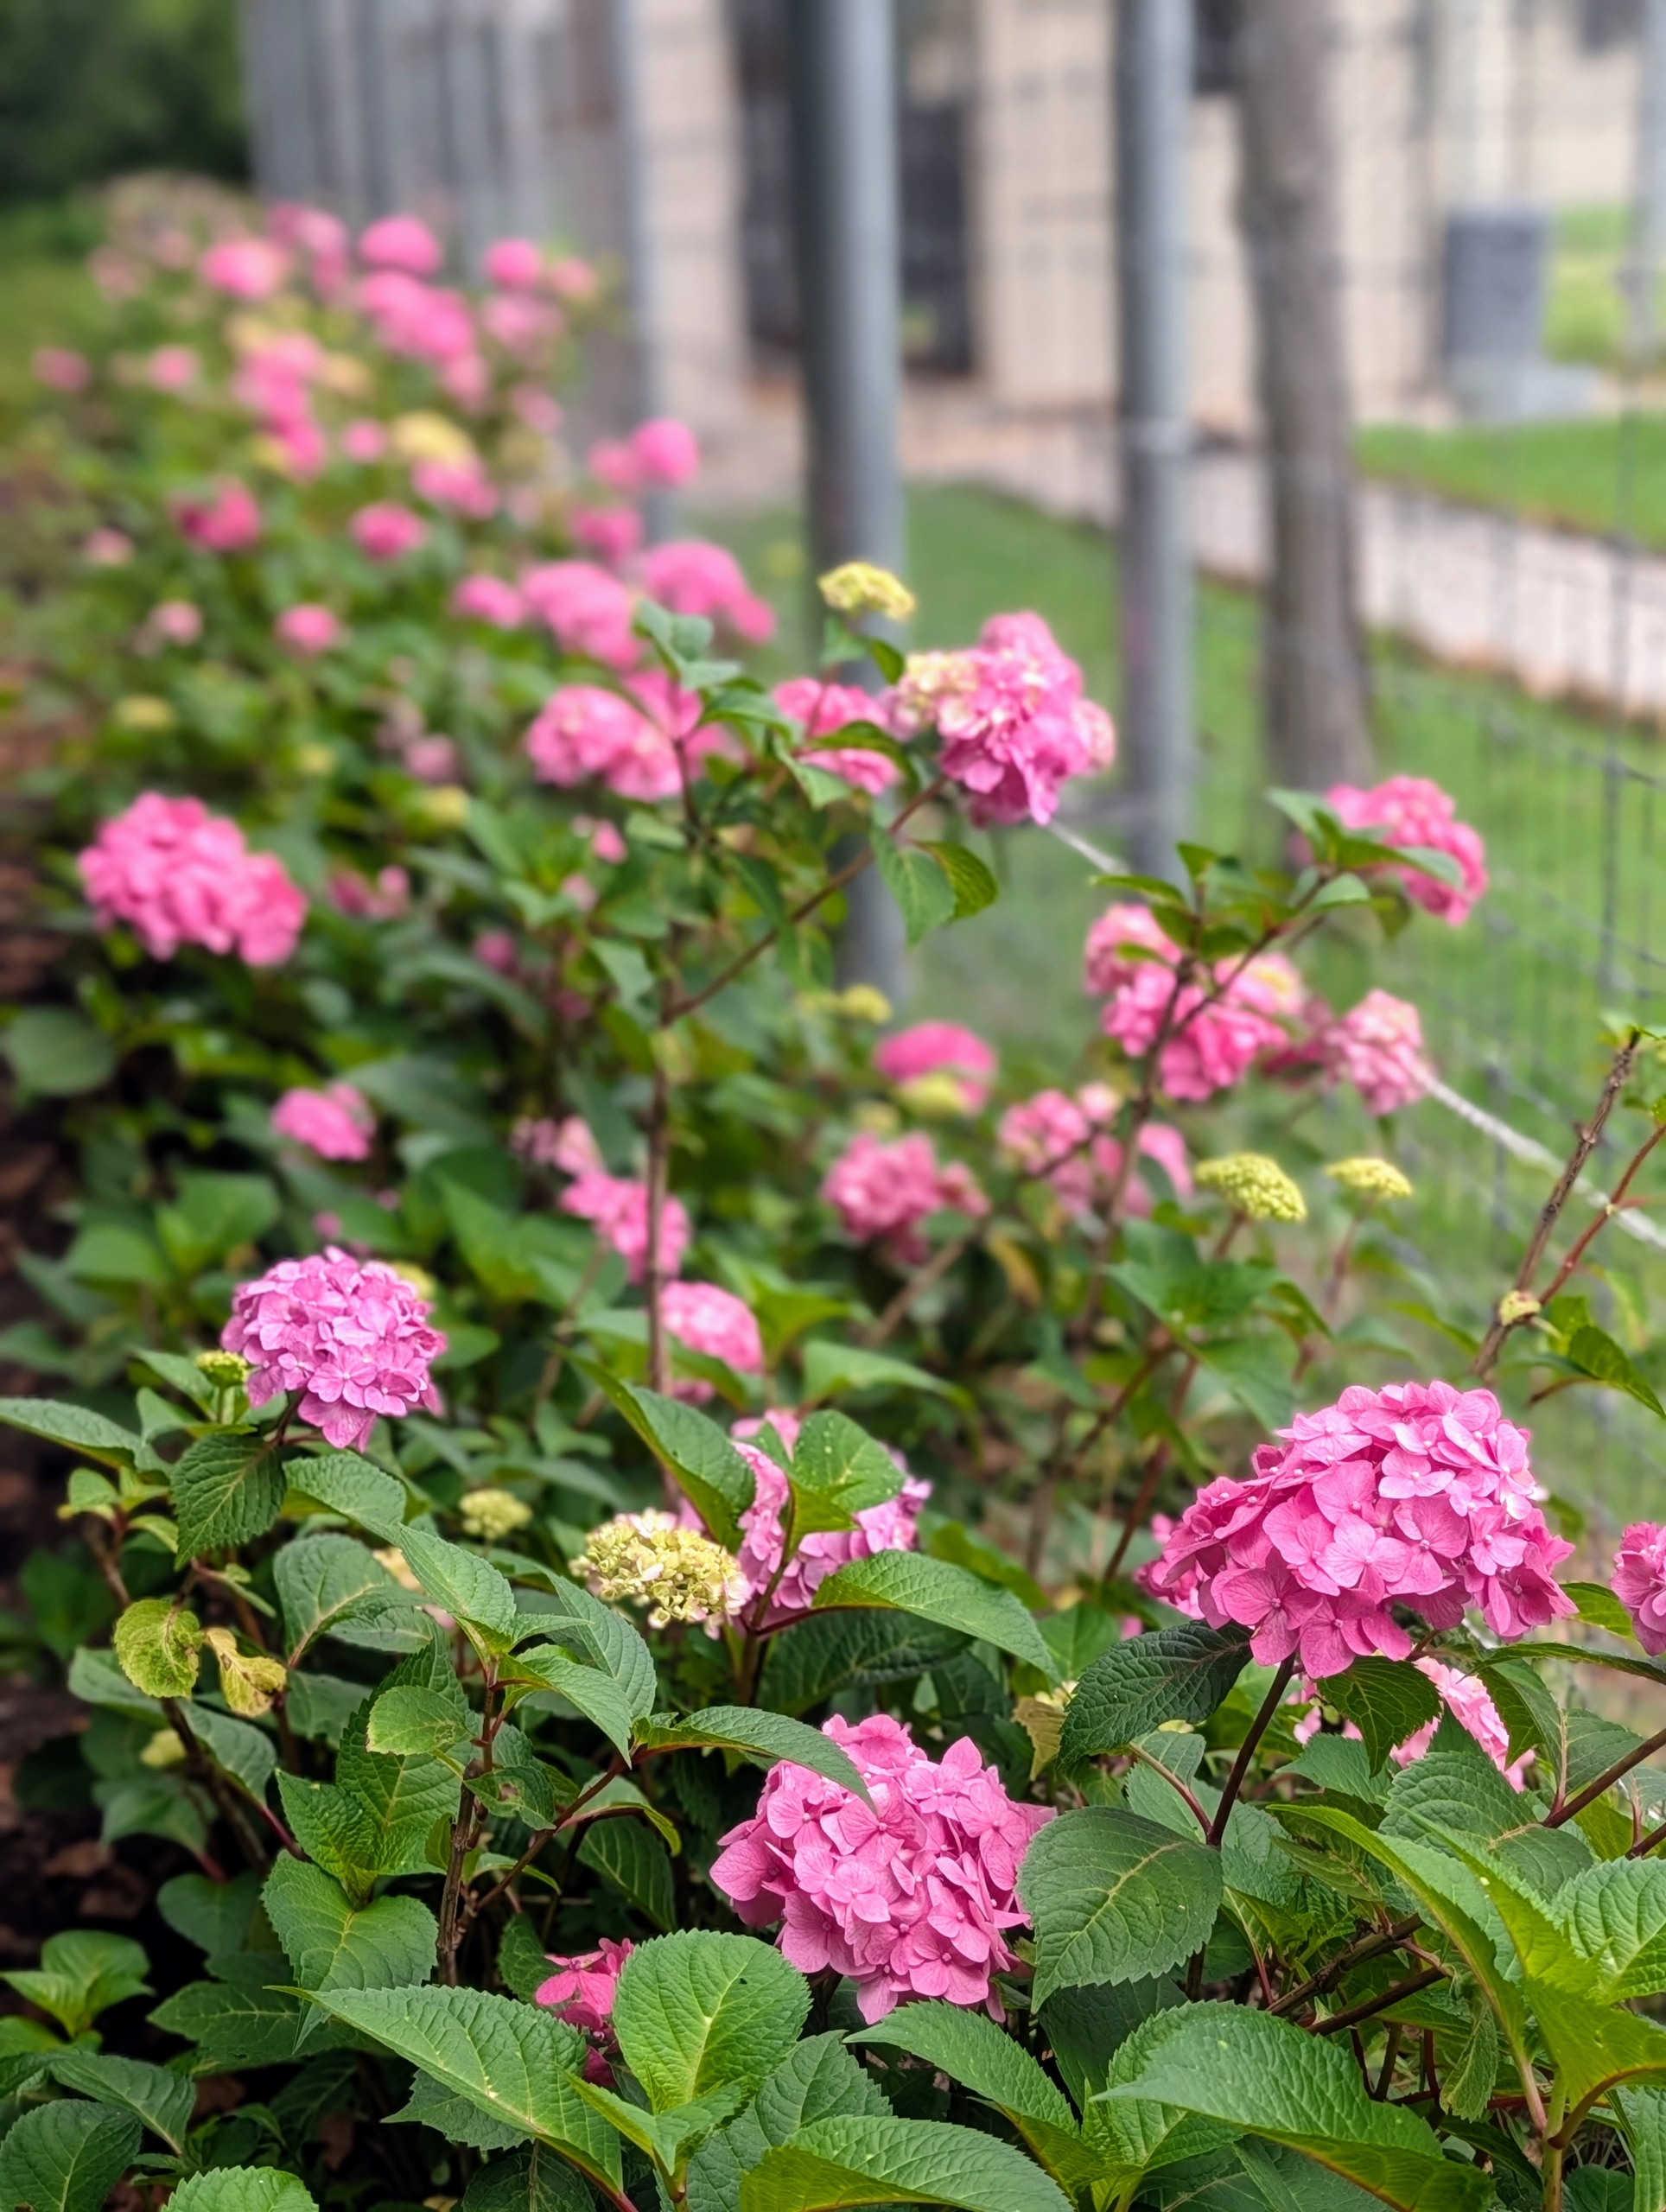
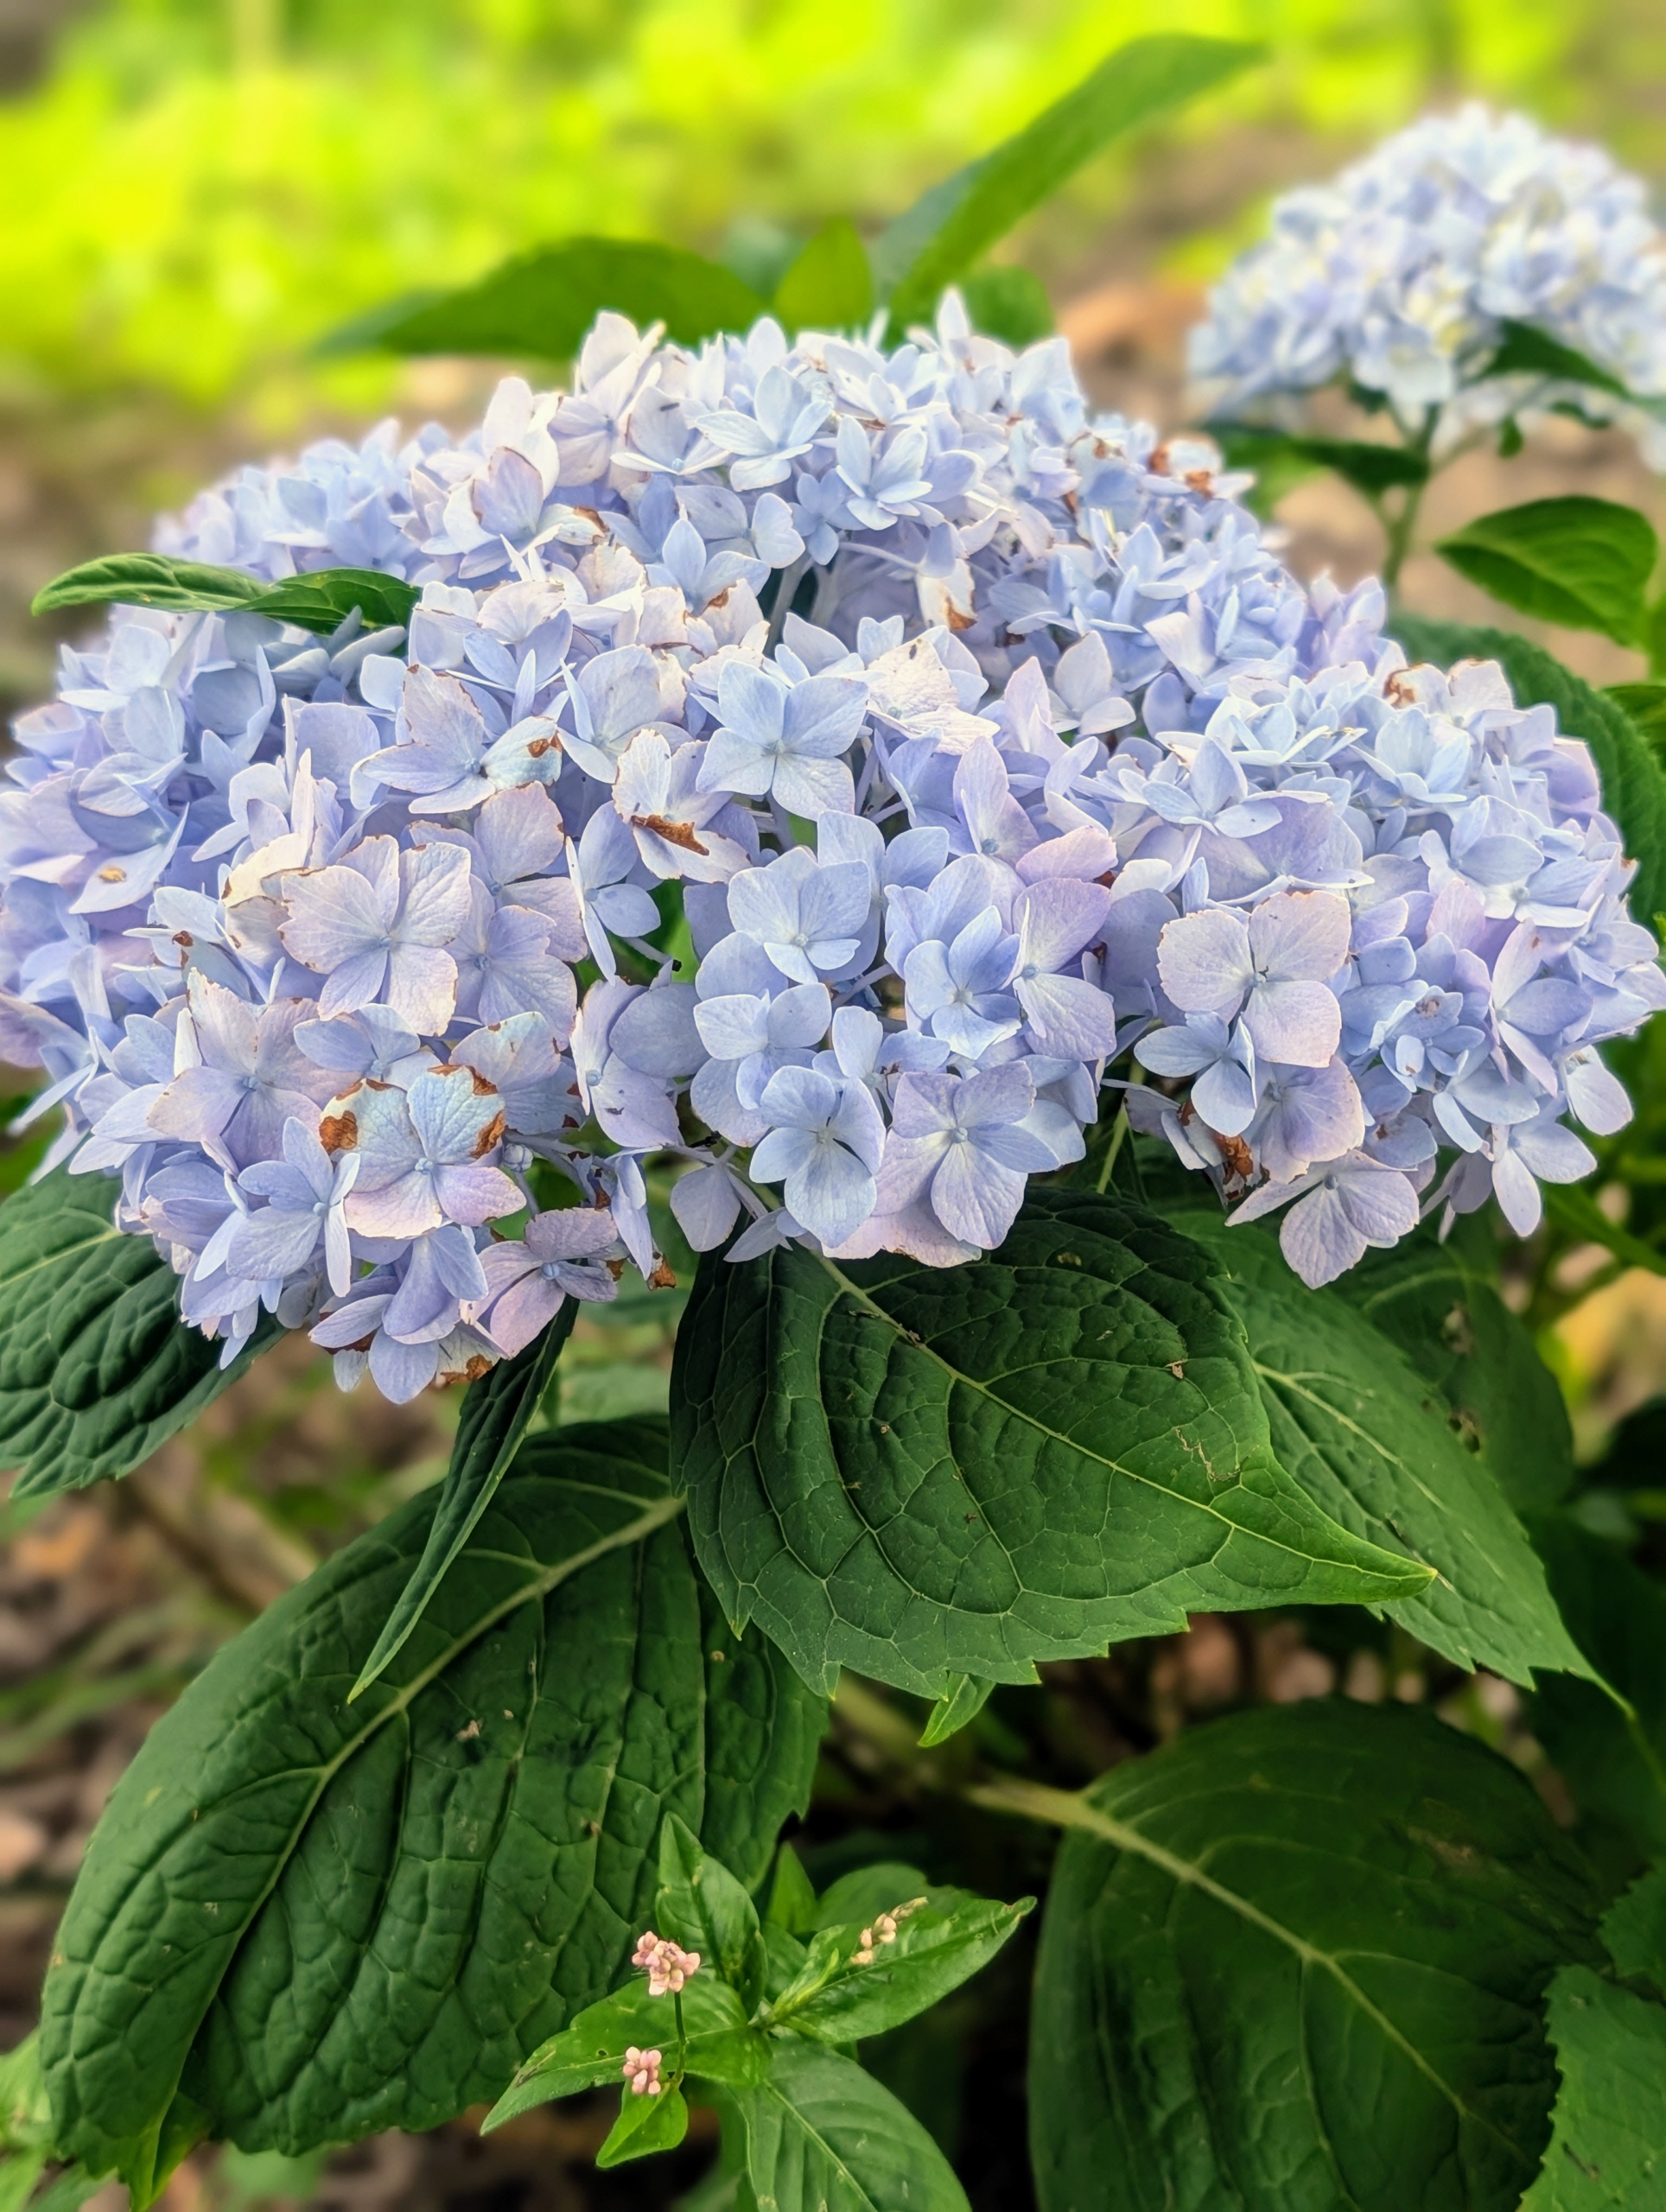
Mopheads are the most popular flower style of hydrangea.
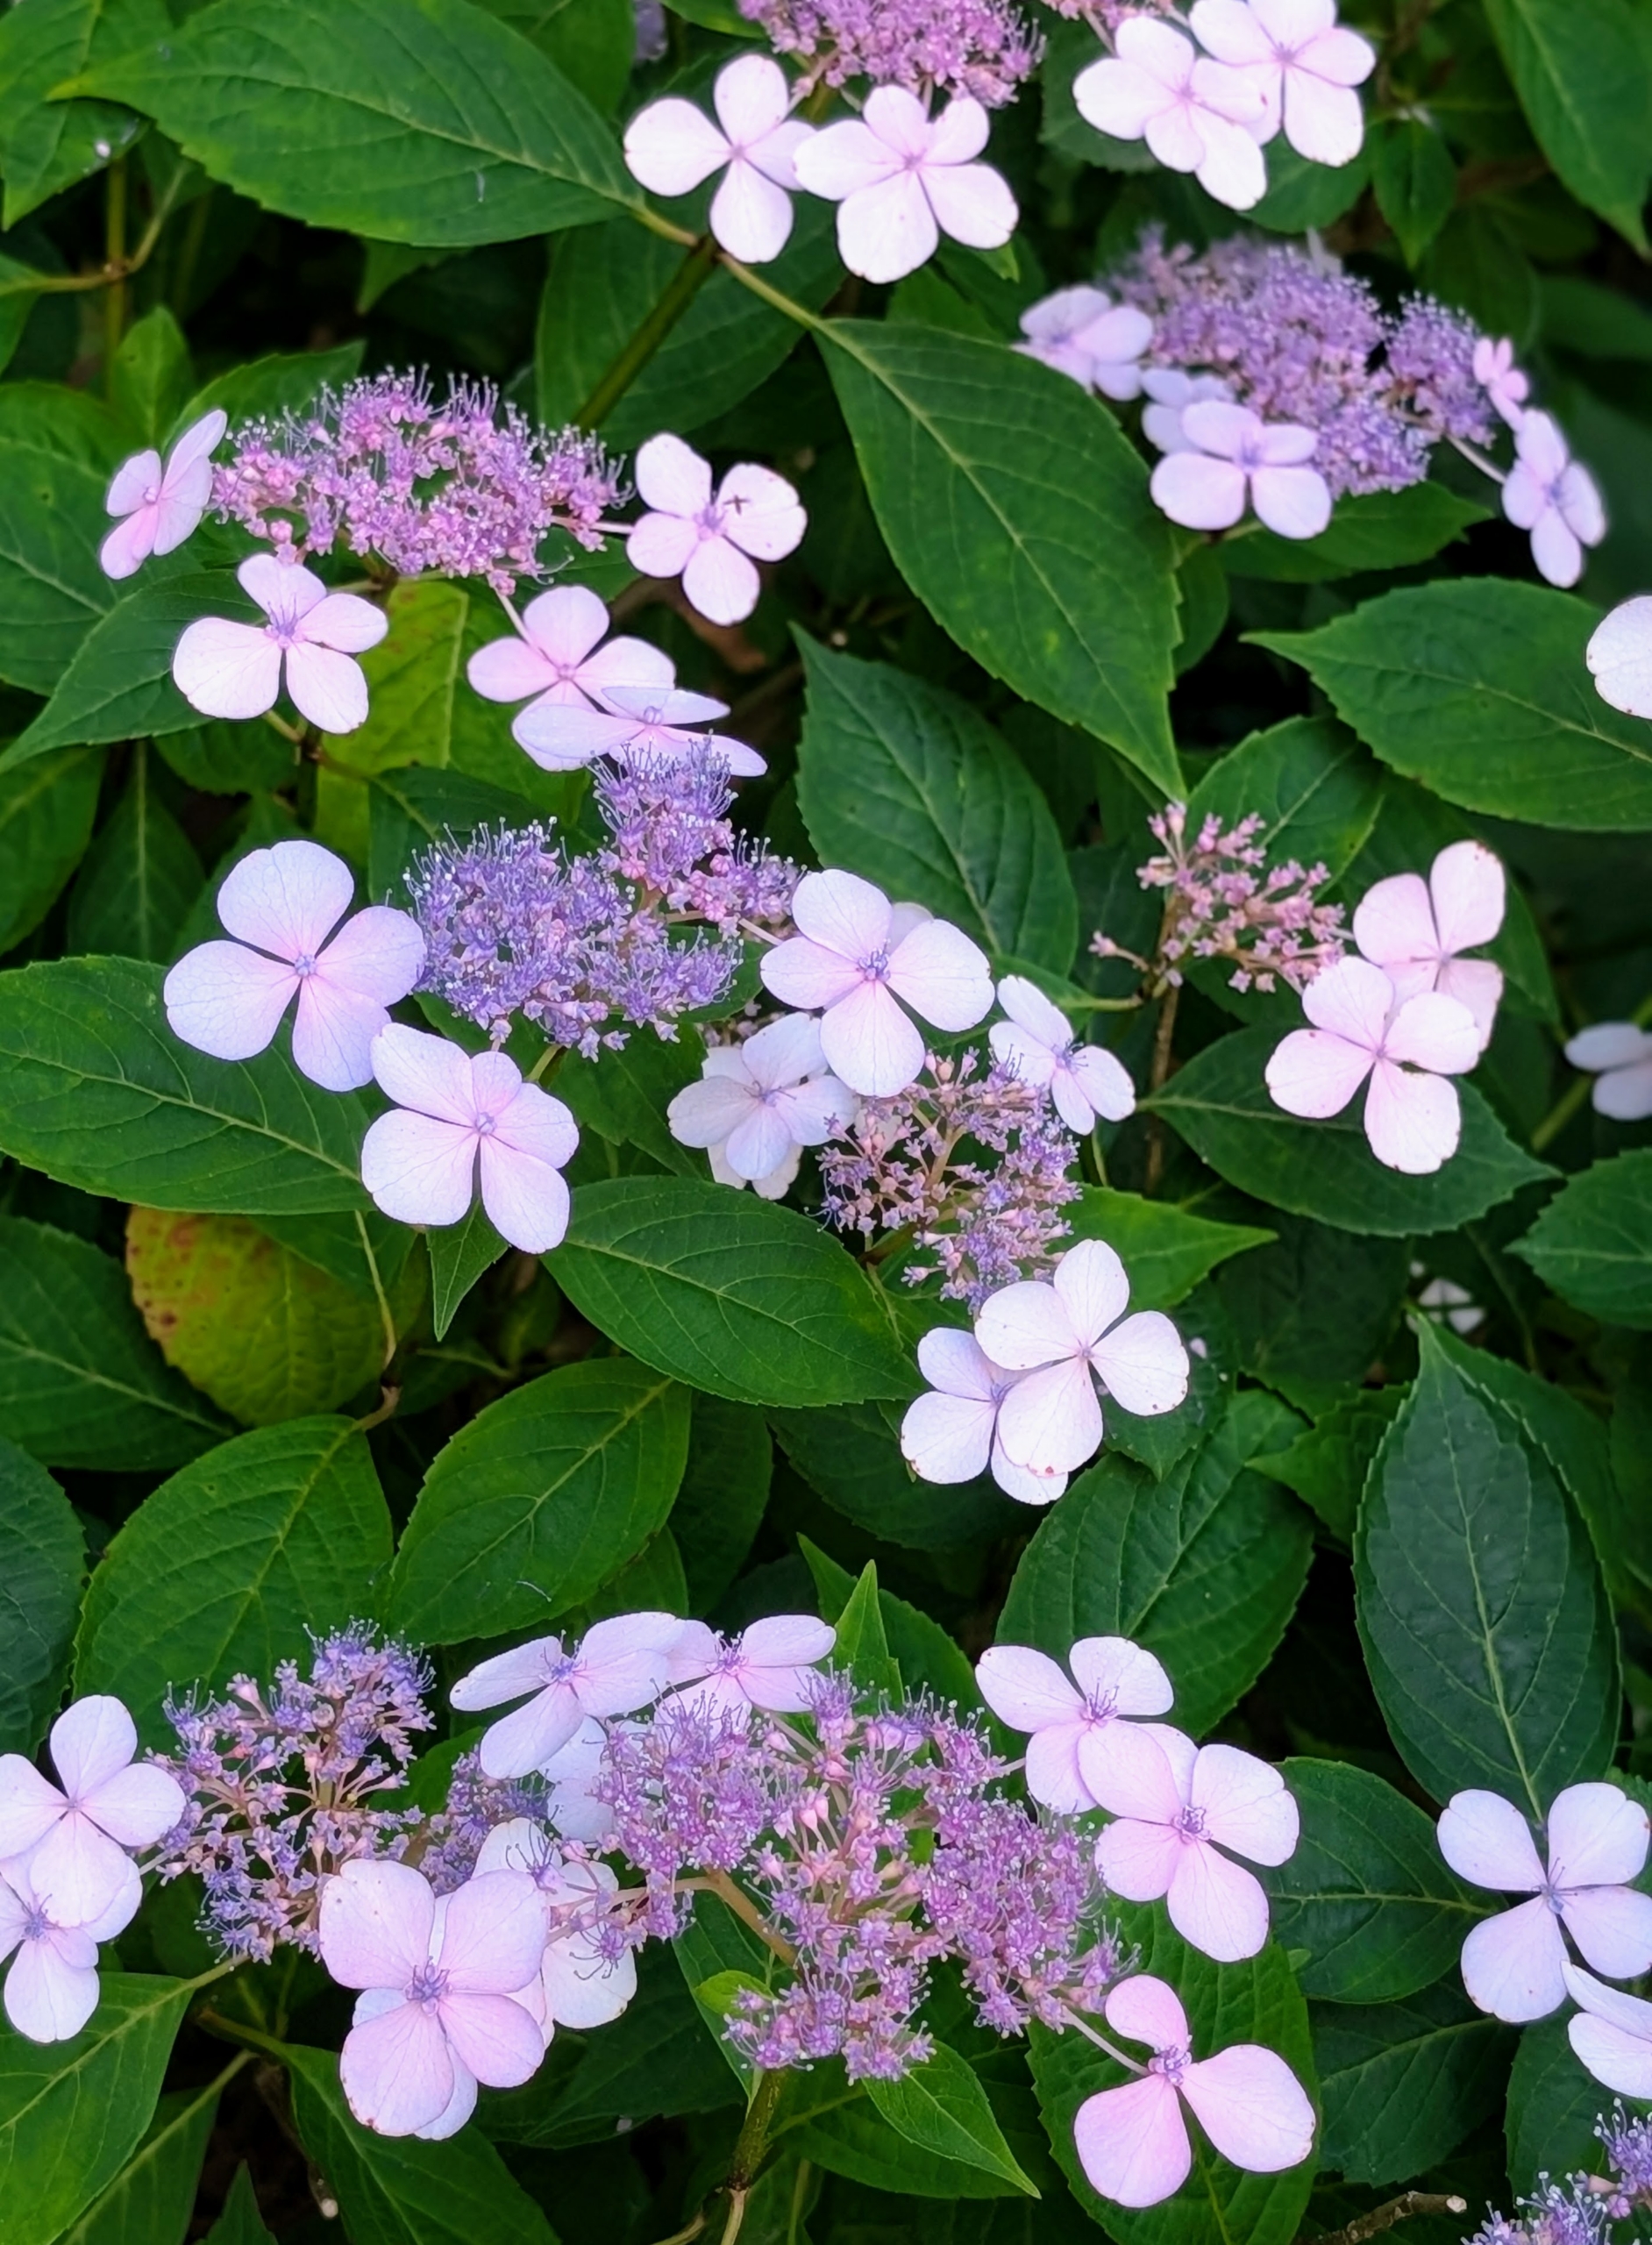
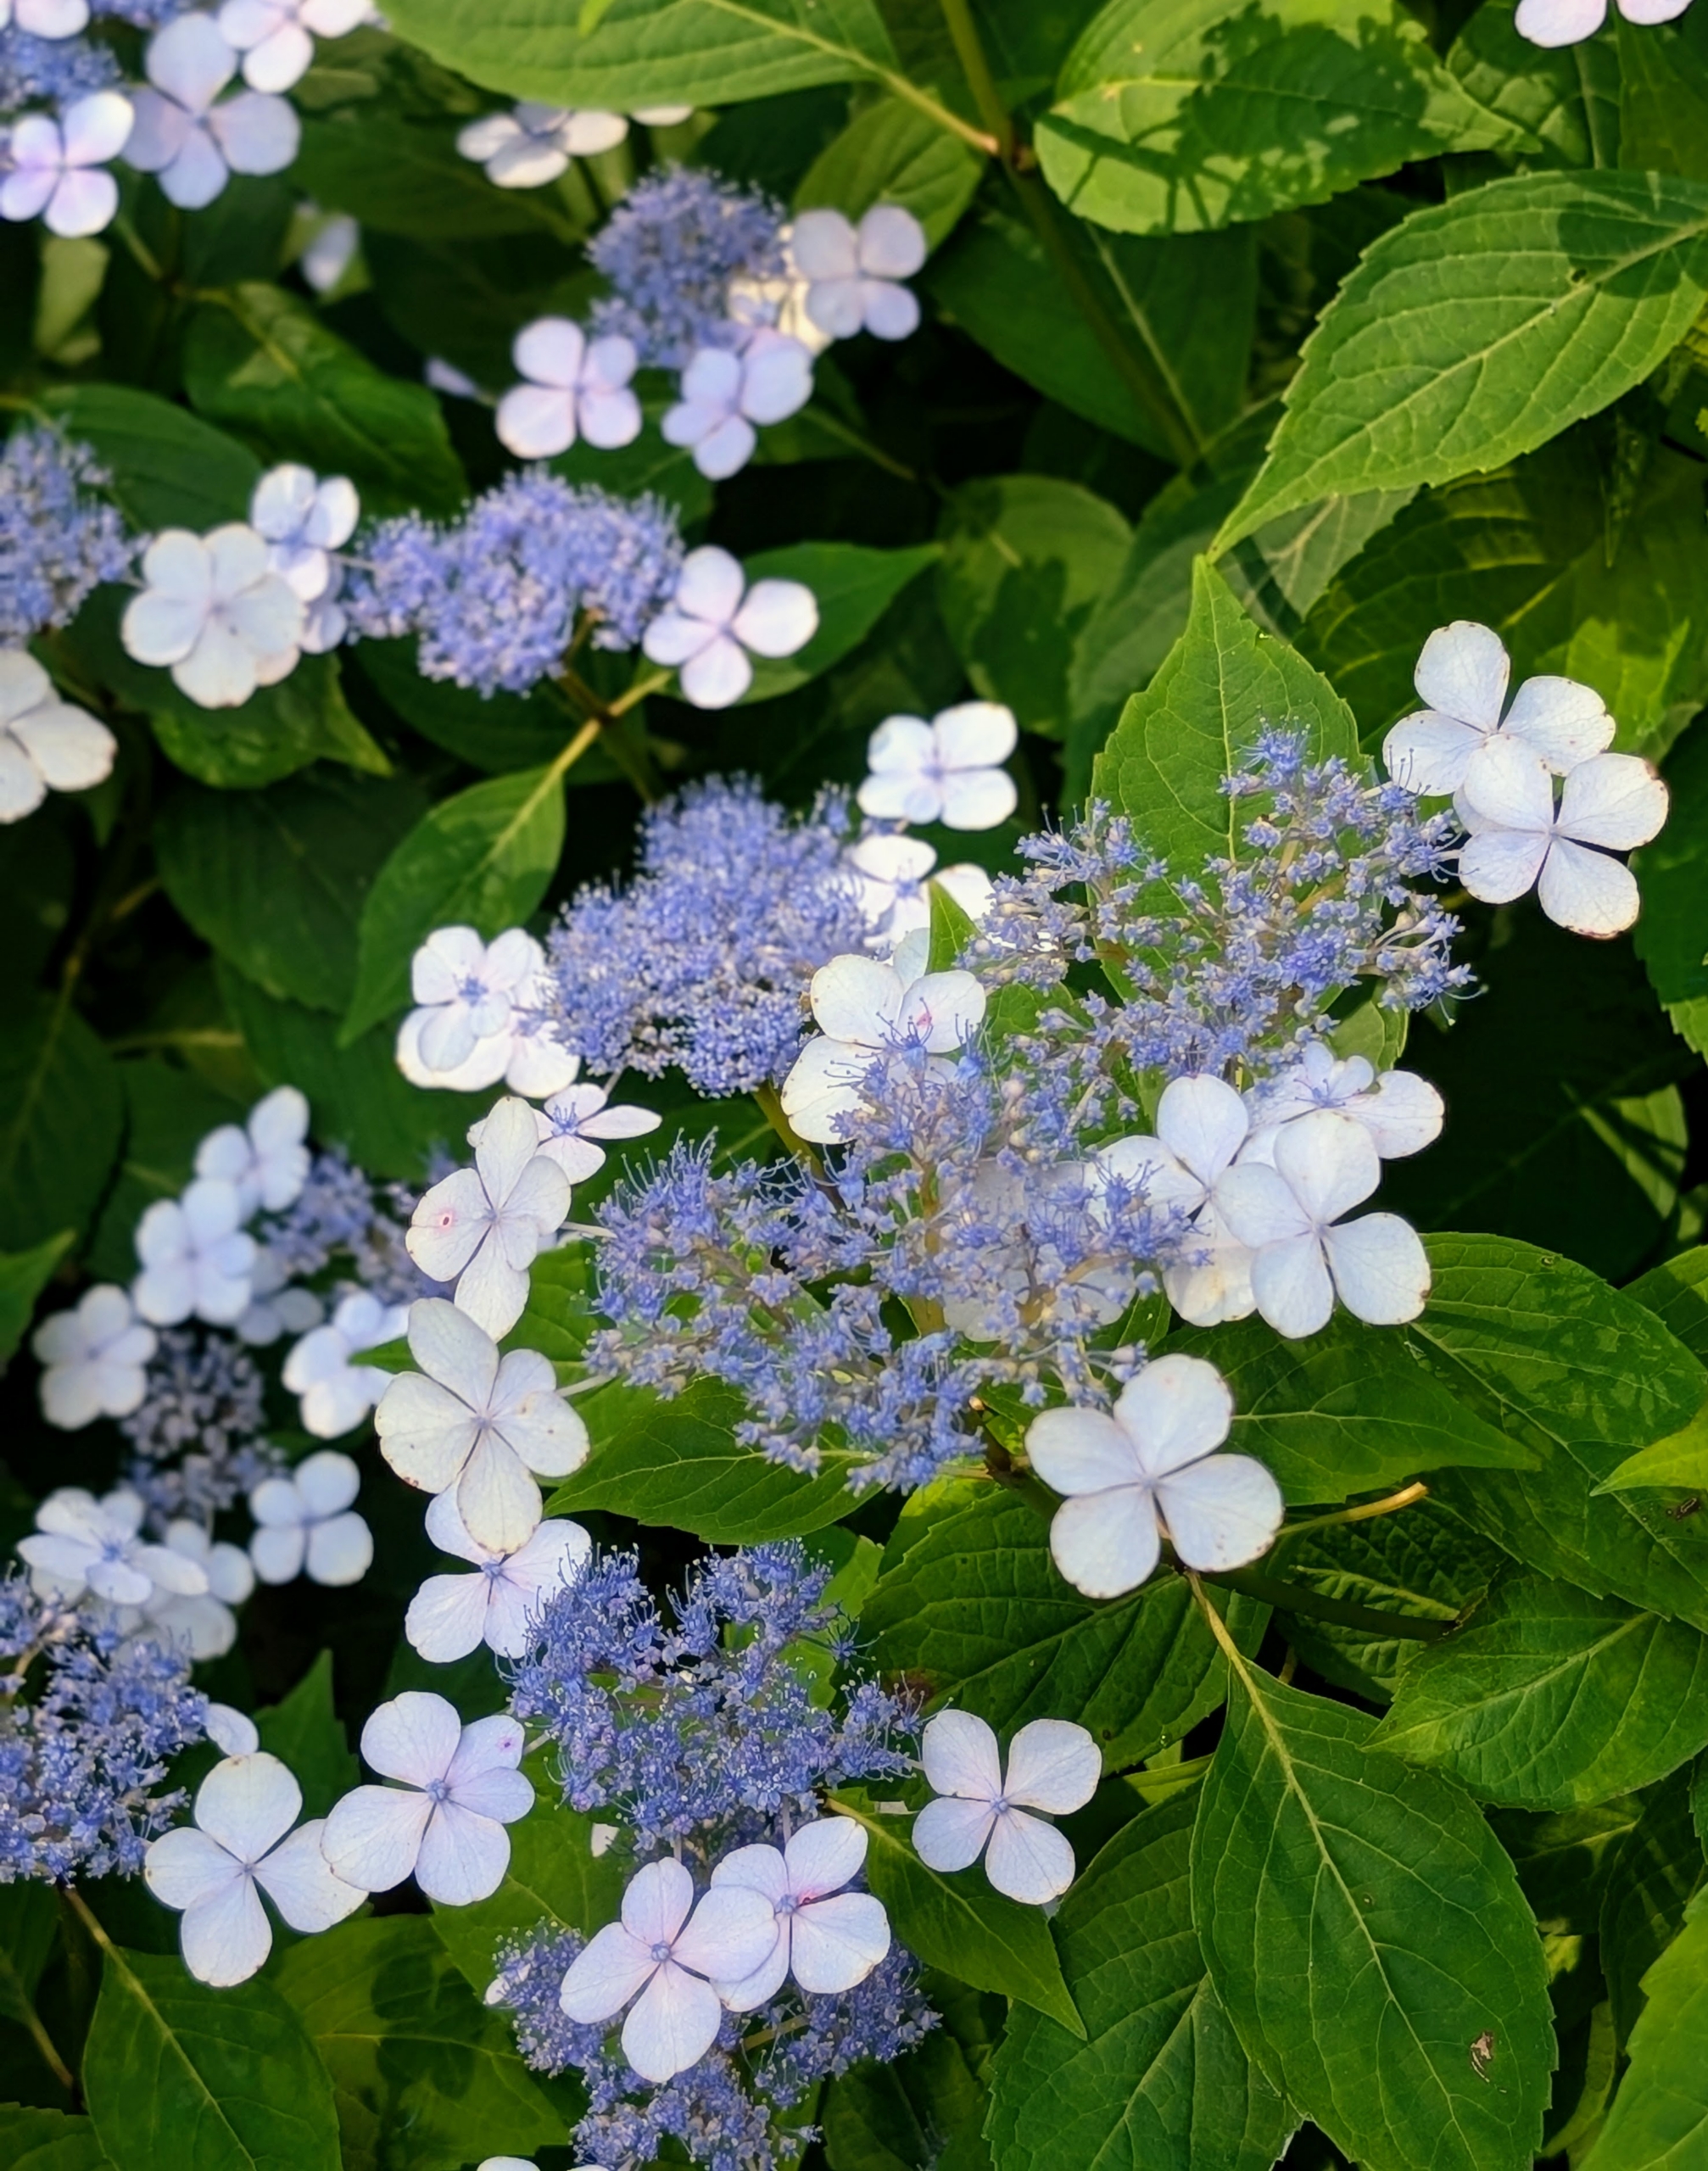
In addition to the mopheads, there are also hydrangeas that bloom in lovely lacecaps.
The lacecap is very similar to the mophead, but instead of growing round clusters of showy blossoms, this hydrangea grows flowers that resemble flat caps with frilly edges.
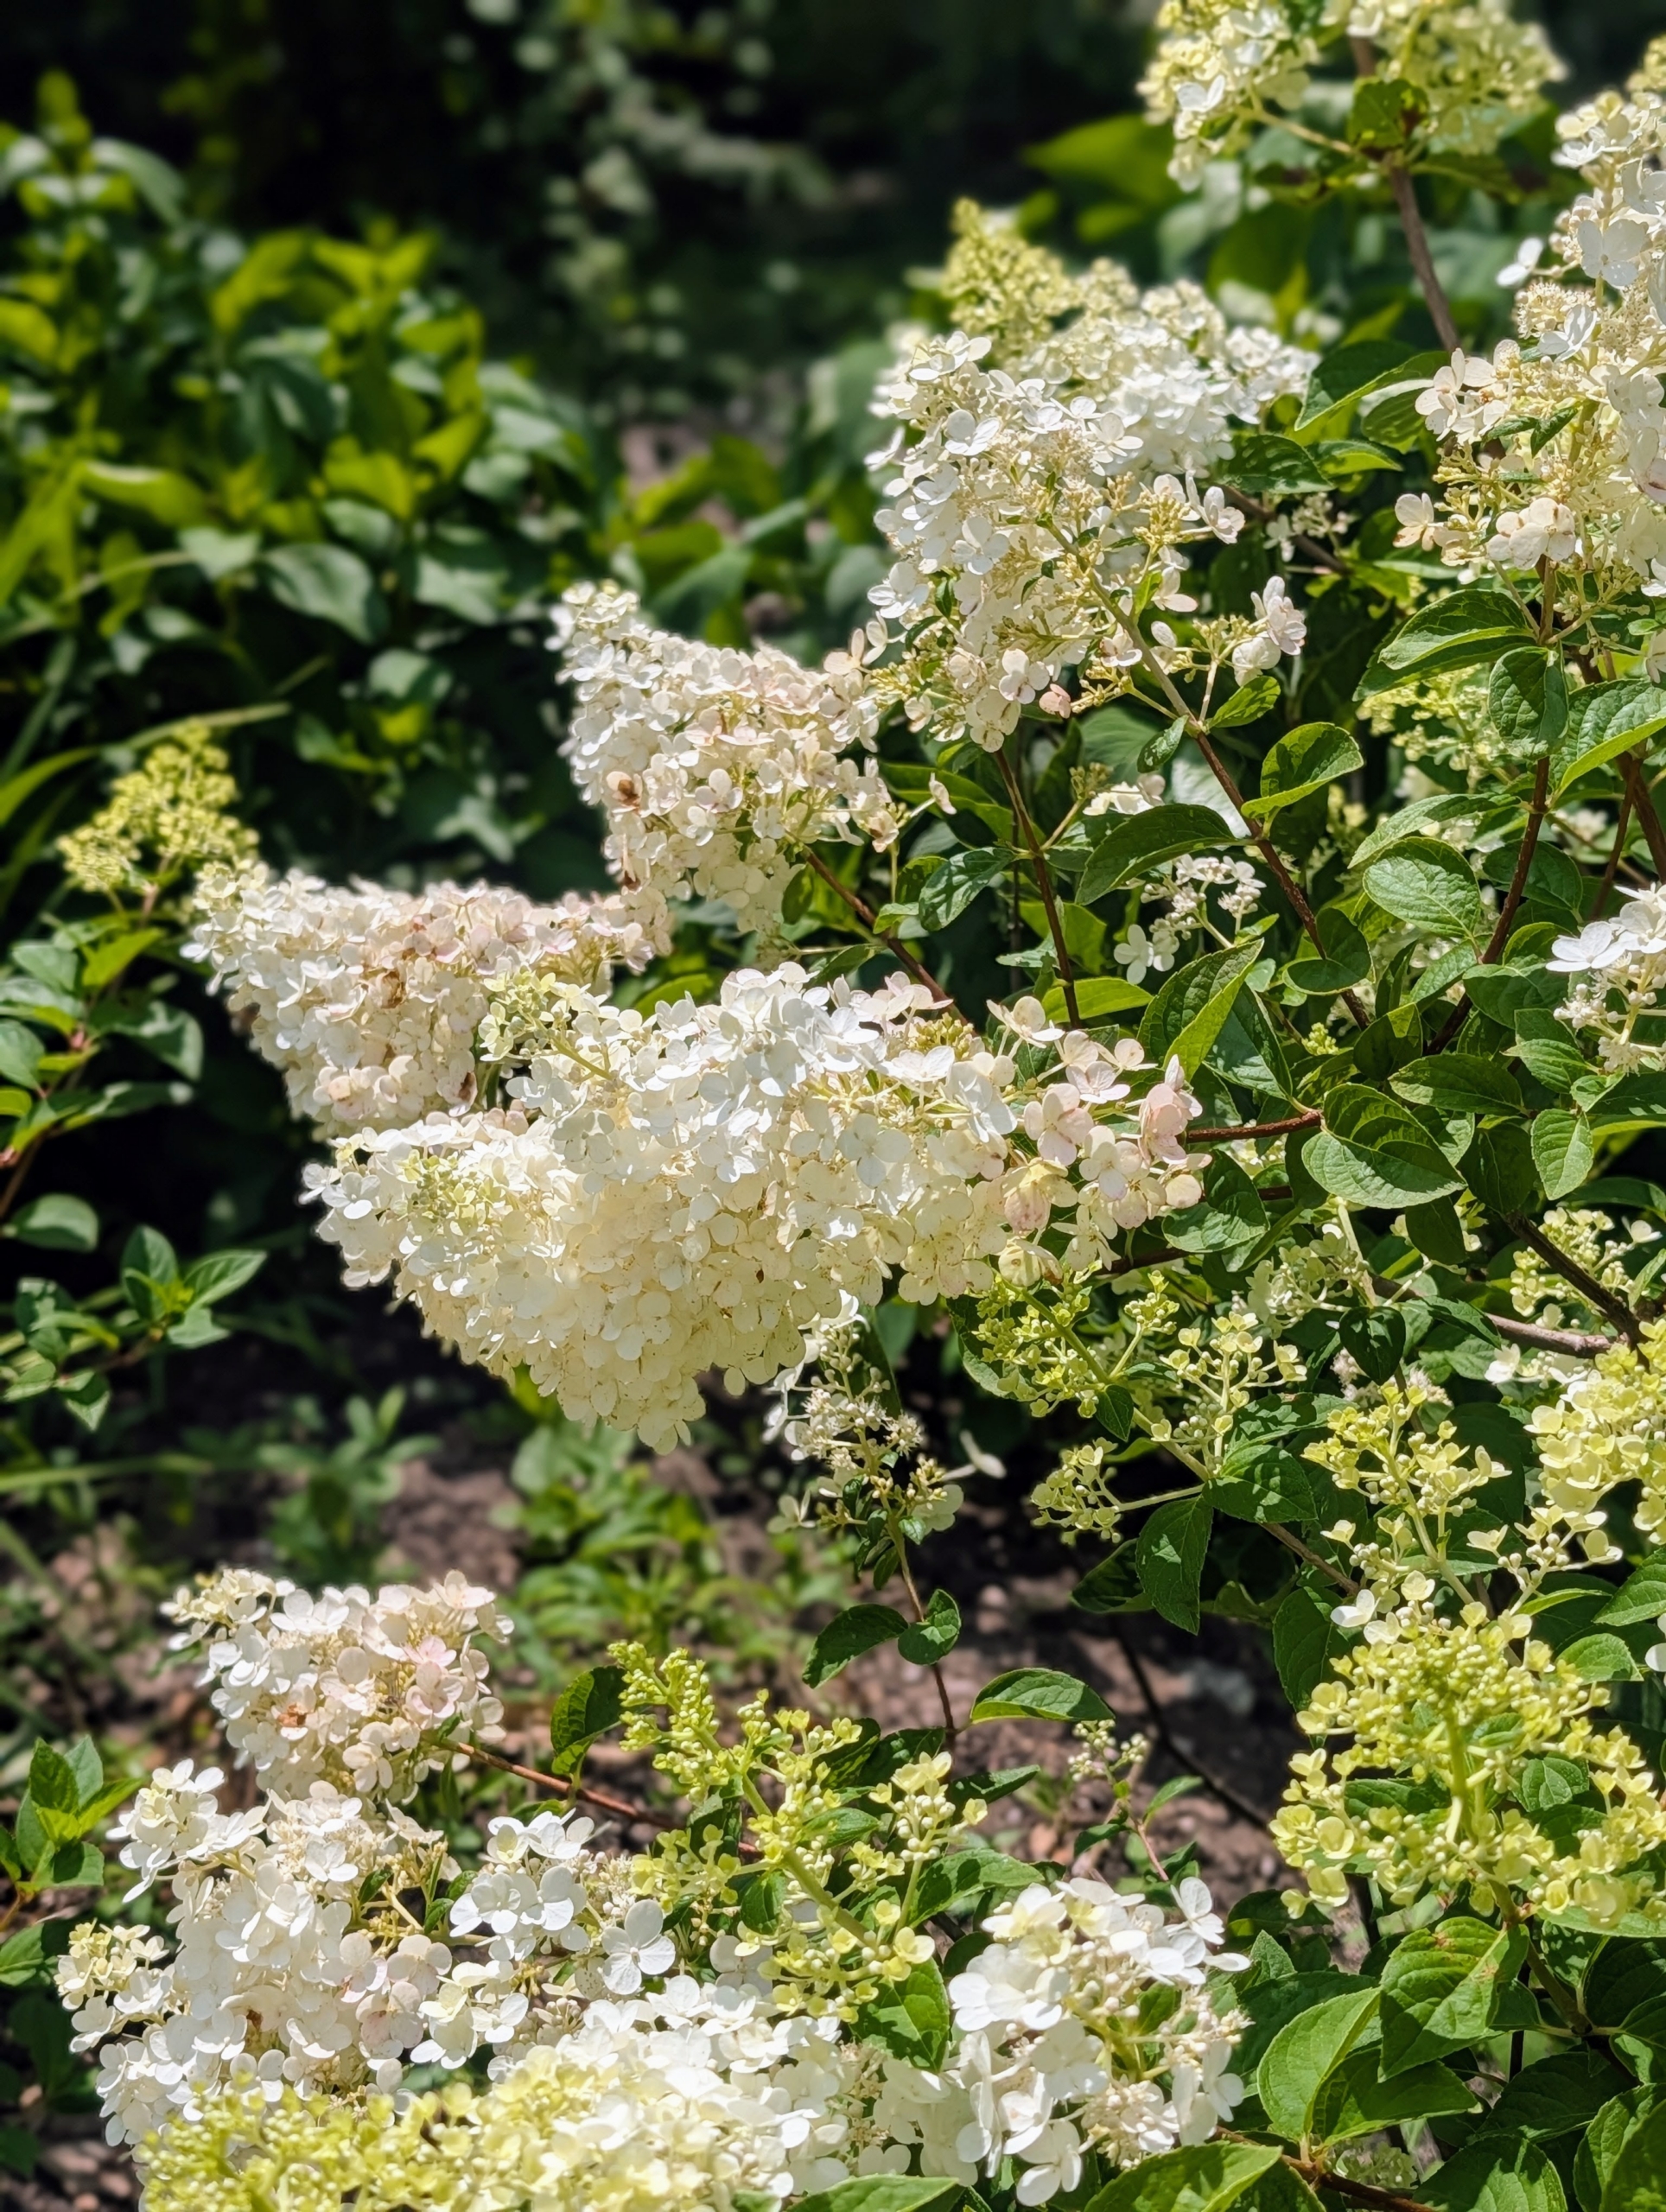
Panicle hydrangeas are known for their more cone shaped flower heads.
Around my tennis court, I have a combination of white and pink blooming shrubs.
They include a selection of First Editions Diamond Rouge hydrangeas, Hydrangea paniculata ‘Rendia’ – small, bushy, deciduous shrub that produces large, rounded flower heads that change color over the season – creamy white in summer, changing to pink, and then wine red in fall.
All these hydrangeas thrive here and have grown so much since I planted them two years ago.
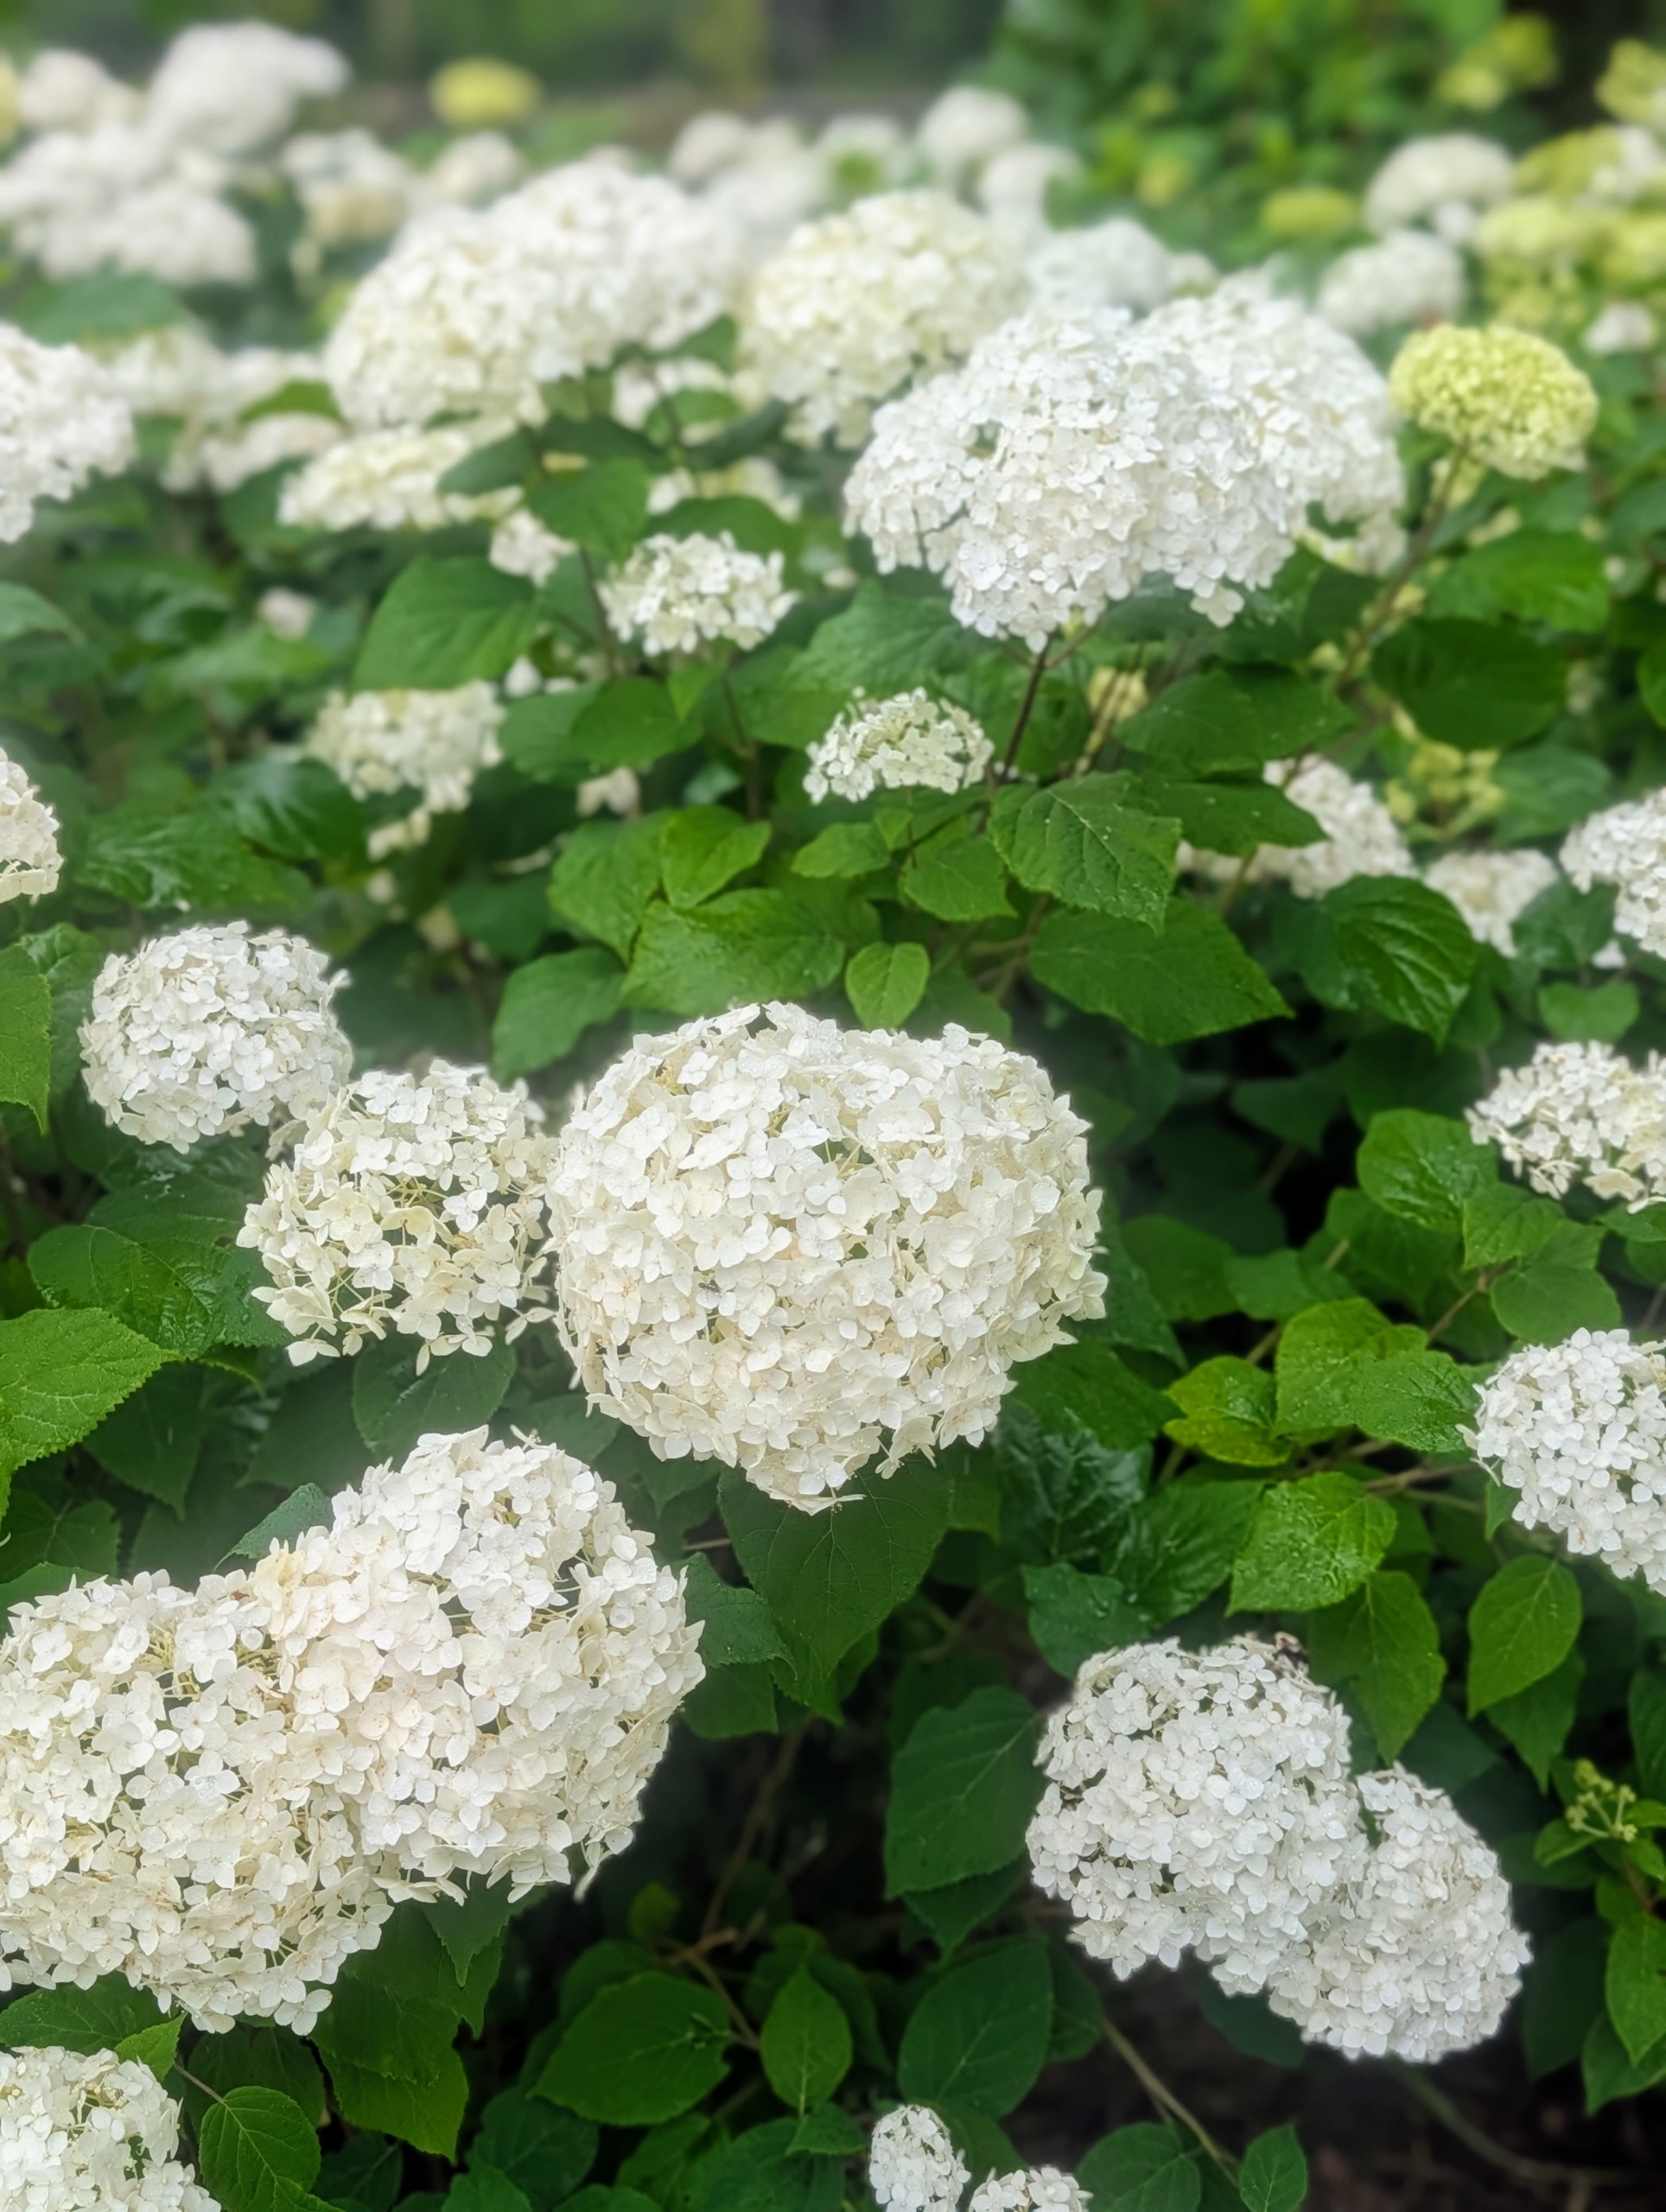
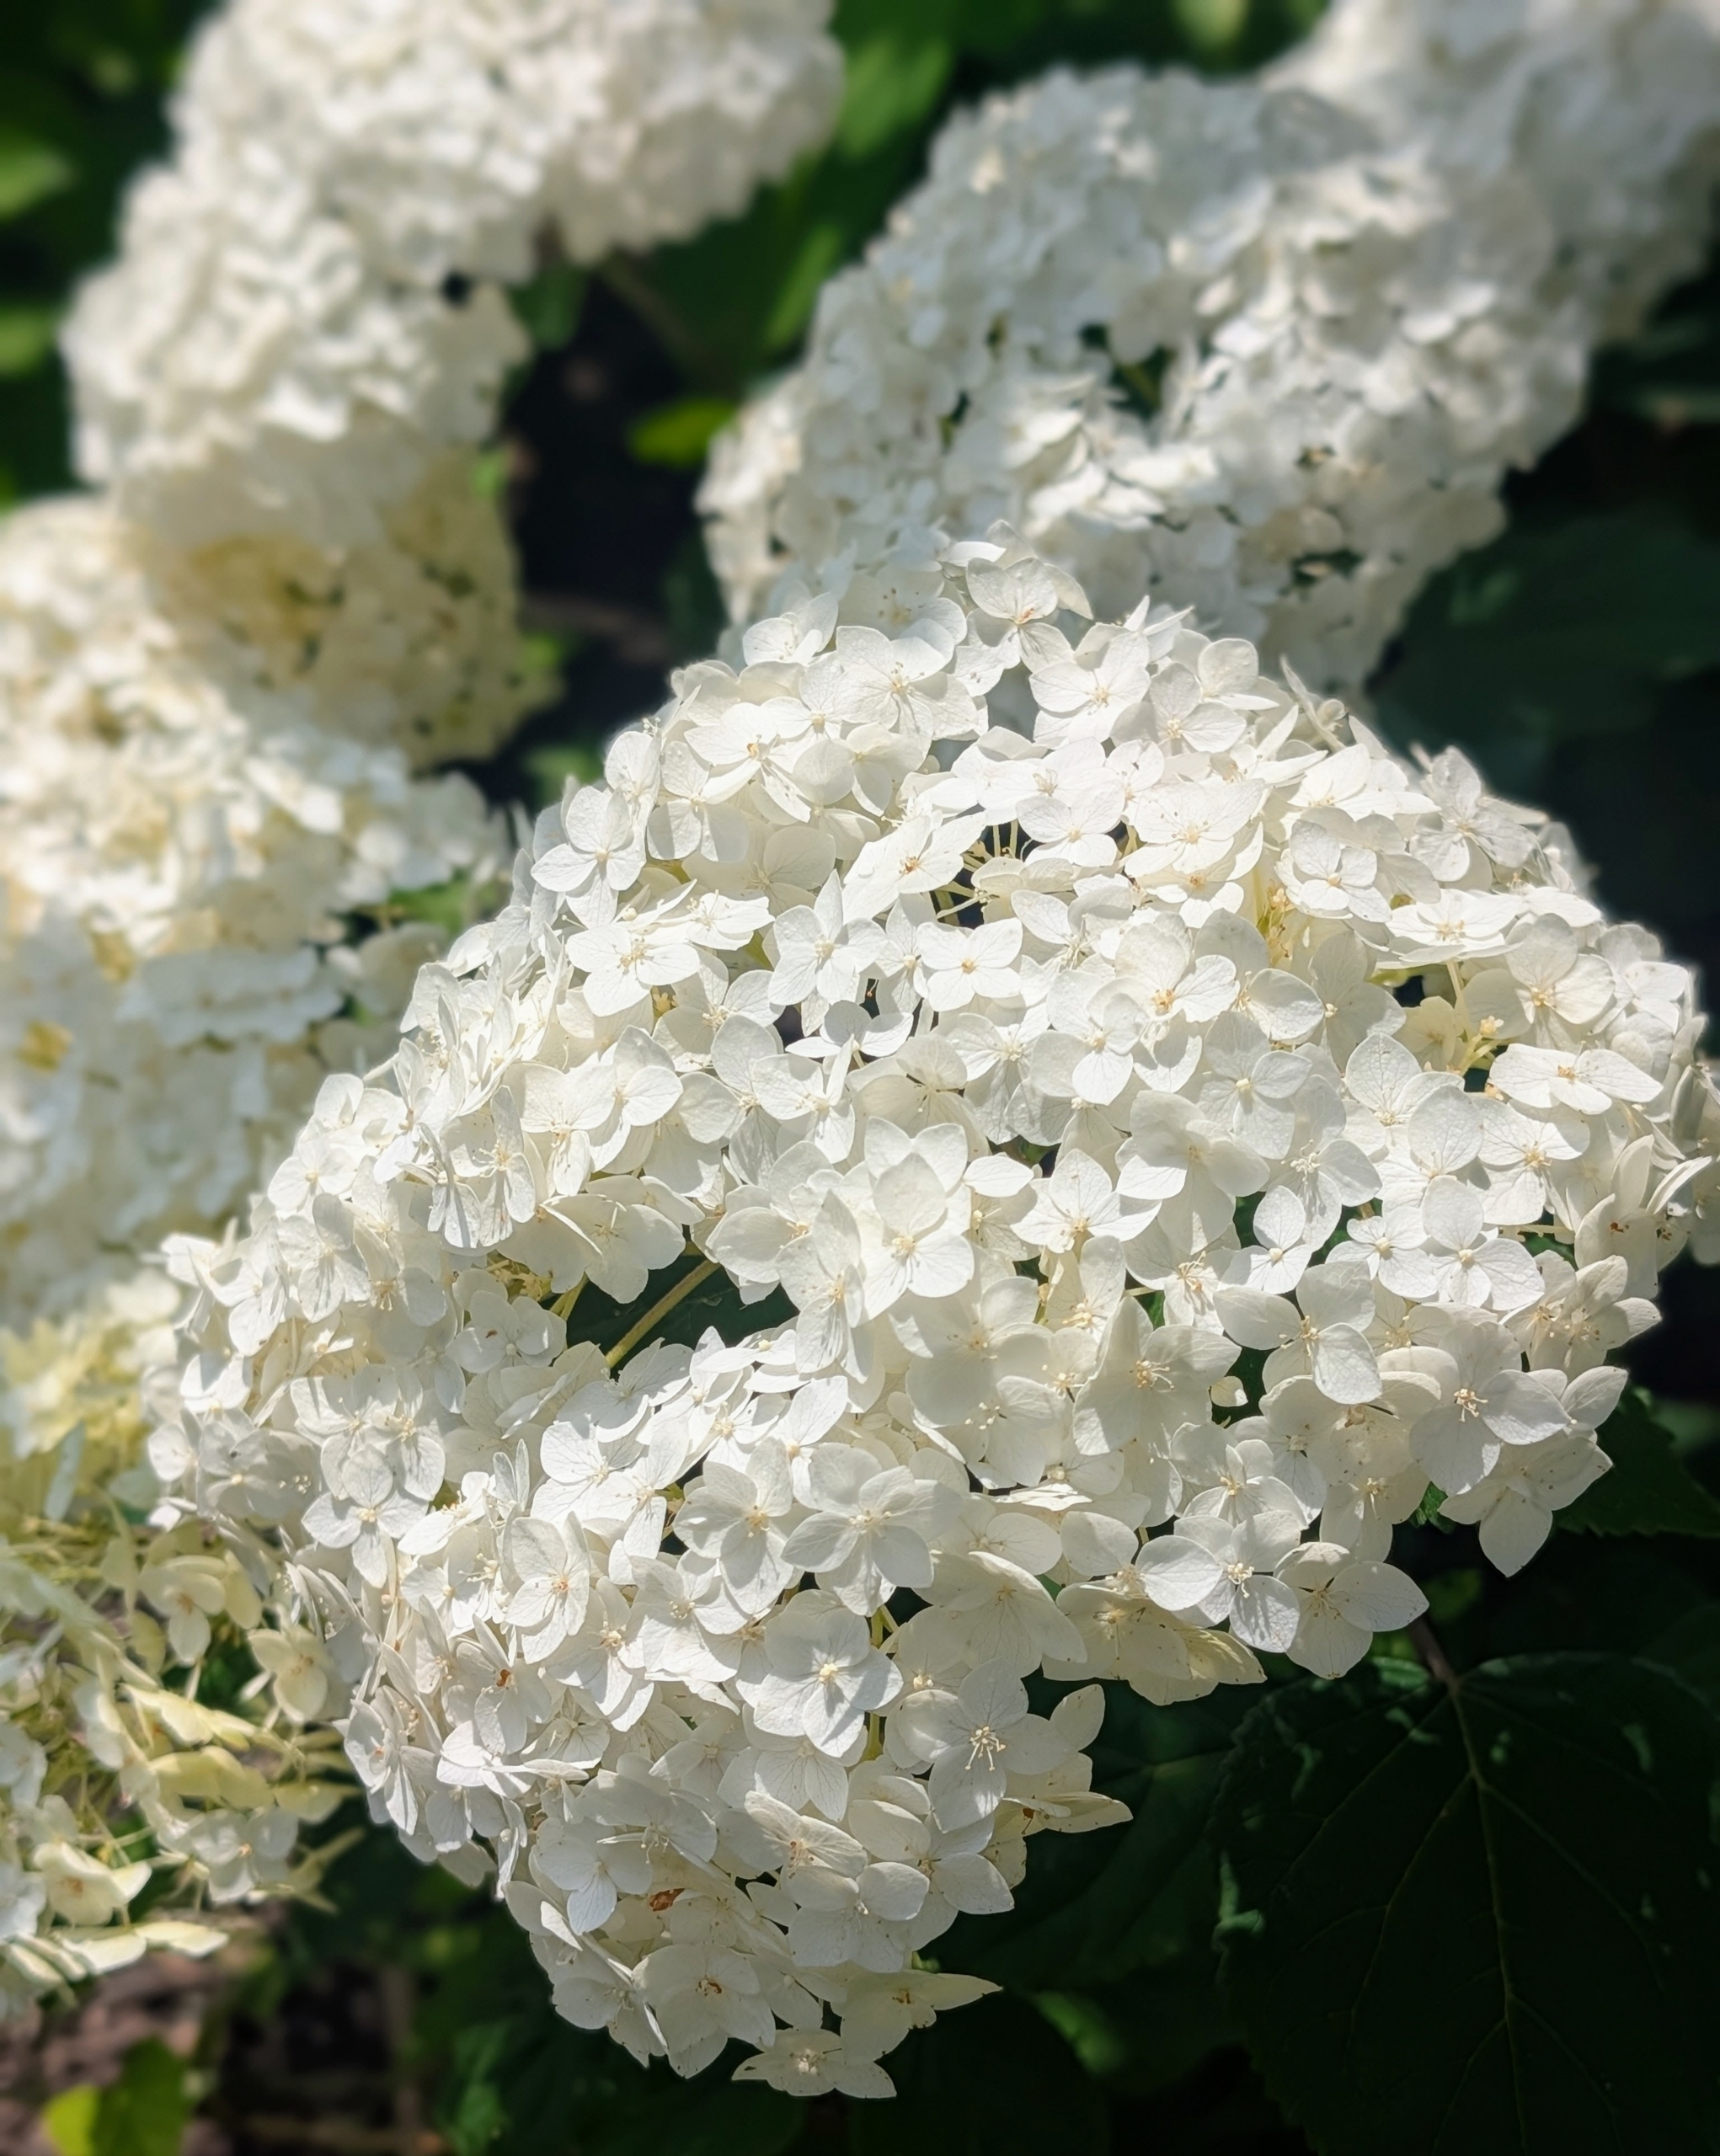
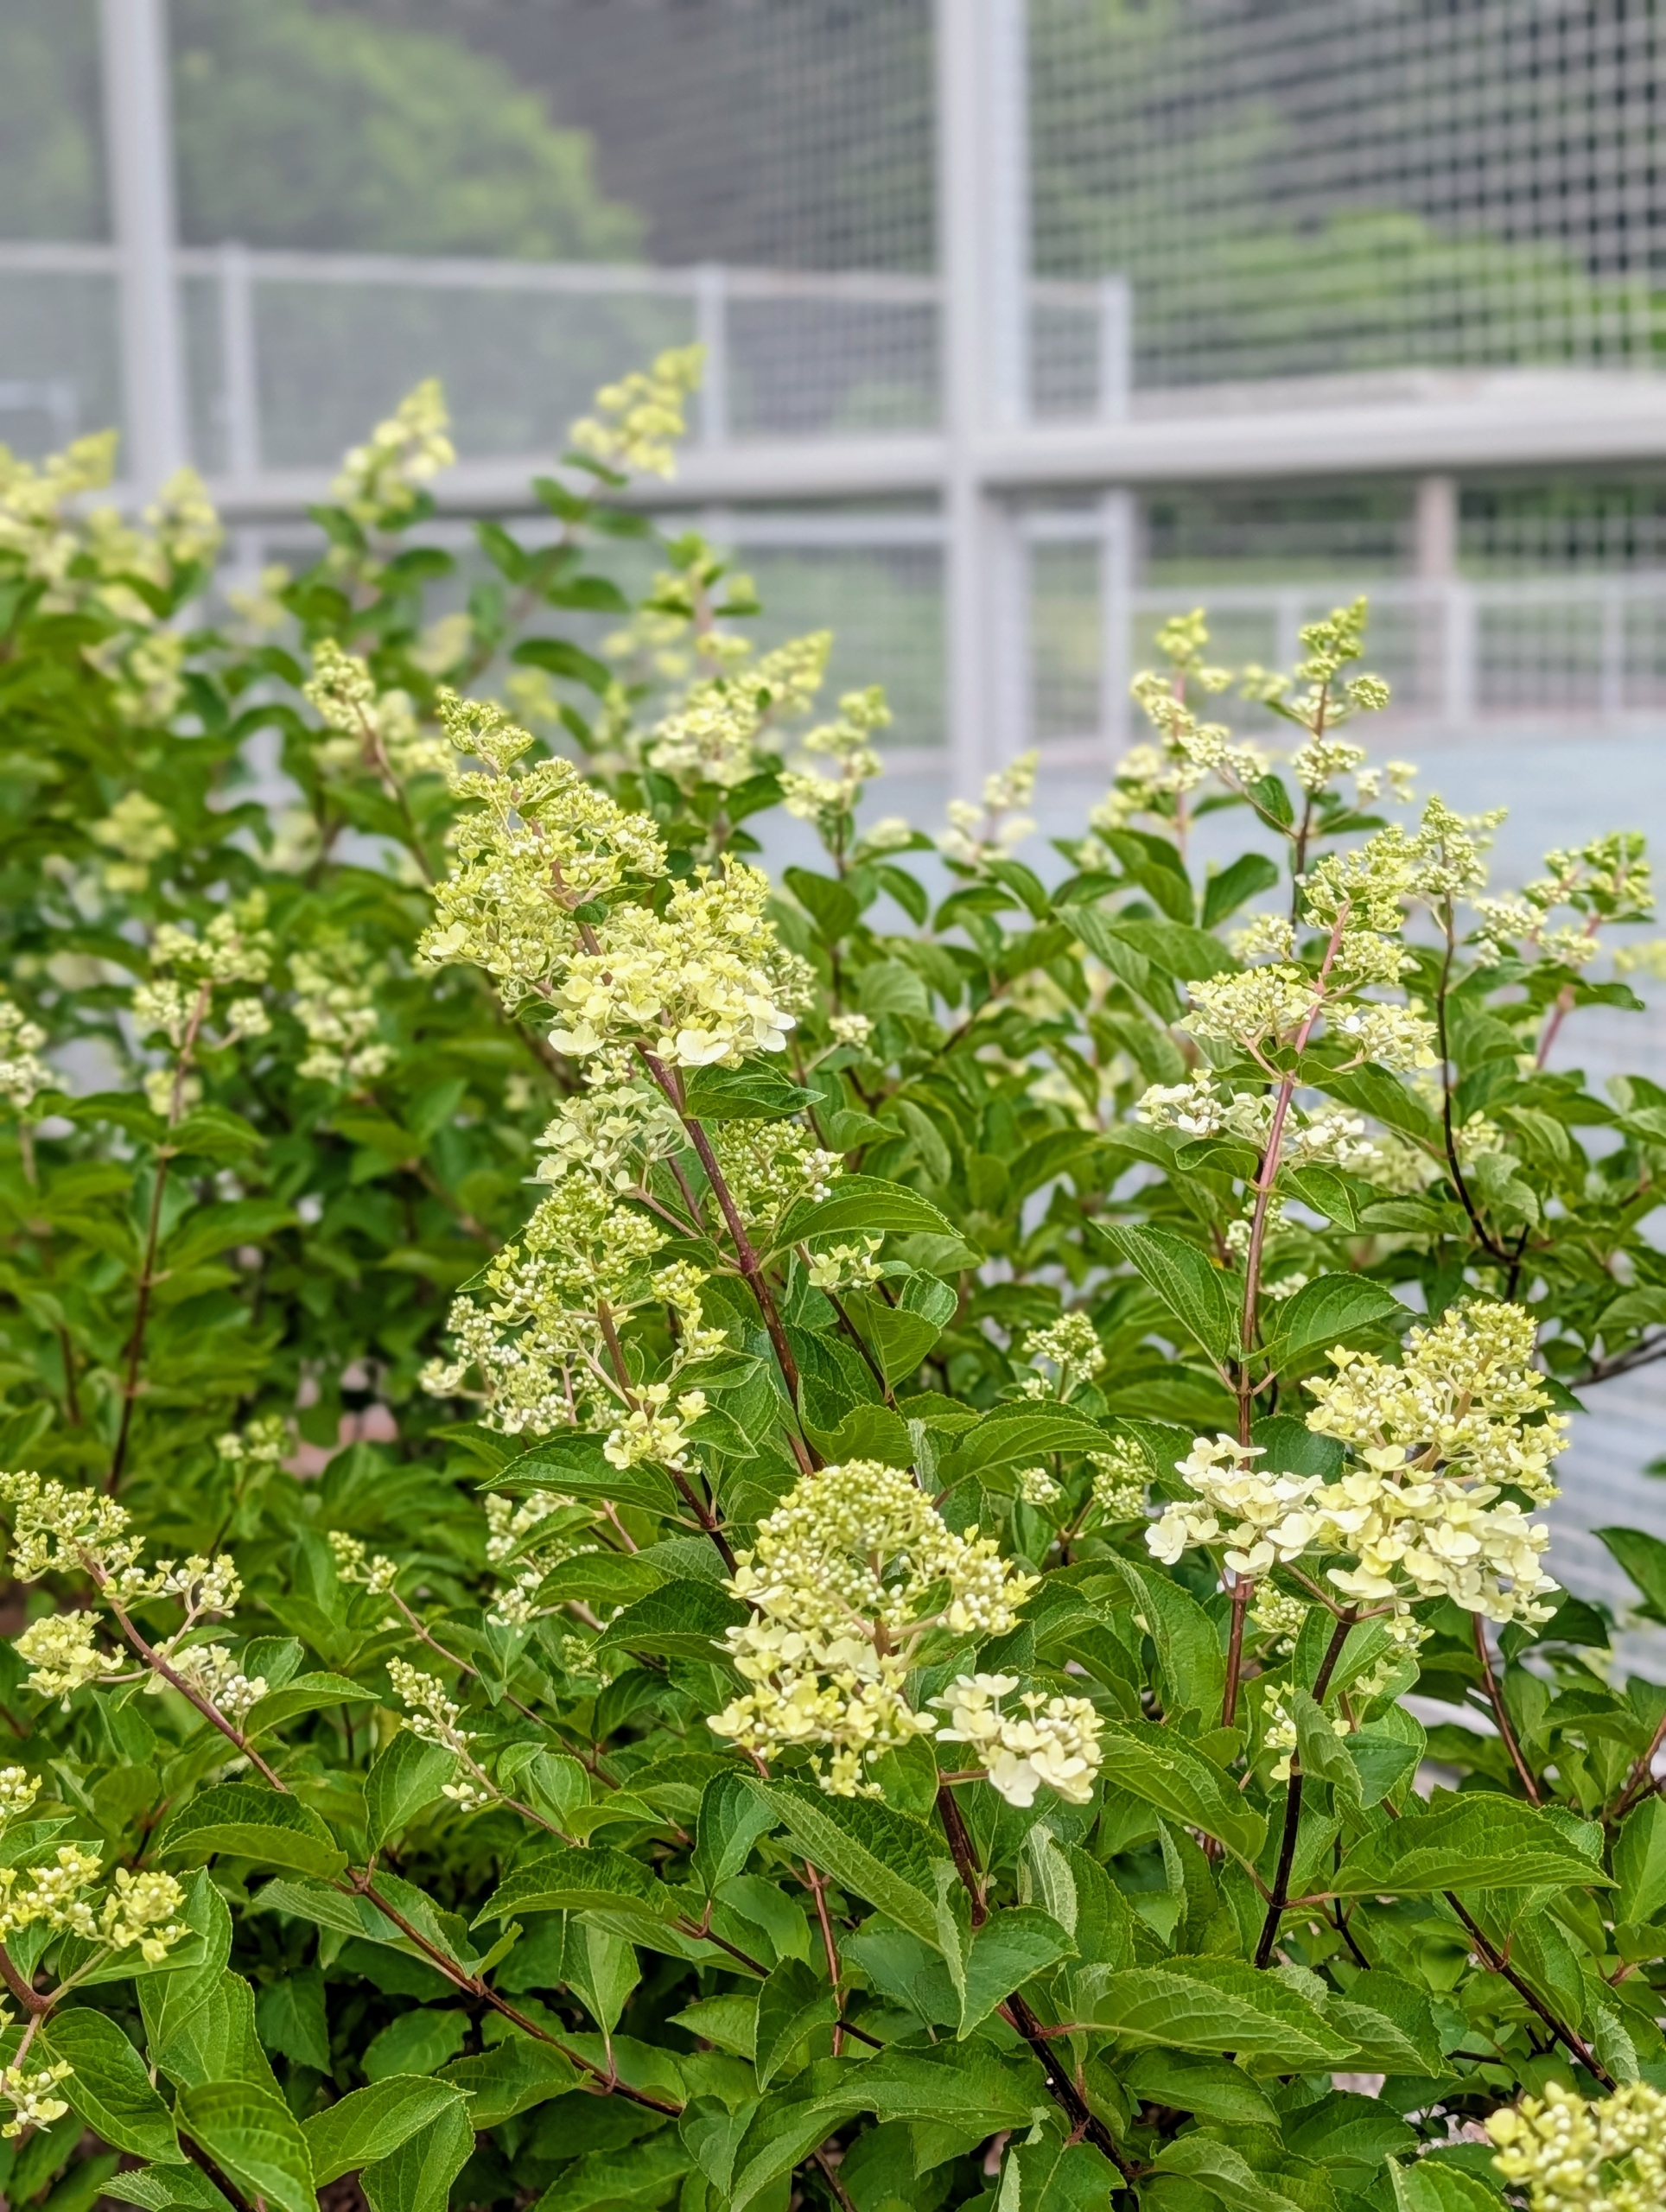
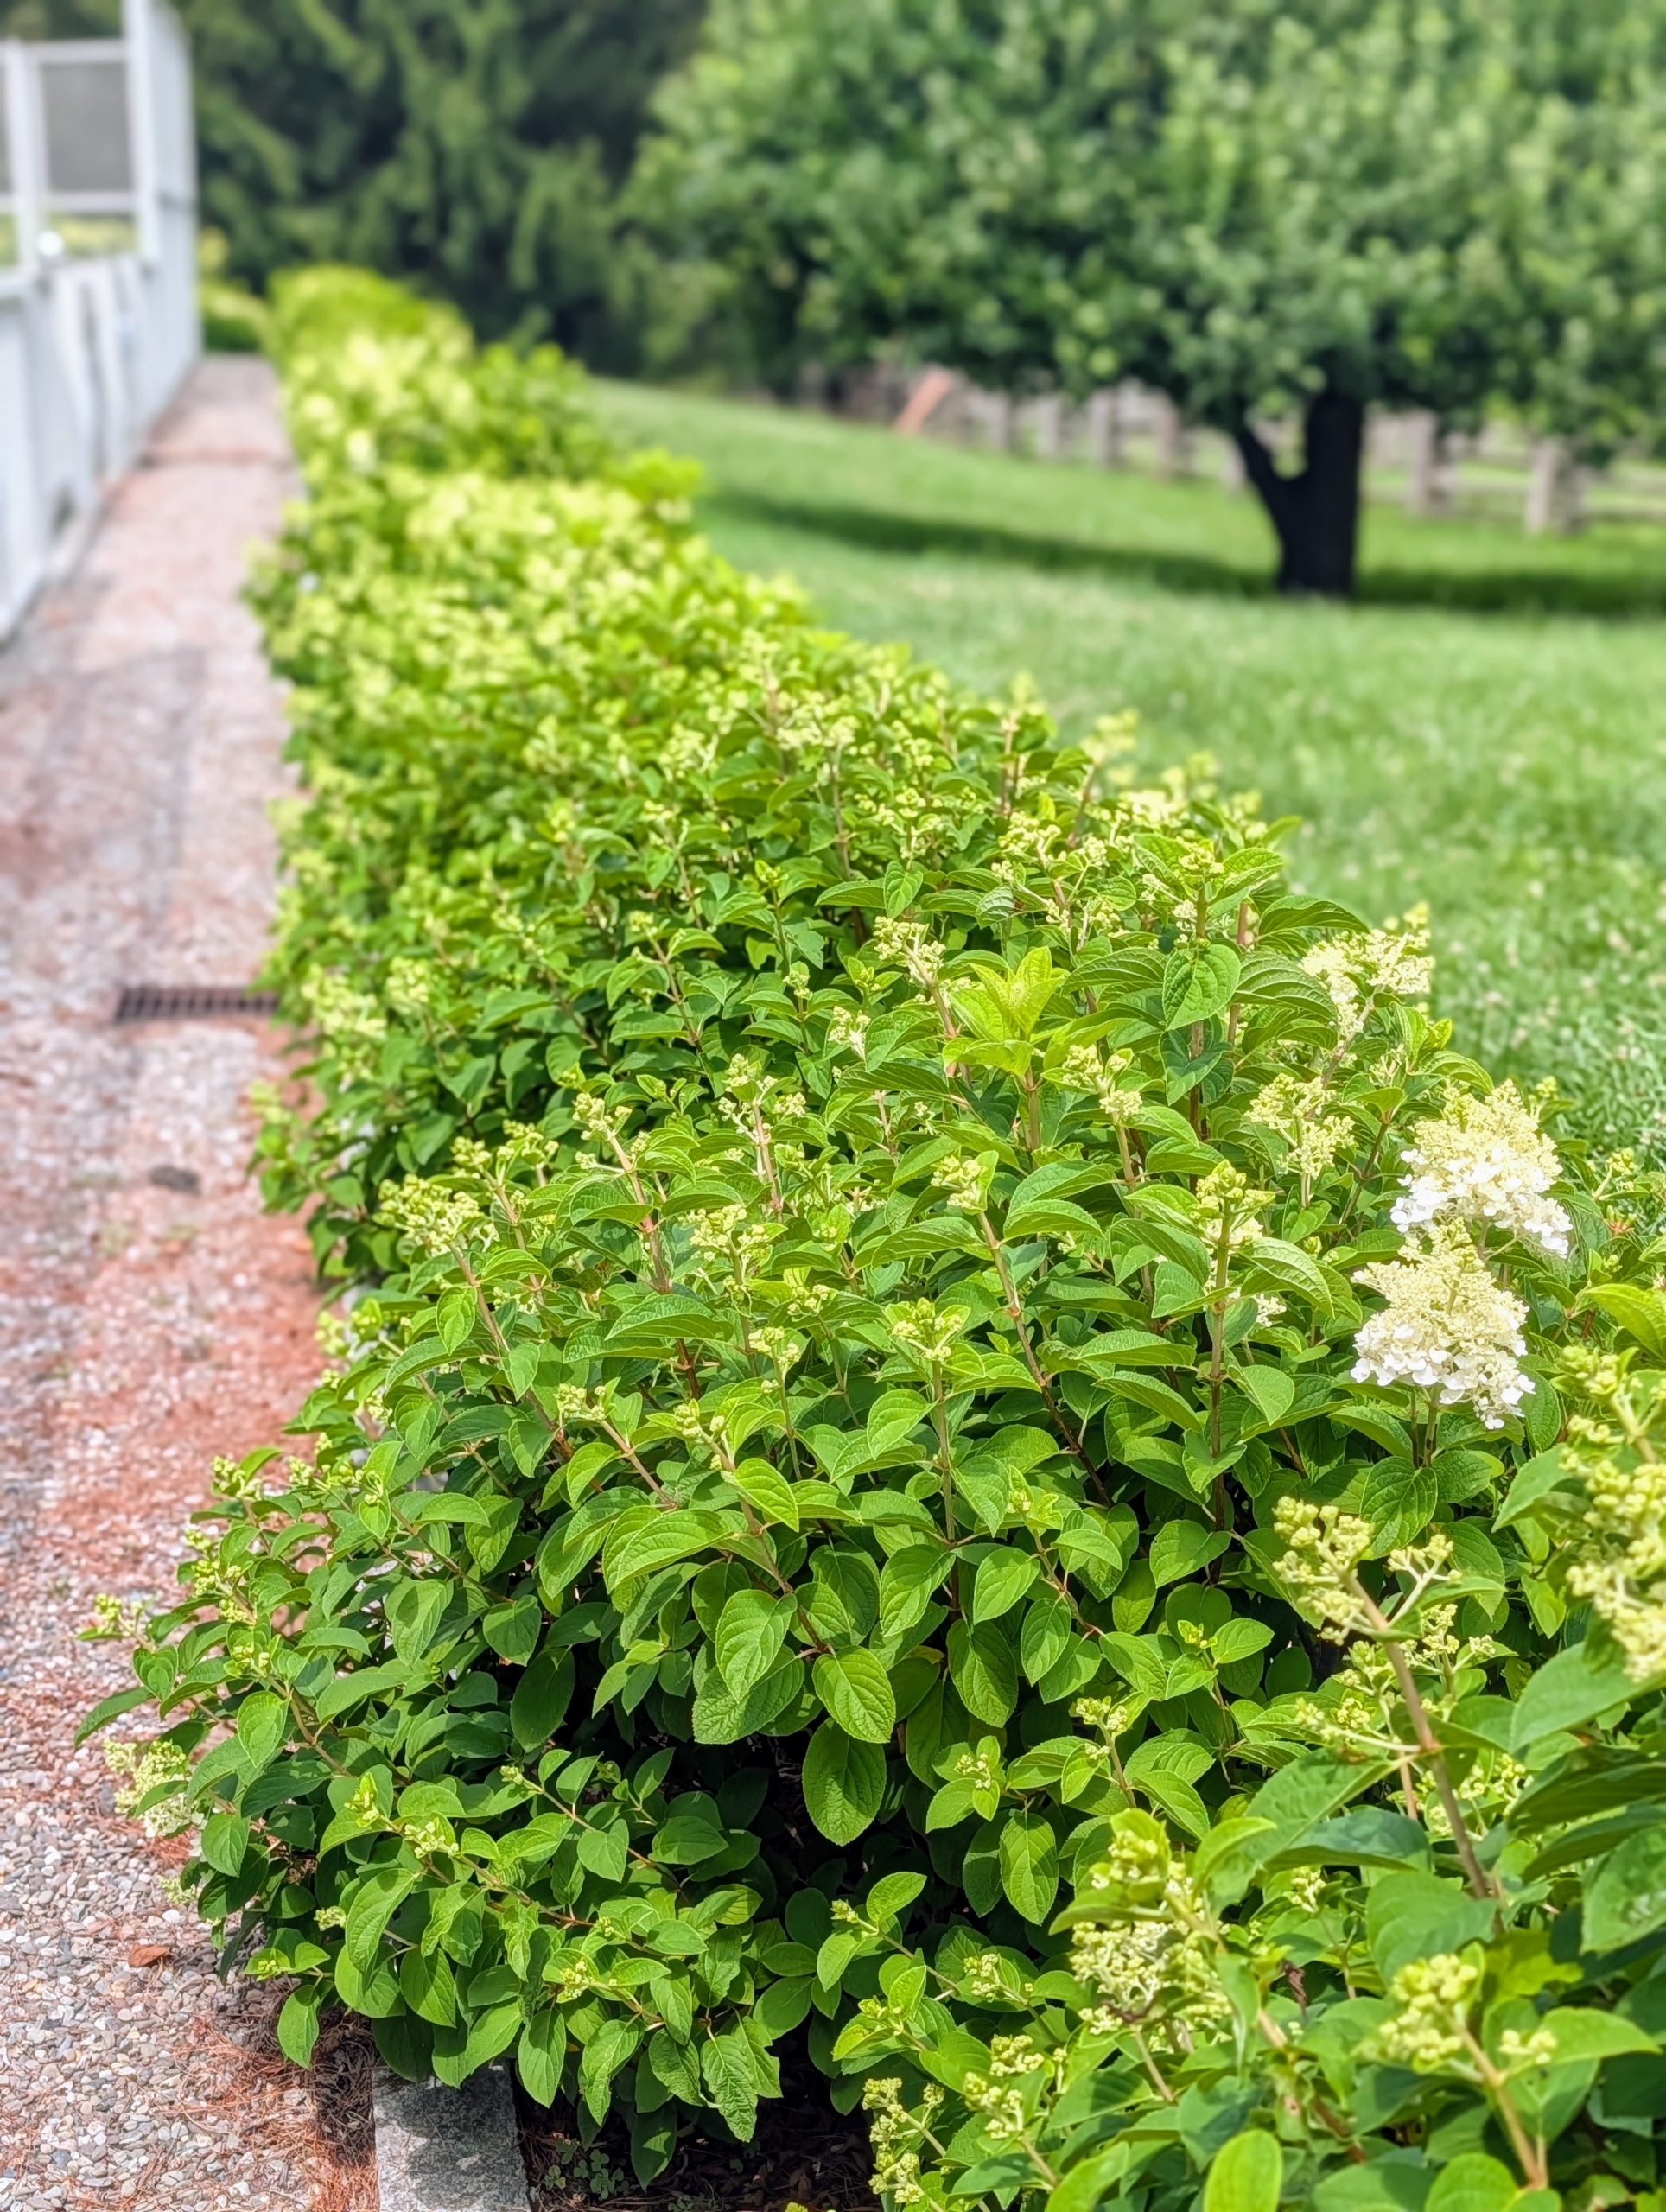
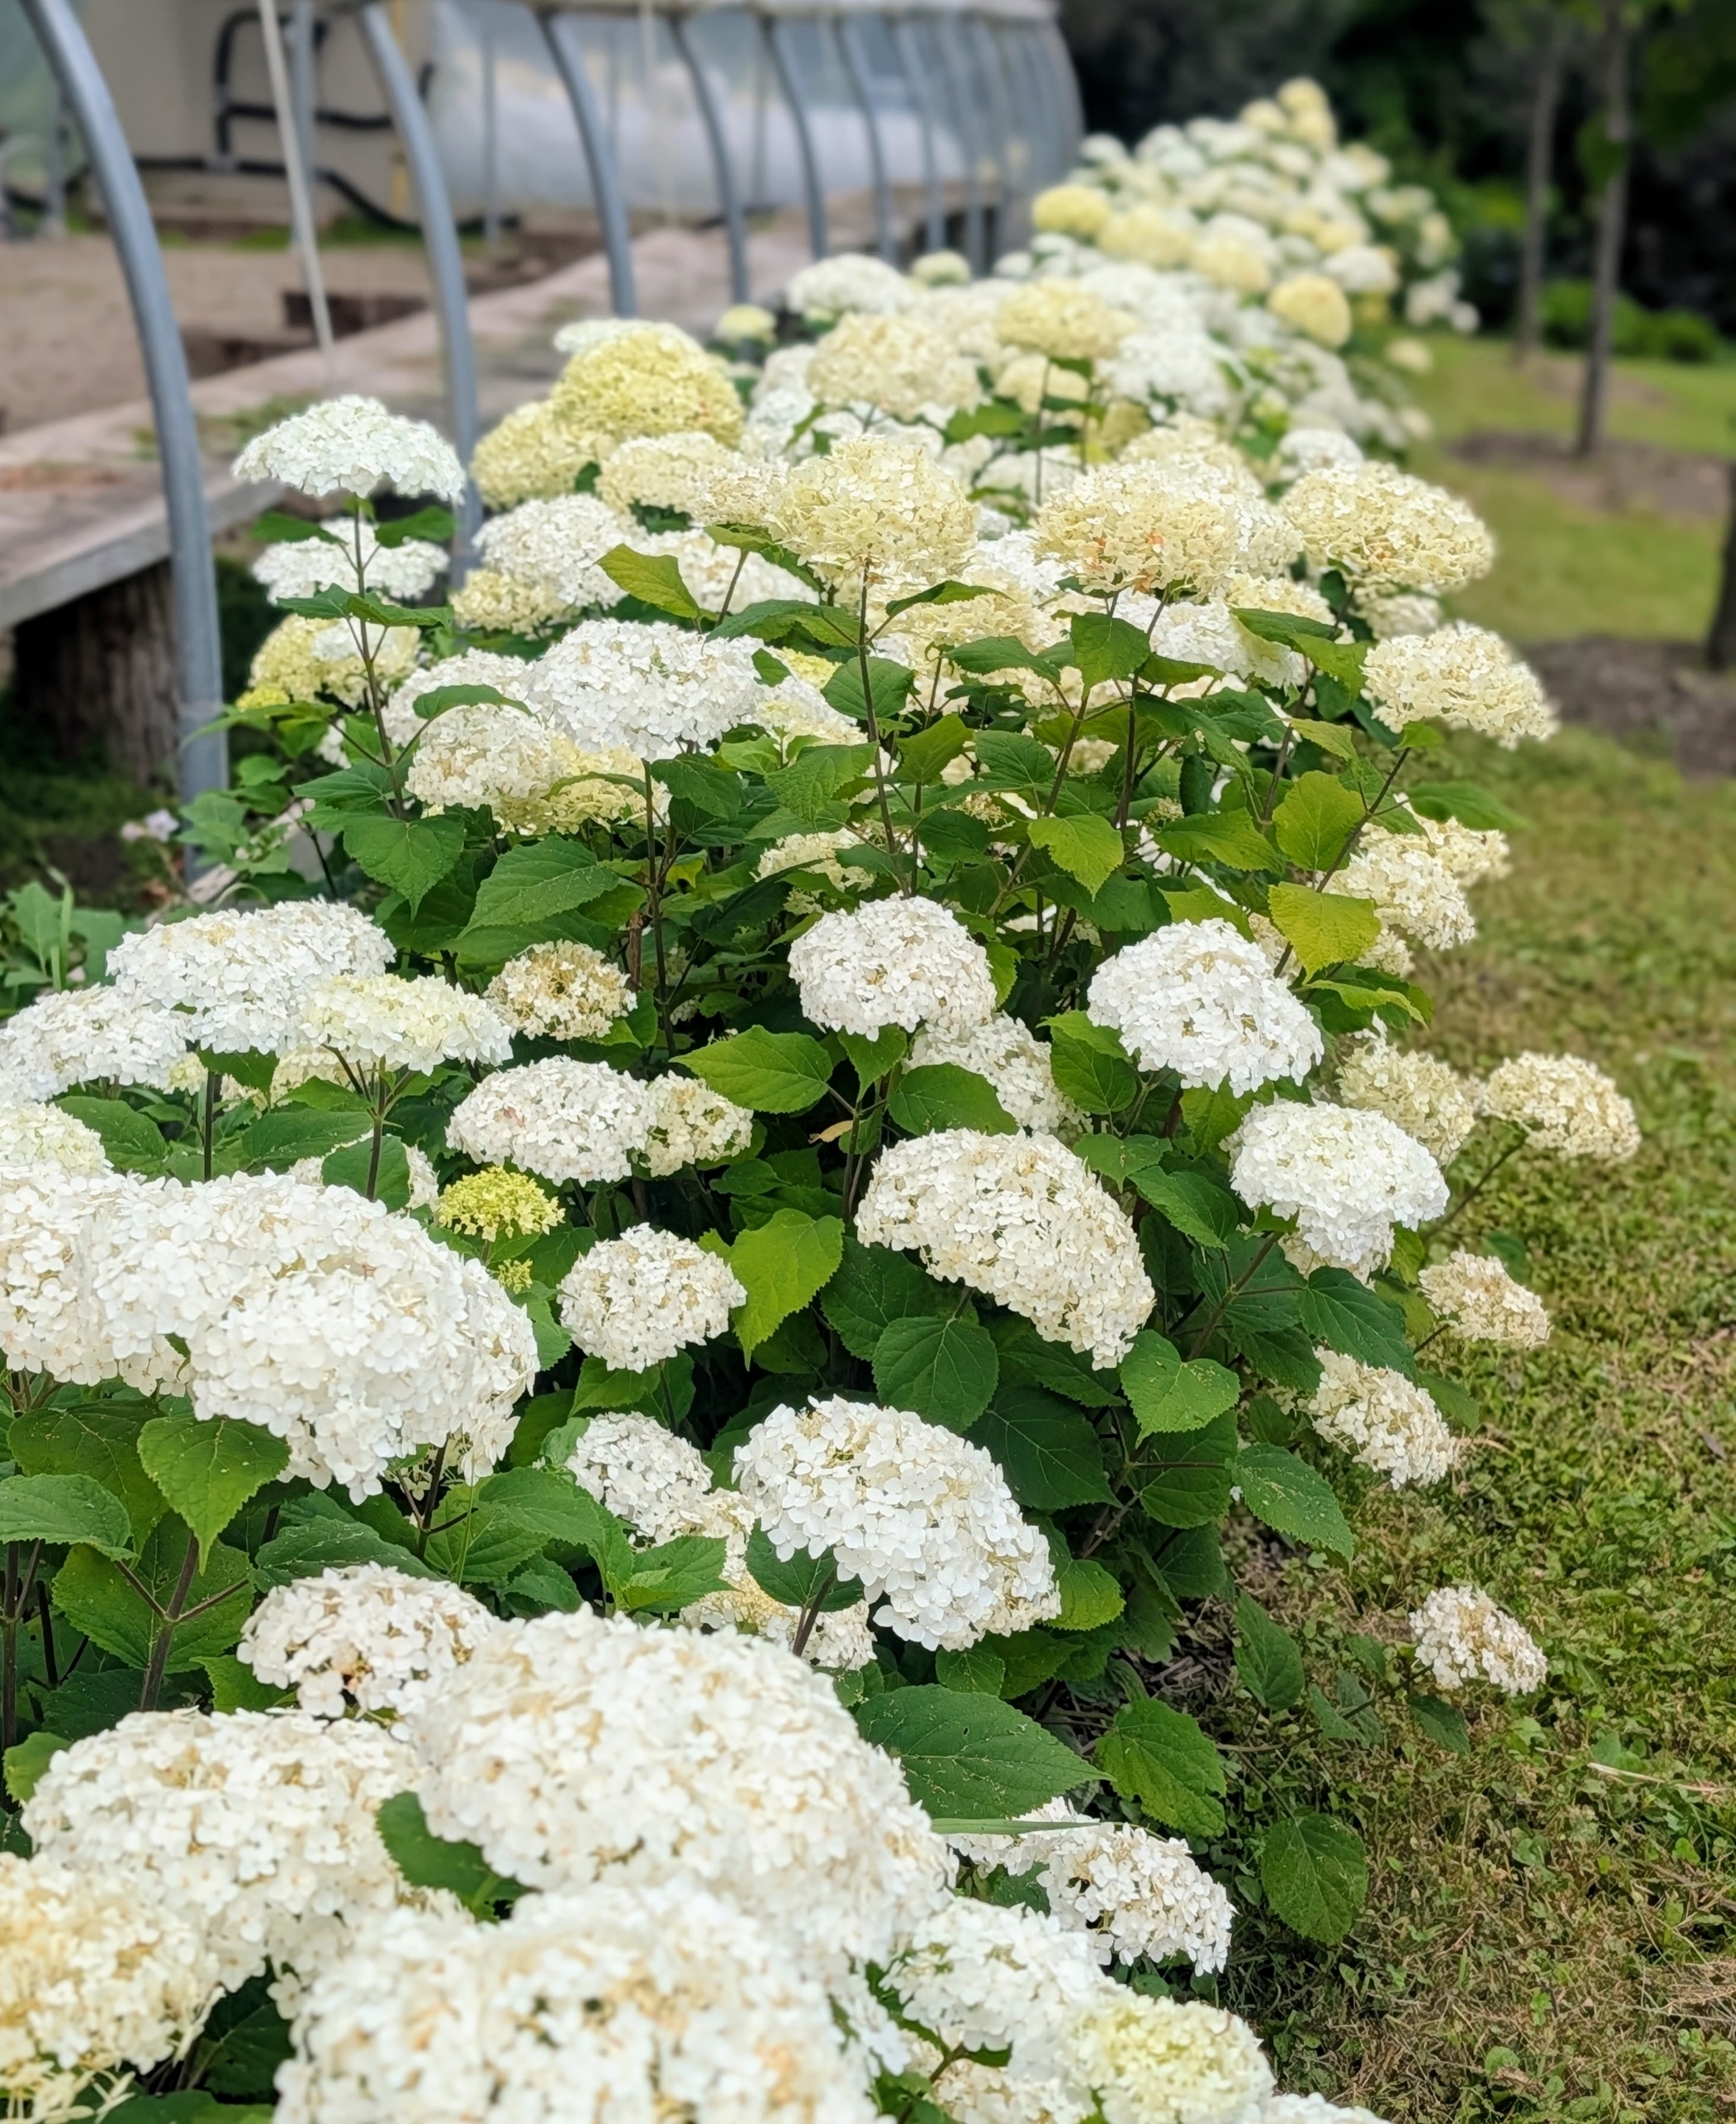
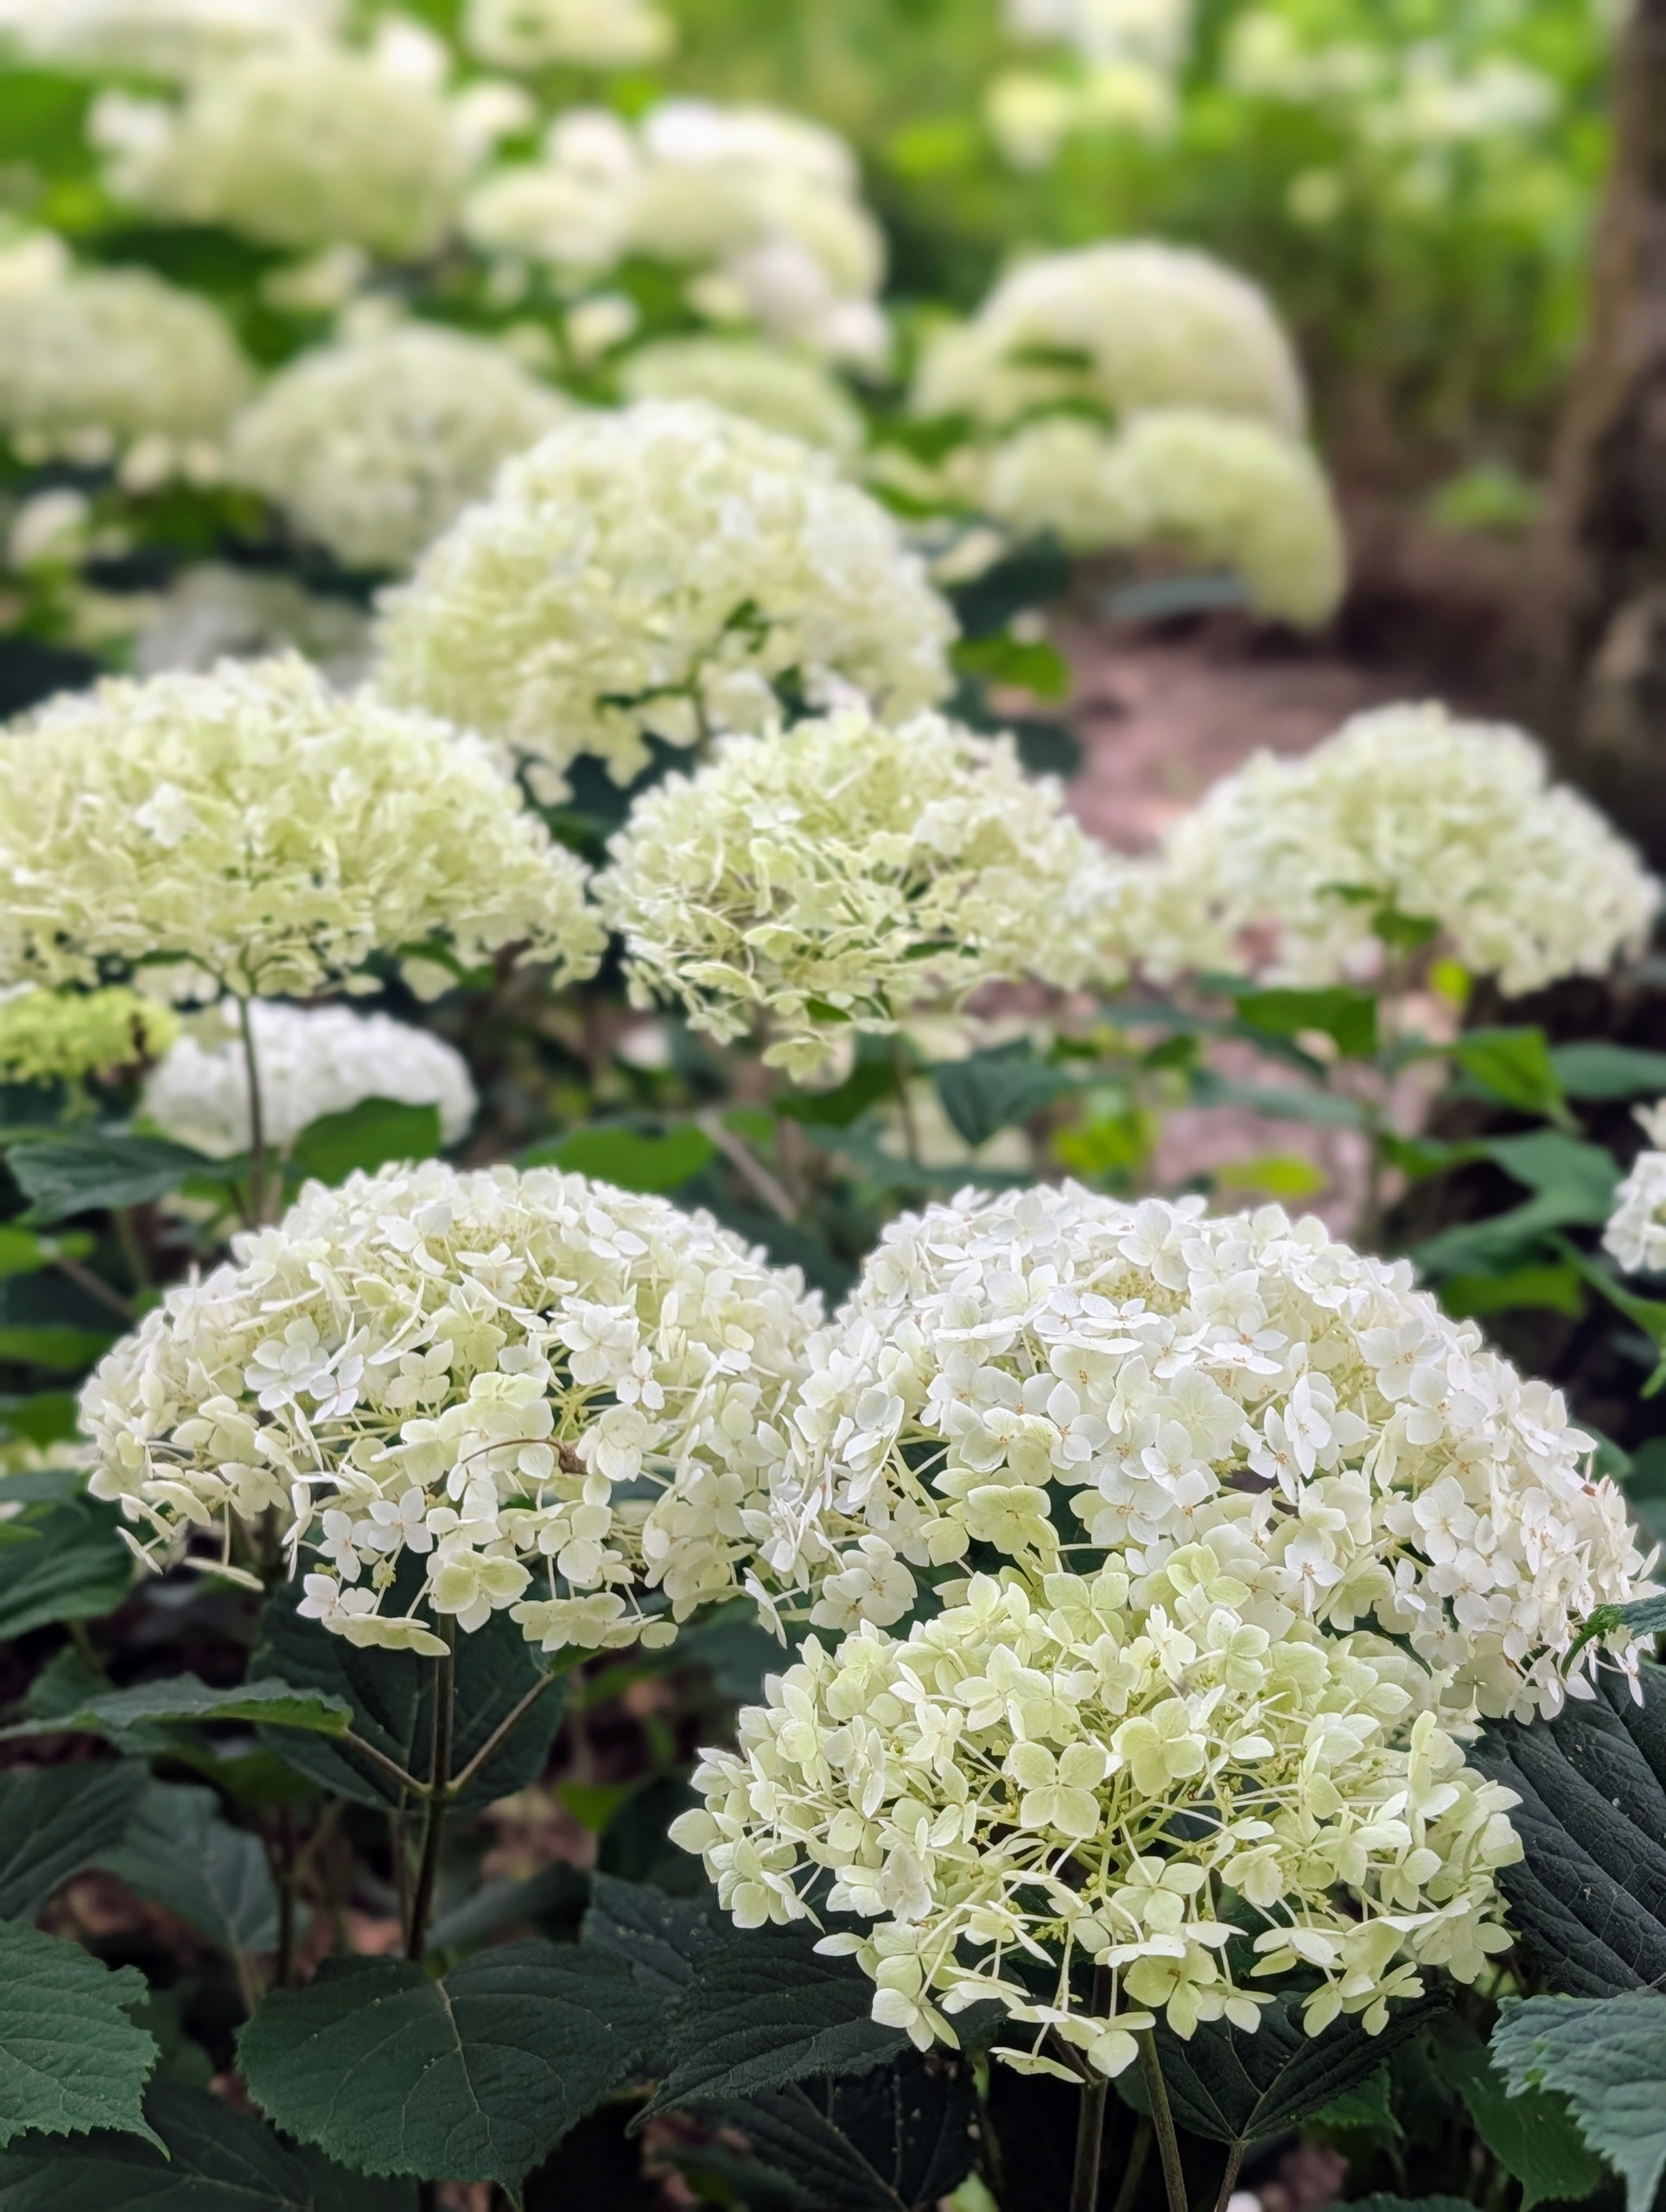
These plants are Little Hottie® Panicle Hydrangeas from First Editions. They’re compact, mid-sized white hydrangeas – perfect for this side of the court.
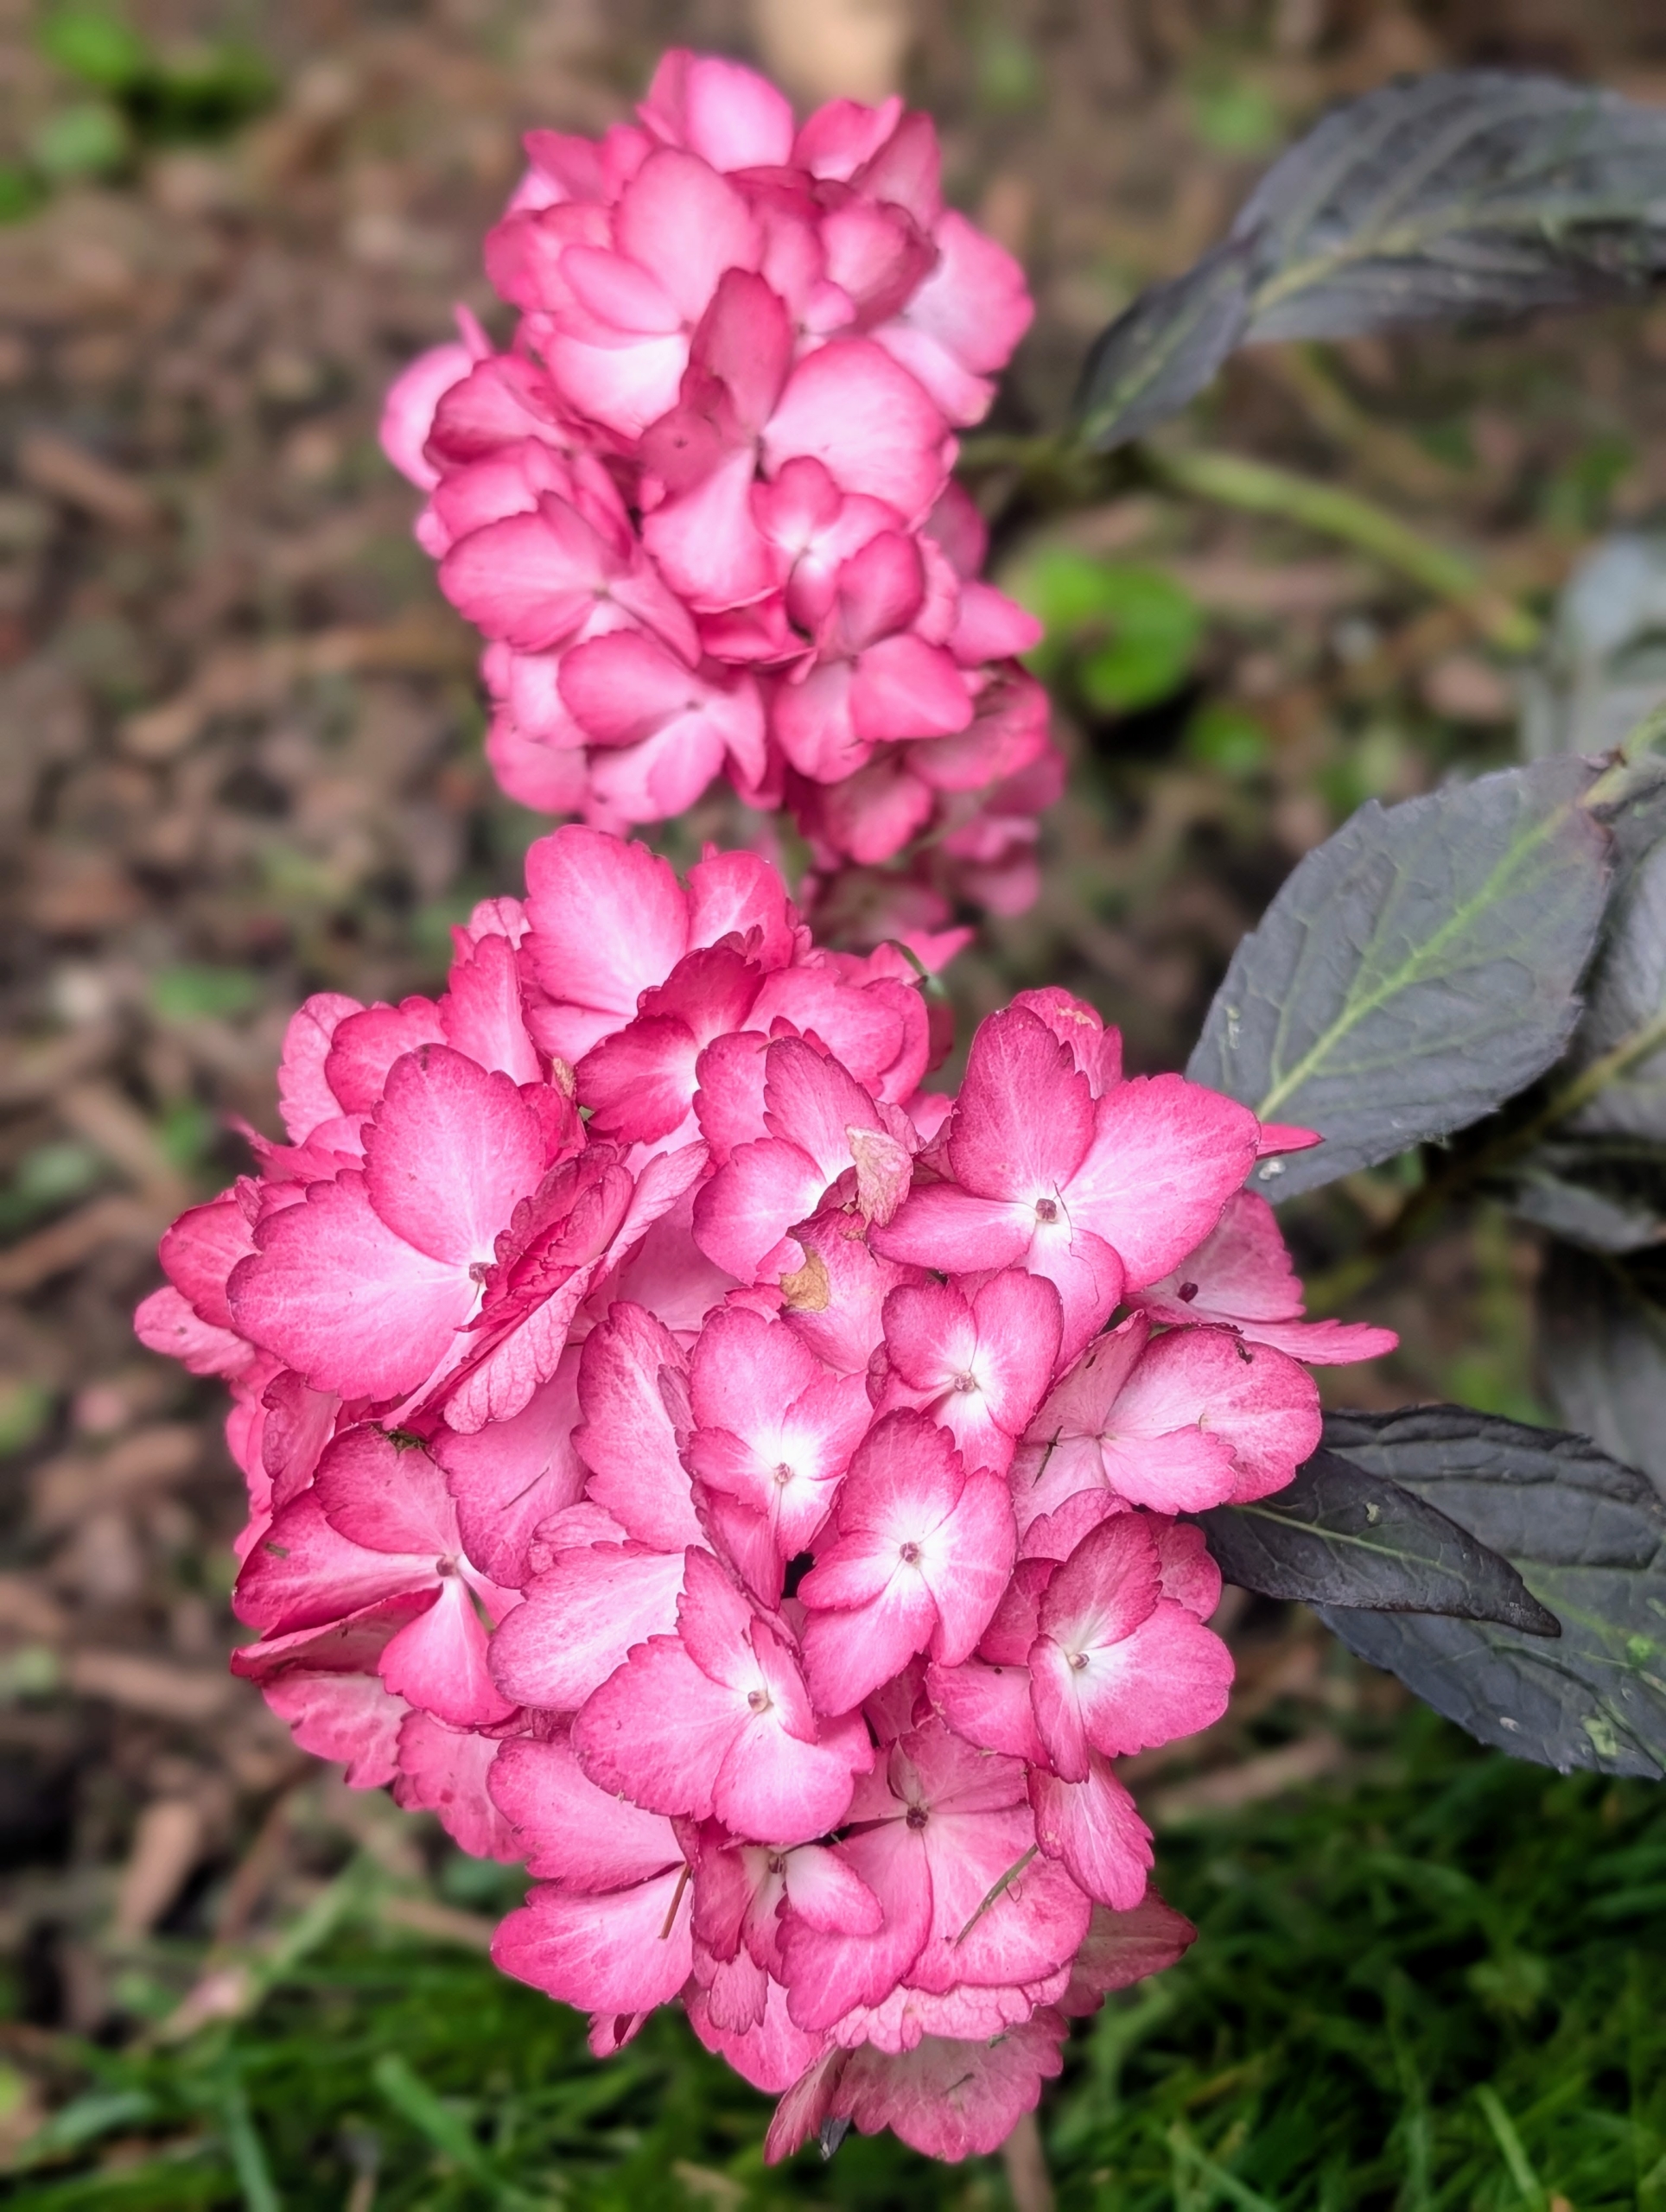
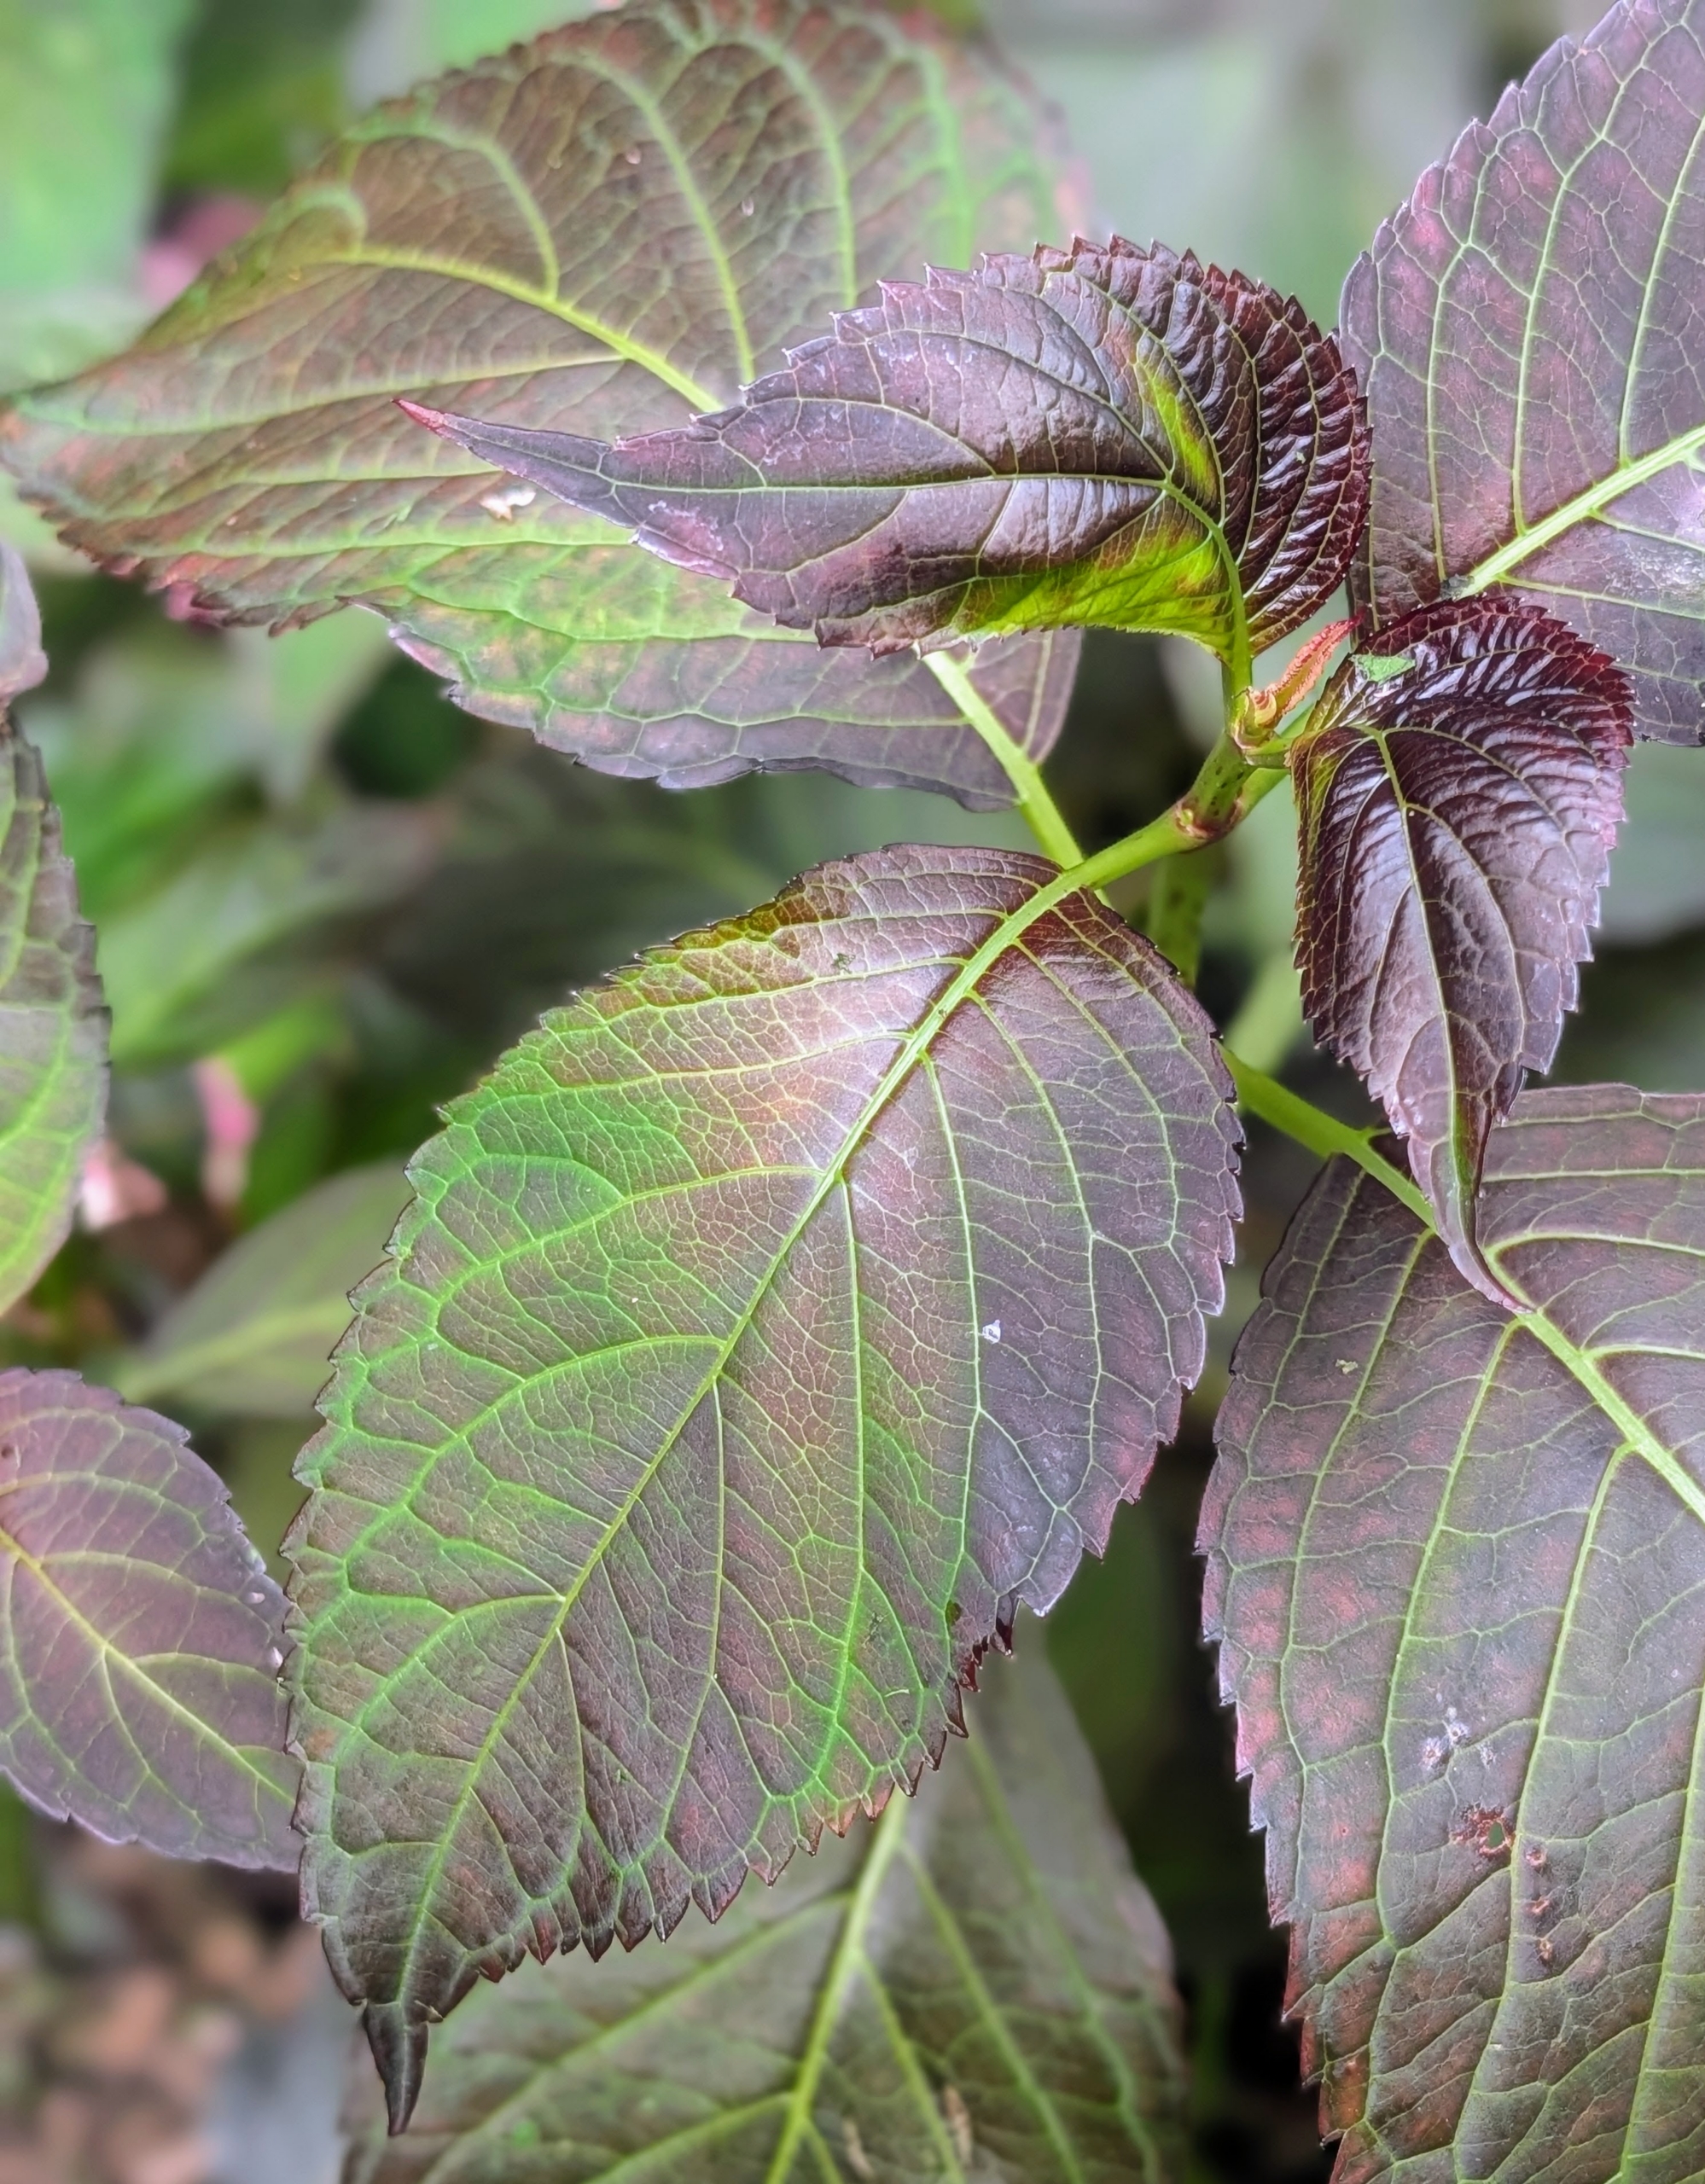
This is Hydrangea ‘Eclipse®,’ a dark bigleaf hydrangea from First Editions. Its blooms are bold cranberry or amethyst depending on the soil ph. I planted these along the carriage road heading toward my Japanese Maple Woodland.
The foliage is bold dark purple to green to almost black.
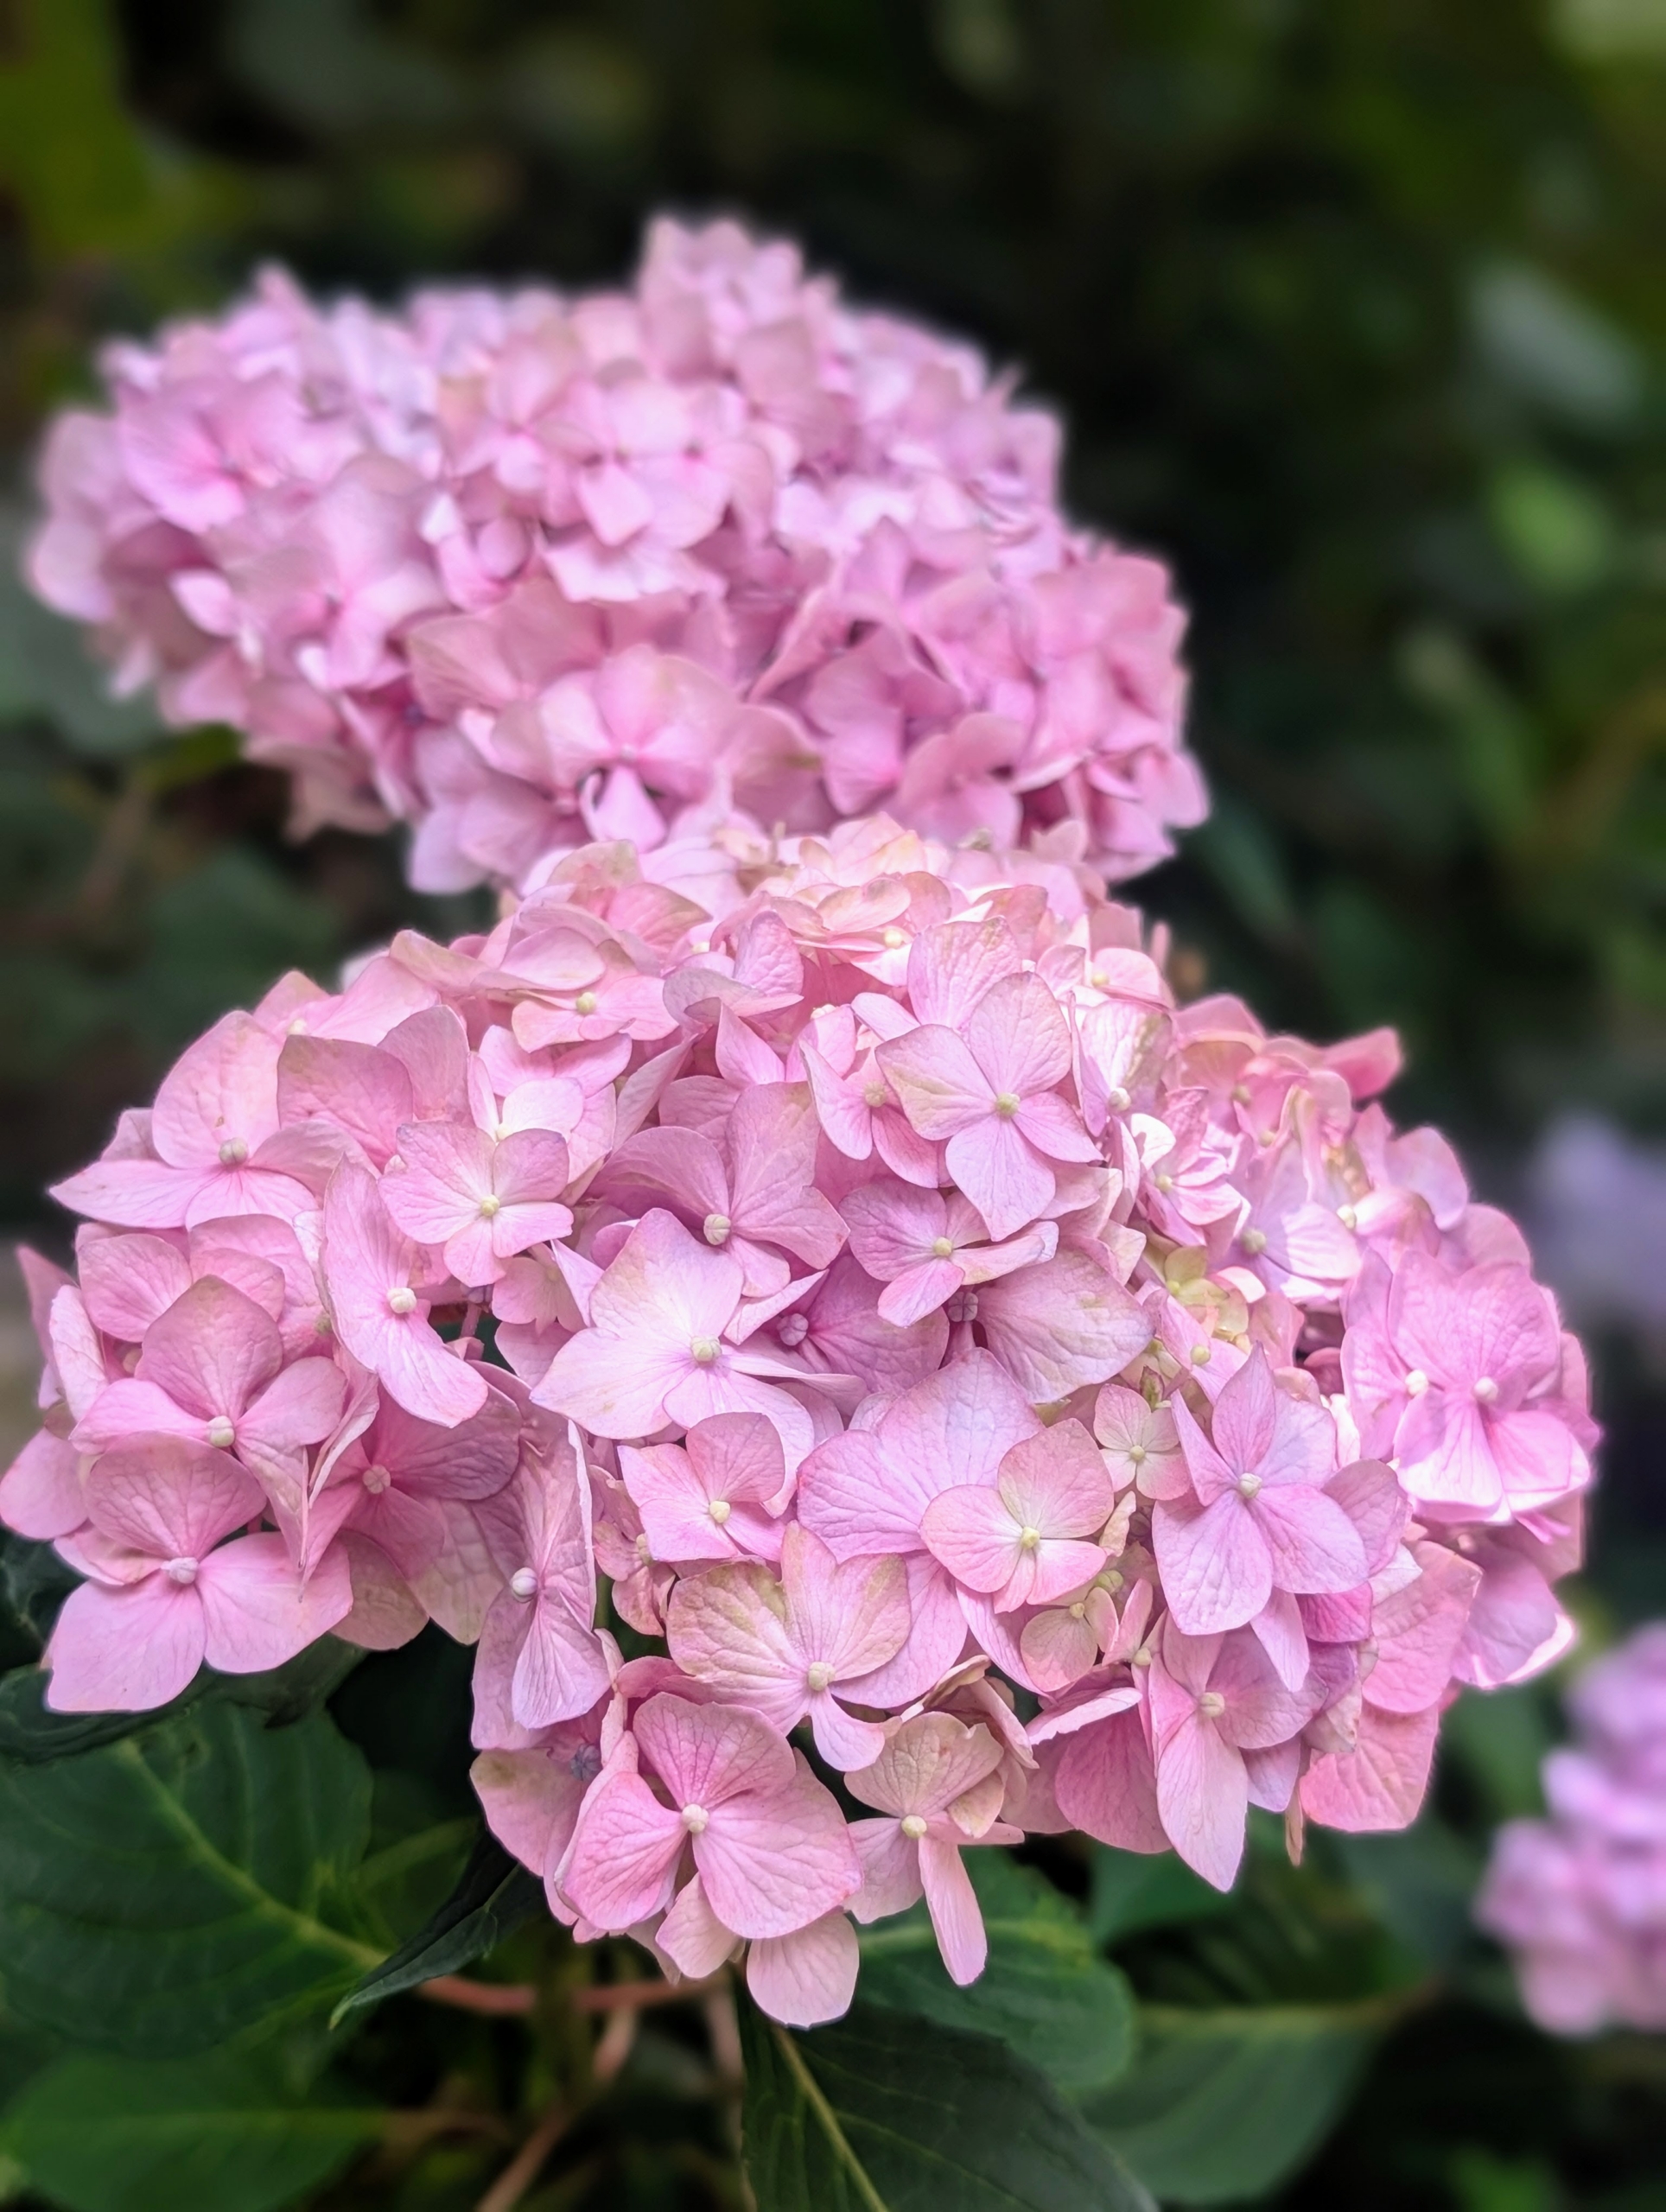
I decided to put these BloomStruck® Bigleaf Hydrangeas outside the peafowl and goose enclosure. These mophead blooms measure three to five inches across. They bloom in rose-pink or violet blue, depending on pH of the soil. Some have become more pink this year because of the lime added to my compost.
It’s always important to do research before planting. Make sure to consider the plant’s mature size and light needs when selecting a space. And remember, perennials grow slowly the first year, faster the second year, and then usually reach full size in the third year.
The Endless Summer Original Hydrangea is a popular, cold-hardy shrub known for its vibrant blooms that can also change color based on soil pH. A selection of these is across from the bird pen.
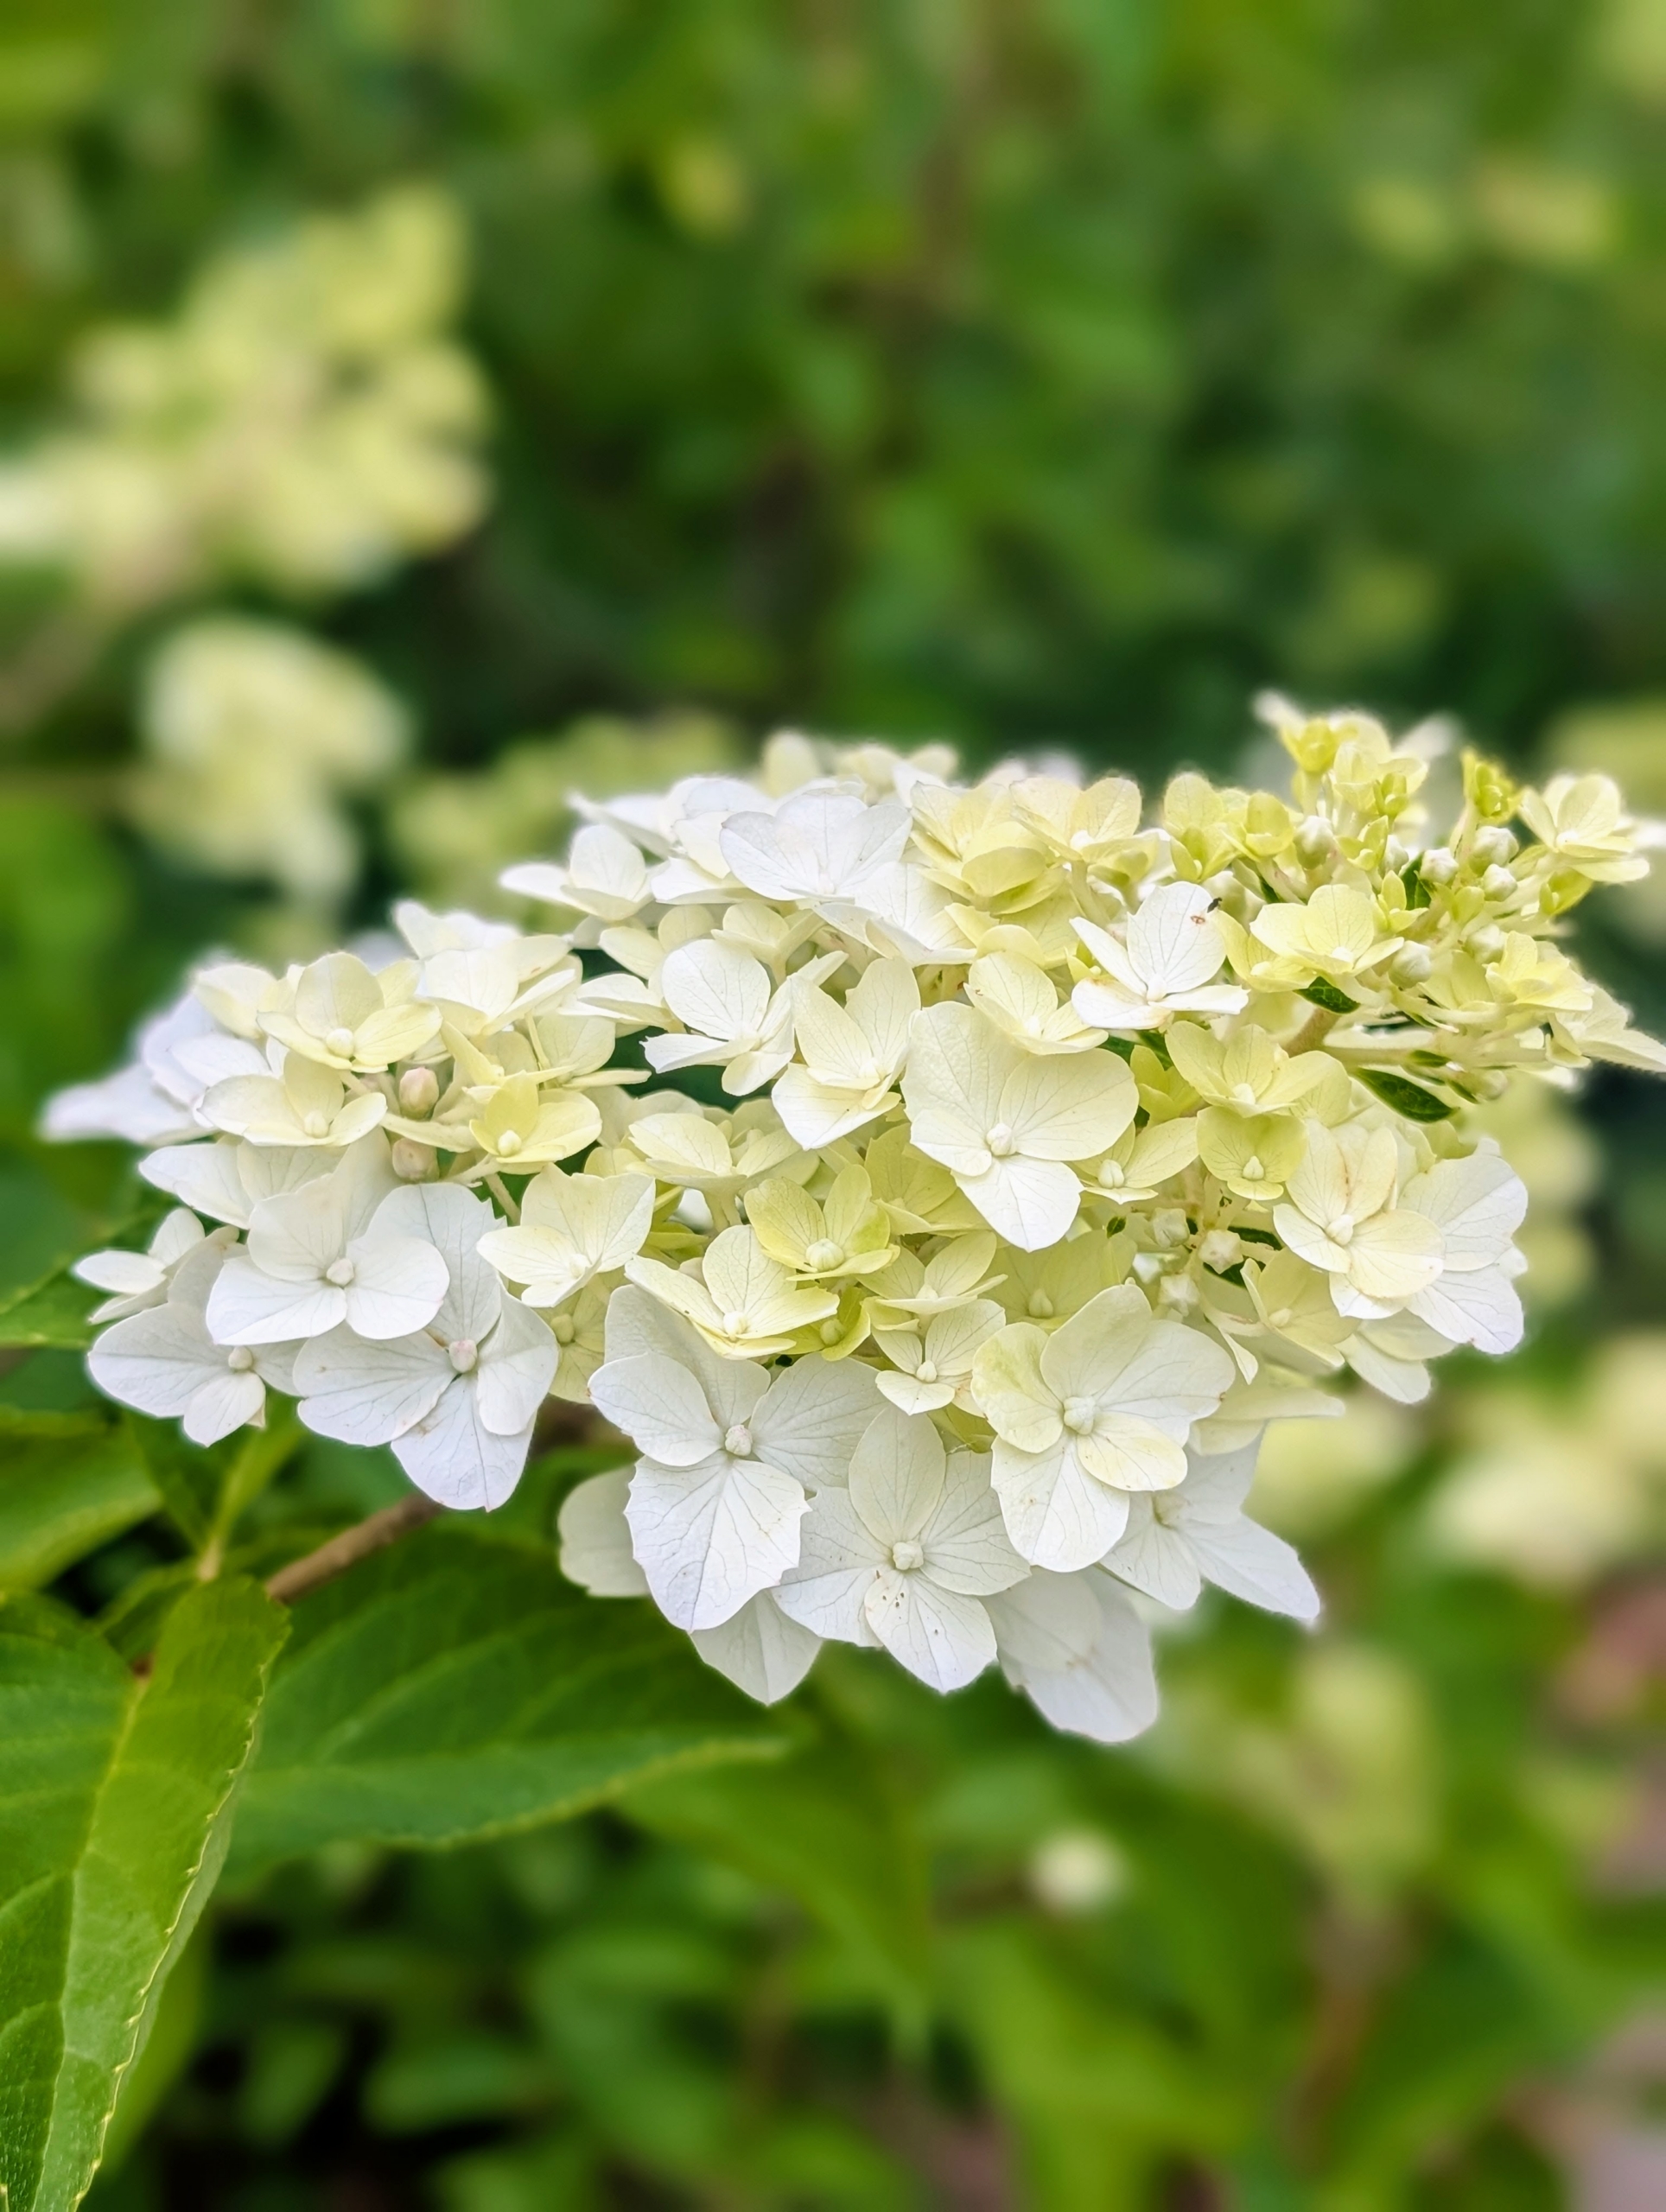
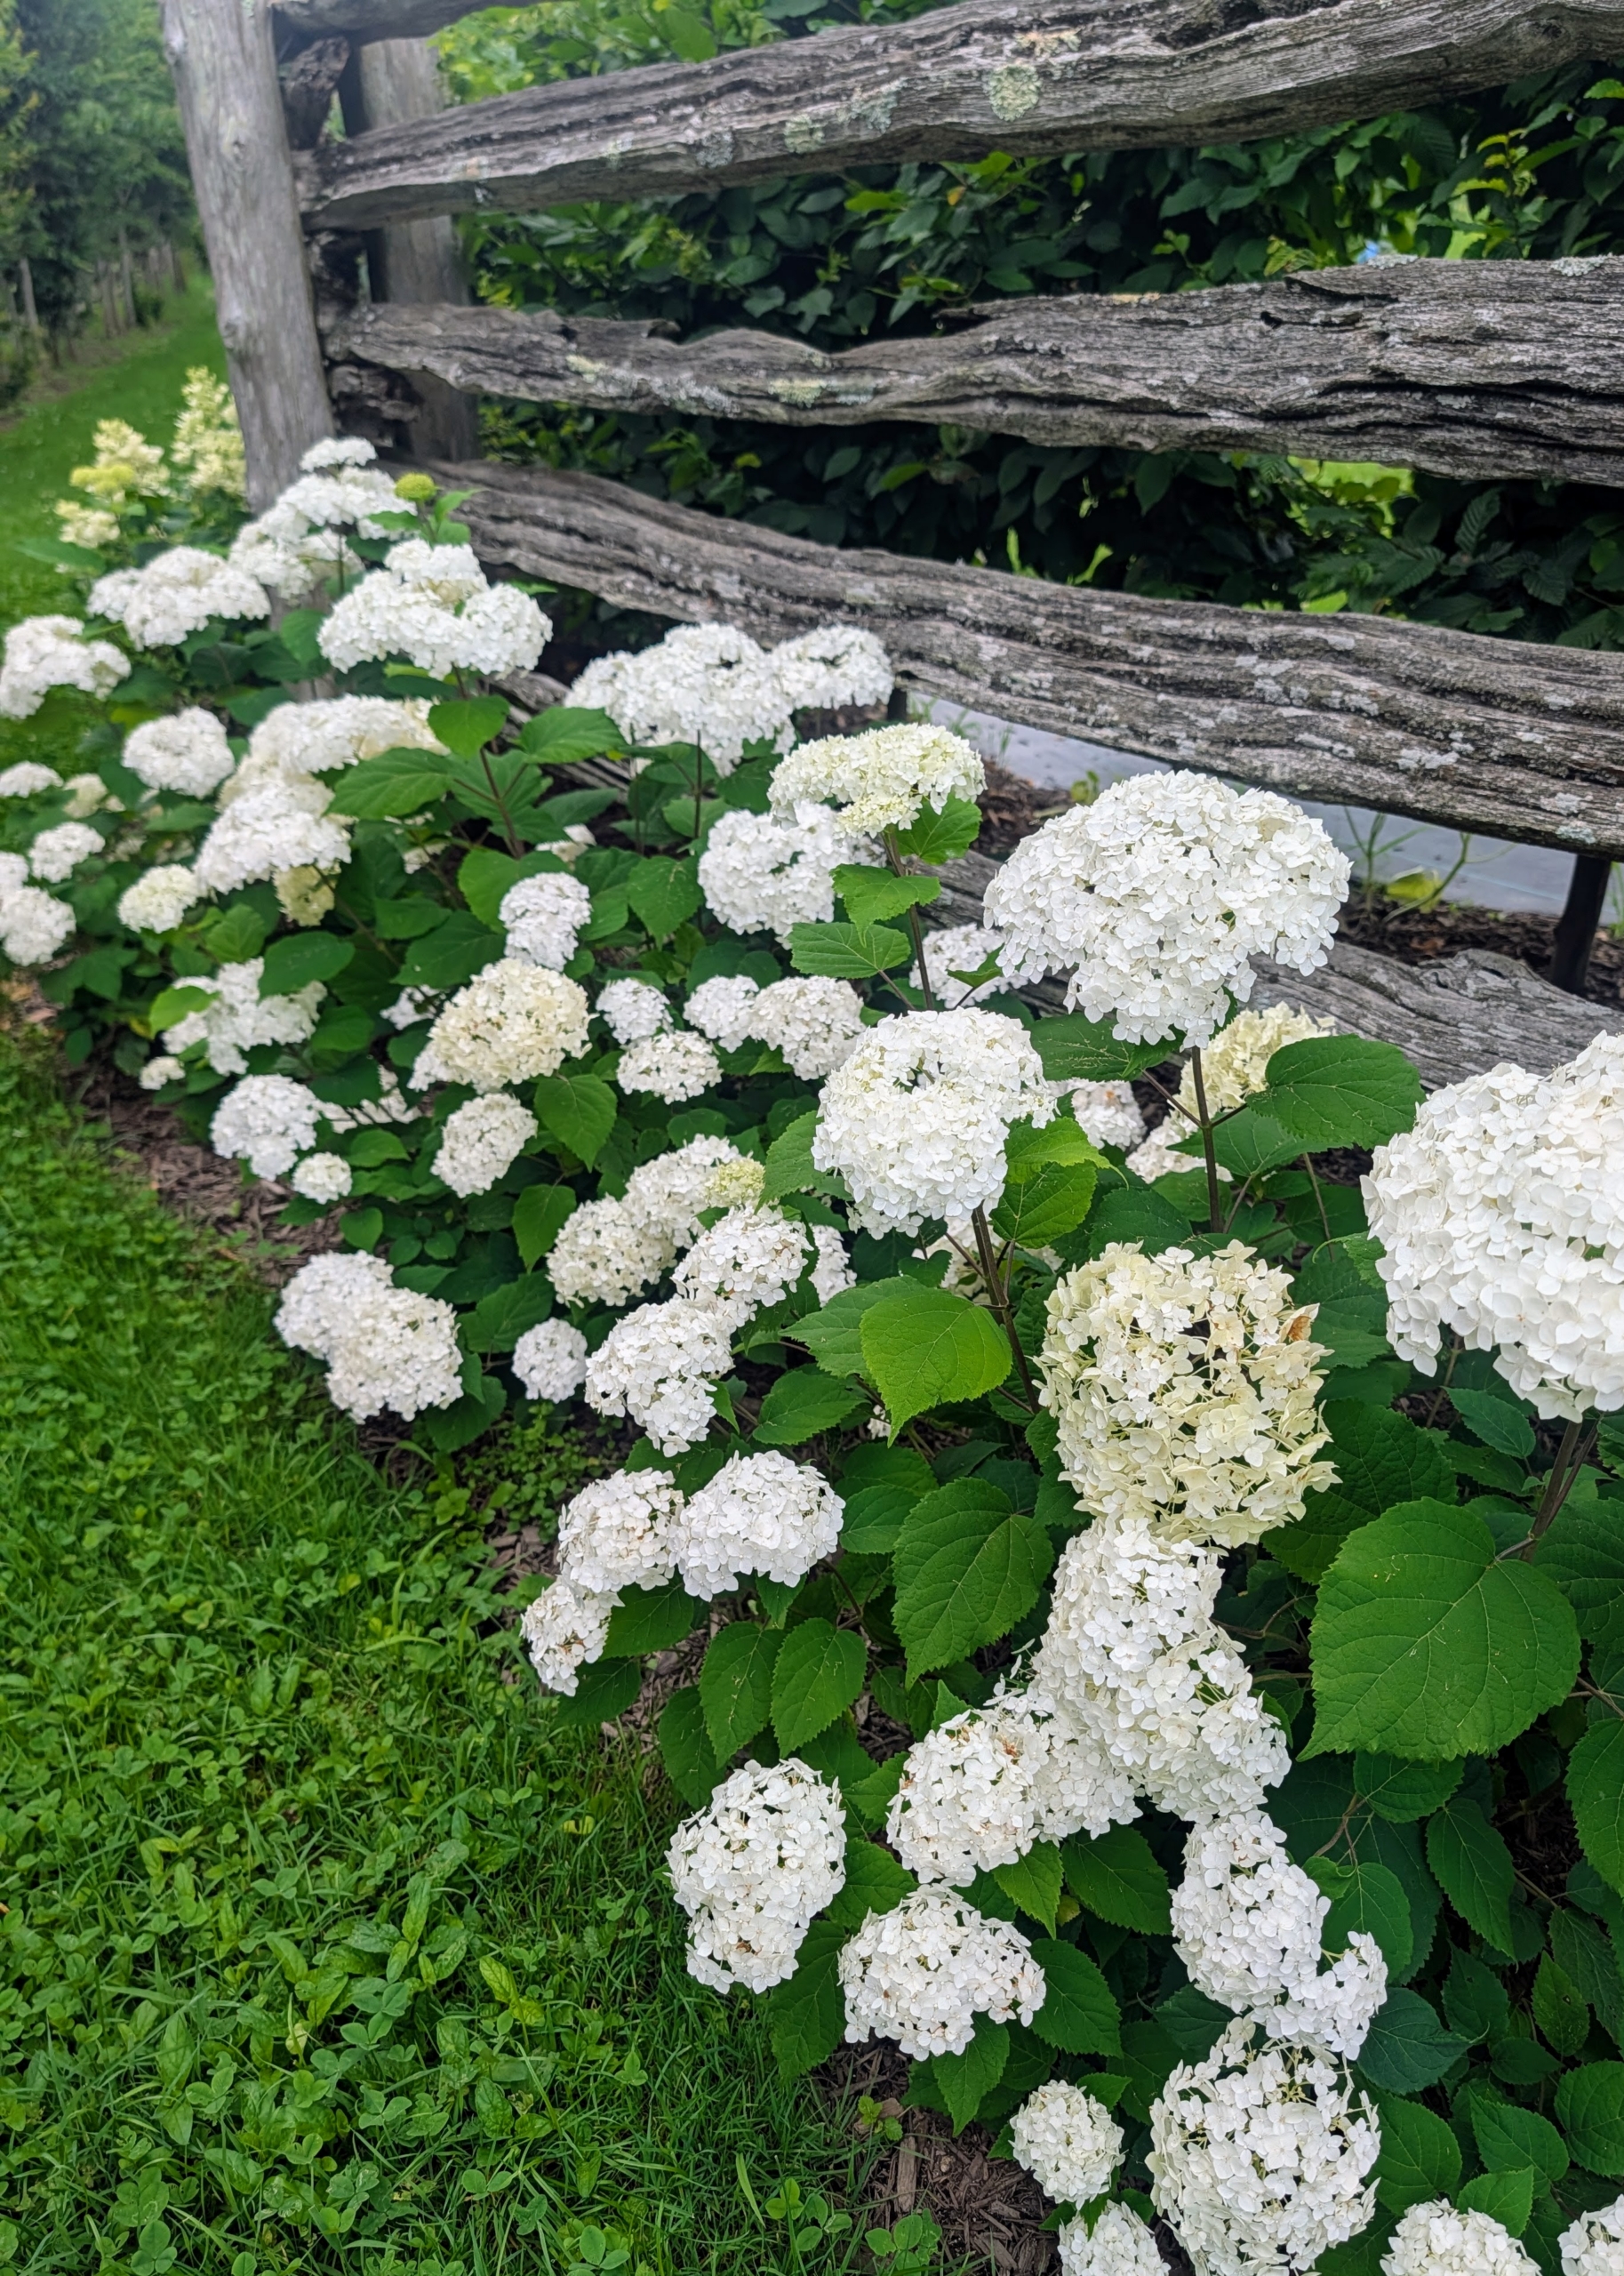
On the side outside my tropical hoop house, I planted FlowerFull hydrangeas also from First Editions. These stand out with bold white blooms and sturdy upright stems.
Under optimal conditions, hydrangeas can bloom from spring to fall for about 10 to 12 weeks. And even with the recent uncomfortable high heat and humidity here, these flowers are doing excellently.
And these Little Hottie® hydrangeas are planted outside my vegetable garden. Take time to admire the hydrangeas where you live – their beauty, versatility, and cheerful colors make them standouts in any landscape.