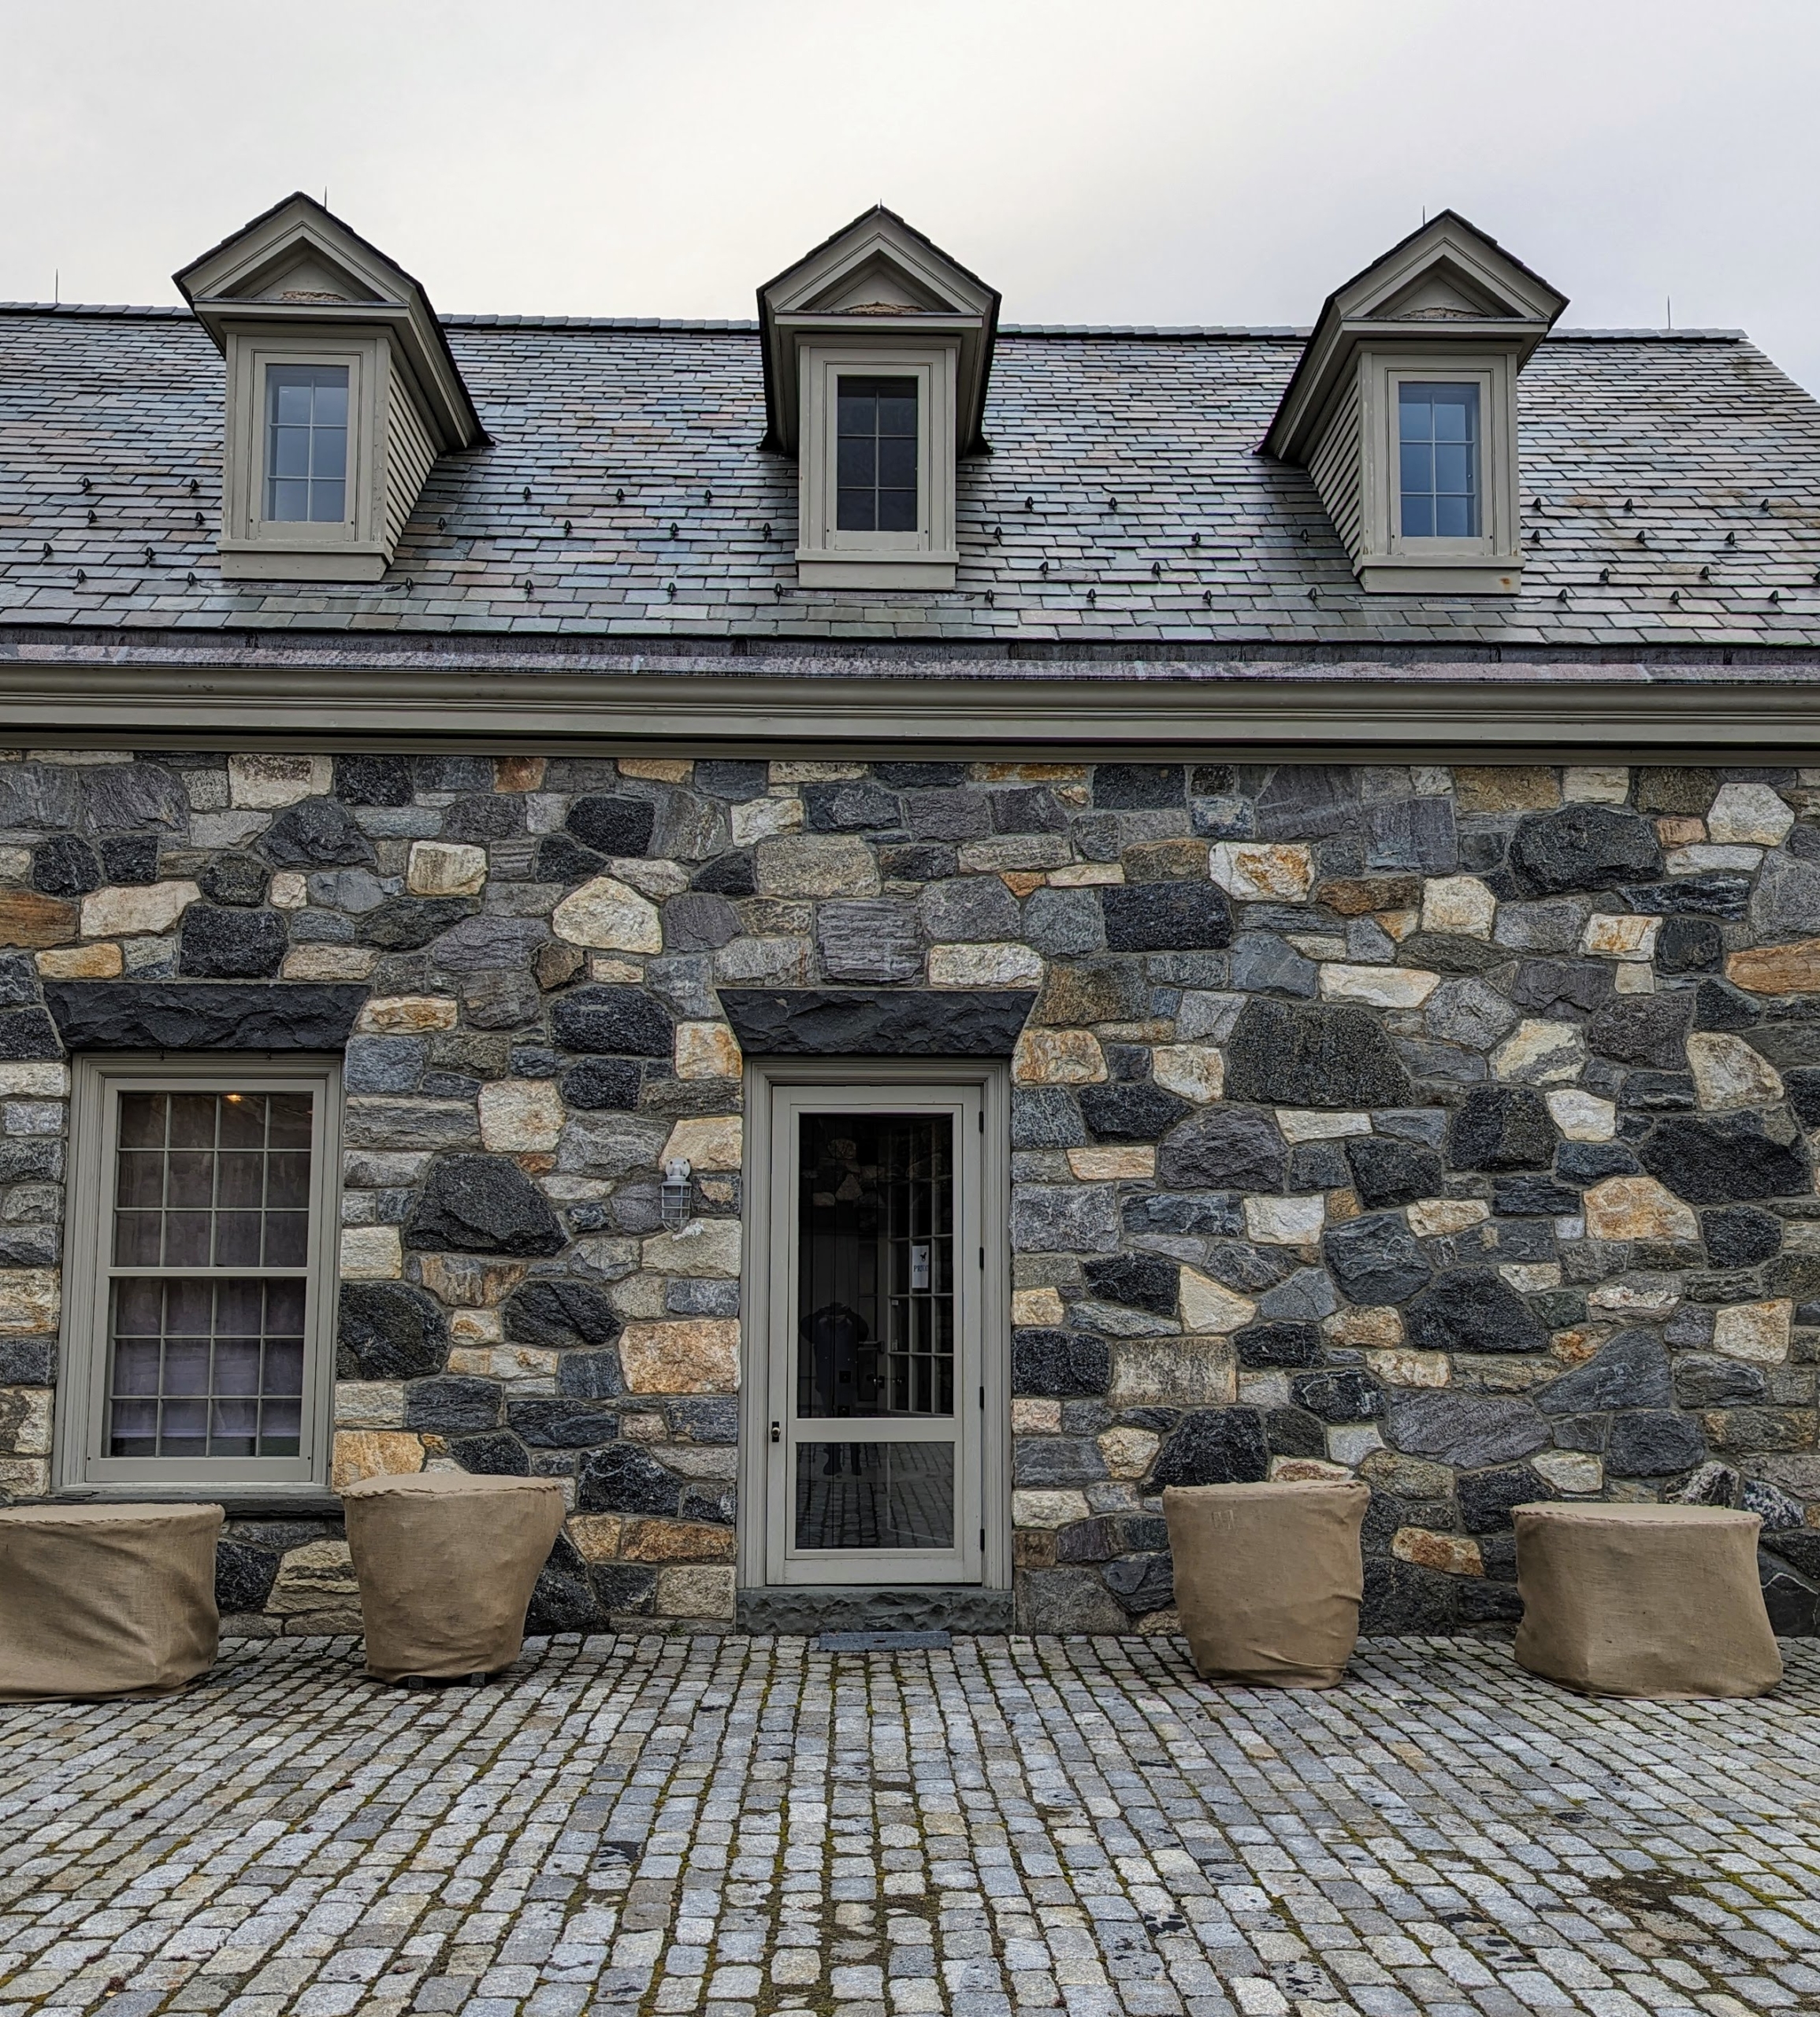
You know cold winter weather is on the way when various ornamental vessels around my farm are covered in burlap.
I've been covering my boxwood shrubs and hedges with burlap for many years to protect them from splaying and breaking from the weight of snow and ice. I feel it is equally important to protect my outdoor garden containers from the harsh winter elements. A winter freeze, alternating with thaws, could crack or crumble any kind of stone or cement, especially if it is antique. During this time, all my outdoor planters, birdbaths, stanchions, etc., are covered in the same burlap used for my live specimens.
Here are some photos.
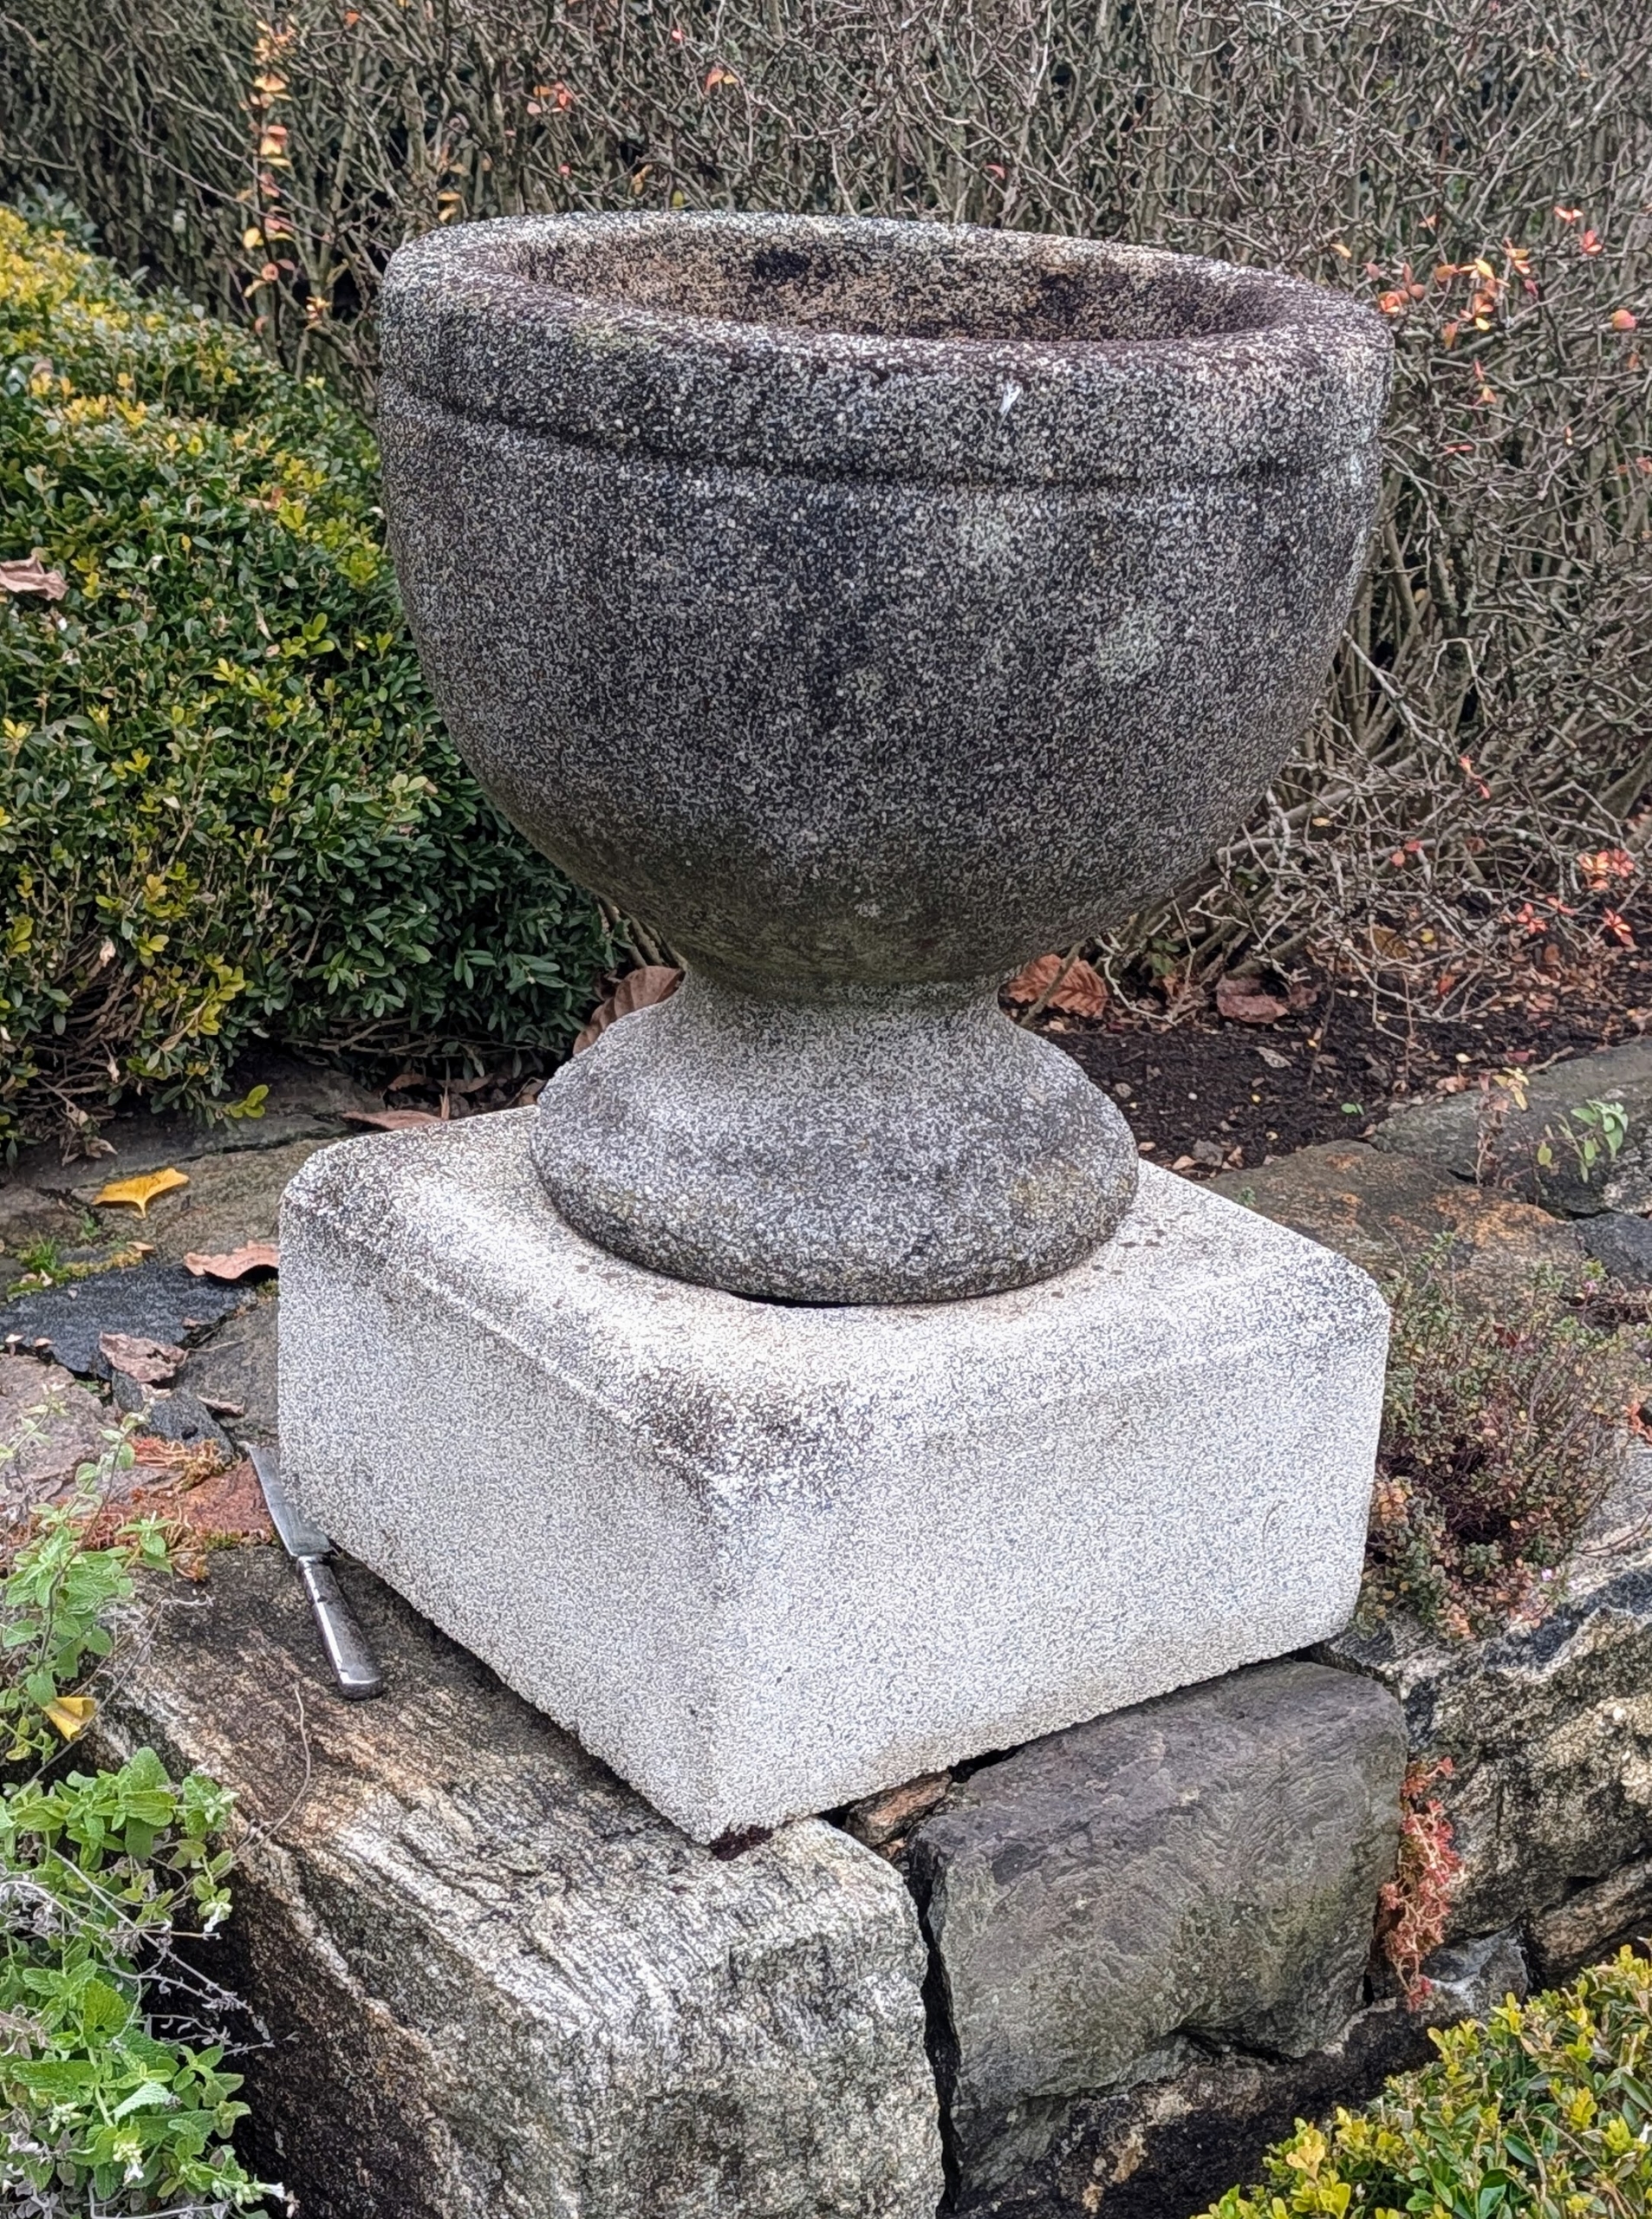
The “burlapping” process has begun! I have many outdoor containers and garden ornaments that are covered and protected with burlap and kept in their respected locations for the duration of the cold season. Here is a birdbath that sits outside the stable office where my business manager, property manager, and operations manager work.
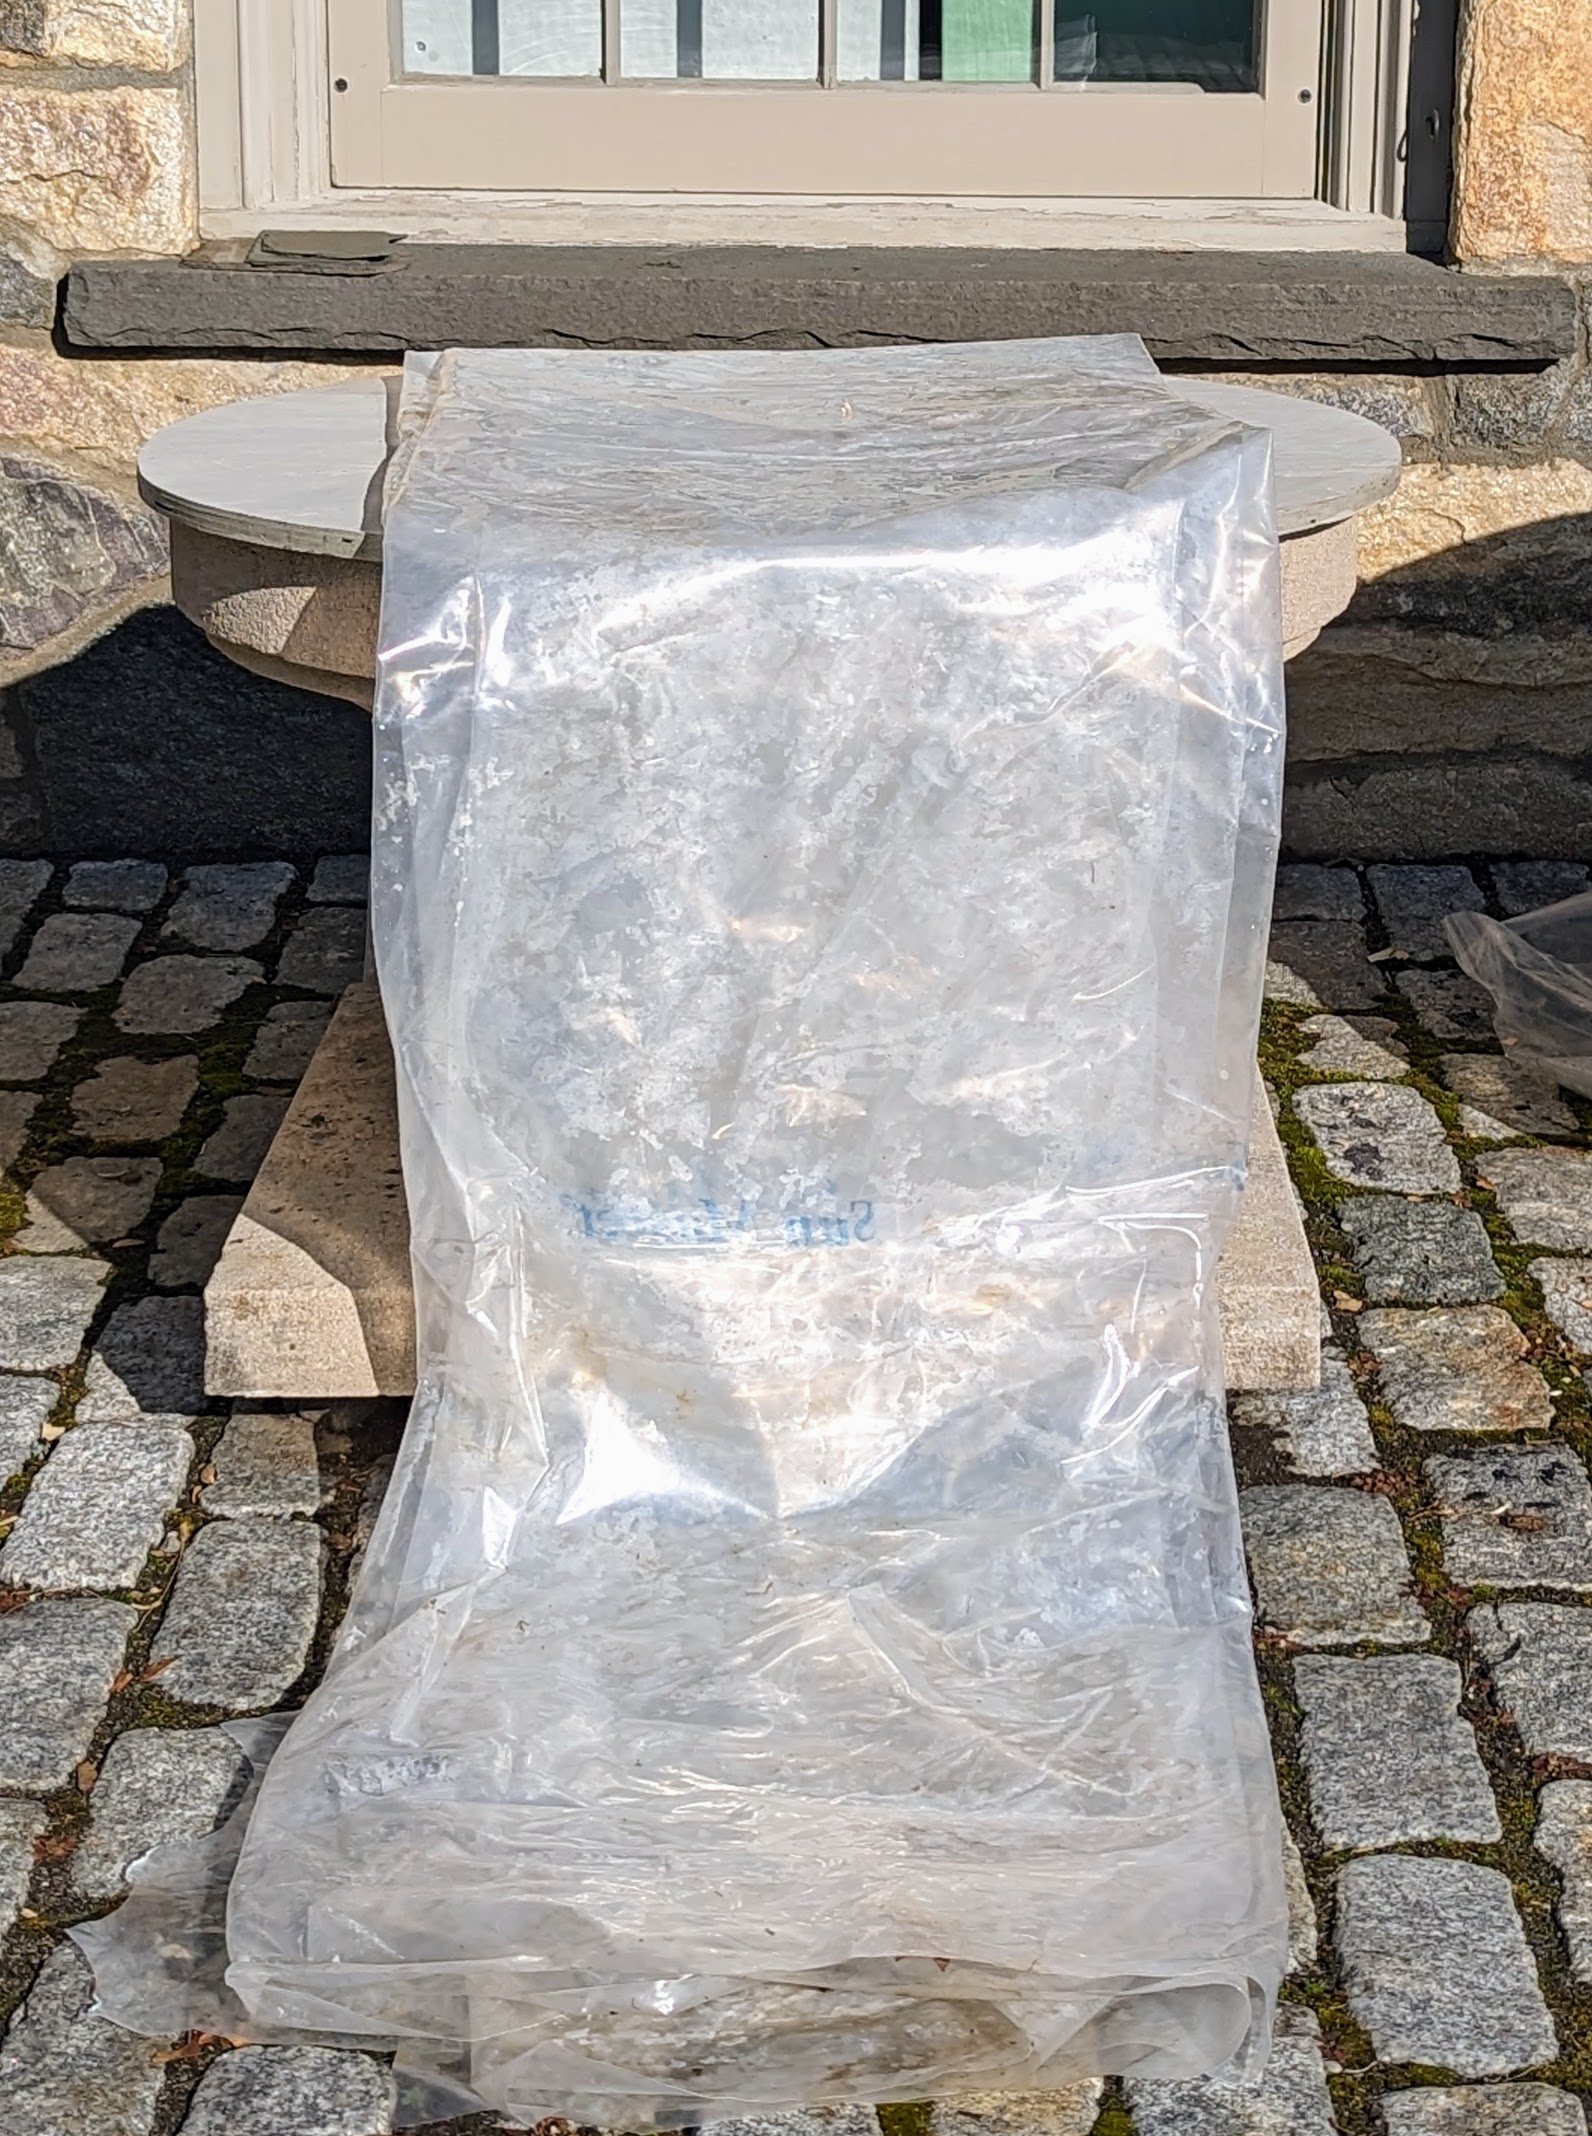
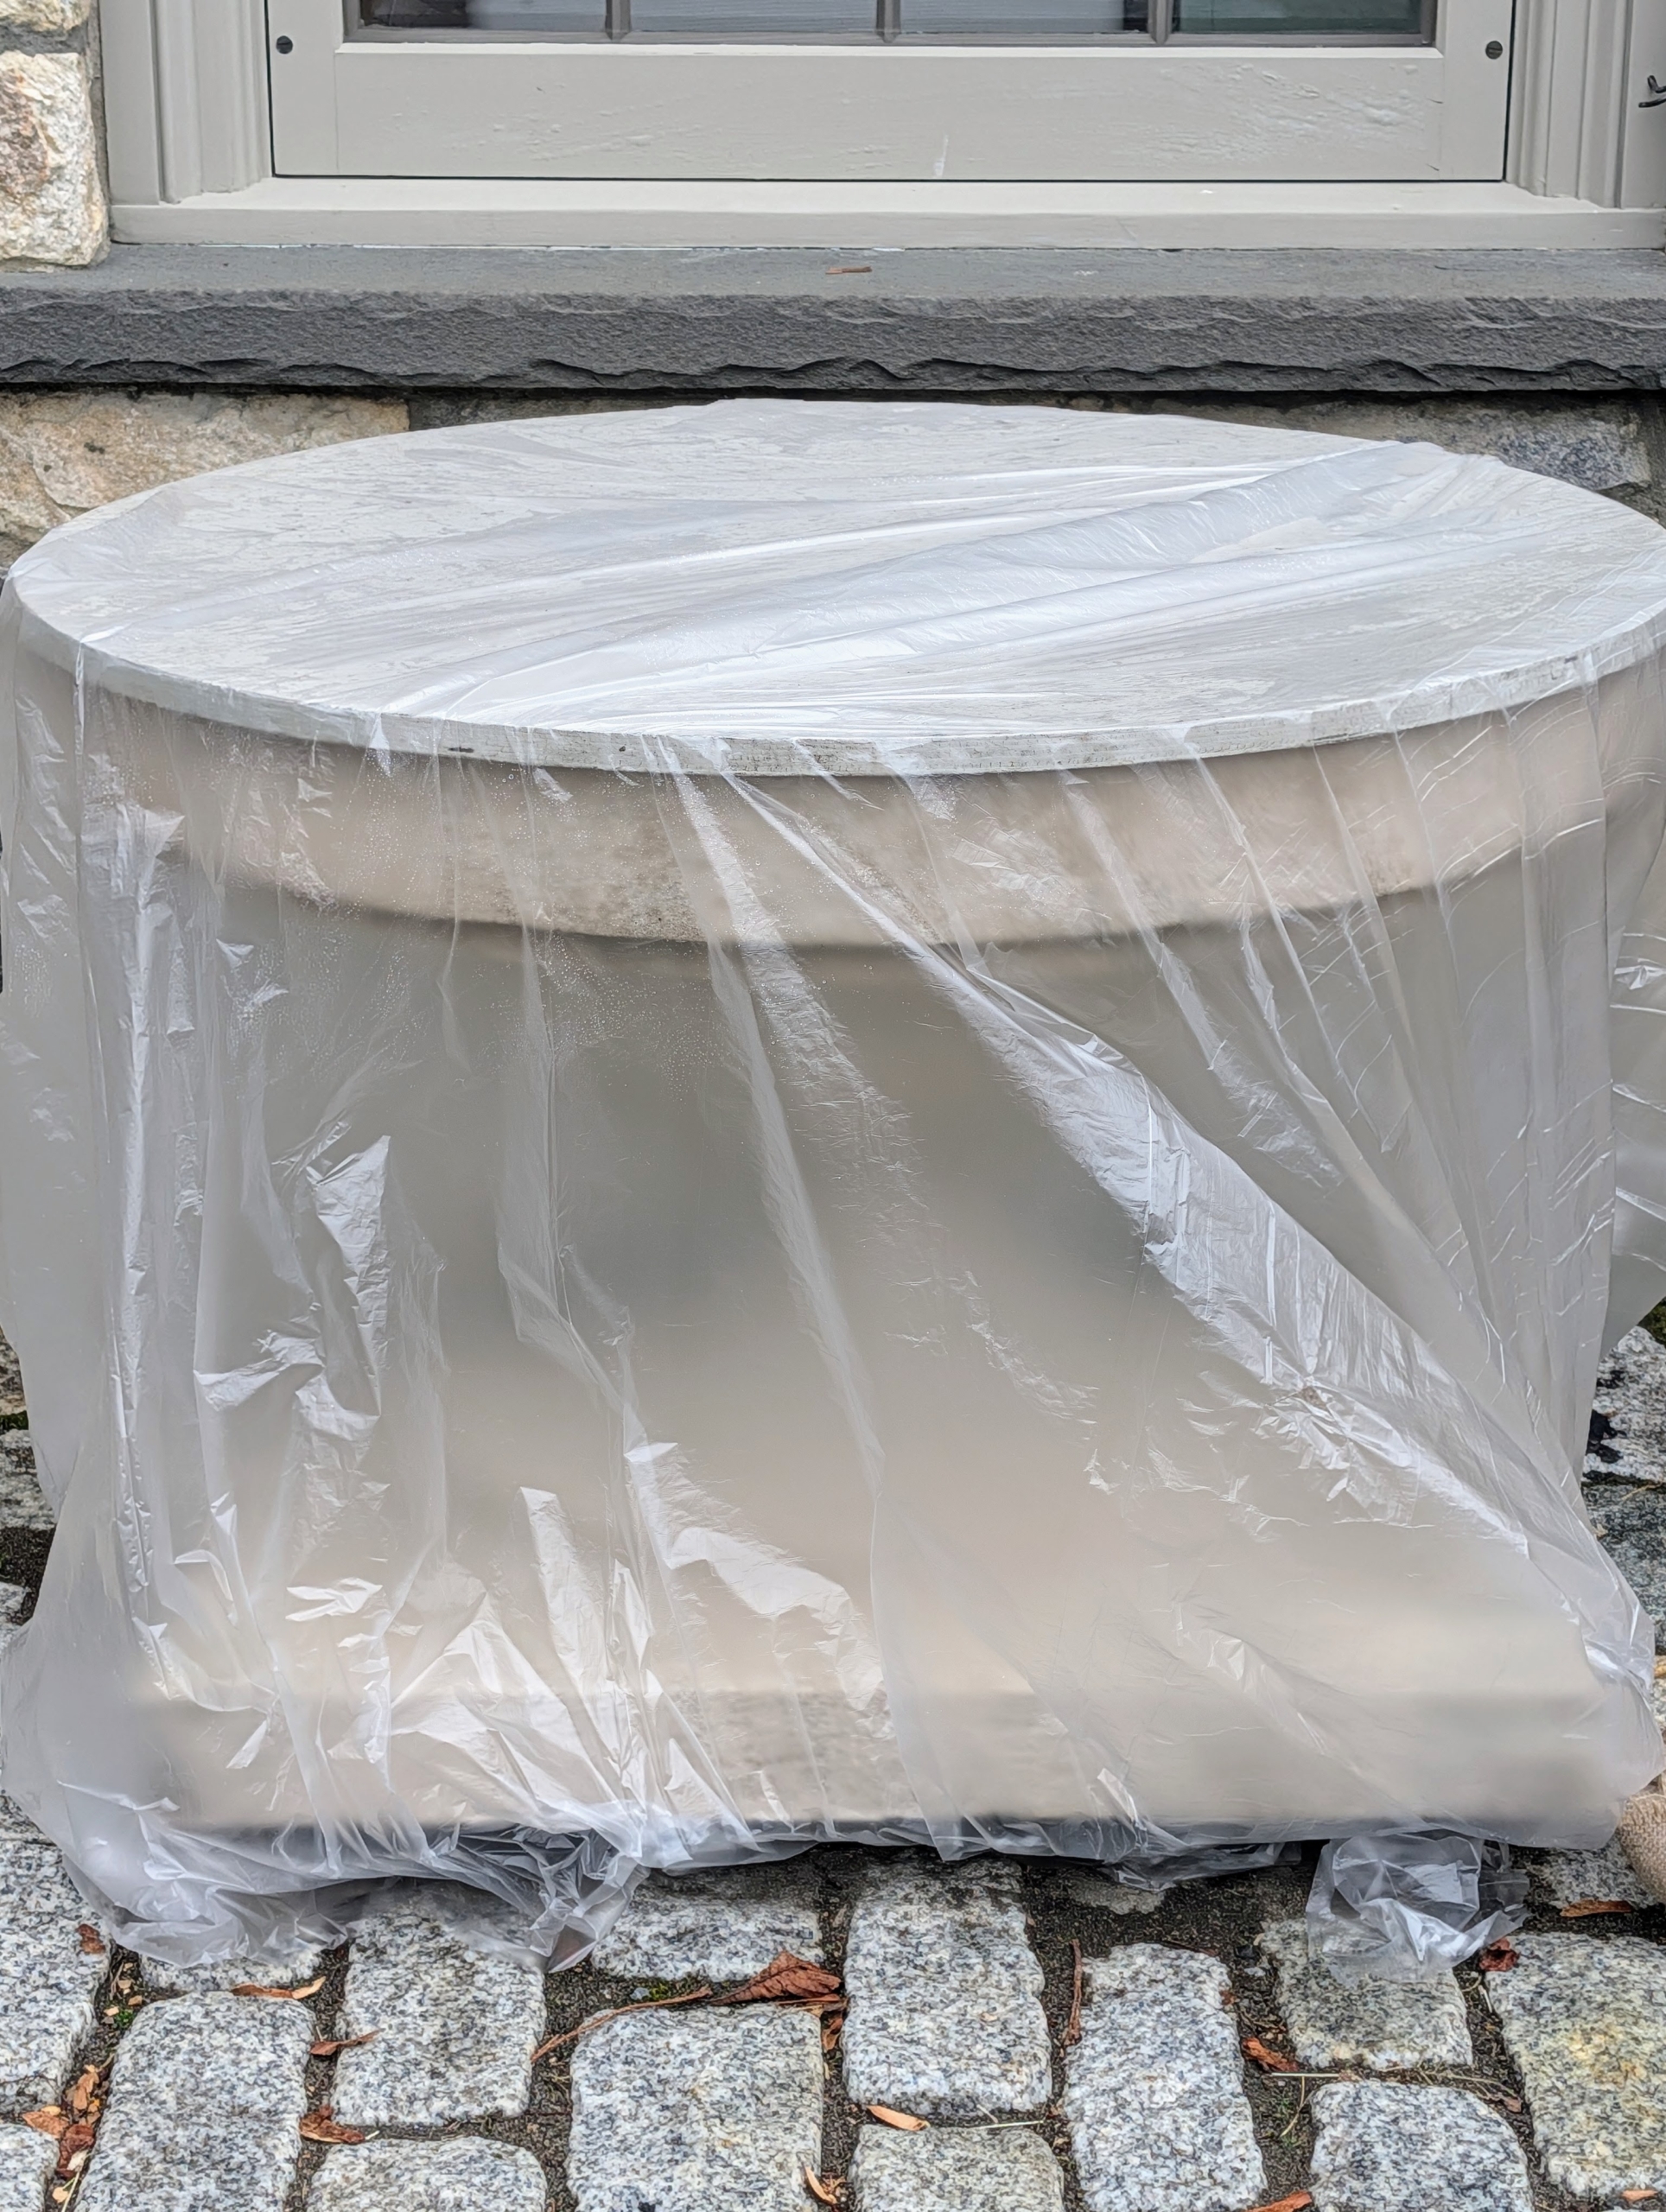
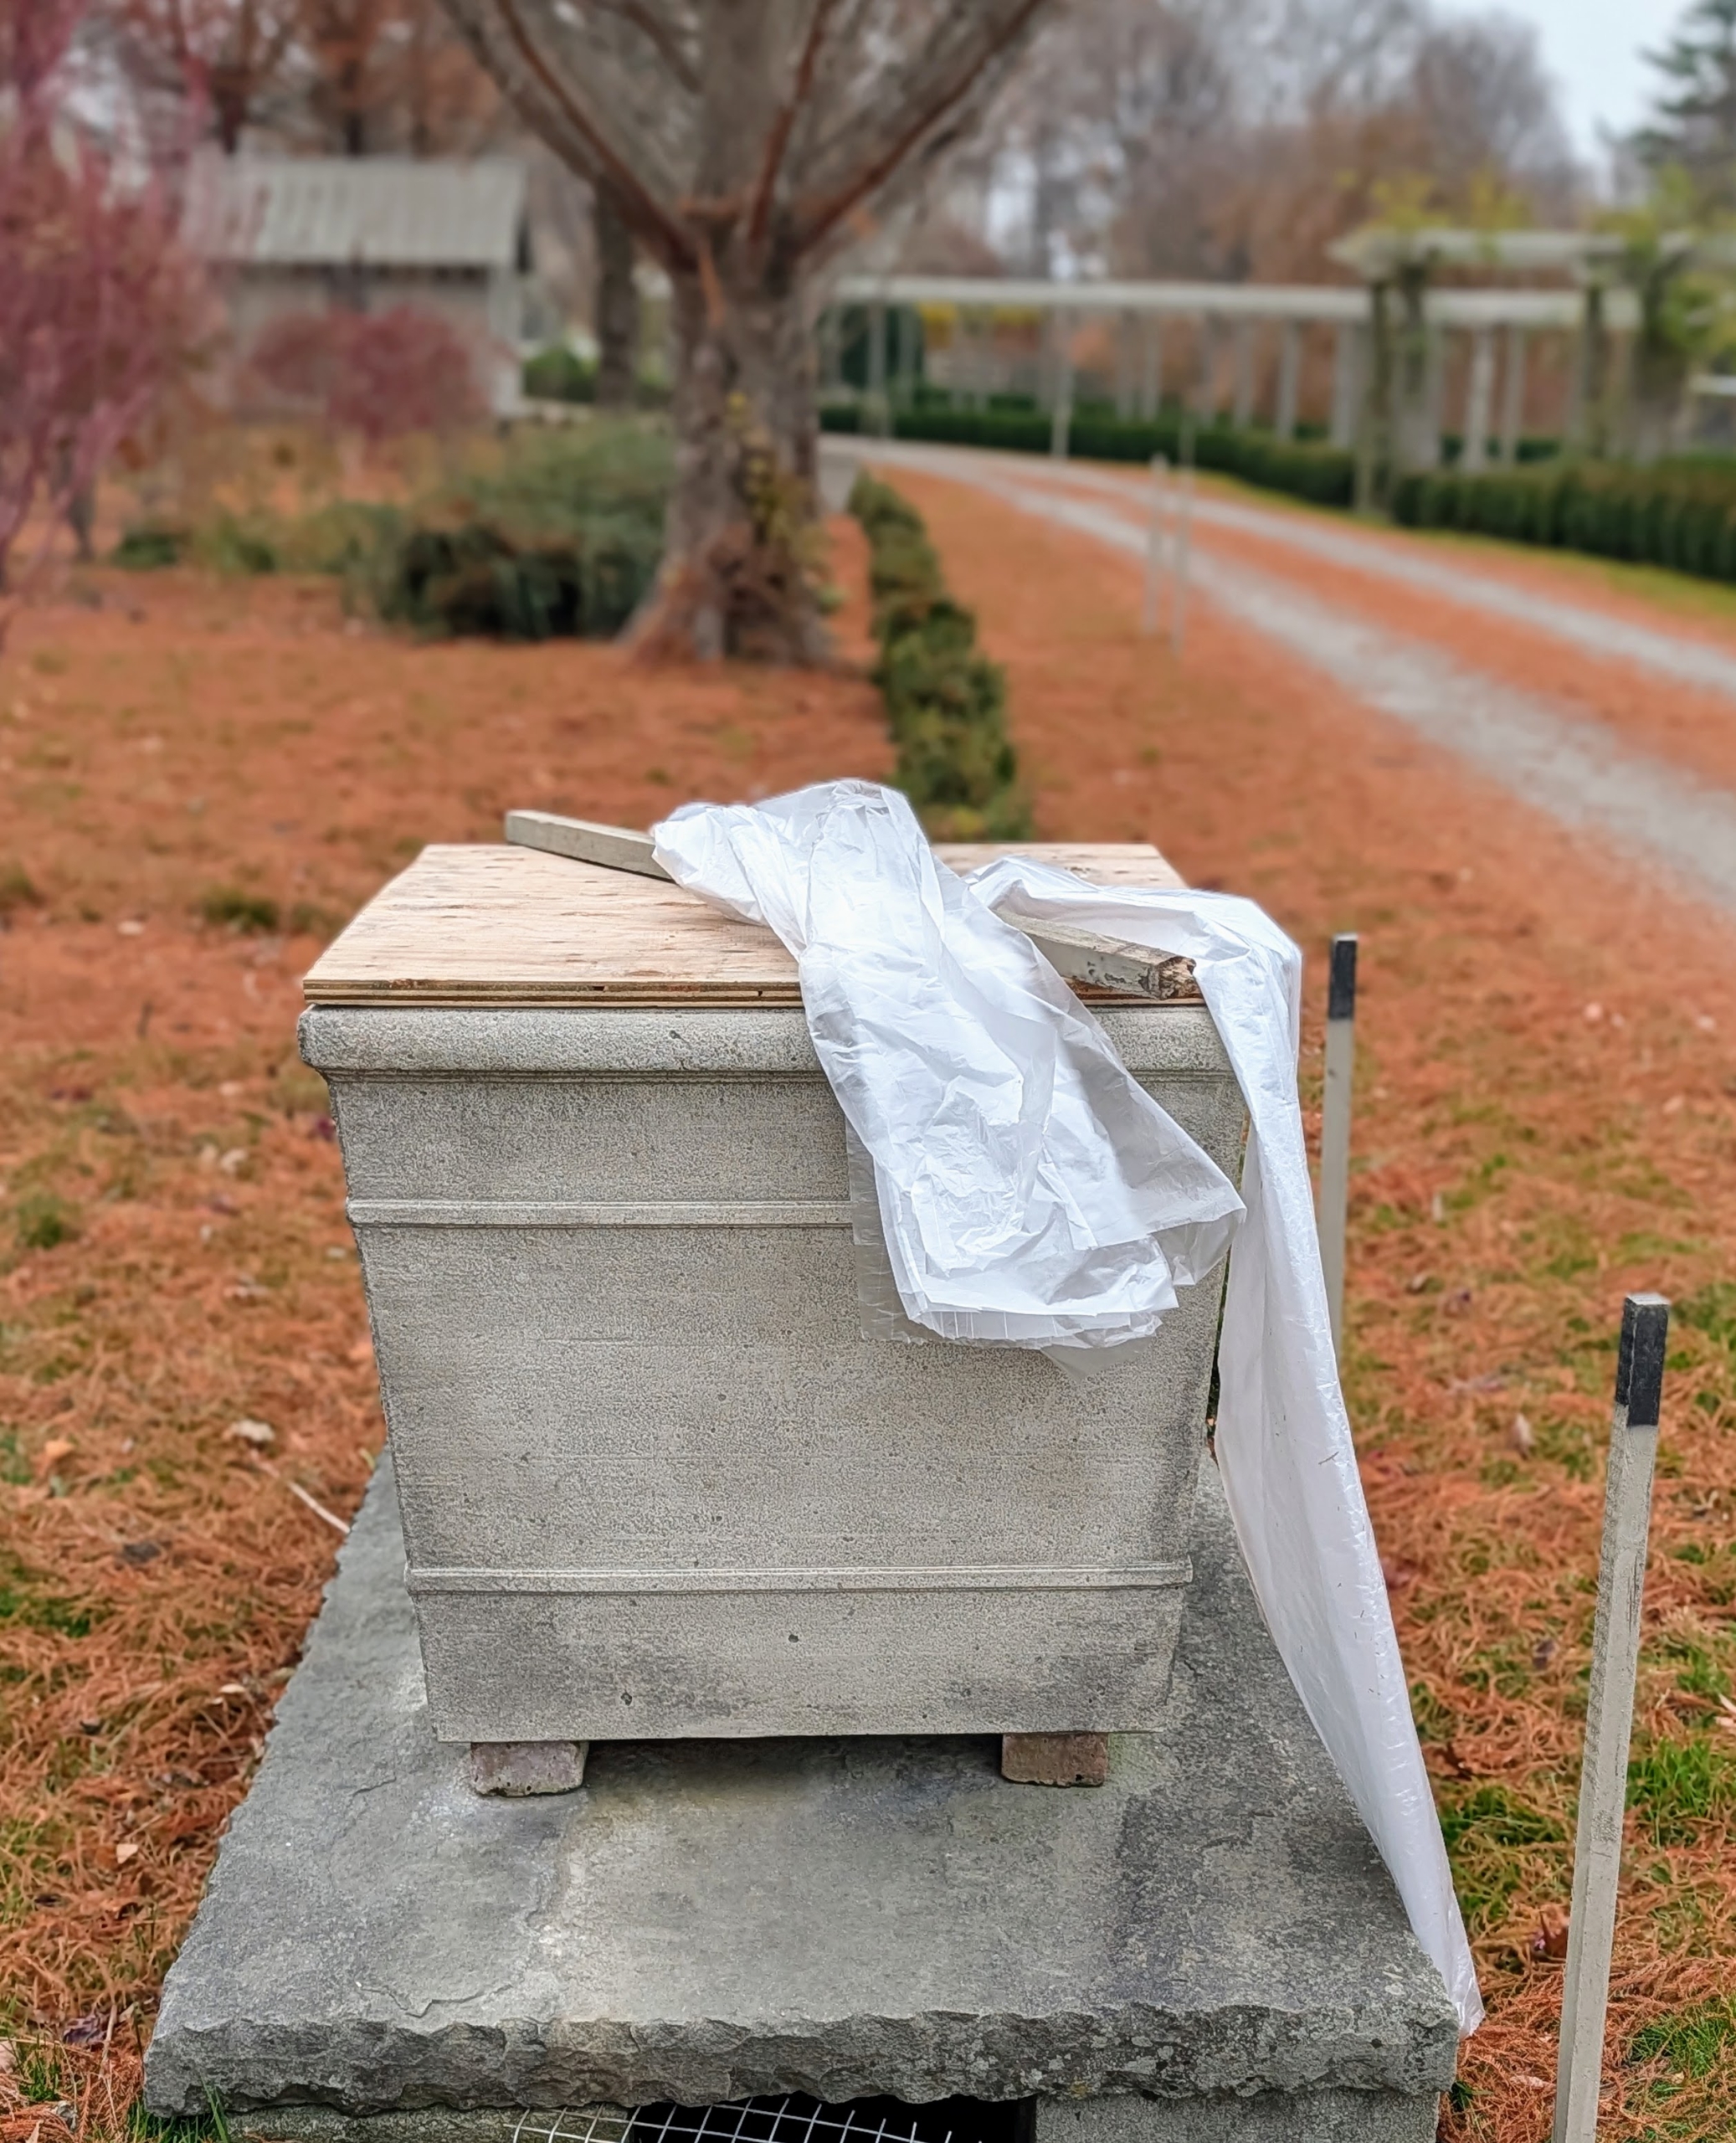
Because stone, cement, and clay-based materials can crack from exposure to the winter elements, it’s important to protect them from all sides. The first thing I do is cover the large opening with a piece of plywood. The crew cuts any spare plywood into rounds to fit over various pieces. Then it is wrapped in a layer of plastic all the way around.
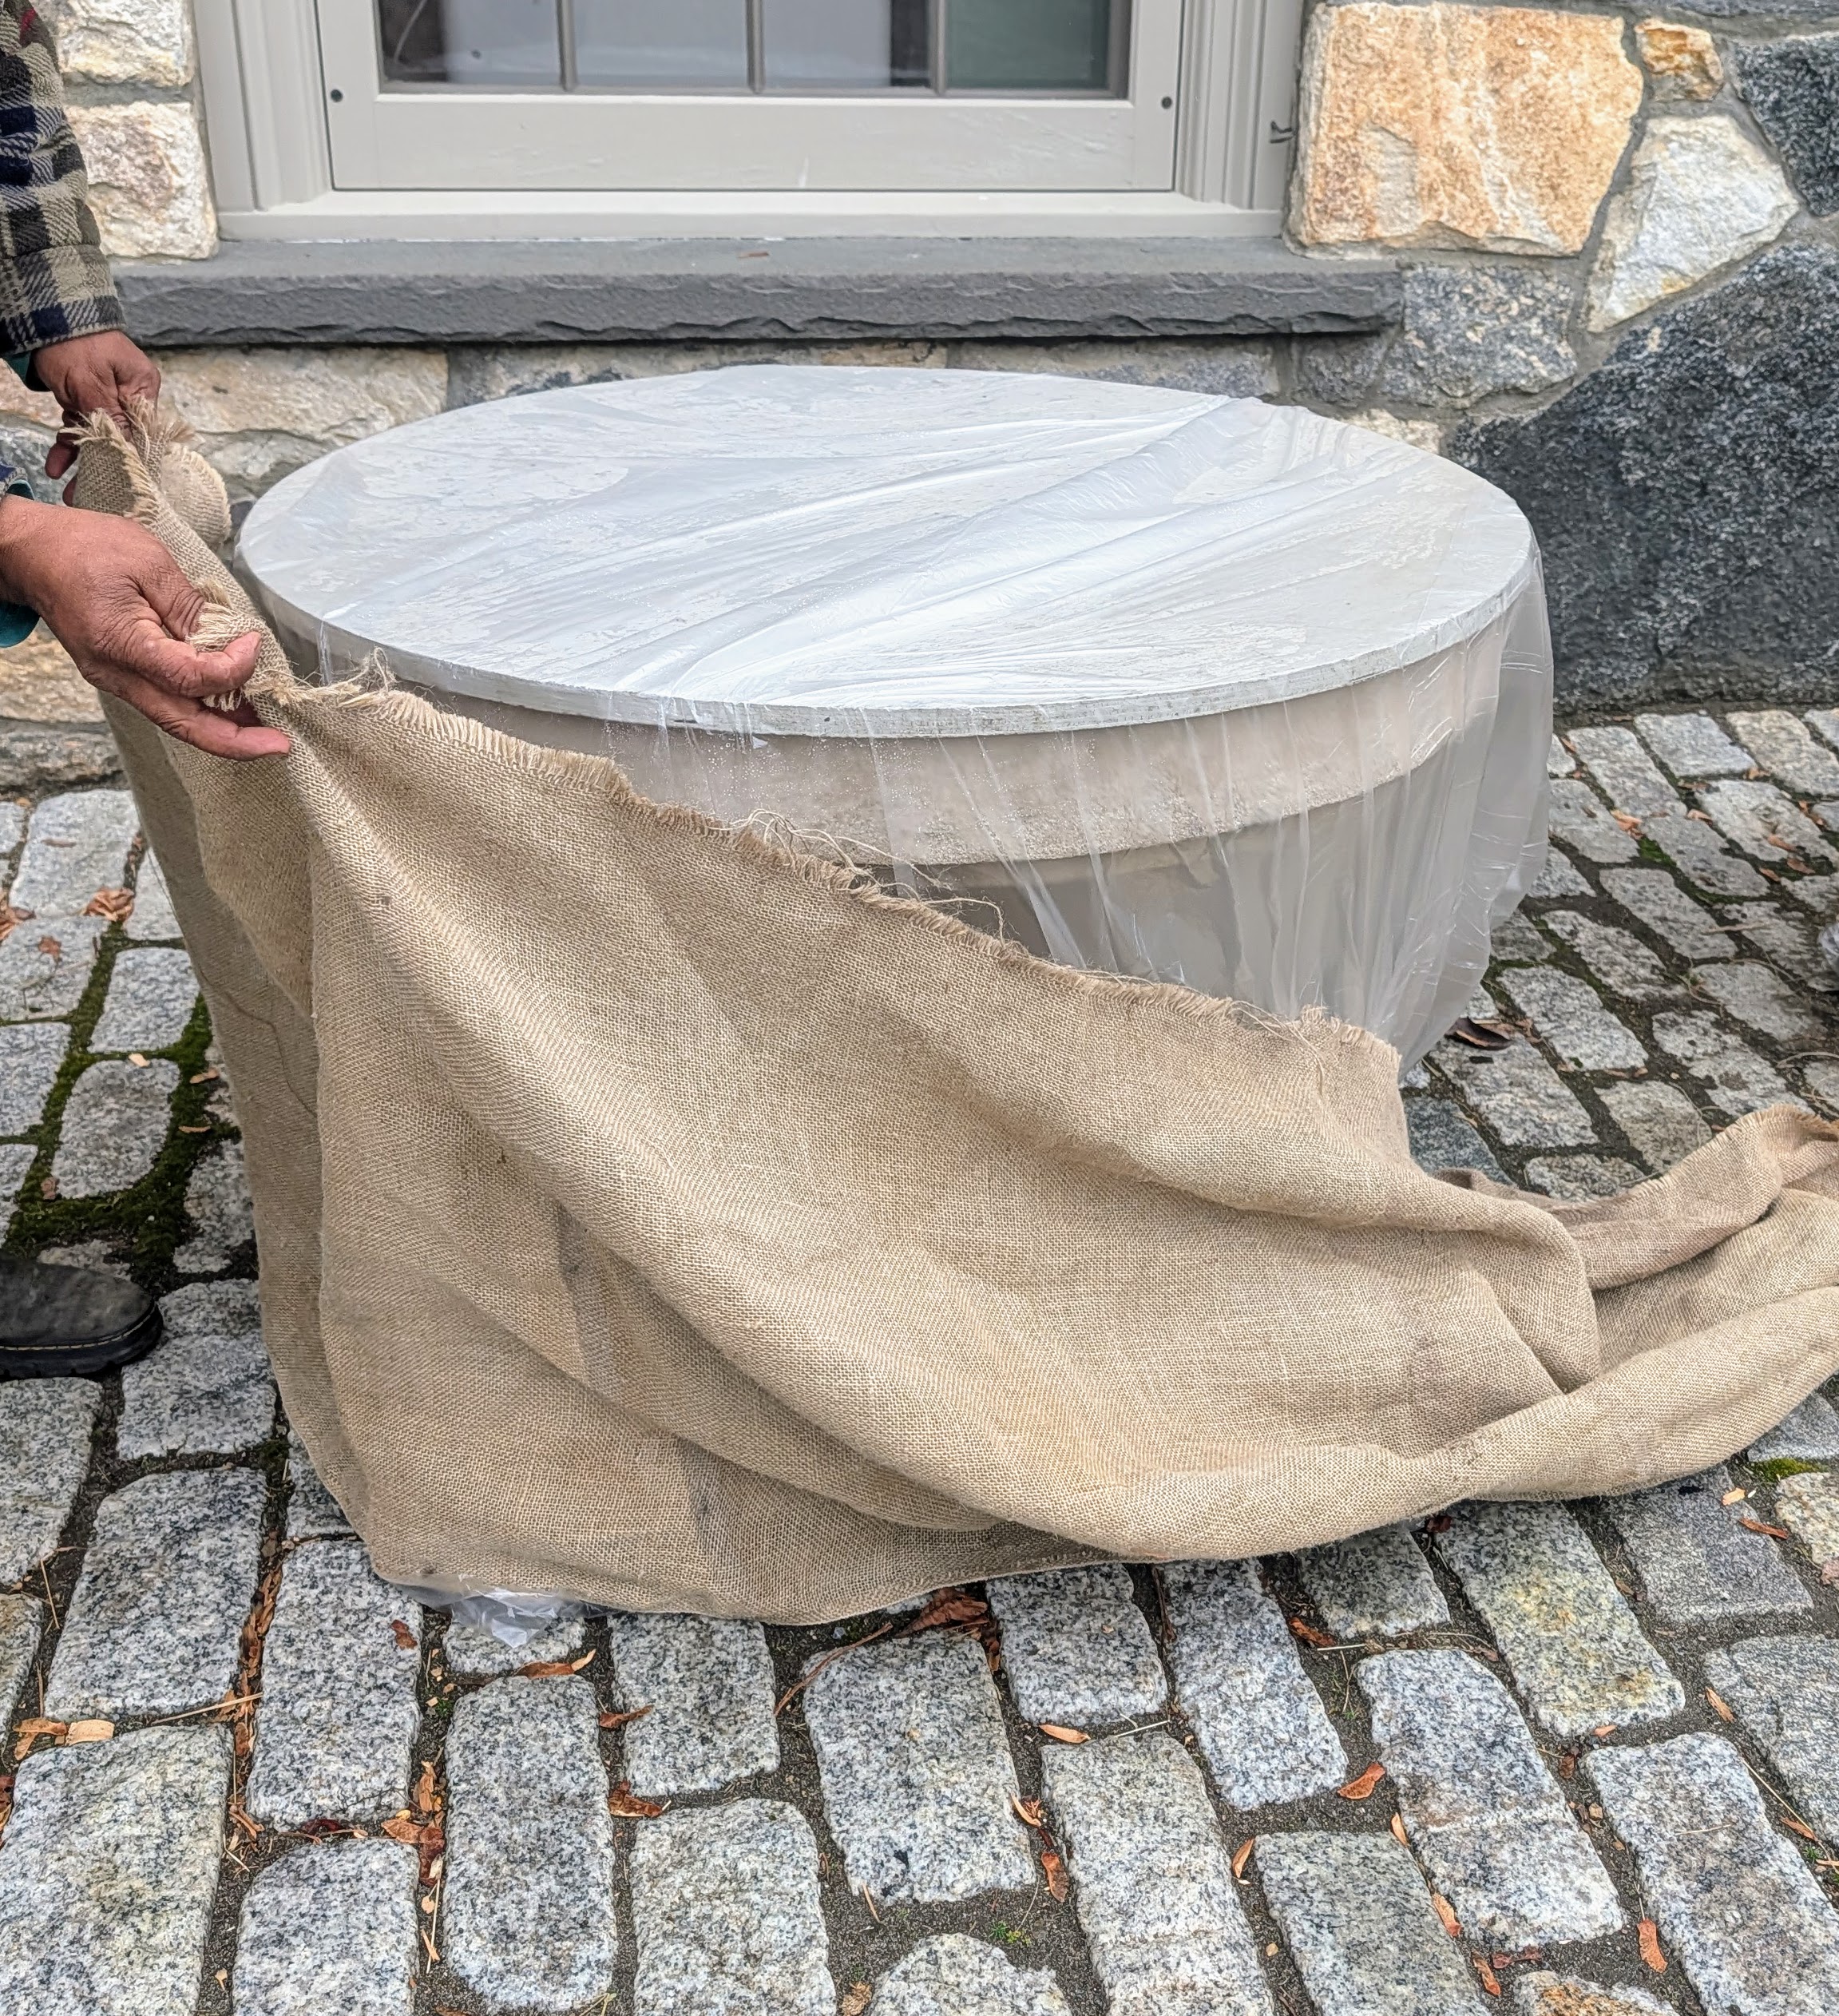
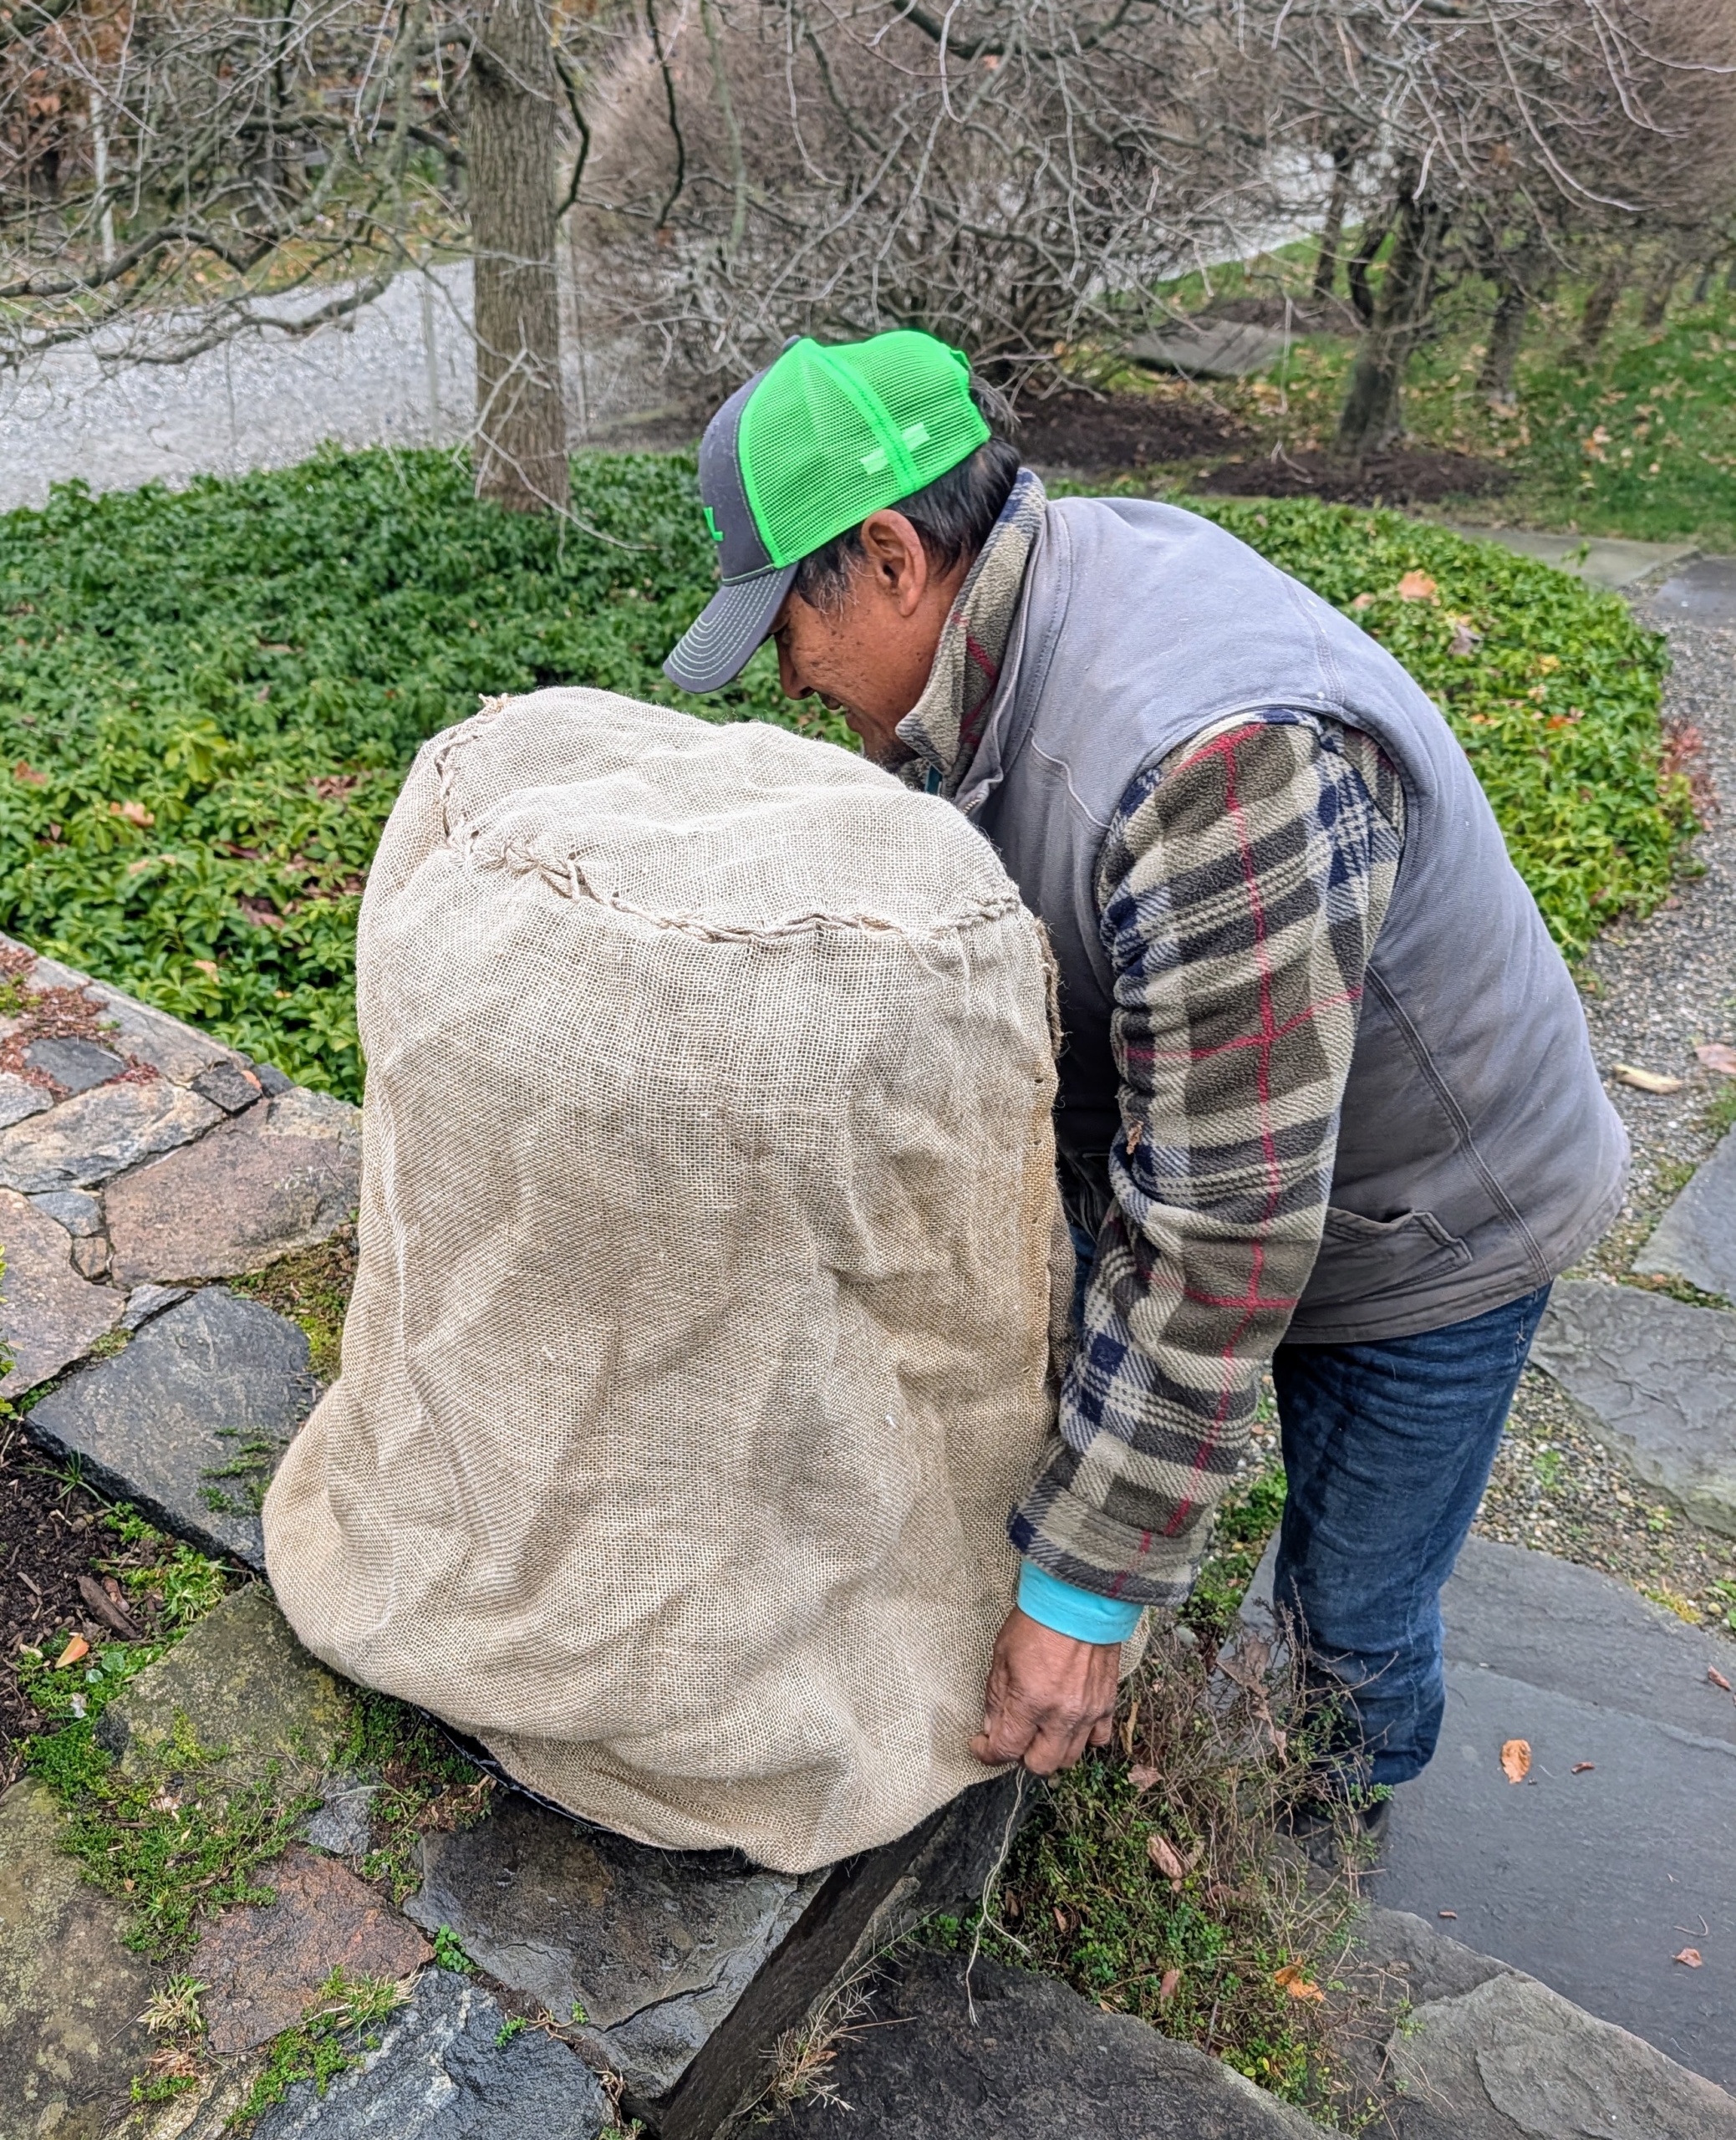
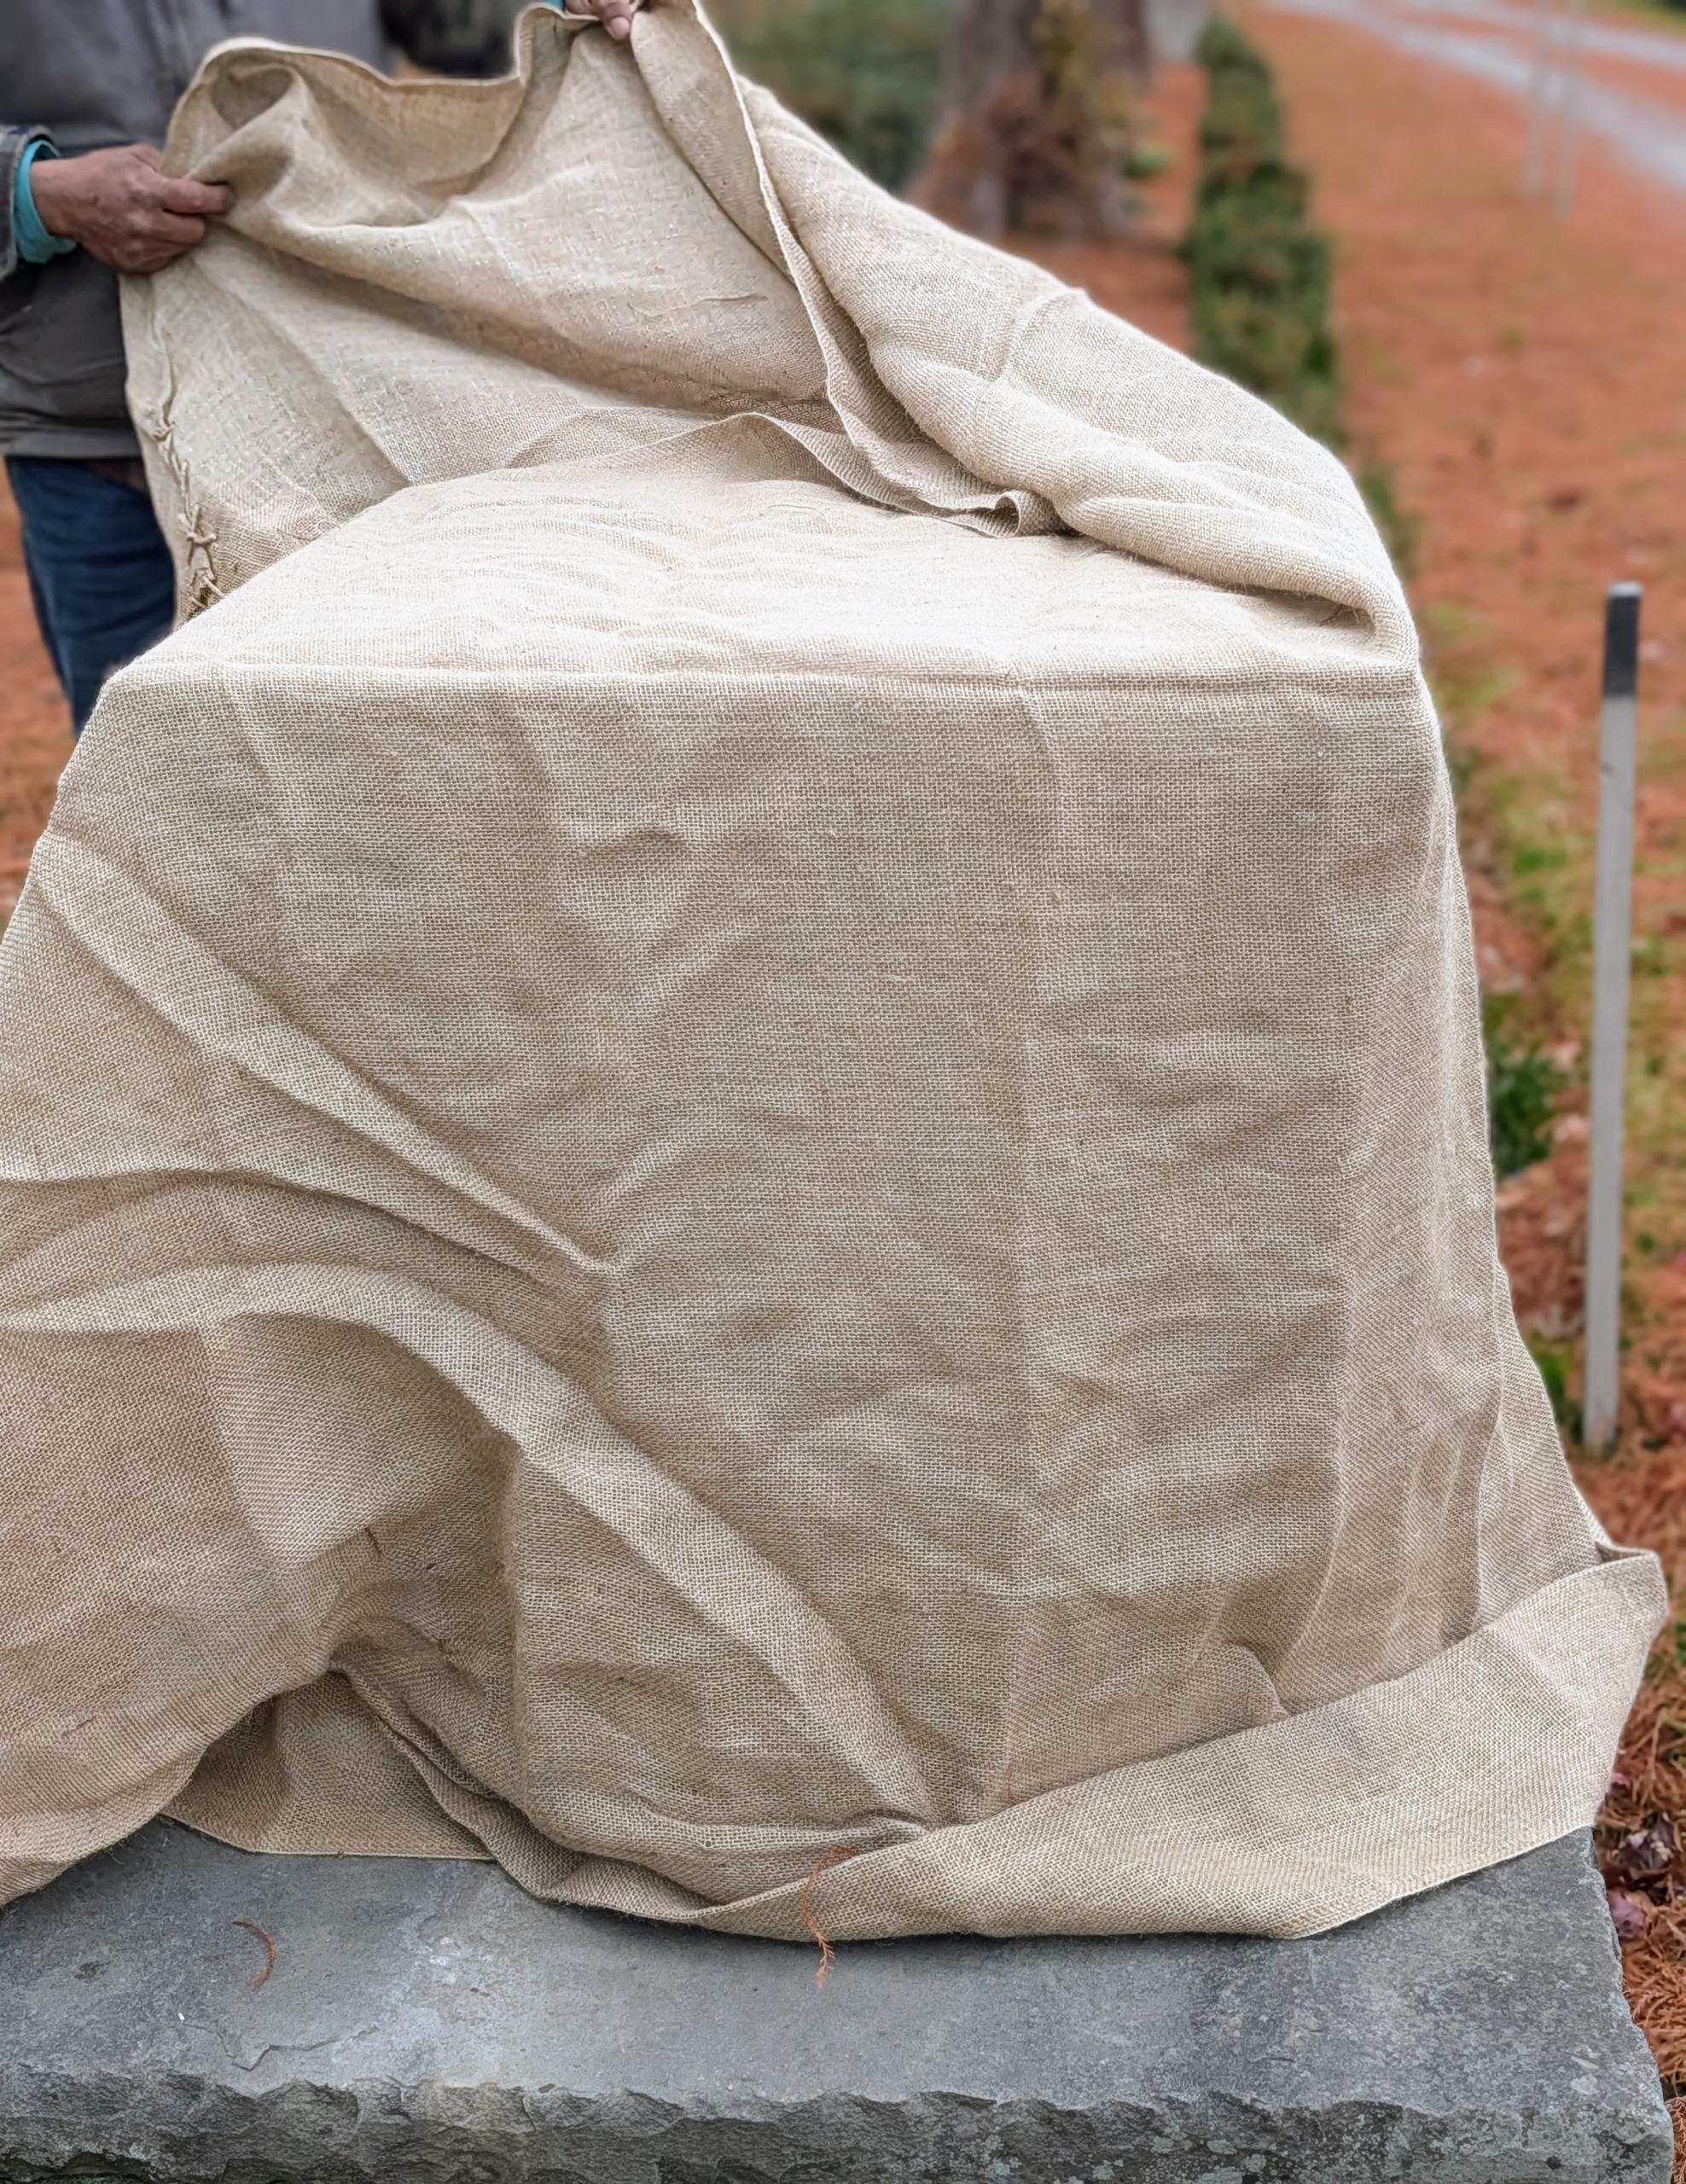
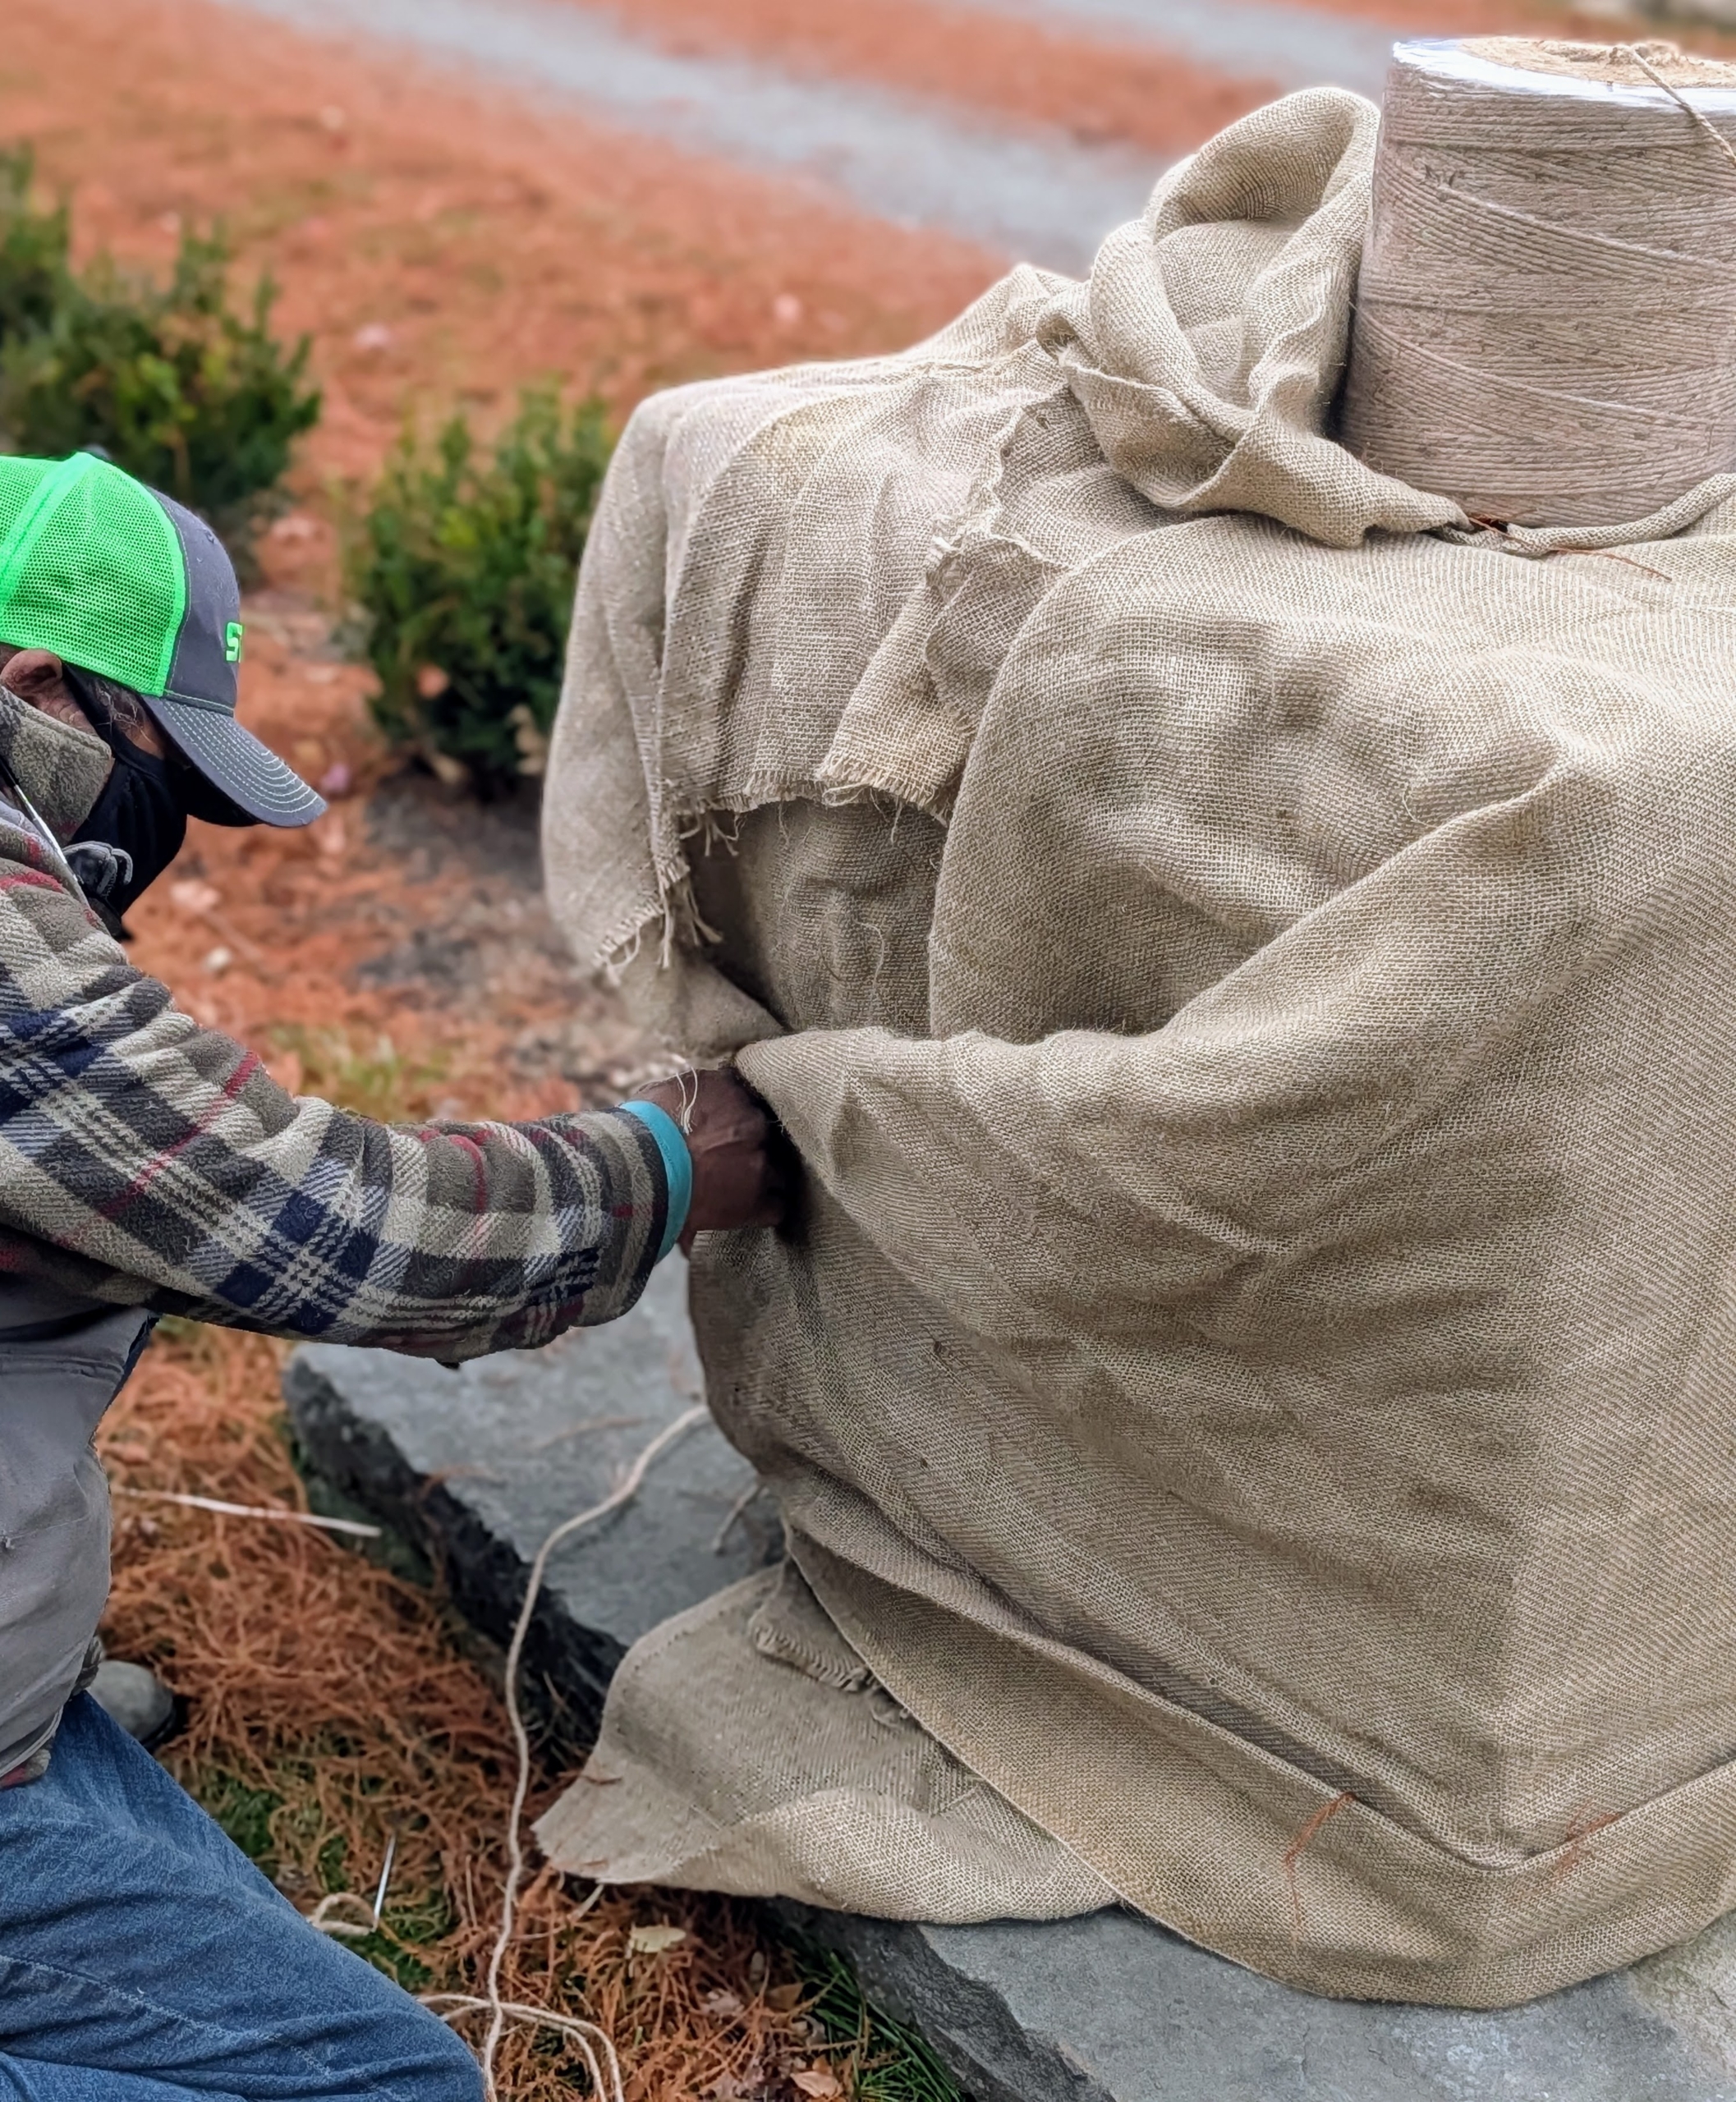
When we can, we reuse burlap from seasons past; however, it is also available in giant rolls of 40-inches or 60-inches wide. Also called hessian, burlap is made in Pakistan, Bangladesh and India from jute, a tall, grass-like plant grown for its strong fibrous stalks. This burlap cover is from last year. If stored properly in a dry place, it can last a couple of seasons. Pete wraps this entire vessel from top to bottom with the burlap, tucking it all in underneath.
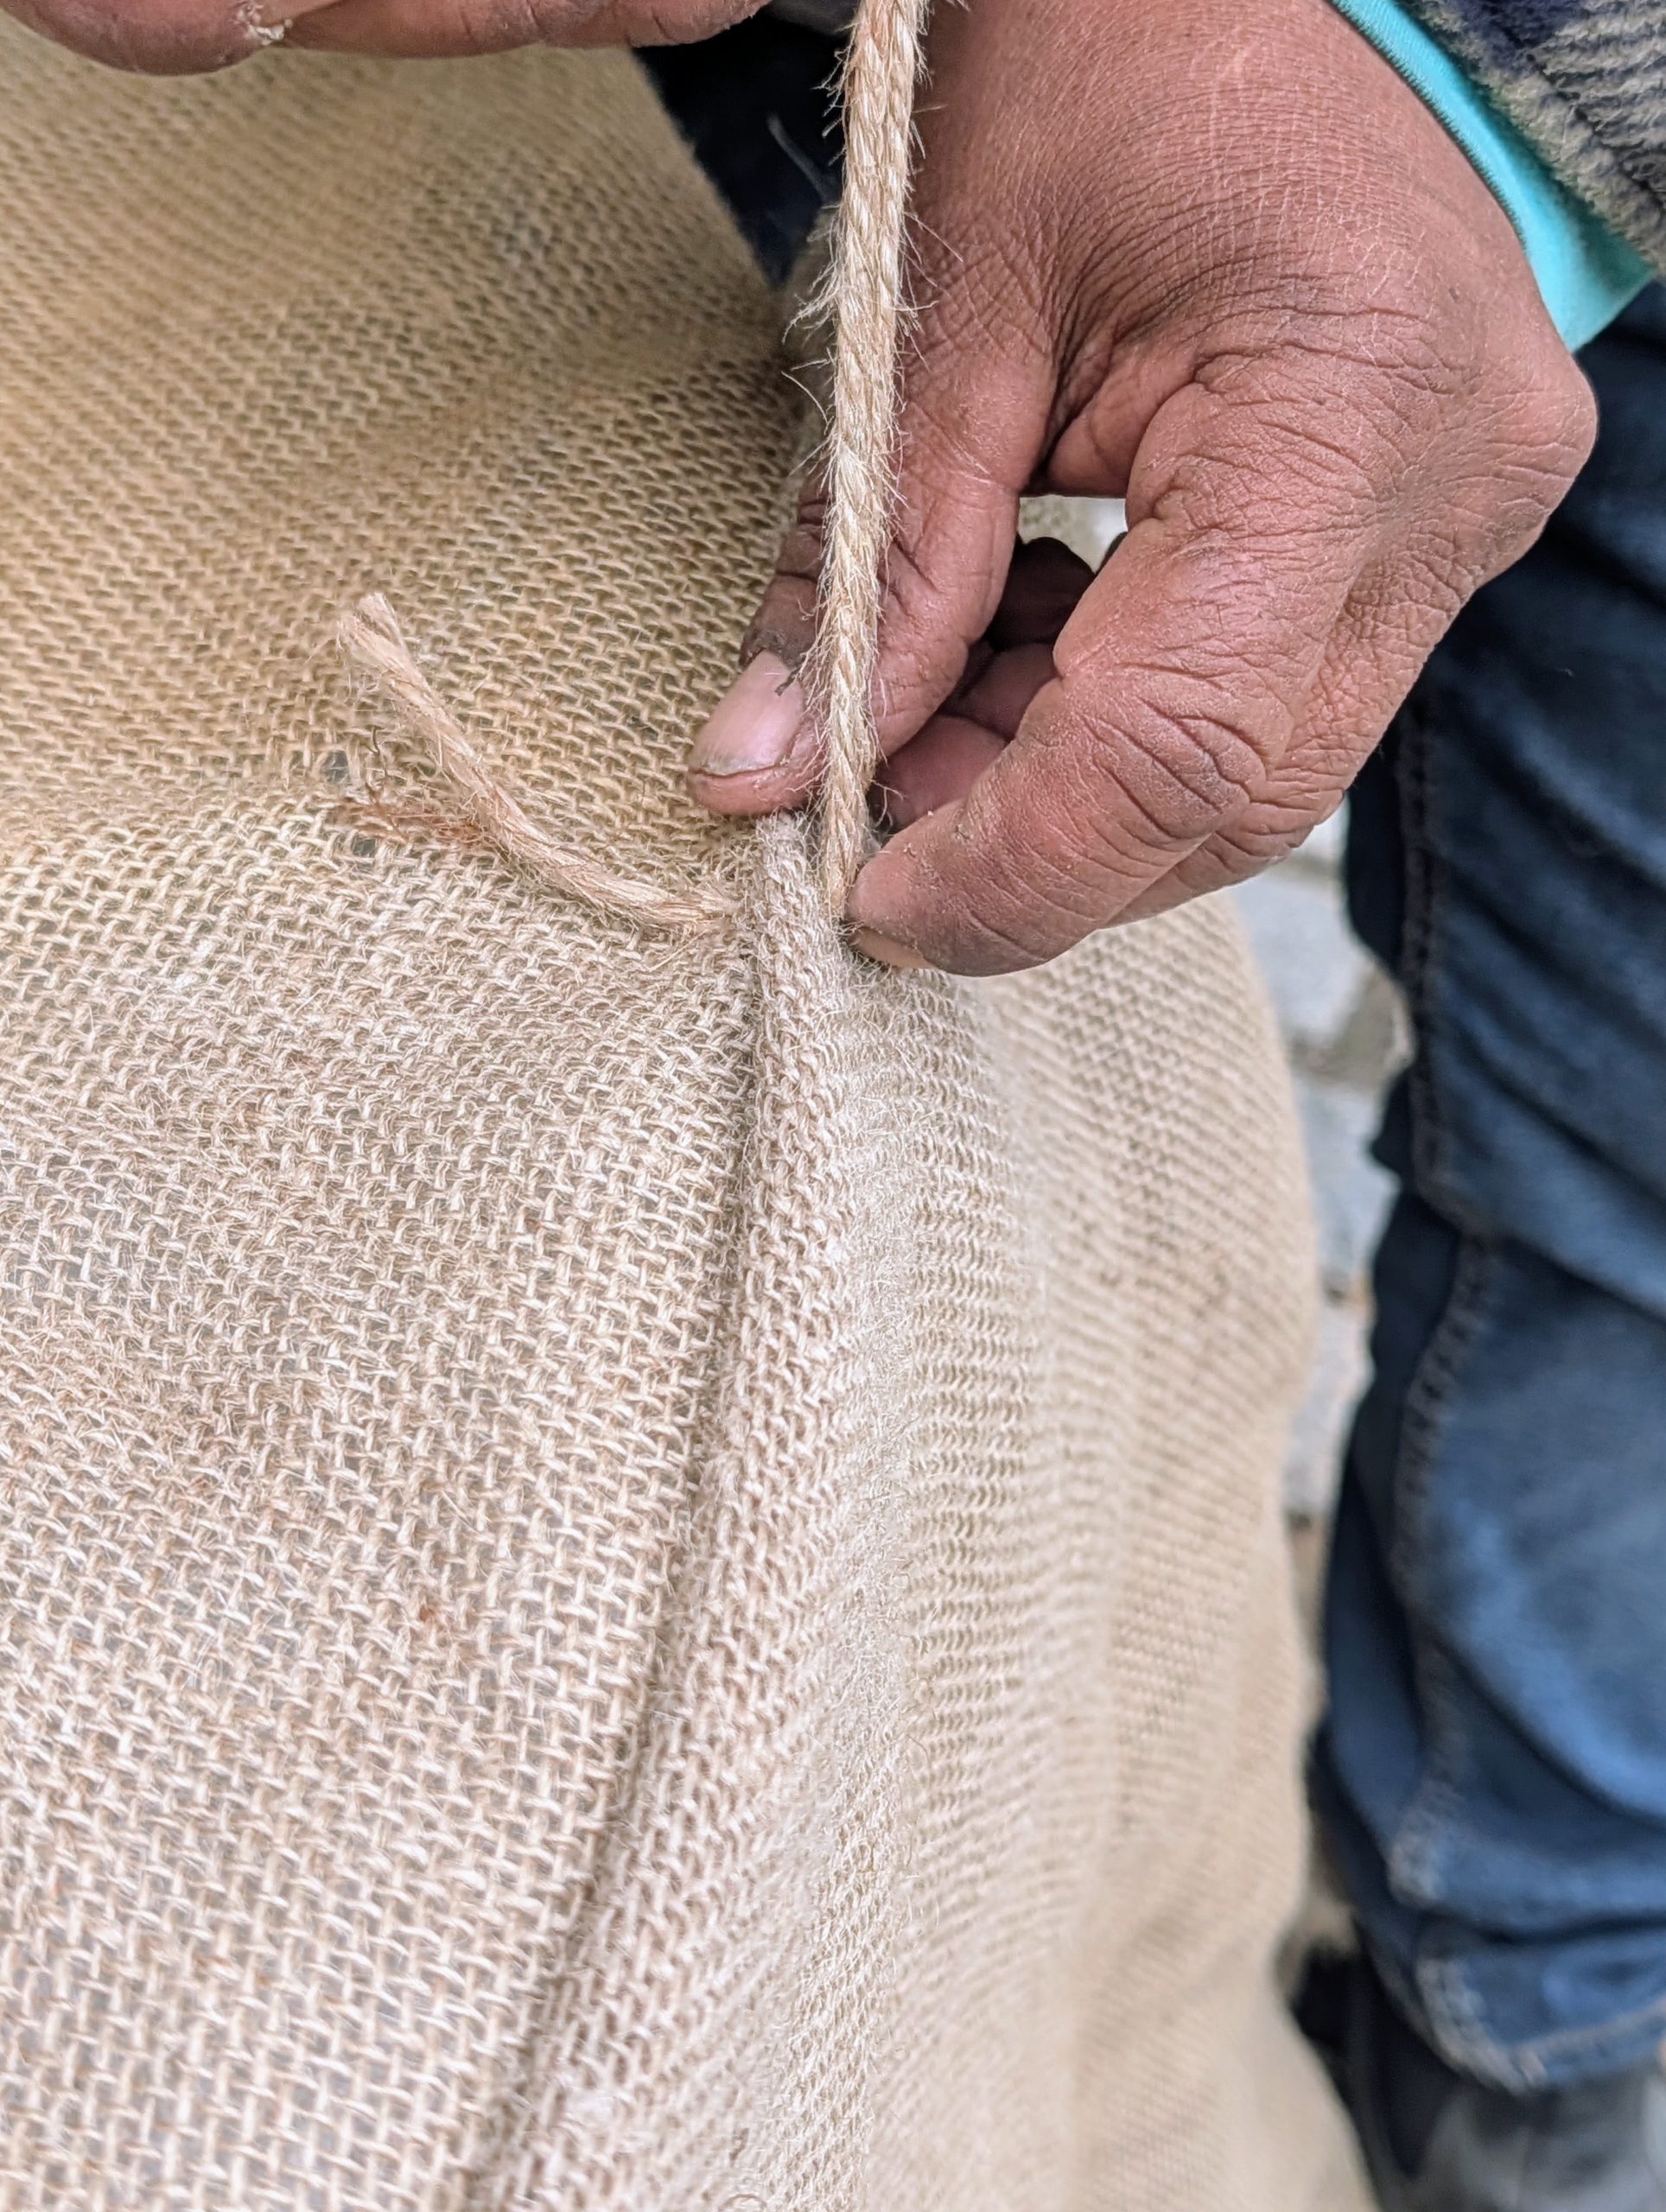
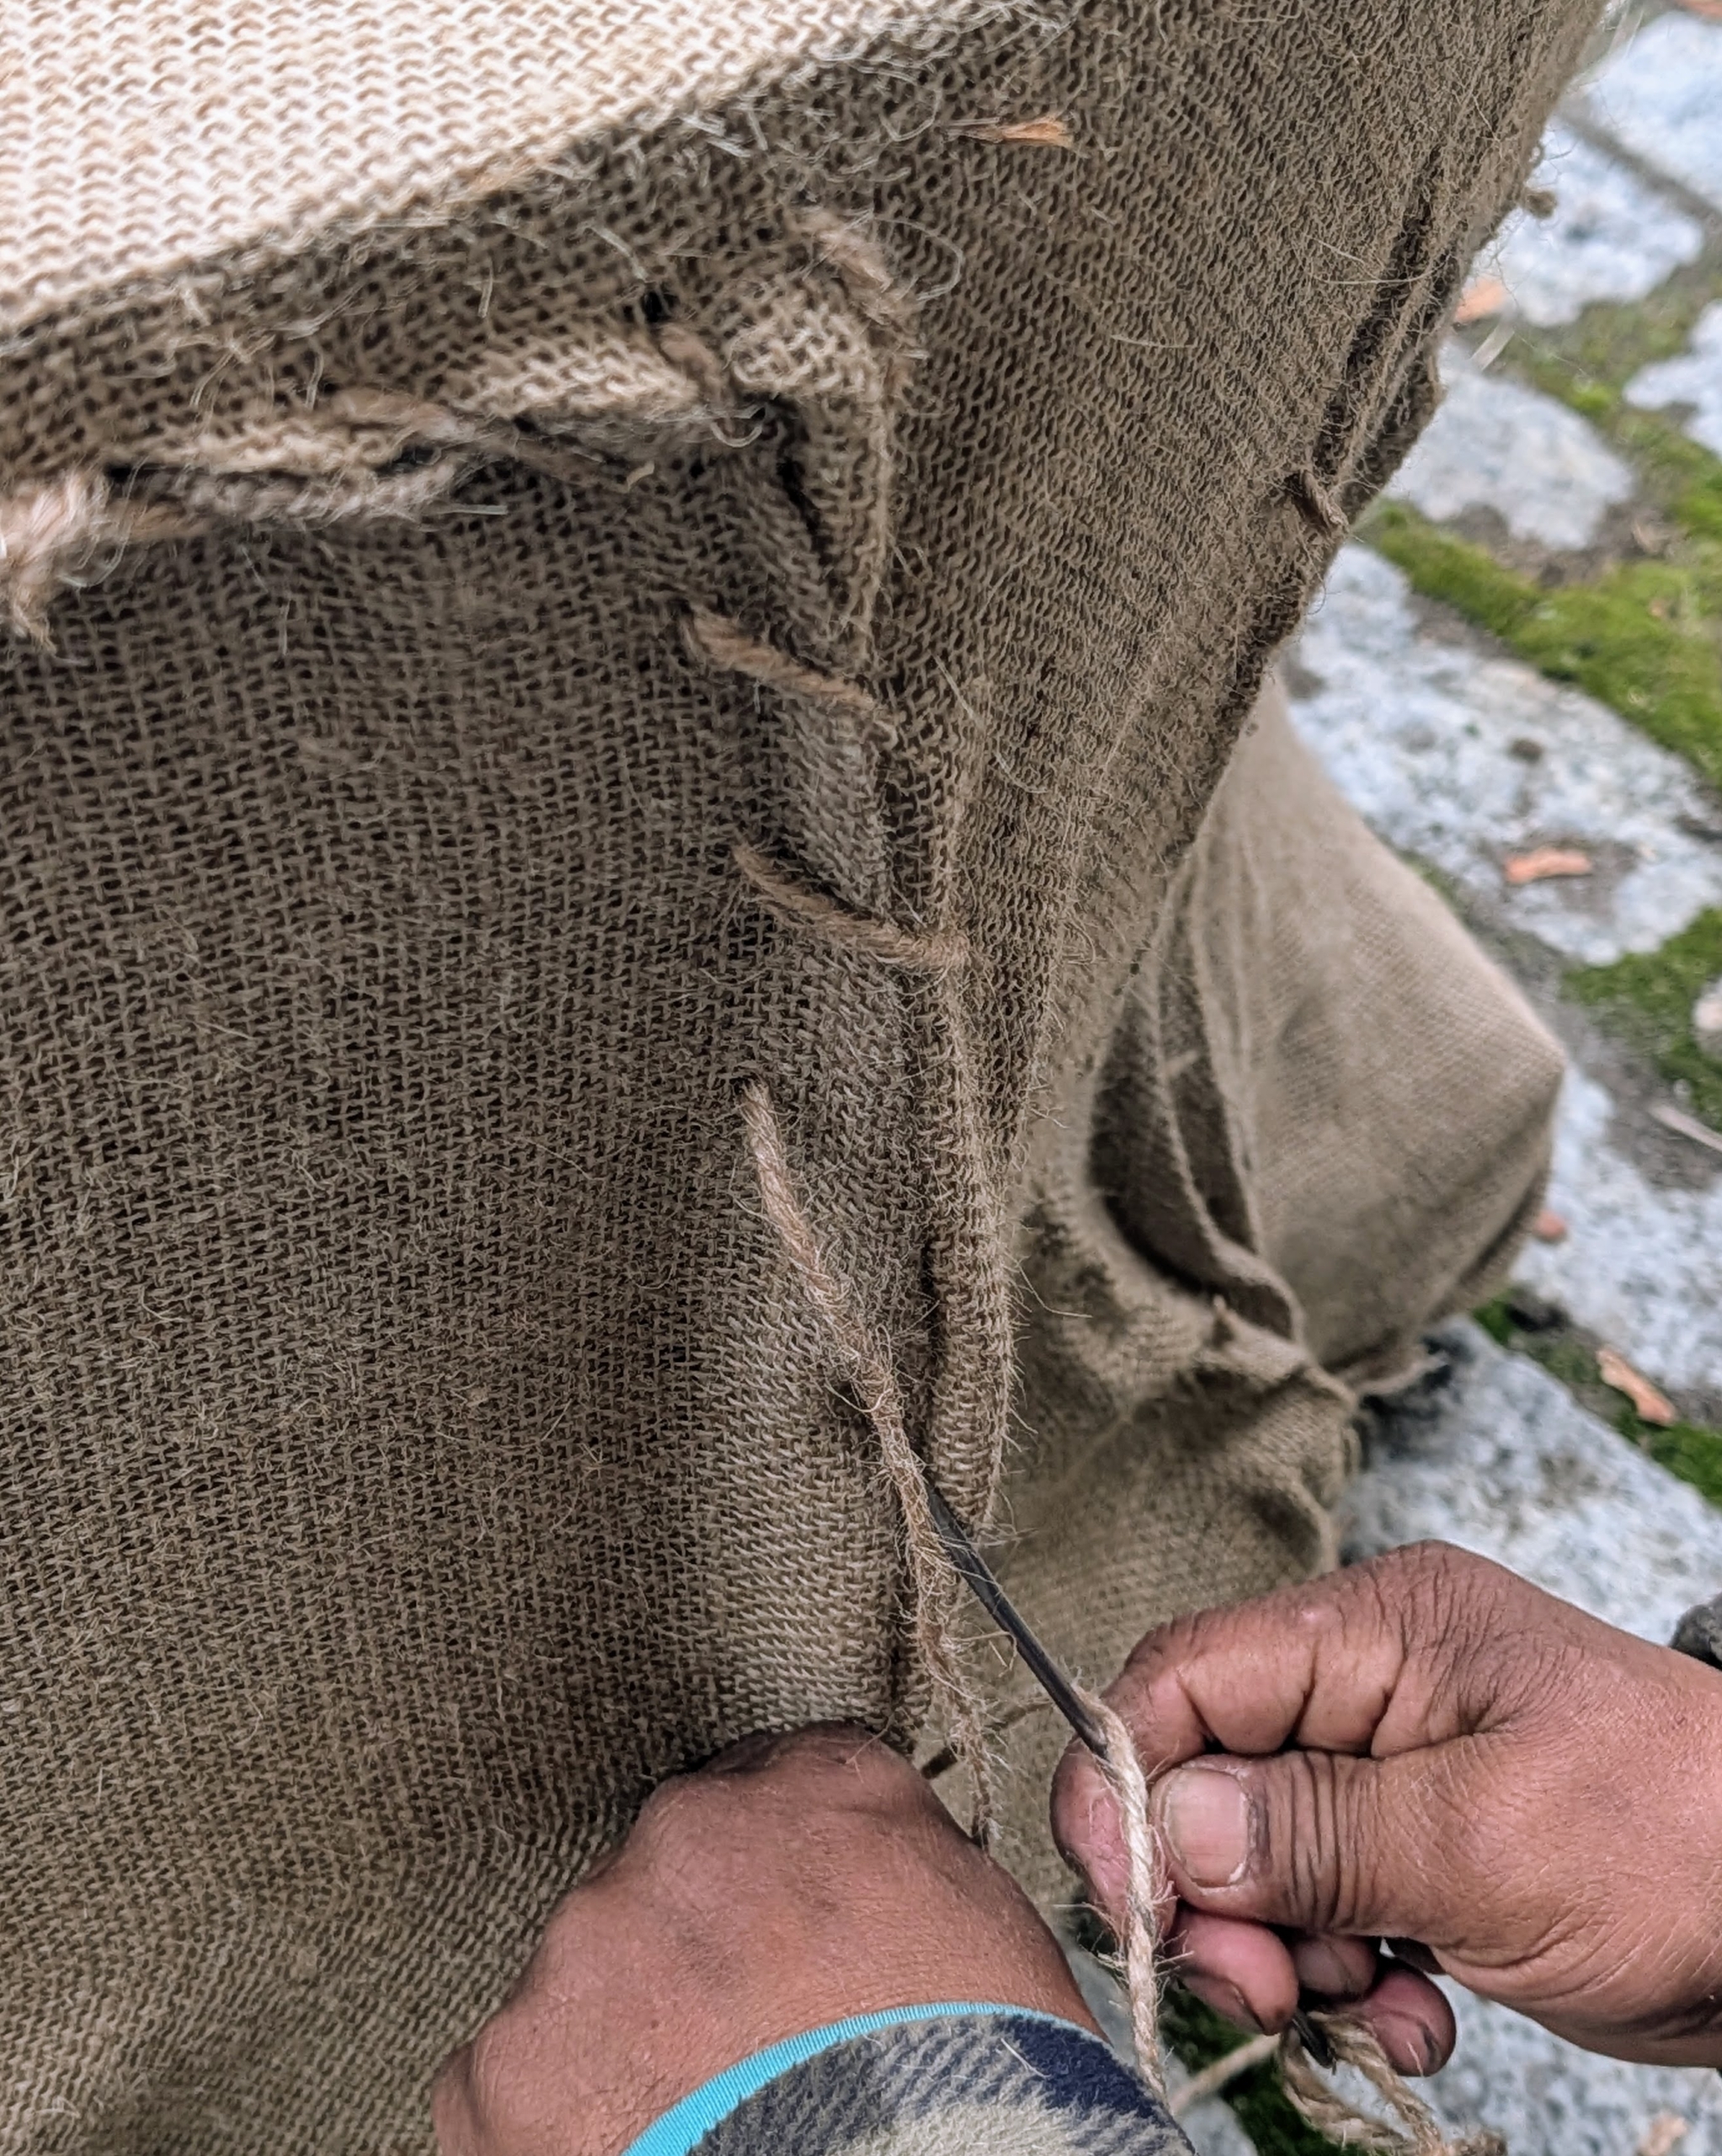
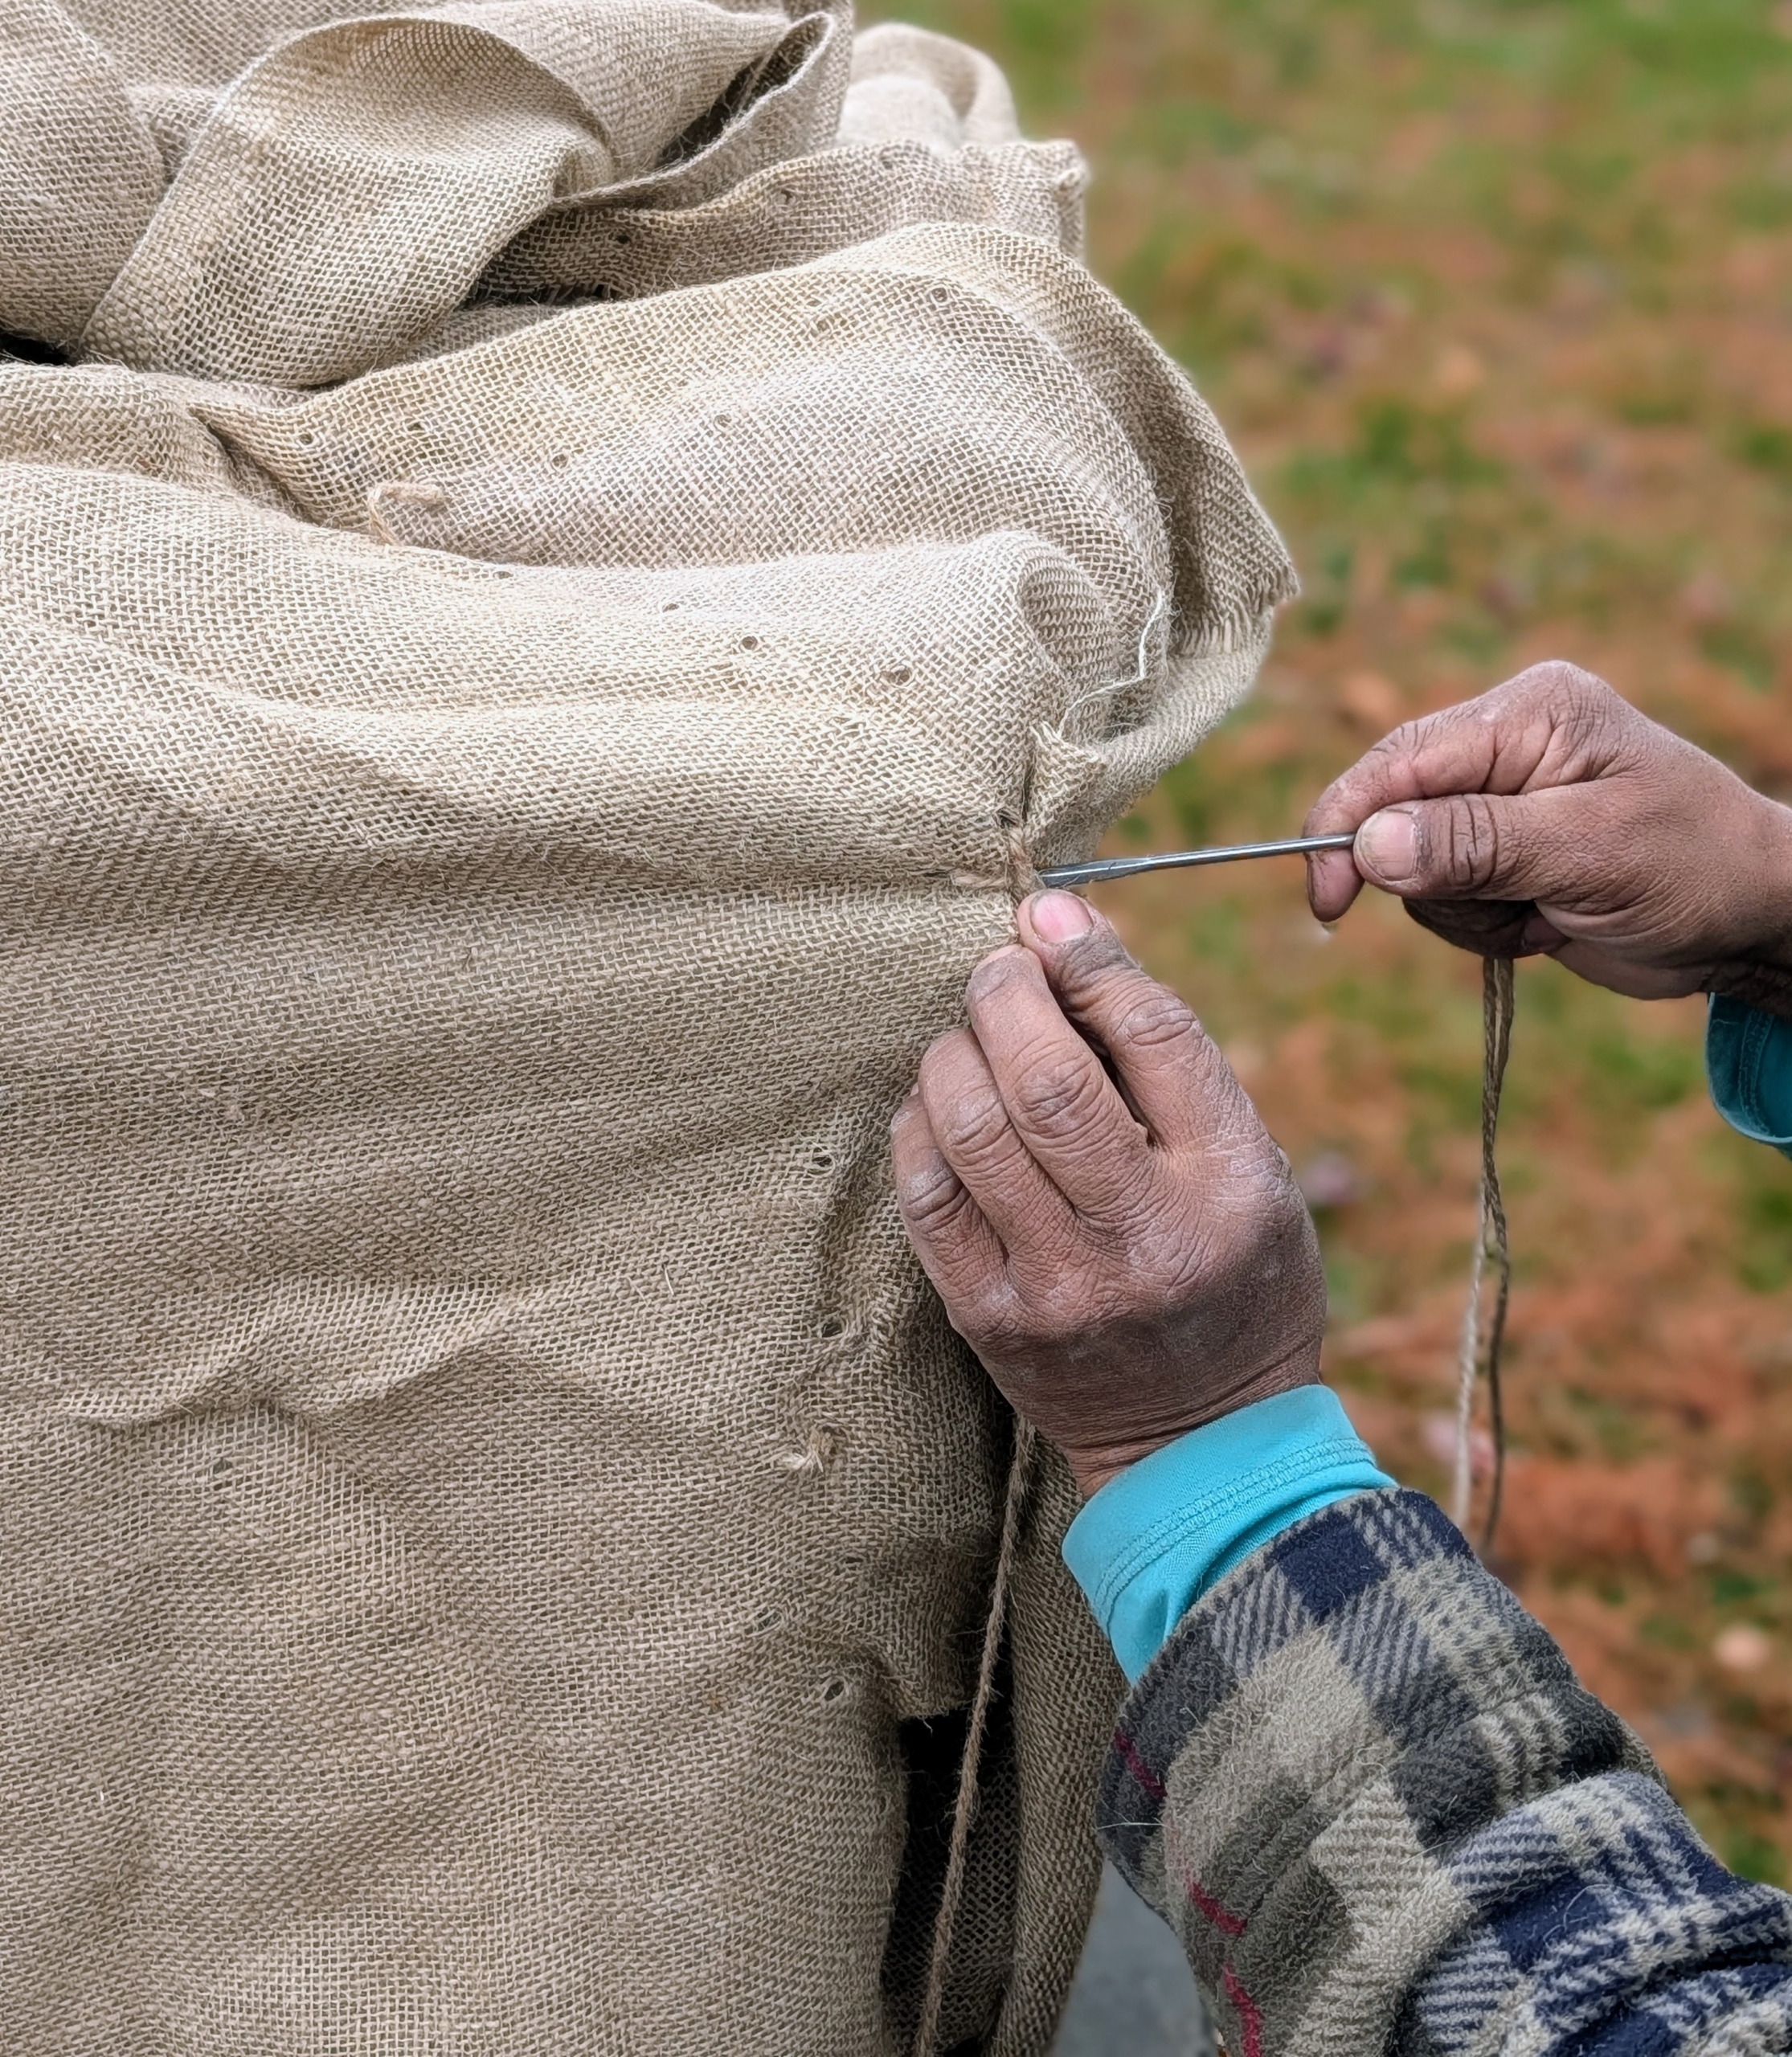
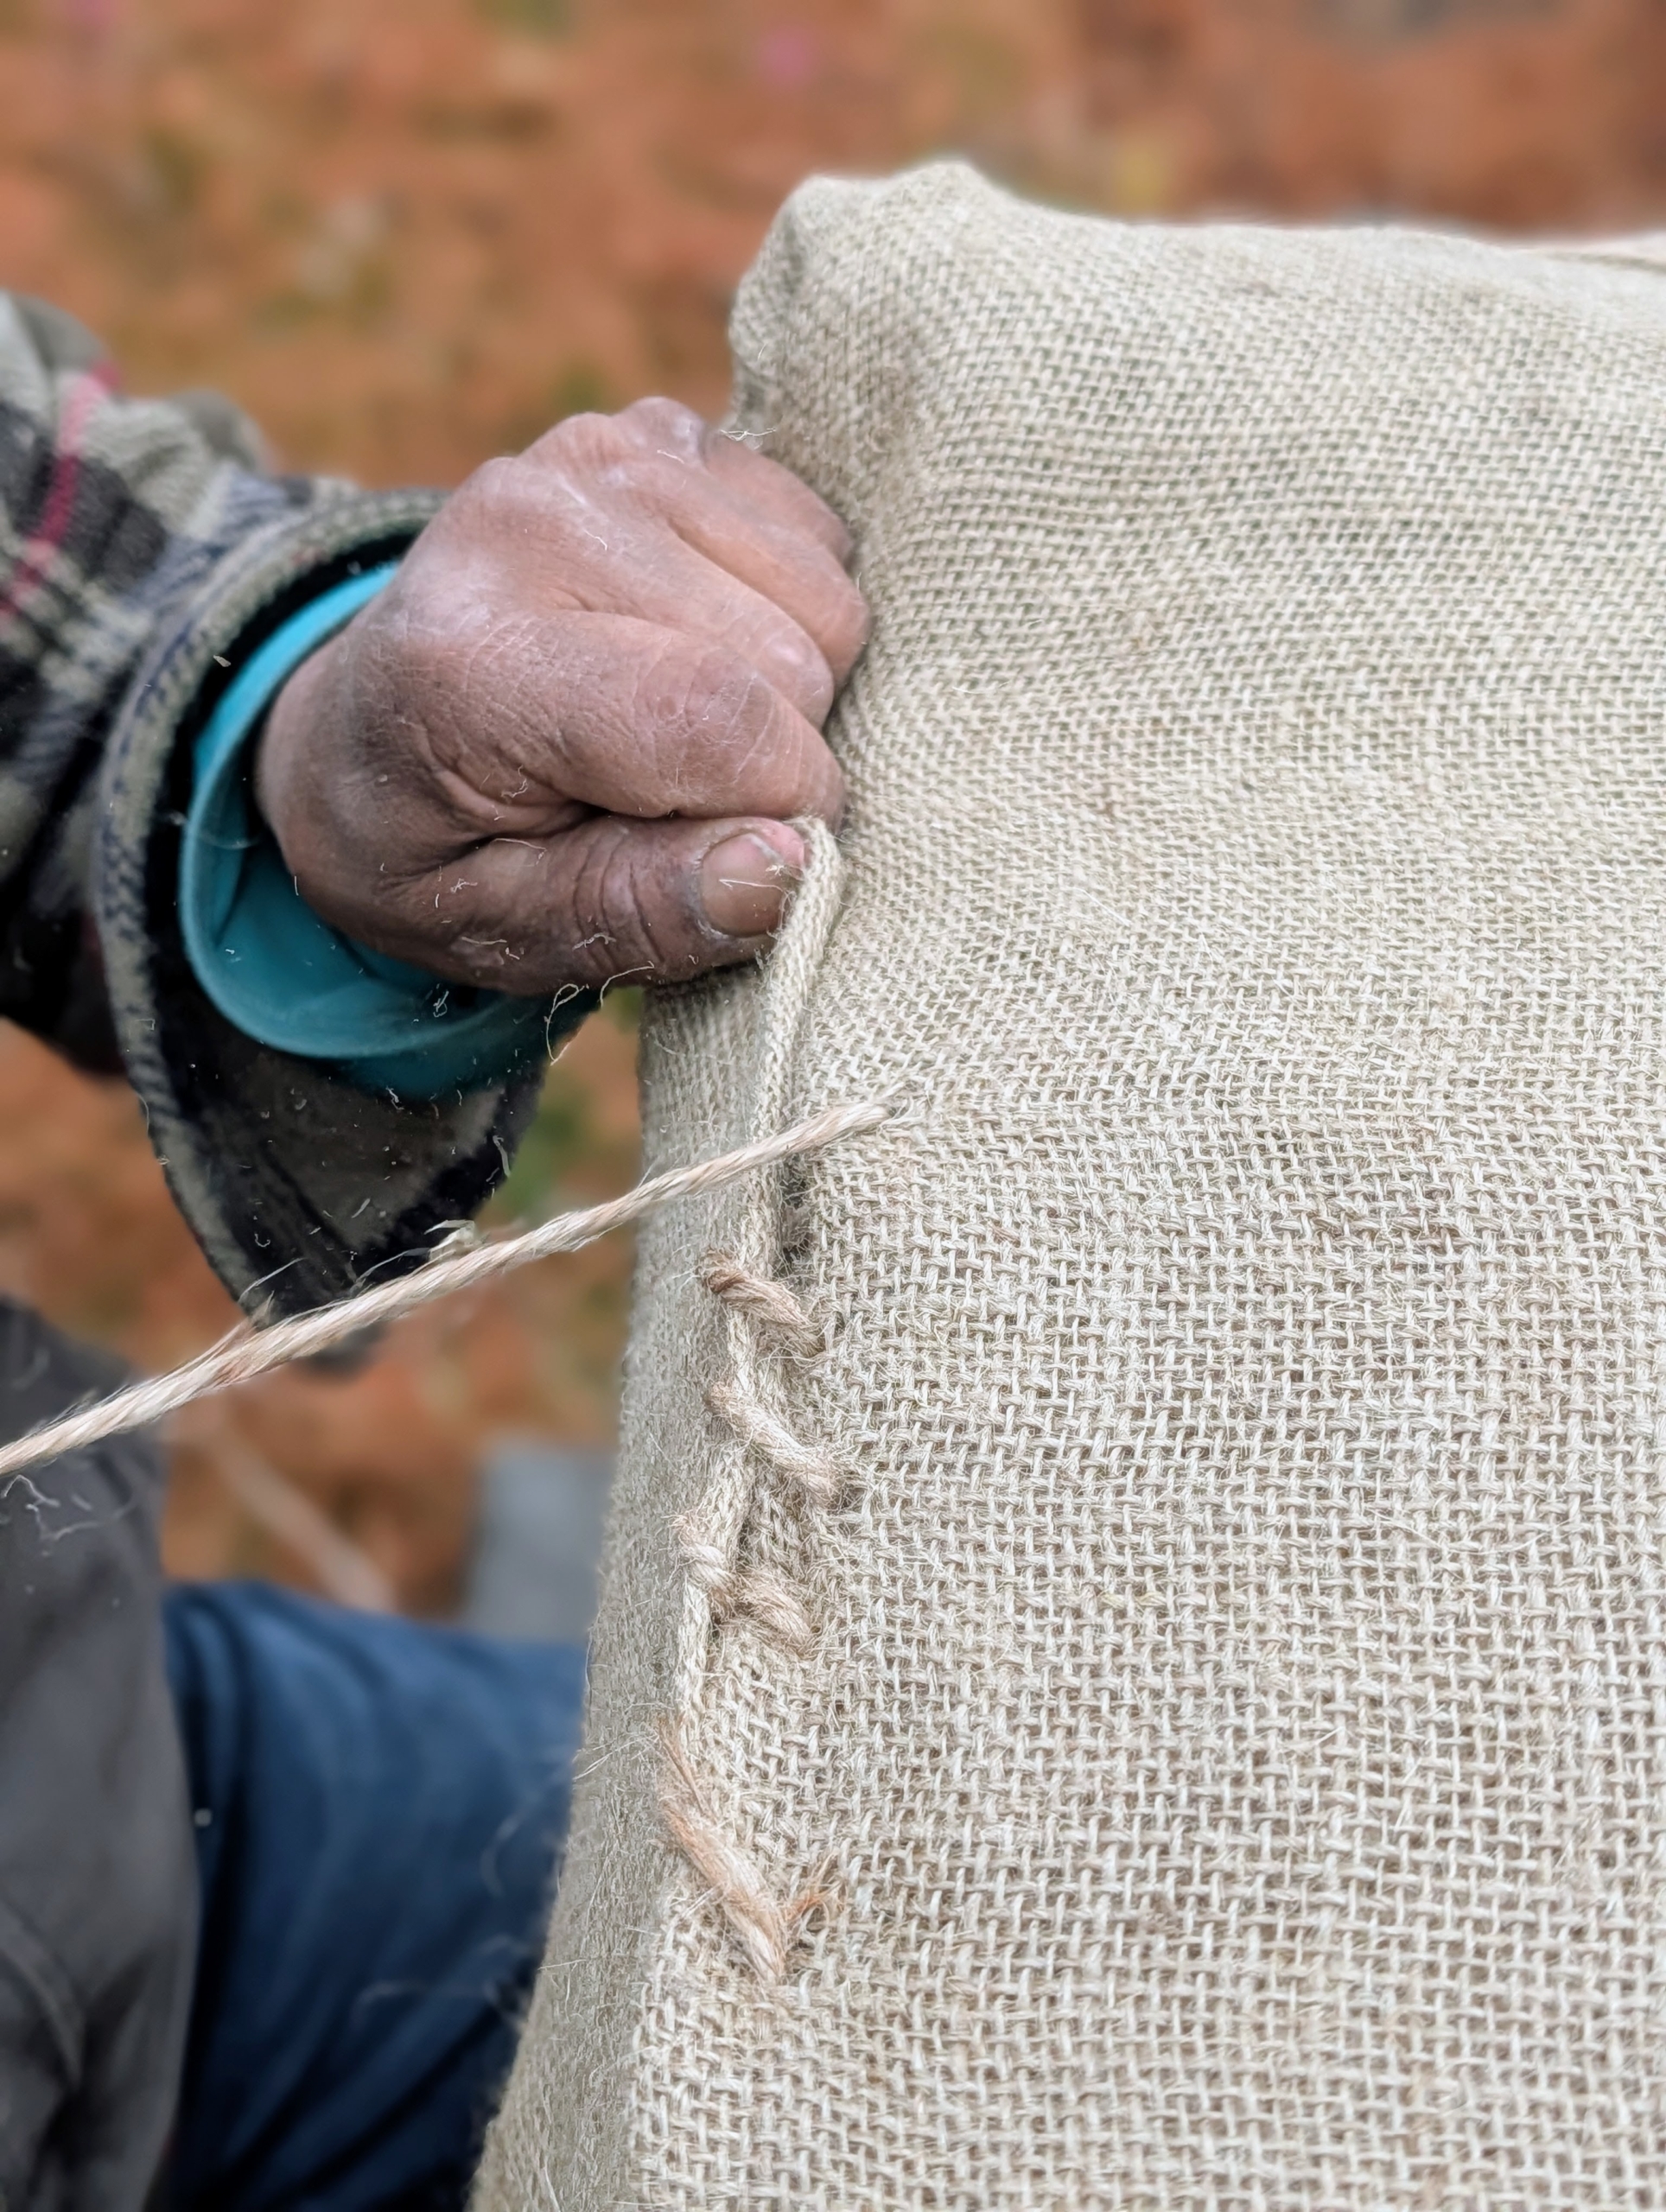
To sew the burlap, the crew uses jute twine. It is all natural and the same color as the burlap.
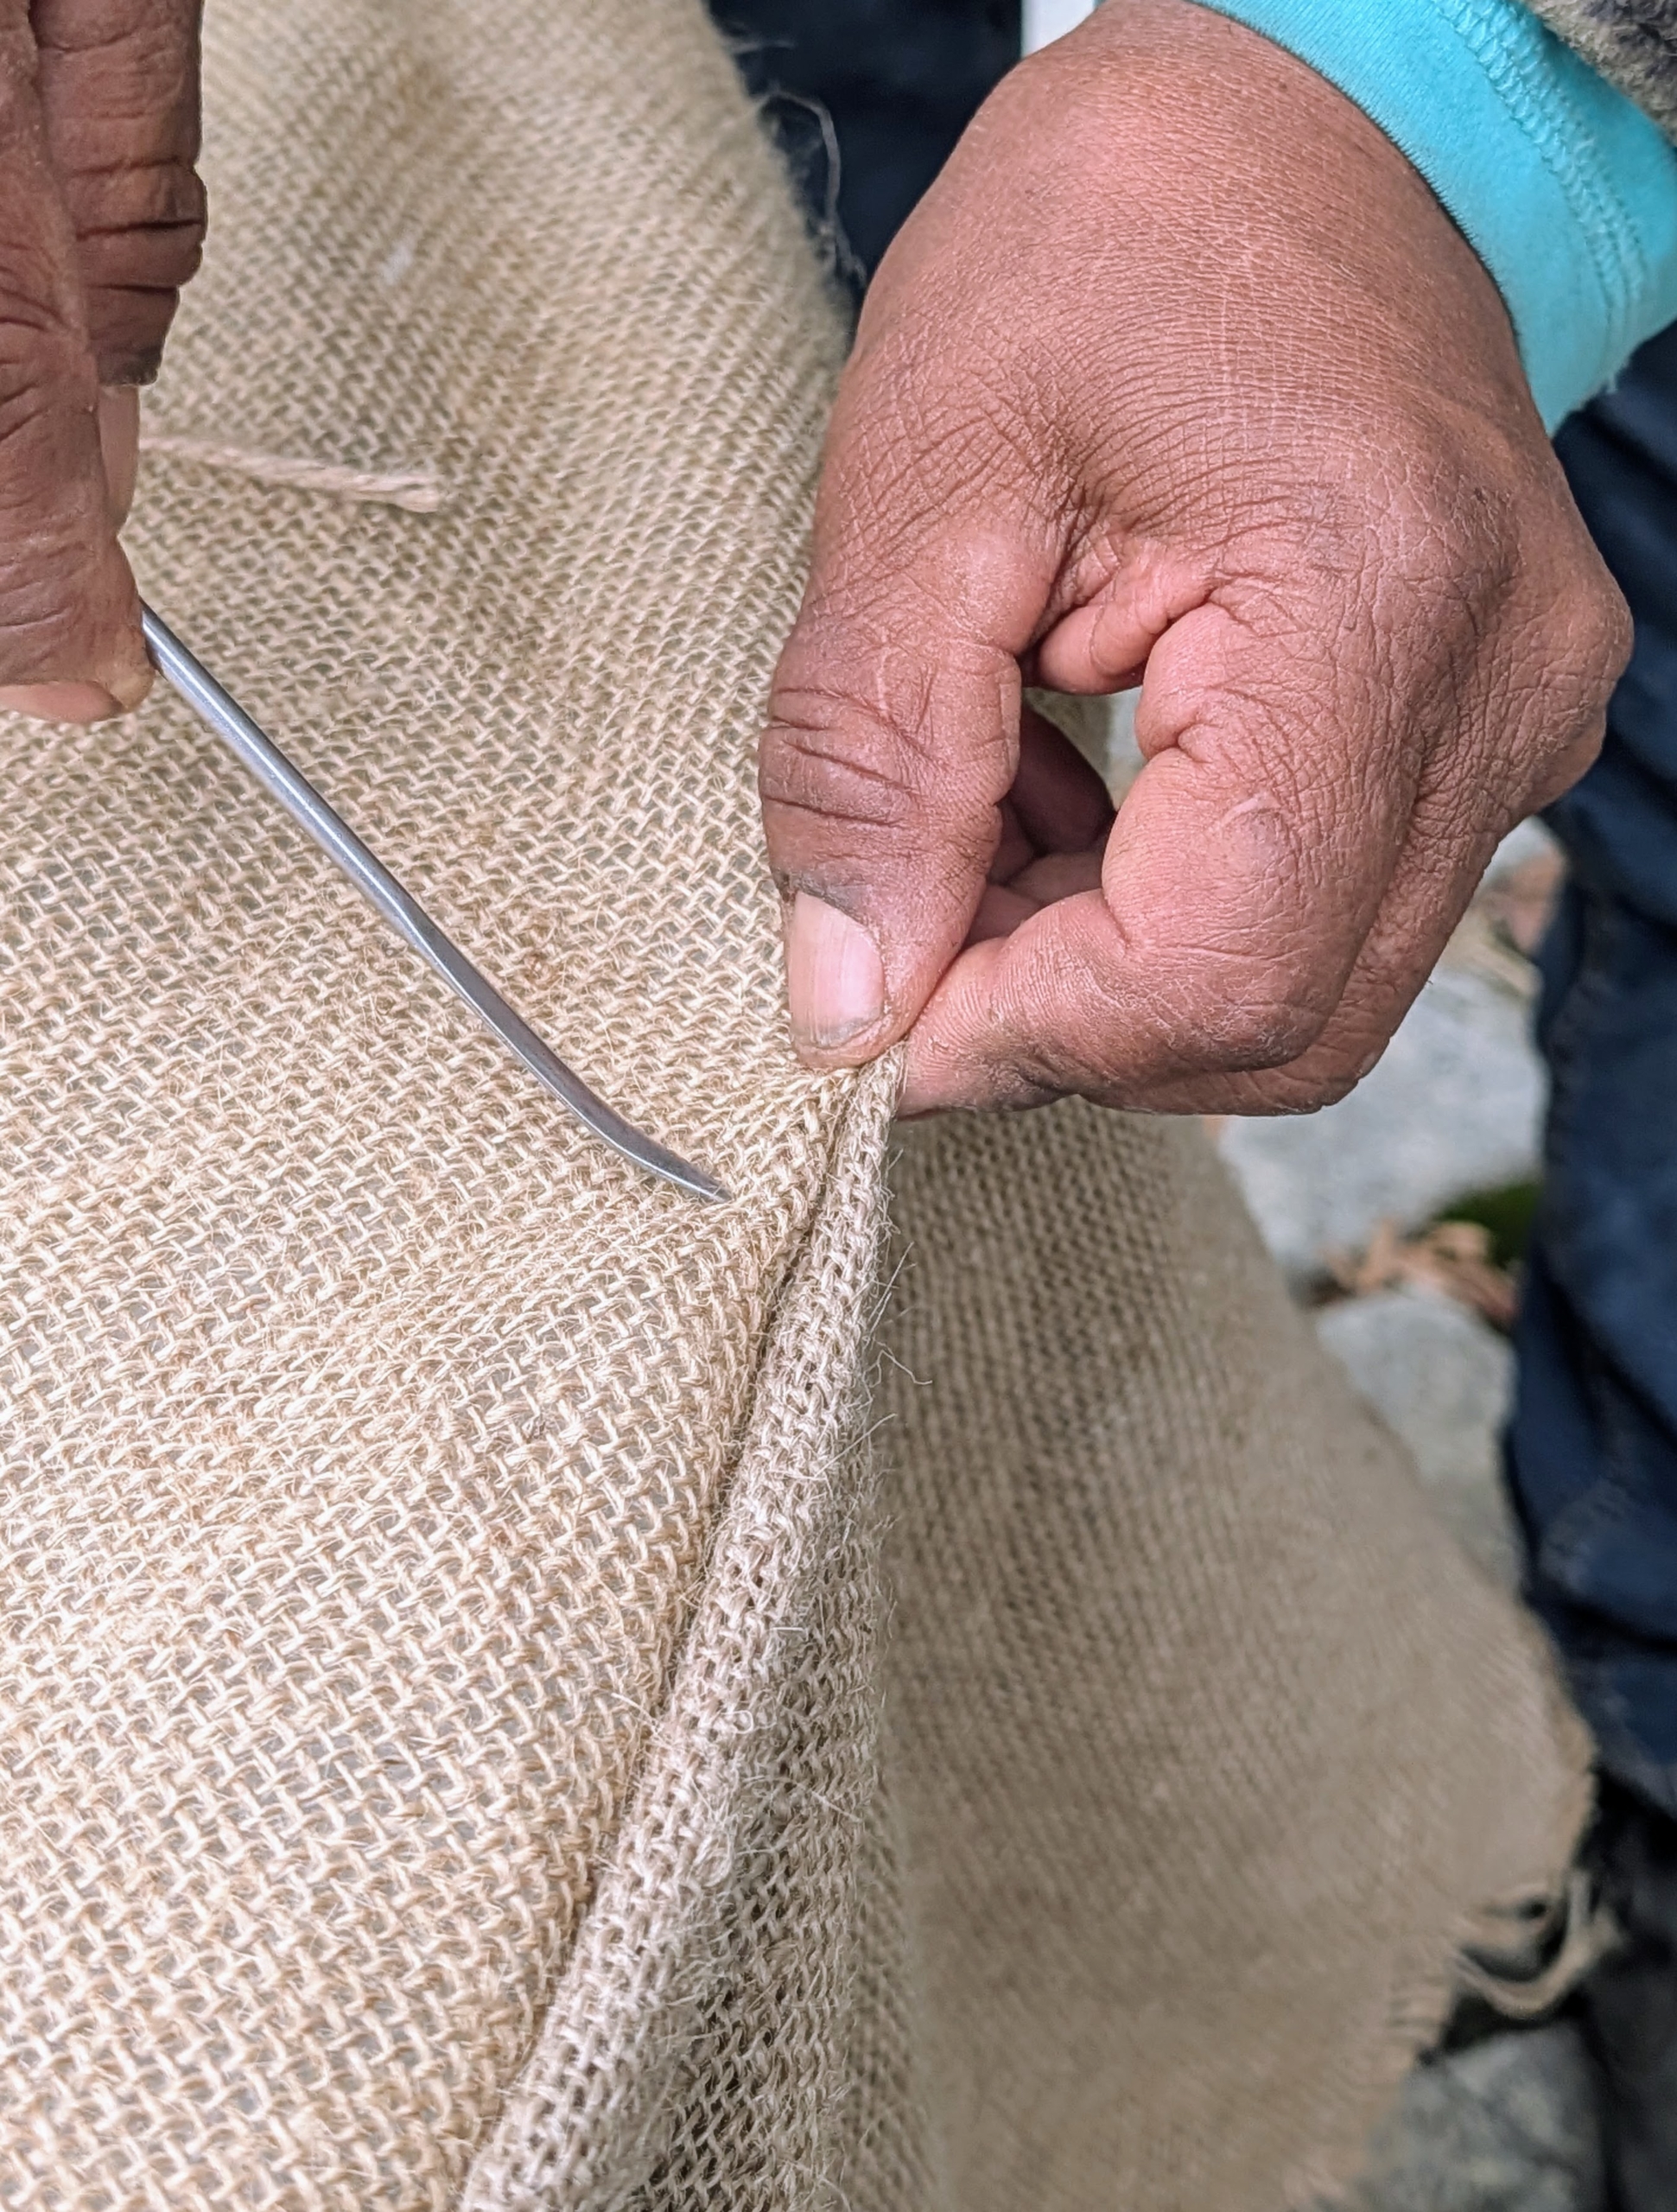
These needles are specially designed for sewing jute. These five-inch long needles have large eyes and bent tips. Every member of my outdoor grounds crew has a needle. Pete stitches the top of the fabric together pulling the burlap snug.
Then he sews the opening closed. There is a lot of tucking involved to make it neat, and a lot of stitching and knotting, but my crew has been covering these pieces with burlap every year for quite some time – they are all excellent burlap sewers.
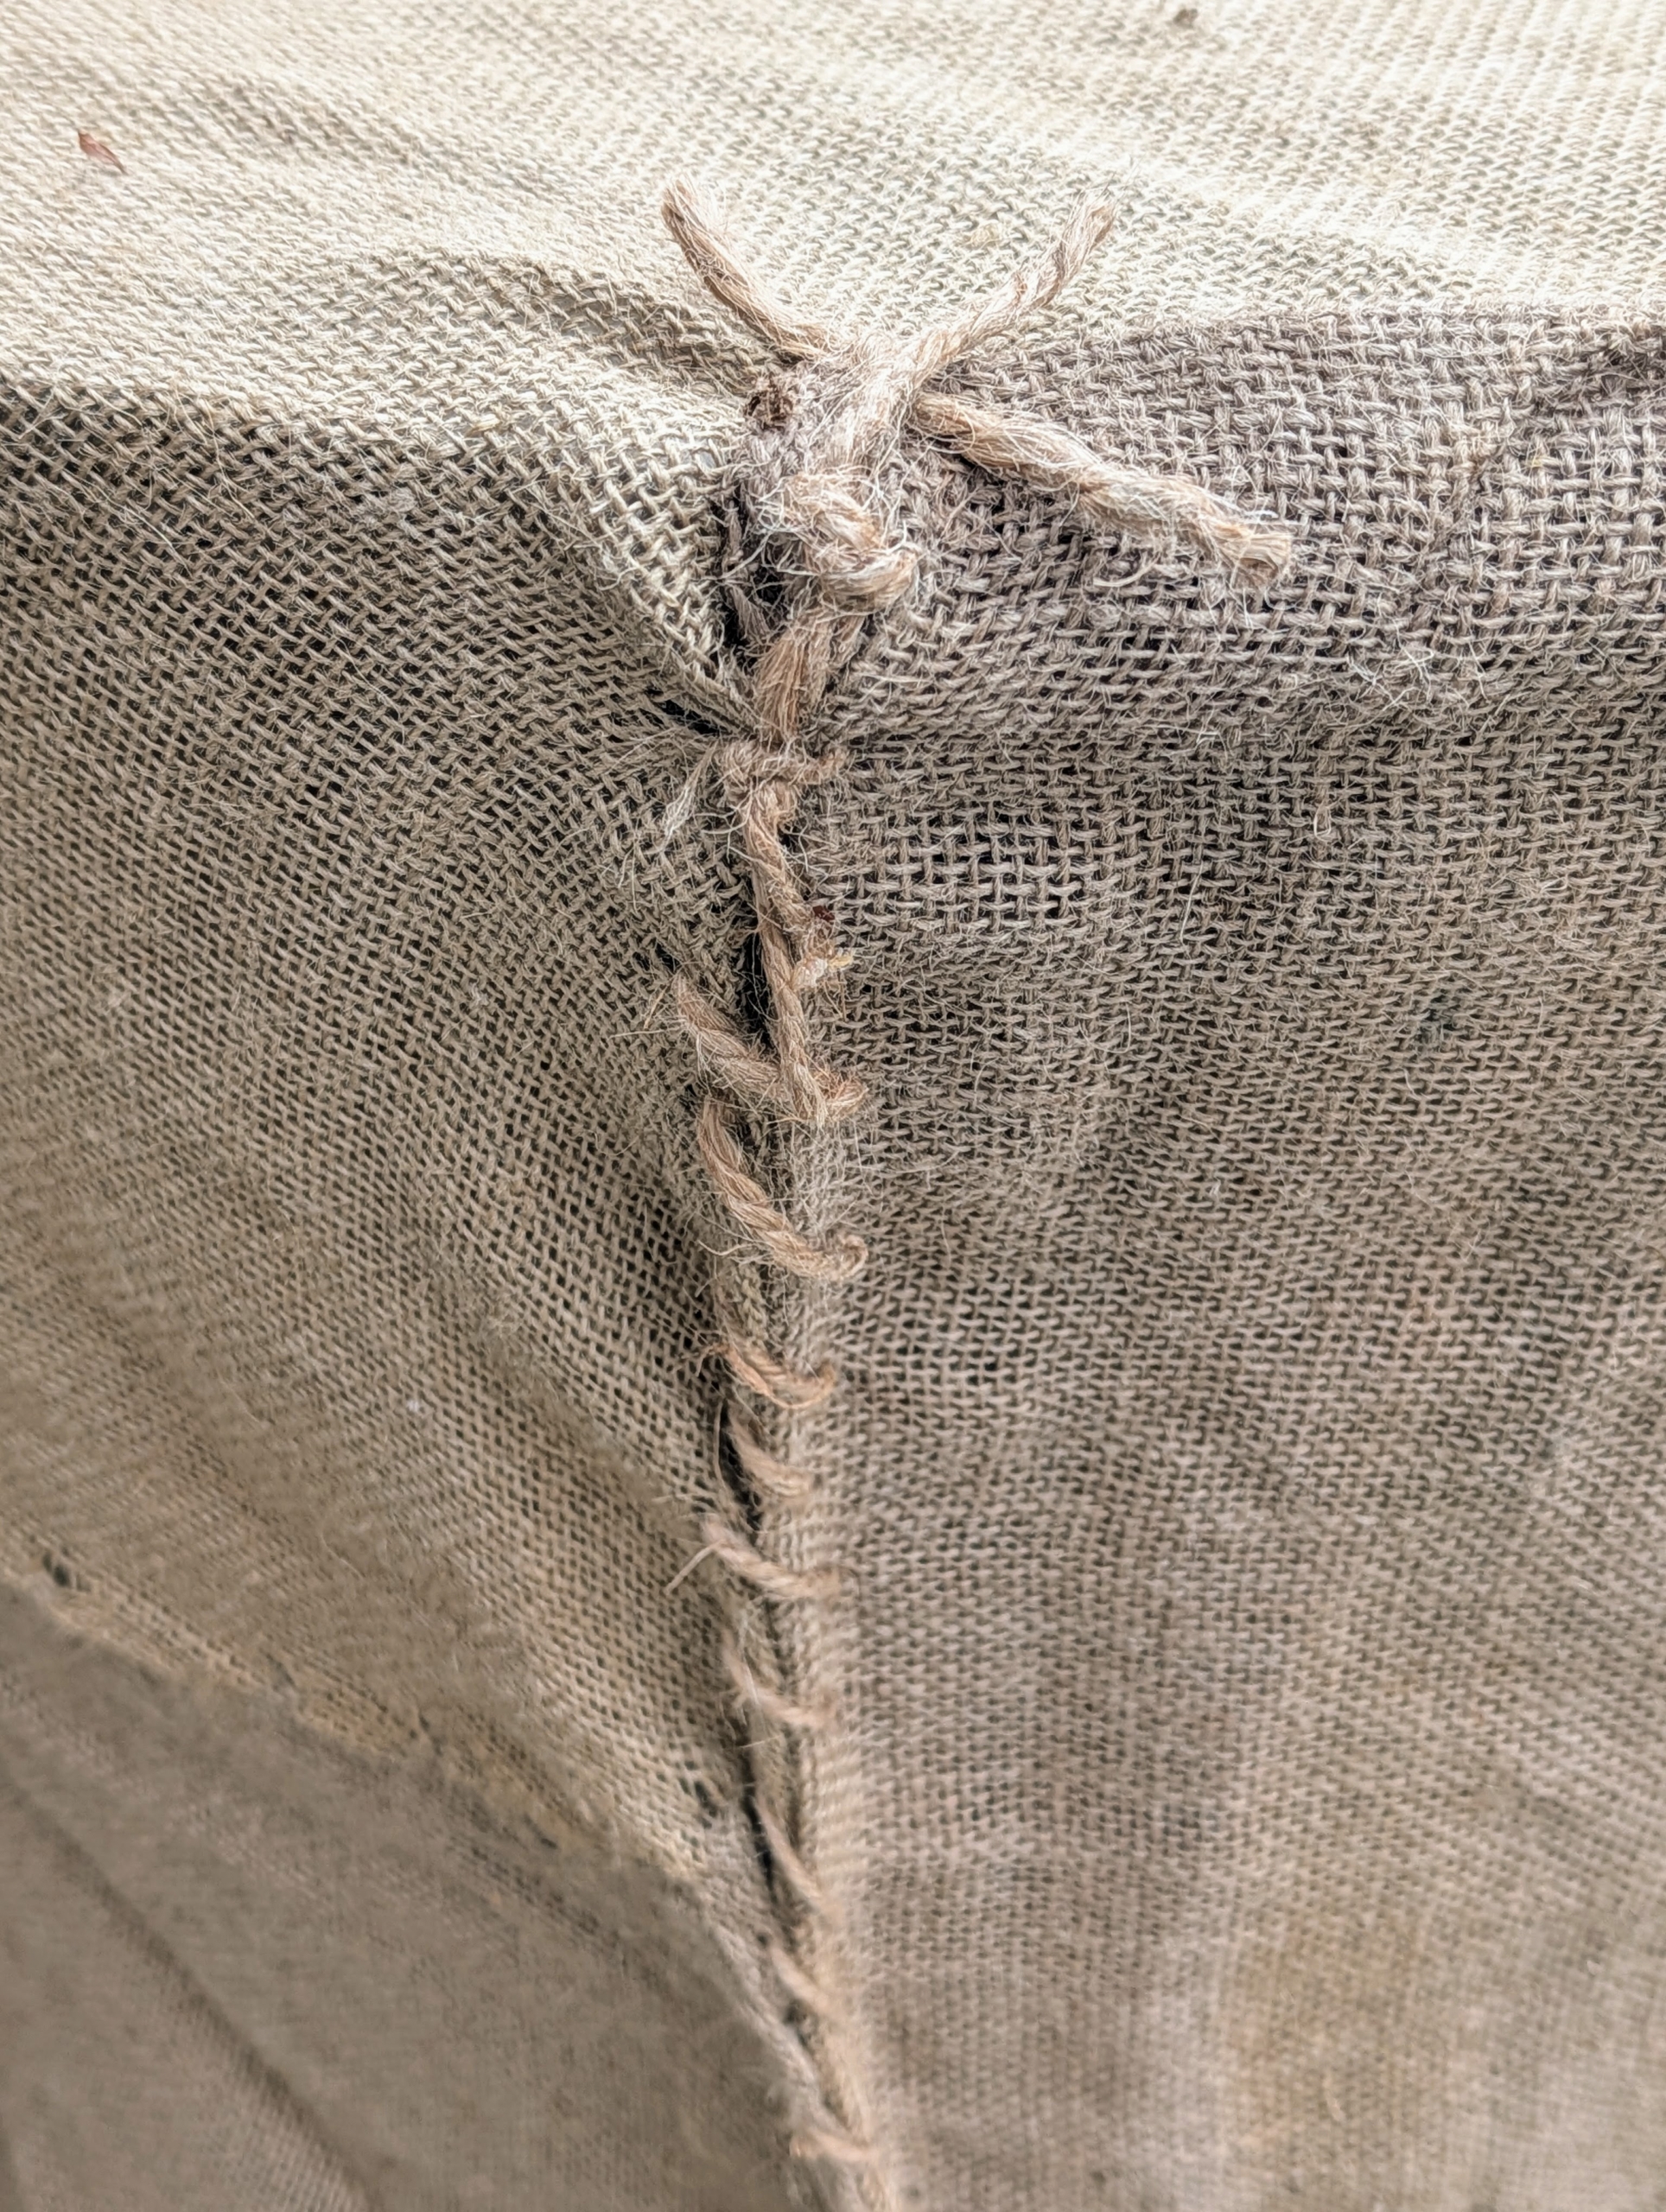
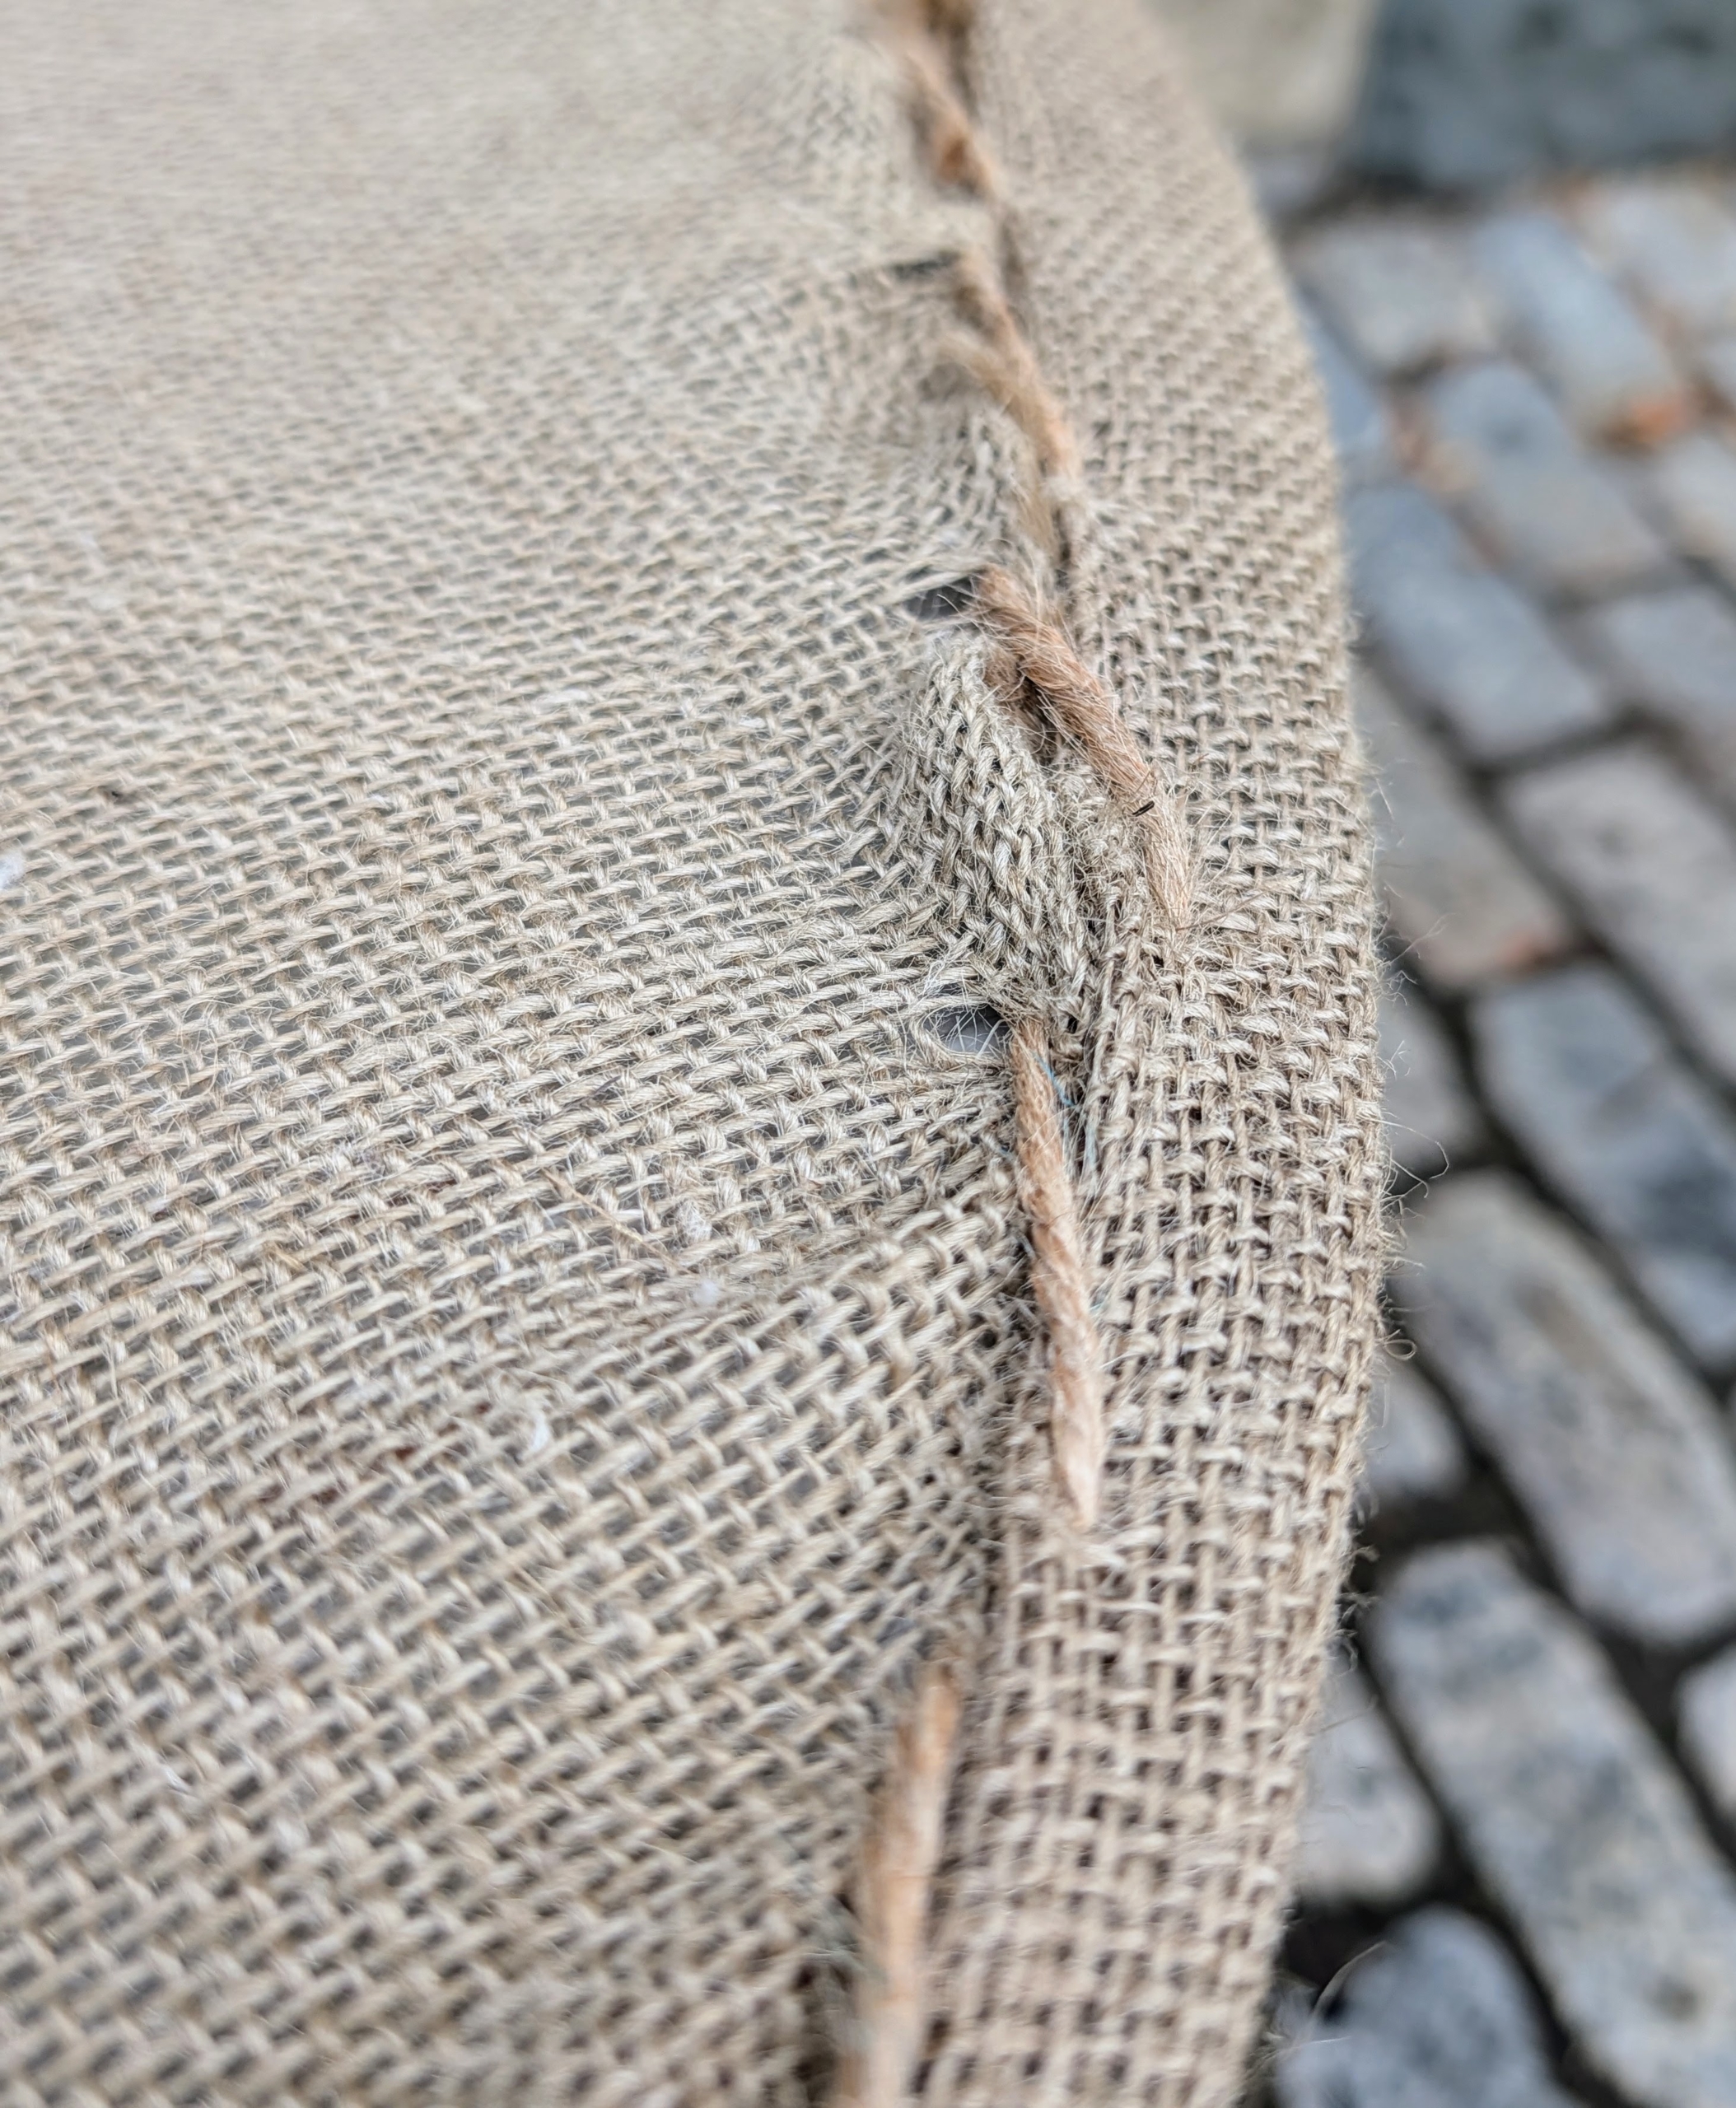
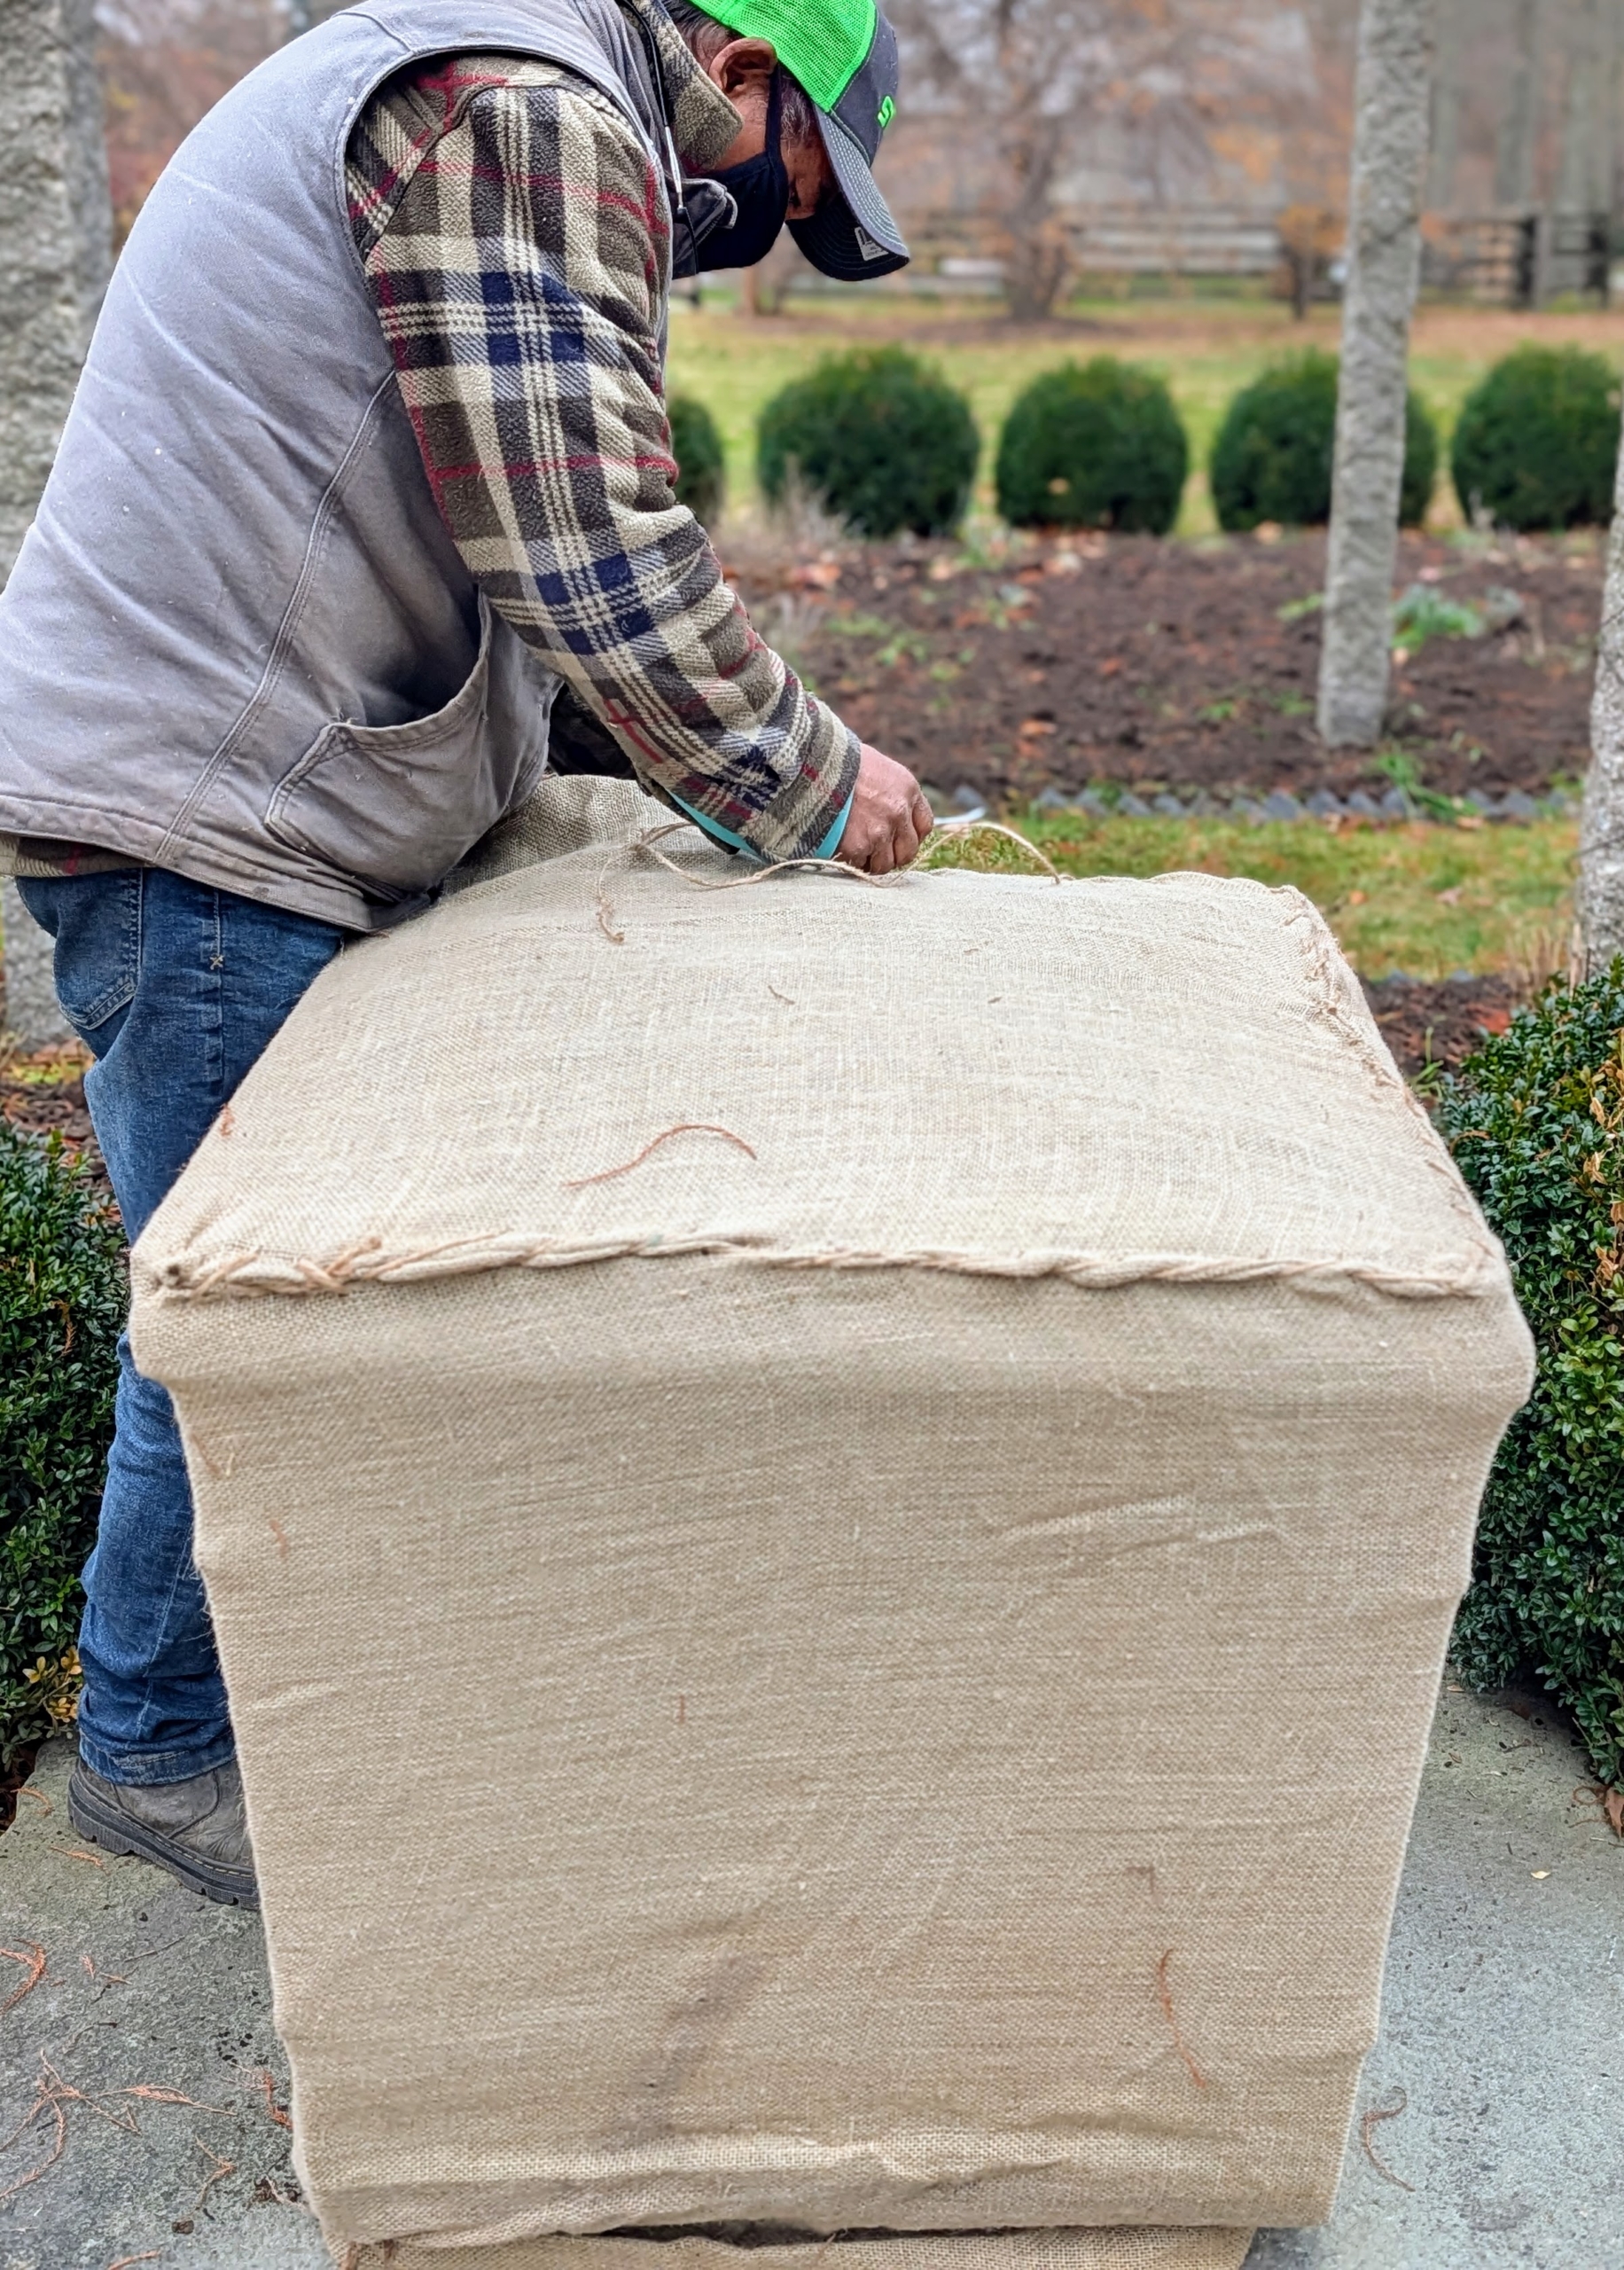
Here is the opening stitched closed. The burlap should be sewn tightly, but with some space for air circulation.
And here is the top – secured and ready for the elements. Burlap is so useful for many gardening projects – it is inexpensive, biodegradable, and the color and texture of burlap is so pretty to use.
After a group is all done, they look like pieces of burlap art. Here is the front of the stable office – the urns and birdbaths look so neat and tidy.
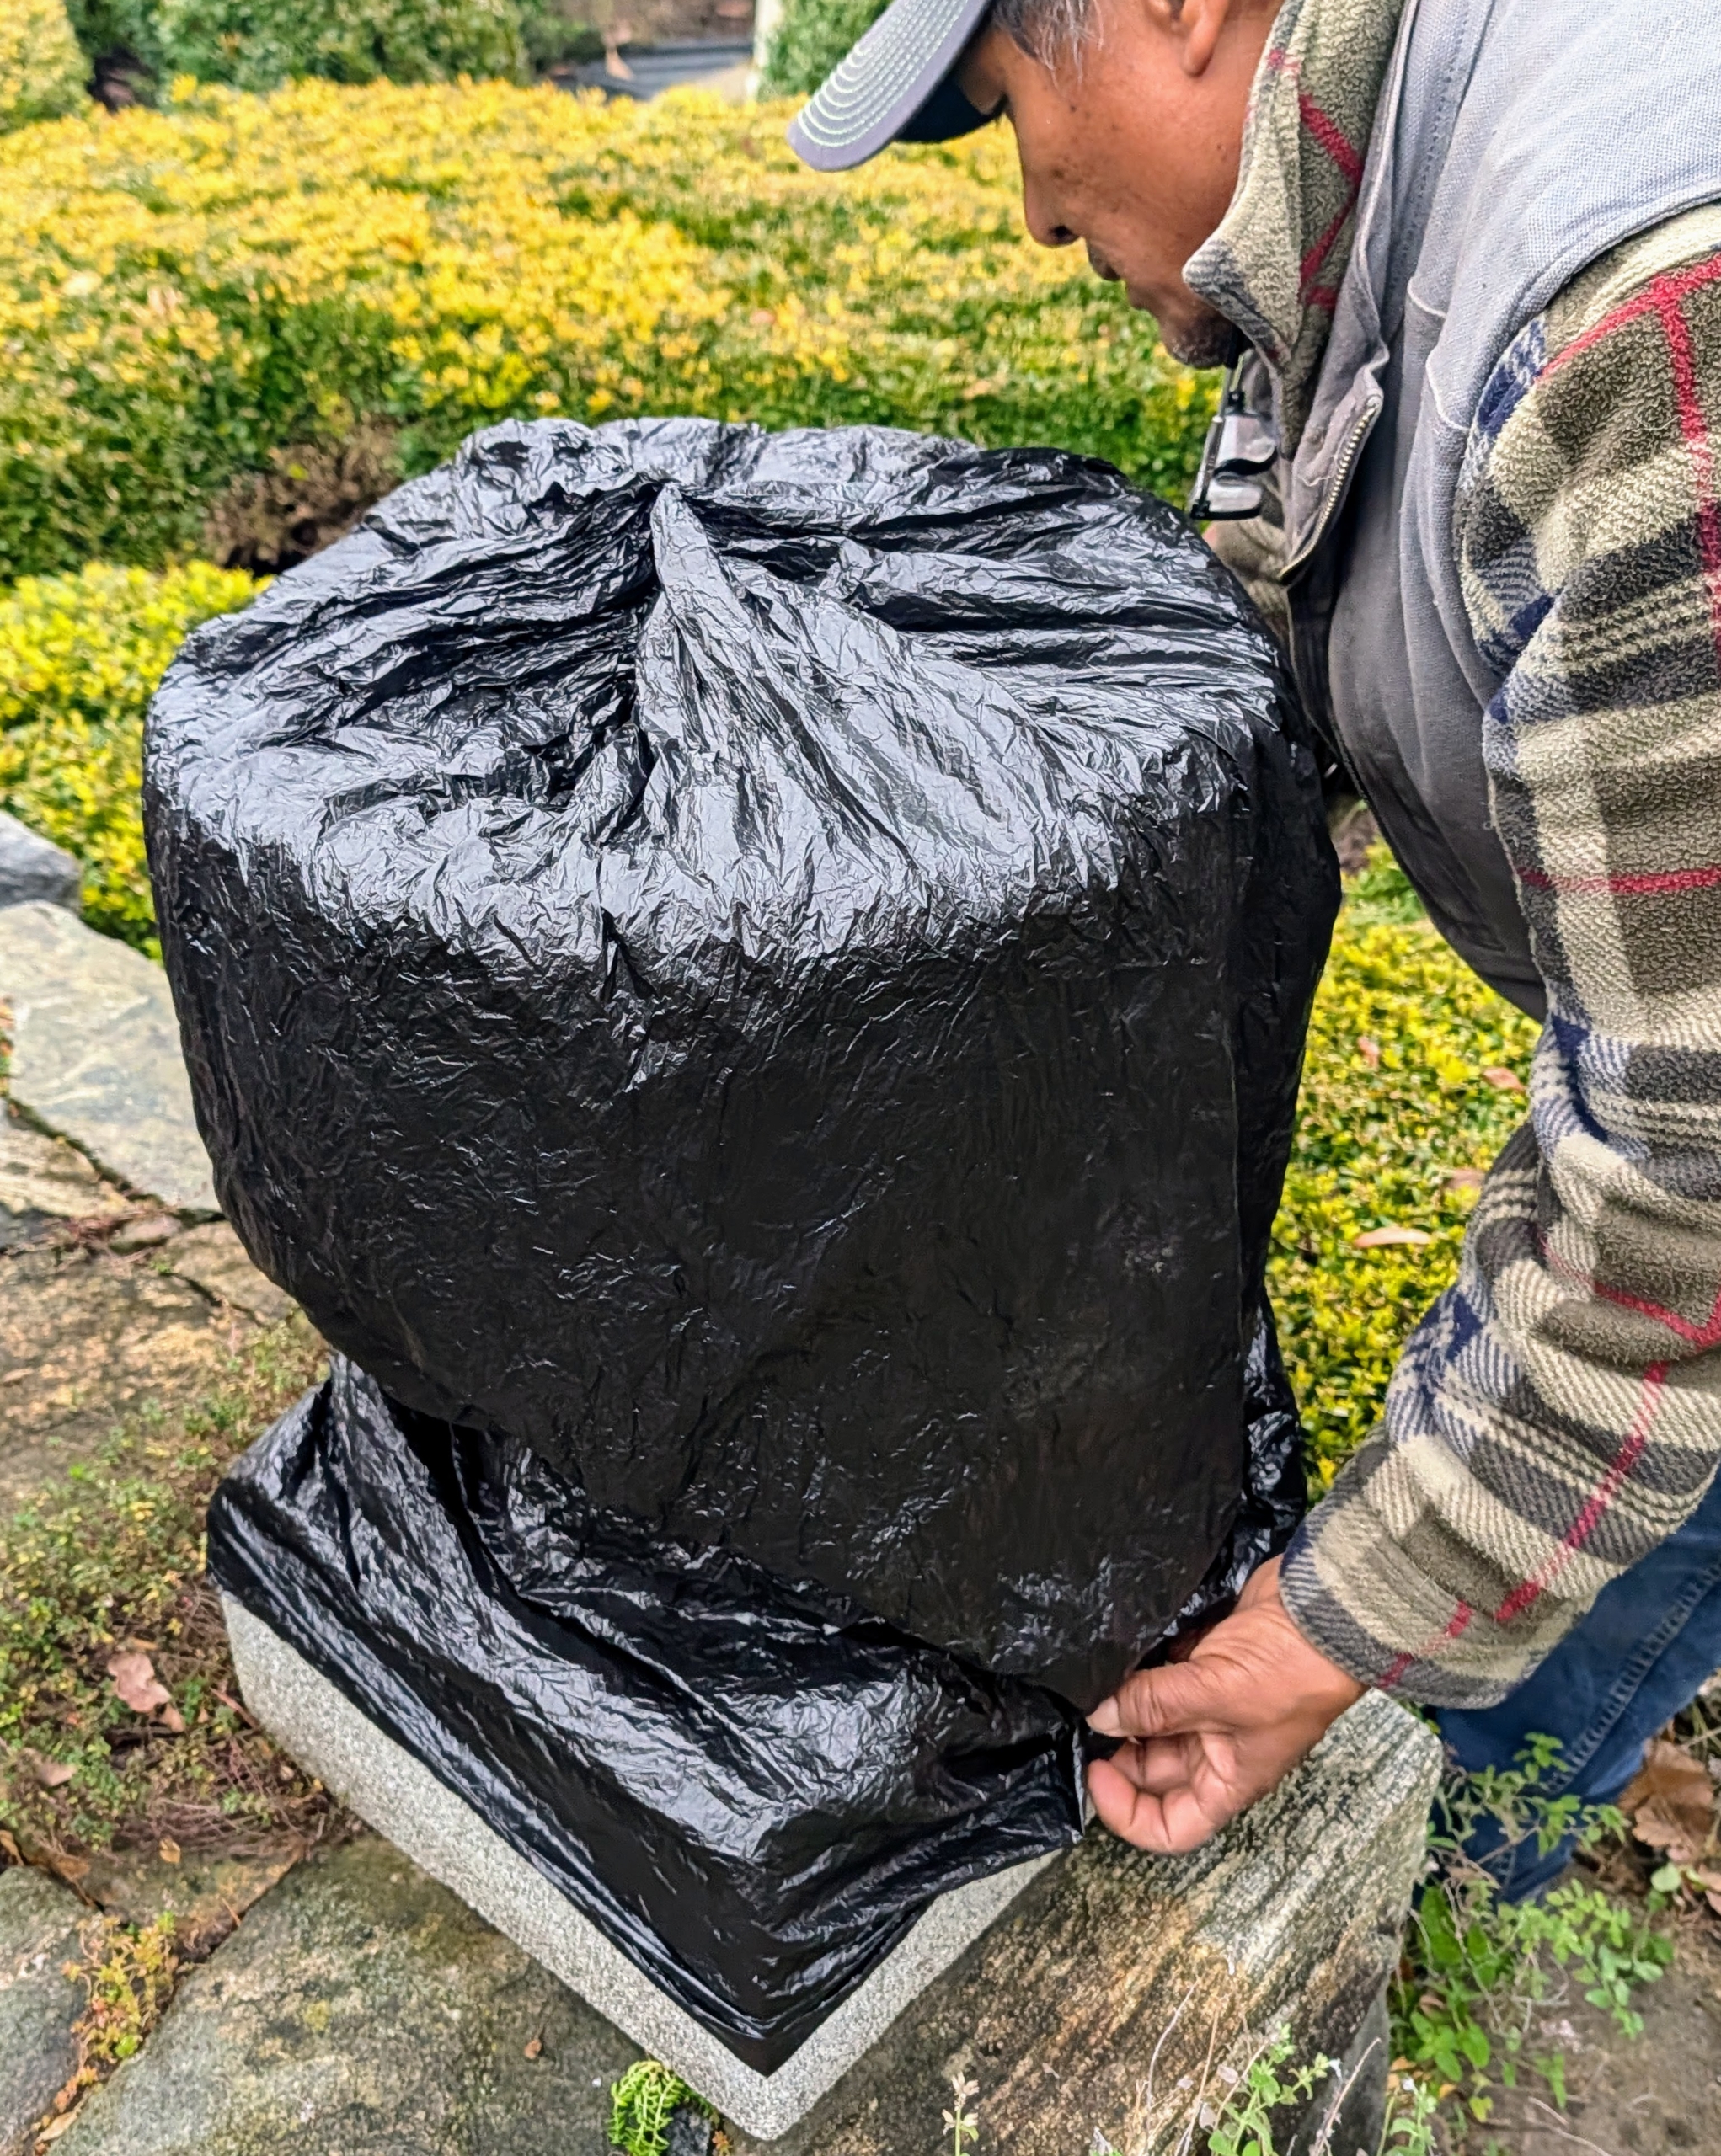
Pete moves on to my Winter House terrace parterre. I have pairs of smaller stone urns flanking each entrance to the area.
These containers are covered first in black plastic garbage bags.
This piece of burlap is being reused from last year also. I always encourage the crew to reuse and repurpose.
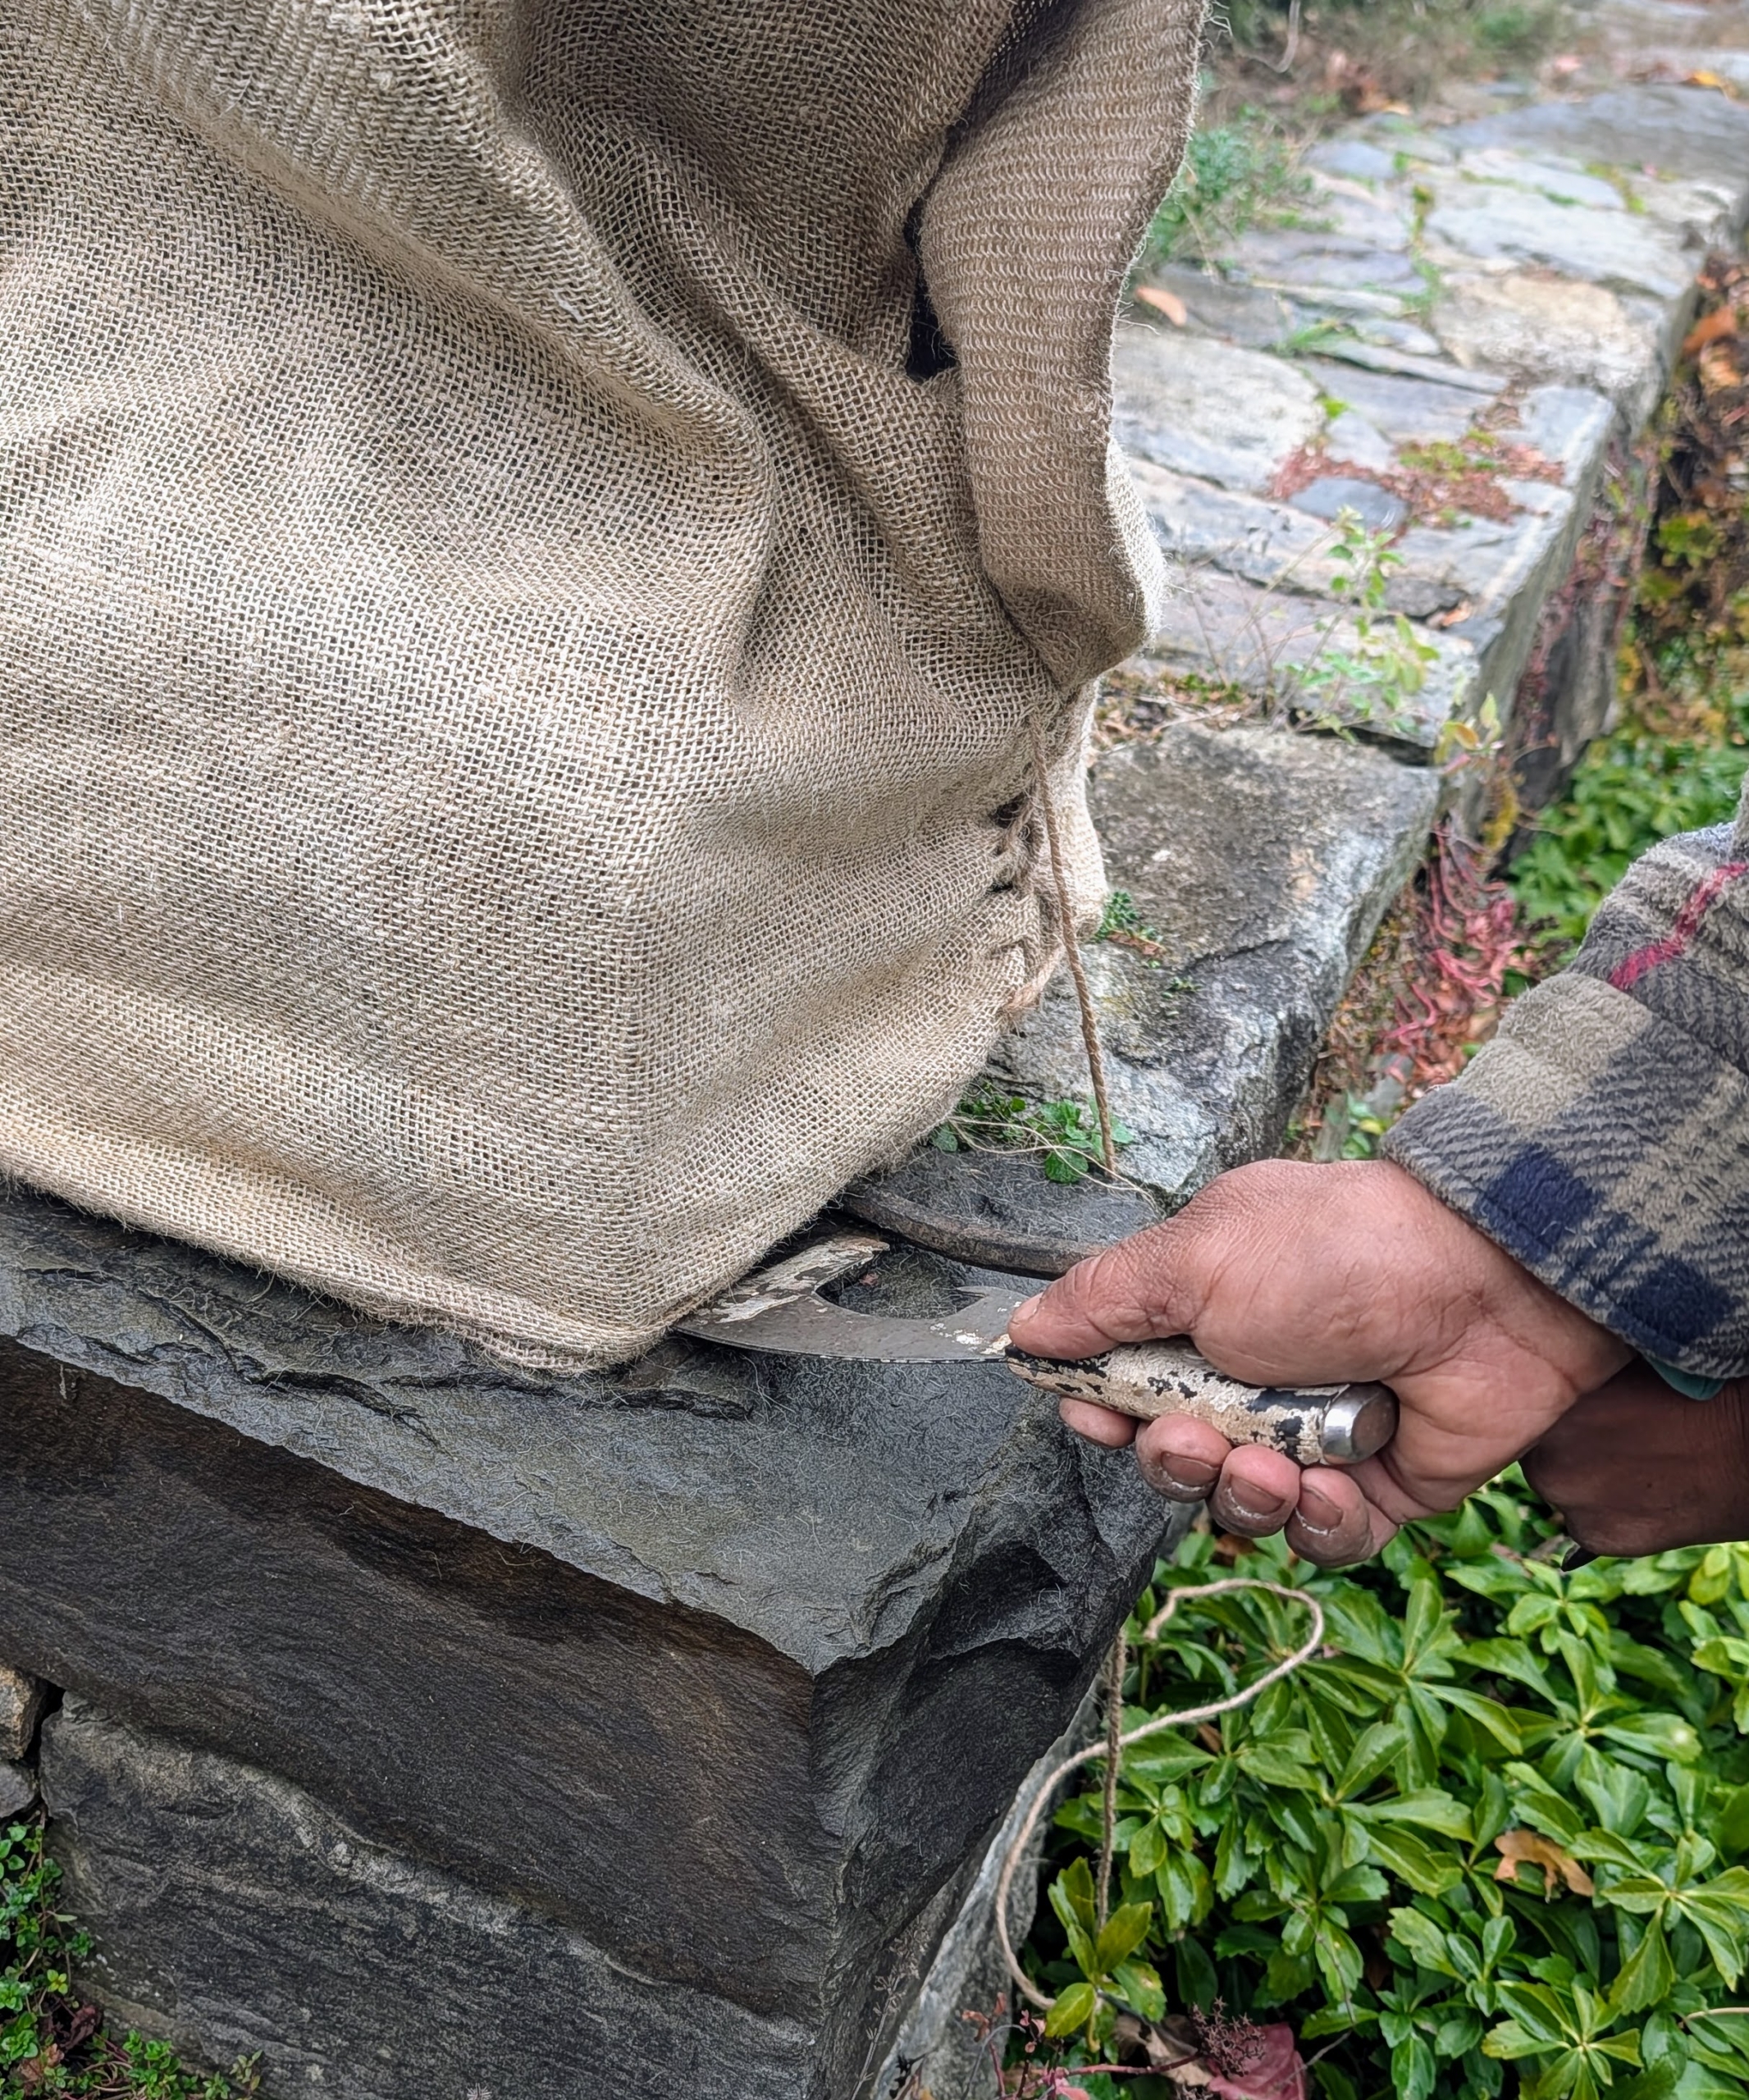
Here Pete uses a flat scraper to tuck the burlap underneath.
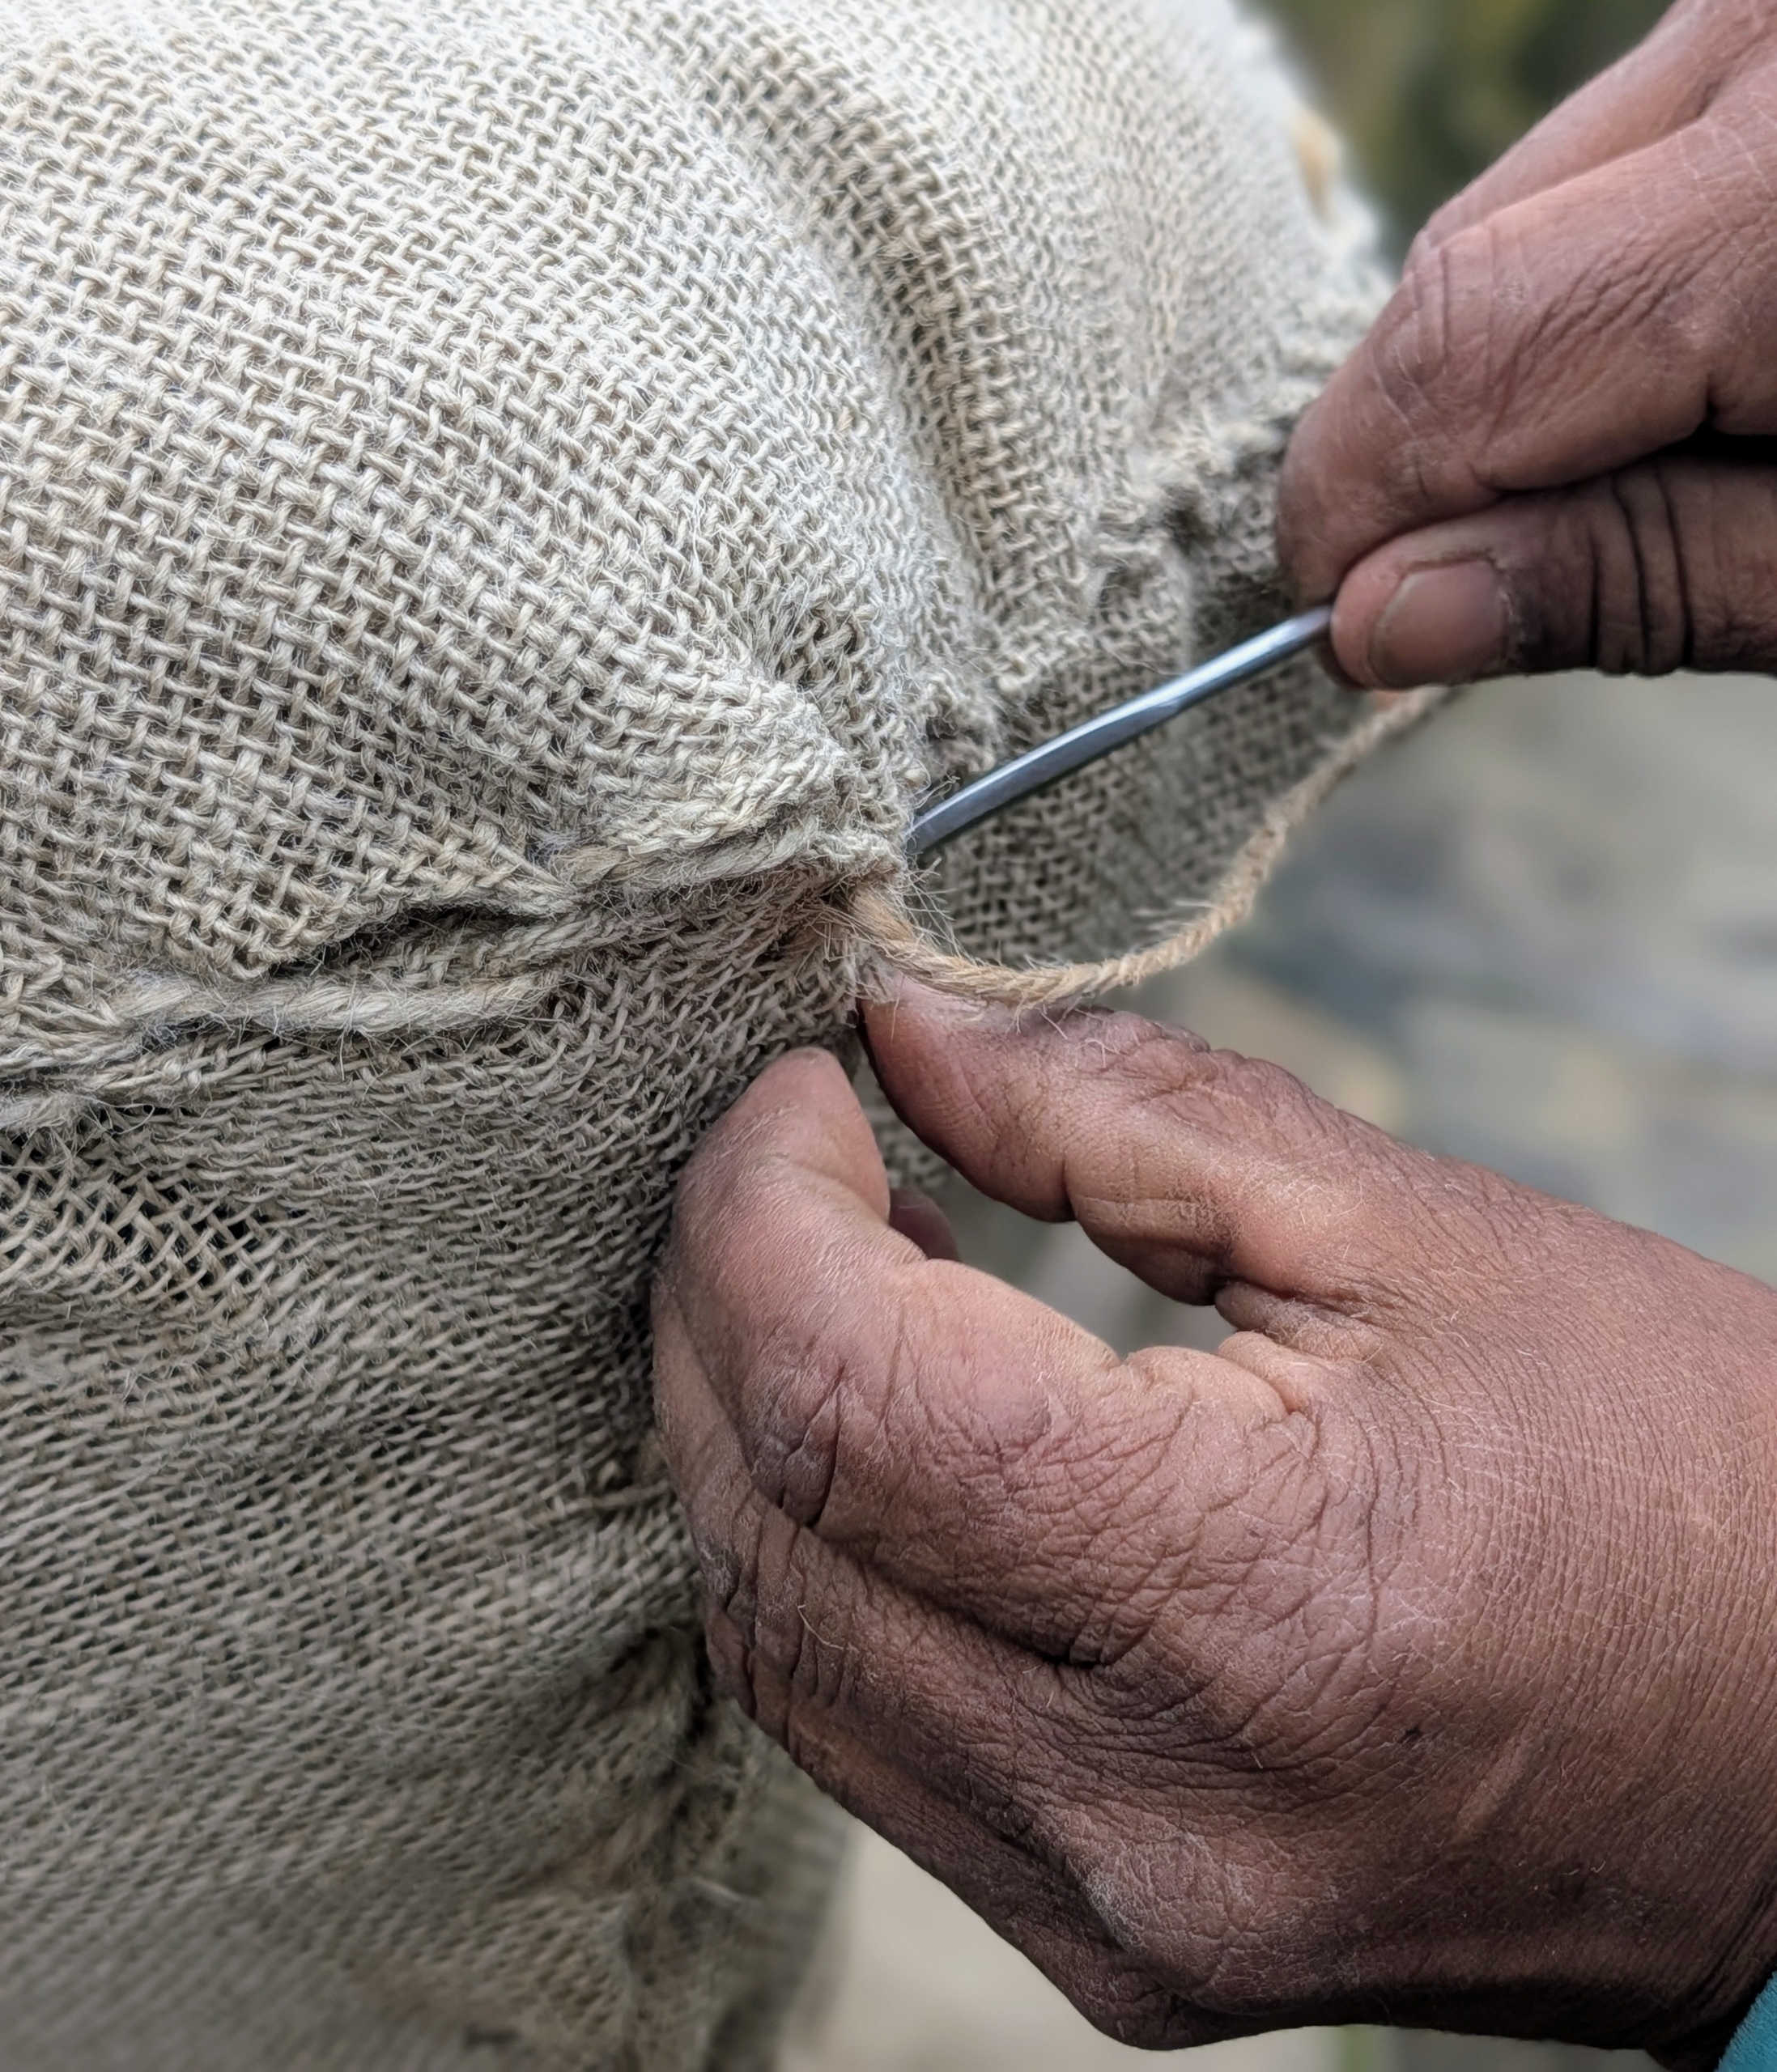
Then Pete pulls it taut at the opening and sews it closed. If needed, Pete starts with small stitches and knots at the top and the bottom just to keep the fabric in place.
Then he sews the burlap along the open edge at the top.
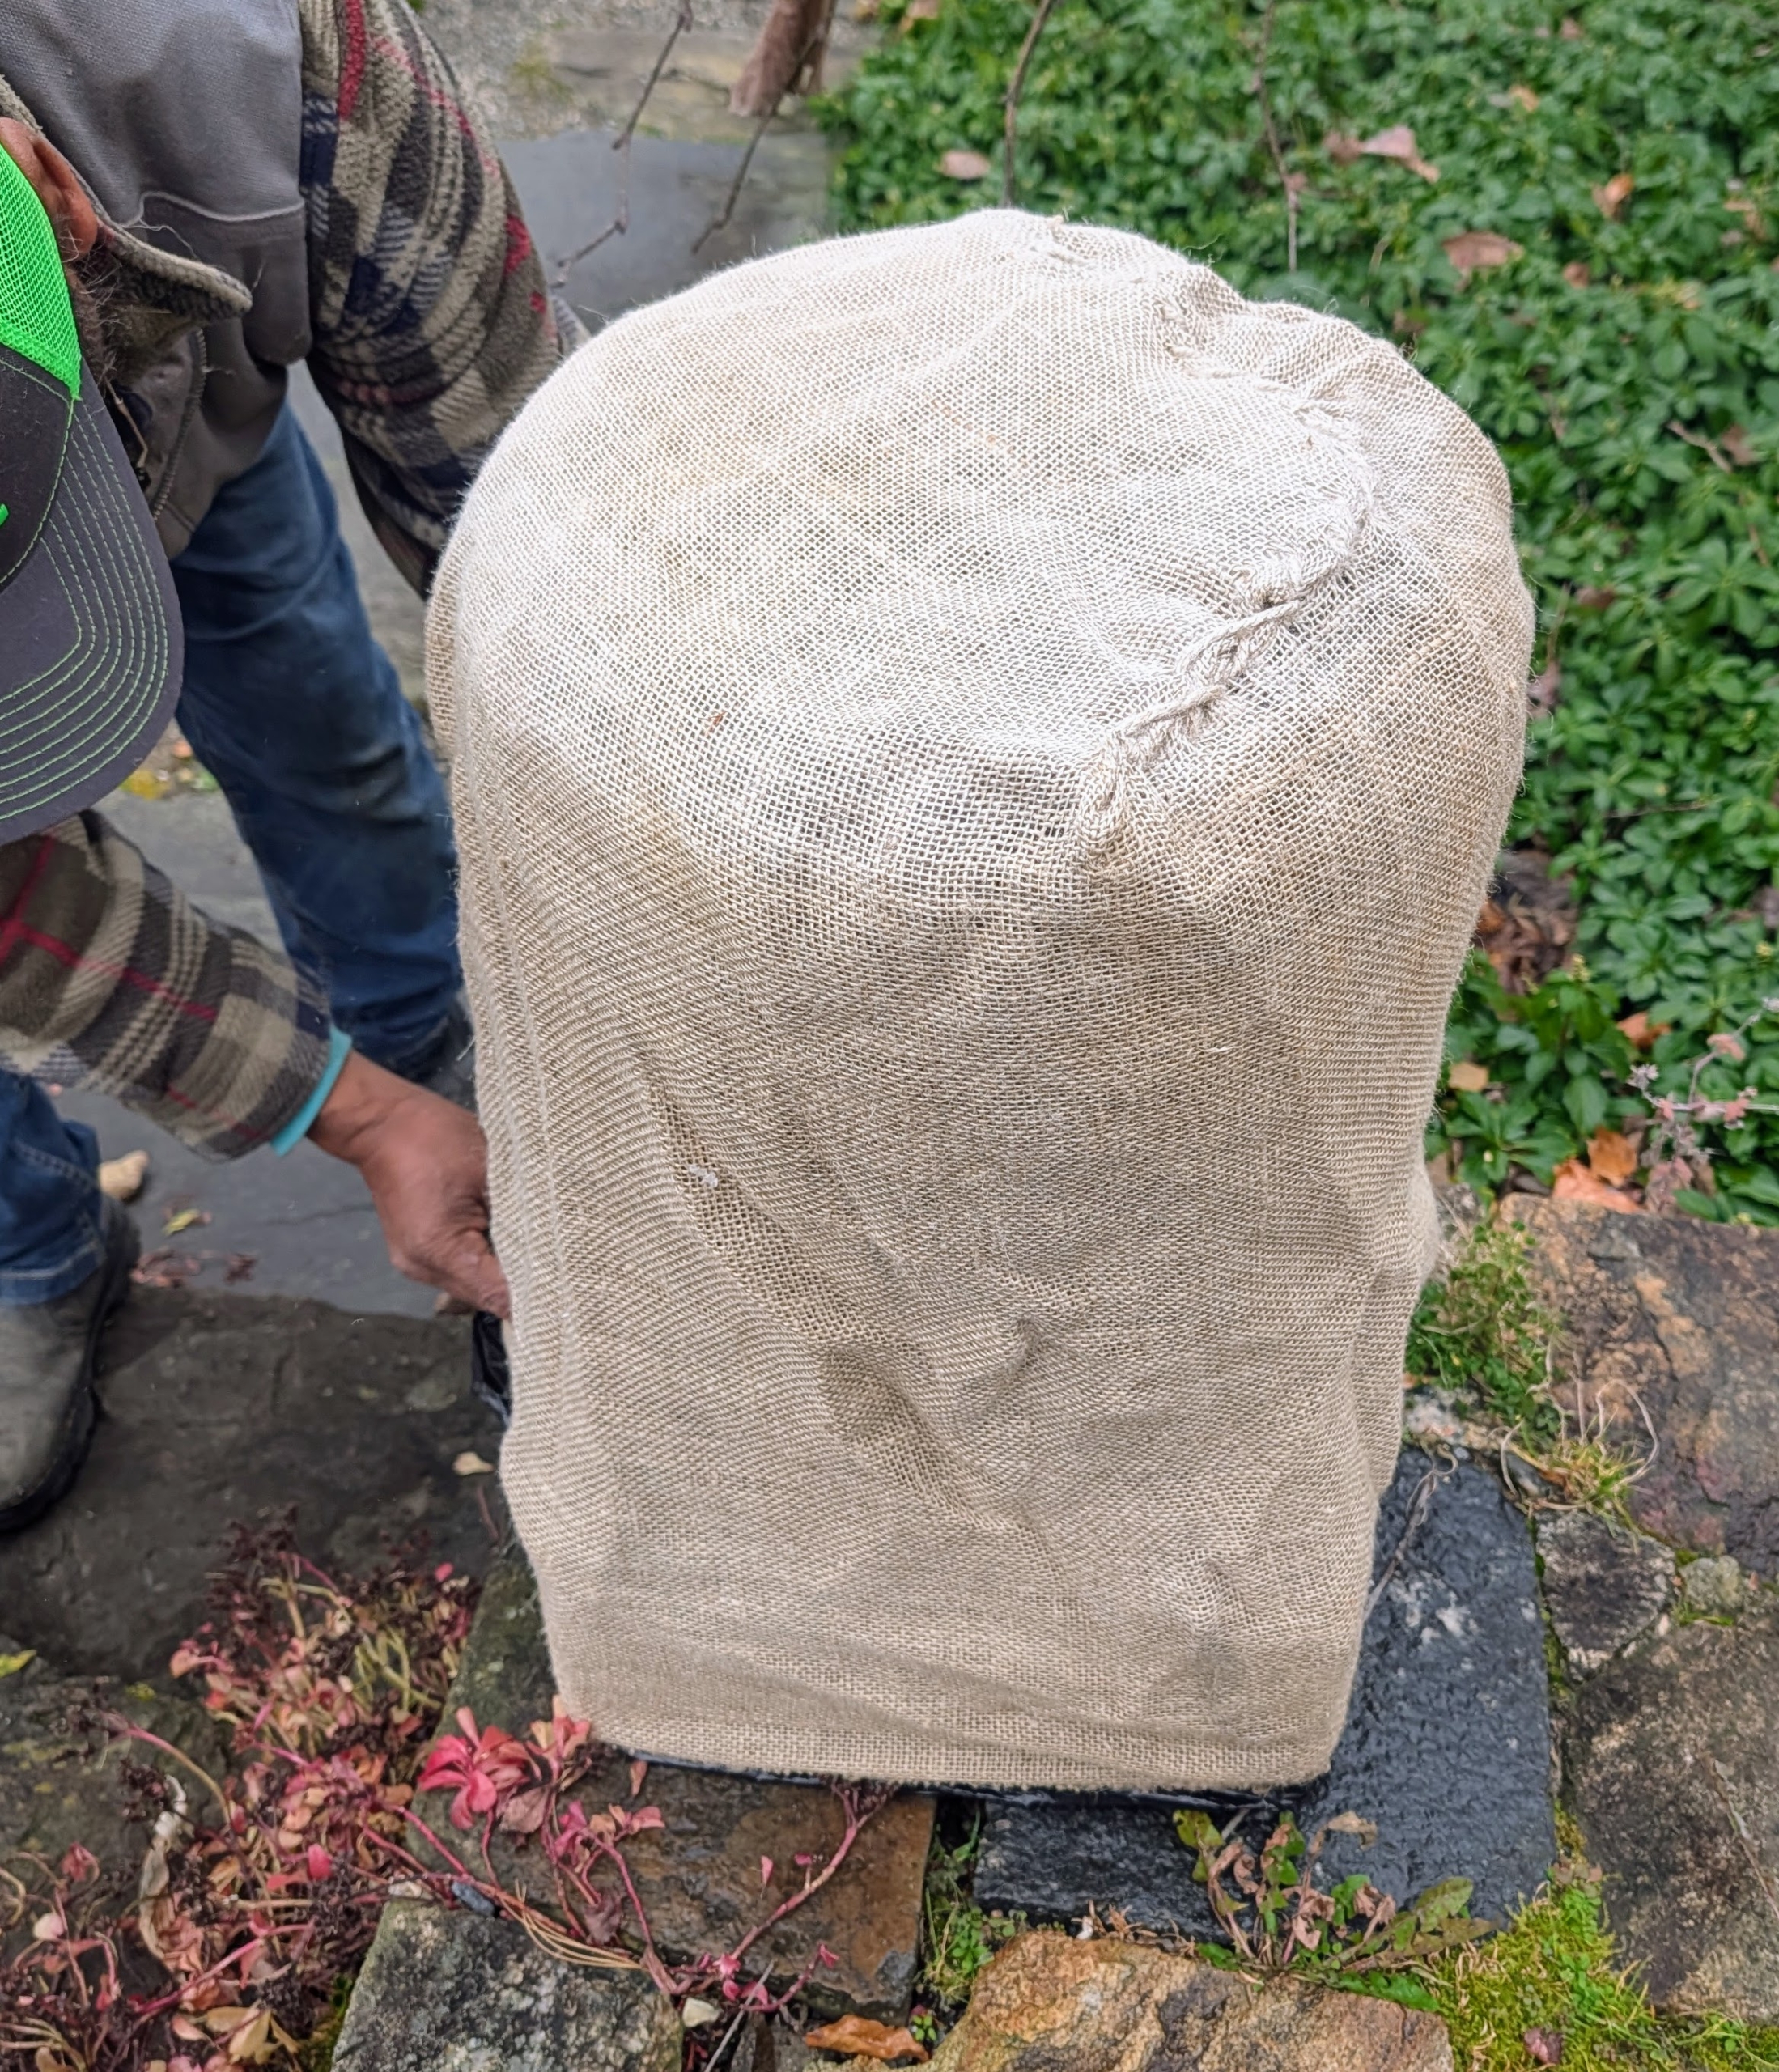
Here is the planter covered. It will stay here for the duration of the season until it is in uncovered and planted again in spring.
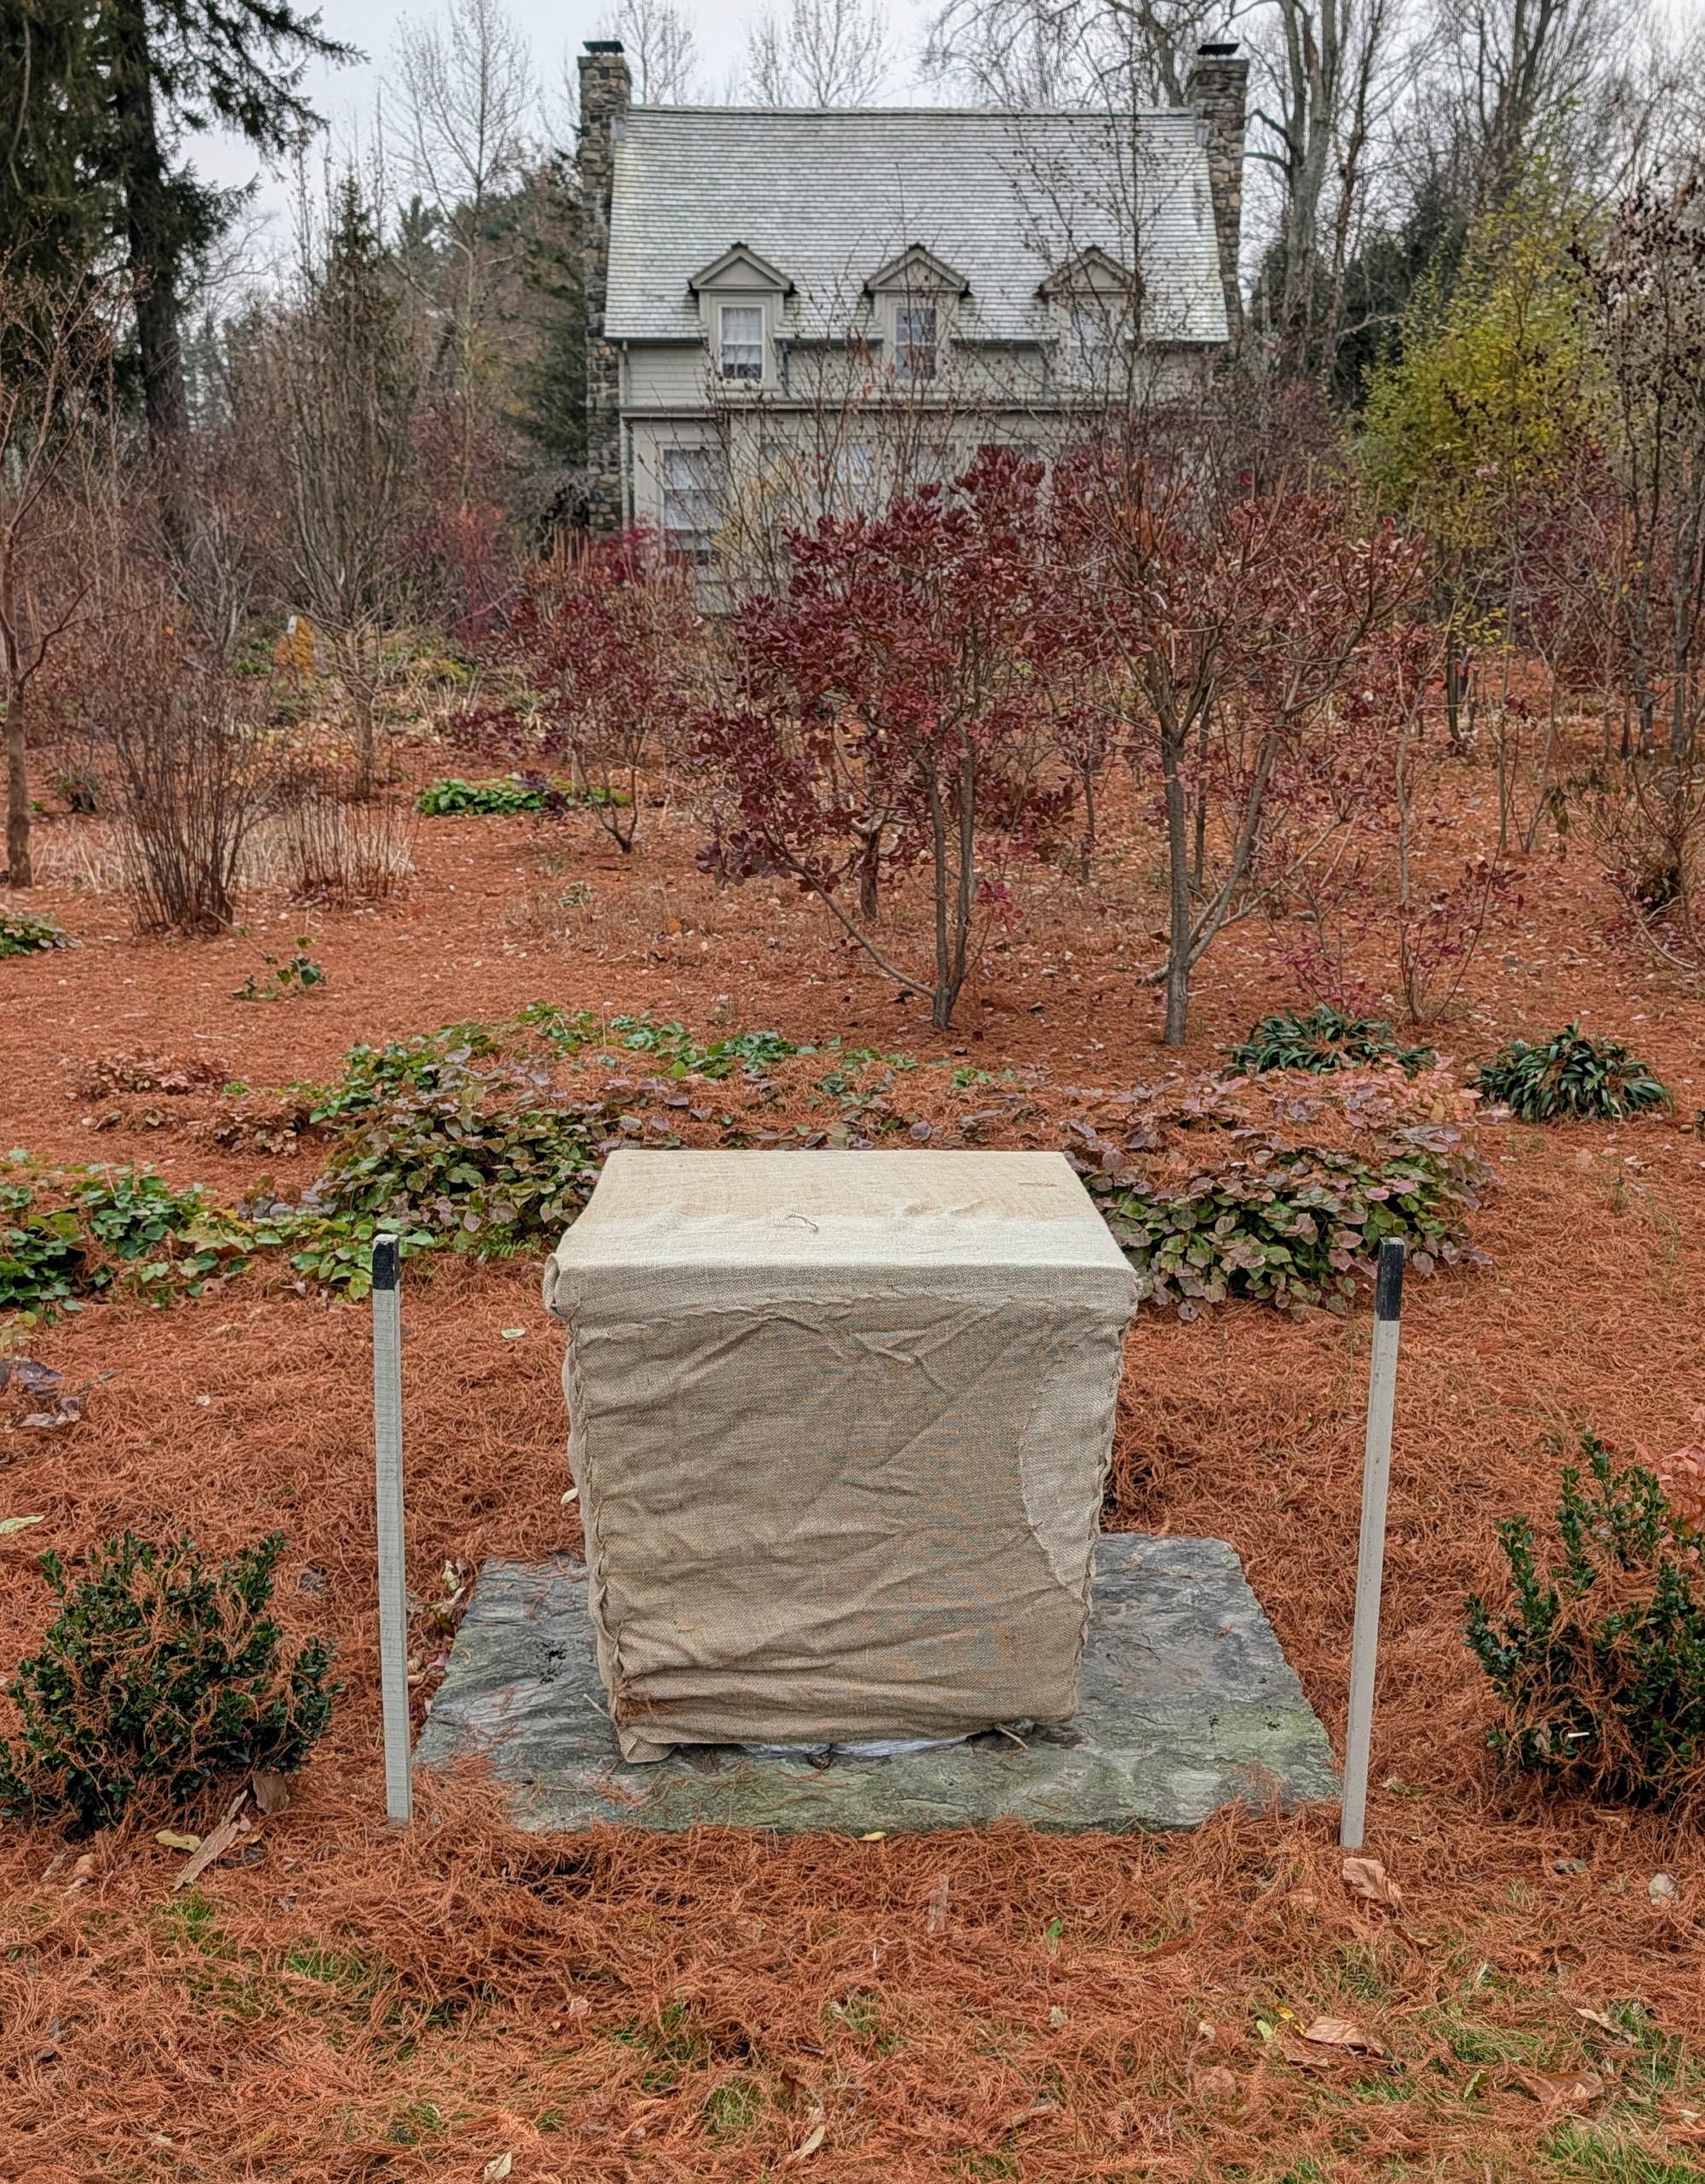
The same process is used for the giant planters along the carriage road under my bald cypress trees. Pete covers the top with a piece of plywood and then wraps the entire planter with strong plastic.
Here is Pete wrapping the entire vessel with burlap. It is always a good idea to wrap it first to estimate how much is needed and then cut off any excess. One doesn’t want to accidentally cut too much.
And then like a present, Pete tucks the fabric and pulls it snug before sewing the ends together.
Because these containers will be exposed to winter elements for several months, Pete makes sure to do the task very carefully.
The top is also pulled tight and sewn closed.
The edges are all folded neatly before sewing. After all, it will also be seen by visitors who come by.
And here it is all covered. Depending on the size of the vessel, it takes about 20 to 30 minutes to cover one of these ornamental containers. On this day, Pete completed more than a dozen. There is still a lot of “burlapping” to do, but it is comforting to know that all my valuable planters will be protected for the season. Do you cover your outdoor planters?
Anyone who owns a horse knows how important it is to stay up-to-date on all the ever-changing trends and products in the horse industry.
Earlier this month, my stable team attended the Equine Affaire in Springfield, Massachusetts, North America's premiere equestrian exposition. First established in 1993 for the purpose of creating a first-class, education-oriented horsemen's convention, the event offers attendees the opportunity to talk to trainers, coaches, and other experts, participate in various clinics, meet dozens of breeds of horses from around the world, and shop the many vendors.
Here are some photos, enjoy.
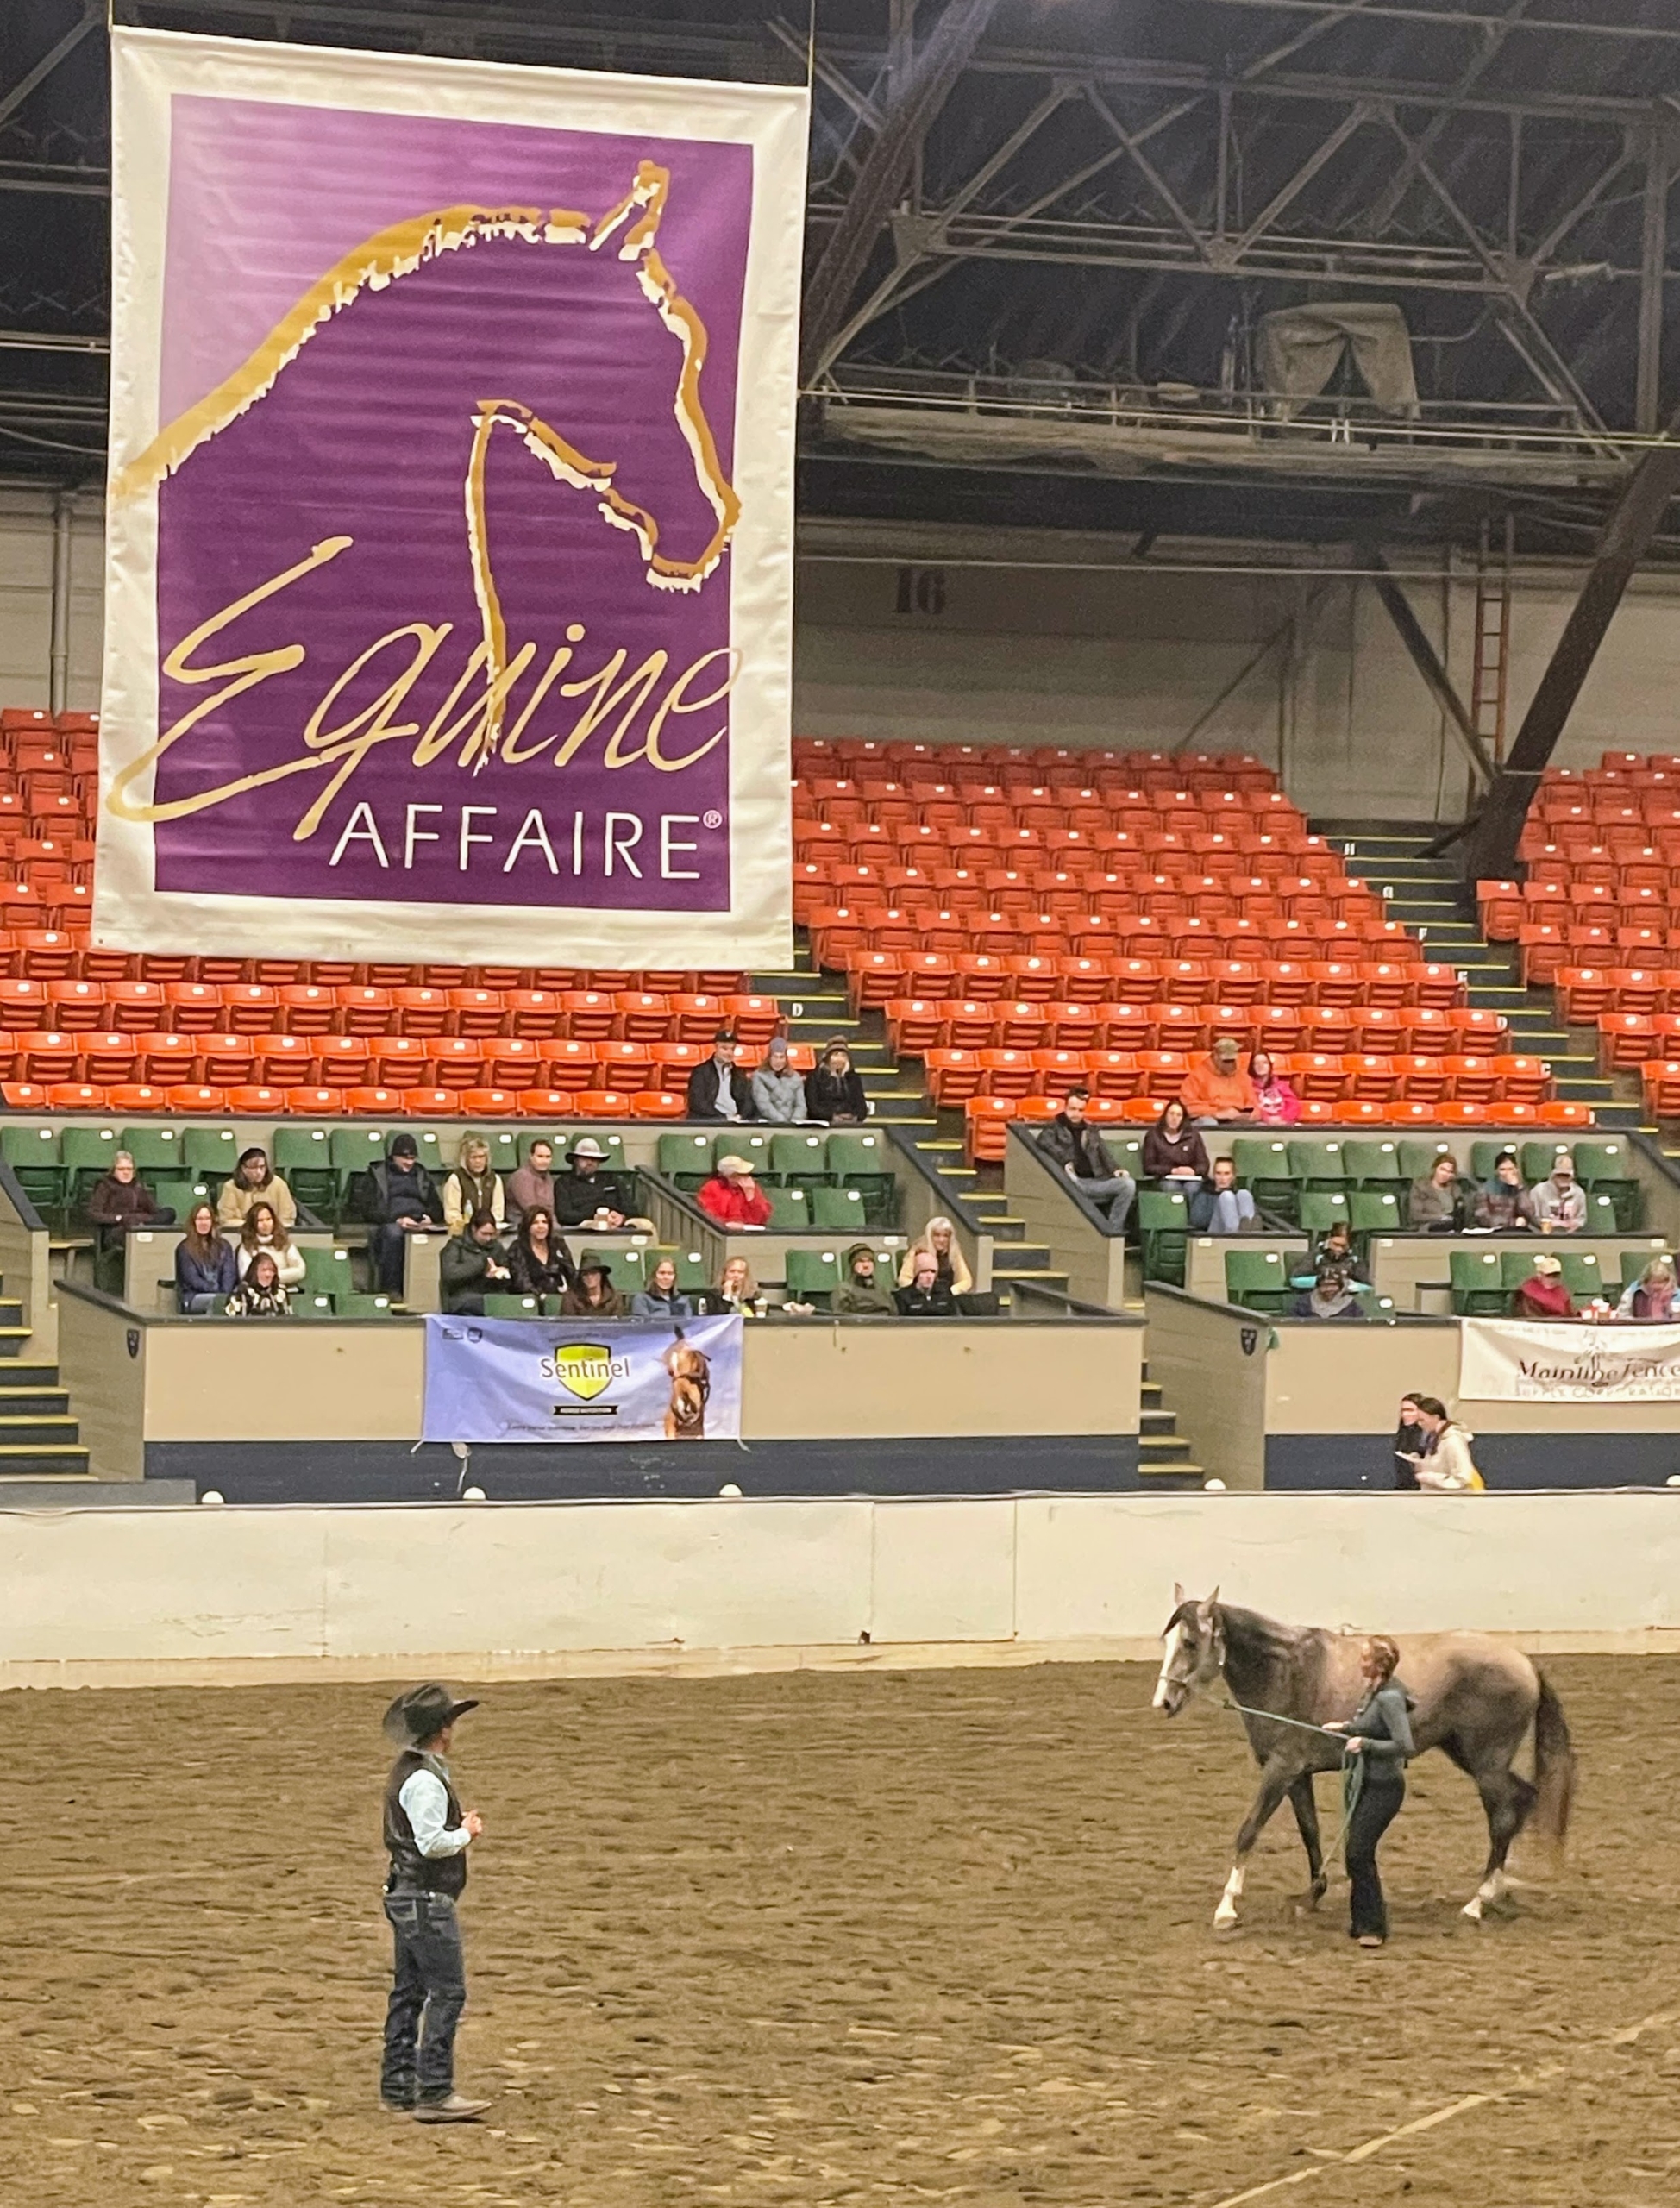
The main mission of the Equine Affaire is to help educate and improve horse management and care, training, and equestrian riding skills. The event is held twice a year – once in Massachusetts and once in Ohio. More than 30-thousand horse enthusiasts attend the four day event annually. This is the coliseum at Springfield’s Big E where classes and shows are held.
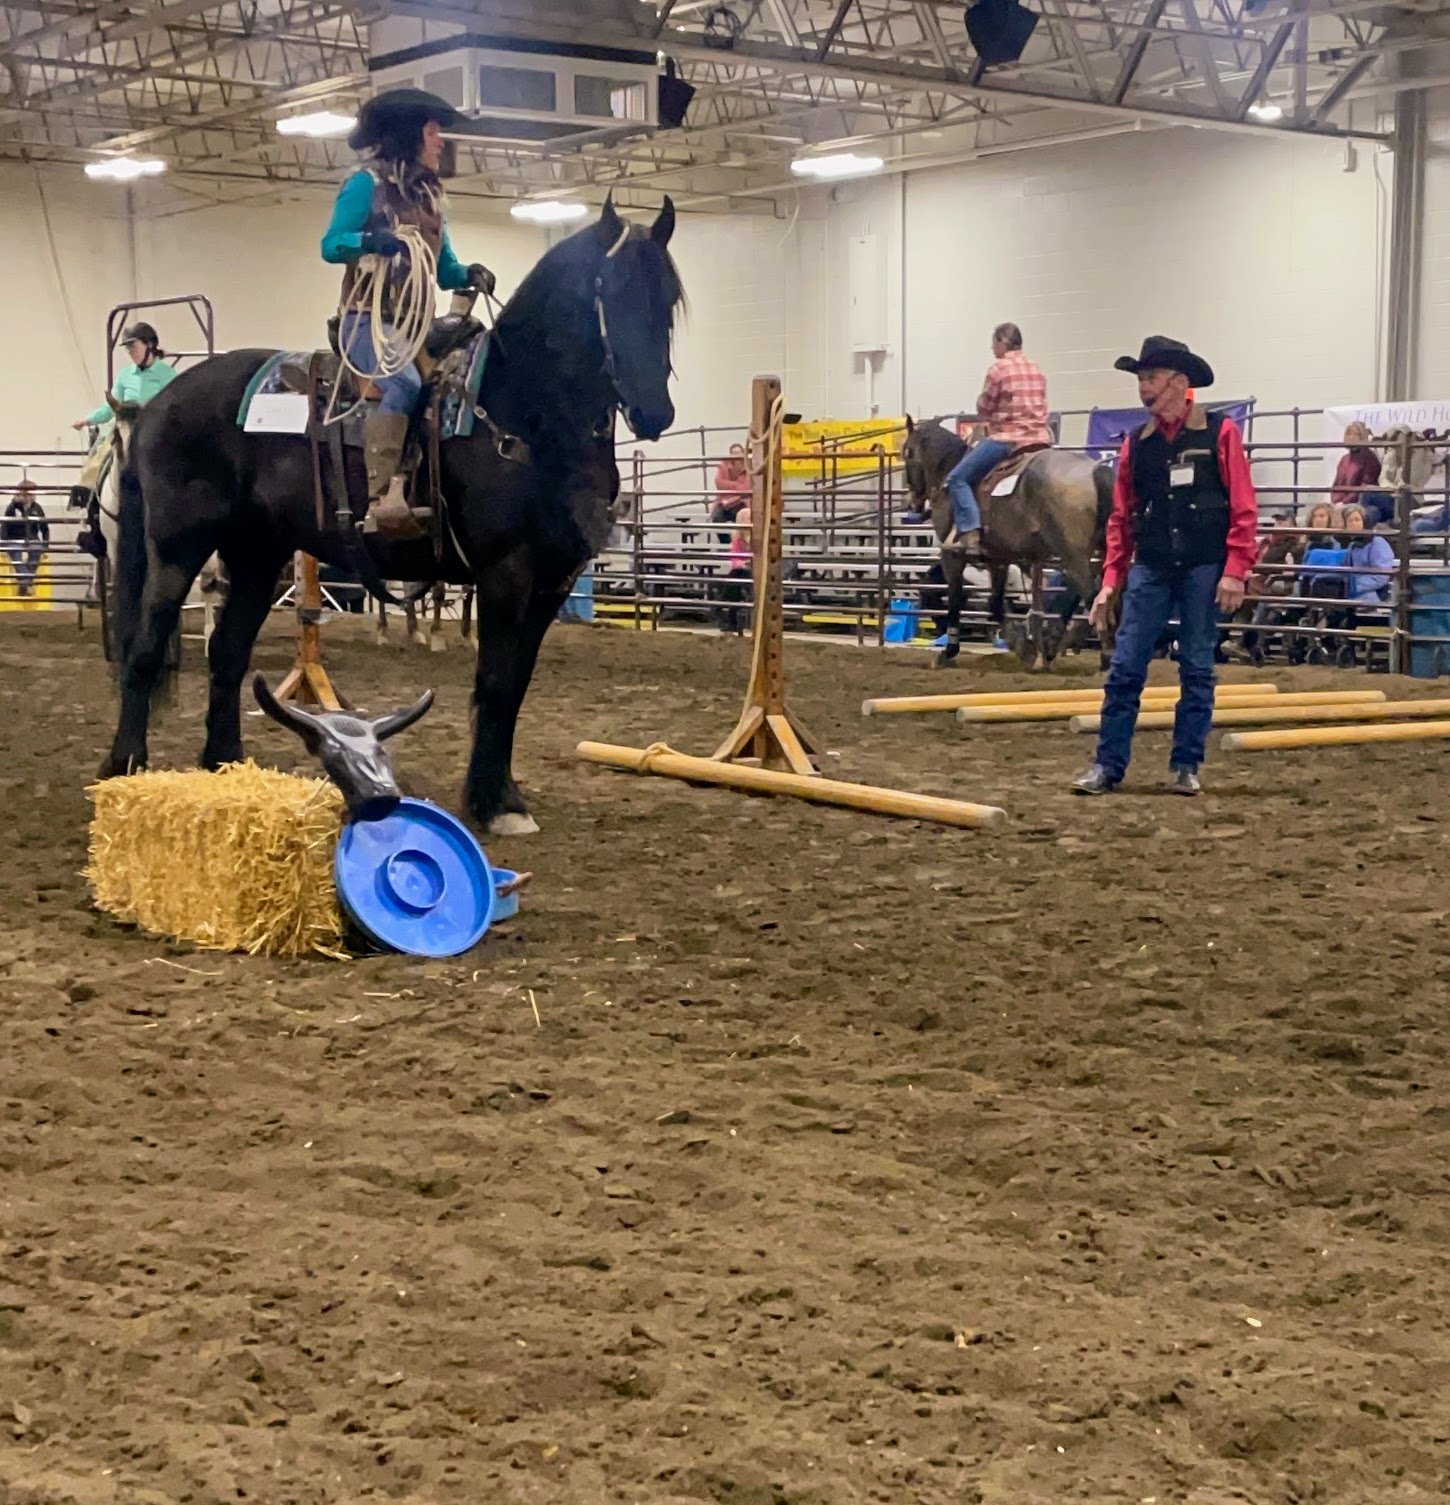
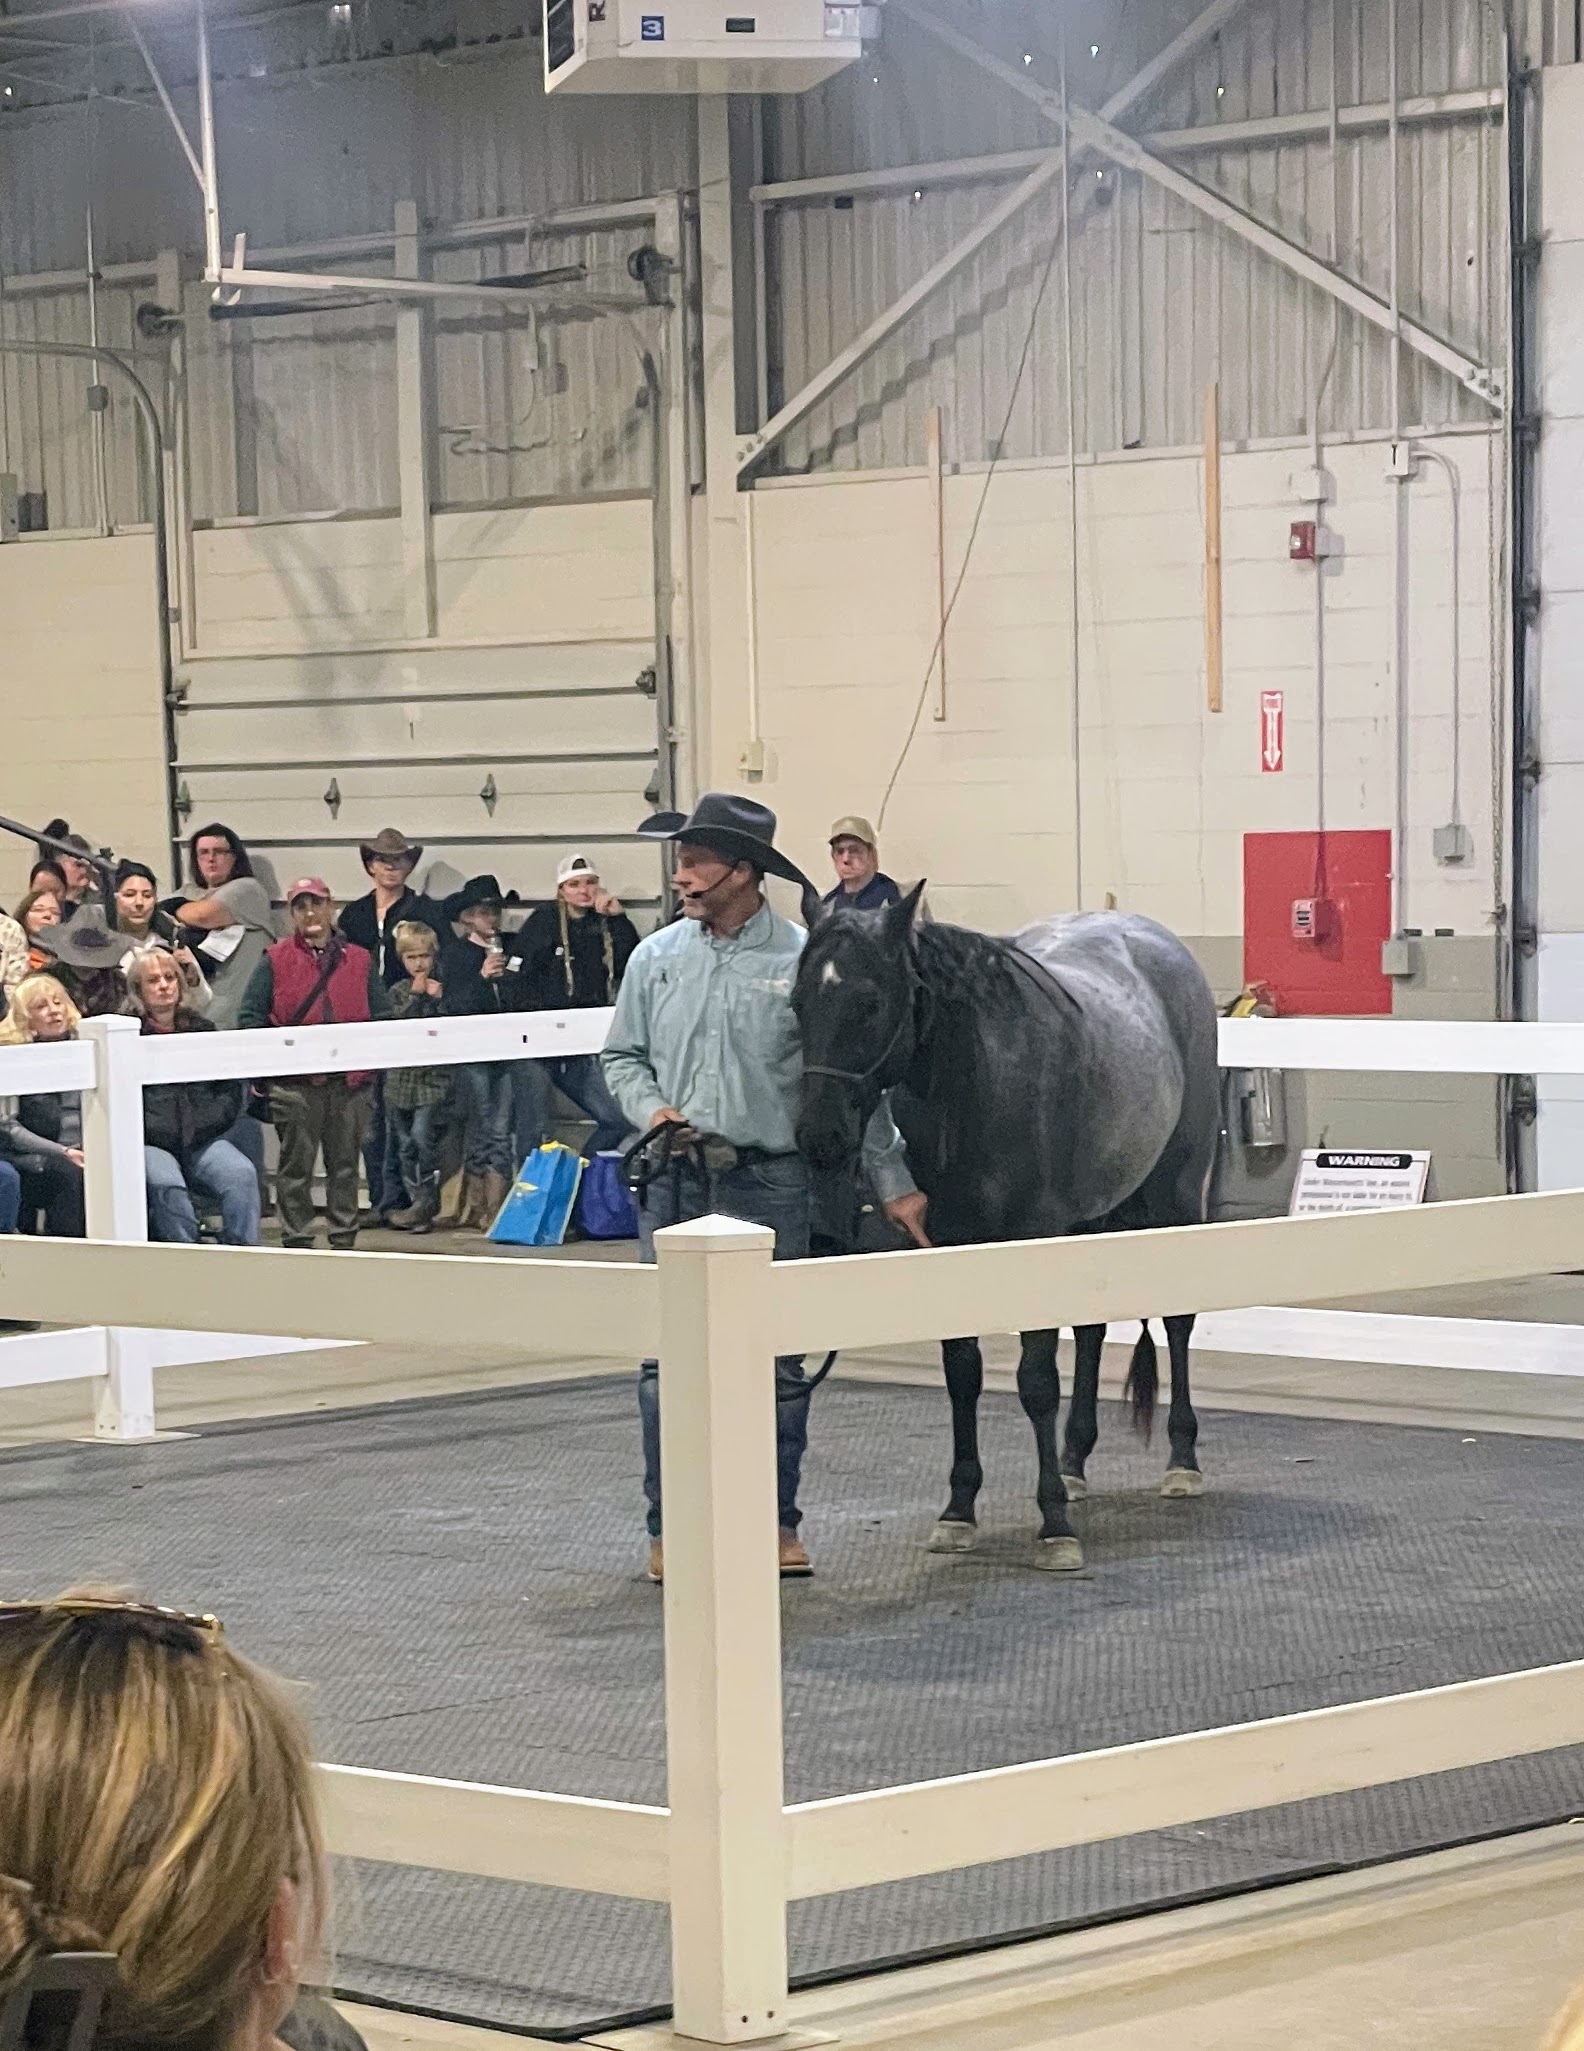
The event features all of the major equestrian sports from dressage, reining, cutting, jumping, driving, eventing, and barrel racing to team penning and sorting, distance competition, western dressage, trail, polo, and sidesaddle. It’s a great way for all riders to gain more information and talk to experts.
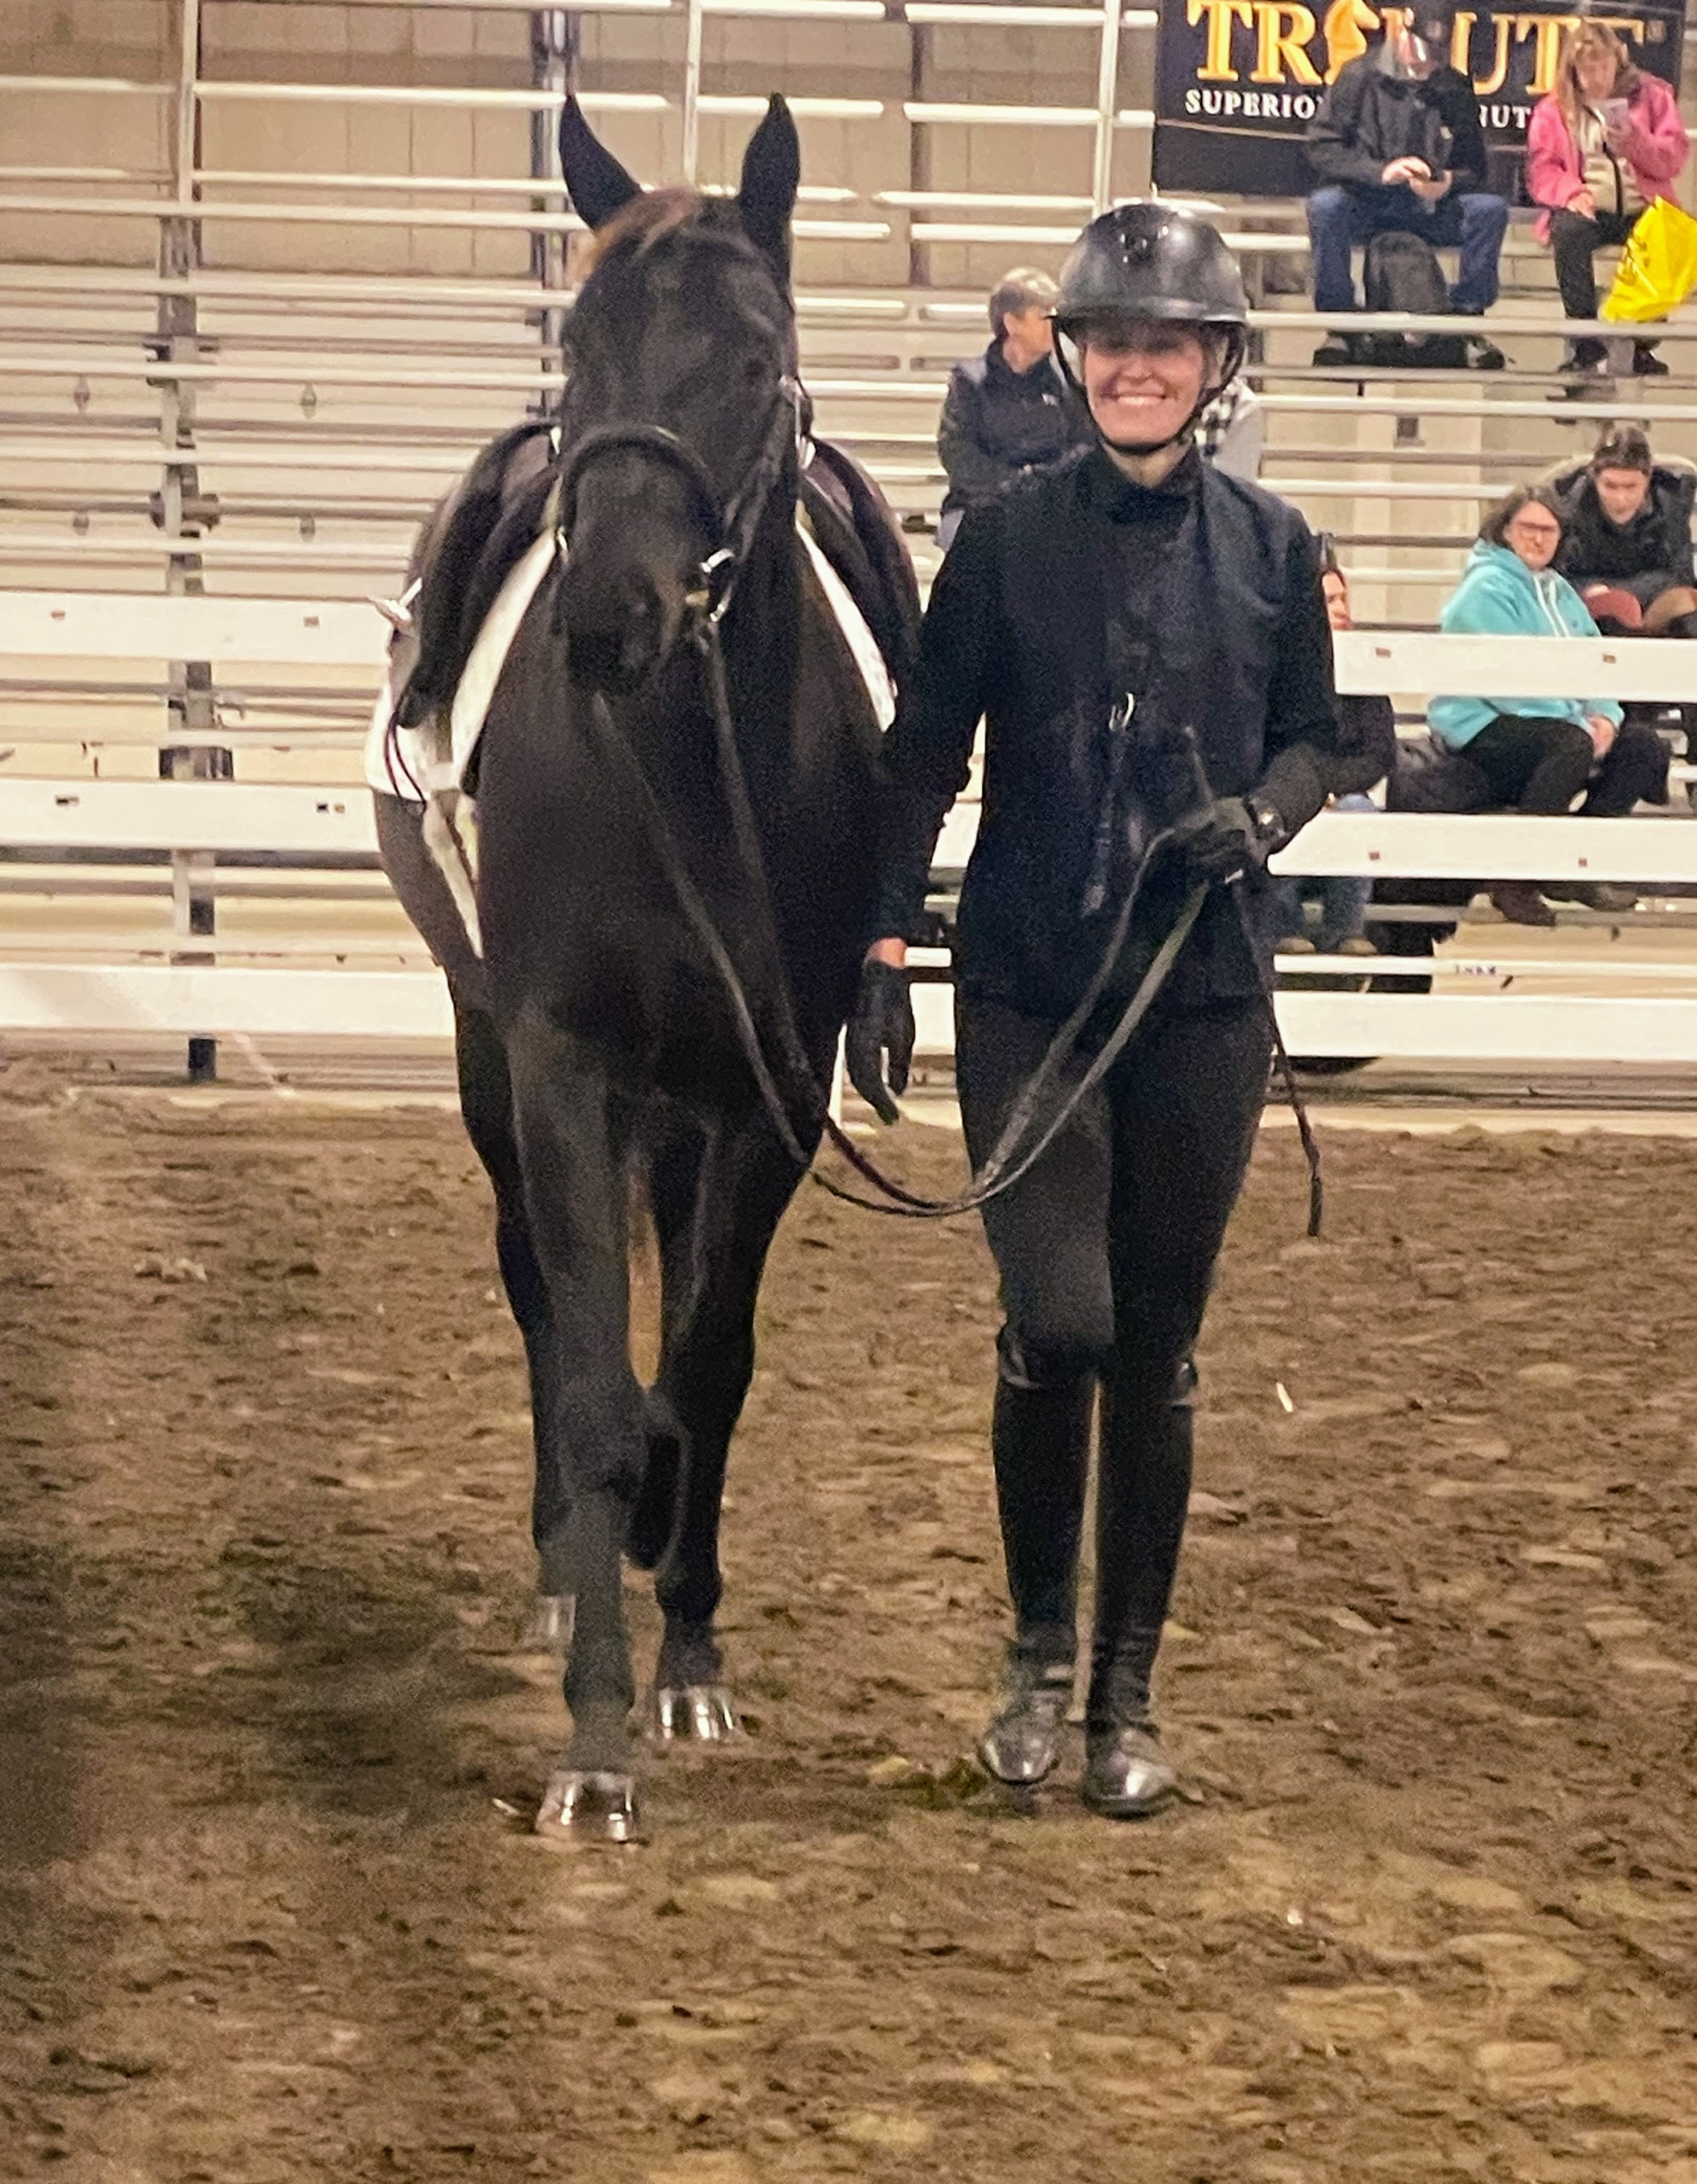
Different breeds of horses from around the world participate at Equine Affaire.
Educational programs and clinics remain the cornerstones of the events. Helen and Juan tried to view as much as they could during their visit.
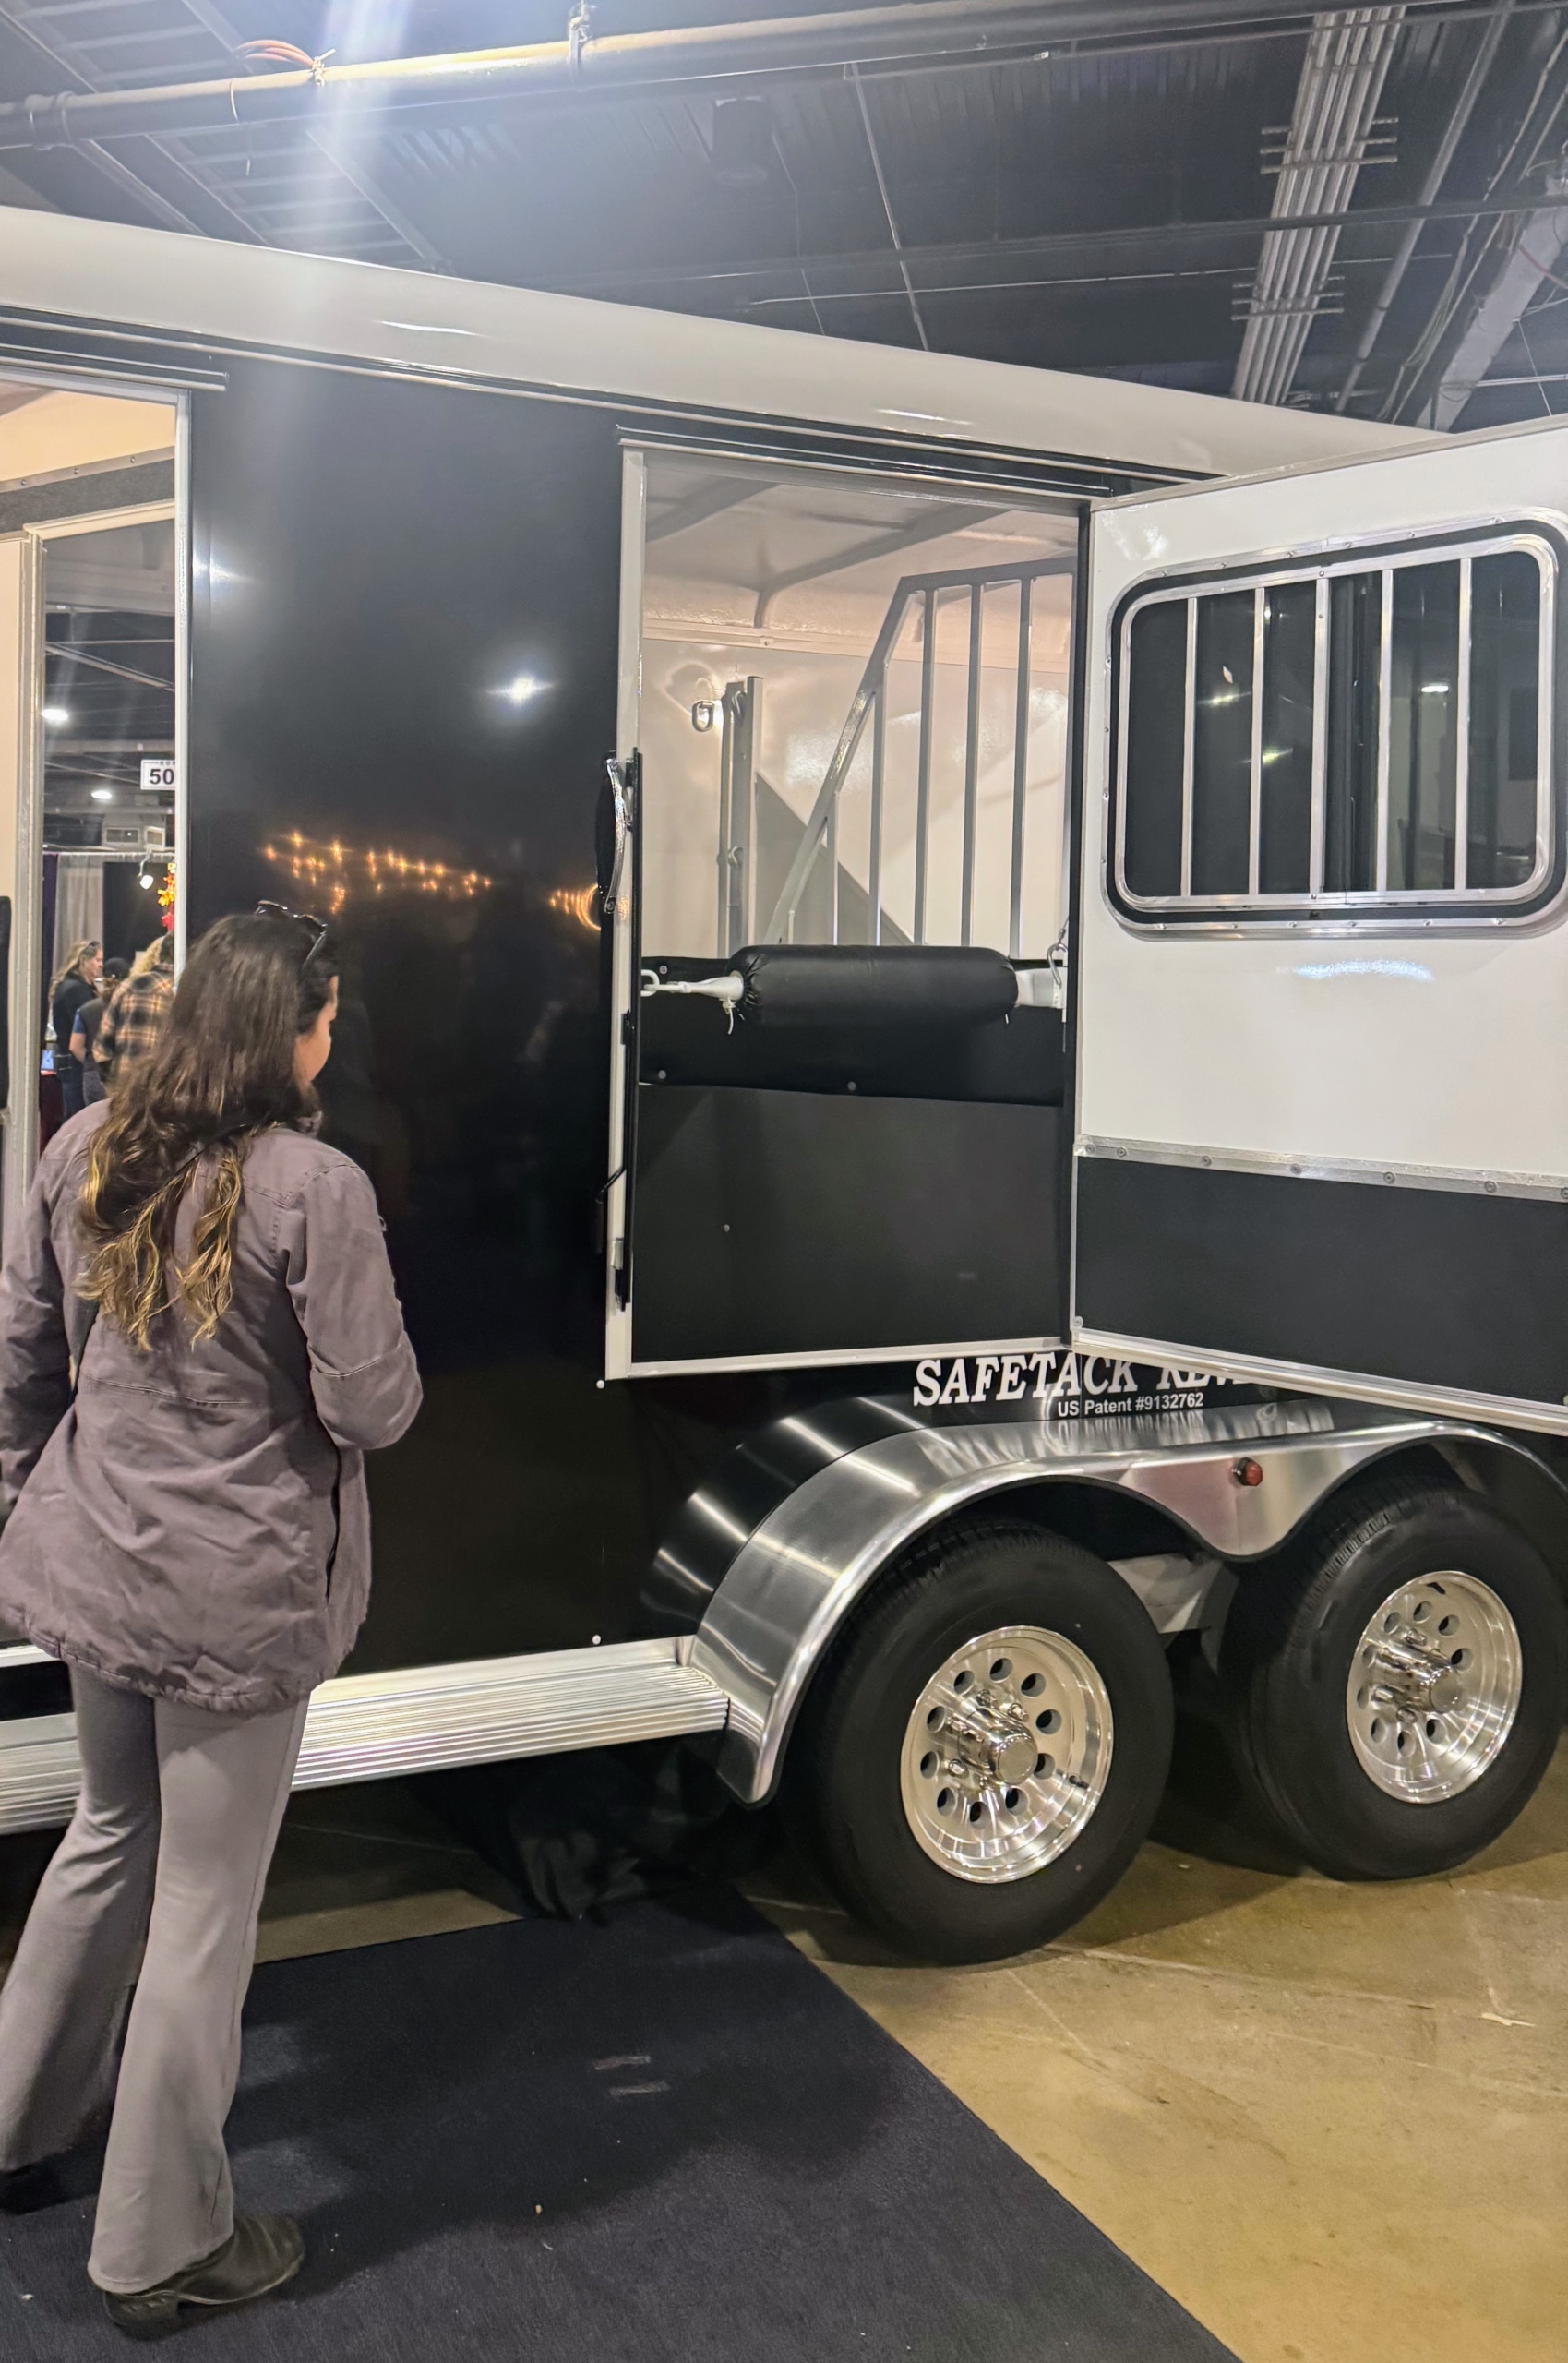
Here is Helen looking at one of the newest trailers, which offers more room and tack storage space.
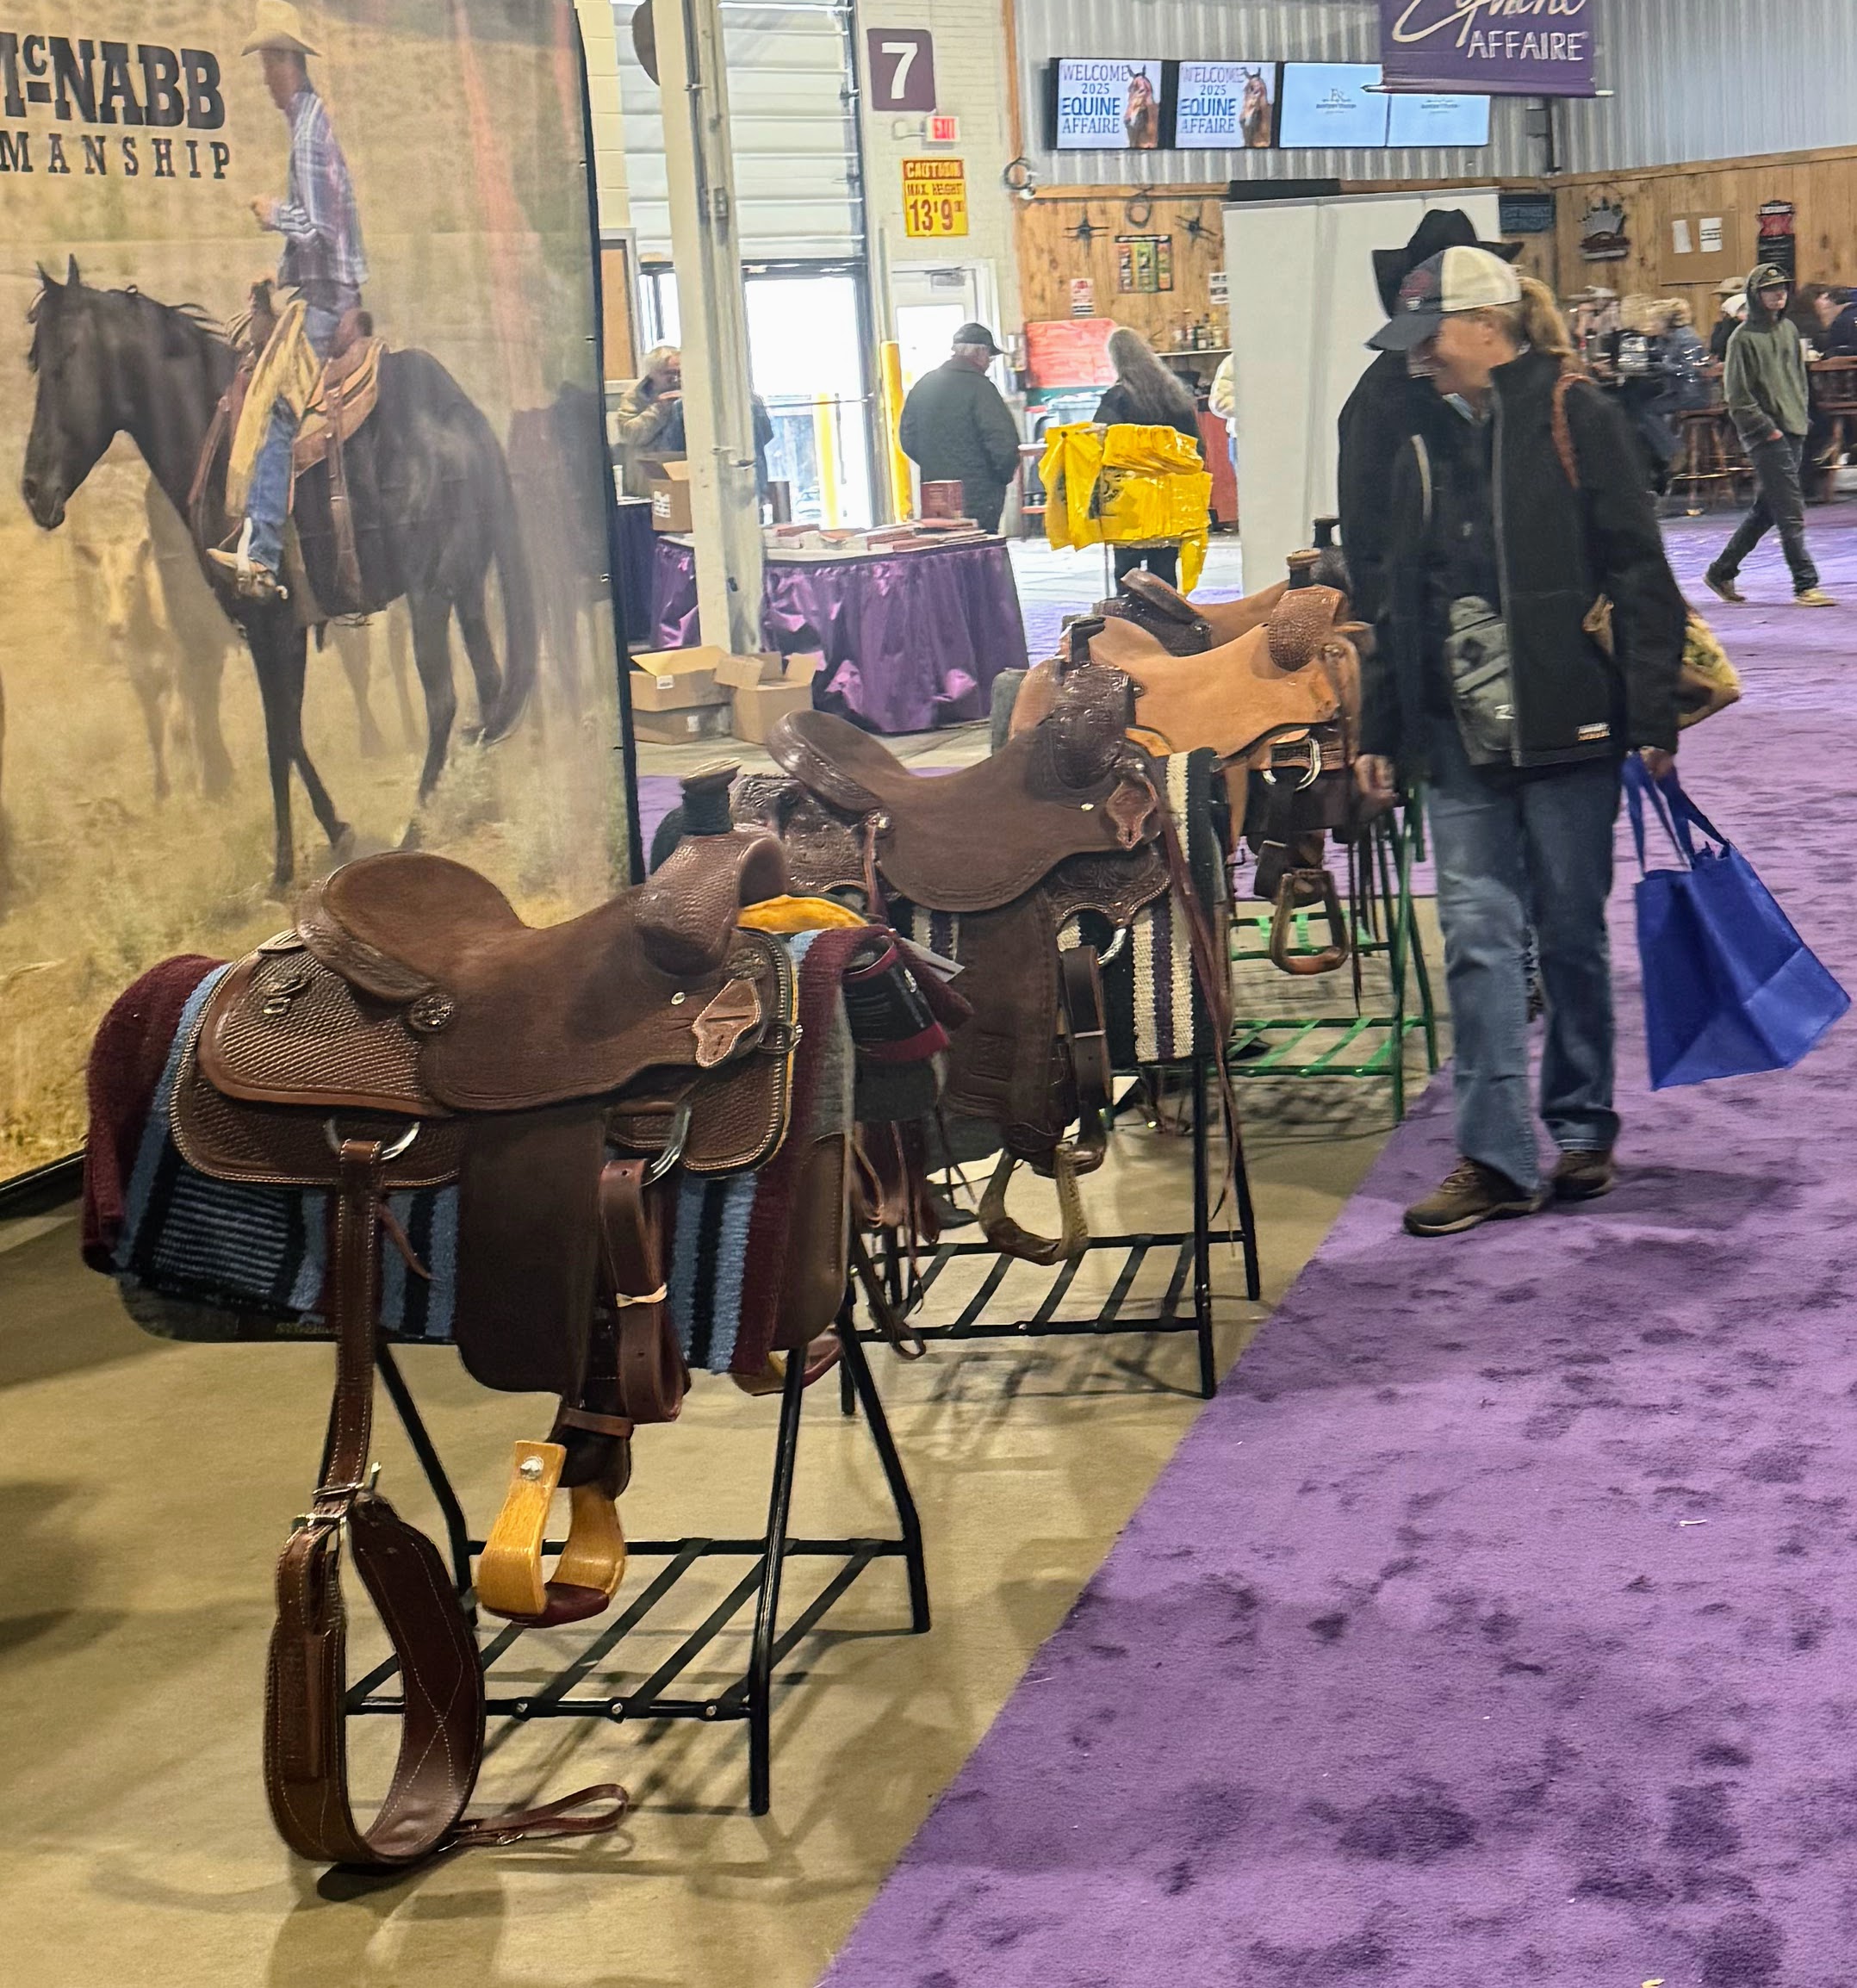
There is always a mad rush for equine product shopping. Dozens of saddles were available for both English and Western riders.
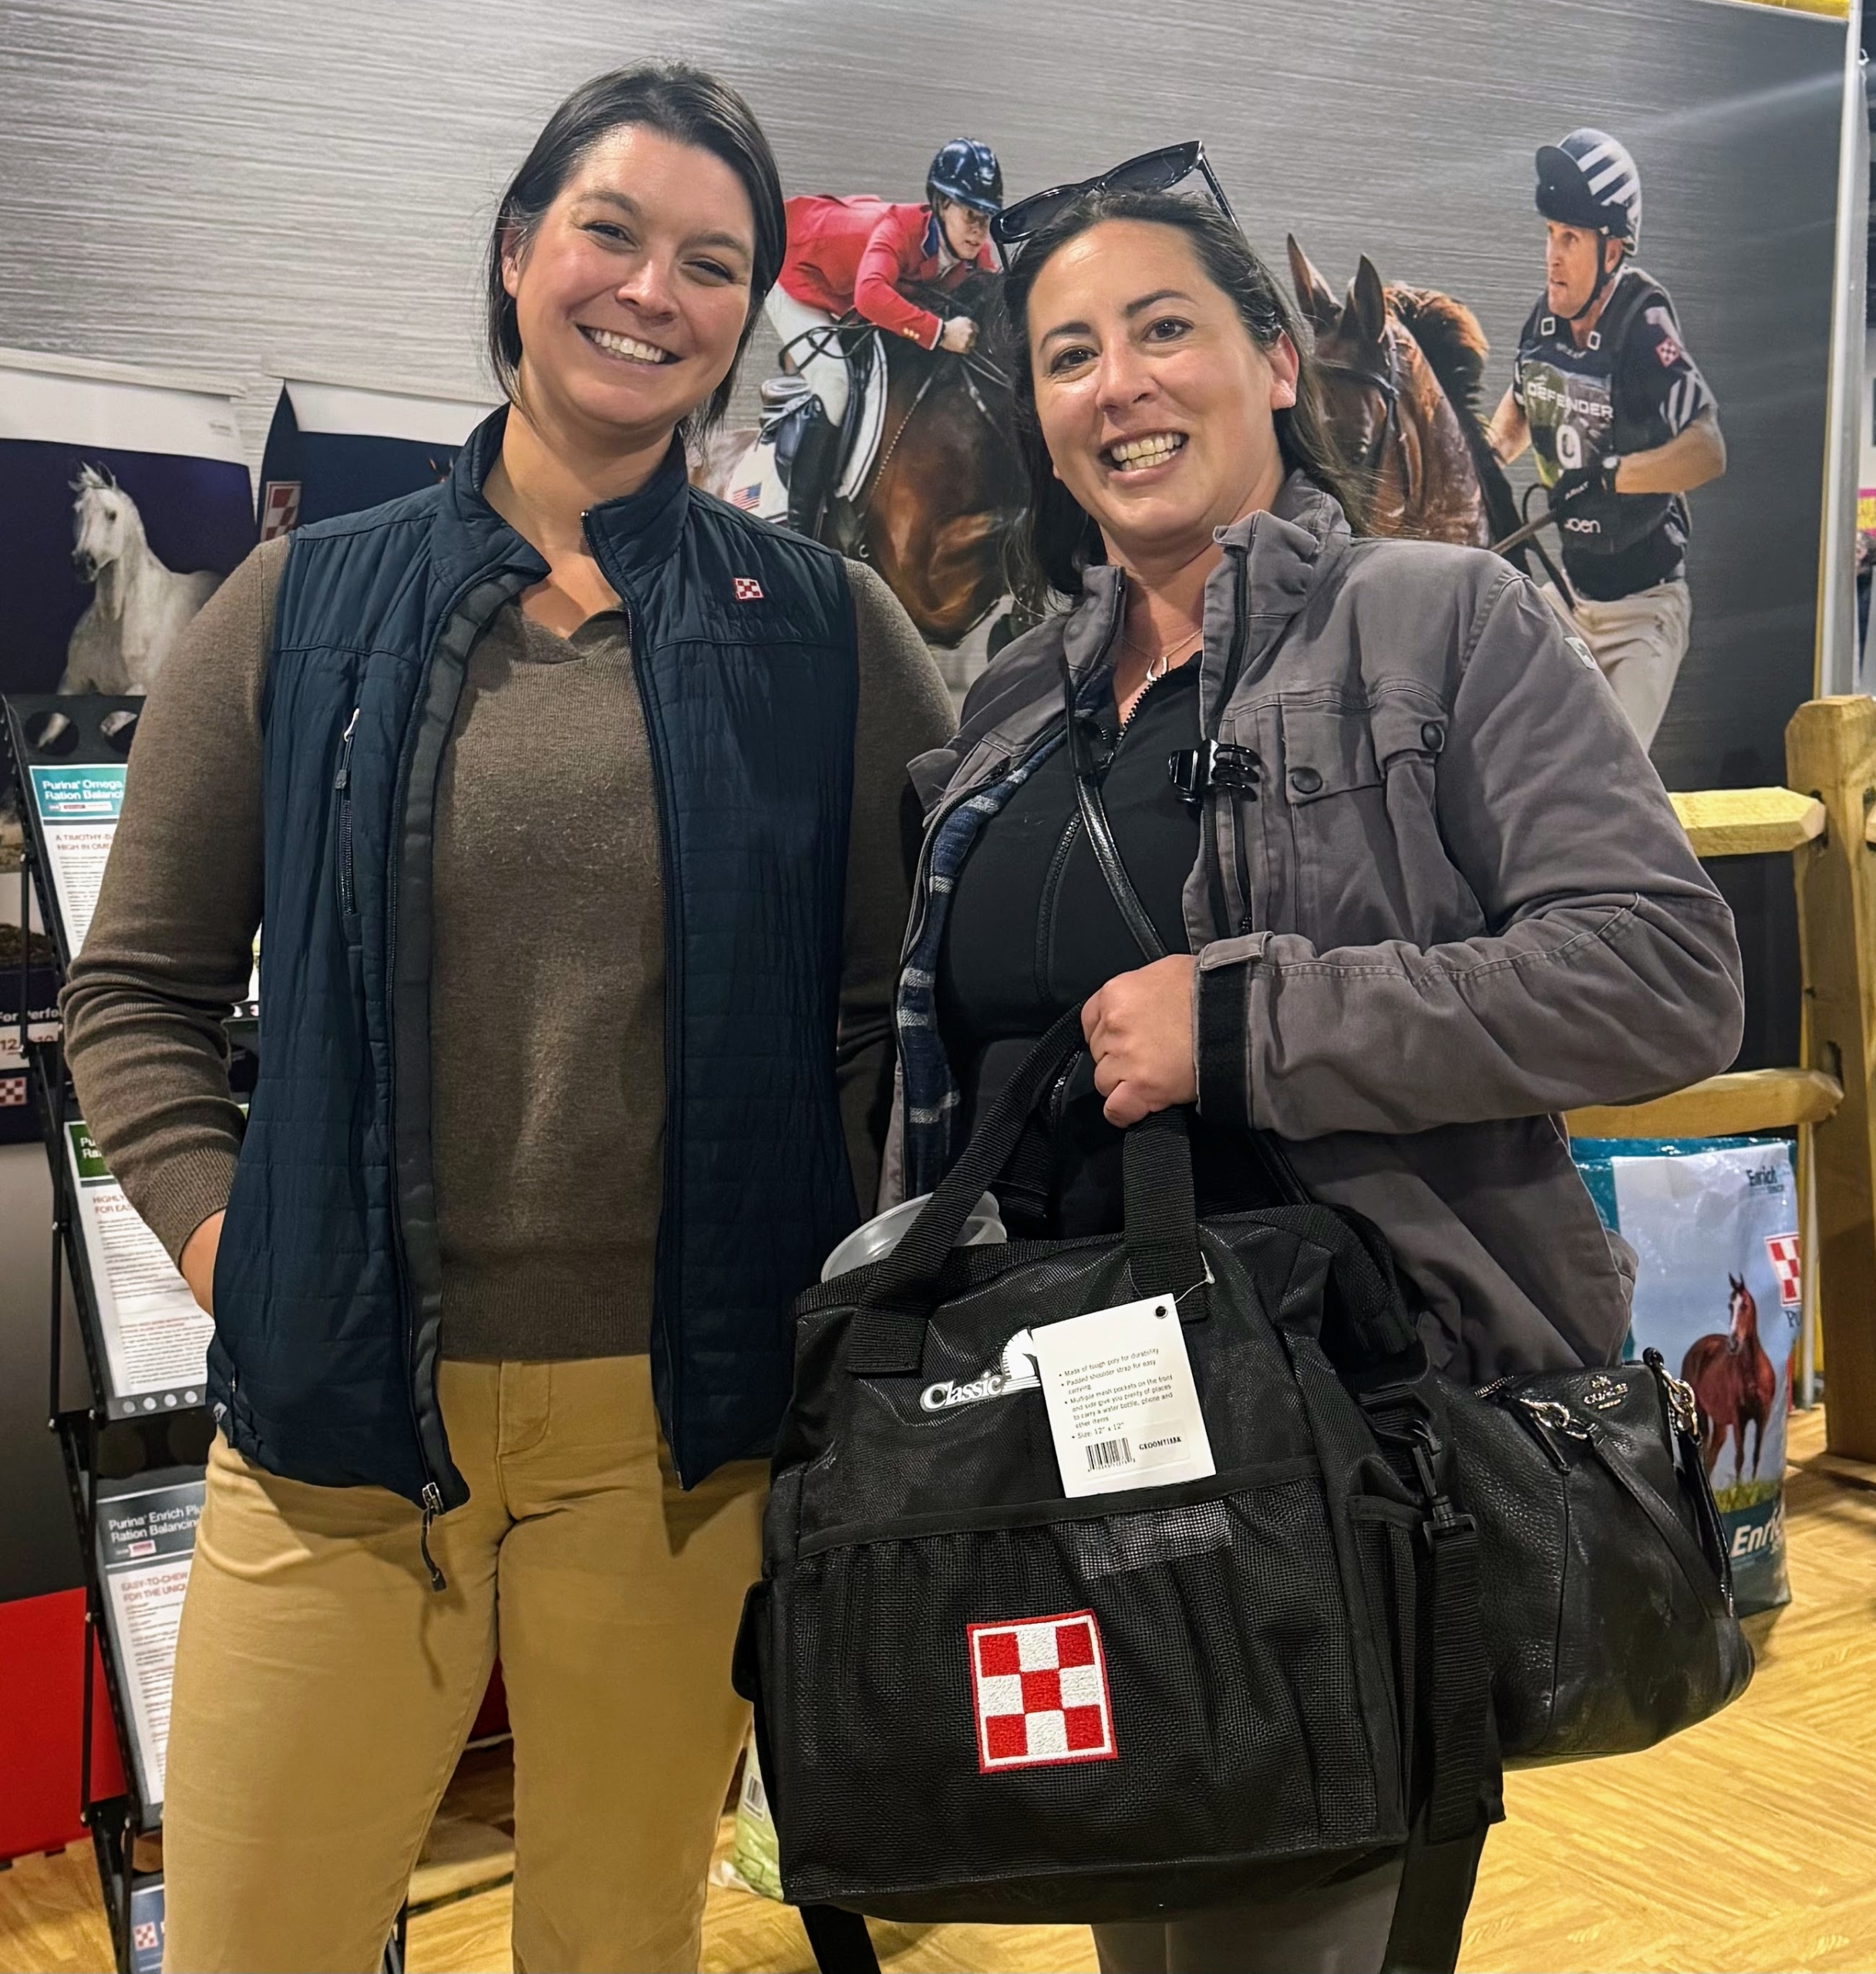
Here is Helen with Meghan Crout, equine nutrition specialist for Purina.
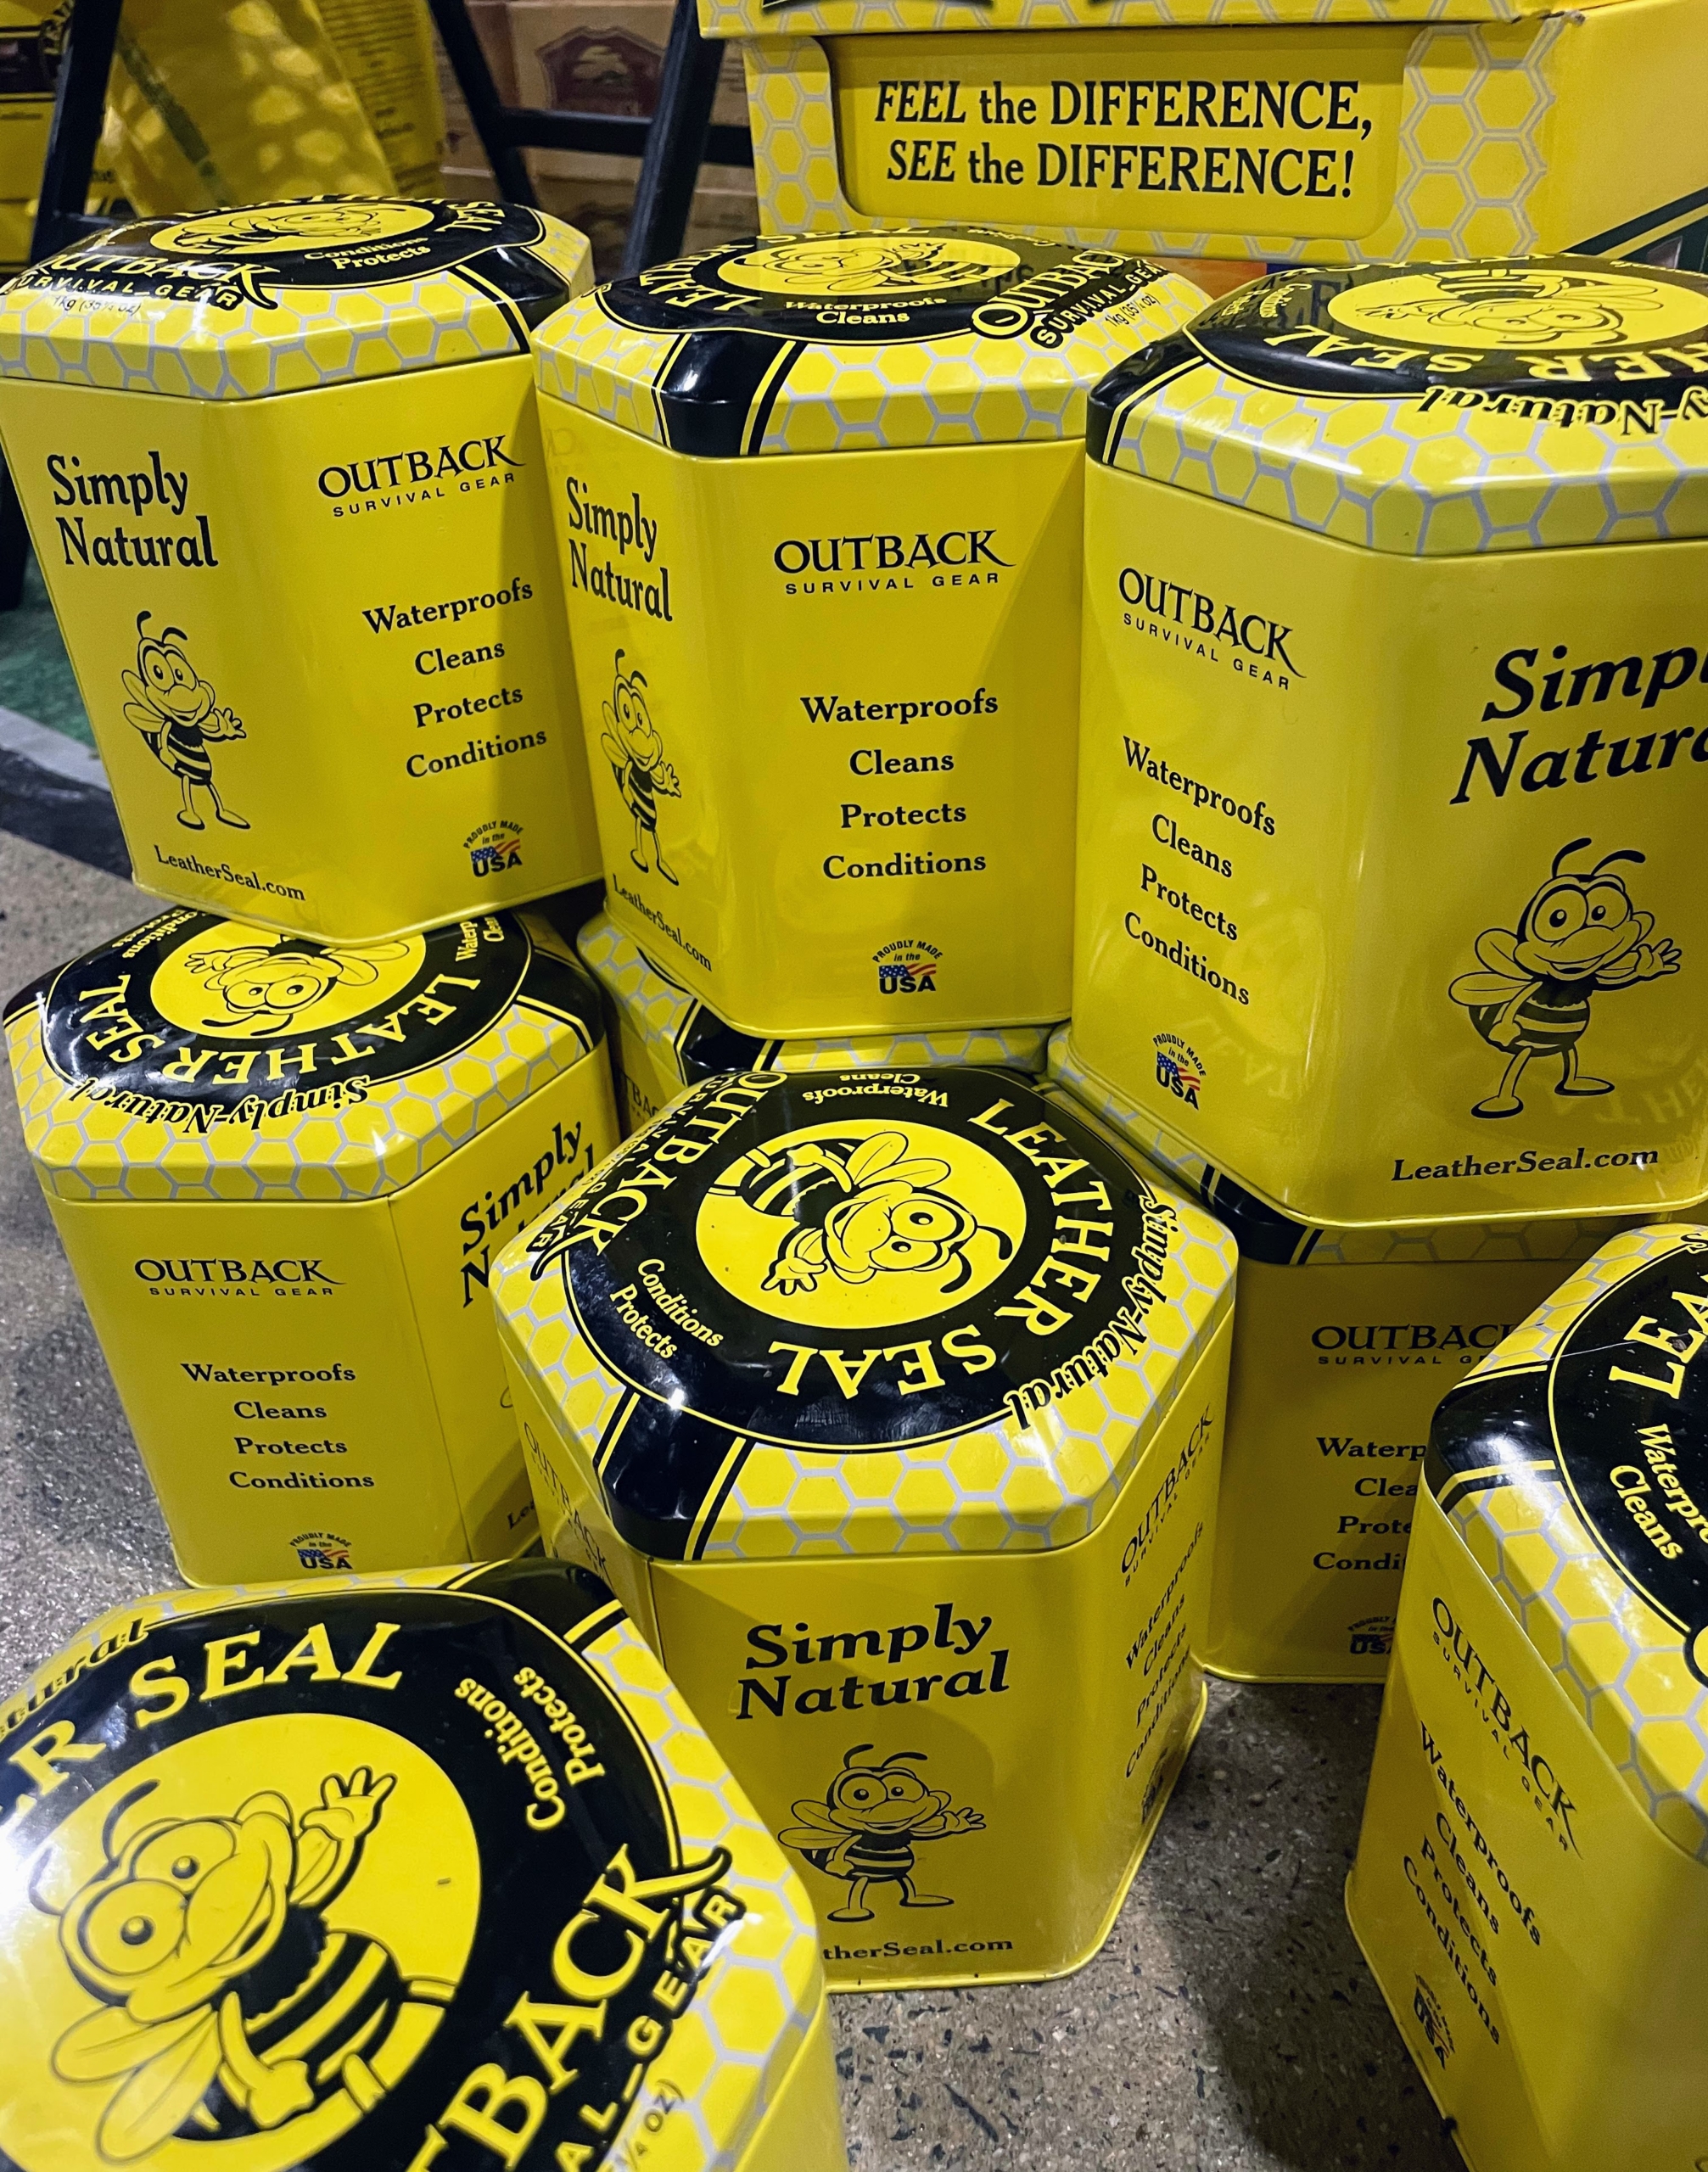
This Outback Survival Gear Leather Seal is a natural cleaner and conditioner that is designed to rejuvenate and protect leather iterms. It contains beeswax, eucalyptus, avocado oil, lavender oil, and vitamin-E oil.
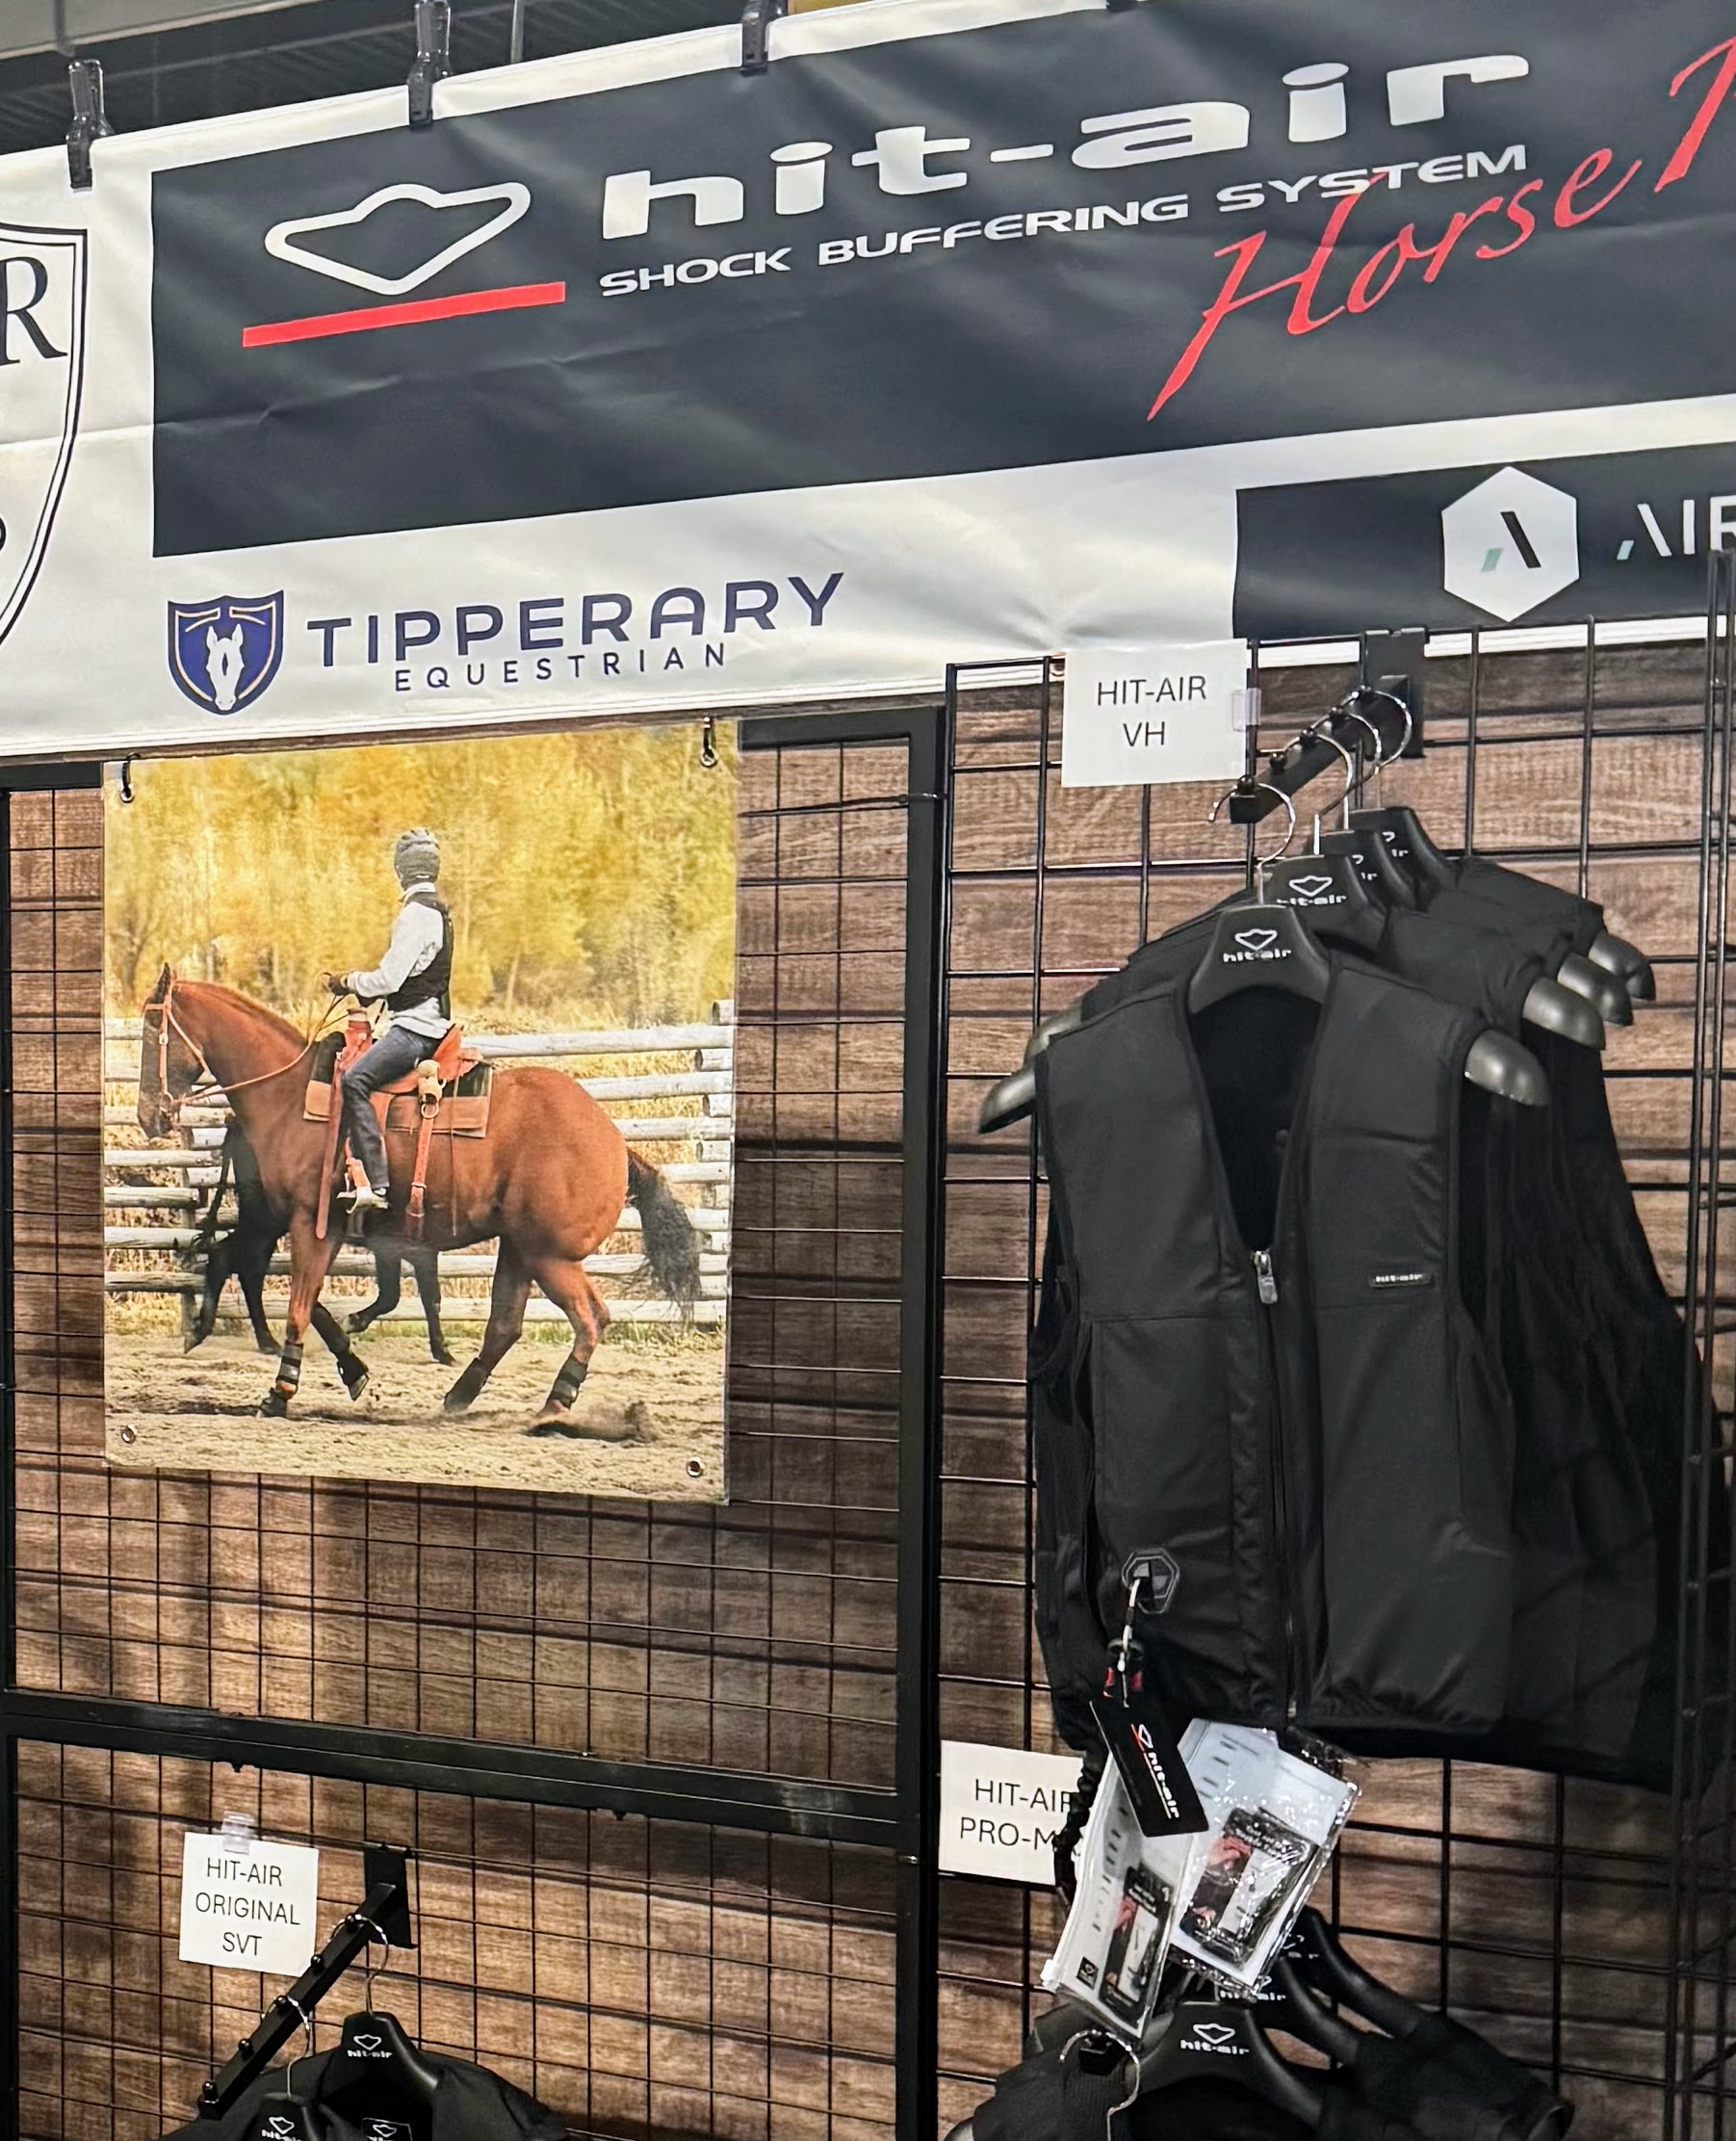
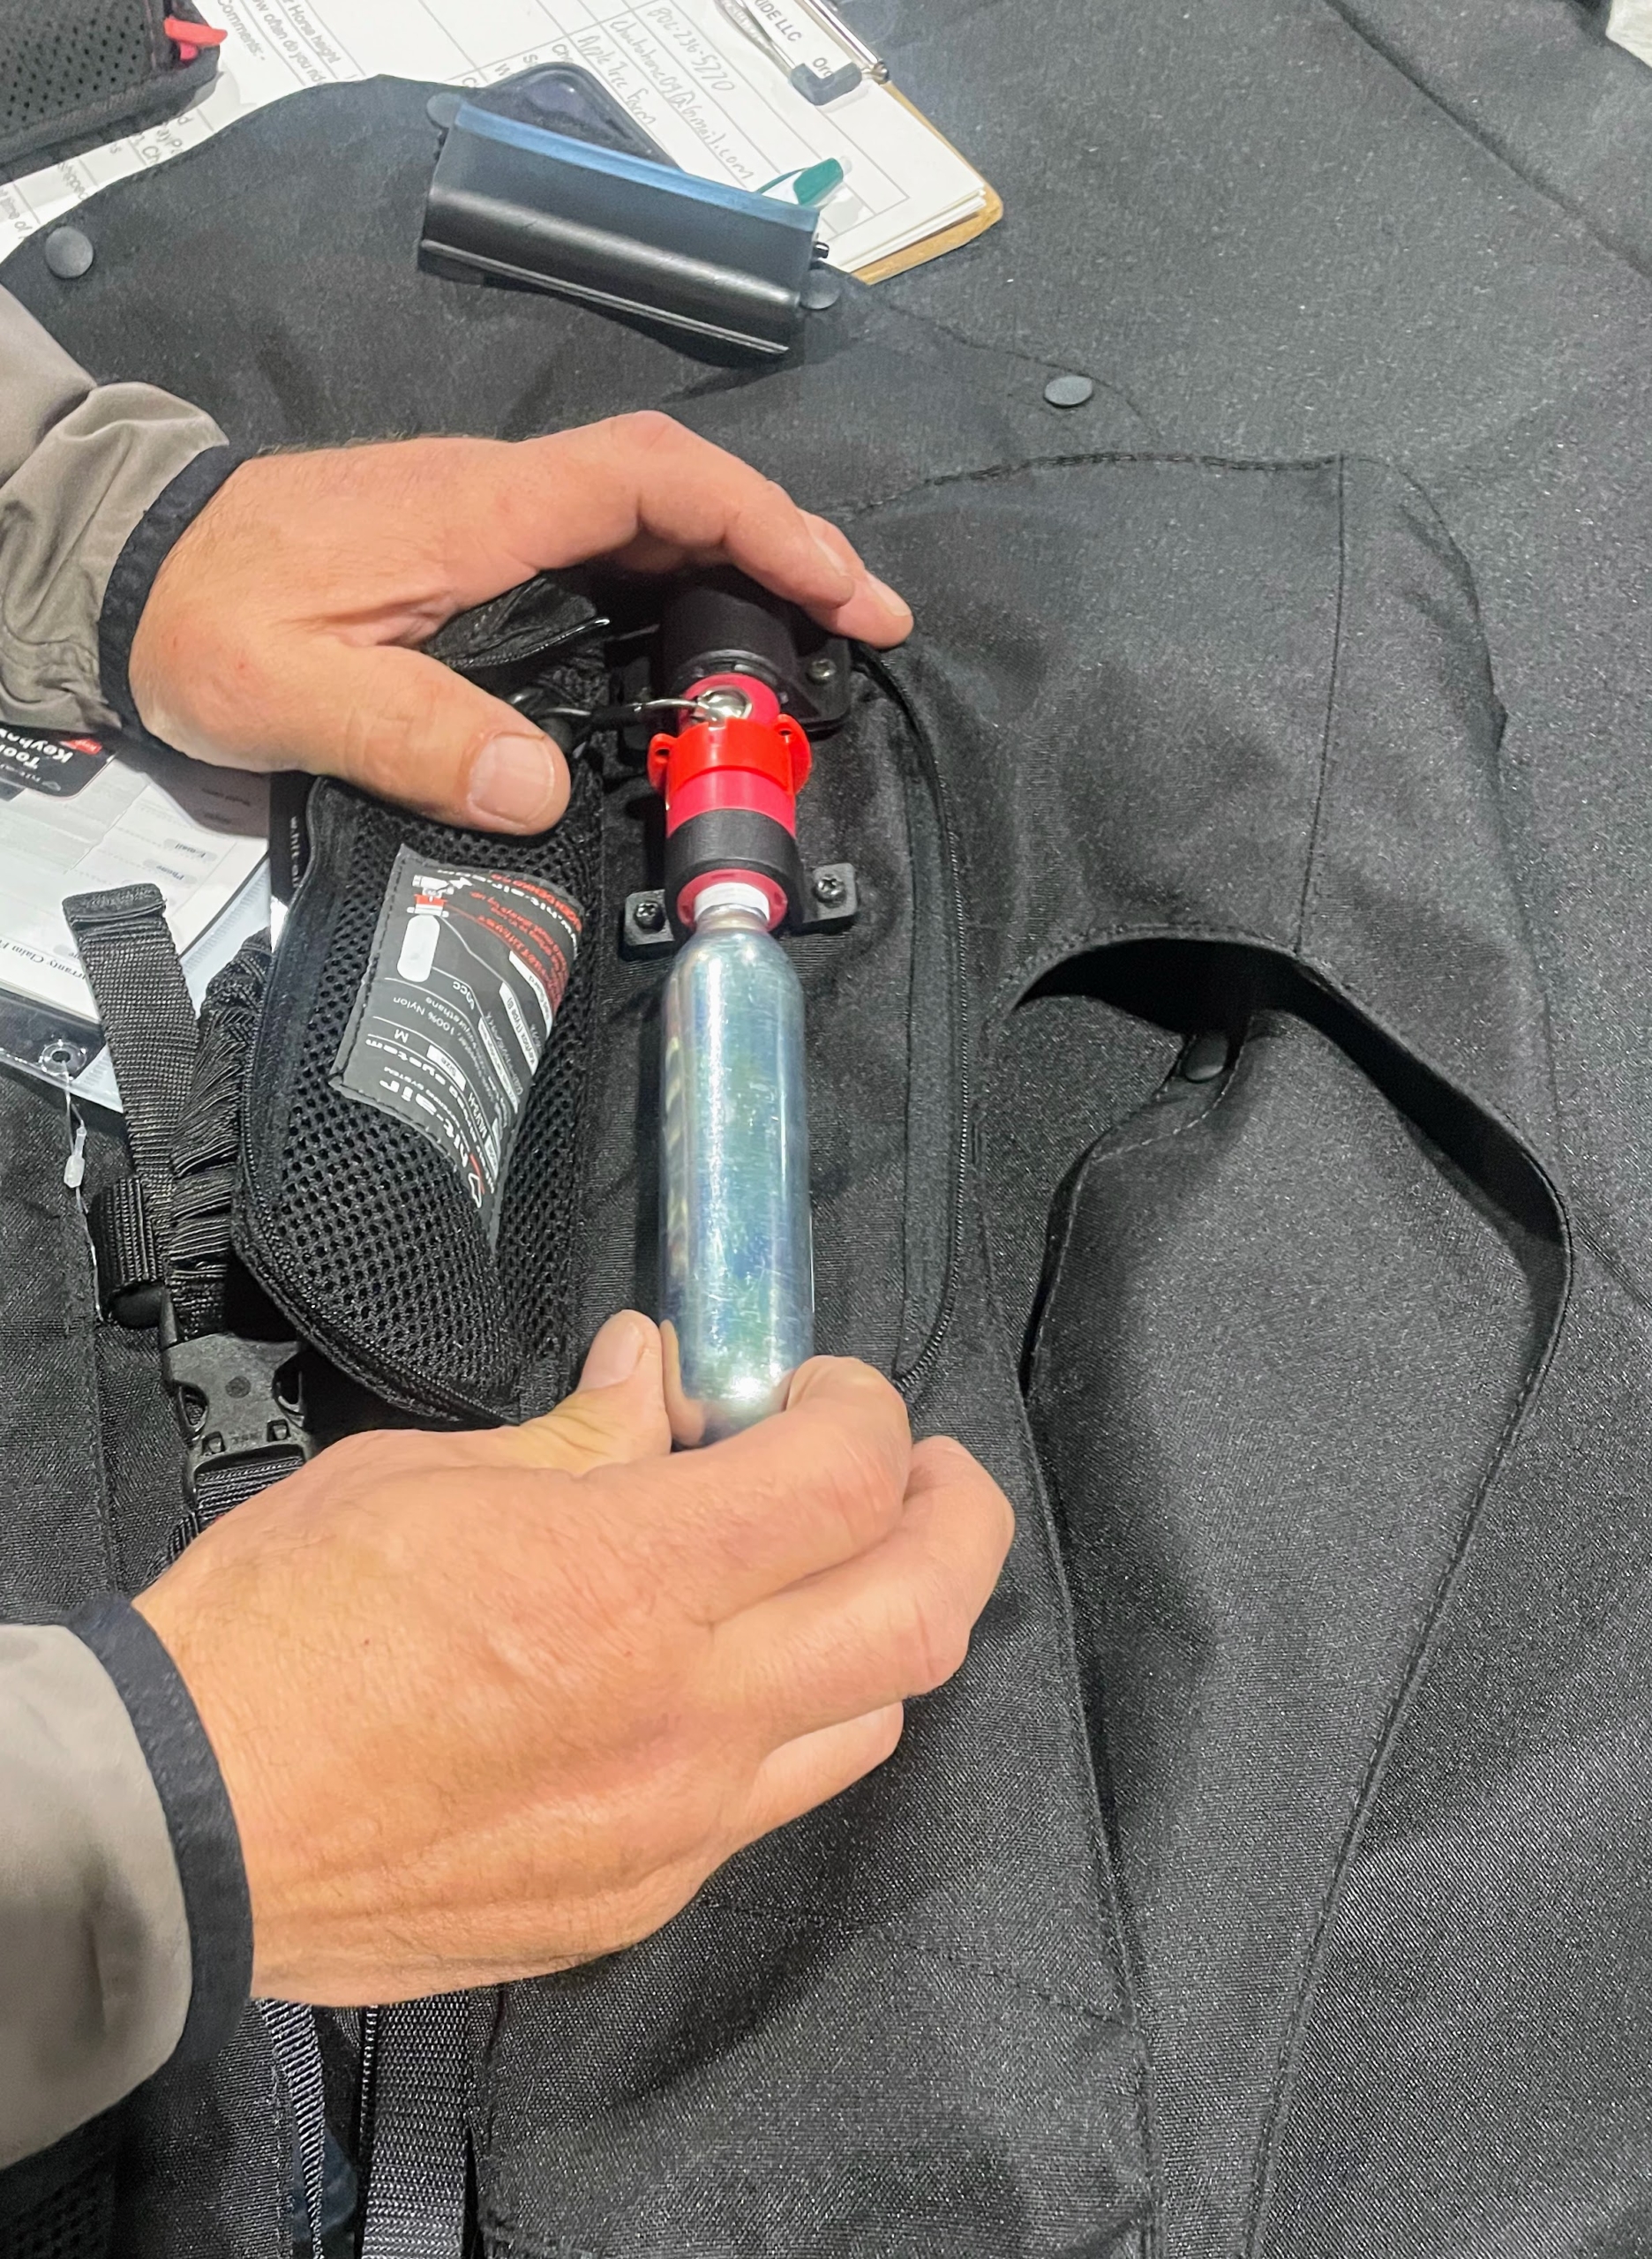
Helen and Juan also stopped by the Hit-Air booth to check out the safety vests.
This vest is made to protect the areas most prone to serious injuries during a fall. It uses a shock buffering system that works on impact.
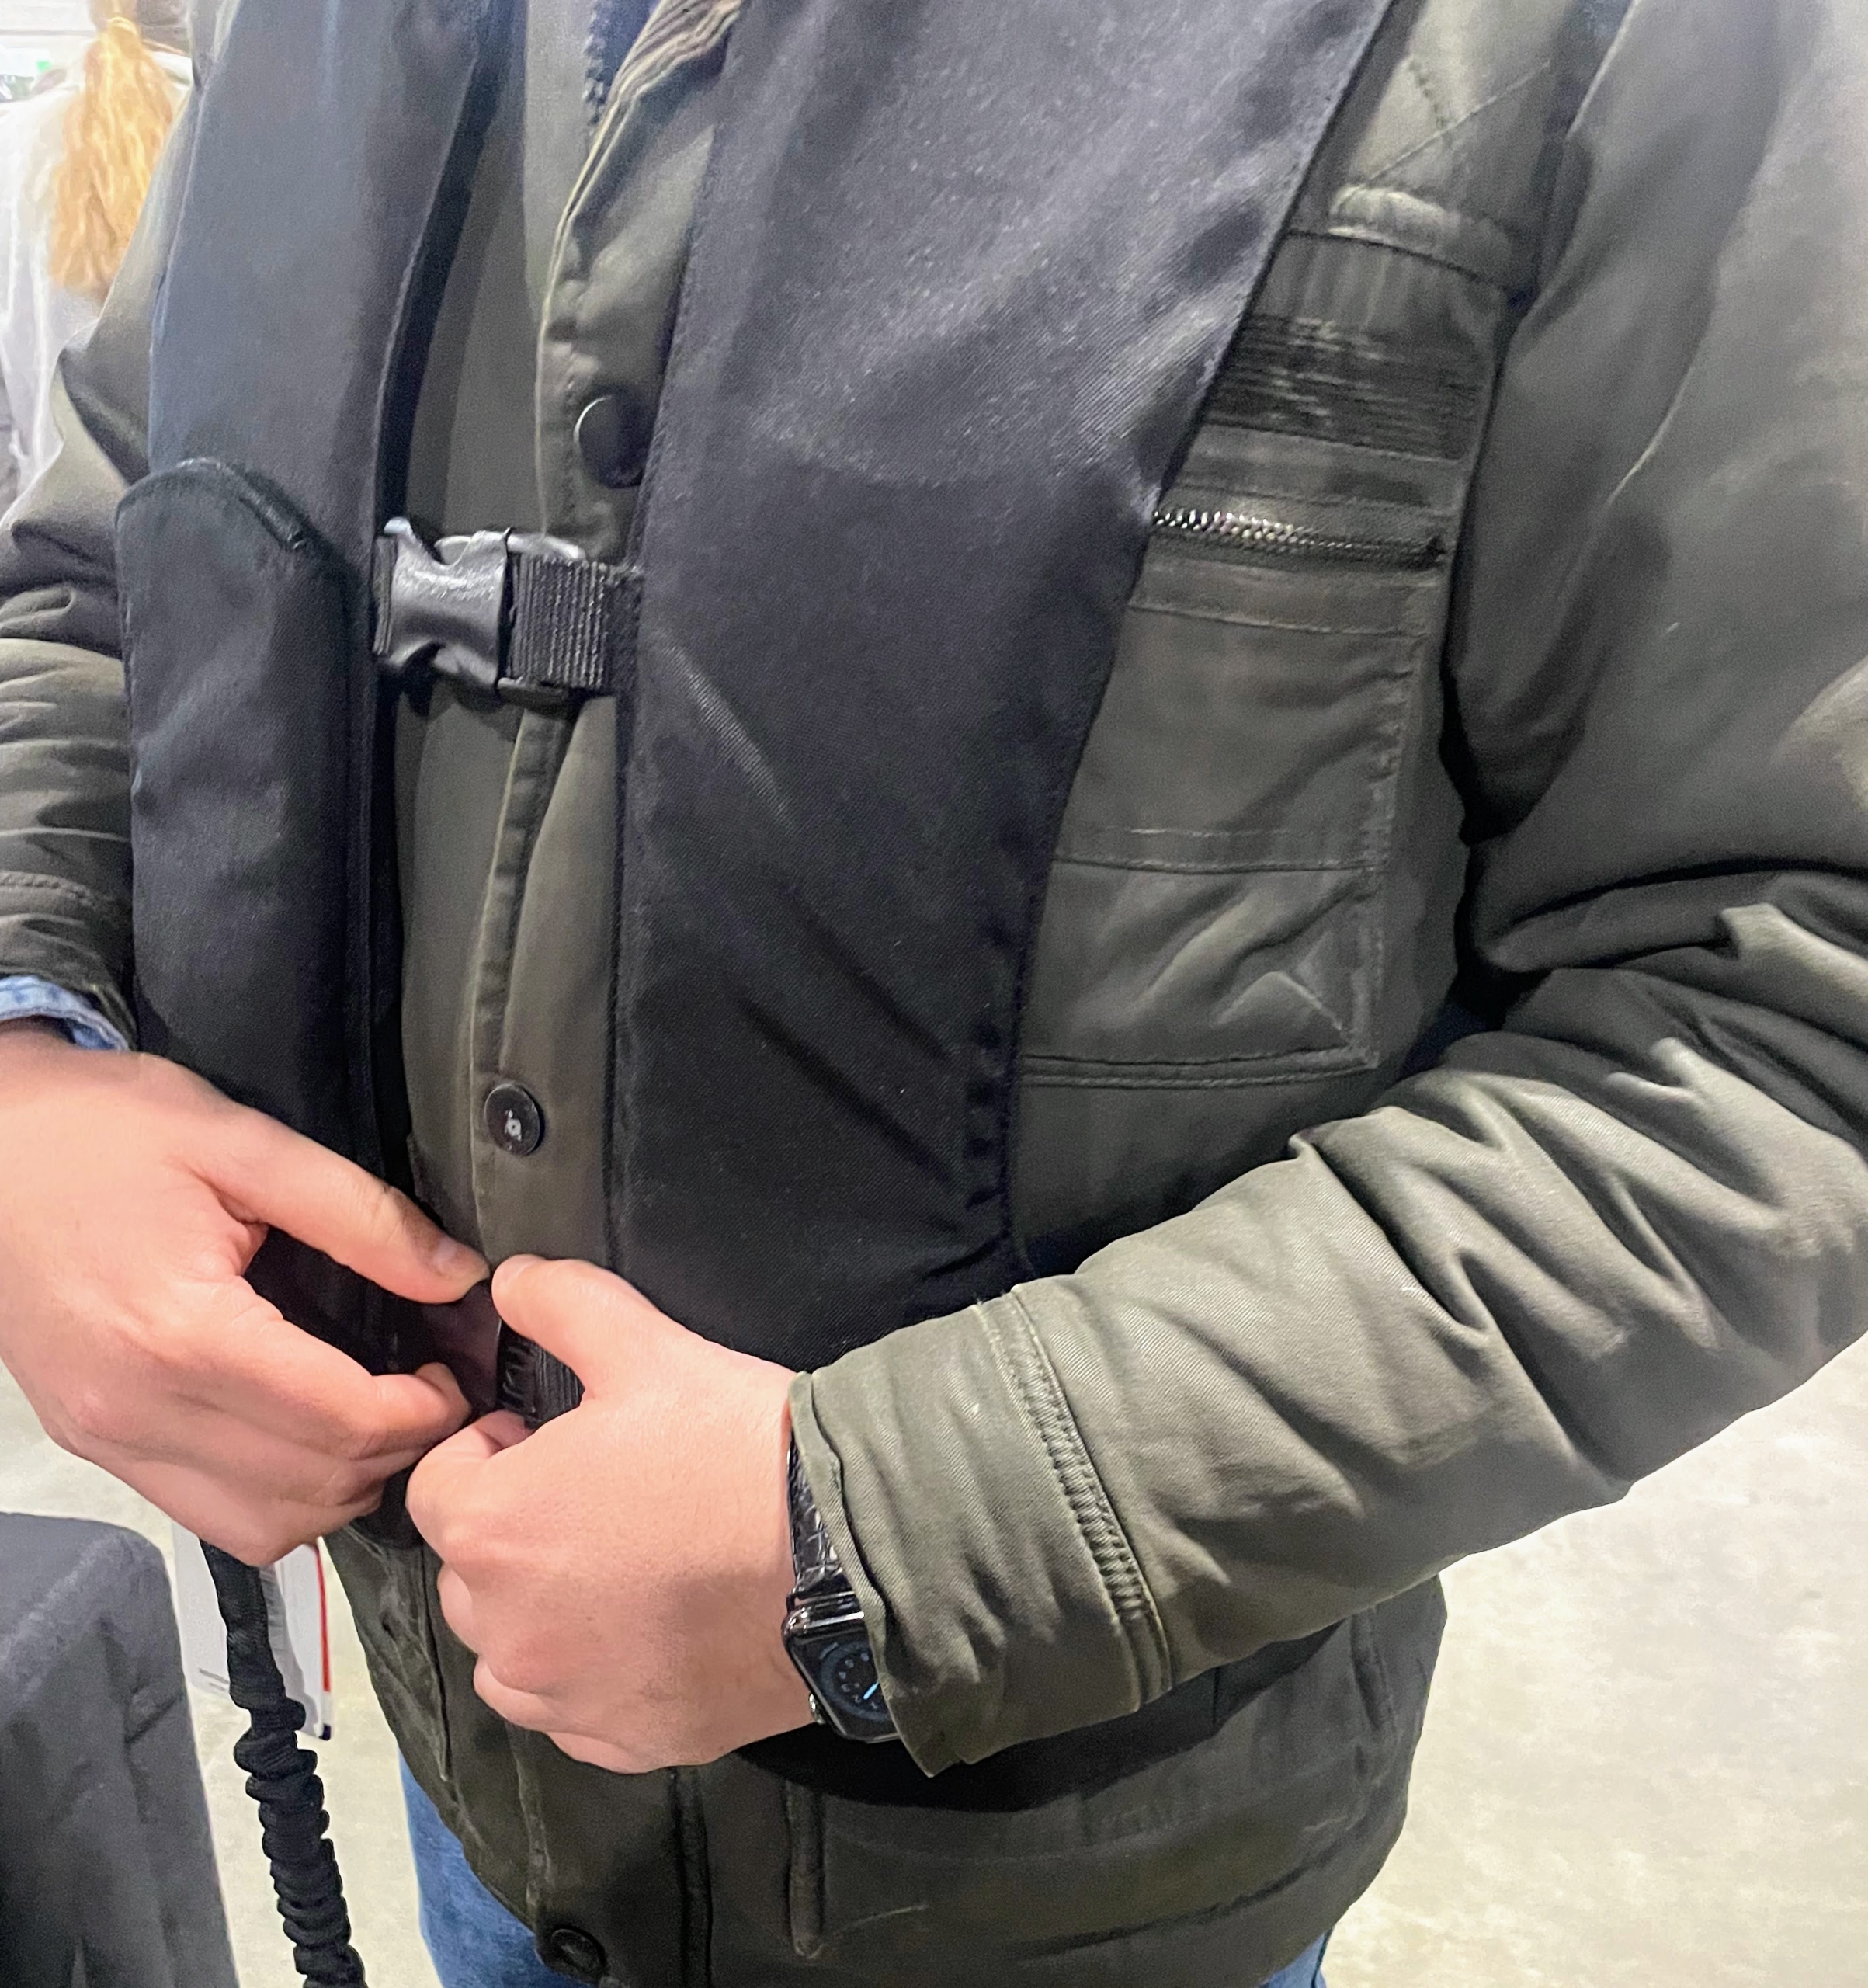
CO2 cartridges inflate immediately to create air cushions just before the rider hits the ground in a fall. The air cushions protect the neck, spine, chest, ribs, and lower back.
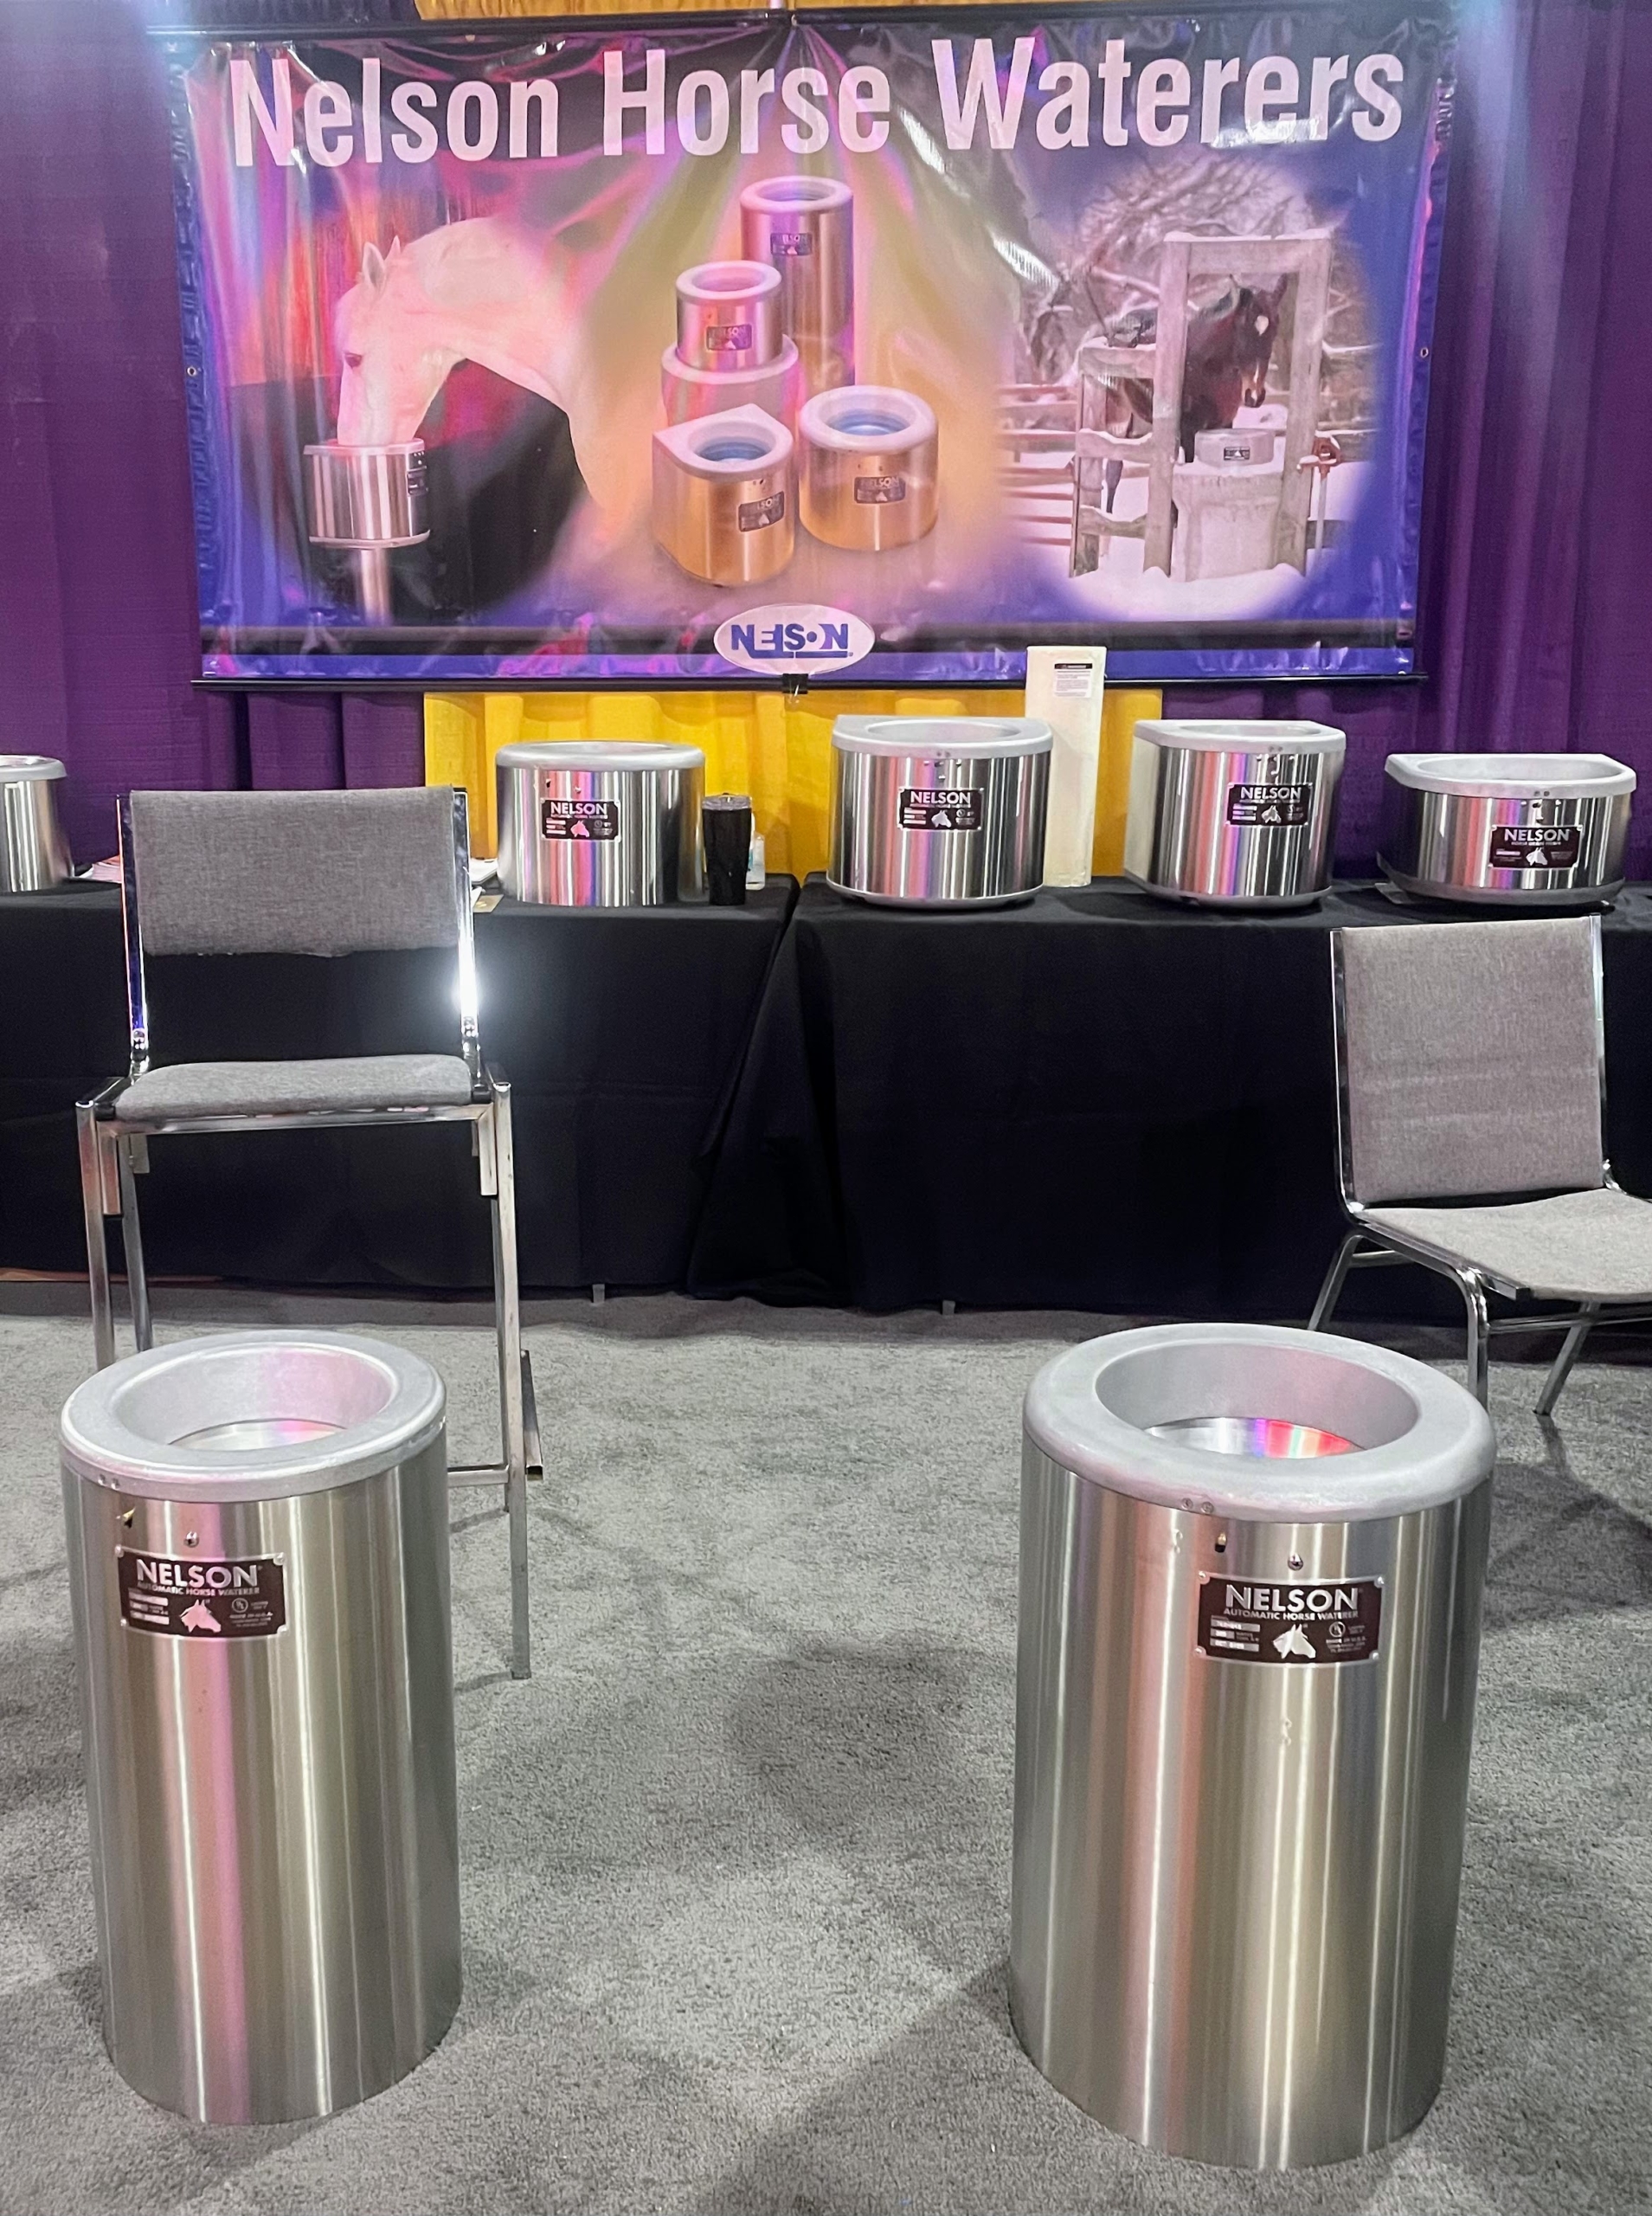
These are Nelson horse waterers for use inside the stalls and outside in the paddocks – they are durable, reliable, and easy to maintain. They also have a heating feature which prevents water from freezing during cold months.
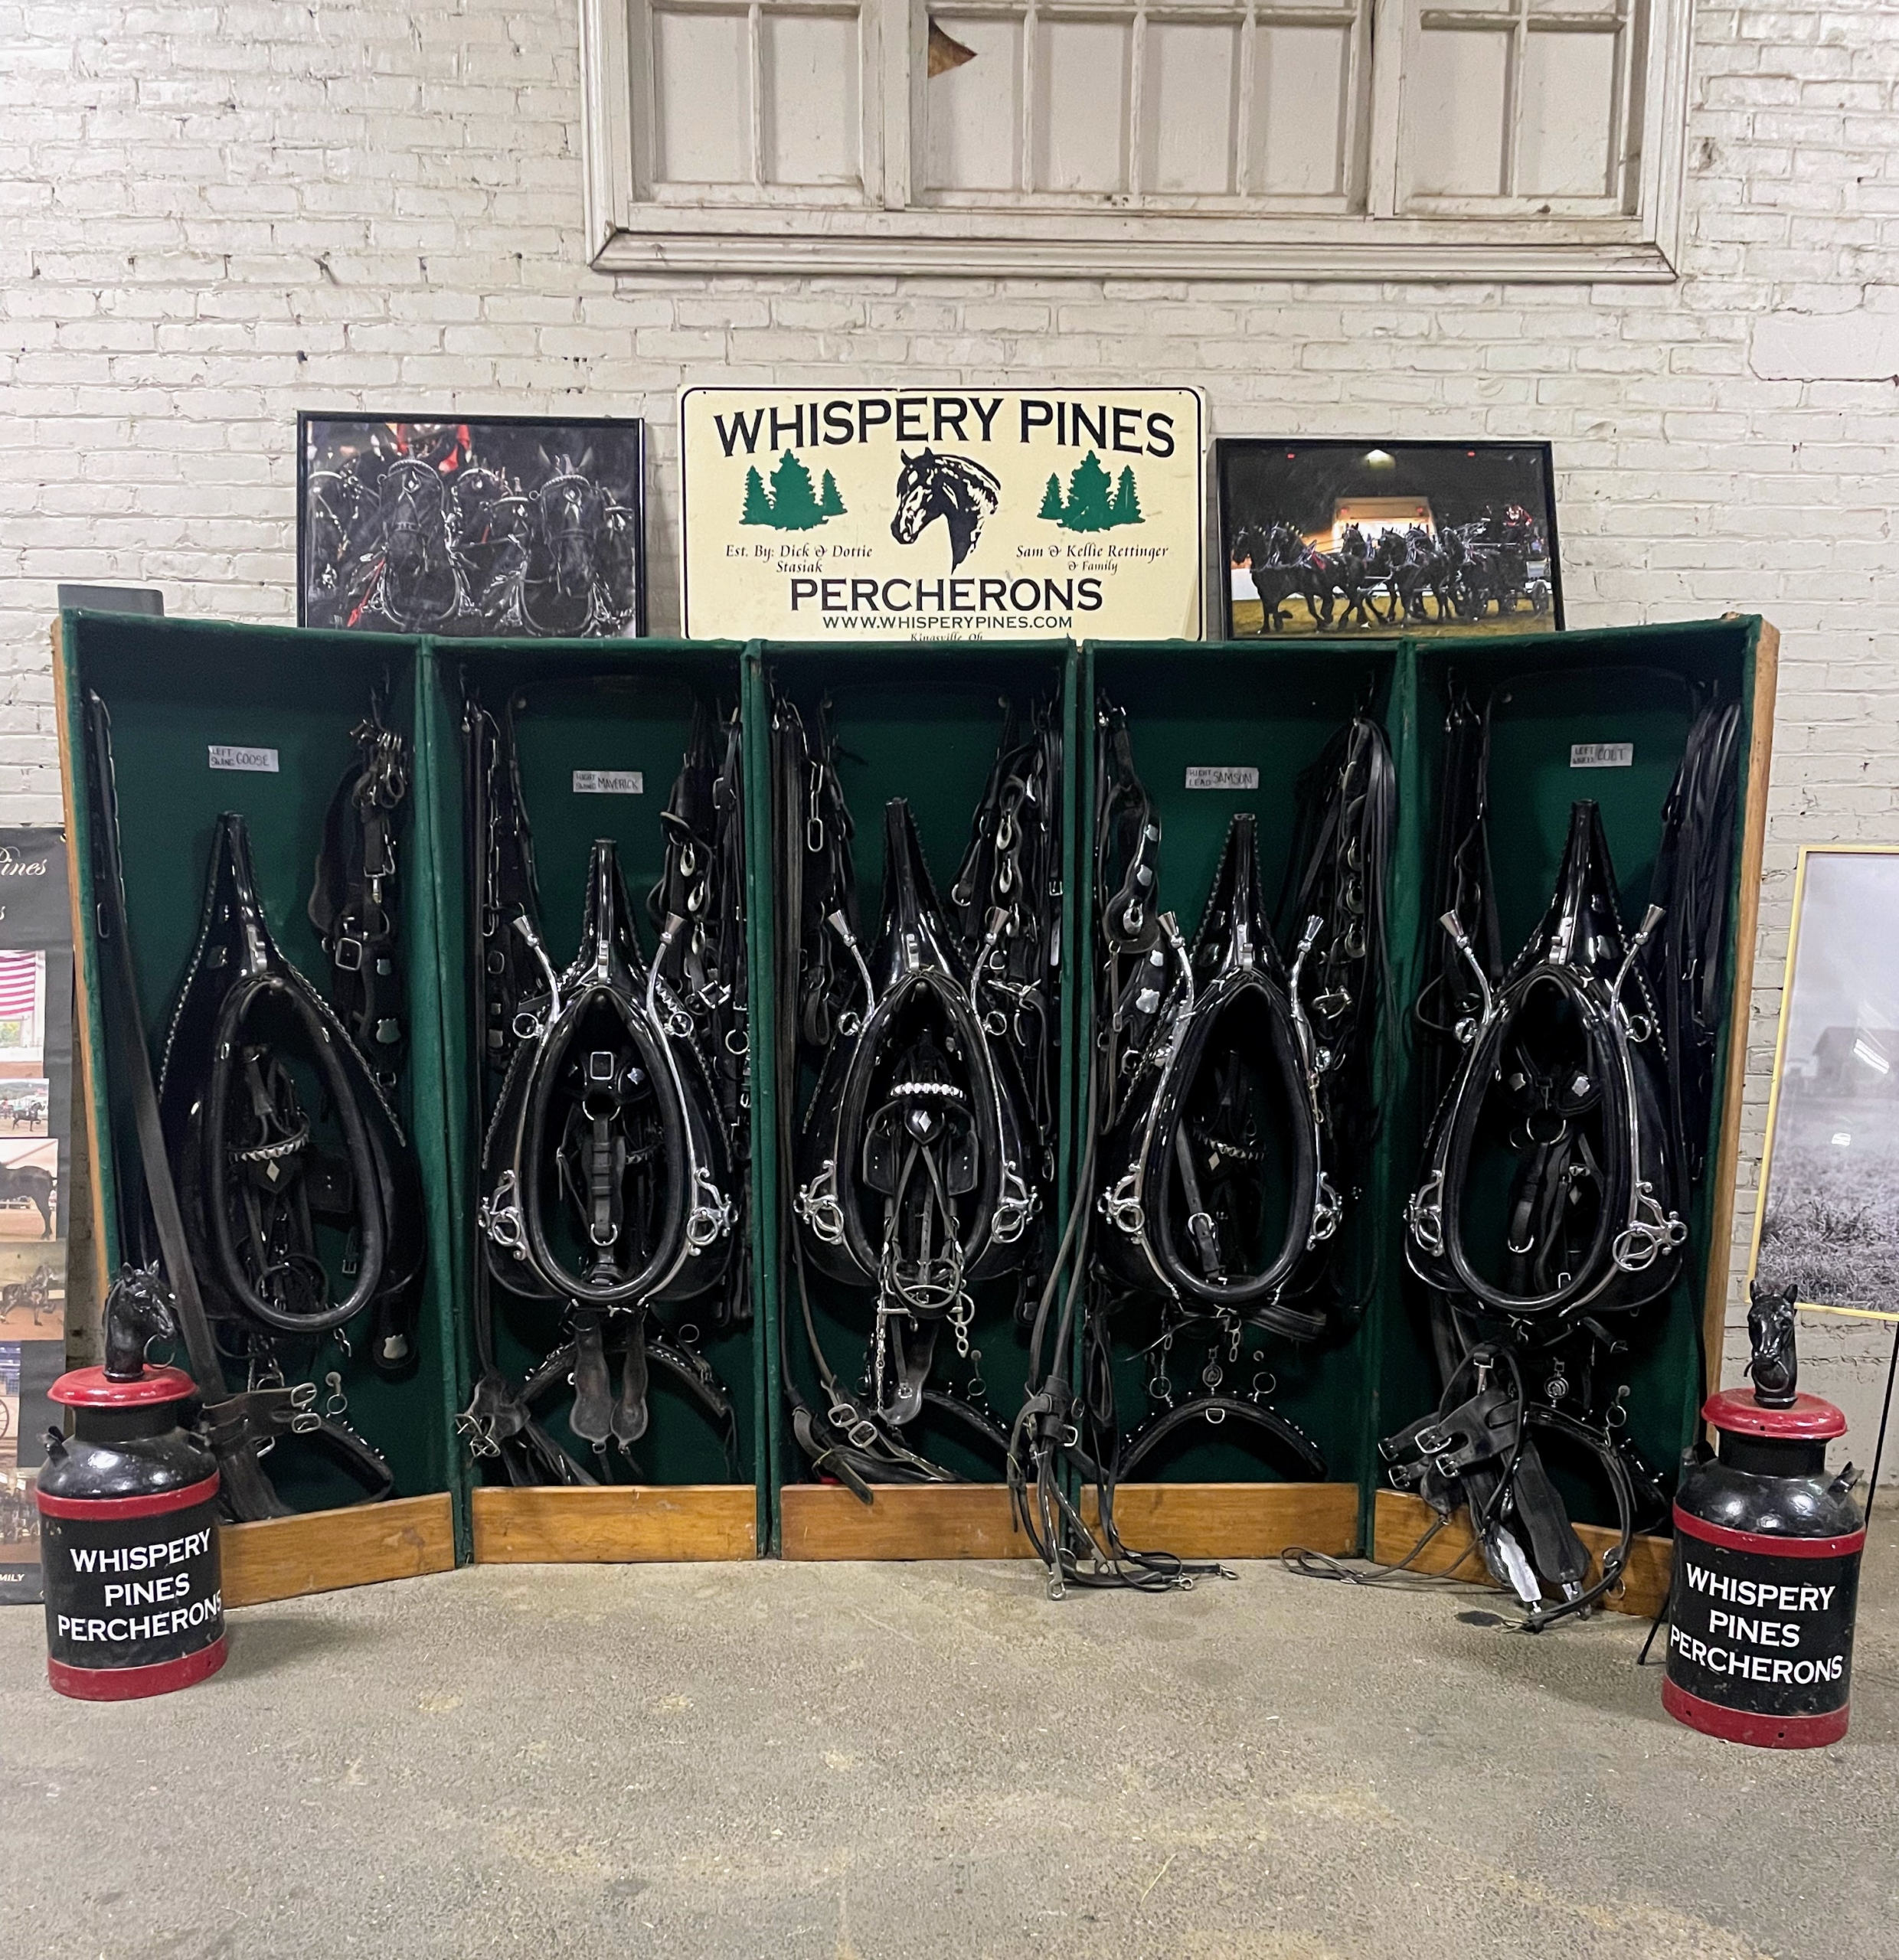
Representatives from well known Whispery Pines Percherons in Kingsville, Ohio, were also there offering different hitch and riding classes.
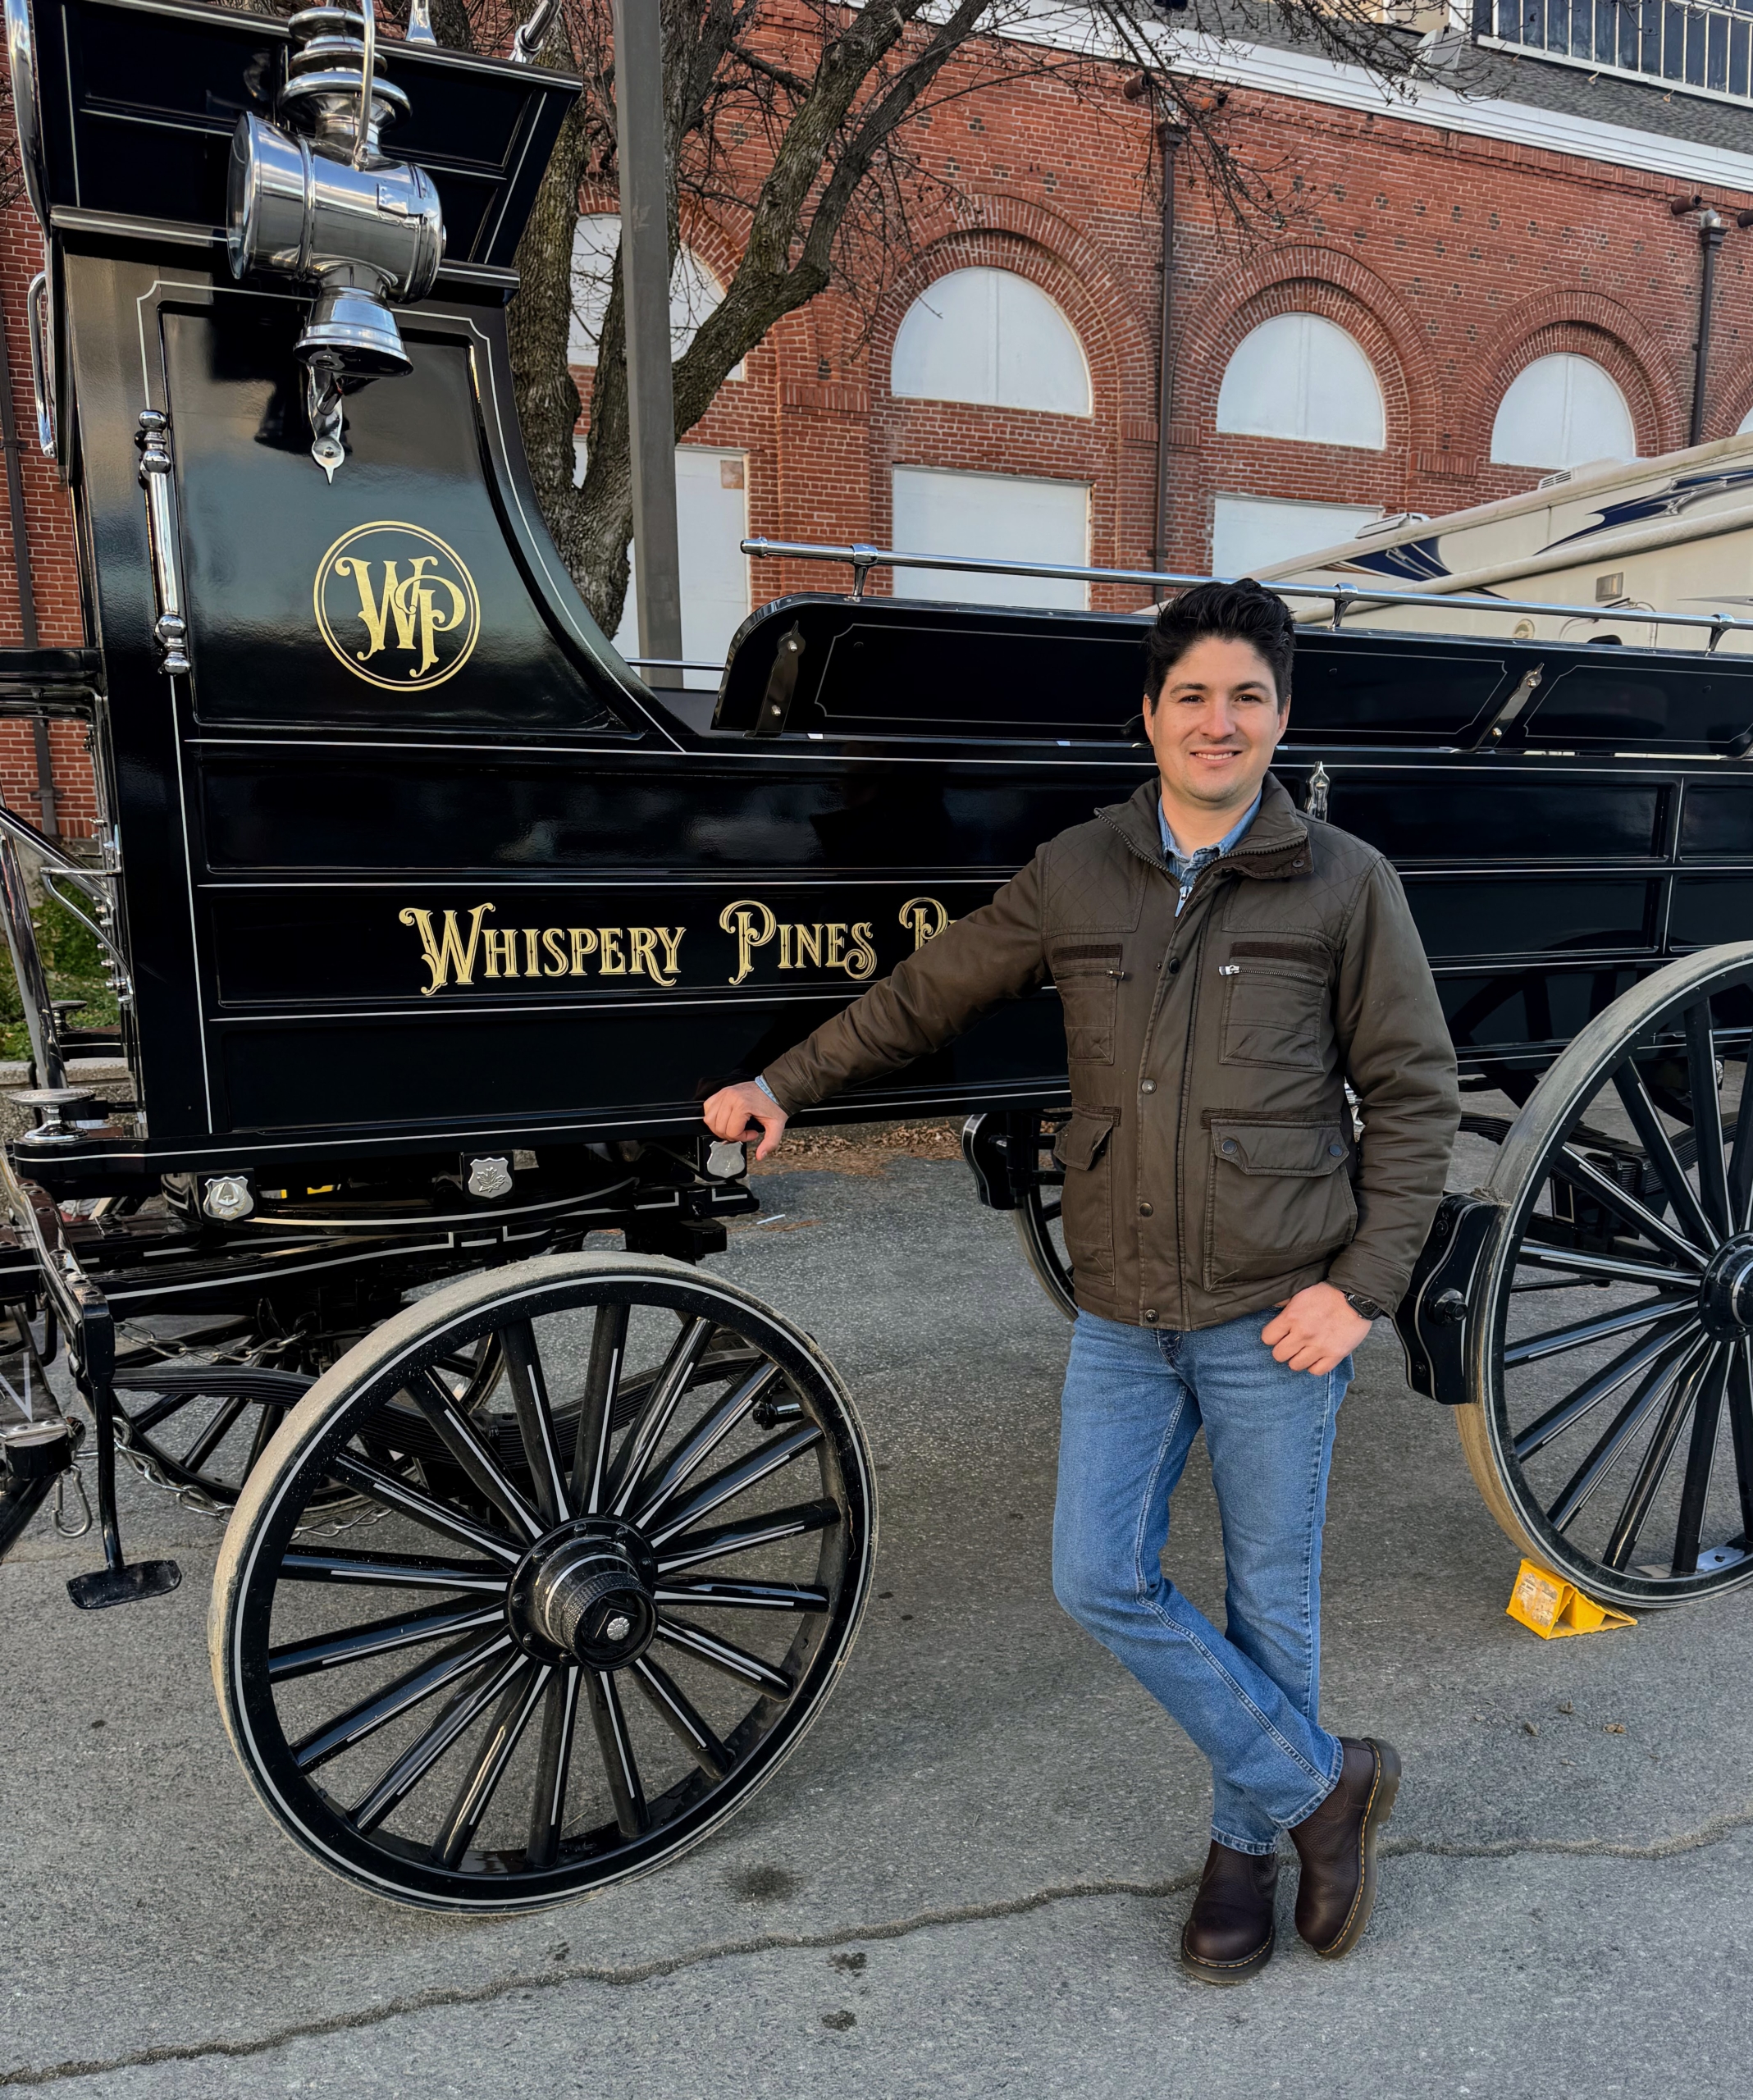
Here’s Juan in front of the Whispery Pines carriage.
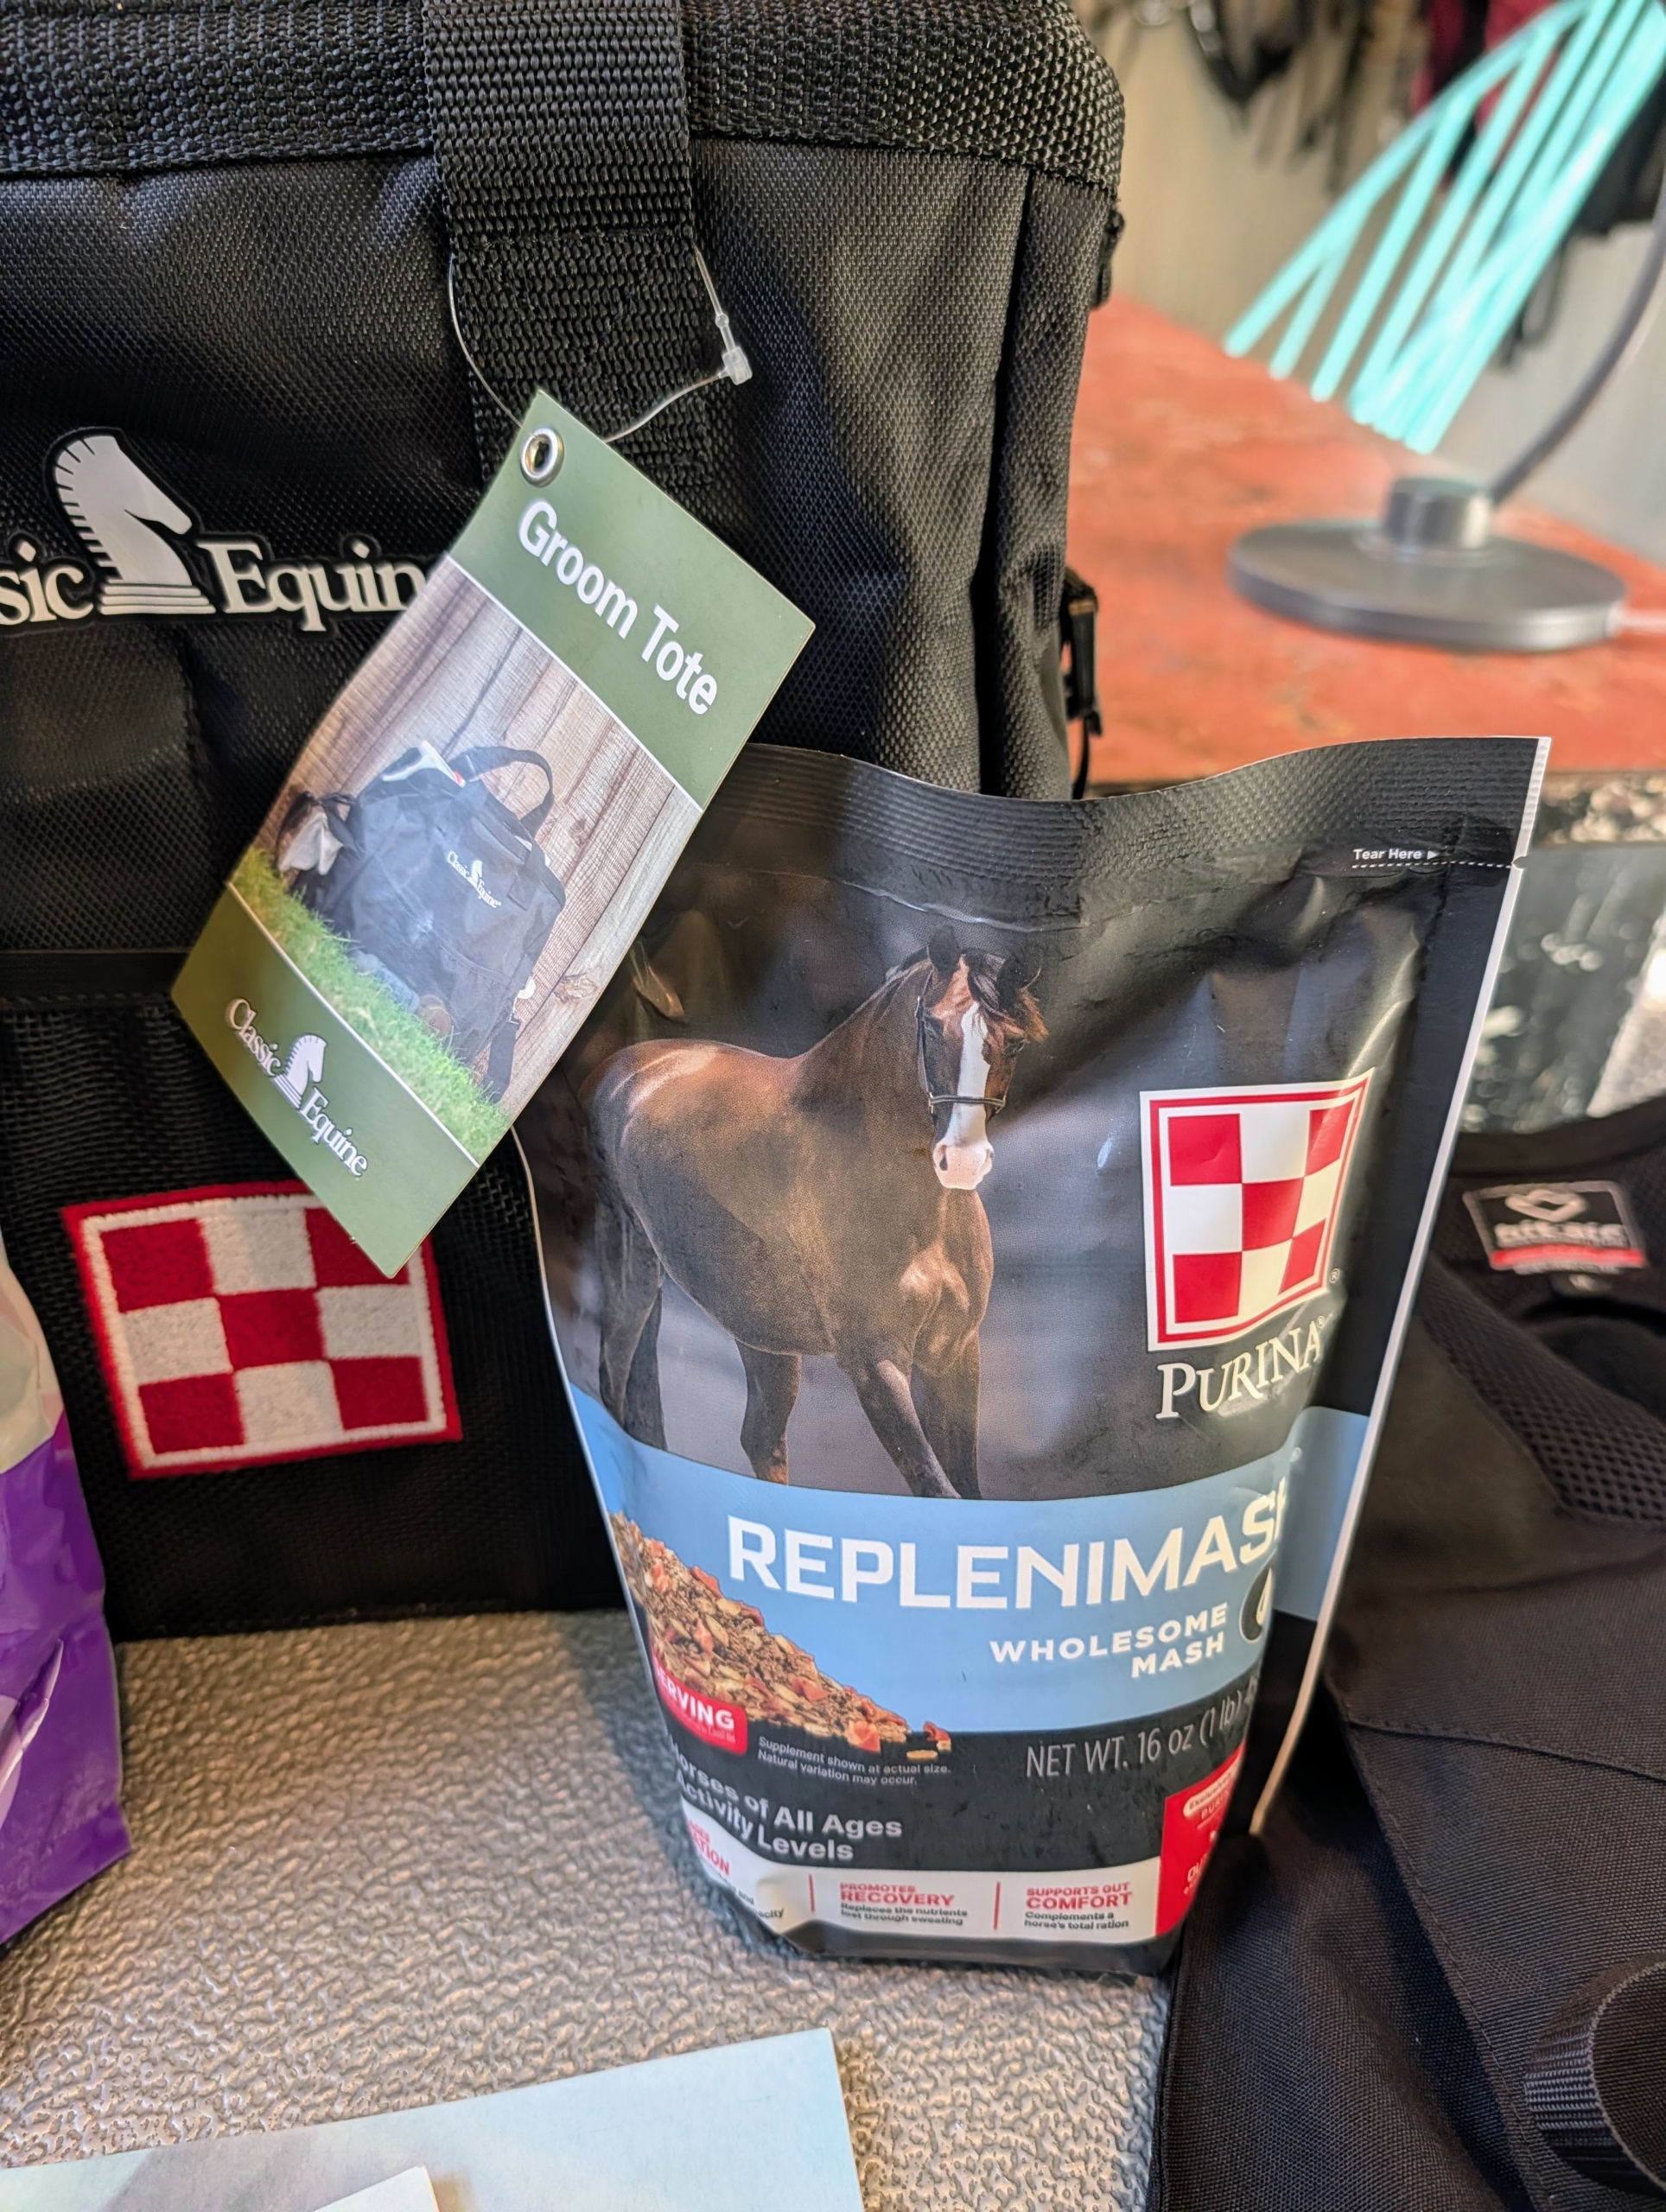
Once back at my stable, Helen tried some of the items she brought home including the Purina RepleniMash for horses, a nutritionally balanced mash designed to support hydration, recovery, and comfort.
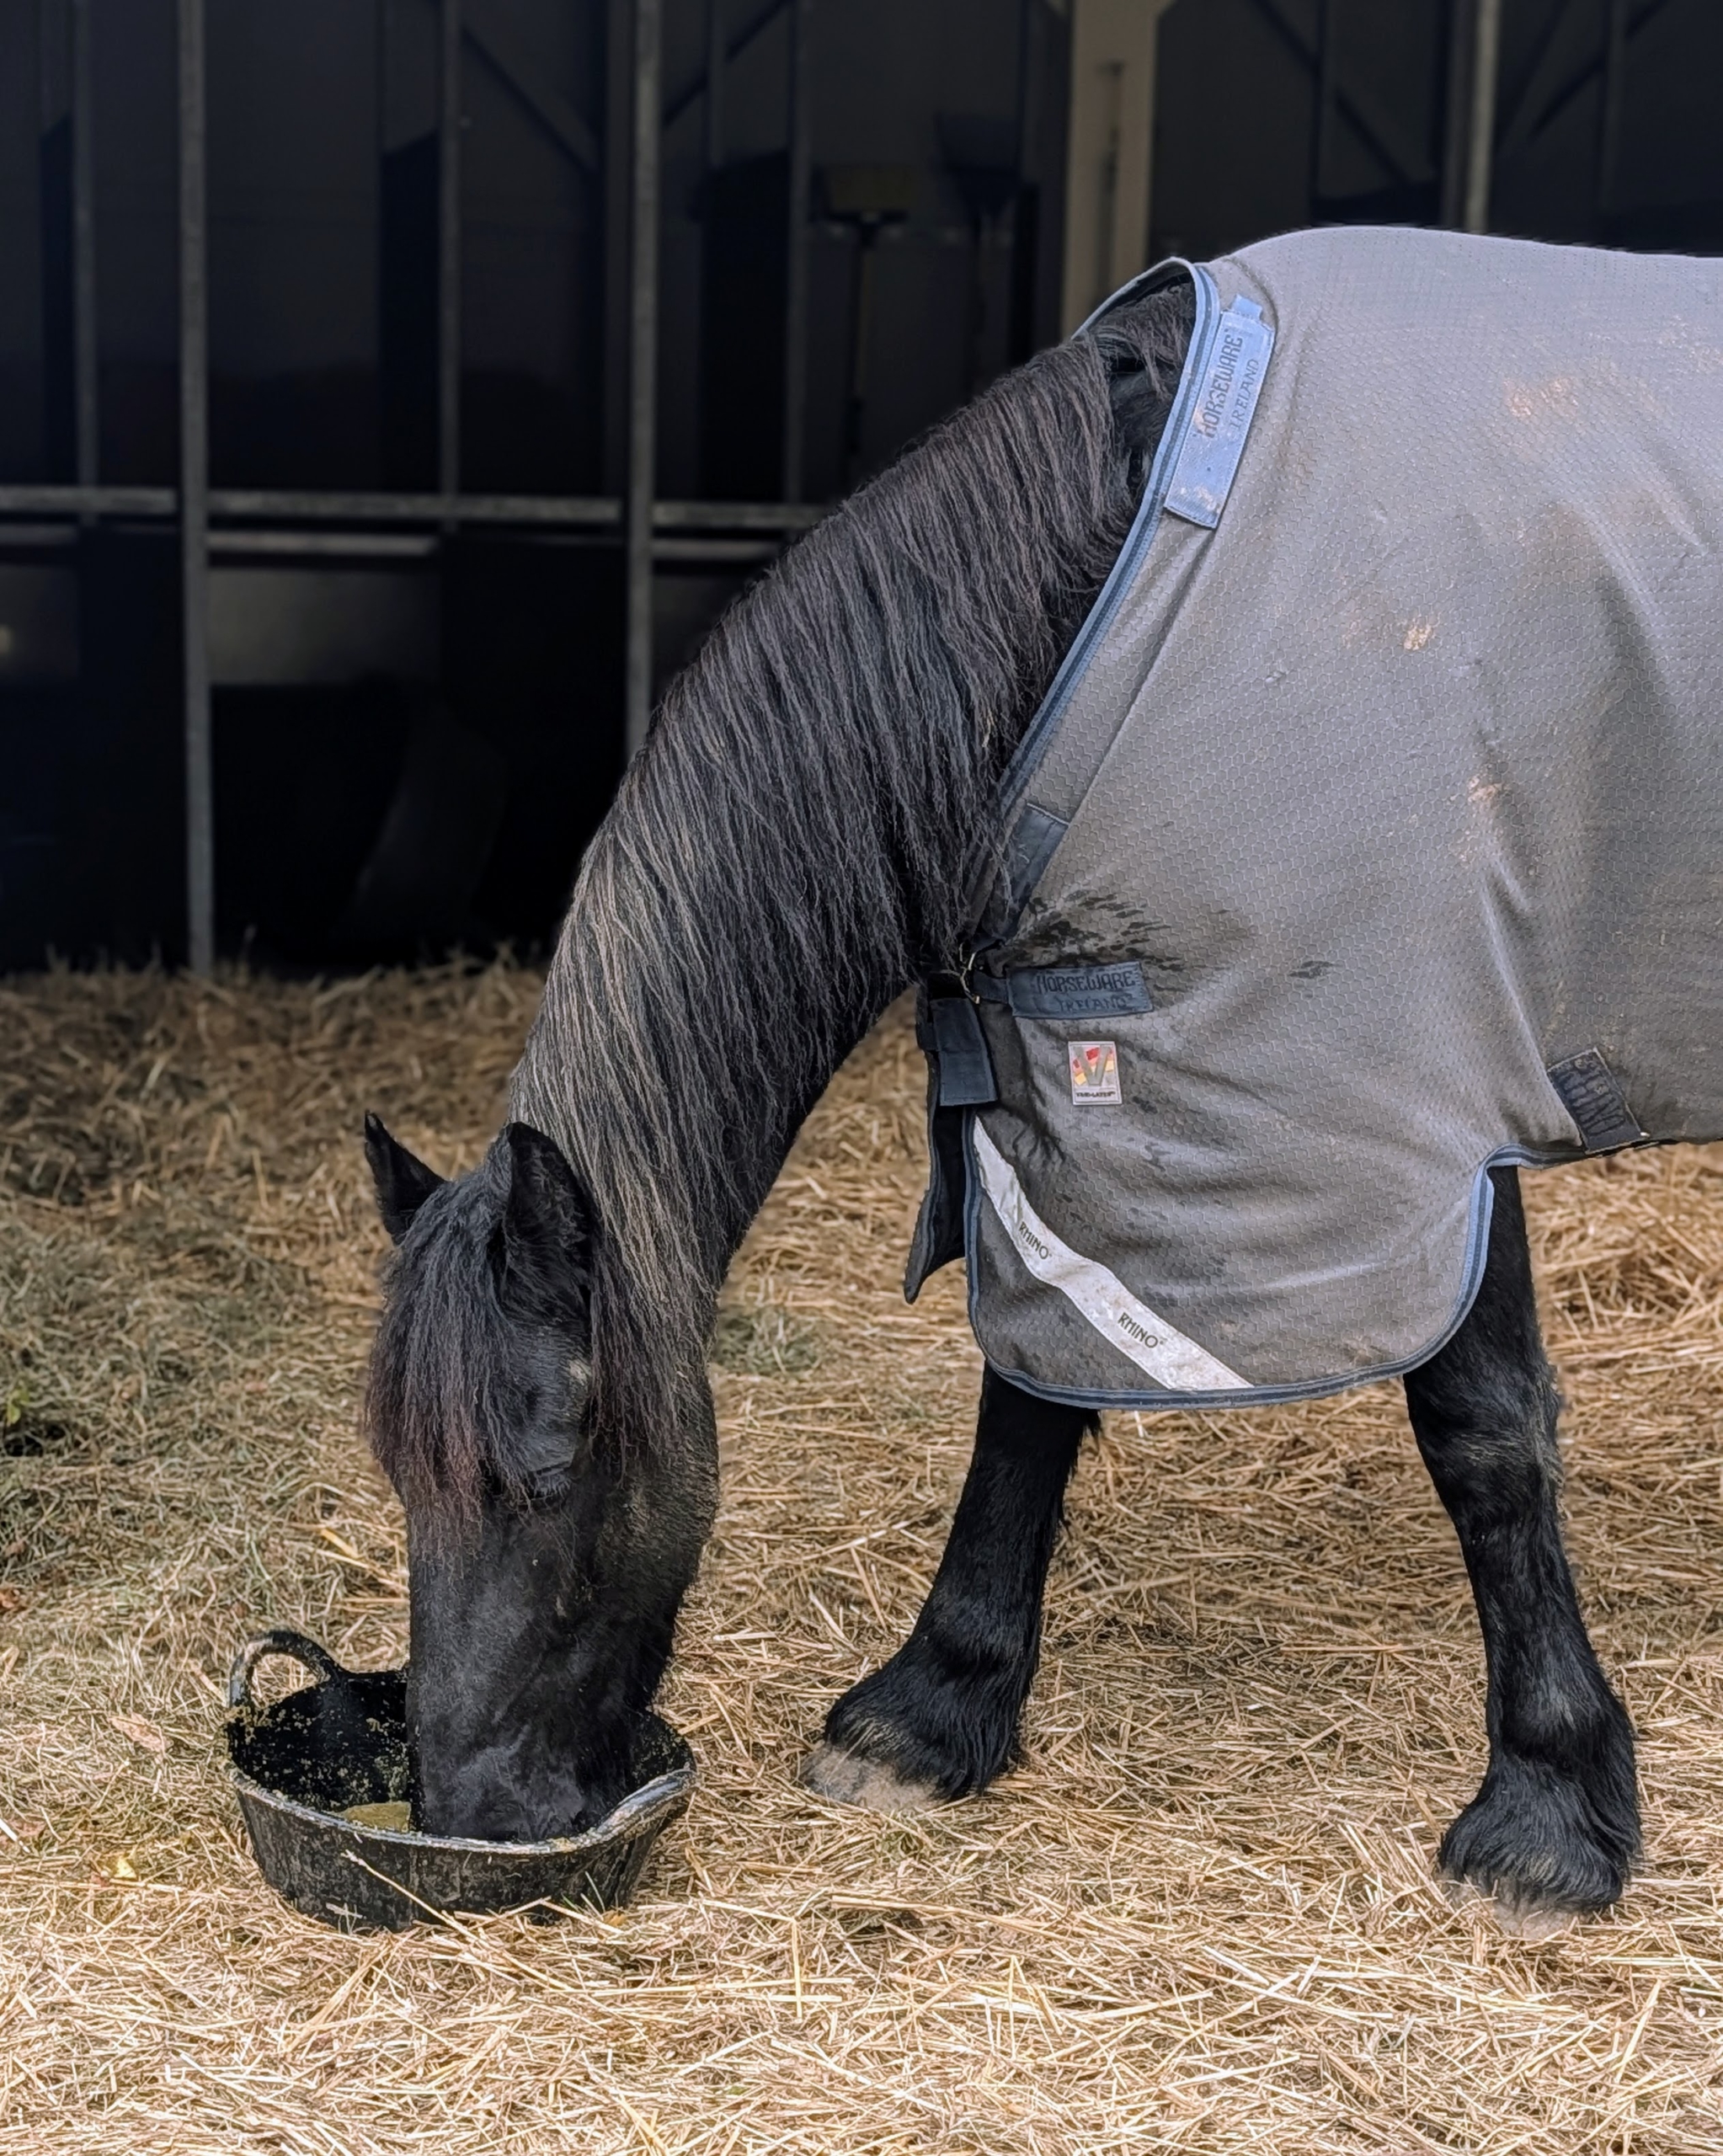
Ulysses, one of my new Friesian rescues, loves it.
It’s good, right Ulysses?
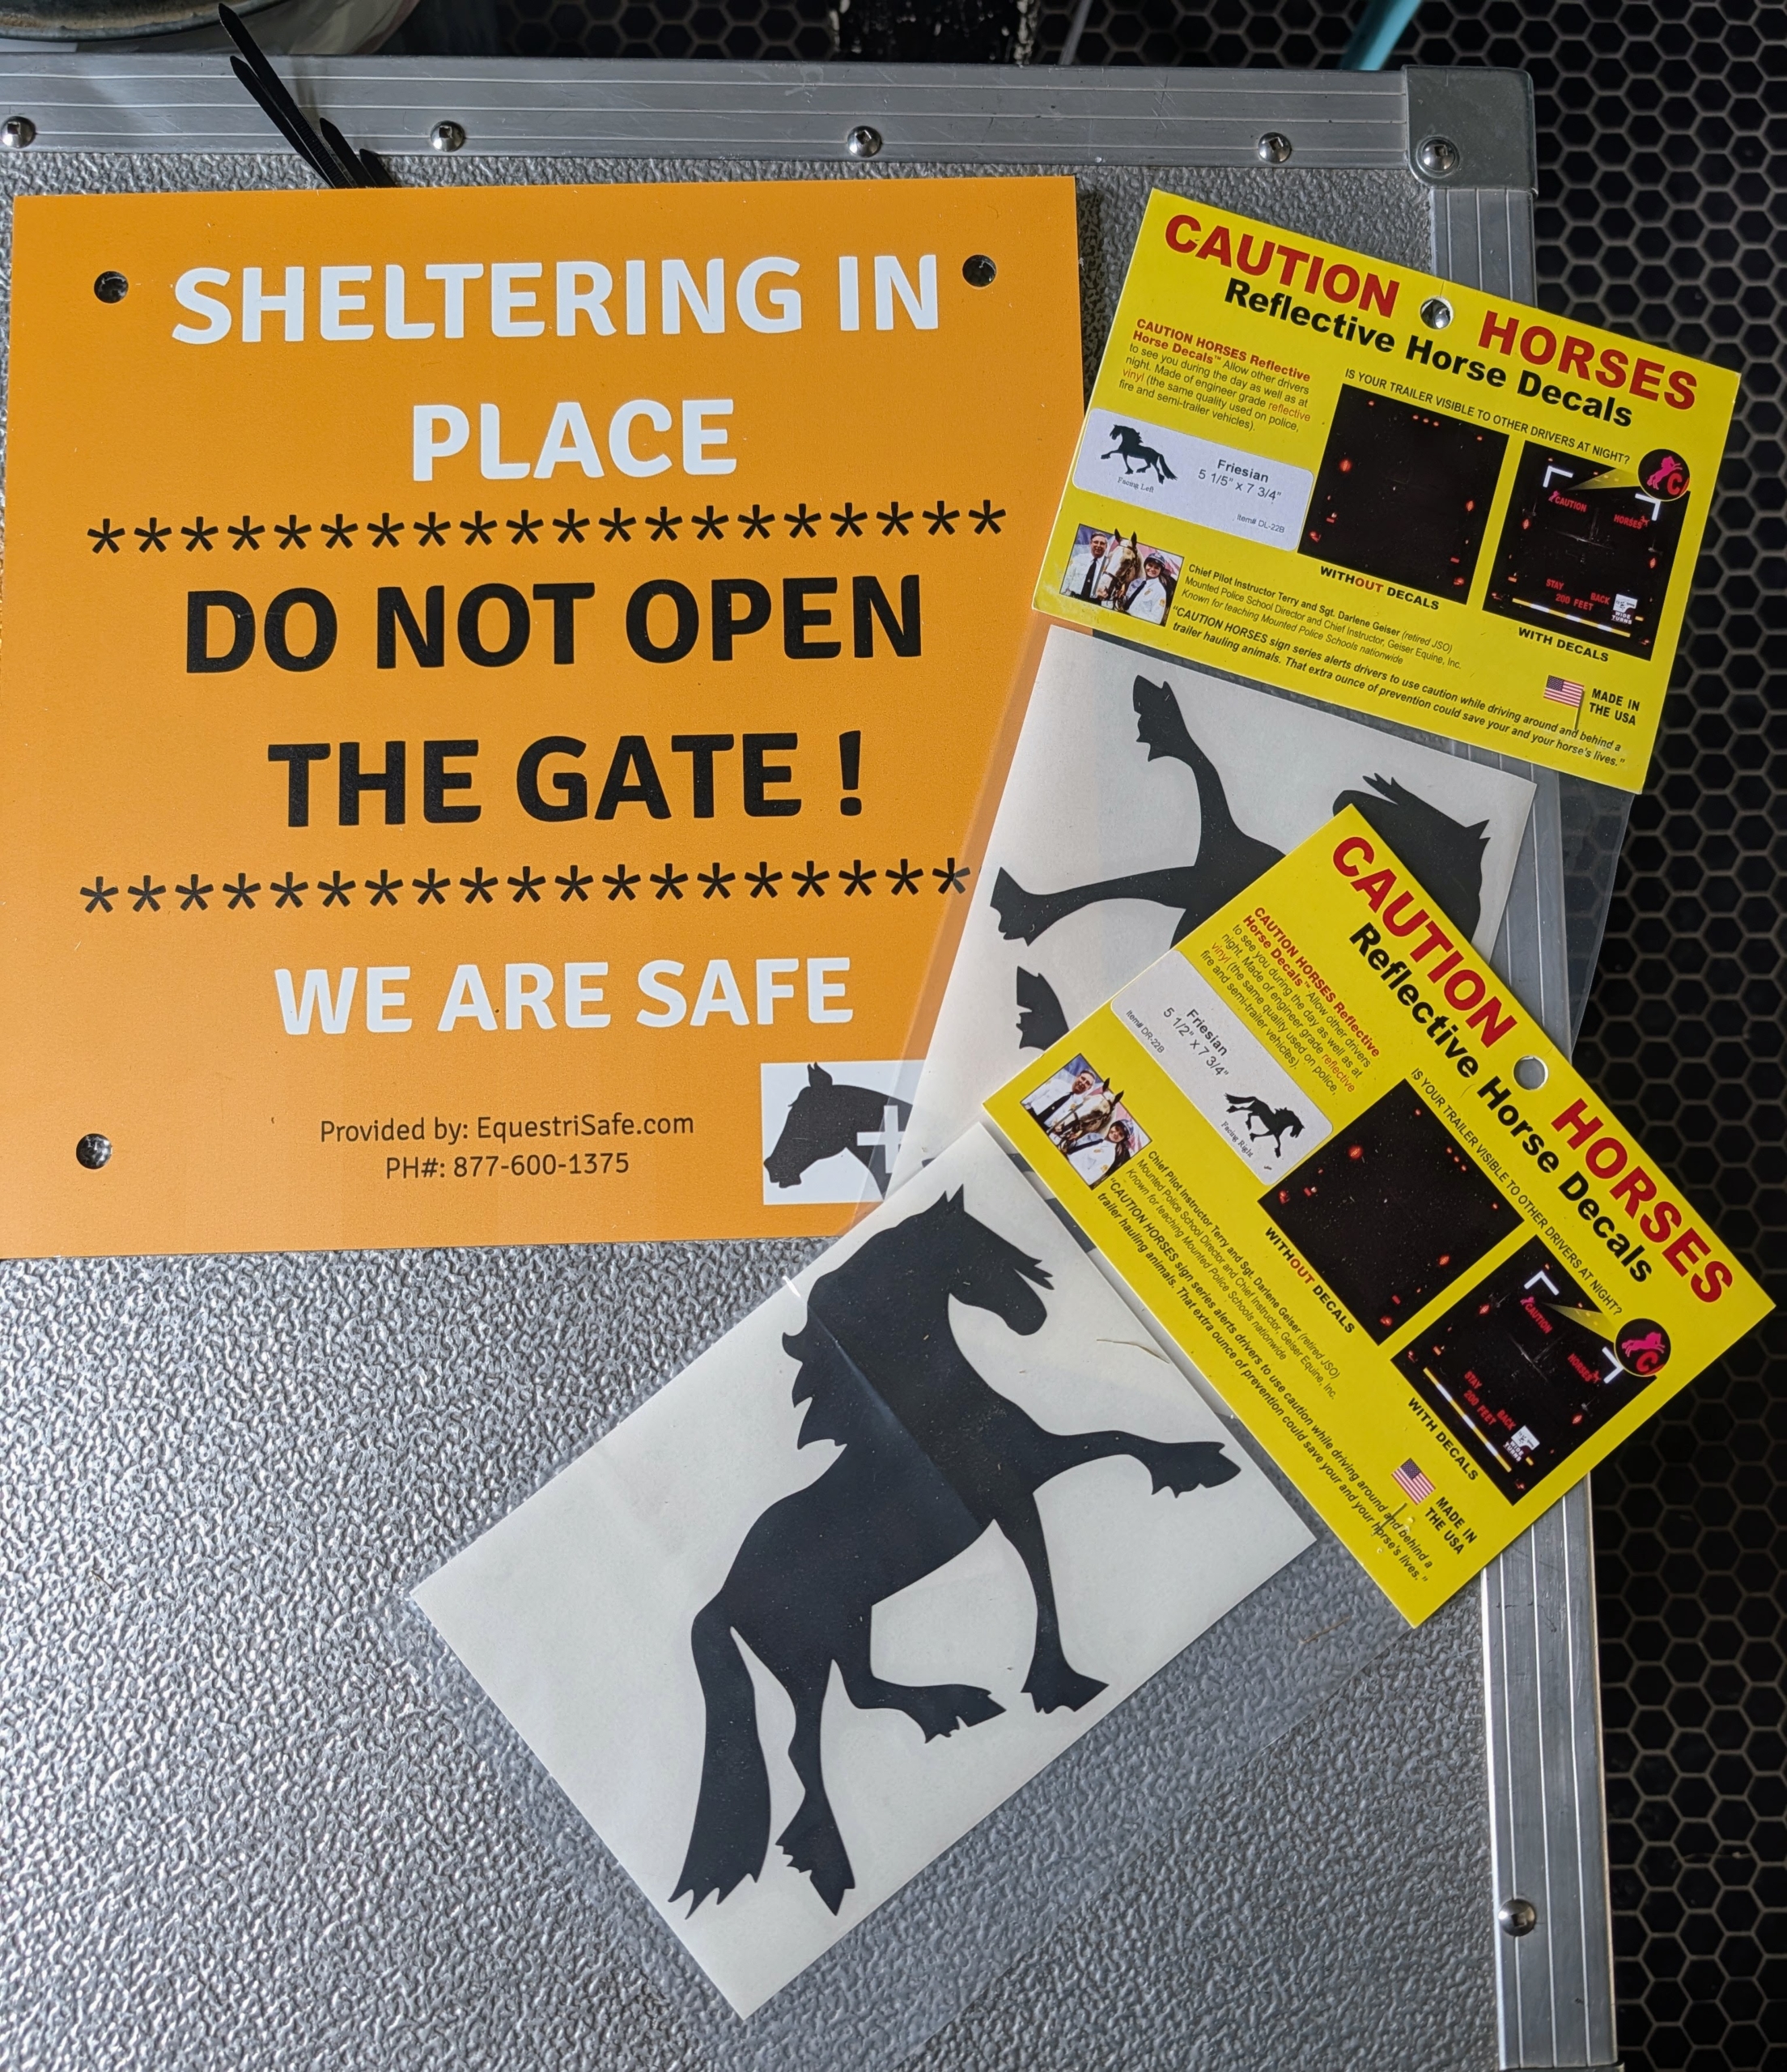
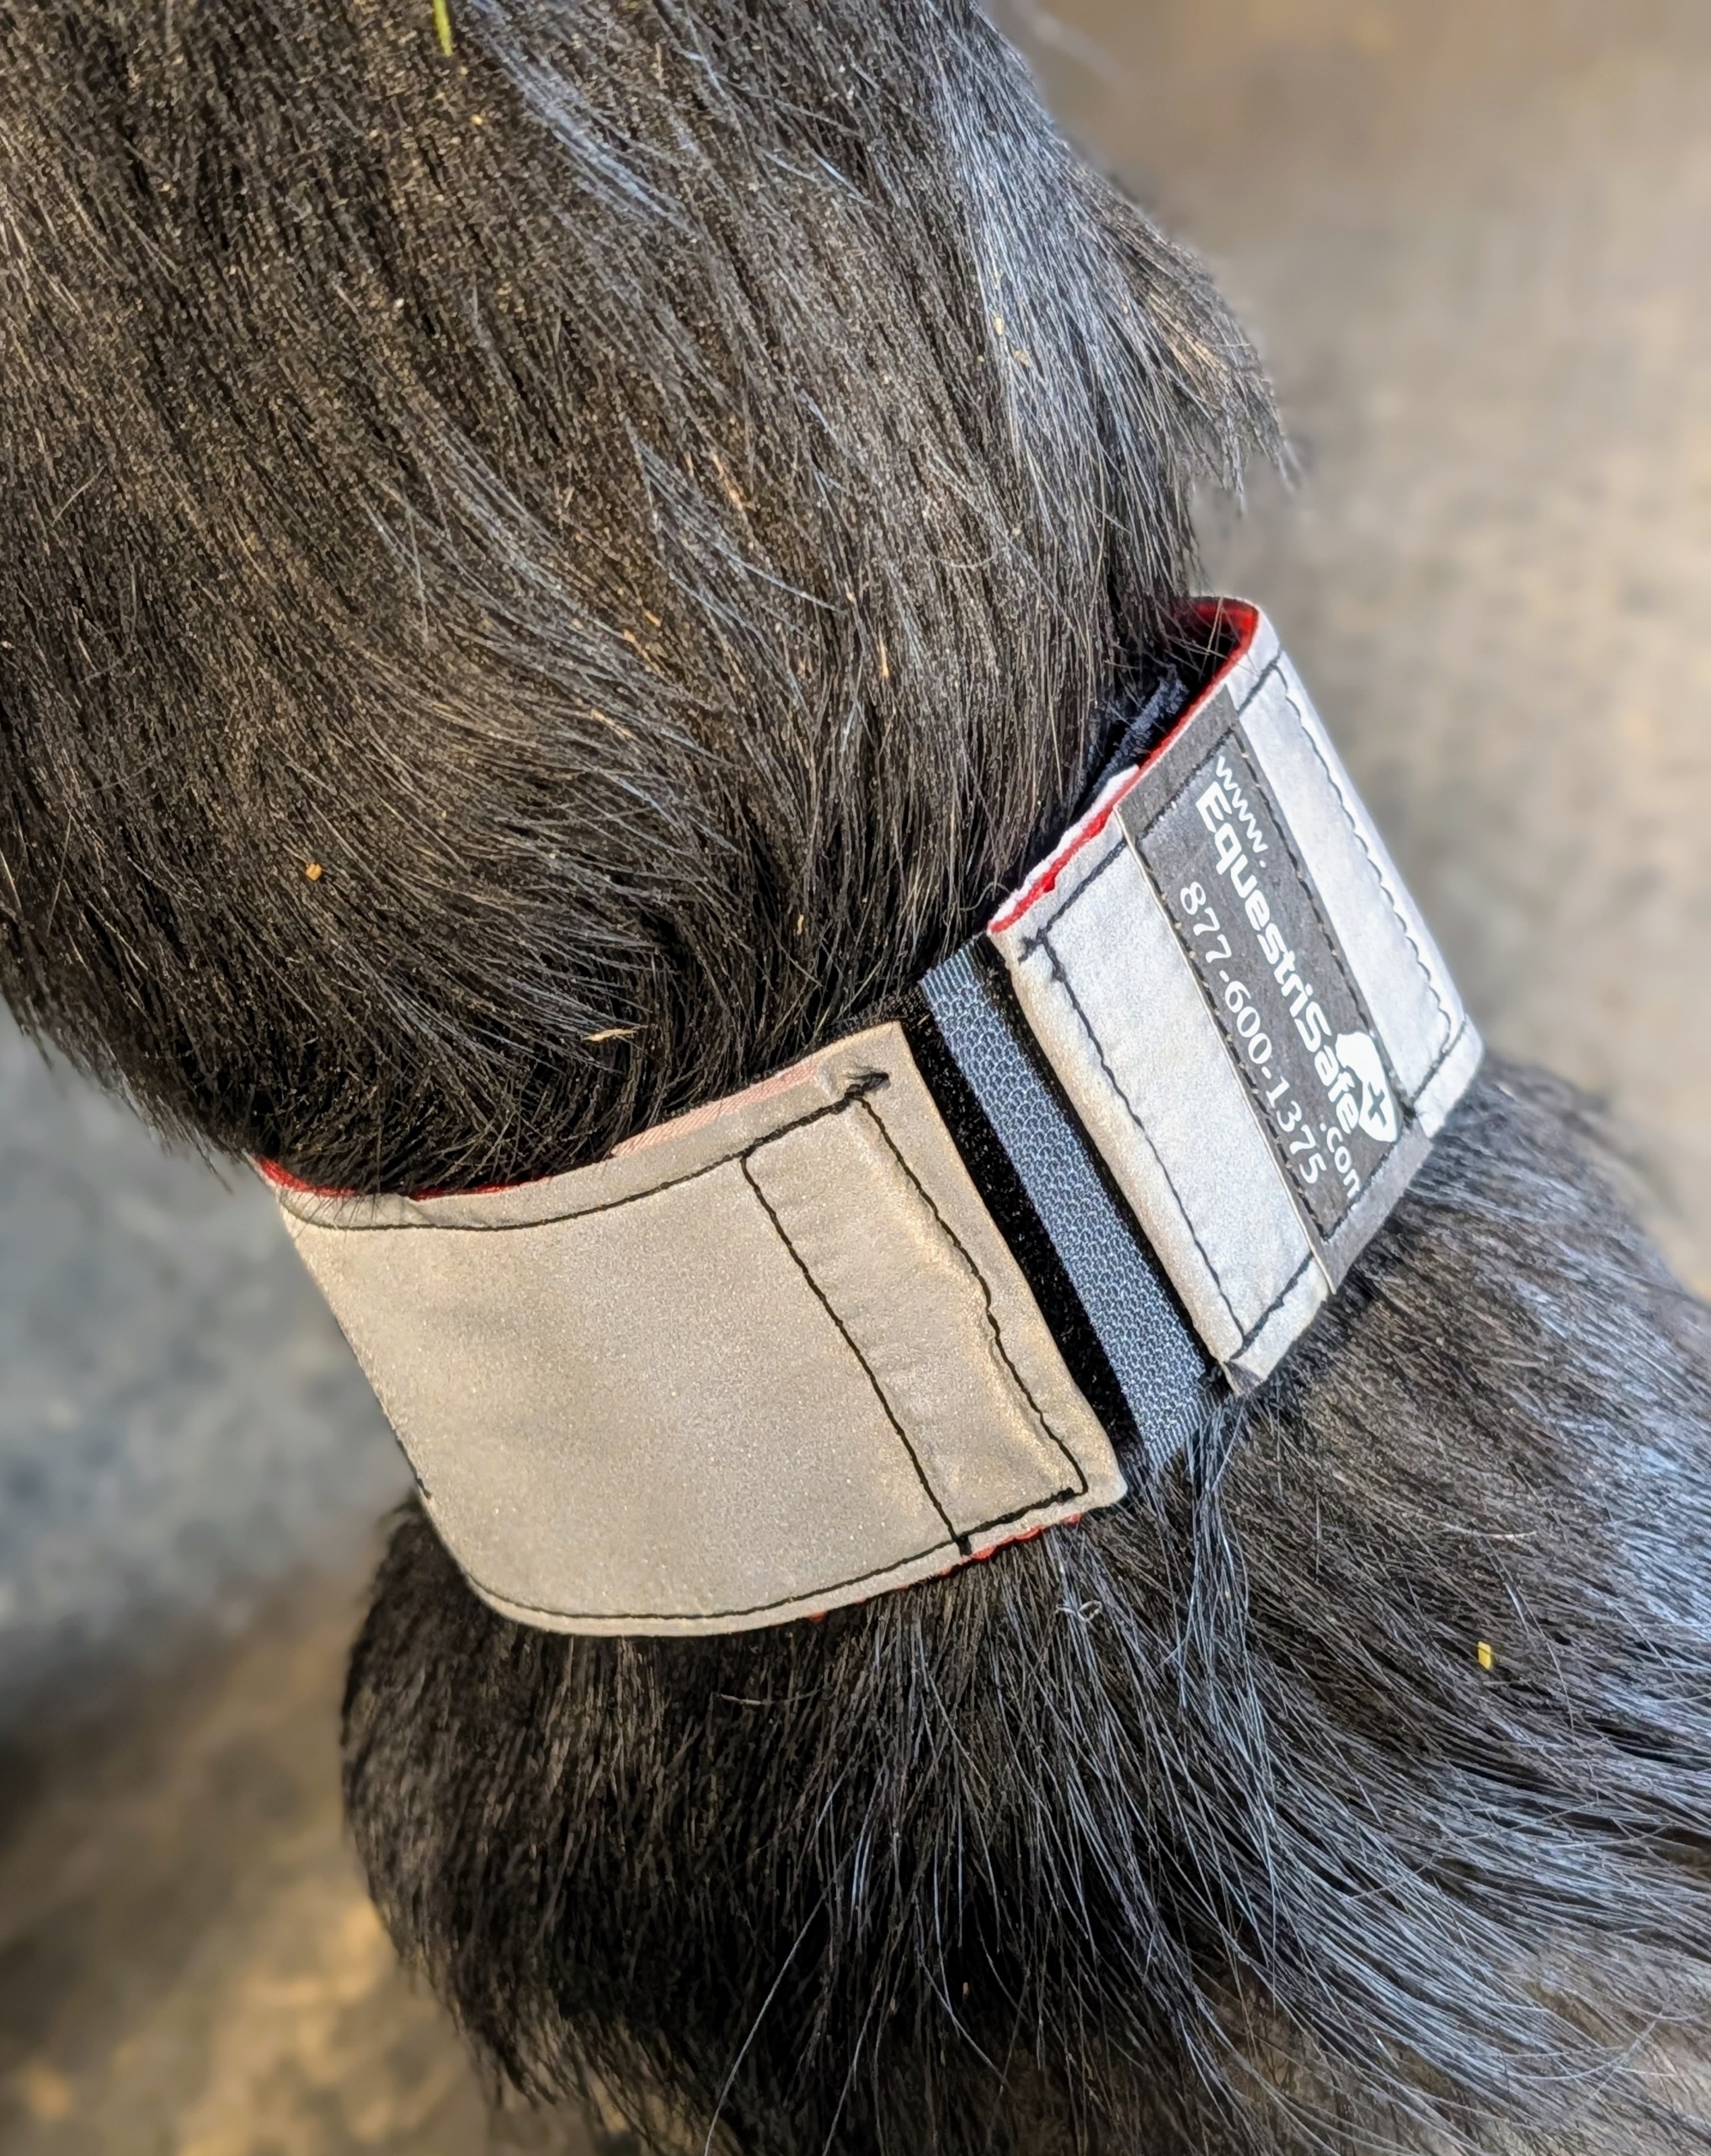
Helen also brought back some safety signs and reflective bands from EquestriSafe. These signs ensure property and trailers are clearly marked and compliant during emergencies.
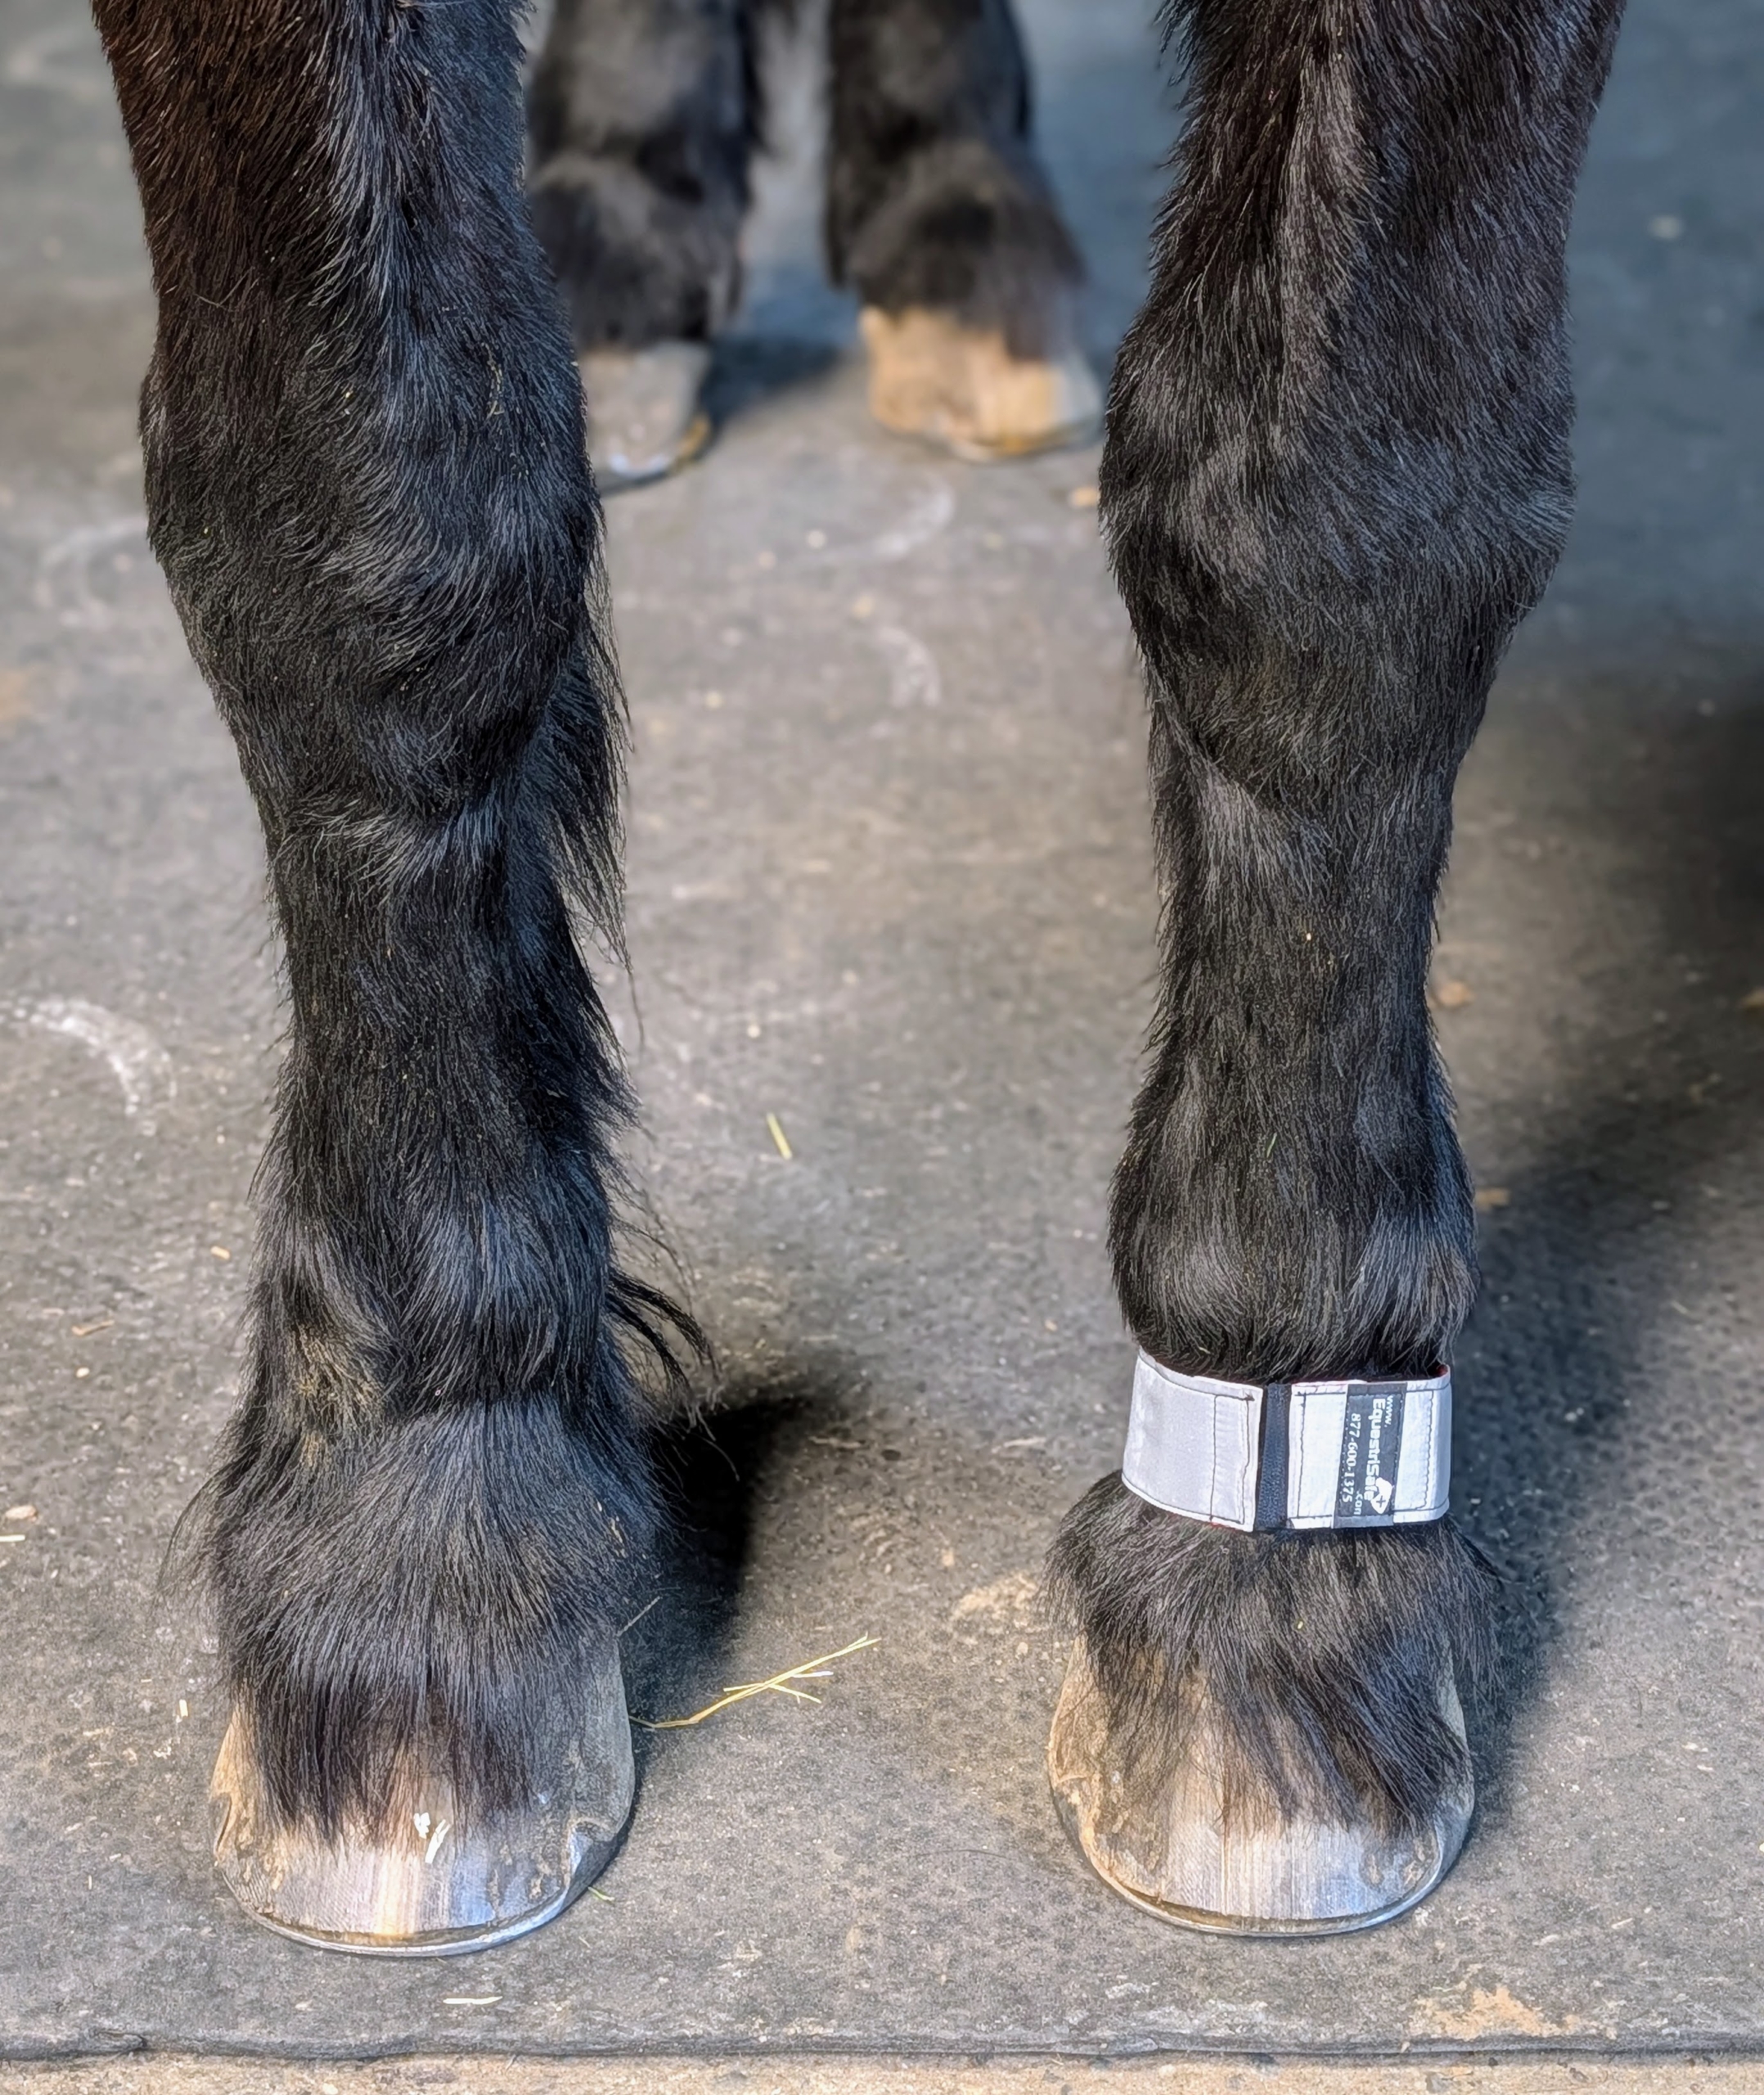
Equine reflective leg wraps are lightweight and easy to secure. It’s also possible to have an emergency phone number embroidered on the band.
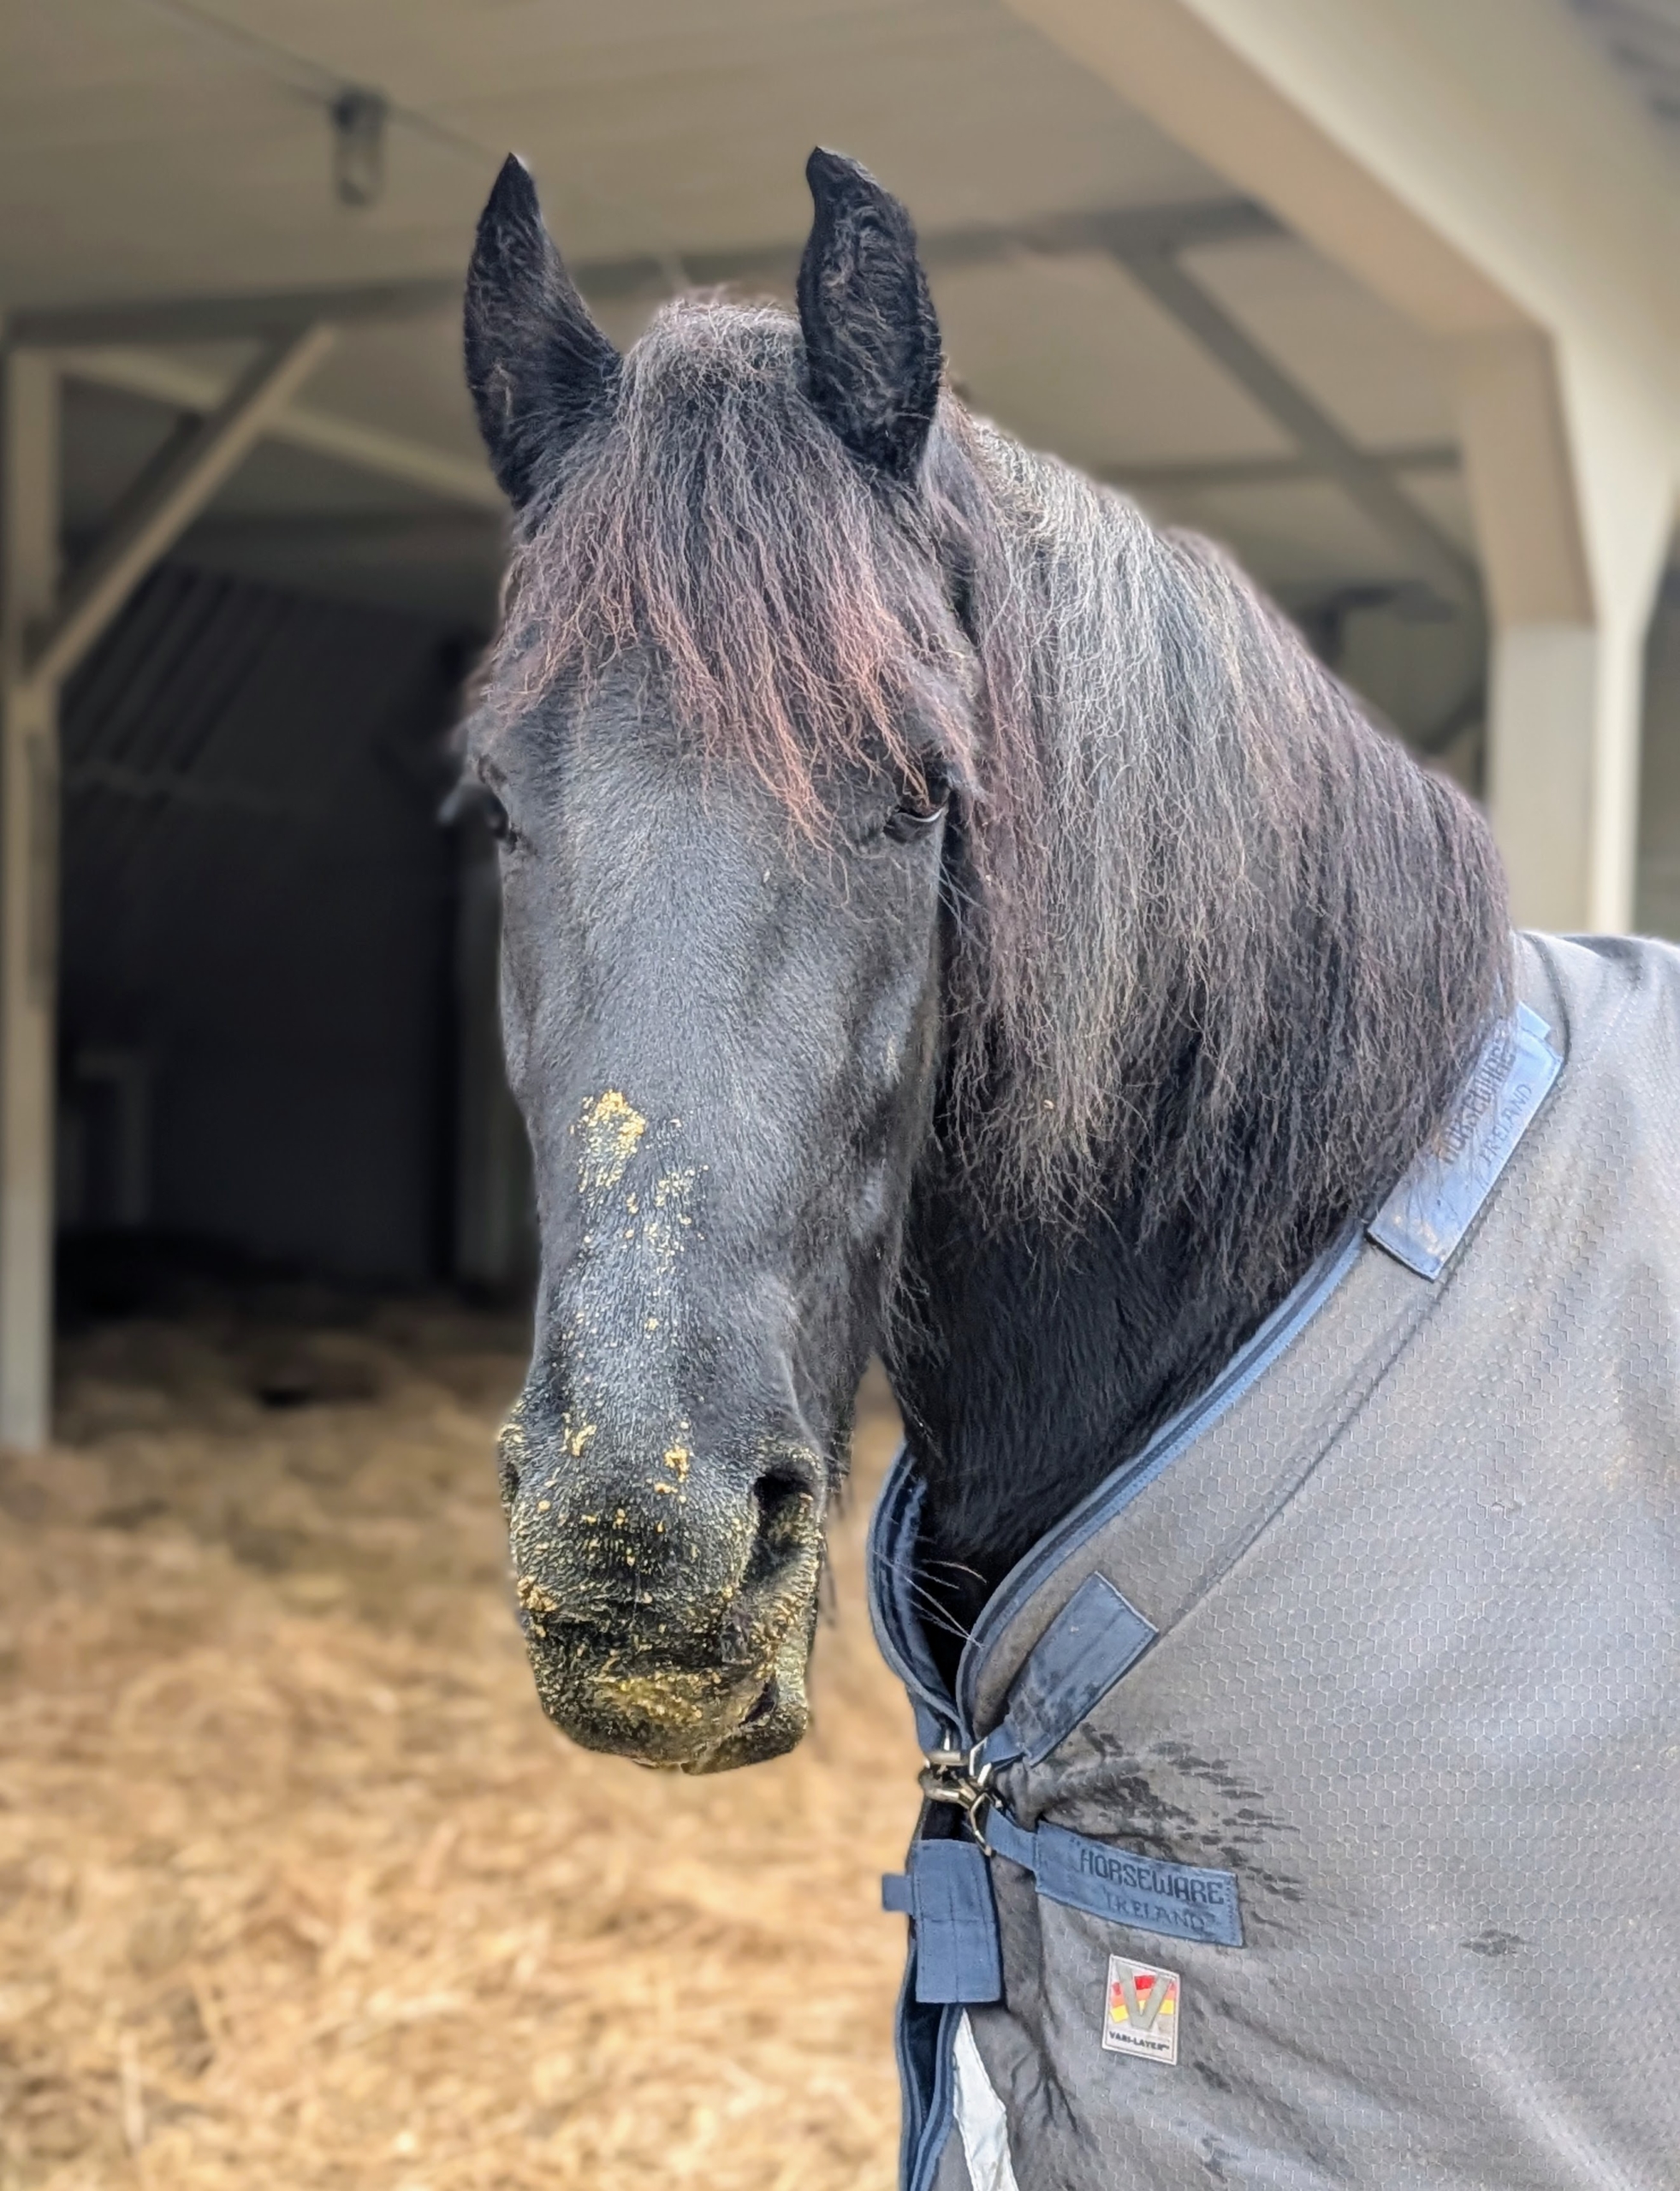
Rinze modeled them – he doesn’t mind them at all. These are highly reflective and can help see a horse in the dark up to a quarter of a mile away.
I am always on the lookout for quality equipment, food, and supplies for all my animals. It’s important to me that I provide what I can to keep them in the best condition.
More spring-flowering bulbs are planted at the farm. The latest batch - hundreds of gorgeous and colorful tulips!
If you like spring flowers in your garden, autumn is the time to plant the bulbs because they require a sustained dormant period of cold temperatures in order to stimulate root development. I plant lots of bulbs every year - daffodils, Dutch Iris, Camassia, alliums, etc. It’s exciting to see the swaths of color in the garden beds after a cold, dreary winter. This year, my tulips are from Colorblends Wholesale Flowerbulbs in Bridgeport, Connecticut and The Flower Hat, a floral design studio and farm in Bozeman, Montana. The bulbs were planted in several raised beds in my vegetable garden. They will look marvelous come spring.
Enjoy these photos.
If you’re planning to have beautiful tulips blooming in your garden next spring, get your bulbs planted now. We had some good weather this week to plant bulbs at my farm – temperatures were in the 50s. This tulip is ‘Sanne’ with large, tapered flowers that open in deep rose-pink and creamy-pink edges that mature to lilac-pink with pink-ivory edges. (Photo courtesy The Flowerhat)
The bulbs came from Flowerhat. I received a great variety of different tulip bulbs, all in excellent condition.
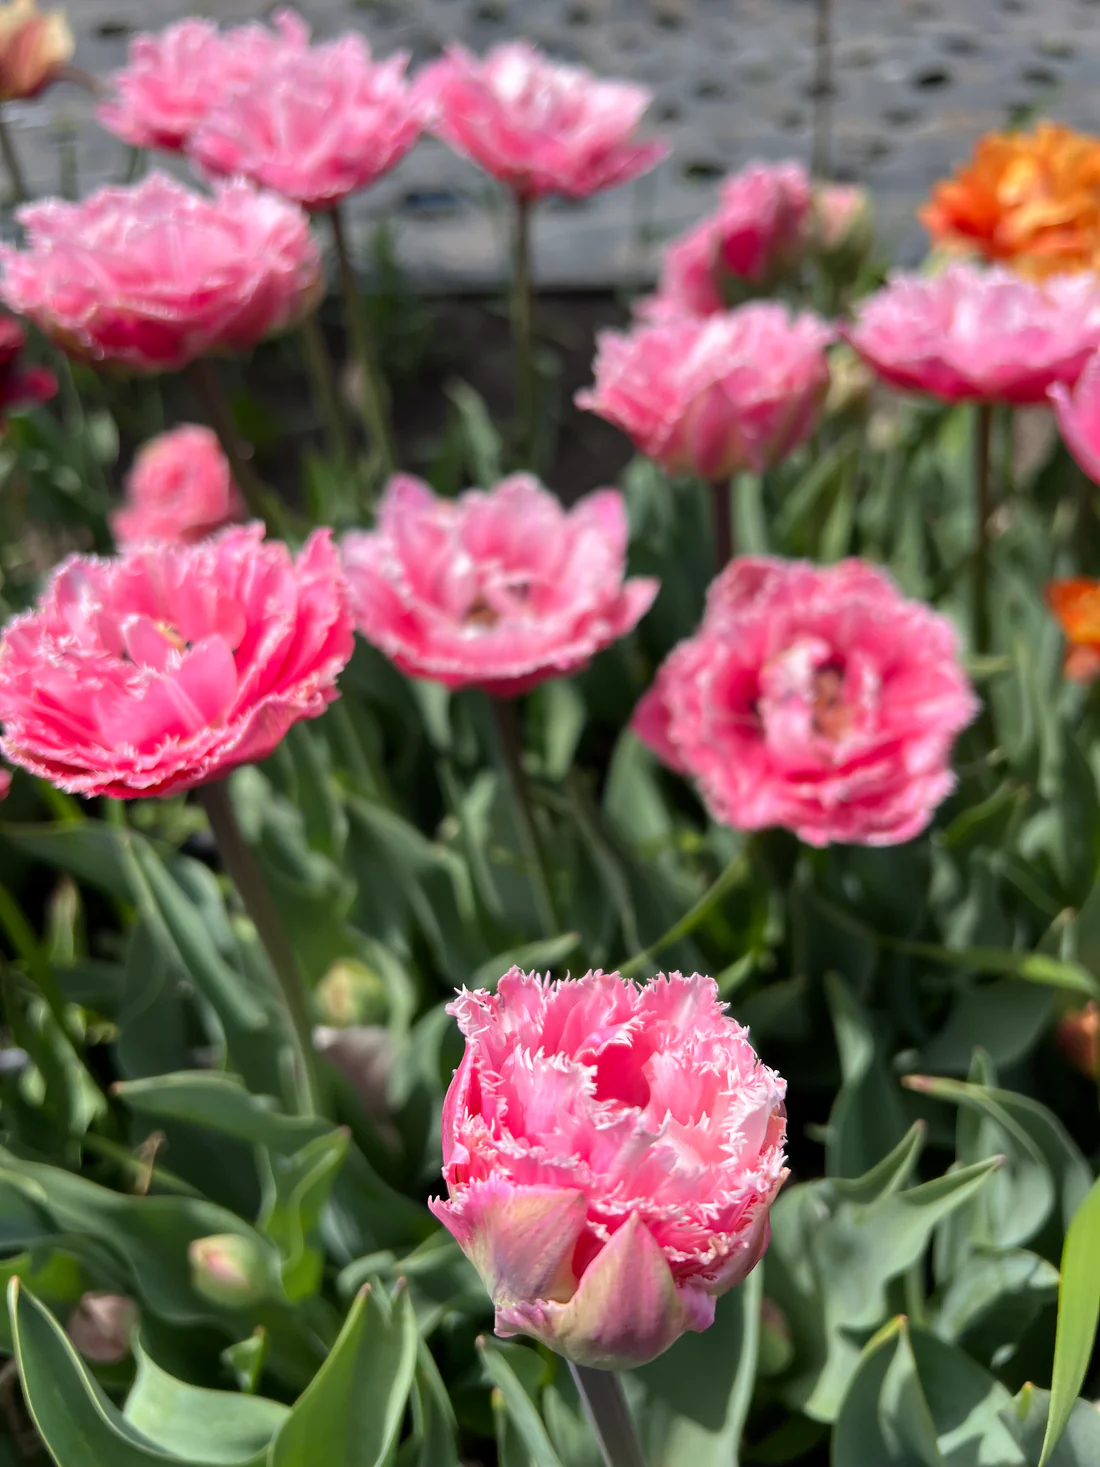
Among the varieties I am planting this year – ‘Finola’ with stunning pink-and-white blooms. (Photo courtesy Colorblends)
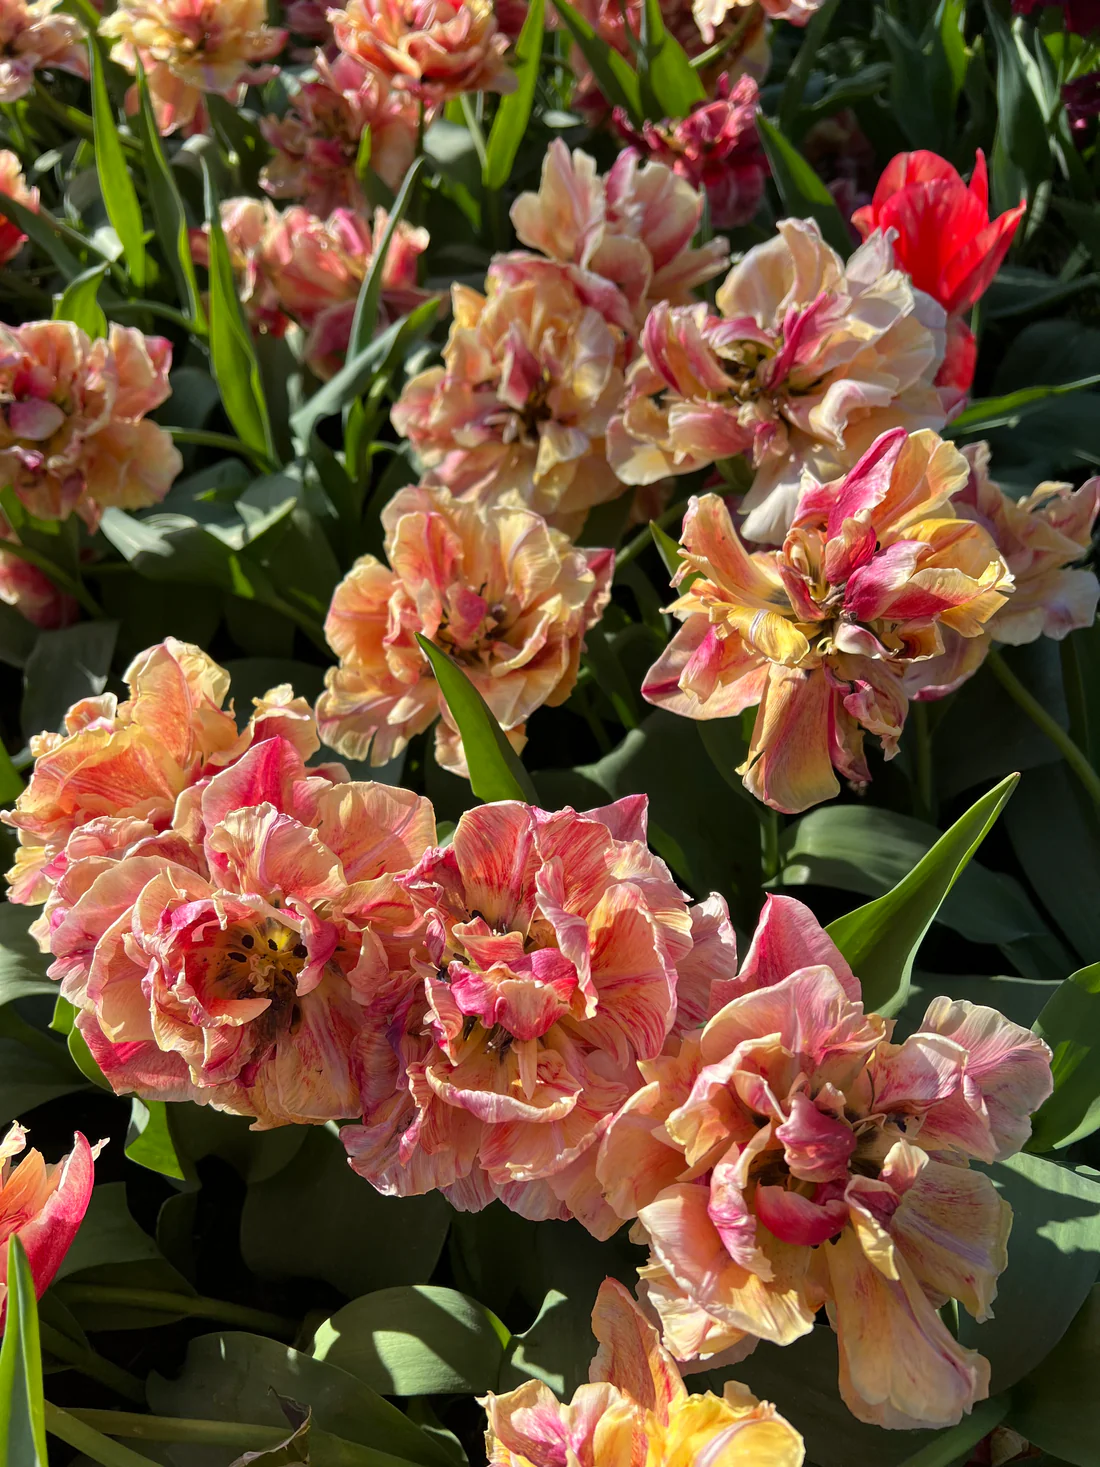
‘Moris Gudanov’ has big, blooms filled with peach and red petals that are sometimes streaked and sometimes solid. (Photo courtesy Colorblends)
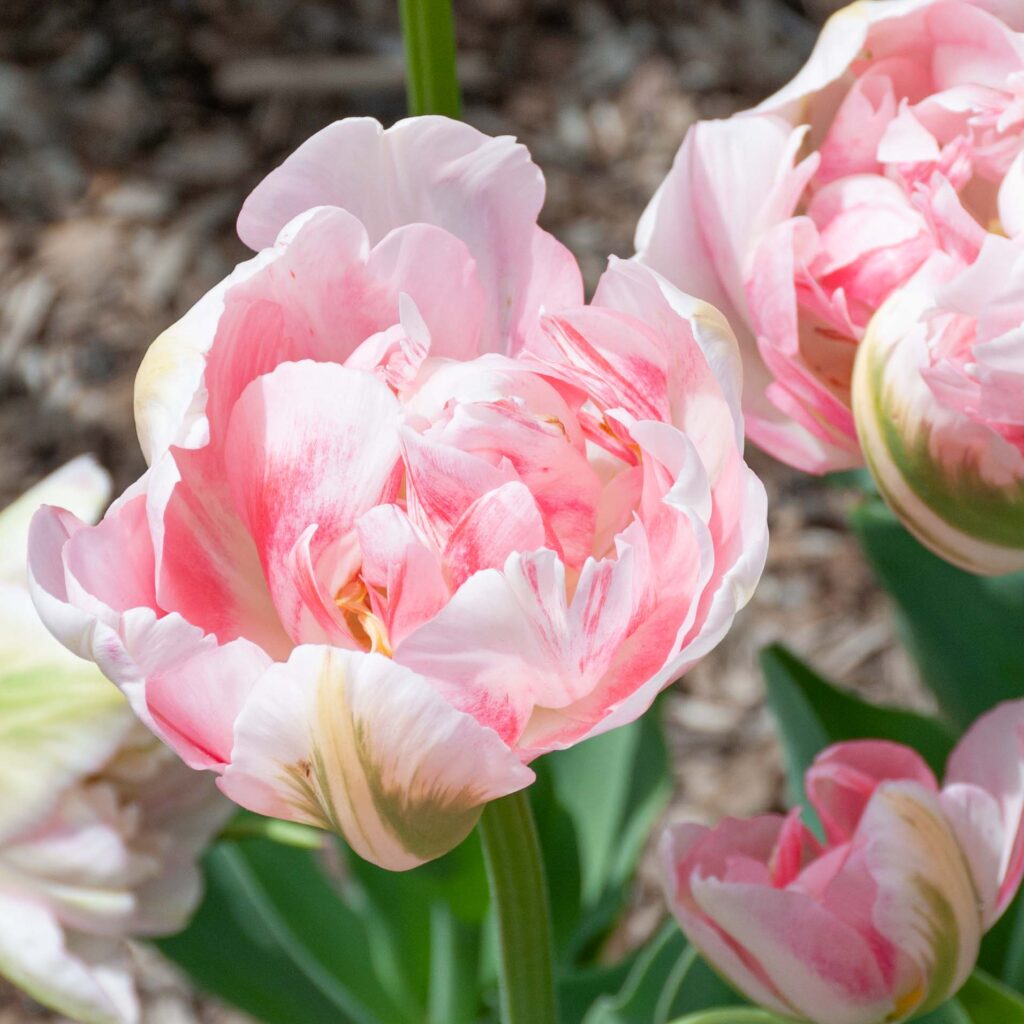
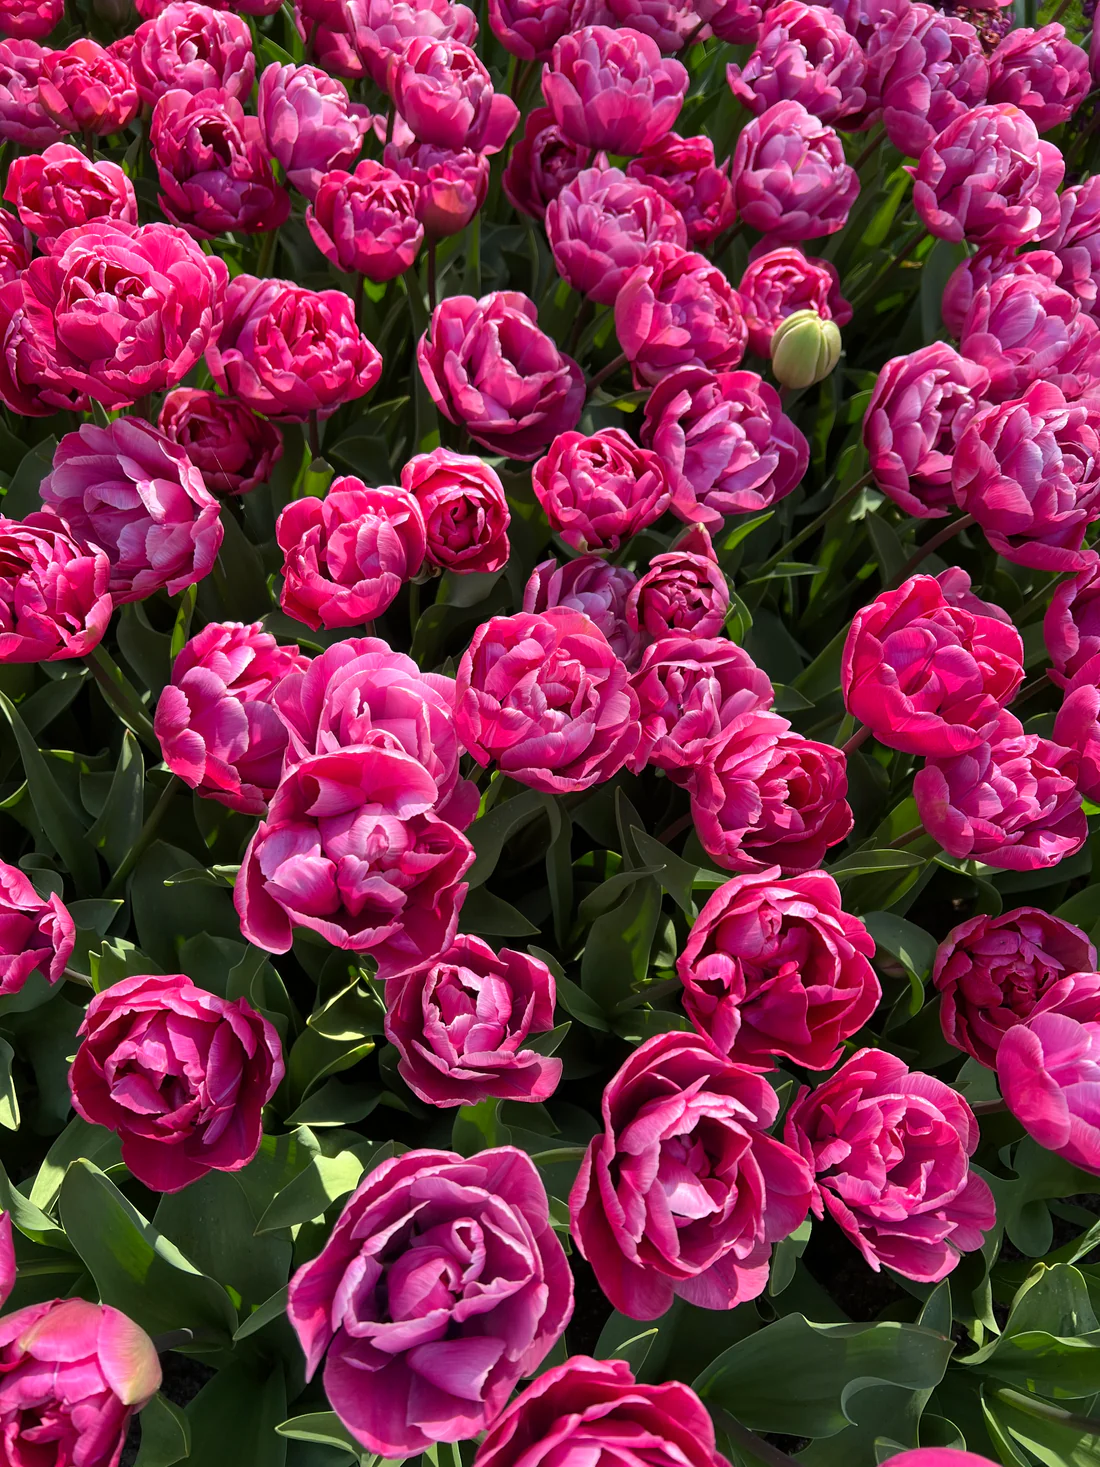
‘Rosy Diamond’ has double blooms in shades of rose-pink splashed with tones of magenta. (Photo courtesy The Flowerhat)
‘Foxy Foxtrot’ is a double tulip with shades of apricot and yellow and hints of rose orange. (Photo courtesy The Flowerhat)
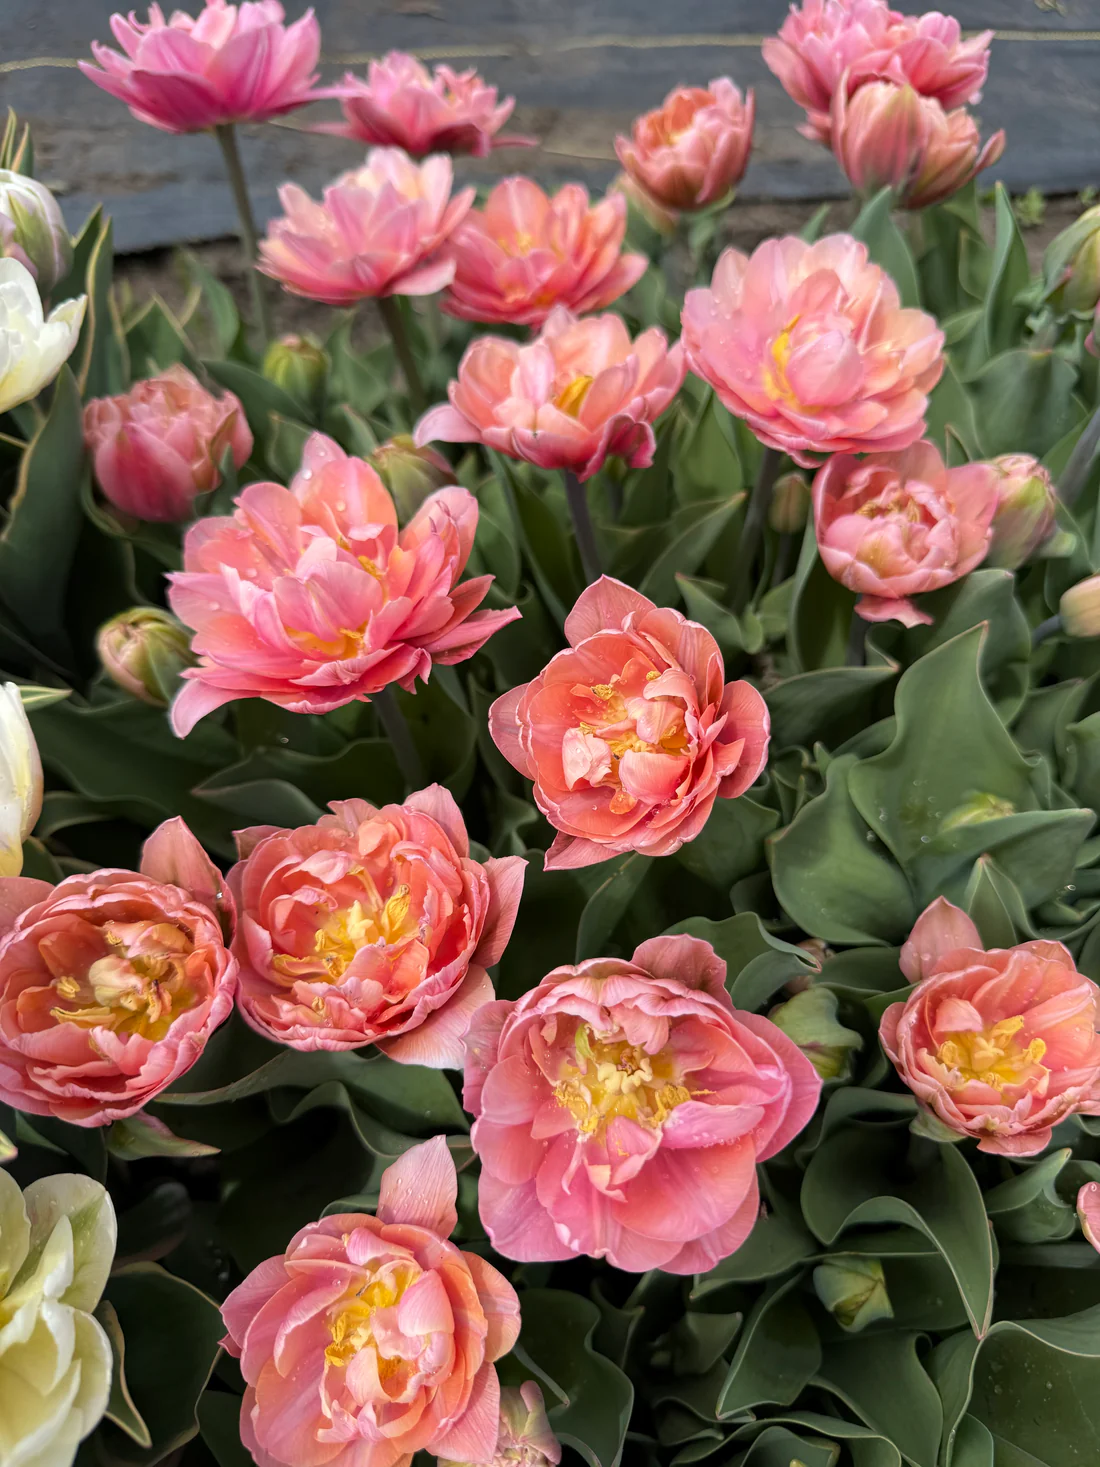
‘Pink Cameo’ produces full, double blooms in soft pink tones with warm apricot highlights. (Photo courtesy The Flowerhat)
‘Verona Sunrise’ shows off a blend of apricot, blush, and buttery yellow that deepens as the bloom matures. (Photo courtesy The Flowerhat)
And this gorgeous double tulip is ‘Sugar Crystal.’ It has huge, feathery blooms with many layers of frilly petals in shades of silvery baby pink. (Photo courtesy The Flowerhat)
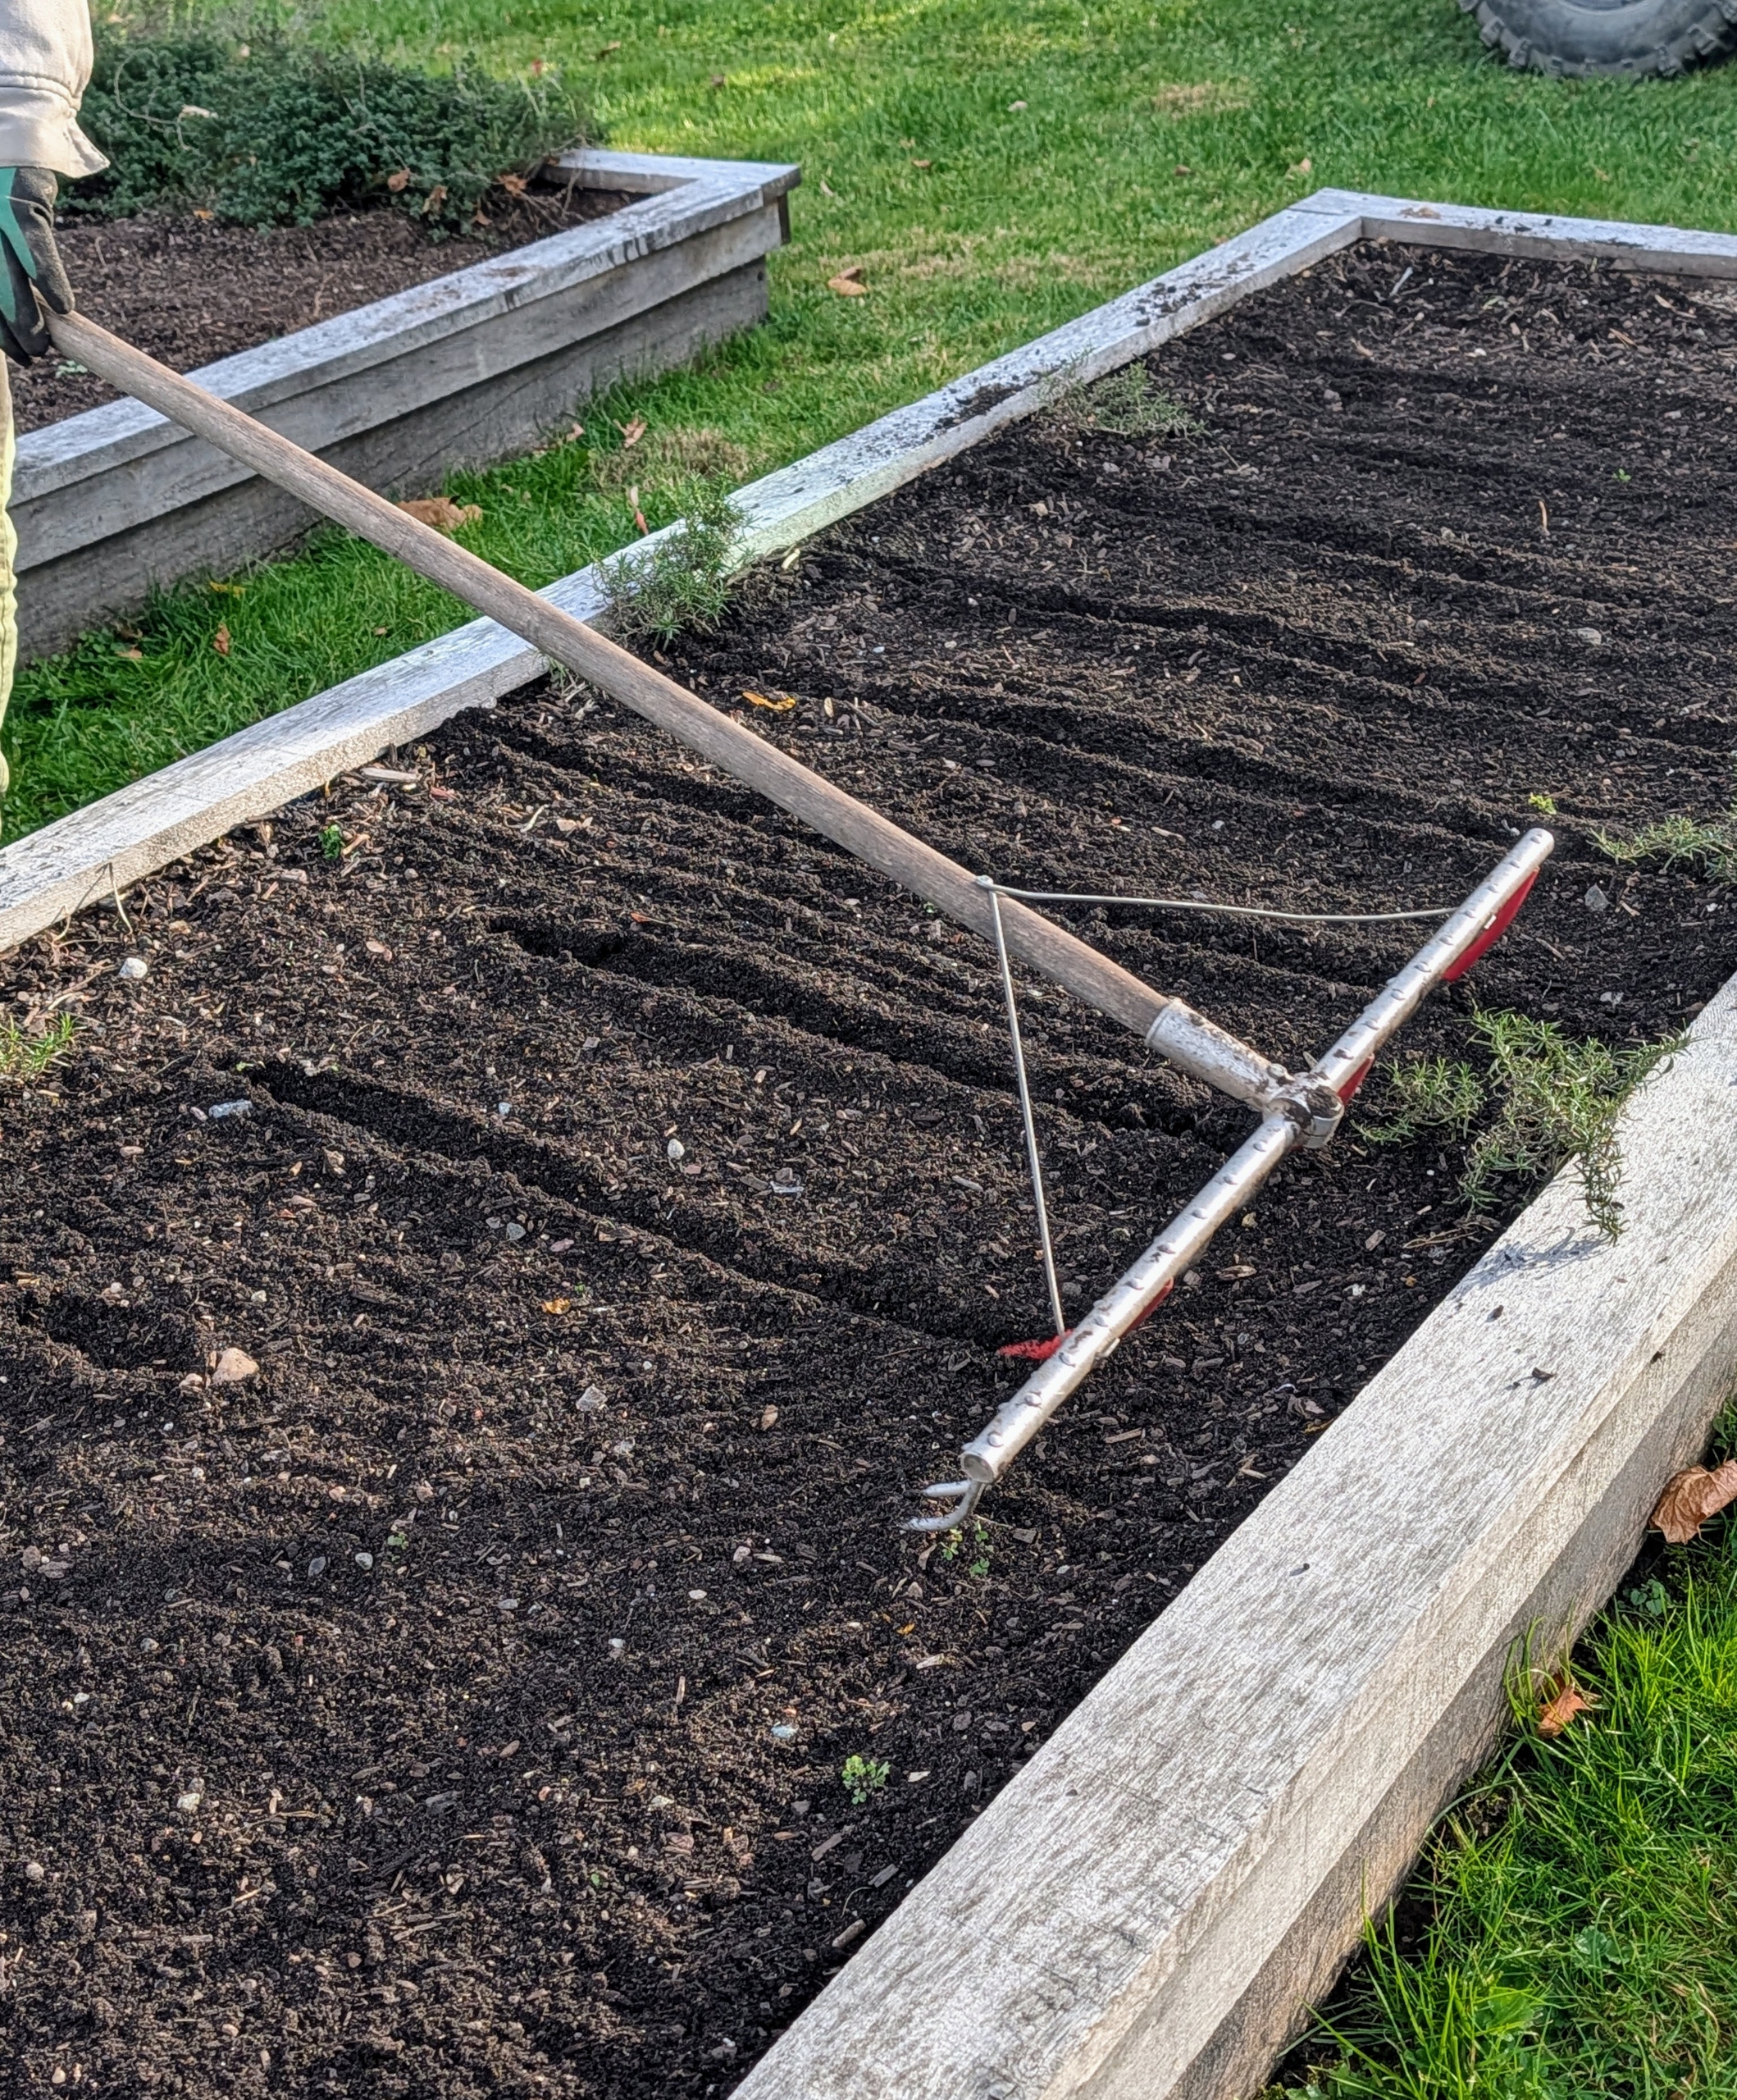
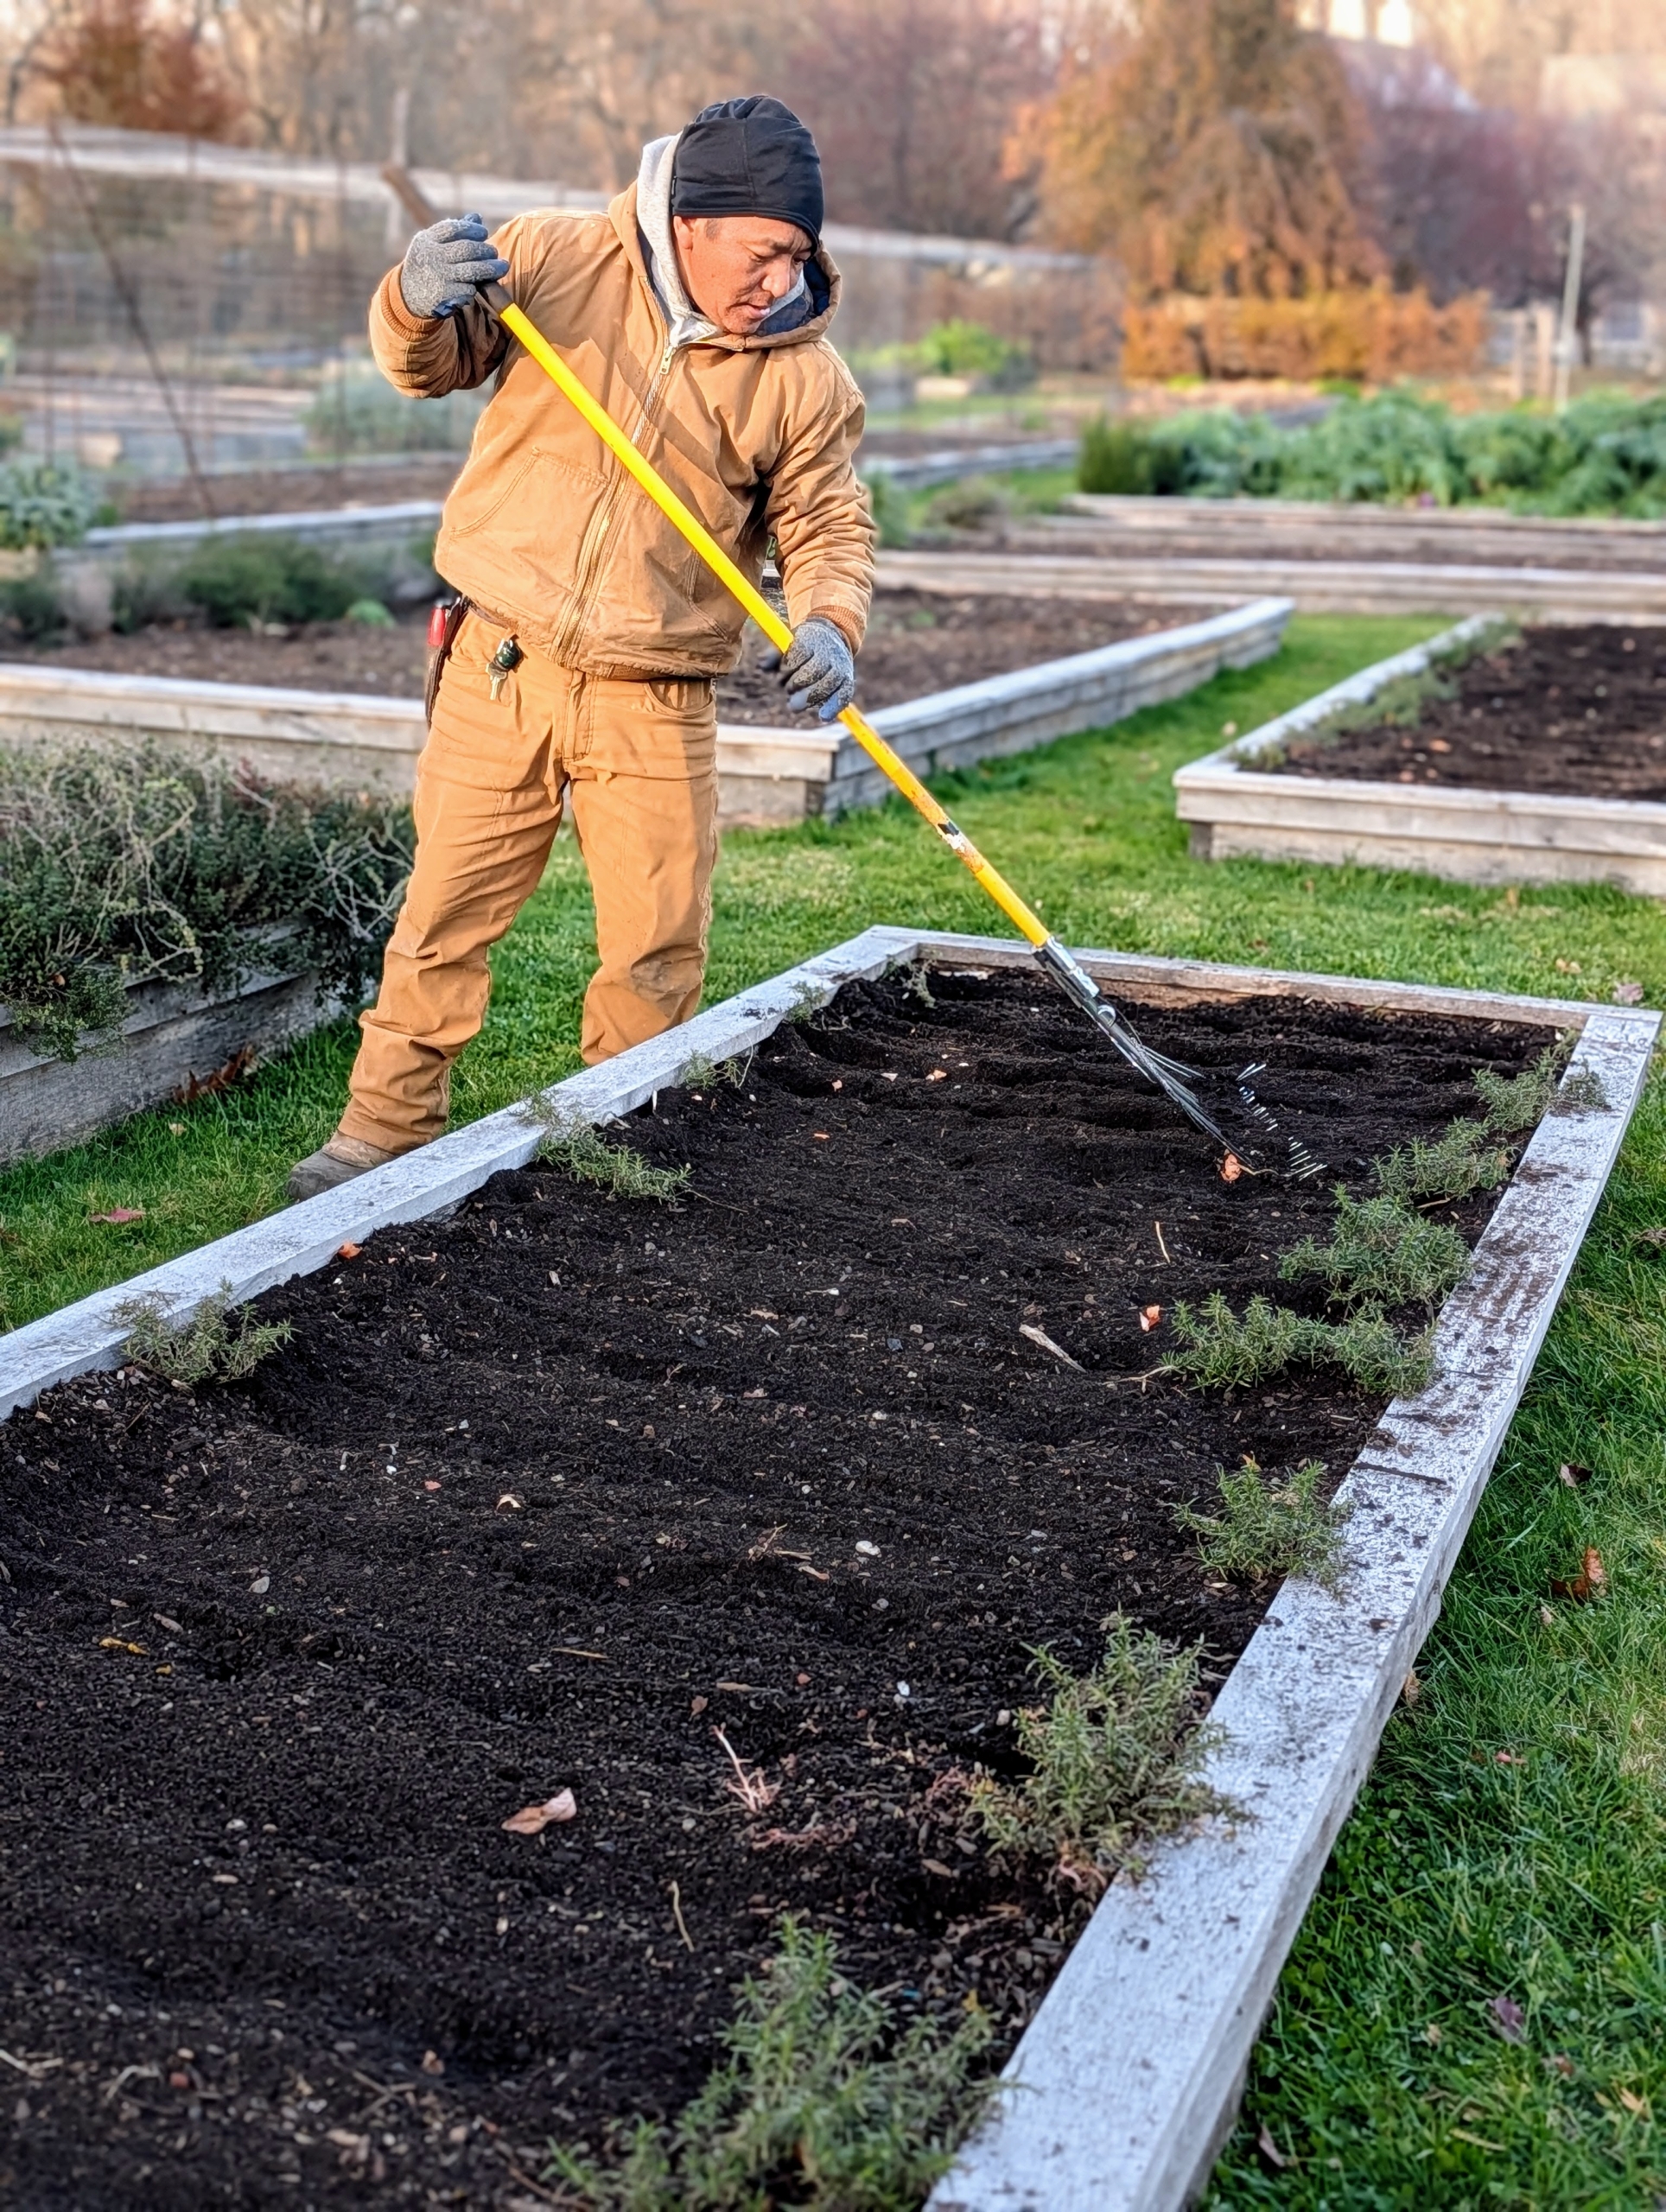
Phurba starts by raking the bed and evening the soil. These beds are great for planting tulip bulbs – they will look so pretty when in bloom. And they will be done blooming before it is time to plant my vegetables.
Ryan follows by making the rows using the bed preparation rake from Johnny’s Selected Seeds. This tool allows him to create shallow furrows in the soil. Hard plastic red tubes slide onto selected teeth of the rake to mark the rows.
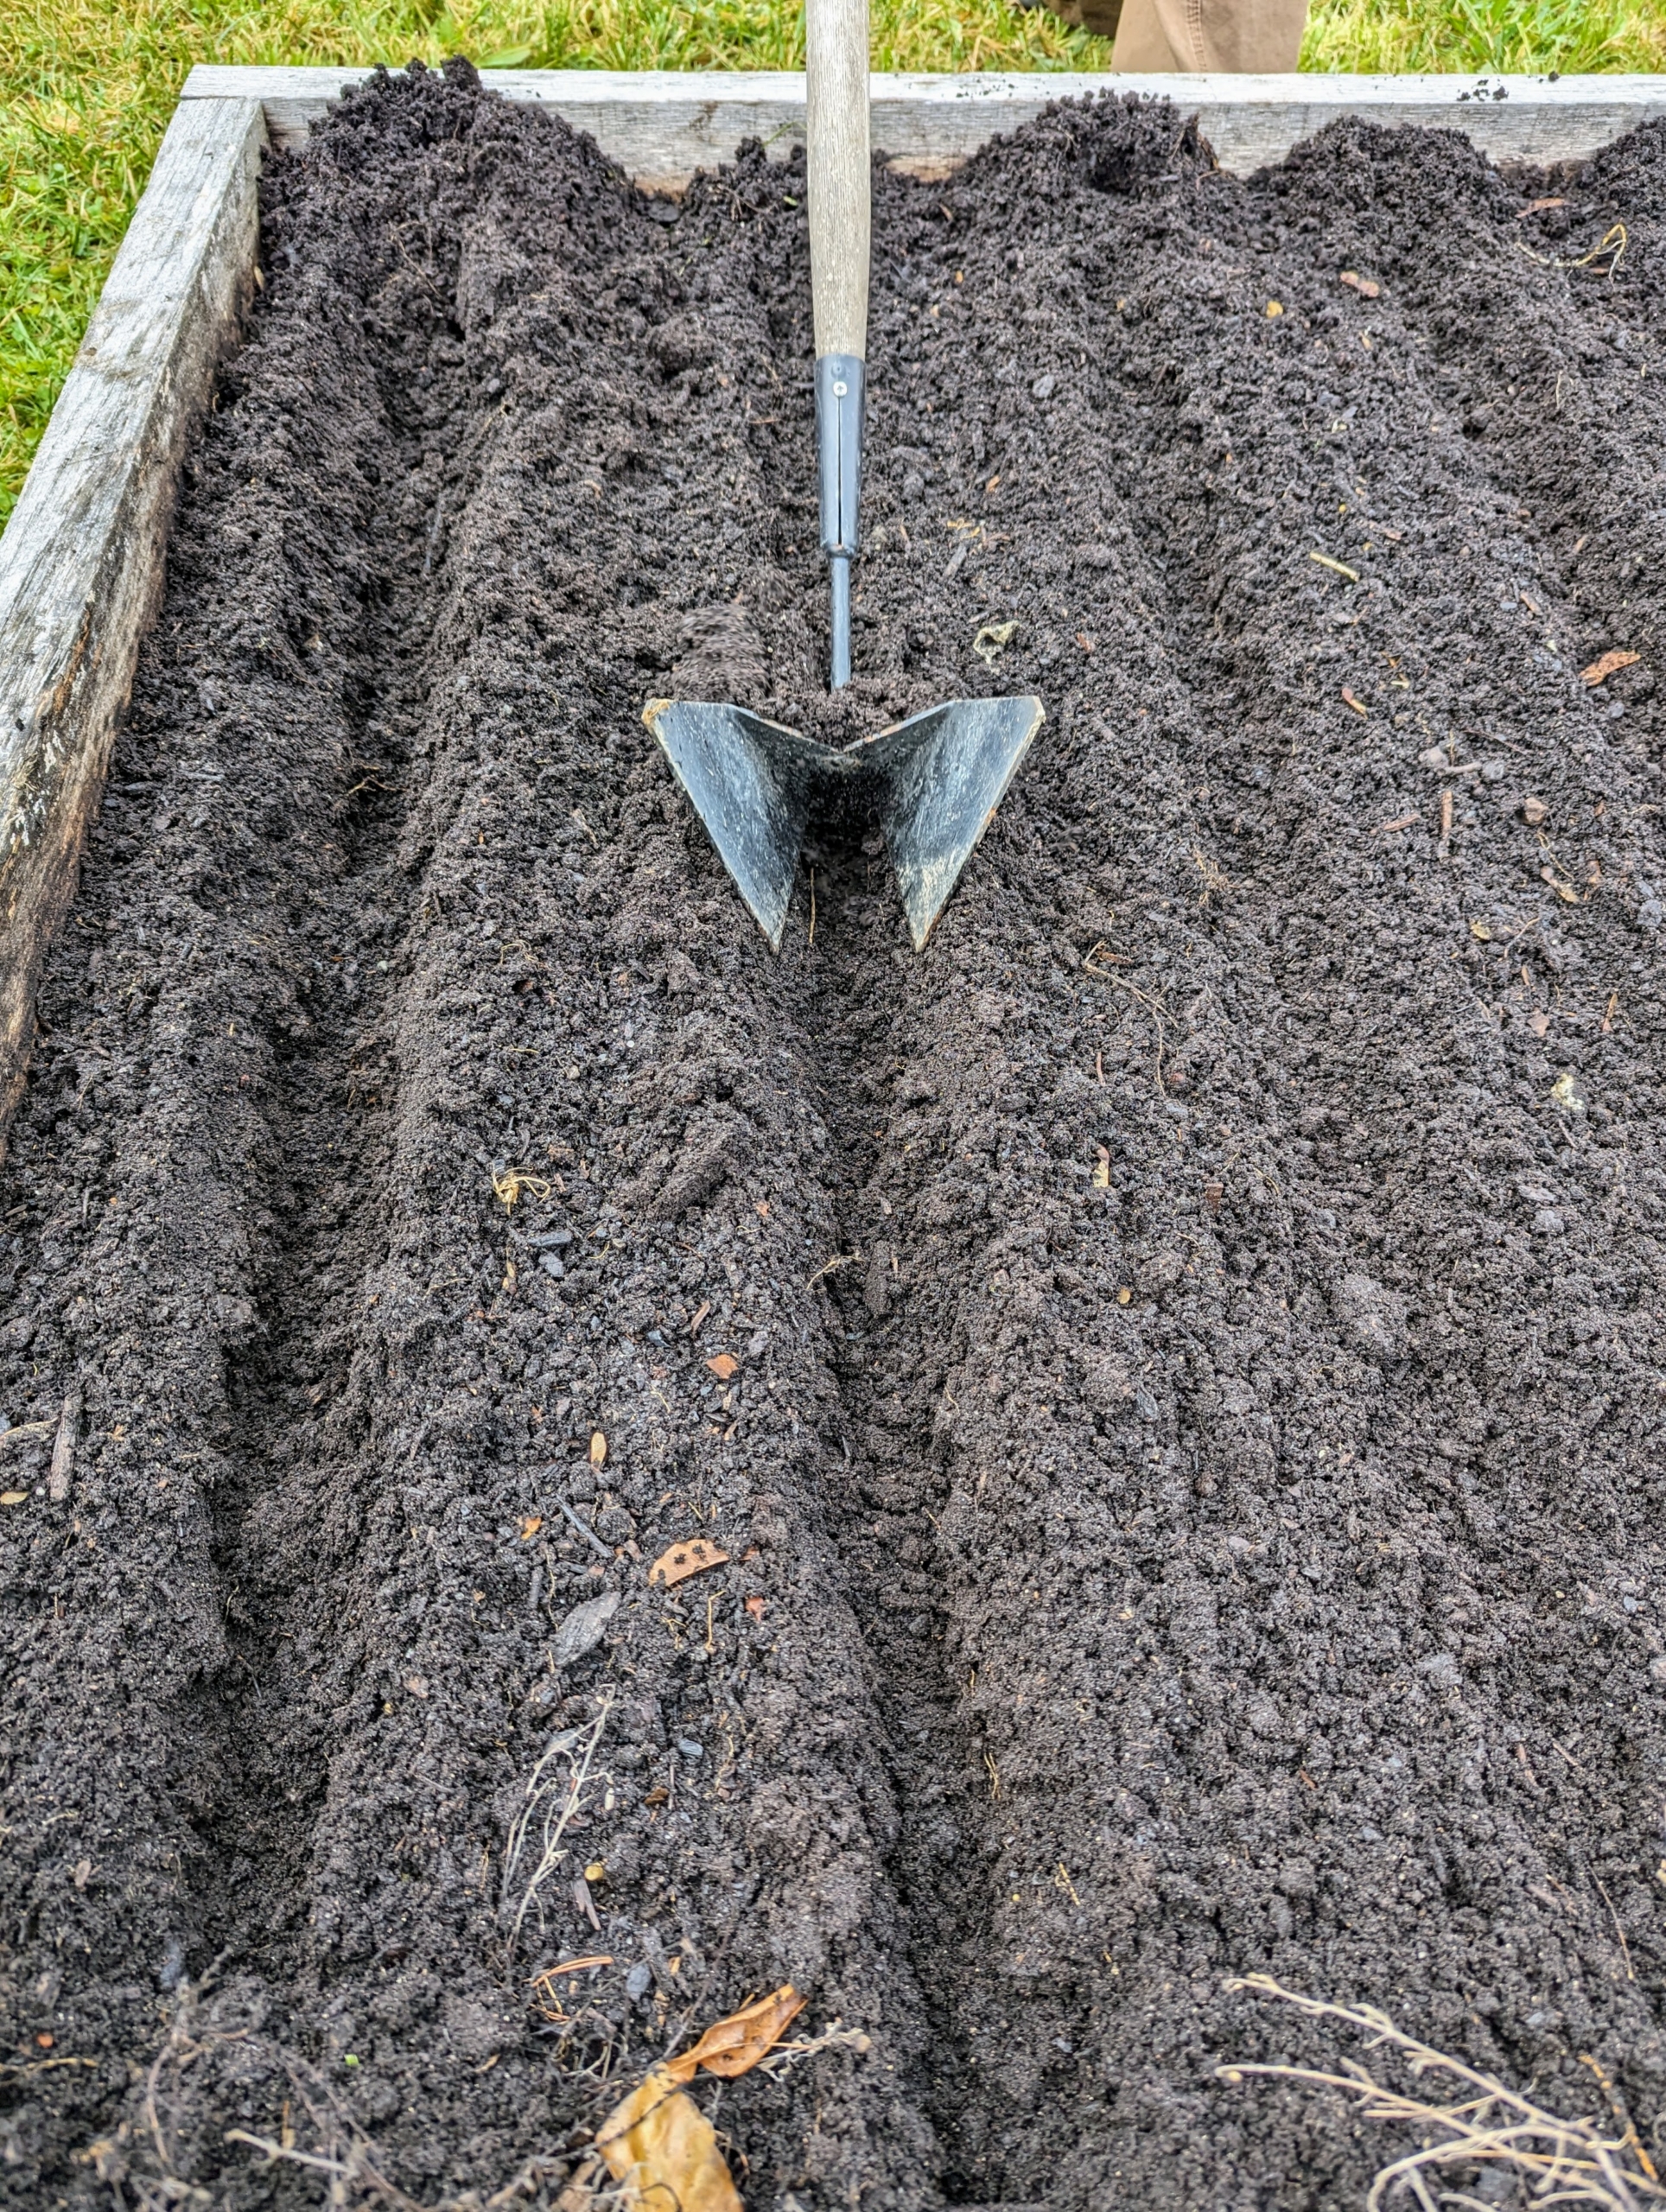
Then Matthew goes over the same furrows with the Row Pro™ from Johnny’s Selected Seeds. It’s great for making deeper trenches in the soil.
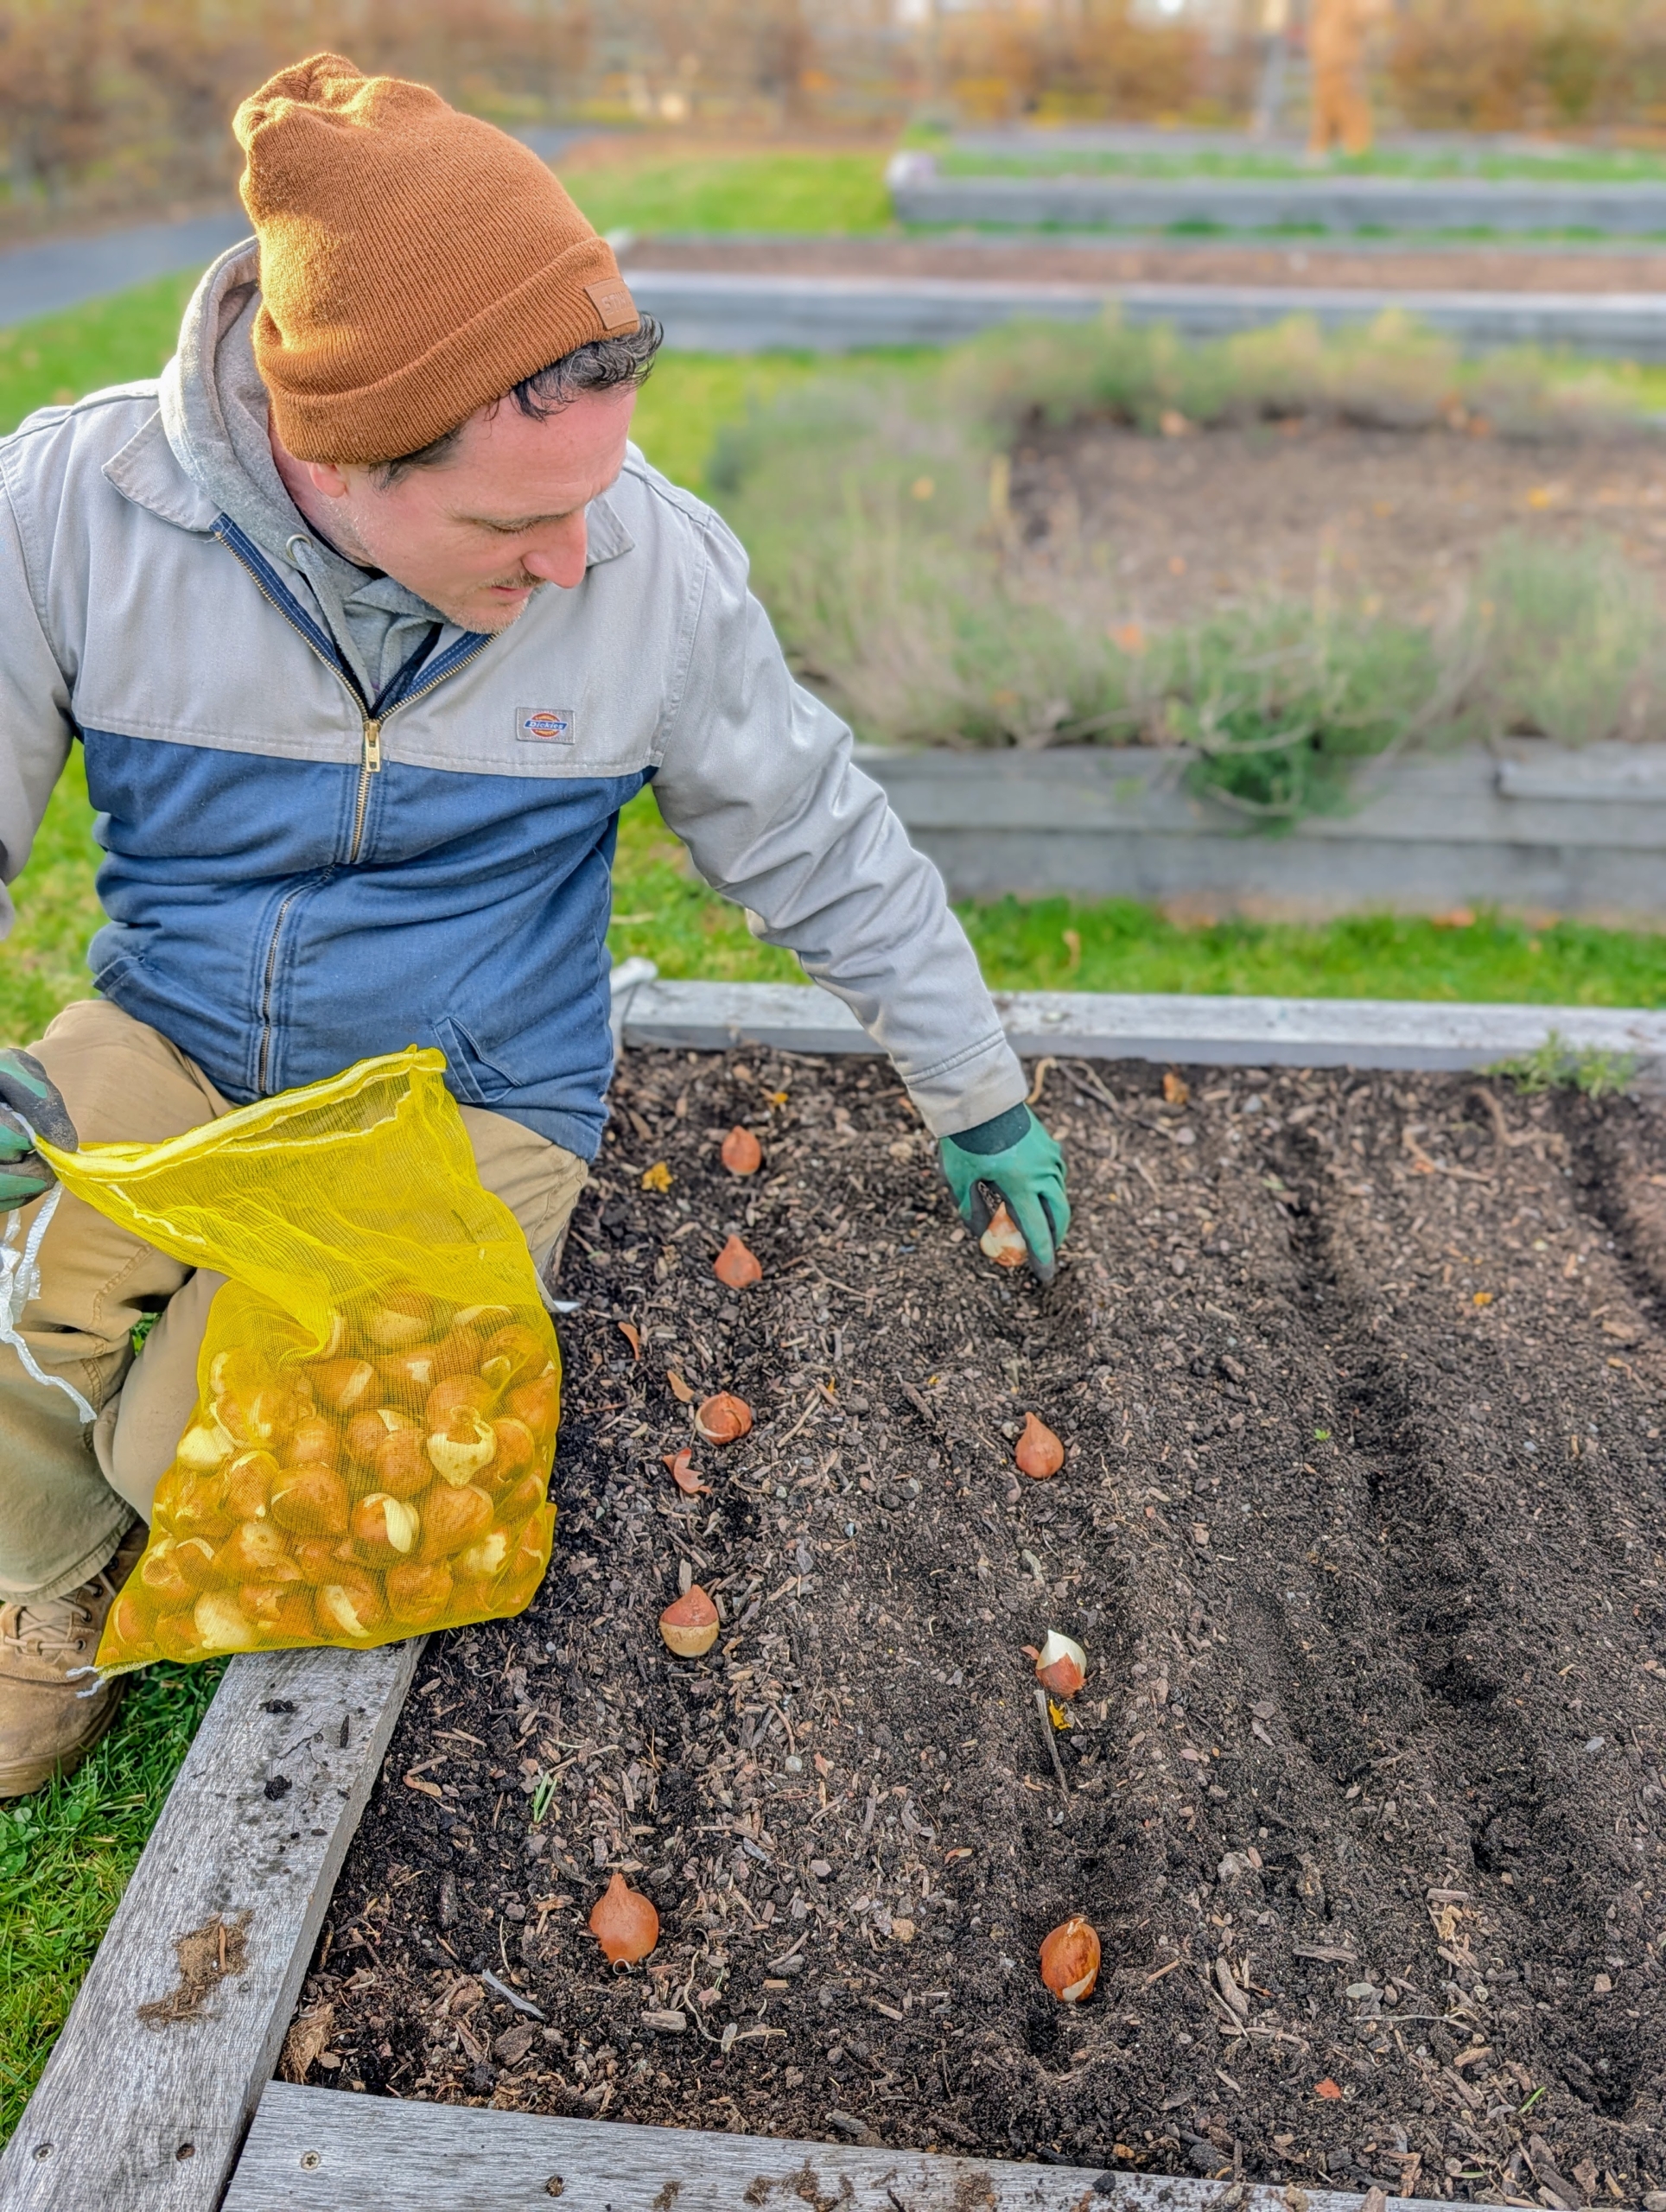
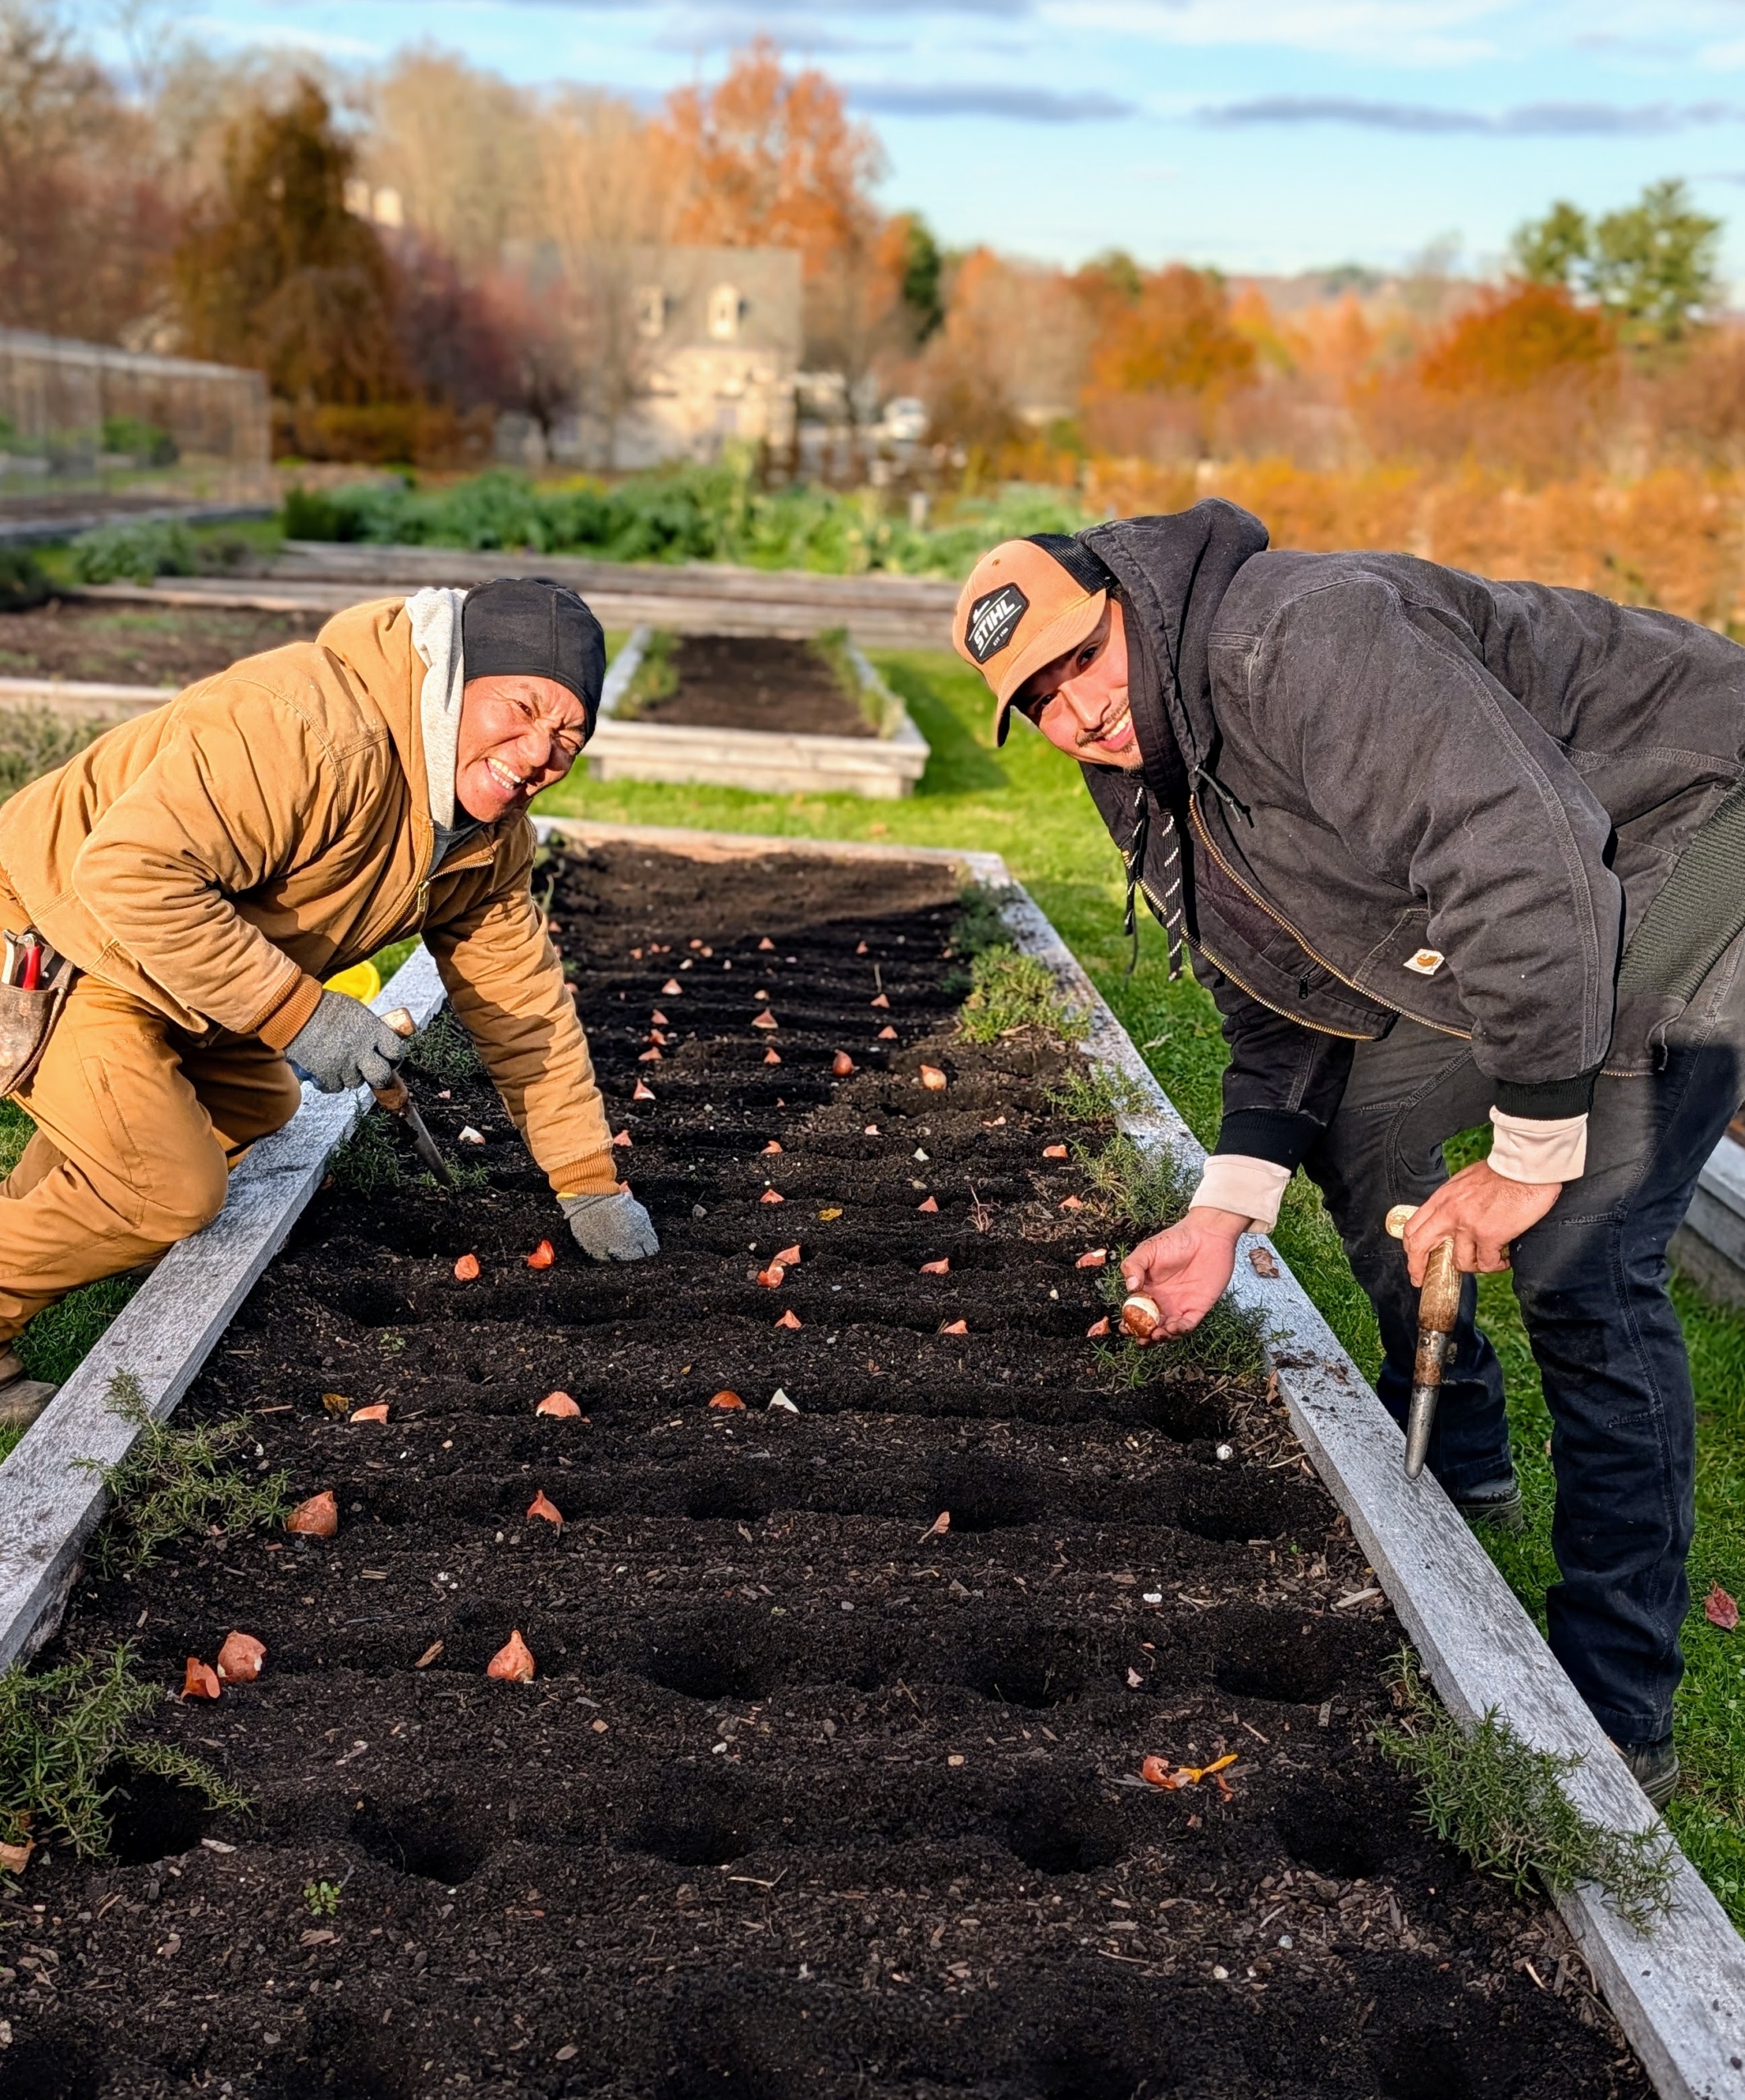
One by one, Ryan places each bulb into the trench. Tulip bulbs are medium sized, so they should be buried at least six to eight-inches deep. As a rule of thumb, bulbs should be planted about three times the height of the actual bulb.
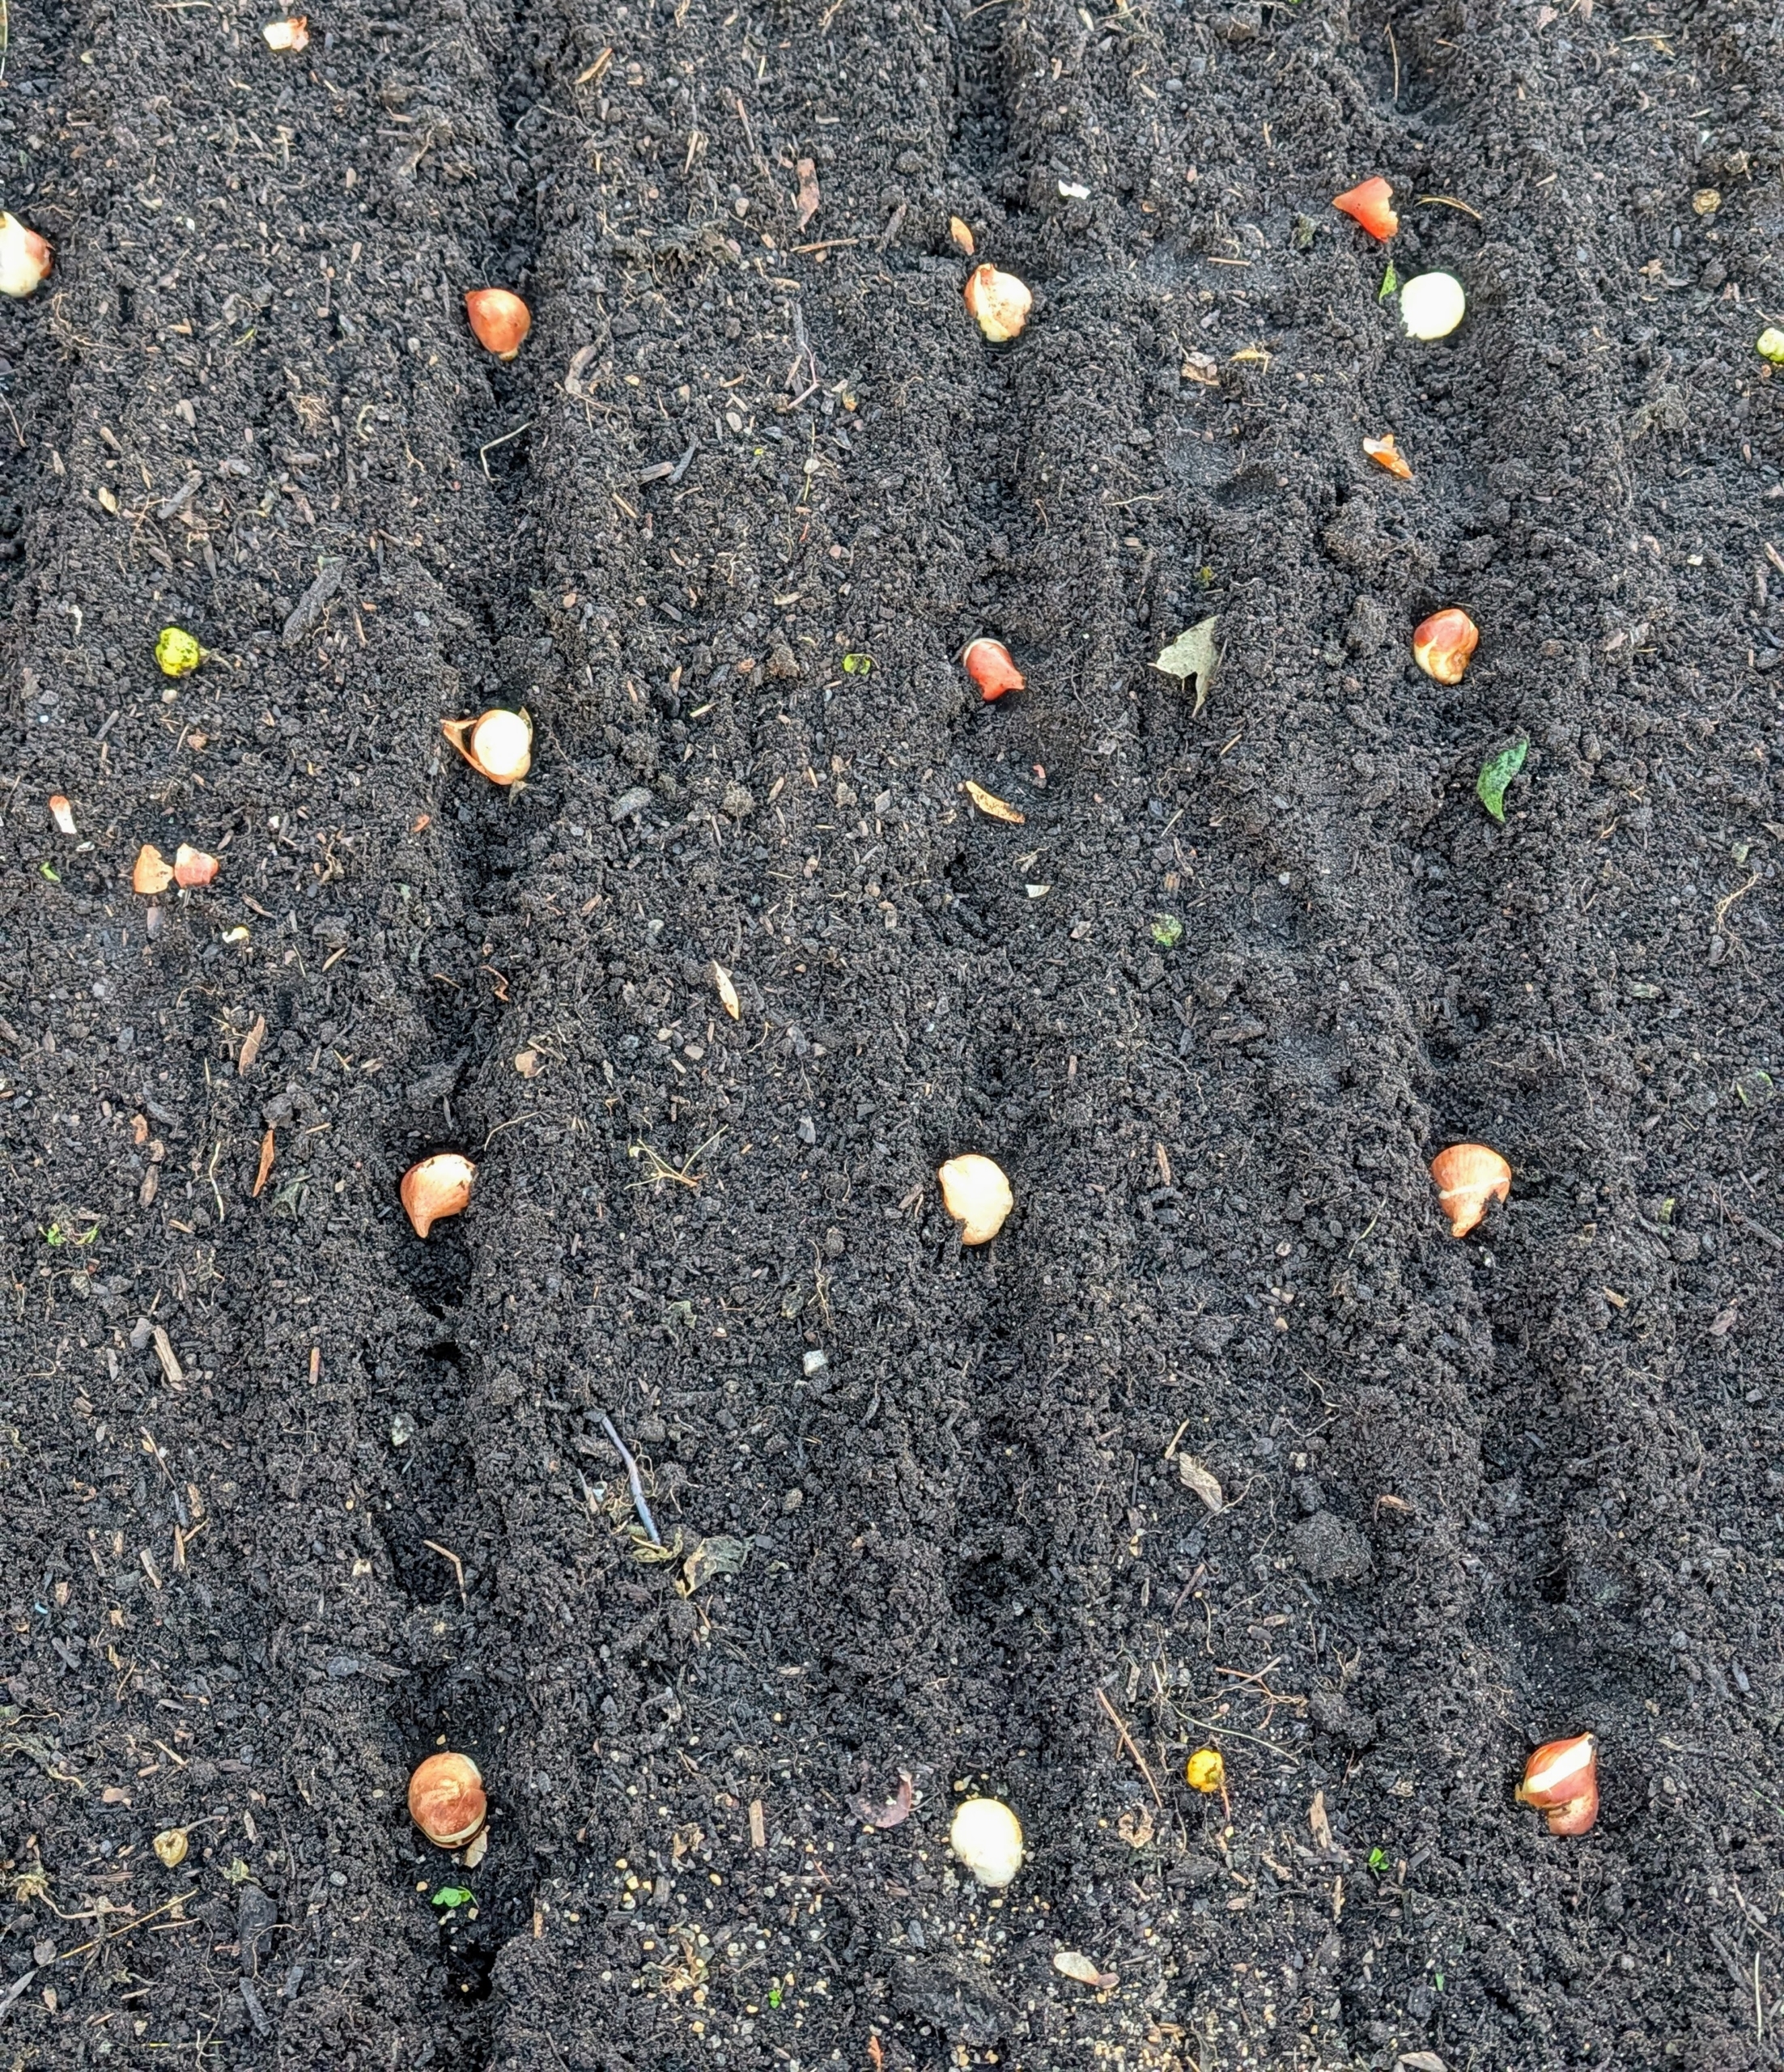
Here is a view from above. These tulips should also have space between them to promote healthy growth and blooming. Here, they are about six inches apart.
The bulbs look so healthy. Any kind of bulb should be firm and free of soft spots or visible rot. Check for signs of disease, cracking or other damage, which may cause the bulb to rot in the ground. The brown tunic, or outer skin protects each bulb’s bottom or basil plate. One can peel it off, or plant as is.
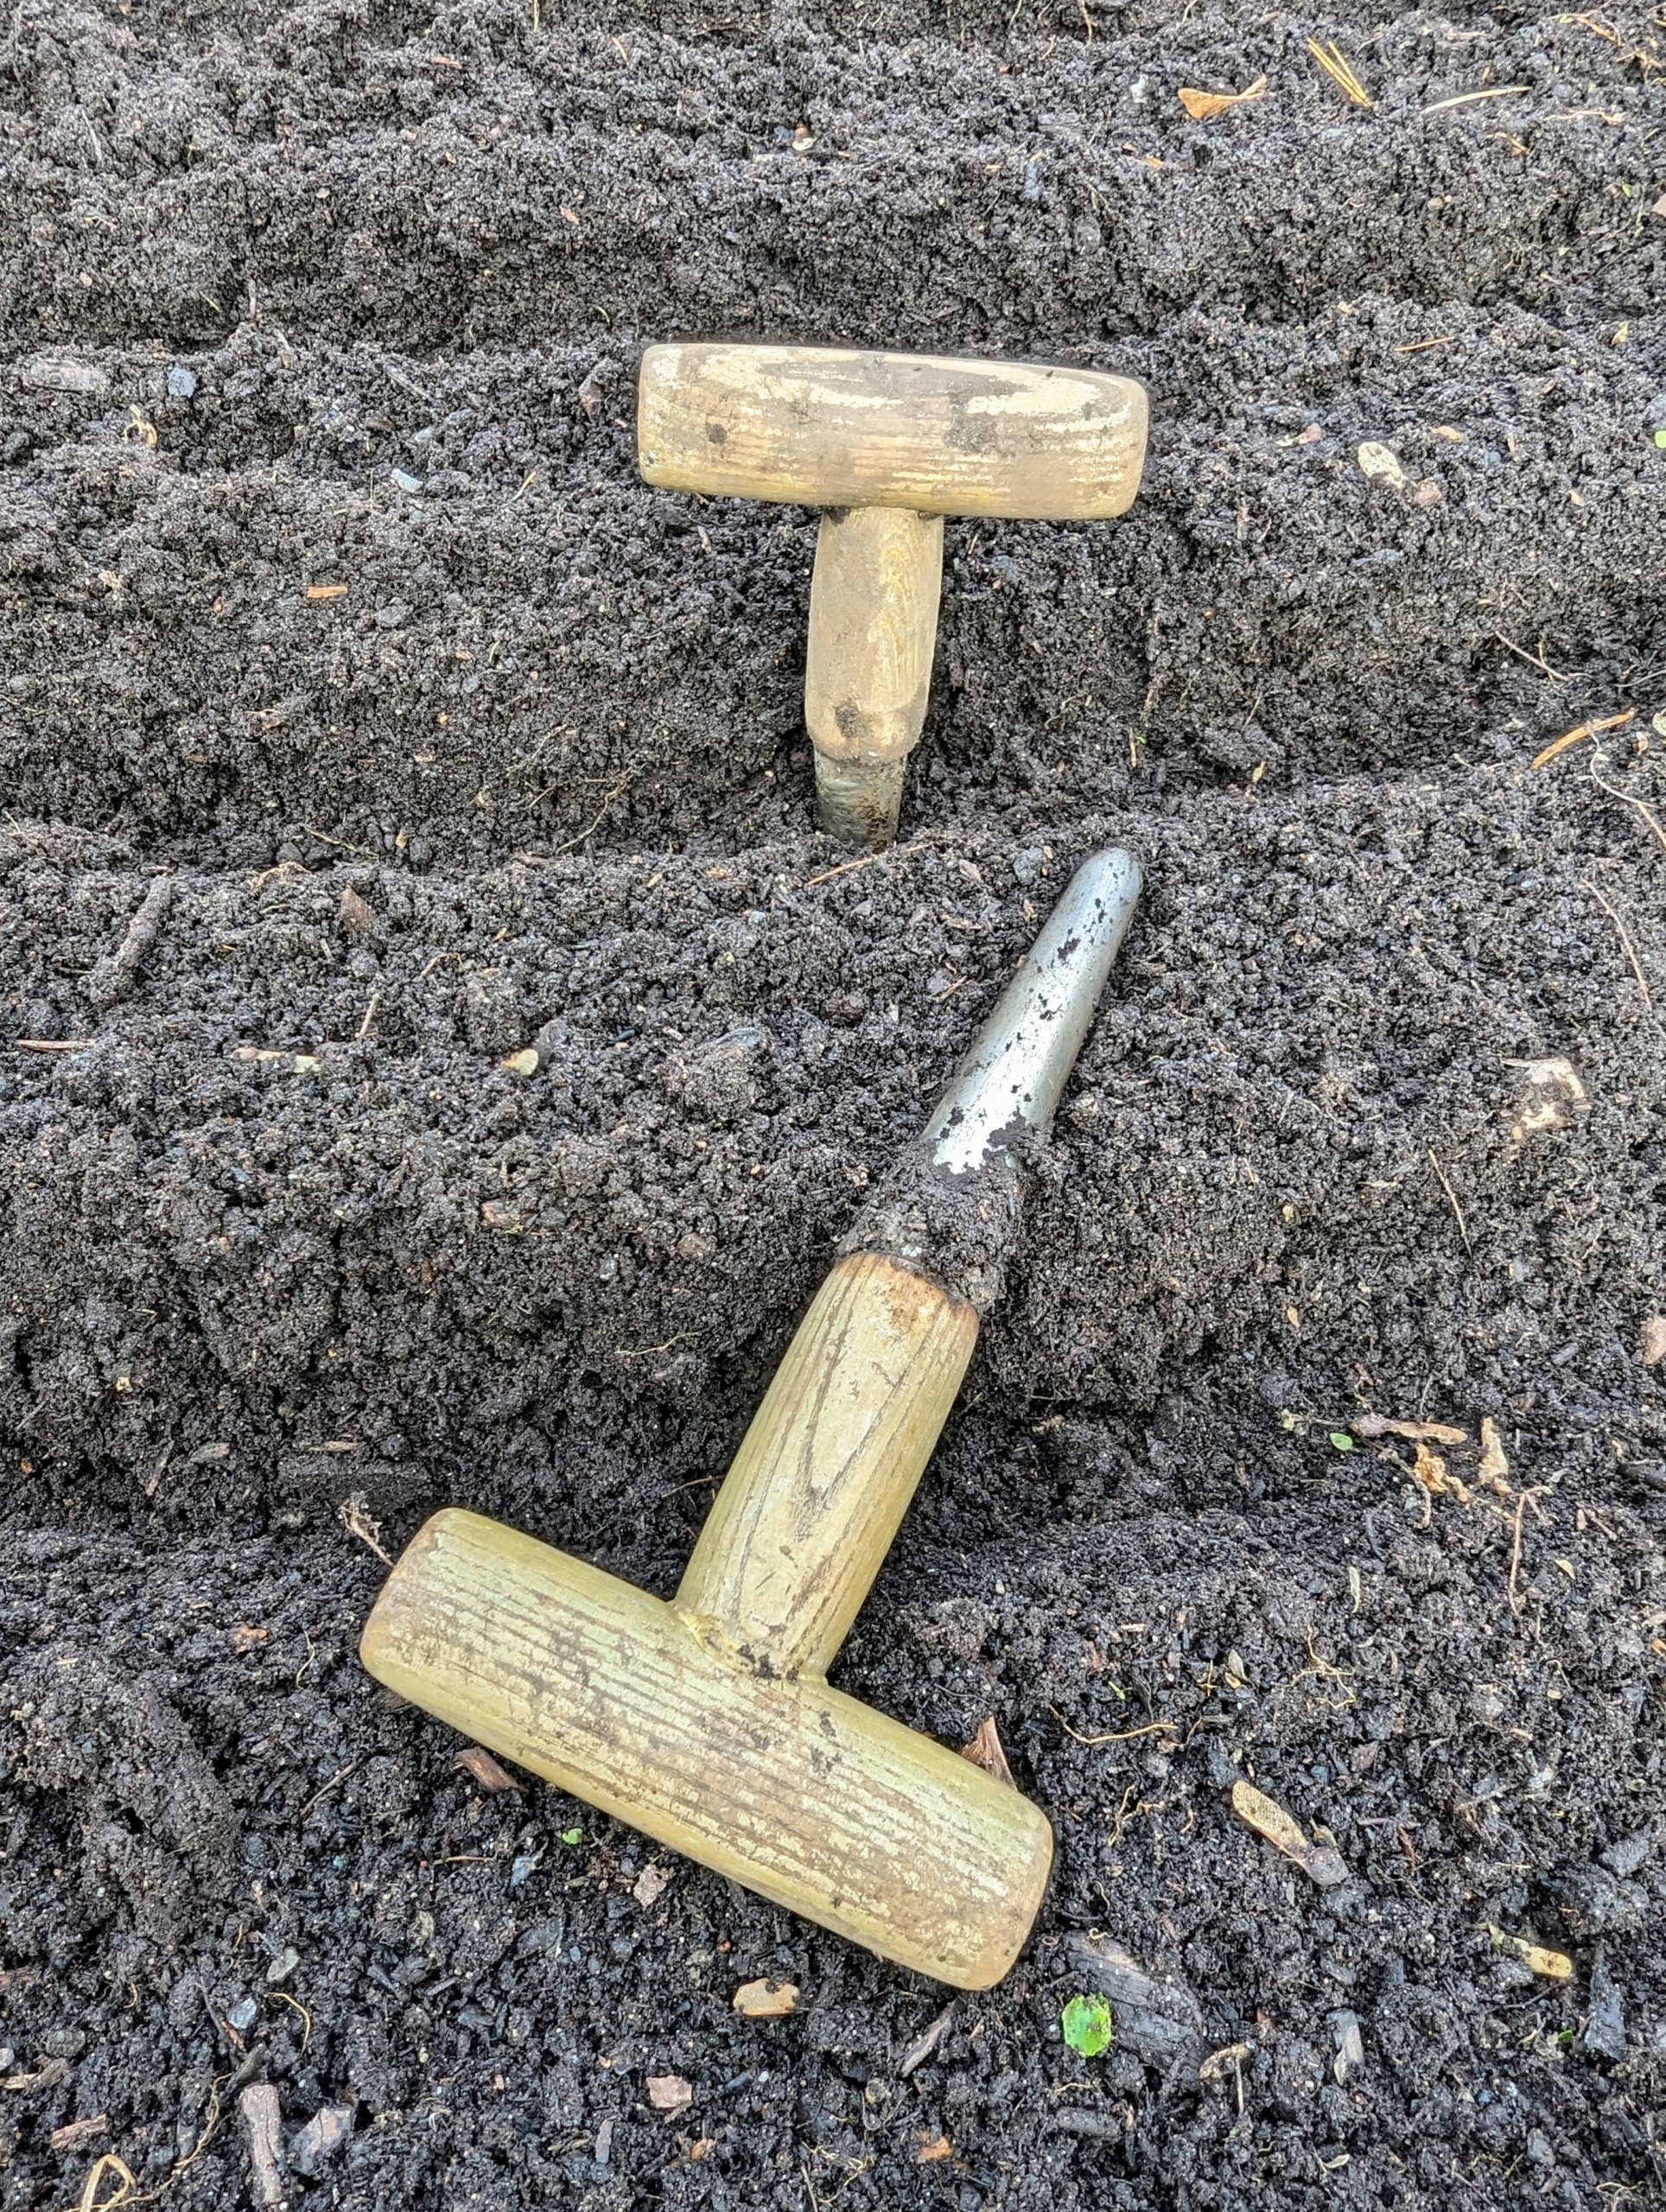
To plant these tulip bulbs, Matthew and Phurba use these dibbers. A dibber or dibble or dibbler is a pointed wooden stick for making holes in the ground so seeds, seedlings or bulbs can be planted. Dibbers come in a variety of designs including the straight dibber, T-handled dibber, trowel dibber, and an L-shaped dibber. These are T-handled dibbers. Dibbers are available at garden shops and online.
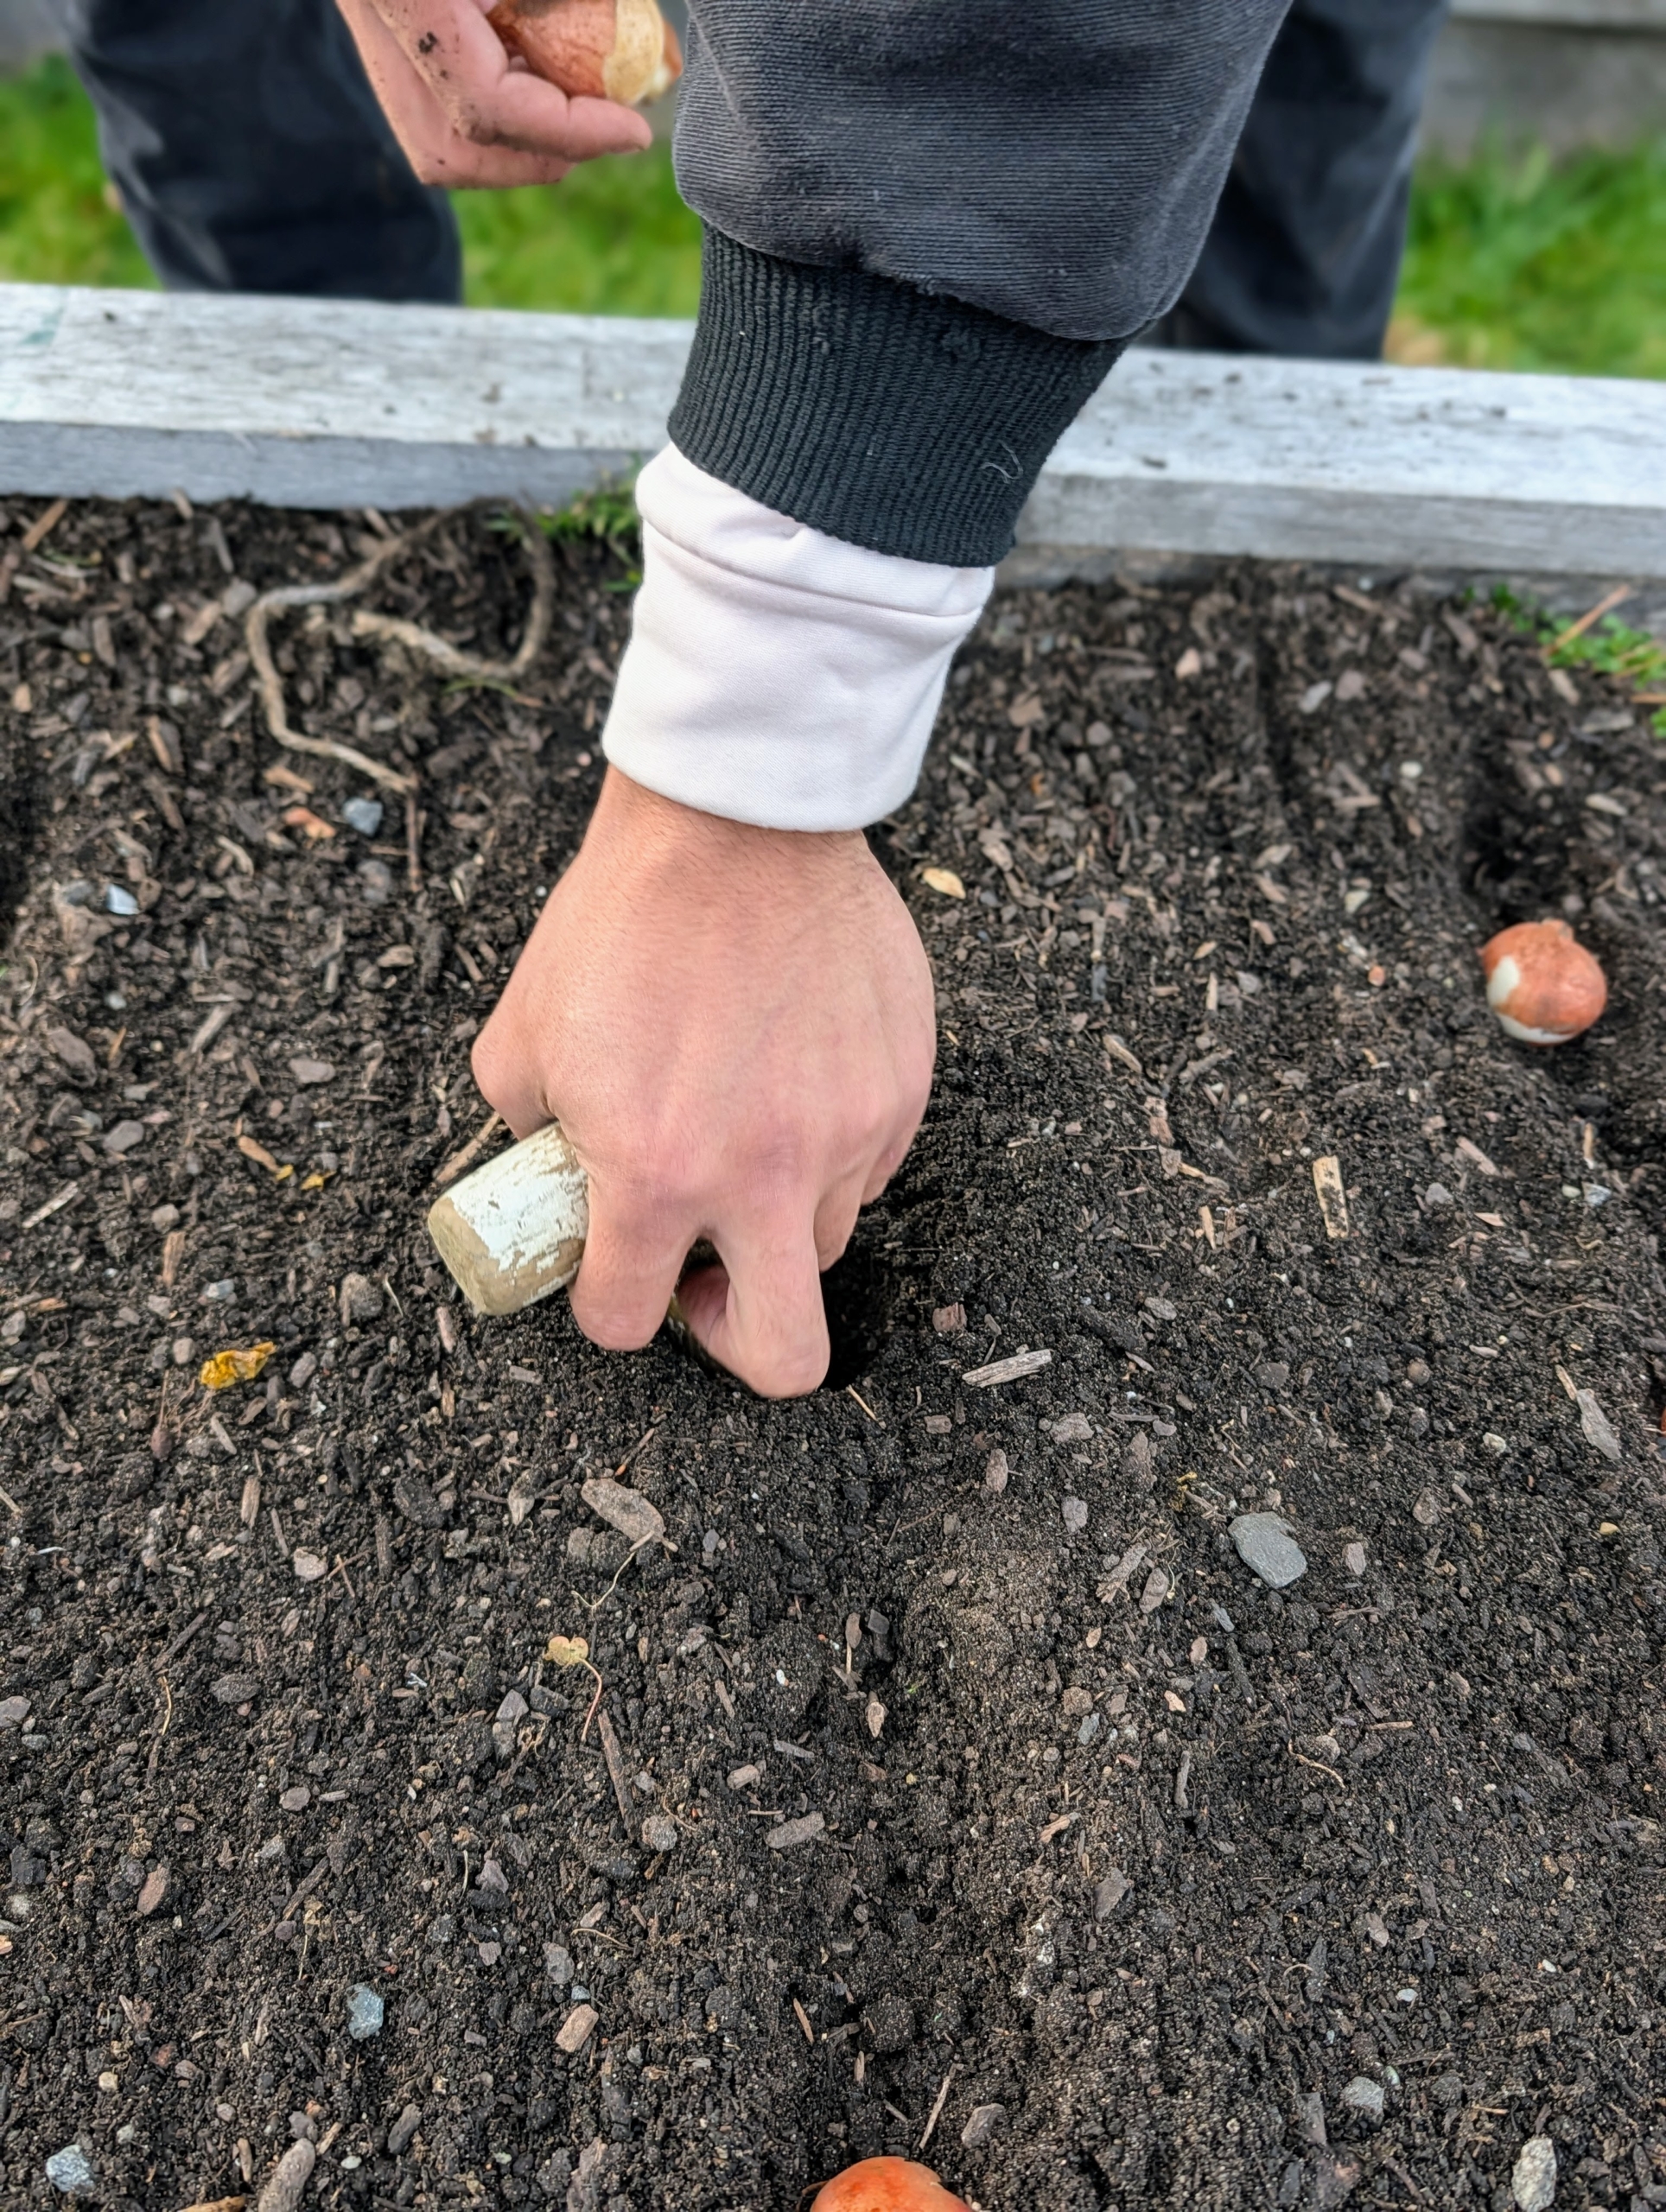
Once all the bulbs are in their designated rows, Matthew pushes the dibber into the soil making a hole where the bulb will be planted.
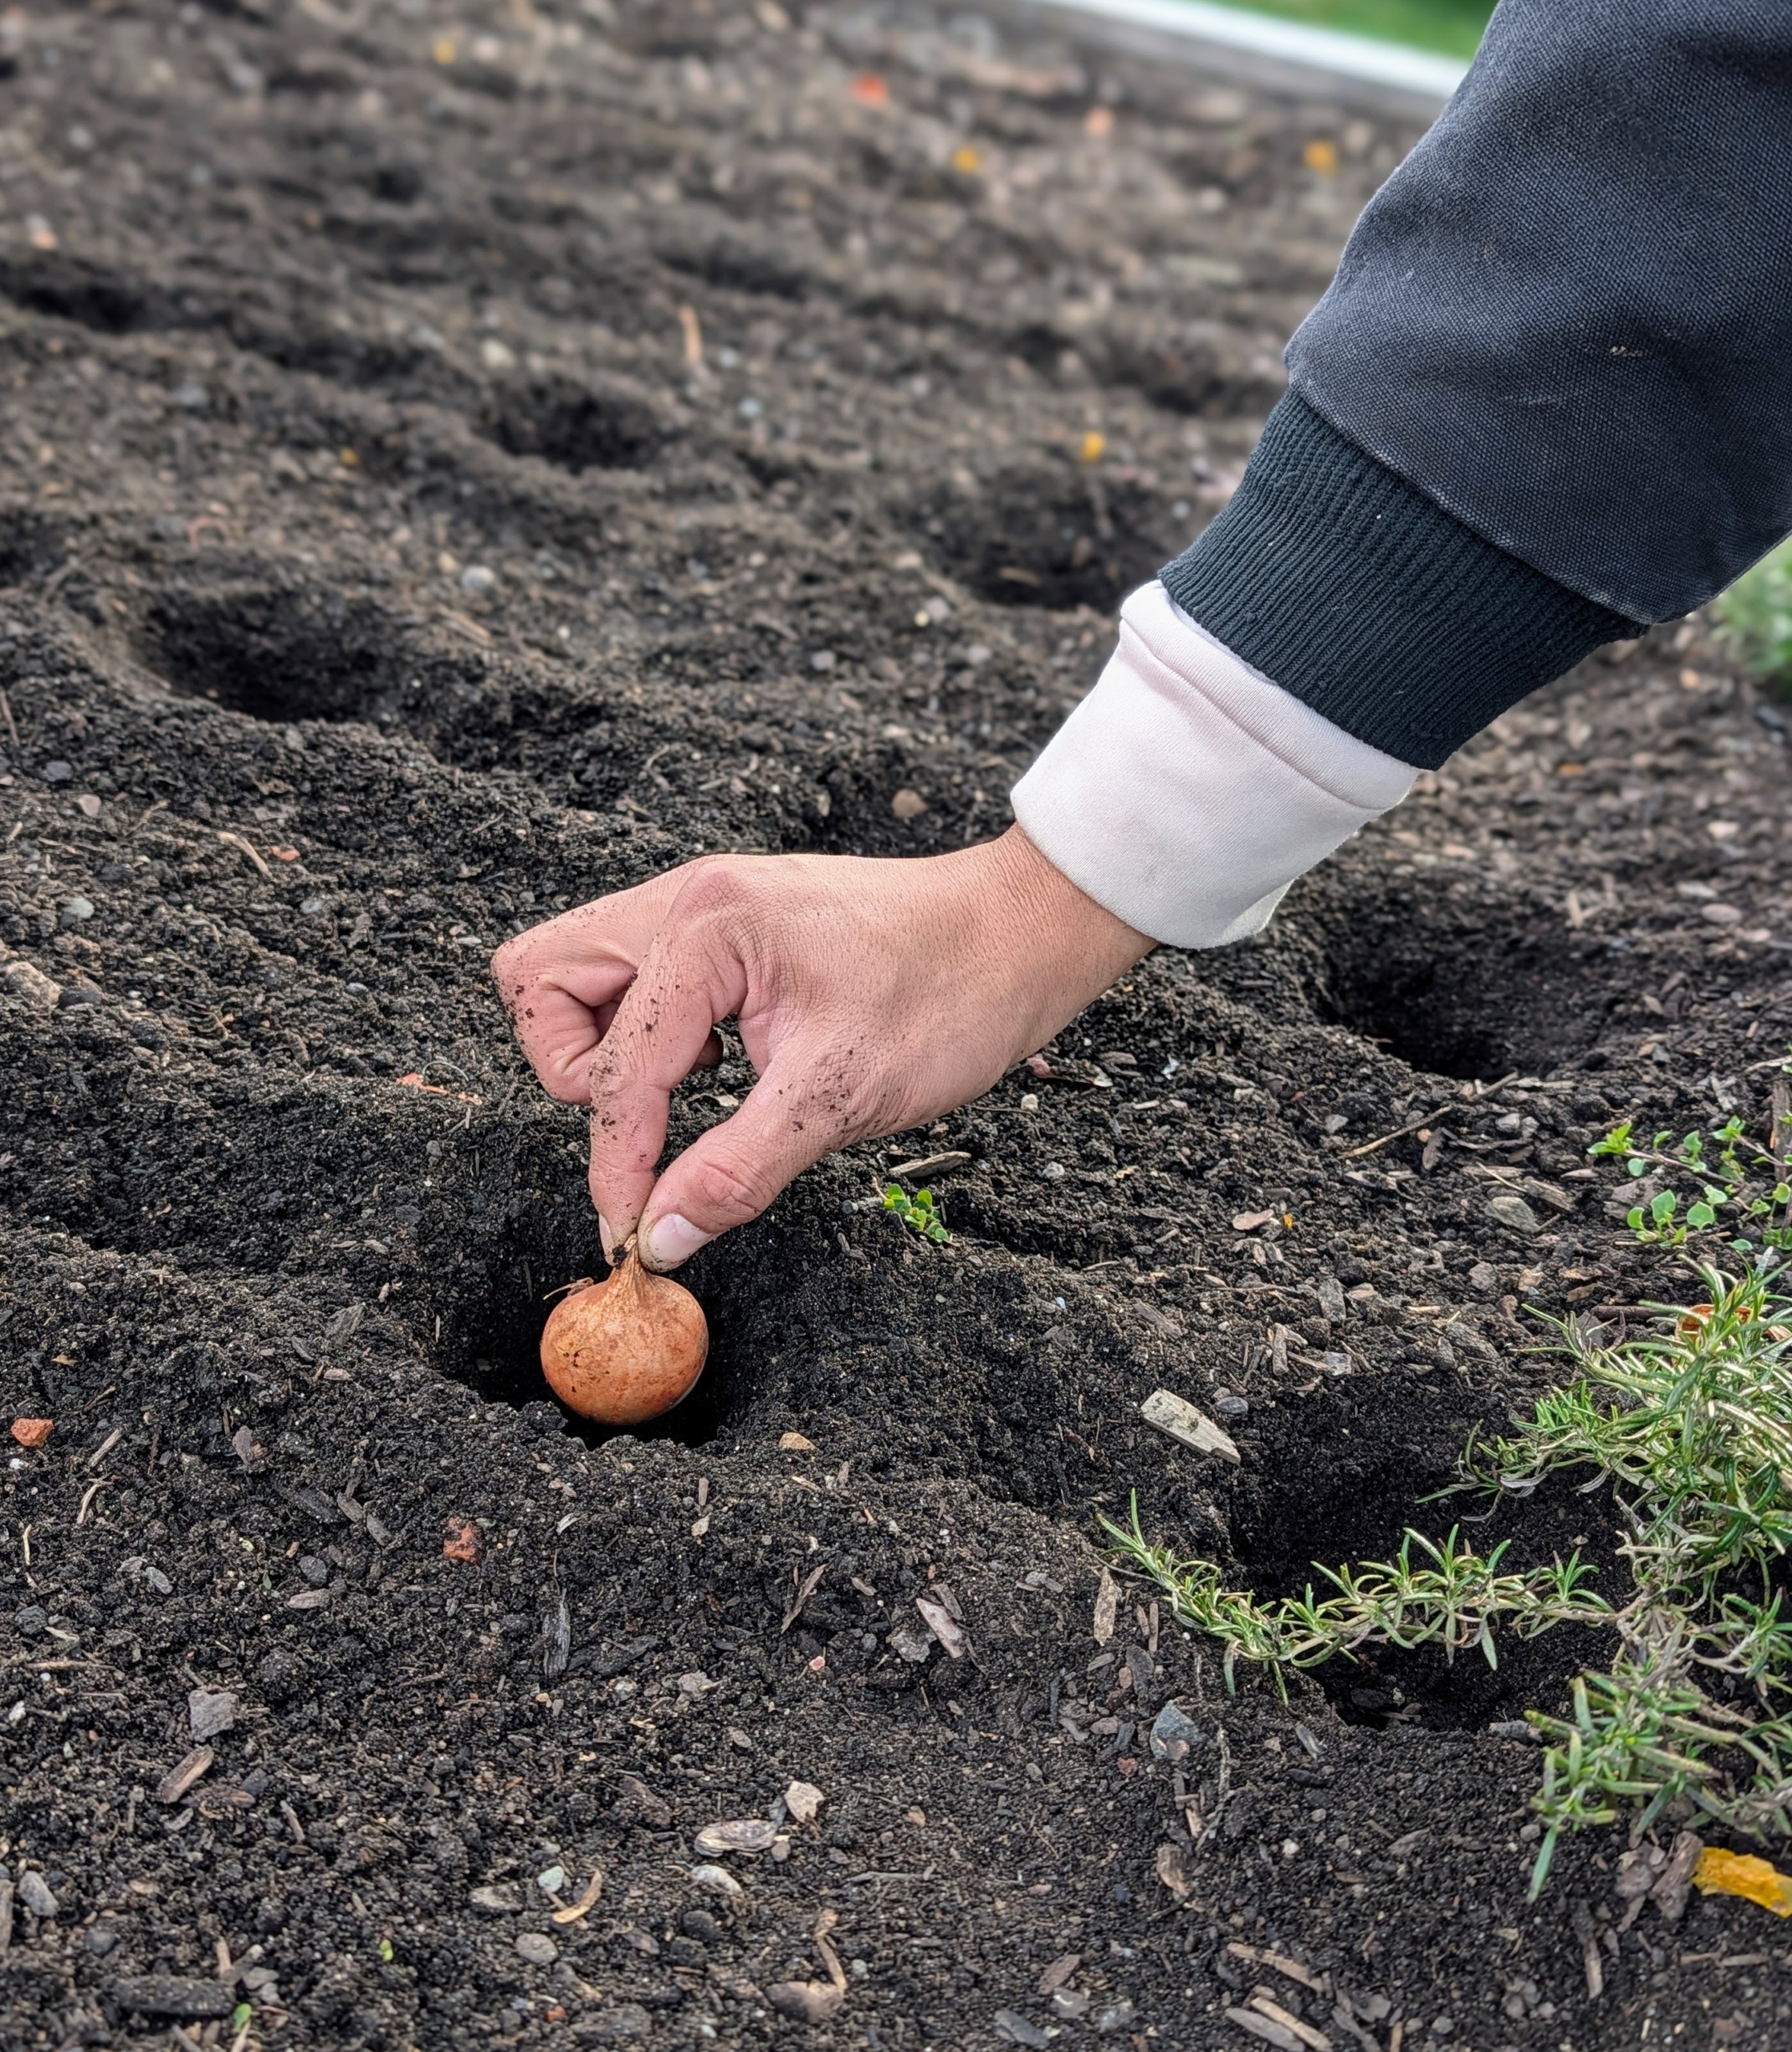
Matthew is careful to place each bulb with the pointed end faced up. This is important for all bulbs. If the pointed end is not obvious, look for the flat side of the bulb, which is the bottom.
Matthew pushes it down several inches into the hole.
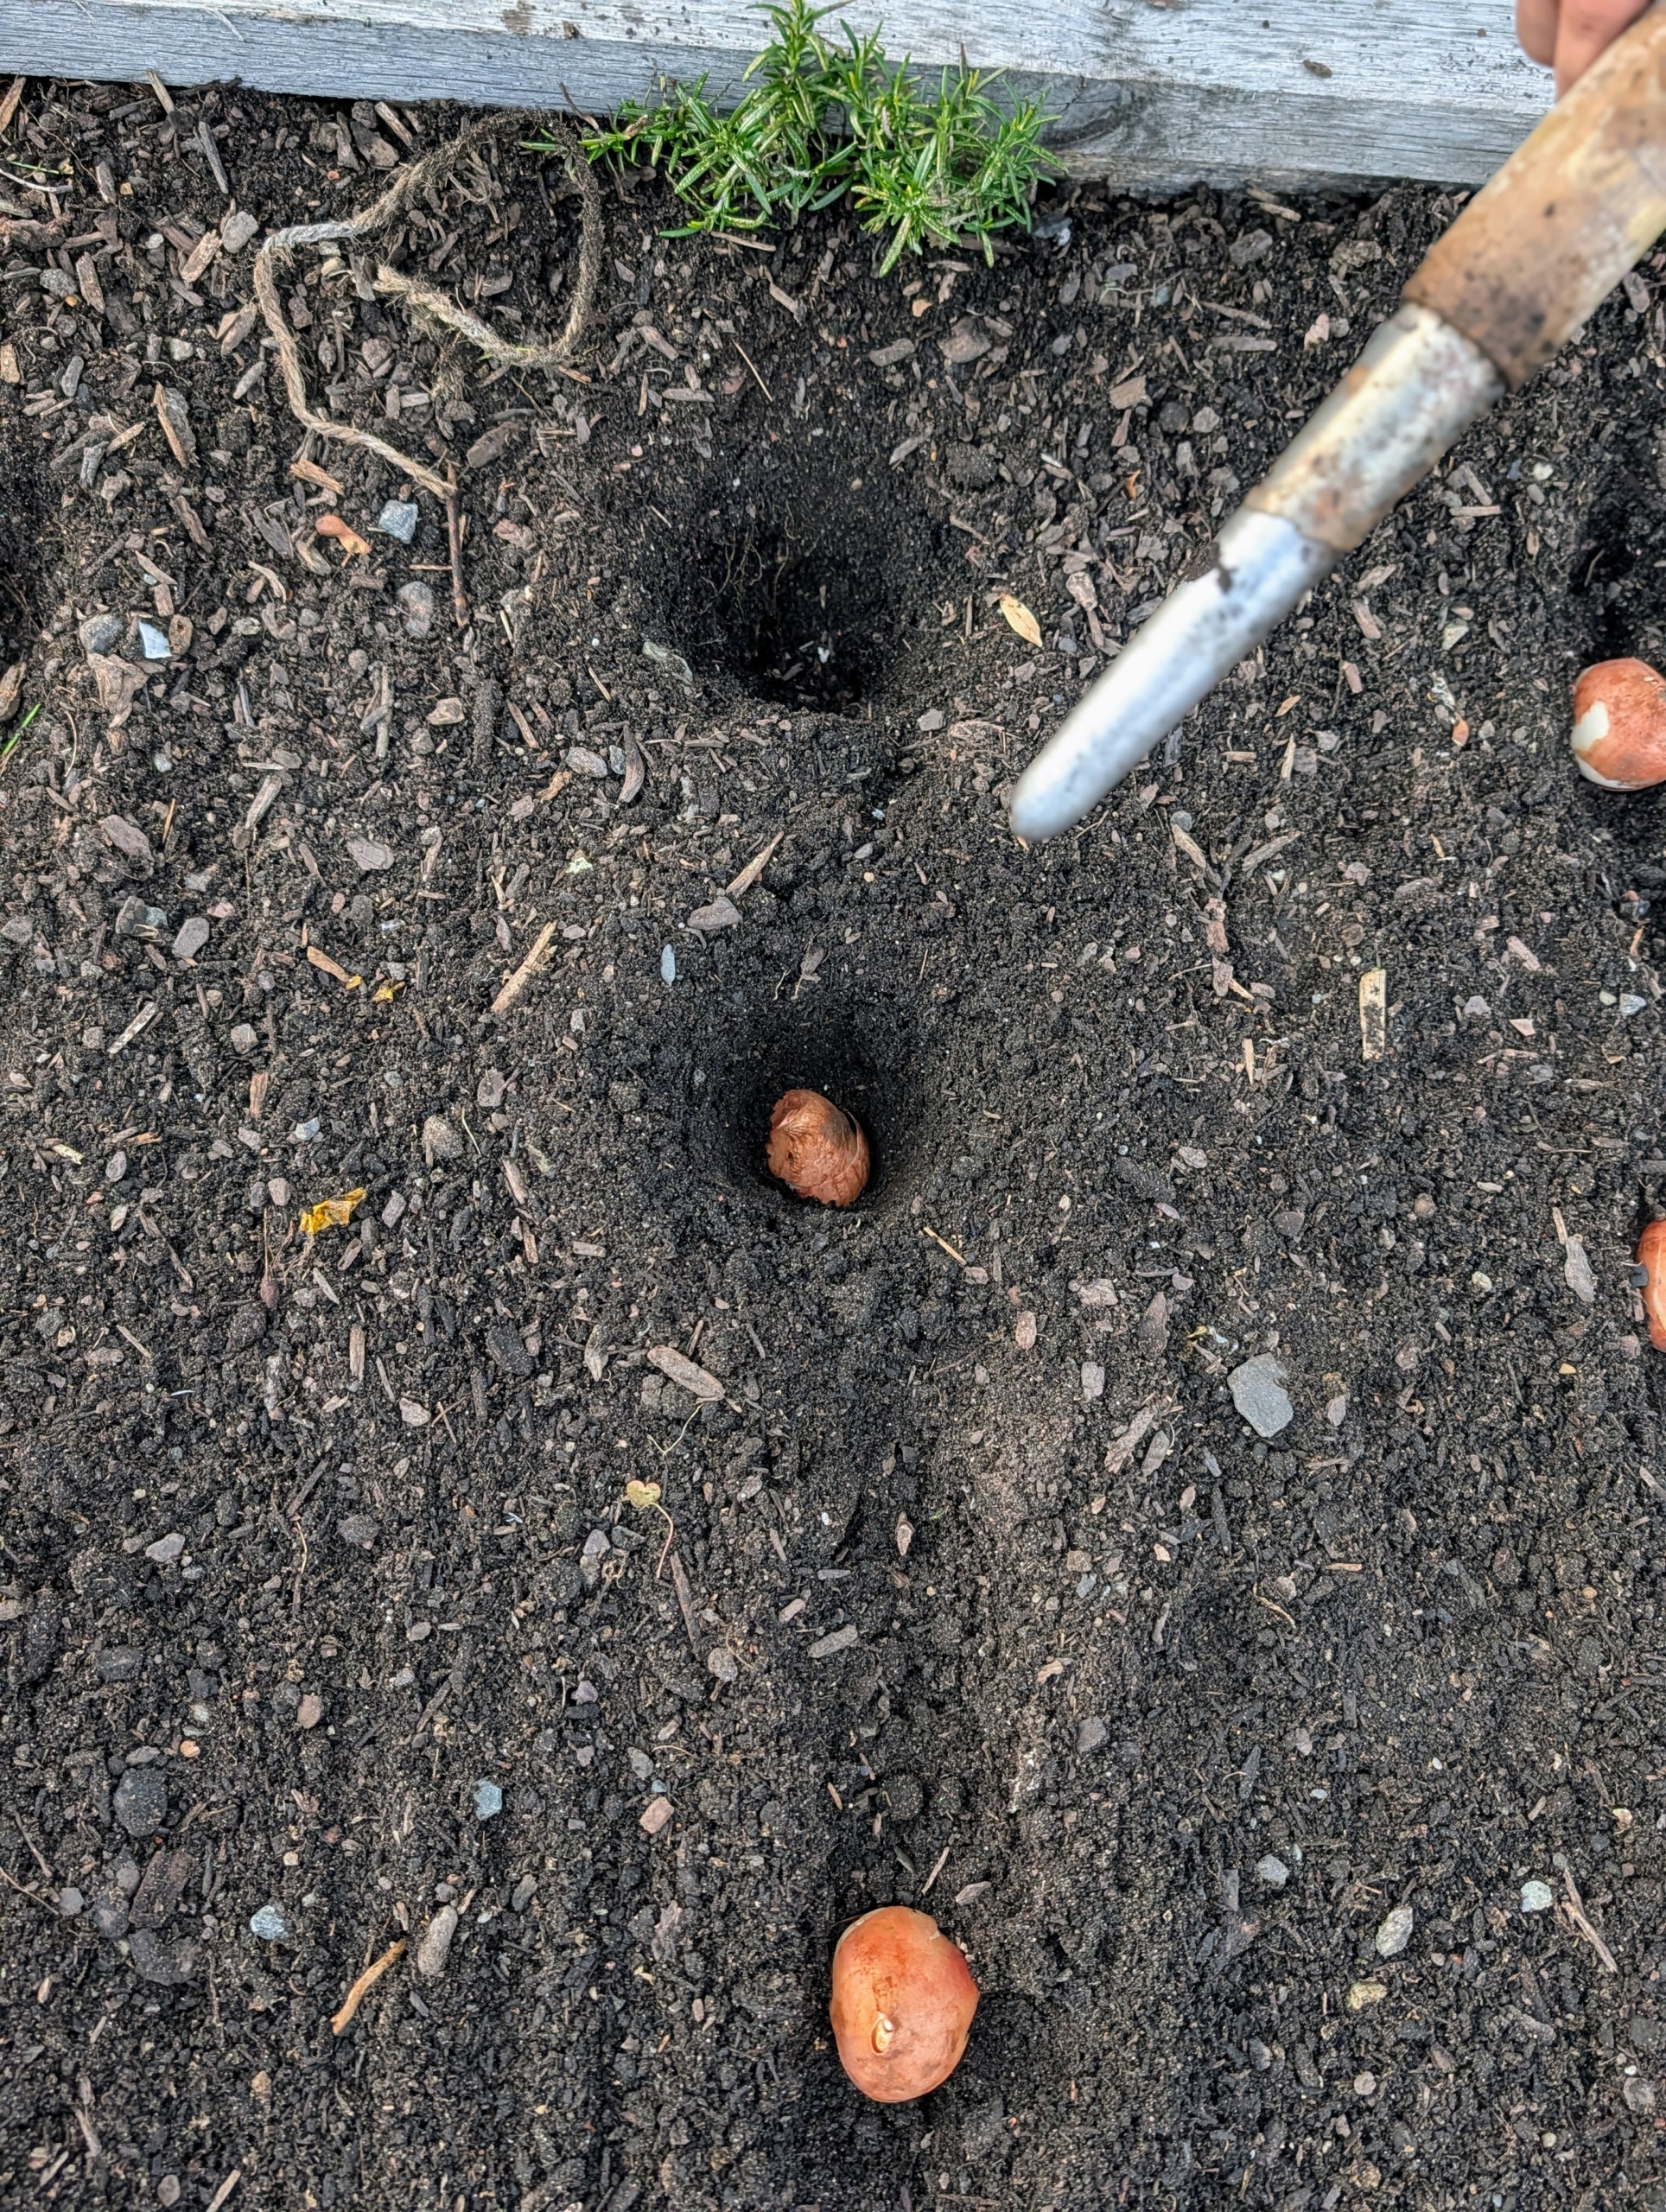
Here is the bulb in the soil. Matthew plants all the bulbs before backfilling, so he can keep track of the planted holes and rows.
Here are Phurba and Matthew – this year’s bulb planting team. They have more than 380 tulip bulbs to get into the ground. Bulbs are alive, but dormant, so they prefer to be in the soil. If they cannot be planted promptly, store them in a dark, dry location with good air circulation and temperatures averaging about 50 to 65-degrees Fahrenheit.
Once the bulbs are in their designated trenches, it’s time to cover and rake the bed. Phurba carefully uses the back of a soft rake so he doesn’t disturb the bulb placements.
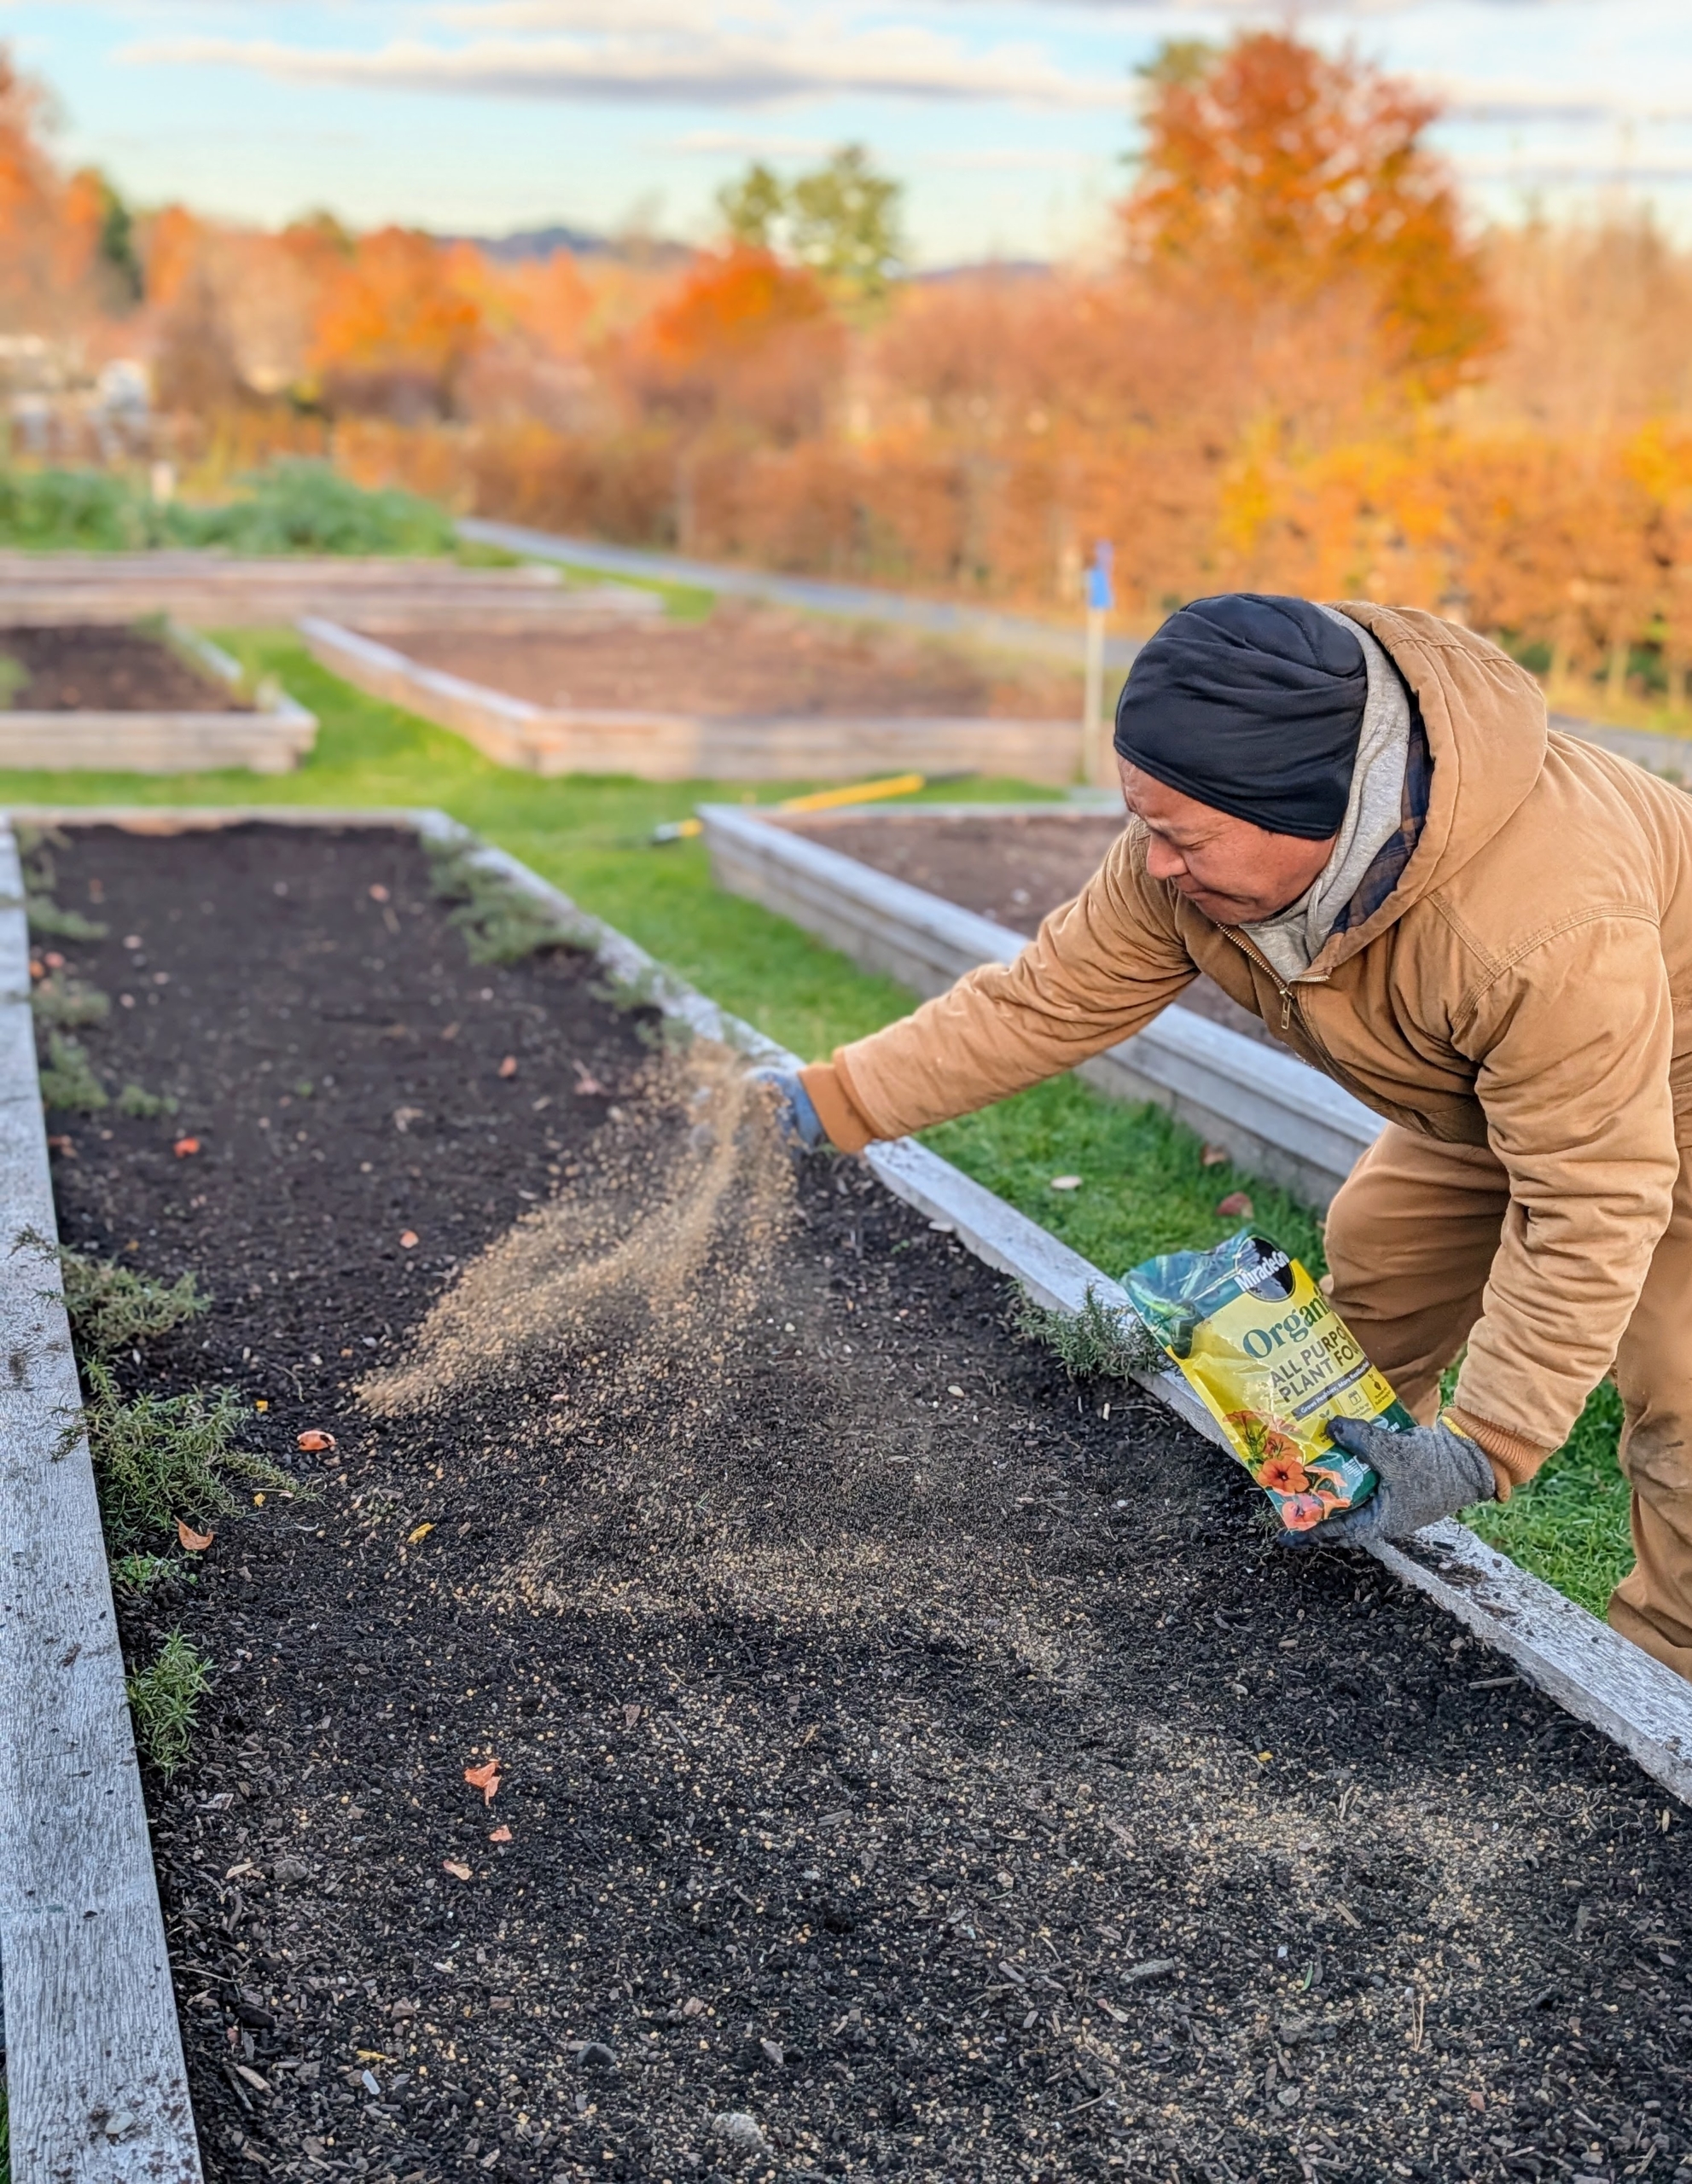
Next, a generous amount of fertilizer is sprinkled over the backfilled bed. Avoid fertilizing directly on top of the bulbs, which will cause root burn. I use Miracle-Gro Organic All Purpose Plant Food.
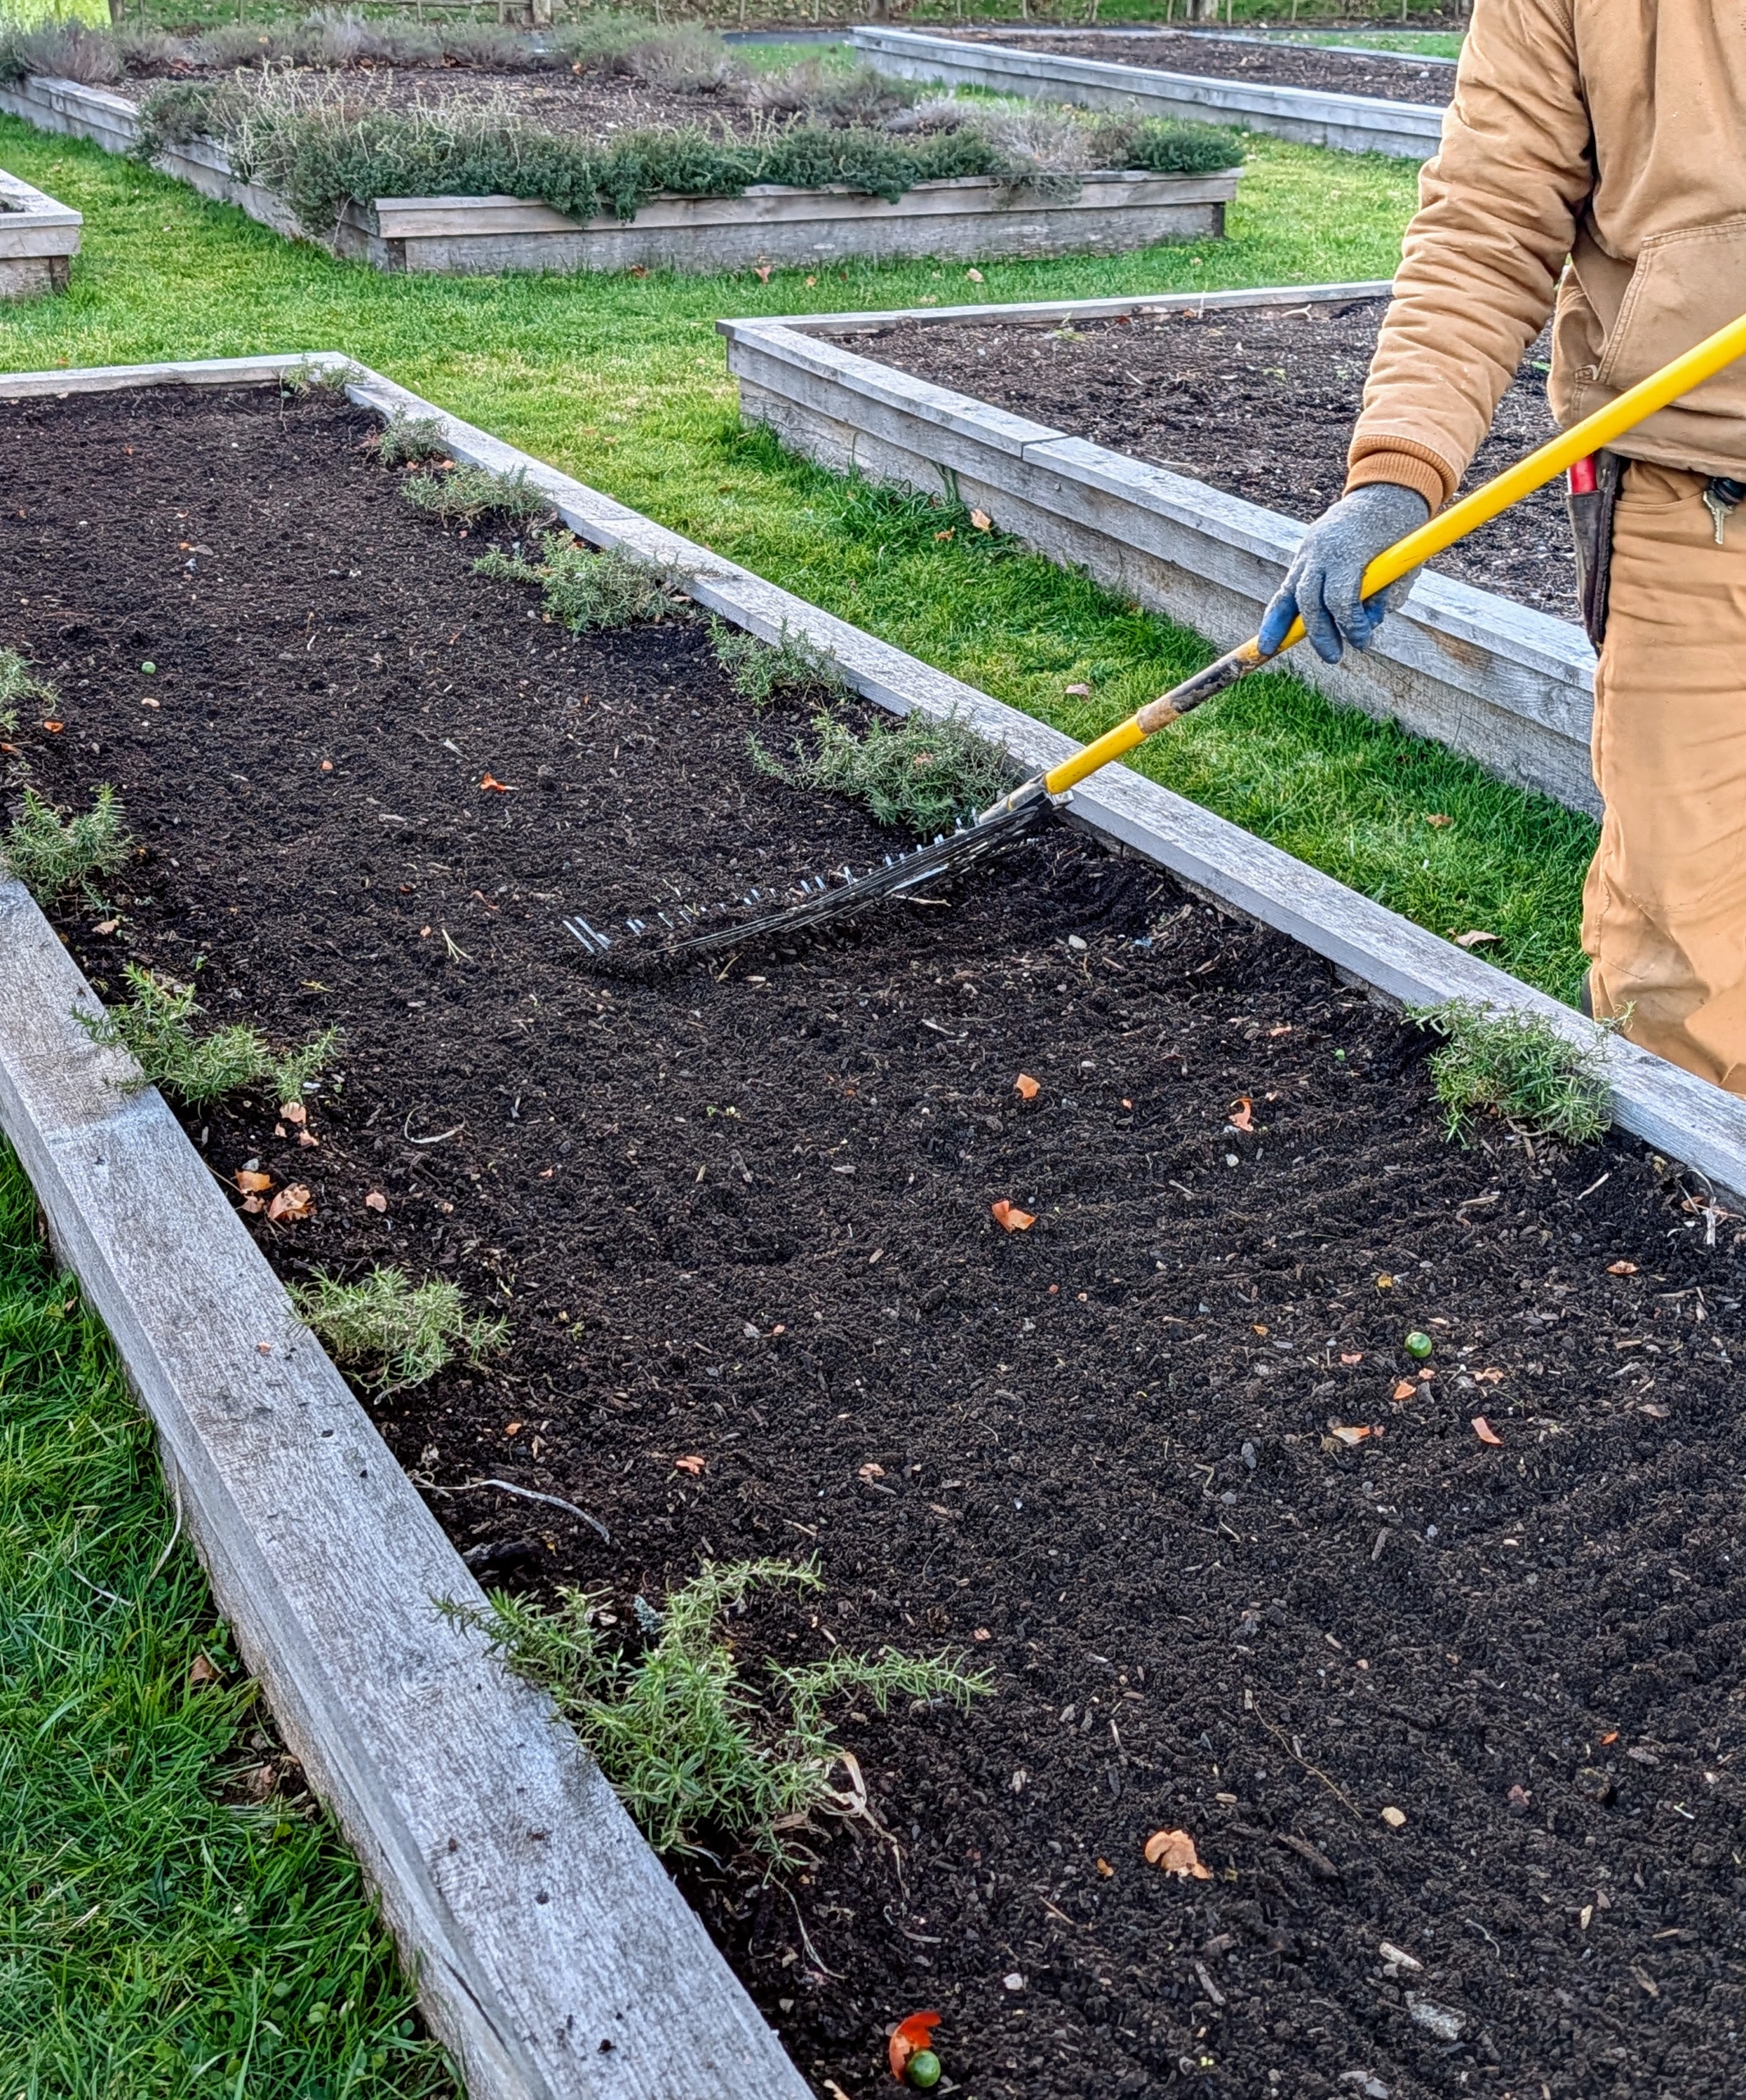
And lastly, Phurba rakes the bed lightly again to mix in the fertilizer. We’ll have a beautiful cutting garden of colorful tulips come April – I’ll be sure to share the photos. Are you planting your bulbs this weekend?