Online cooking experiences are a great way to learn everything from mis en place to plating - all from the comforts of one's own home.
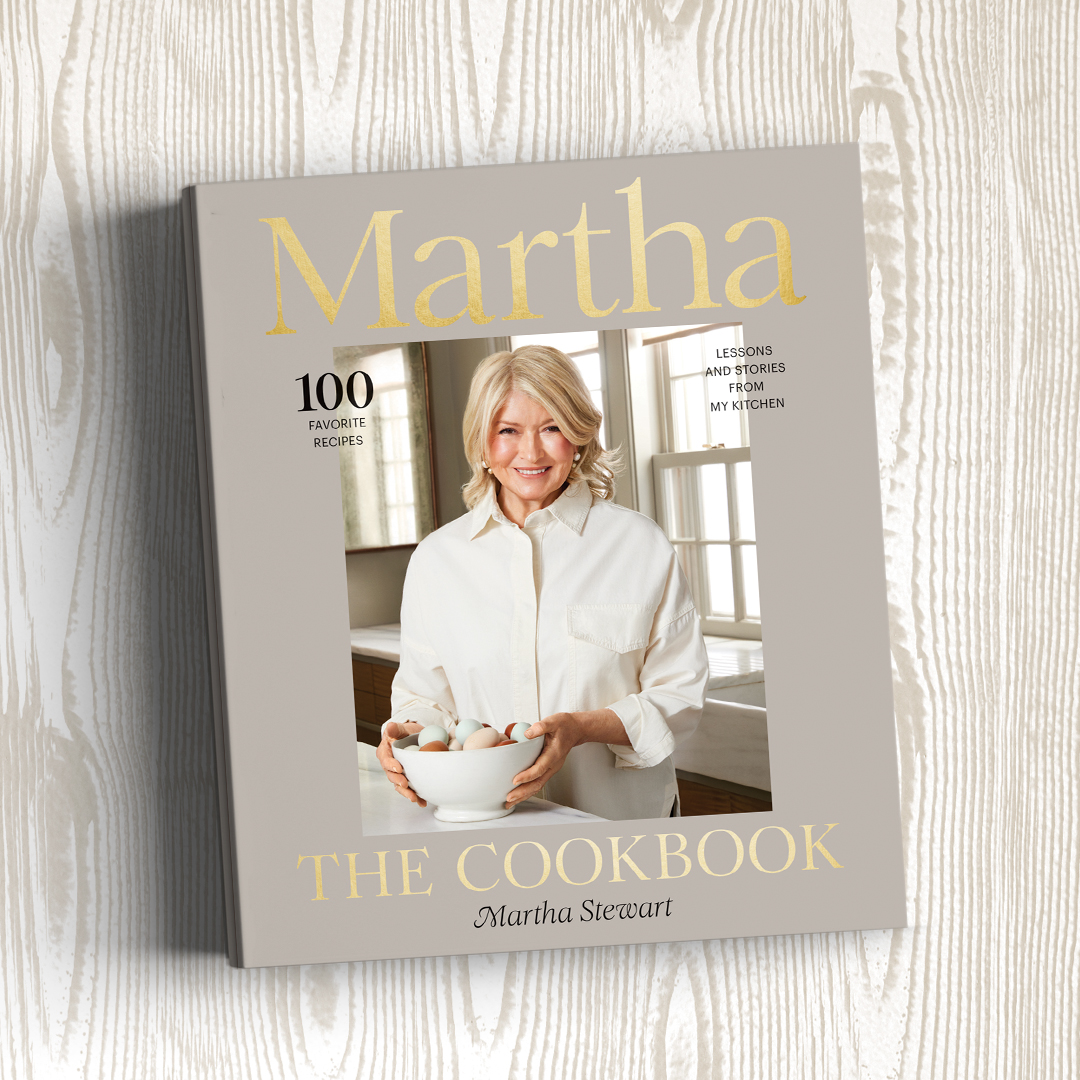
This week, I conducted a LIVE cooking demo for 50 executive clients of Calix, Inc., a leading software platform, cloud, systems and services provider. During the 90-minute Zoom session hosted and moderated by Calix CEO Michael Weening, I showed the group how to make Meyer Lemon Drop cocktails, Kale Caesar Salad, Linguine with Clams, and Pasta Limone - all recipes from my 100th and New York Times Best Selling Book, MARTHA, THE COOKBOOK: Lessons and Stories from My Kitchen. I also shared lots of cooking tips and answered a variety of interesting questions from participants.
Enjoy these photos.
I hope you’re all cooking the delicious dishes in my 100th book, MARTHA, THE COOKBOOK! This book has received such a great response – I know you will want to read it cover to cover and cook every single recipe.
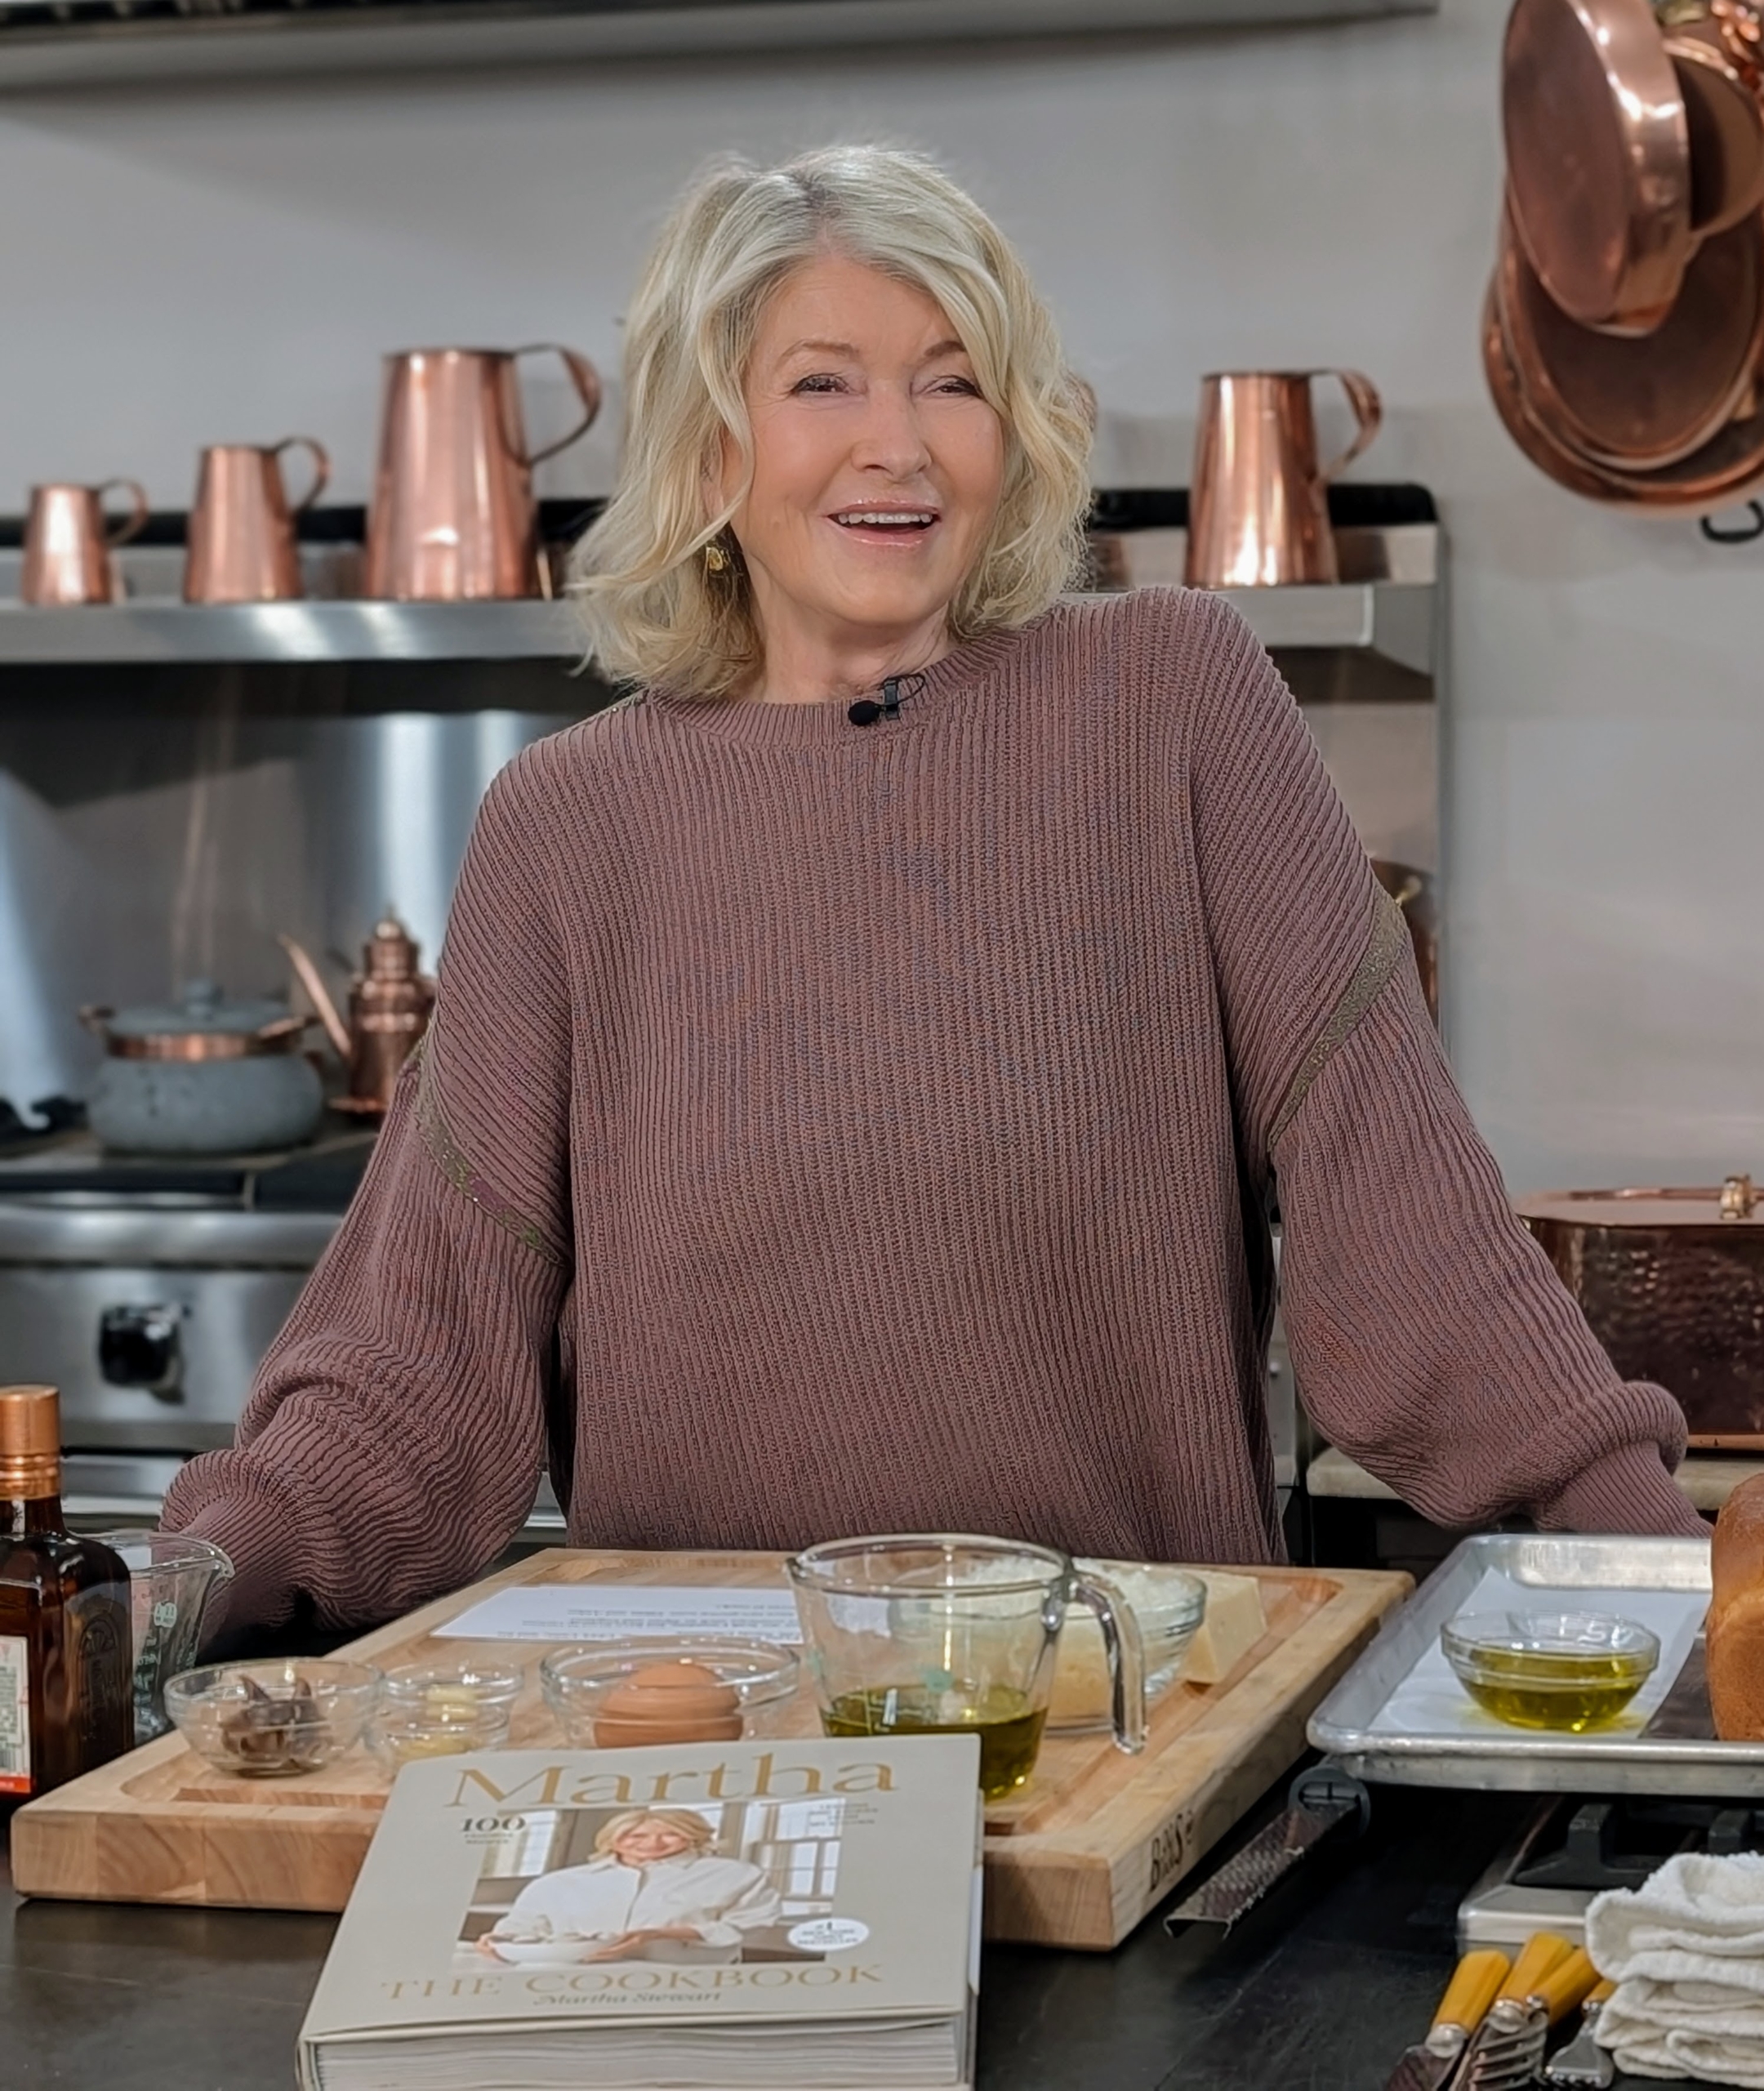
Before the virtual session began, I greeted everyone online through Zoom. The demo was conducted from the kitchen of my farm’s guest house. This kitchen is roomy, filled with light, and has a large counter for prepping and showcasing all our finished dishes.
It was so nice to meet such enthusiastic participants.
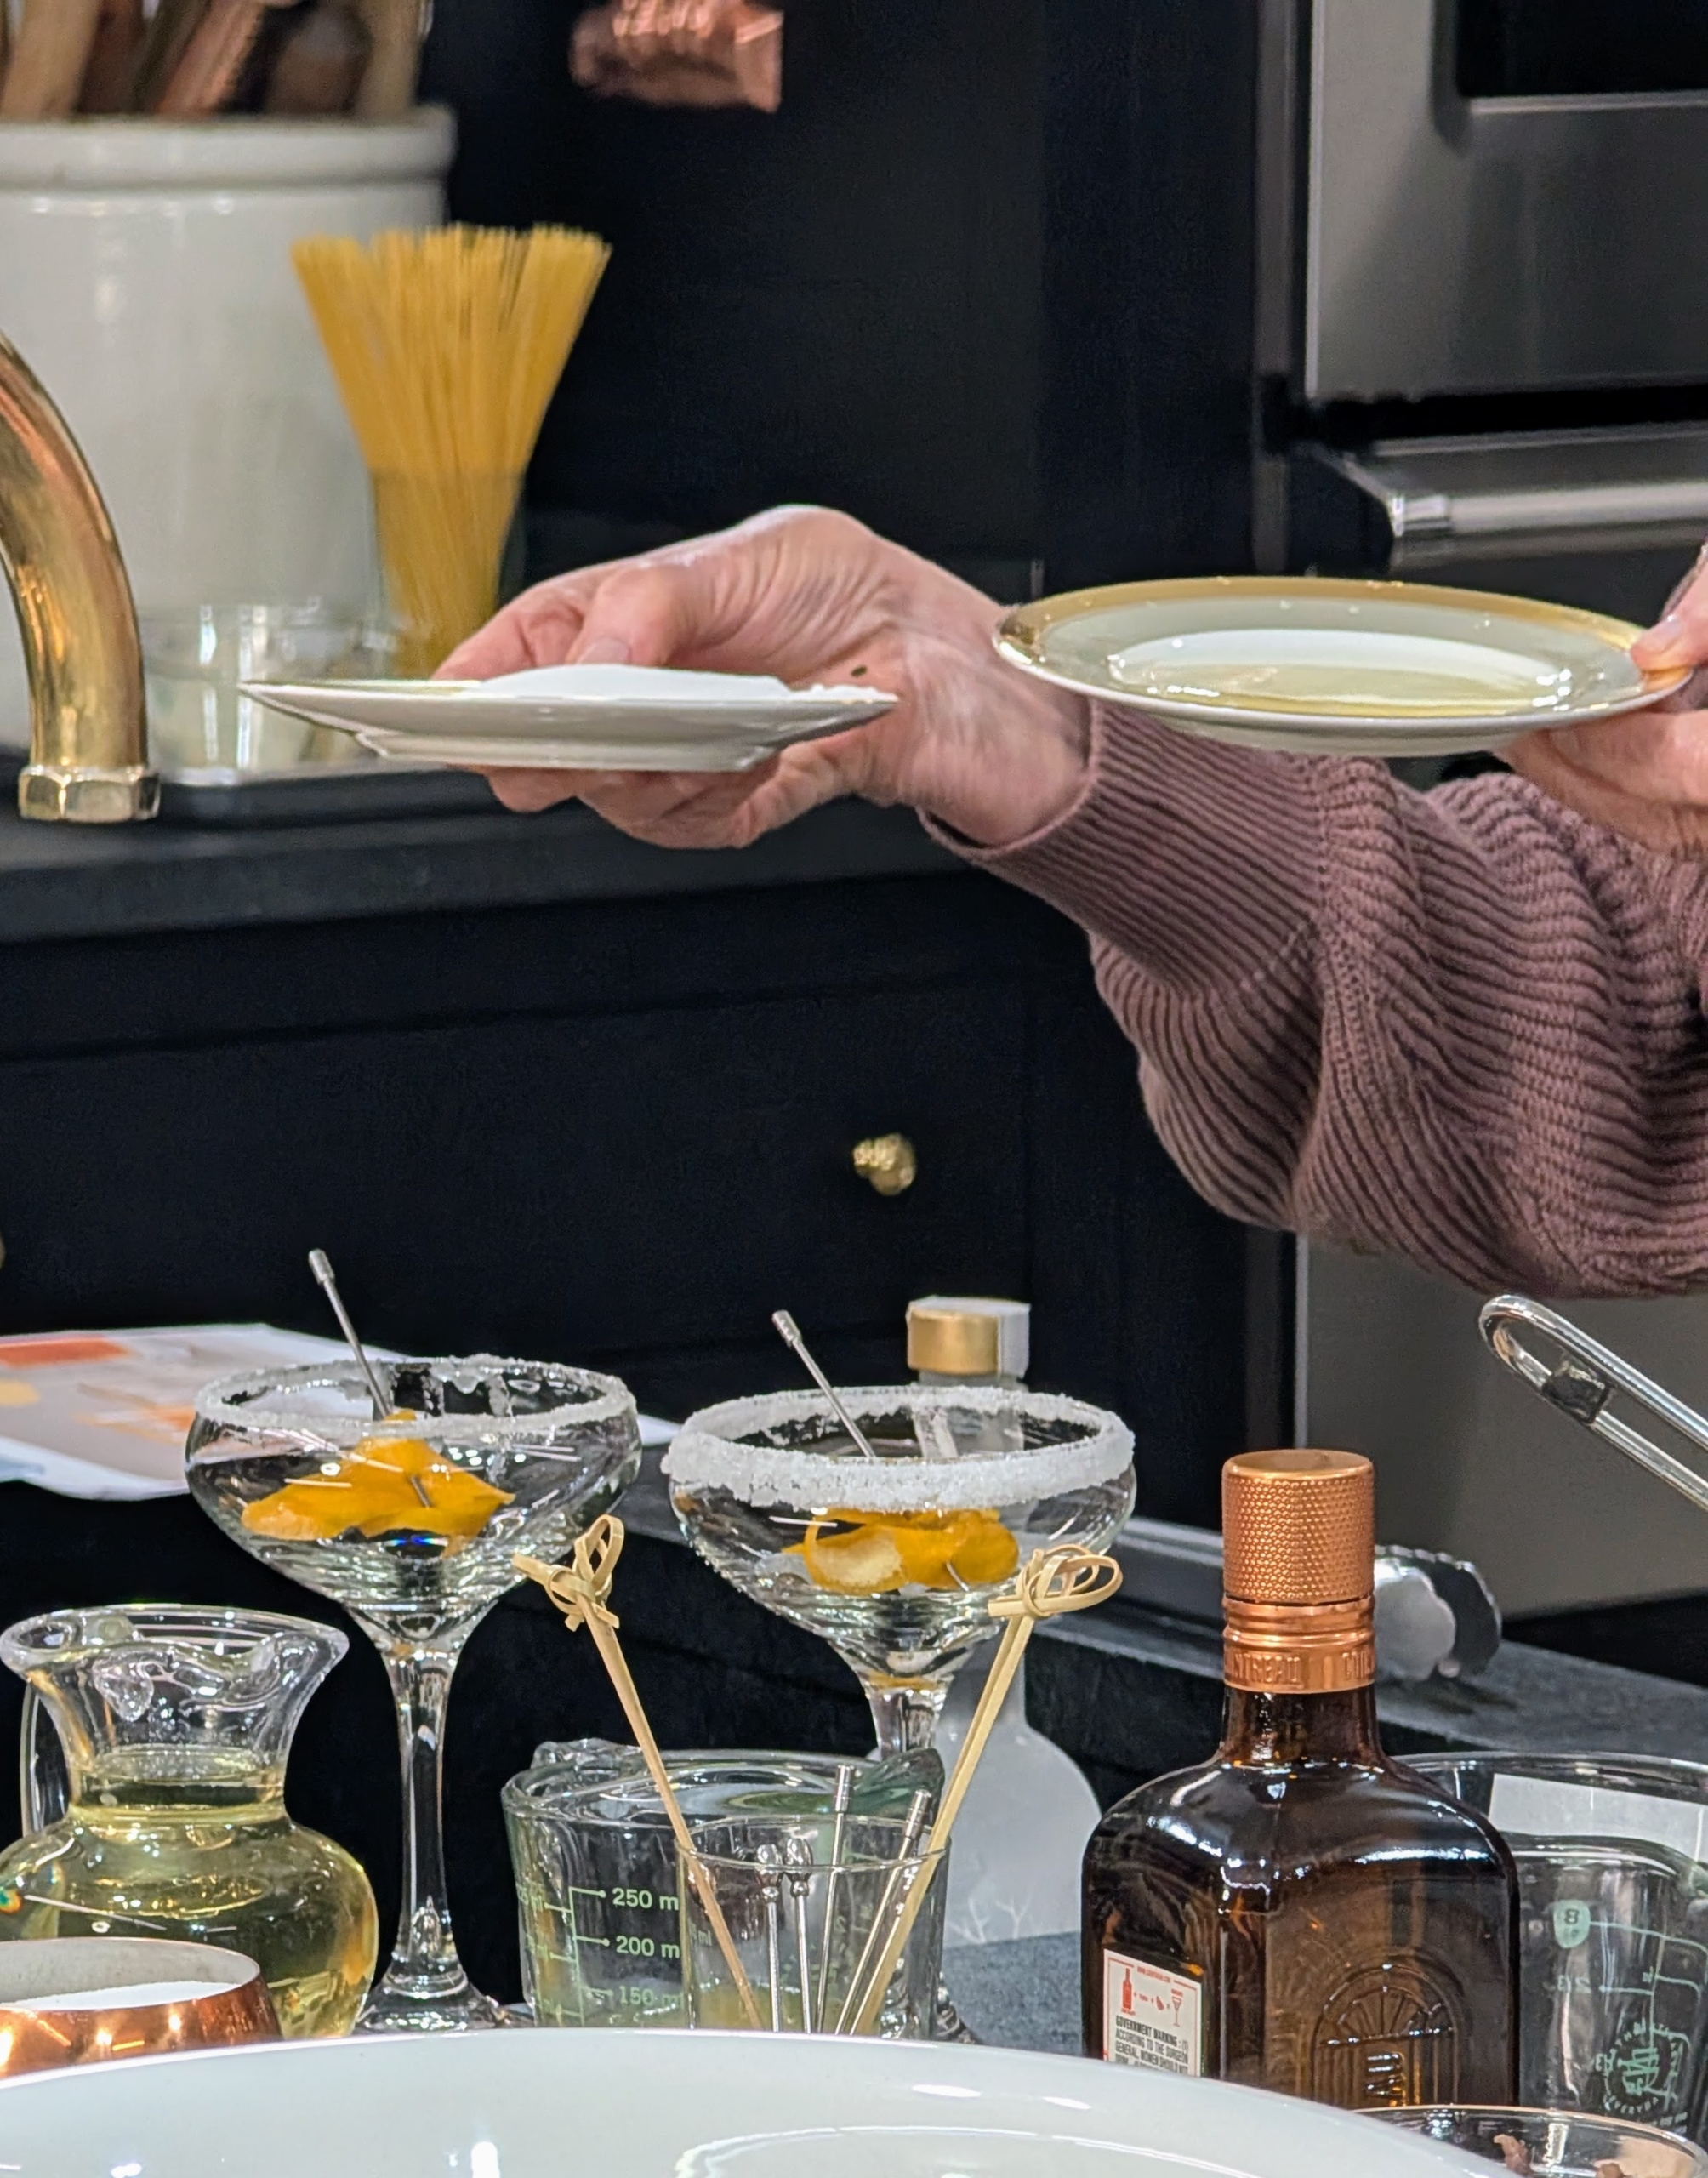
I start by making a refreshing Meyer Lemon Drop cocktail from my book. This is called a champagne coupe or a champagne saucer. It is a stemmed glass featuring a broad, shallow bowl. For the drink, the rim is dipped in sugar.
First it is dipped into a shallow plate of lemon juice and then into a plate of sugar.
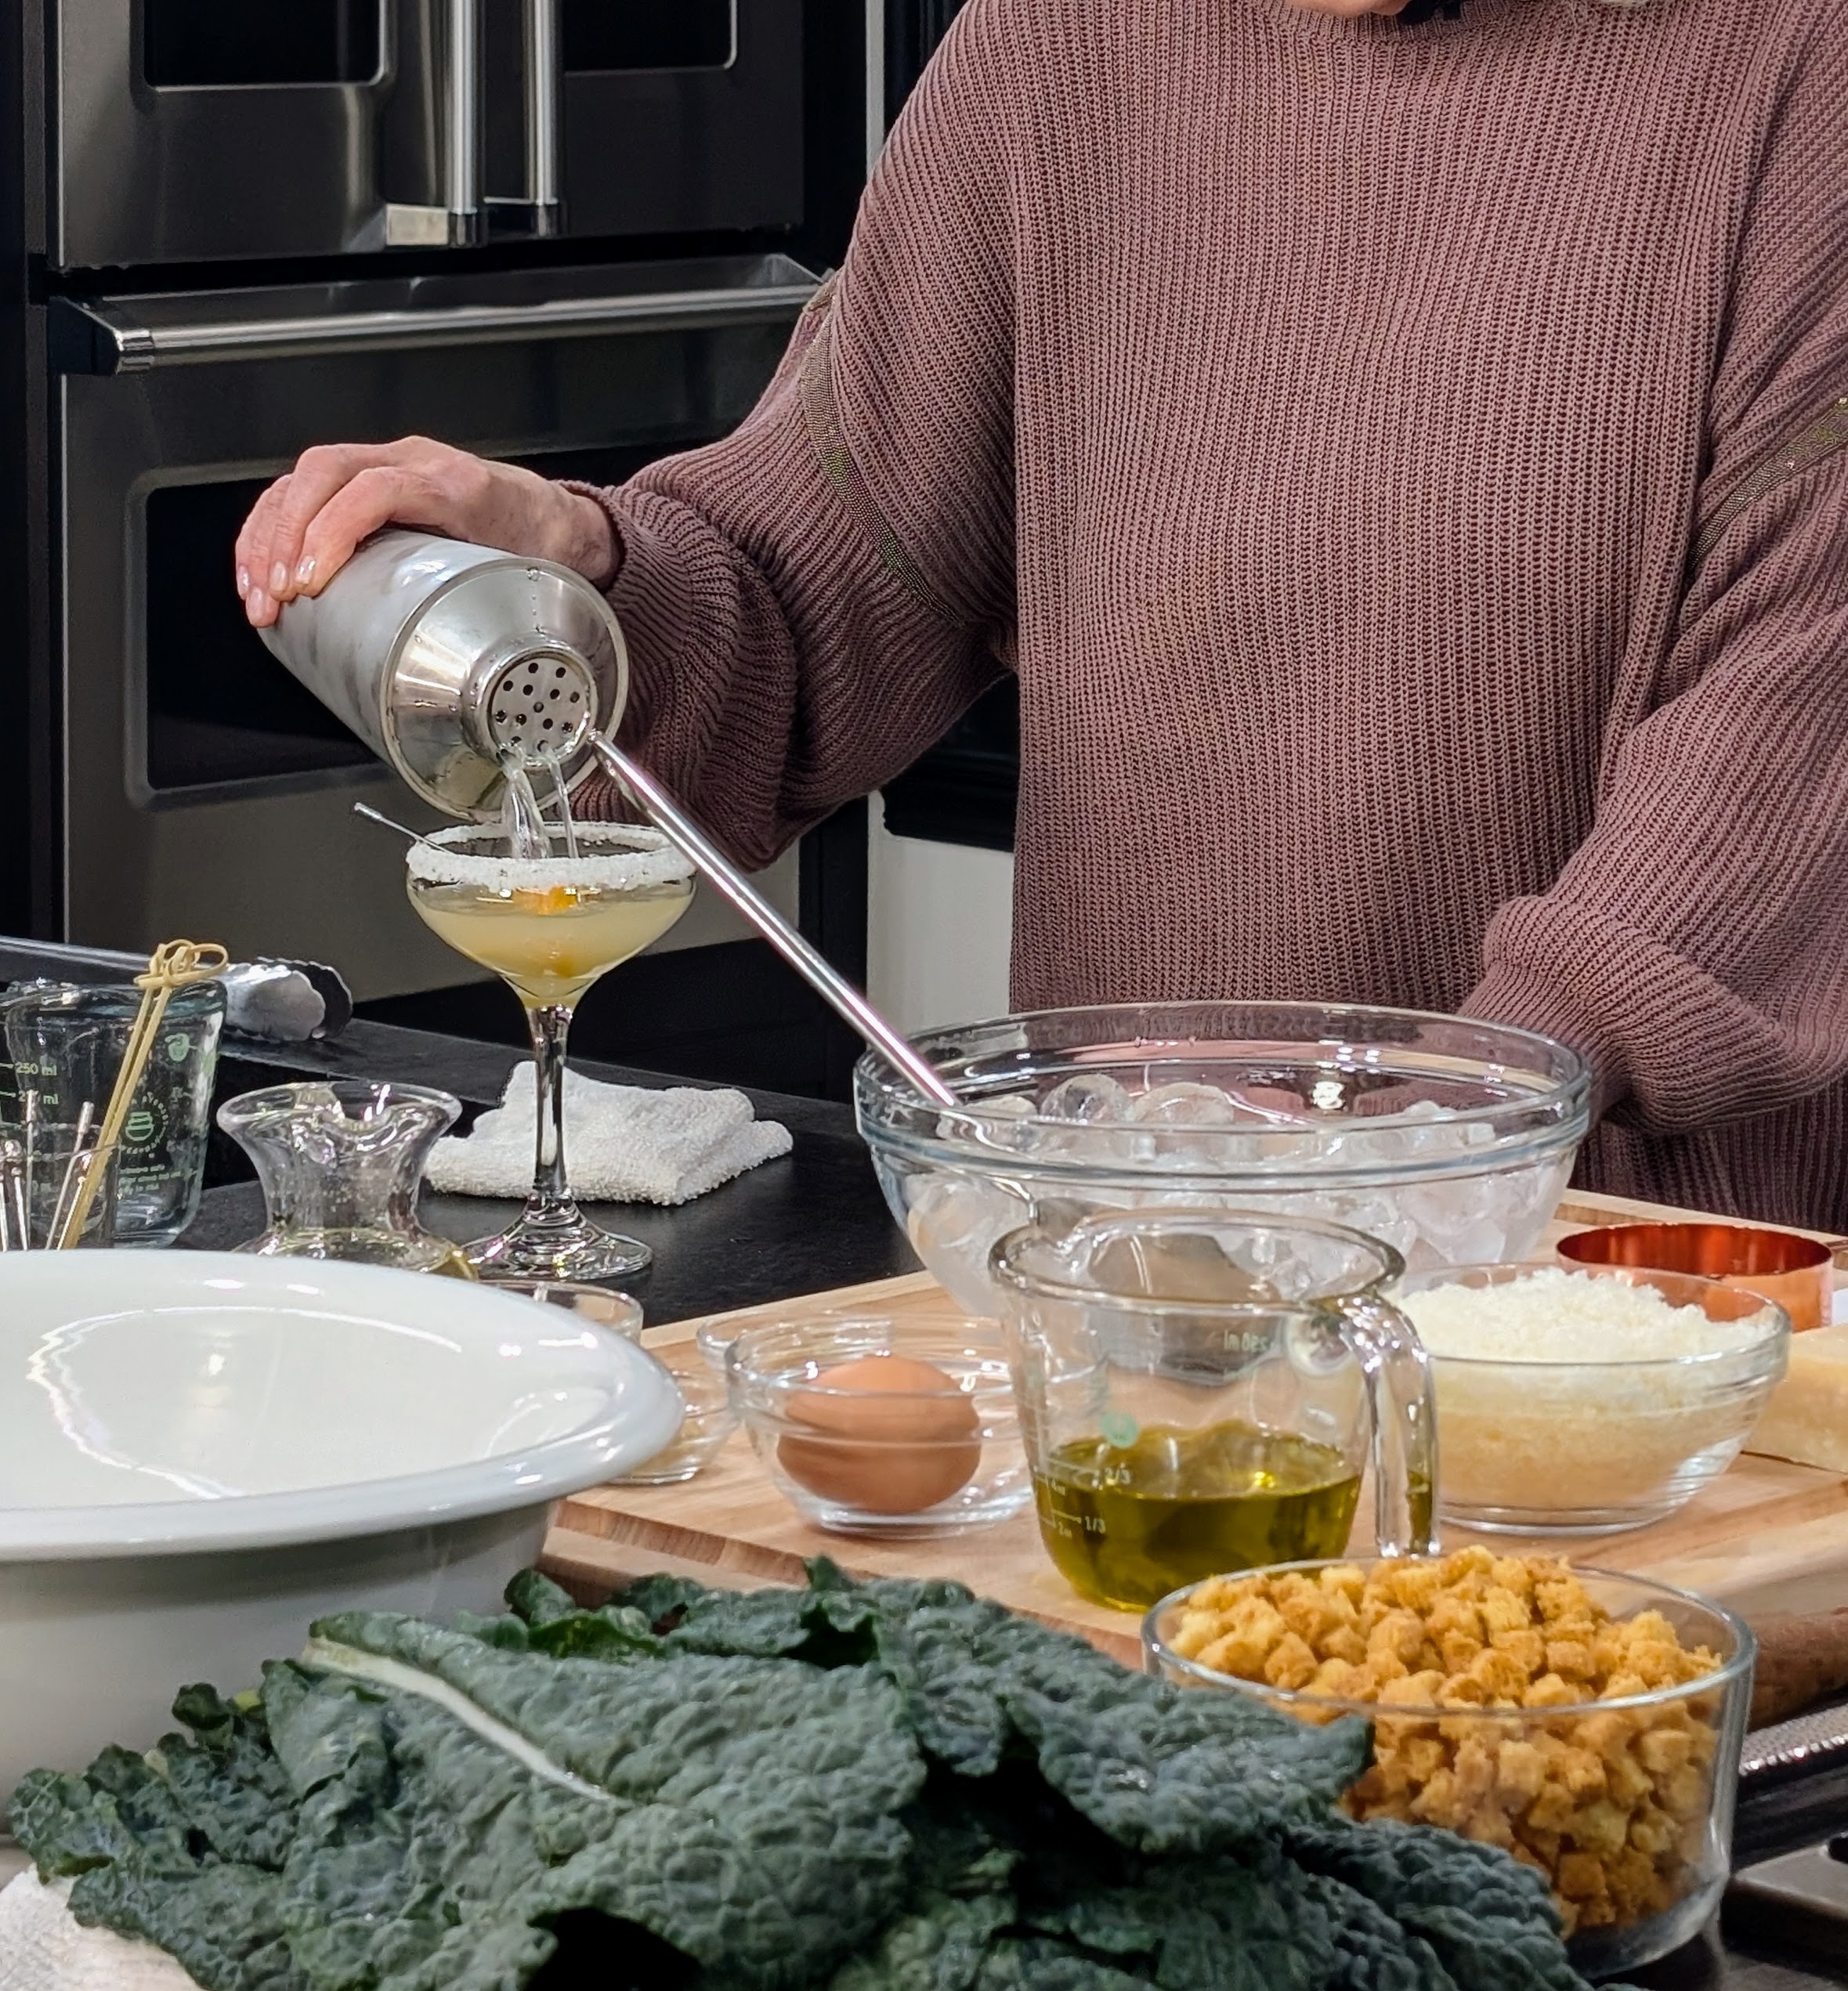
The cocktail includes vodka, Cointreau, Meyer lemon juice, and Meyer lemon syrup shaken in a cocktail shaker with ice until it is cold and then poured. I also added a strip of lemon zest into each glass with ice.
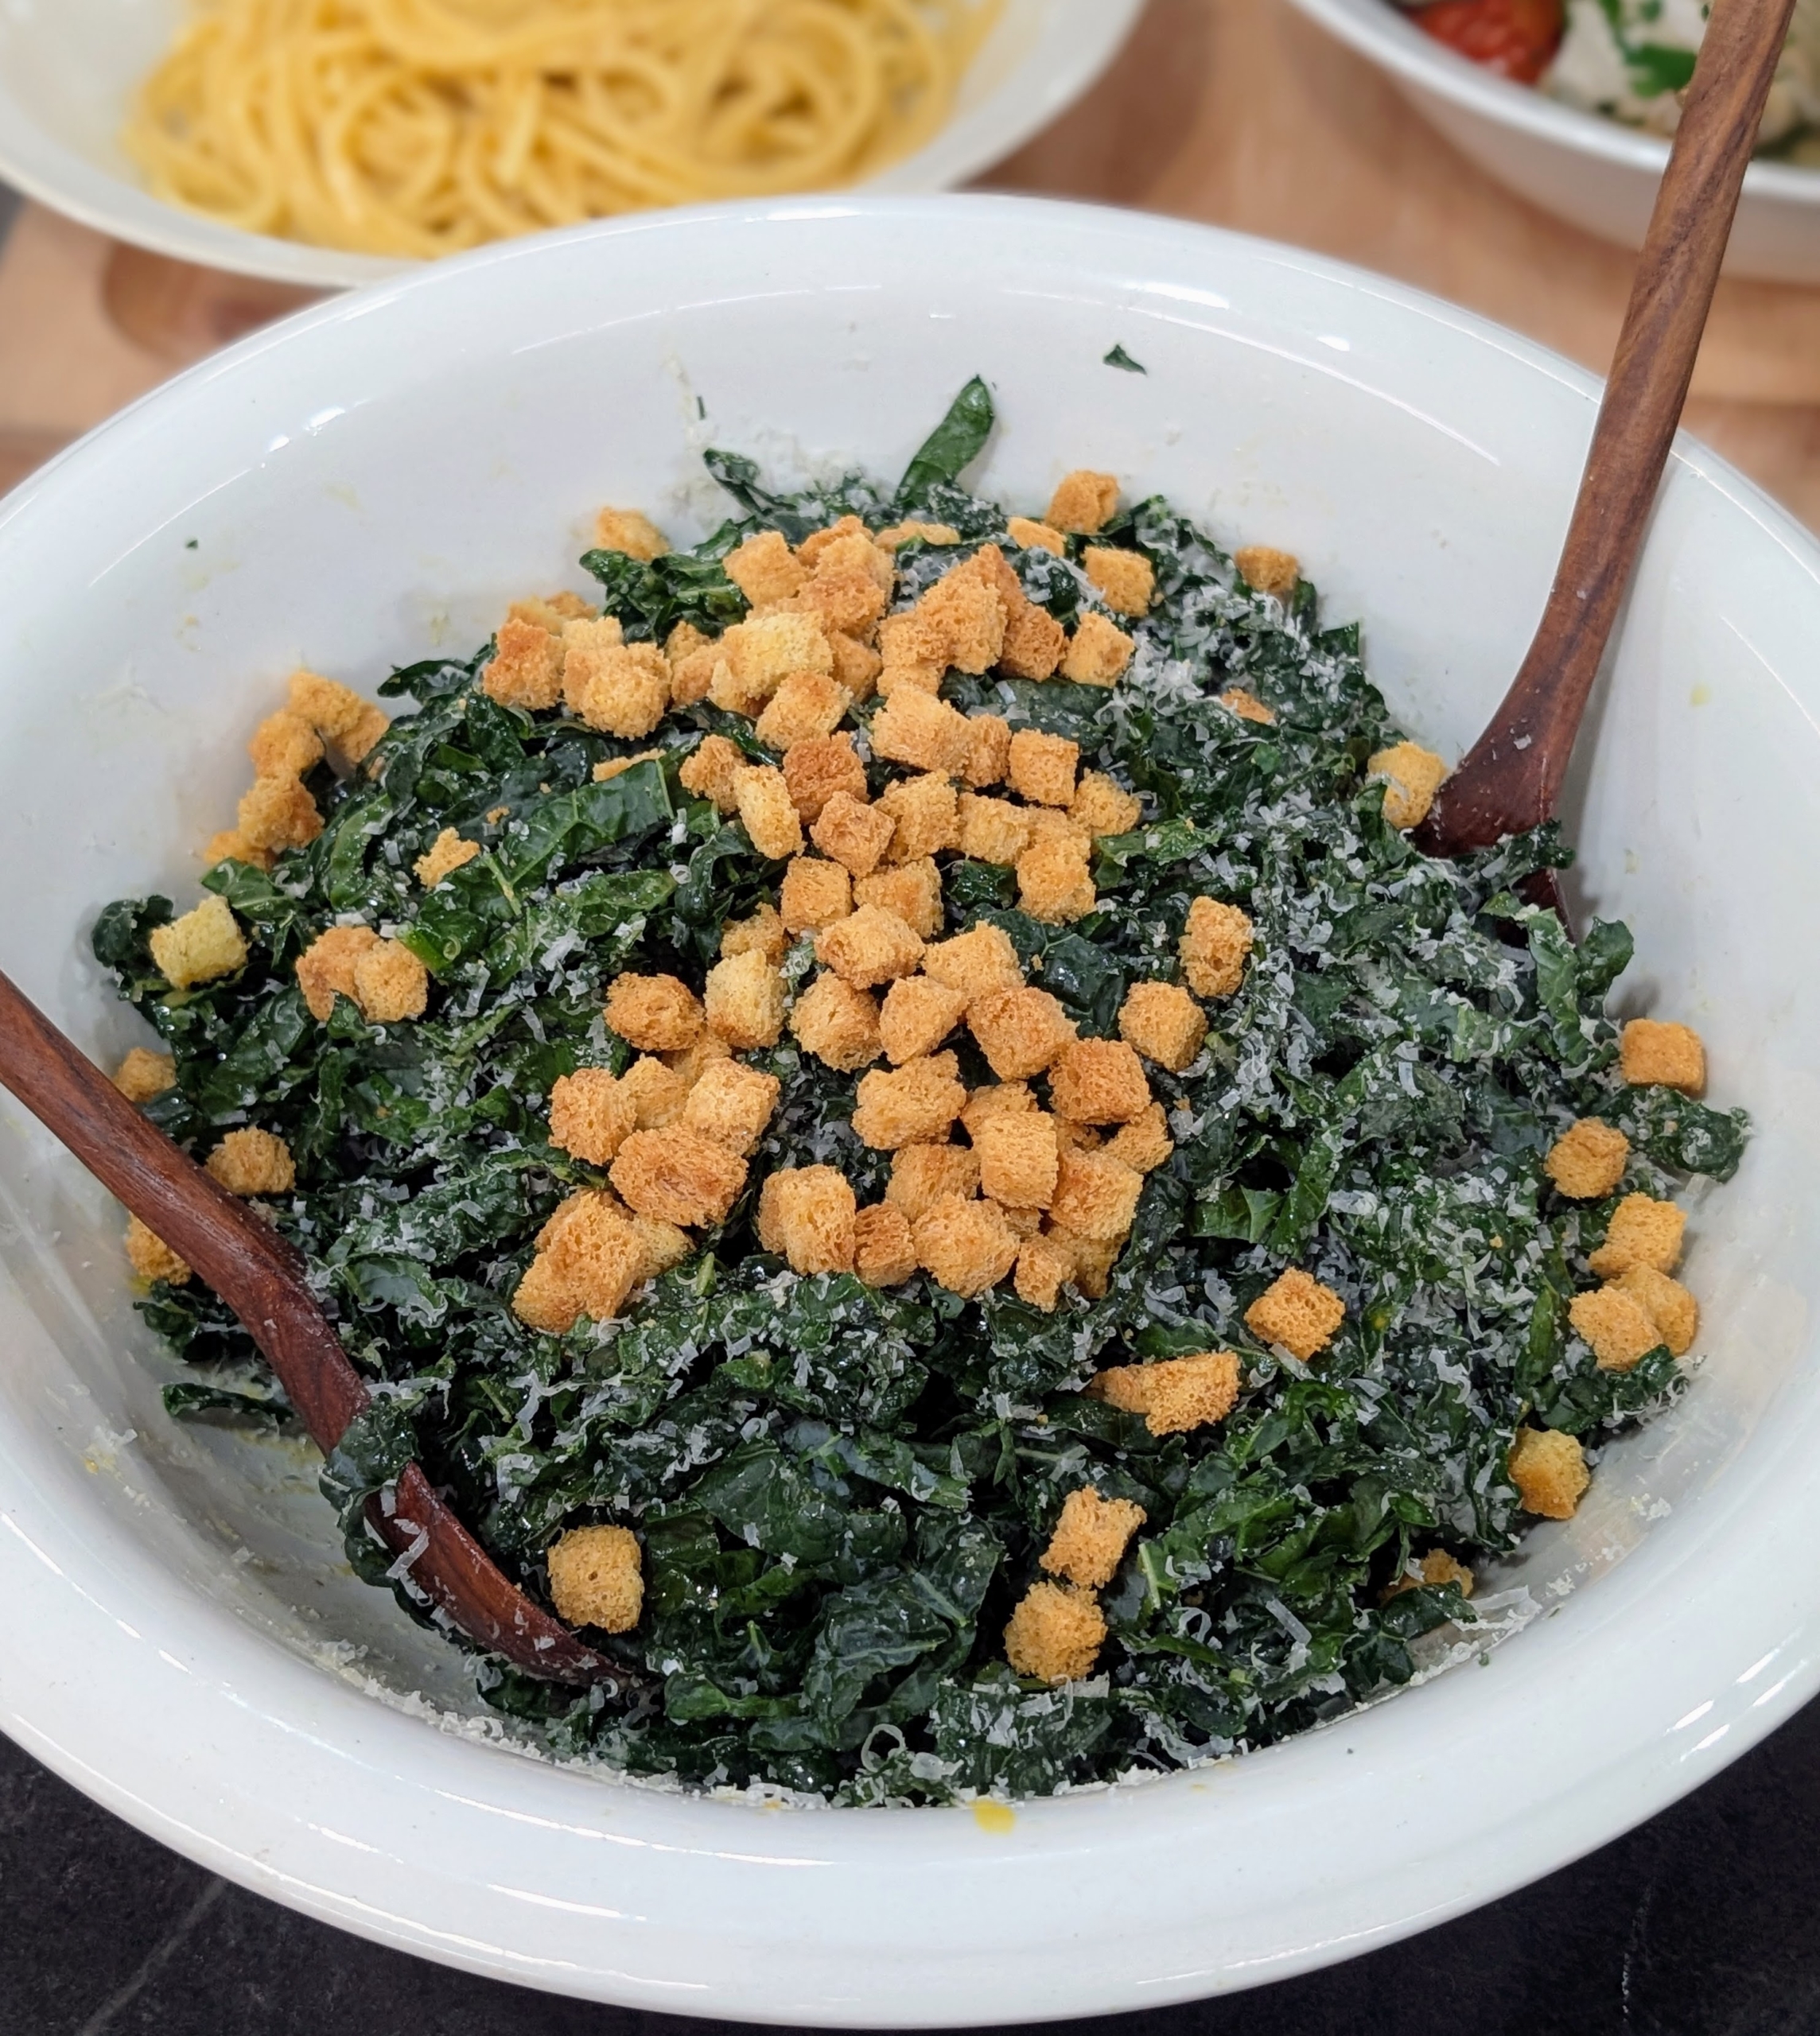
Next, I prepare the Kale Caesar Salad – also from my book. Here I removed the crusts from a loaf of brioche and cut it into cubes to make croutons. It’s so easy to make one’s own – just toss the bread with olive oil, butter, salt and pepper and then bake until crisp.
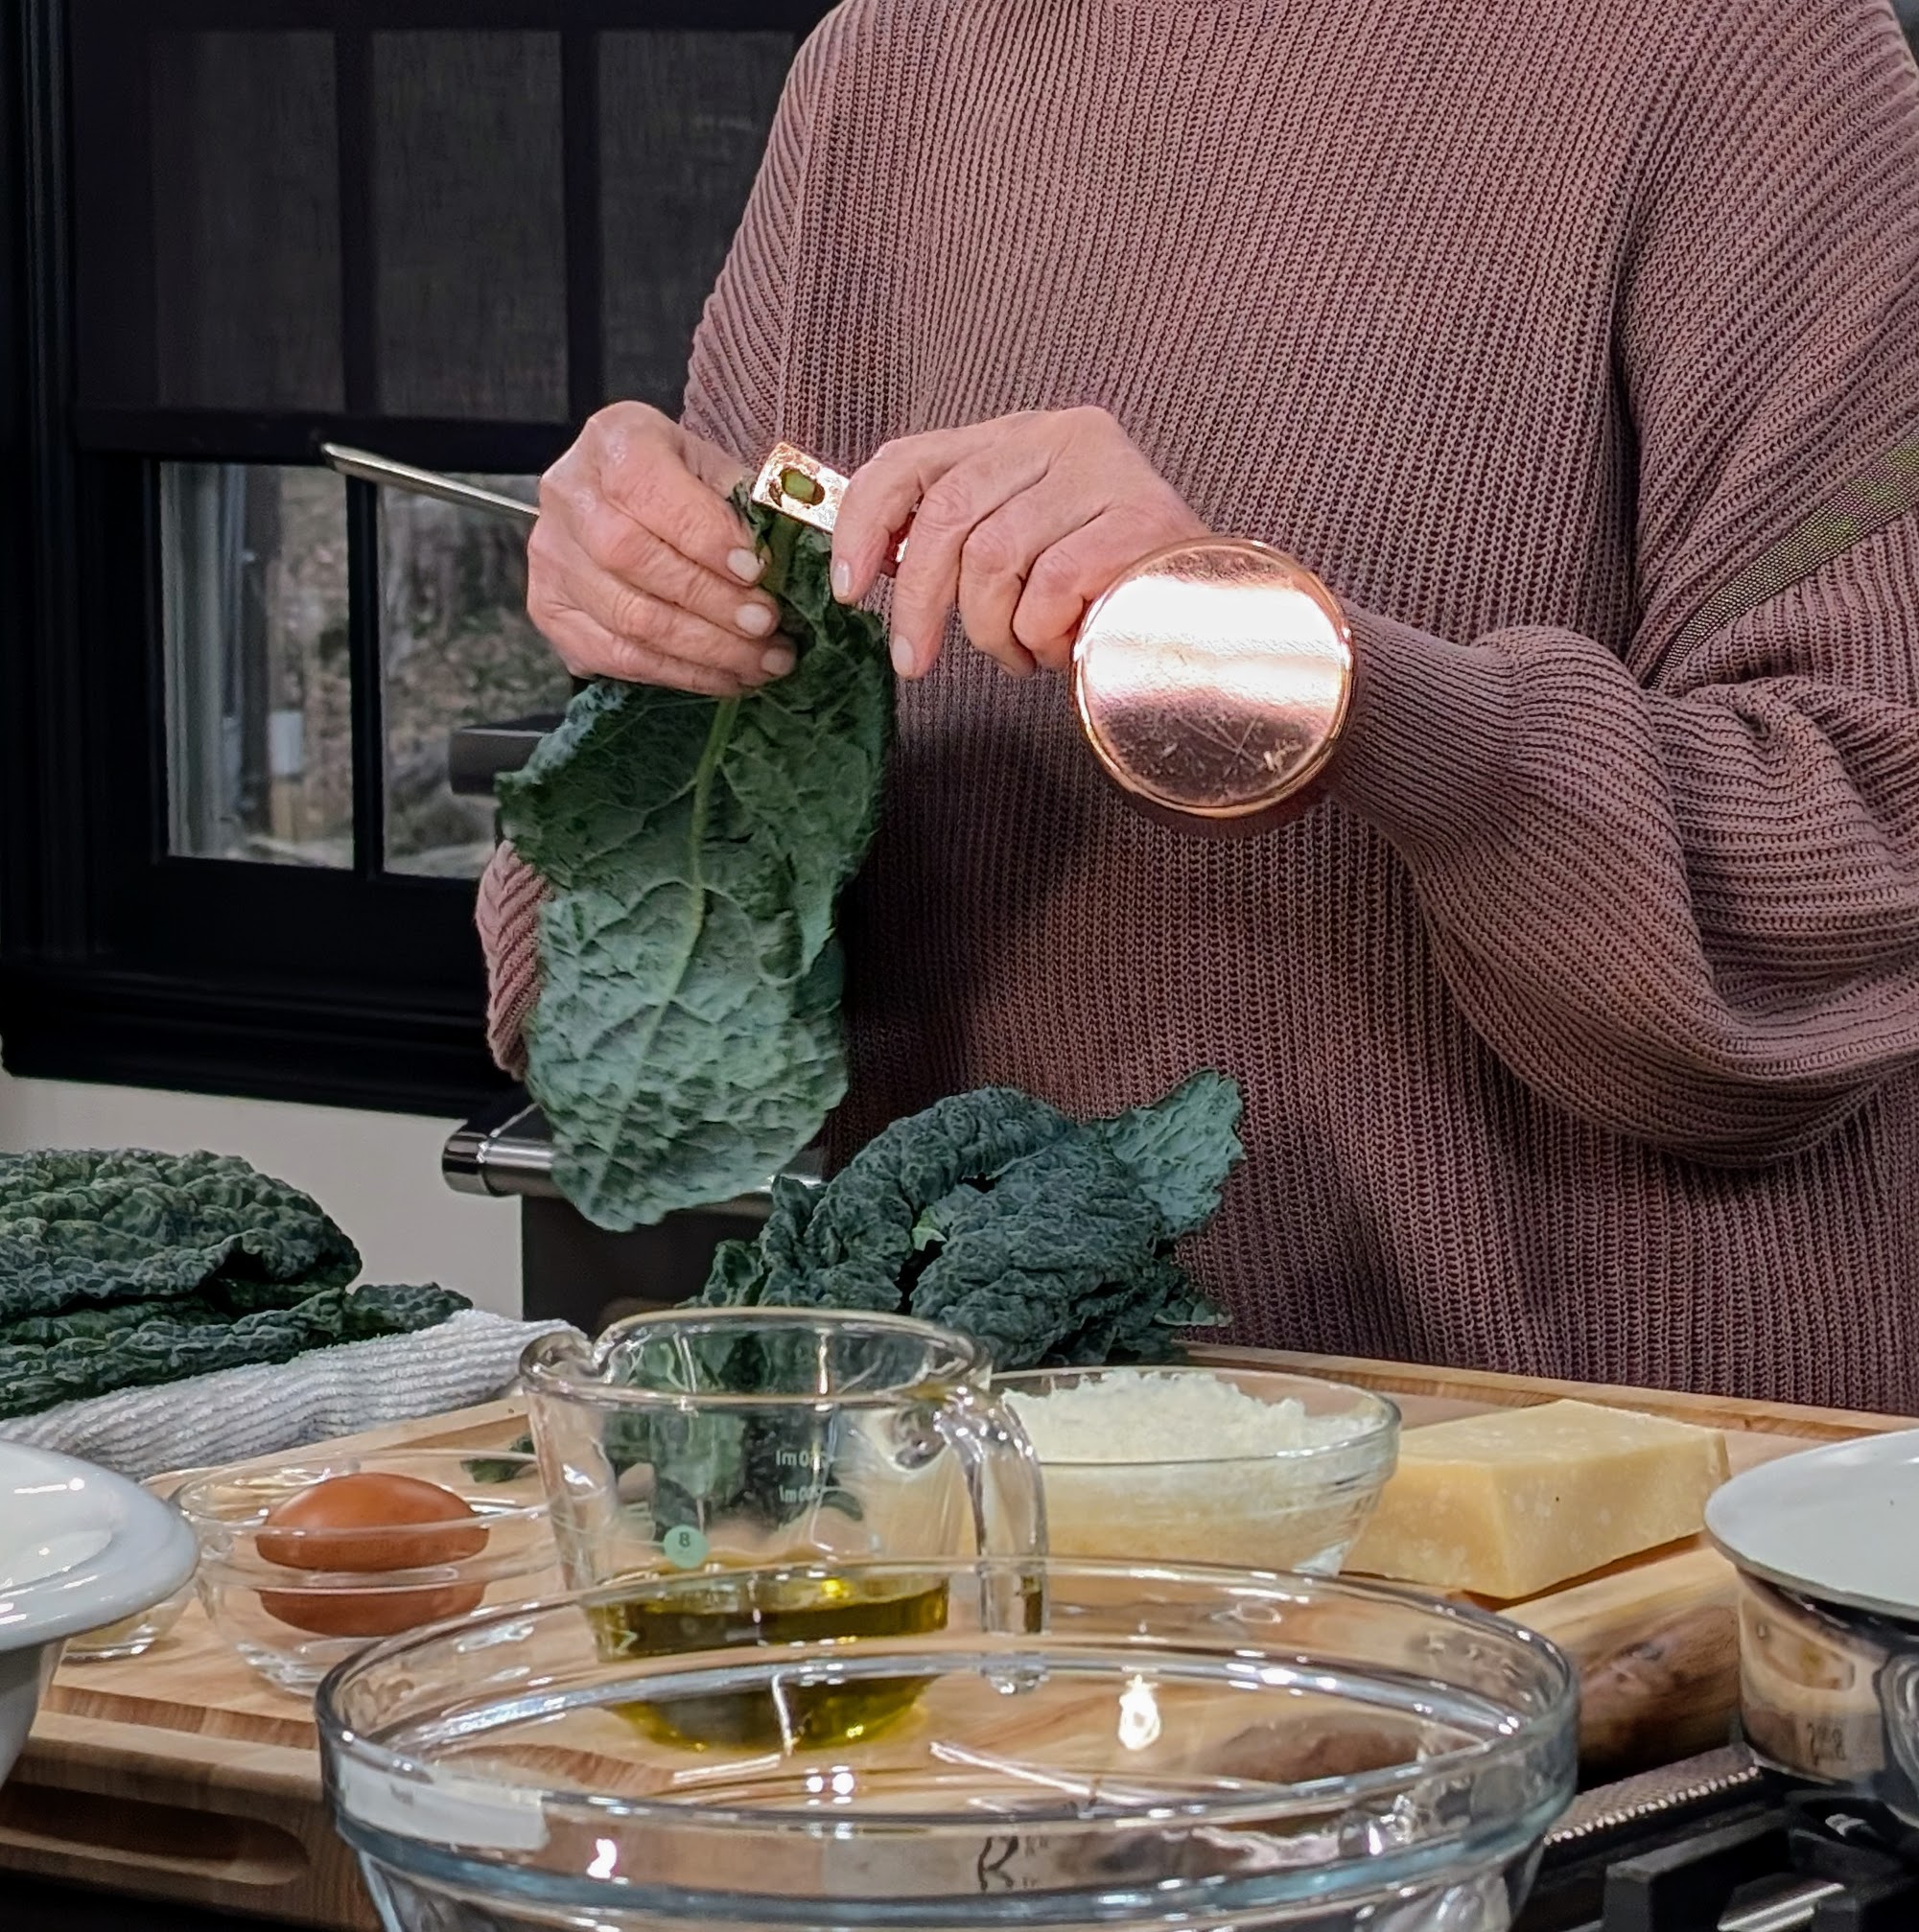
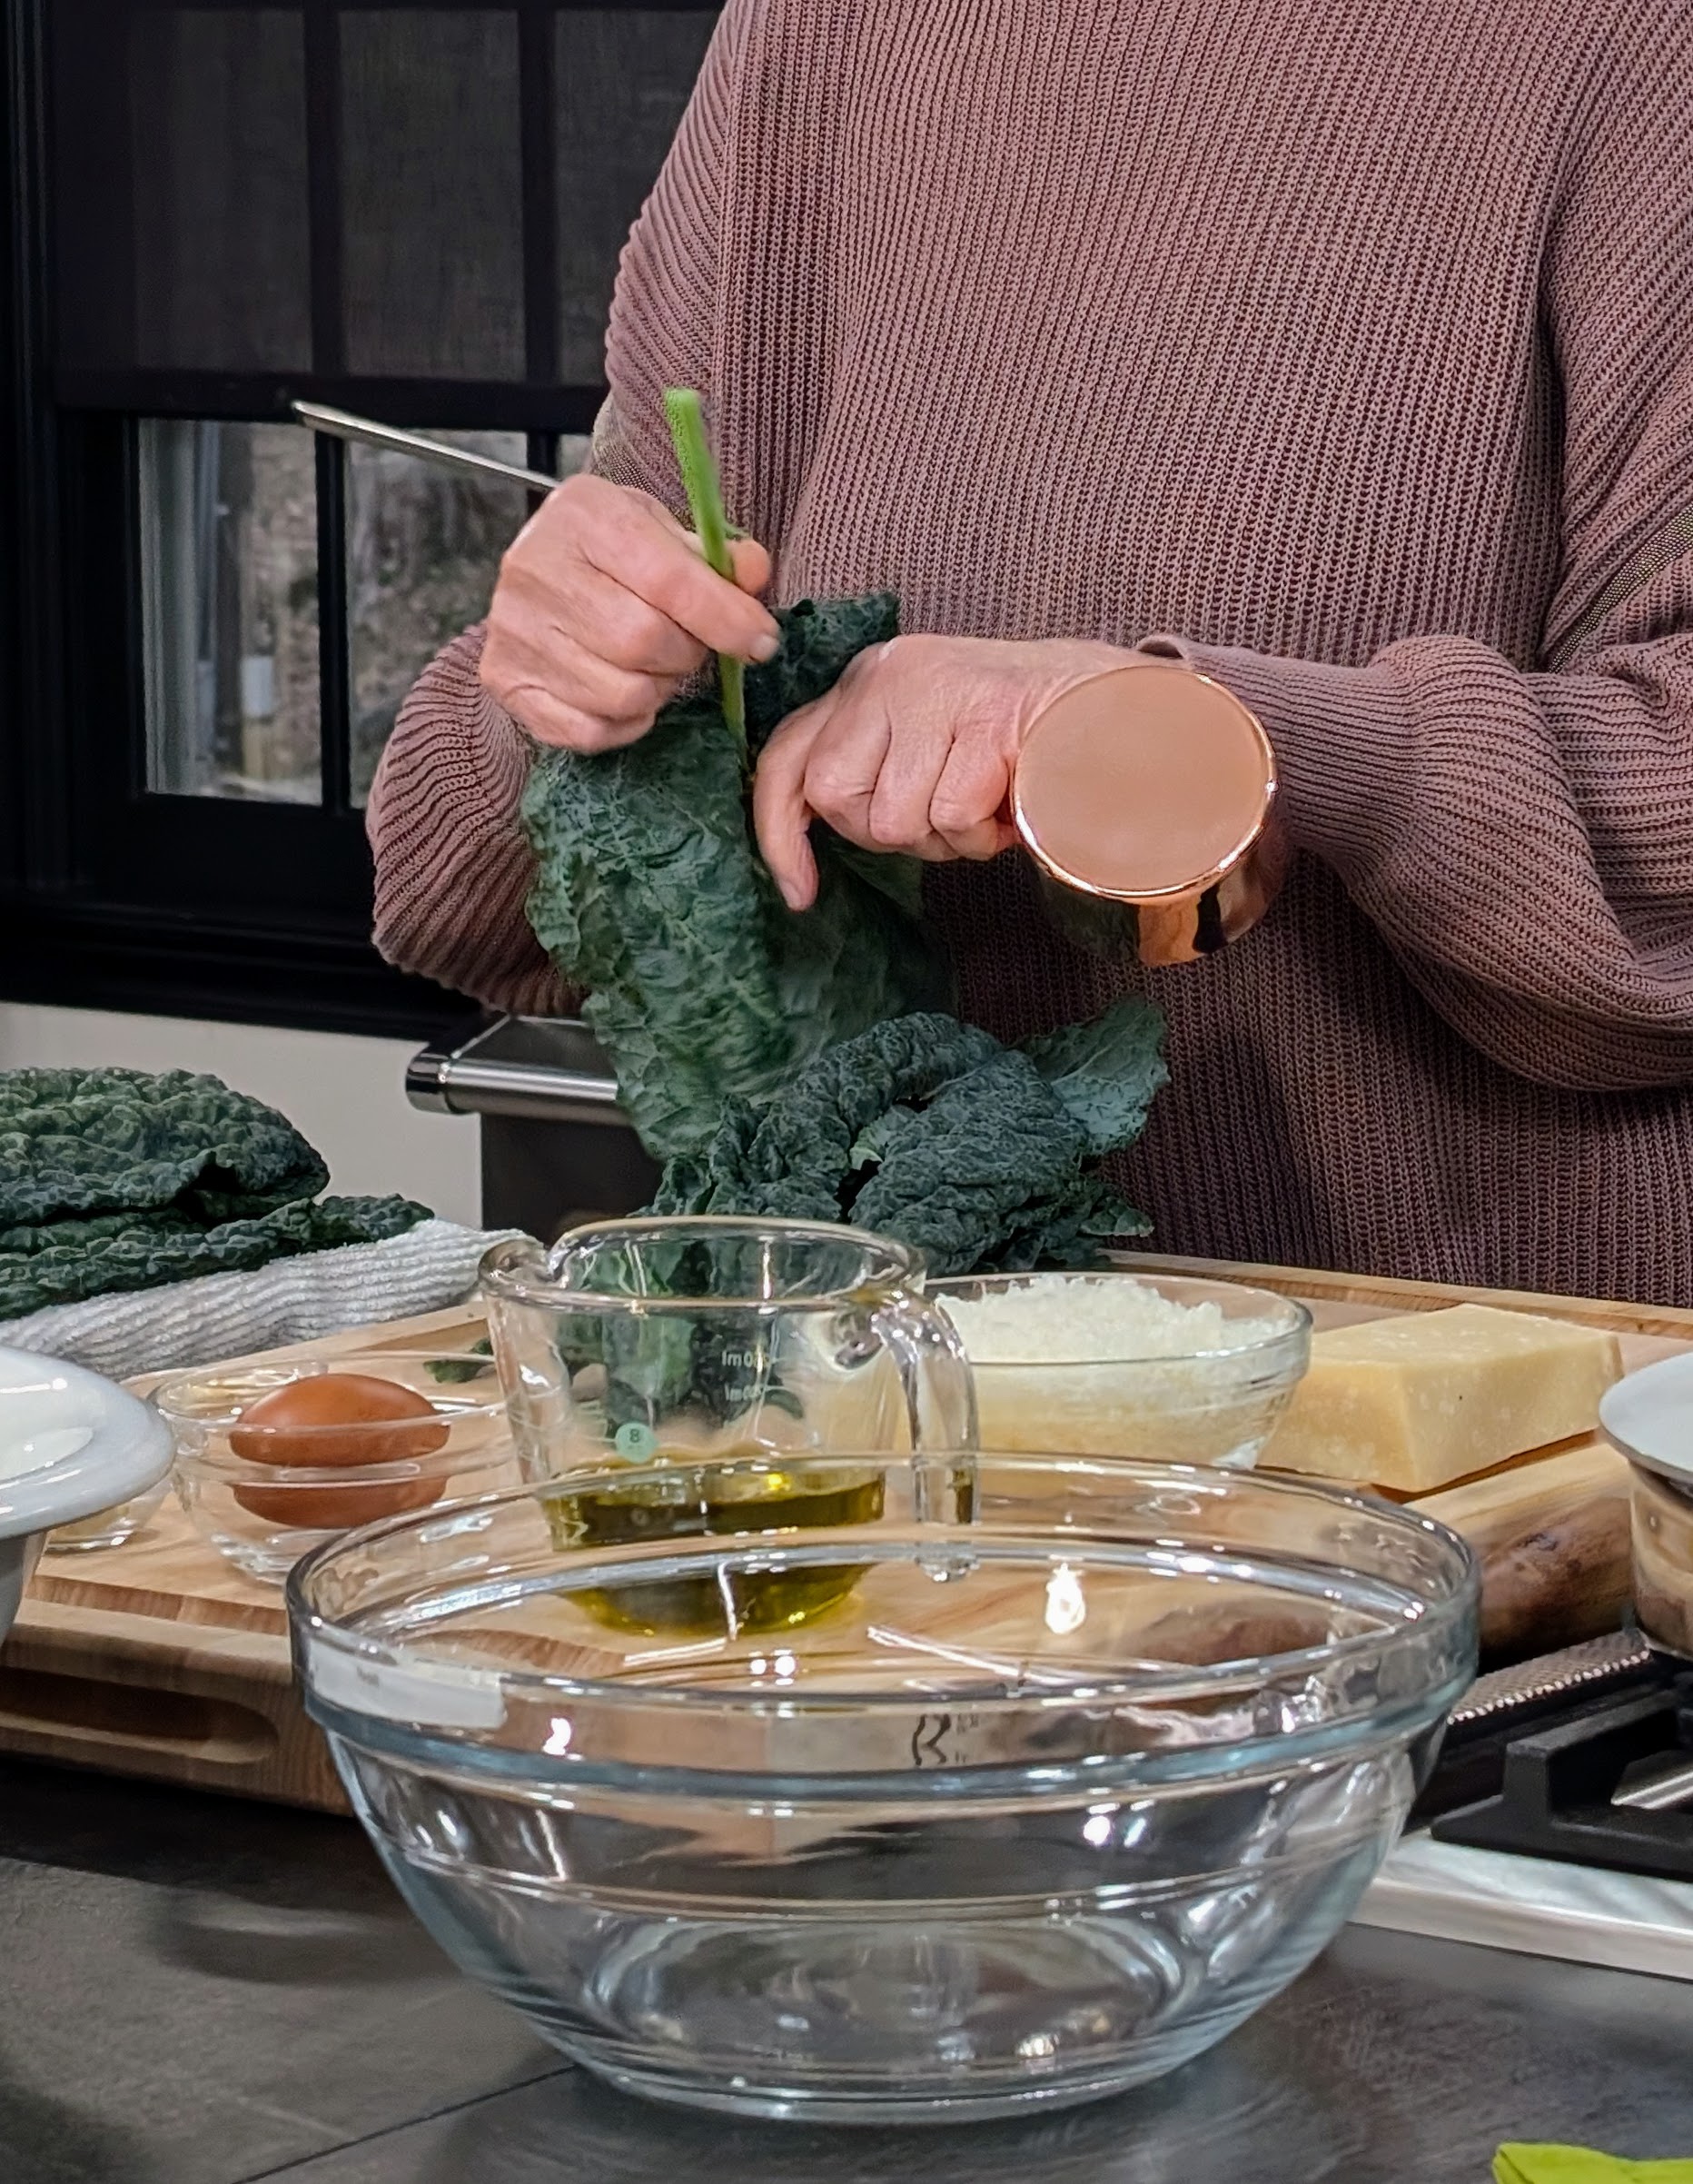
And here’s helpful tip – to remove the Tuscan kale ribs I just pull the leaves through the hole of a cooking tool, such as this measuring cup.
It really comes out so easily, give it a try. All the participants loved the idea.
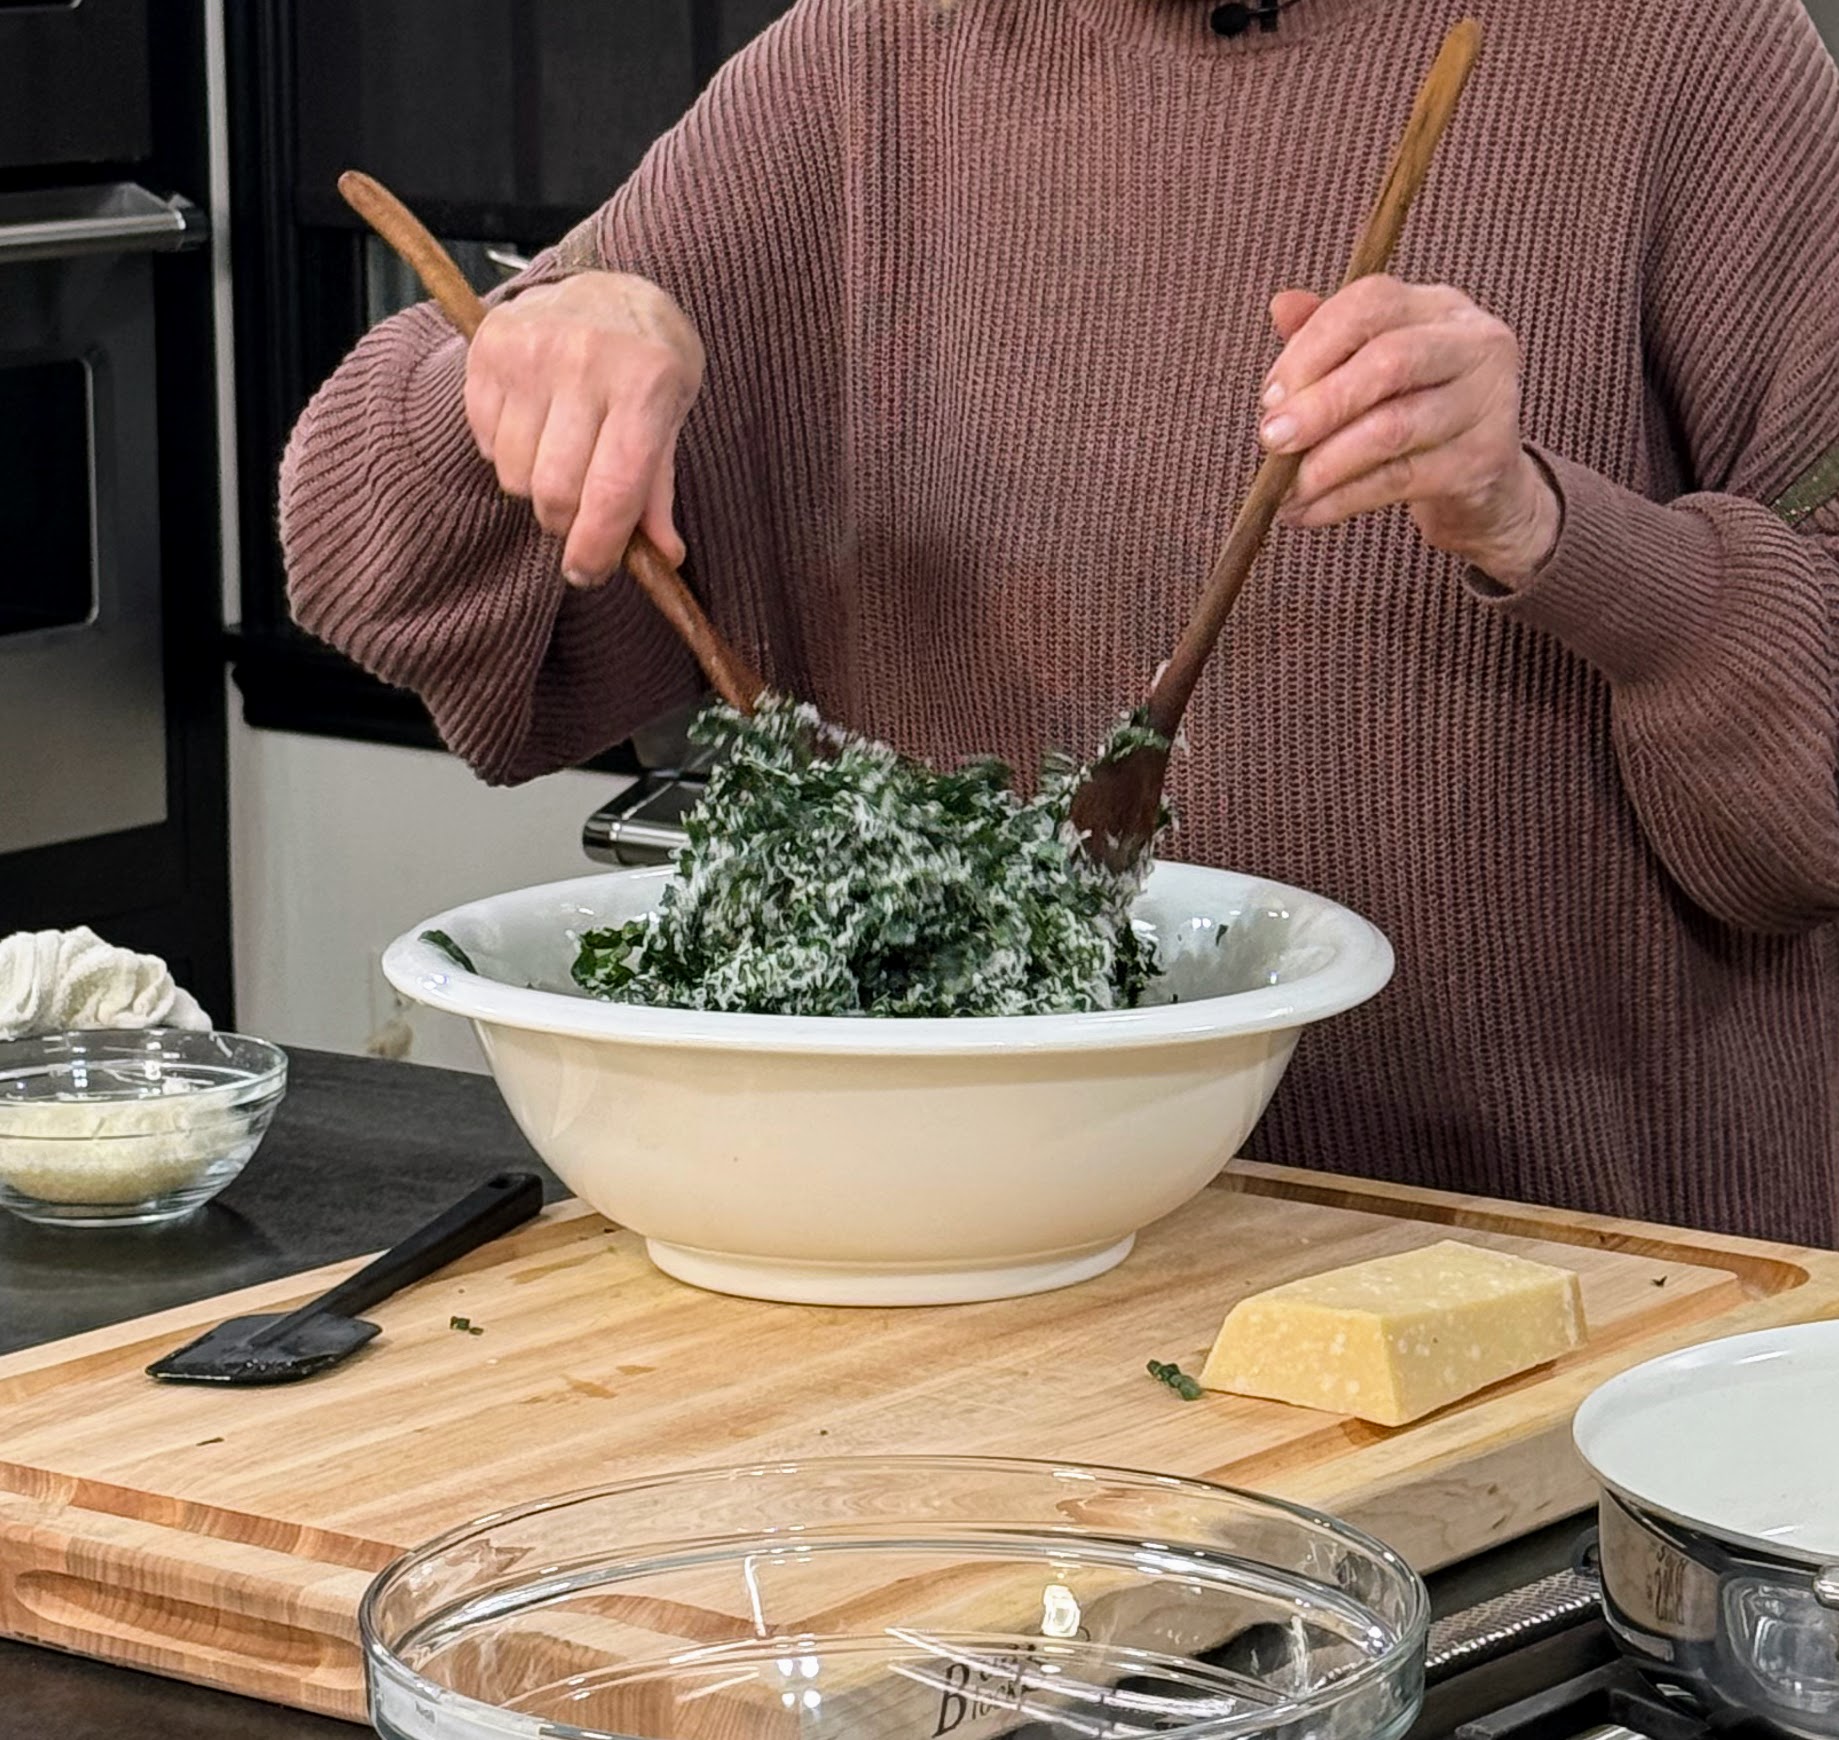
Then I chiffonade it, meaning I cut the kale into the thinnest crosswise strips.
The kale is placed into a bowl and tossed with the traditional Caesar dressing, given in my book, and finely grated Parmigiano-Reggiano cheese.
It’s all topped with a generous amount of the homemade croutons.
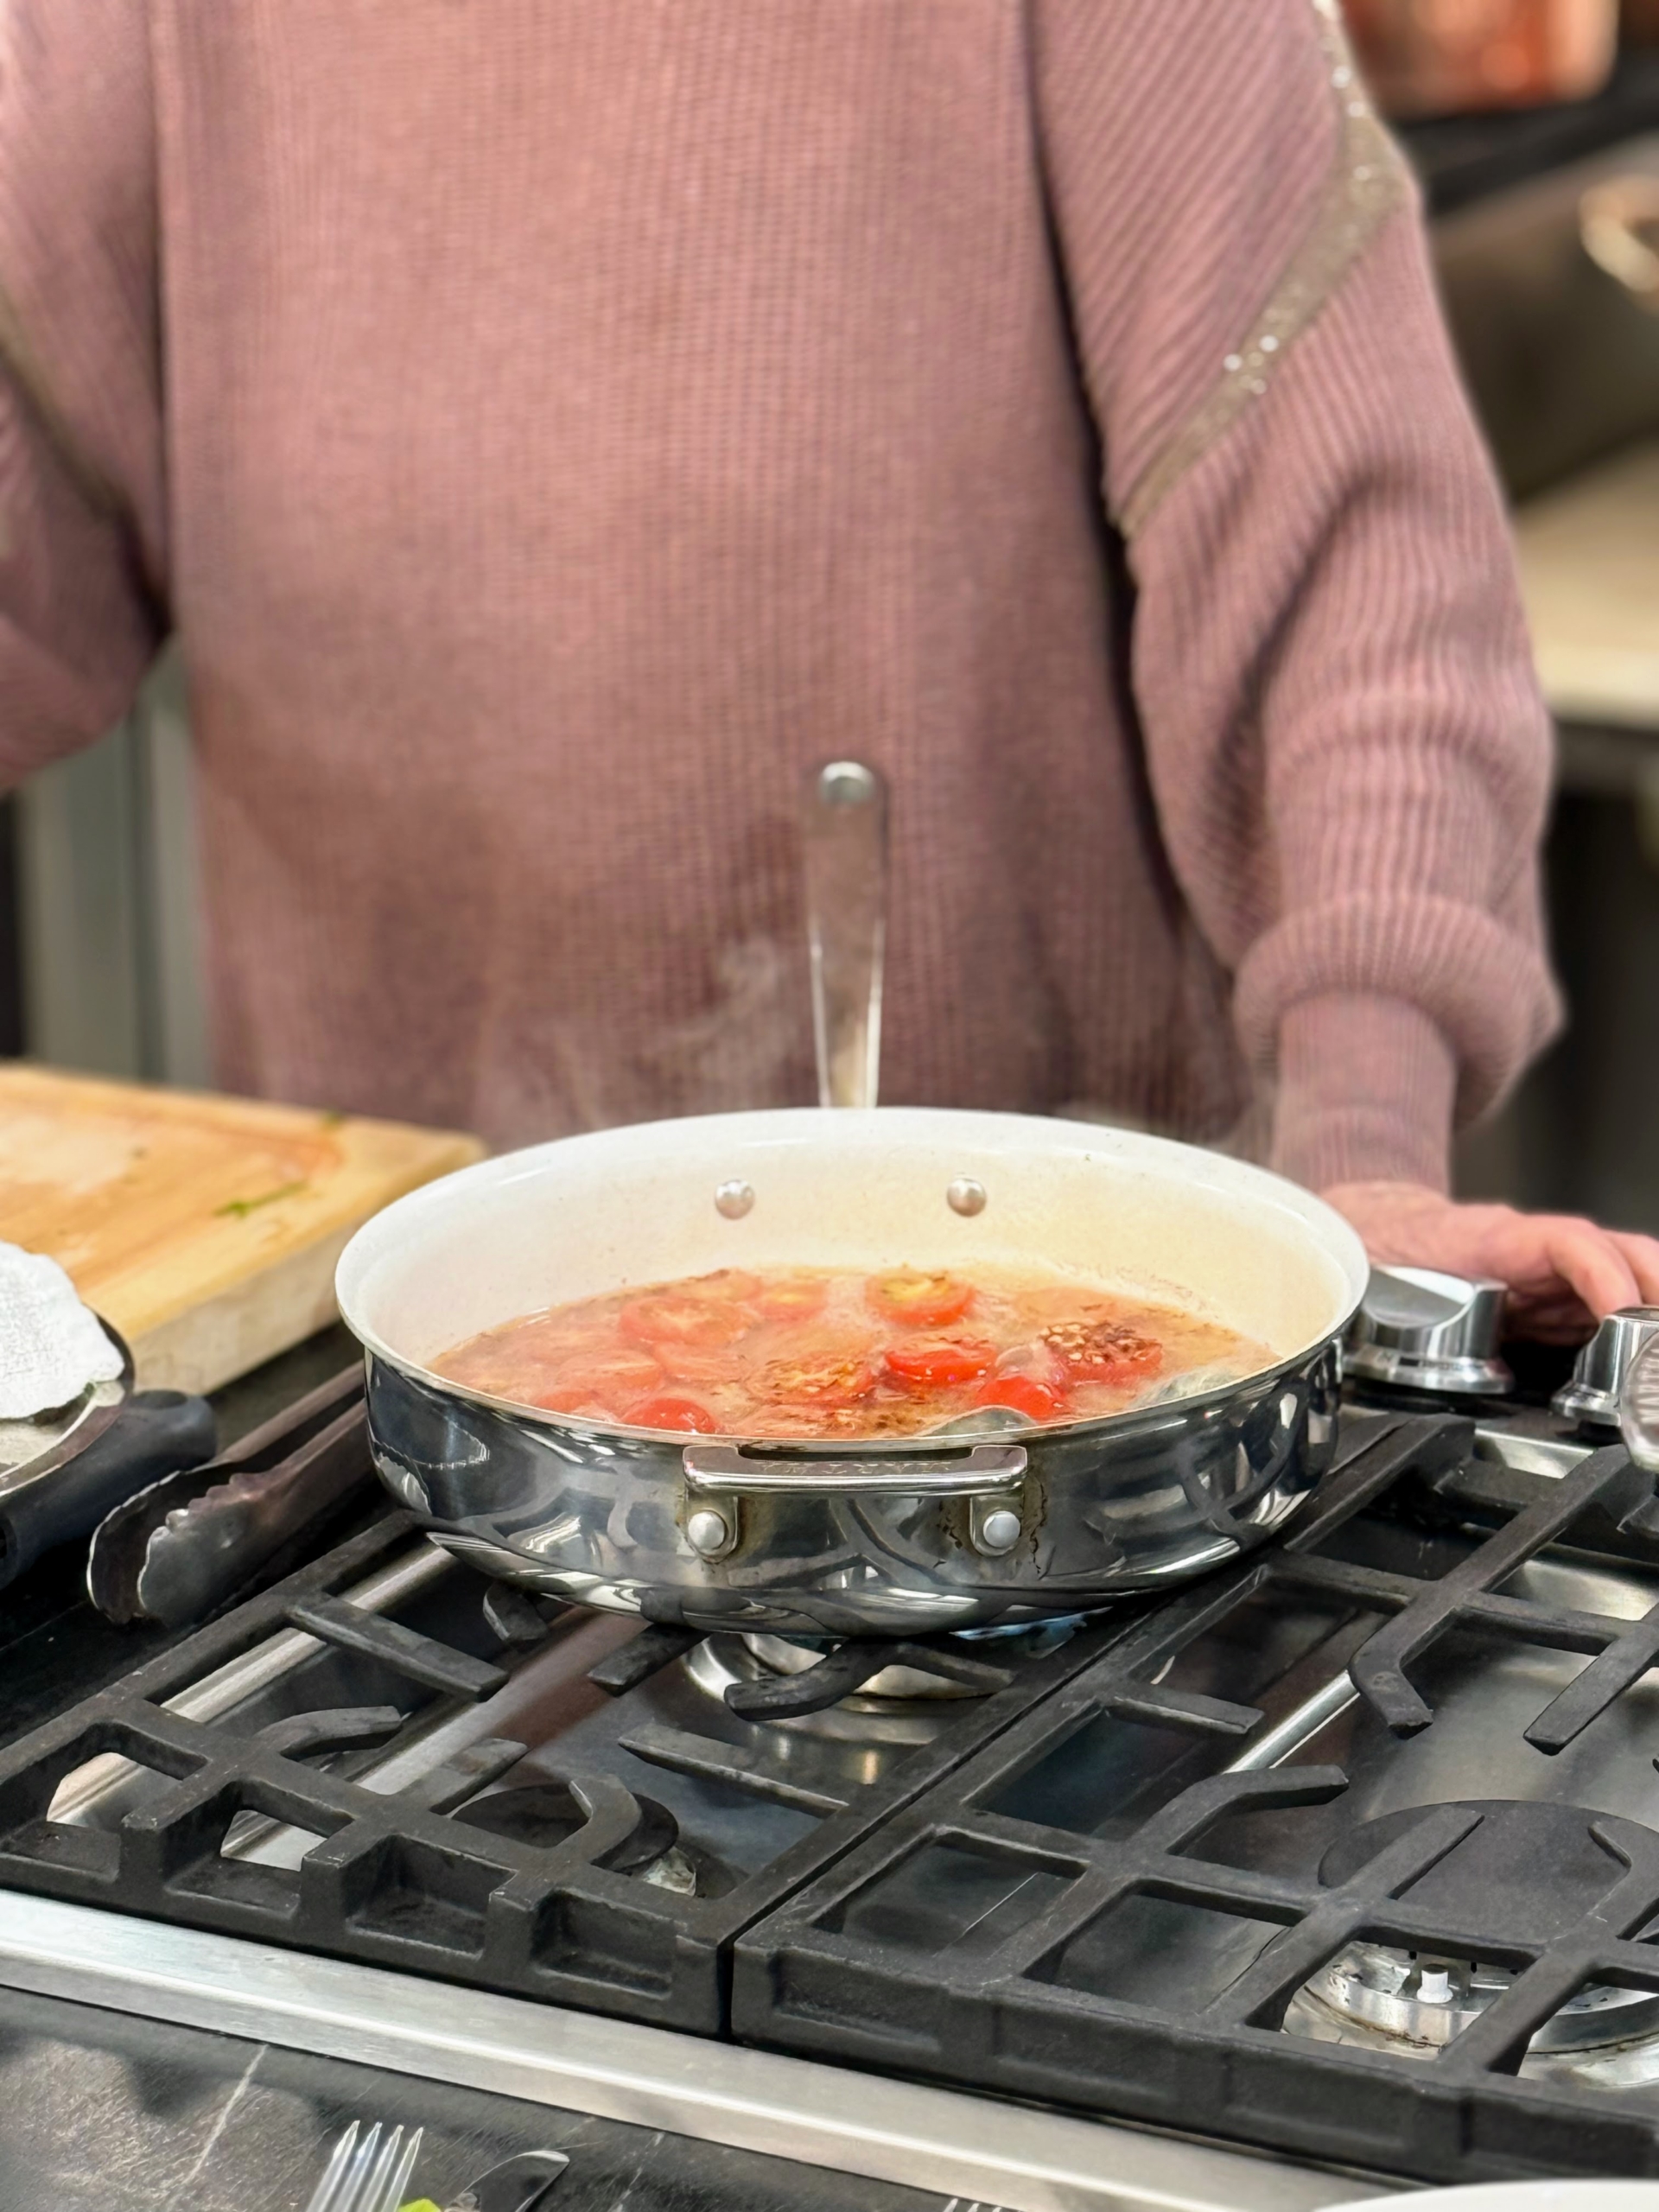
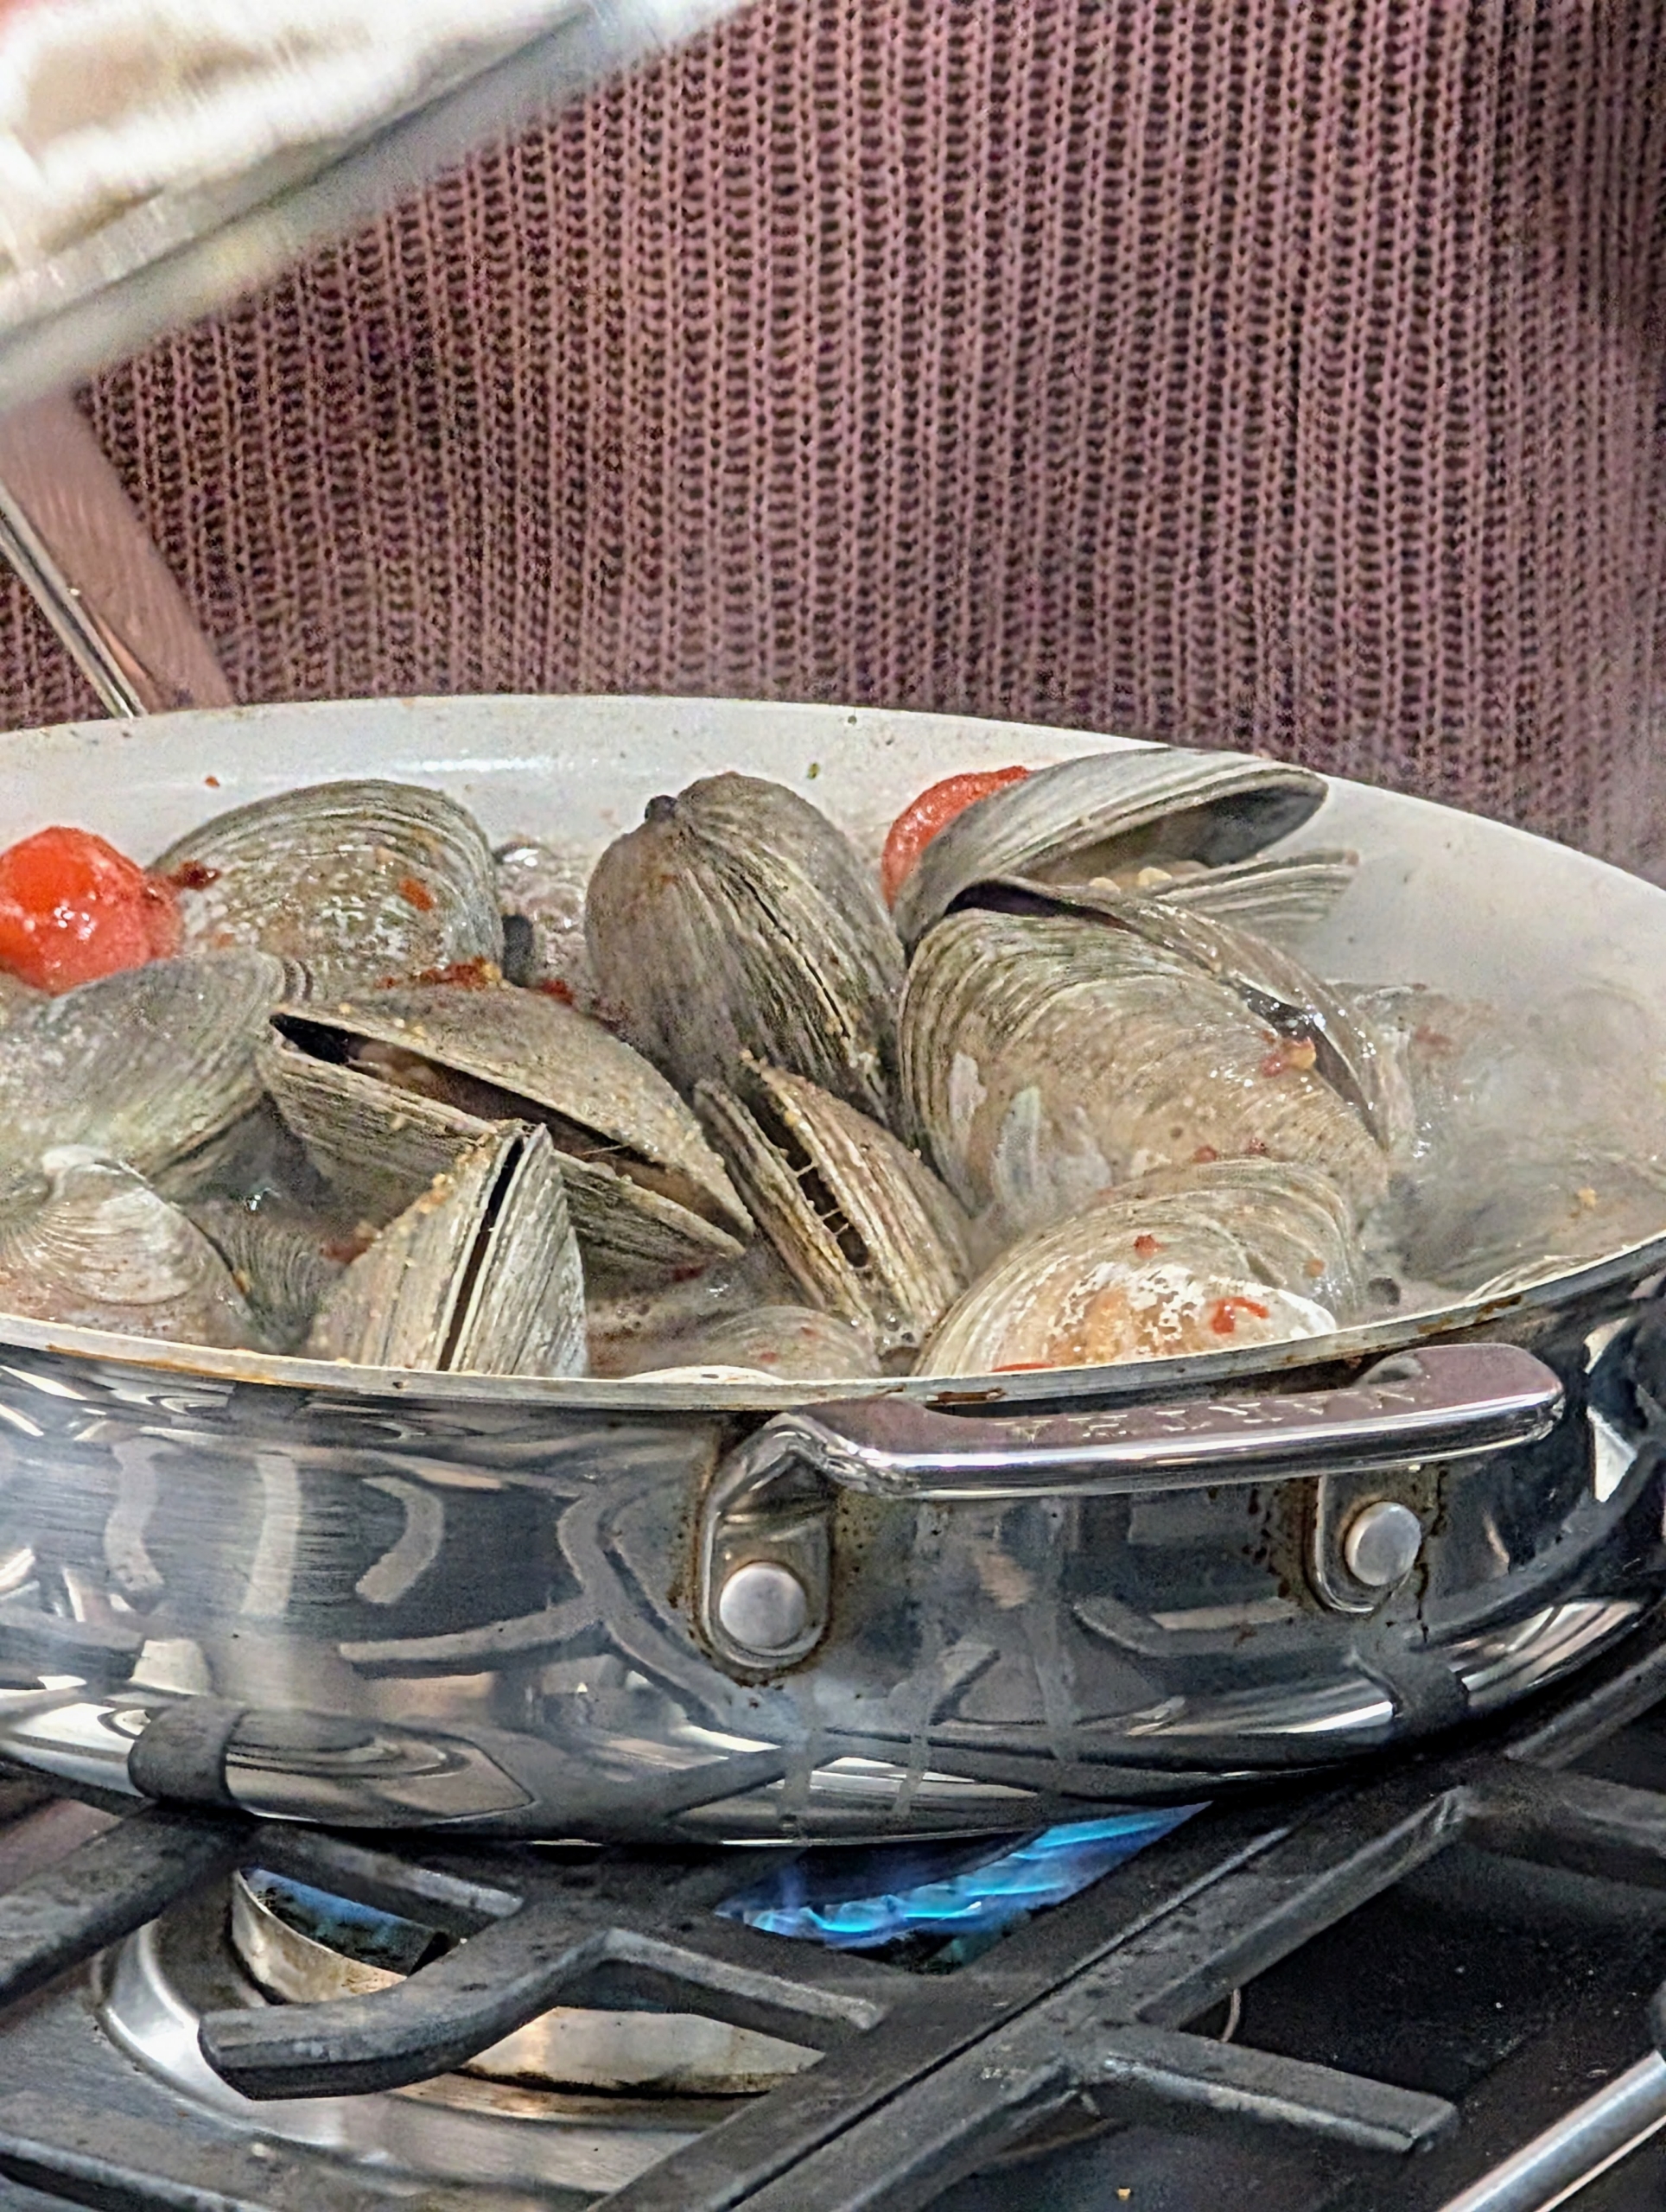
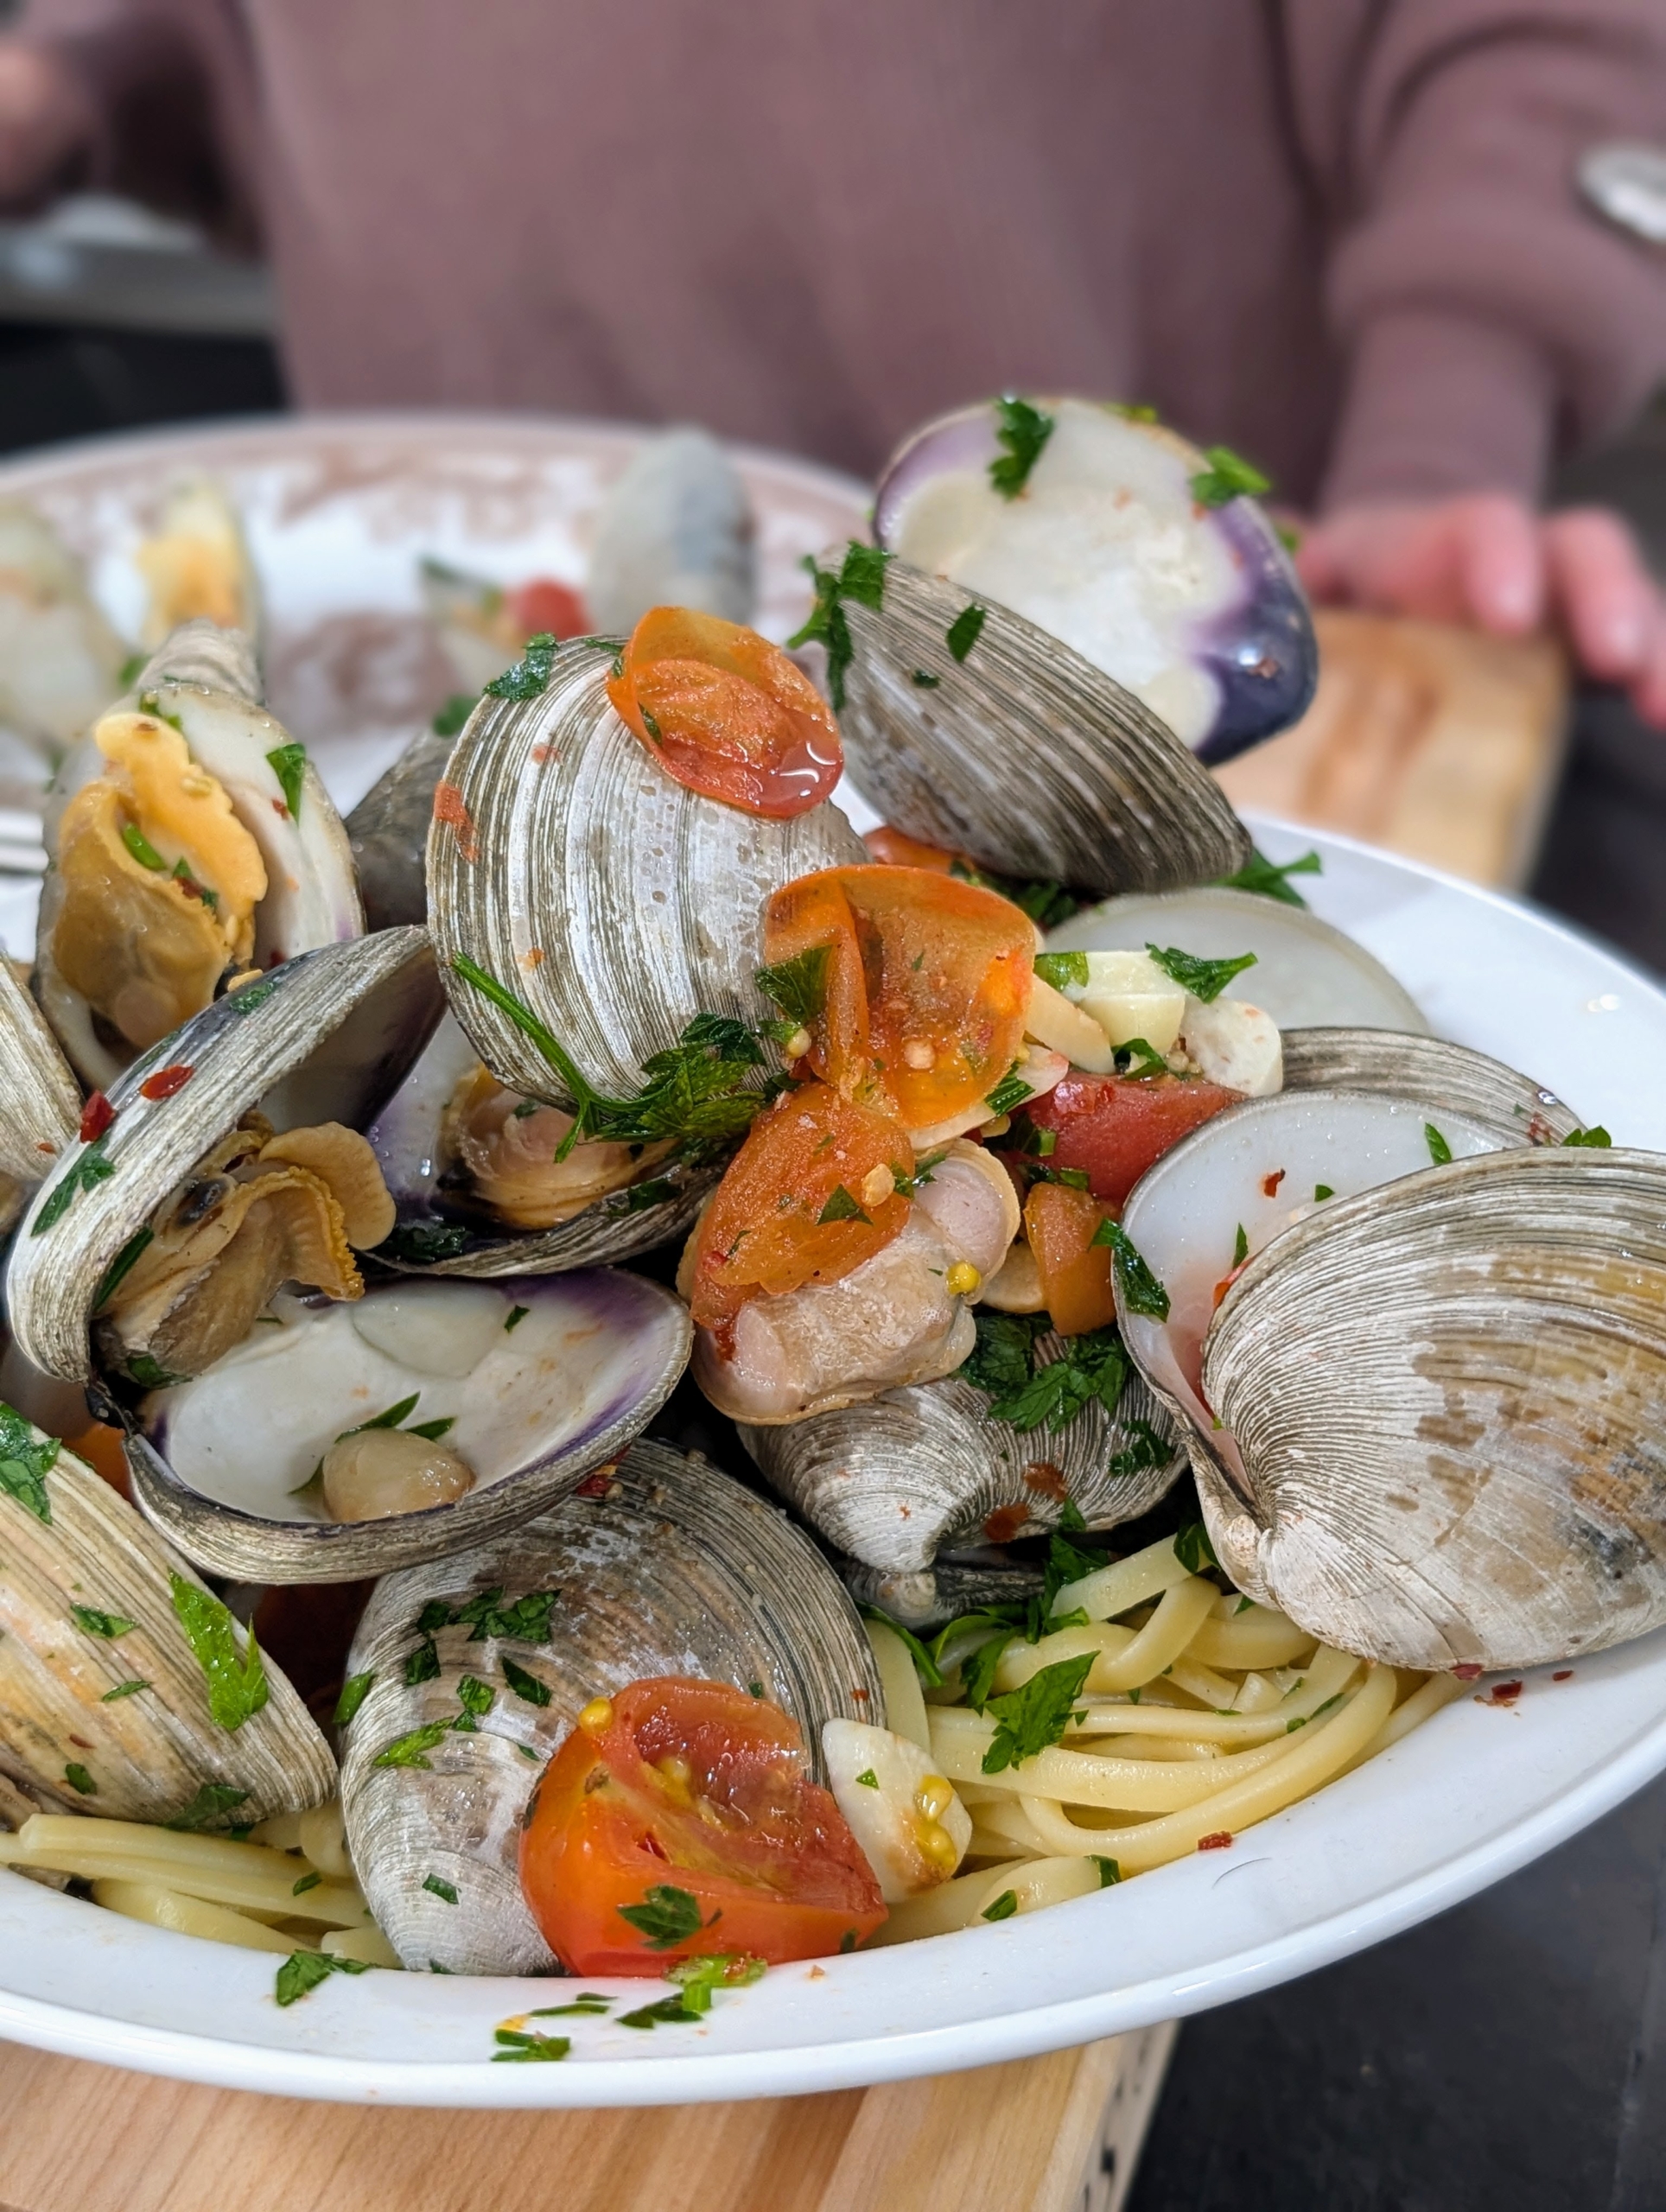
To make the Linguine with Clams, I start by cutting the garlic into very thin slices and heat it in a straight sided skillet with butter until golden brown.
I add the tomatoes and other ingredients to the skillet and let soften for a few minutes. Wine is added along with clam juice – all according to the recipe.
And then the clams are added and cooked until just opened. One of the participants asked what kind of pans i use… I said, “Martha Stewart pans, of course.”
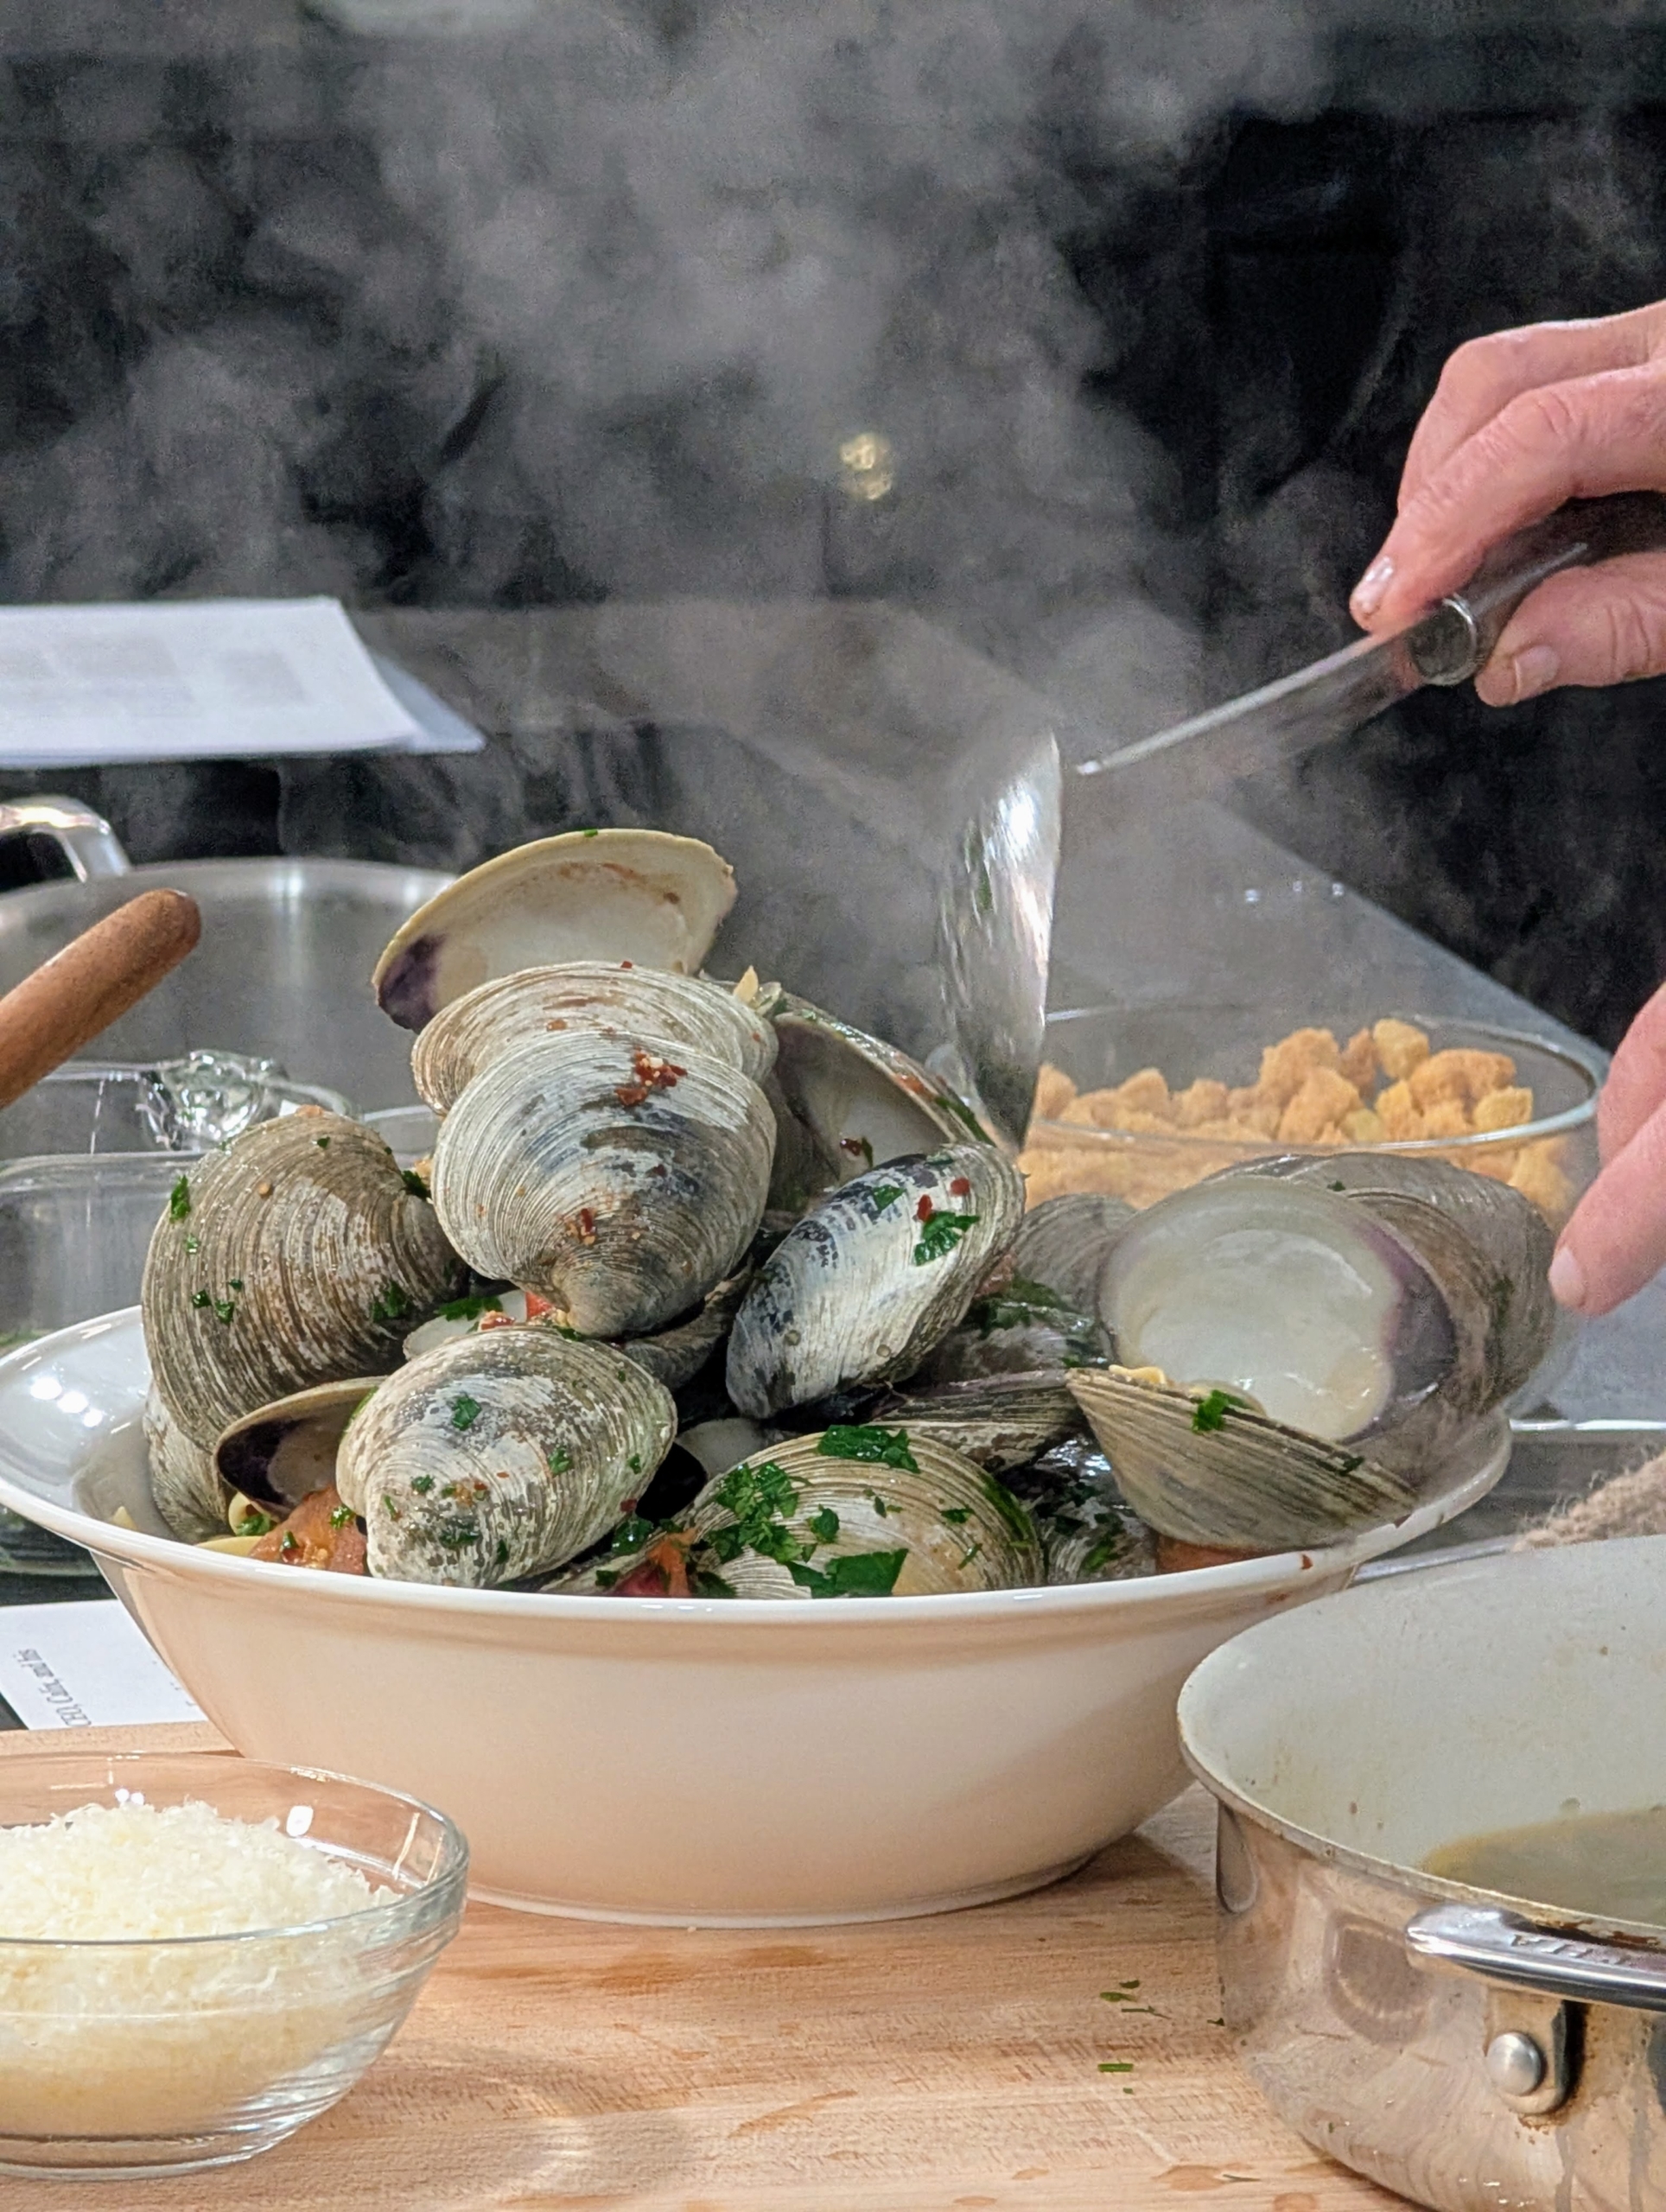
The clams are removed and plated over a bowl of pasta cooked slightly less than al dente.
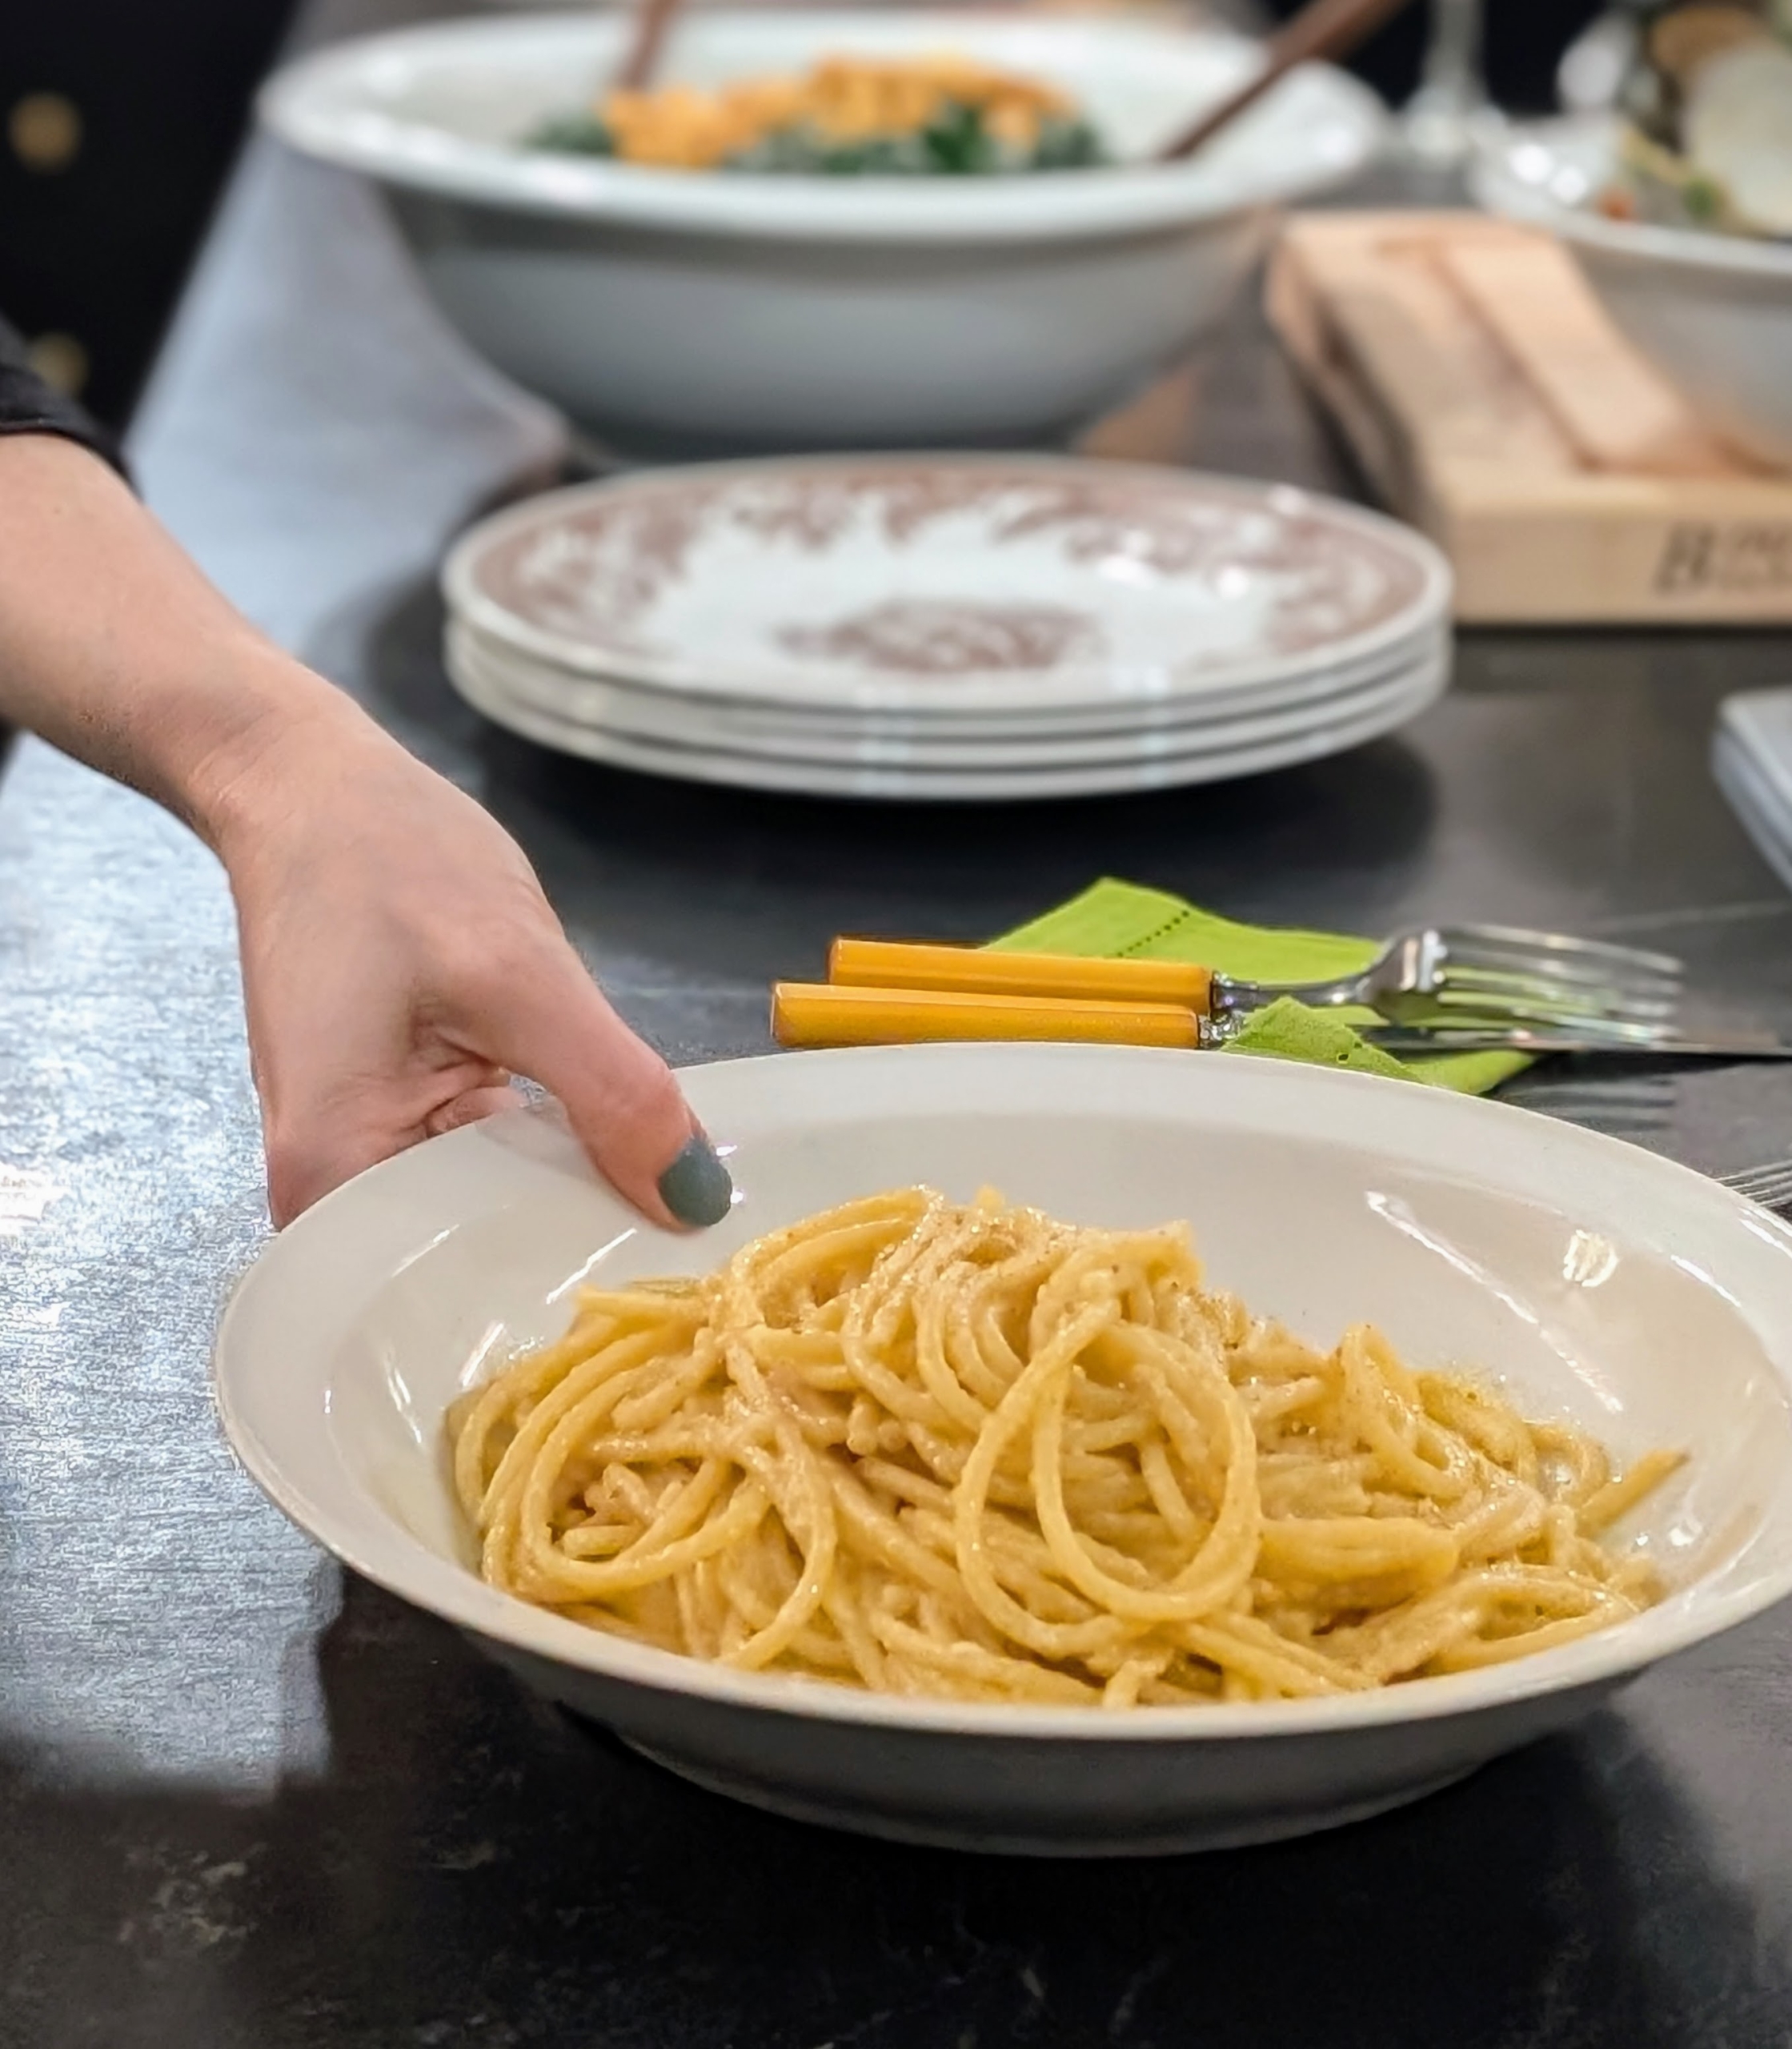
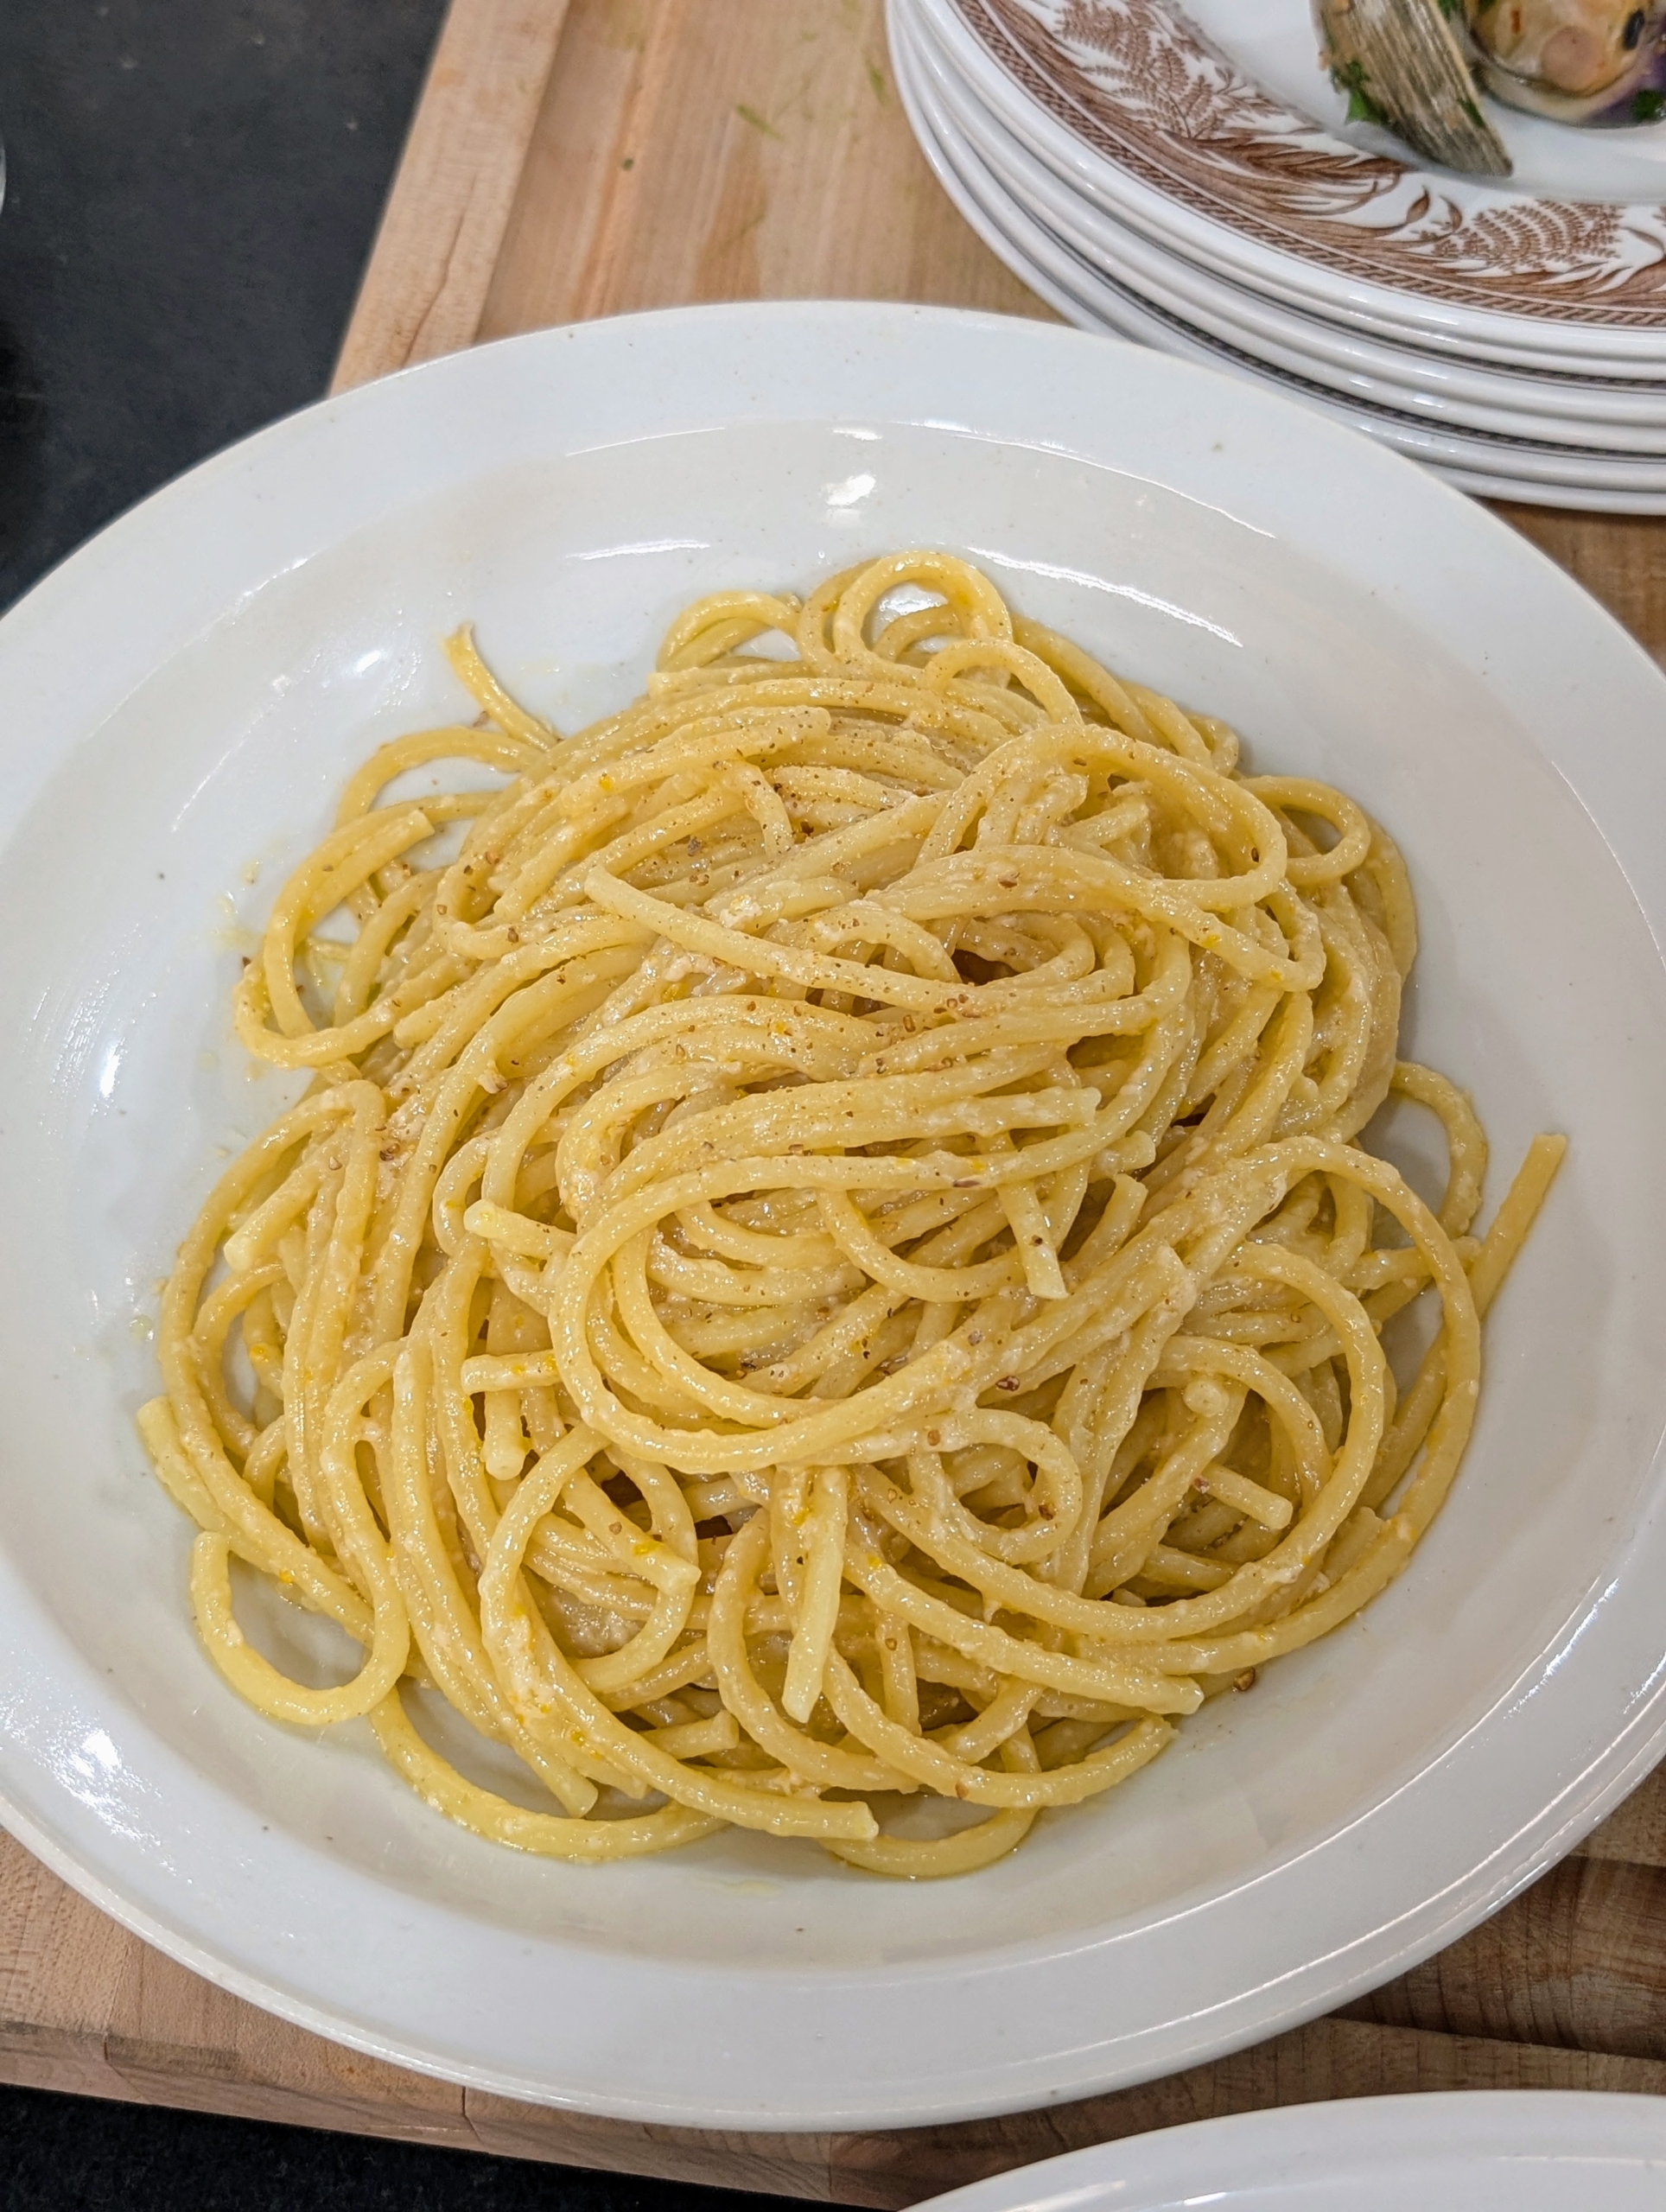
For those with seafood allergies, one can also prepare my Pasta Limone – one of my favorite pasta dishes. It is great with any pasta. I like bucatini or angel hair.
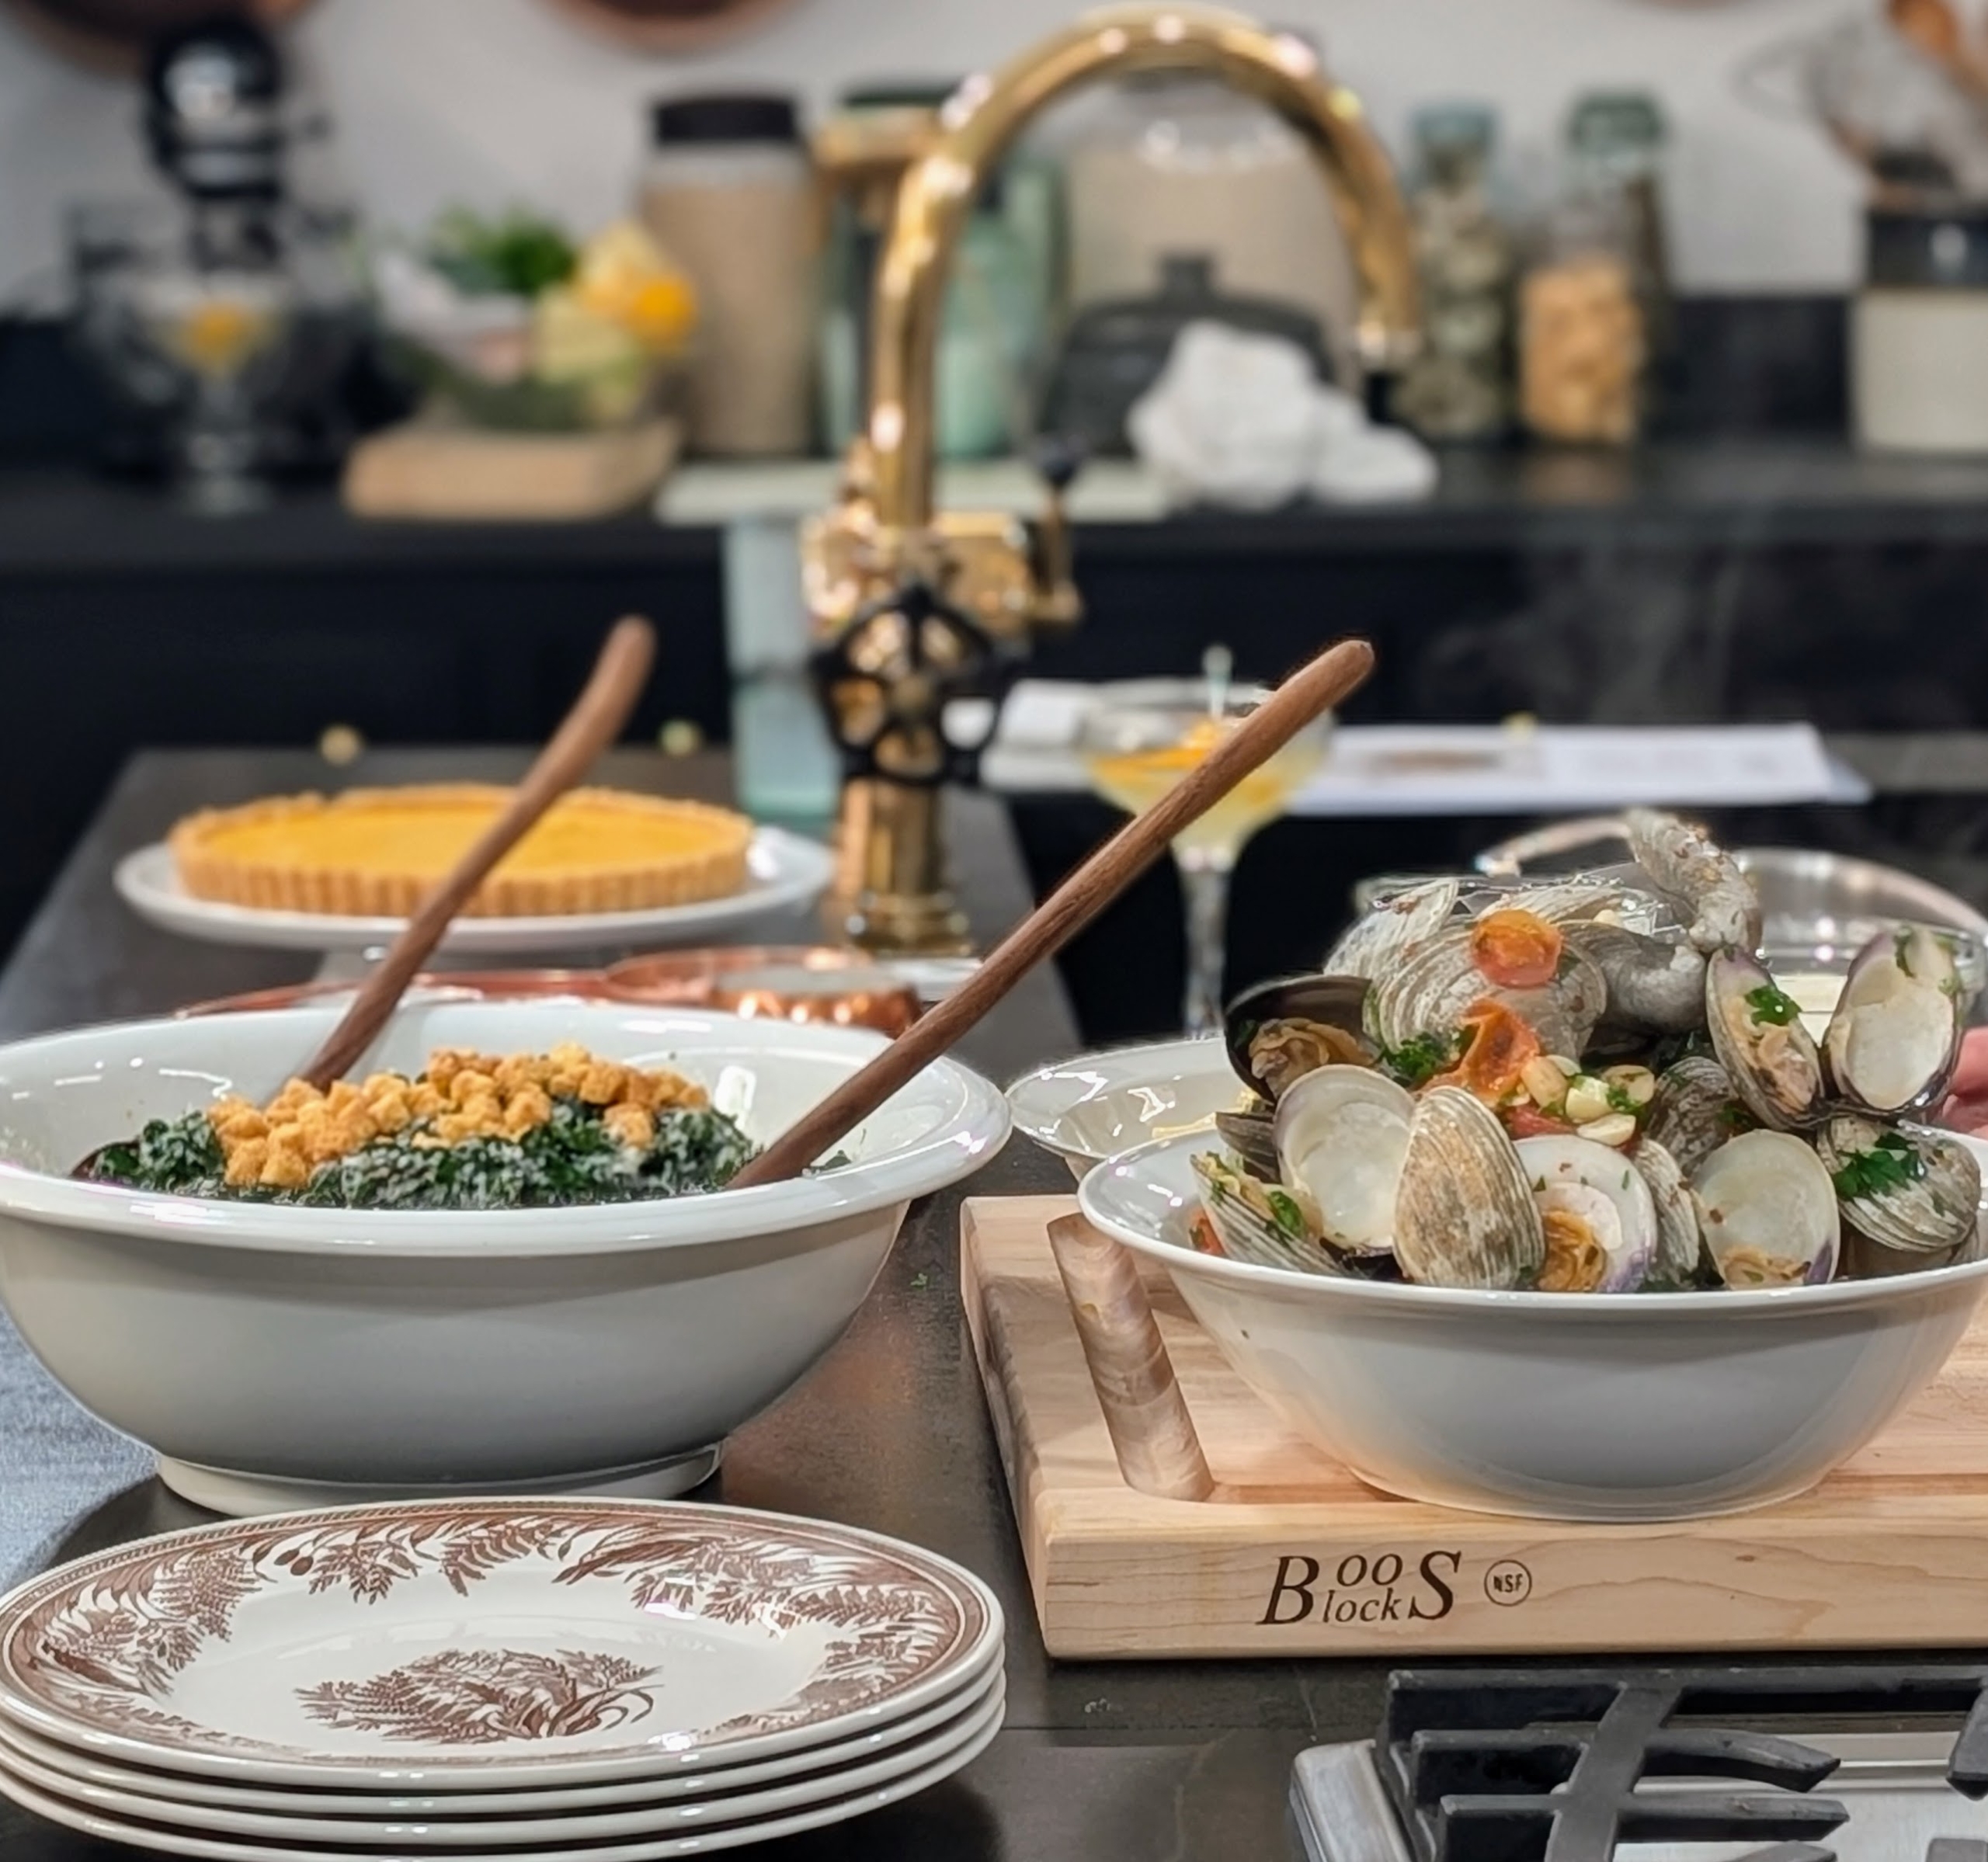
And that’s it – the entire meal was cooked in about an hour, including lots of questions and story sharing.
The nutritious Tuscan kale Caesar Salad…
The Linguine with Clams…
The Pasta Limone…
And for dessert, I made my rendition of the Atlantic Beach Pie.
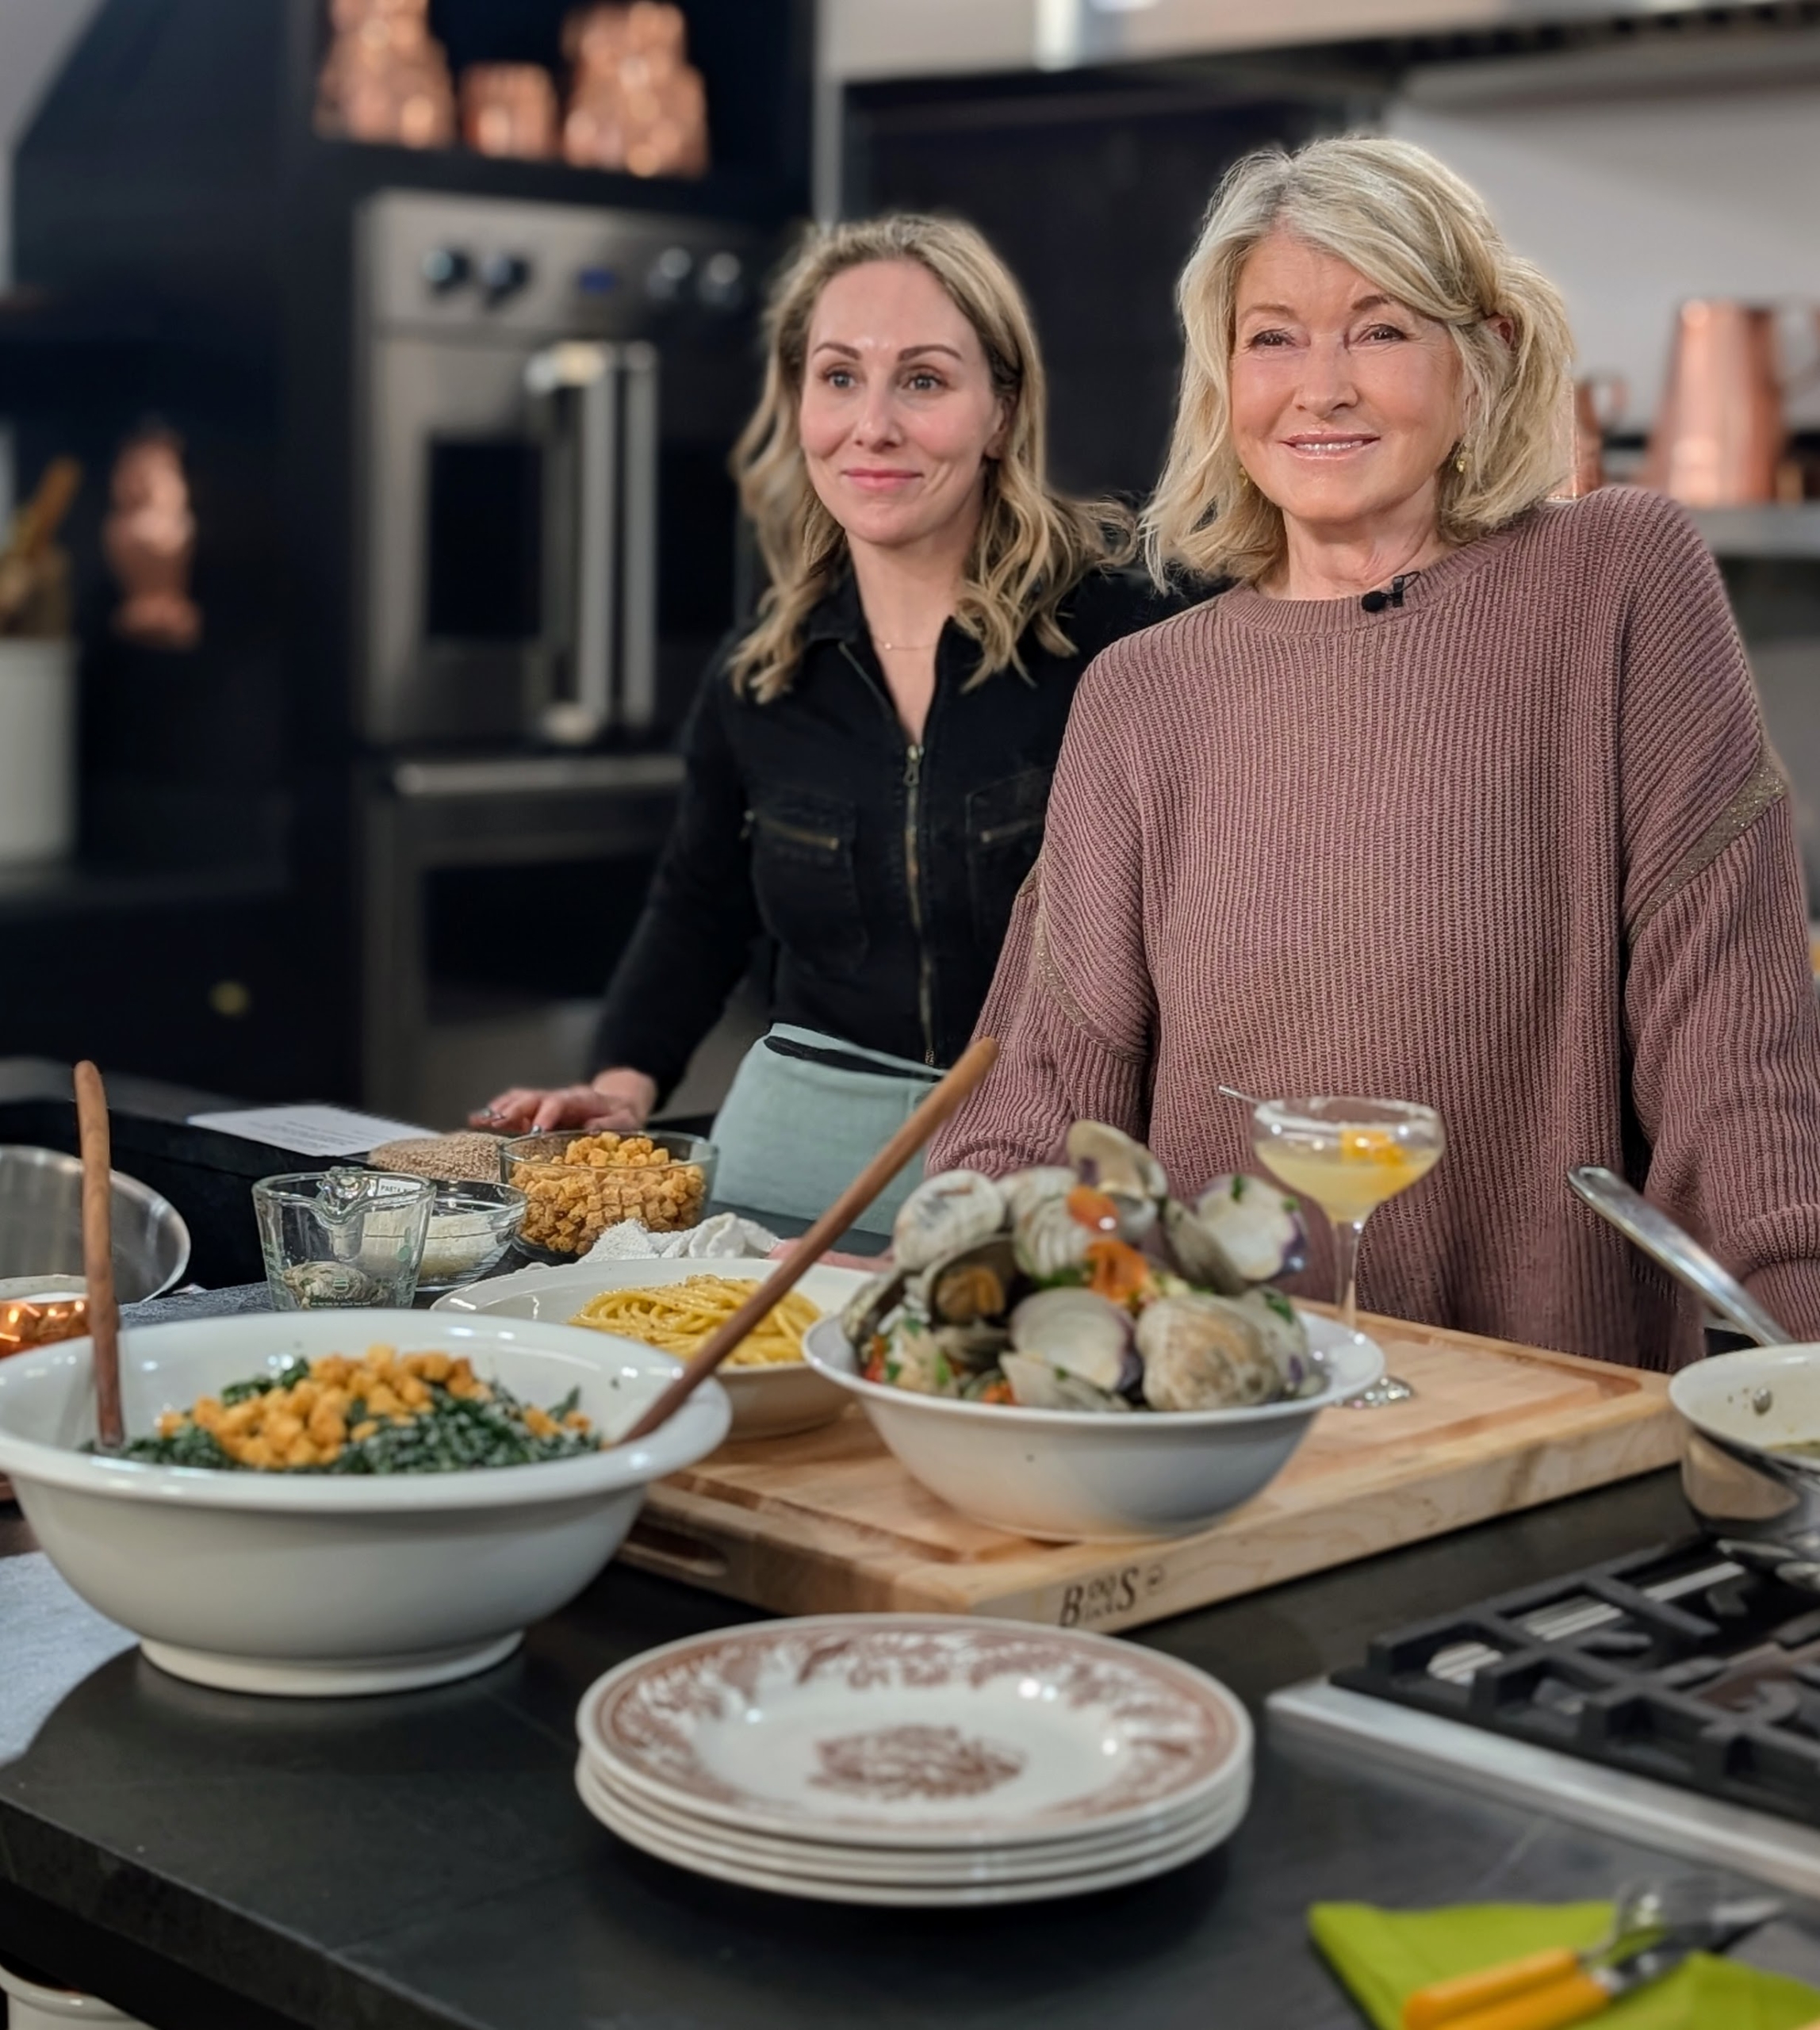
Here I am with Molly Wenk, who has helped me with many television and video cooking shoots over the years. It was a fun demo and a great way for participants to cook along with me from the comforts of their own homes. Thanks for having me join you, Calix. And don’t forget to pick up a copy of my book, MARTHA, THE COOKBOOK.
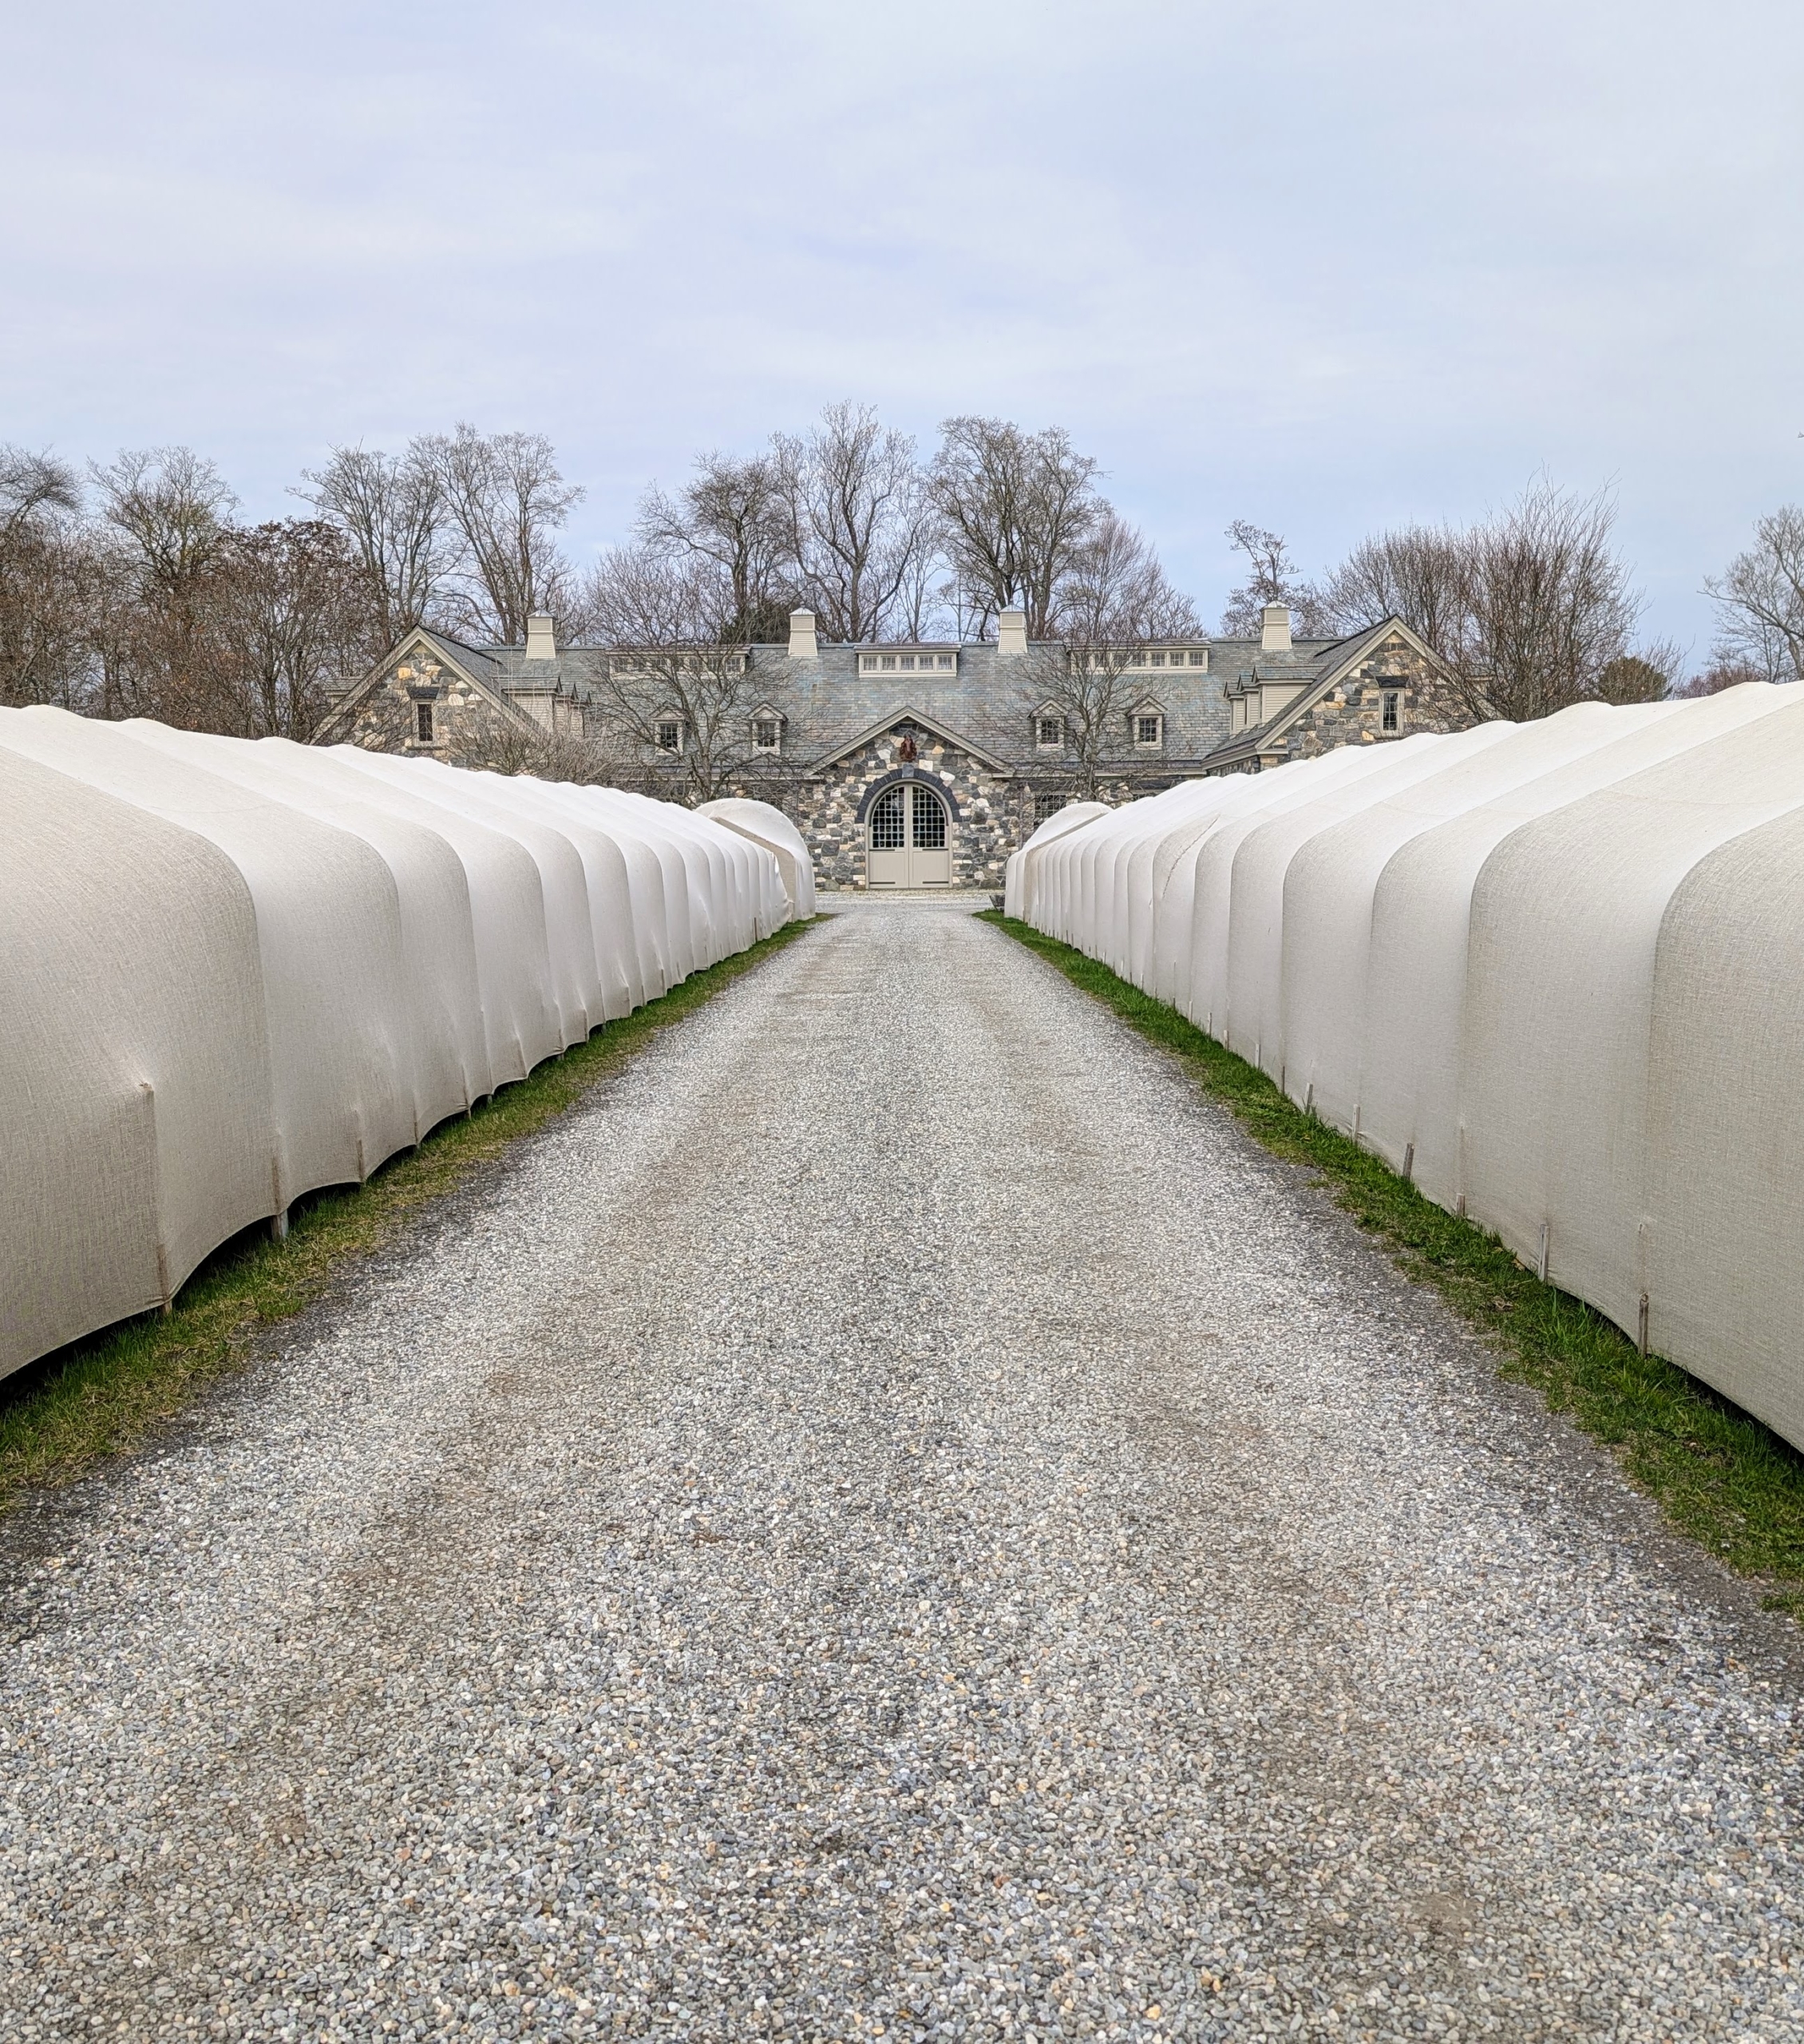
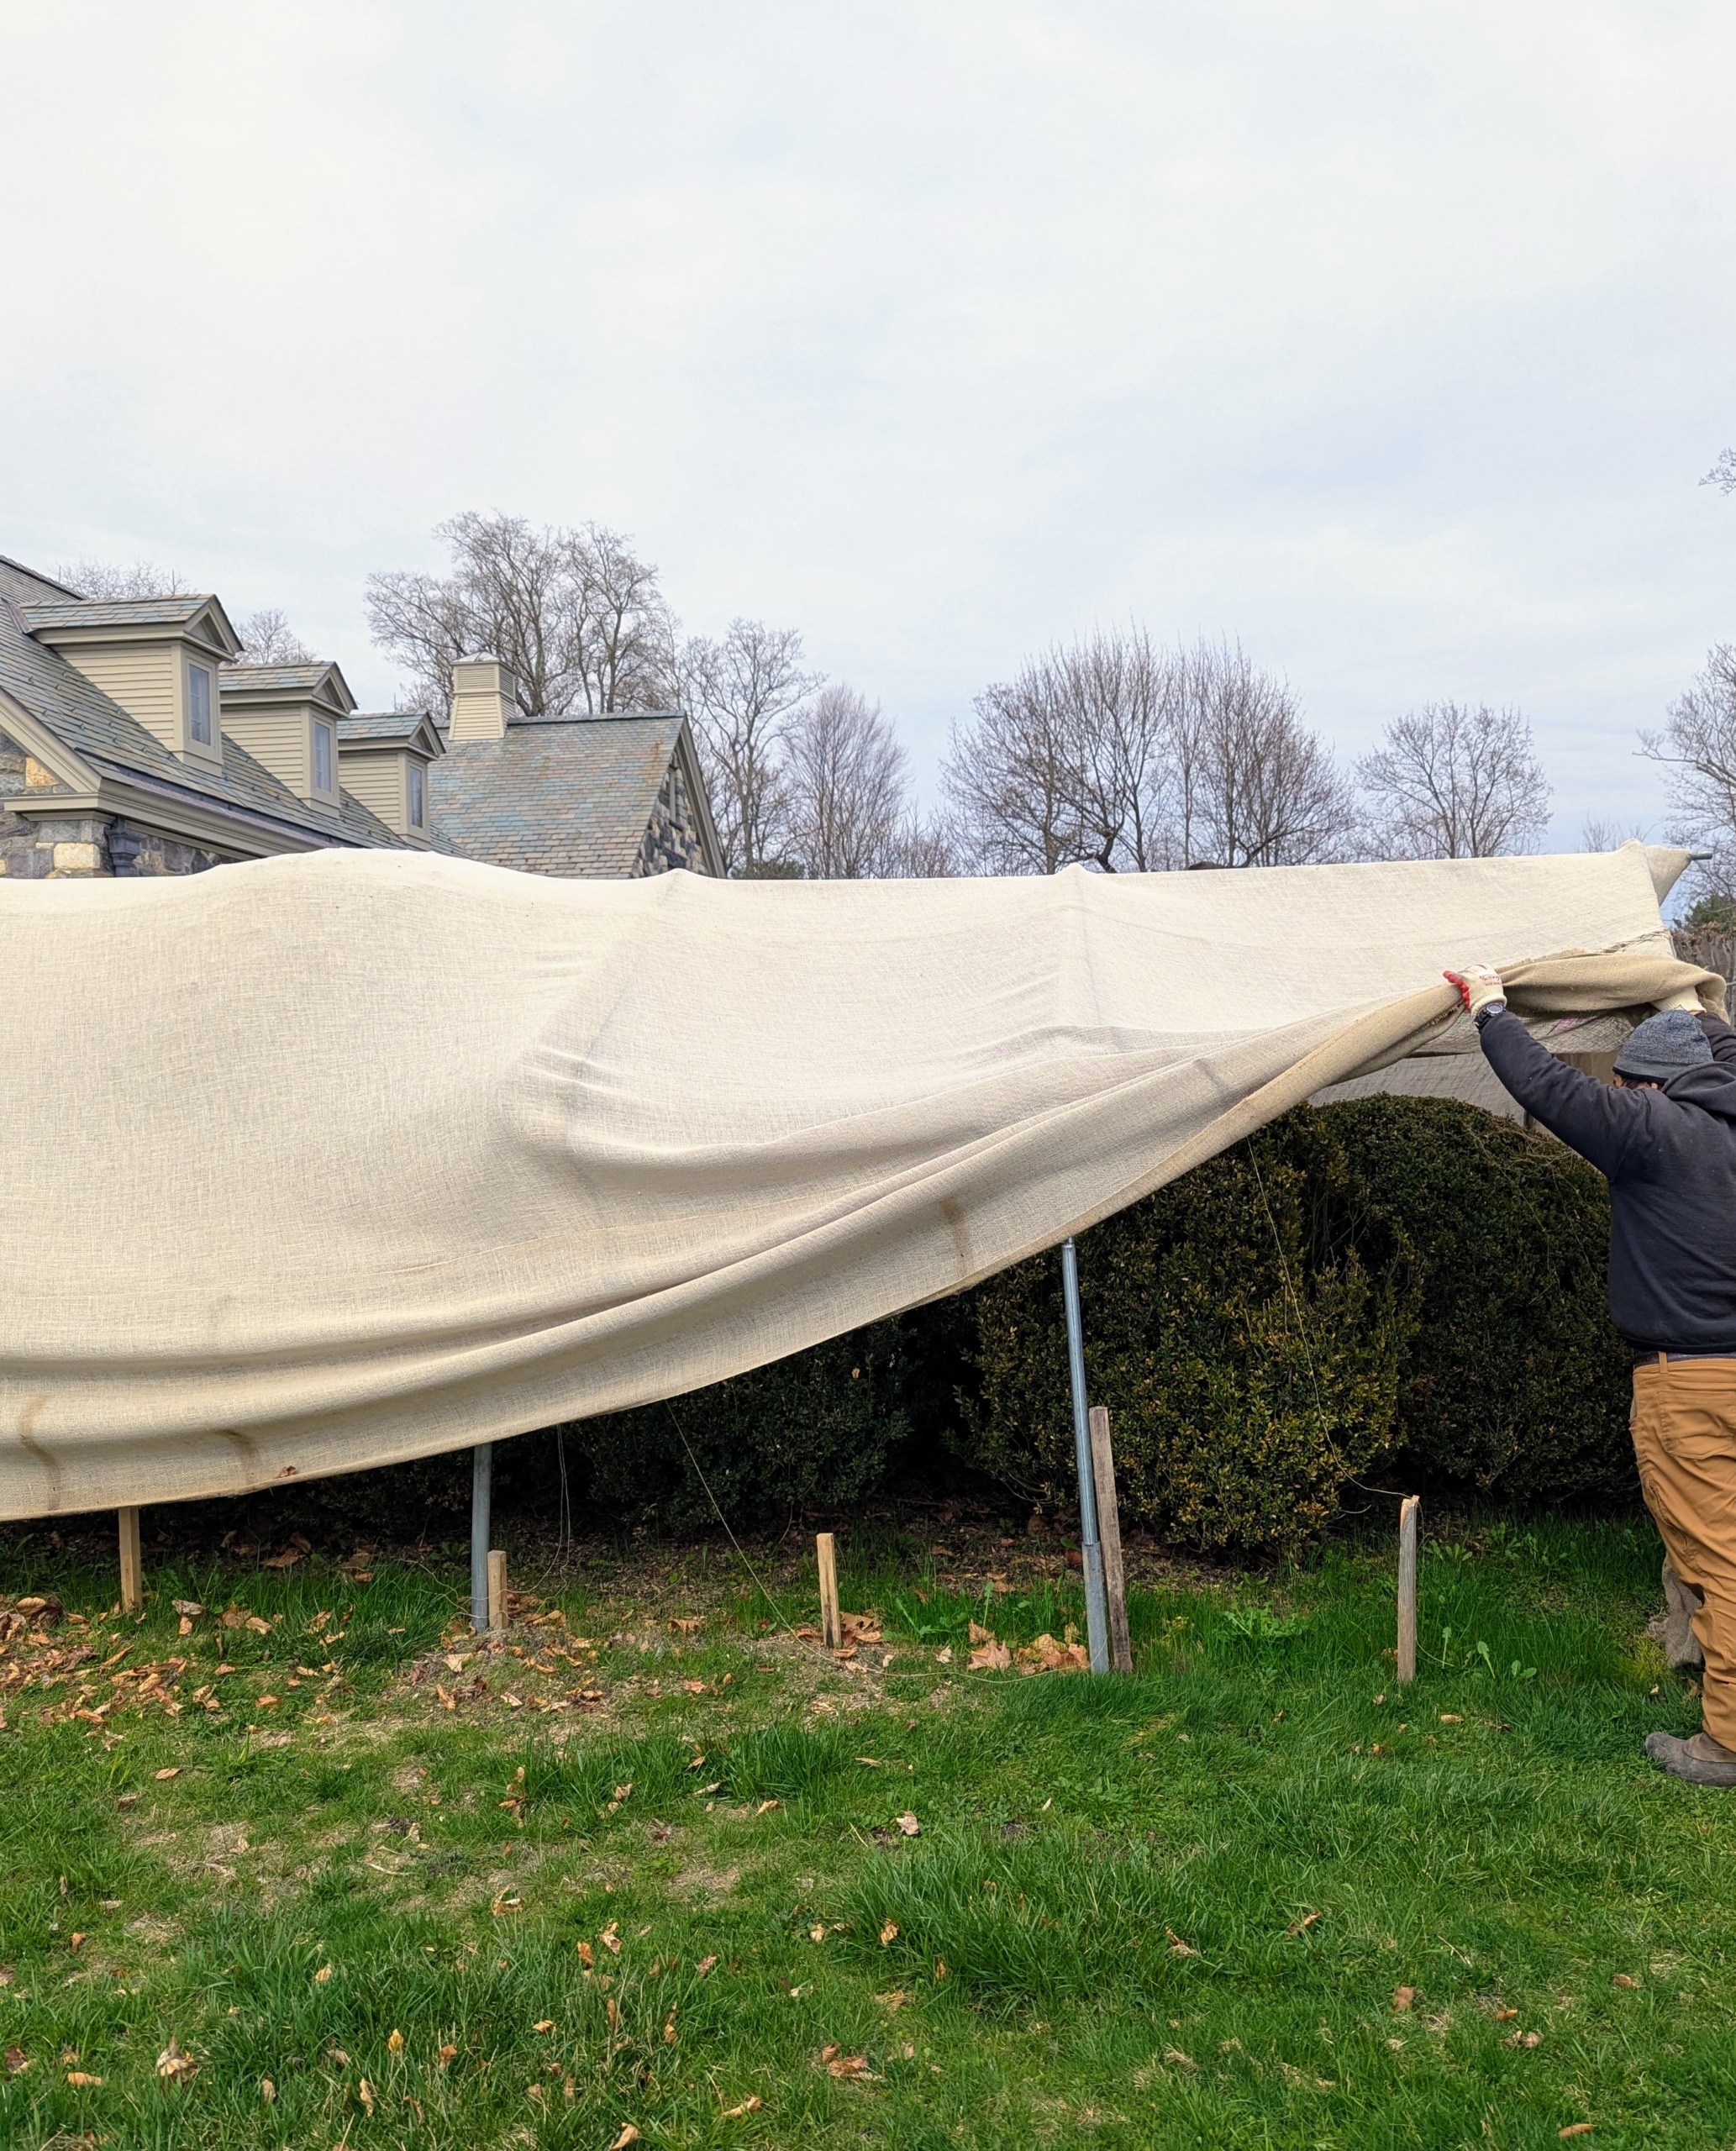
And just like clockwork, this time every year my outdoor grounds crew begins the process of removing all the burlap around the farm exposing the lush green boxwood that has been covered all winter long.
Every autumn for as long as I’ve been gardening I’ve covered my boxwood shrubs and outdoor ornamental urns to protect them from the season’s heavy snowfall, freezing temperatures, and damaging winds. Then, every spring when the ground begins to thaw, it’s all removed and stored away. The entire process is a big undertaking; however, knowing my plants are protected in the cold is a great comfort. And seeing all the healthy, intact shrubbery and foliage at the start of a new season is an even greater delight.
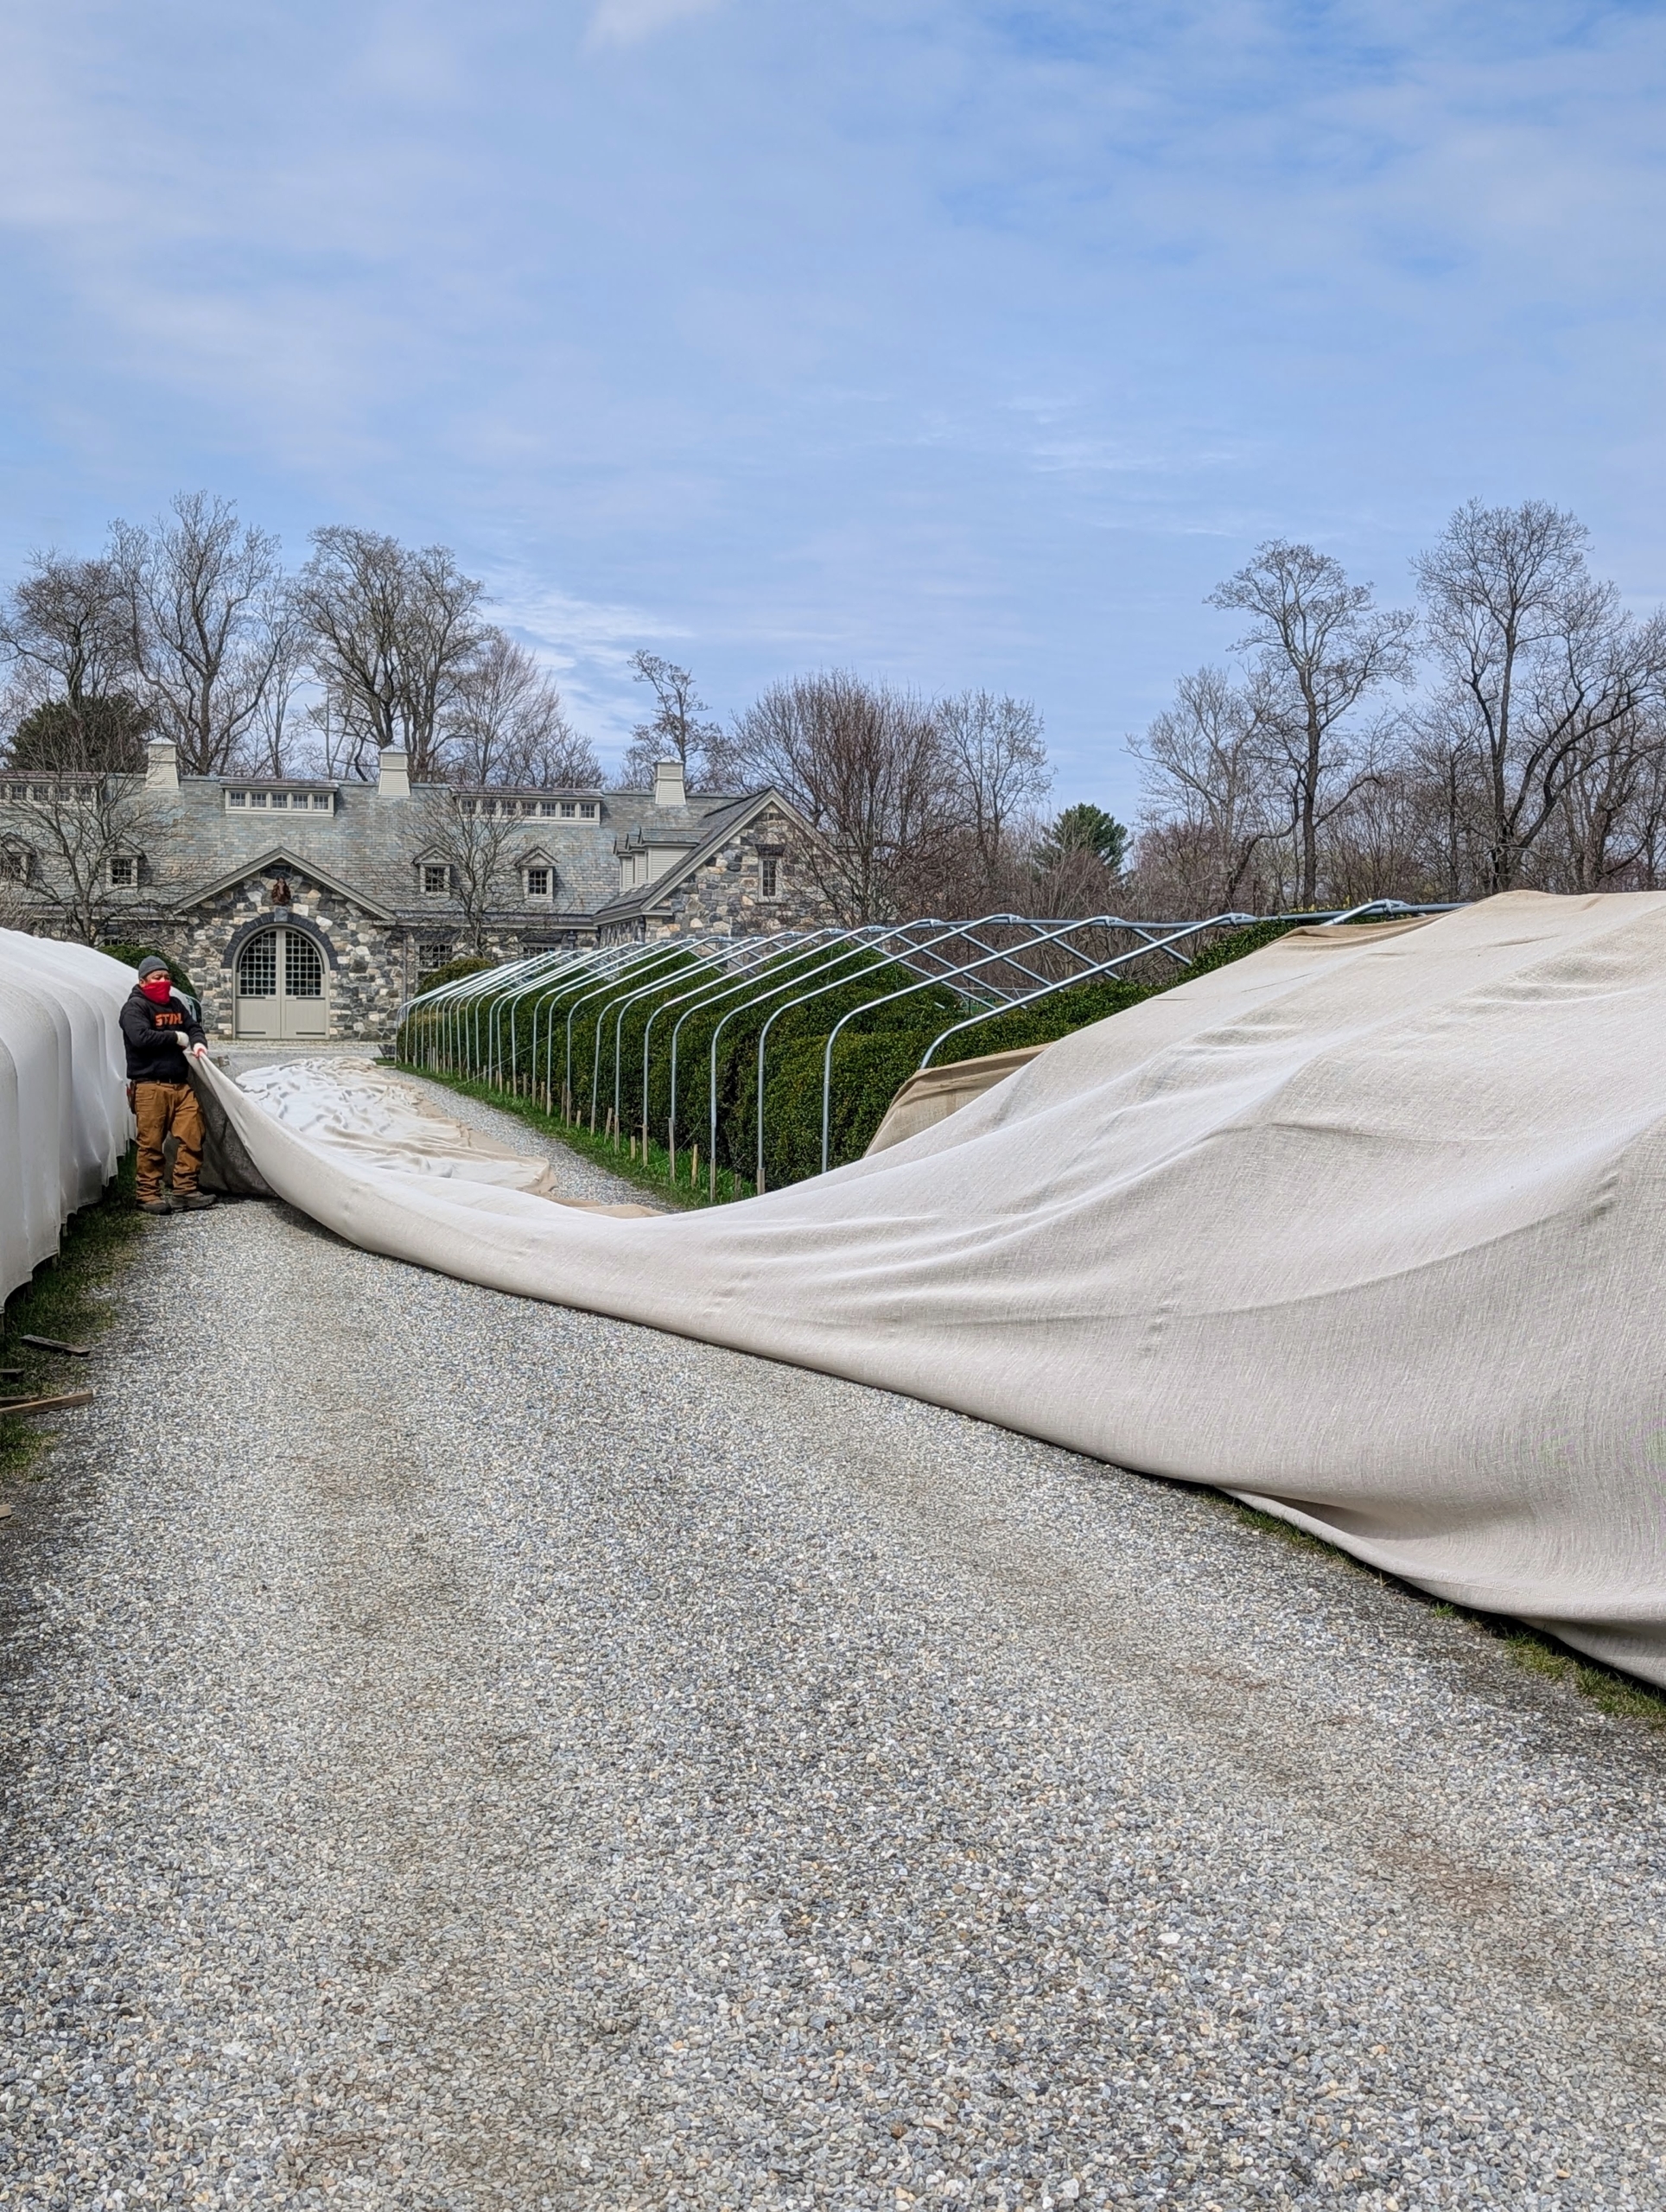
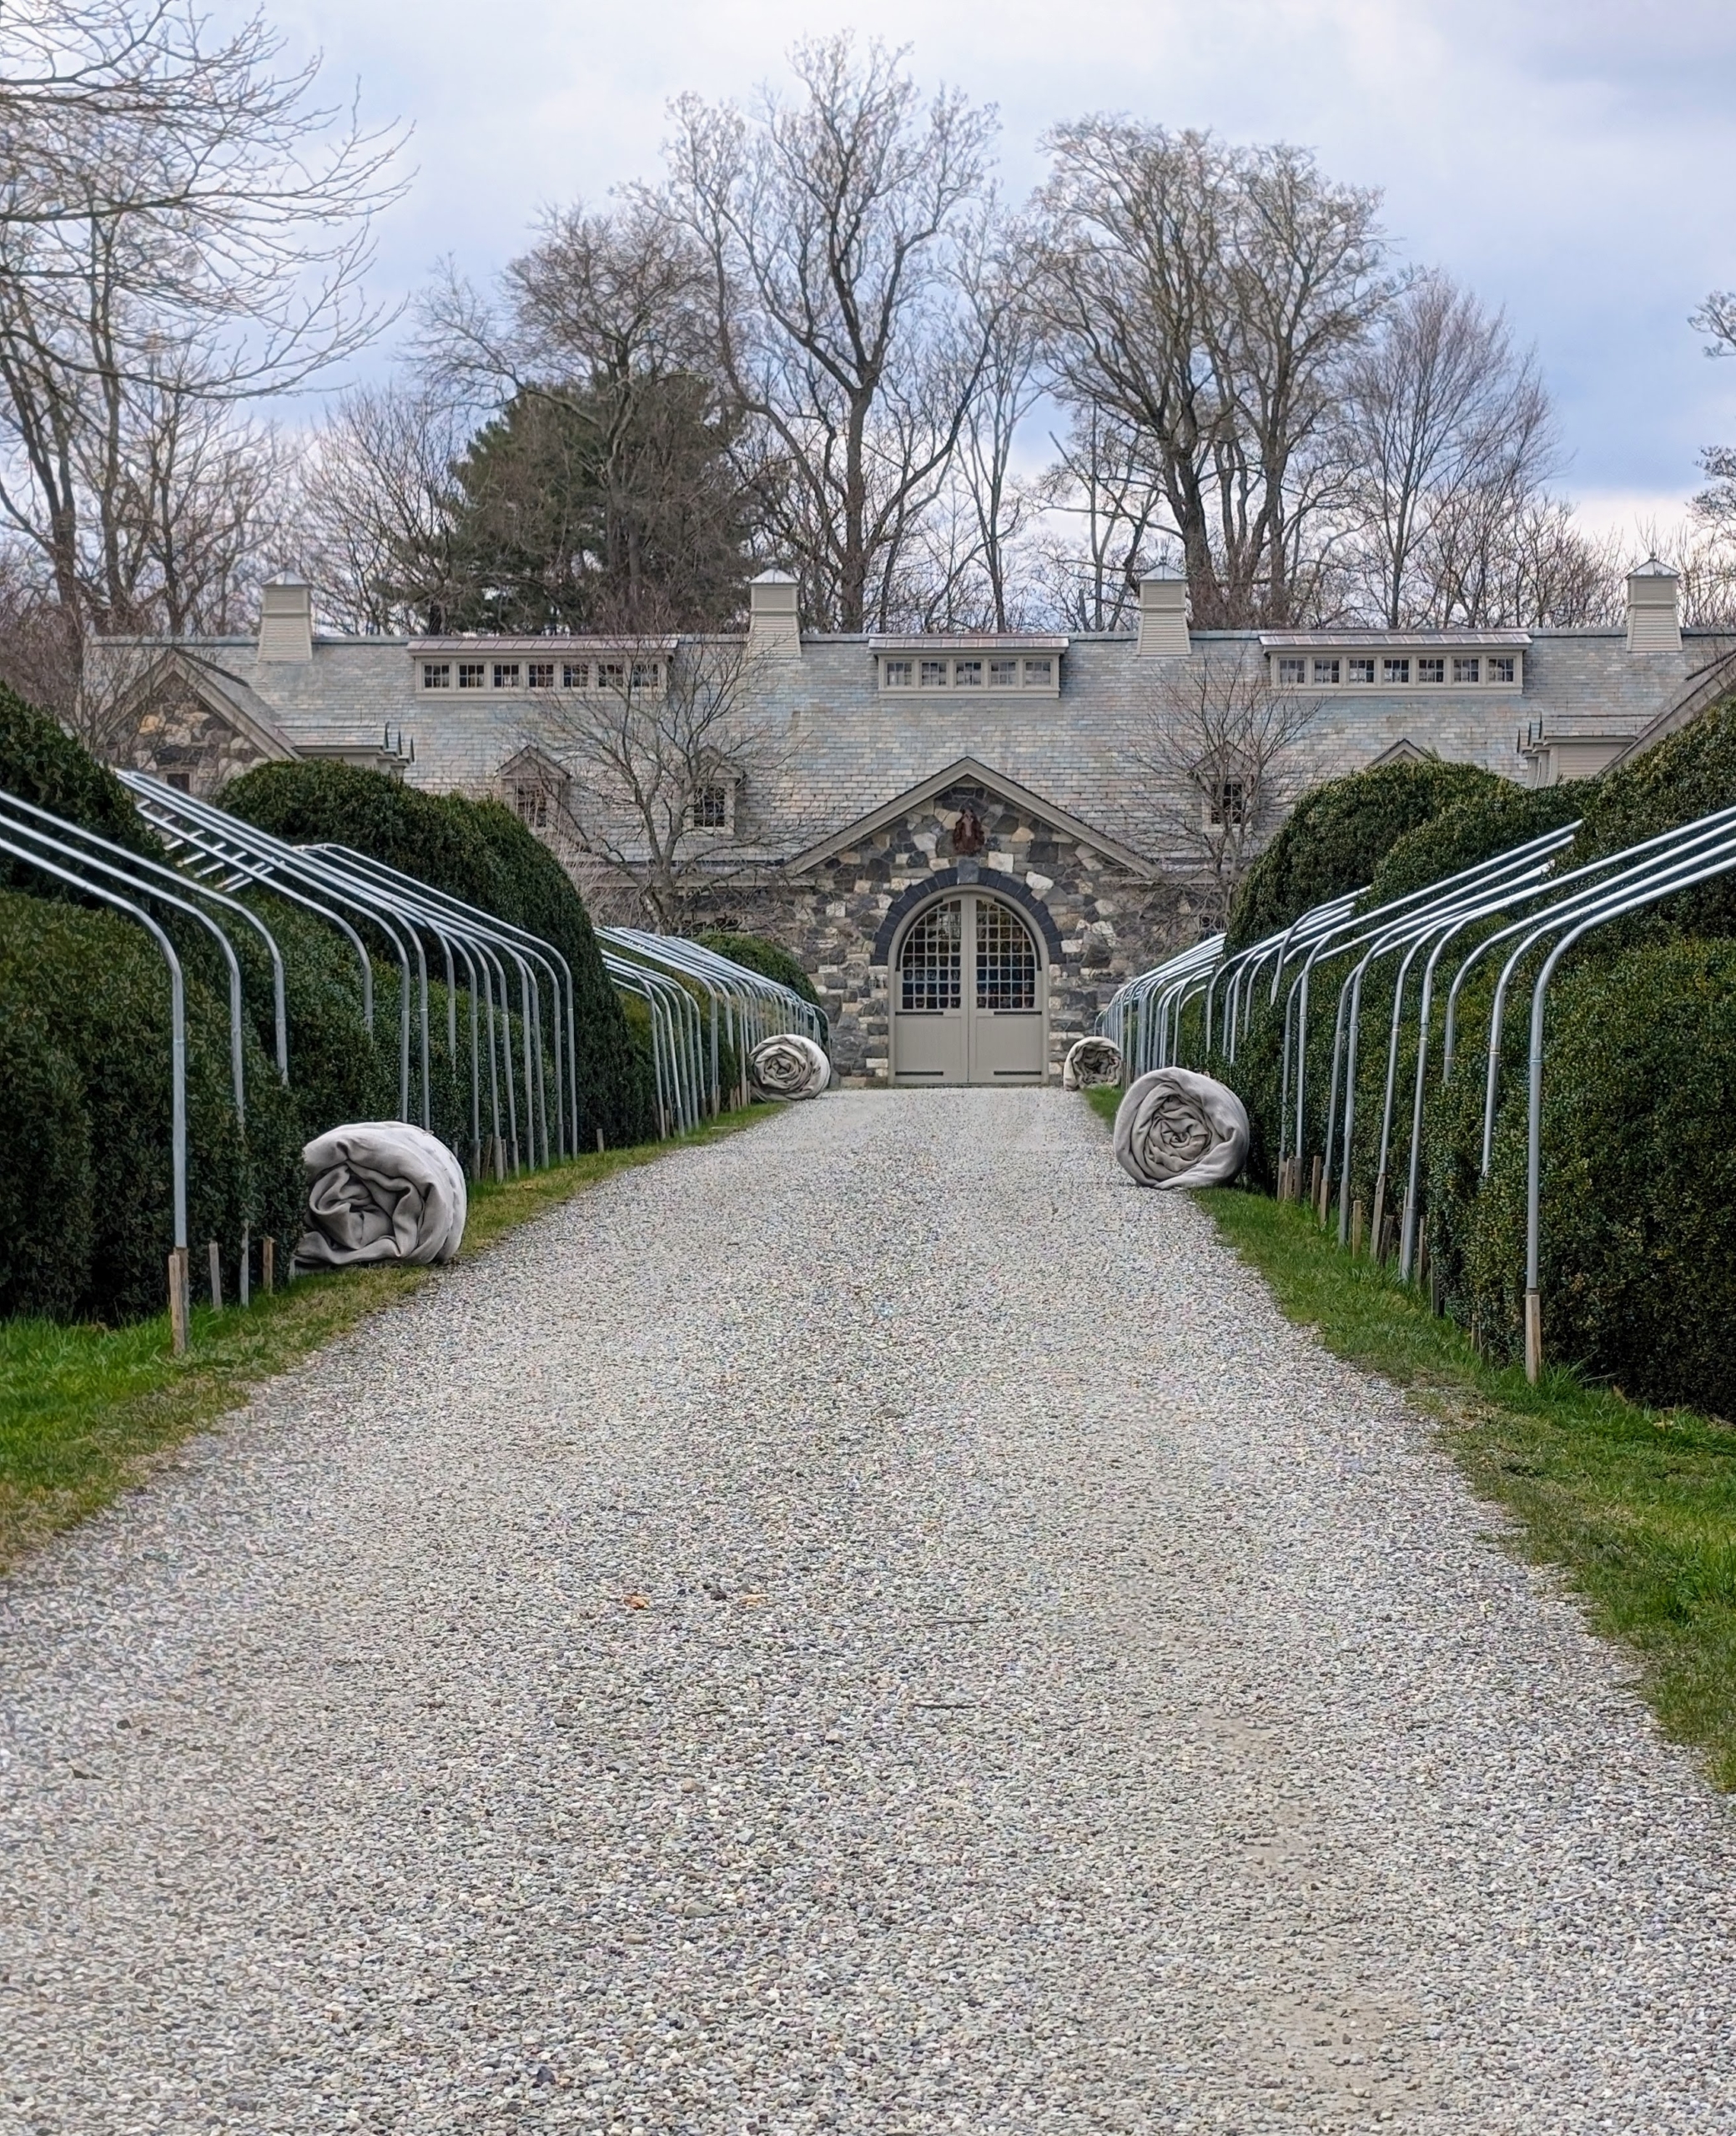
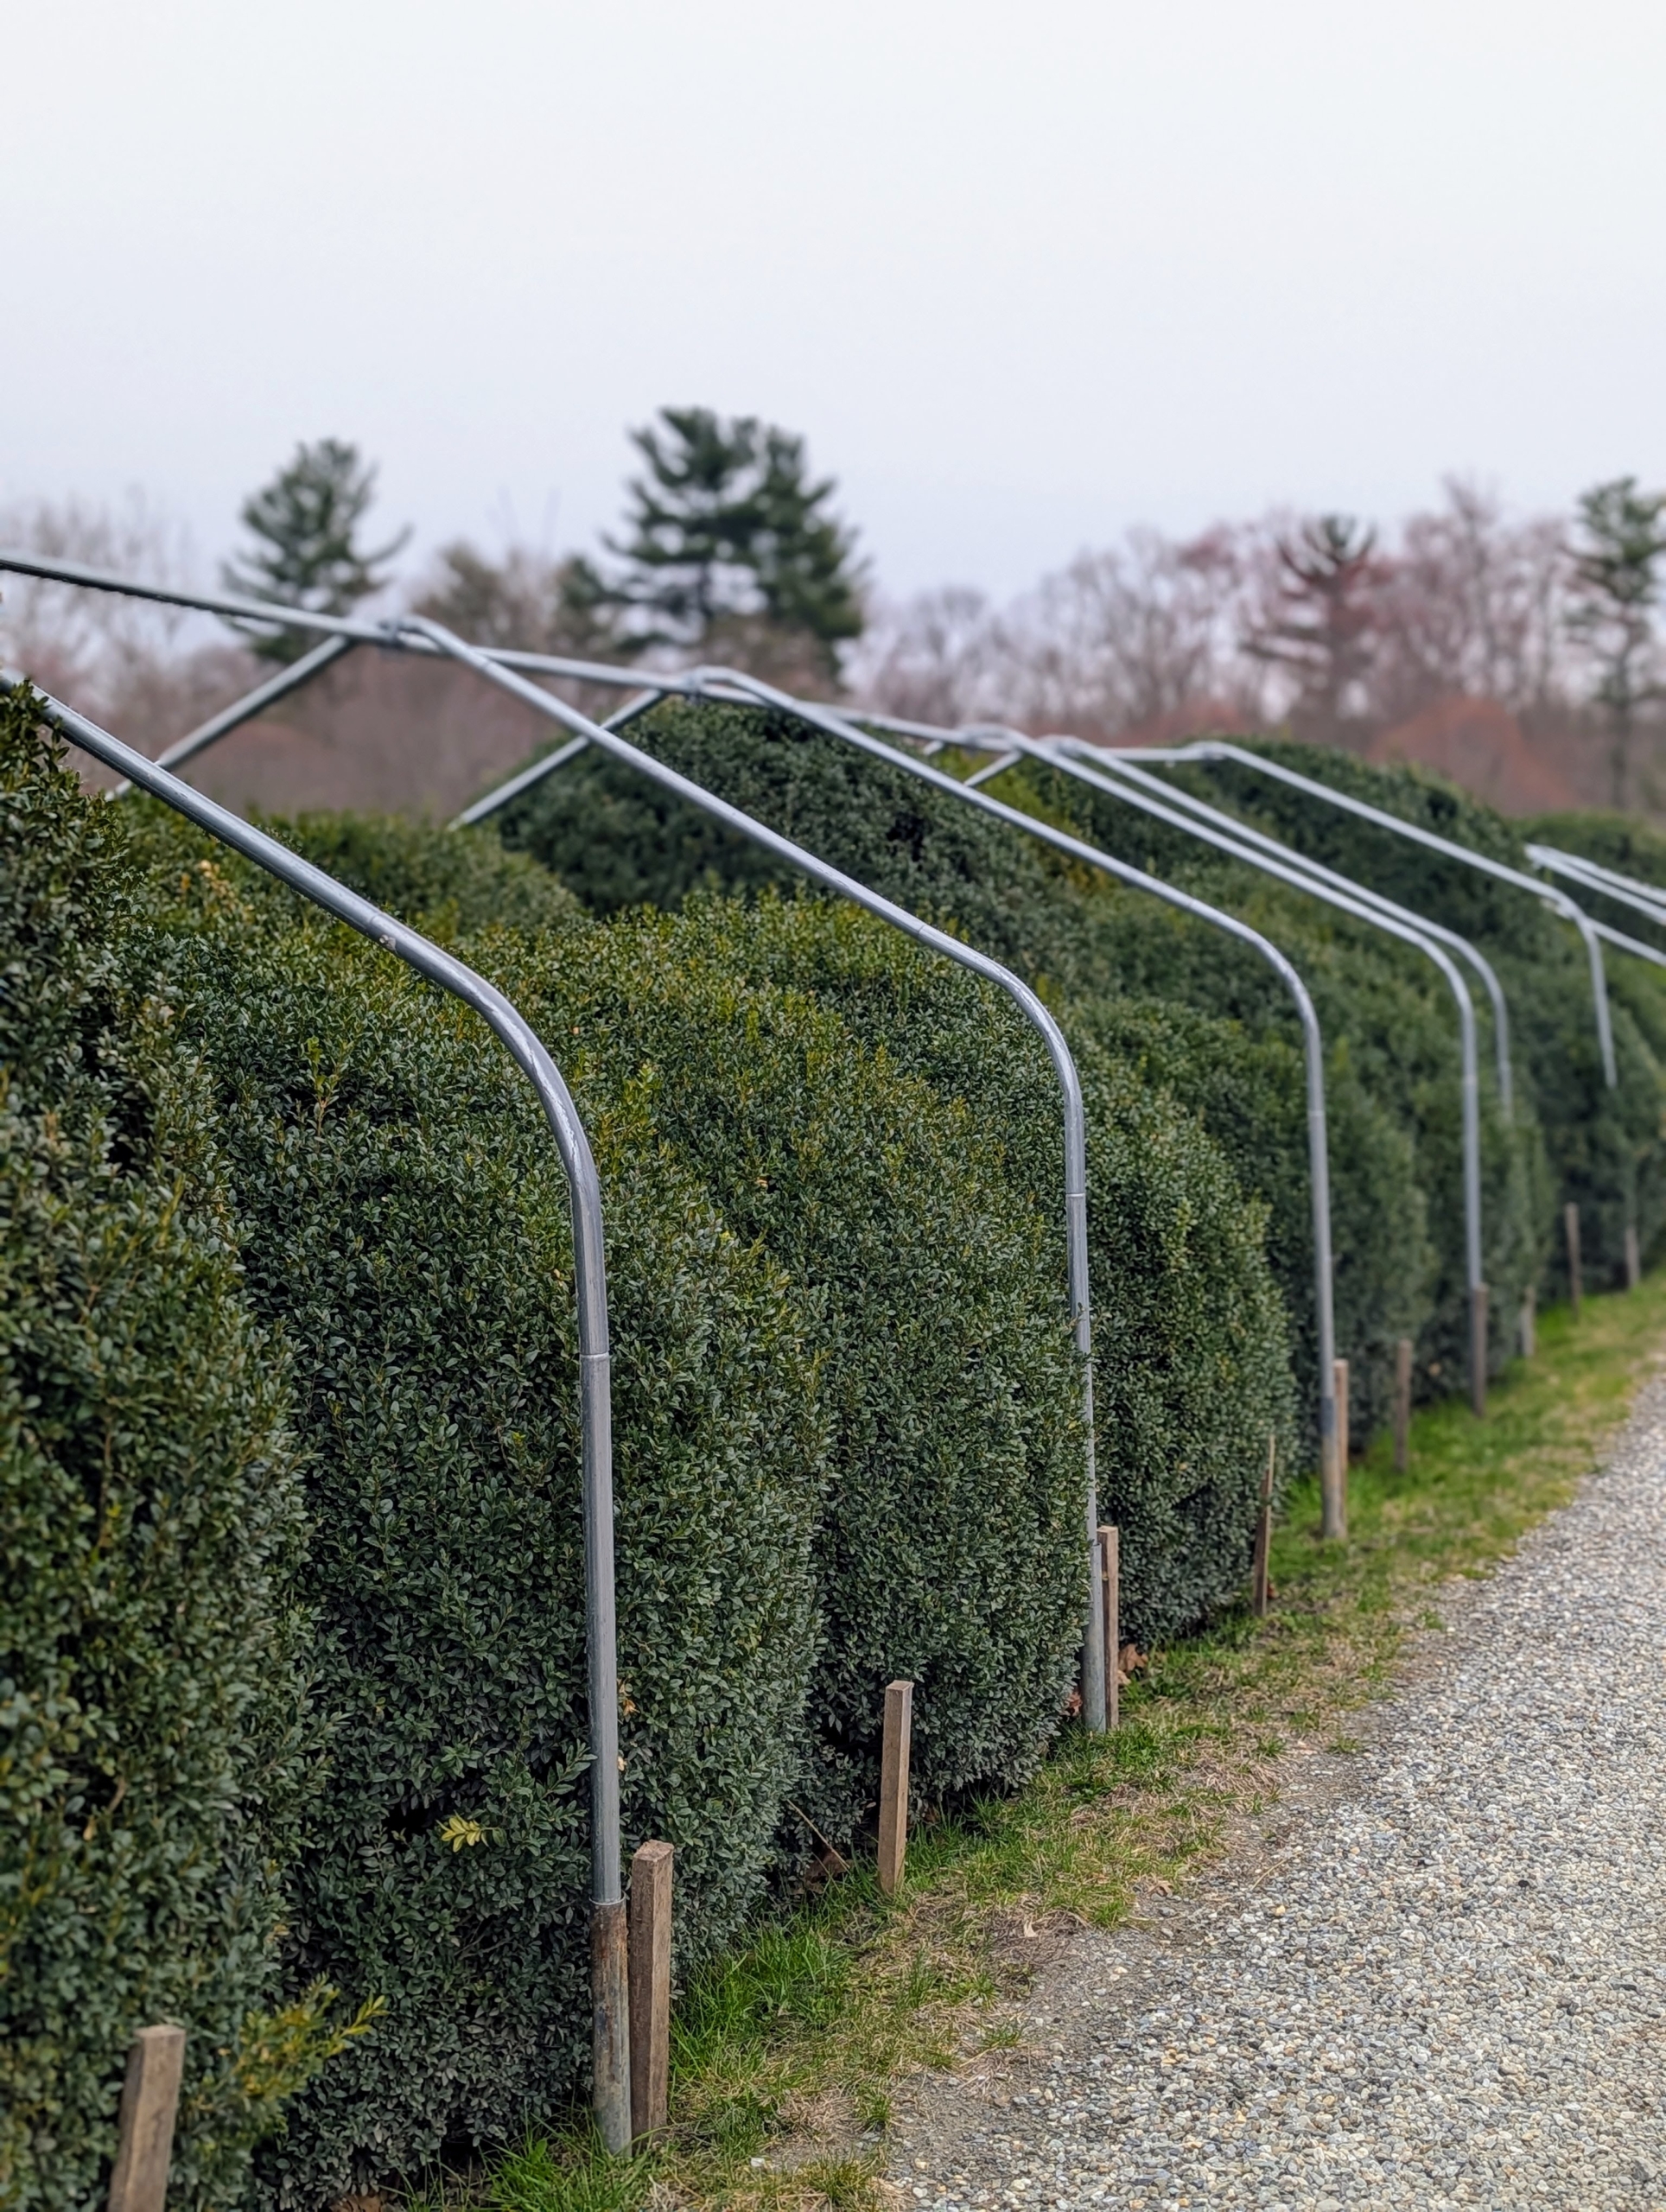
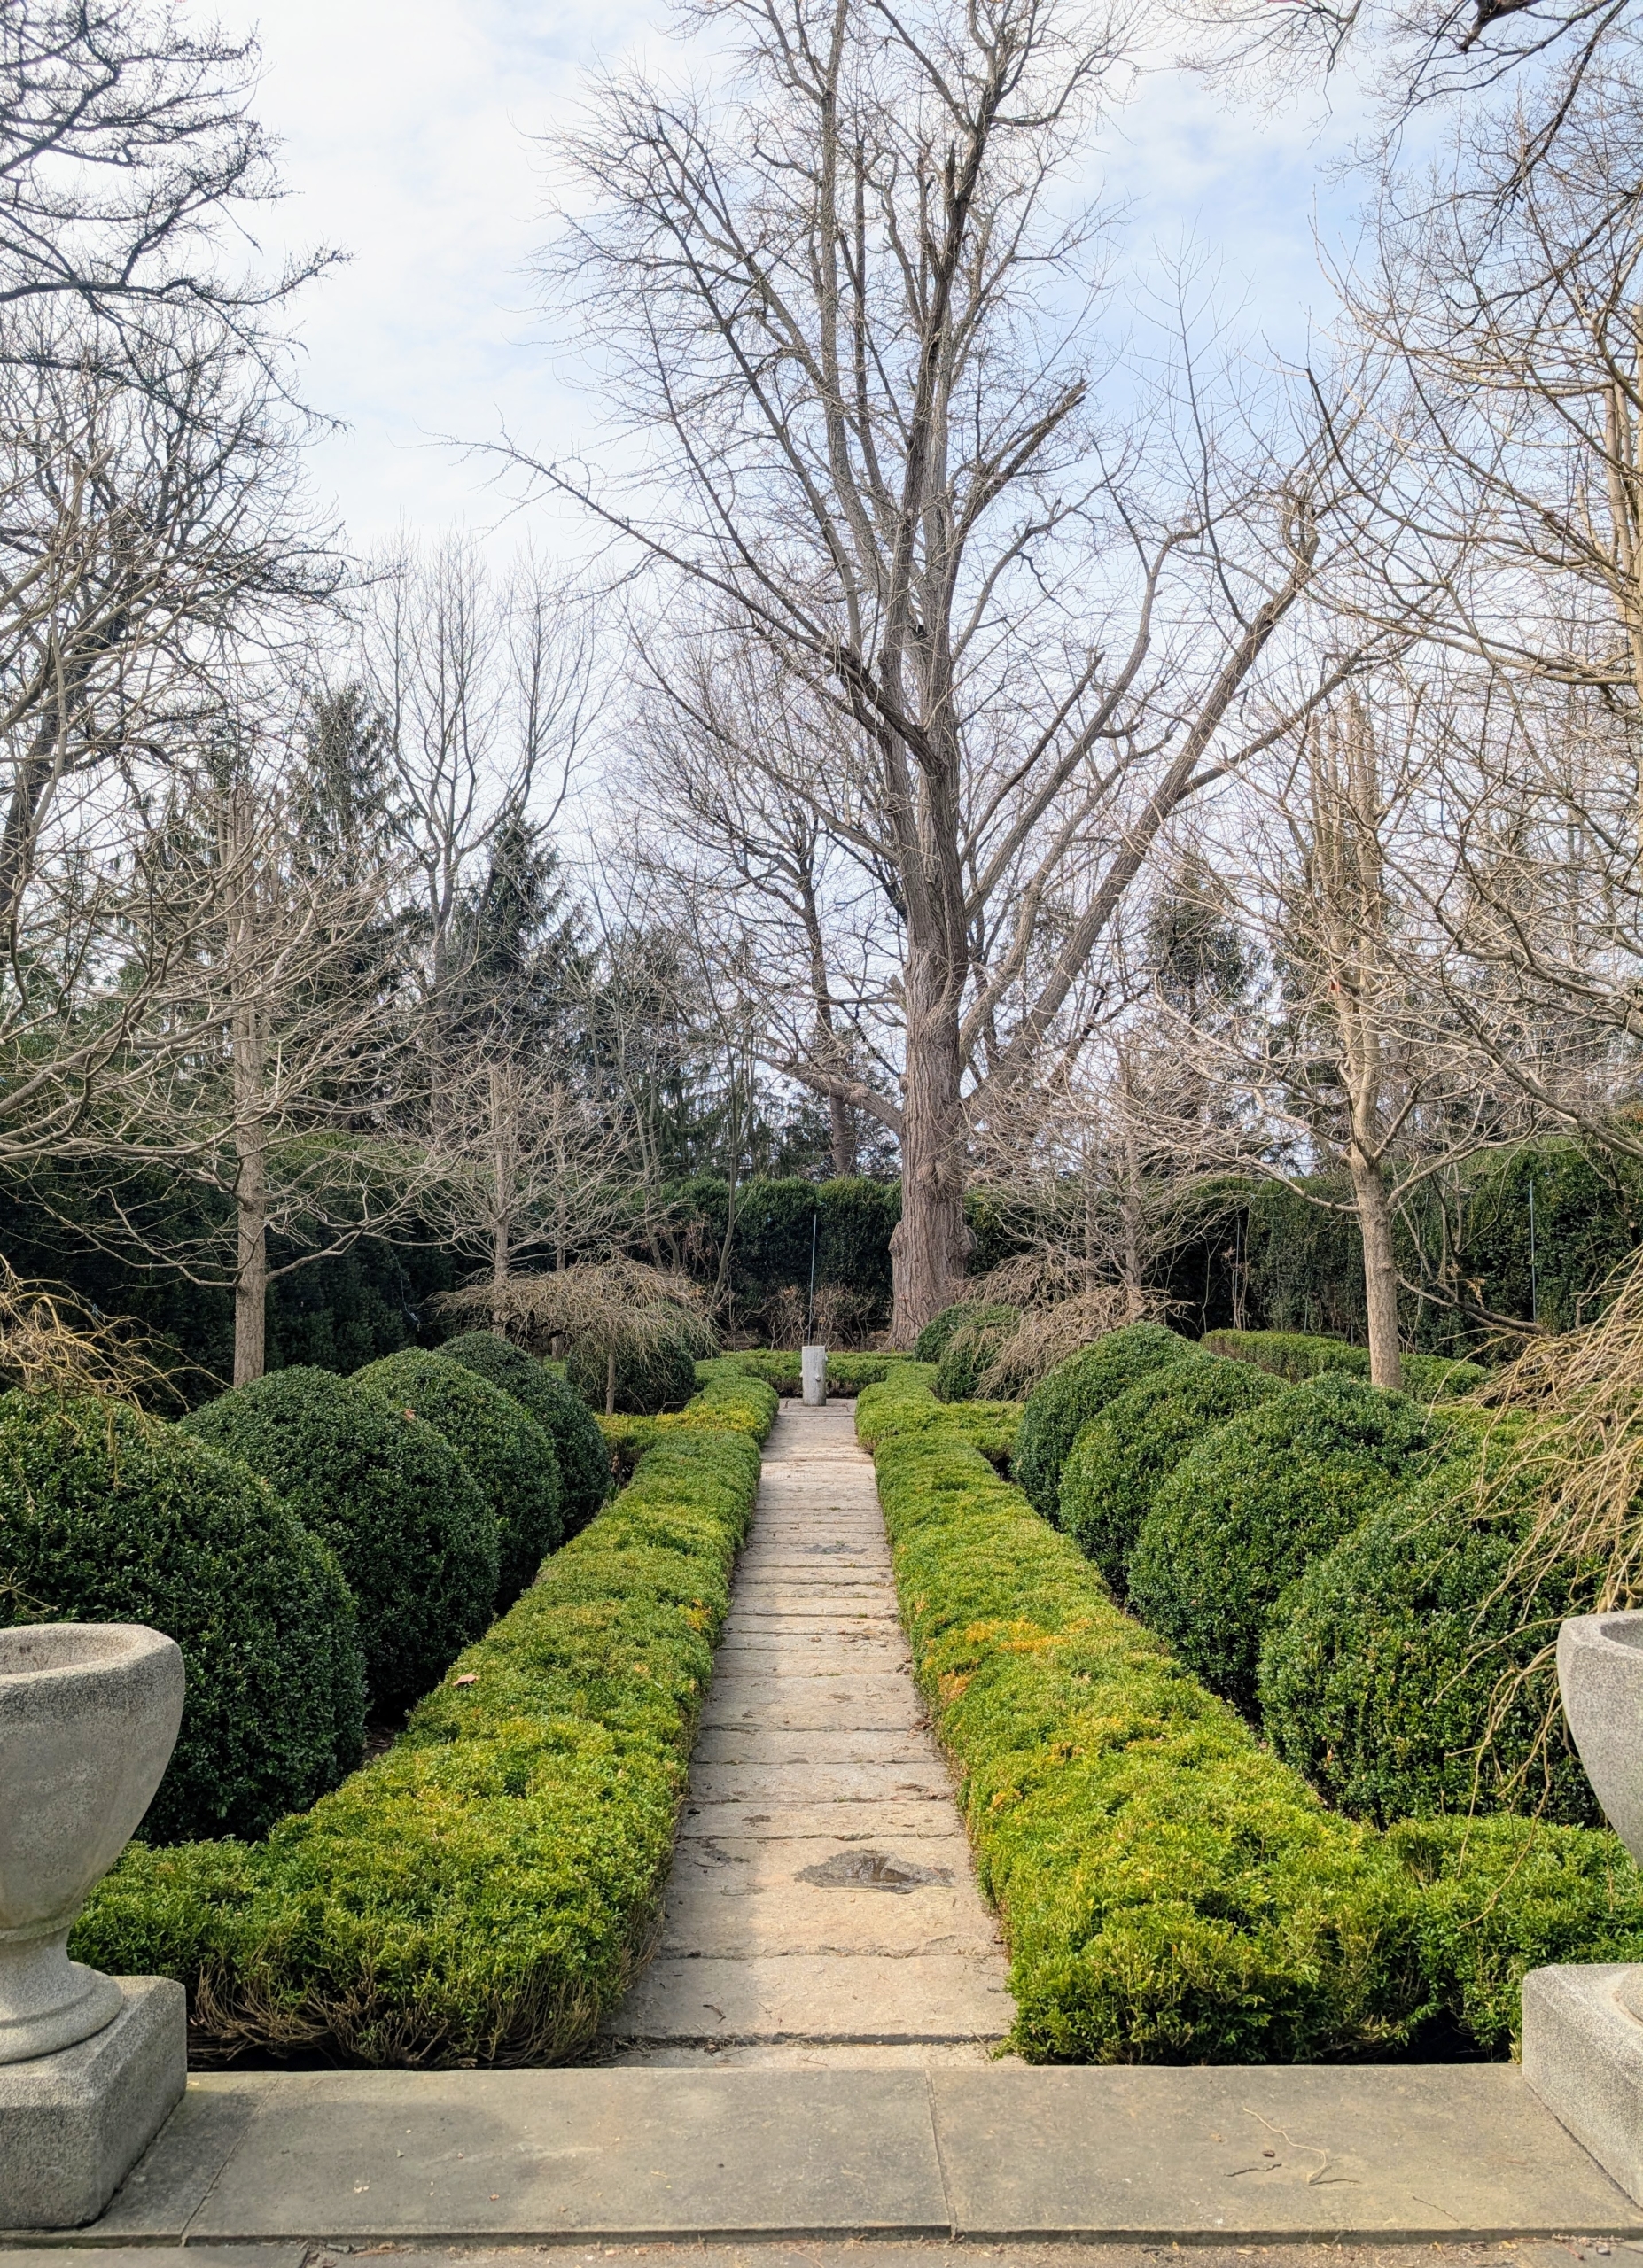
For about four months of the year, all the boxwood shrubs and hedges are covered in this natural colored fabric. We remove the burlap once the temperatures are consistently above freezing and before Easter. All of the coverings are custom wrapped and sewn to fit each individual shrub, hedge, or bush. This is the biggest stretch of burlap-covered boxwood at the farm, the Boxwood Allée, which runs from outside my stable all the way down to the intersection leading into the woodland.
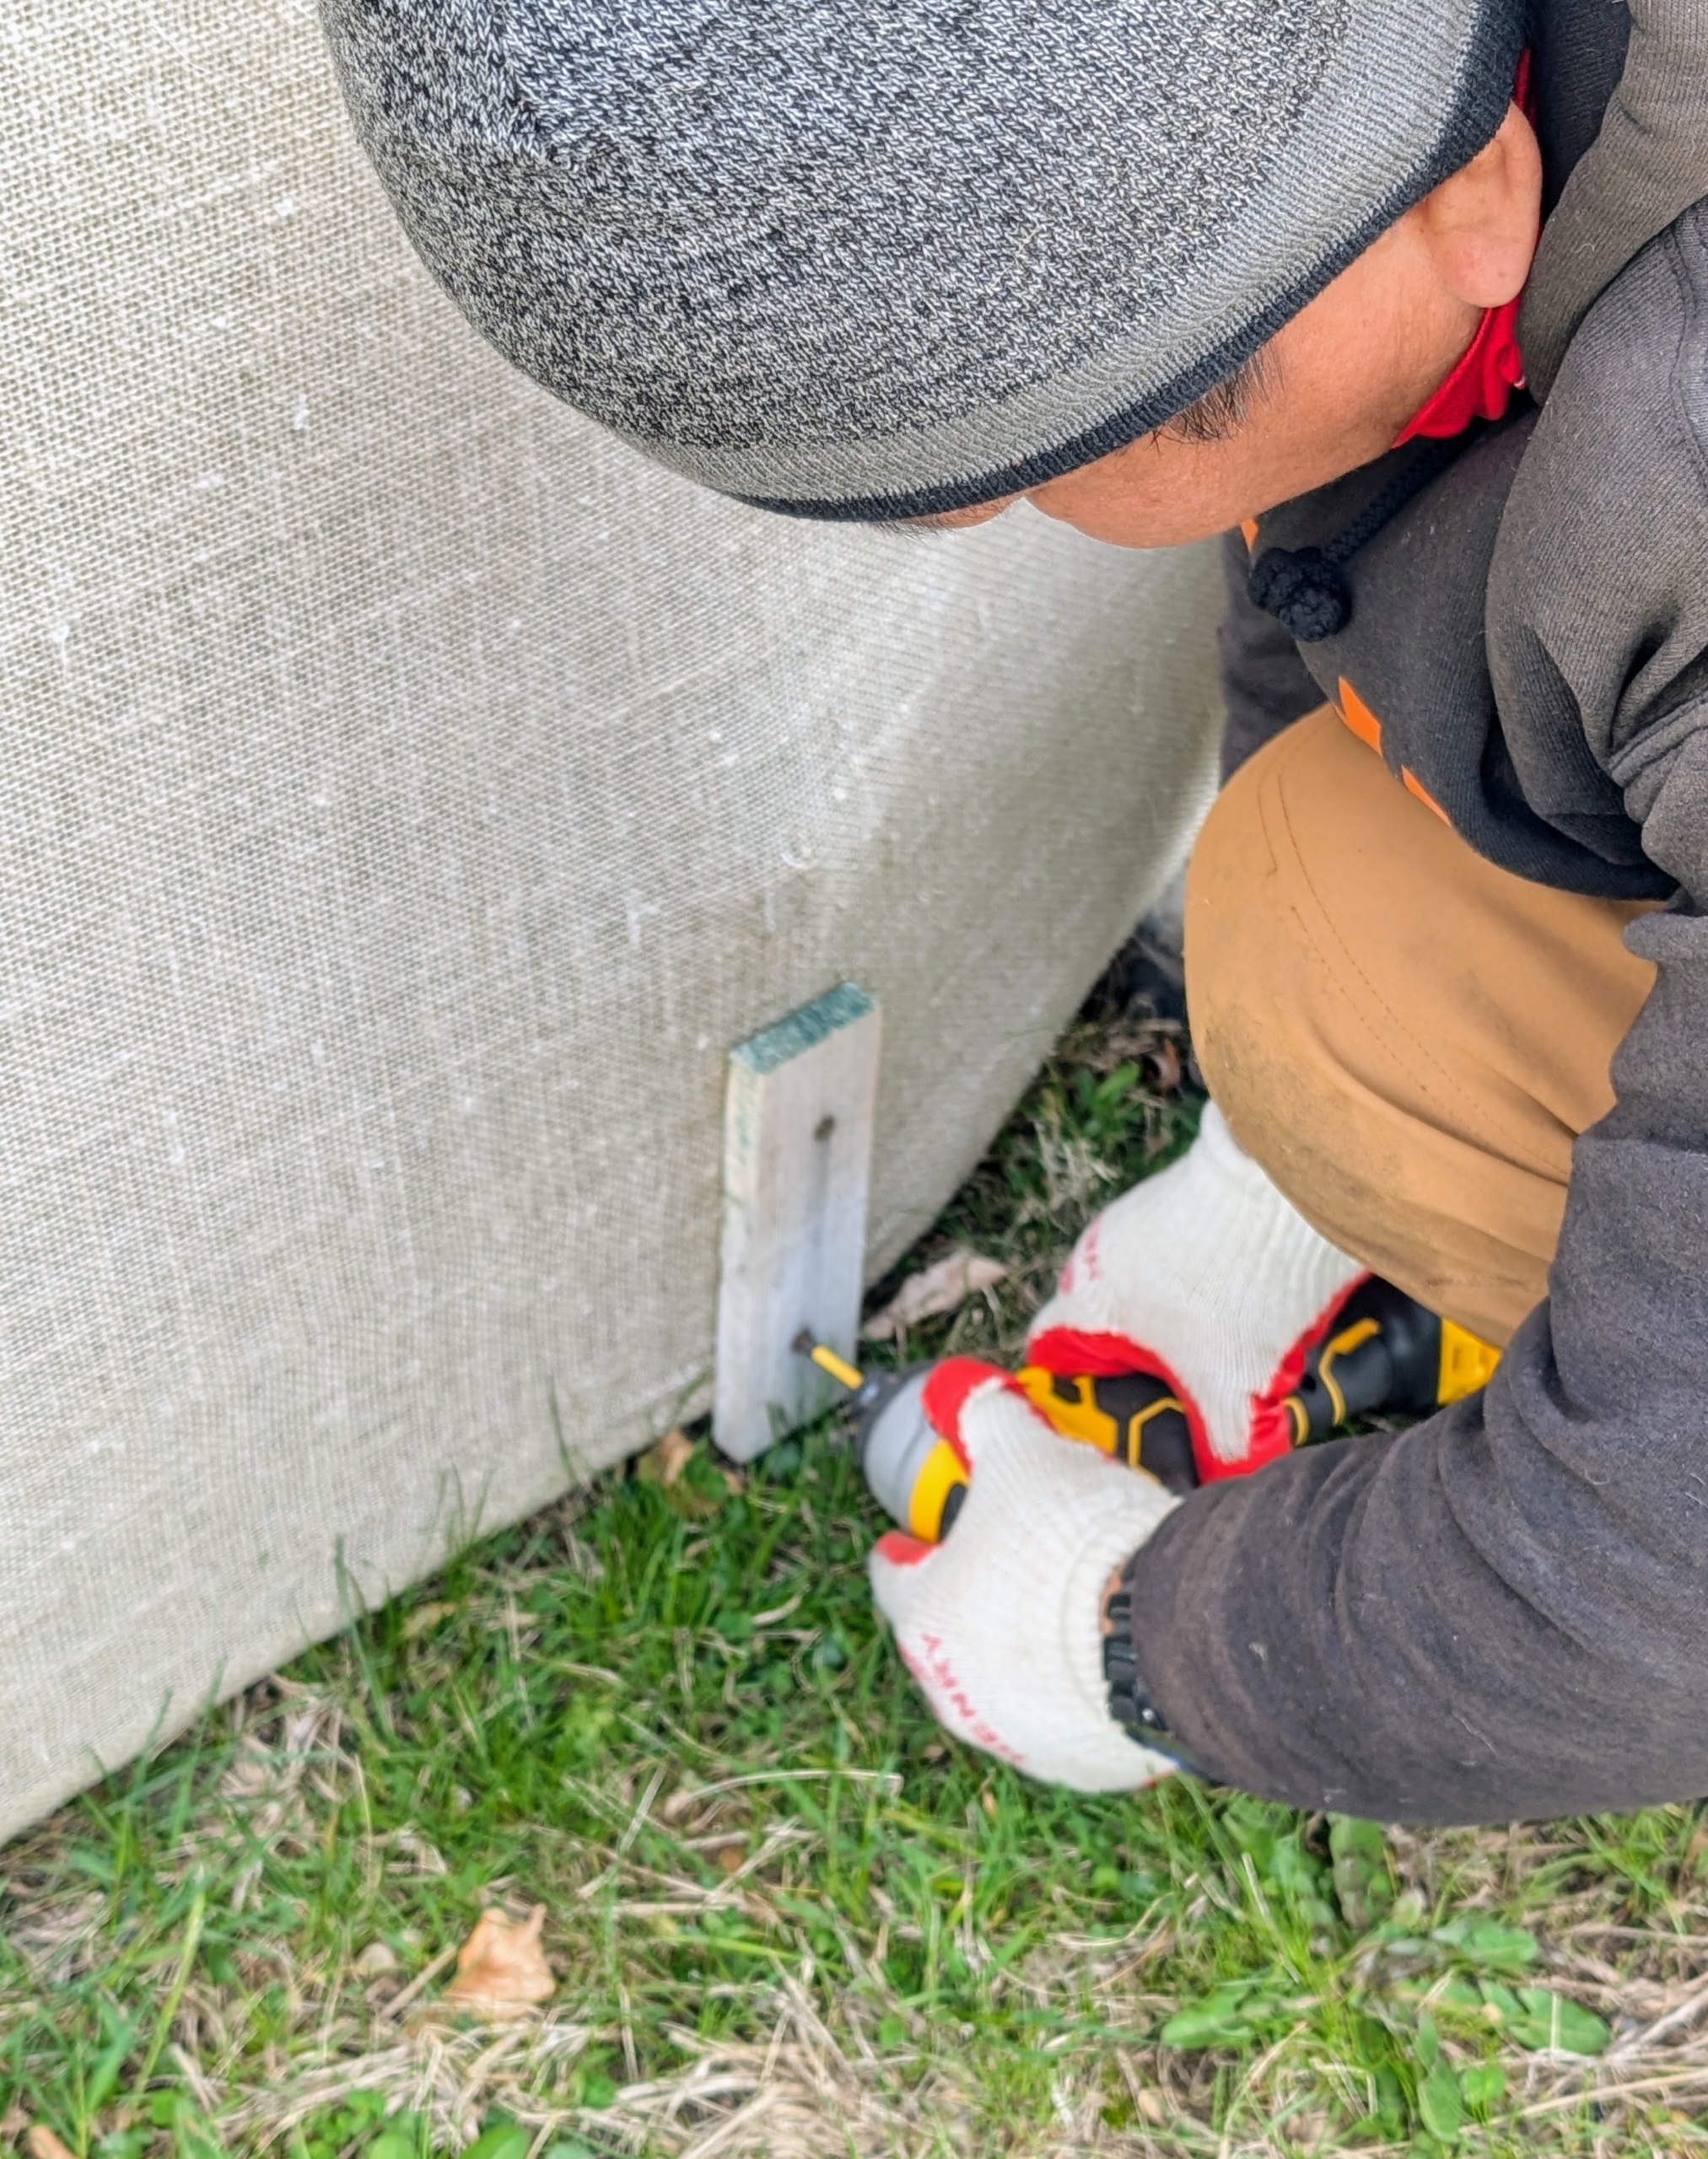
One of the first steps is to remove the wooden strips that help sandwich and secure the burlap.
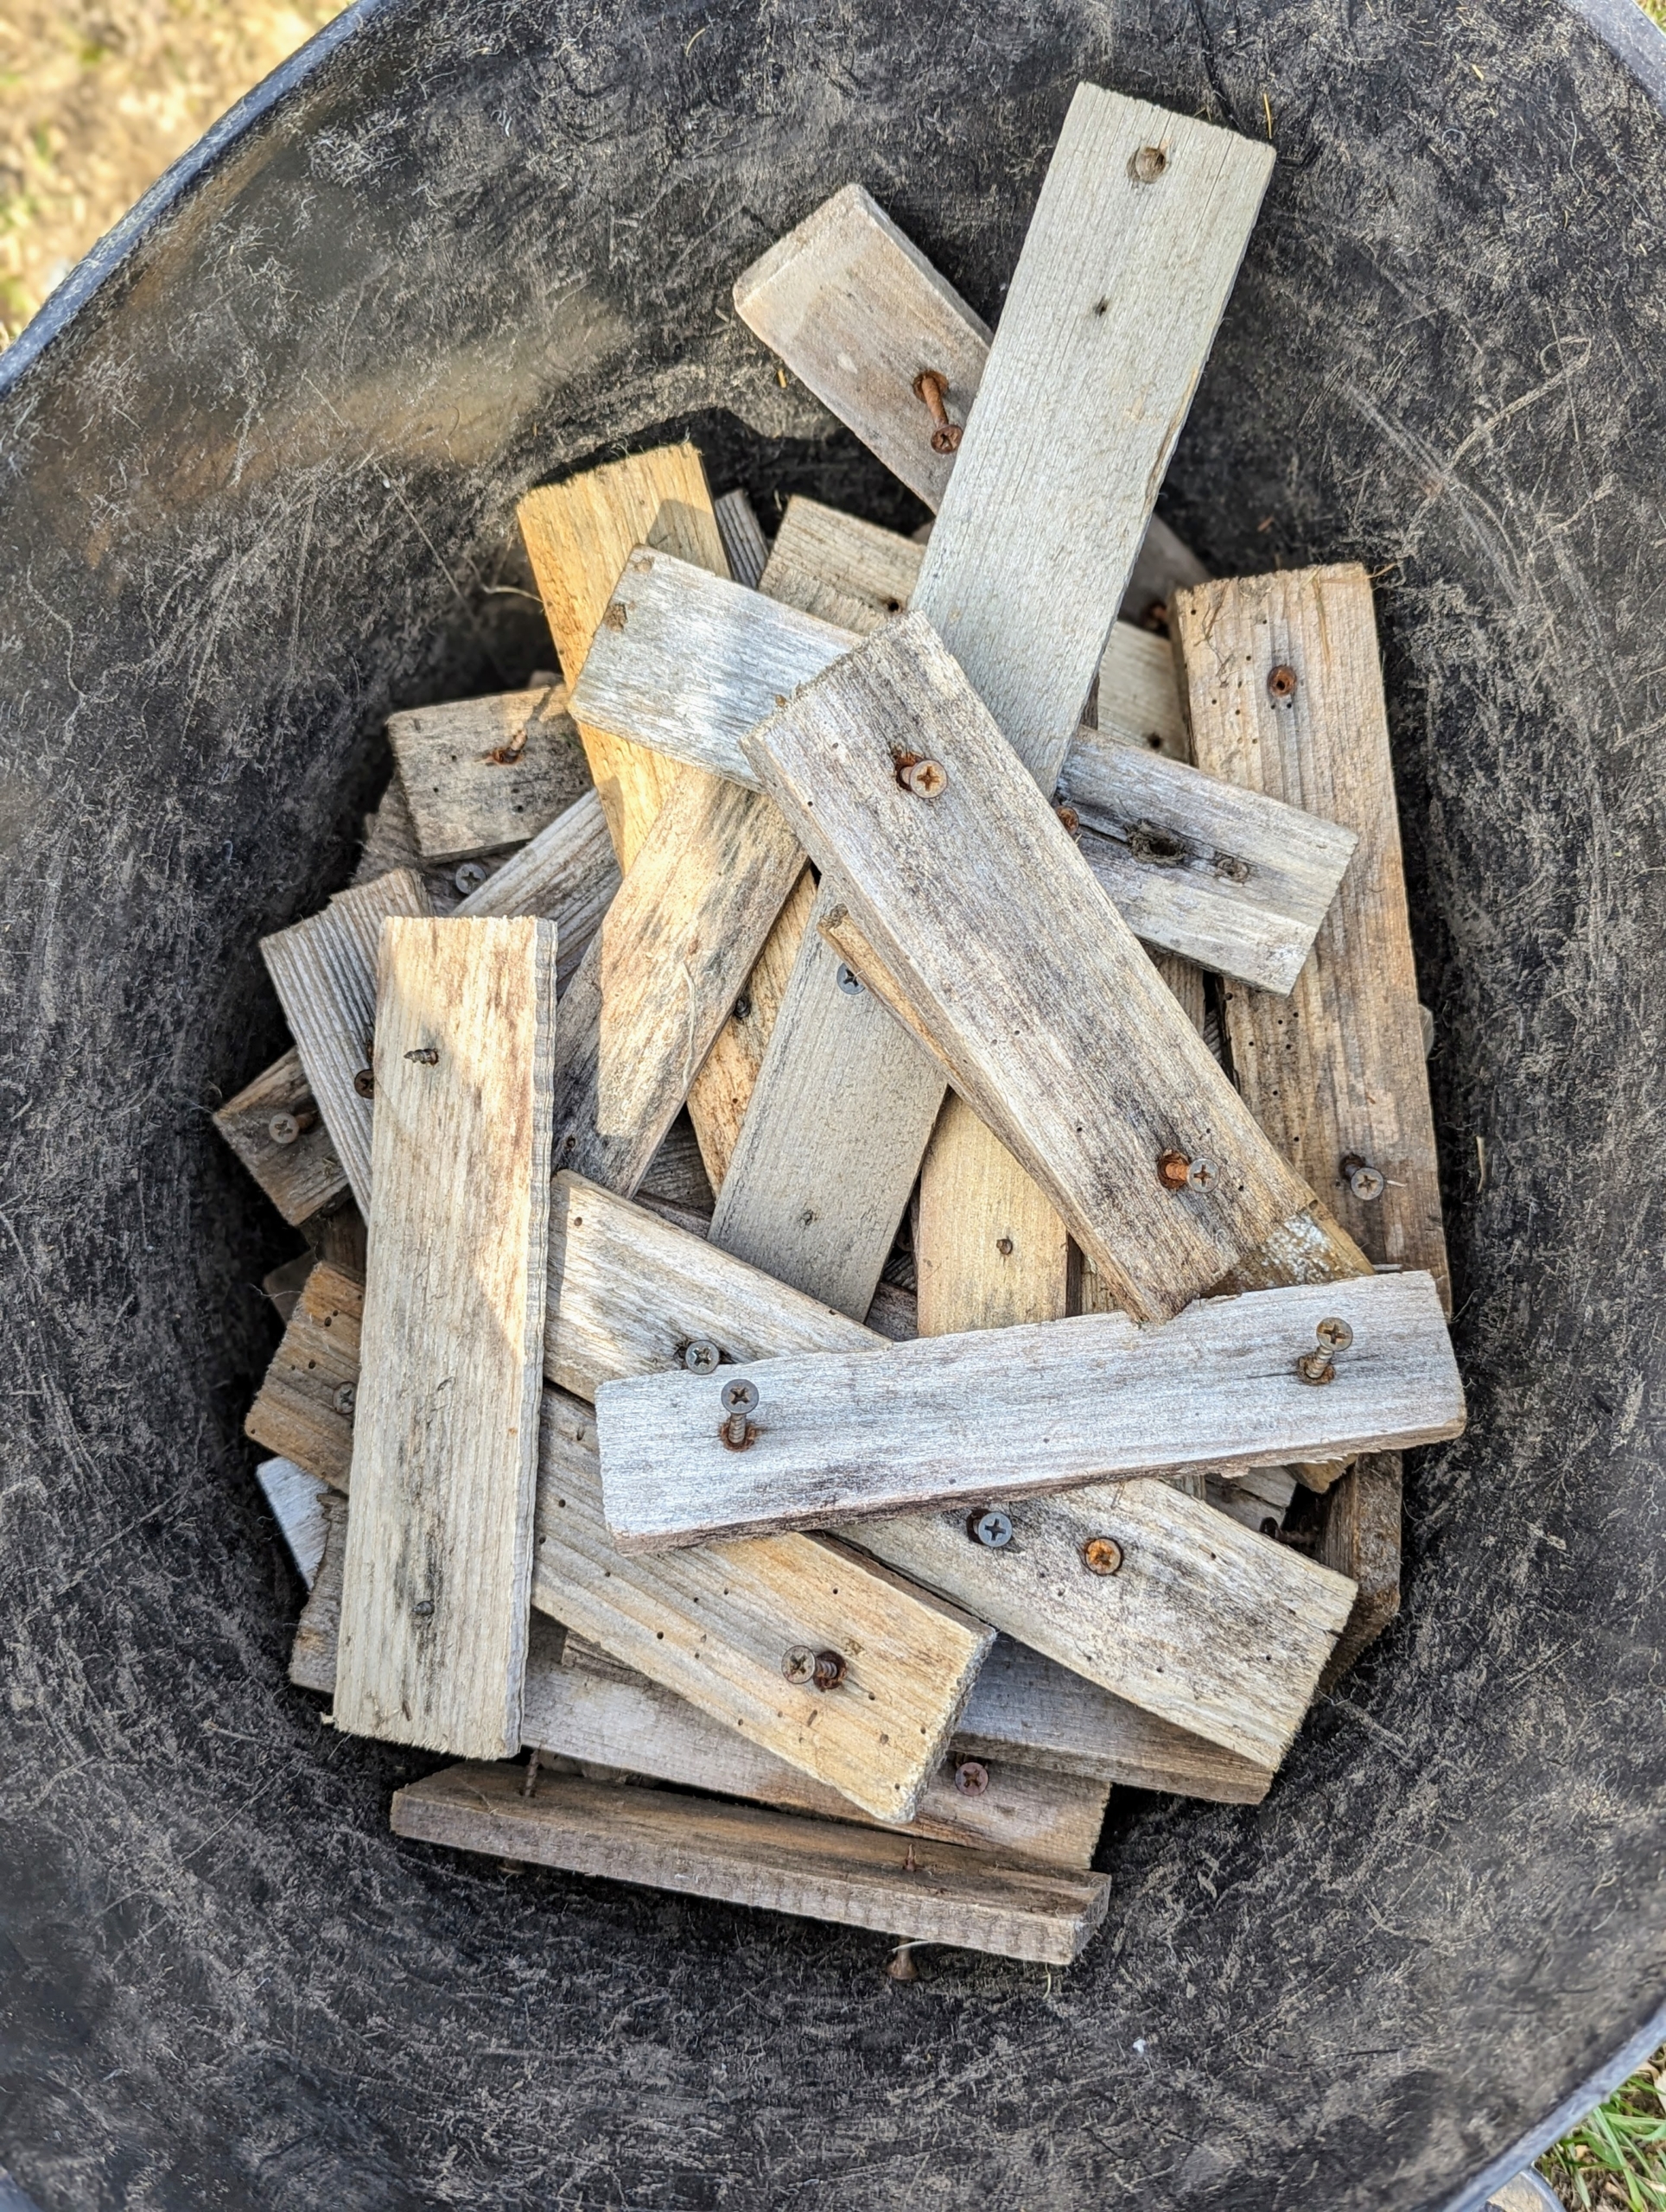
The strips and screws are collected and stored for next year. We keep all the pieces grouped separately and neatly.
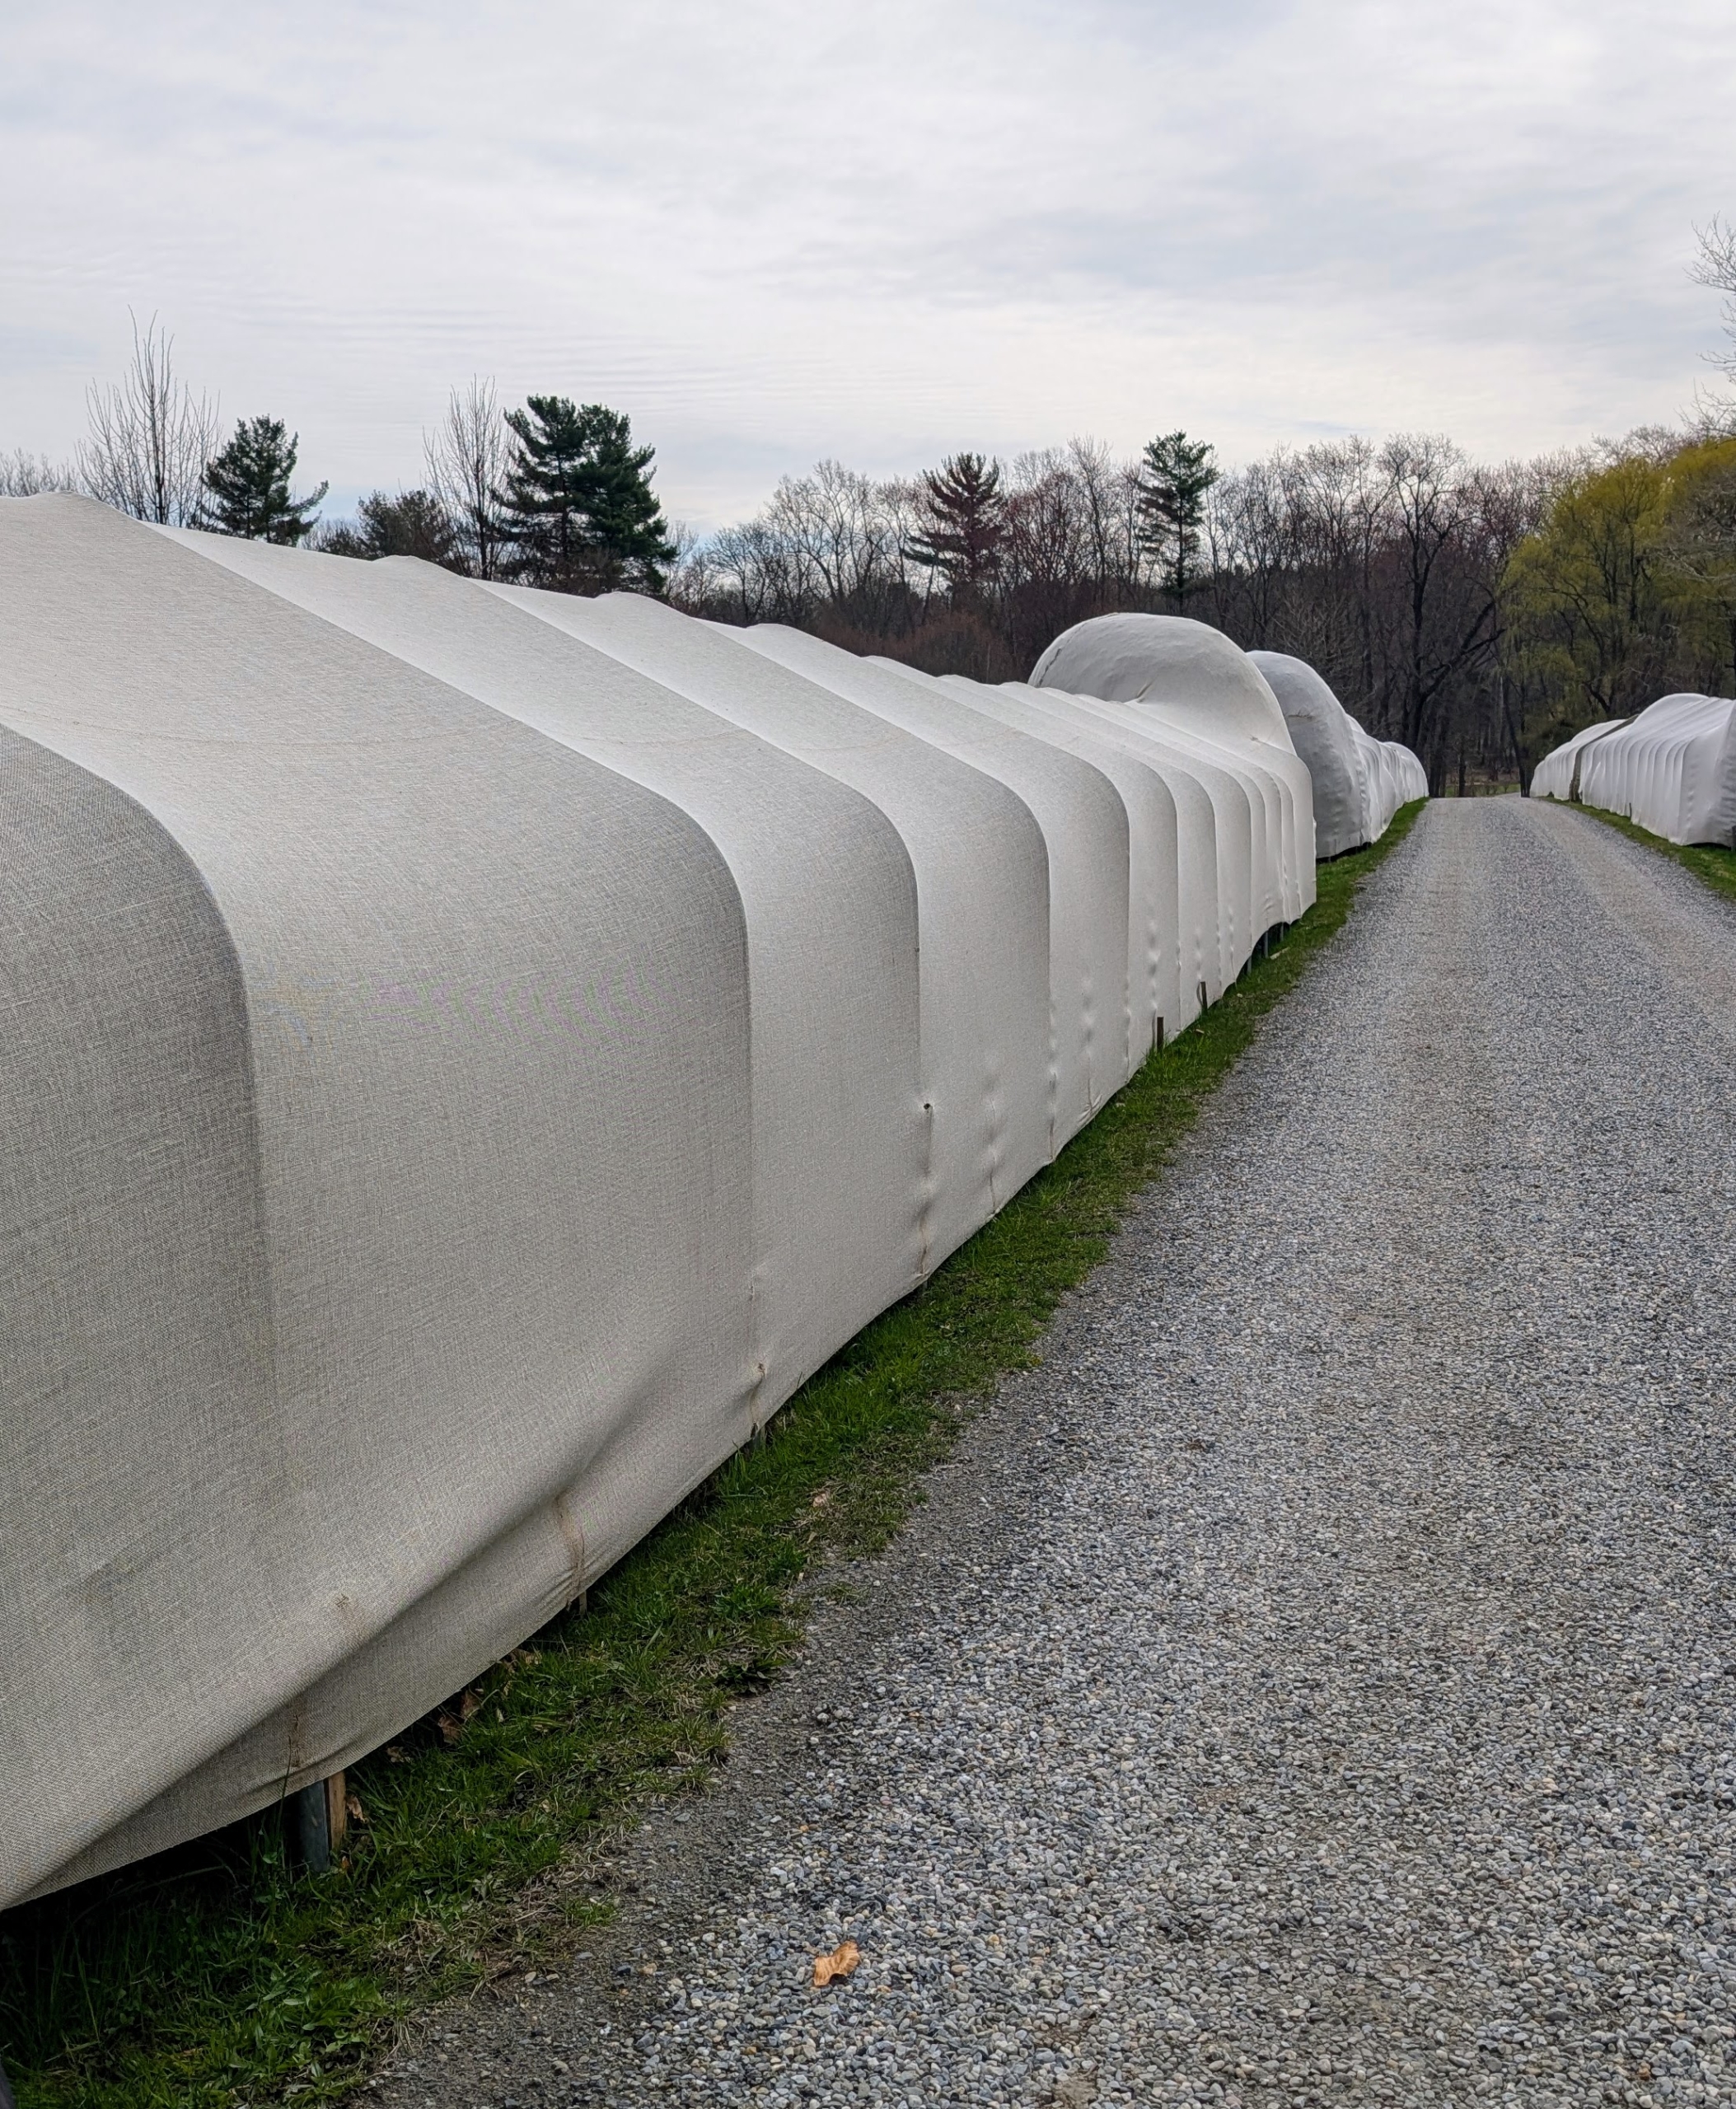
When all the small strips are removed the burlap is ready to be pulled off.
Phurba peeks underneath to check the condition of the boxwood – everything looks very green.
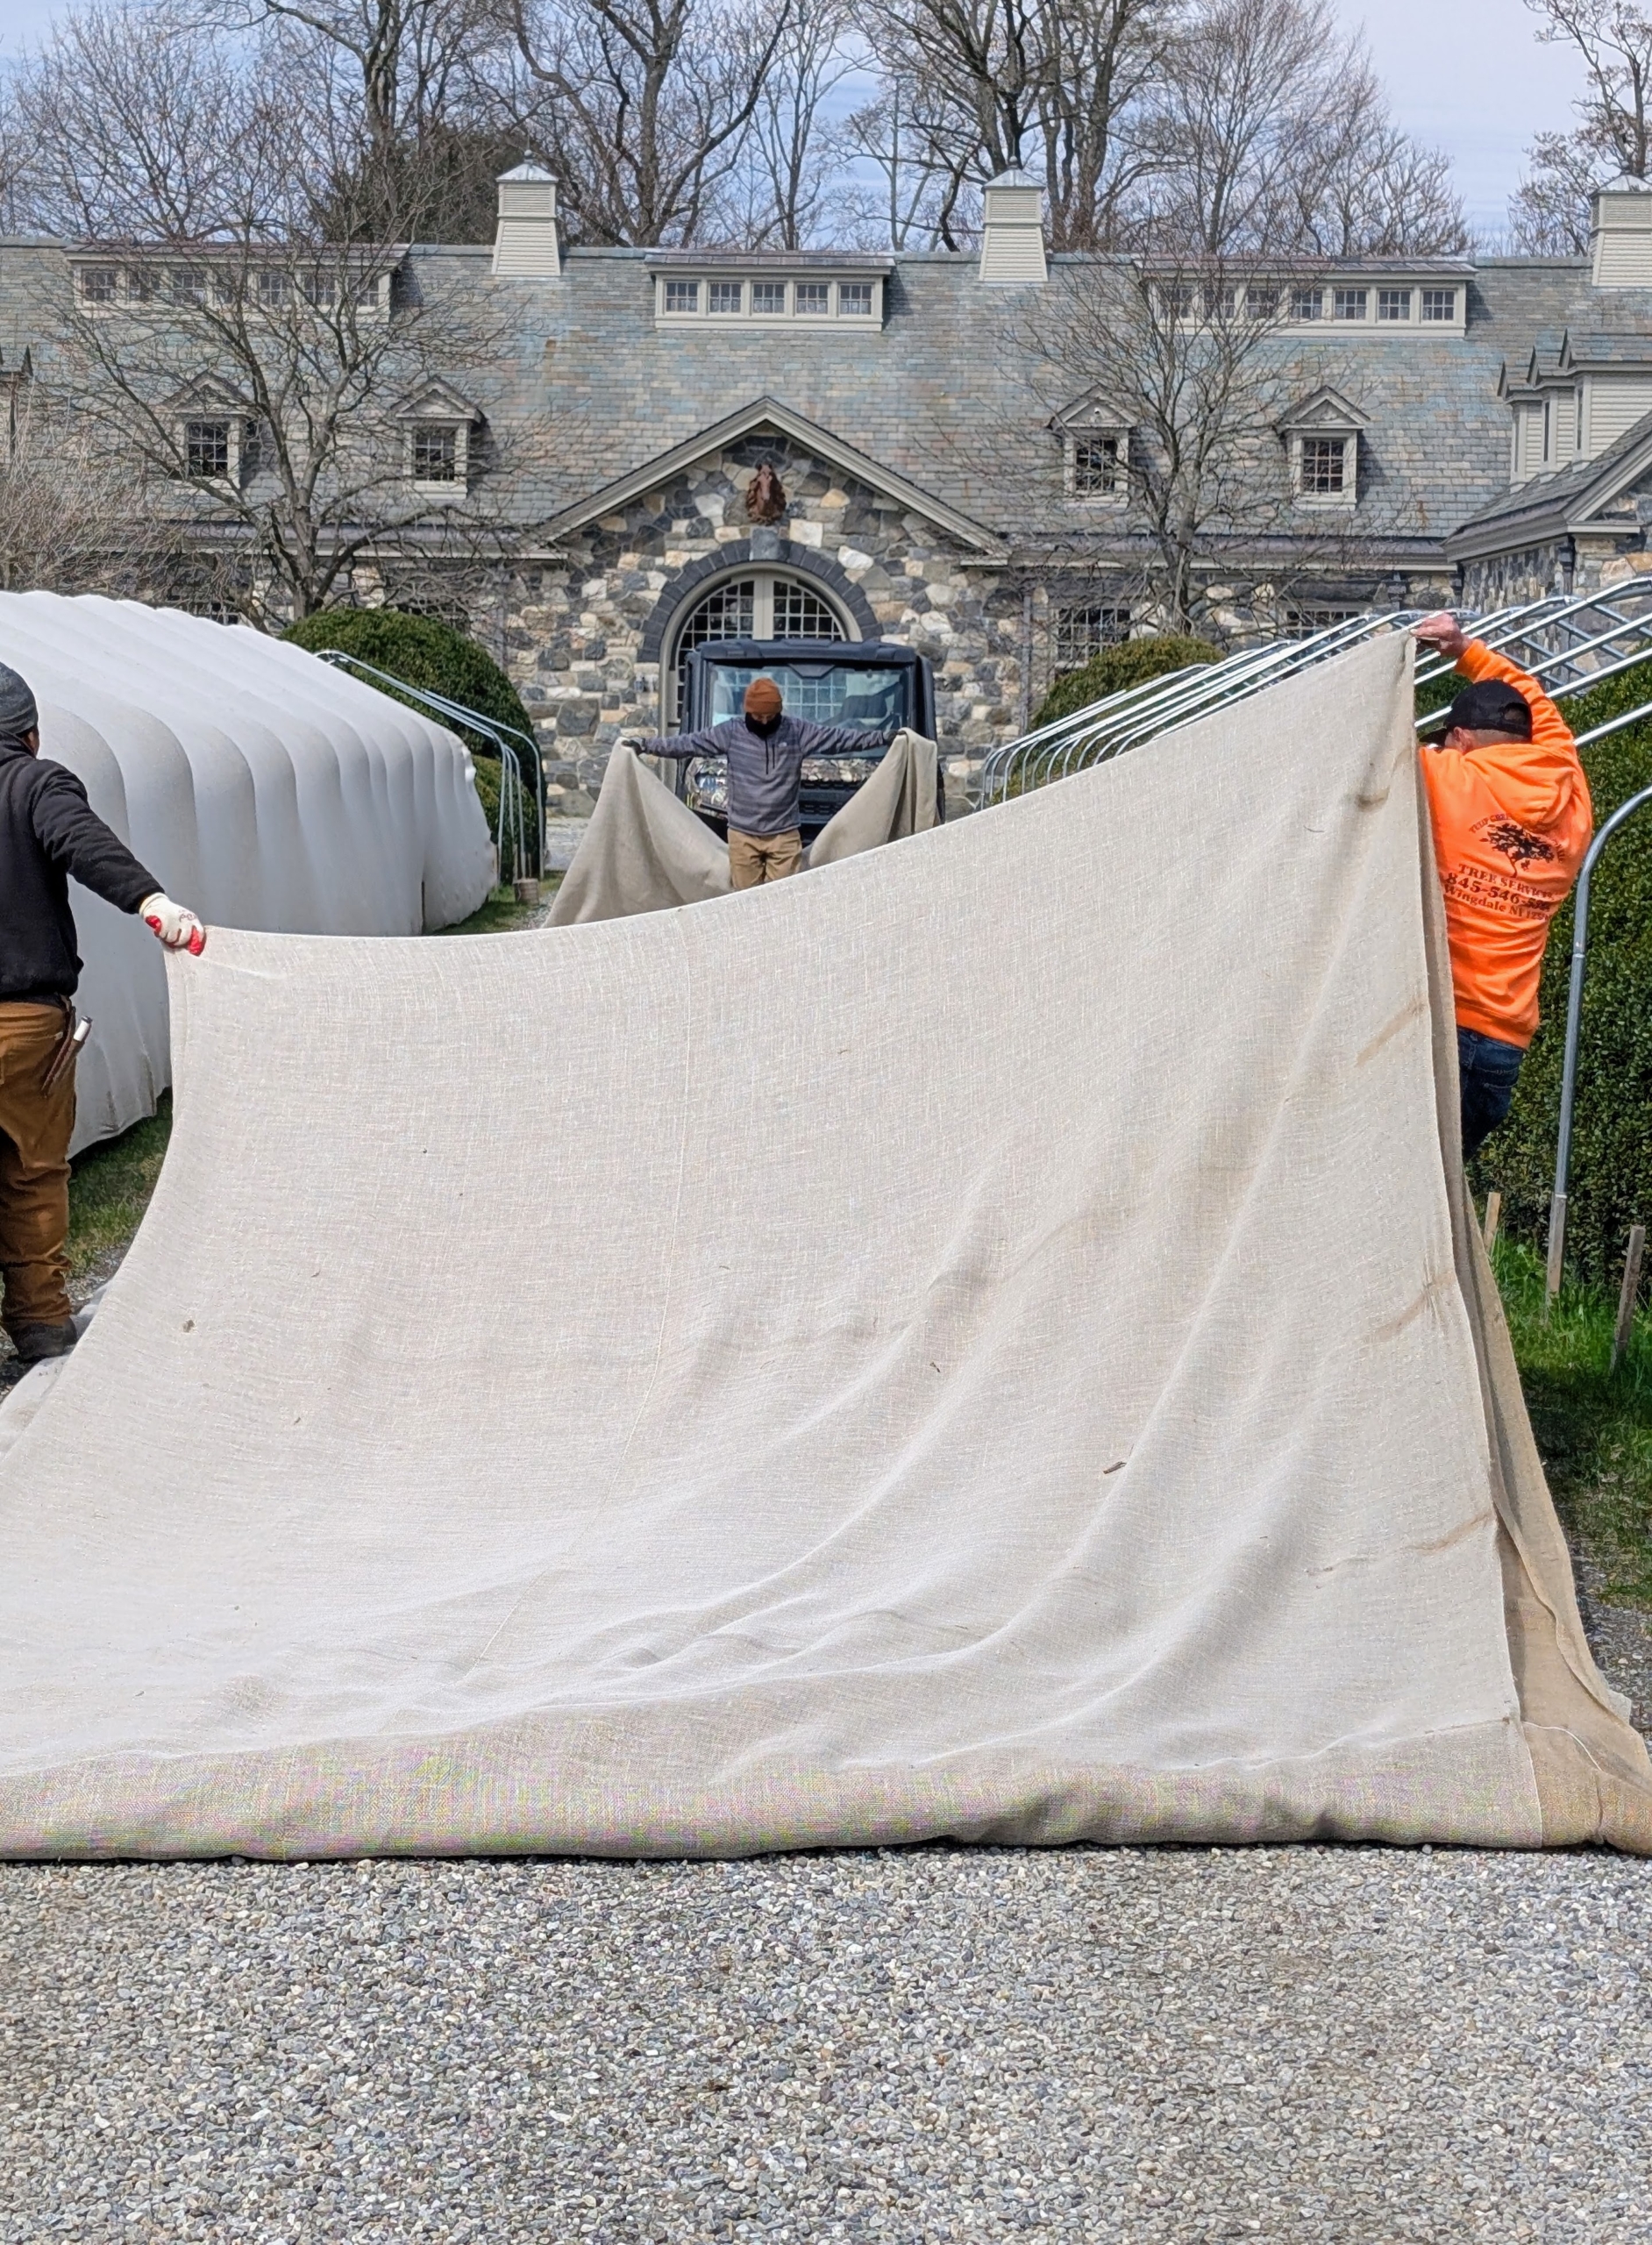
We use industrial burlap that’s available in giant rolls of 40-inches or 60-inches wide. Some pieces are sewn together to accommodate the large and growing boxwood.
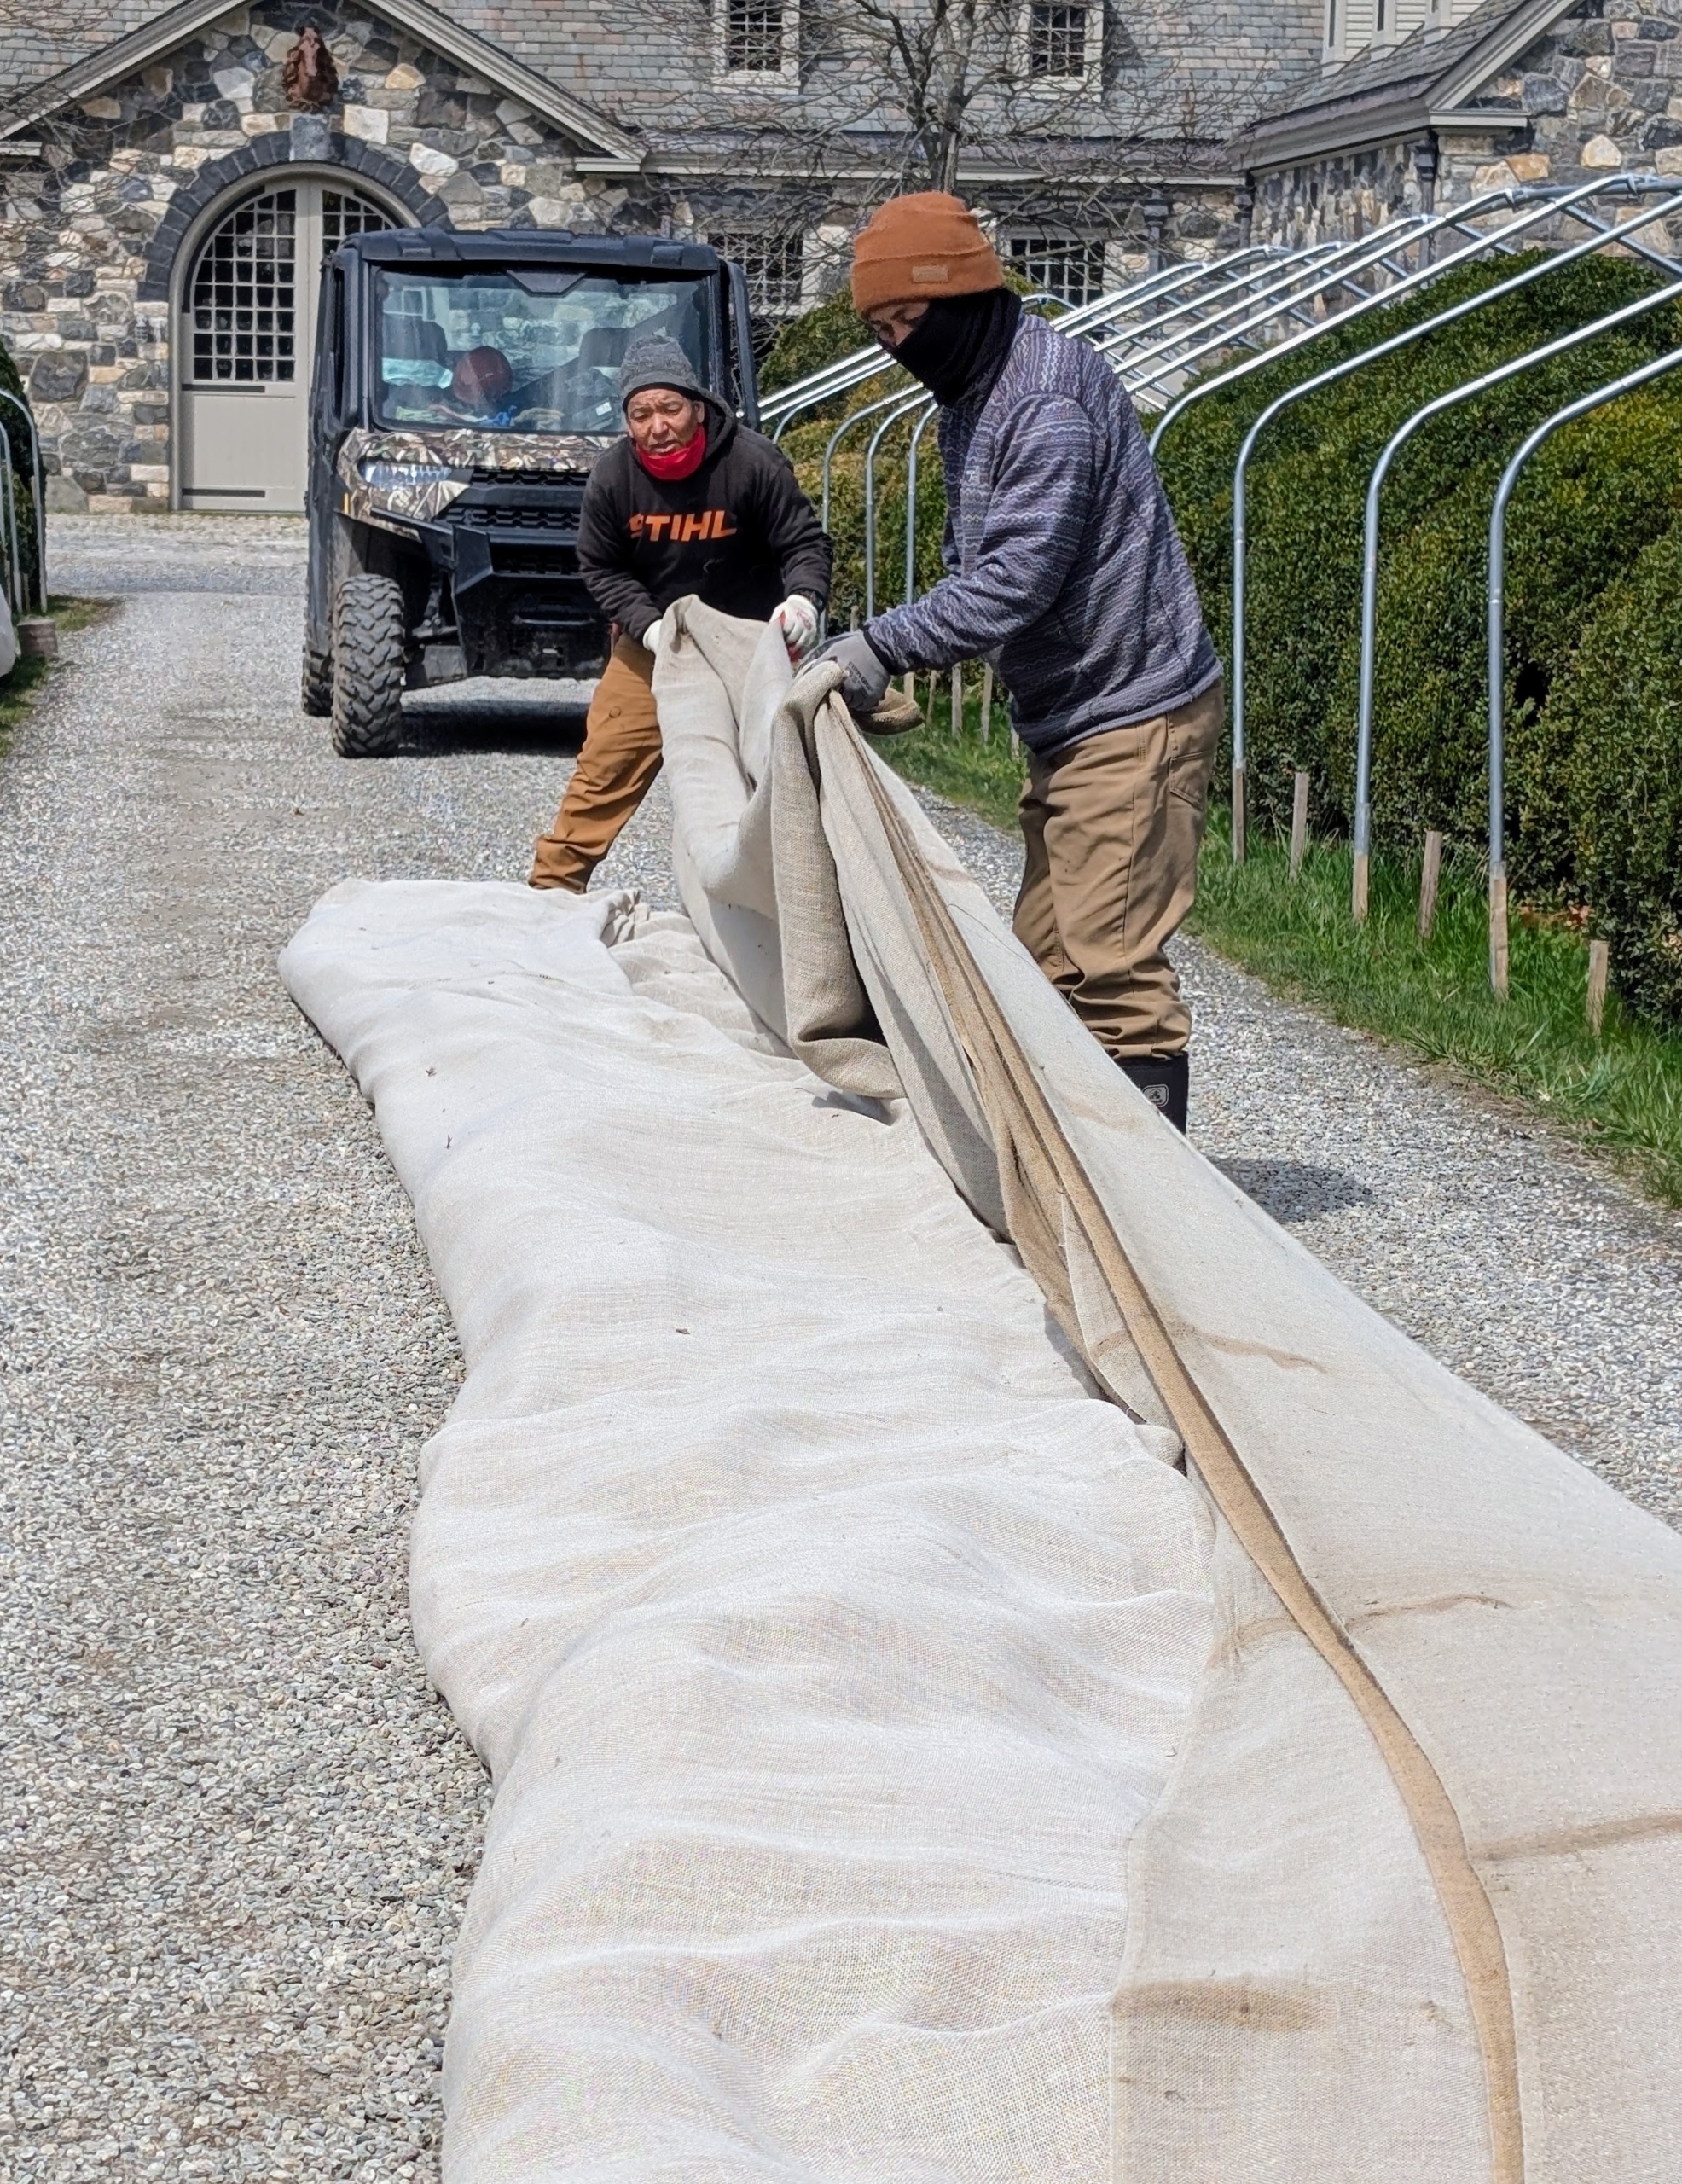
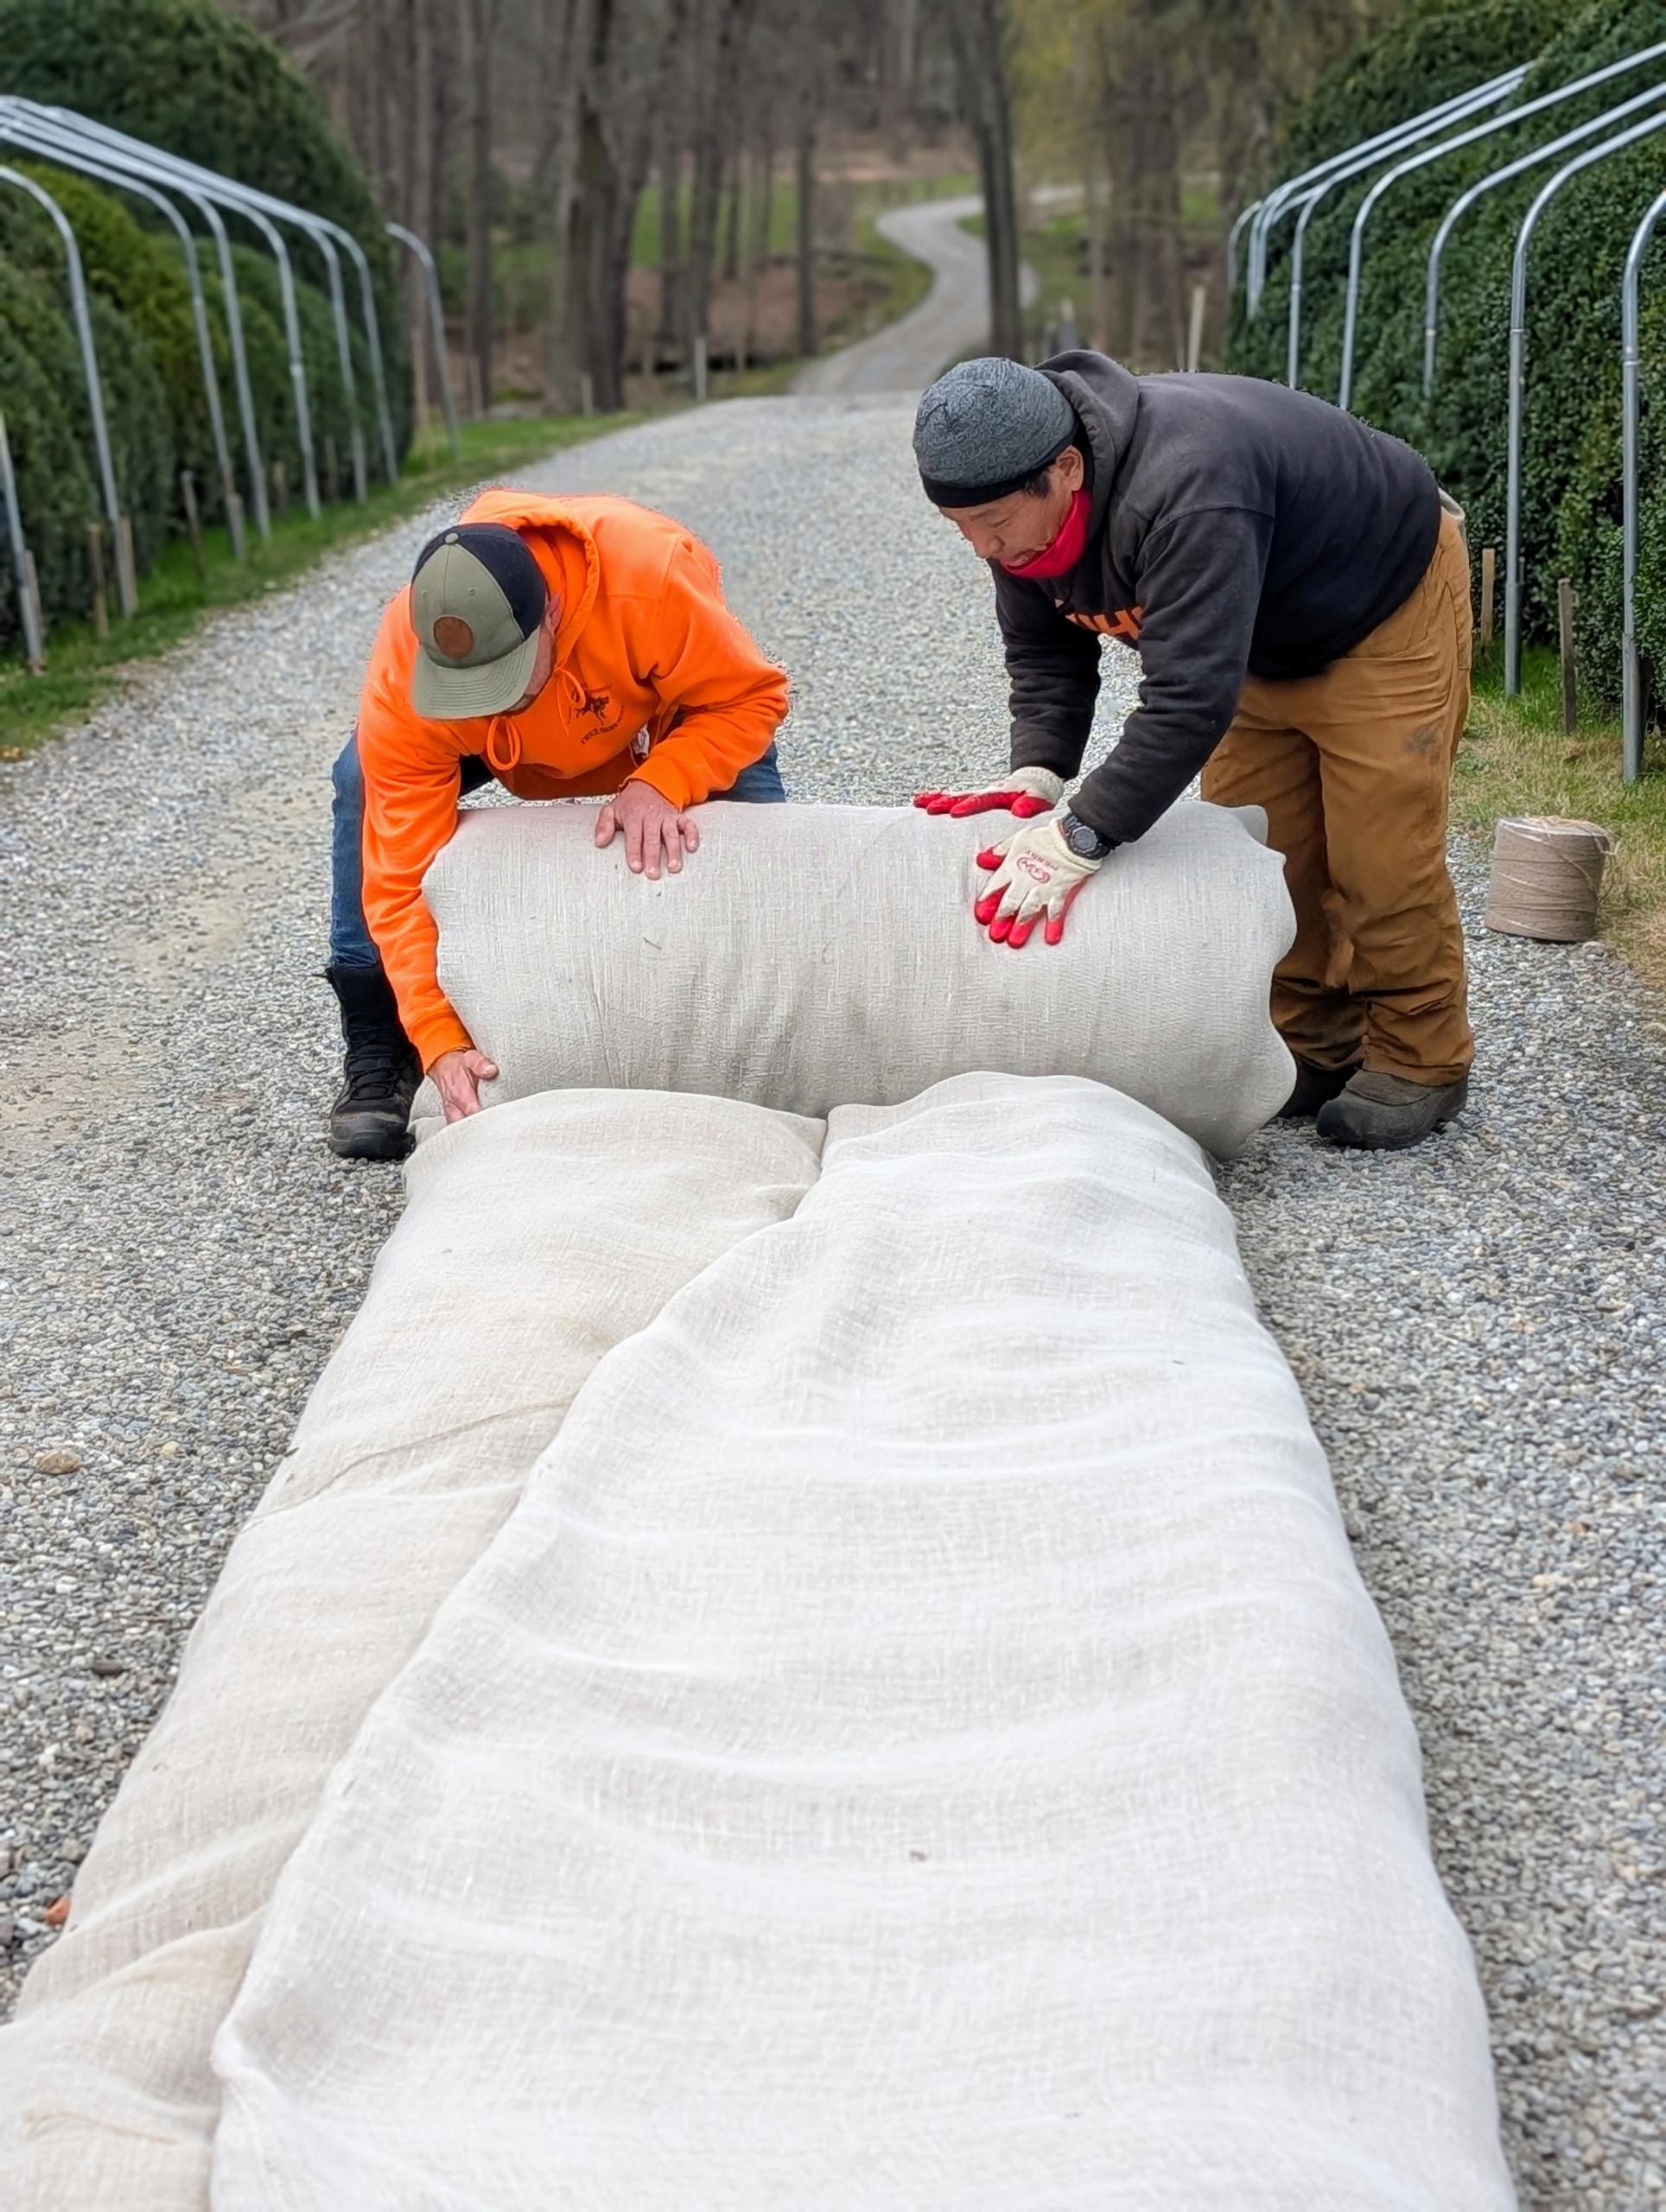
Here, Phurba, Chhiring, and Alex pull a long section and begin to fold the burlap.
Once the length of the burlap is folded to a manageable size, they fold the sides in to make it more narrow.
And then they roll it neatly. Team work is necessary to complete this task quickly and efficiently. The burlap covers can be used for two seasons. Once they are no longer useable as covers, they are repurposed in the gardens to prevent weeds.
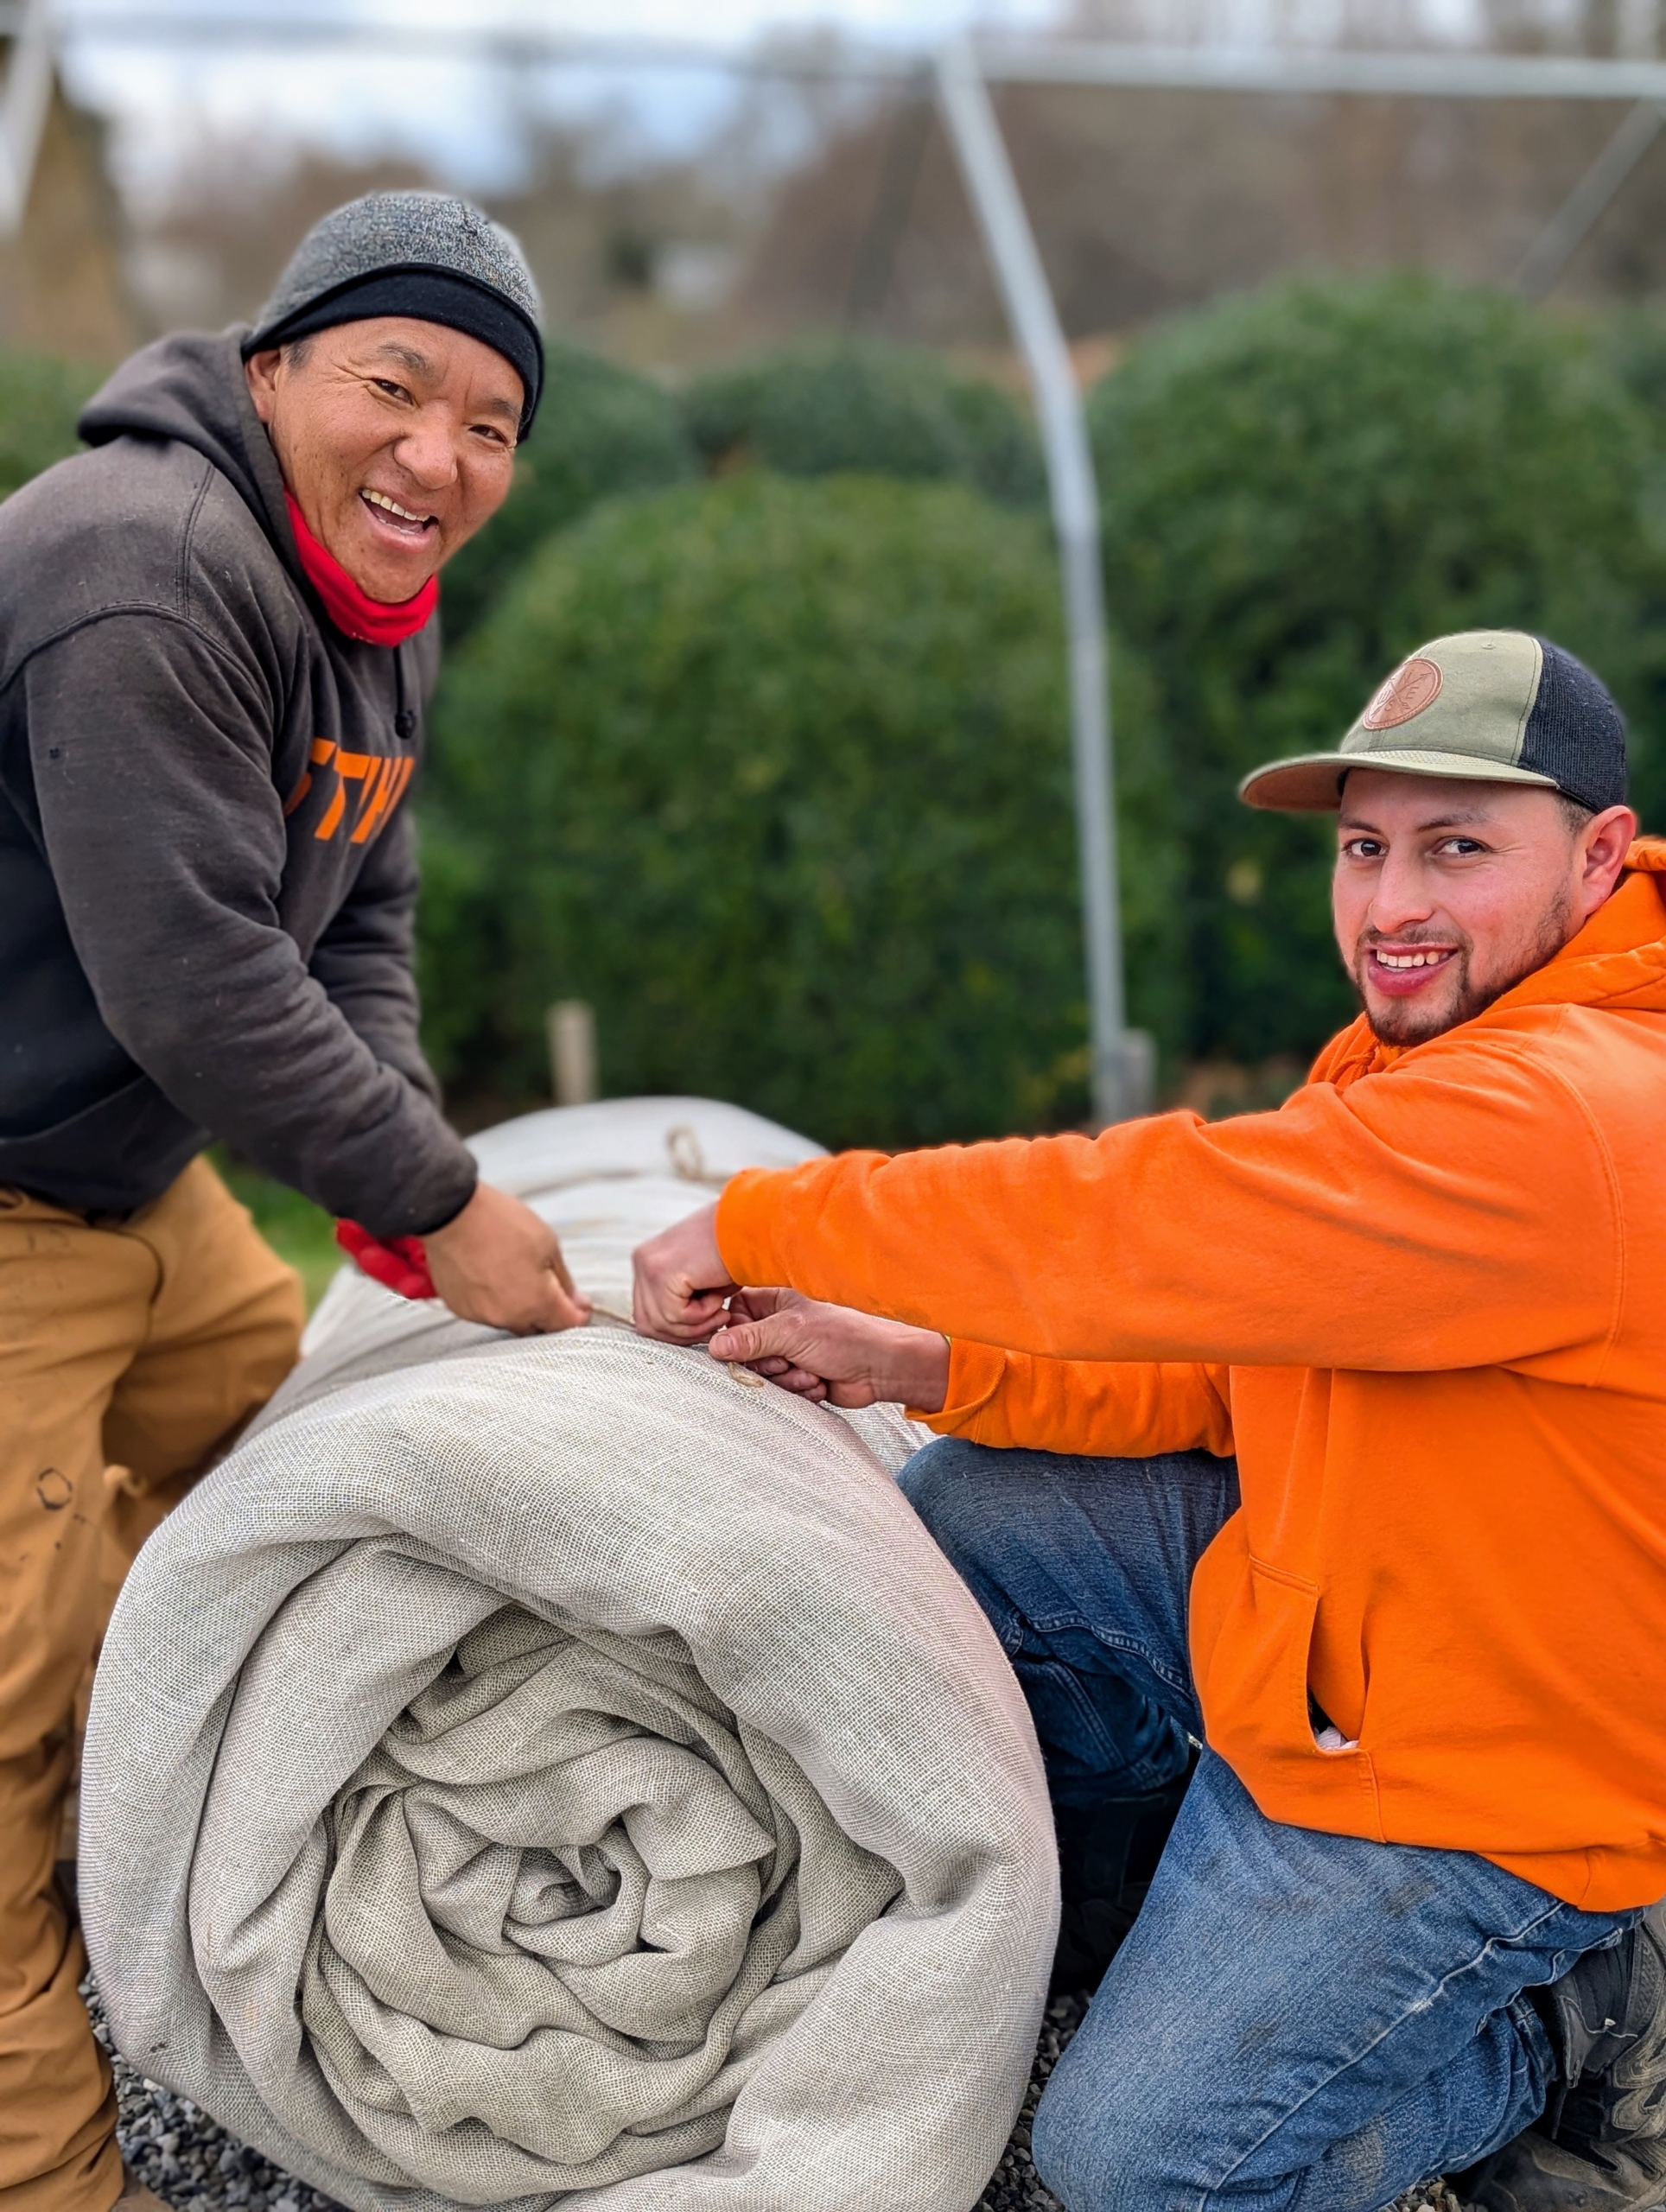
Phurba and Alex tie the large, heavy rolls of burlap with jute twine – we use this natural twine for many projects at the farm.
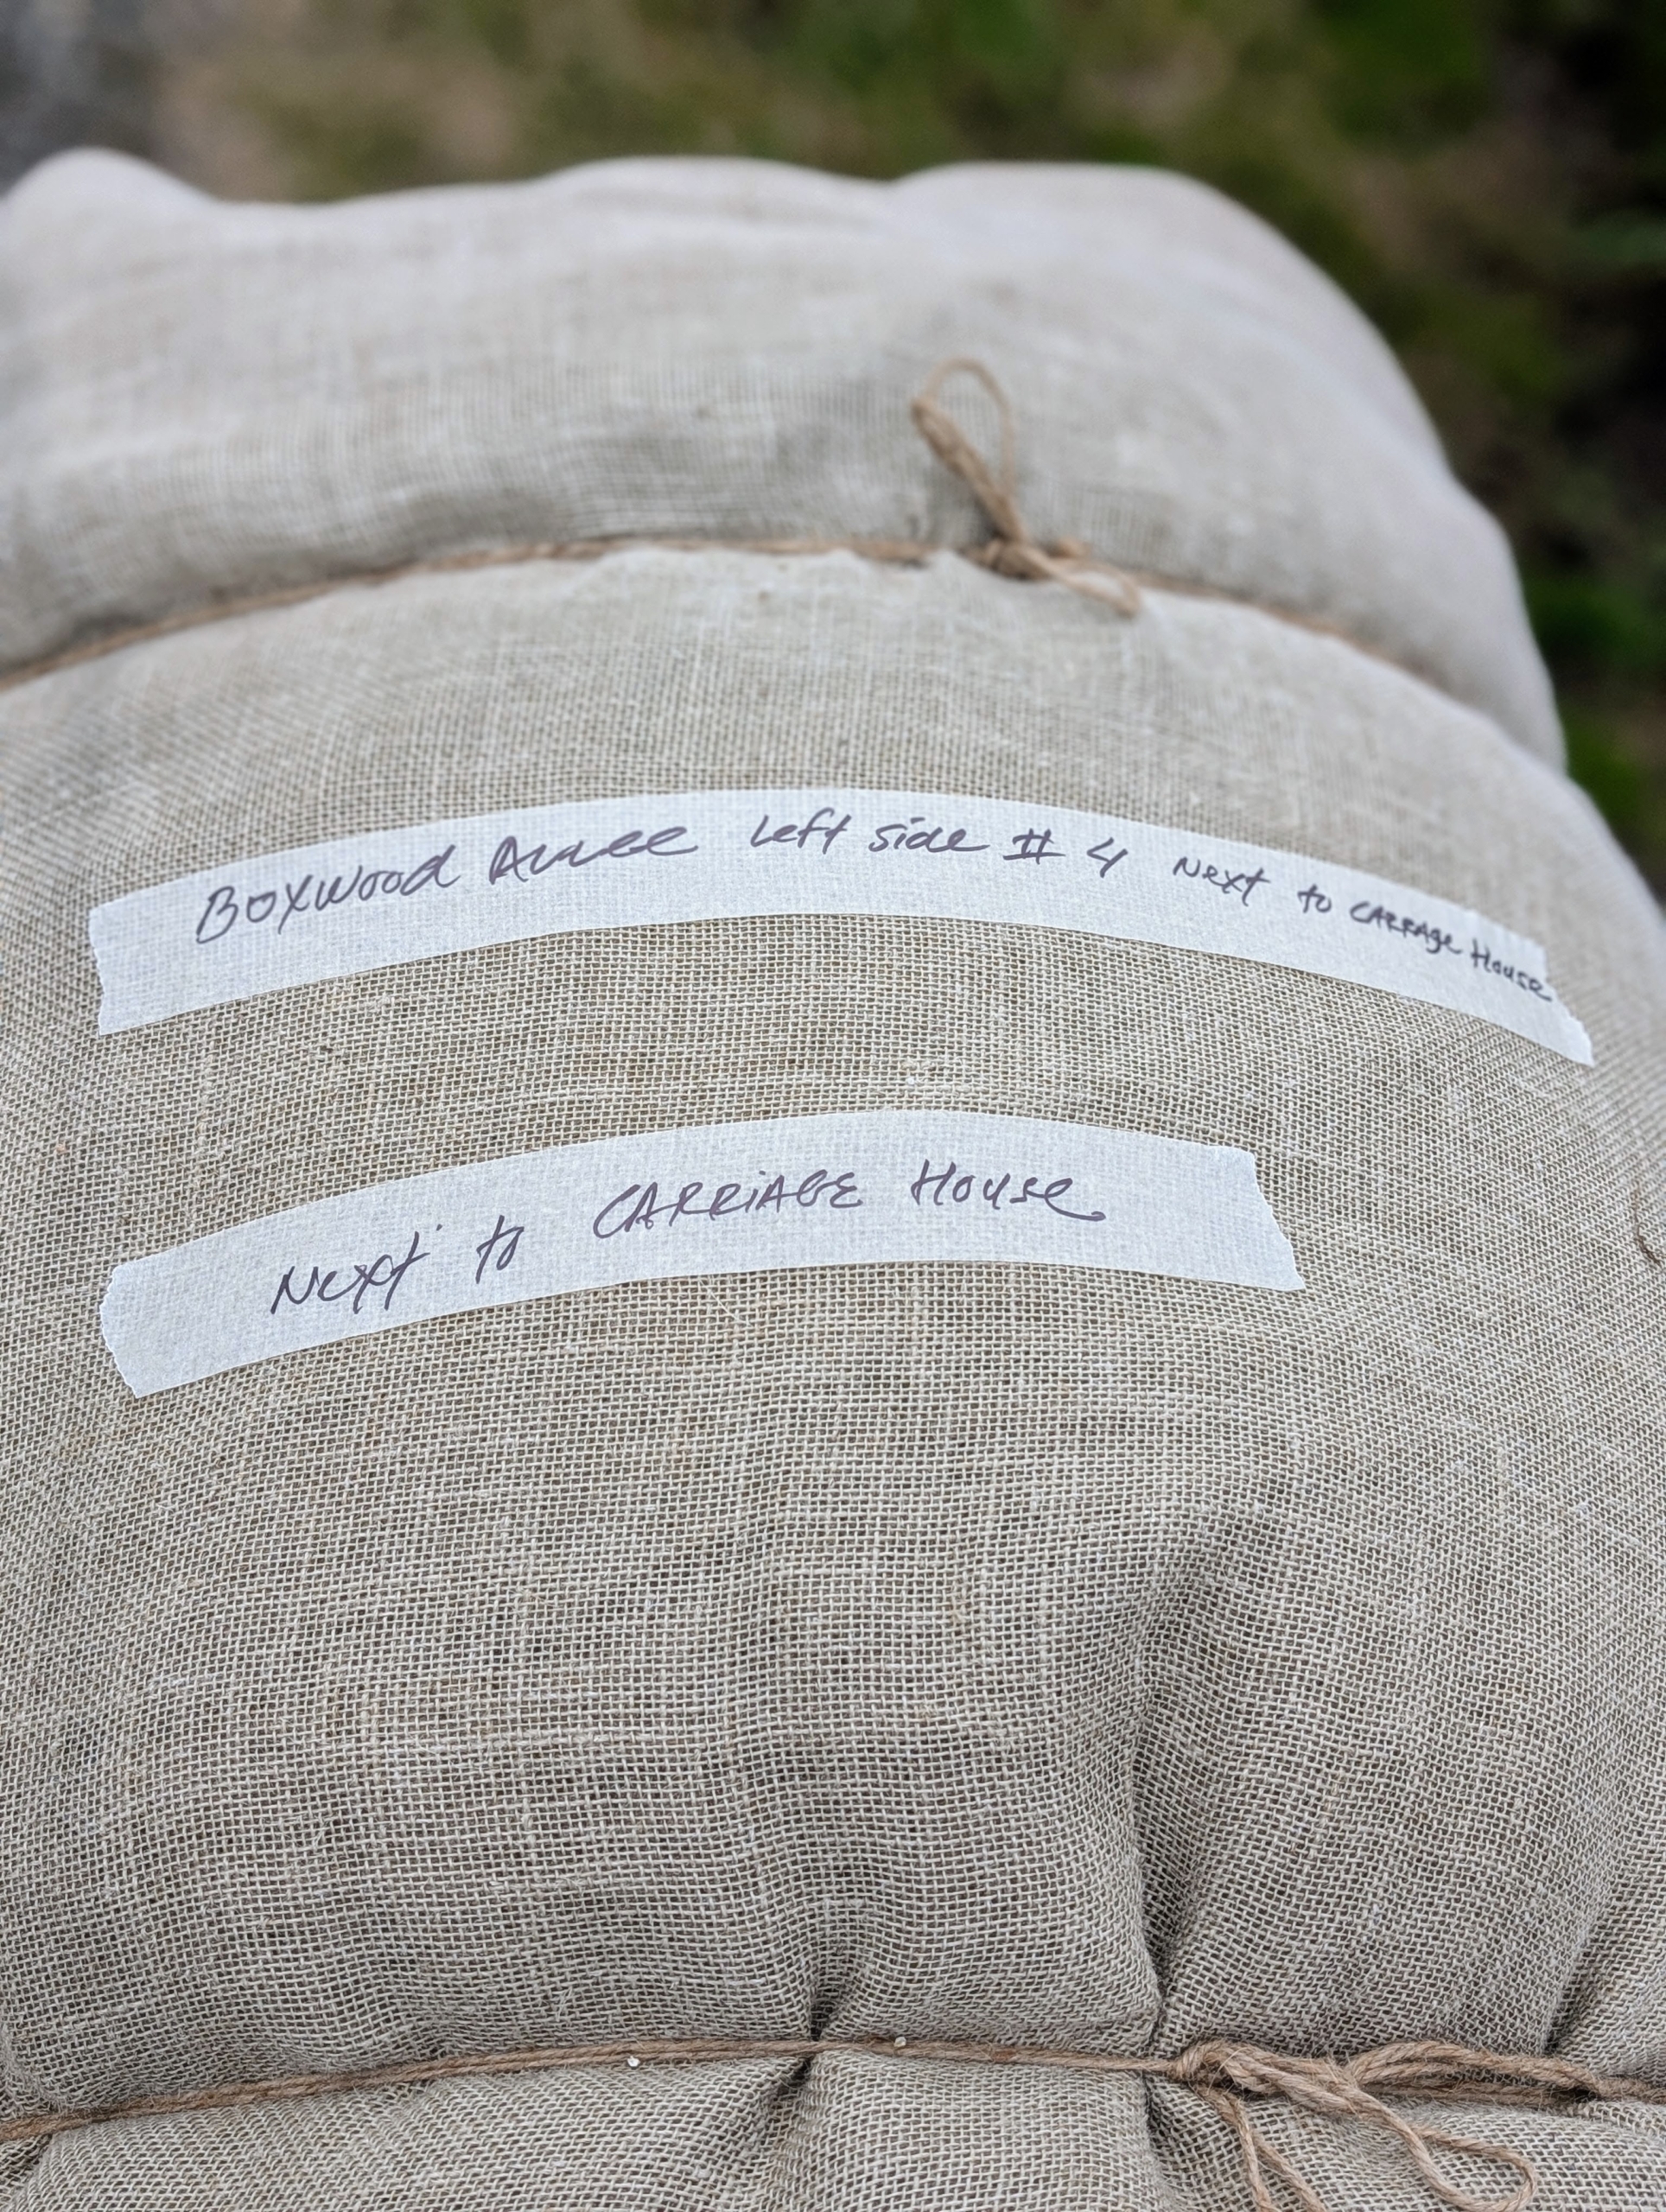
Phurba labels each roll of burlap indicating what it covers and where. The label will make it easy to identify next fall when the boxwood is covered again.
The rolls are ready to be loaded onto the truck and taken to the Stable Barn for storage. Taking down the burlap is a much faster process than putting the burlap up, but still time-consuming. All the rolls of burlap must be kept dry when not in use. One of the few downsides to this fabric is that it will start to fray and disintegrate after time, especially if exposed to moisture.
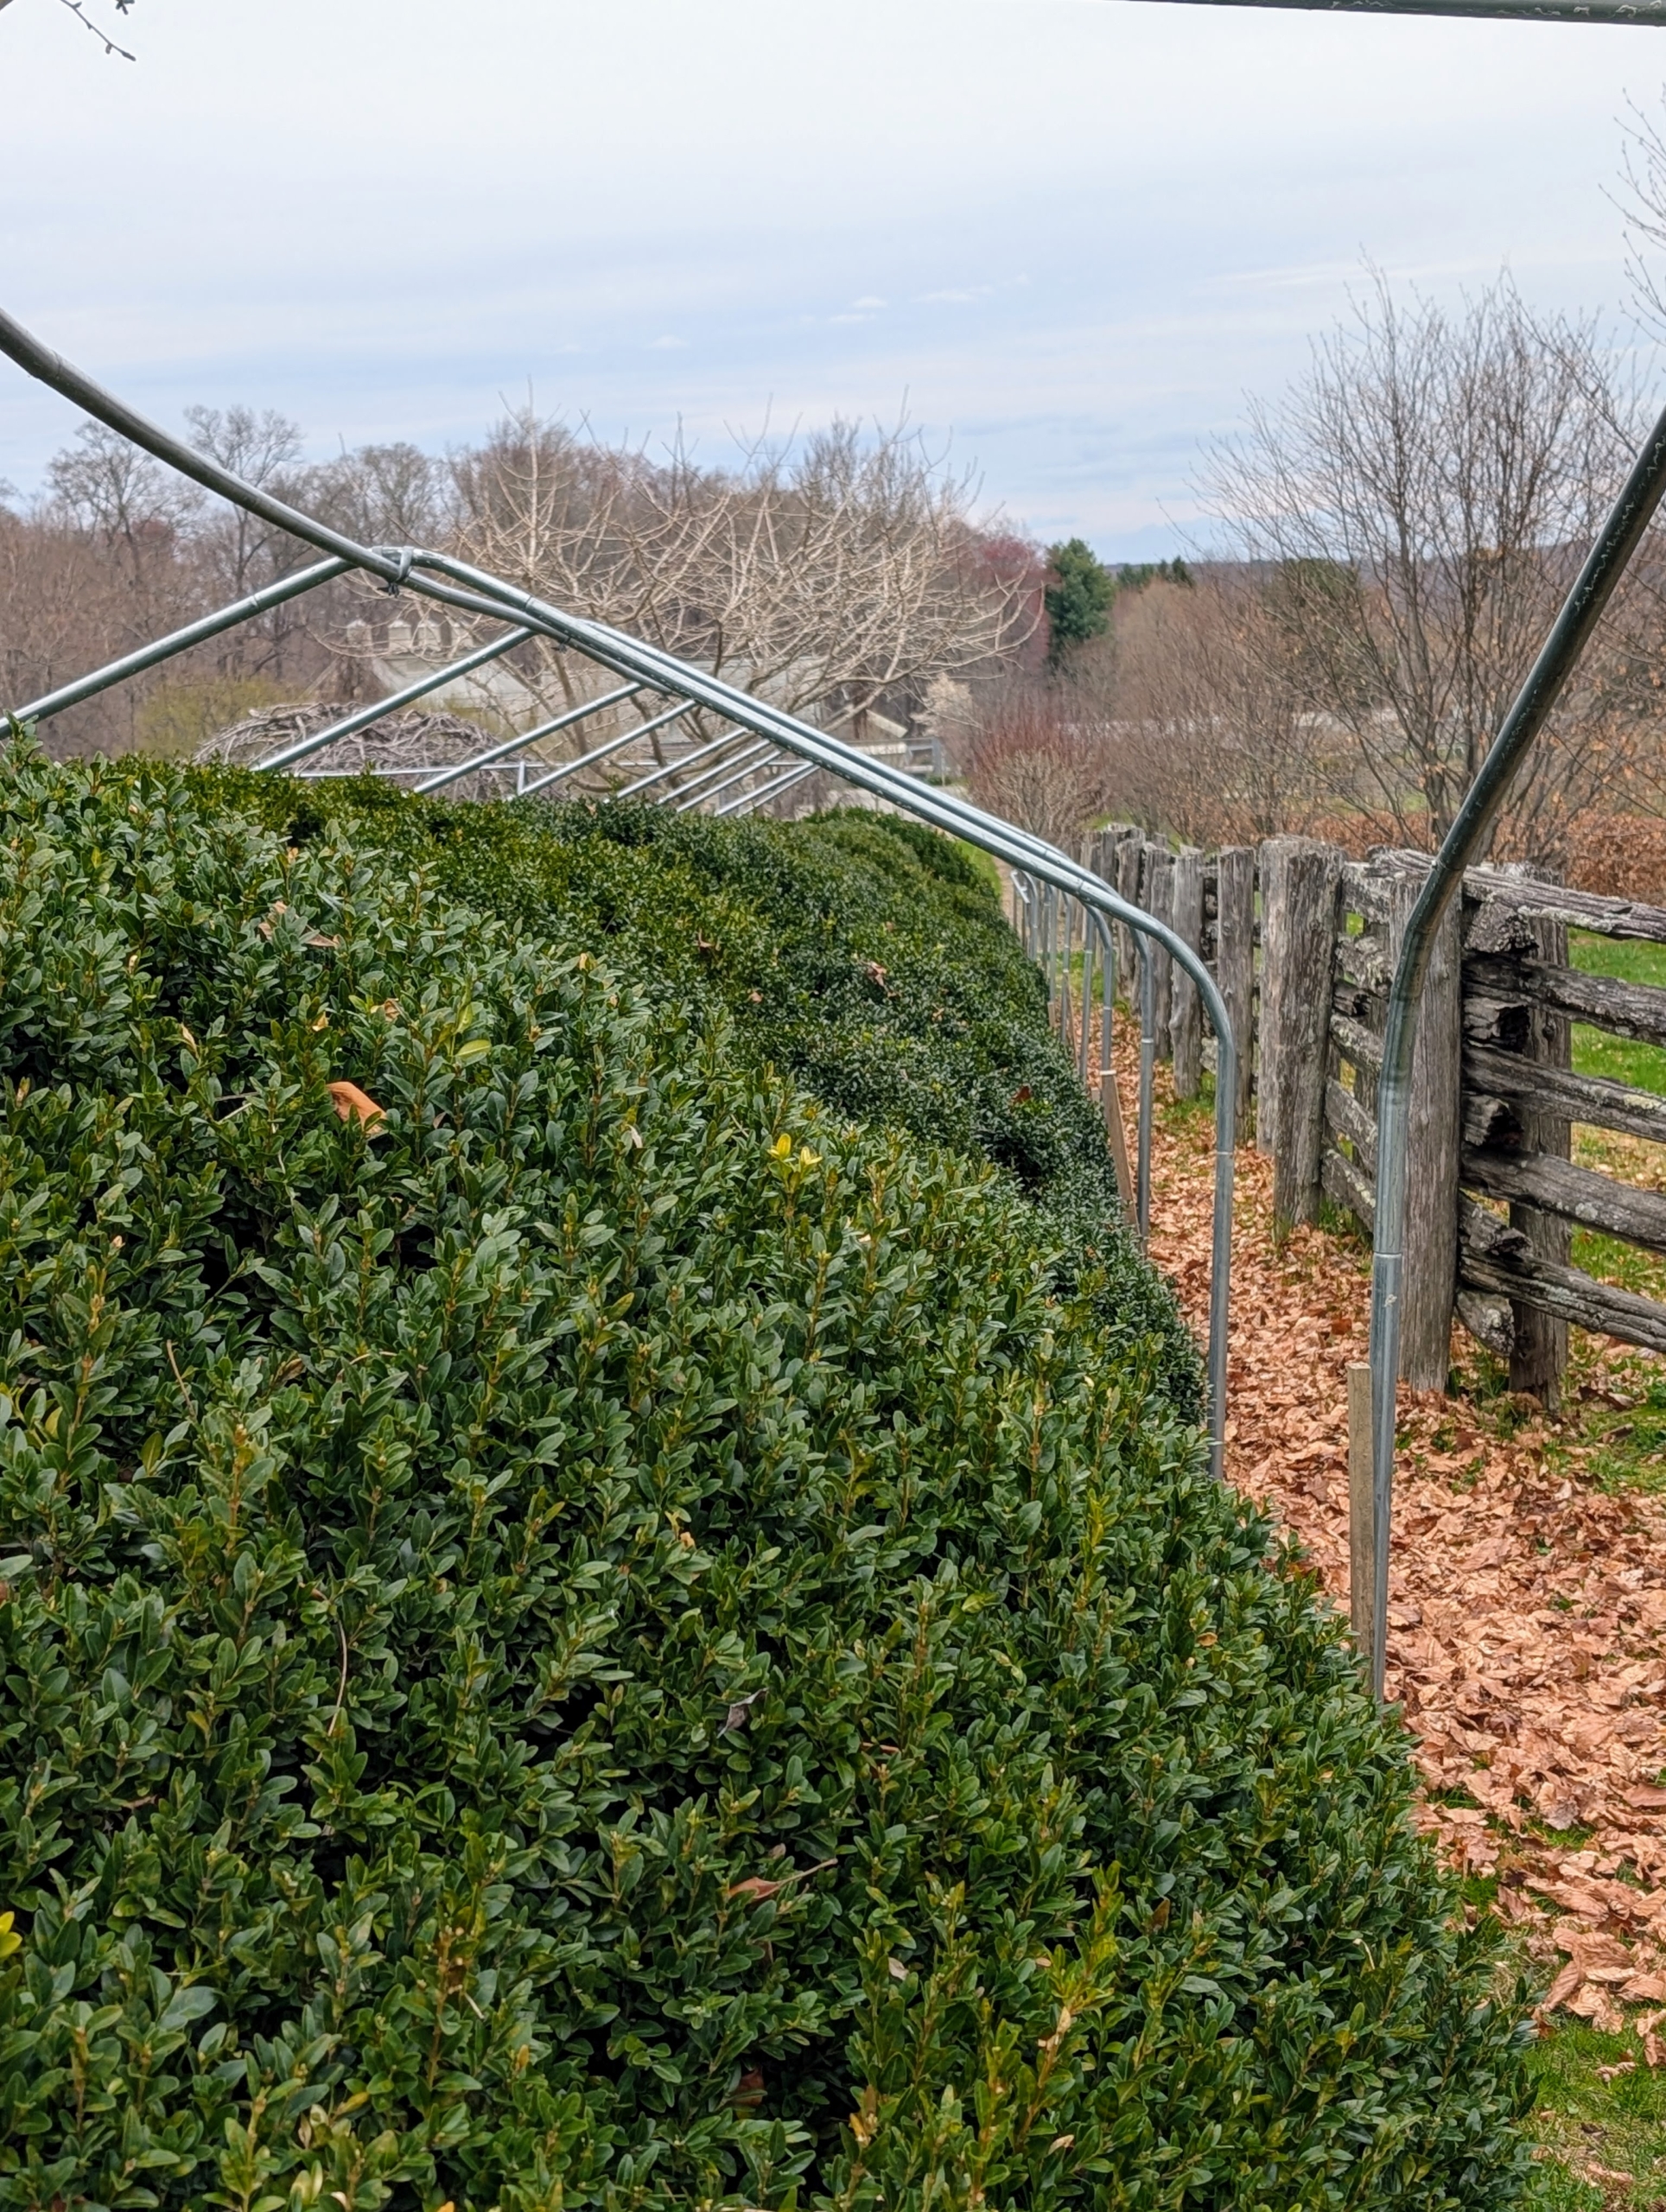
It’s always so nice to see the boxwood once the burlap is removed. For the frames we use the same metal used to make hoop houses – strong industrial steel ground uprights and purlin pipes. These materials not only provide the necessary support frames for the burlap but also accommodate any plant growth. These frames will be removed next.
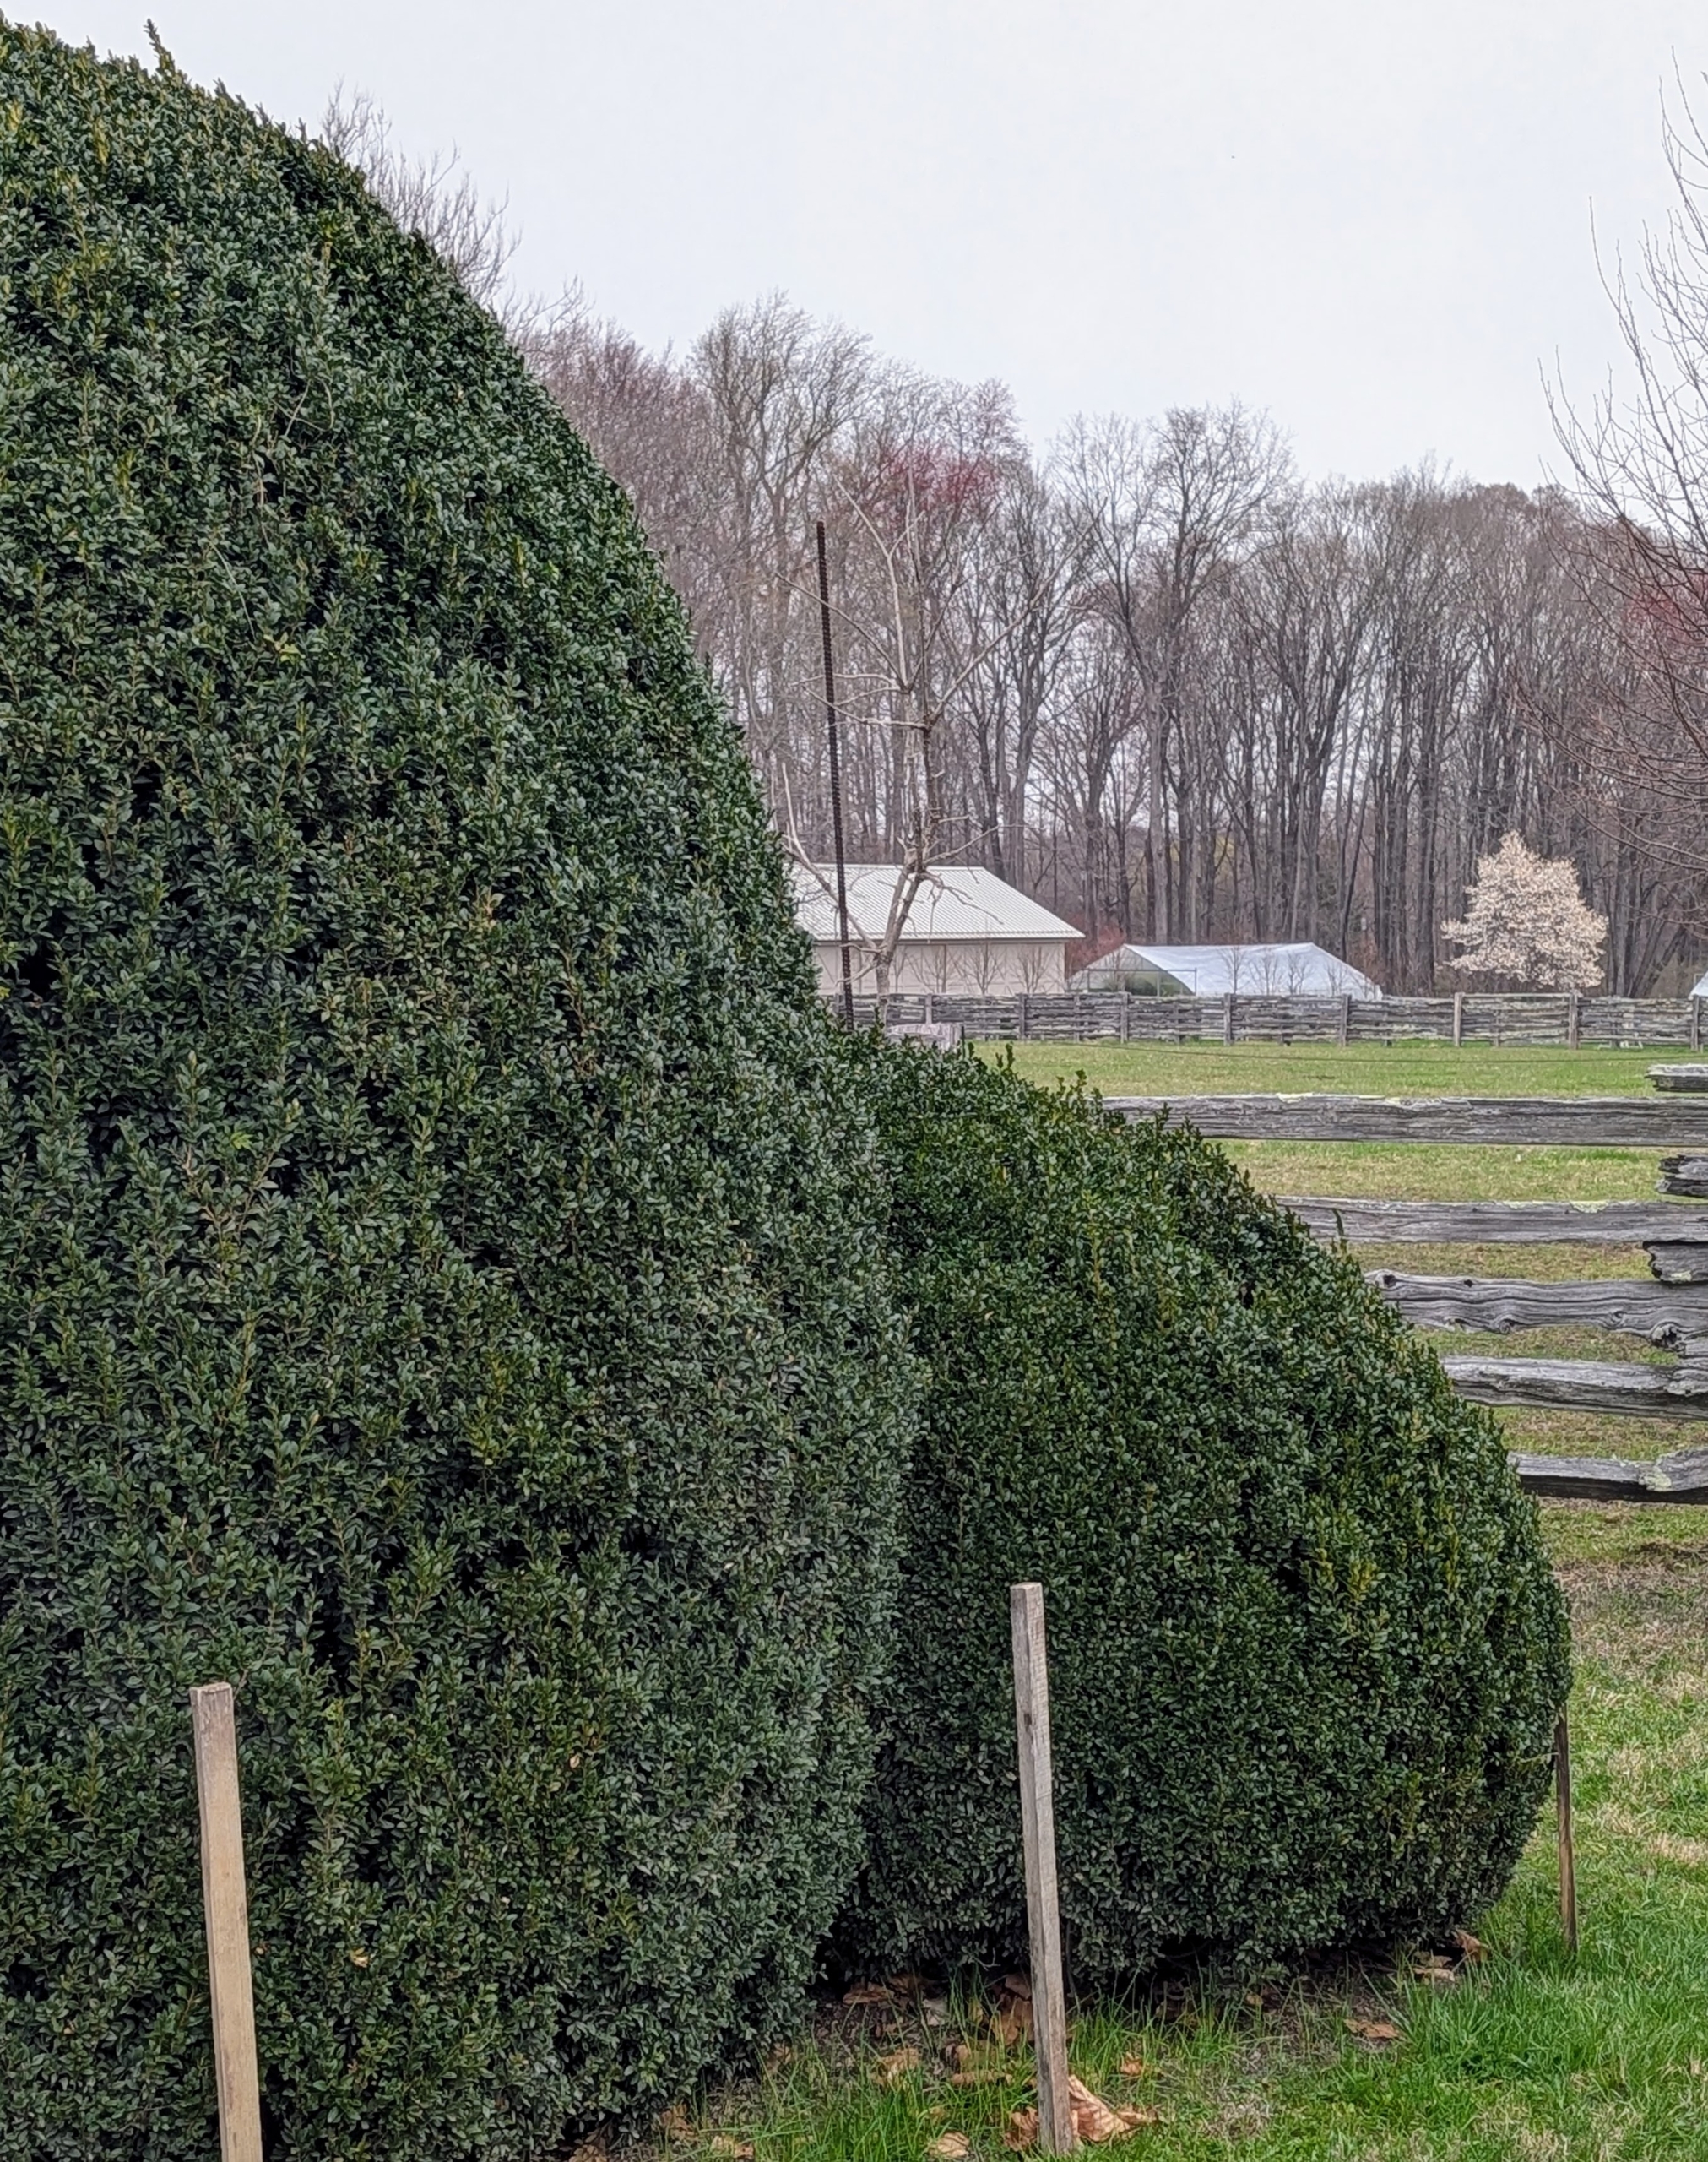
The boxwood looks so beautiful and green. Under heavy snow, these shrubs could suffer branch damage and splaying. Thankfully we did not have too bad a cold season this year.
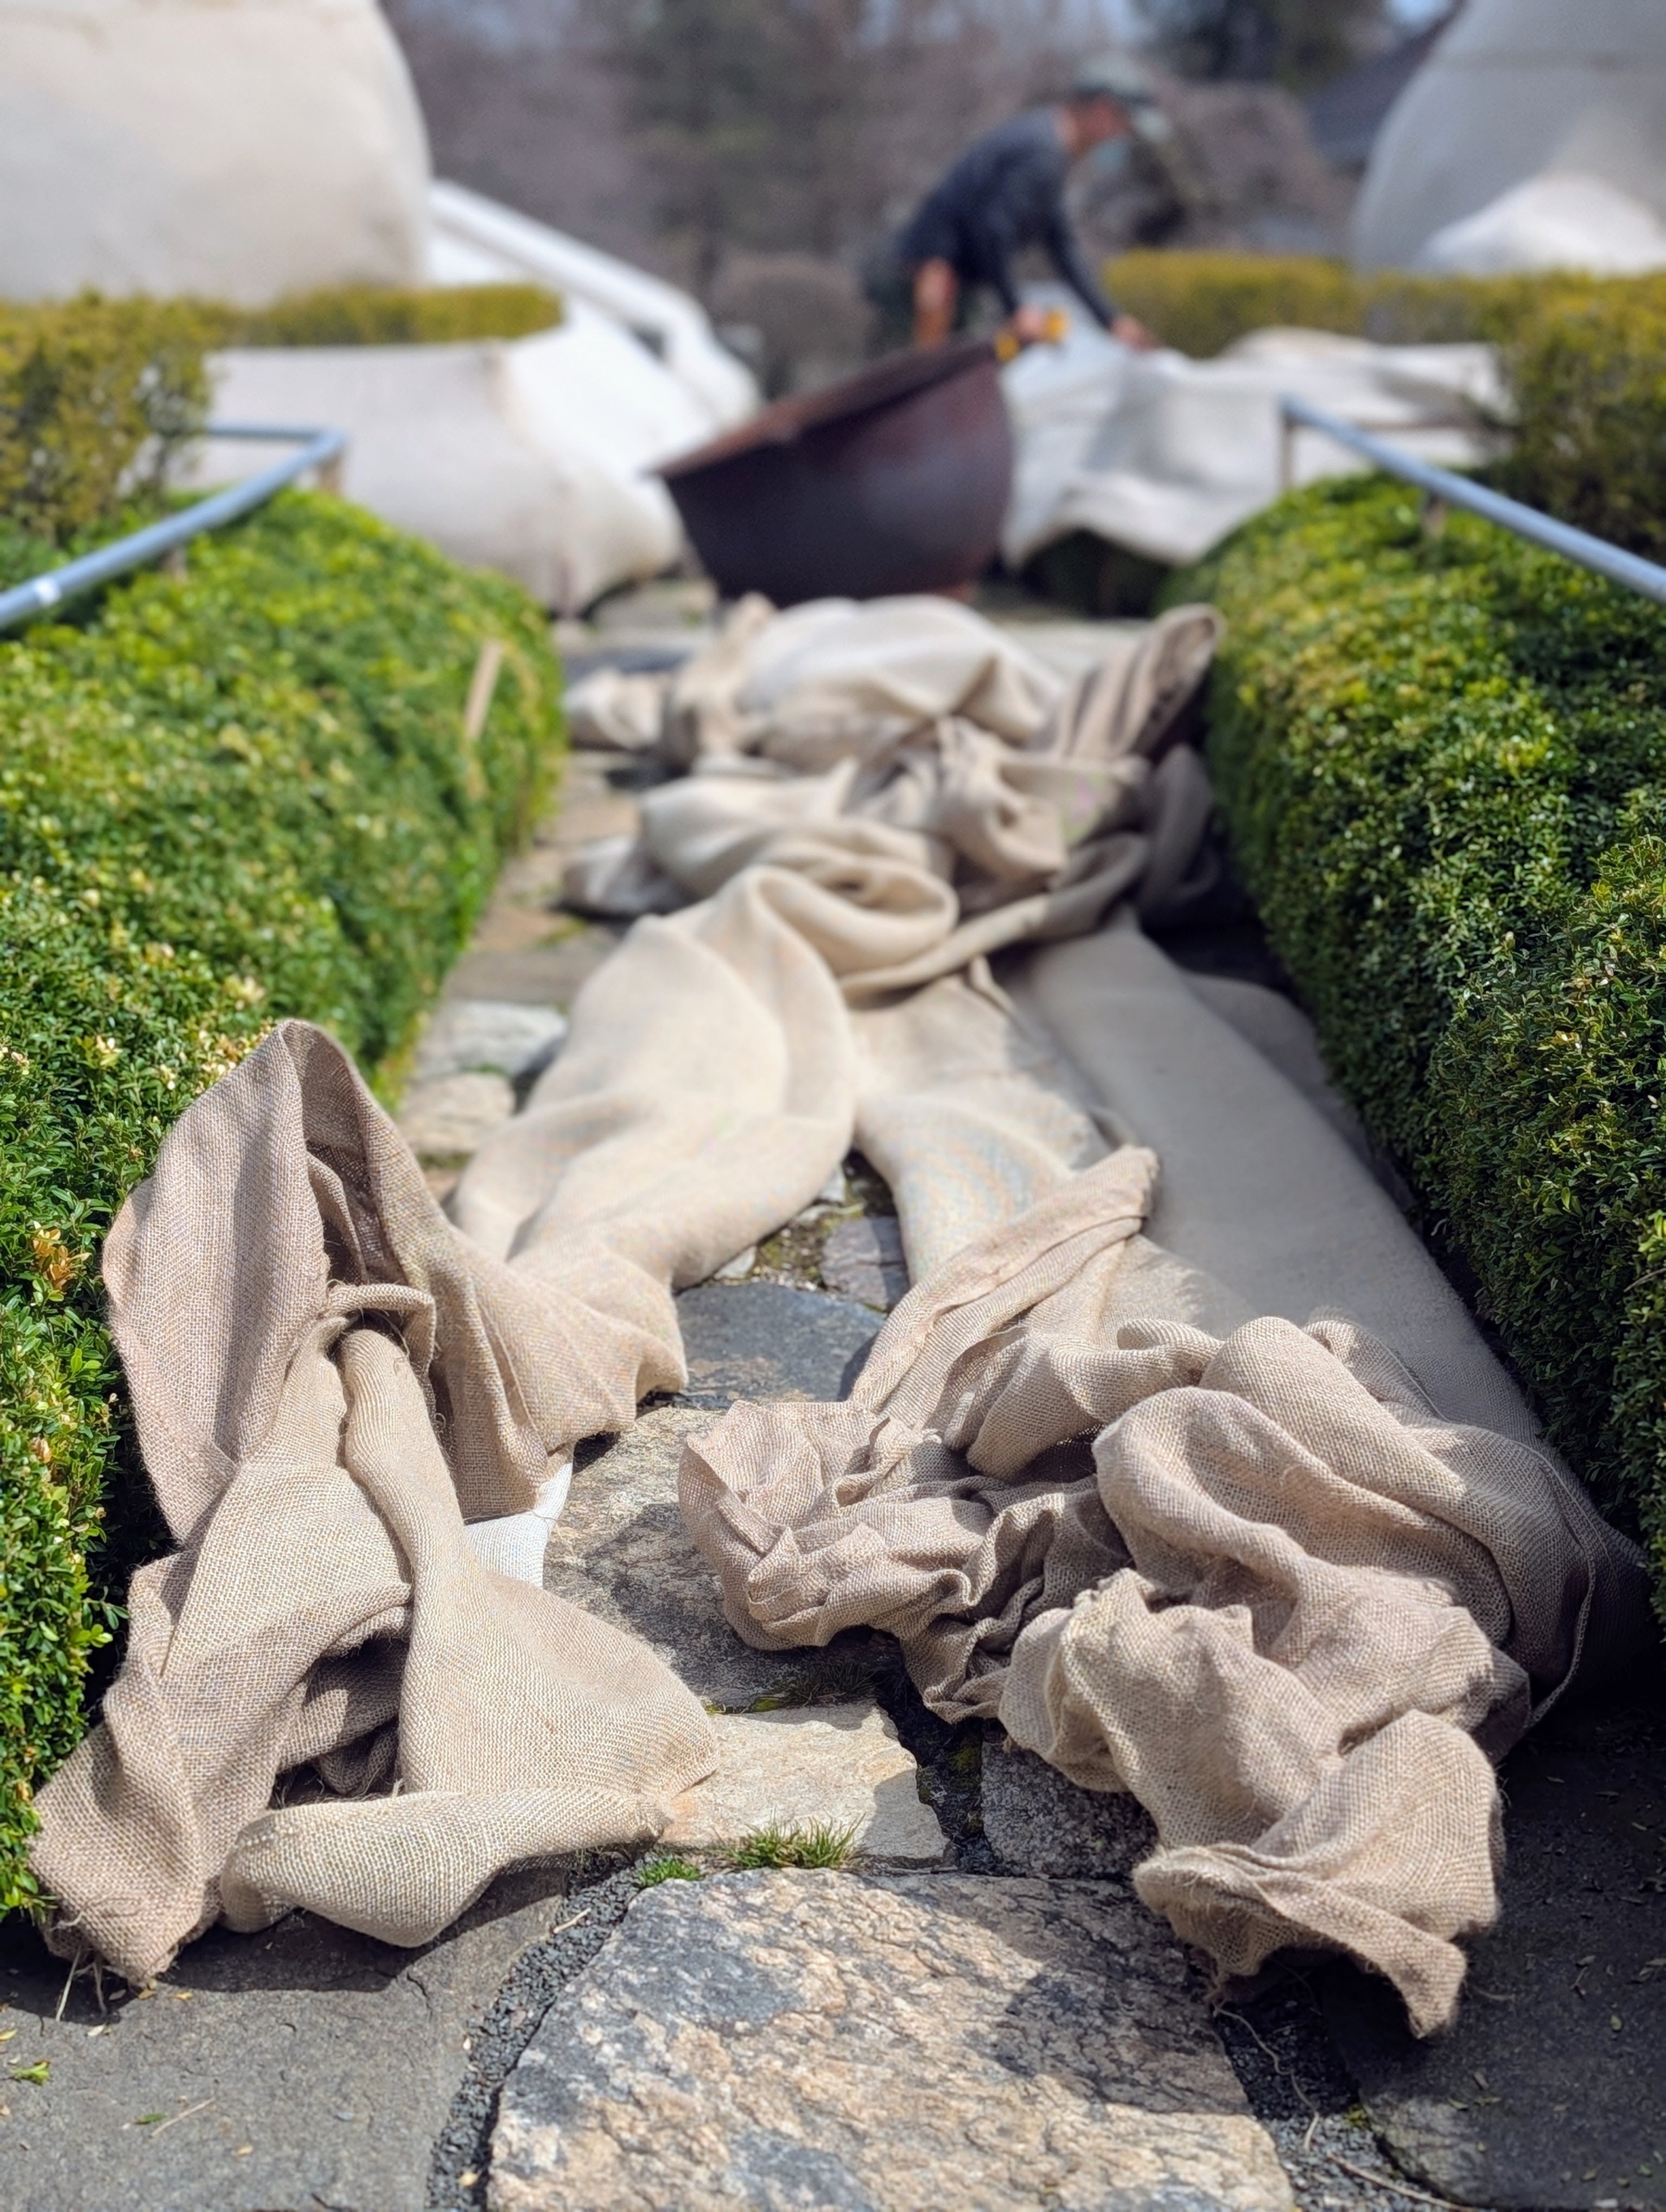
On my terrace parterre, more burlap is removed and ready to roll up and store.
All the greenery was well-preserved under the protective winter coverings.
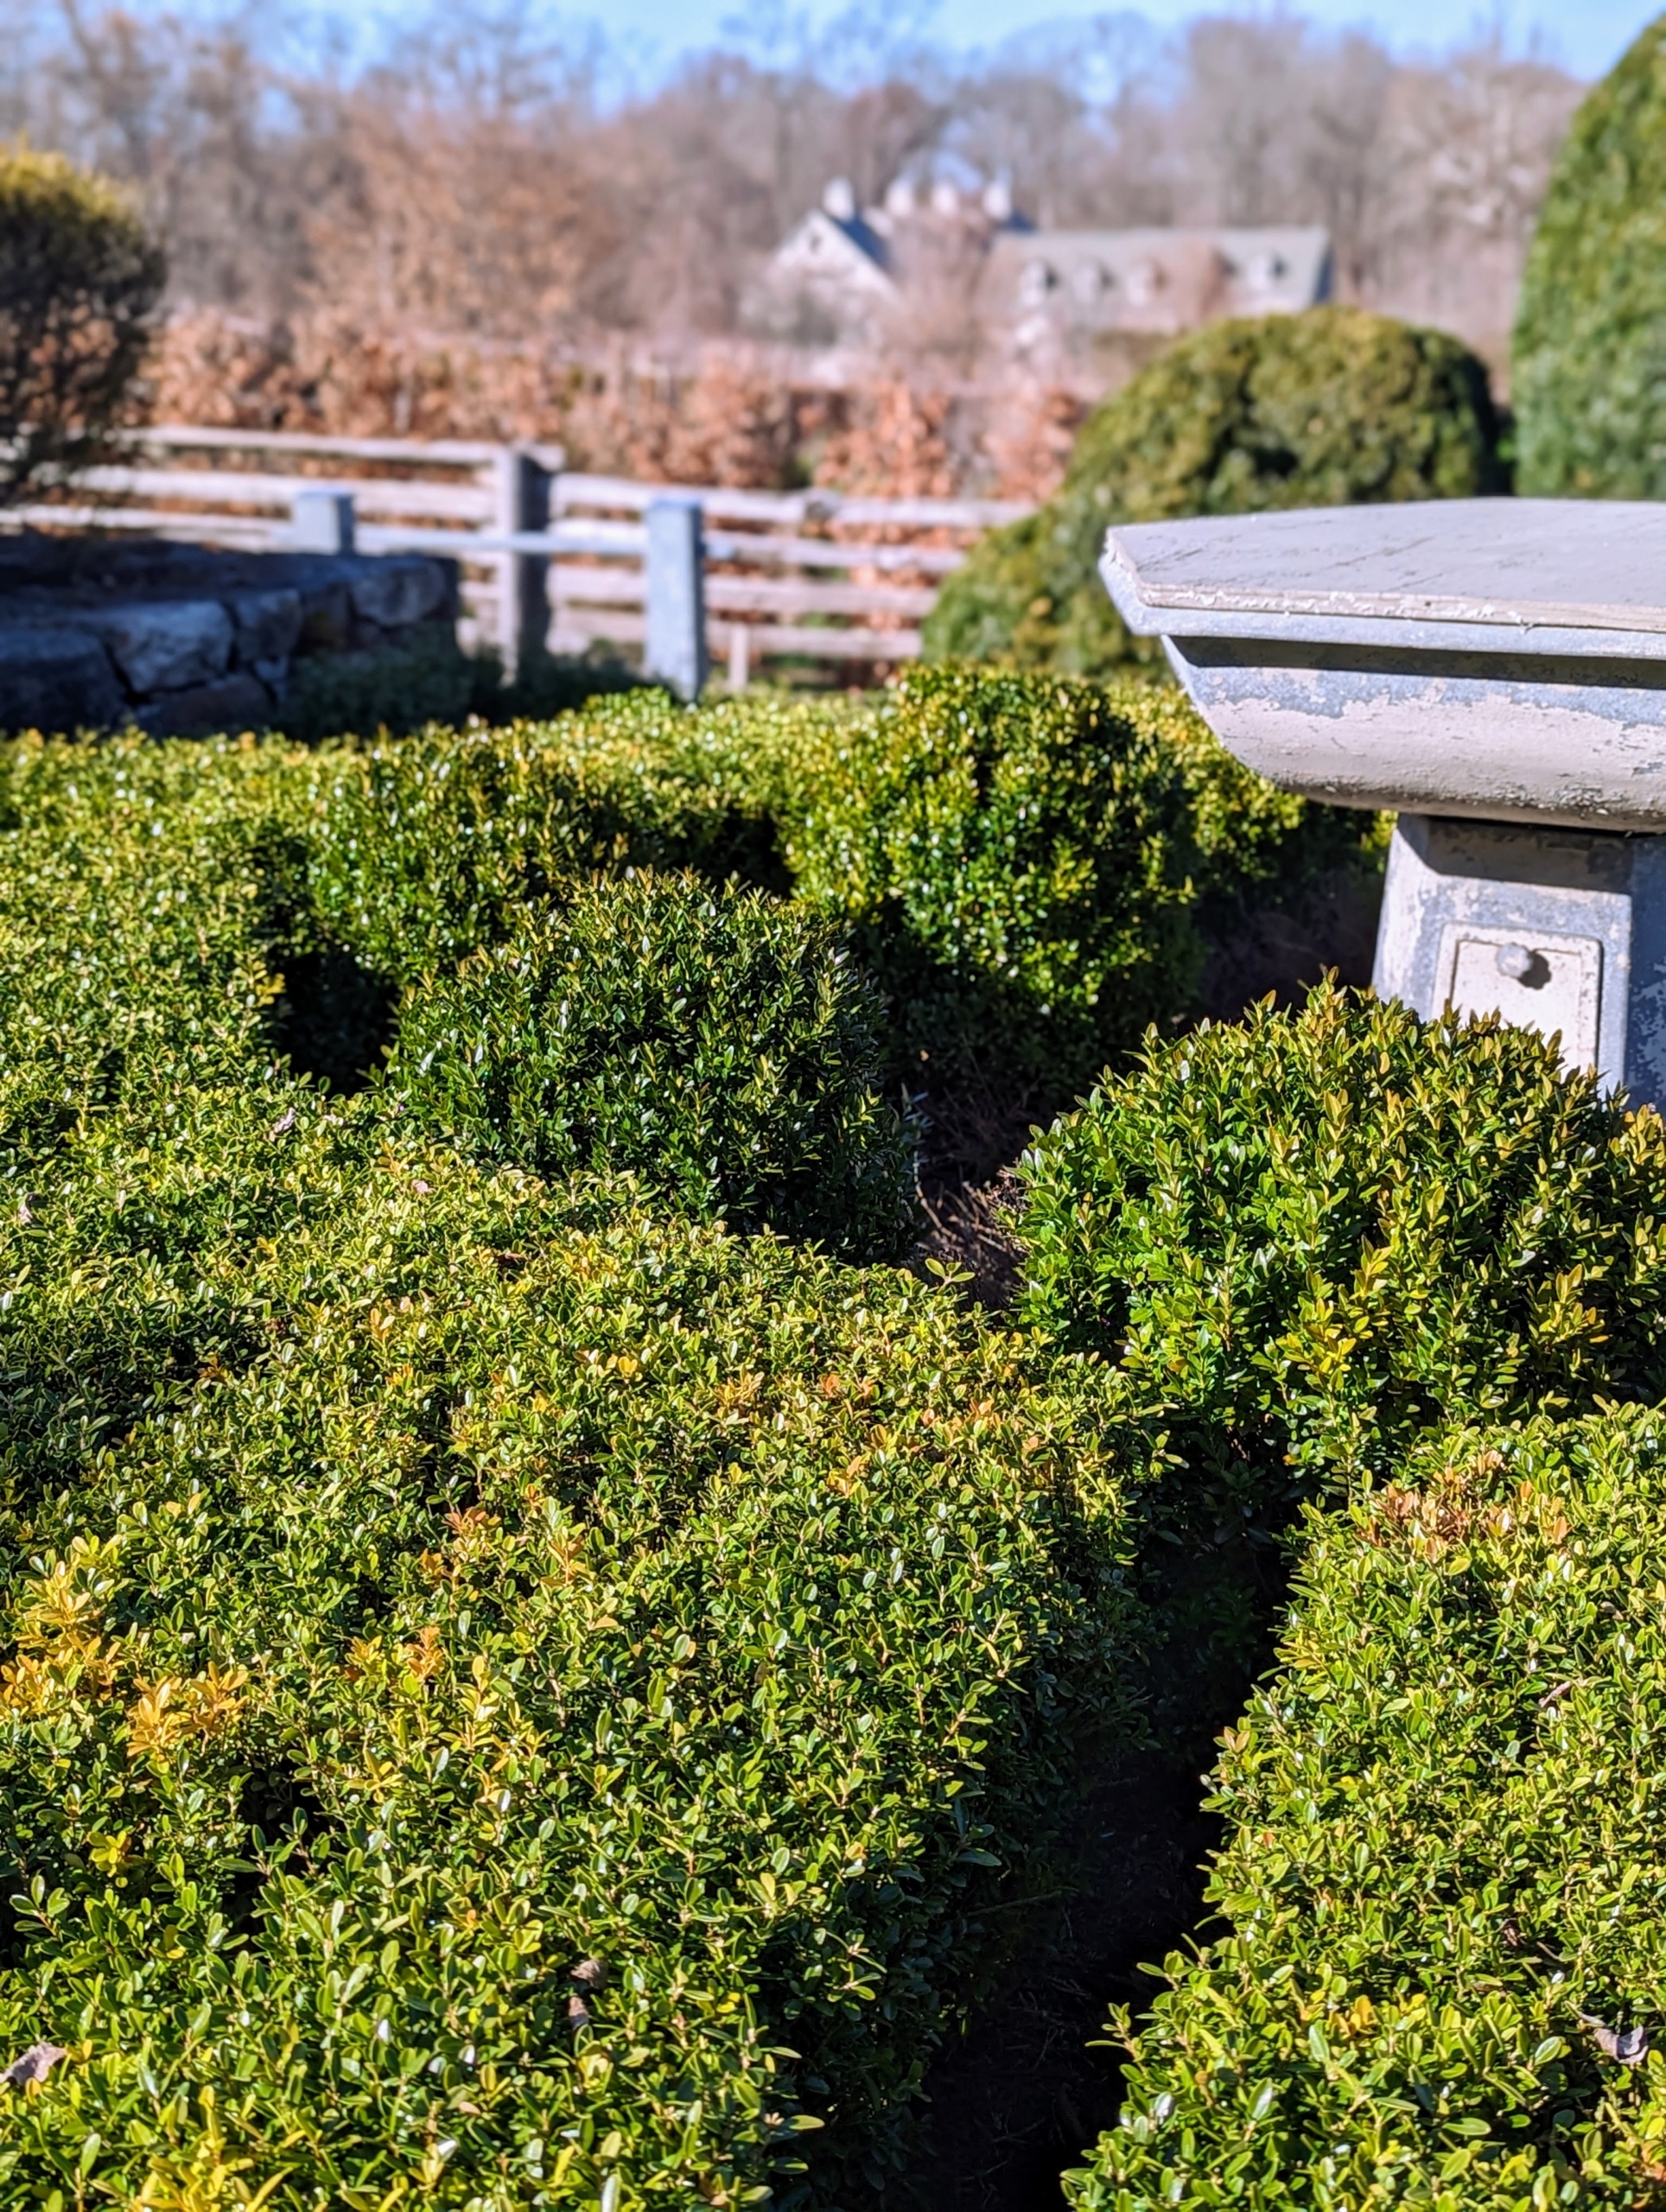
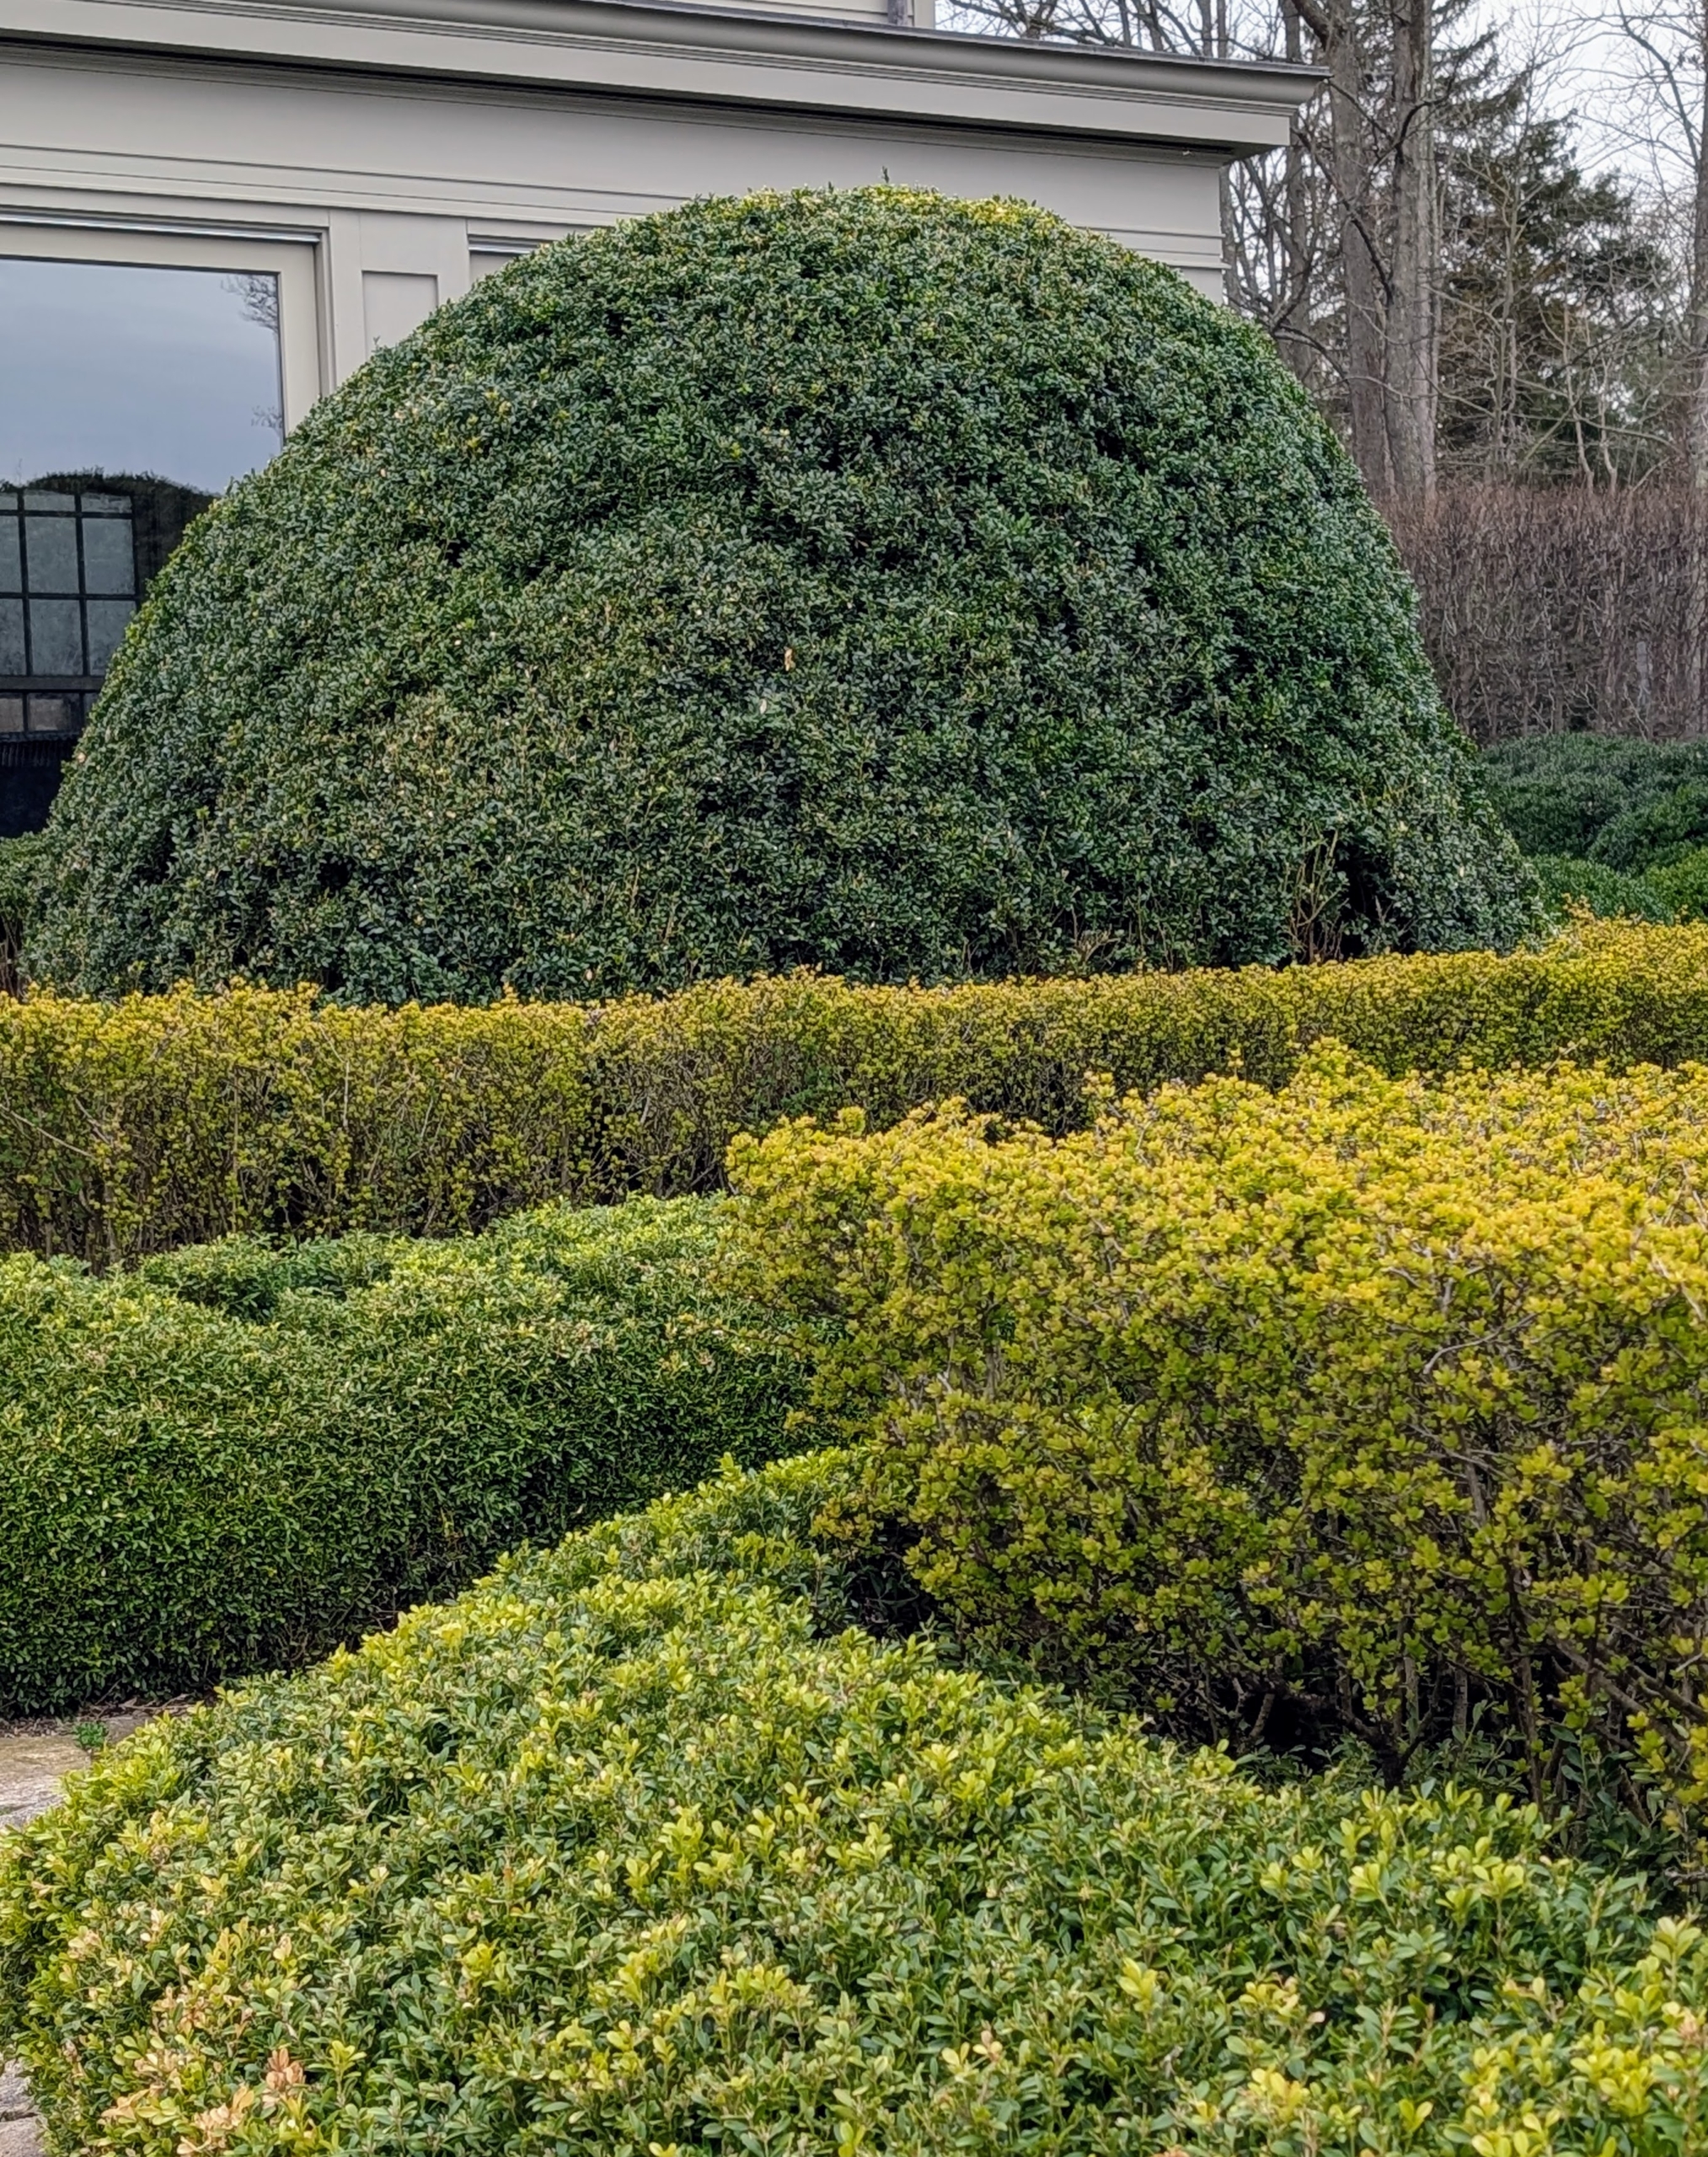
Removing the burlap changes the entire appearance of the area and reveals what we hope for every year – green, healthy boxwood.
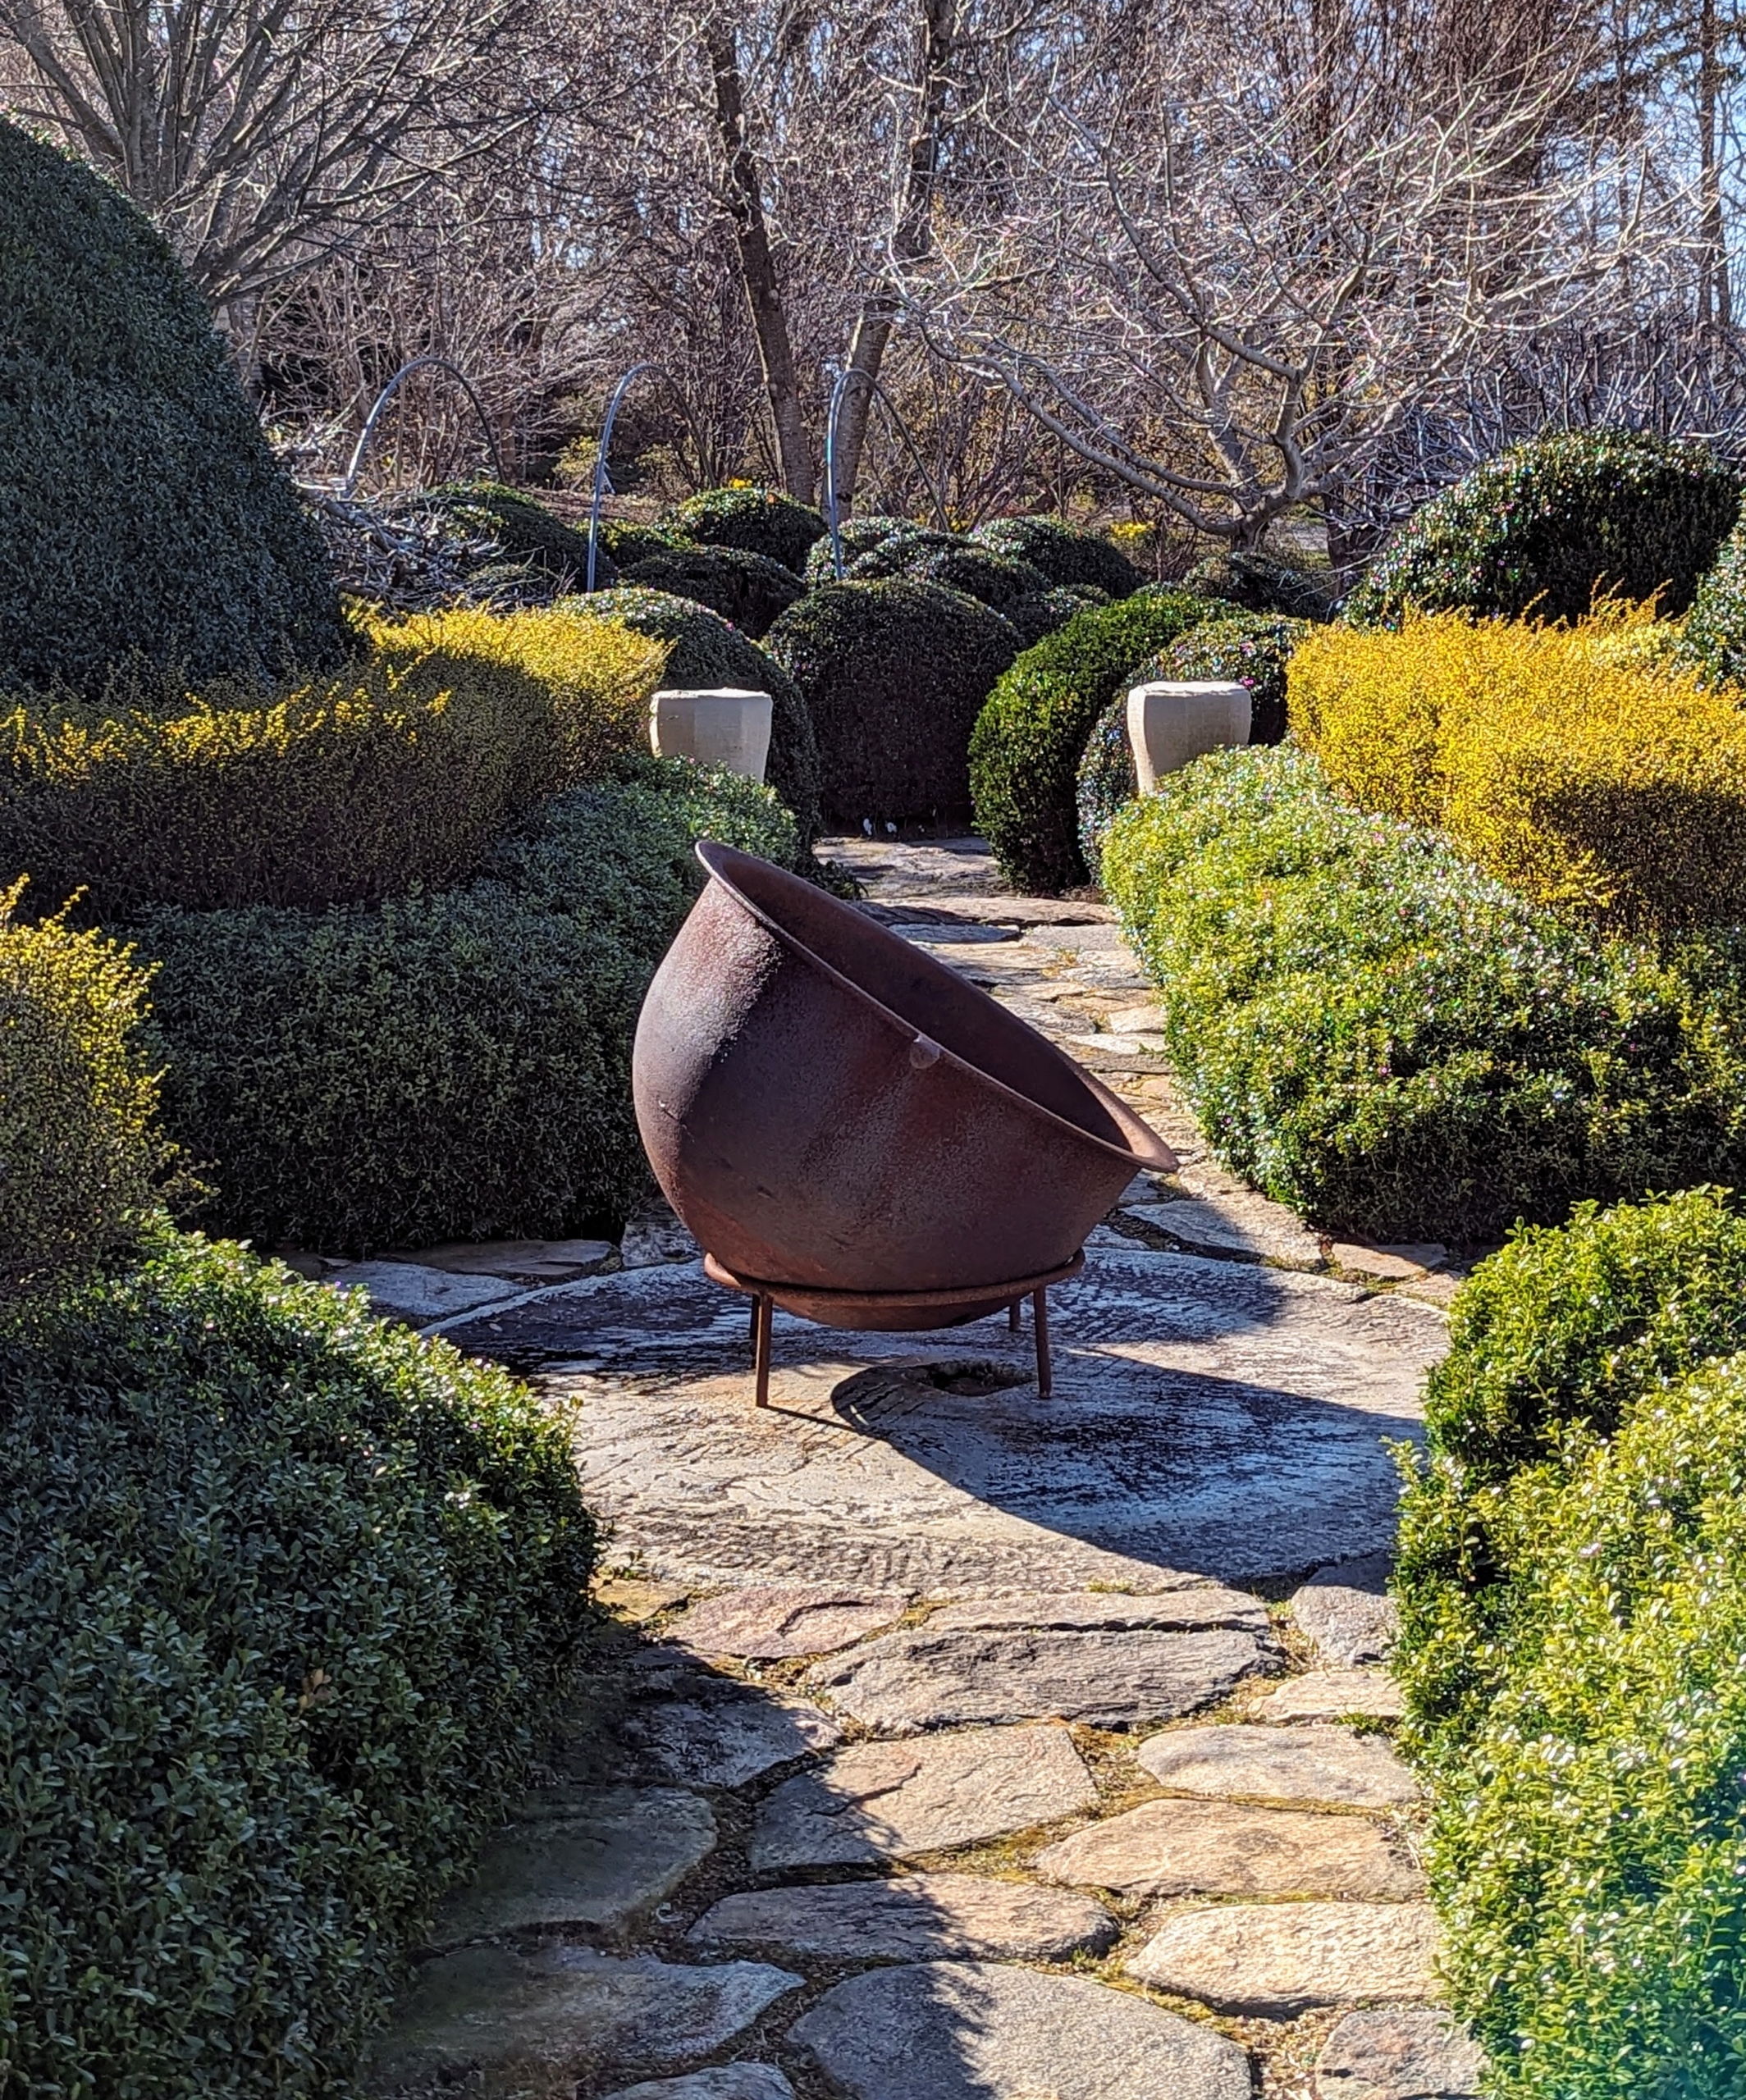
The lighter hedge is golden barberry. It looks so pretty in contrast to the bold green boxwood.
This is an outside view of a section of my herbaceous peony bed and the exposed green boxwood. And notice how much room there is between the shrub and the metal – these metal frames can be used for many more years.
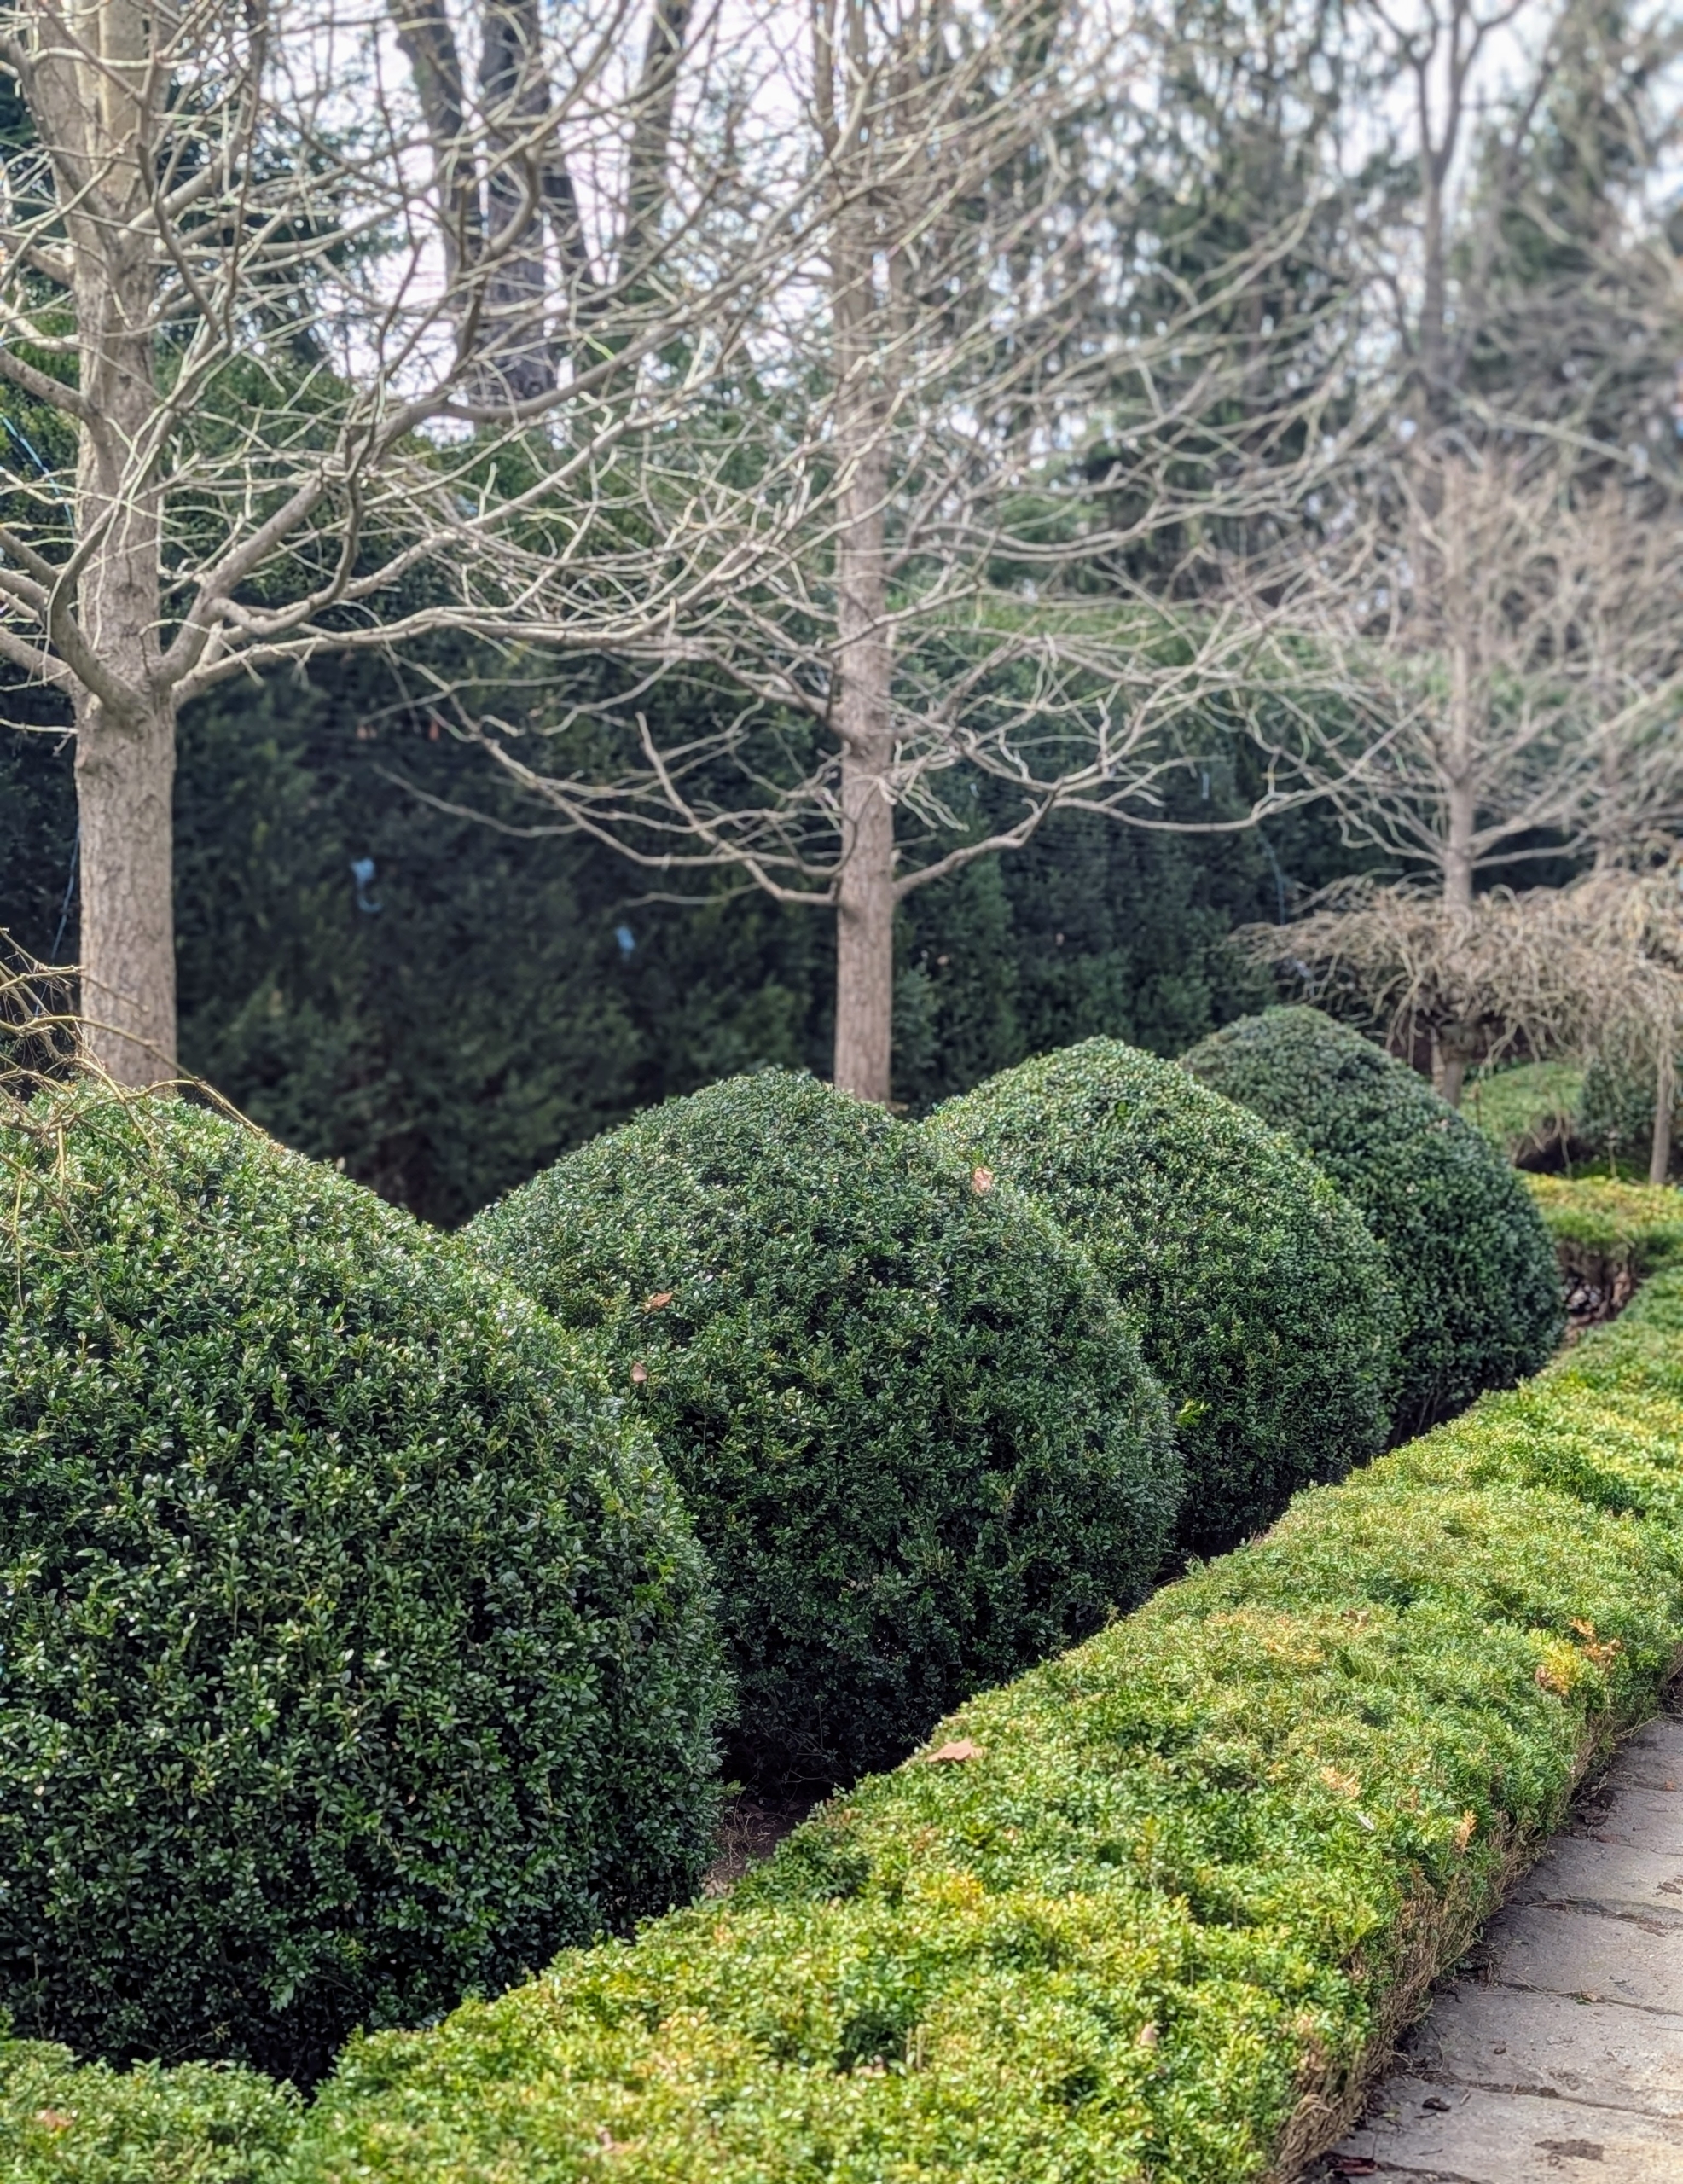
Burlap is also removed from the boxwood hedges and shrubs in my Summer House garden. My sunken Summer House Garden is a more formal garden with both English and American boxwood. In just a few more weeks, this garden will once again look different. All the ginkgo trees will be filled with gorgeous green leaves.
Some question whether covering plantings each winter really helps, but look how lush and intact the plantings are when uncovered – I definitely feel it is worth the time and effort.
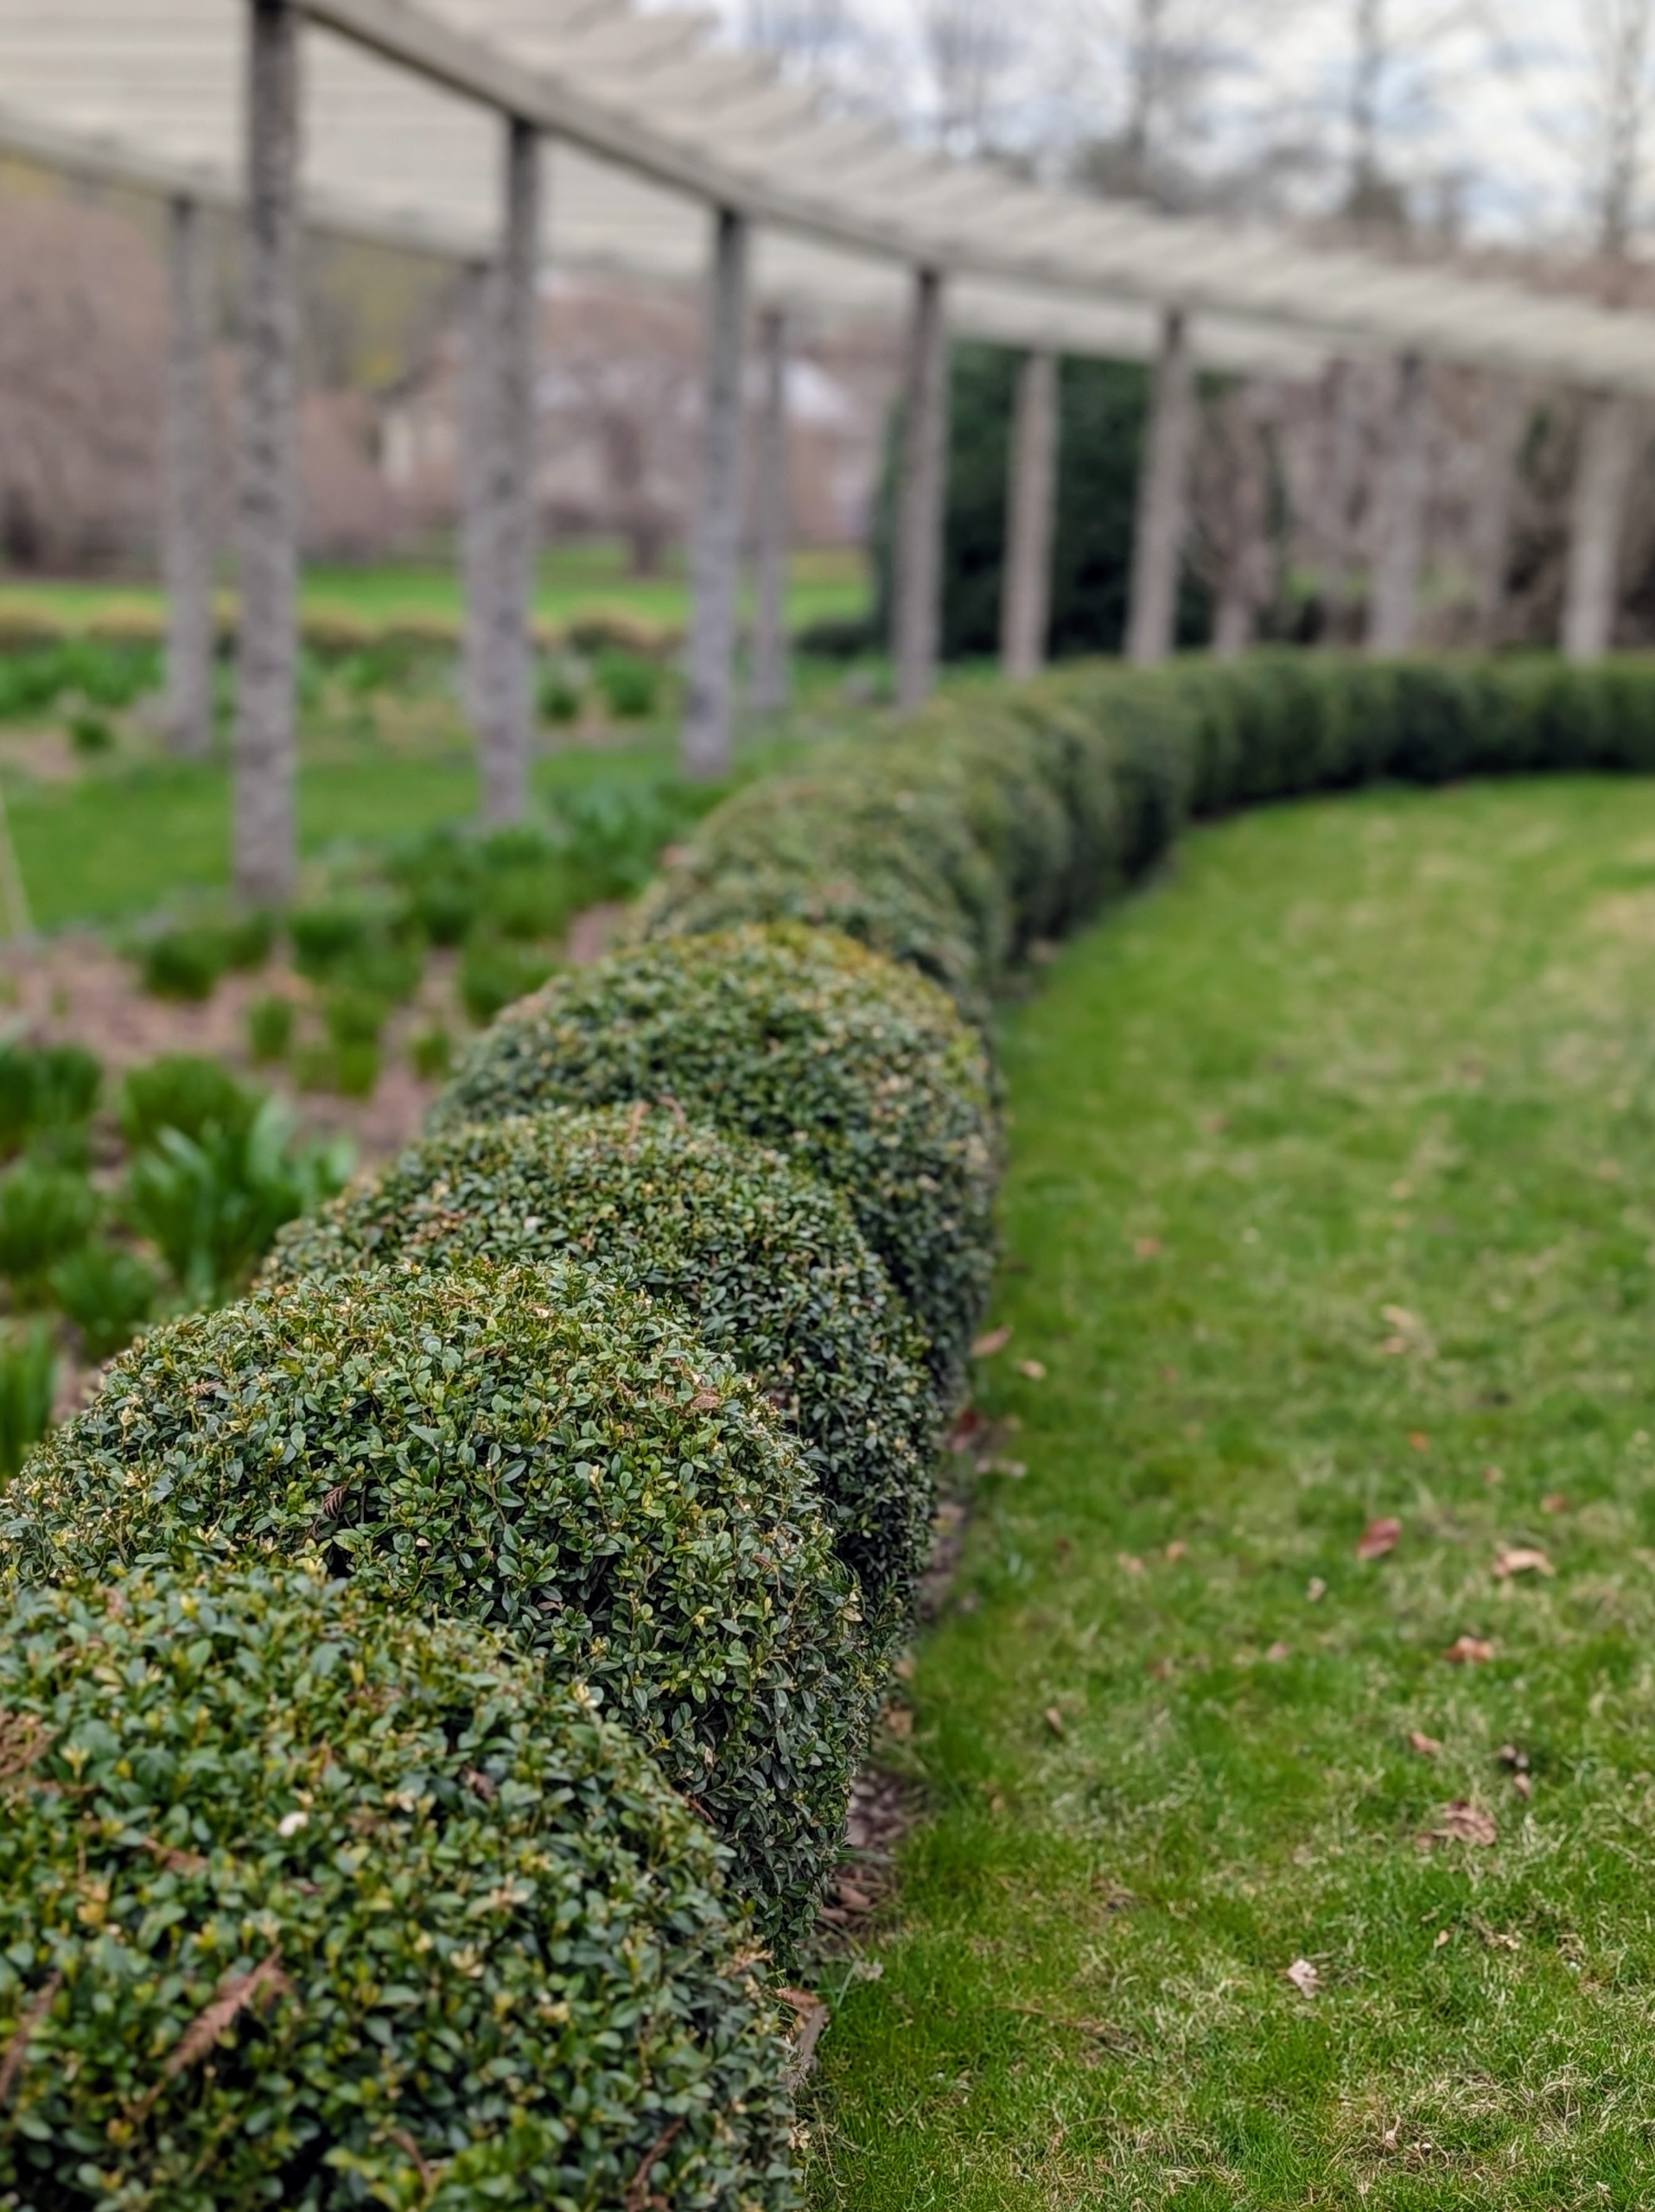
And here is part of my long and winding pergola. The boxwood is all uncovered here also. I can’t wait to share photos of the gardens in bloom.
Do you know… one large, mature tree can can produce about 270-liters of oxygen a day? That's just nearly half of what the average human needs in a day. Our earth needs trees!
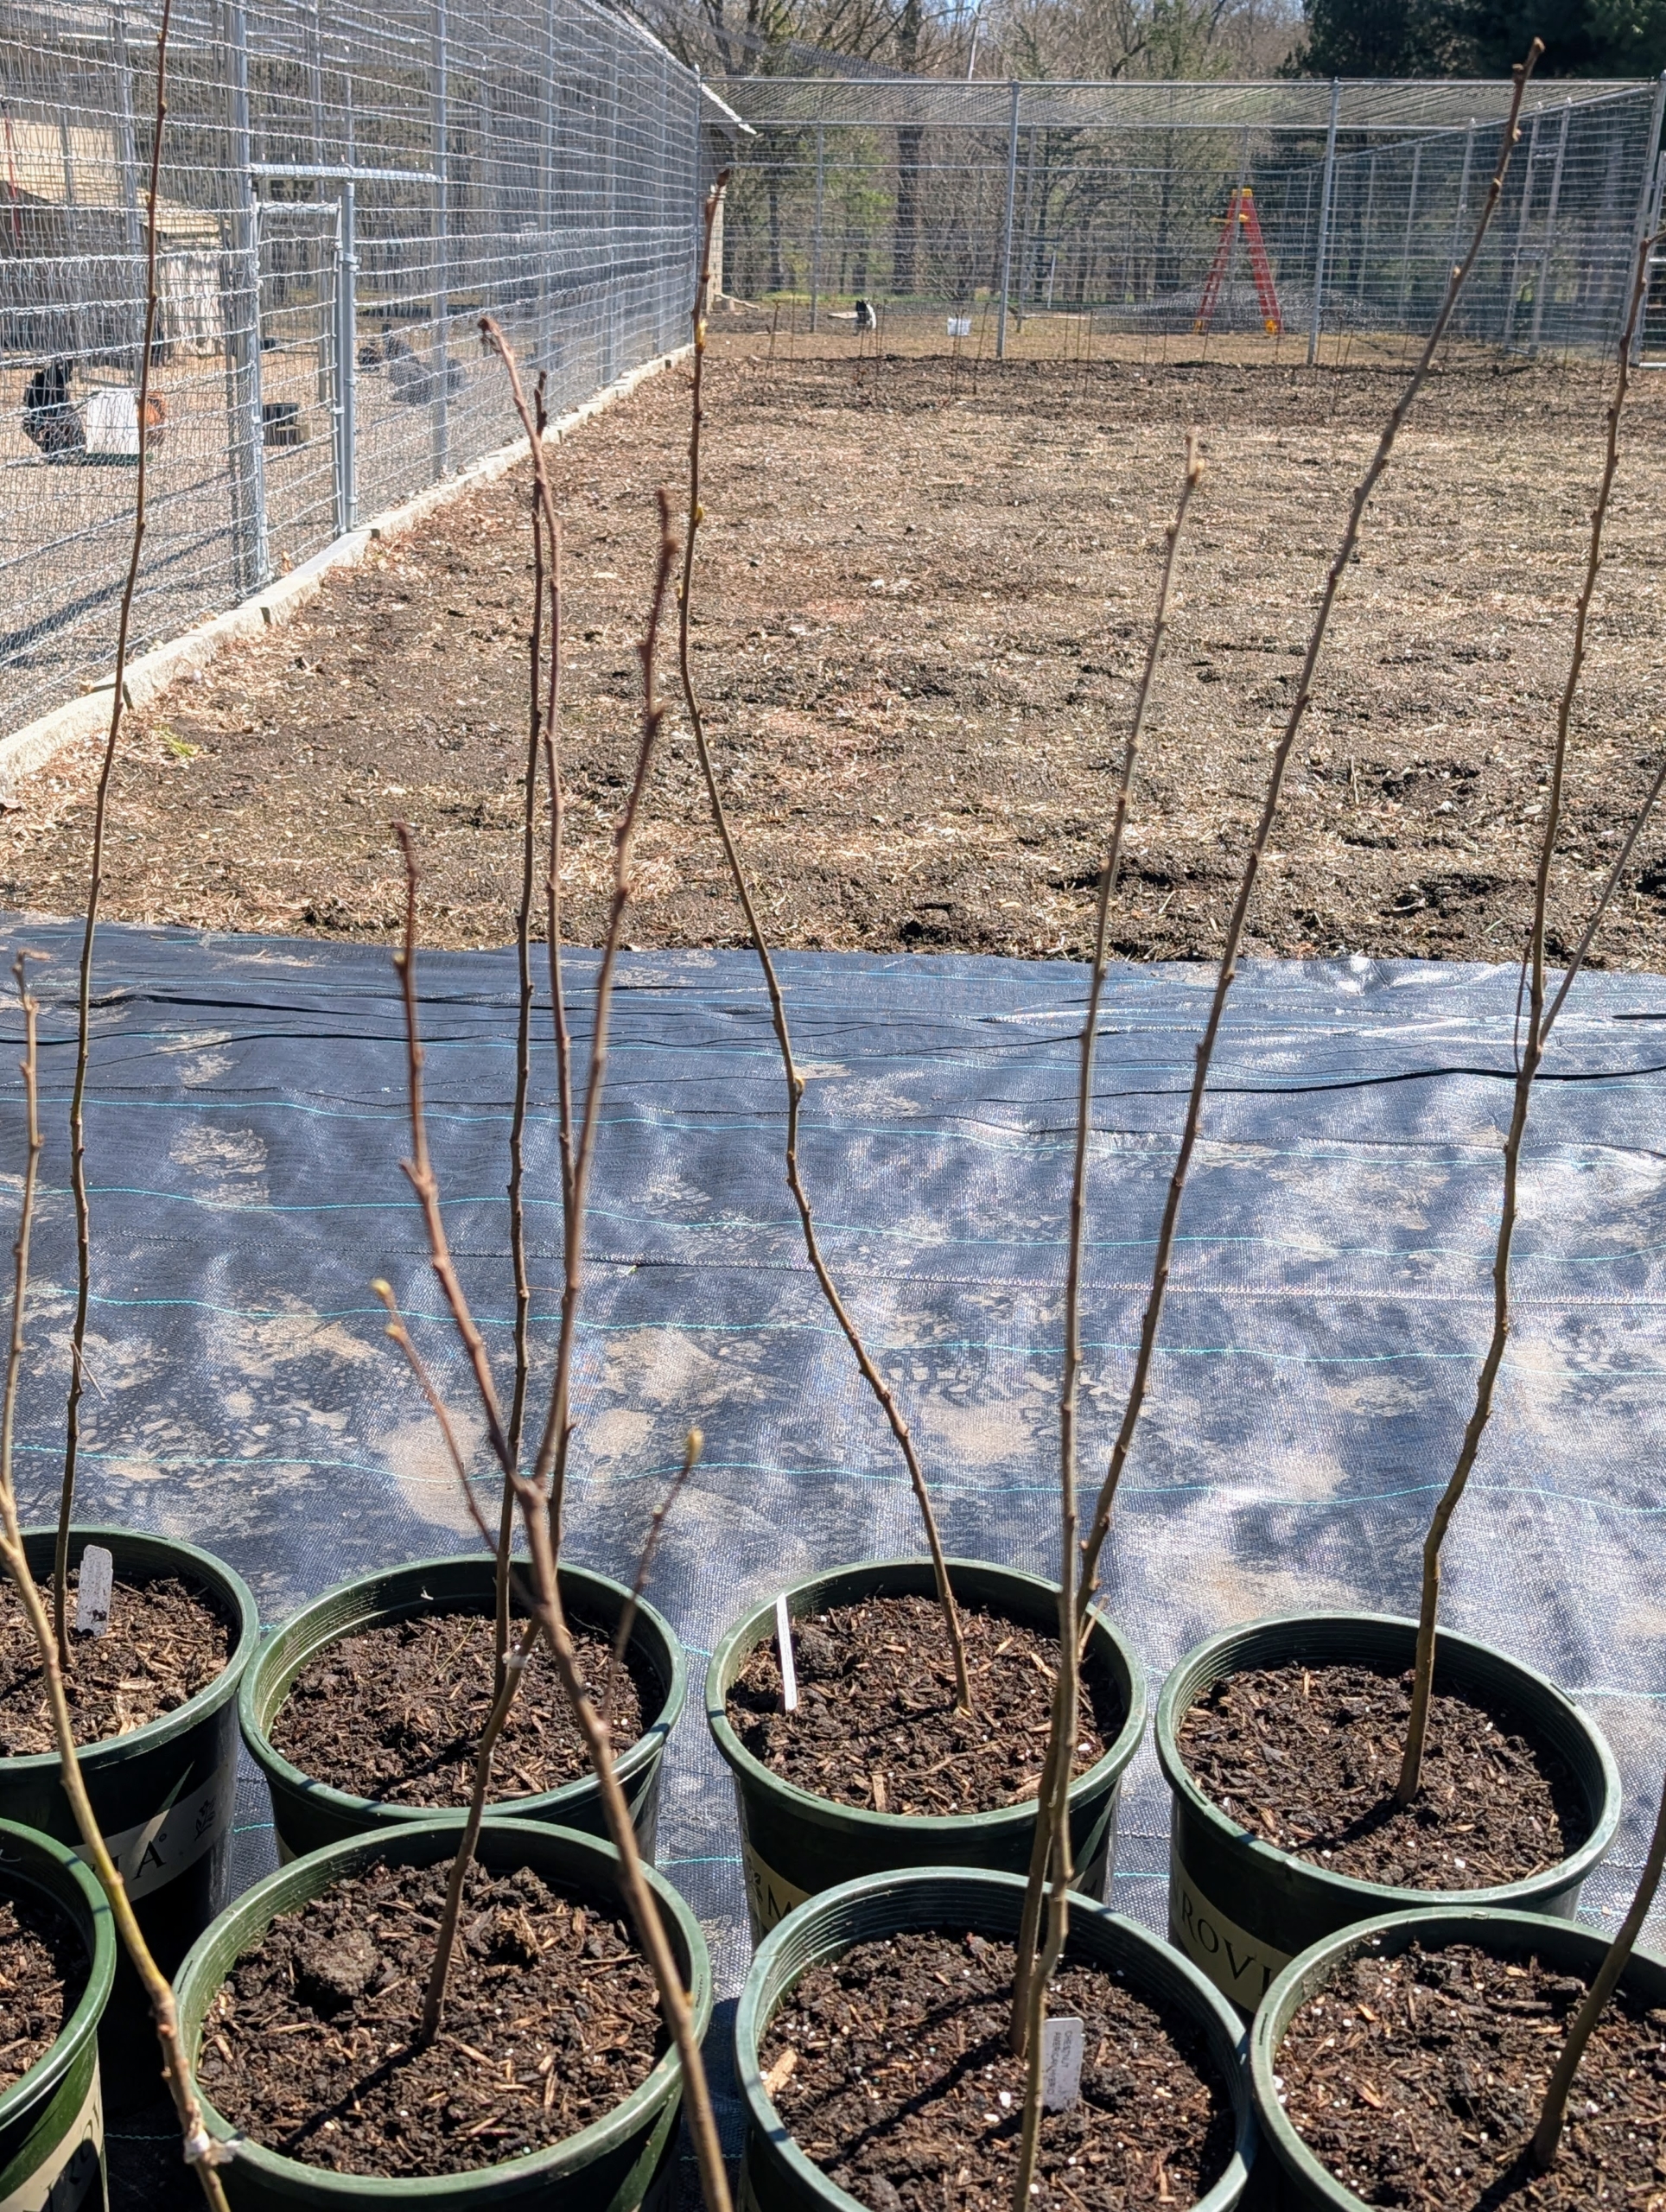
Every year I plant as many trees as possible here at my farm - it's one way I can give back to the environment and help create a cleaner, healthier and more sustainable planet for my grandchildren and for everyone. As you saw in yesterday's post, I recently received the season's first shipment of bare-root tree cuttings. Bare-roots are dug from the ground while dormant and stored without any soil surrounding their roots. And now they will thrive in nutrient-filled composted soil until they can be transplanted in the ground. Earth Day is coming up on April 22nd. I hope you plant a tree or two to celebrate.
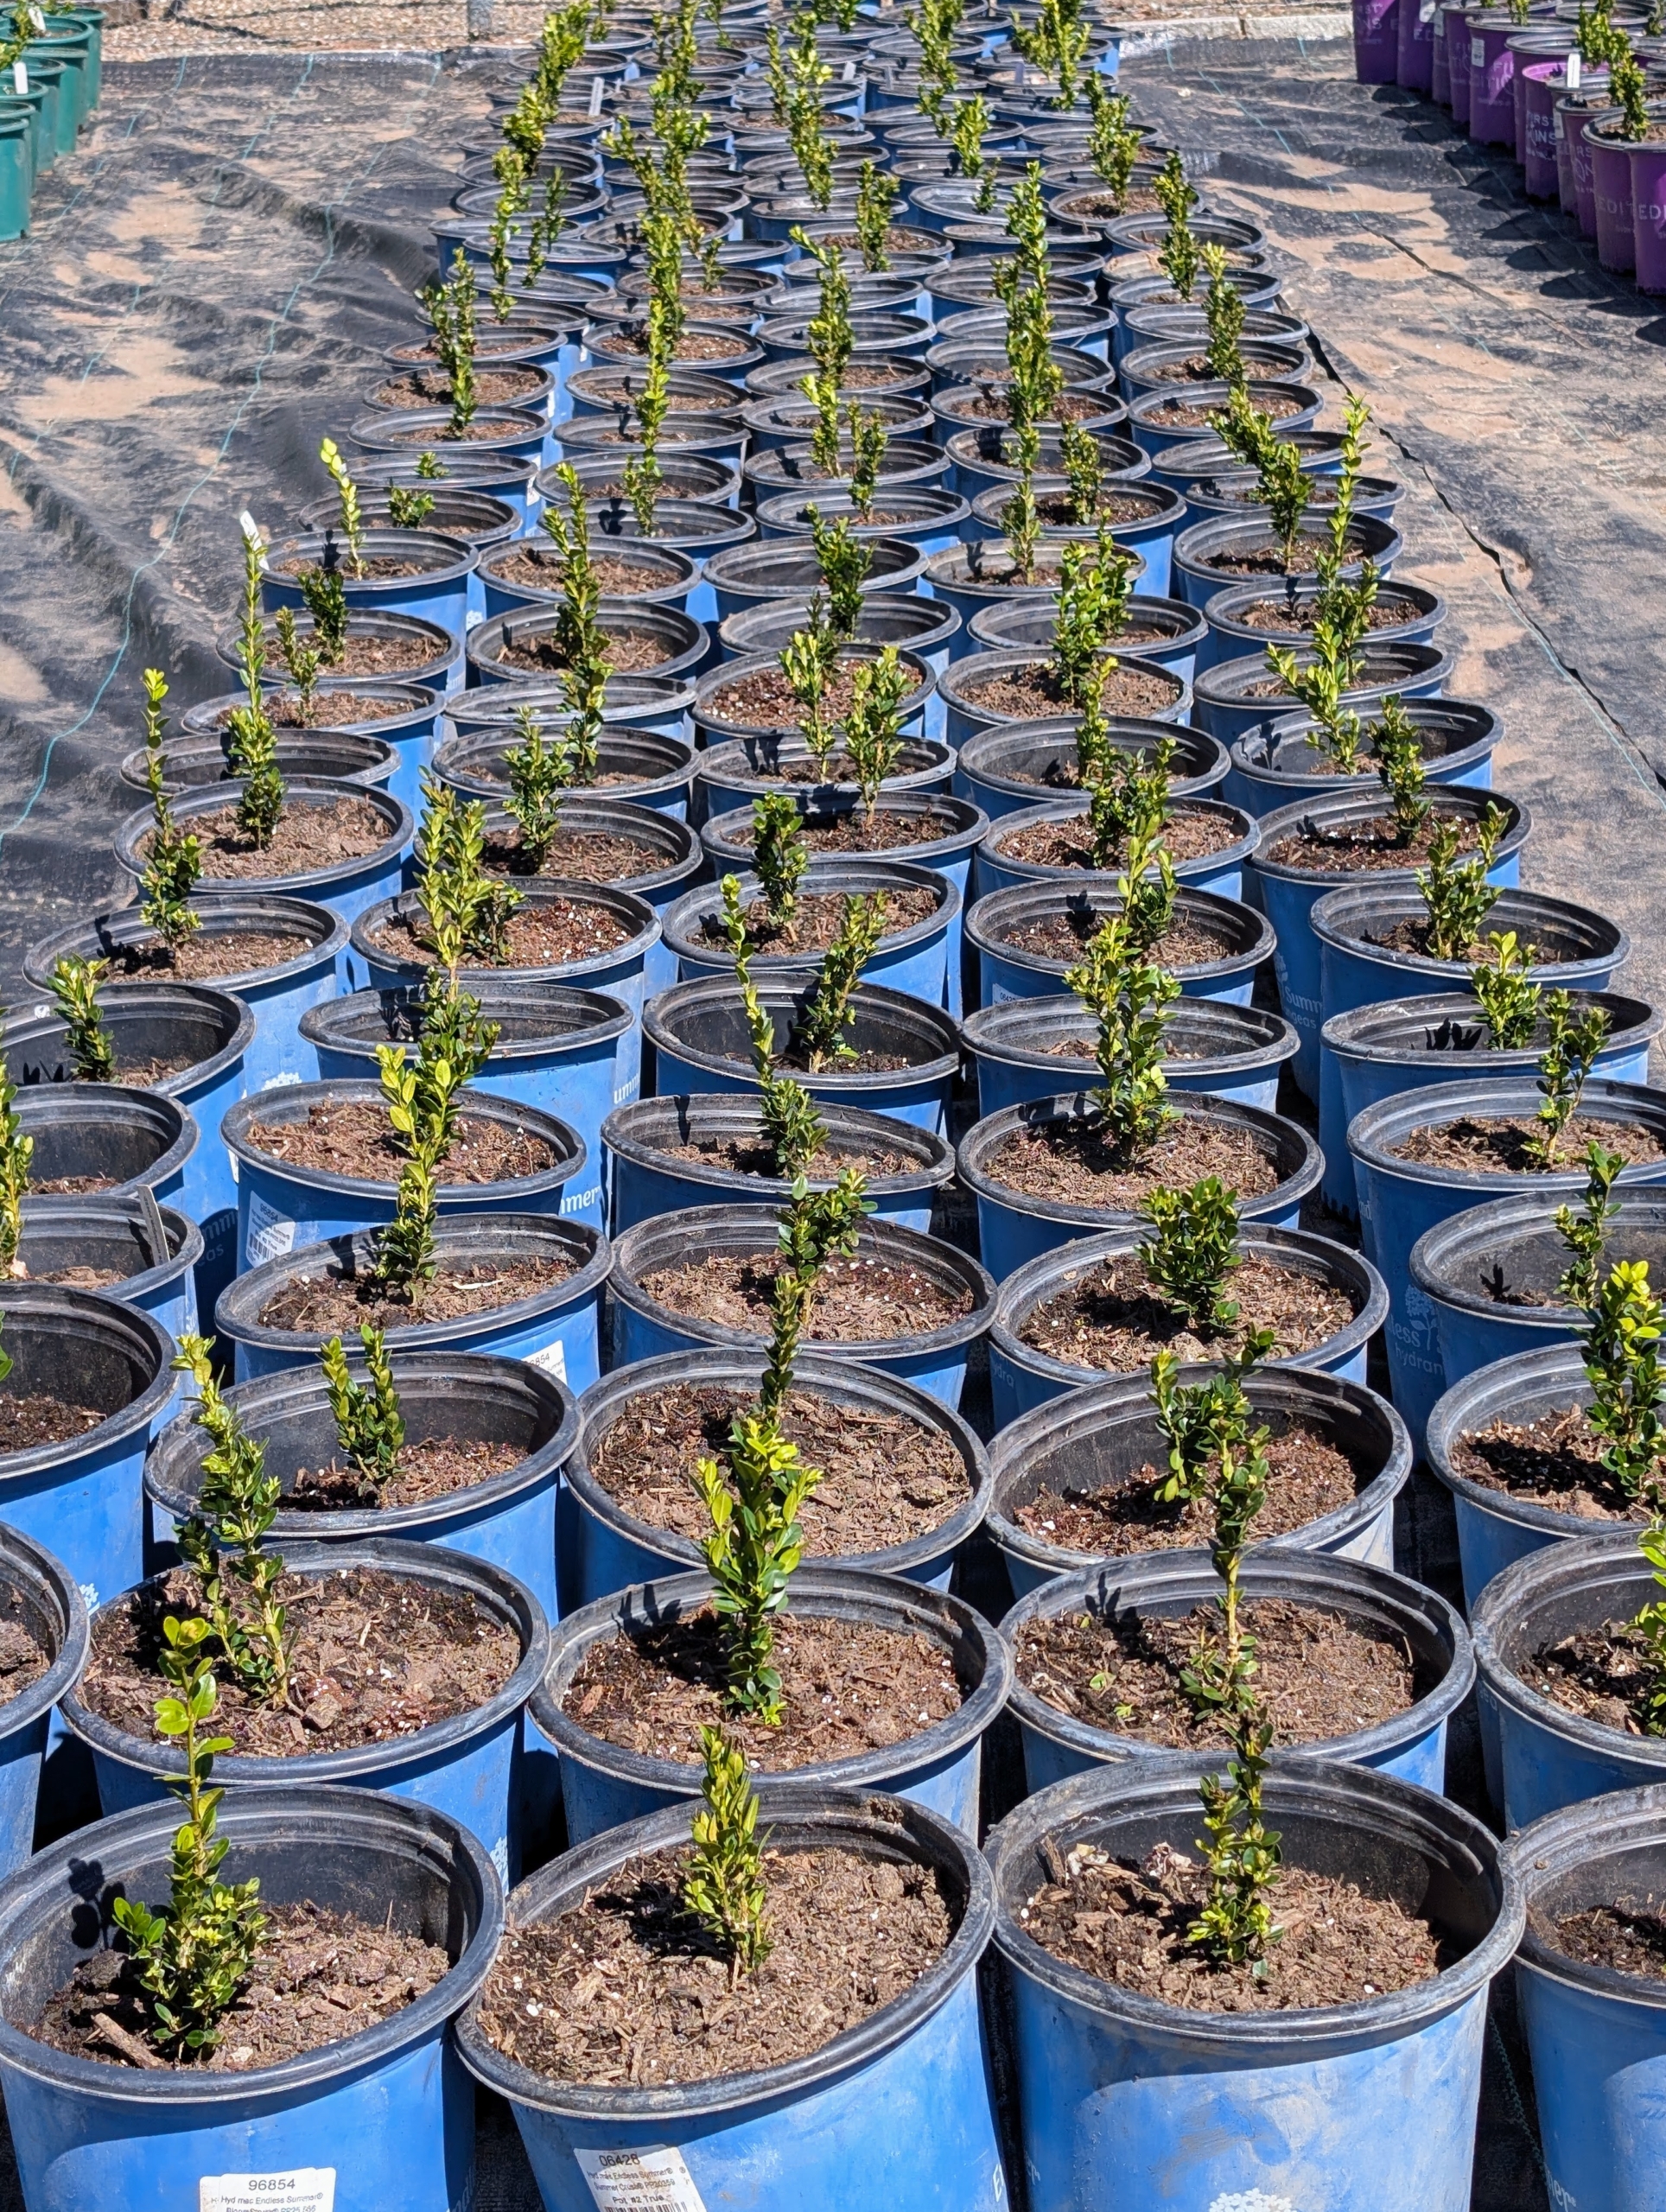
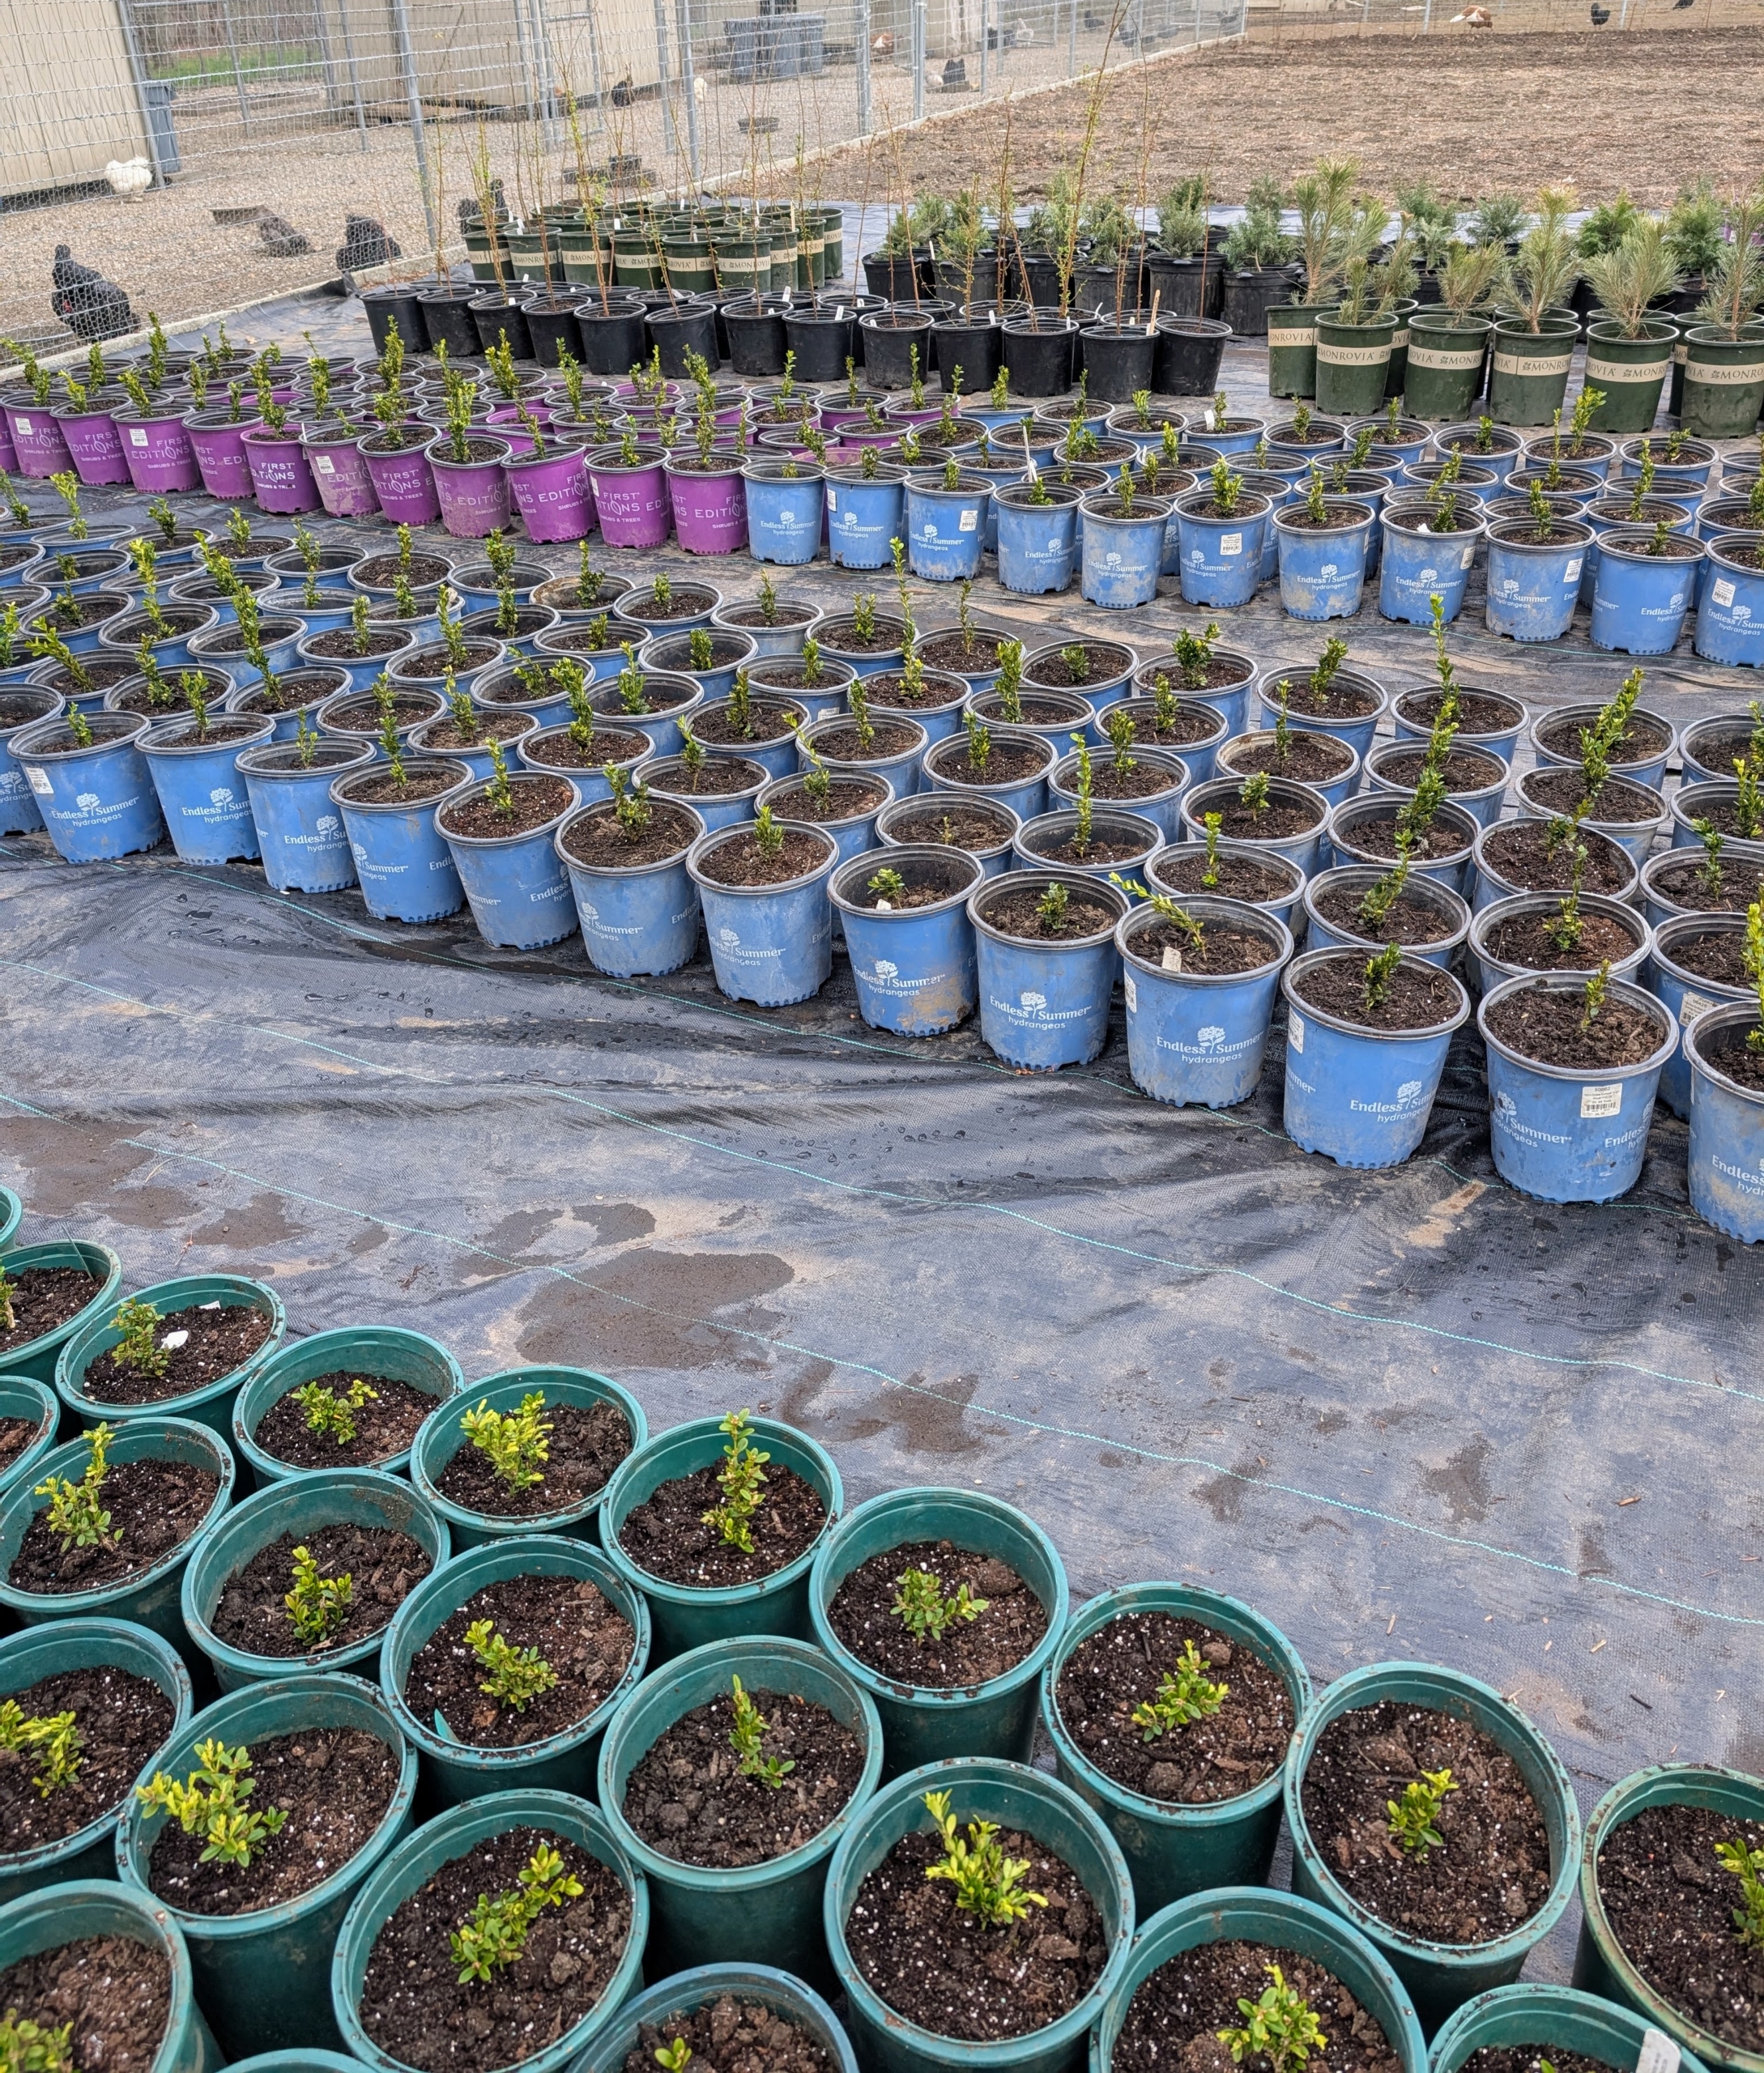
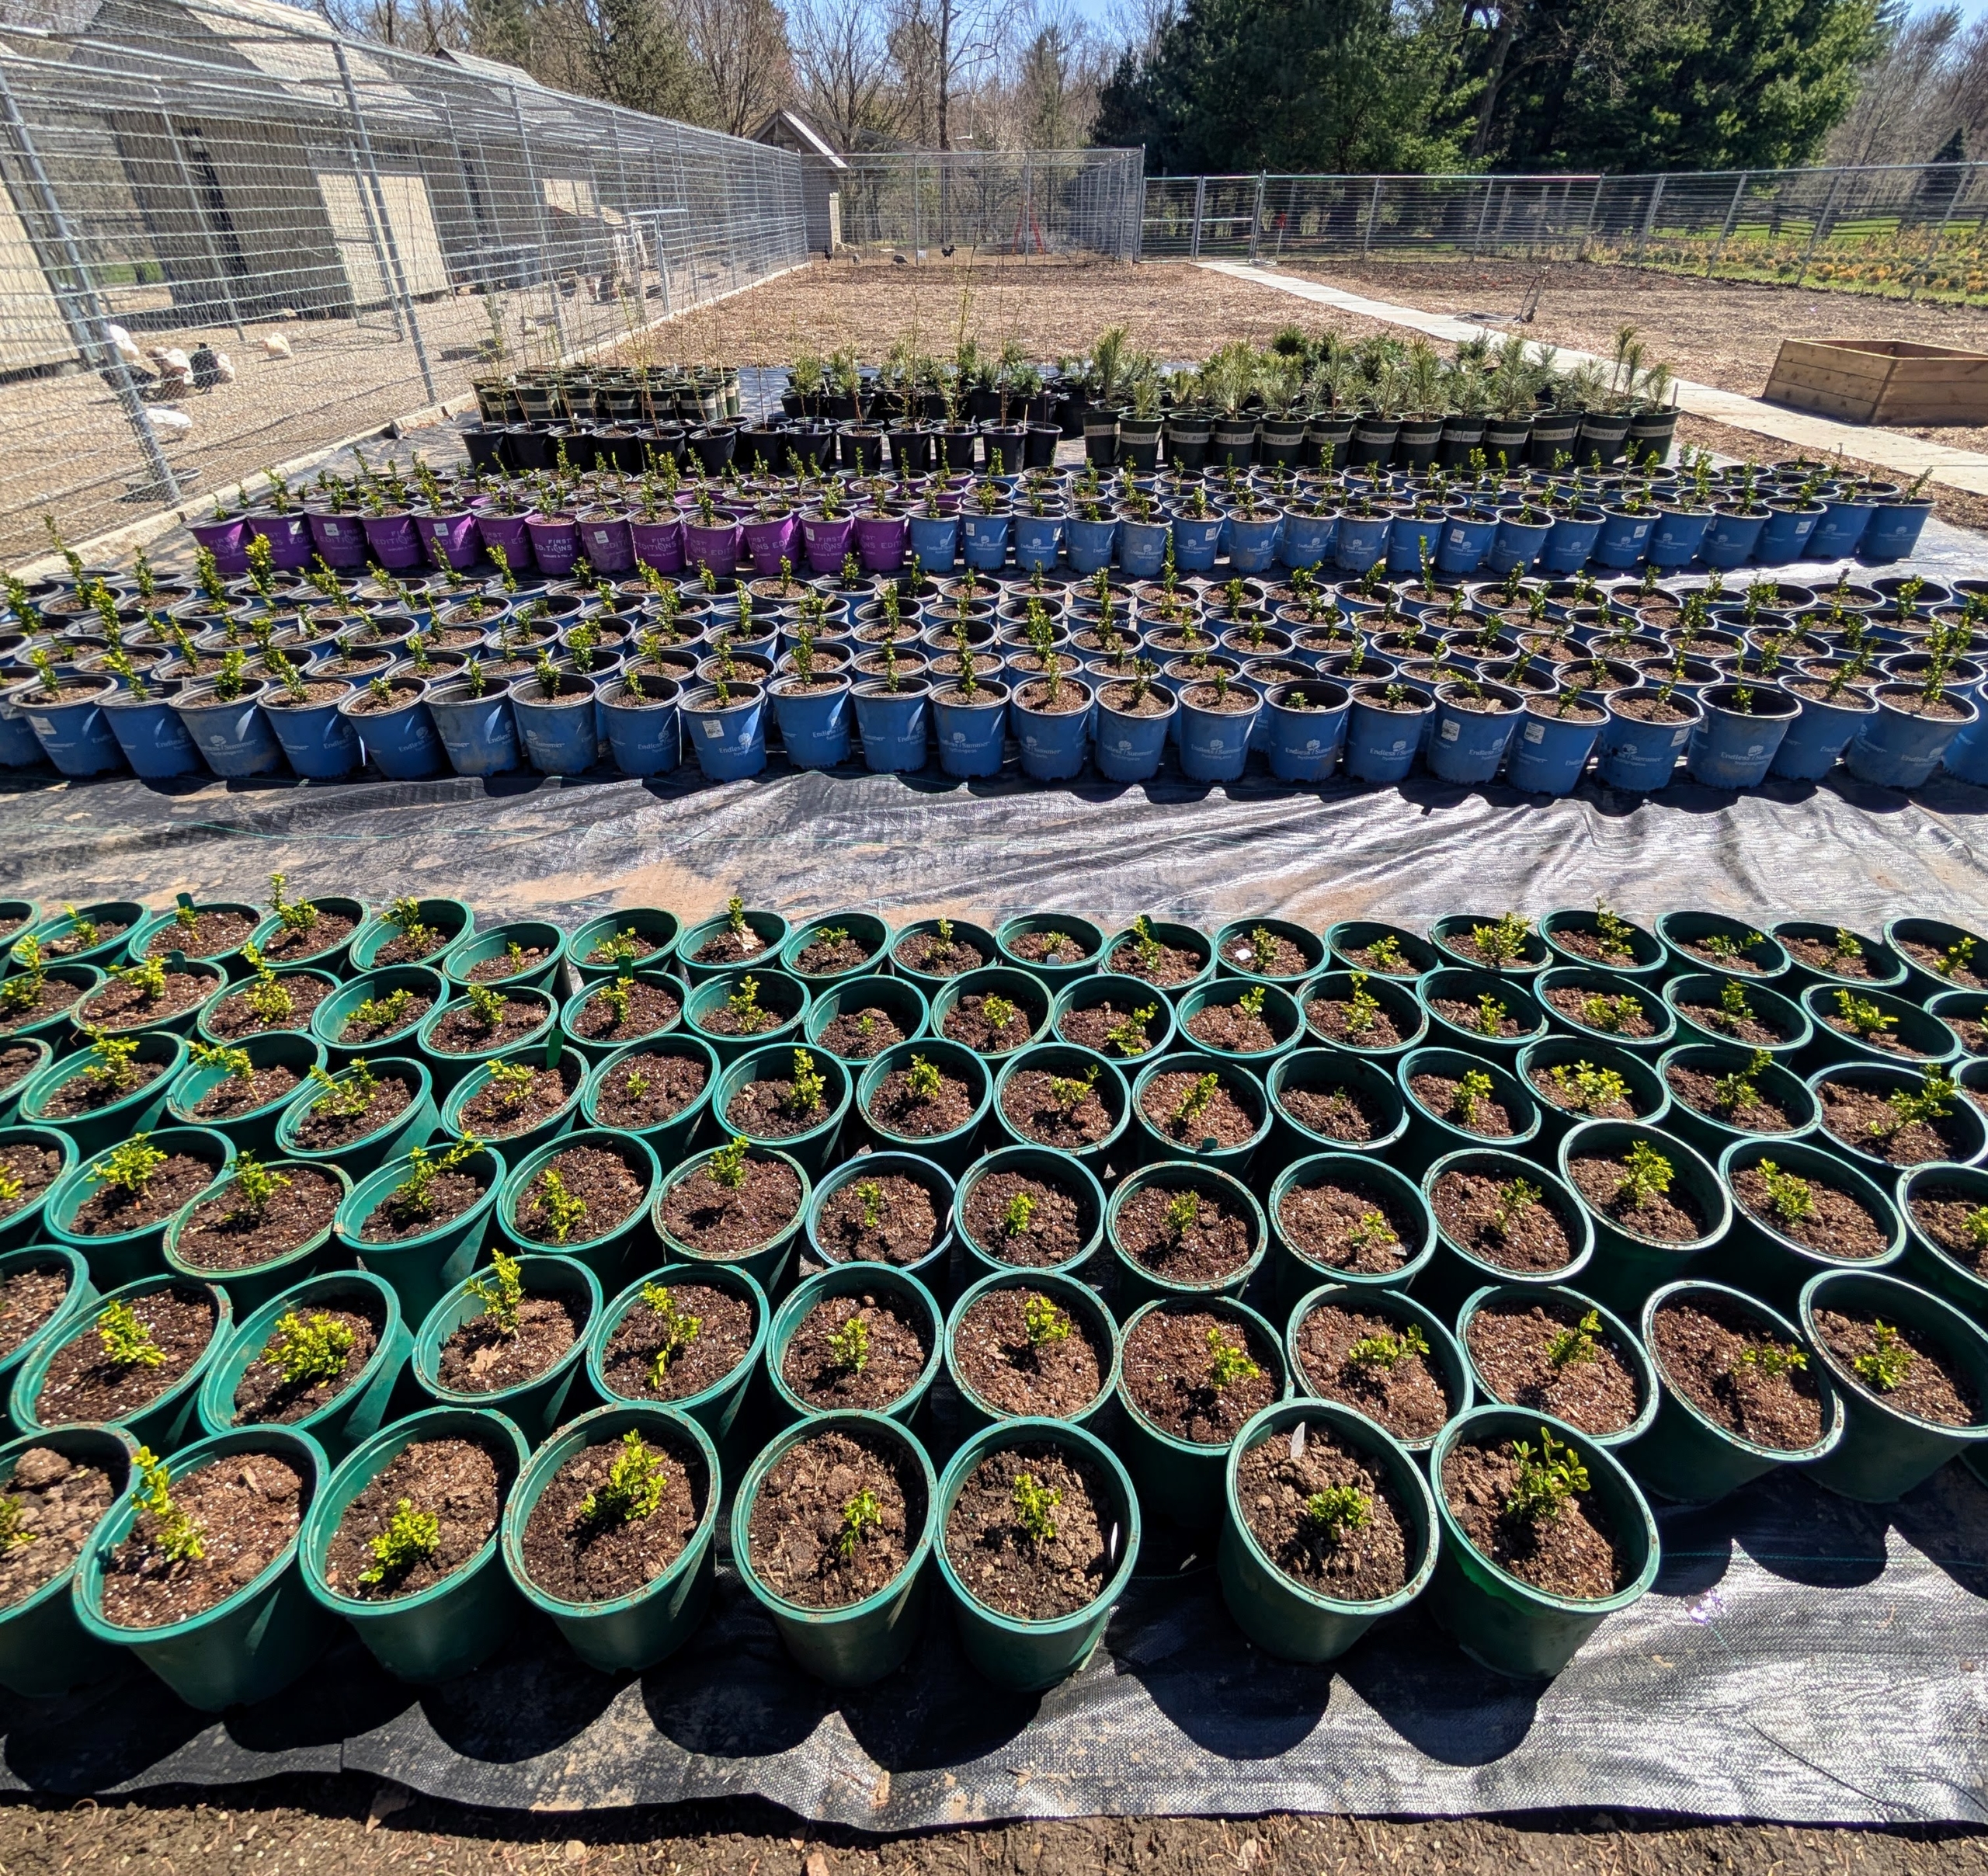
Enjoy these photos and short video showing all 700 newly potted bare-roots!
Since I plant so many trees I get some that are older and taller for various, more developed gardens and hundreds in the form of bare-root cuttings for hedges or larger group plantings for new allées, groves and in the woodland.
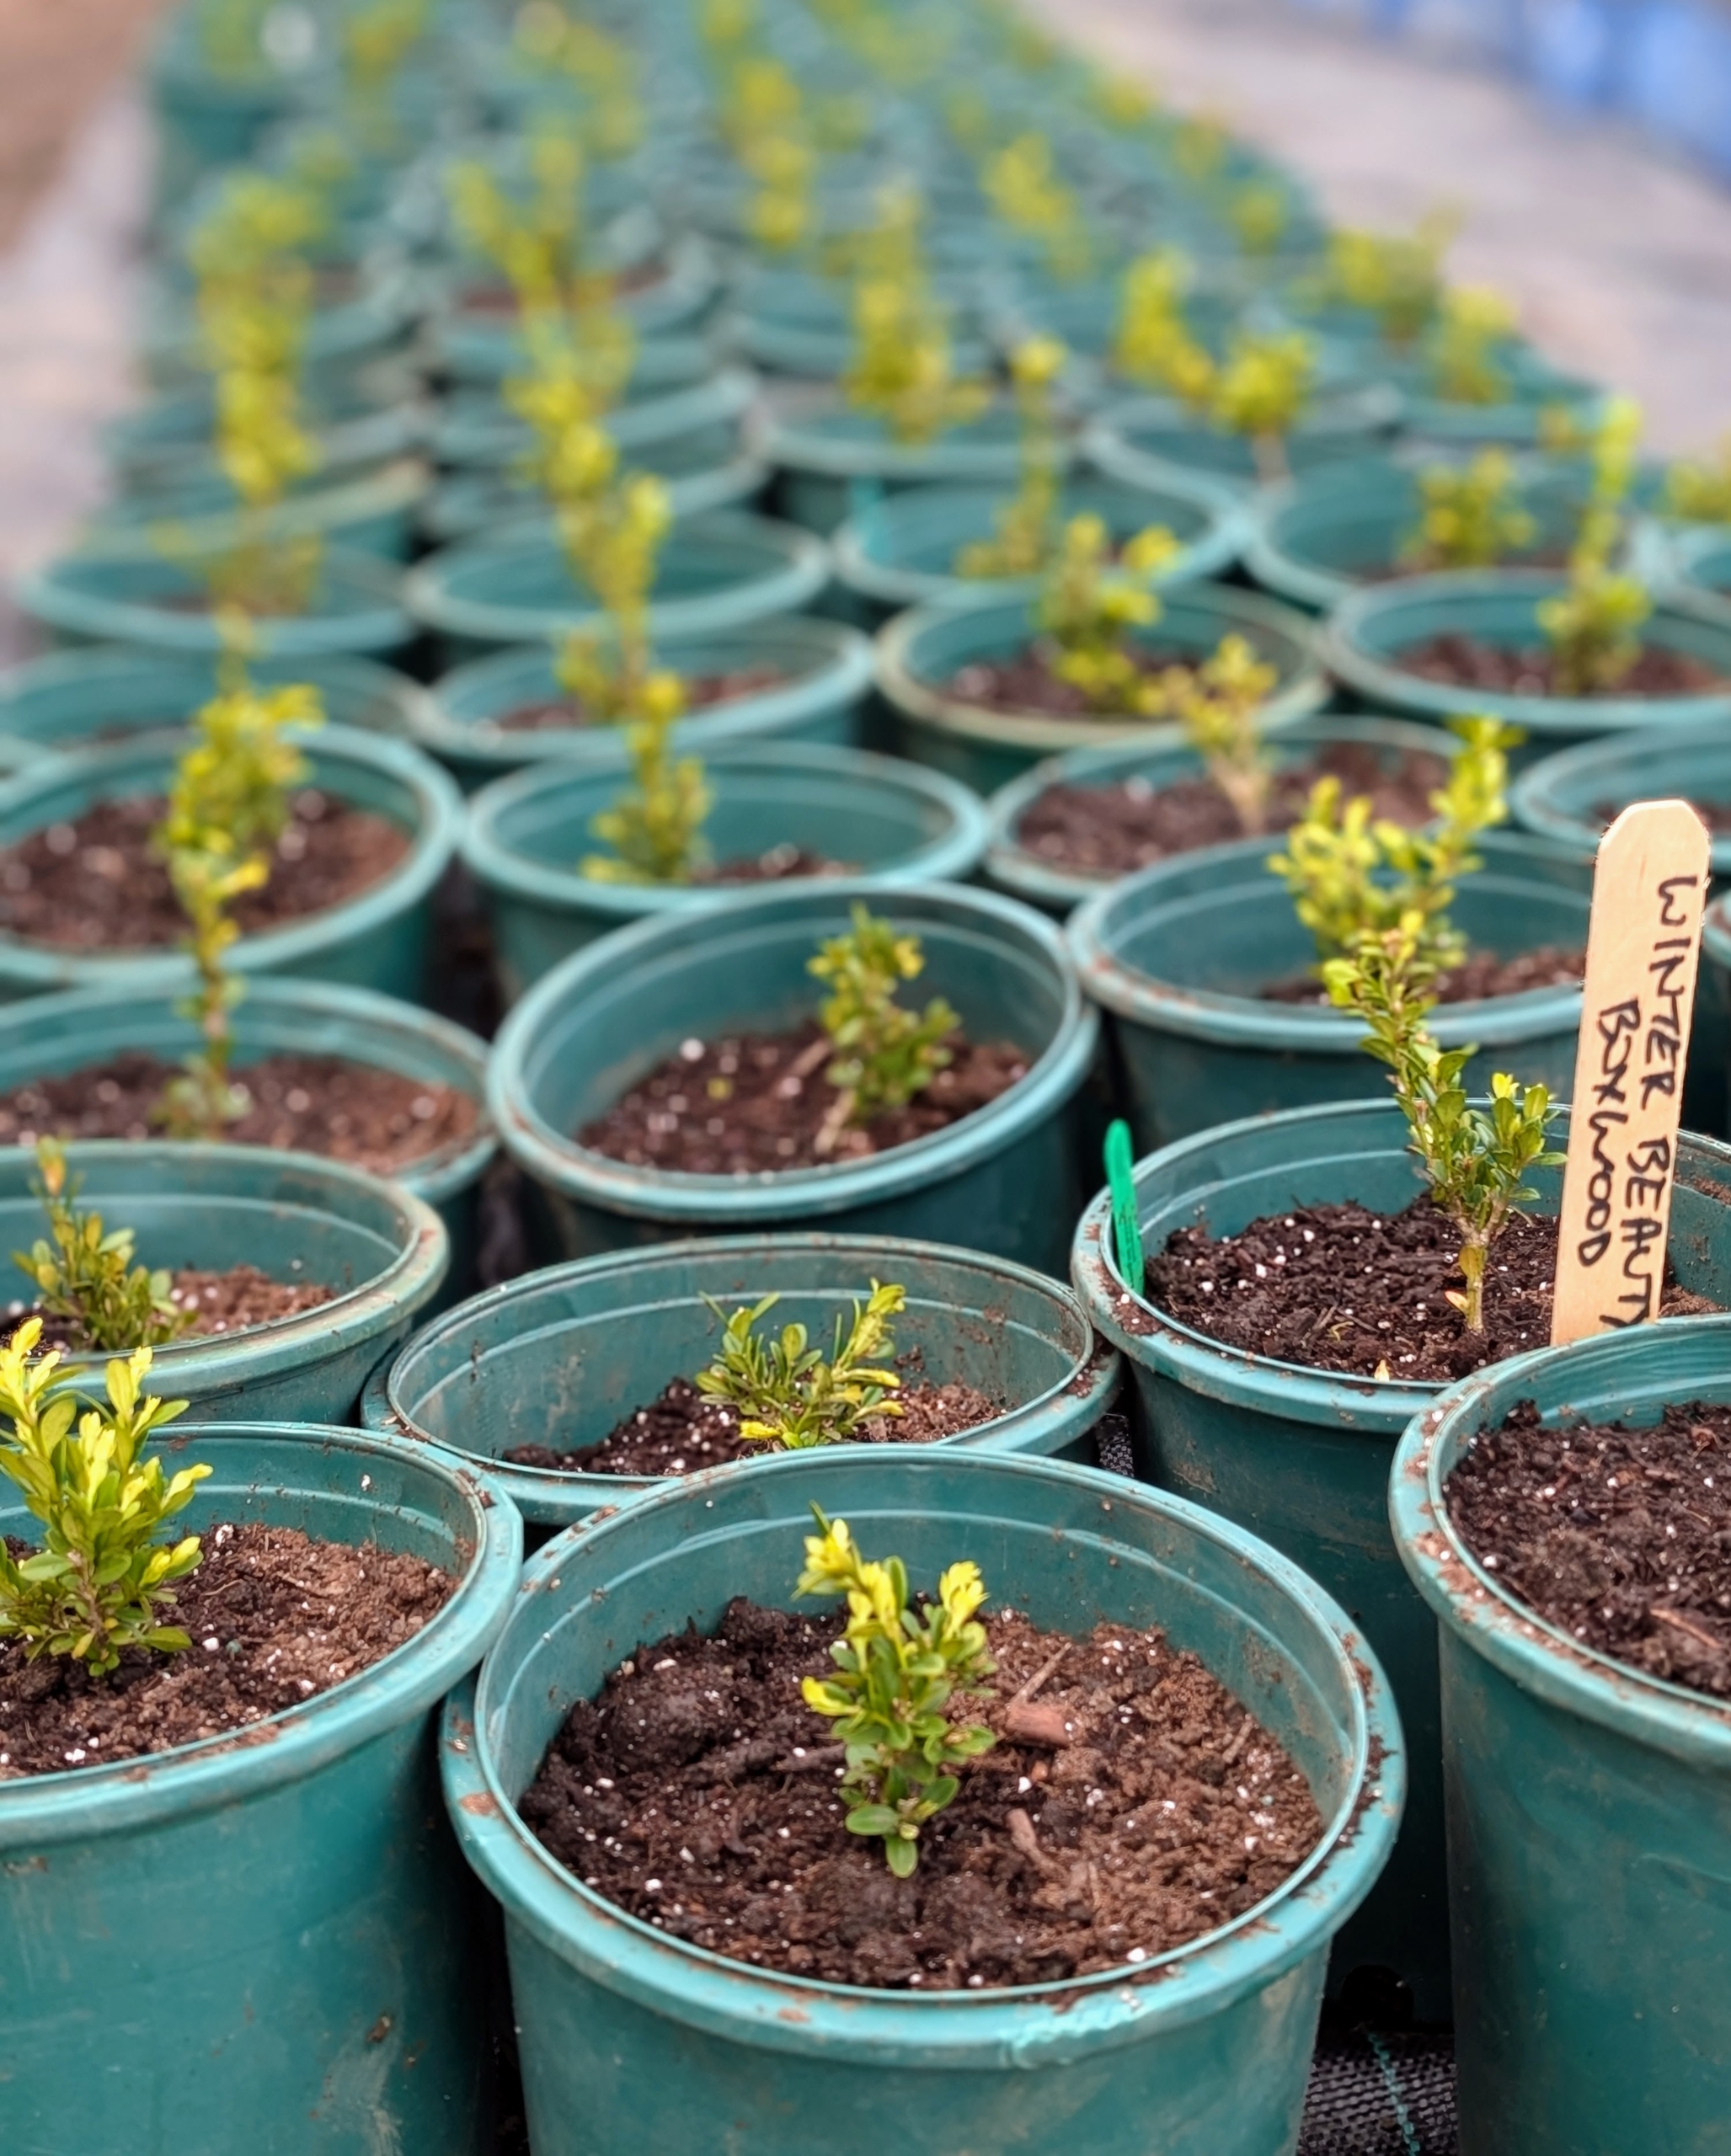
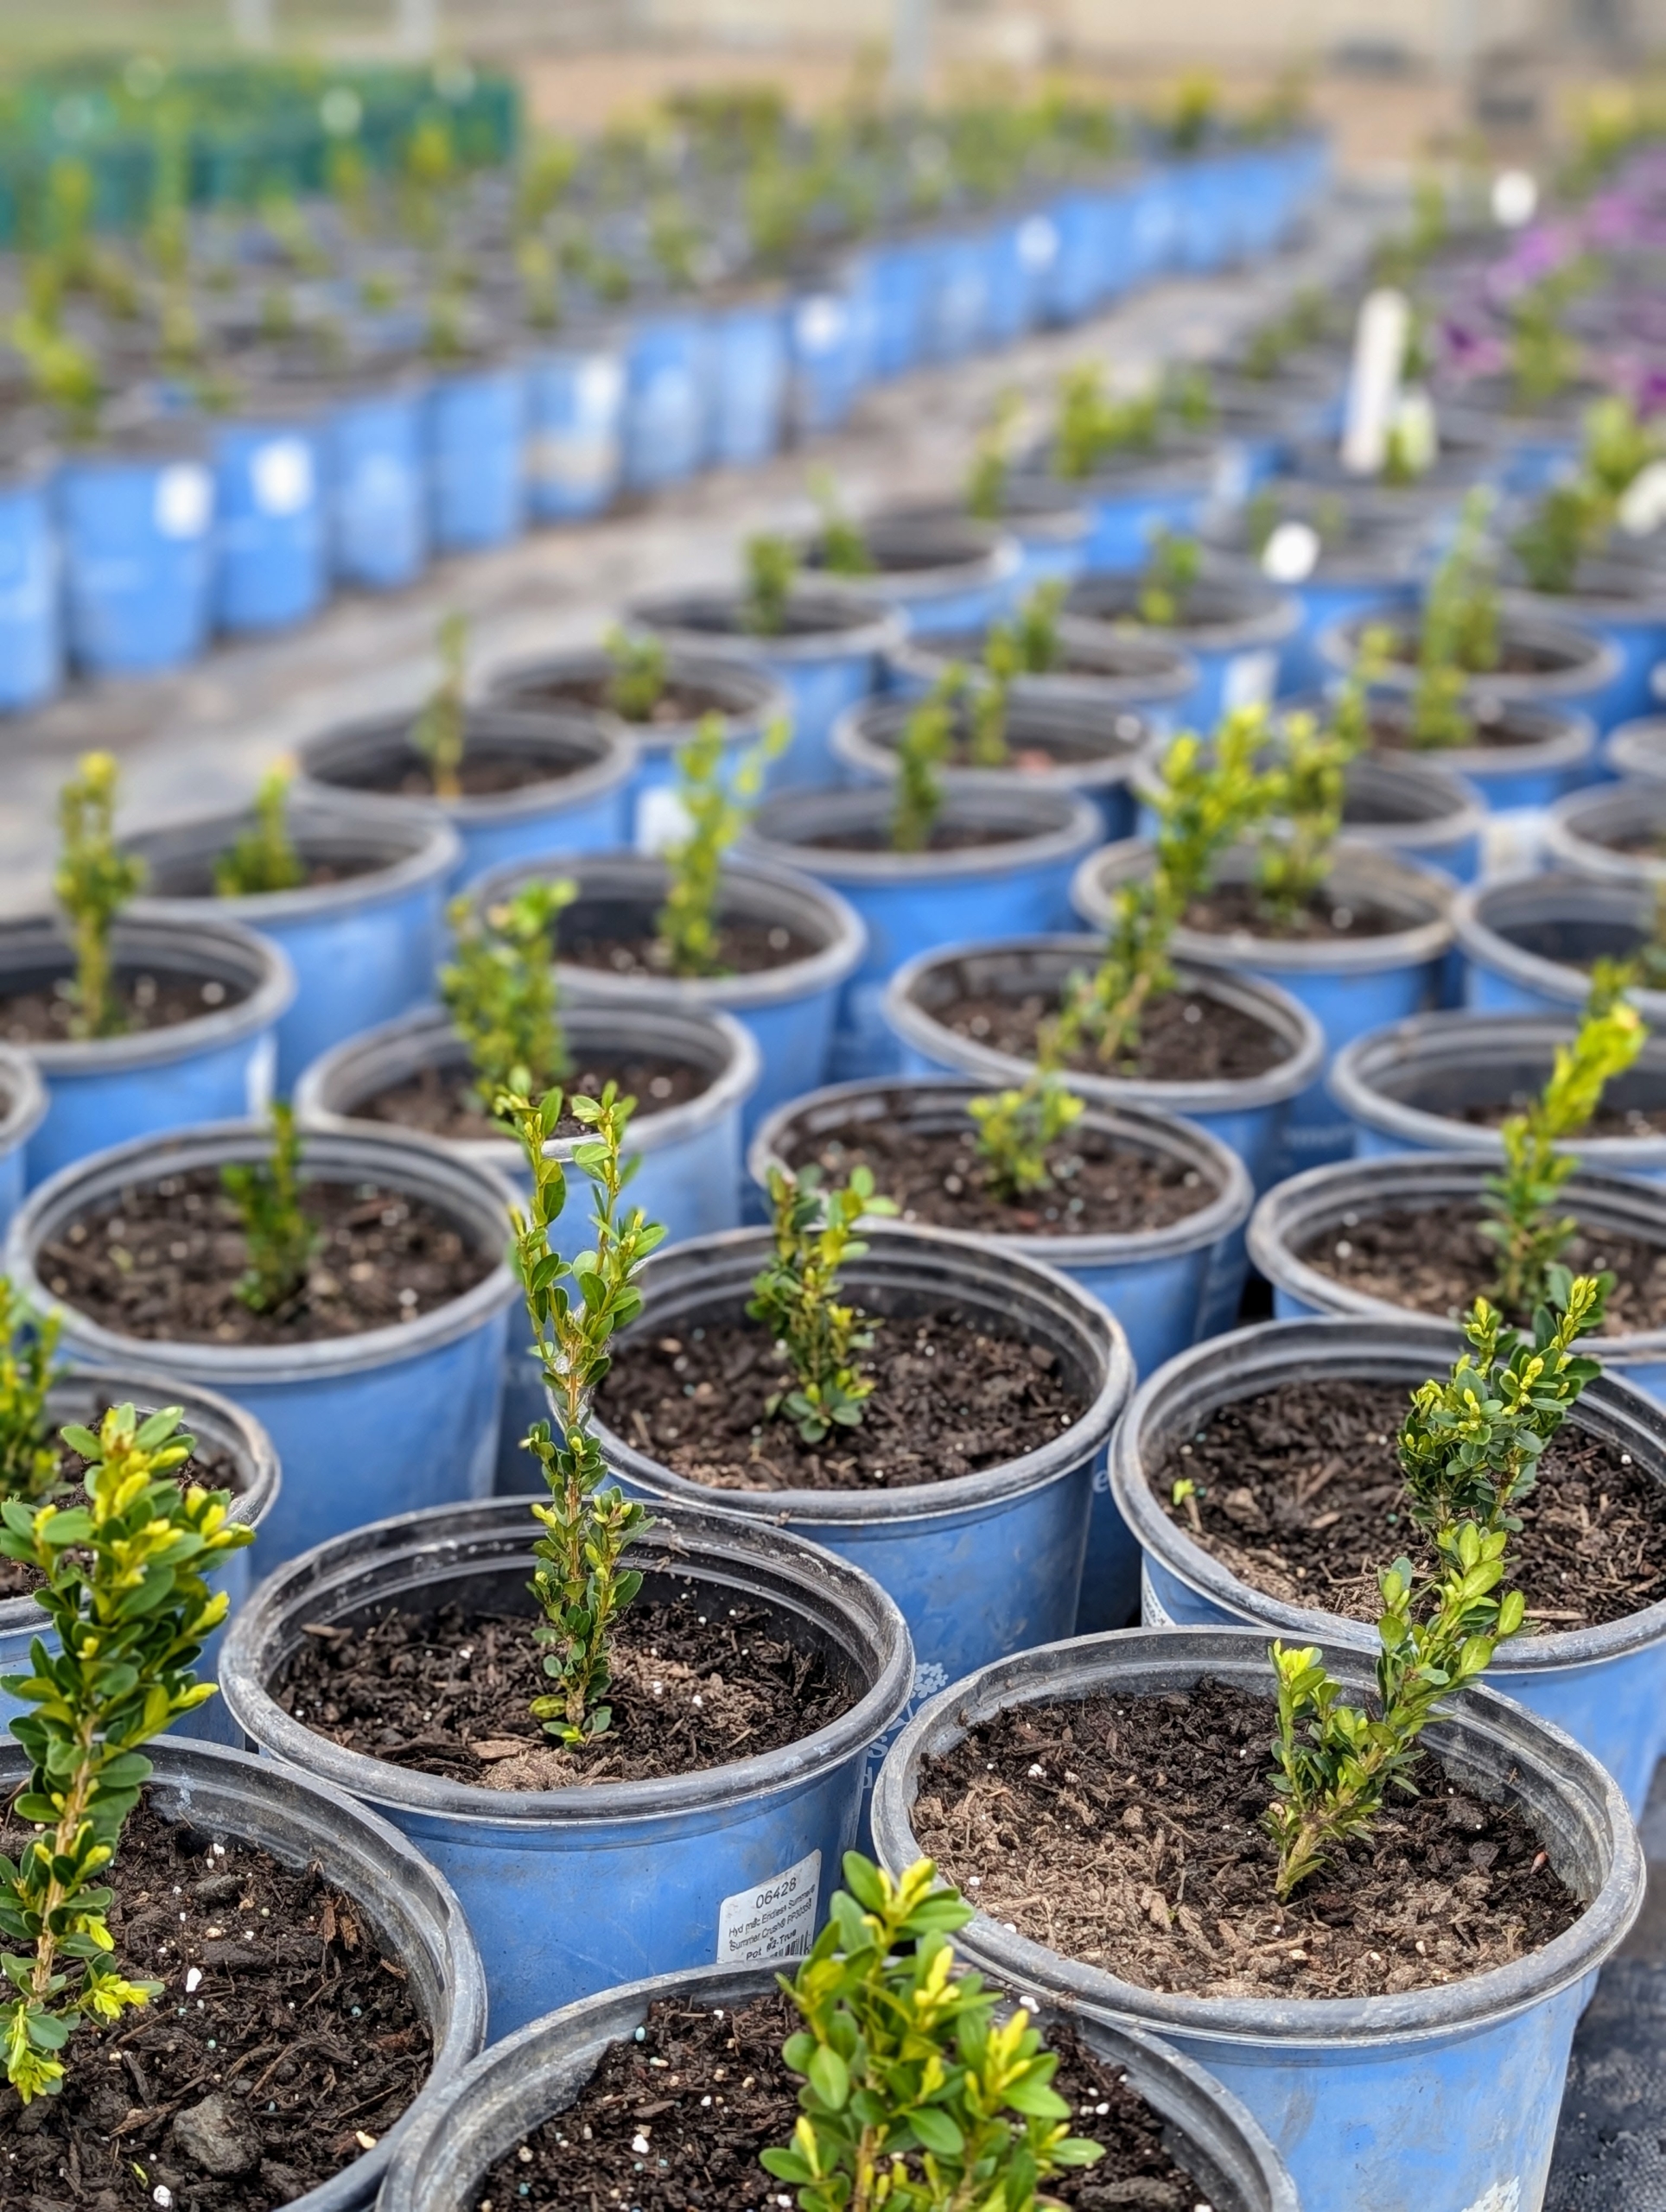
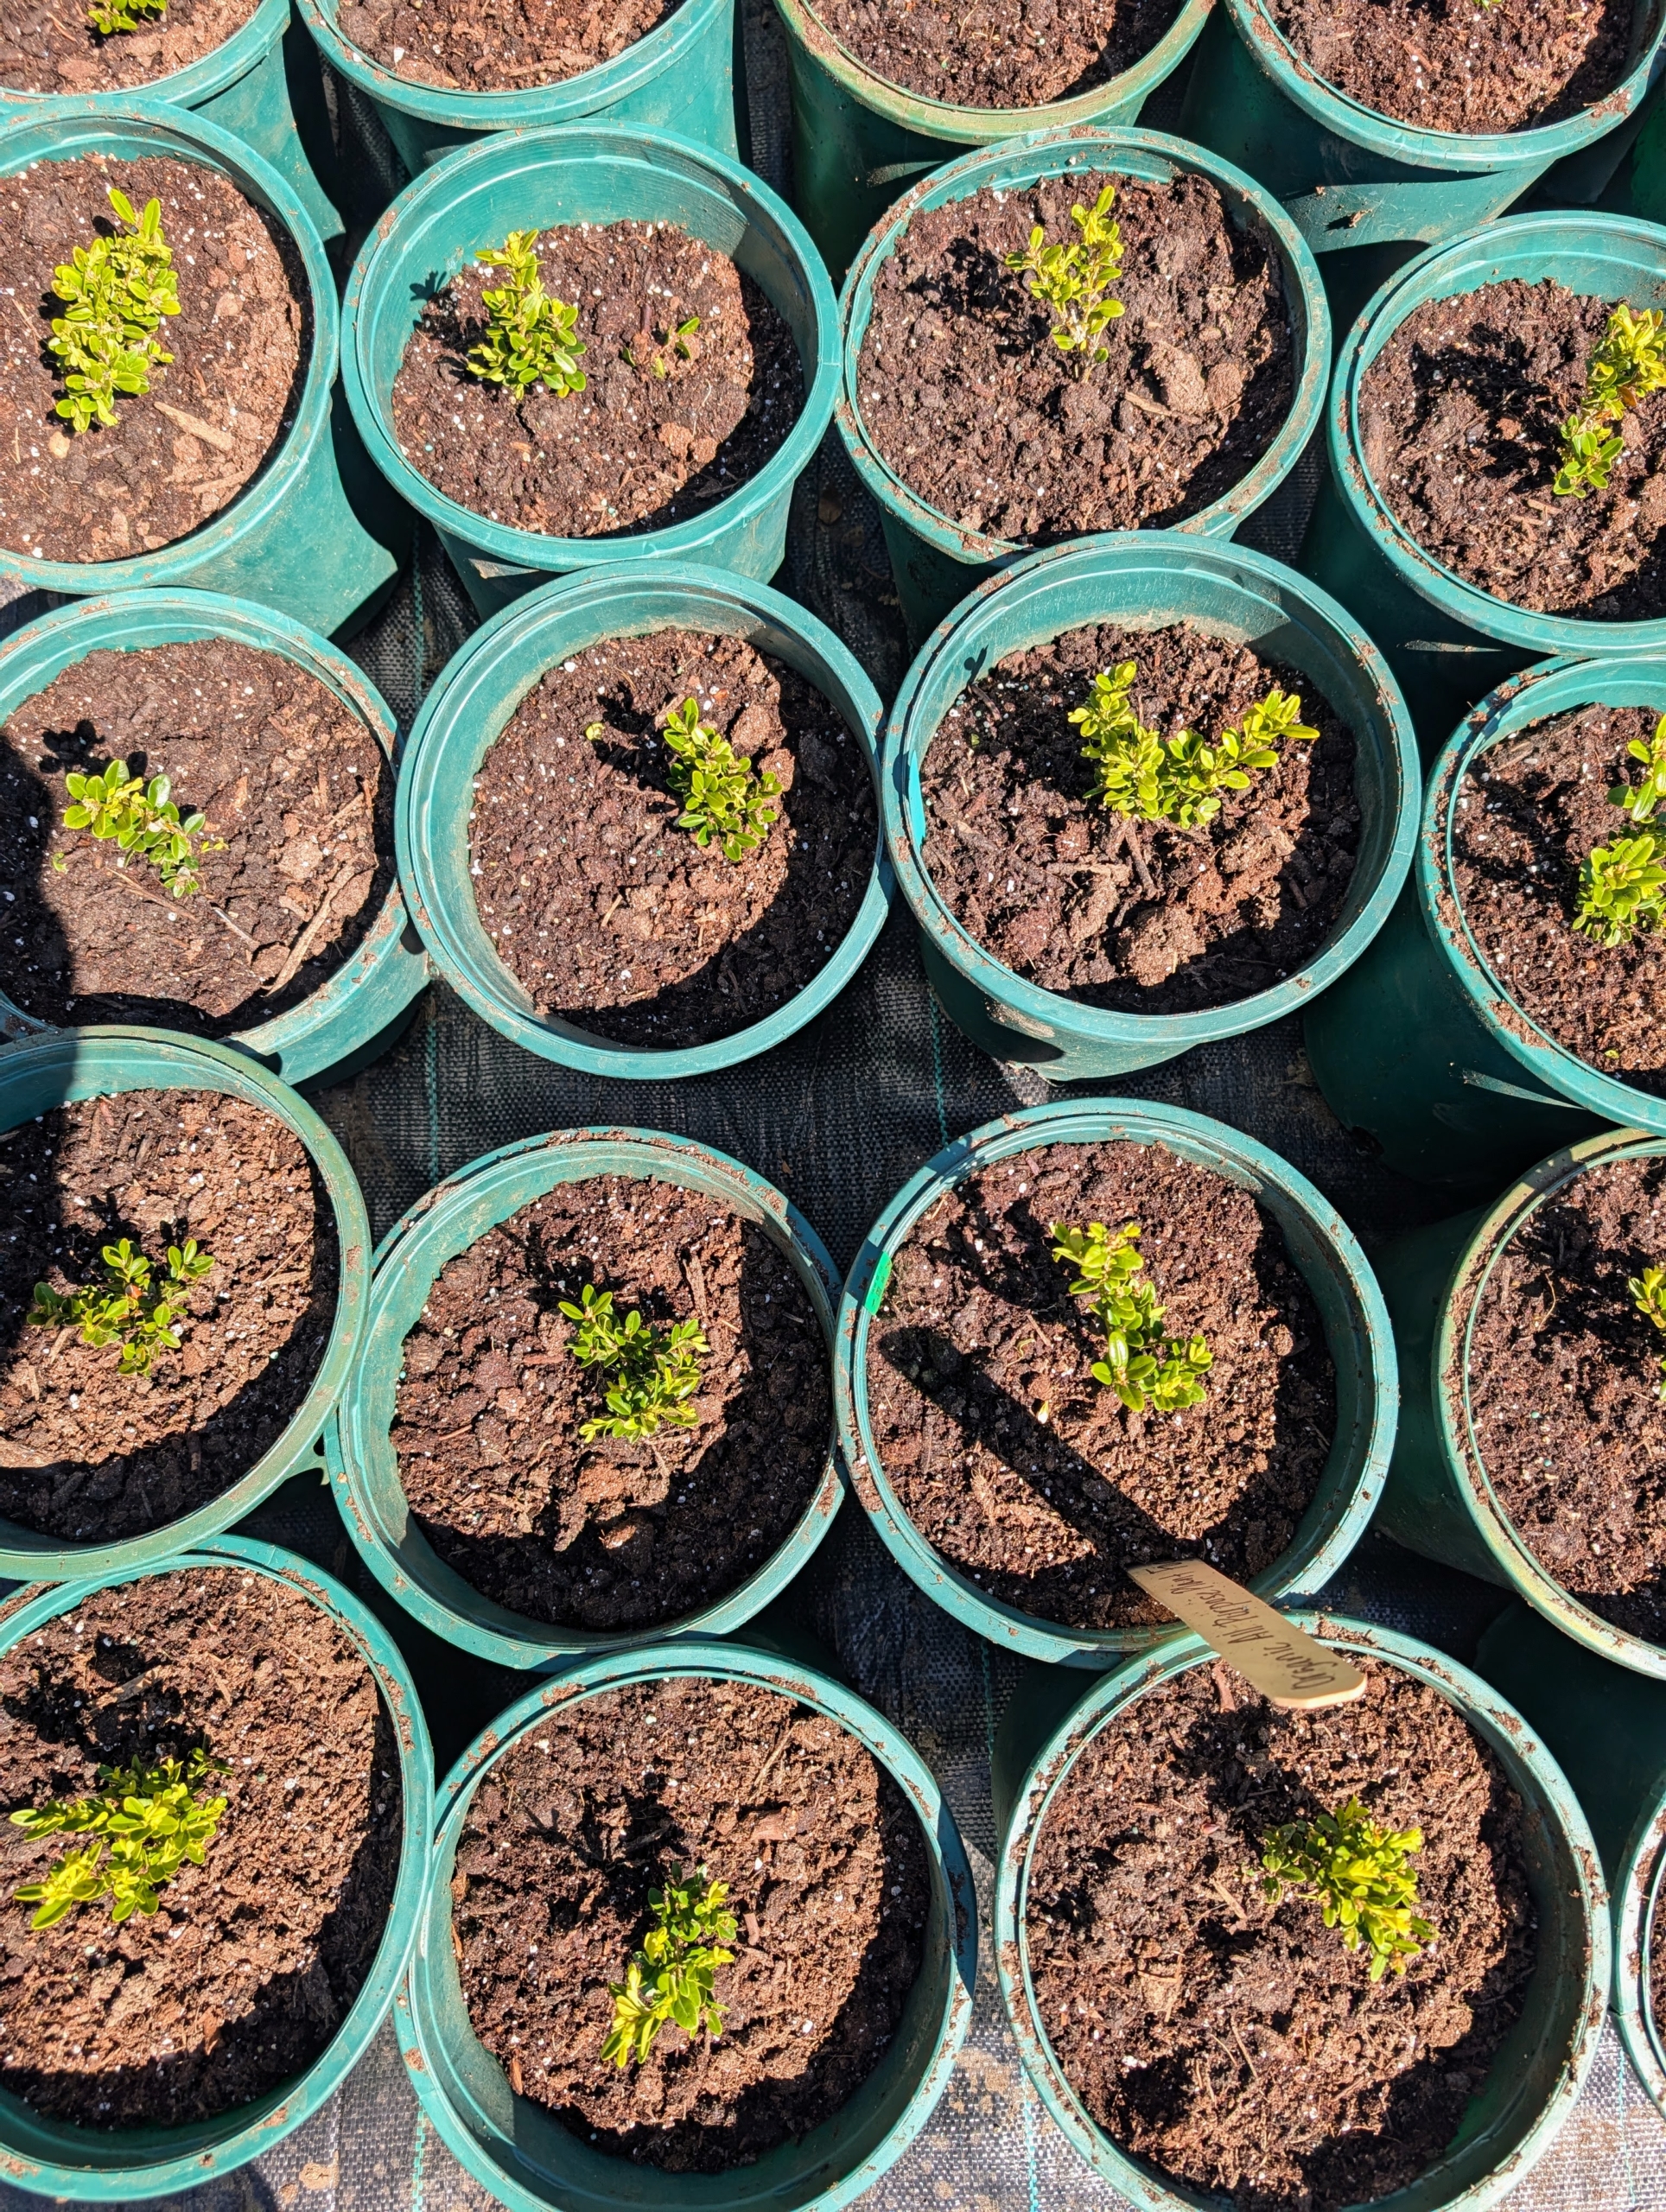
Among them, lots of boxwood cuttings. This is ‘Winter Beauty’ Boxwood. It grows three to four feet in height and spread. It’s great for low hedges and borders. This variety has small dark green leaves, spring through fall and then bronze leaves in winter.
One of my favorite varieties is Buxus ‘Green Mountain’. It is a vigorous evergreen shrub with bright green foliage that retains good color throughout winter. The upright, naturally cone-shaped habit makes it an excellent candidate for planting free-form or for a sculpted hedge.
Boxwood is popular for its versatility in the garden, its foliage, and its year-round greenery. Buxus is a genus of about 70 species in the family Buxaceae. Common names include box or boxwood. The boxes are native to western and southern Europe, southwest, southern and eastern Asia, Africa, Madagascar, northernmost South America, Central America, Mexico, and the Caribbean.
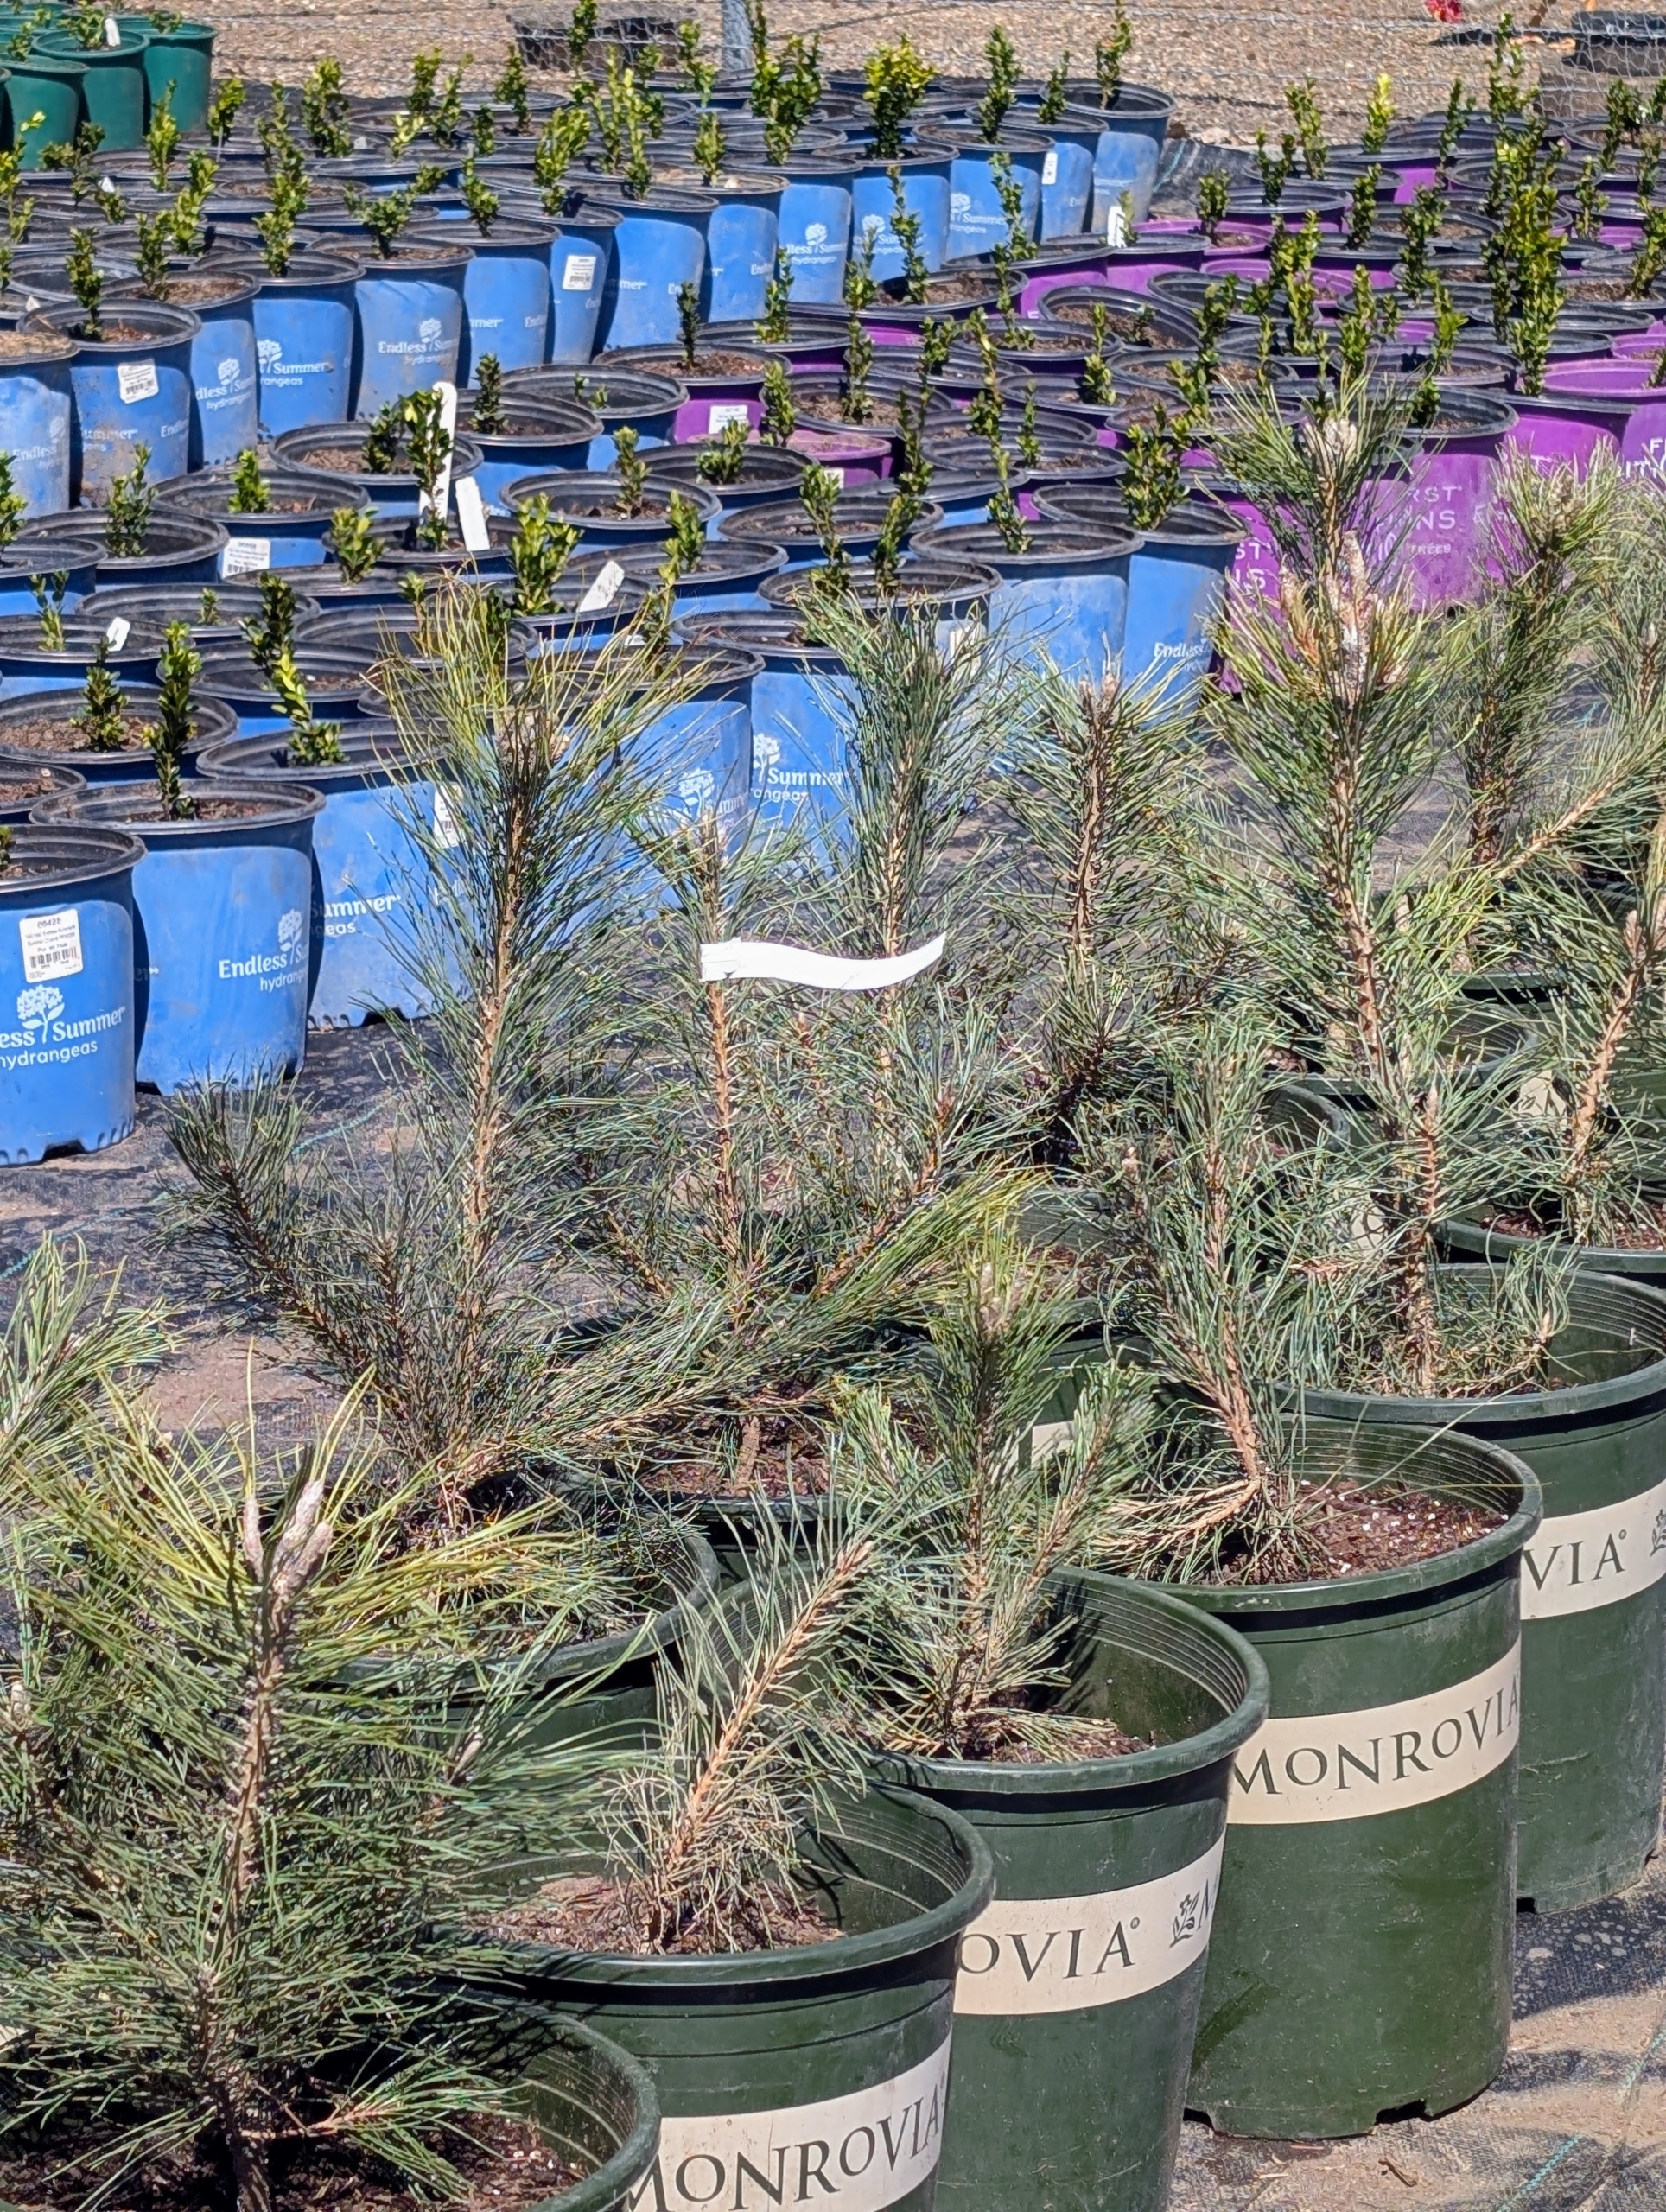
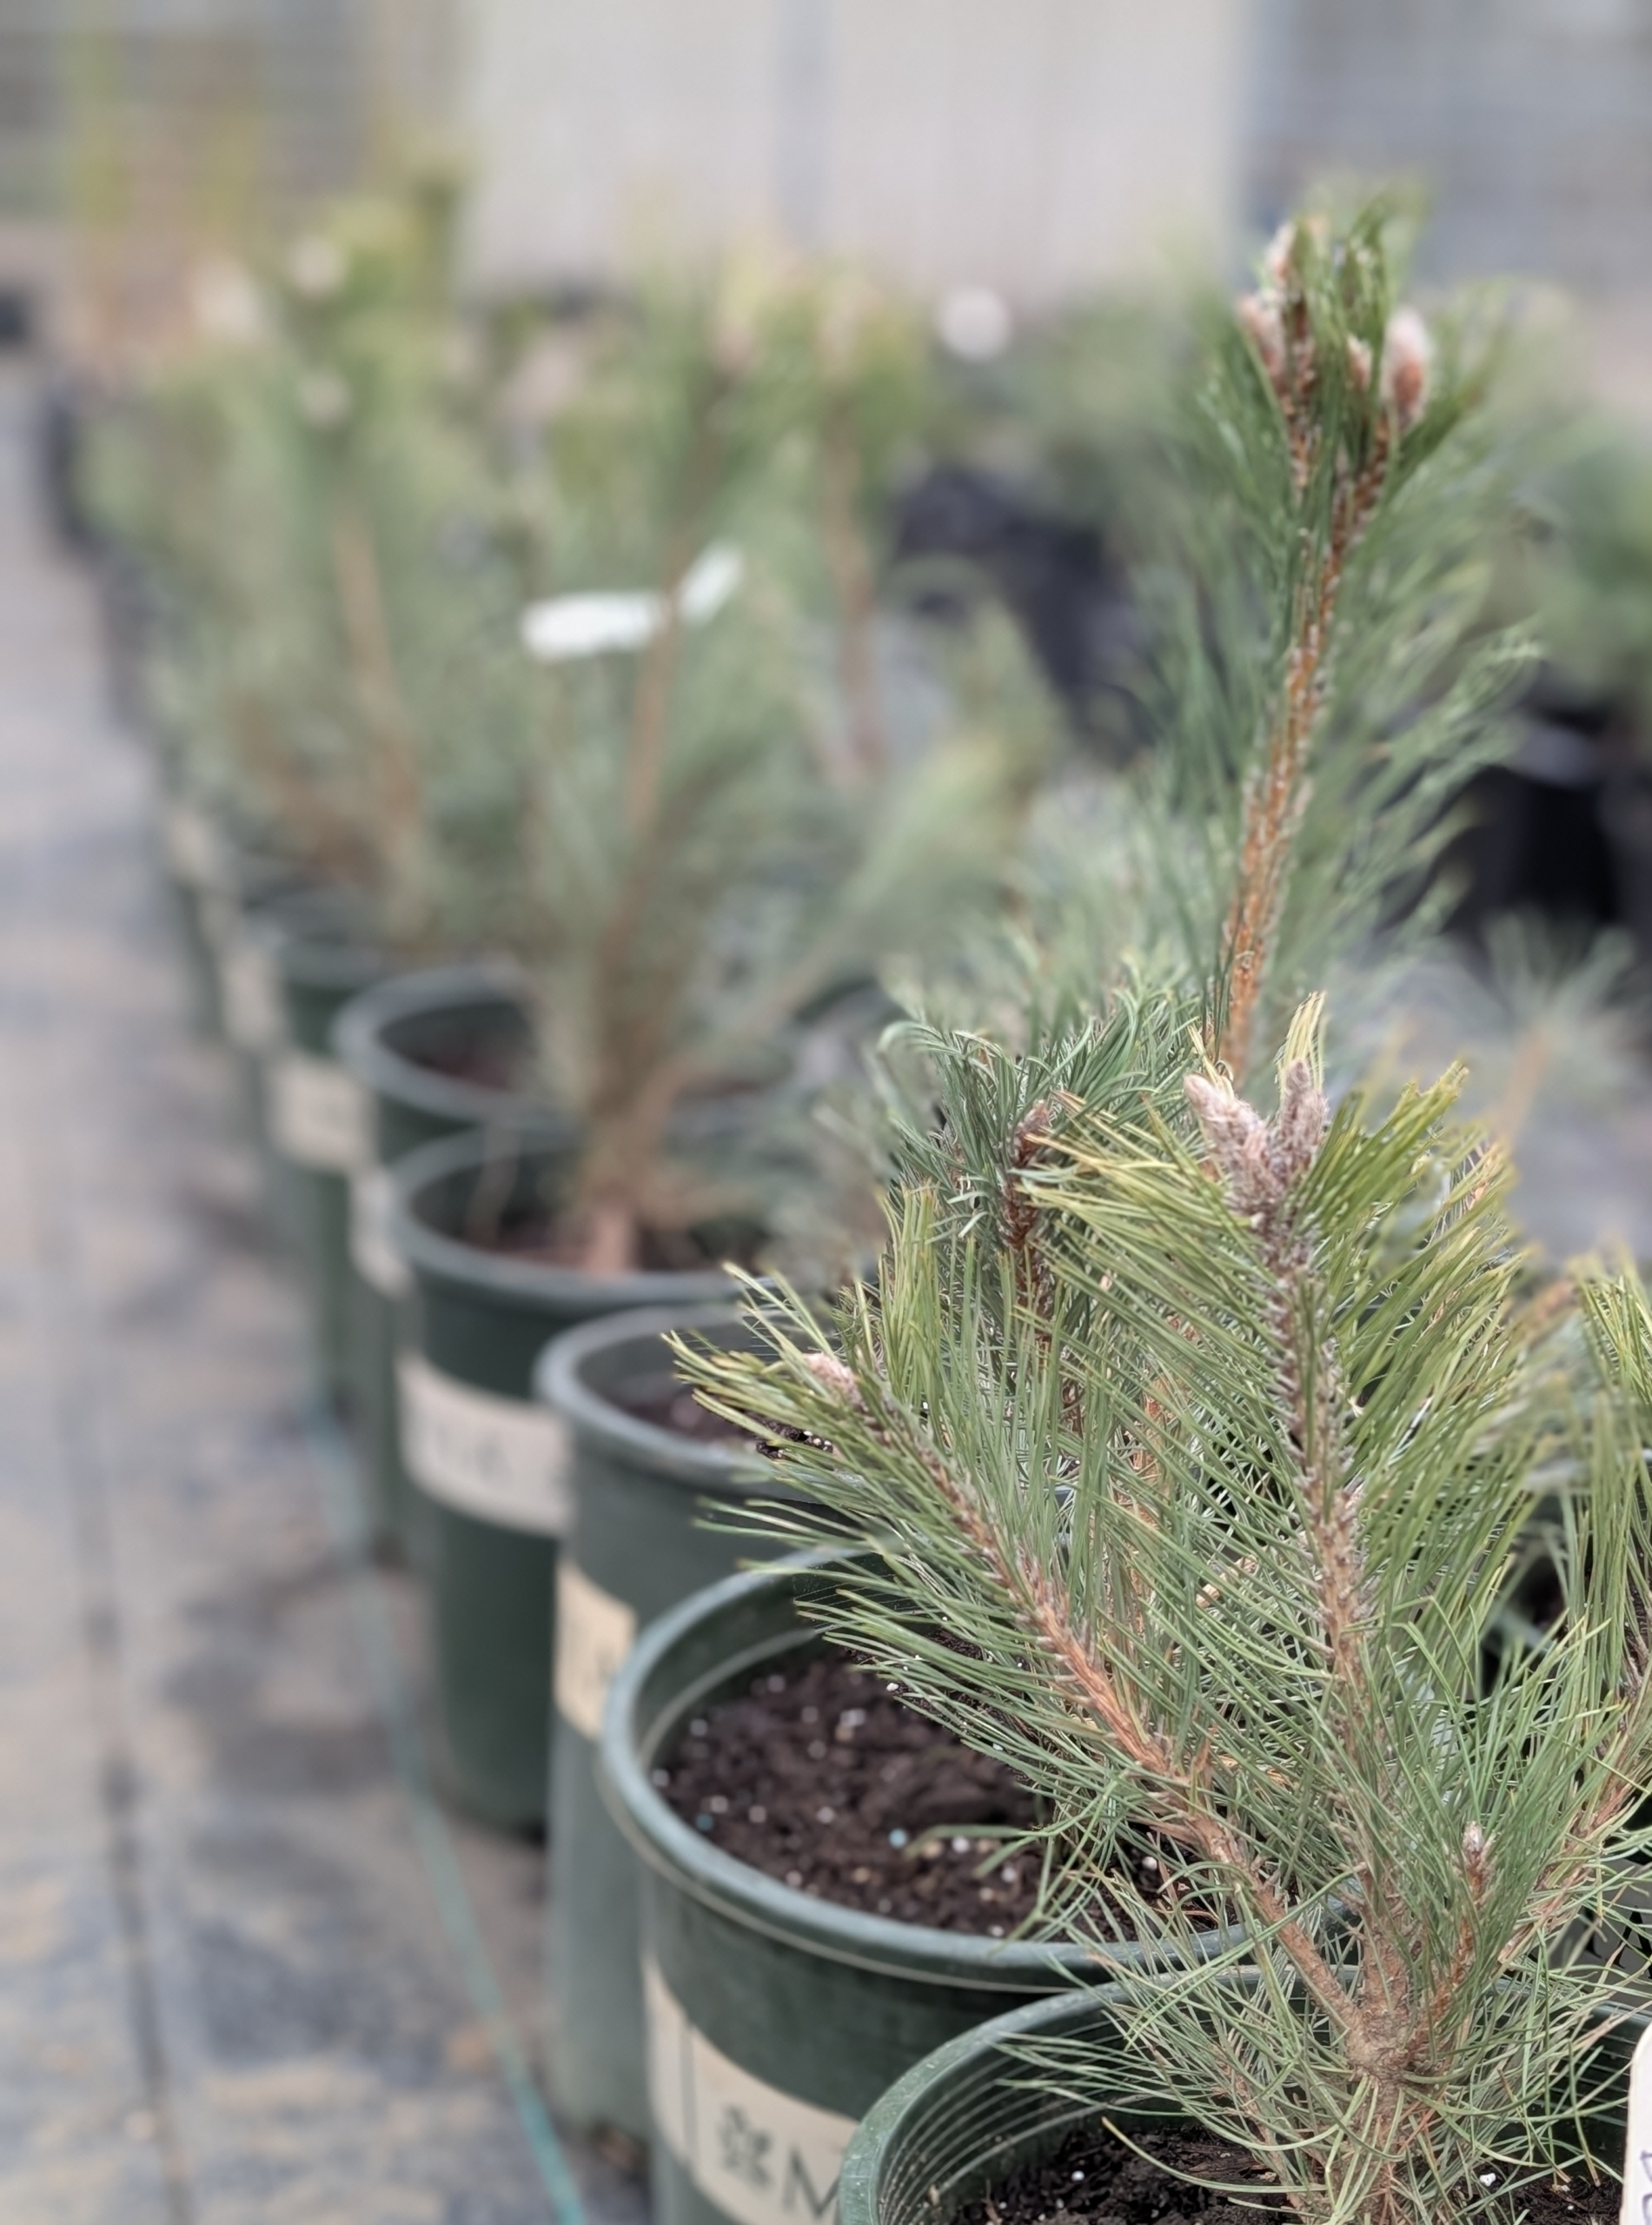
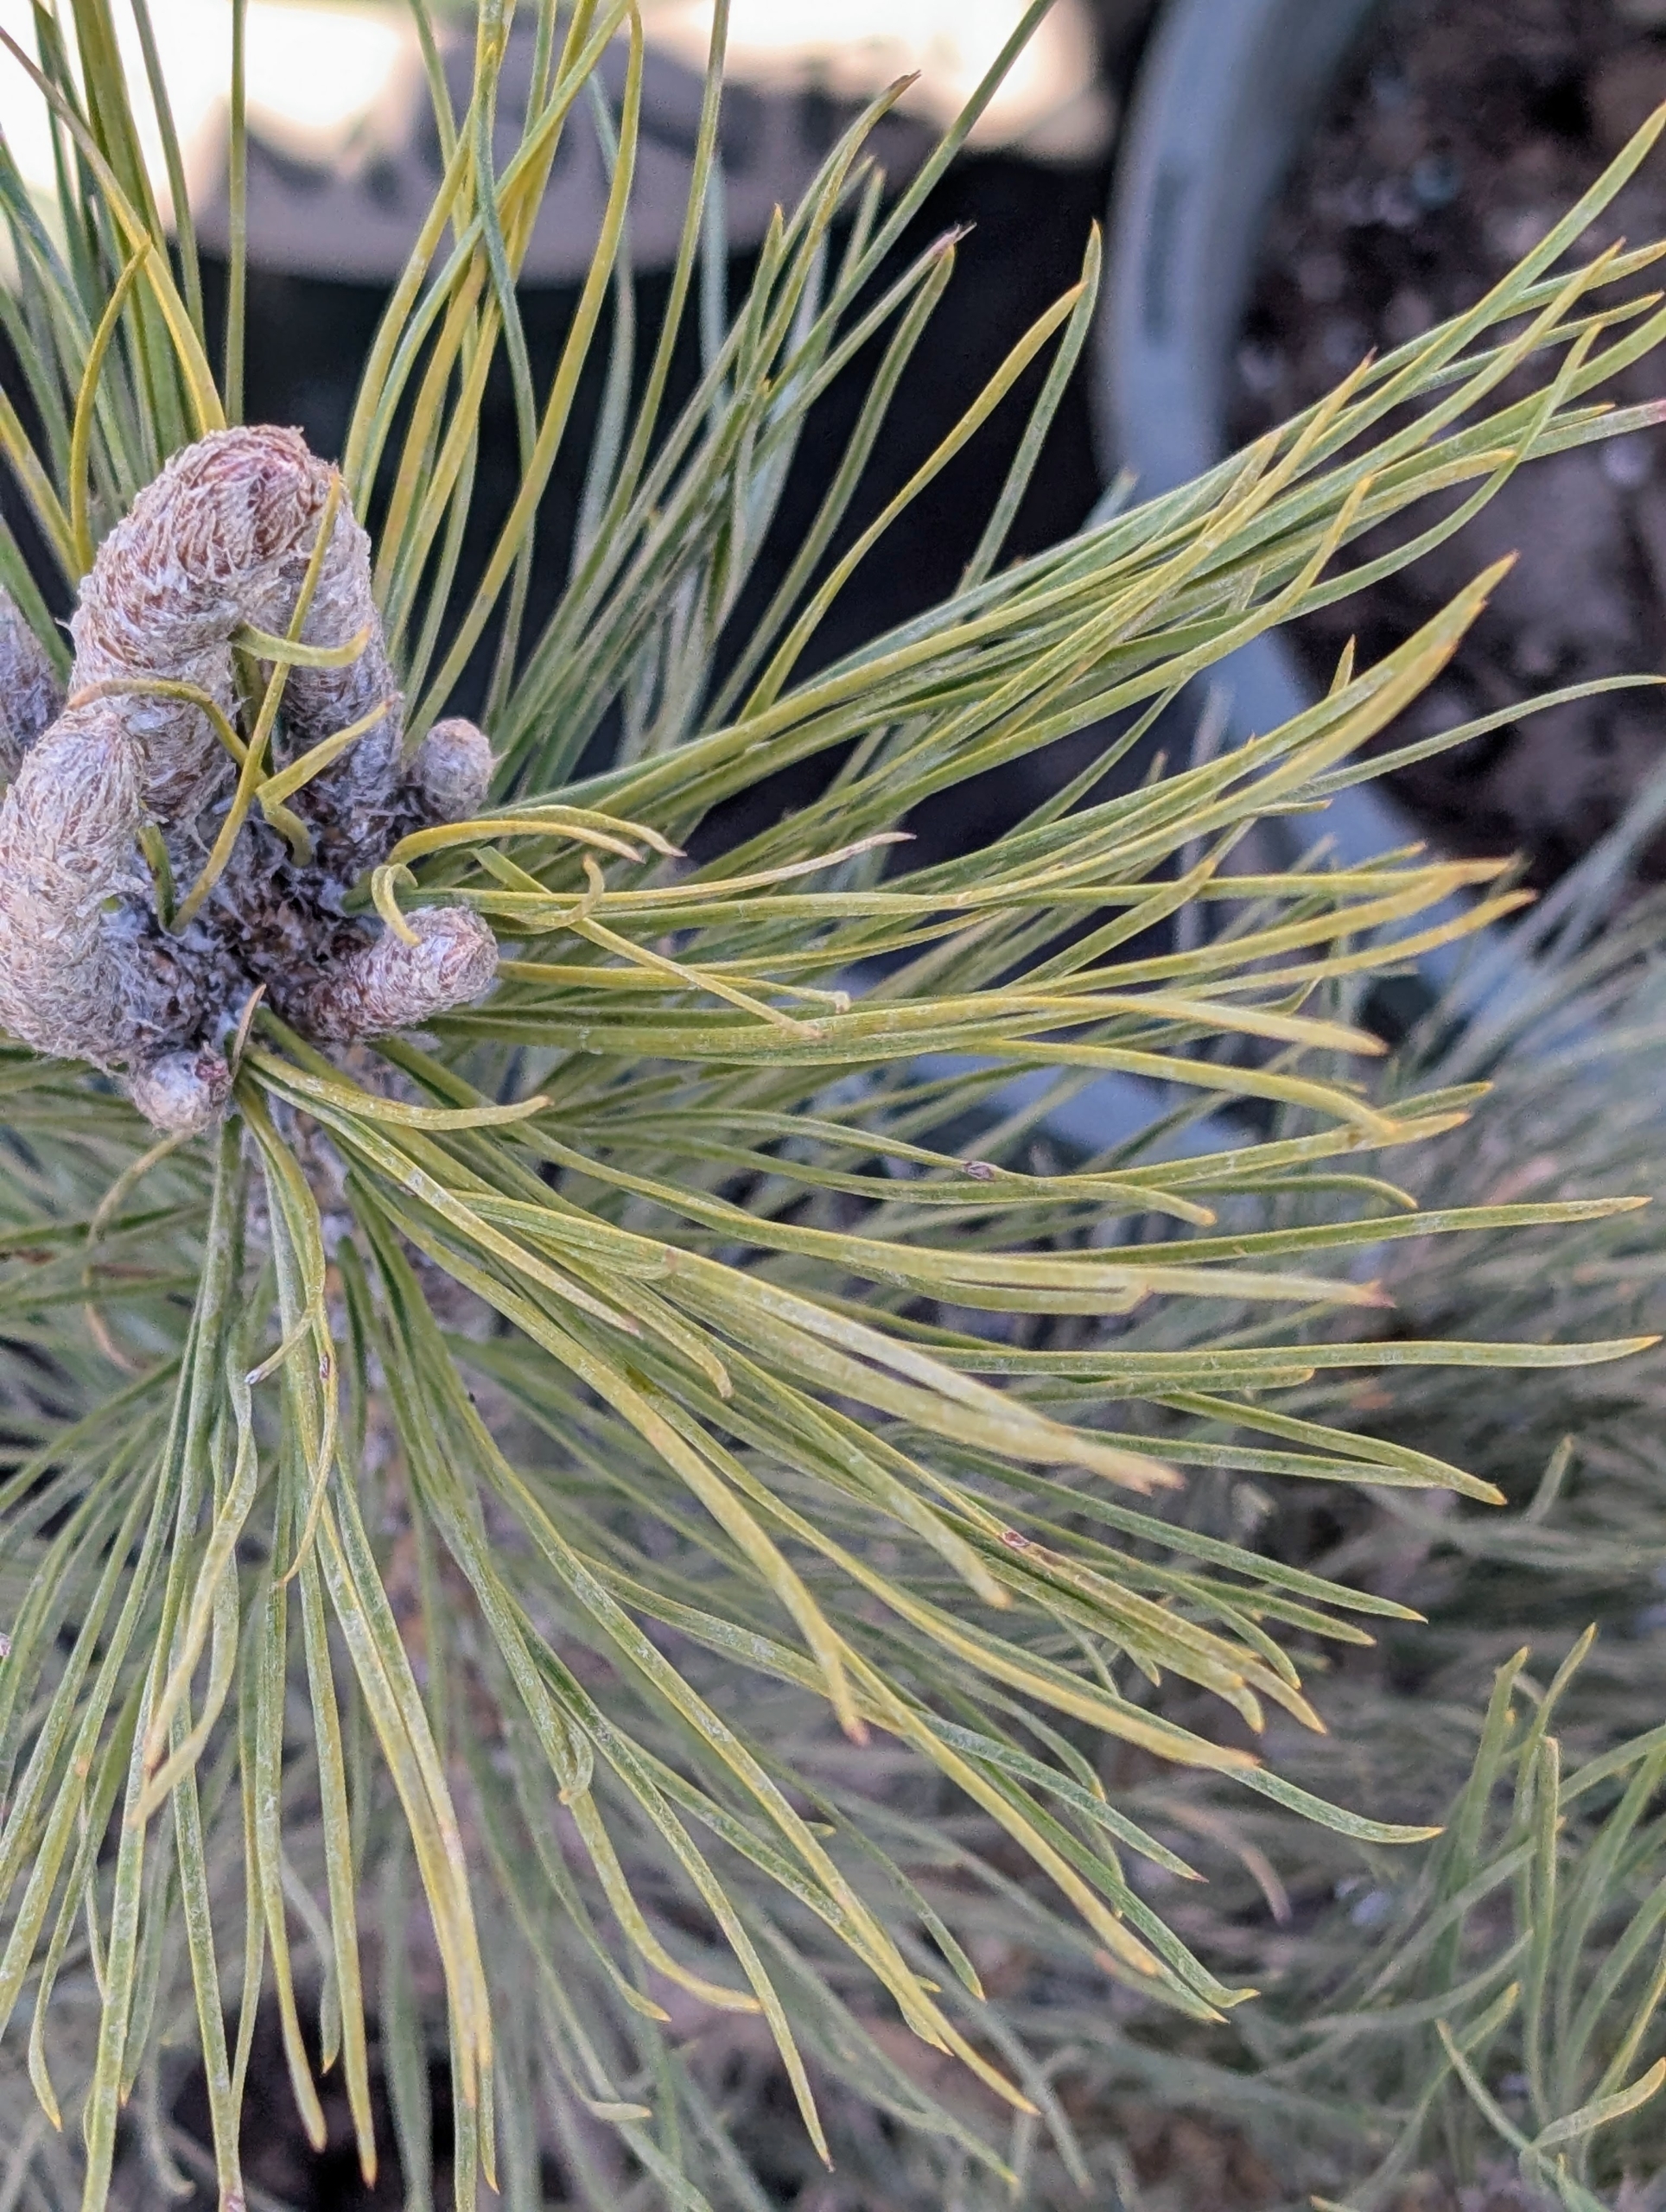
This section is for Austrian Pine, Pinus nigra. Also known as European black pine, this tree is a medium to large conifer that is native from central and southeastern Europe to western Asia. It grows 40 to 60 feet tall.
It features stiff green needles that are three to six inches long.
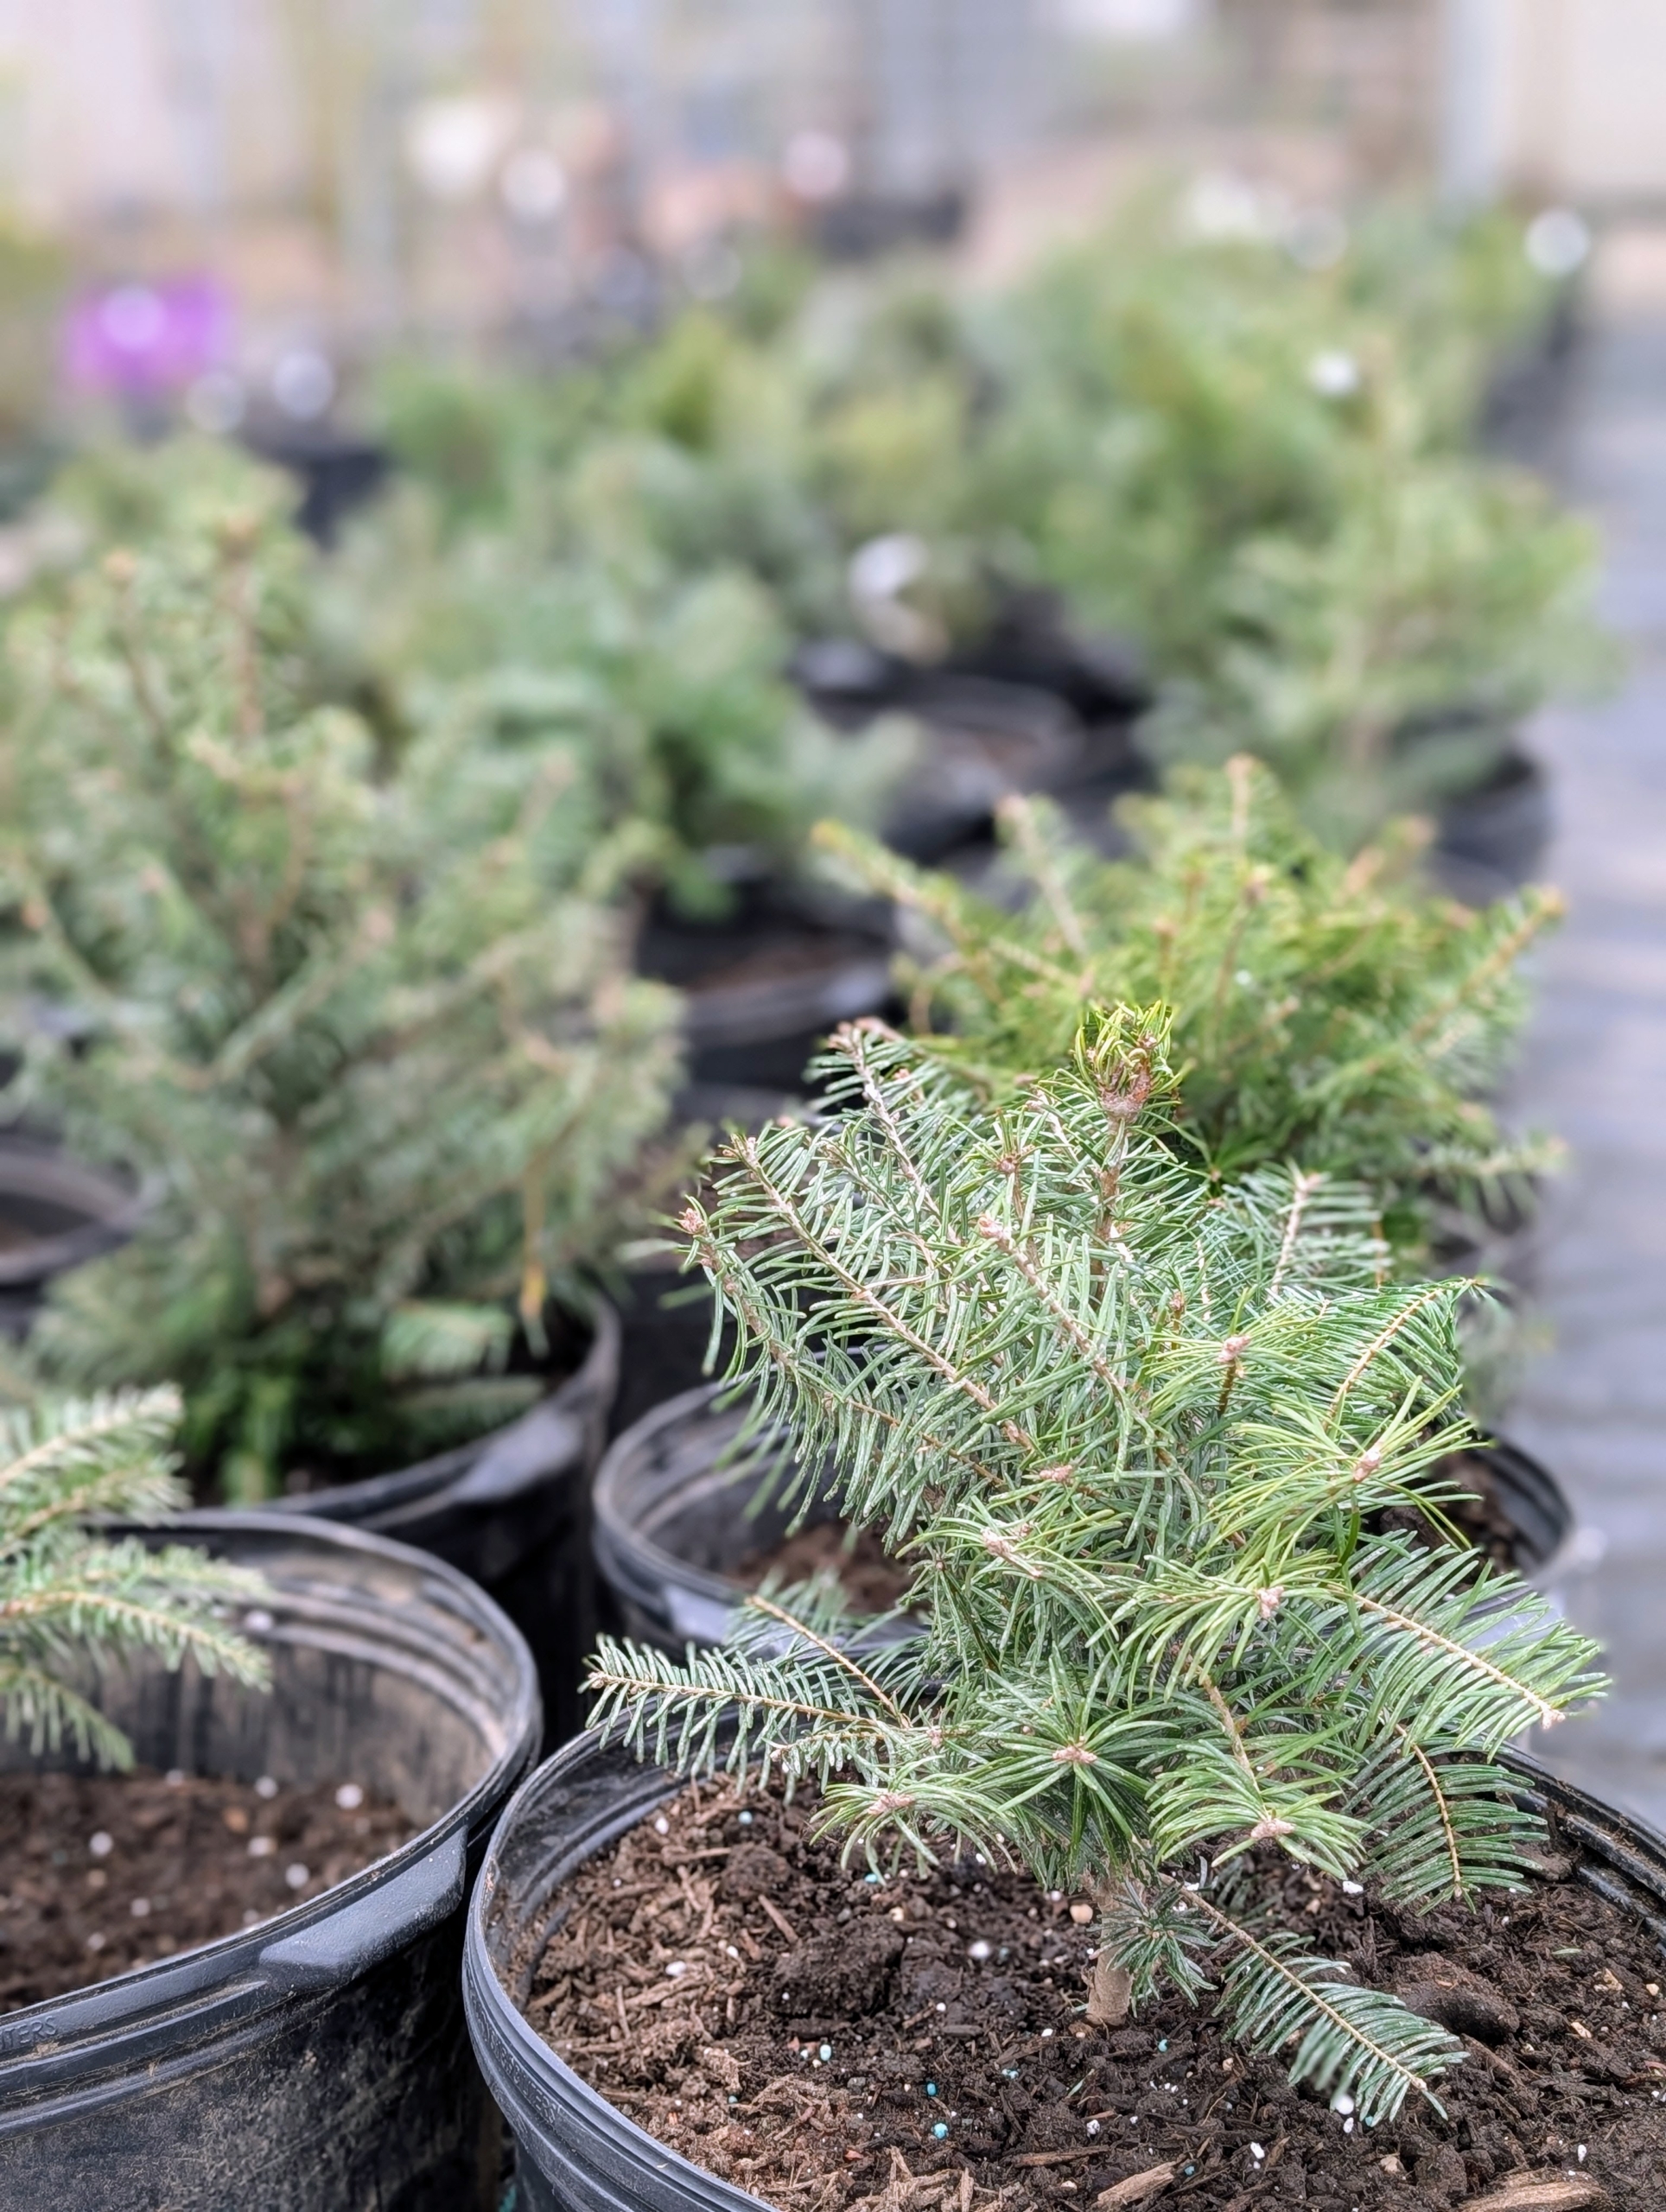
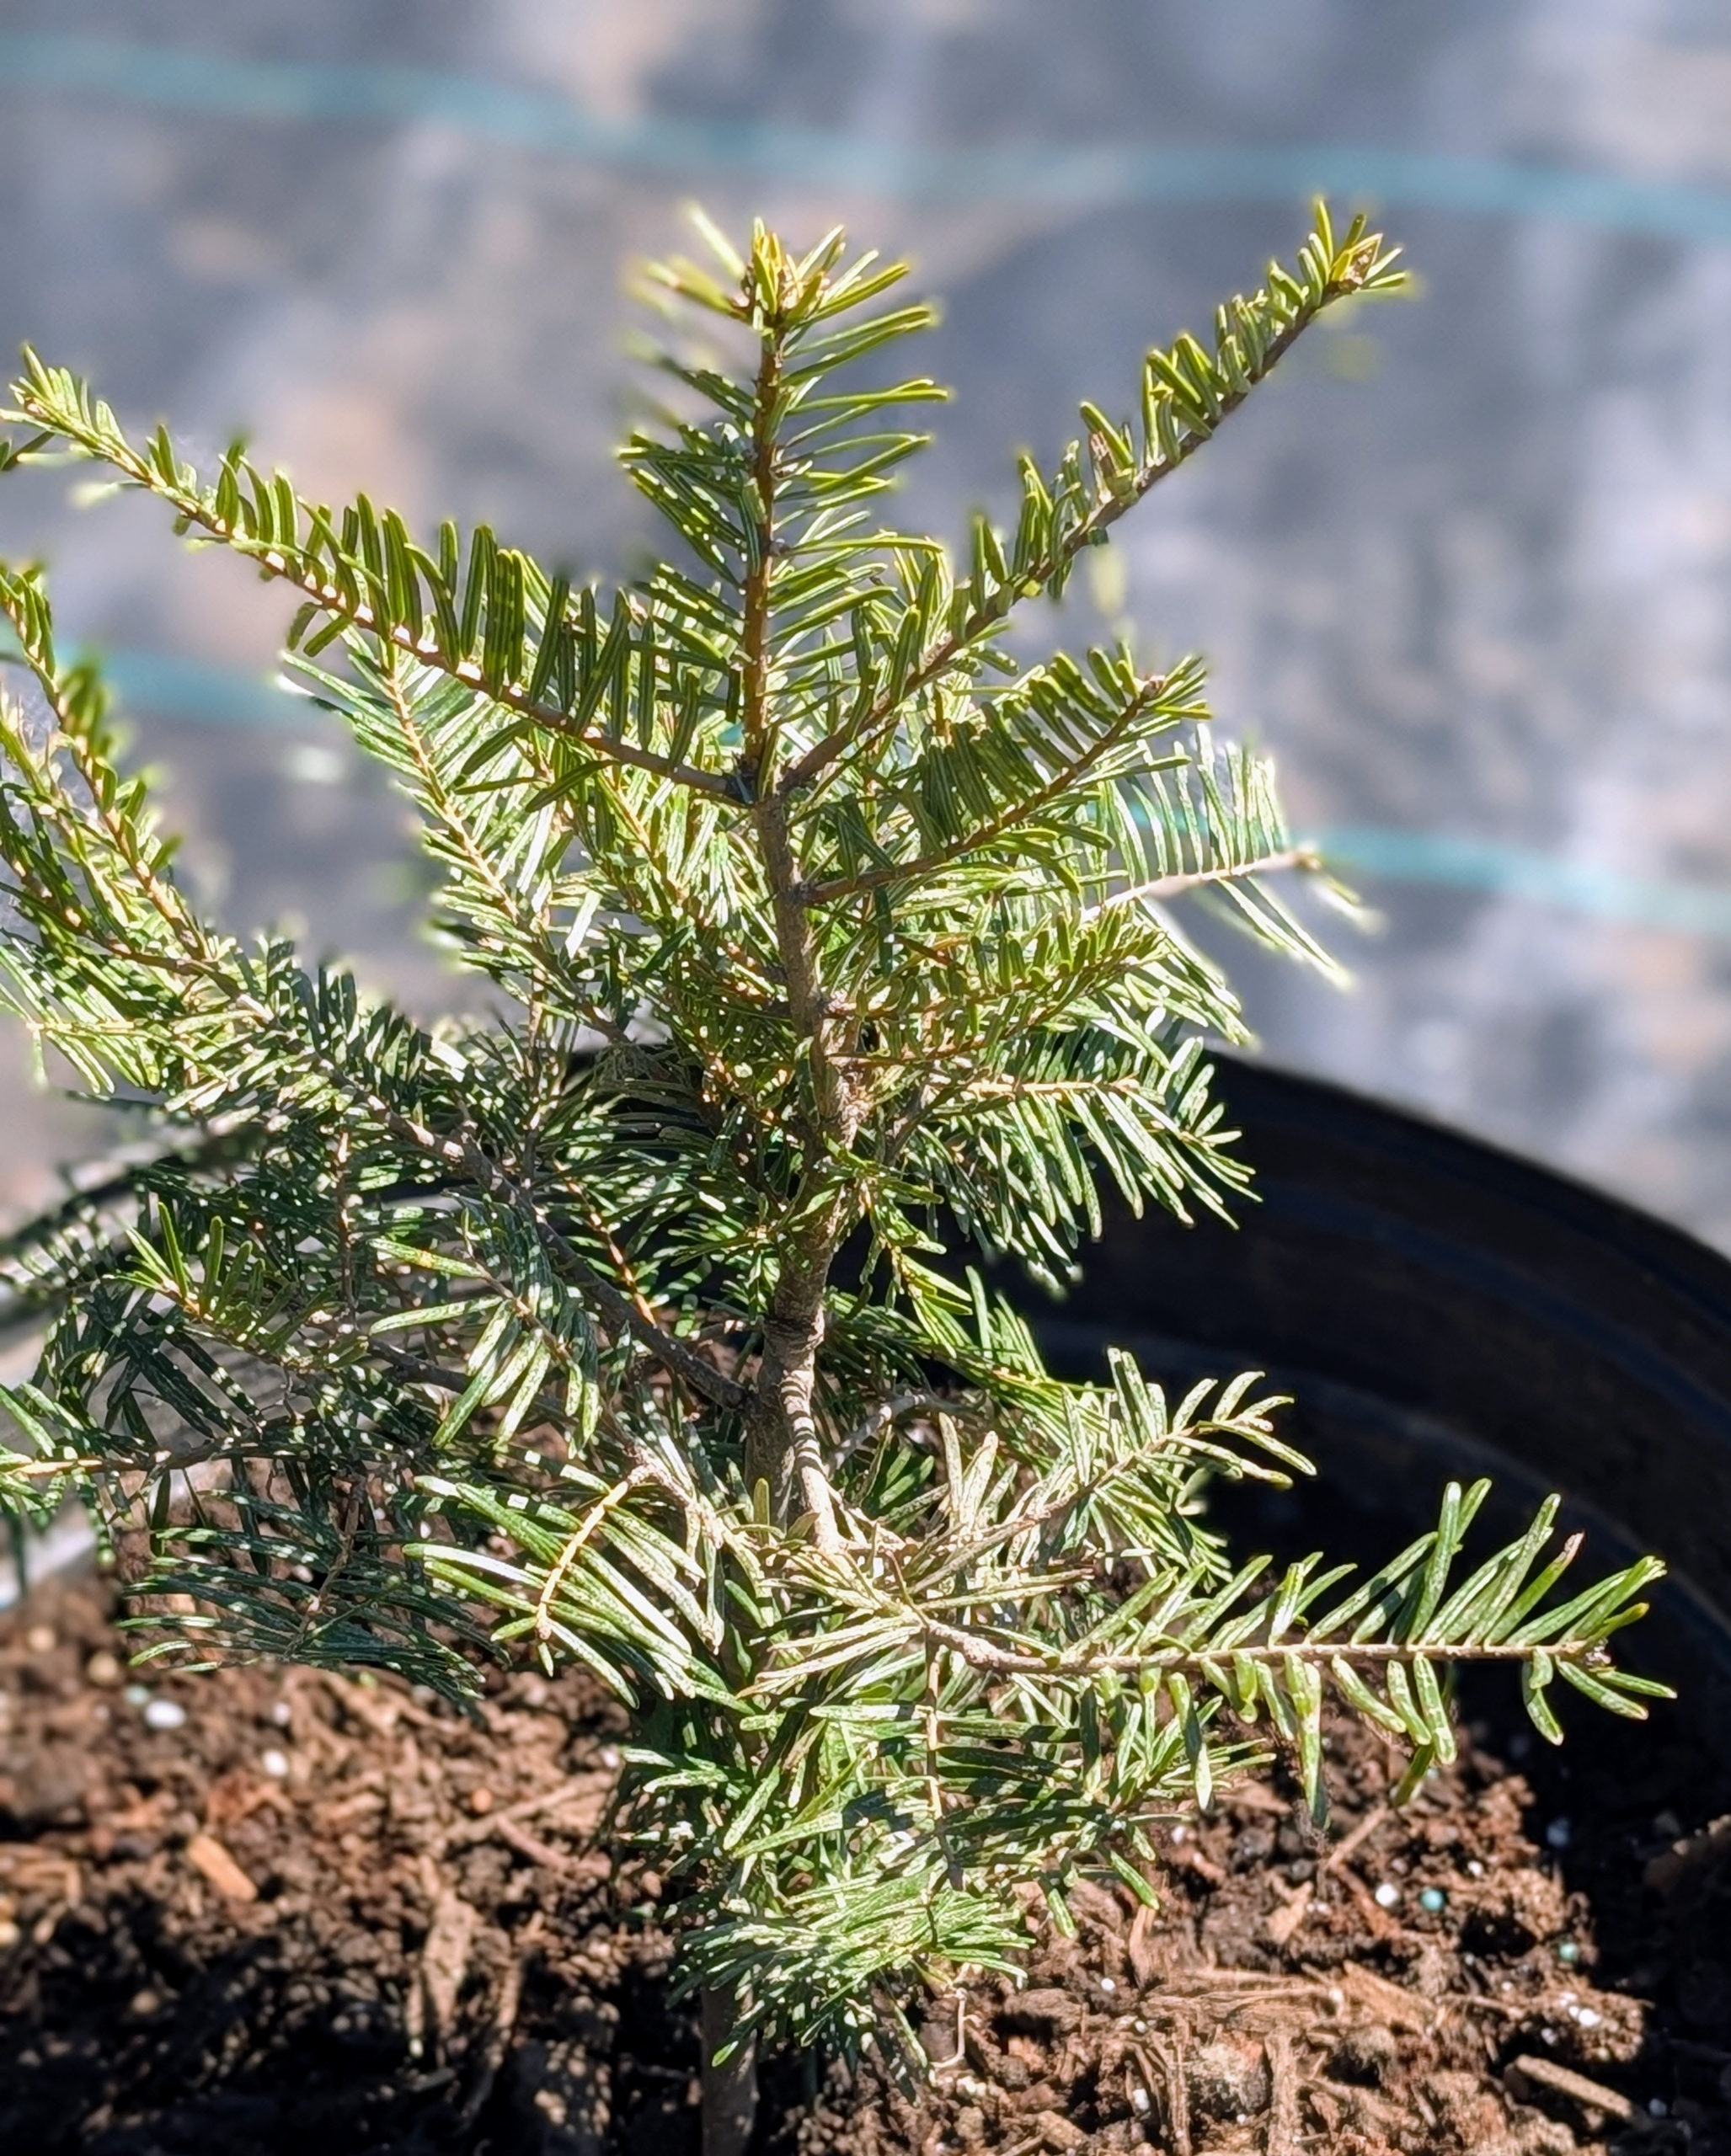
These Grand Firs are only inches tall now, but in an undisturbed forest, these trees can grow up to 250 feet tall.
When mature, the Grand Fir has a conical shape, spreading out to 25 feet. Healthy needles grow to about two inches in length and are shiny green on the upper surface, and silvery-white underneath.
These are young dawn redwoods, Metasequoia. I have many of these trees growing and thriving here at the farm. The dawn redwood has feathery, fine-textured needles that are opposite each other and approximately a half-inch long. Don’t confuse them with the bald cypress needles, which grow alternately. These dawn redwood needles will turn shades of red and brown before falling – it is one of the few deciduous conifers.
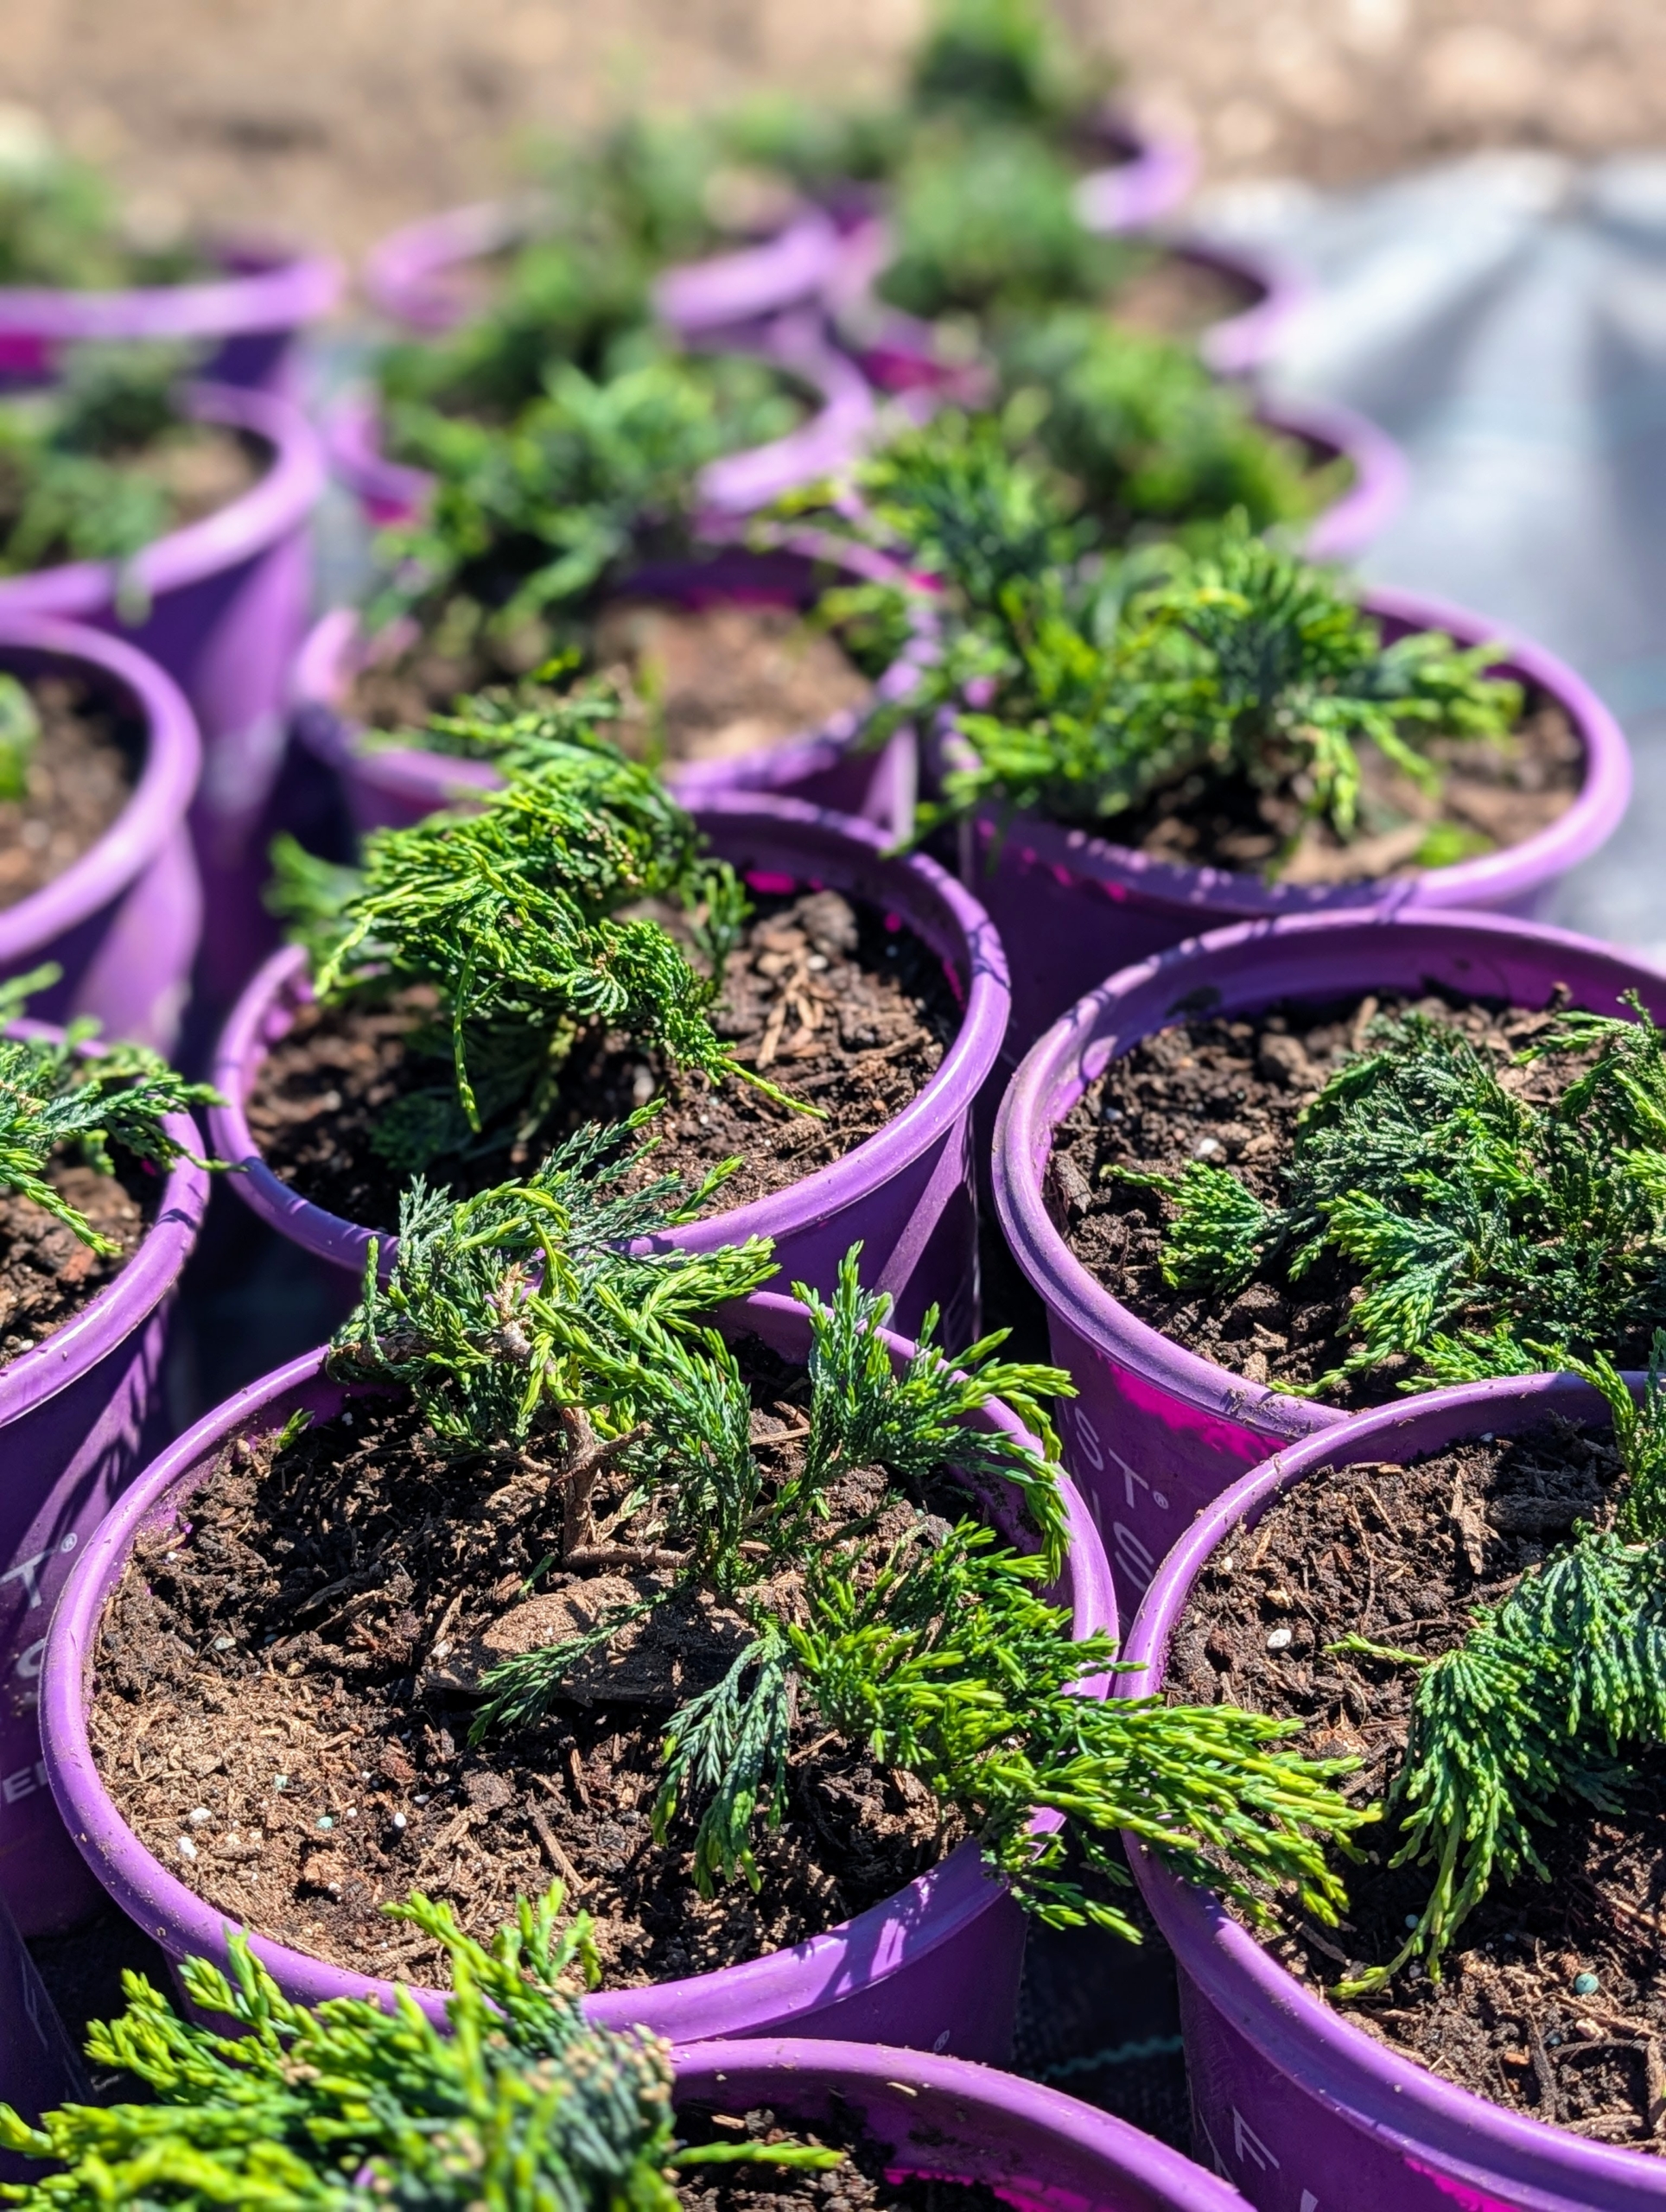
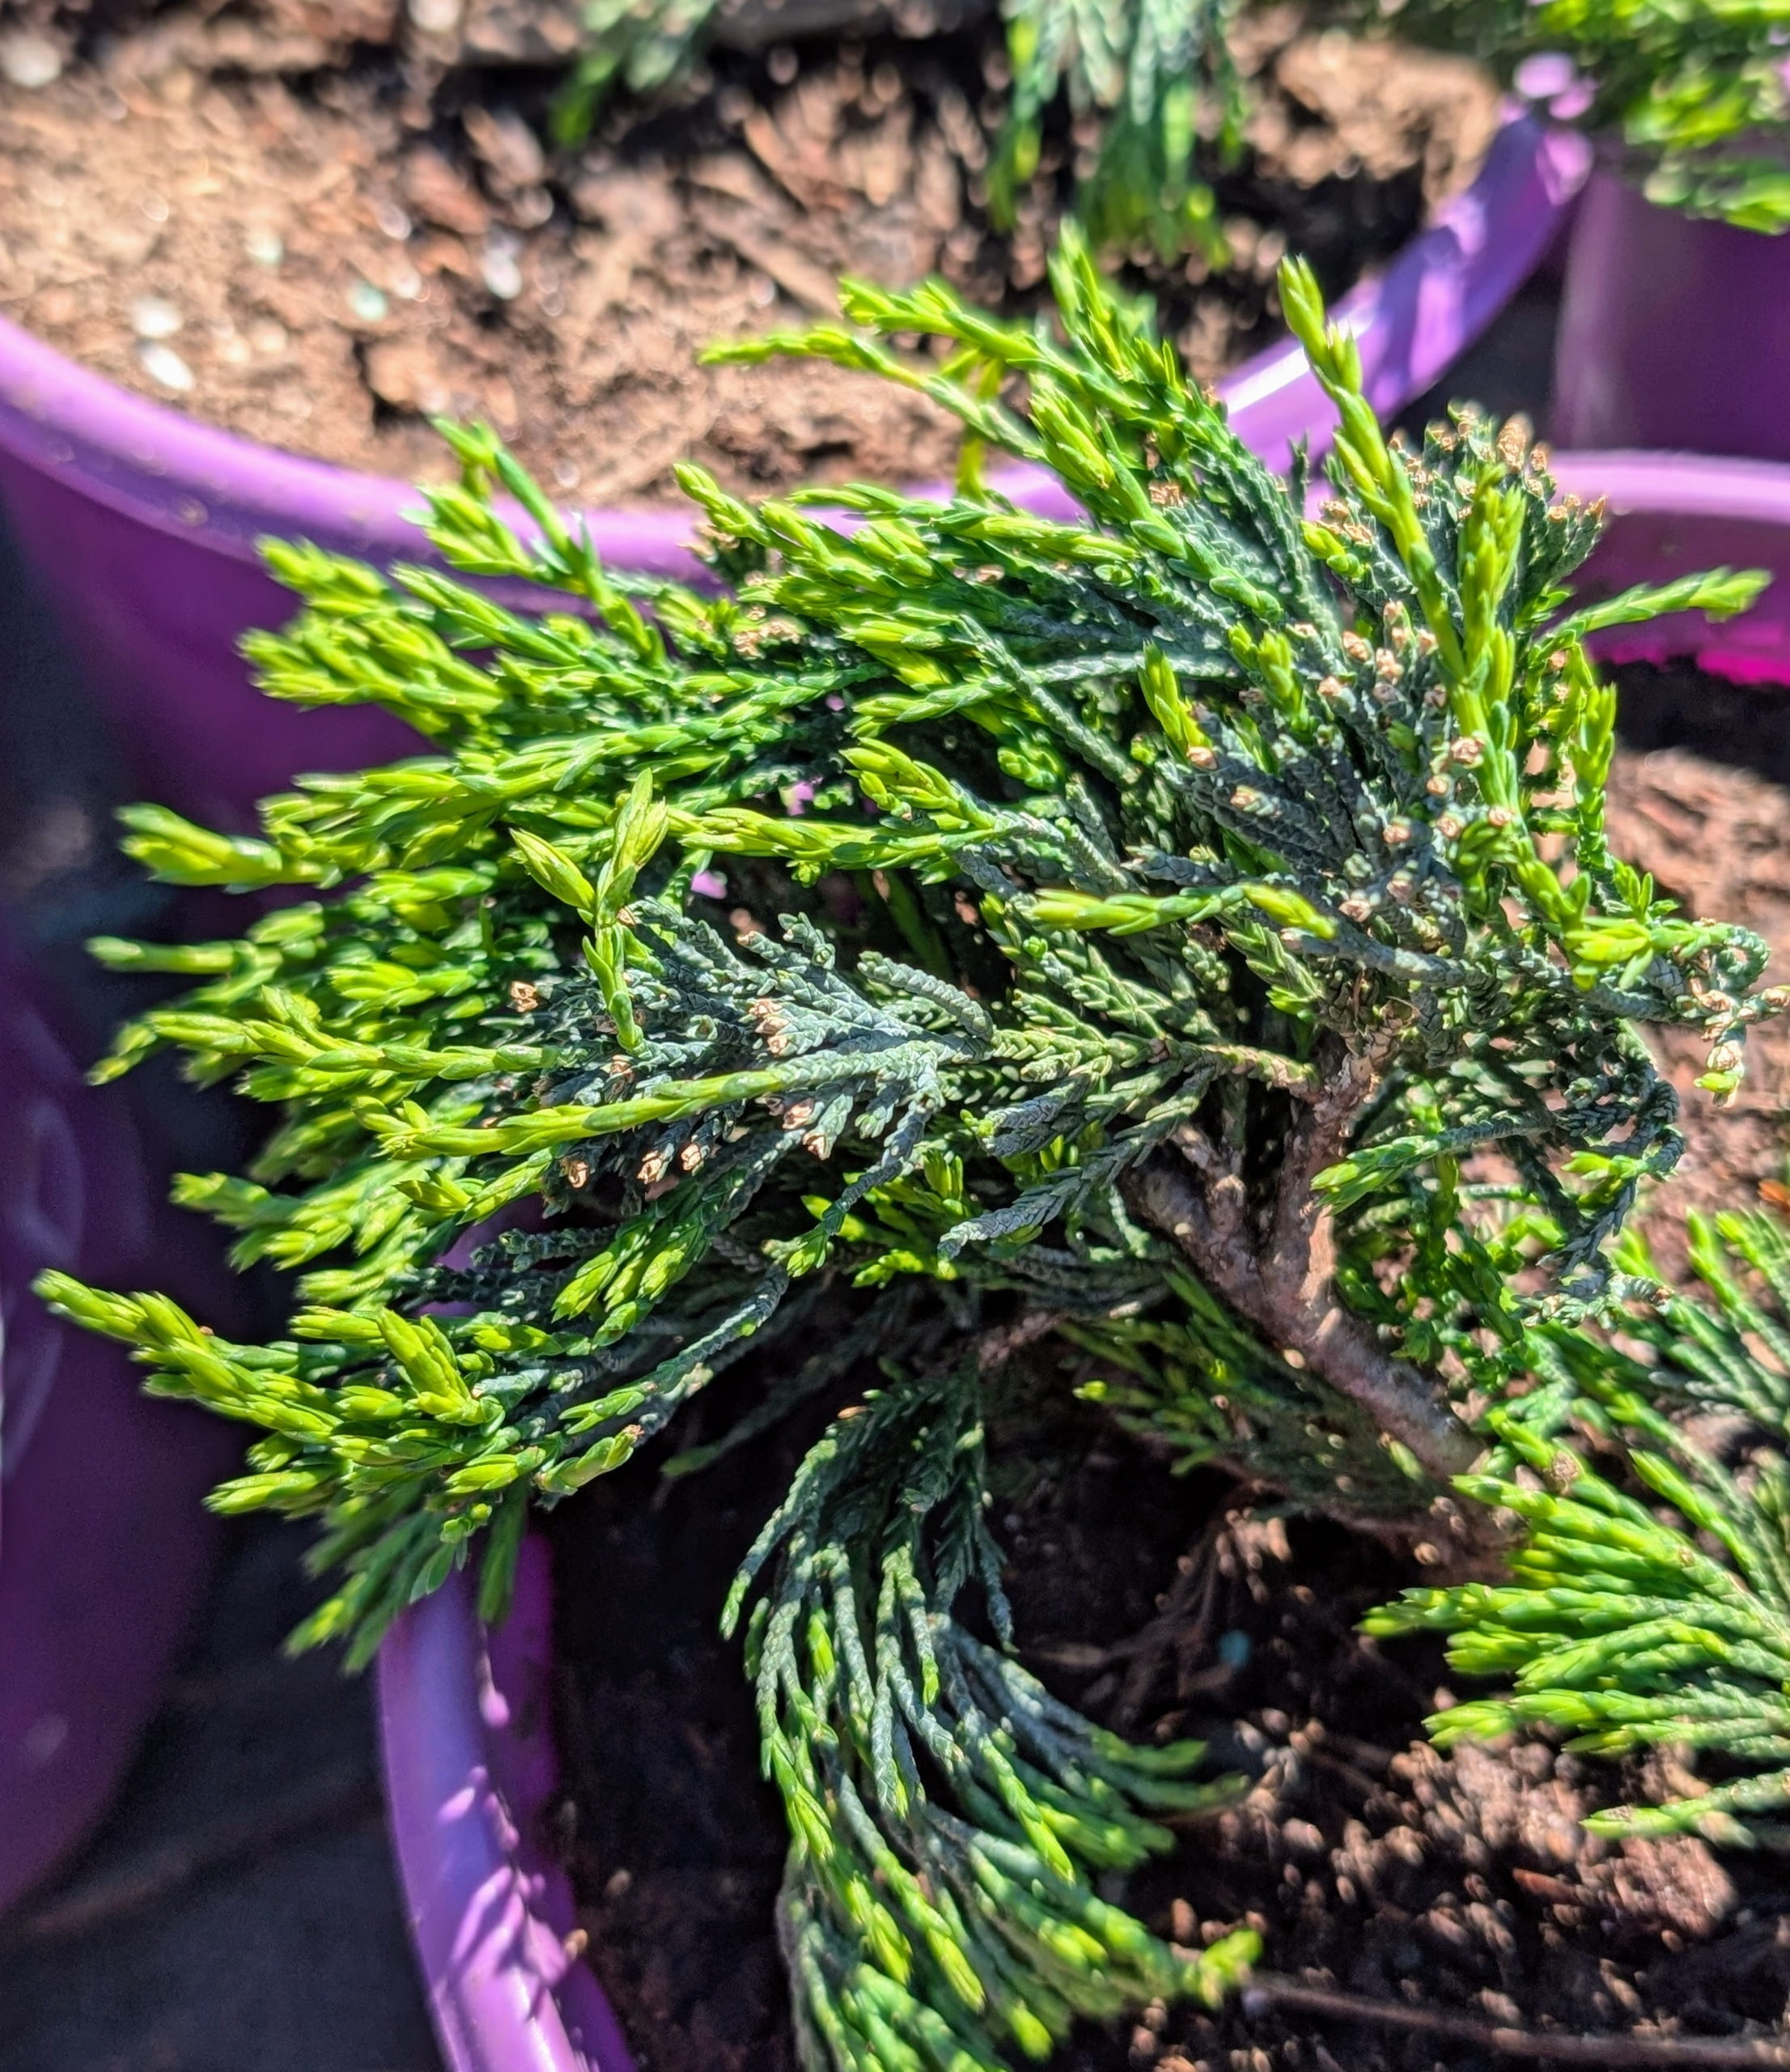
These pots are filled with Blue Rug Junipers – it is the lowest growing and among the slowest growing of junipers. It has a dense, trailing, creeping form, making it an excellent ground cover.
The plant itself has soft silver-blue evergreen foliage.
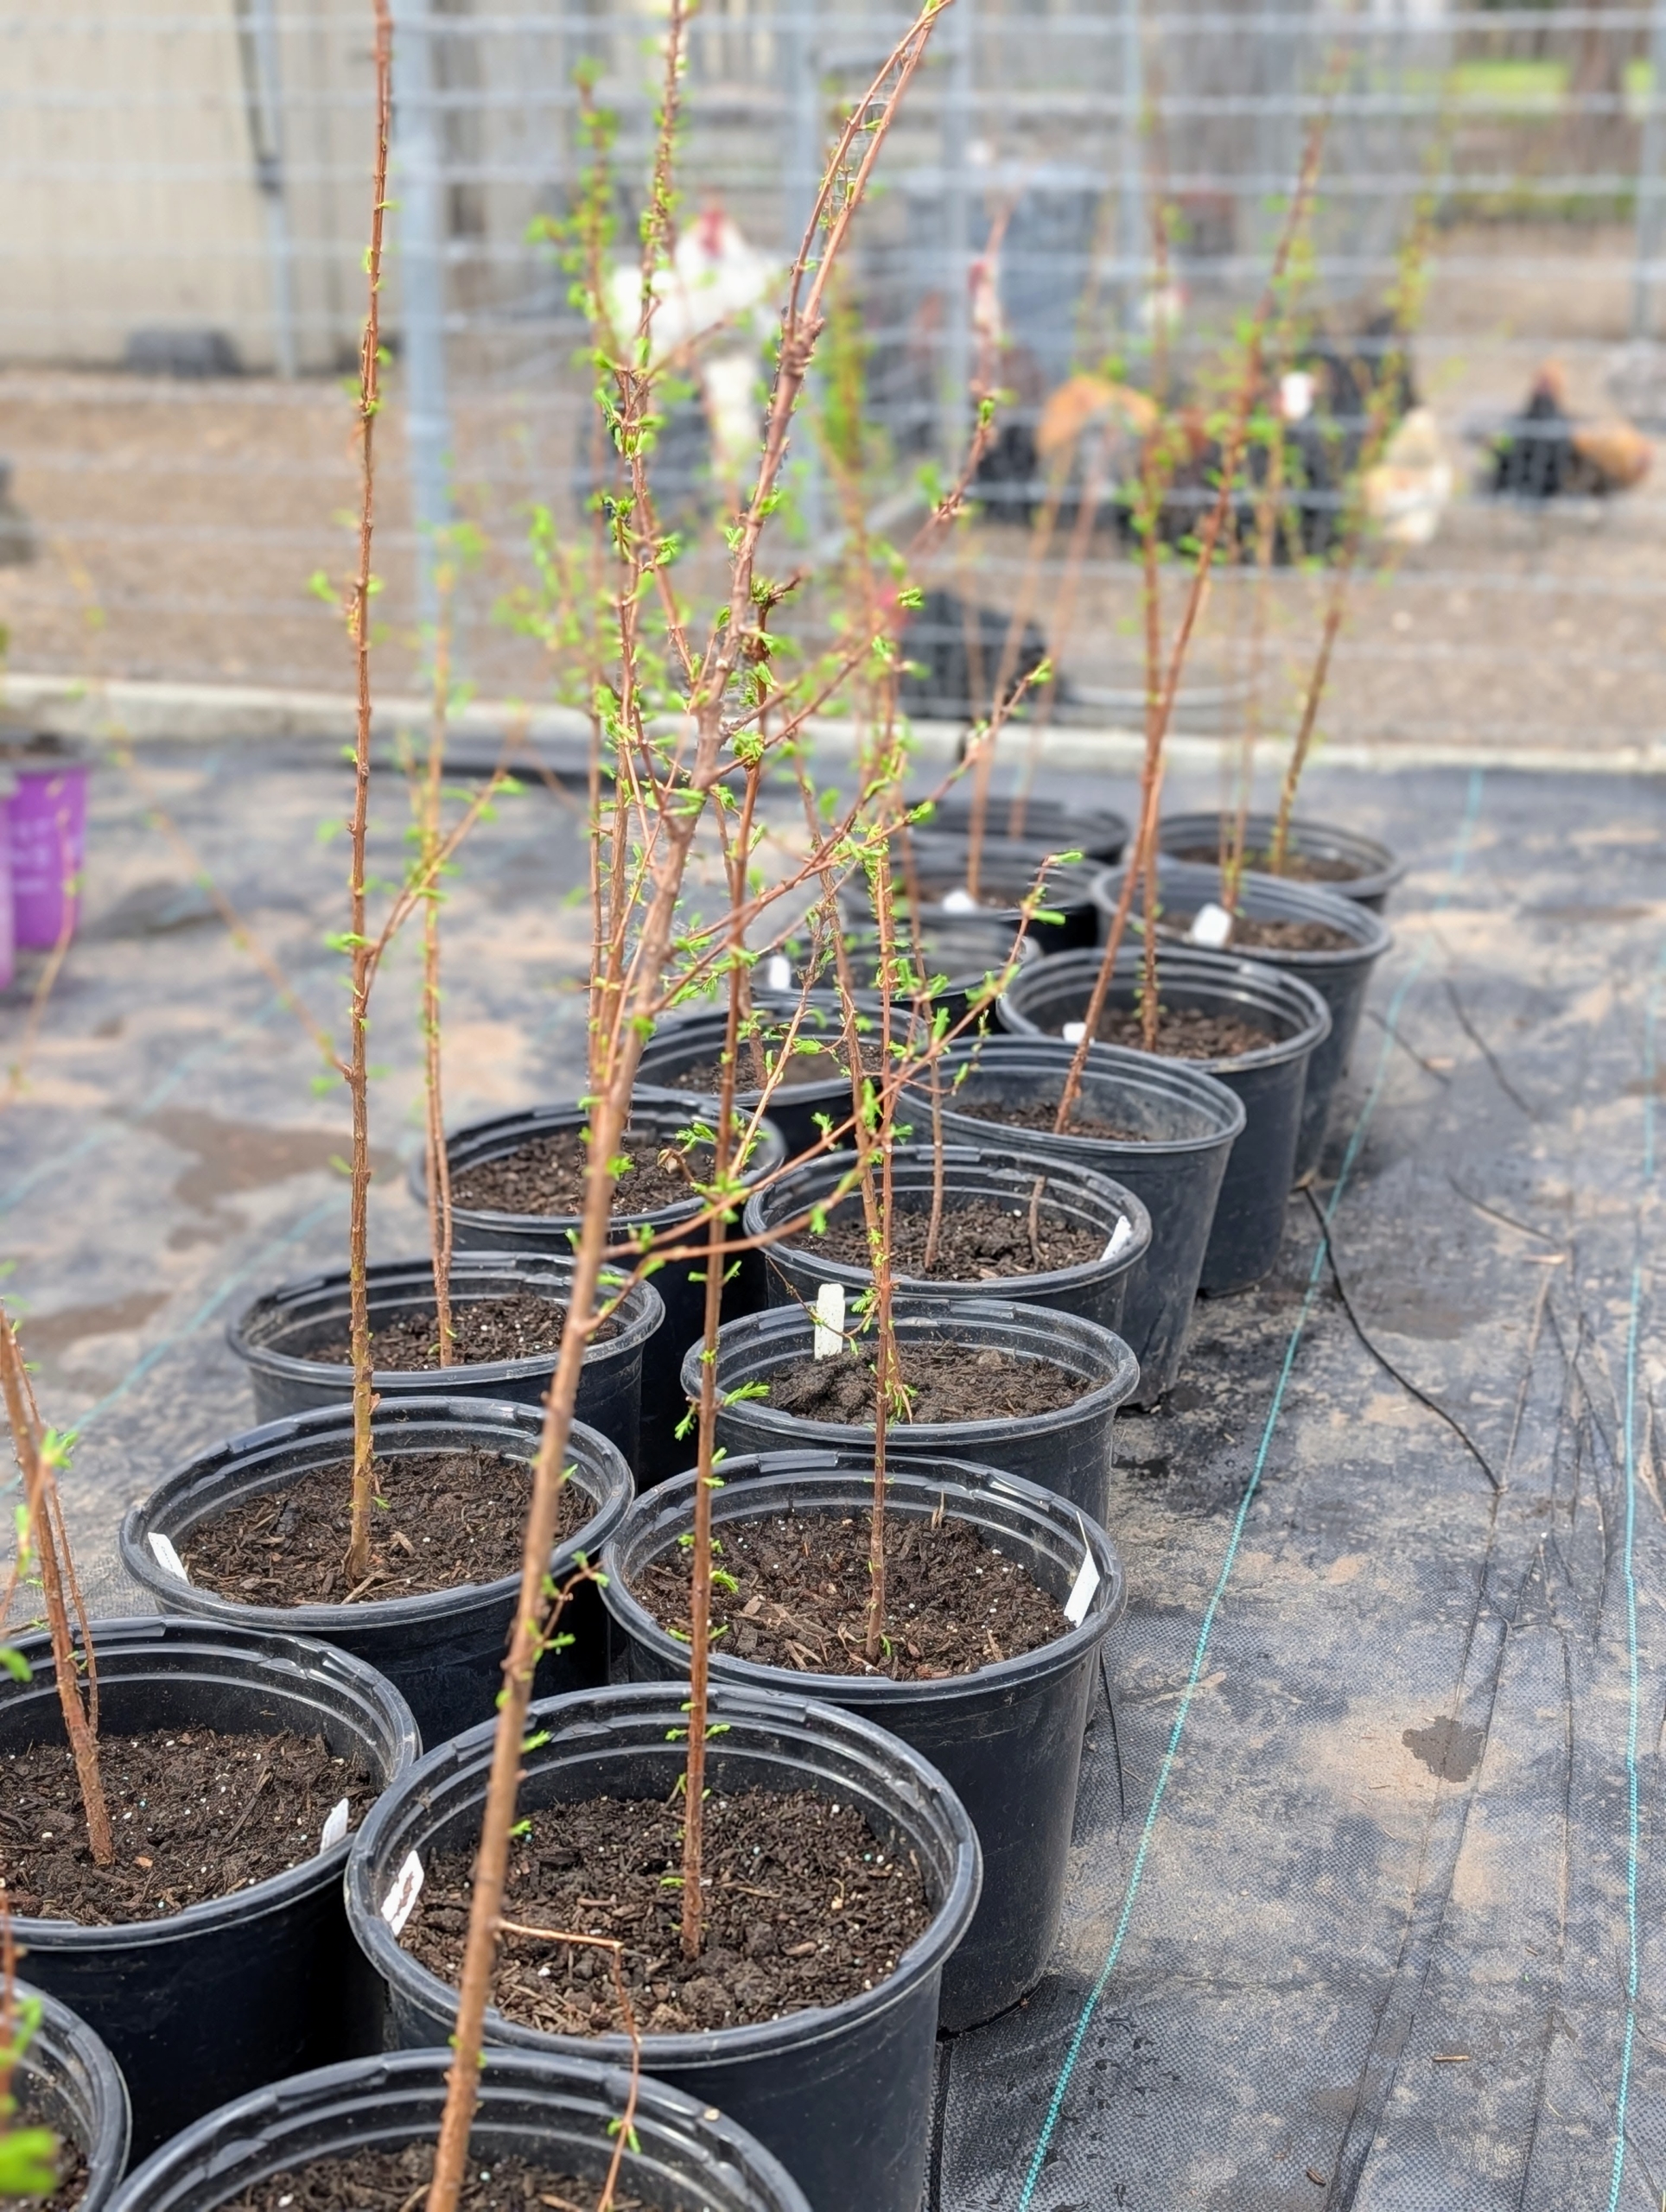
American Chestnut hybrids are a cross between Chinese Chestnuts and the native American Chestnuts. They are hardy and yes, the chestnuts are edible. If these are in good condition, they’ll have leaves by summer.
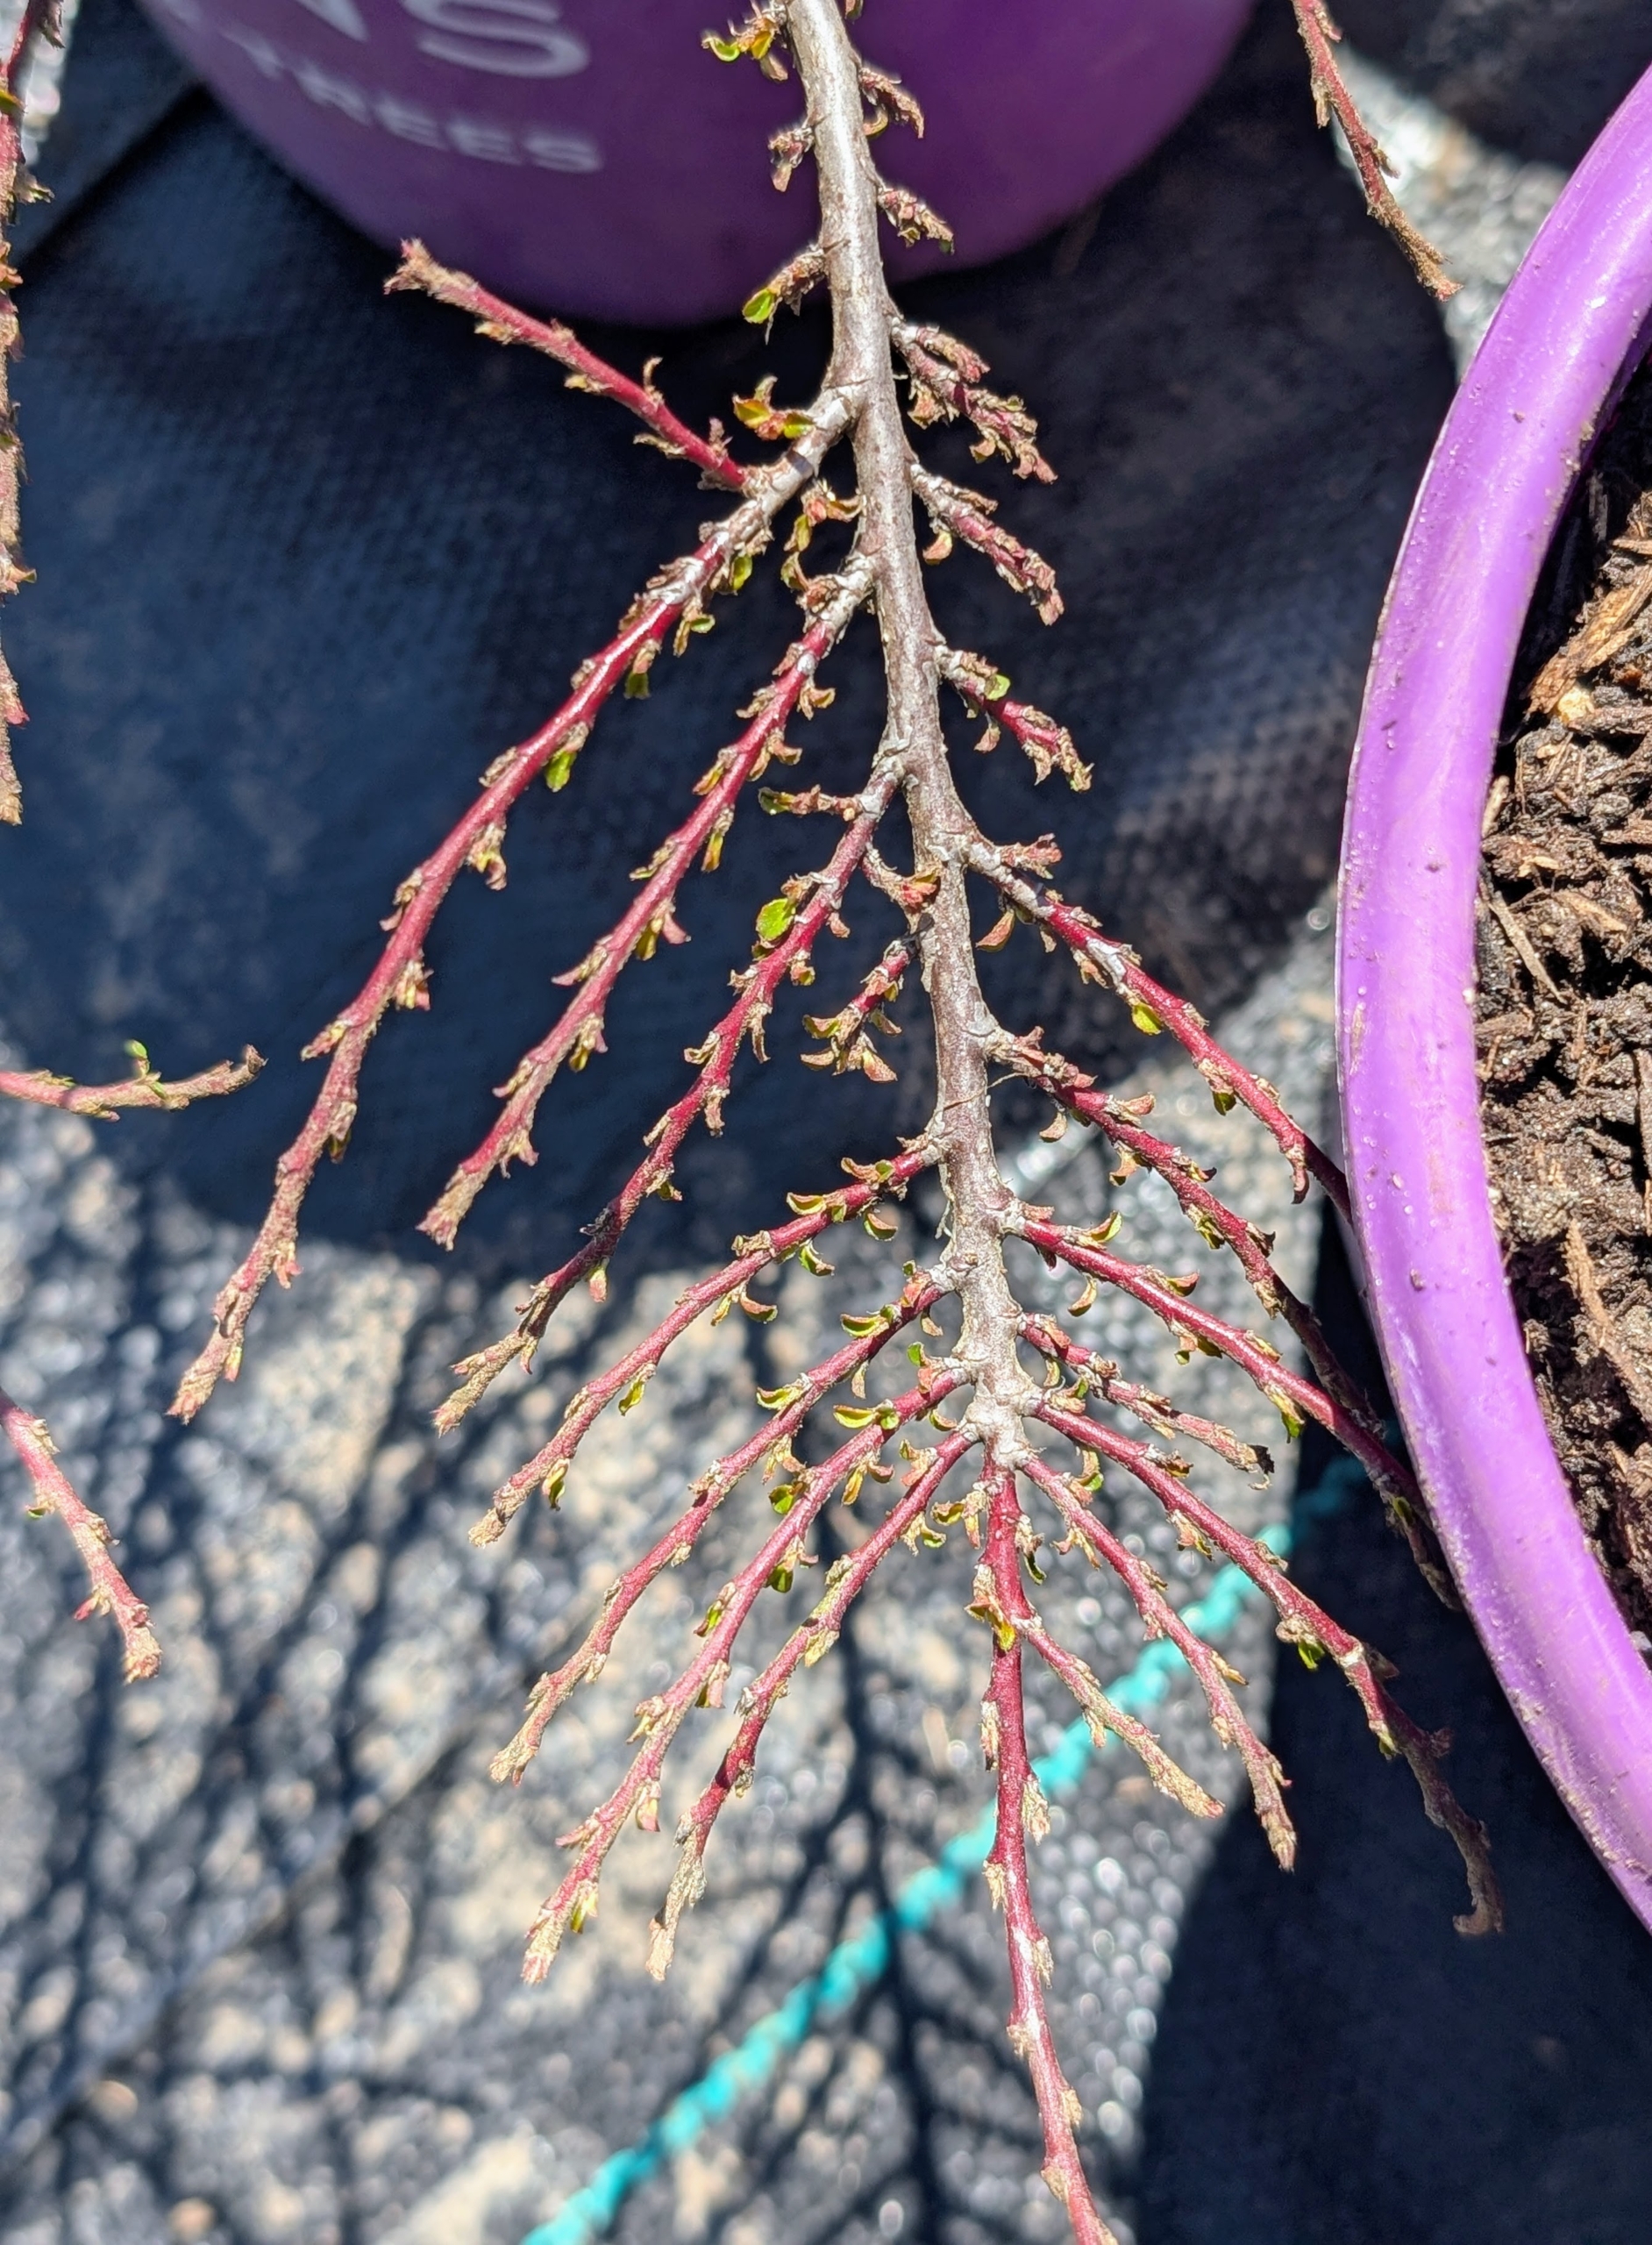
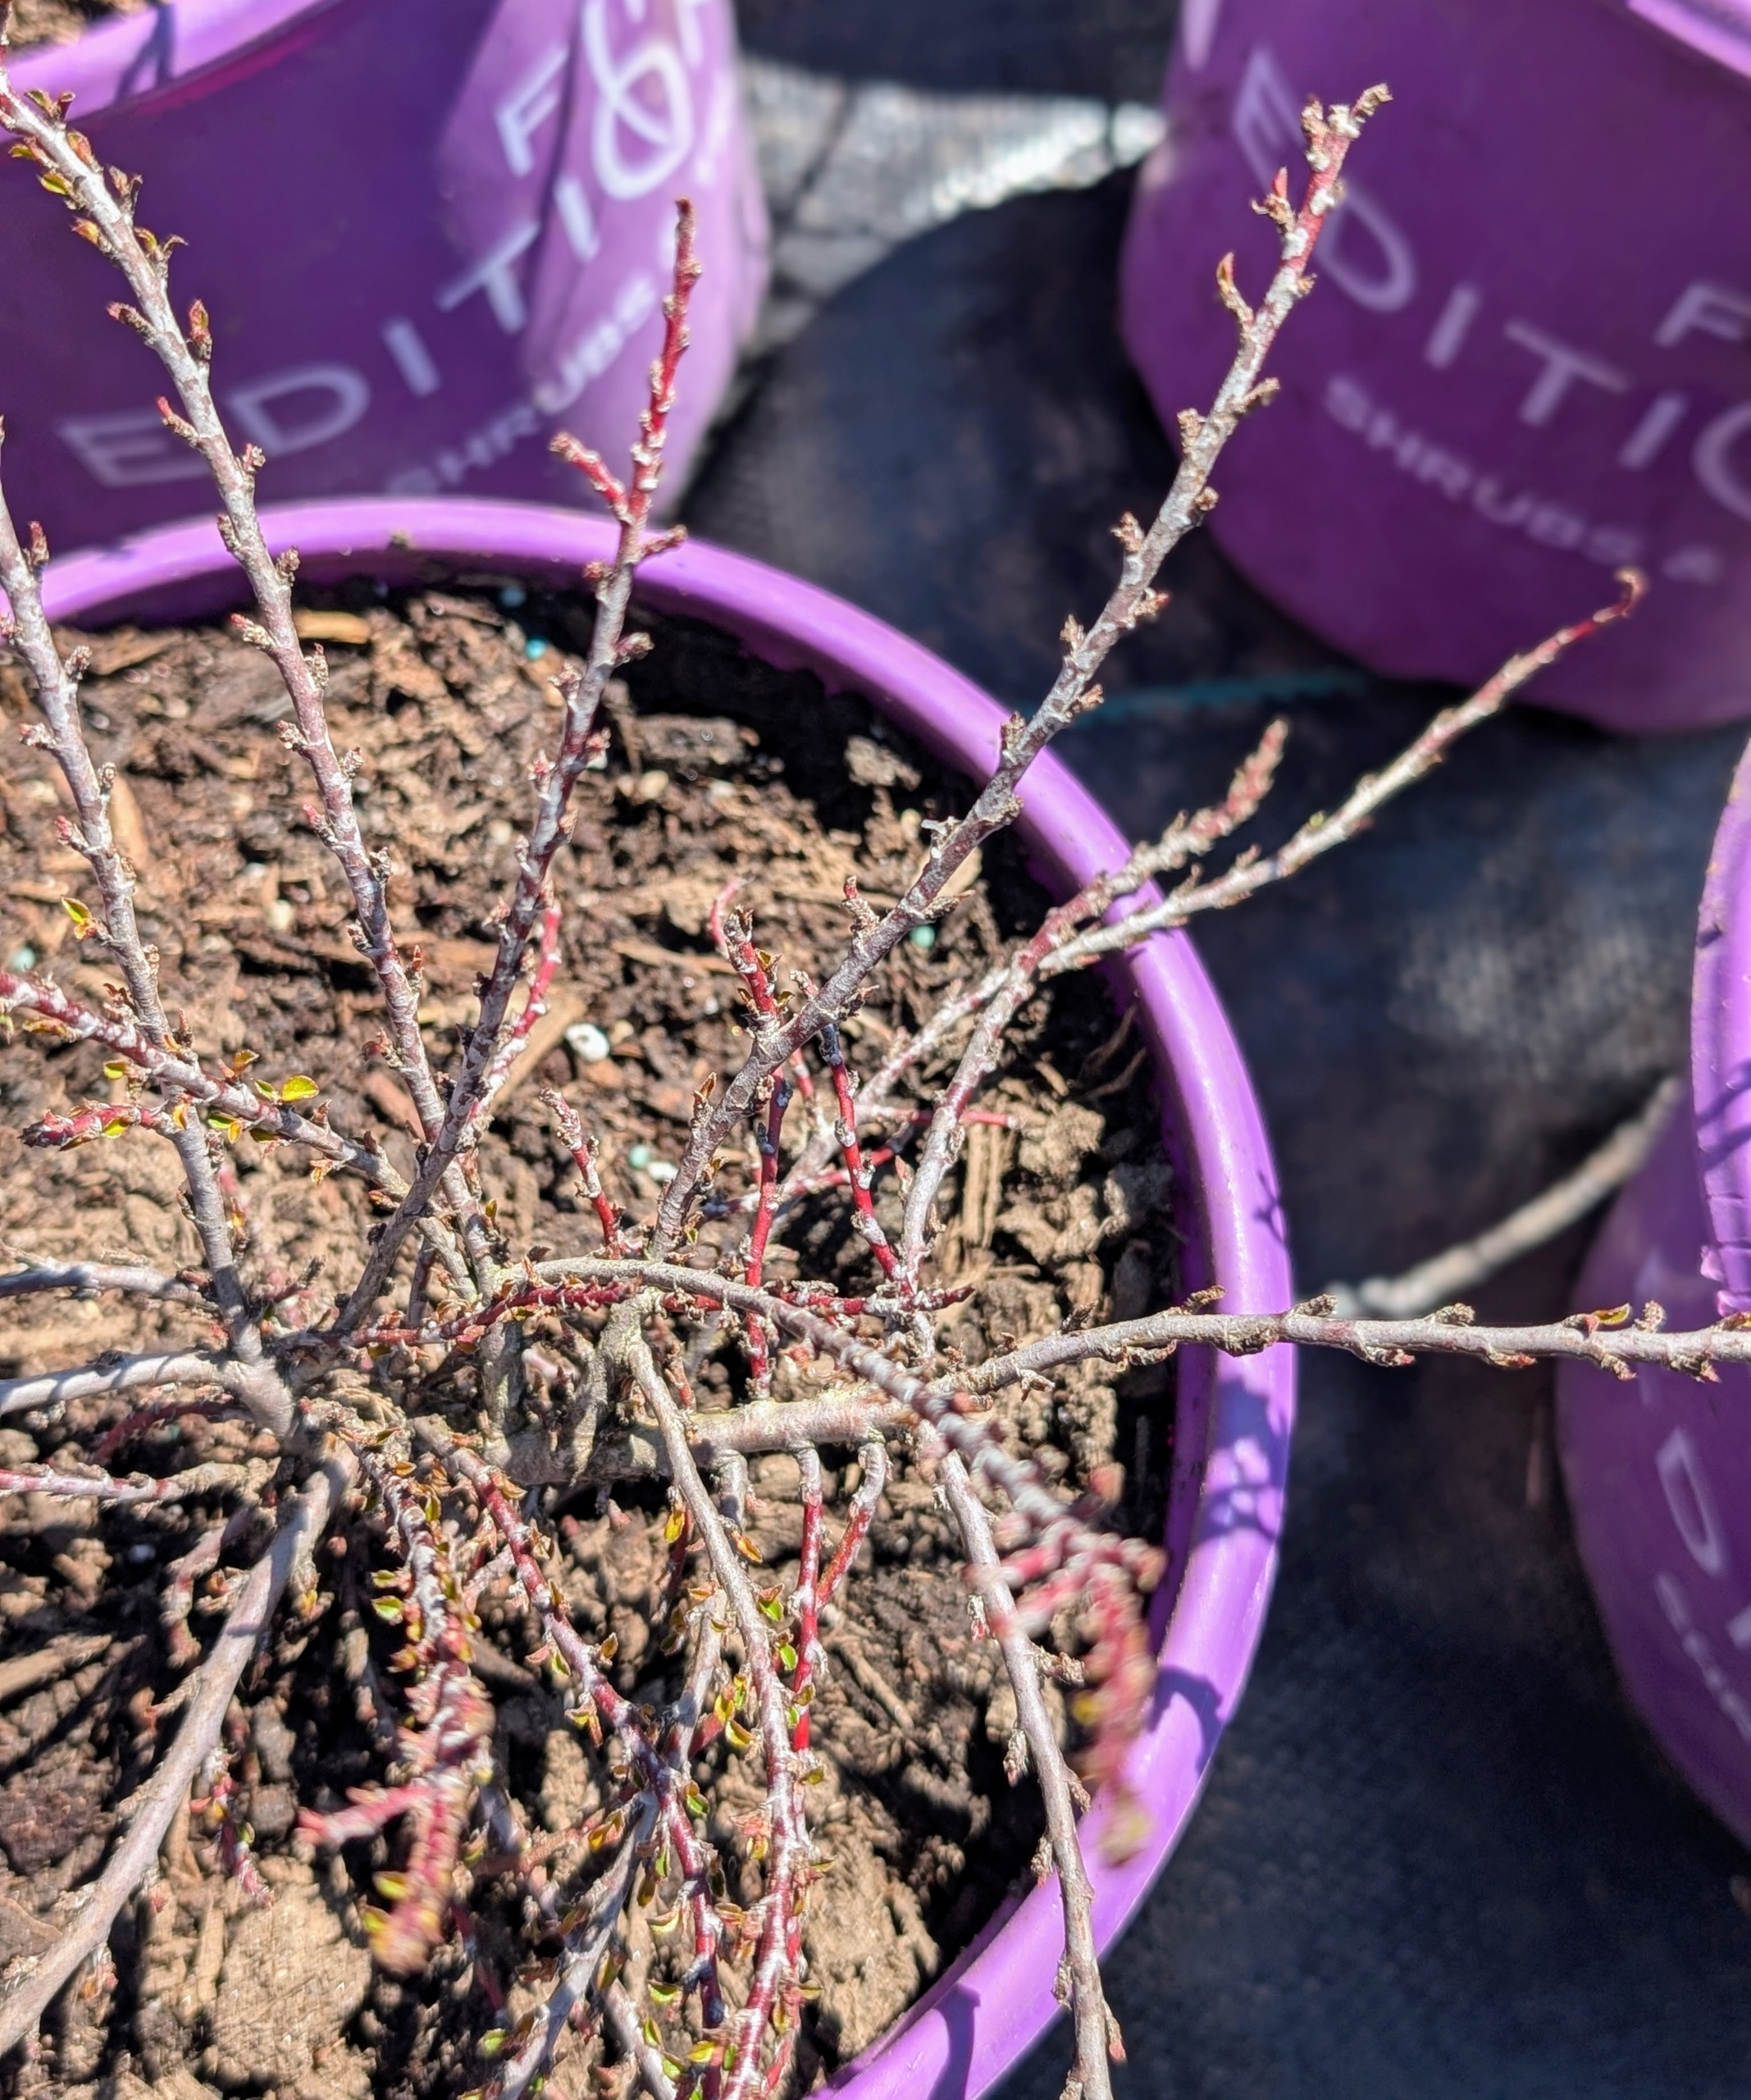
Cotoneaster horizontalis, also known as rock spray cotoneaster, is a great to use as a border shrub. It has small green leaves that turn bright orange and red in the fall, and bright red berries after flowering. And look at the branch – they grow in almost a herringbone pattern.
Cotoneaster horizontalis is a semi-evergreen deciduous shrub in the family Rosaceae genus, Cotoneaster.
I have always felt that bare root cuttings do best when potted up and nurtured for a period of time before being transplanted in their permanent locations. I keep these specimens in fenced in areas at the farm where they can be closely maintained.
These newest specimens will remain here for about a year or two until they are planted in the ground.
And this is why I keep all the plastic pots – so they can be recycled and repurposed for seedlings. I already have some ideas where these trees will go when they are ready!