The gardens are glistening with color at my farm - so perfect for a spring day garden tour.
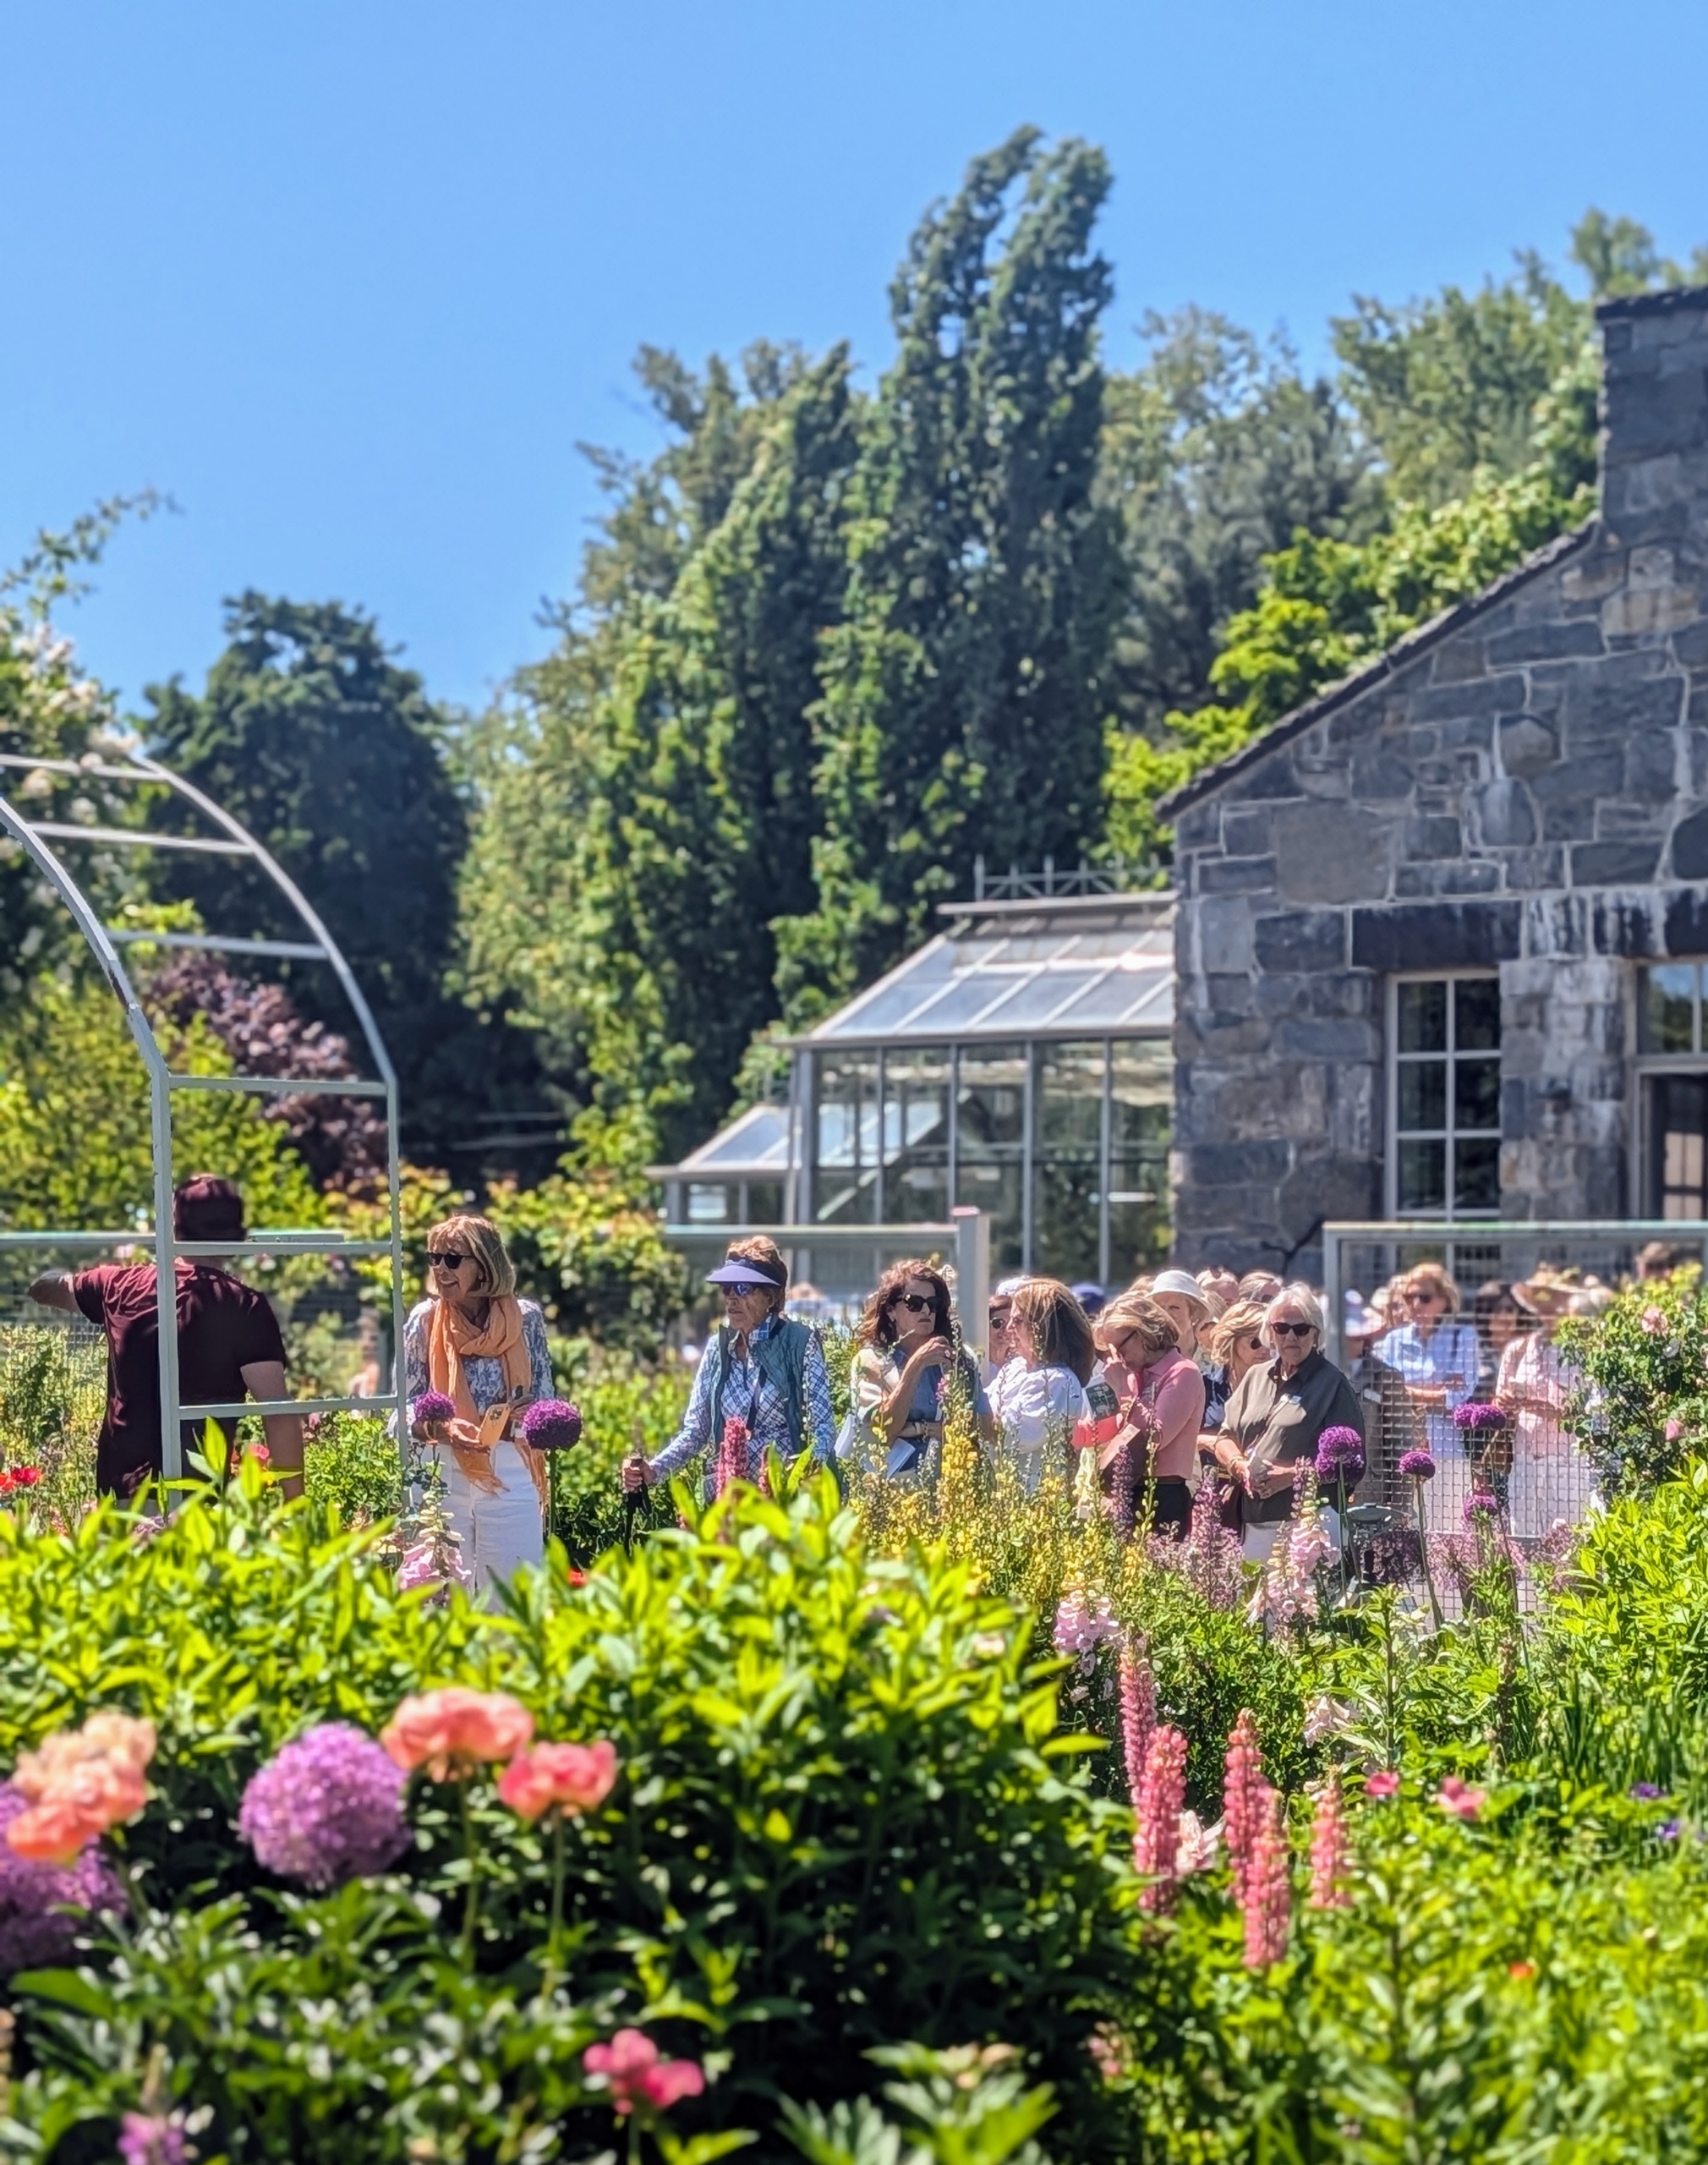
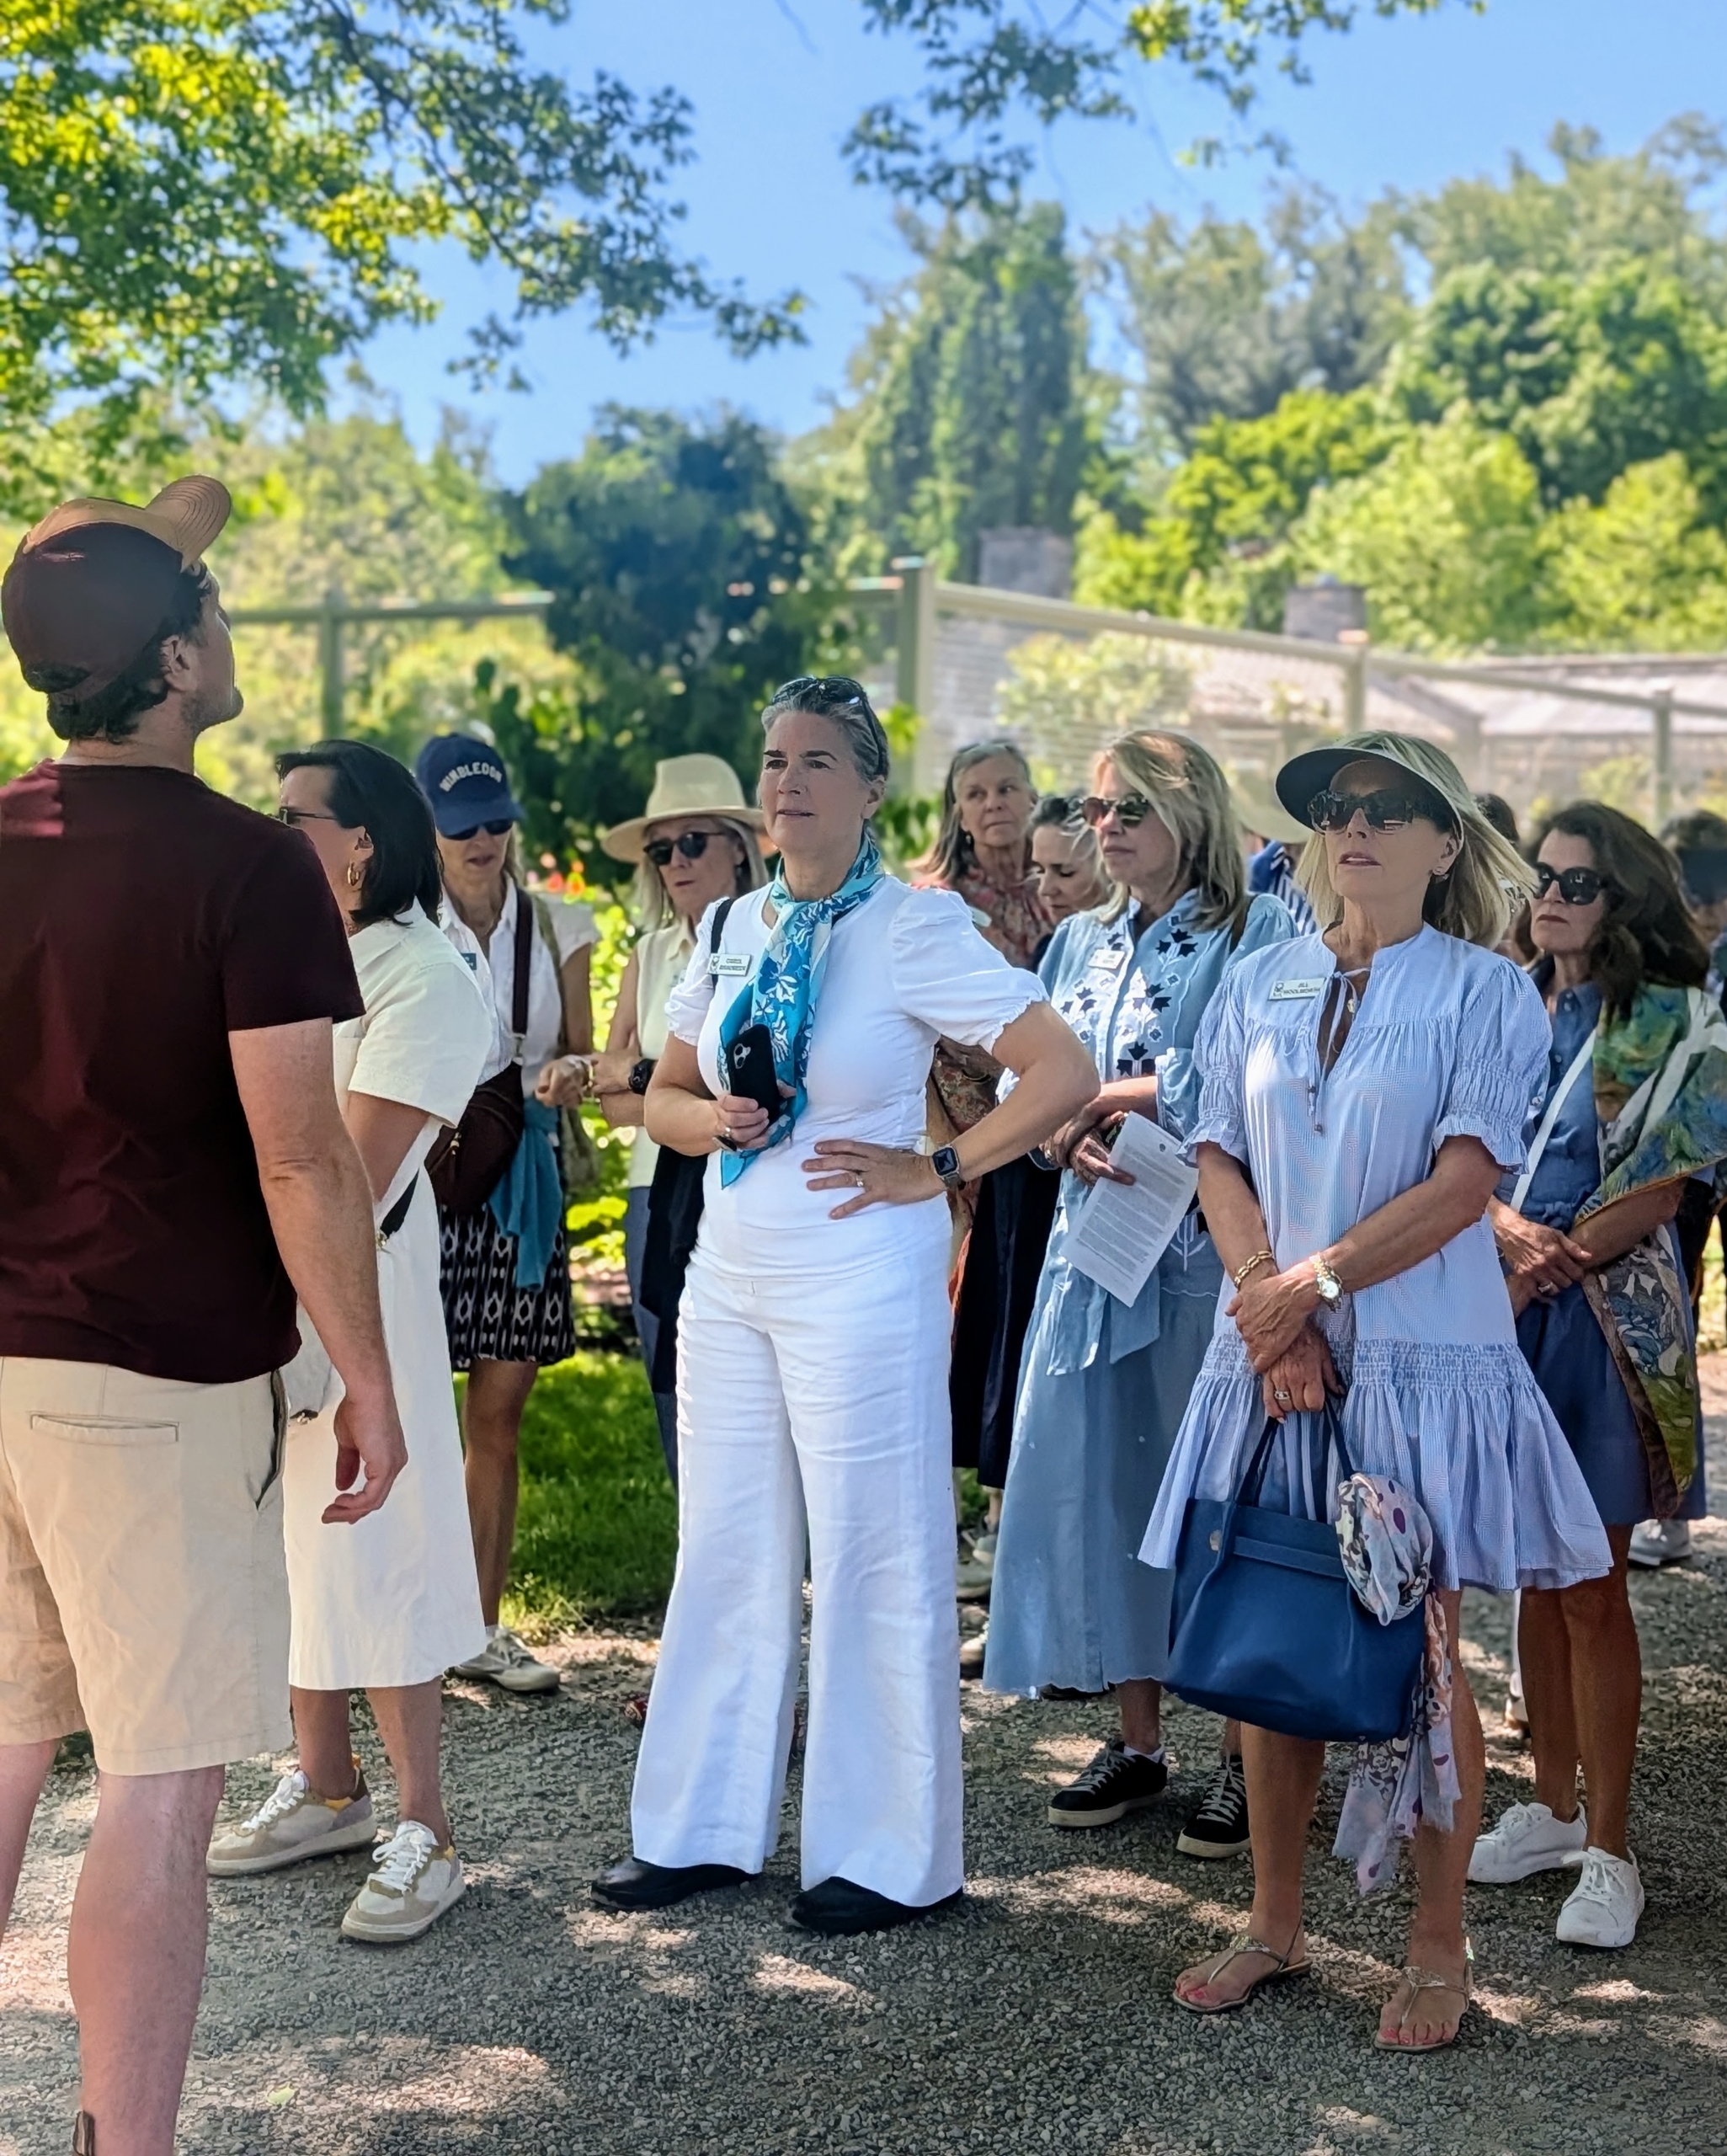
Yesterday, I opened my gardens for a private showing to a lovely group from the United States Seniors' Golf Association. Every now and then, I agree to these guided walks to show visitors what is blooming at the time. The weather was perfect - sunny with temperatures in the low 80s. Unfortunately, because of my busy travel and work schedule, I wasn’t able to join this group, but they had a very thorough and enjoyable tour with my head gardener, Ryan McCallister.
Here are some pictures, enjoy.
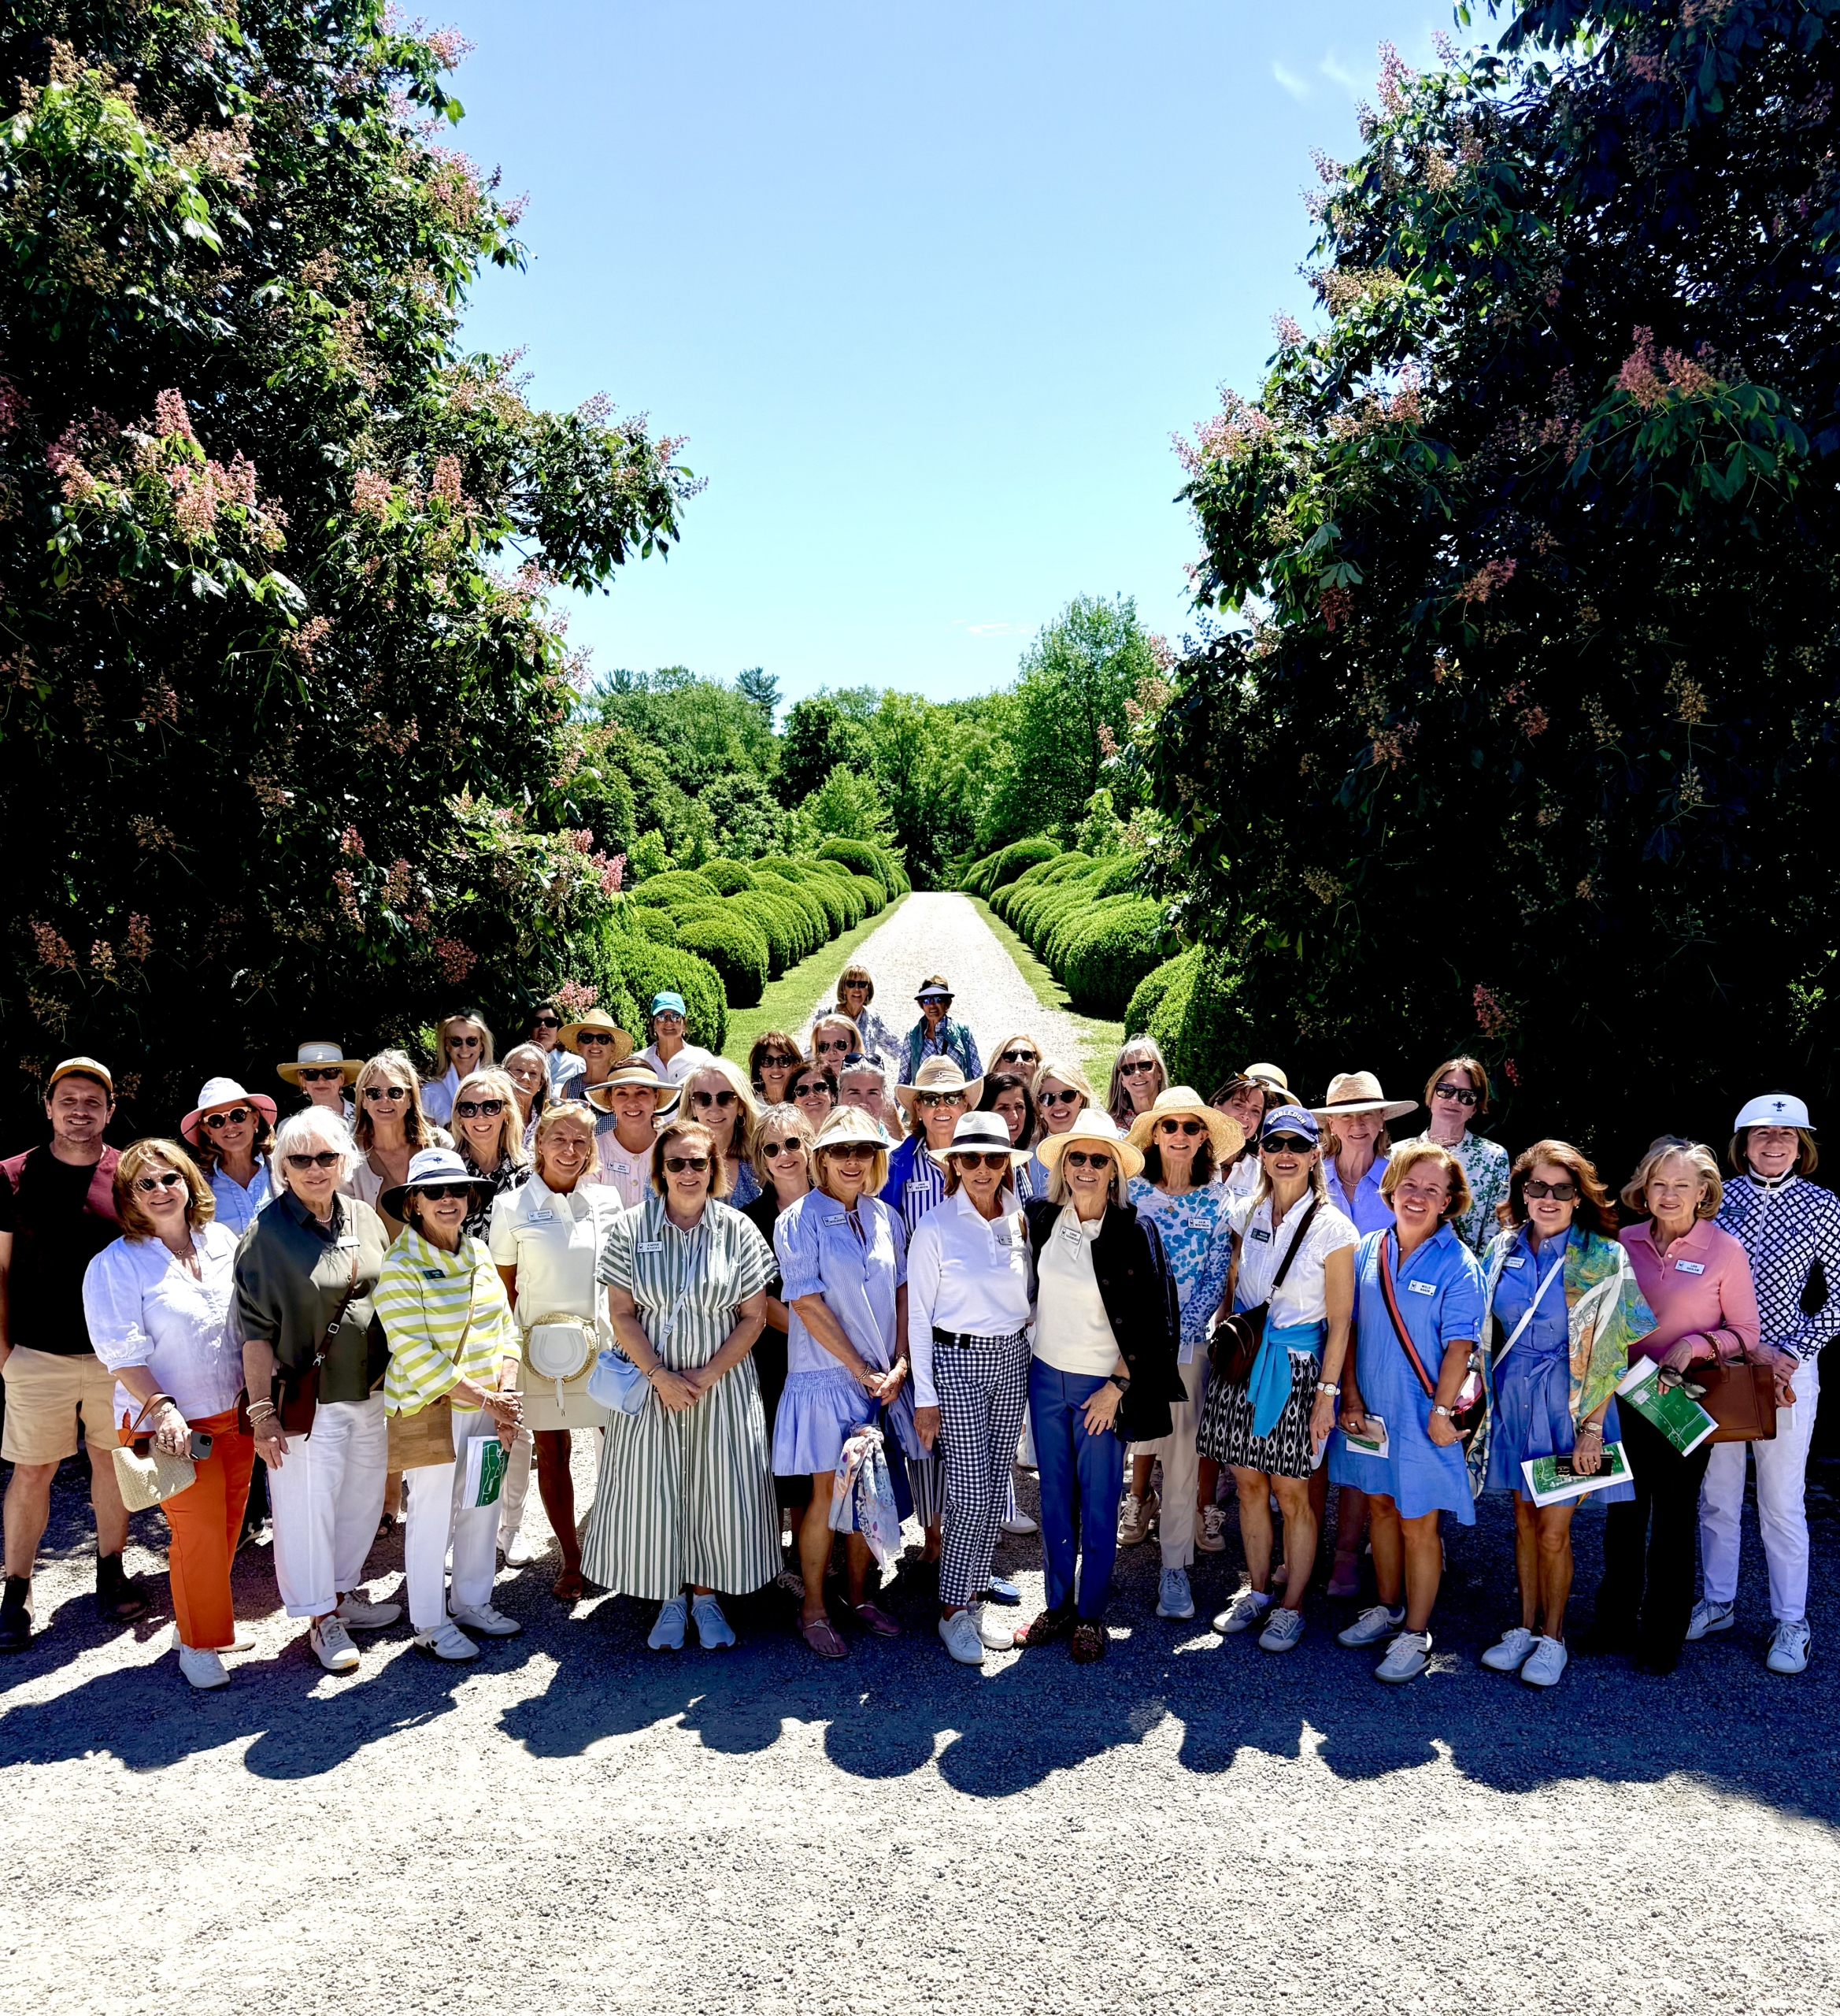
This group included 40 guests. I like to schedule these tours early before it gets too warm. This day was perfect and everyone was so enthusiastic.
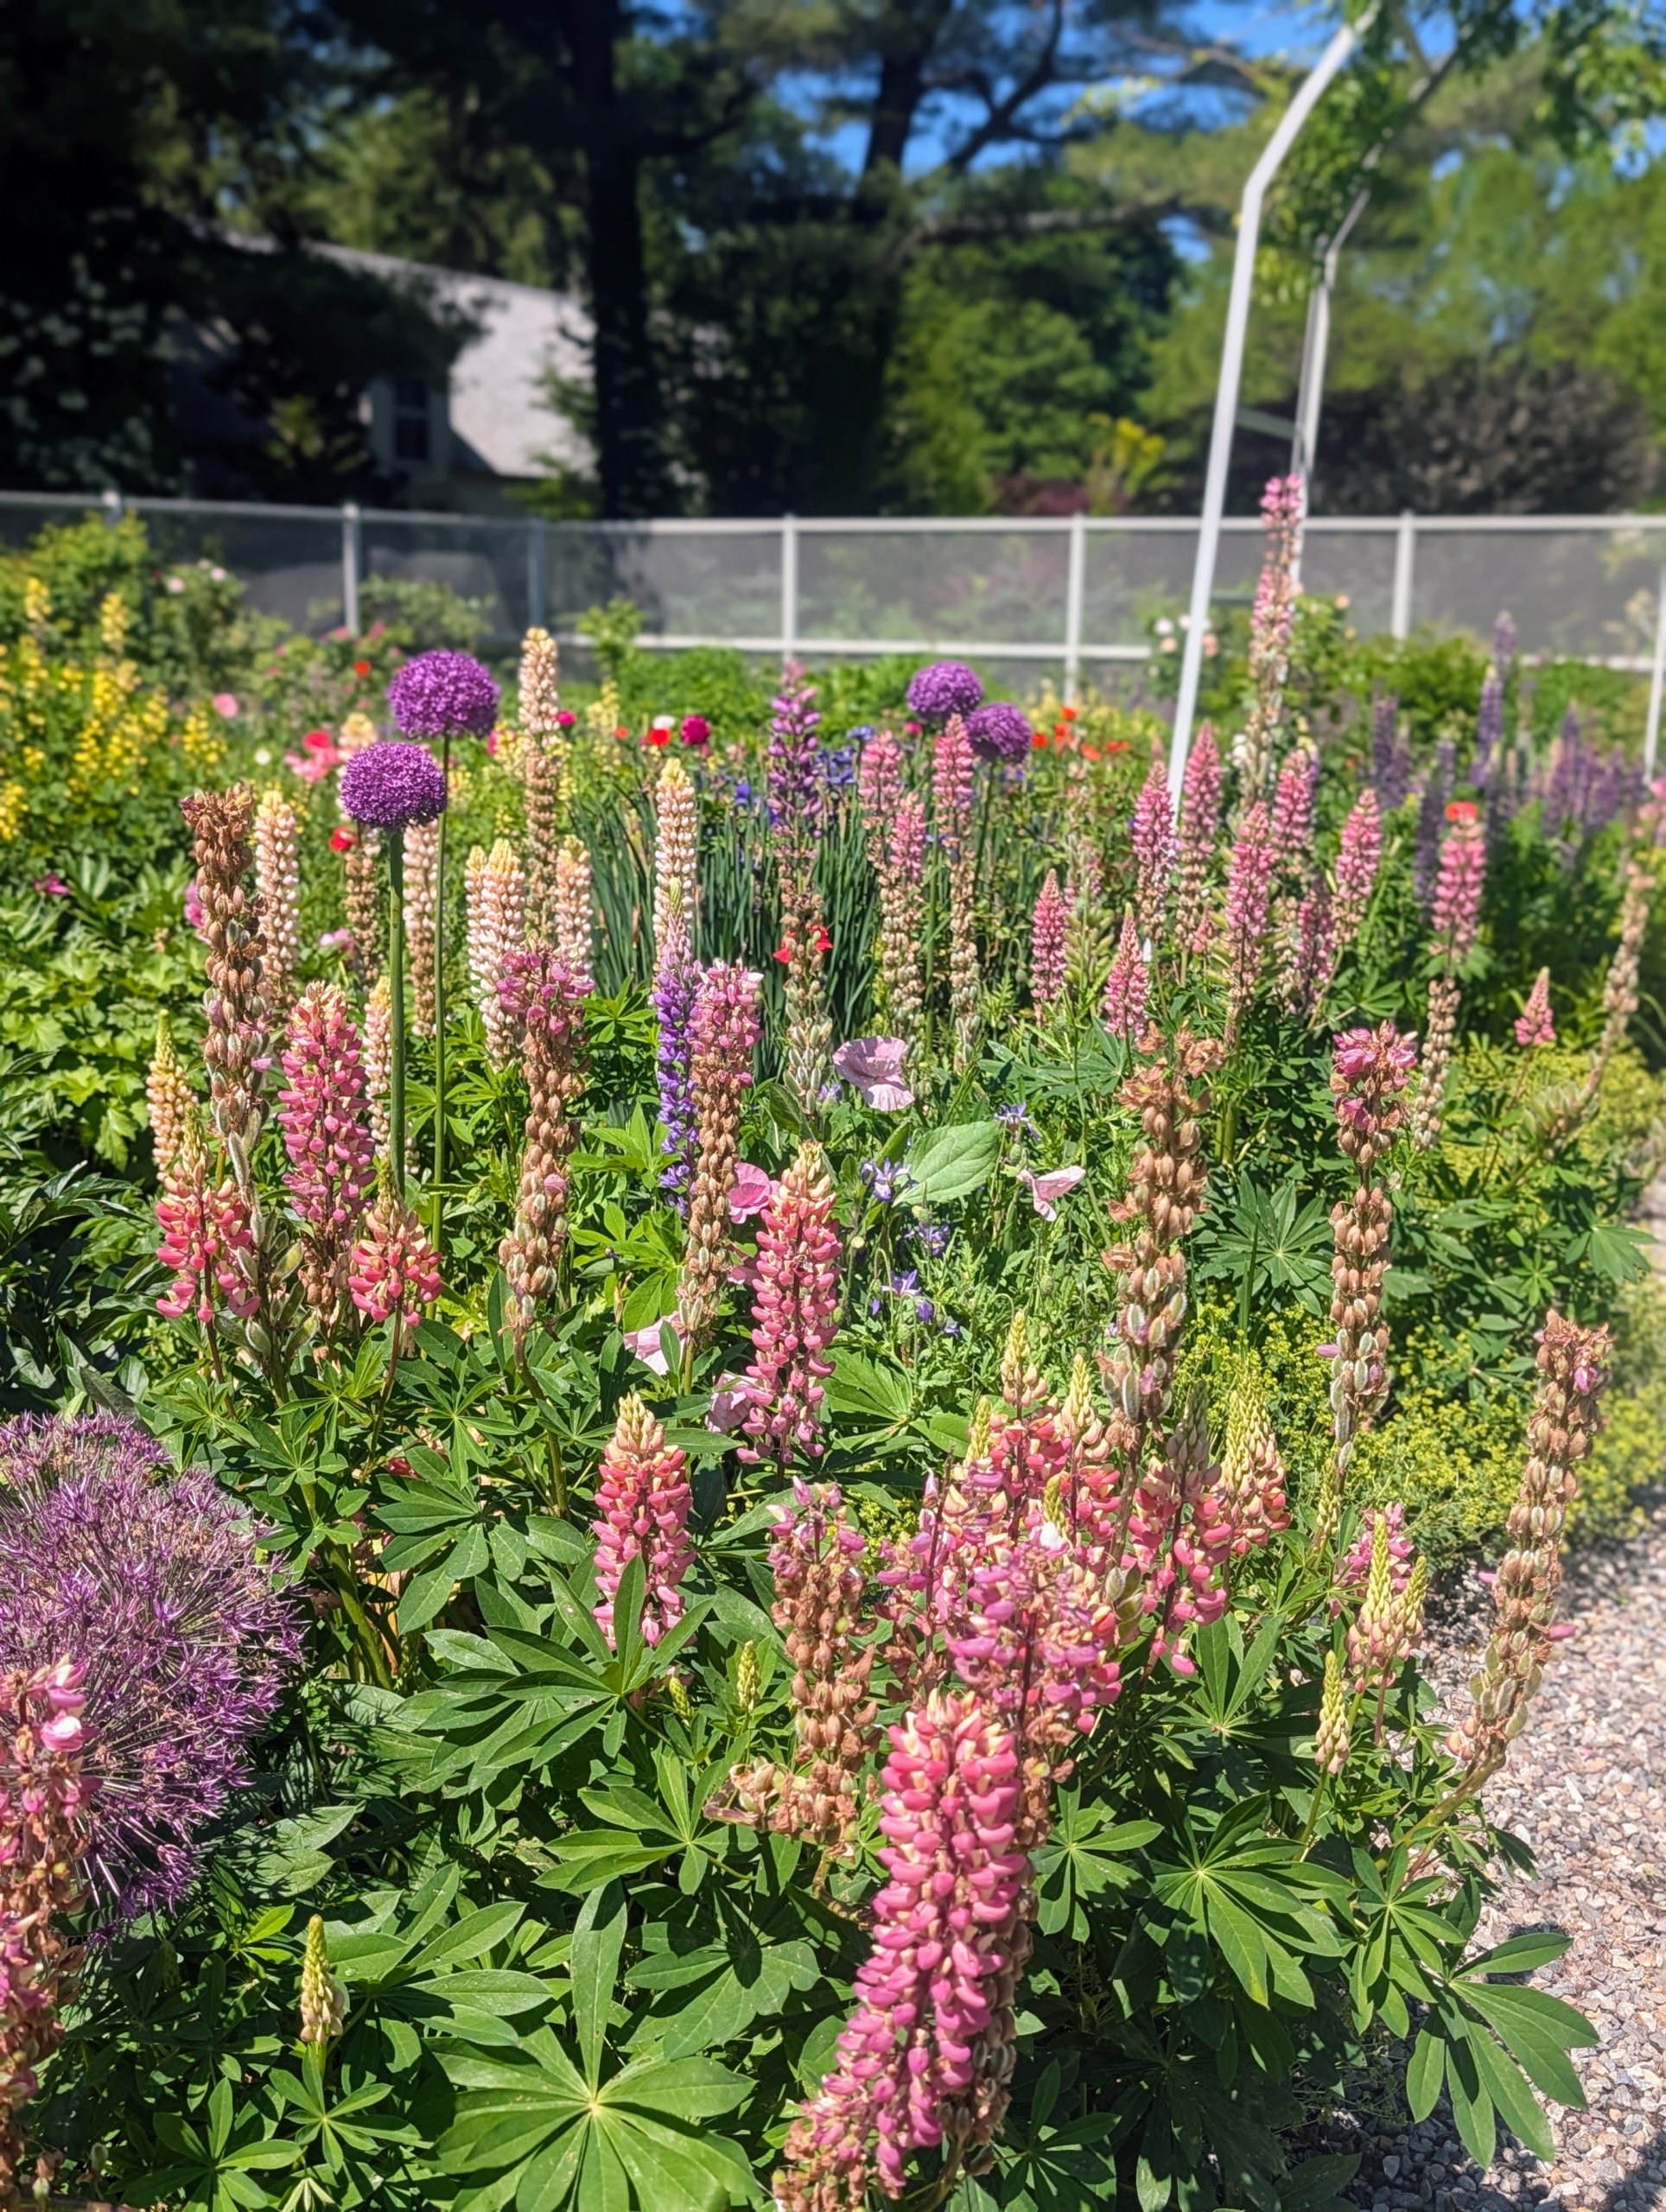
The group started with a walk through my main greenhouse and out through the flower garden. So many flowers are blooming now.
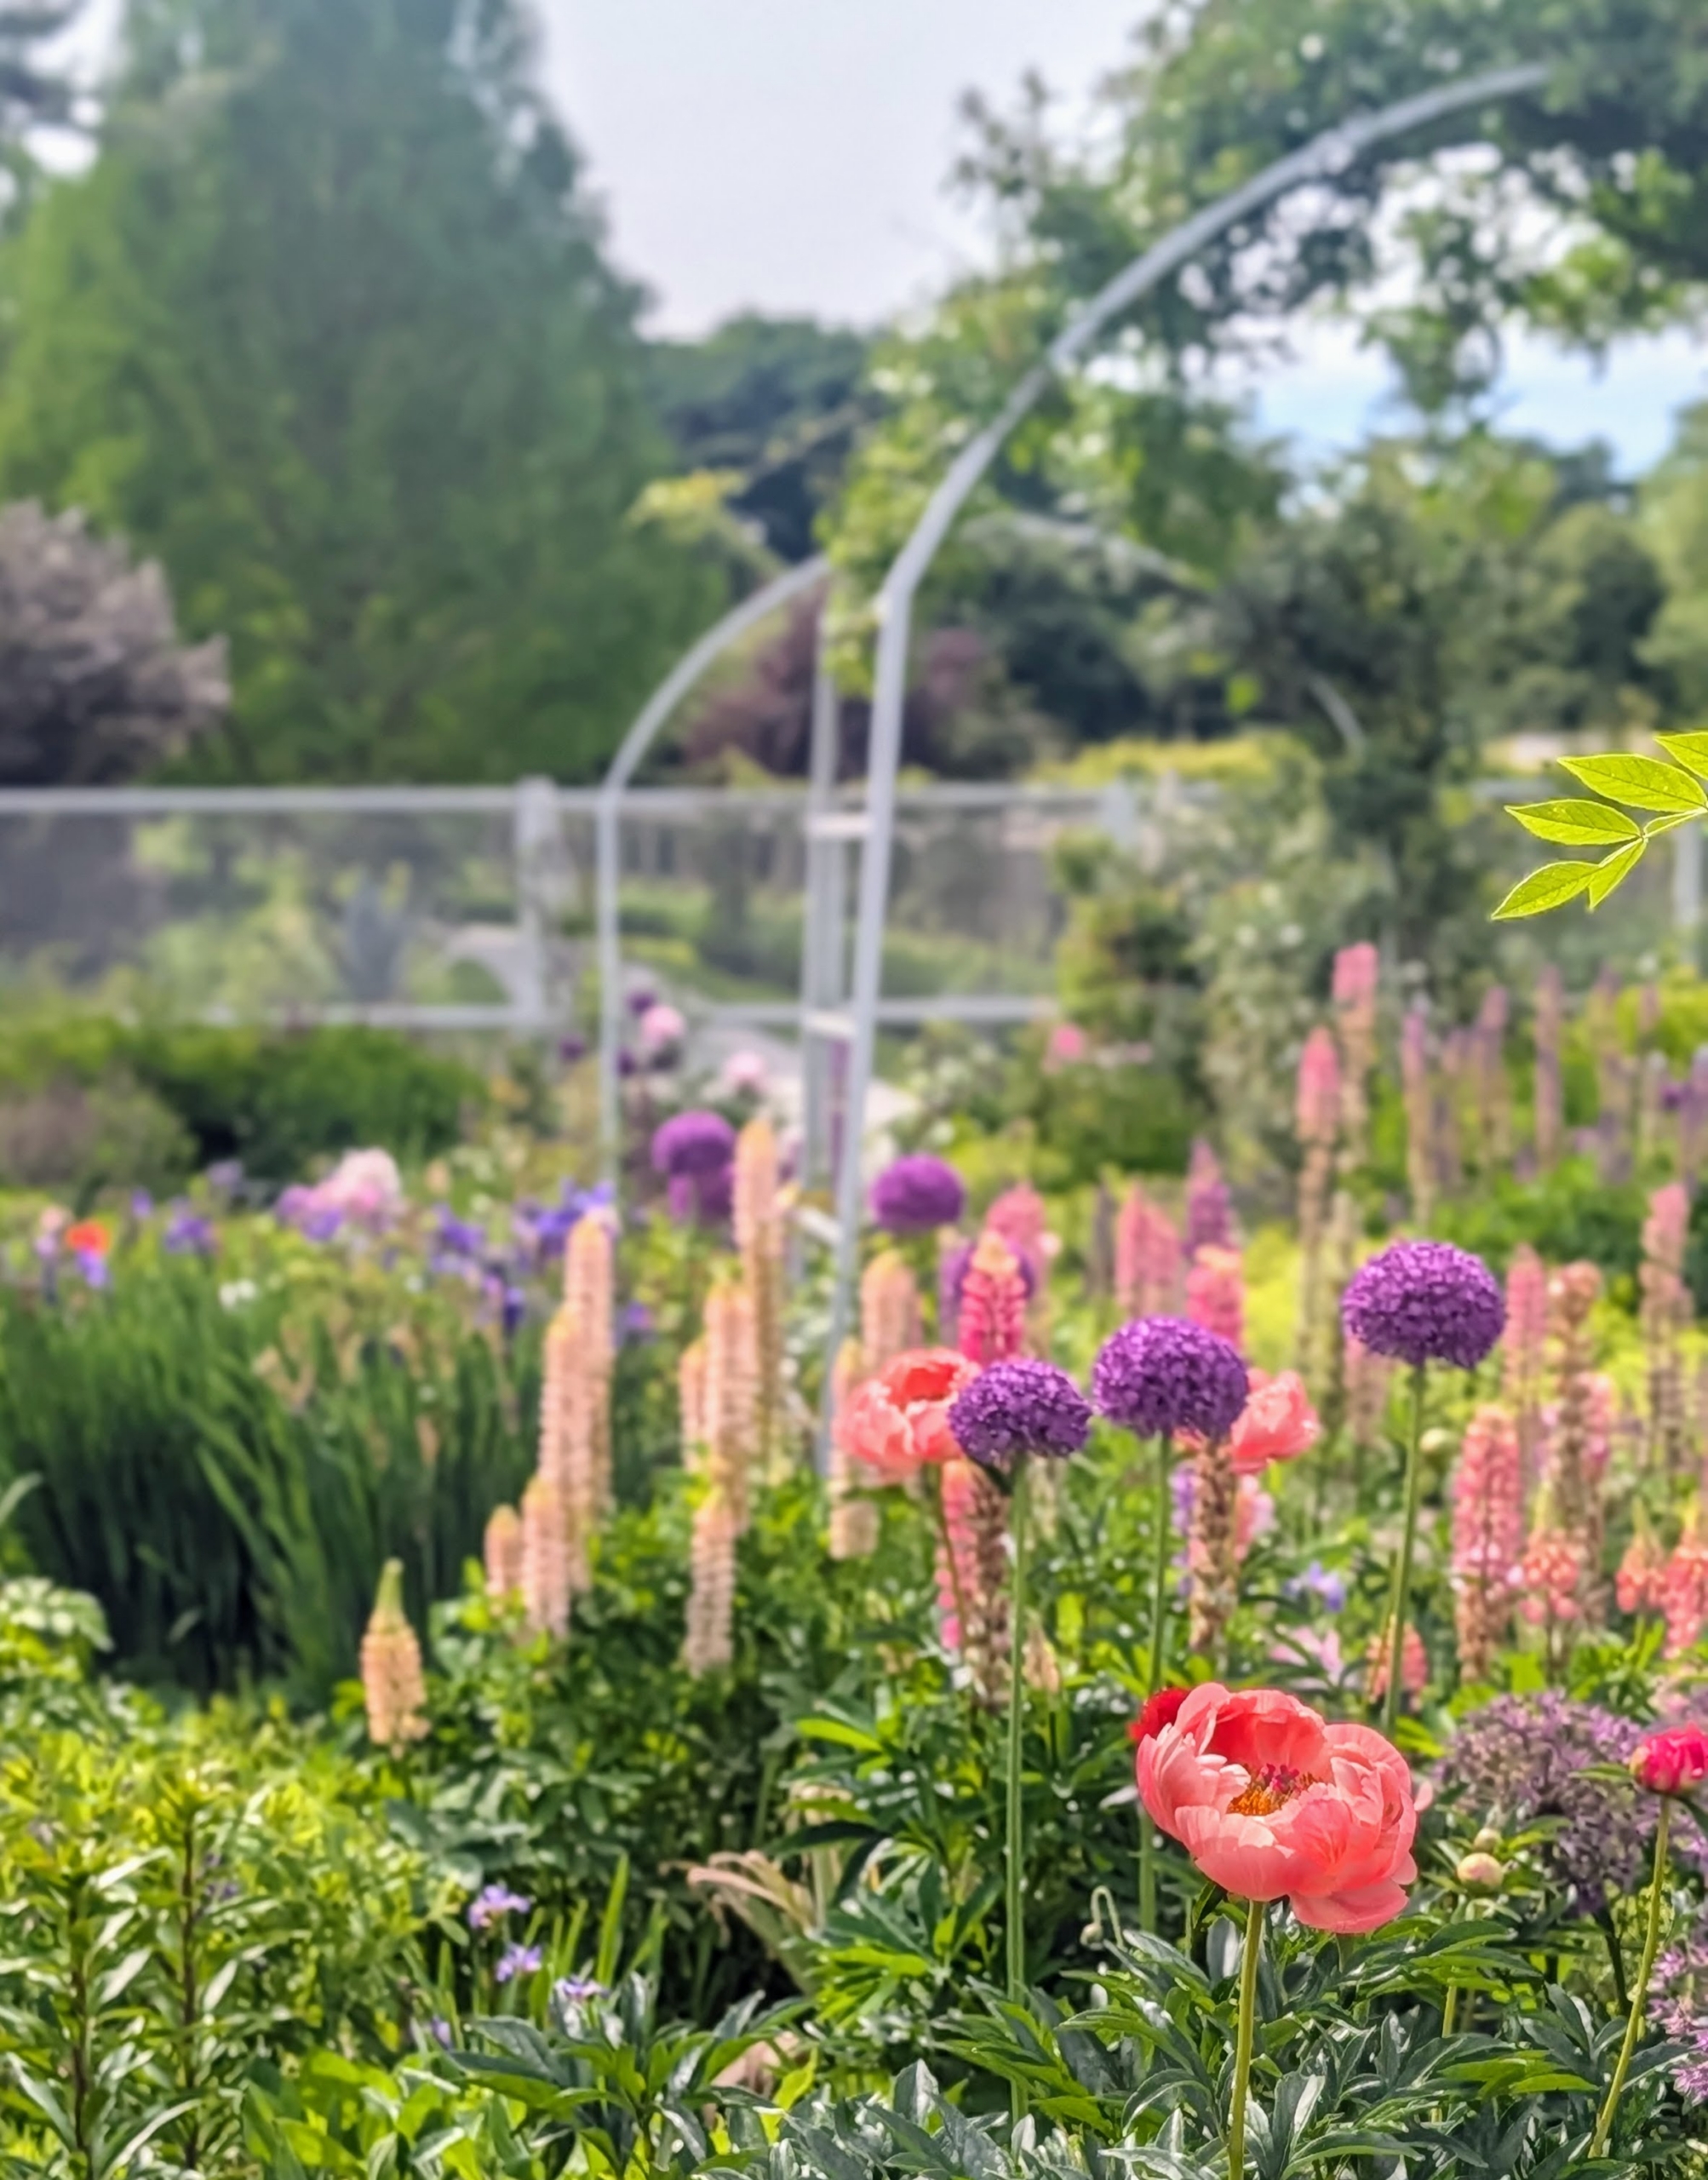
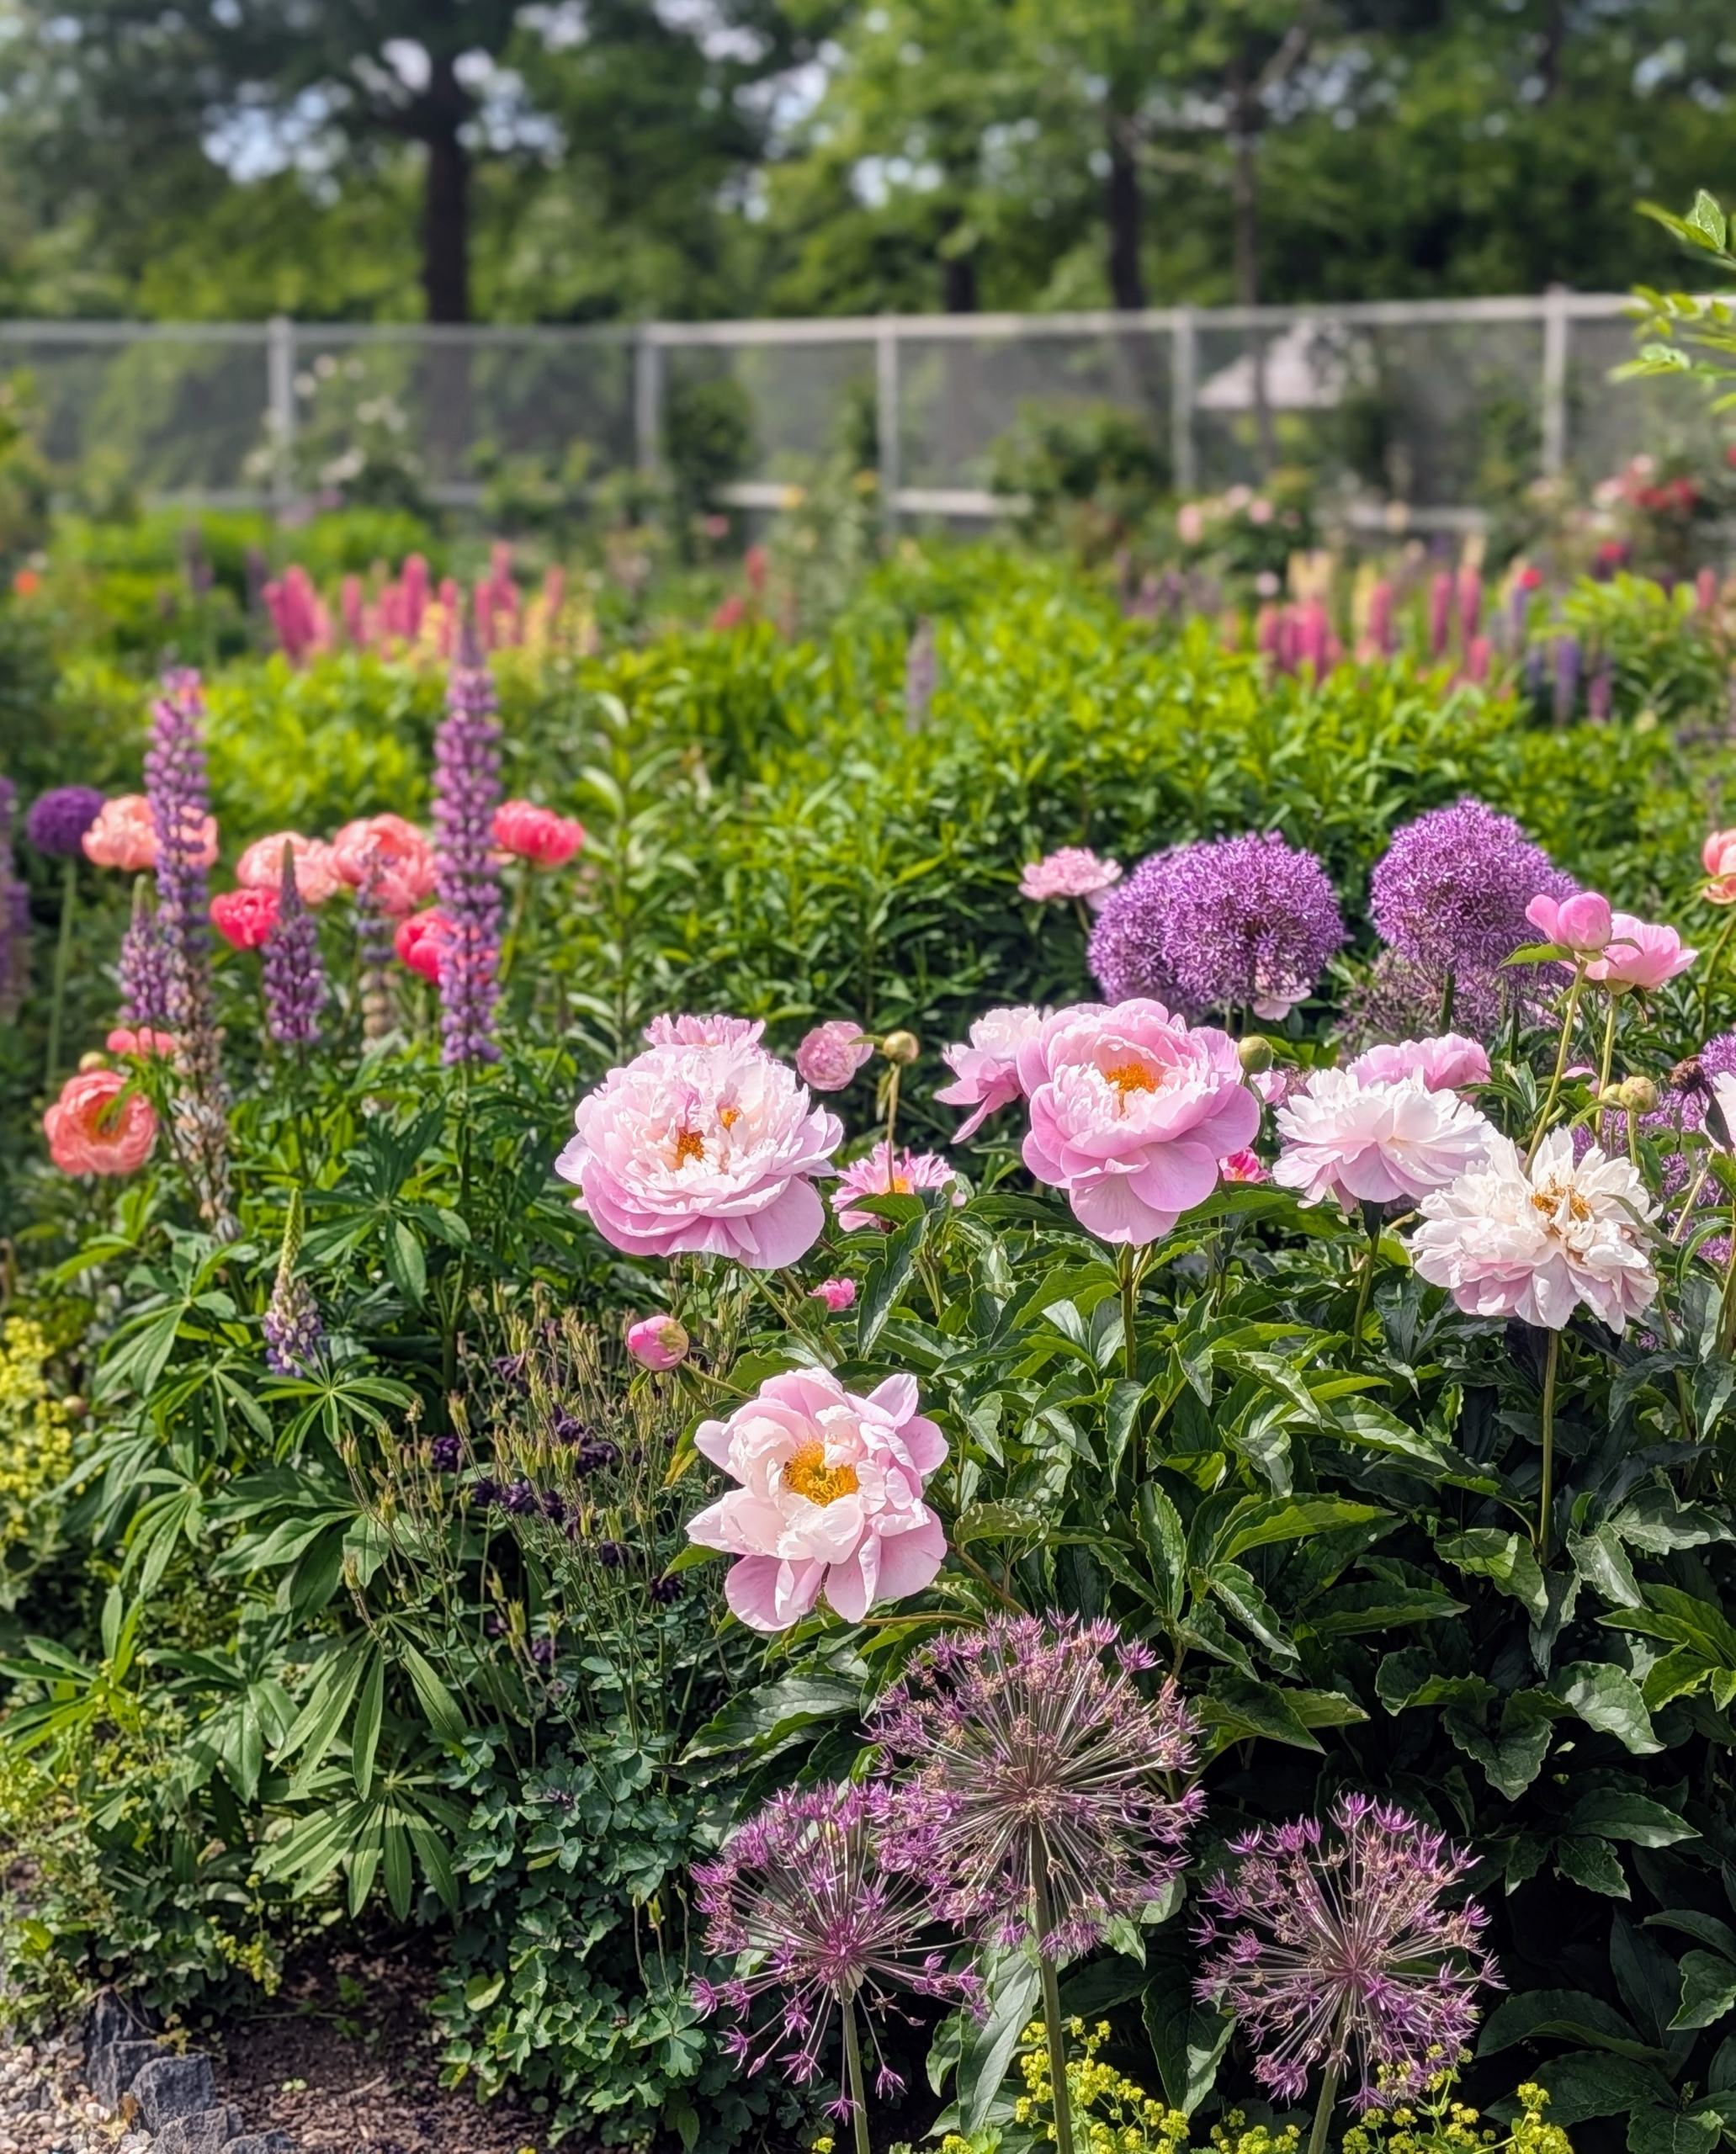
The peonies are showing so beautifully this year. And so are the alliums.
And the lupines are everywhere. The flowers are produced in dense or open whorls on an erect spike, each flower about one to two centimeters long. The pea-like flowers have an upper standard, or banner, two lateral wings, and two lower petals fused into a keel.
Ryan talked about the how the flower garden is organized with all sorts of different perennials. I wanted the plants to be mixed, so every bed in this garden would be interesting and colorful.
Just outside the head house is another garden of peonies.
The group was amazed to see so many peonies, but at this point of the tour, they had not seen my giant herbaceous peony garden yet.
Ryan stops at various locations to point out specific allées and garden beds. He talked about the history of the farm and how it has evolved over the years. He also answered many gardening questions. I am glad everyone wore comfortable, cool clothing – there’s always a lot of walking during these tours.
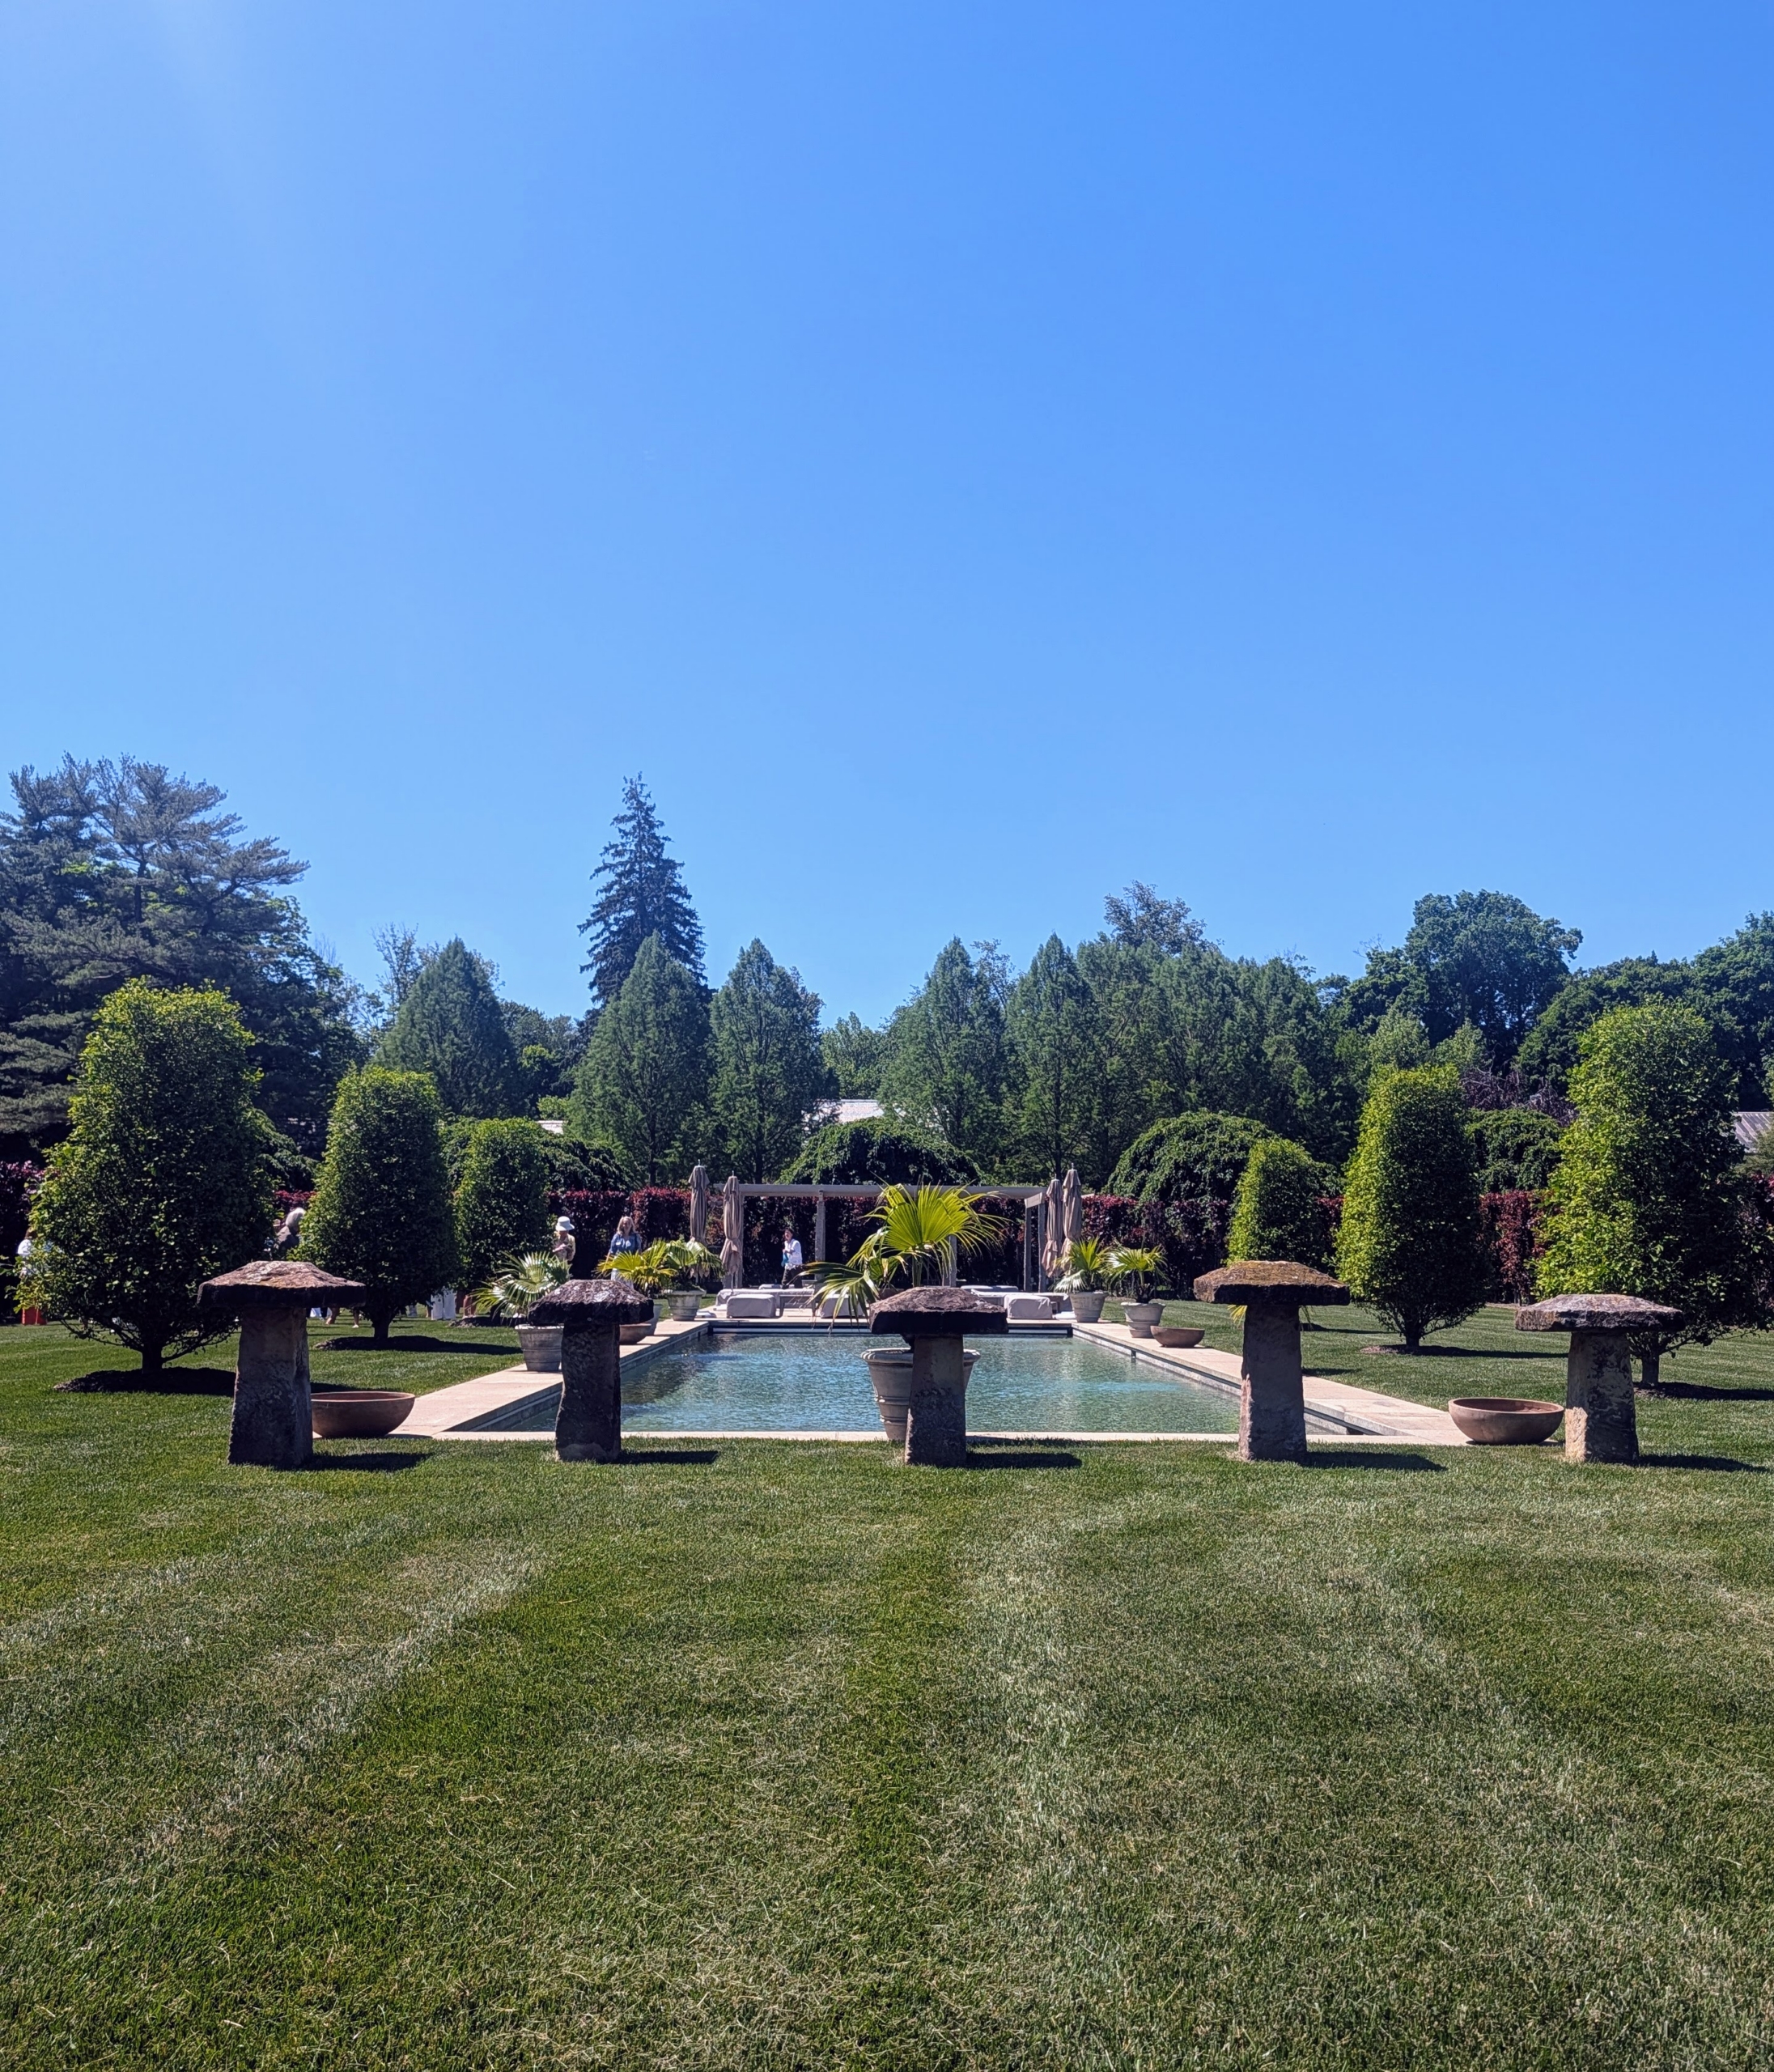
The tour walked to the pool, where guests saw my antique staddle stones. I bought the staddle stones in 2017 from the annual NYBG Garden Furniture & Antiques Fair. Staddle stones were originally used in the 17th and 18th centuries as support bases for granaries, hayricks, and game larders. Lining two sides are my six Ginkgo biloba Goldspire™ Obelisk trees.
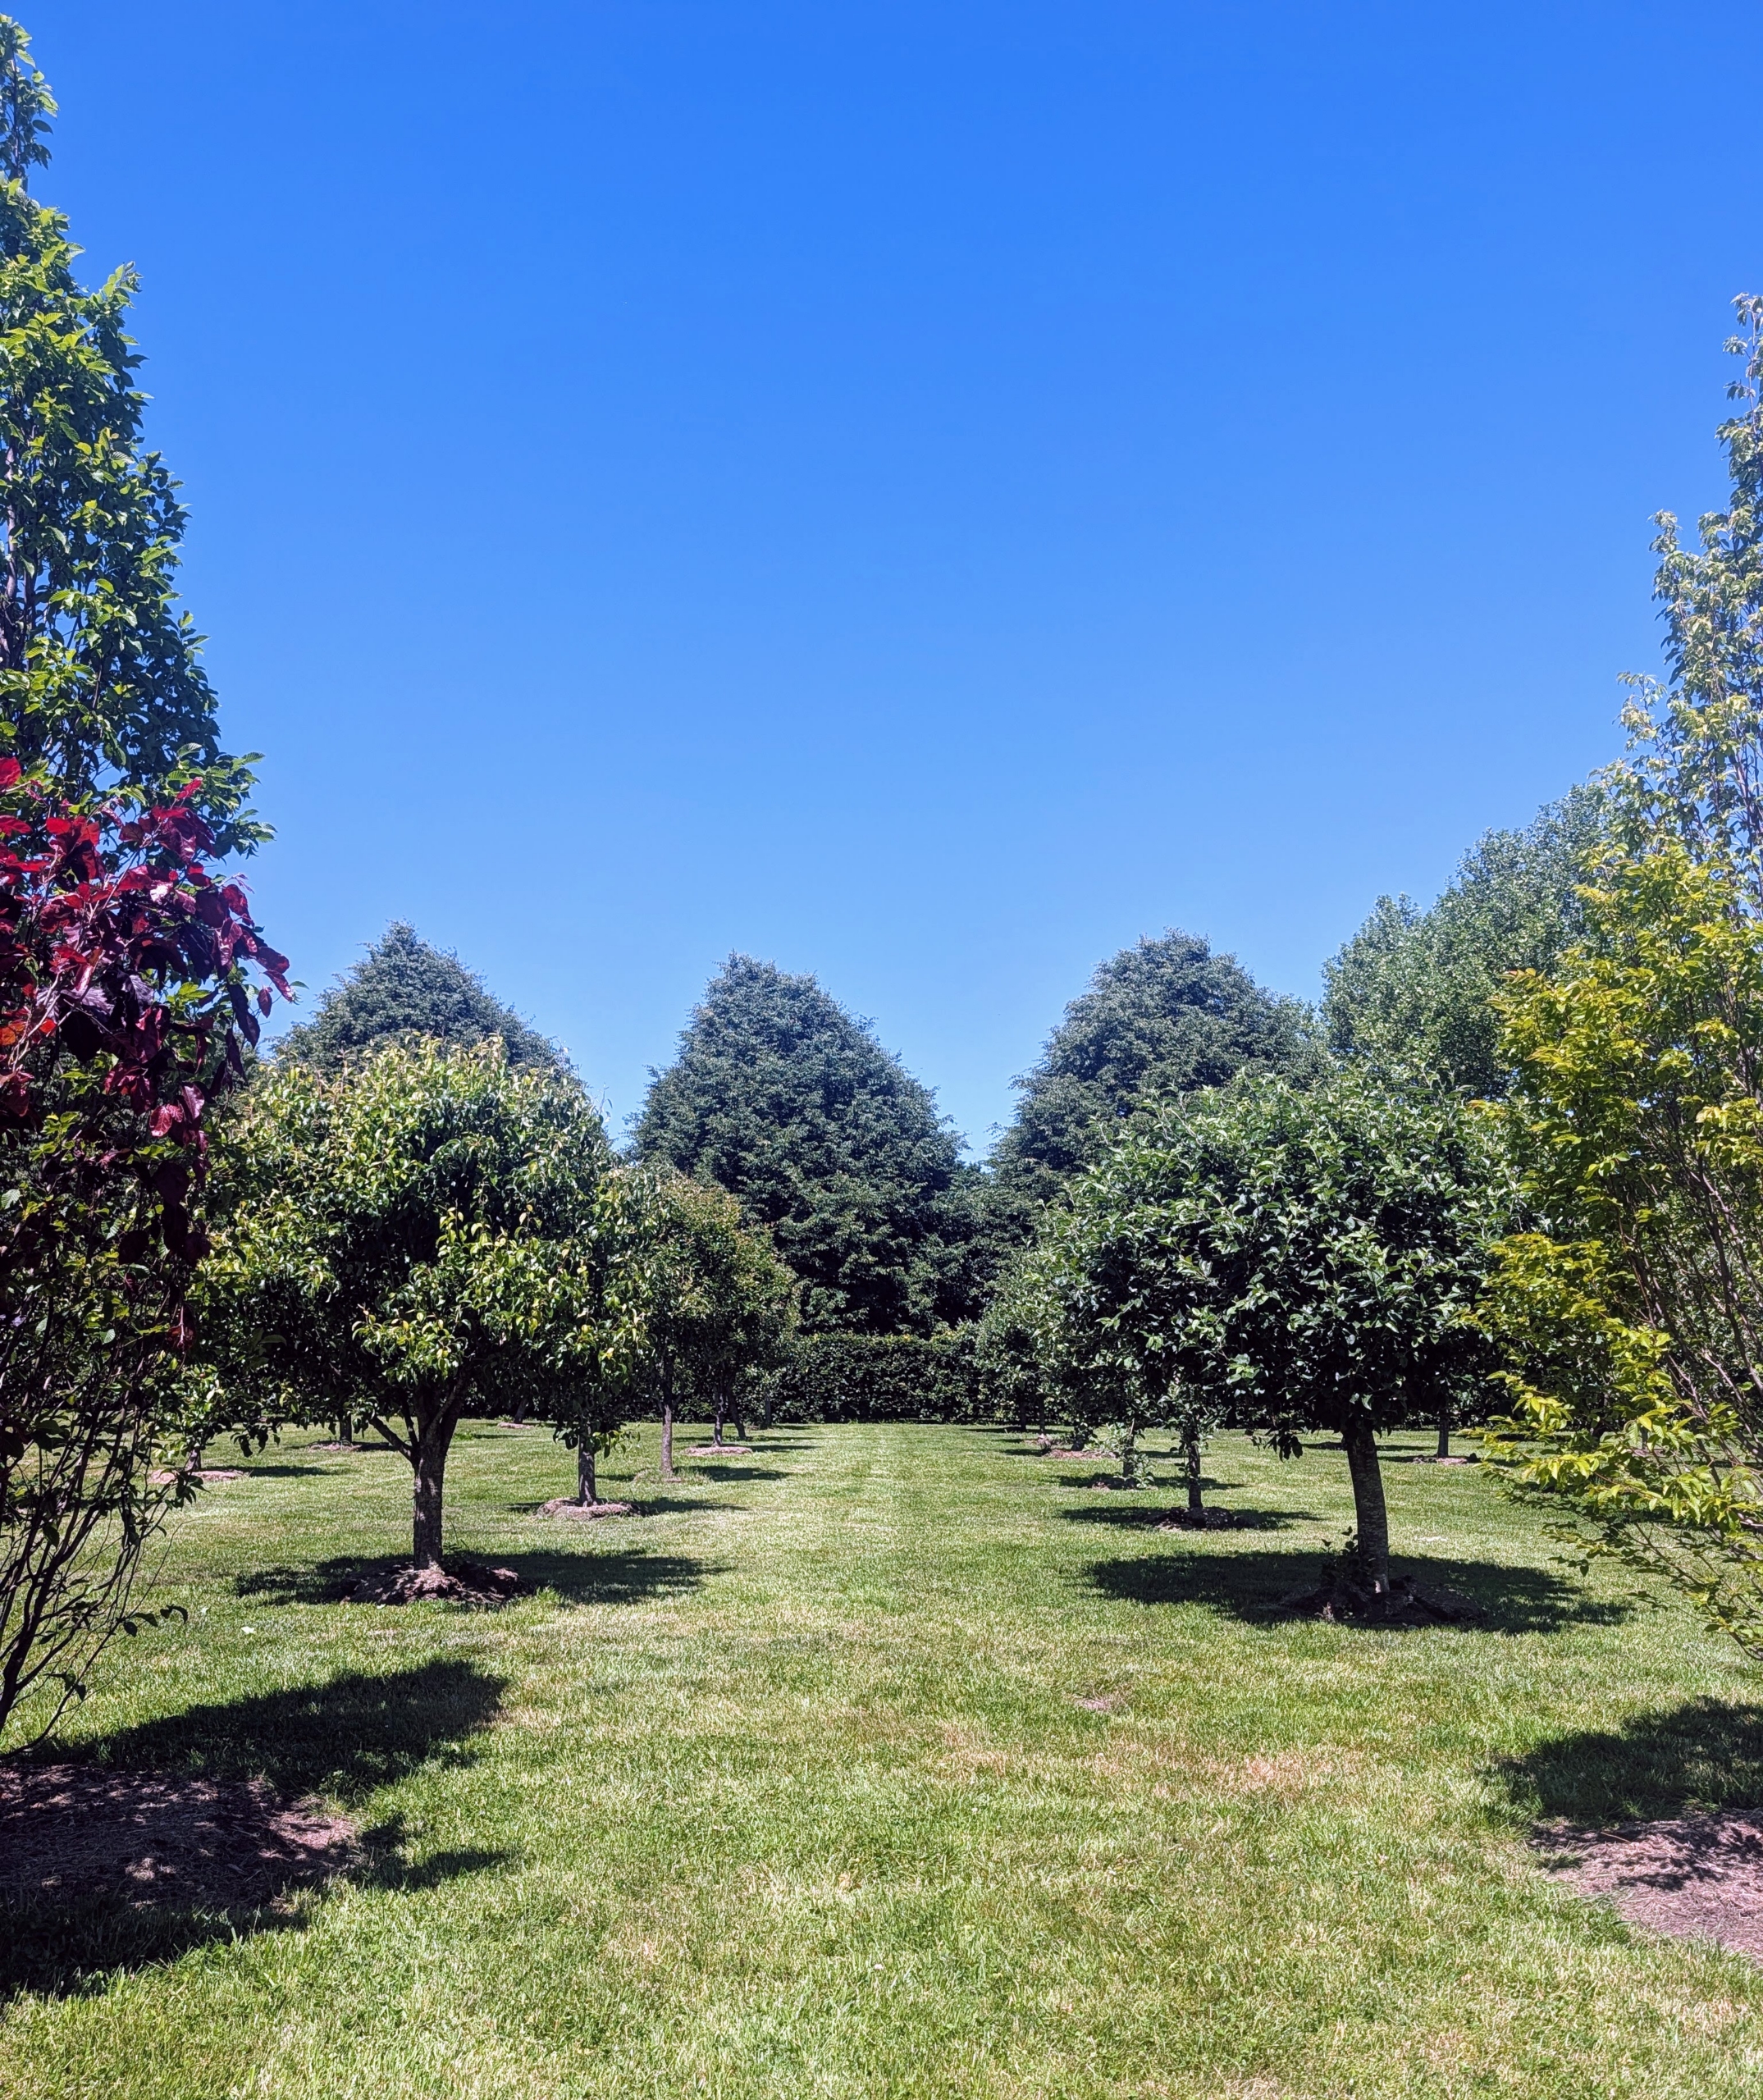
Then the group walked through the orchard, where I have more than 200 fruit trees.
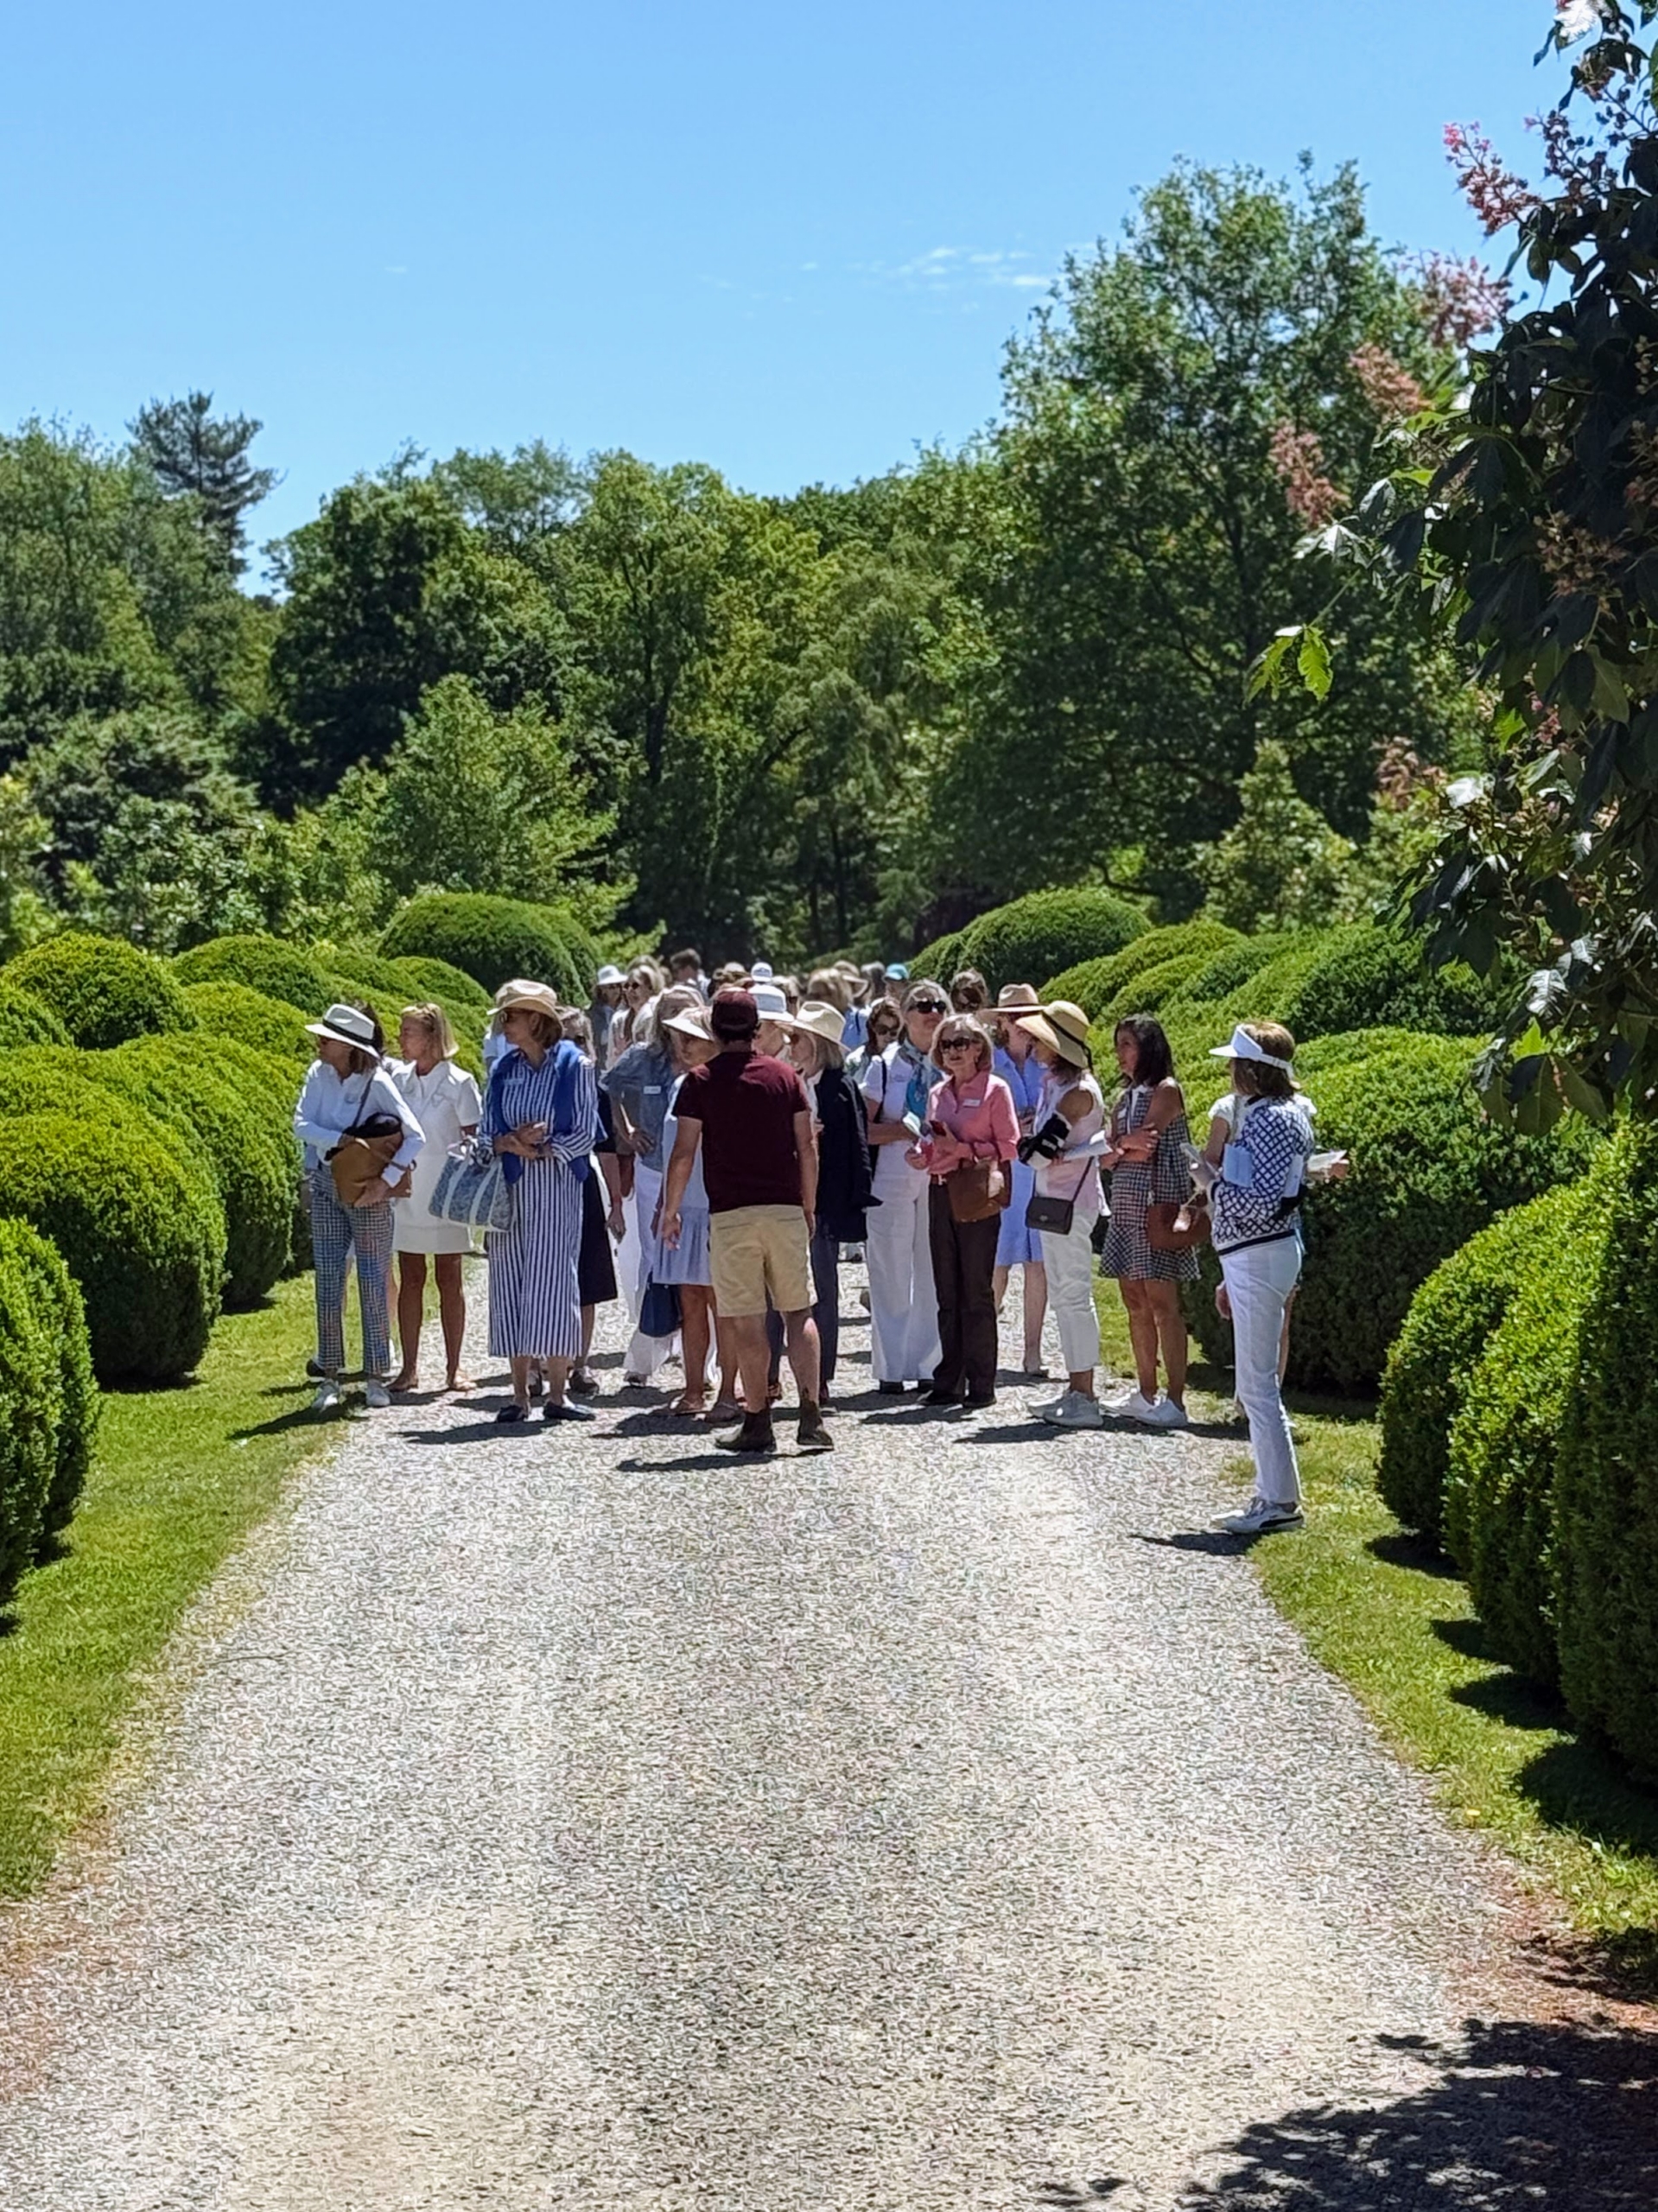
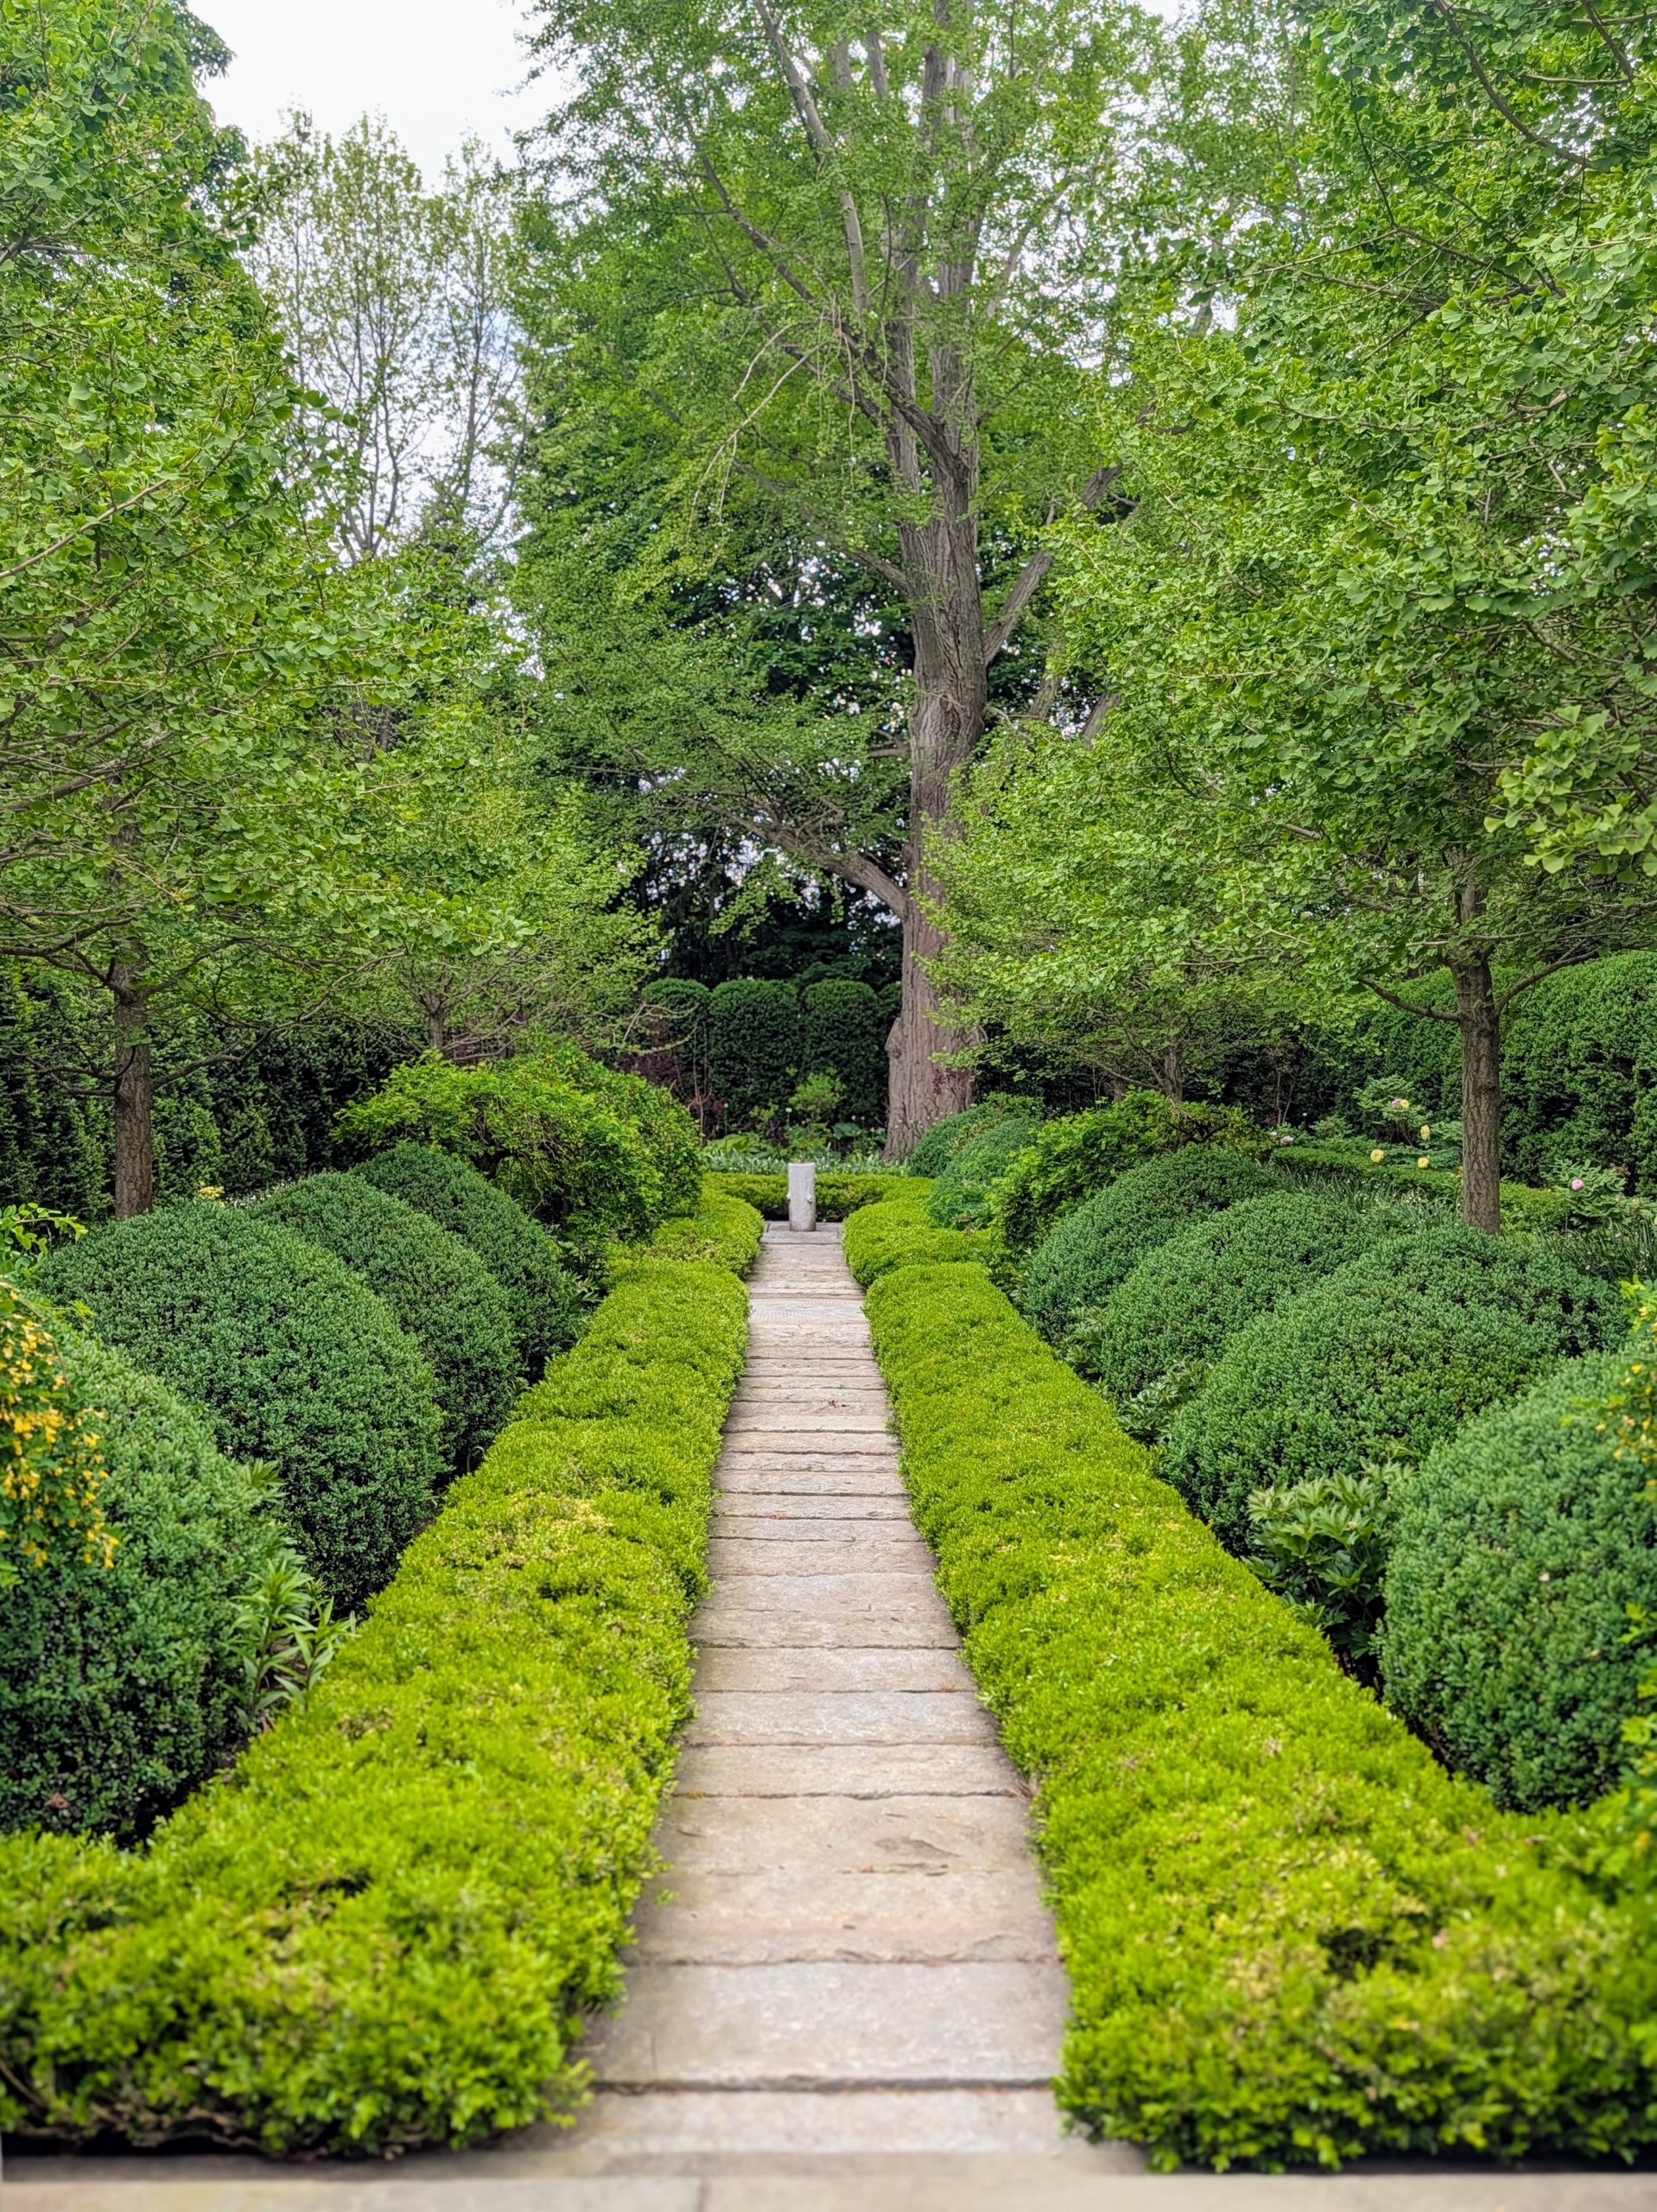
Ryan led the group down my long Boxwood Allée. Some stopped to say hi to the donkeys in their pasture.
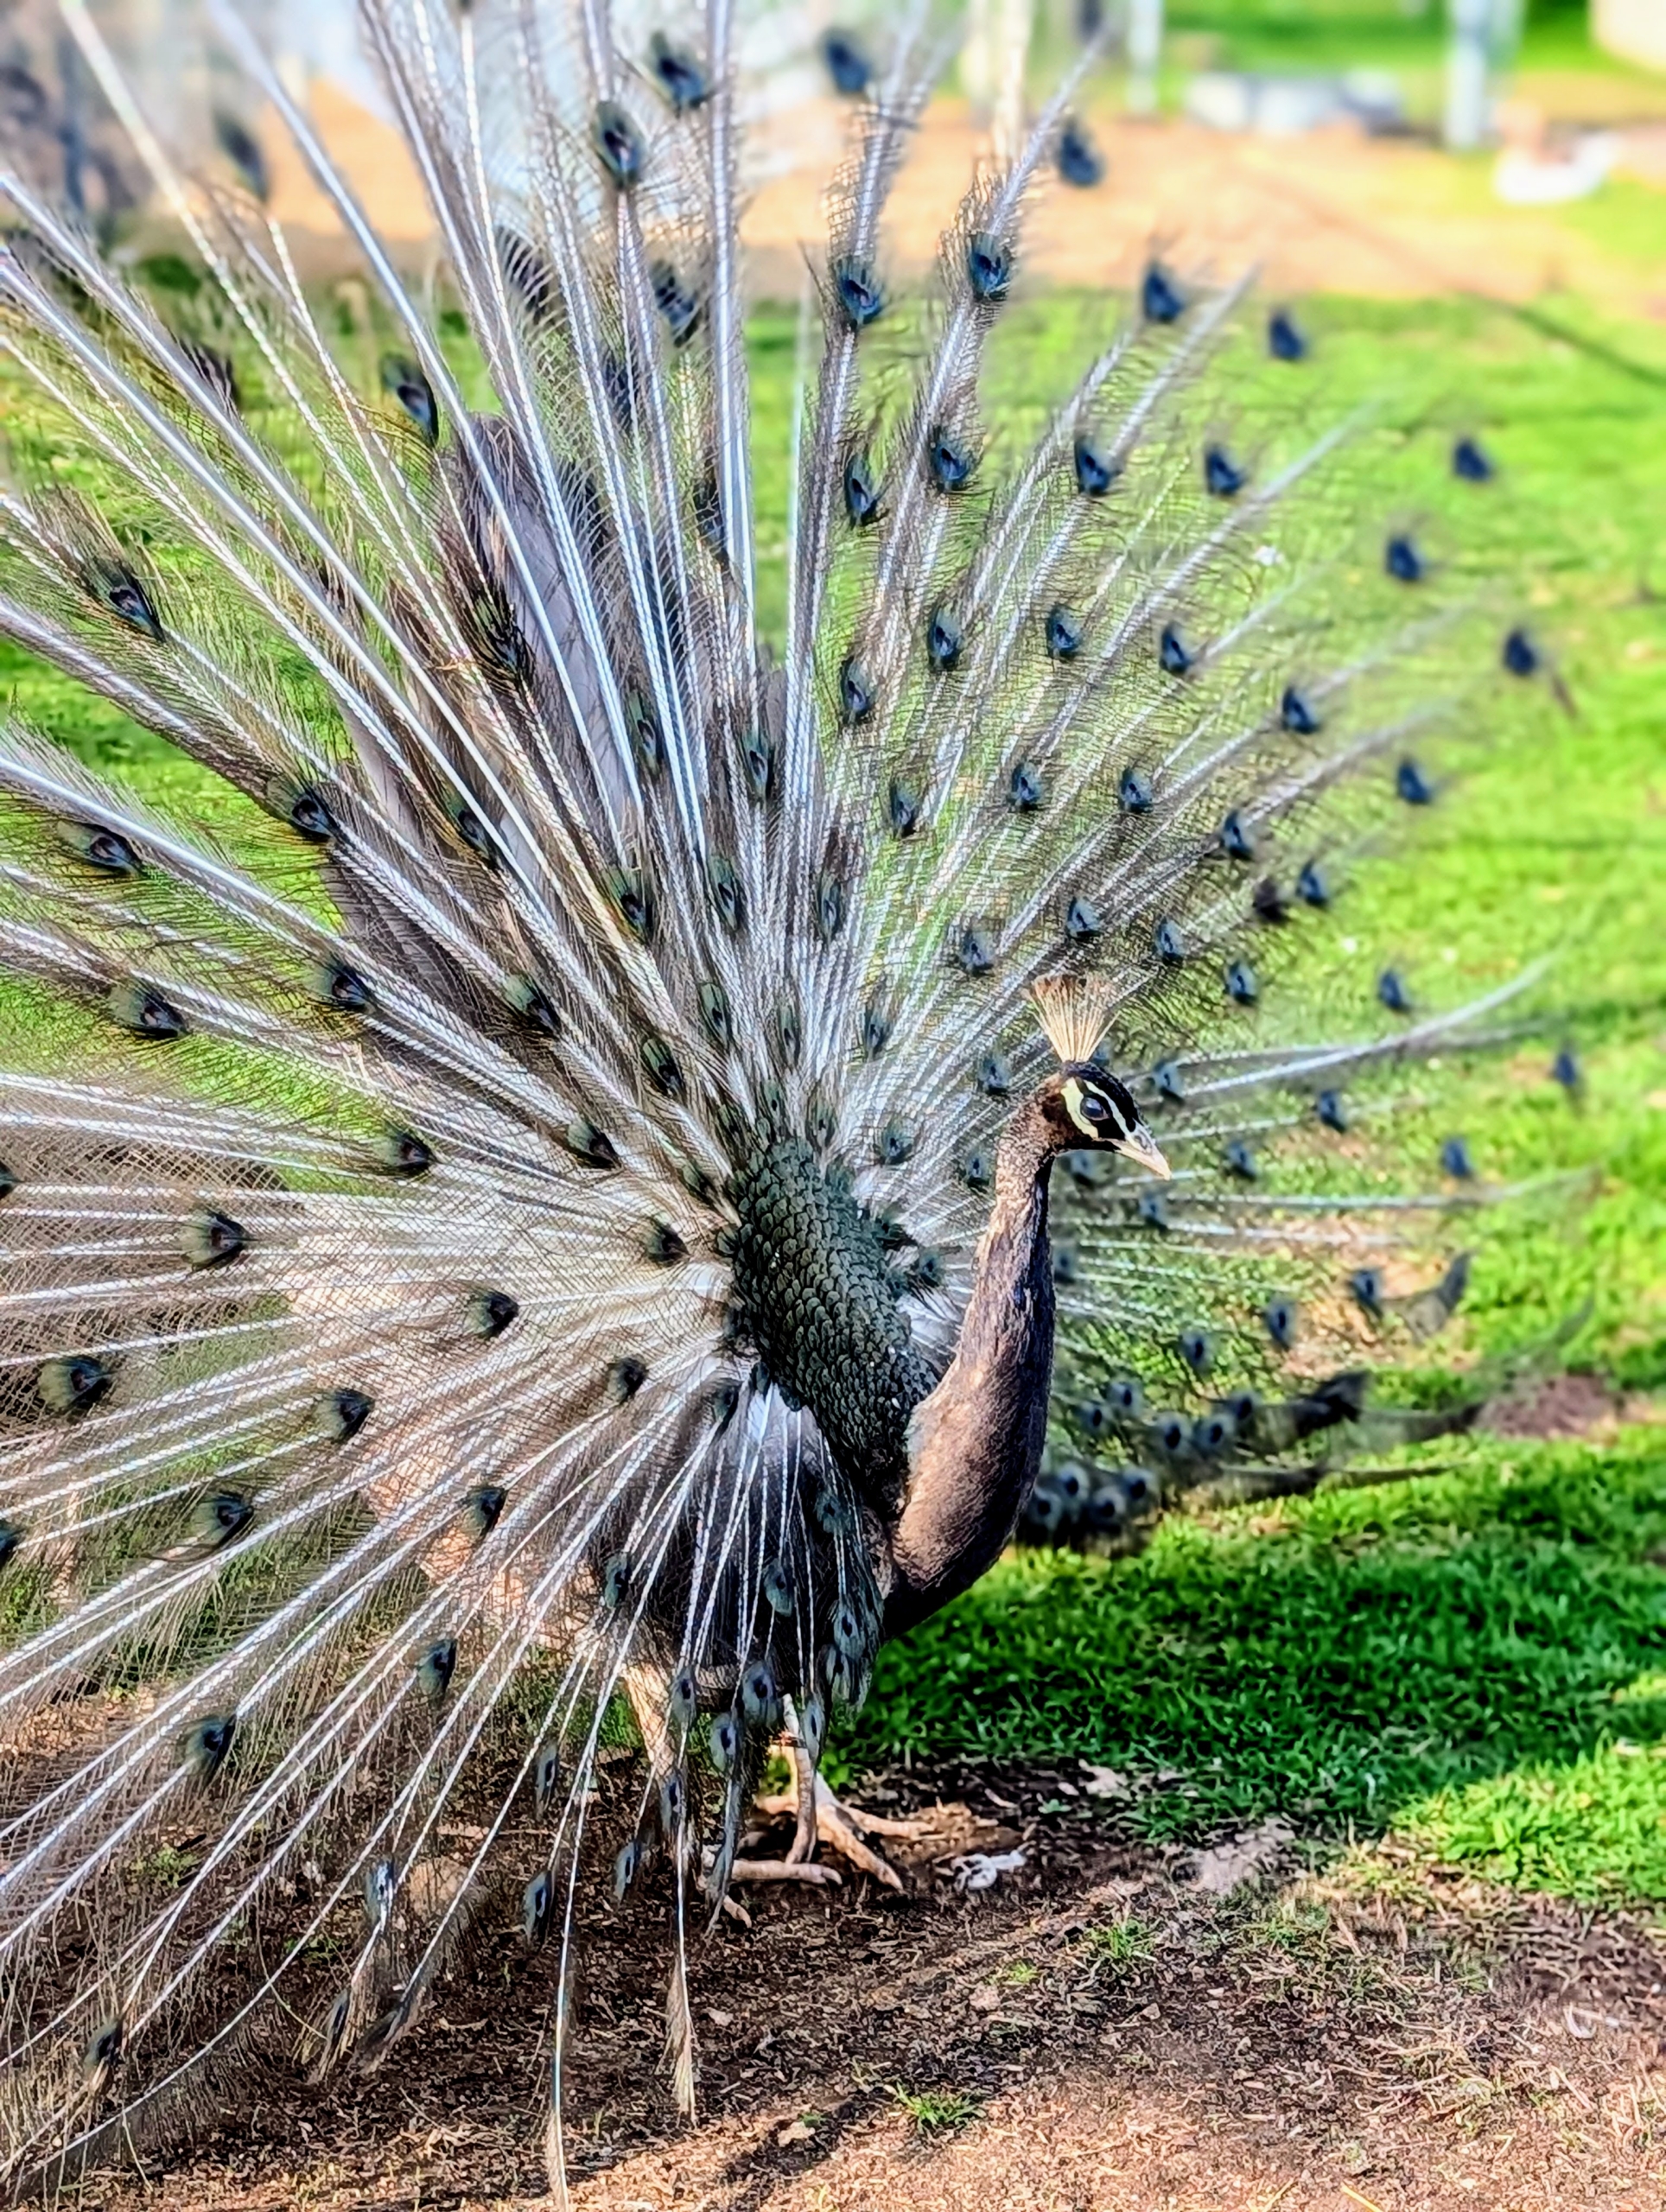
And no tour is complete without a stop at the bird enclosures. Here is one of my peacocks showing off his tail feathers.
Next, the group walked through my formal Summer House Garden. I began planning this formal garden more than 12 years ago. The focal point is the great old ginkgo tree at the back of the space that is original to the property. Over time, I’ve planted American and English boxwood, smaller ginkgo trees, smoke bushes, Siberian weeping pea shrubs, peonies, hostas, lilies, alliums, snowflakes, and so much more.
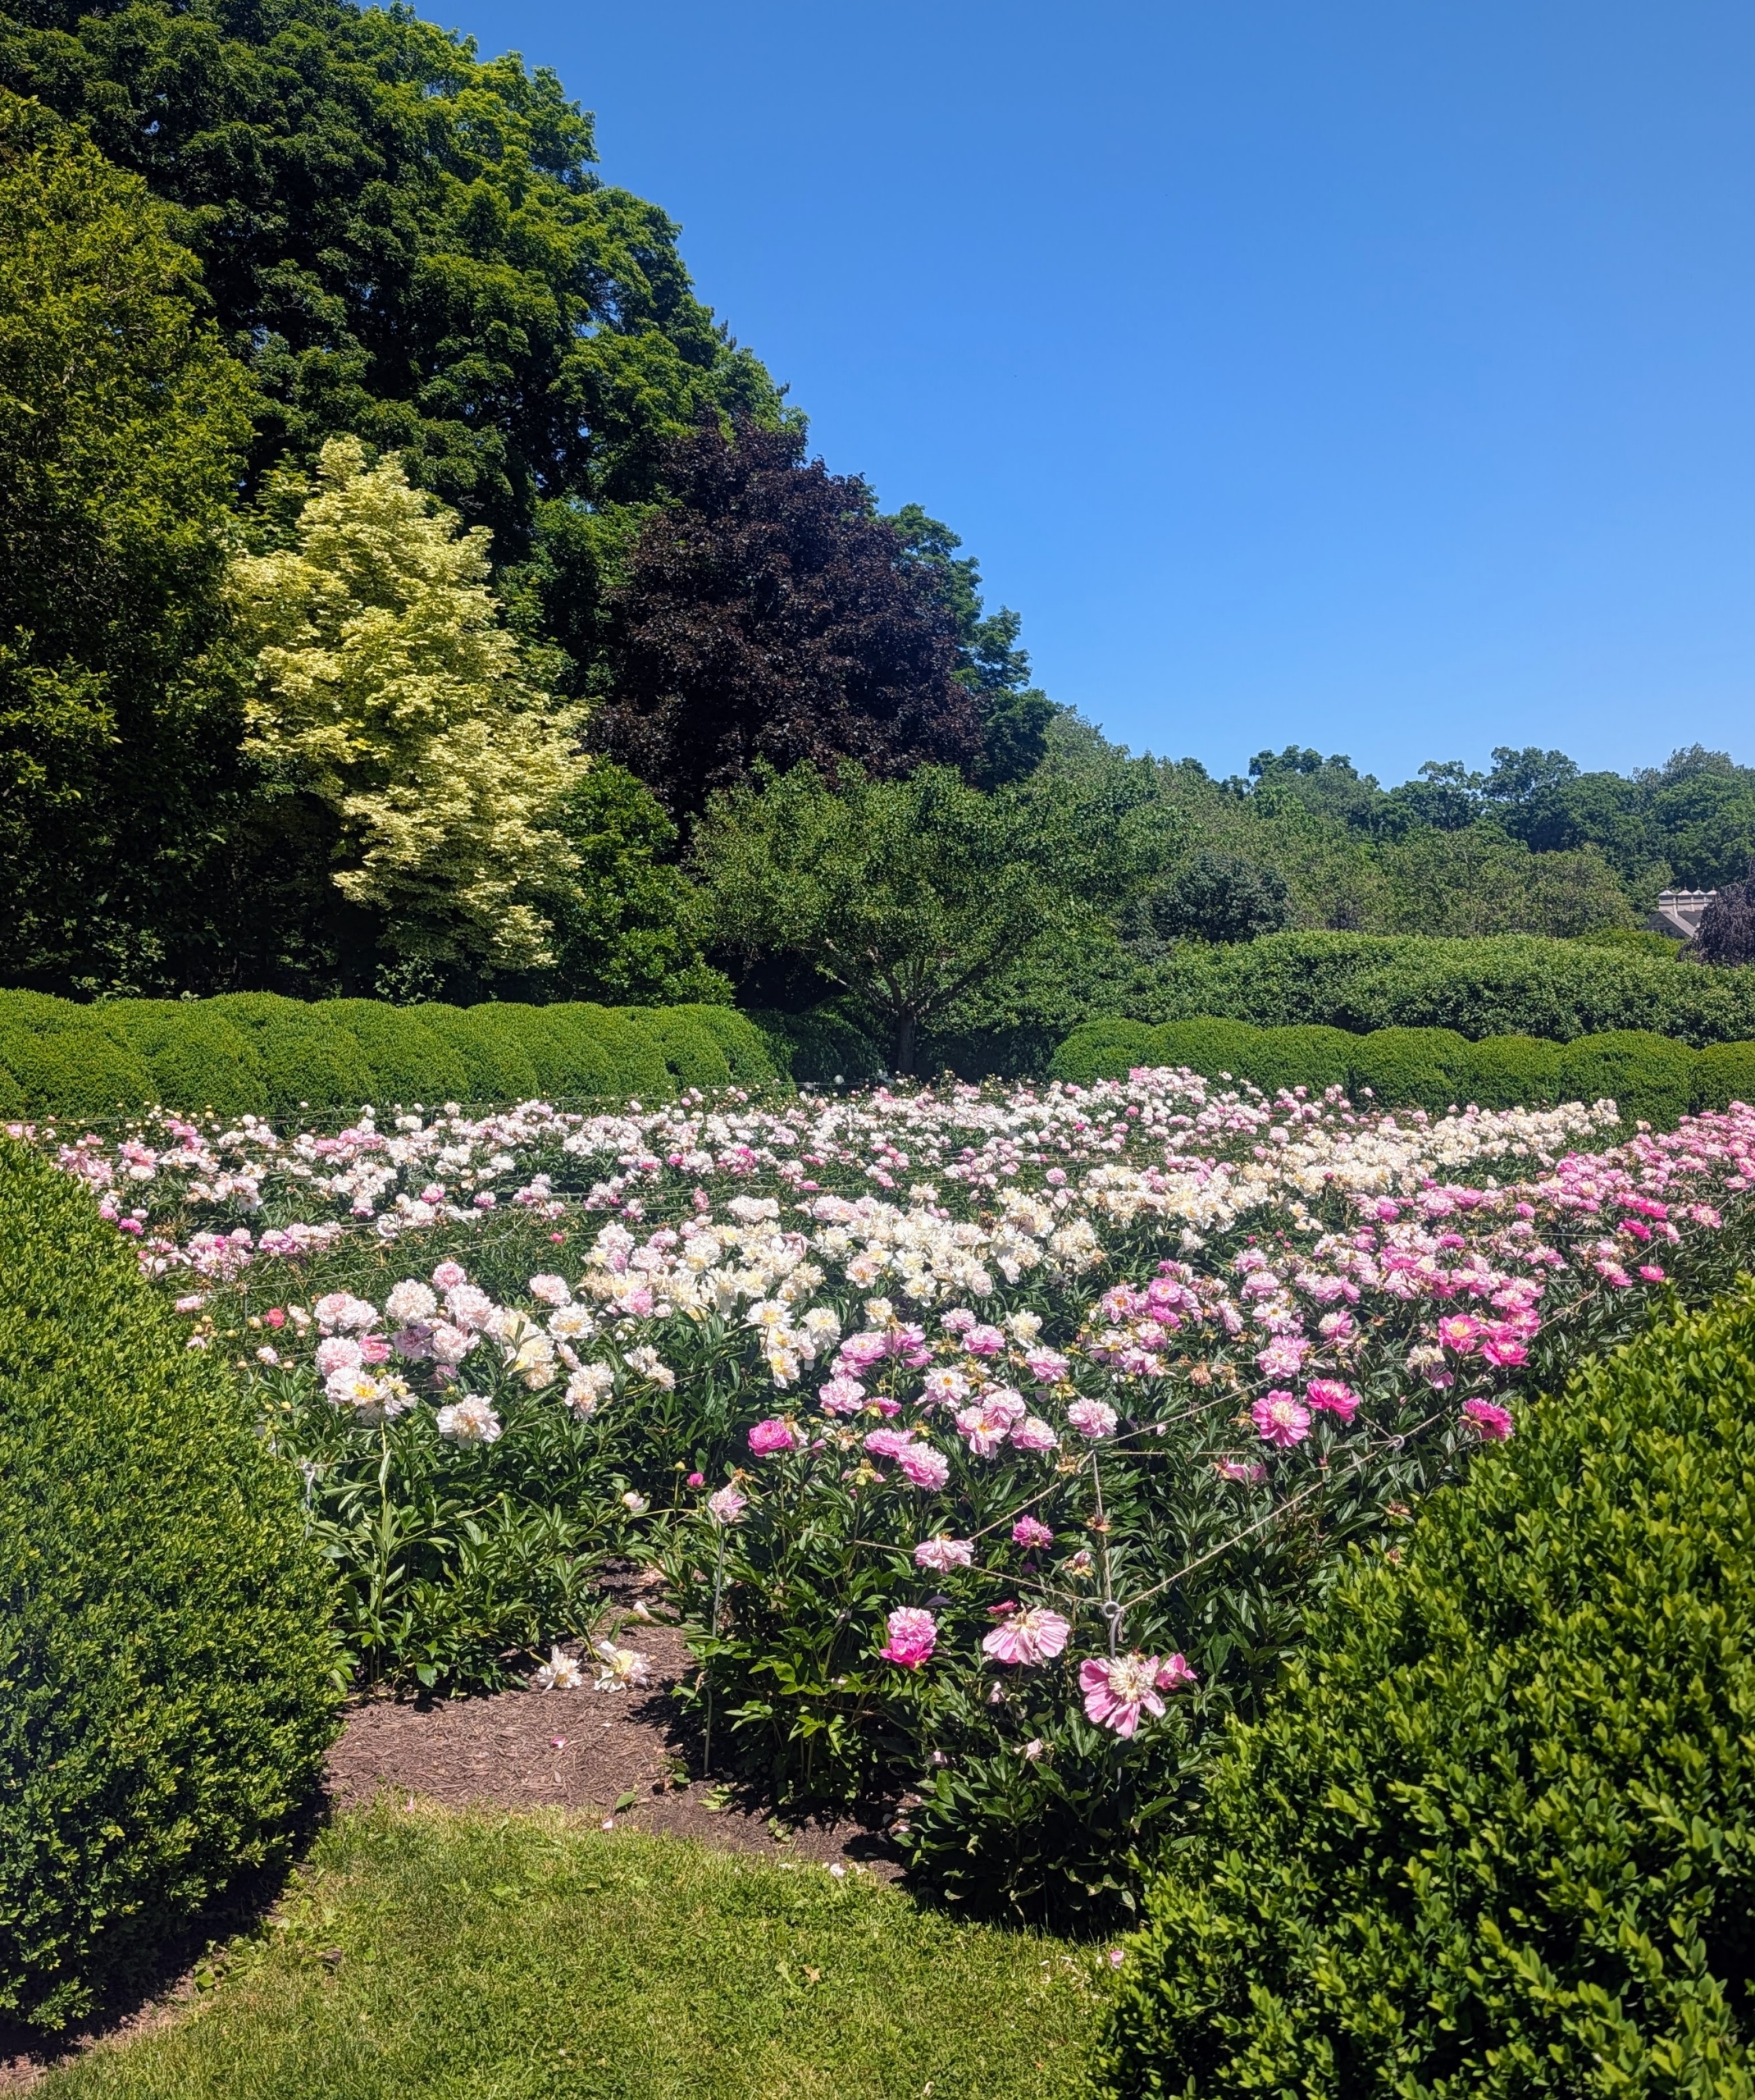
Next was my peony bed – it’s an extra special treat when guests can see this garden in bloom. My herbaceous peony collection includes 11-double rows of peonies, and 22 different varieties of peony plants – two varieties in each row.
One of the reasons these peonies thrive here at my farm is because of the soil. It has a pH of 6.5 to 7.0, which is ideal. It is also amended with superphosphate and Azomite, a natural product mined from an ancient mineral deposit in Utah. These natural additives improve root systems and overall plant vigor, resulting in this fantastic profusion of blooms.
The peony is any plant in the genus Paeonia, the only genus in the family Paeoniaceae. They are native to Asia, Europe, and Western North America.
Peonies are one of the best-known and most dearly loved perennials – not surprising considering their beauty, trouble-free nature, and longevity.
The peony’s fragrance can vary, but most have sweet, clean scents. And, do you know… pink peonies tend to have stronger fragrances than red peonies? Double form white peonies are also very aromatic.
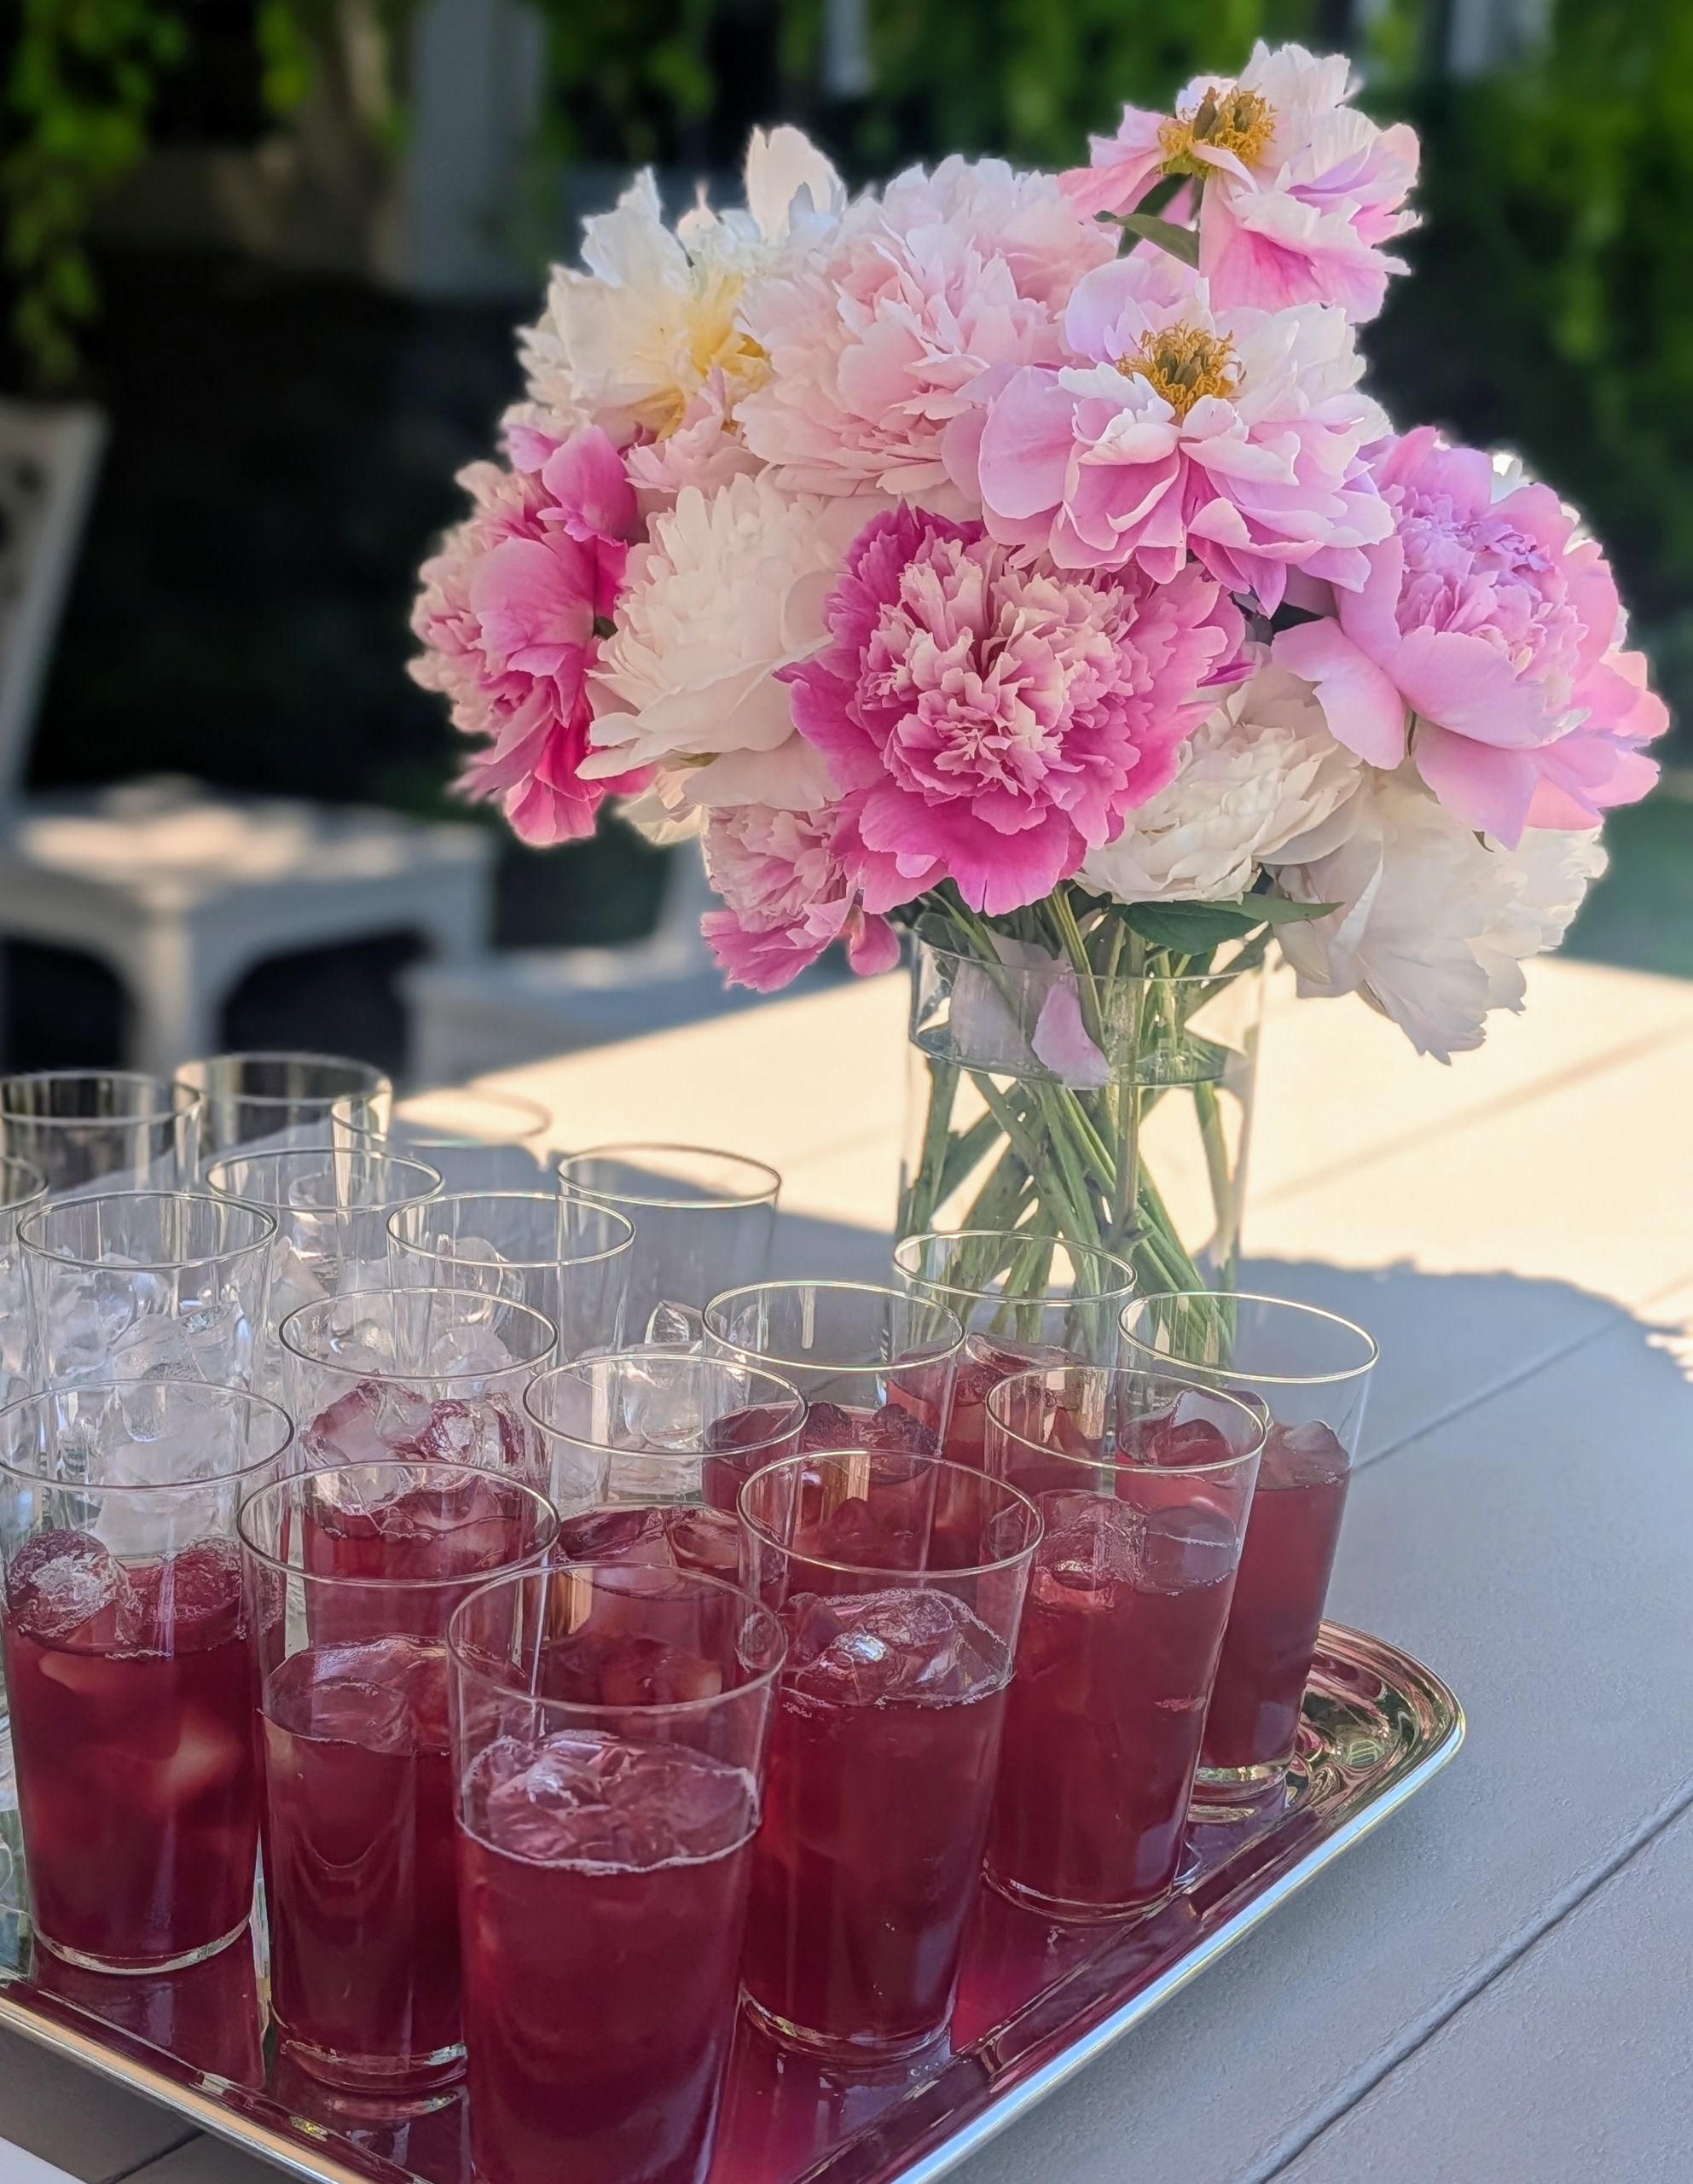
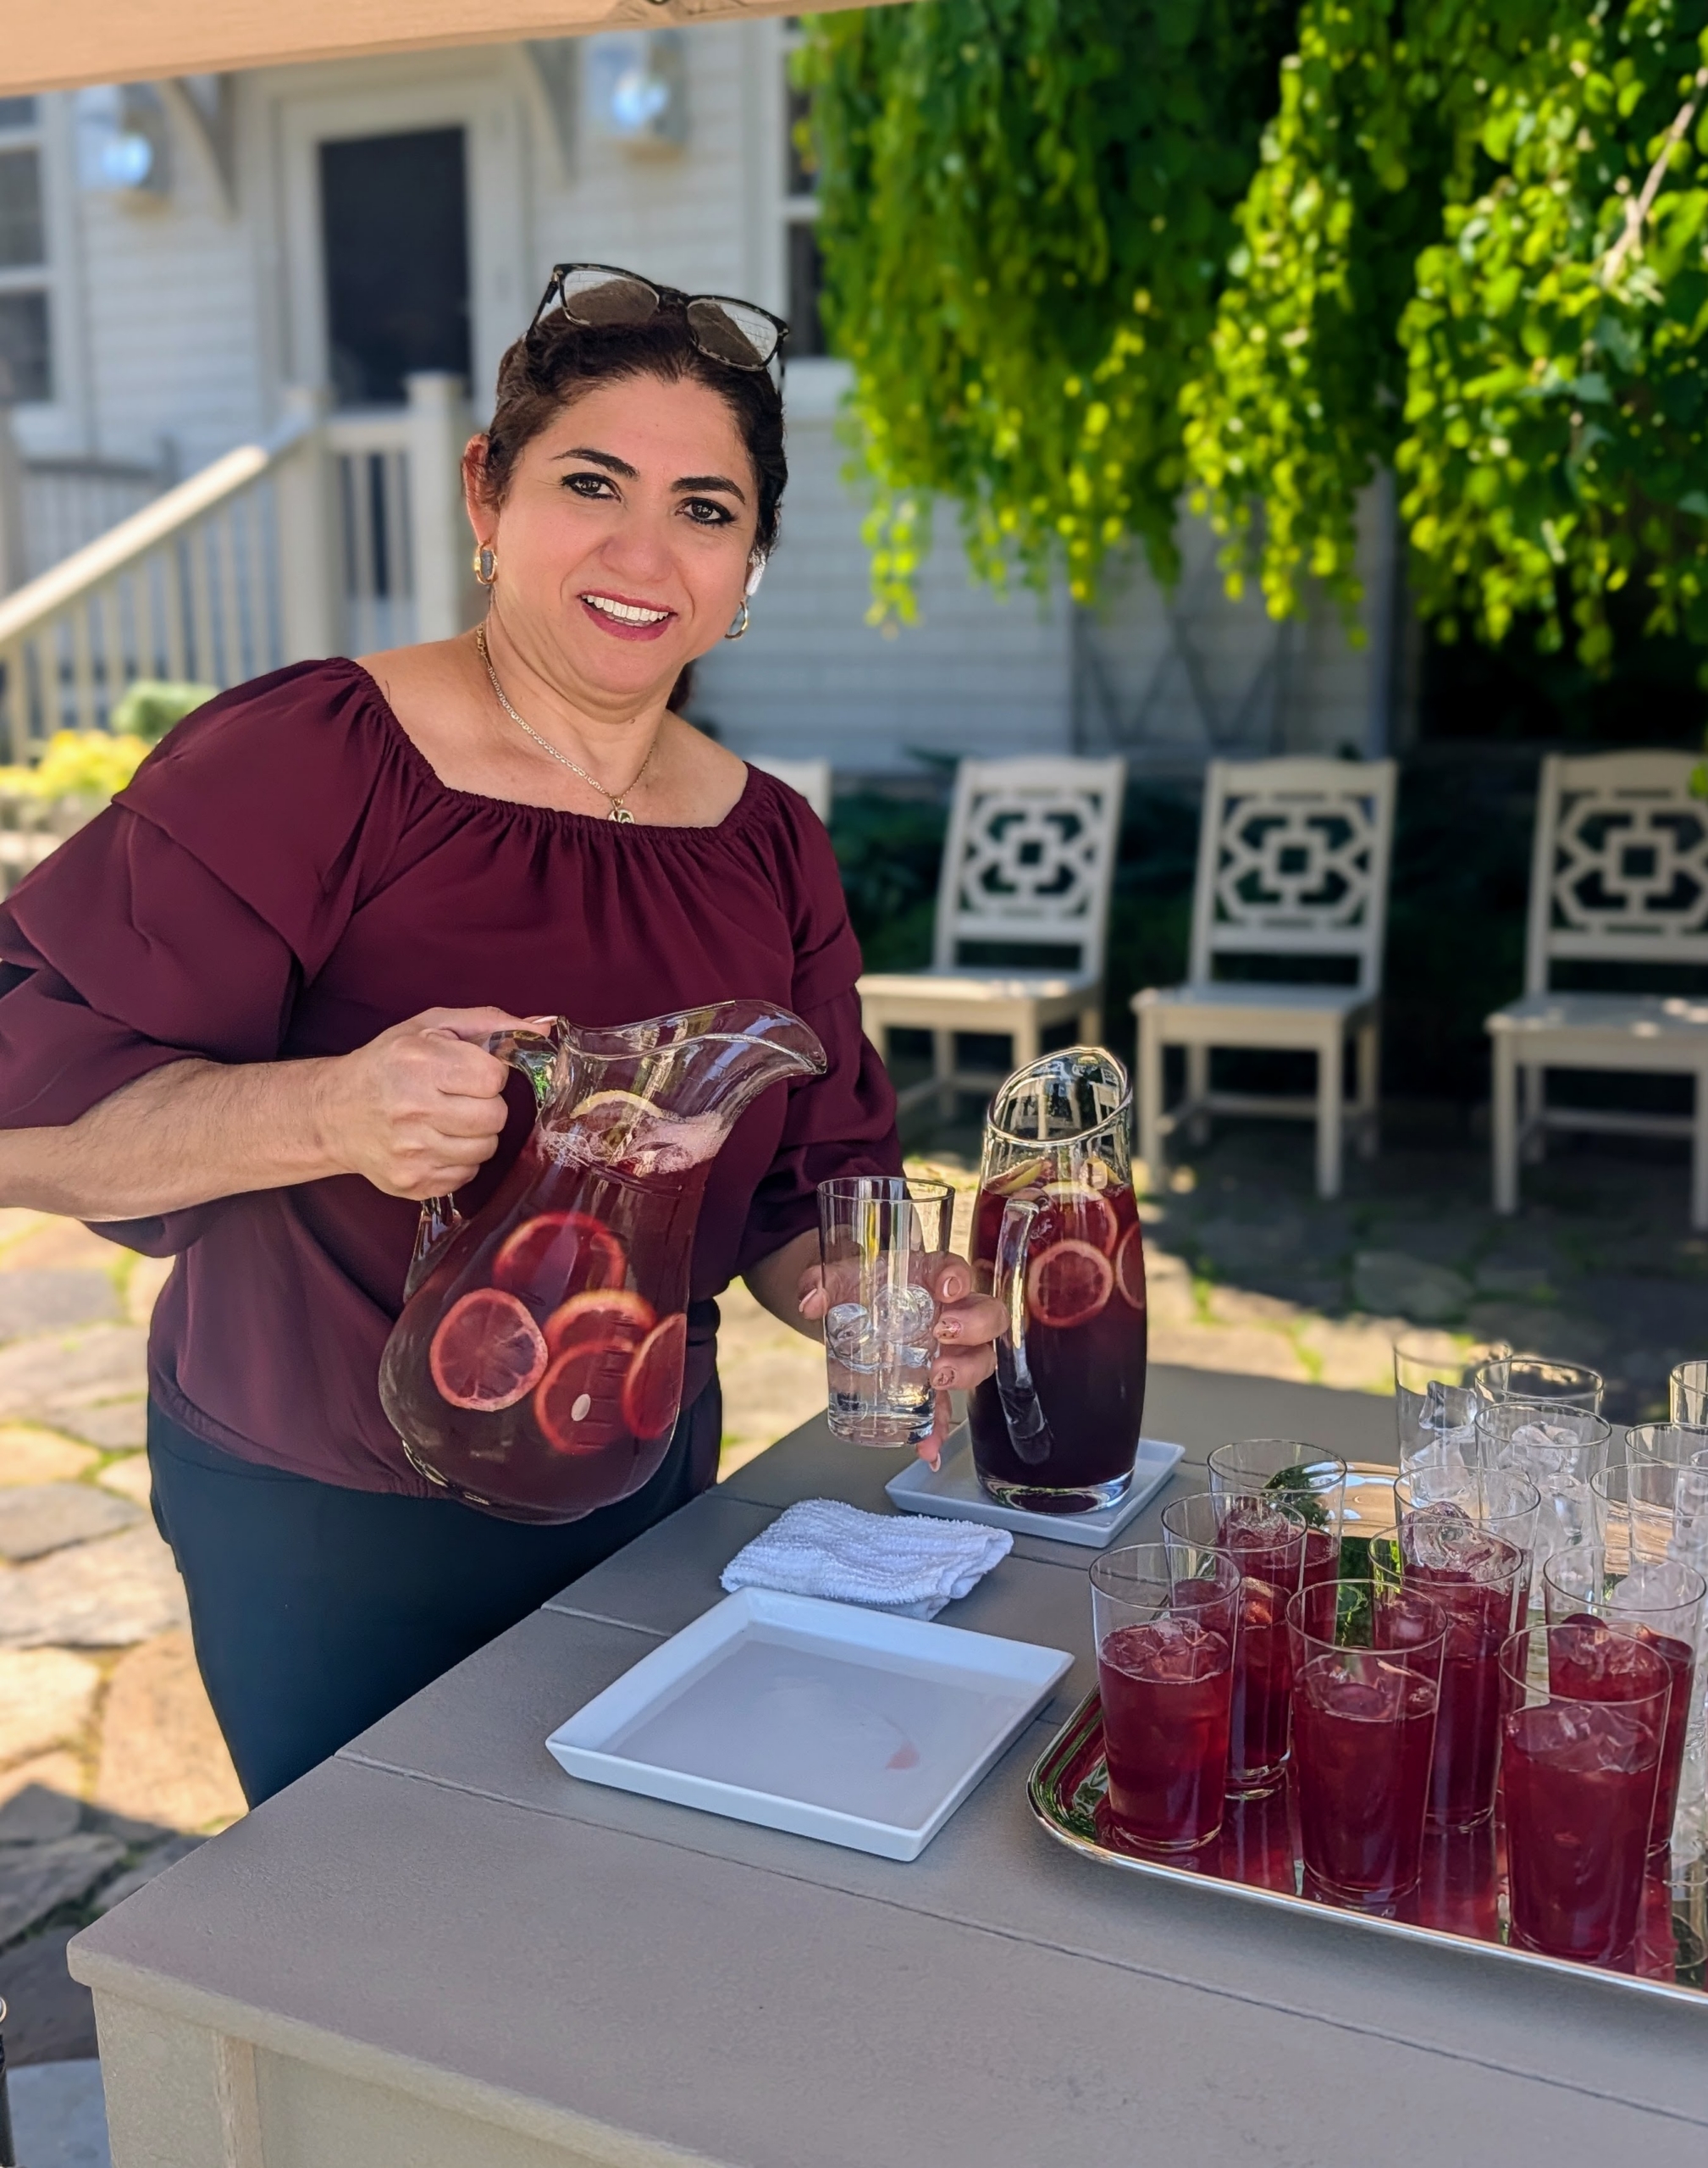
Some asked what I do with all the flowers. Aside from using them for various video and photography shoots, I always cut fresh flowers whenever I entertain. Here is one vase of flowers on my Martha Stewart table from Pollywood. I always like to offer my guests a snack and cool beverage during these guided tours.
Enma pours glasses of pomegranate juice made using concentrate from our friends at POM Wonderful.
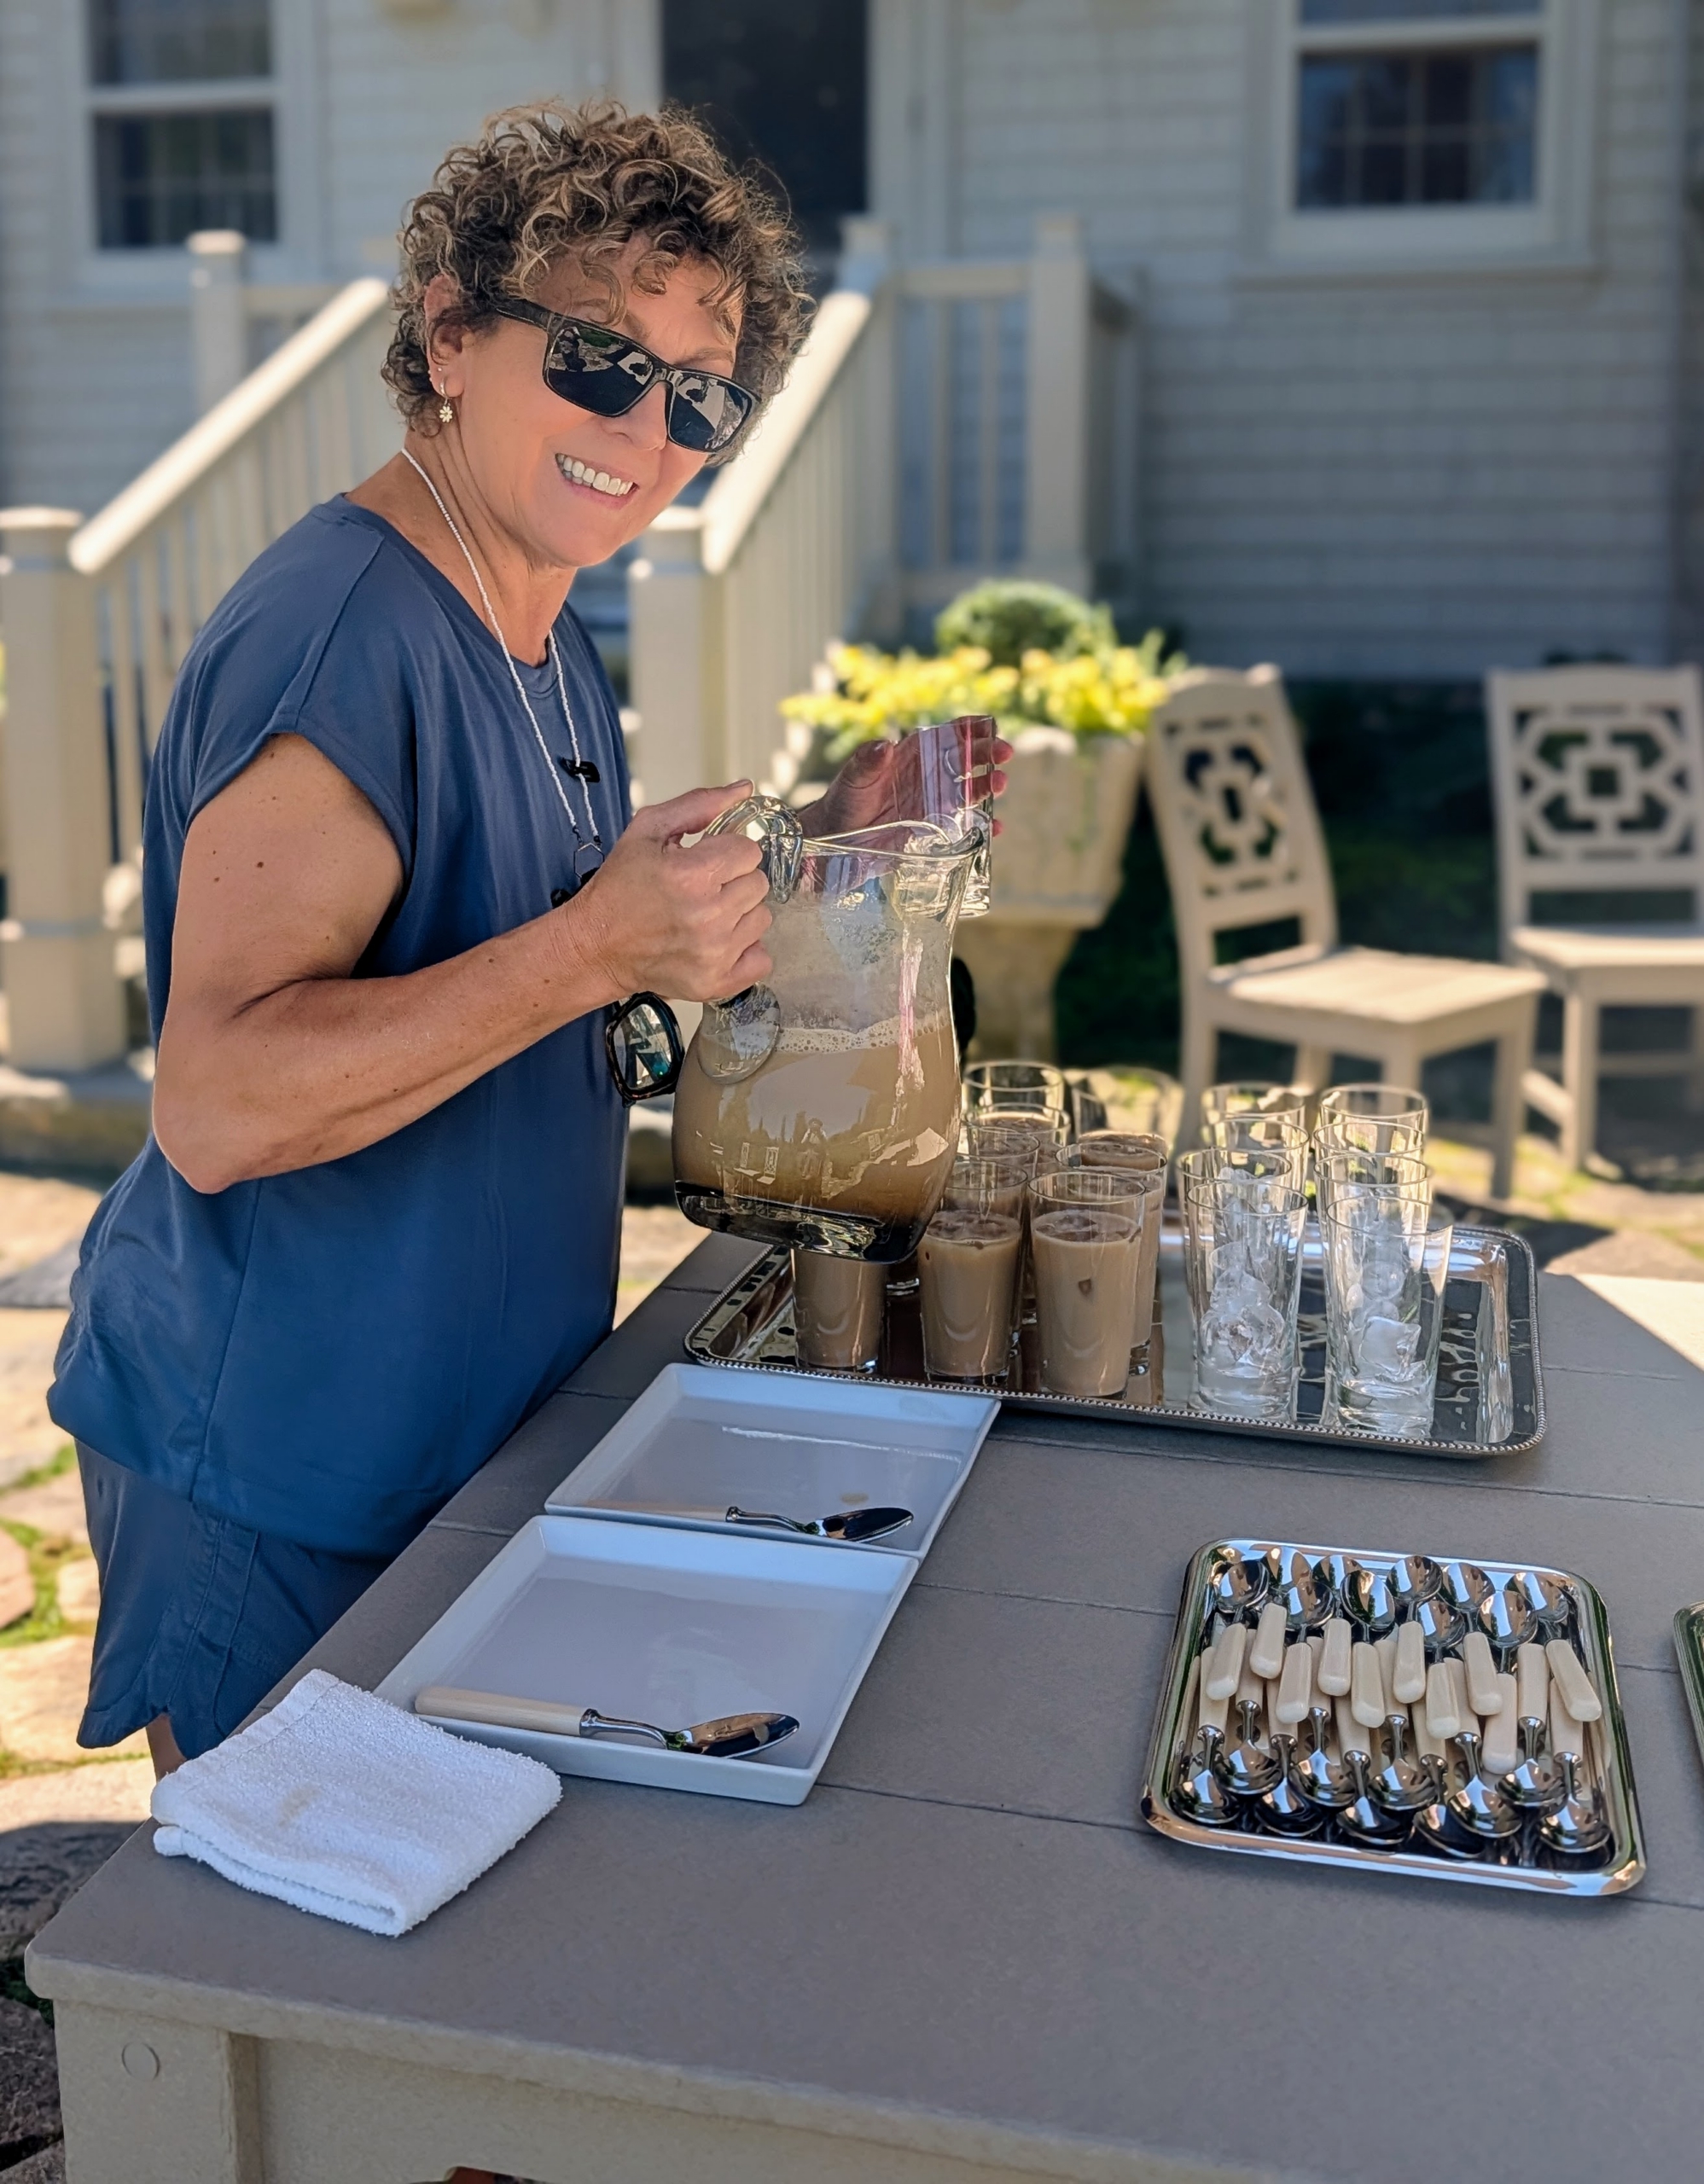
And here’s Patricia pouring glasses of refreshing iced coffee.
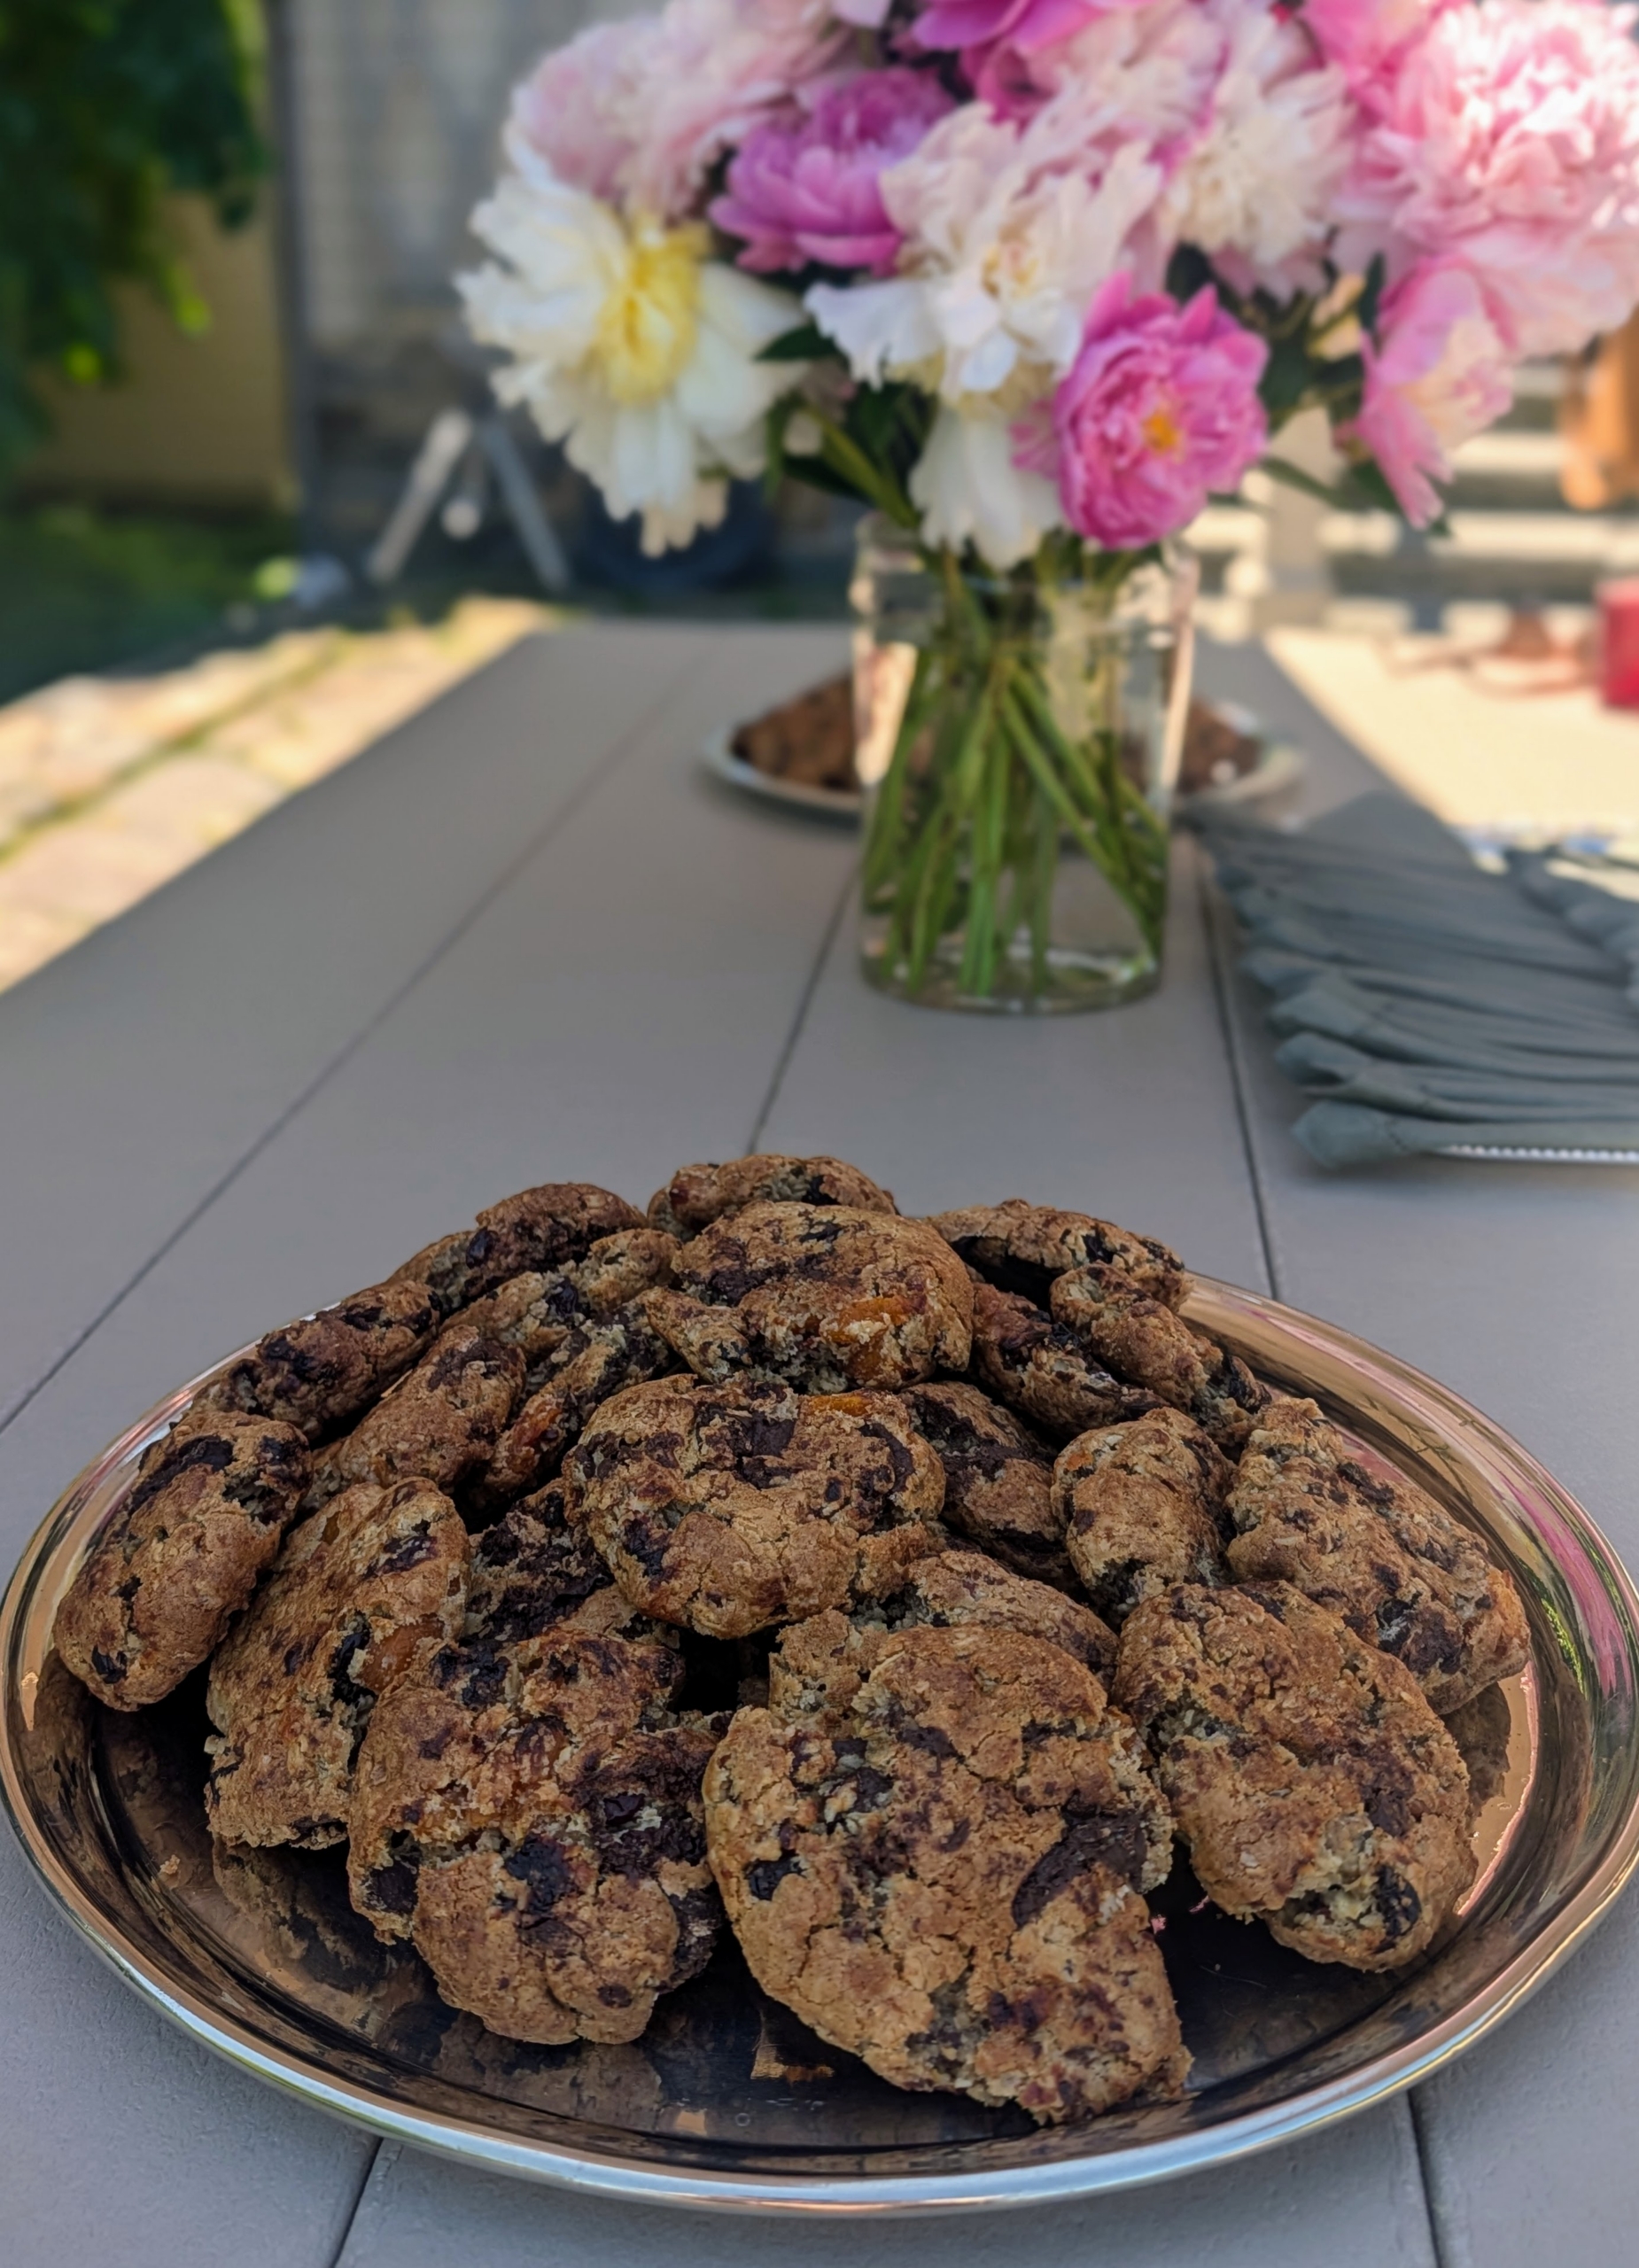
And of course, everyone enjoyed a cookie, or two. These are my delicious Ultimate Kitchen Sink cookies made by Maman. These cookies are so delicious and so easy to make – one doesn’t even need a mixer. The recipe is from my book, Martha Stewart’s Cookie Perfection. The recipe calls for dried fruits, nuts, chocolate, rolled oats, coconut. It’s all in there – everything but the kitchen sink. It was a wonderful end to a beautiful tour.
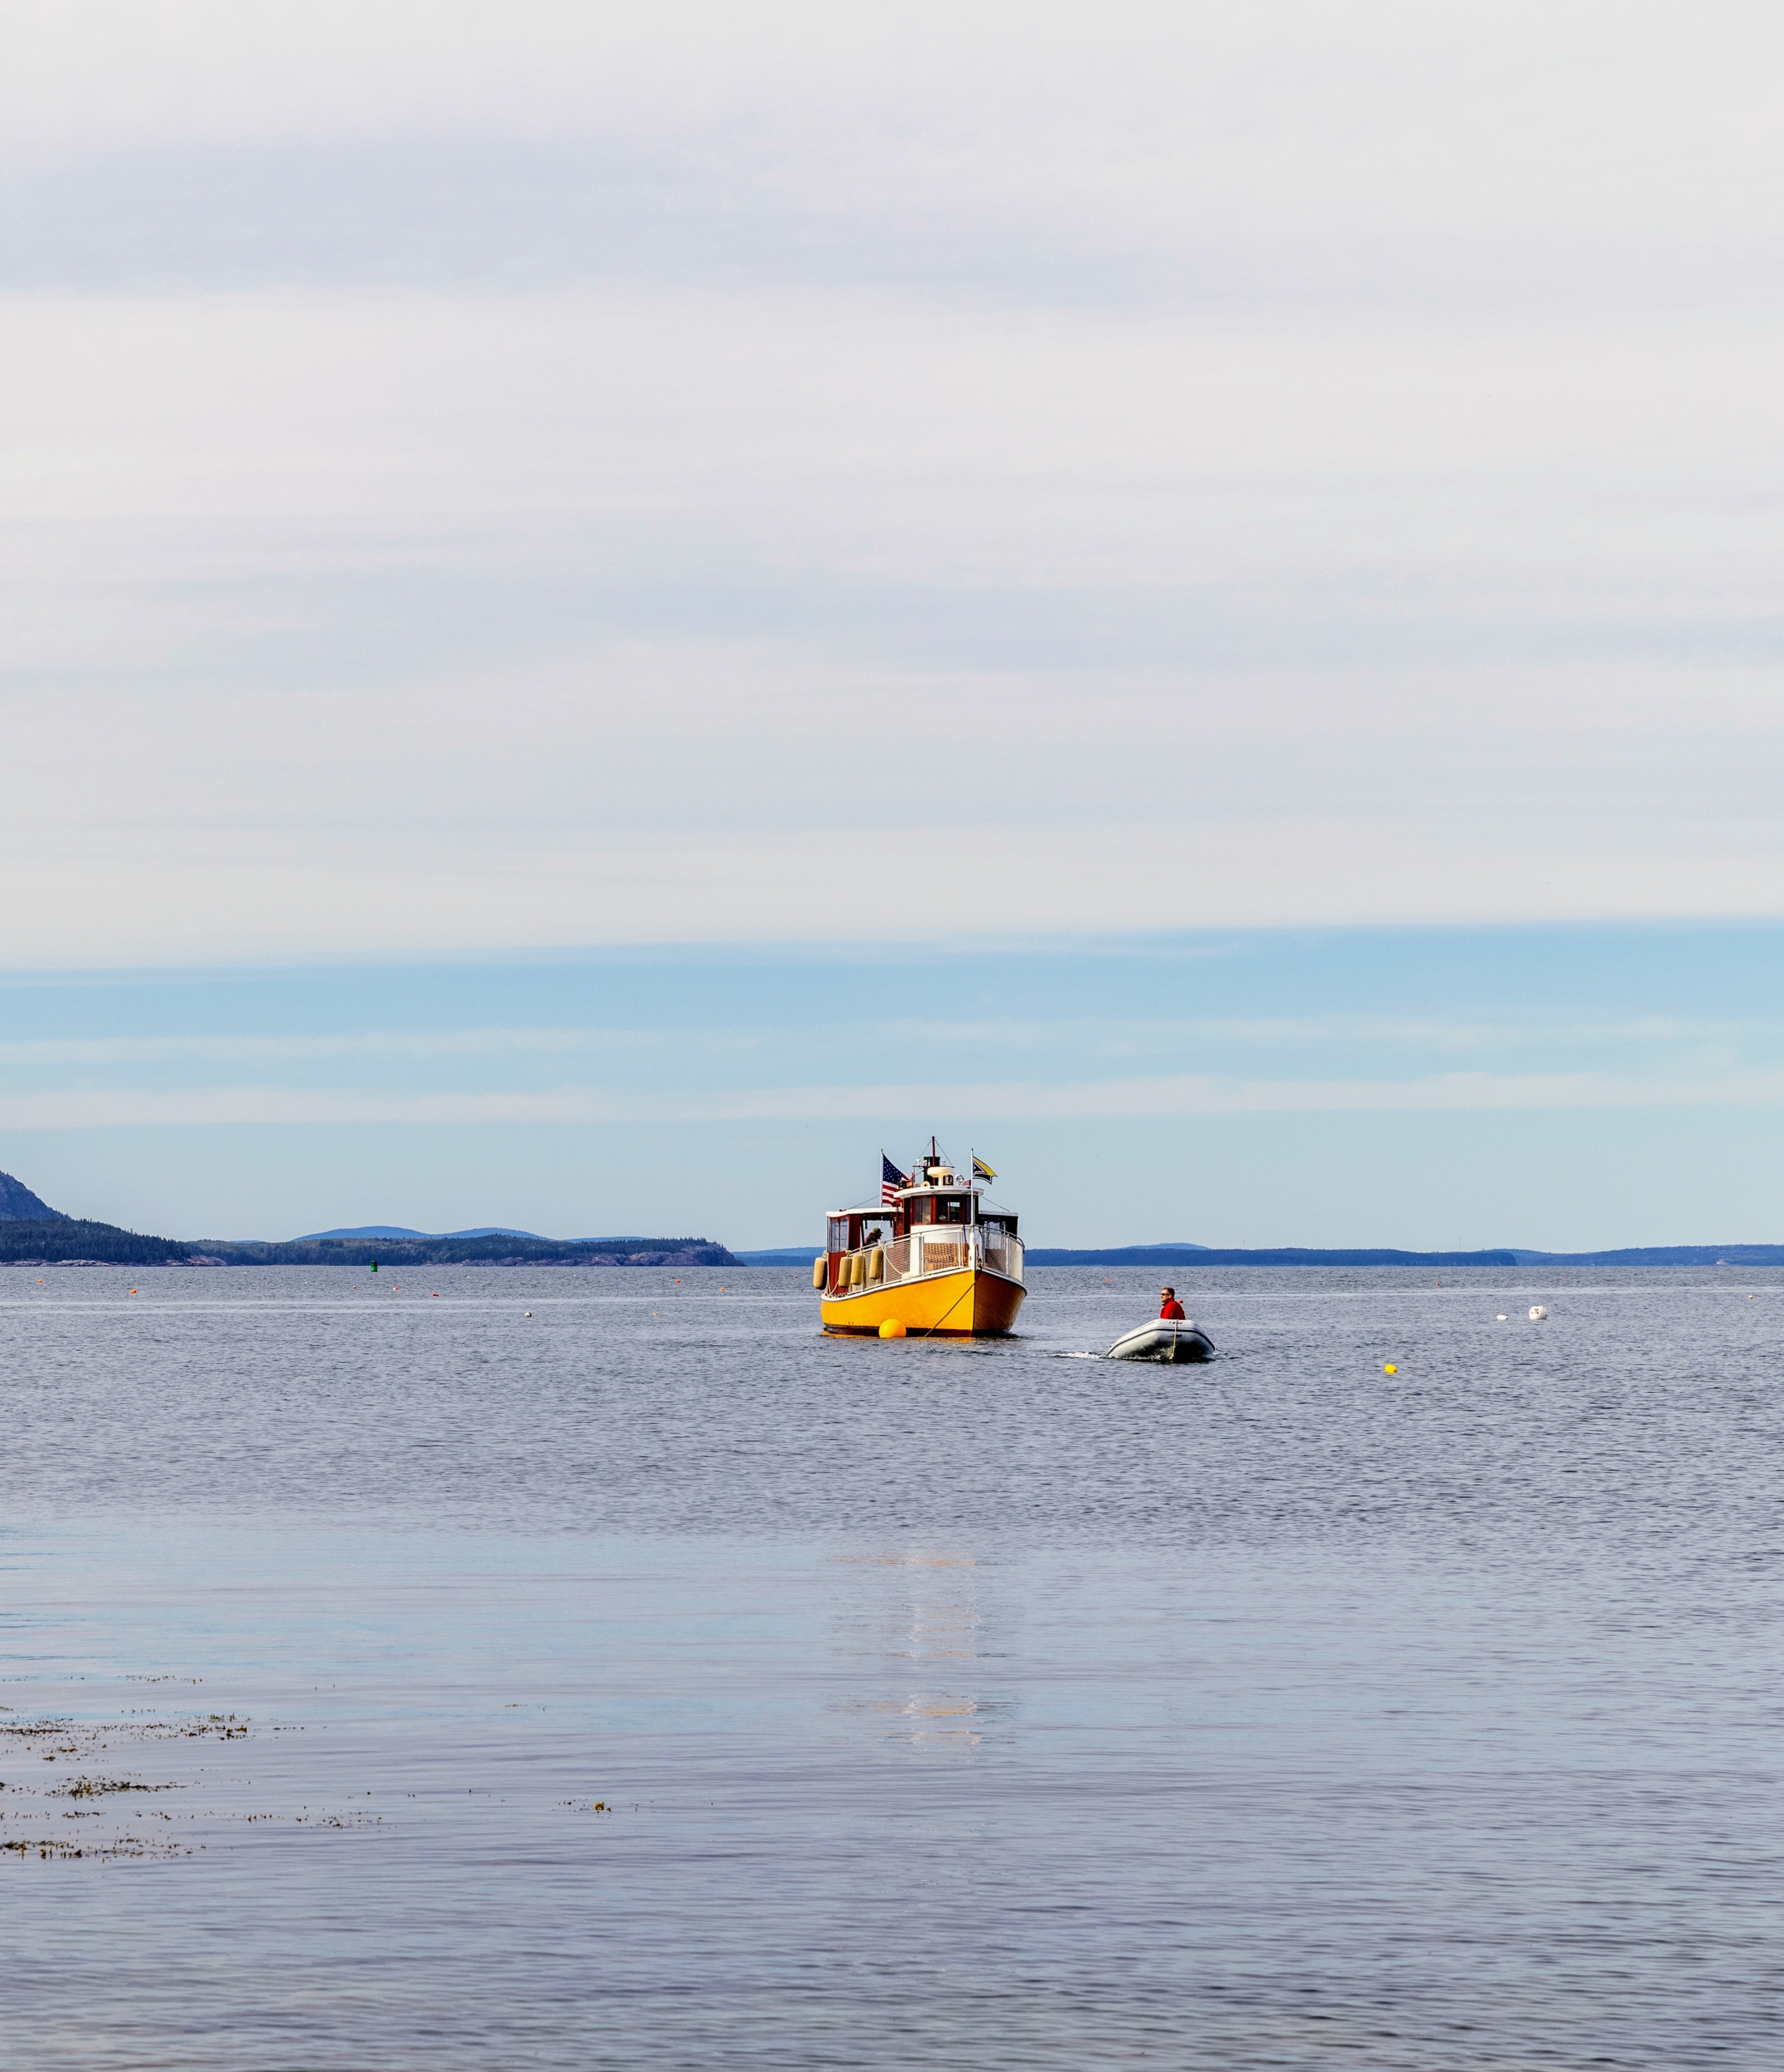
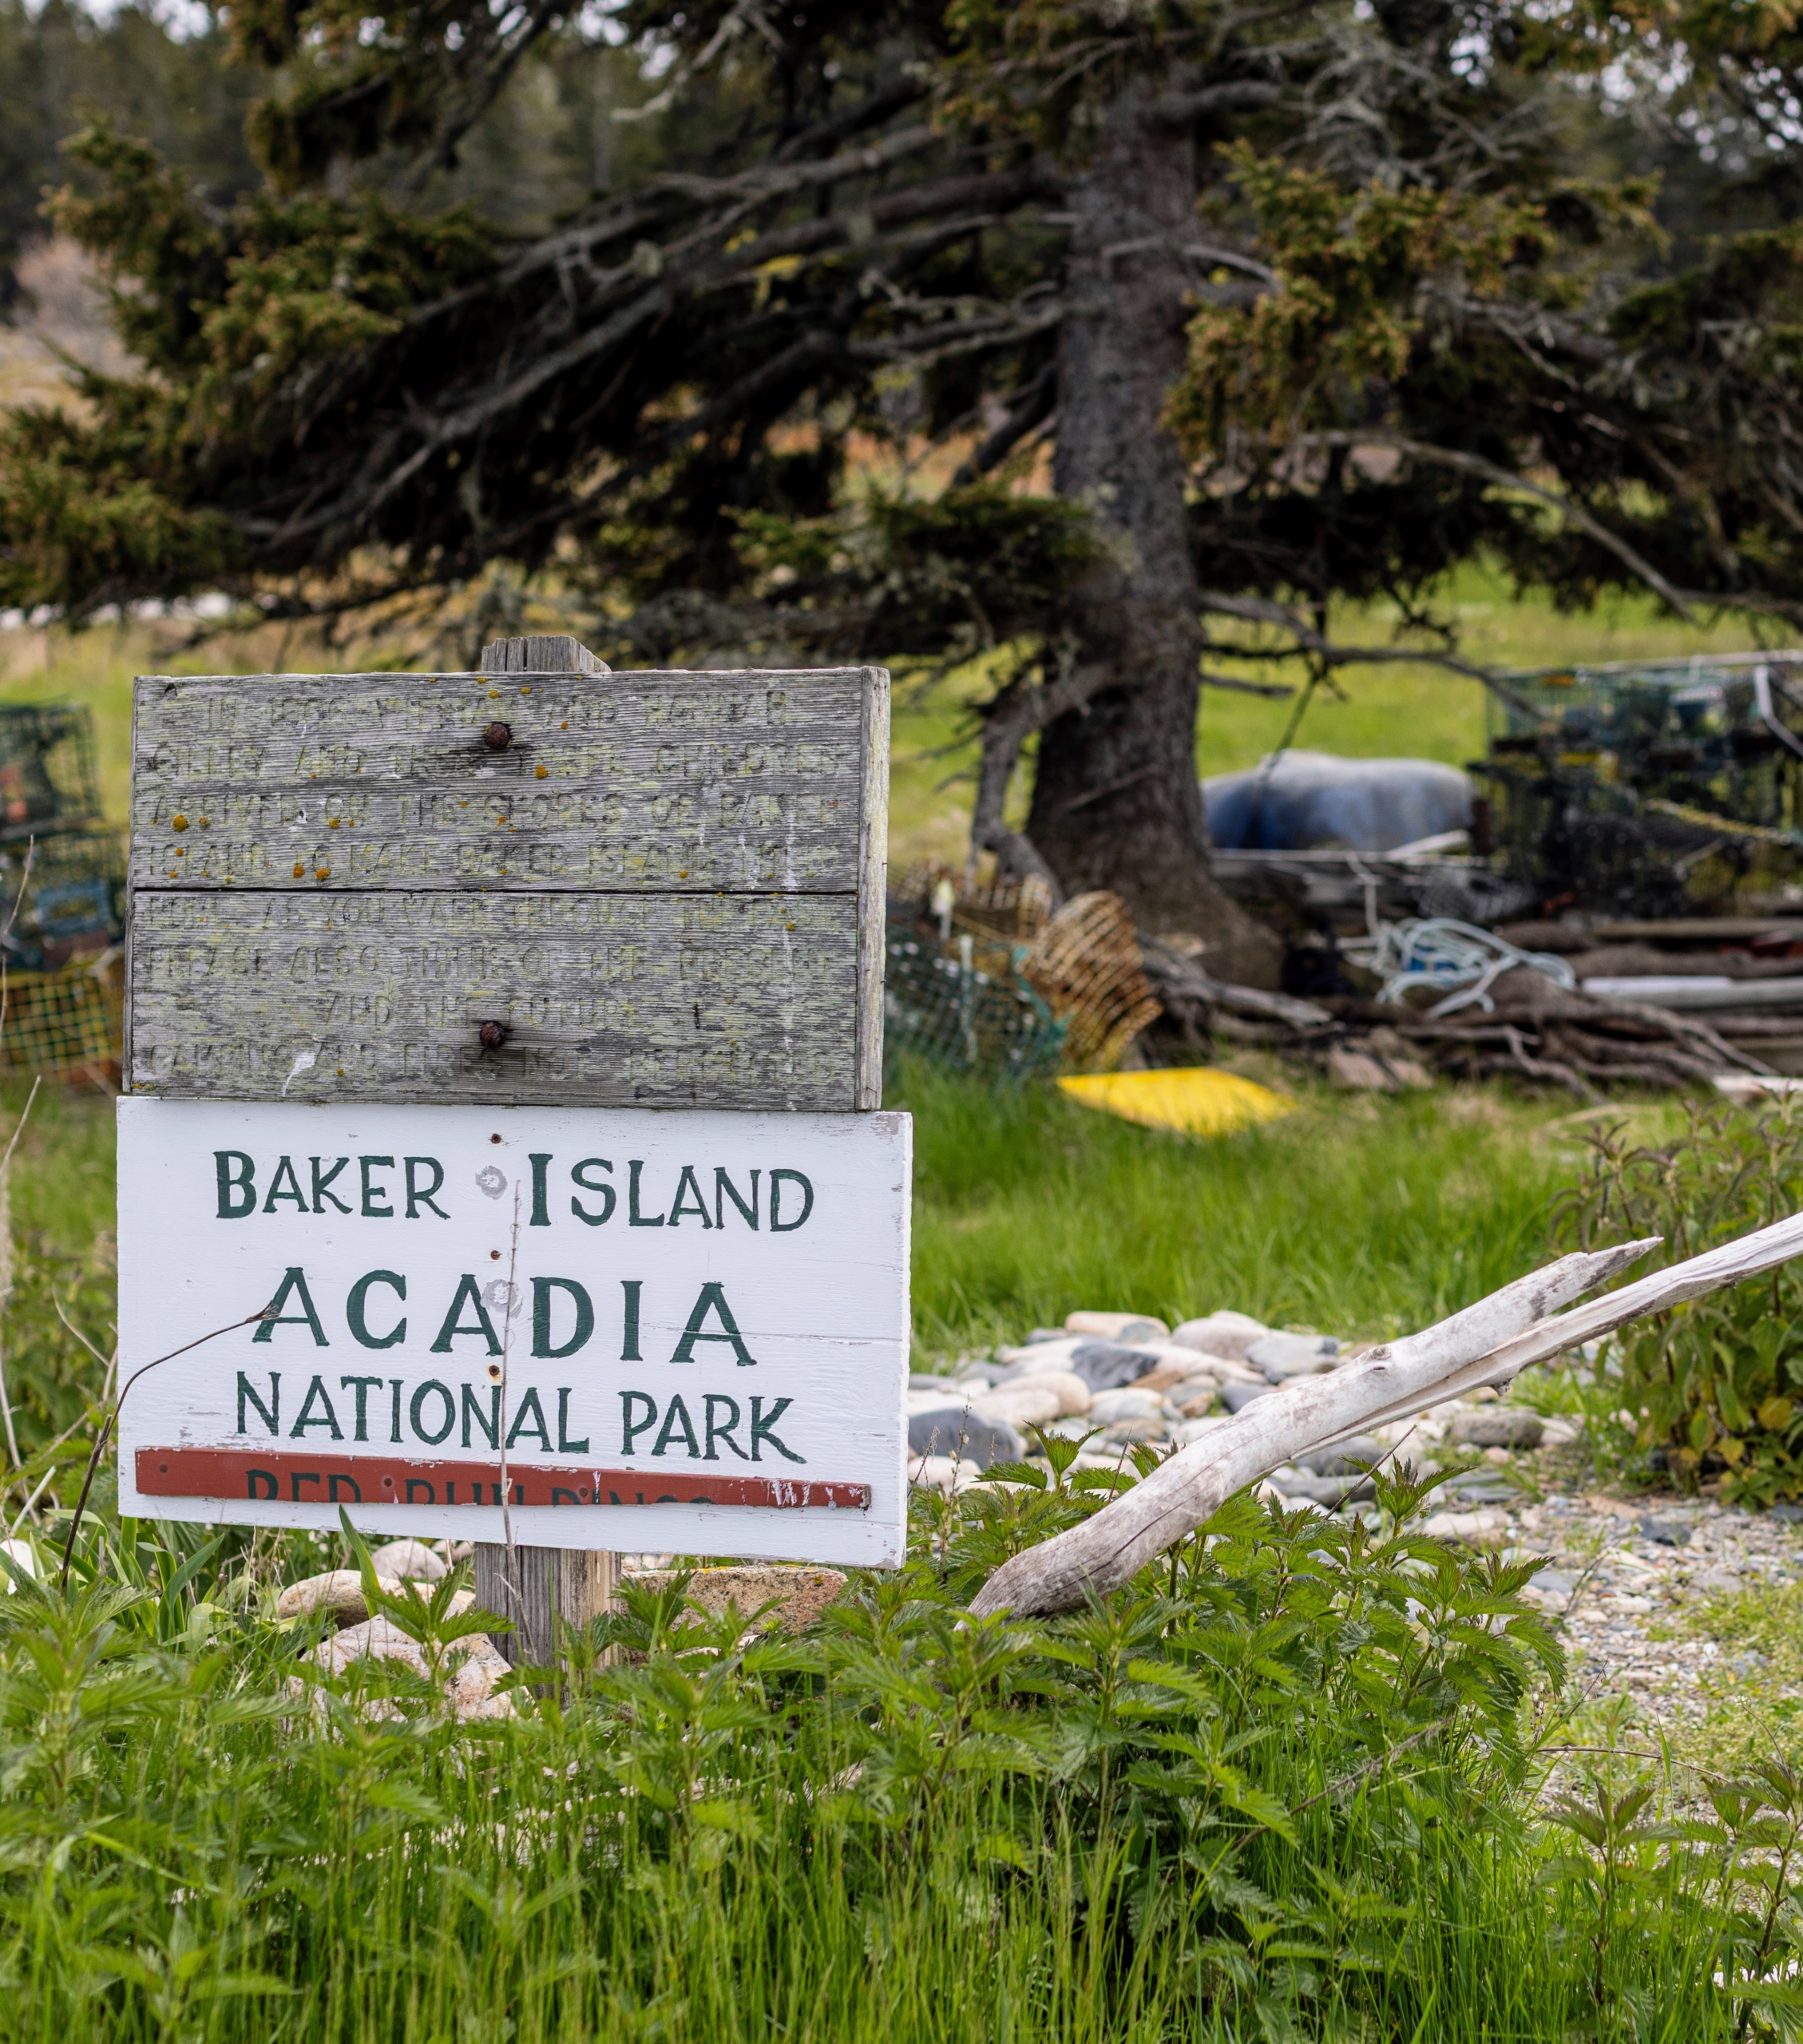
Baker Island in Maine is one of the outermost Cranberry isles located at the southwestern entrance to Frenchman Bay. A majority of the 162-acre property is owned by Acadia National Park and preserves a historical 19th century Light Station and homestead along with many archeological artifacts found along its shores.
During my most recent visit to Maine with family and friends, my niece, Sophie Herbert Slater, and her family had the opportunity to visit Baker Island and learn about its rich past.
Here are some photos, enjoy.
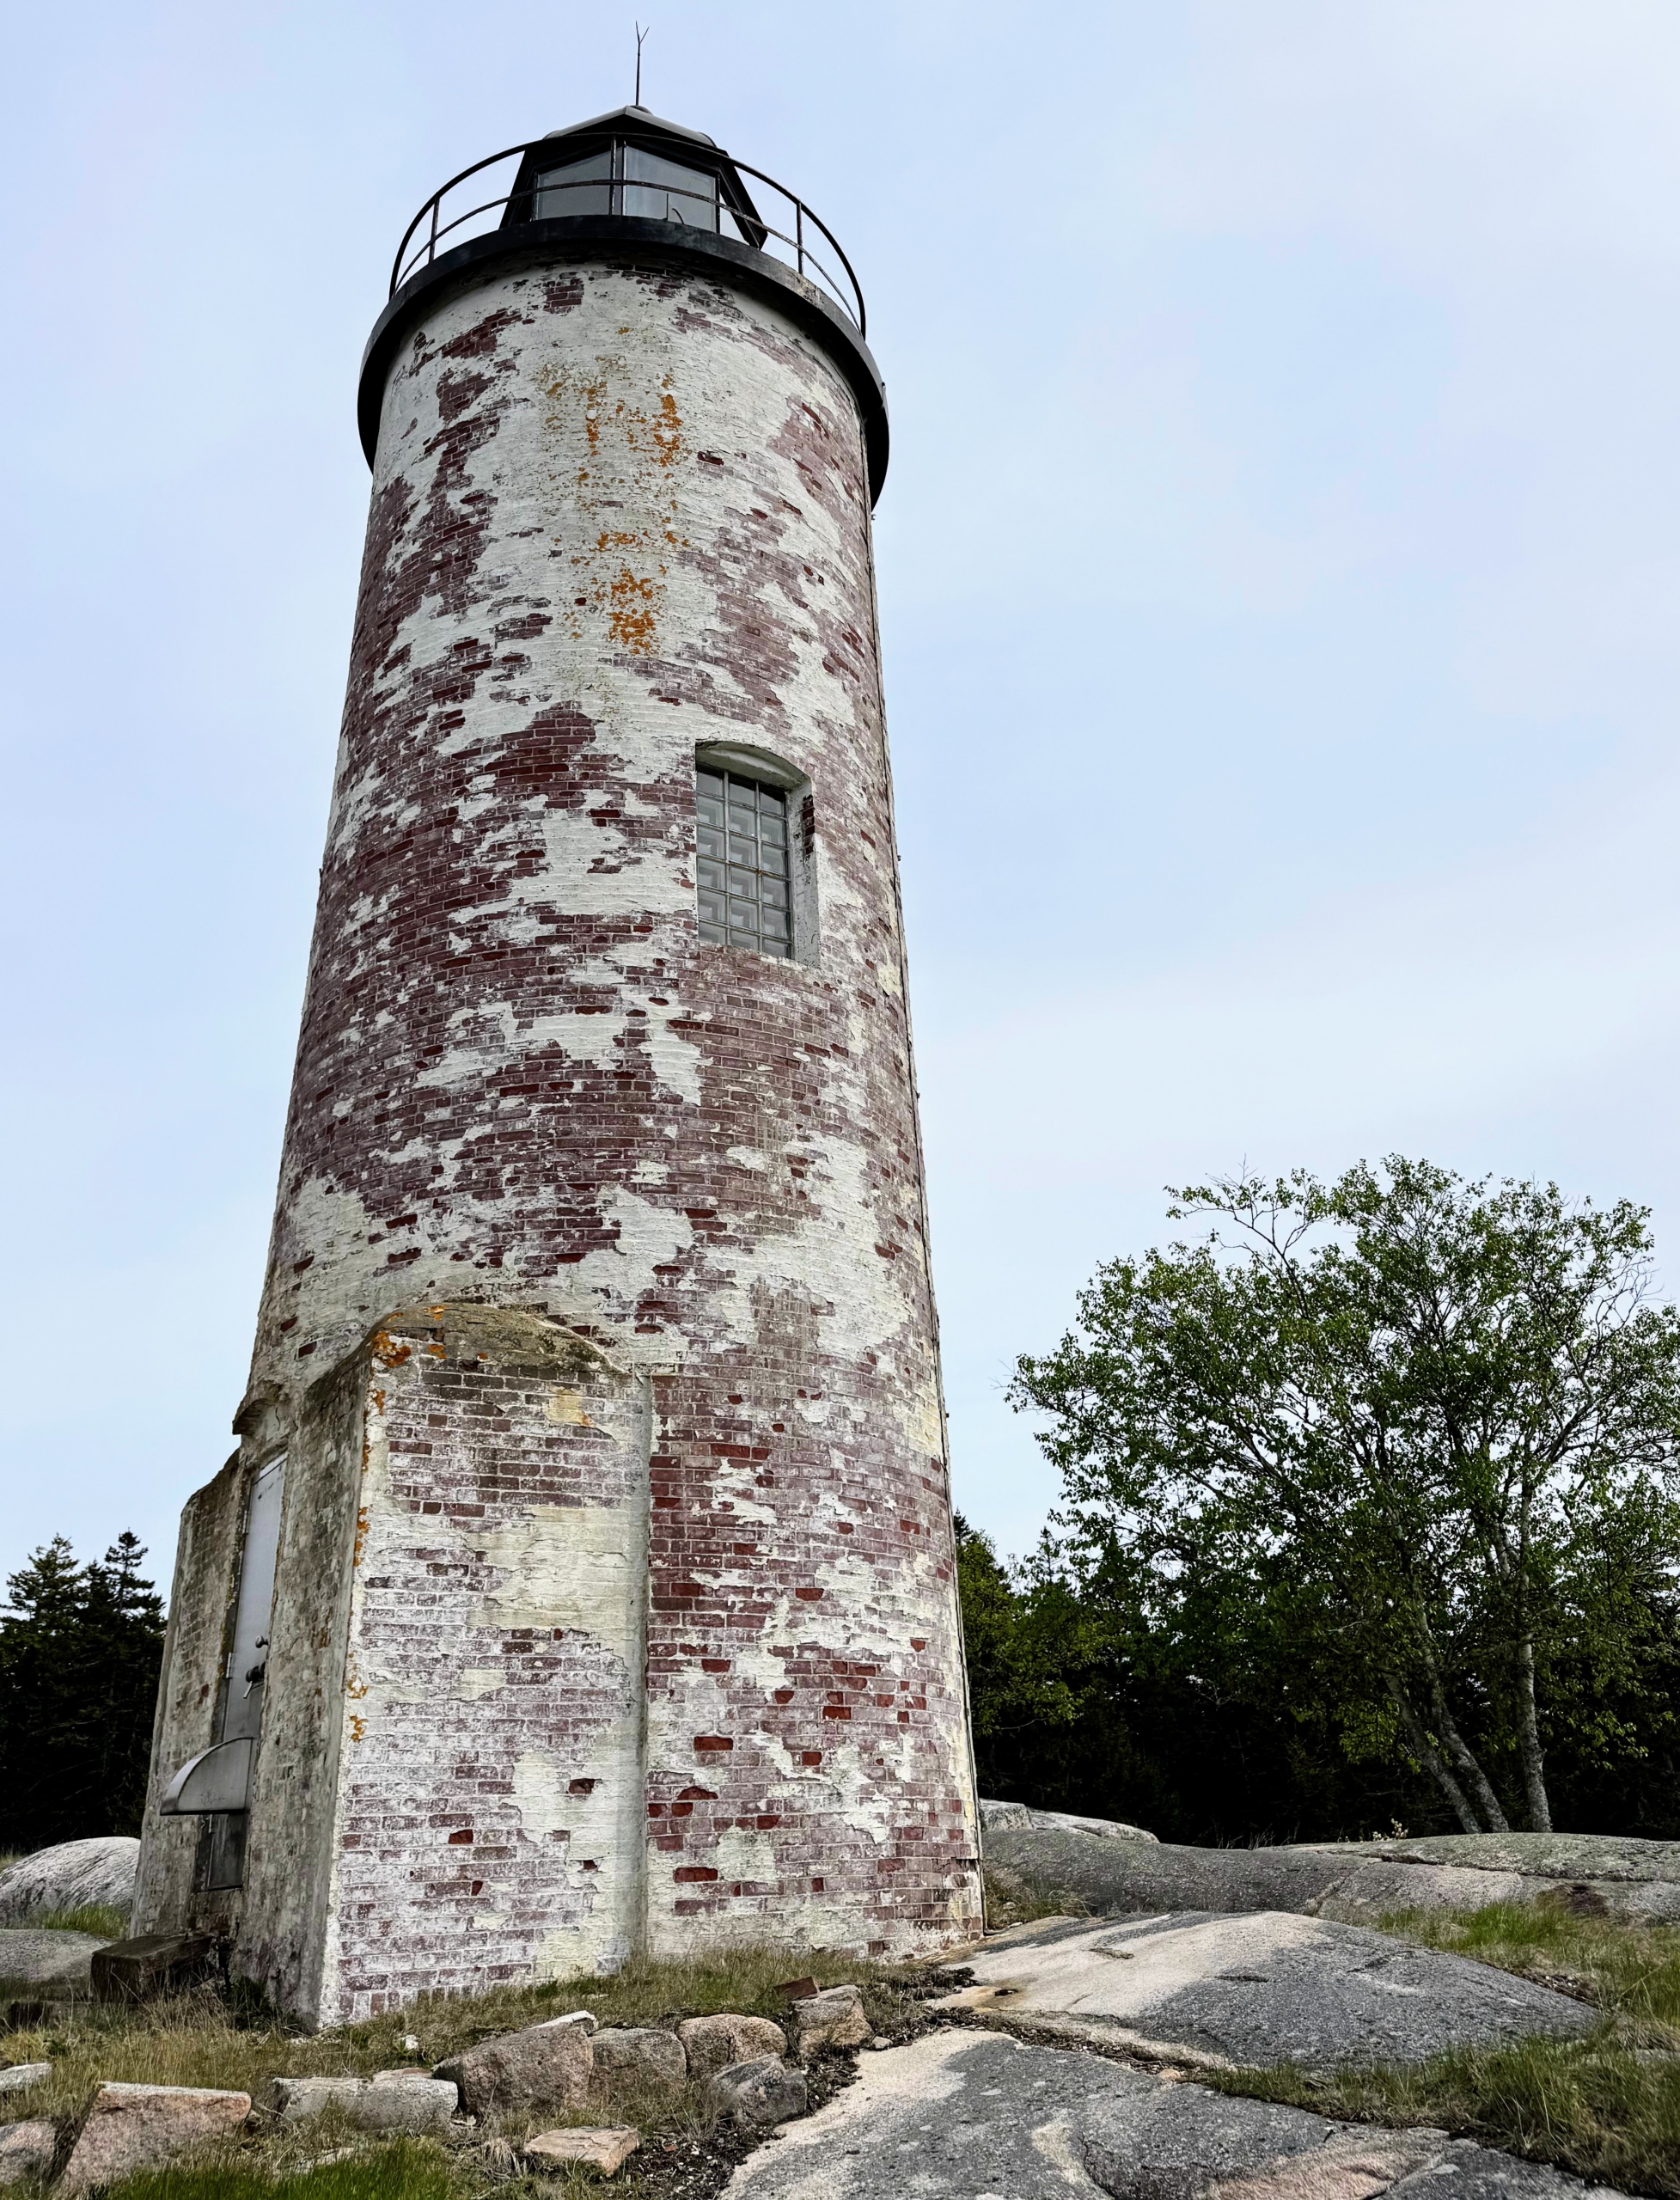
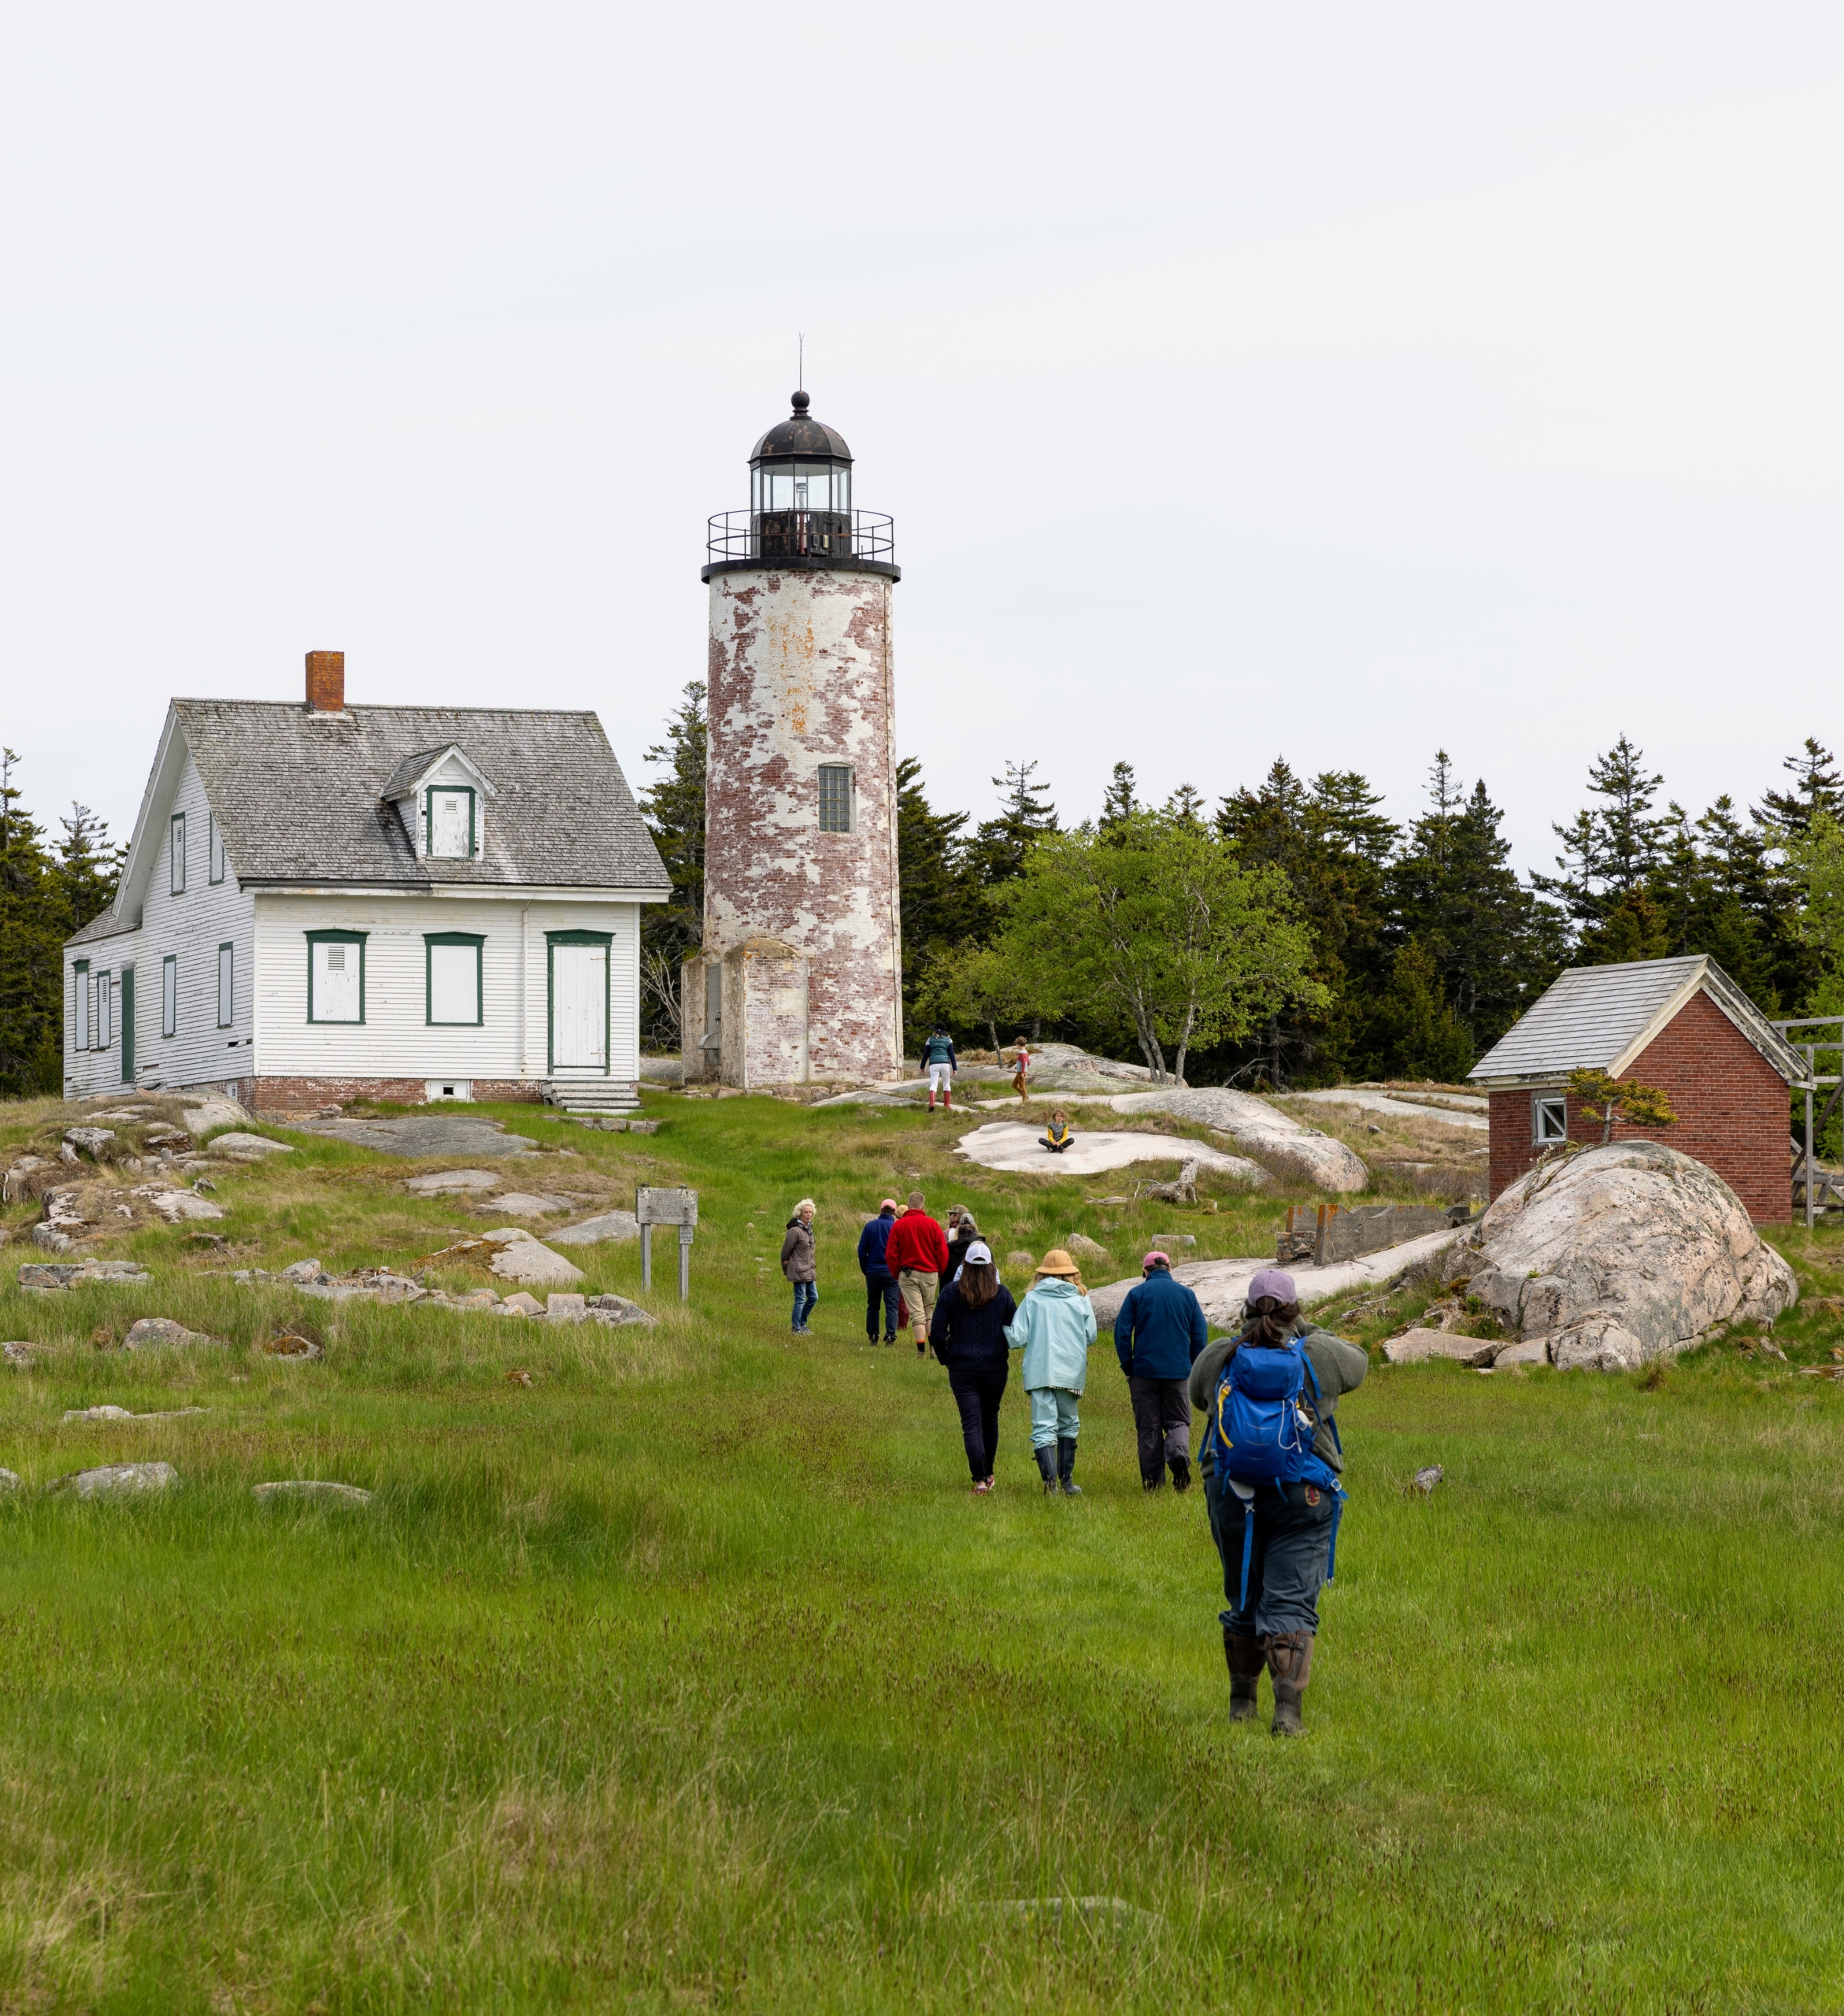
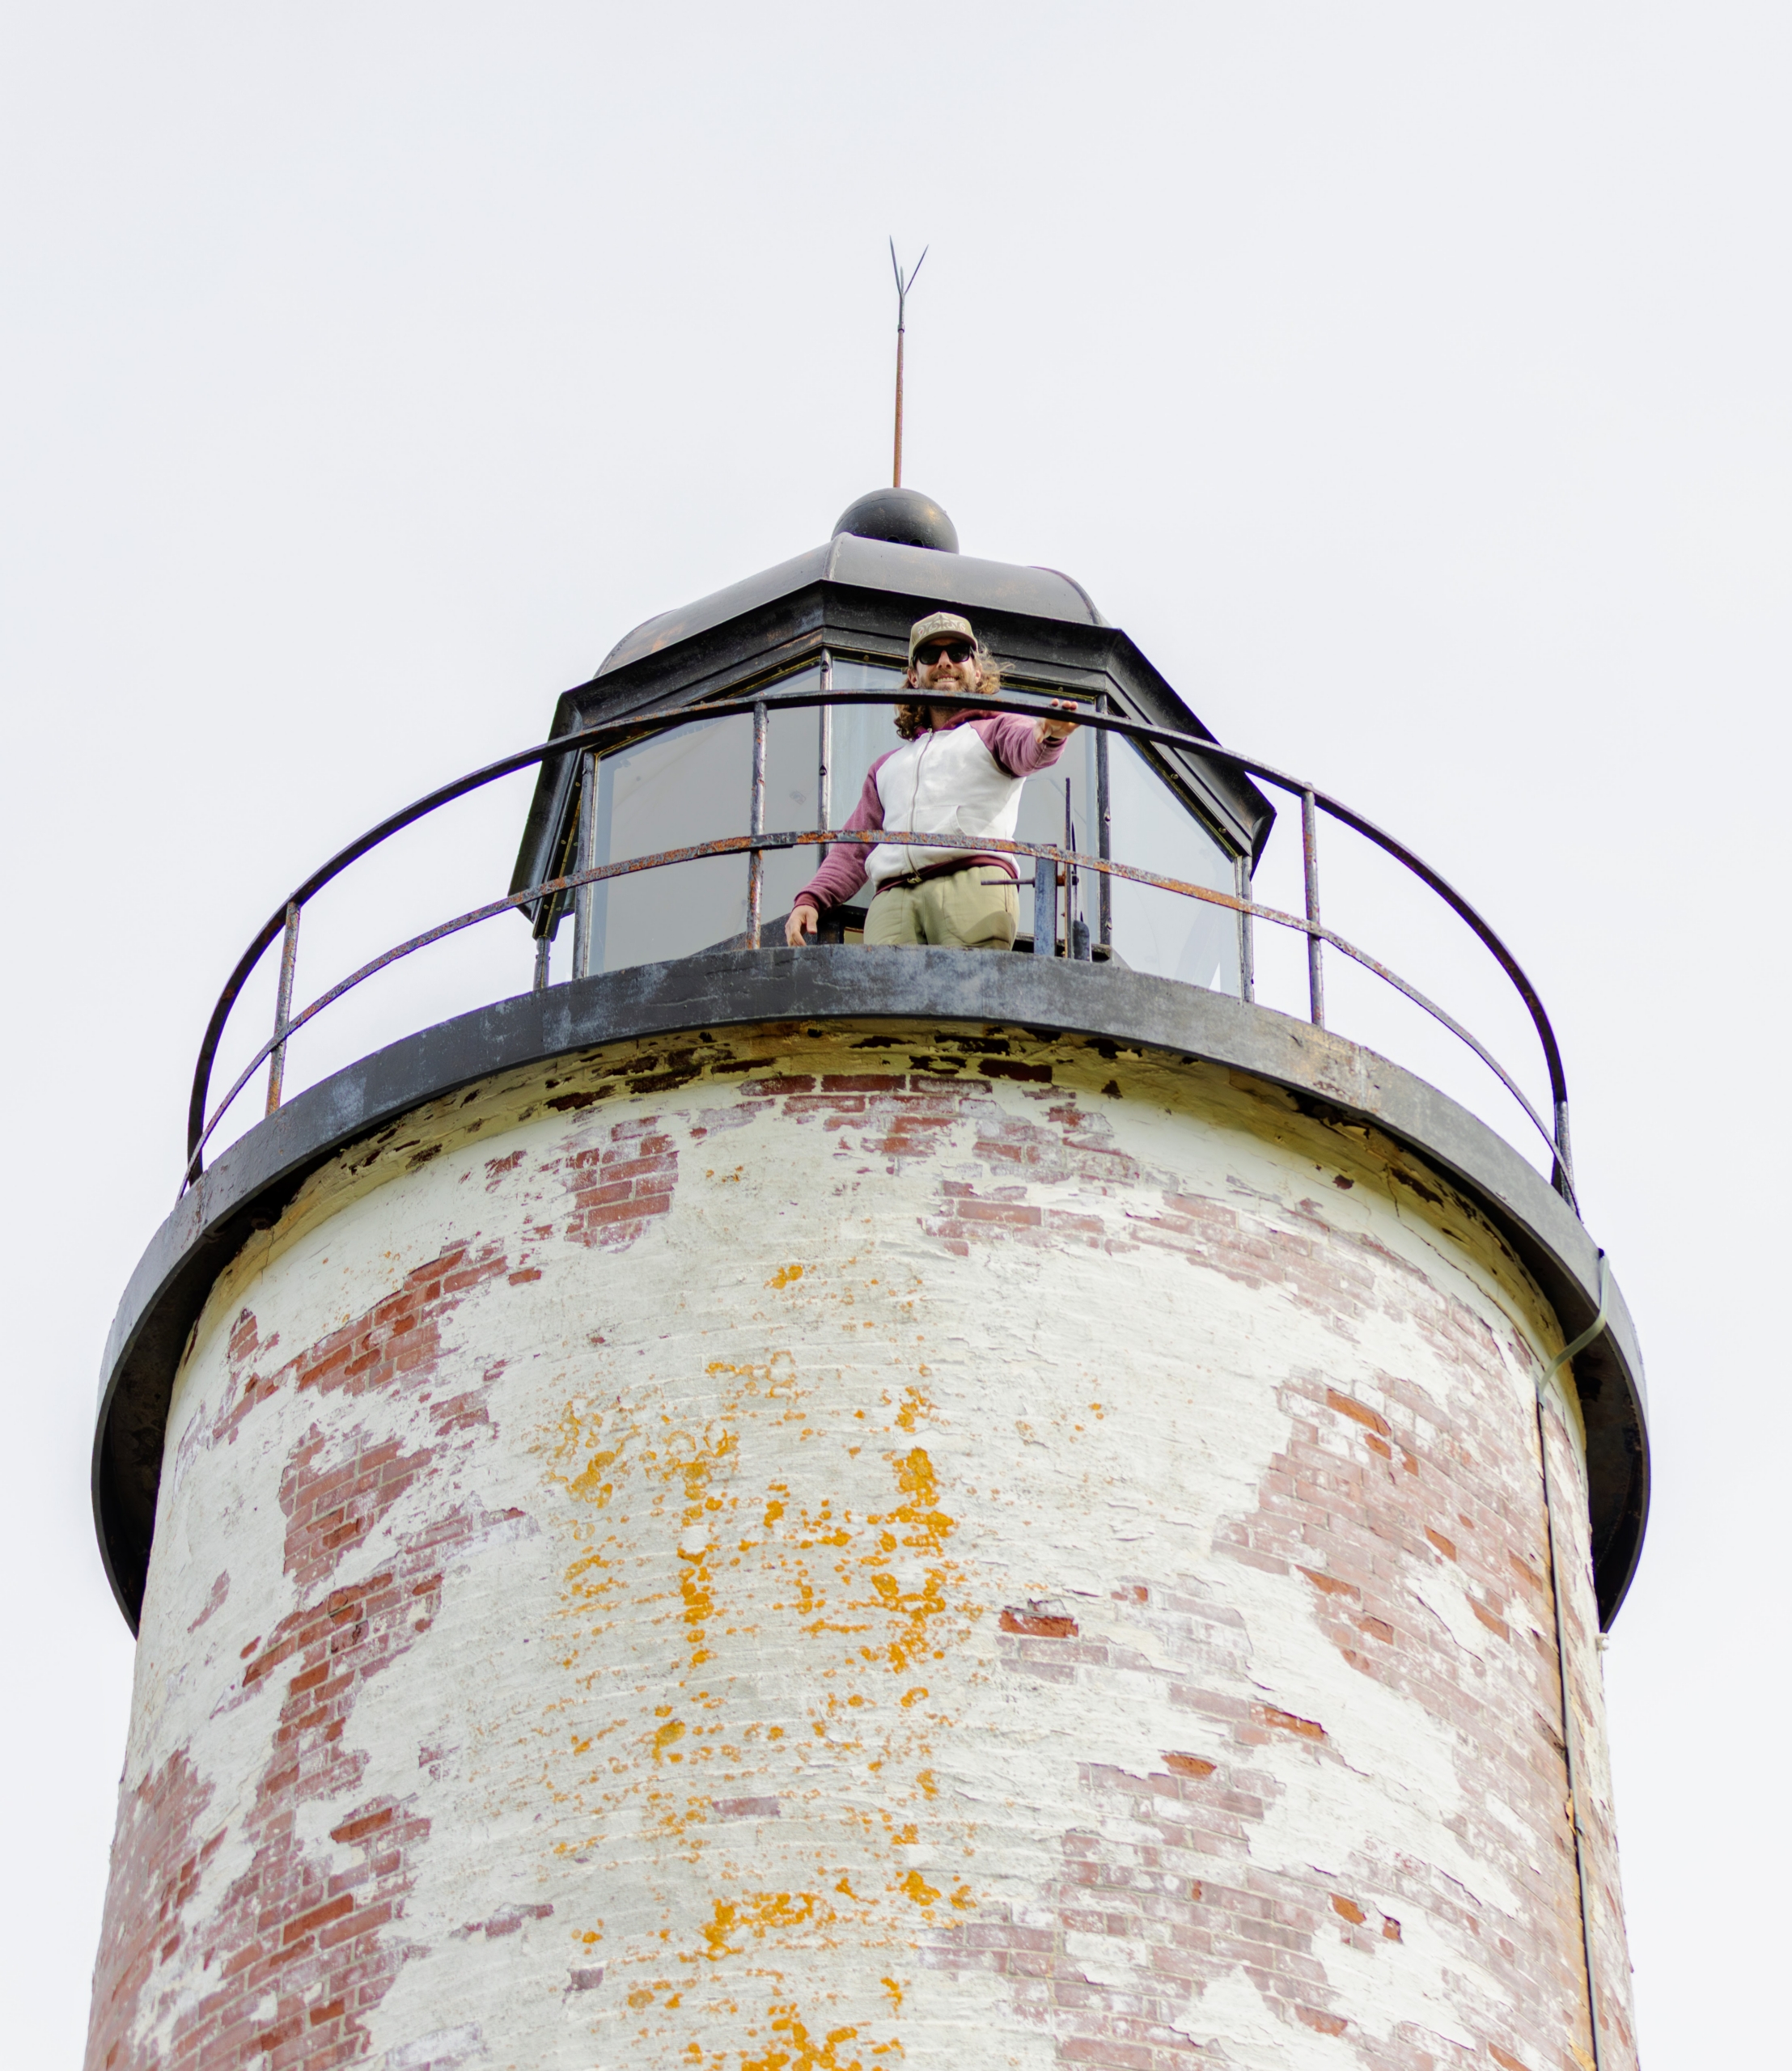
Baker Island is best known for its Light Station, built in 1828 on the order of President John Quincy Adams to warn mariners nearby.
The island is accessible by private boat or chartered water taxis. (Photo by Rhiannon Johnston/Friends of Acadia)
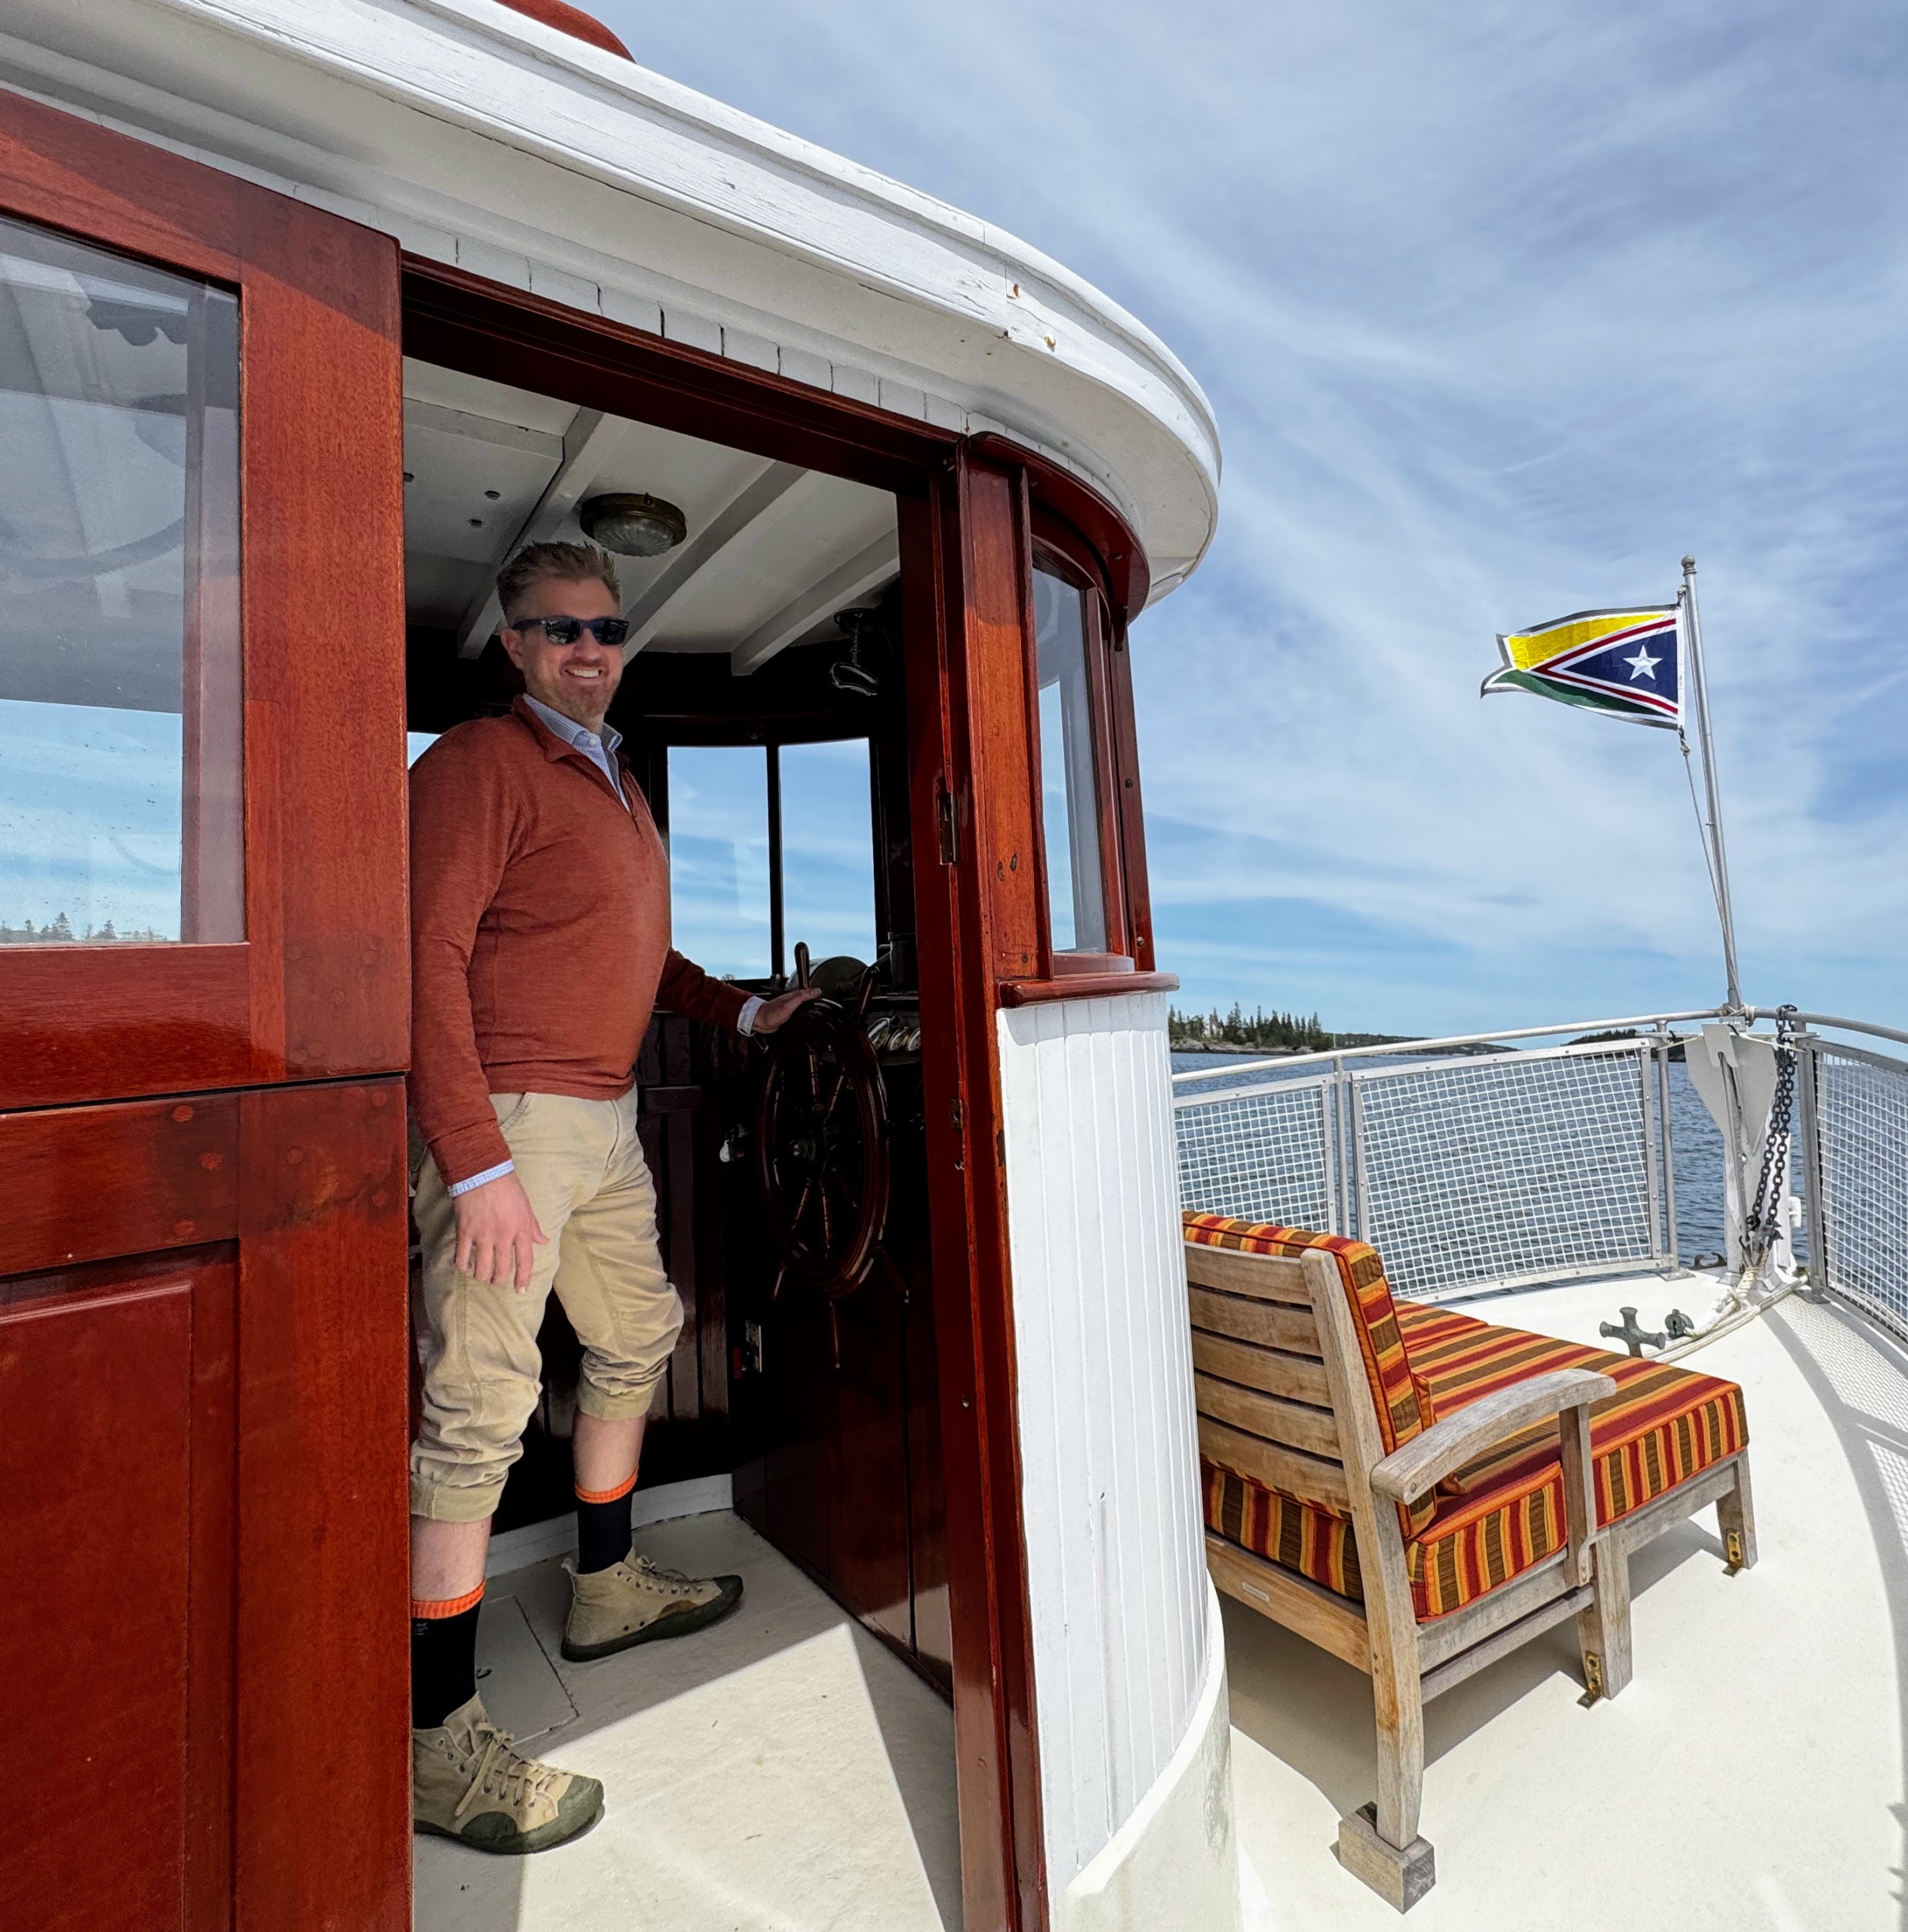
Here’s Captain Aubin Dupree.
Beginning in 1806 and lasting for more than 120 years, Baker Island was home to William and Hannah Gilley and their descendants. (Photo by Rhiannon Johnston/Friends of Acadia)
The tour group walked the grounds that were once used for growing crops and raising oxen, cattle, sheep and other farm animals. (Photo by Rhiannon Johnston/Friends of Acadia)
Sophie’s husband, Dan Slater, looks down from the top of the Lighthouse. which is still in use today. (Photo by Rhiannon Johnston/Friends of Acadia)
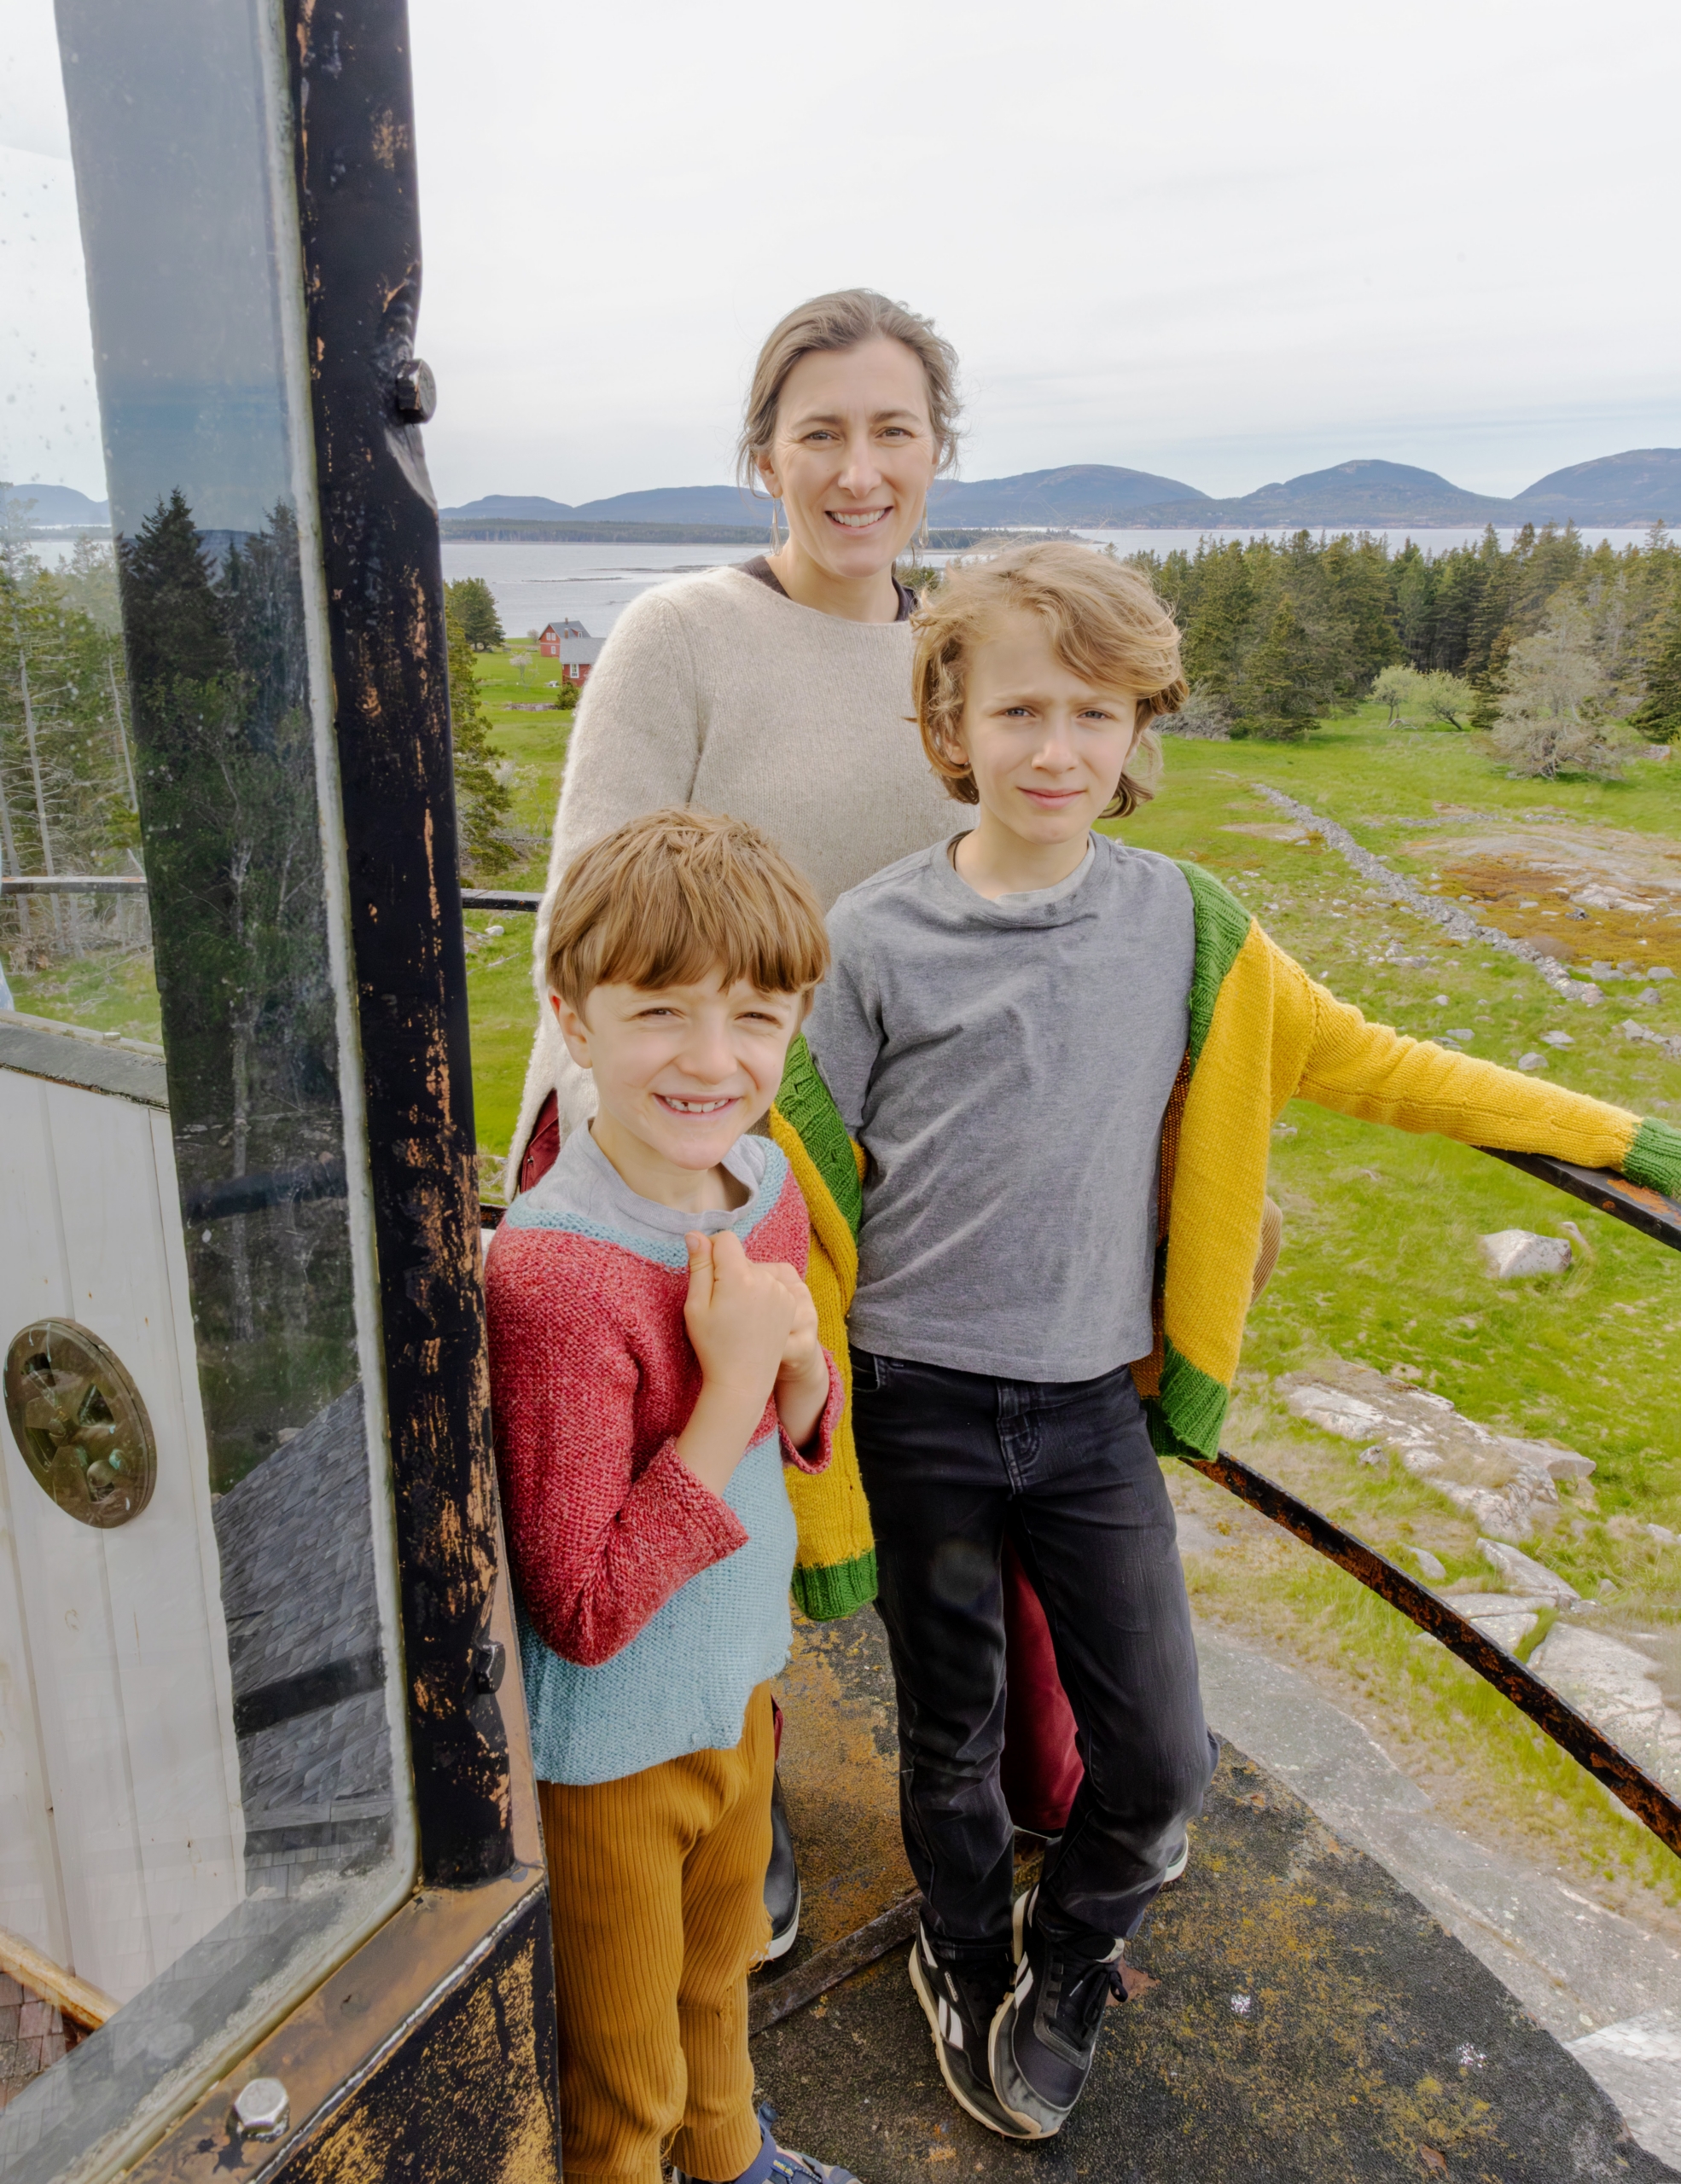
Sophie, Silas and Felix also climbed to the top. (Photo by Rhiannon Johnston/Friends of Acadia)
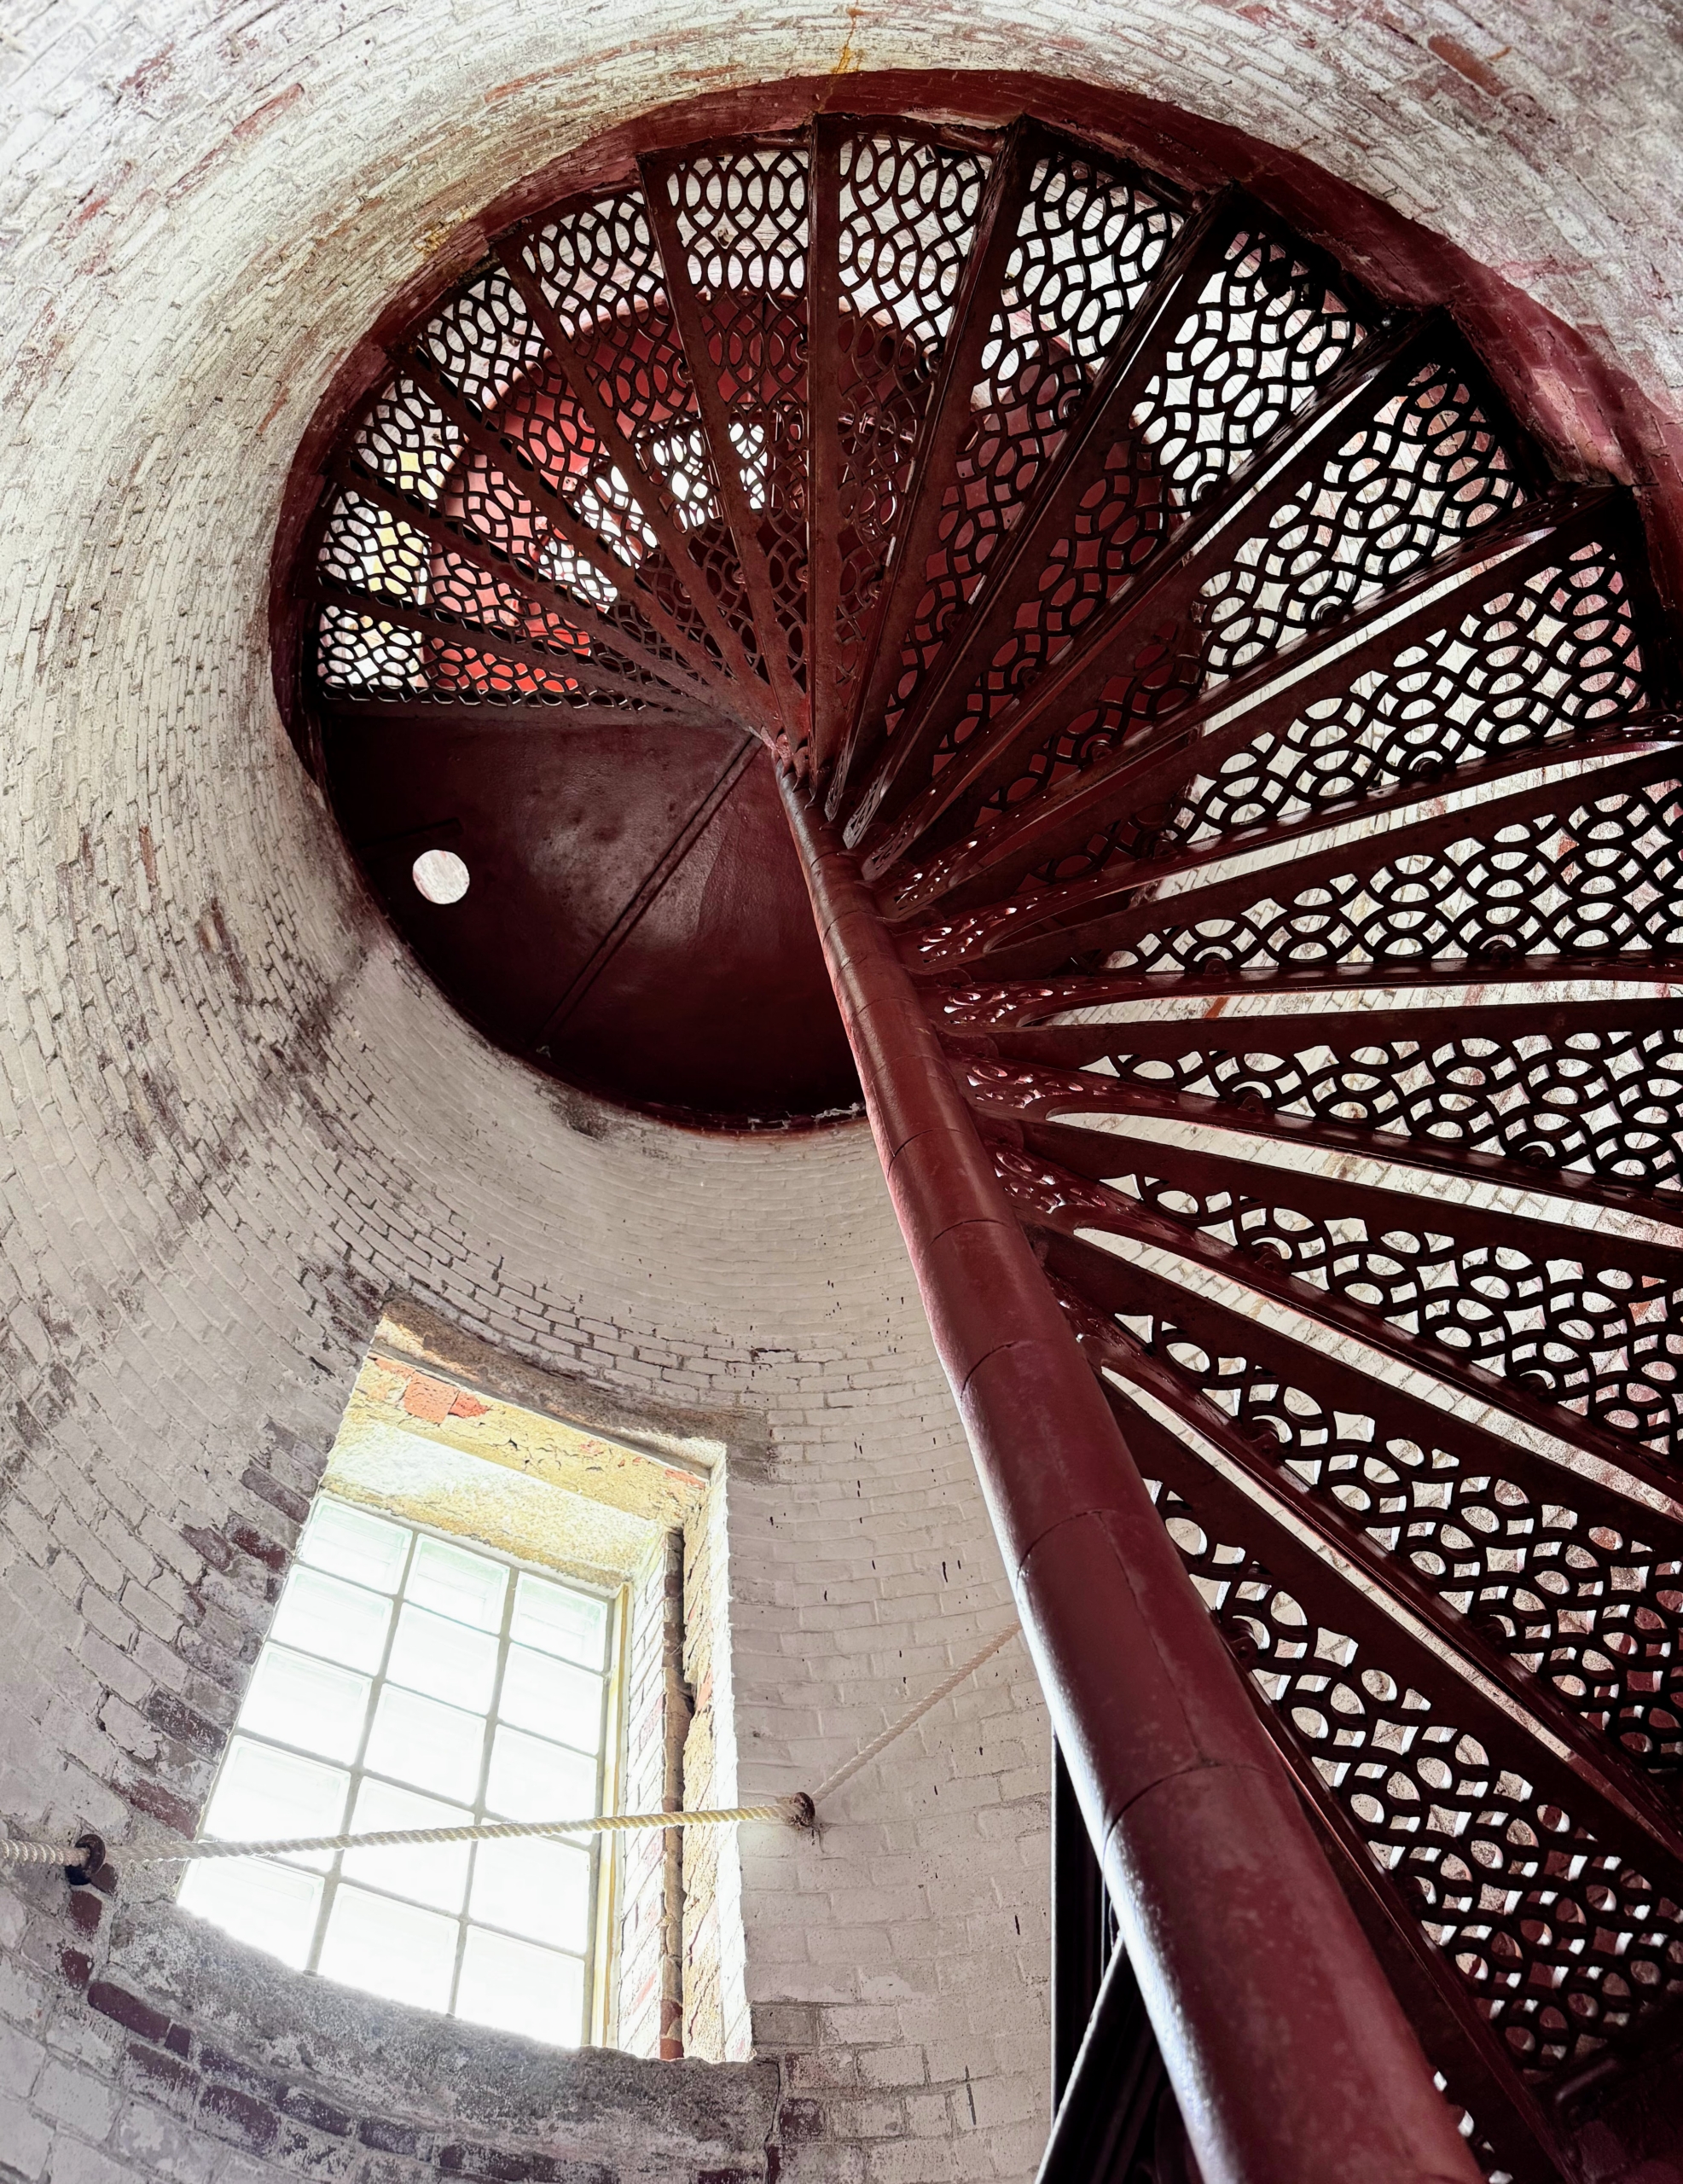
These are the wrought iron stairs of the Lighthouse Station.
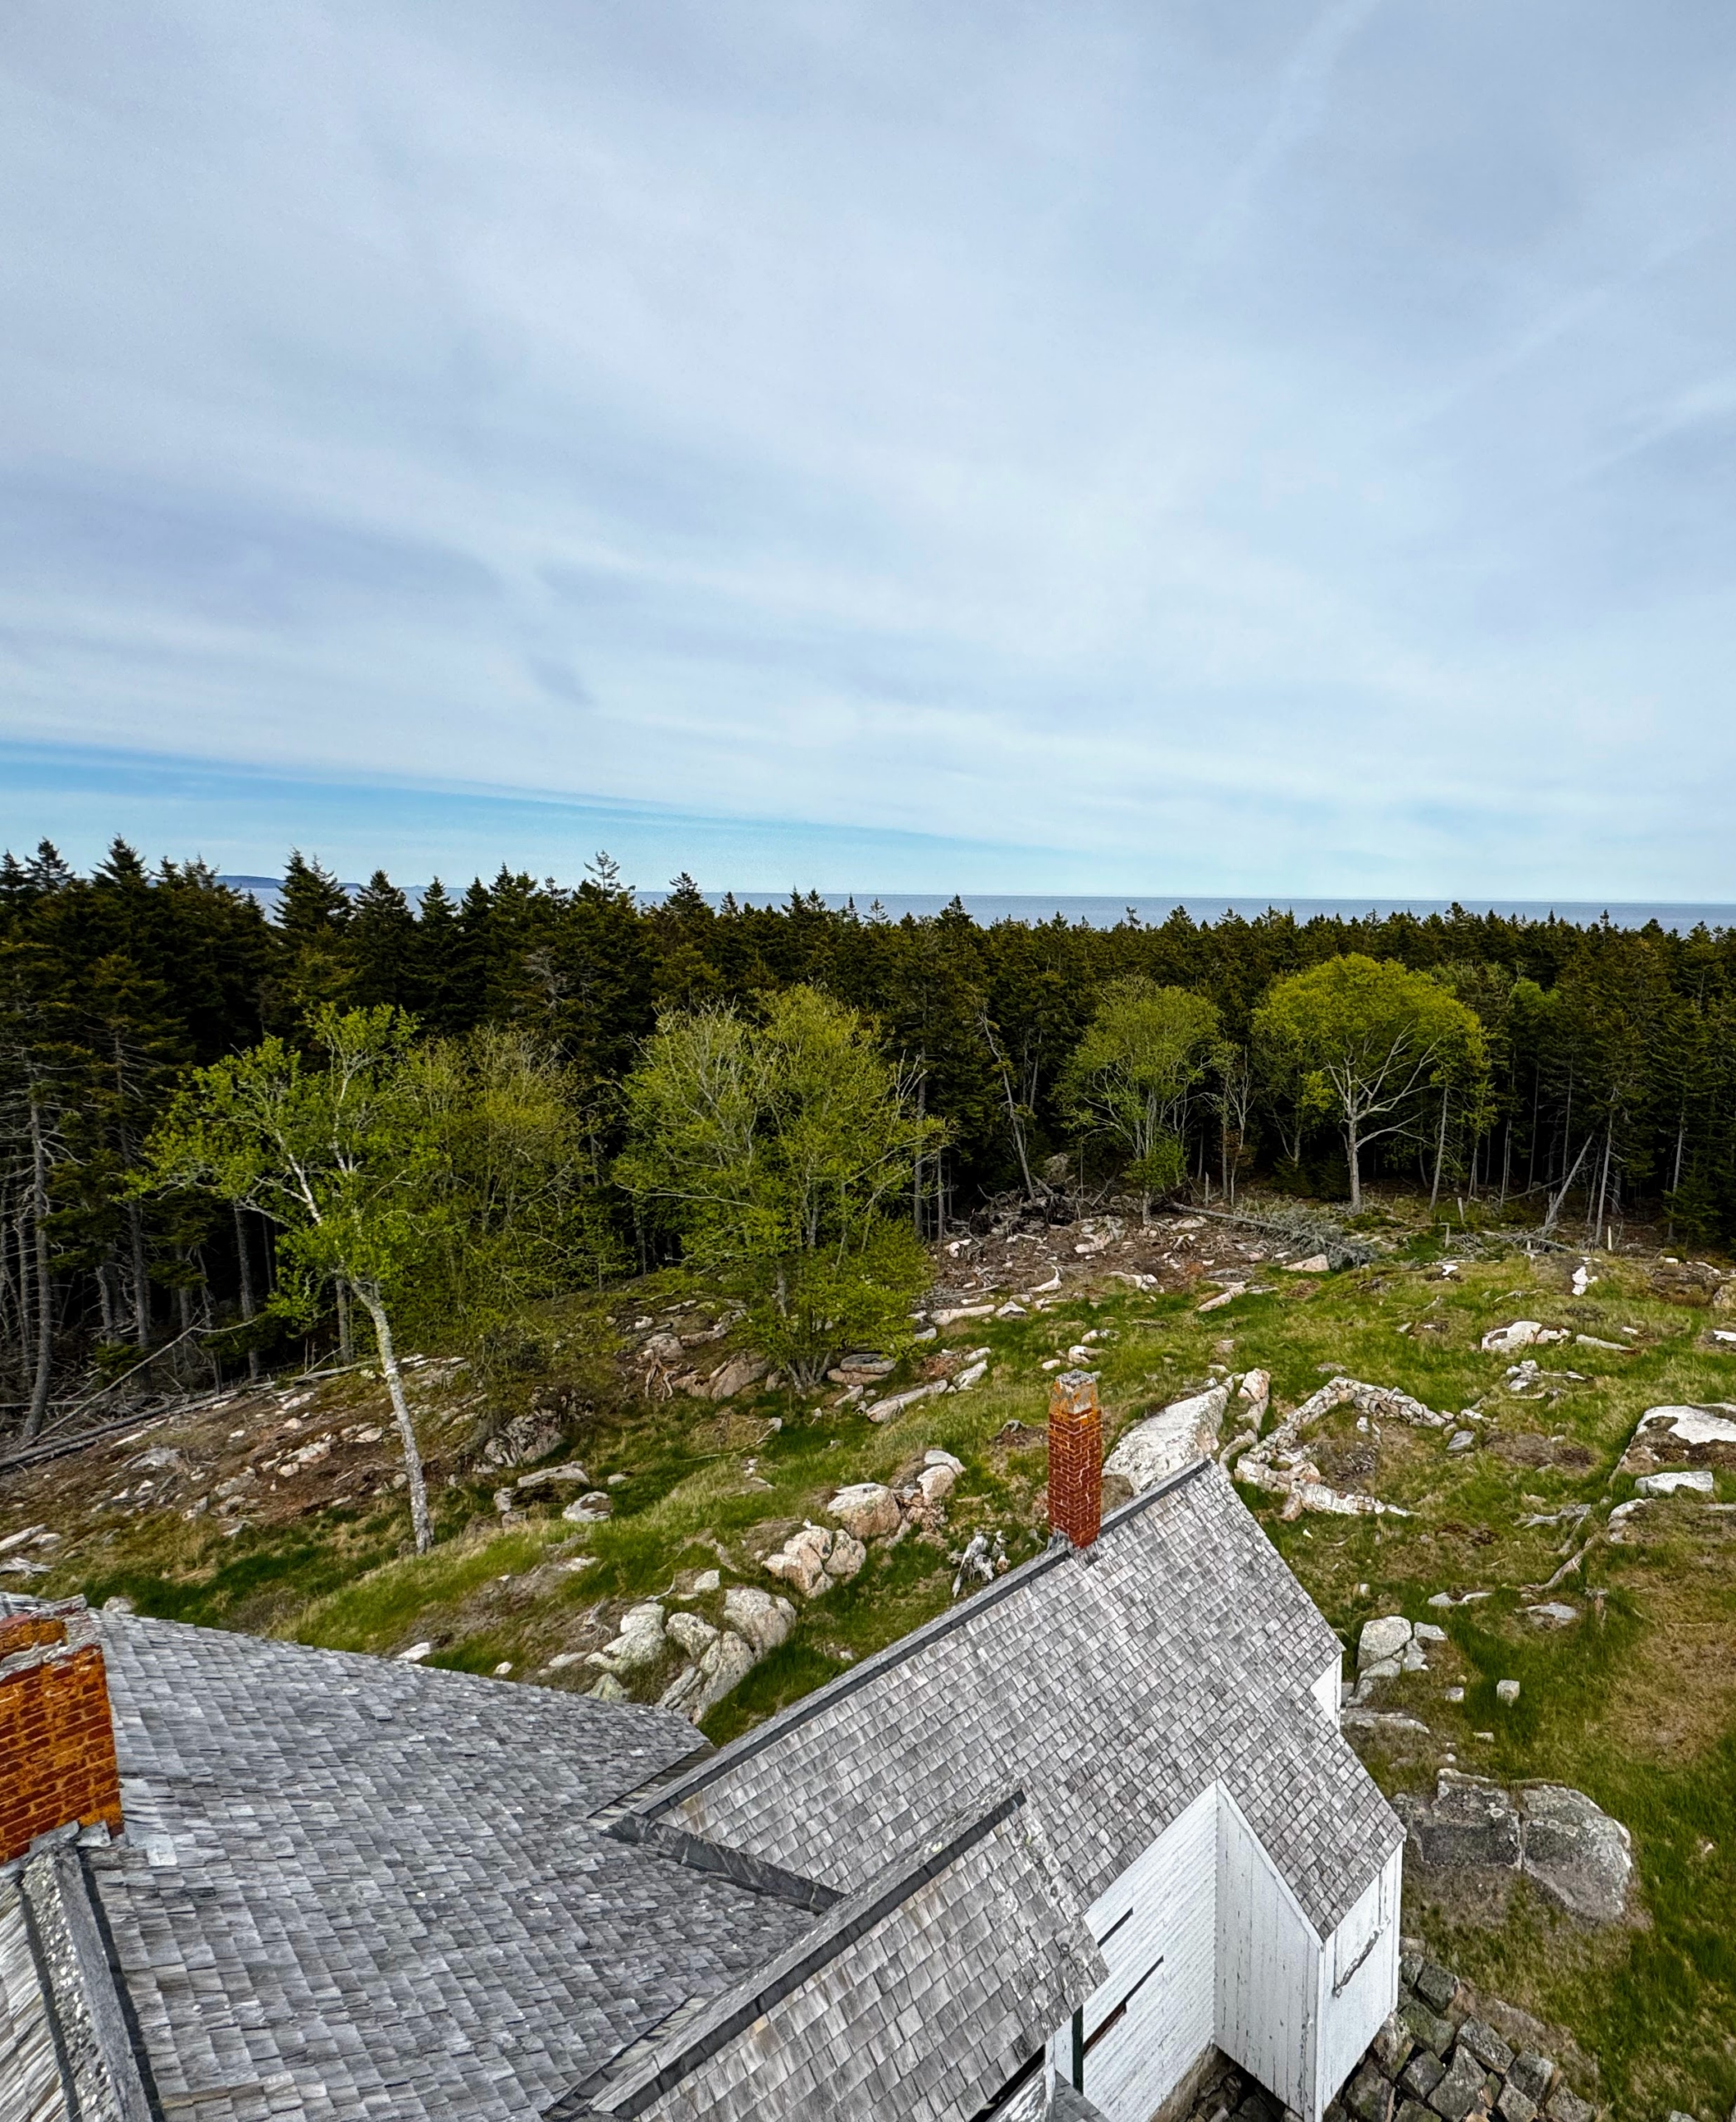
Beautiful views of the island and Frenchman Bay in the distance.
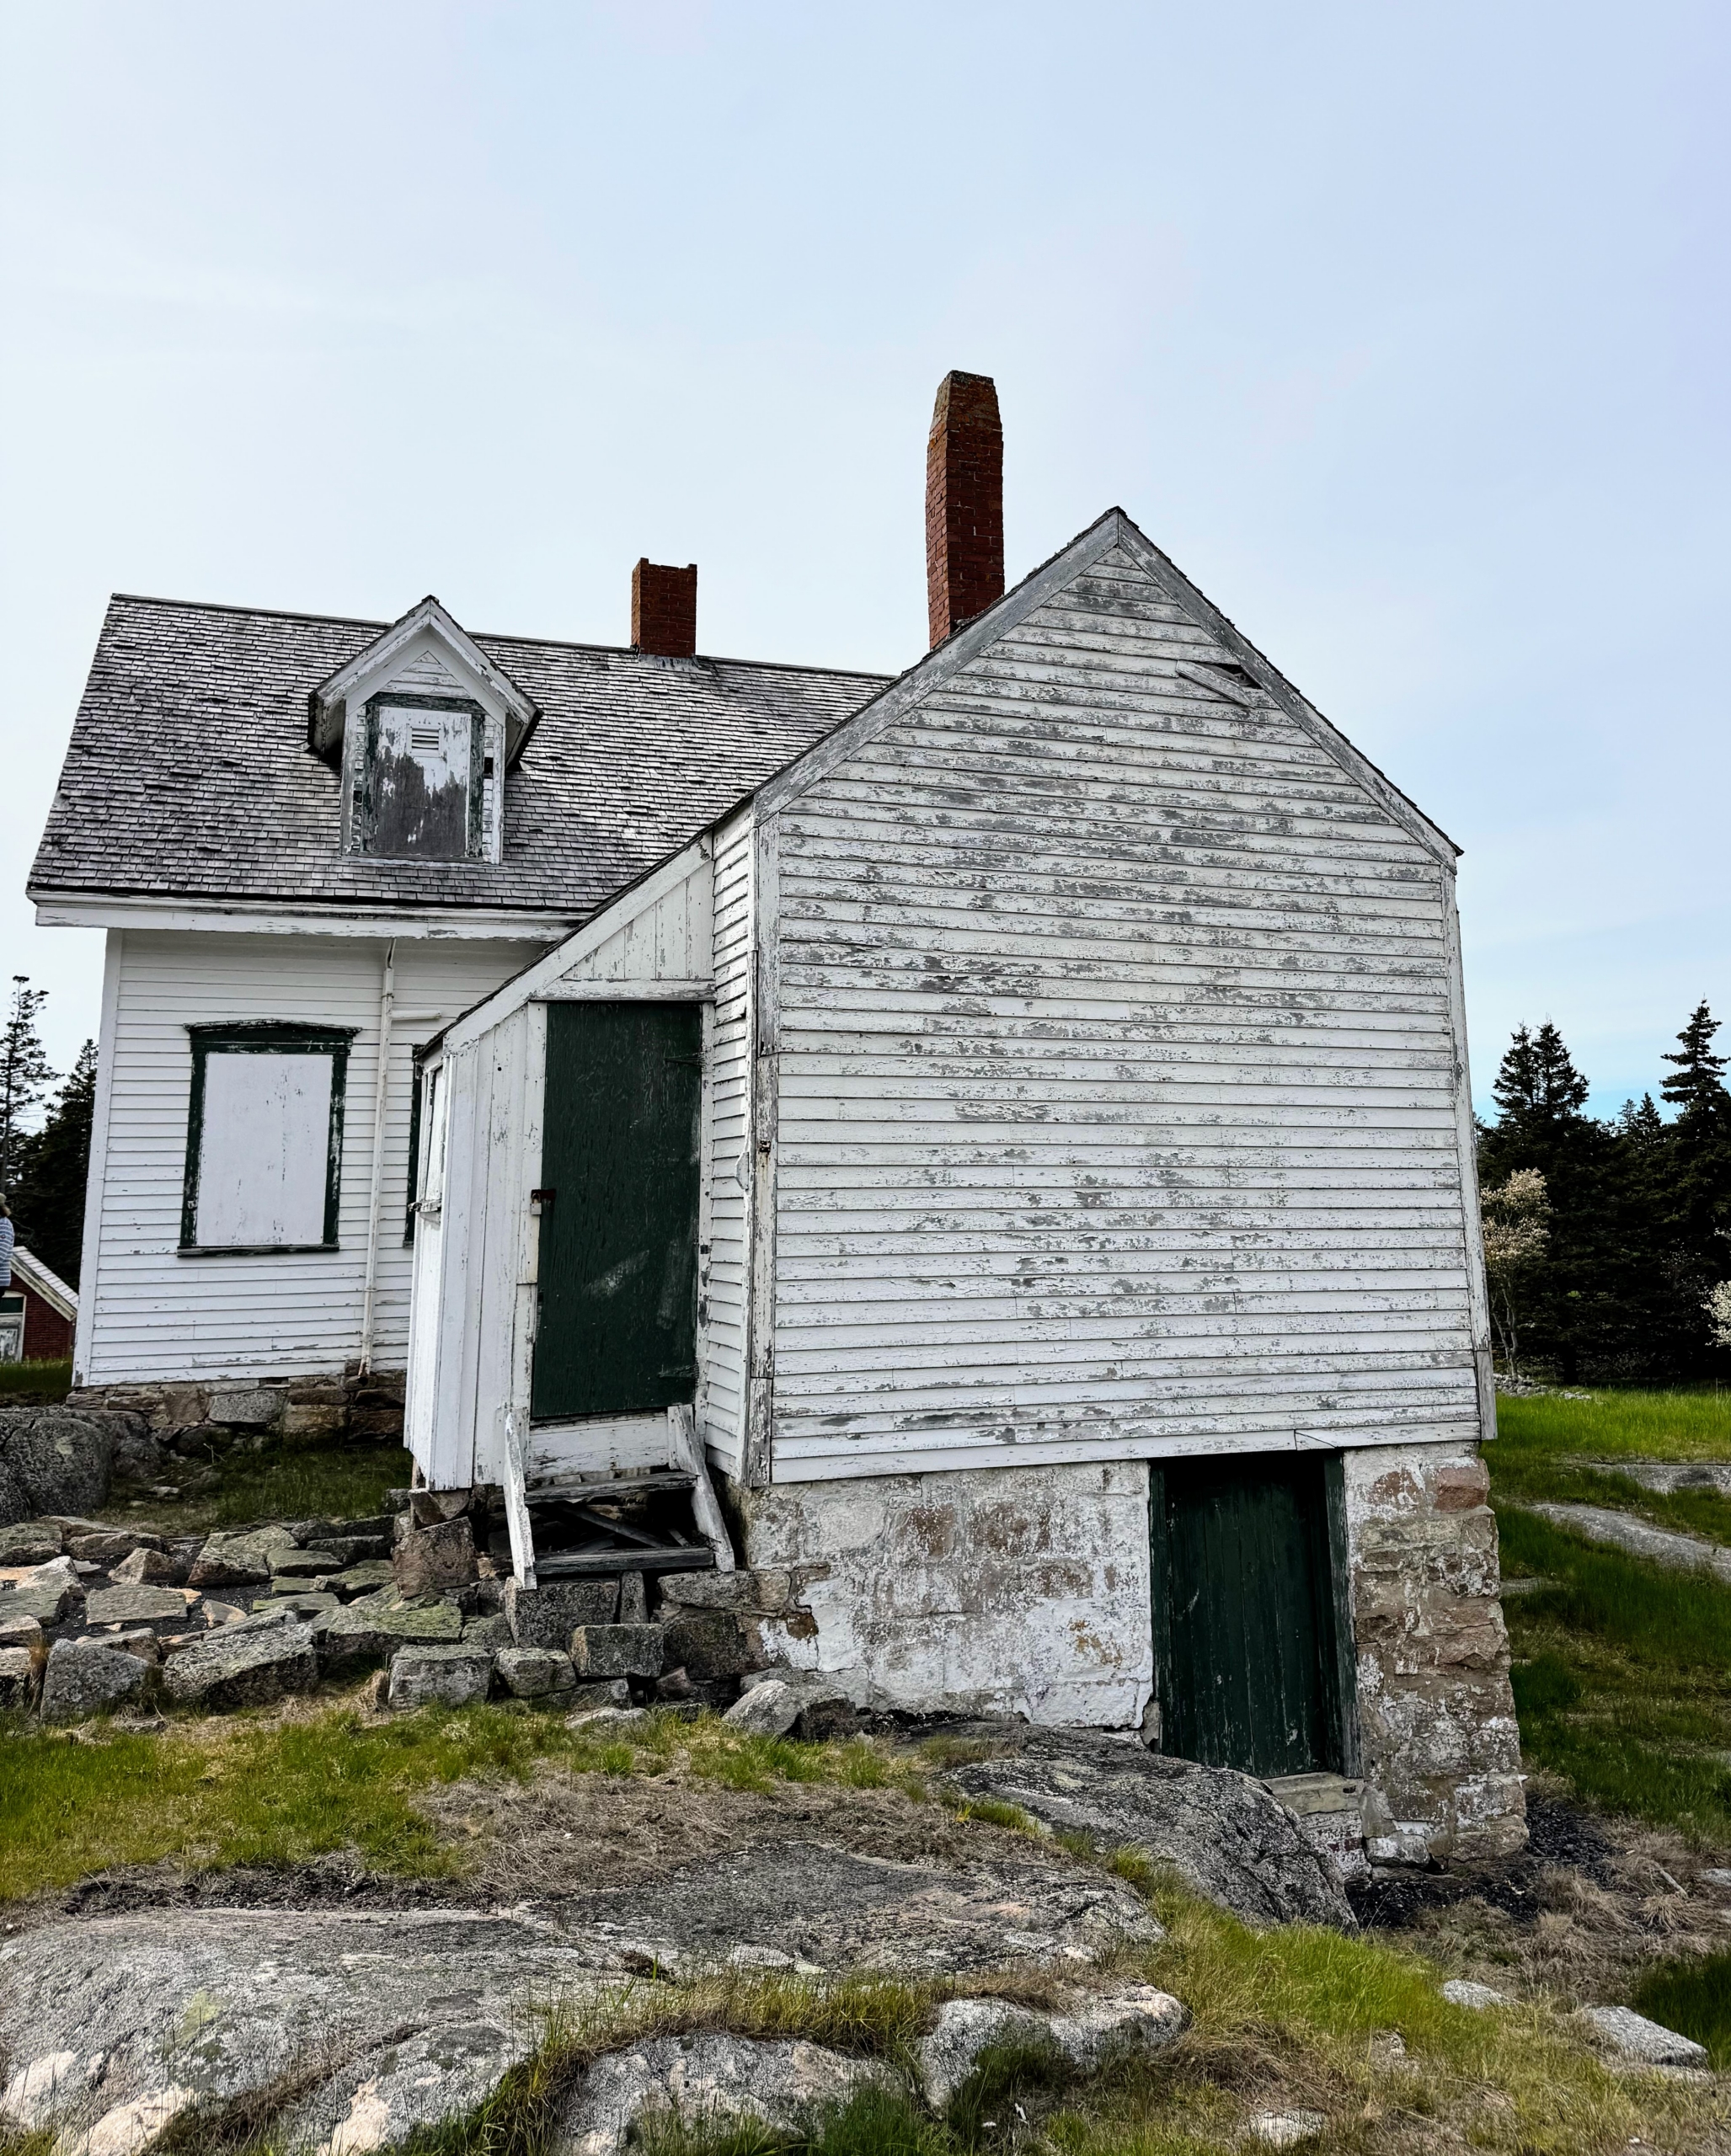
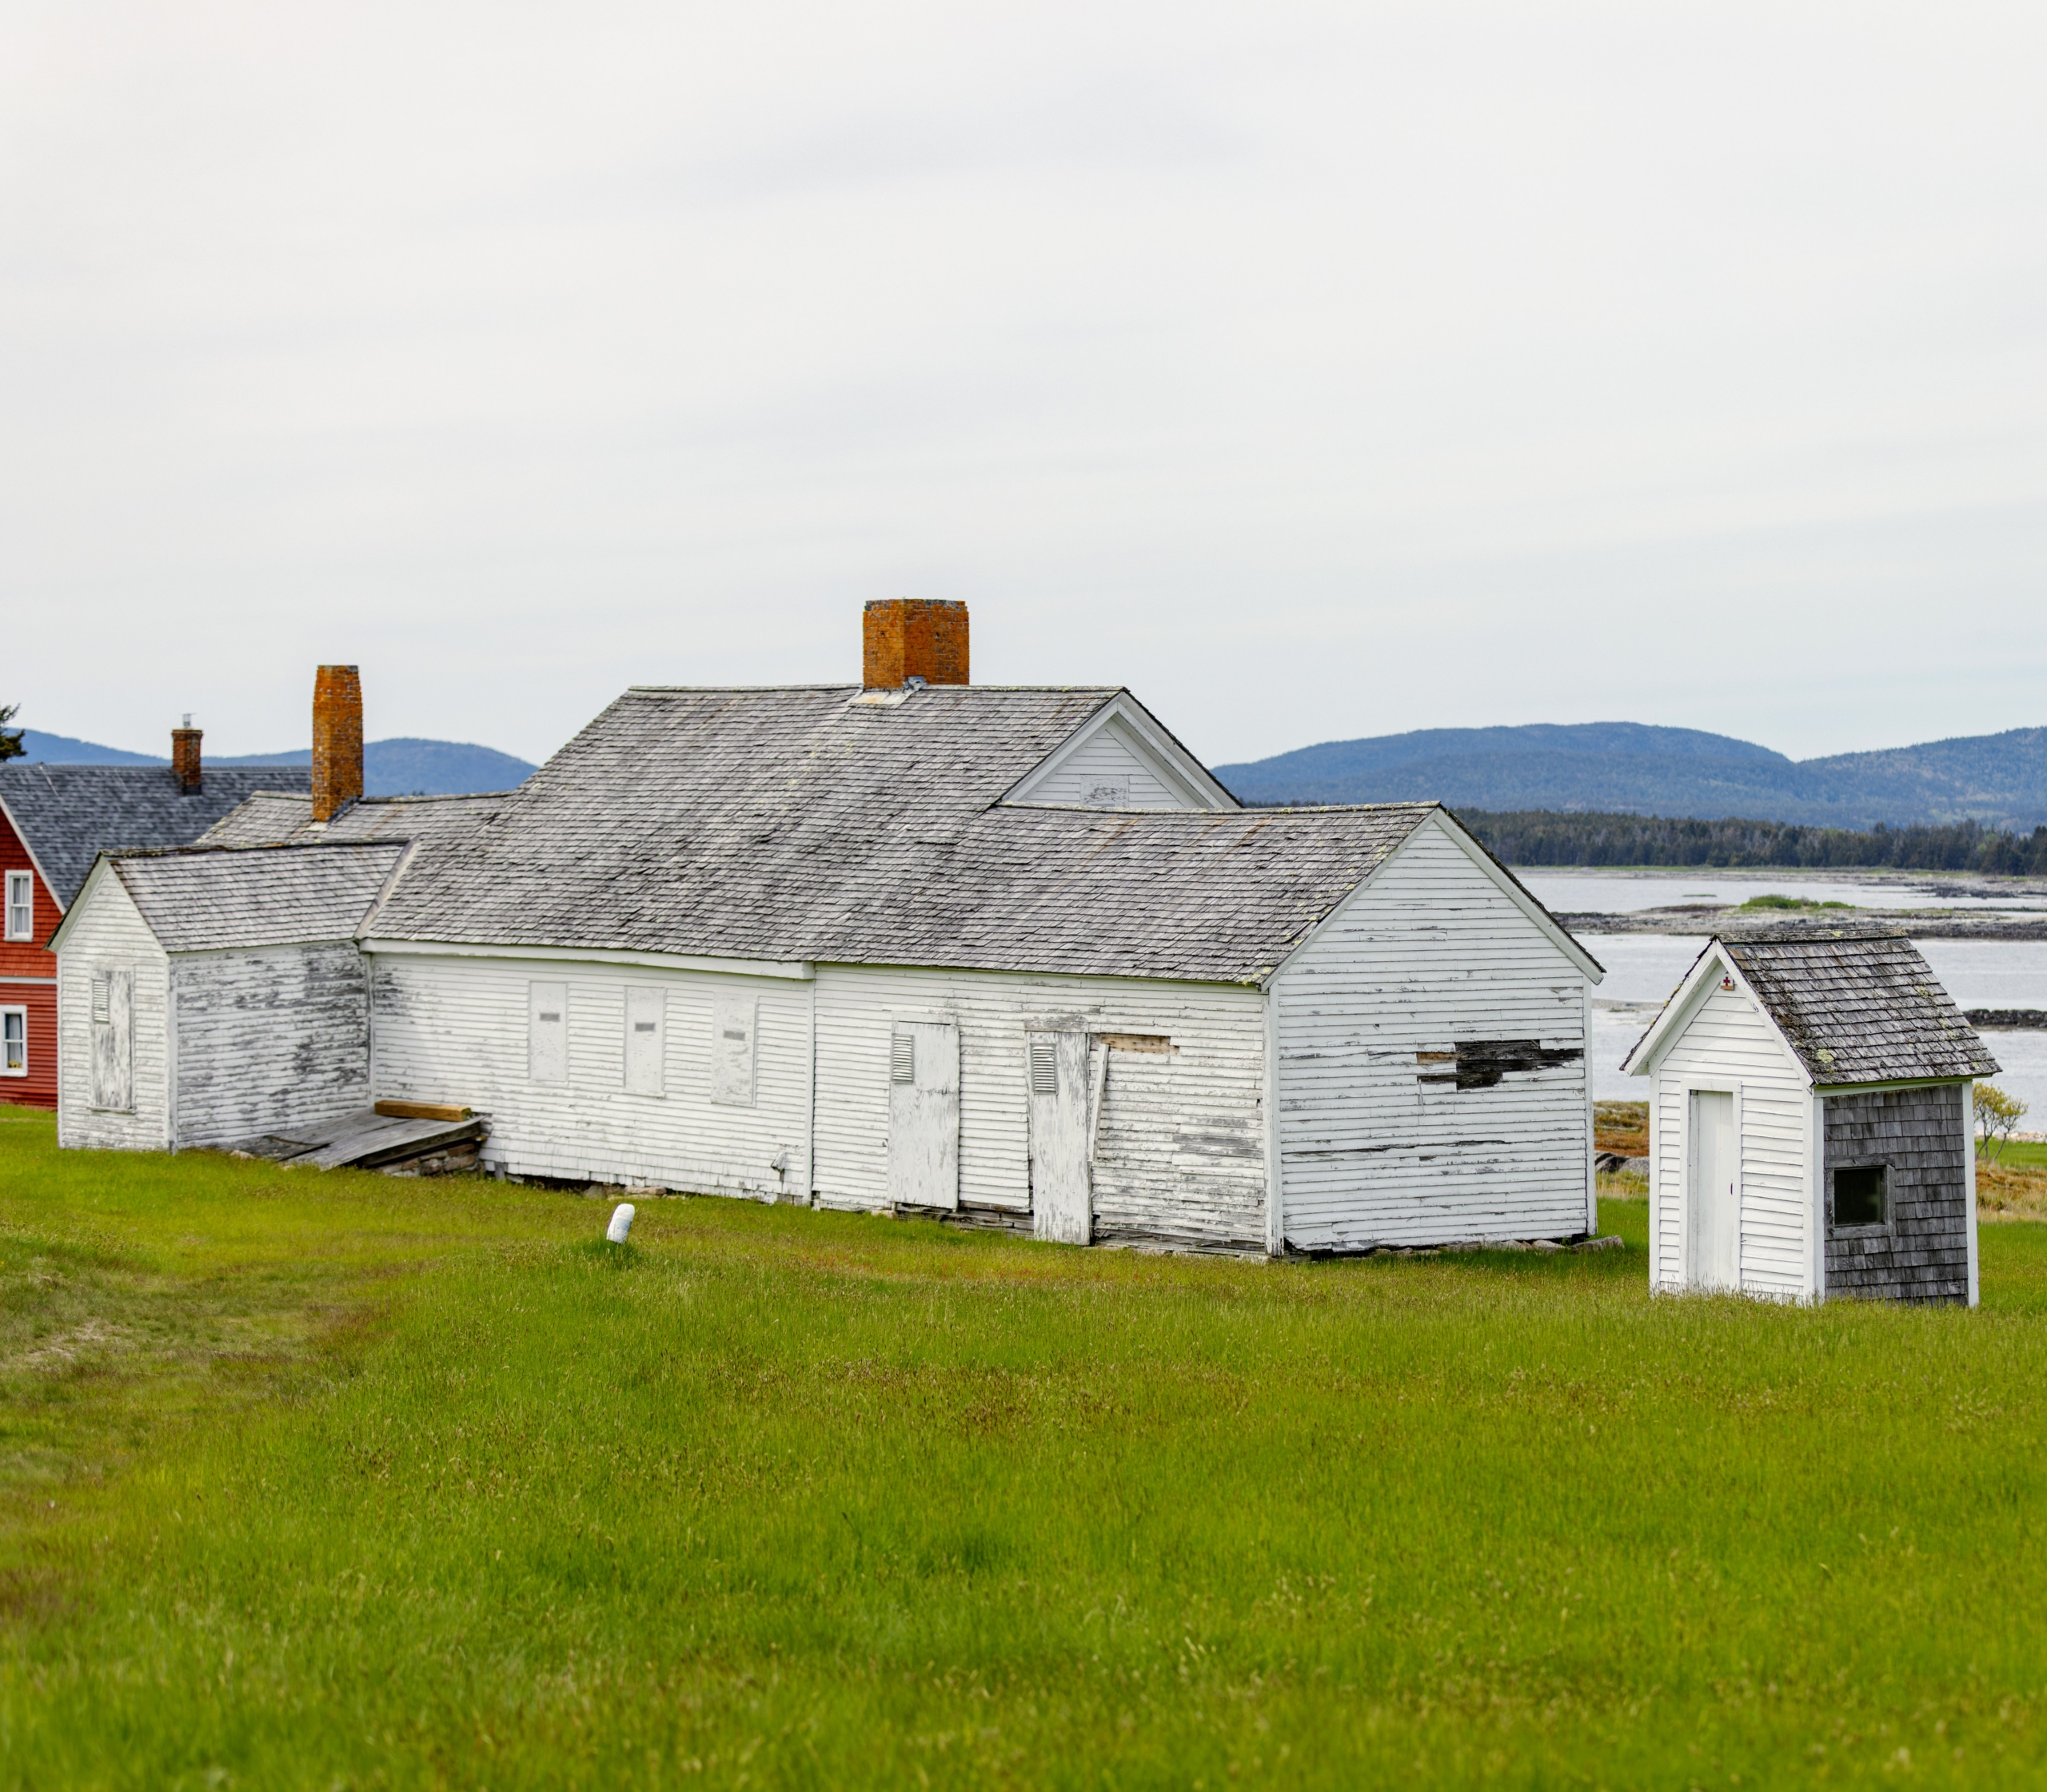
Many of the historical structures of the Gilley Family, including the home, are still standing.
Here’s another view of the family home and Lighthouse Station.
The barns were built for the family’s many animals. (Photo by Rhiannon Johnston/Friends of Acadia)
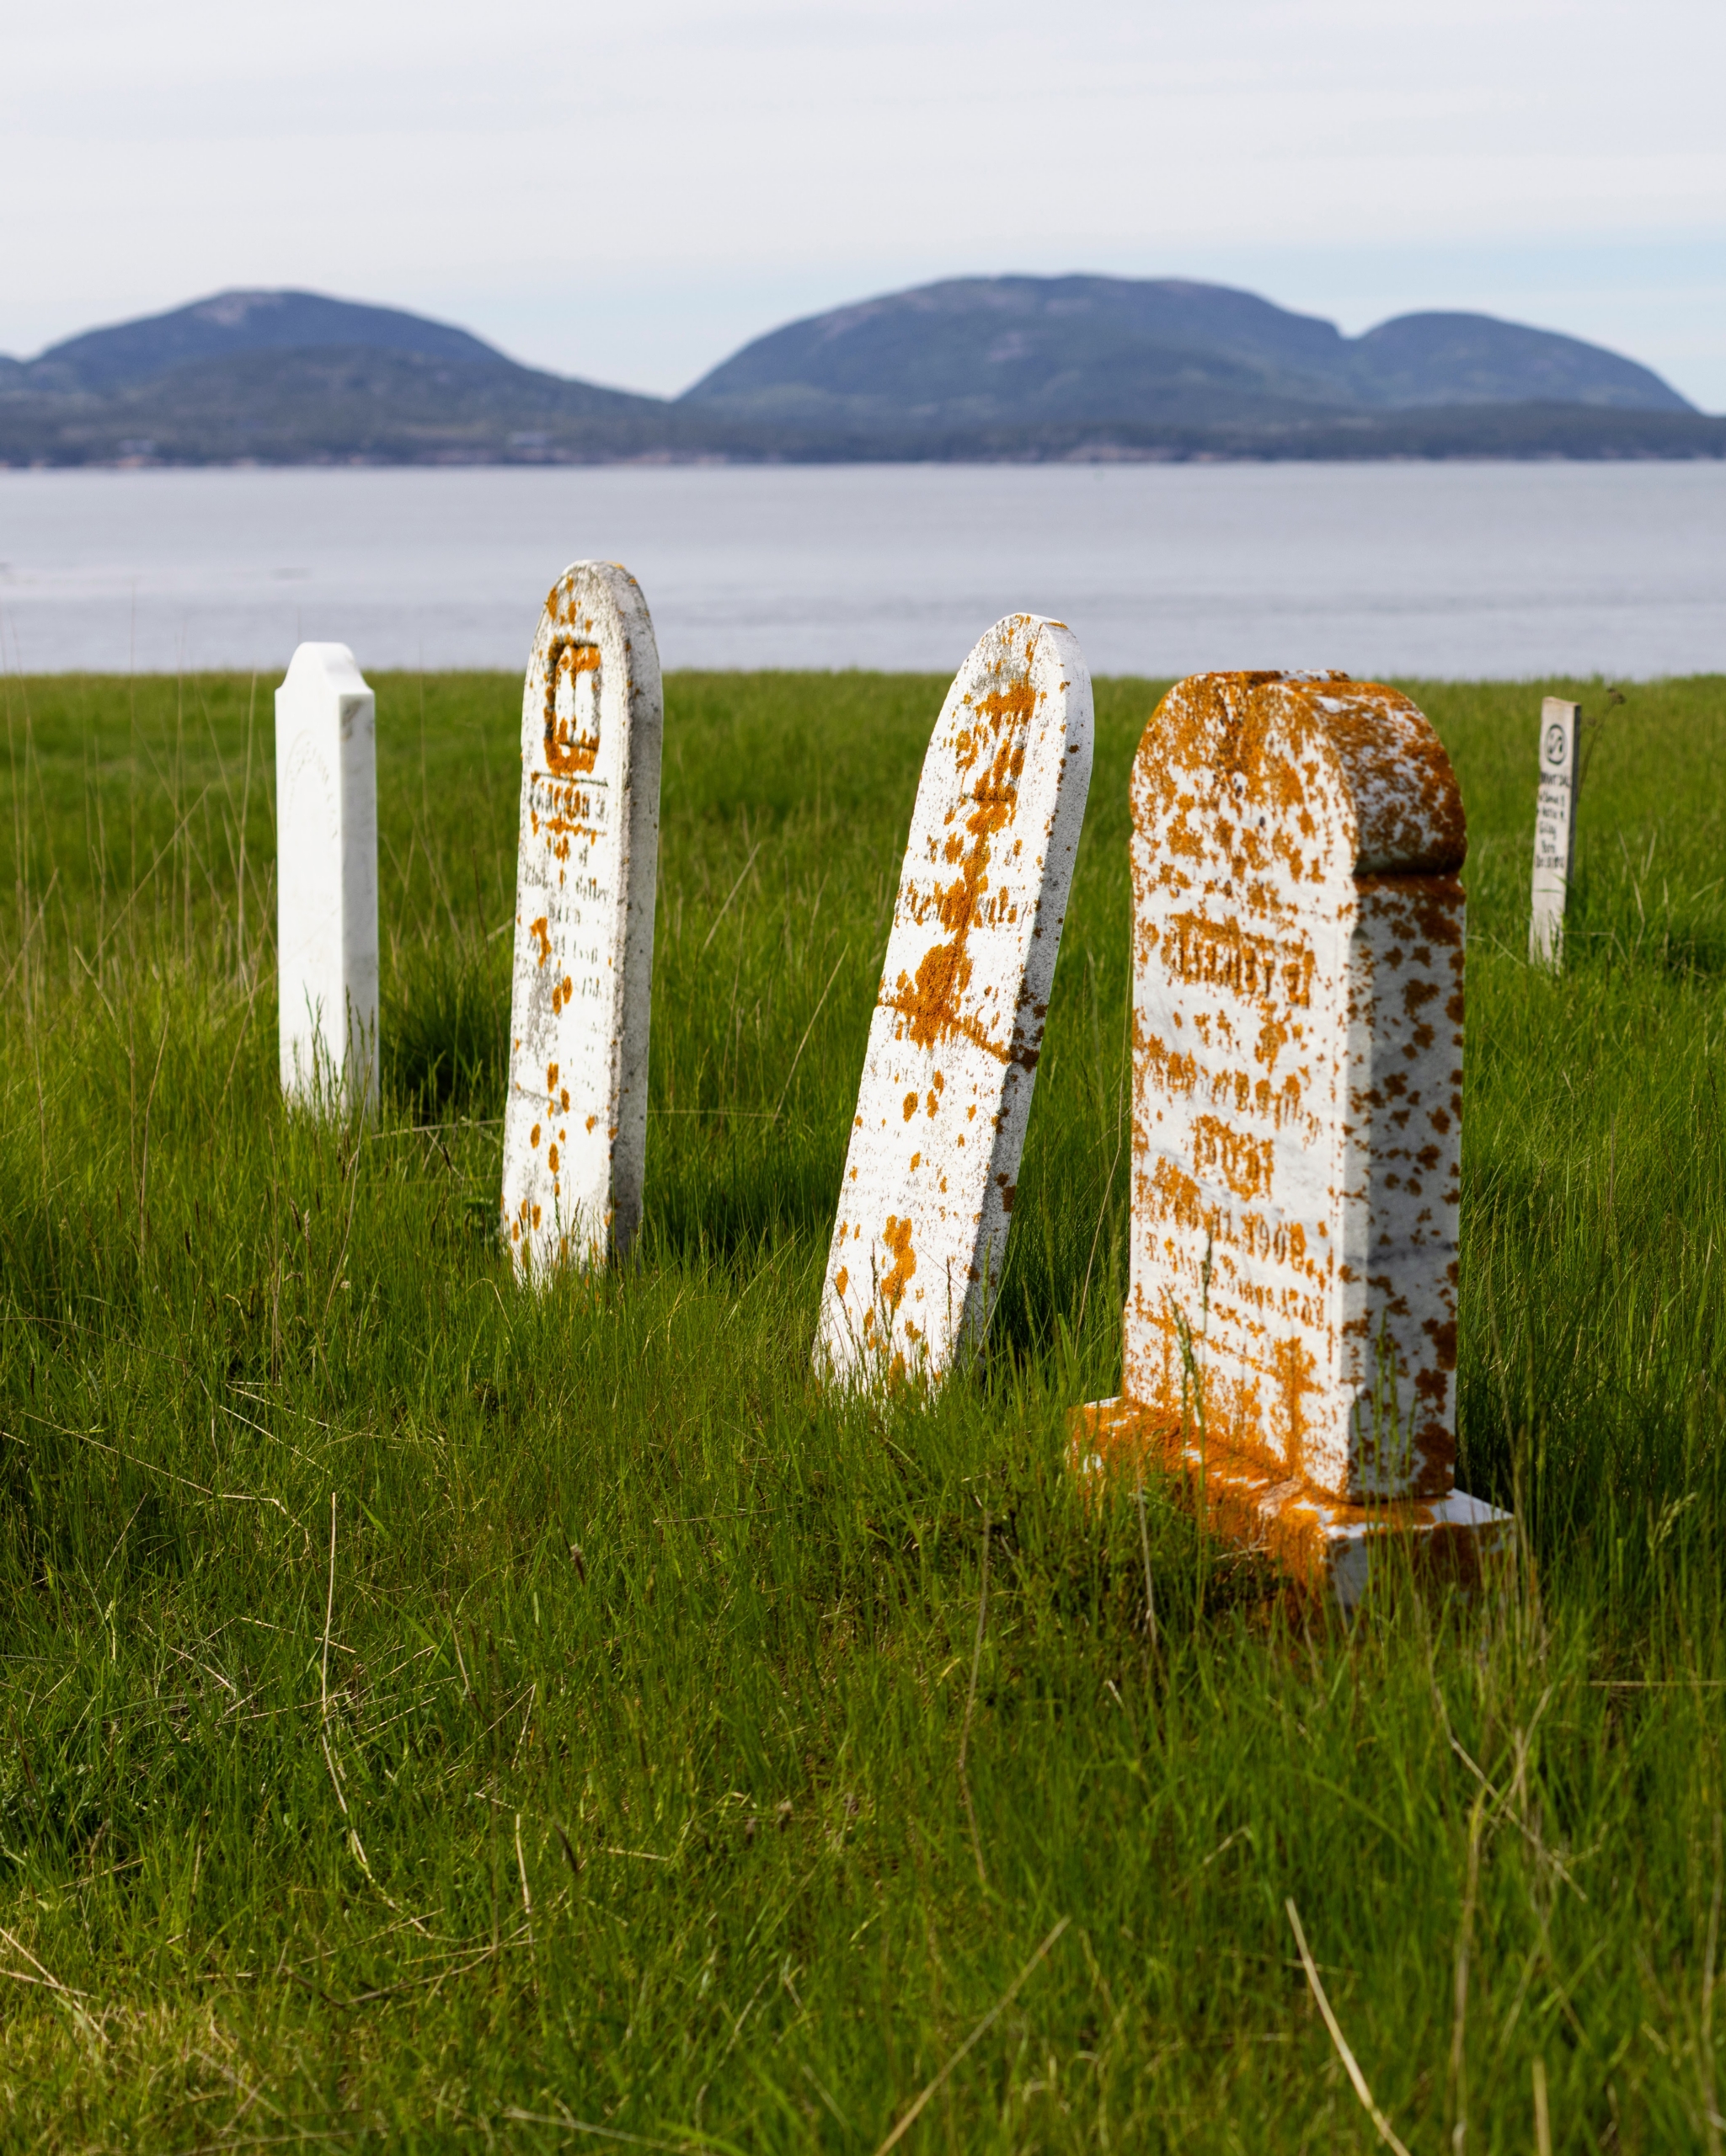
Here is the Baker Island Cemetery.
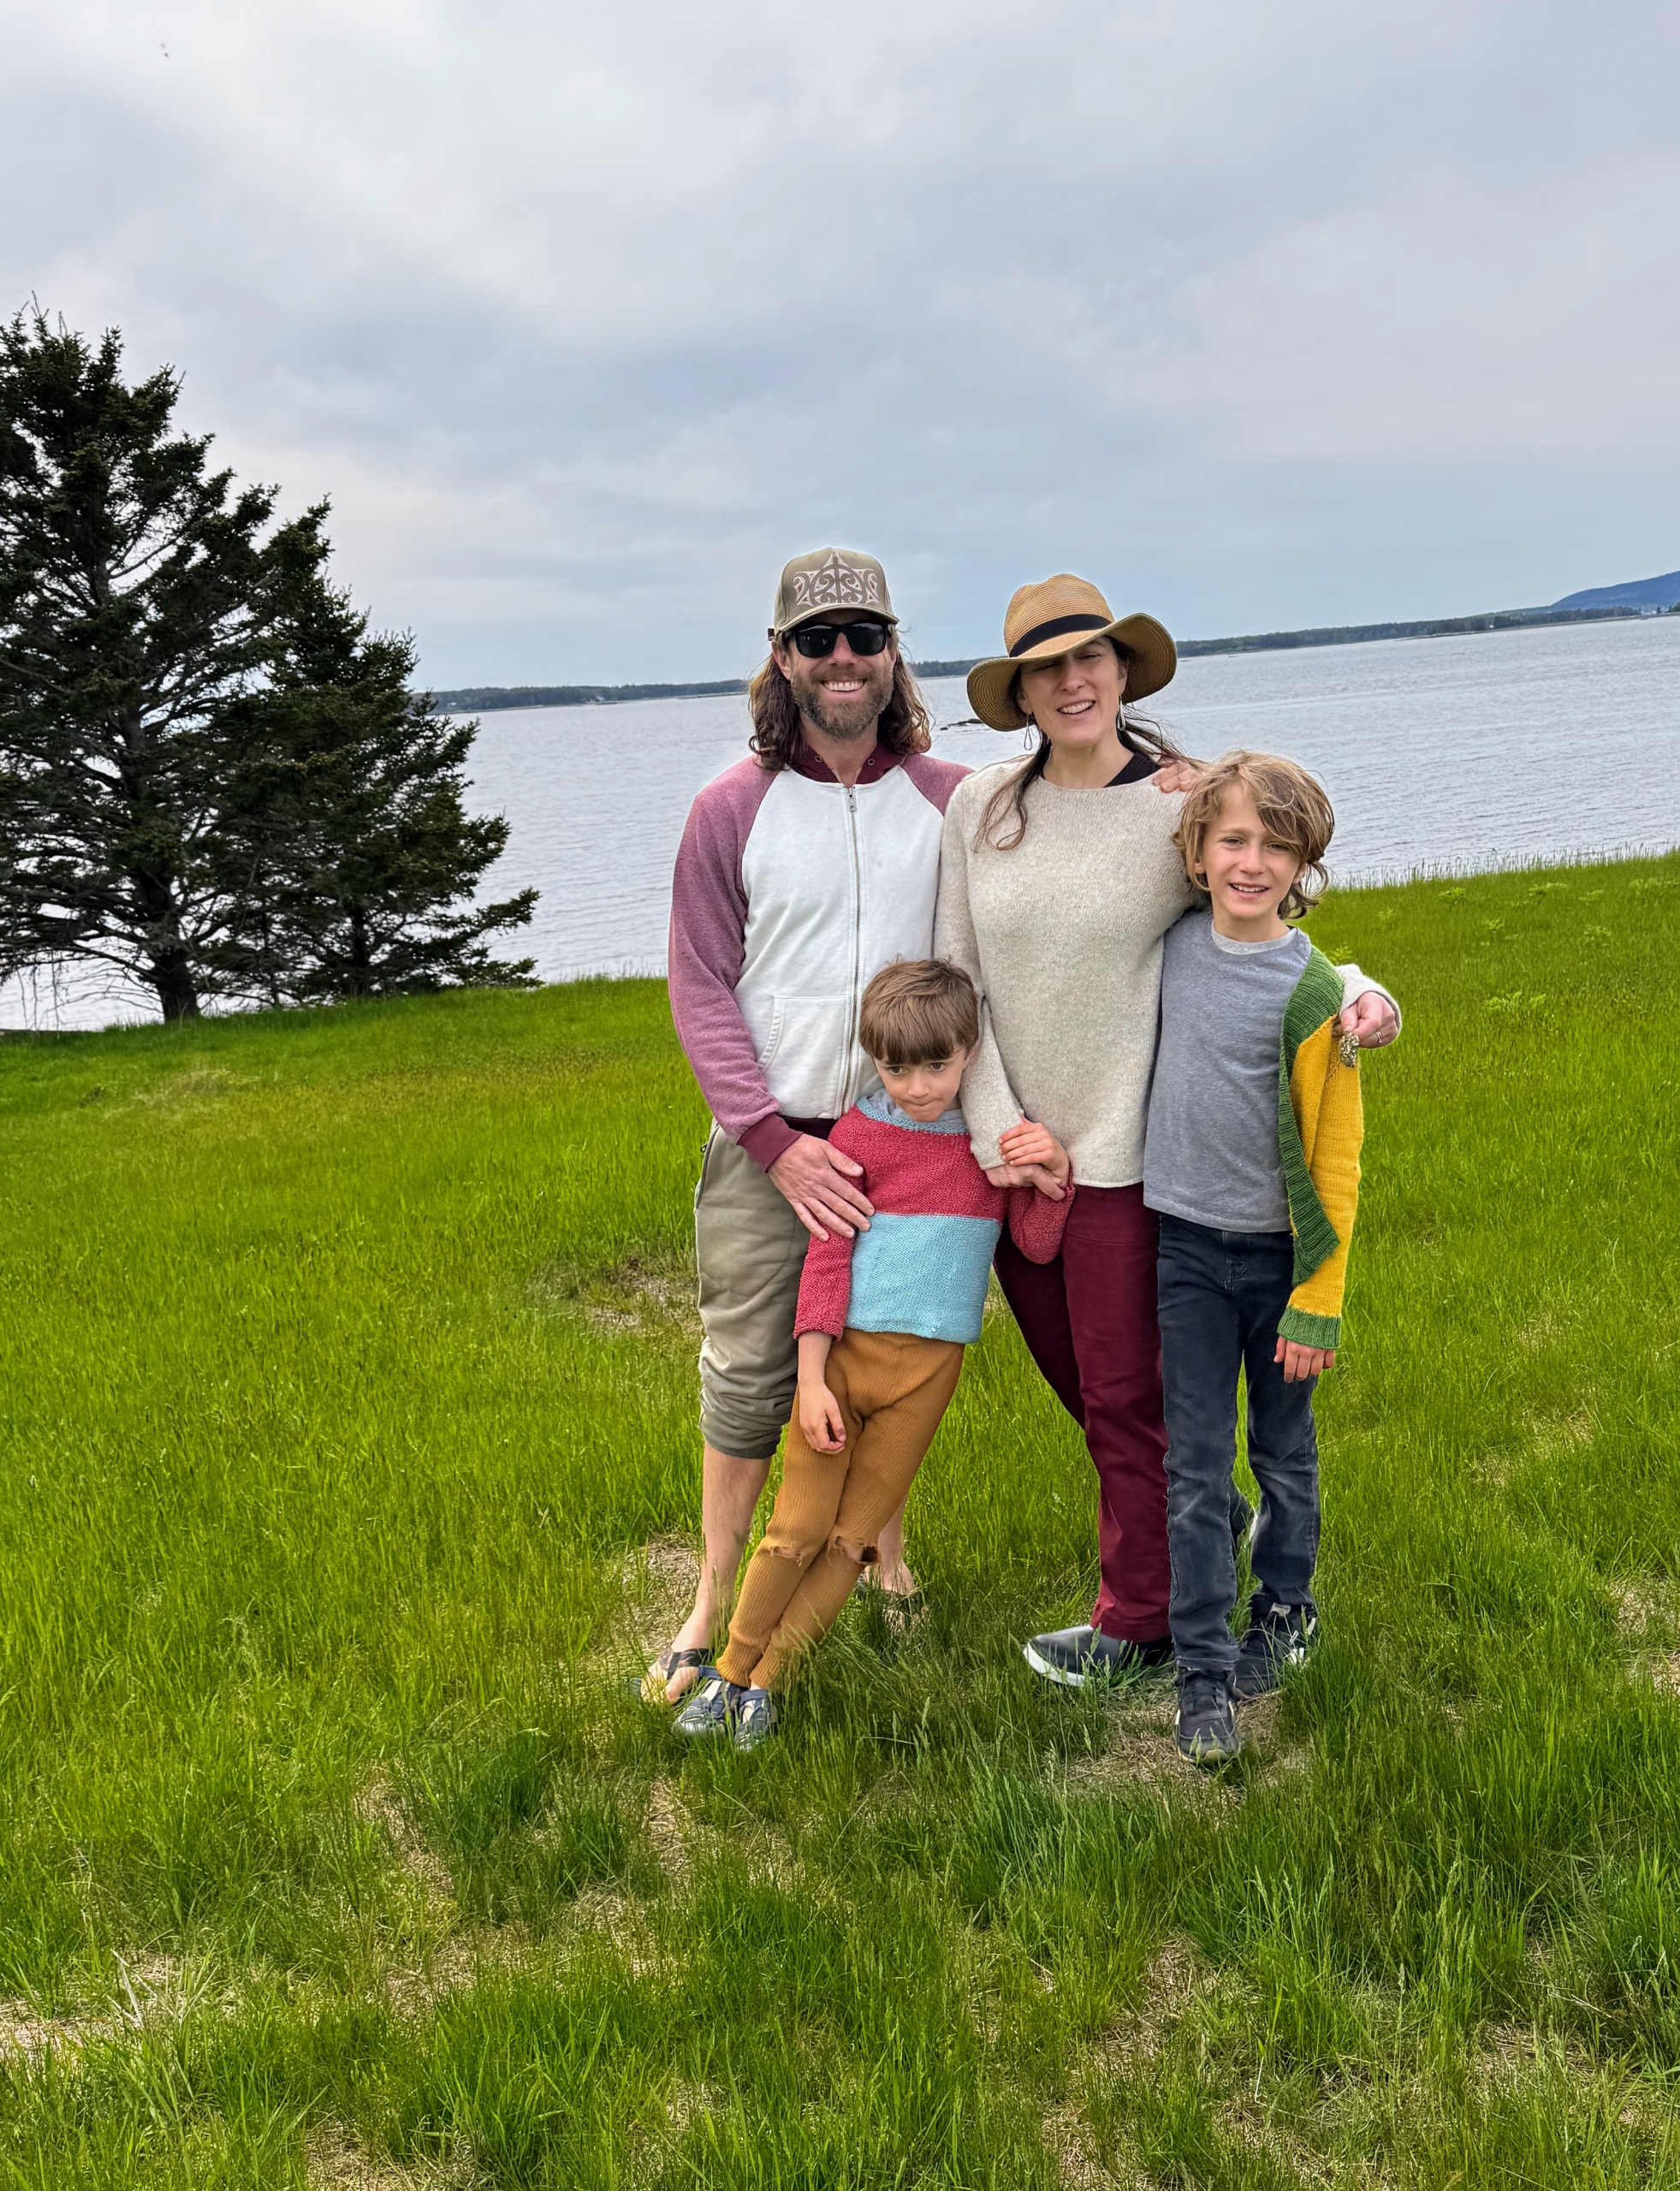
Dan, Sophie, Silas, and Felix after a very interesting and informative tour of Baker Island.
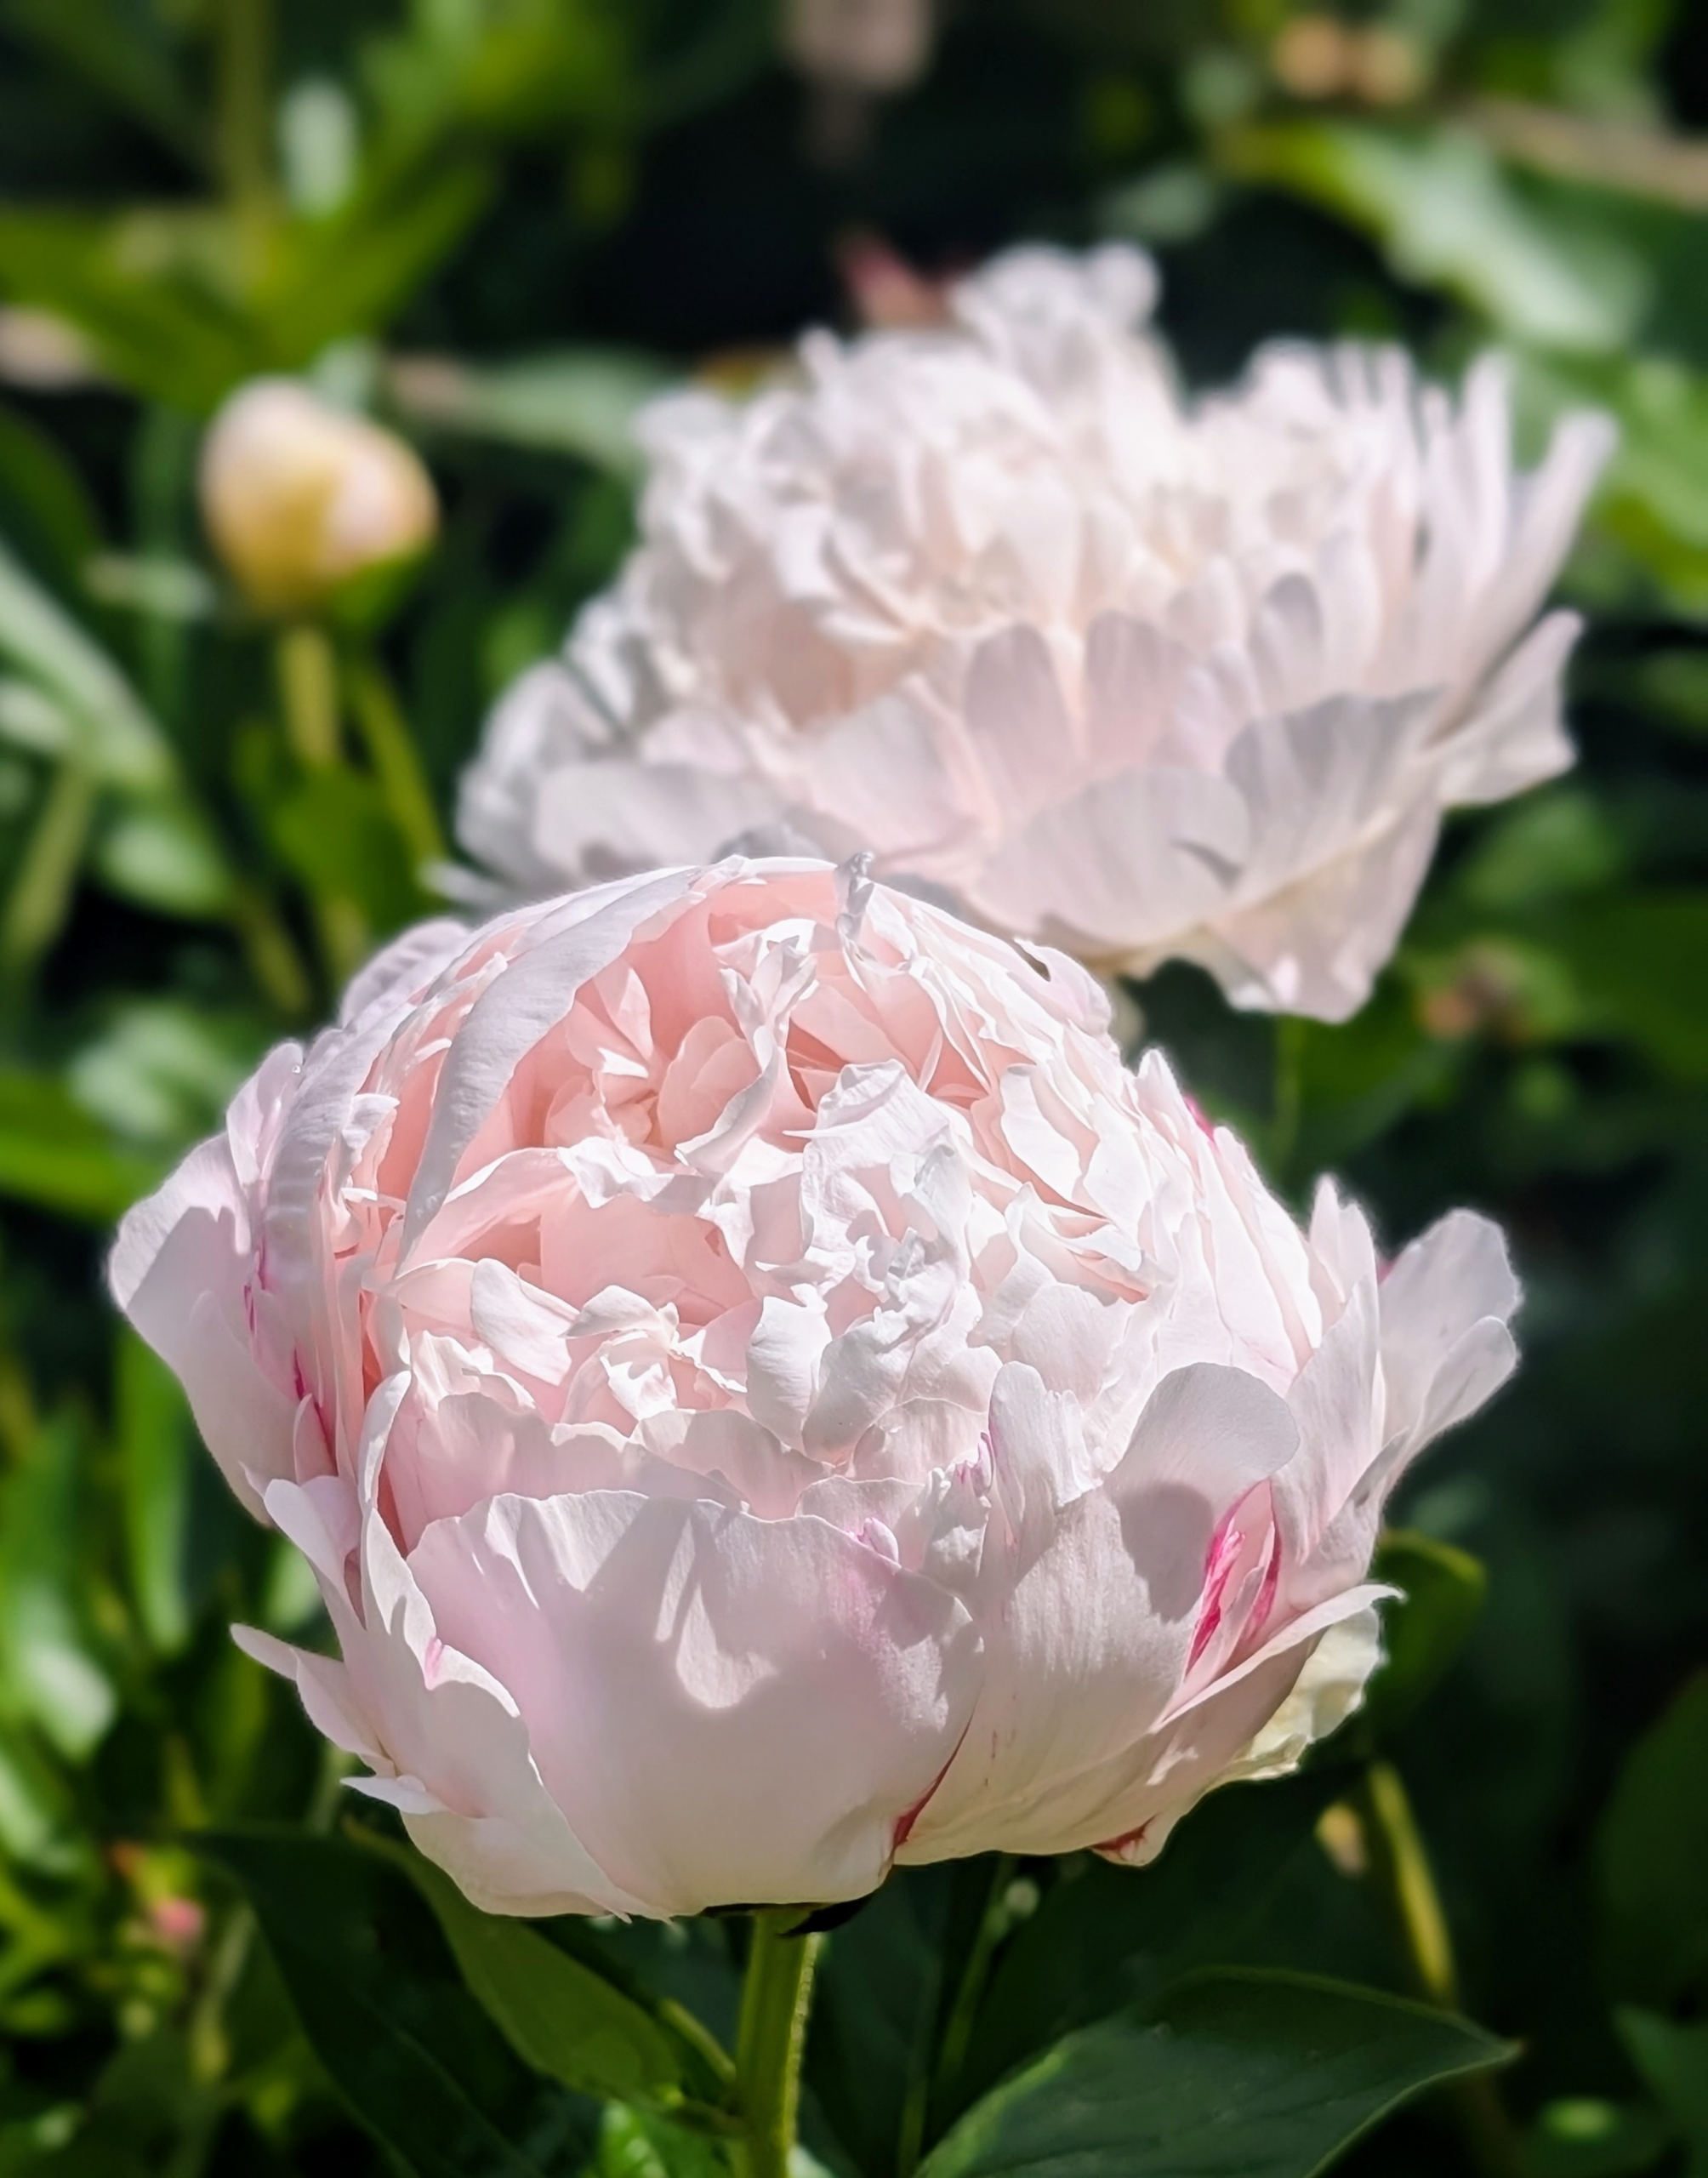
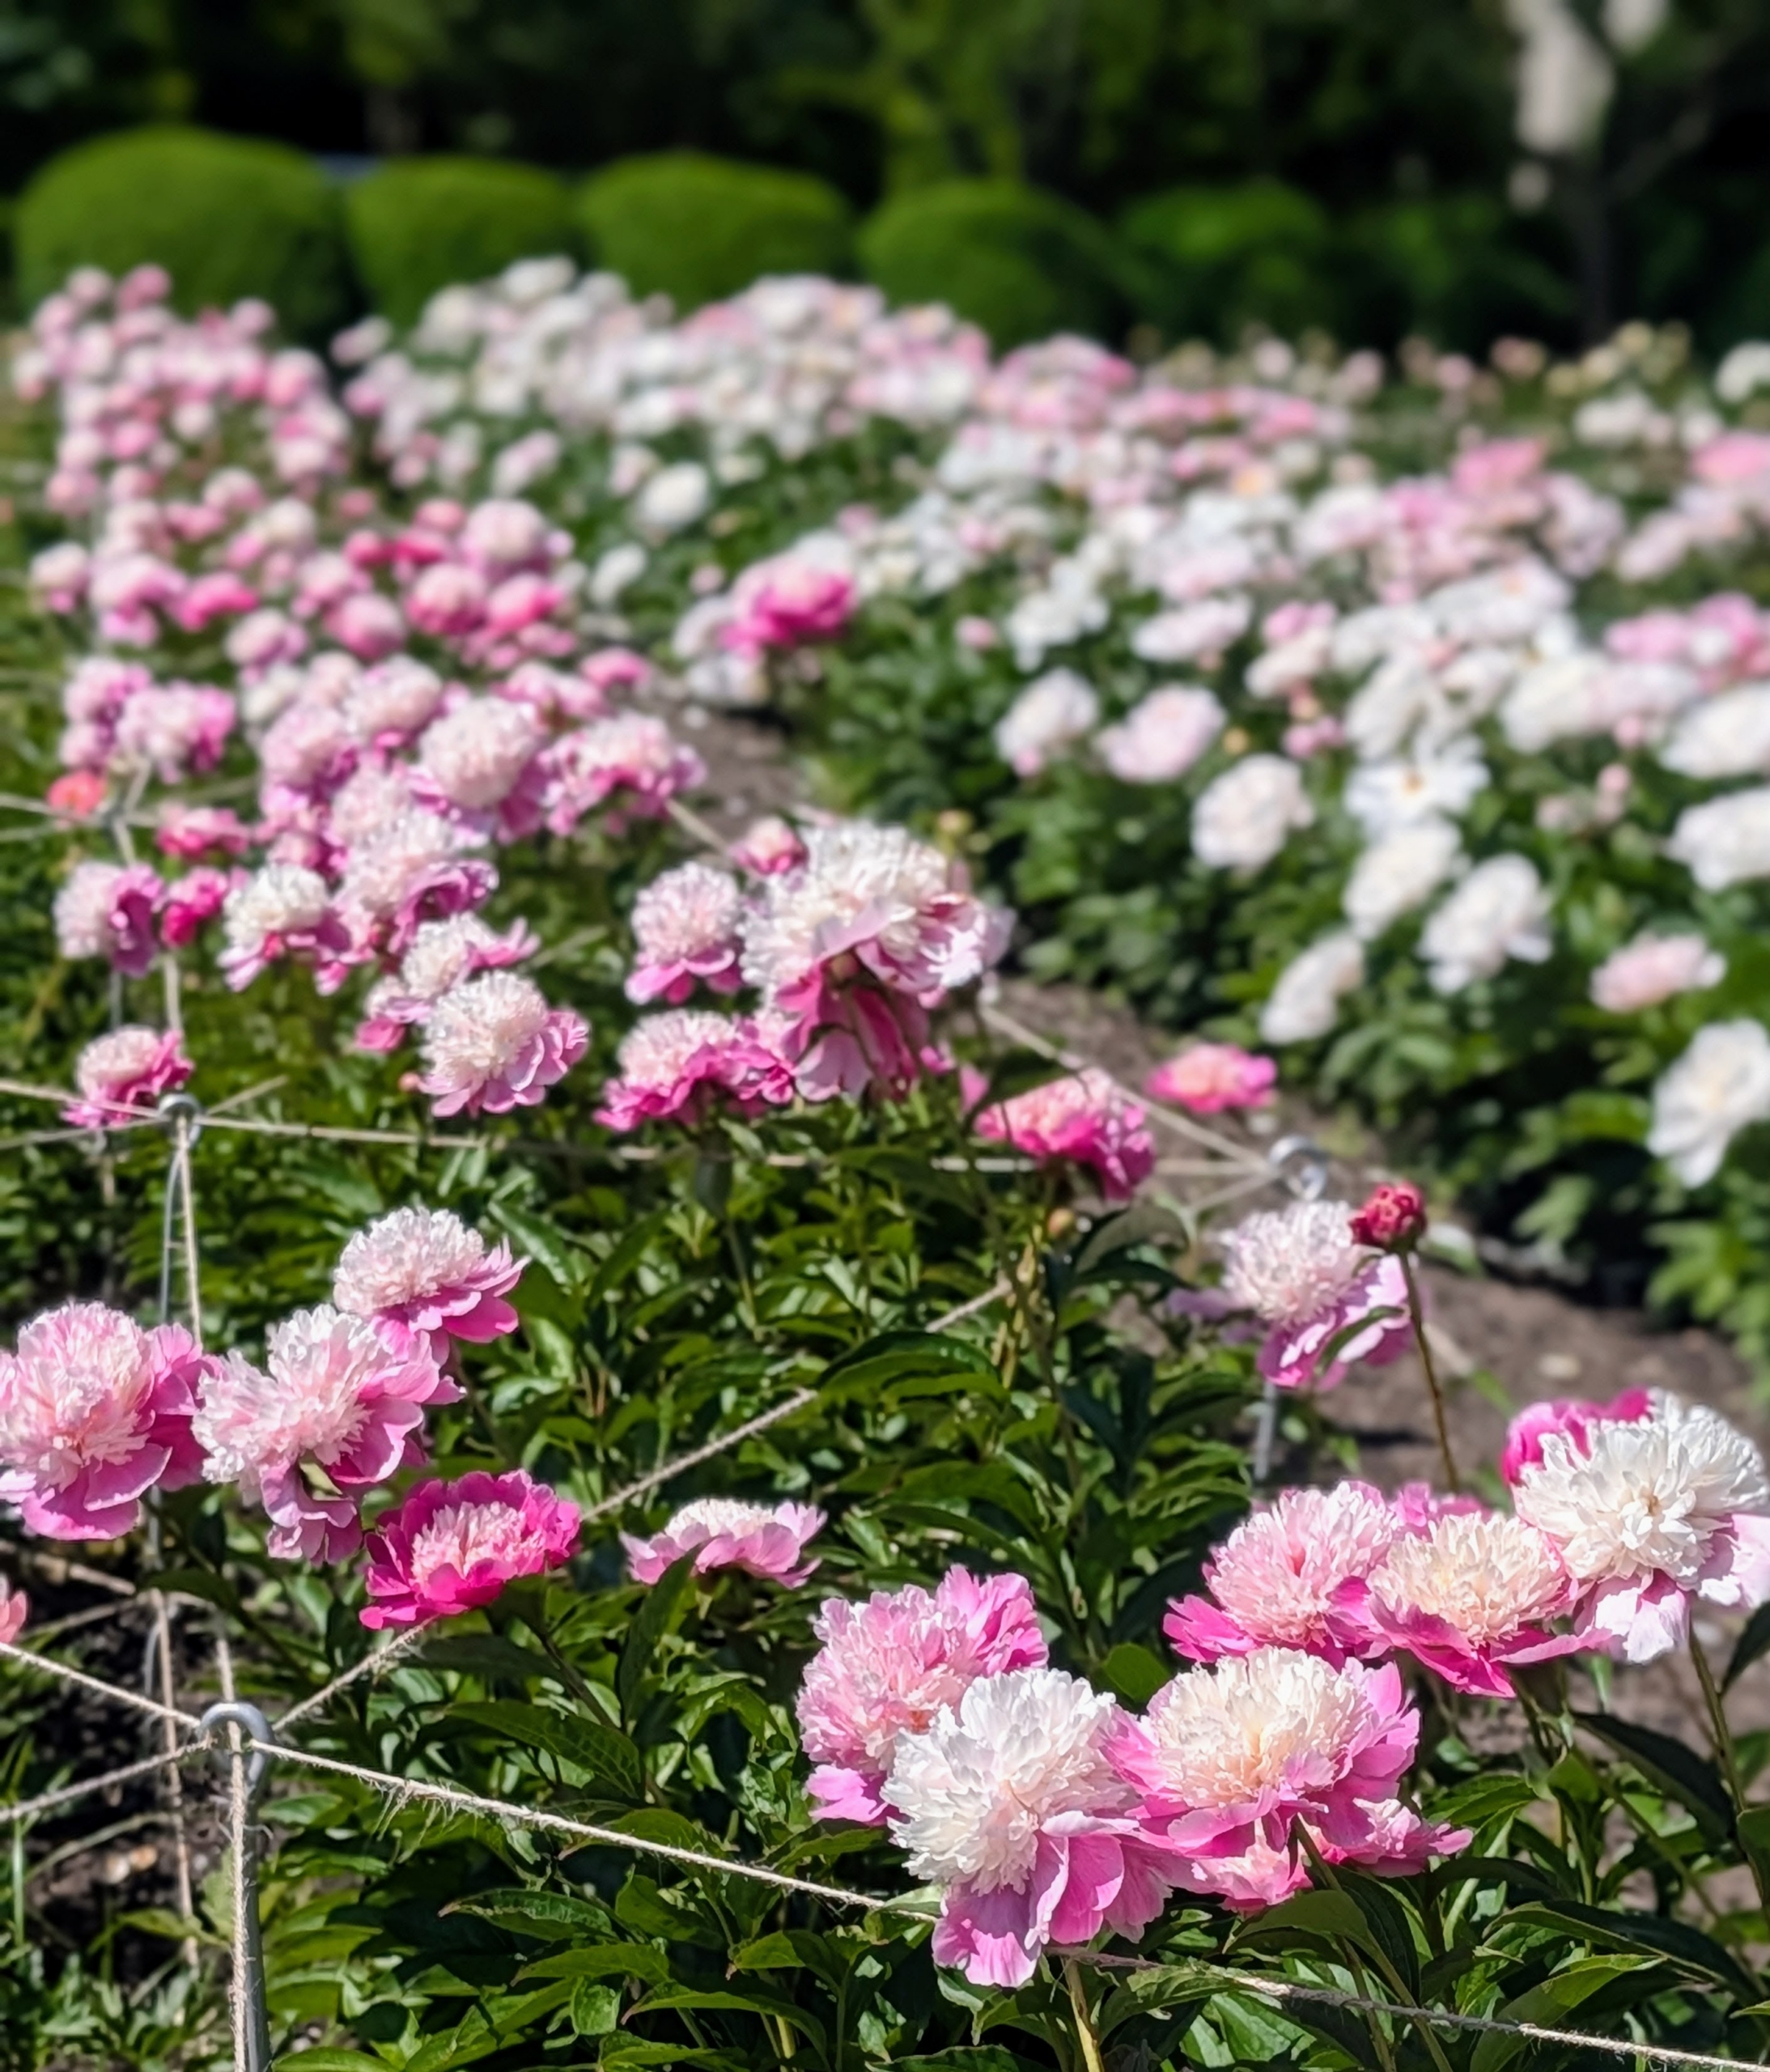
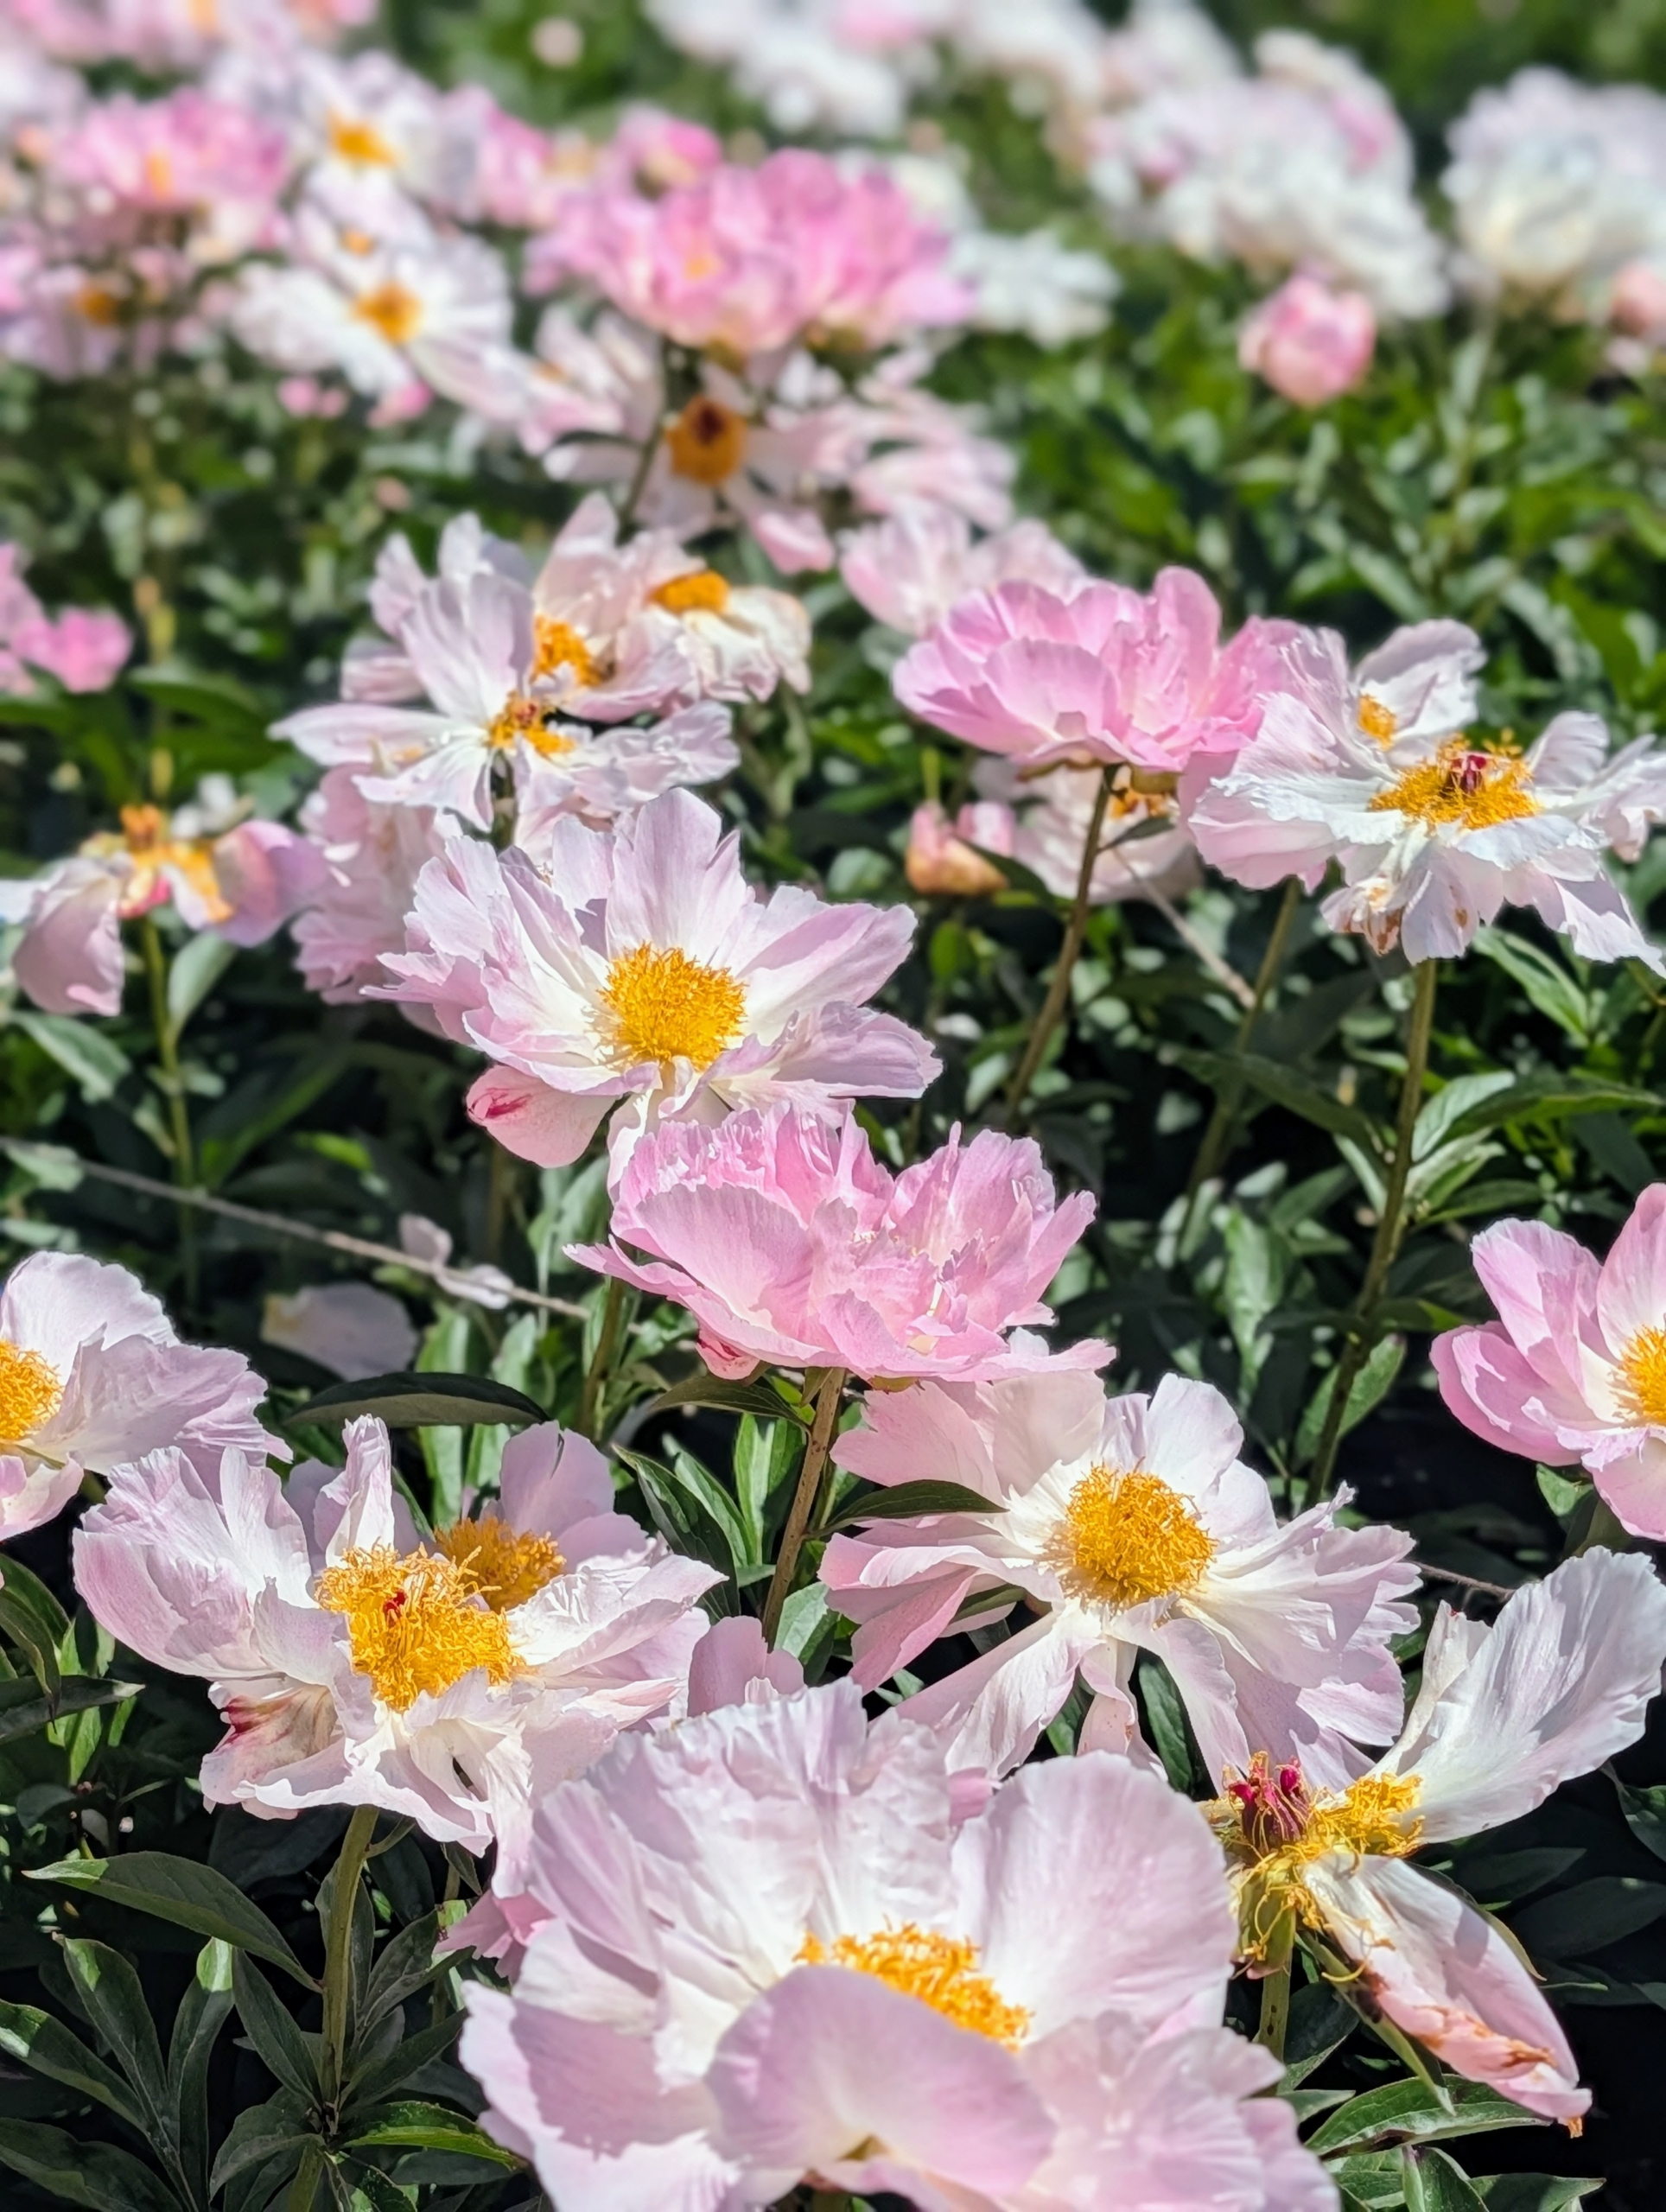
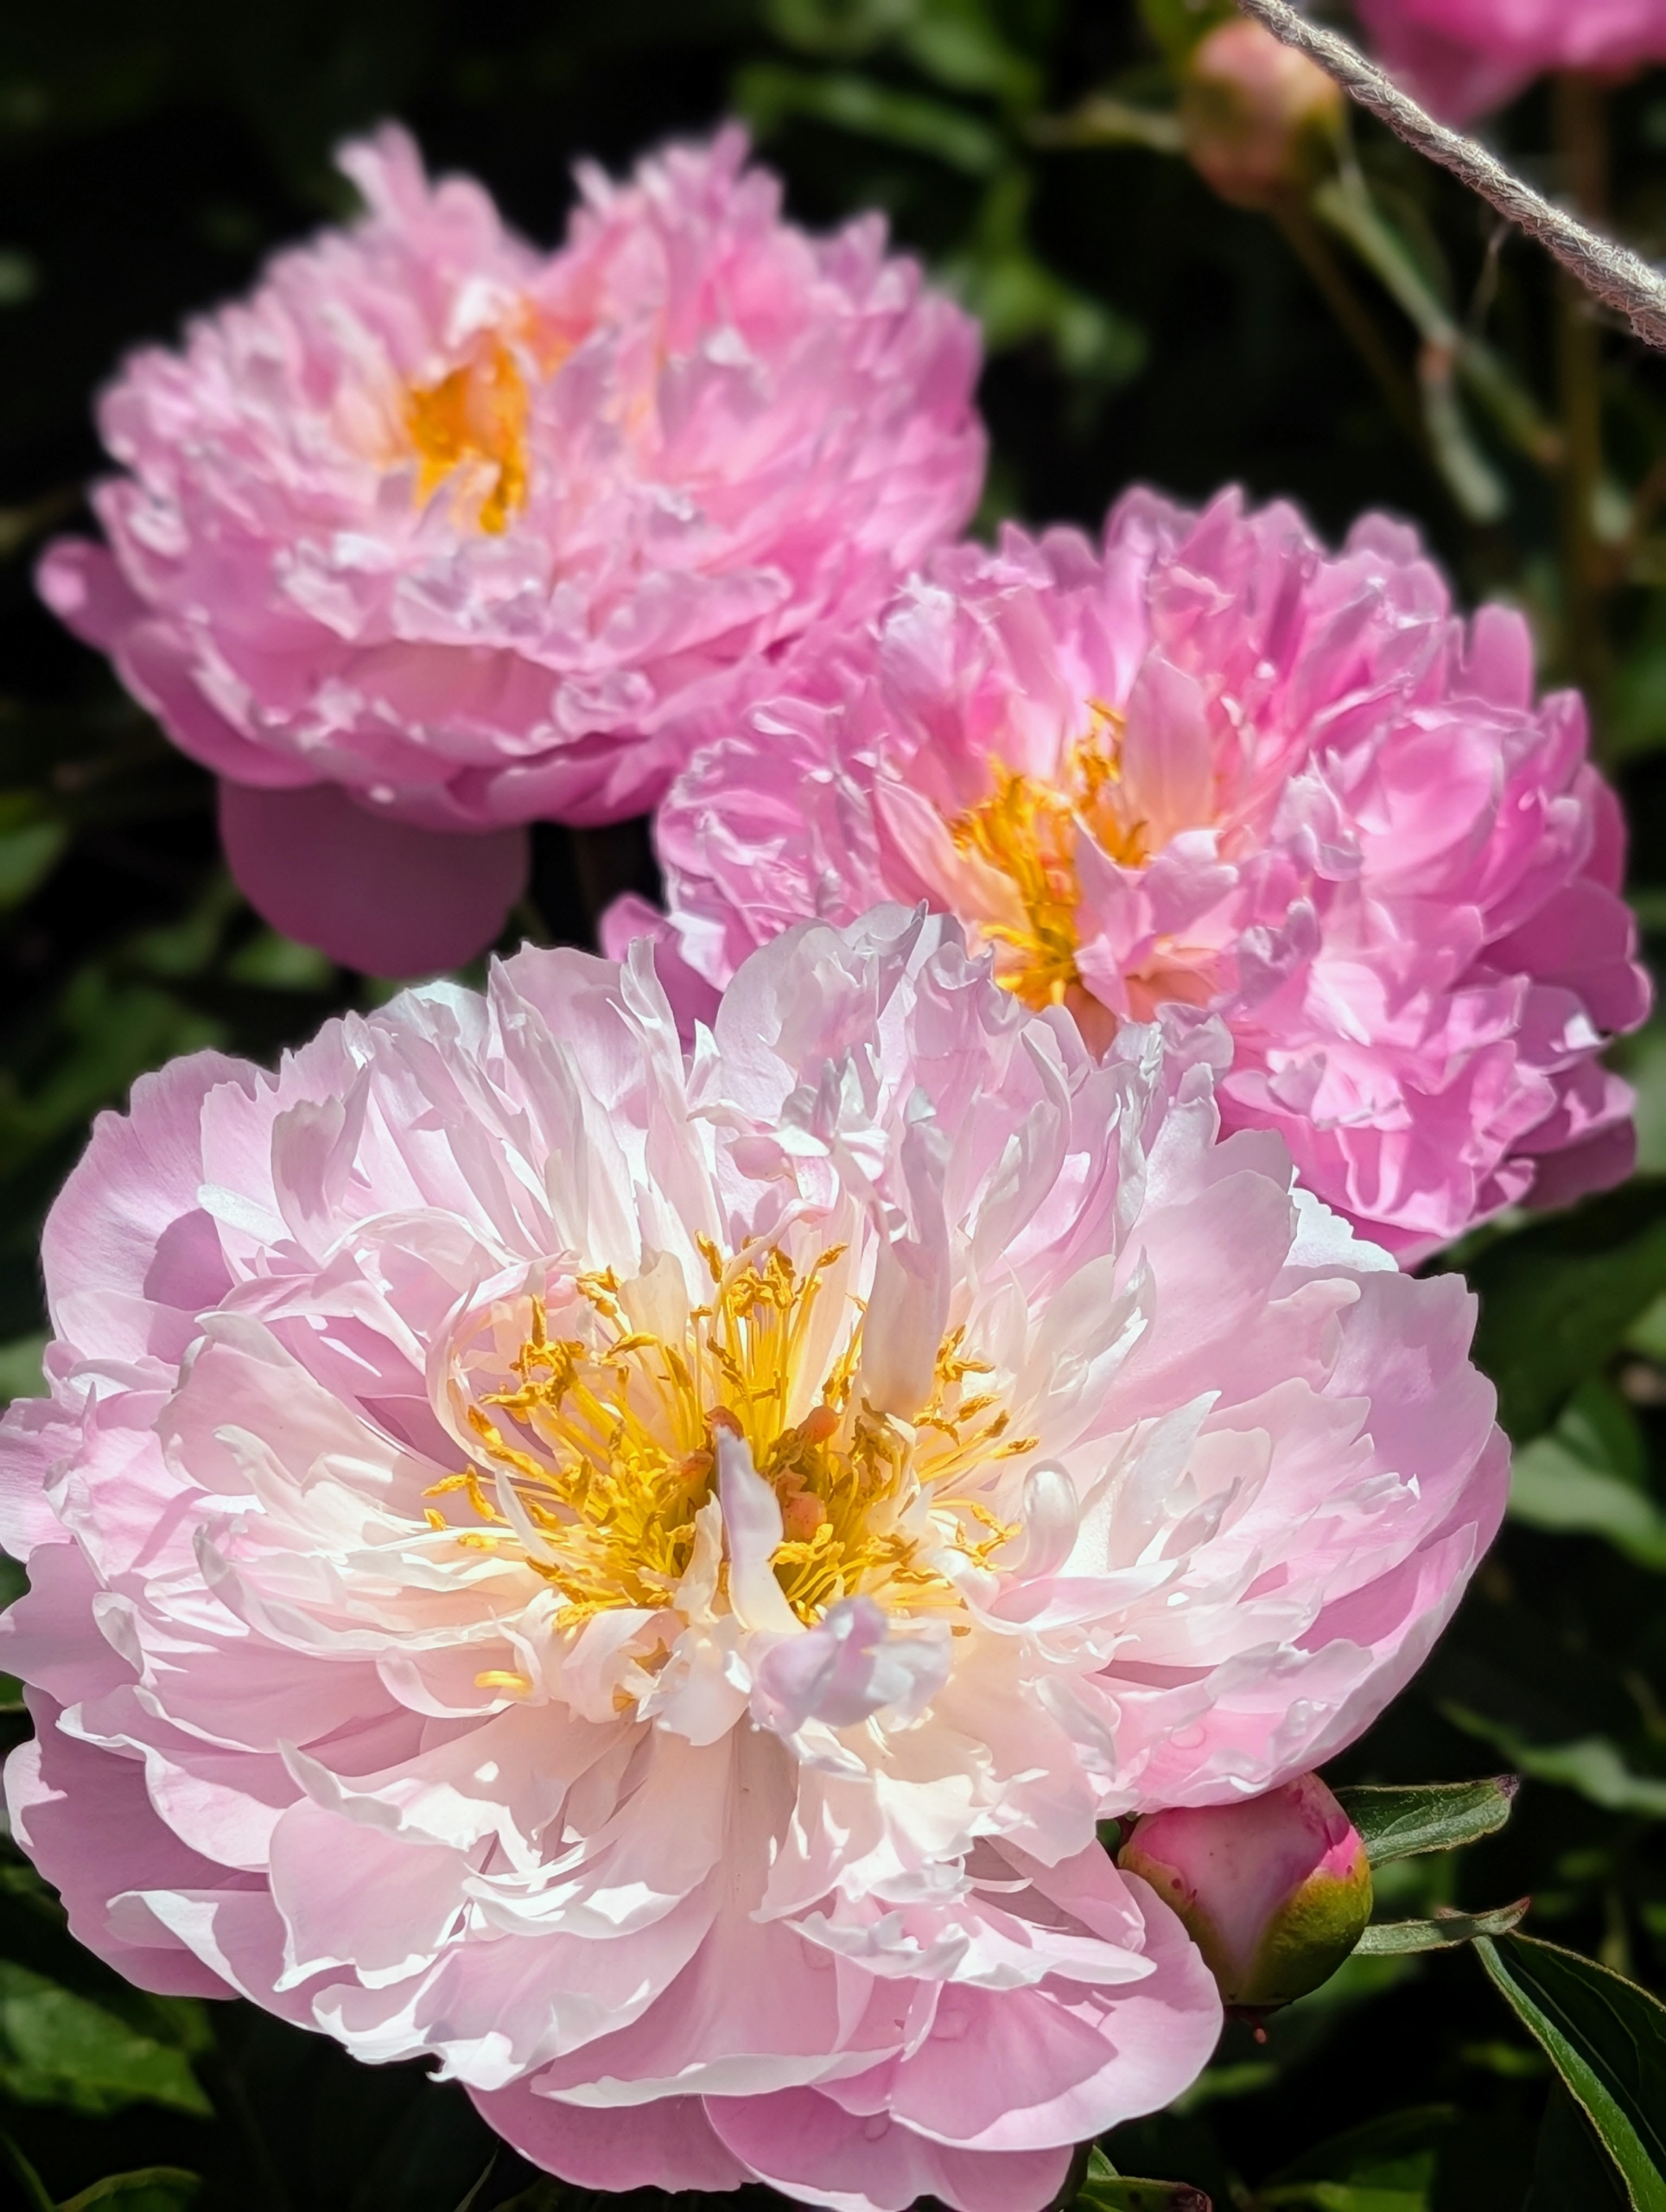
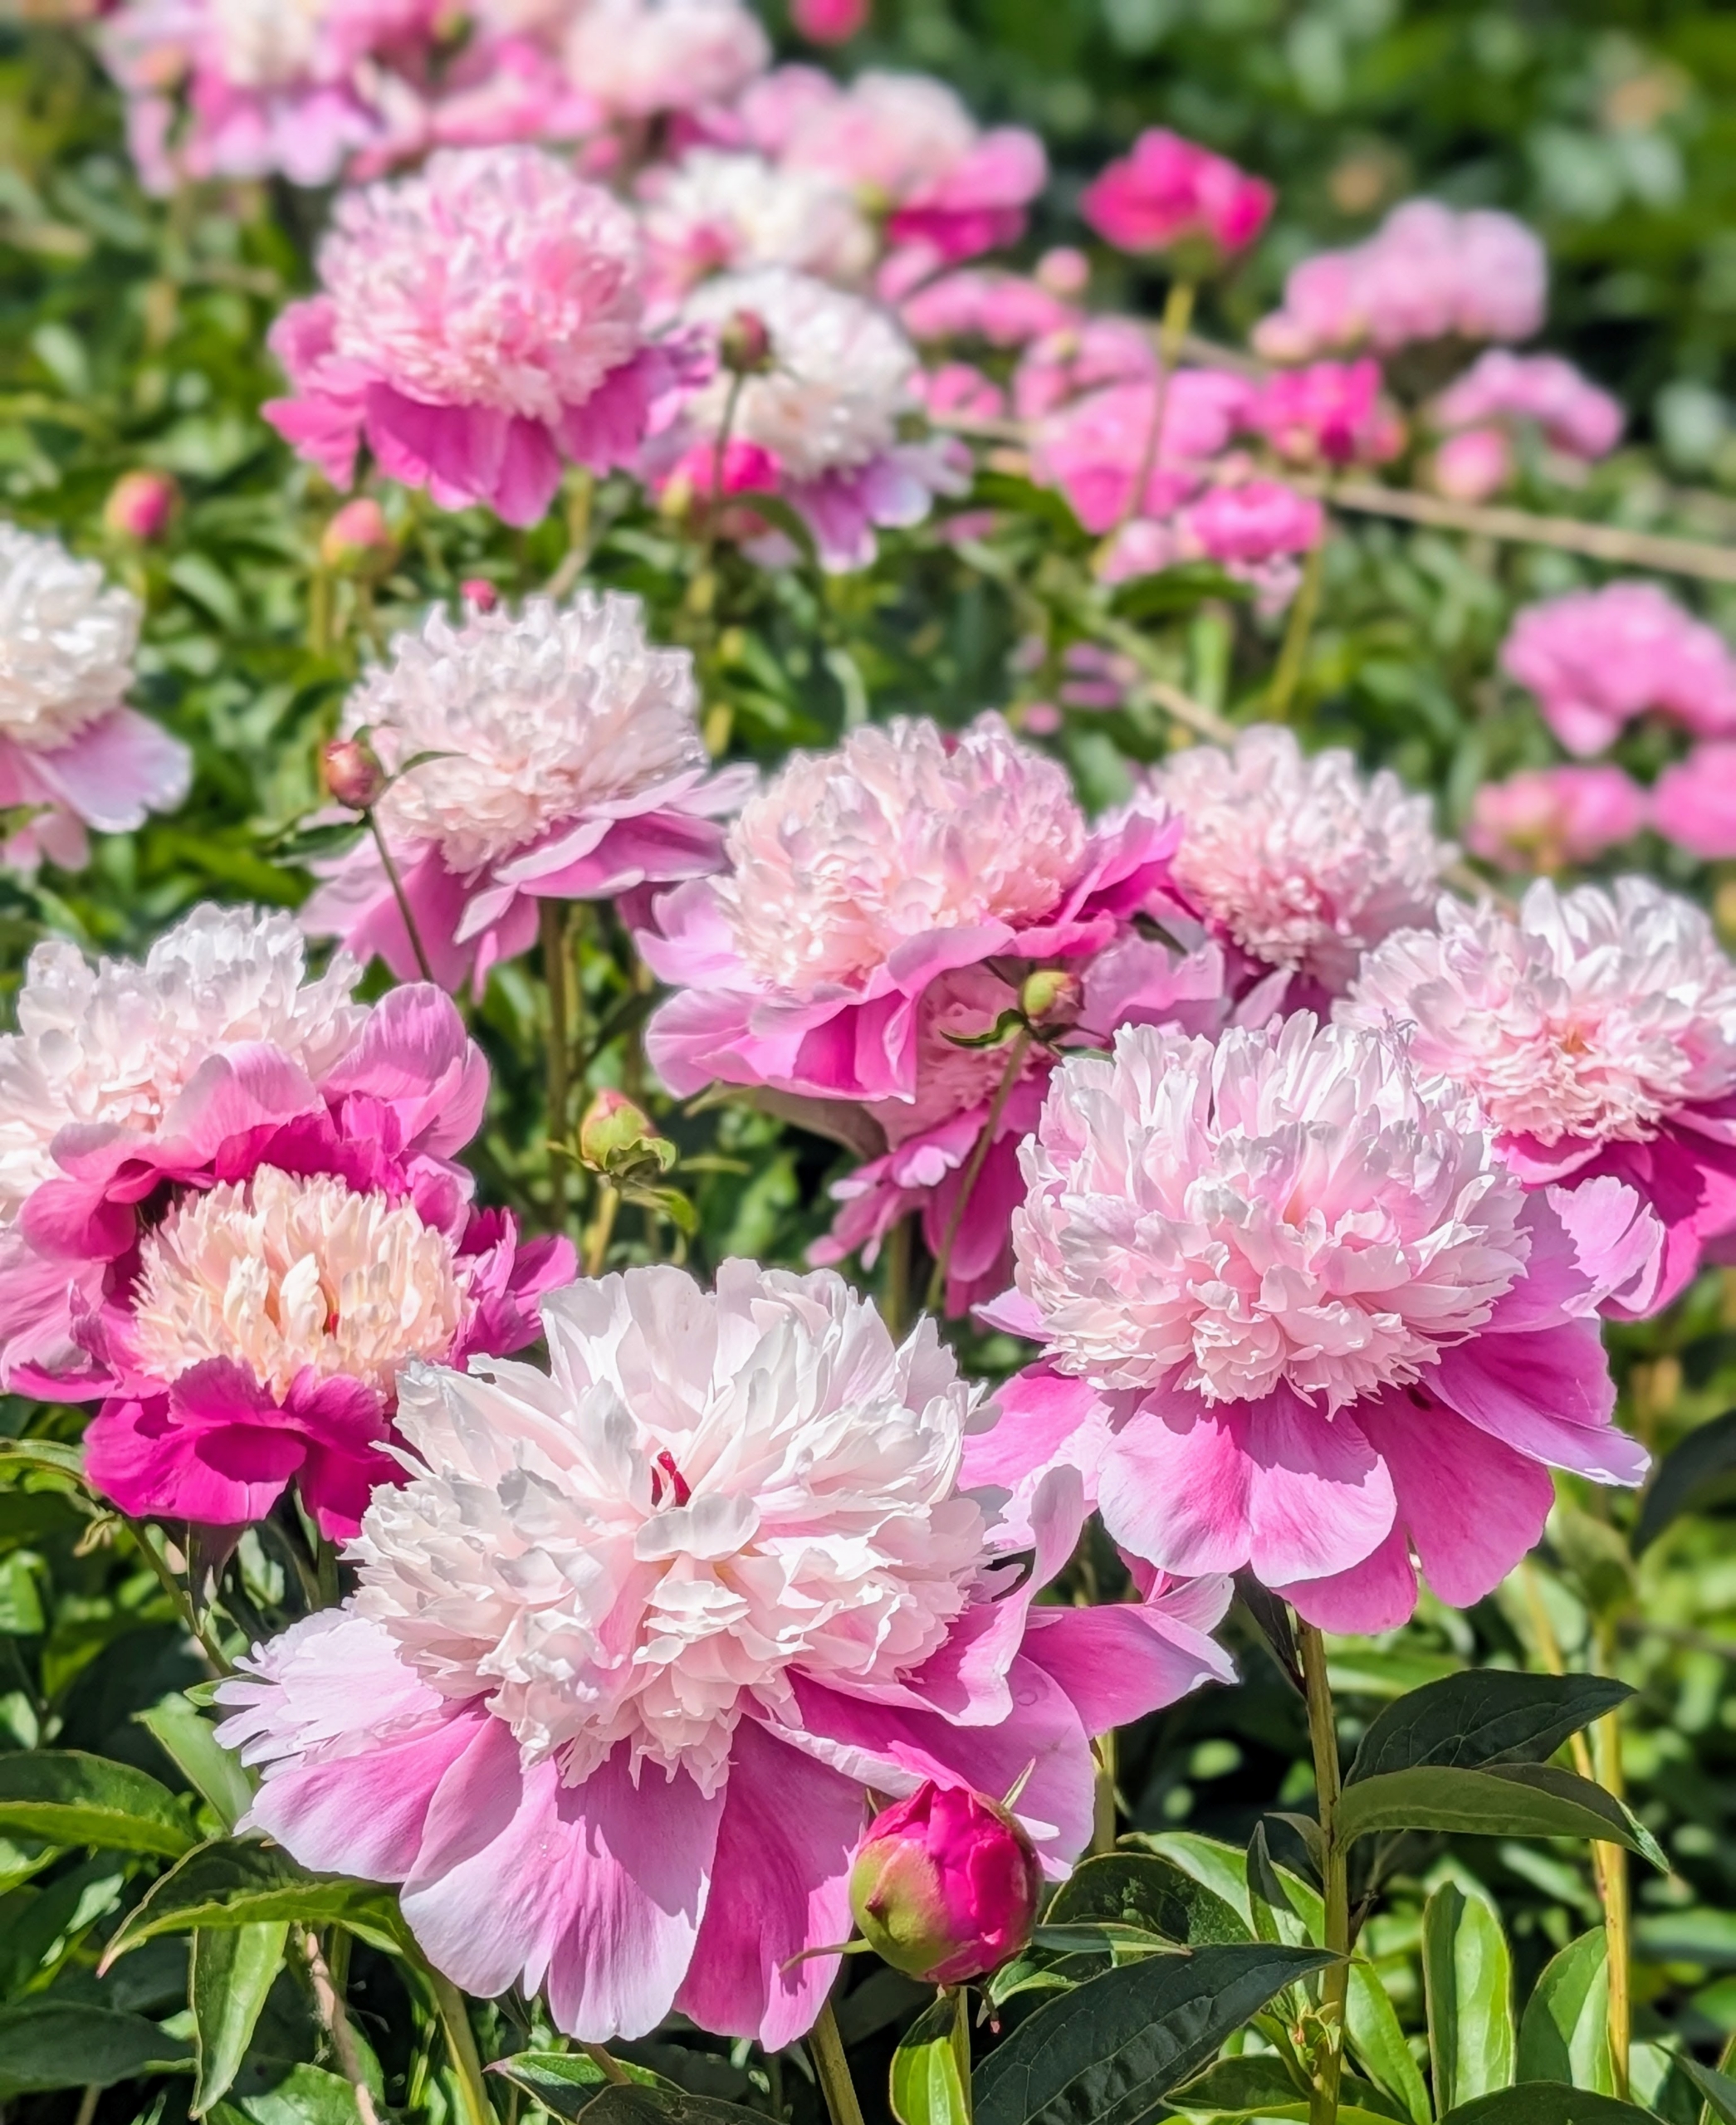
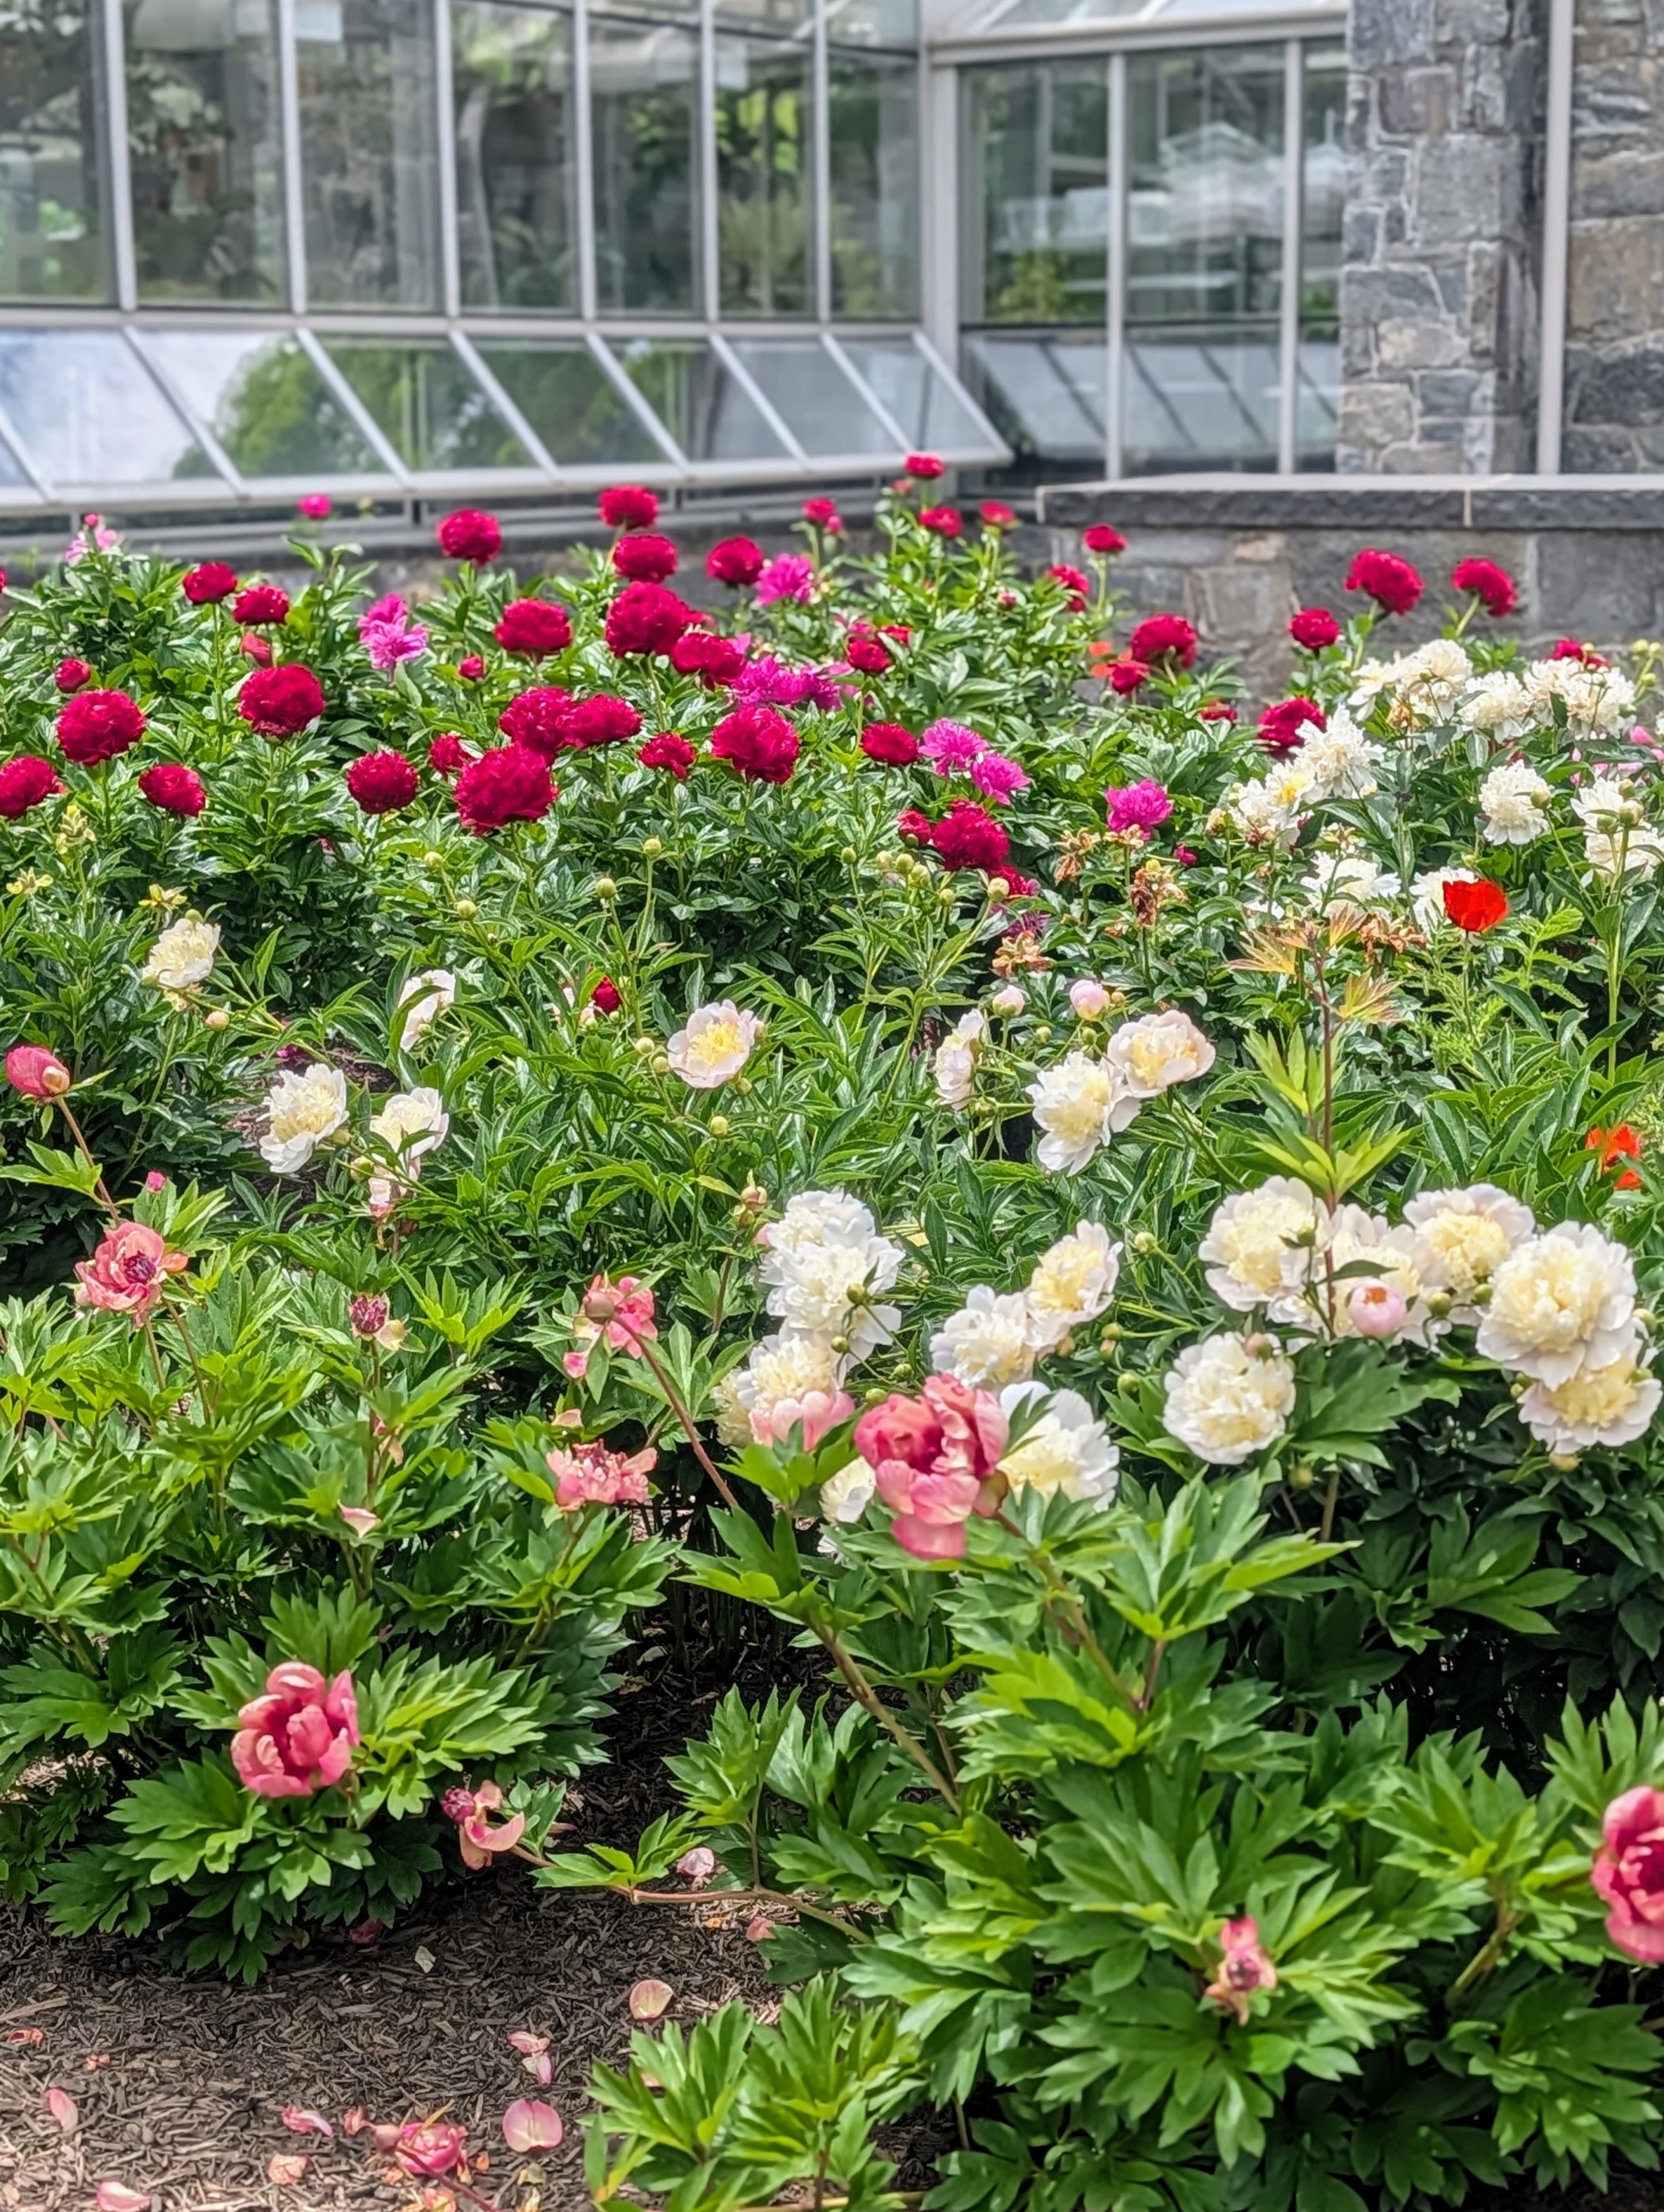
Early June is such an exciting time here at my farm. It's when my herbaceous peony garden is blooming with brilliant pinks and whites!
Every year, I’m always amazed by the dazzling display of these beautiful flowers. It’s definitely one of the most anticipated sights - we all wait patiently for the floral show. Friends and family love the peonies as much as I do and rush to see them in all their splendor. When I first planted this garden, I knew I wanted many, many peonies in one large area. I chose a location across from my Winter House, where there's lots of room and full sun - a perfect spot outside my window.
Enjoy these photos.
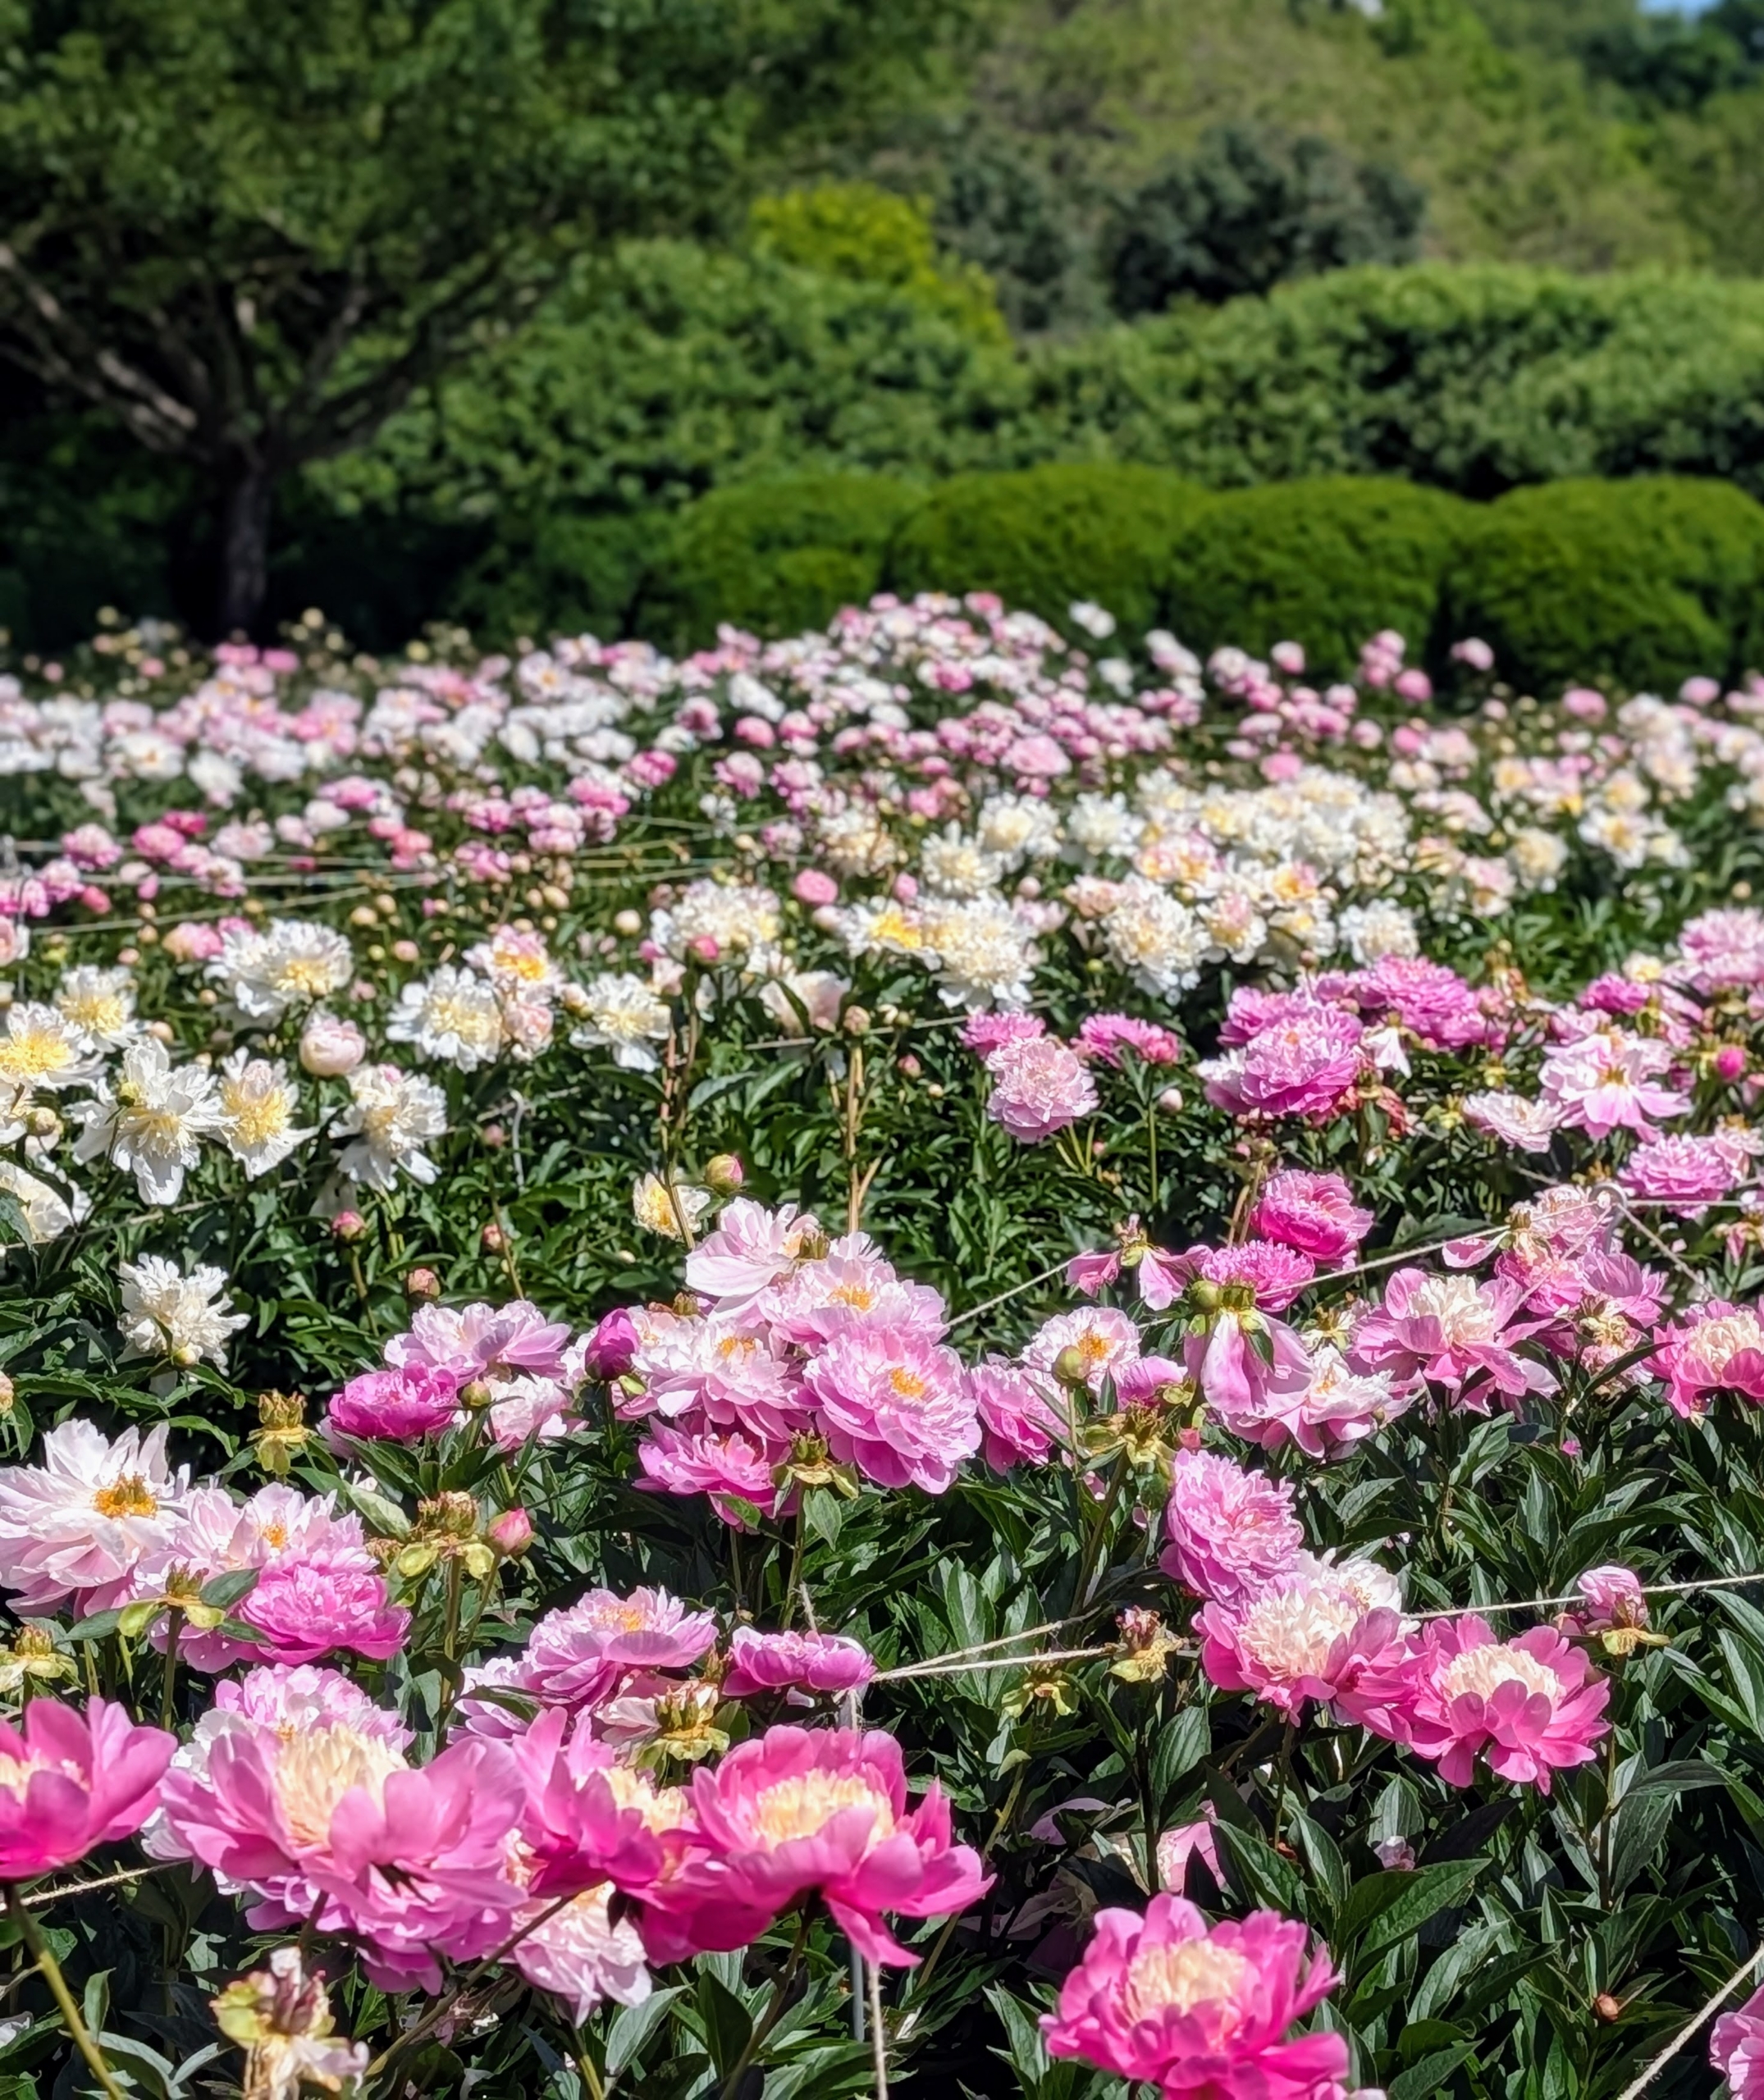
Of all the flowers at my farm, one of the most anticipated is the sight of these blooming herbaceous peonies. Everyone is always so excited to see this peony garden explode with color.
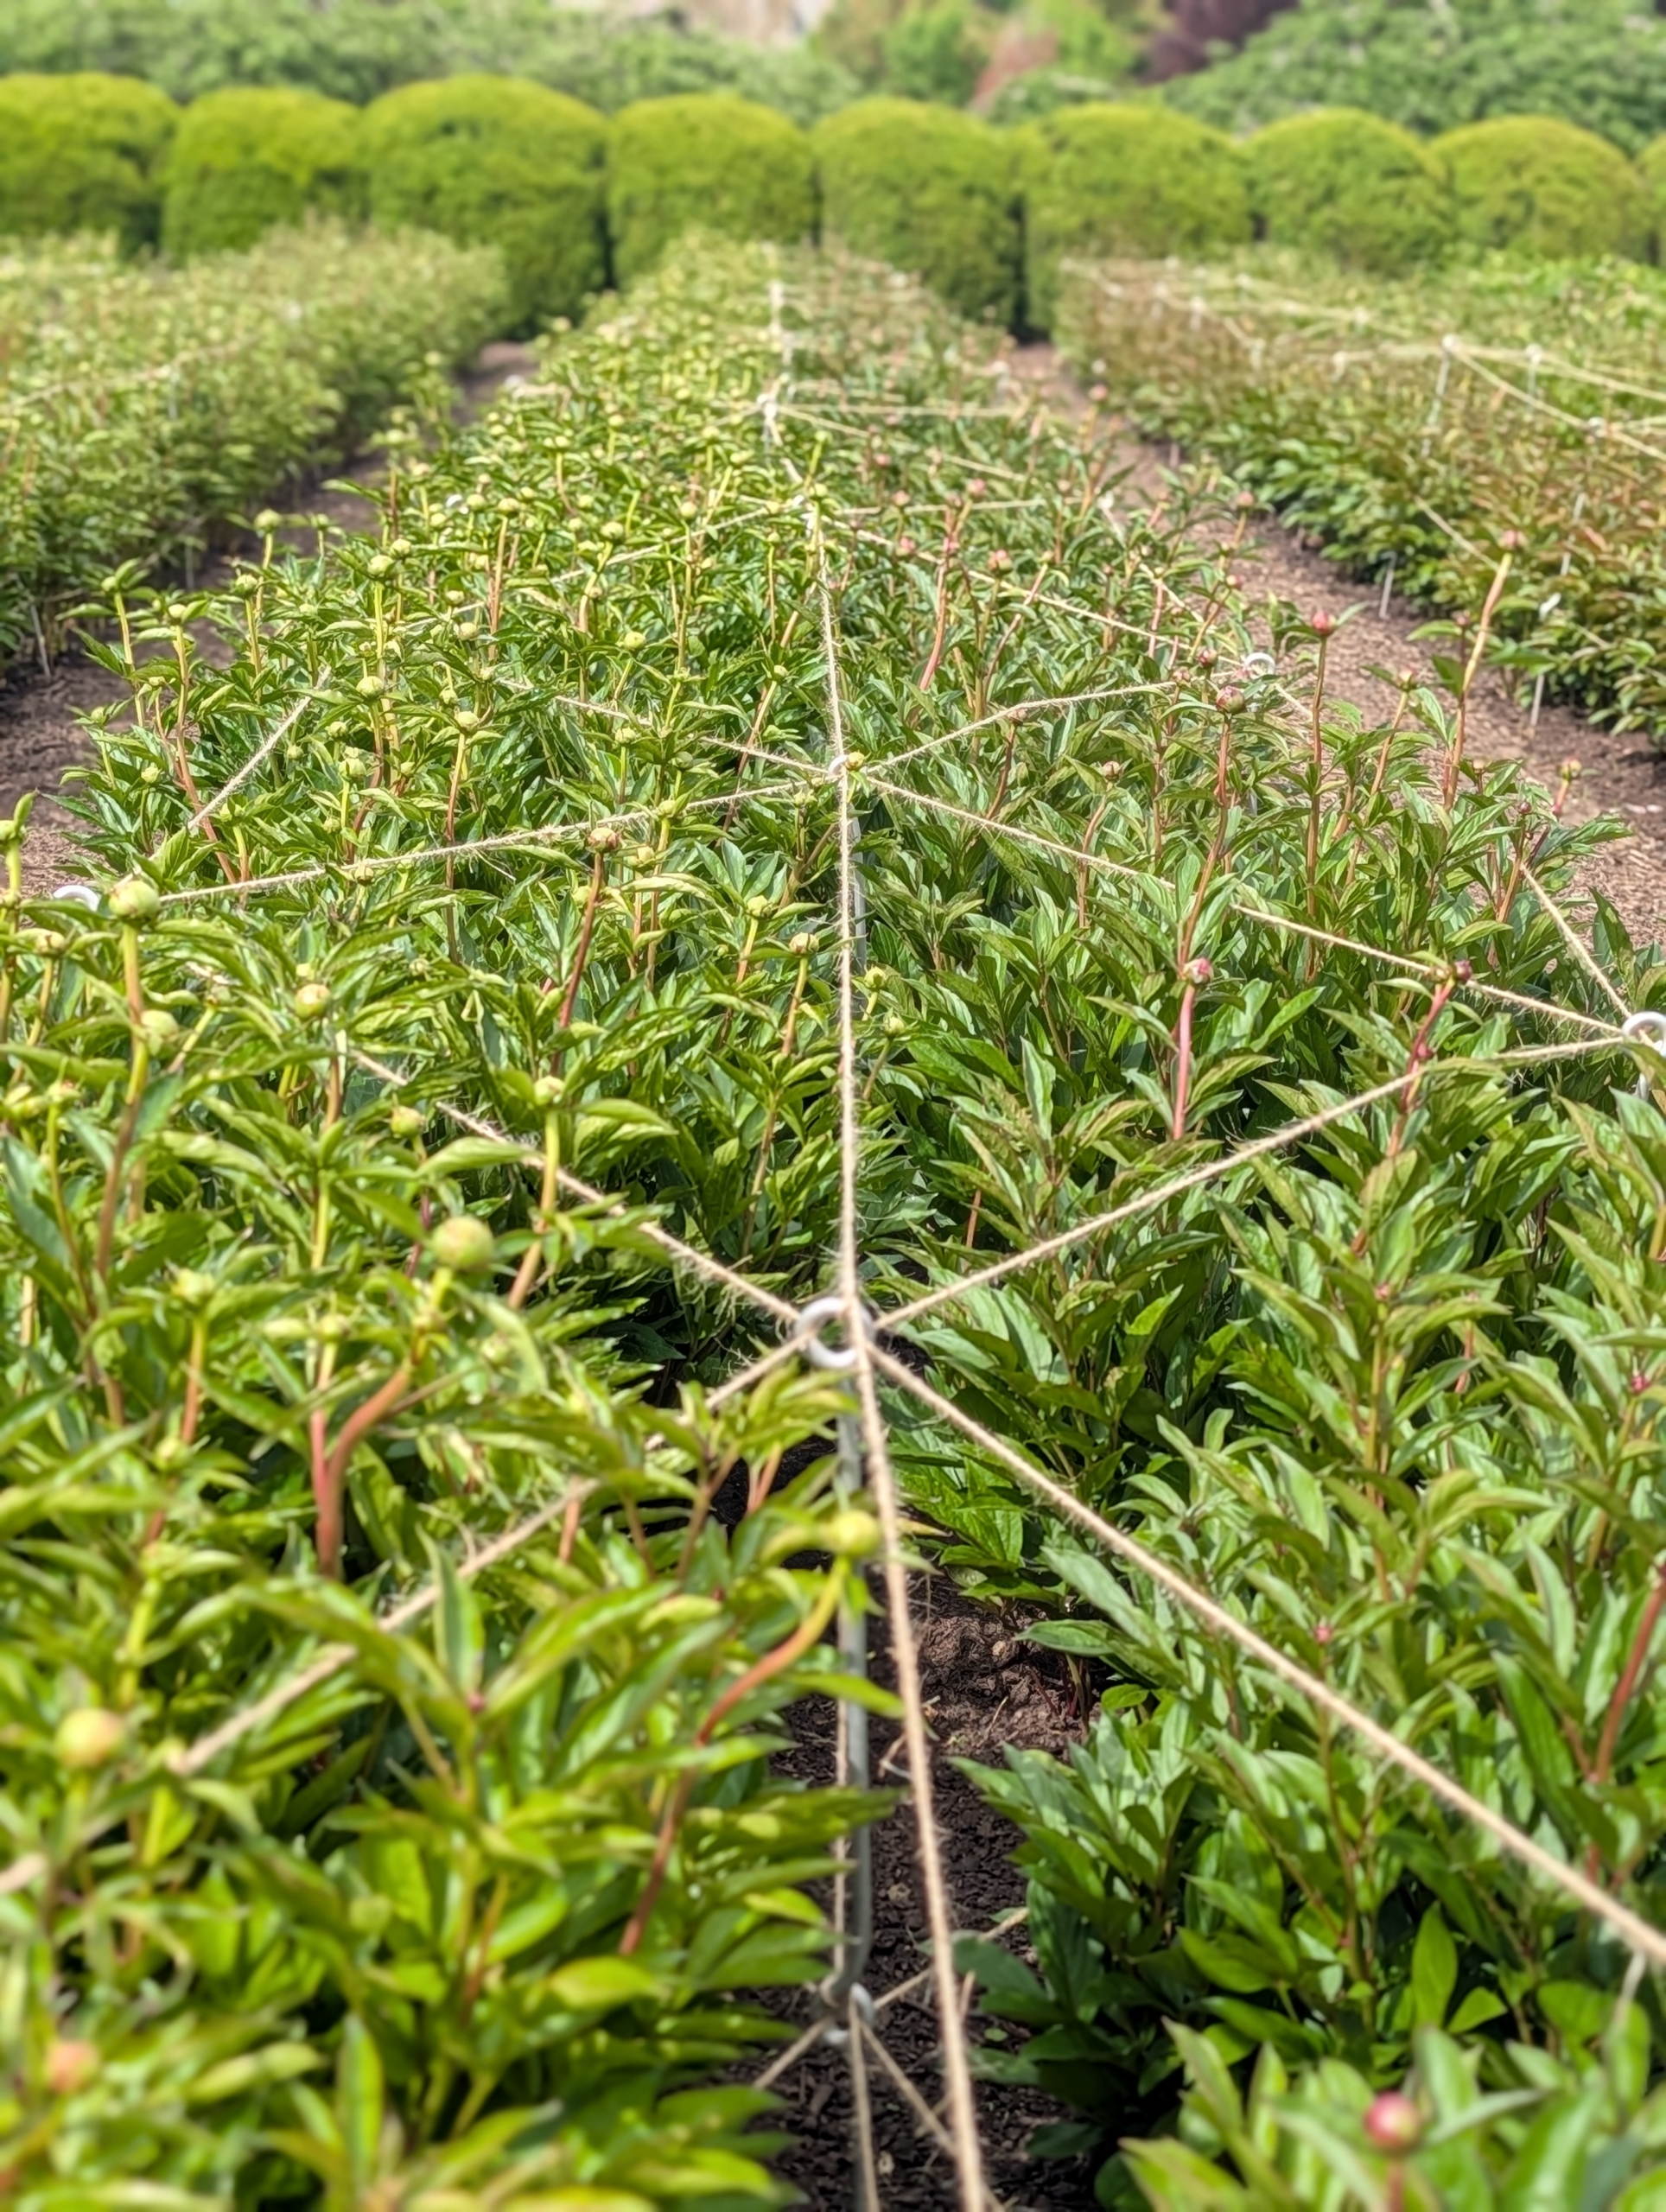
Before the flowers appear, my gardeners and outdoor grounds crew put up stakes, so the peonies are well-supported as they grow. We use natural twine and metal uprights I designed myself for this purpose. I also make sure the beds are well fed and mulched – maintenance is very important.
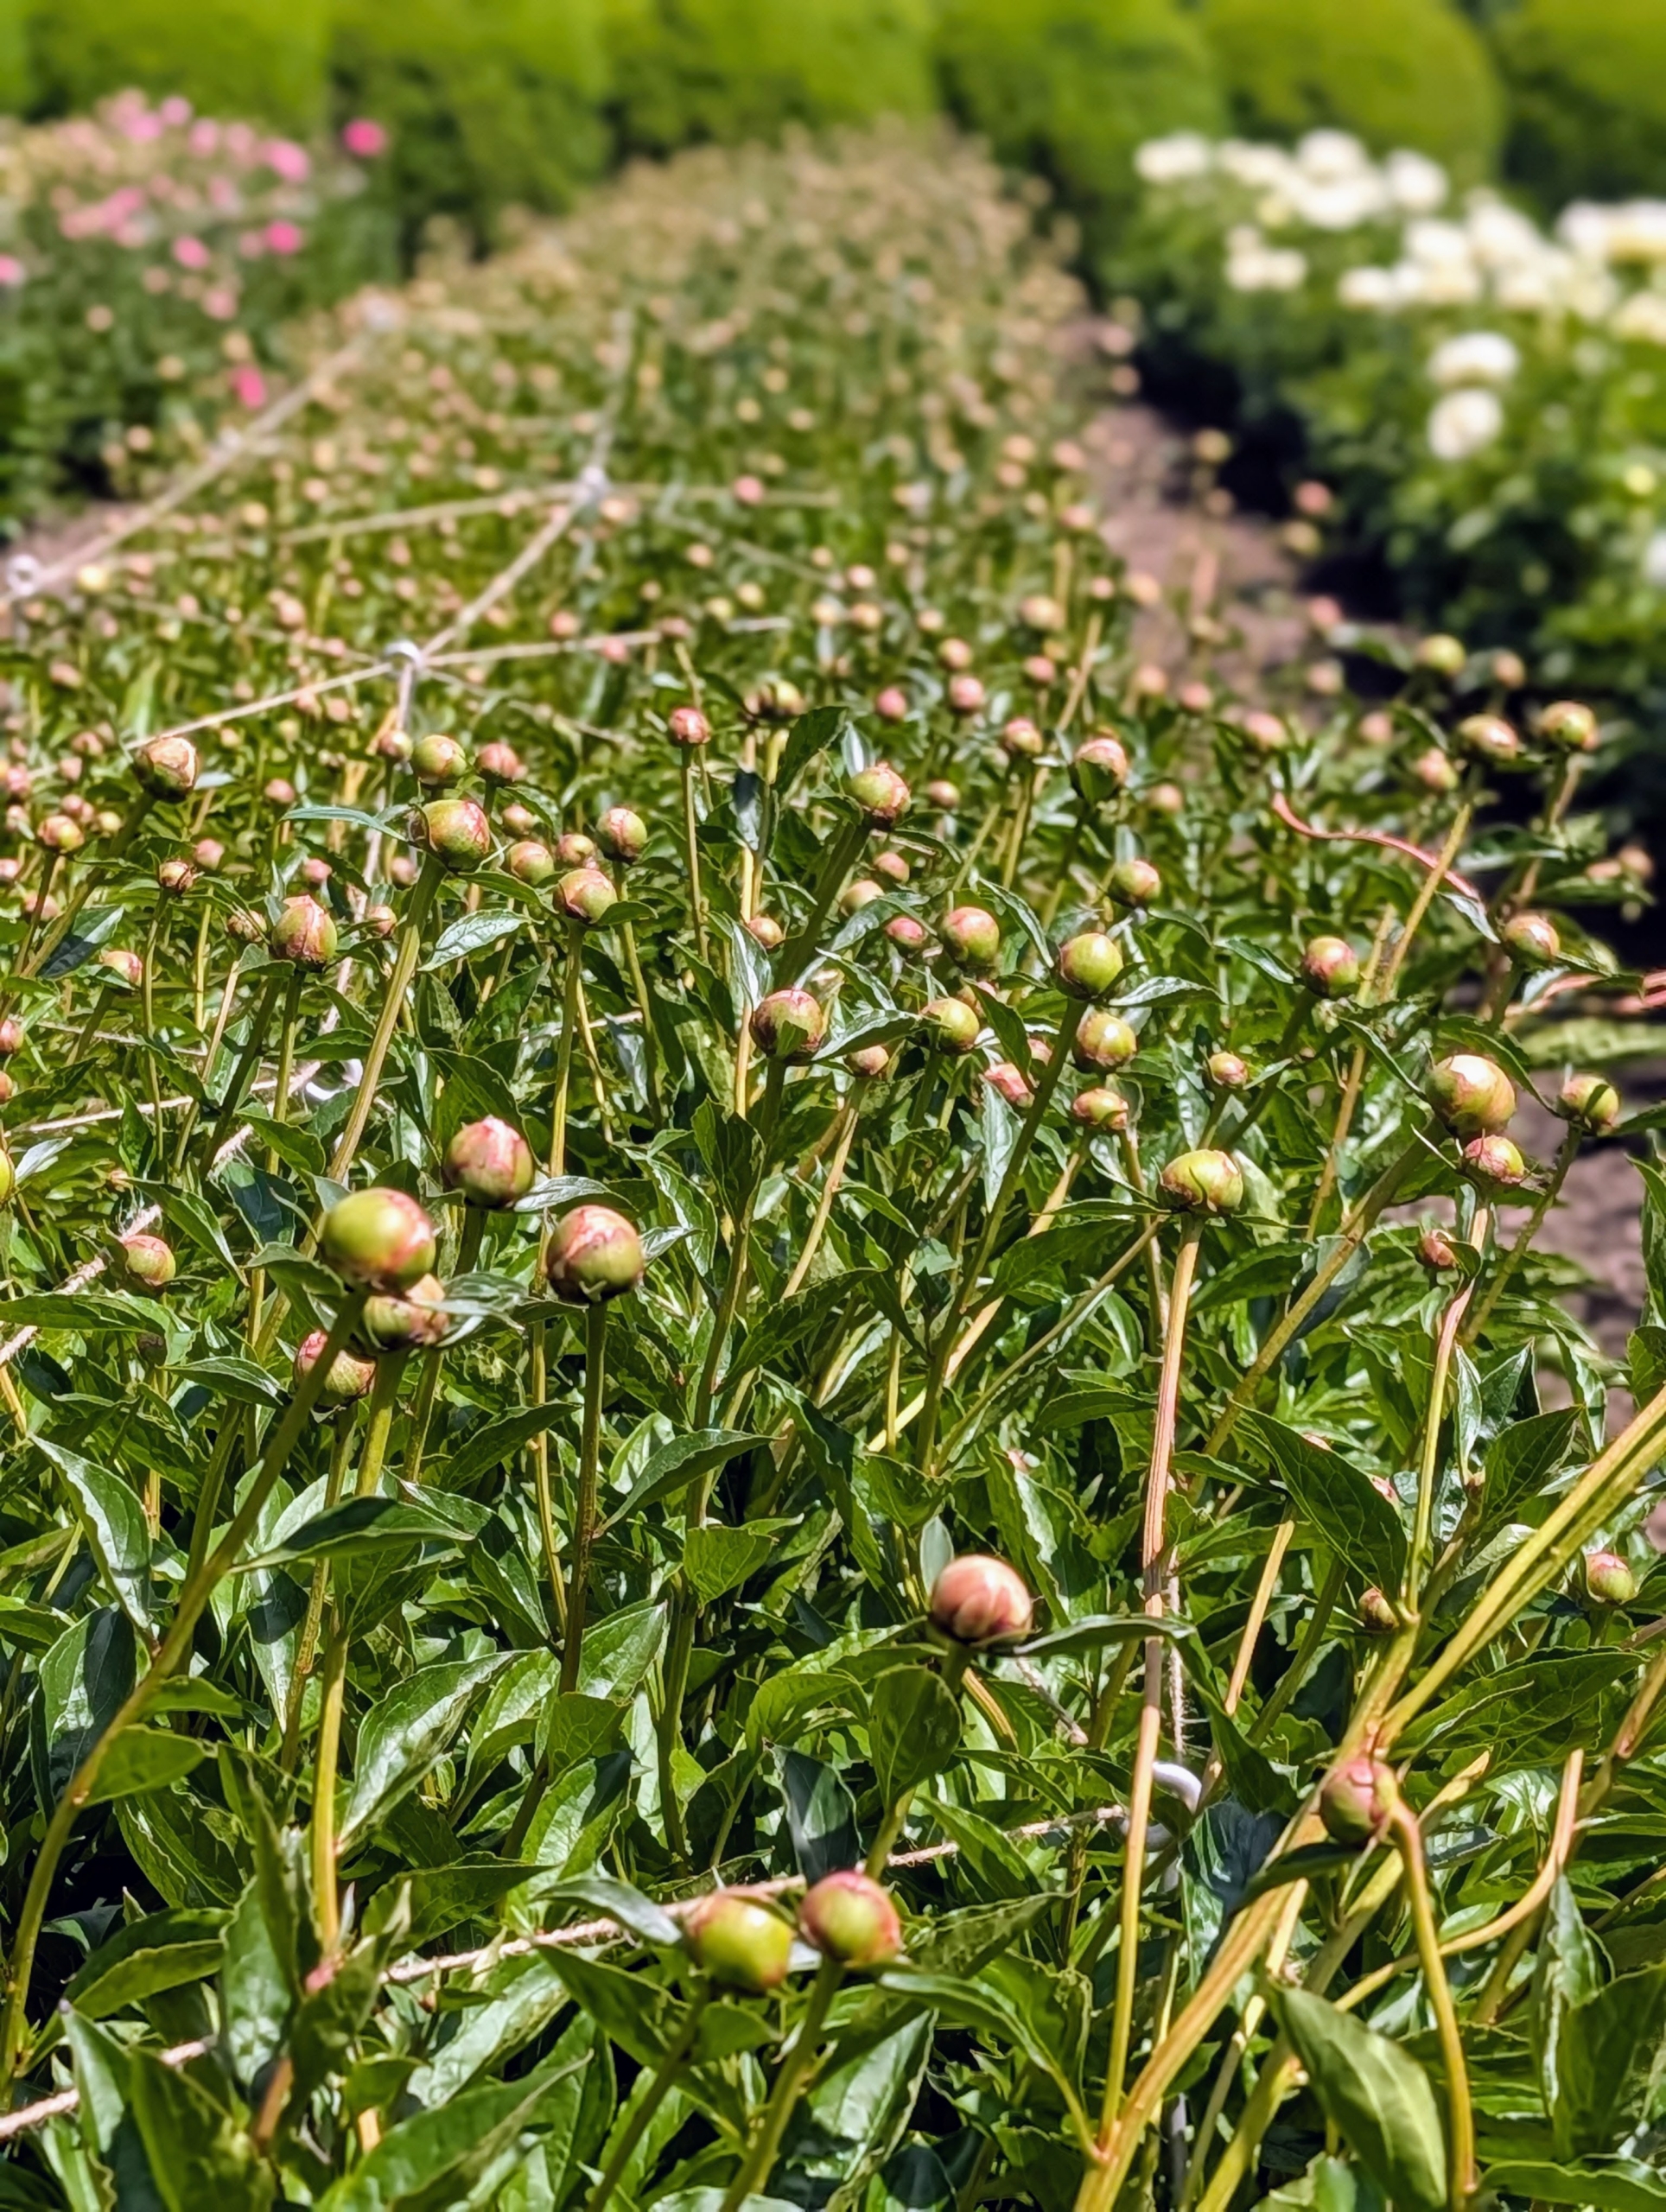
Not long after, one can see hundreds of buds atop their stems. When I first planted my peony garden, I focused on pink varieties, and planted 11-double rows of 22-peony types. I chose the varieties for their colors, their forms and their long blooming periods.
By the end of May, the blooms appear. One of the reasons these peonies thrive here at my farm is because of the soil. It has a pH of 6.5 to 7.0, which is ideal. It is also amended with superphosphate and Azomite, a natural product mined from an ancient mineral deposit in Utah. These natural additives improve root systems and overall plant vigor, resulting in this fantastic profusion of blooms.
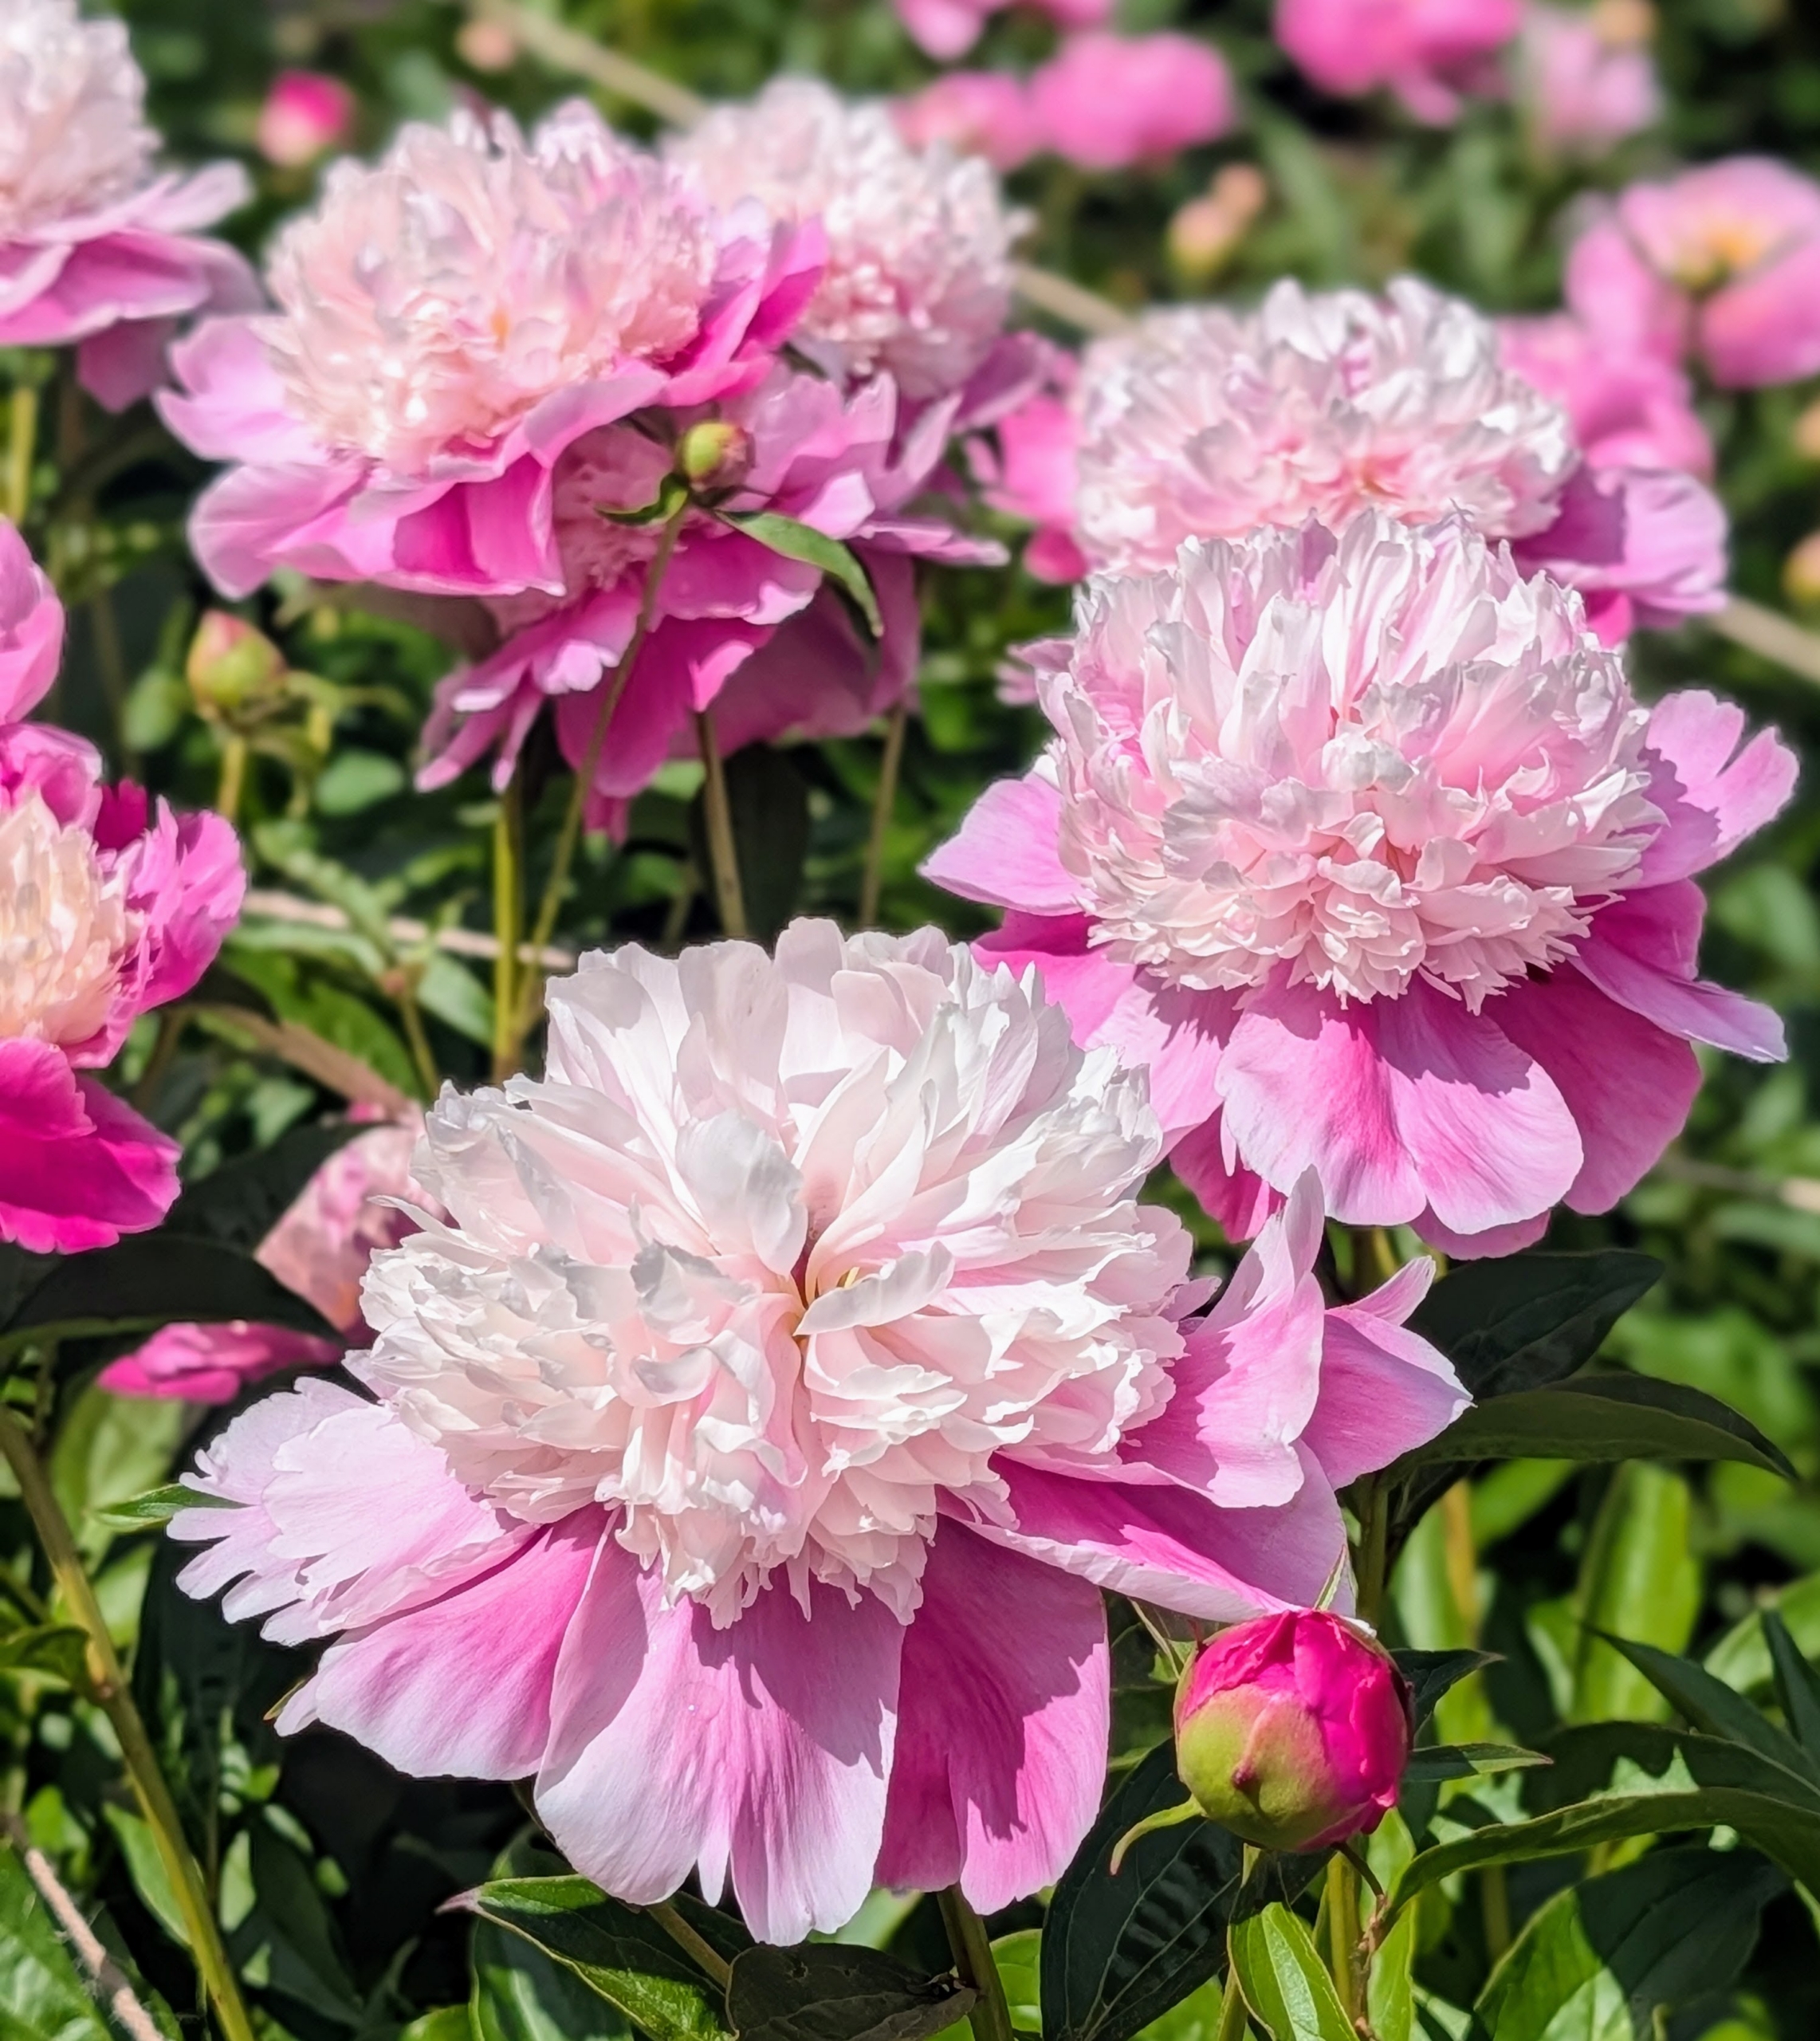
Look at the transformation – rows and rows of gorgeous blooms.
The peony is any plant in the genus Paeonia, the only genus in the family Paeoniaceae. They are native to Asia, Europe, and Western North America.
There are approximately 33 to 40 different species of peony.
Peonies are one of the best-known and most dearly loved perennials – not surprising considering their beauty, trouble-free nature, and longevity.
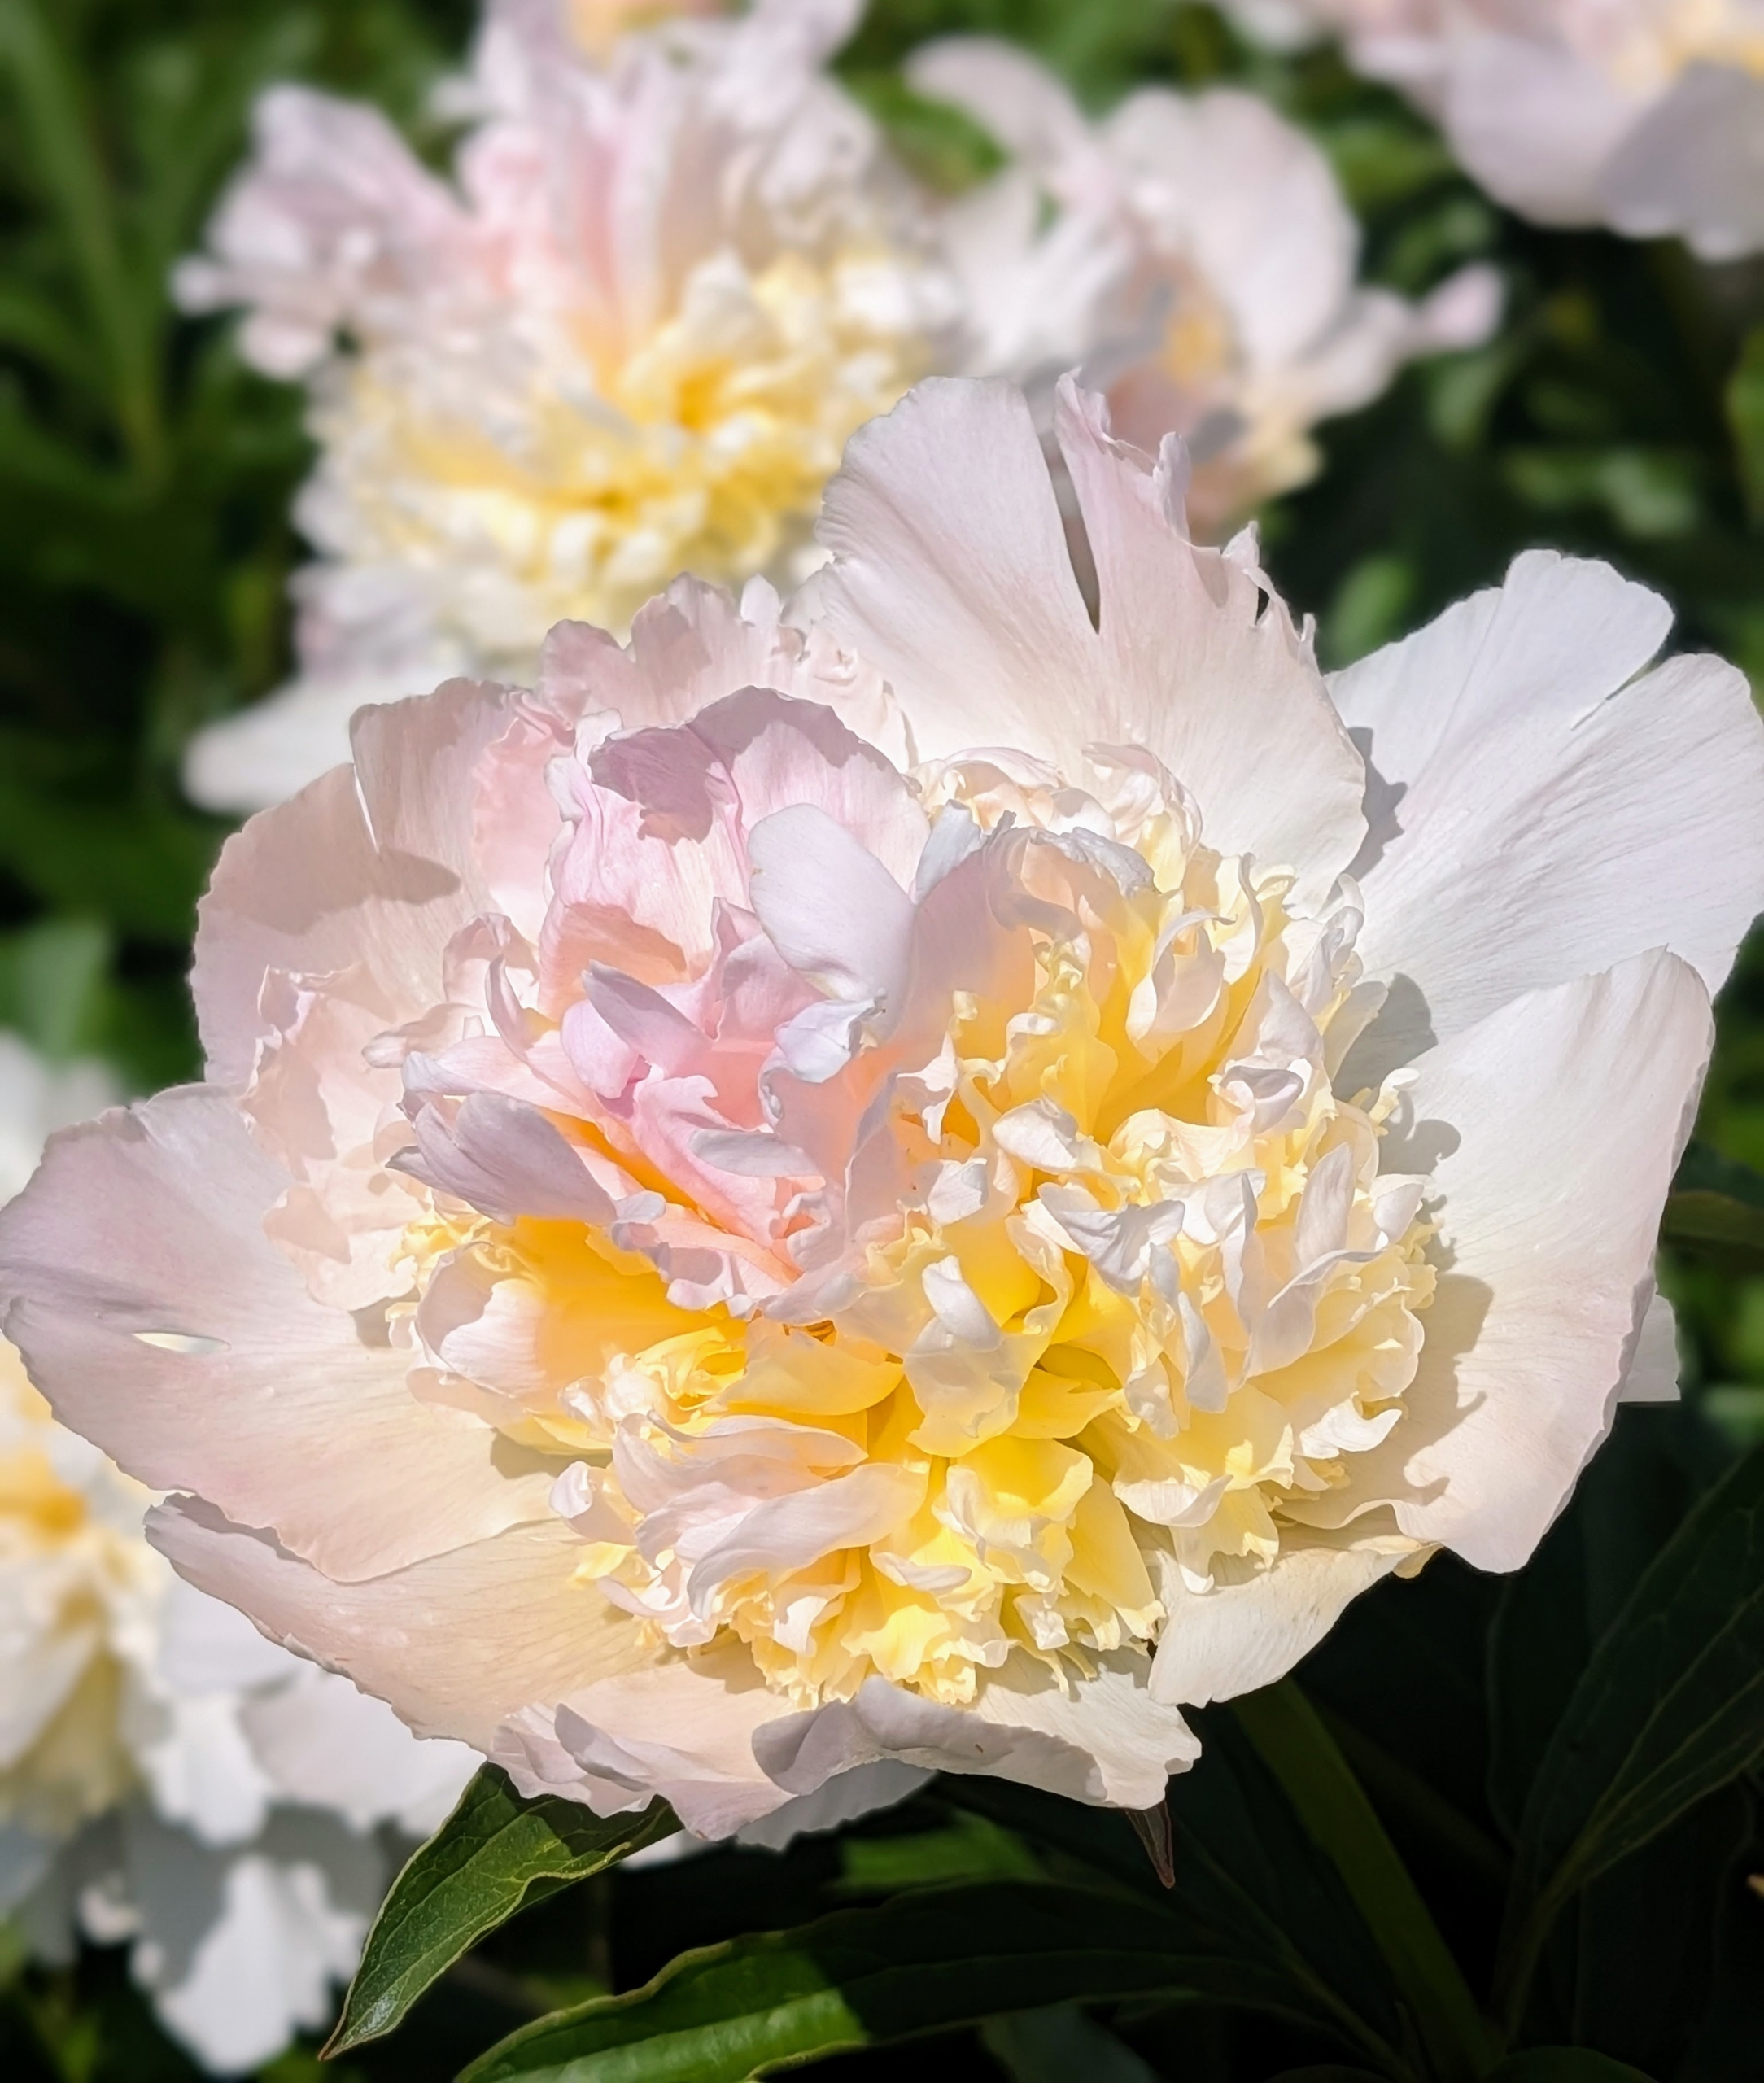
Peony blooms range from simple blossoms to complex clusters with a variety of petal forms.
The peony’s fragrance can vary, but most have sweet, clean scents. And, do you know… pink peonies tend to have stronger fragrances than red peonies? Double form white peonies are also very aromatic.
Flower colors come in pink, white, yellow, red, and coral and the various shades and tints of each.
The majority of peonies are hybrids and classified as herbaceous, or as deciduous tree peonies. The peony is showy, frilly with tuberous root systems.
Peonies are considered northern flowers – they tolerate and even prefer cold winter temperatures. They are hardy in zones 3 through 8 and need more than 400-hours of temperatures below 40-degrees Fahrenheit annually to break dormancy and bloom properly.
For the most part, peonies are disease resistant. They do, however, take some time to get established, so be patient. And if you happen to see ants crawling on your peonies, don’t worry. The insects are attracted to the sugary syrup produced by the buds. Once the flower opens fully, and the sucrose has been finished, the ants disappear.
Among the varieties in my collection – ‘Elsa Sass’, ‘Victorian Blush’, ‘Fringed Ivory’, ‘Martha’, ‘Madylone’, ‘Lullaby Coos’, ‘Vivid Glow’, ‘Angel Cheeks’, ‘Miss America’ and ‘Flying Pink Saucers.’
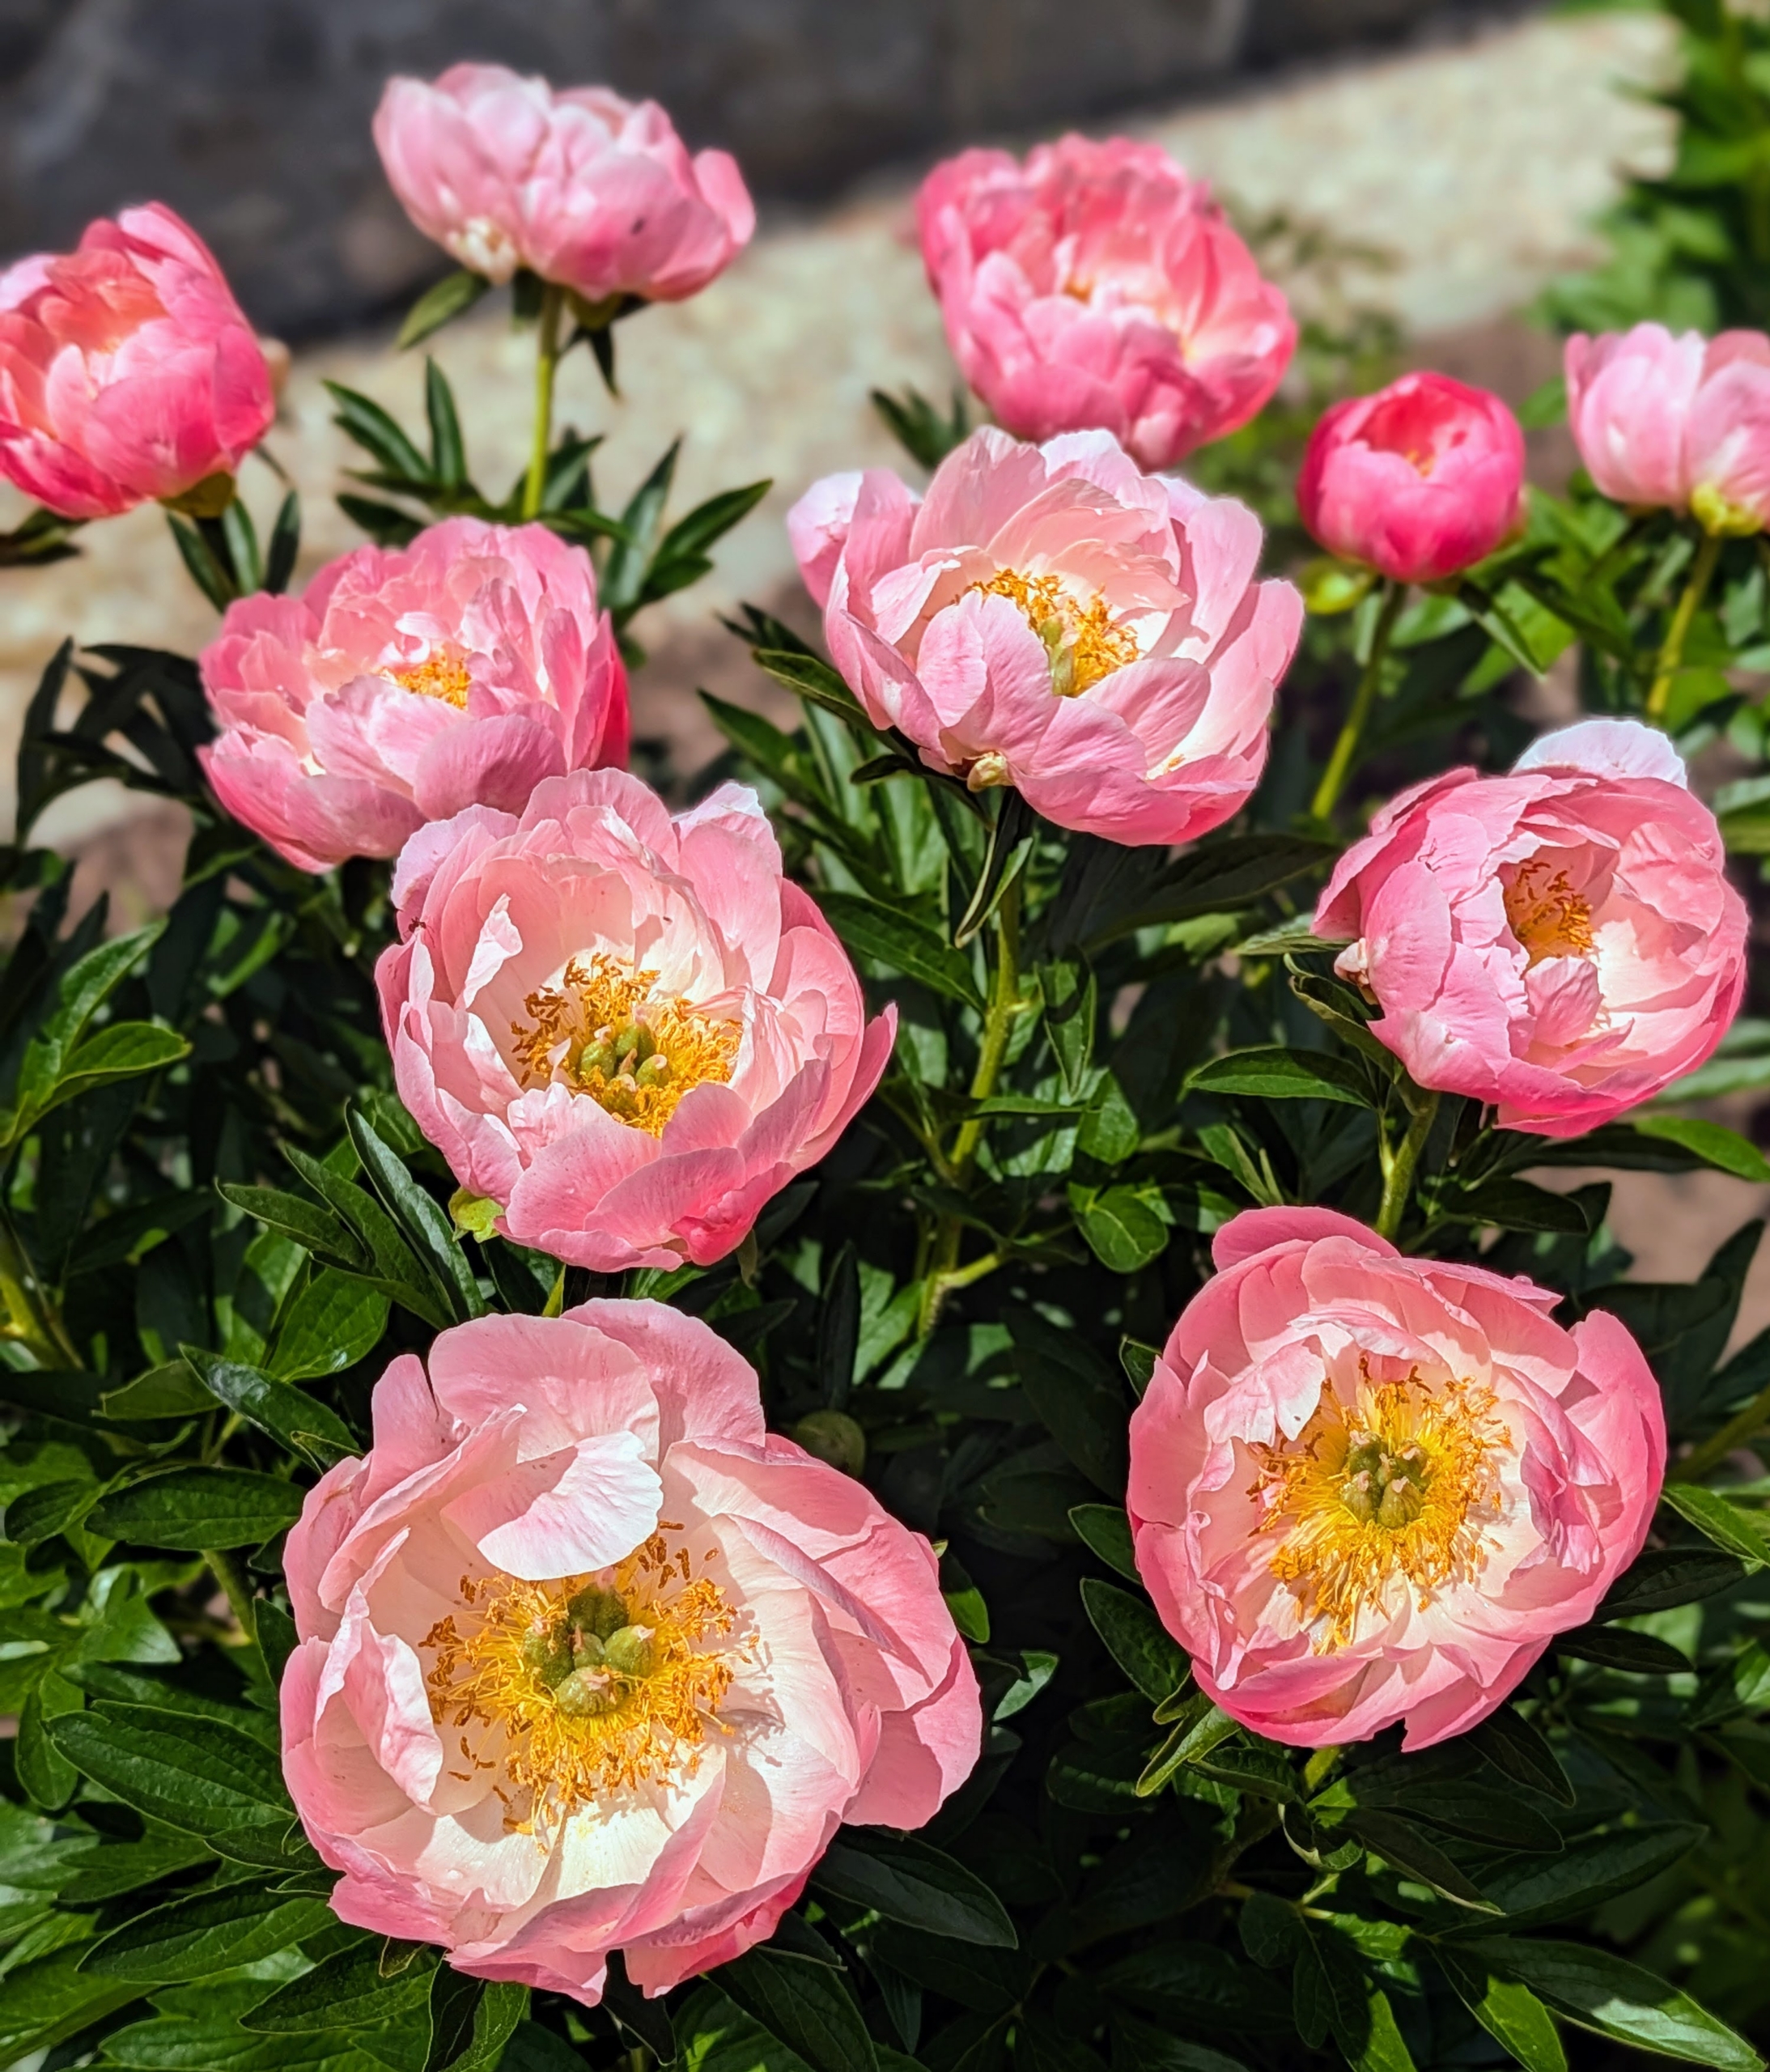
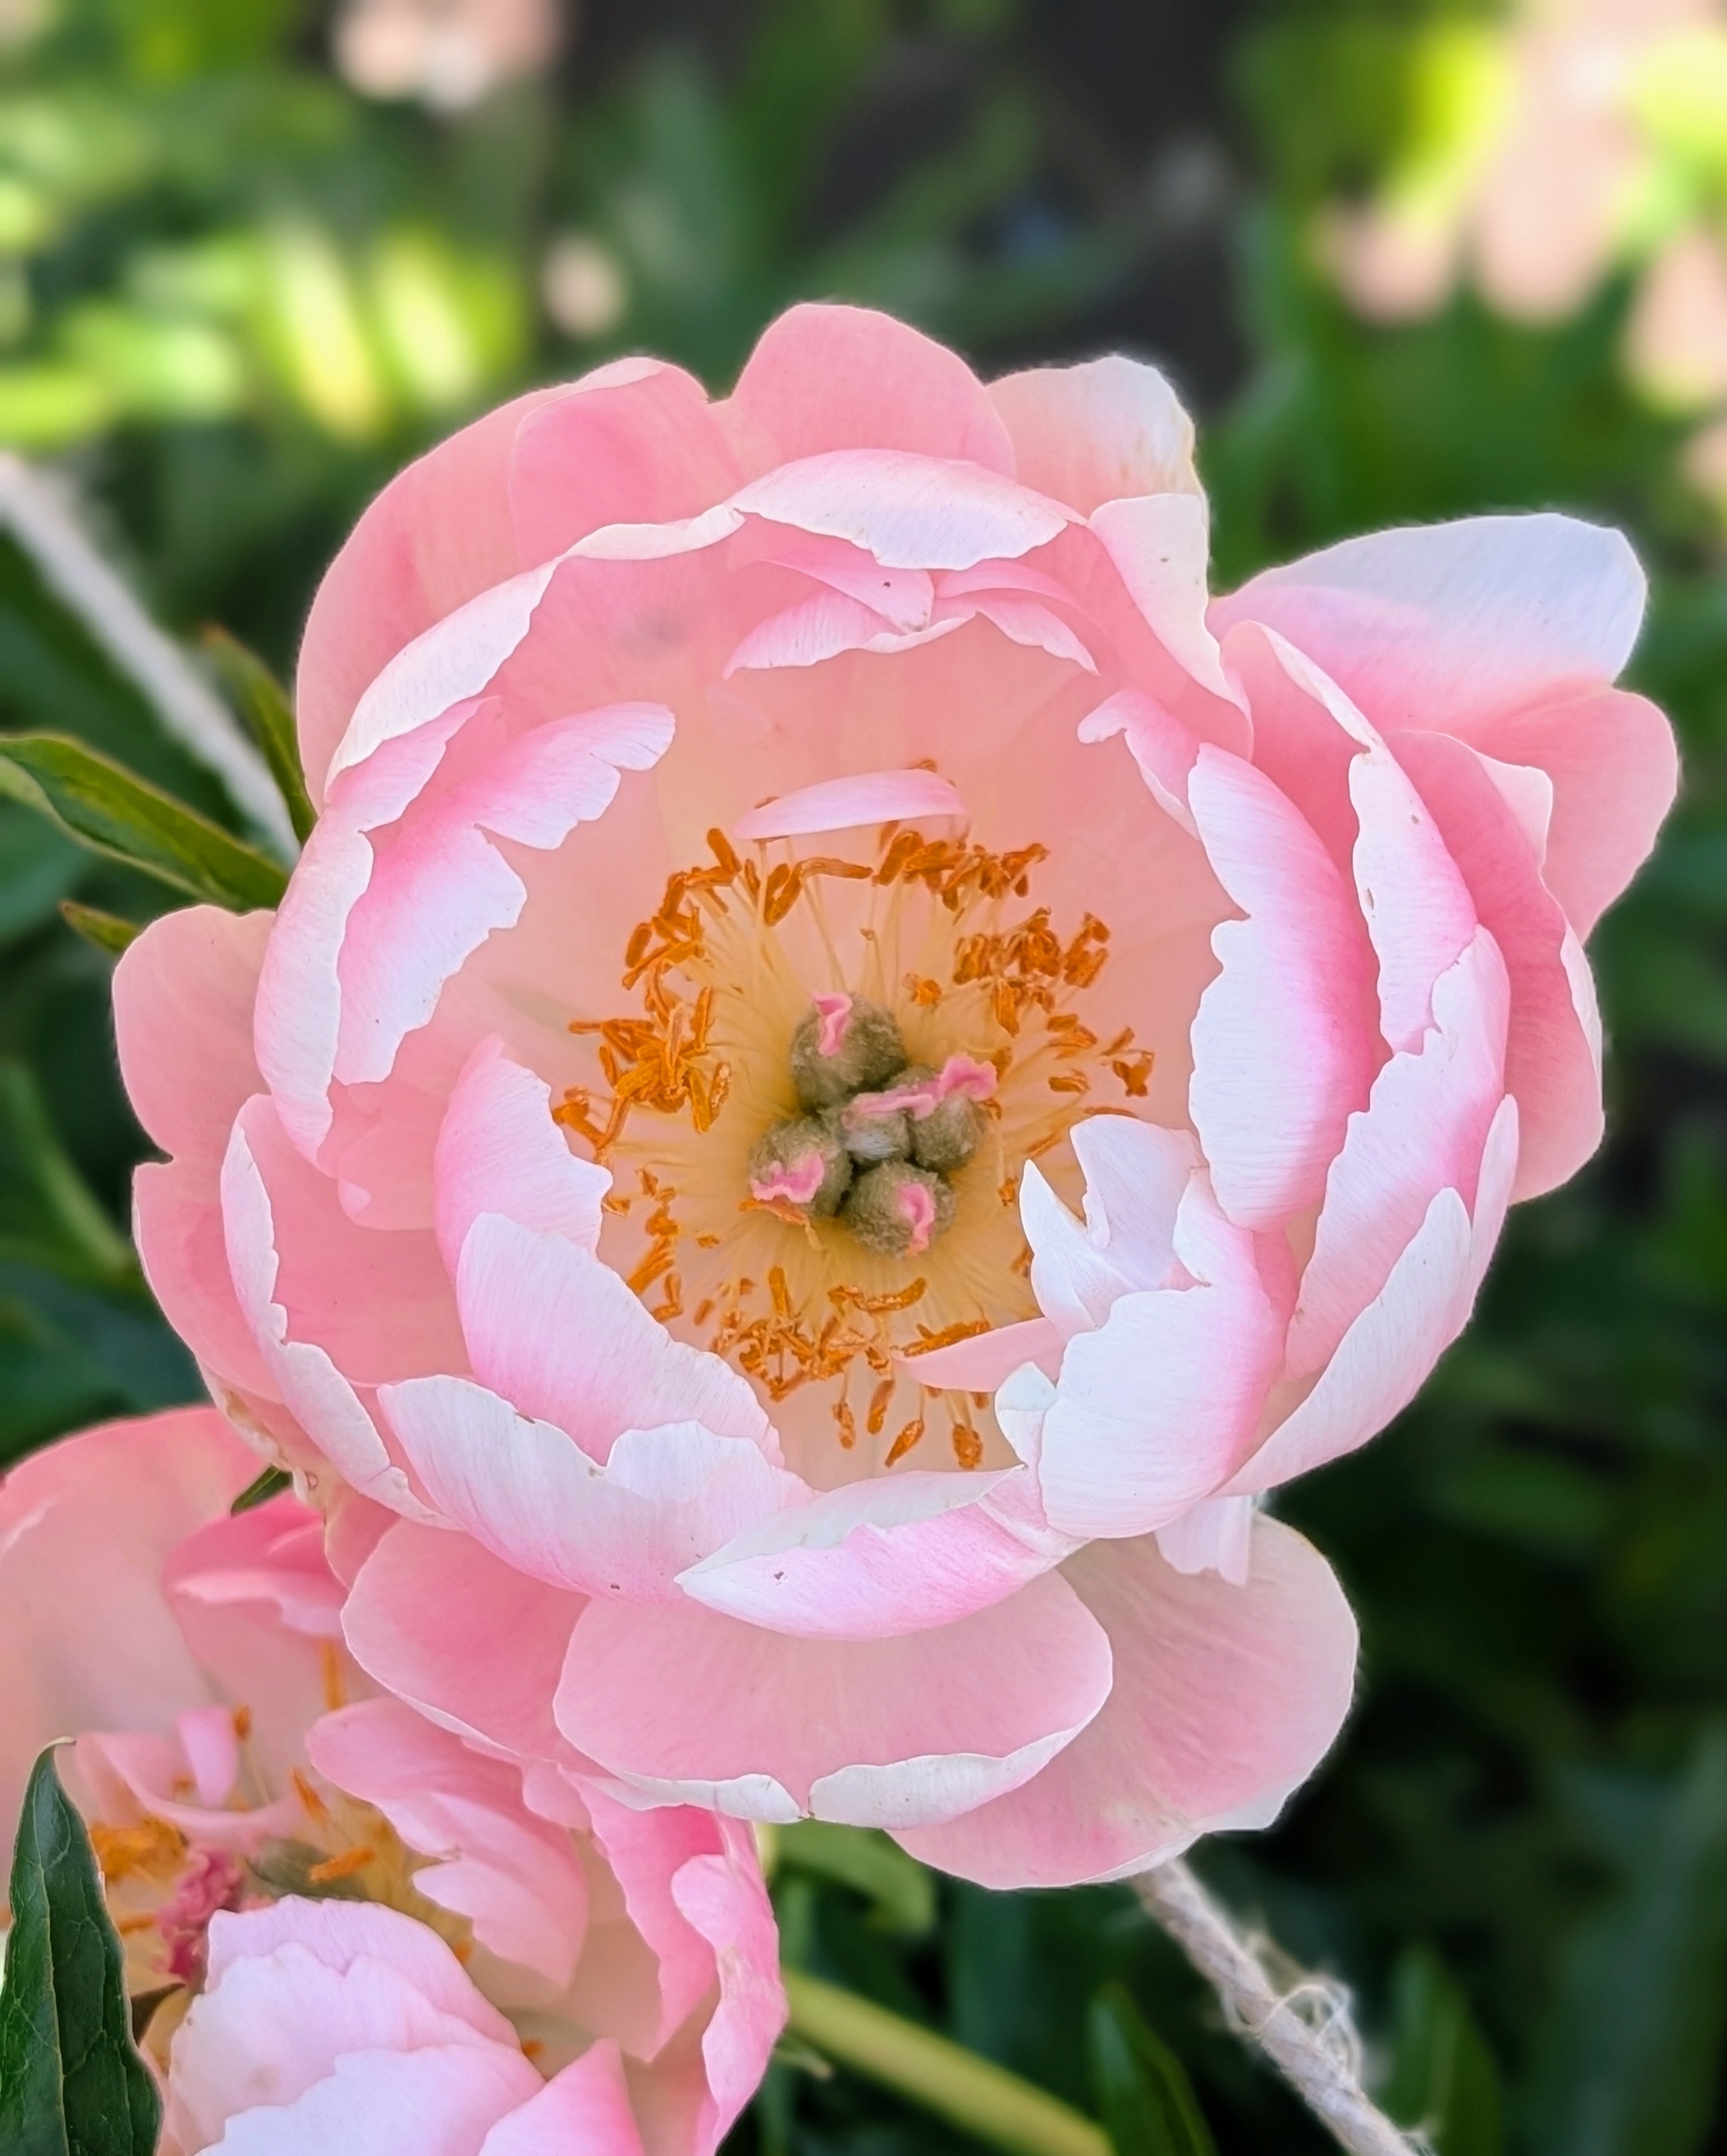
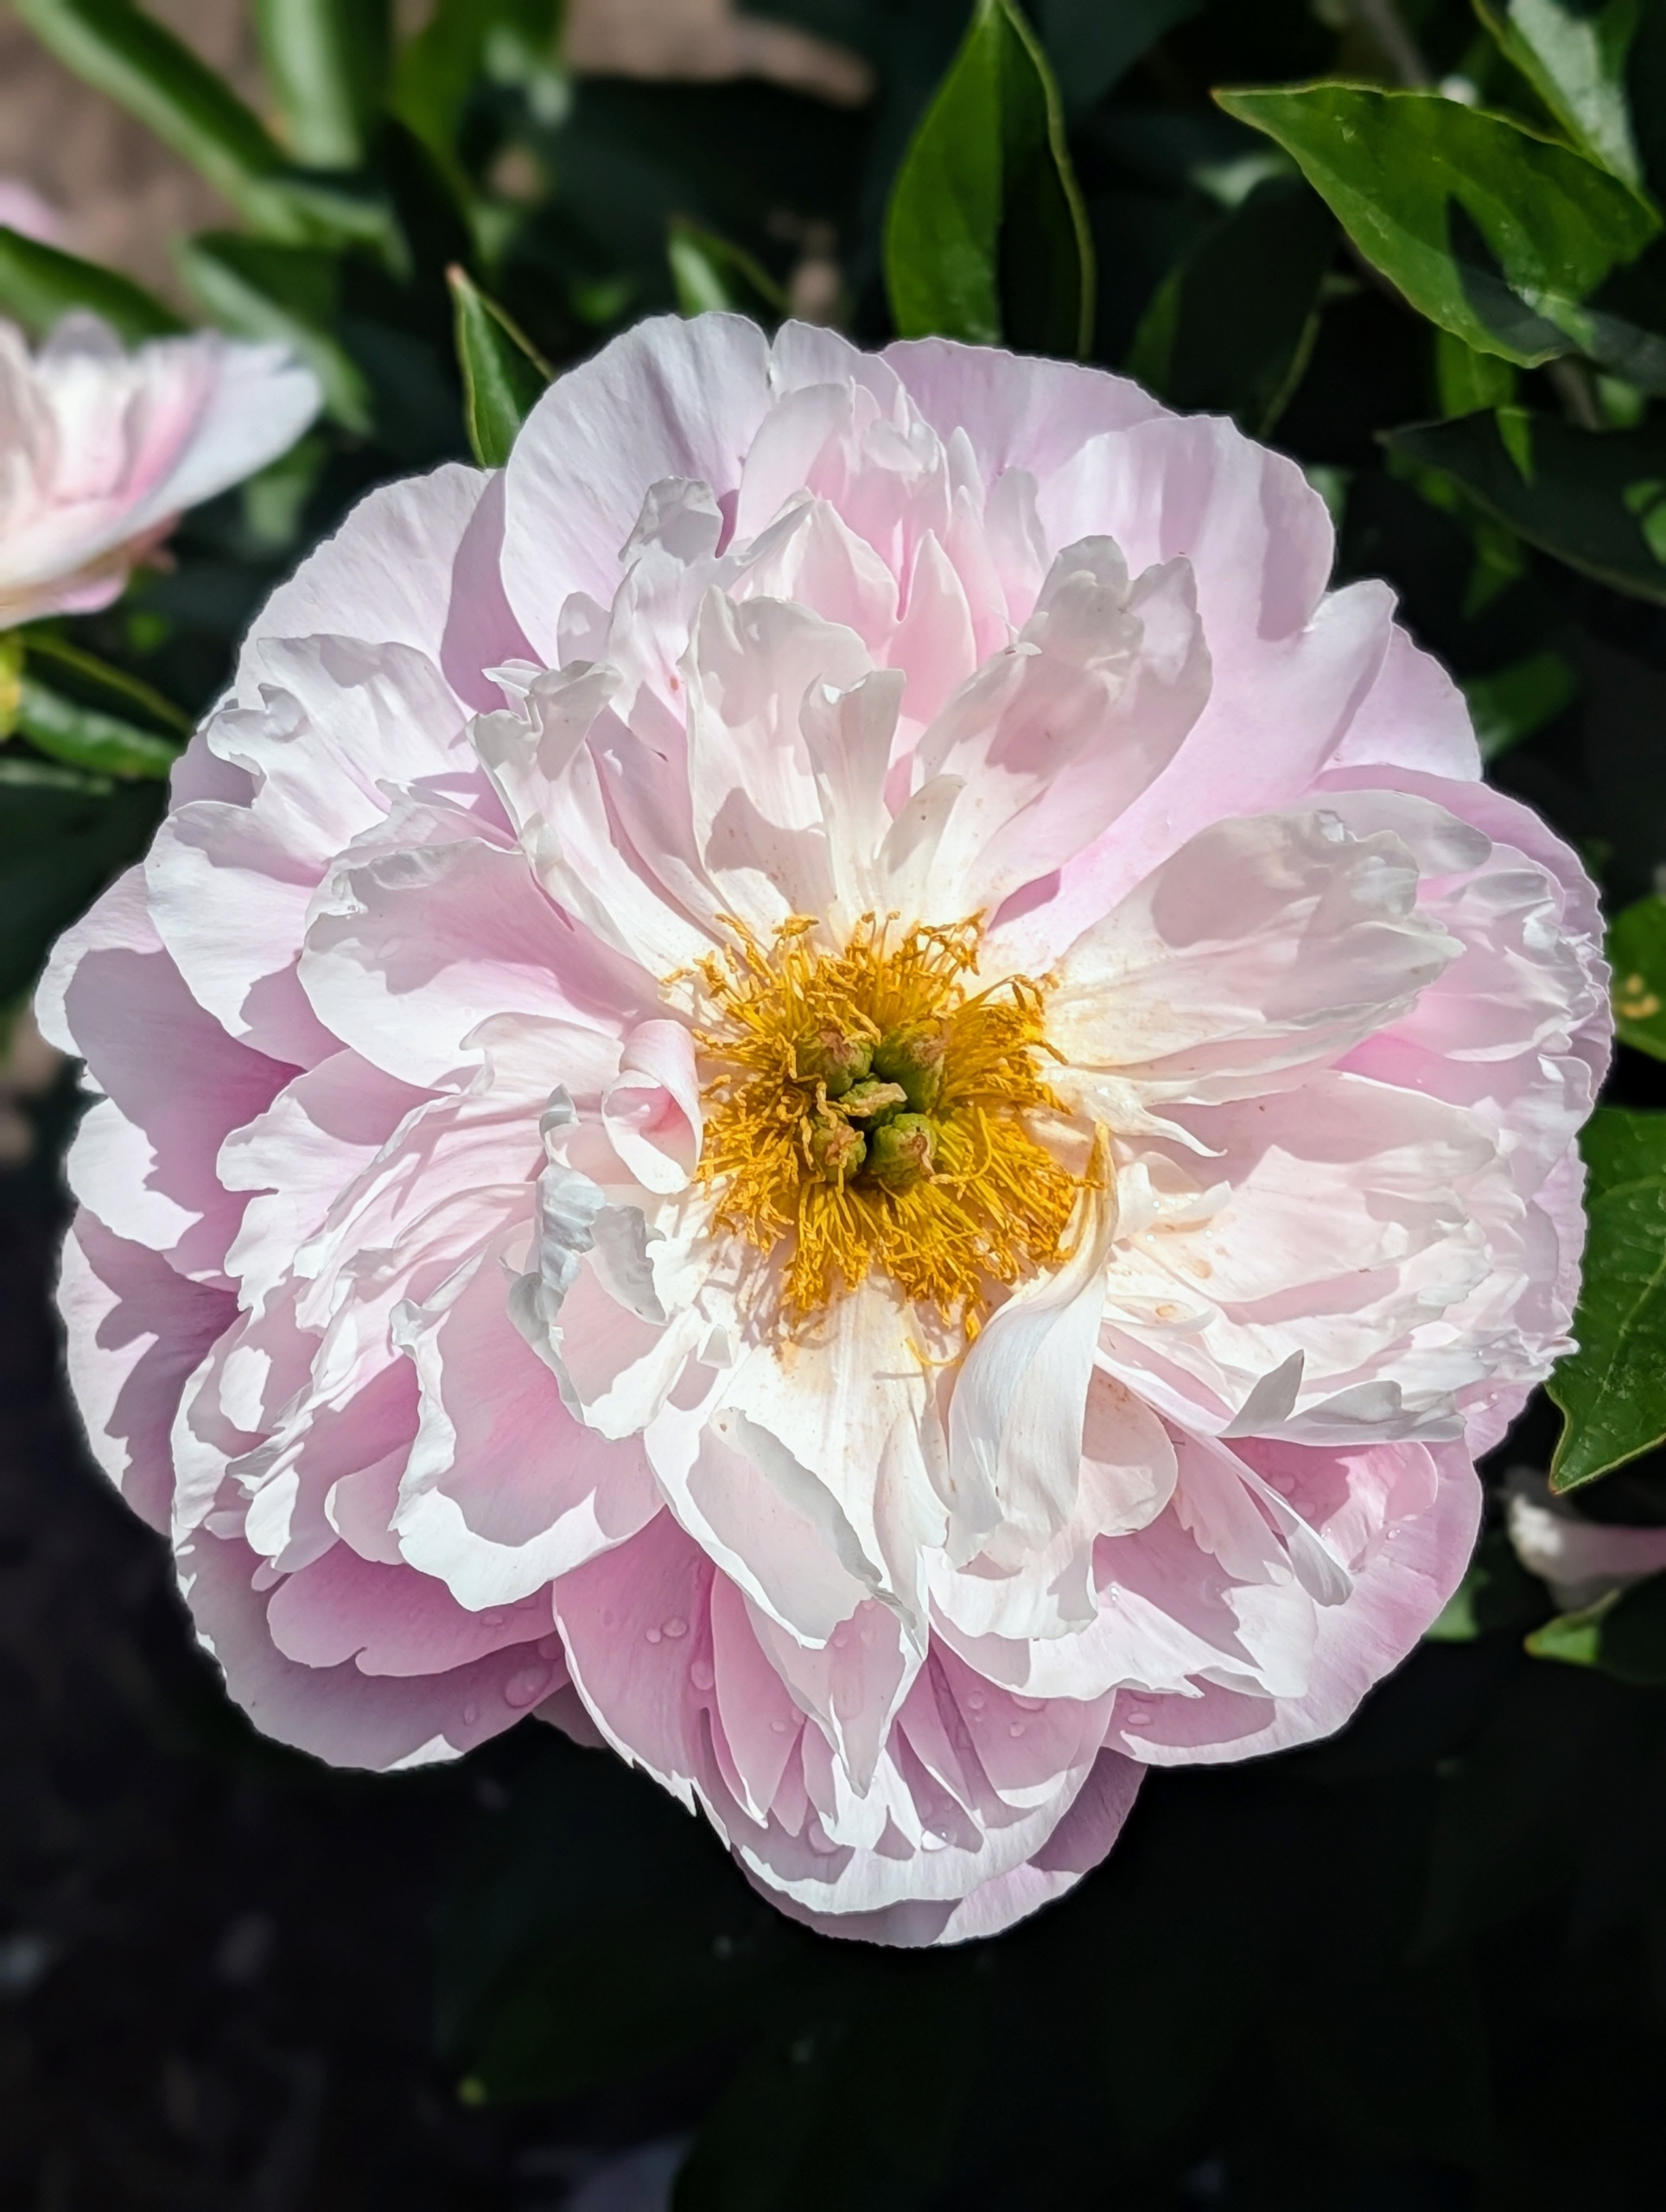
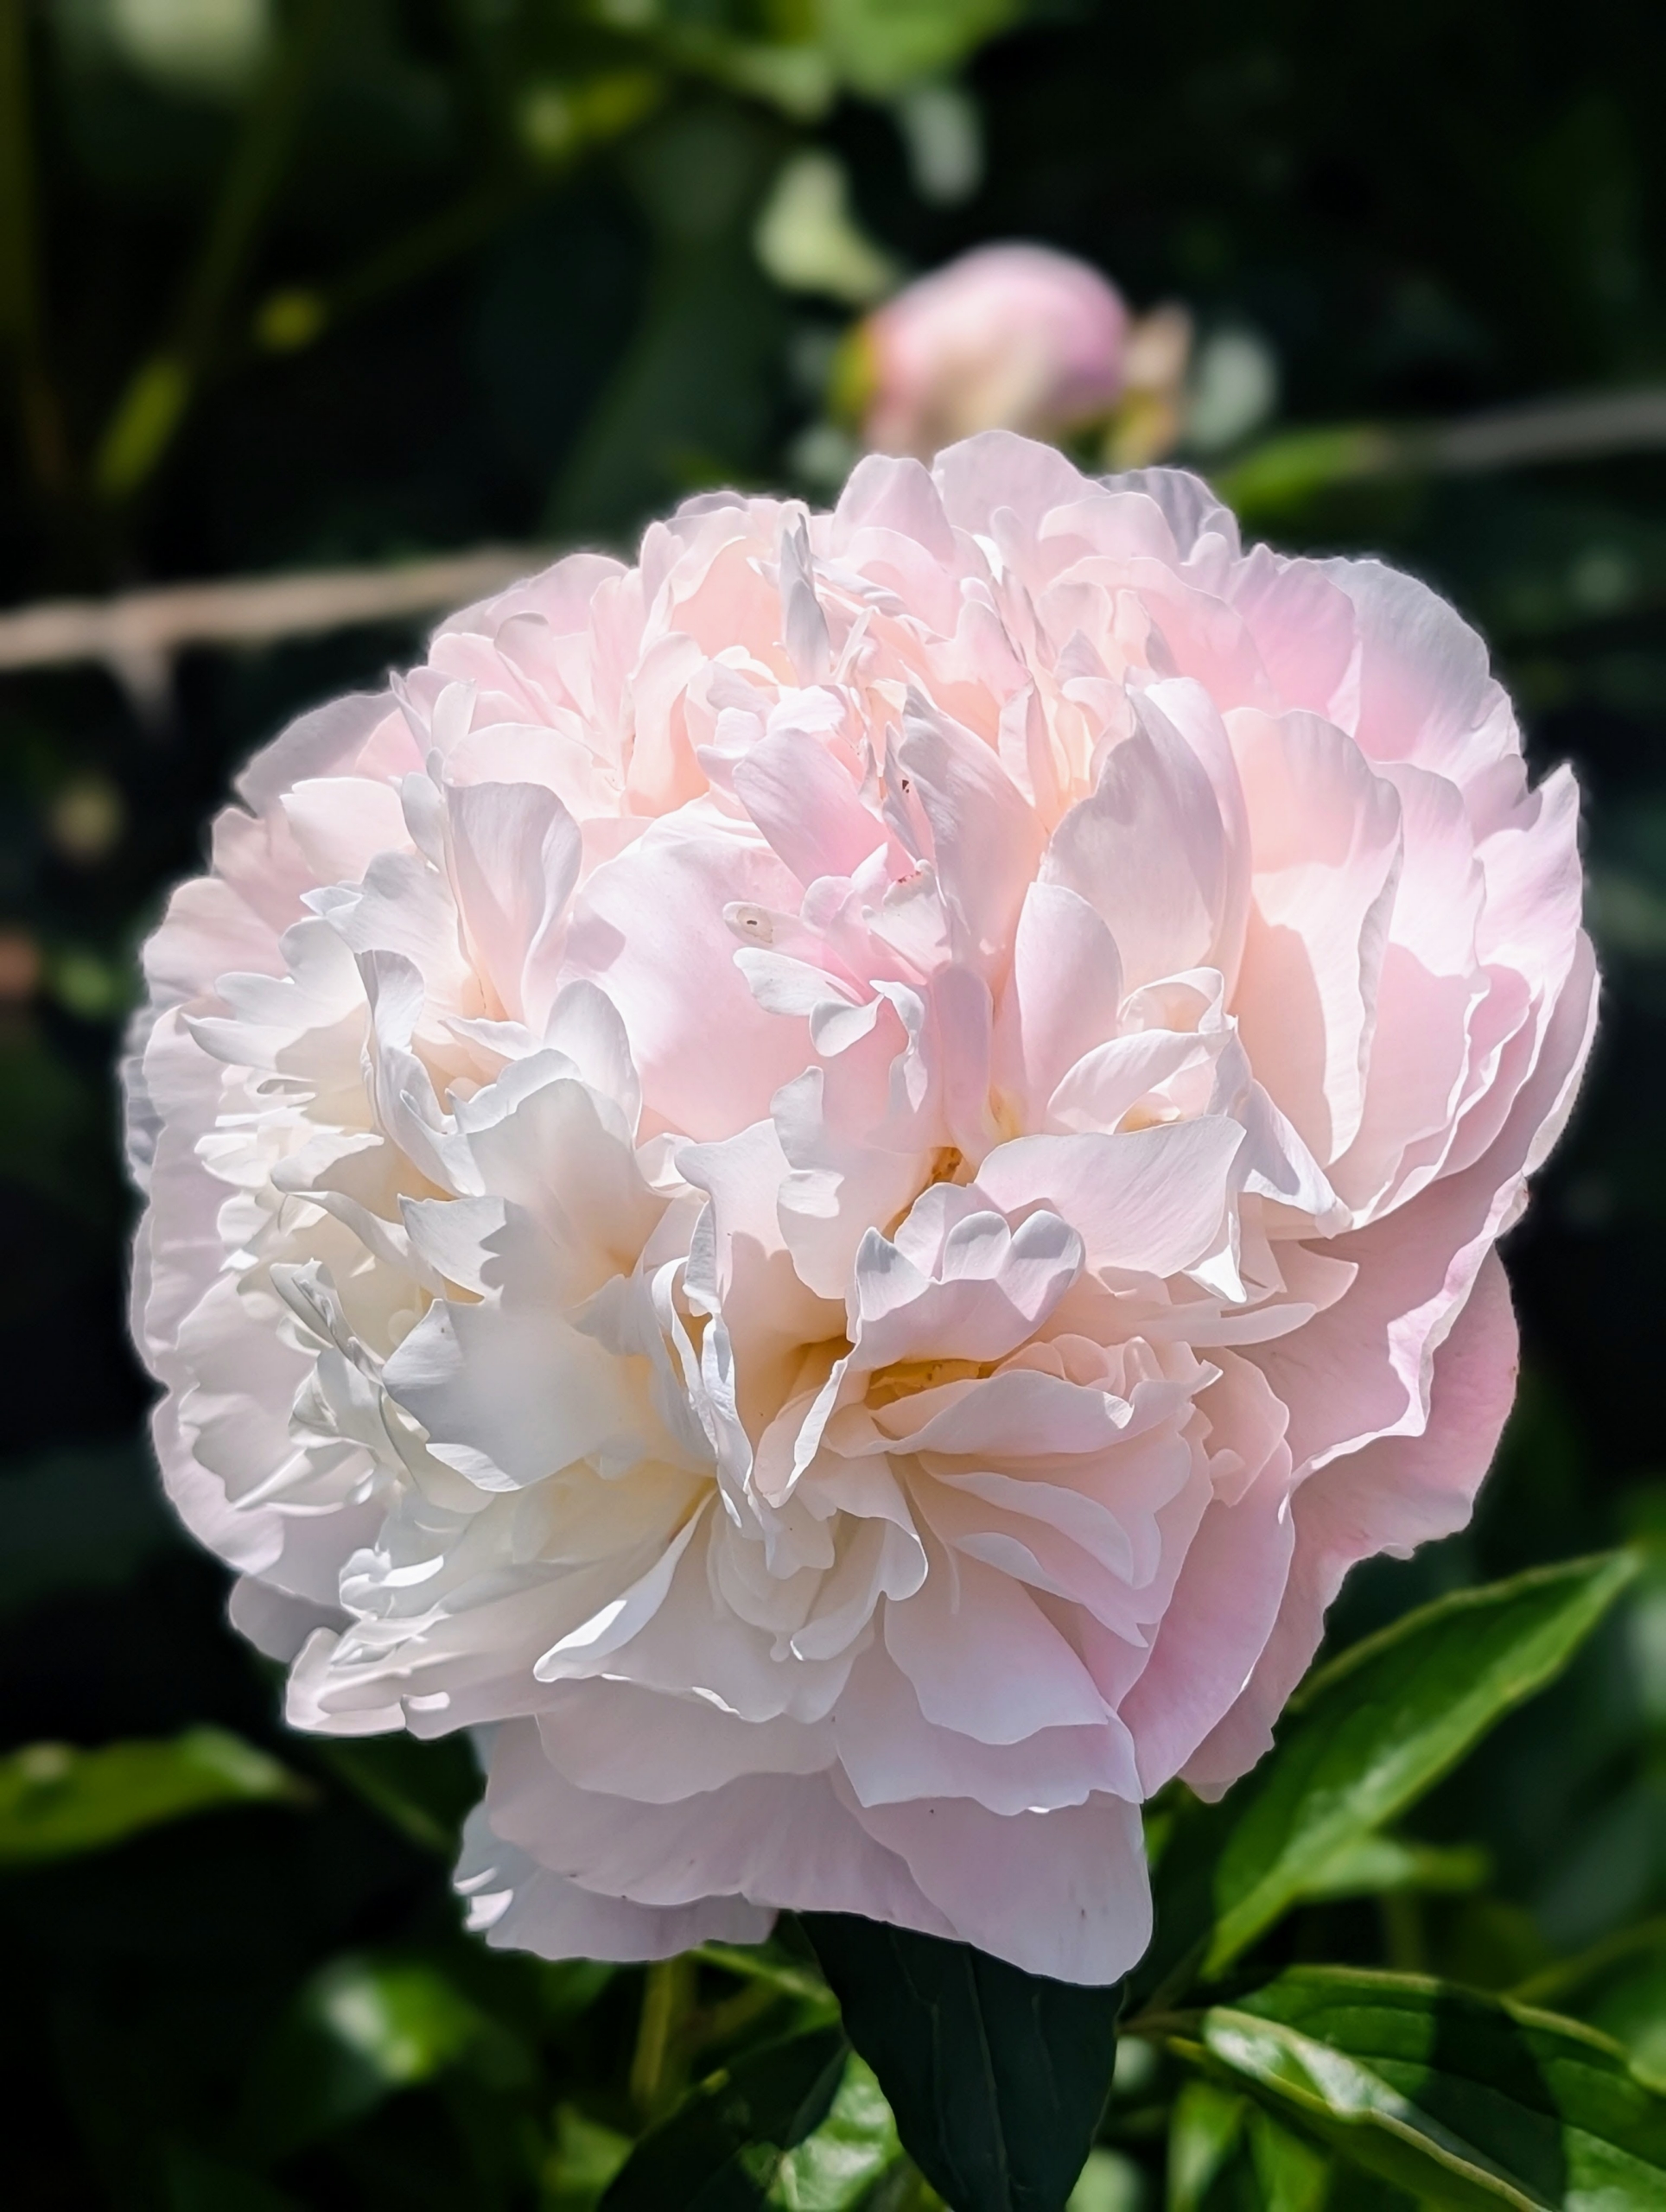
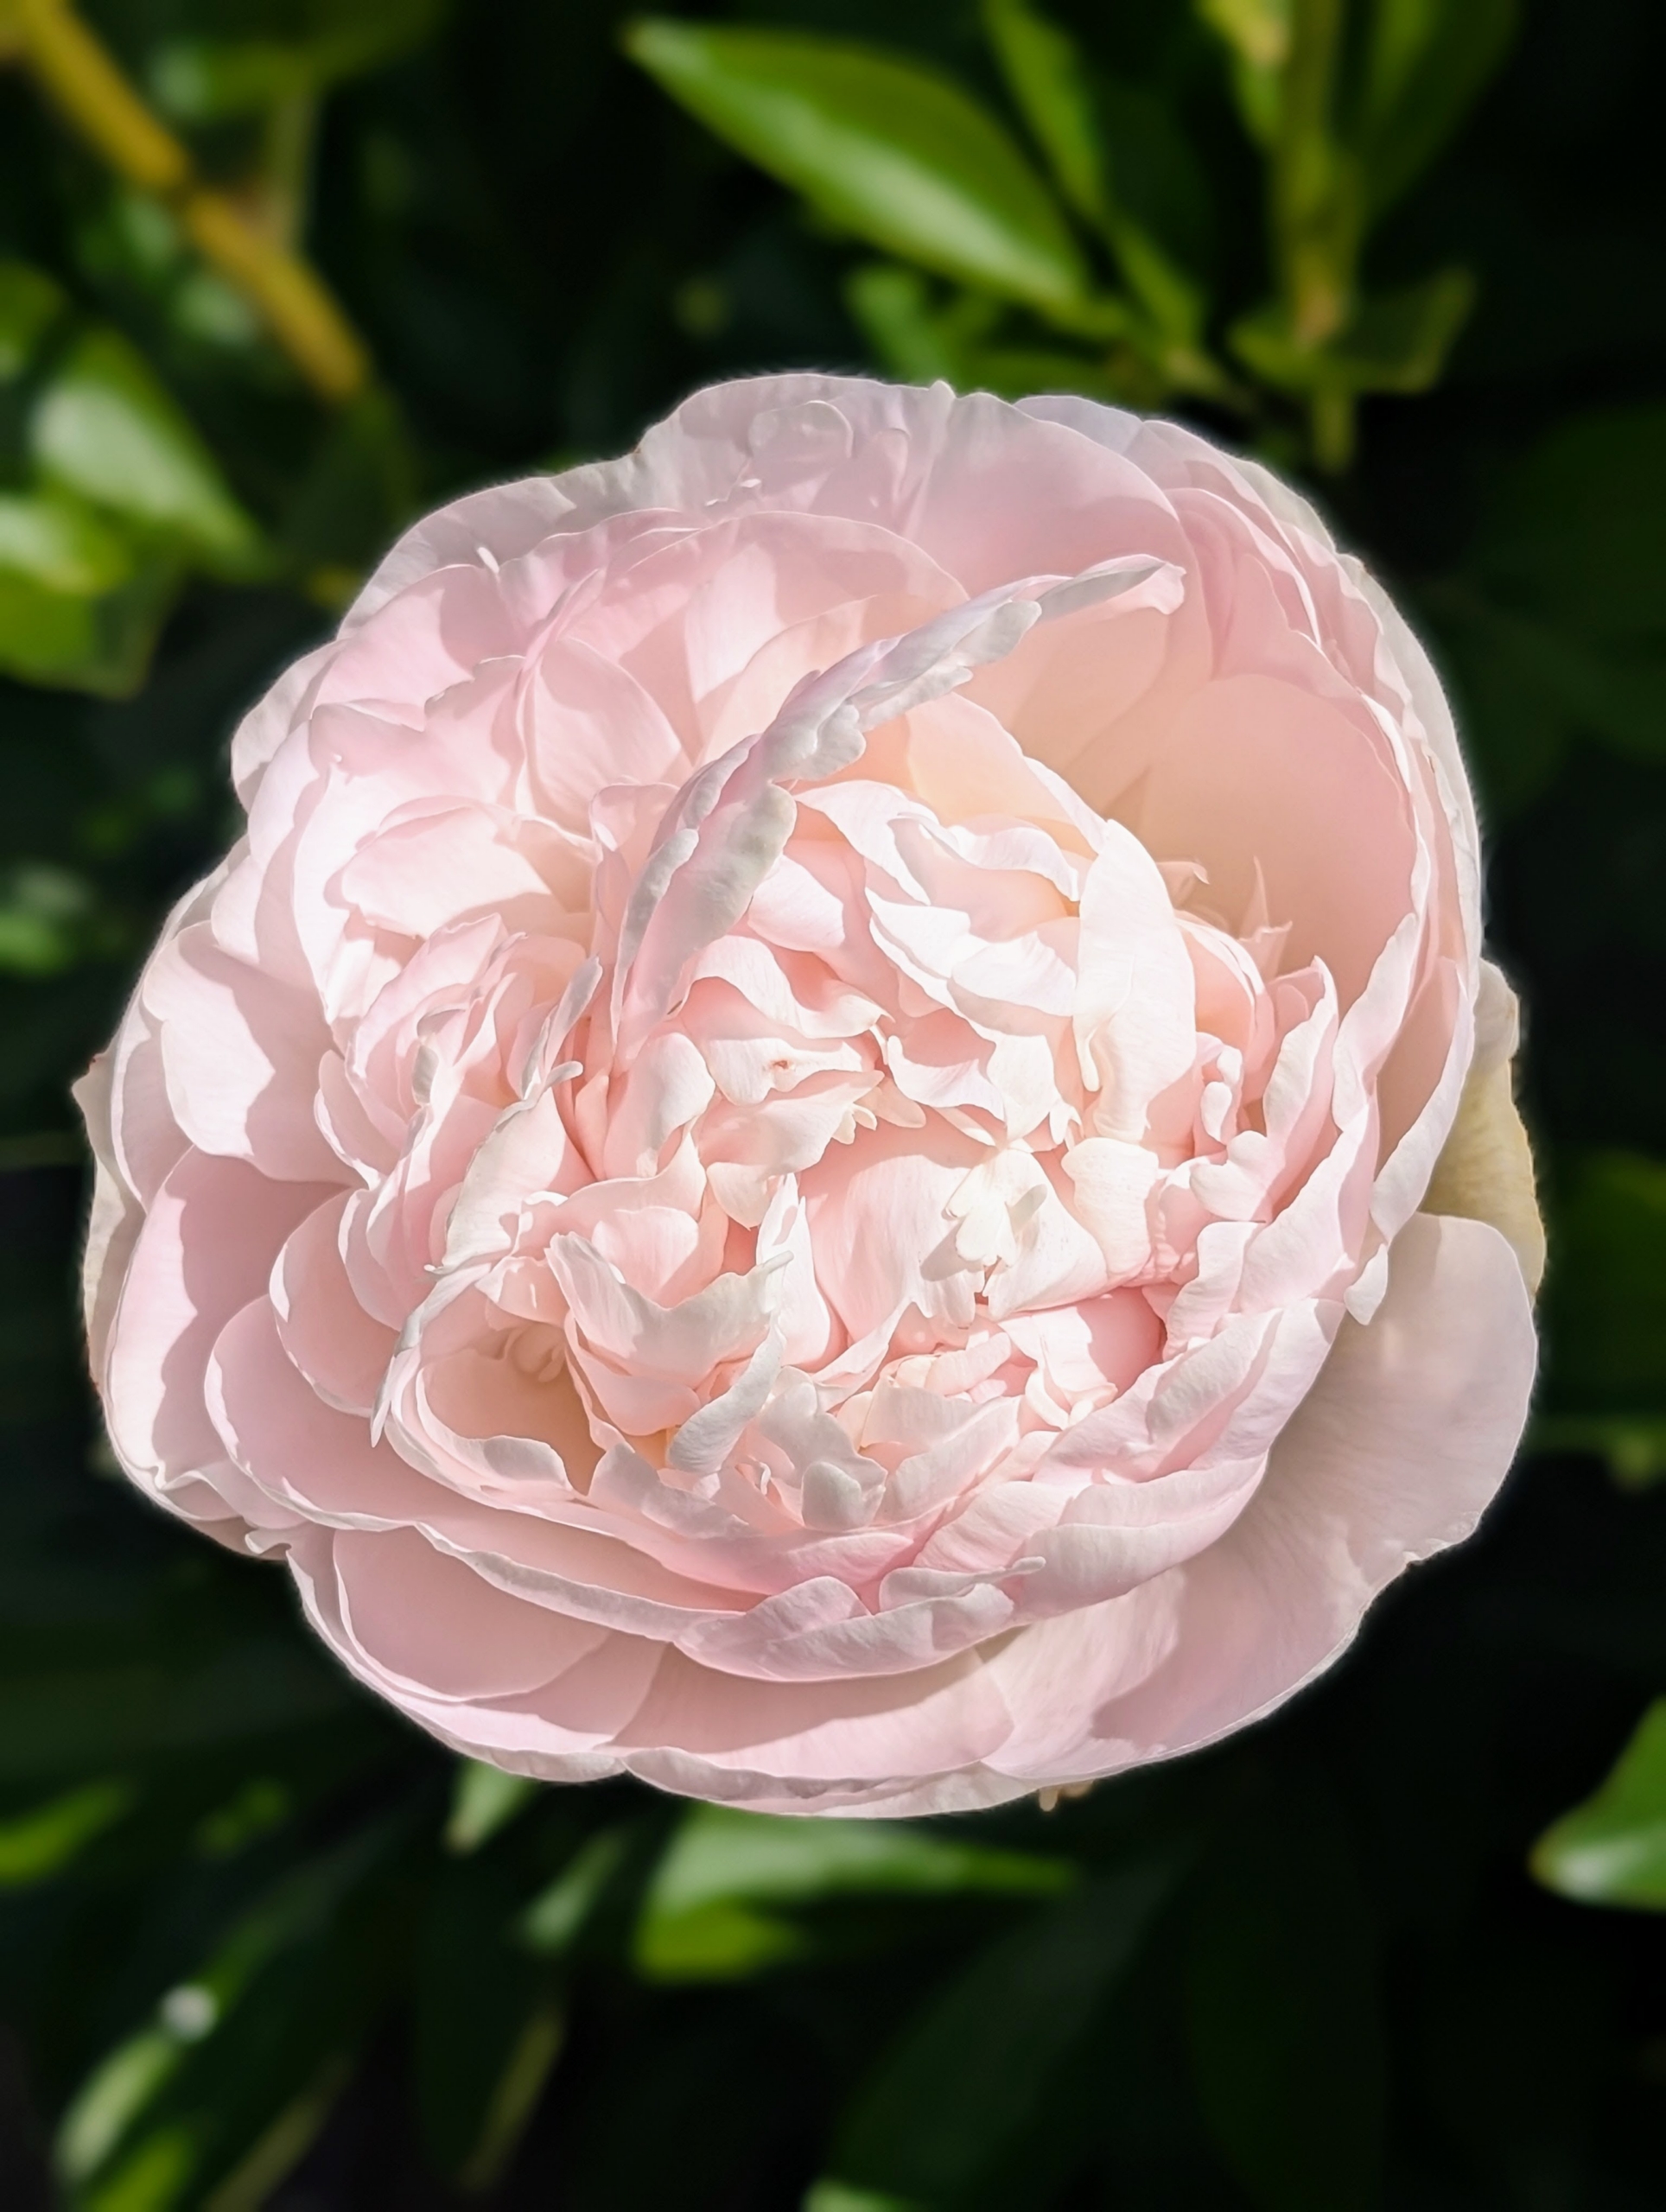
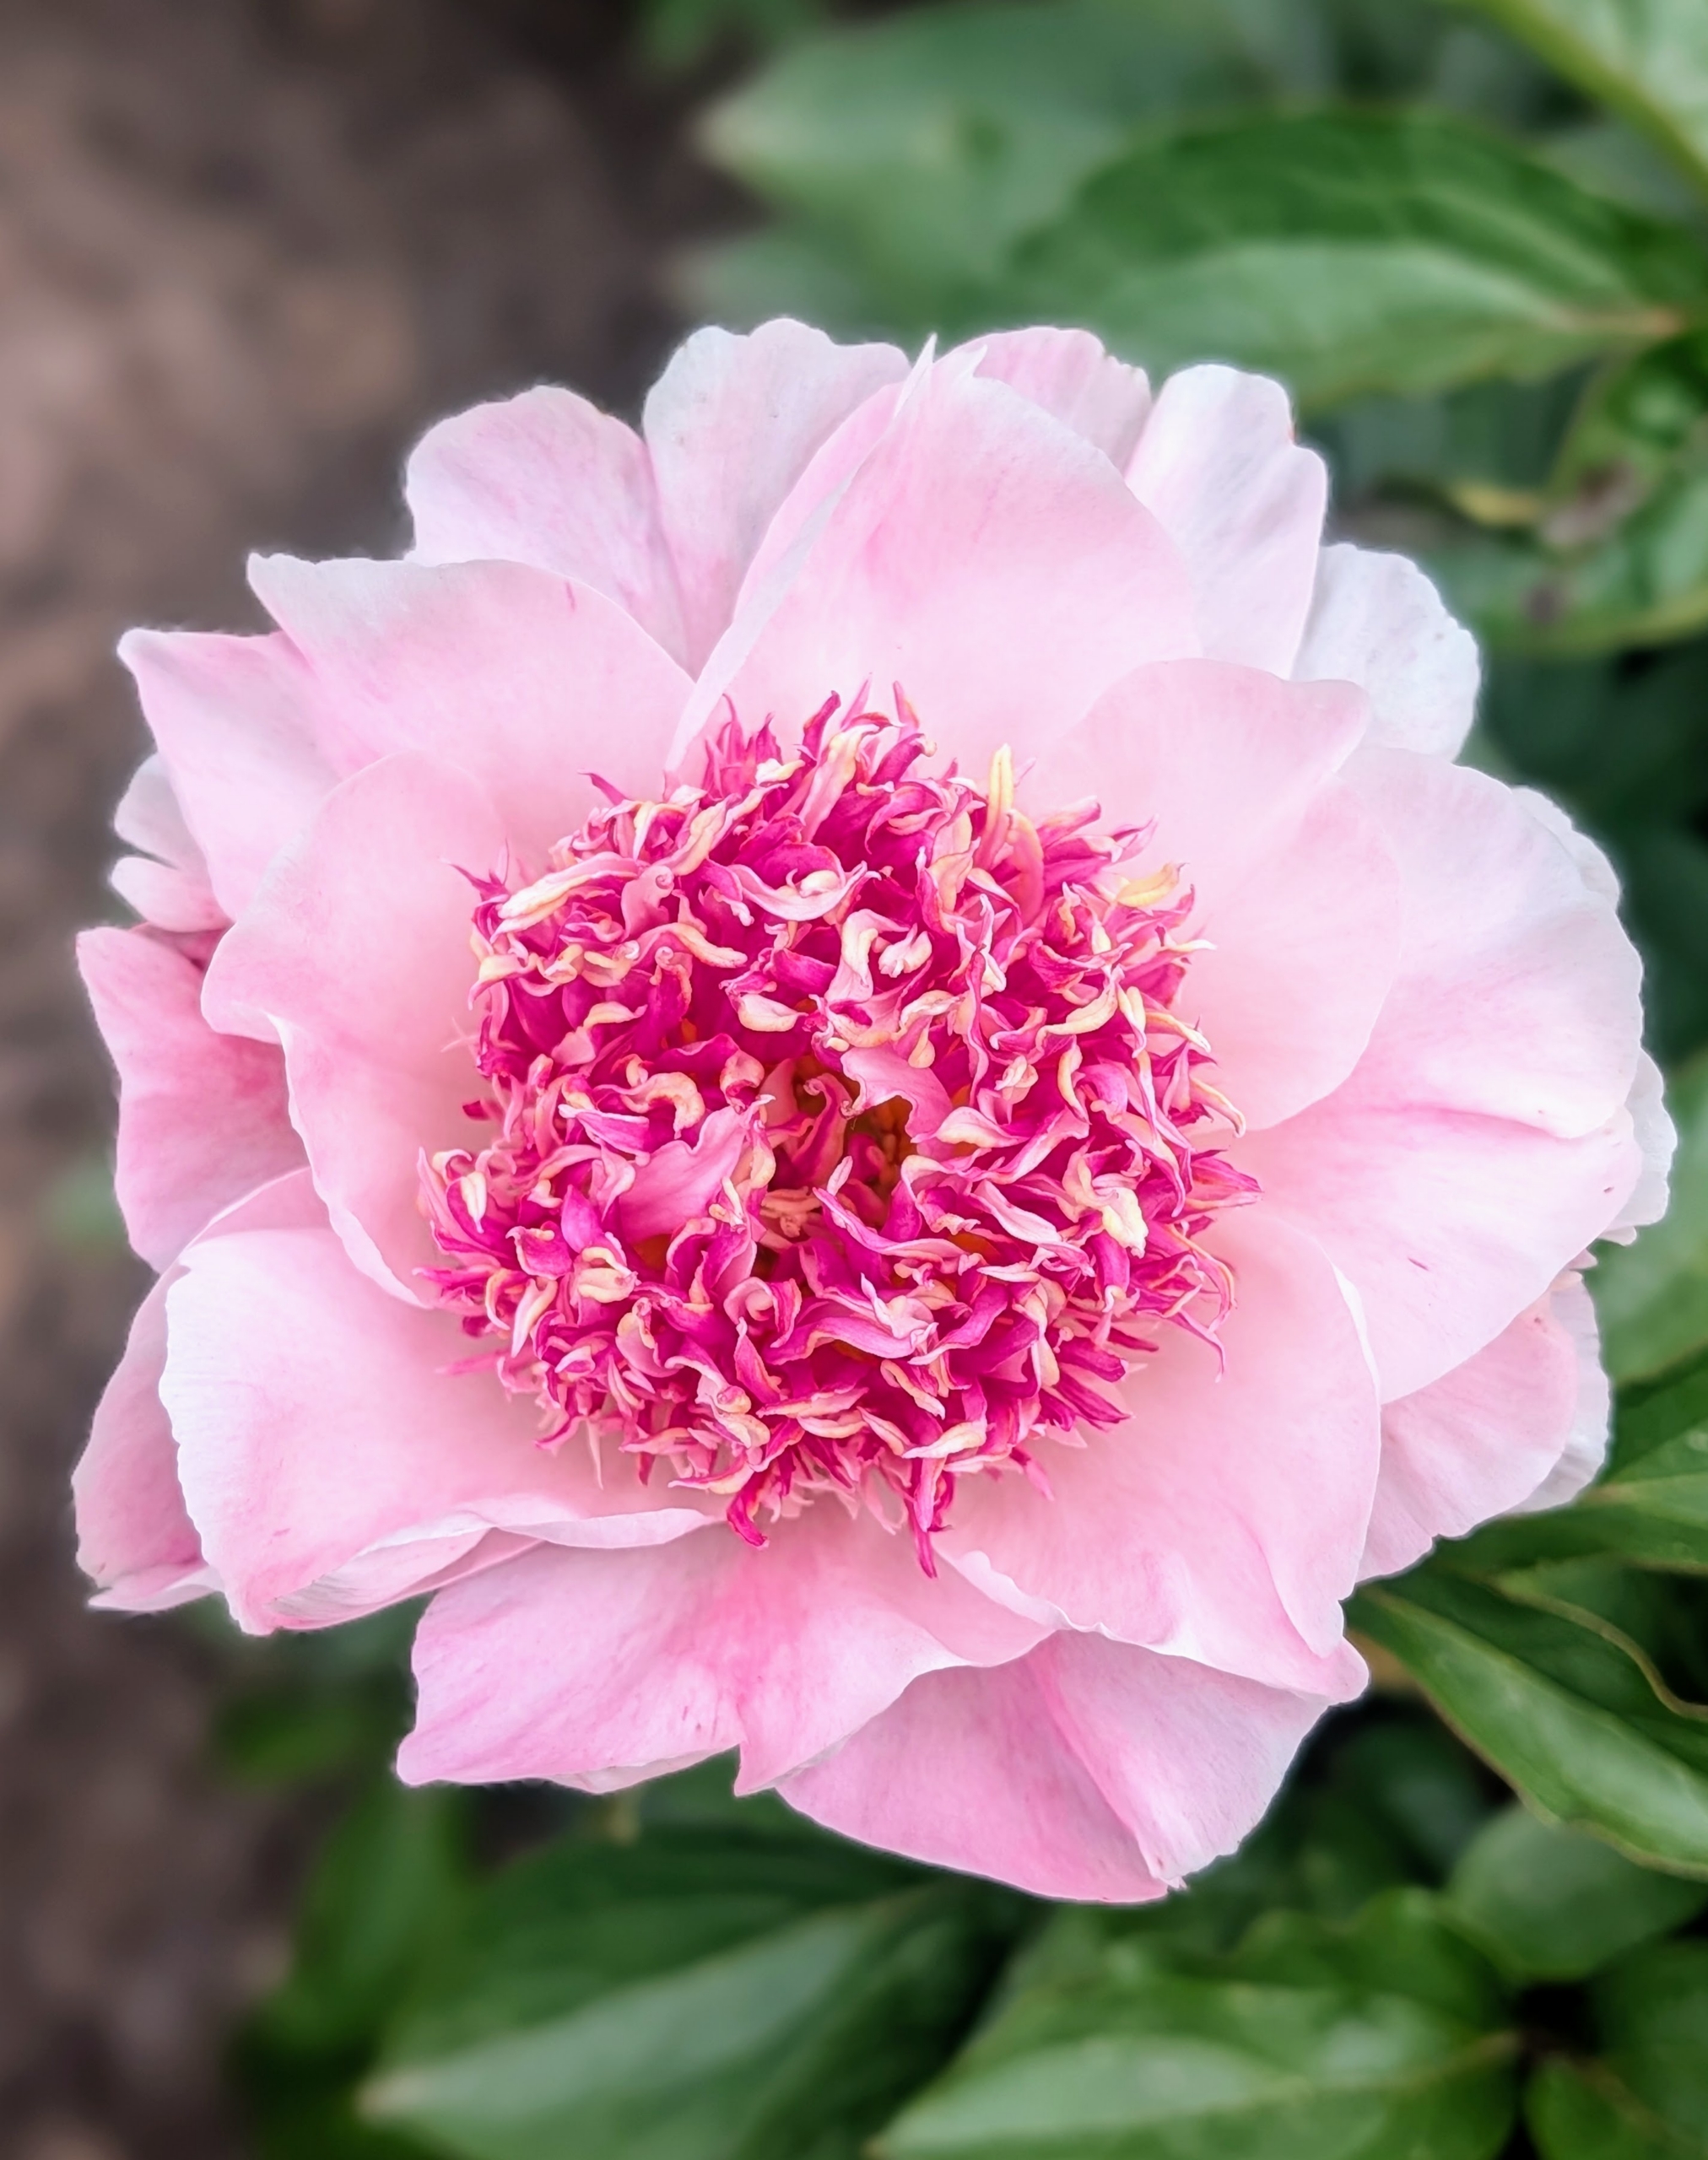
This peony is soft pink with many petals. The petals are part of the large, layered blooms that can reach up to 10 inches in diameter.
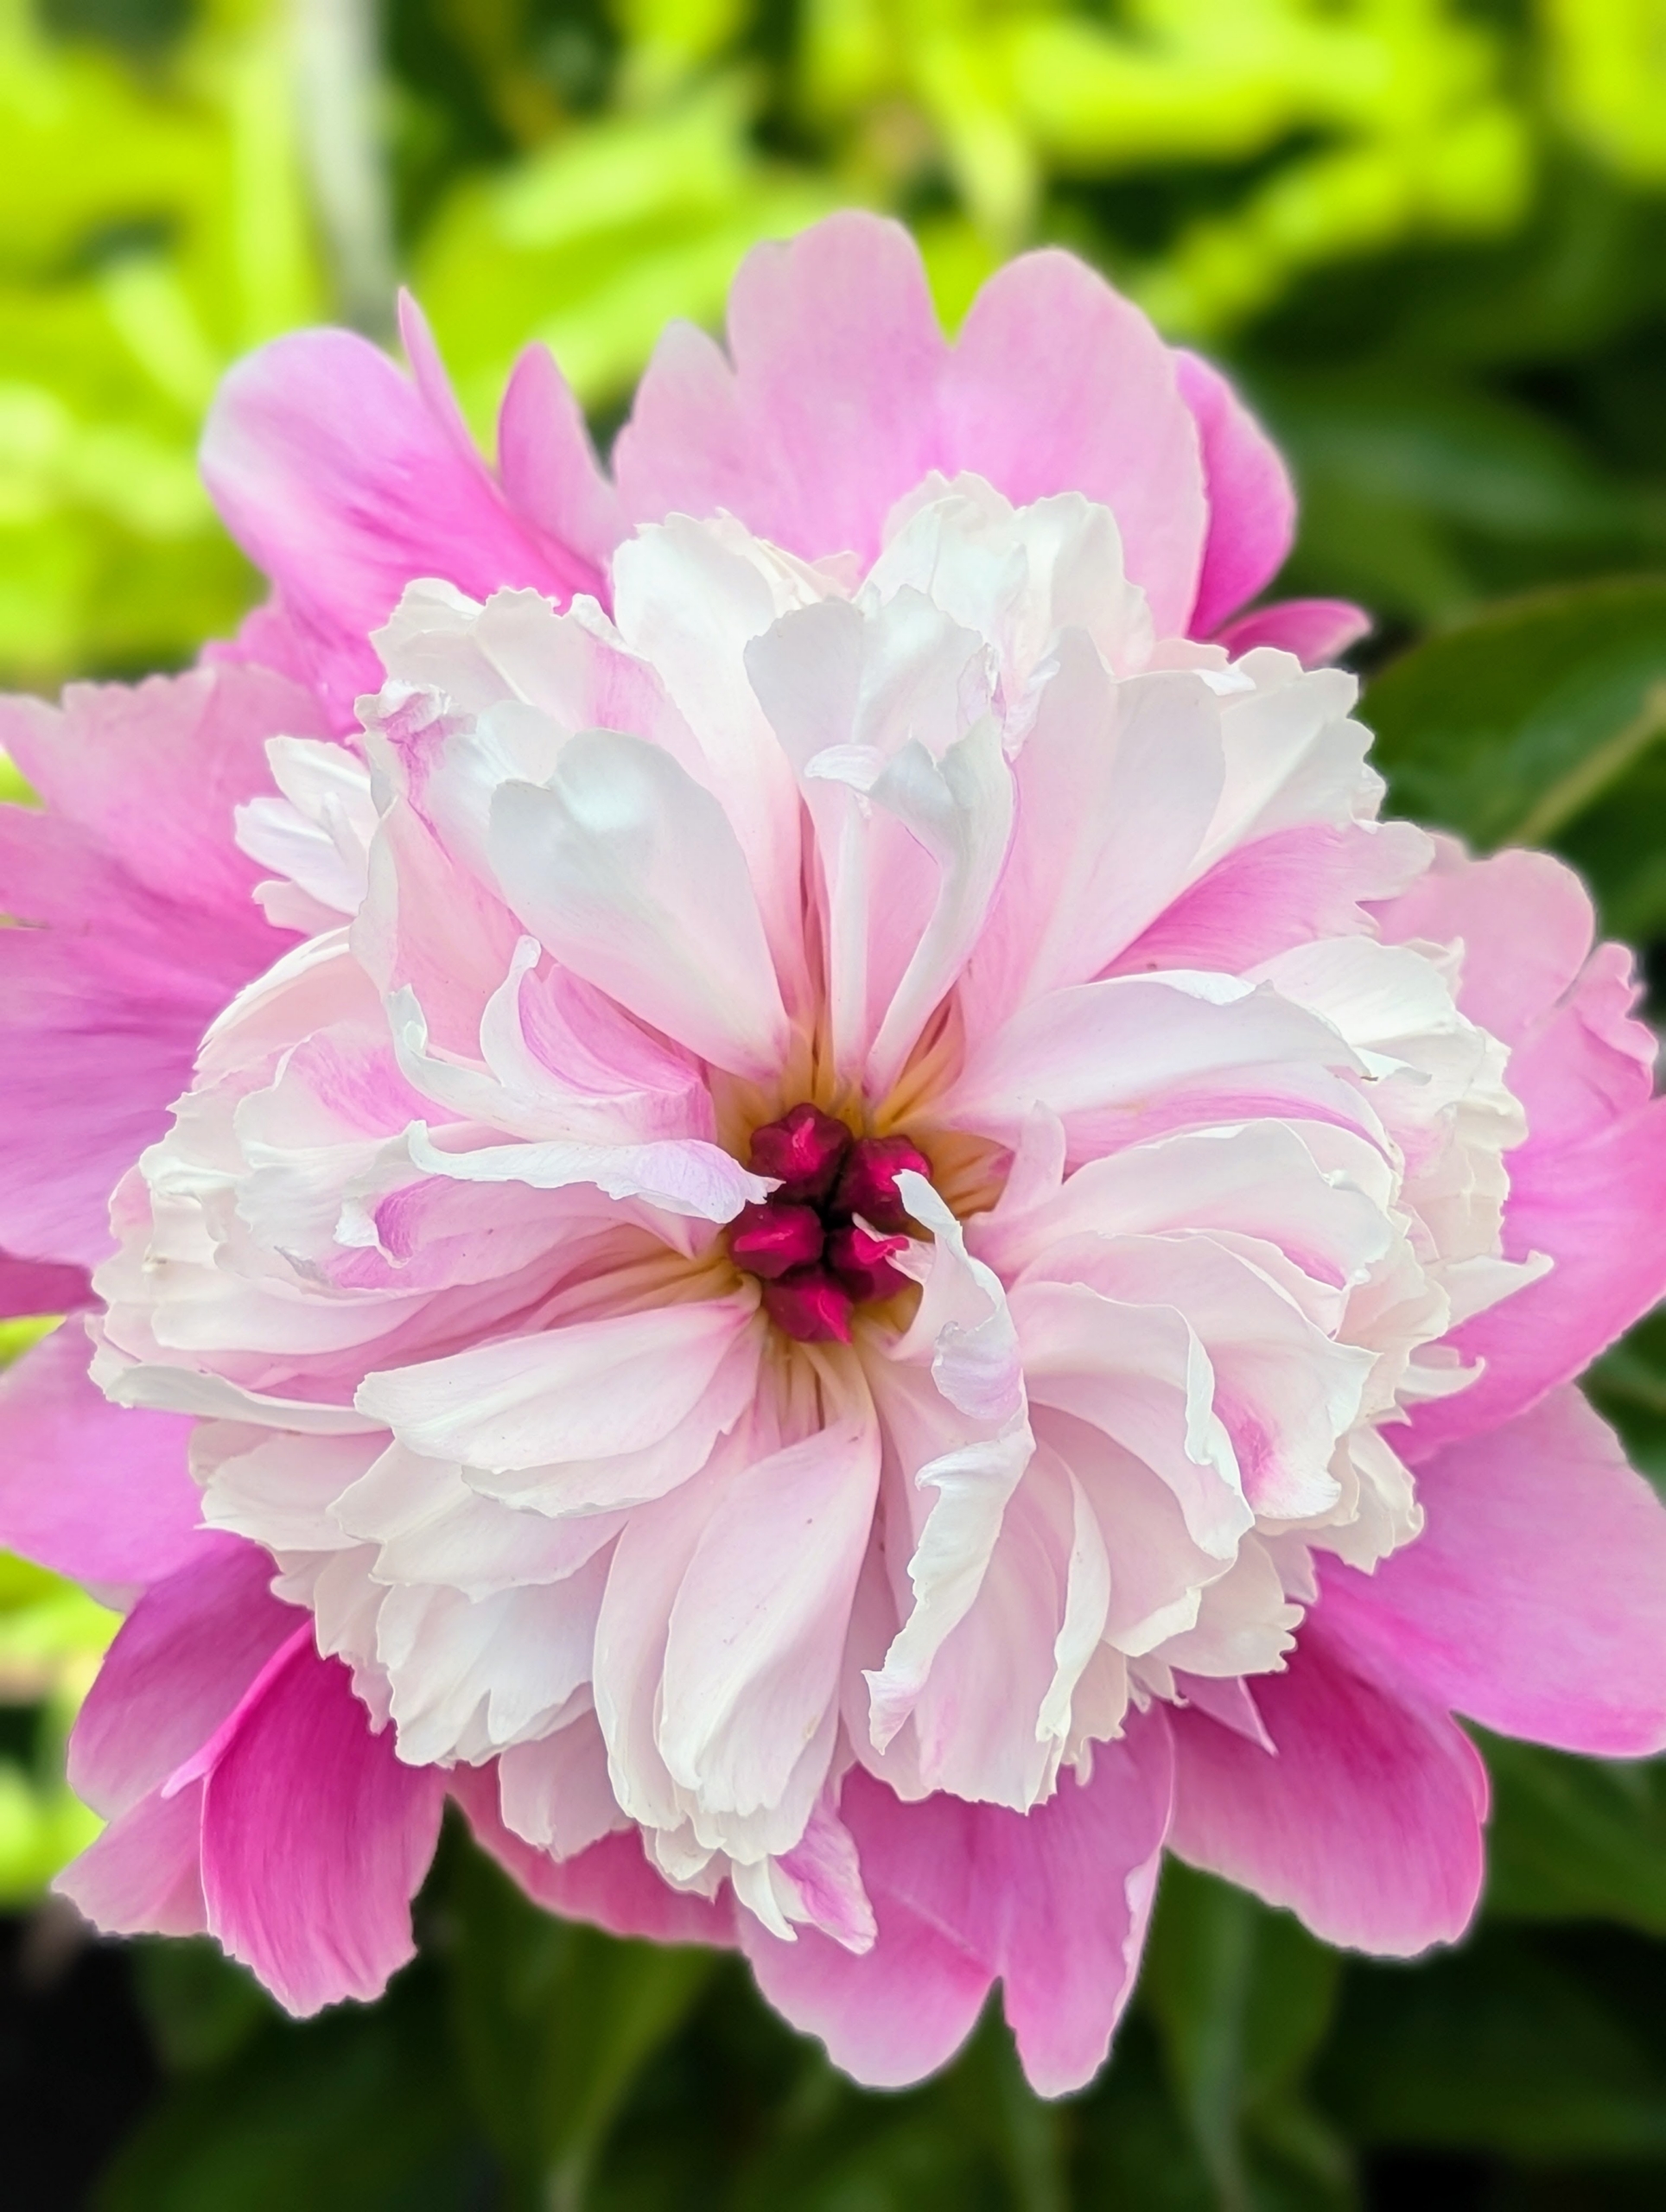
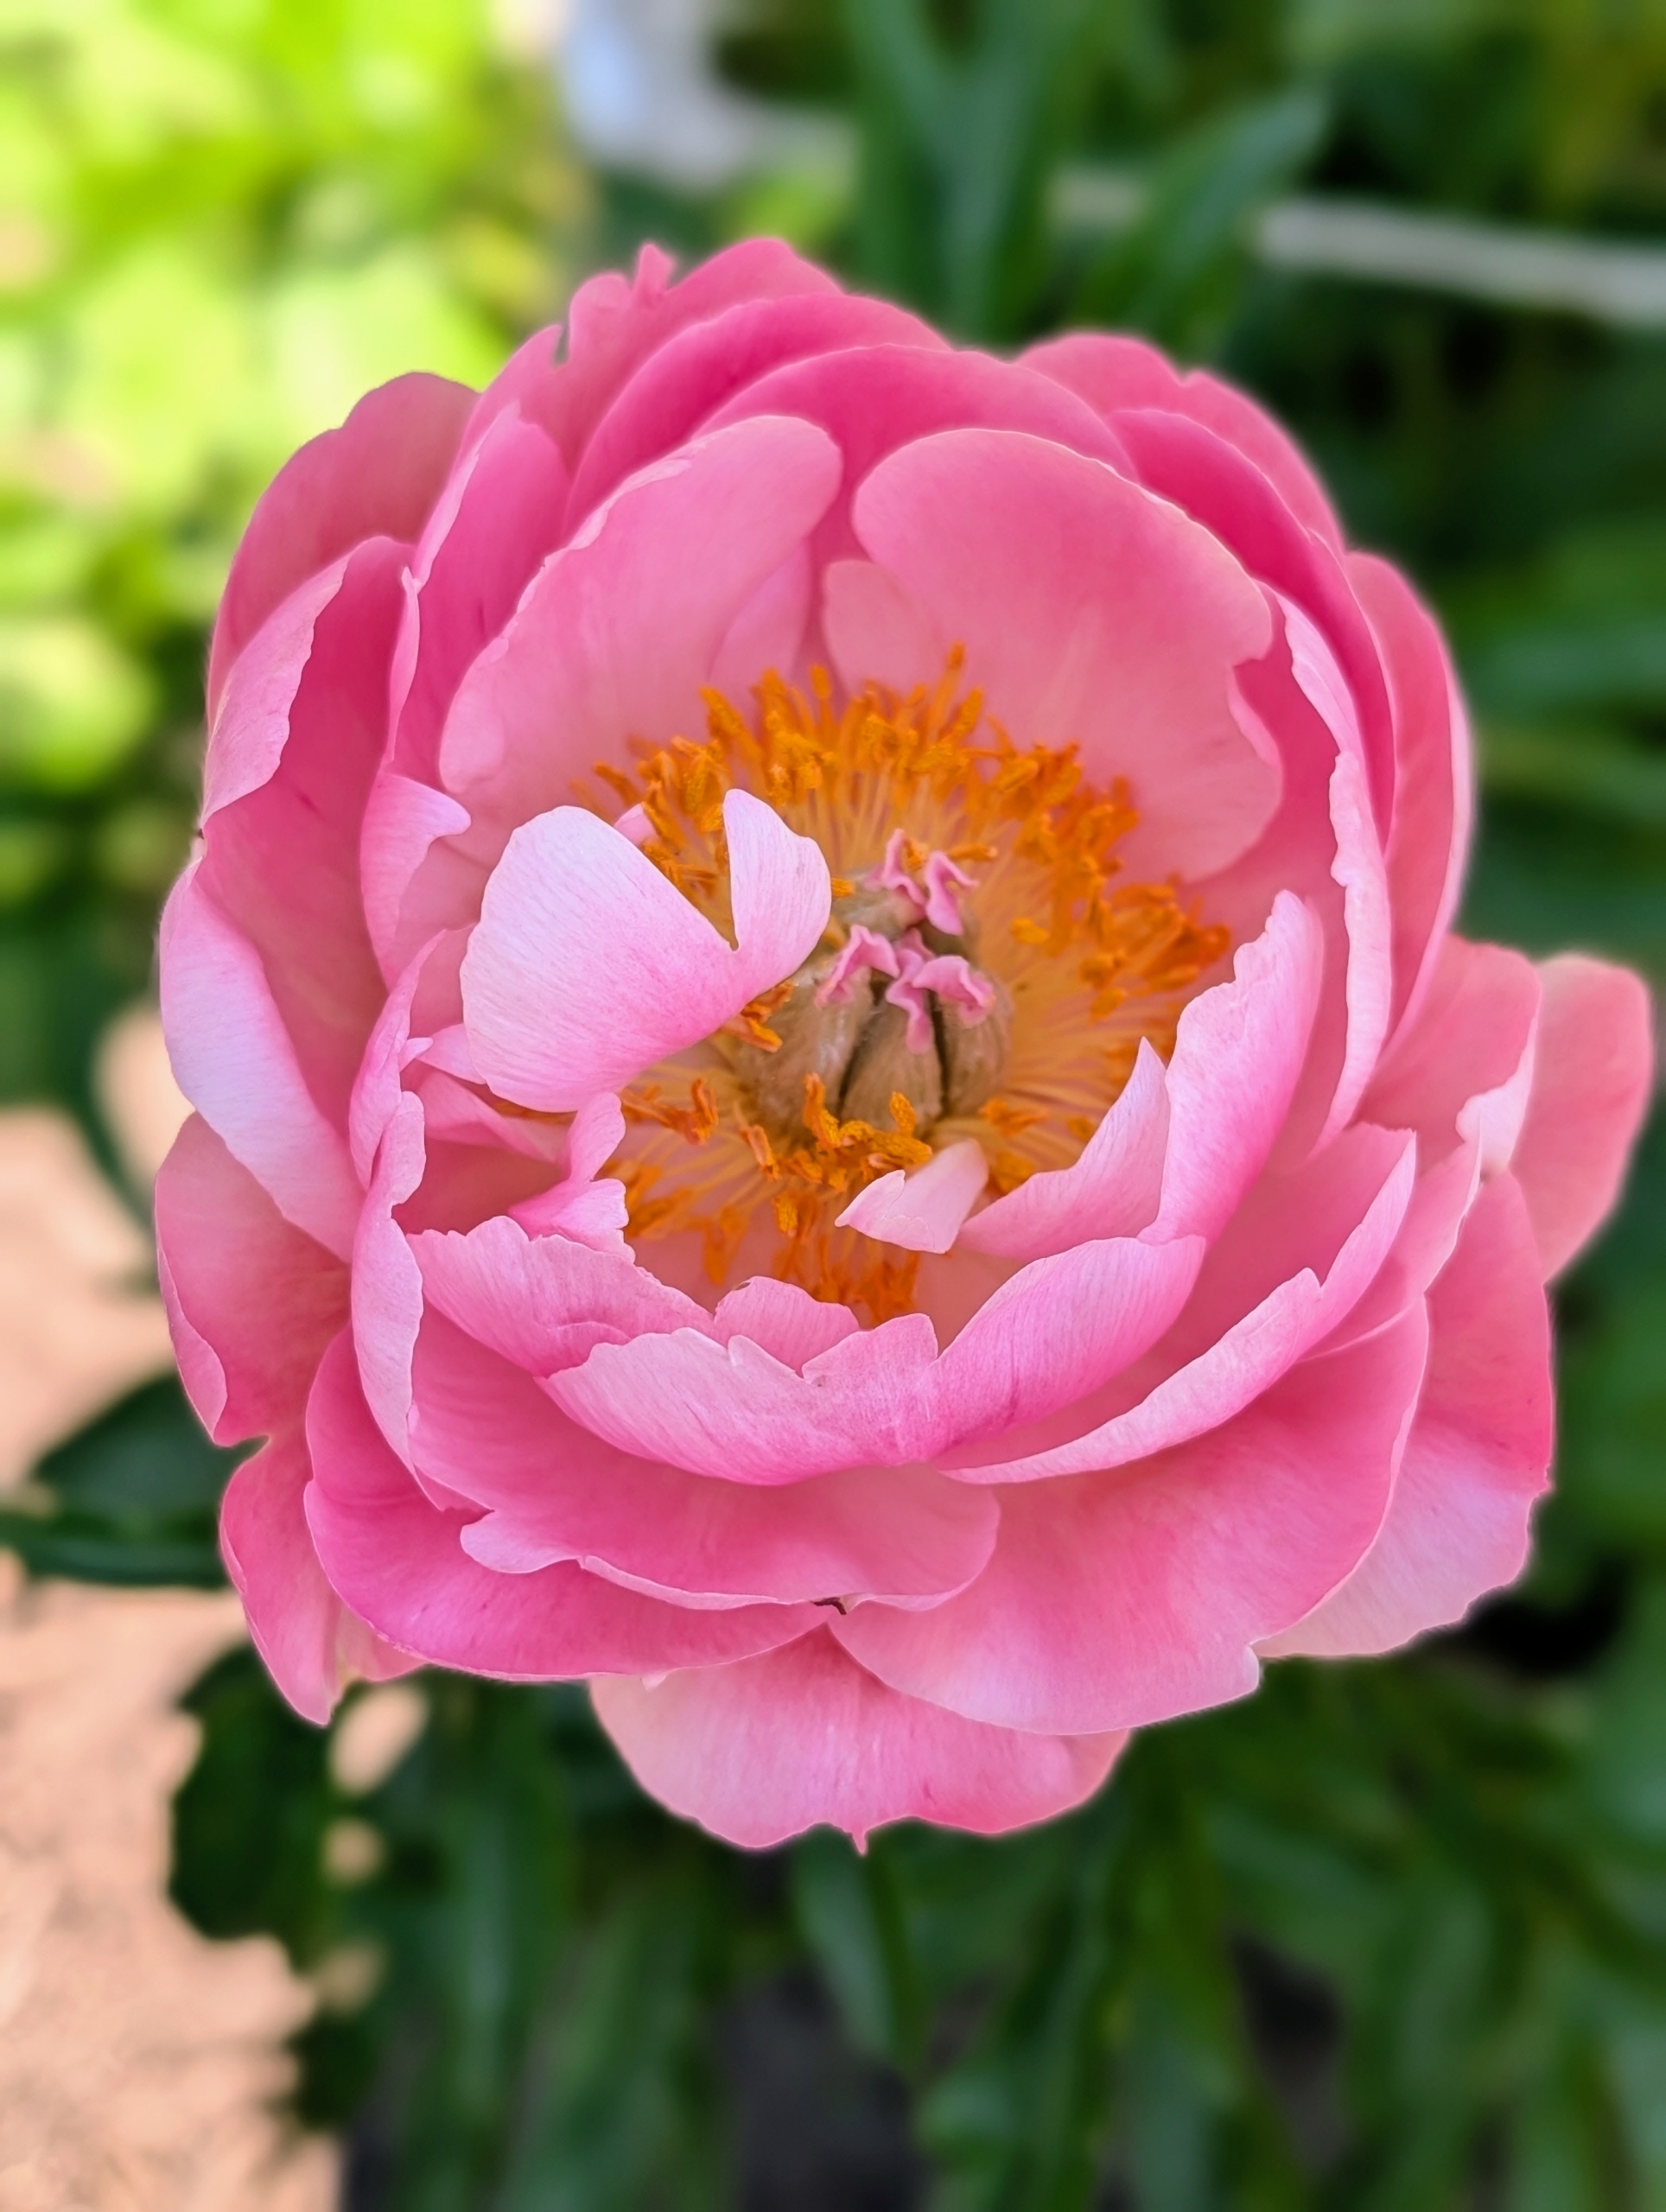
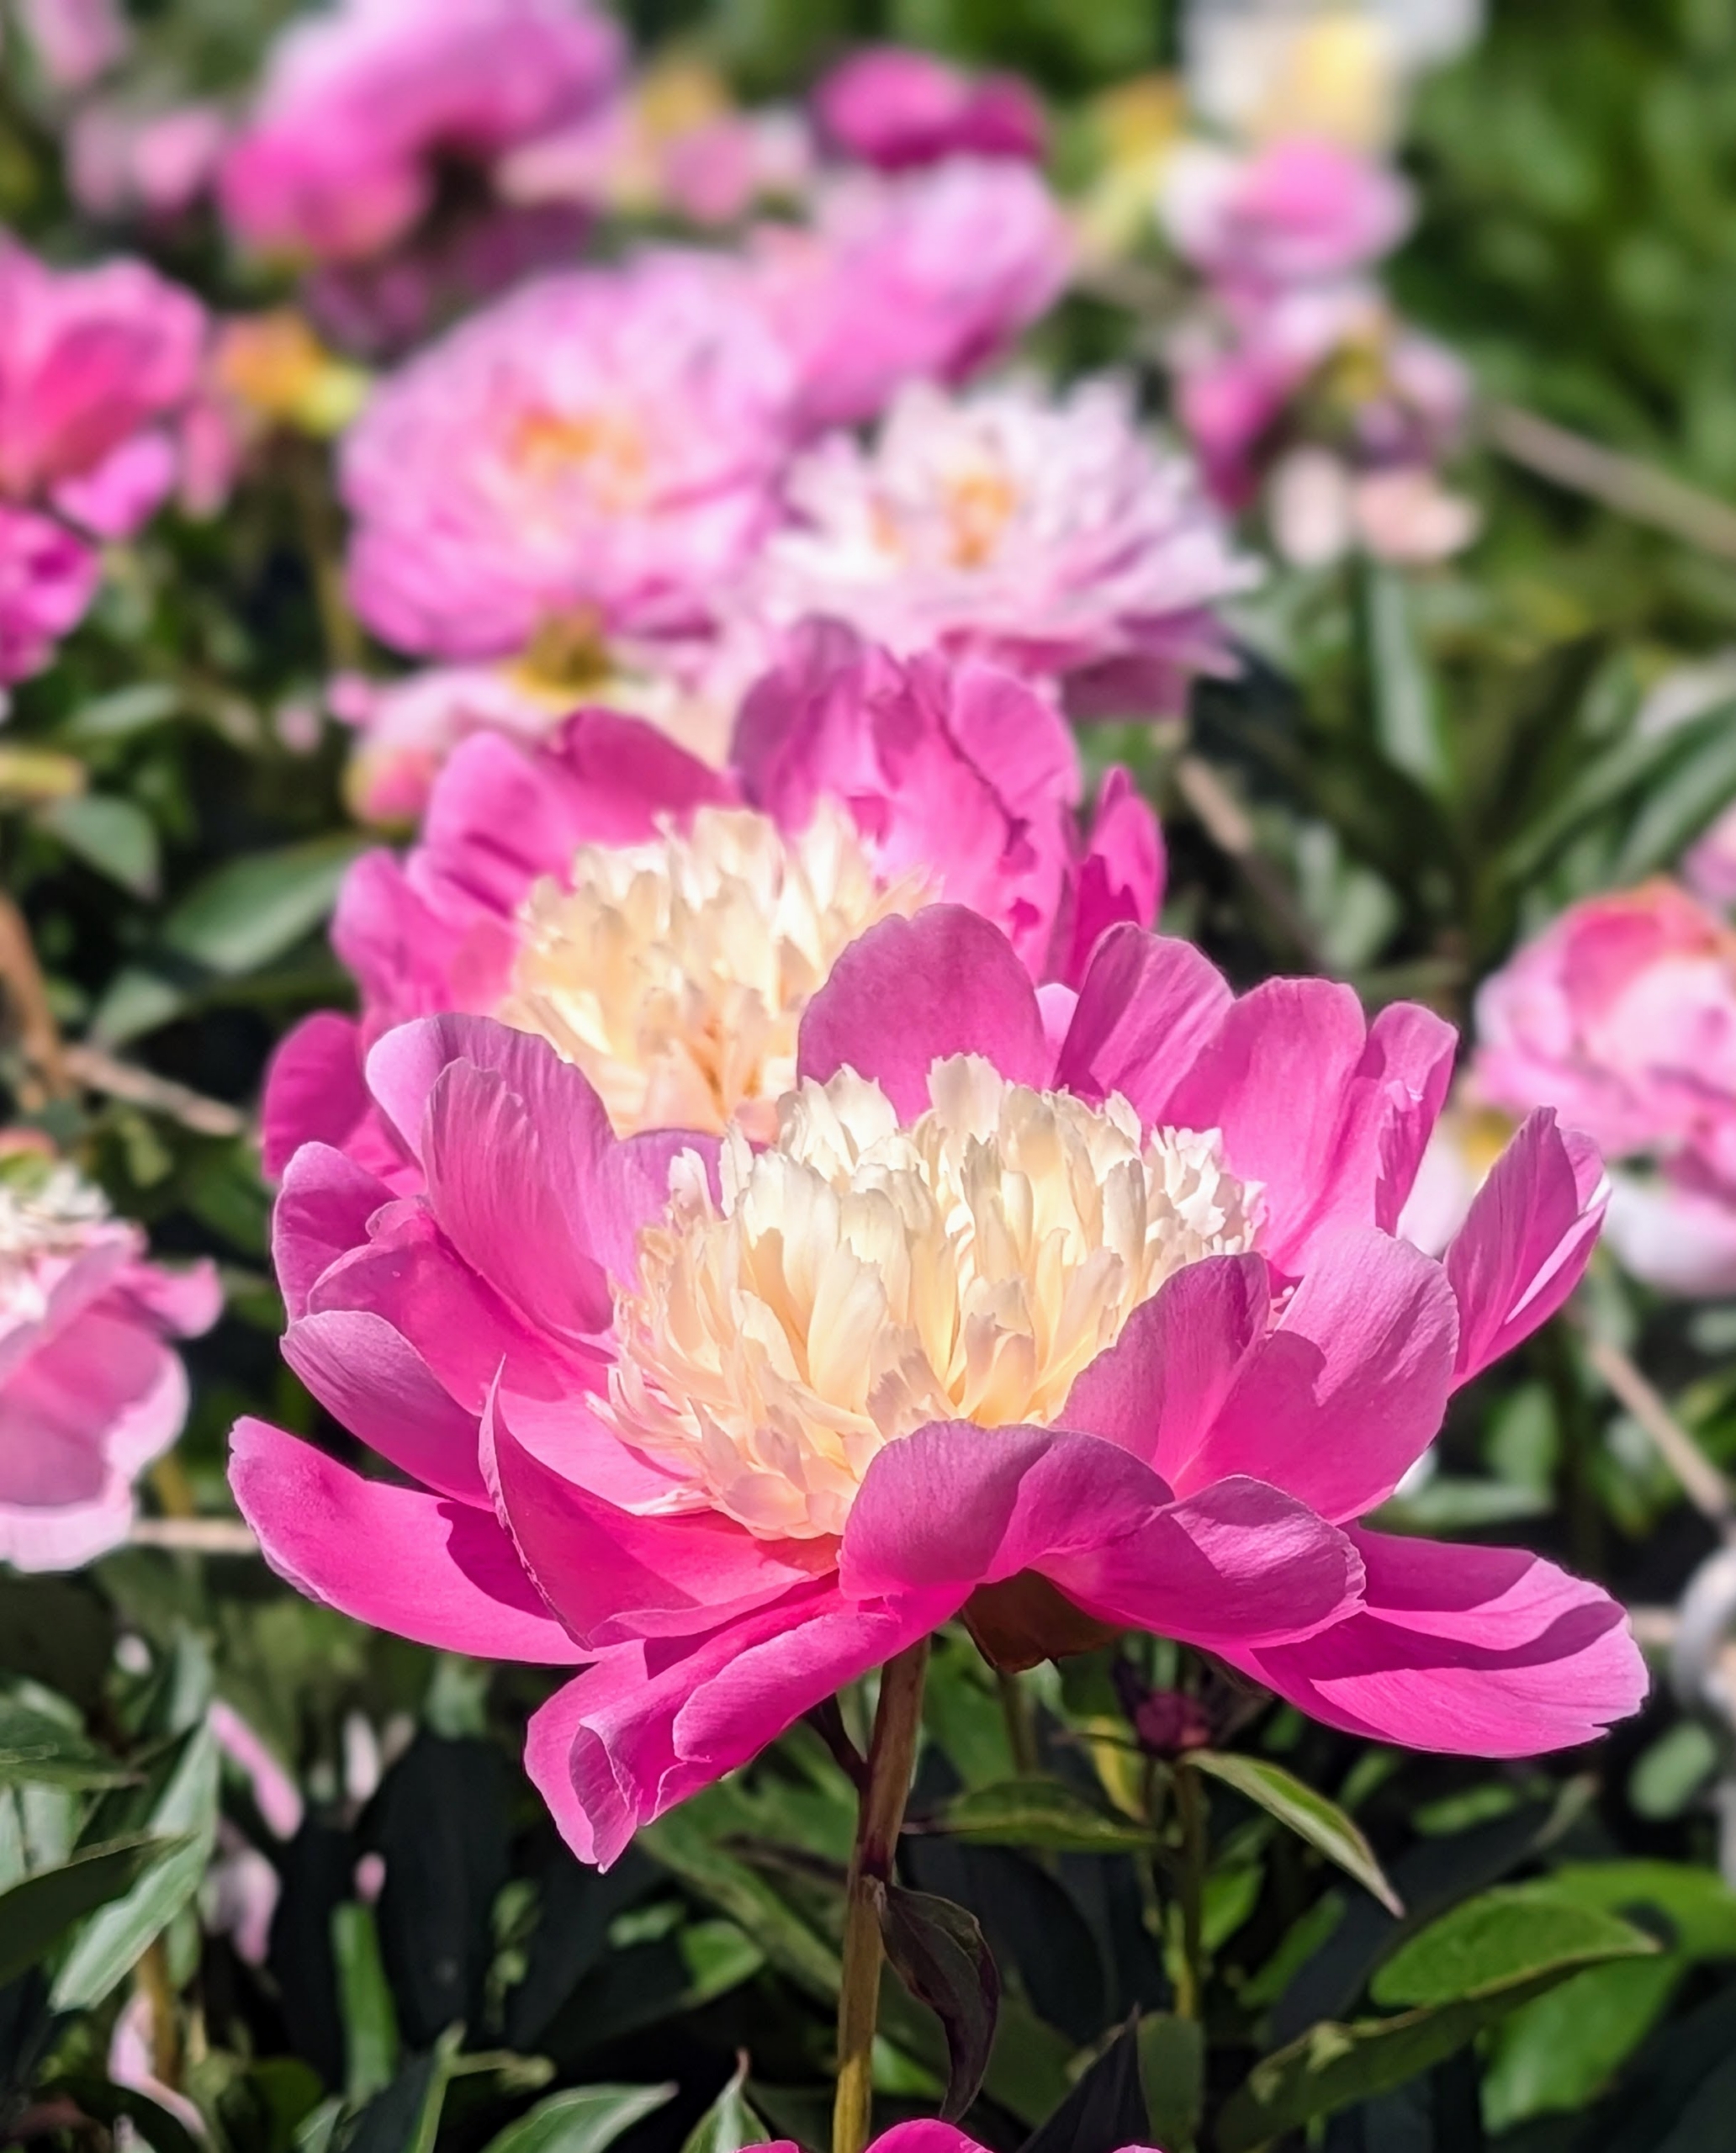
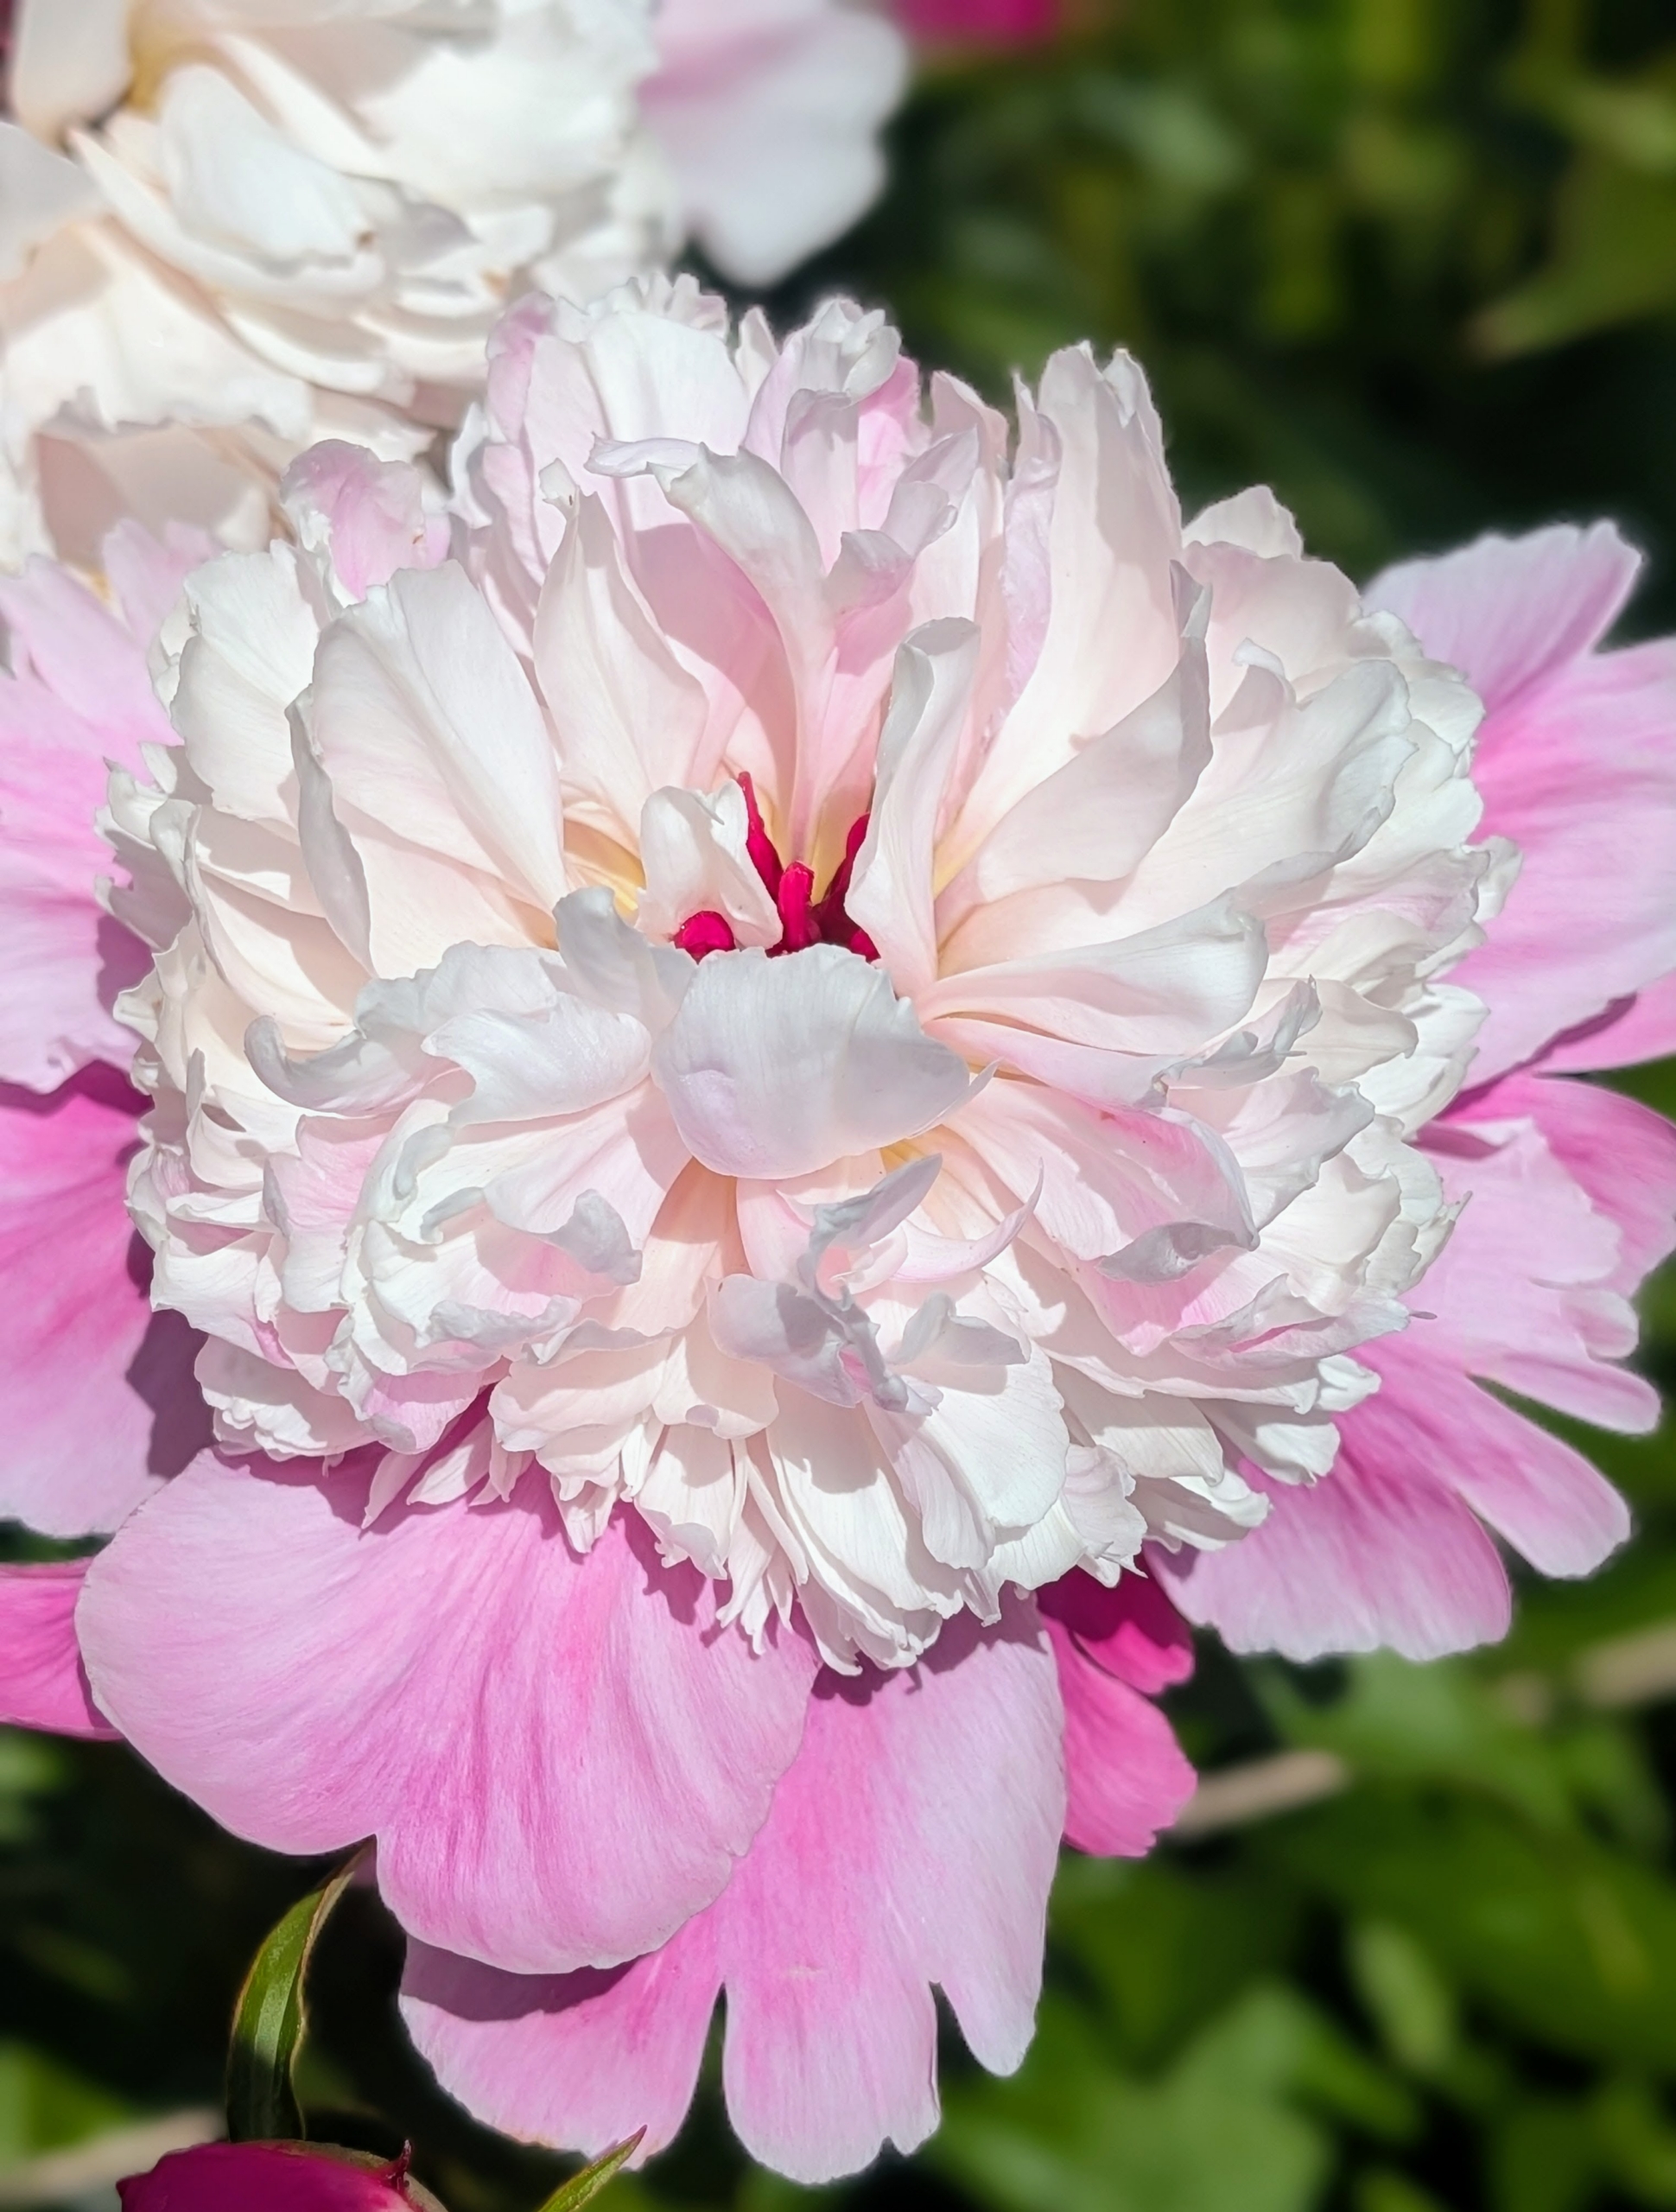
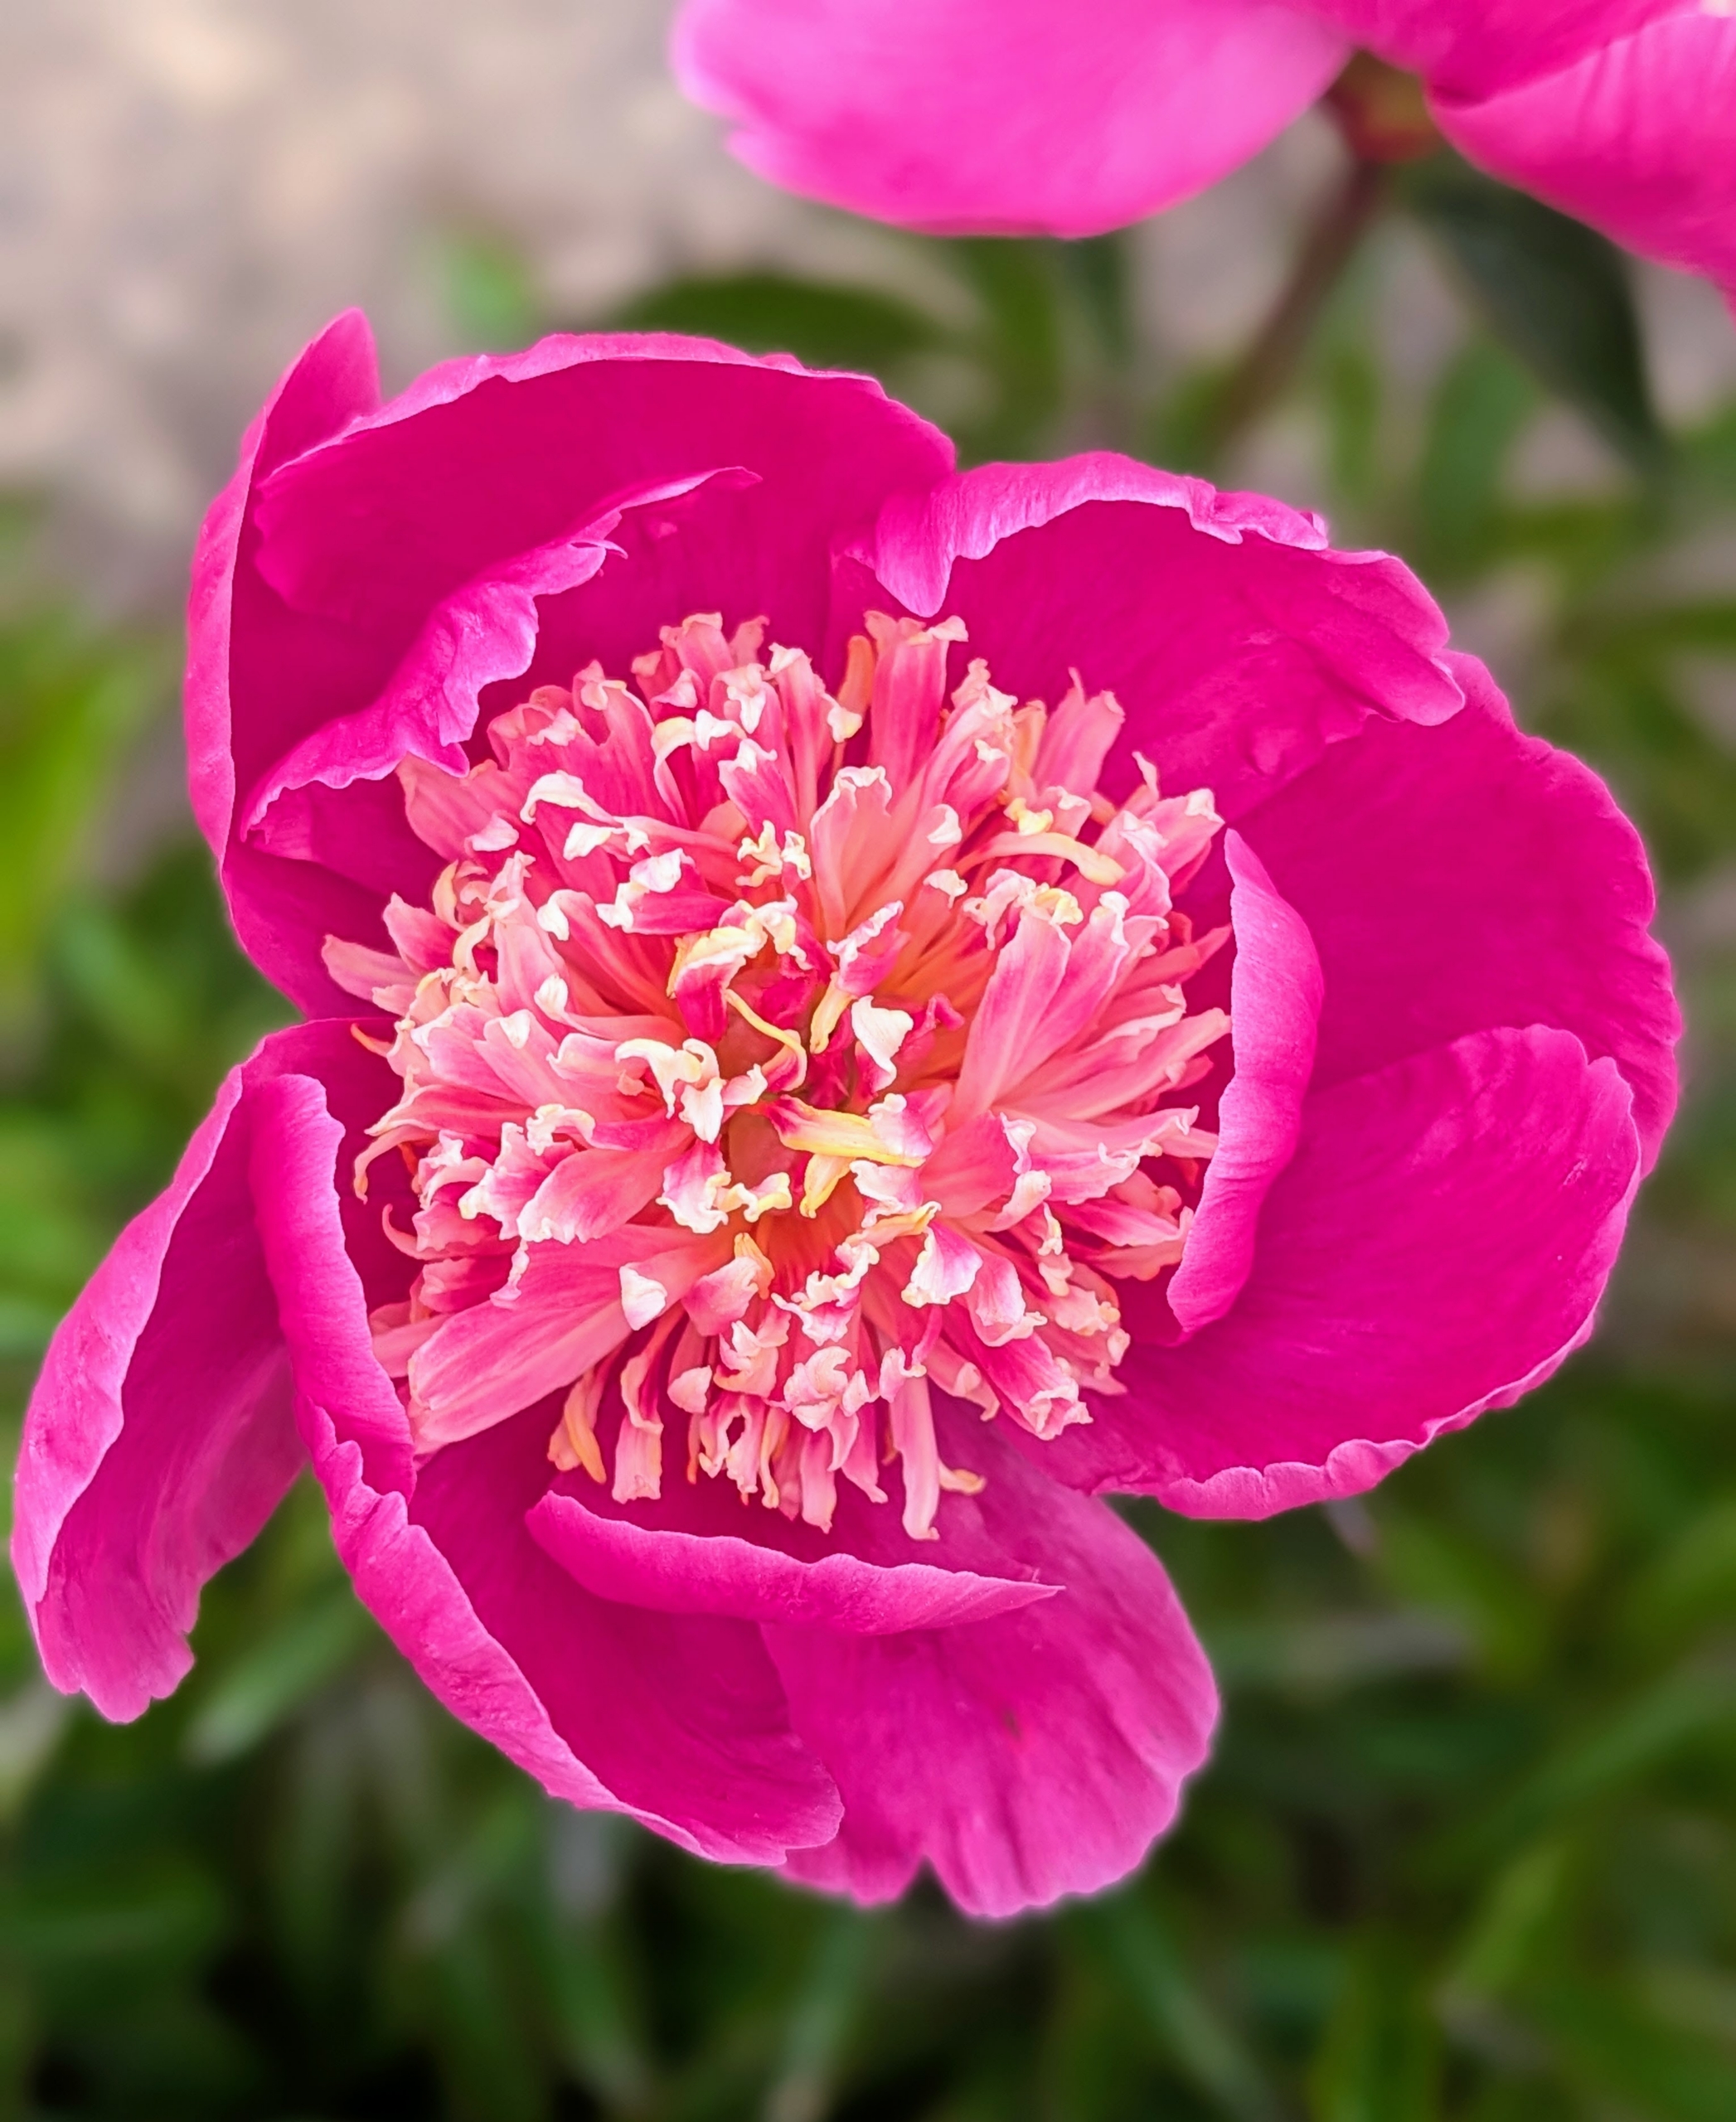
Here, the outer petals are medium pink, the inner petals are light pink and white, and the center stamens are red.
And I have more outside my main greenhouse! I love planting them en masse – look at all the gorgeous blooms!
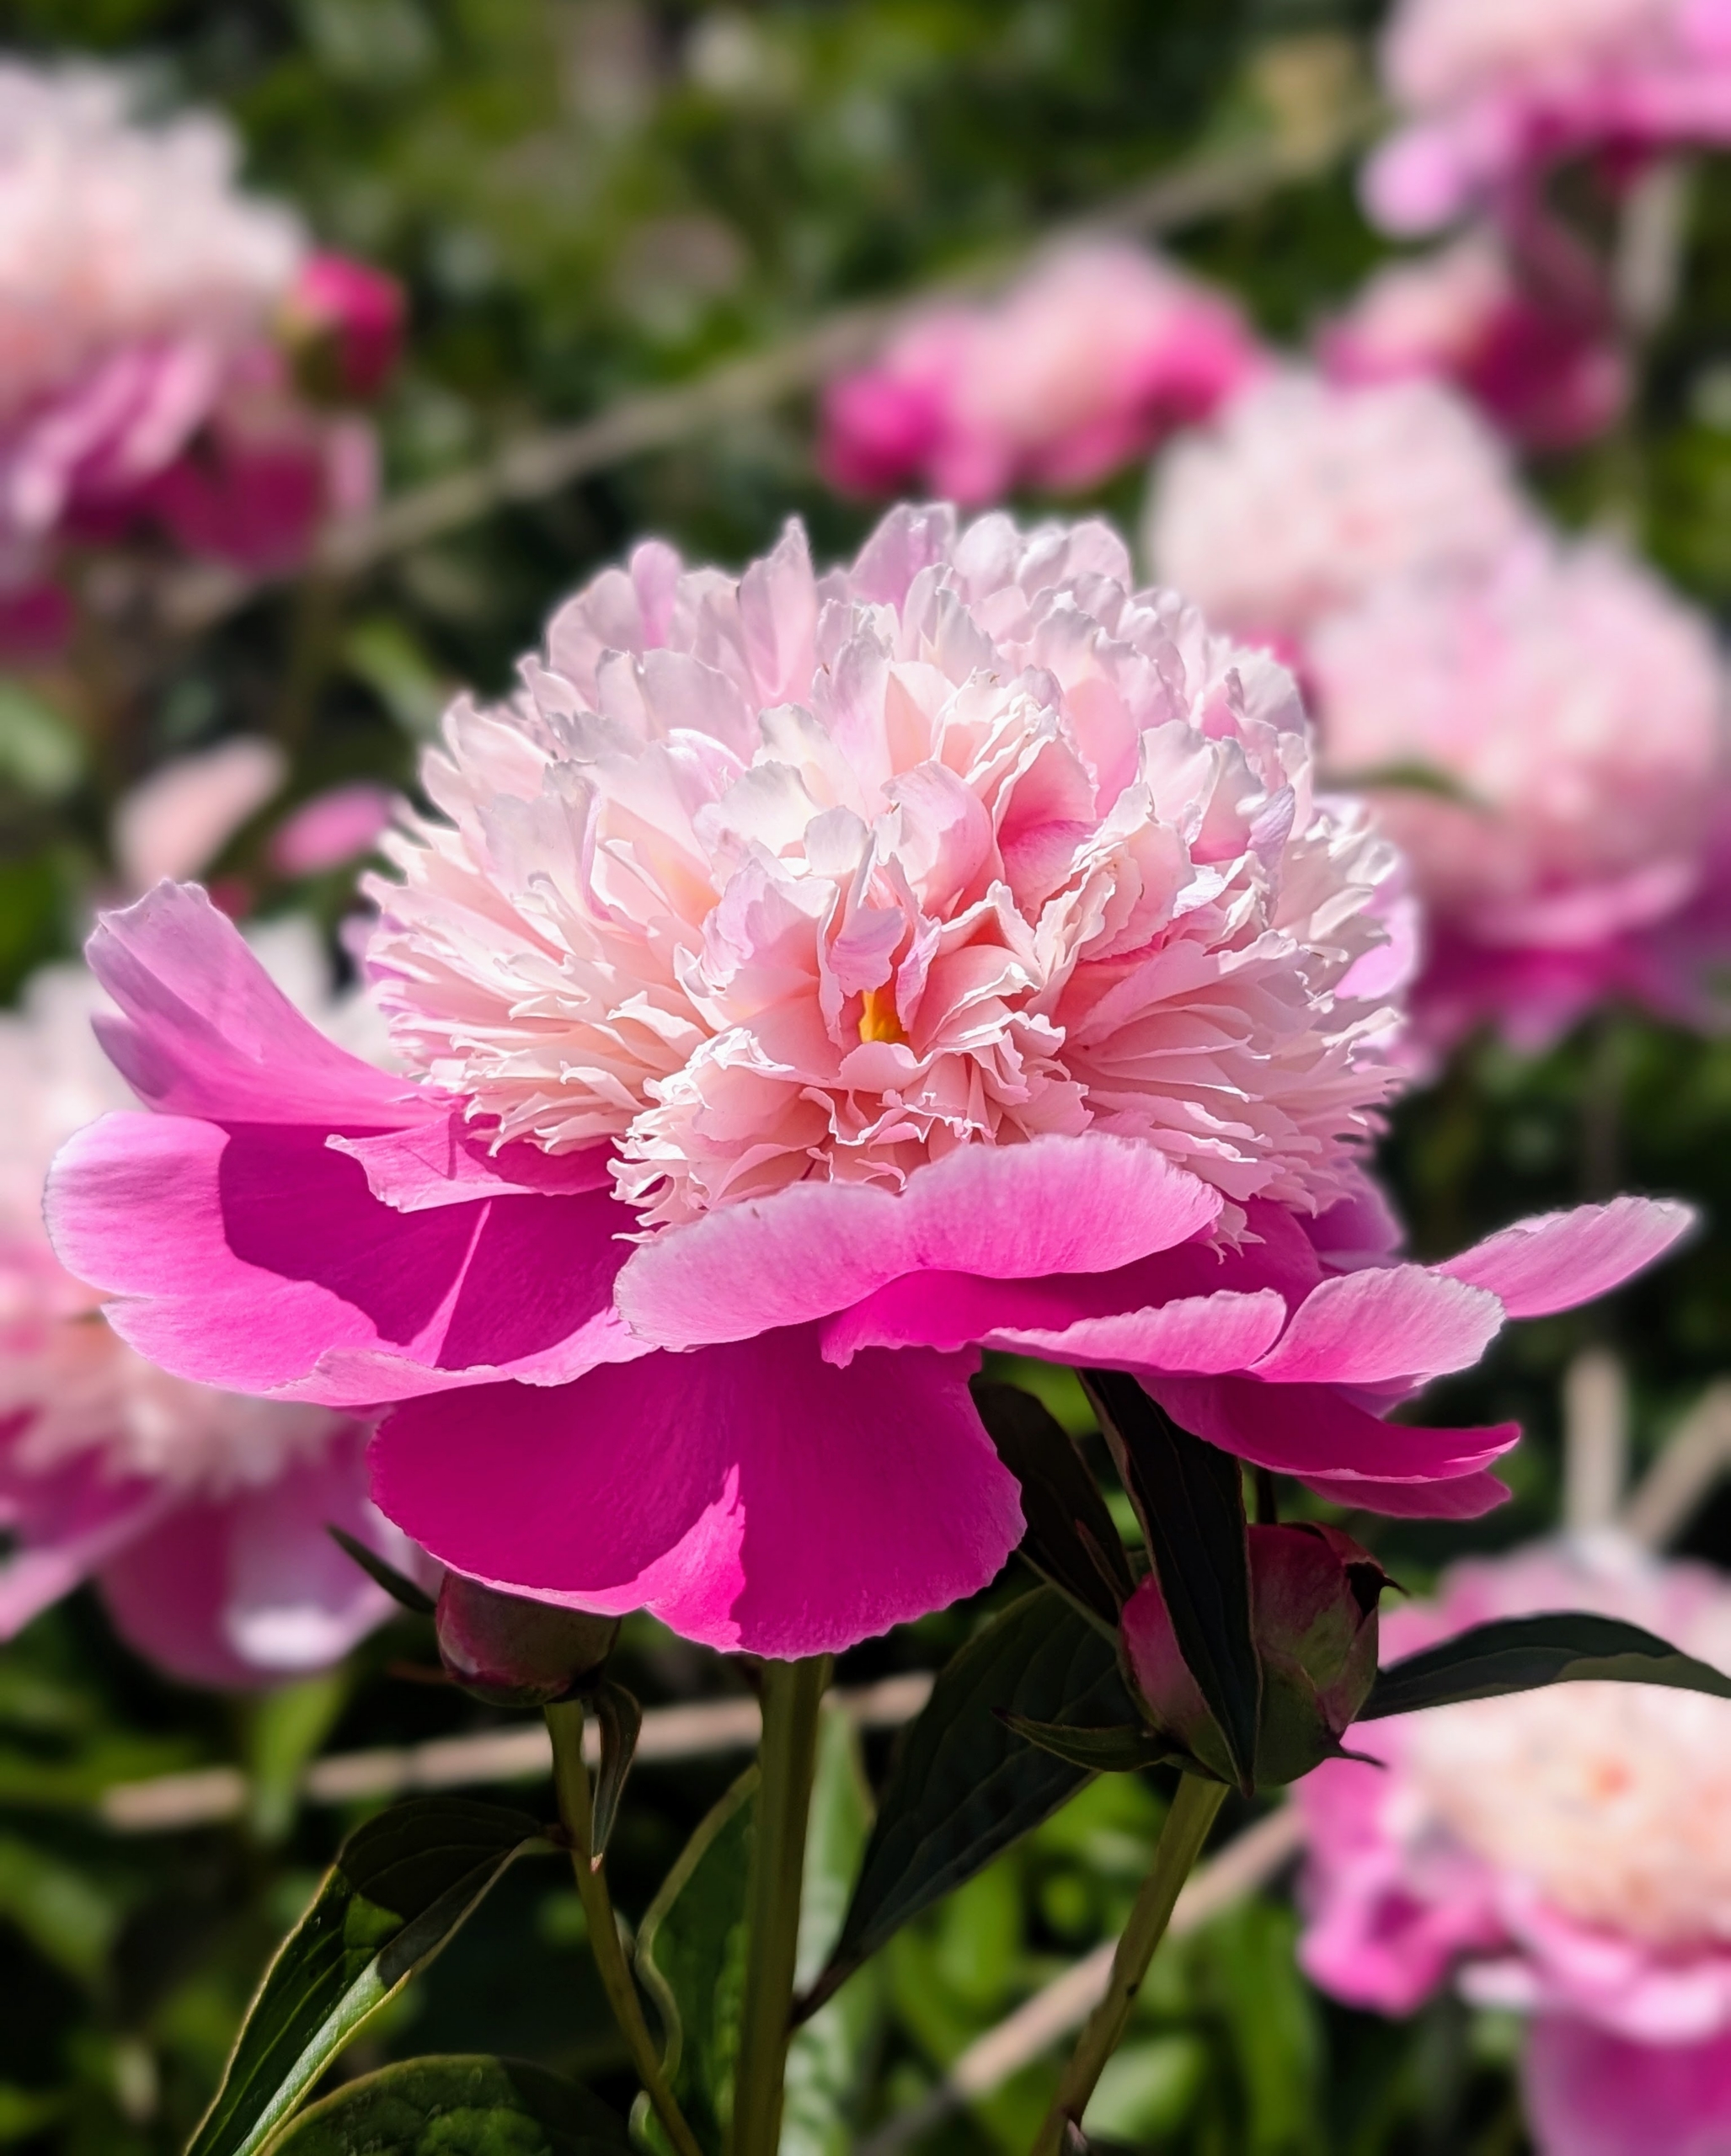
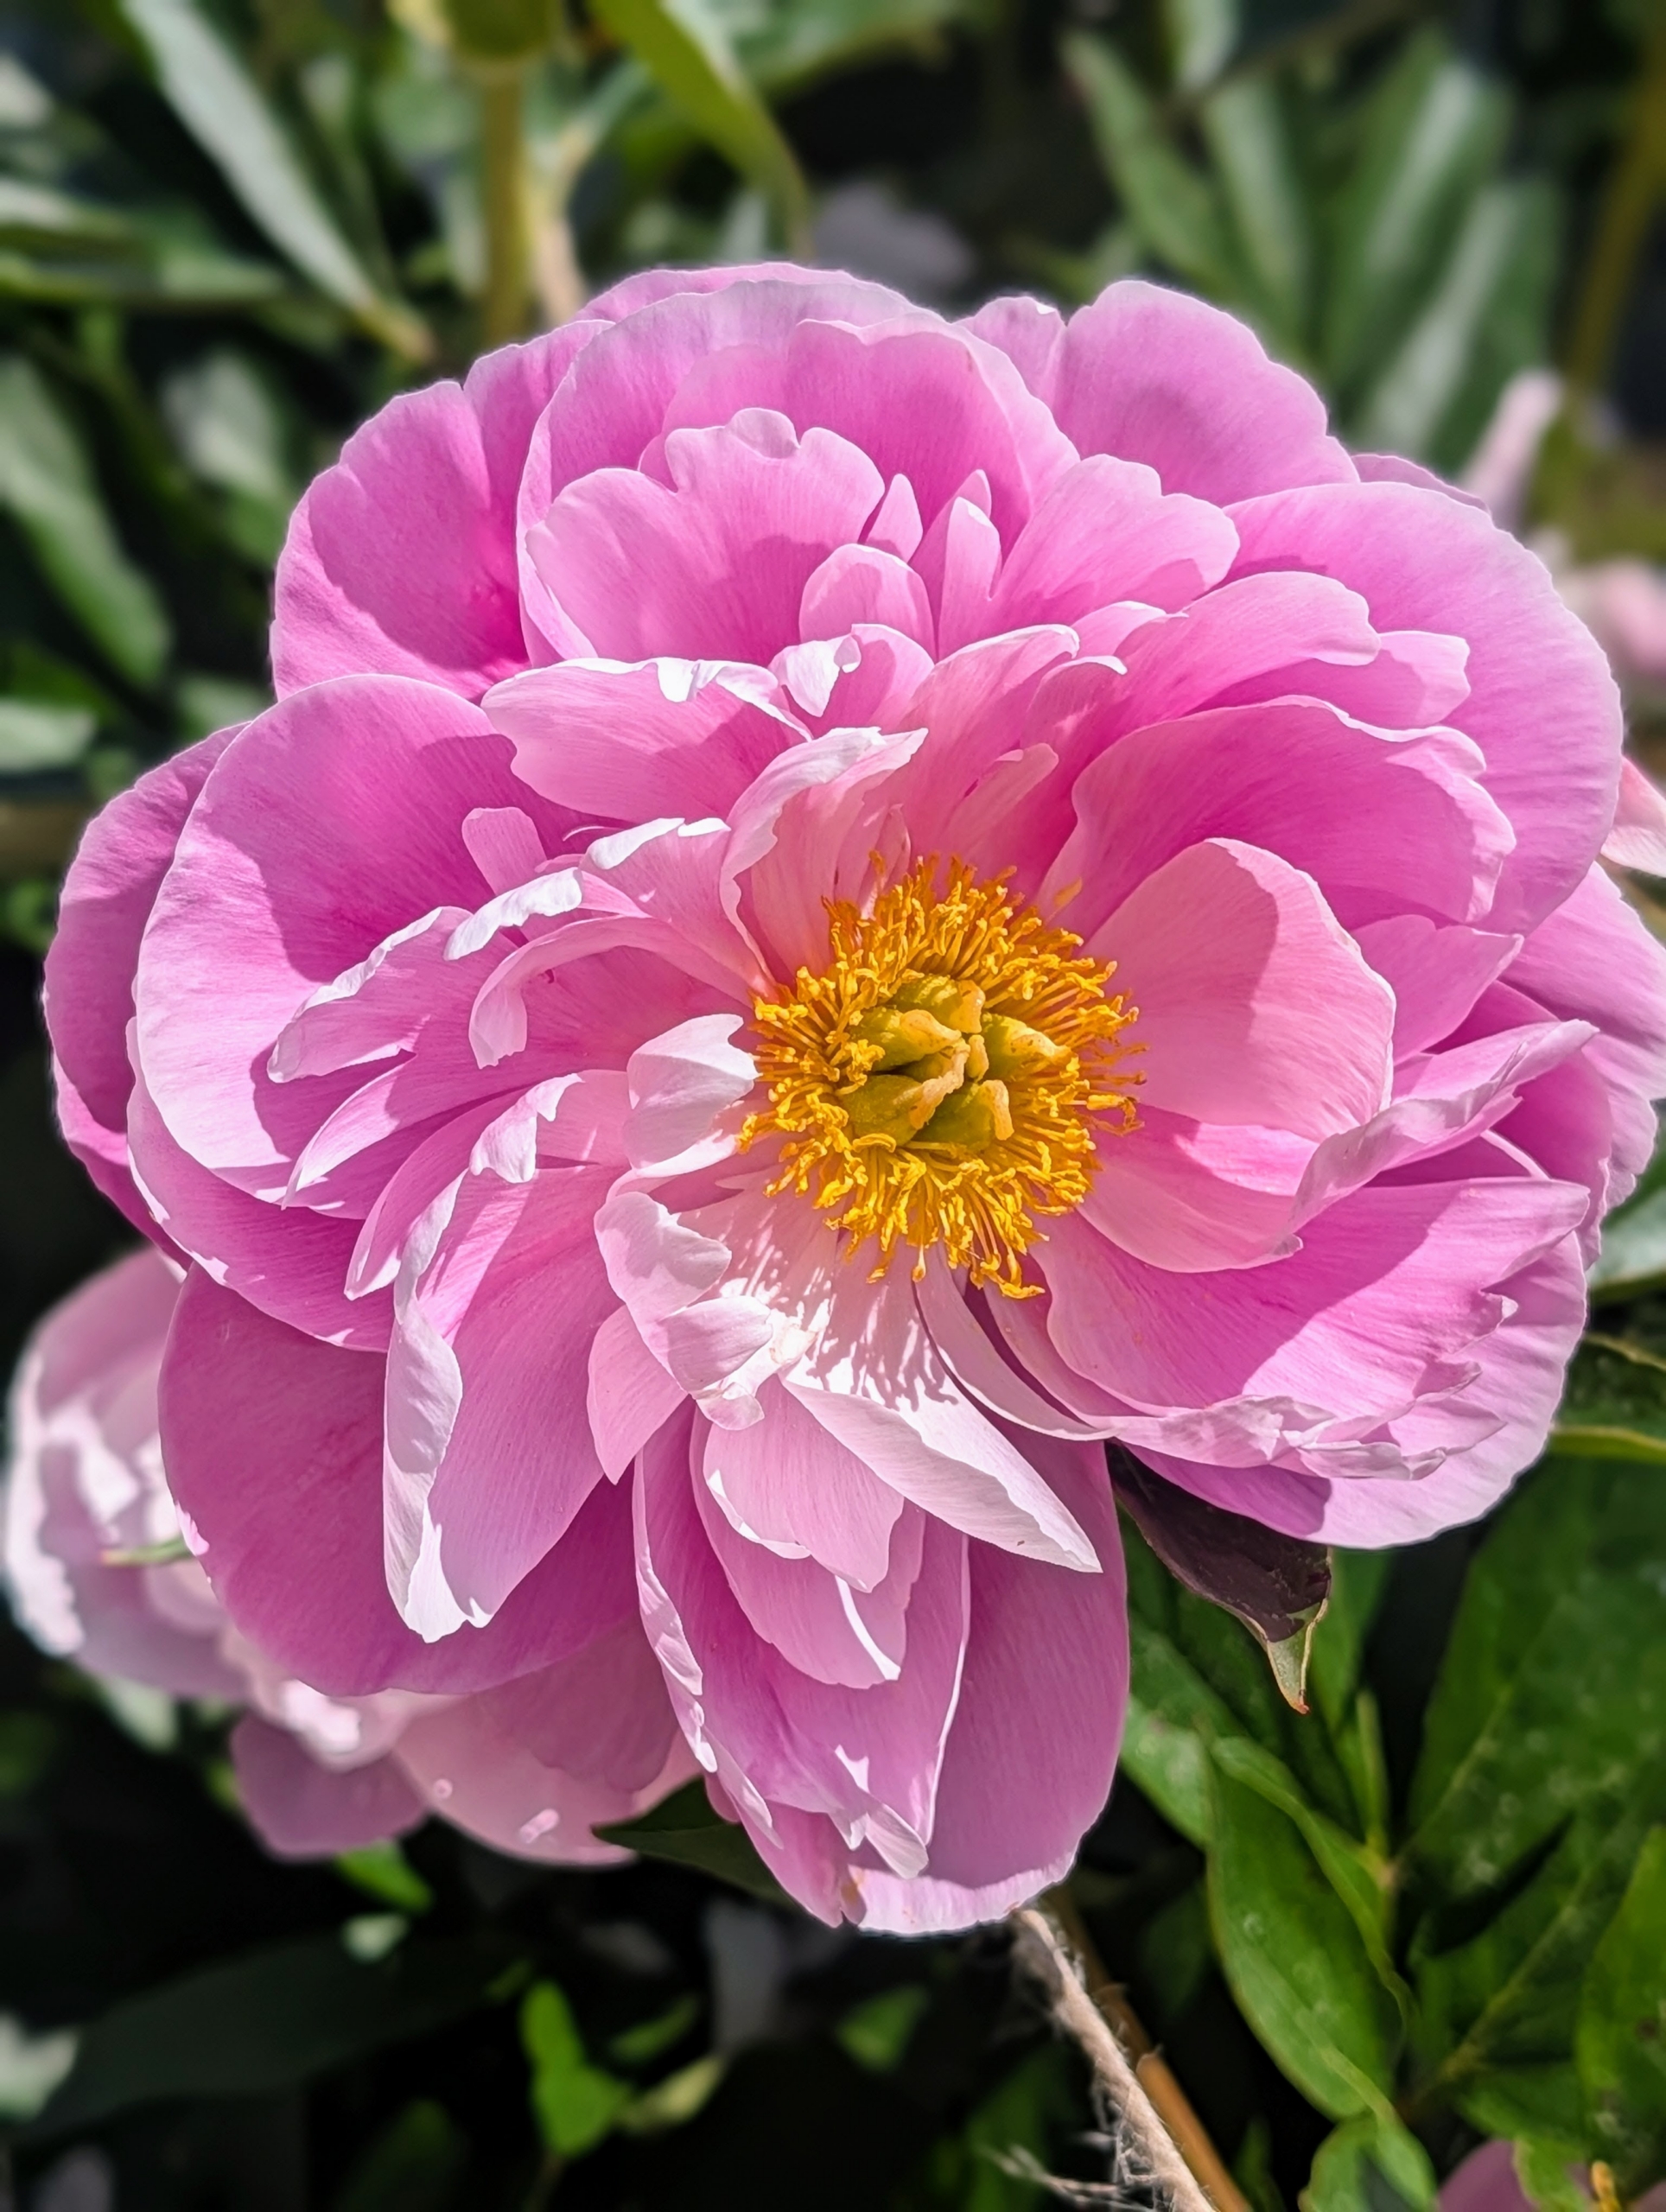
This is a favorite with light pink petals and a dark pink center.
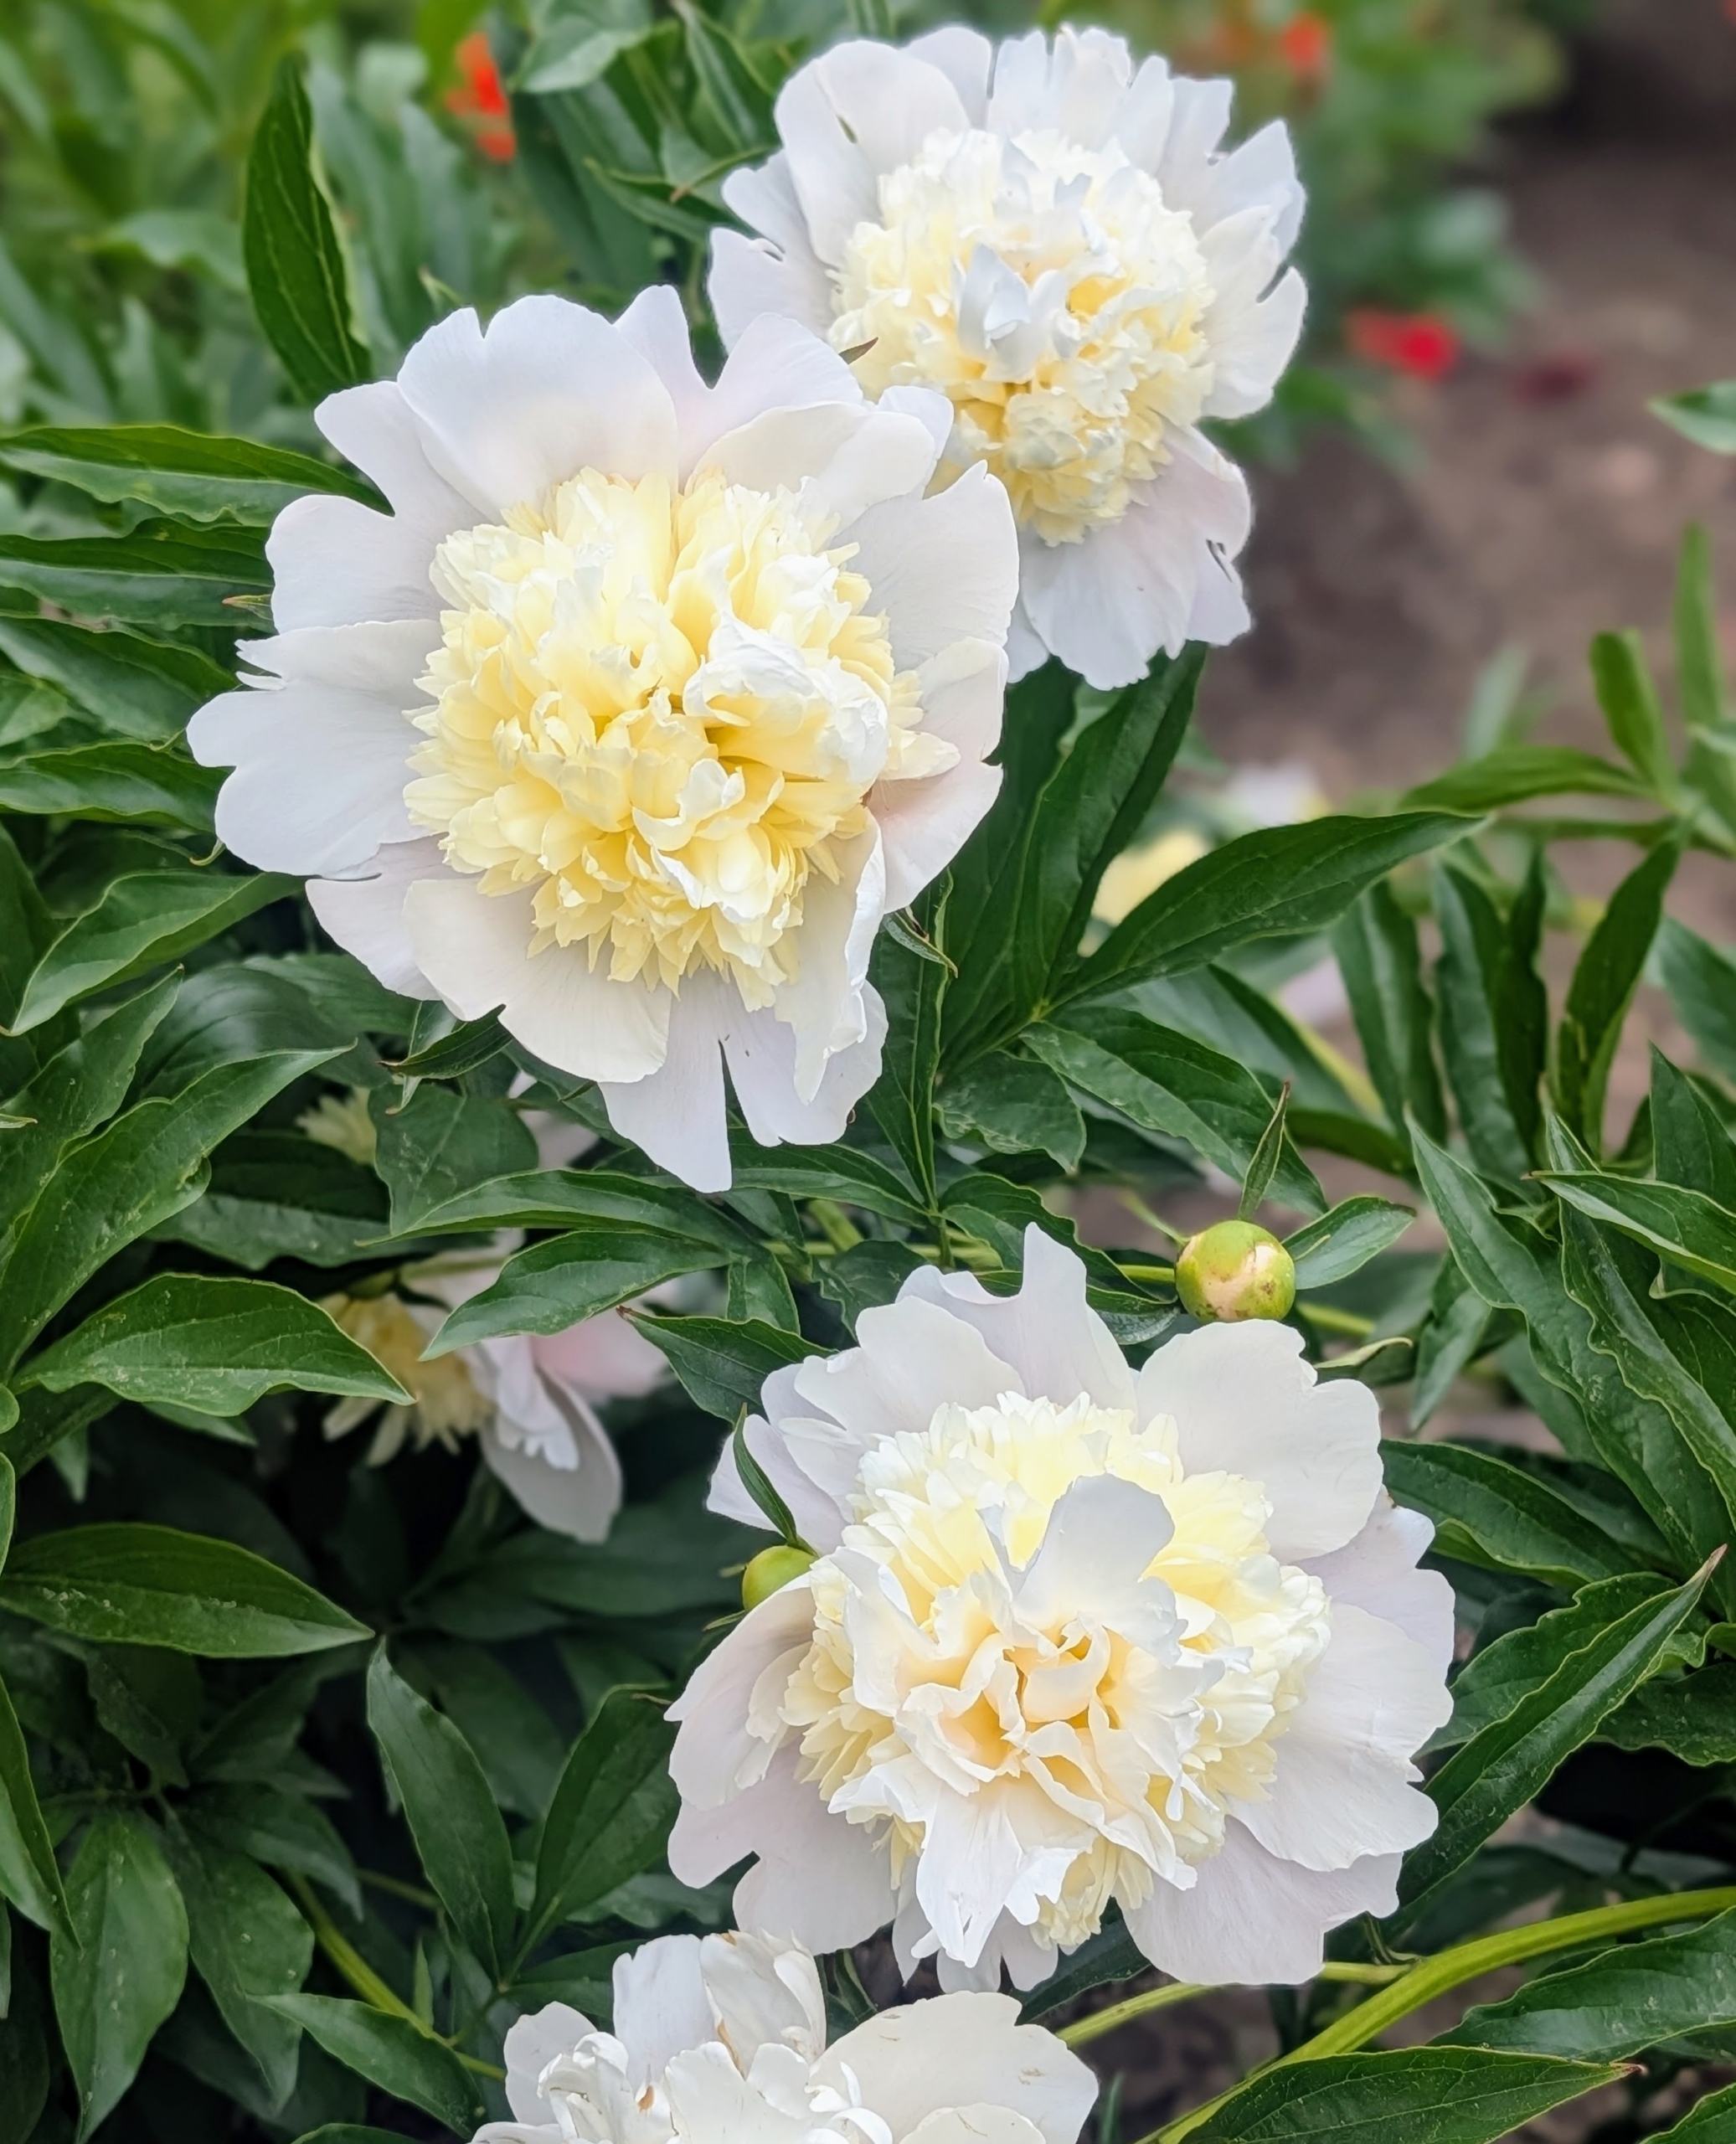
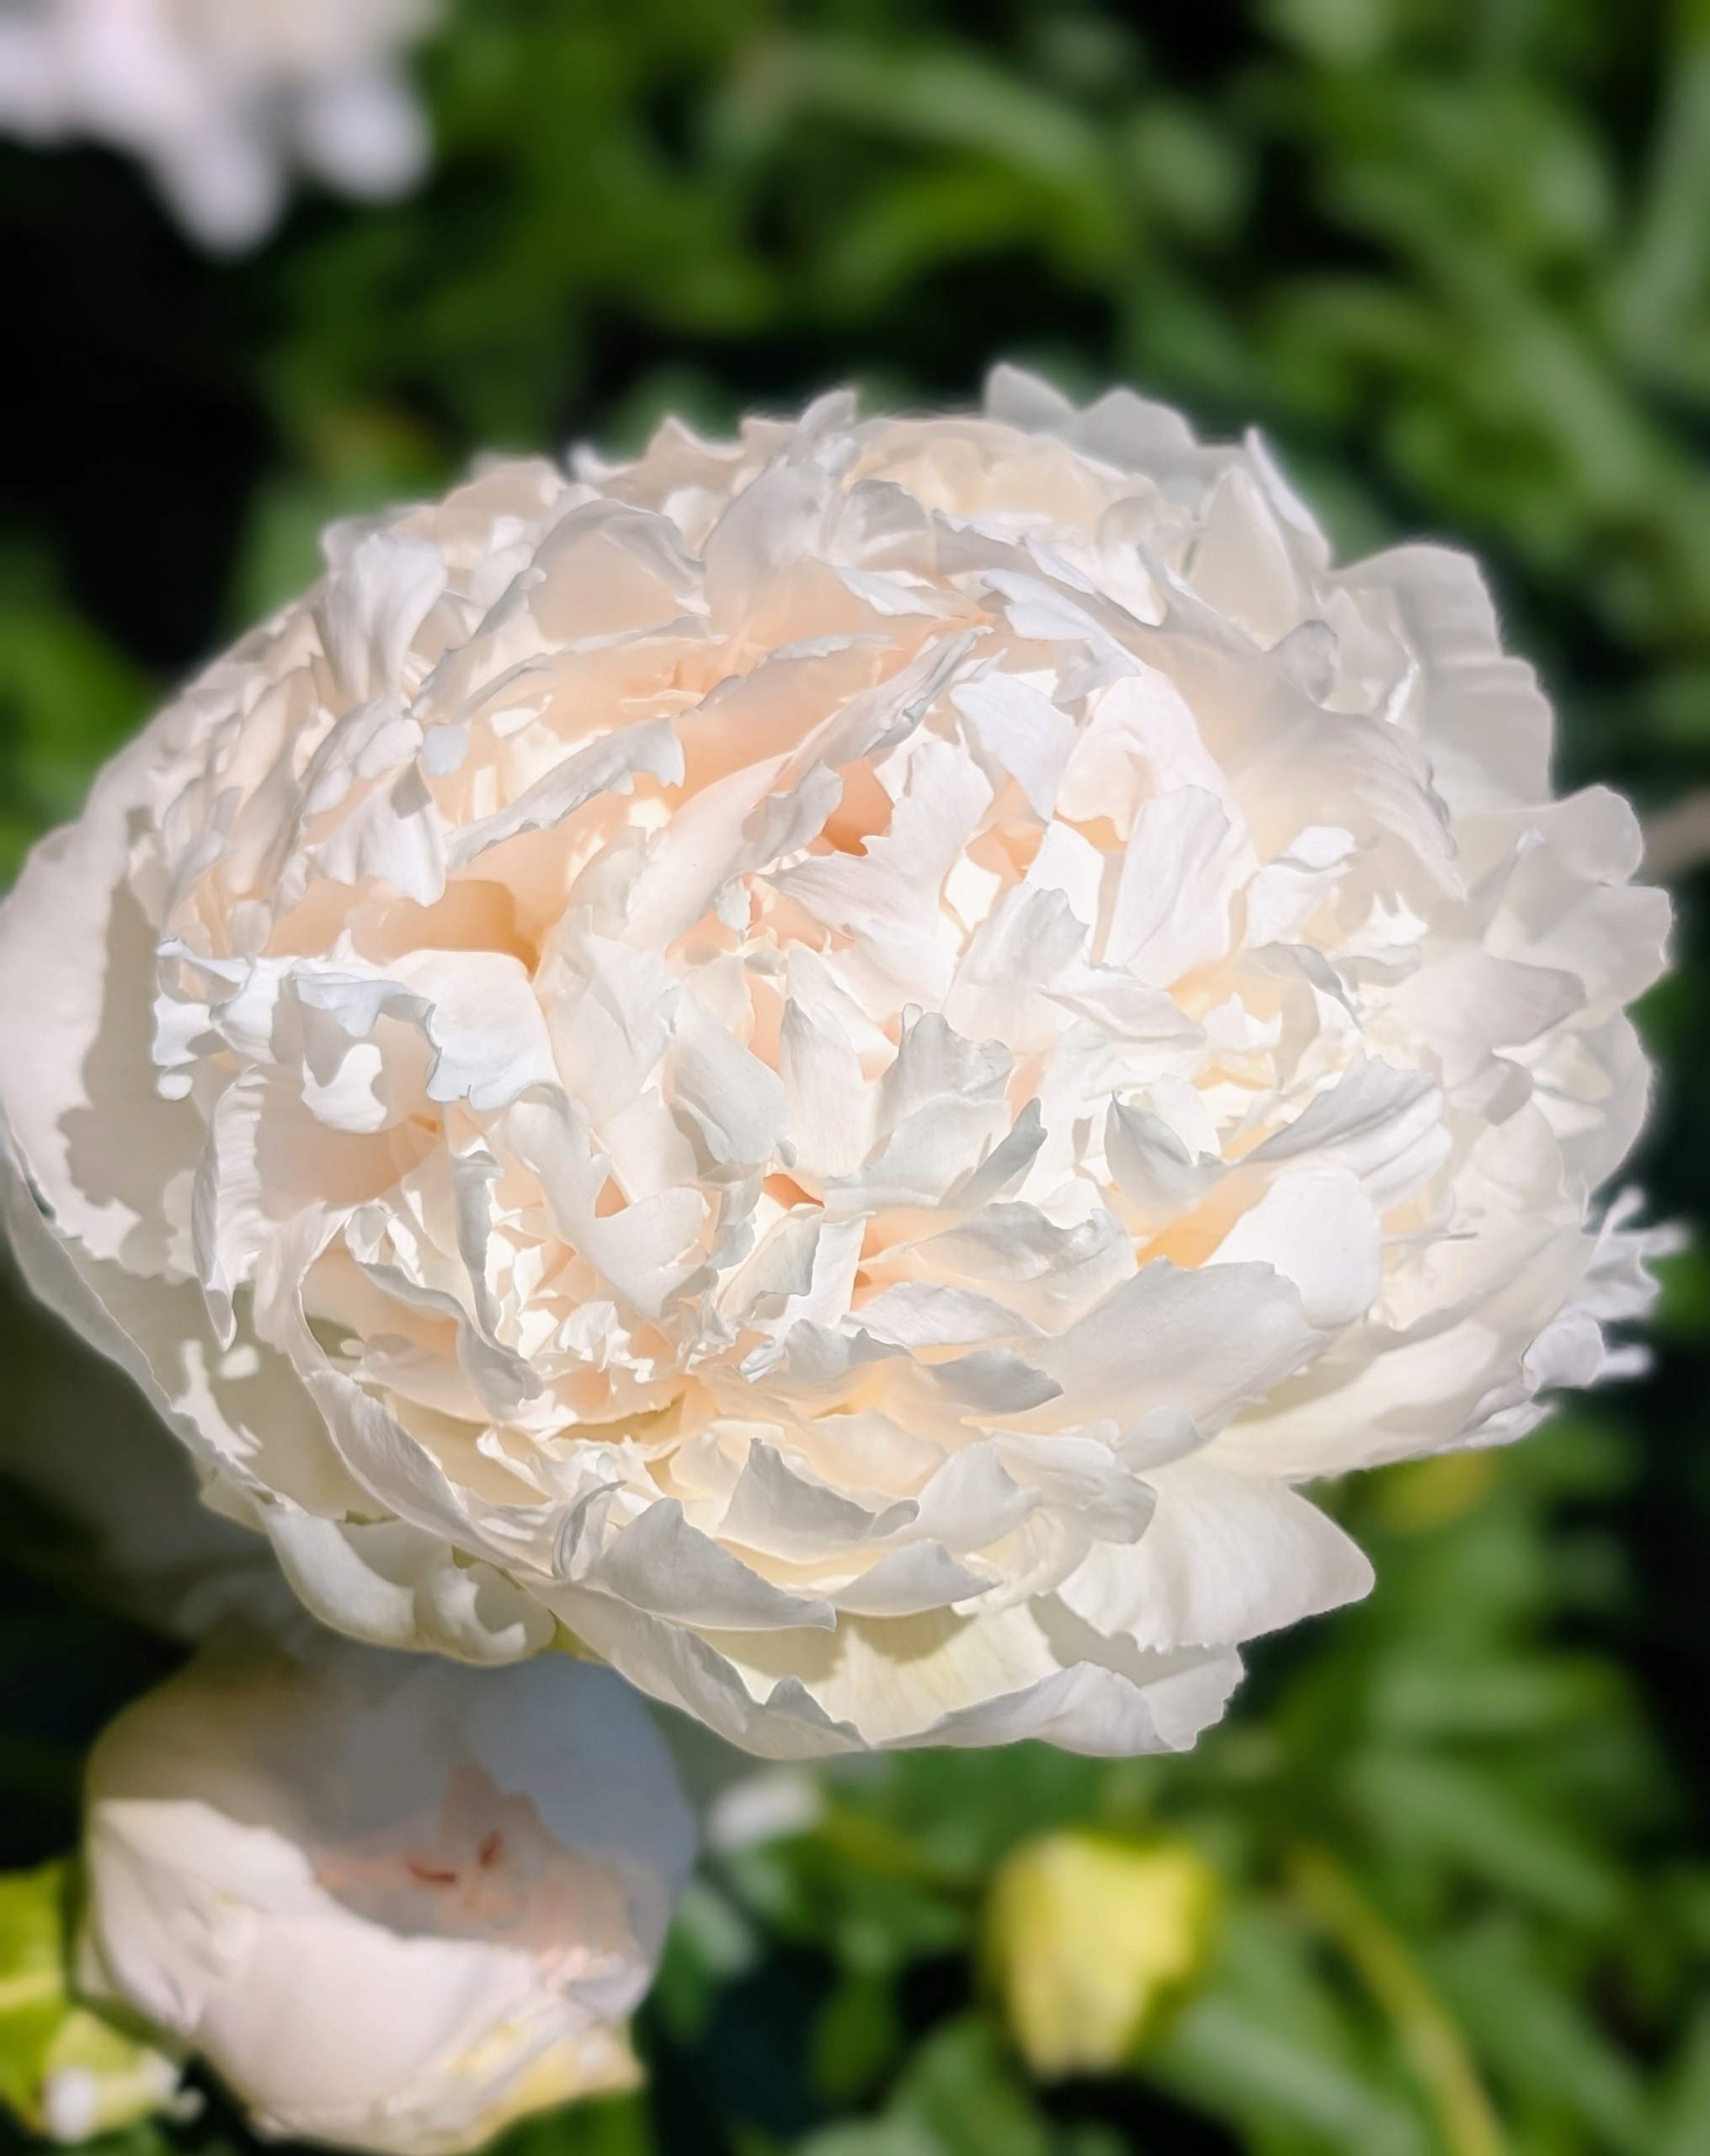
Here’ one in crisp white.
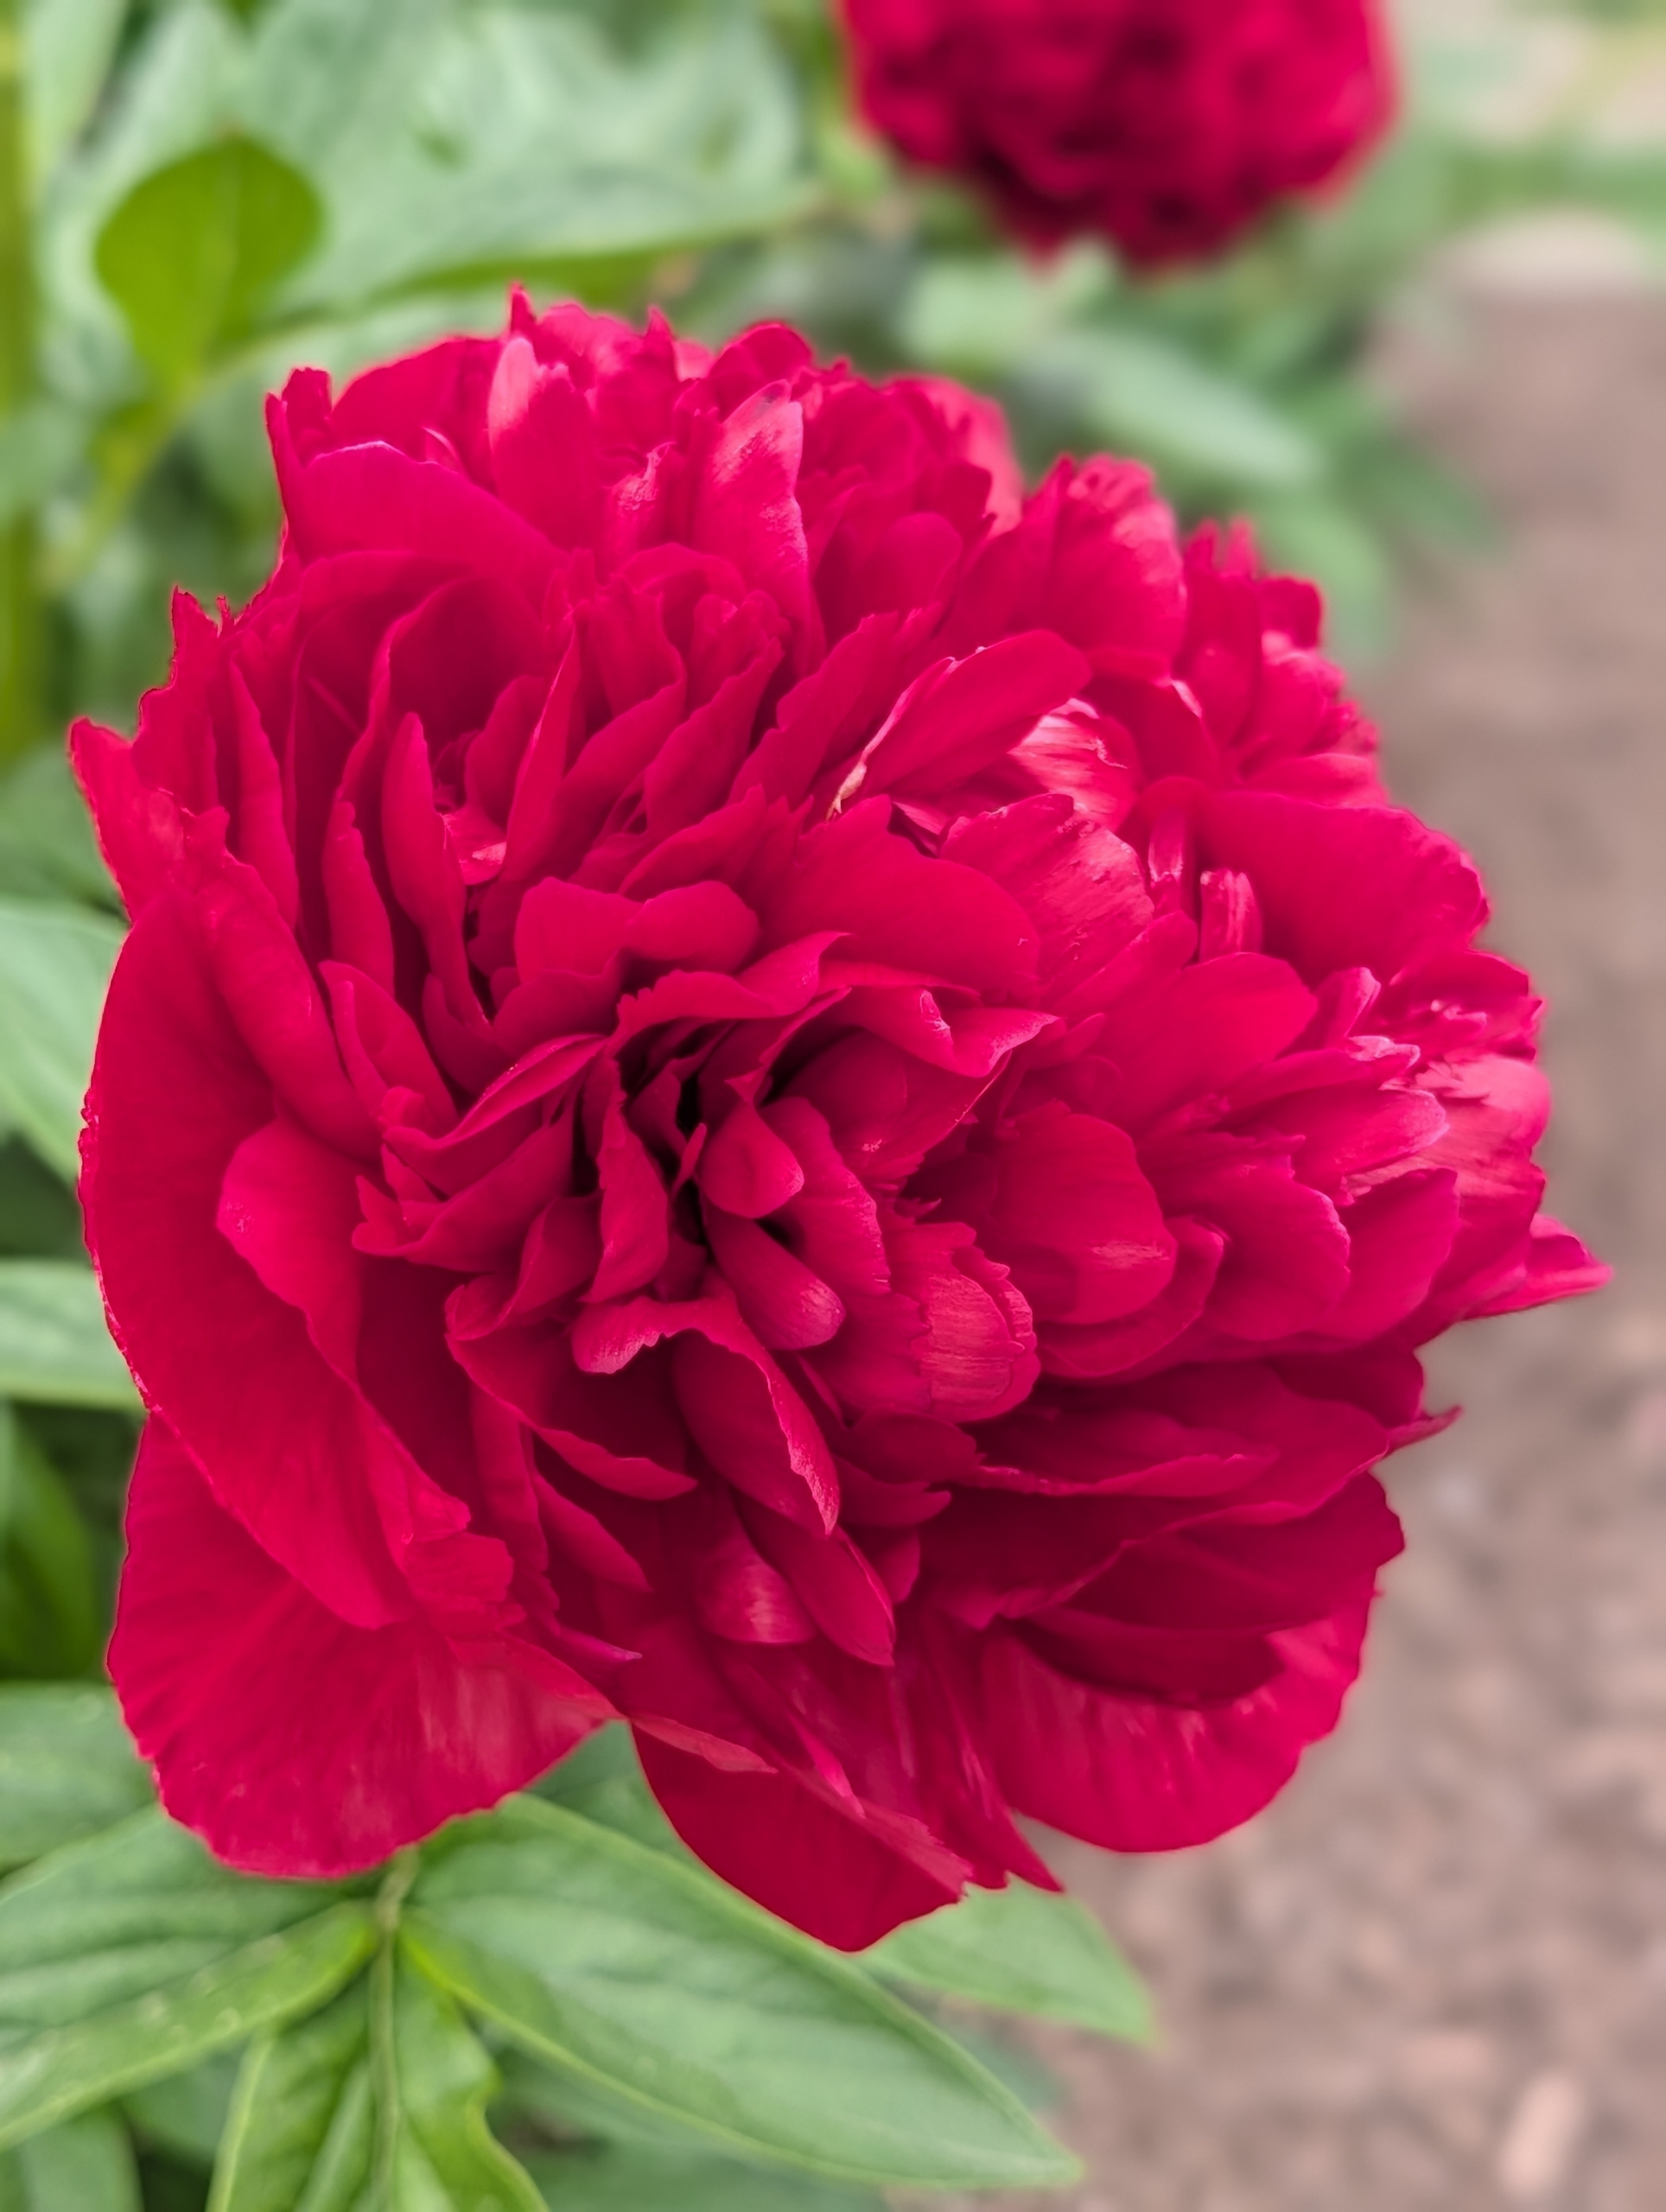
And a gorgeous deep red peony that’s bigger than one’s hand.
The only disadvantage of peonies is that each field yields one crop of cut flowers for a couple of weeks only once a year, and then that’s it – until the next season when they bloom with splendor once again.