The Martha Stewart hybrid tea rose is absolutely stunning and growing so beautifully at my farm - I hope you saw the recent photos on my Instagram page @marthastewart48.
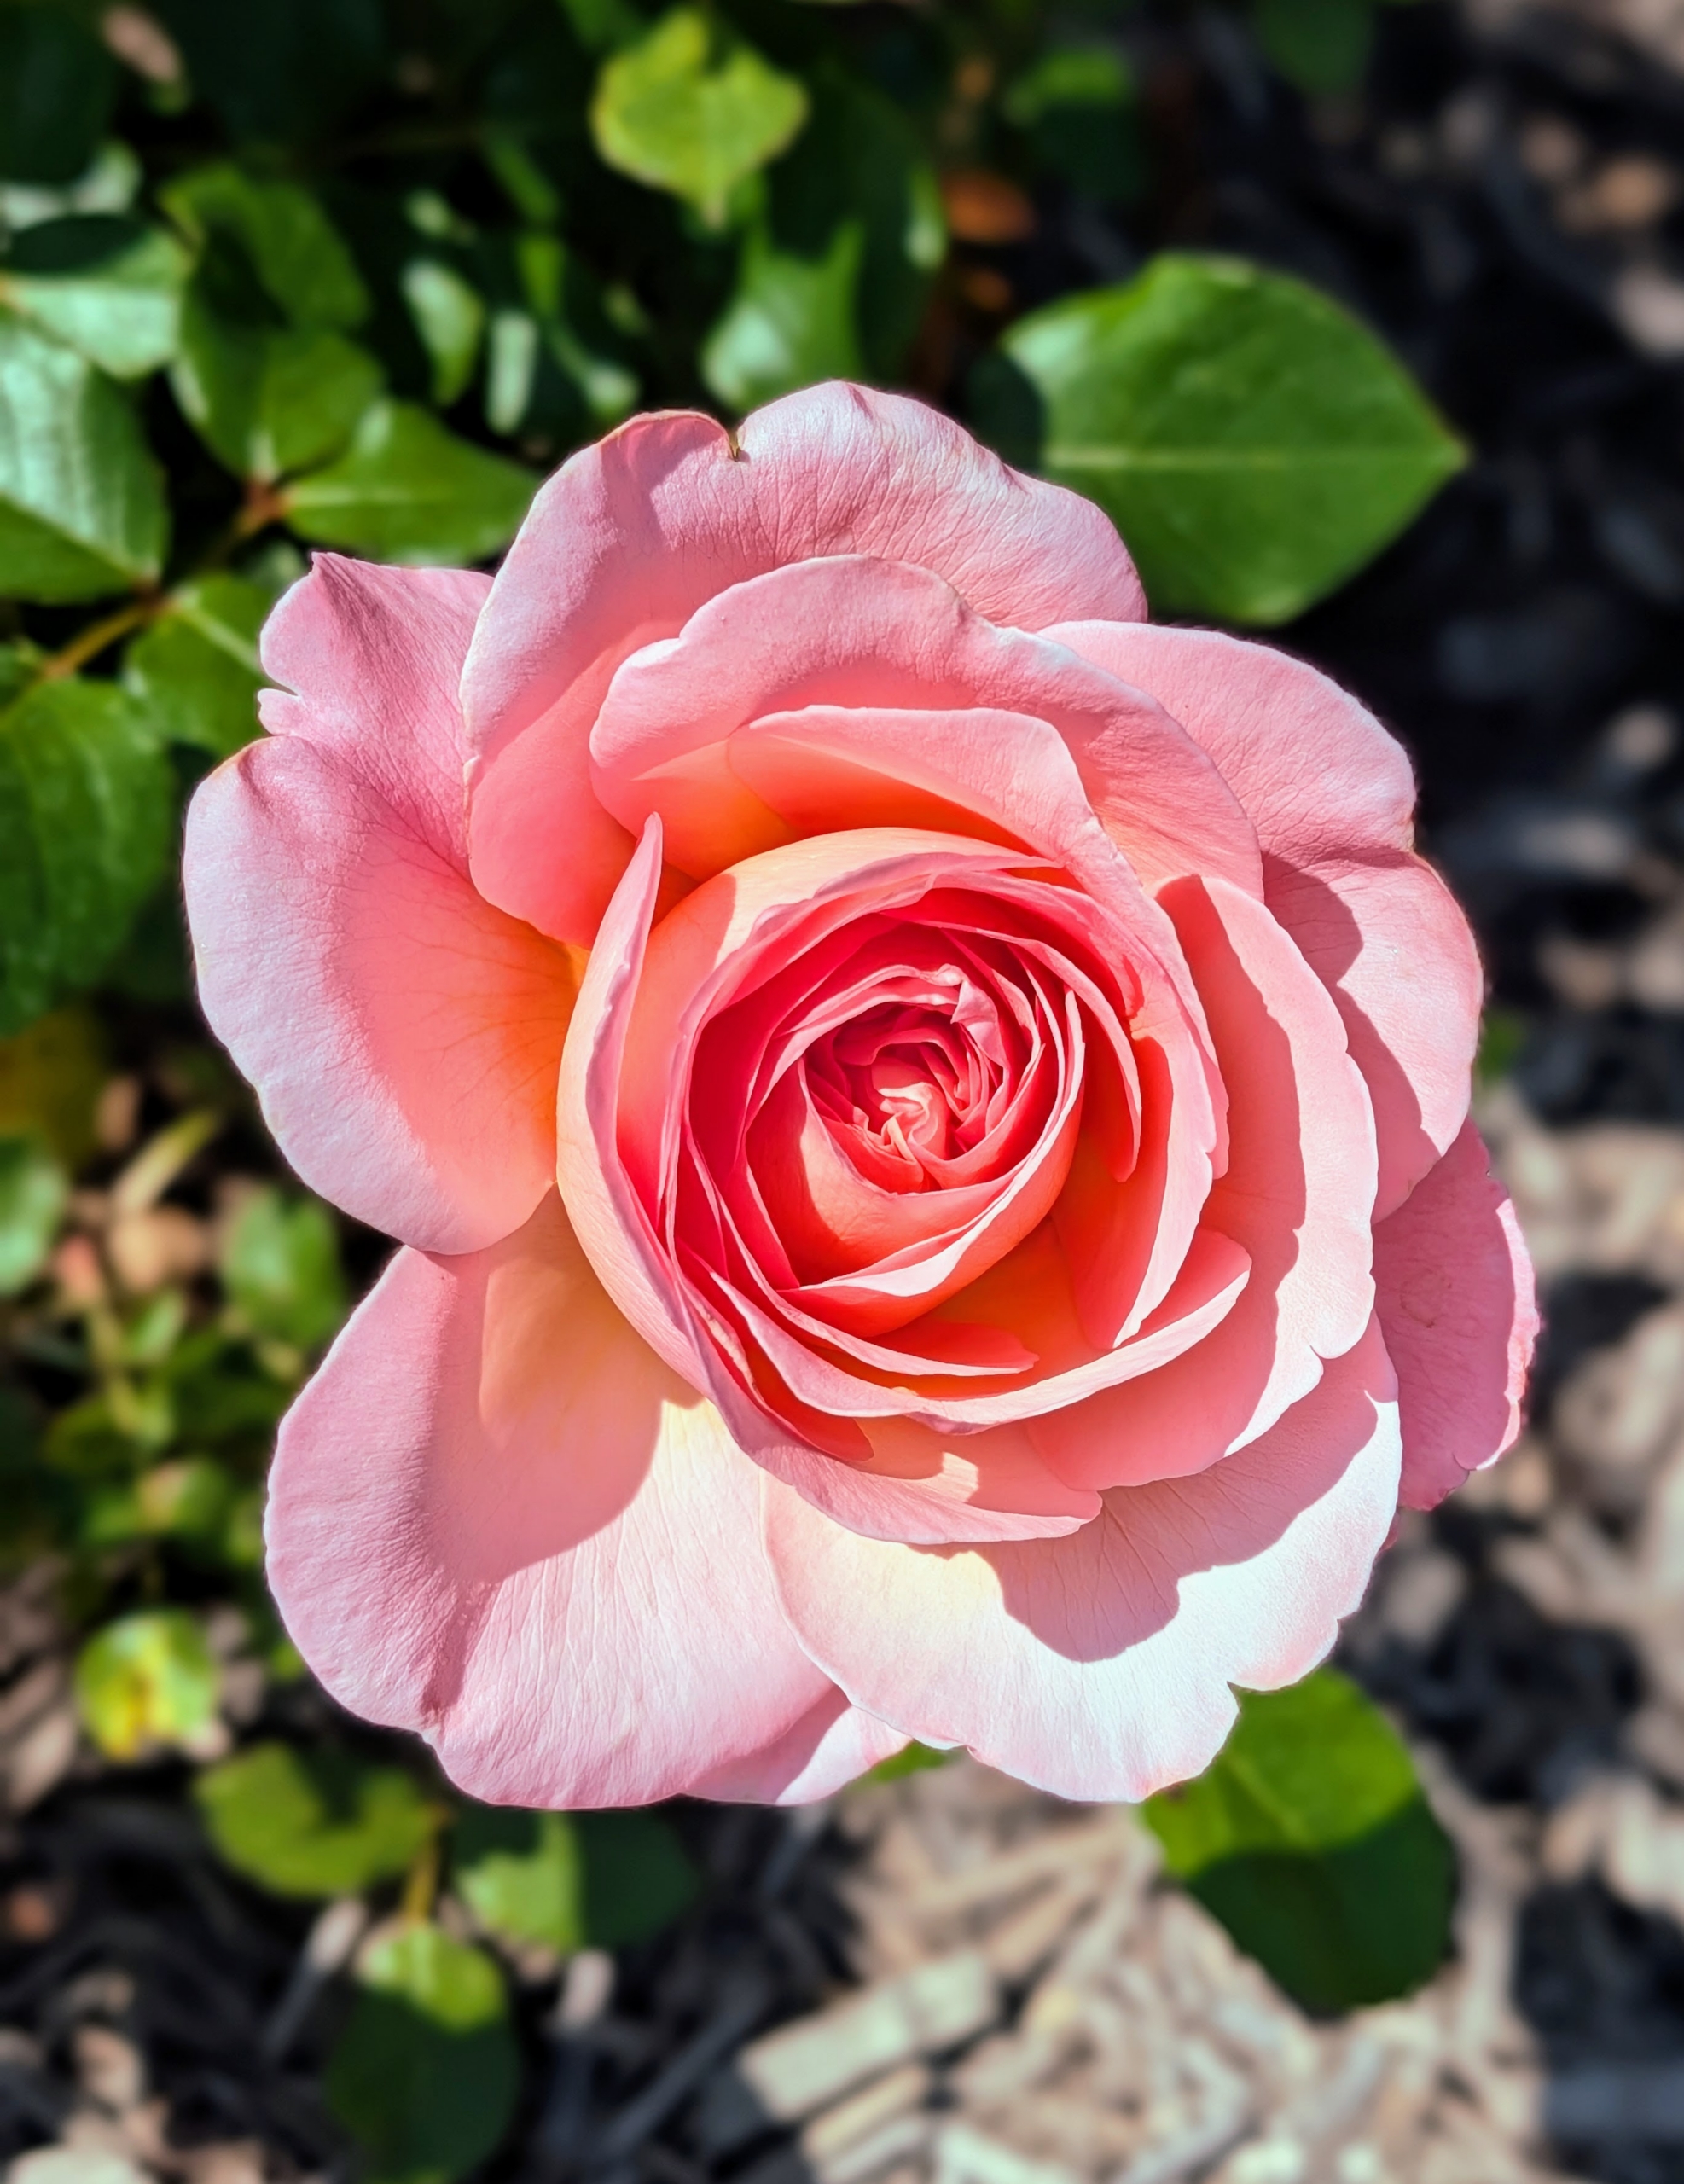
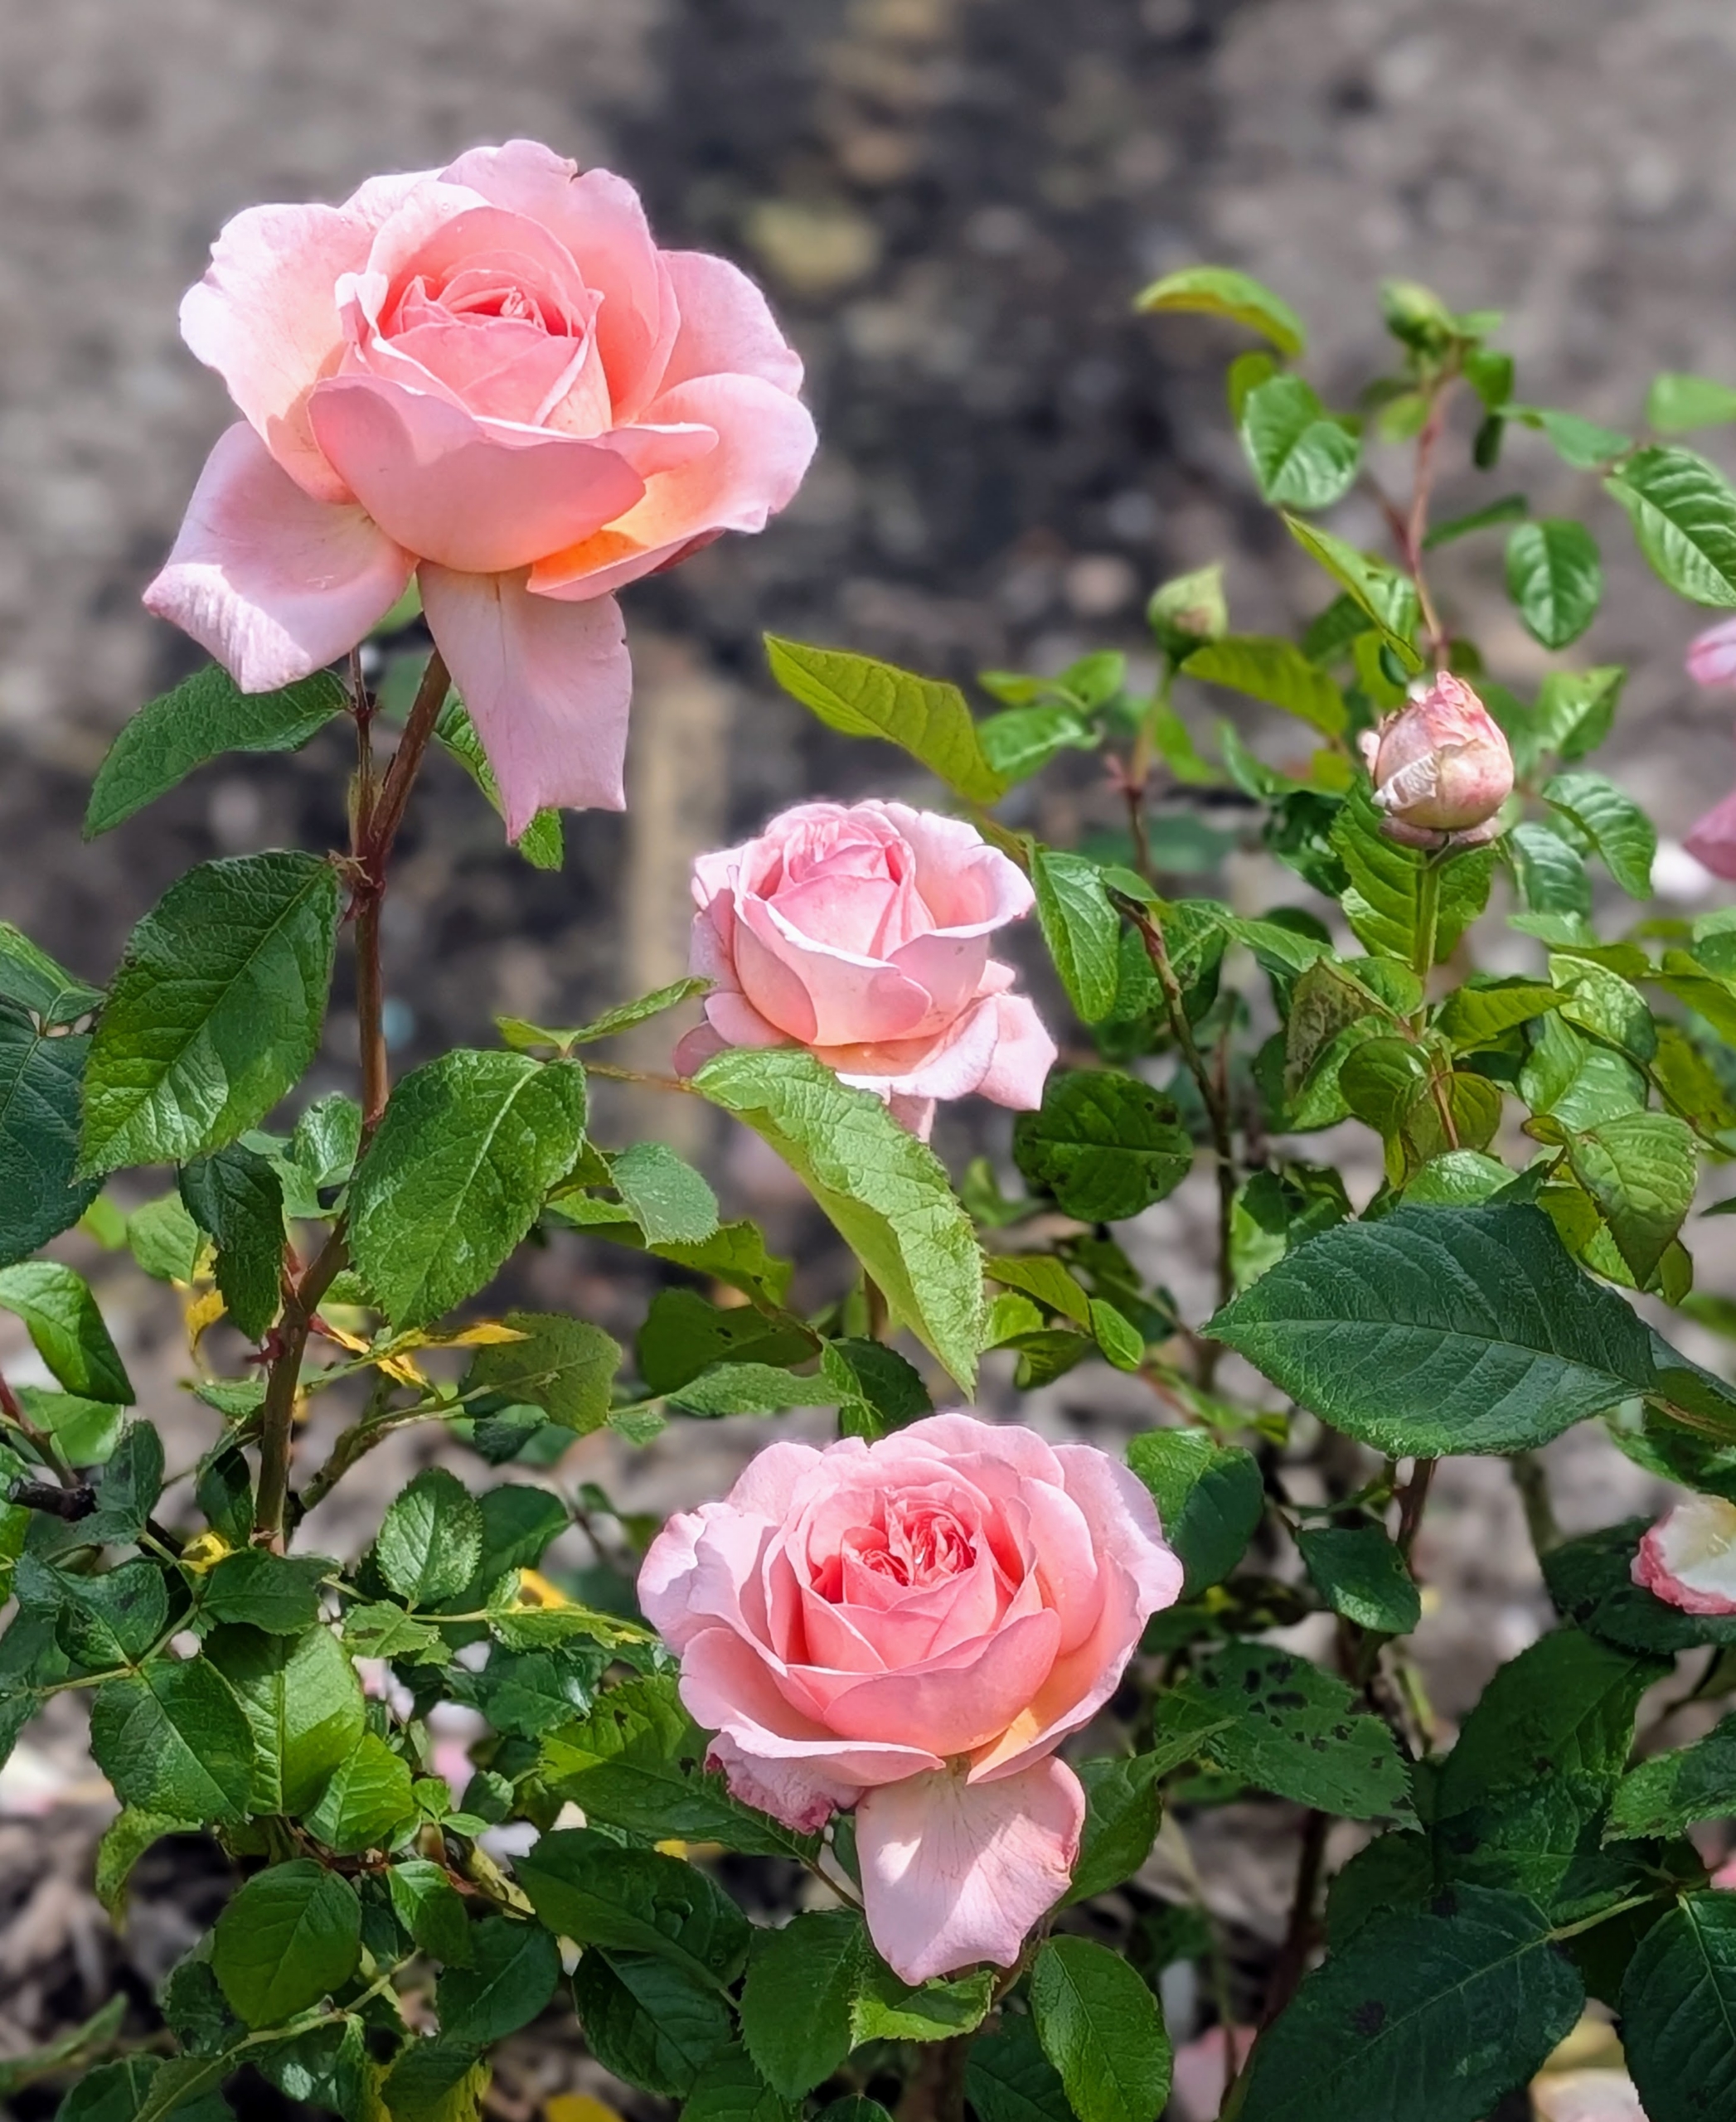
My rose has large pink blooms, dark green foliage, and a most wonderful and sweet fragrance. It was bred by Meilland, a six-generation family-owned rose-growing business, and was launched in North America through Star Roses and Plants. I planted a collection of them in a flower cutting garden and another in the more formal beds outside my main greenhouse. All of them are blooming excellently. I hope you decide to plant some in your garden - you'll love them too!
Here are some photos, enjoy.
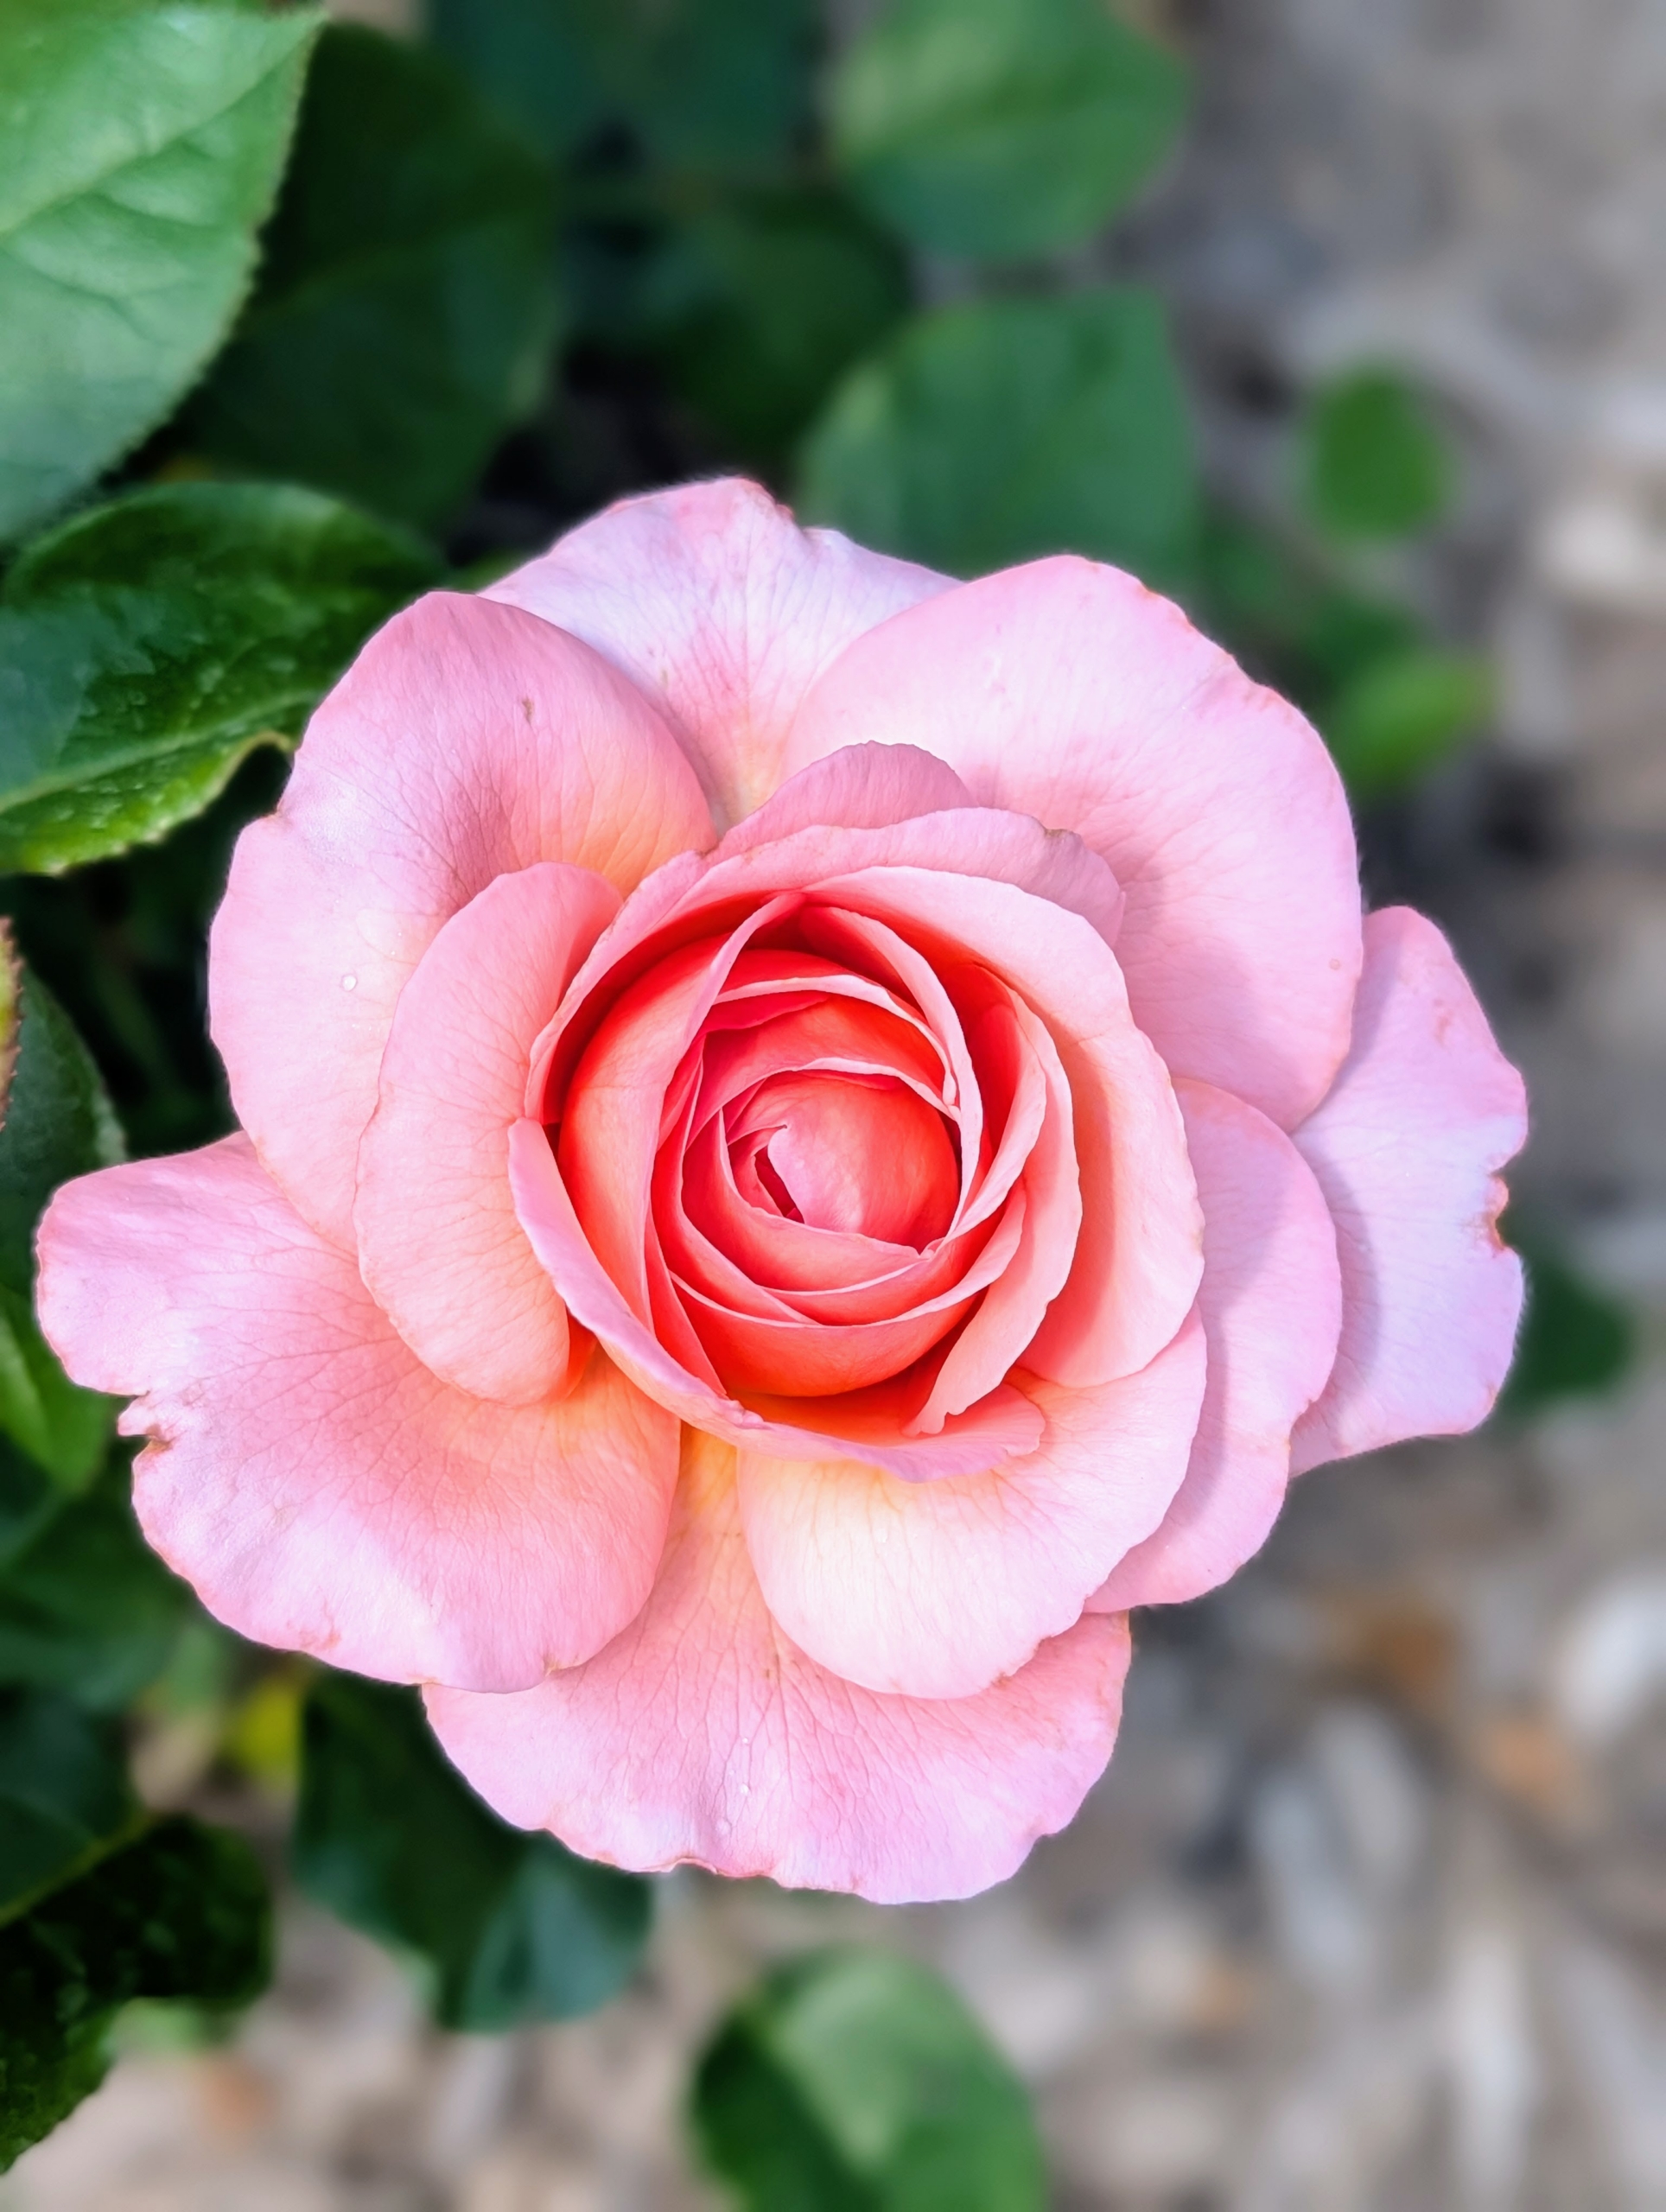
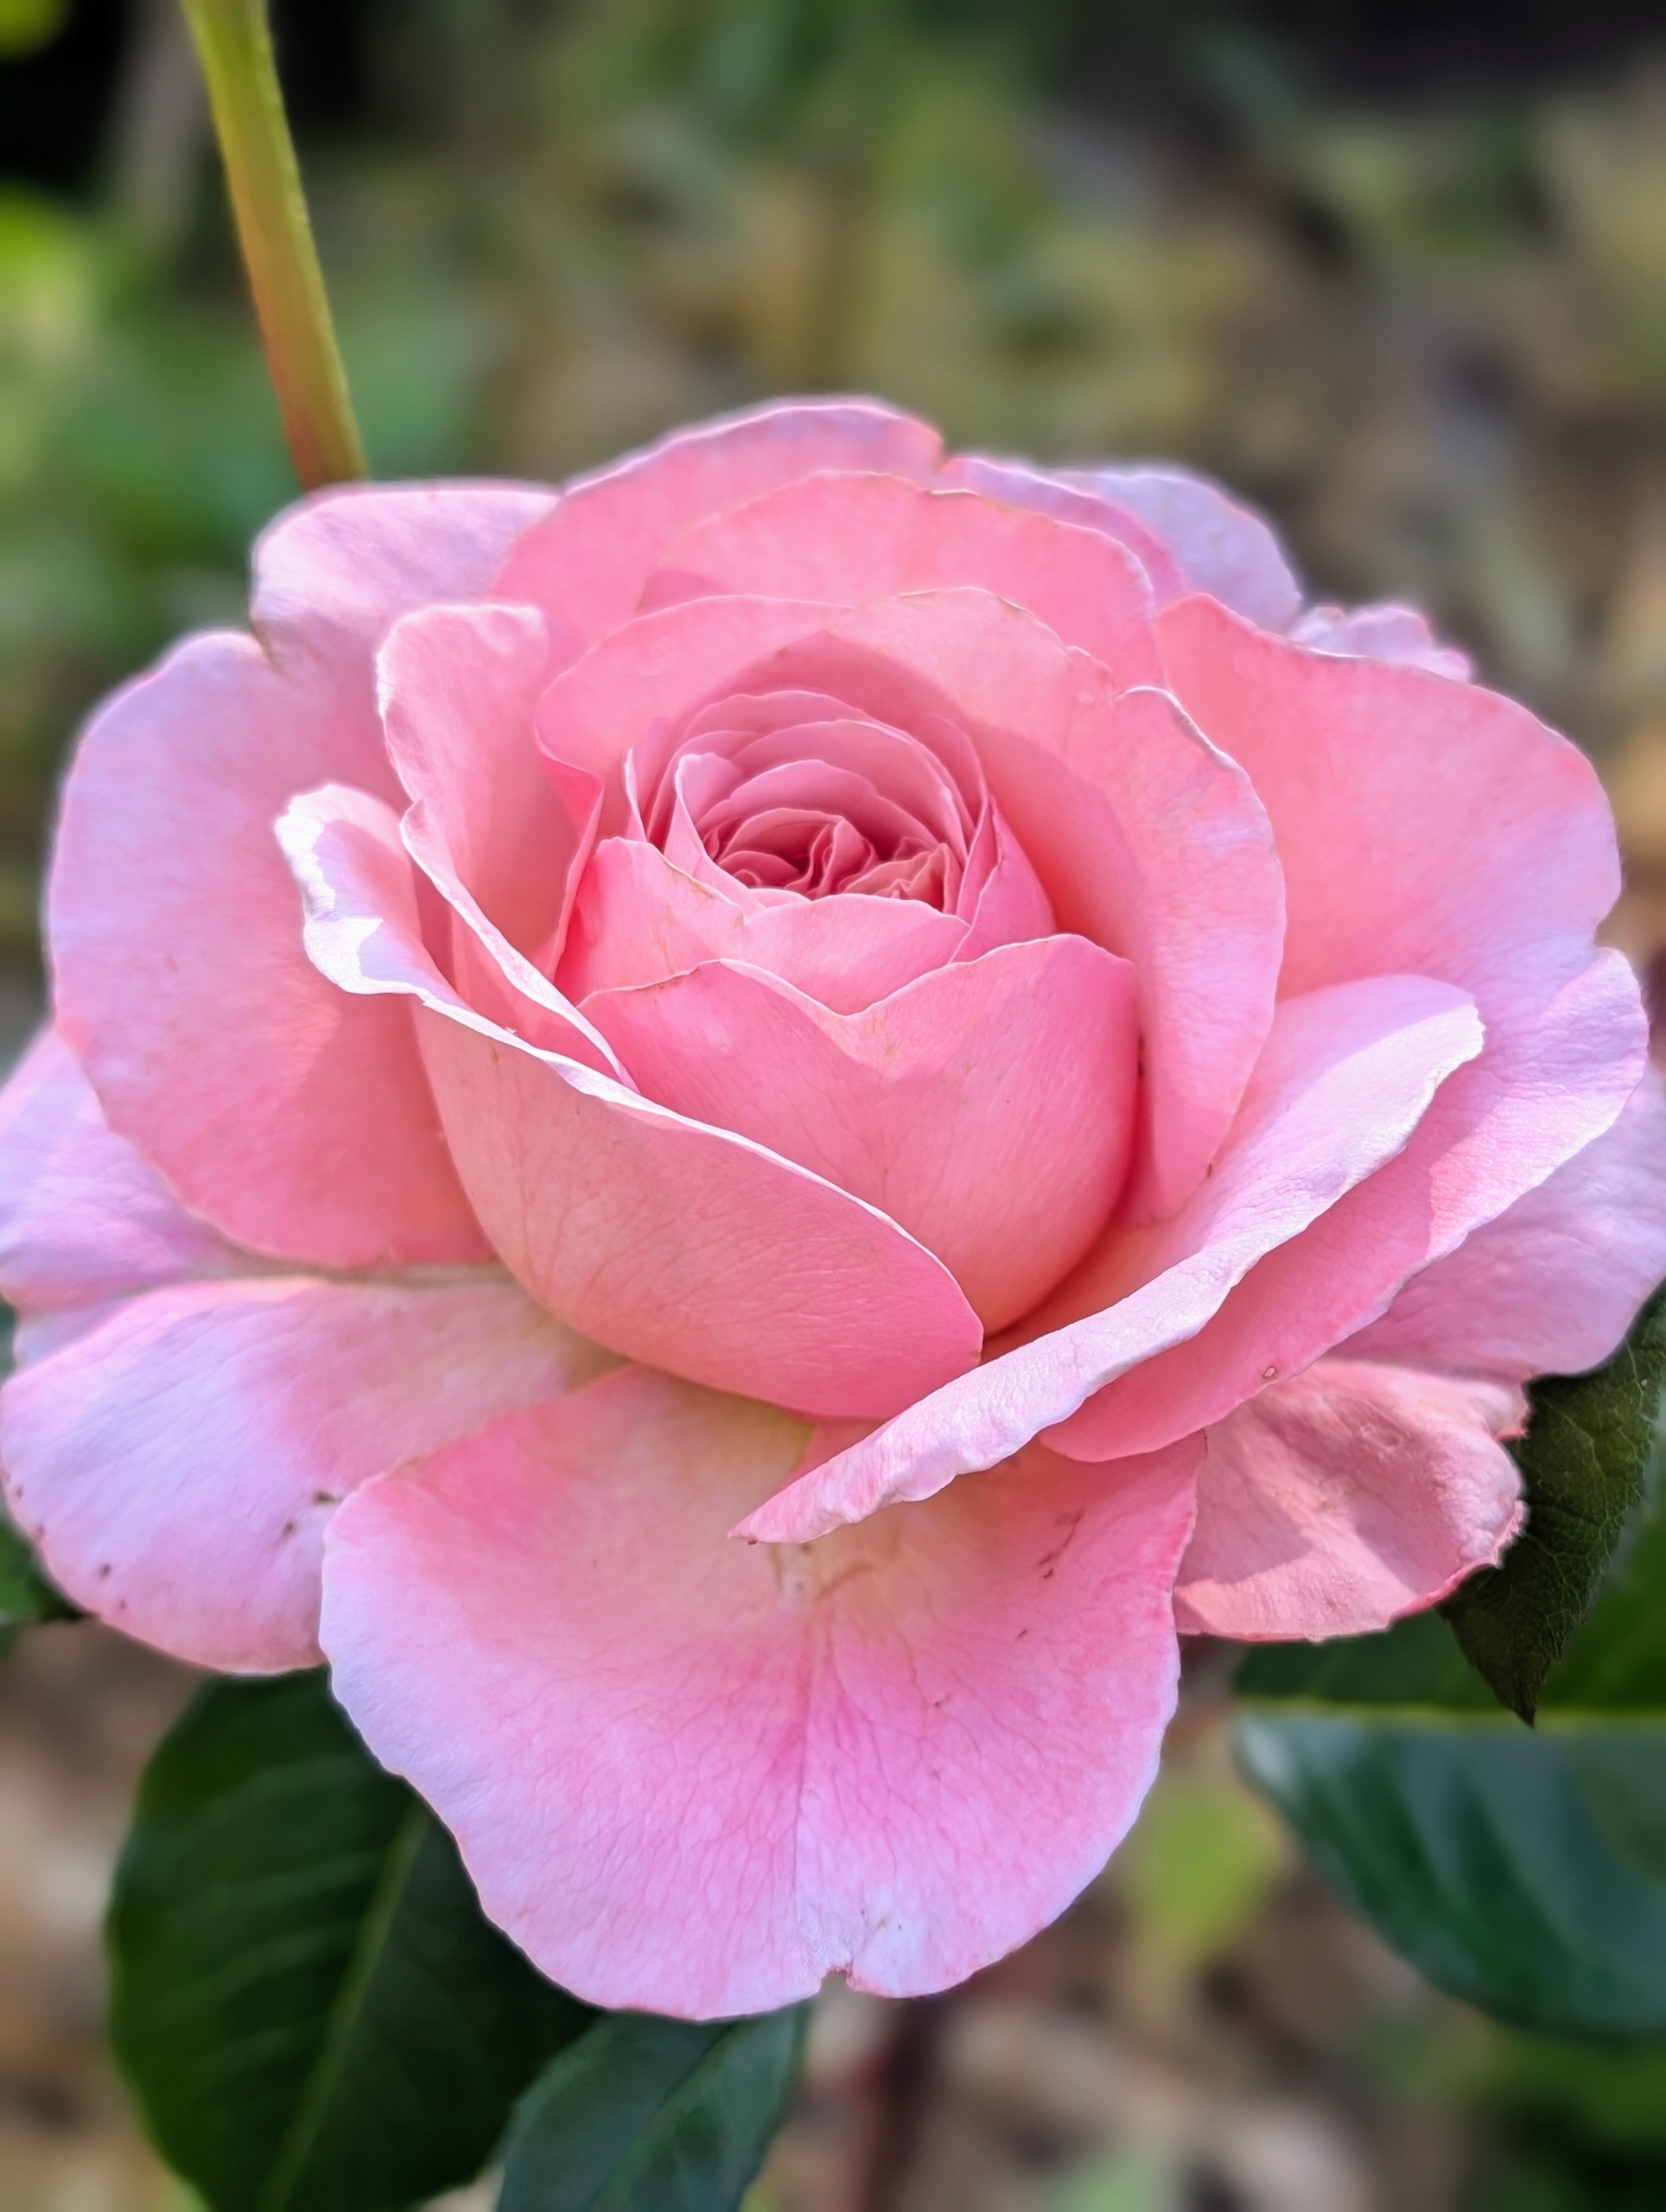
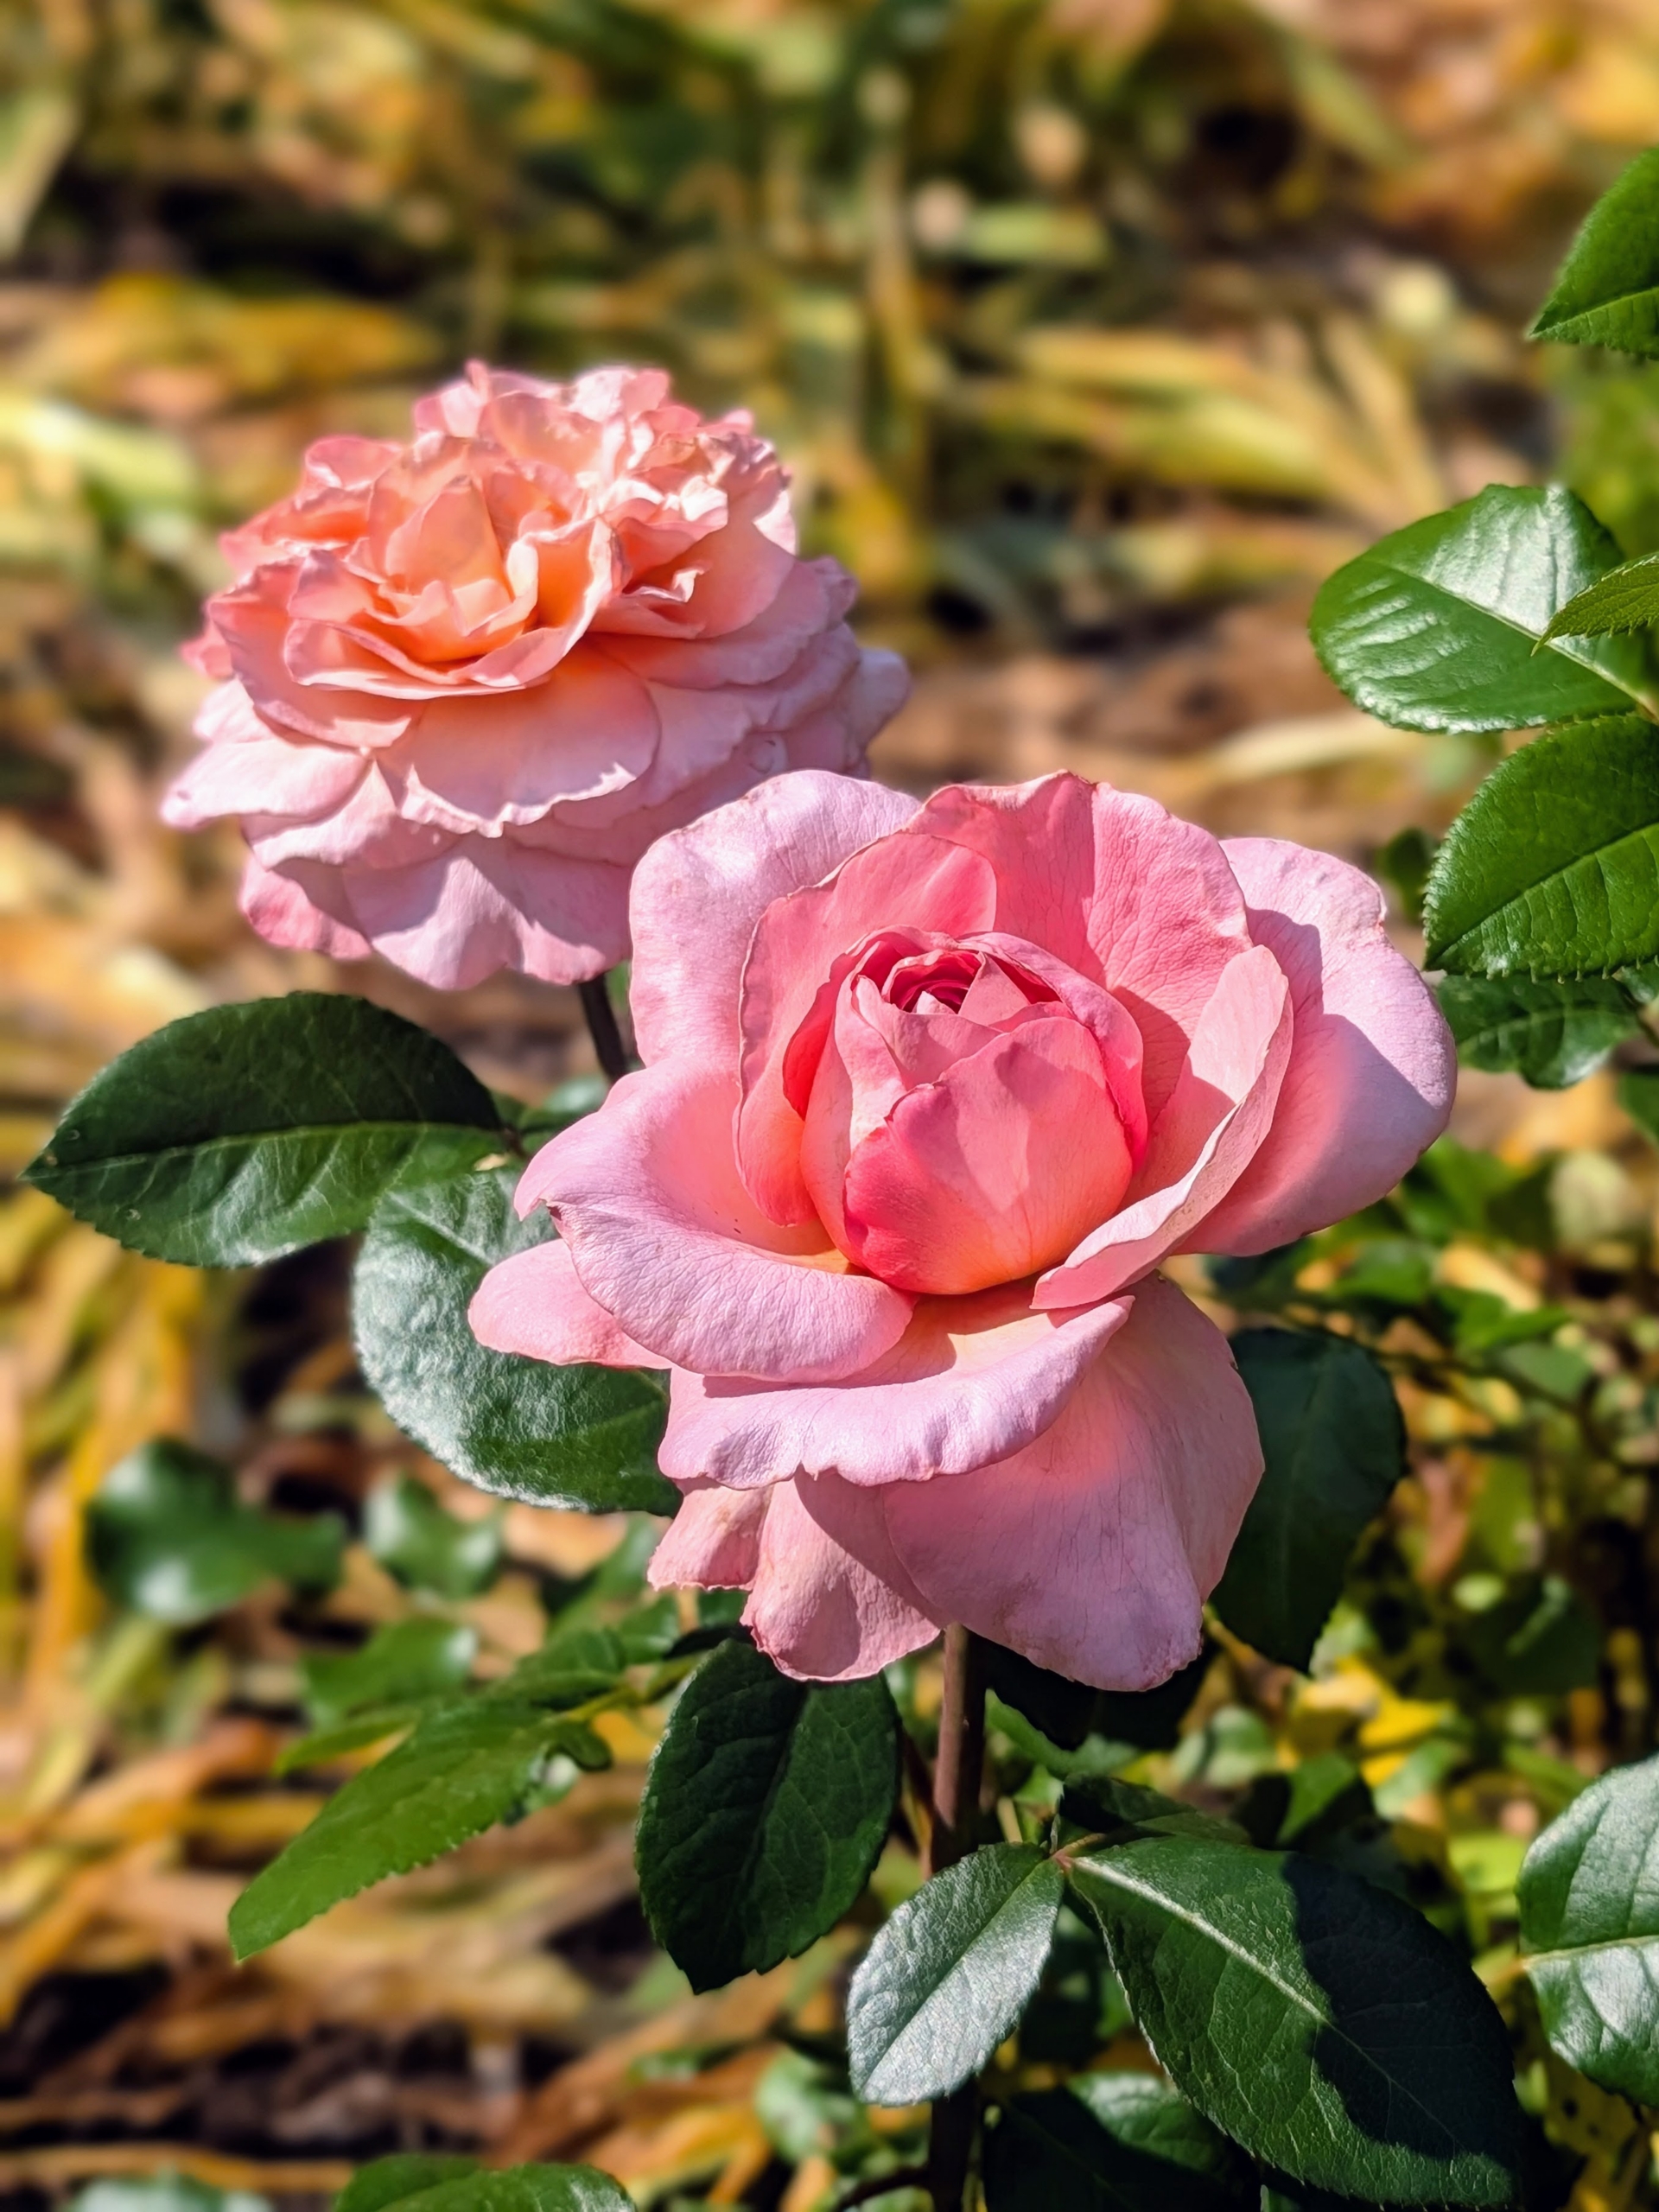
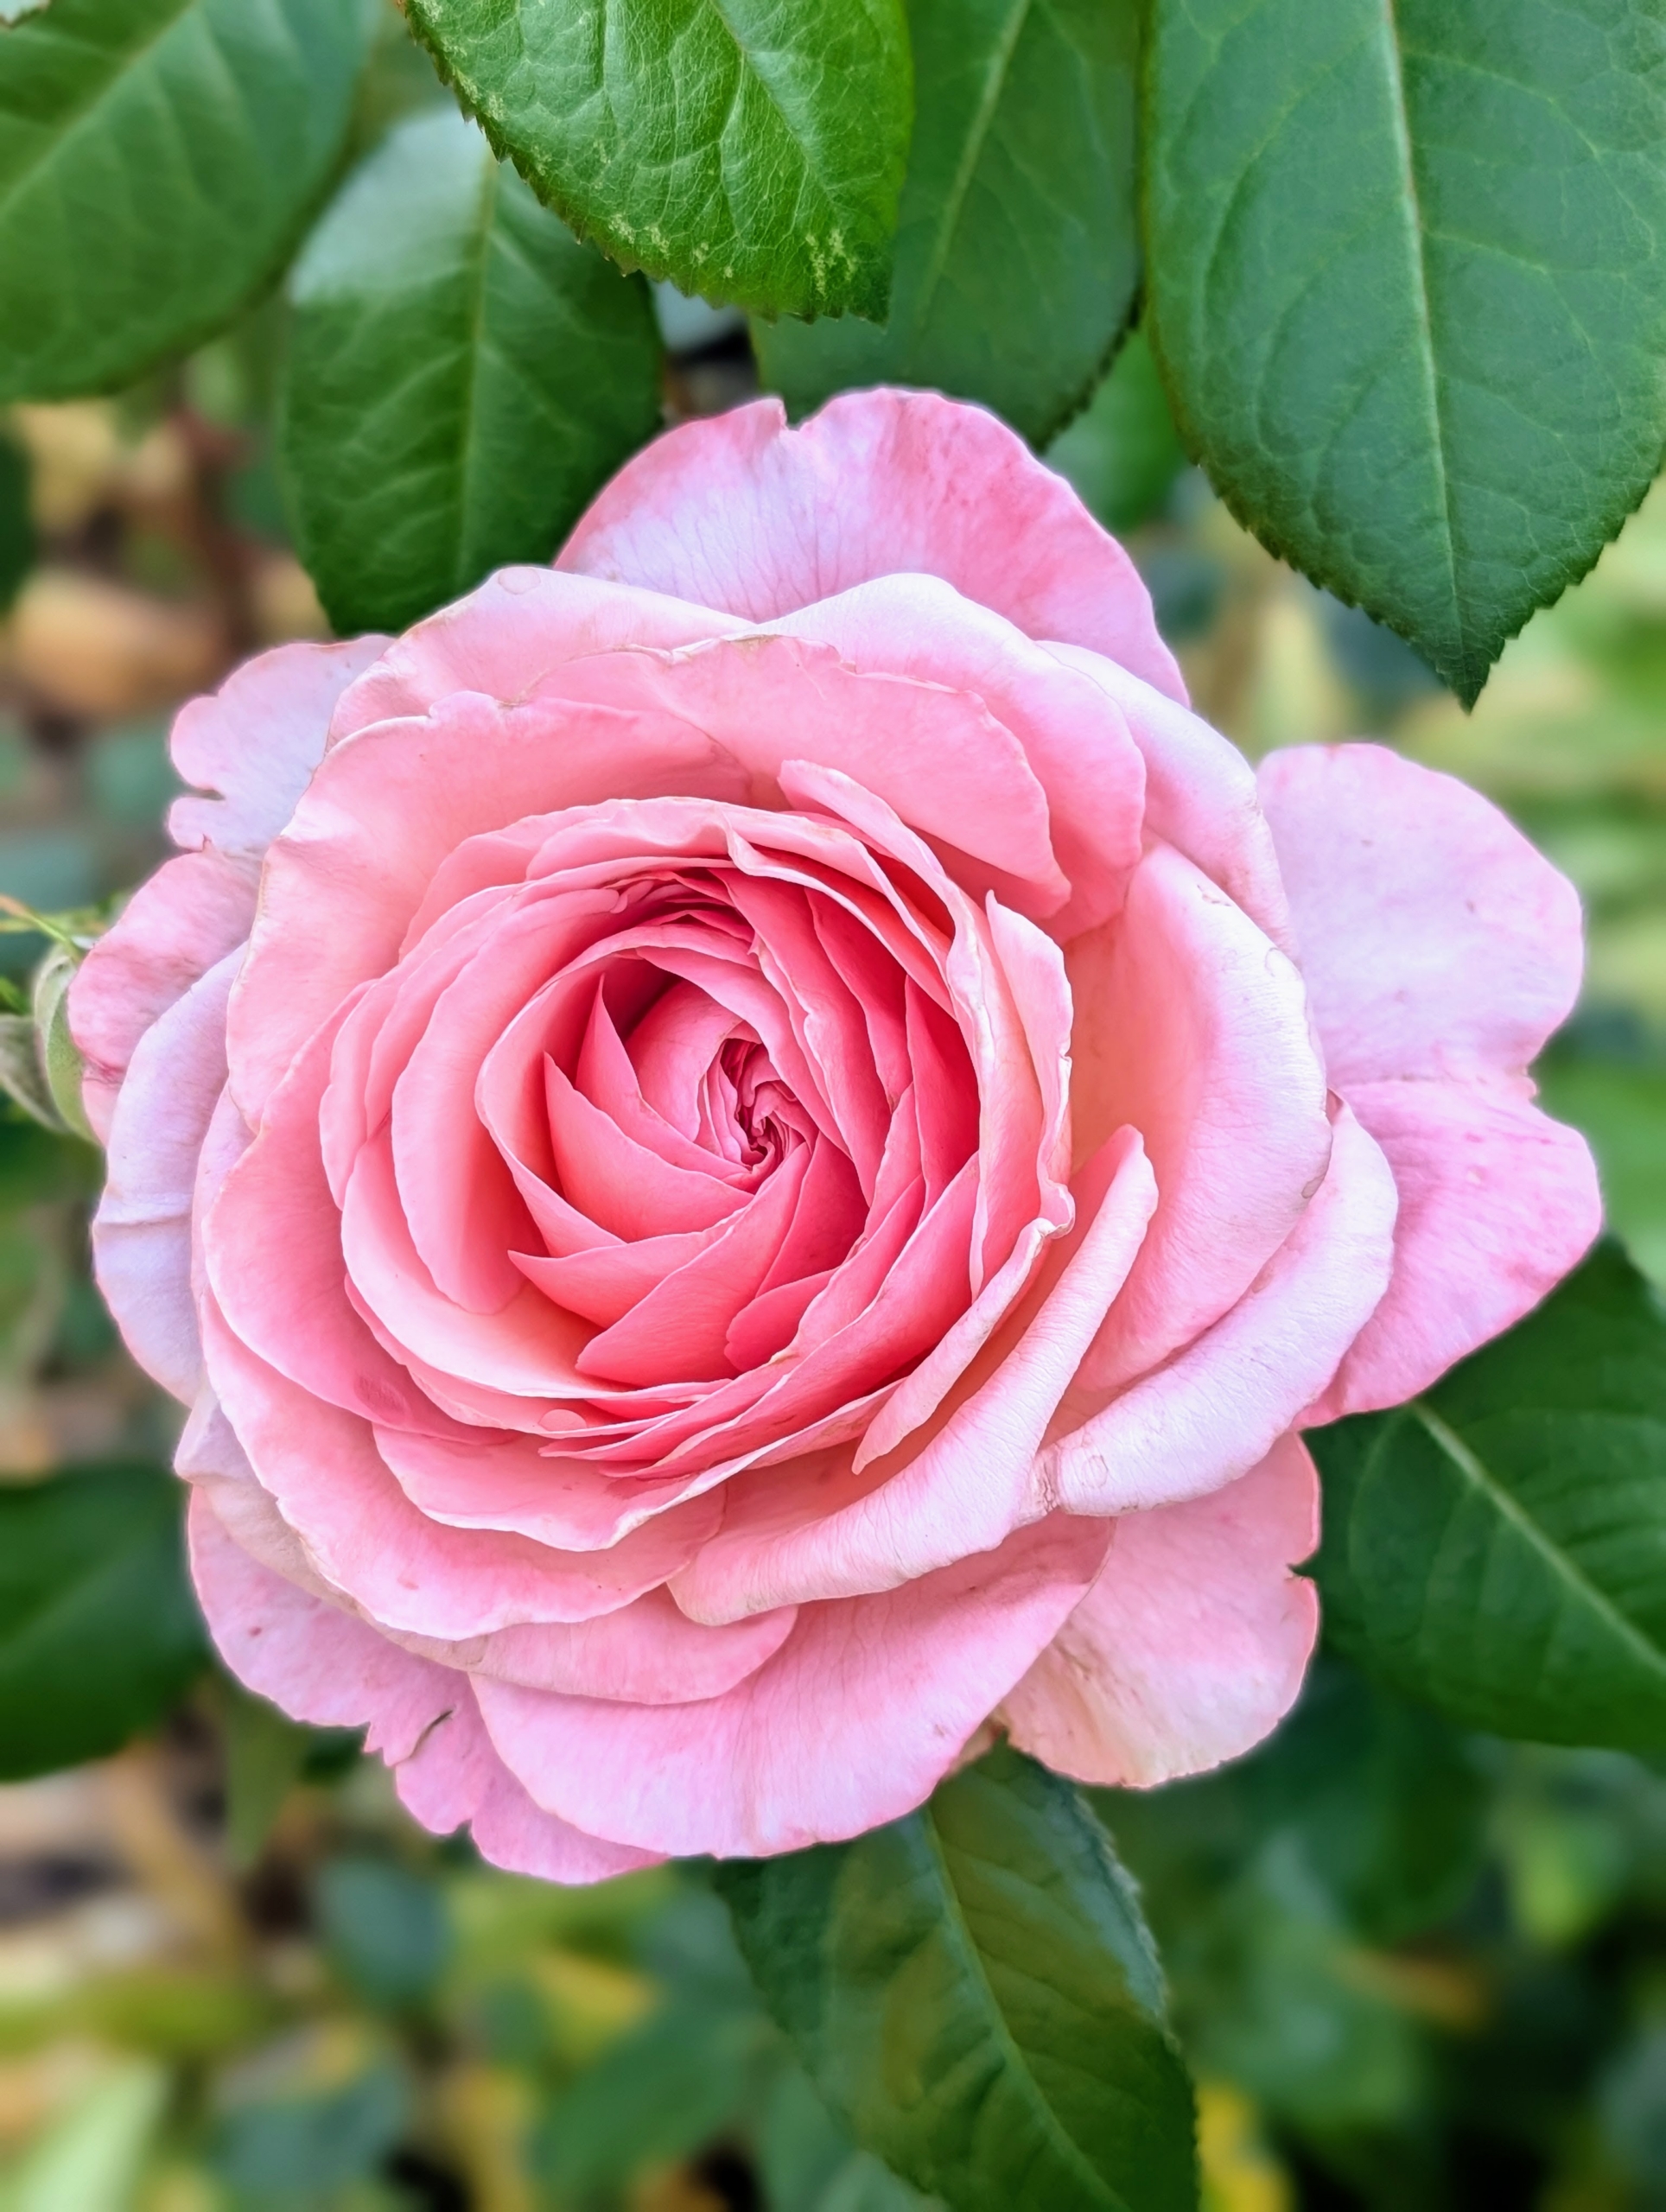
Look at this gorgeous rose. When in peak bloom, it shows off more than 100 lush pink to apricot petals and a citrus-honeysuckle scent.
Each one is so beautiful and well shaped.
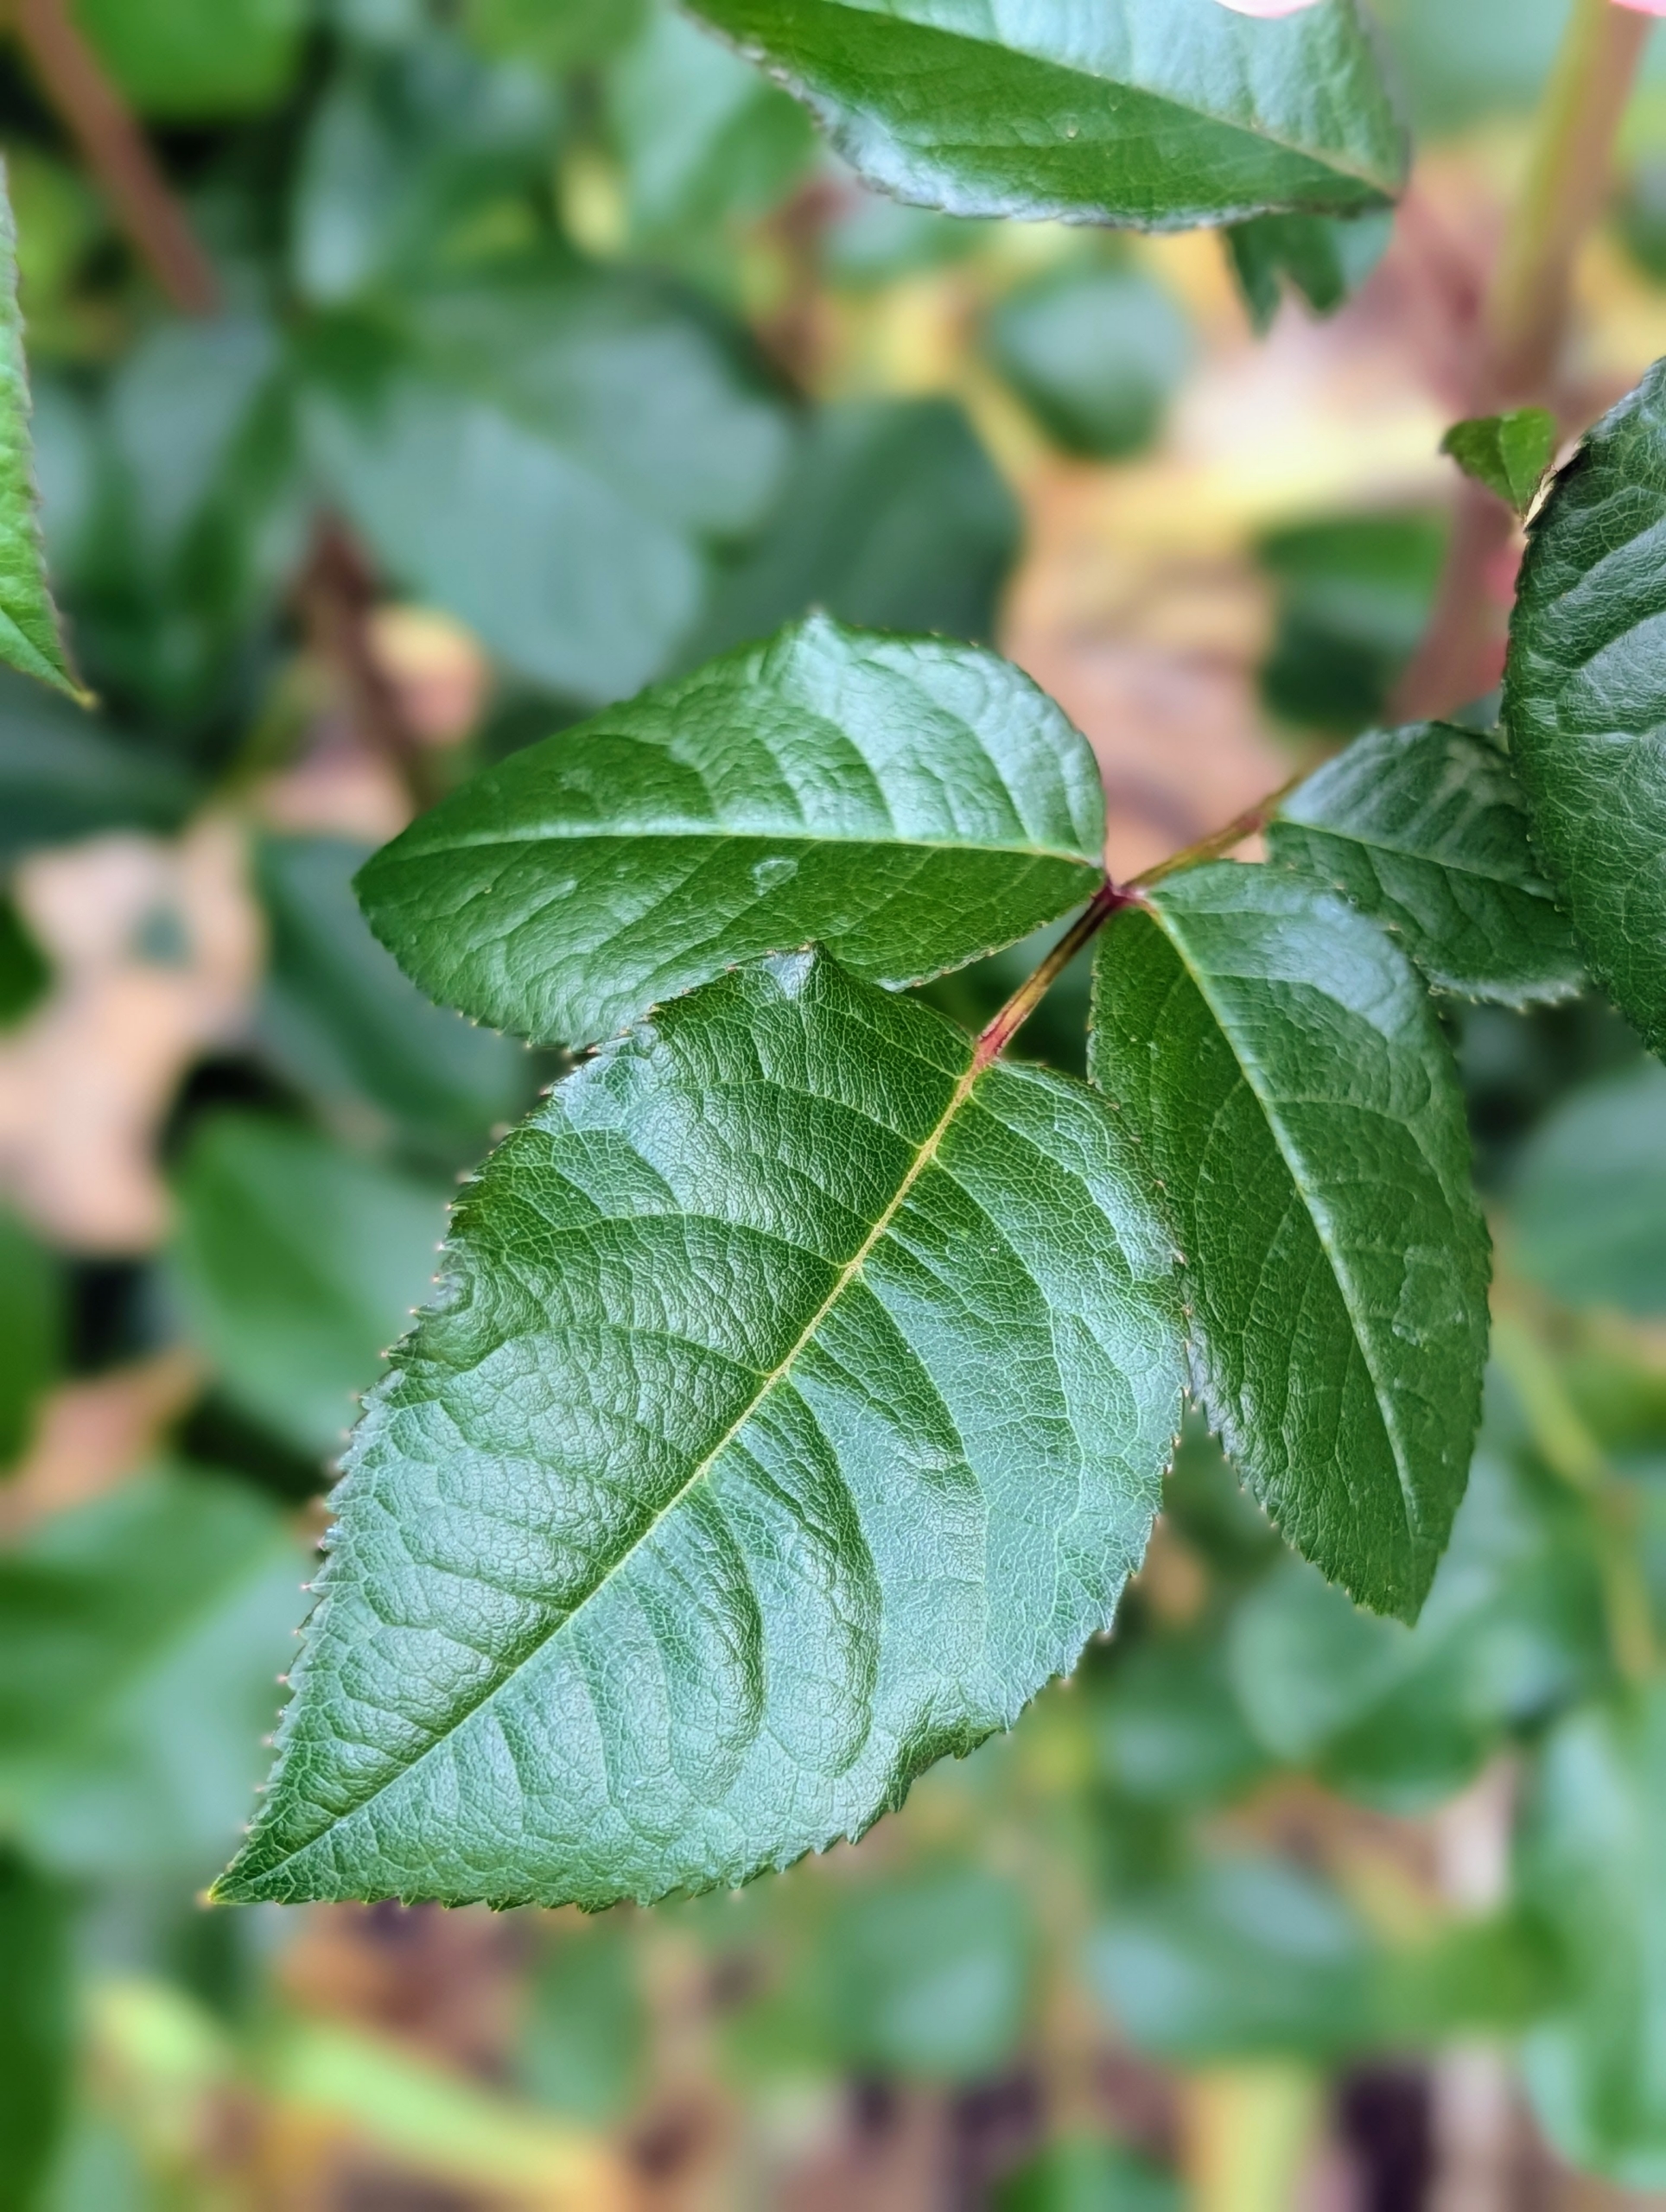
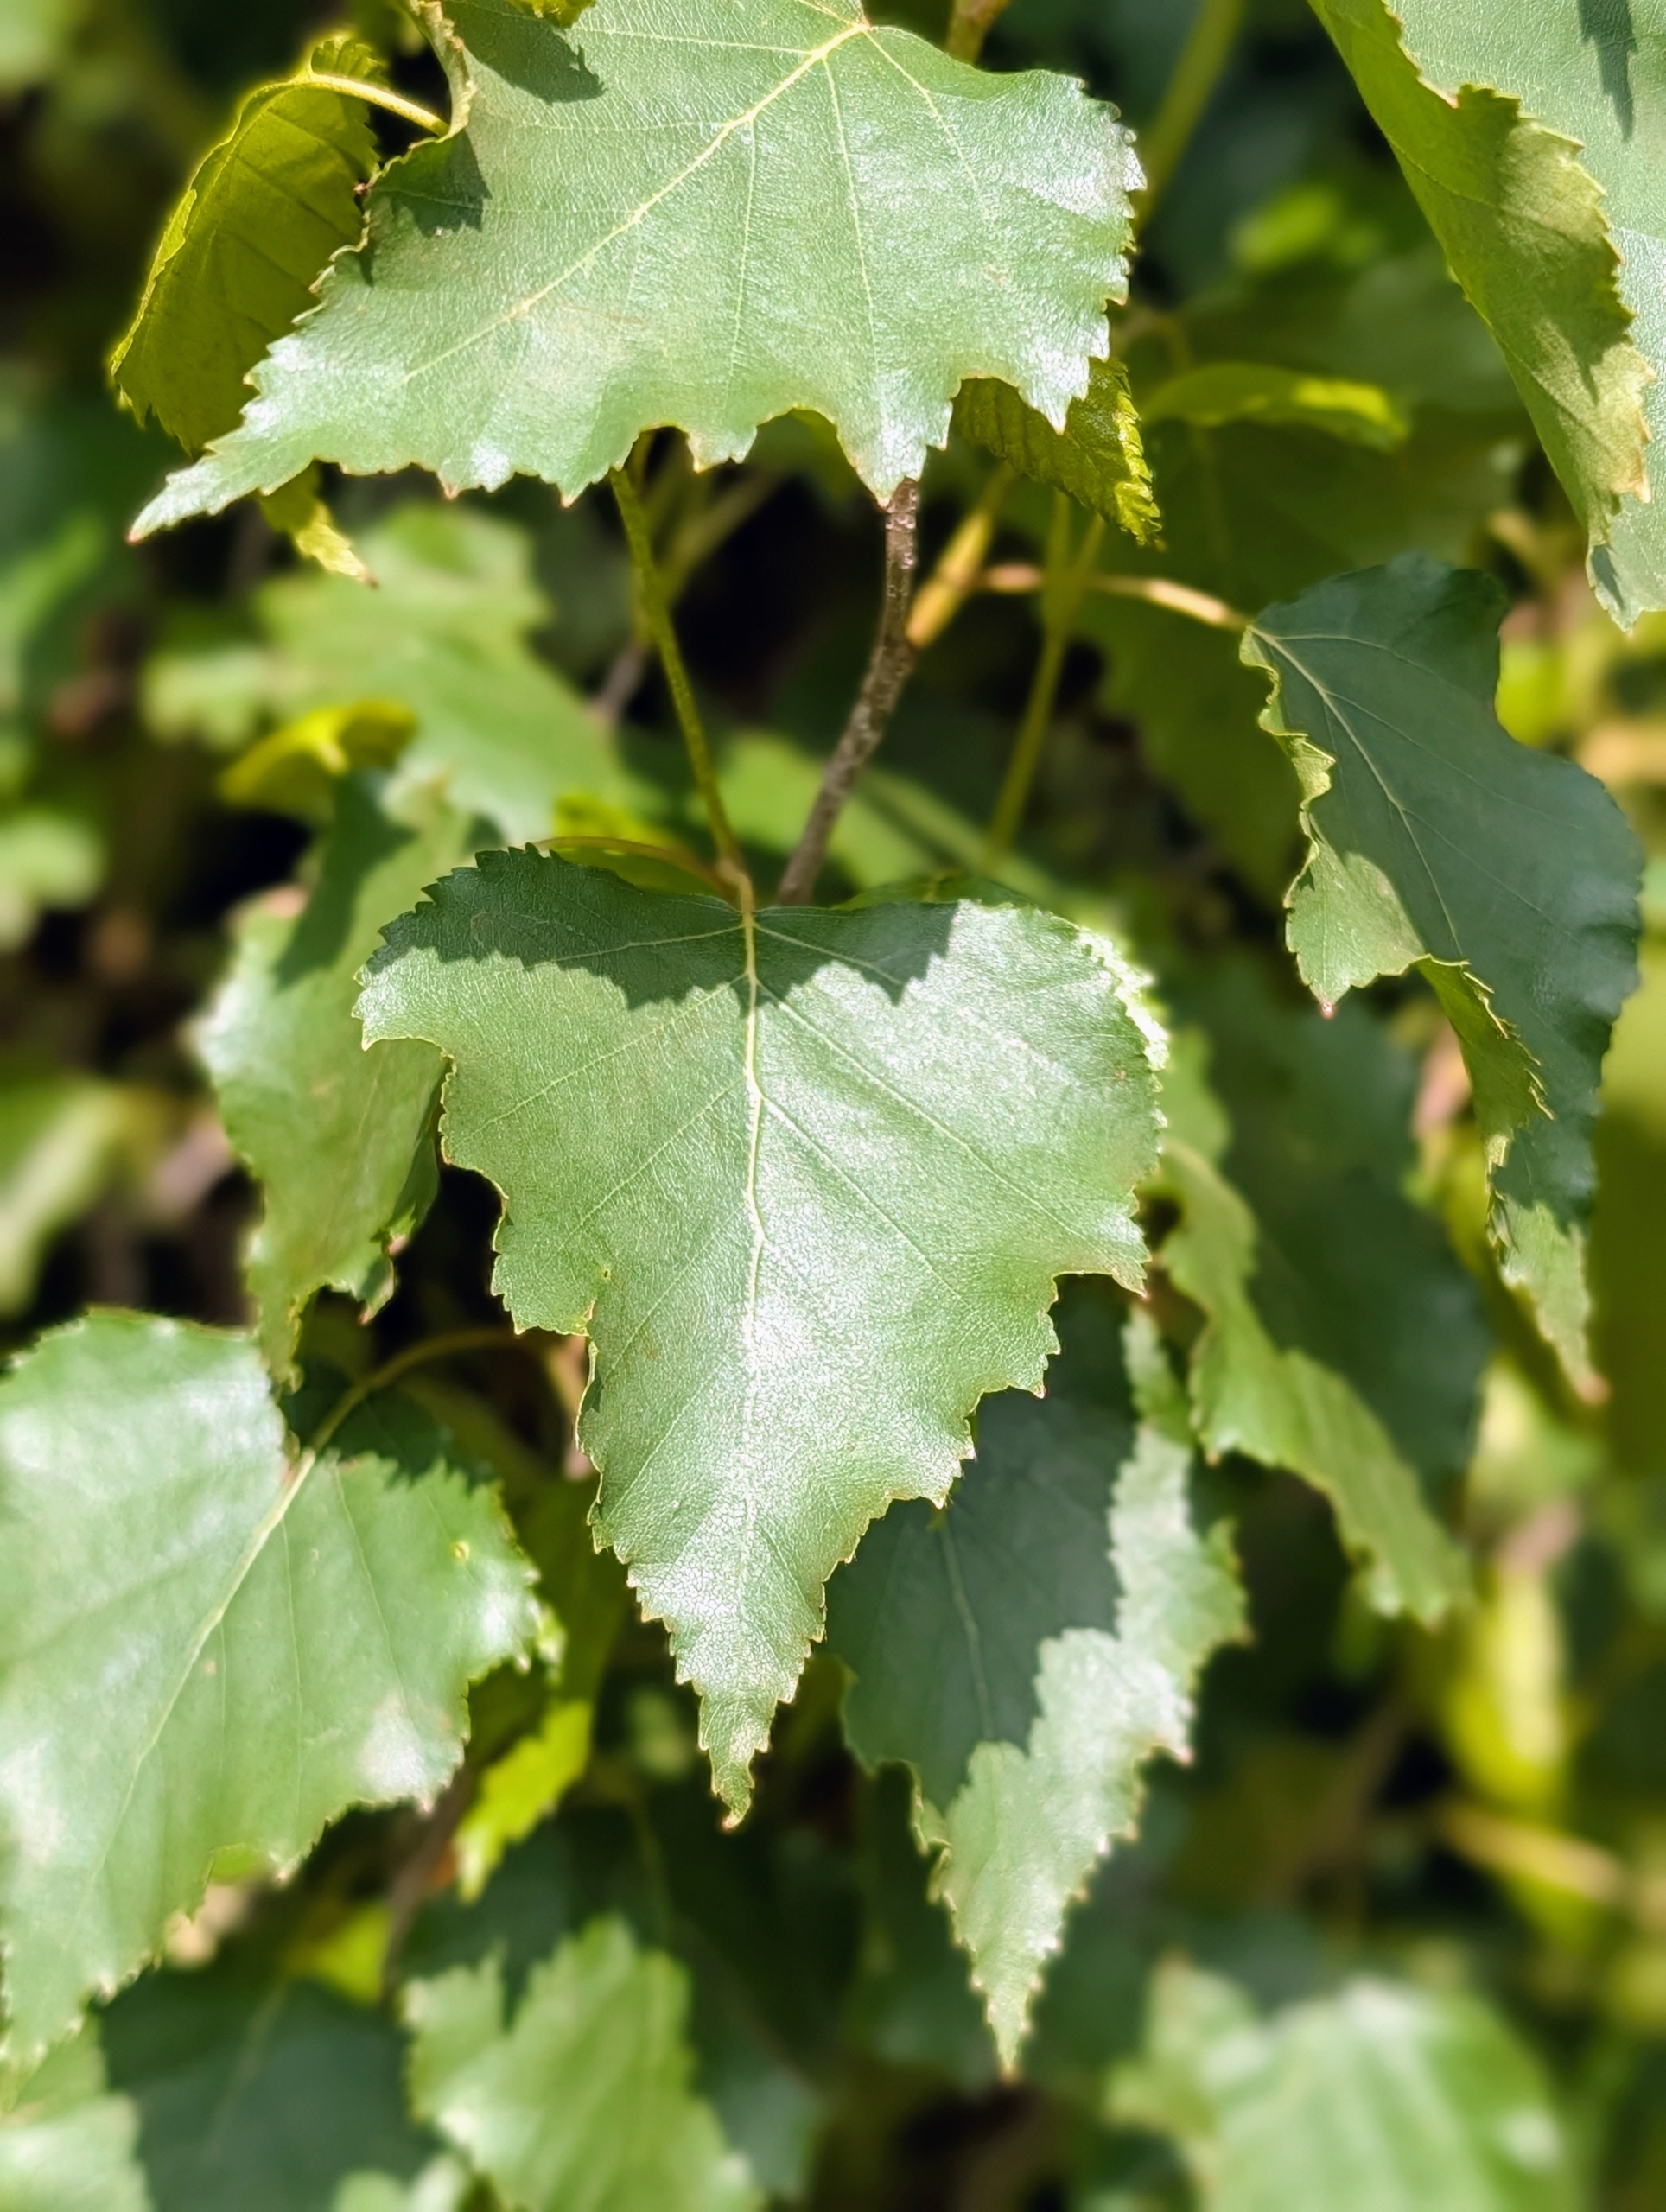
And its leaves are glossy and dark green. The leaves of a rose are described as “pinnate” – meaning there is a central rib and then leaflets off to each side, with one terminal leaflet. Rose leaves can have anywhere from two to 13 leaflets.
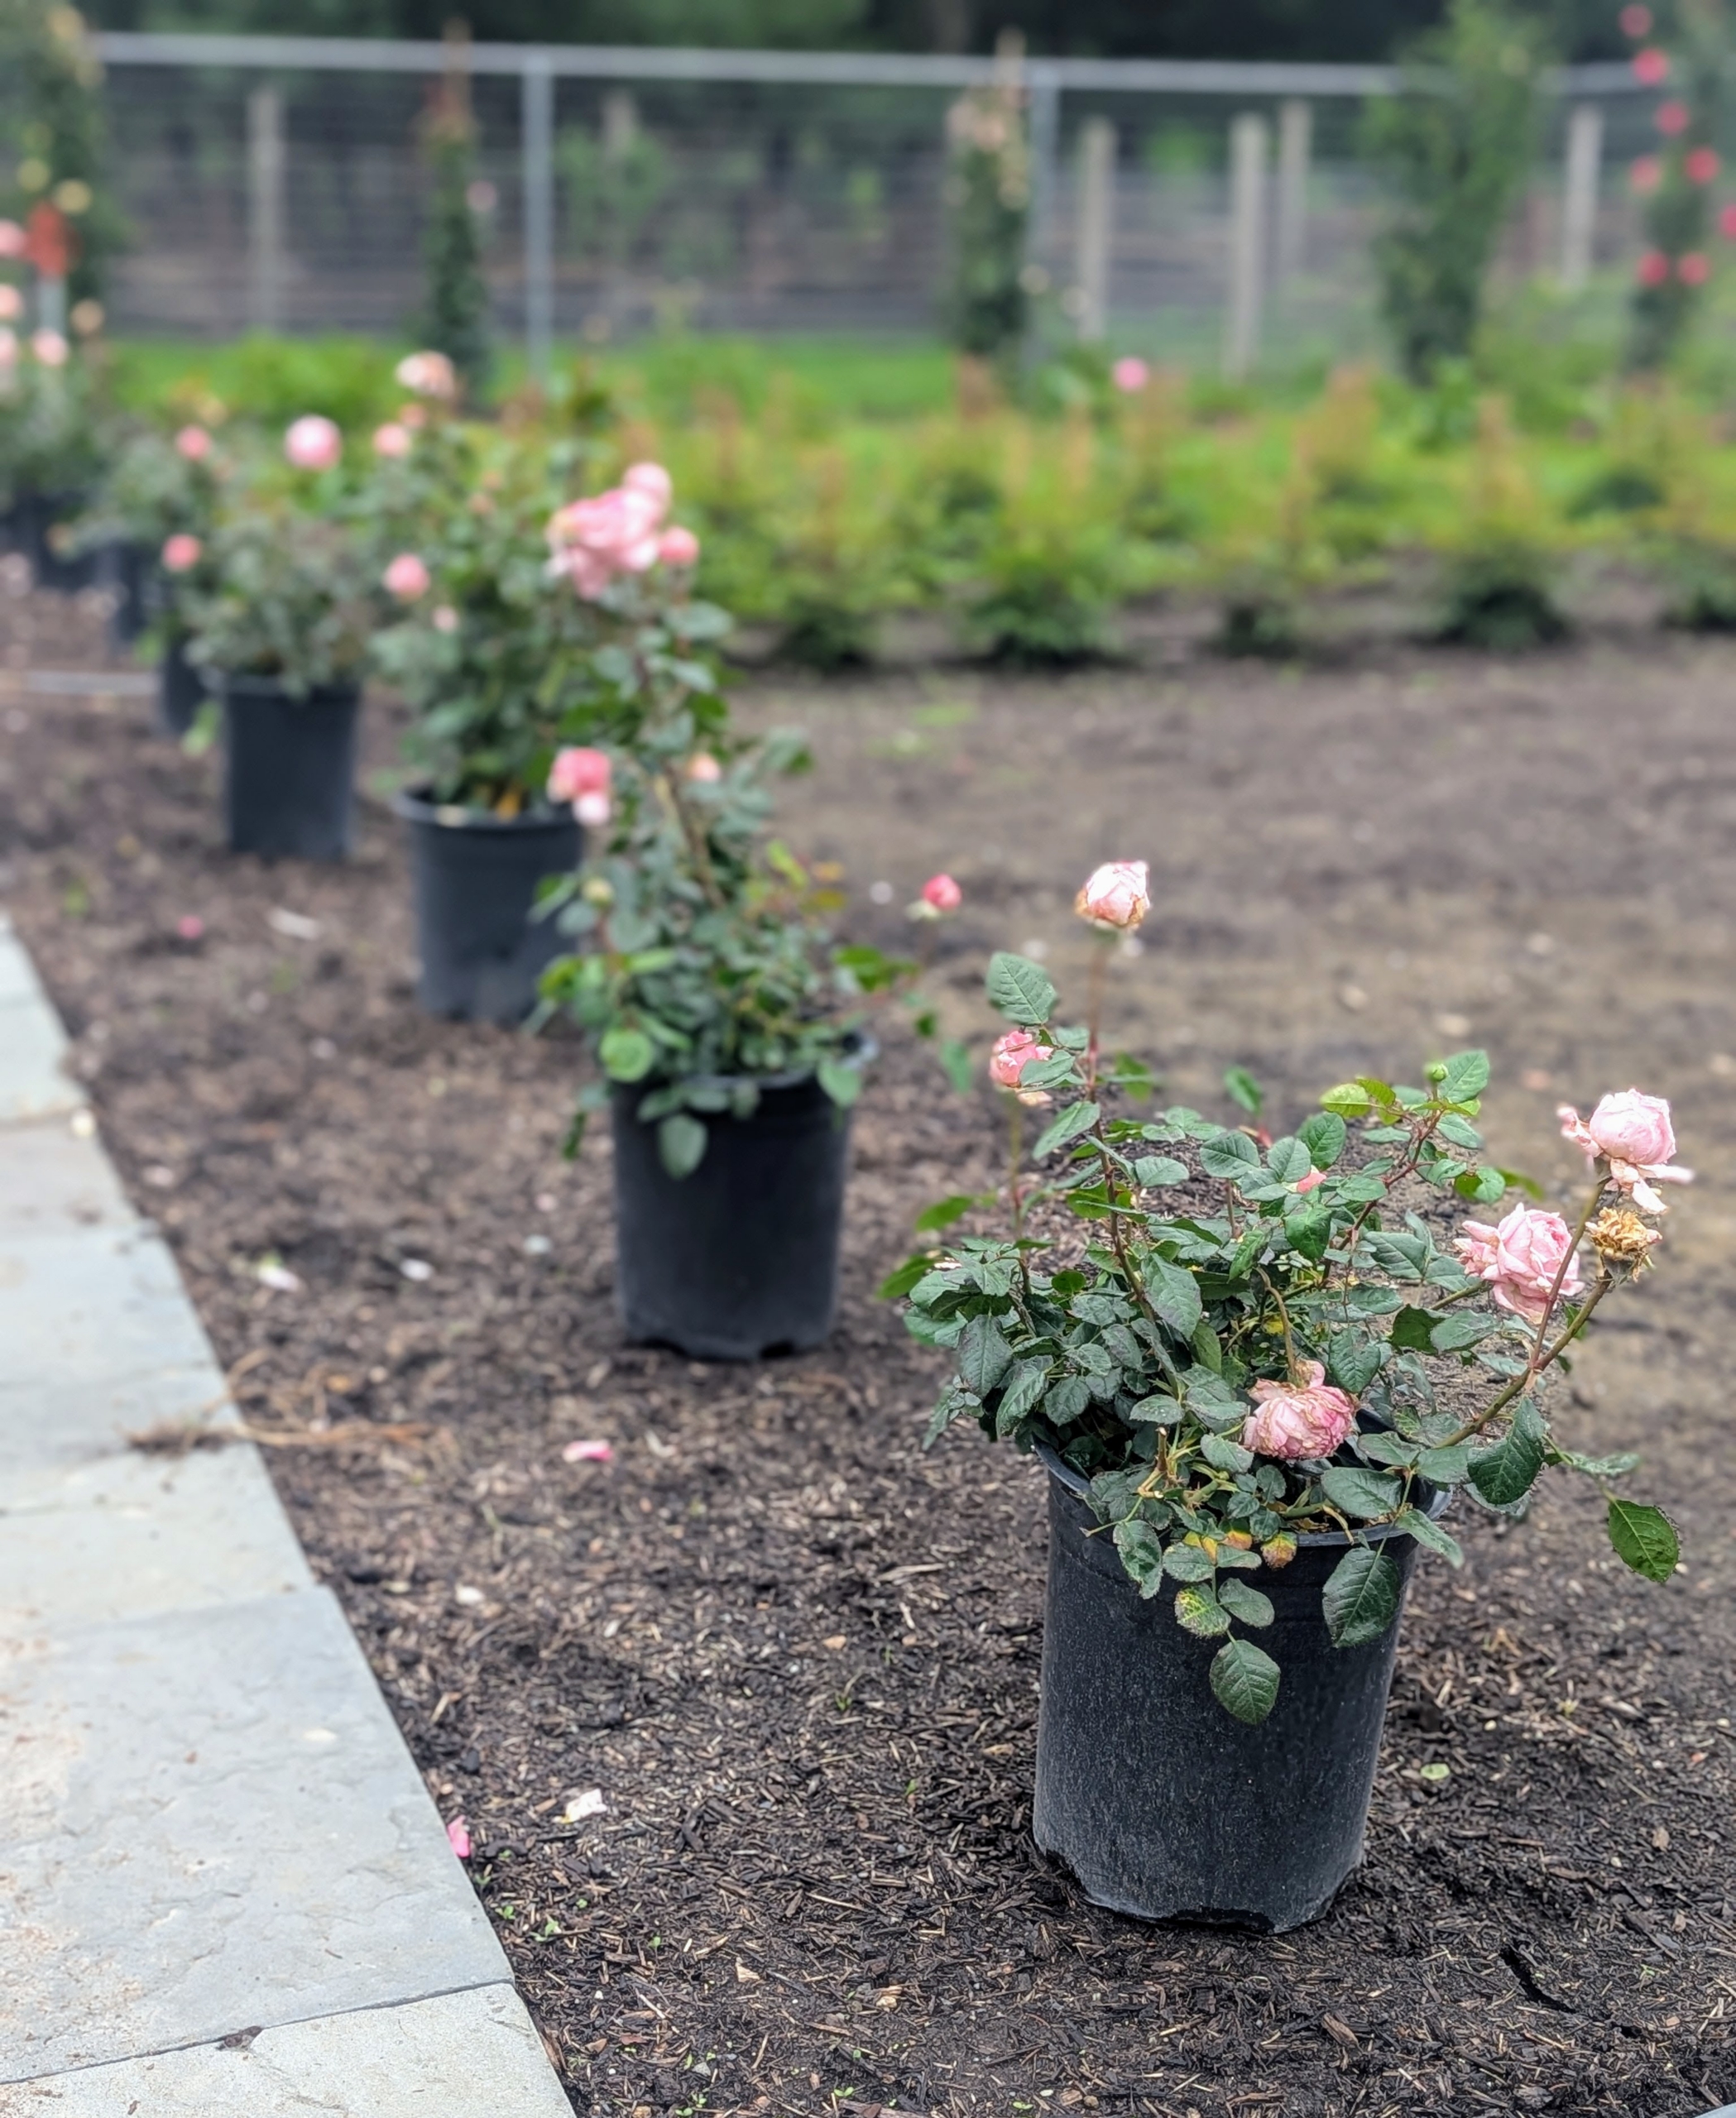
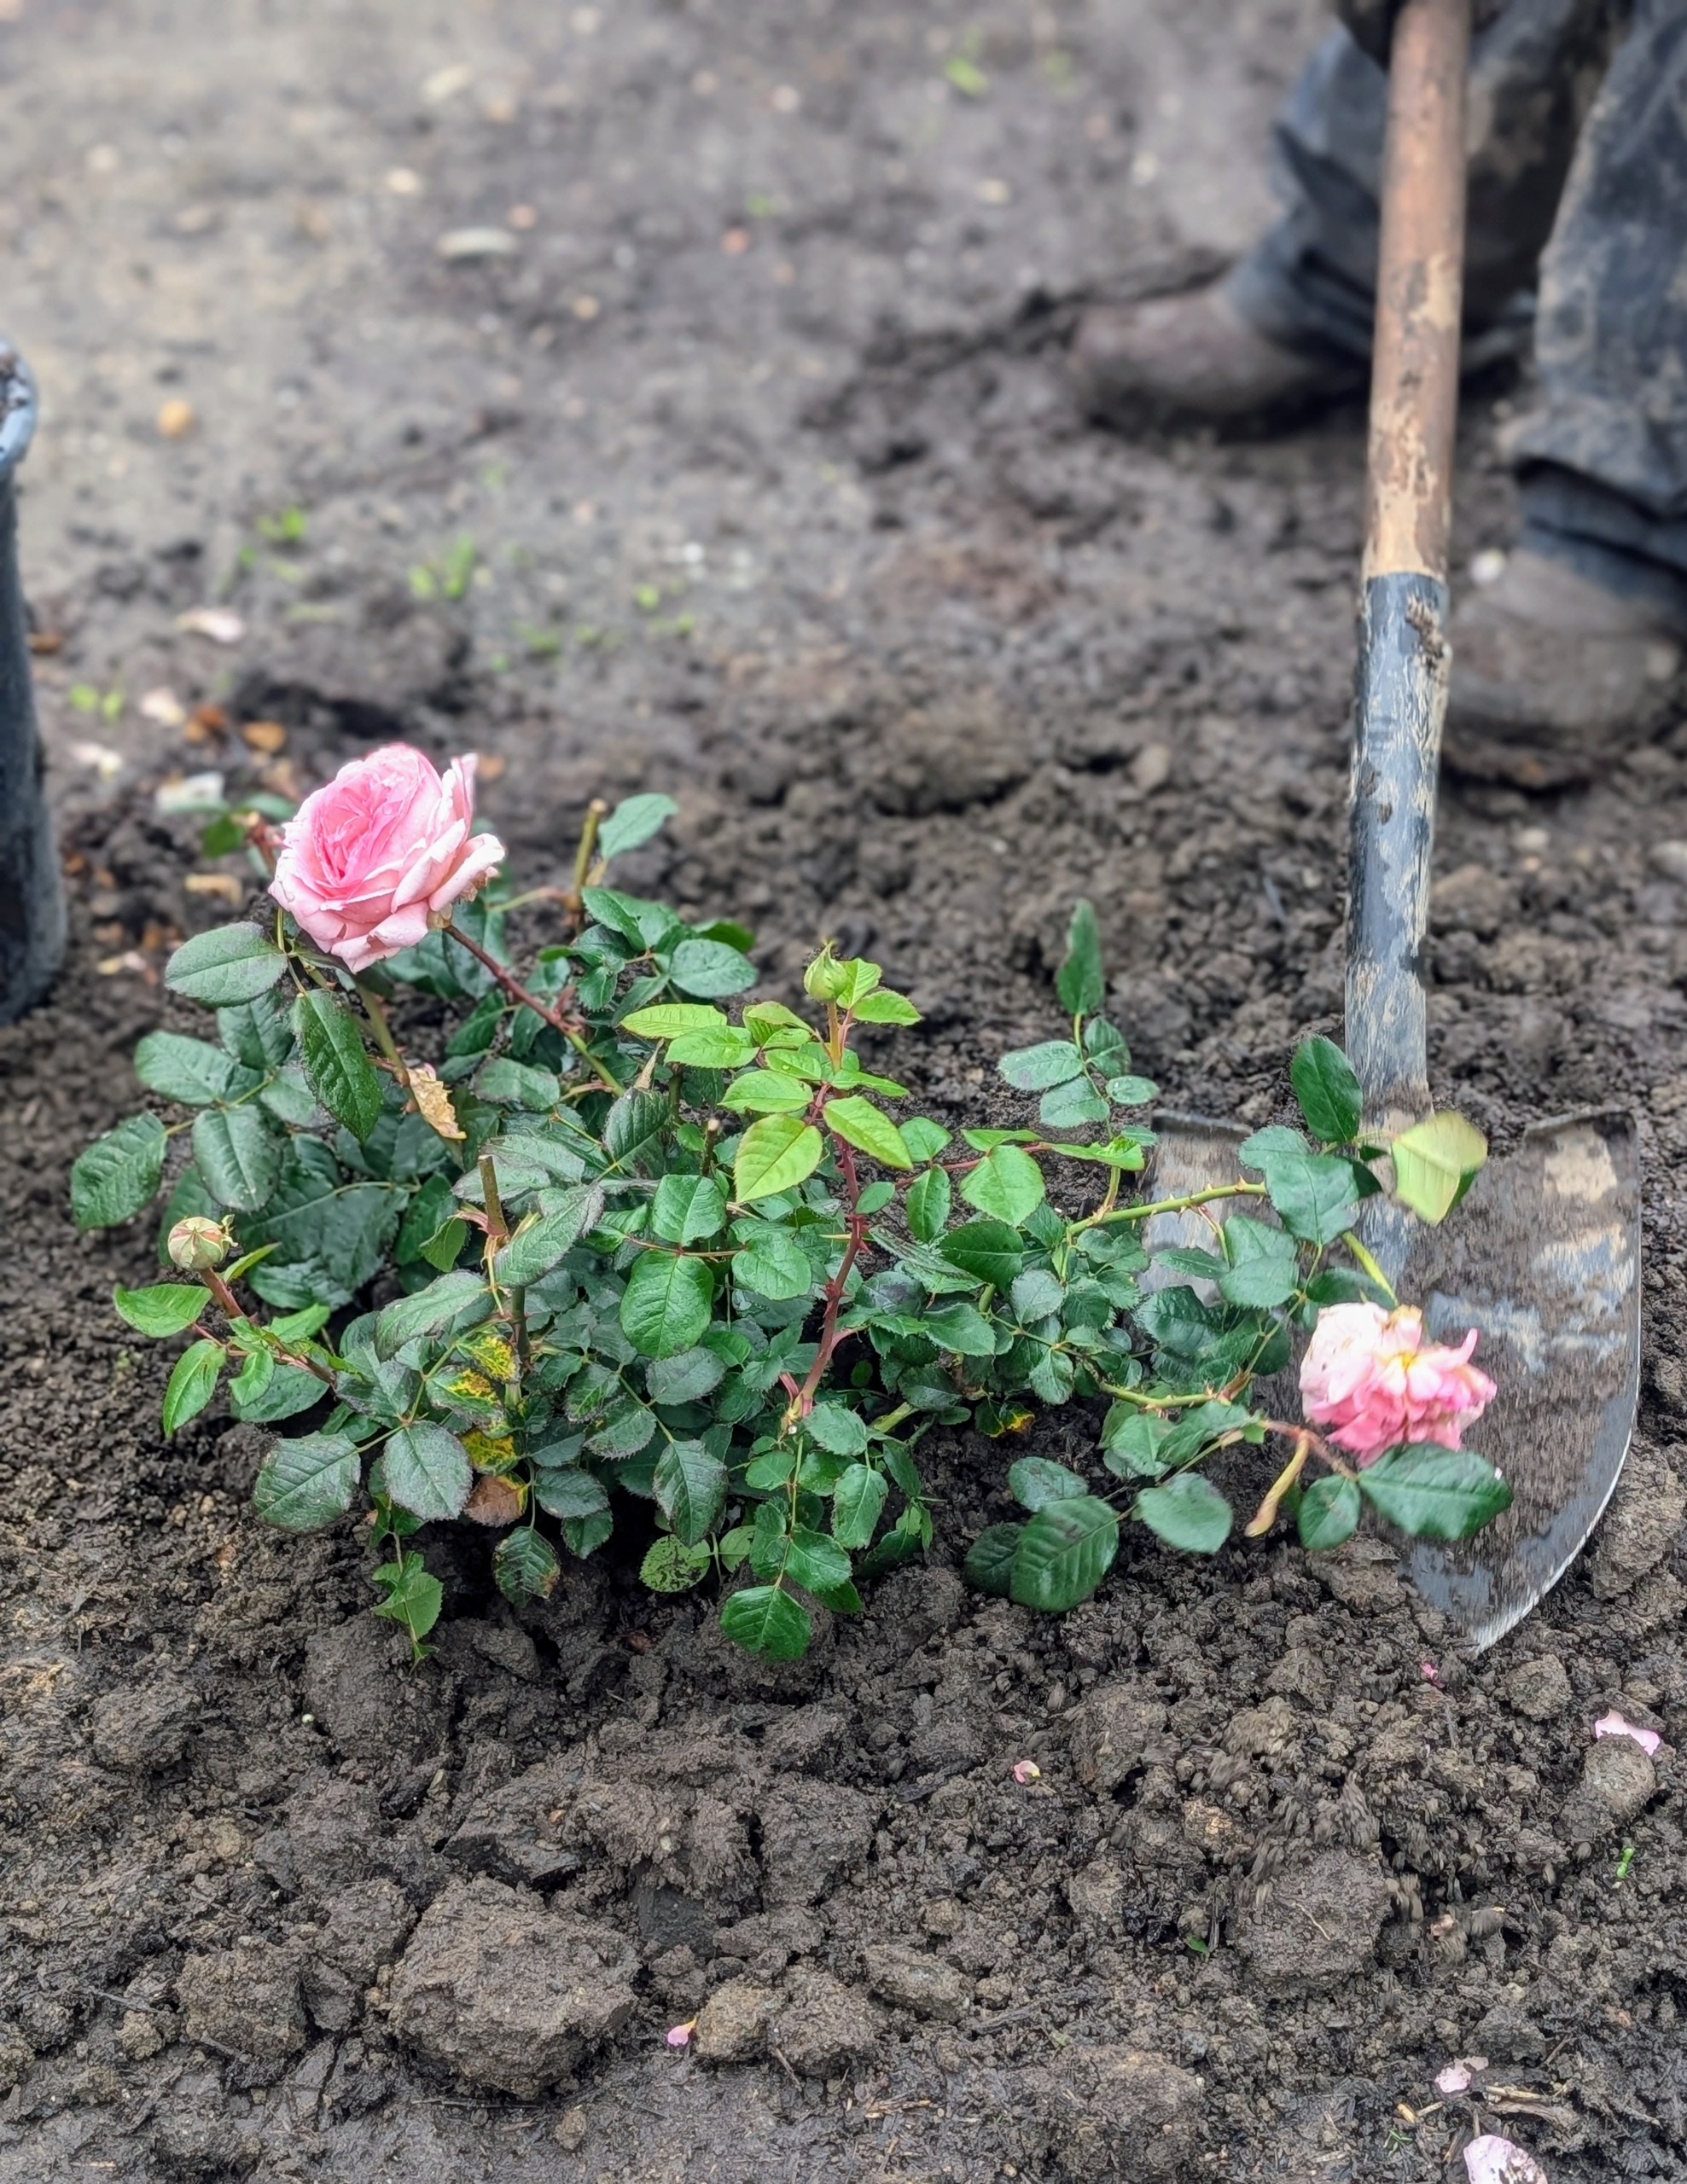
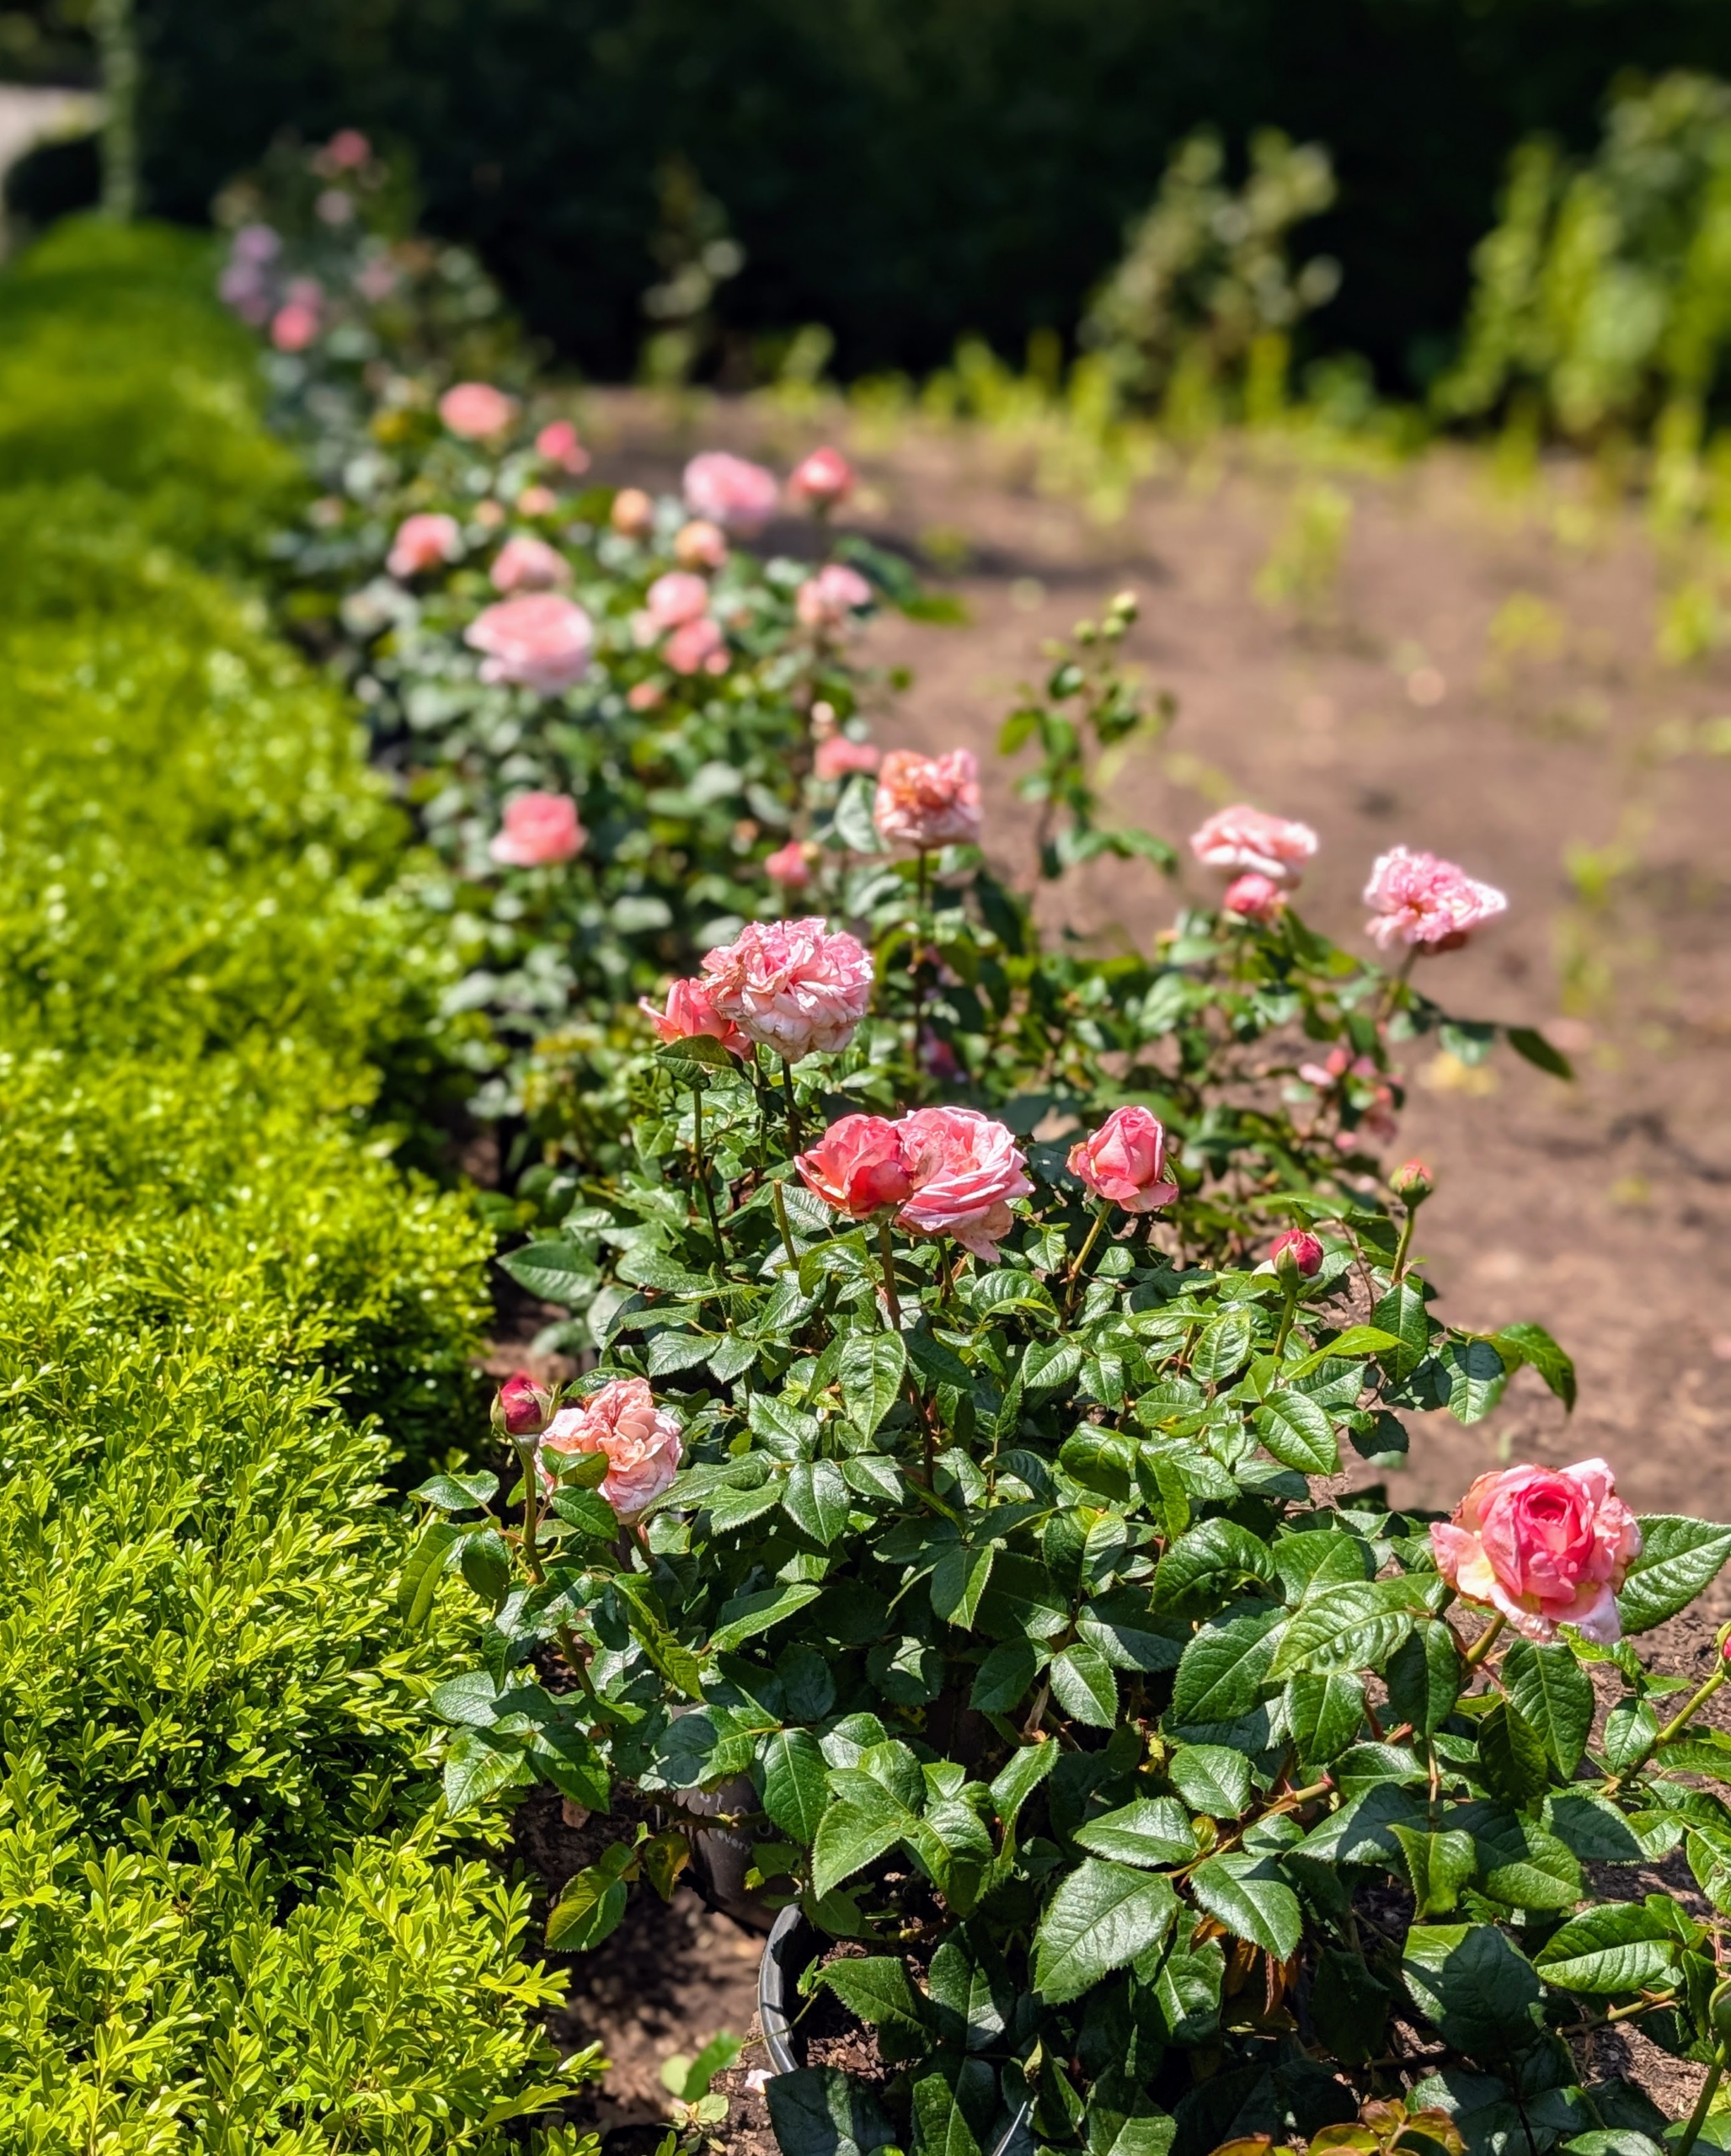
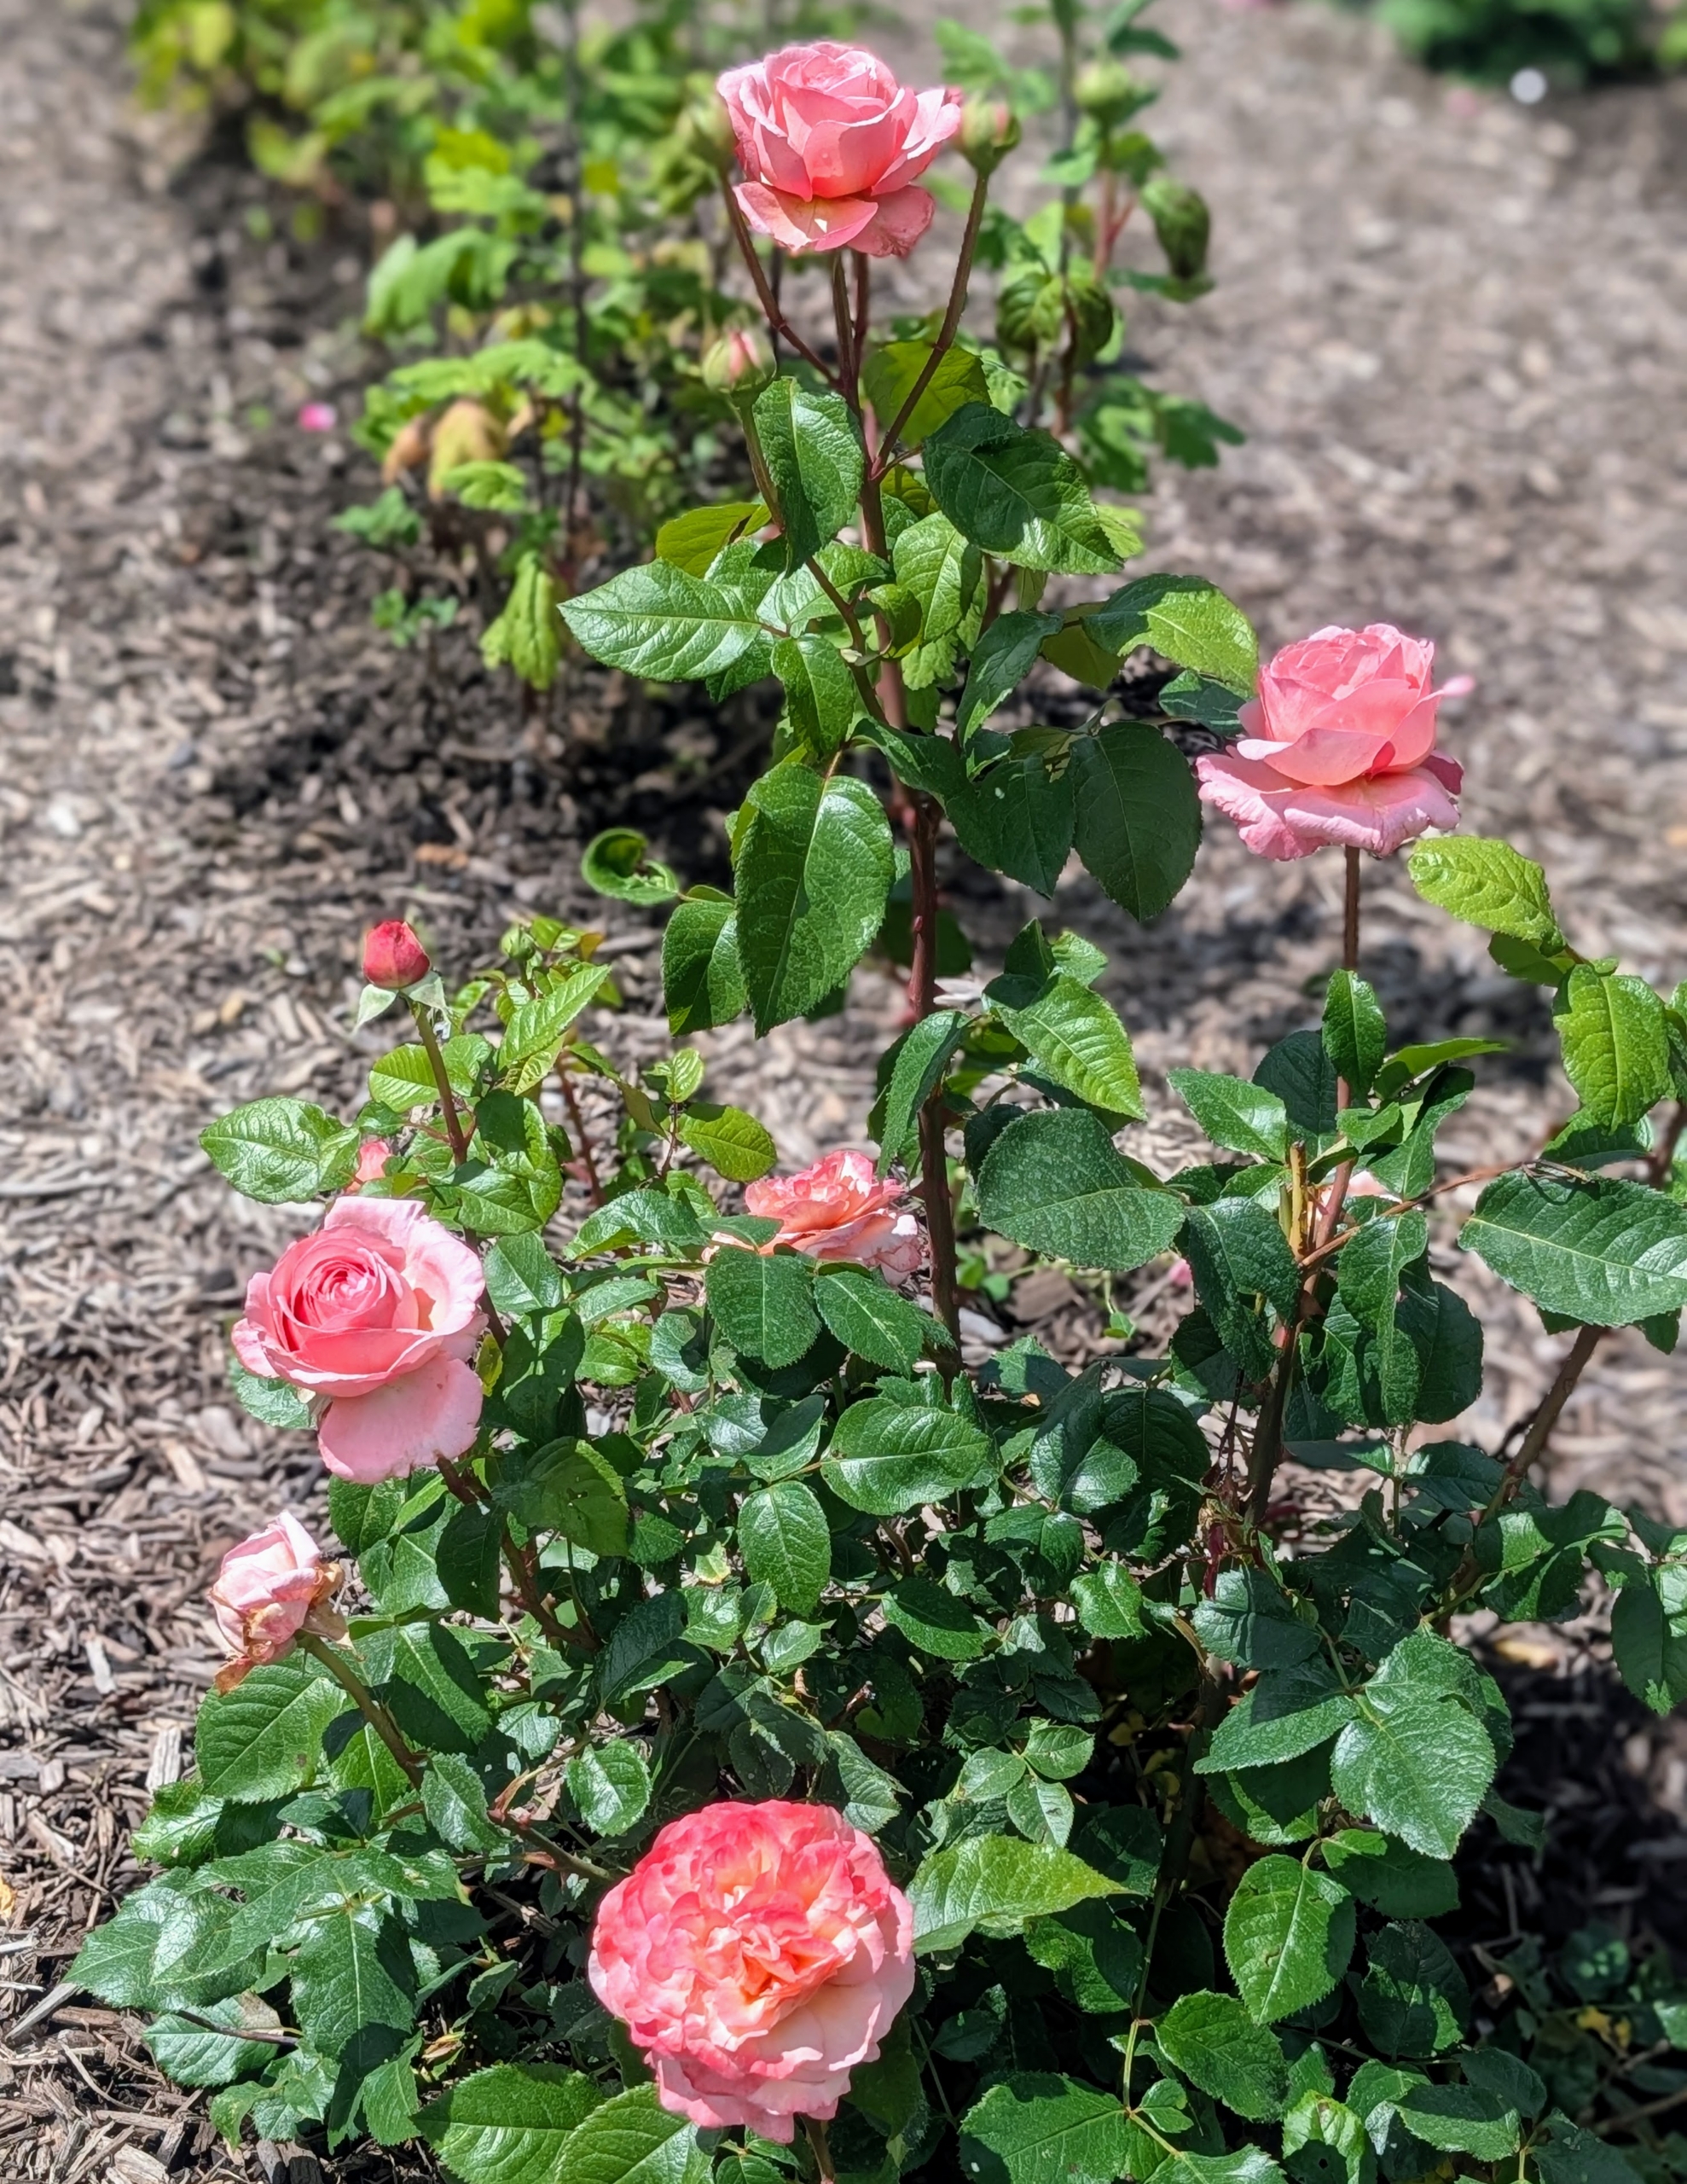
Last year, I decided to plant some Martha Stewart hybrid tea roses along both sides of a footpath in a flower cutting garden.
Hybrid tea roses should be planted two to three feet apart, as the growth habit is upright and vase-shaped.
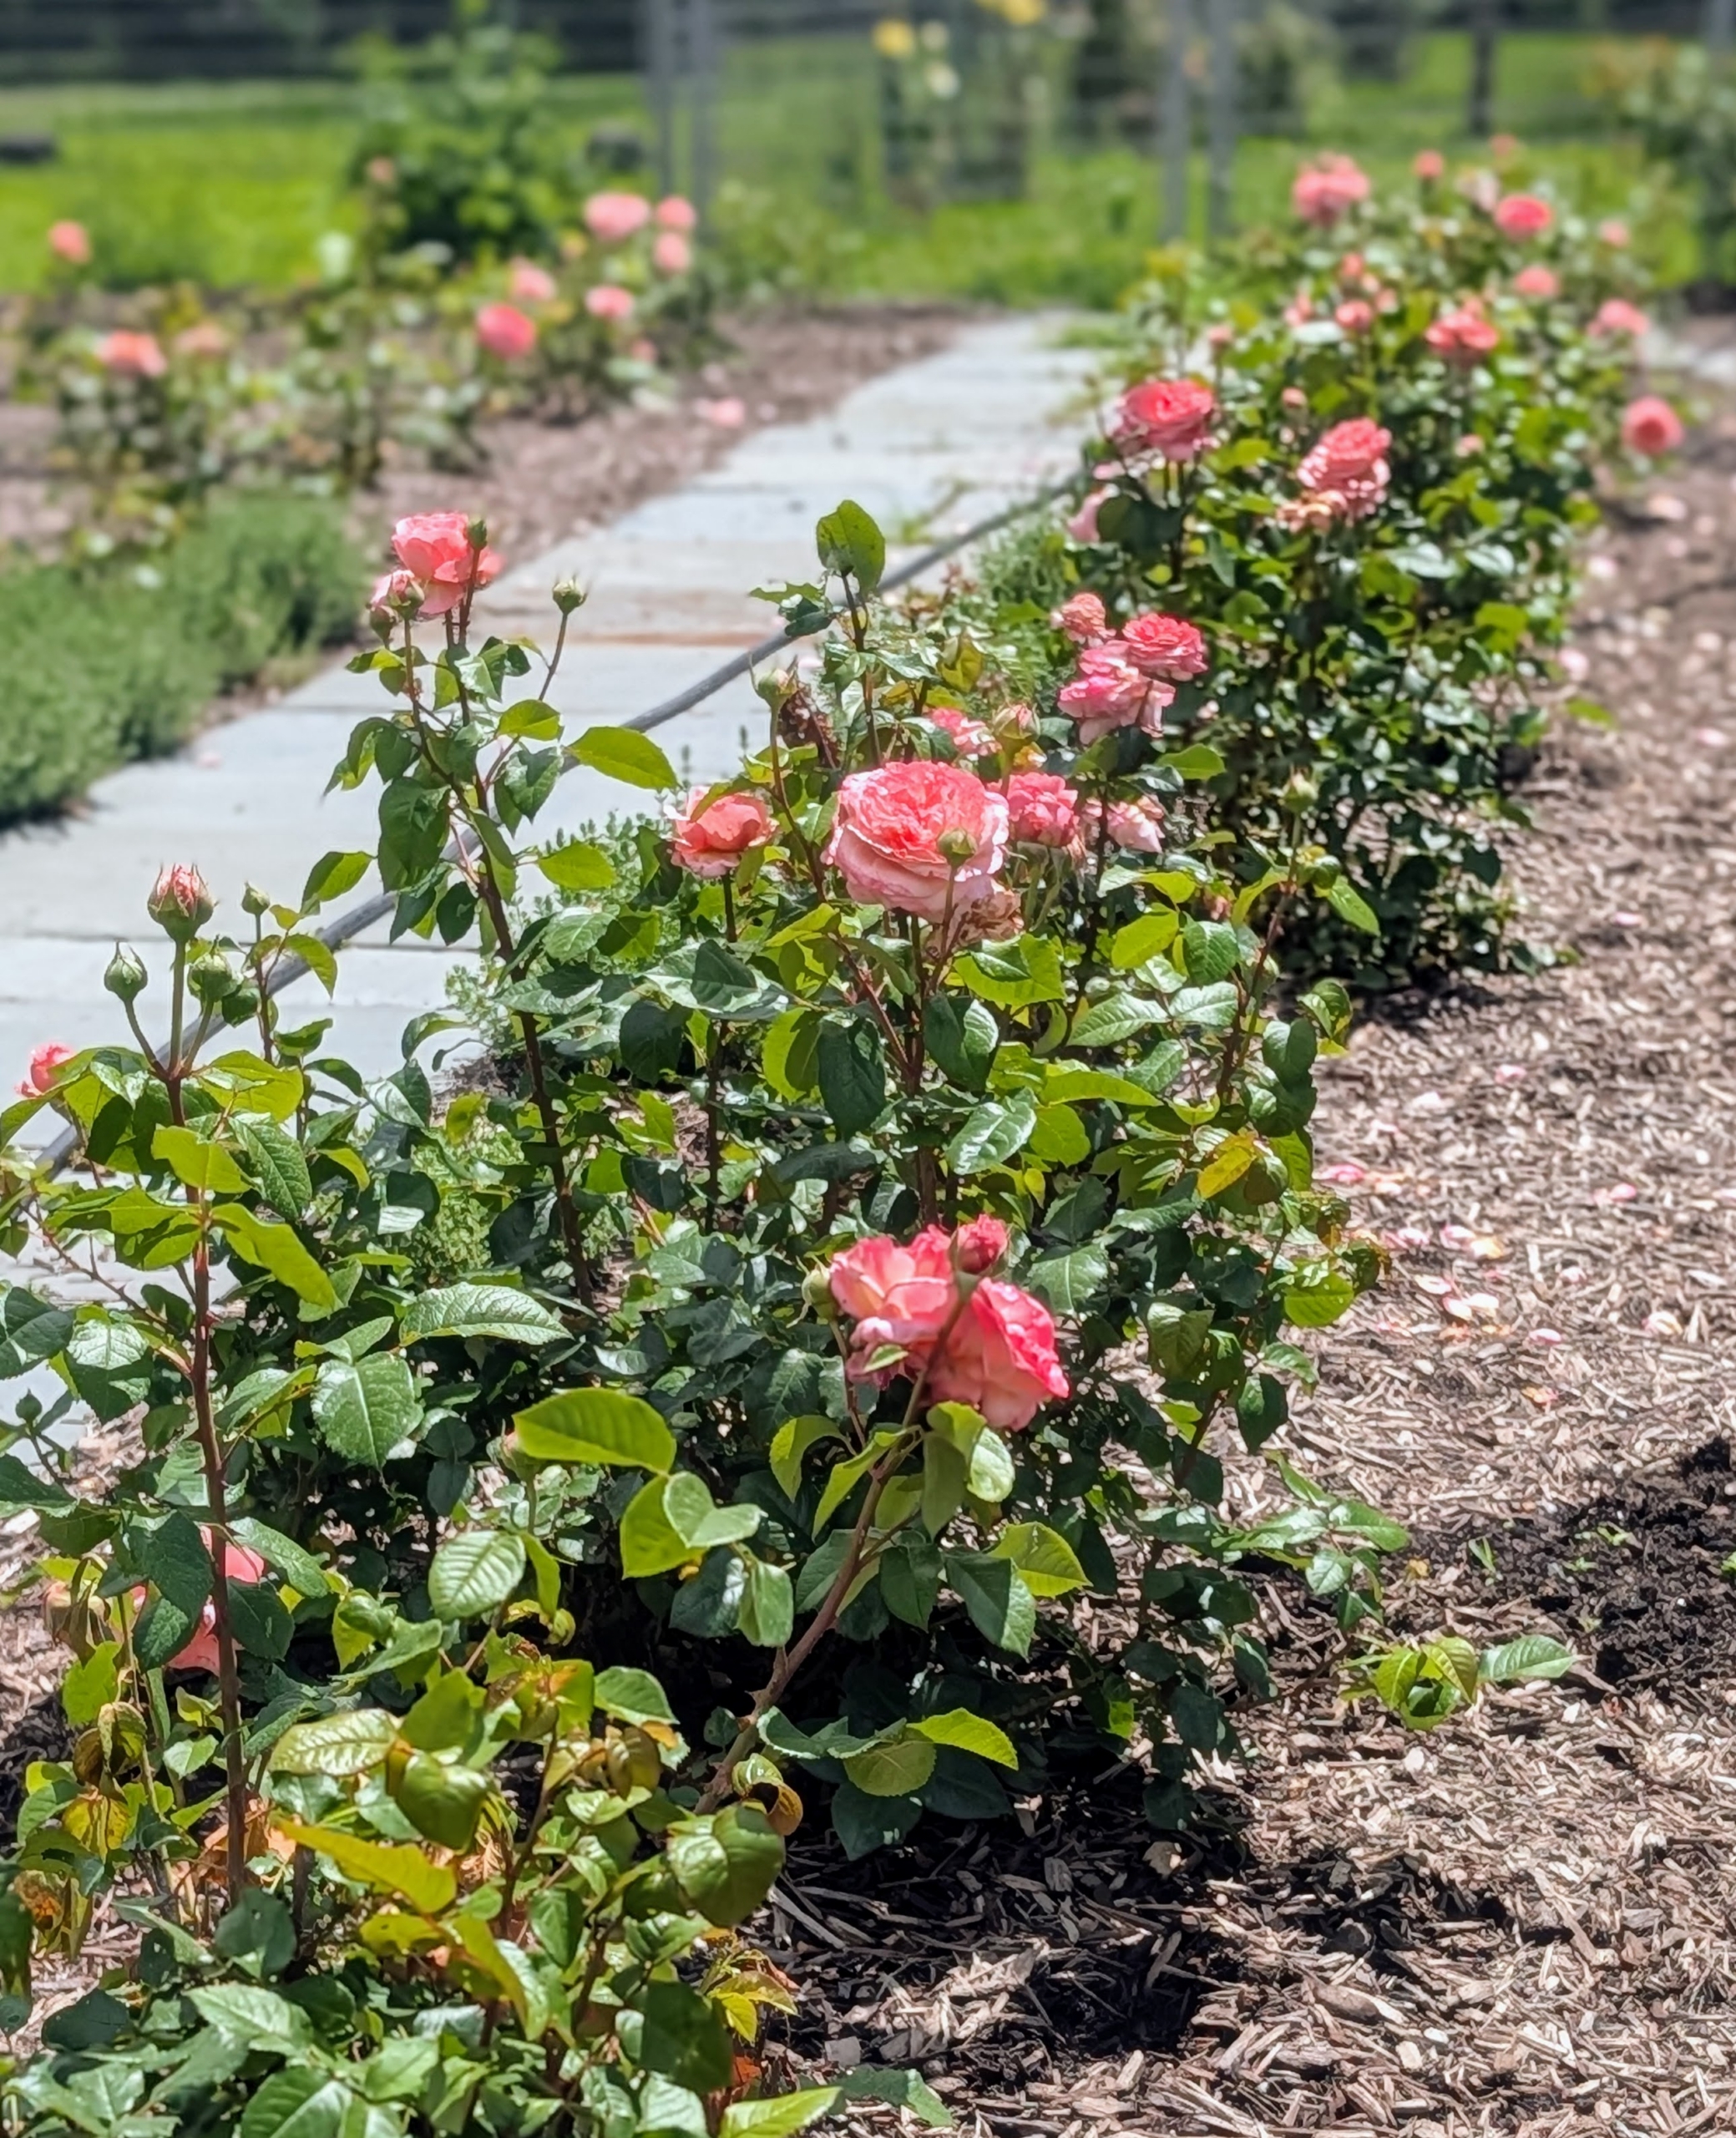
This year, they all bloomed so excellently.
My rose is long lasting and heat tolerant. Each bush is sturdy, reliable, and thrives where others seem to fade.
Walking into my cutting garden, one can smell the sweet scent of these gorgeous blooms right away.
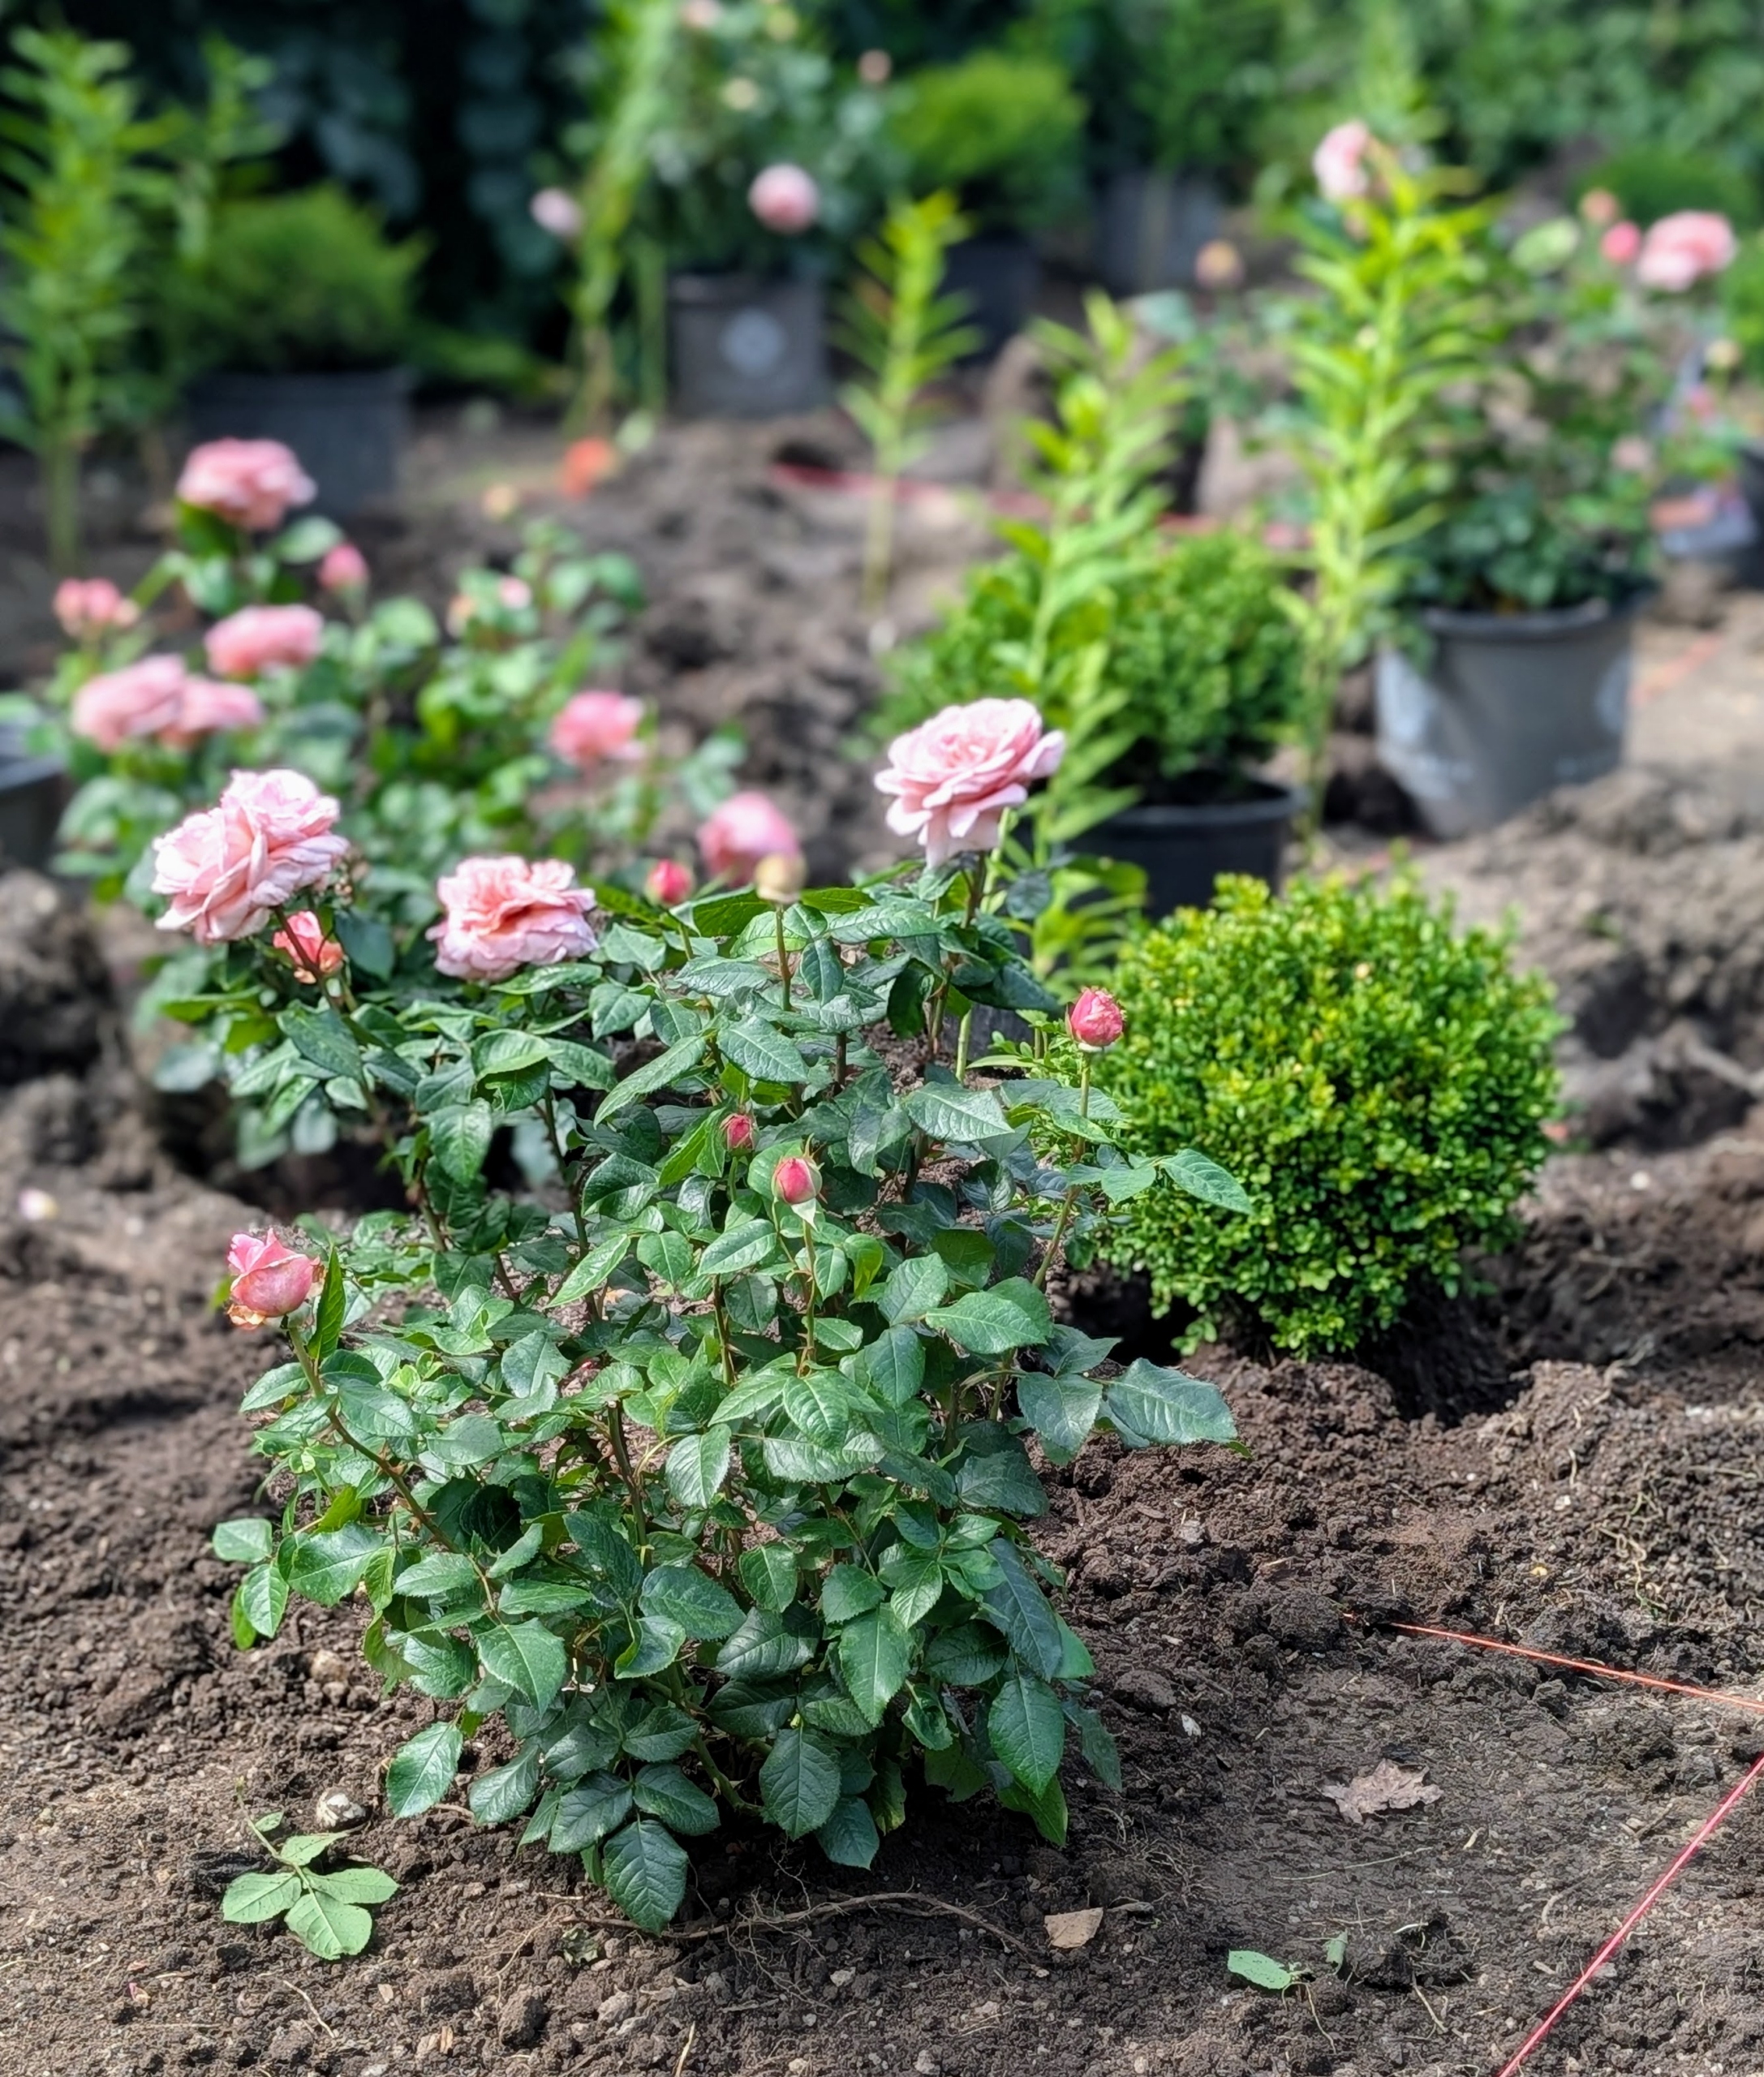
Last year, I also decided to plant Martha Stewart hybrid tea roses in the beds outside my greenhouse. I wanted them to be planted in a grid pattern alternating each rose with boxwood.
These plants are also spaced appropriately, so there is ample room for them to grow.
Some of them were already blooming – many flowers on each plant. The Martha Stewart rose matures to three feet tall and about three feet wide making it ideal for borders, small gardens, and containers.
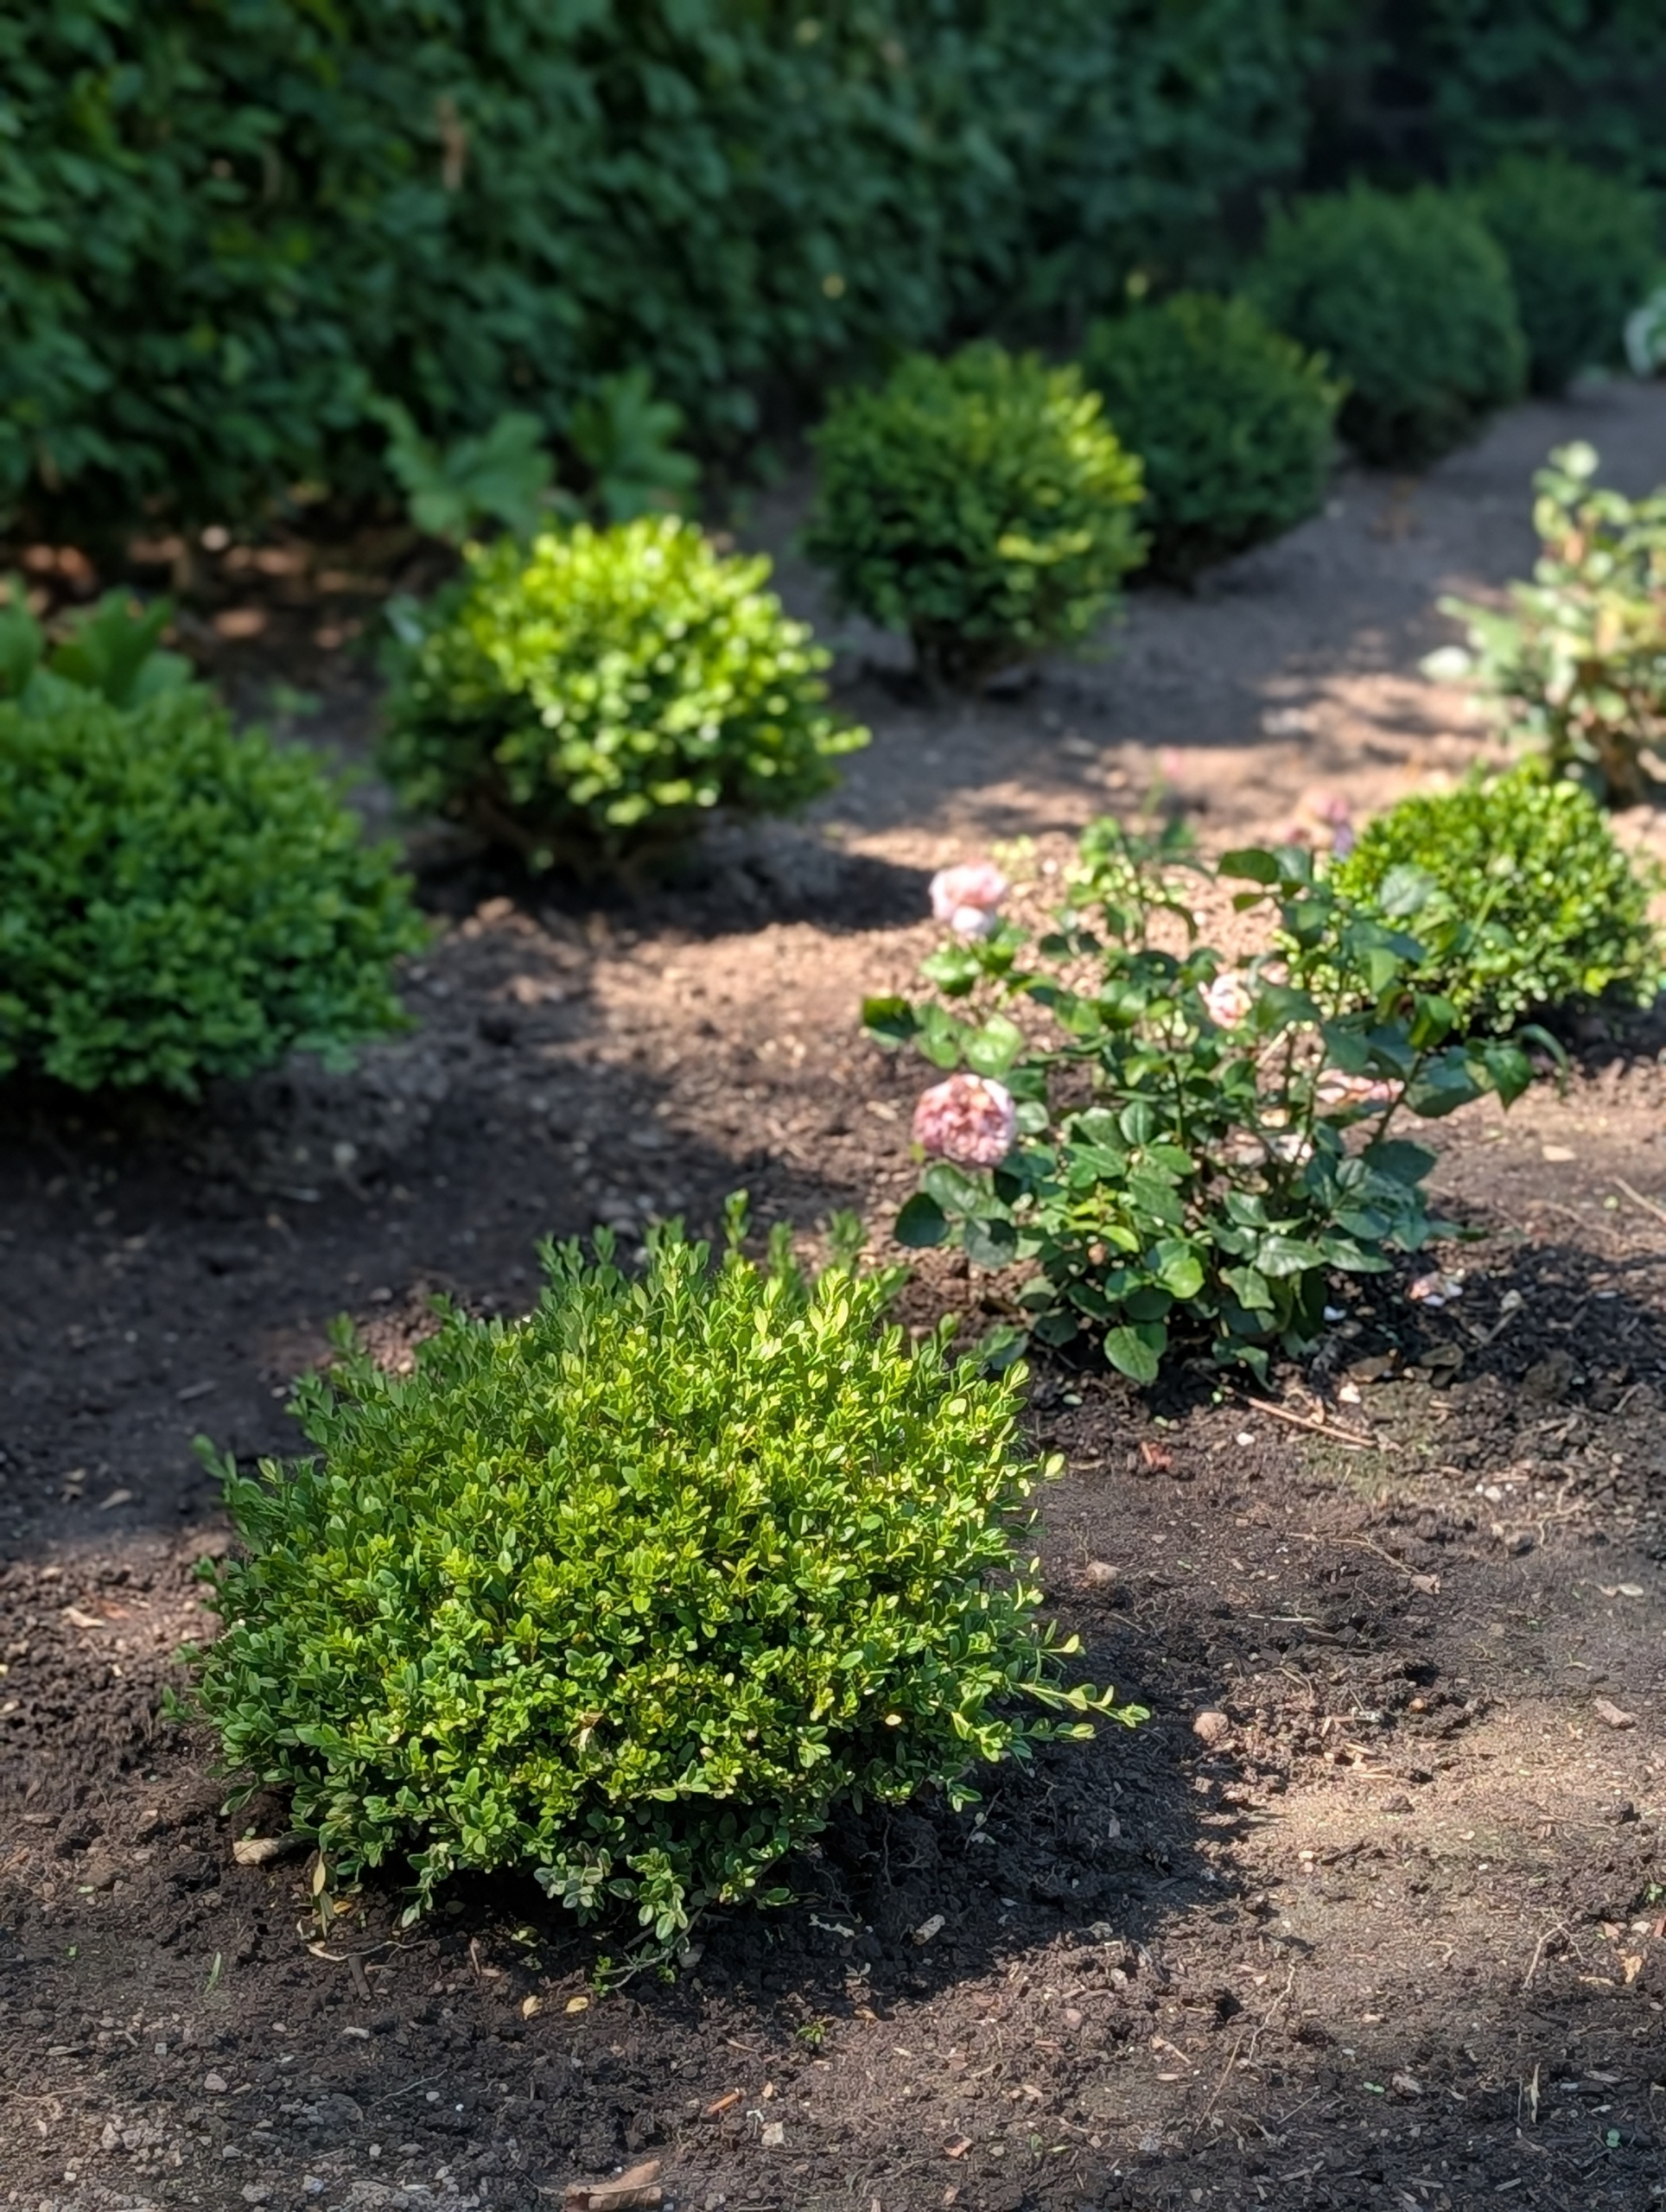
I knew the roses and boxwood shrubs would grow beautifully together.
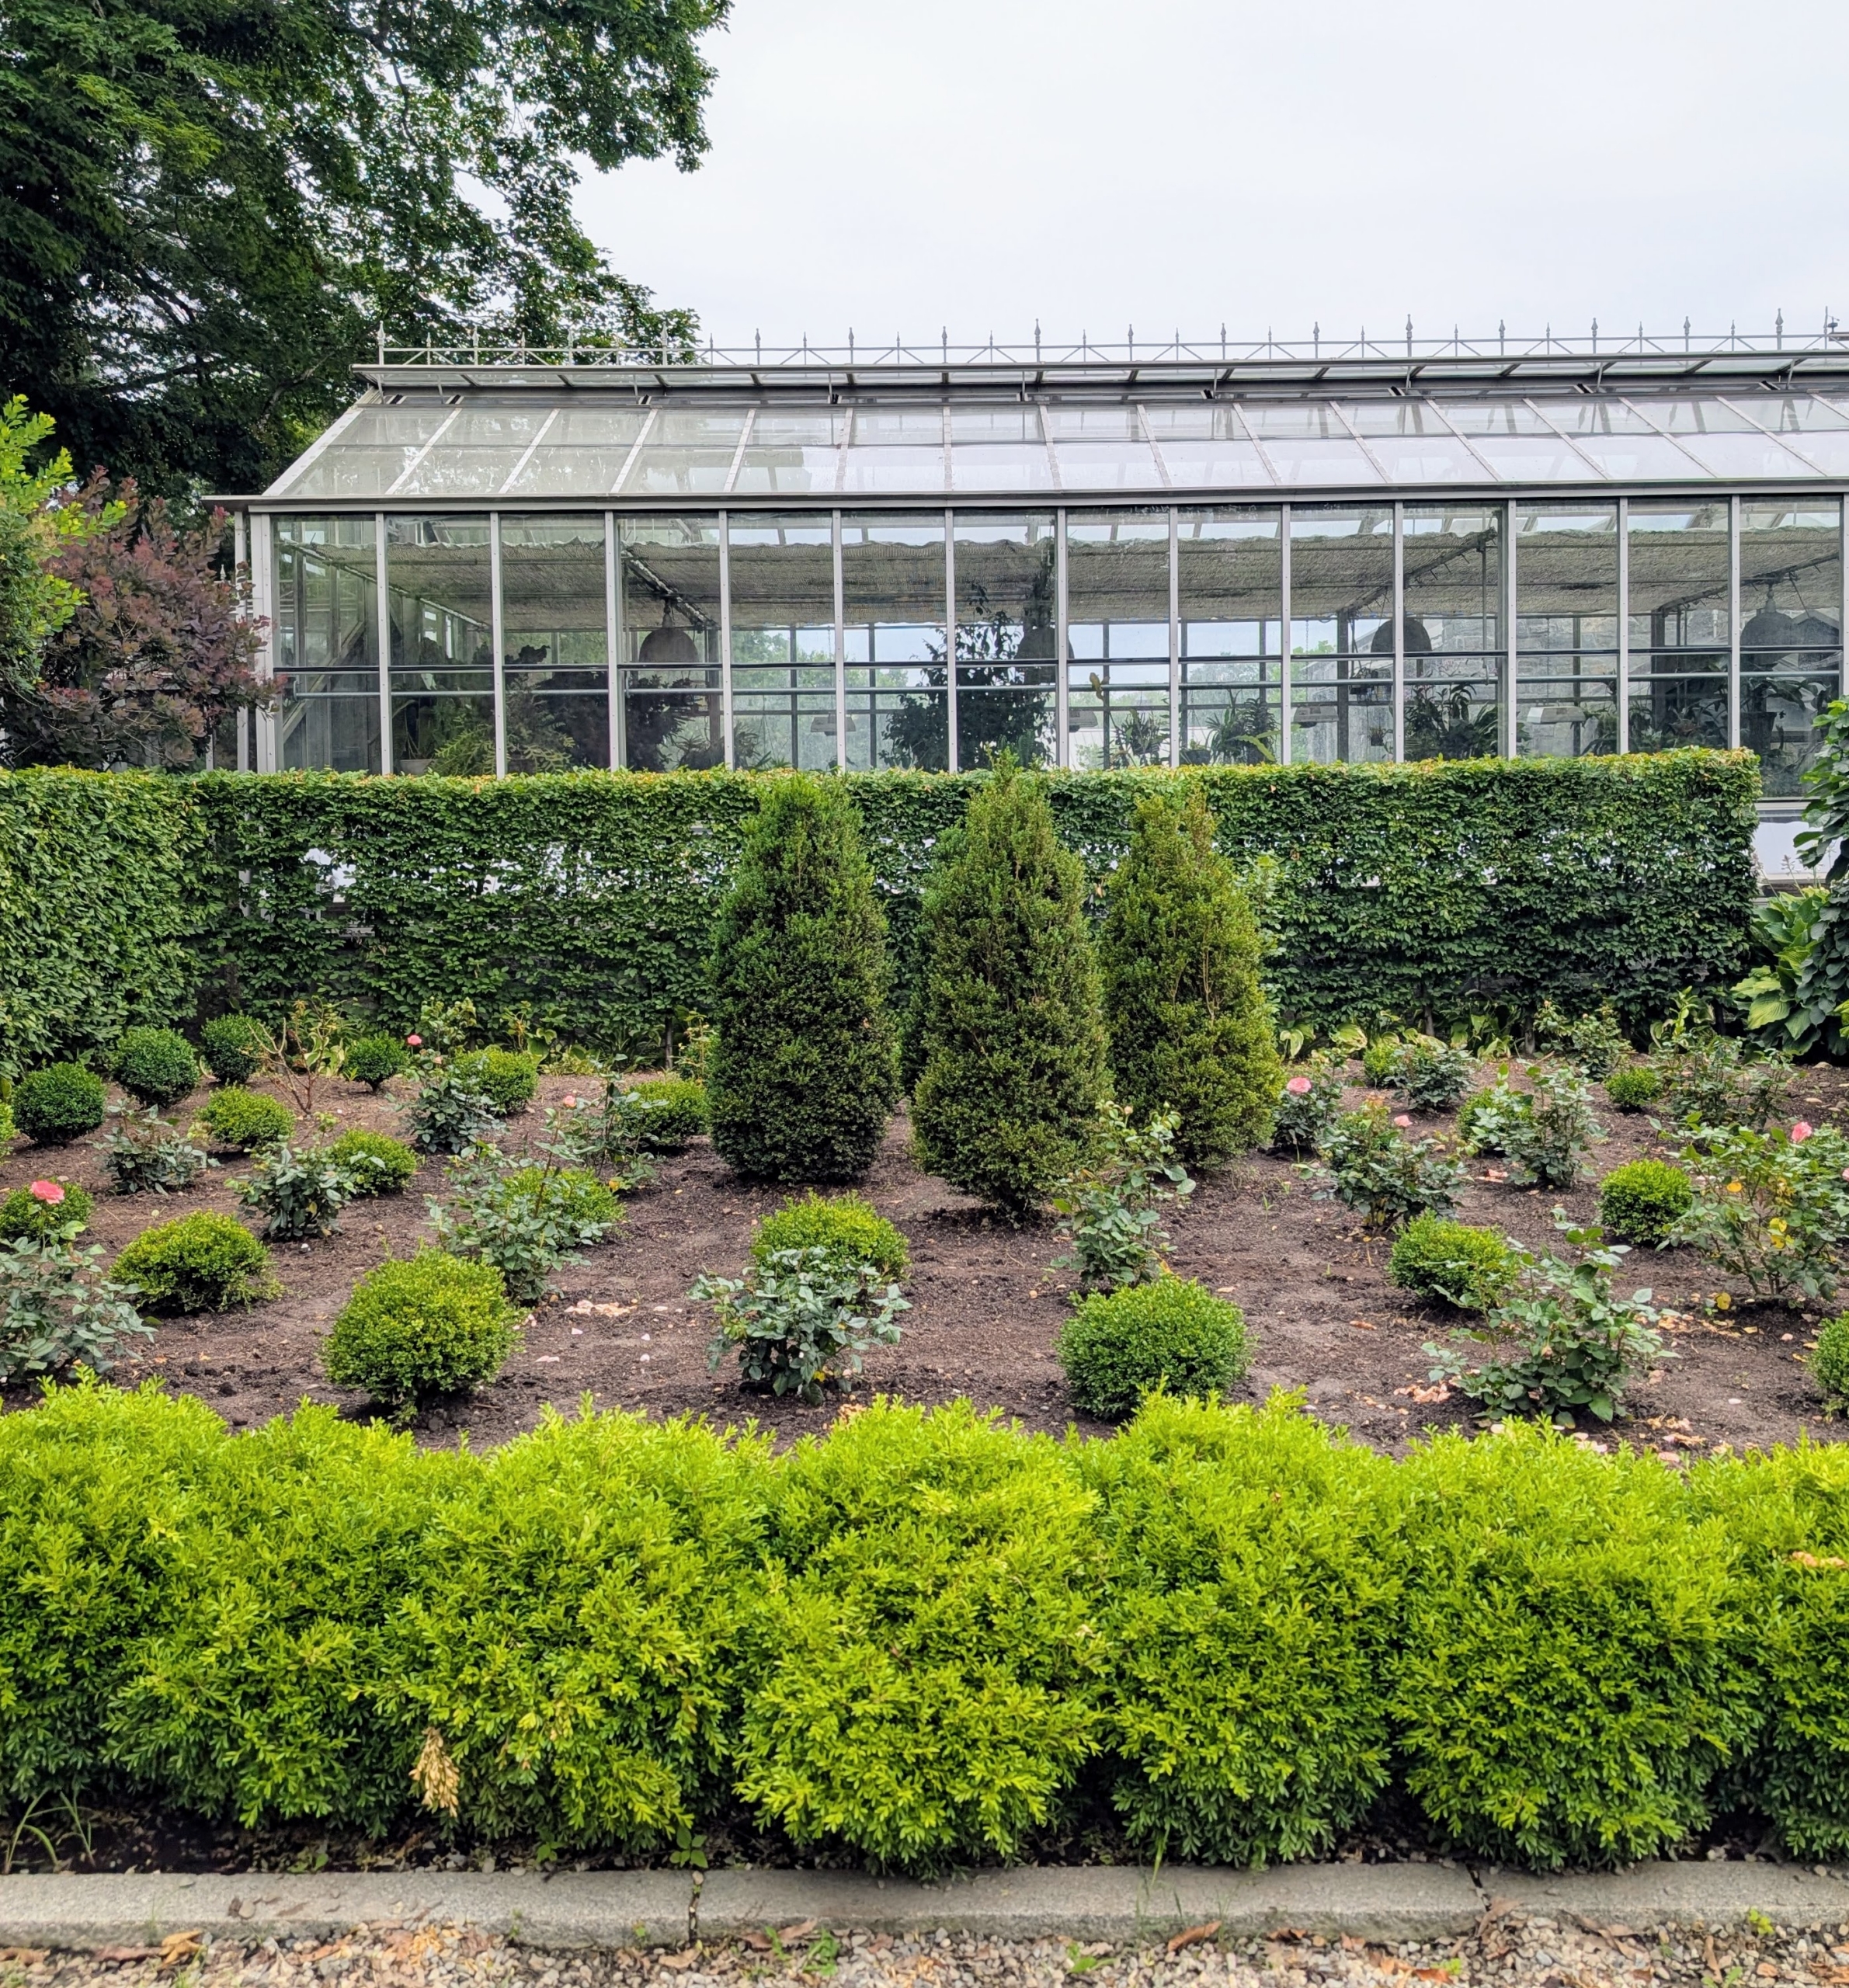
Here is a wider view of one of the beds after planting was complete.
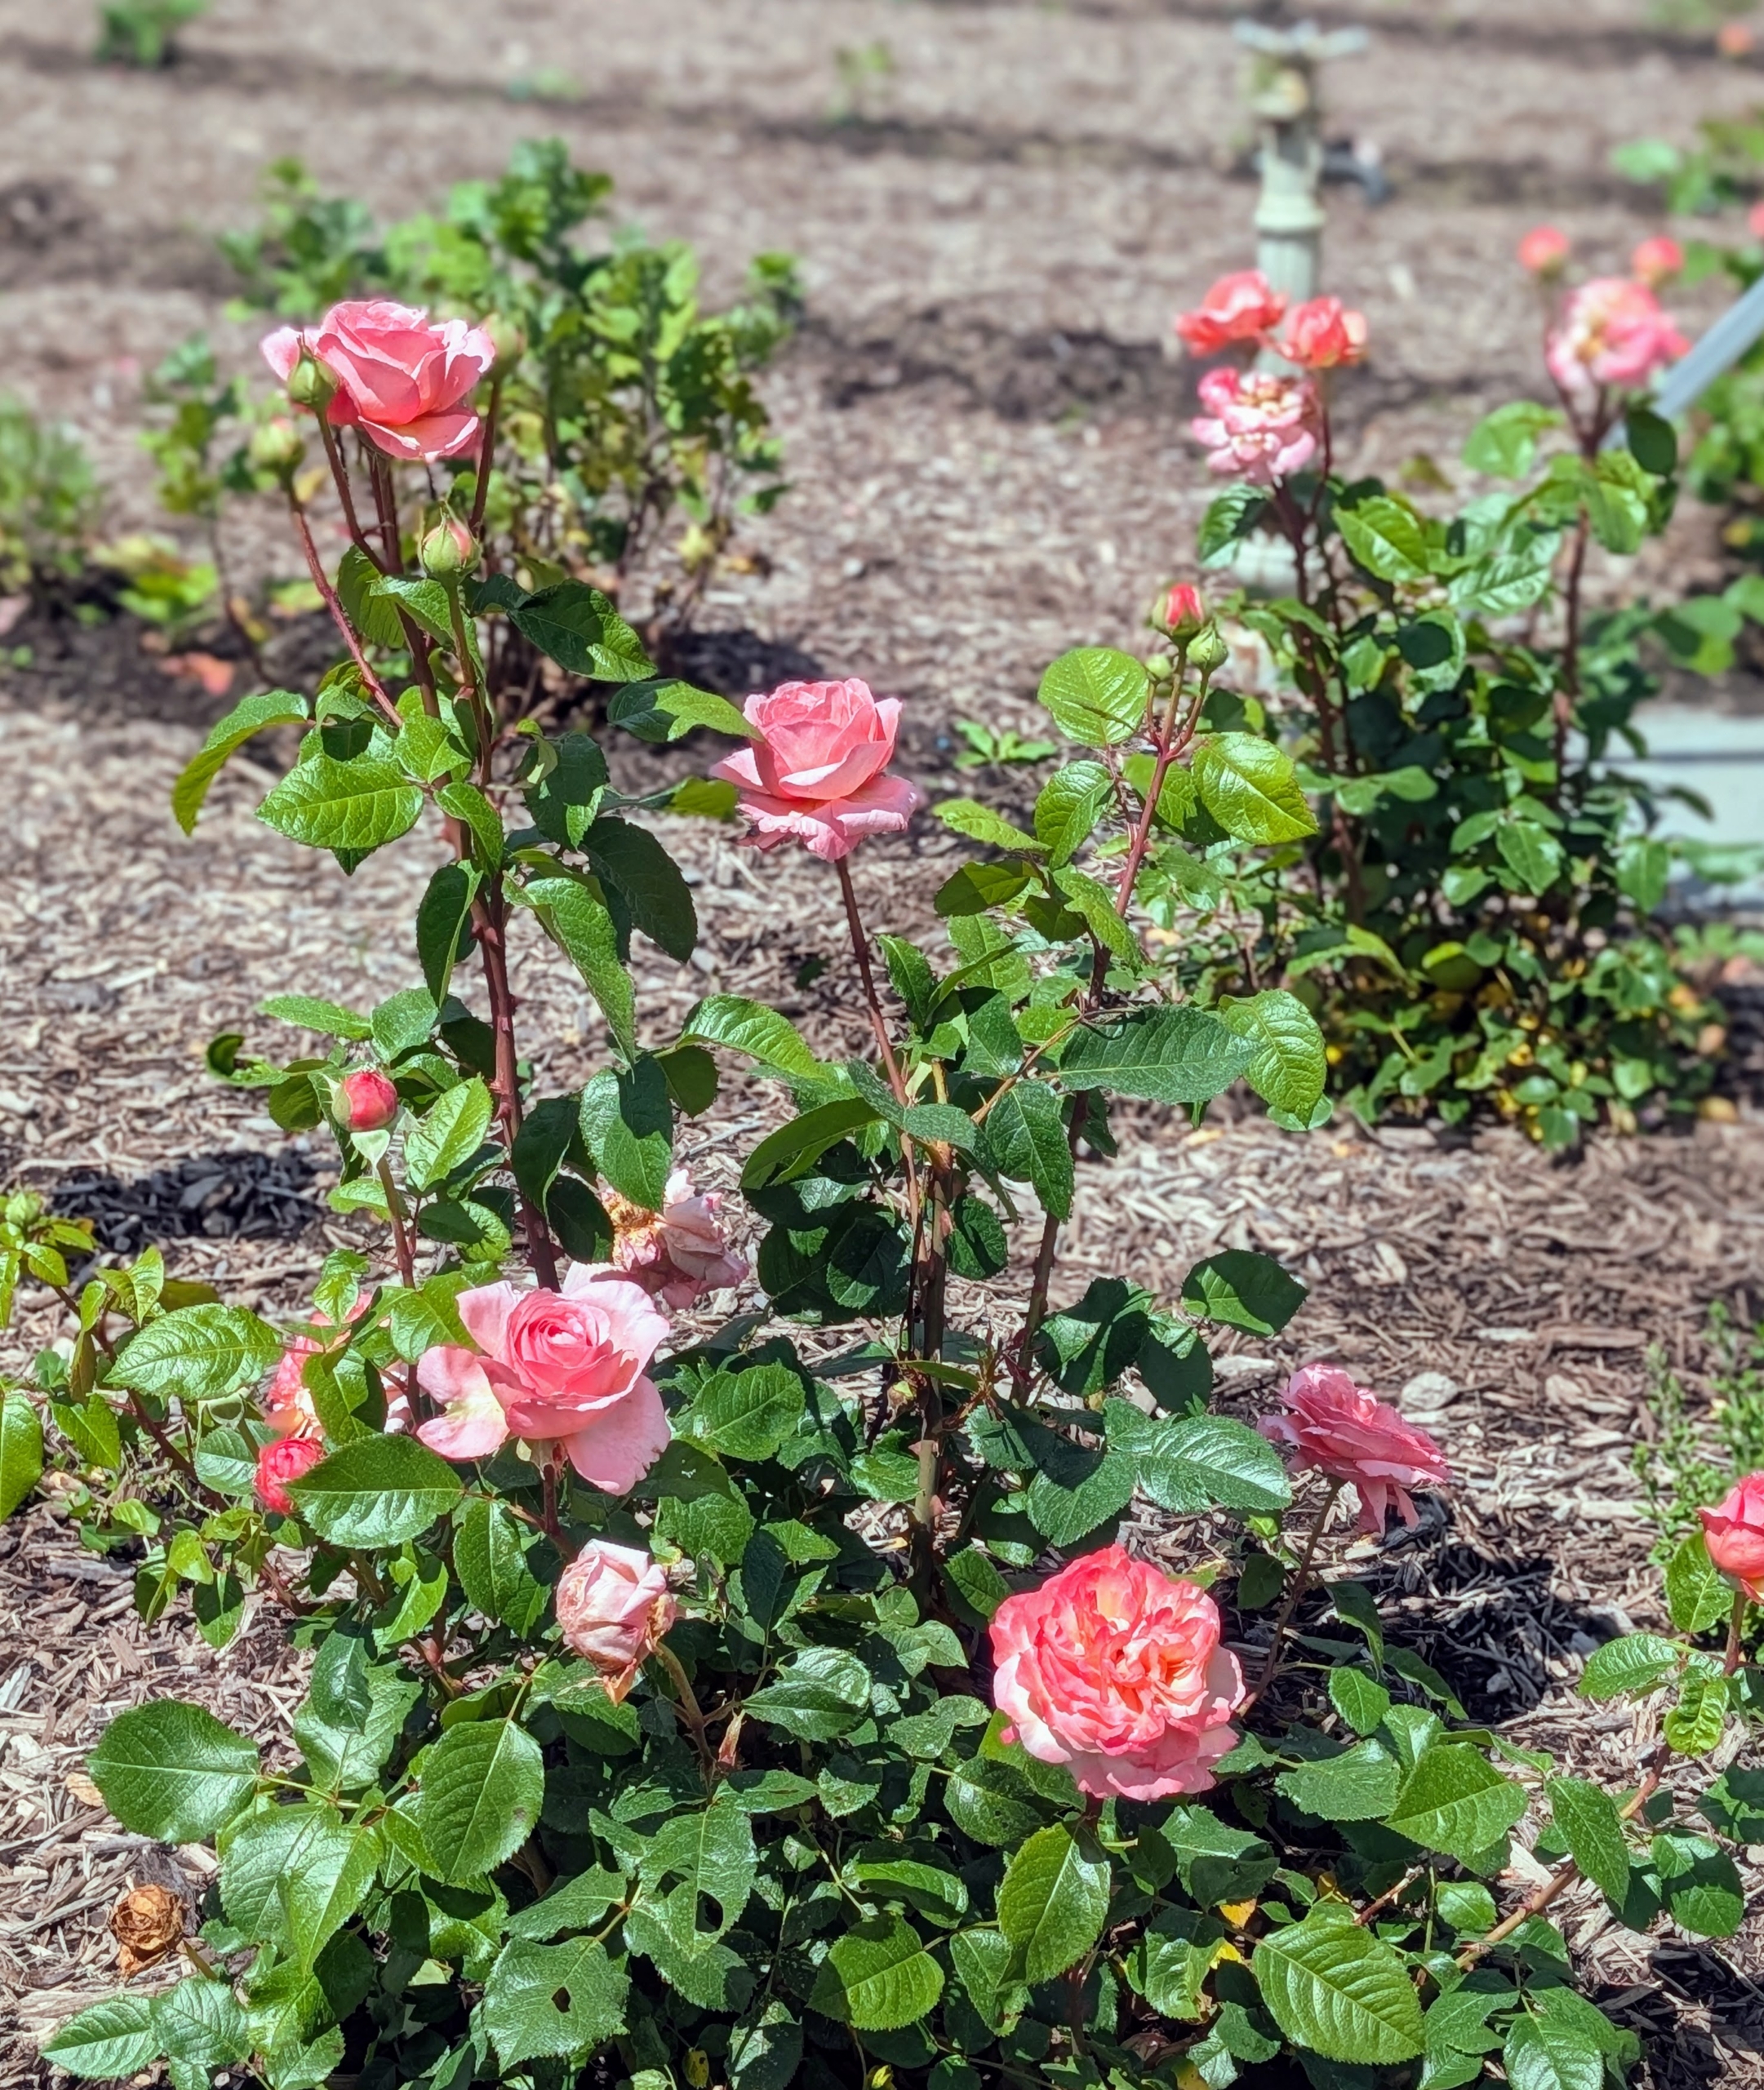
And one year later, they’re flourishing. In fact, it’s a wonderful year for all the roses growing in my gardens.
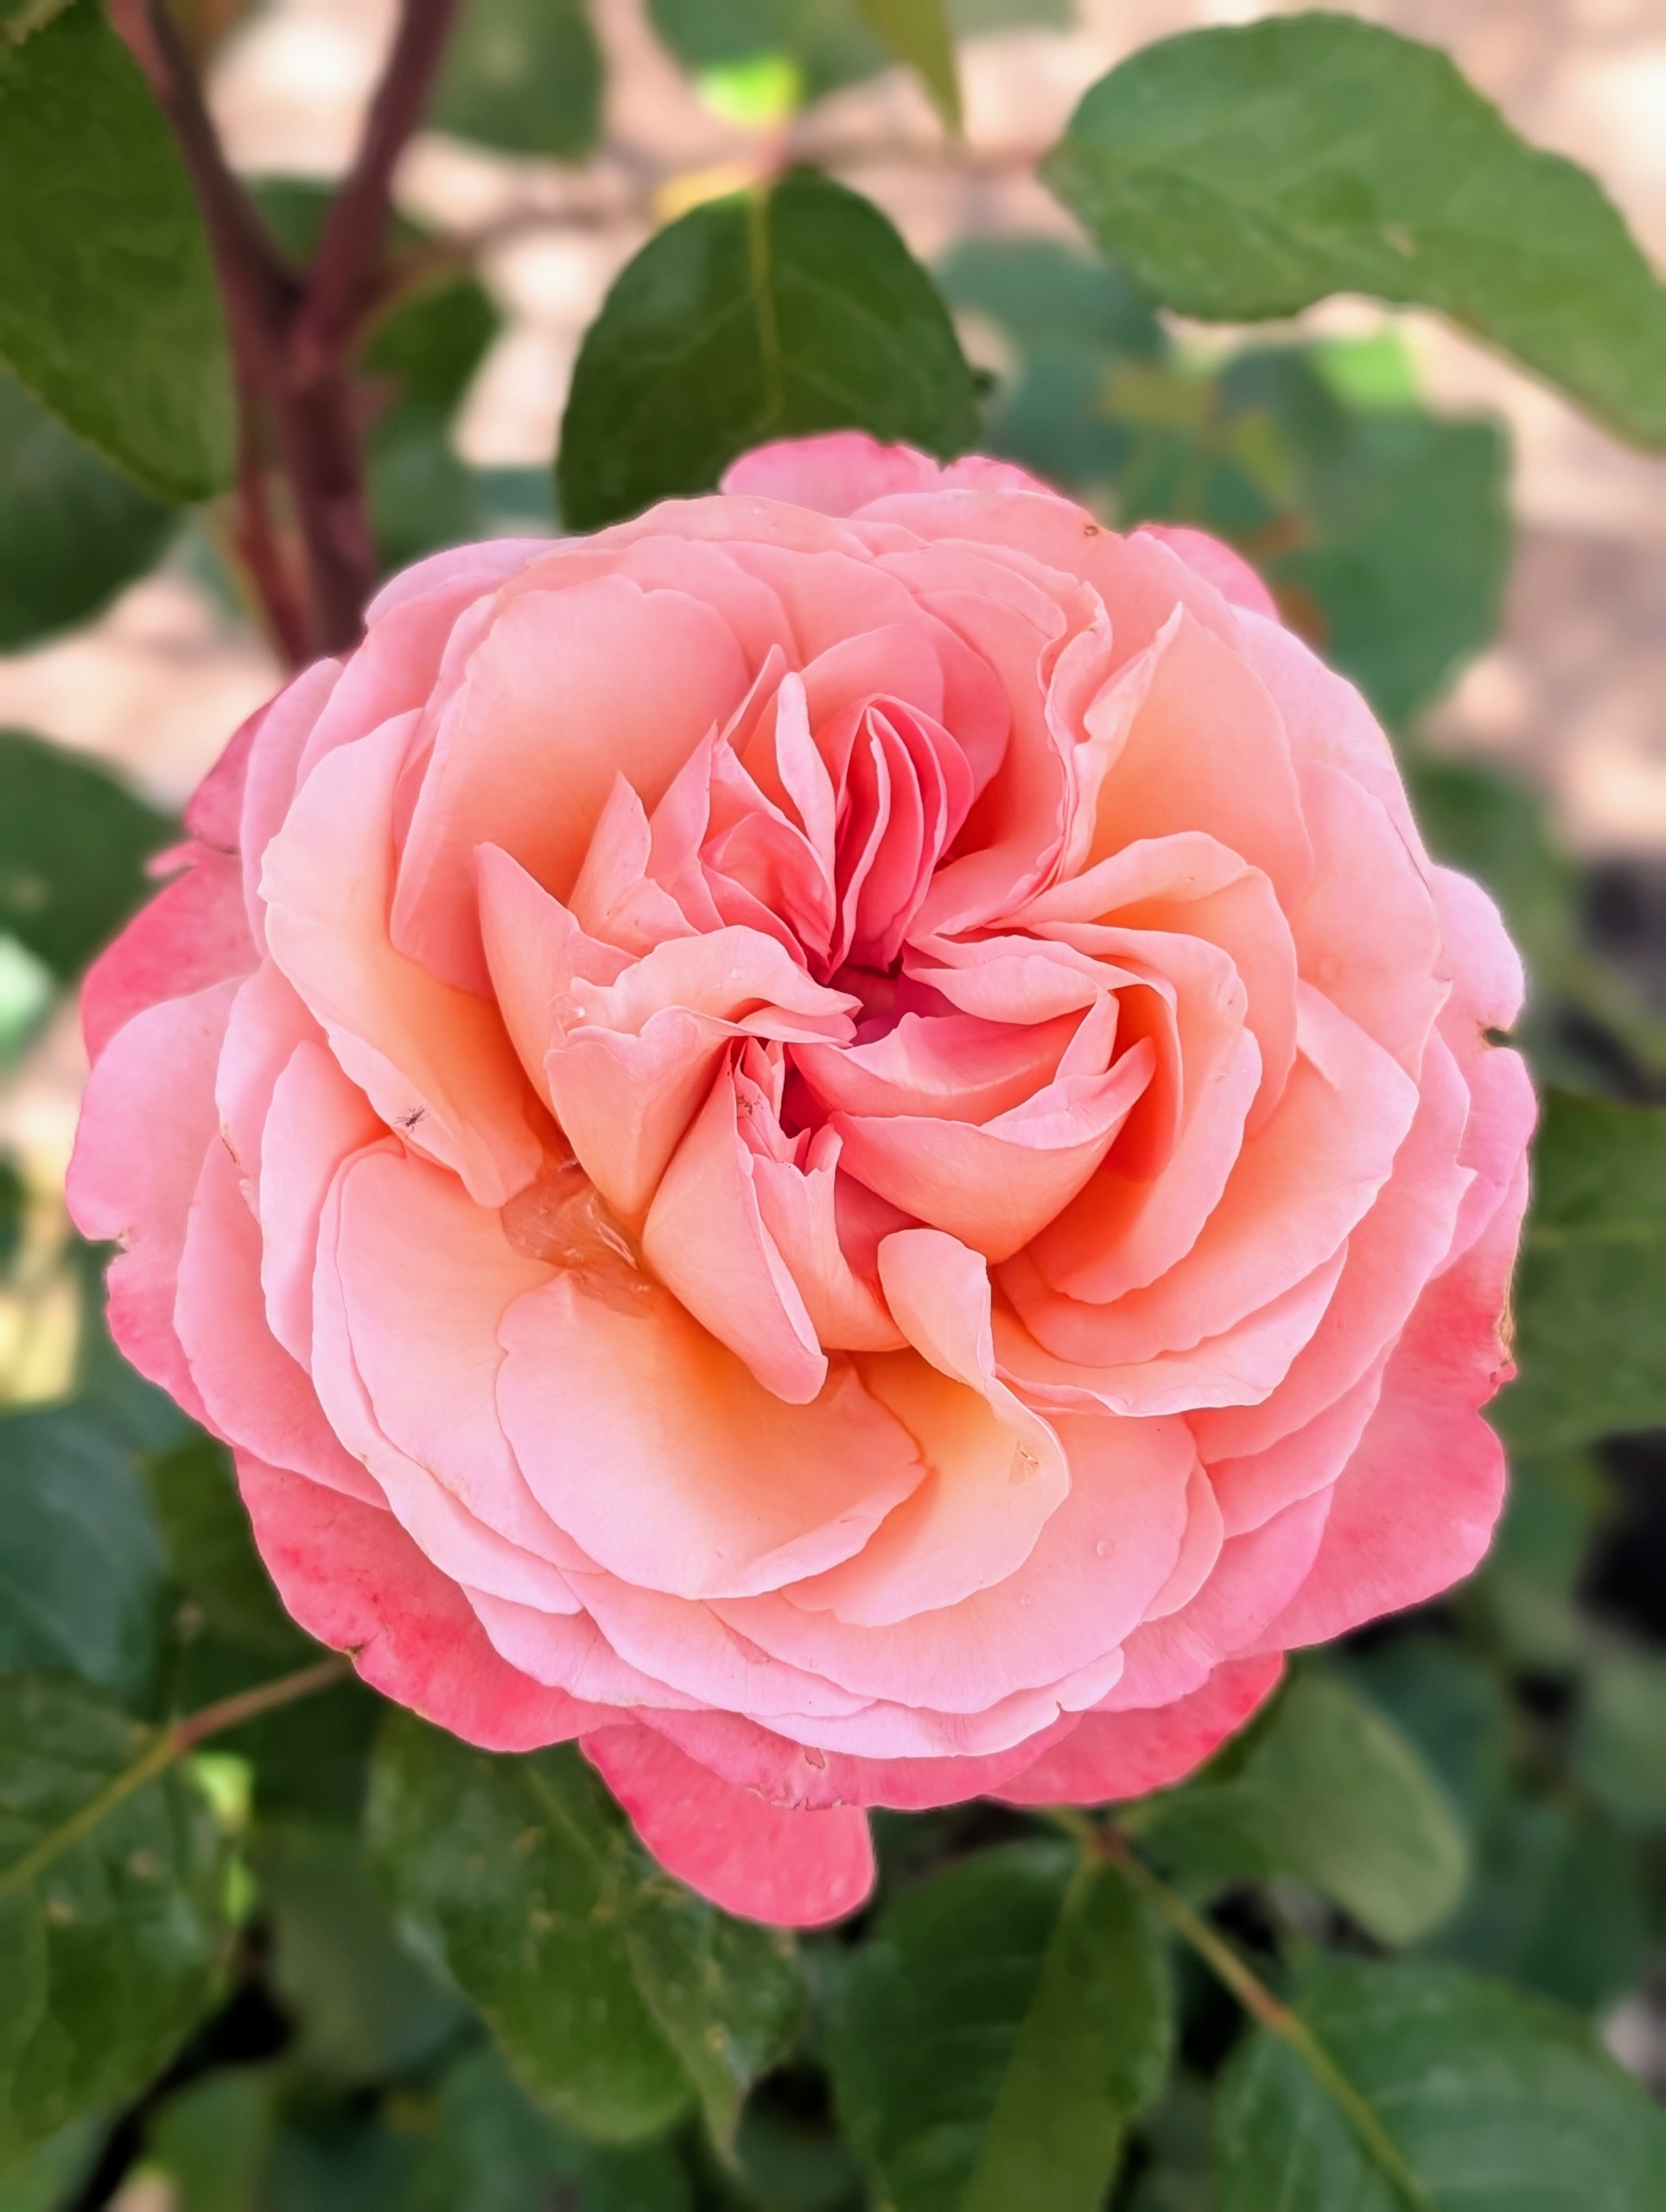
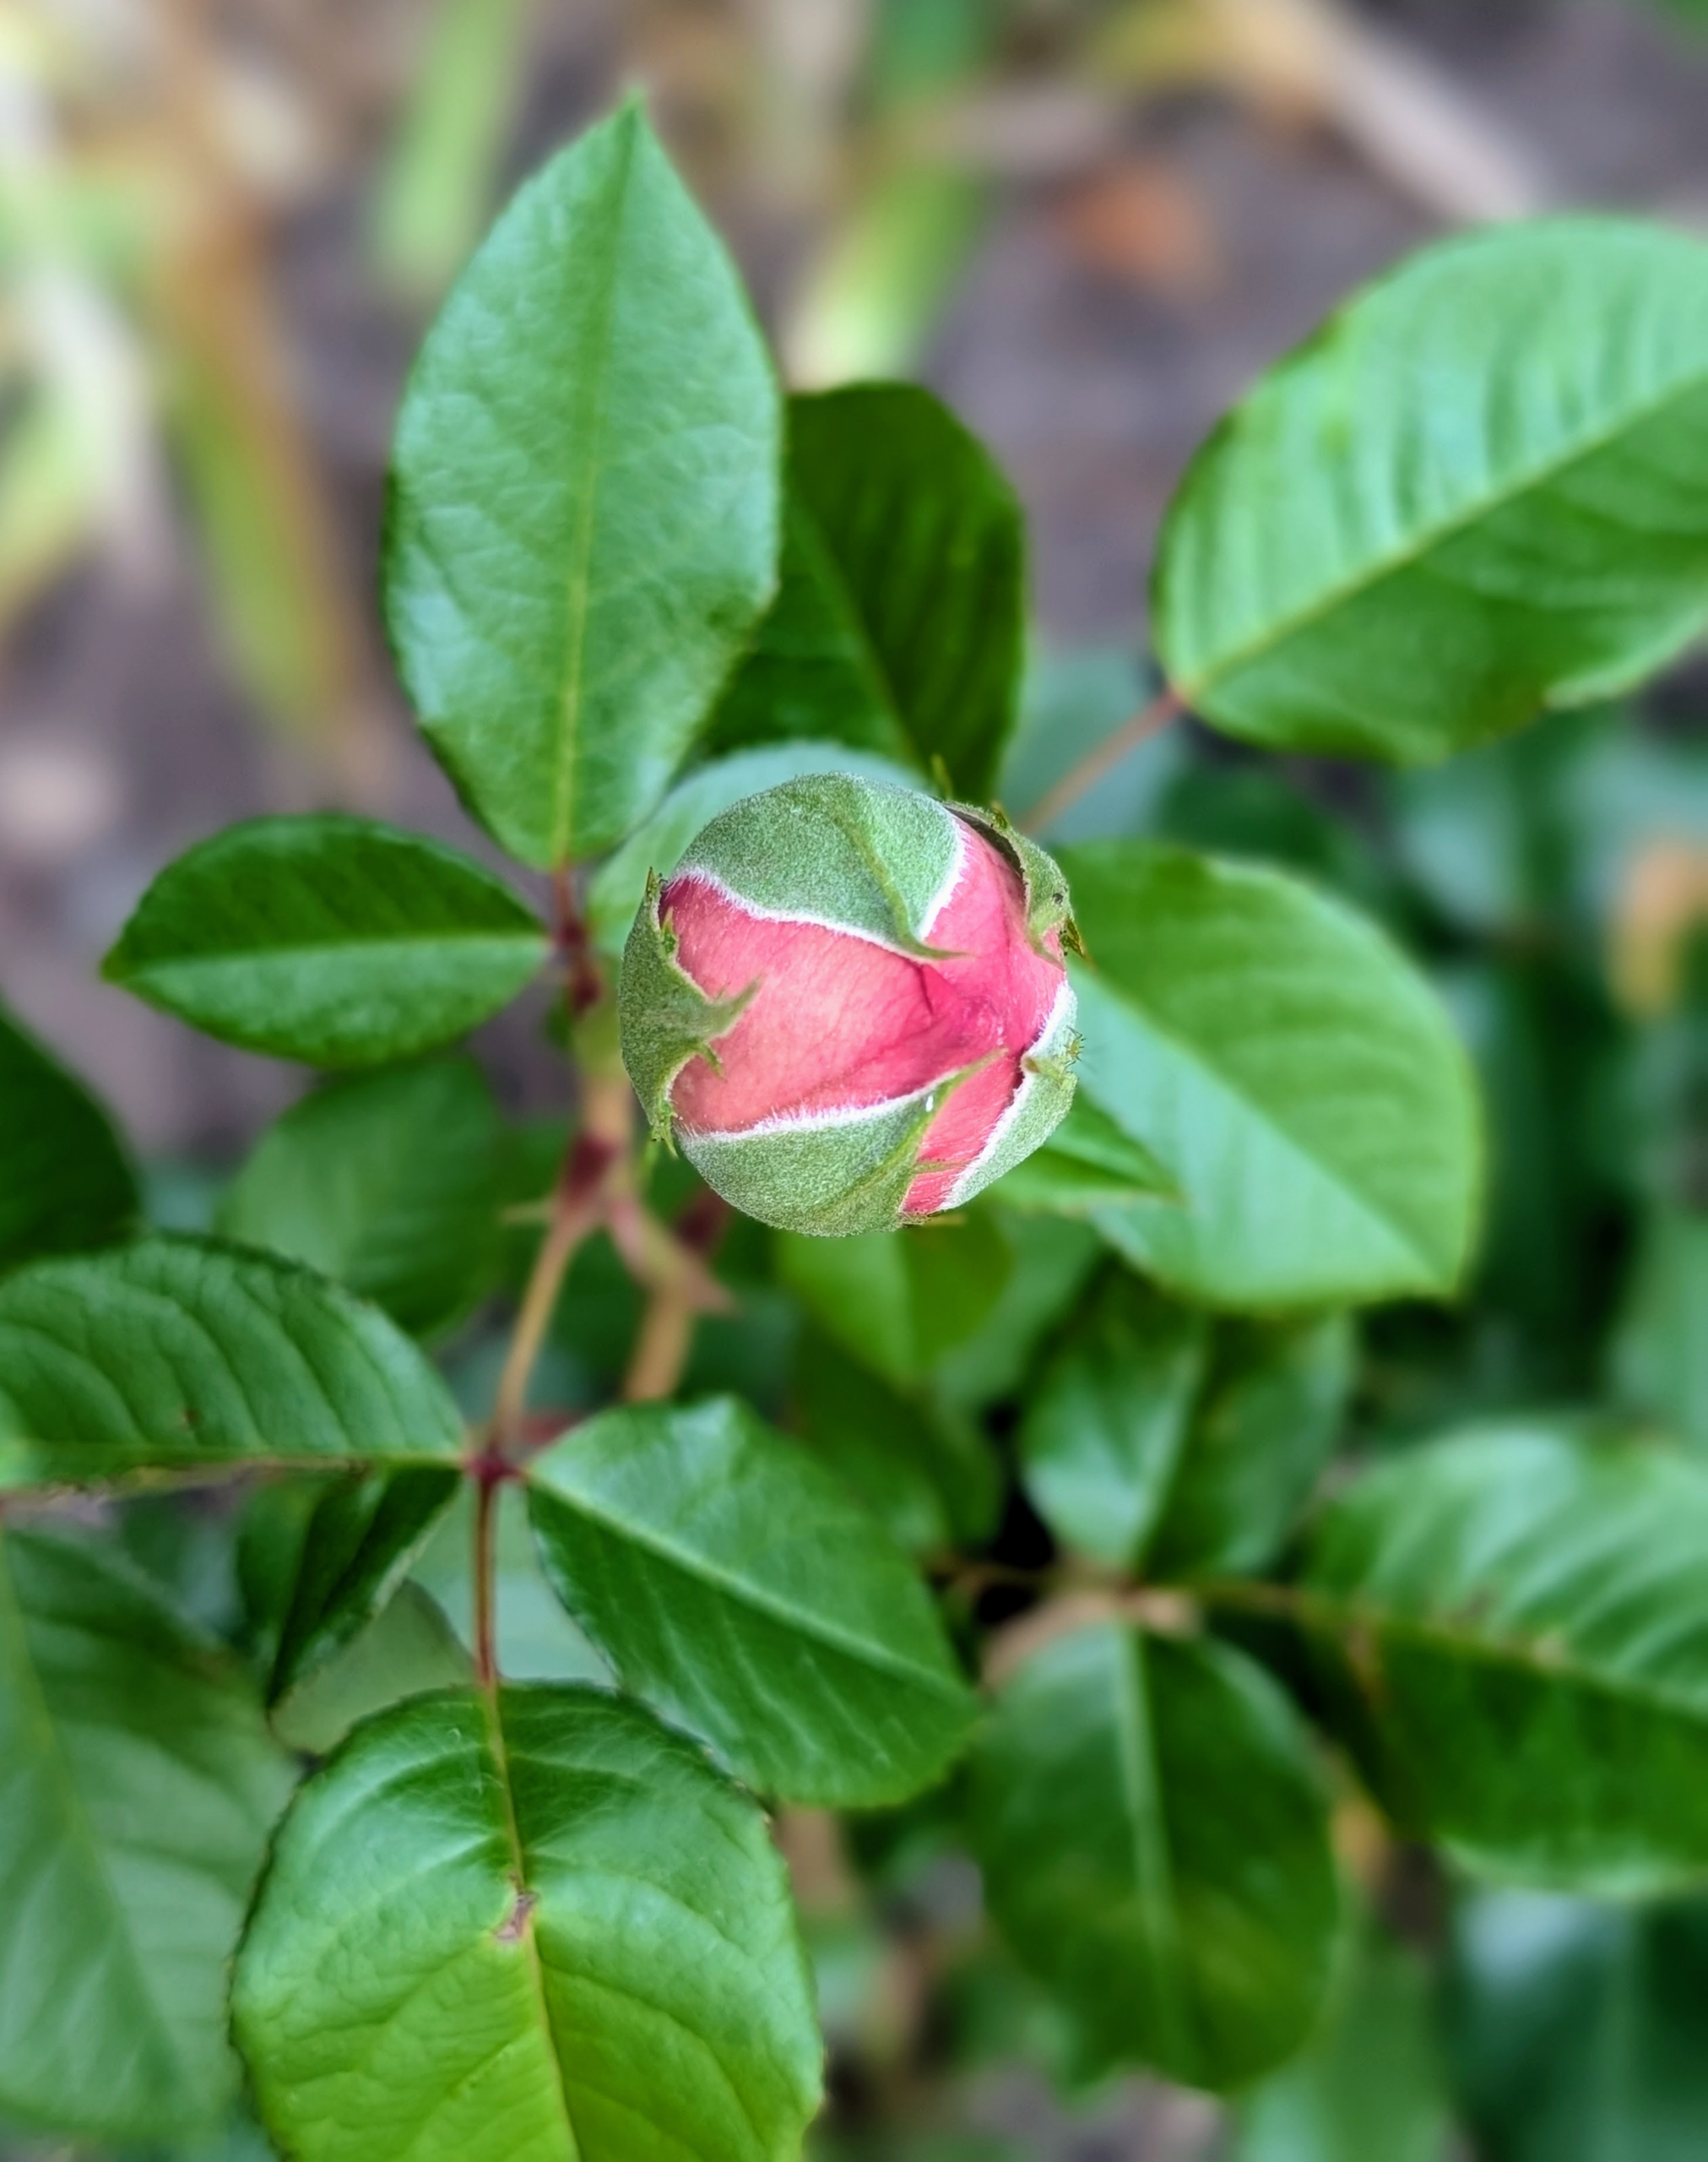
Every bud is healthy and large.
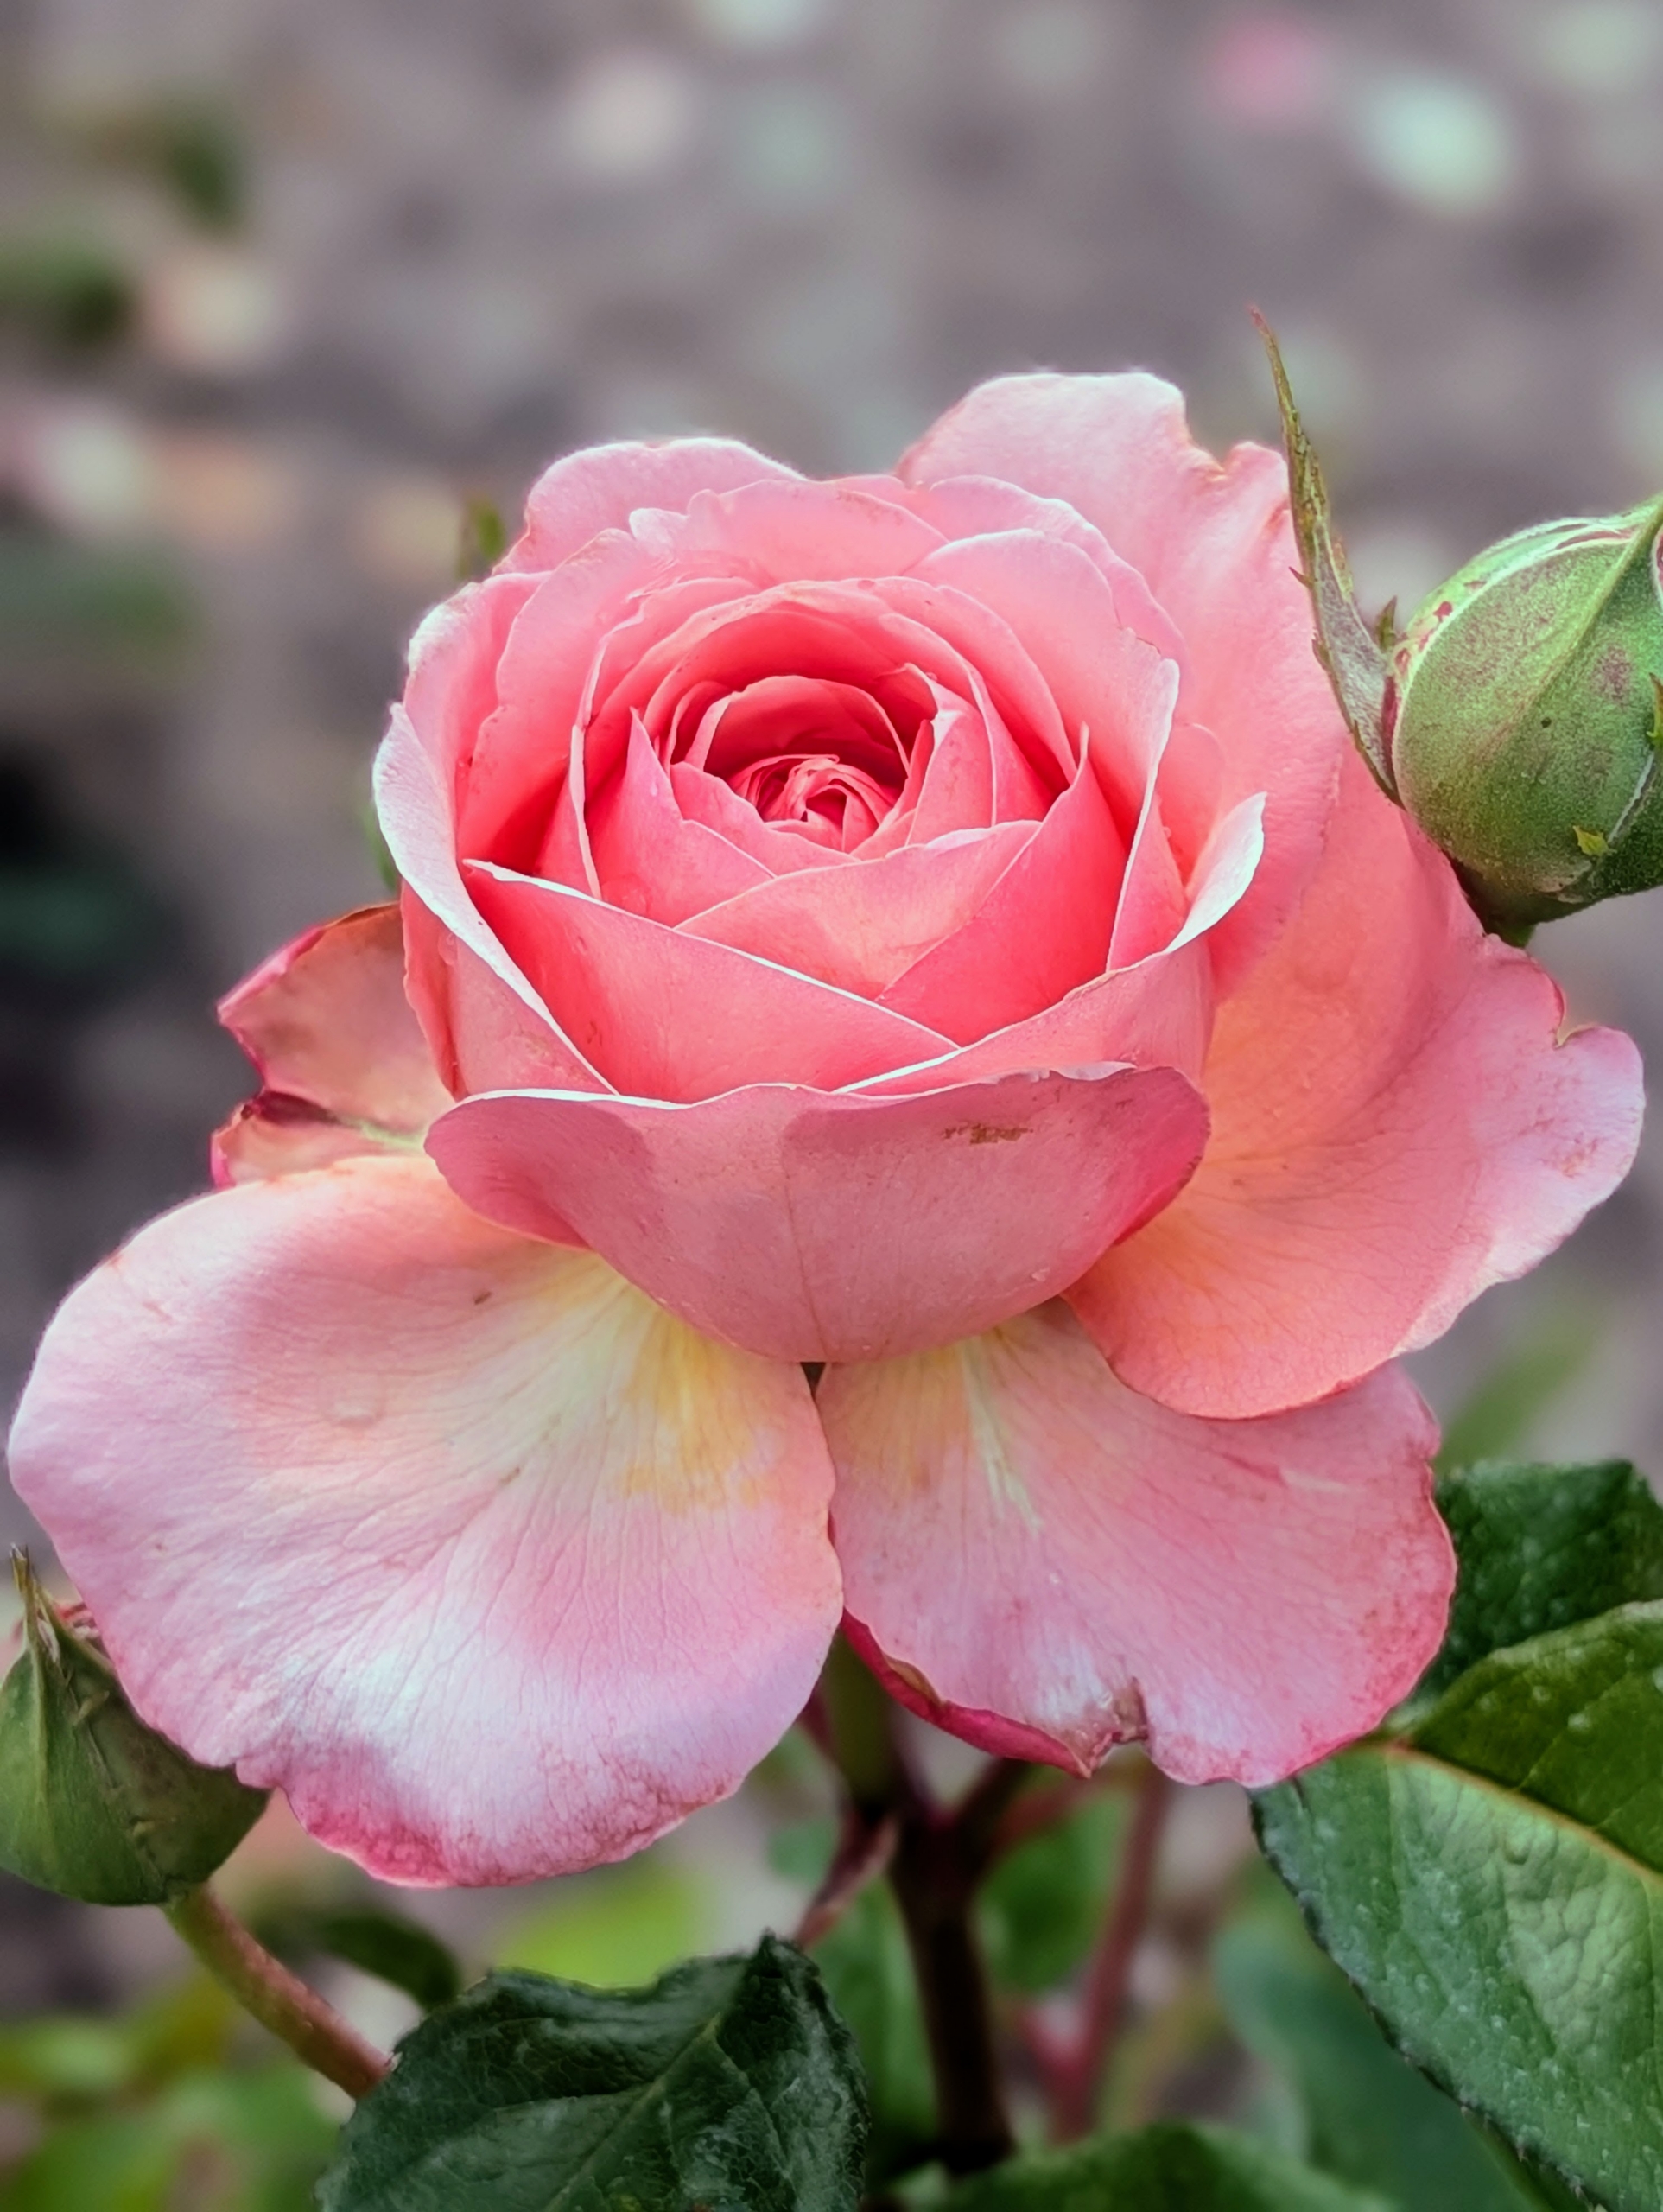
The bloom size is typically four to five inches across. It’s definitely a showy flower in the garden and in the vase.
And because it is so deeply petaled, my rose stands out with a full and layered appearance.
The Martha Stewart rose is a repeat bloomer, meaning can produce flowers from spring through autumn under ideal growing conditions.
Remember, this rose like others, needs full sun for best performance. And in spring, always take time to prune – remove dead or weak stems and shape the plant to help maintain and encourages repeat blooms.
Now, one can find my rose at select garden retailers and visit it in the Peggy Rockefeller Rose Garden at the New York Botanical Garden. The Martha Stewart hybrid tea rose… such a beautiful and very good thing.
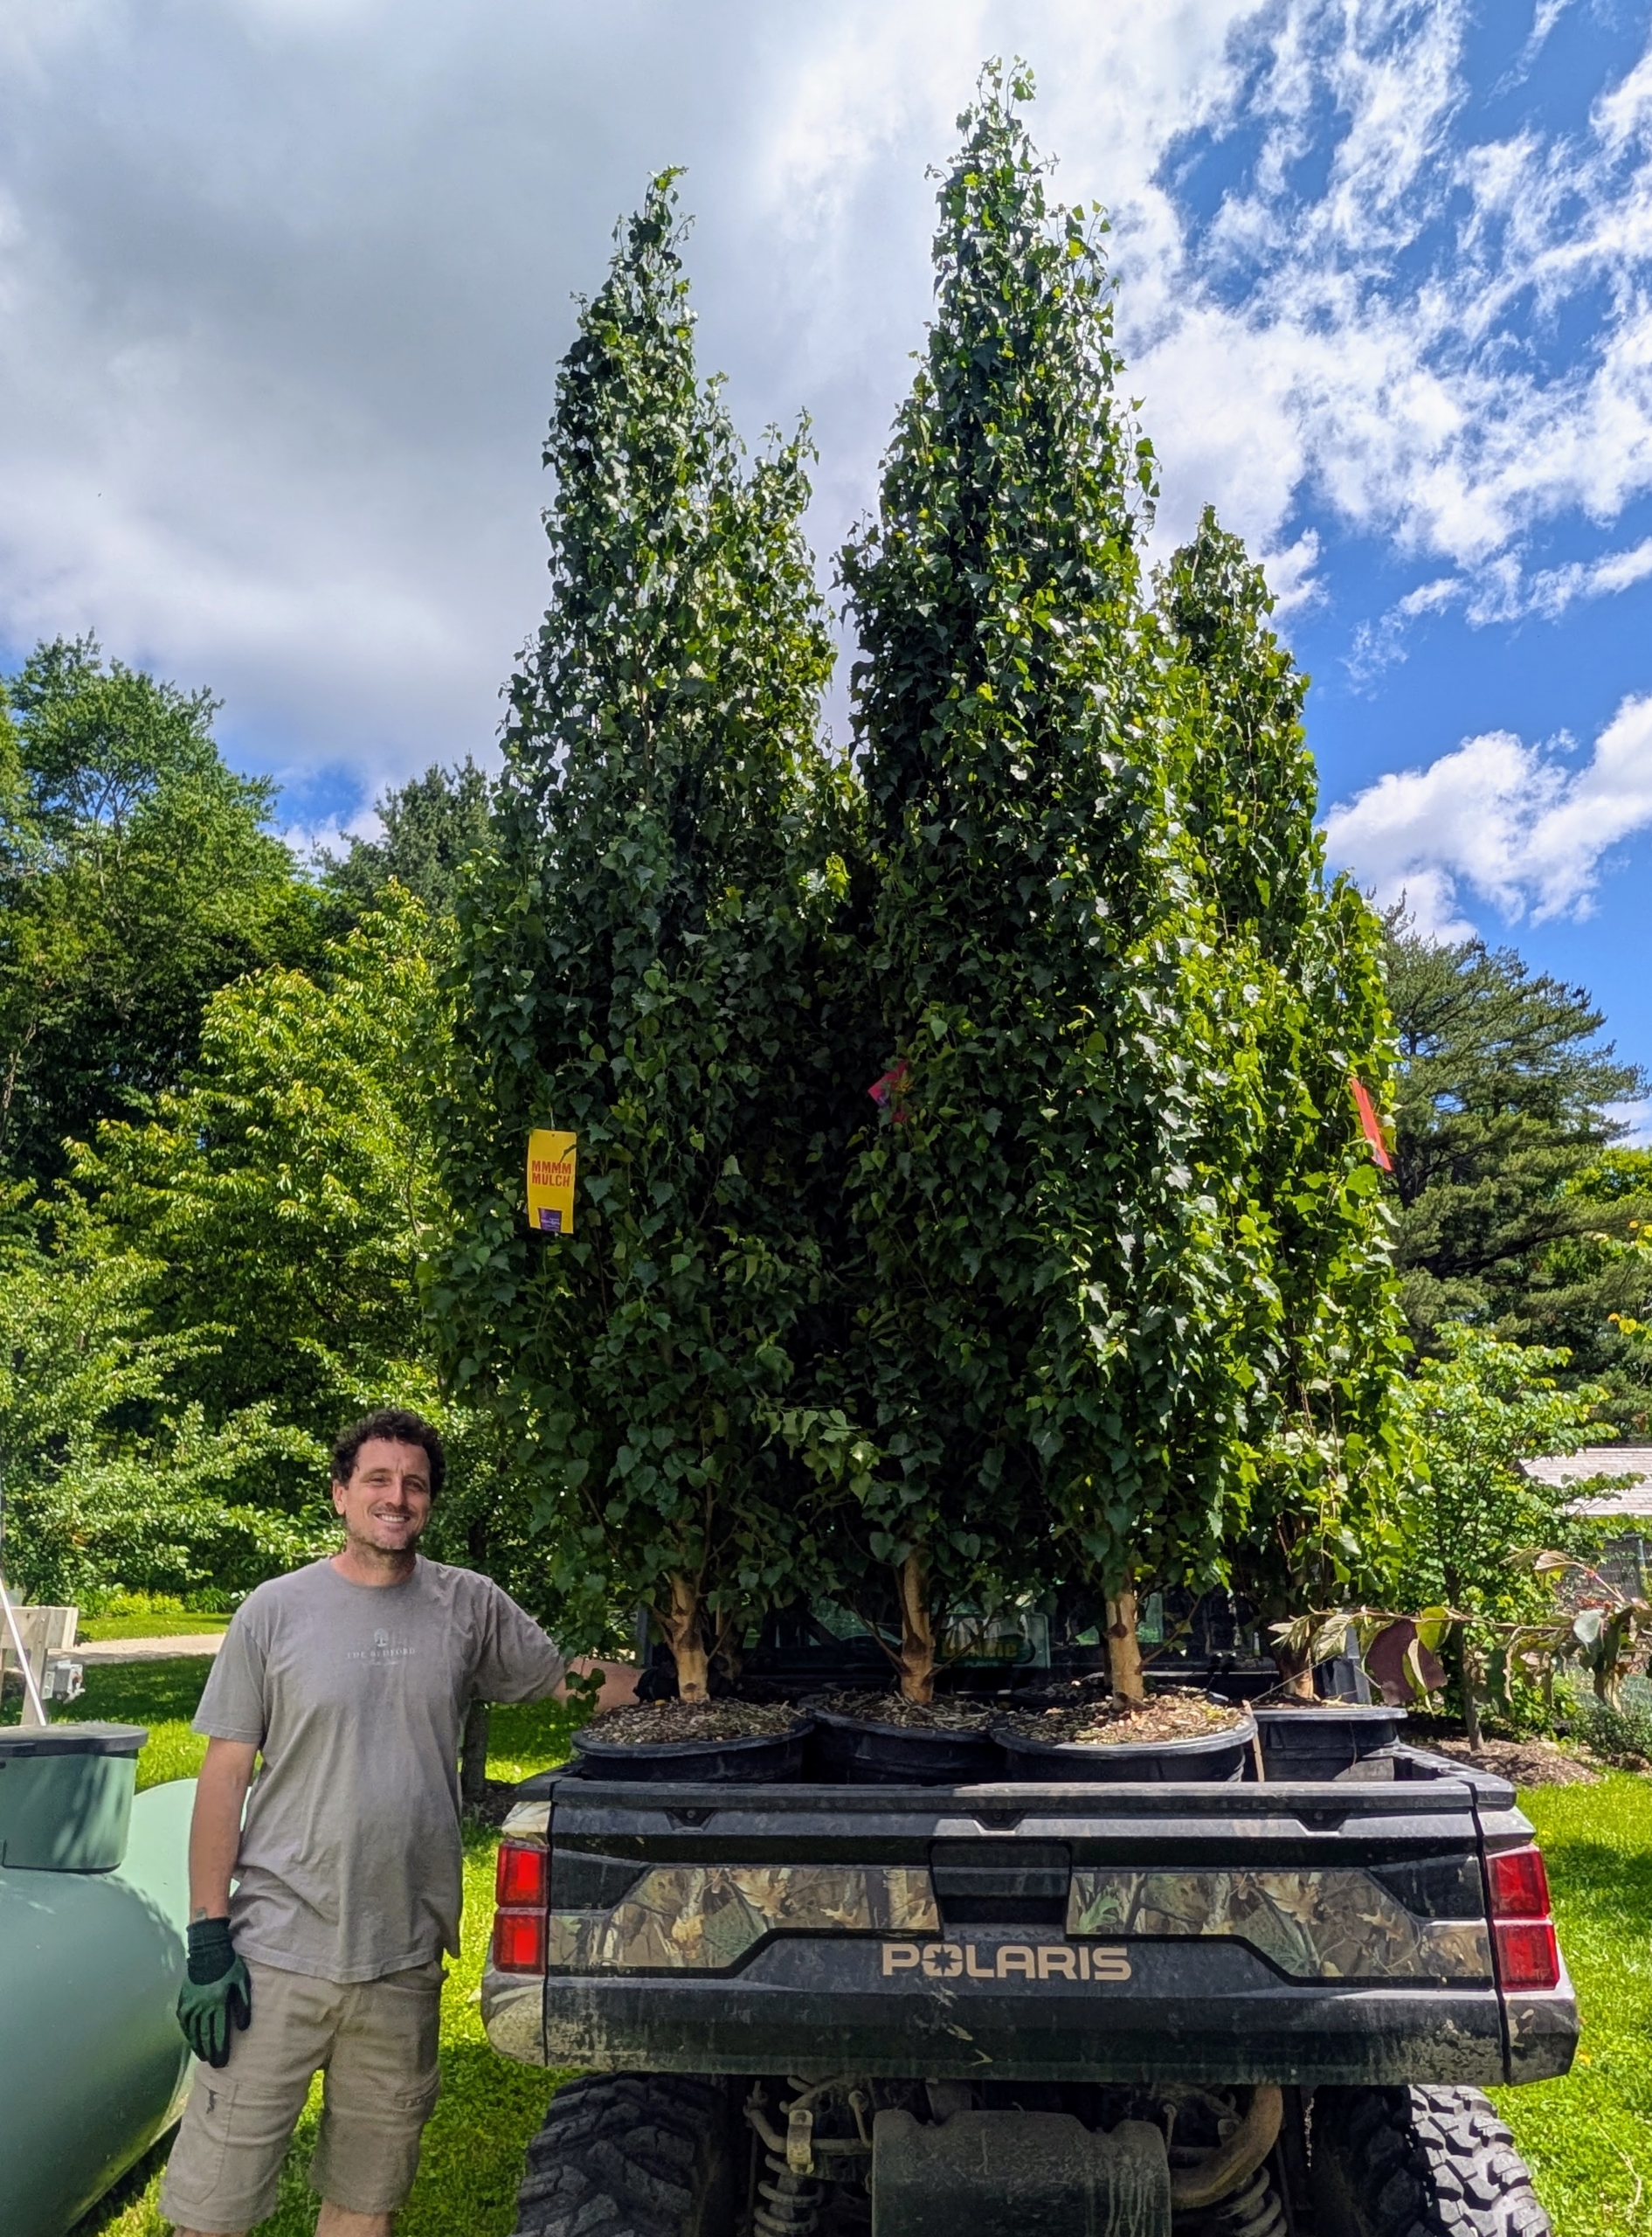
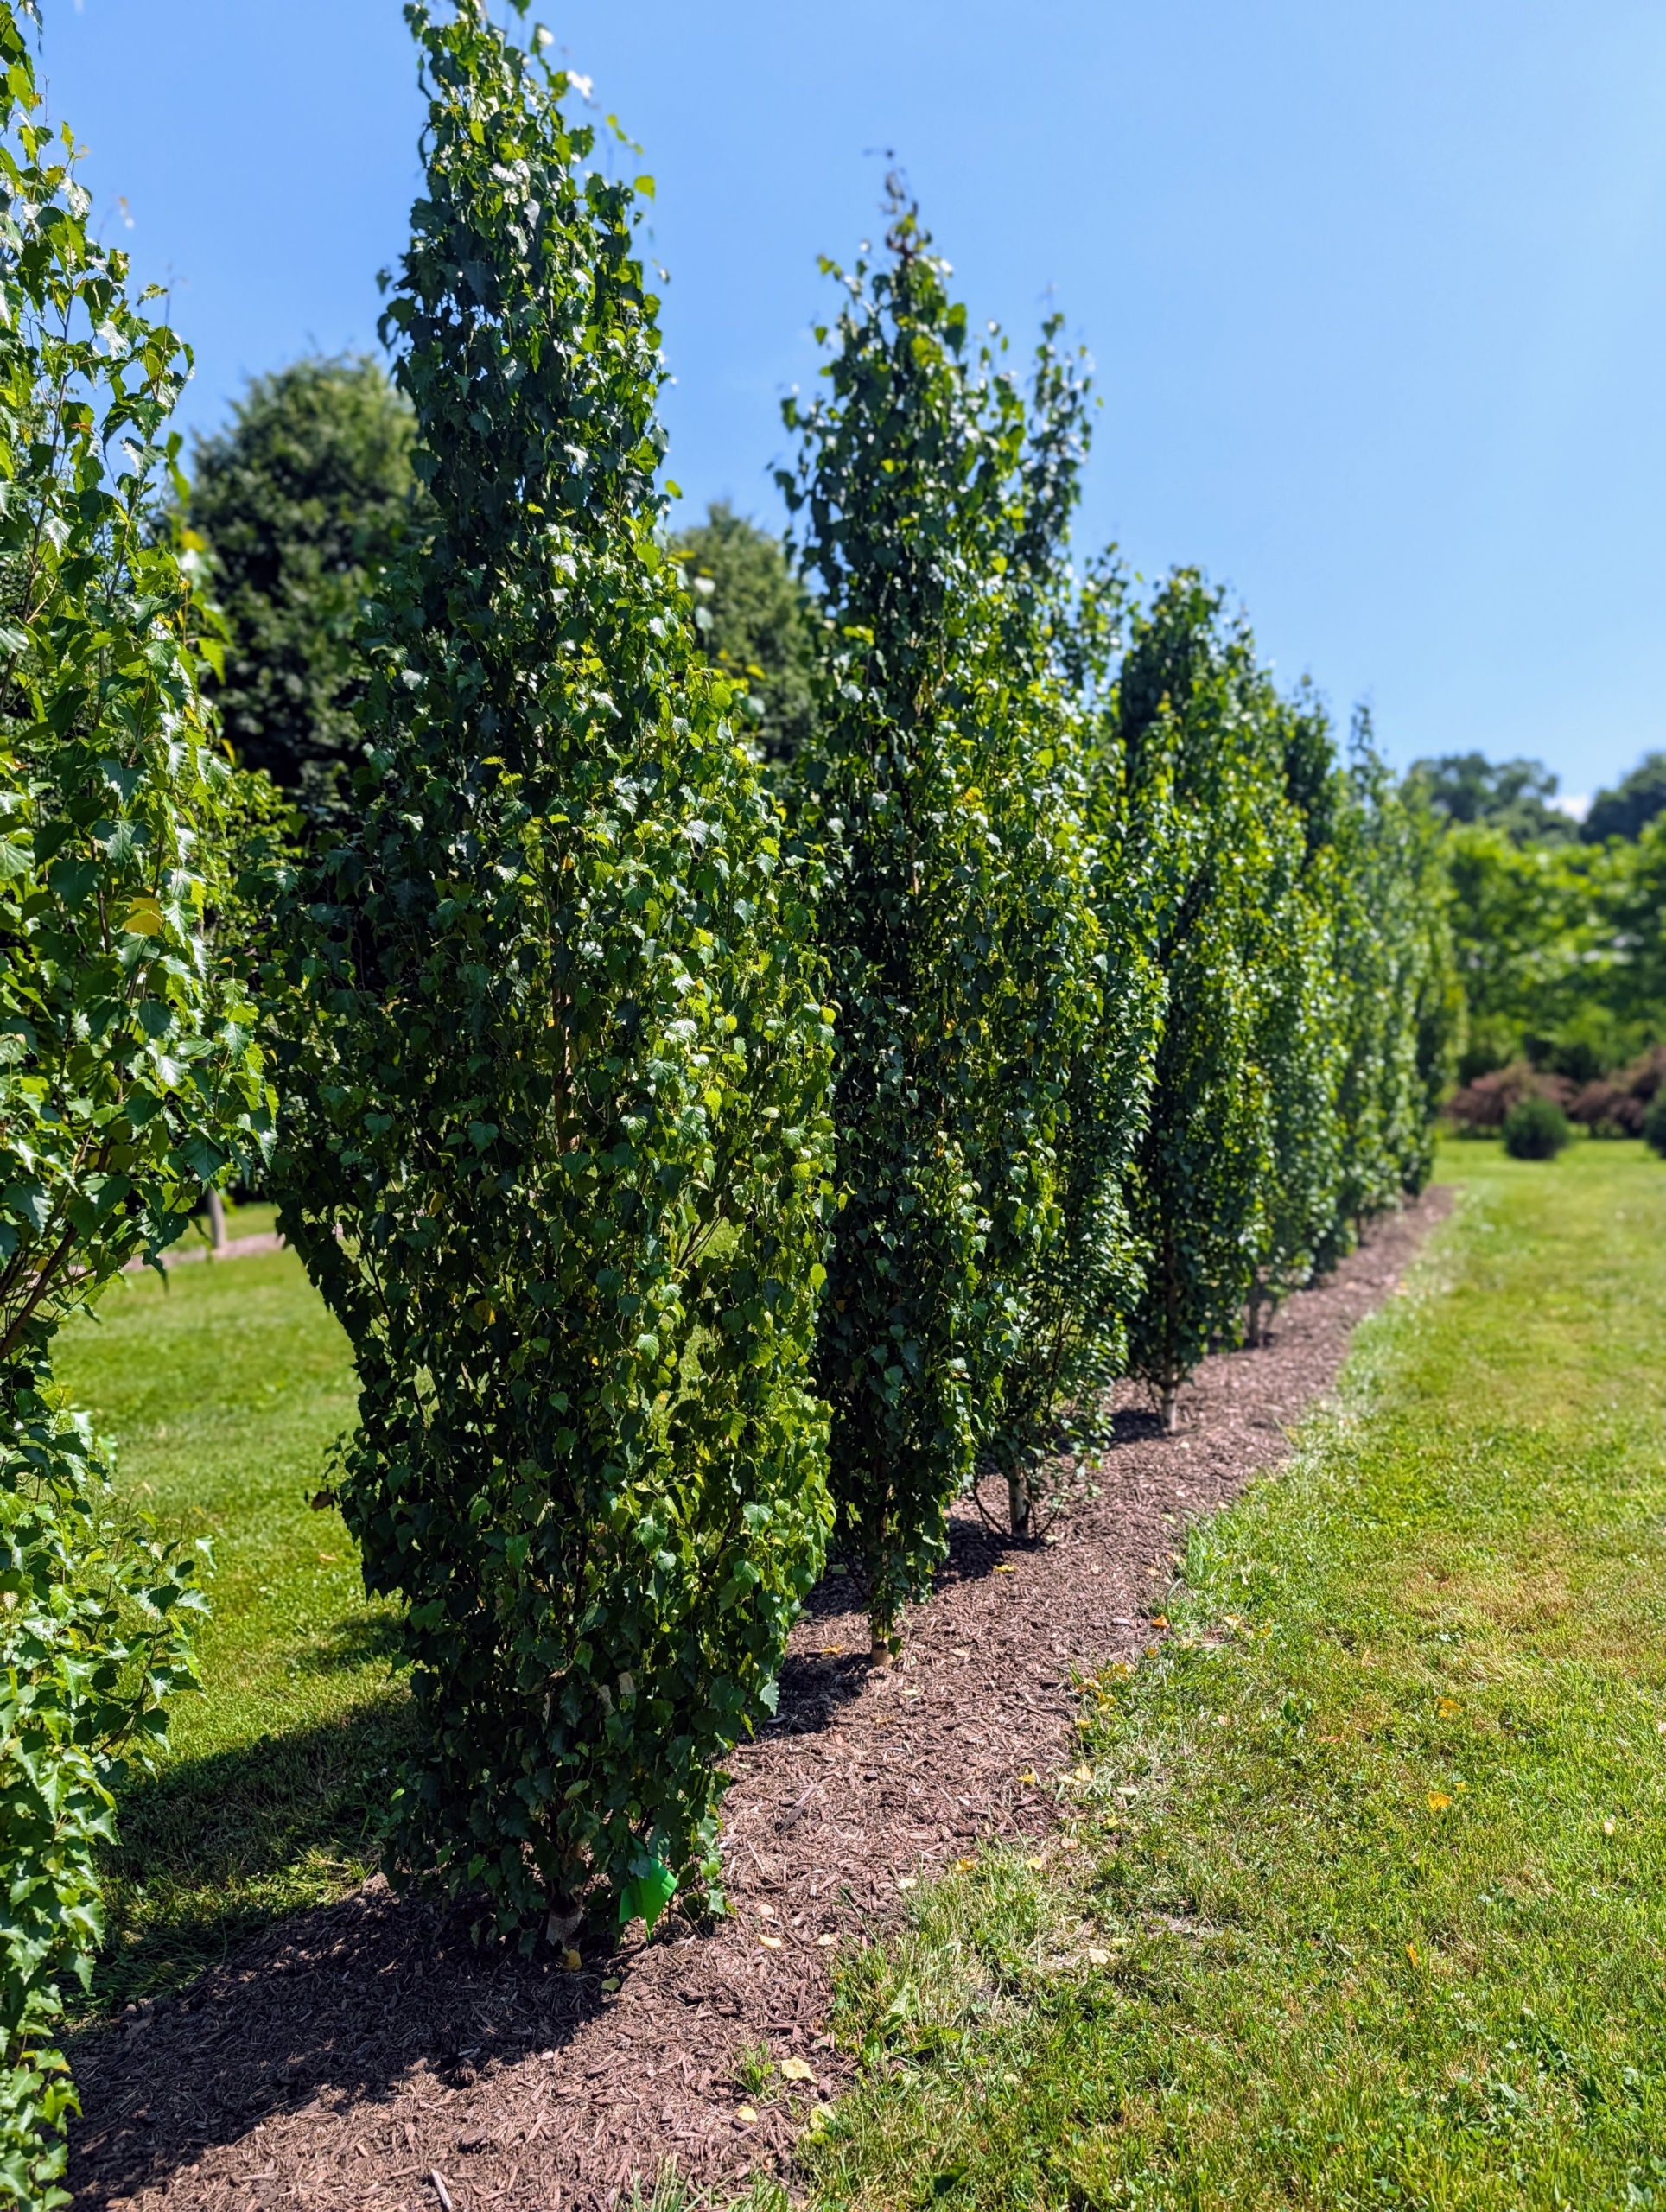
When looking for interesting, low maintenance trees for small spaces, there are some very unique and attractive tree types that have narrow, upright habits, such as the Parkland Pillar Birch tree. It's dense, heat and drought tolerant, and makes a great privacy screen when planted in multiples.
Here at my farm, planting has started once again in my living maze. Much of the three-acre area is now complete and all the plants are growing excellently. Last week, my crew planted several Parkland Pillar Birch, Betula platyphylla 'Jetpark,' from First Editions Shrubs and Trees.
Enjoy these photos.
The Parkland Pillar Birch has dense dark green foliage that turns a beautiful golden yellow in fall. It’s known for its fast growth, narrow, upright habit, and interesting white colored bark.
Here’s Ryan loading several of the trees onto our trusted Polaris so they can be taken to the maze.
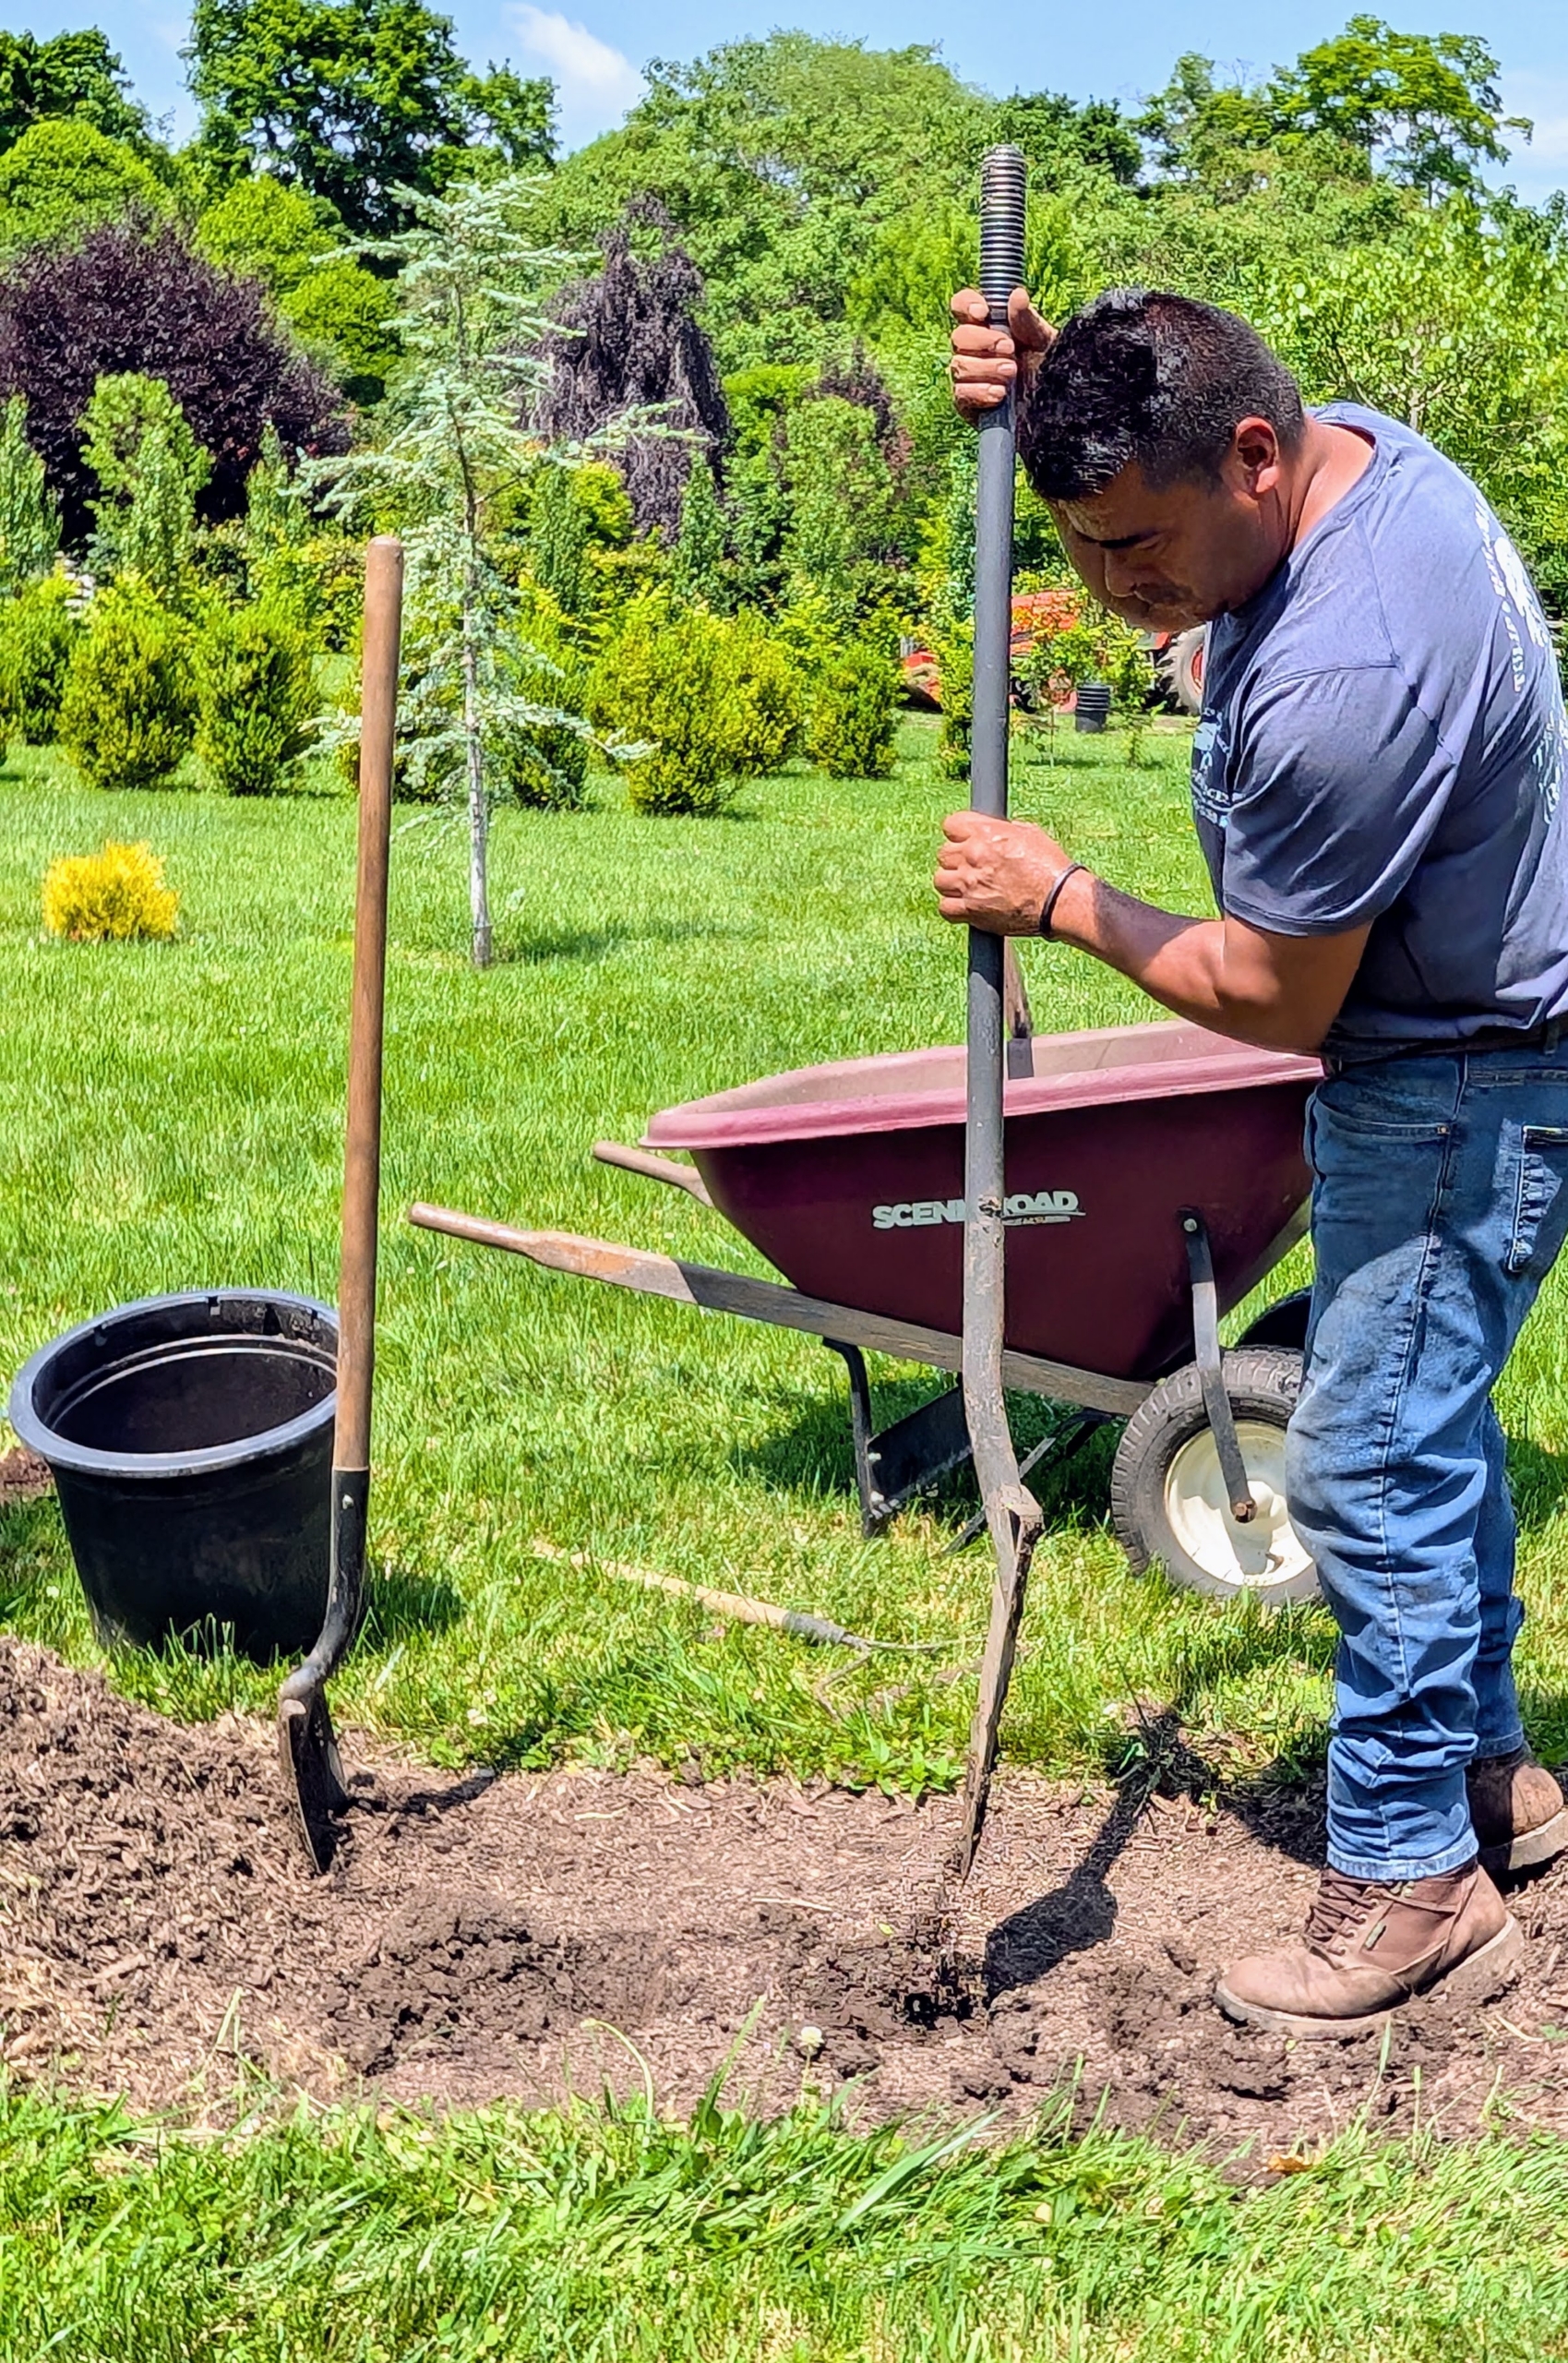
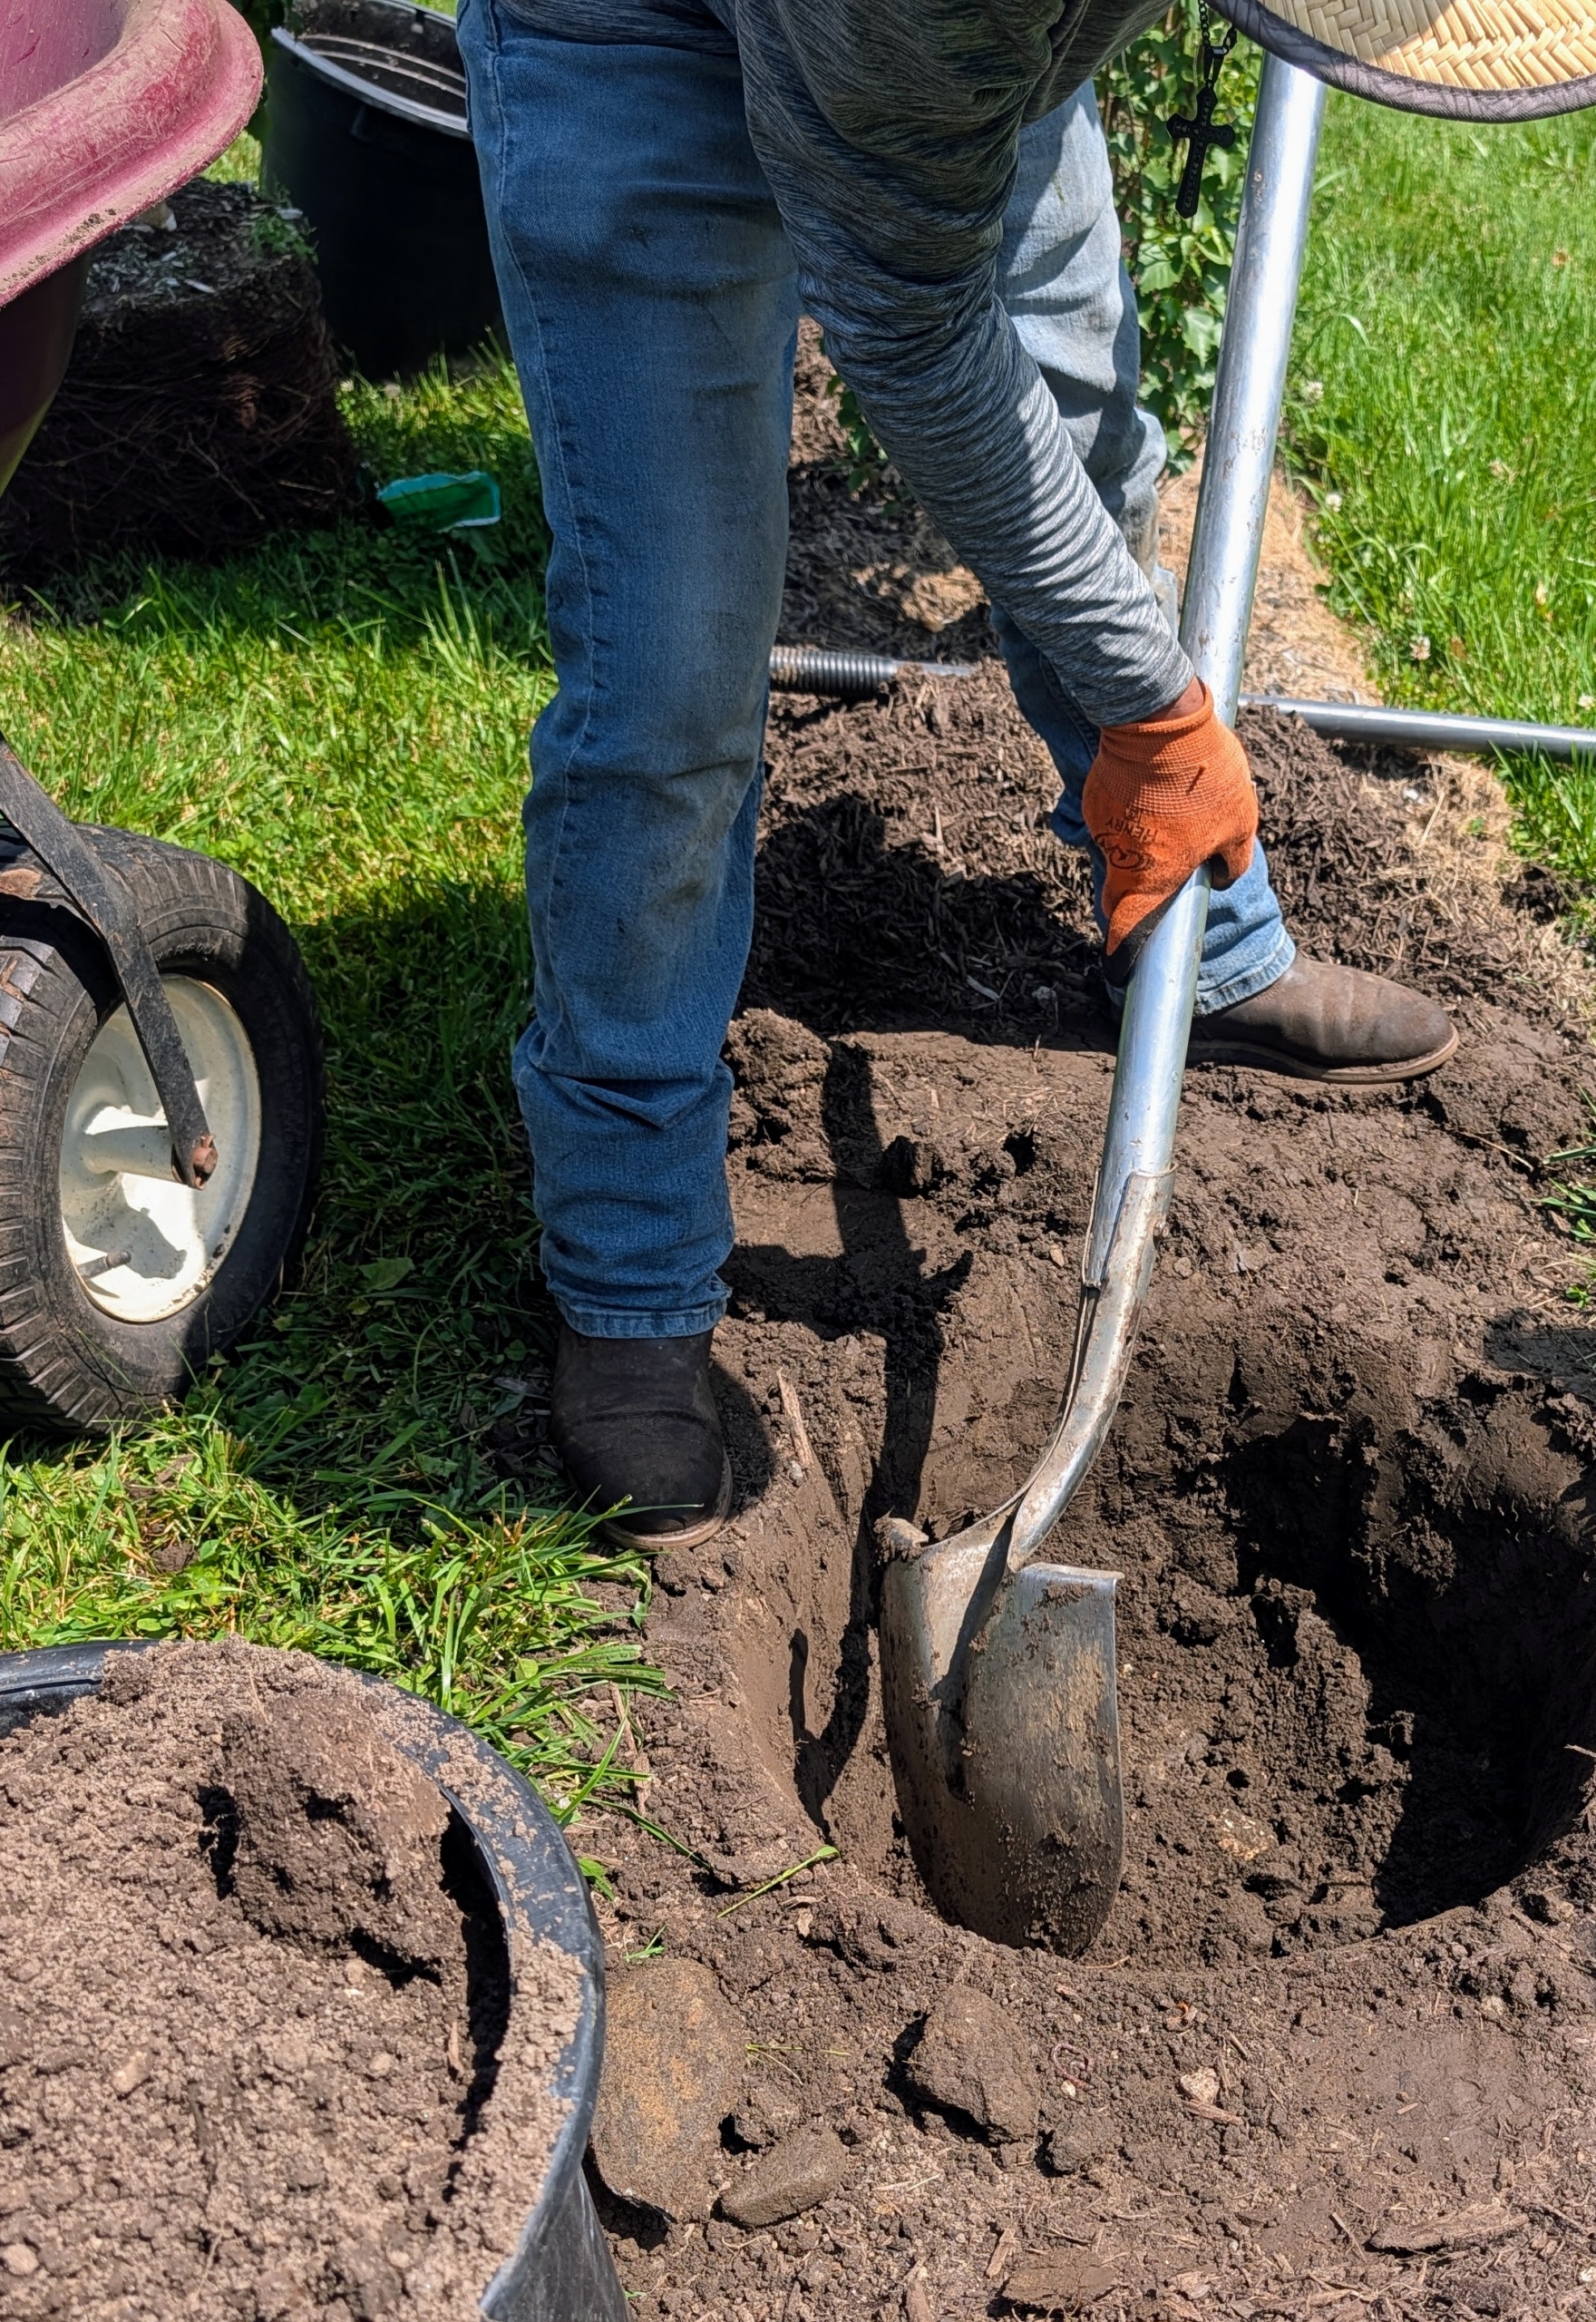
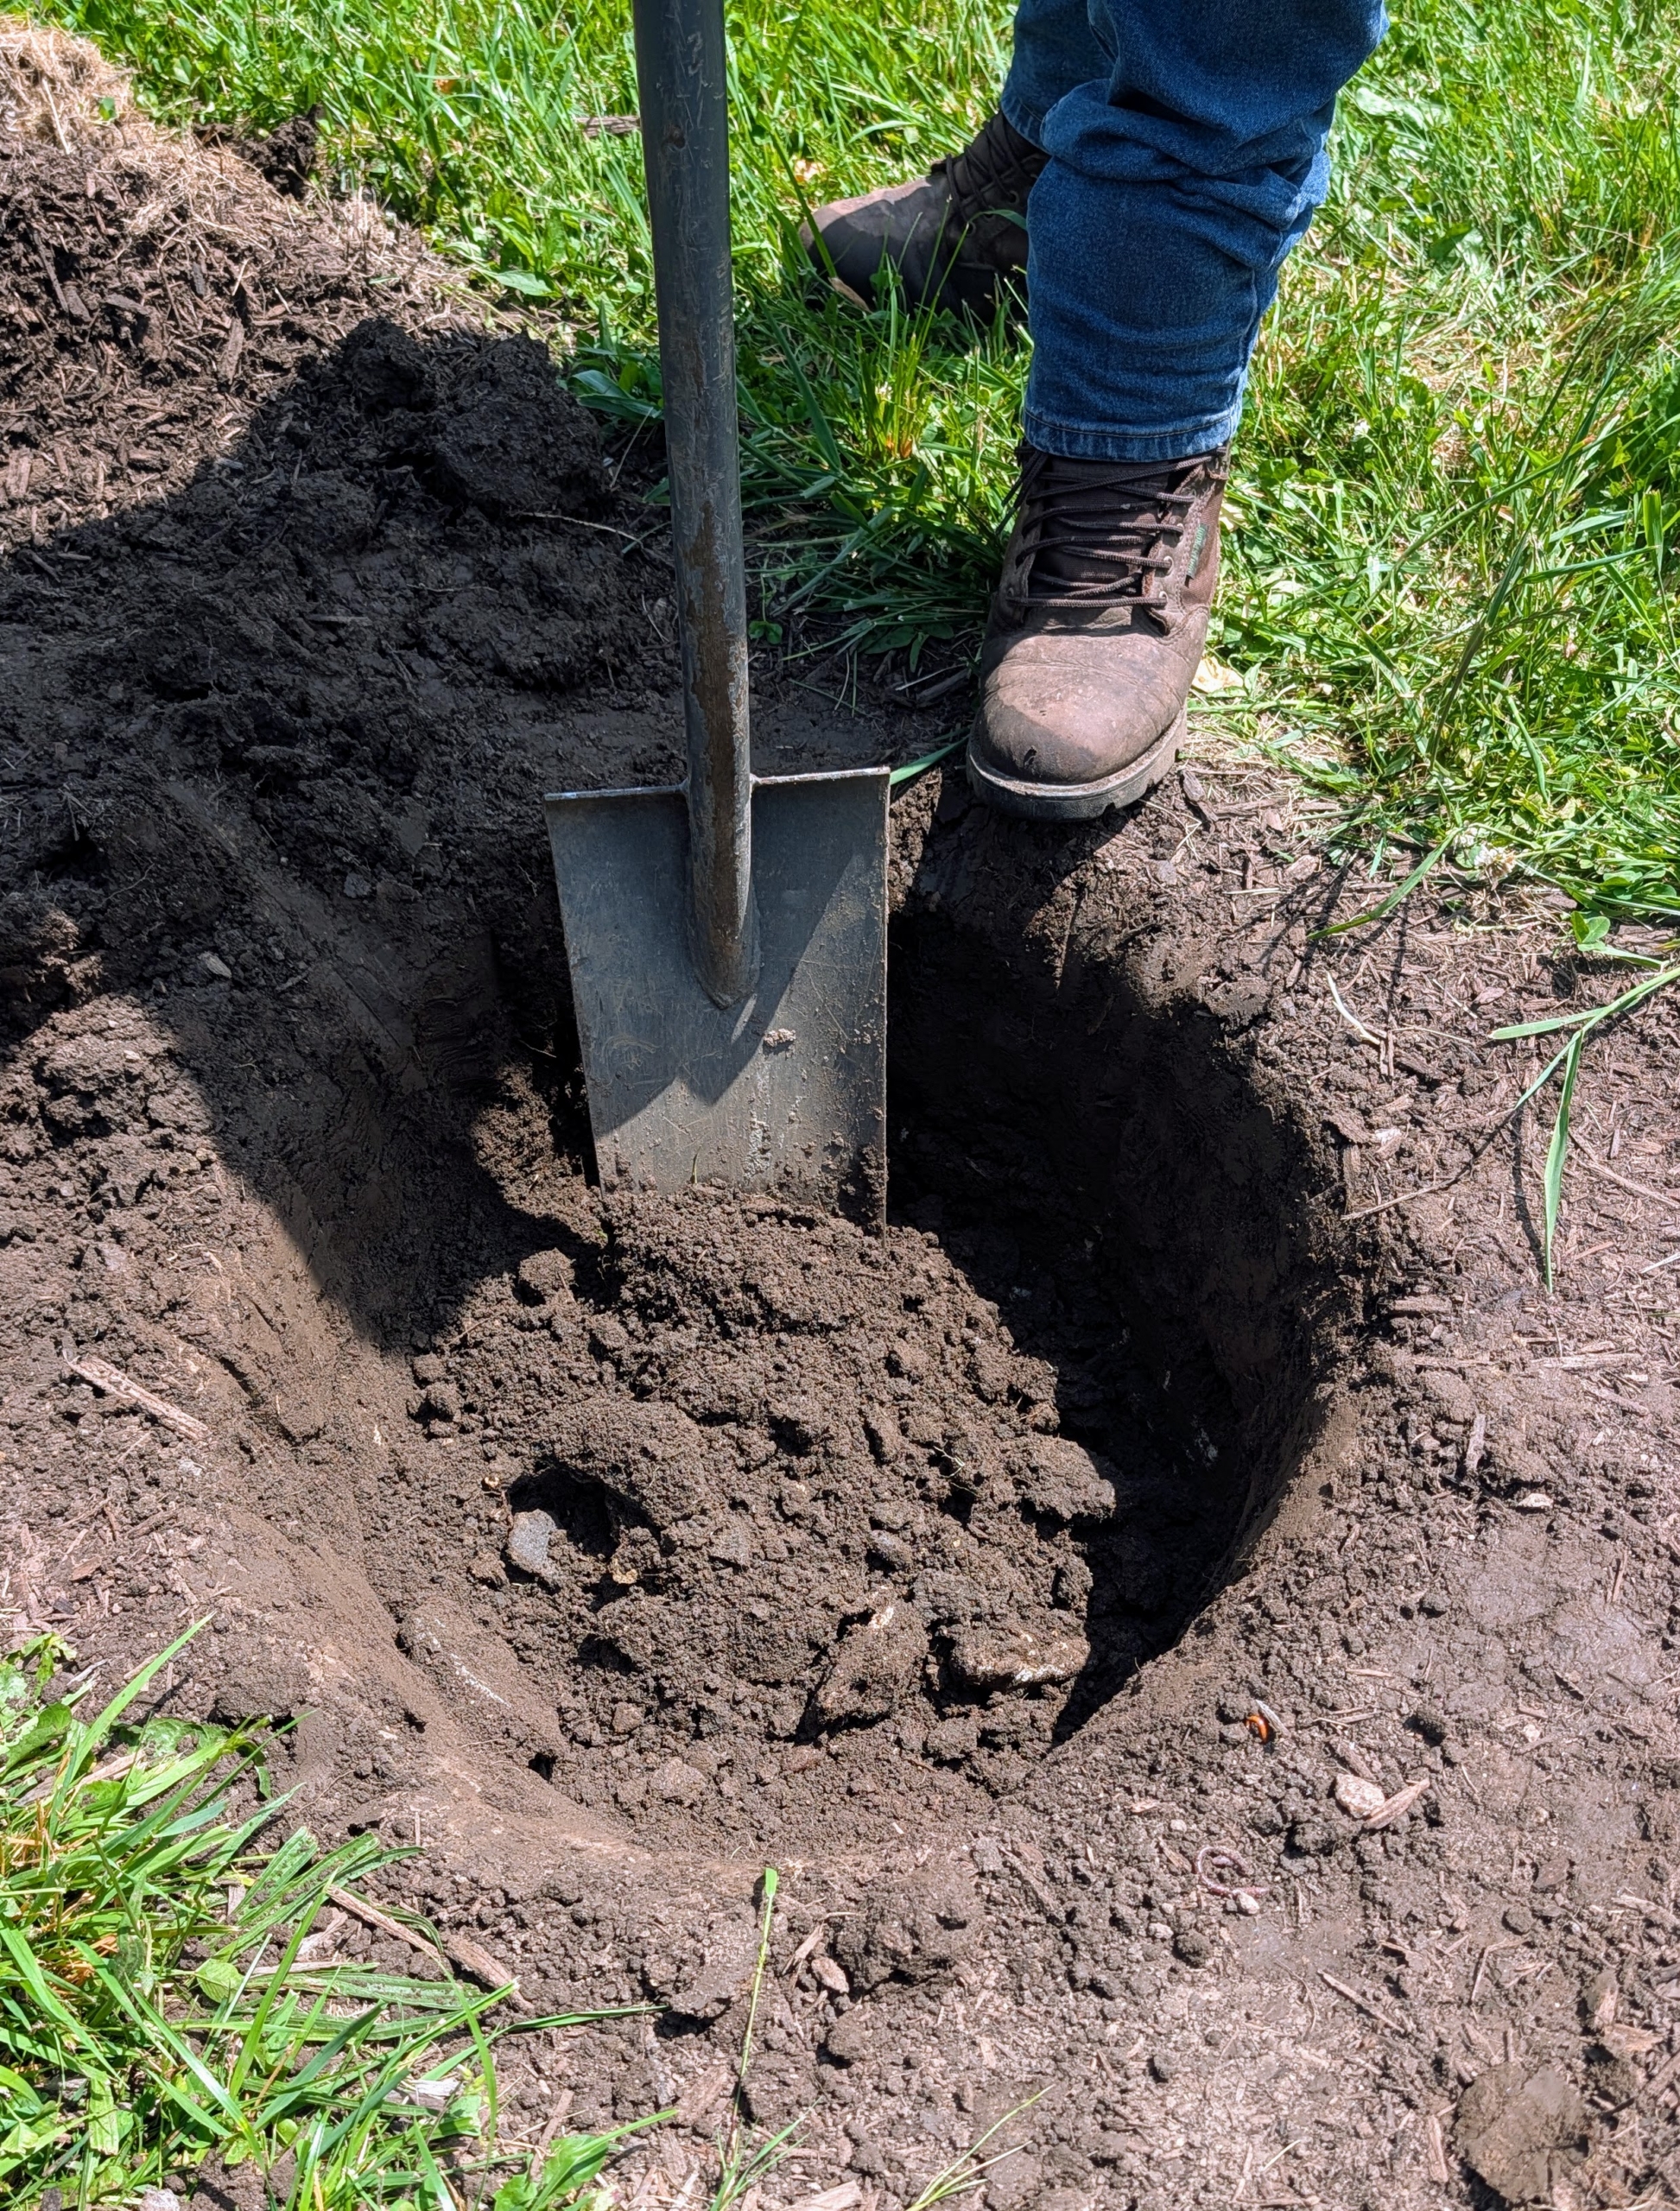
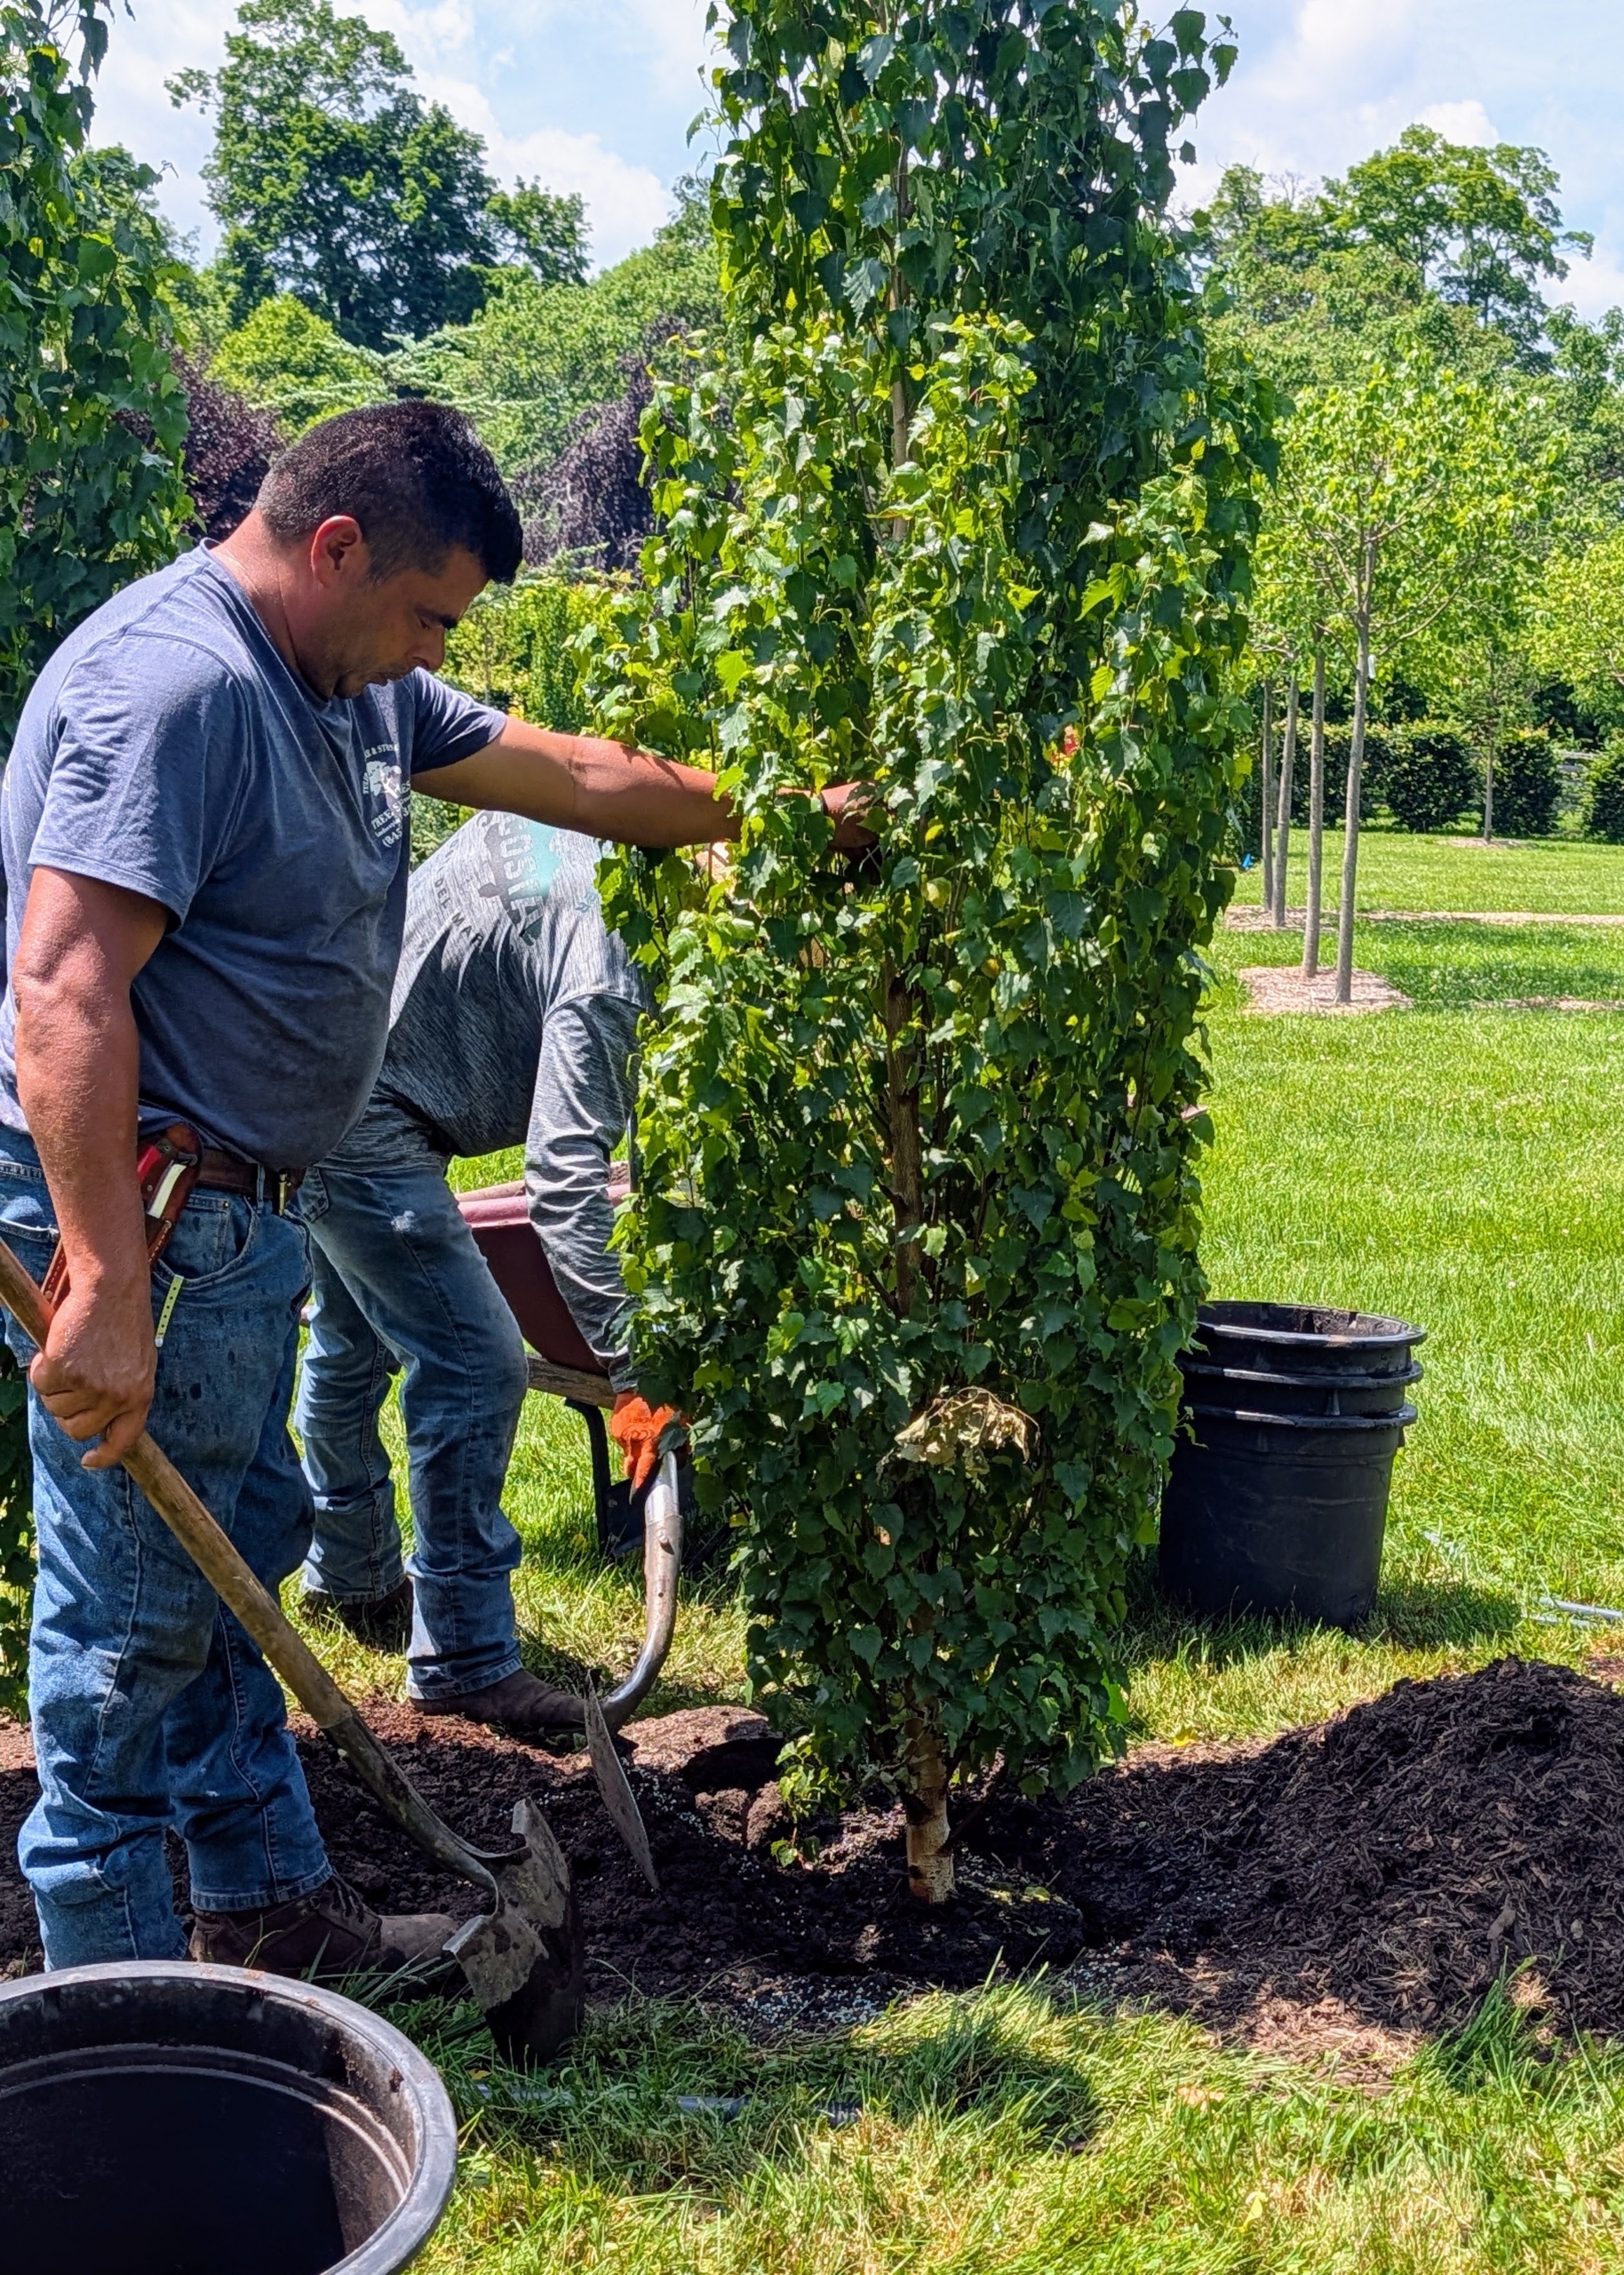
At the maze, Arnold starts by digging the appropriate sized holes.
He uses both a shovel and a spade depending on what he is doing. I always say, use the right tool for the job.
Do you know the difference? A shovel is best for digging and moving loose material, such as soil, mulch, gravel, or debris. Shovels have broader, curved, or bowl-shaped blades to make this easy.
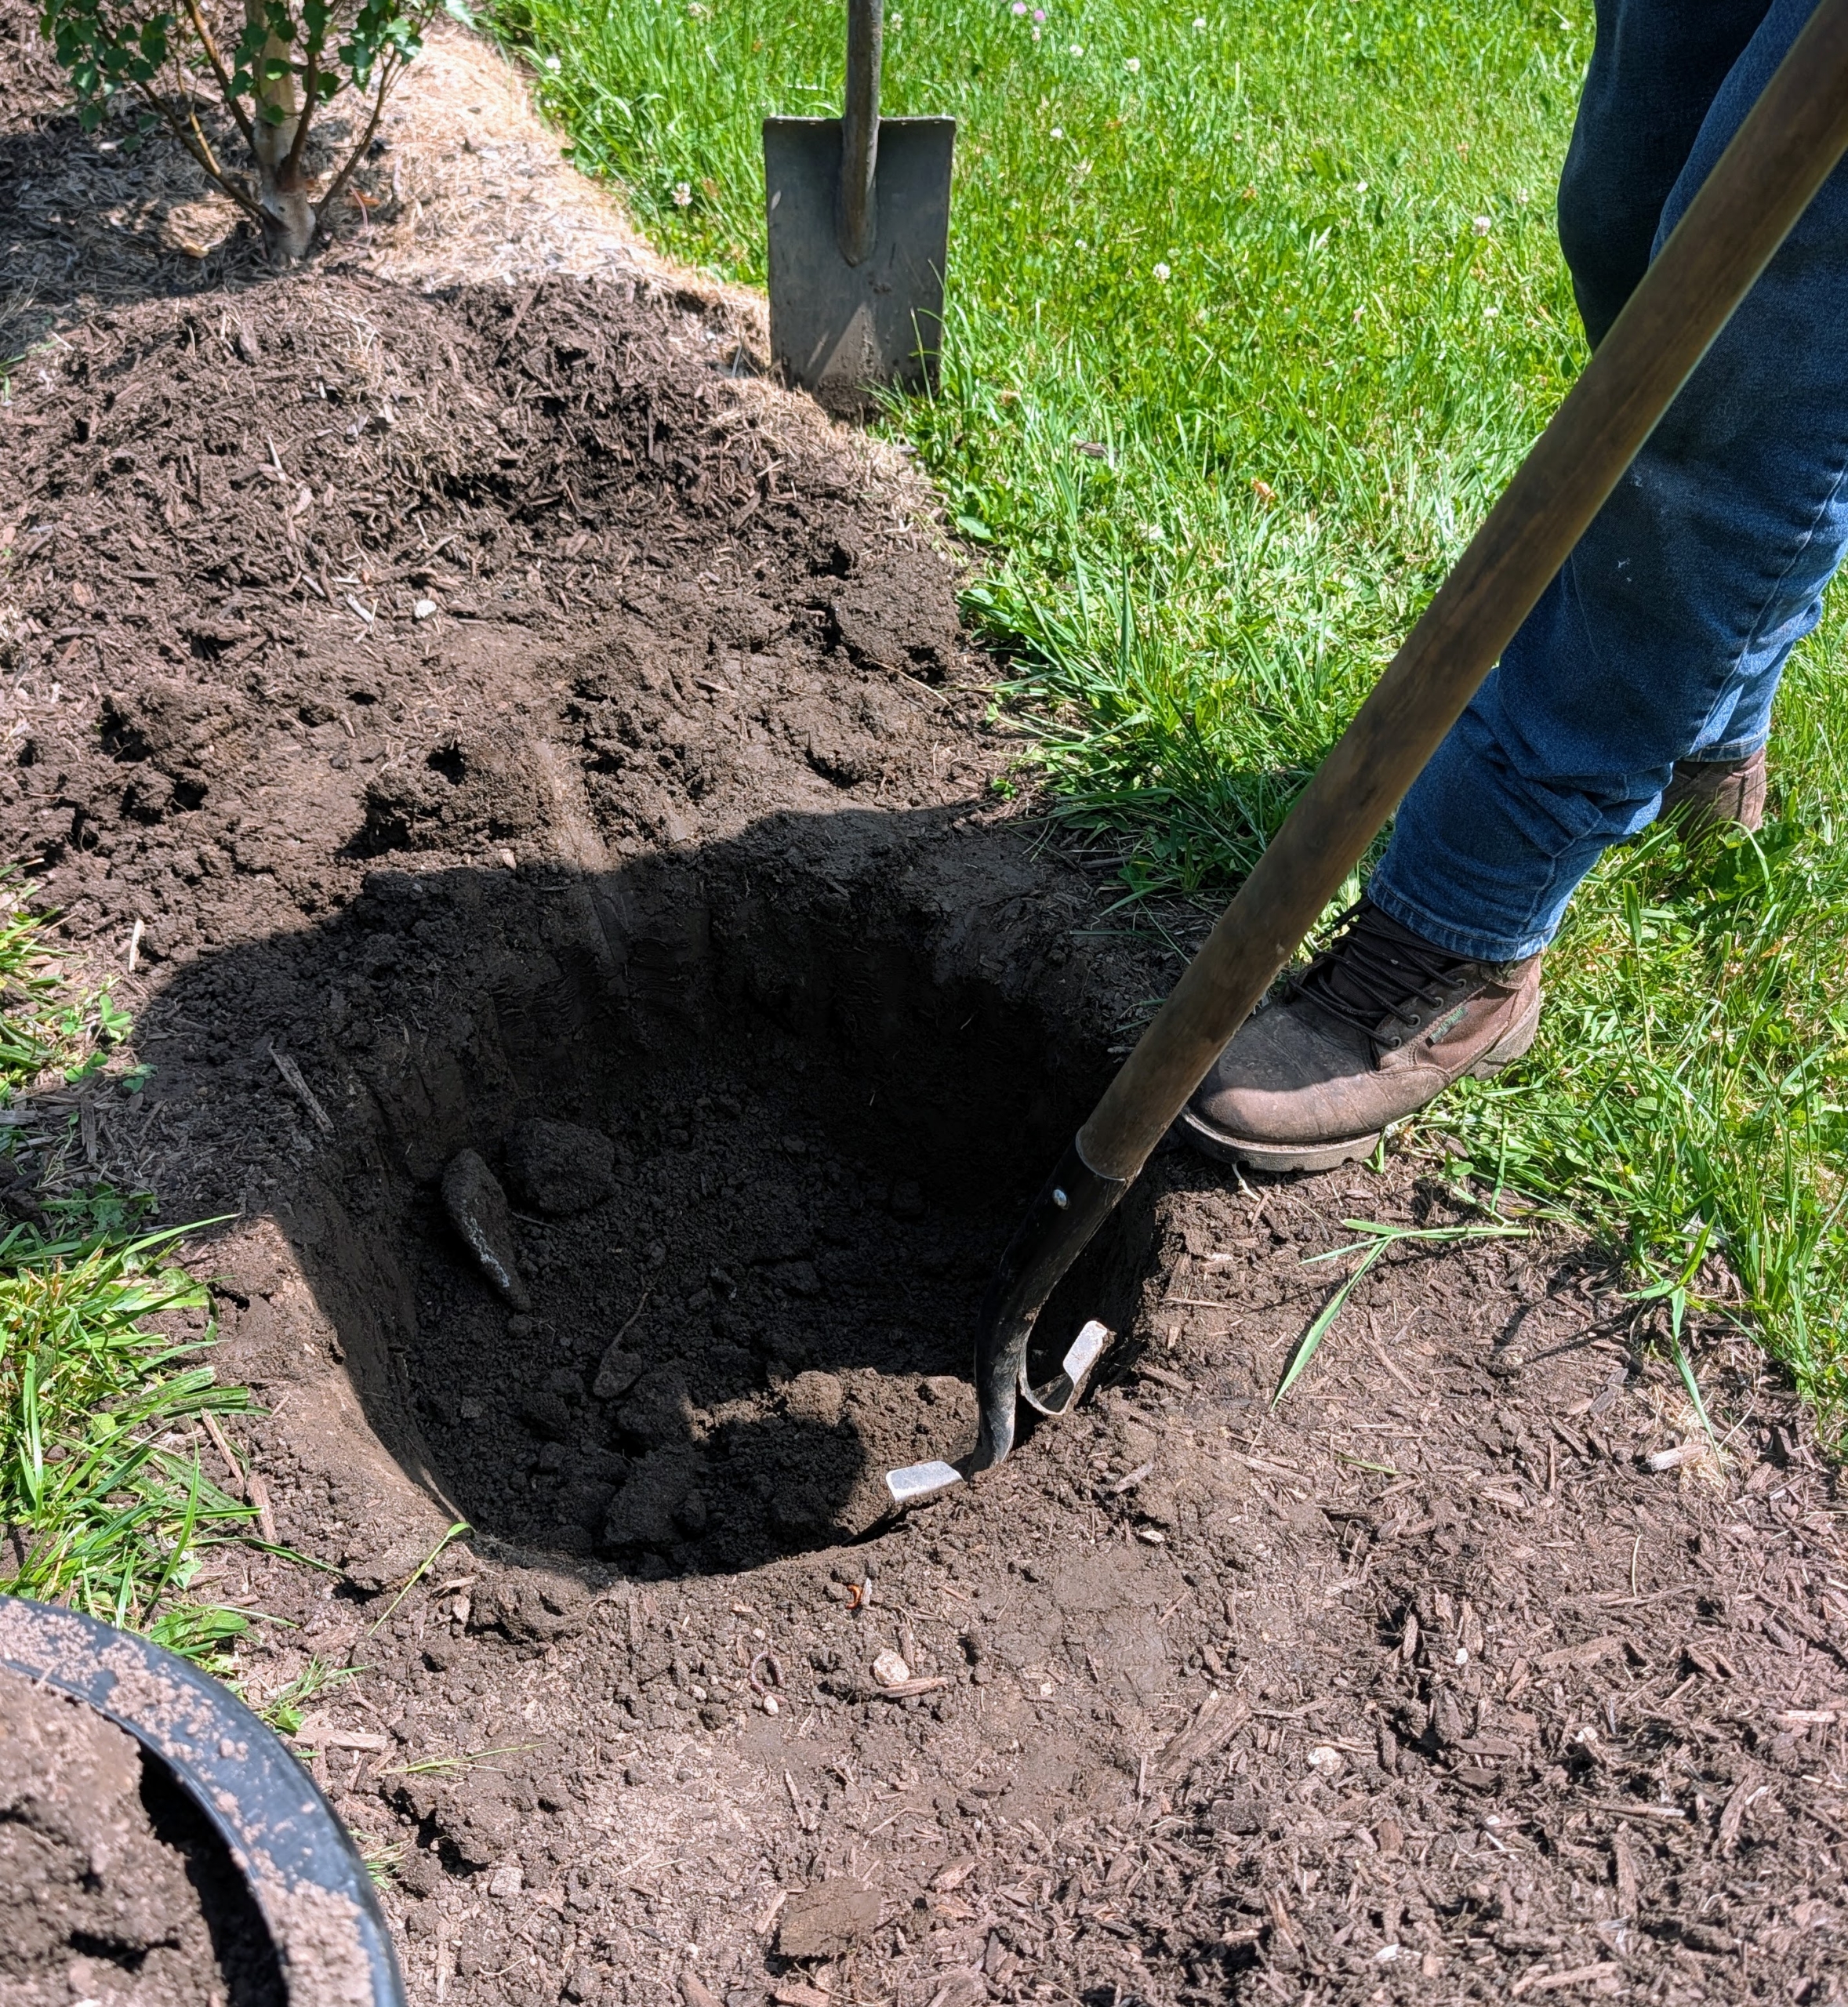
The spade is designed for cutting, edging, and doing precise soil work. Here it is used to shape the hole.
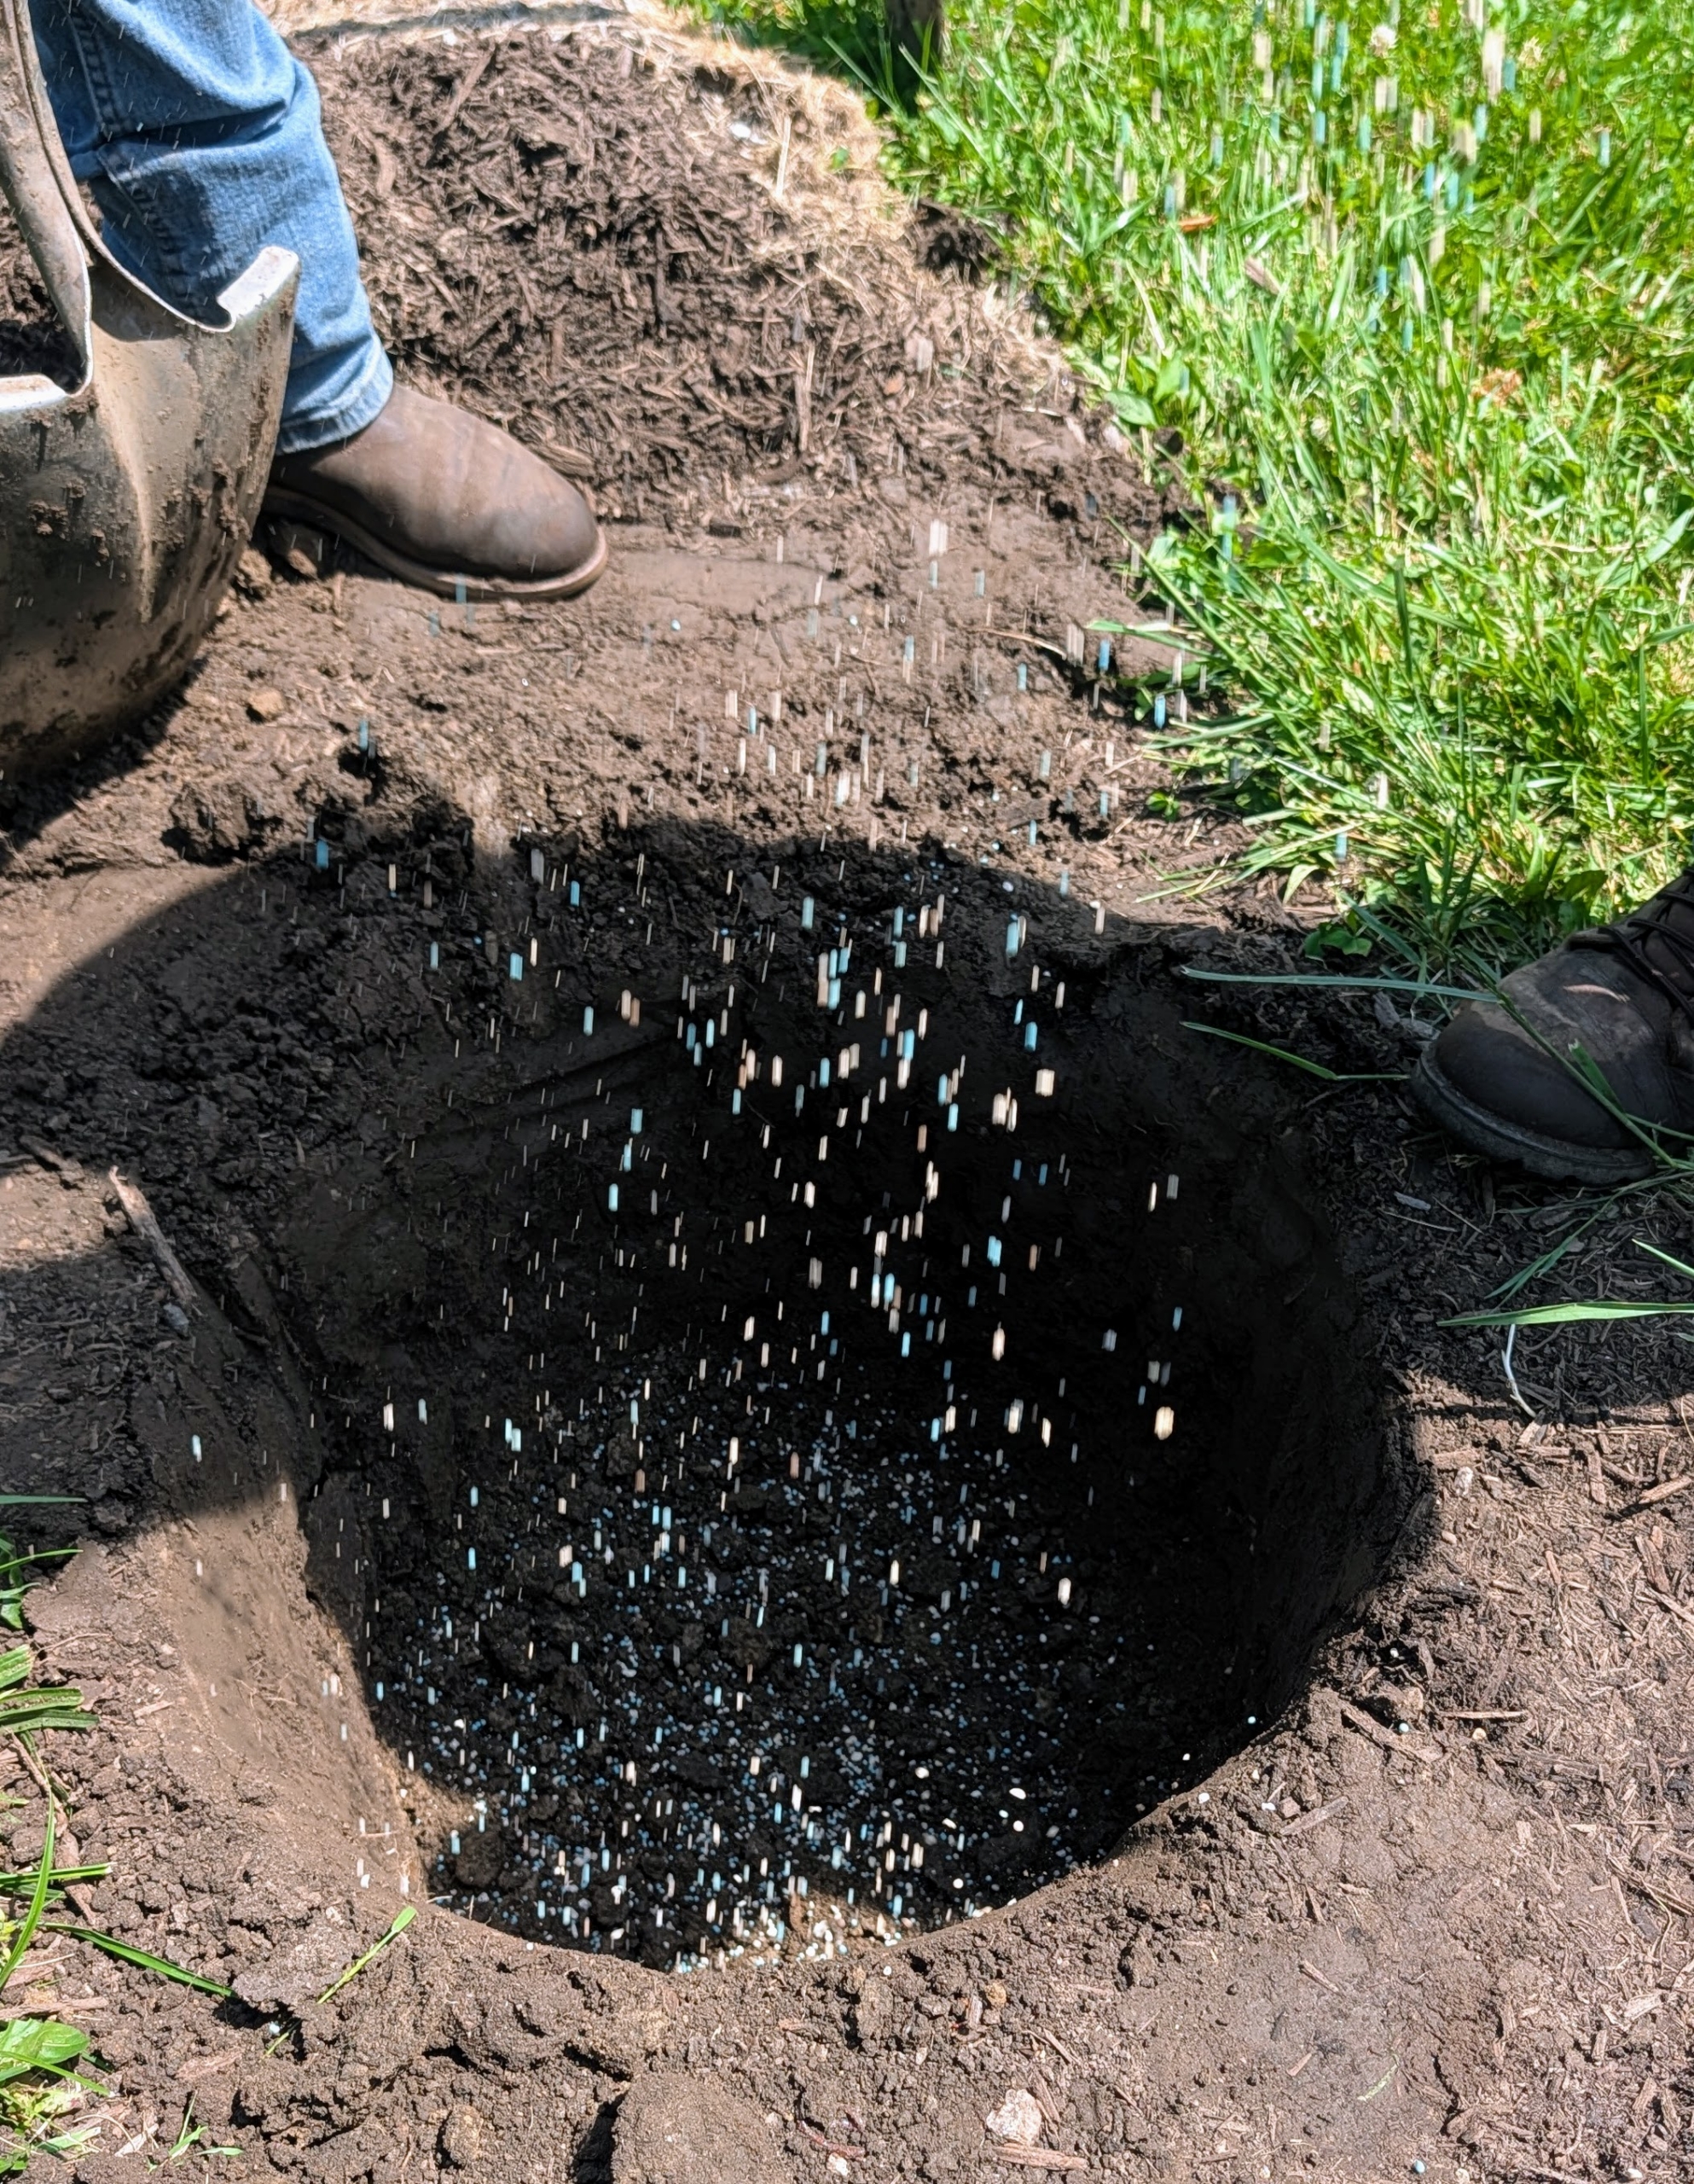
Next, the hole and the surrounding soil are sprinkled with a generous amount of fertilizer.
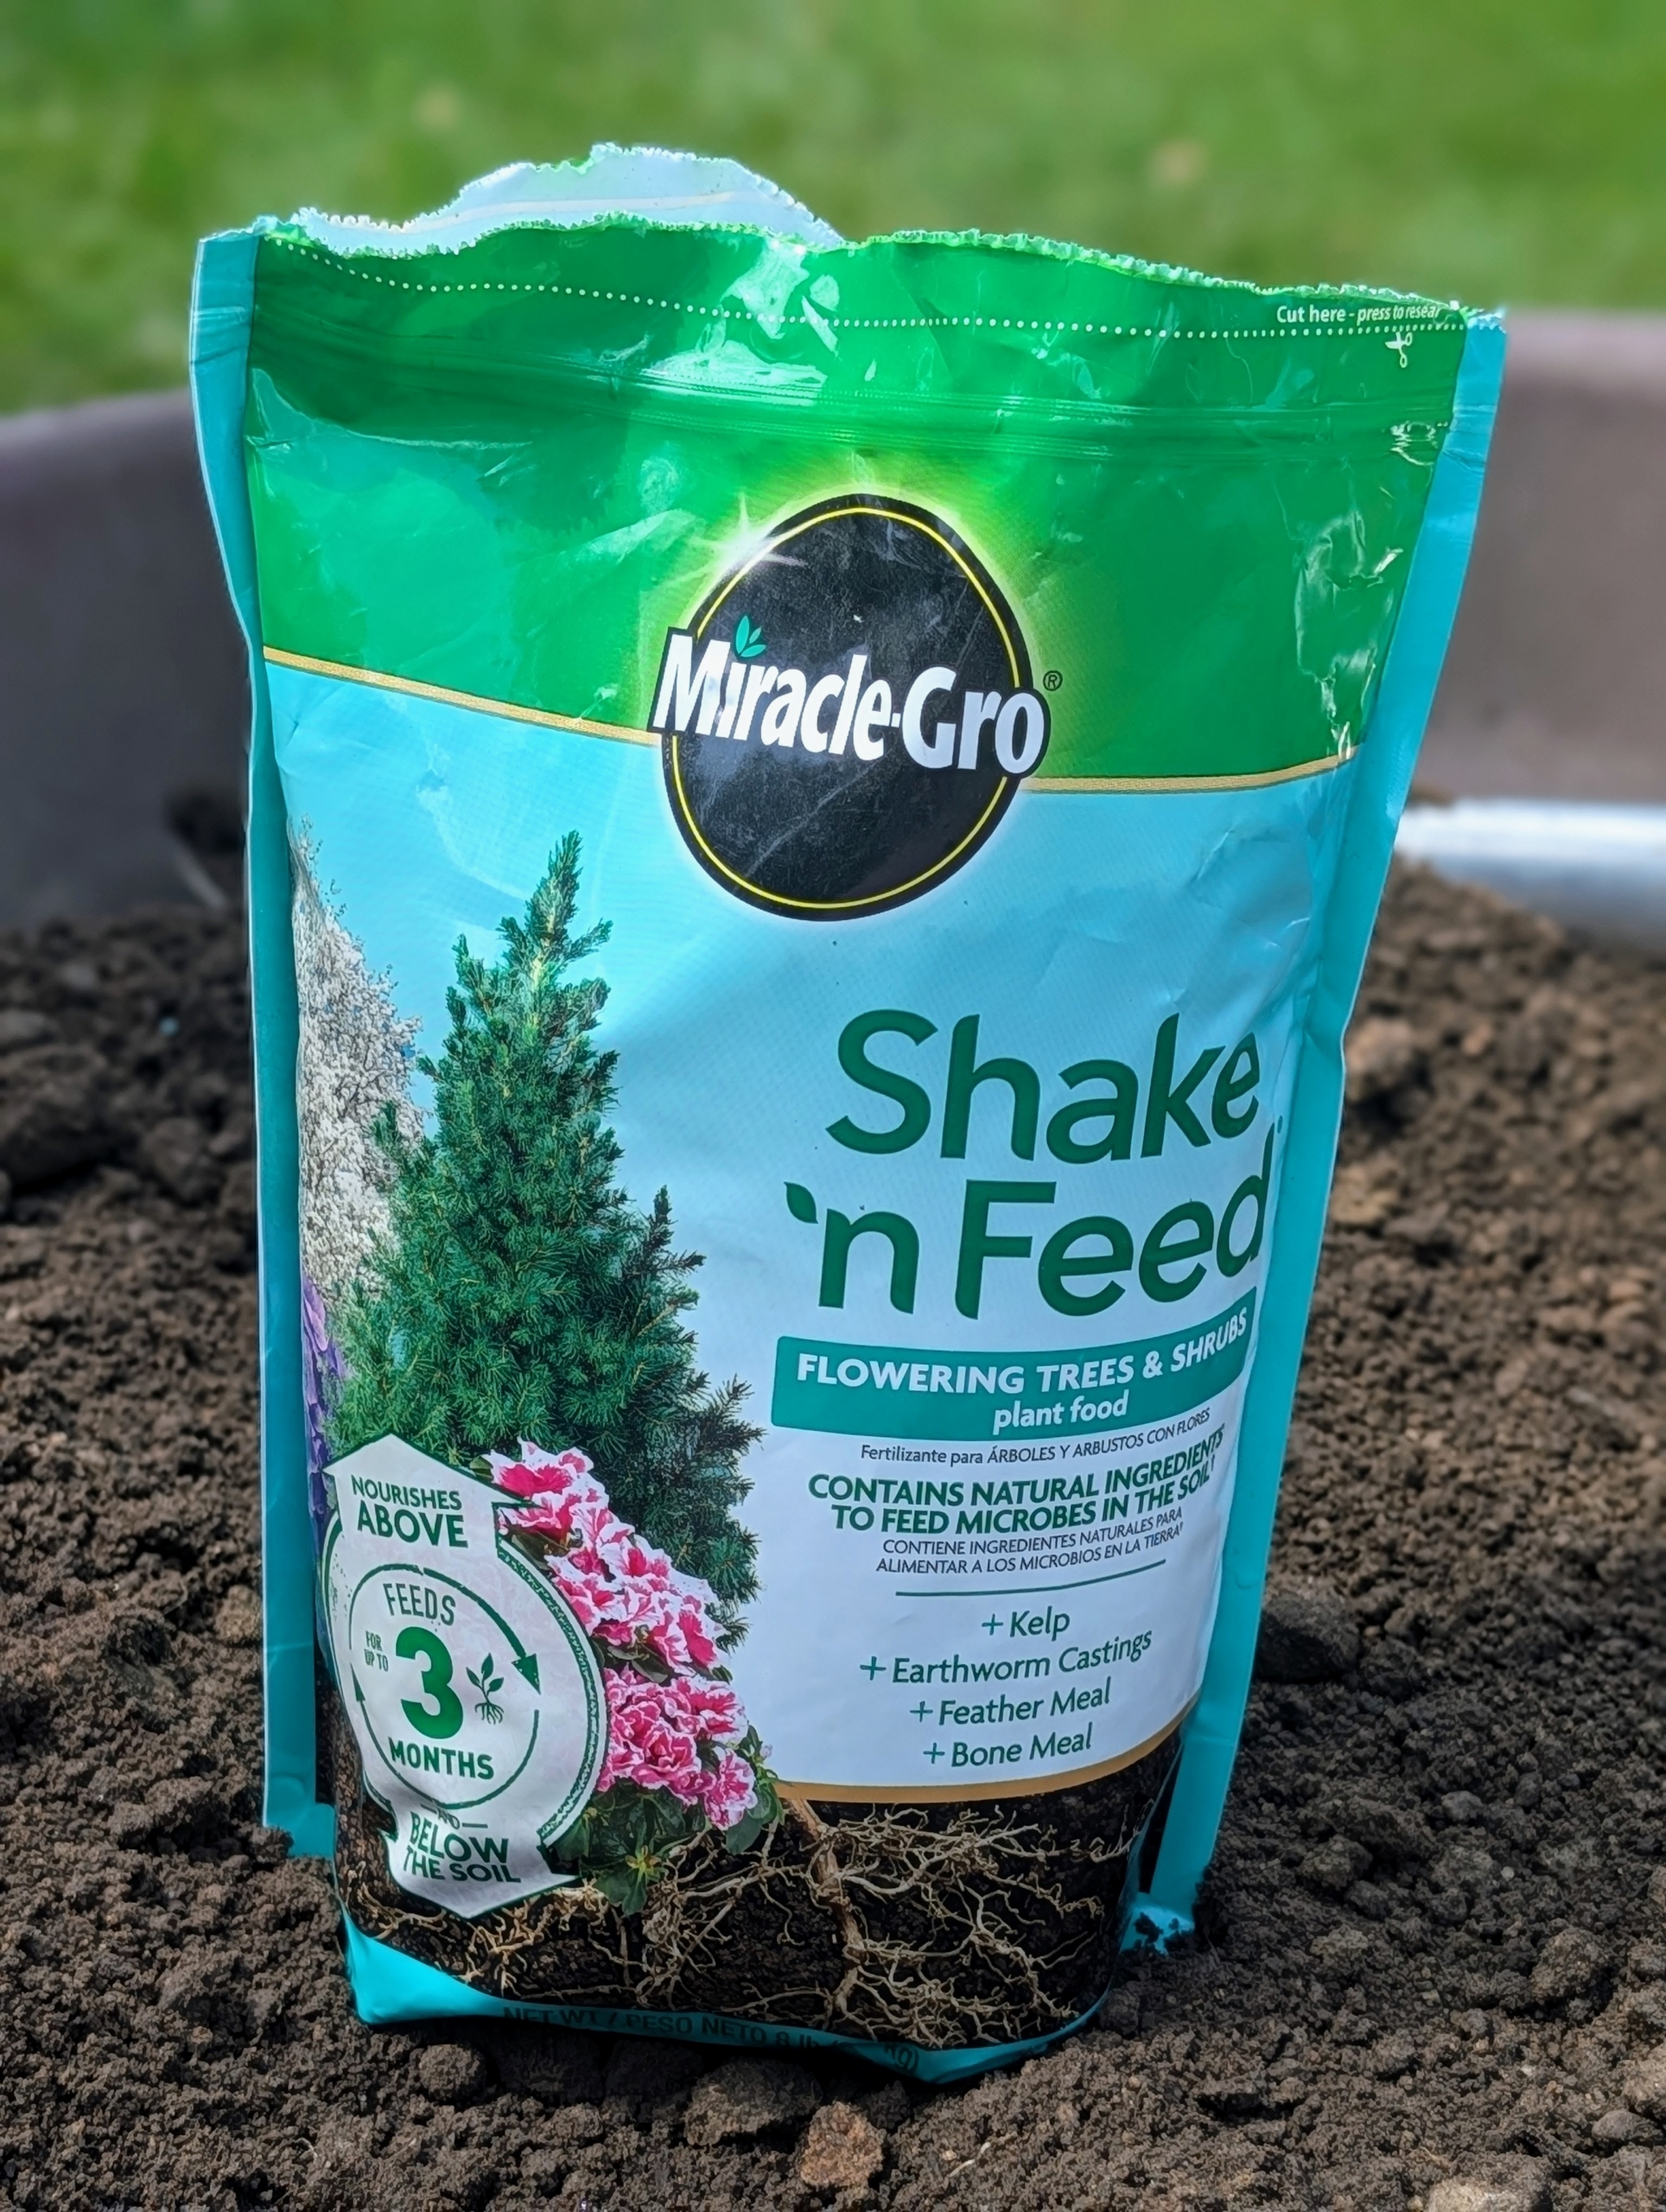
For this project, I use Miracle-Gro Shake ‘n Feed Flowering Trees and Shrubs plant food. It contains natural ingredients such as kelp, earthworm castings, bone meal, and feather meal, which will feed the plant and maintain its deep, lush green foliage throughout the season.
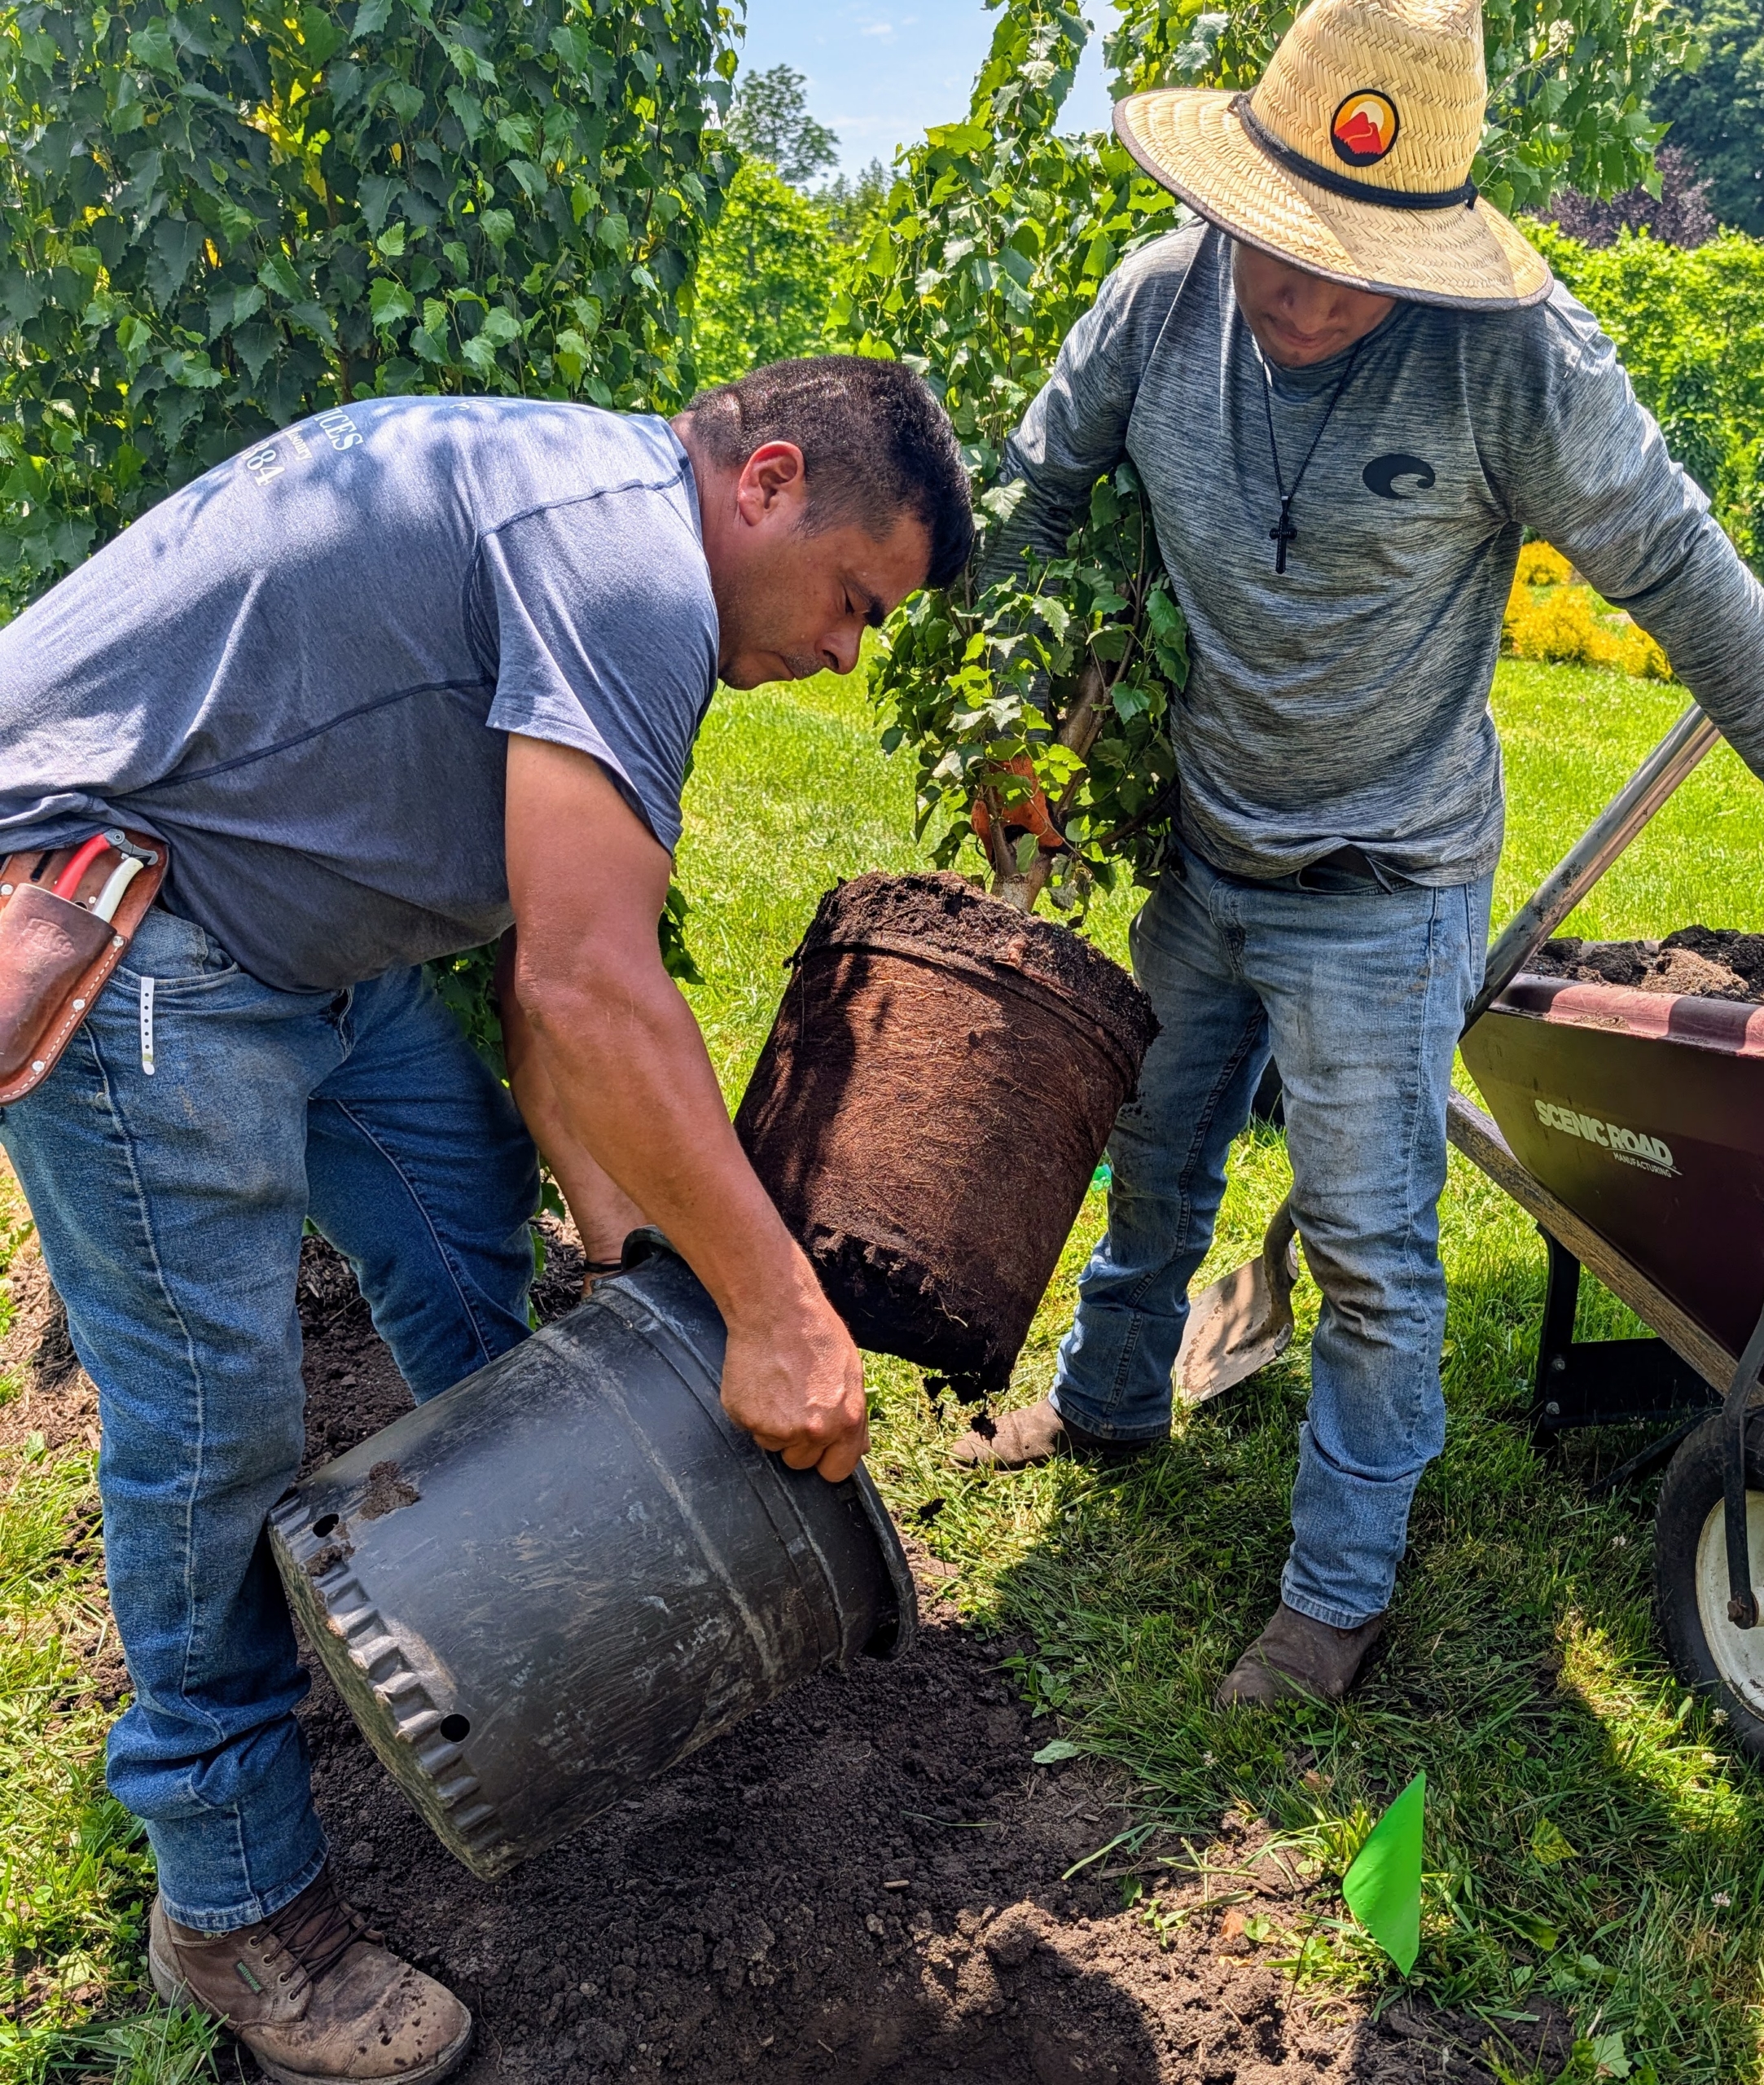
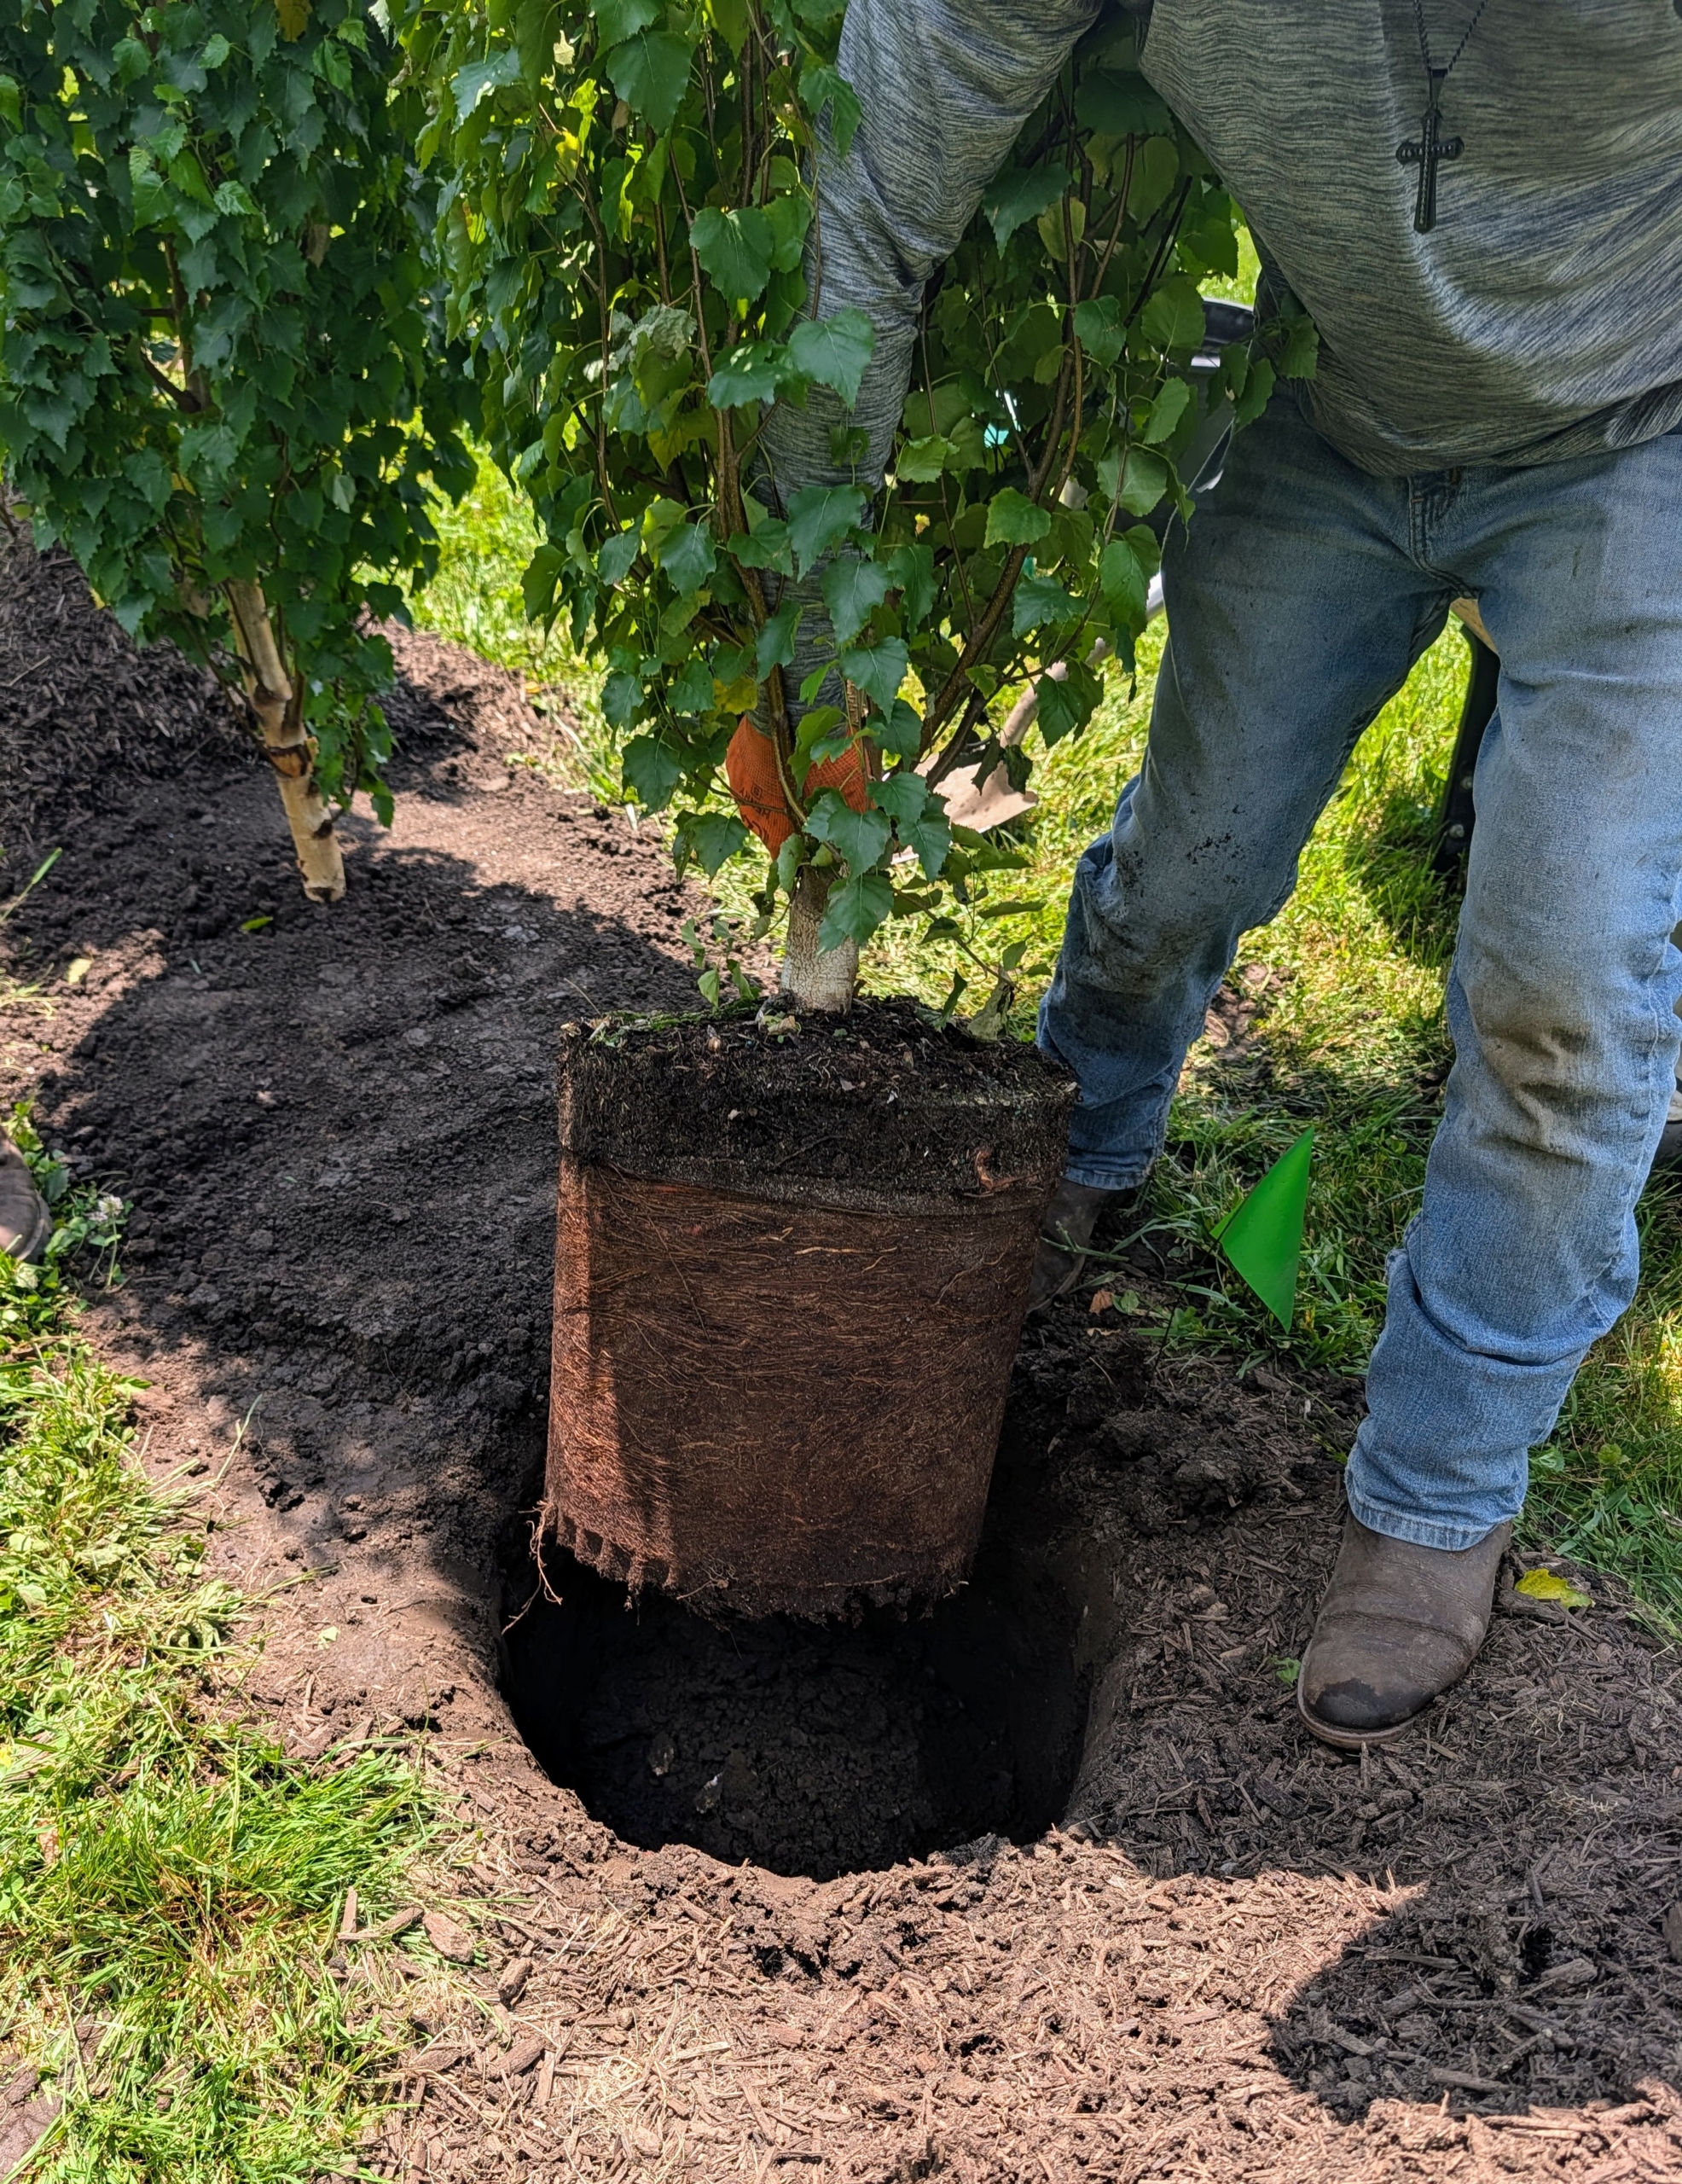
The tree is carefully removed from its existing pot.
And then placed into the hole to make sure it will sit at the right height. The top of the root ball should be level with the top of the hole.
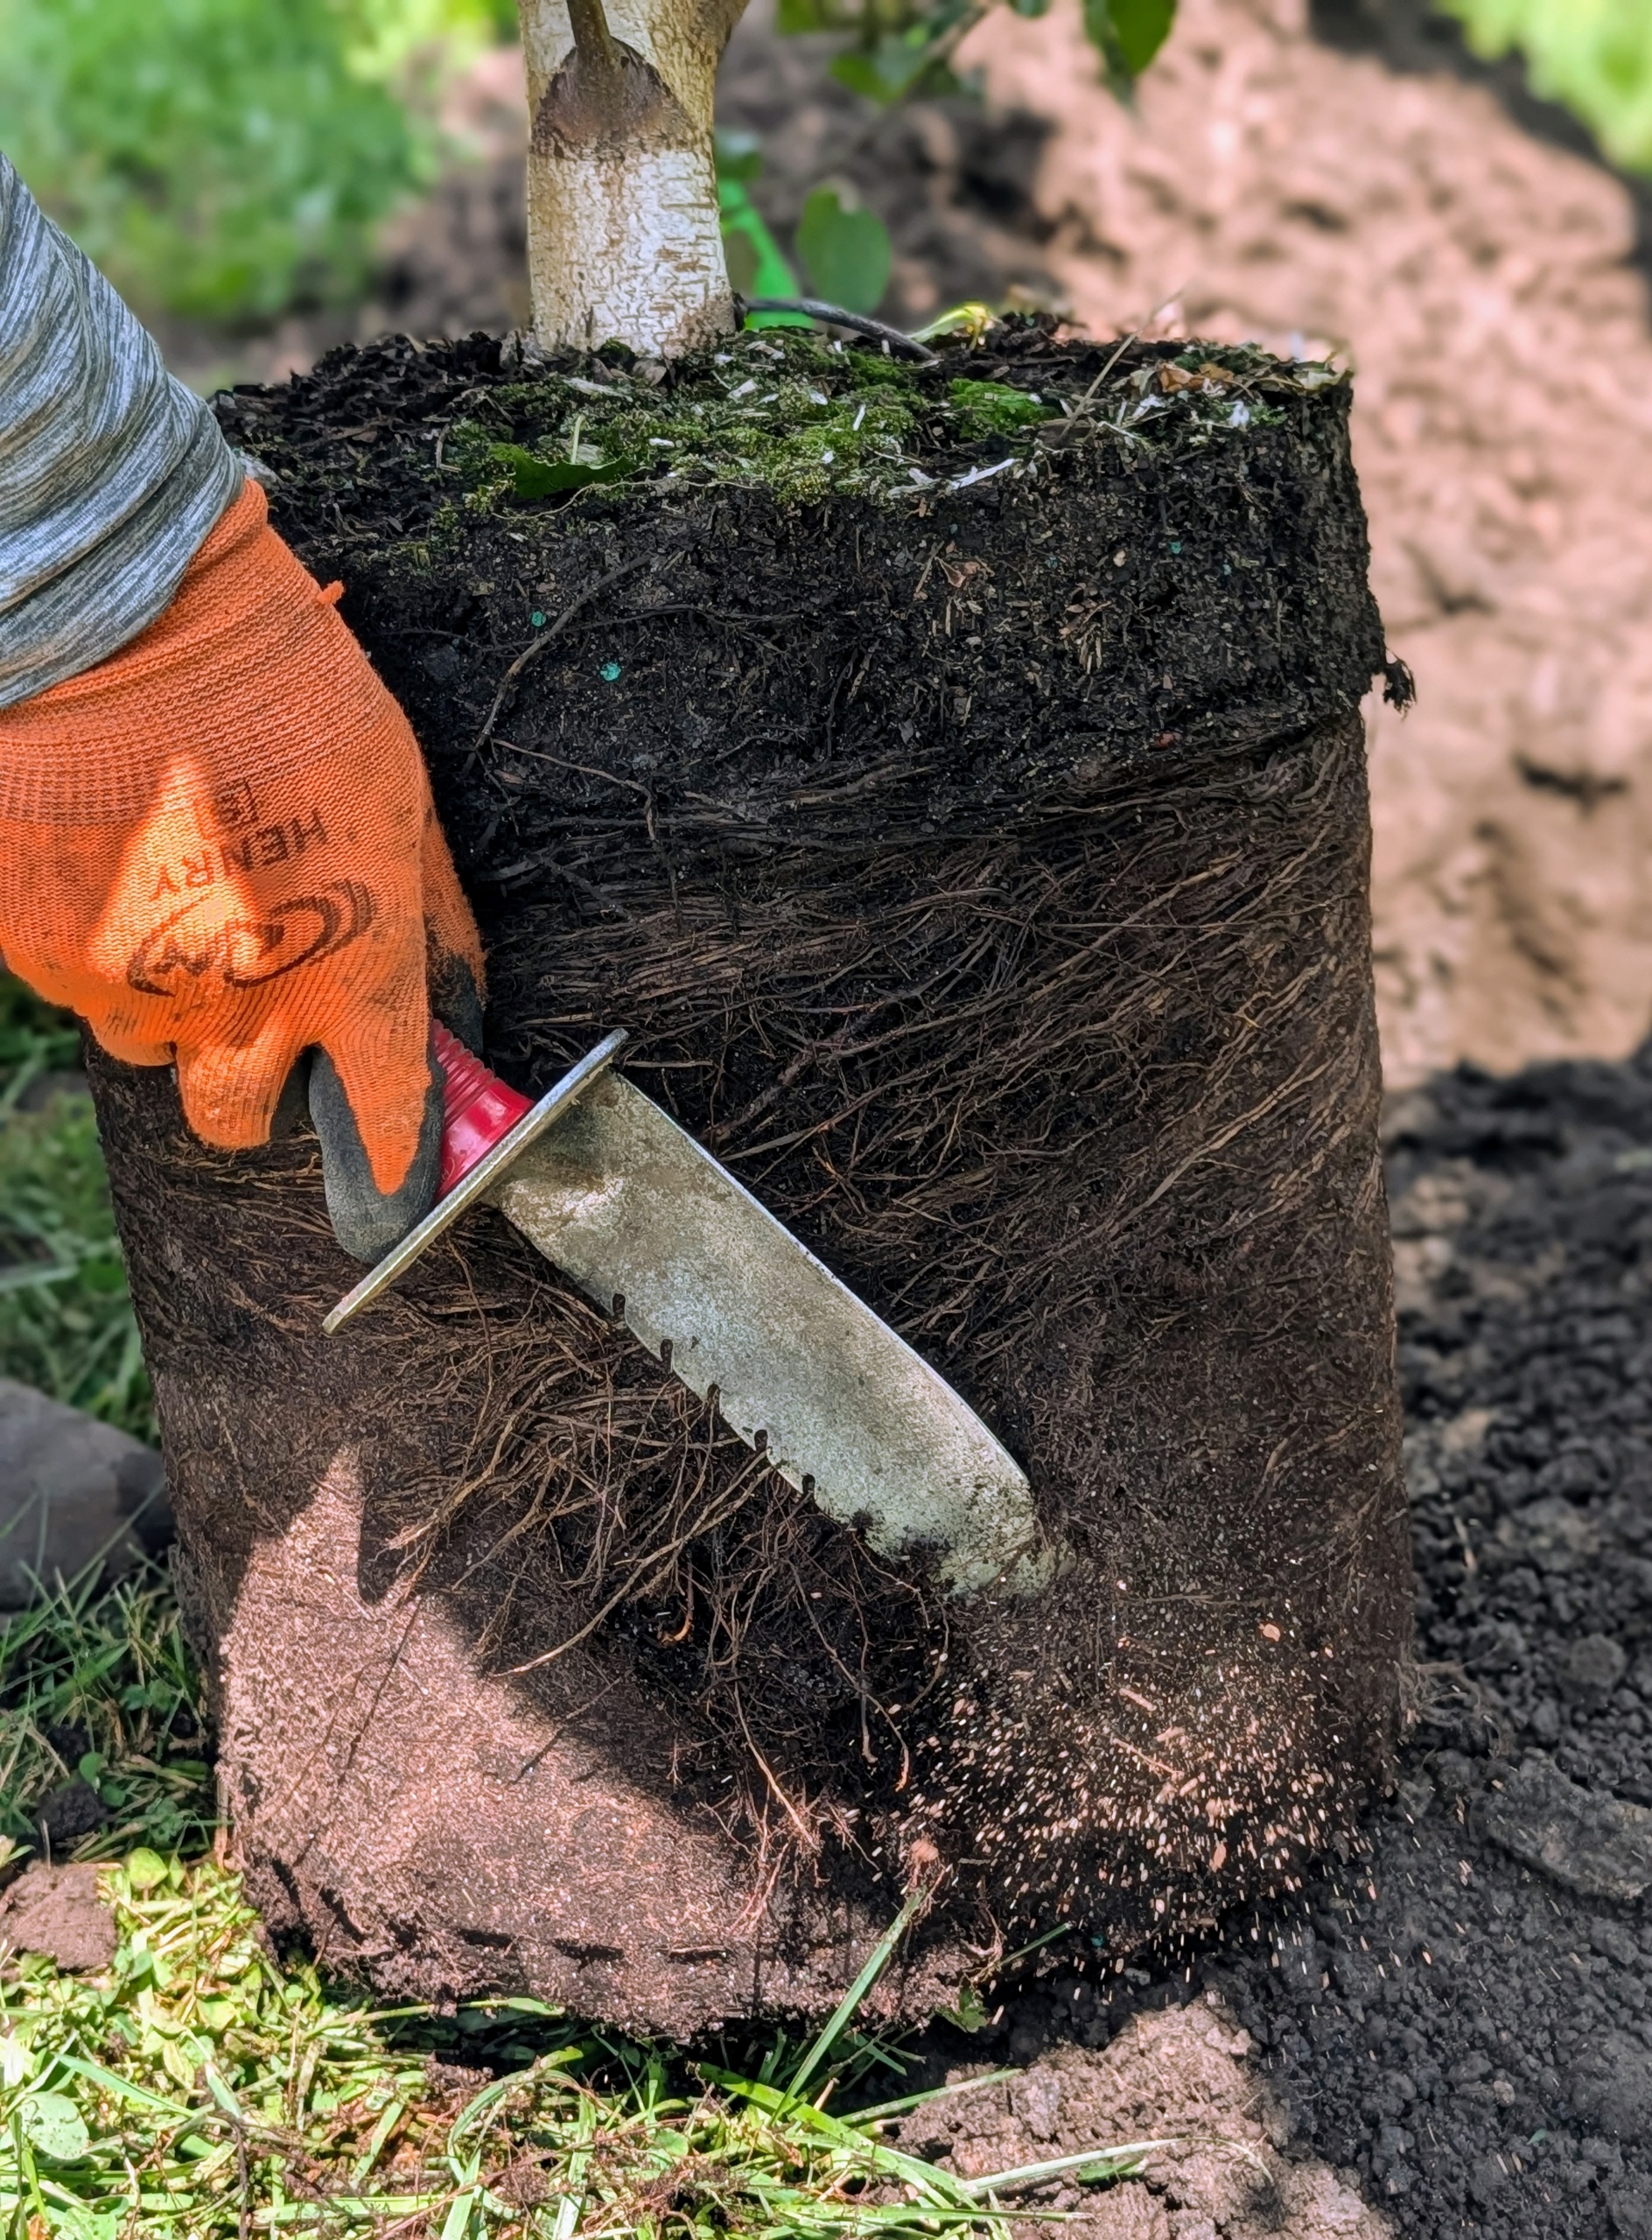
The tree is removed from the hole and a hori hori knife is used to carefully scratch the root ball and stimulate growth. Essentially, small portions of the root ball are cut to loosen the roots and encourage new development.
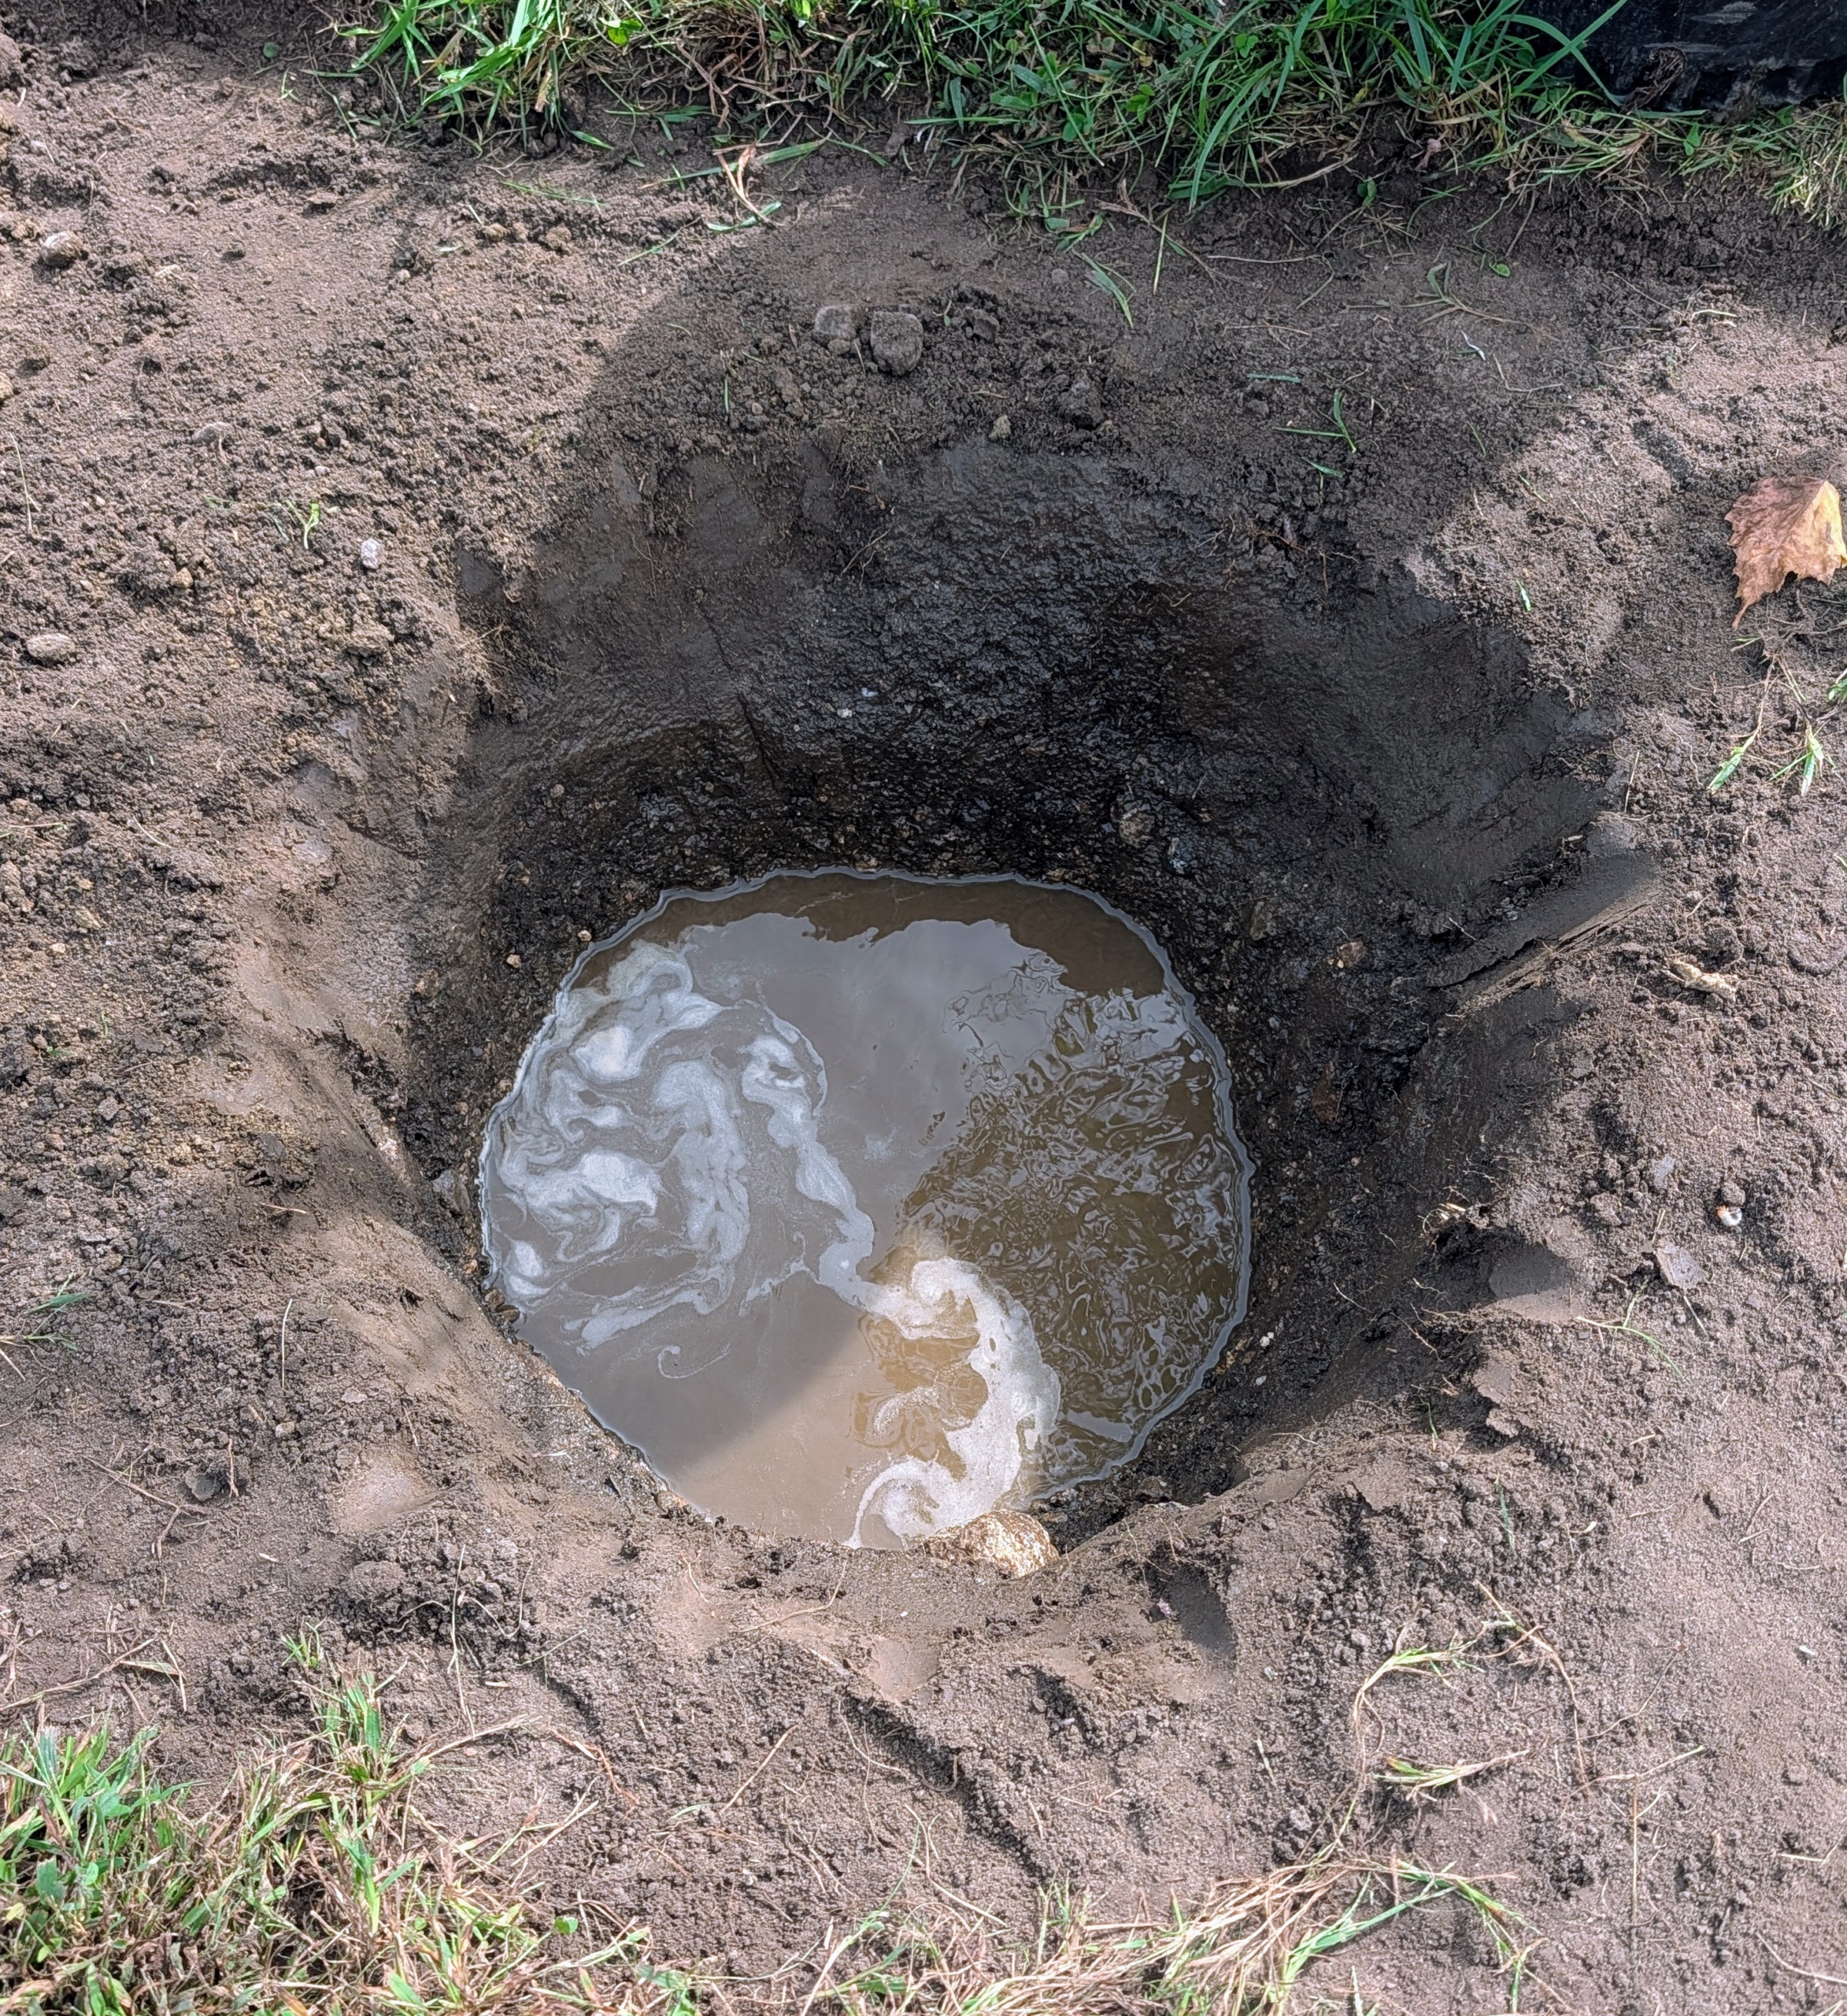
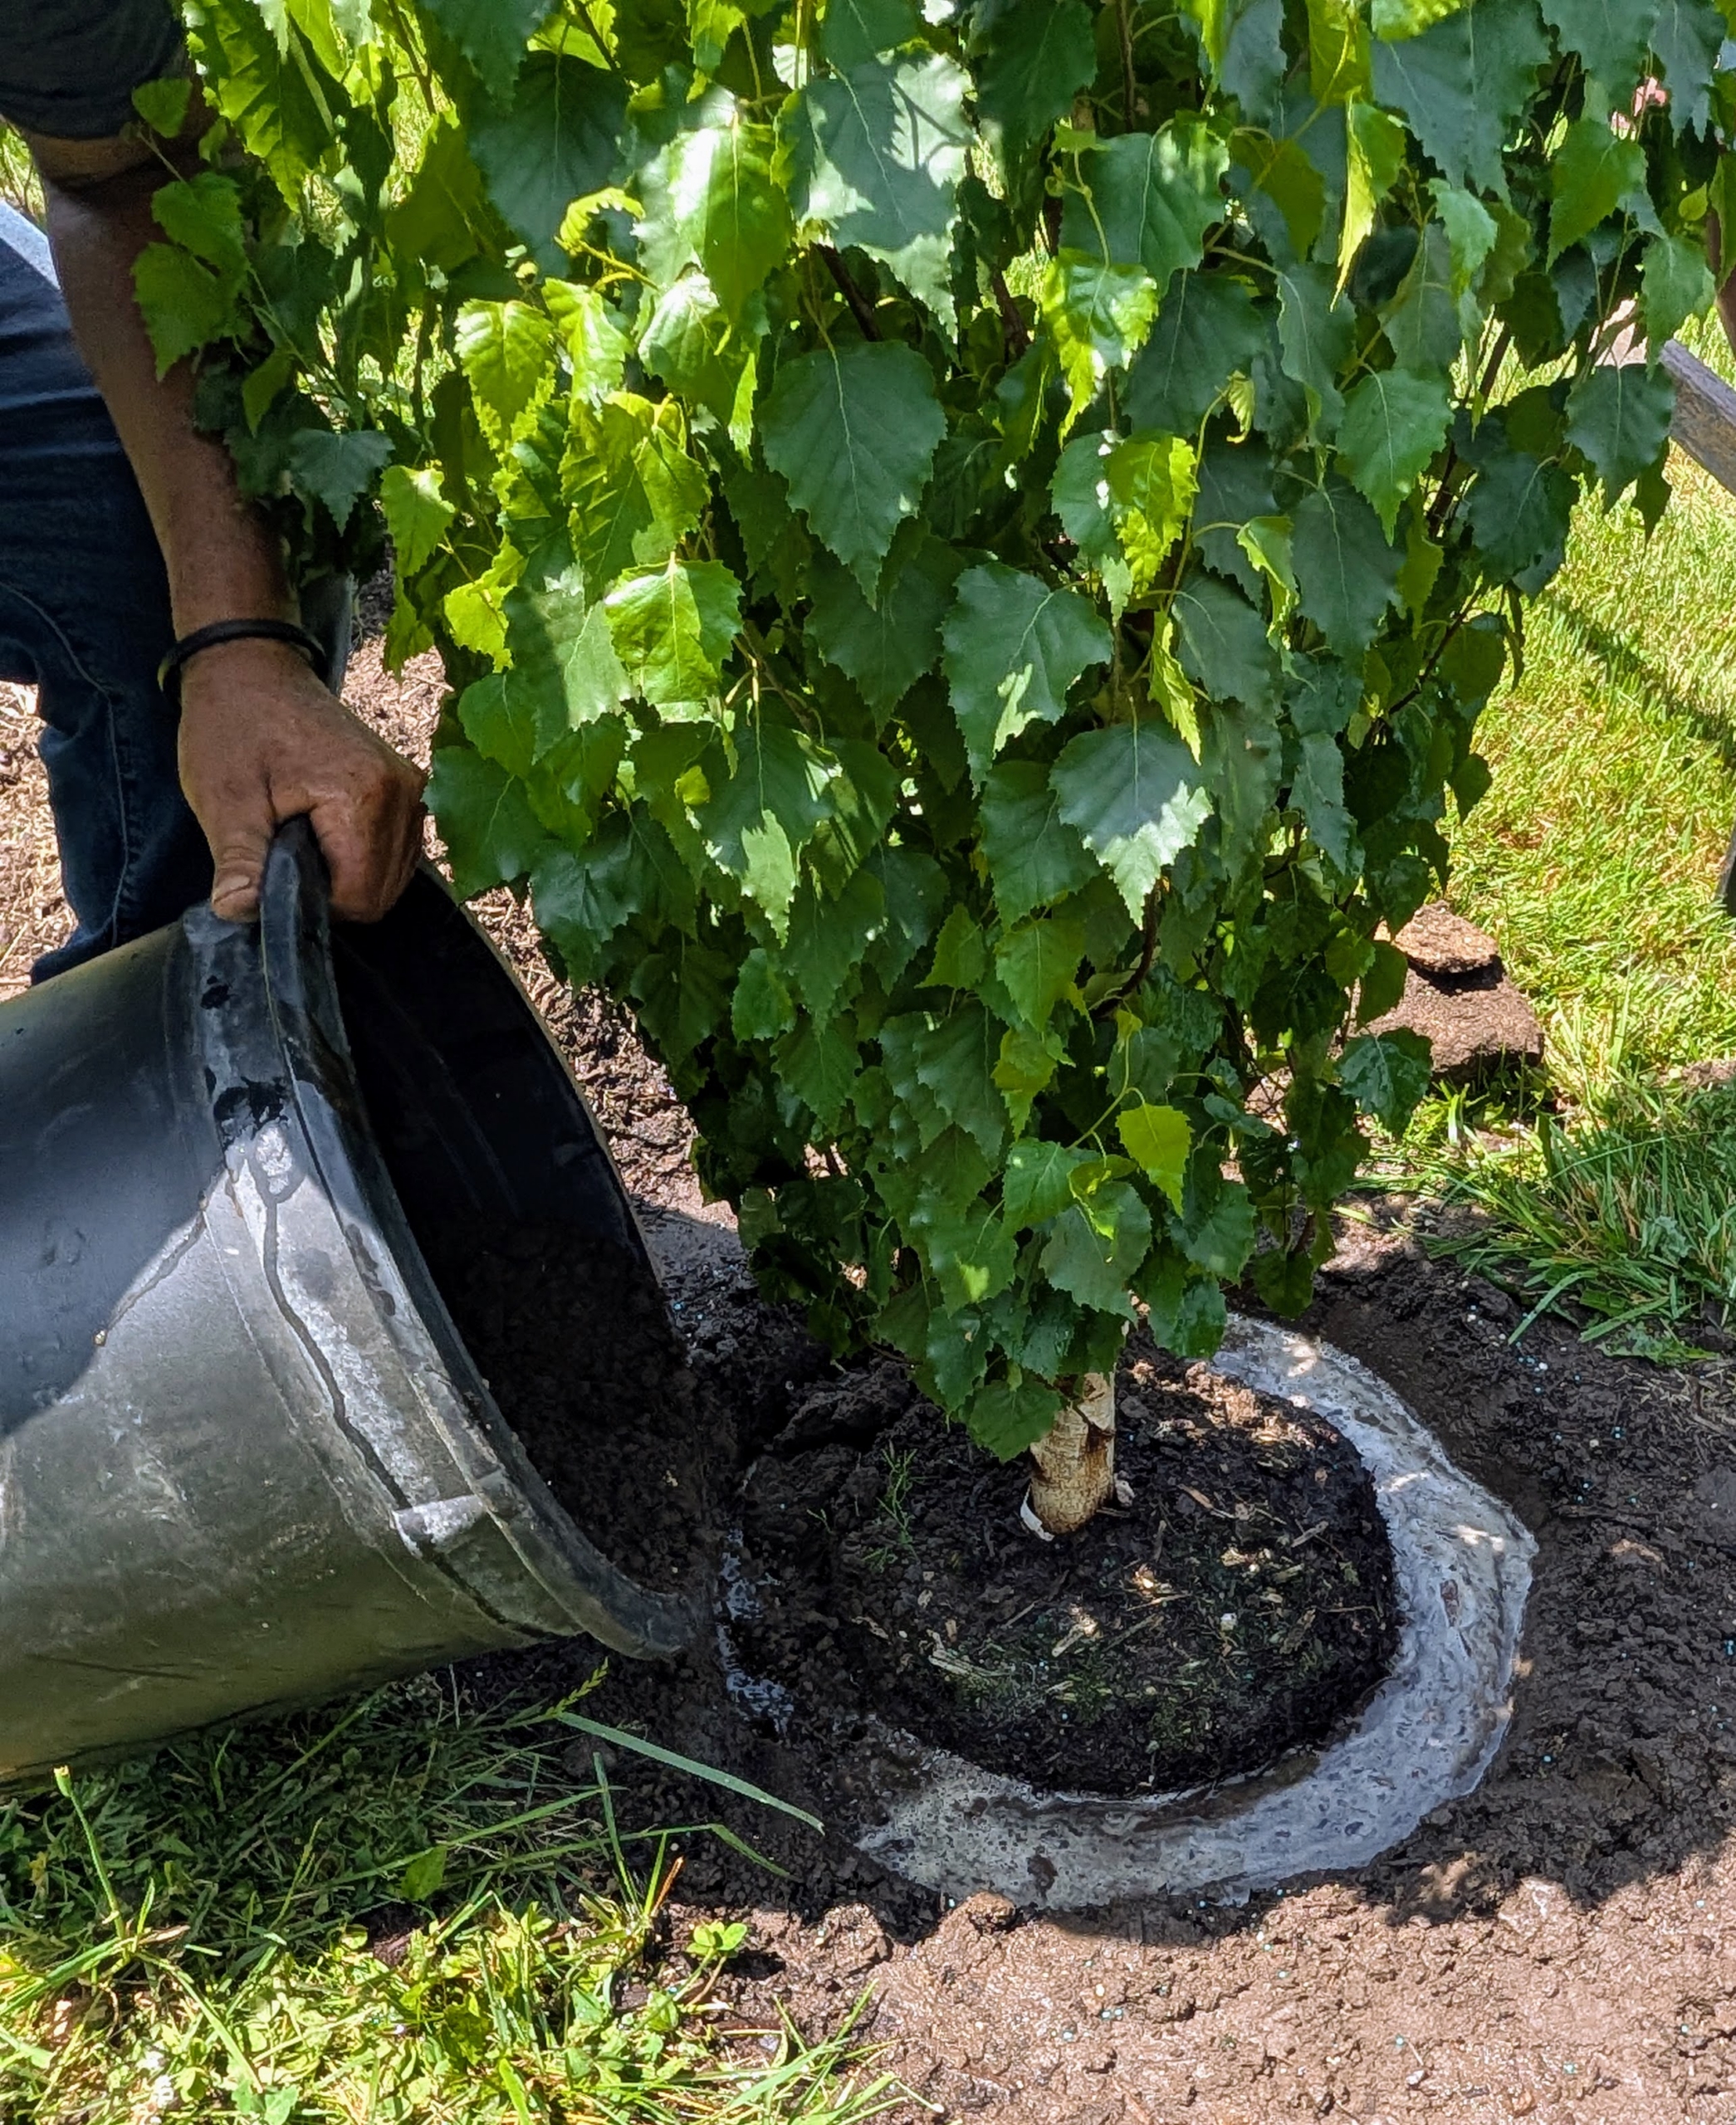
When the soil is very dry, I instruct my team to fill the hole with water first before planting. This technique is designed to improve root establishment, reduce transplant shock, and increase survival chances.
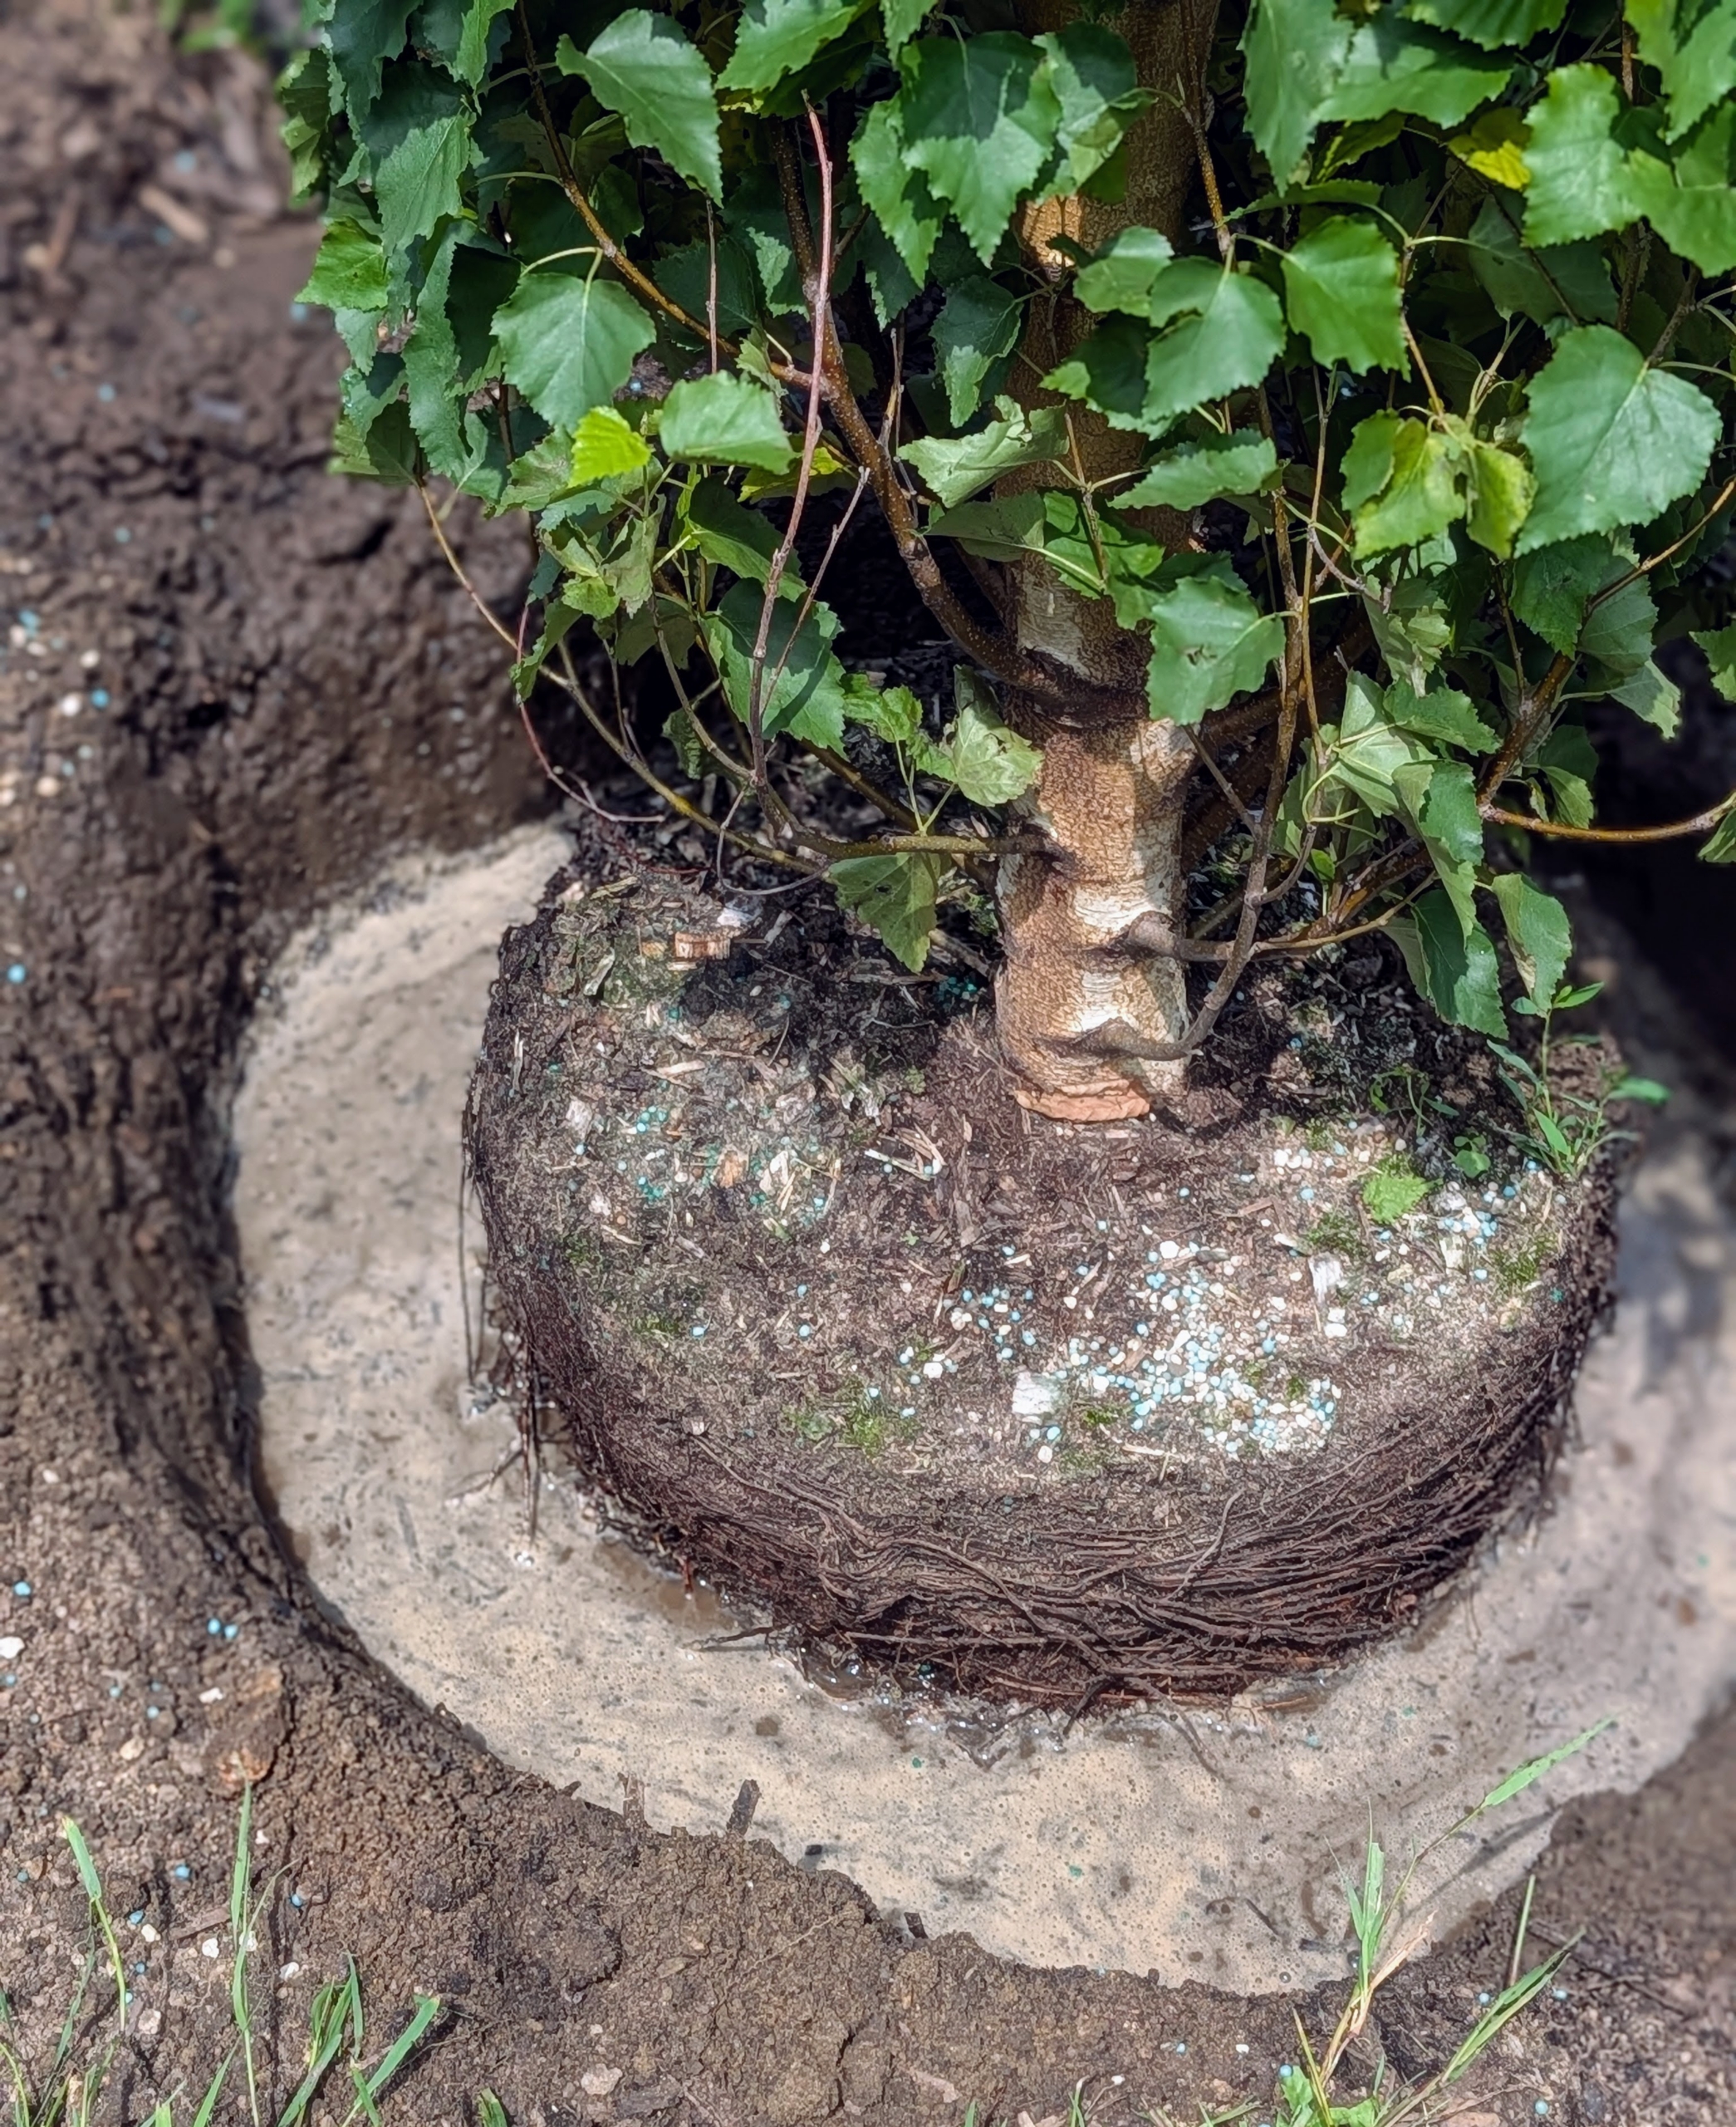
The tree is then placed into the water filled hole.
And finally the hole is backfilled.
One holds it straight as the soil is shoveled around the root ball. It is only buried up to the flare, where the tree meets the root system. Burying the tree too deep will kill it.
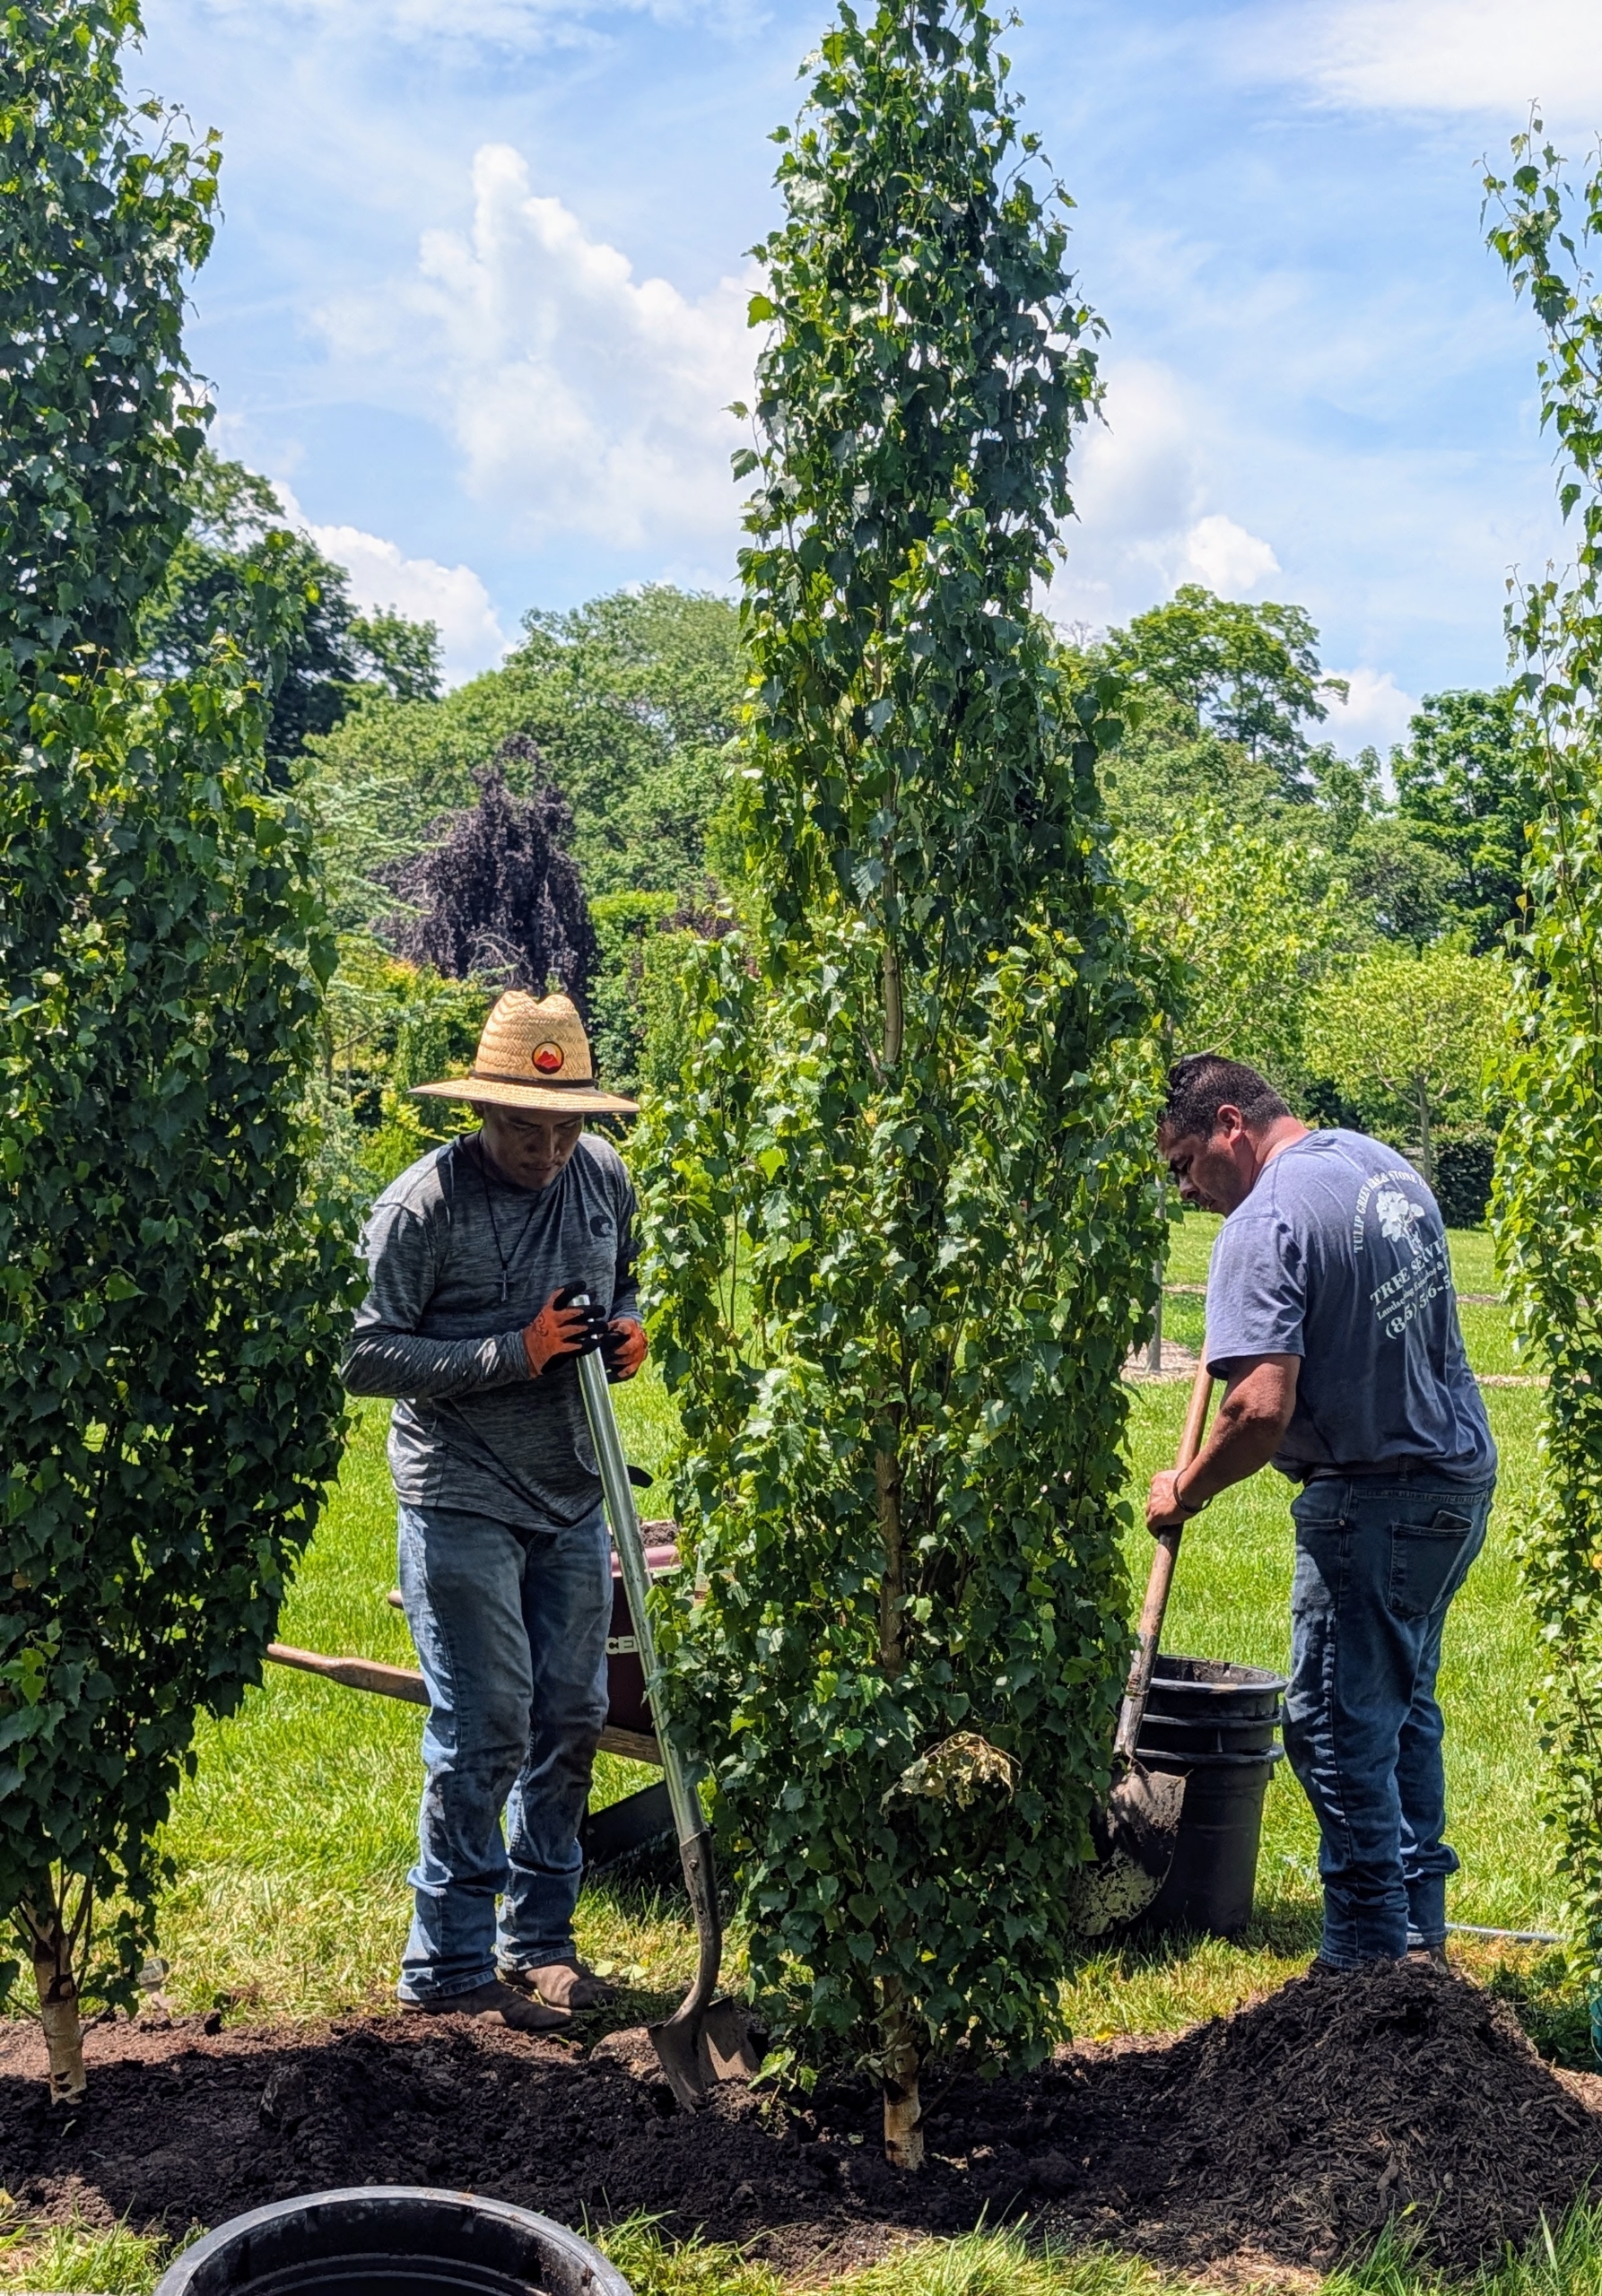
Arnold looks at the tree from all sides and from various distances to make sure it is in perfect line with the others.
The last of the soil is placed around the tree and tamped down to ensure good contact.
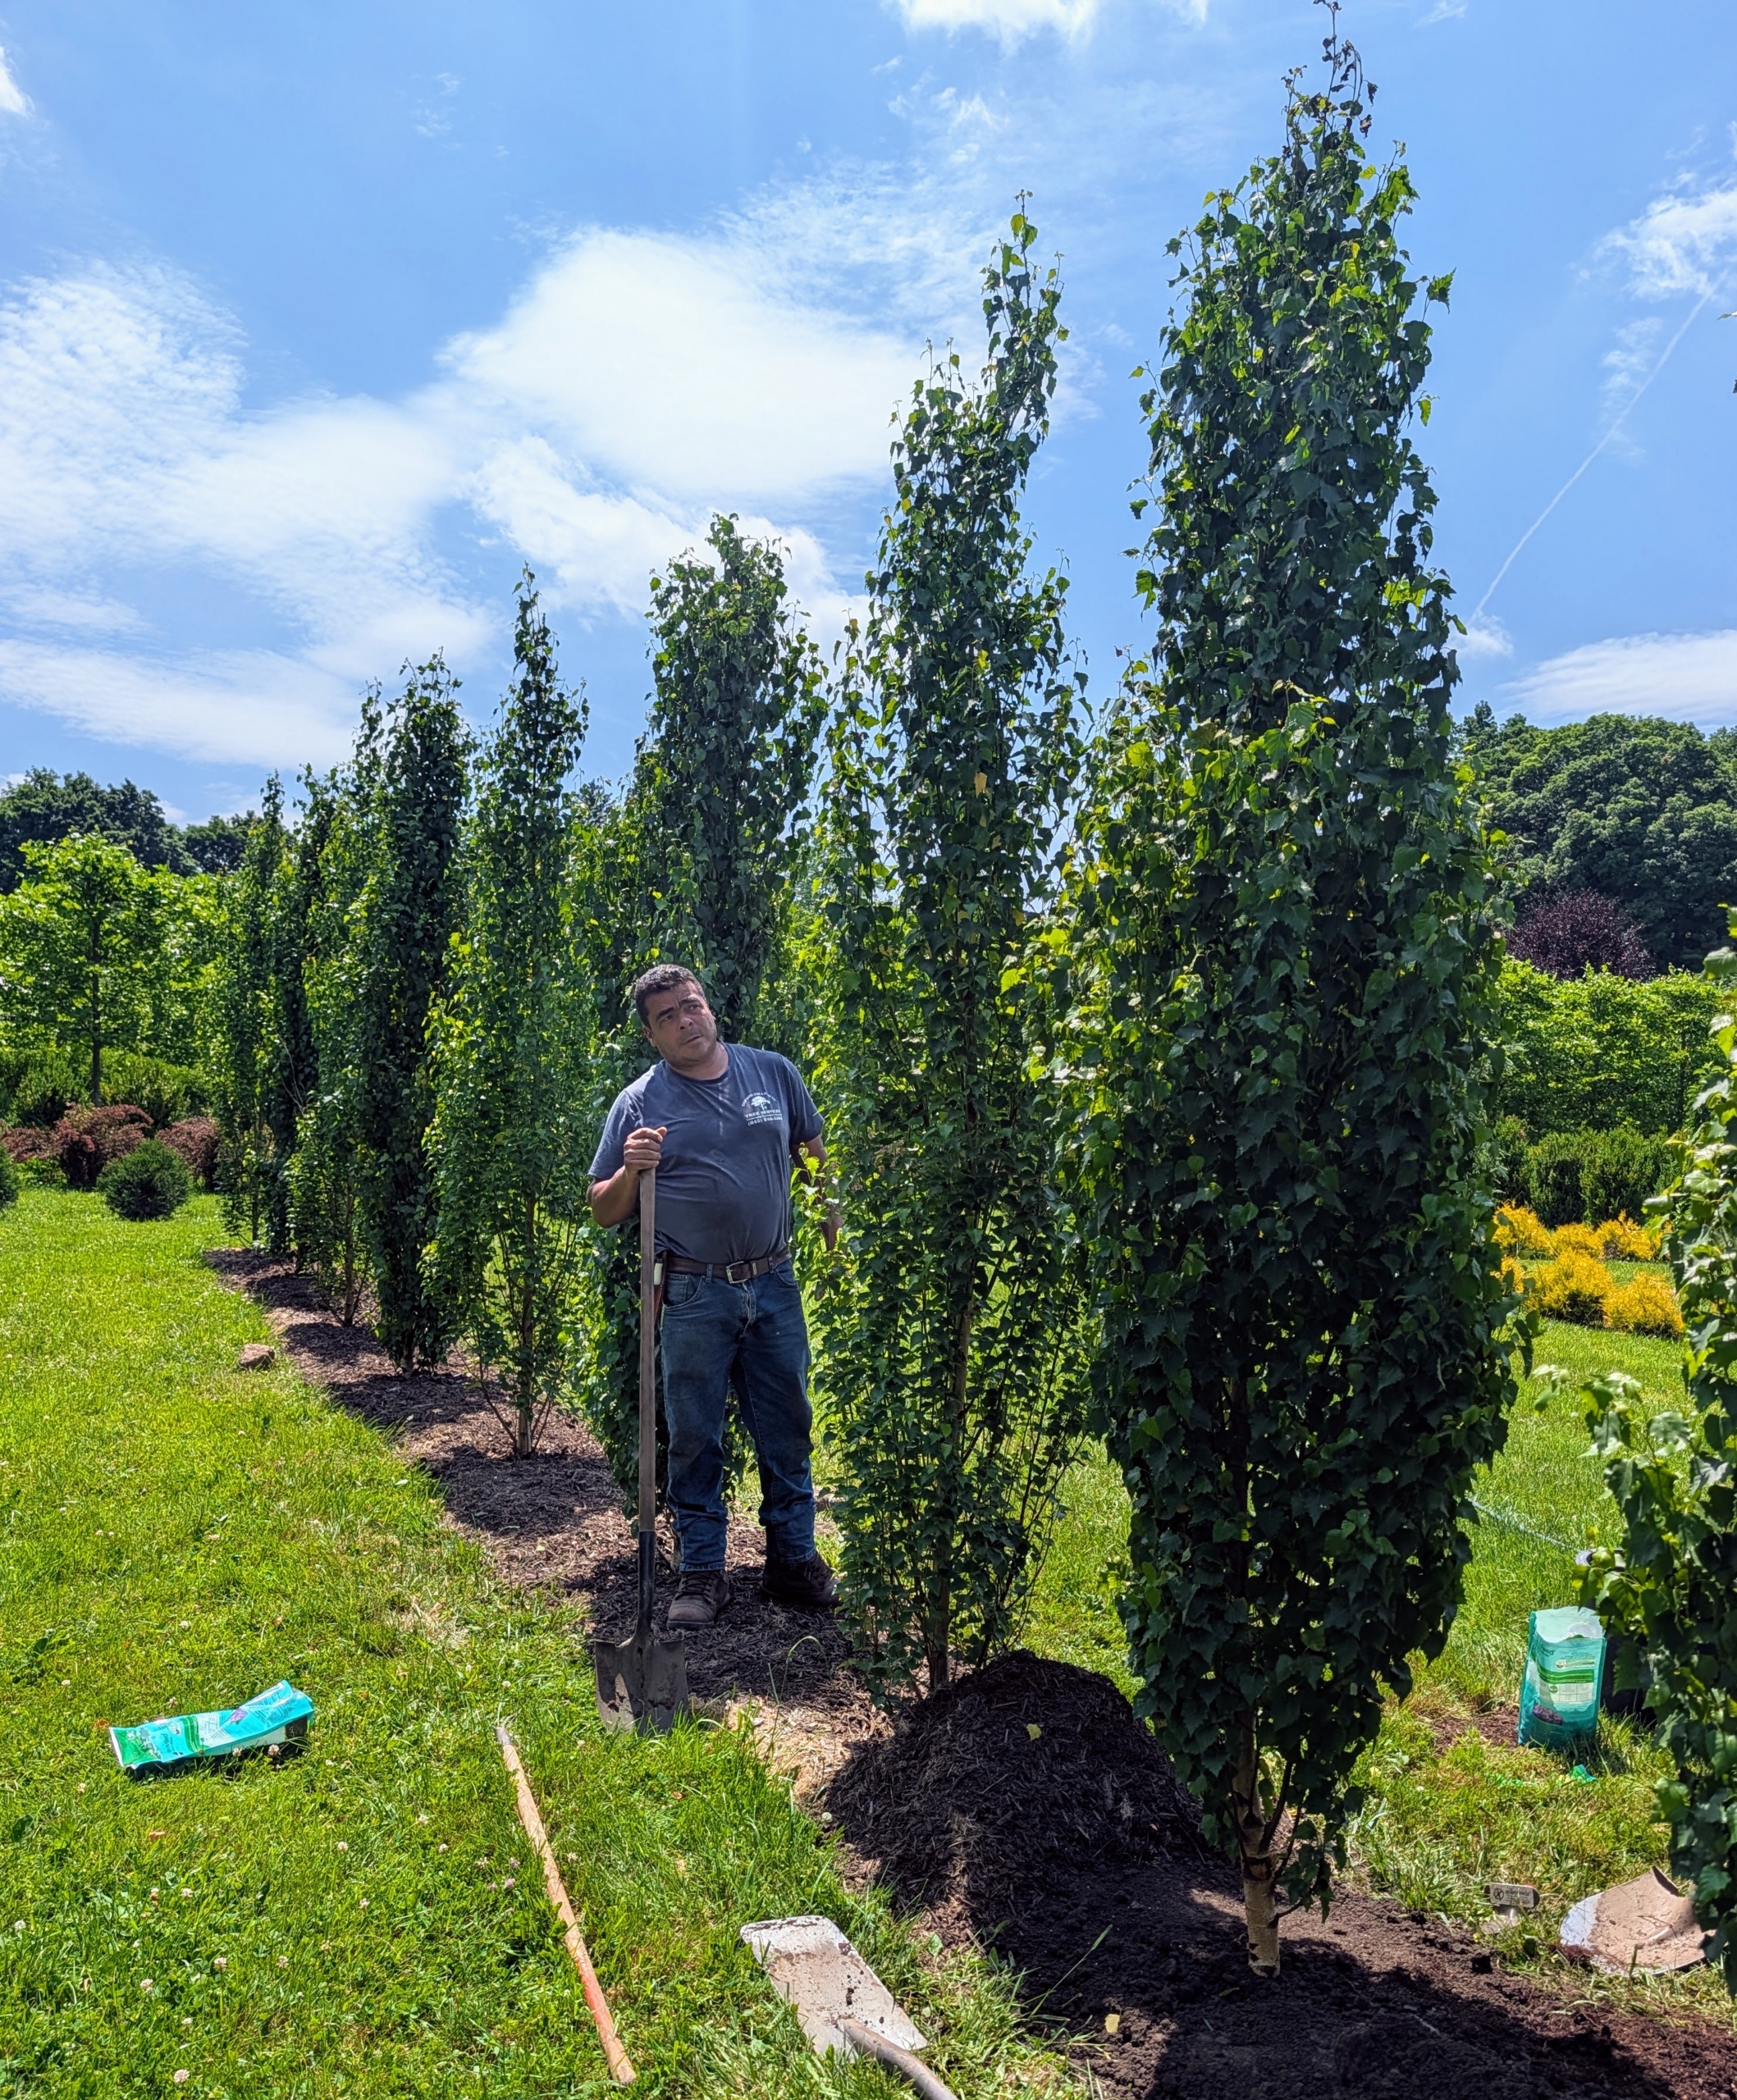
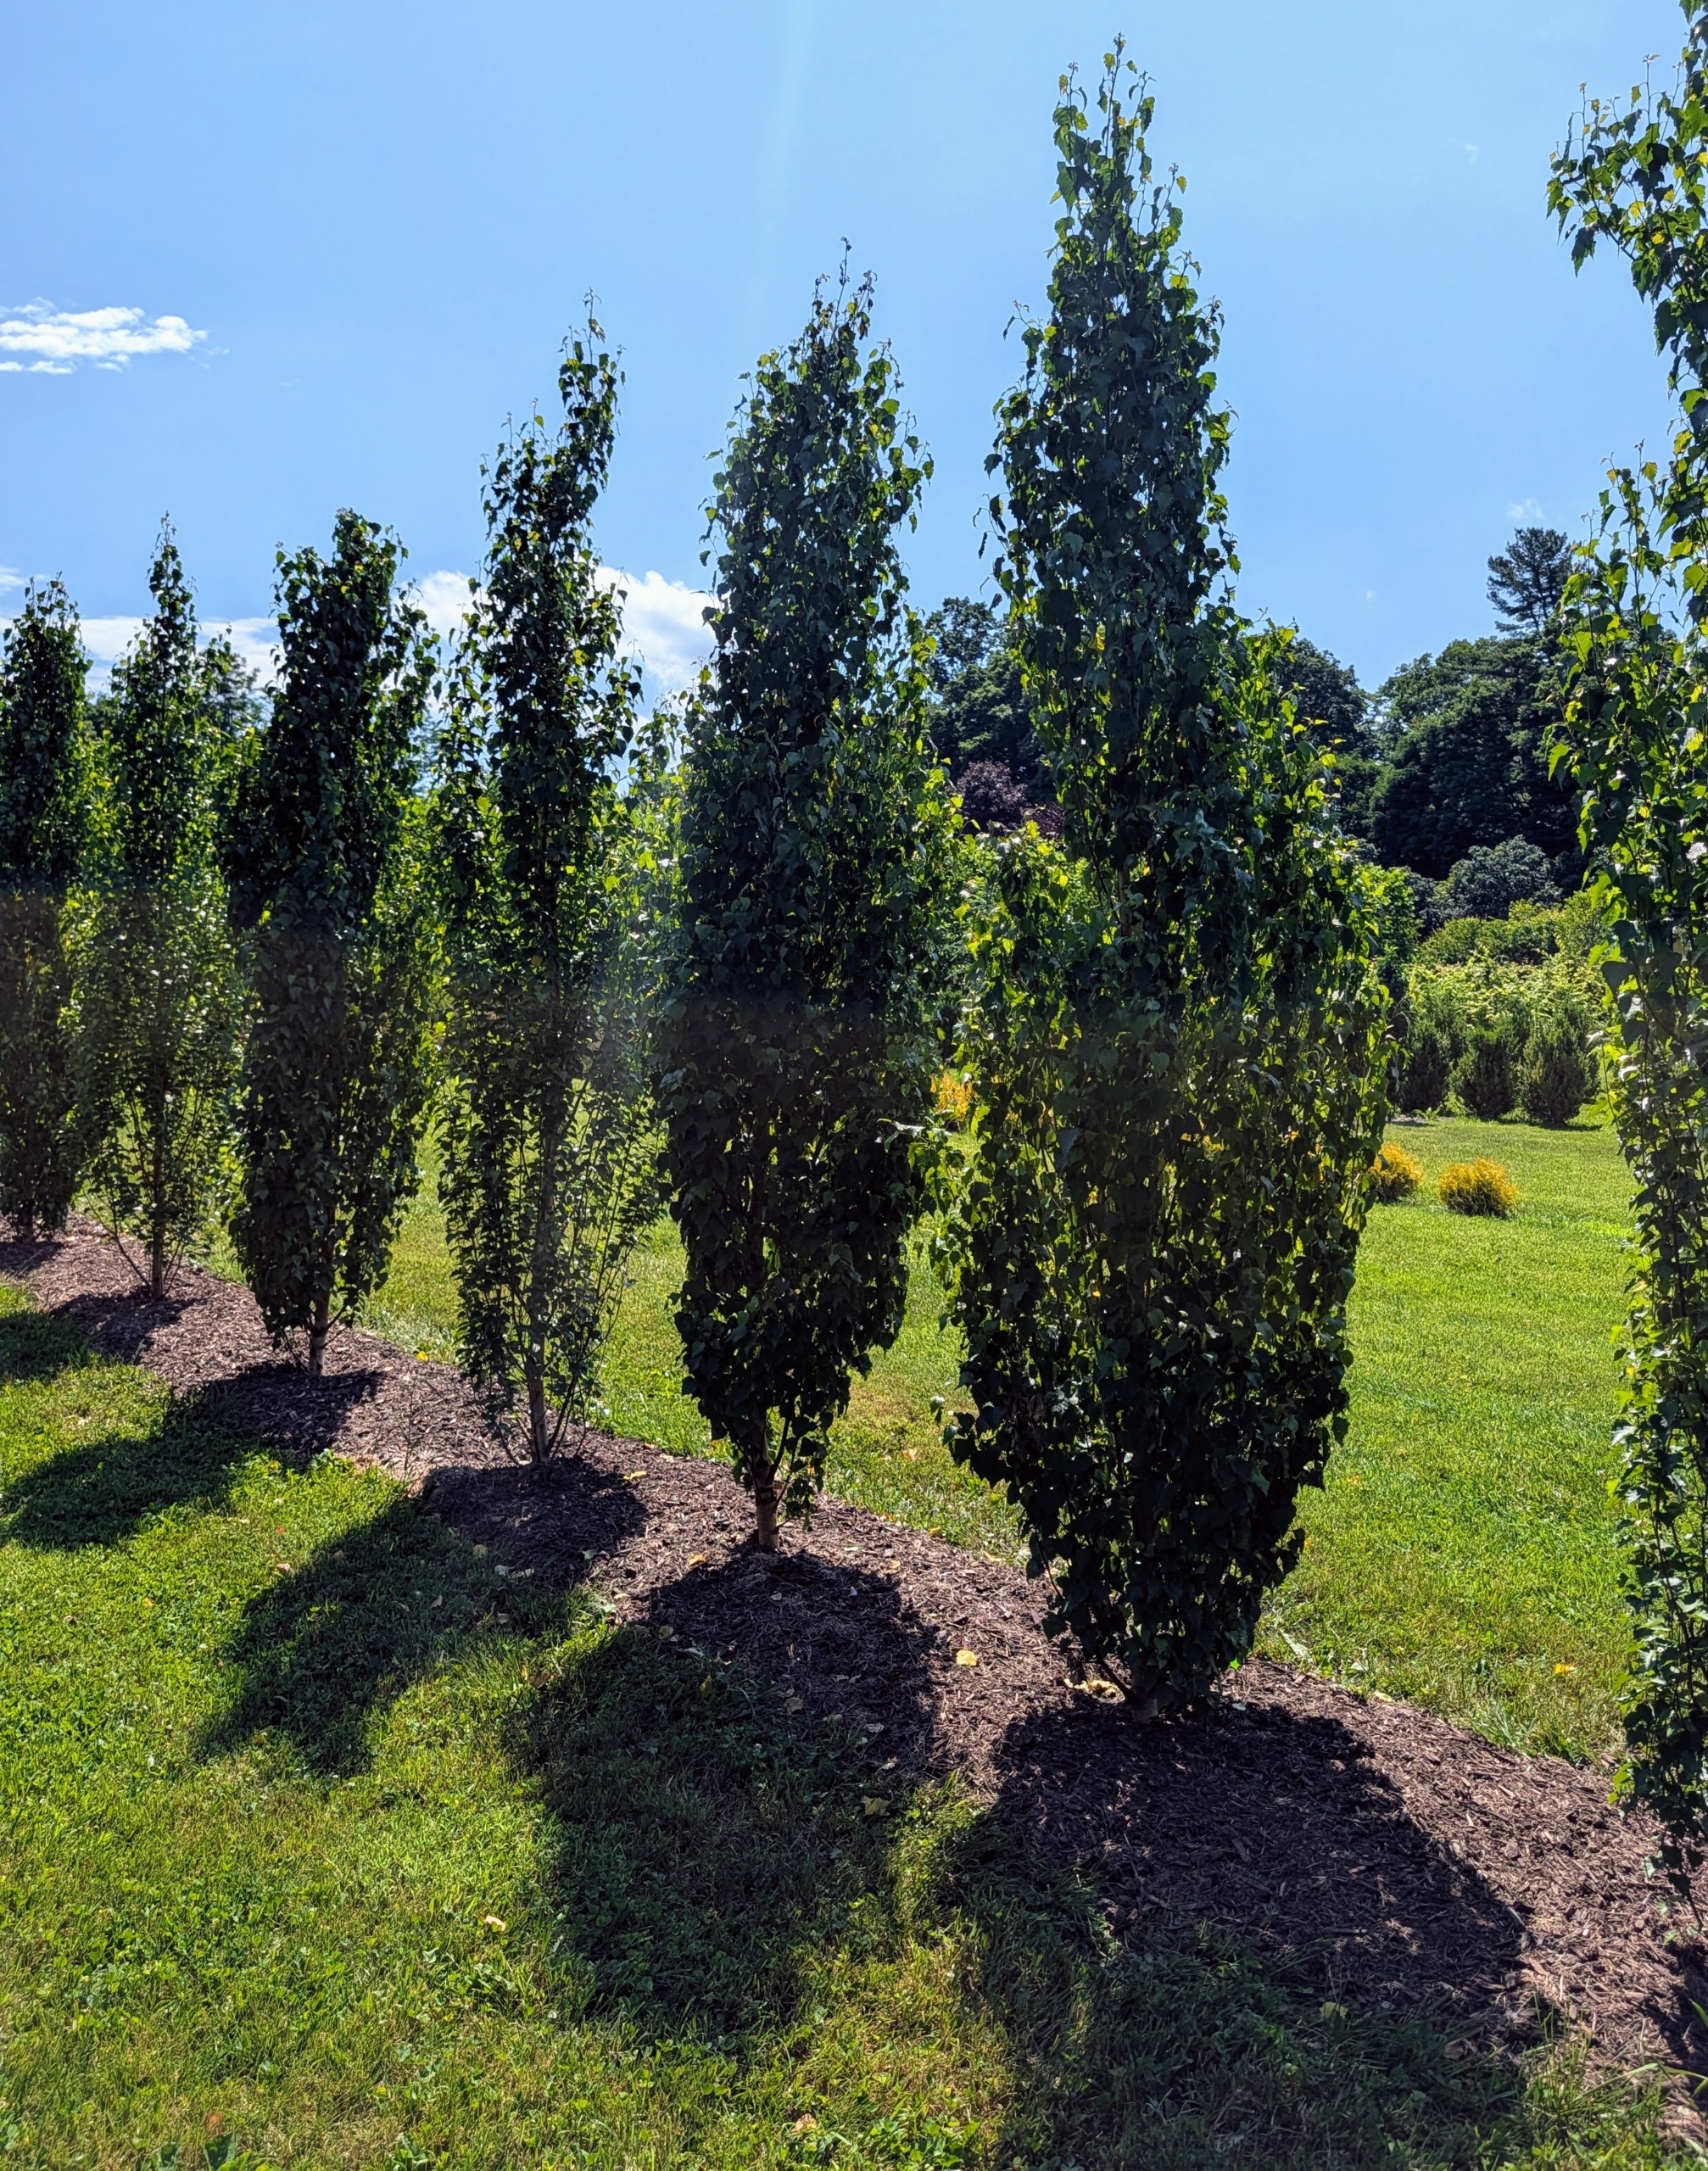
Here they are all done and looking very good. At full maturity, these trees will be 30 to 40 feet tall with a slender spread of six to seven feet.
And with consistent and proper care, these trees will live 30 to 50 years.
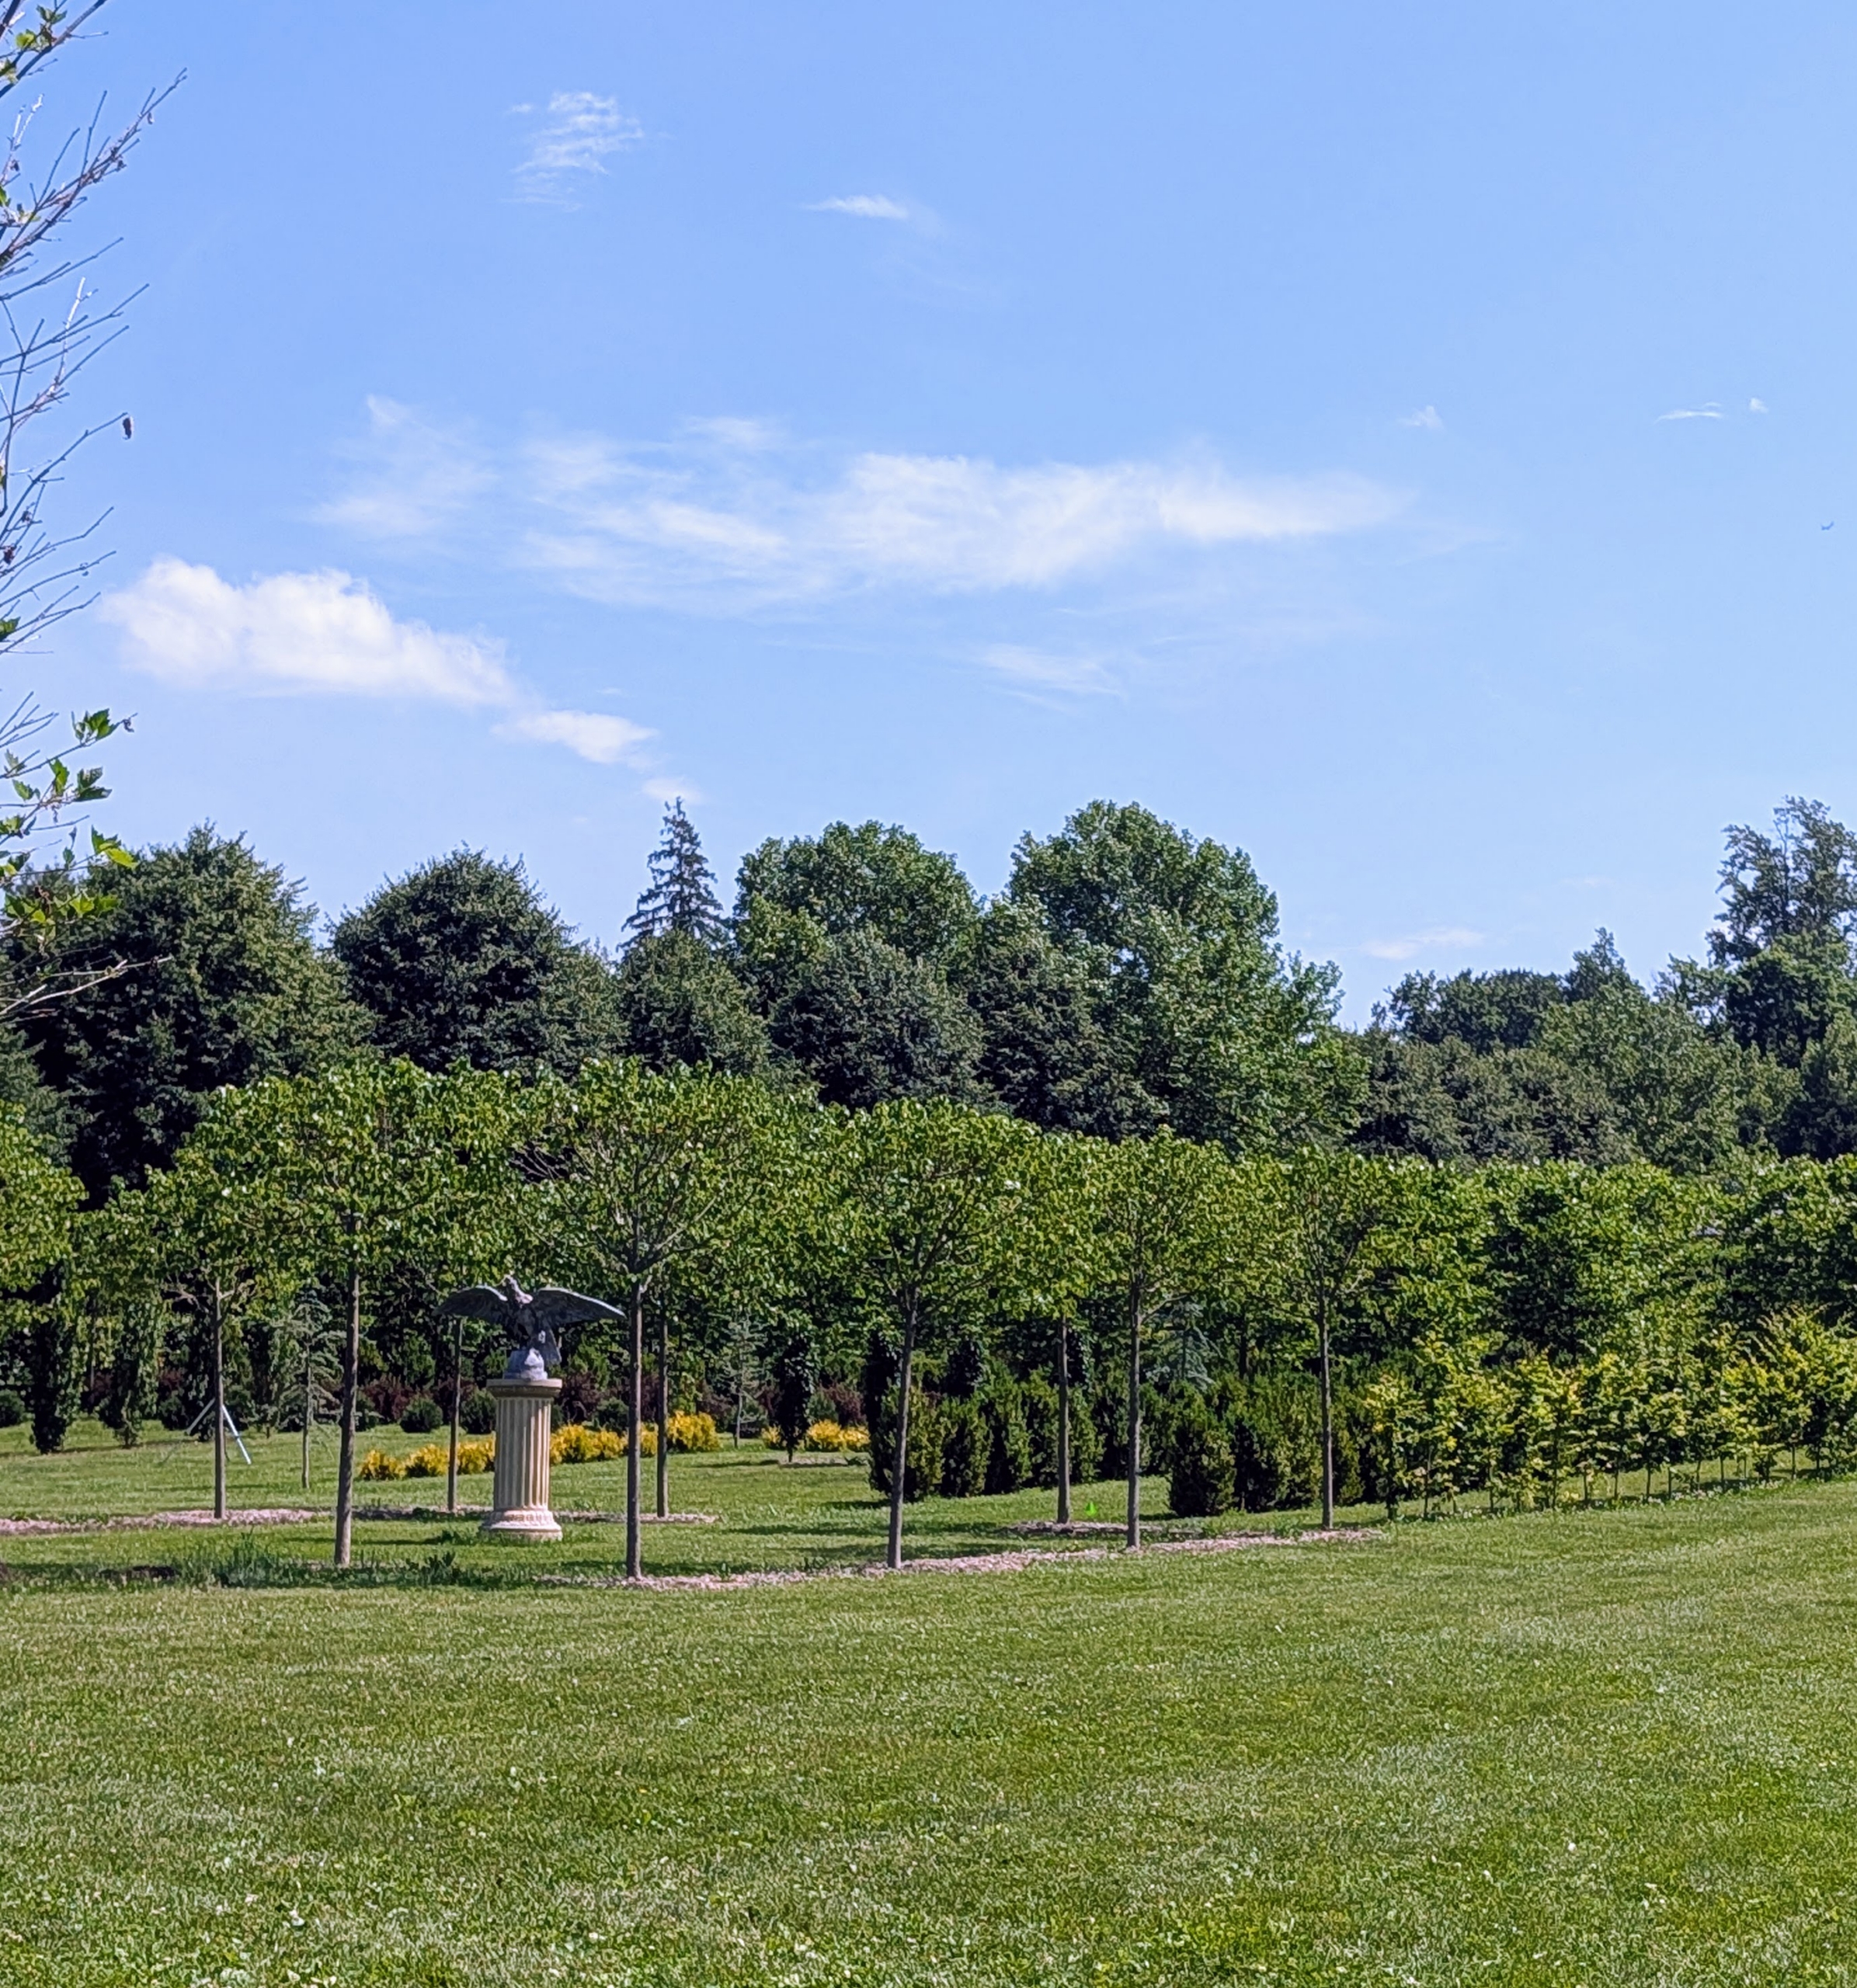
The maze is almost done, and all the trees and shrubs and other plants are all thriving. I am so proud of all the work I’ve done to create this fun and interesting network of paths and passages.
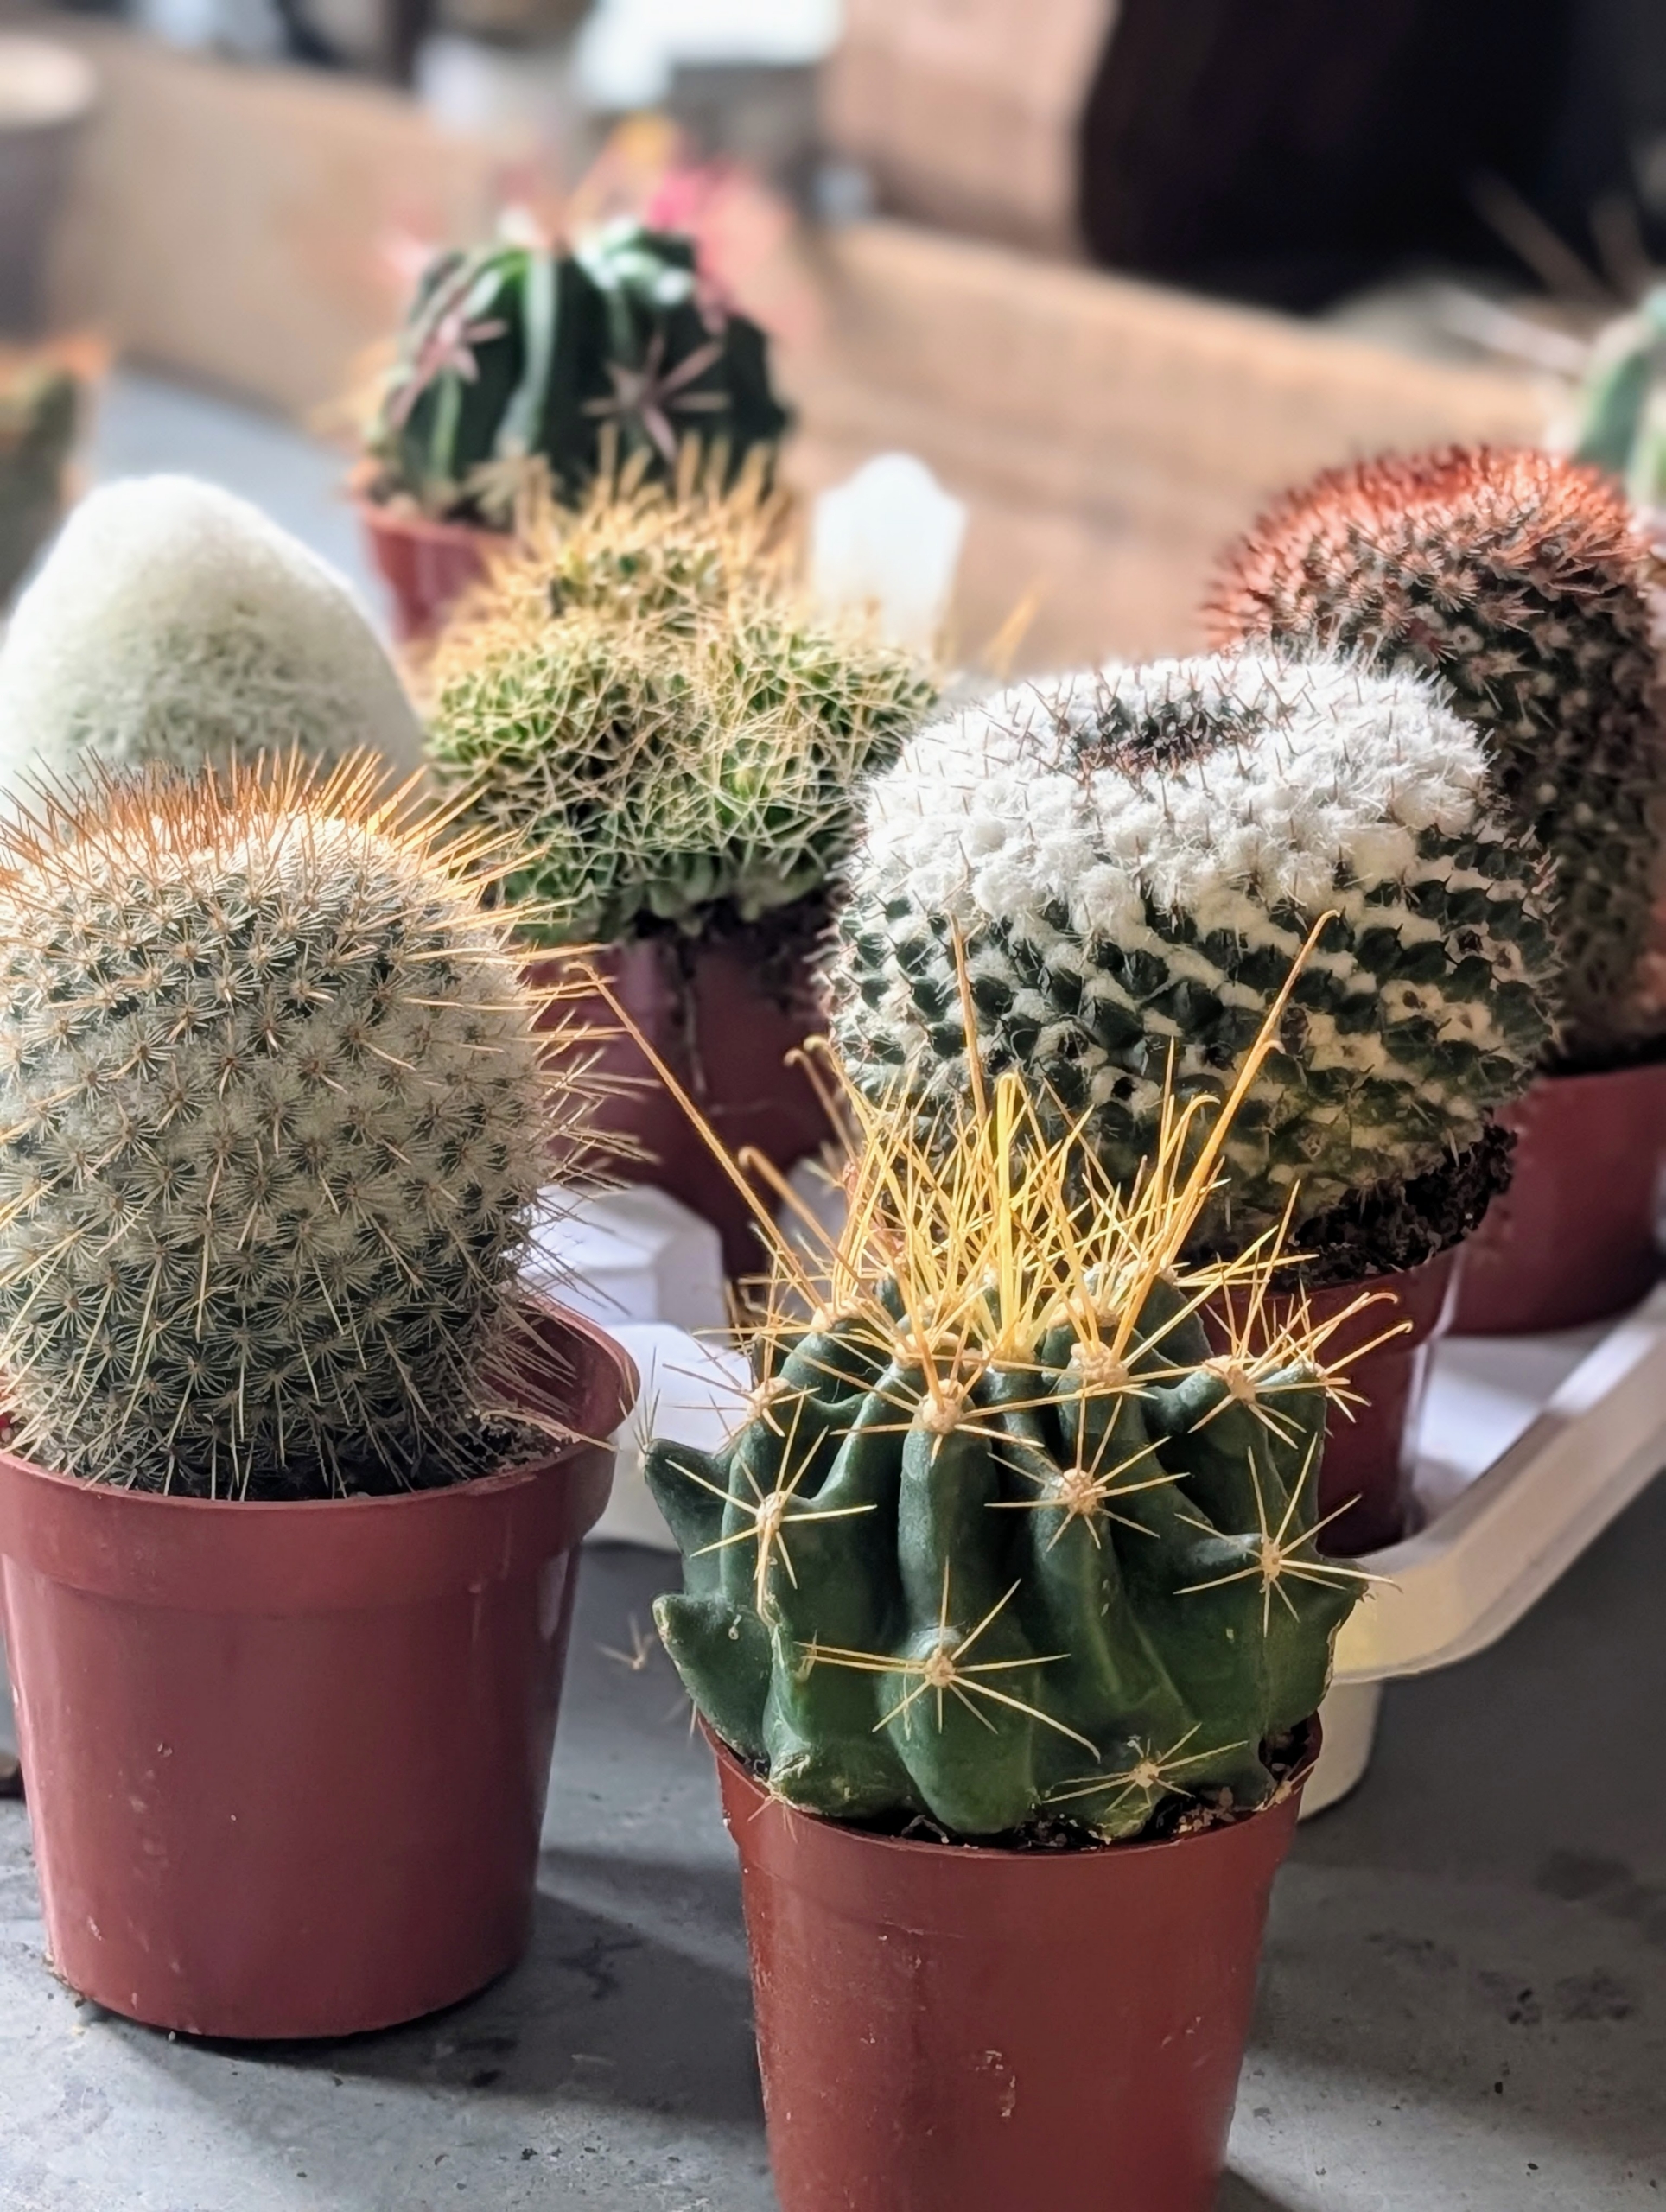
Exotic forms of succulents make excellent container specimens.
Succulents are low-maintenance, adaptable both indoors and out, and have a large number of unique forms making them ideal plants for those who love growing them but don’t really have a lot of time to care for them. Succulents, which includes the cactus family, are able to survive prolonged drought because they store moisture in their fleshy stems, roots, and leaves. Cacti also have pad-like buds, called areoles, out of which grow sharp spines, which protect the plant from harm and collect and condense moisture. Not long ago, I bought a few interesting cacti to add to my growing collection.
Enjoy these photos.
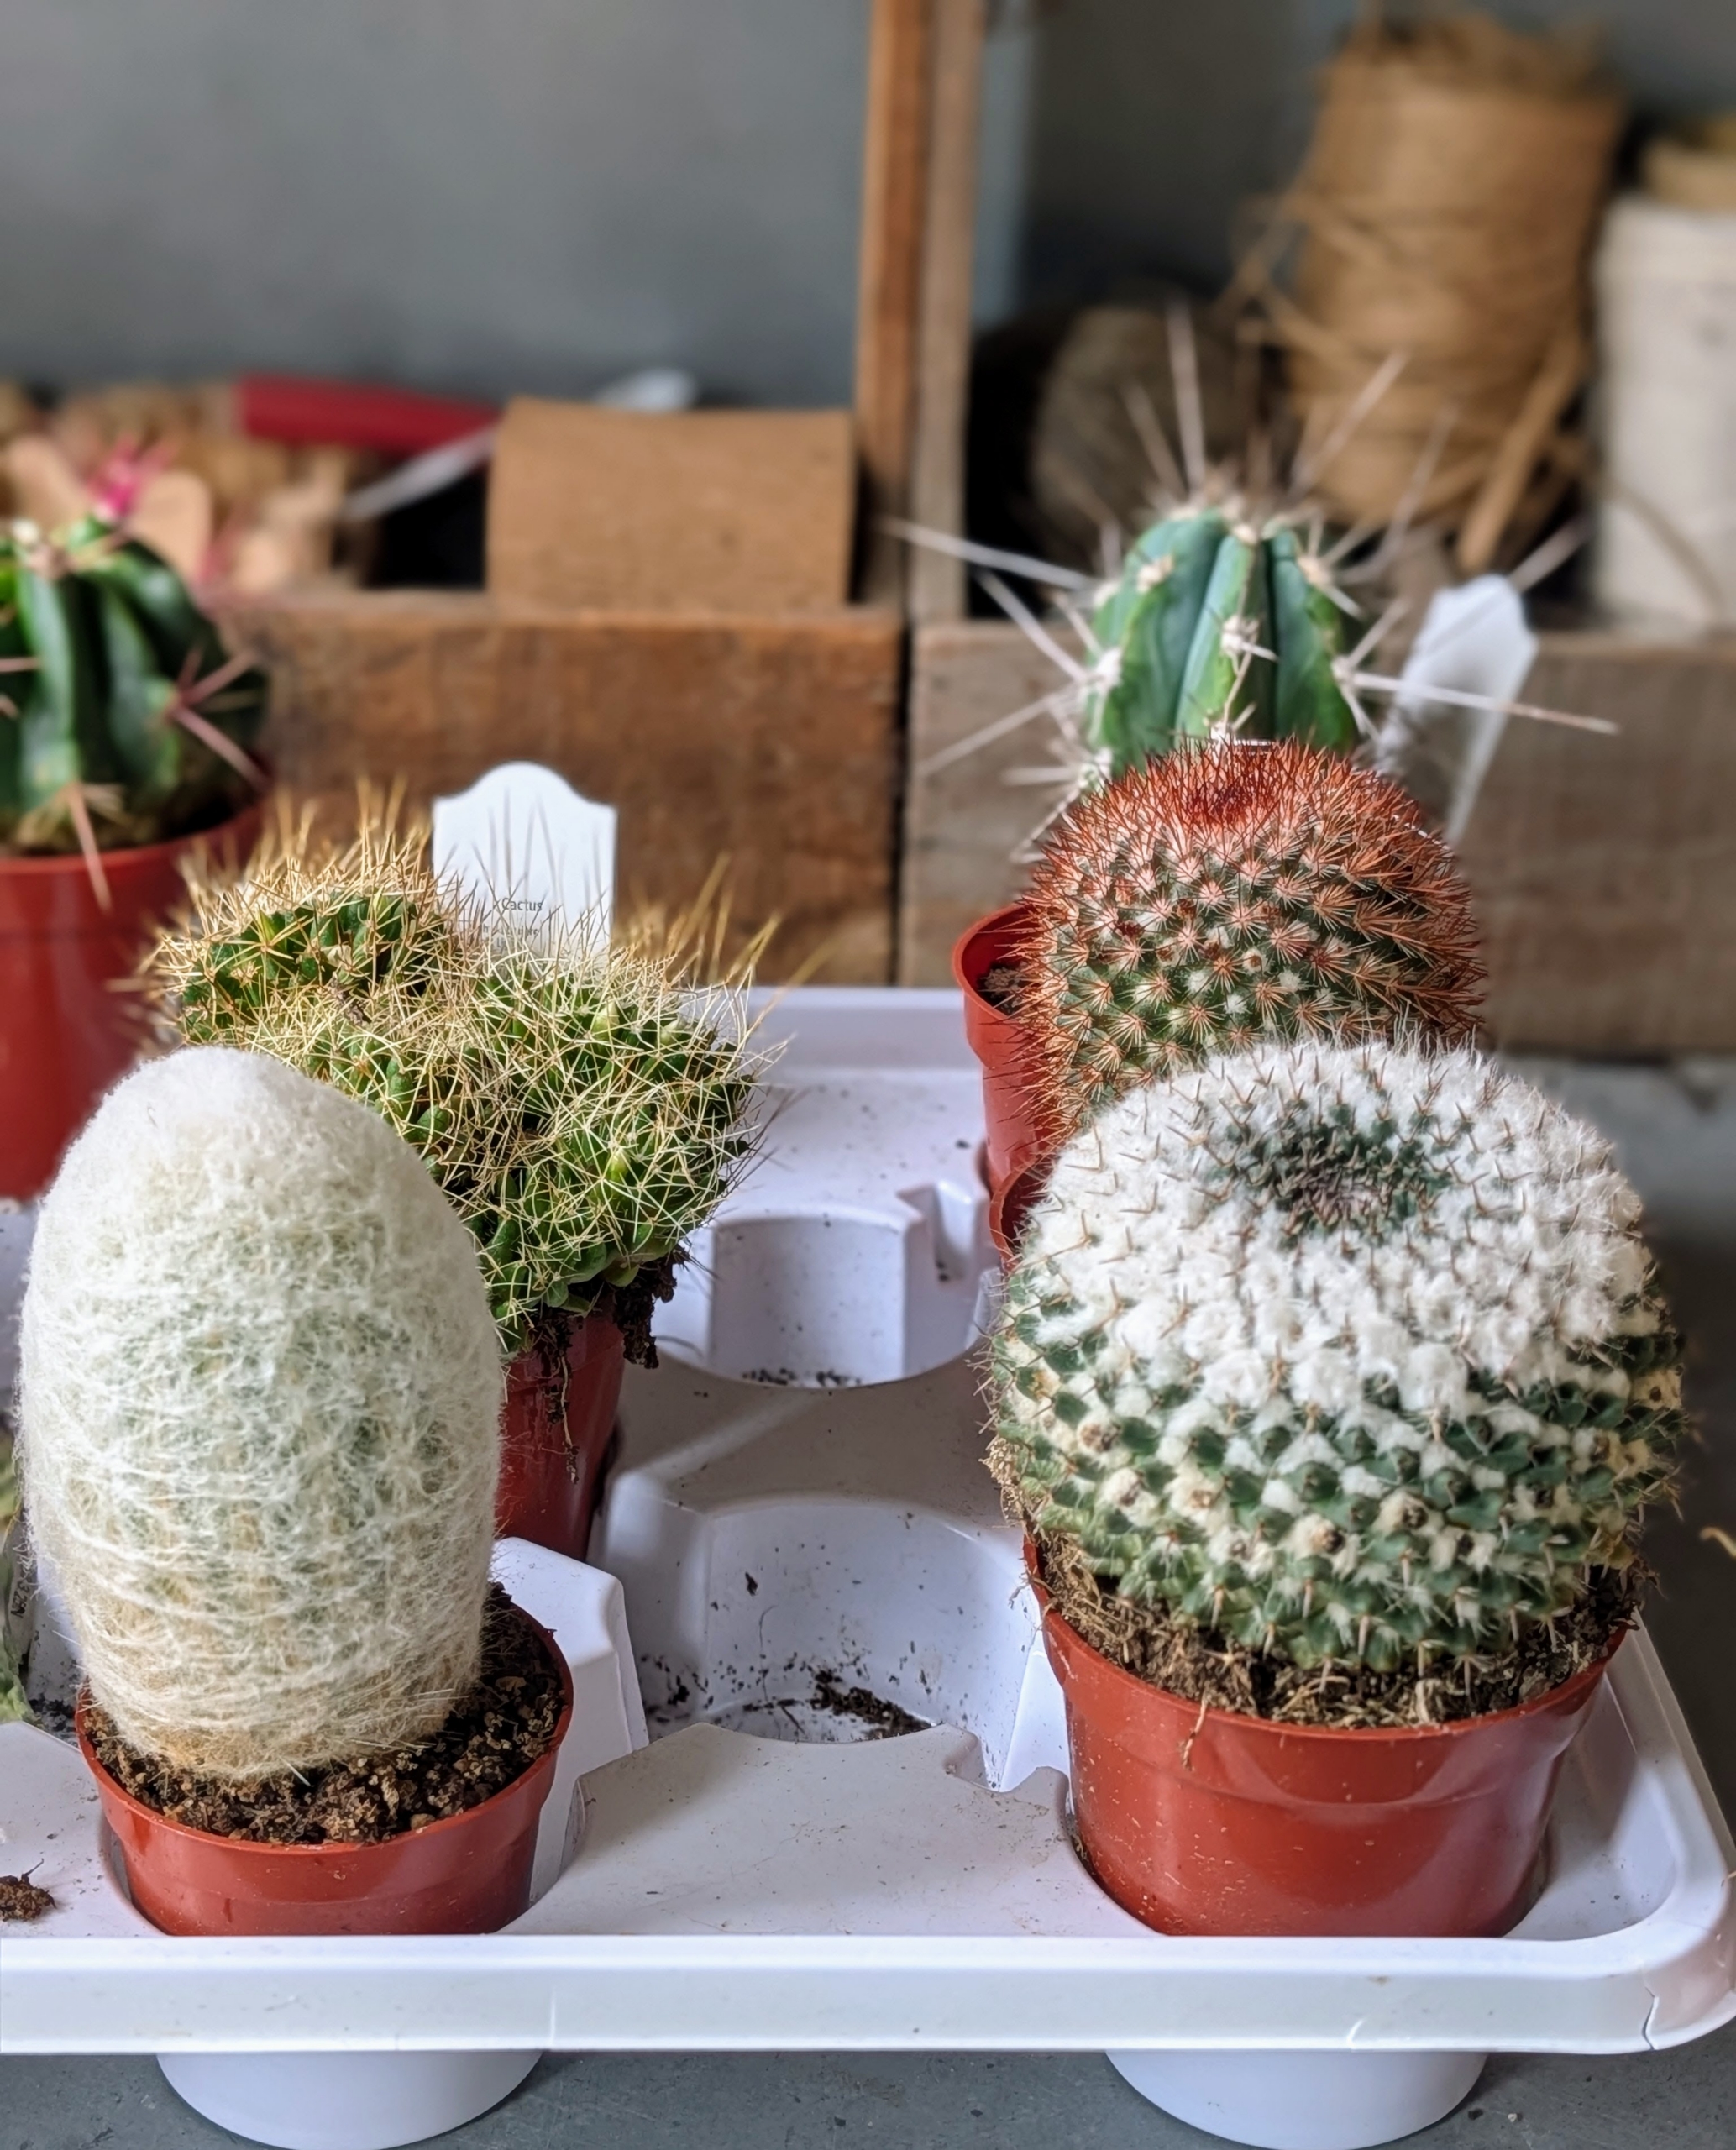
Whenever I travel, I often look for interesting plants to bring home and add to my greenhouse. I have amassed quite a collection of unique specimens over the years. These are from Colasanti Farms in Canada, a 4th generation family owned company growing a large variety of cactus, succulents and tropical plants.
When starting a cactus collection, know the basics about watering, sunlight, soil, and pots. And start with smaller, easy-to-care-for varieties.
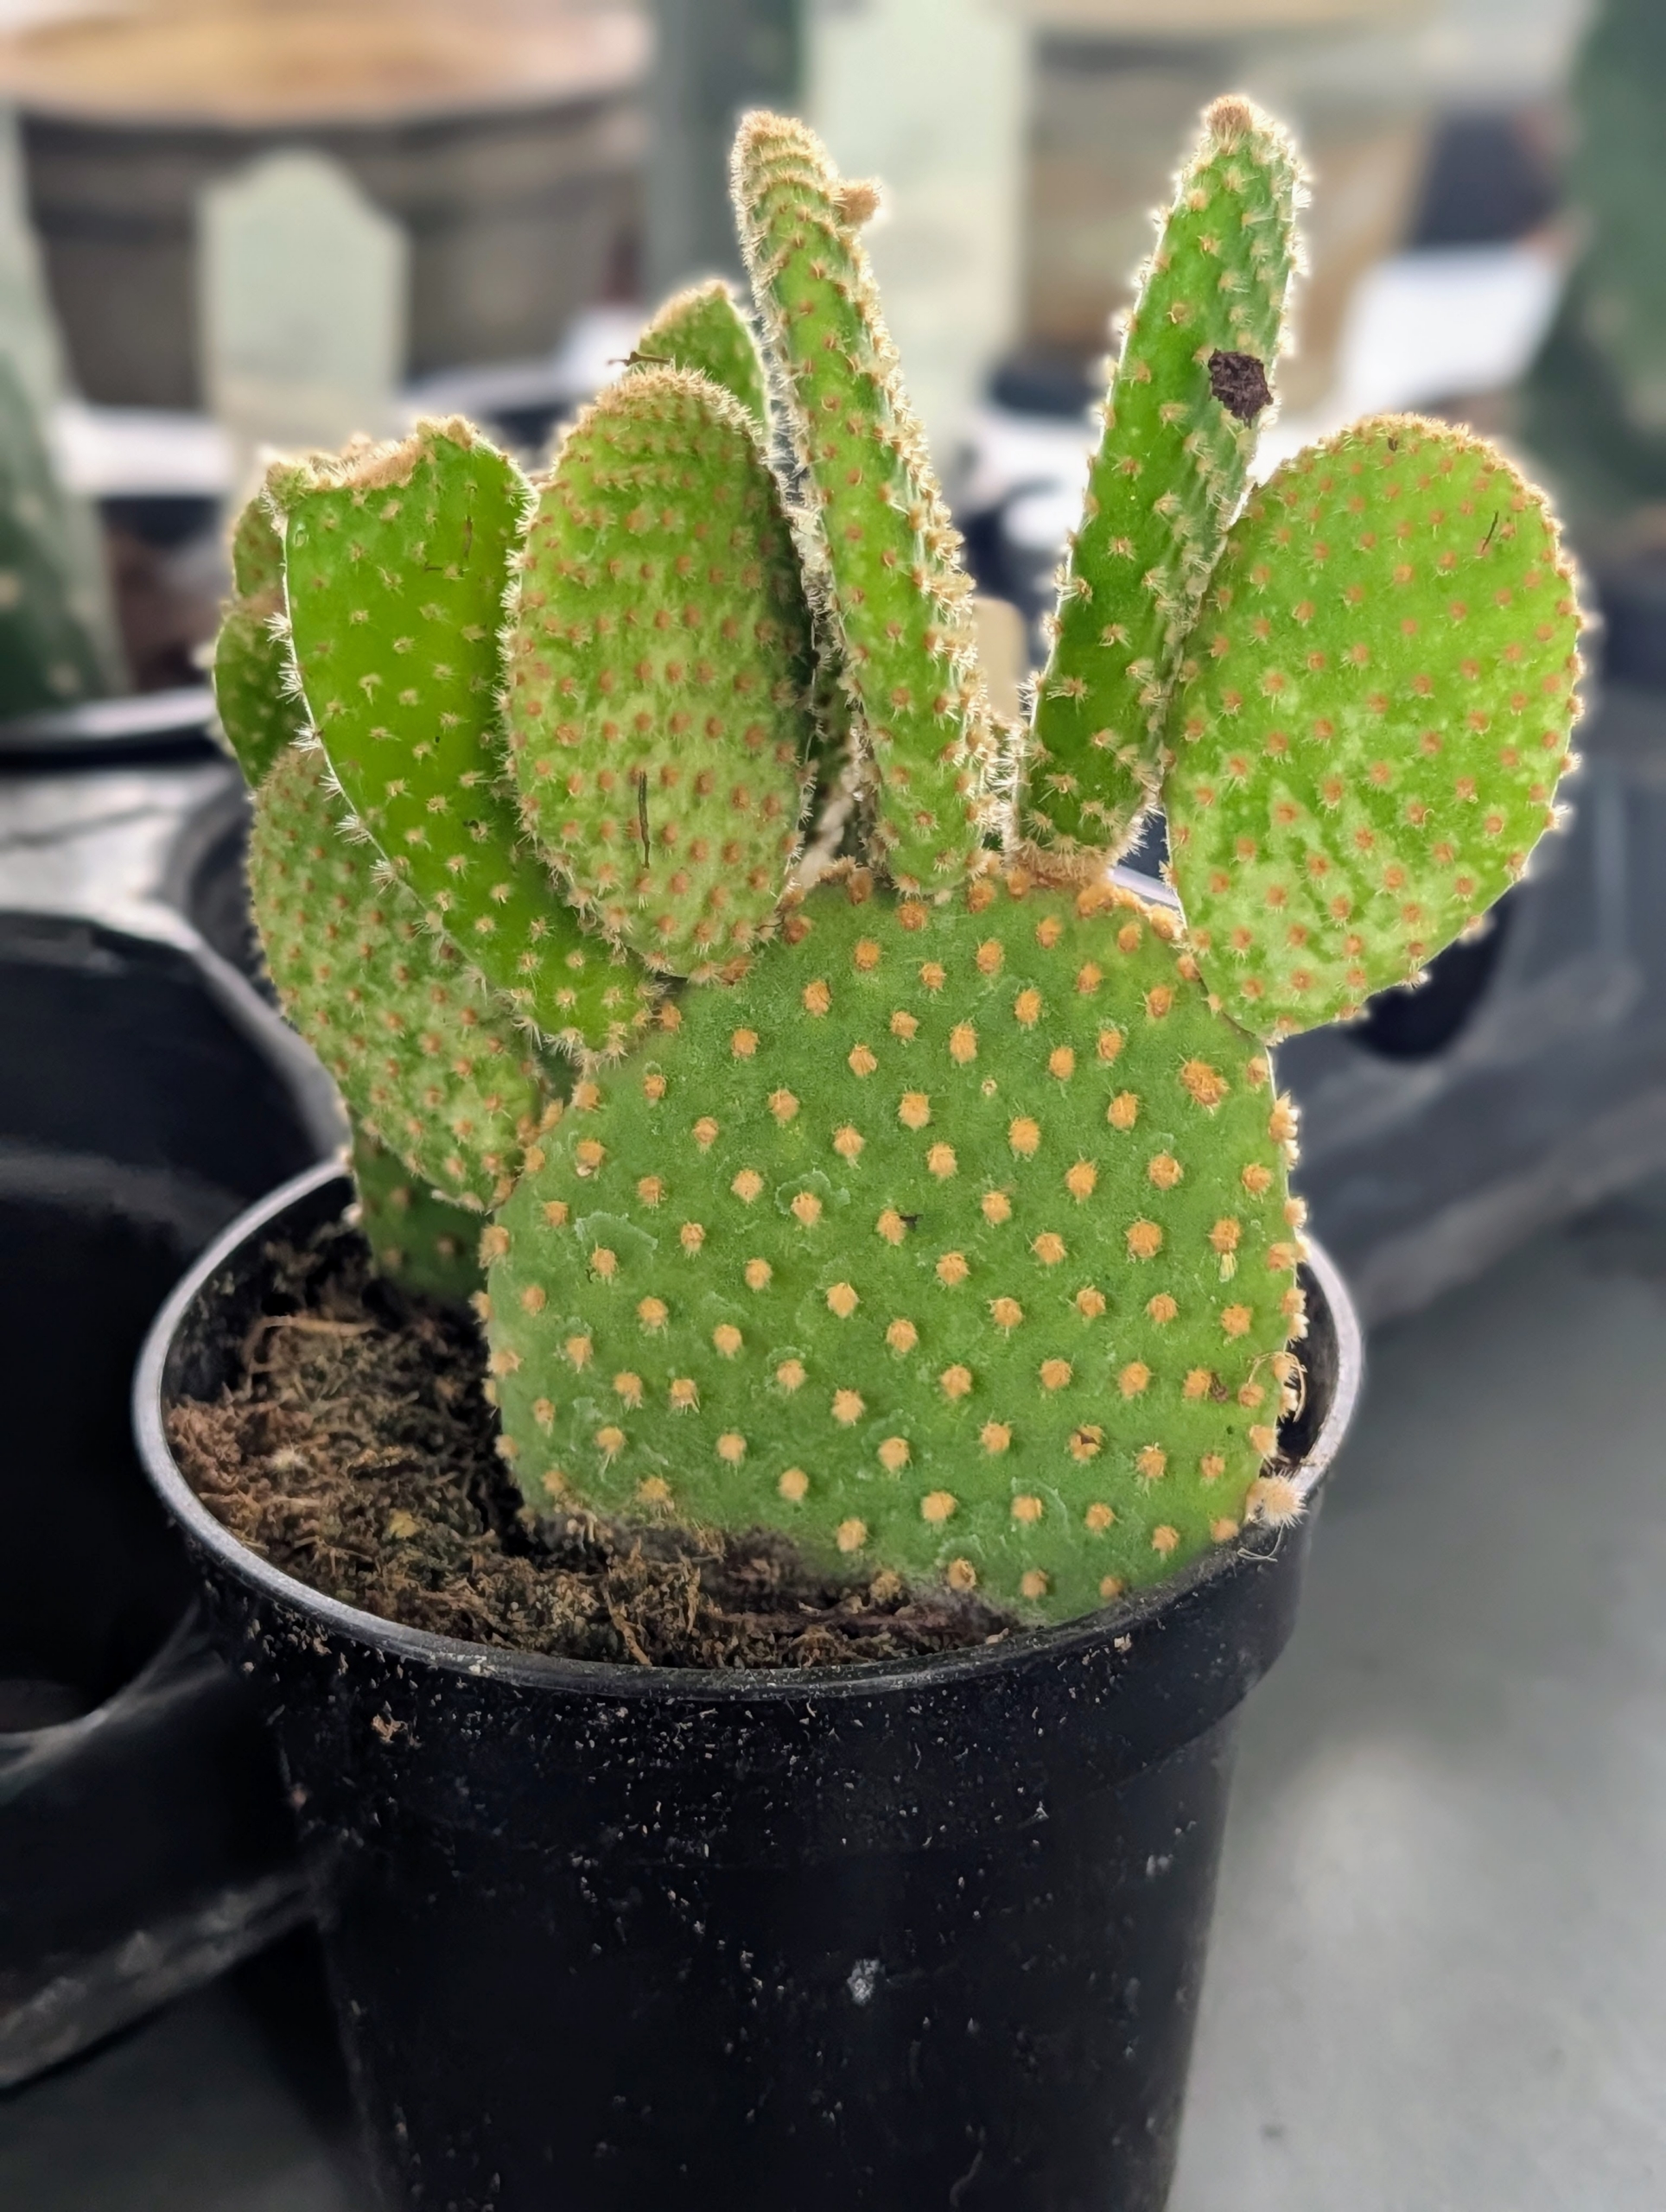
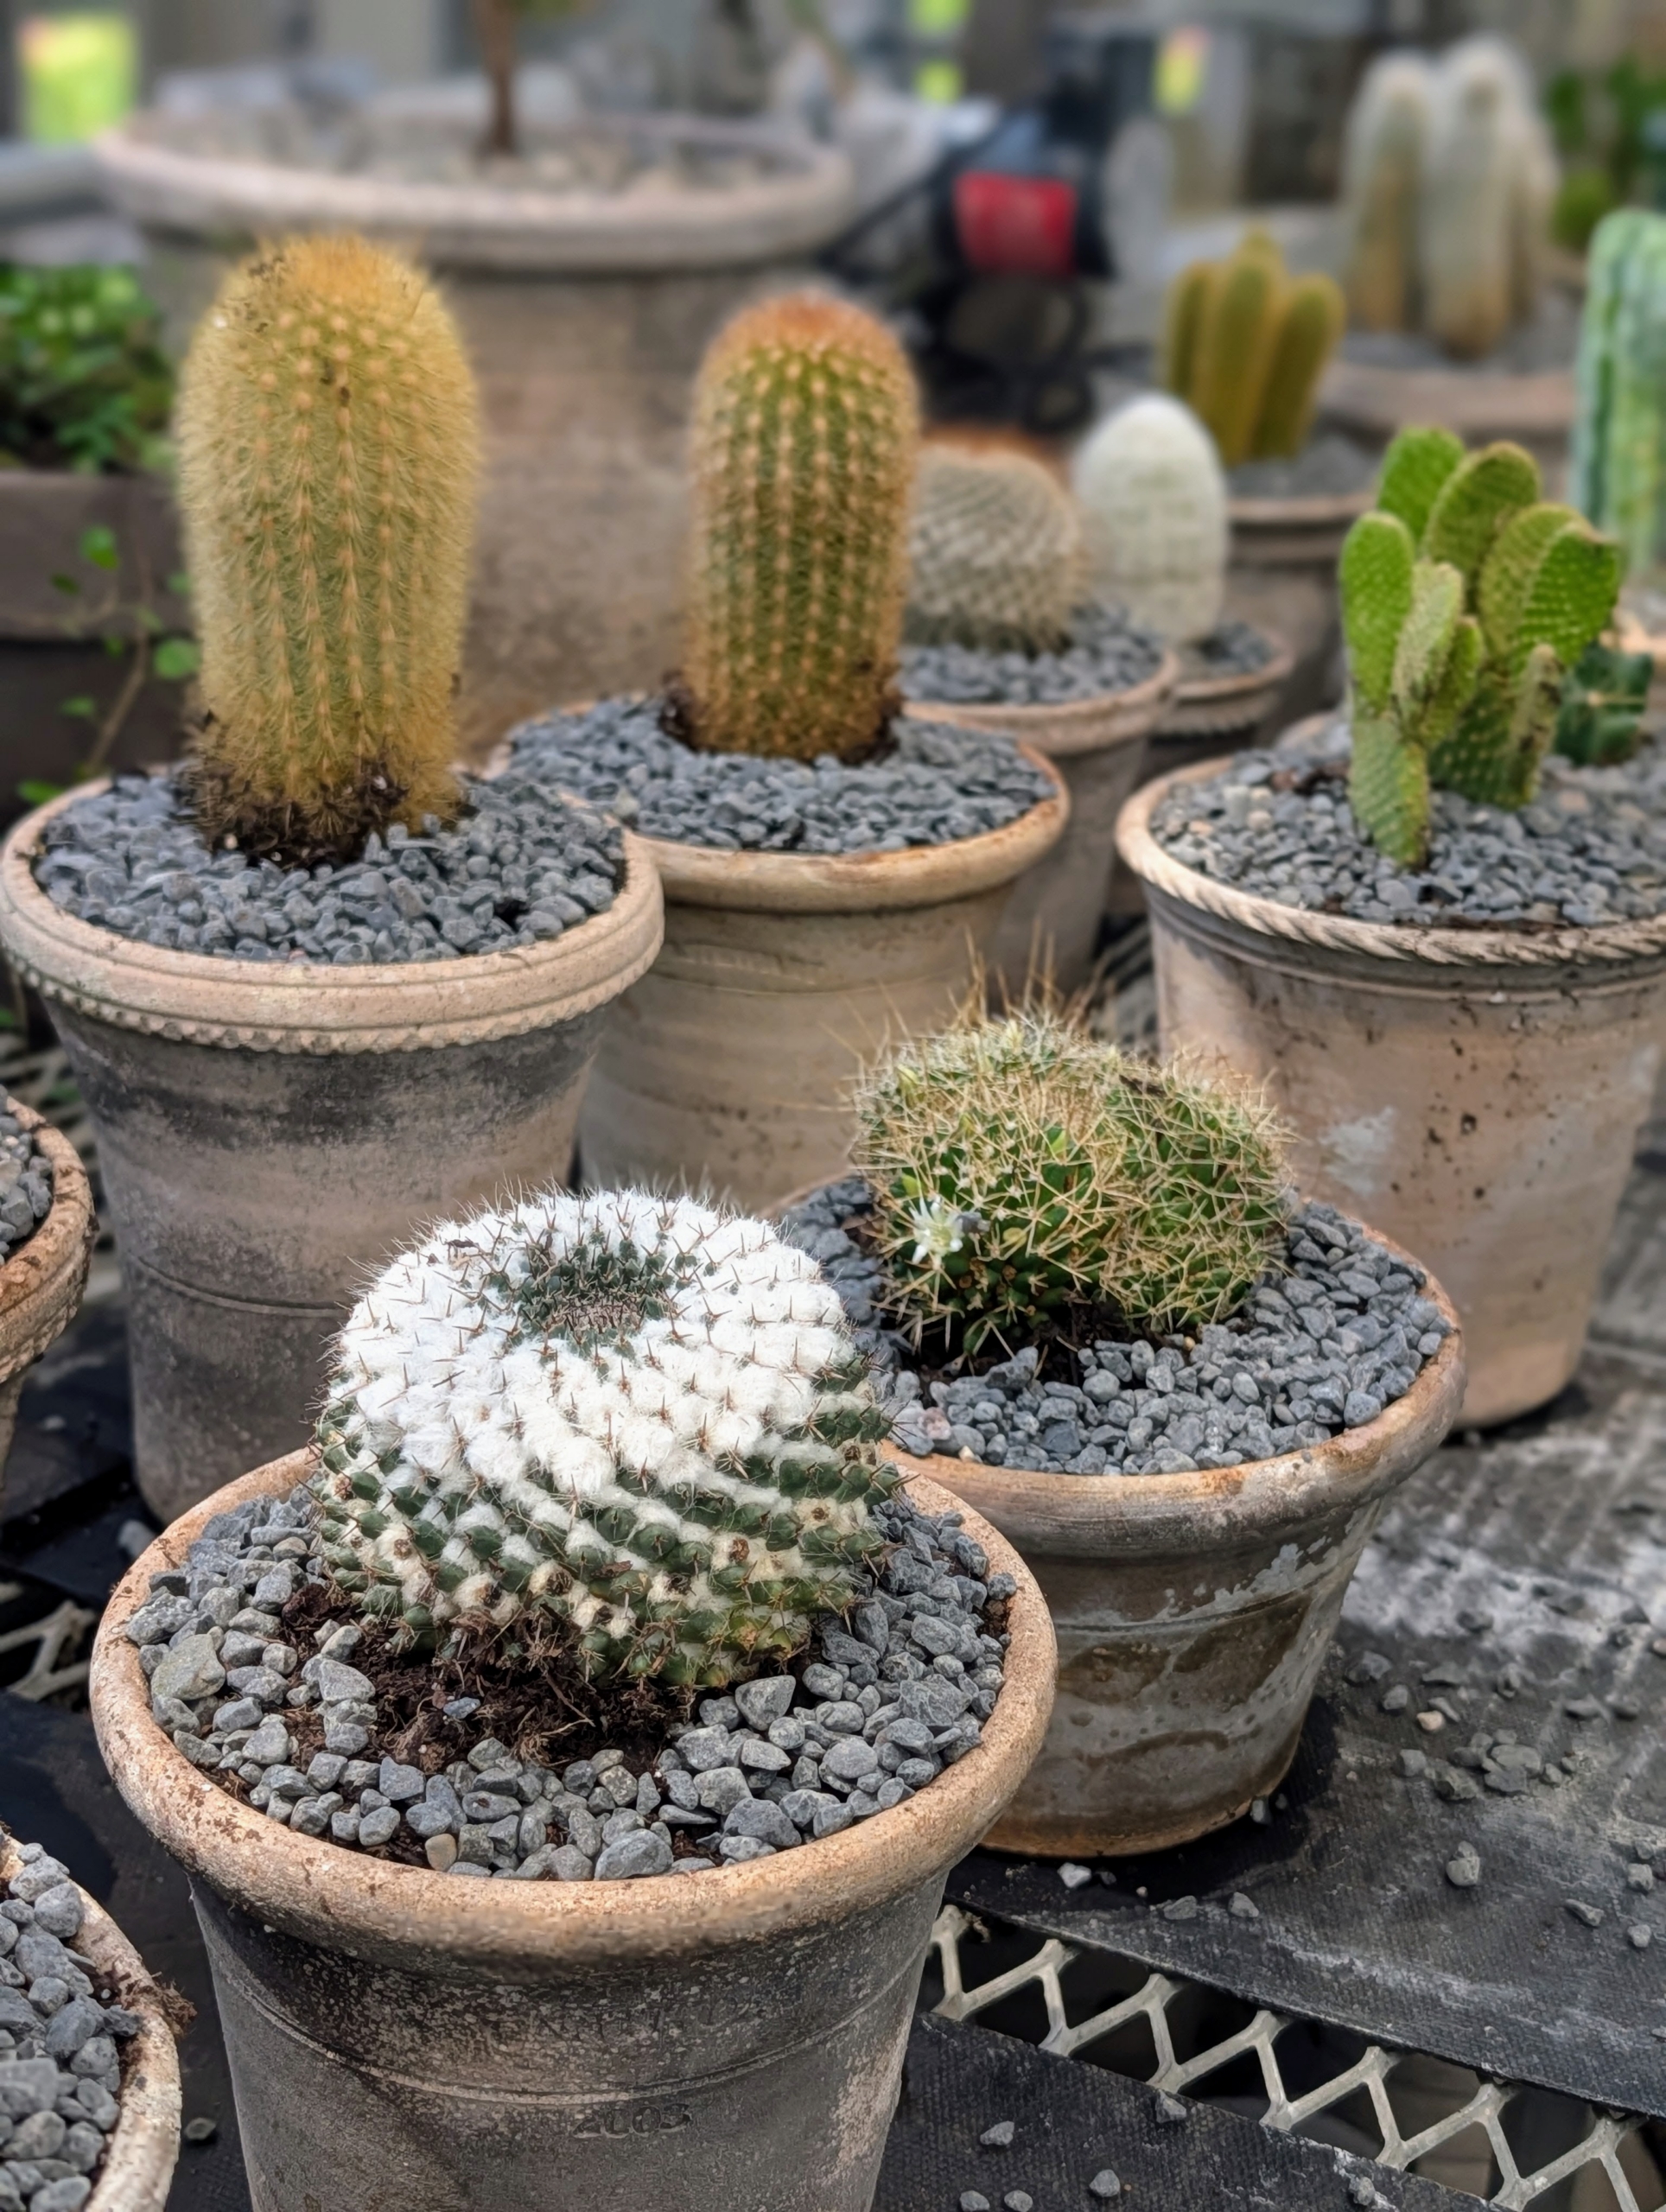
The Bunny Ear Cactus is a charming, low-maintenance ornamental plant with flat, paired pads covered in tiny barbed spines.
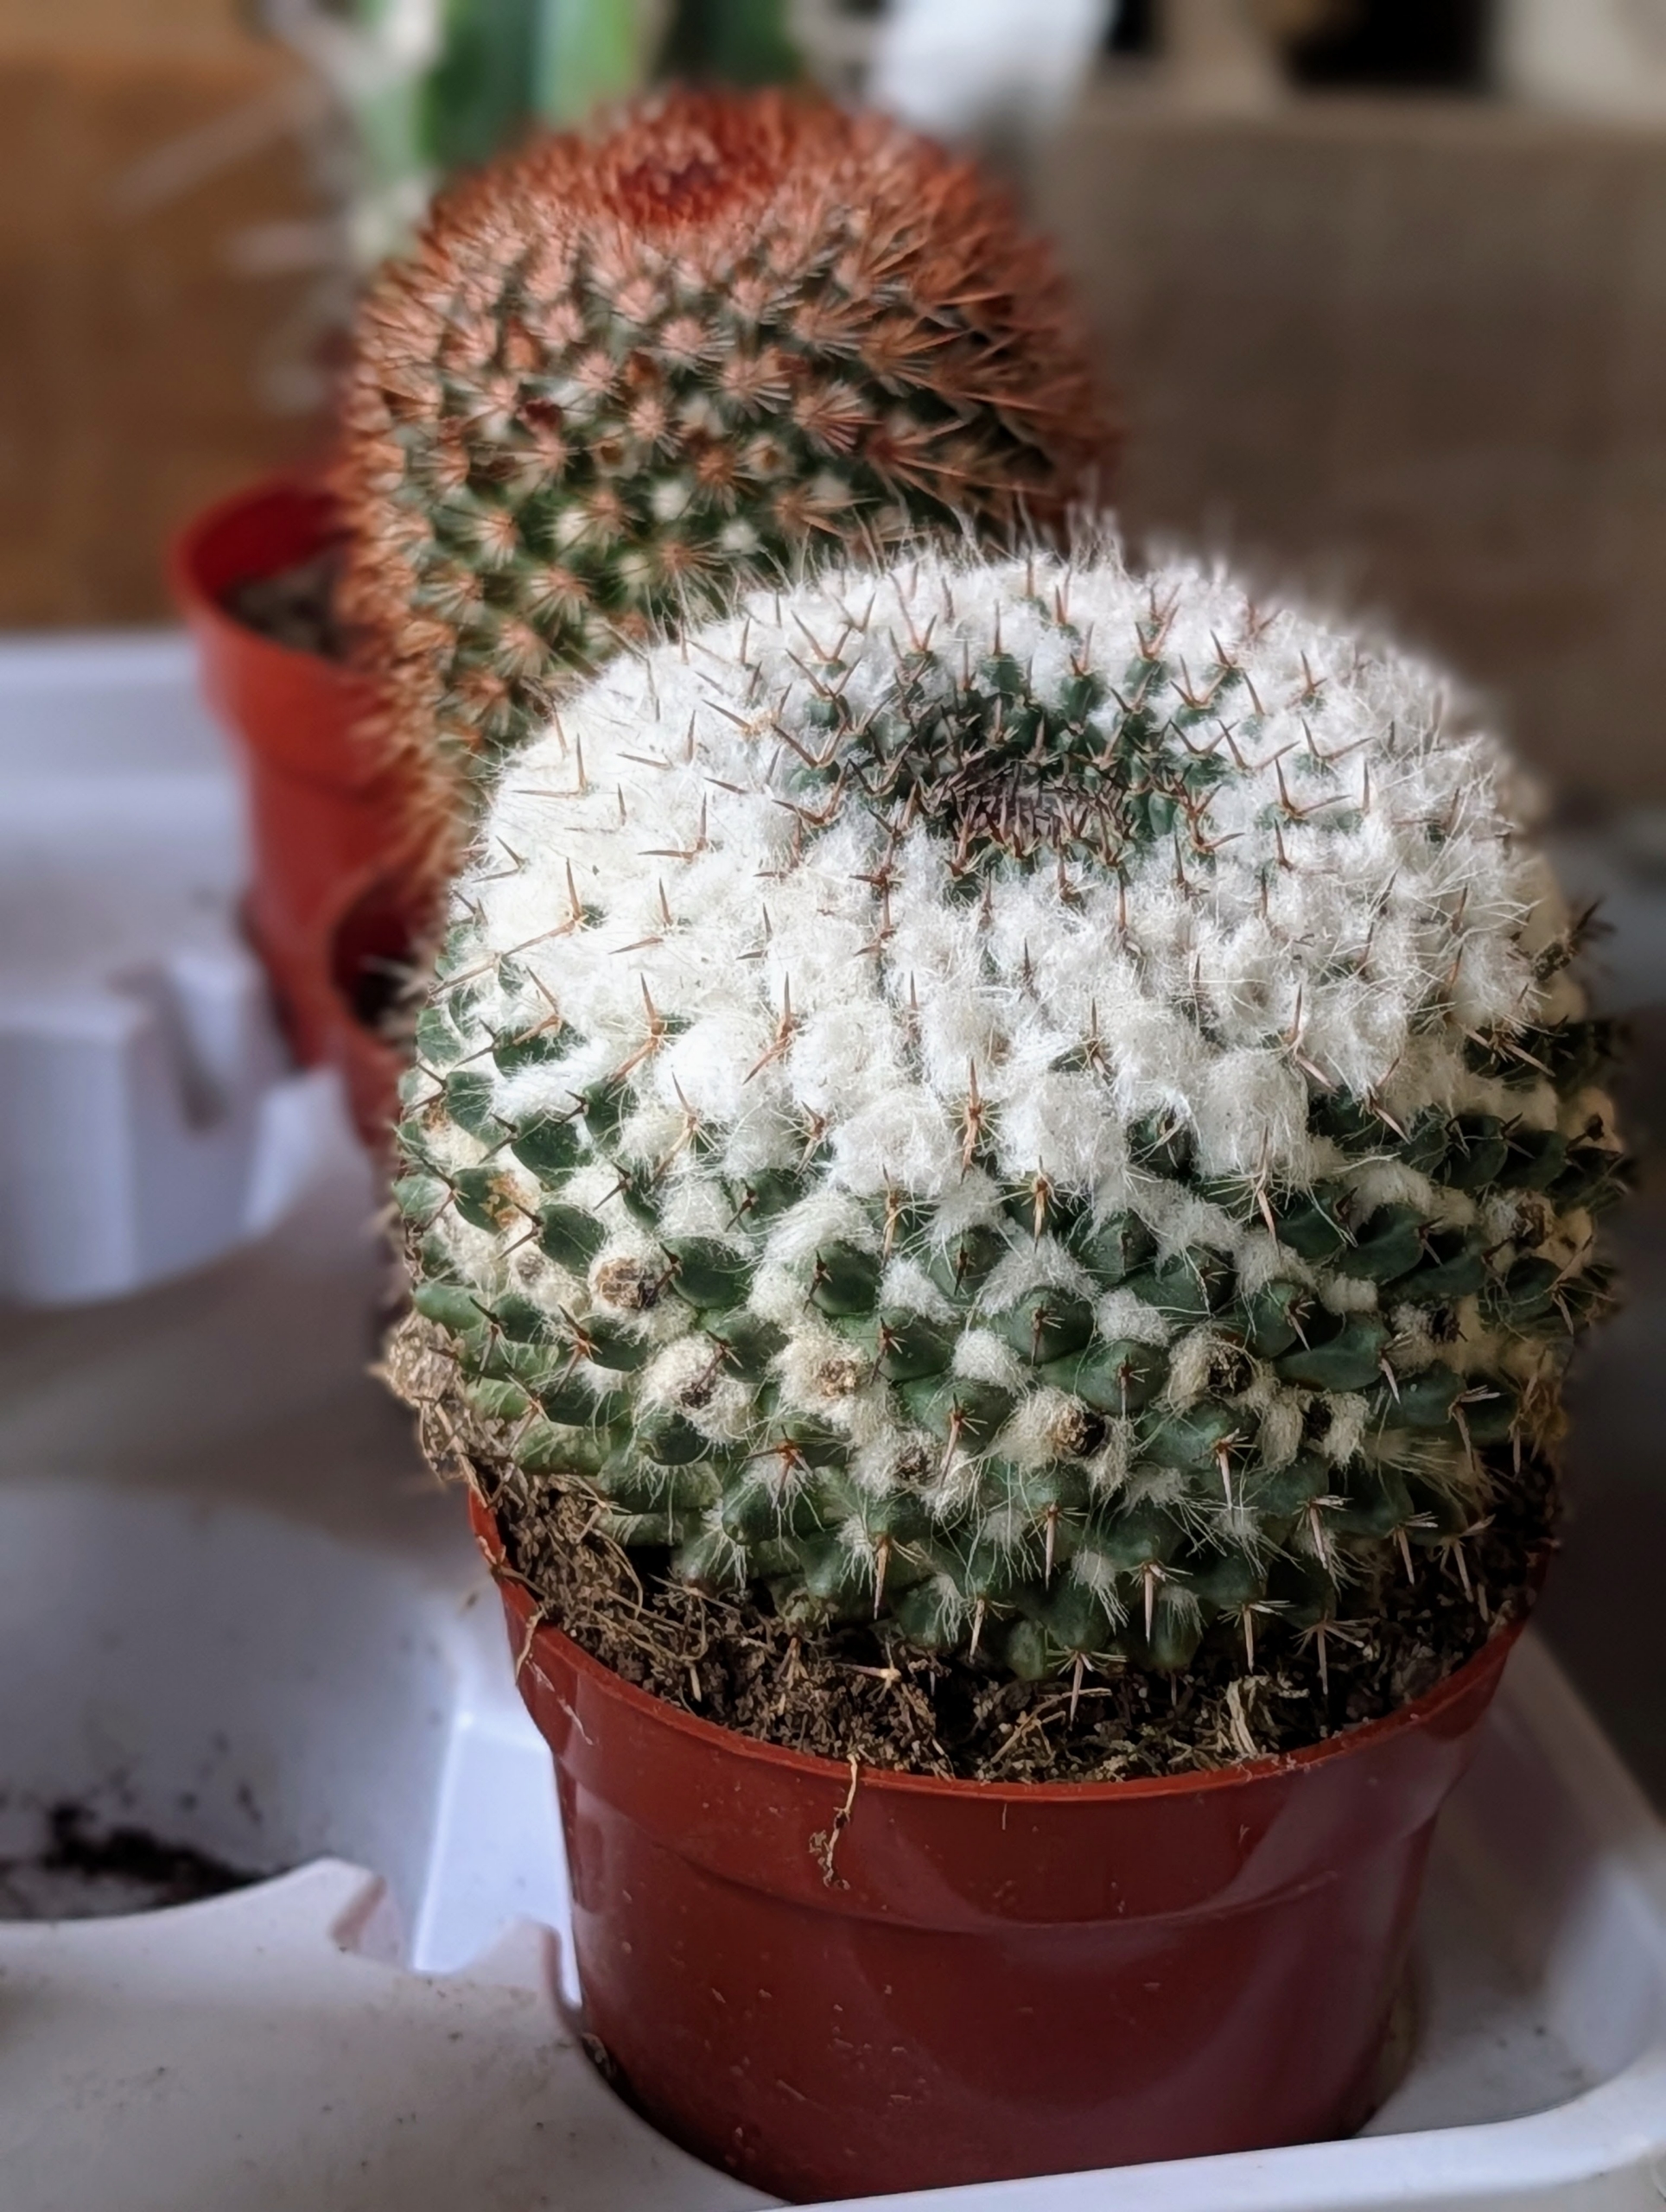
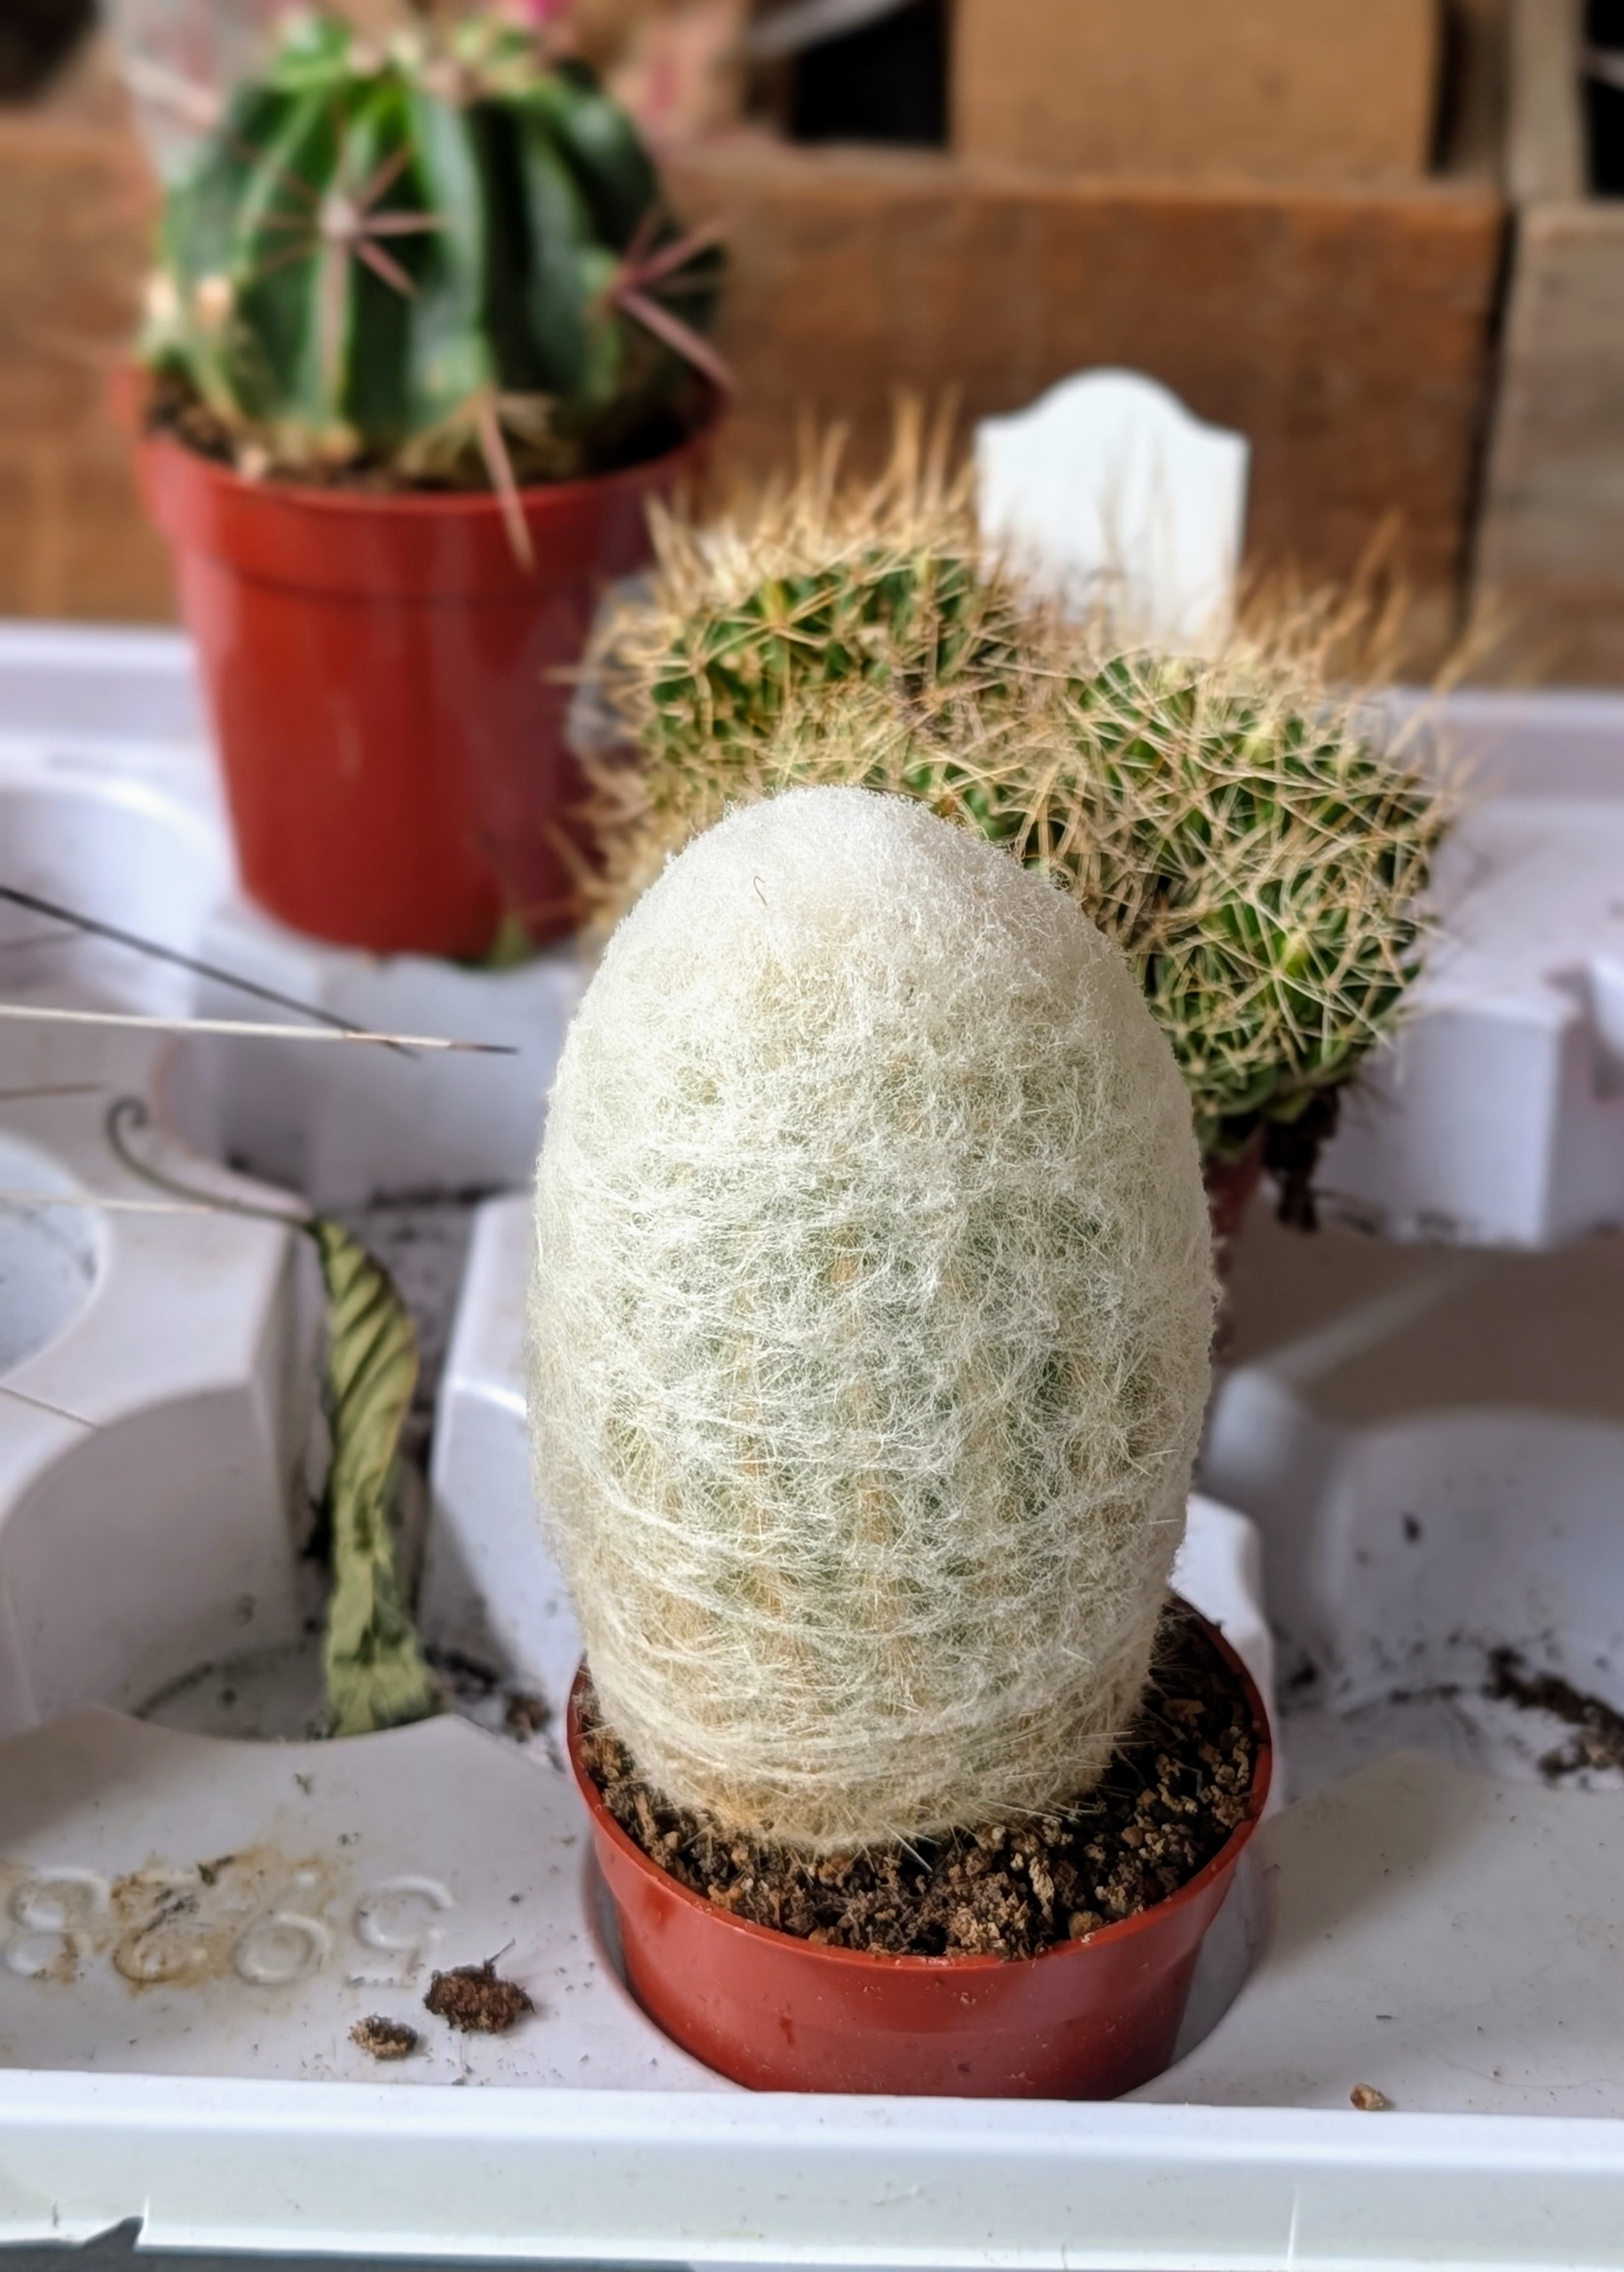
The Old Lady Cactus is a small, clump-forming cactus native to central Mexico and valued for its appearance and ease of care. It is spherical or cylindrical, can grow up to 12 inches tall and four inches wide, and has soft white hairs and bristle-like white spines, giving it a “white-haired lady” look.
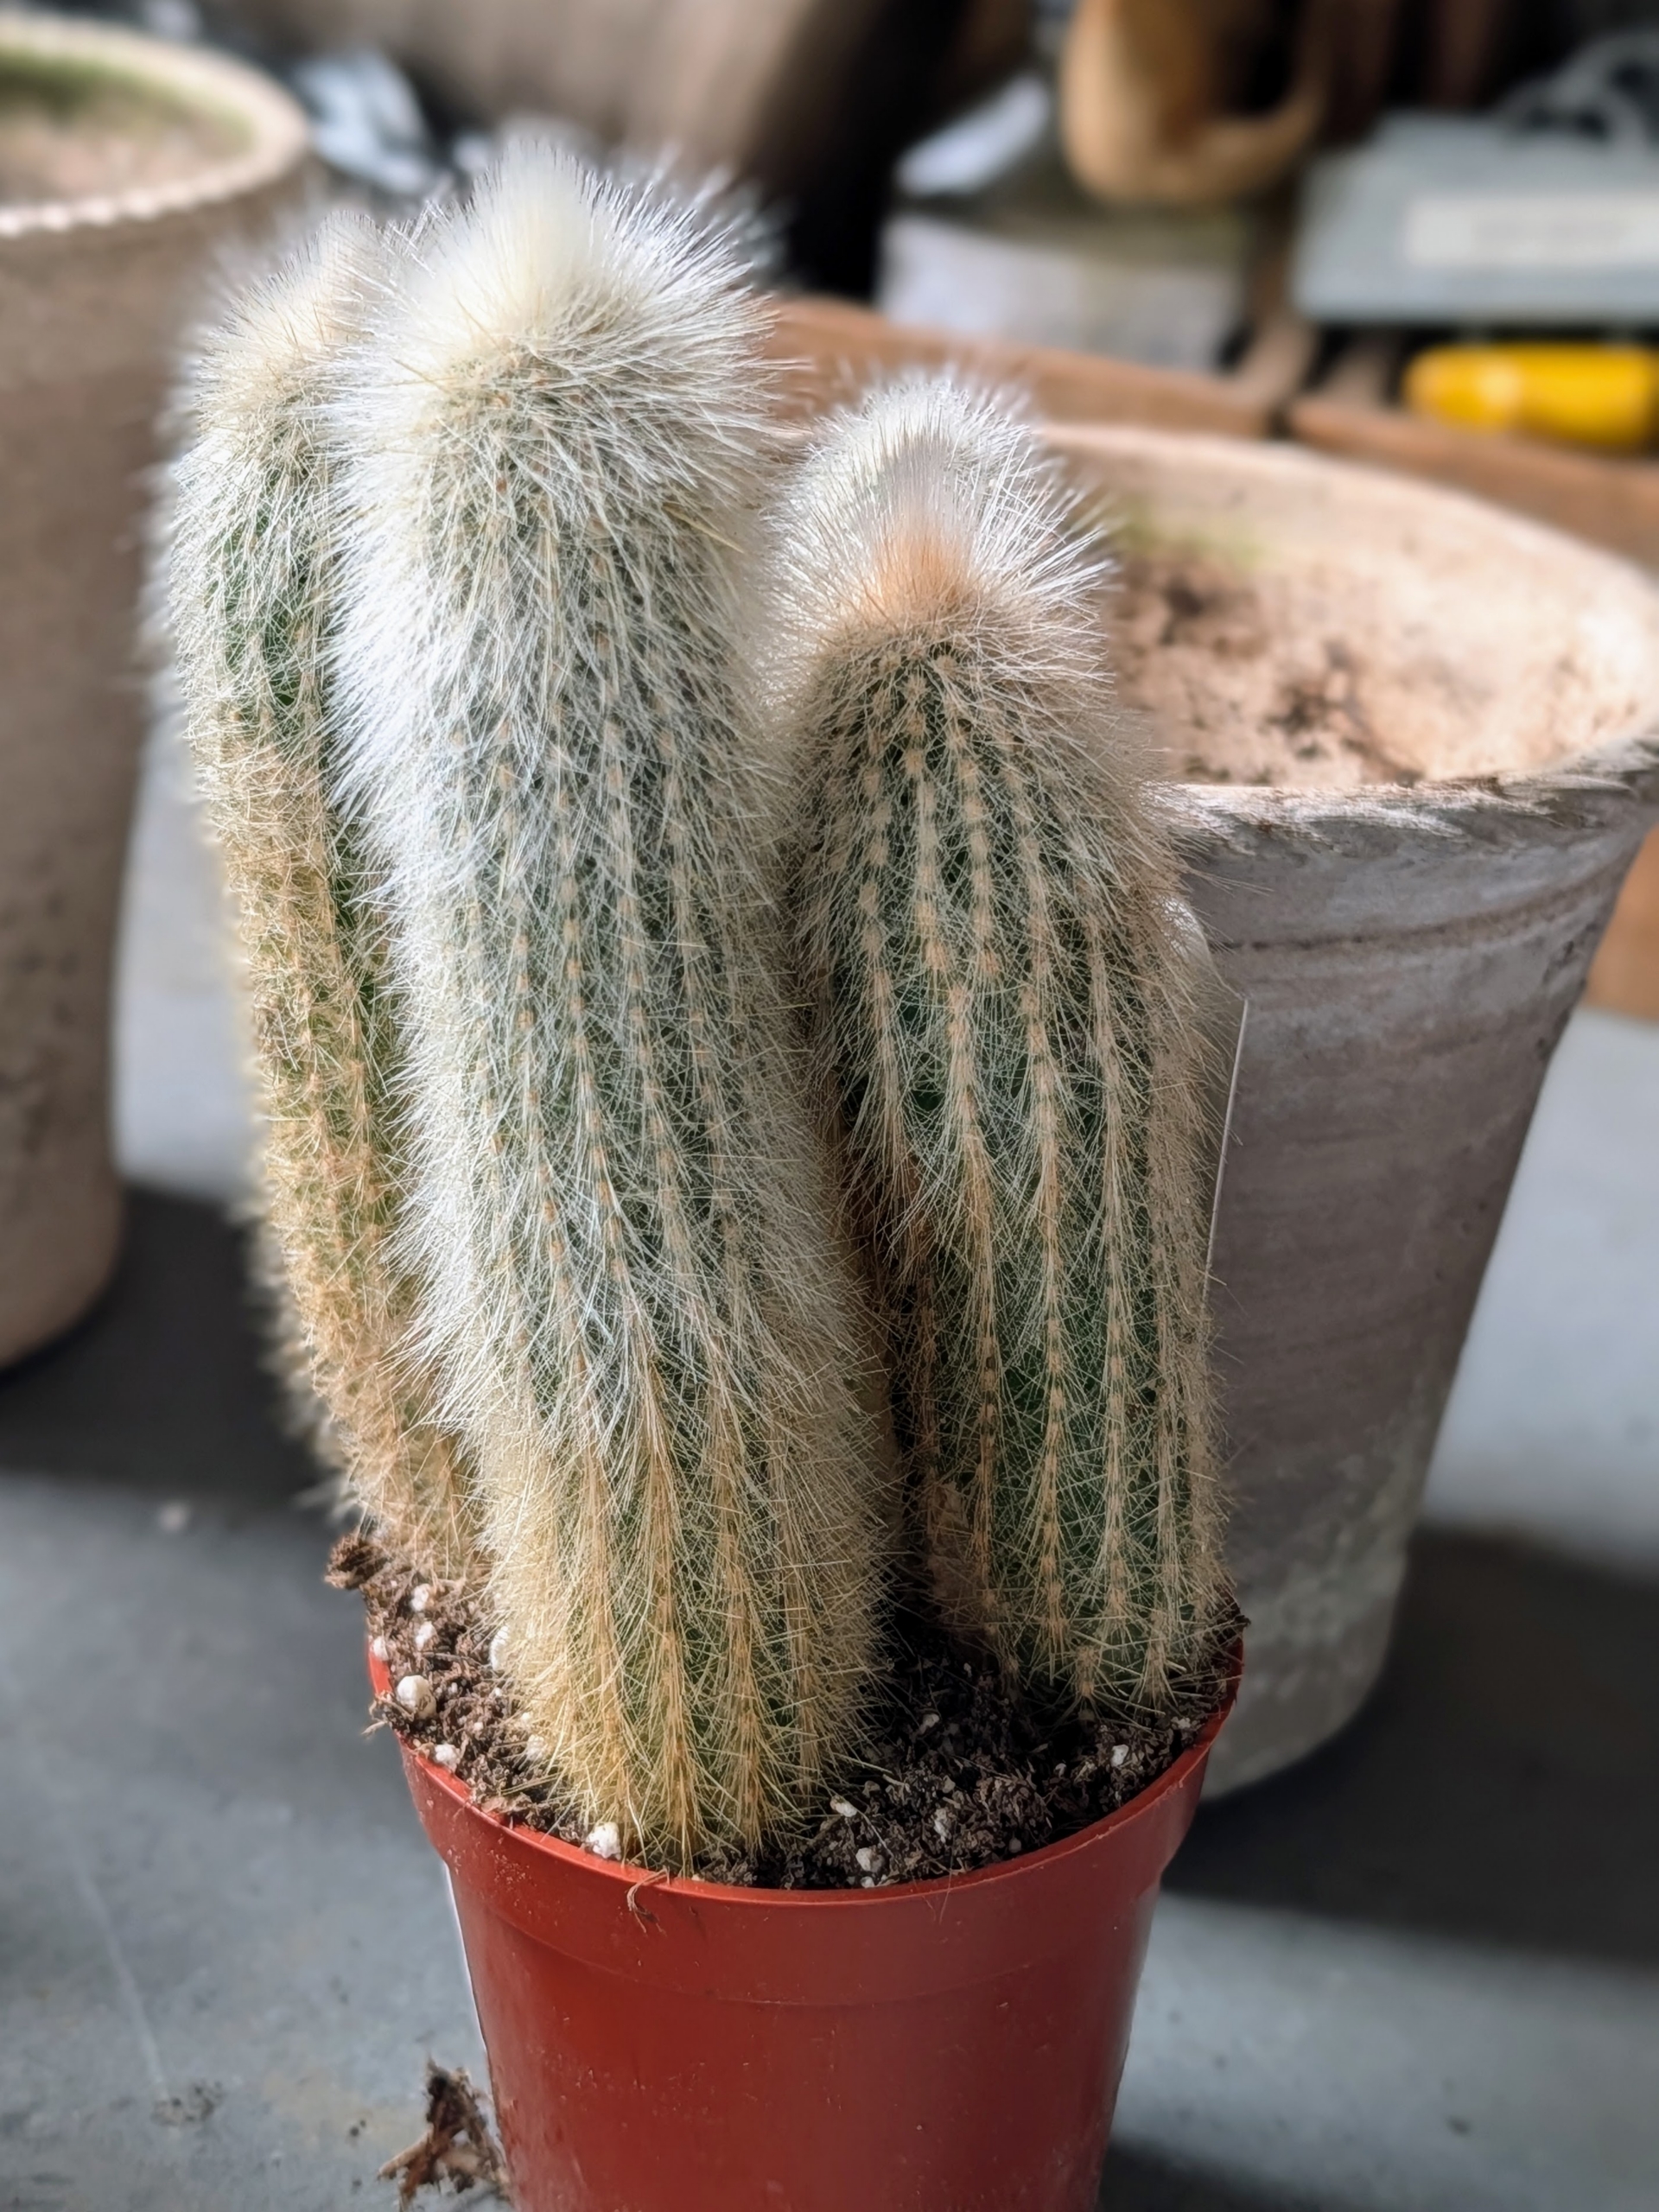
Similarly, the Old Man Cactus is a slow growing columnar cactus covered in long, white, hair-like spines that protect it from sun and cold, also giving it an aged appearance.
Several cactus species are known for their furry, white-coated looks – some with more dense woolly hairs or modified spines, but all part of the plant’s natural defense and insulation.
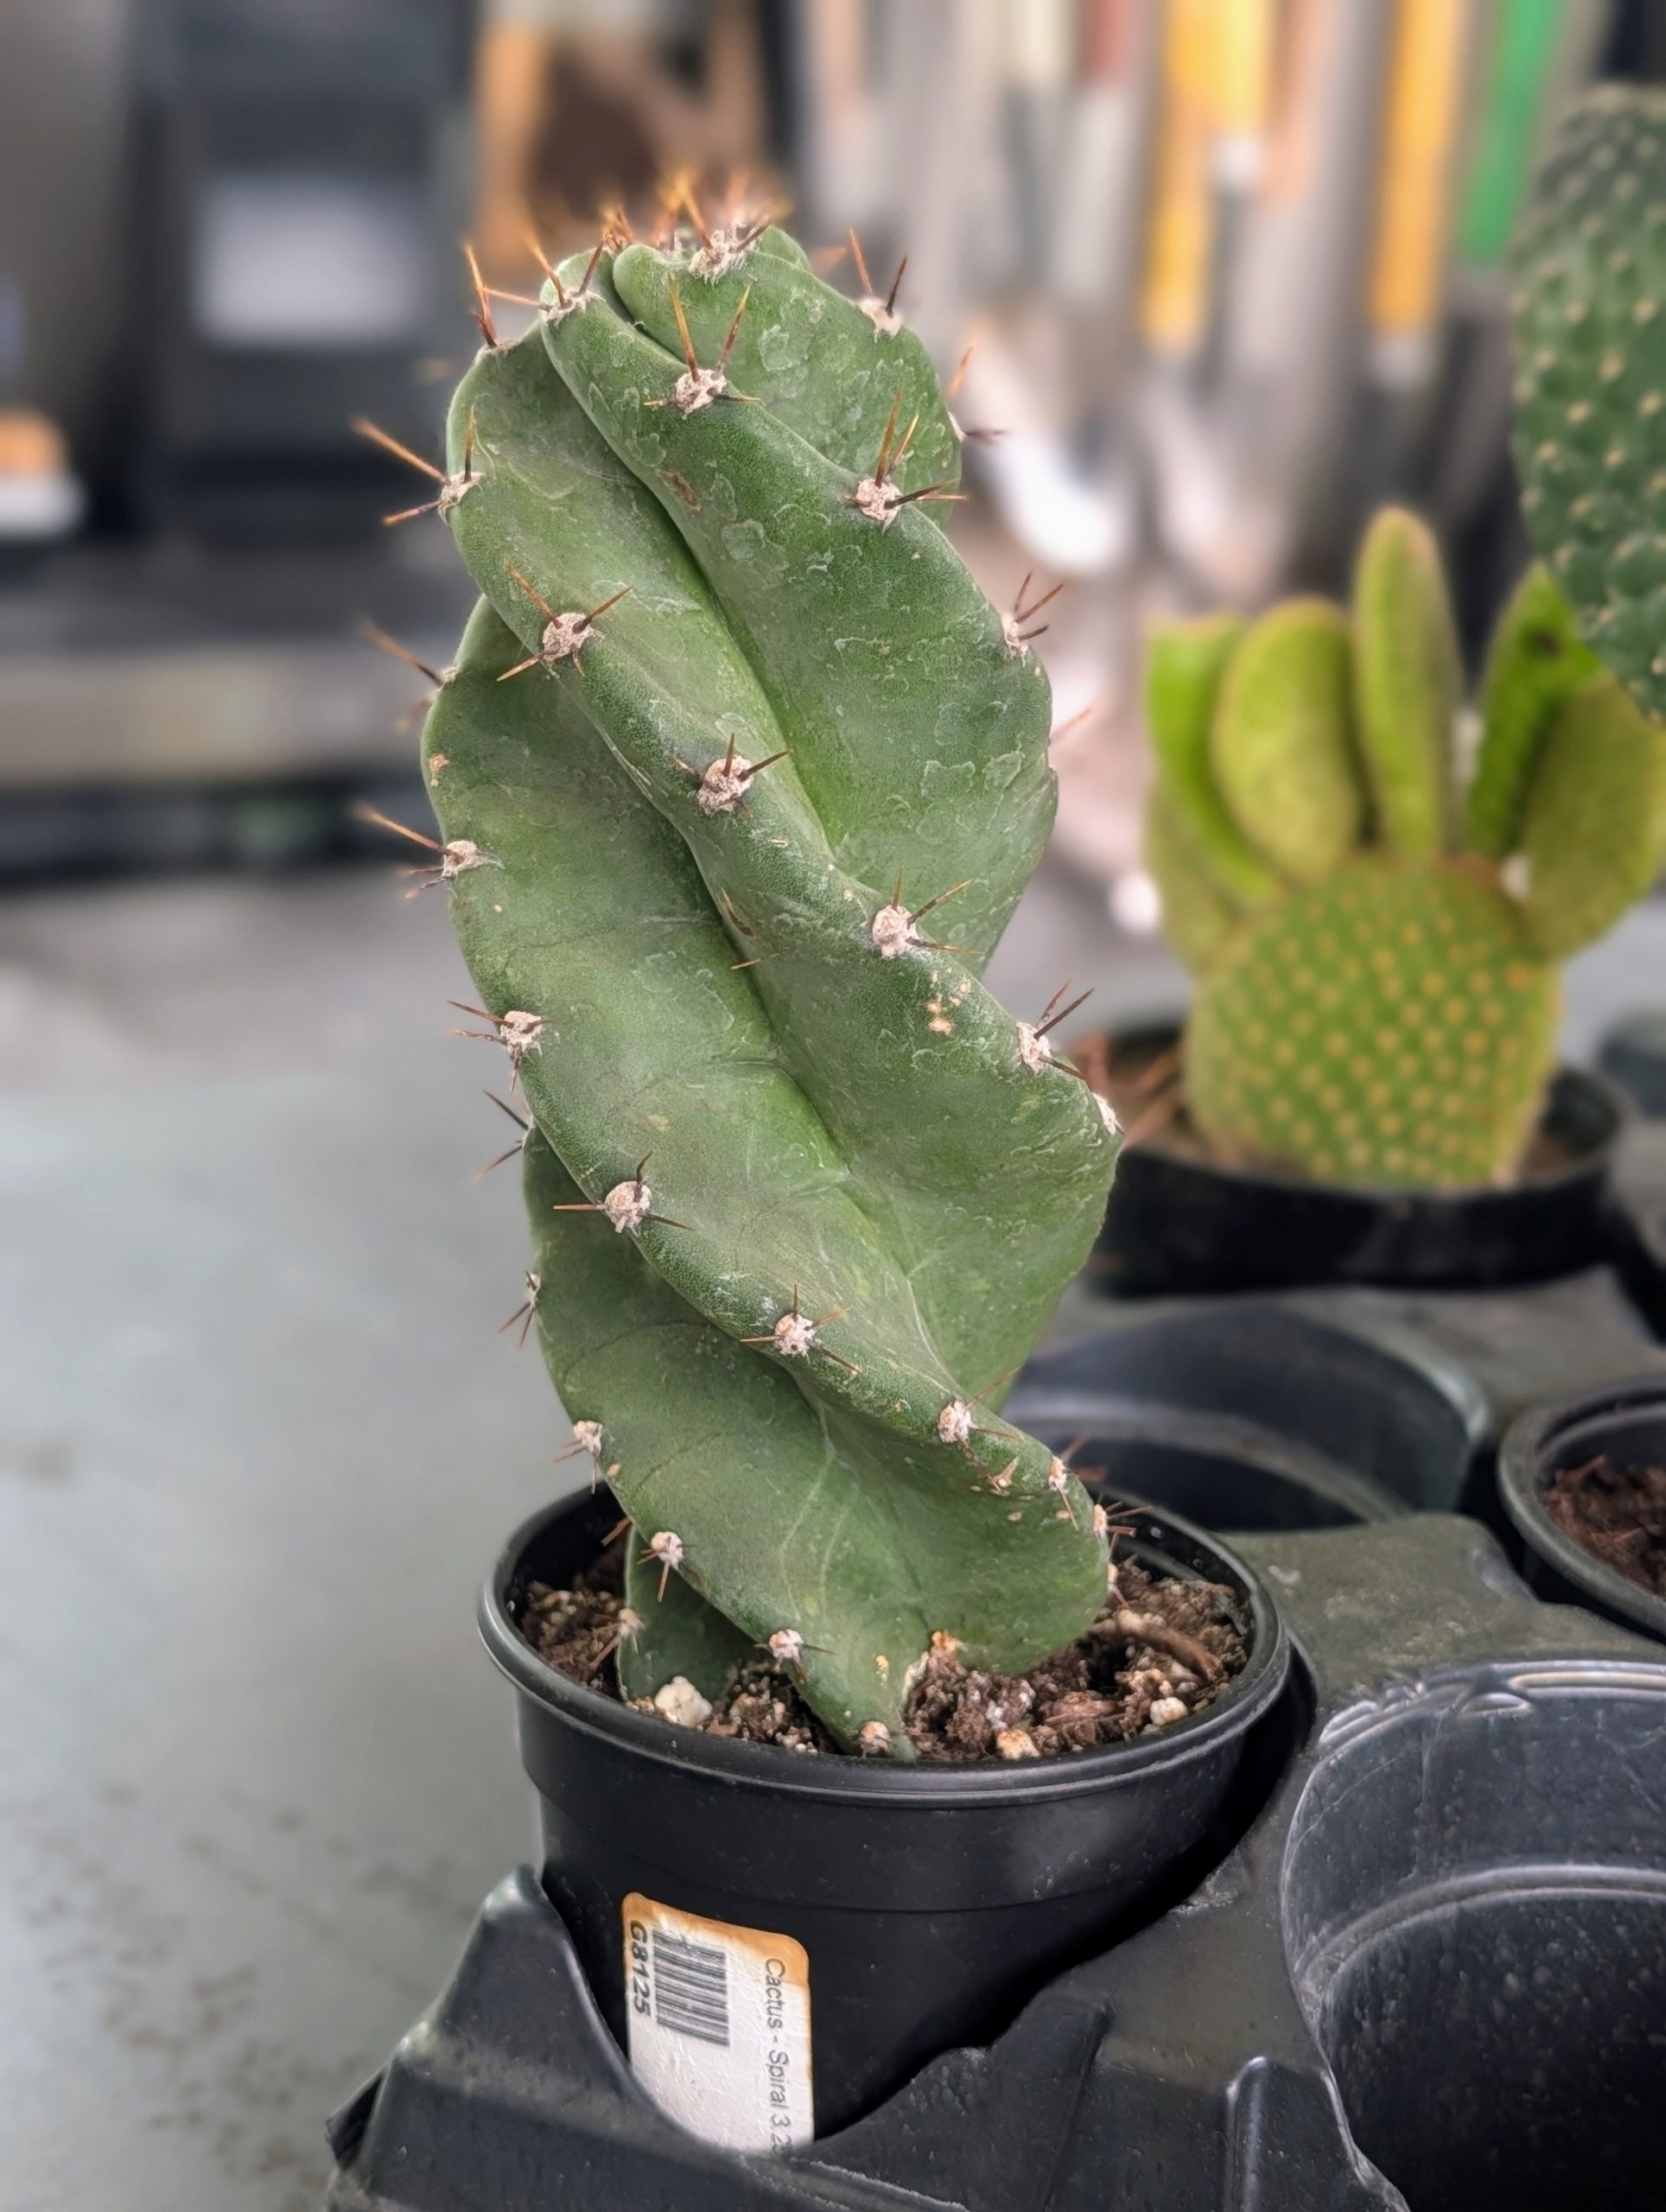
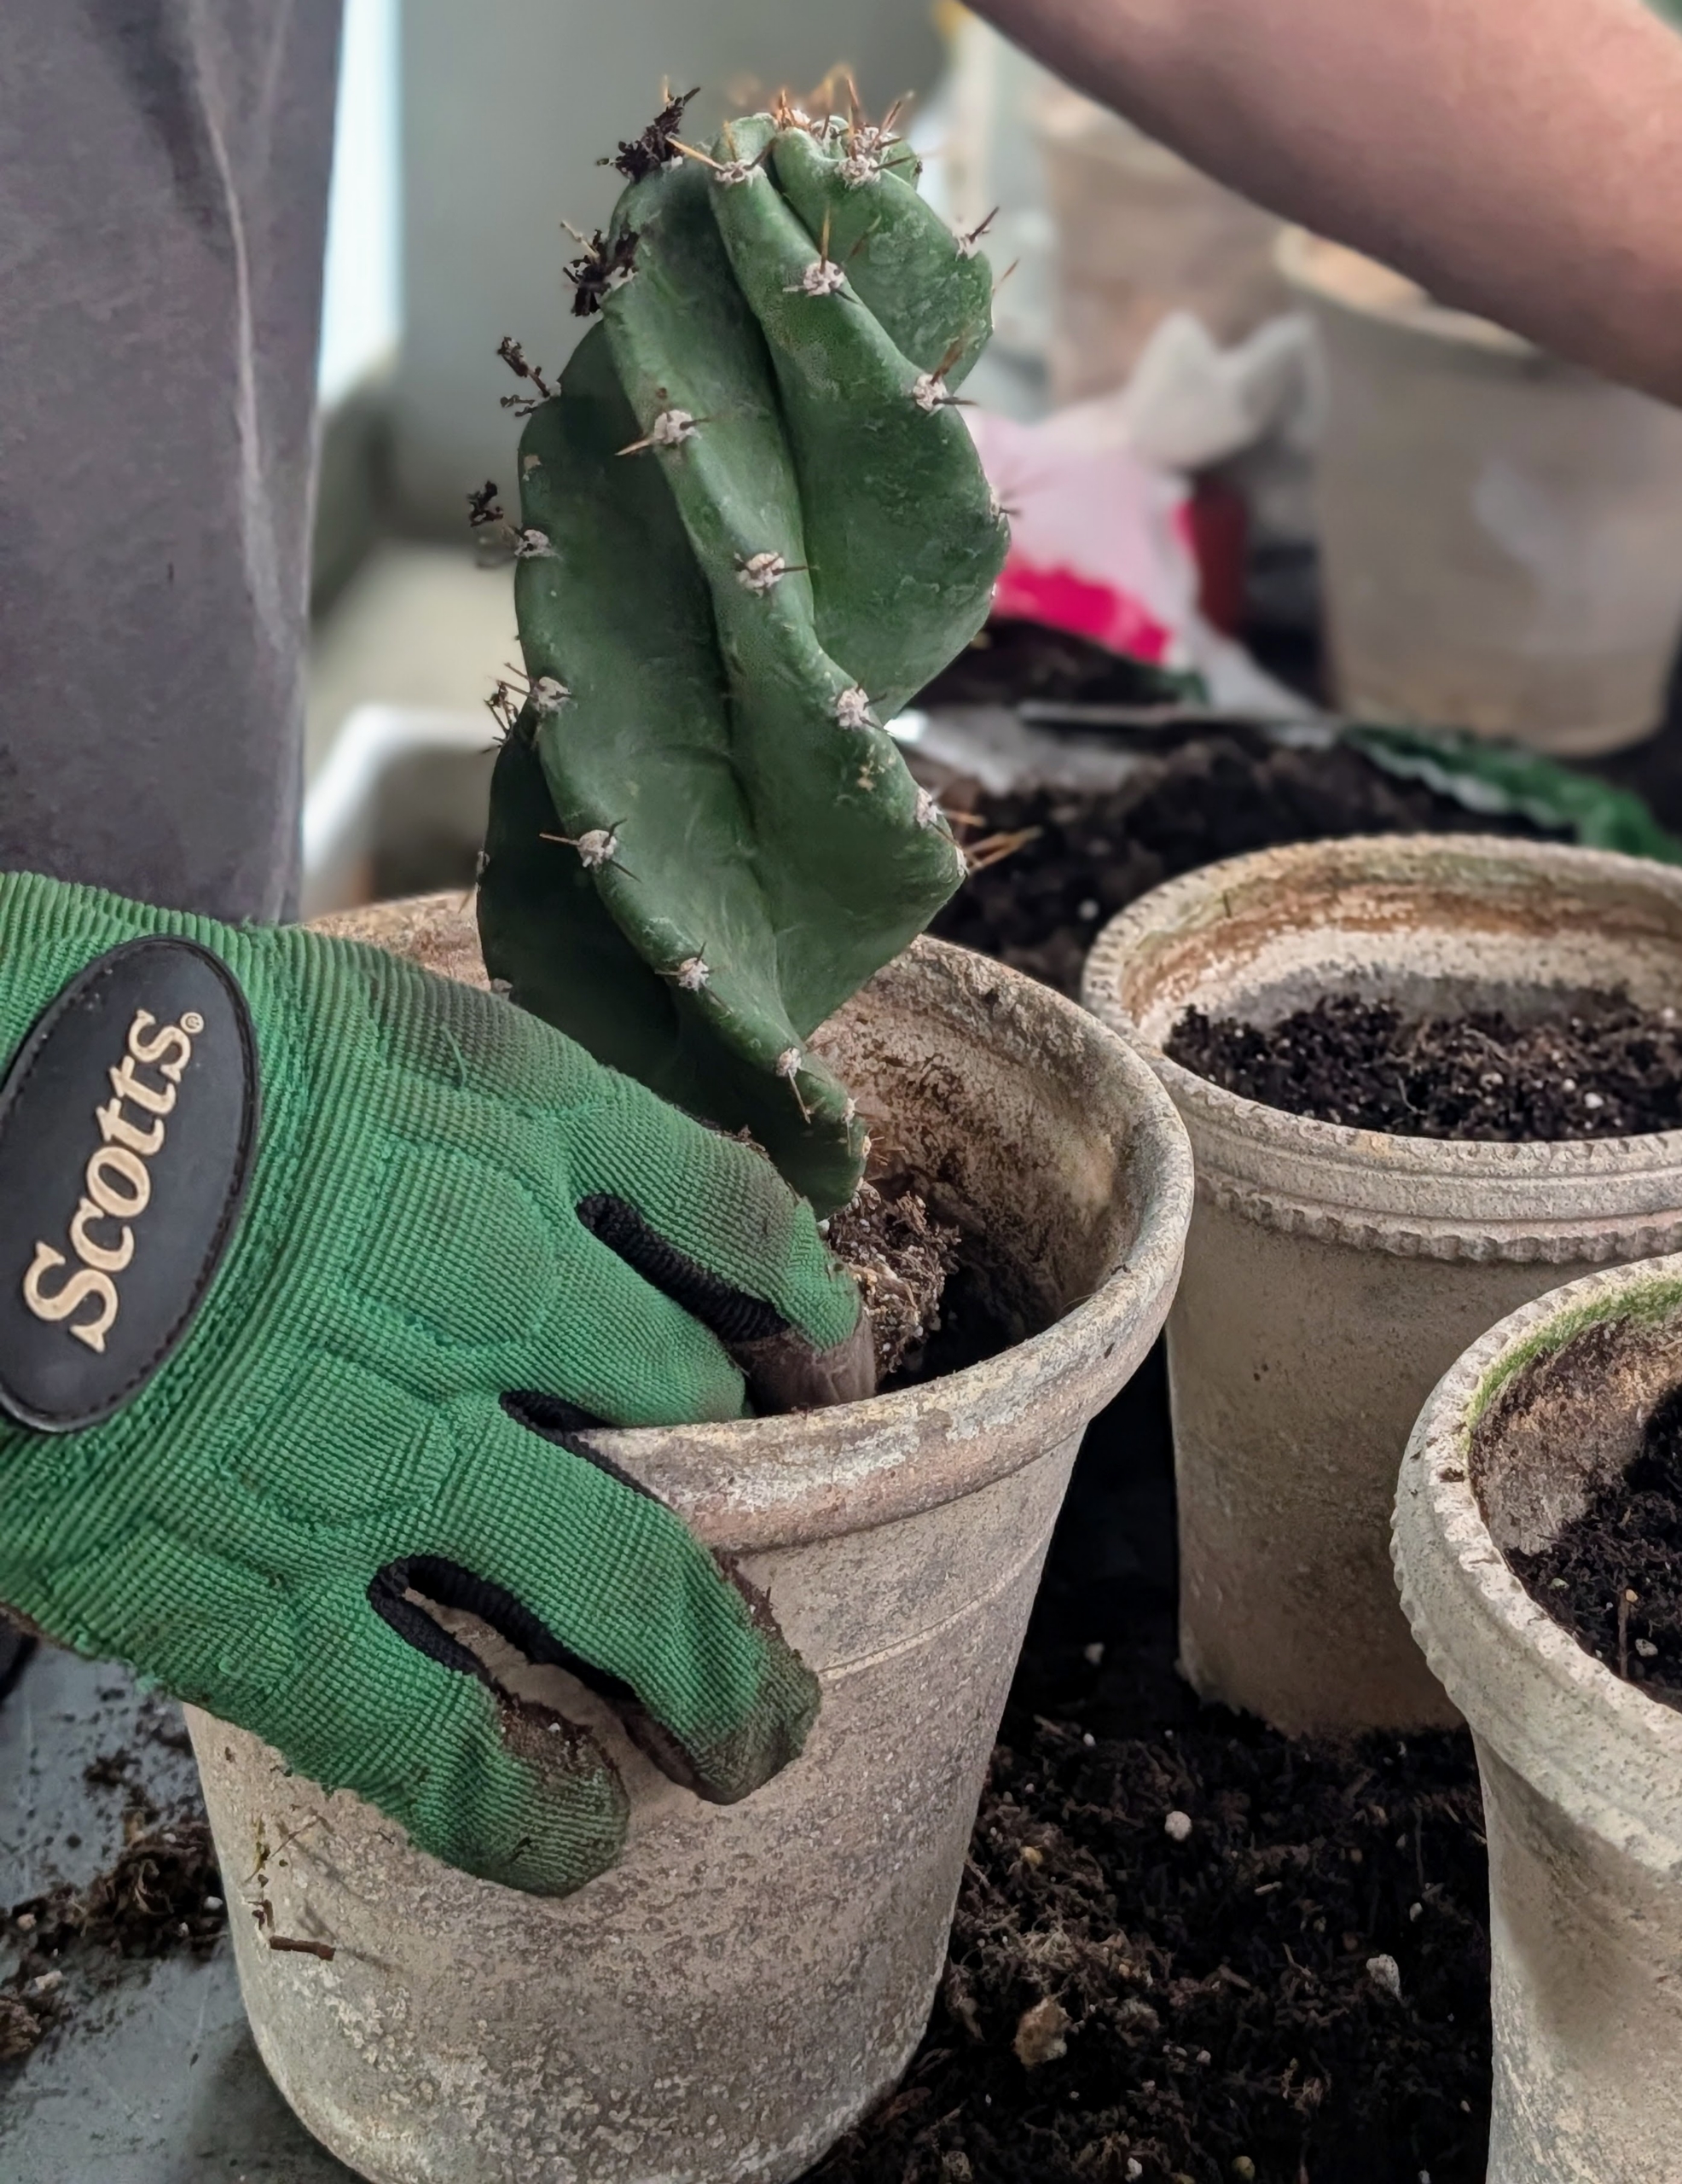
The Spiral Cactus is a striking, naturally twisting variety known for its corkscrew-shaped stems, fast growth, and ease of care when provided with bright light and well-draining soil.
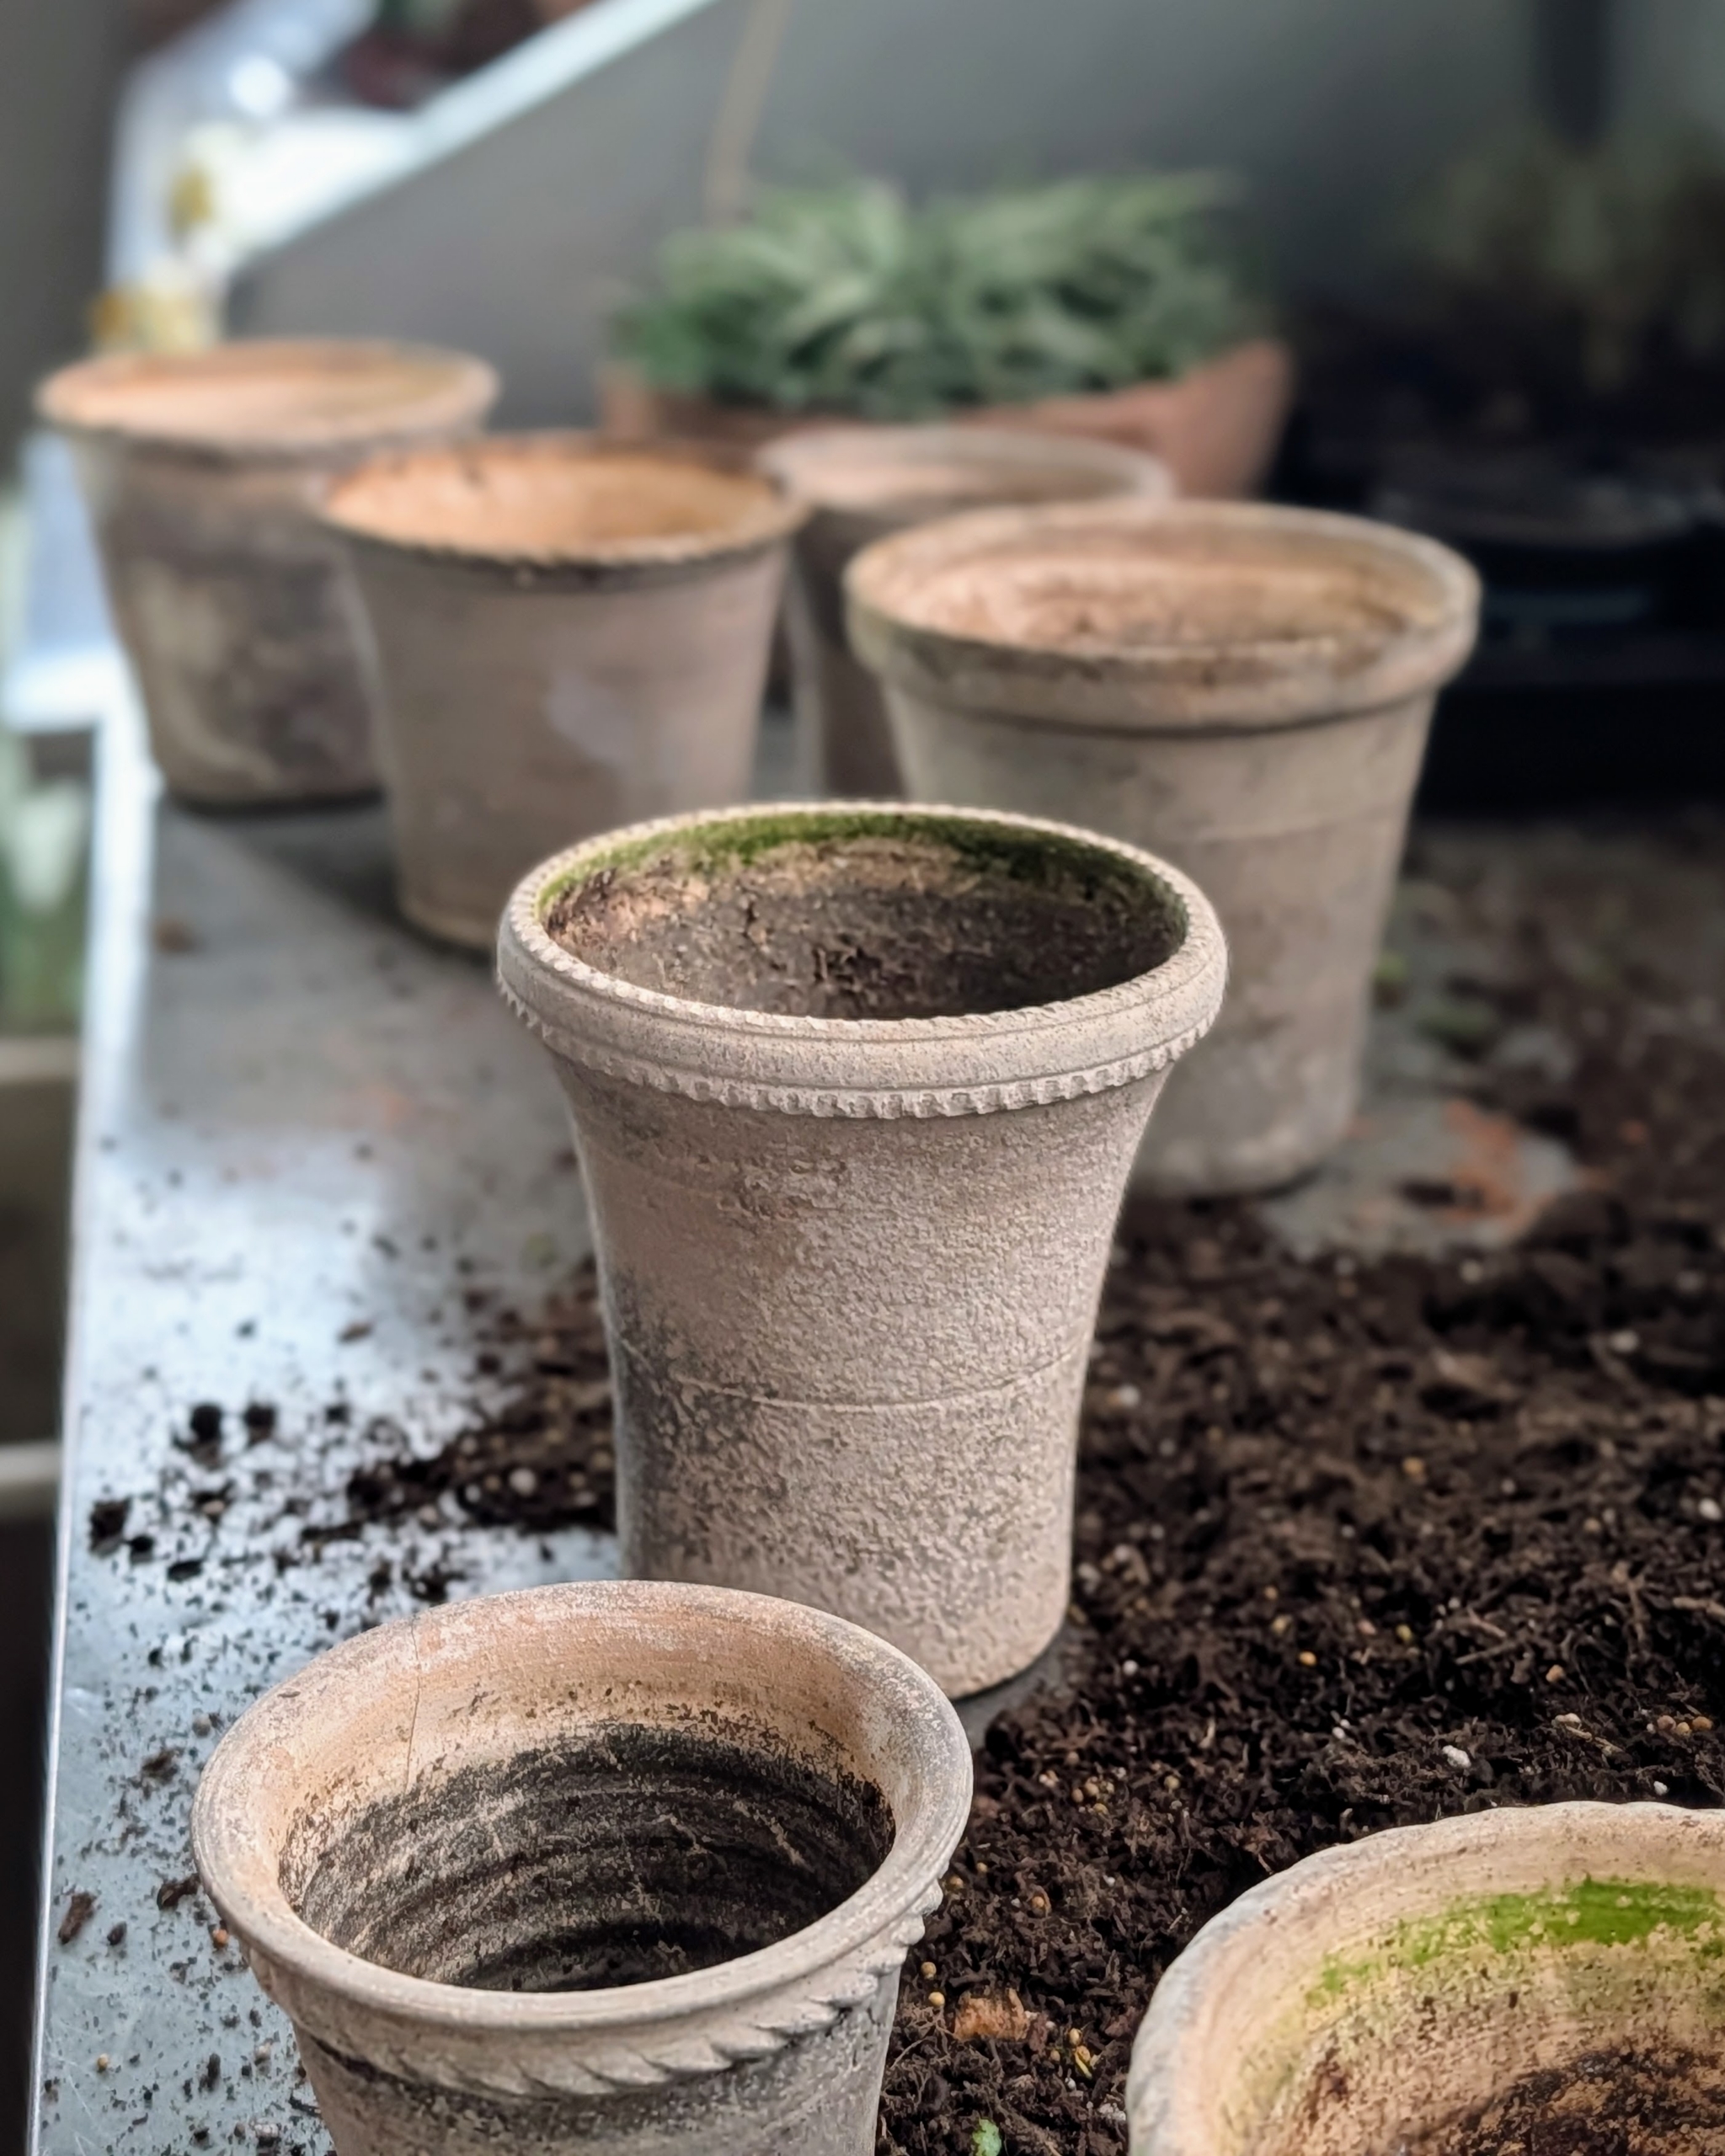
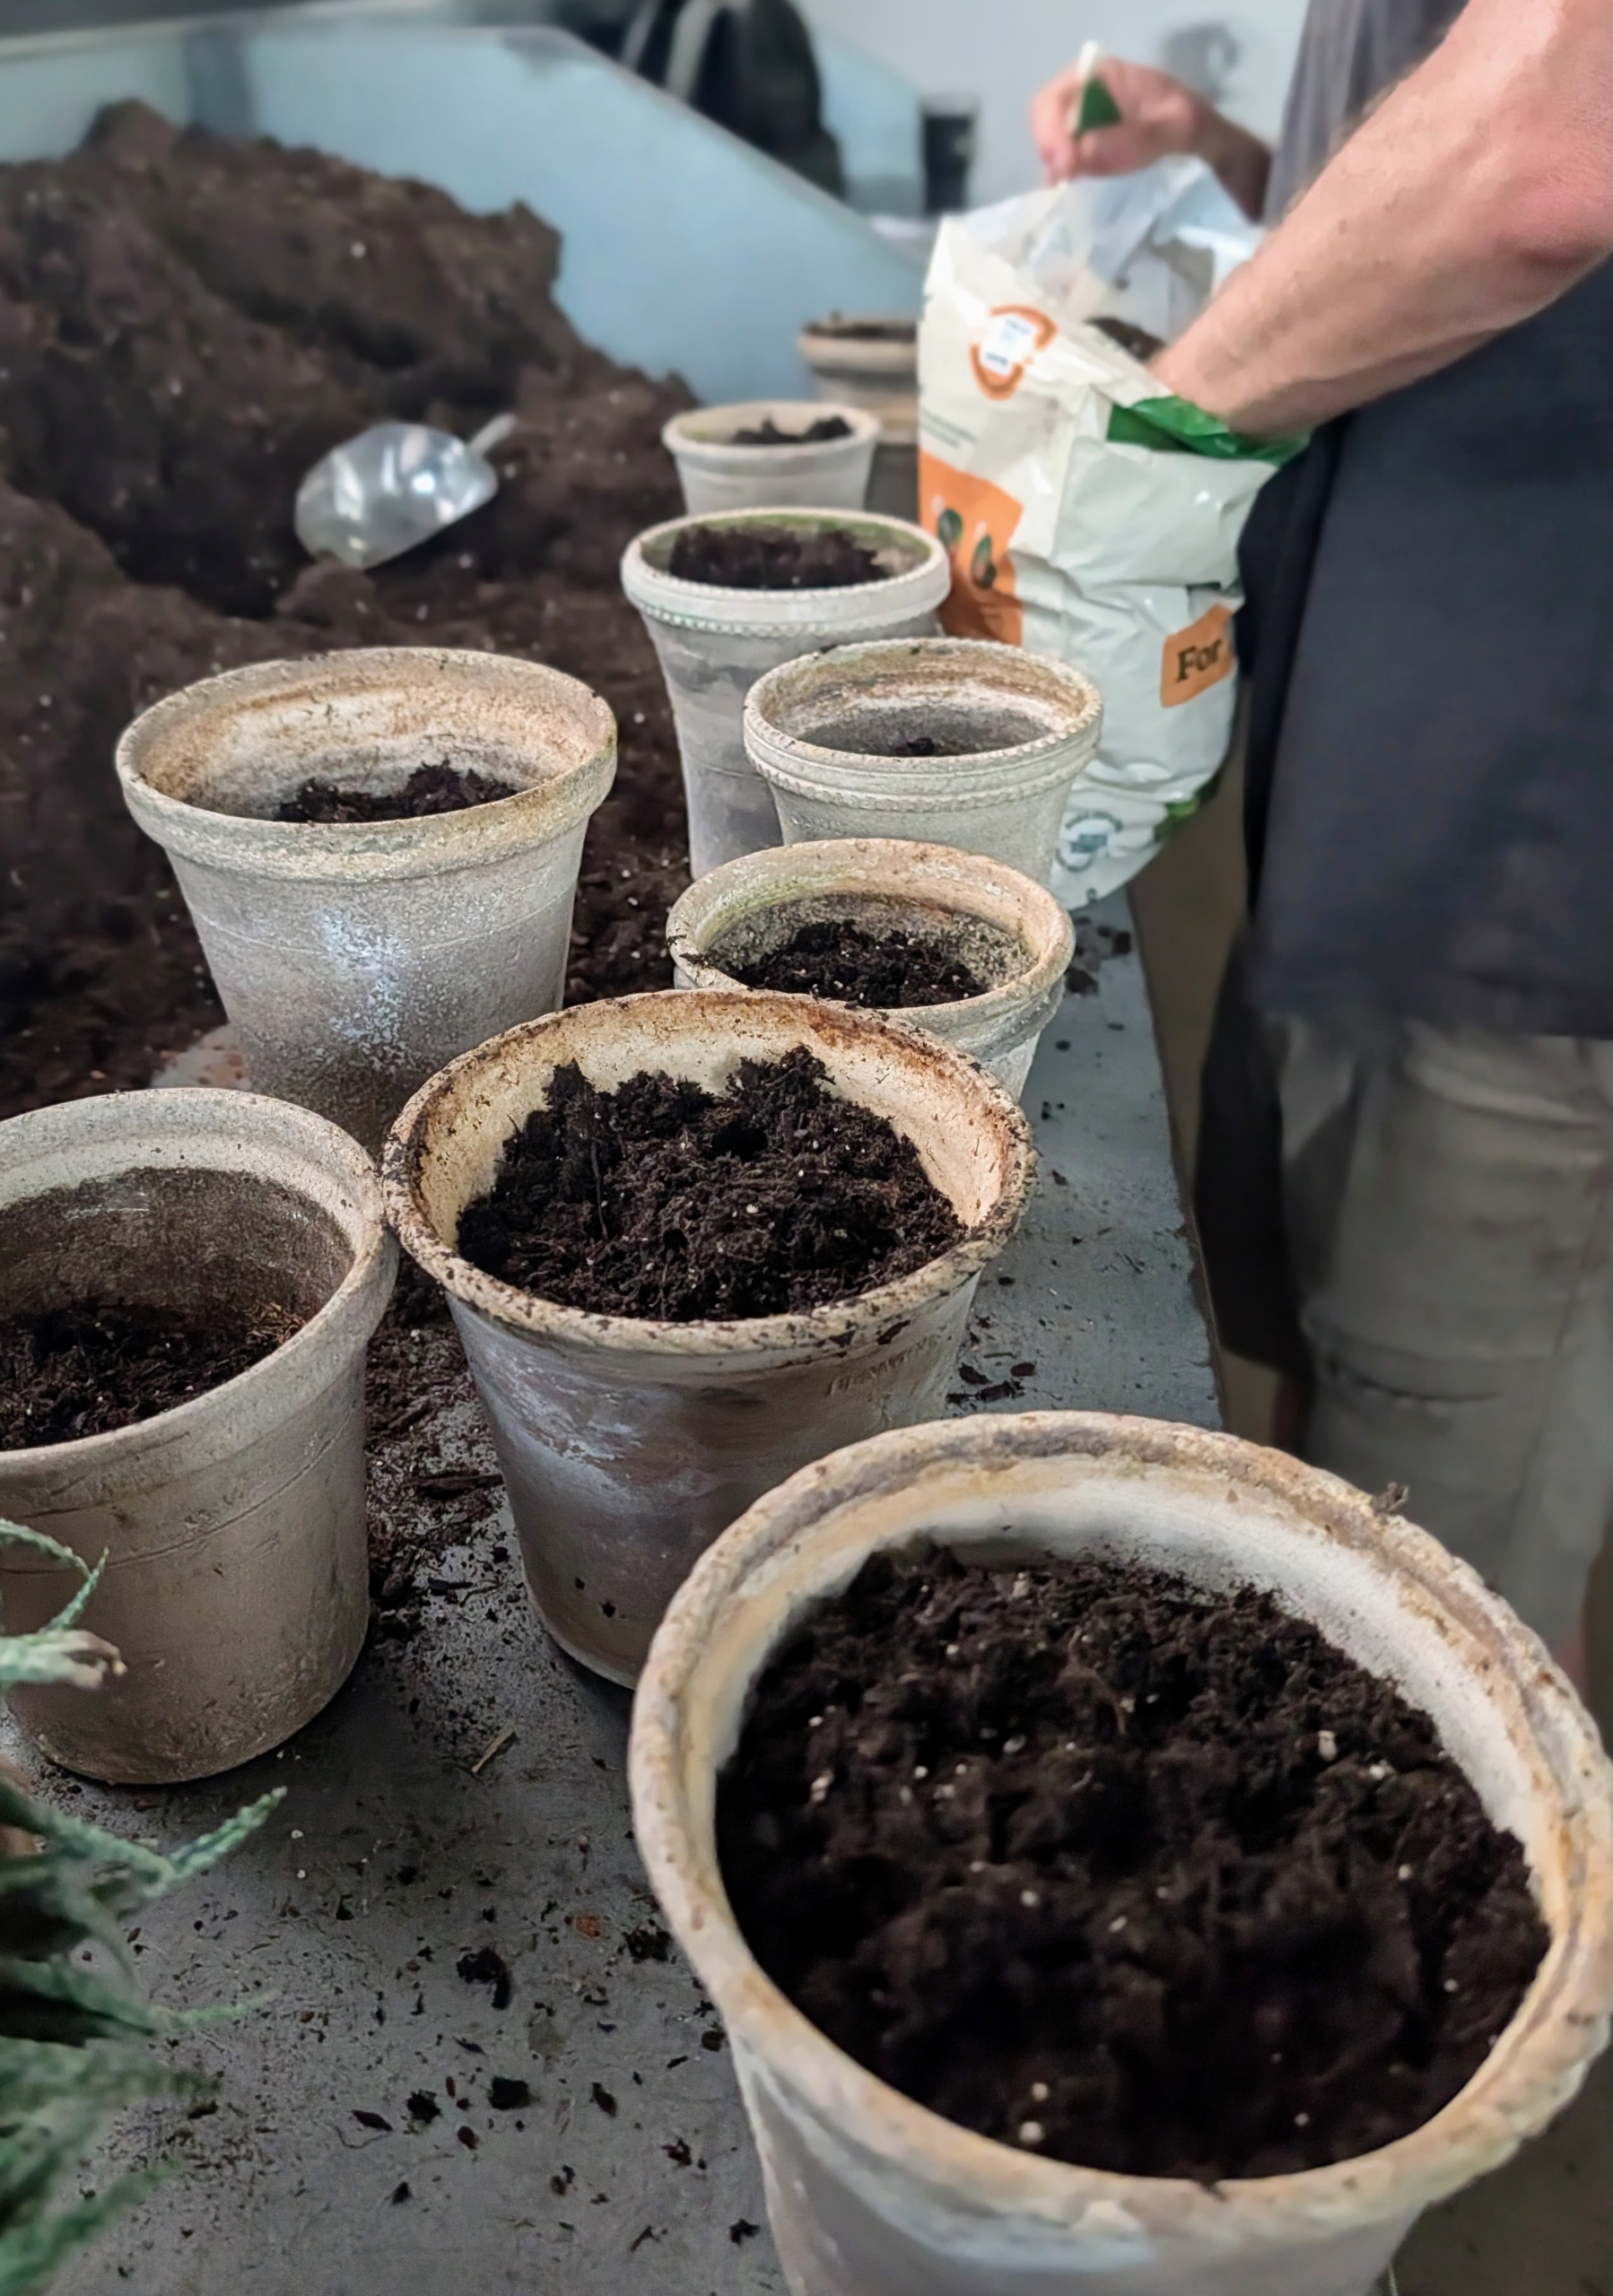
Ryan chooses the appropriate size container for each specimen. He matches the pot to the cactus’s growth habit—tall, narrow for columnar species, shallow and wide for globular or spreading types. I’ve been using Guy Wolff pots for many years – he makes every one of these by hand.
Select pots that are only slightly larger than the current root ball. Cacti have shallow roots and dislike sitting in wet soil.
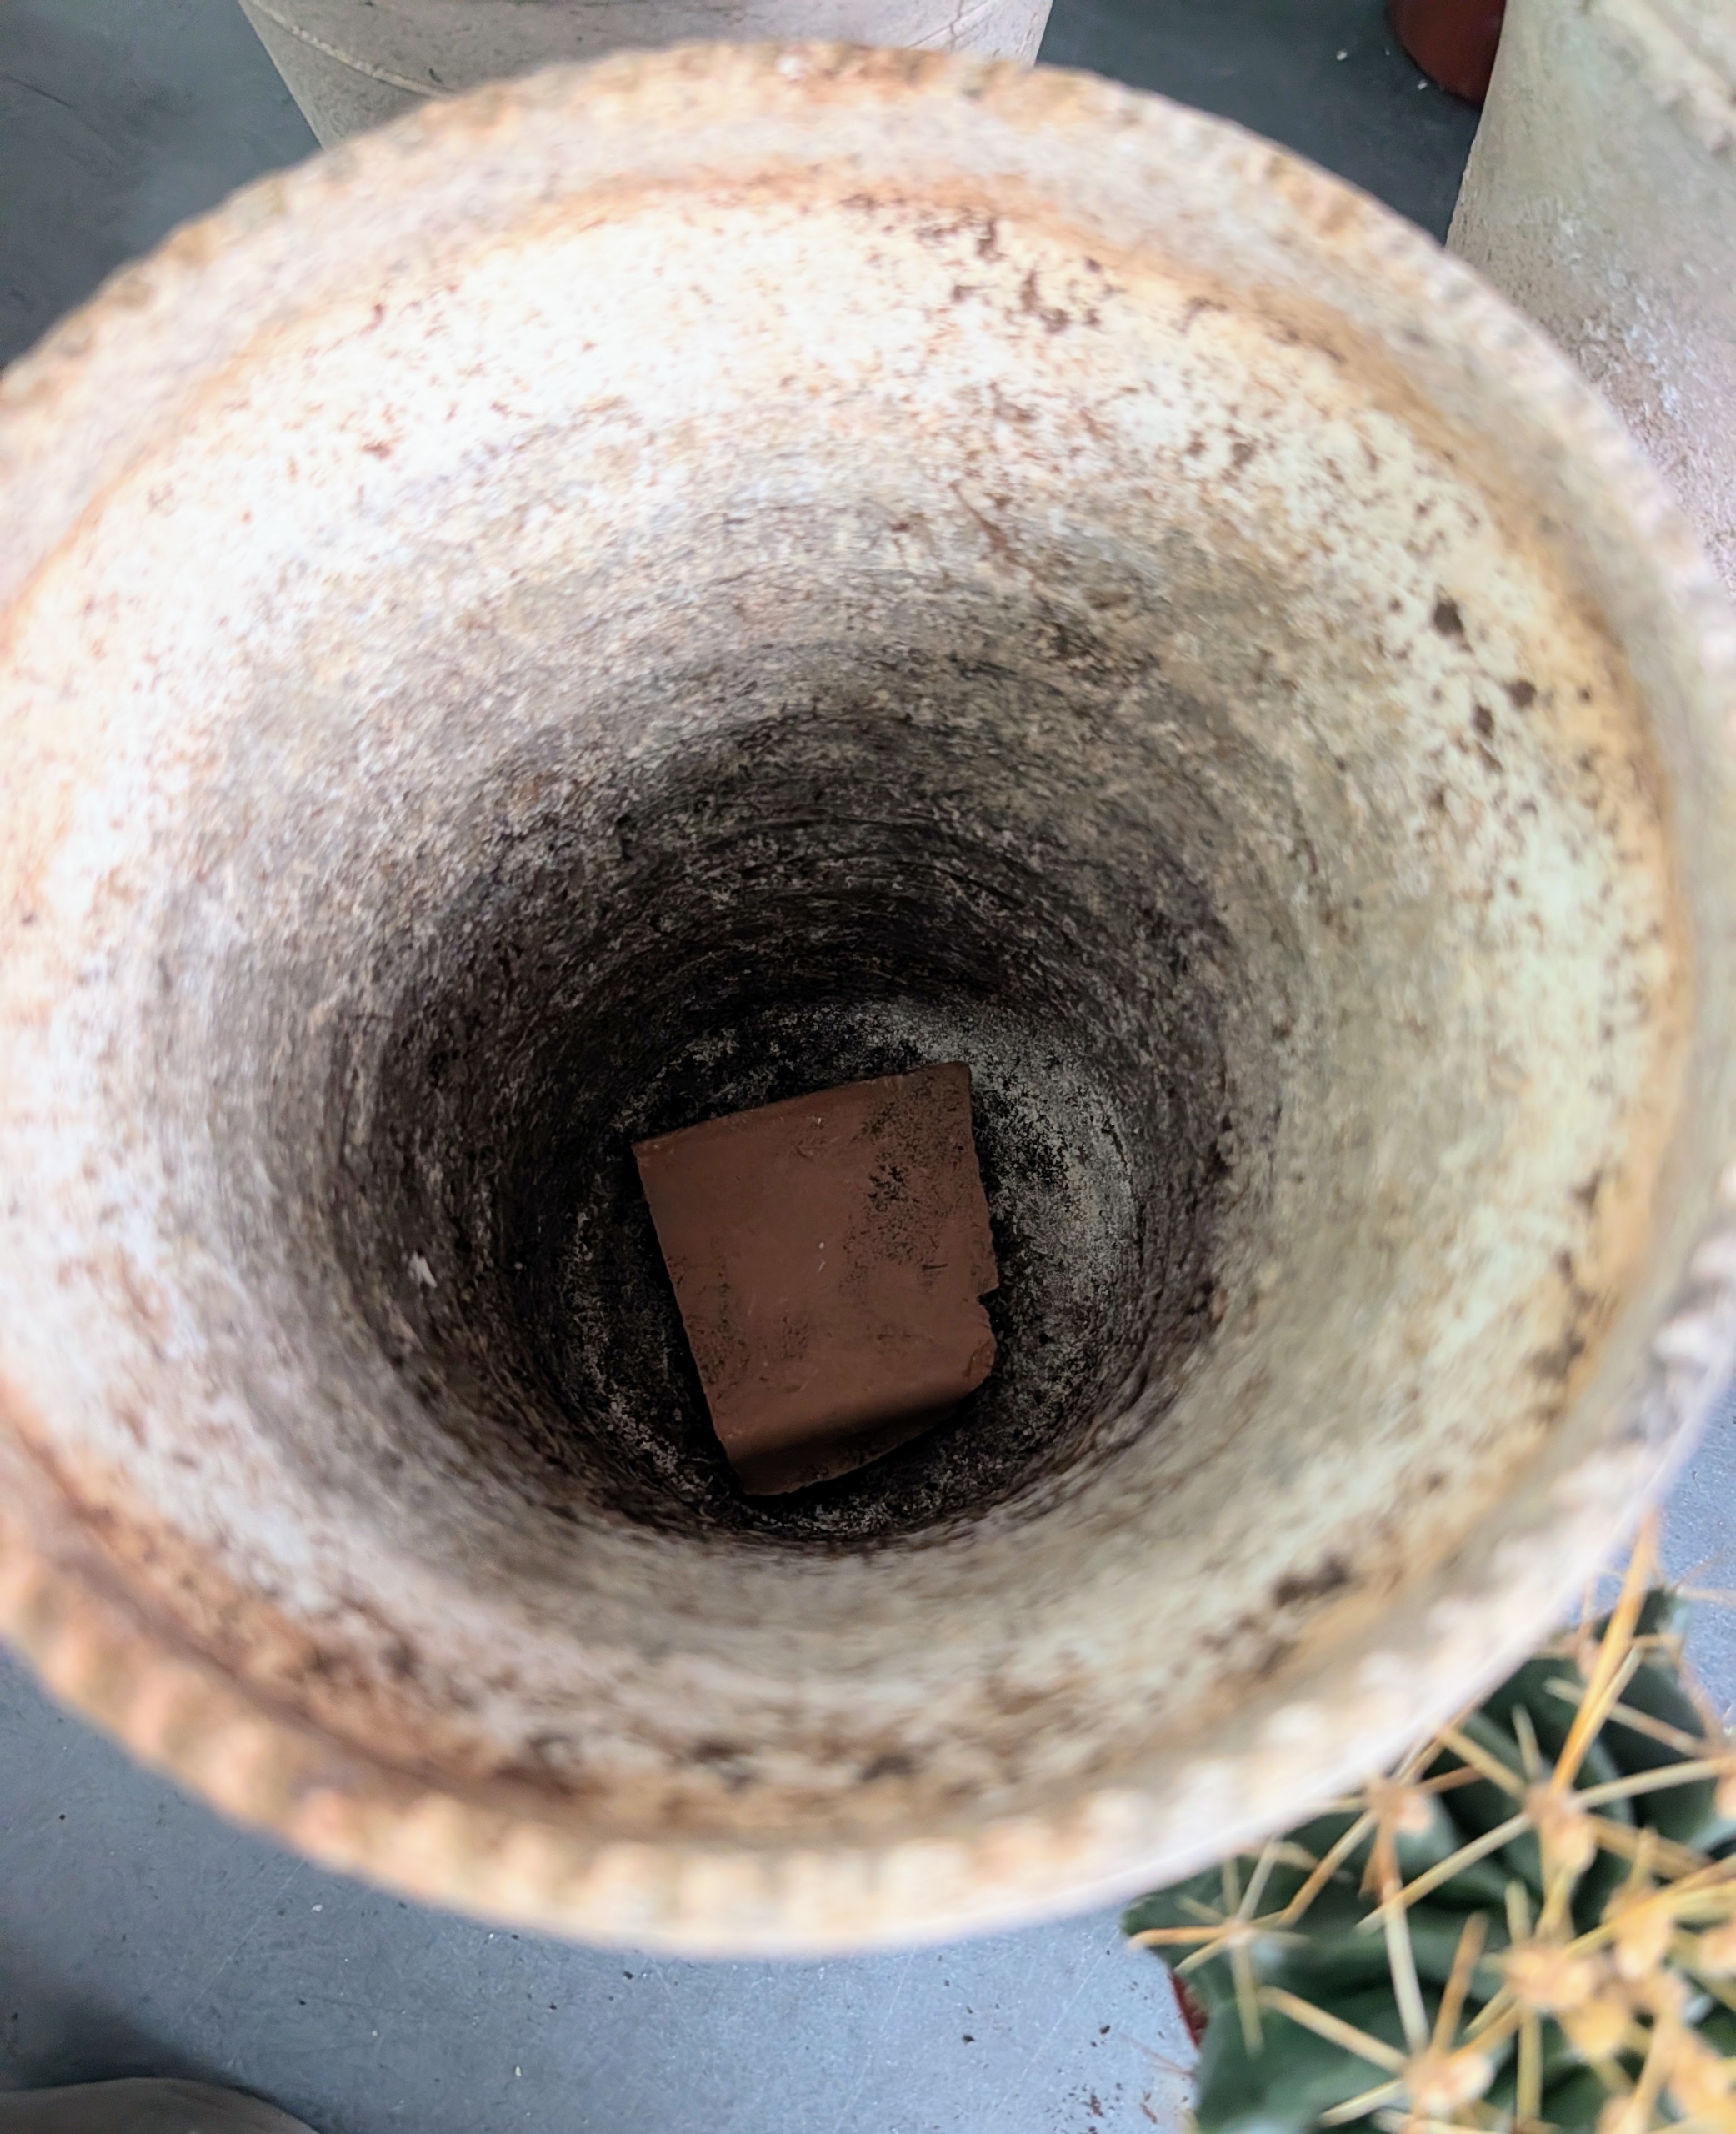
Each pot has a drainage hole. A clay shard is placed over the hole to help with drainage.
I like these pots because they allow proper aeration and moisture to penetrate through the sides and to the plant.
Ryan fills the pots with the soil mix, adding just enough so it is filled just below the top rim of the pot. When potting several plants, Ryan works in an efficient production line process, filling all the pots first.
I use Miracle-Gro Indoor Potting Mix for Cactus and Succulents. It’s a fast-draining formula that’s great for all kinds of succulents, cacti, and citrus plants.
I also use Osmocote Plus, a type of controlled-release fertilizer designed to support plant growth. Always remember to feed your plants.
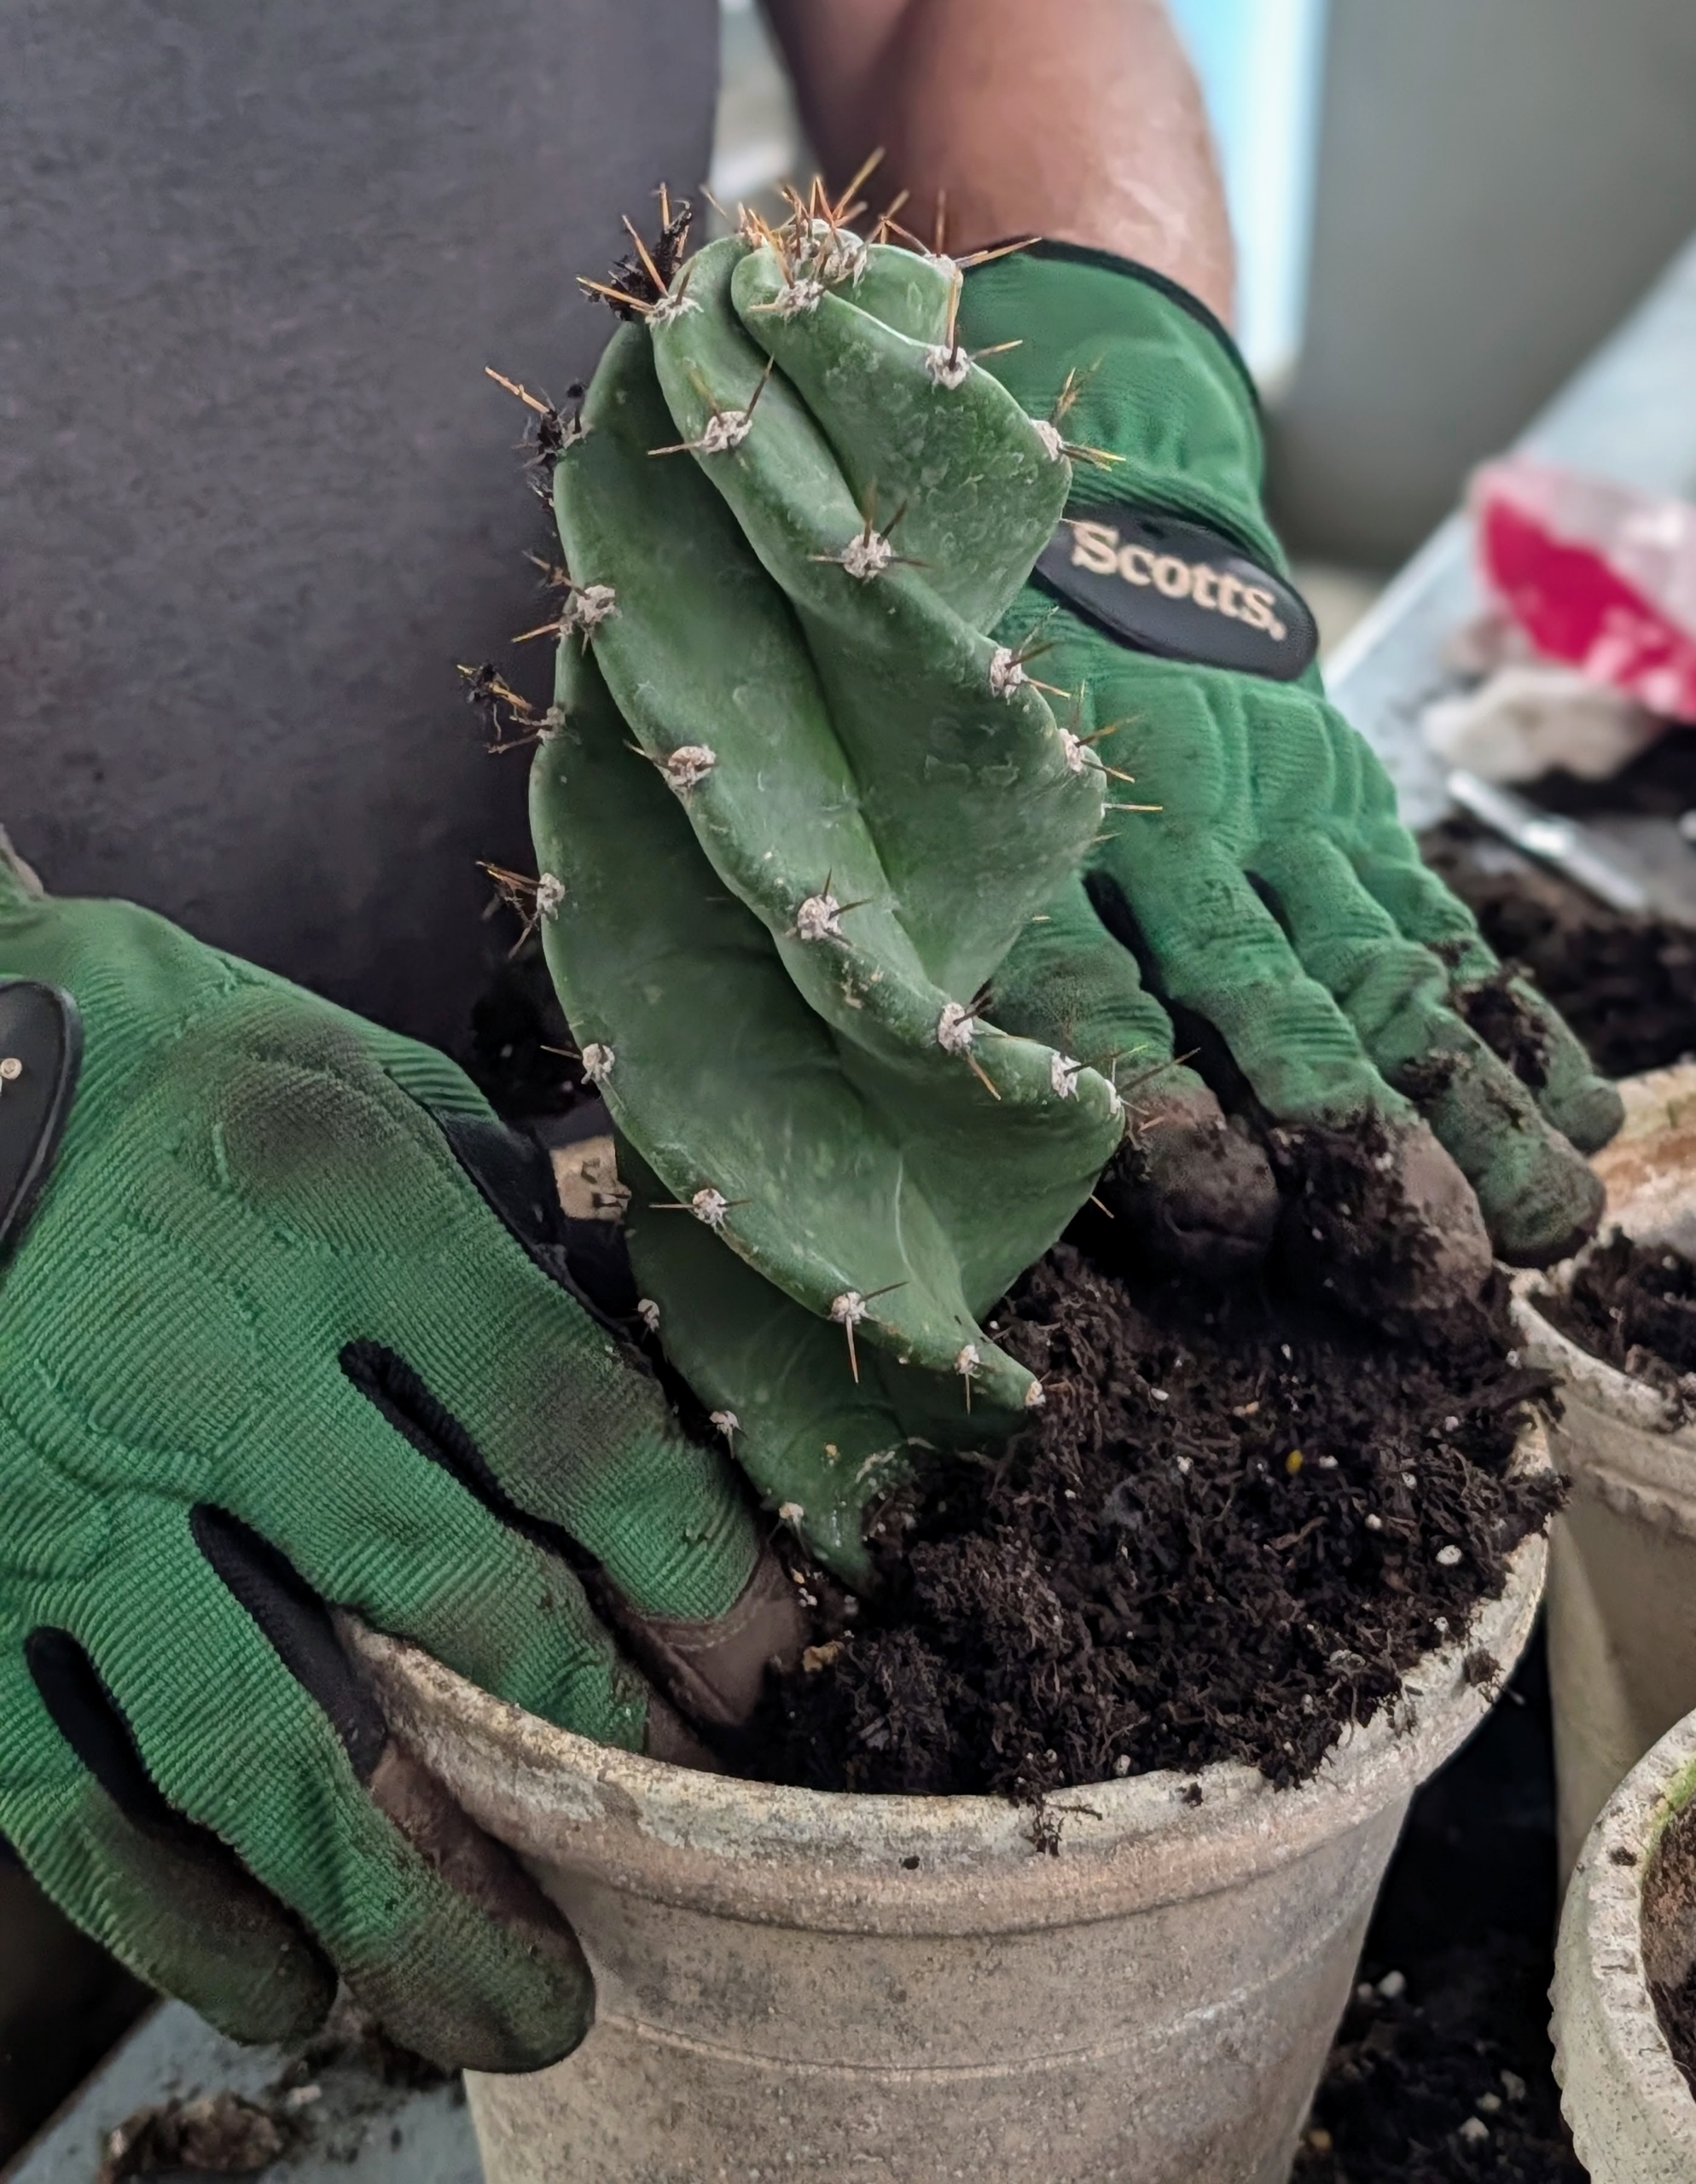
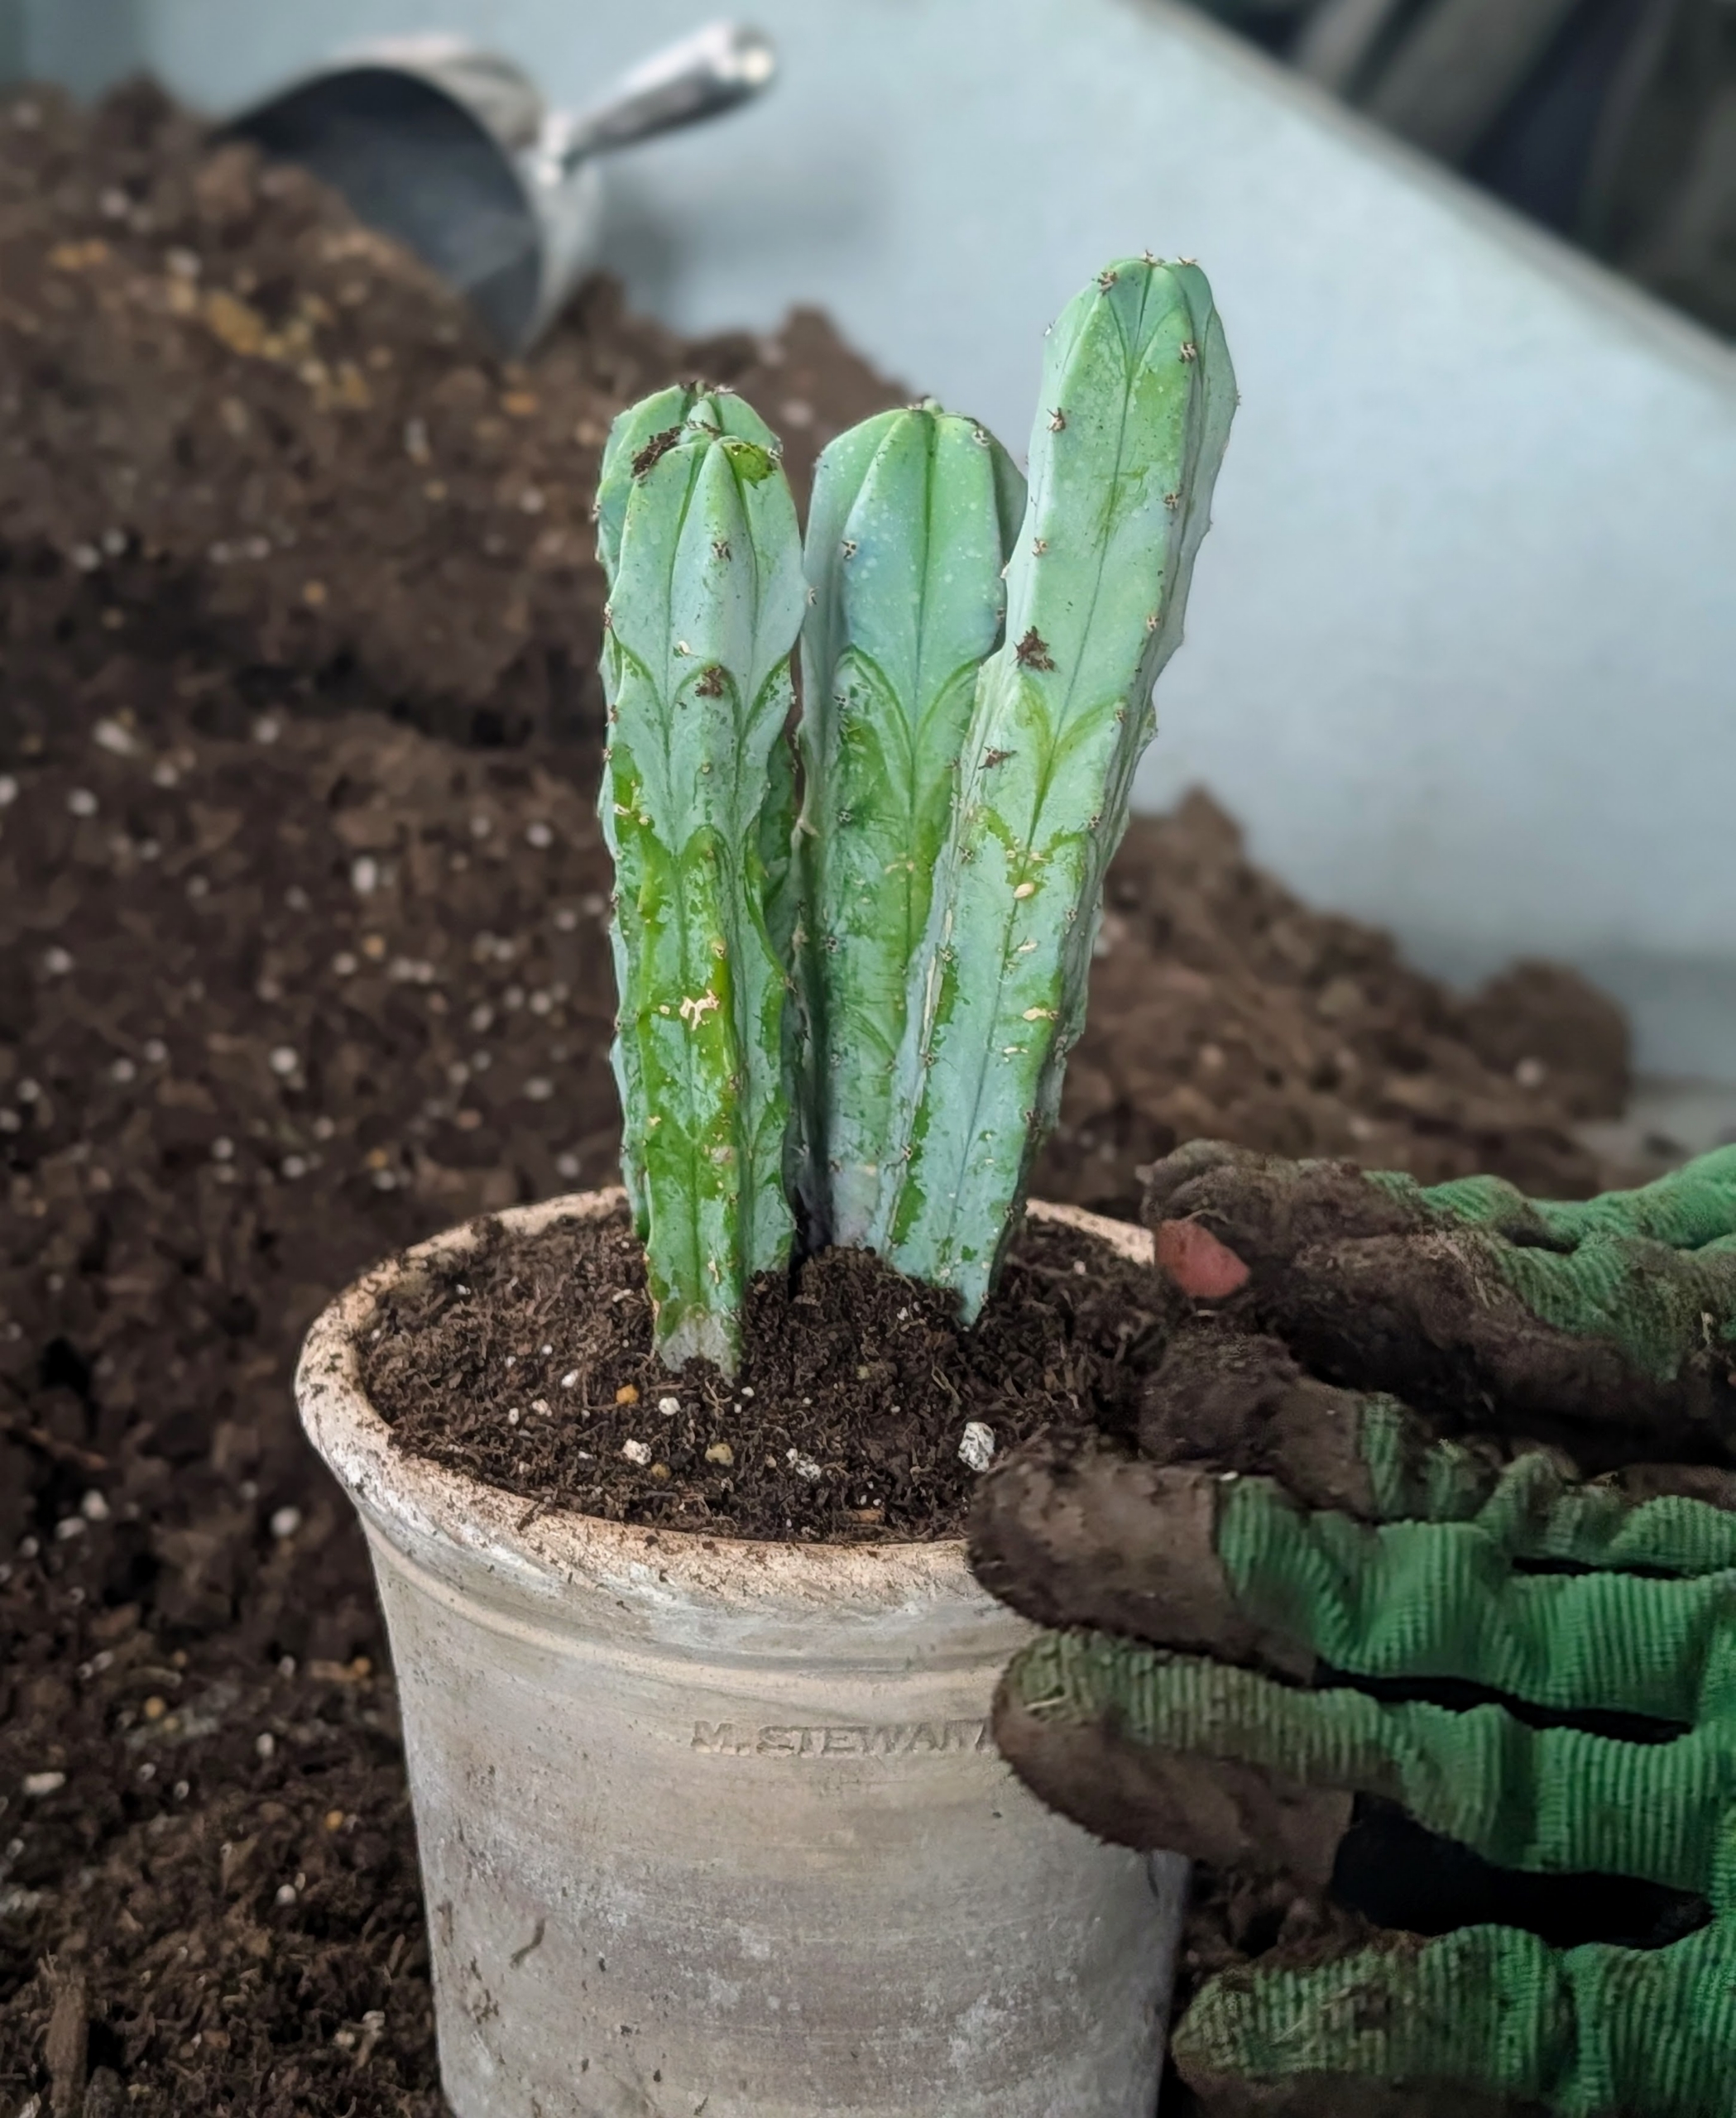
For spiny cacti, it’s important to use gloves or tongs to avoid injury. Ryan gently places the cactus in the center, ensuring the base sits just below the rim.
He fills in all the gaps around the plant, firming it lightly without compacting the soil.
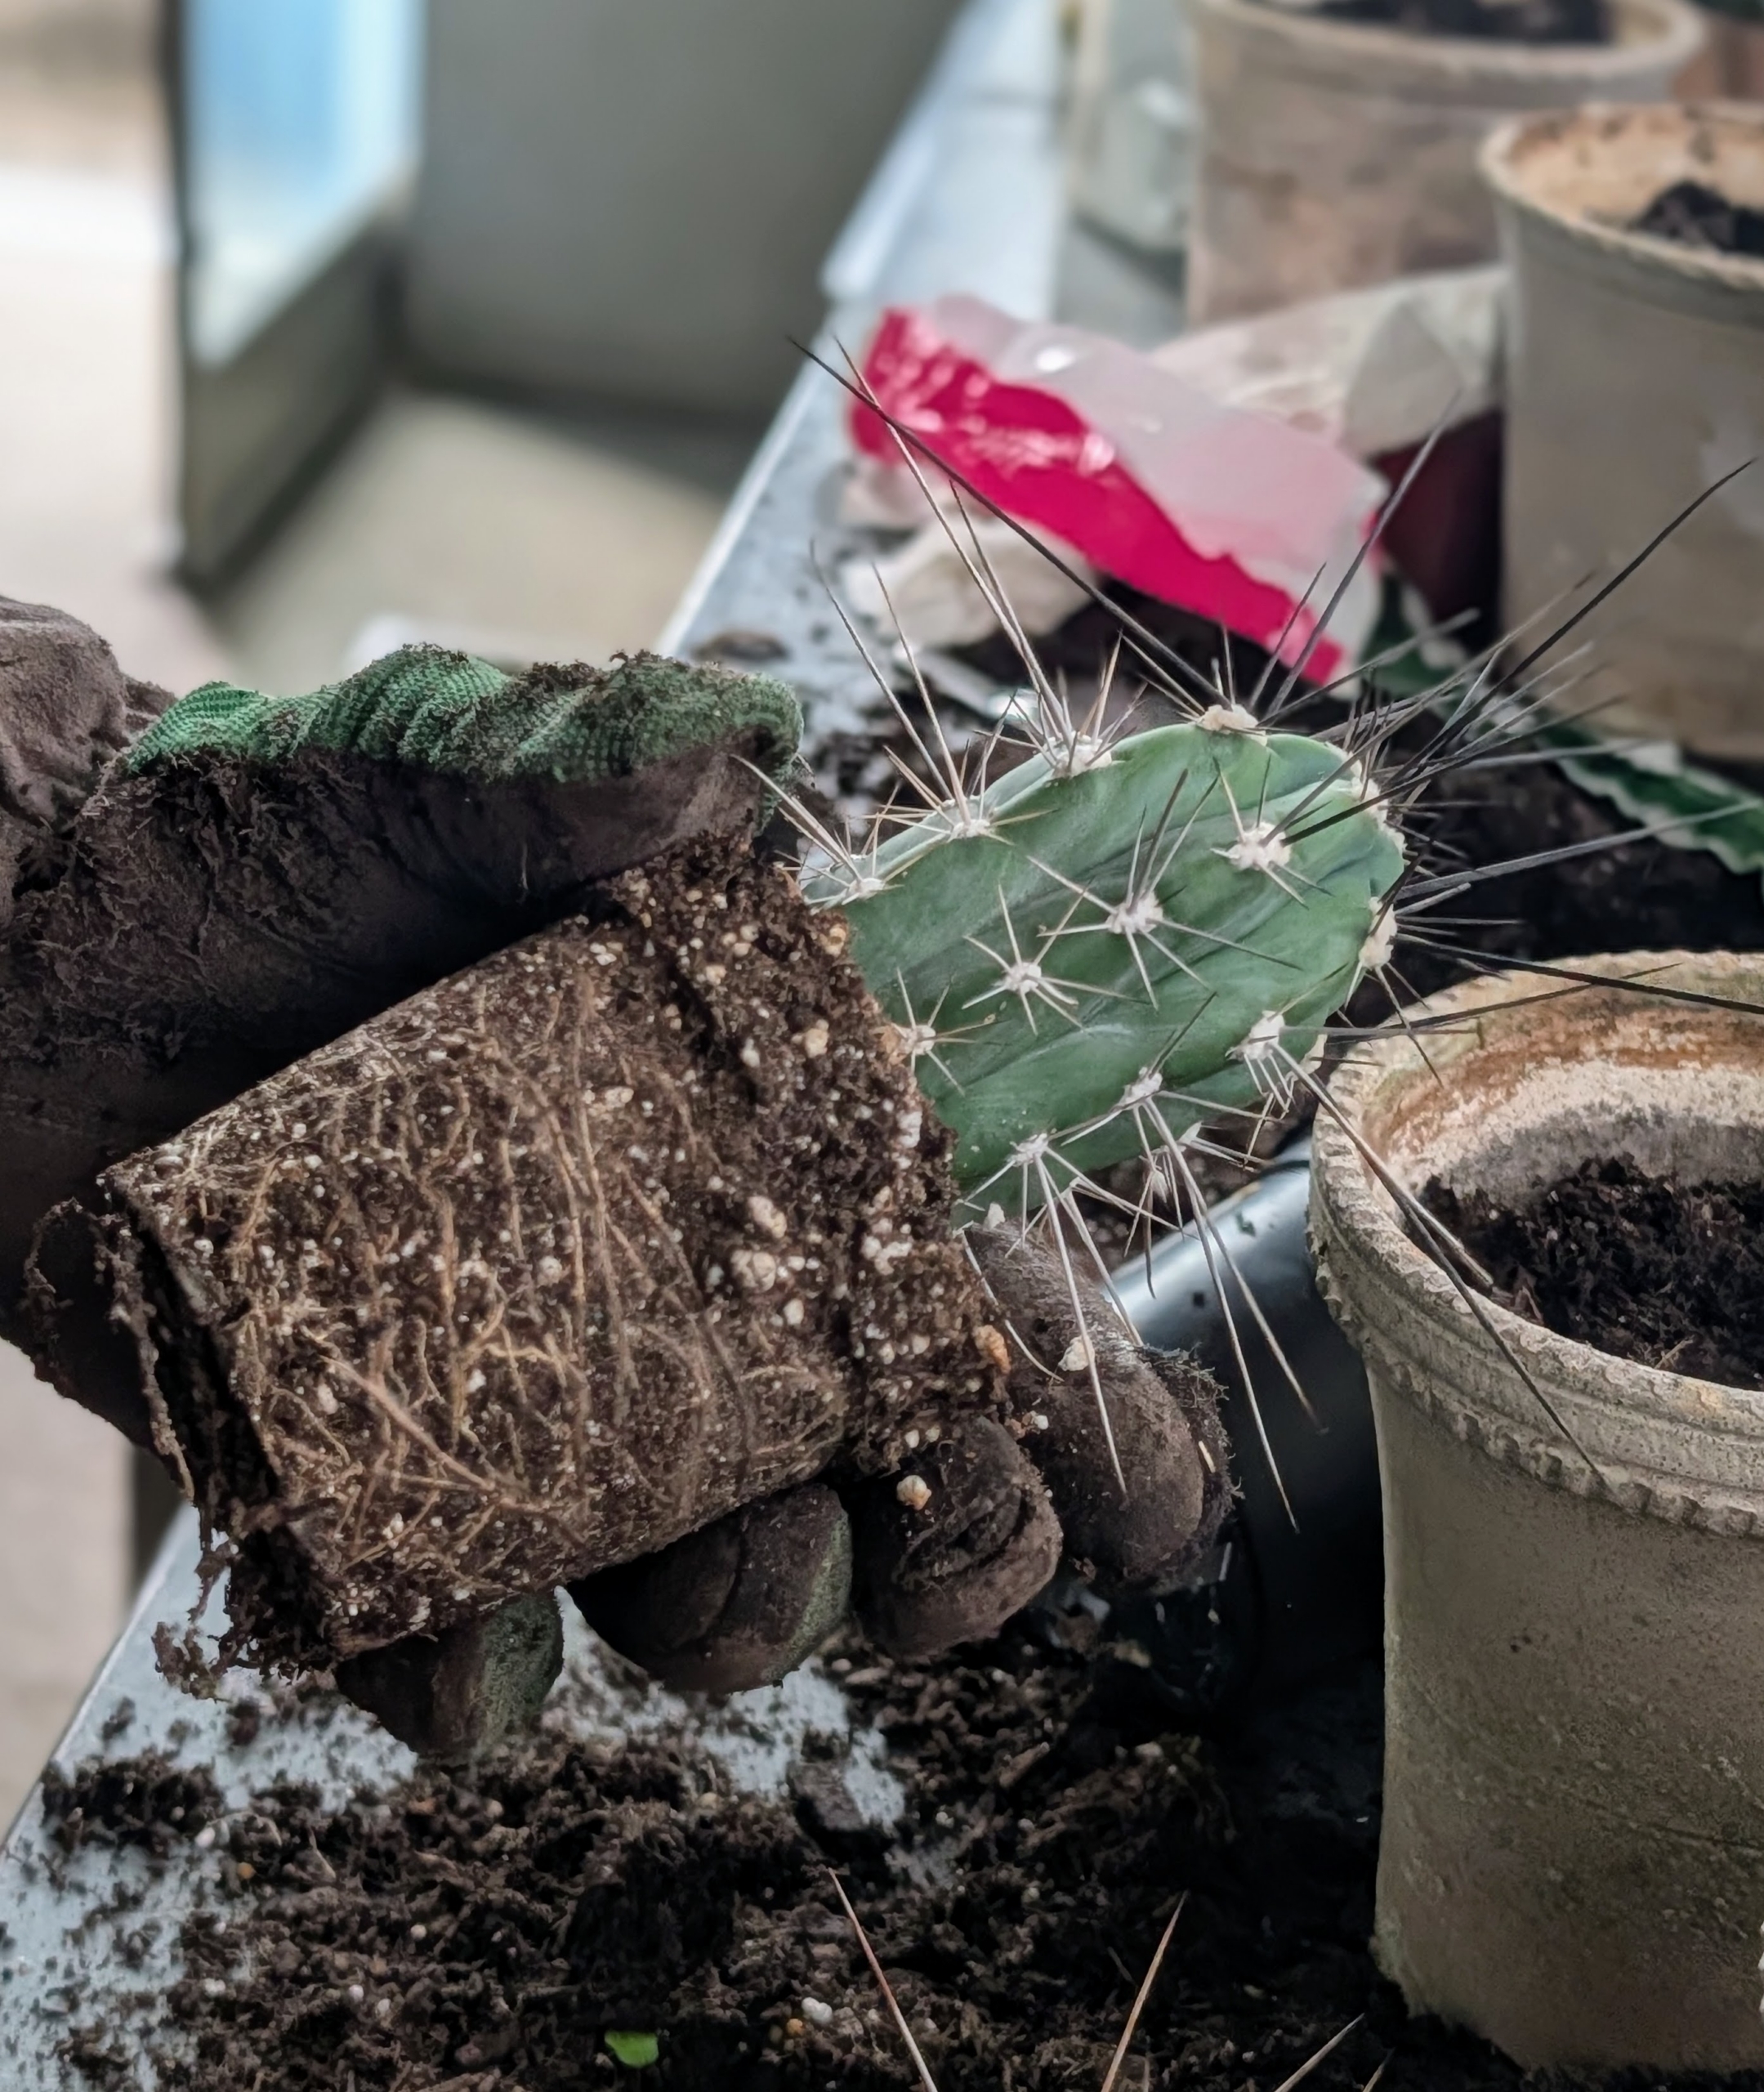
Here is another cactus ready for potting. Before placing any plant in a pot, be sure to tease or loosen the root ball just a bit to stimulate root growth.
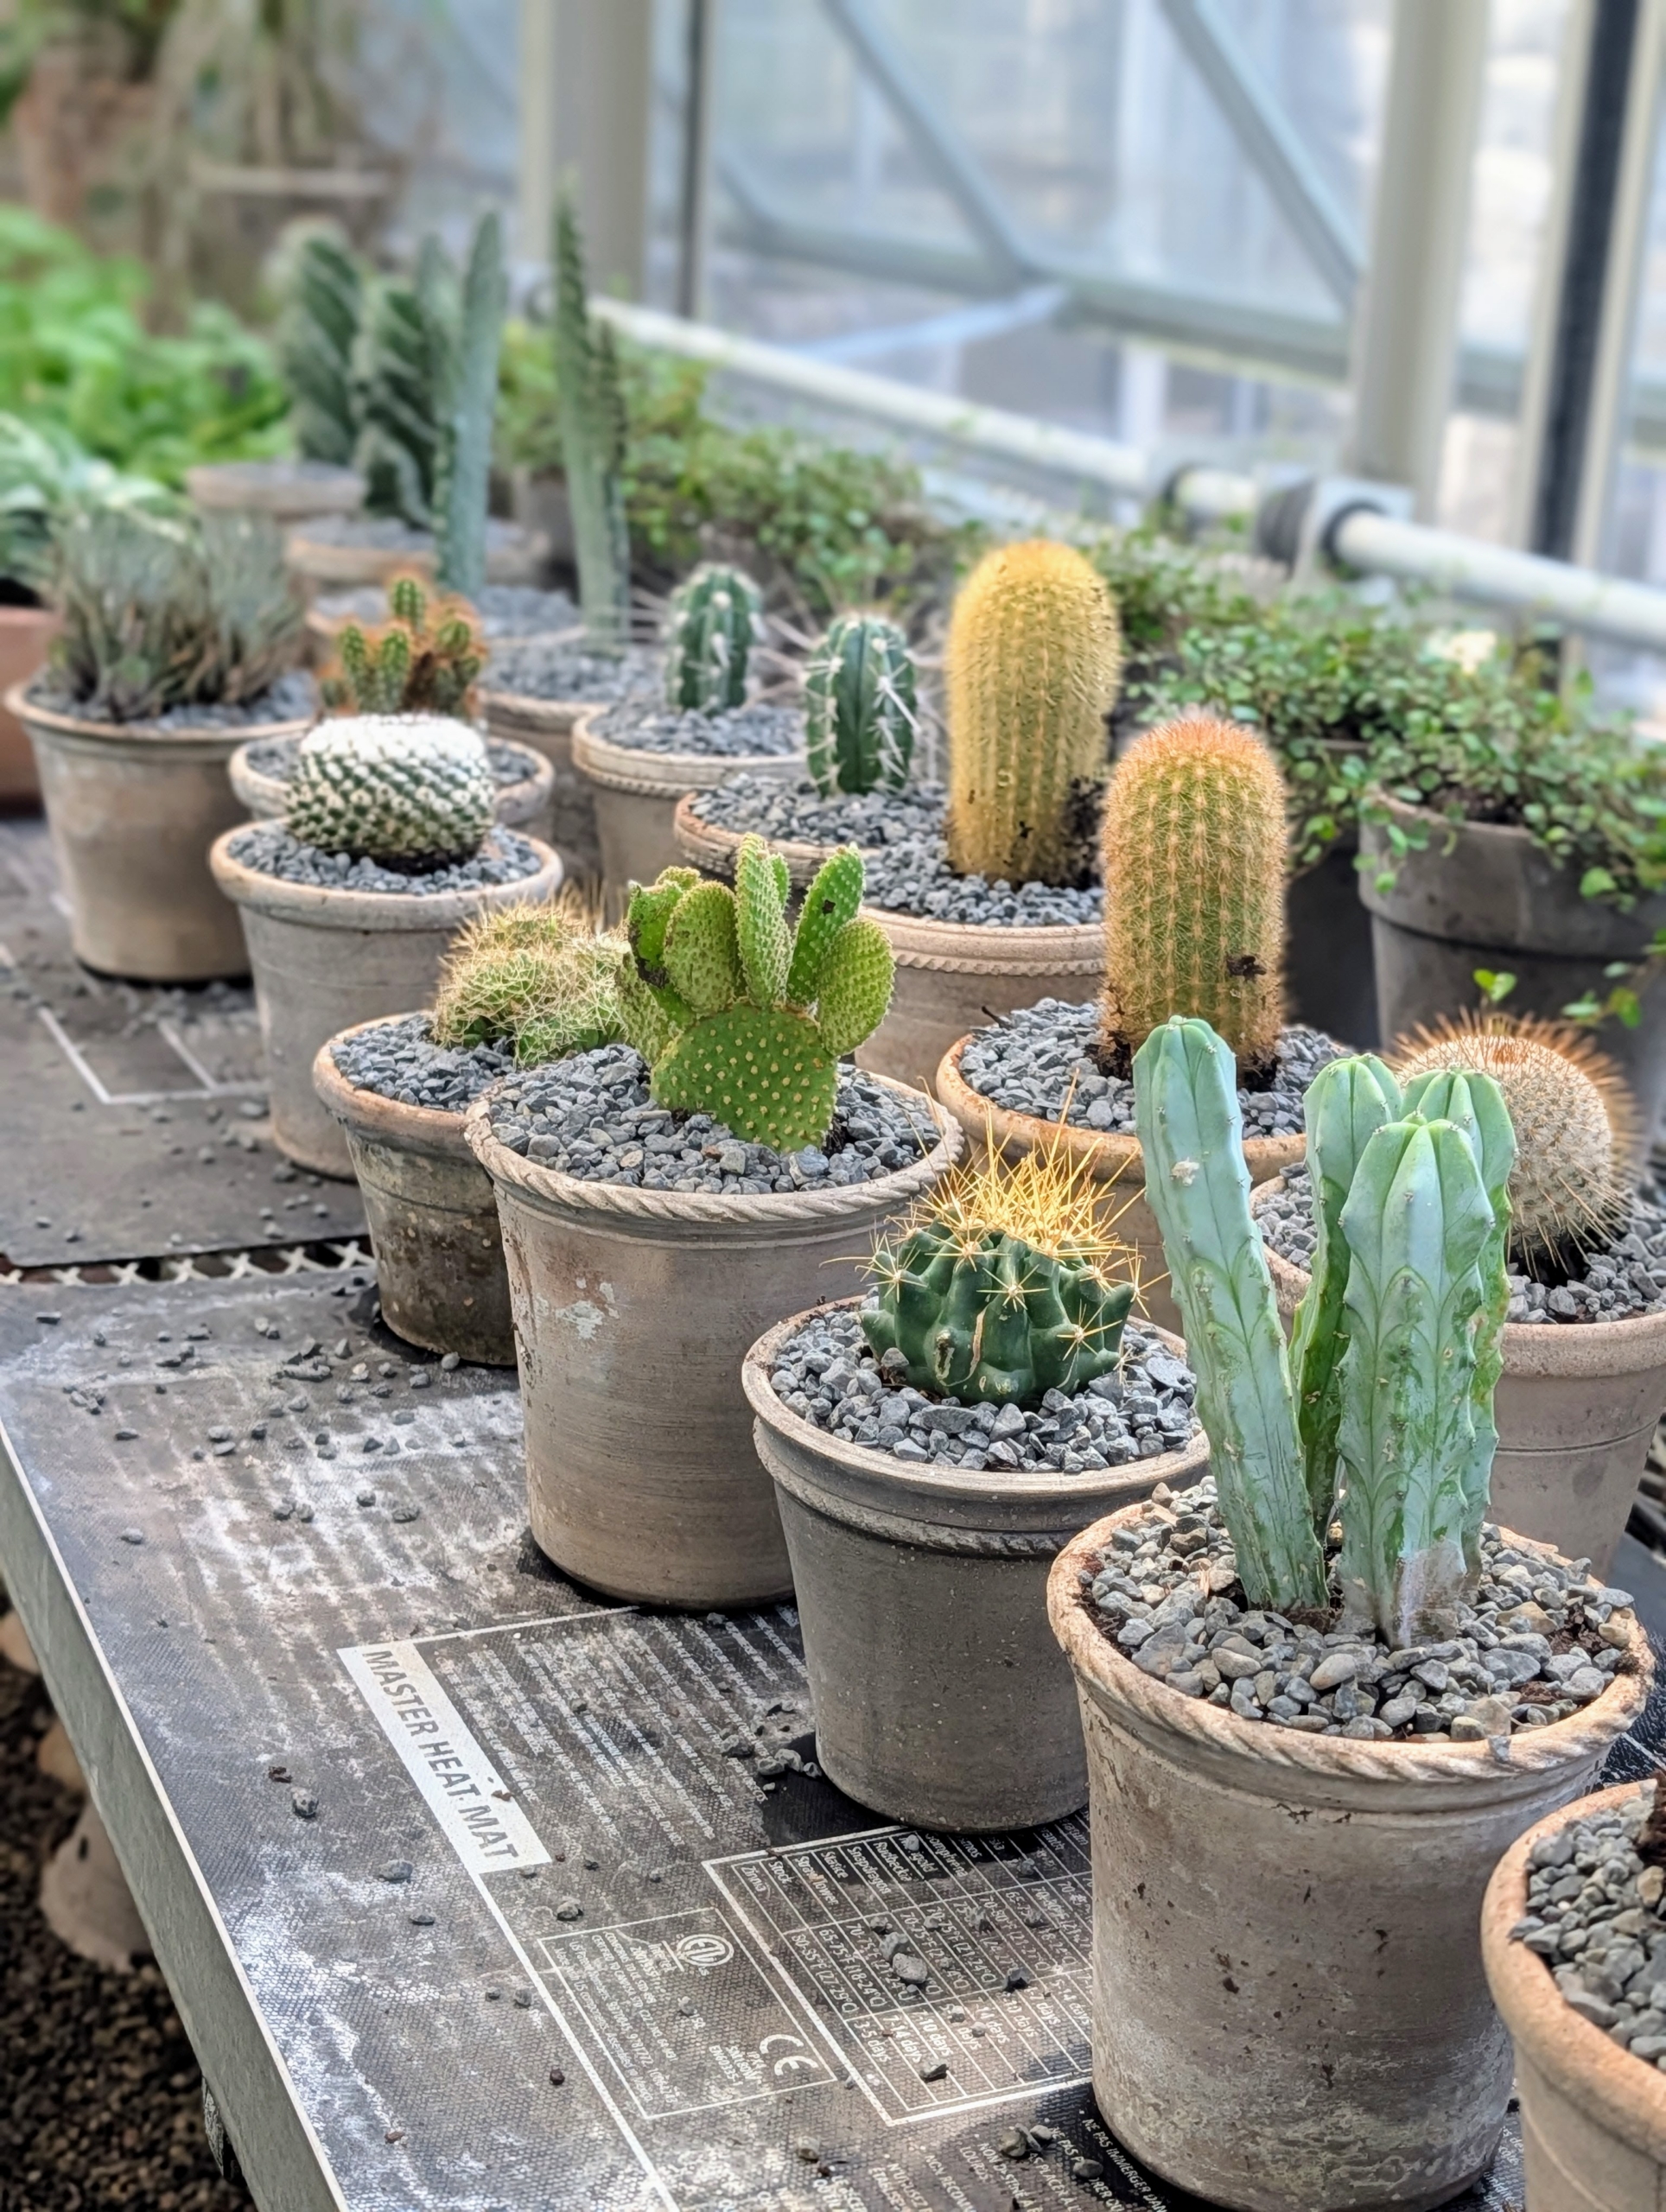
Many of these plants will last a couple years in these pots before they need transplanting. This is a Bilberry Cactus with thick, upright, blue-green stems with deep ribs, giving it a geometric shape, and small dark spines.
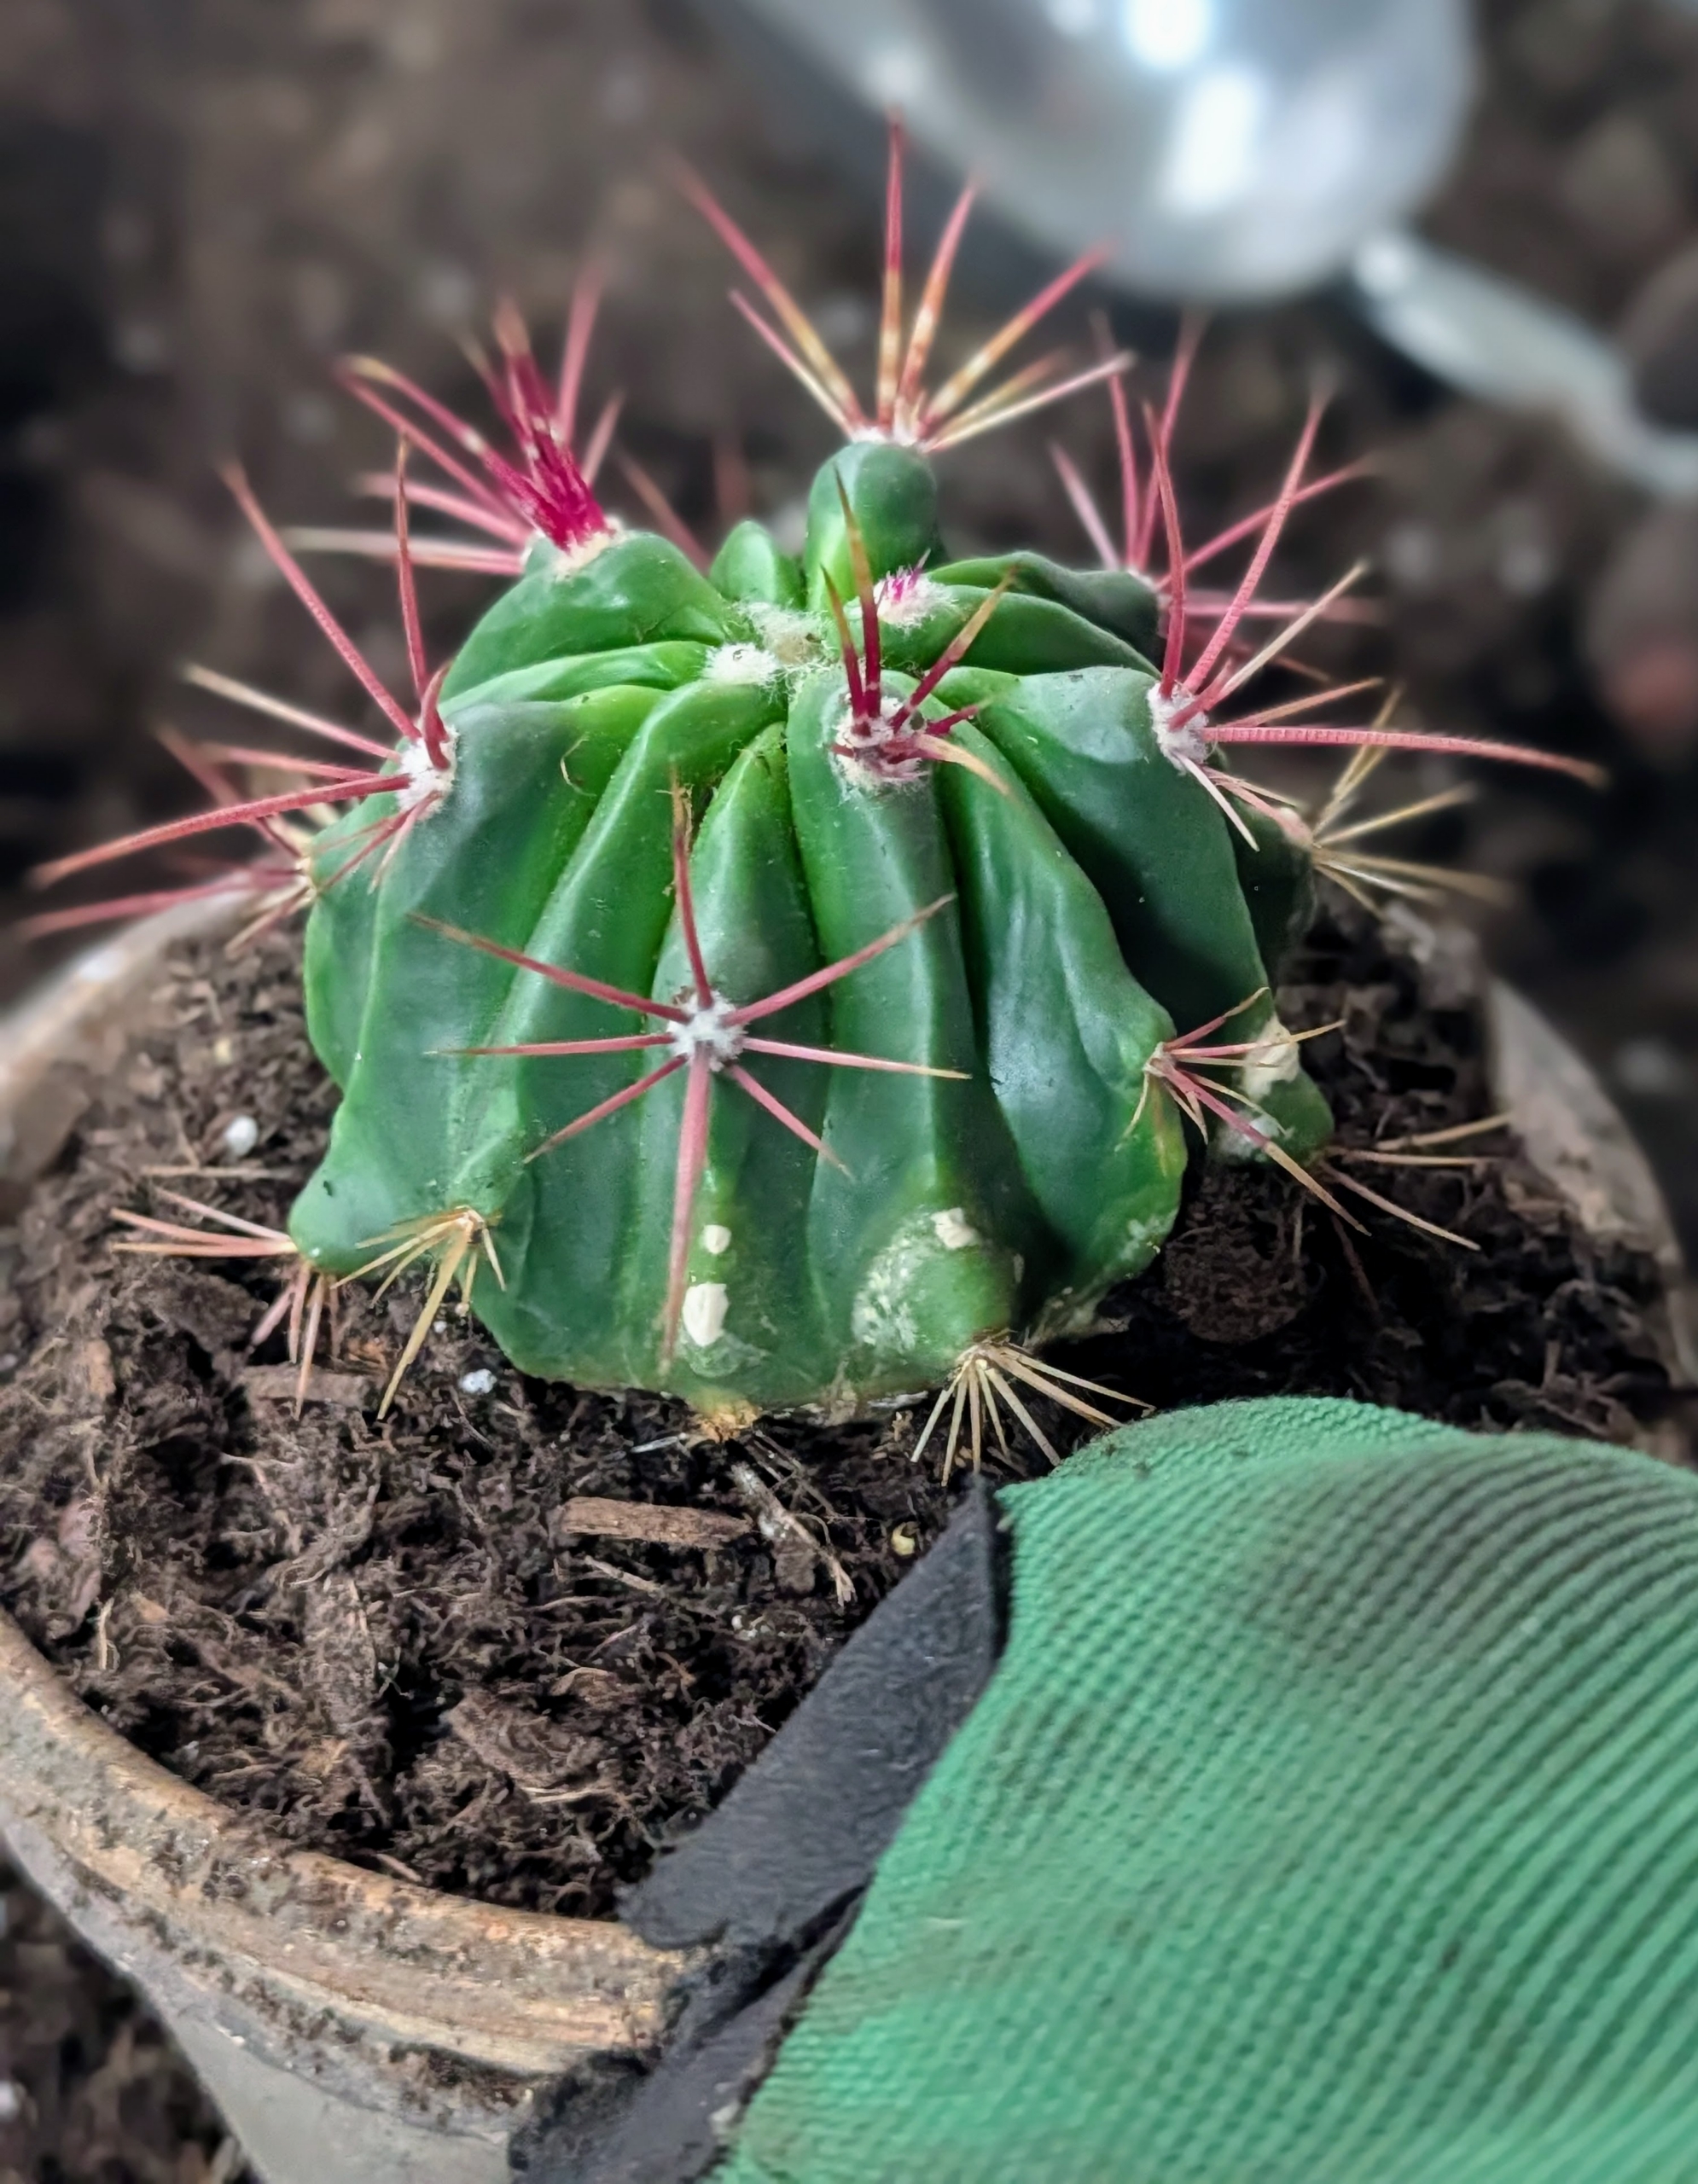
This is a barrel cactus, which is a round or cylindrical desert cactus known for its ribbed body, sharp spines, and vibrant flowers. Its spines, which can be yellow, red, or brown, provide protection, shade, and help reduce water loss.
Once all the plants are potted up, they are watered and placed in the greenhouse where they will get bright, direct light.
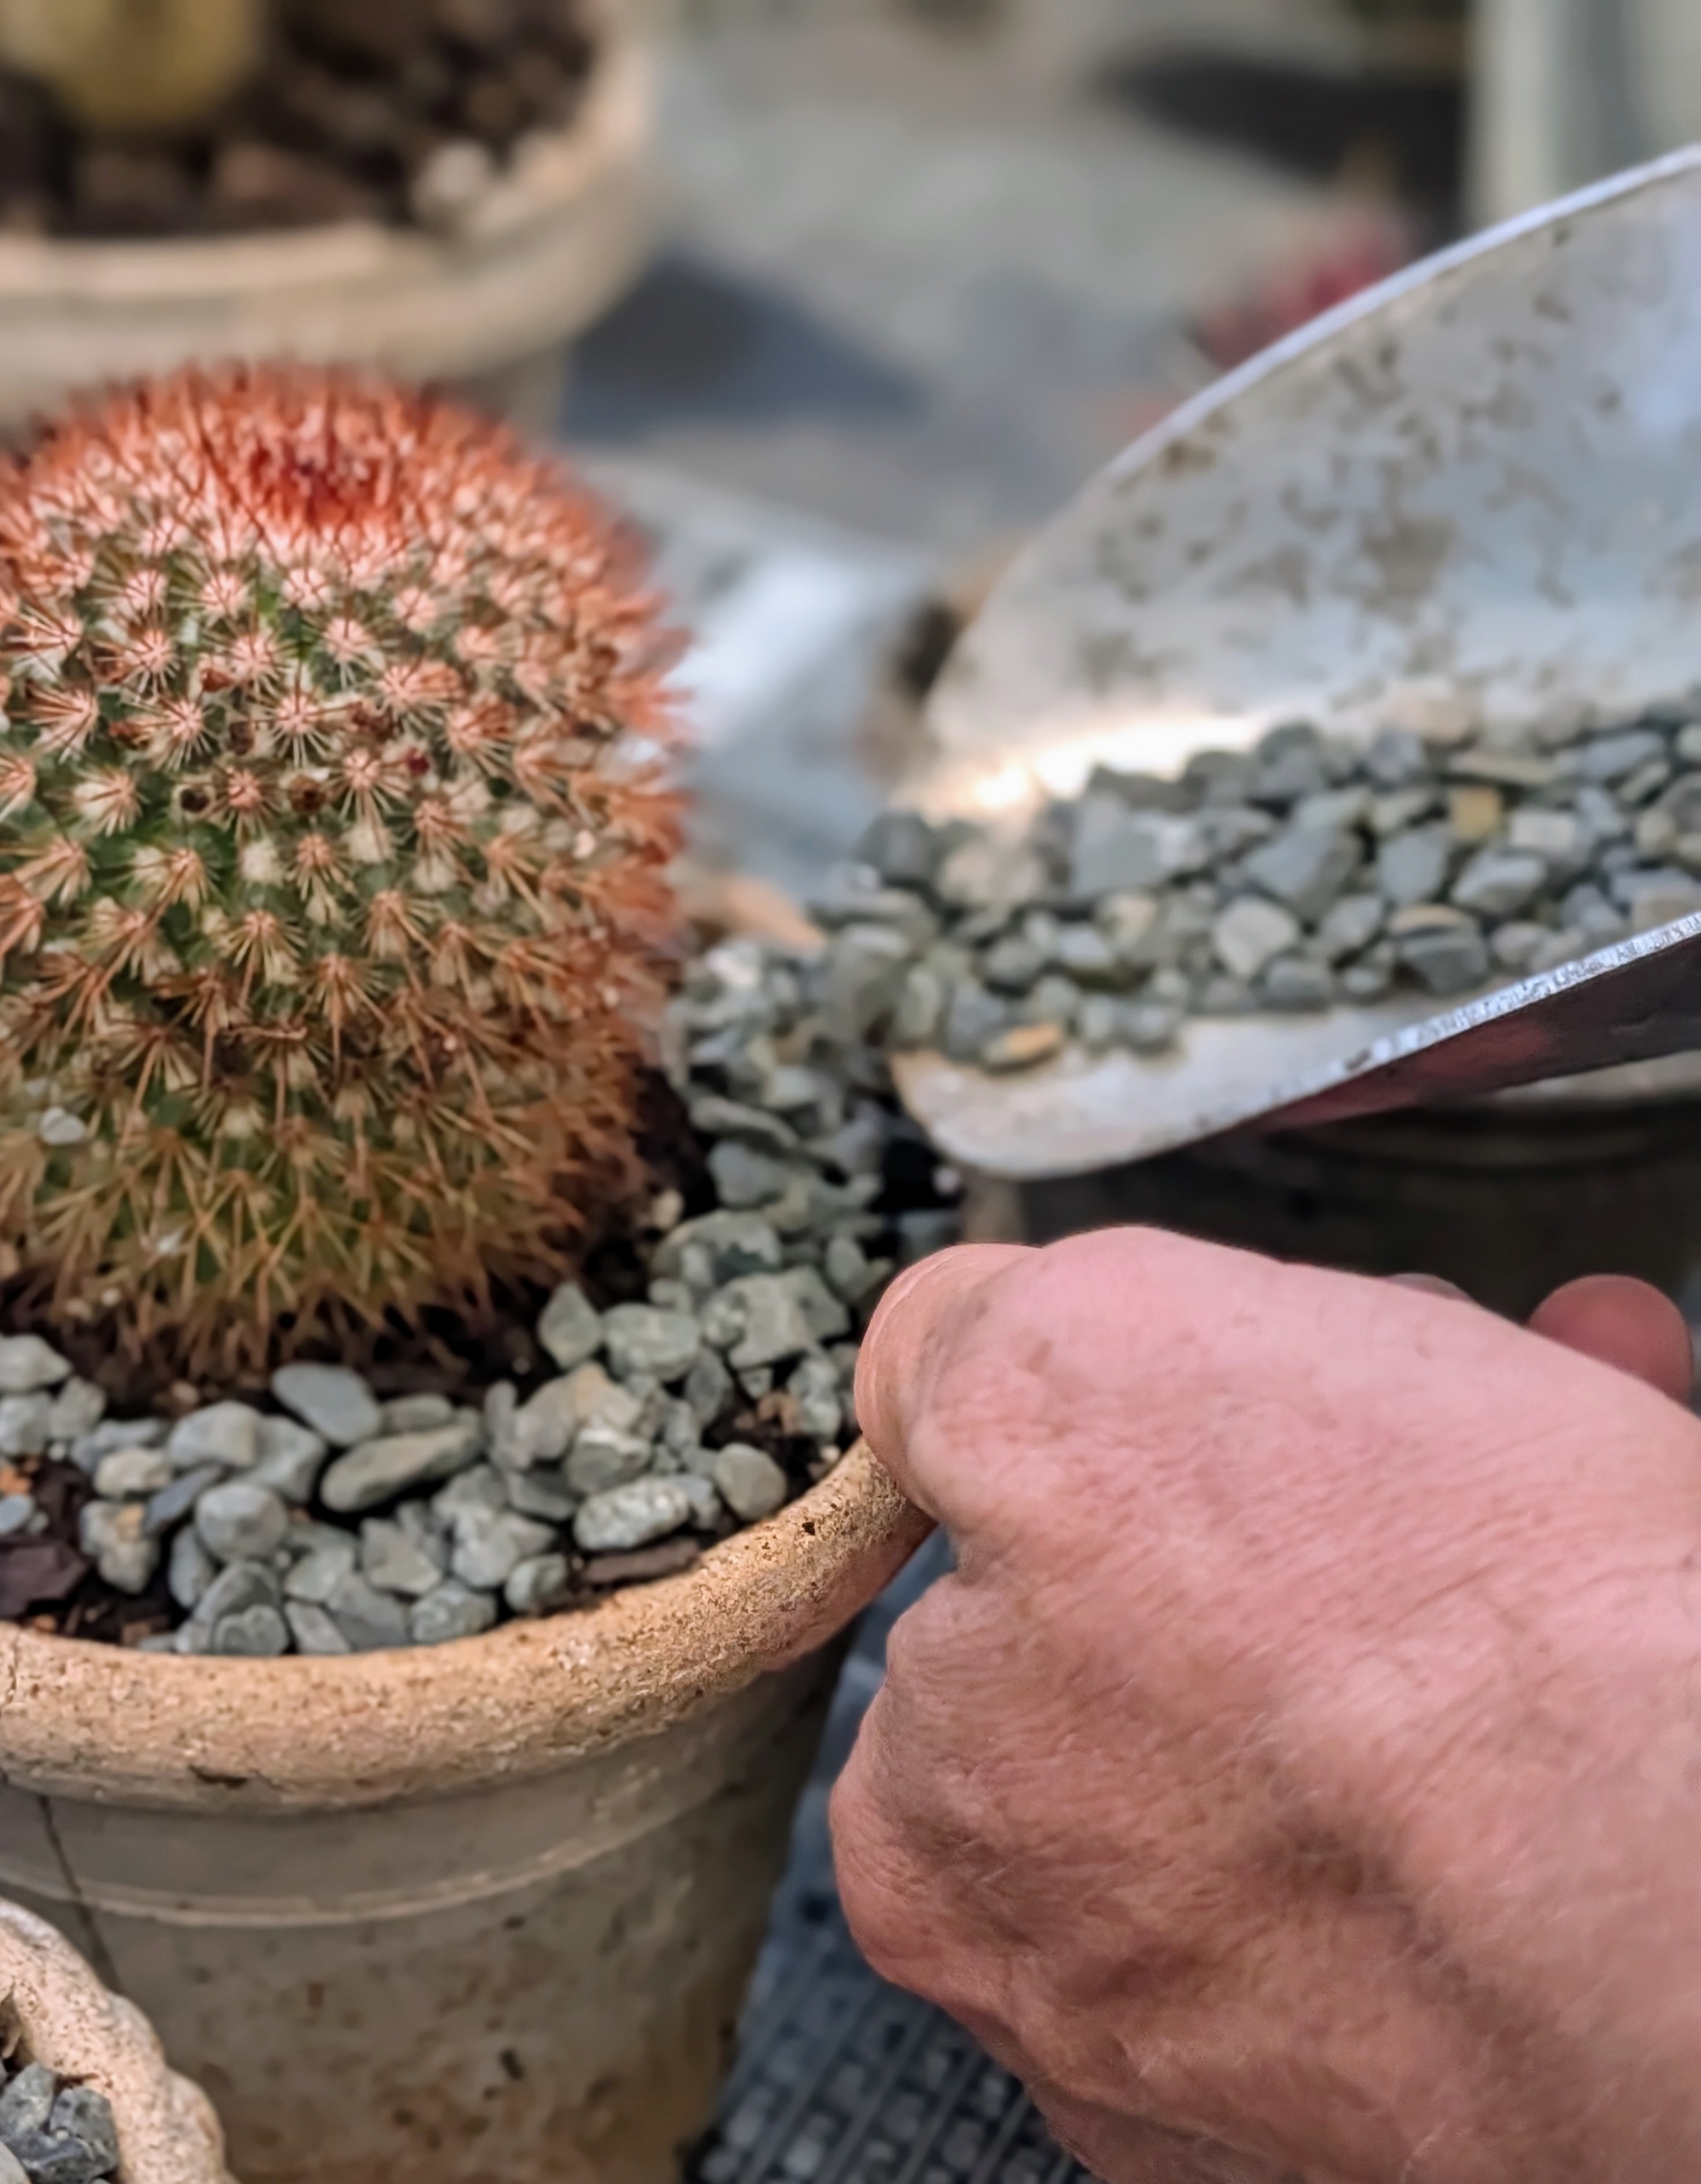
Ryan adds pea gravel to the top of the pots. Pea gravel, so named because the pieces are pea-sized, is available at garden centers and comes in different colors.
Gravel breaks up the force from watering, keeping the topsoil intact. It also creates air pockets in the soil, improving aeration and preventing compaction.
These plants will remain here in the greenhouse where they can be properly maintained. Occasionally, they will also be rotated into my Winter House for display. Try adding some of these plants to your collection – you’ll enjoy them as much as I do.