The Garlic is Planted for Next Year
Another task is done. Next year's garlic crop is now planted.
Fall is the ideal time to plant garlic. Doing it now allows the bulbs to establish good roots before winter, leading to larger and more flavorful cloves by the summer harvest. Every year, I plant two raised beds of garlic from Keene Garlic in Wisconsin. Garlic is great for cooking and very good for one's health. It is well known to lower blood pressure and cholesterol, and carries many antioxidant properties. Knowing that I also grow the garlic myself makes it even more special.
Here is my process, enjoy.
-

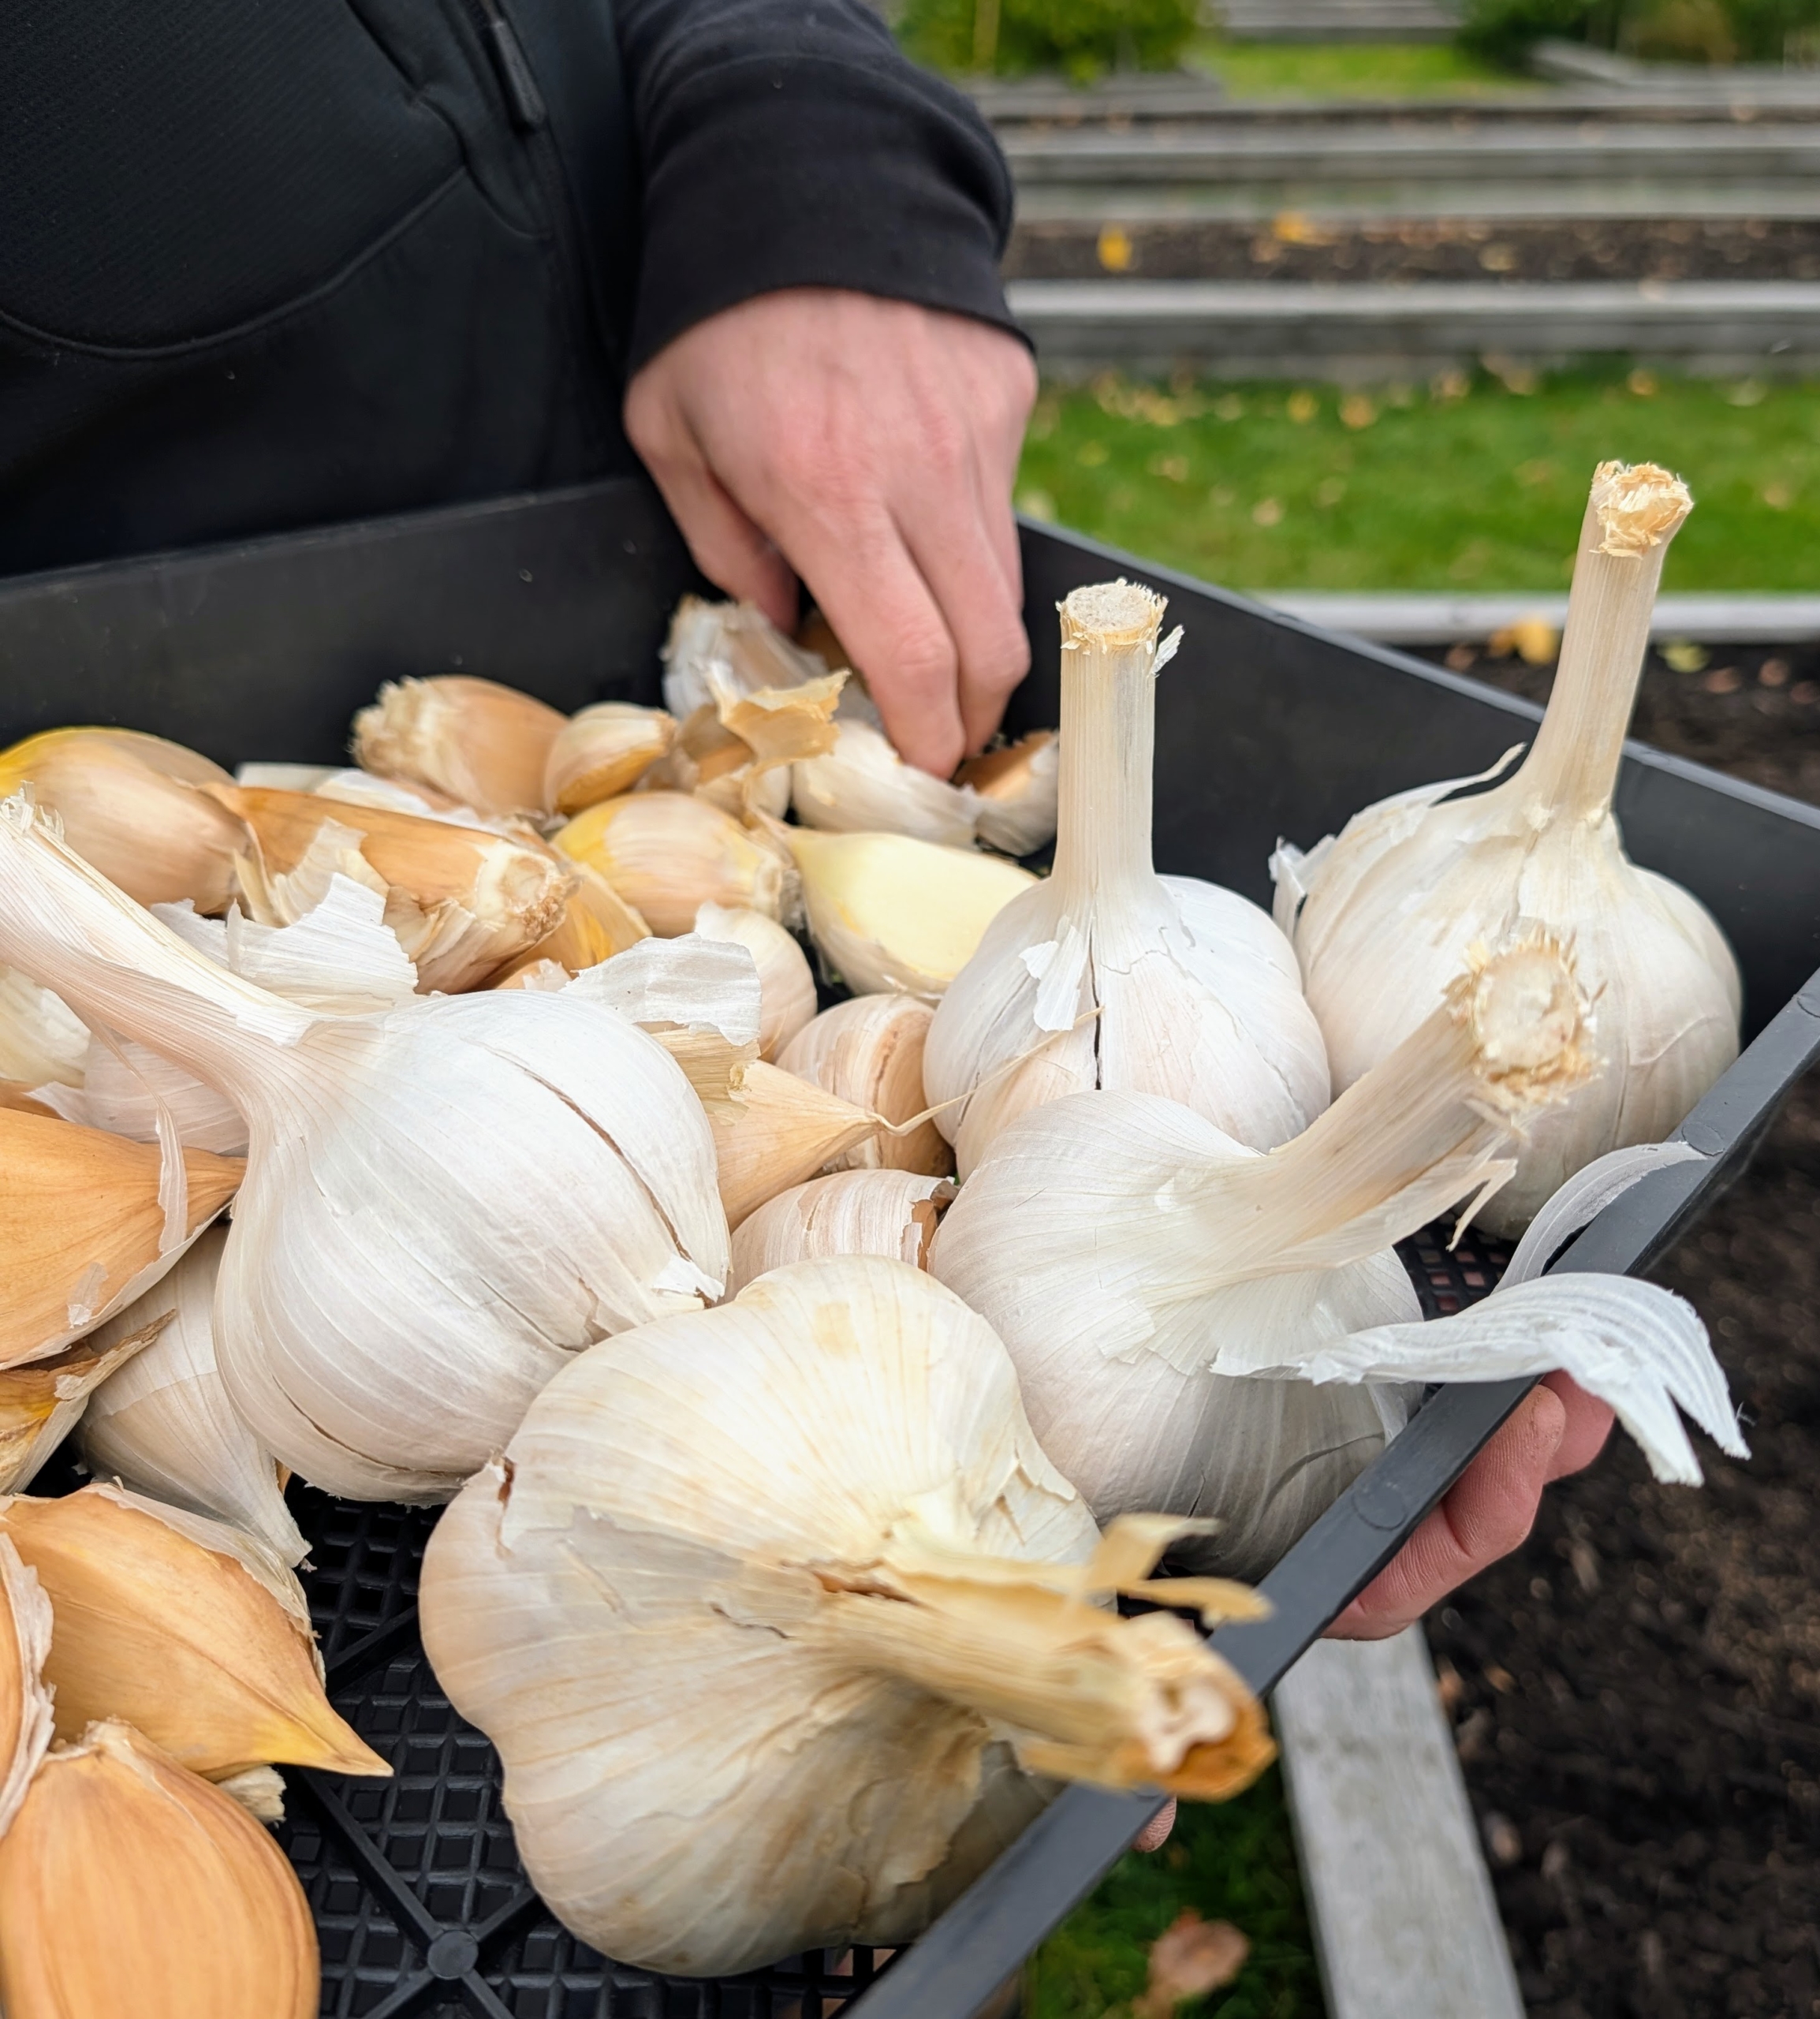
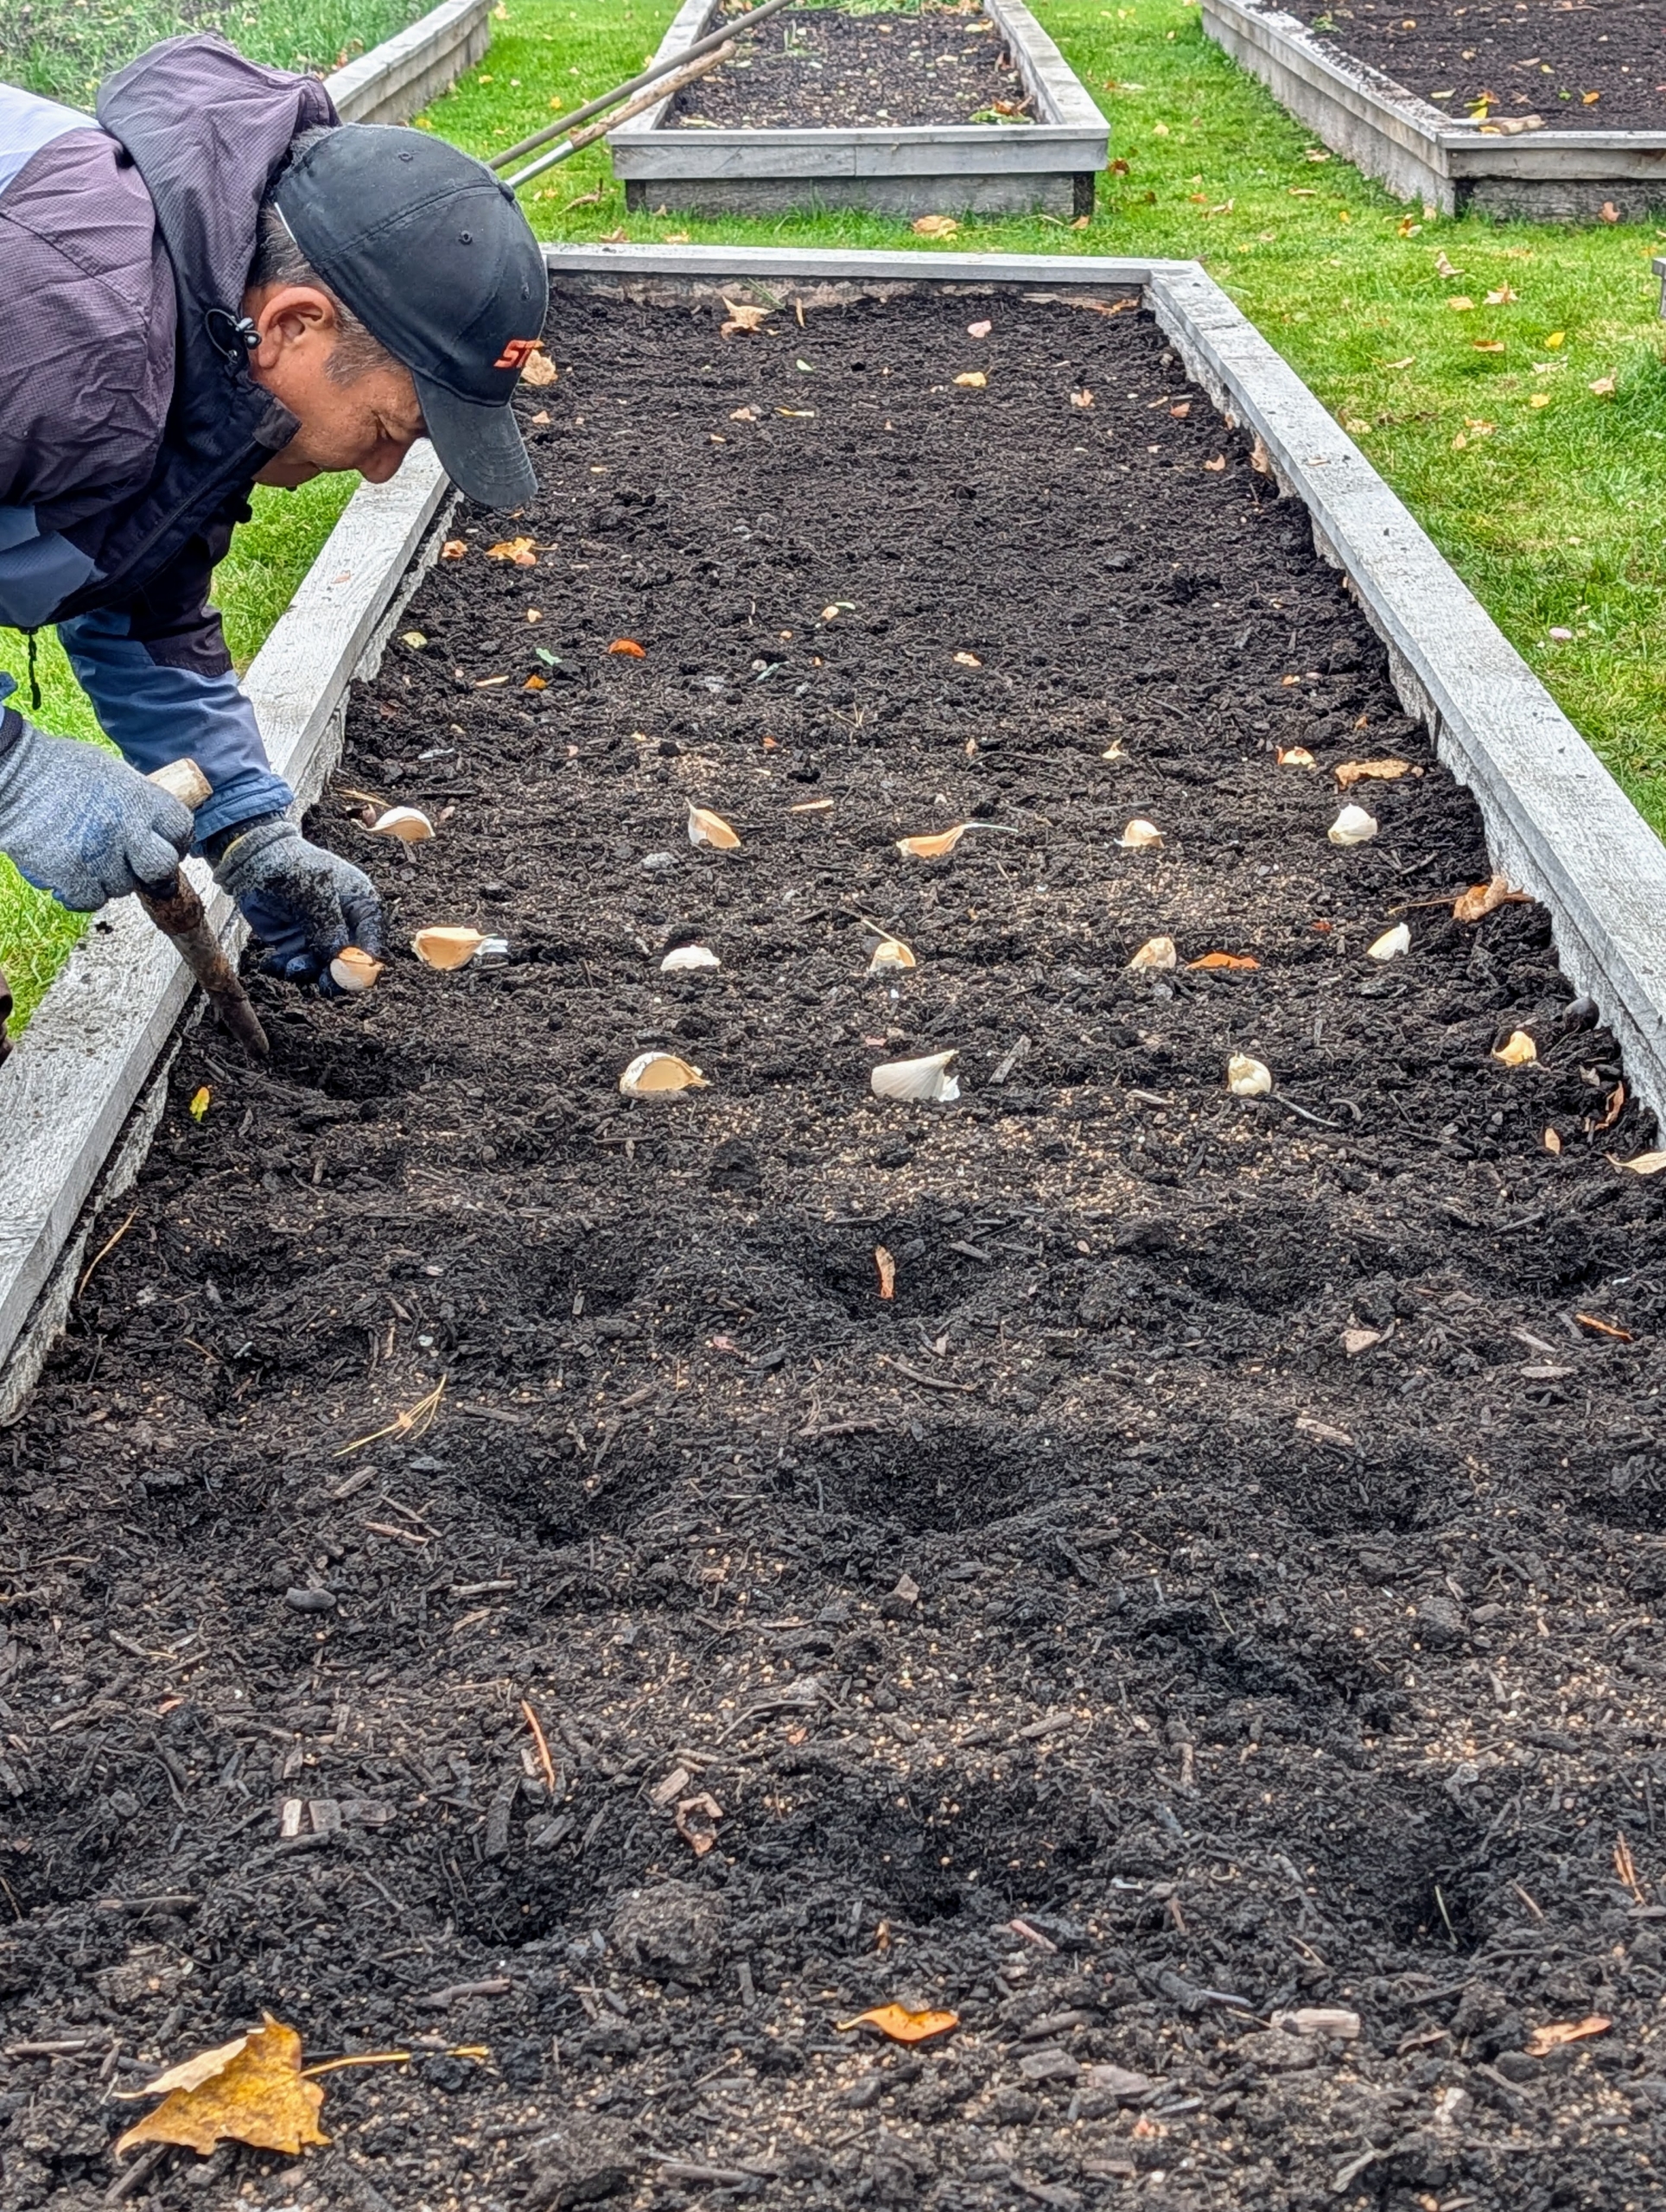
- All the seed garlic that was prepared for planting the day before is brought out to my large half-acre vegetable garden.

-
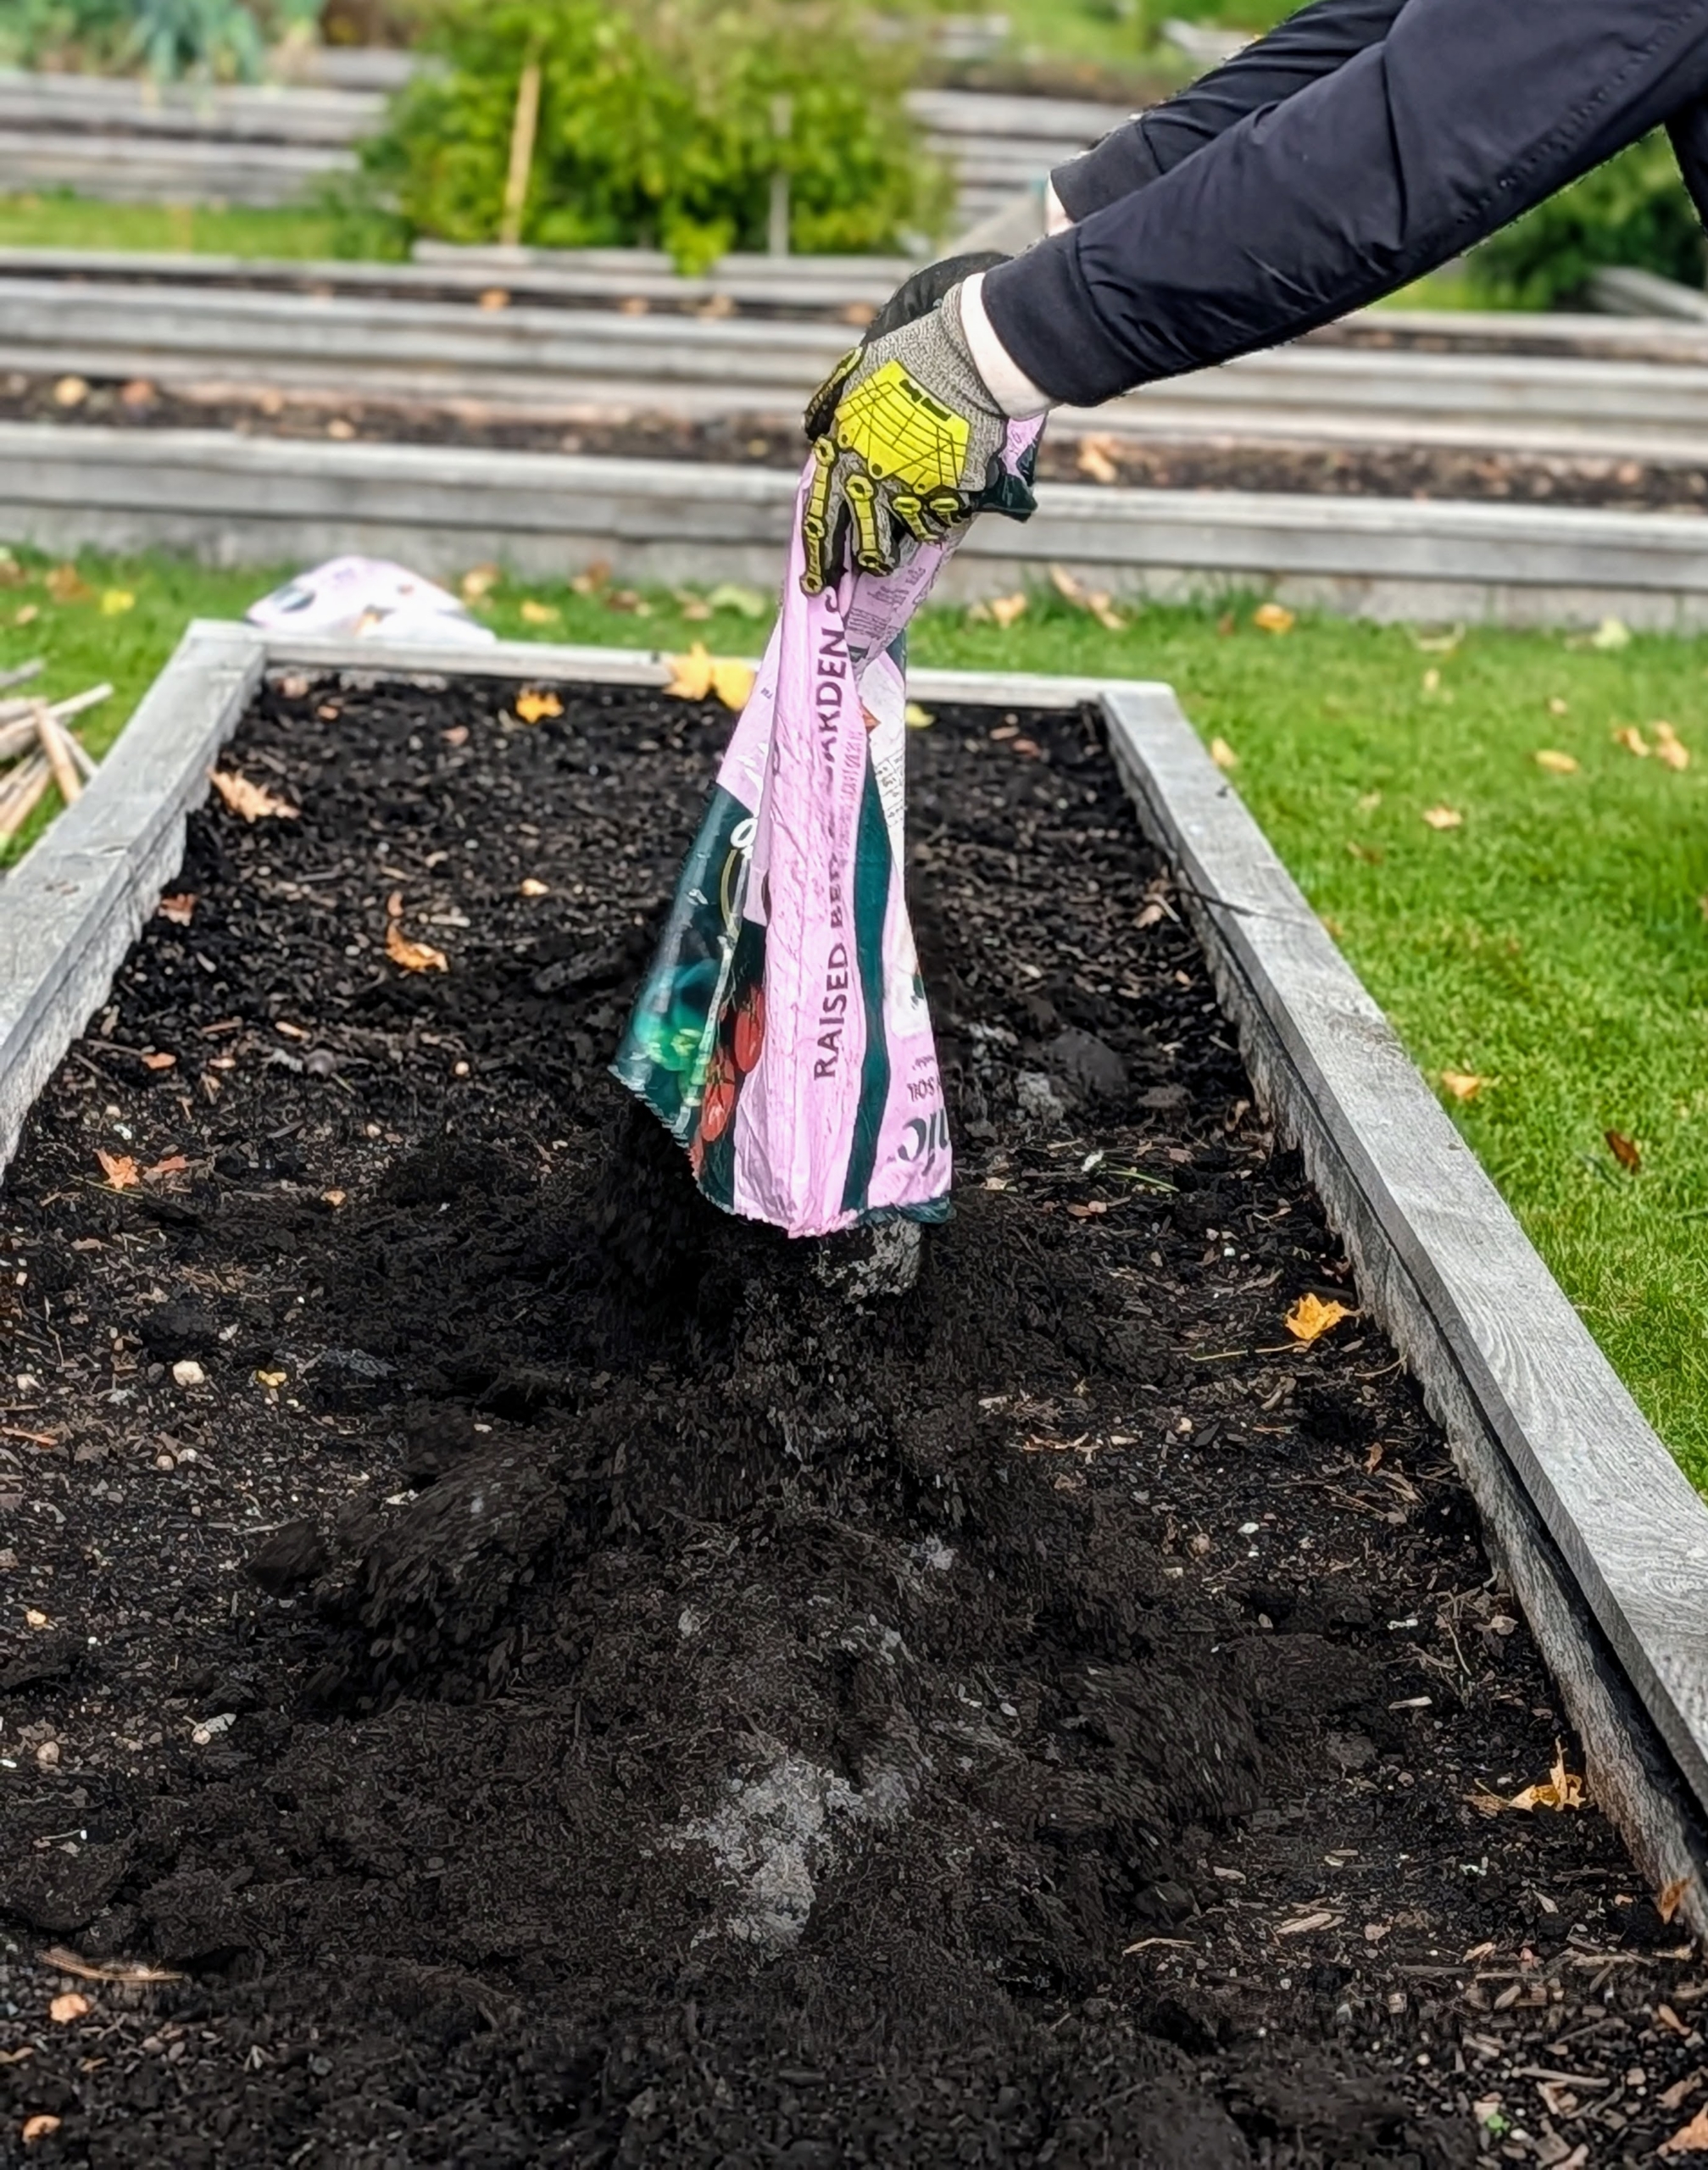
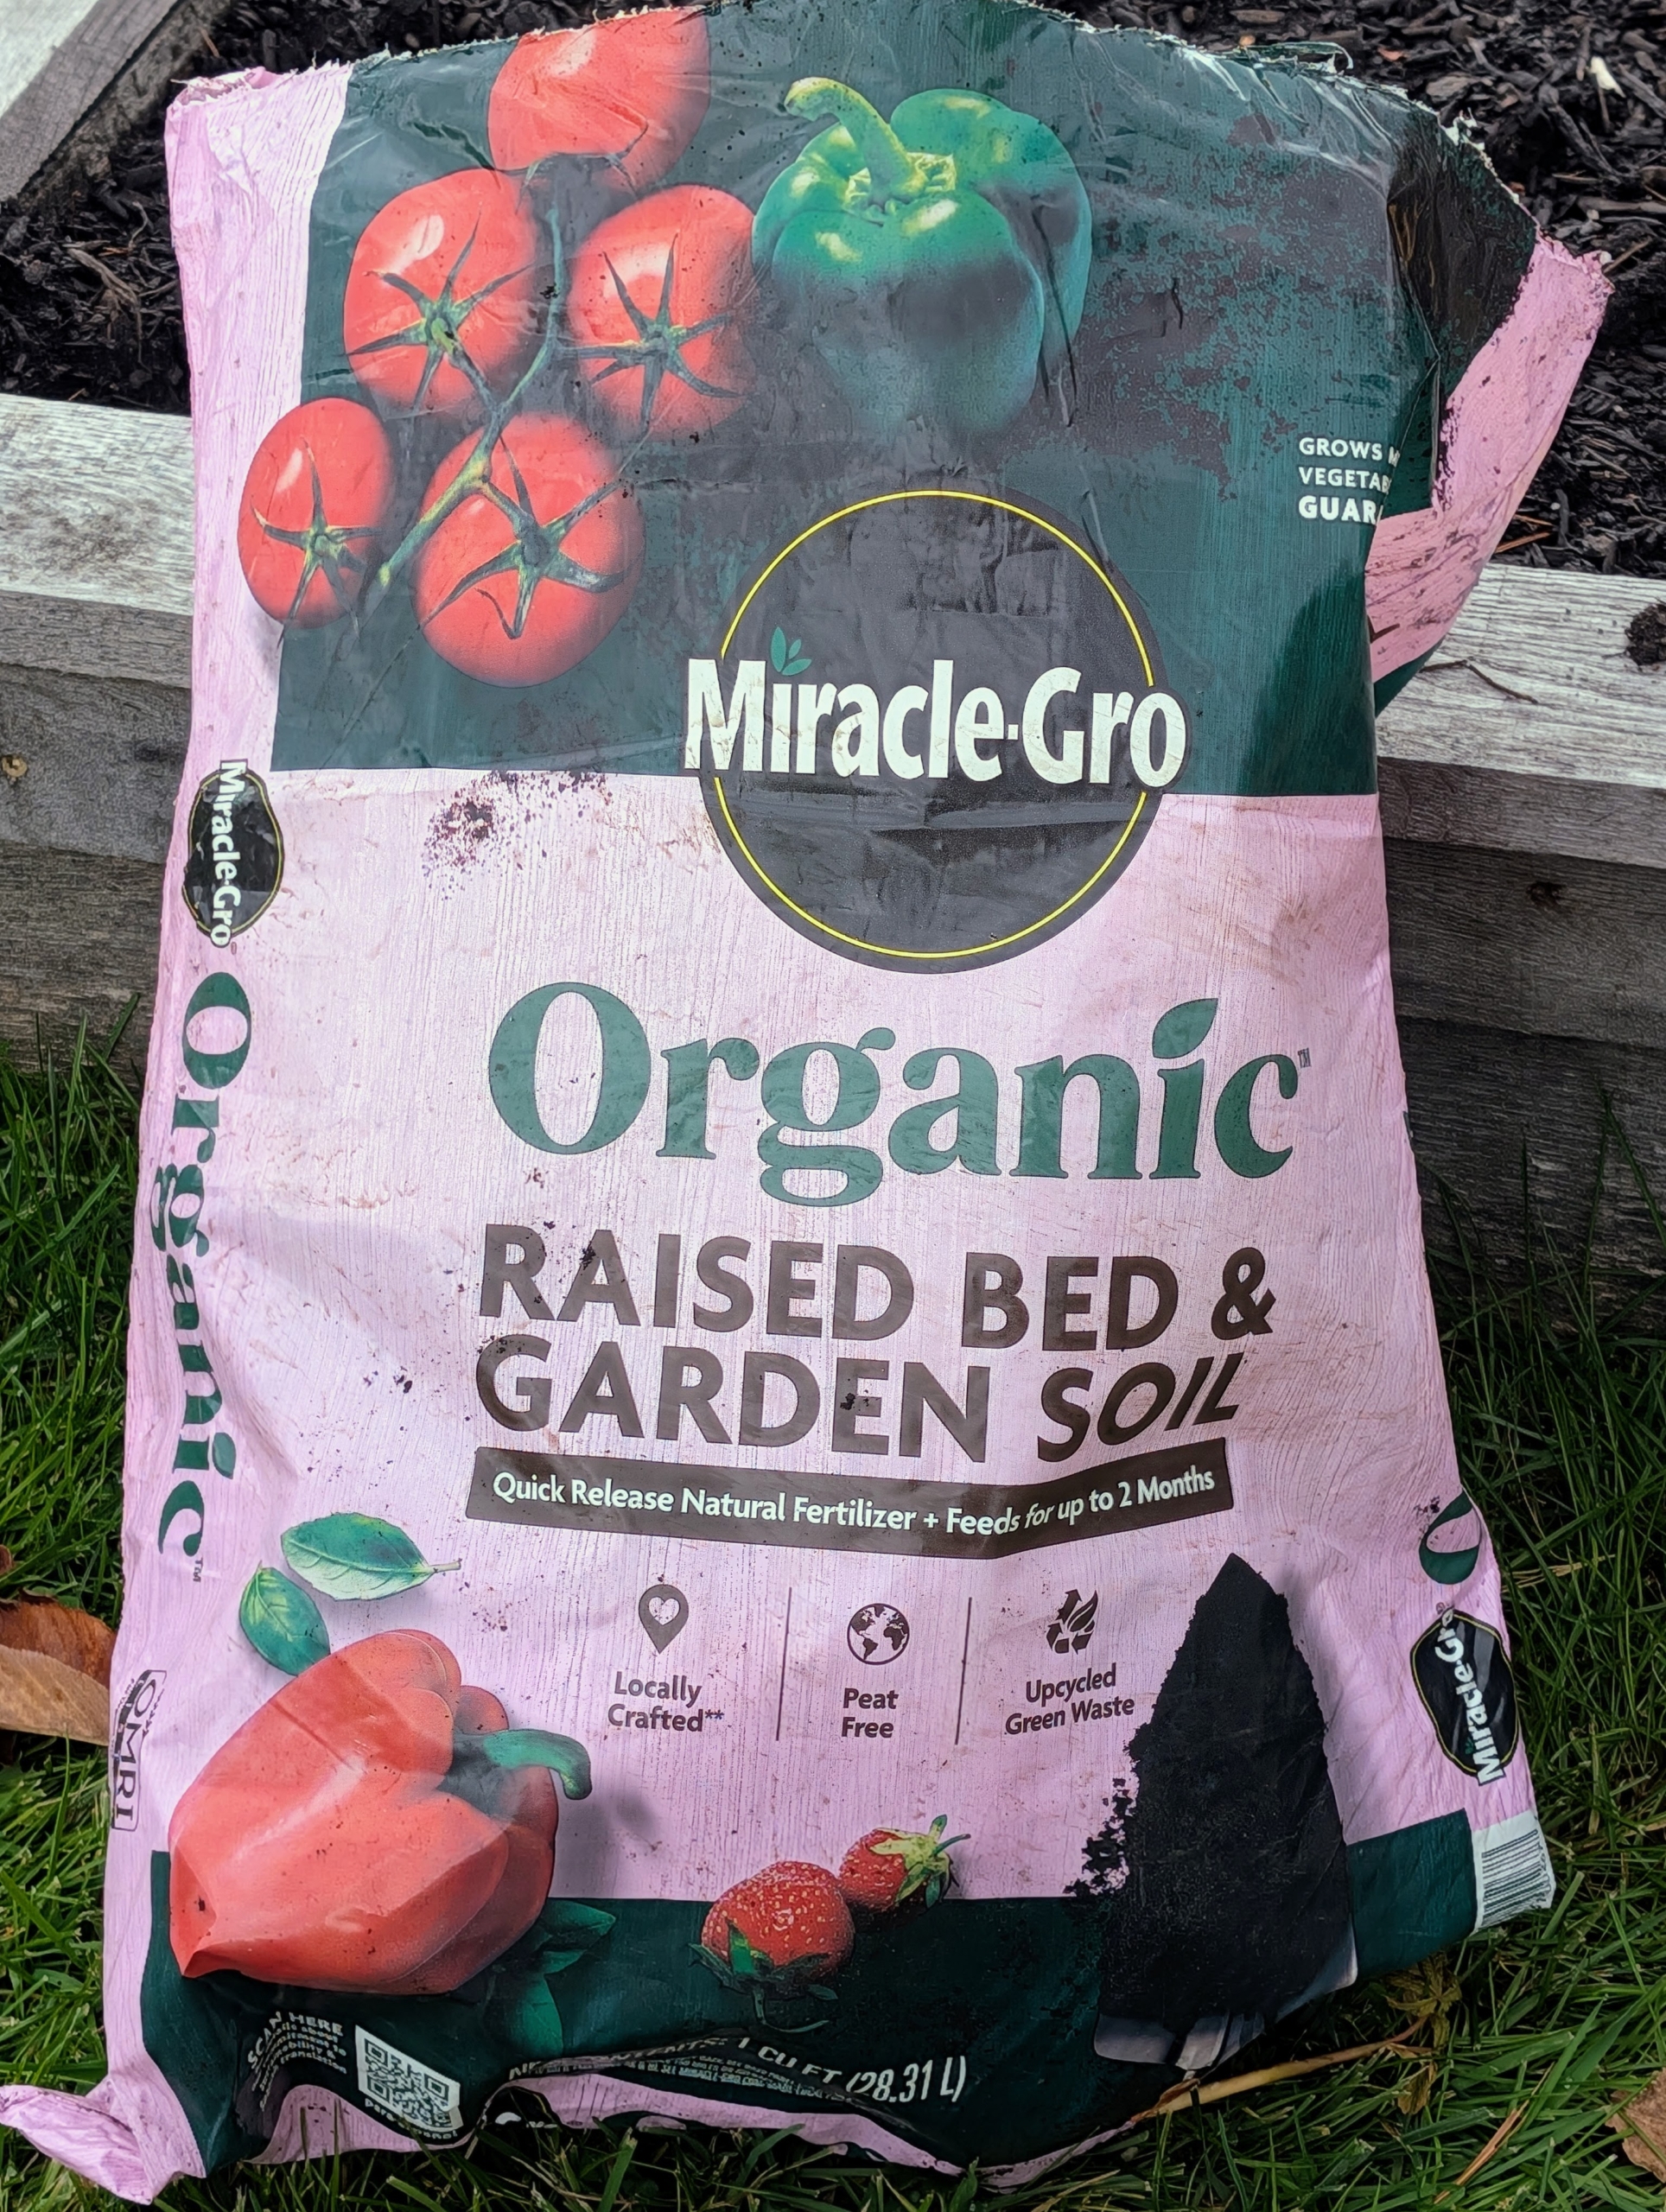
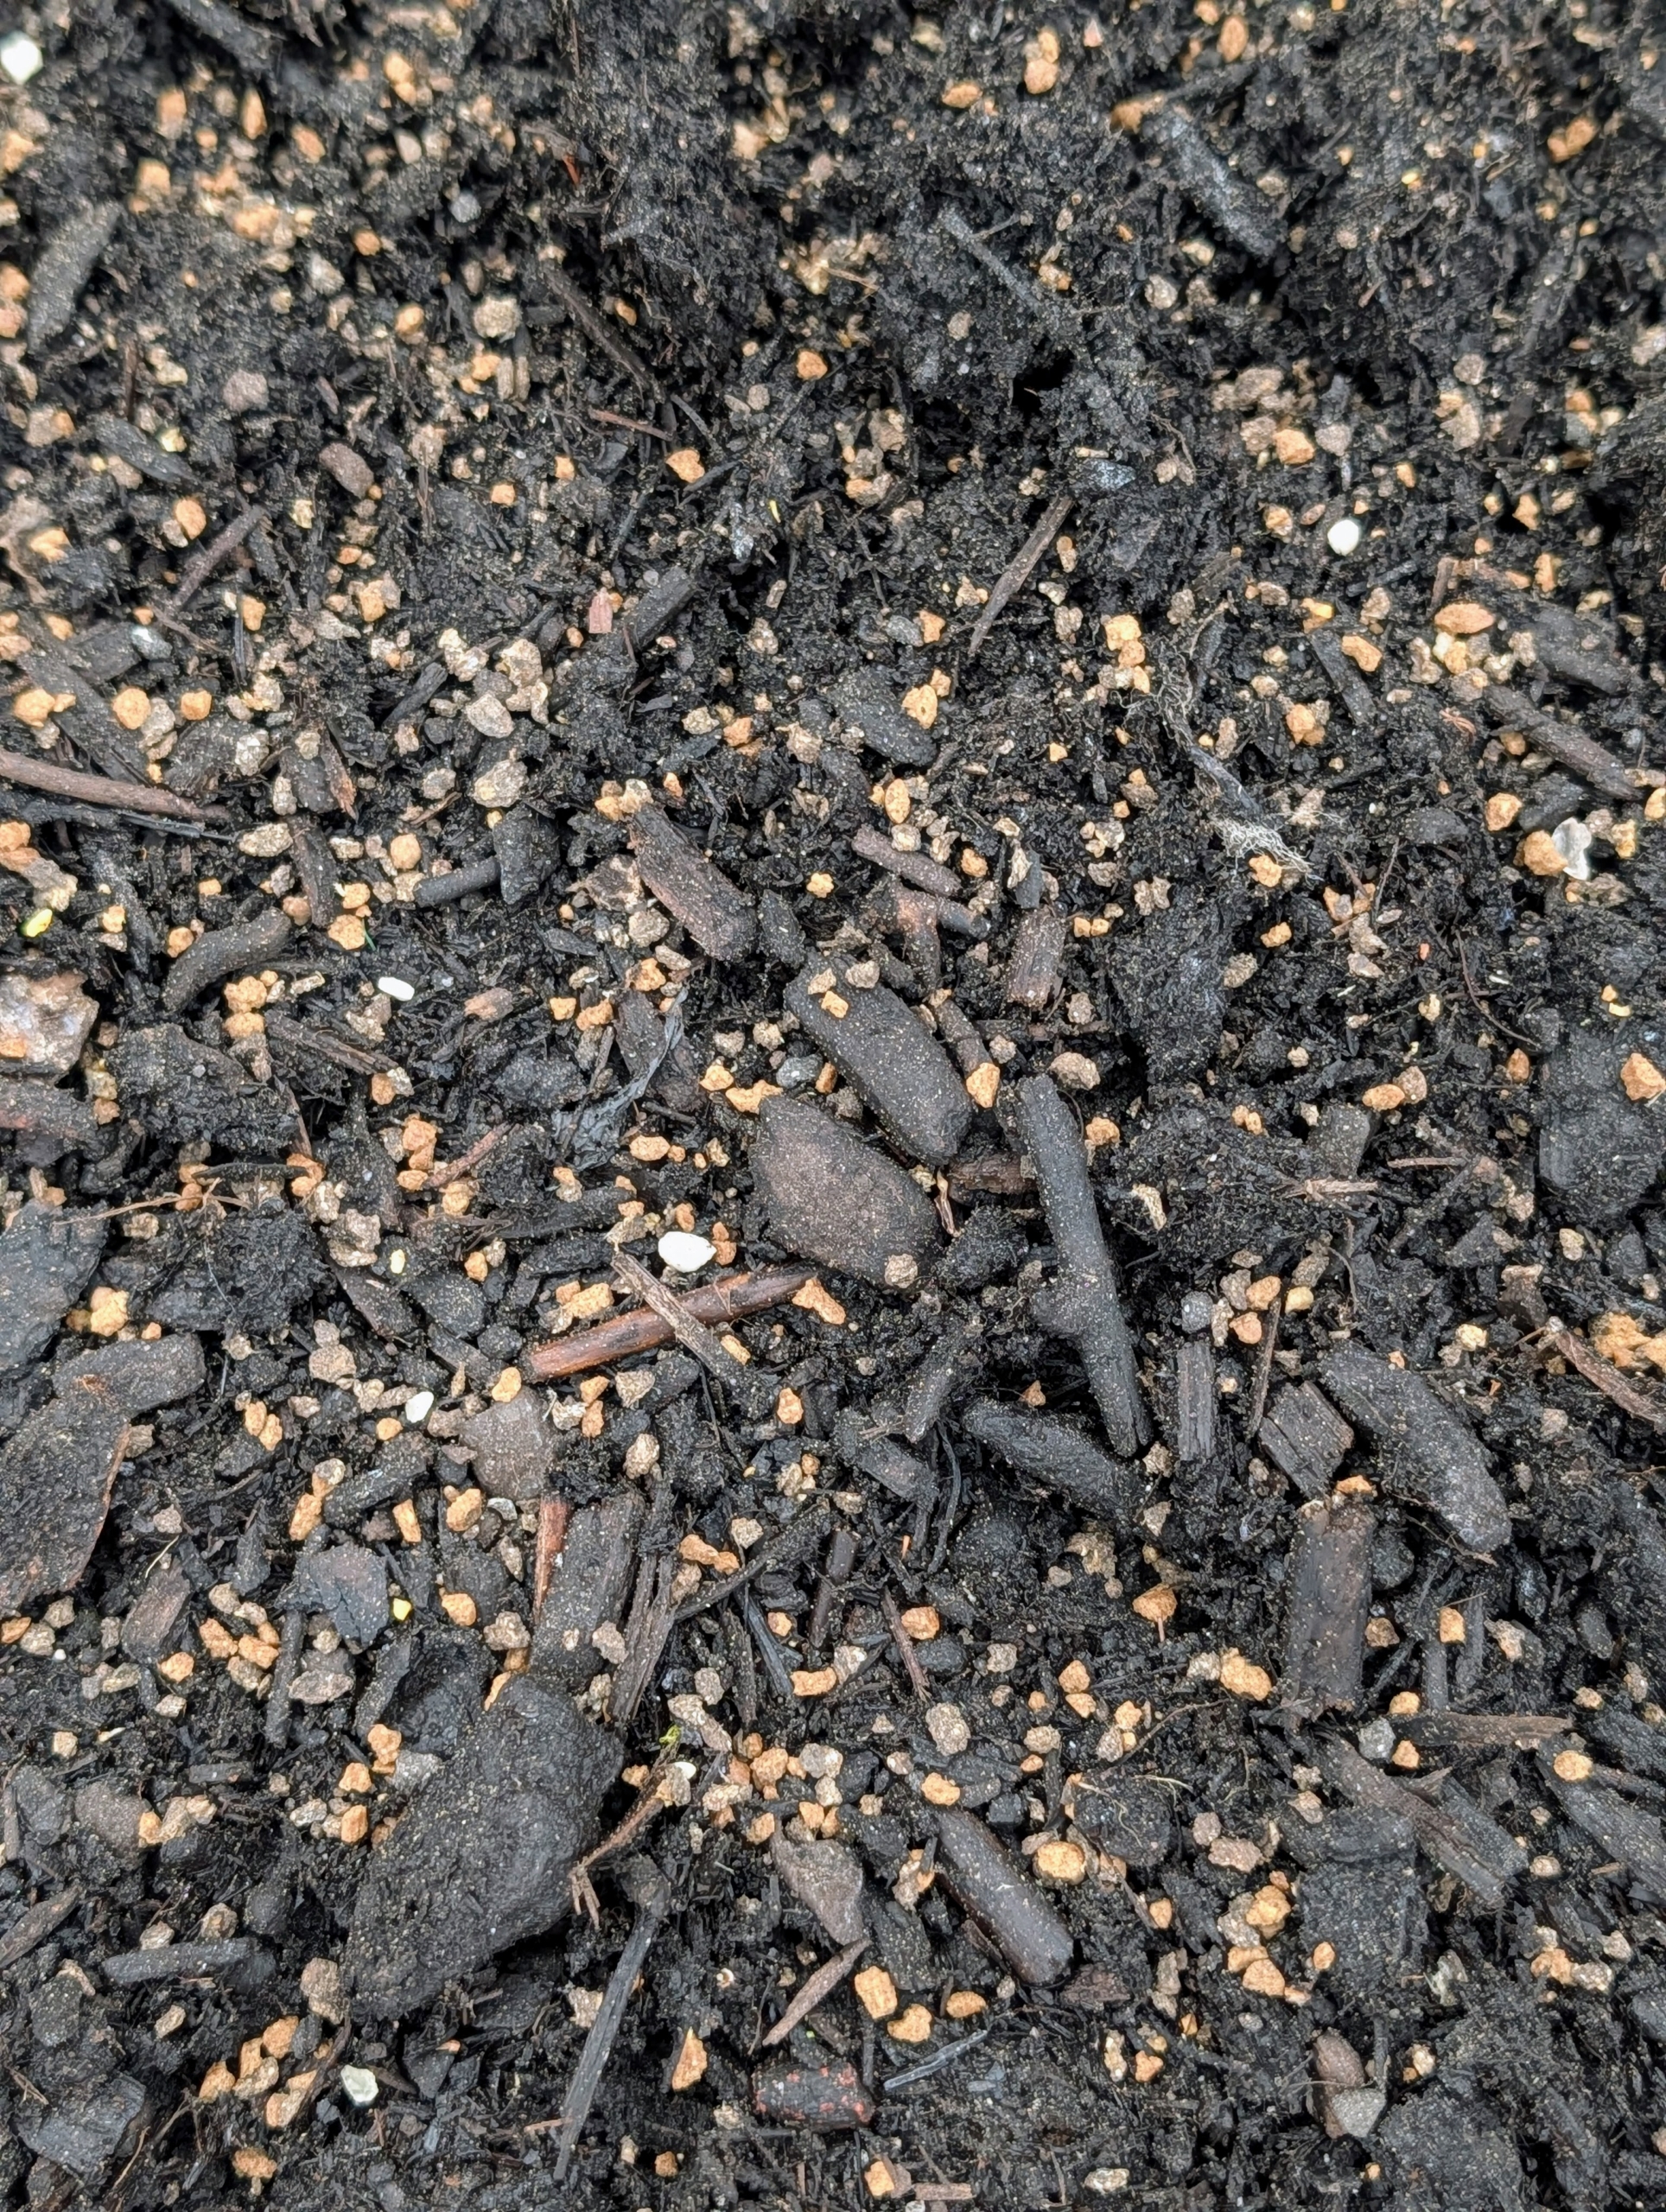
- A new top layer of soil is added to the bed before planting the garlic.
-
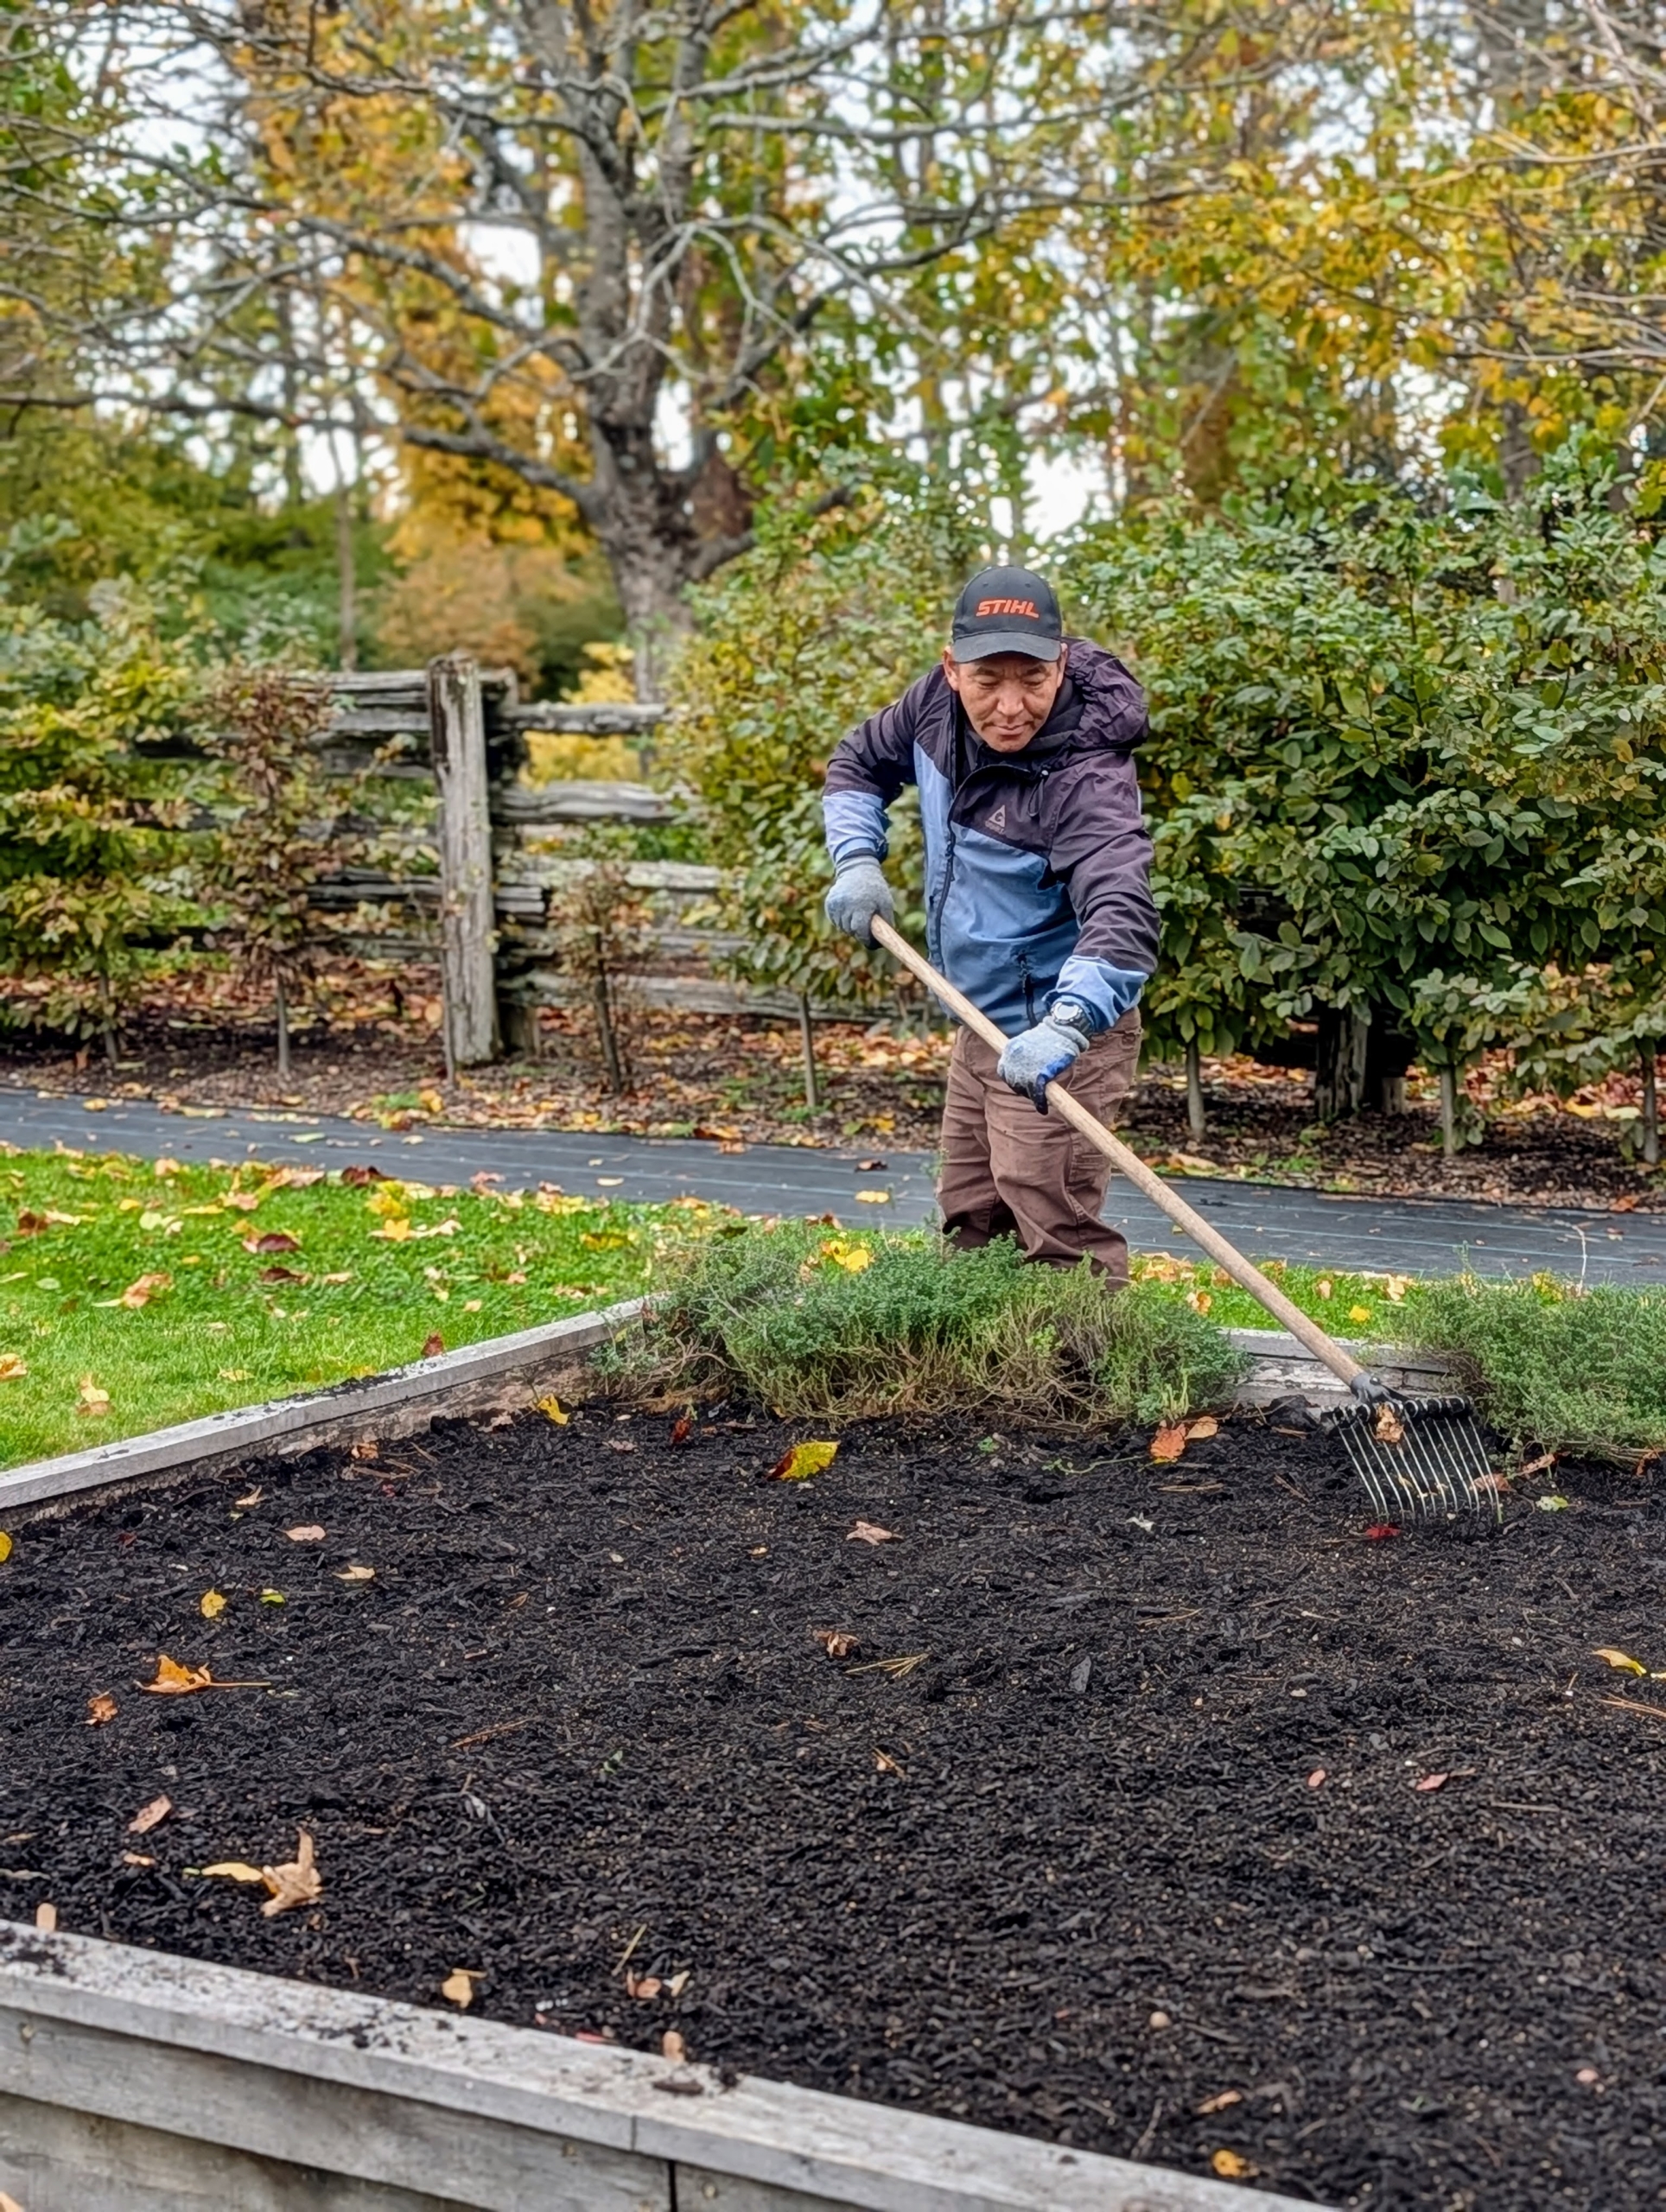
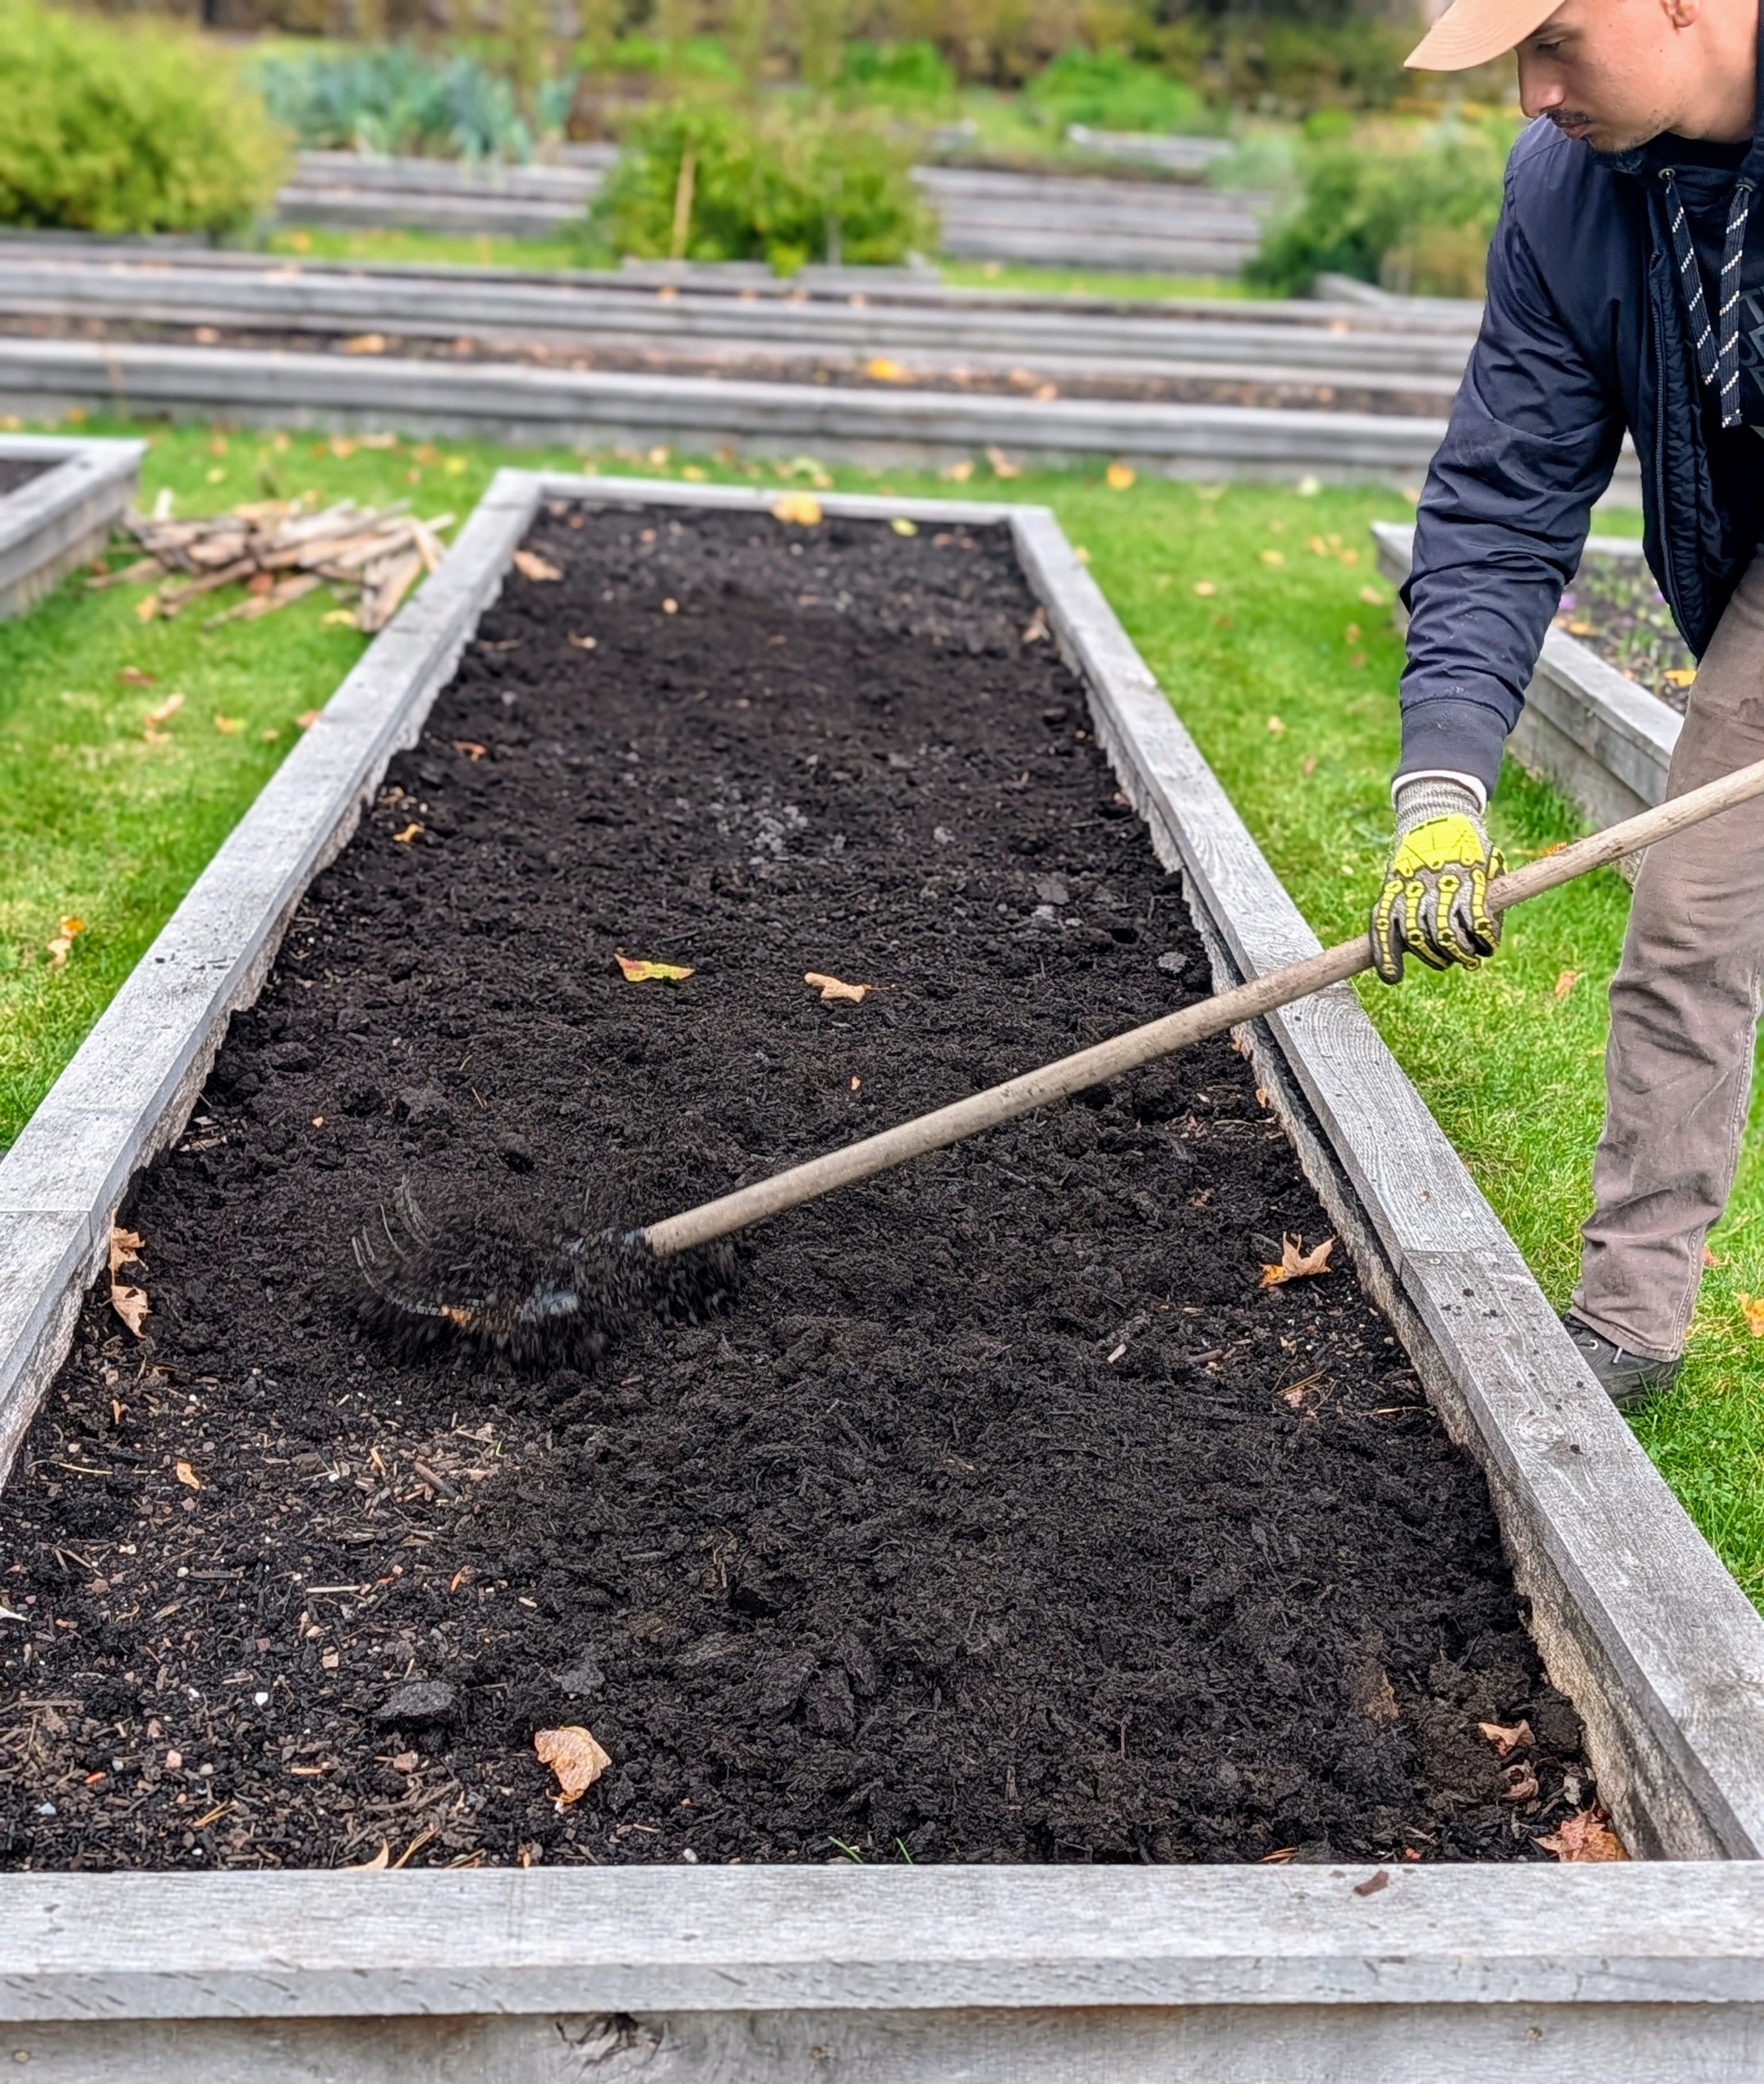
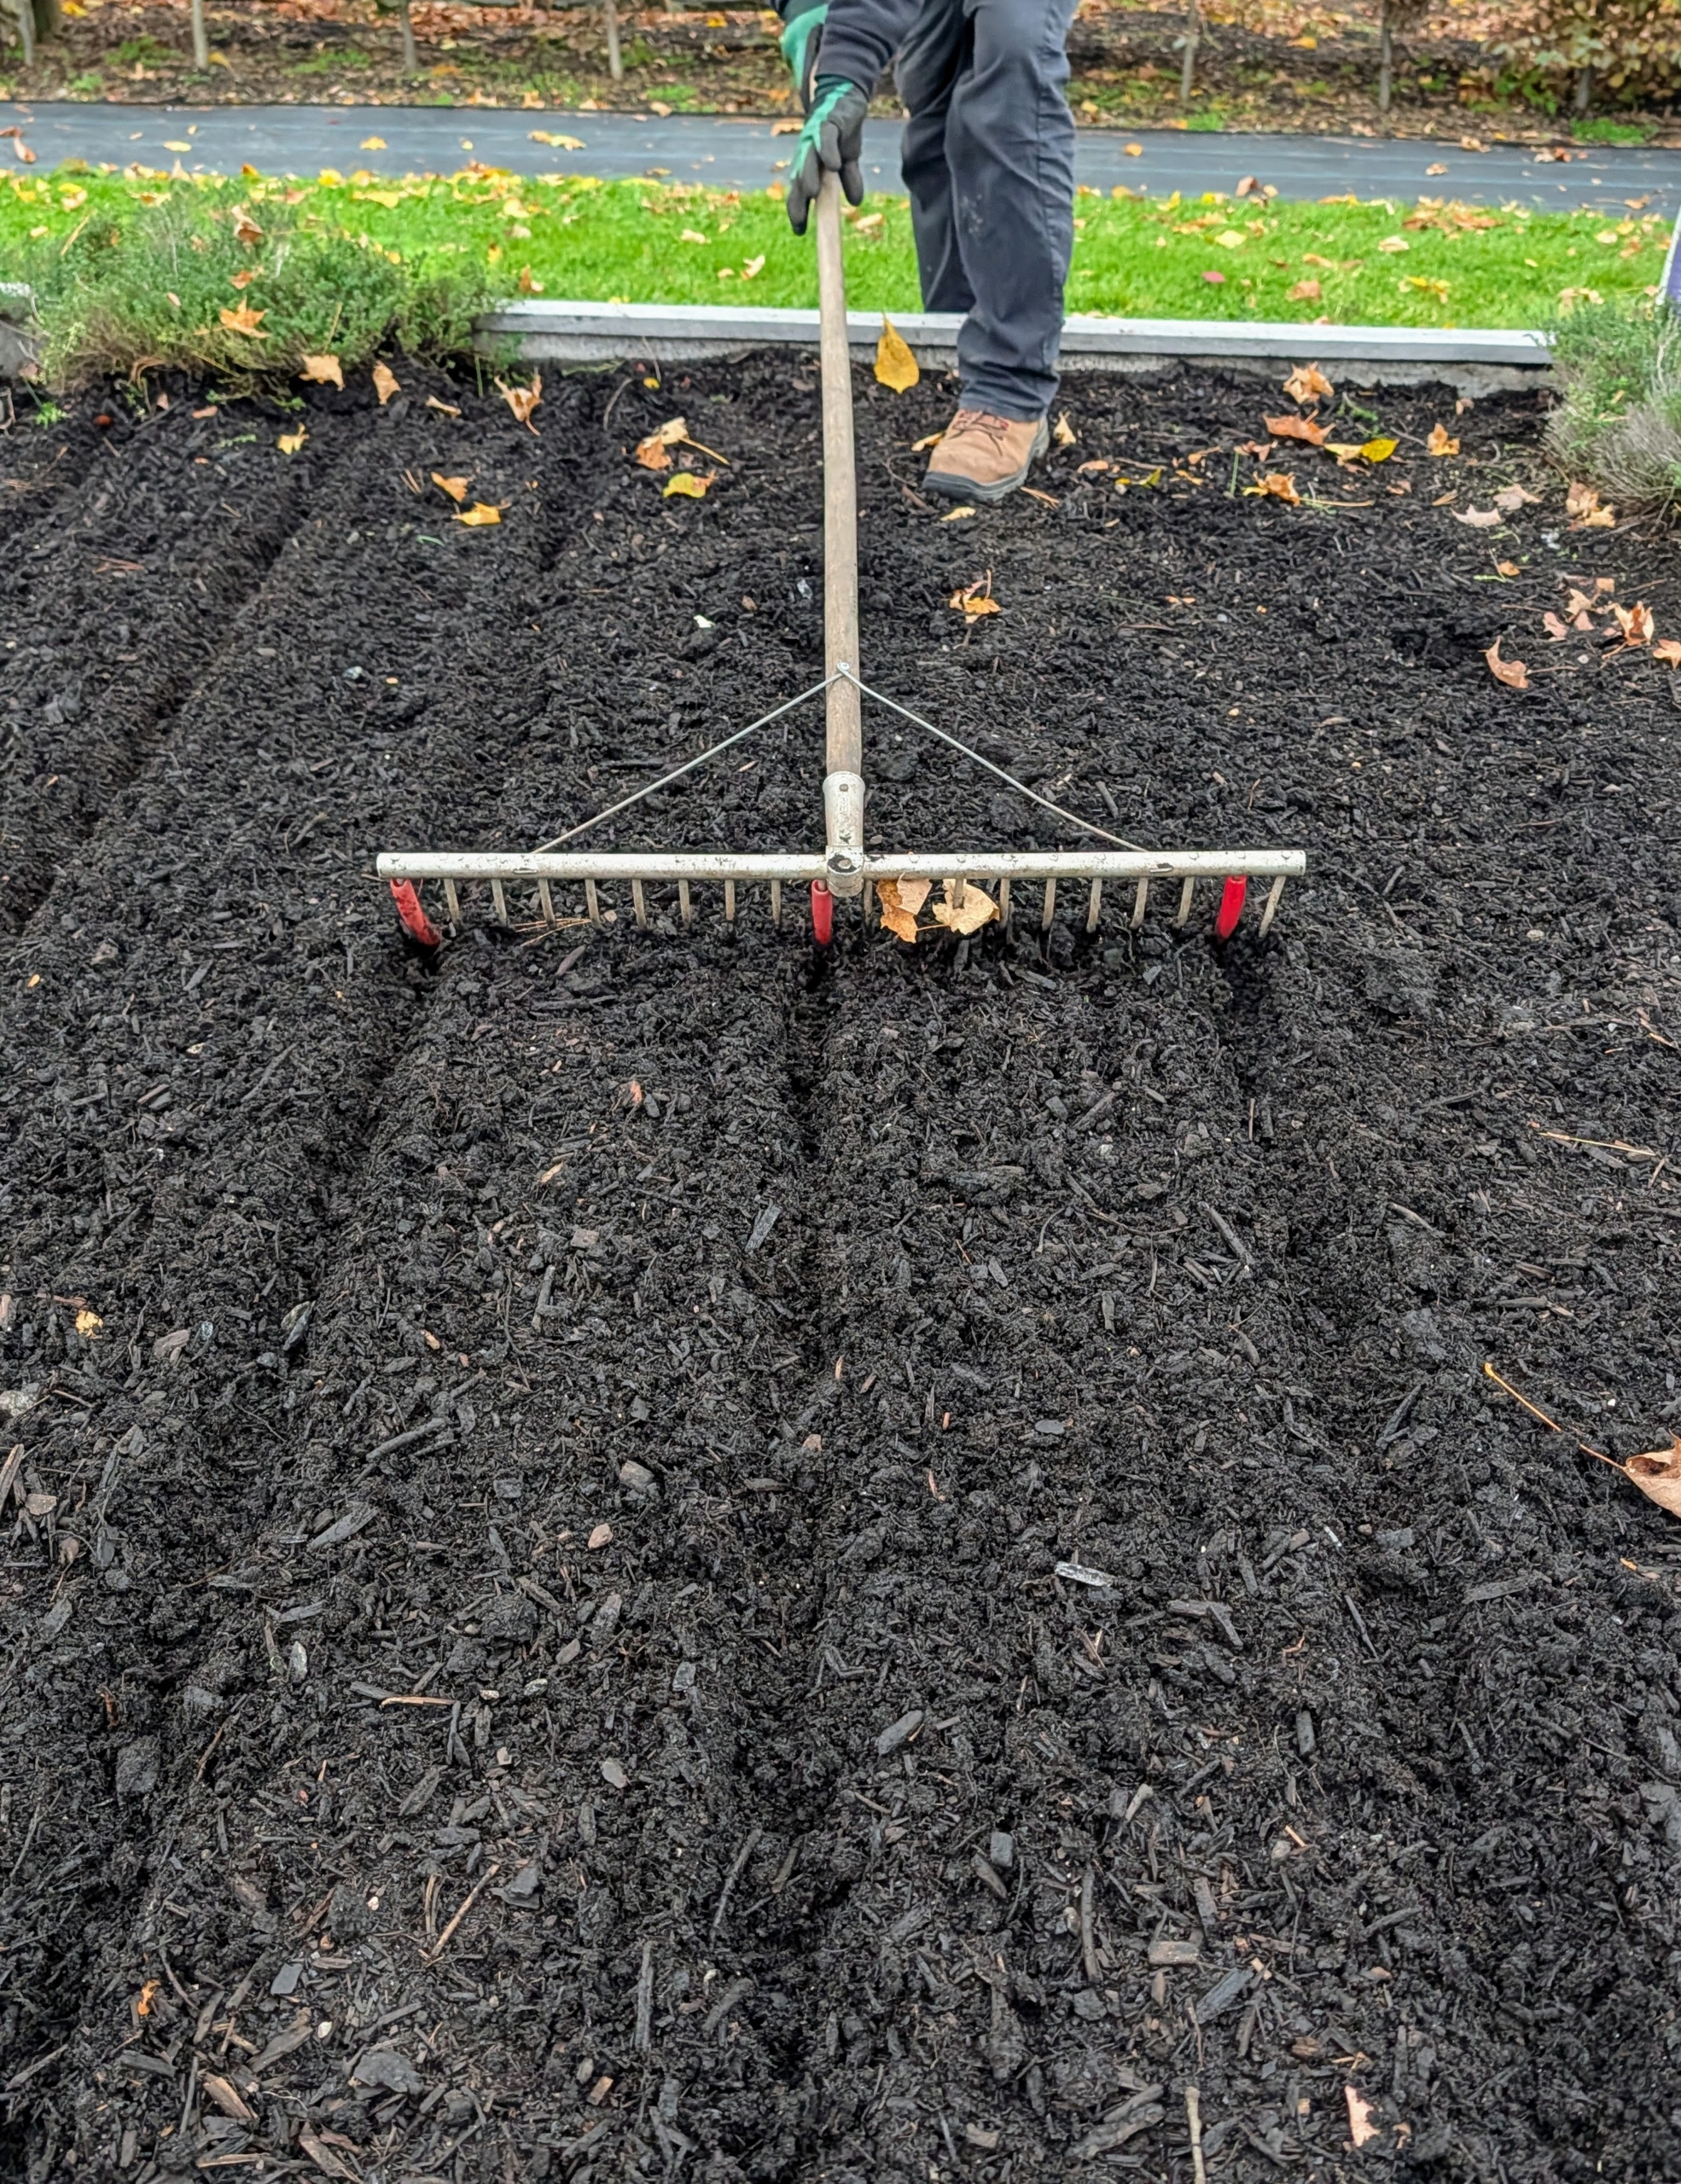
- Once the soil is spread across the bed, Matthew rakes it, so it is level and smooth.
-
- In an adjacent bed that has already been cultivated, Ryan uses a Bed Preparation Rake from Johnny’s Selected Seeds to create furrows in the soil. Hard plastic red tubes slide onto selected teeth of the rake to mark the rows.
-
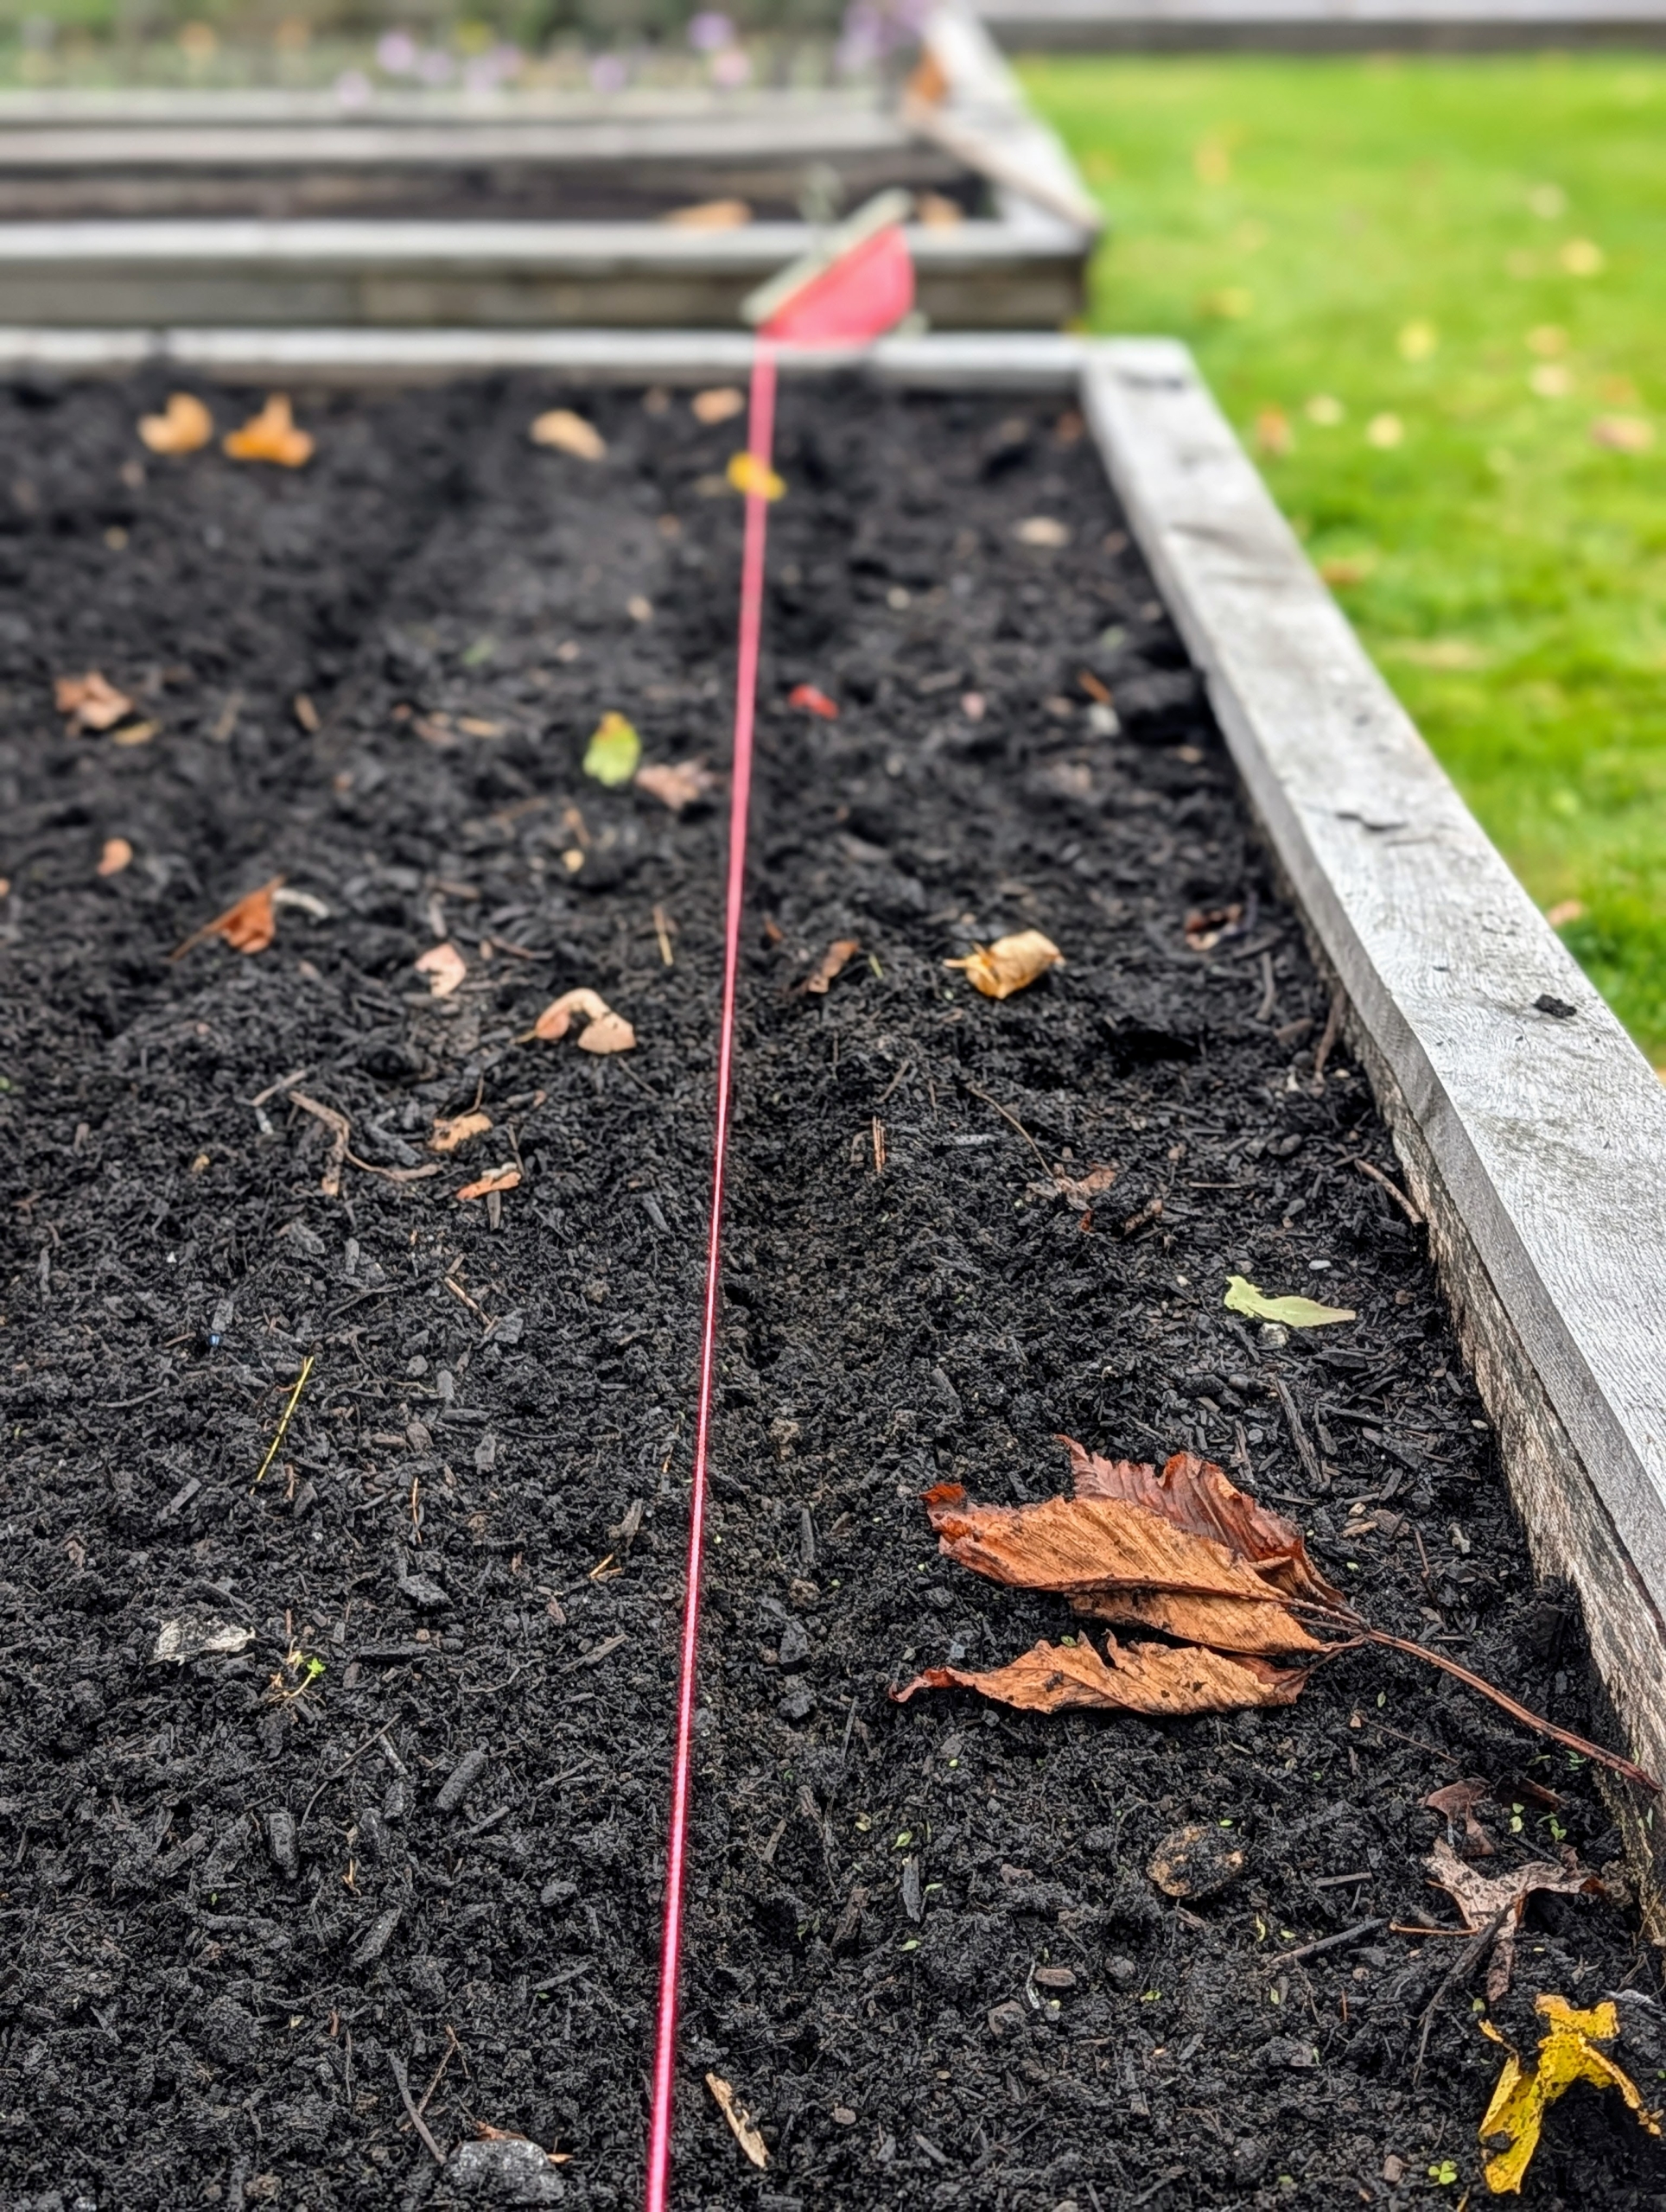
- Landscape string is secured at one end to ensure the rows are perfectly straight. This is a guide for all the other rows in the bed. Ryan already determined how many rows would fit in this bed and how many garlic cloves would be planted in each row.
-
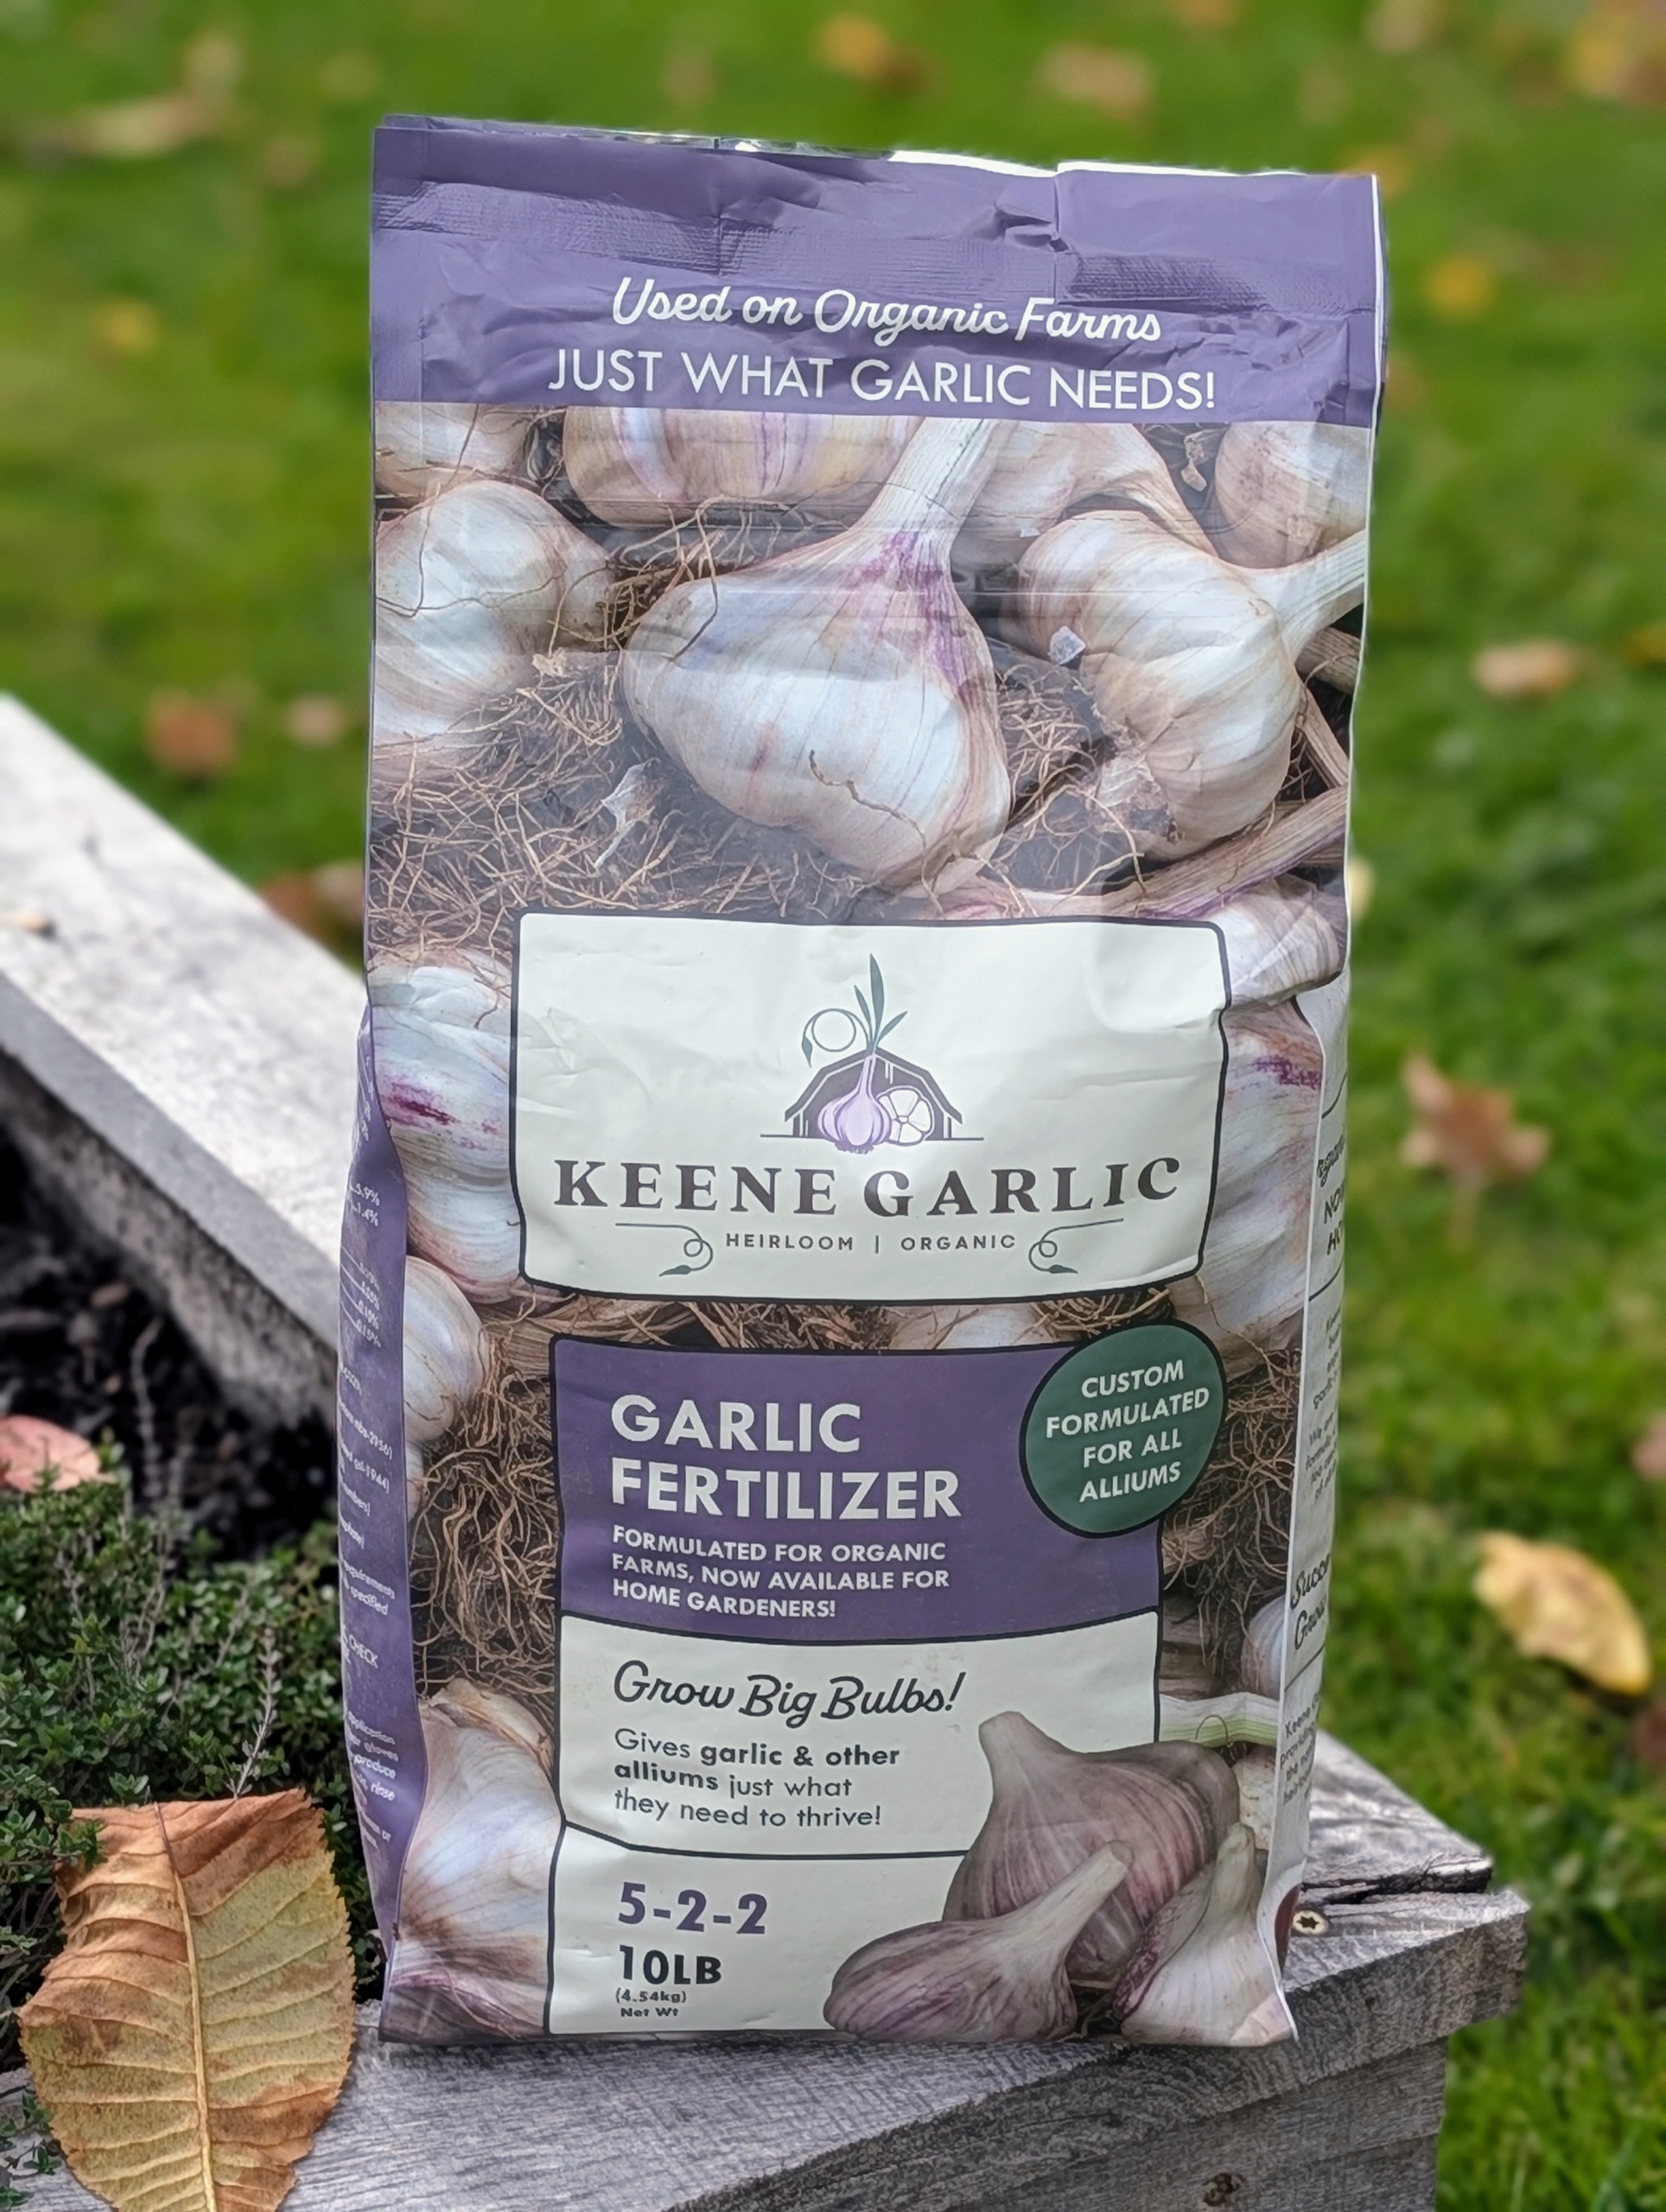
- Next, it’s important to feed the bed. Keene Garlic Fertilizer is an organic 5-2-2 formula specially made for garlic and alliums.
-
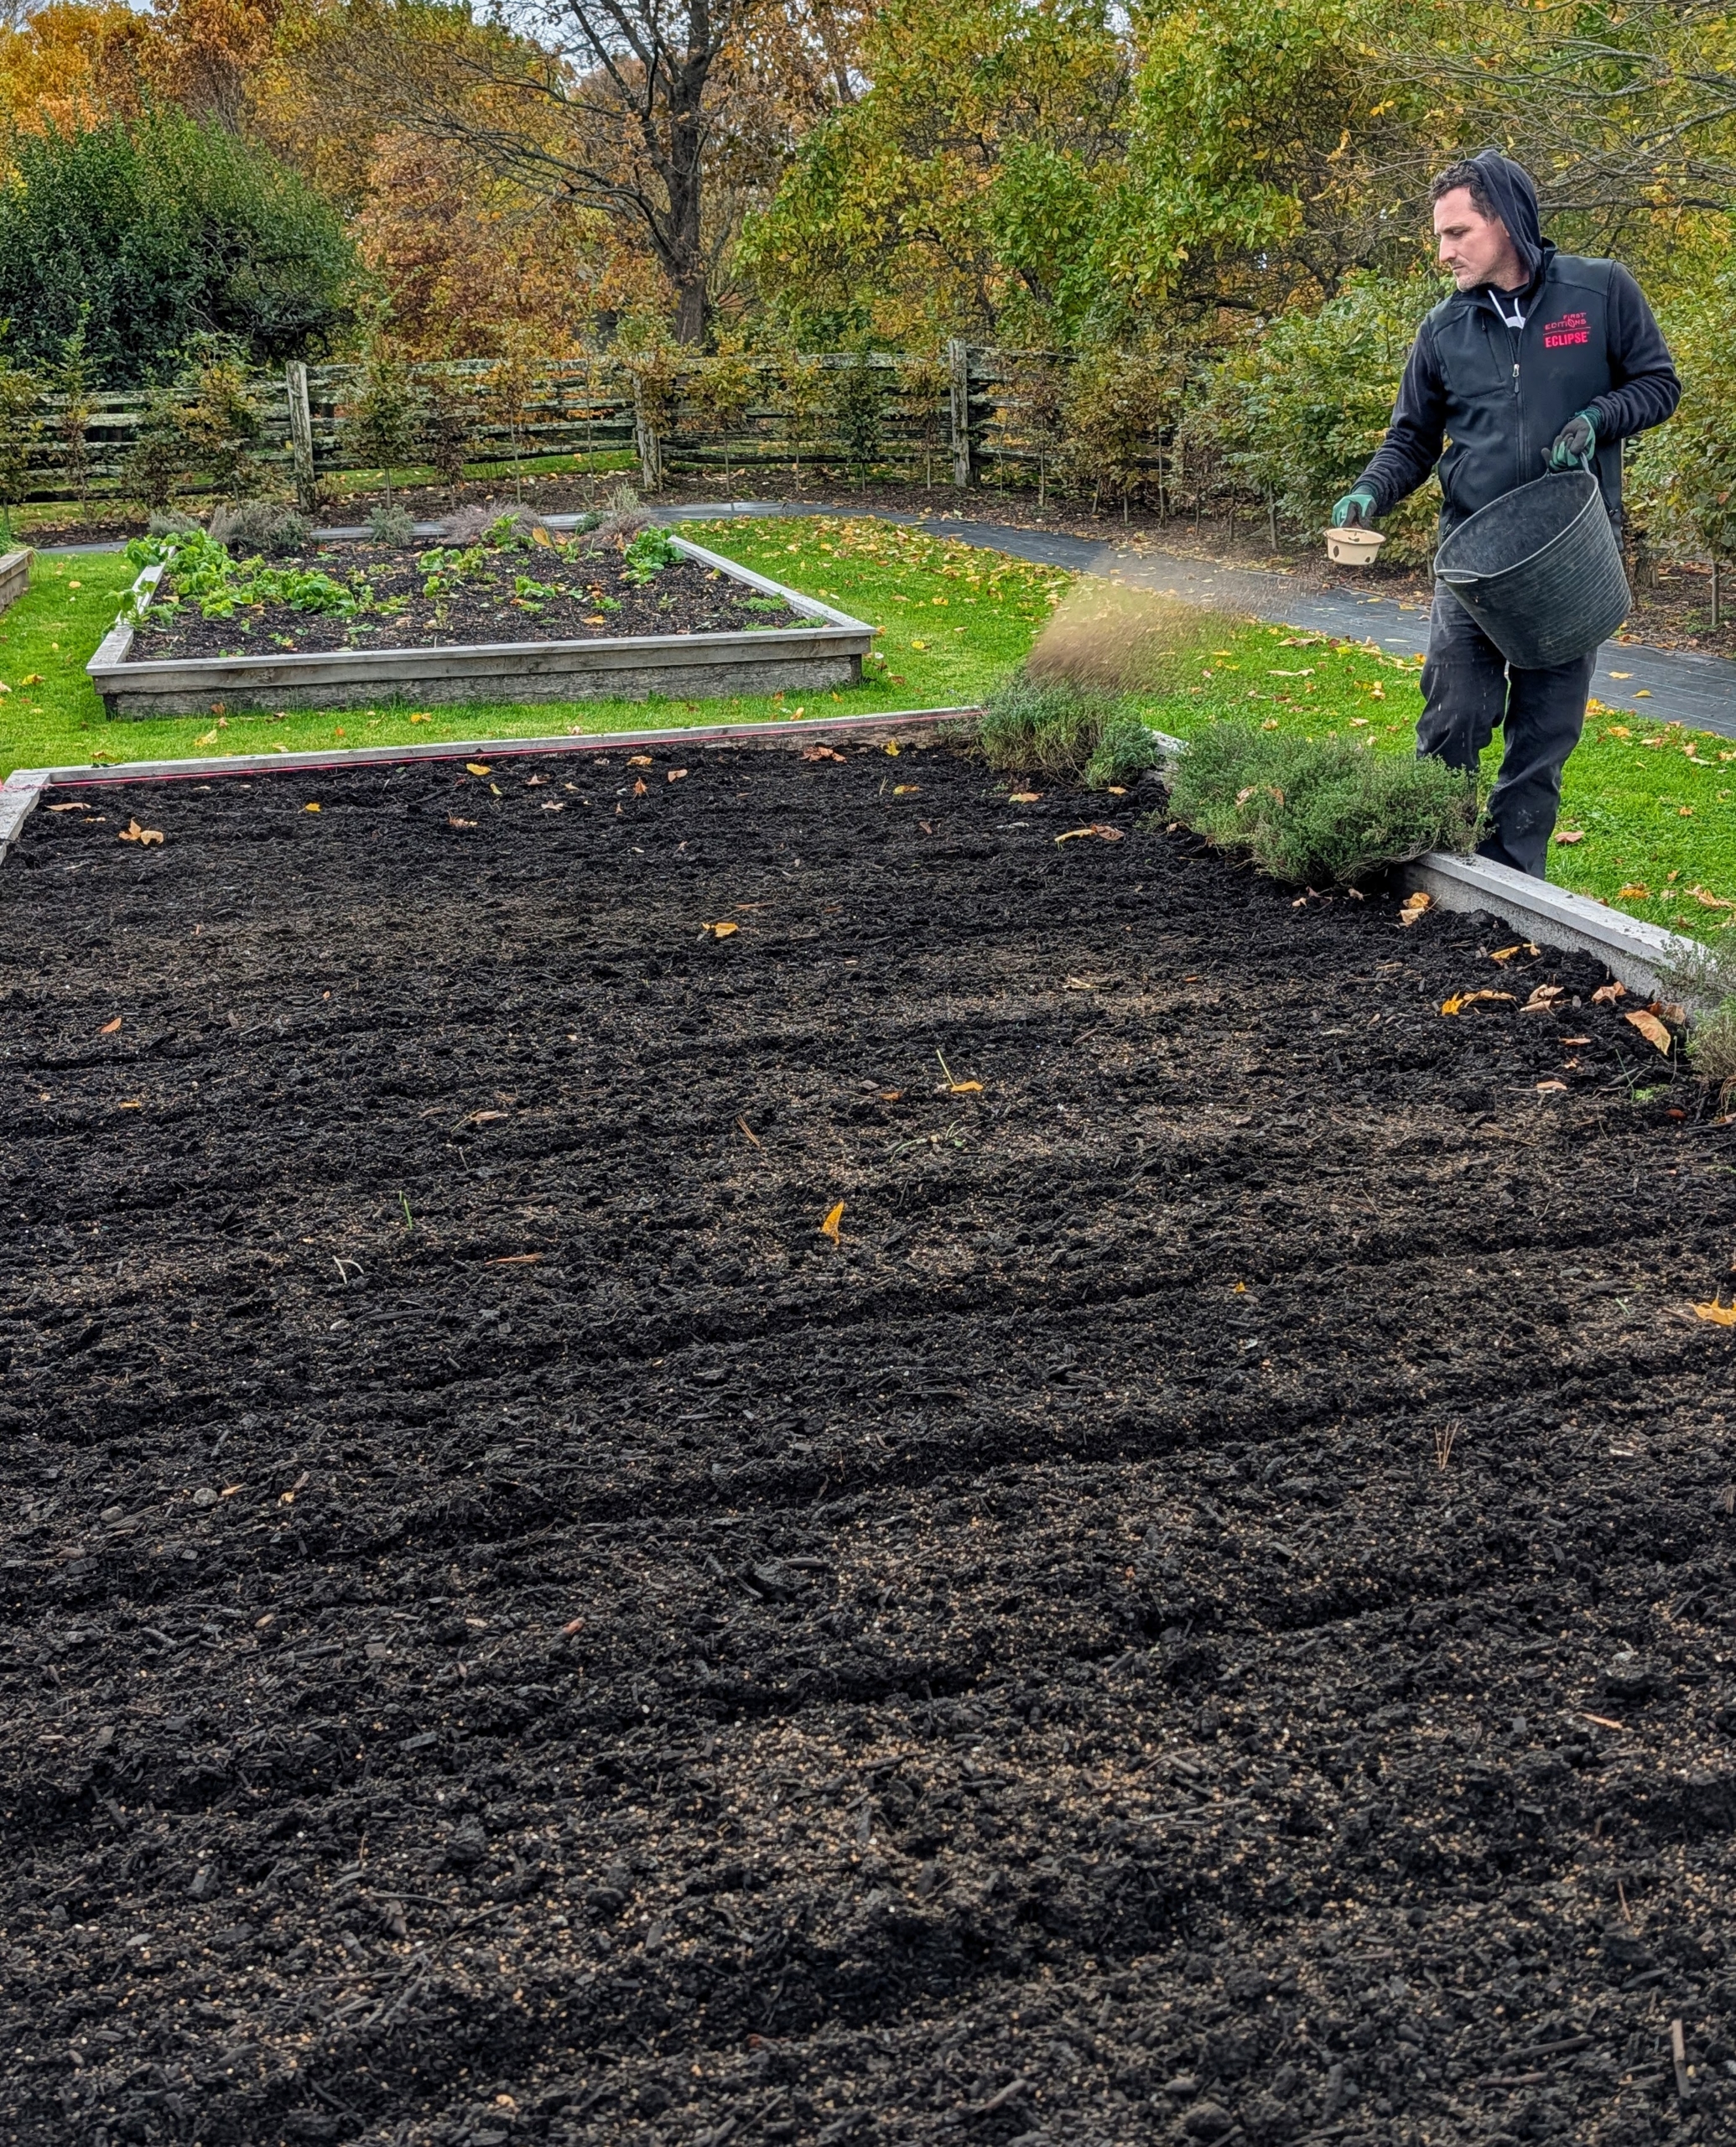
- Using a scoop, Ryan broadcasts a generous amount of fertilizer over the beds.
-
- This fertilizer will help produce large, robust bulbs that are flavorful and nutritious.
-
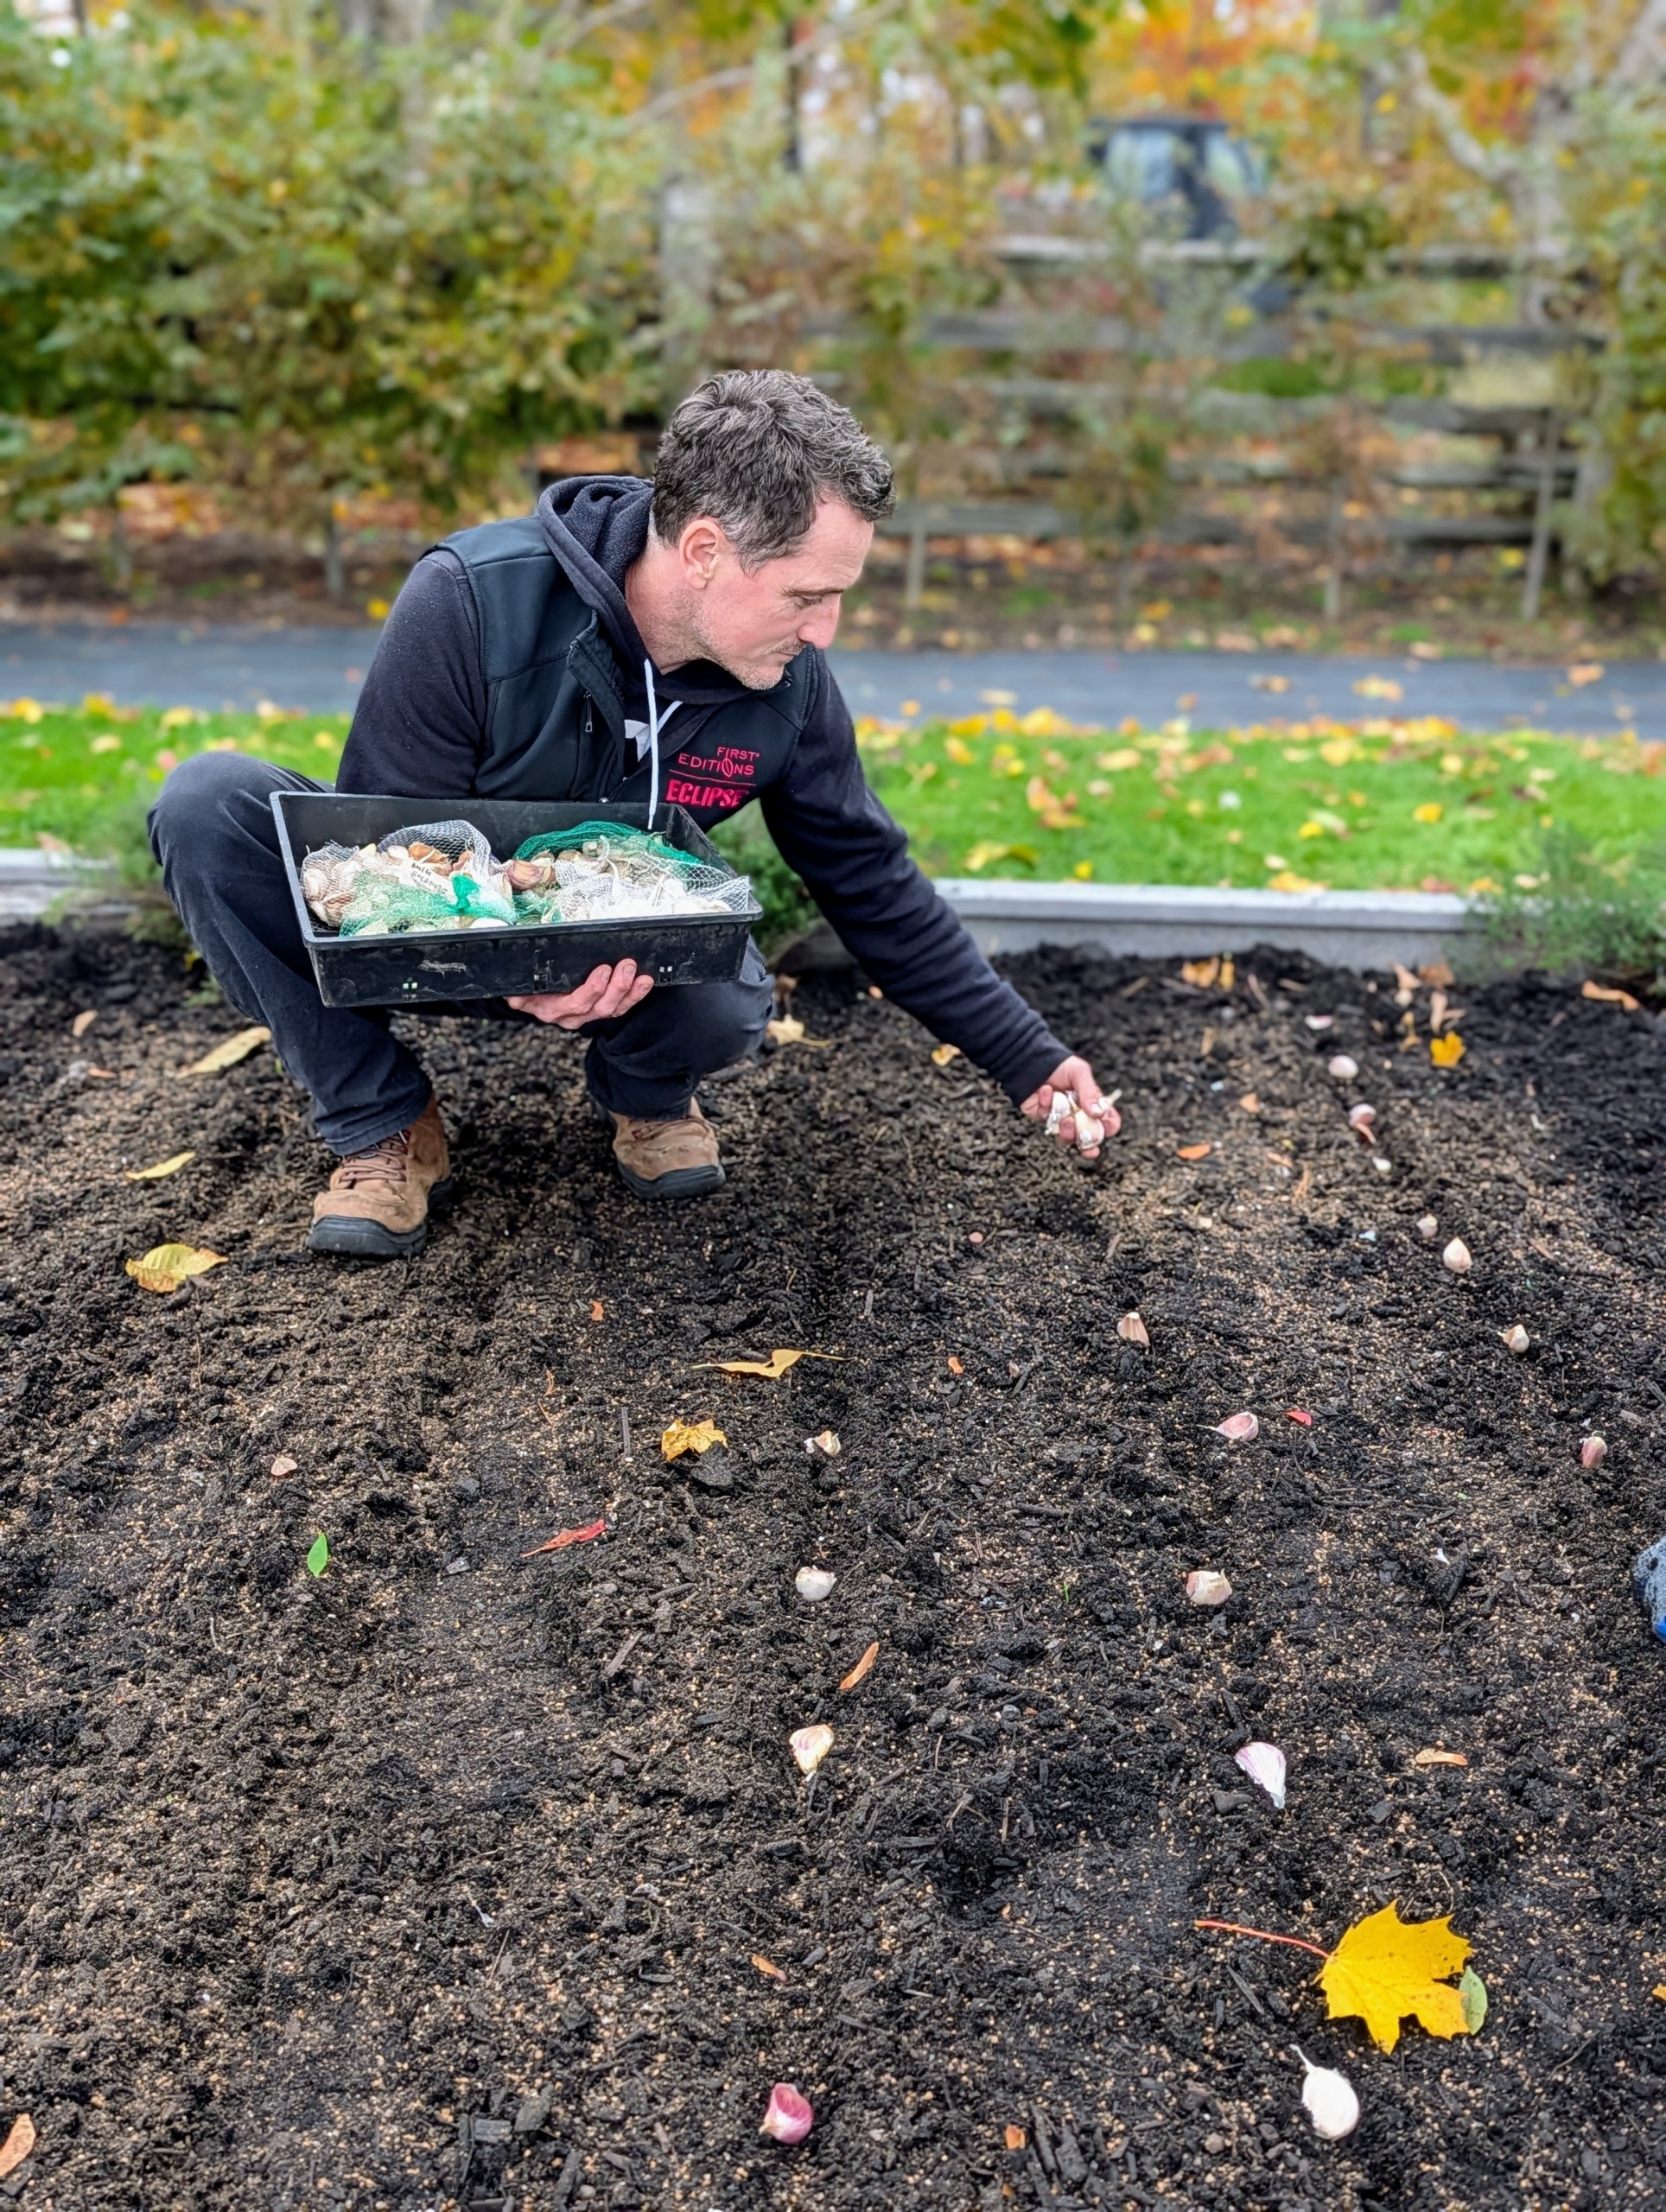
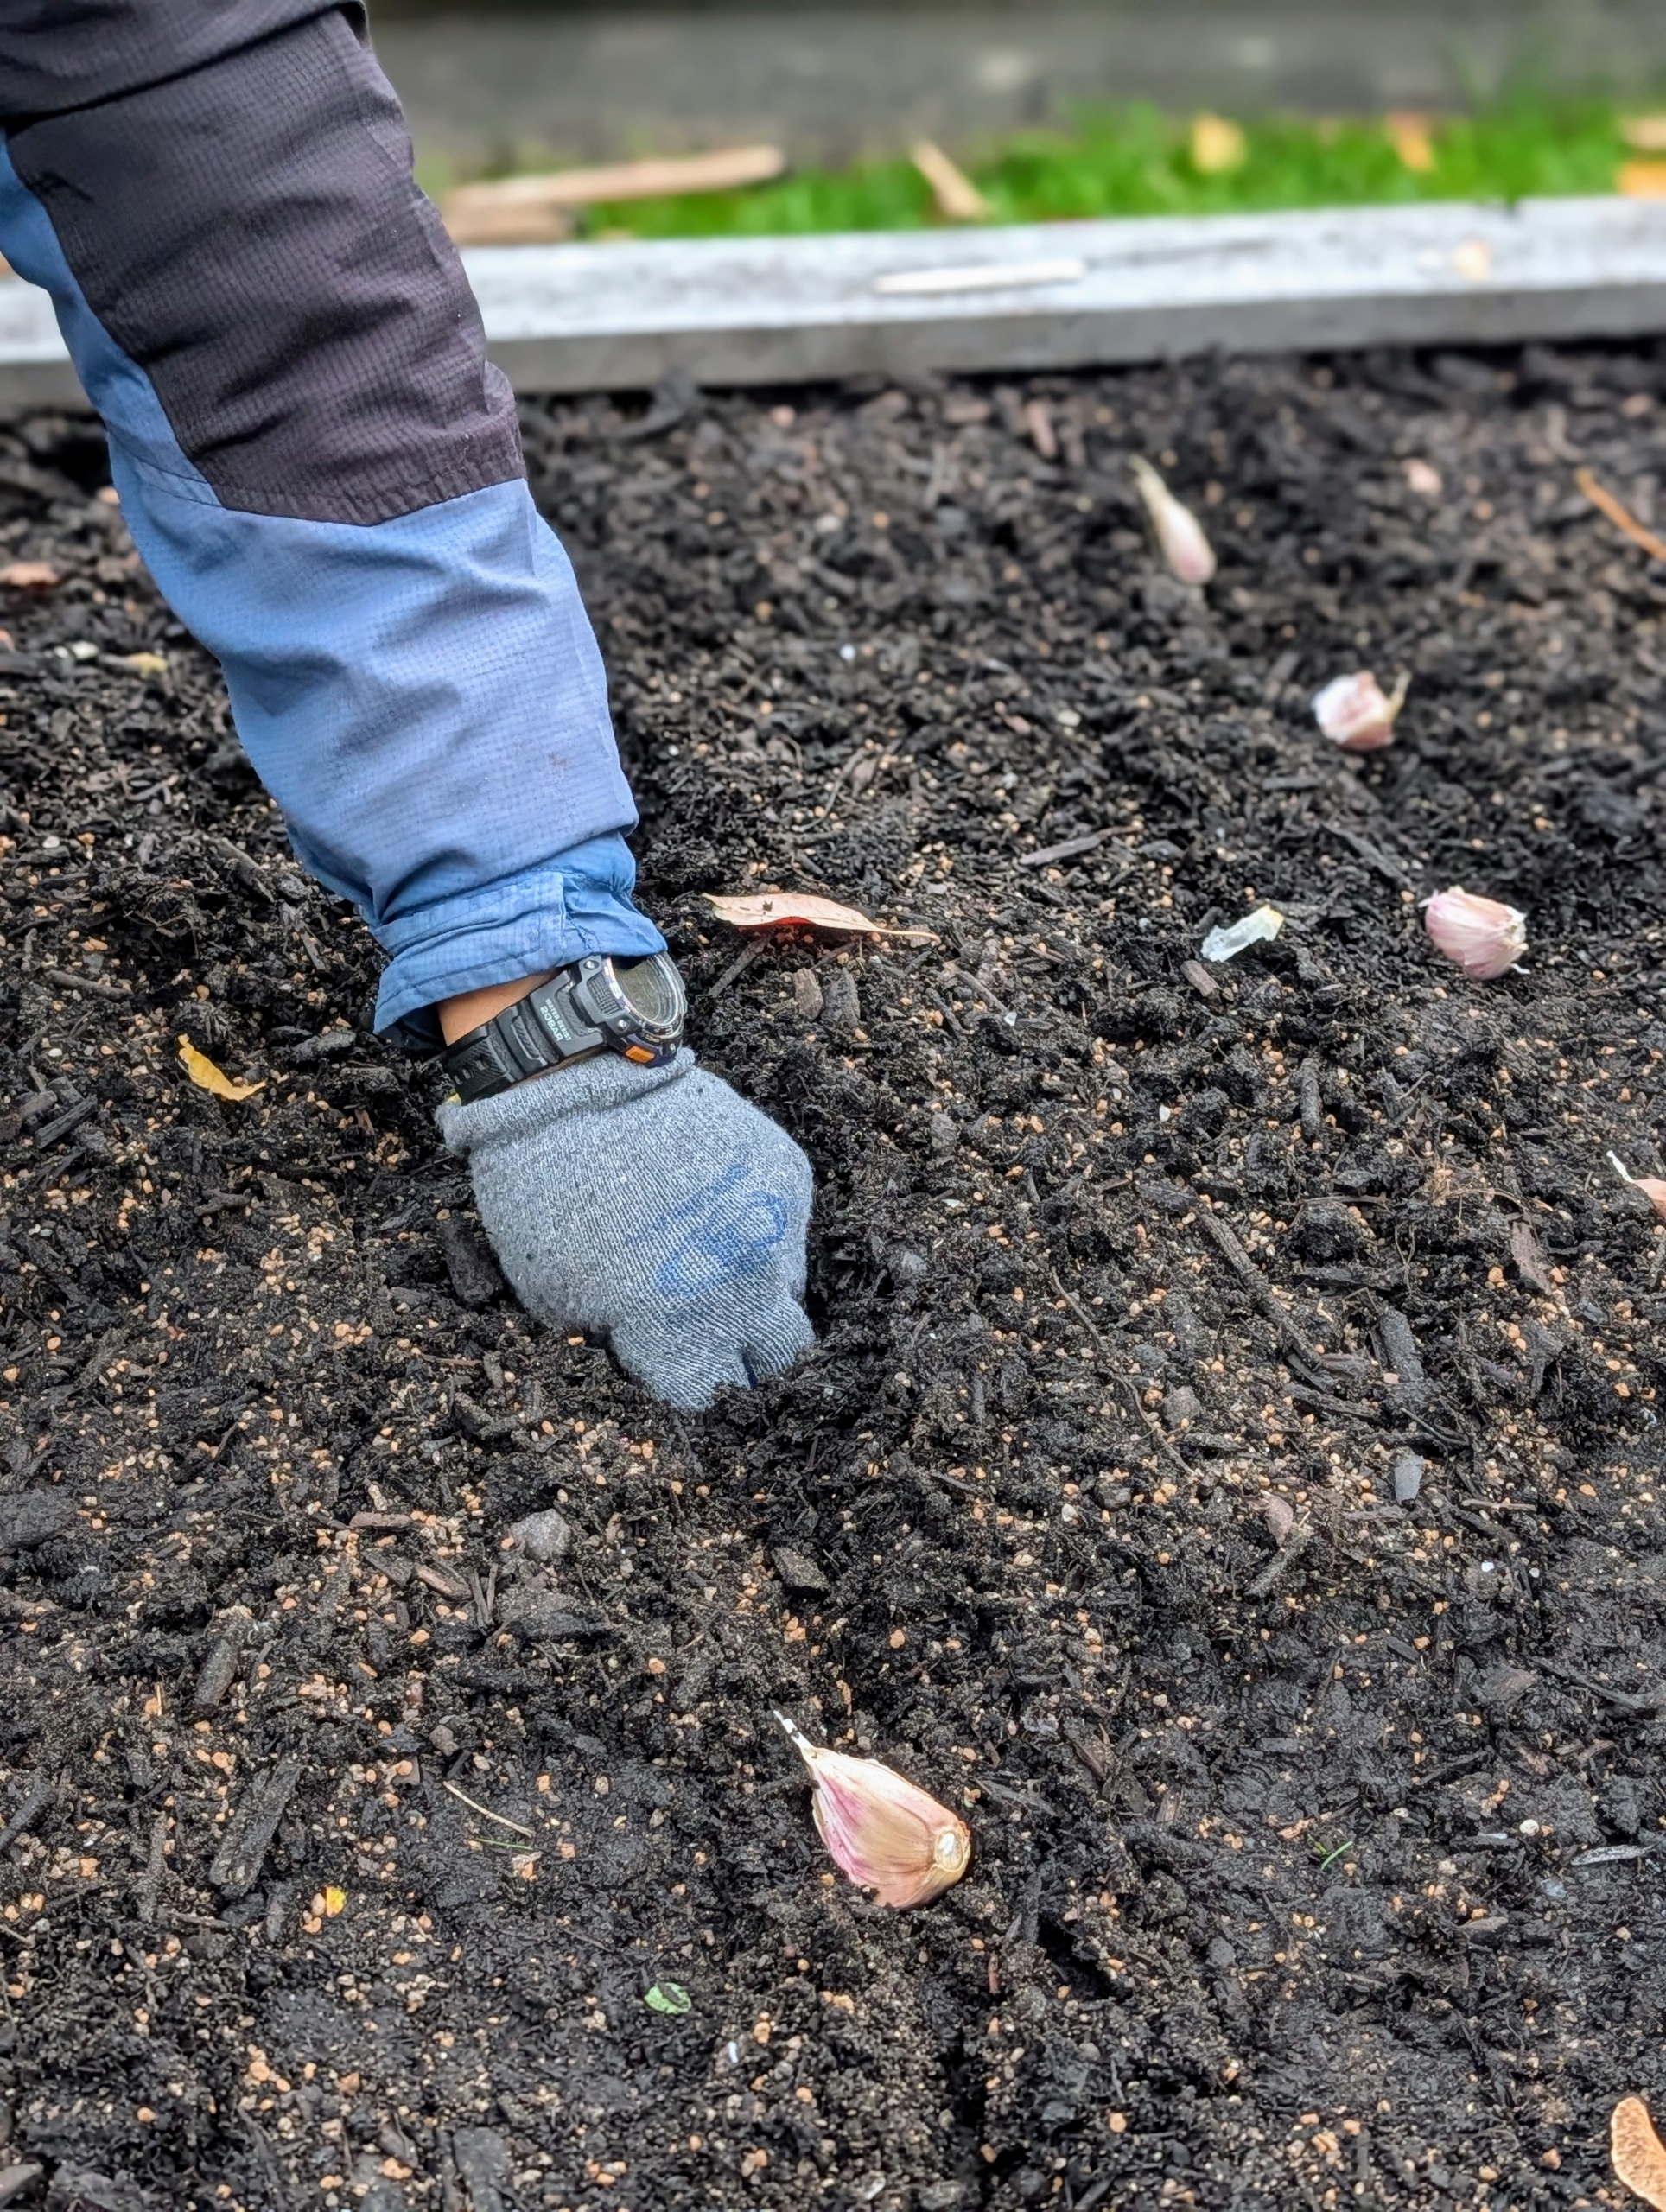
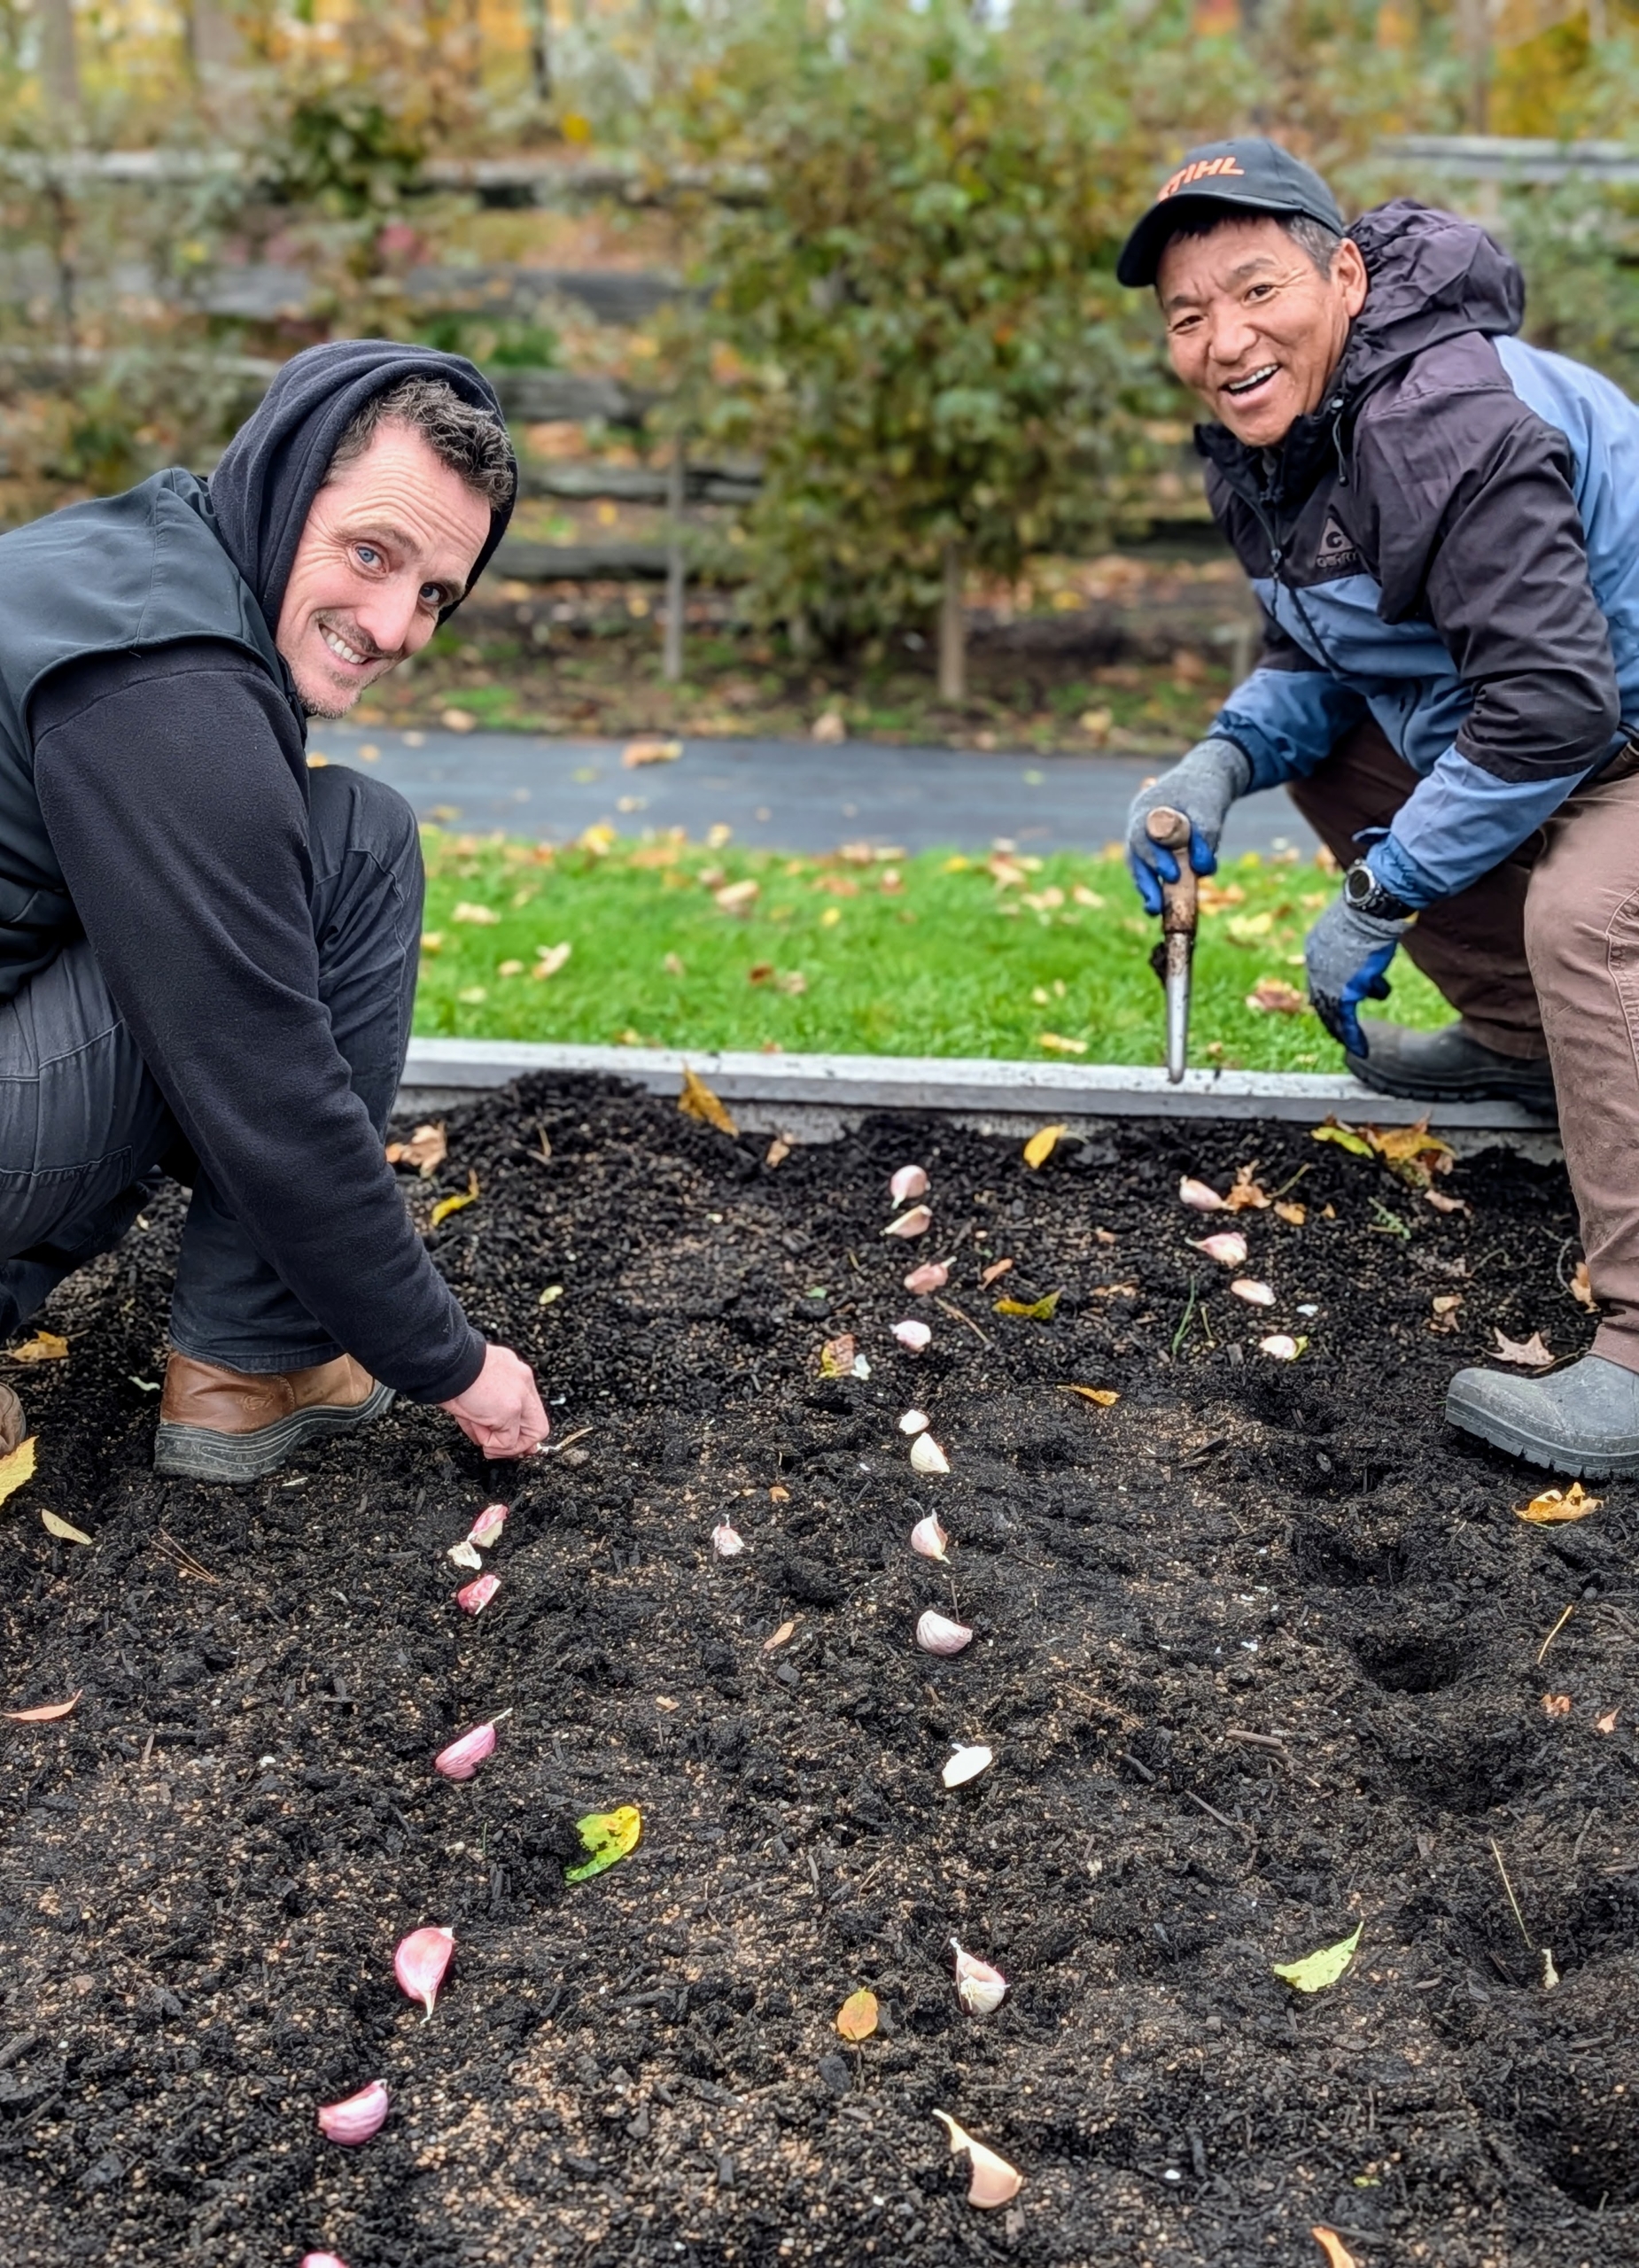
- Ryan positions each clove. When planting multiple rows of garlic, be sure the rows are at least one-foot apart.
-
- It is also important to give each clove enough room to grow and develop. They should be planted at least several inches from each other.
-
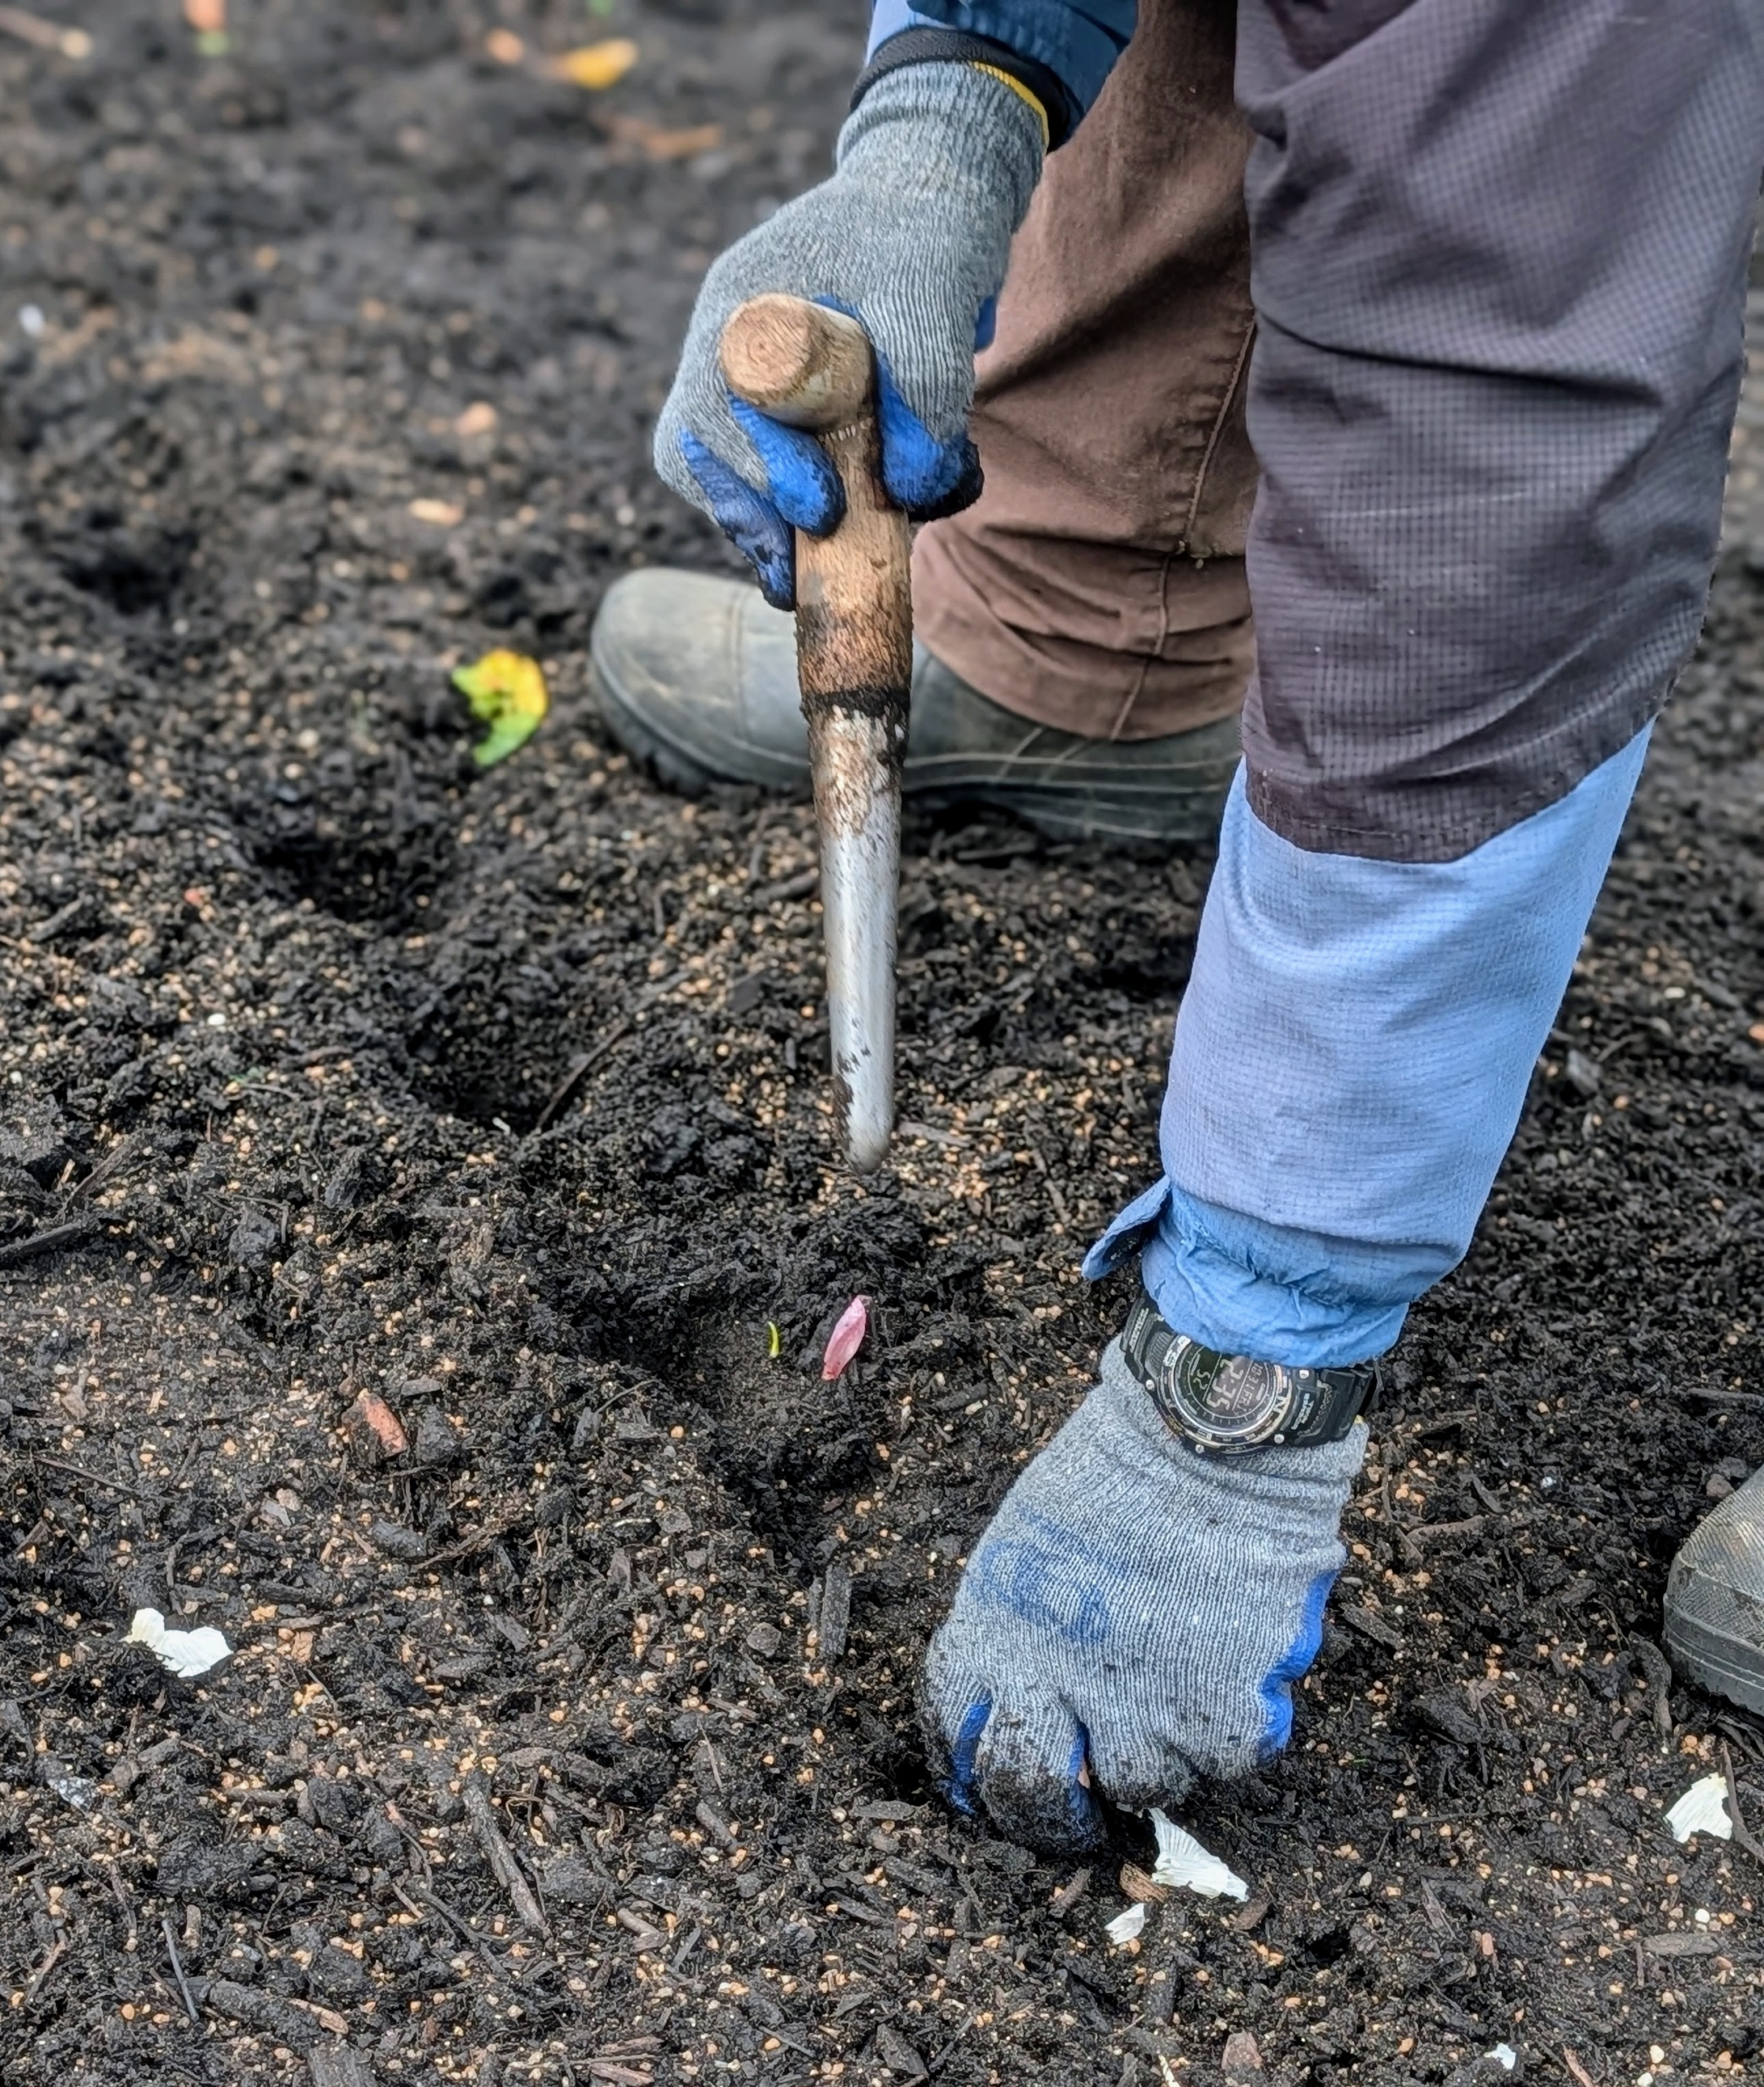
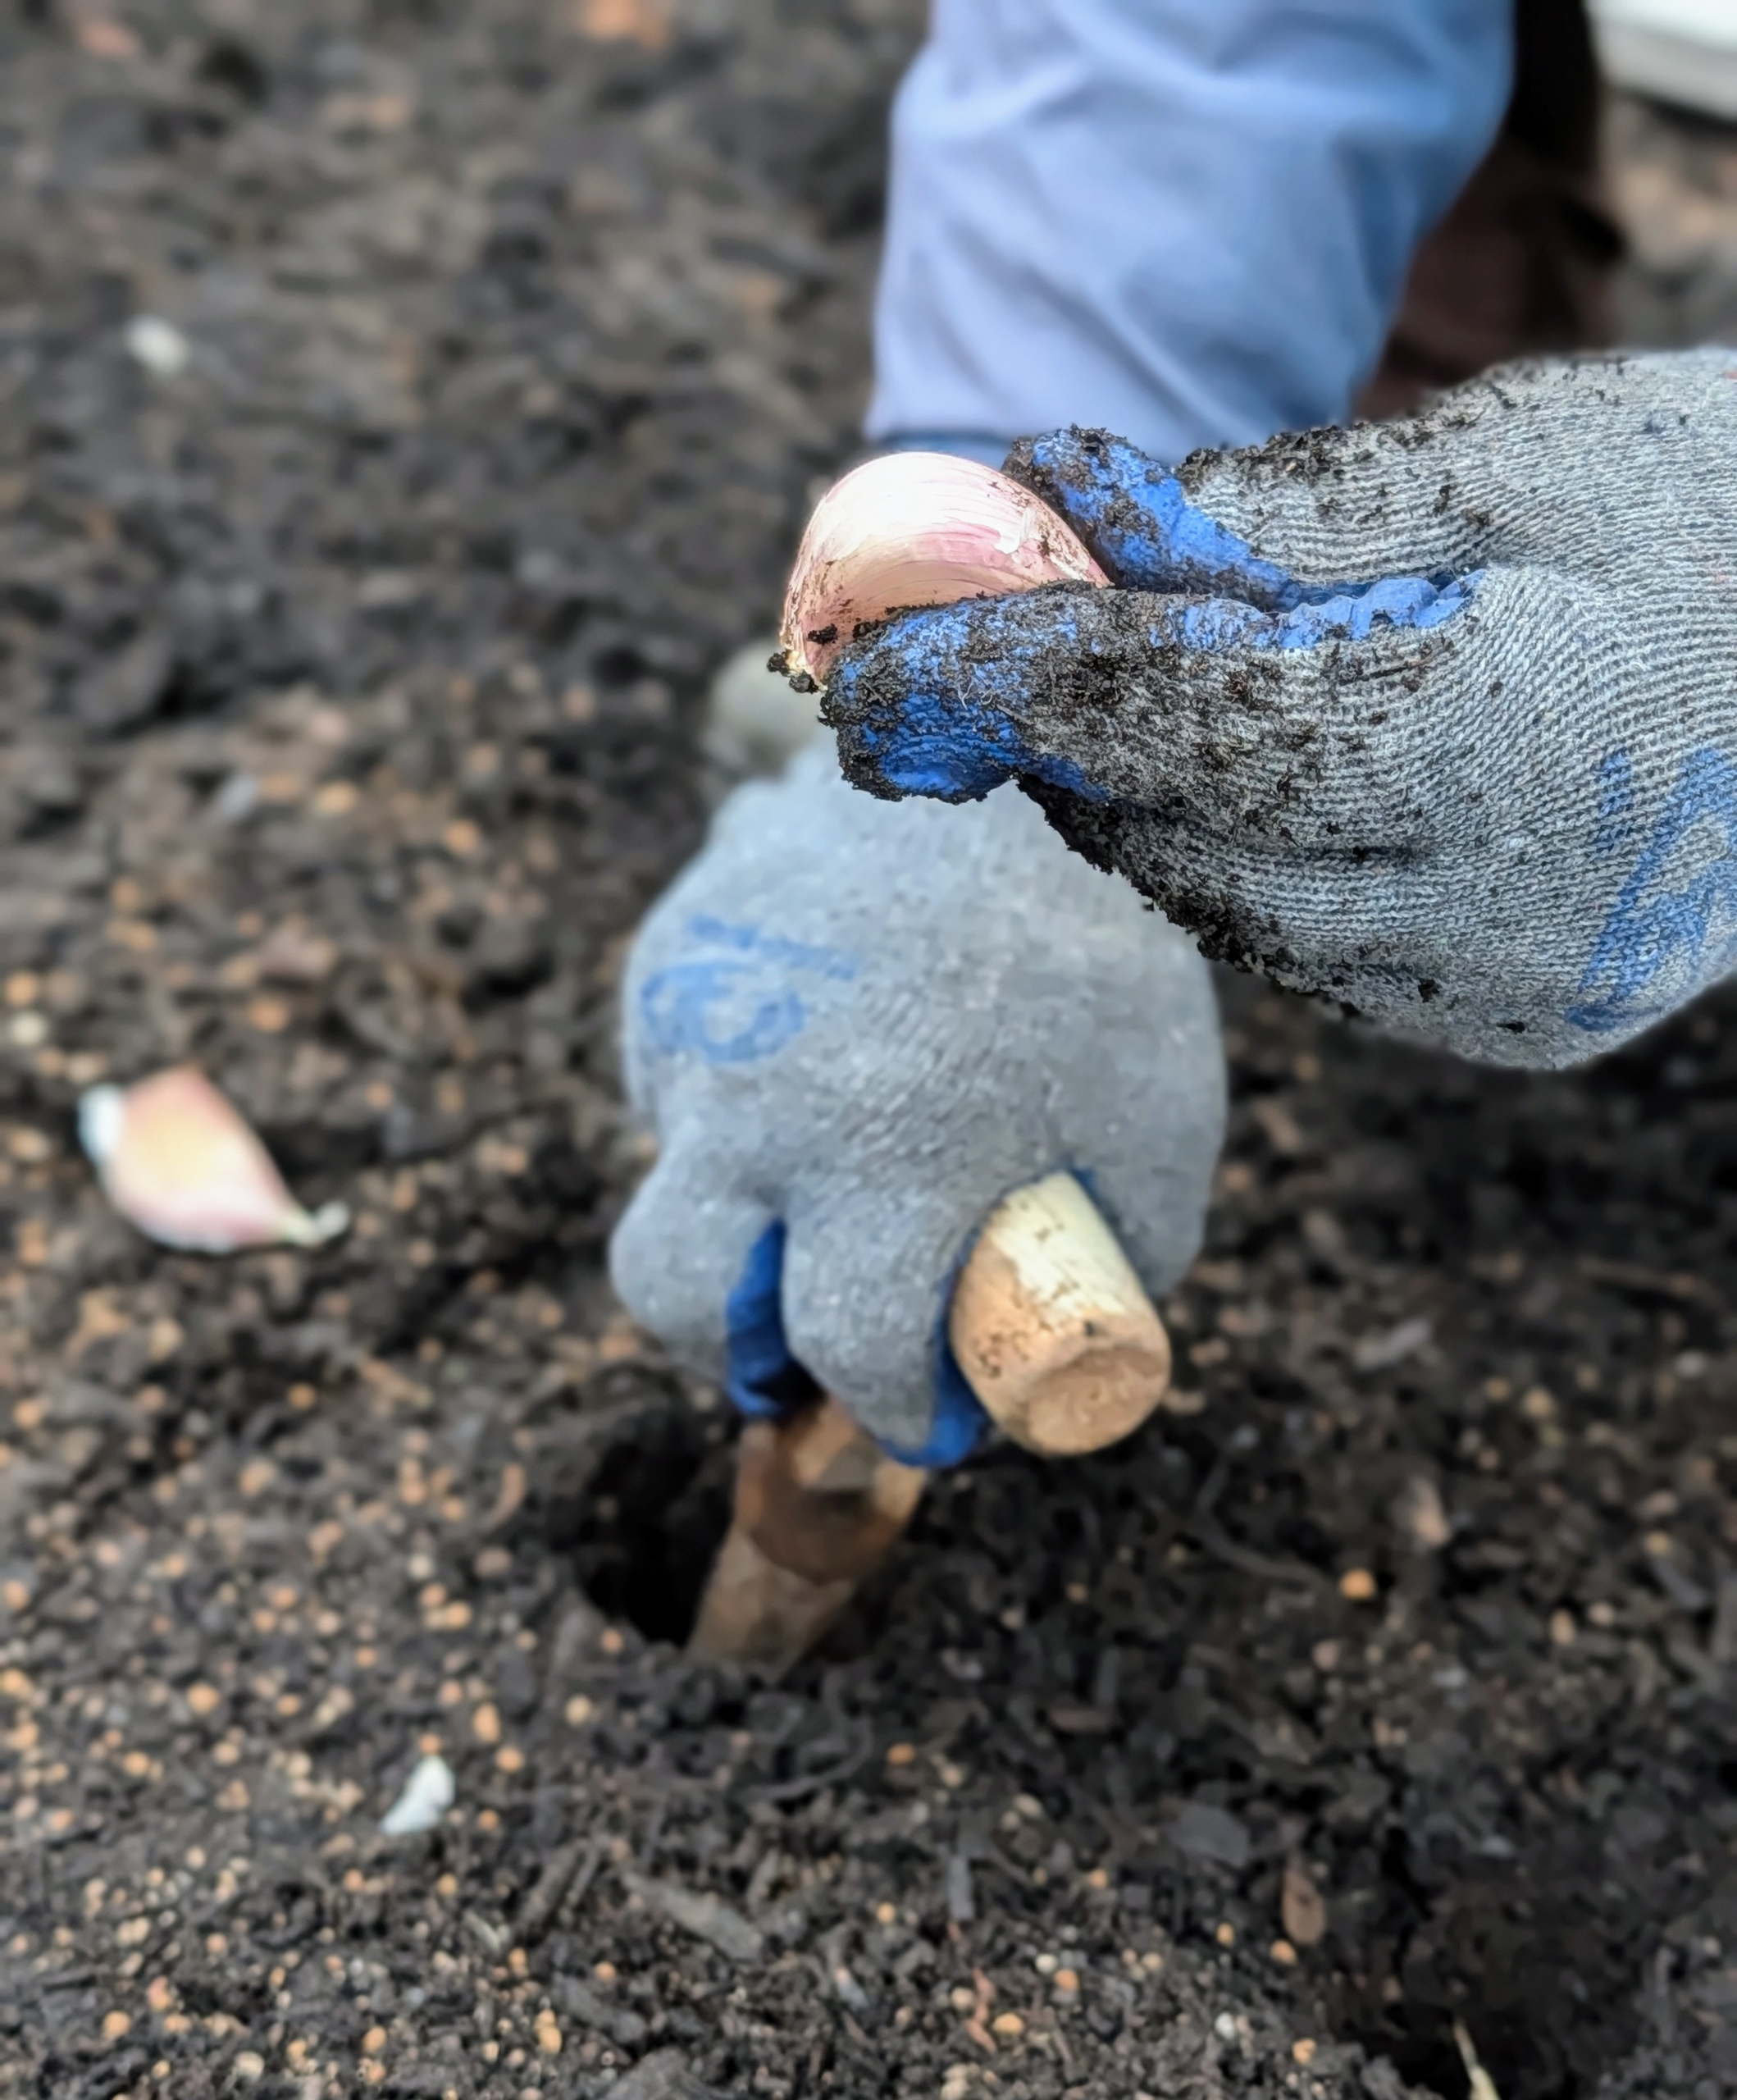
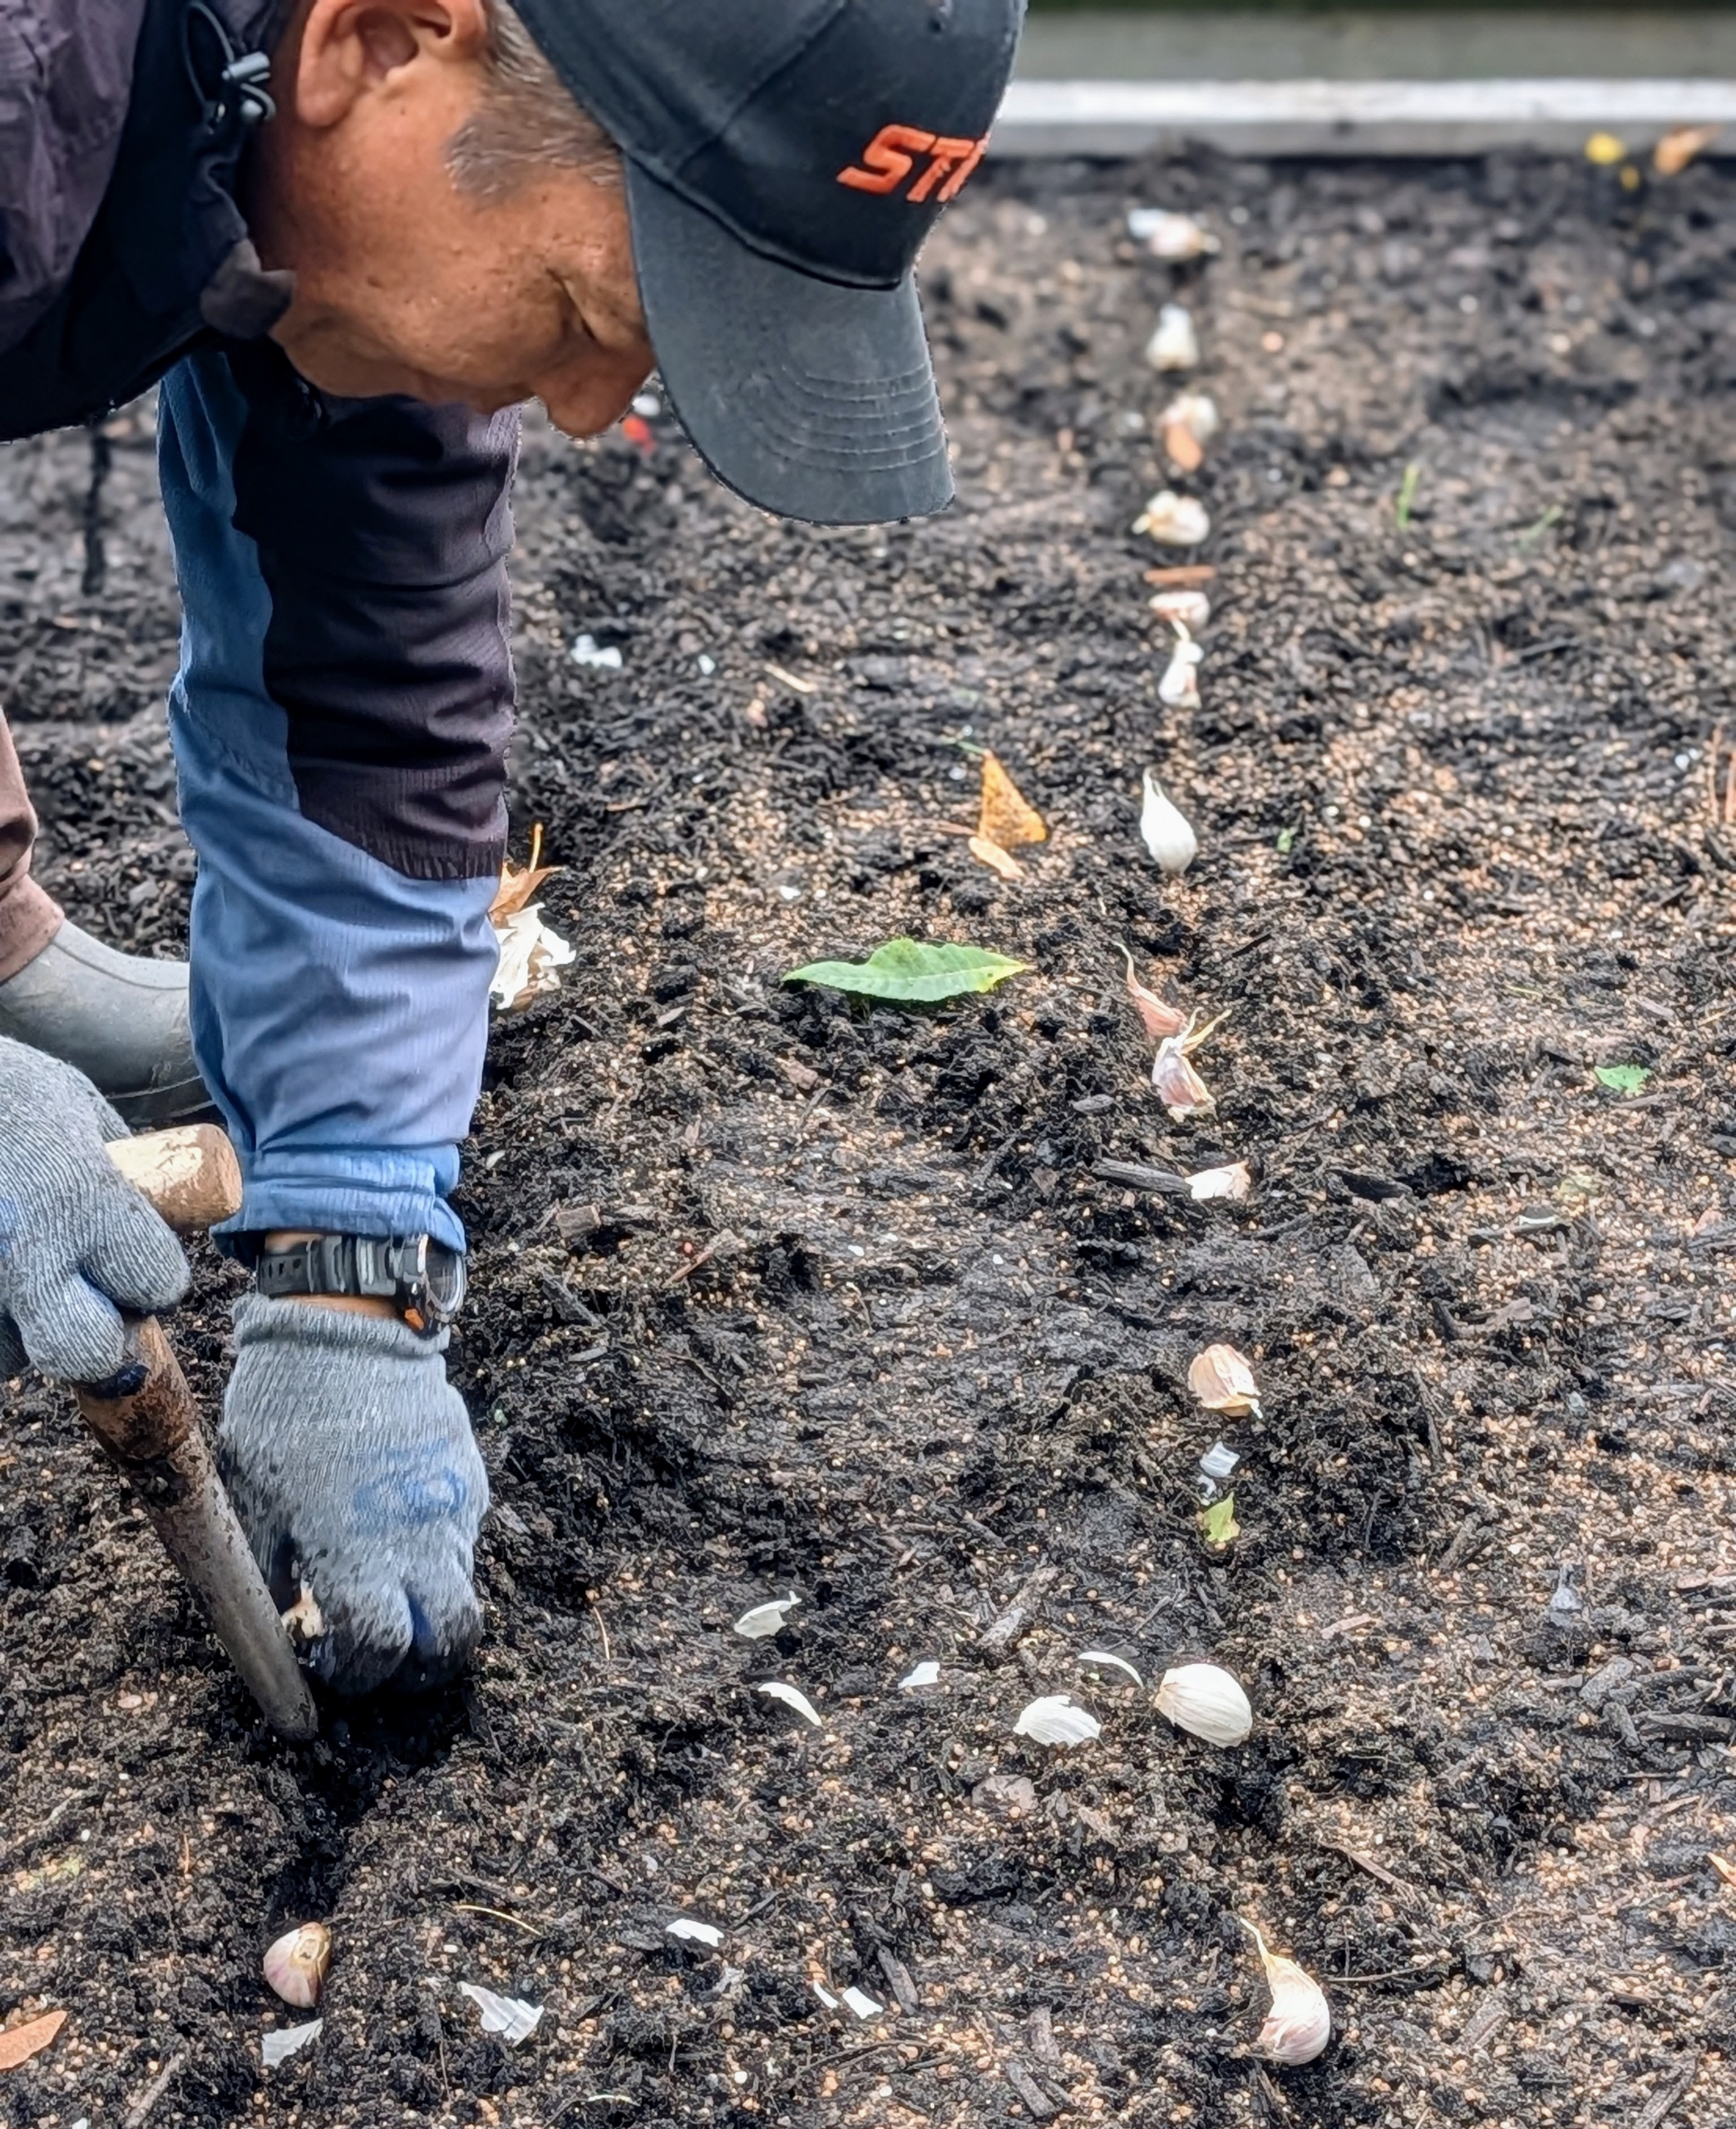
- To make the holes for planting garlic, Phurba uses a dibble or a dibber. The T-grip on the dibber allows the planter to apply enough pressure to create a consistent depth for each hole.
-
- Phurba pushes the dibber into the soil to make the hole.
-
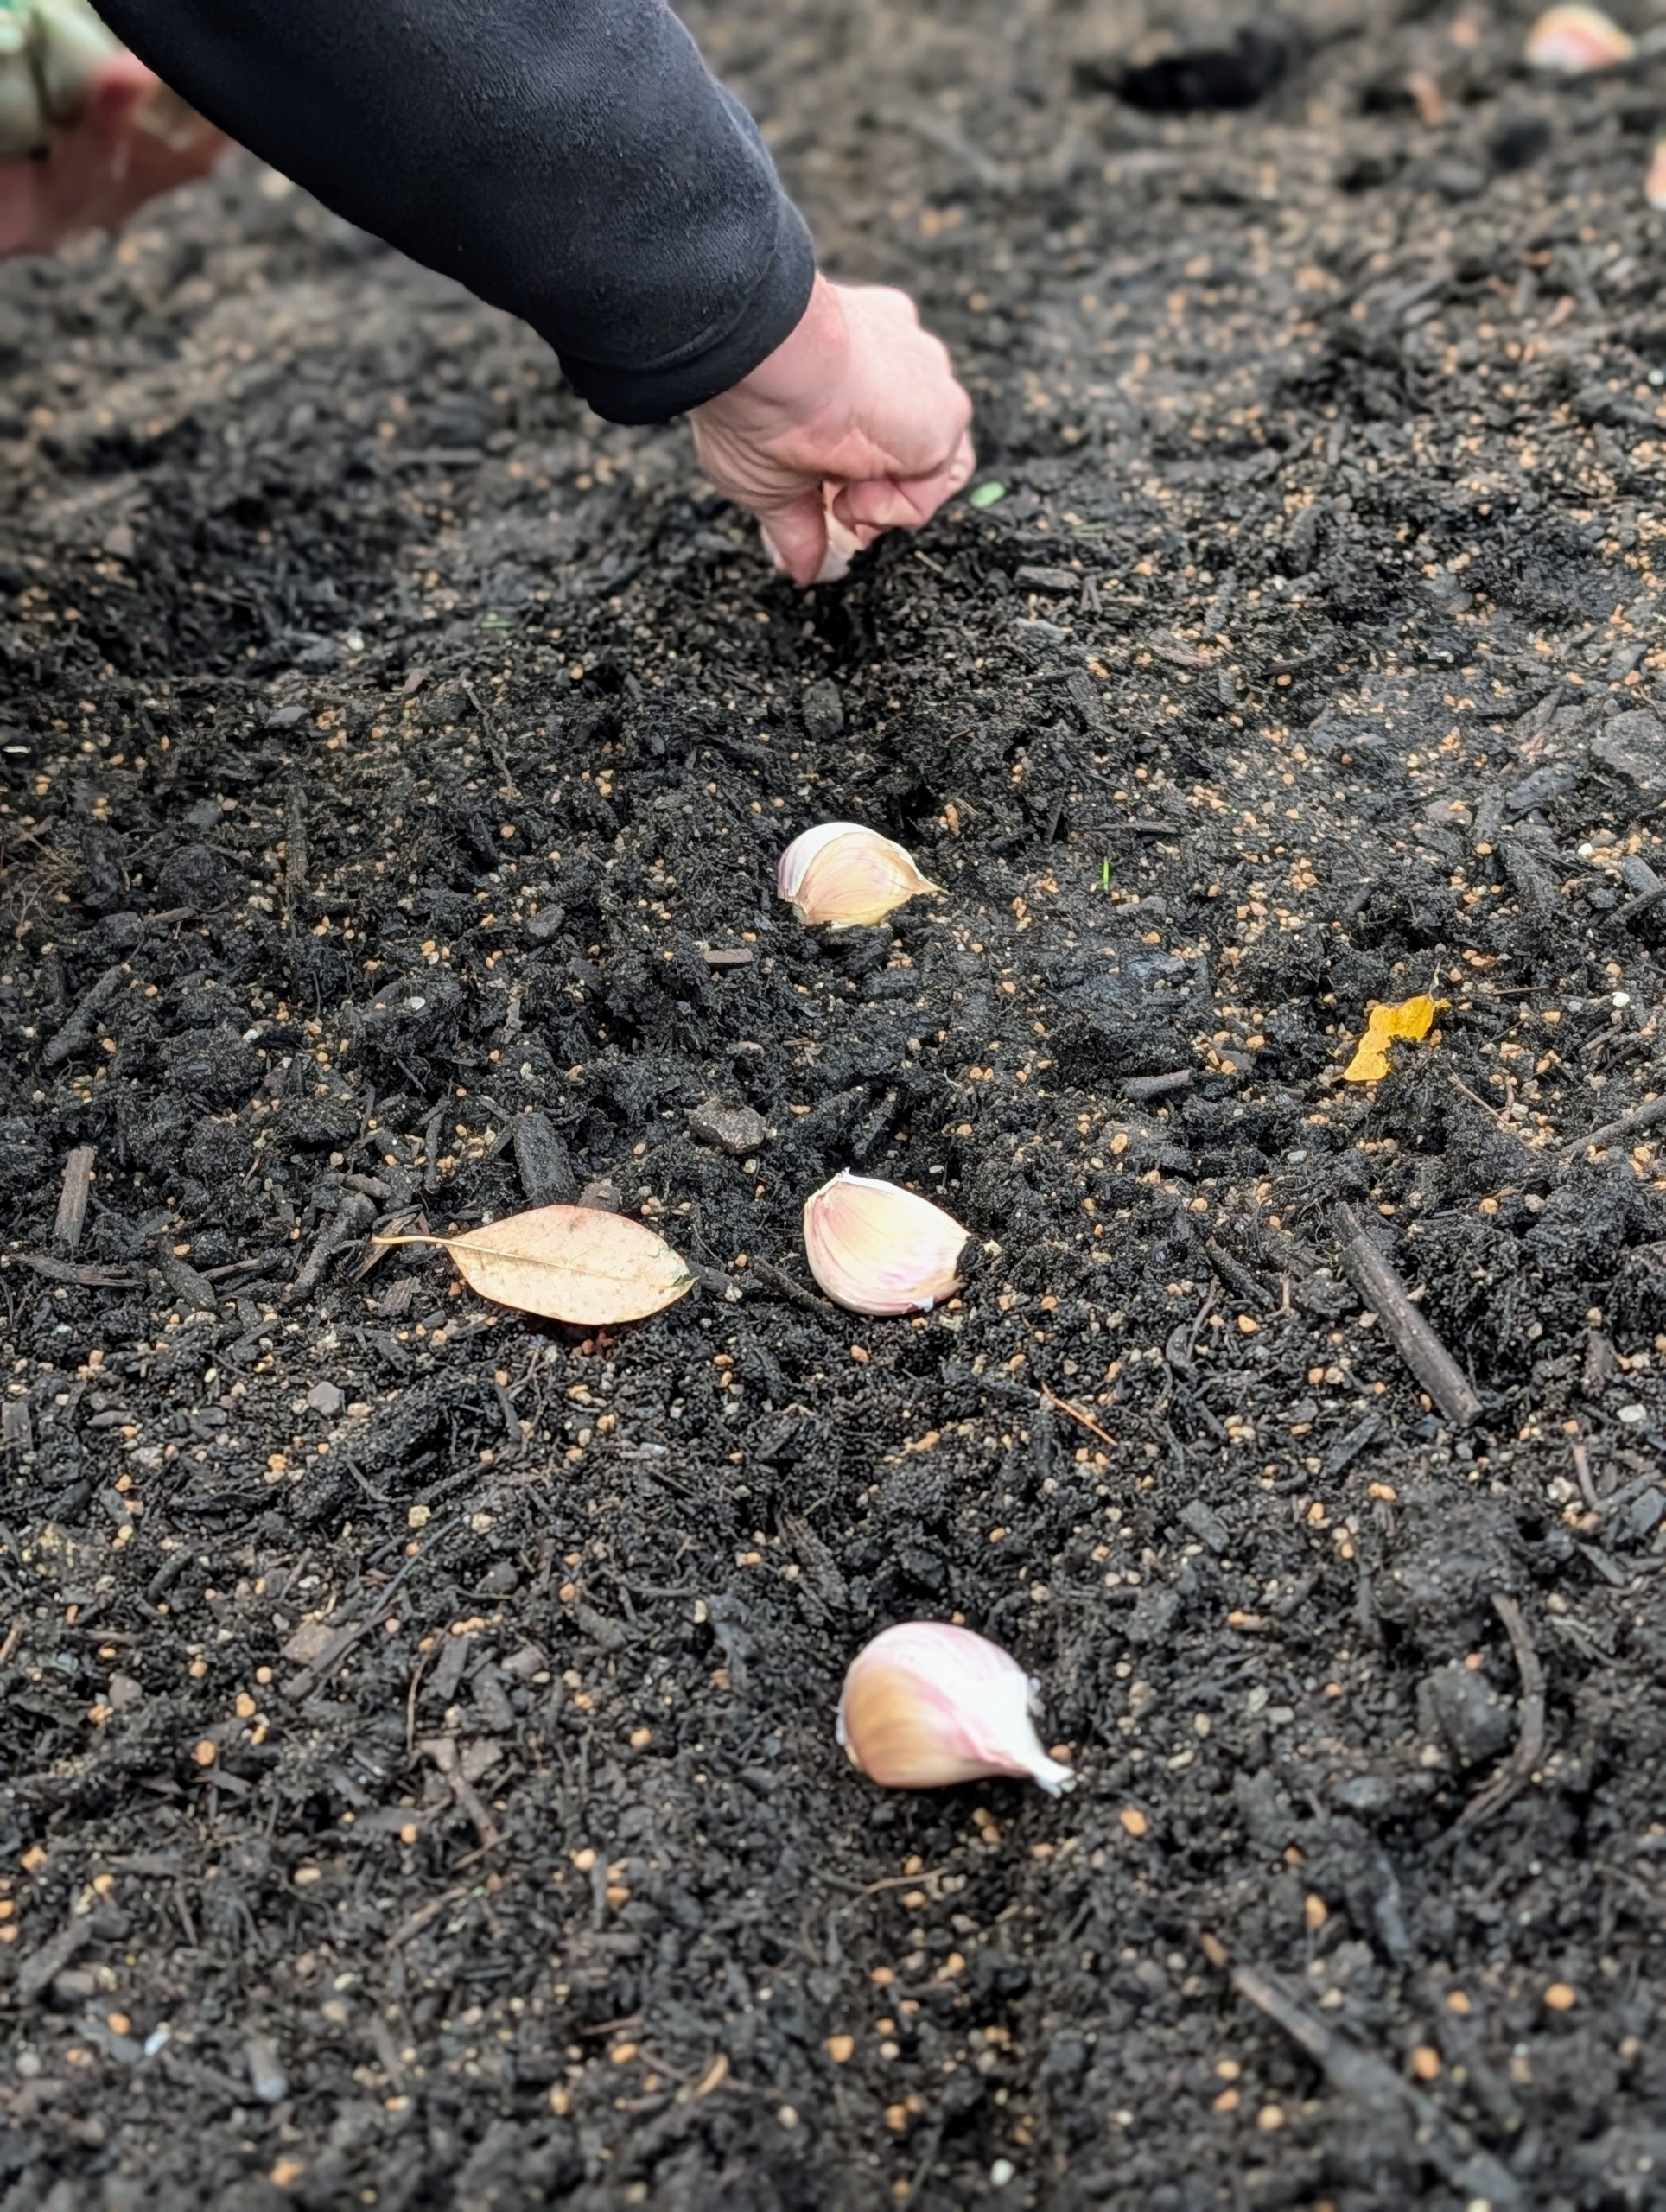
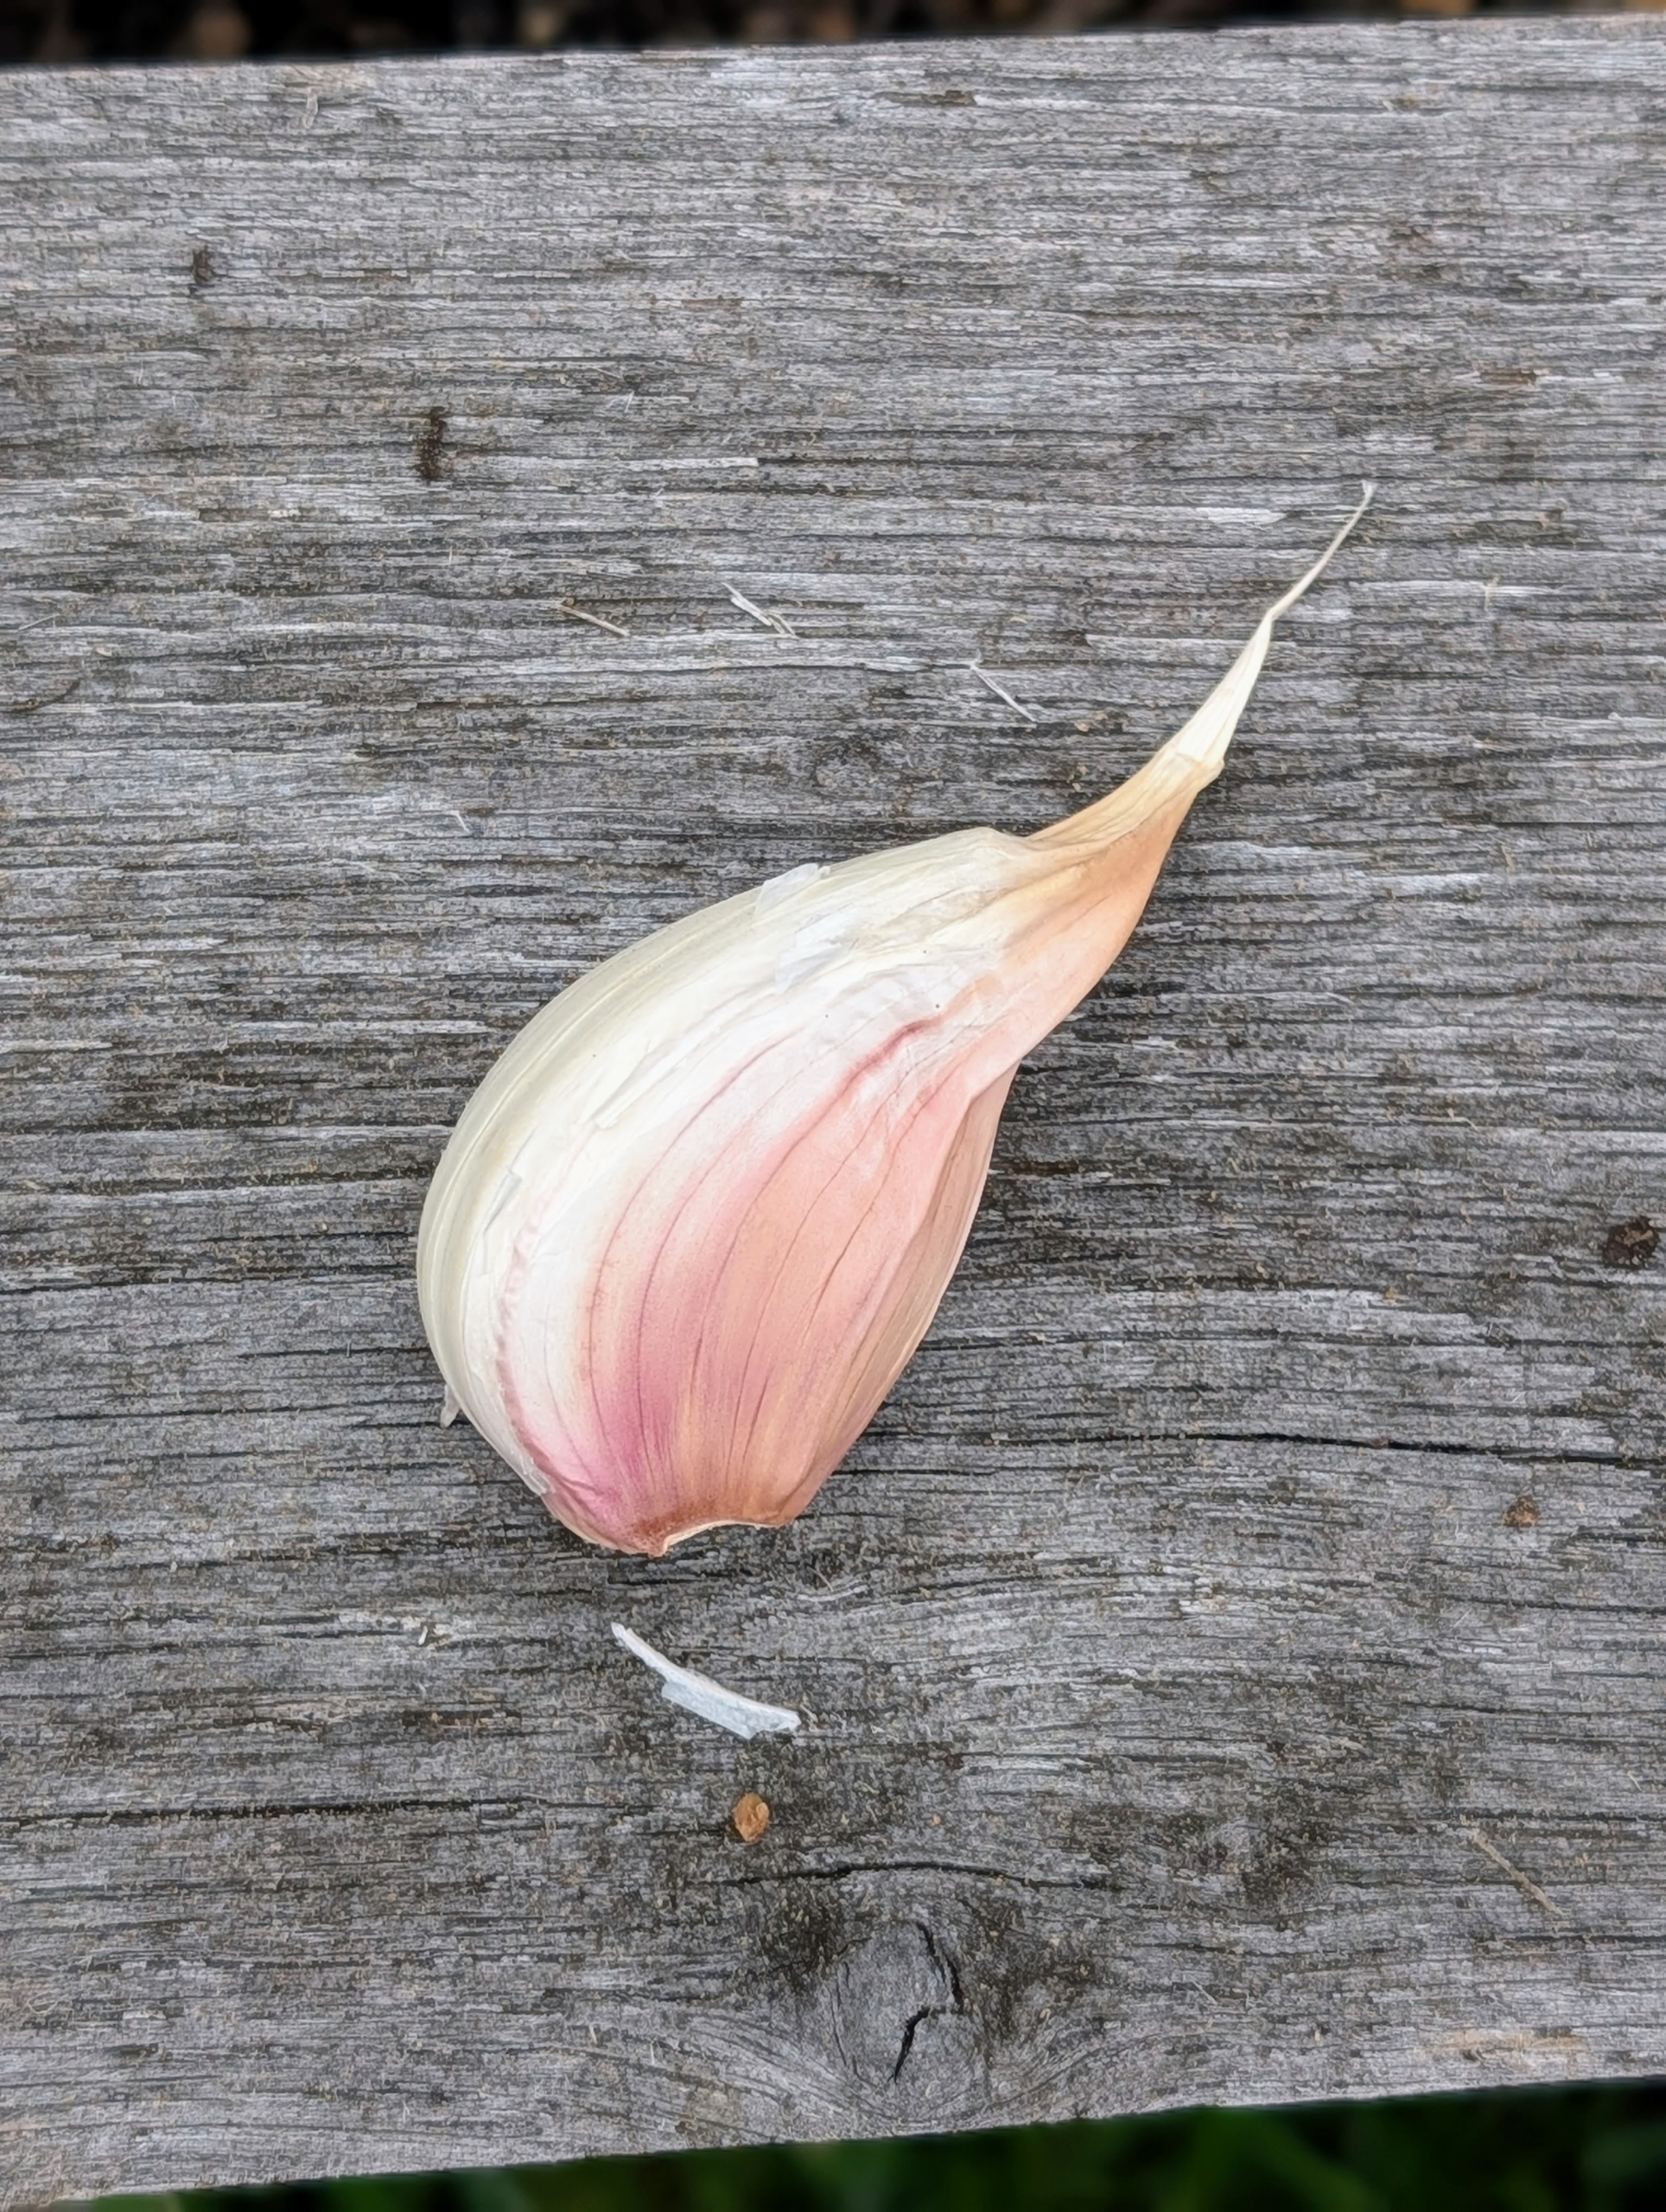
- Here is a seed garlic clove. It is planted with the pointed end faced up. The majority of garlic in the US is planted from mid-October through November before the ground freezes.
-
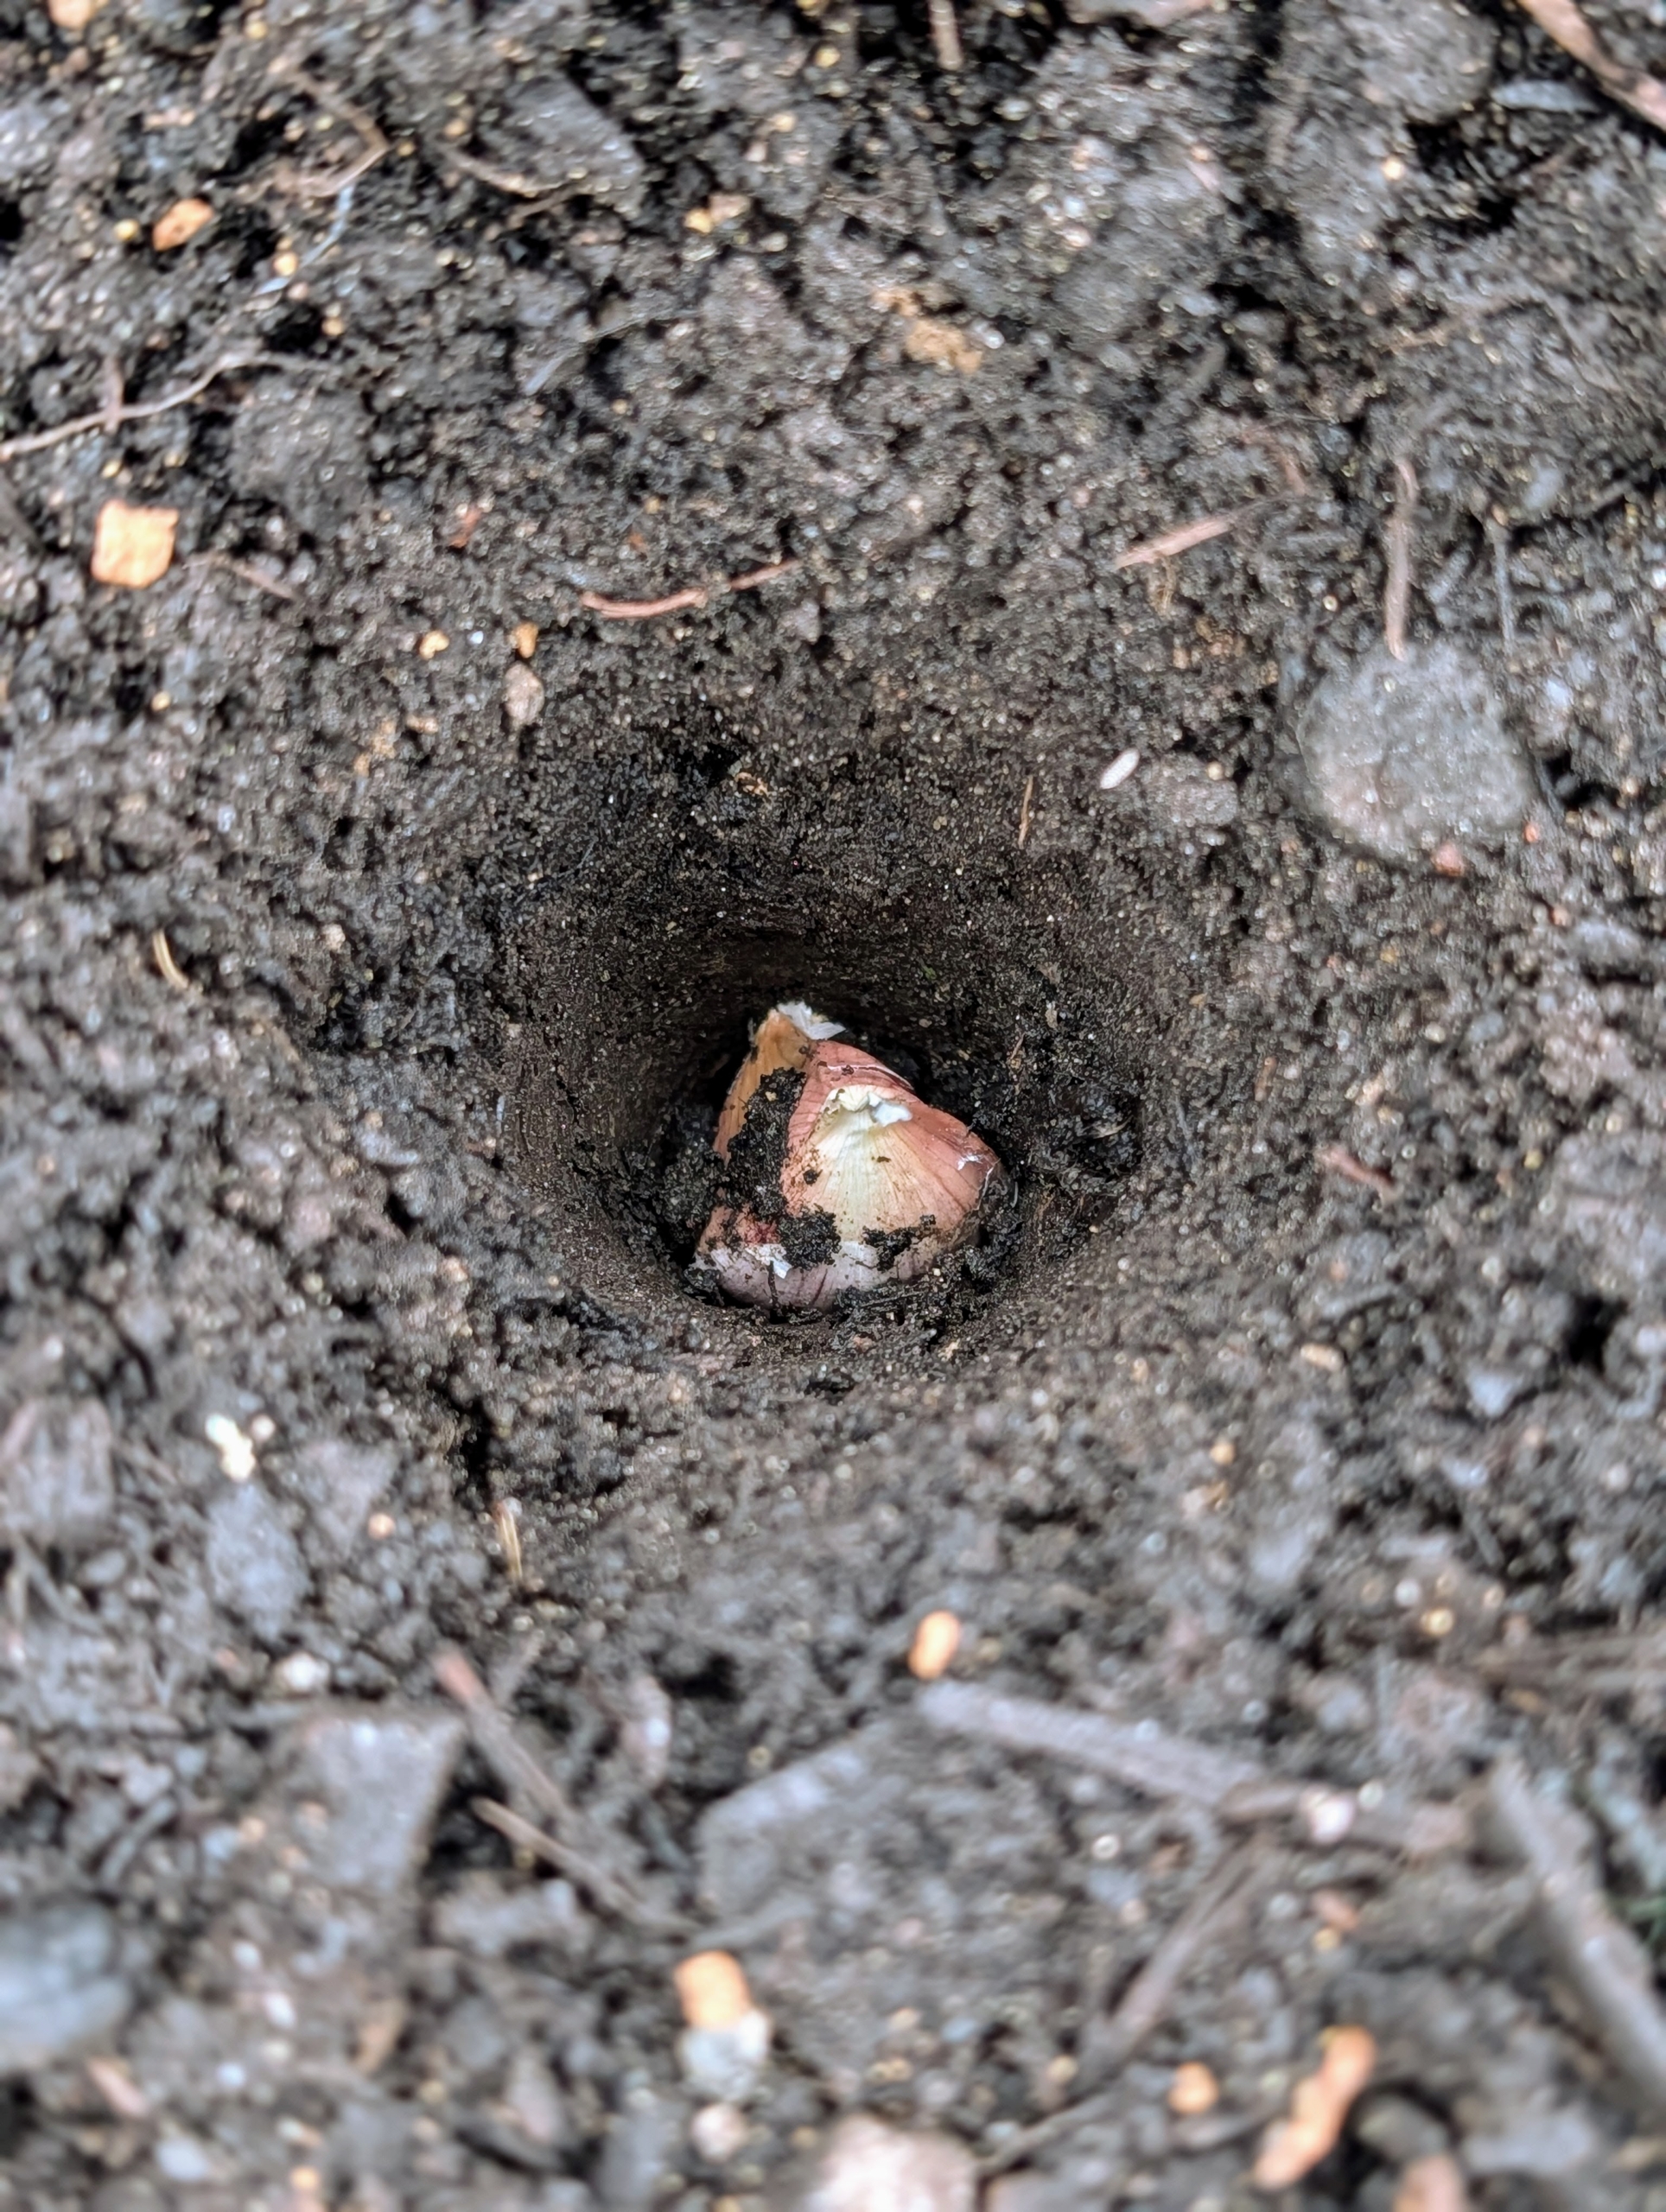
- Phurba places the clove into the hole.
-
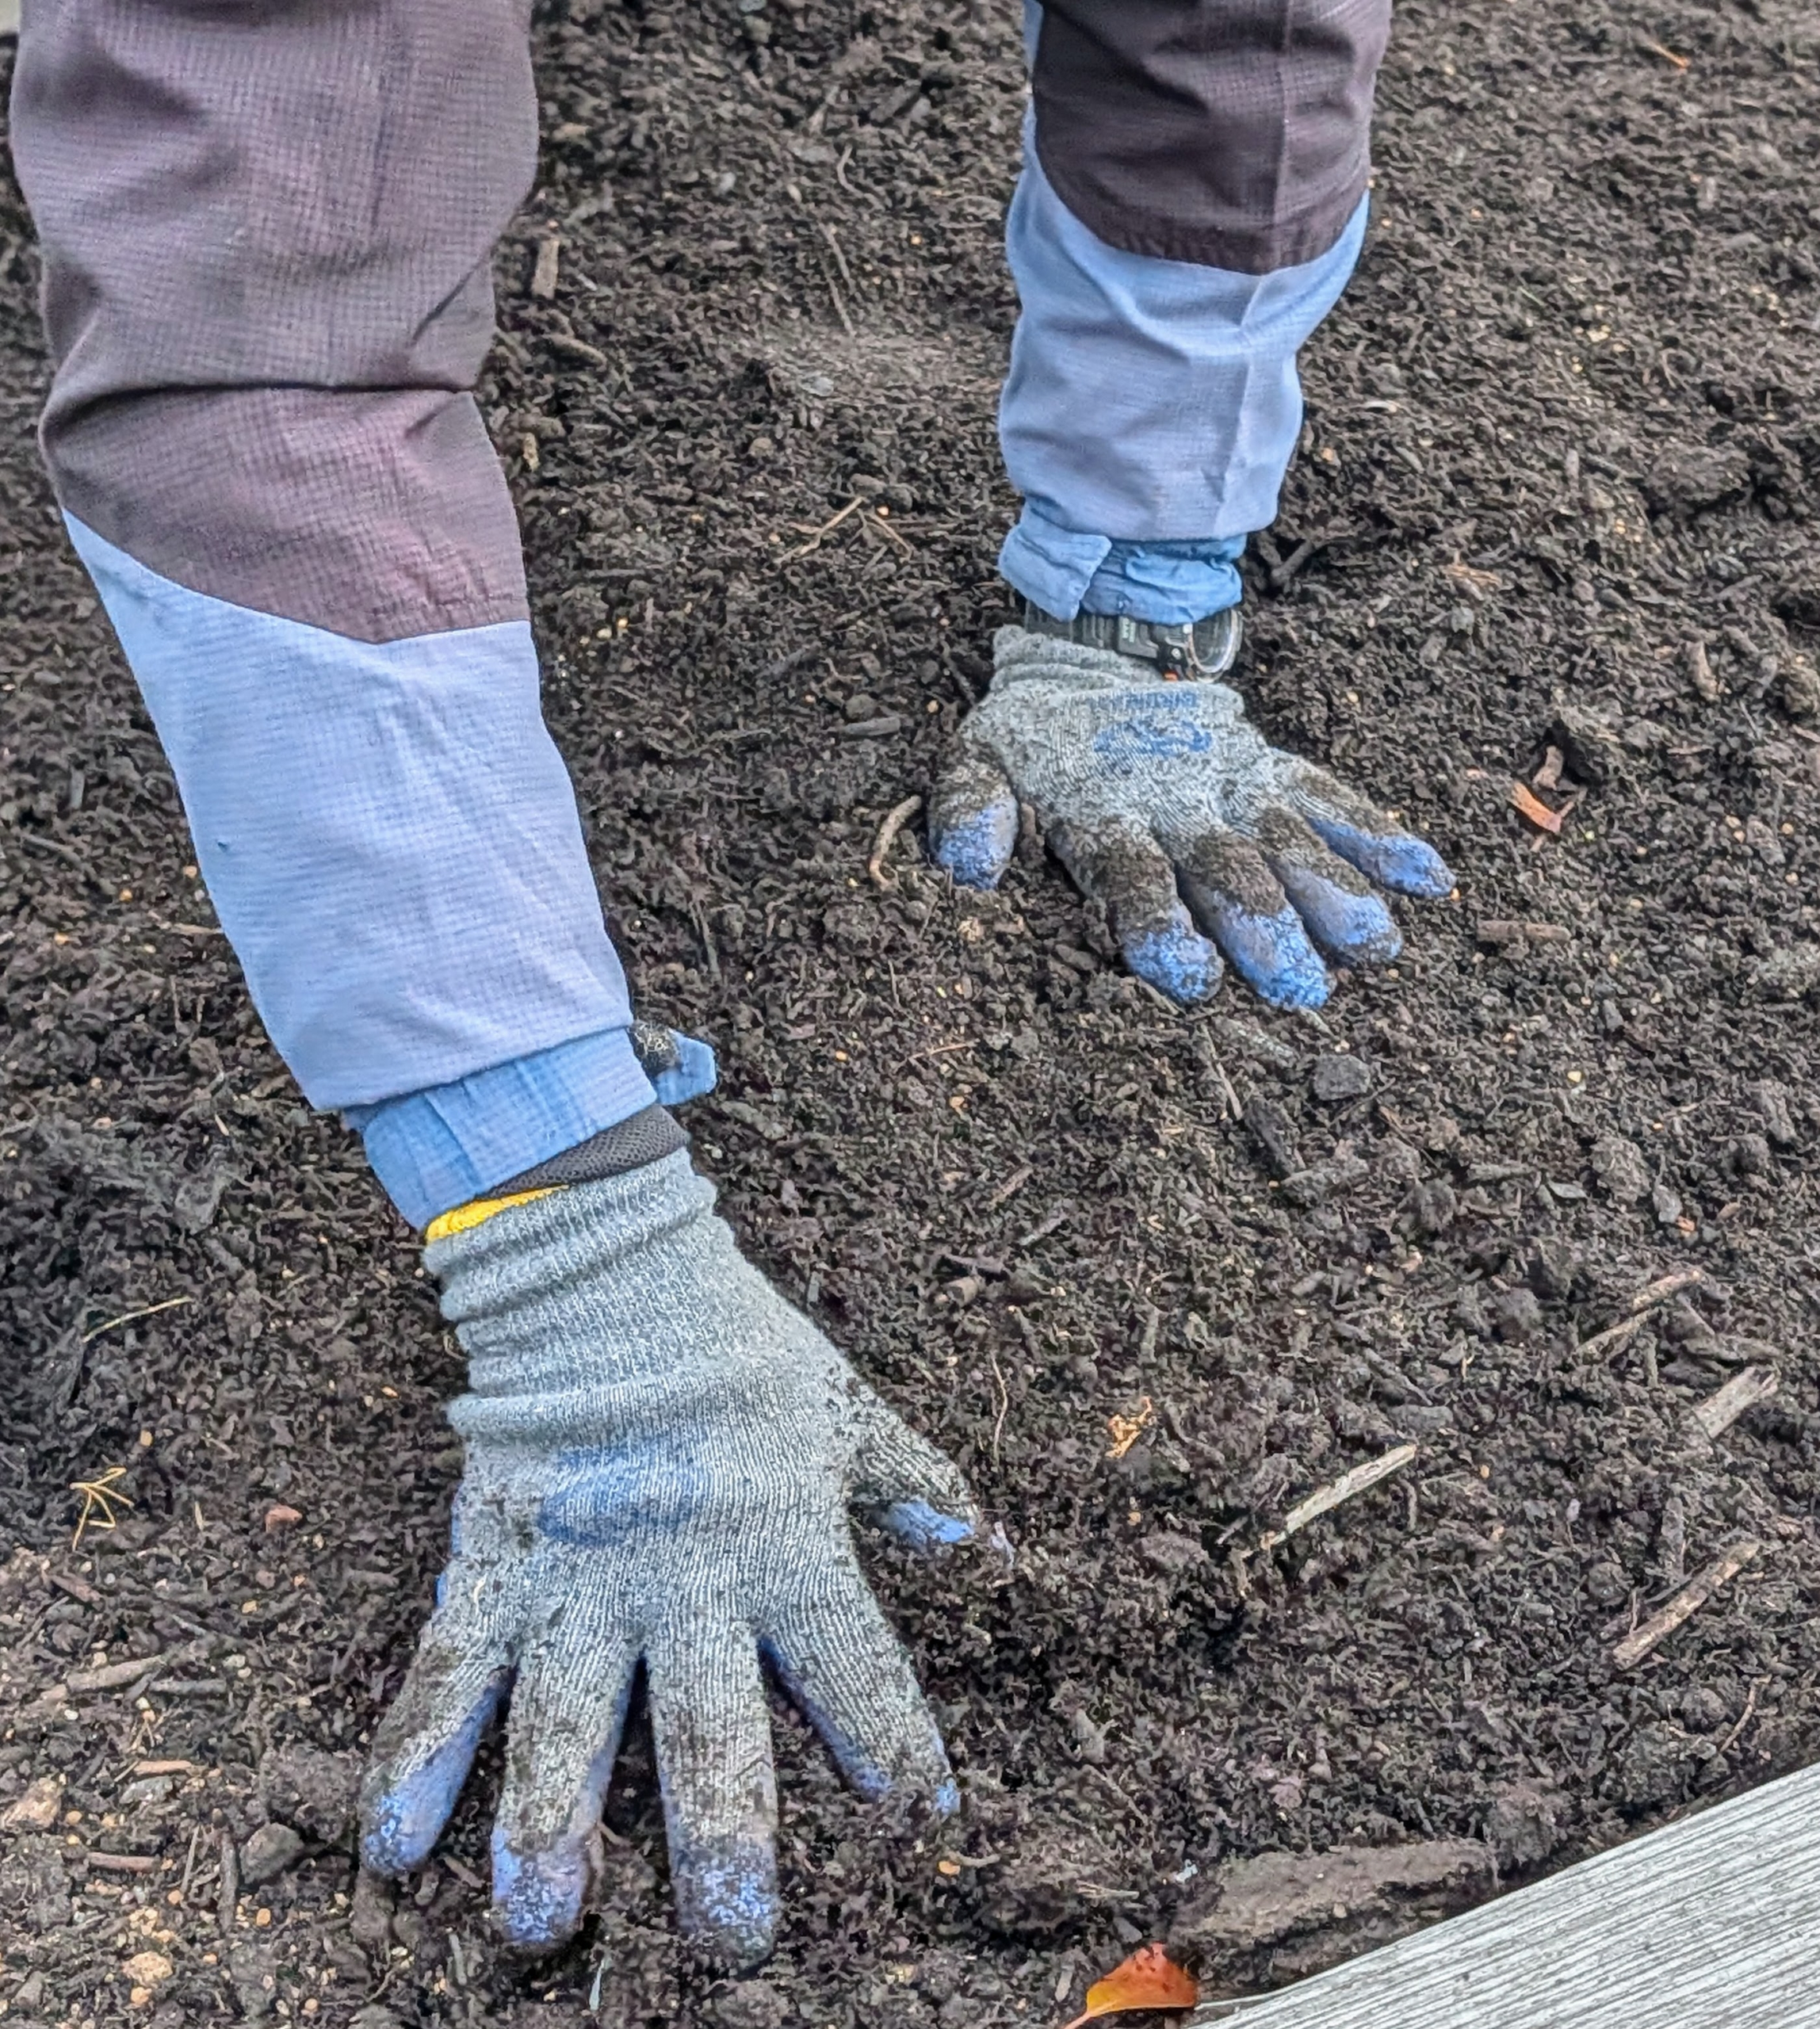
- Cloves should be pushed down at least three inches deep.
-
- Ryan and Phurba work in tandem – as one places the seed garlic in the row, the other plants it. If the soil in the bed is well cultivated, this should be a fast and easy process.
-
- Phurba also makes sure to leave one row uncovered, so Ryan knows the proper placement of each clove.
-
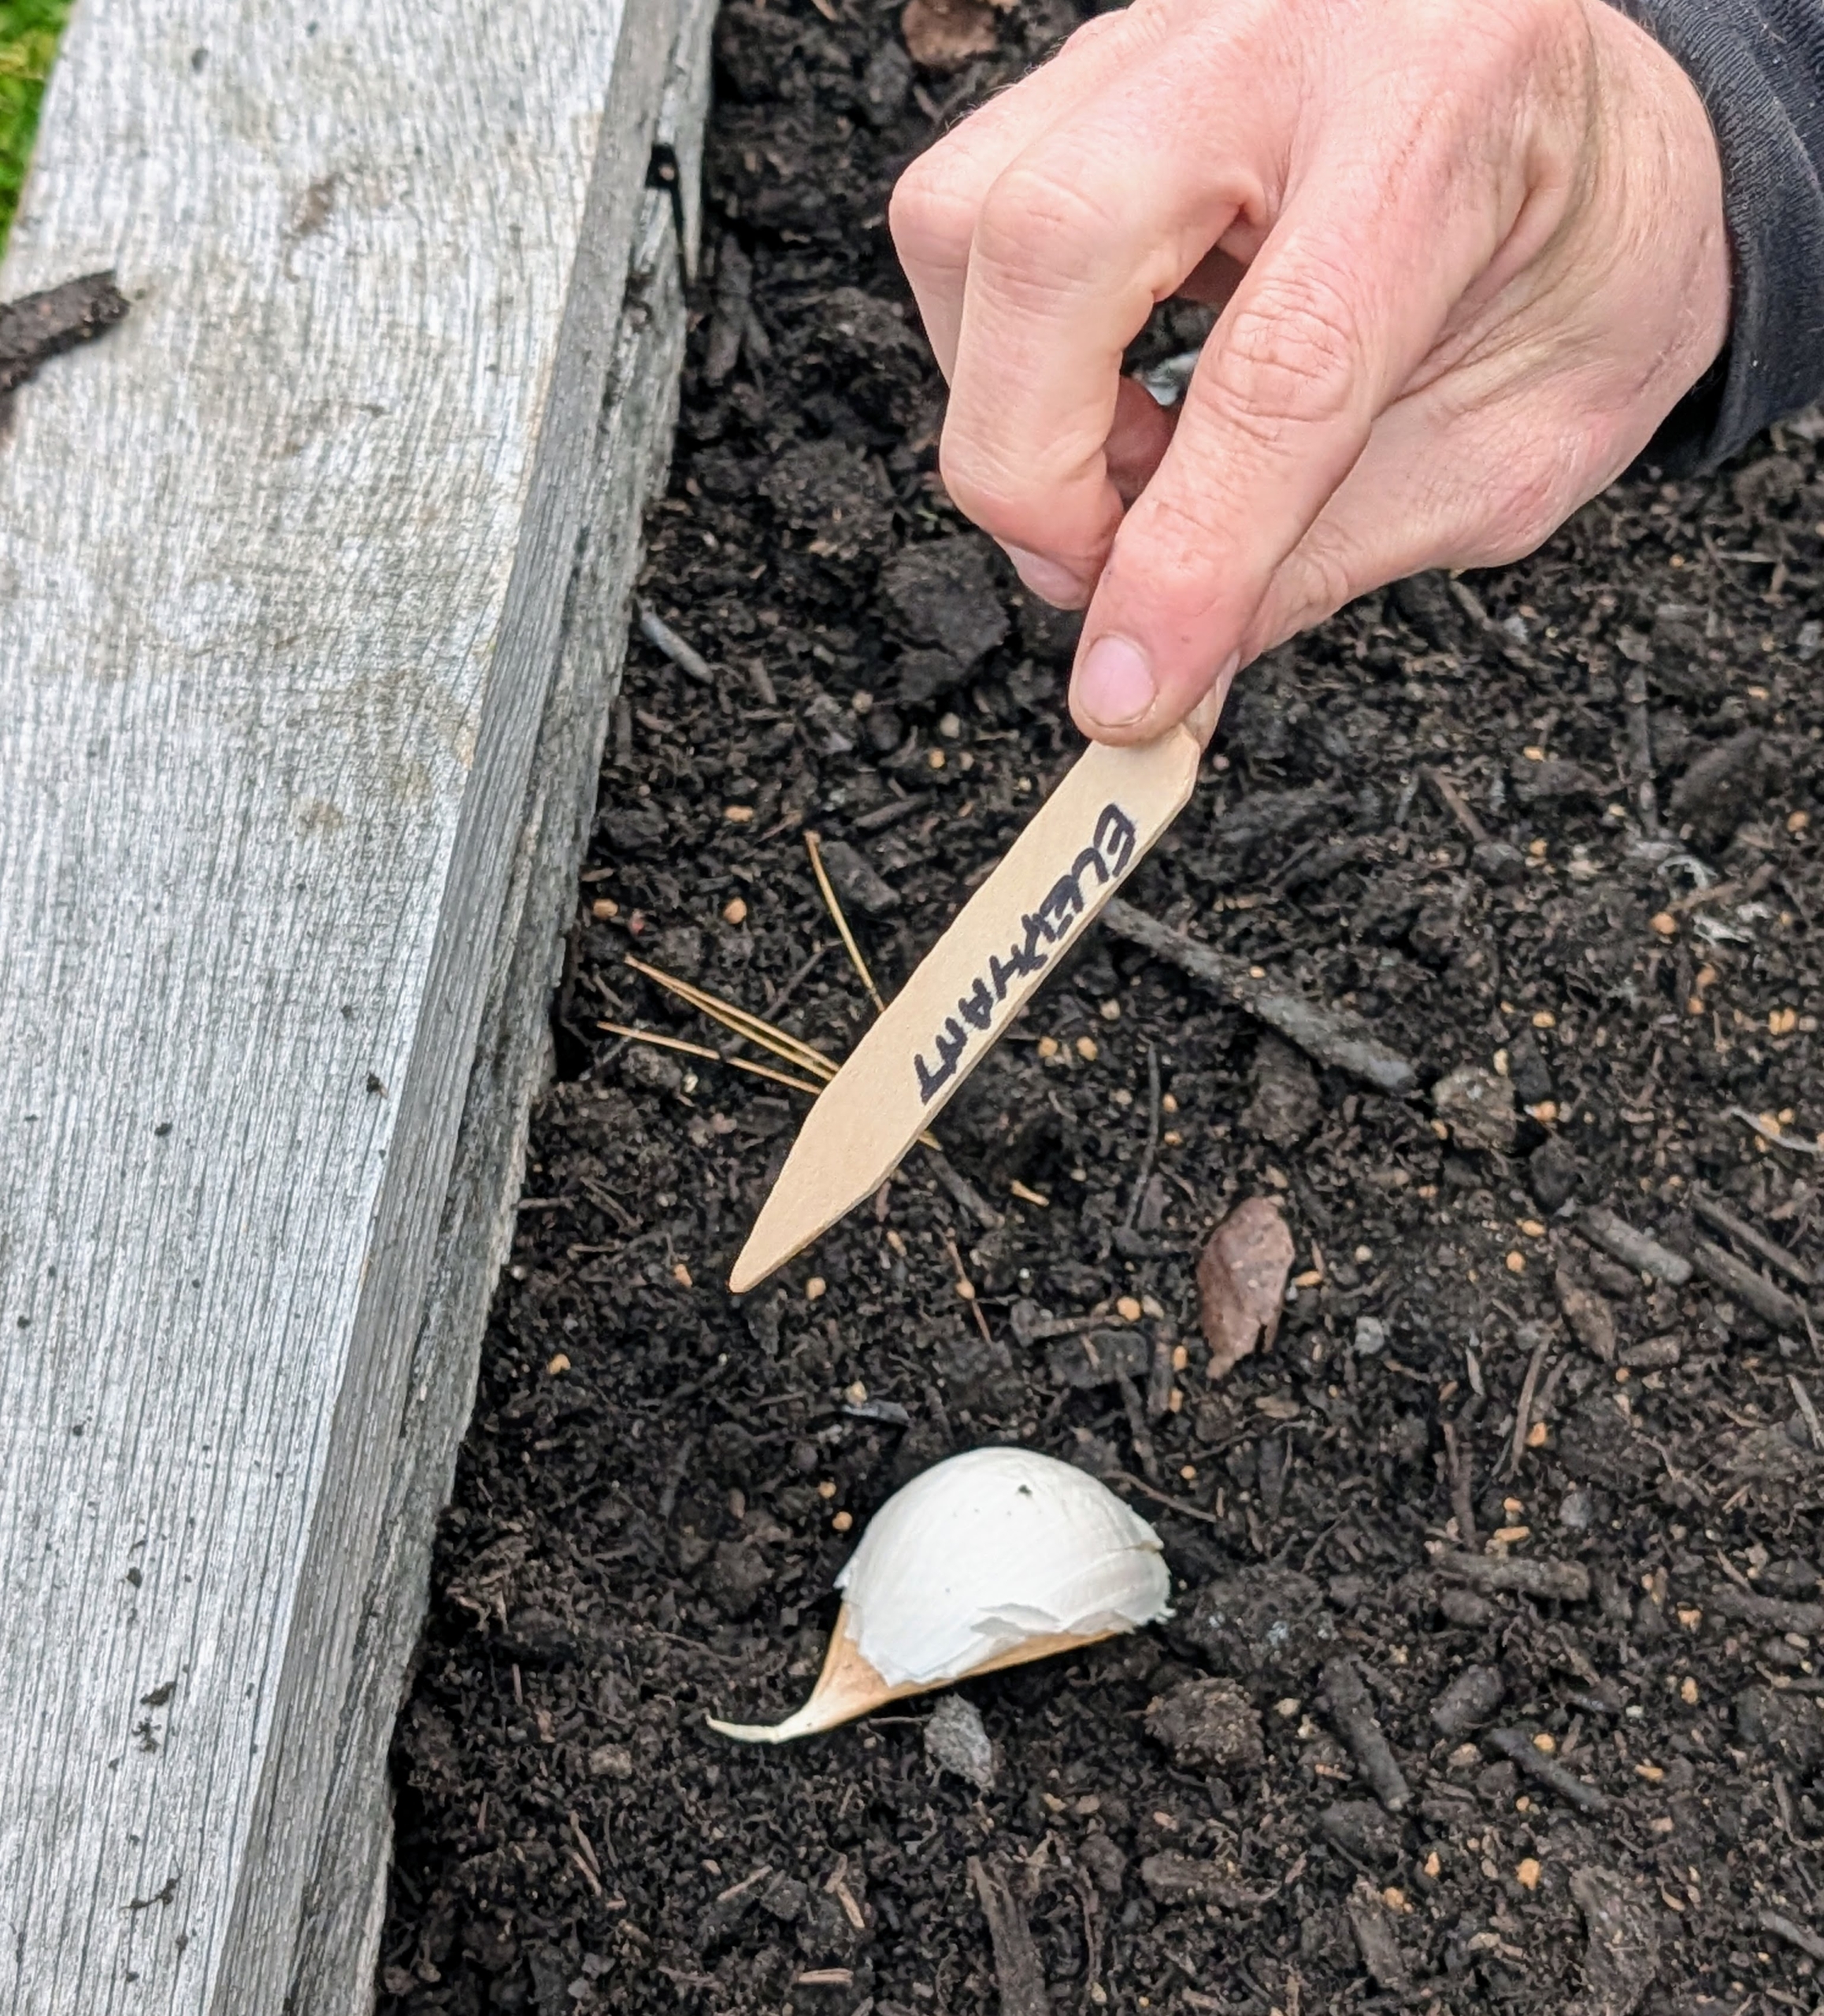
- Here is Ryan with the Elephant garlic. Elephant Garlic is actually a leek that resembles garlic in growing and in appearance. It has a very mild flavor.
-
- All the garlic rows are marked with the appropriate variety name.
-
- Phurba plants these cloves in the same way he did the others.
-
- After planting, he backfills the rows with soil.
-
- And then both beds are raked evenly. Any garlic crop will tolerate some shade but prefers full sun. This garlic will be ready to harvest mid-July to August. And that’s it – we wait until next year to harvest. If you’ve never grown your own garlic, give it a try.