Rain or shine, the work of caring for a farm never stops. Daily task lists keep the farm running smoothly and looking its best.
My gardeners, housekeepers, stable team, and outdoor grounds crew are always busy tackling important chores. During the summer months, that means pruning trees and shrubs, mulching the garden beds, weeding, tending the vegetable garden and of course, providing the best possible care for all the animals.
Enjoy these photos.
We’ve had a stretch of strong rain this week, but skies cleared nicely in between flooding storms. Fortunately, with good planning, my crew was still able to get a lot done around the farm.
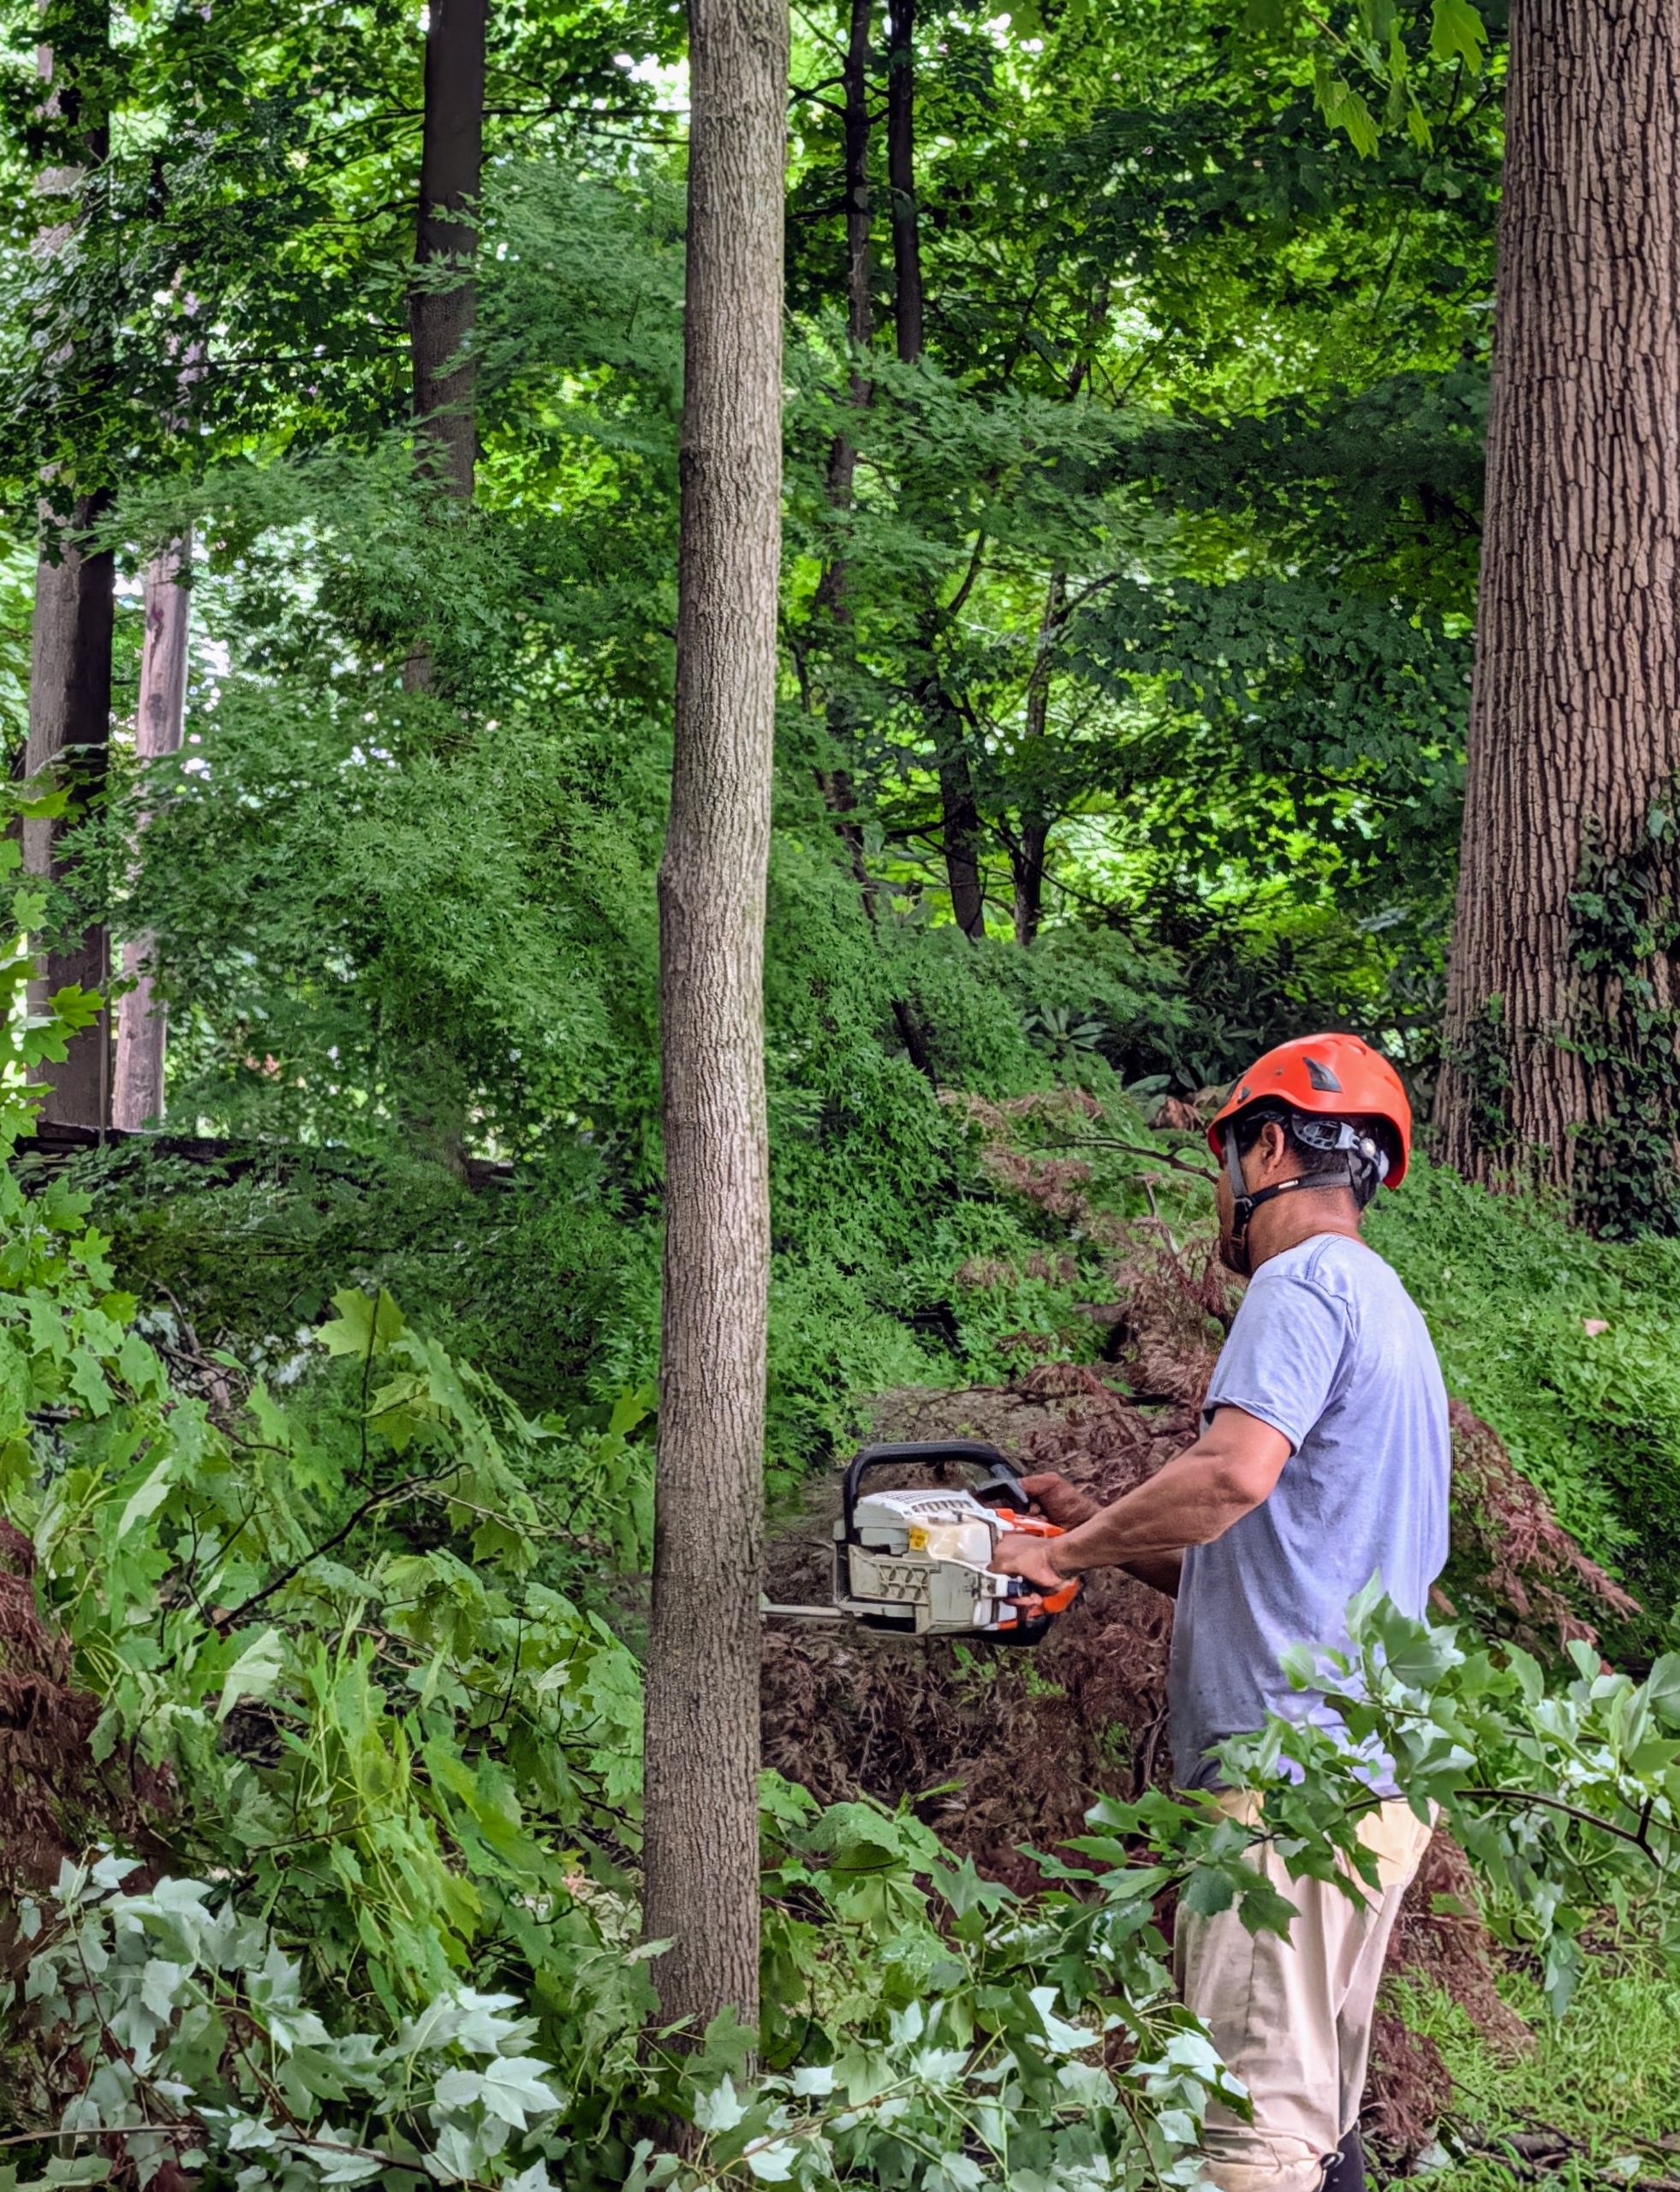
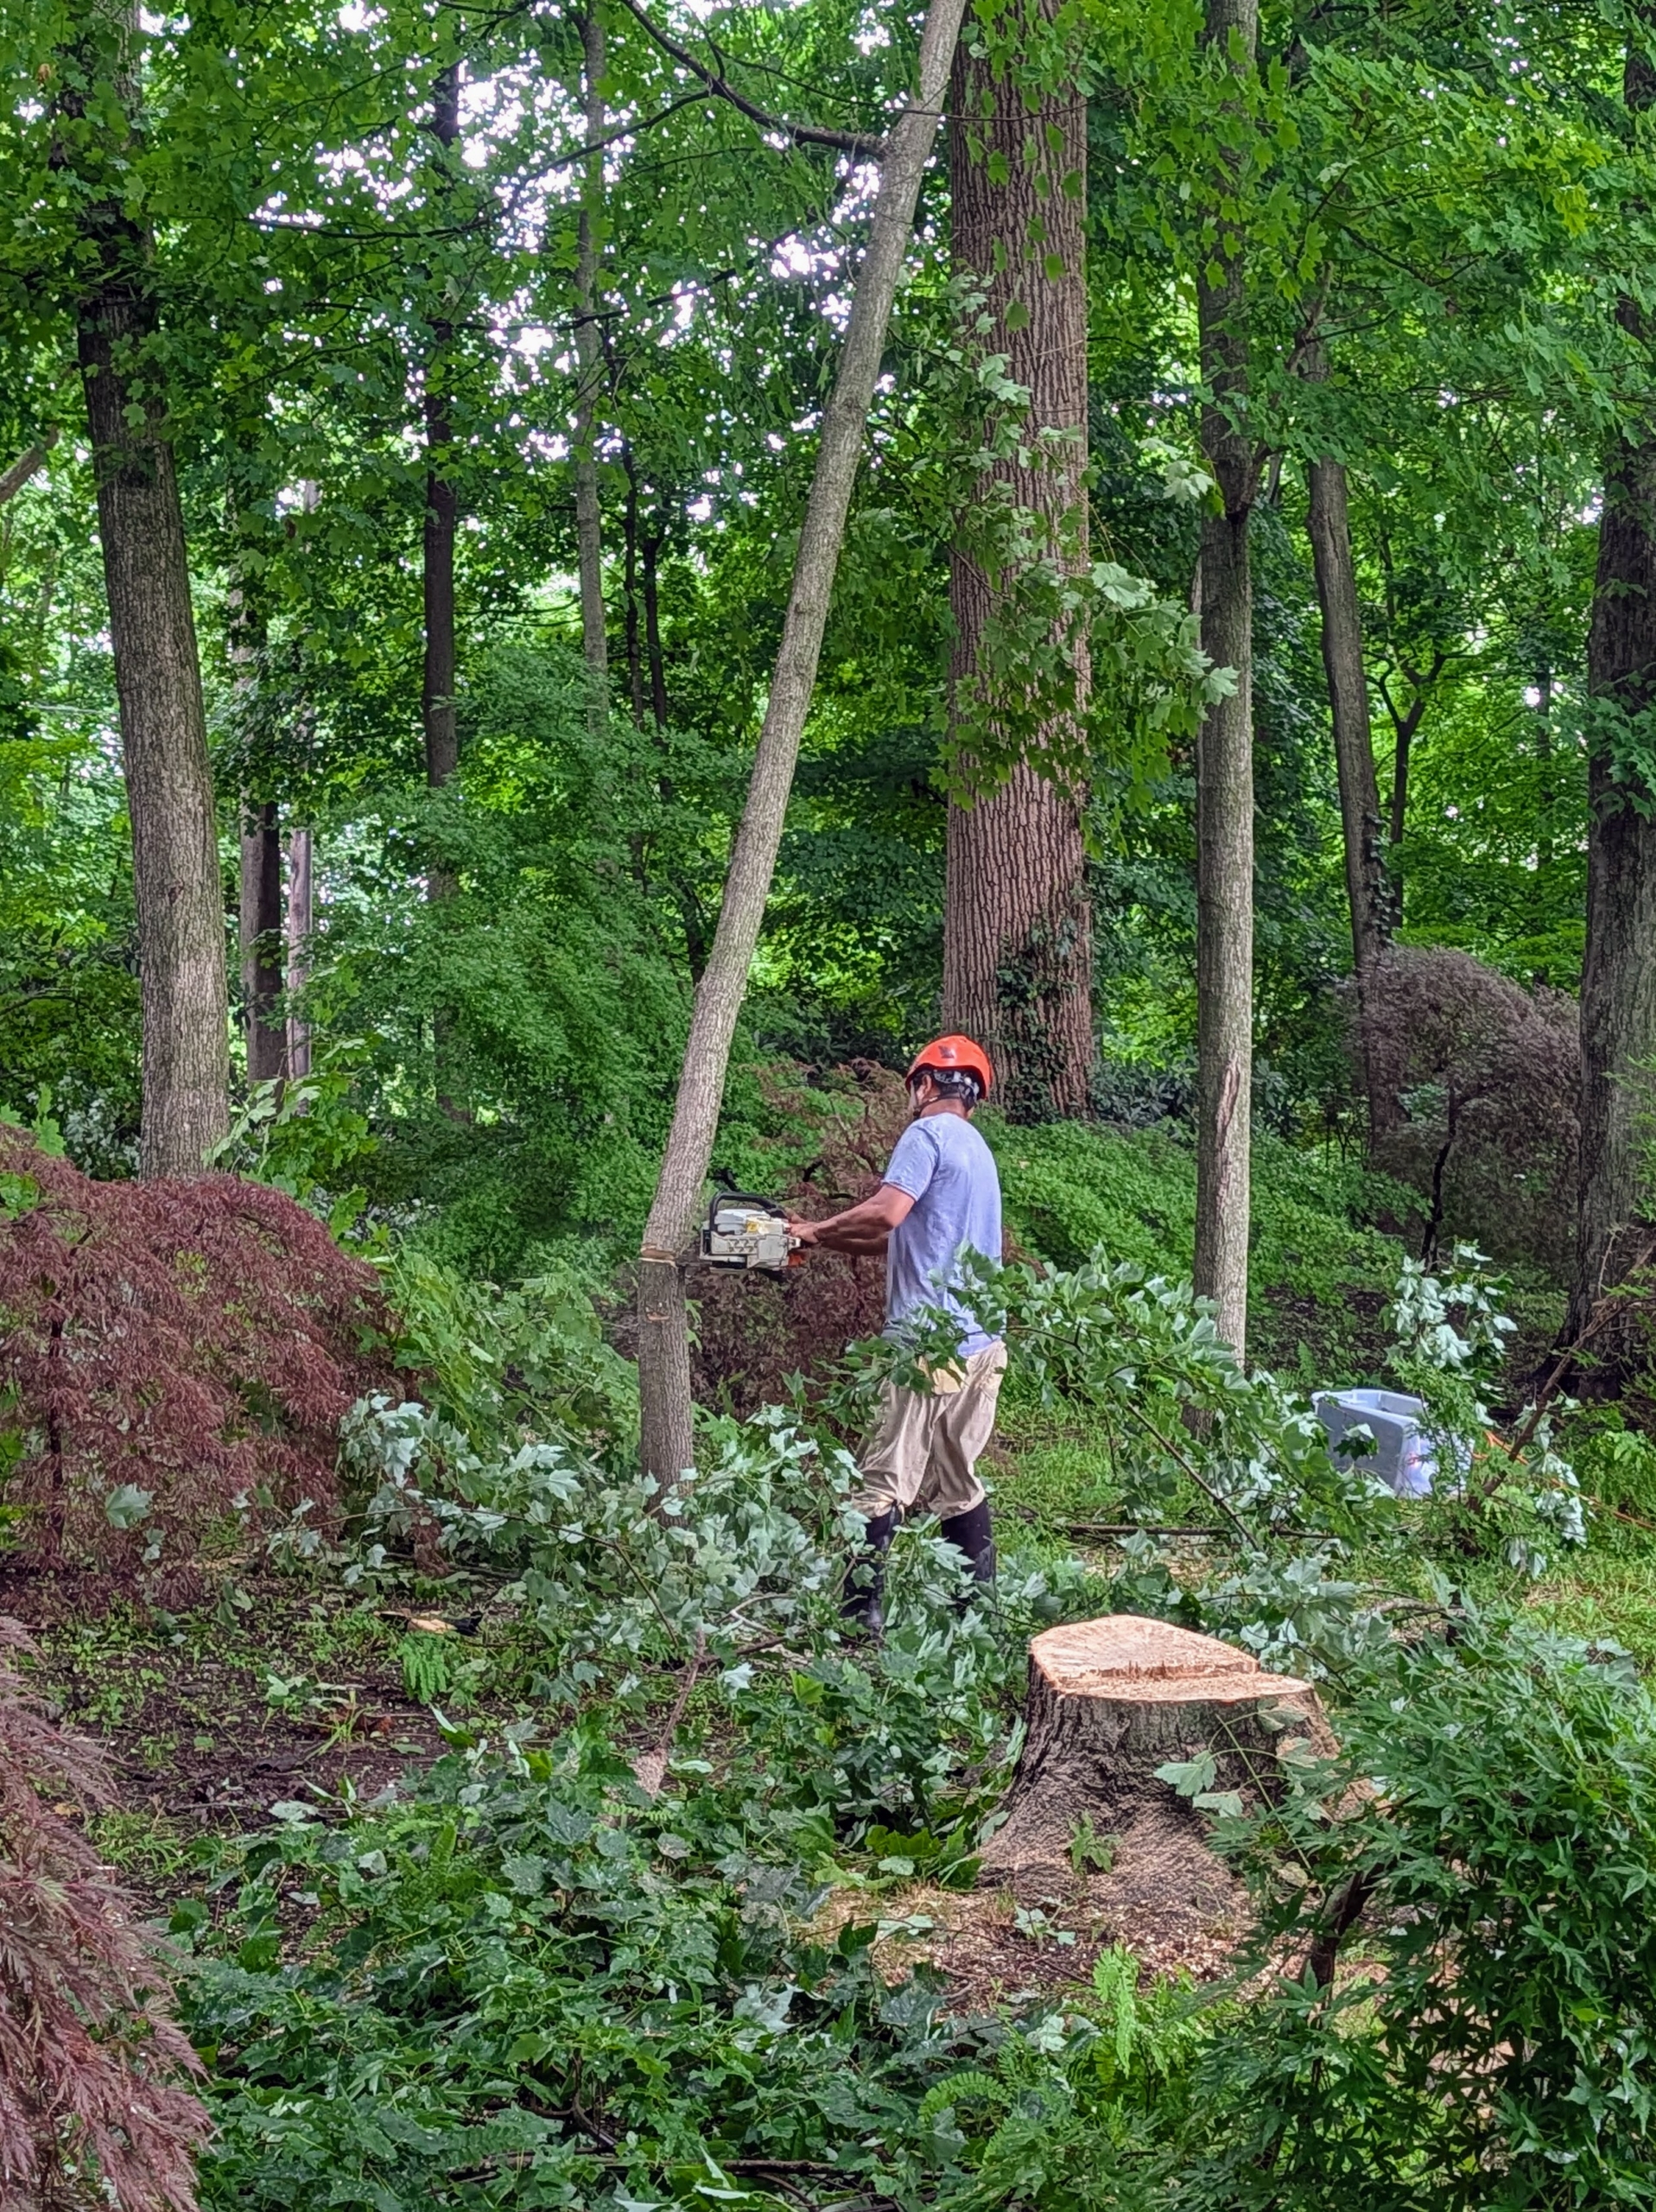
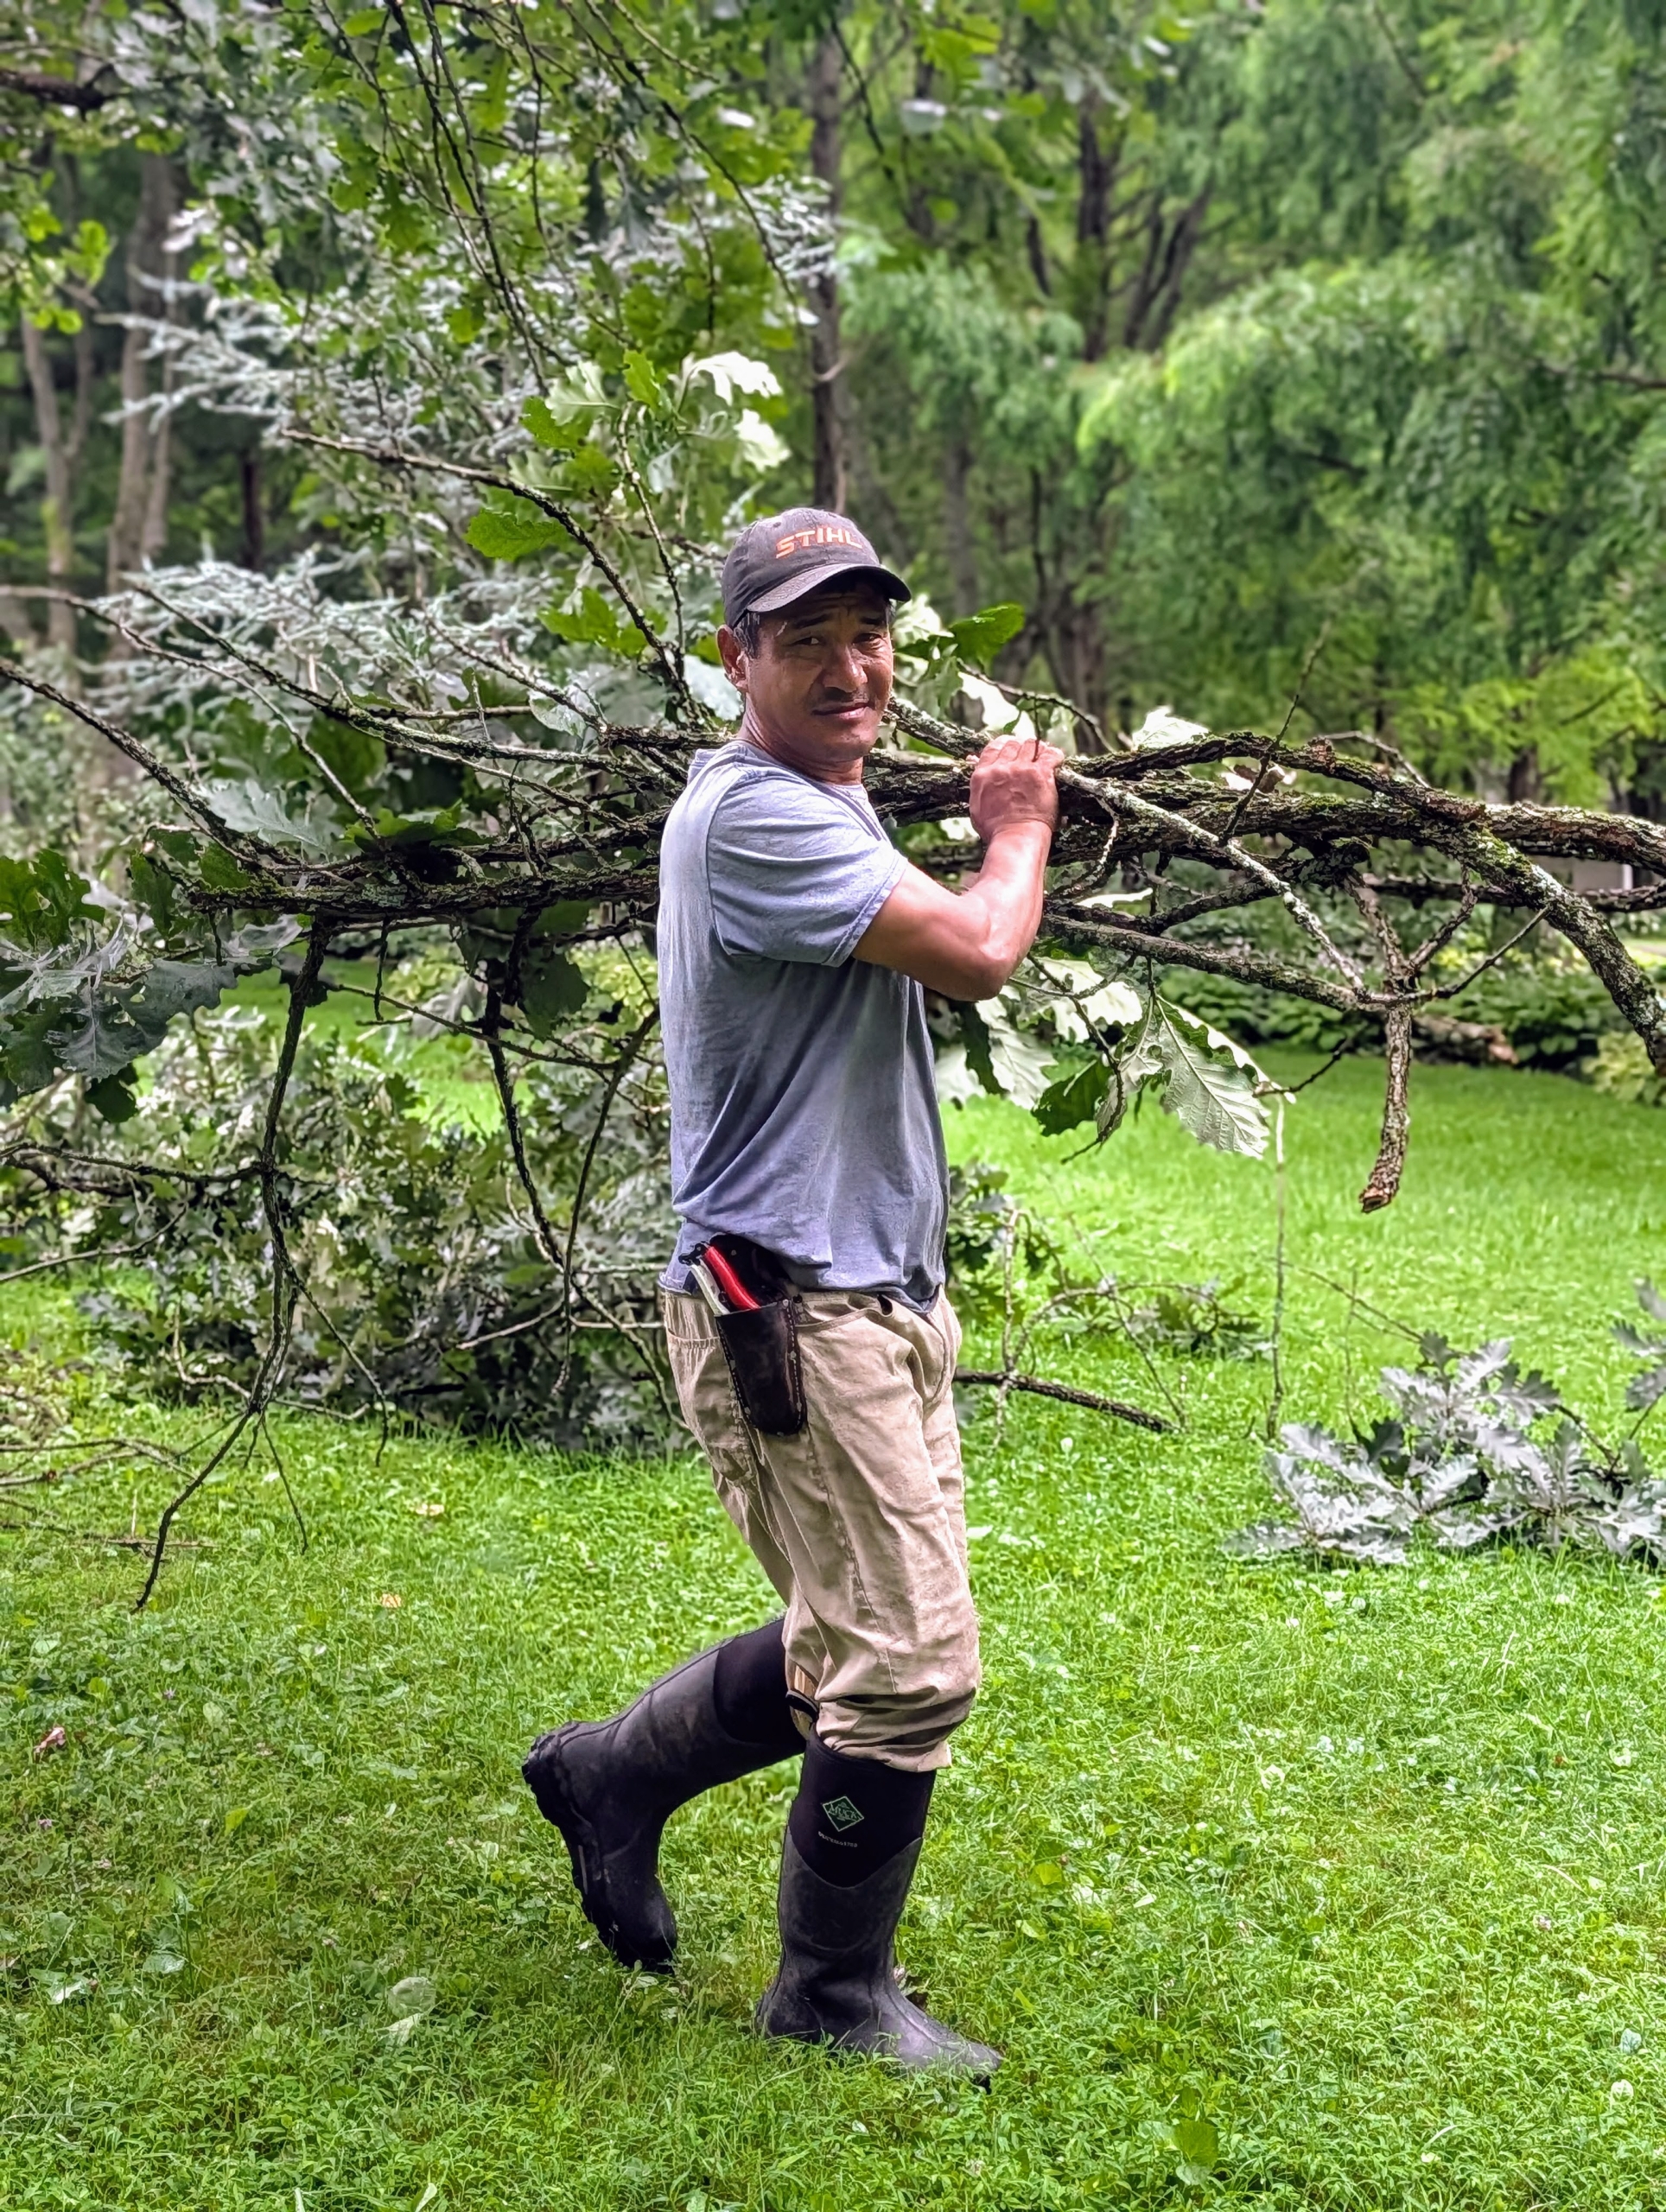
During storm cleanup, Pasang takes down a dying tree in the Japanese Maple Tree Woodland. The tree is secured to another, so it falls in a safe direction away from Pasang and other more delicate plantings.
In the foreground is the stump remaining after a dead maple tree fell overnight.
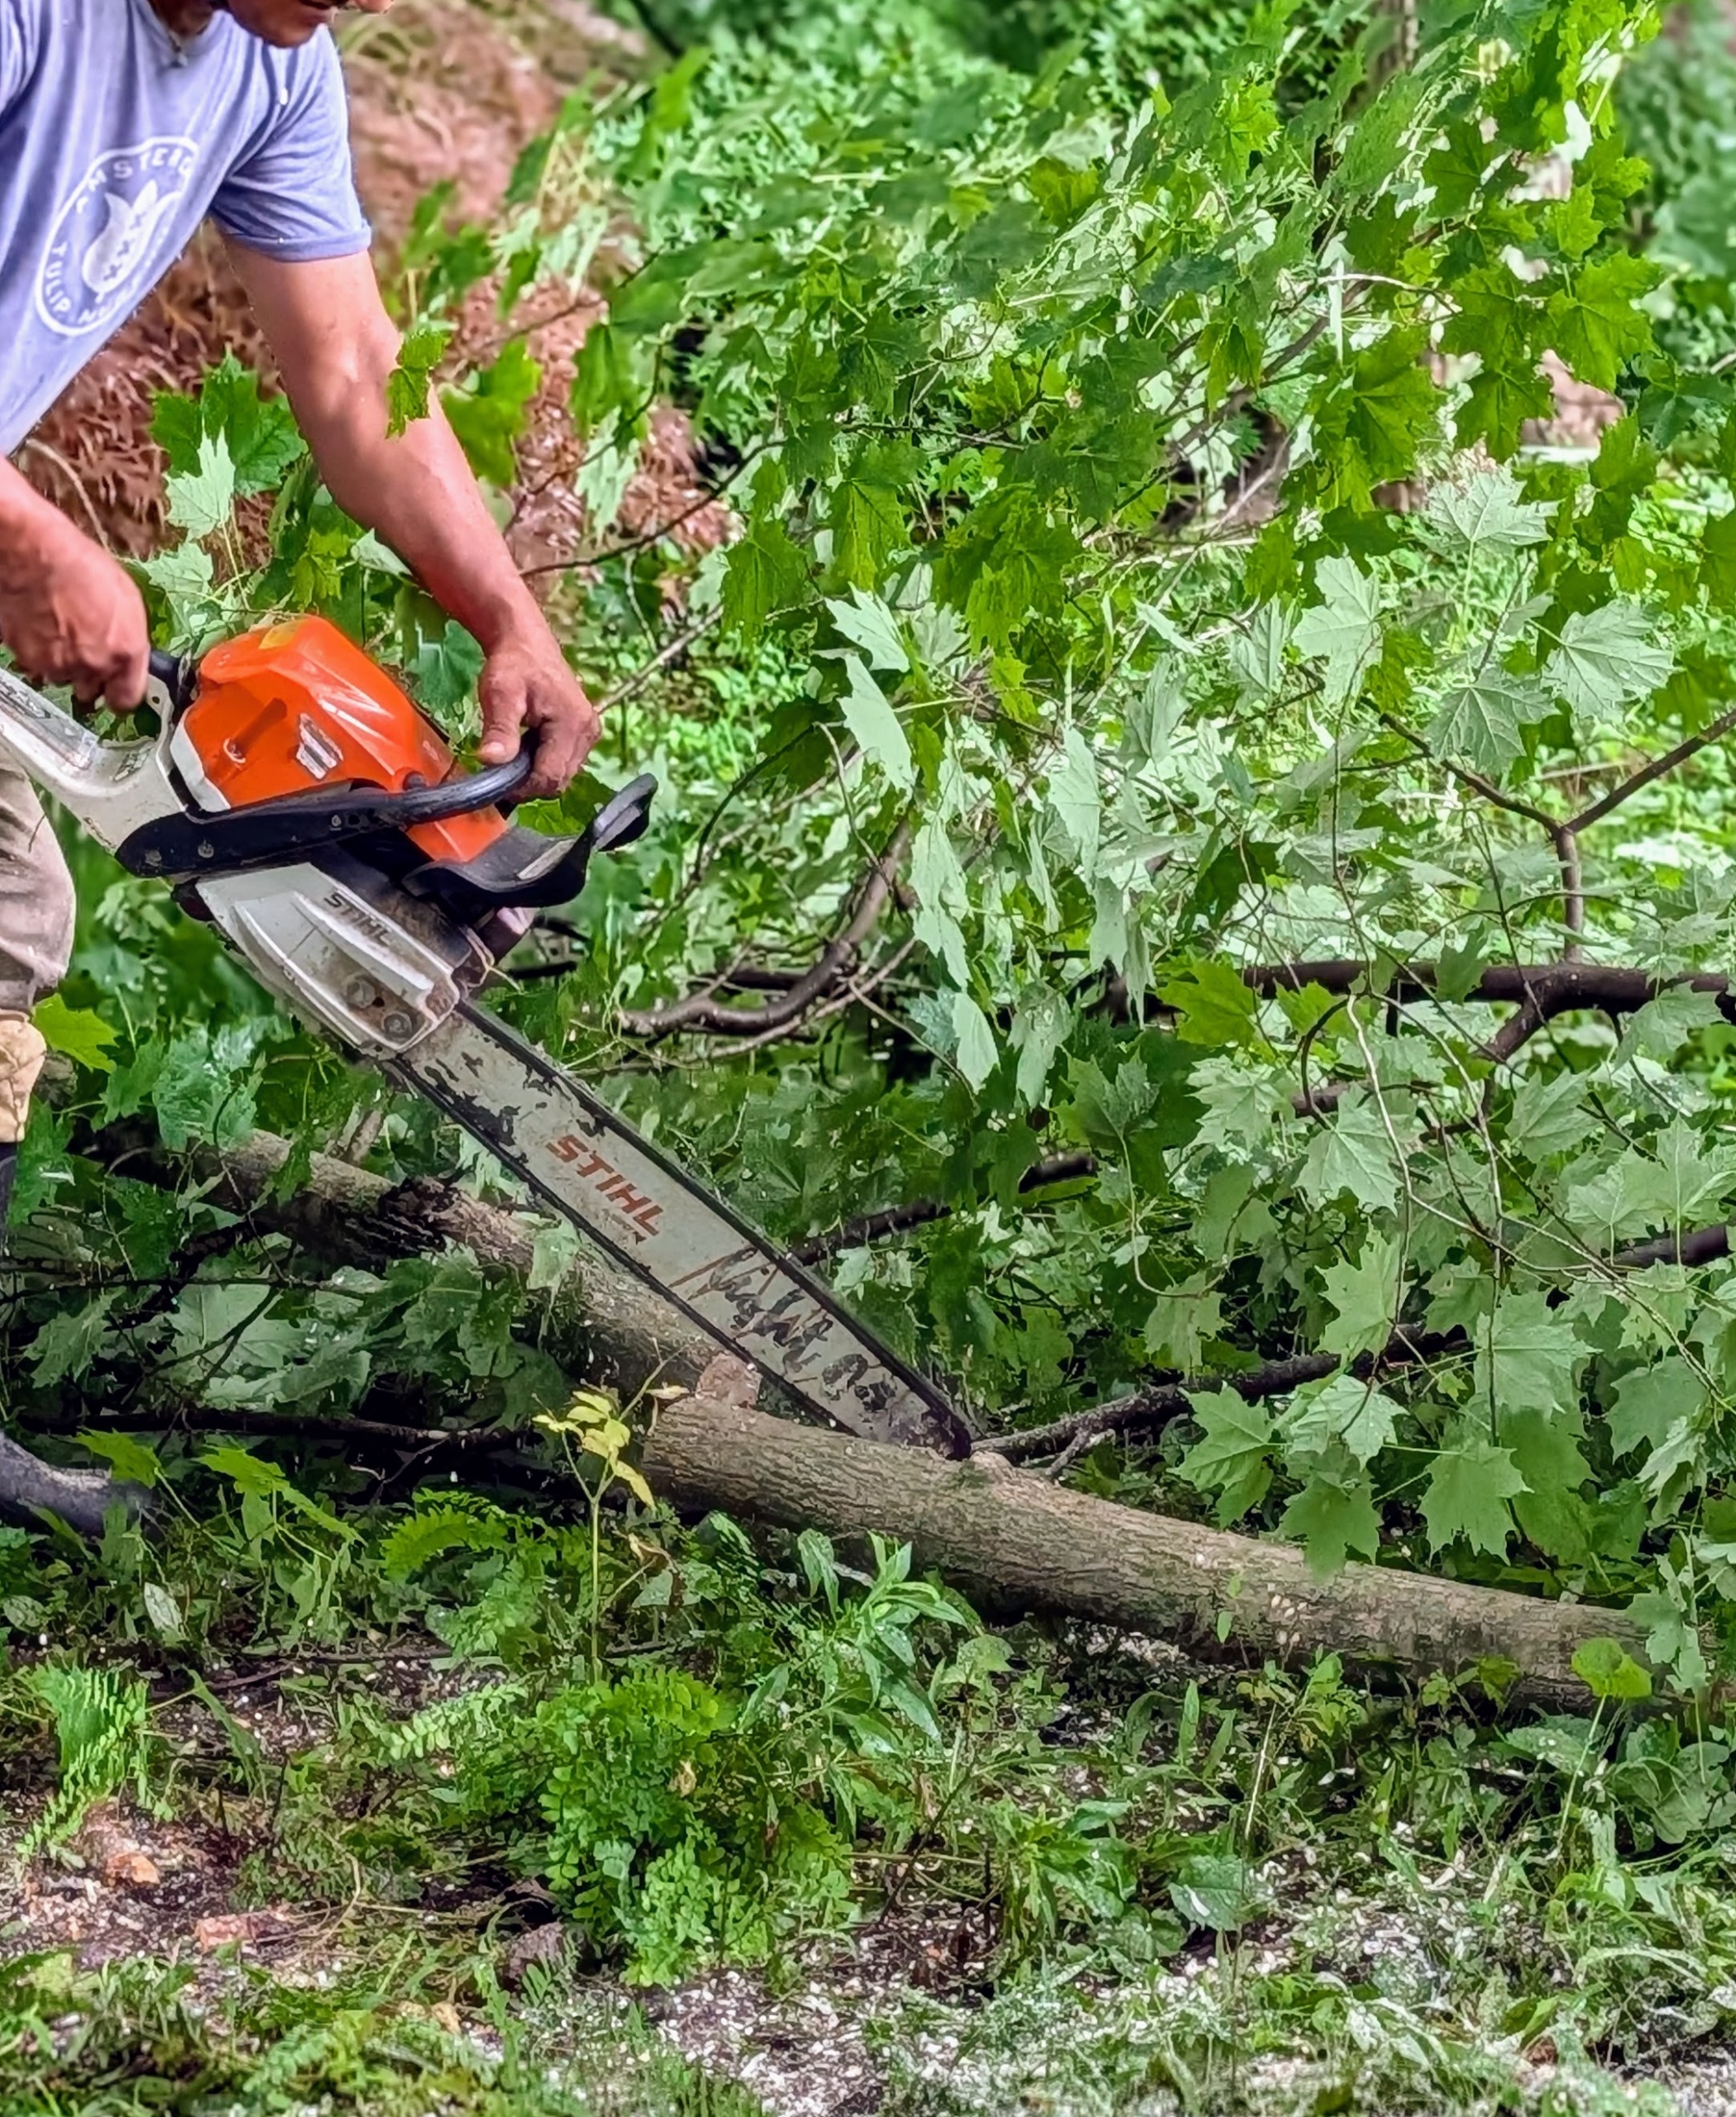
Once on the ground, Pasang cuts the tree into sections before loading it onto the tractor for transport to my compost yard where it will be chipped and used for top dressing in another part of the farm.
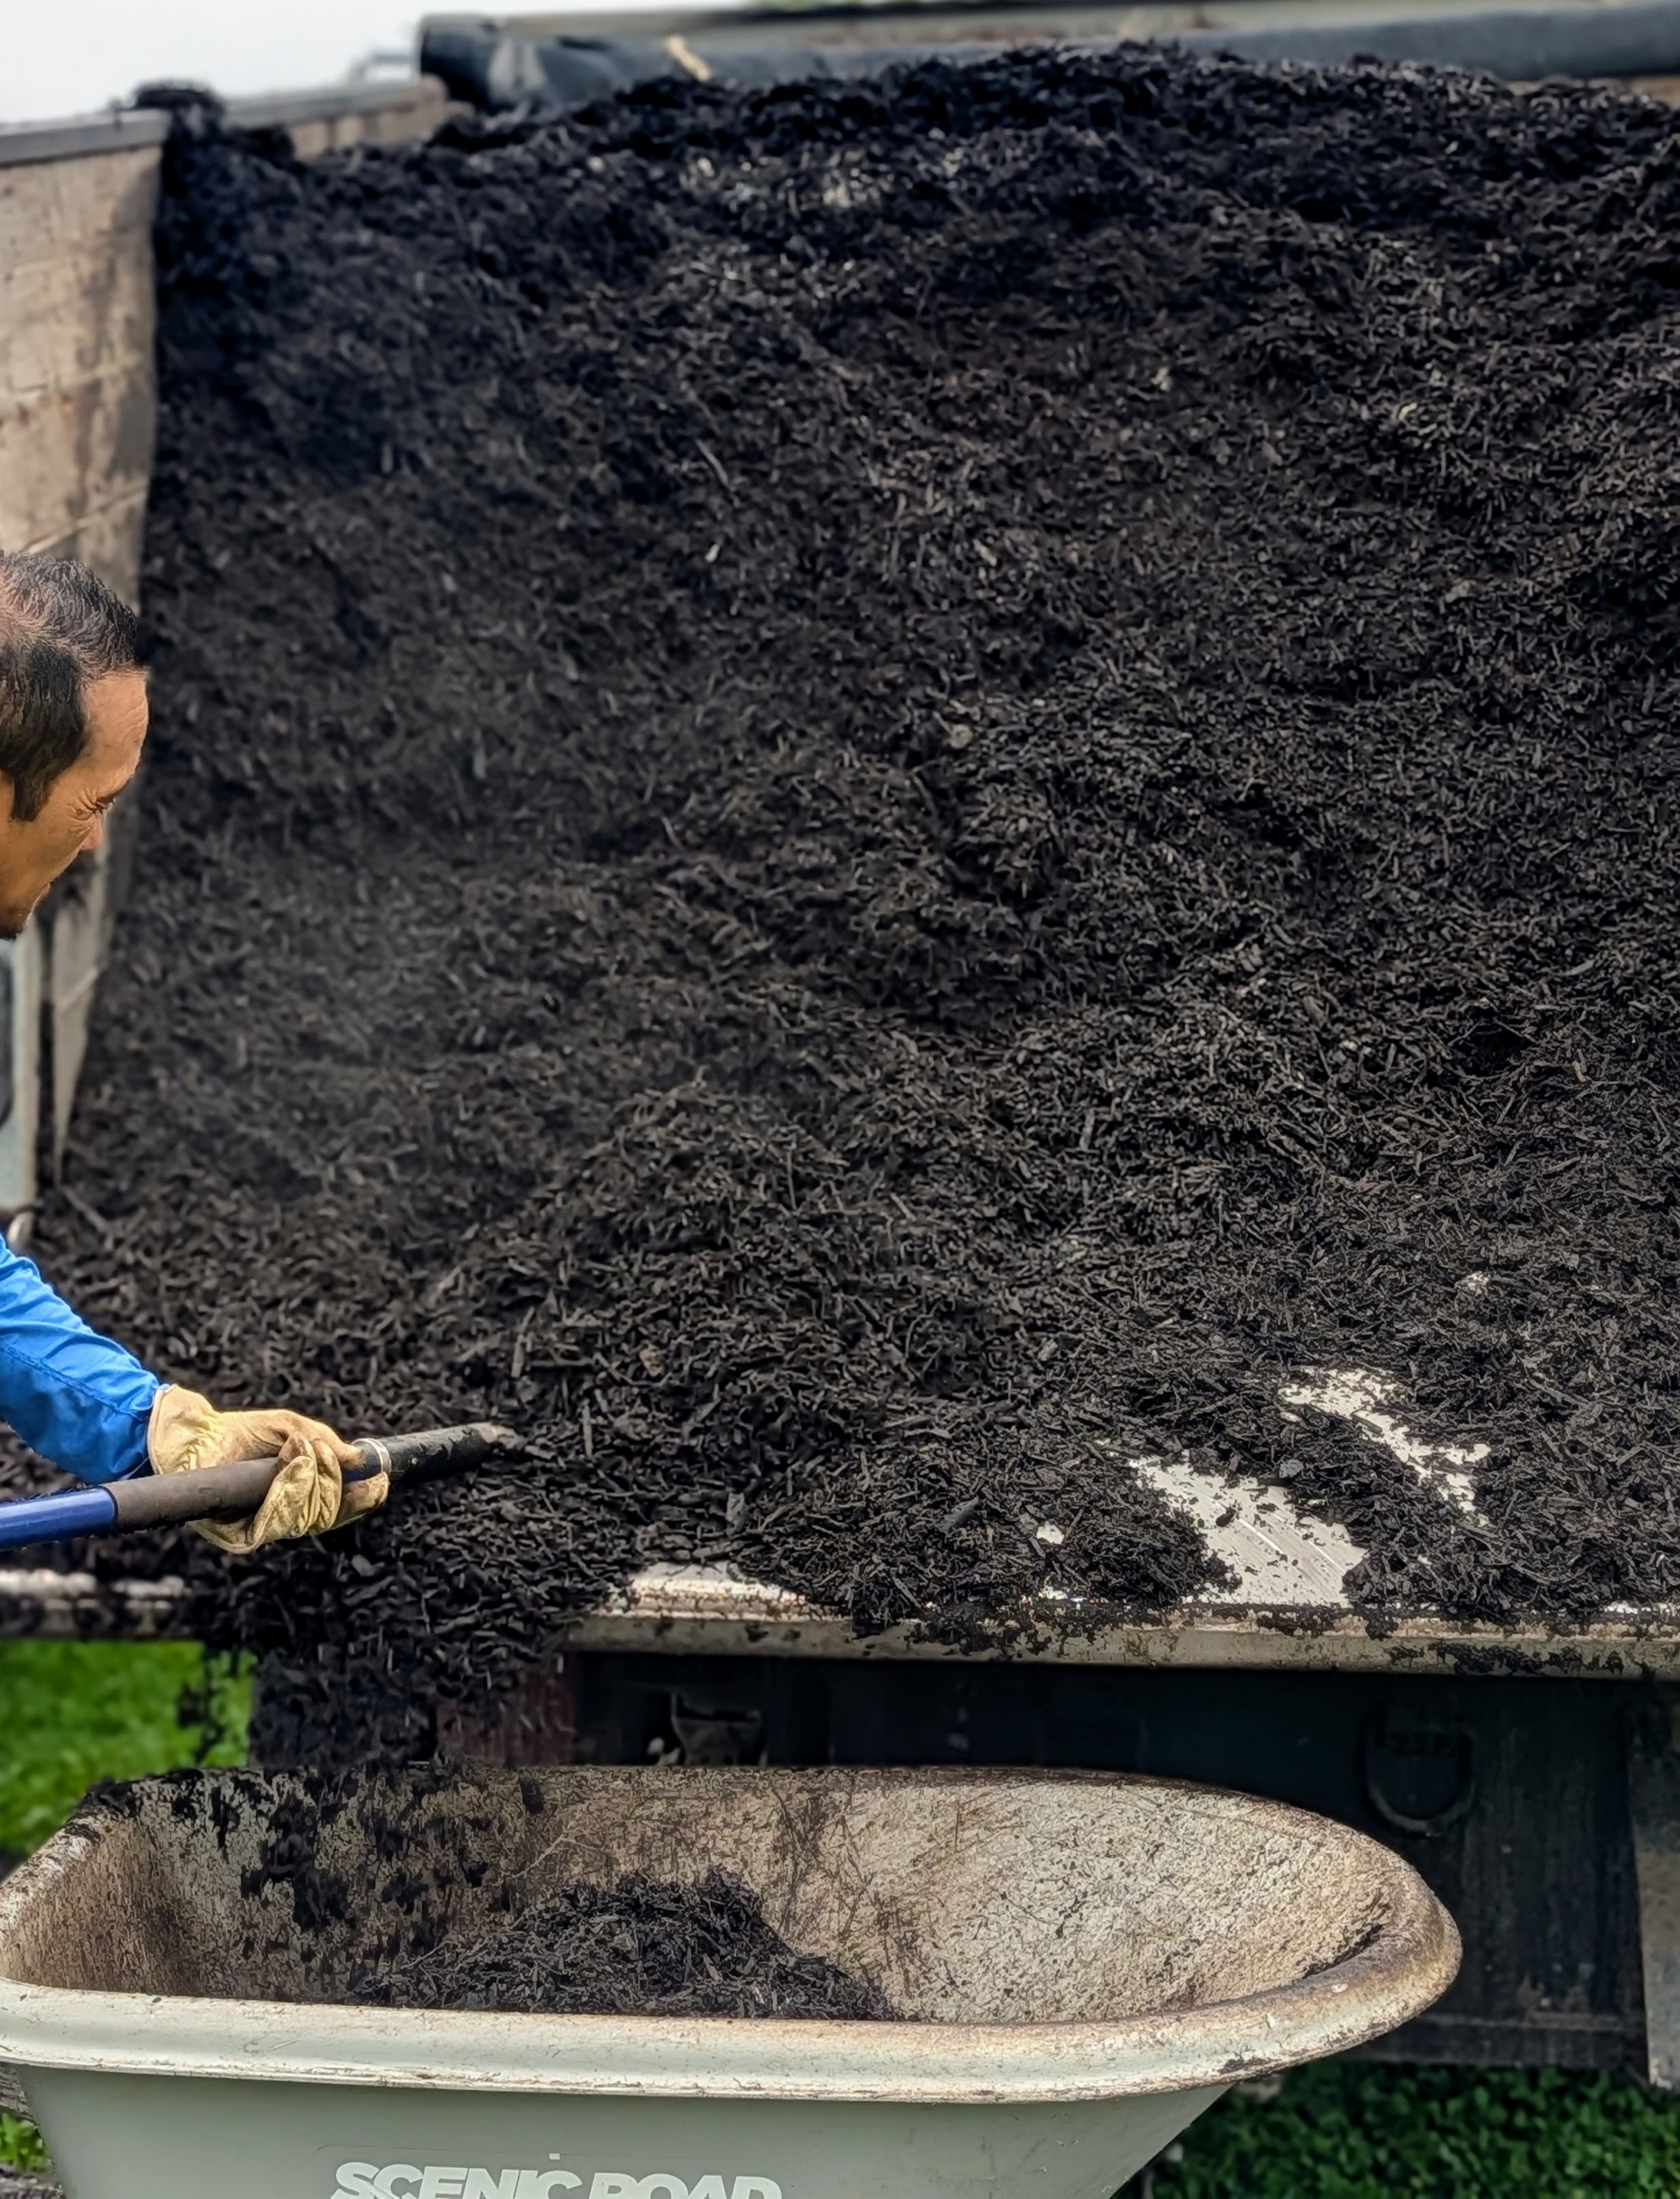
In the maze, Chhiring moves mulch into a wheelbarrow to dress the many shrubs. It’s an arduous job to mulch my three-acre maze, but I am so glad I am able to make all the mulch right here at the farm.
Every row is dressed with mulch to improve the soil health, conserve moisture, suppress any weeds, regulate temperature, and protect the plants from any environmental stress.
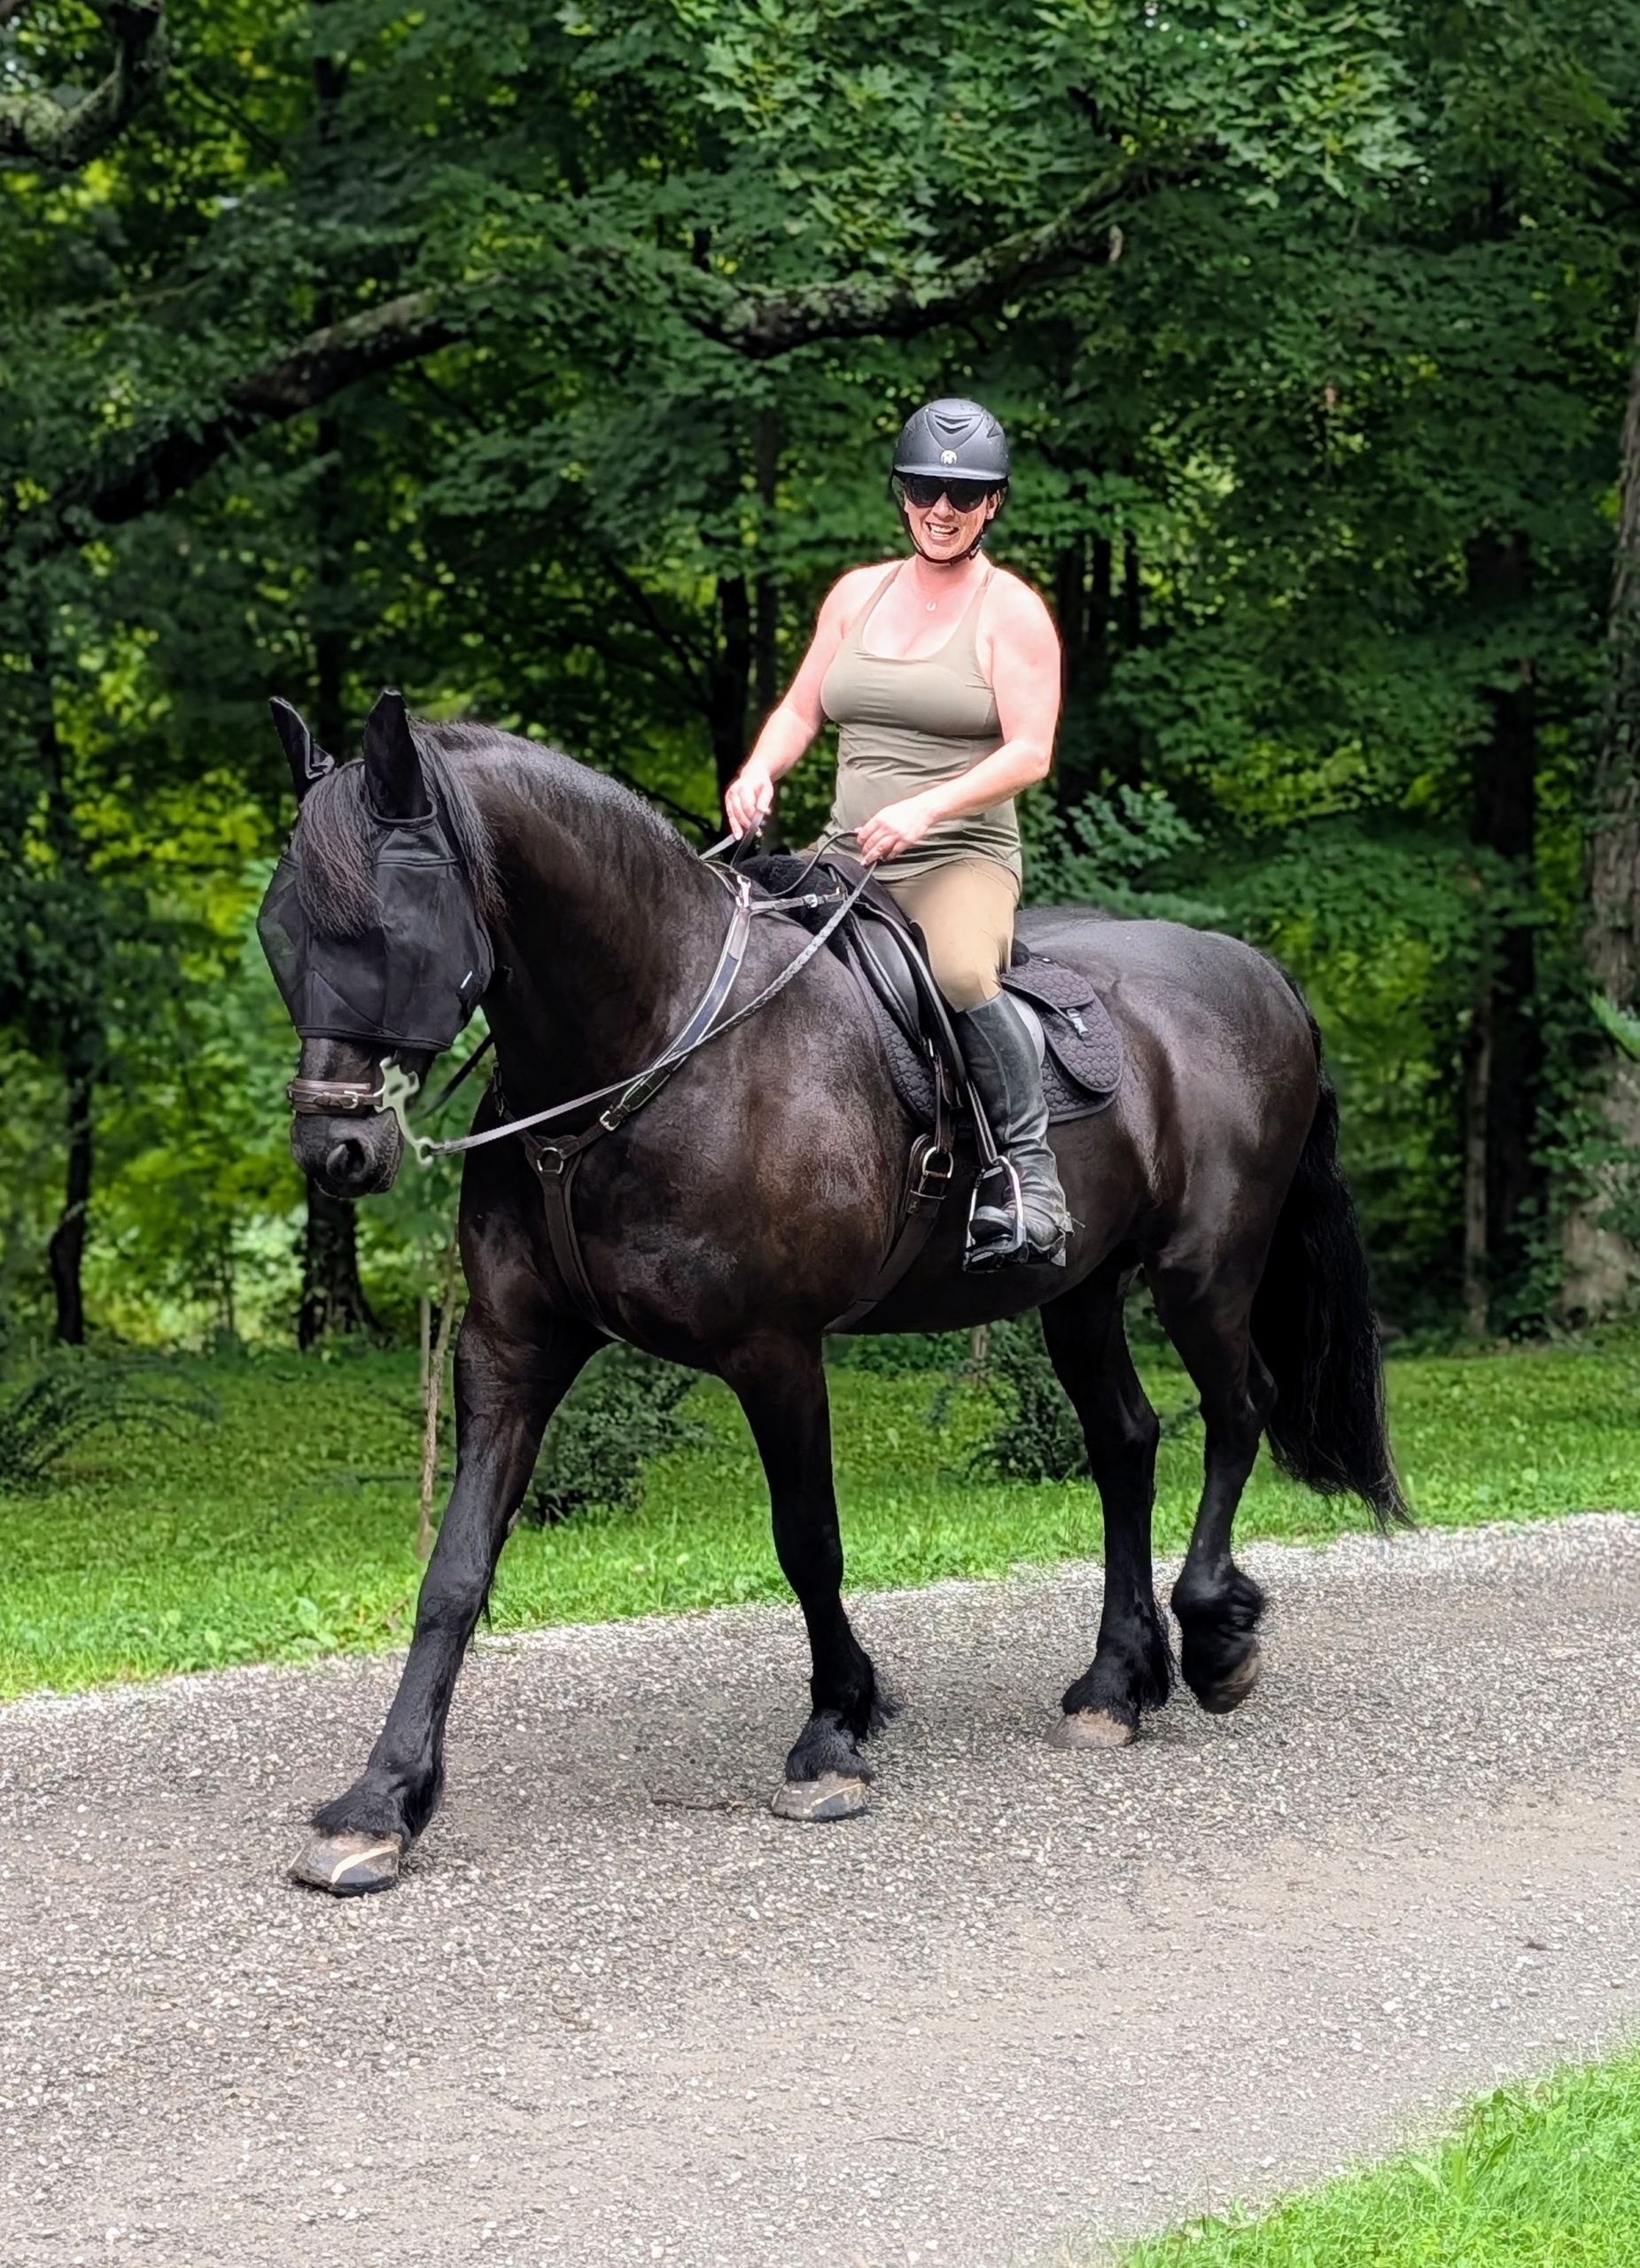
My stable manager, Helen Peparo, rides the horses regularly to keep them mentally stimulated and exercised. I have four miles of carriage road at the farm topped with gravel for good footing.
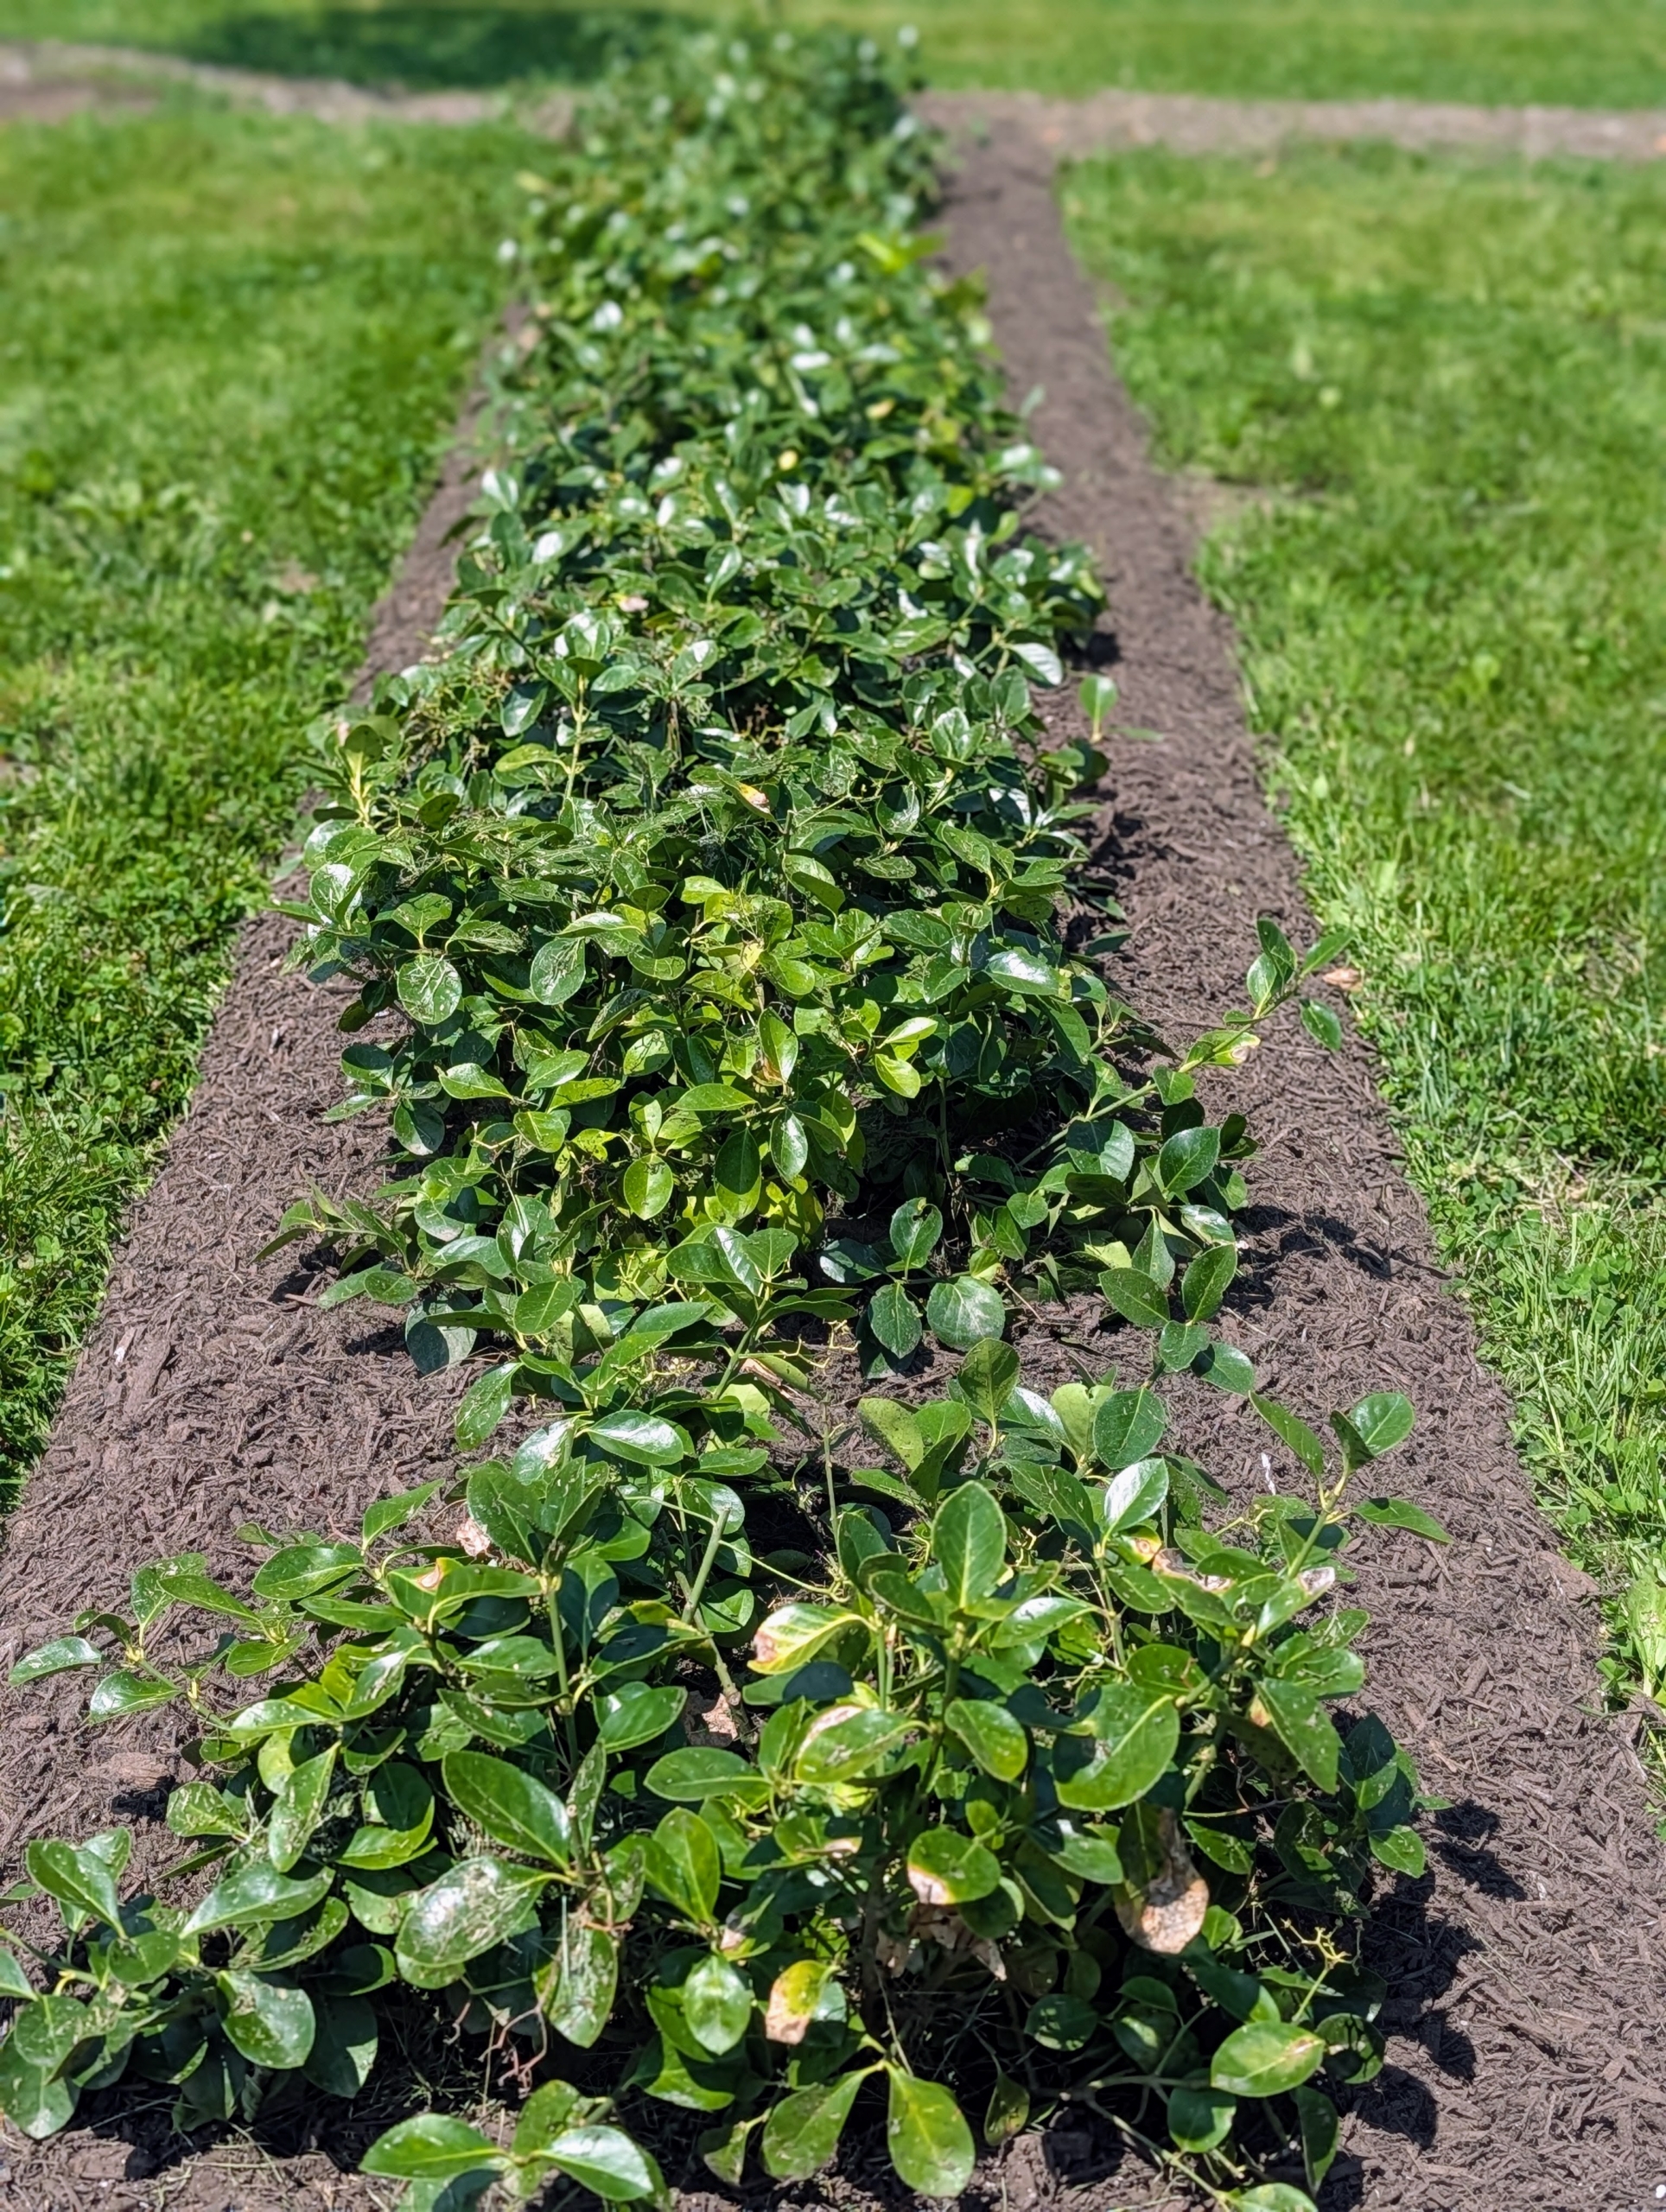
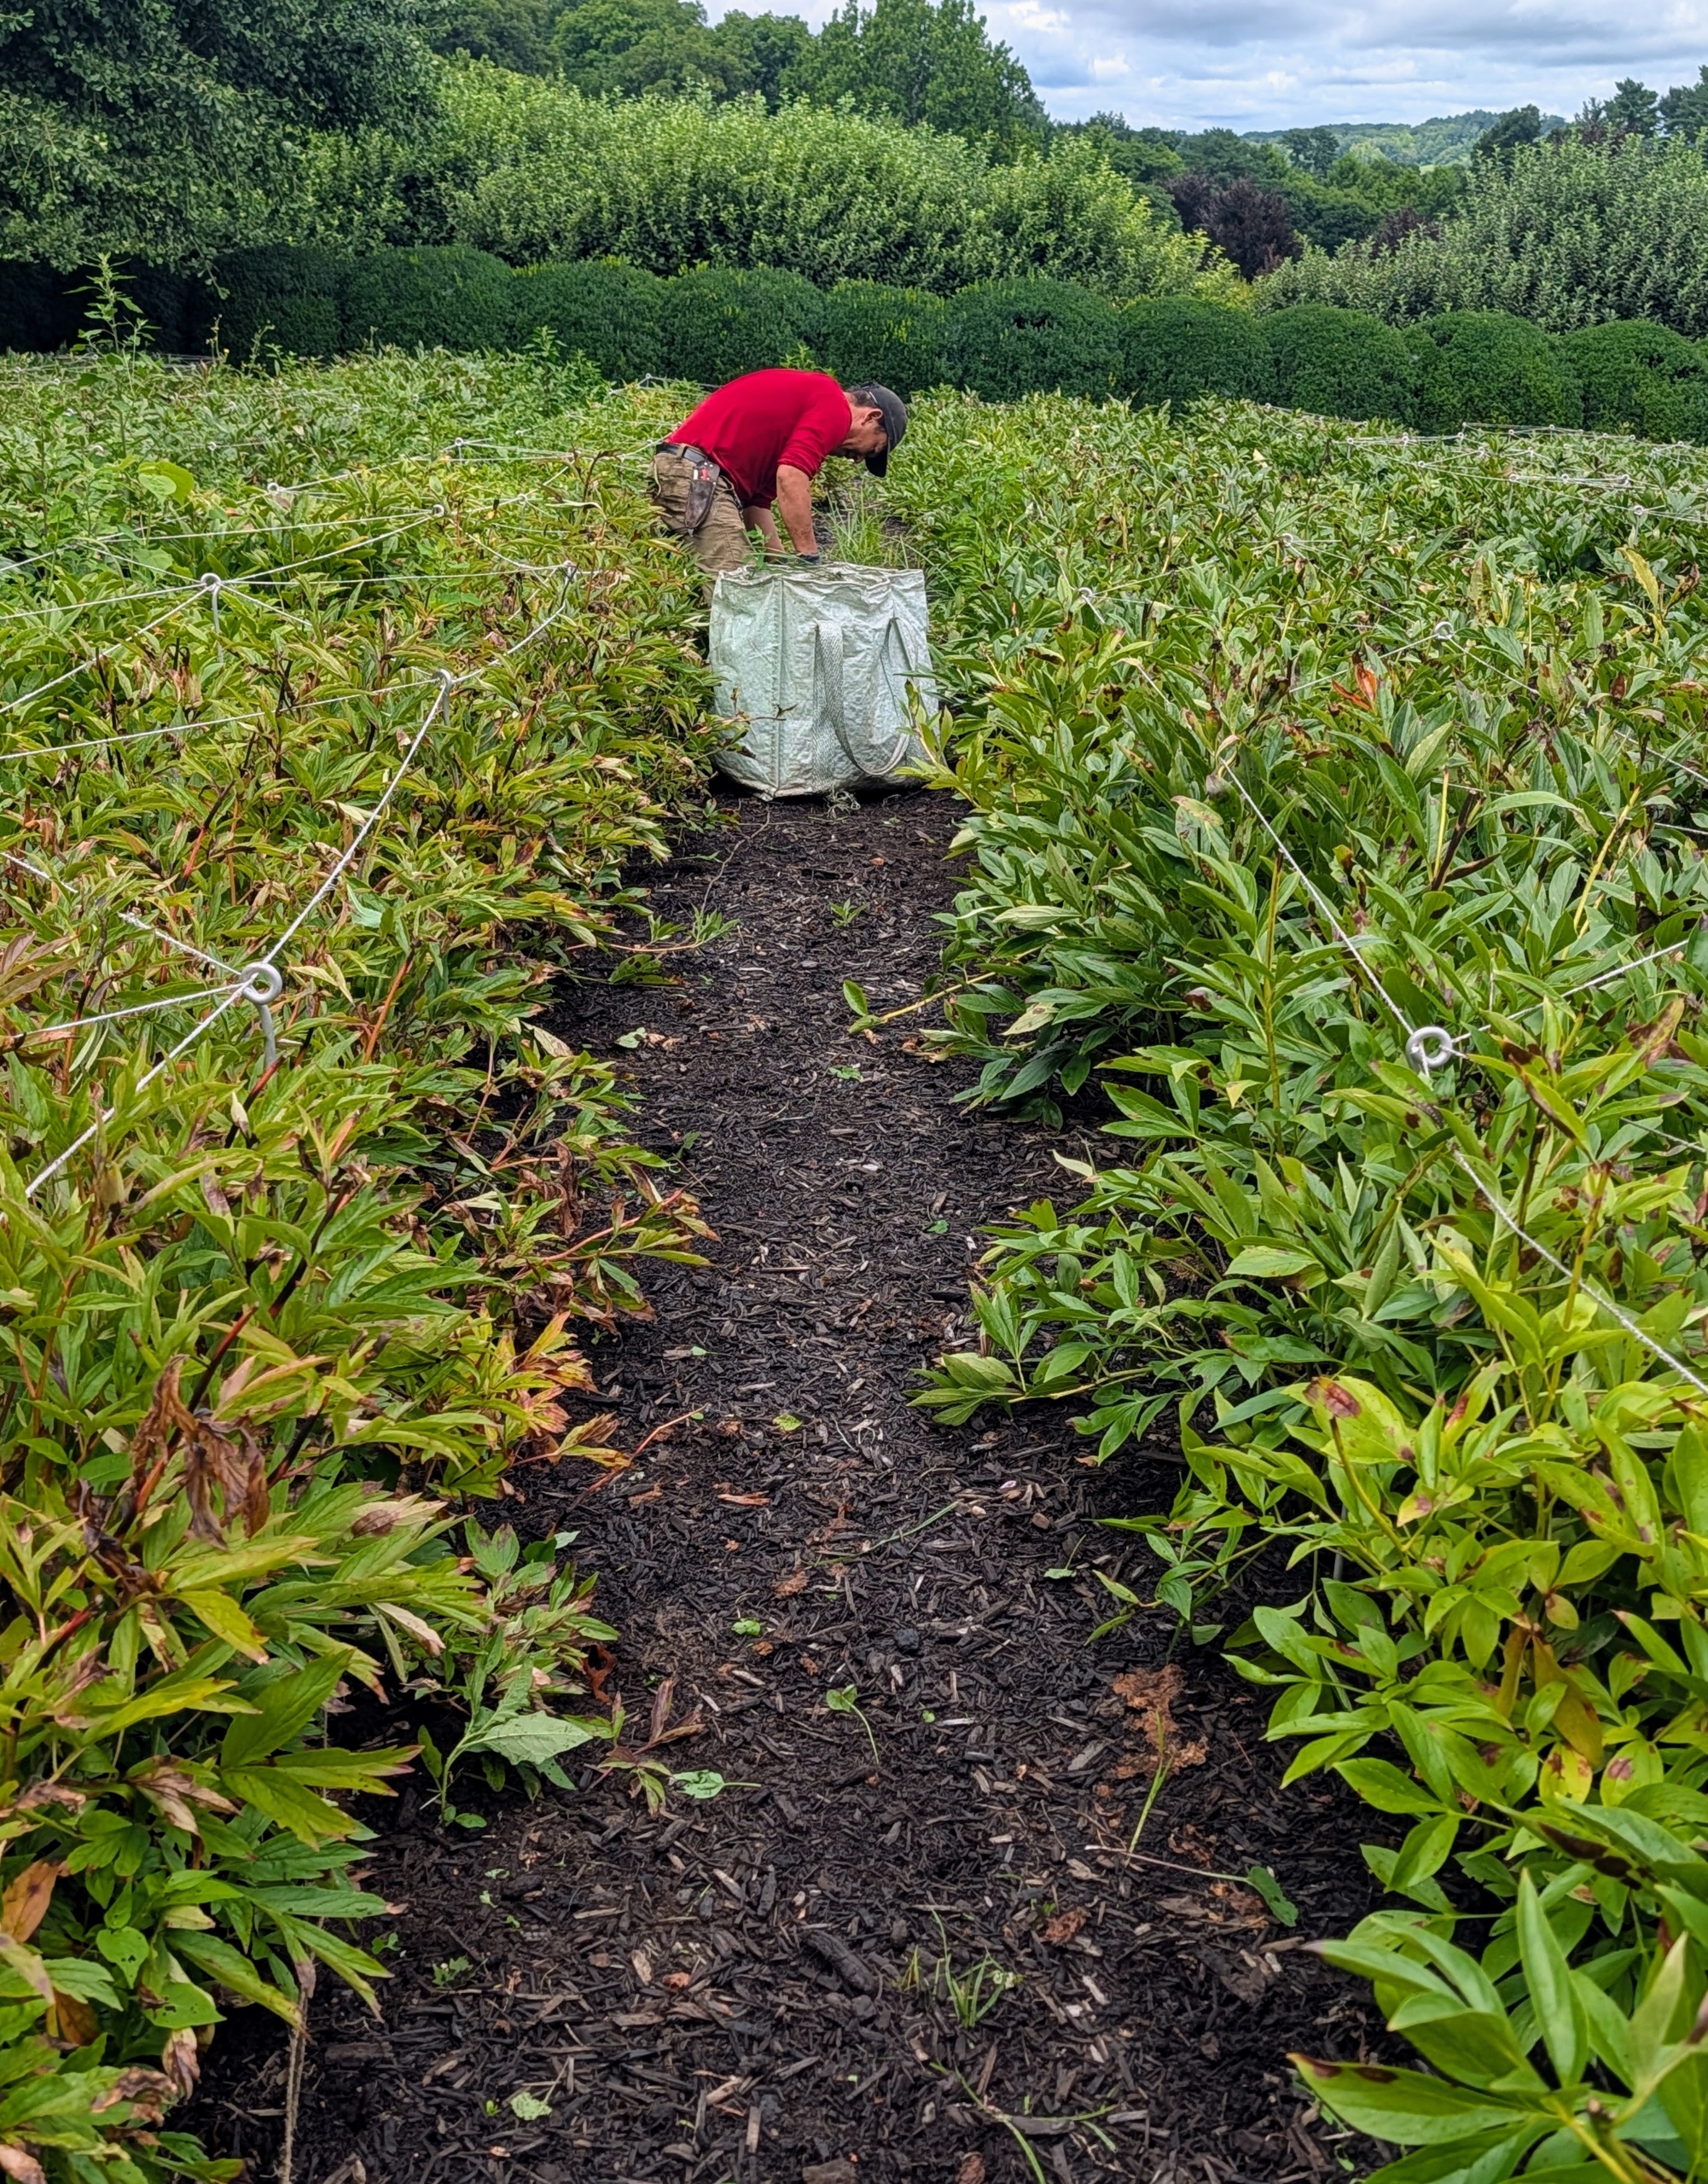
The big peony blooms are gone for the year, but maintenance in the garden continues. Here’s Matthew weeding the long beds. Last spring, I decided to cover the footpaths with weed cloth – doing so cuts down the time used for weeding.
Phurba works in another row – there are 11 double rows in all.
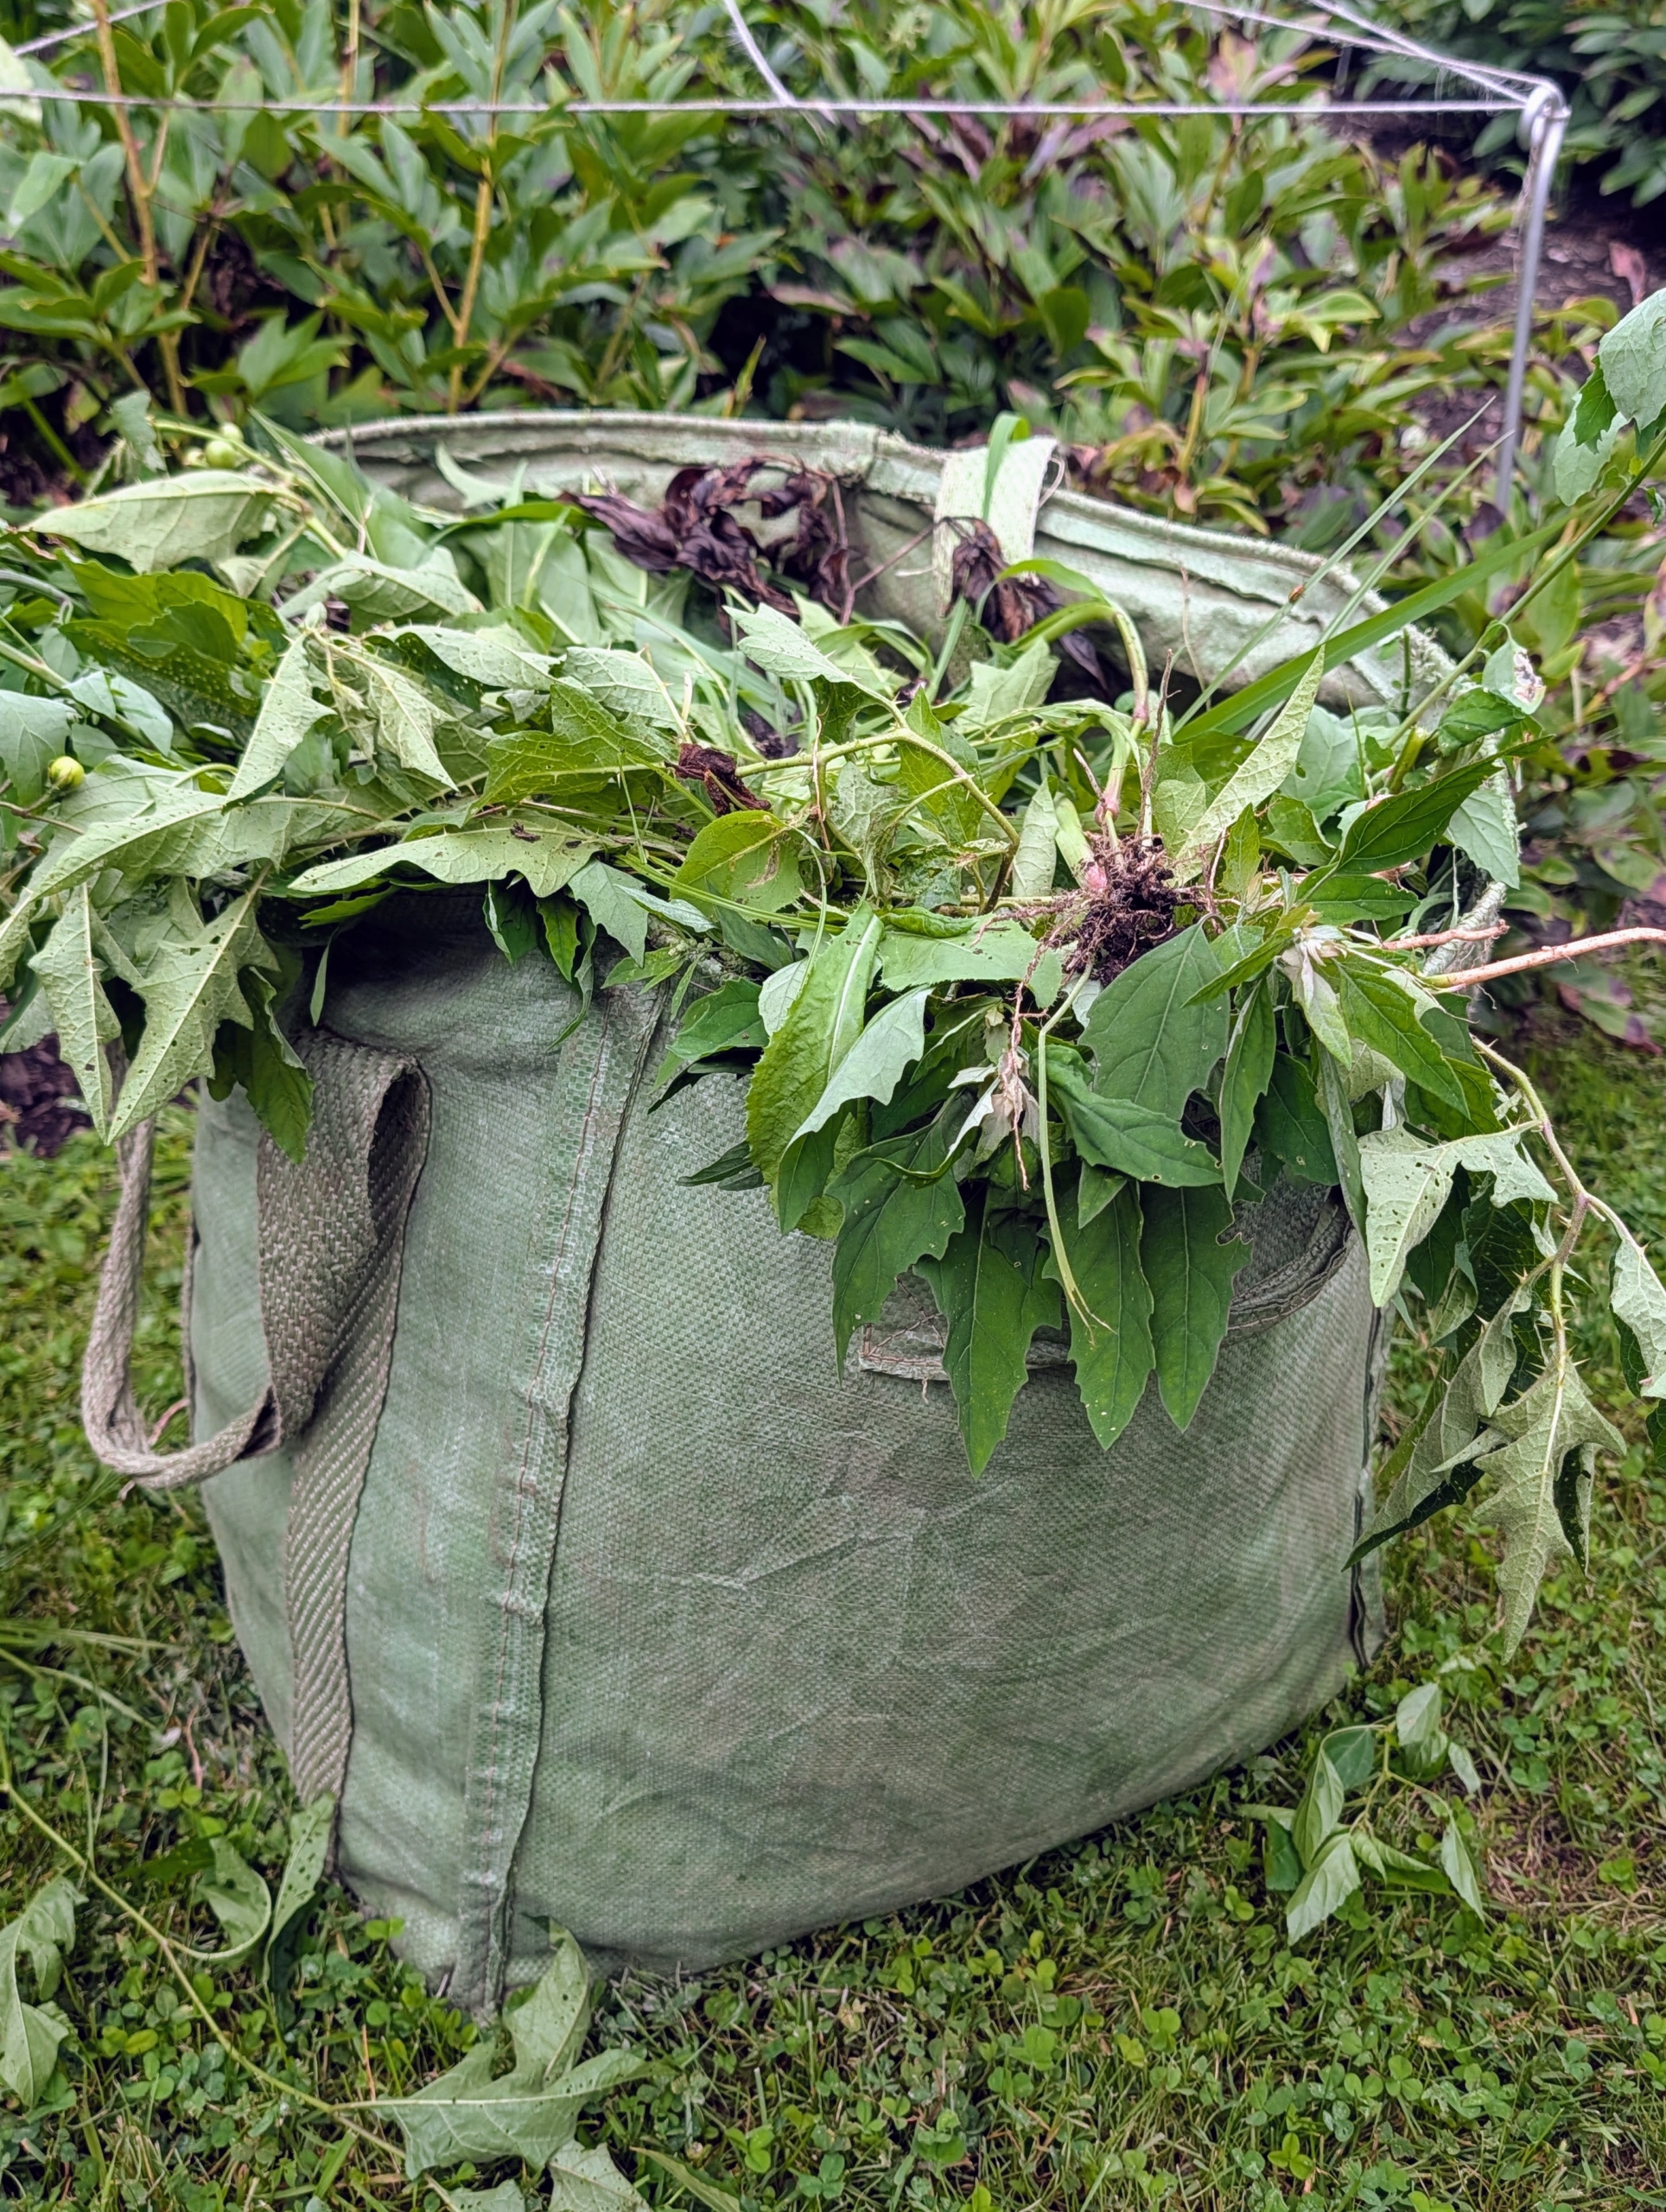
And my 48-gallon reusable heavy-duty, multi-purpose debris bags are great to use all over the farm. These bags hold hundreds of pounds. Look for them on my shop at Amazon.
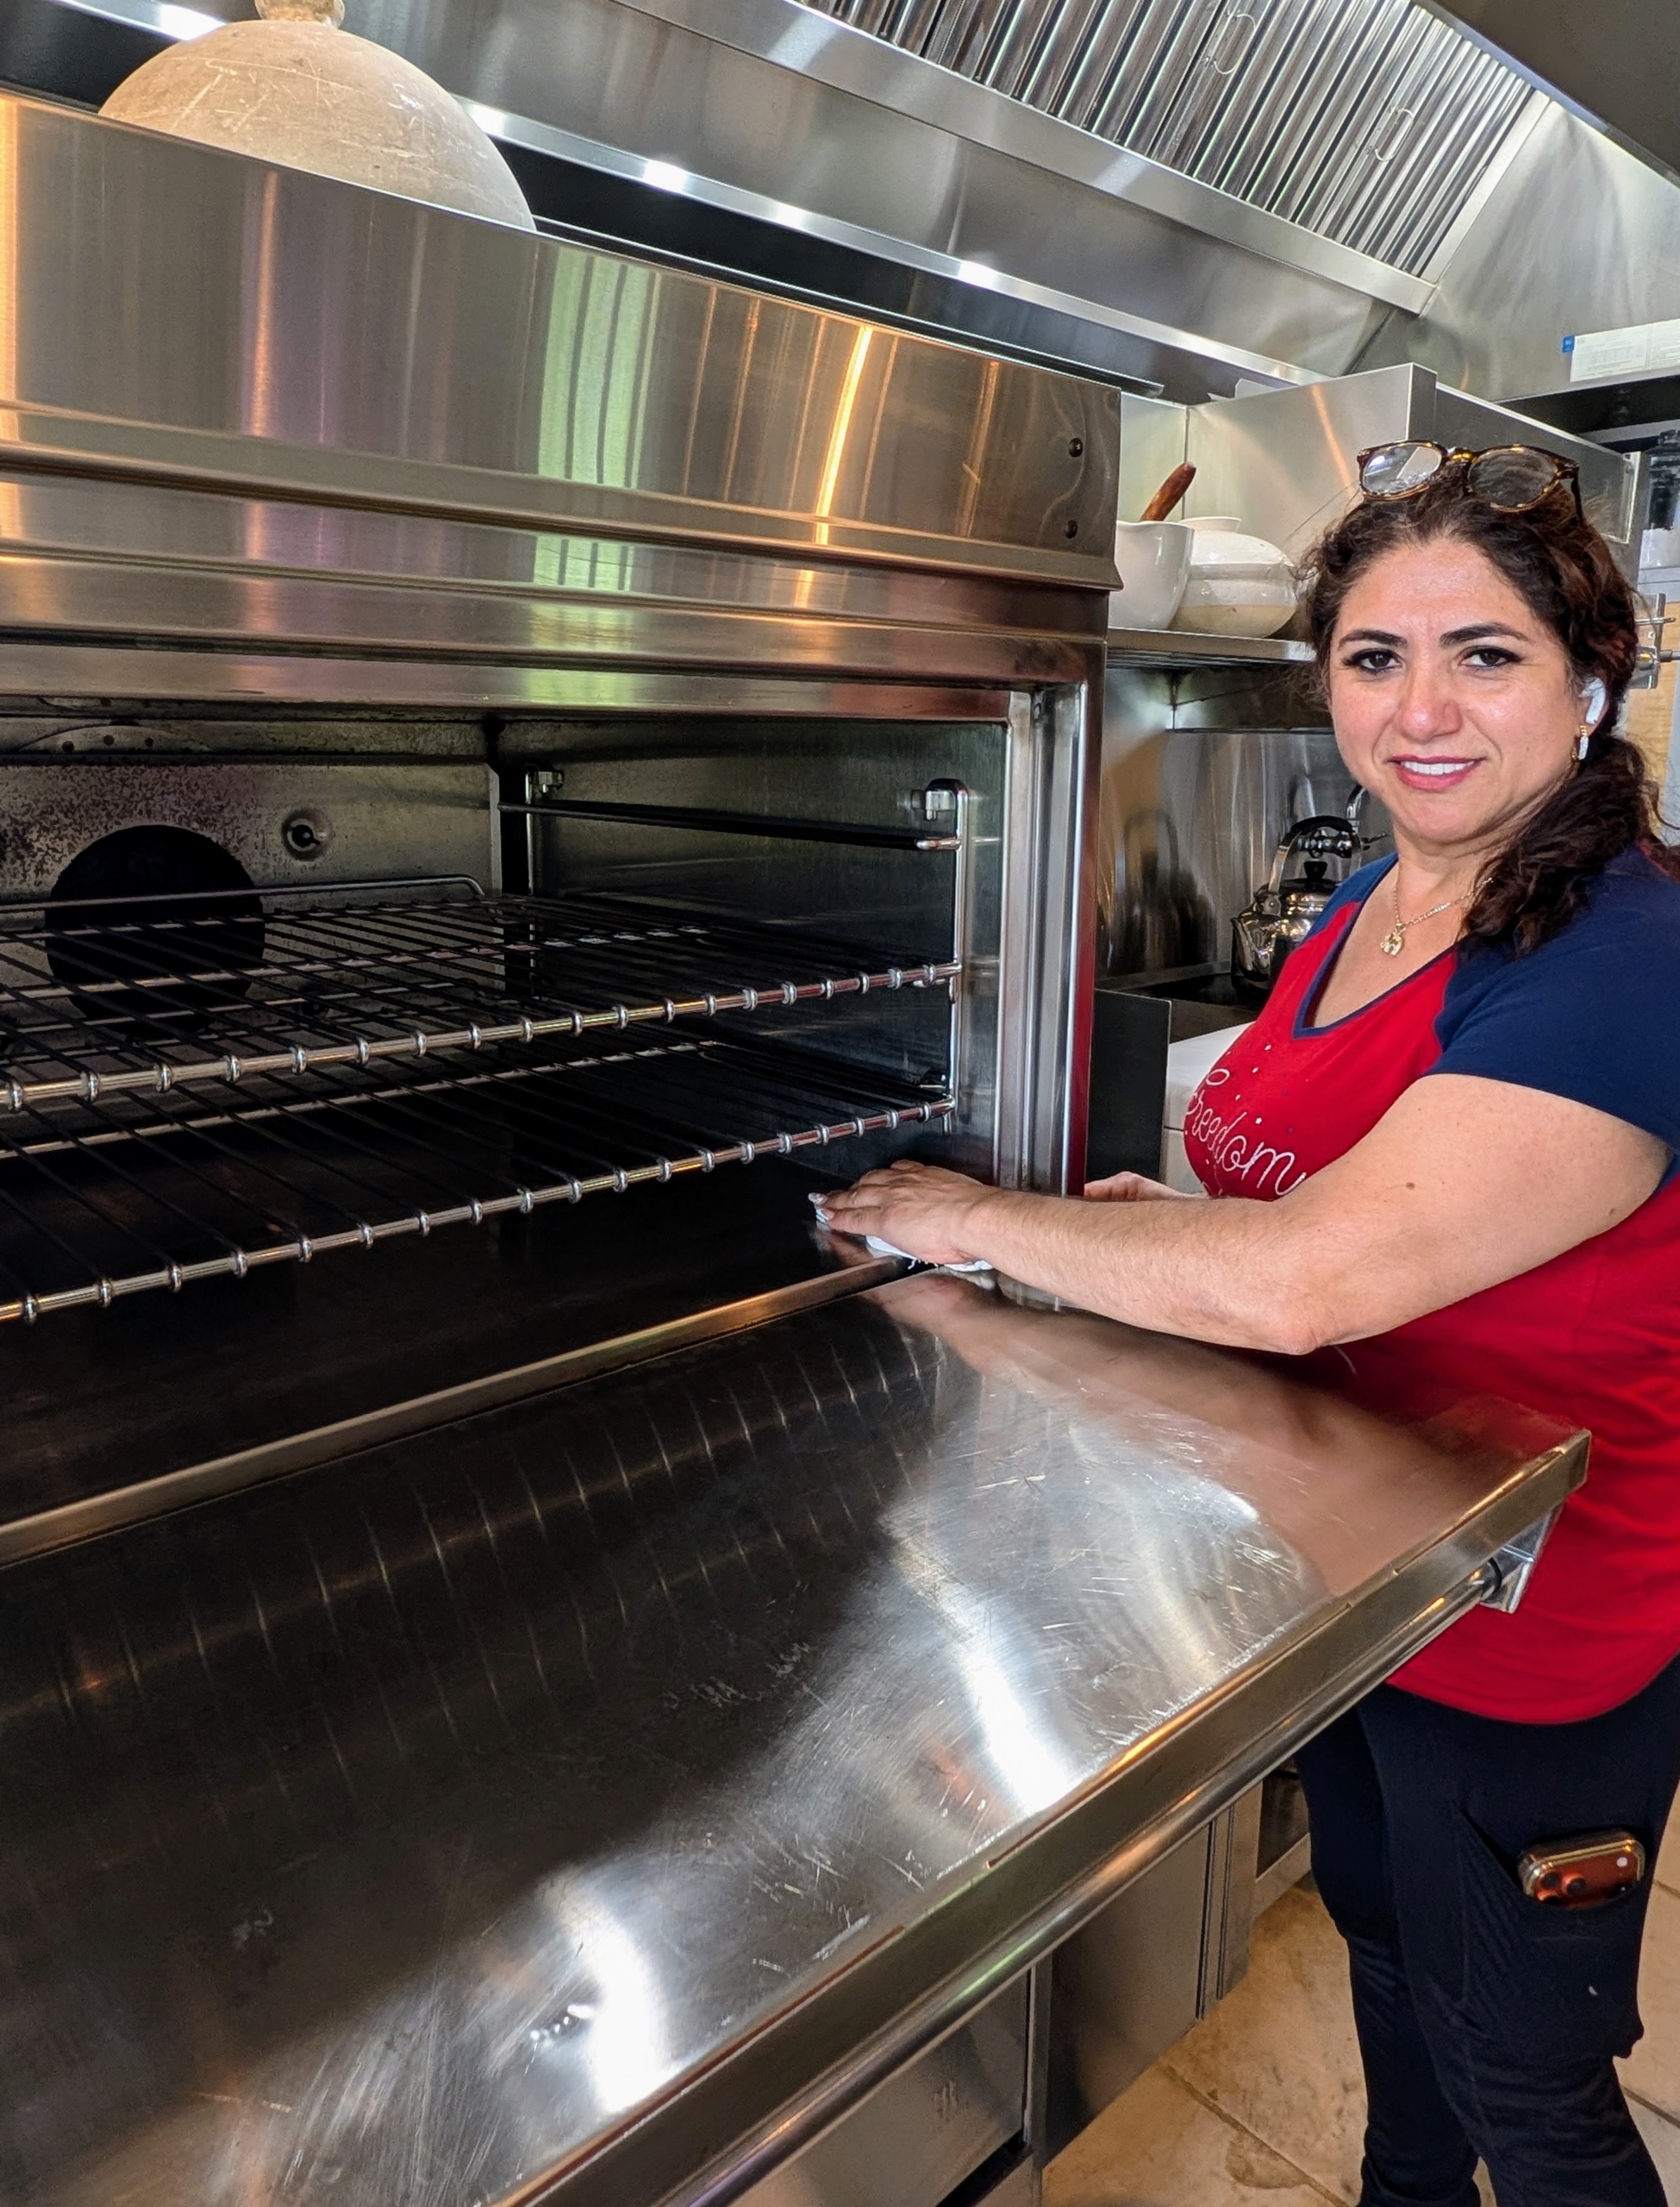
In my Winter House, Enma cleans the oven. I do a lot of entertaining, so it’s important the kitchen is always in perfect working condition.
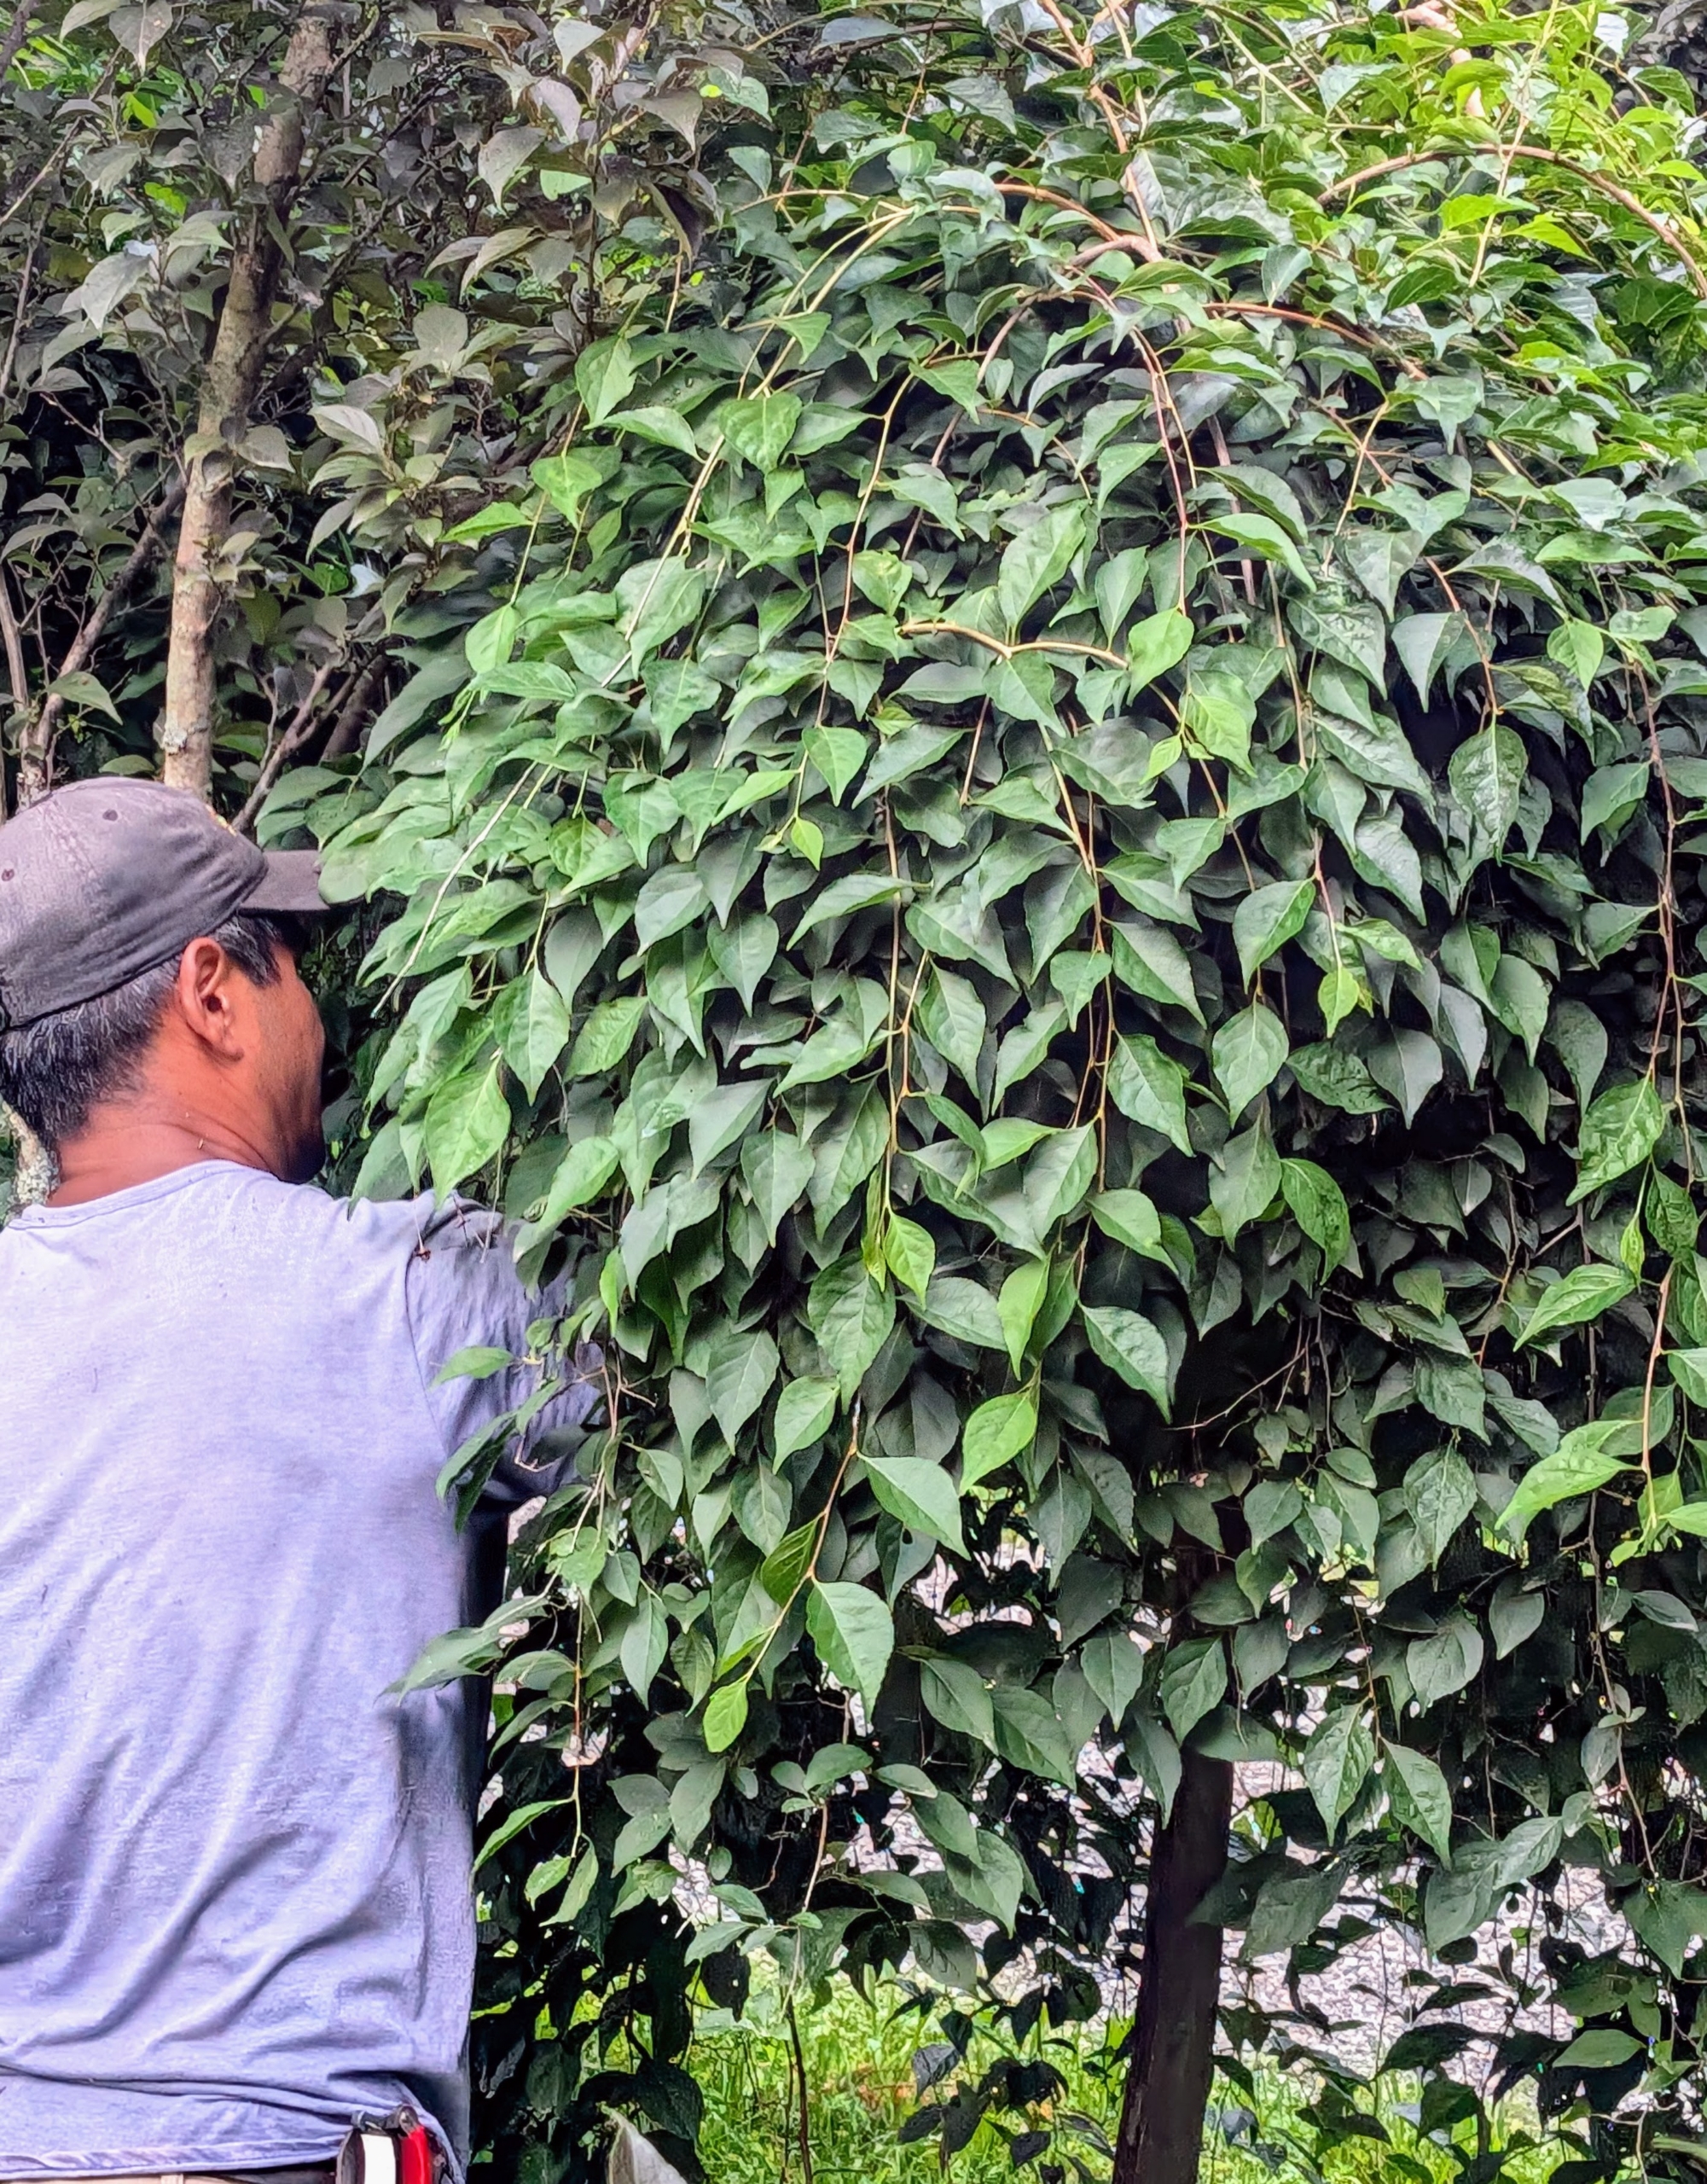
What’s Pasang doing now? He’s grooming under one of my Styrax japonicus ‘Marley’s Pink Parasol’ trees. I have an allée of these charming trees leading to my tennis court.
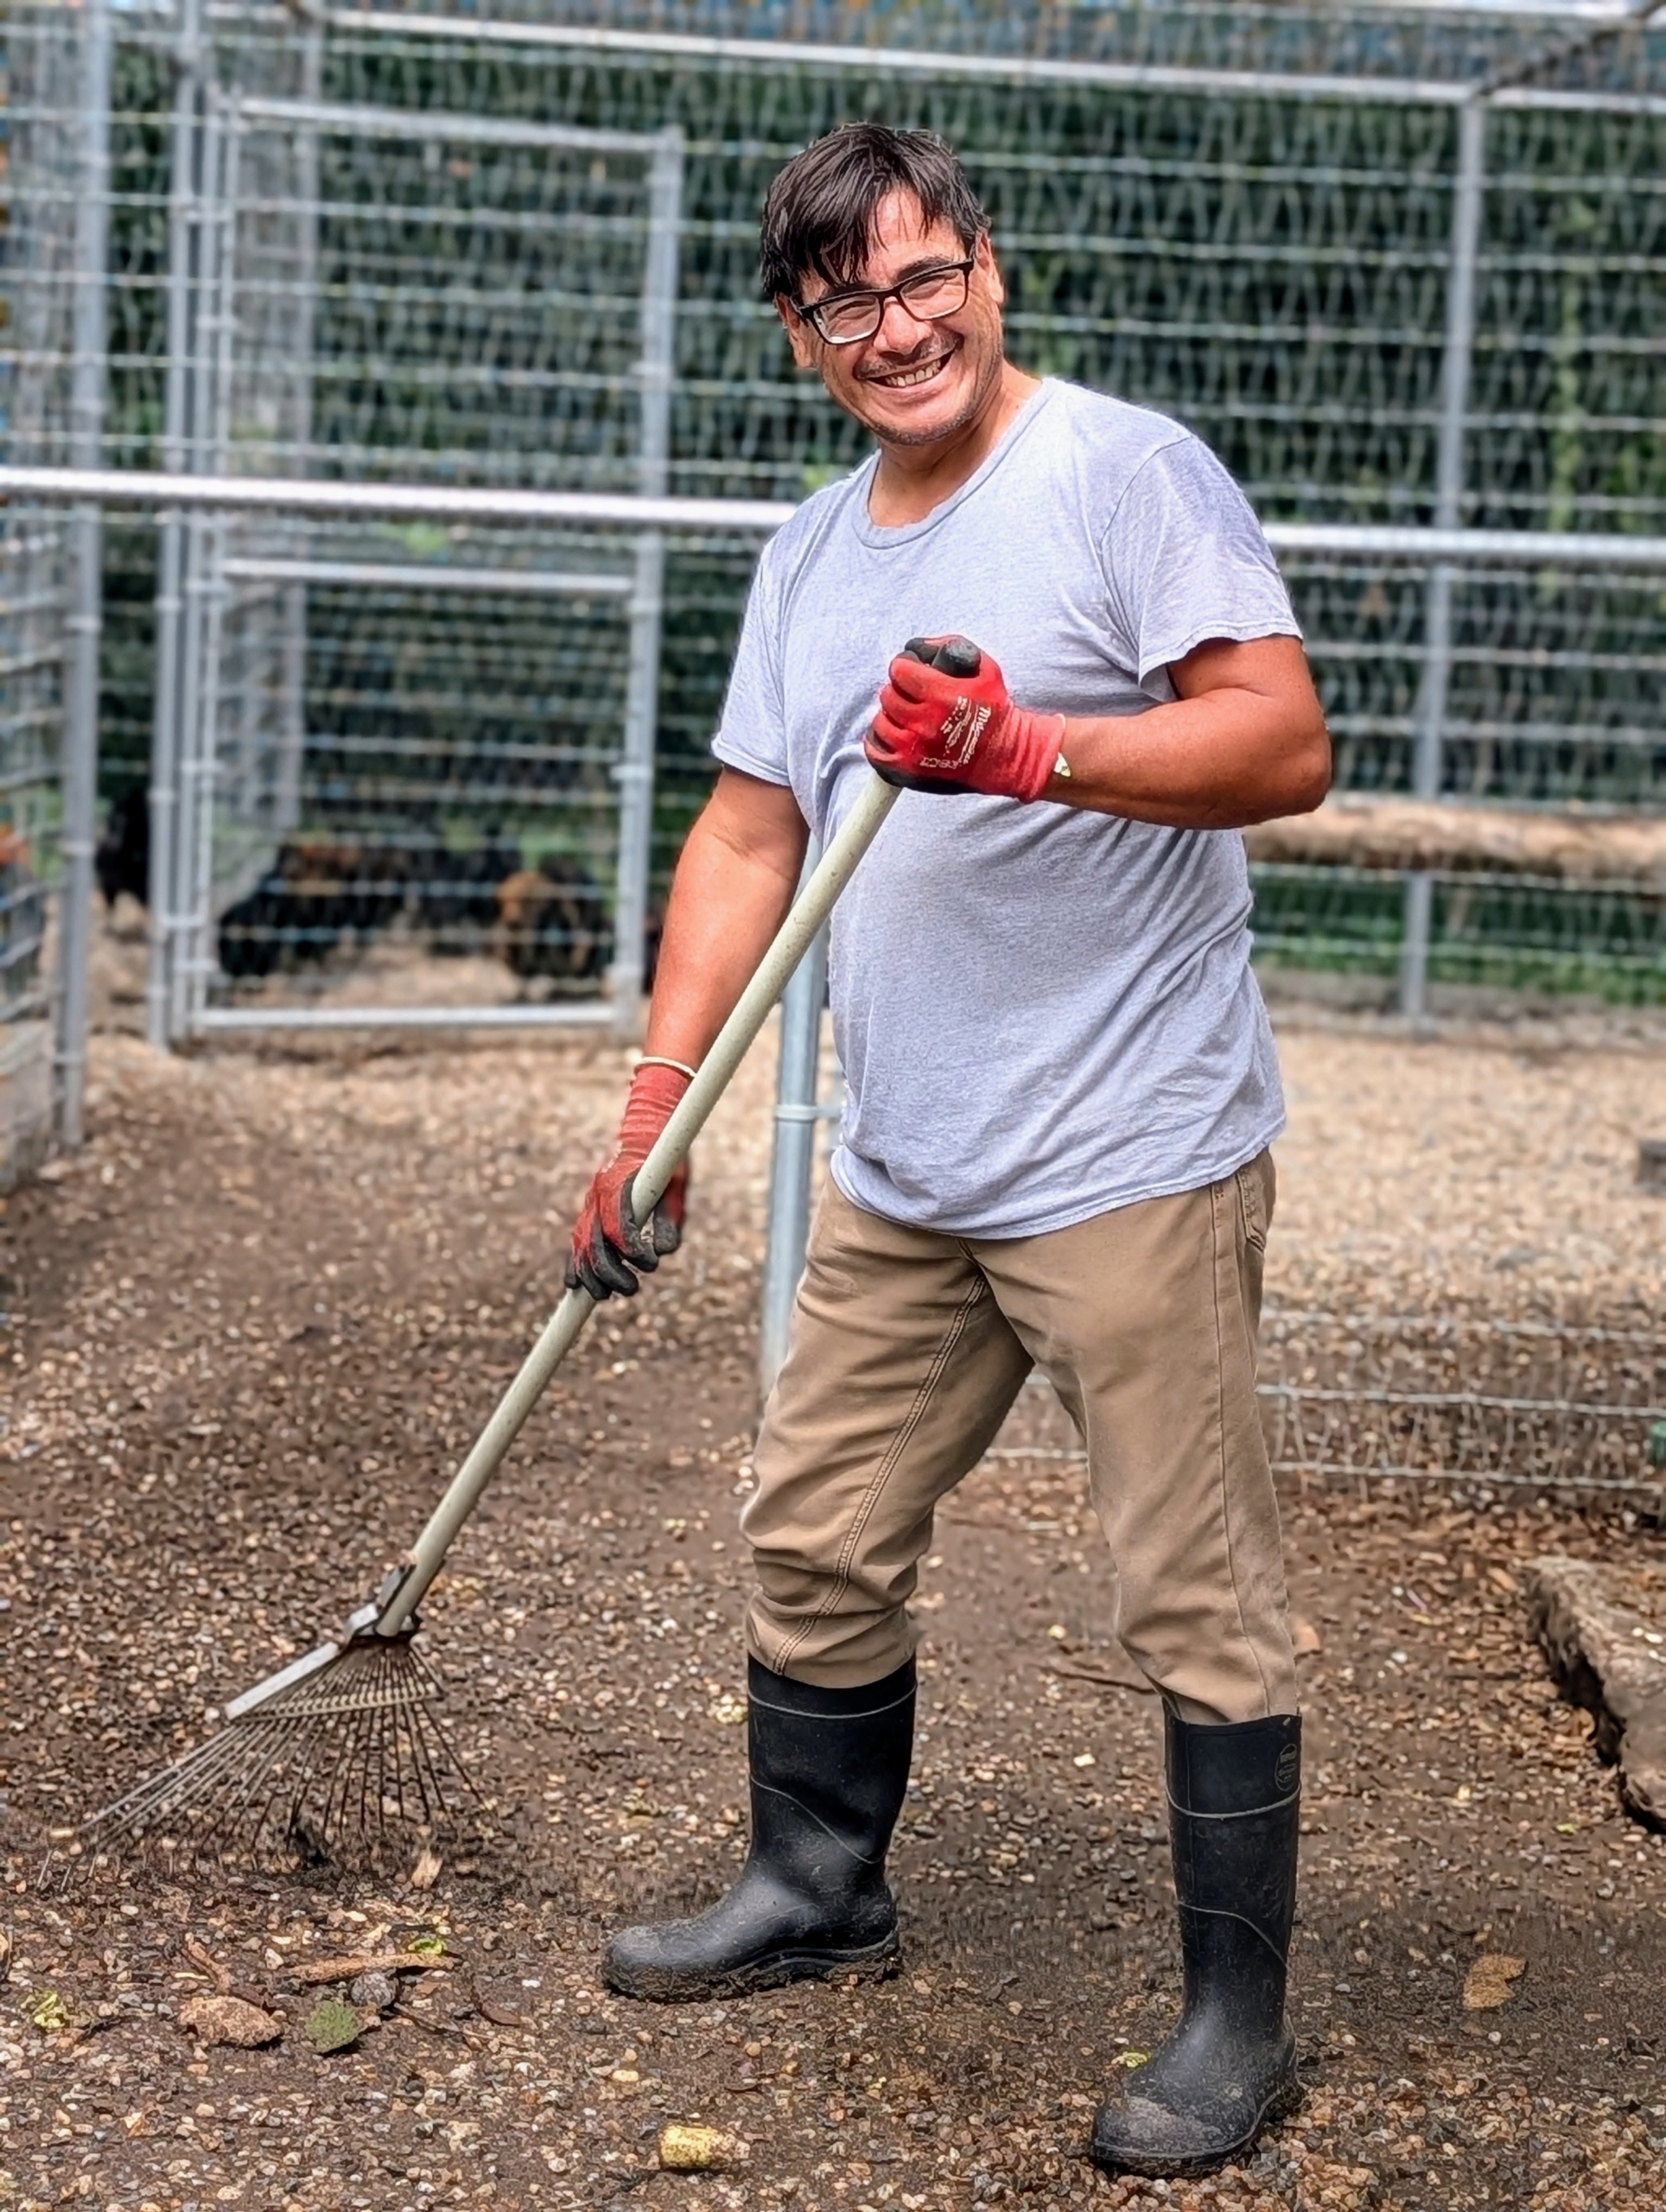
In the chicken coops nearby, Cesar my resident bird expert, rakes the gravel clean of any old food or debris.
Every coop is also cleaned thoroughly once a week to keep the birds healthy and happy.
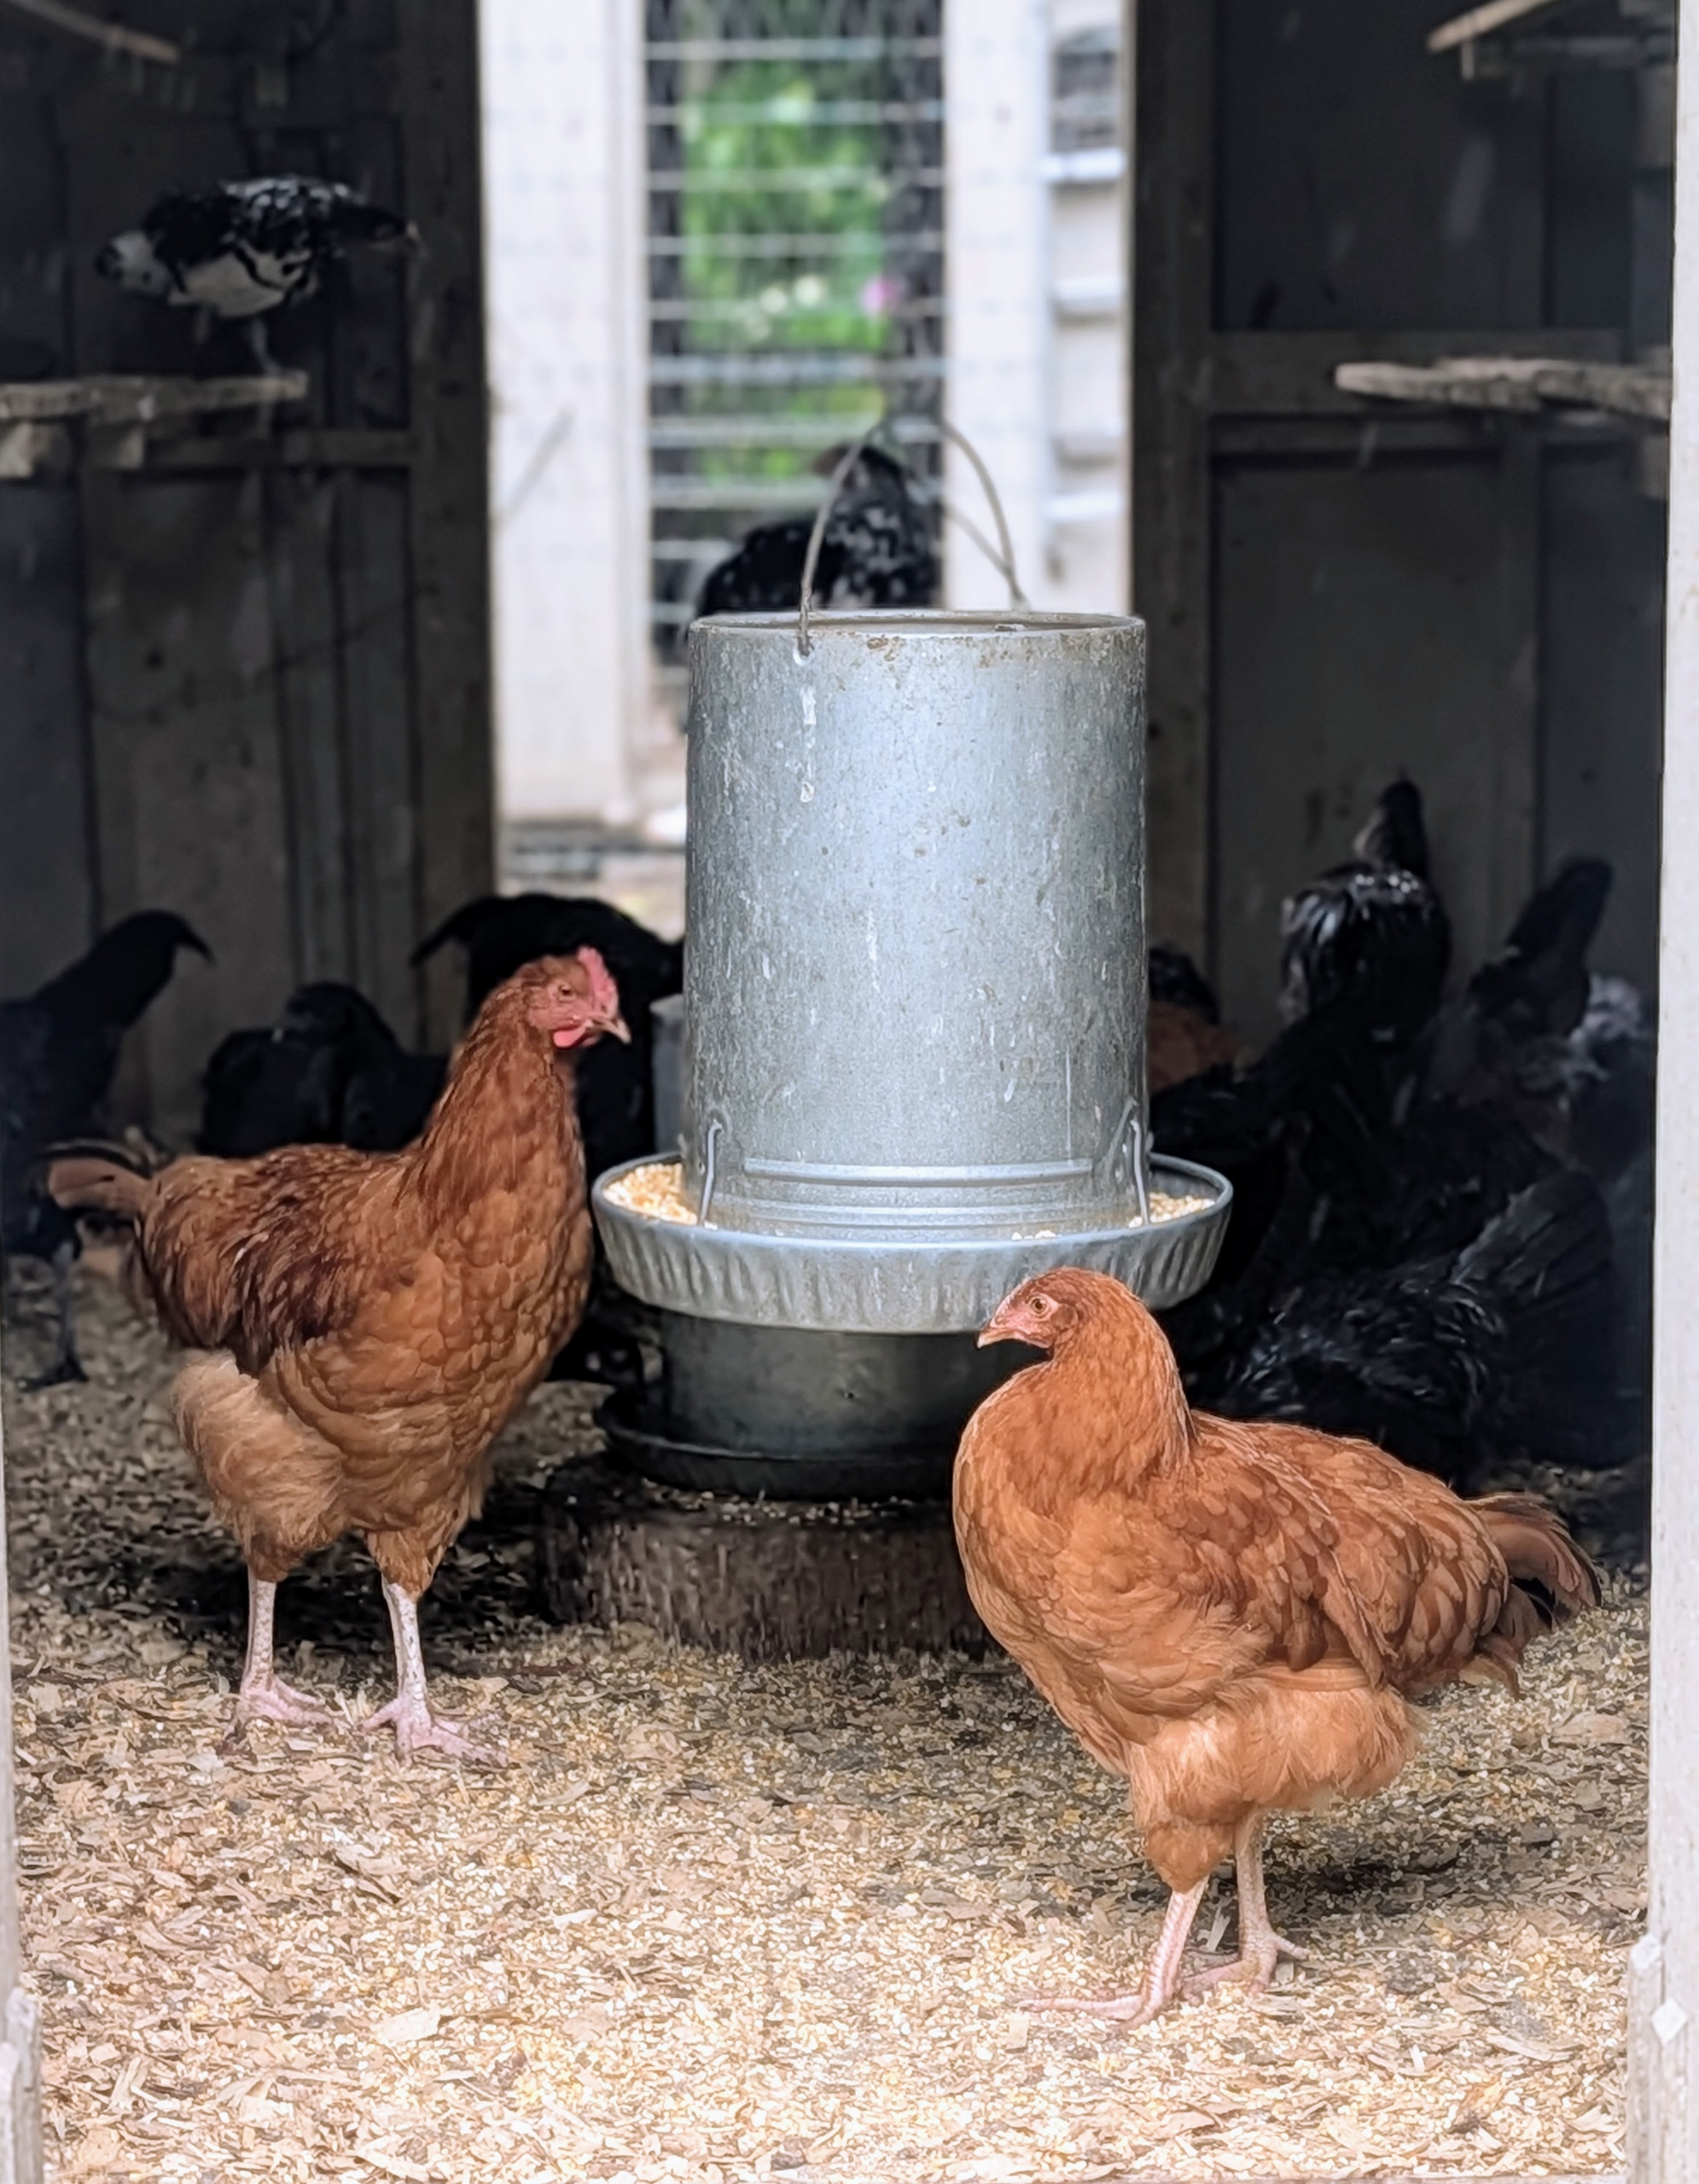
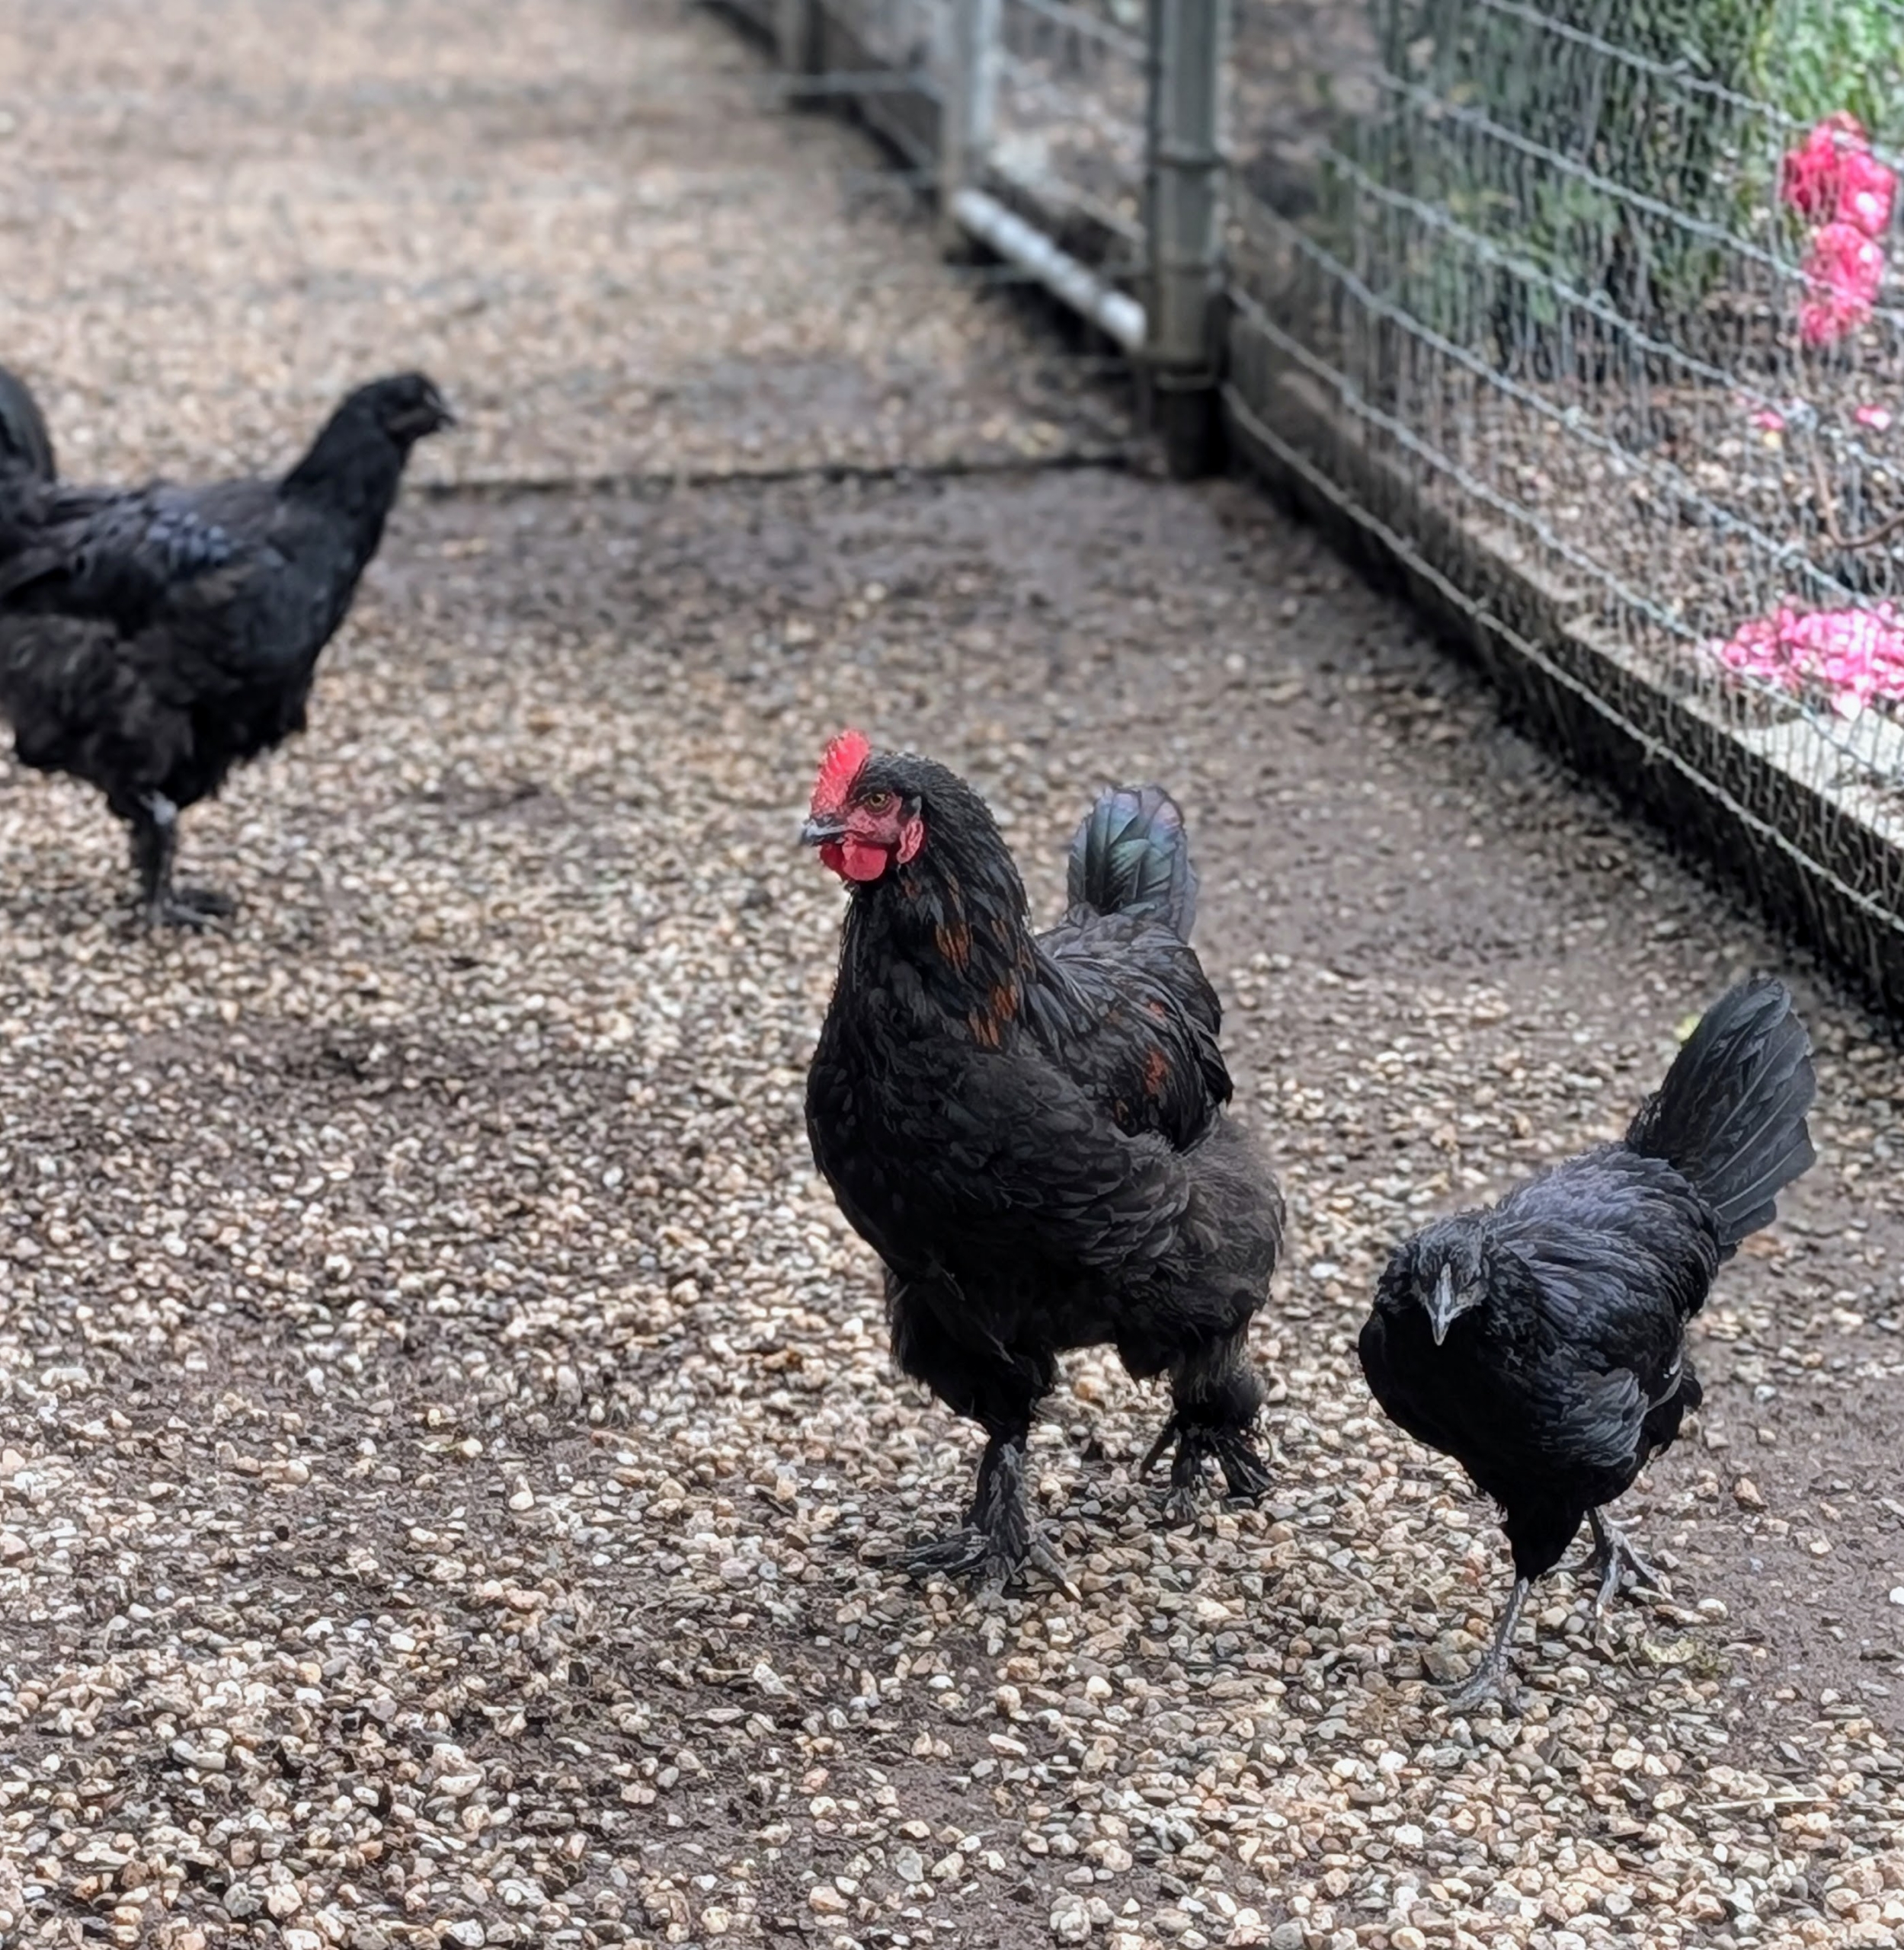
My chickens get the very best care and attention. Here are some of the younger roosters and hens in their clean enclosure.
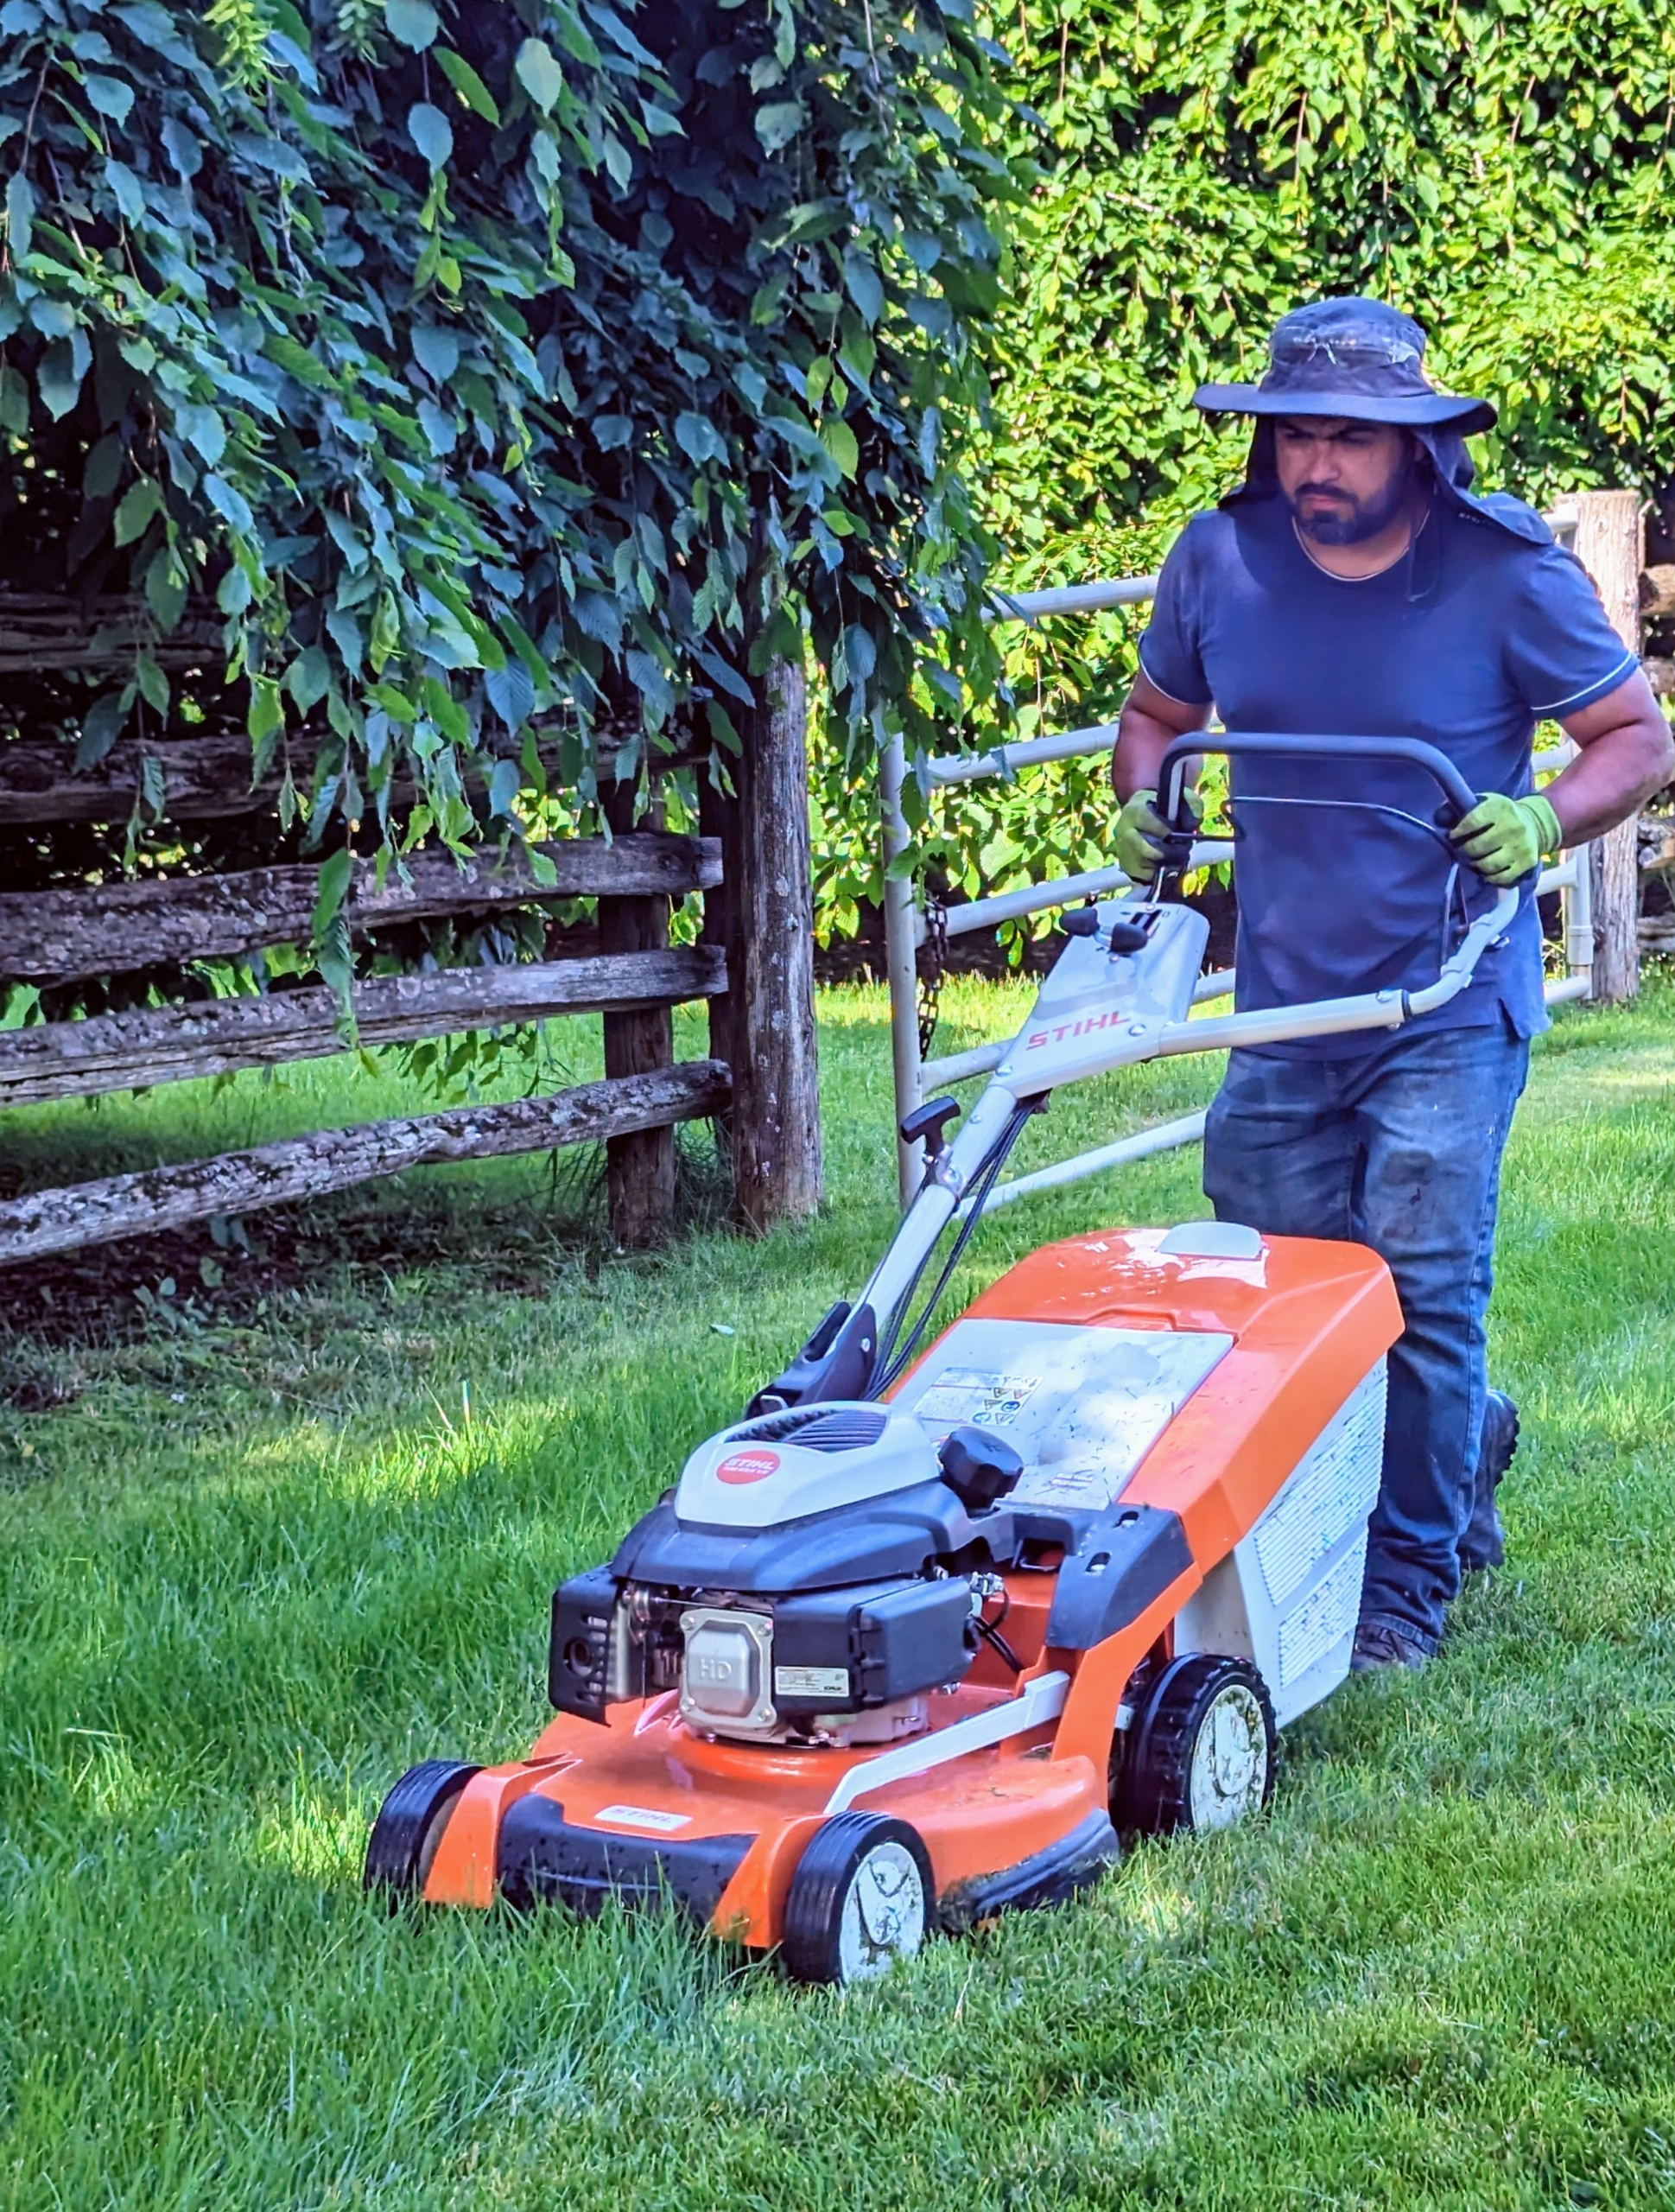
When dry, Adan mows the lawns using our STIHL equipment. Mowing wet grass can damage the lawn, strain the mower, and create safety hazards, so it’s always best to wait until the grass is dry.
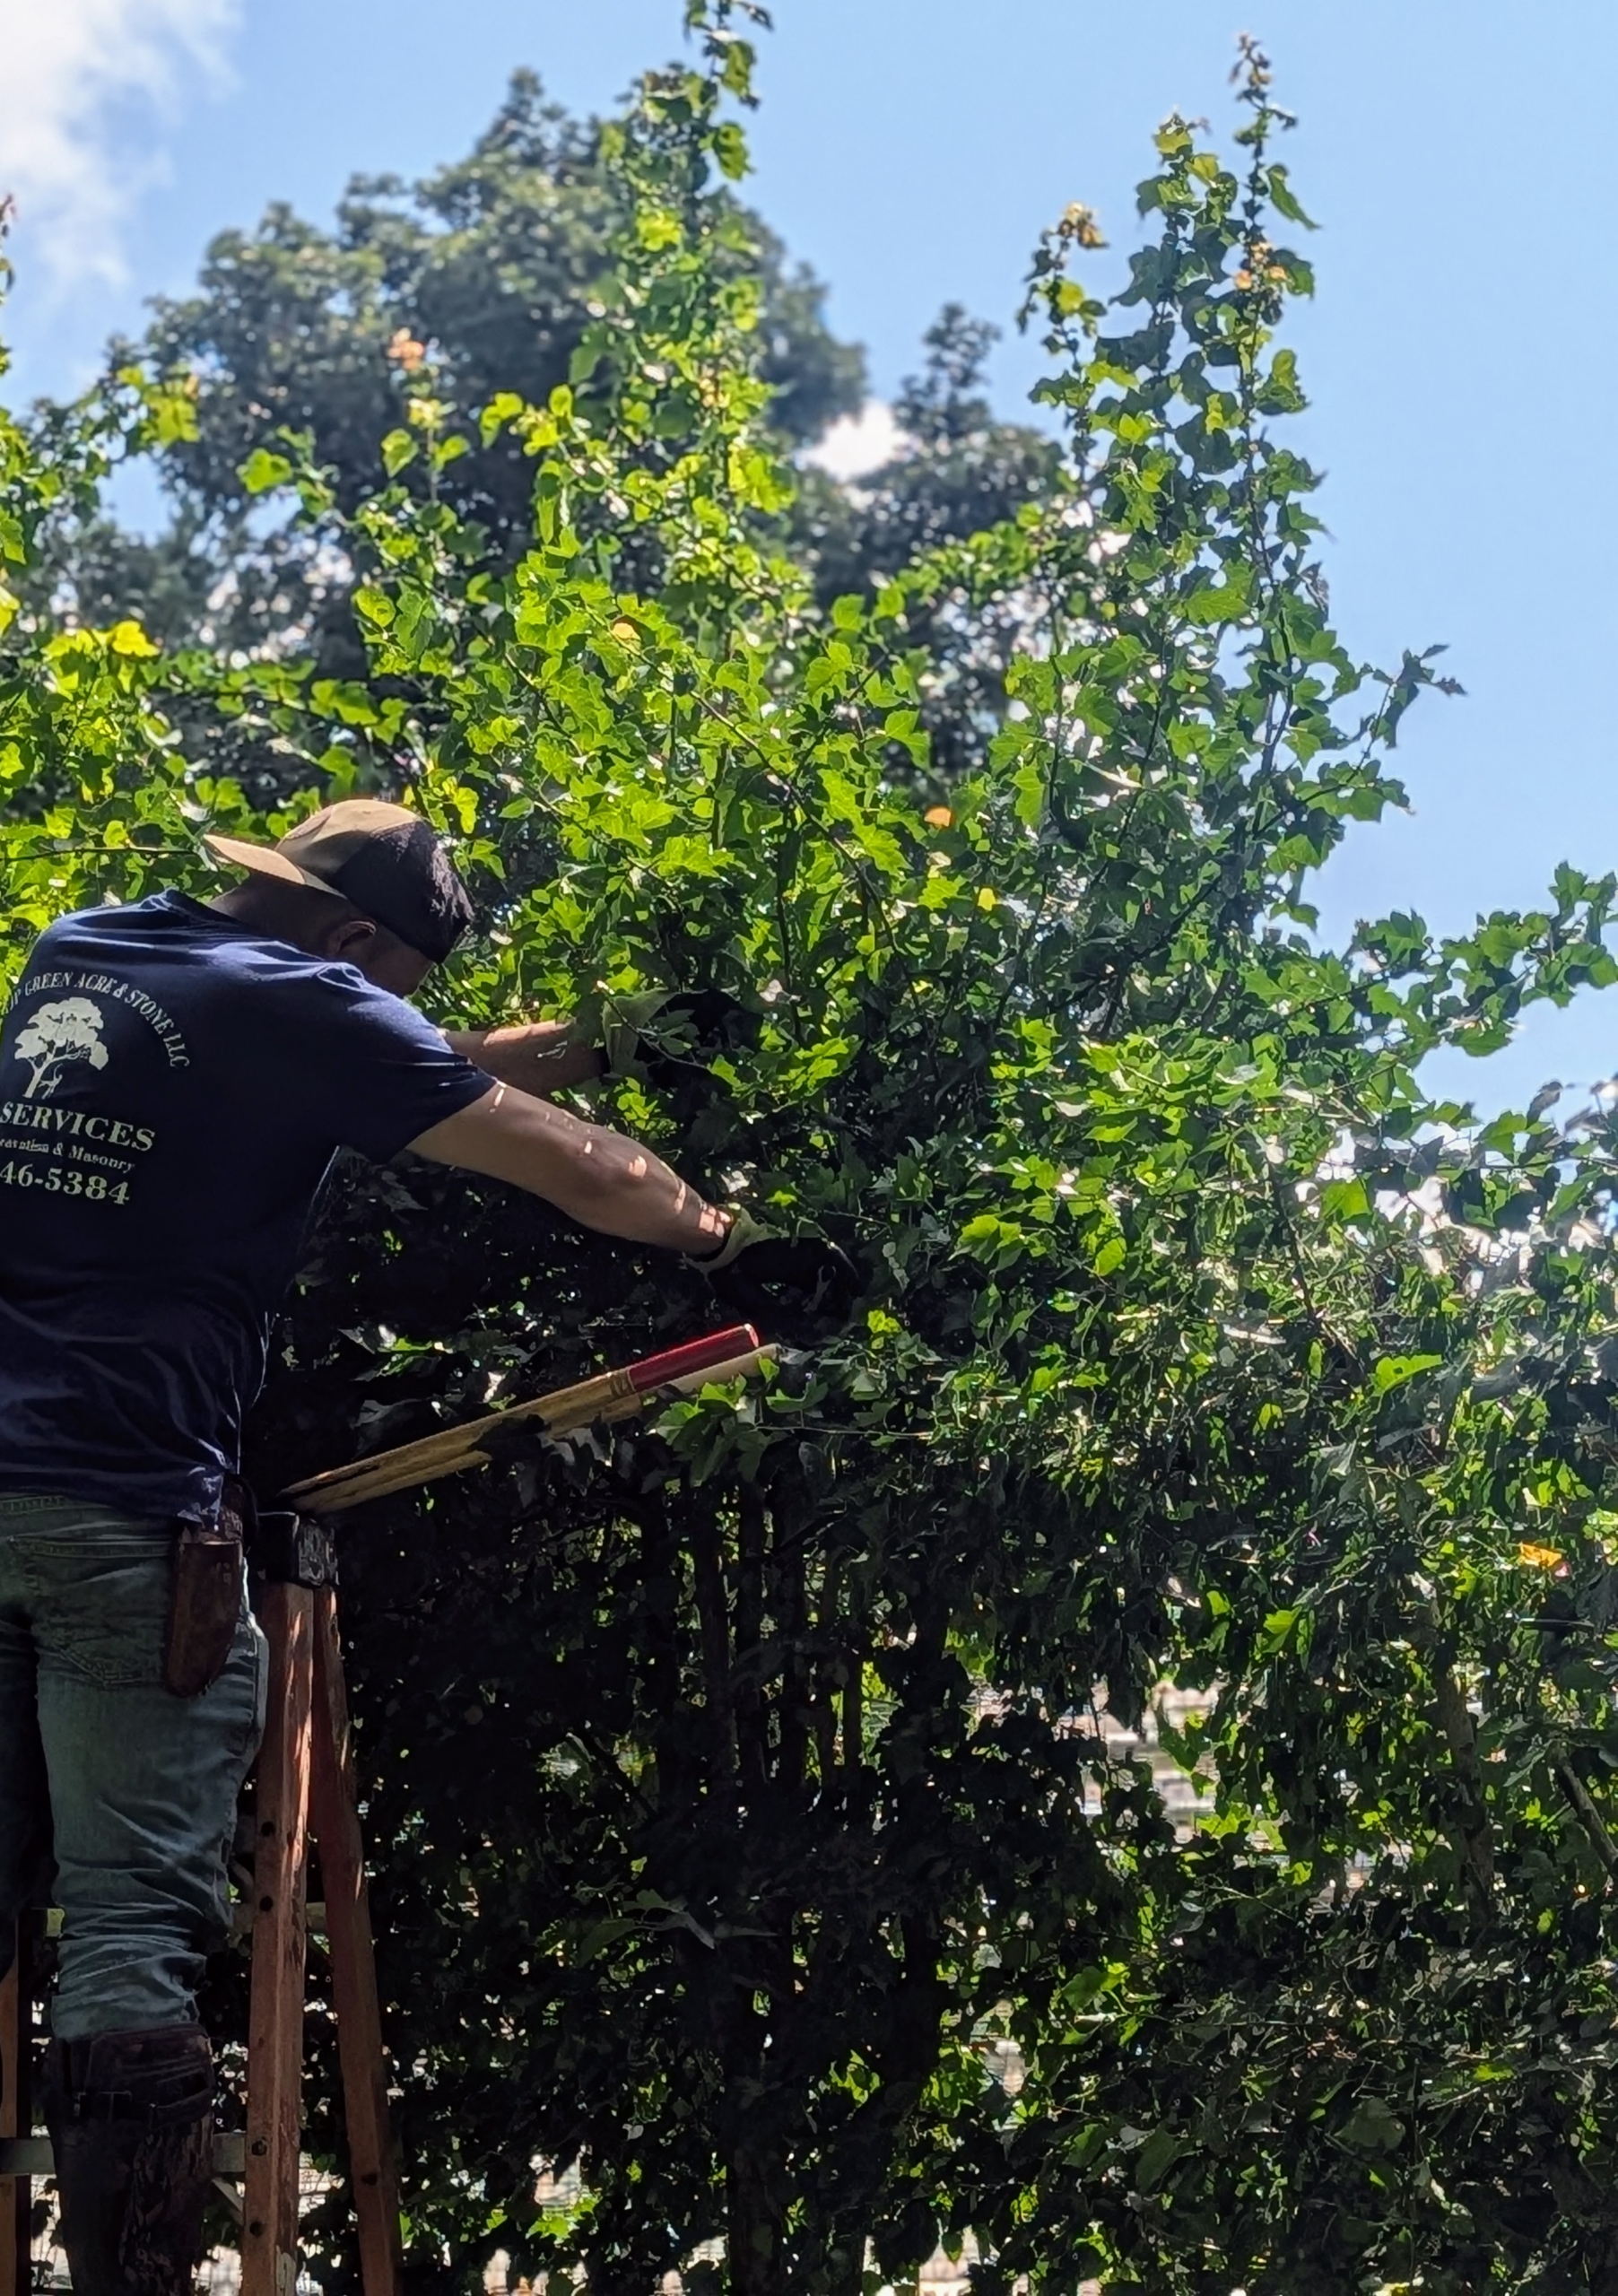
Behind the chicken coops, the hawthorn trees get a good pruning. The hawthorn tree is a small to medium-sized deciduous tree or shrub, known for its thorny branches, clusters of white or pink flowers in spring, and bright red berry-like fruits called haws.
Here’s Pasang carrying away more debris for chipping.
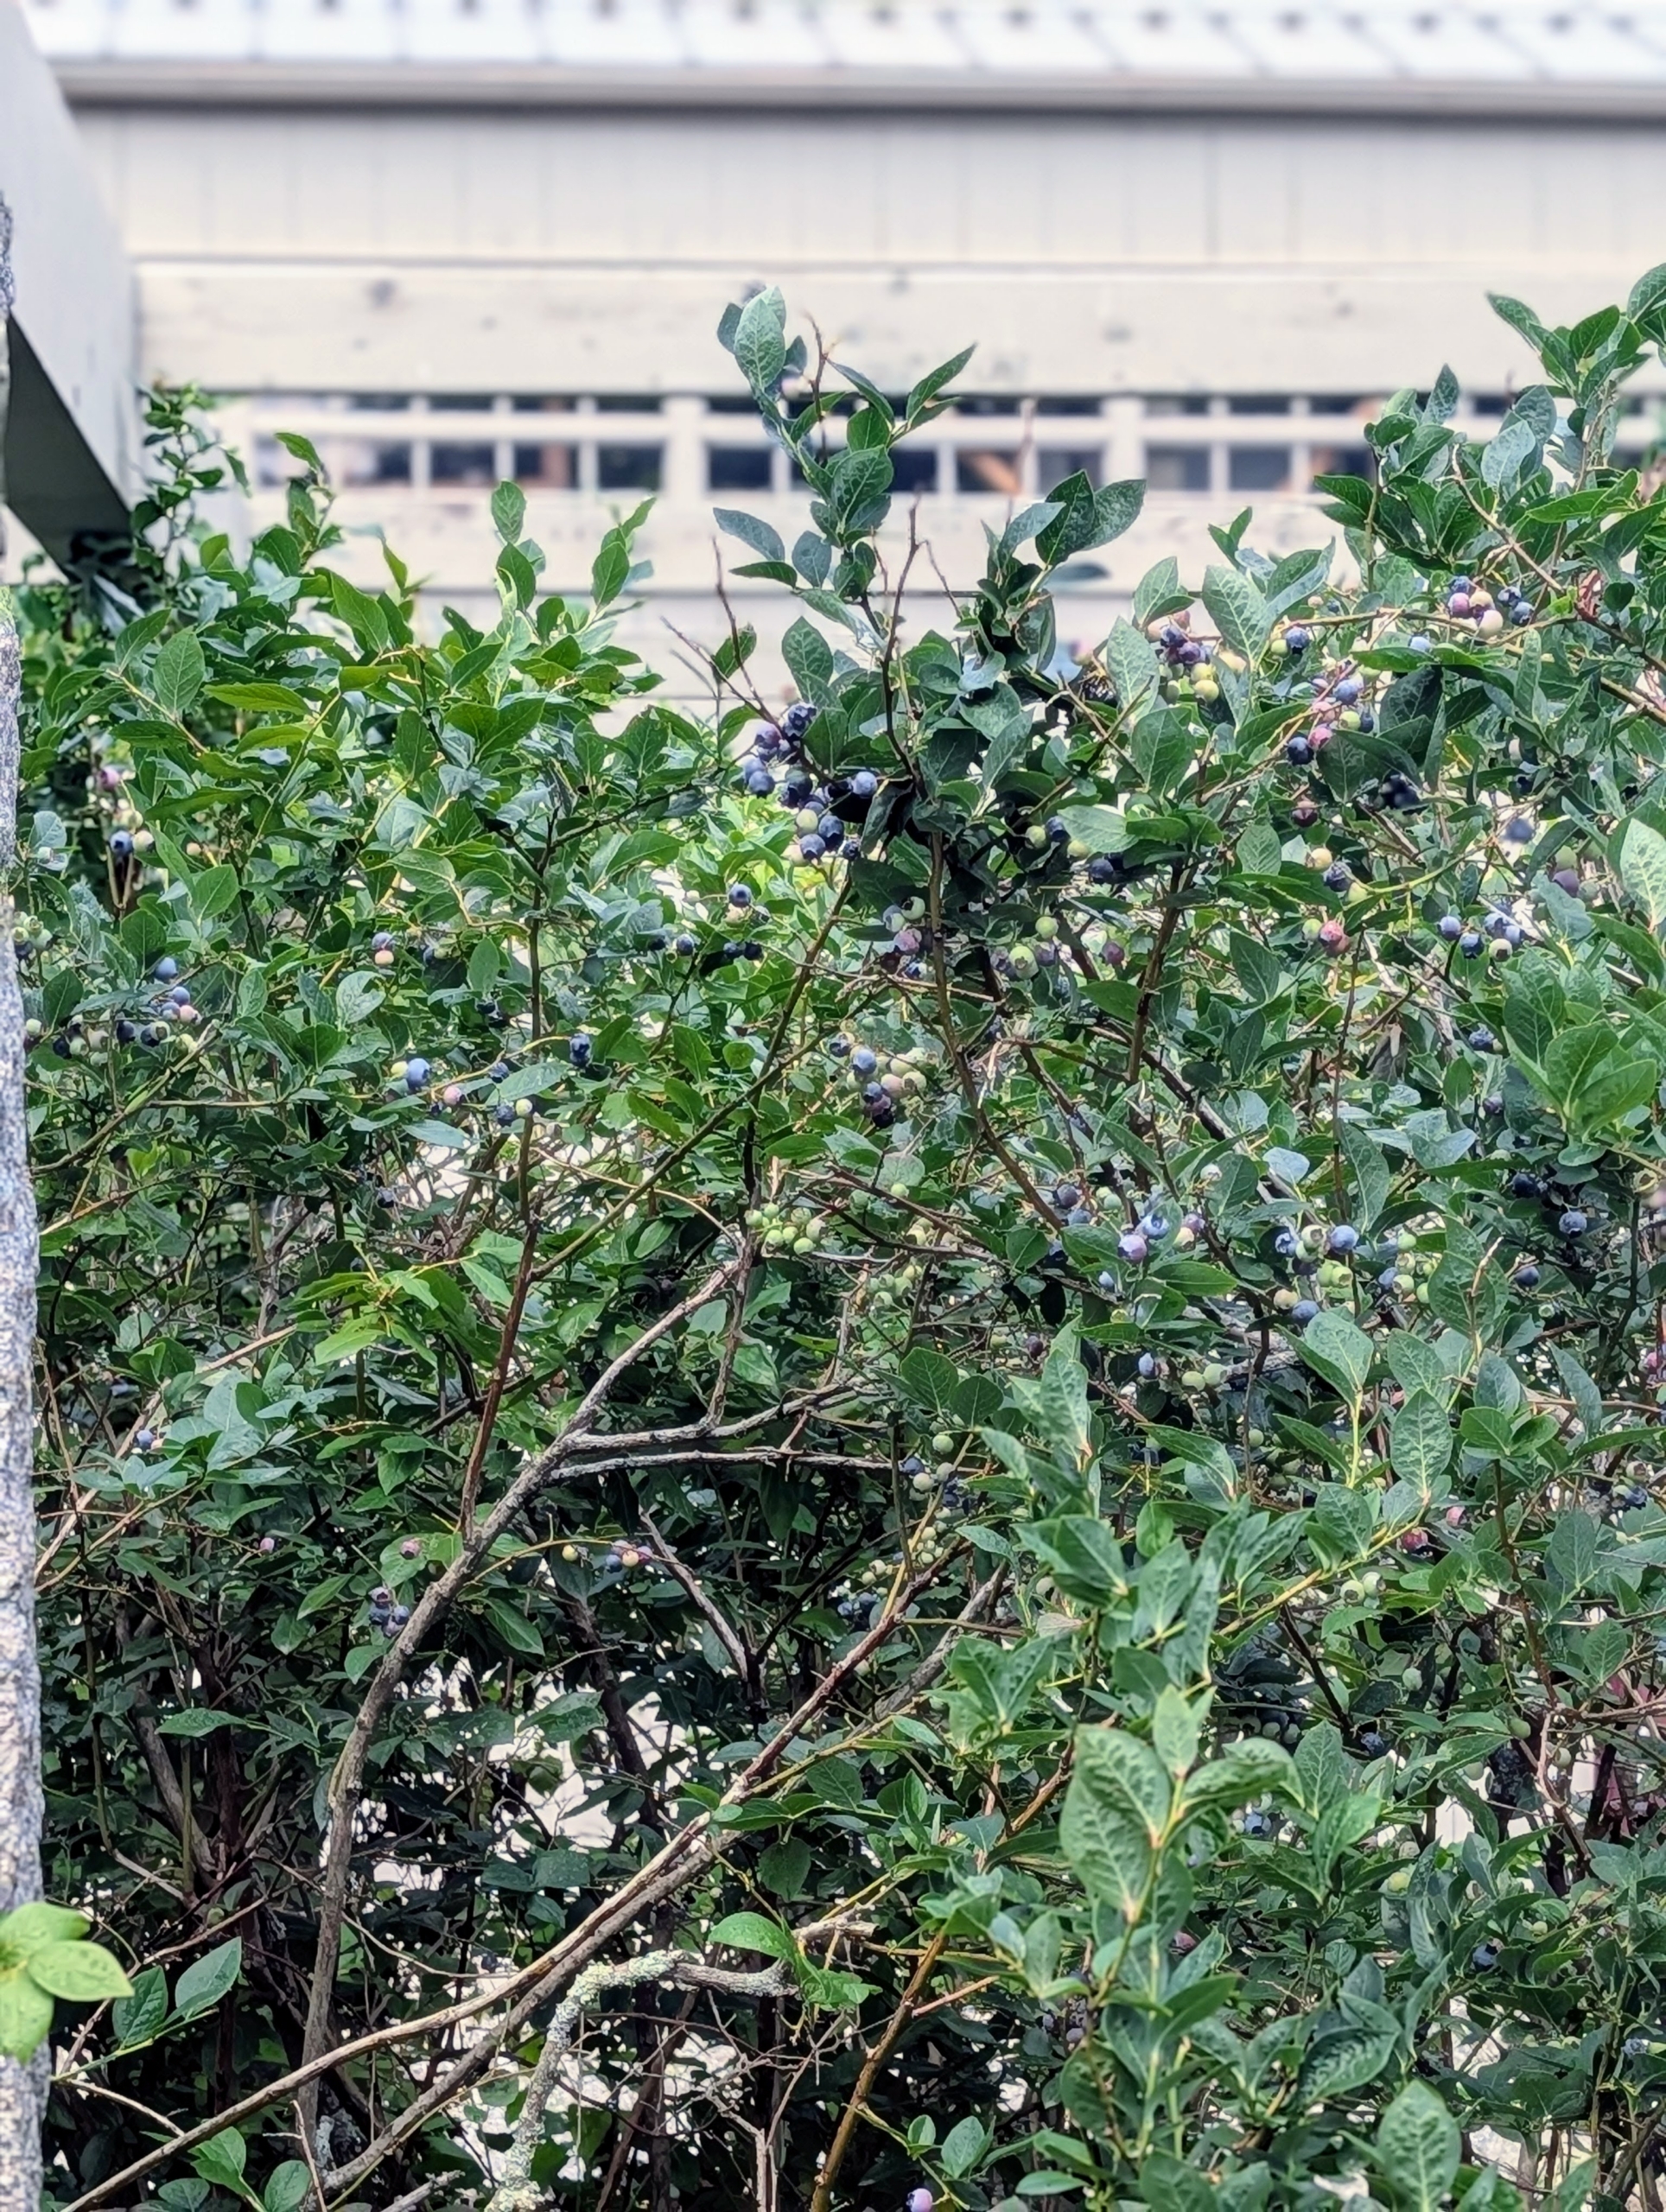
Blueberry bushes are checked once again for any ripe fruits.
Today is supposed to be sunny to partly cloudy with light winds and temperatures in the low 80s – a good day to finish up the week’s chores and projects.
My longtime driver, Carlos "Uno" Villamil, is at it again - taking photos around the farm and sharing his unique perspective on the places we see every day.
Carlos is an avid photographer. On many evenings just before sunset, he takes my five dogs out for a walk or drive around the property with his camera in hand. Along the way, he captures images of the gardens, trees, flowers, the sweeping landscapes, the colorful sky, etc. And then he shares his photos with me and all the others that work here.
Enjoy some of the photos he's taken this season.
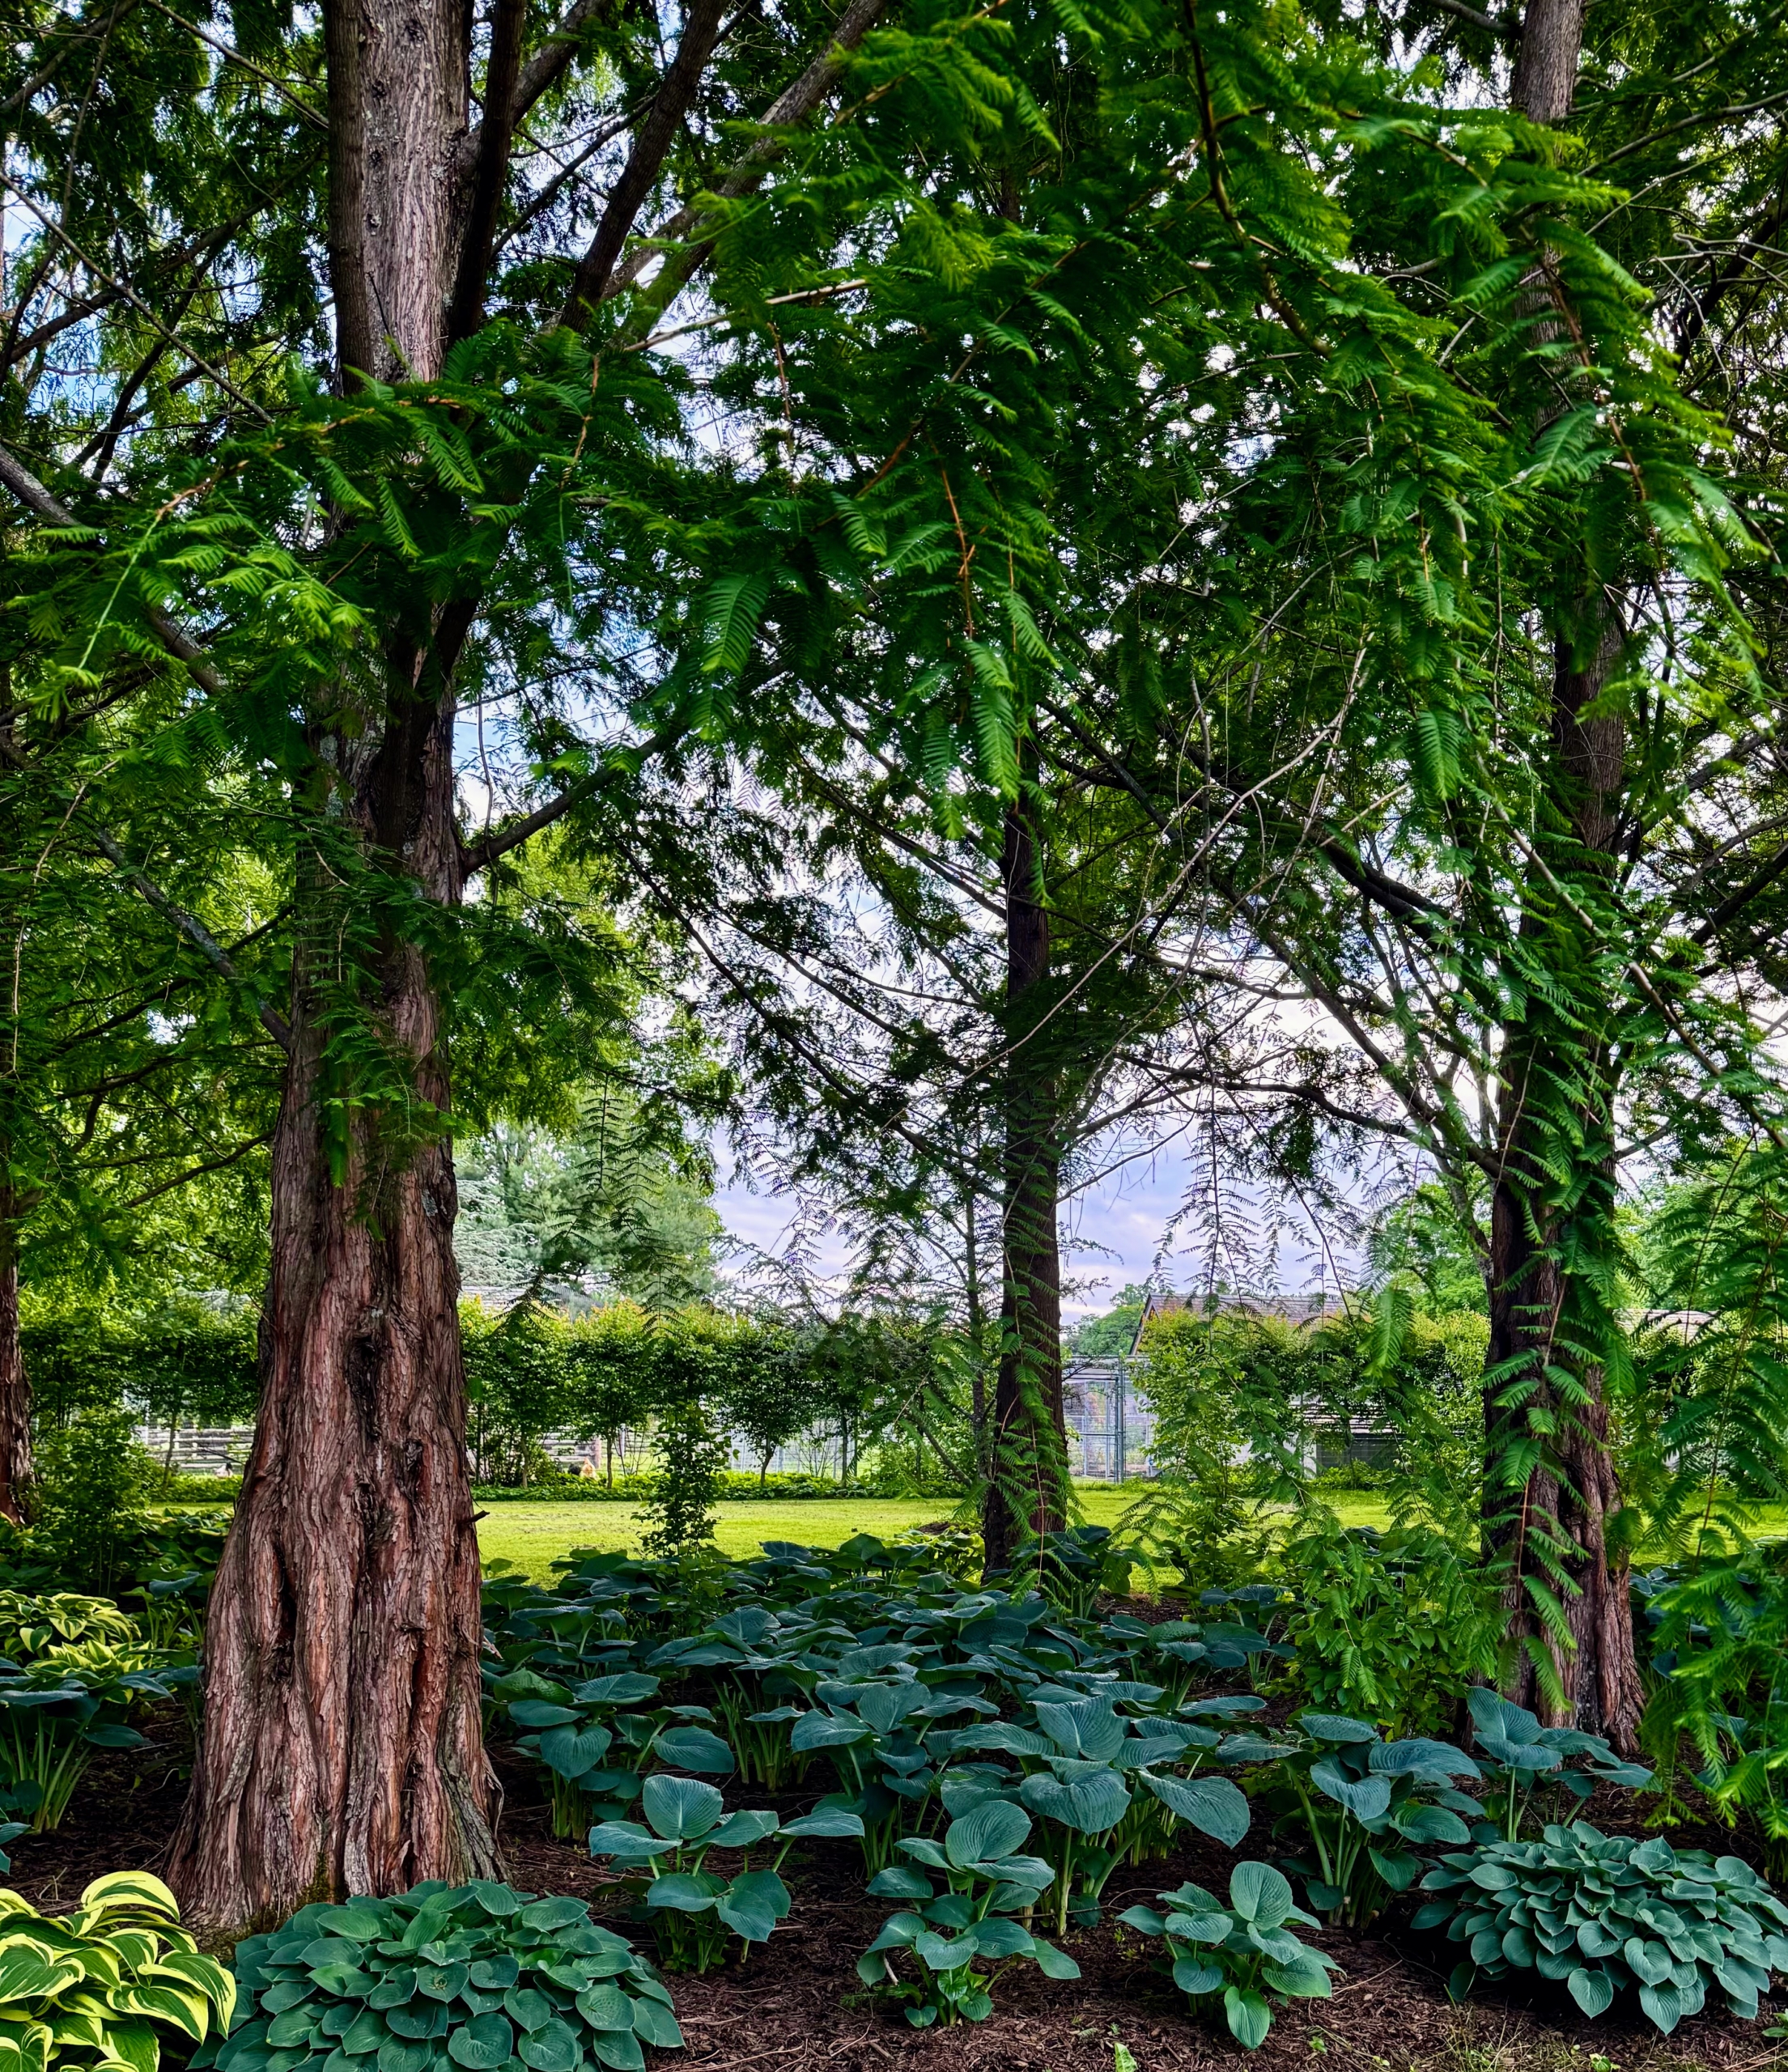
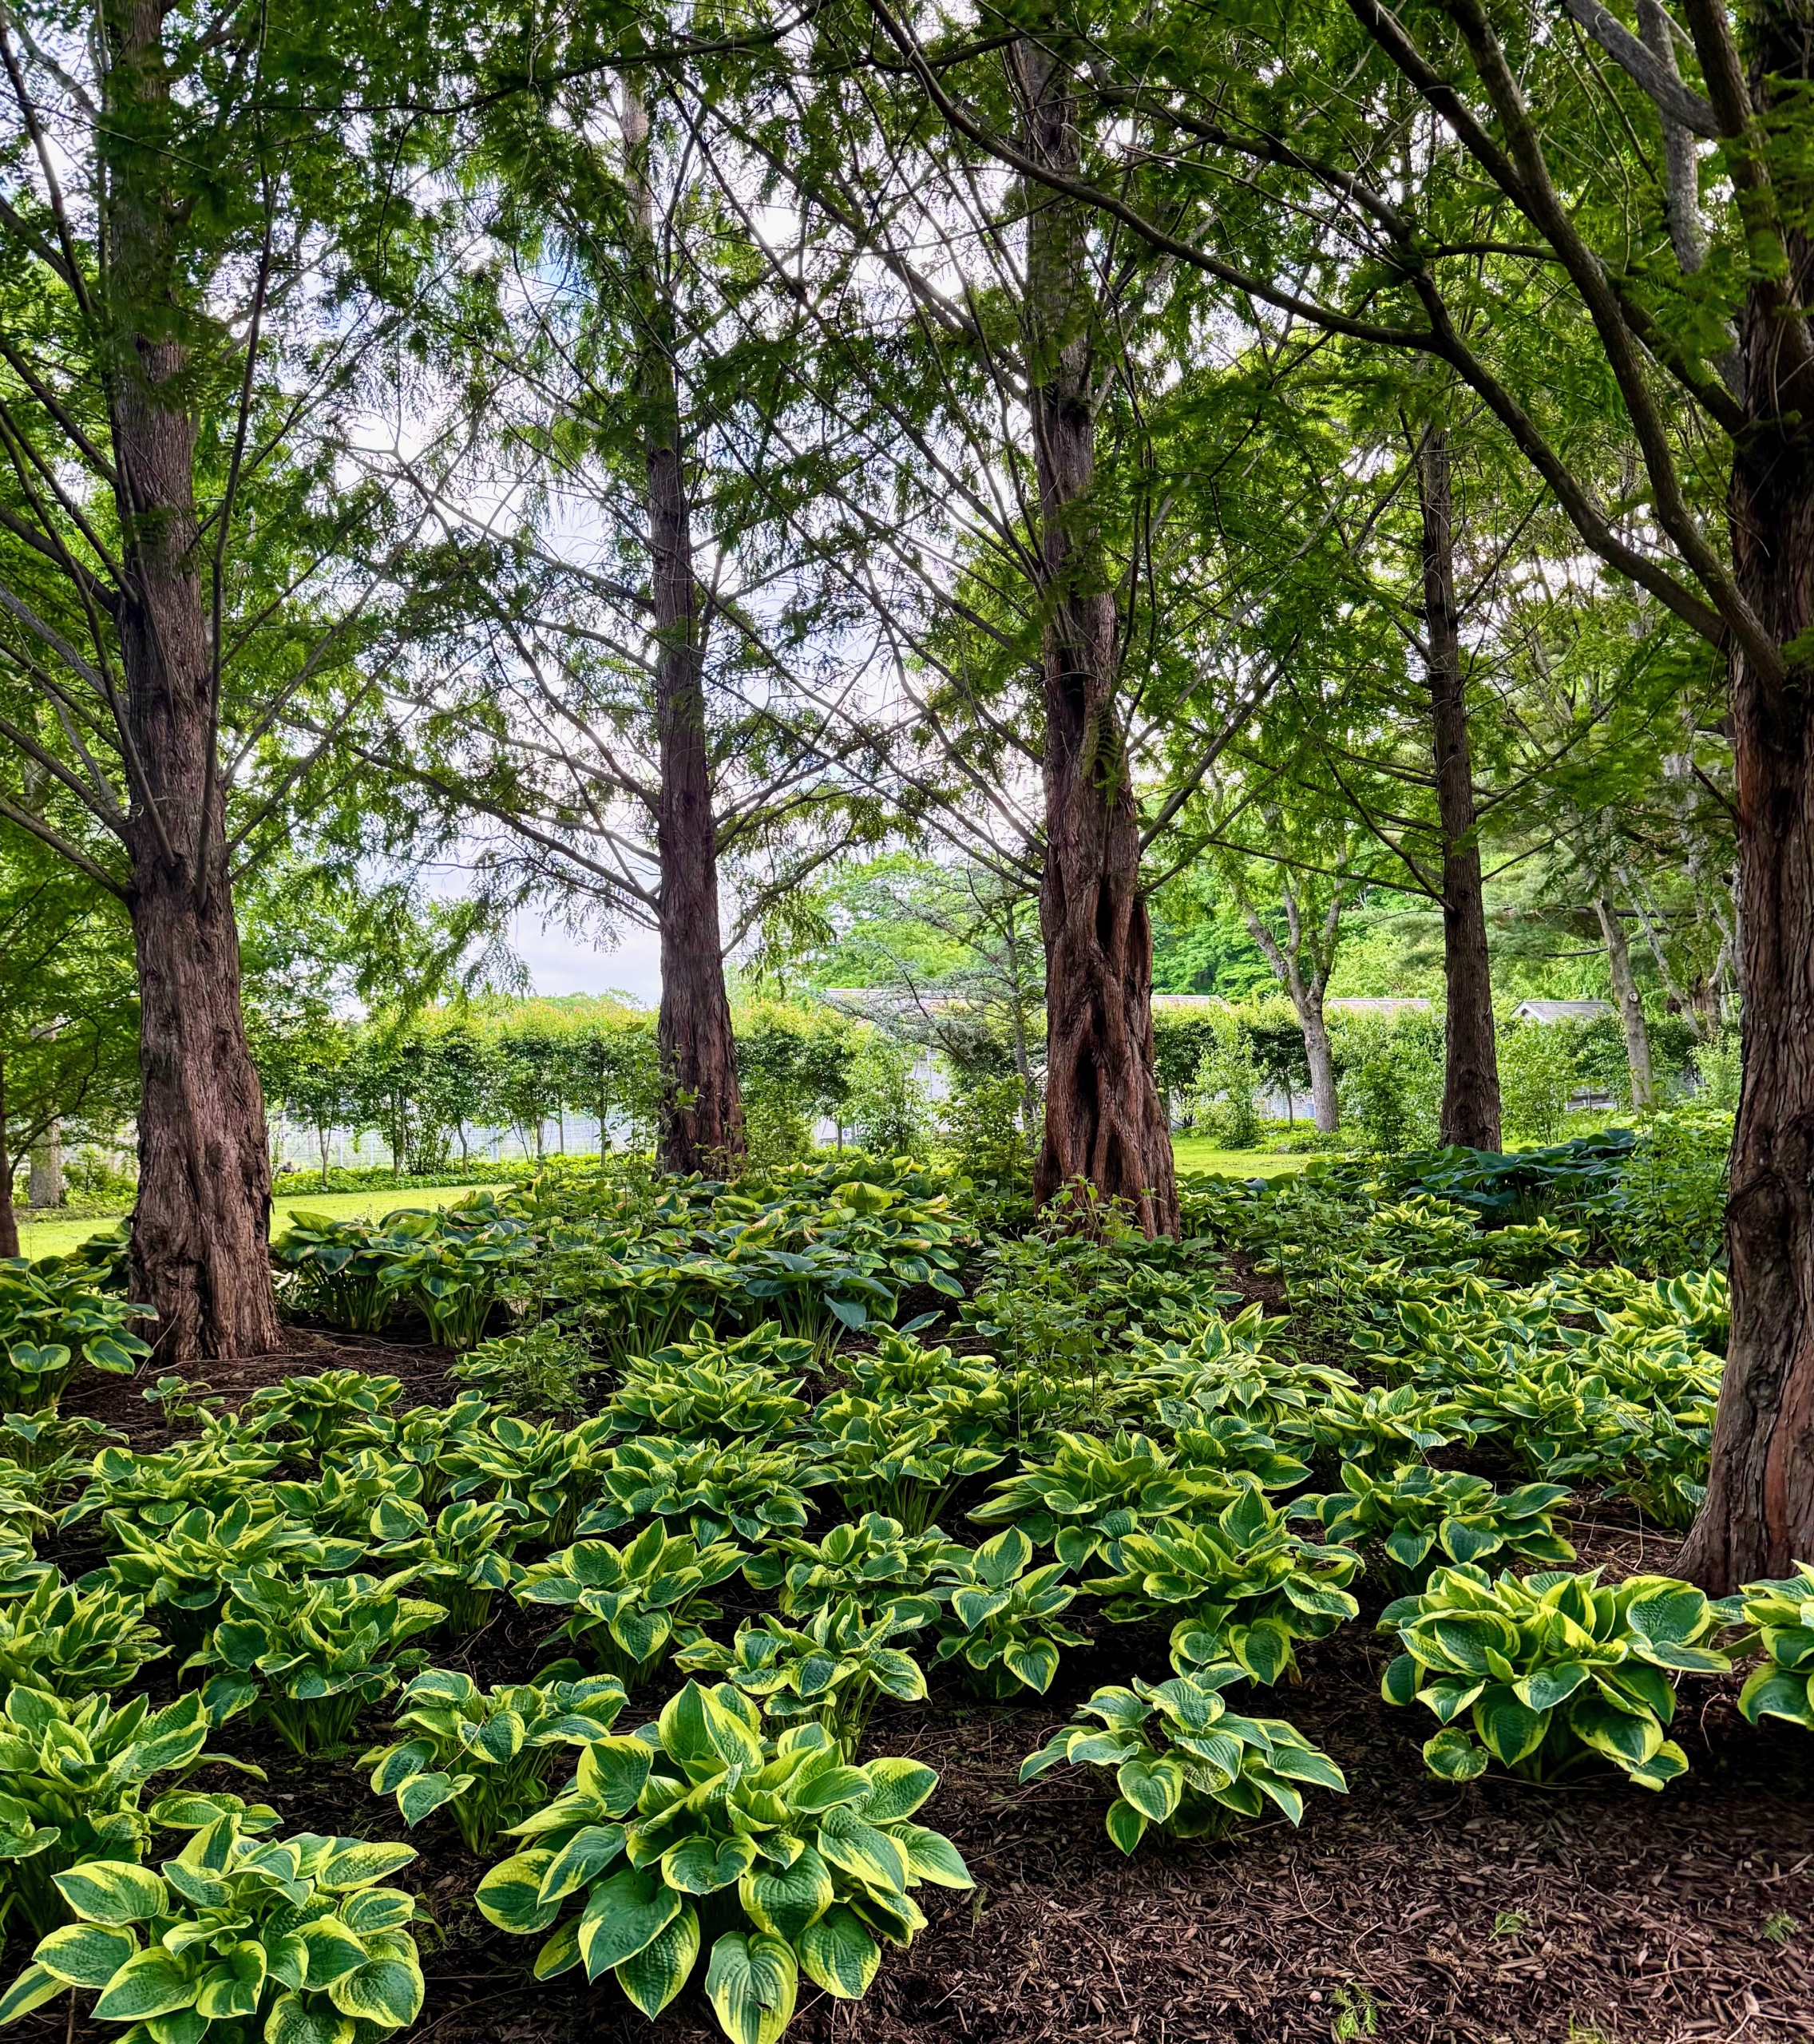
Carlos has seen all of these gardens develop – he’s been working with me for more than 25 years. This is my large hosta garden located down behind my chicken coops.
These hostas are planted under the shade of these great dawn redwoods, Metasequoia. I planted these trees when they were just a few feet tall.
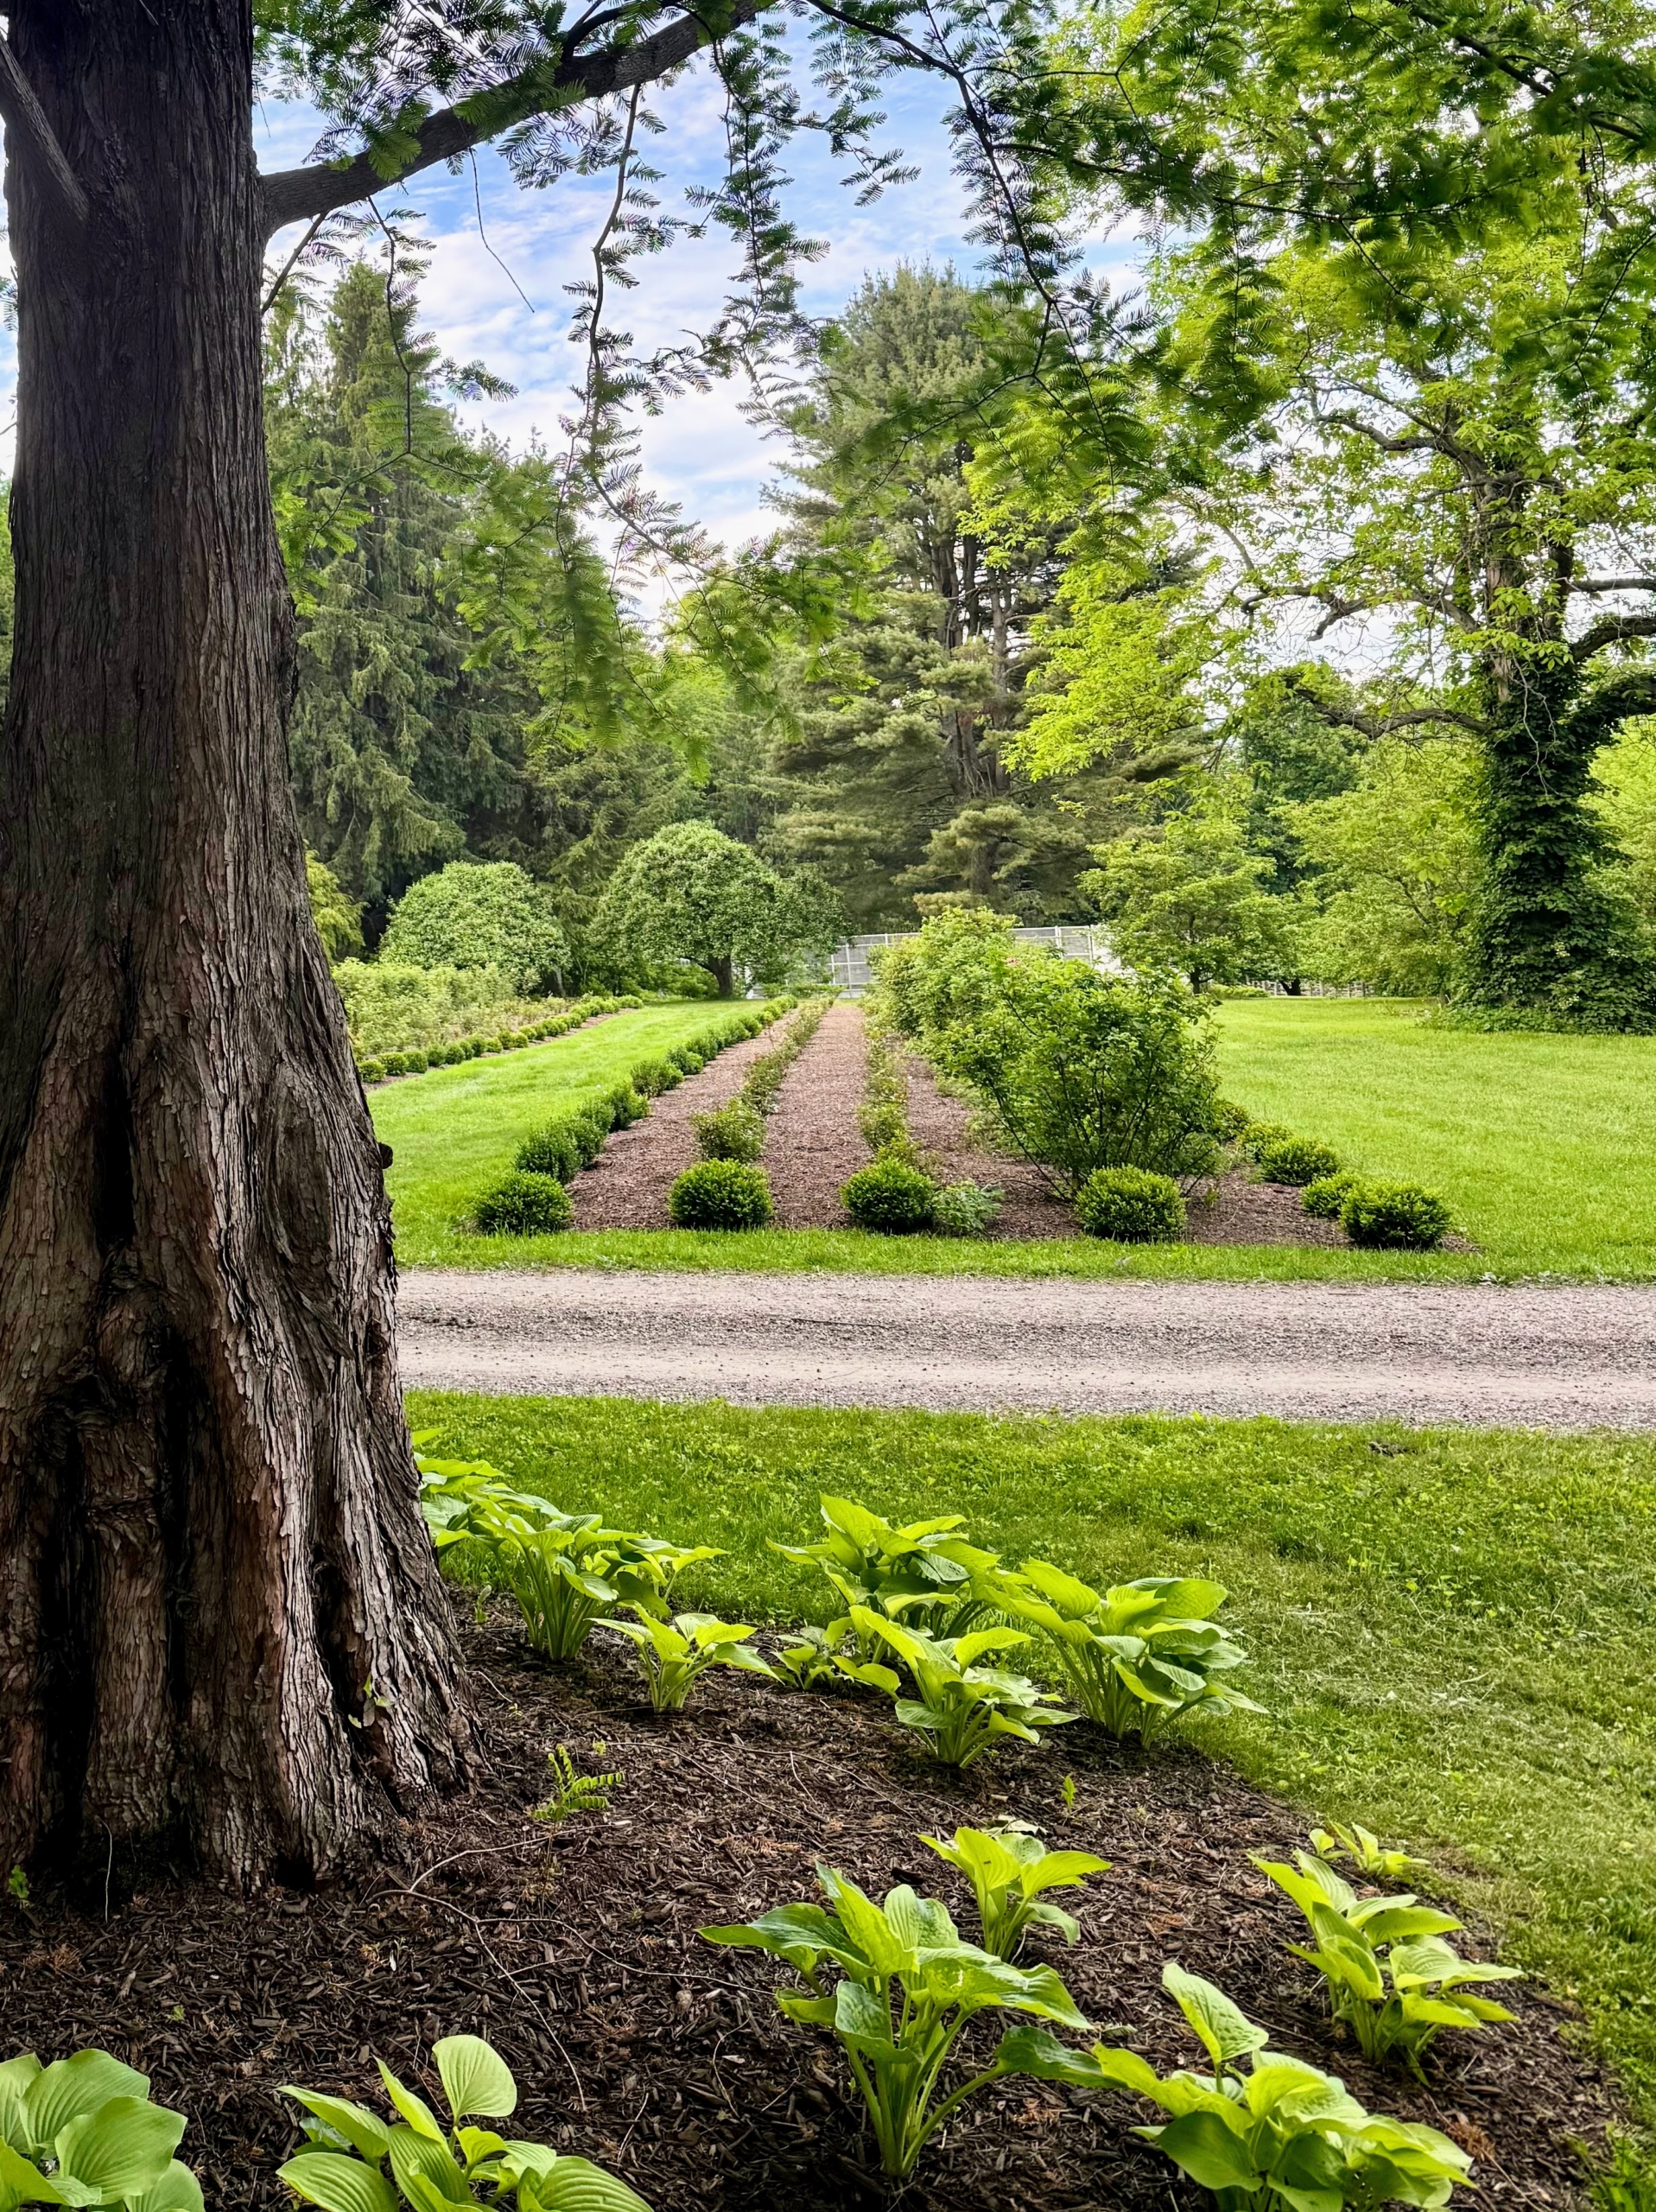
Across the carriage road from the hostas is my newest formal rose garden. Earlier this year, I transformed what was previously my lilac allée. I planted more than 140 new roses to add to the existing rose bushes and surrounded them all with a border of boxwood.
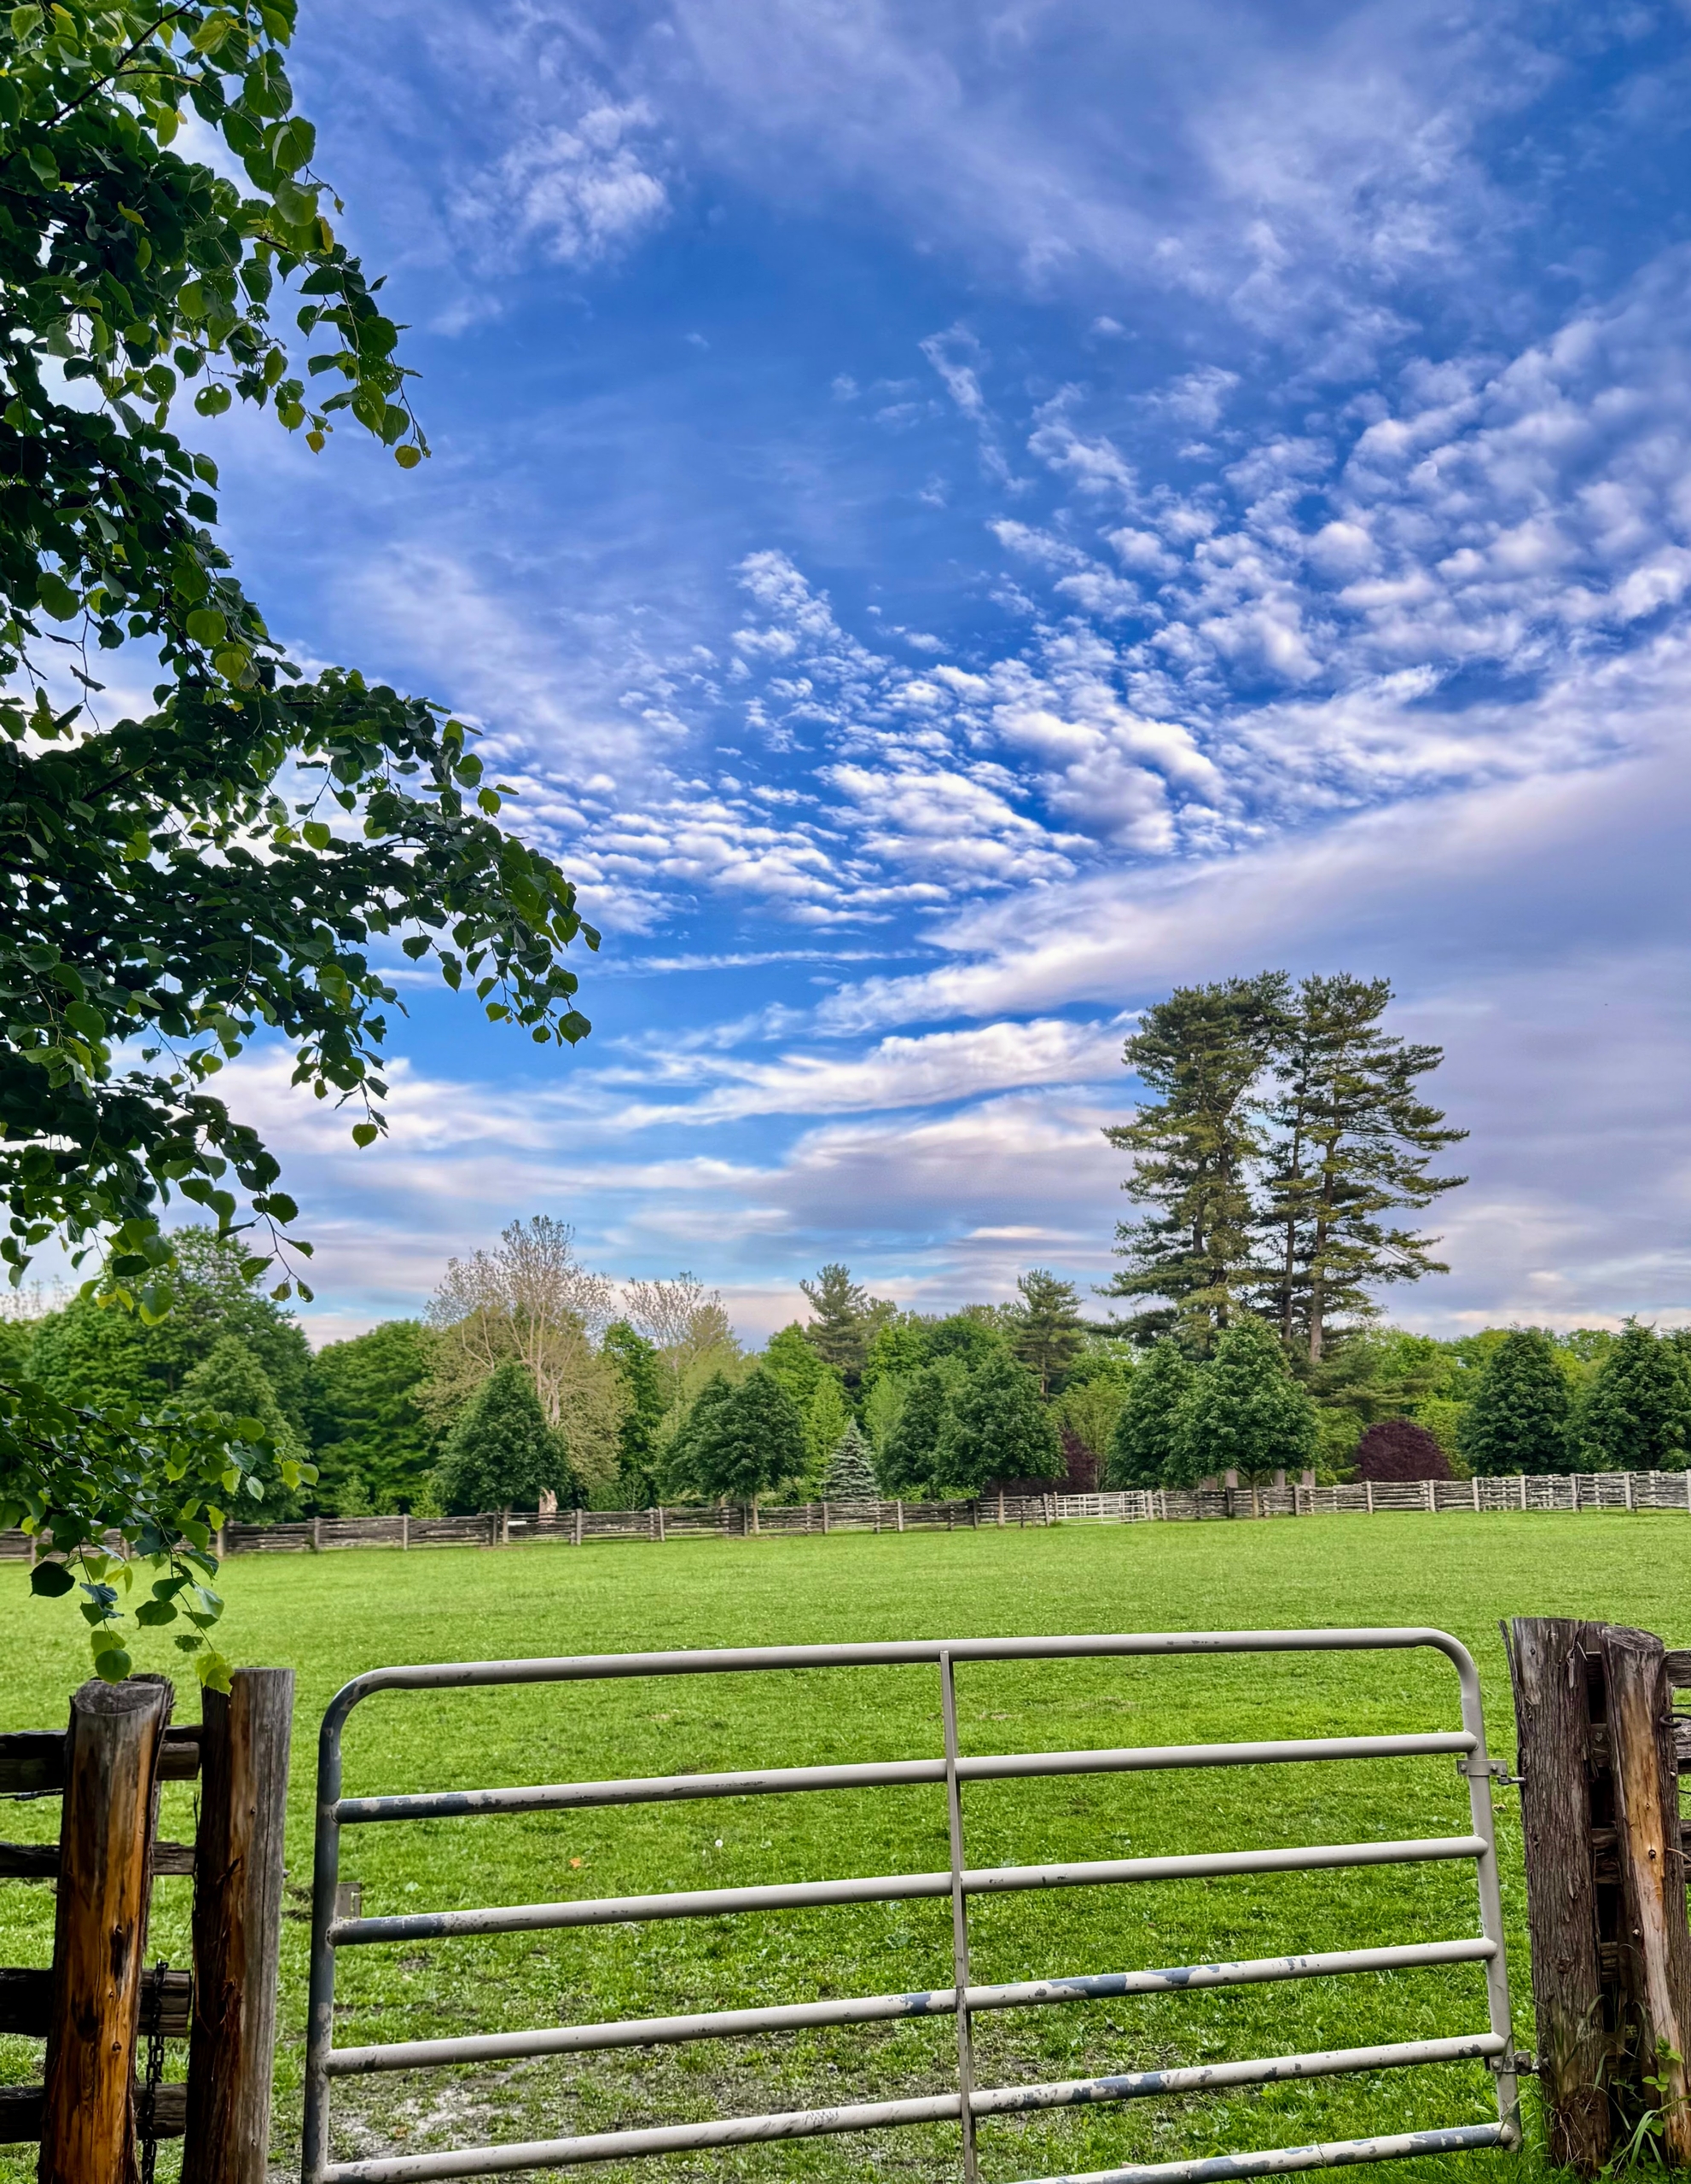
This is one of my horse pastures. In the distance are the tall eastern white pines that were here when I moved to the farm. The trees in front of them are lindens. The allée stretches from my long pergola down to the chicken coops.
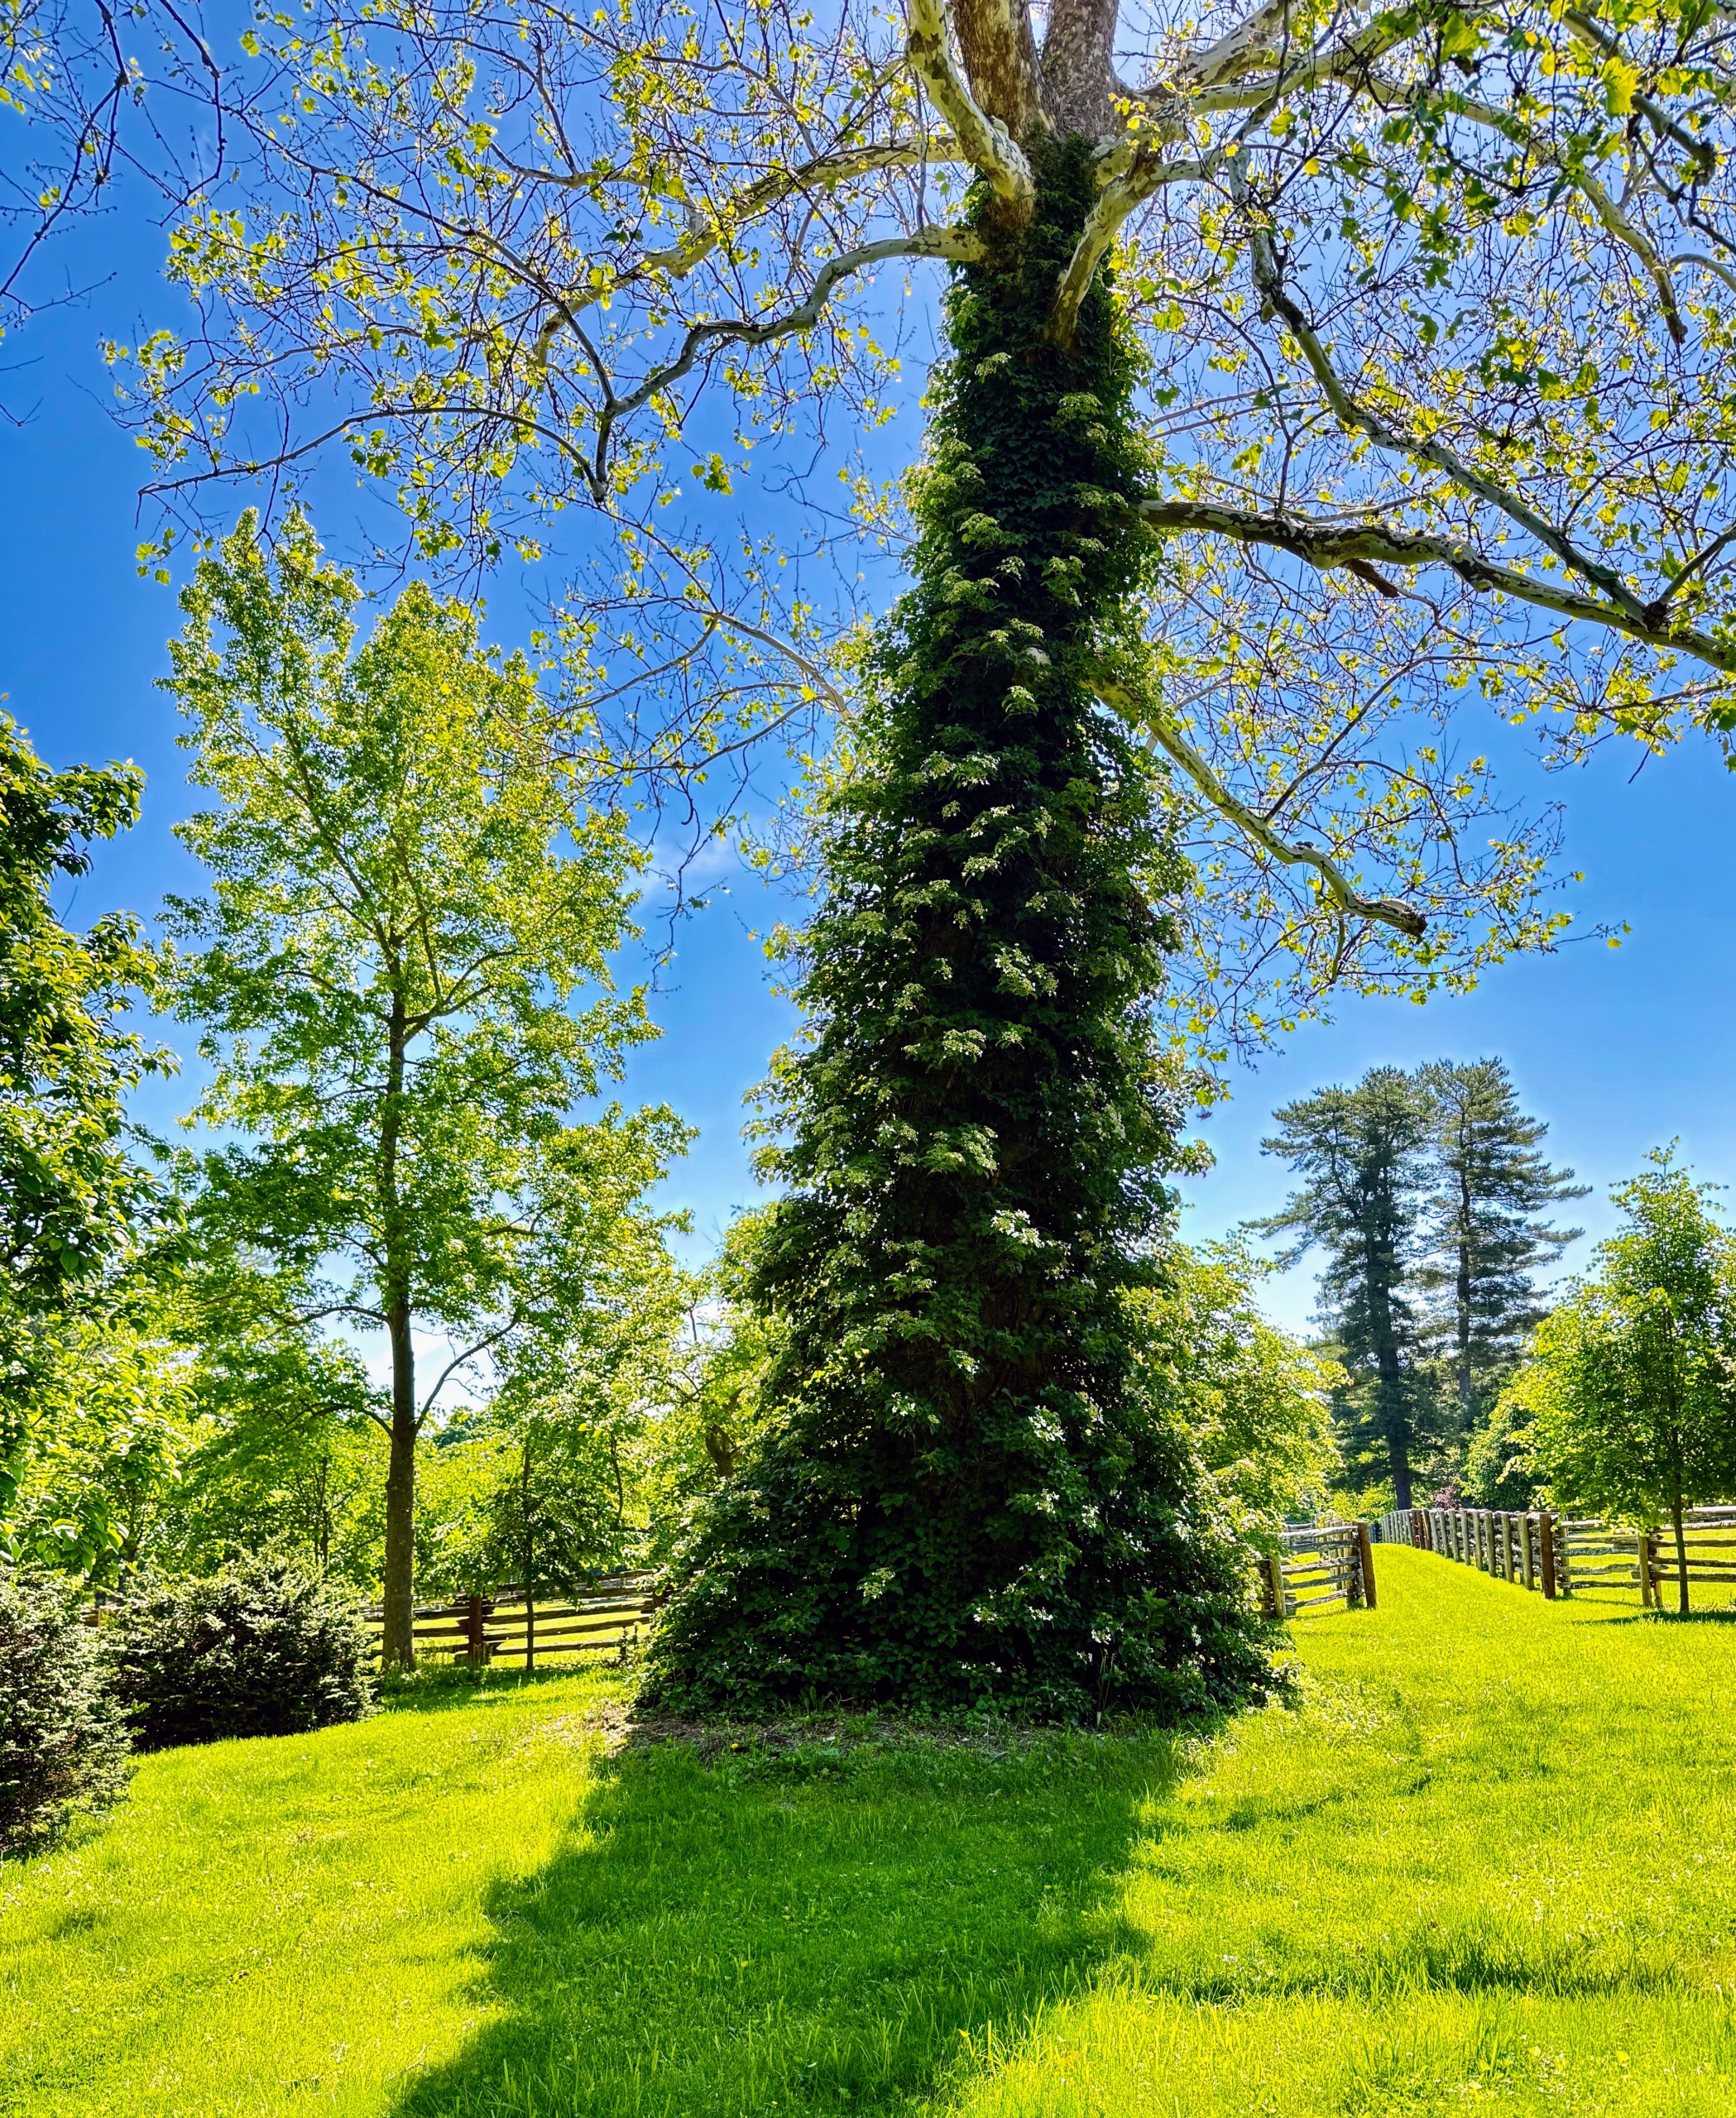
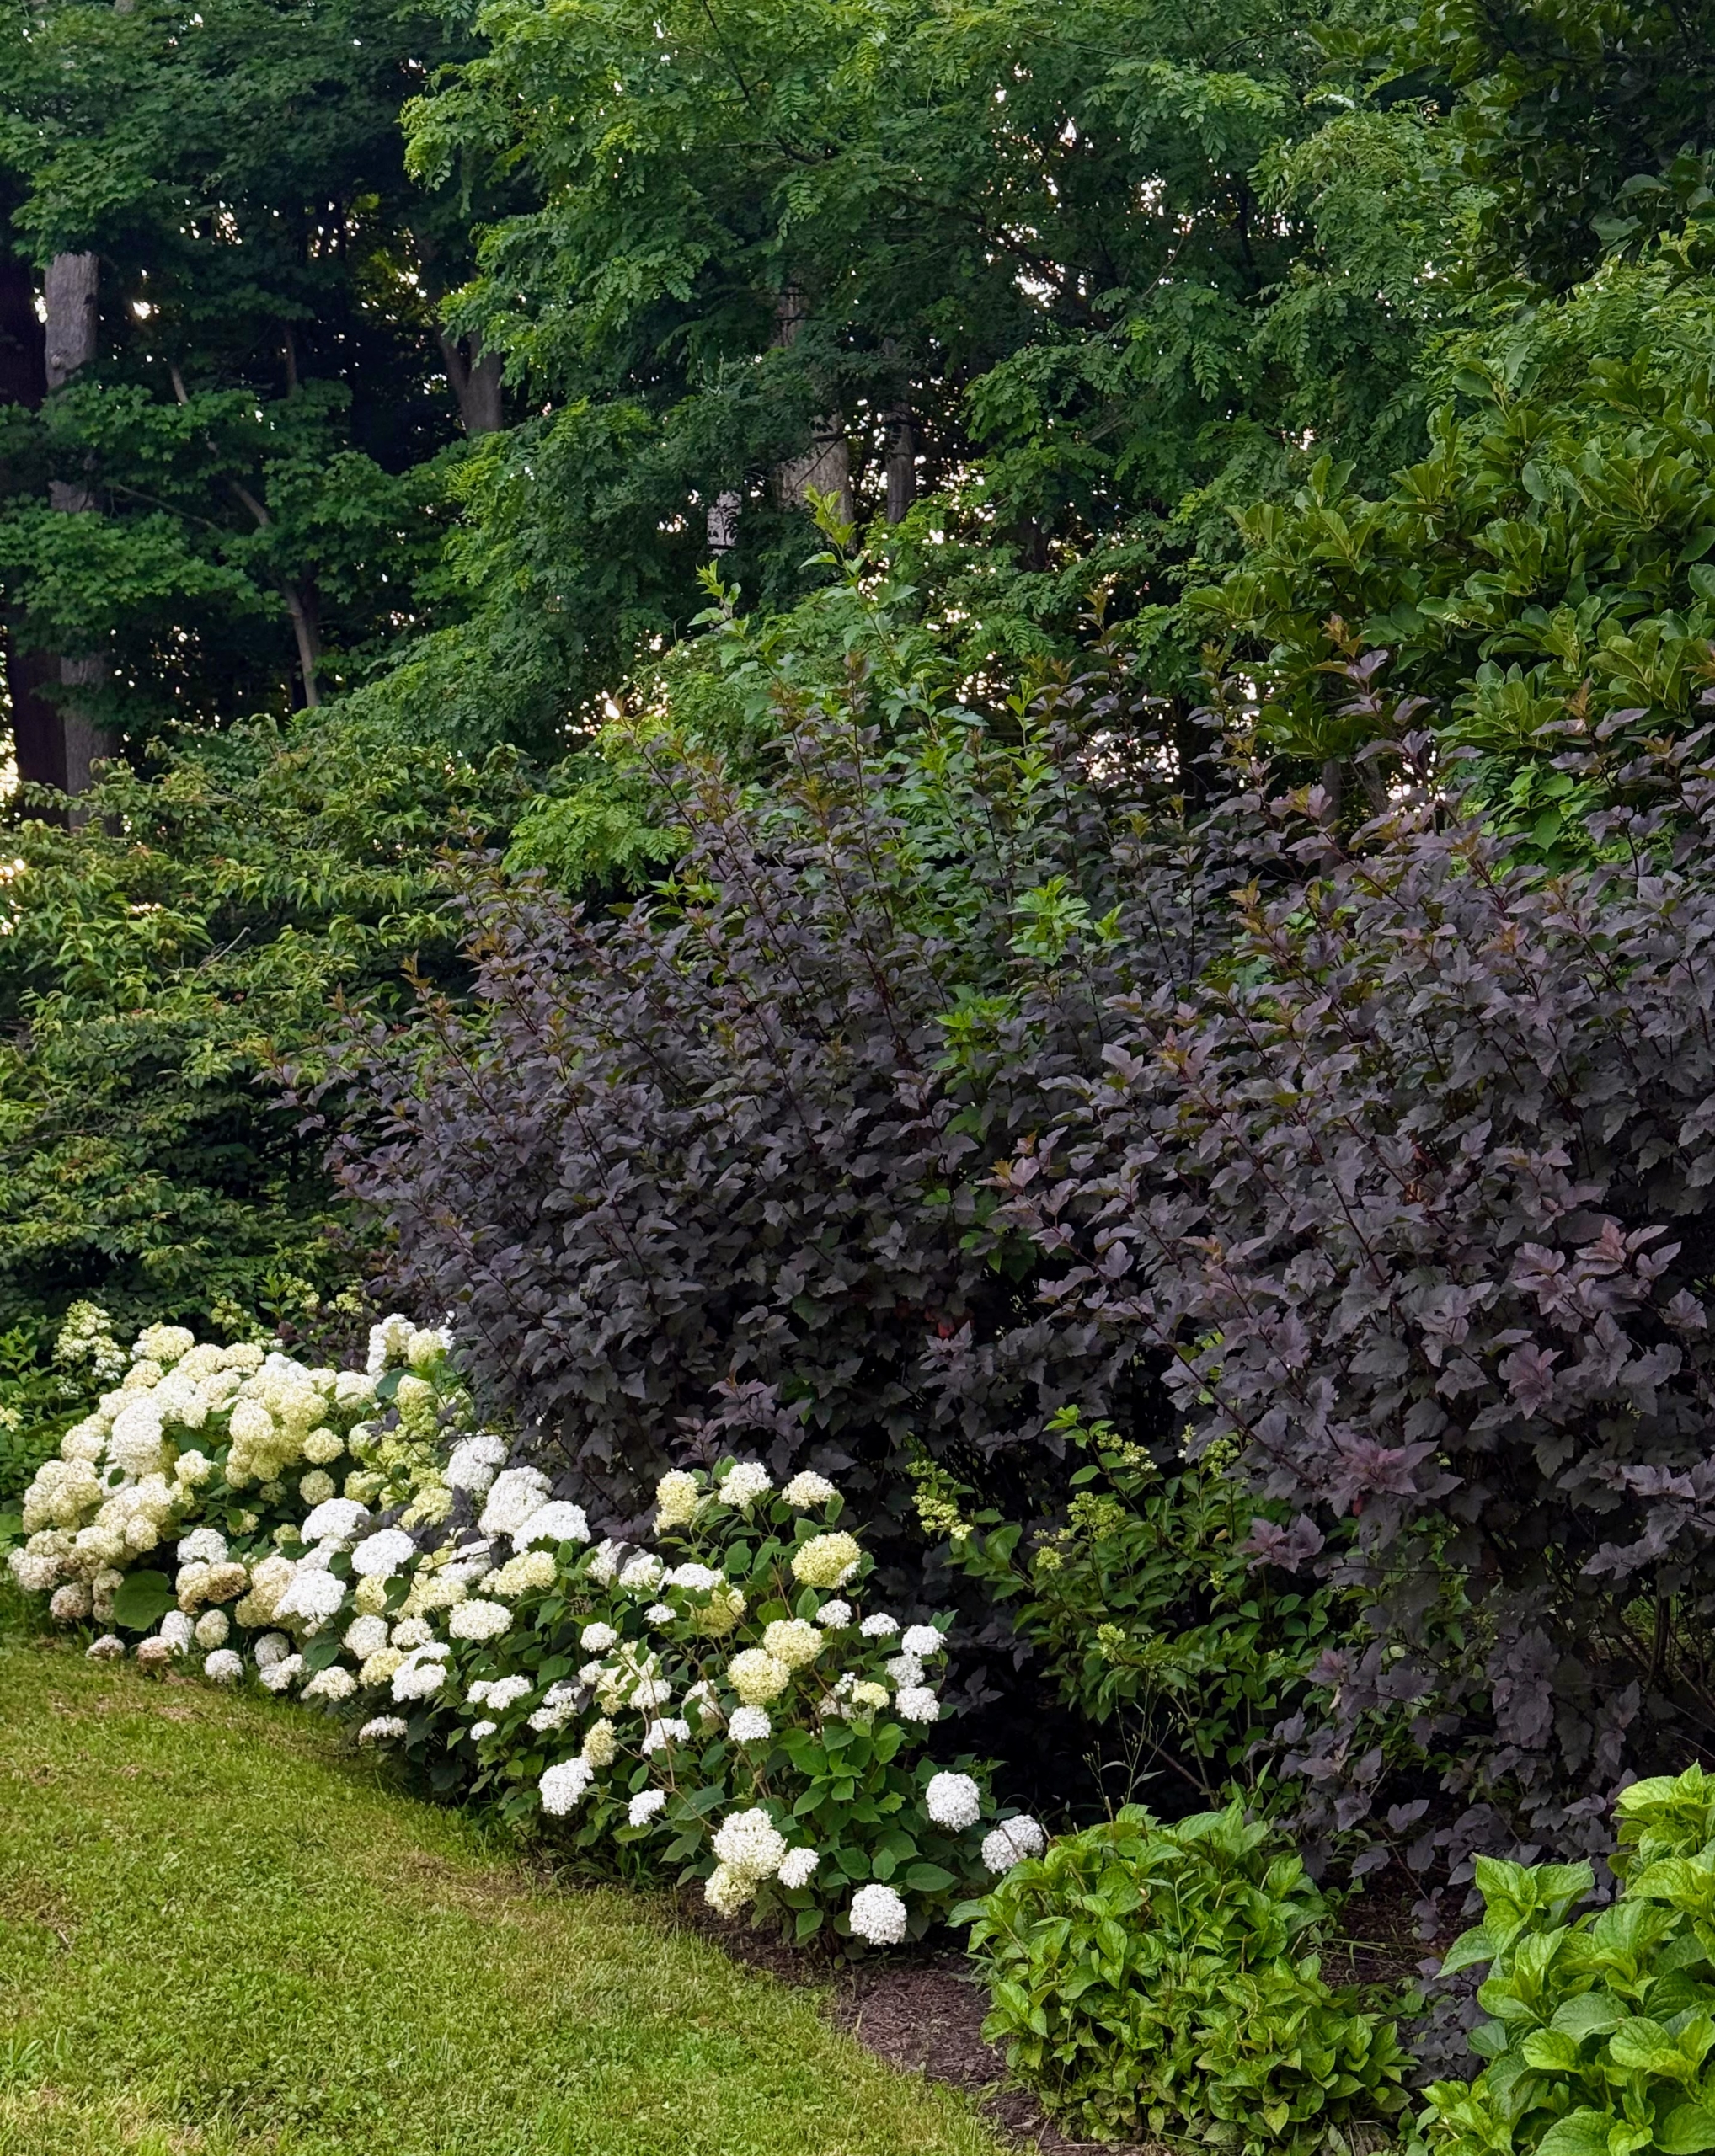
I planted climbing hydrangeas at the base of some of the trees around my home. They bloom wonderfully every year.
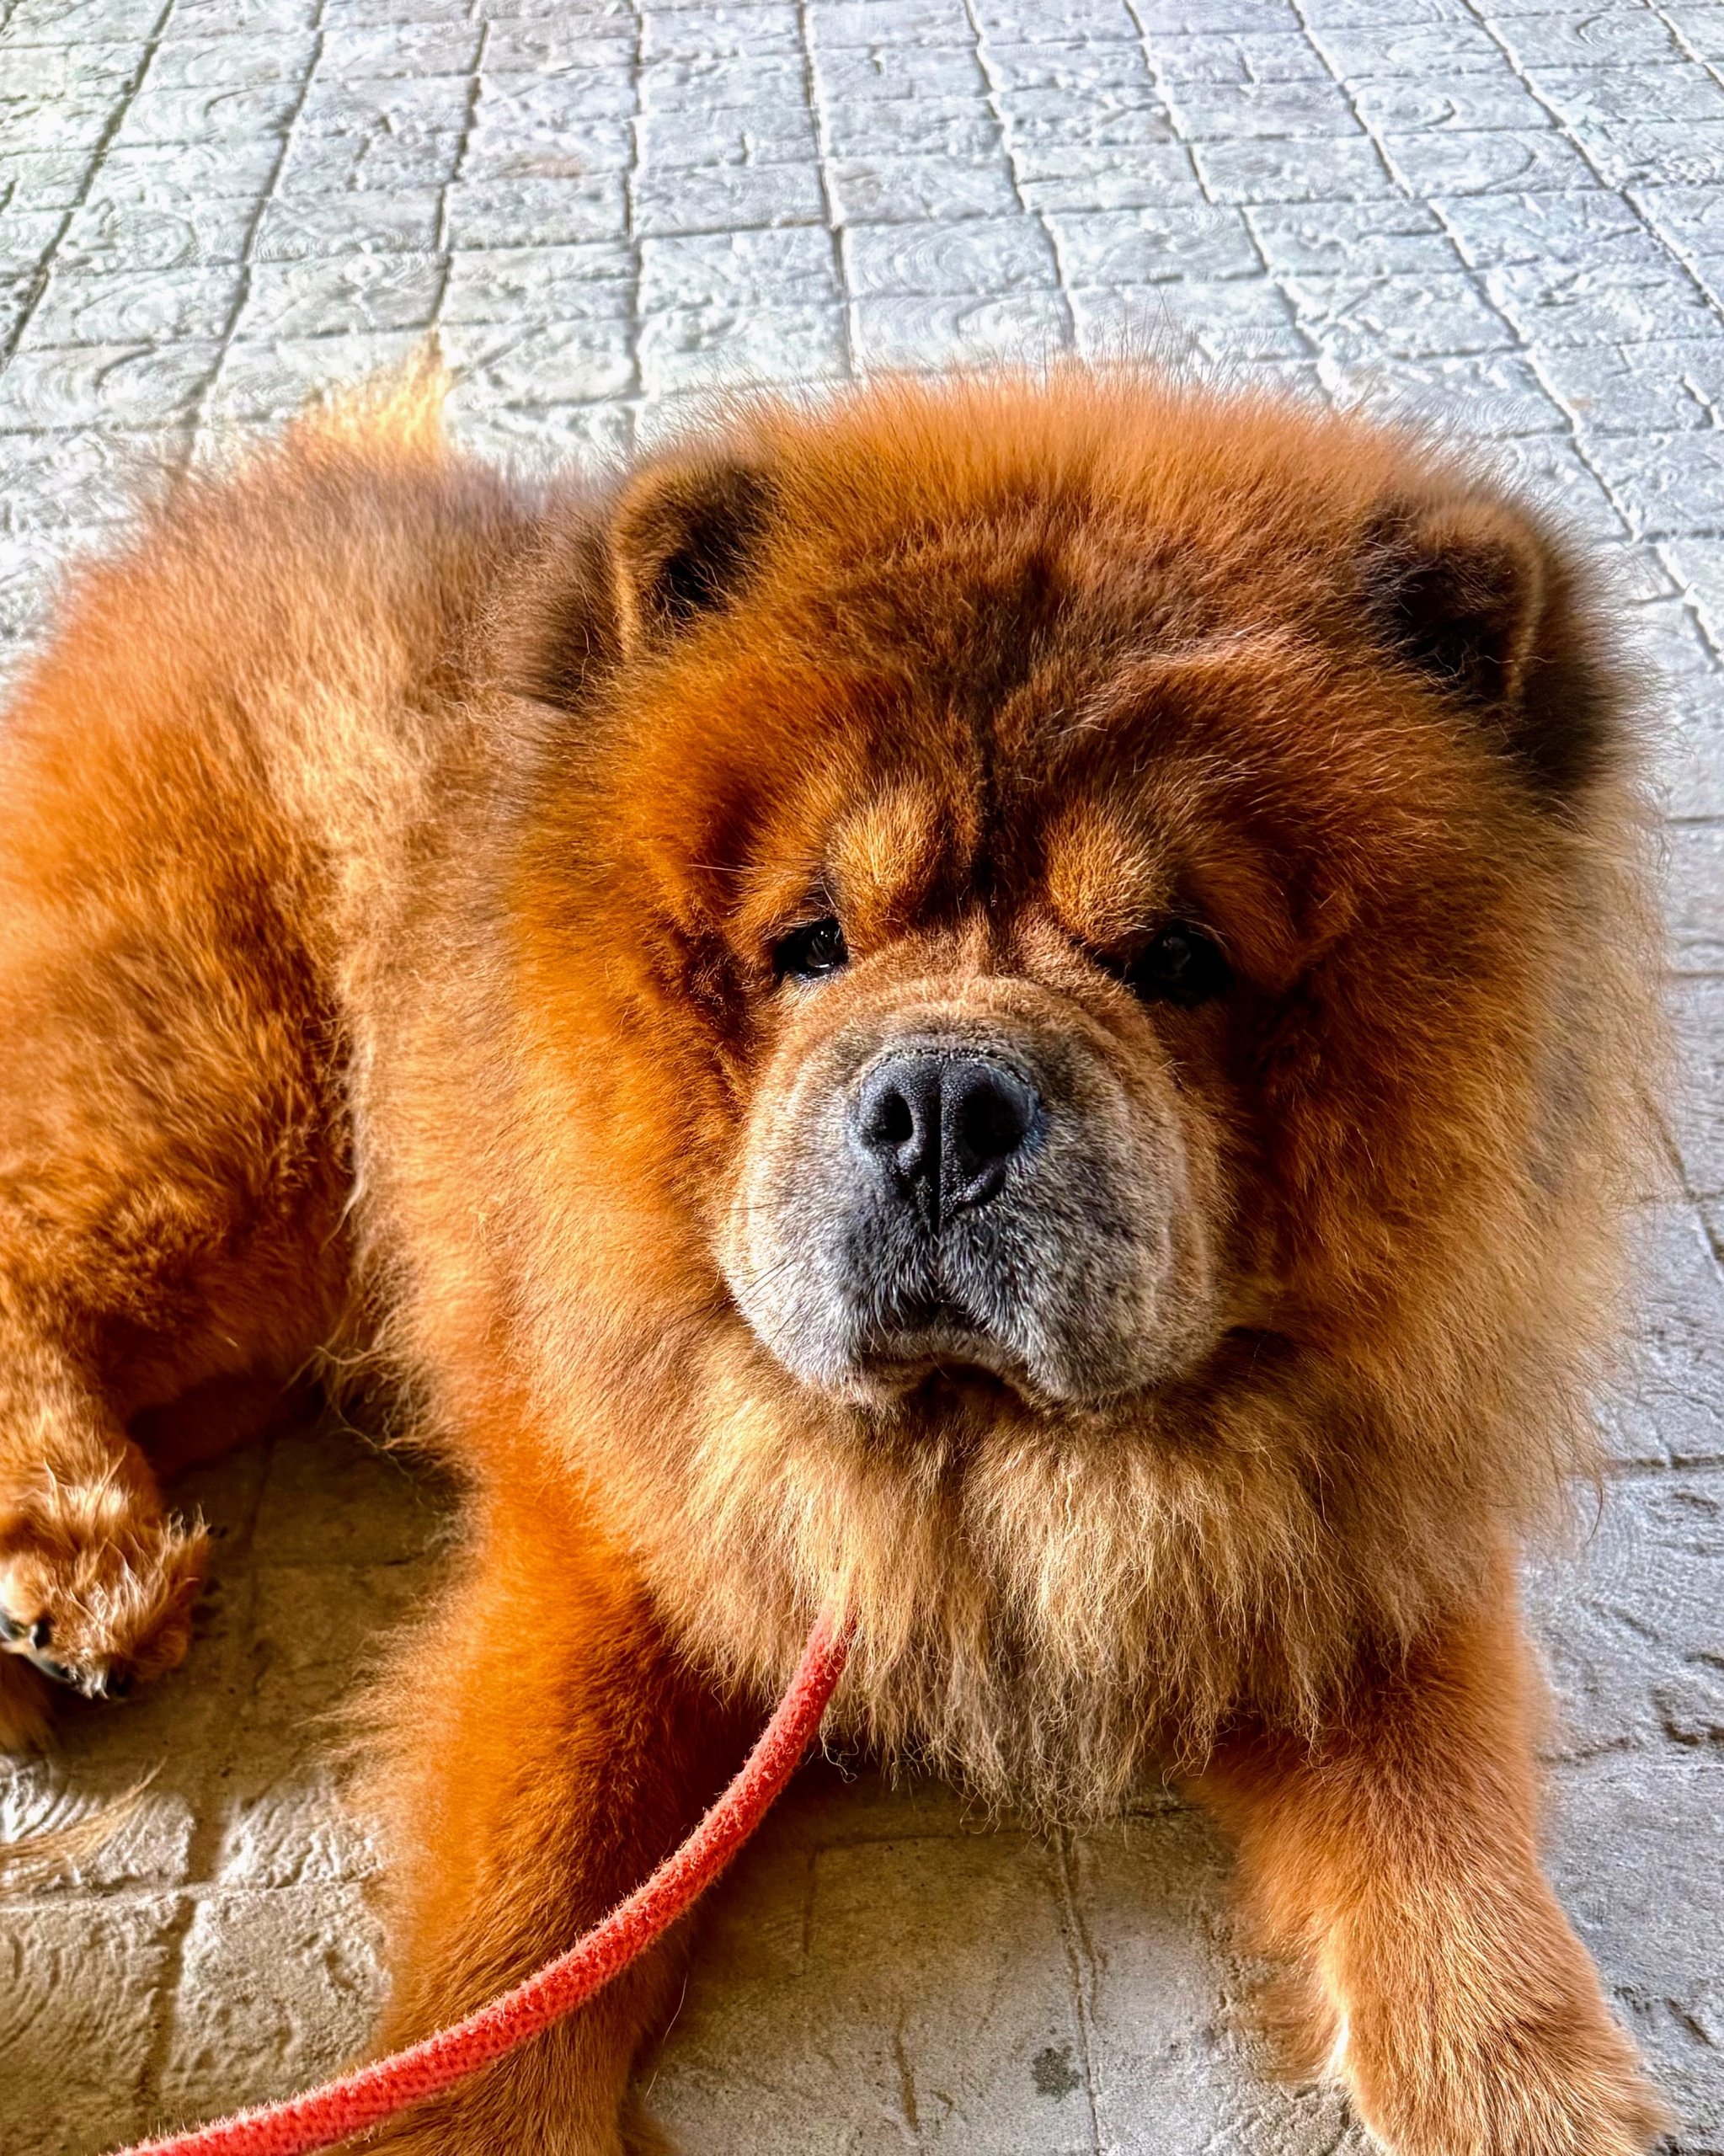
Here’s my handsome Chow Chow Emperor Han on the cool stone floor of my stable. He adores Carlos and loves to accompany him wherever he goes.
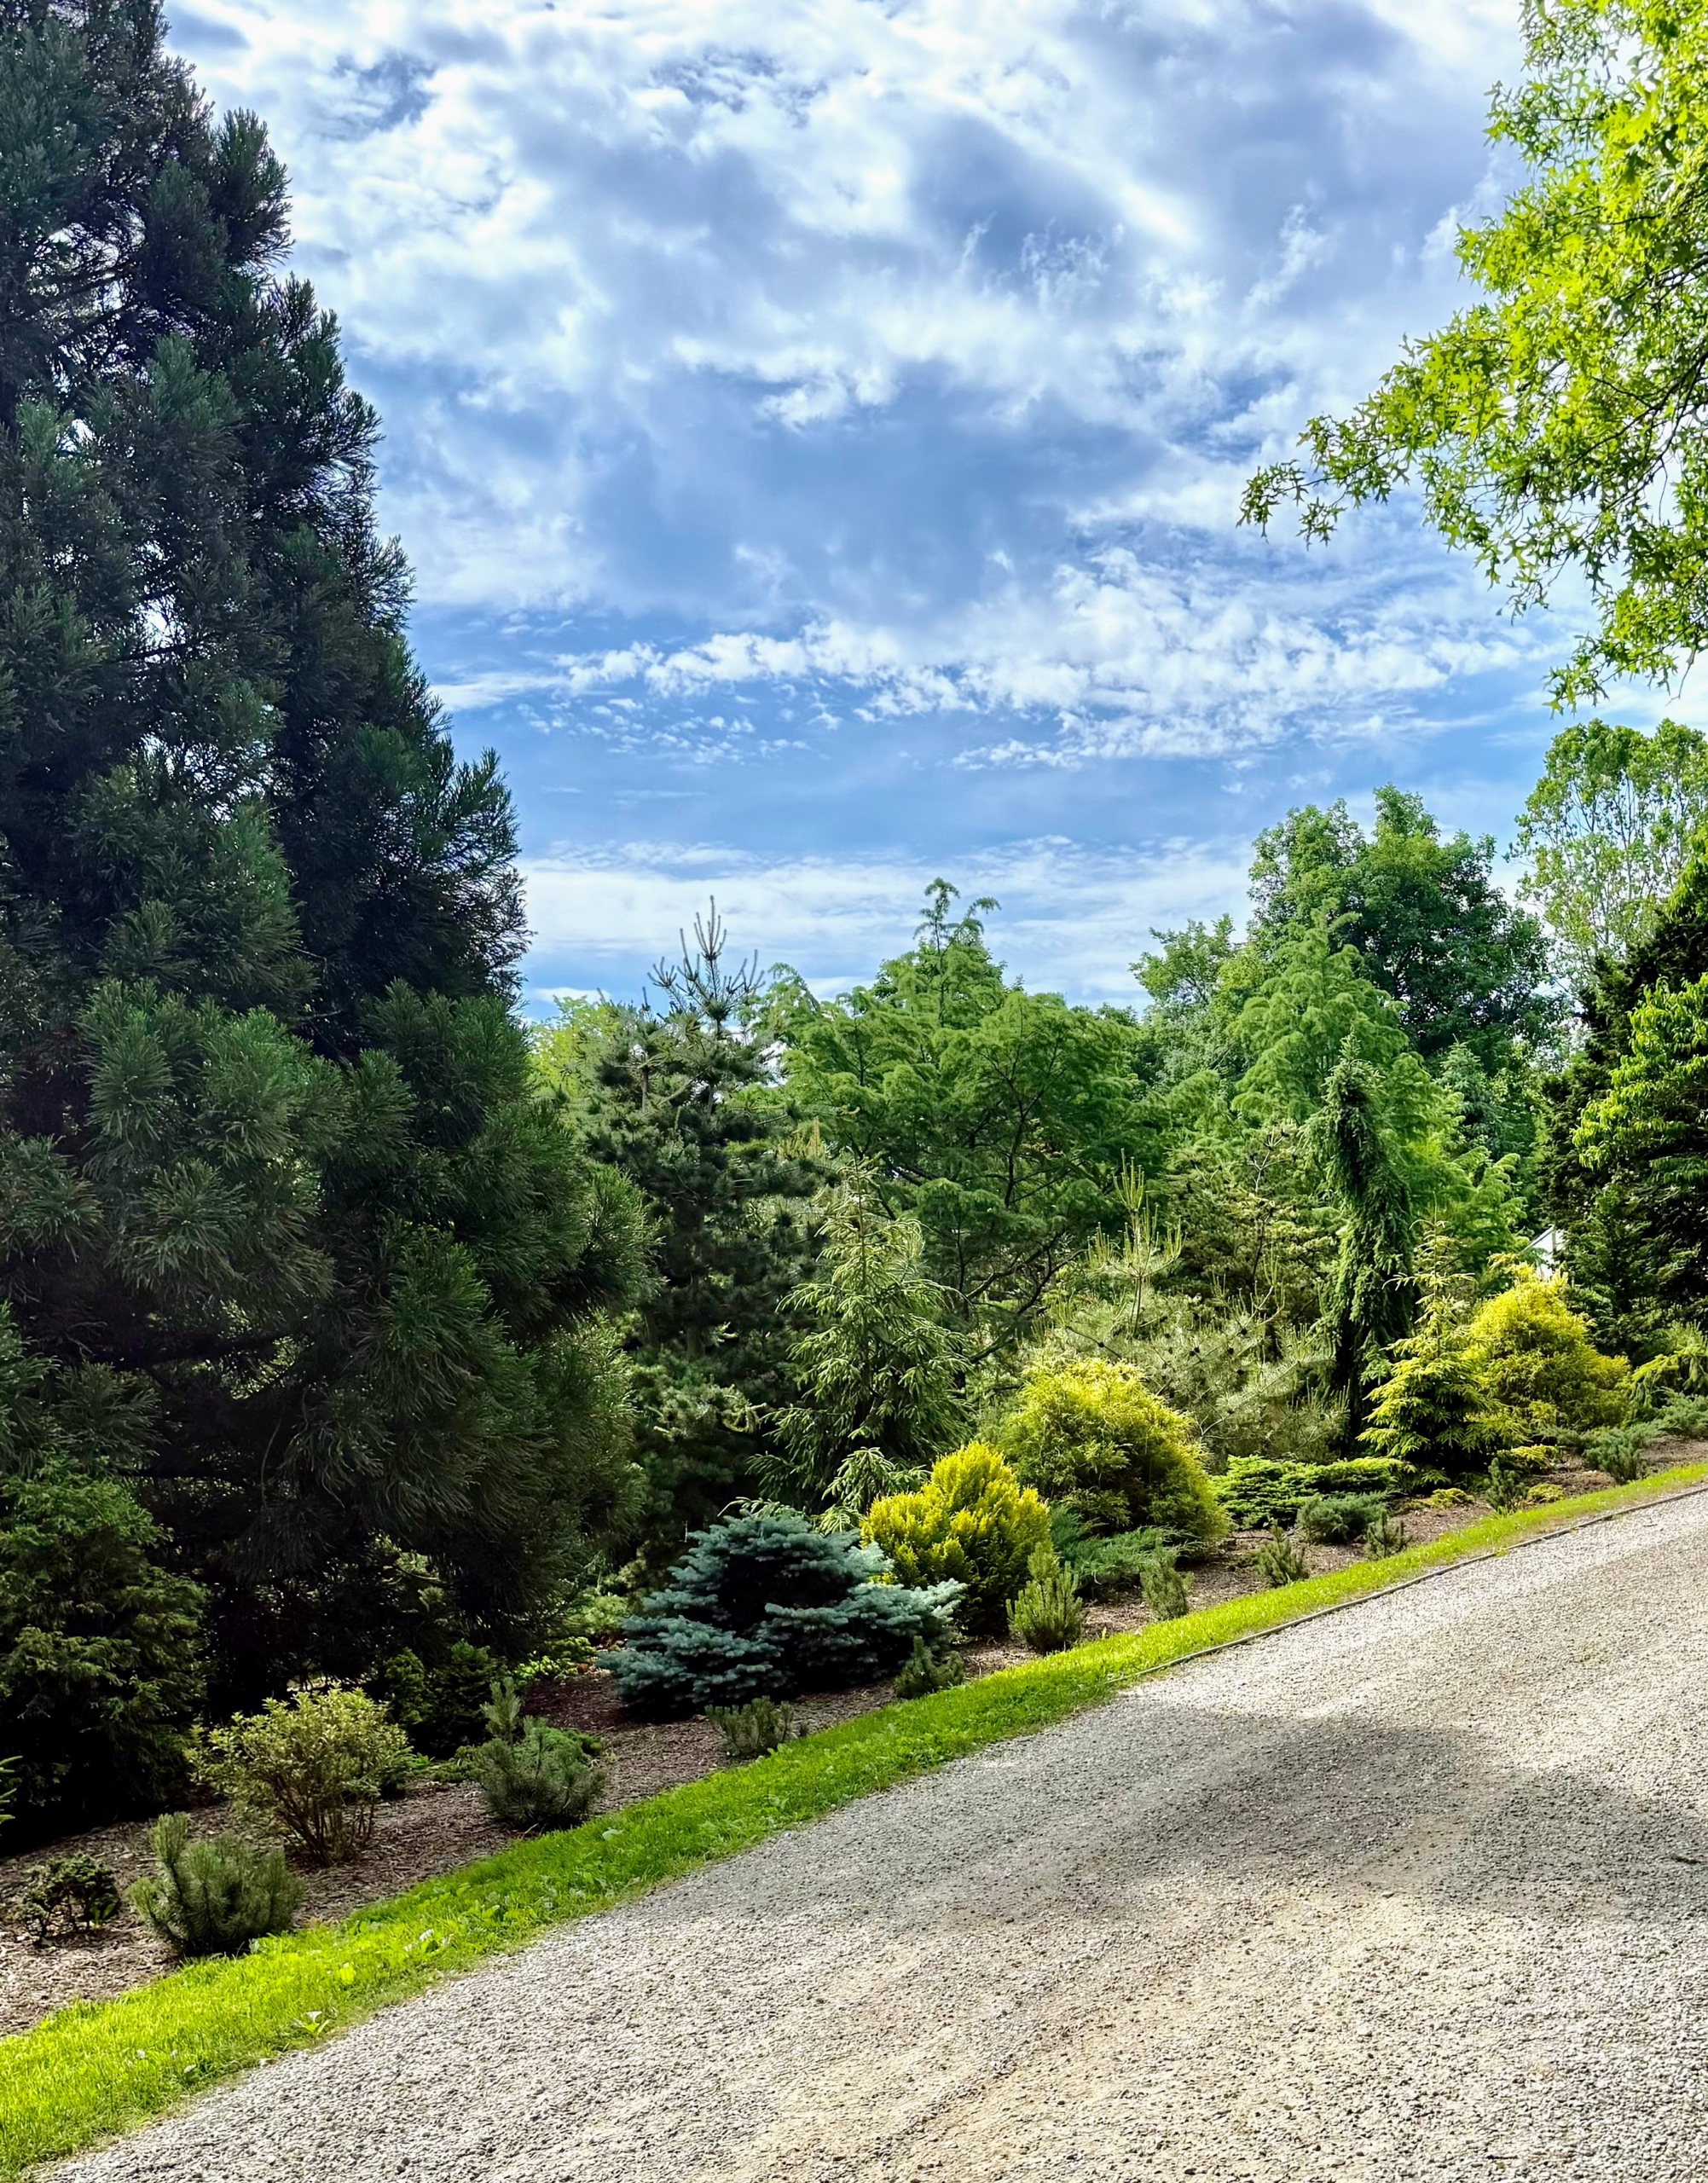
This is my pinetum just off the carriage road behind my Equipment Barn. I started it about 20 years ago. As an arboretum of pine trees and other conifers, this area provides shelter and nesting sites for small birds, and continuous, year-round interest and greenery in the landscape.
Carlos enjoys capturing photos of the changing skies. On this warm summer day, there was nothing but beautiful blue above the farm.
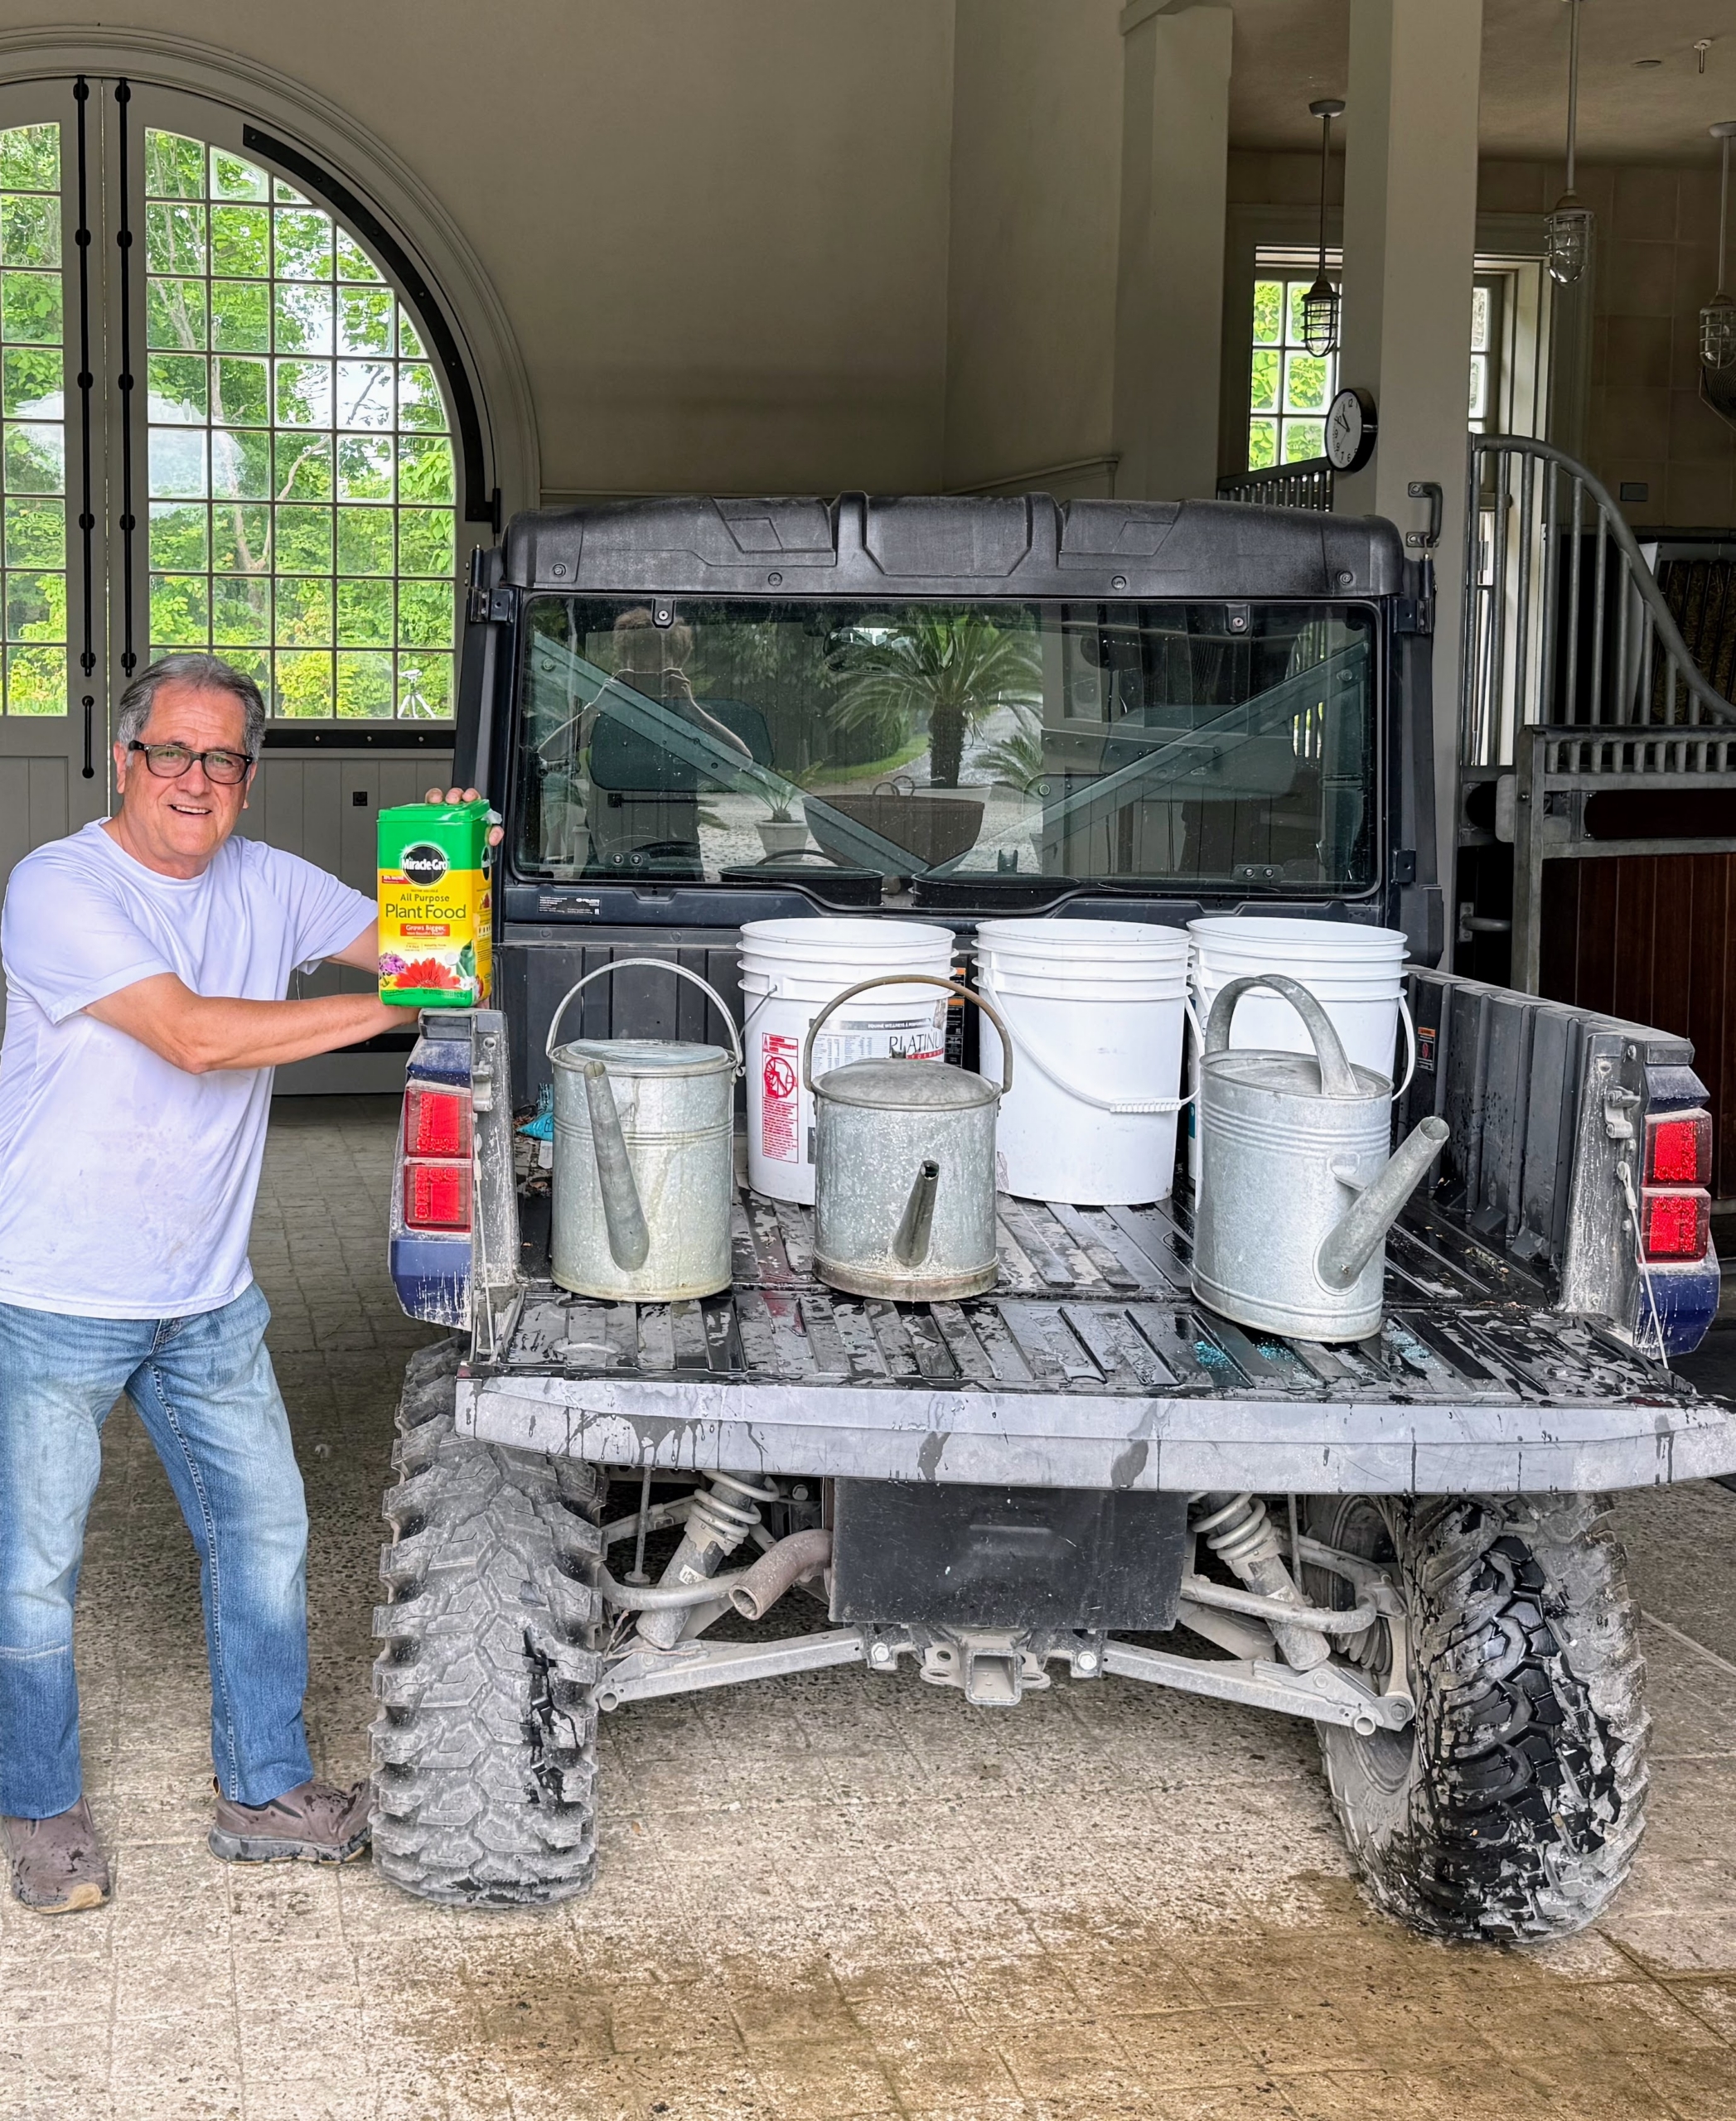
Aside from his love for photography, Carlos also enjoys helping me with the gardening. He feeds many of the plants for me – with Miracle-Gro, of course.
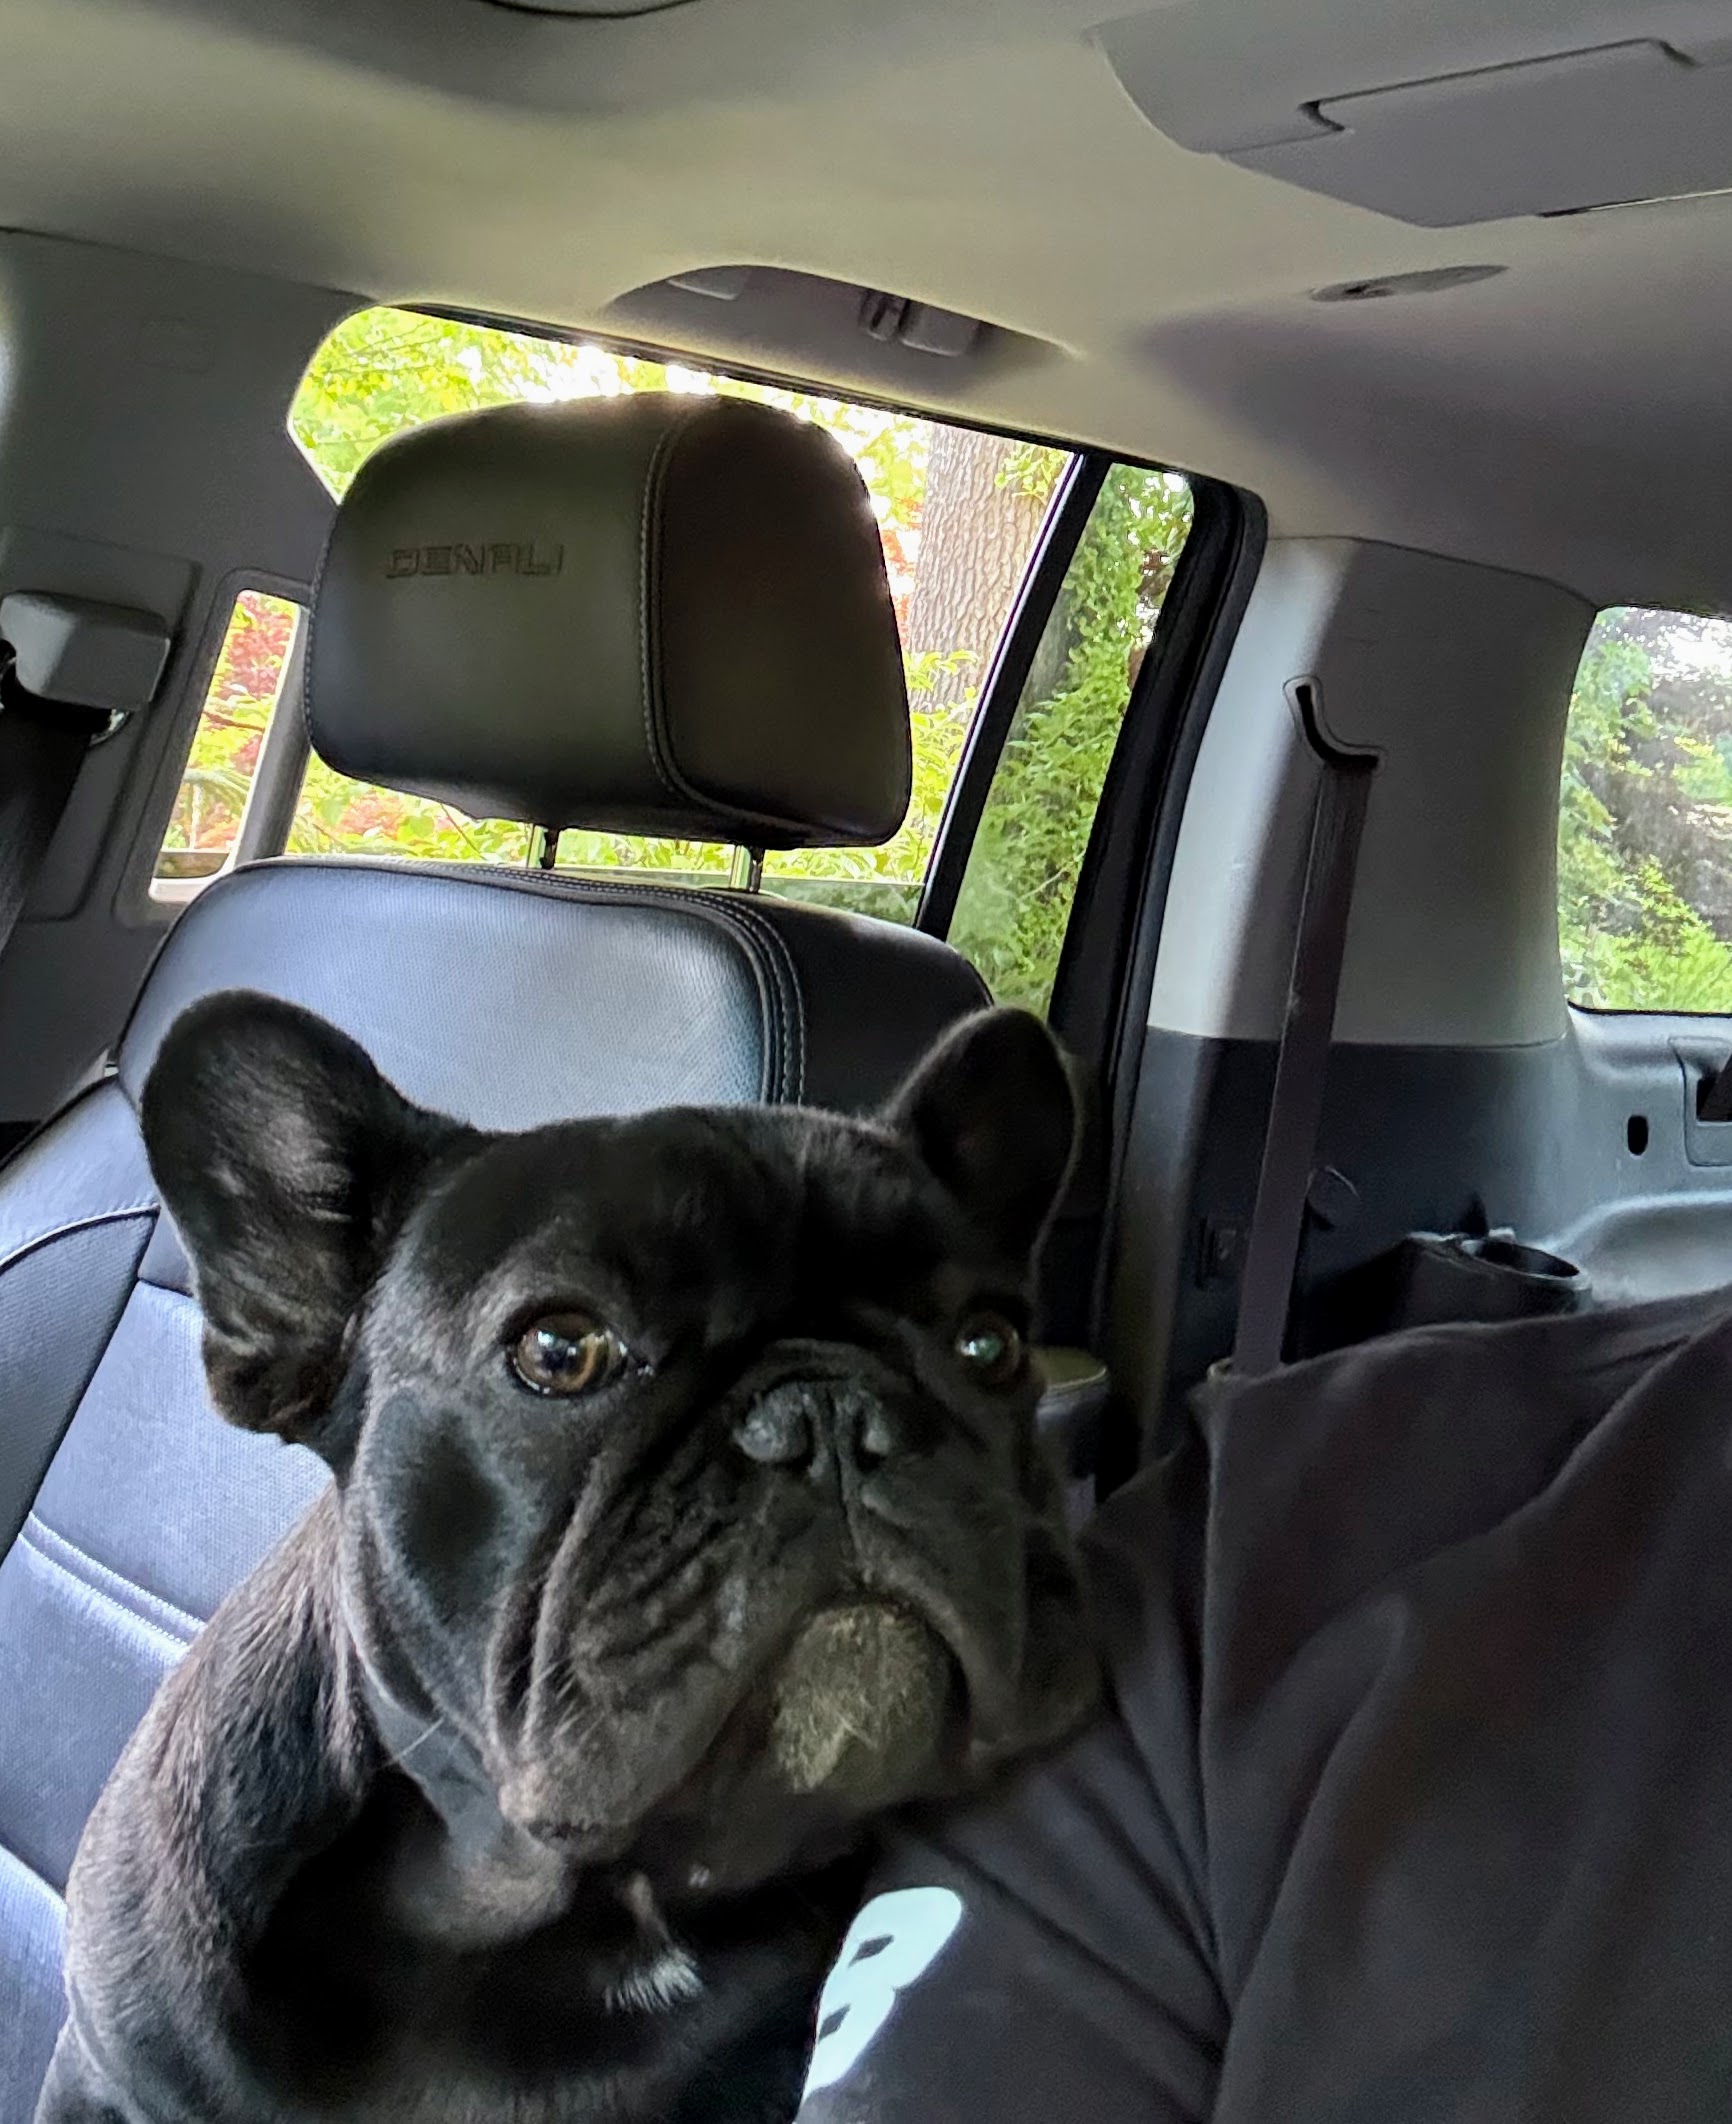
Here’s one of my three French Bulldogs, Luna Muna. She loves going for rides in the Polaris off-road vehicle with her “Uncle Carlito.”
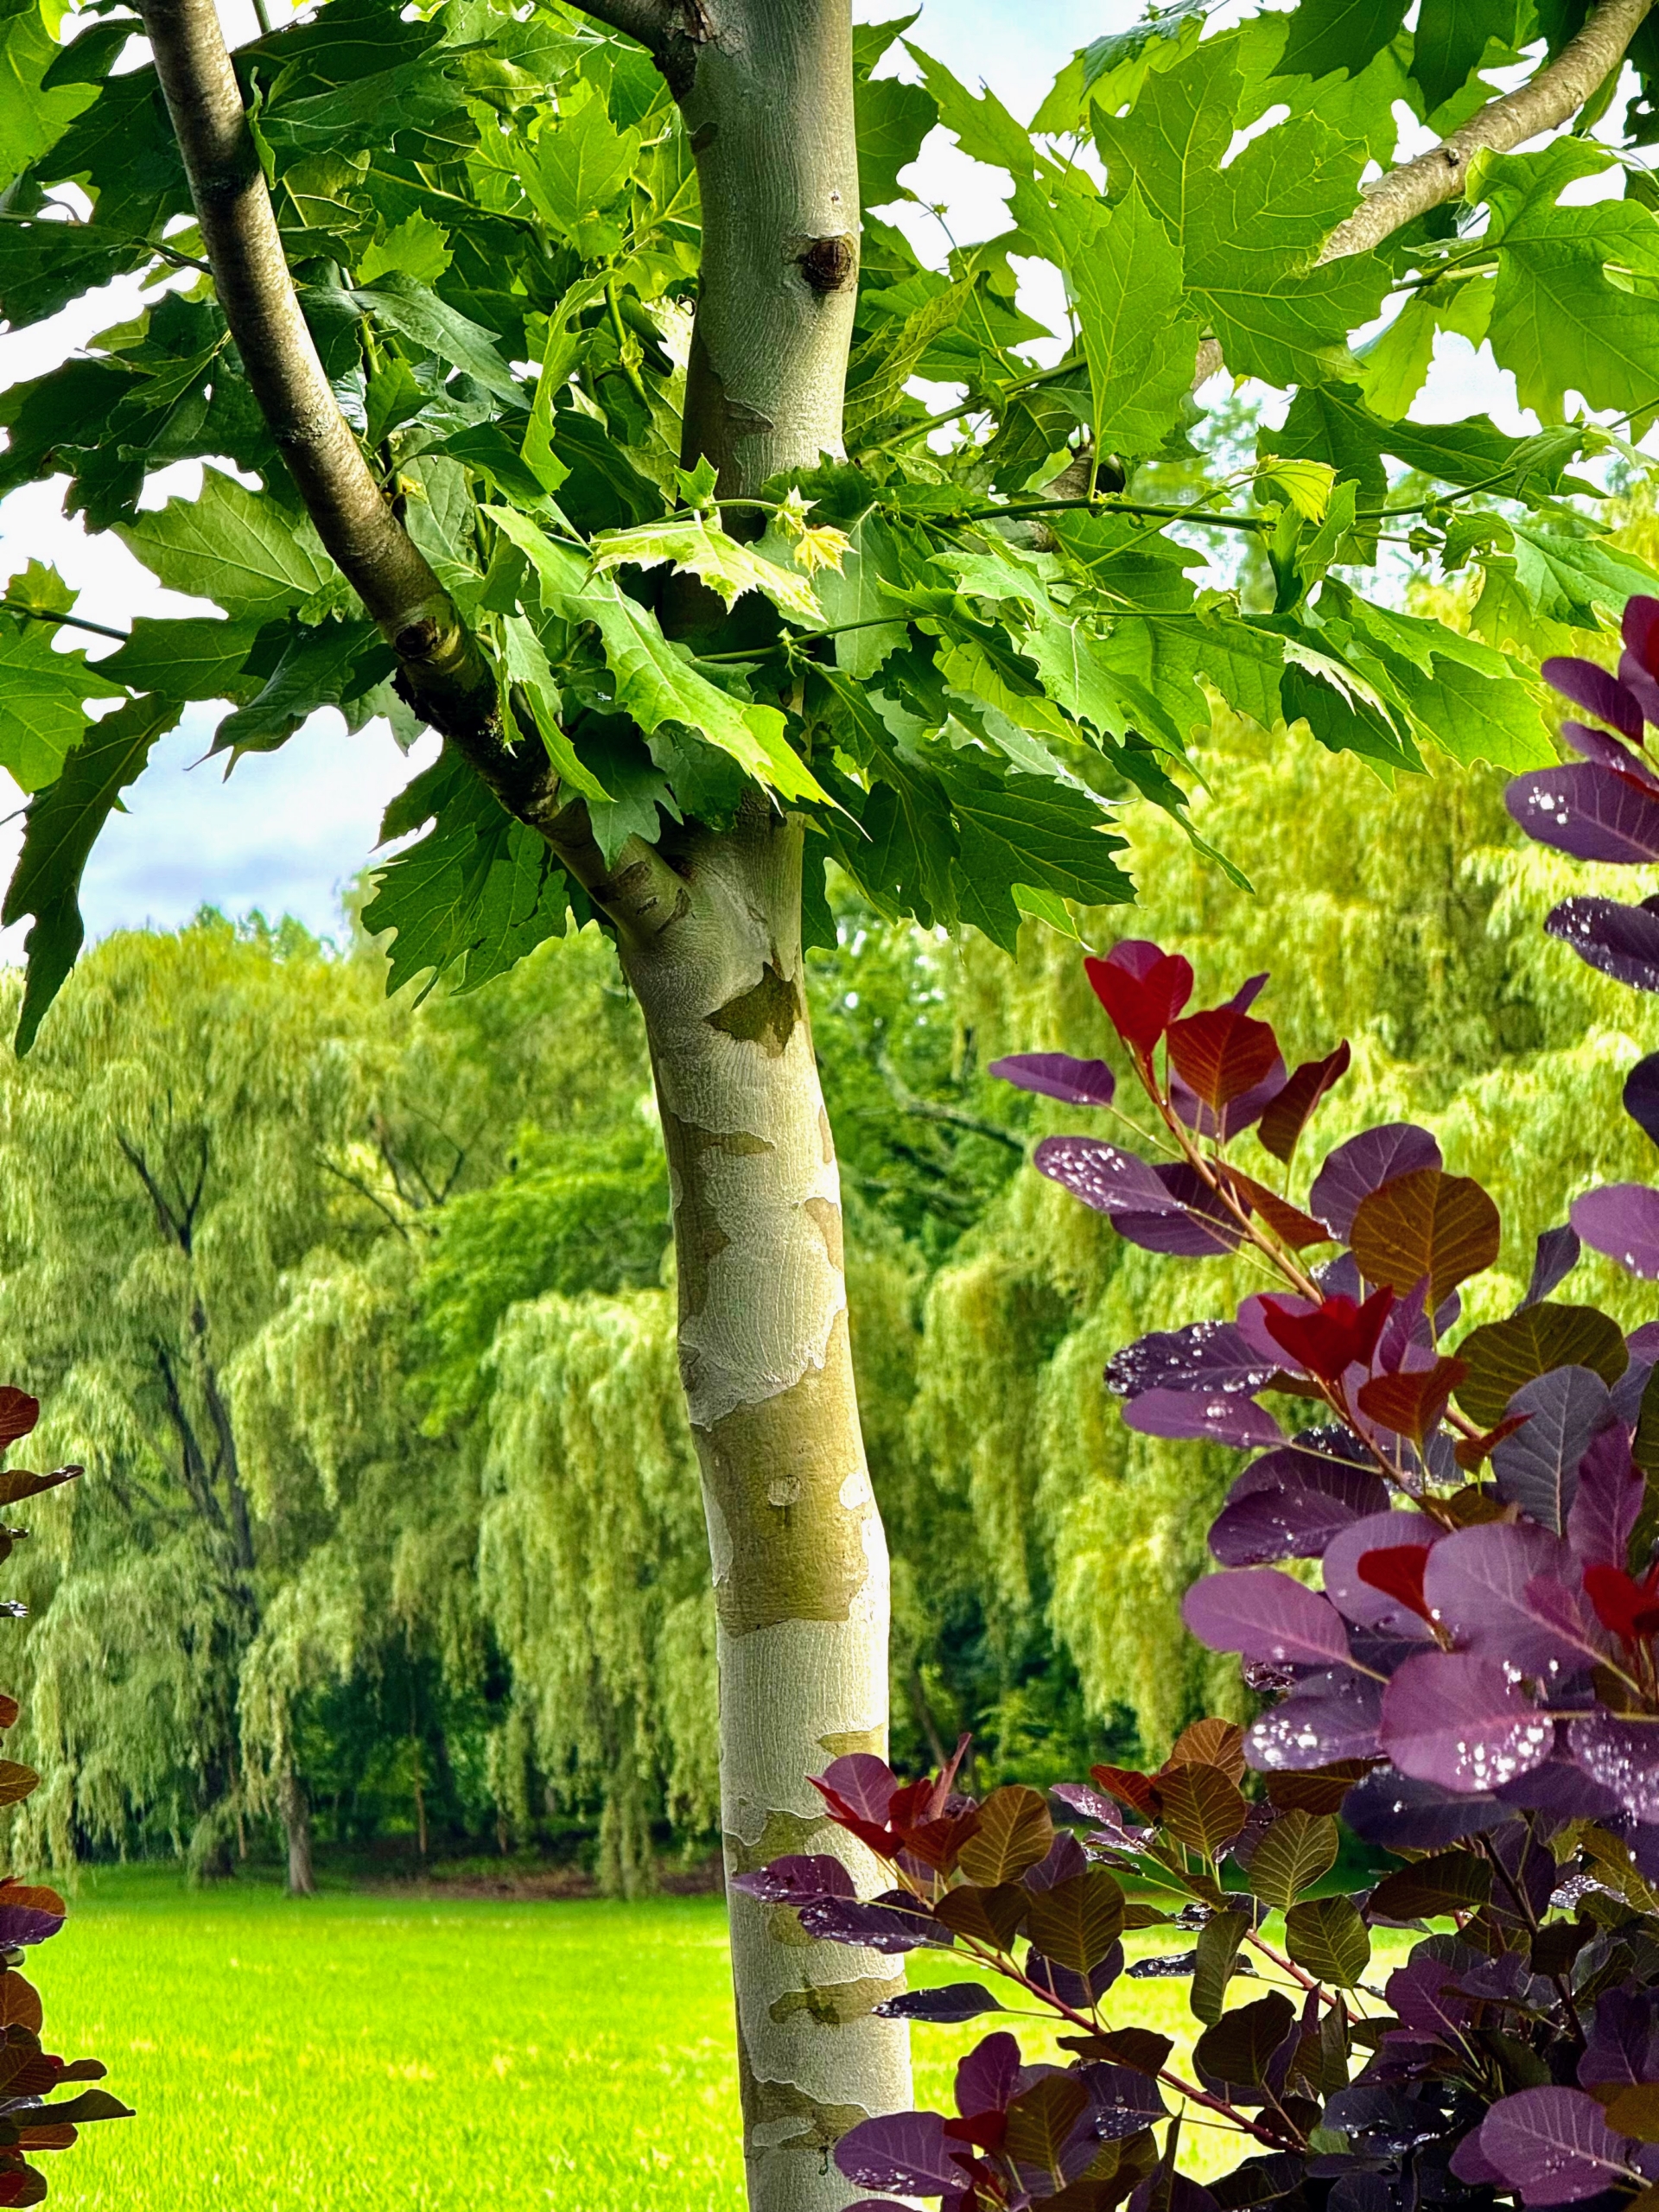
Here, Carlos notices the interesting bark of the London Plane tree. As these trees mature, they show mottled, exfoliating bark that reveals a camouflage-like pattern of pale yellow, grey, white, and brown patches.
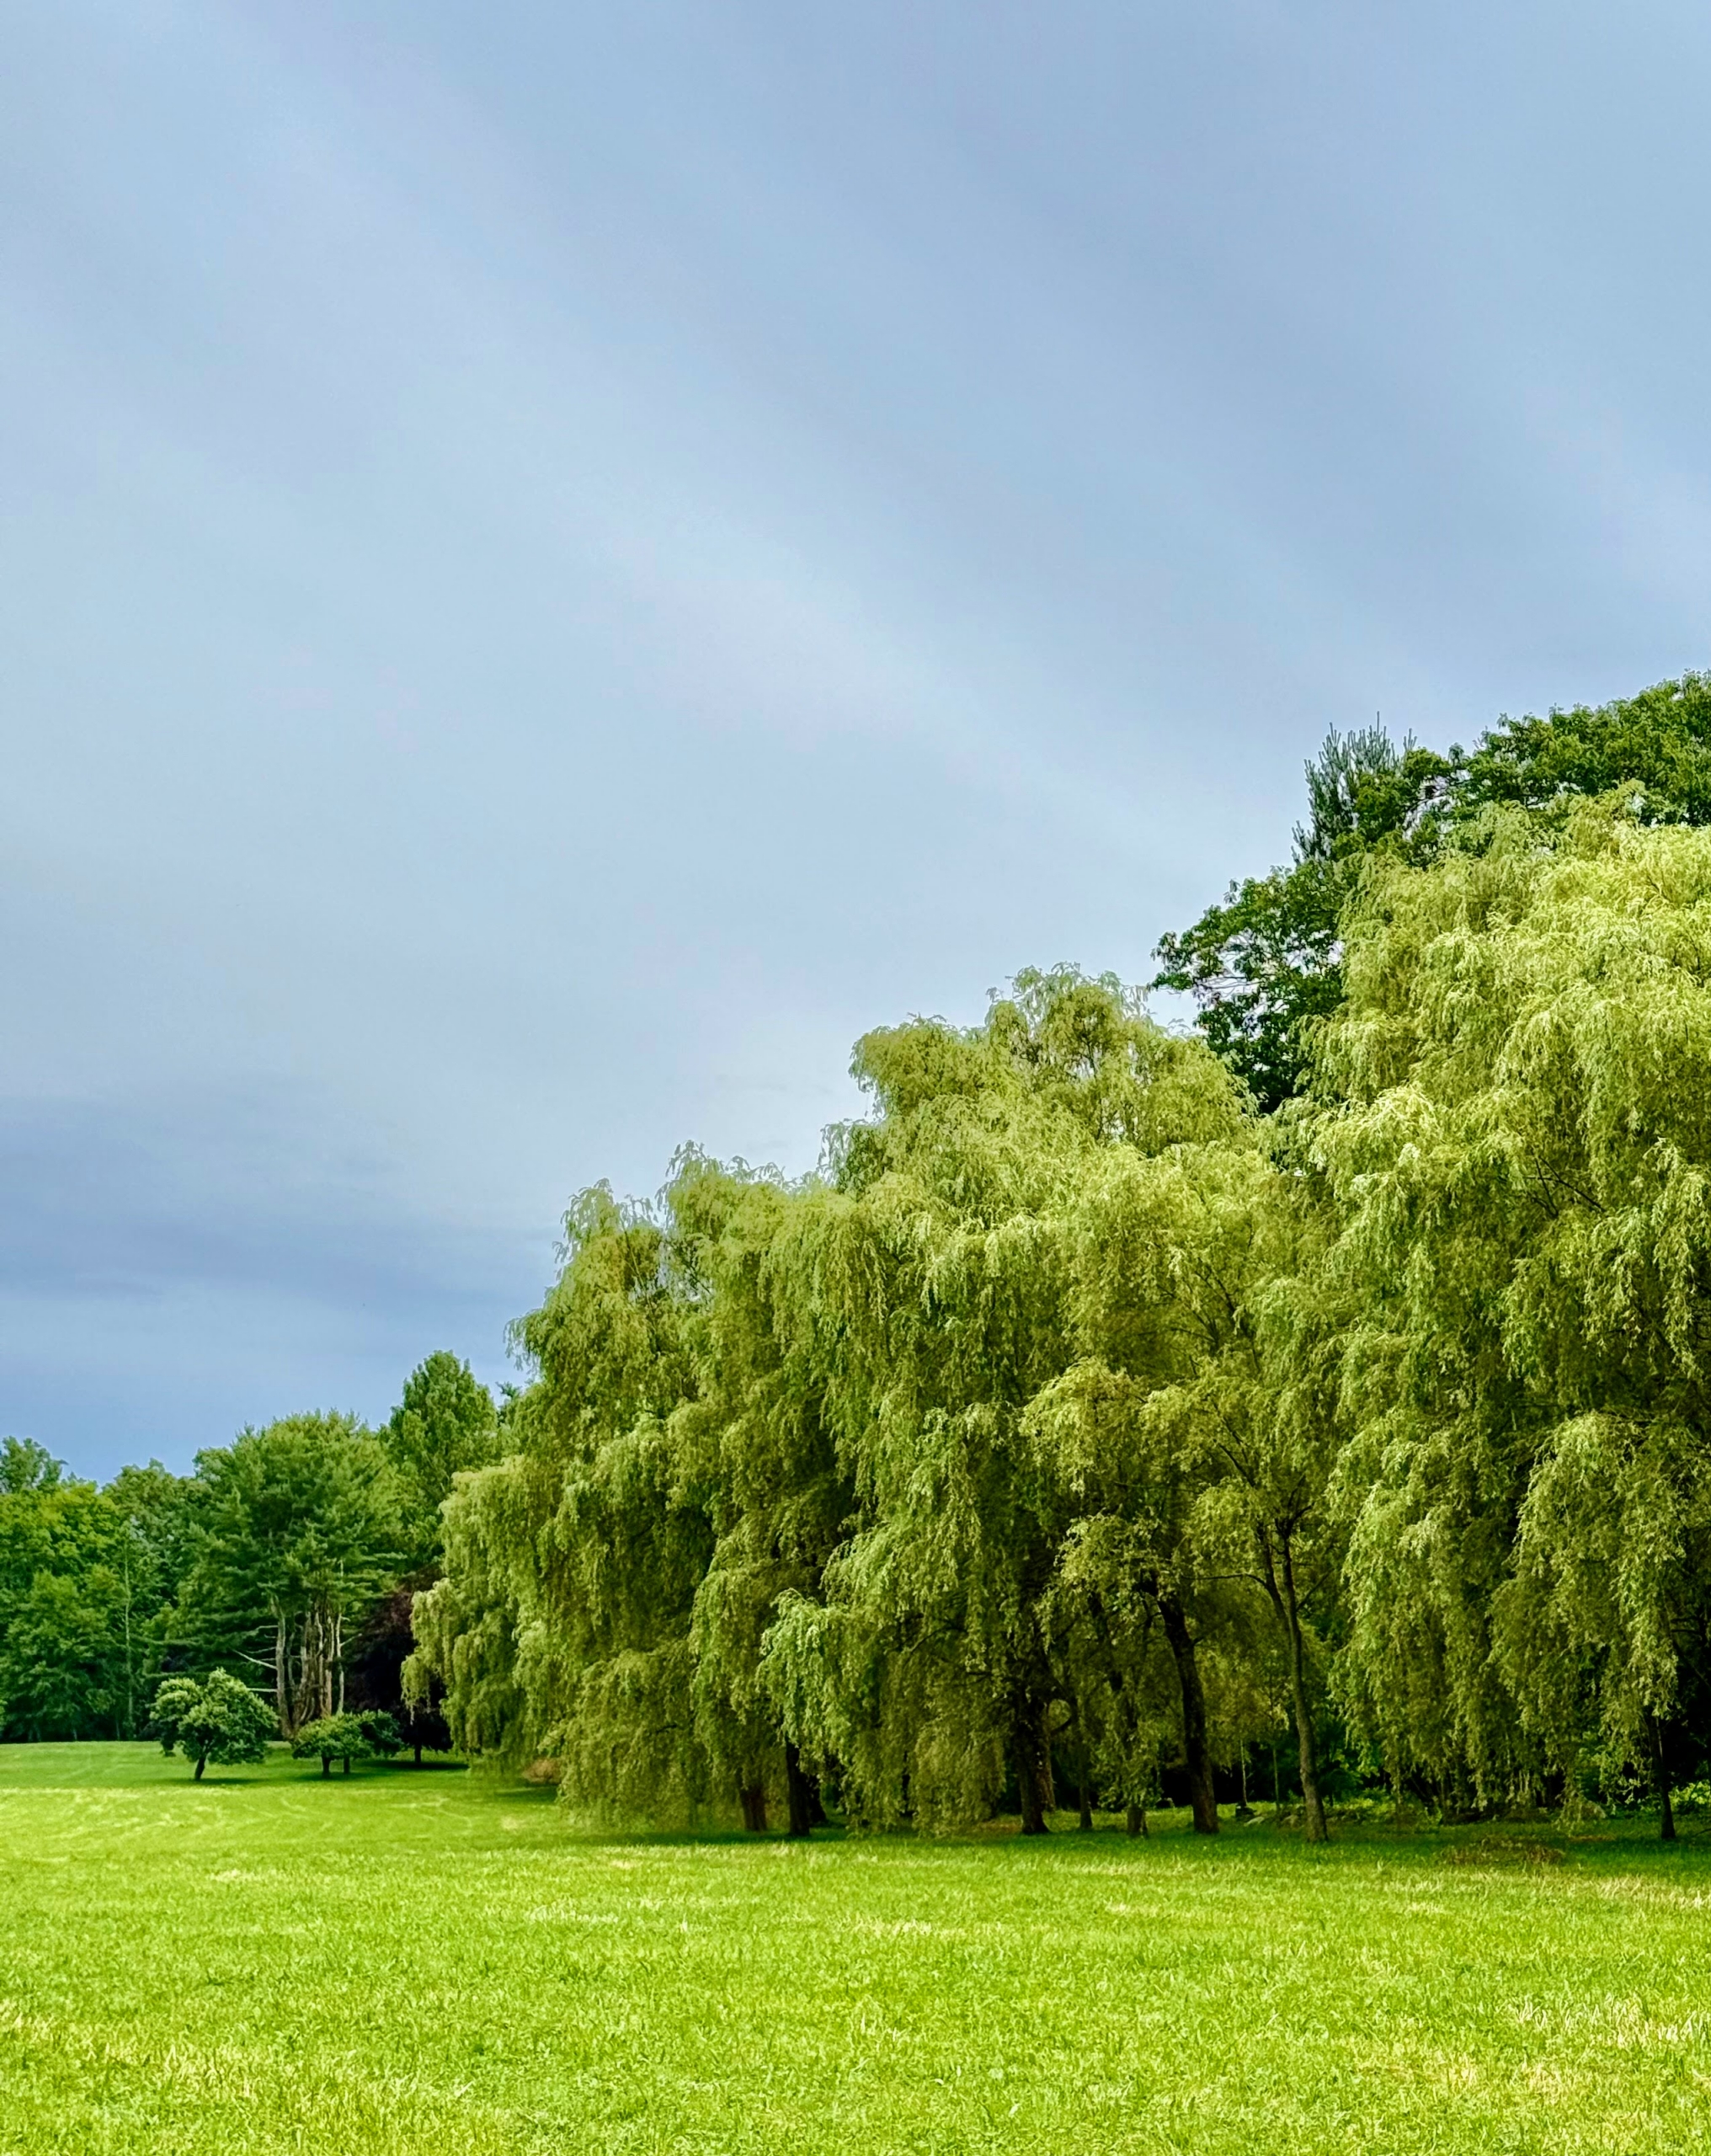
Not far is my grove of weeping willows. Anyone who drives by this hayfield at my farm can see these tall weeping willows along one edge. Weeping willows are upright, fast-growing, deciduous trees that can grow up to 80-feet tall. Because of their massive root systems, they need a fair amount of room to grow. They also prefer wet feet and are often planted on the banks of streams and rivers to prevent erosion.
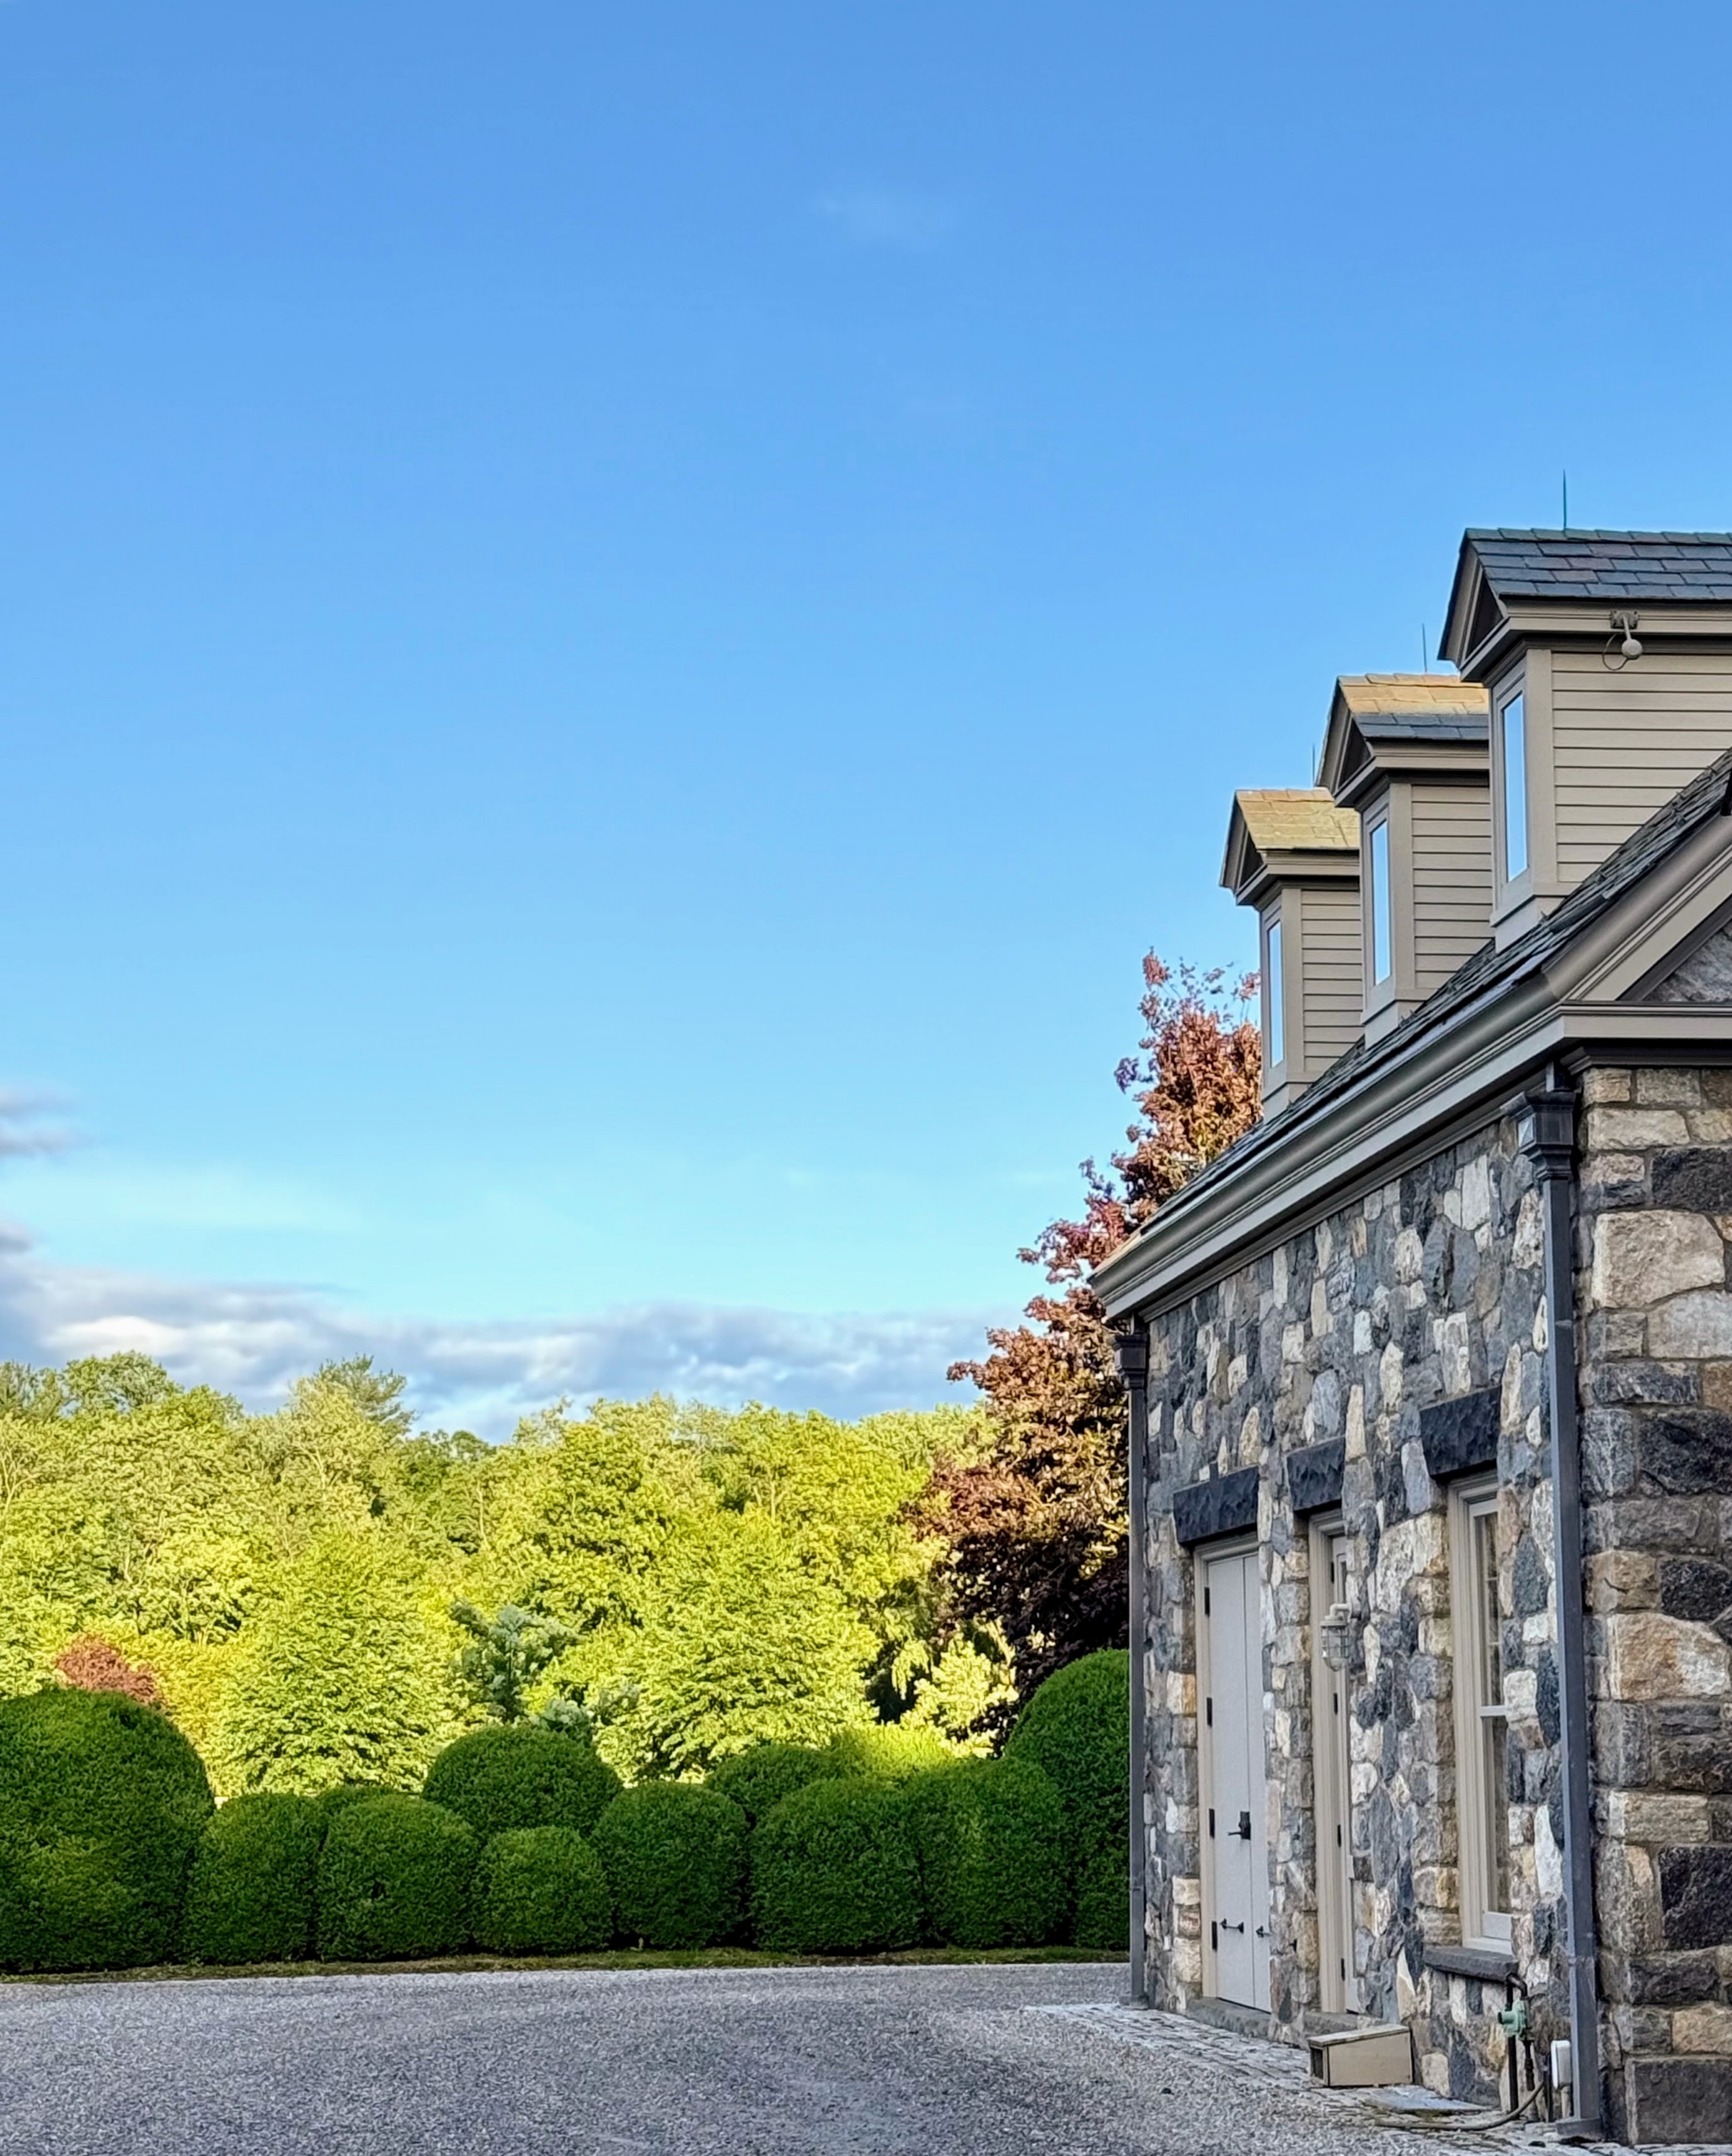
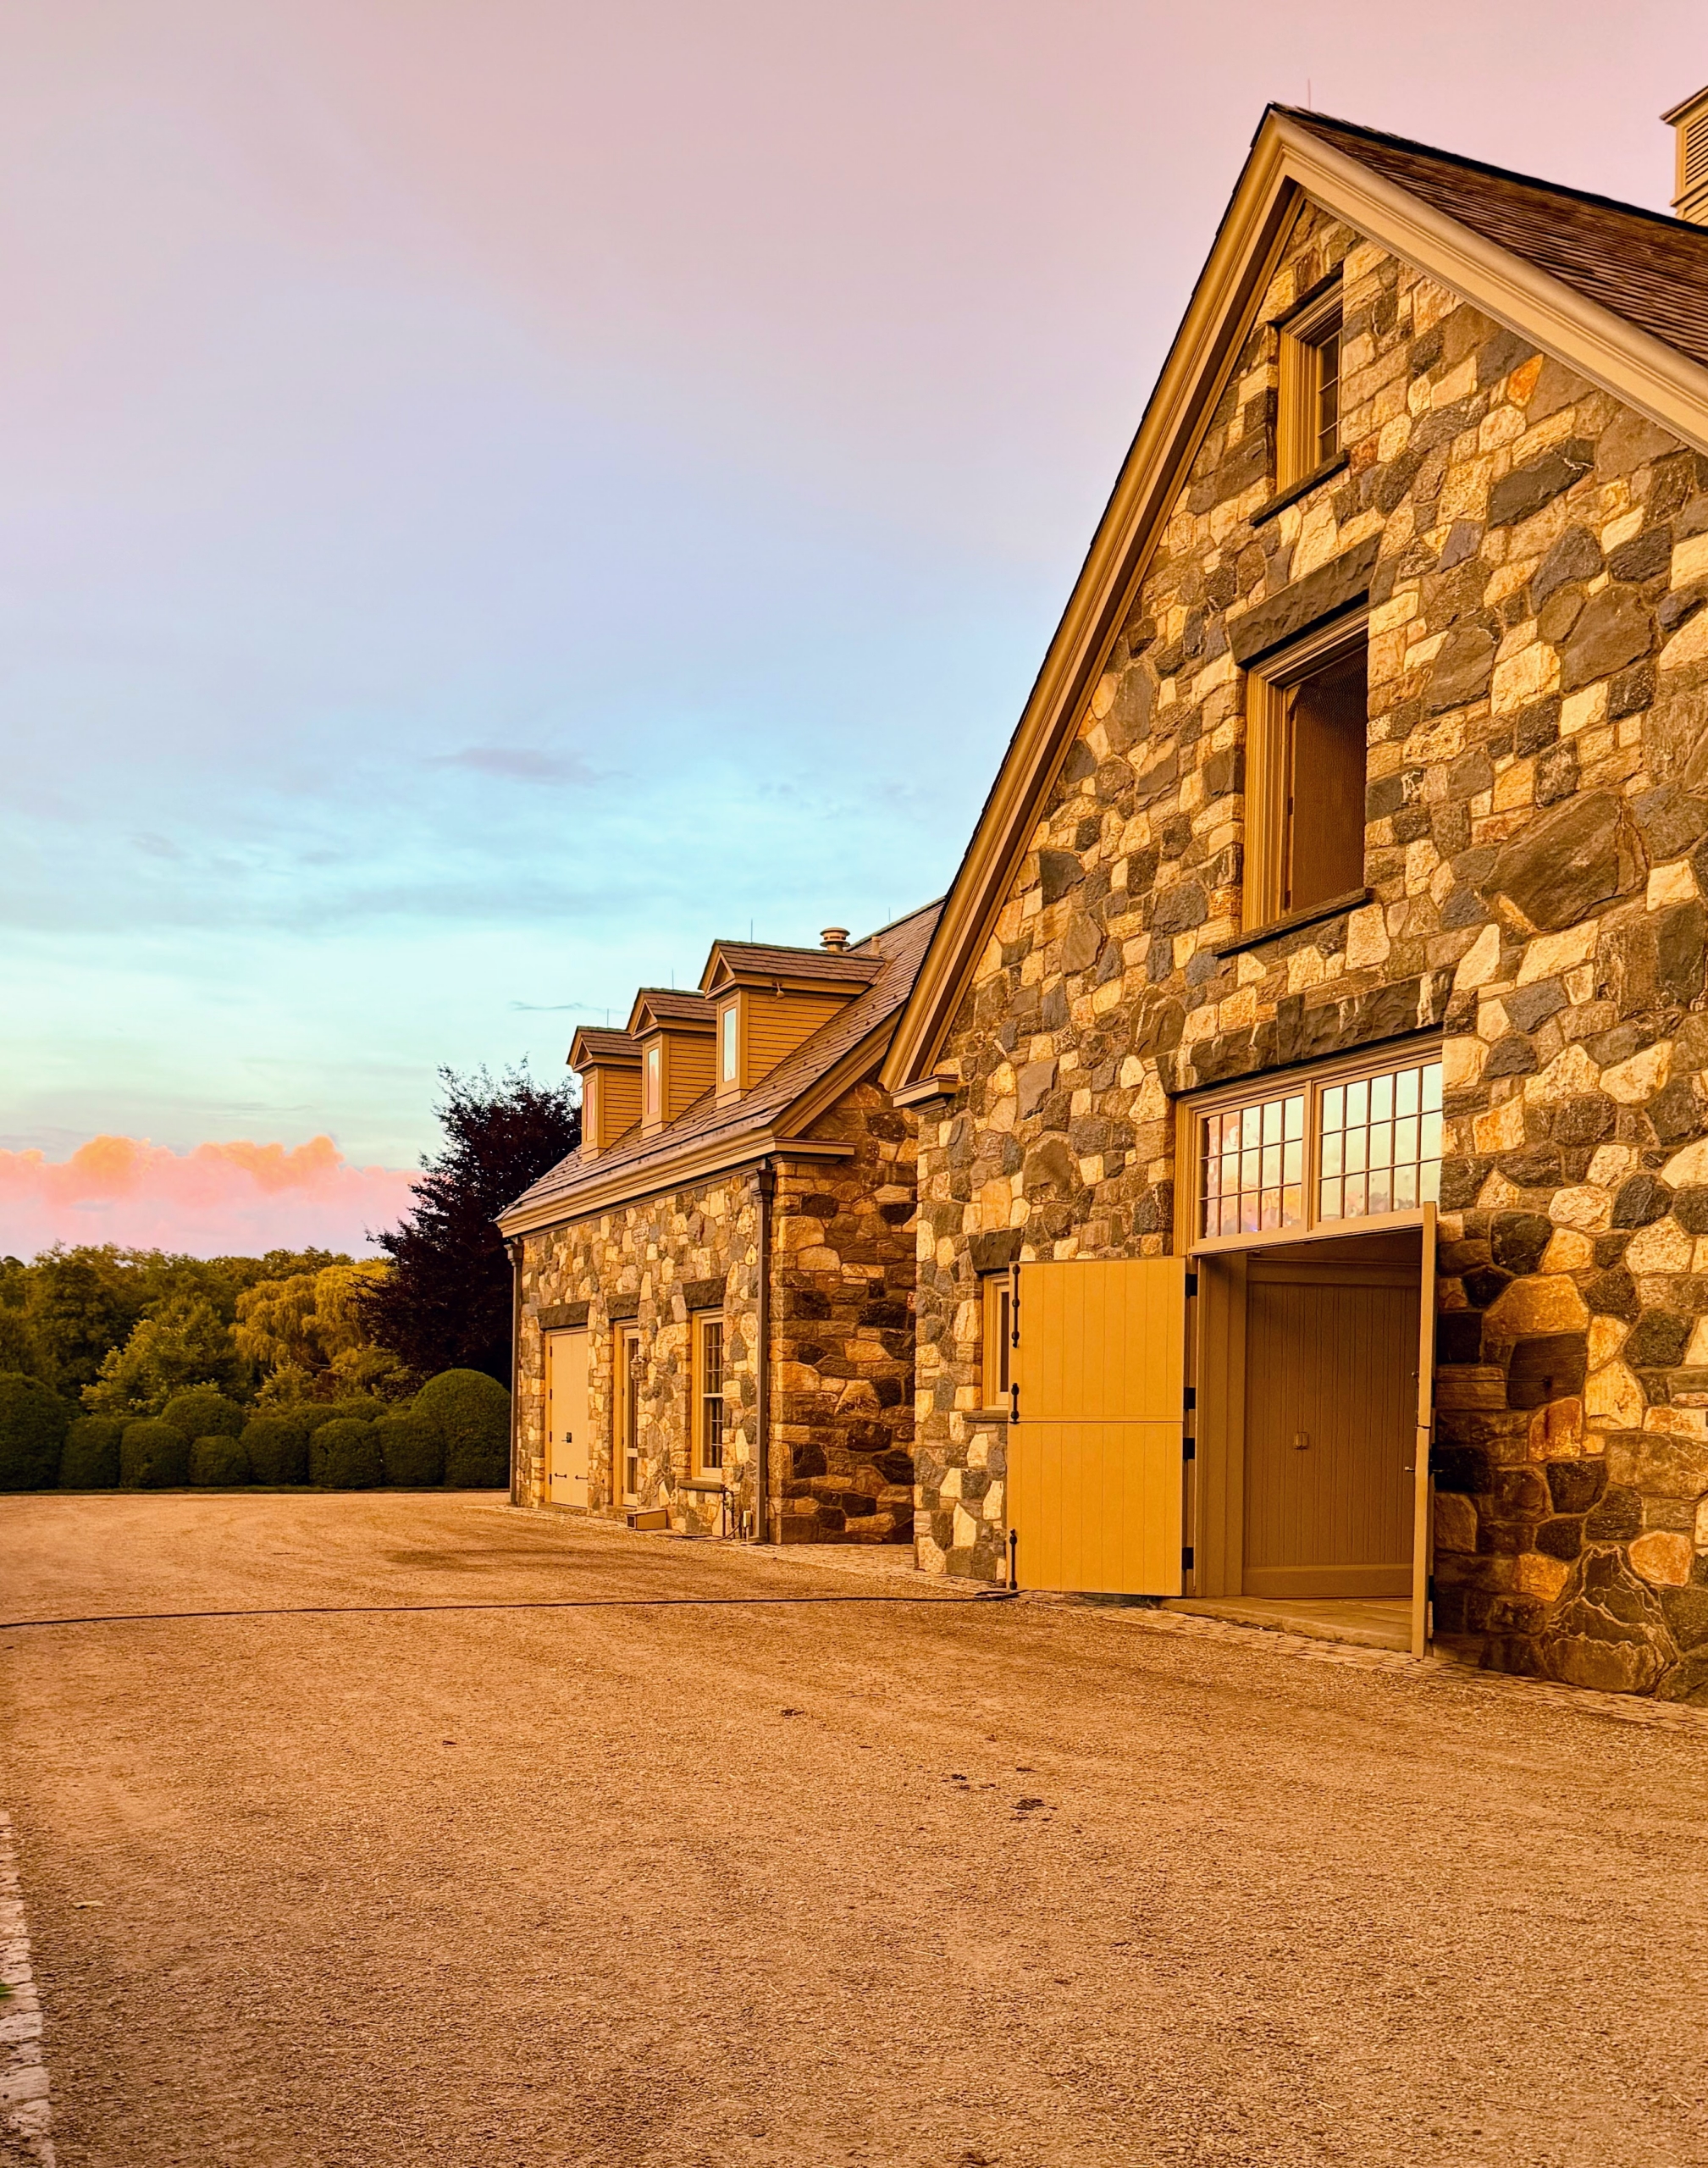
Here’s a photo of my stable complex on July 3rd, the evening before Independence Day – clouds were rolling in.
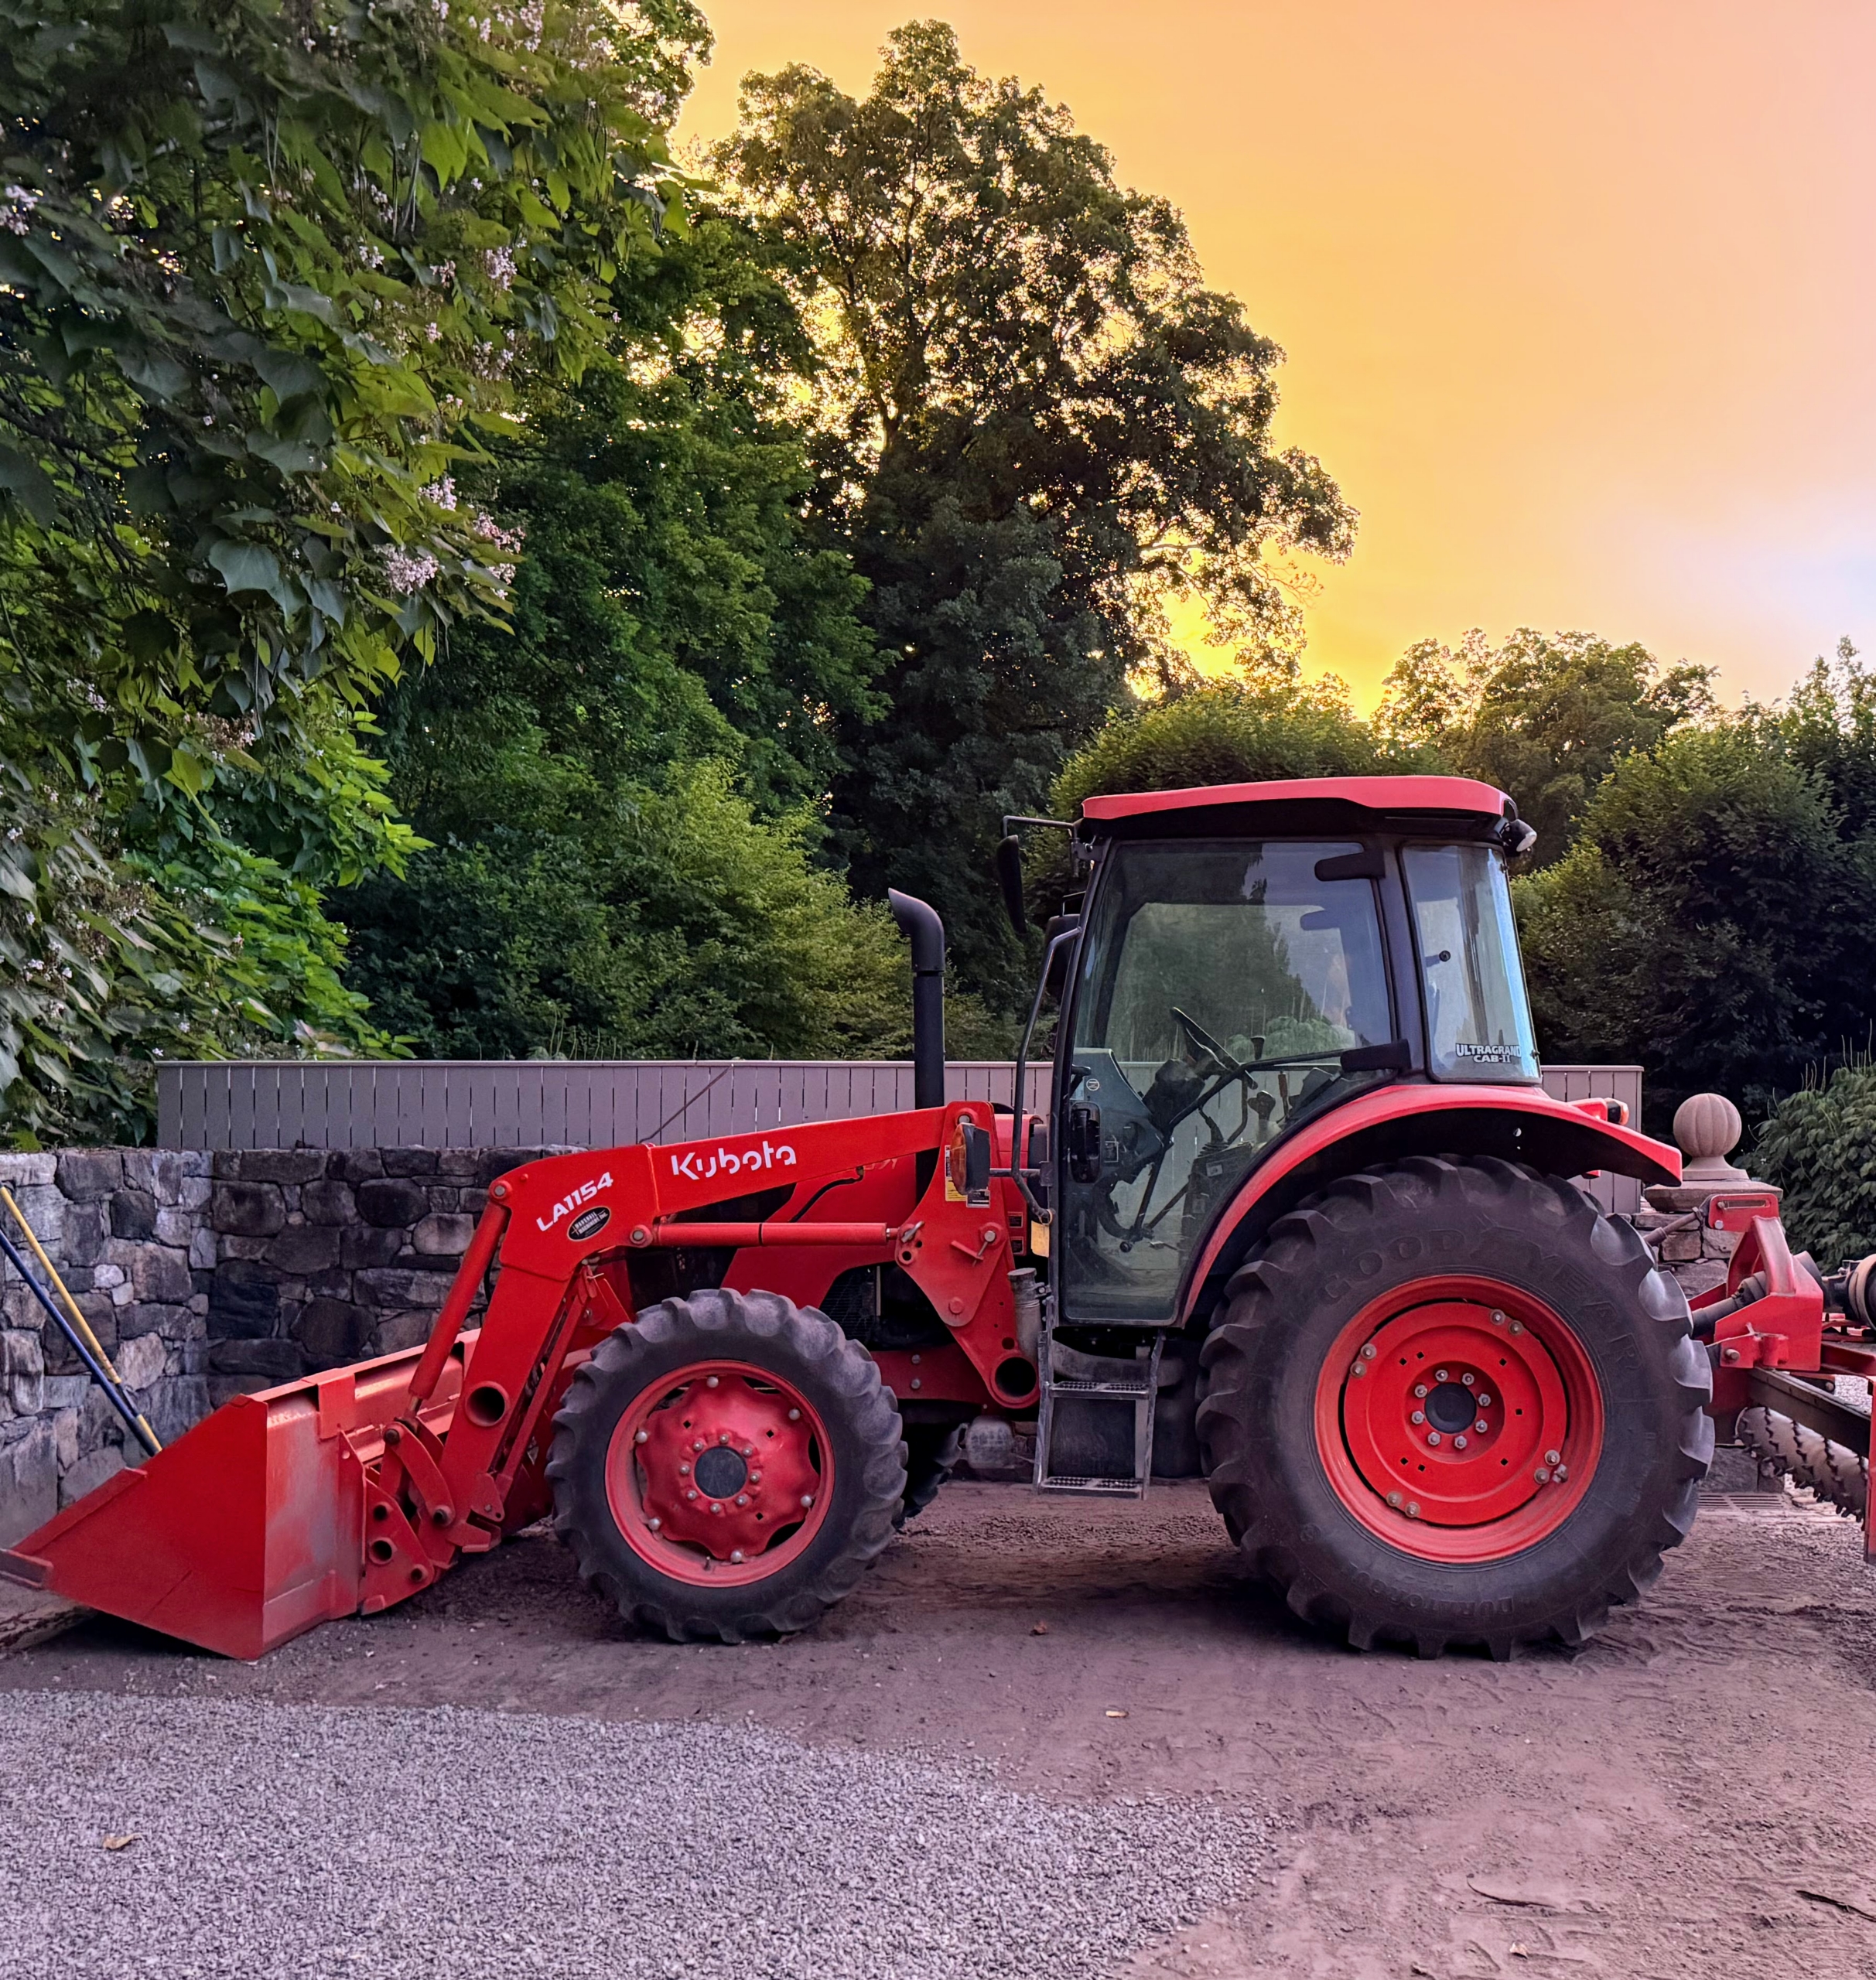
Nearby, Carlos takes this photo of our trusted Kubota tractor, which is used for so many jobs here at the farm.
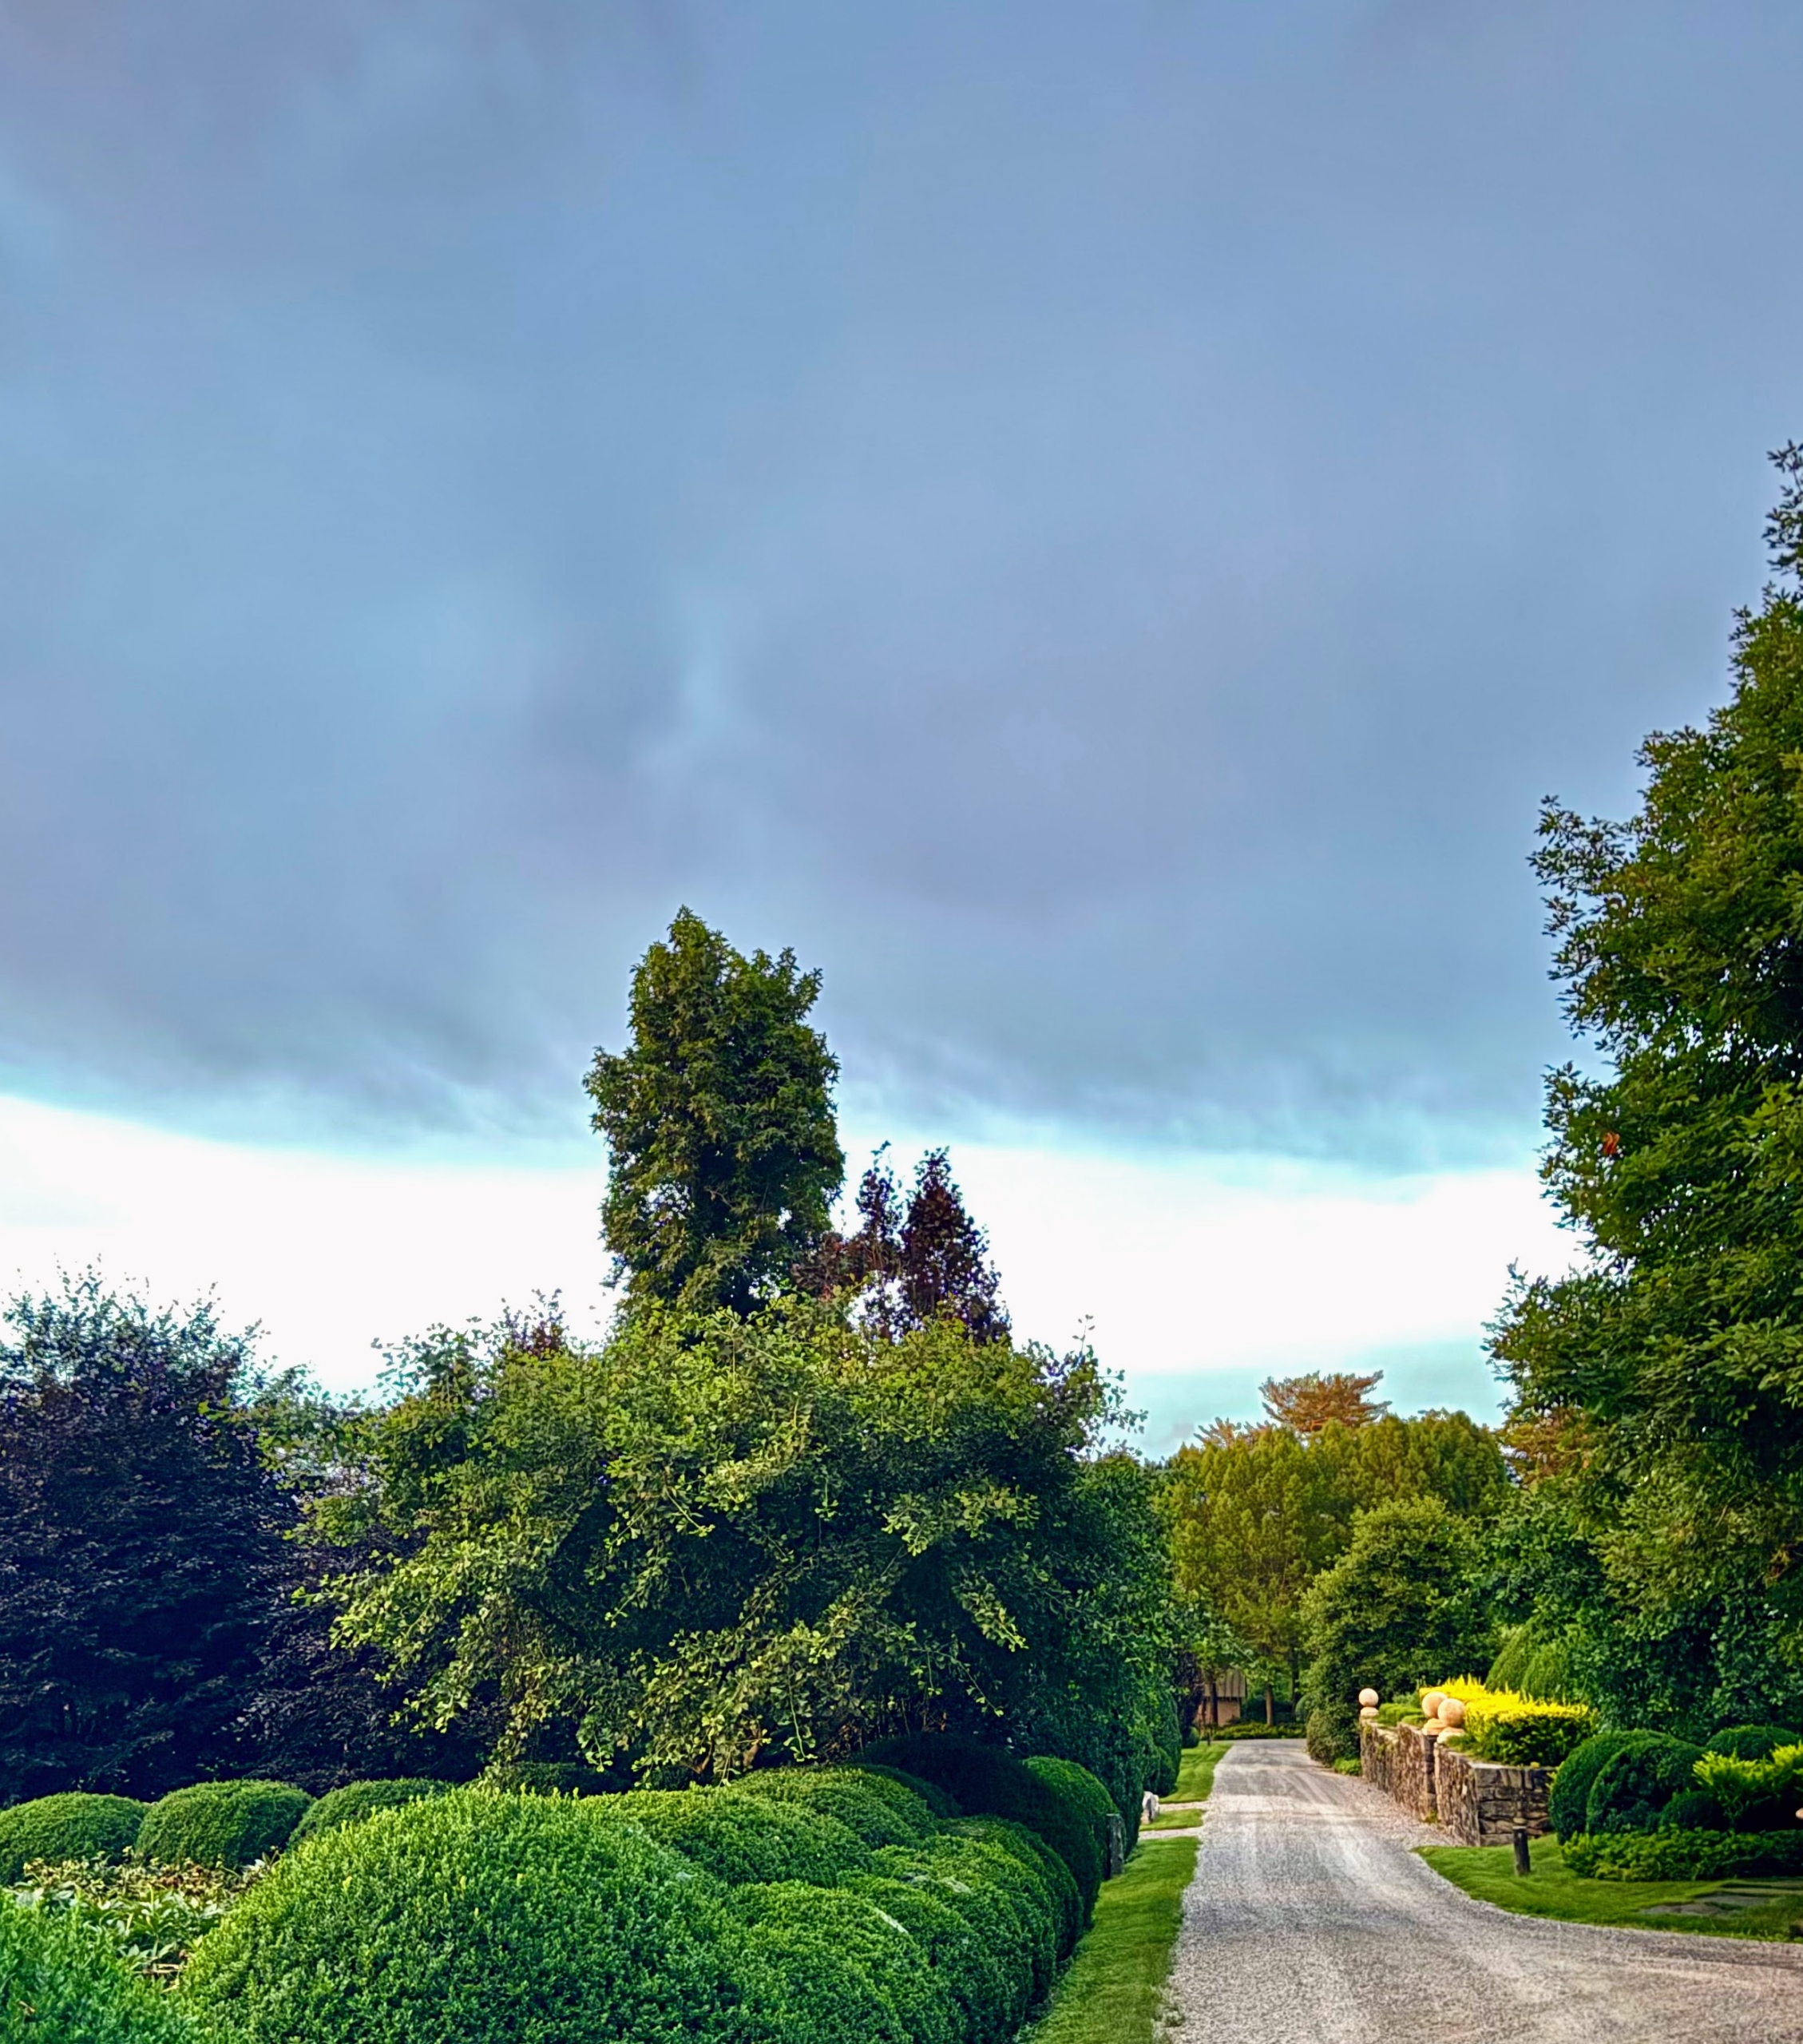
This photo was taken a short time later – here the skies are looking quite gray and ominous.
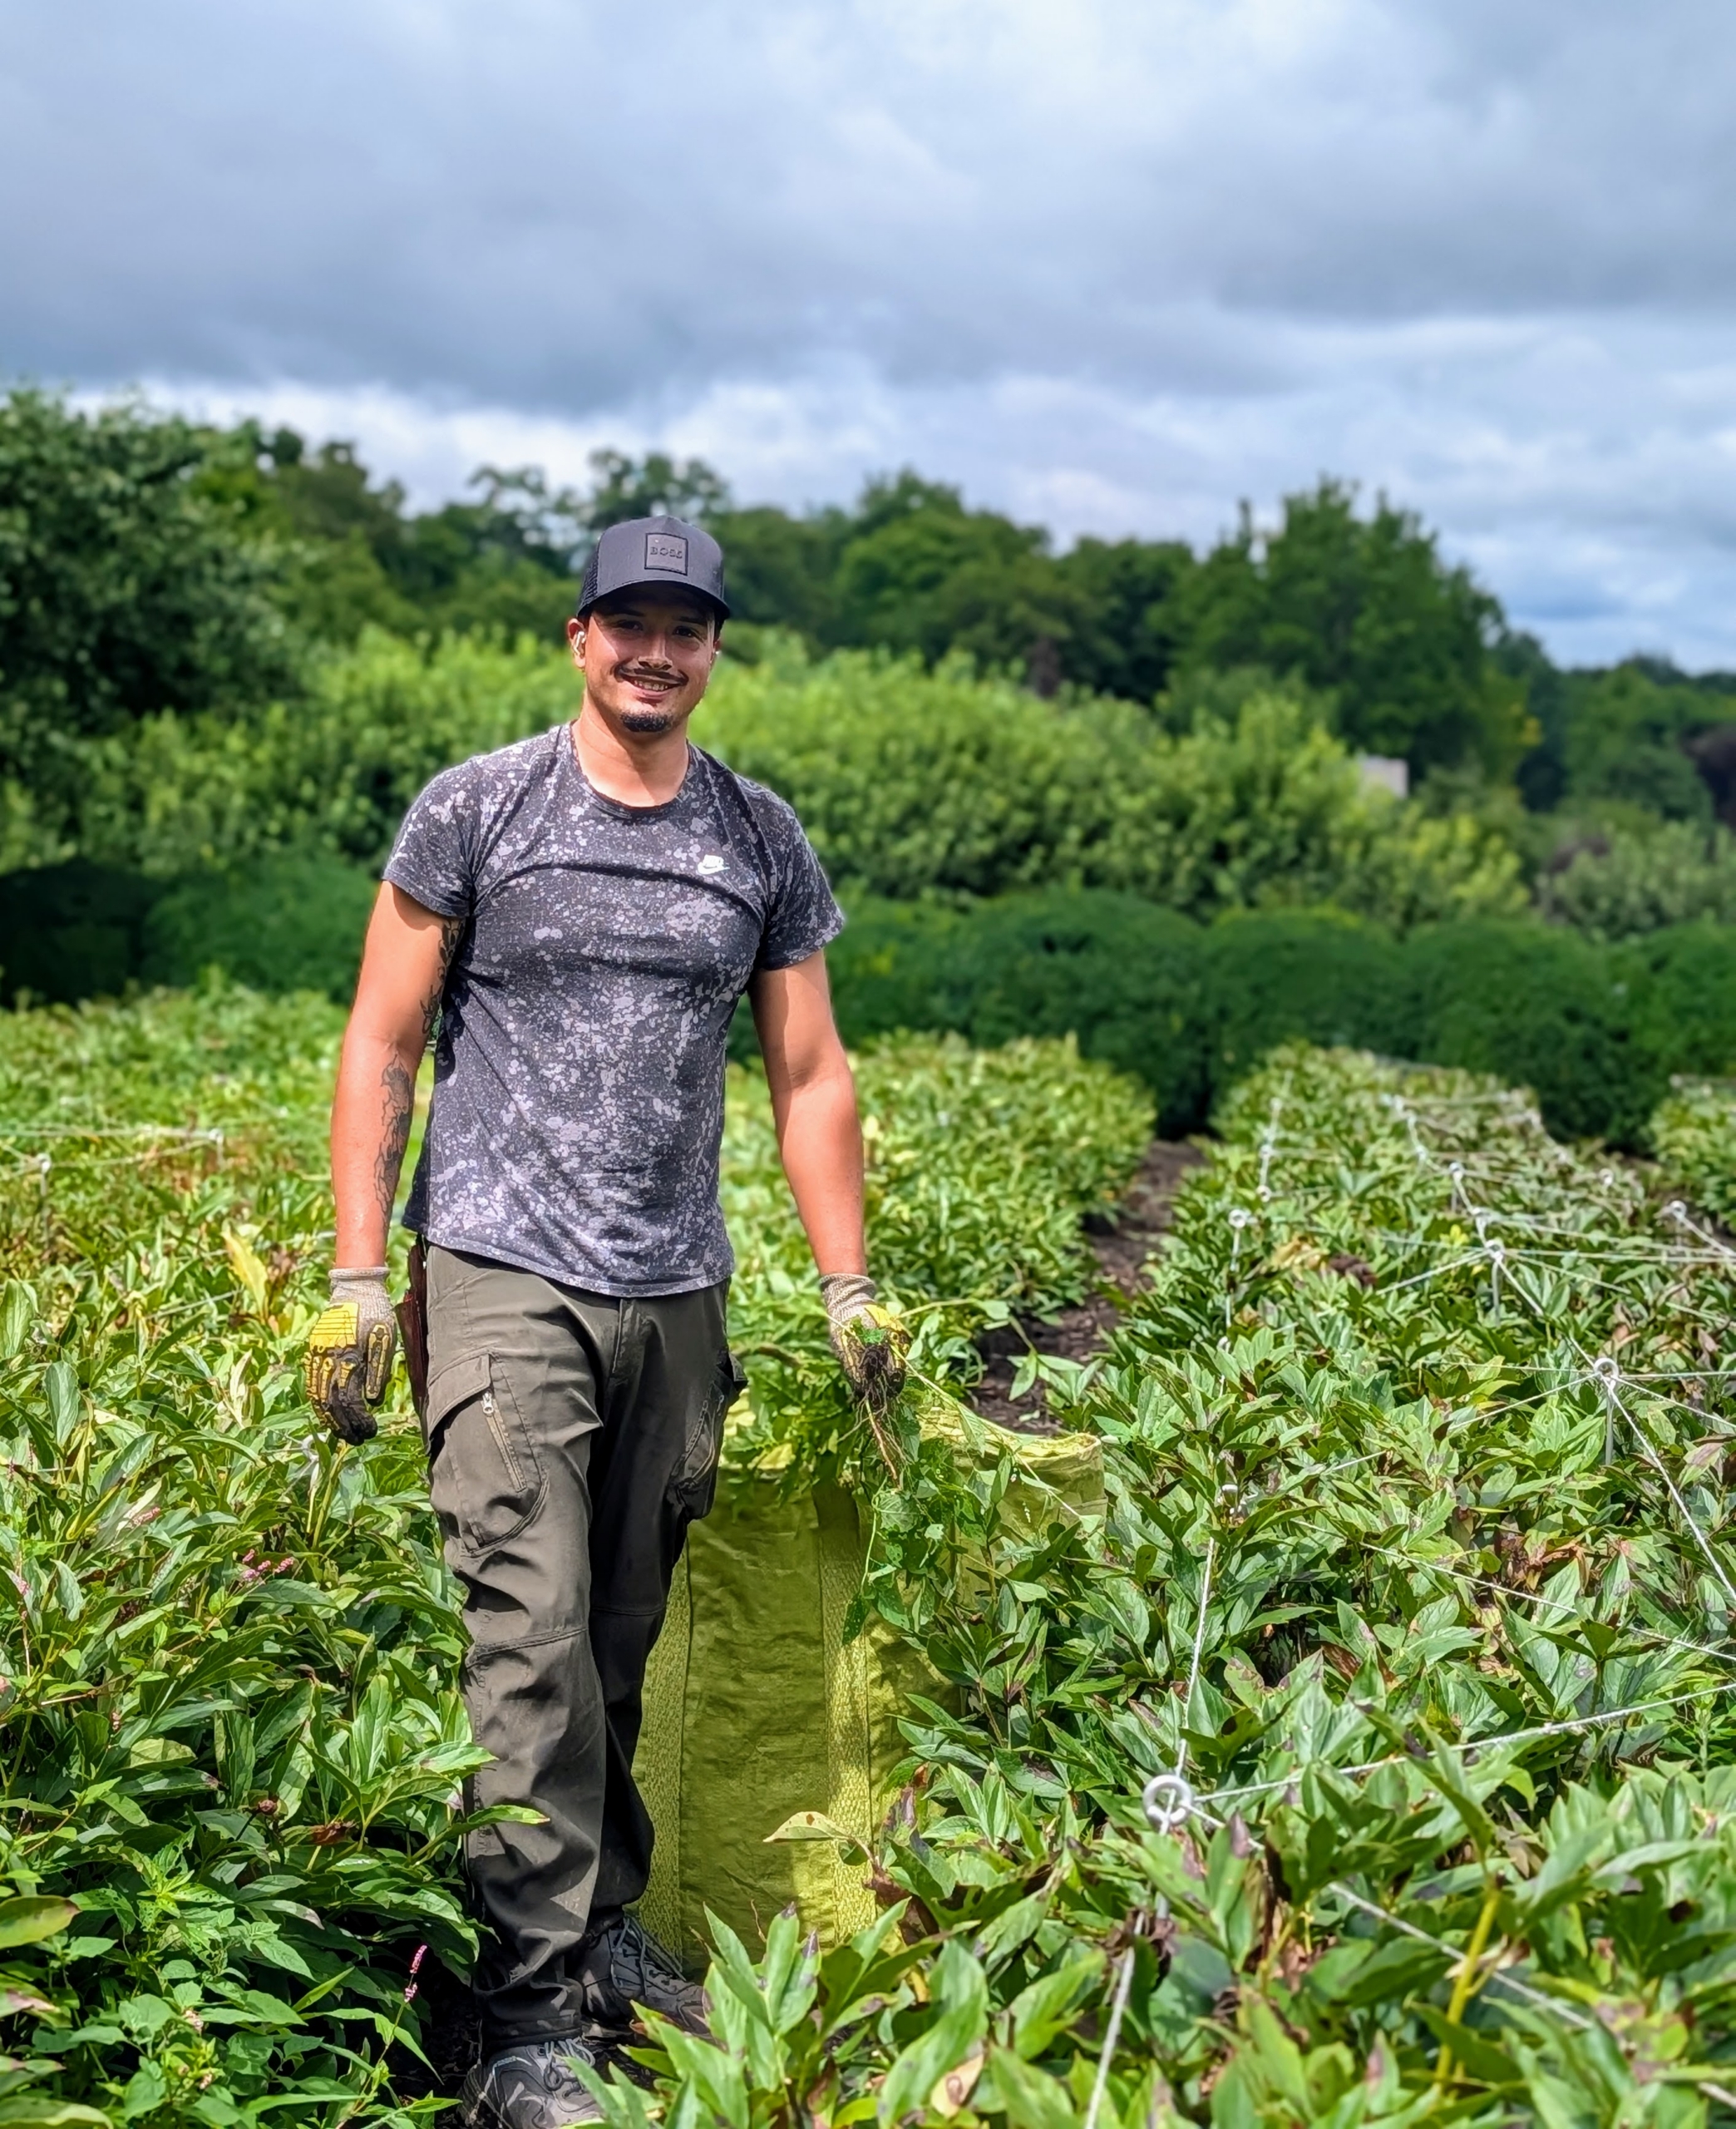
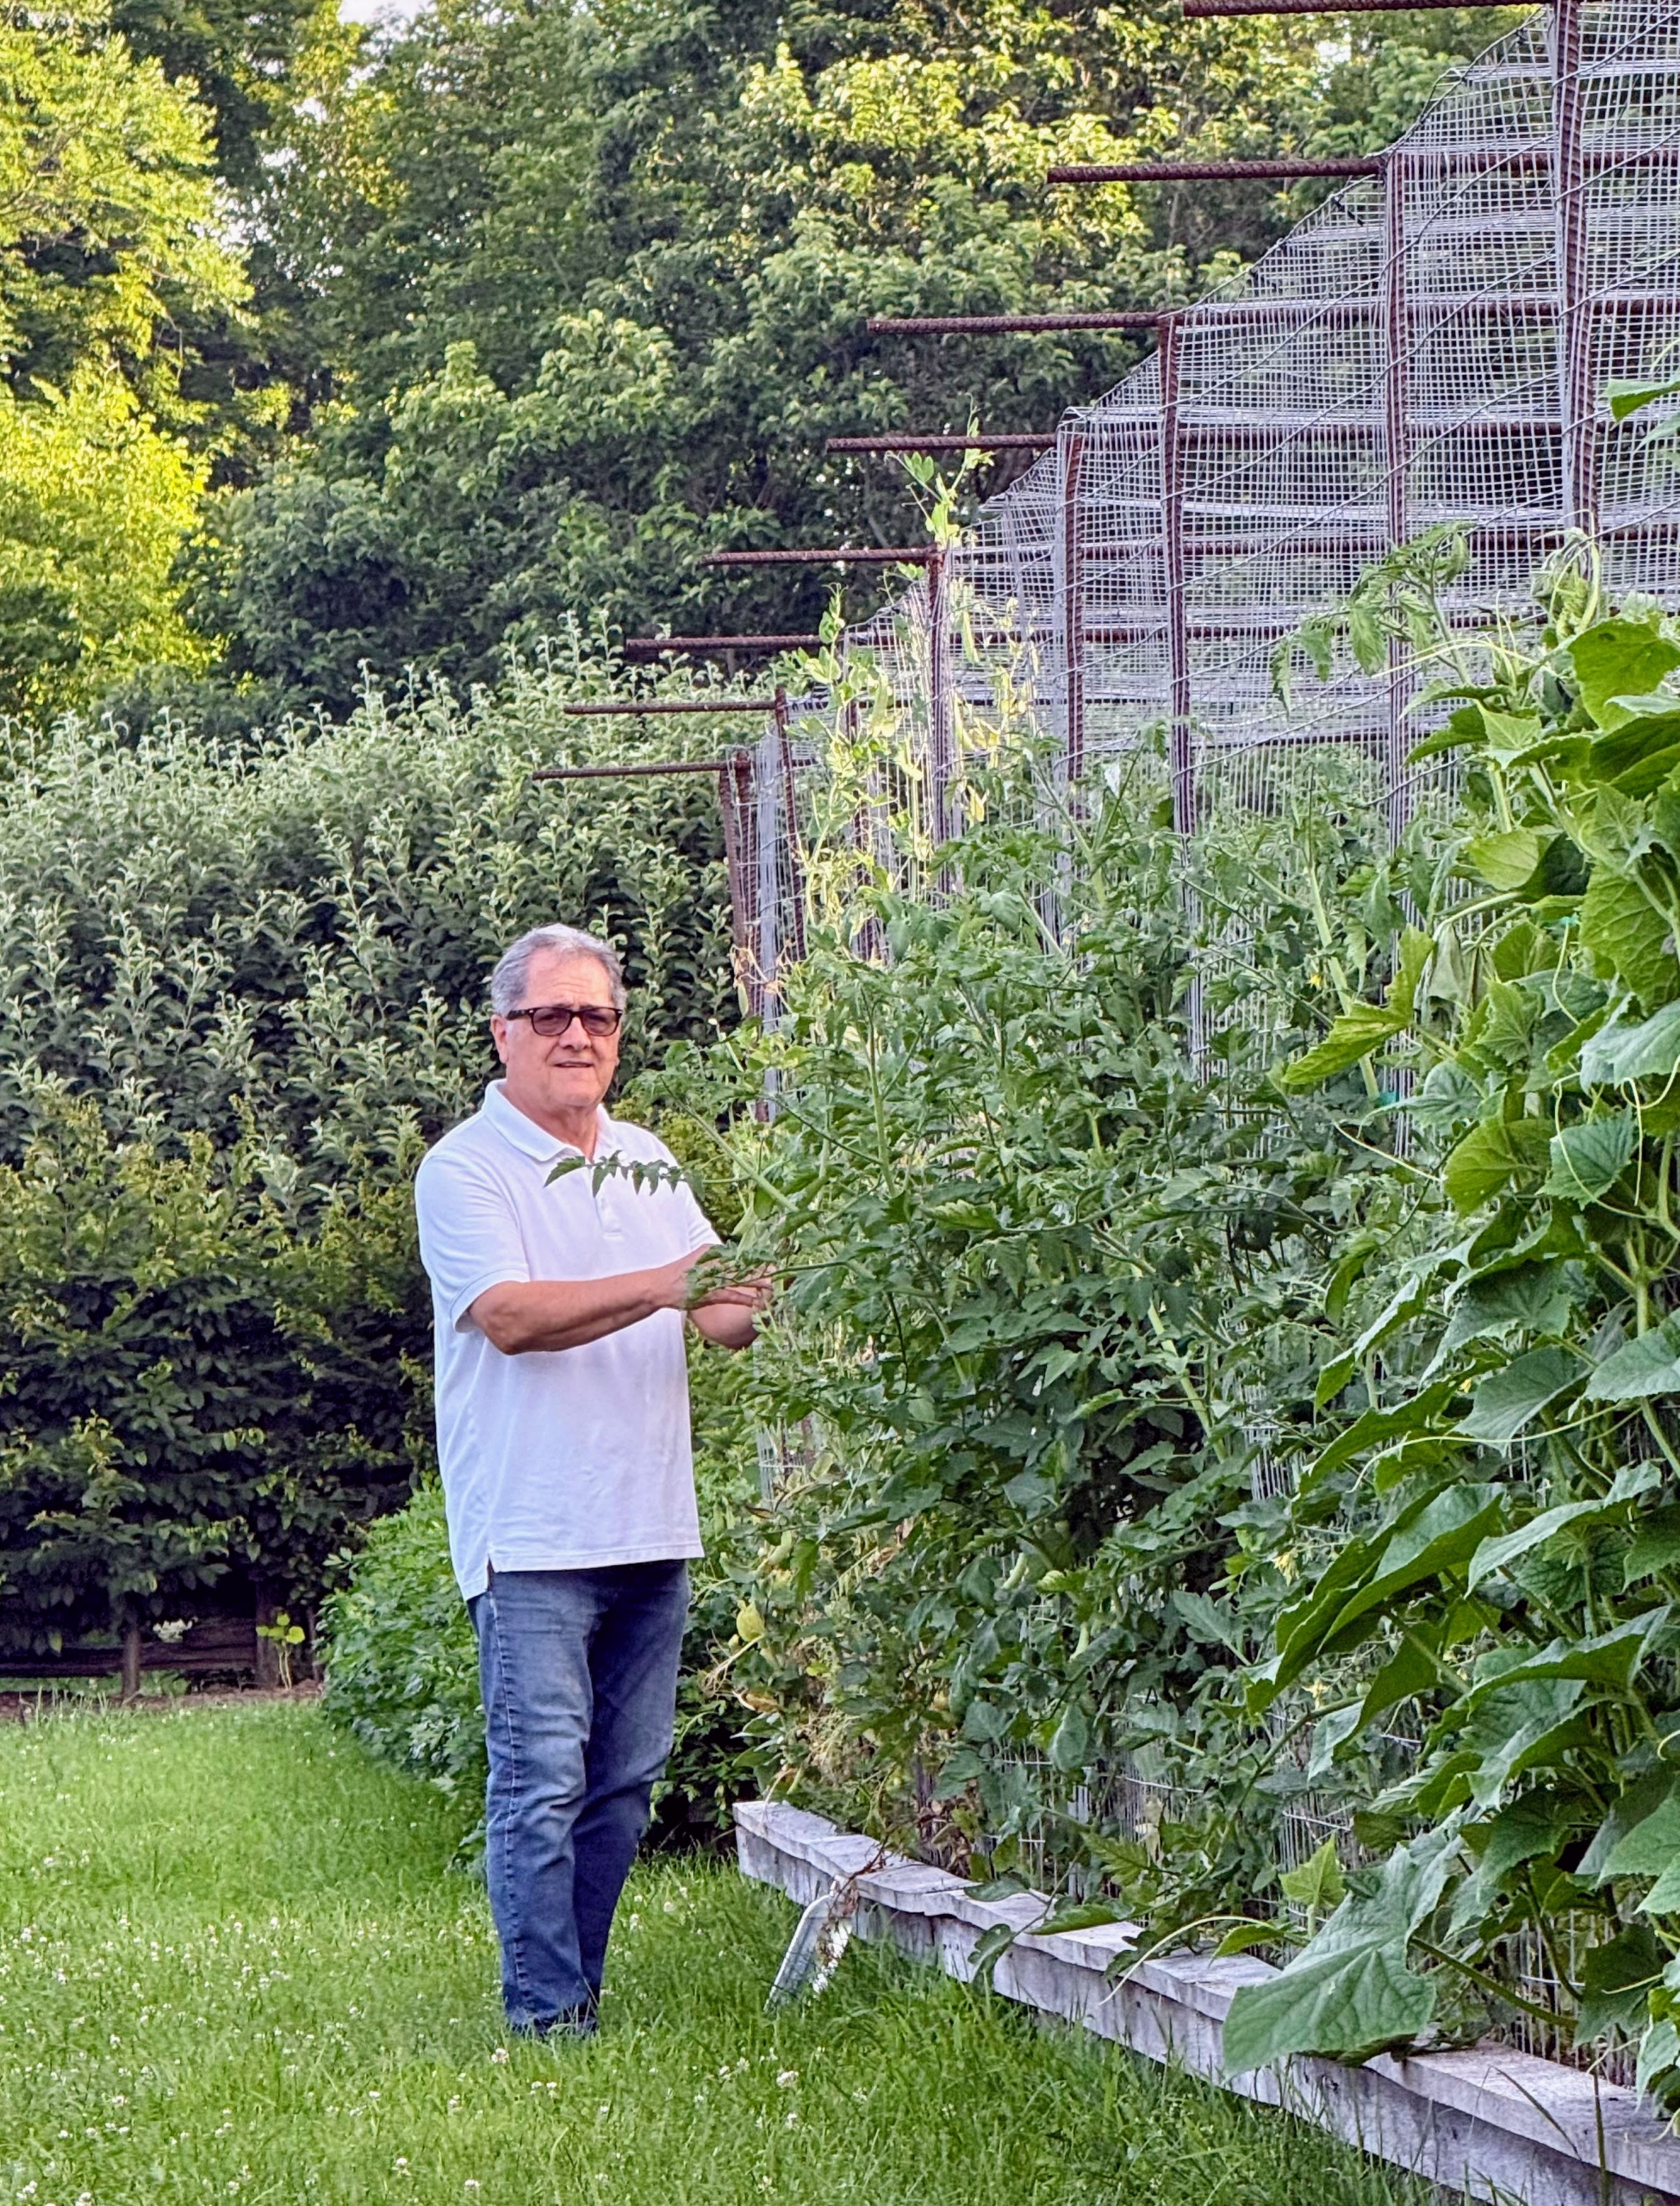
Here’s Carlos in my half-acre vegetable garden. What are you harvesting for me, Carlos?
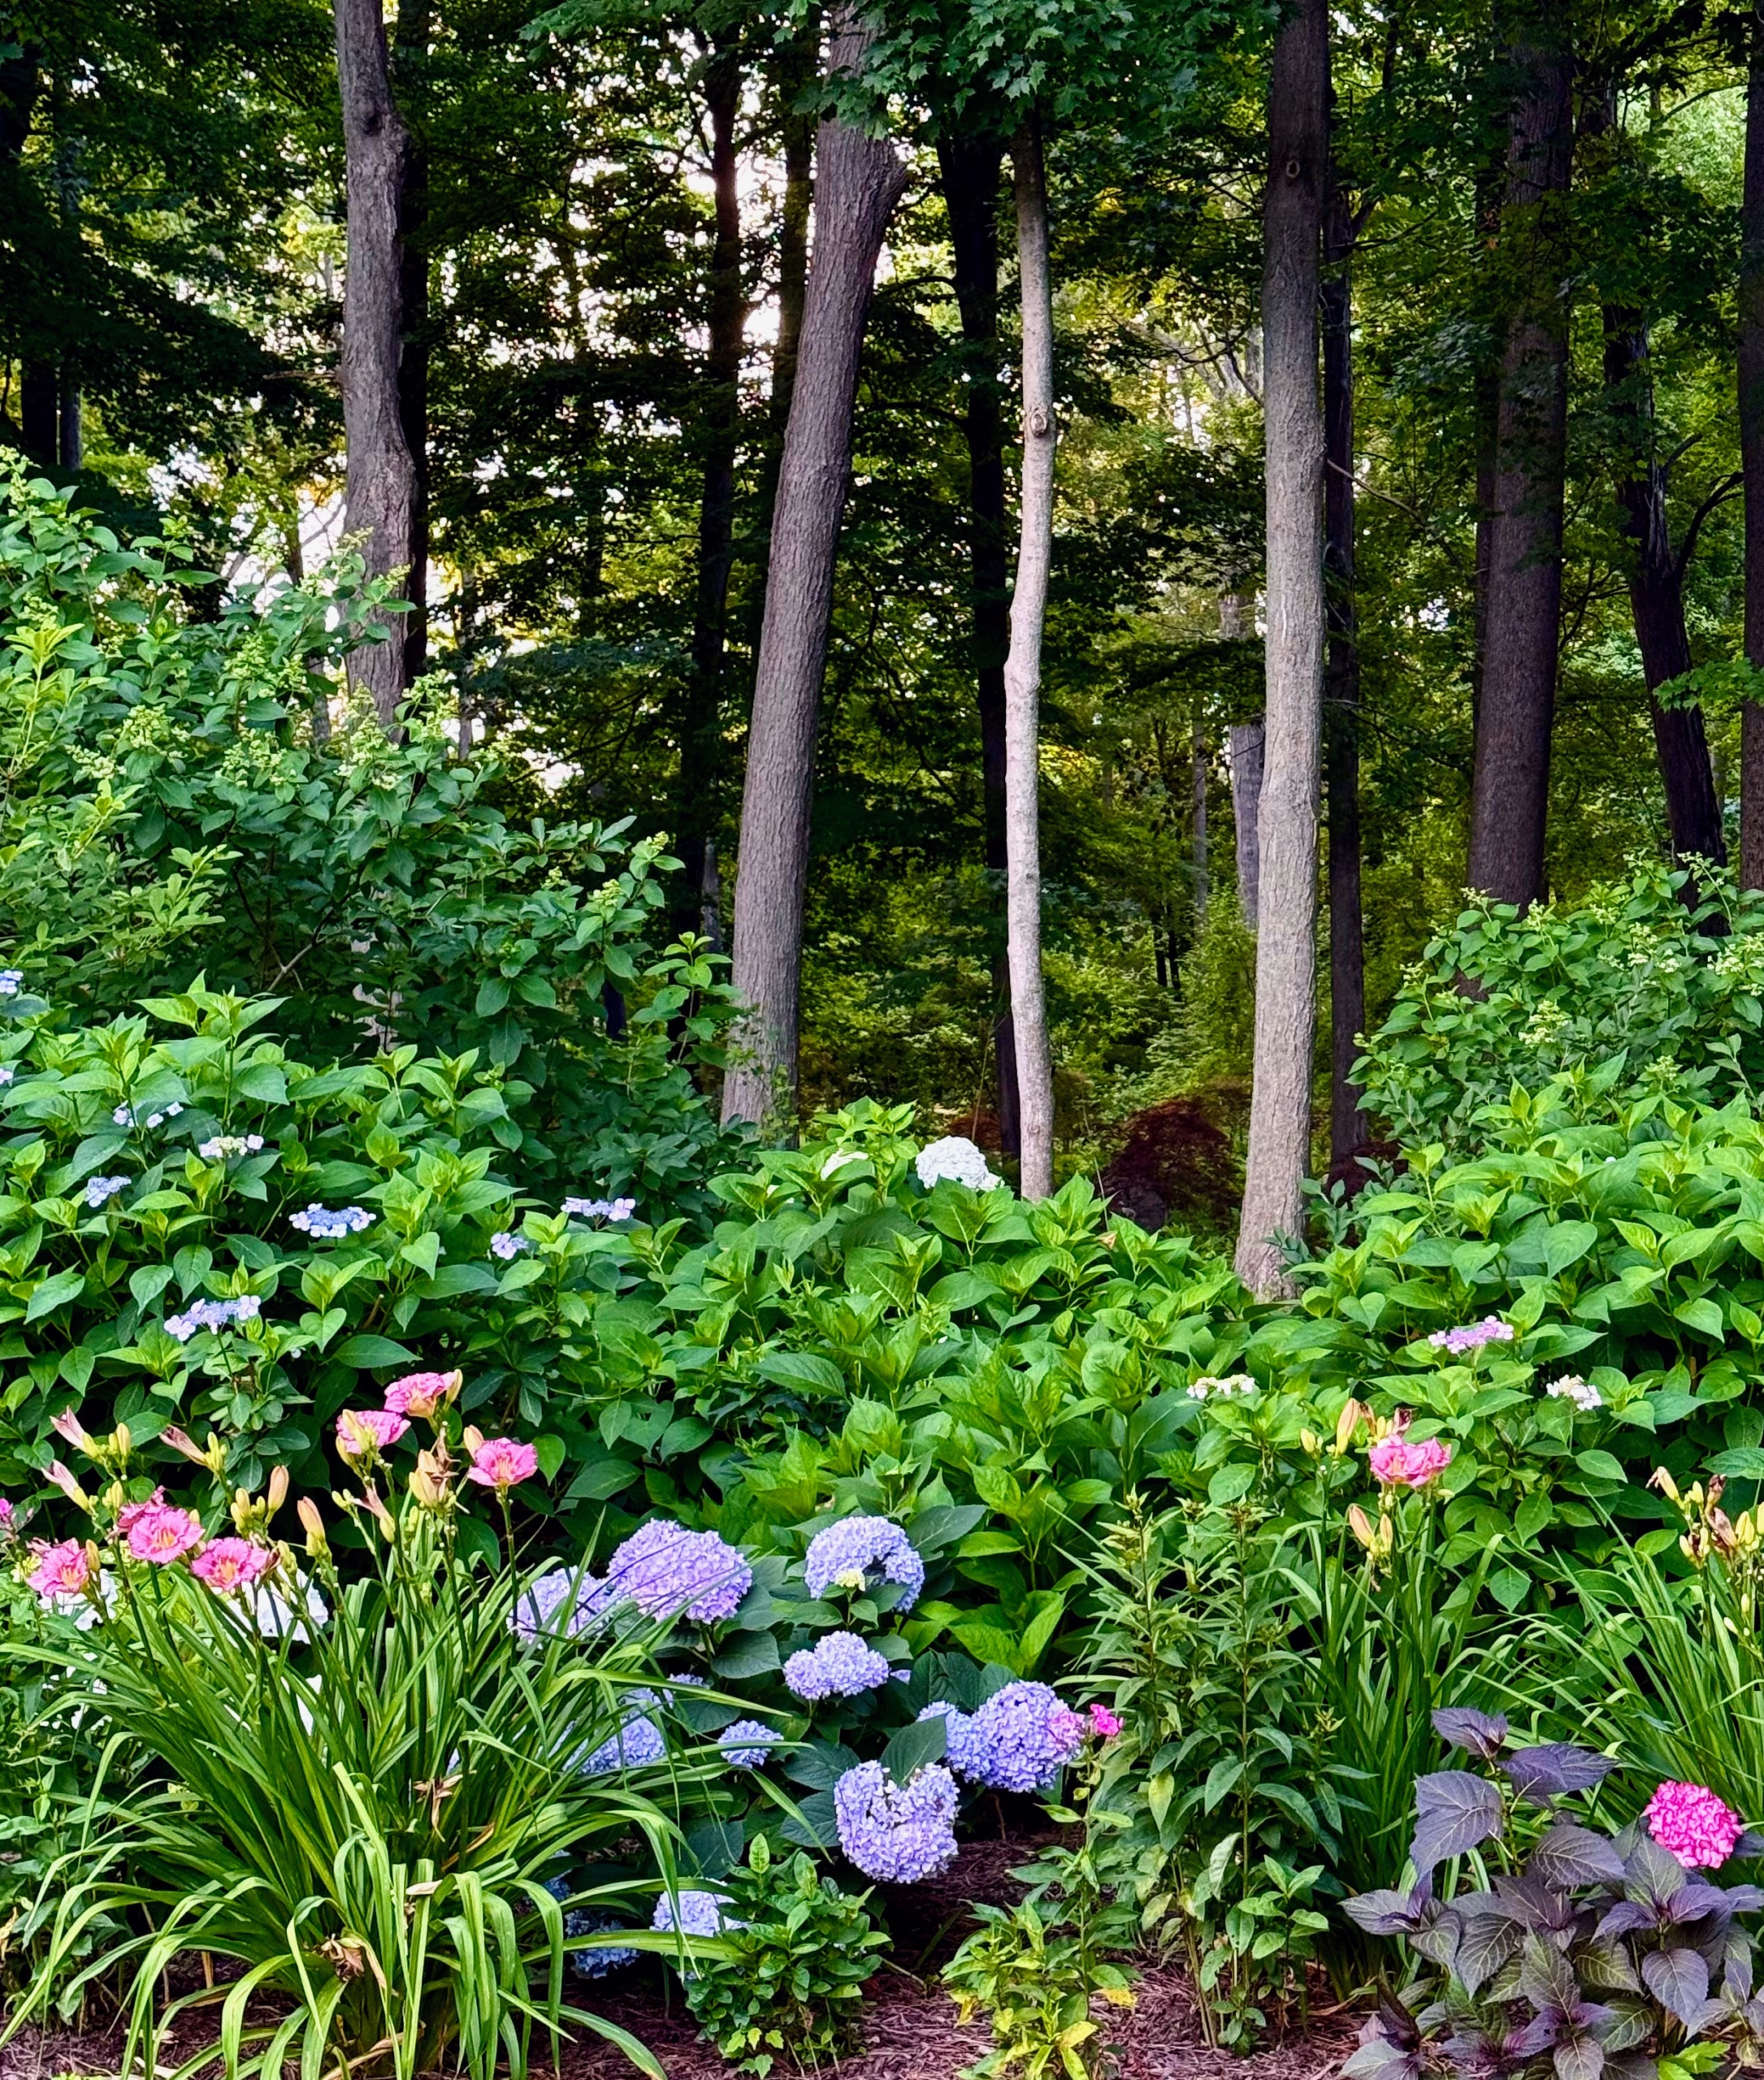
Carlos also enjoys taking photos of the flowers. This year, the hydrangeas are so prolific. I have hydrangeas blooming all over the farm.
This photo showing blue hydrangeas and some pink phlox was taken earlier this month. The foliage is so lush and green.
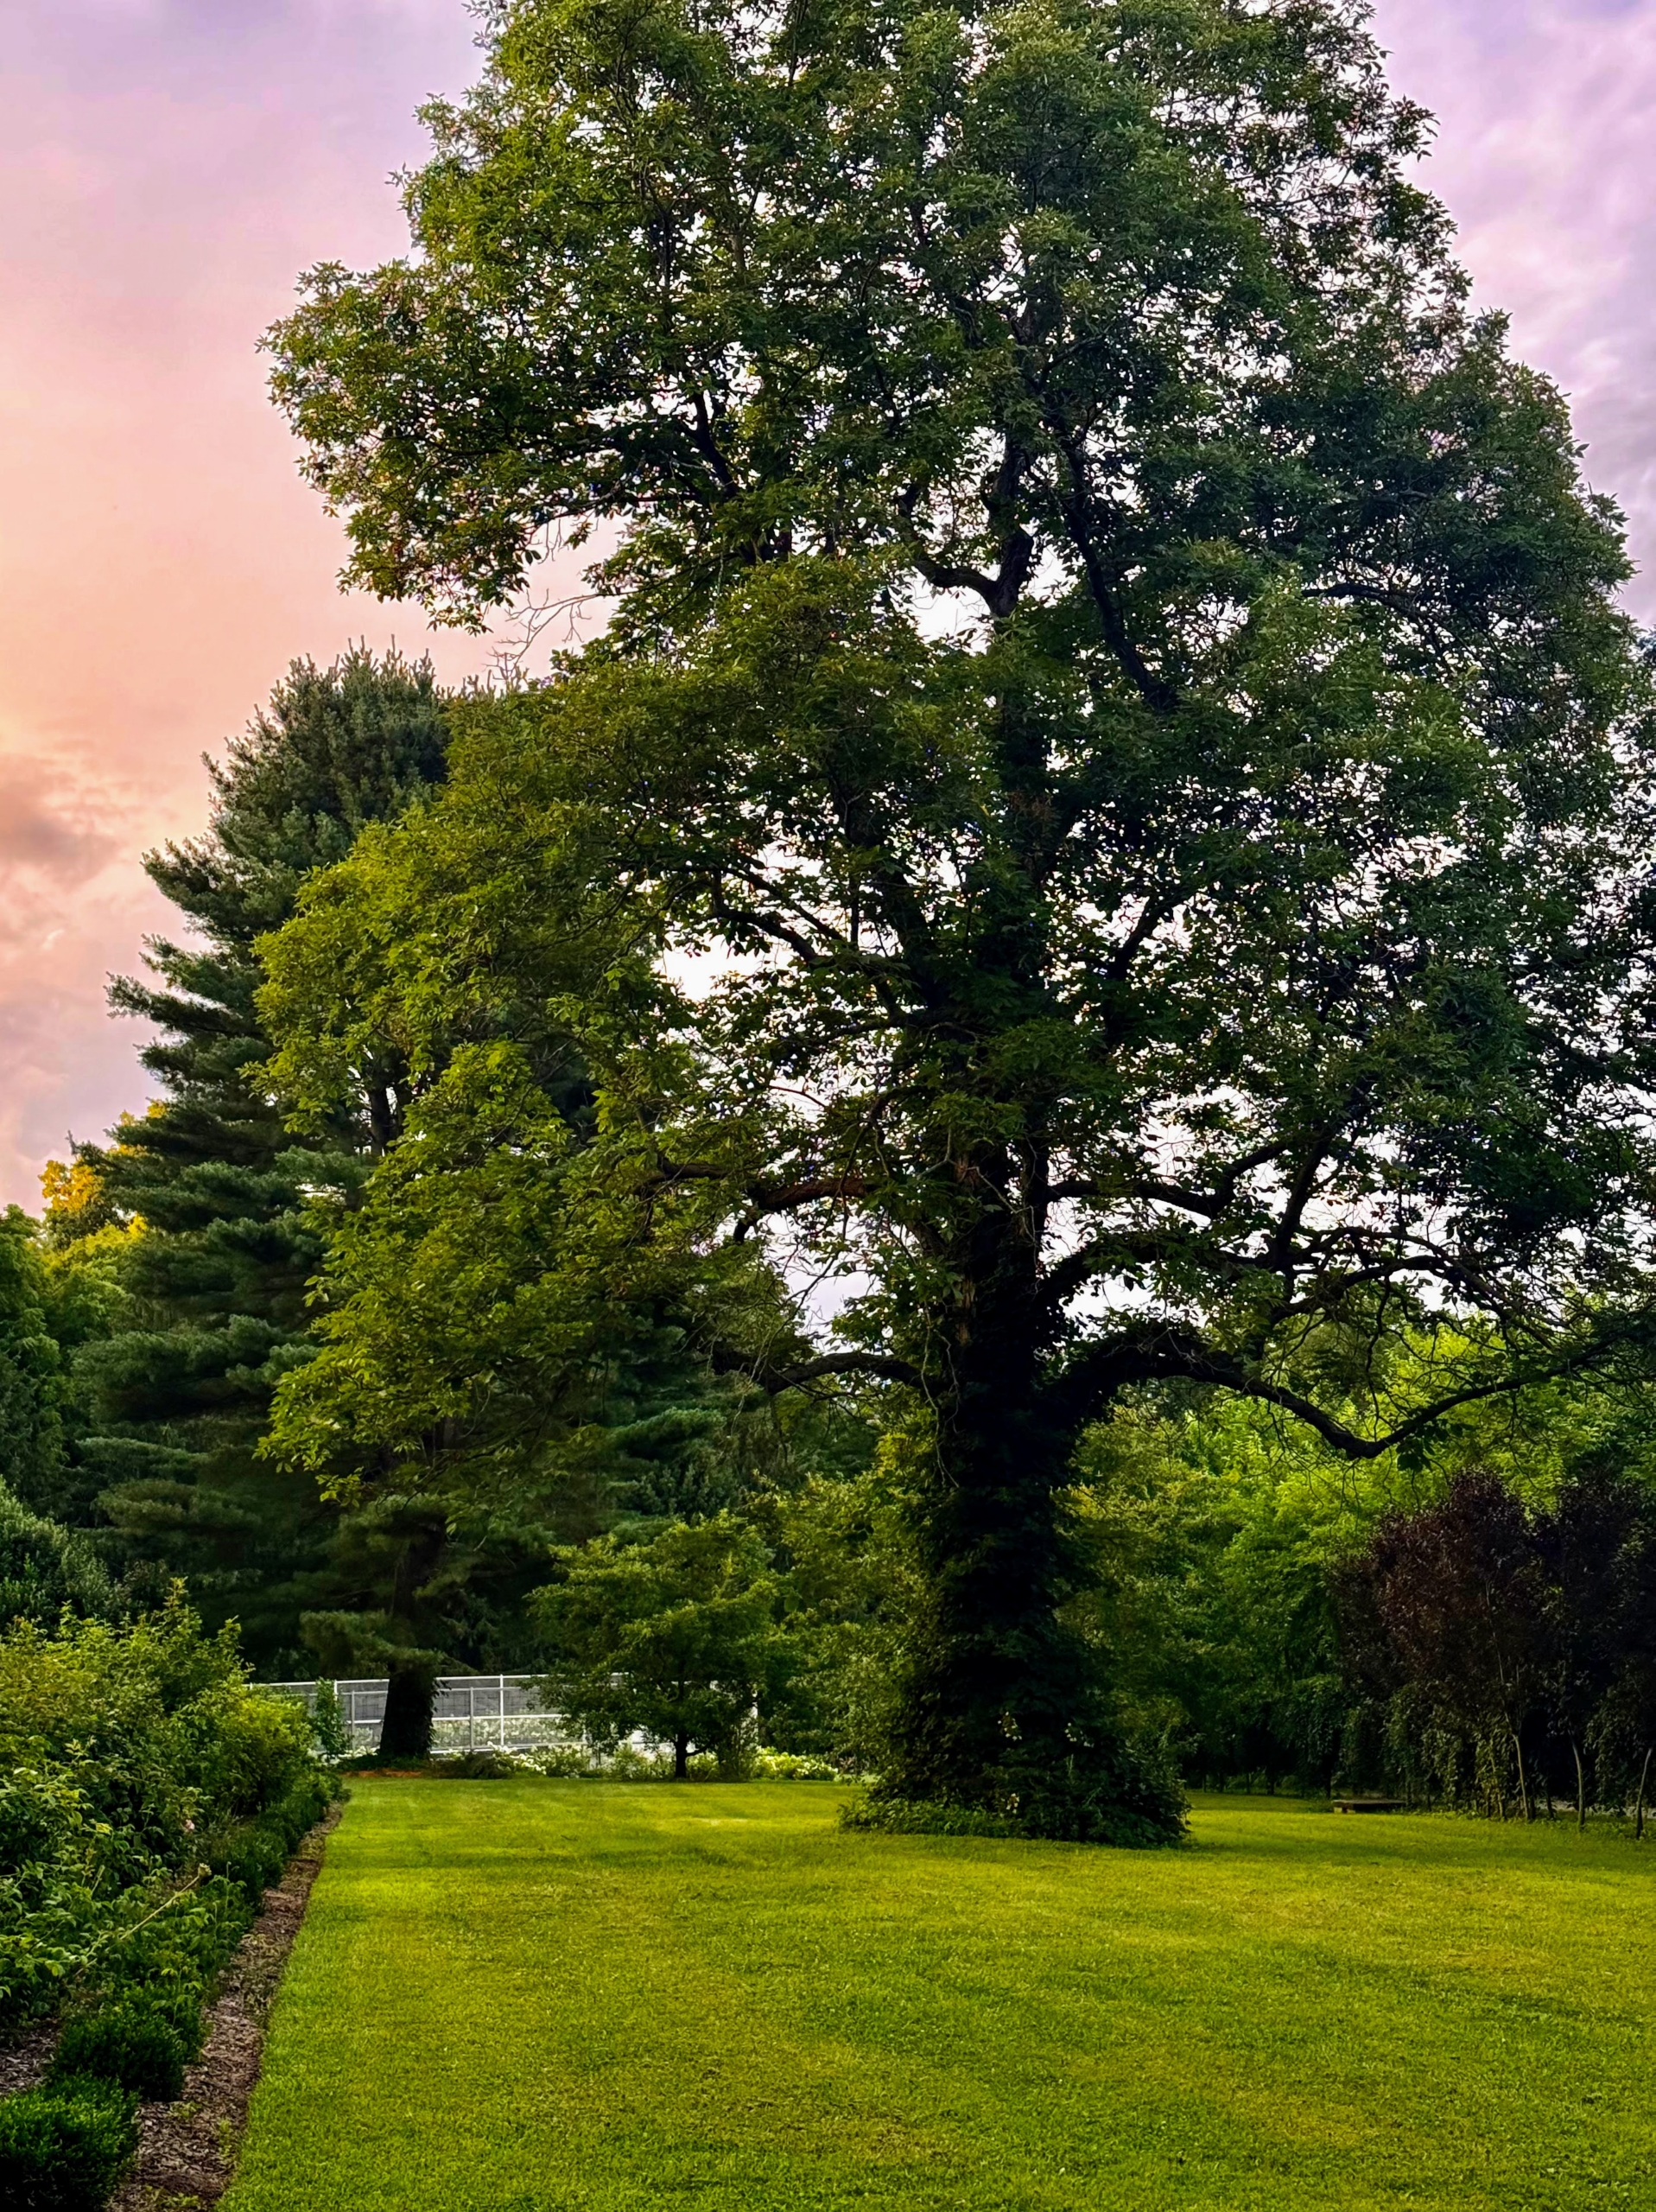
One can see my tennis court in the distance with the pinkish skies overhead. A pink sky at sunset occurs when sunlight is scattered by the atmosphere, showing stable, fair and calm weather.
The season is going by quickly. Thanks for documenting so many of our finer days and evenings here at the farm, Carlos. Keep taking beautiful photos.
Do you know... a group of pheasants is called a nye or nide? More specifically, the words refer to pheasants gathered on the ground. A family of pheasants with their chicks is called a brood, while a group of pheasants in flight is known as a bouquet - such a fitting name for such colorful birds.
I hope you caught my recent Instagram post on @MarthaStewart48. Last week, I received an early birthday present from my friends Gregory Goodwin and Kyle Rush. They gifted me three young silver pheasant hens to join my handsome silver pheasant male. I'm happy to report they're getting along nicely, and the hens are happily exploring their surroundings, and enjoying the company of all their new feathered friends.
Enjoy these photos.
I called it my best birthday present so far – three beautiful young silver pheasant hens presented in this charming vintage carrier. Here I am with Greg and Kyle and the girls.
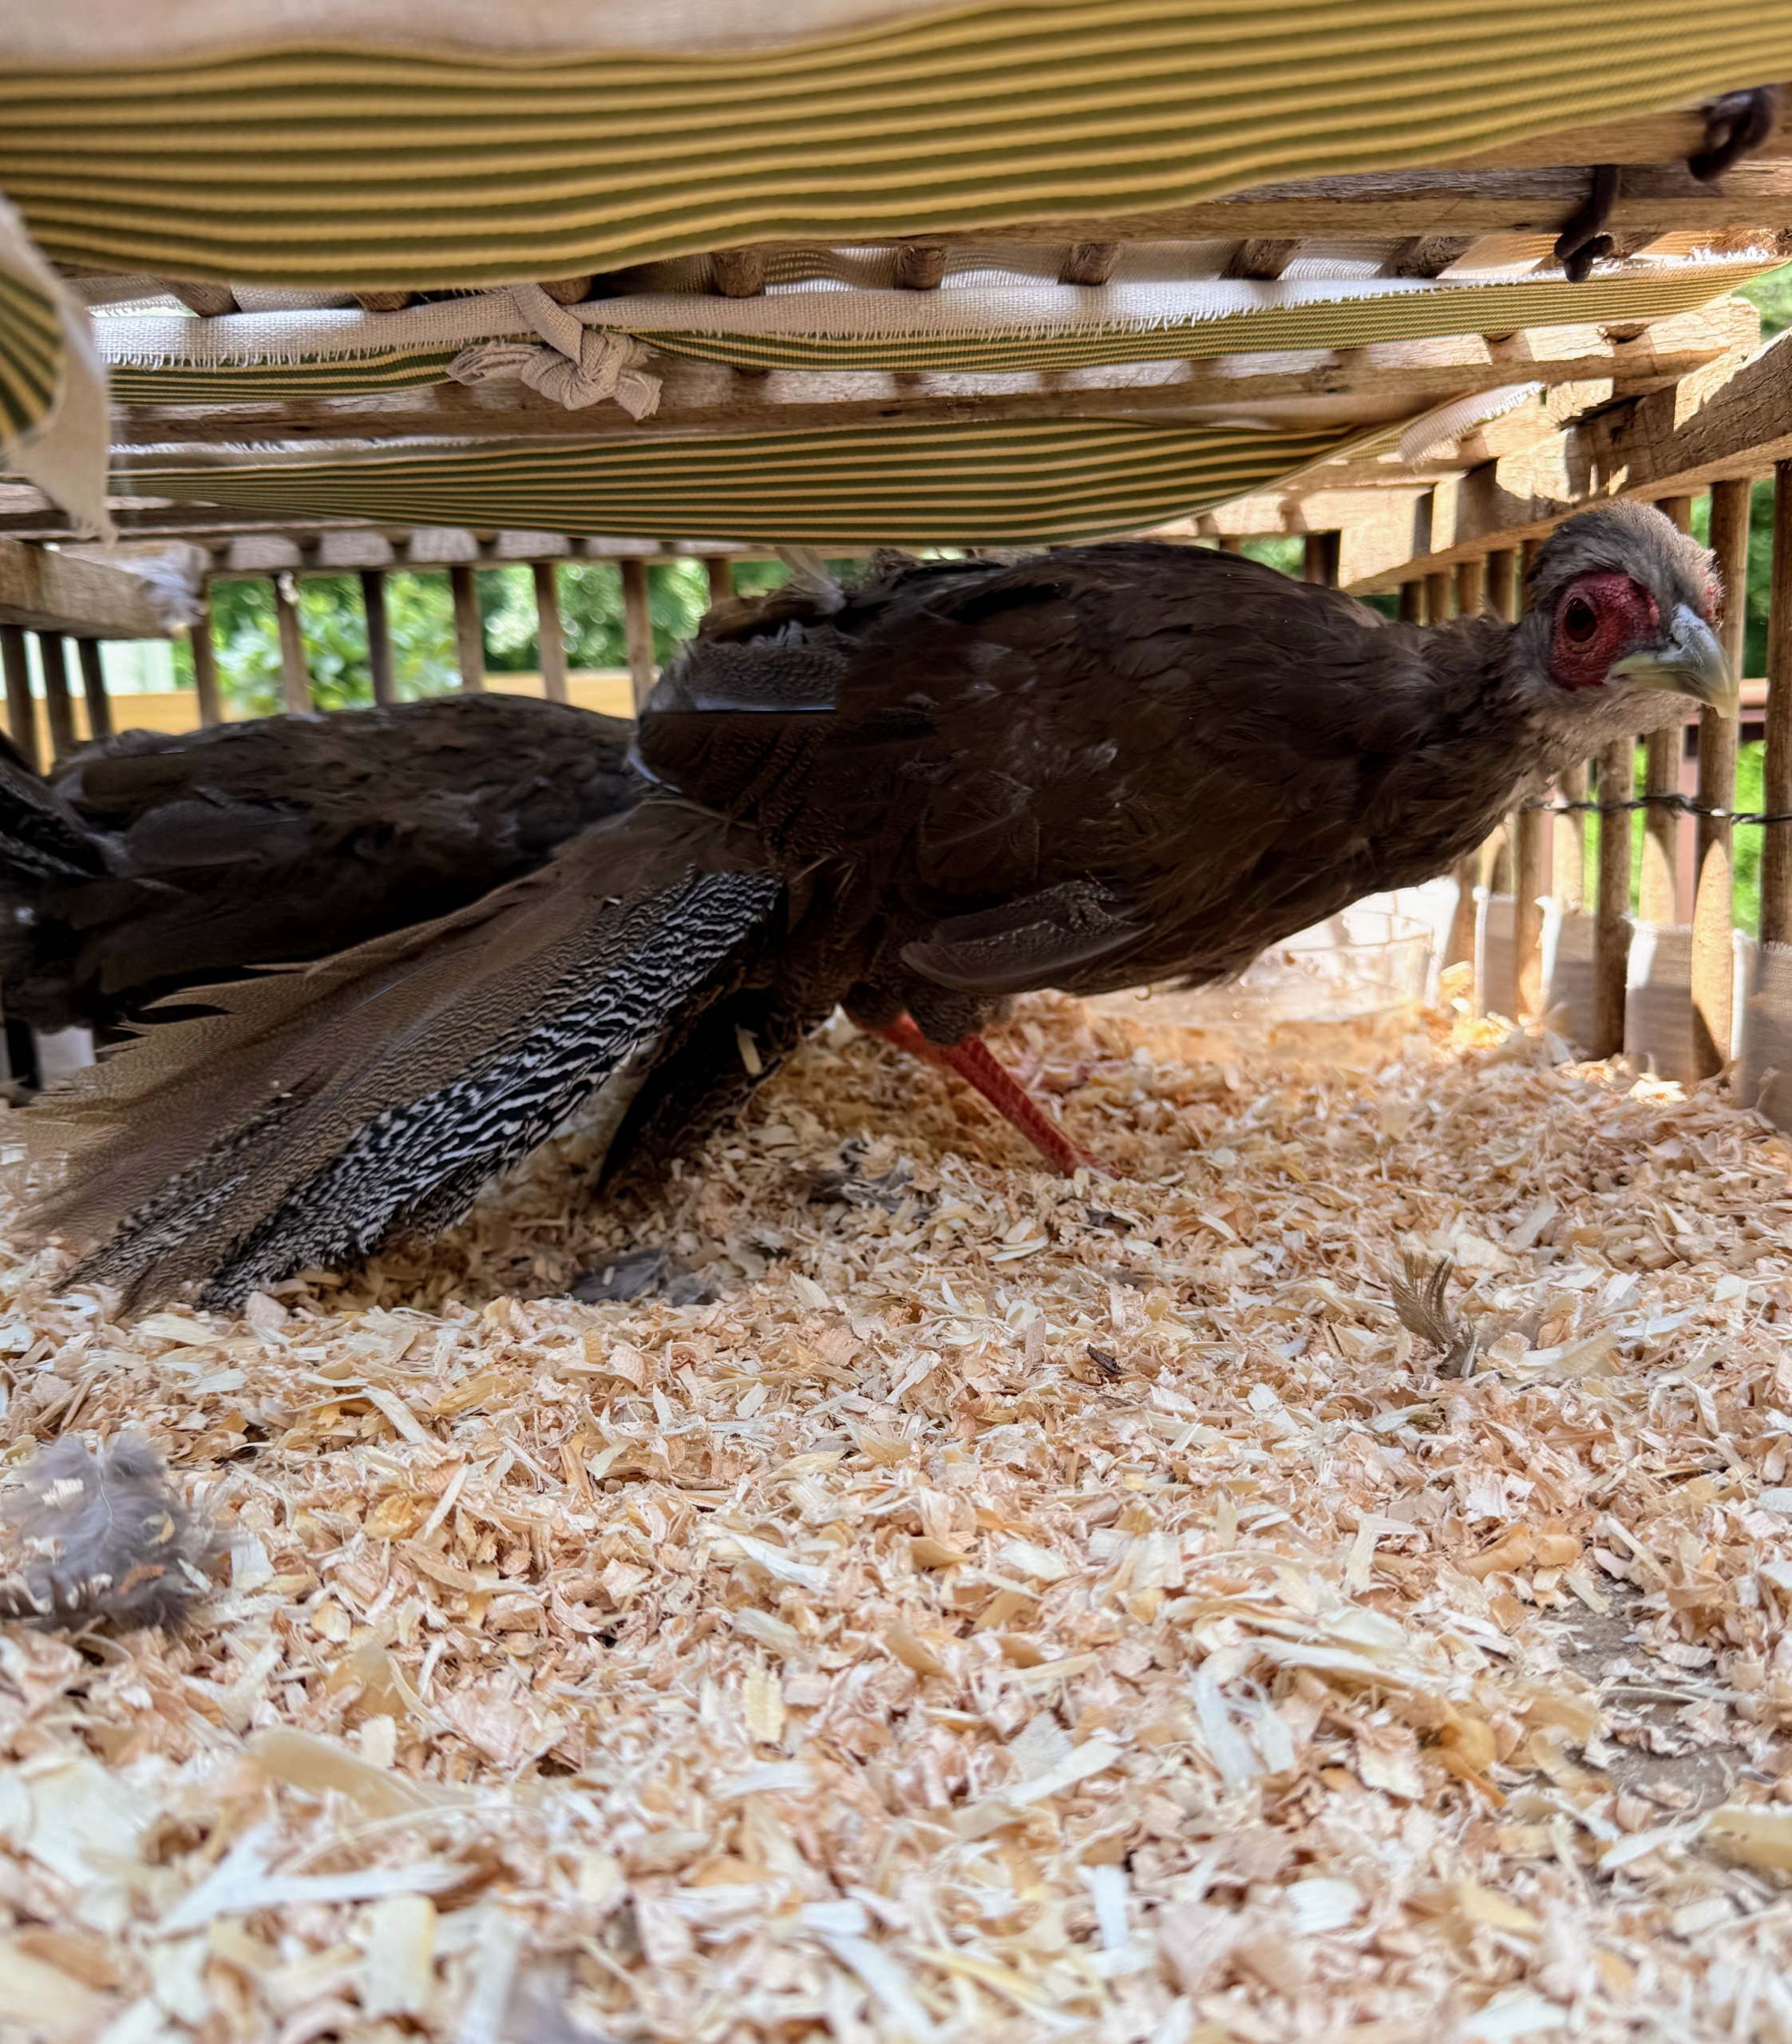
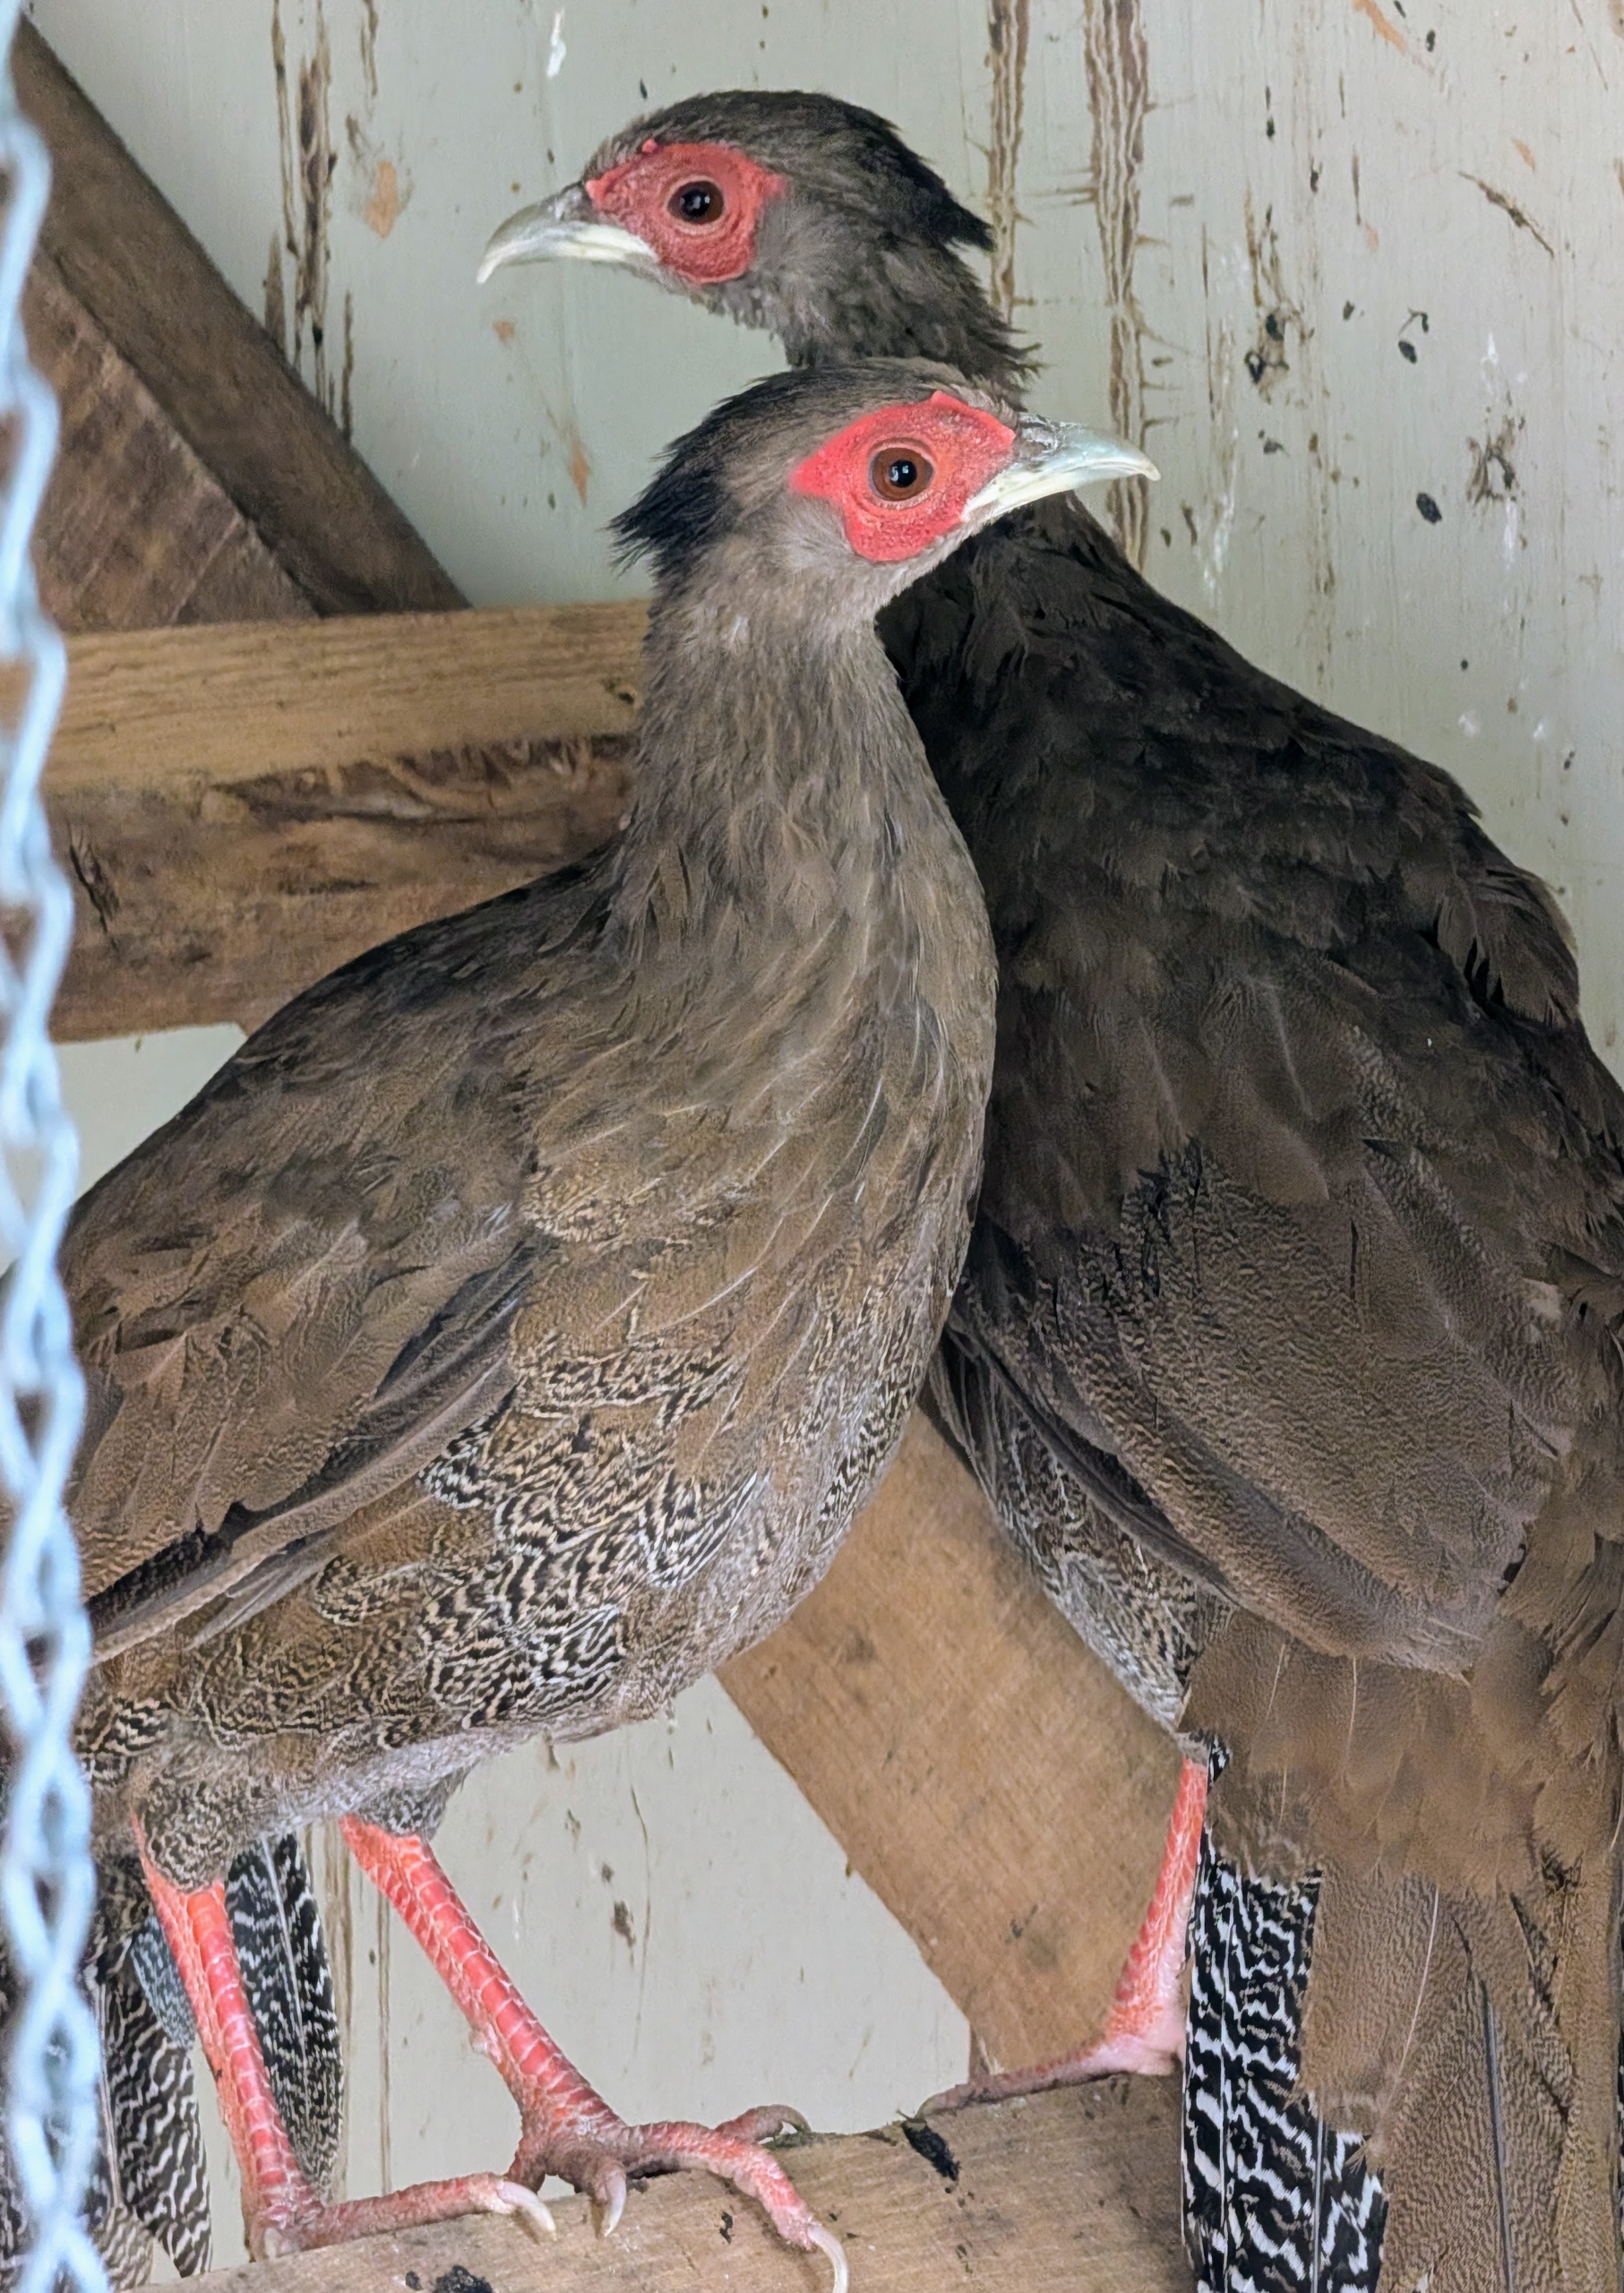
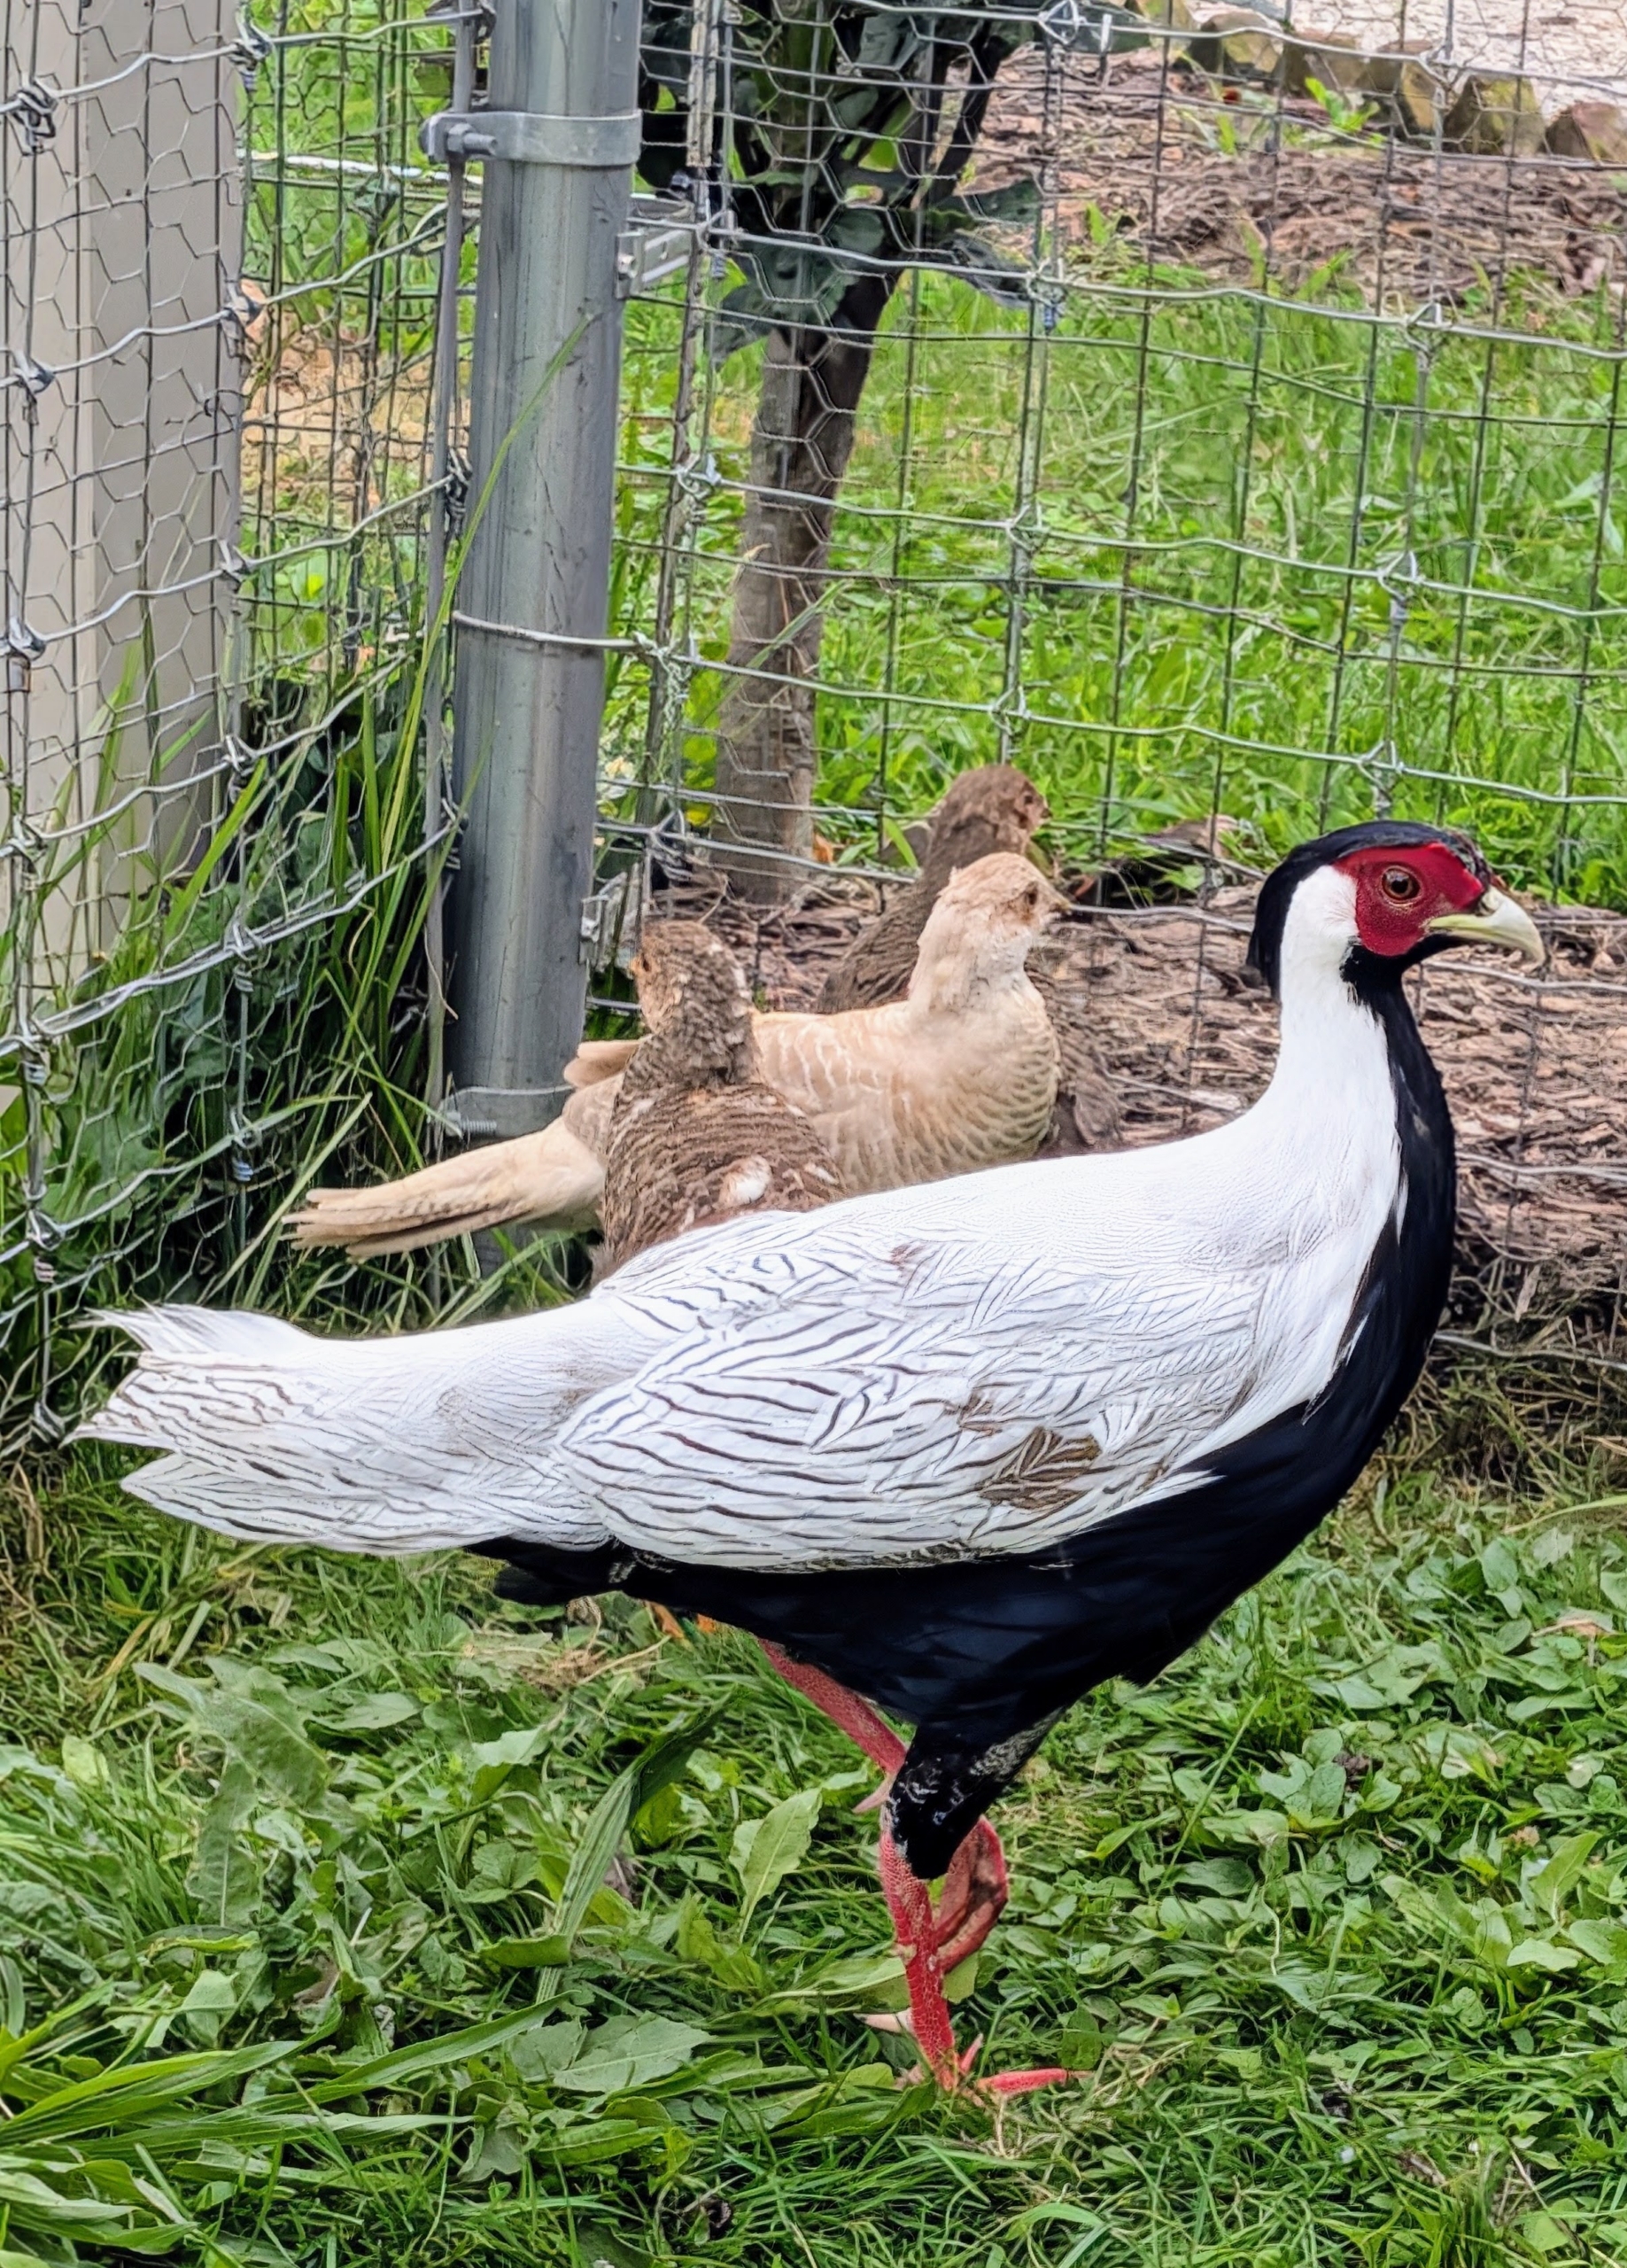
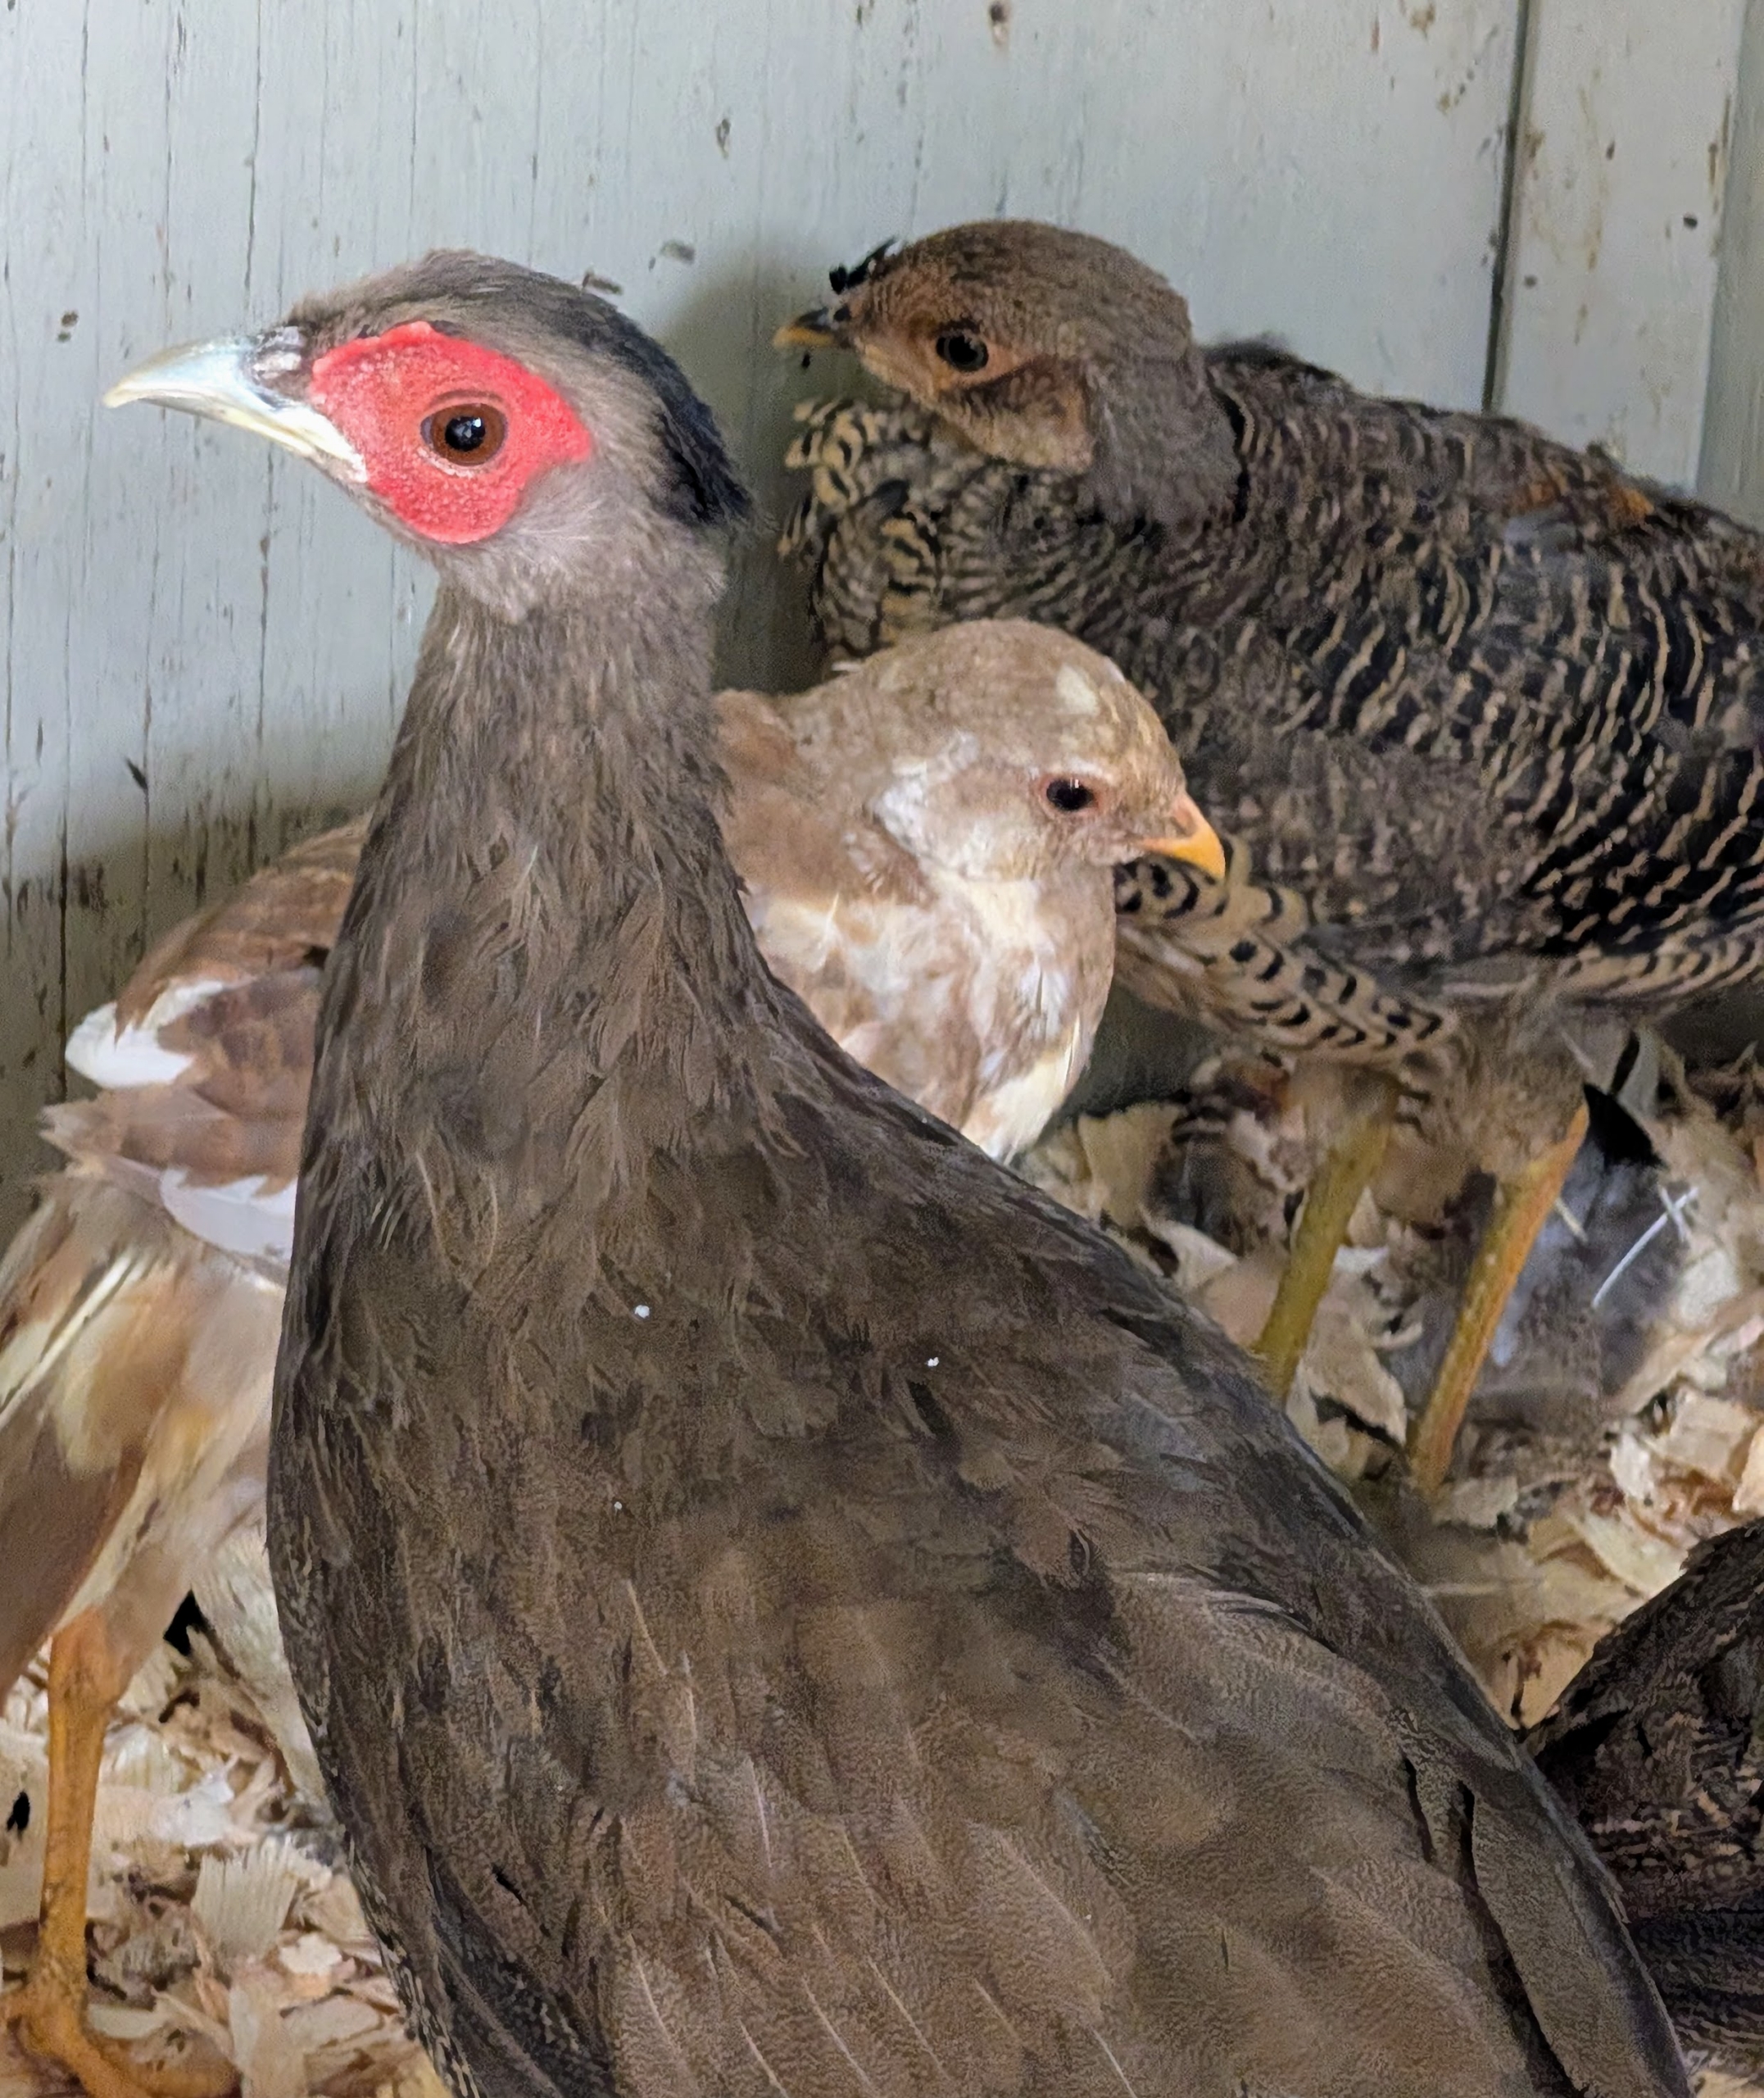
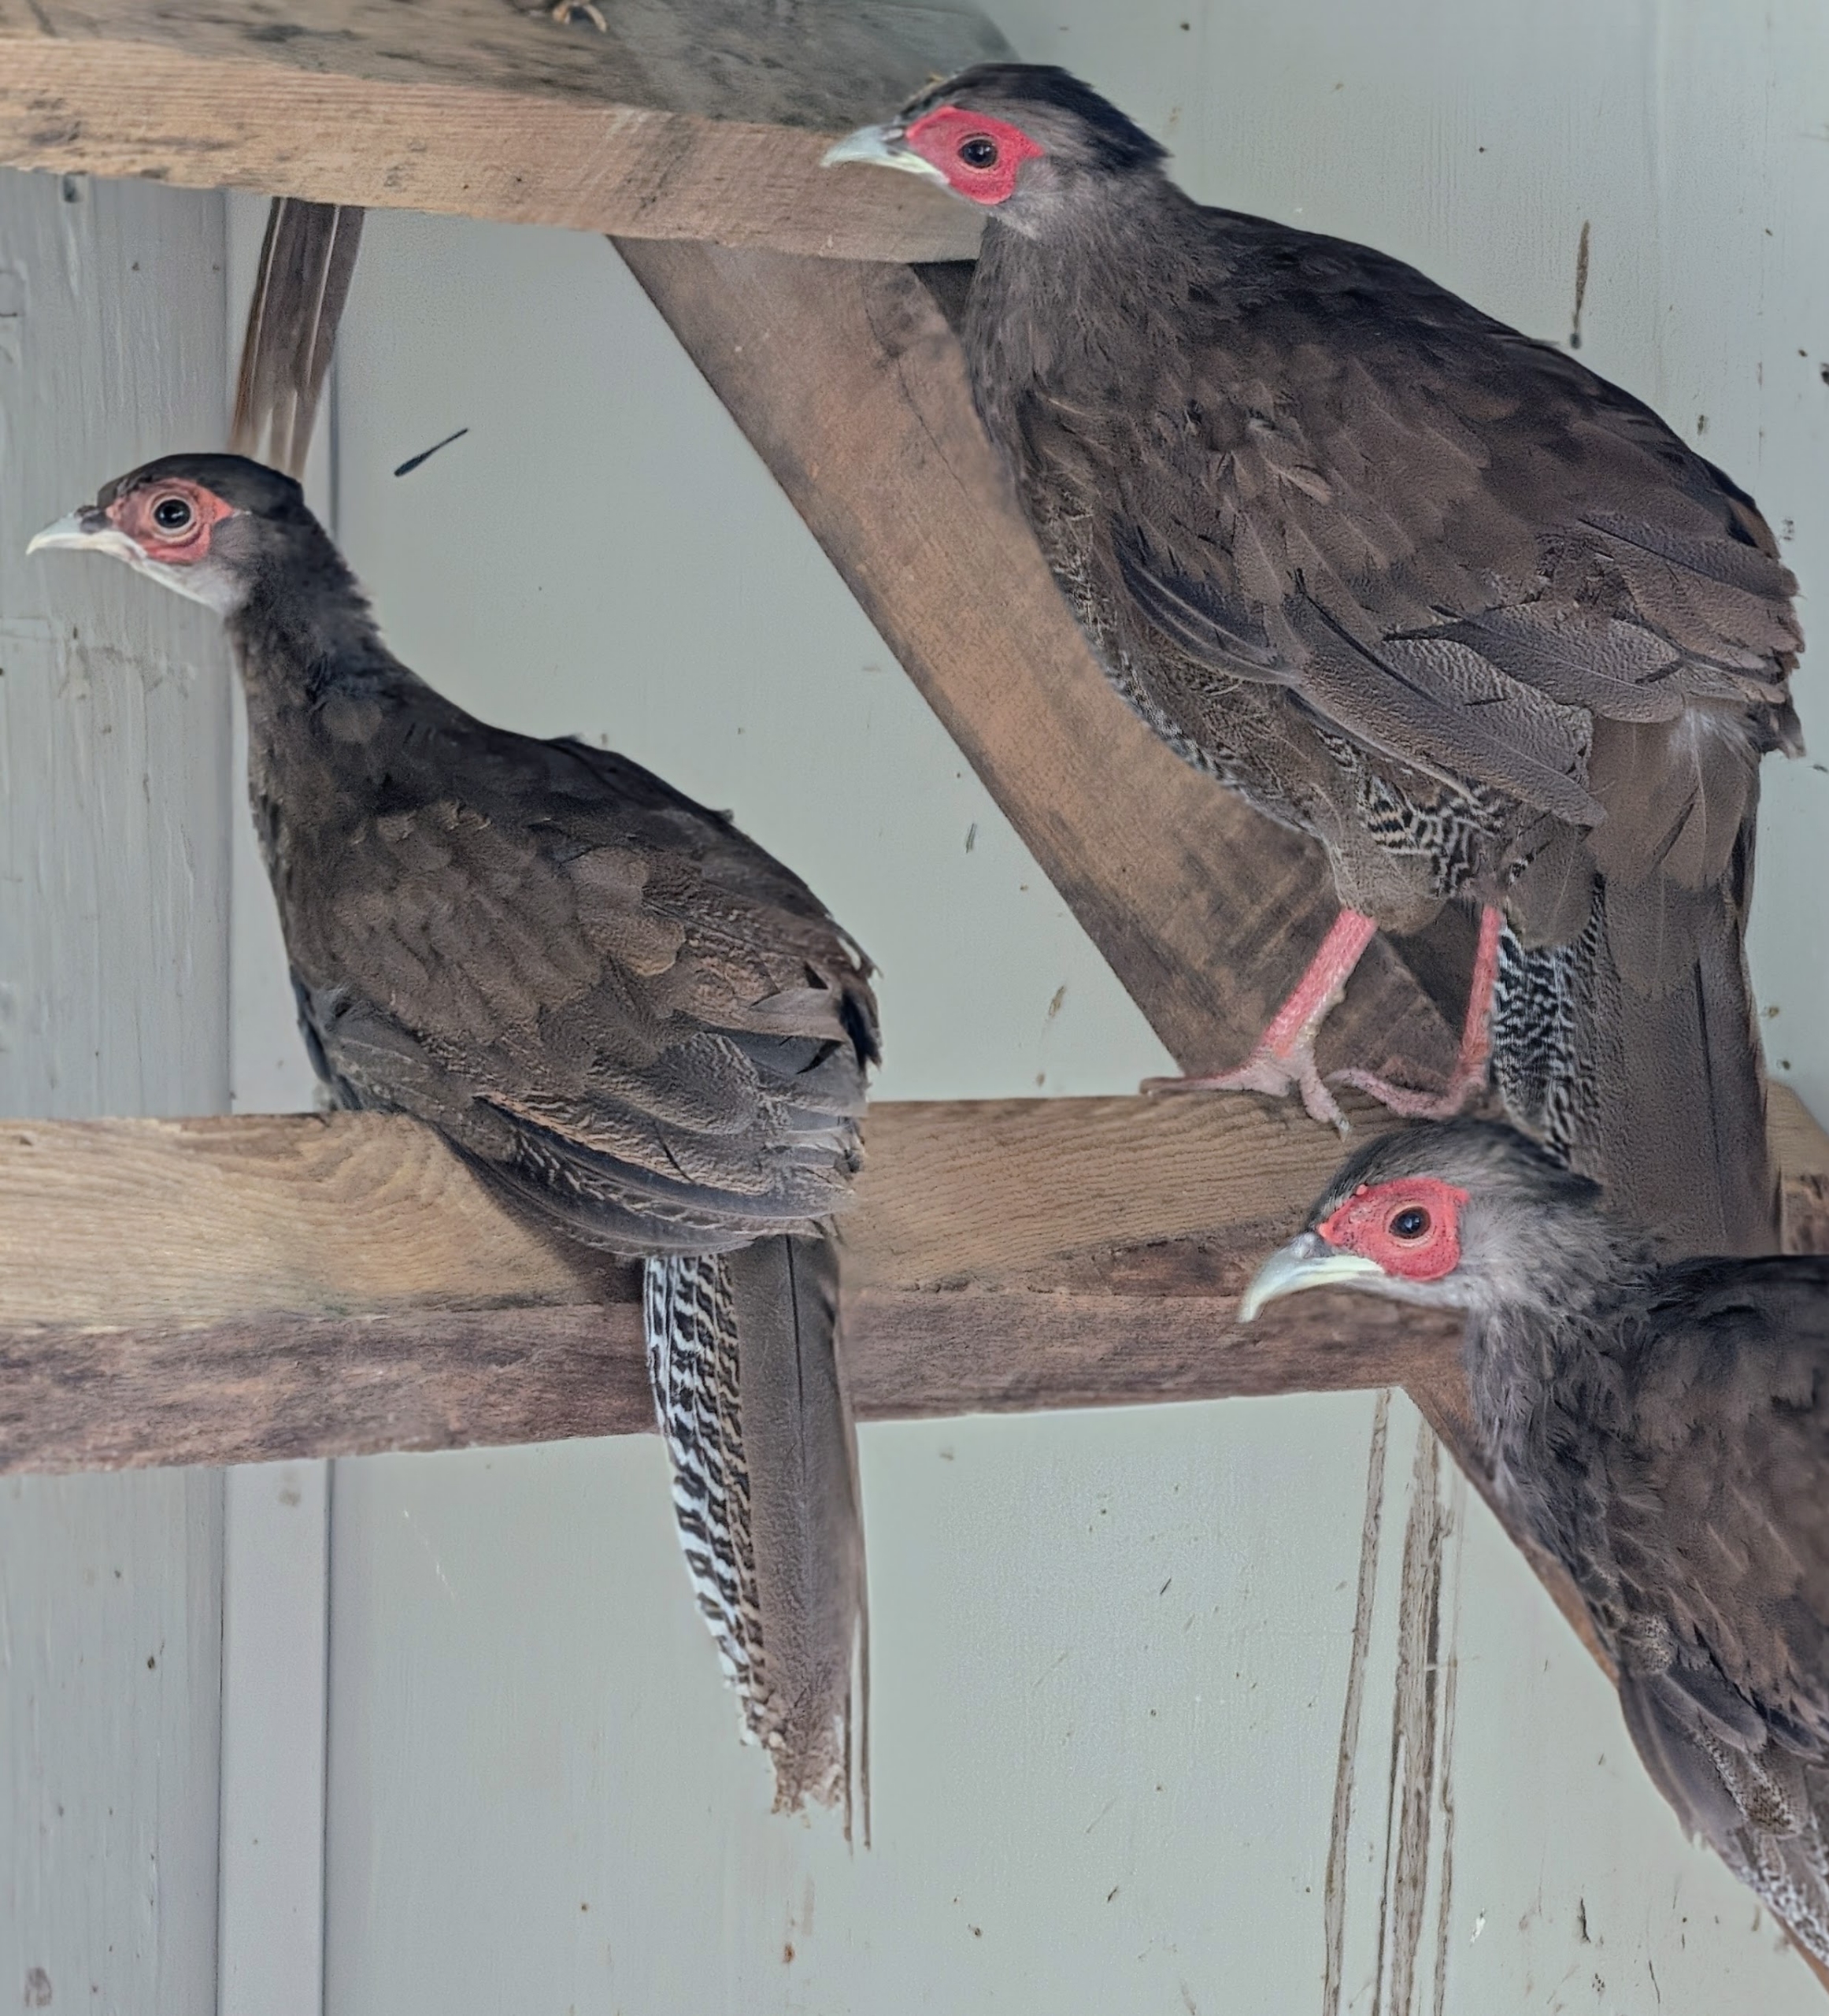
The silver pheasant hen is mostly brown with subtle black and white streaking. I was excited to introduce the three to my male silver pheasant.
Here’s a photo of two of the three hens in their new coop. The birds also have a small crest on the head that’s brown with black tips. Both the males and females have bare red faces.
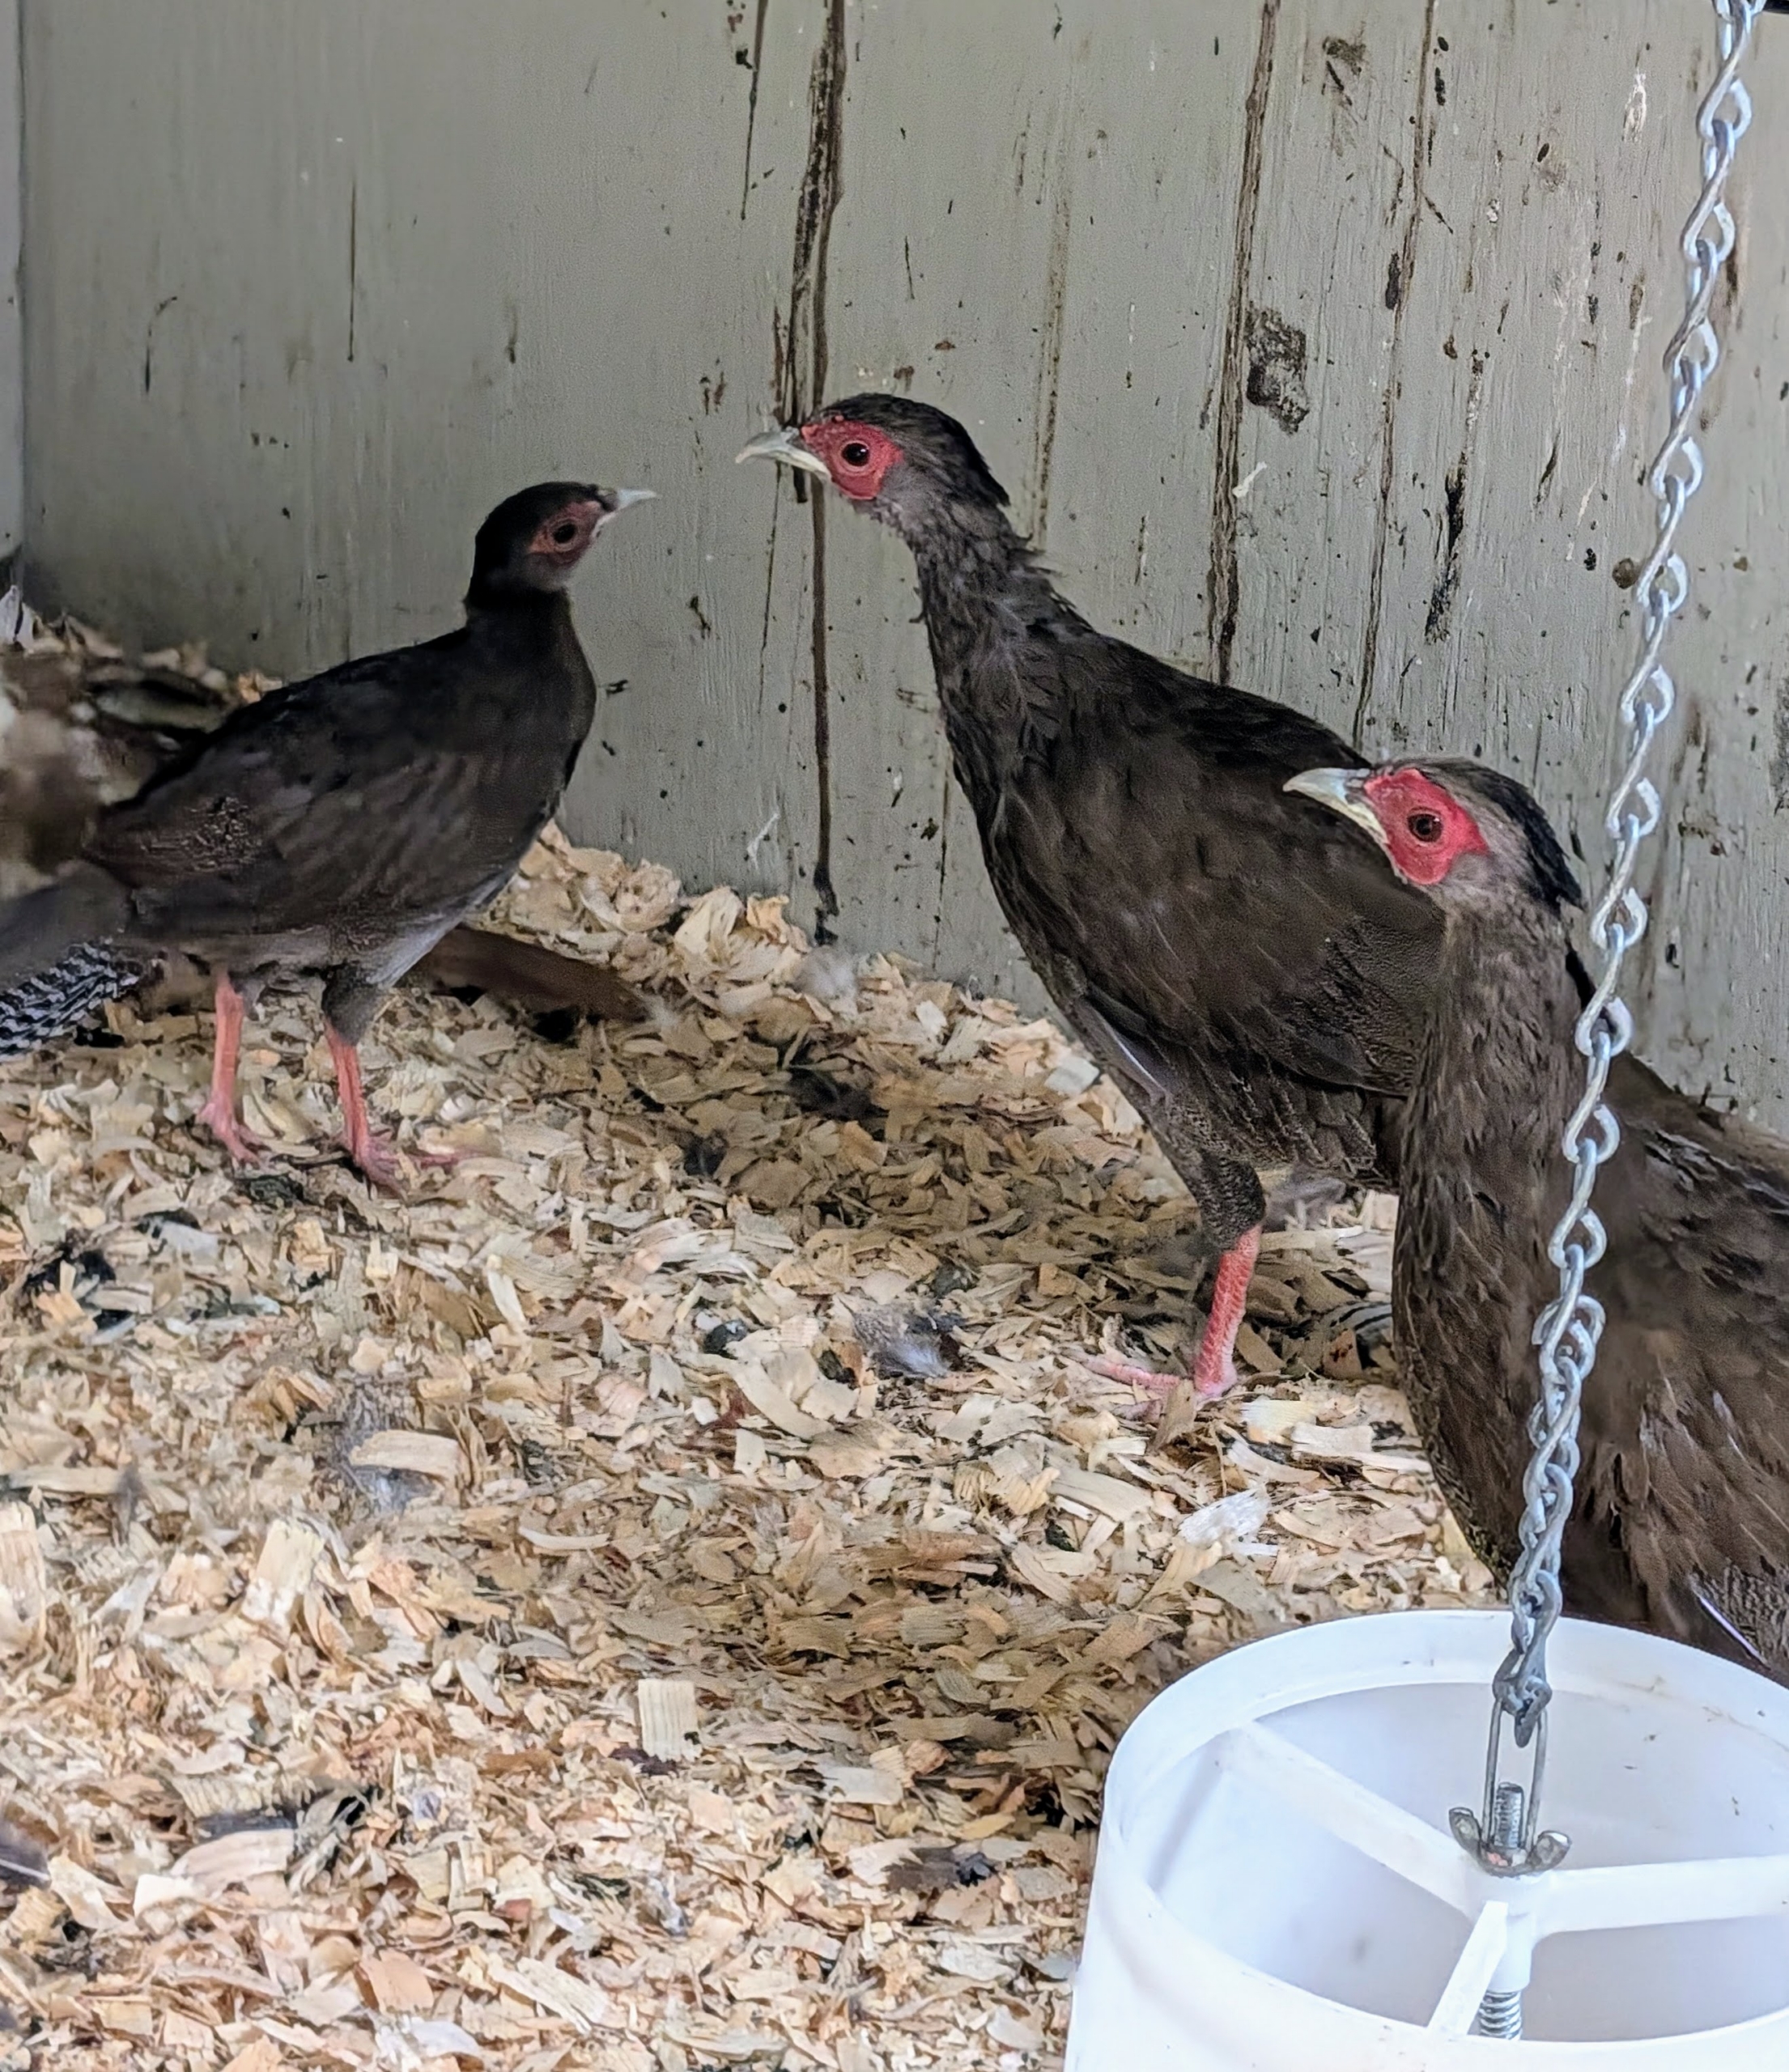
The three feel most comfortable together right now, but they’re acclimating nicely to their enclosure.
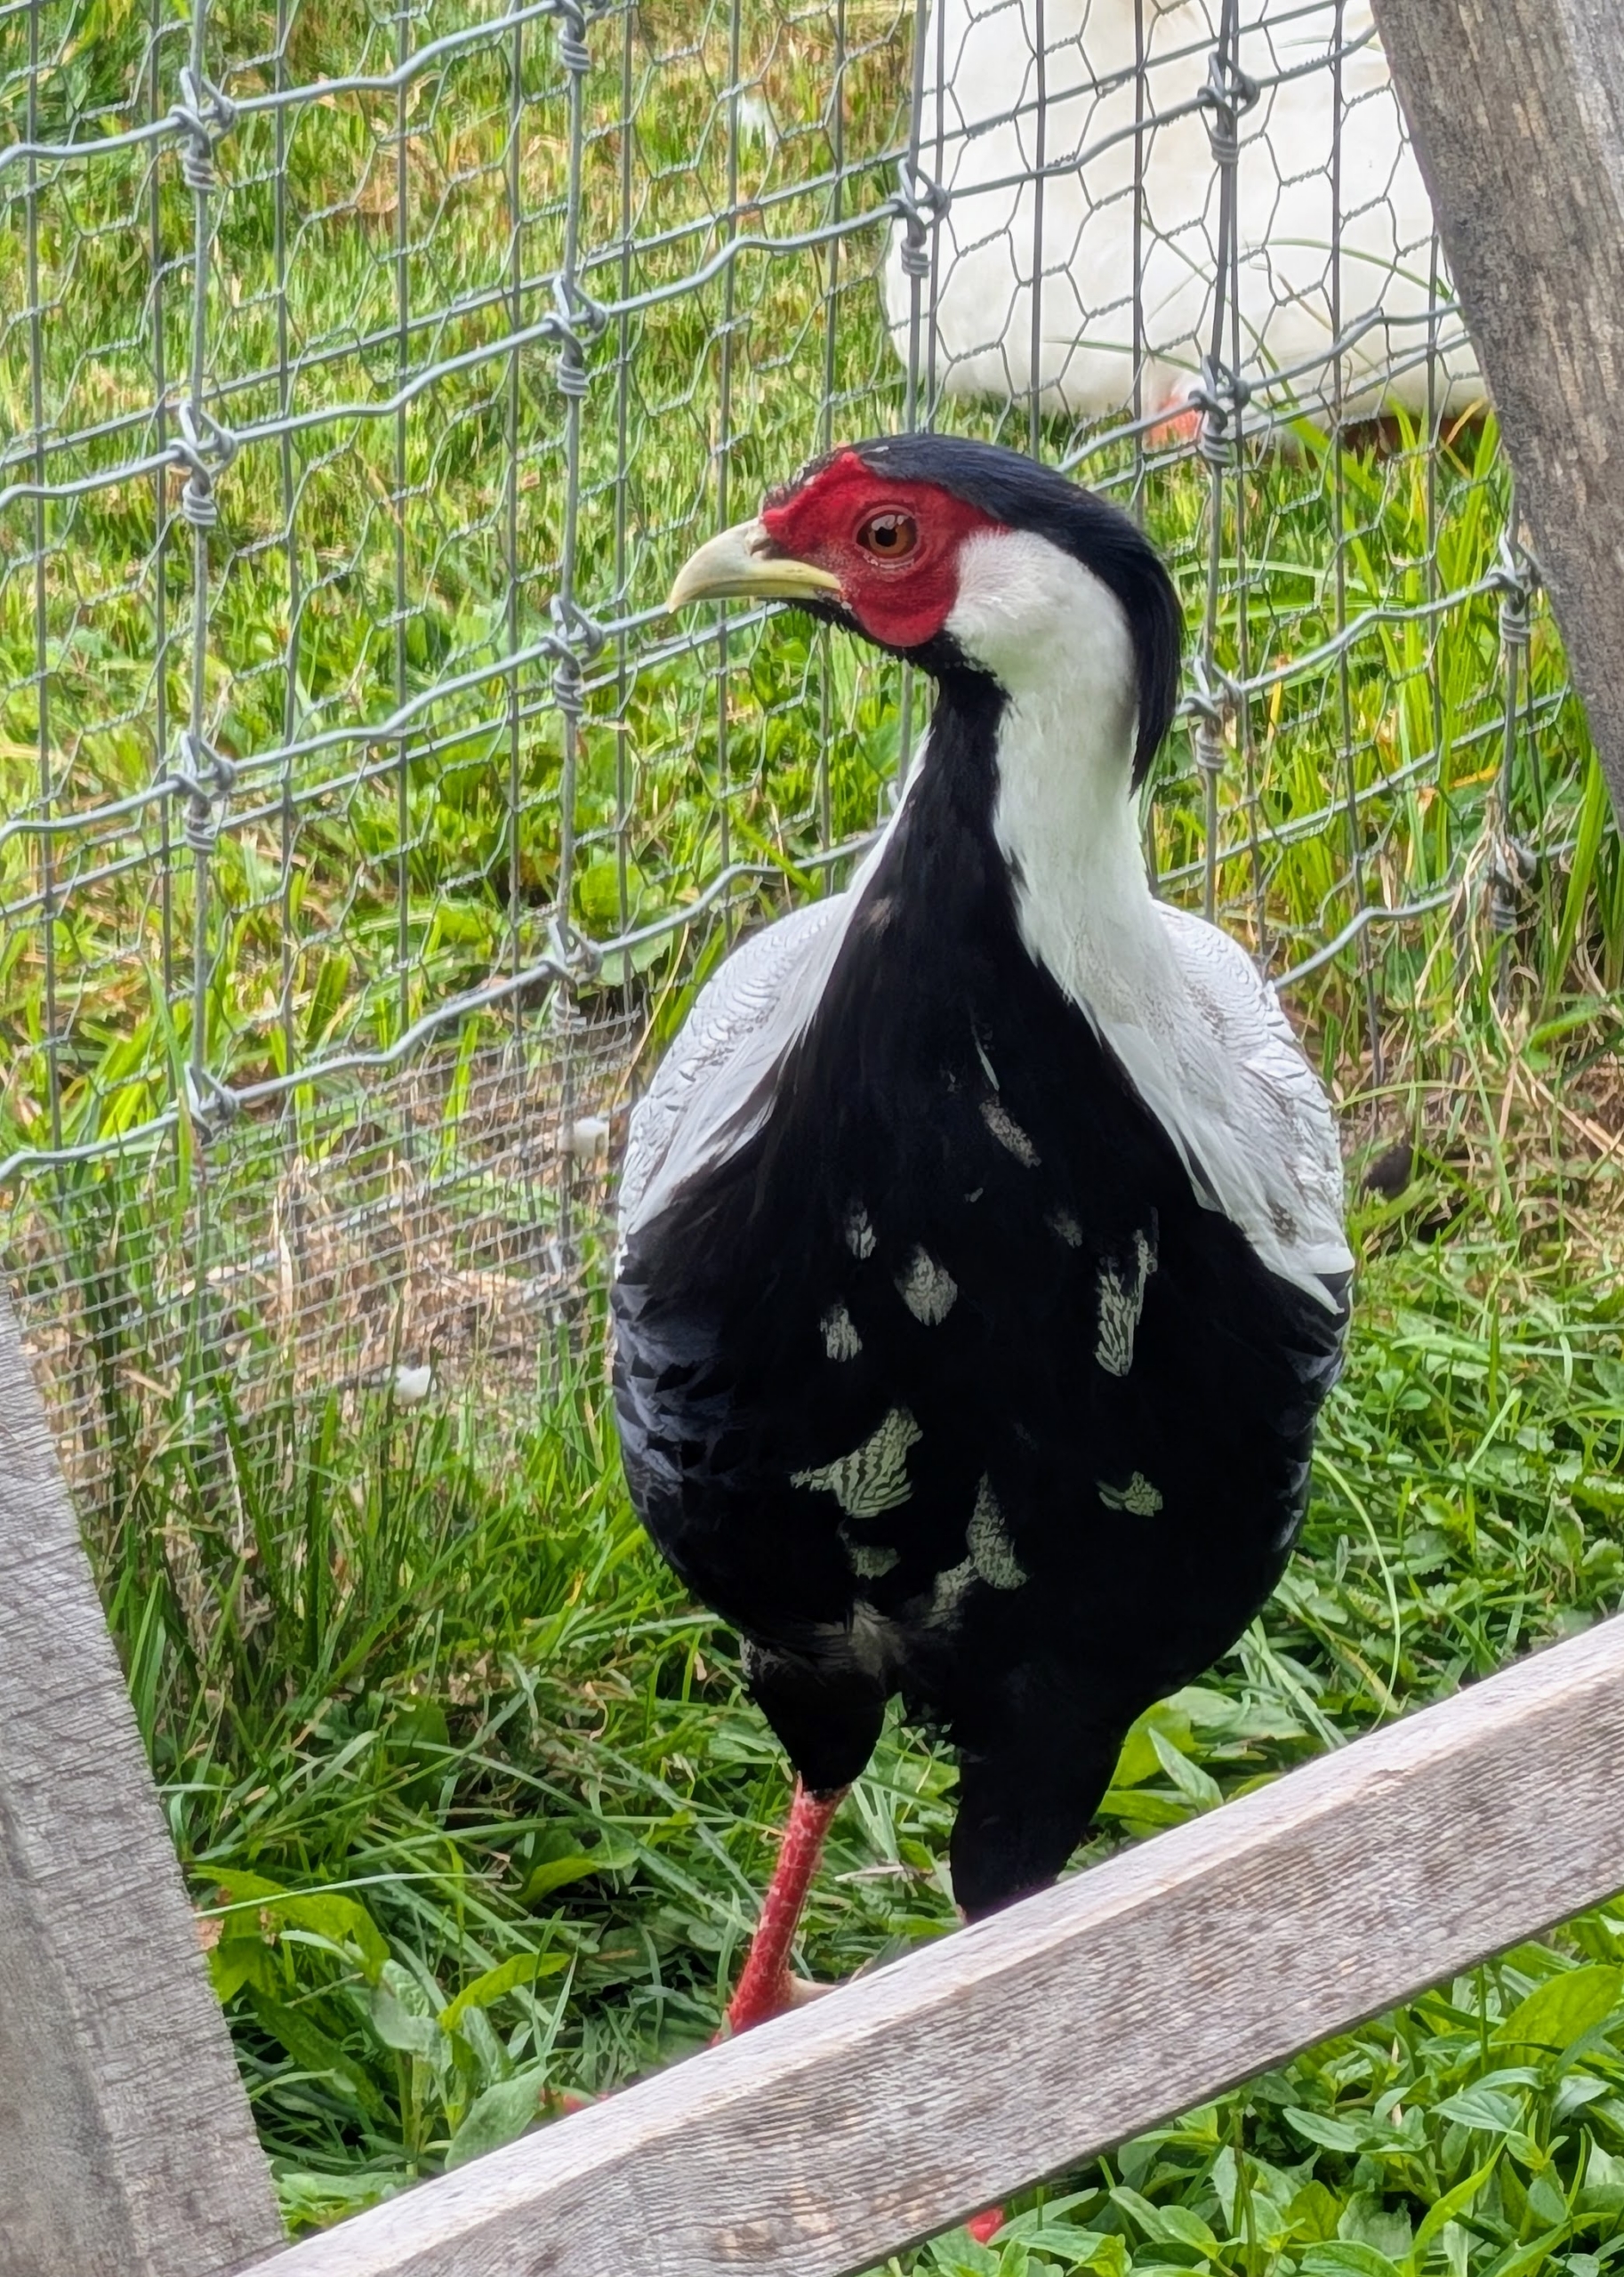
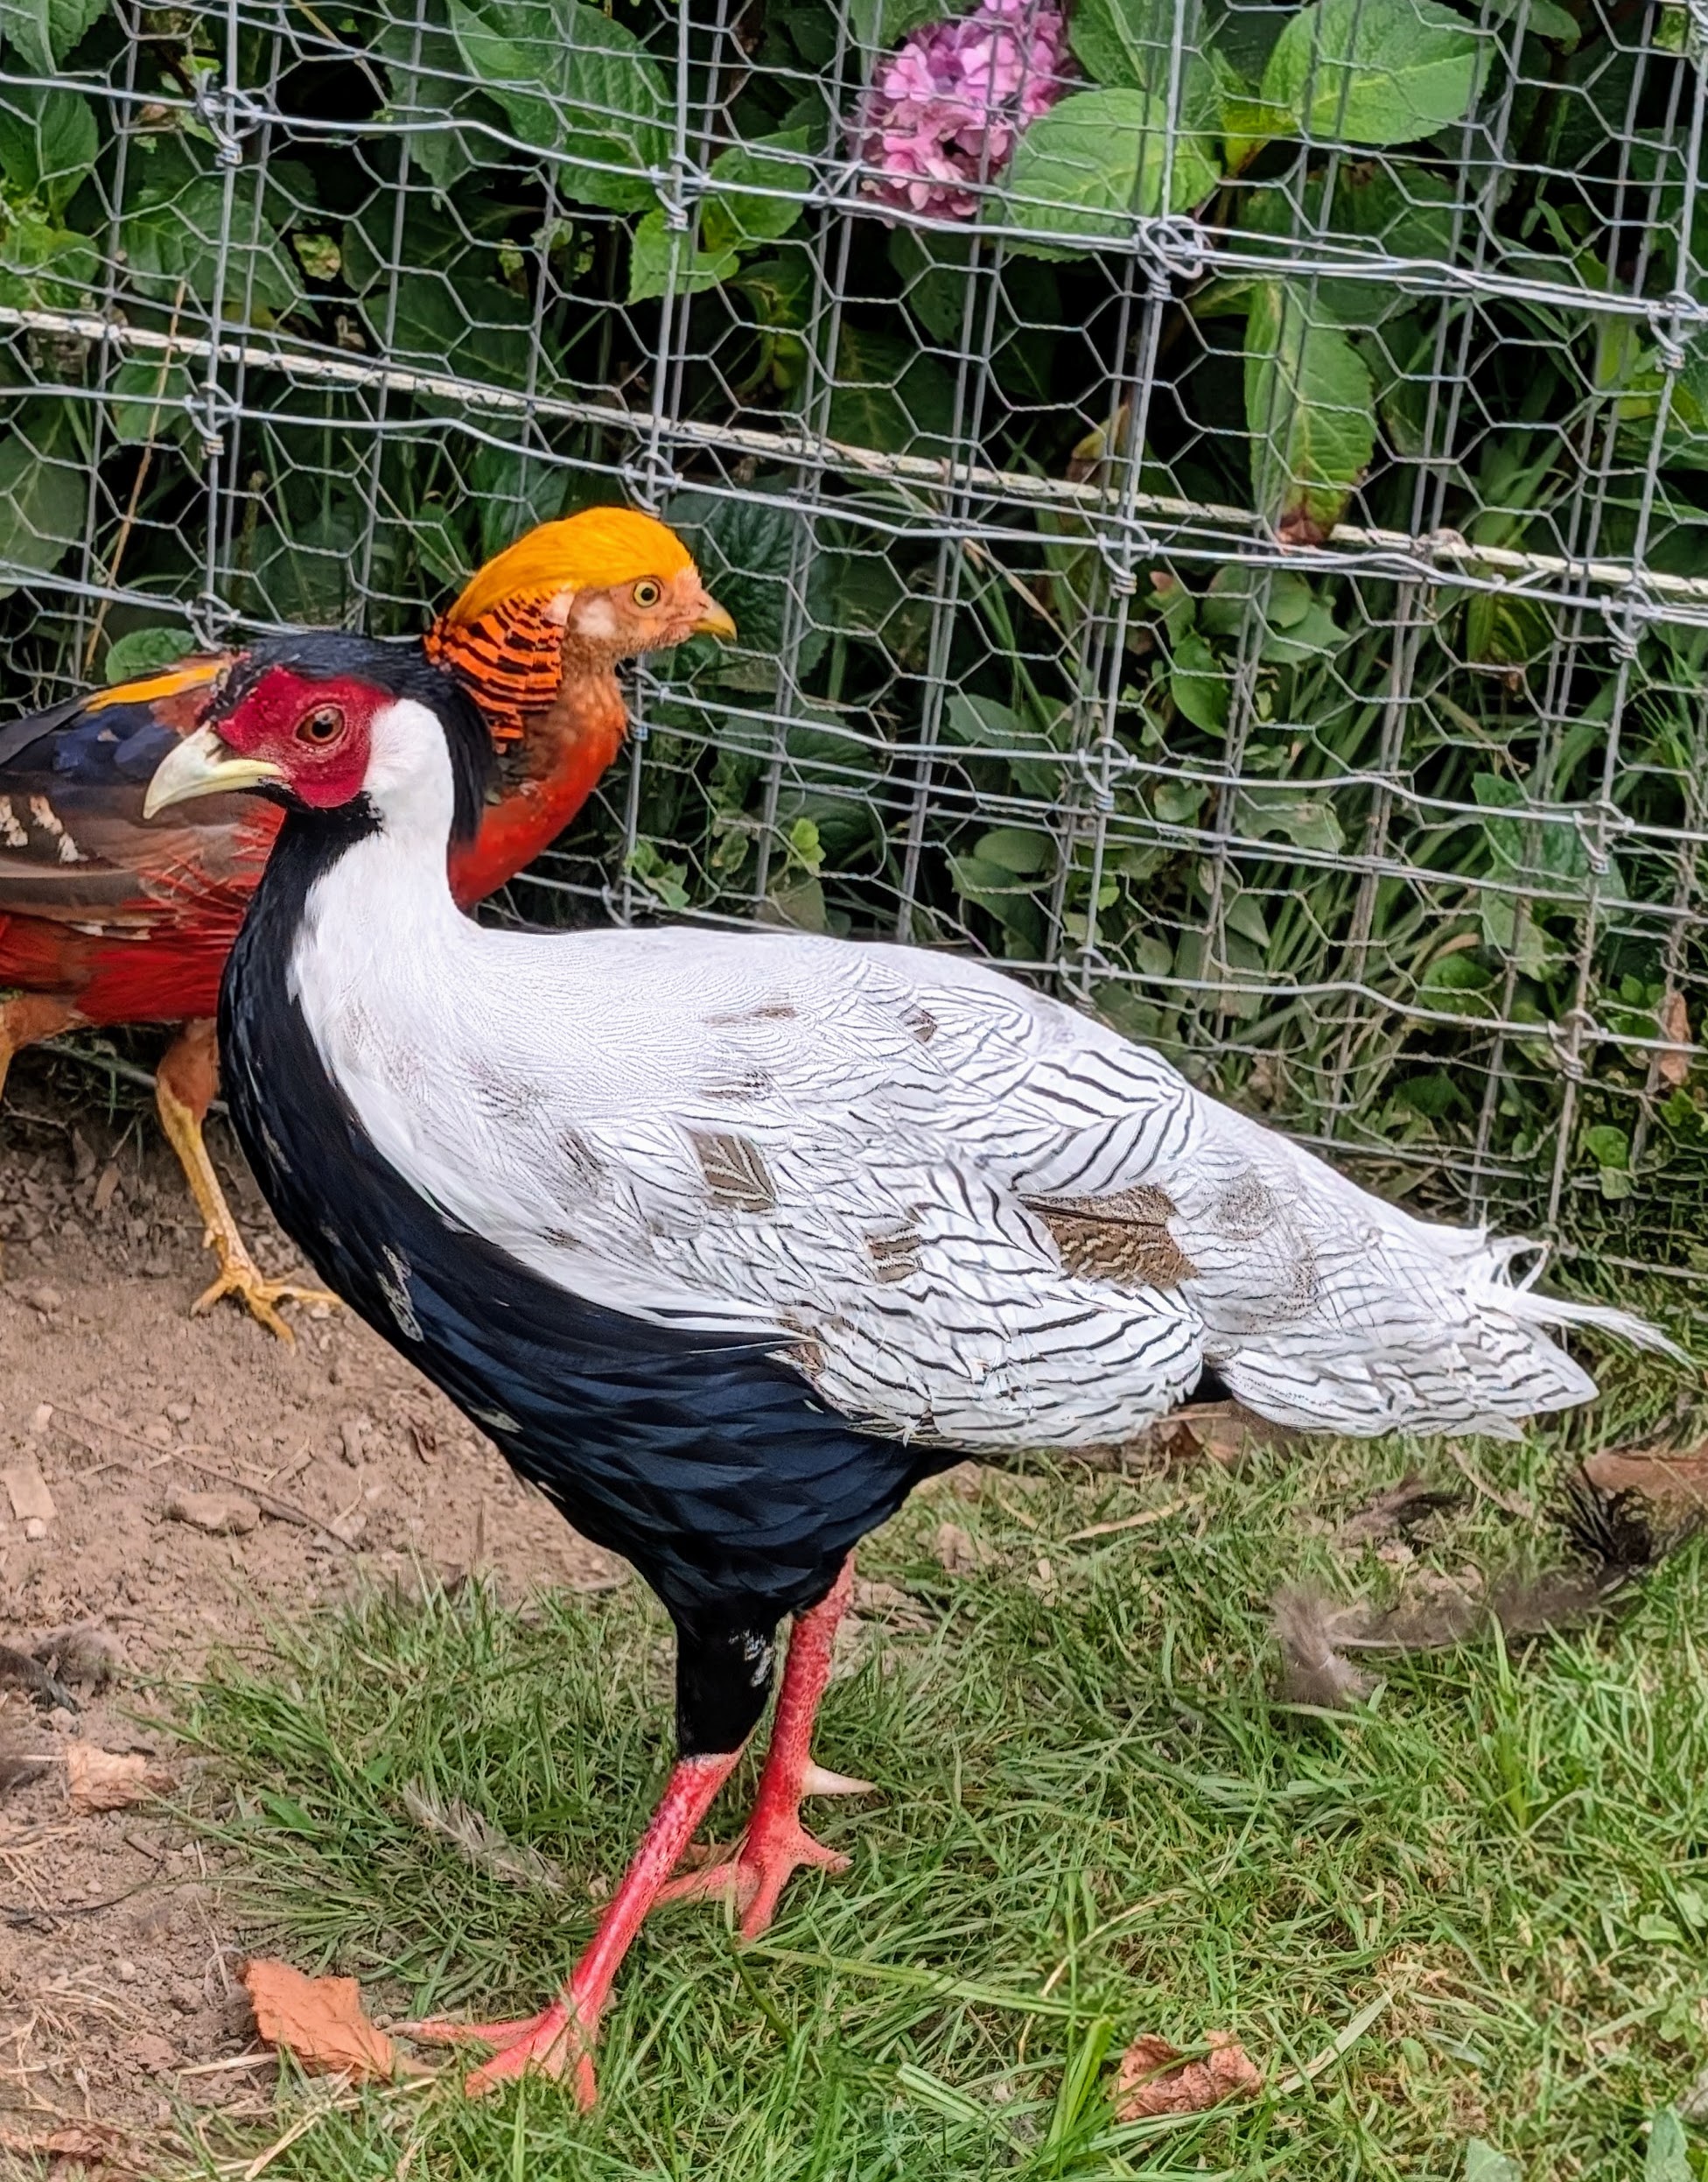
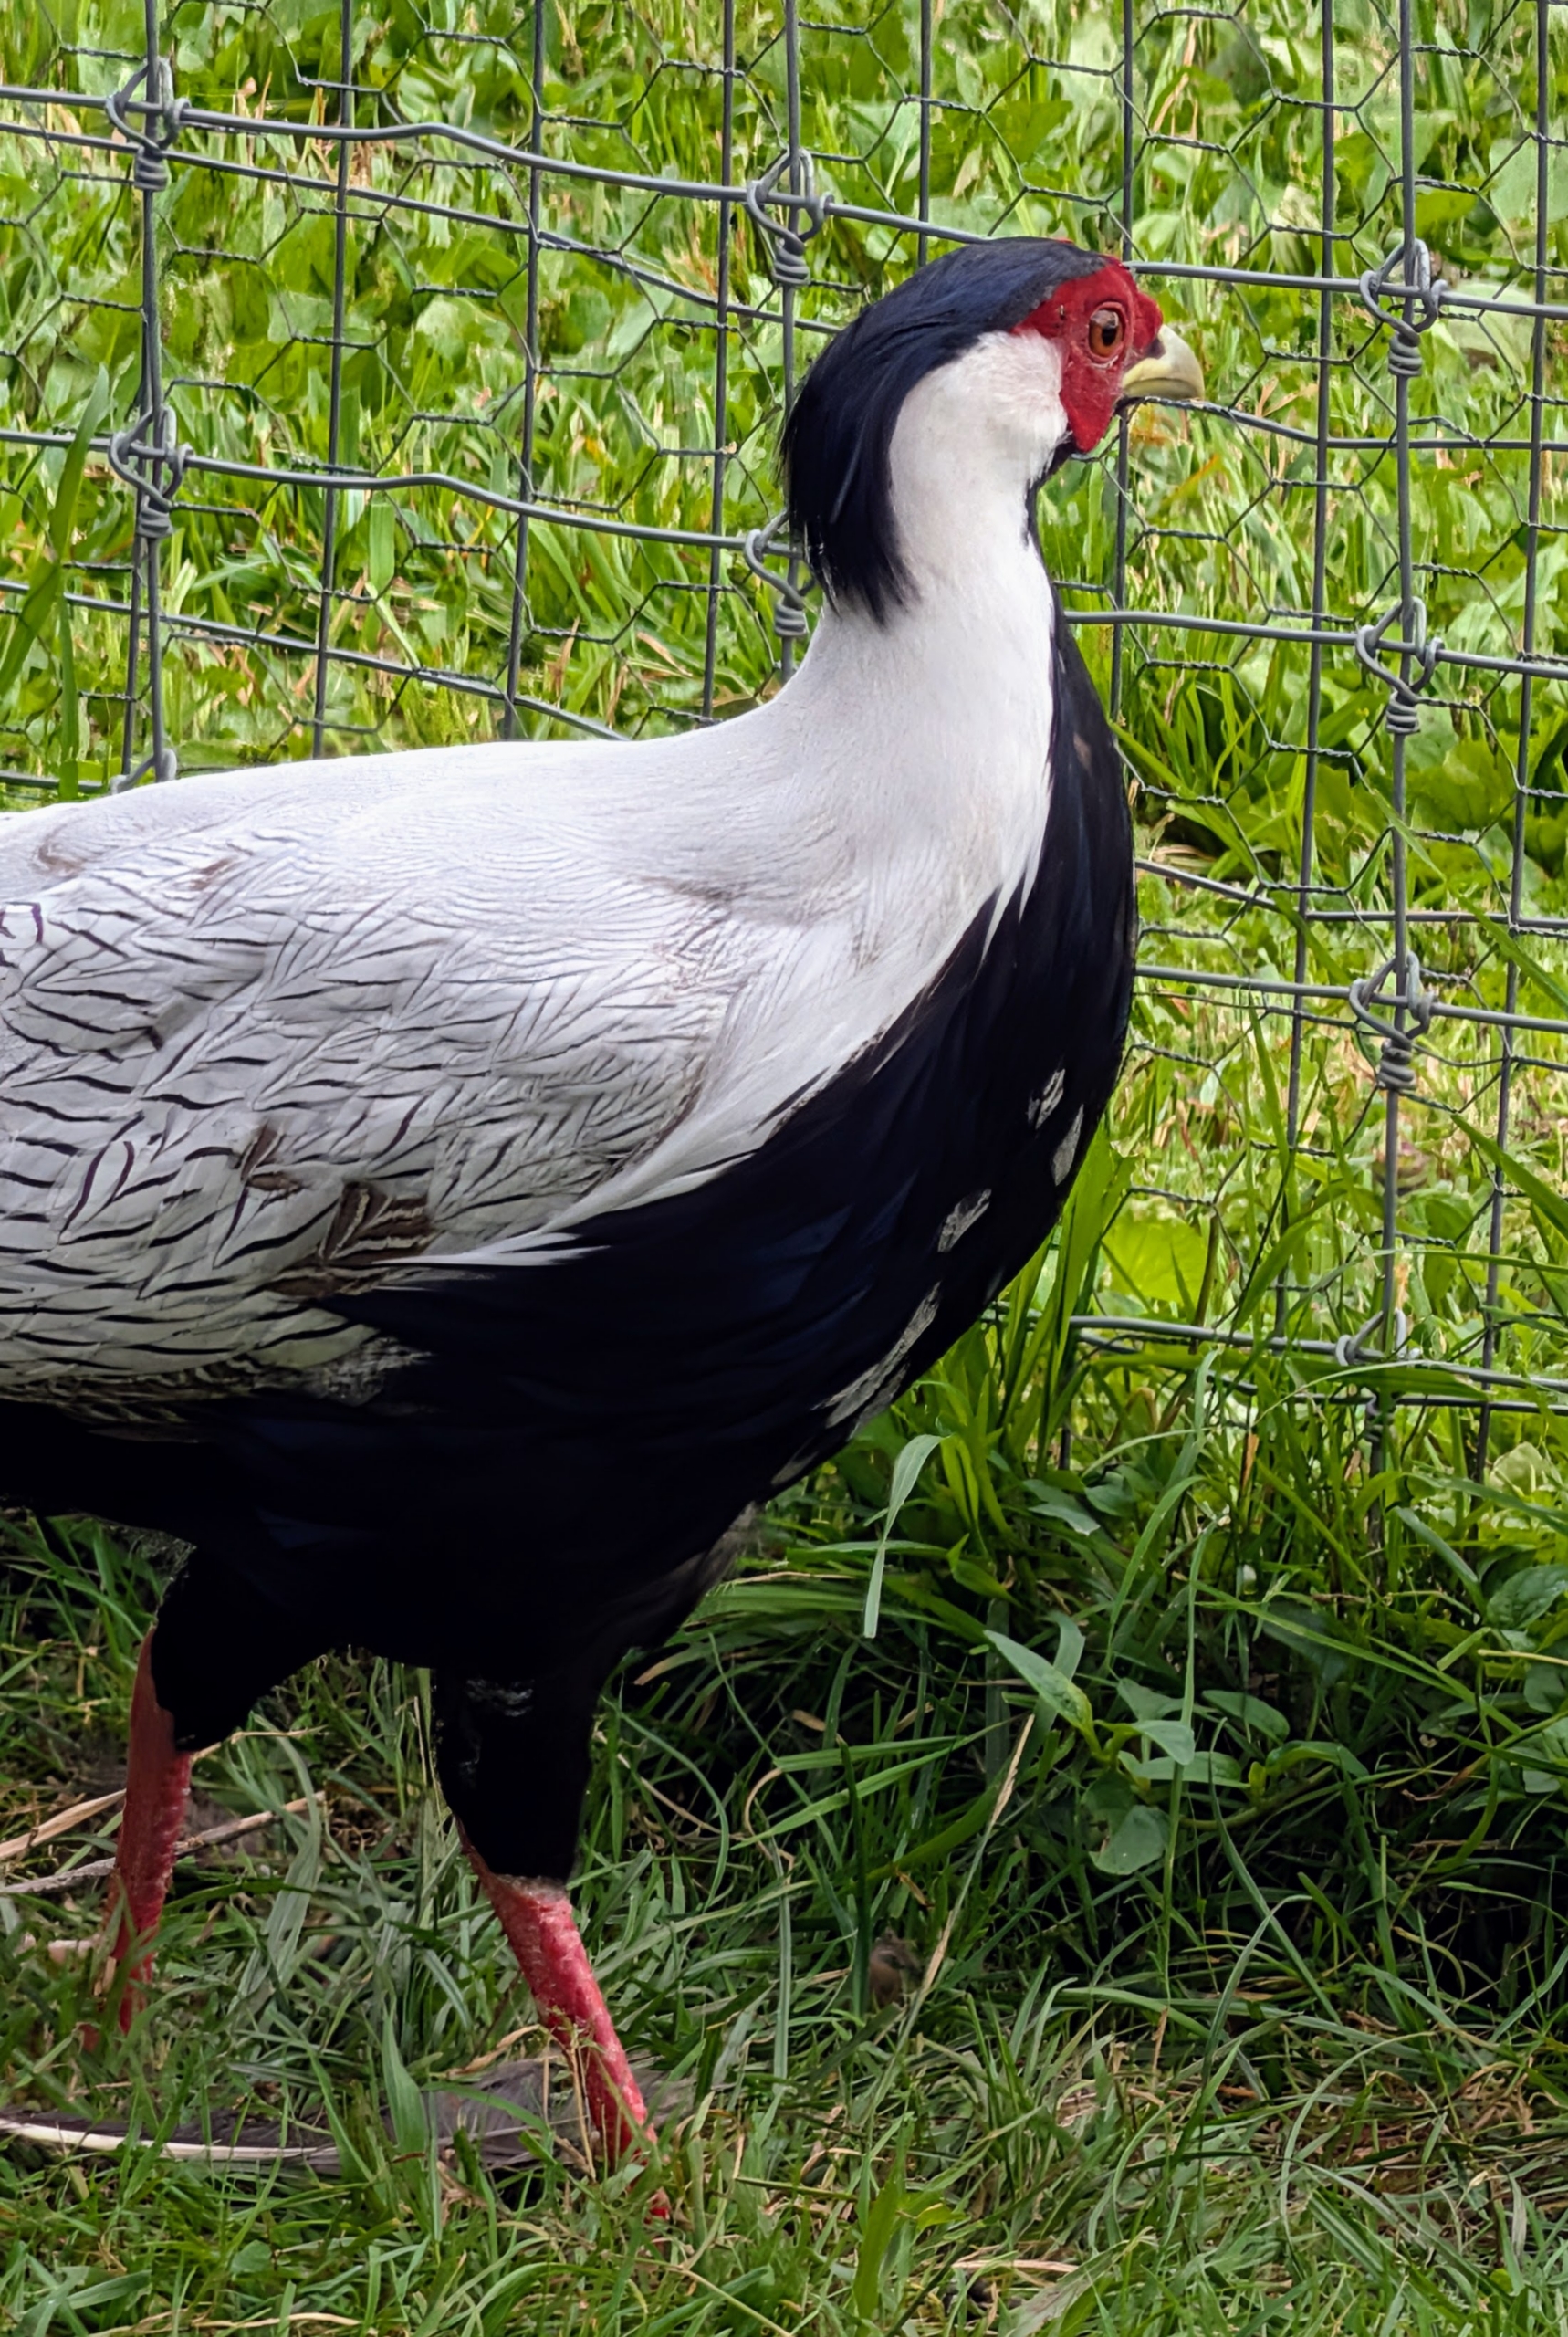
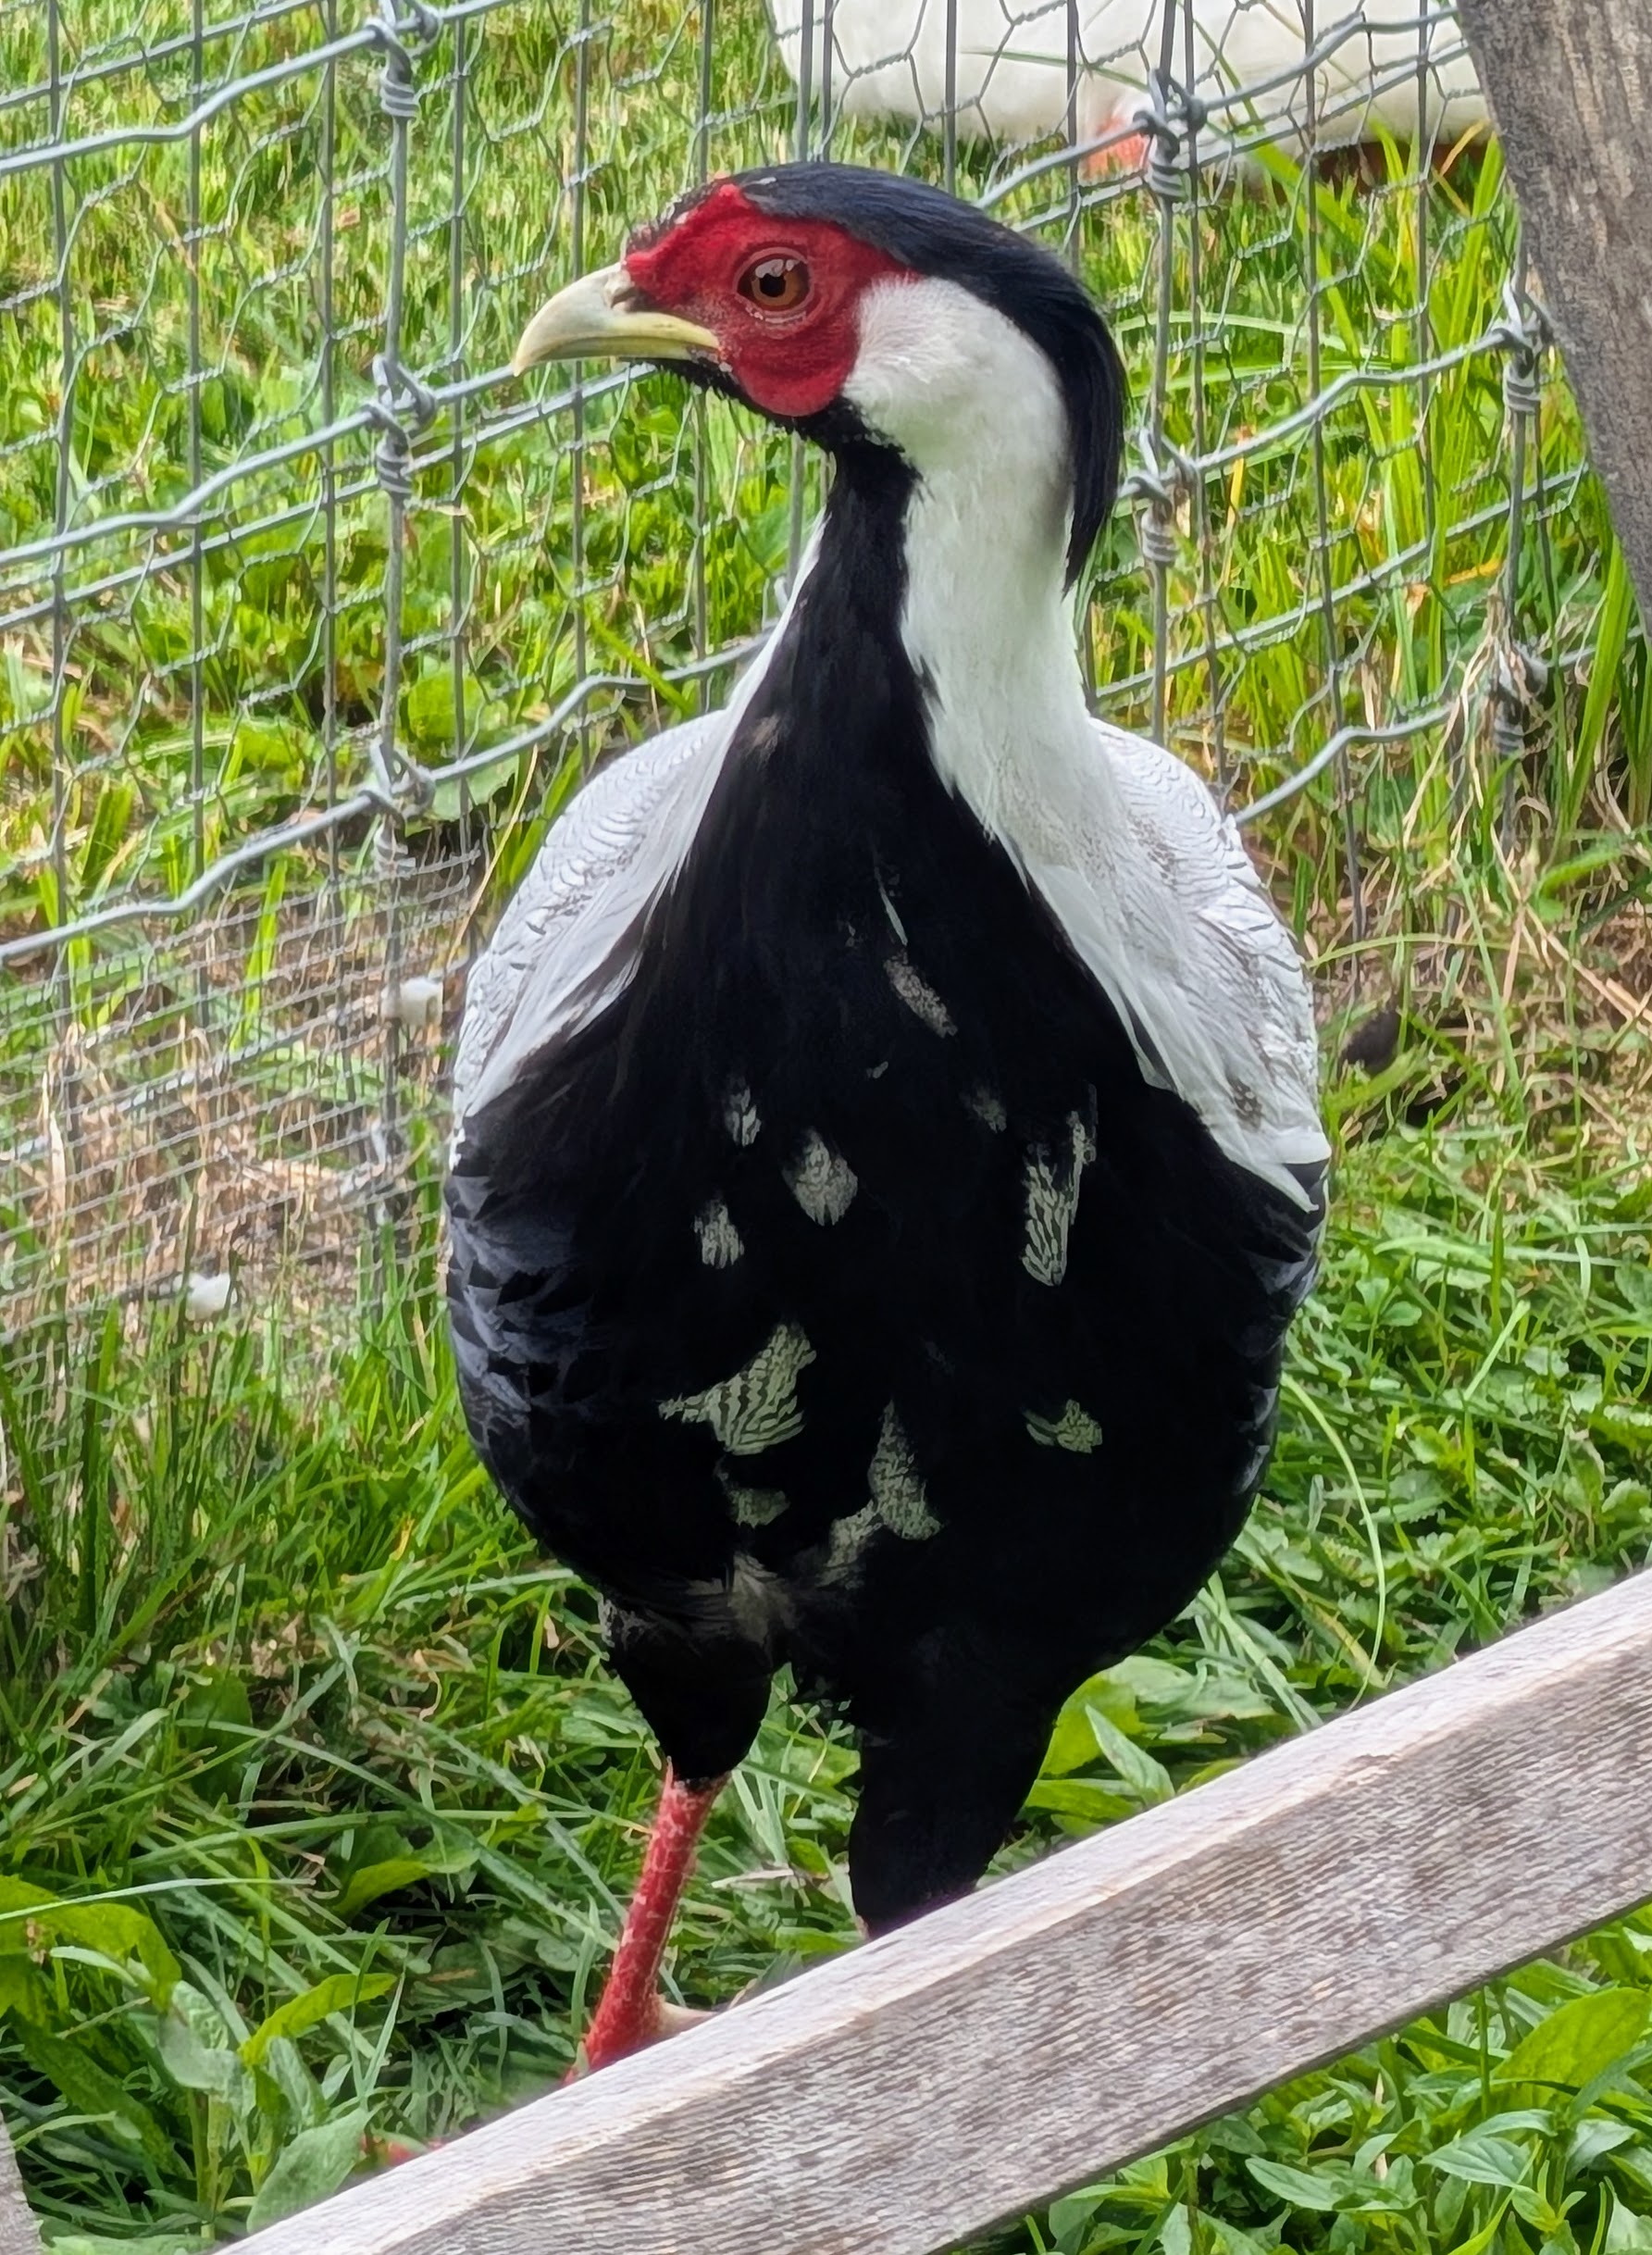
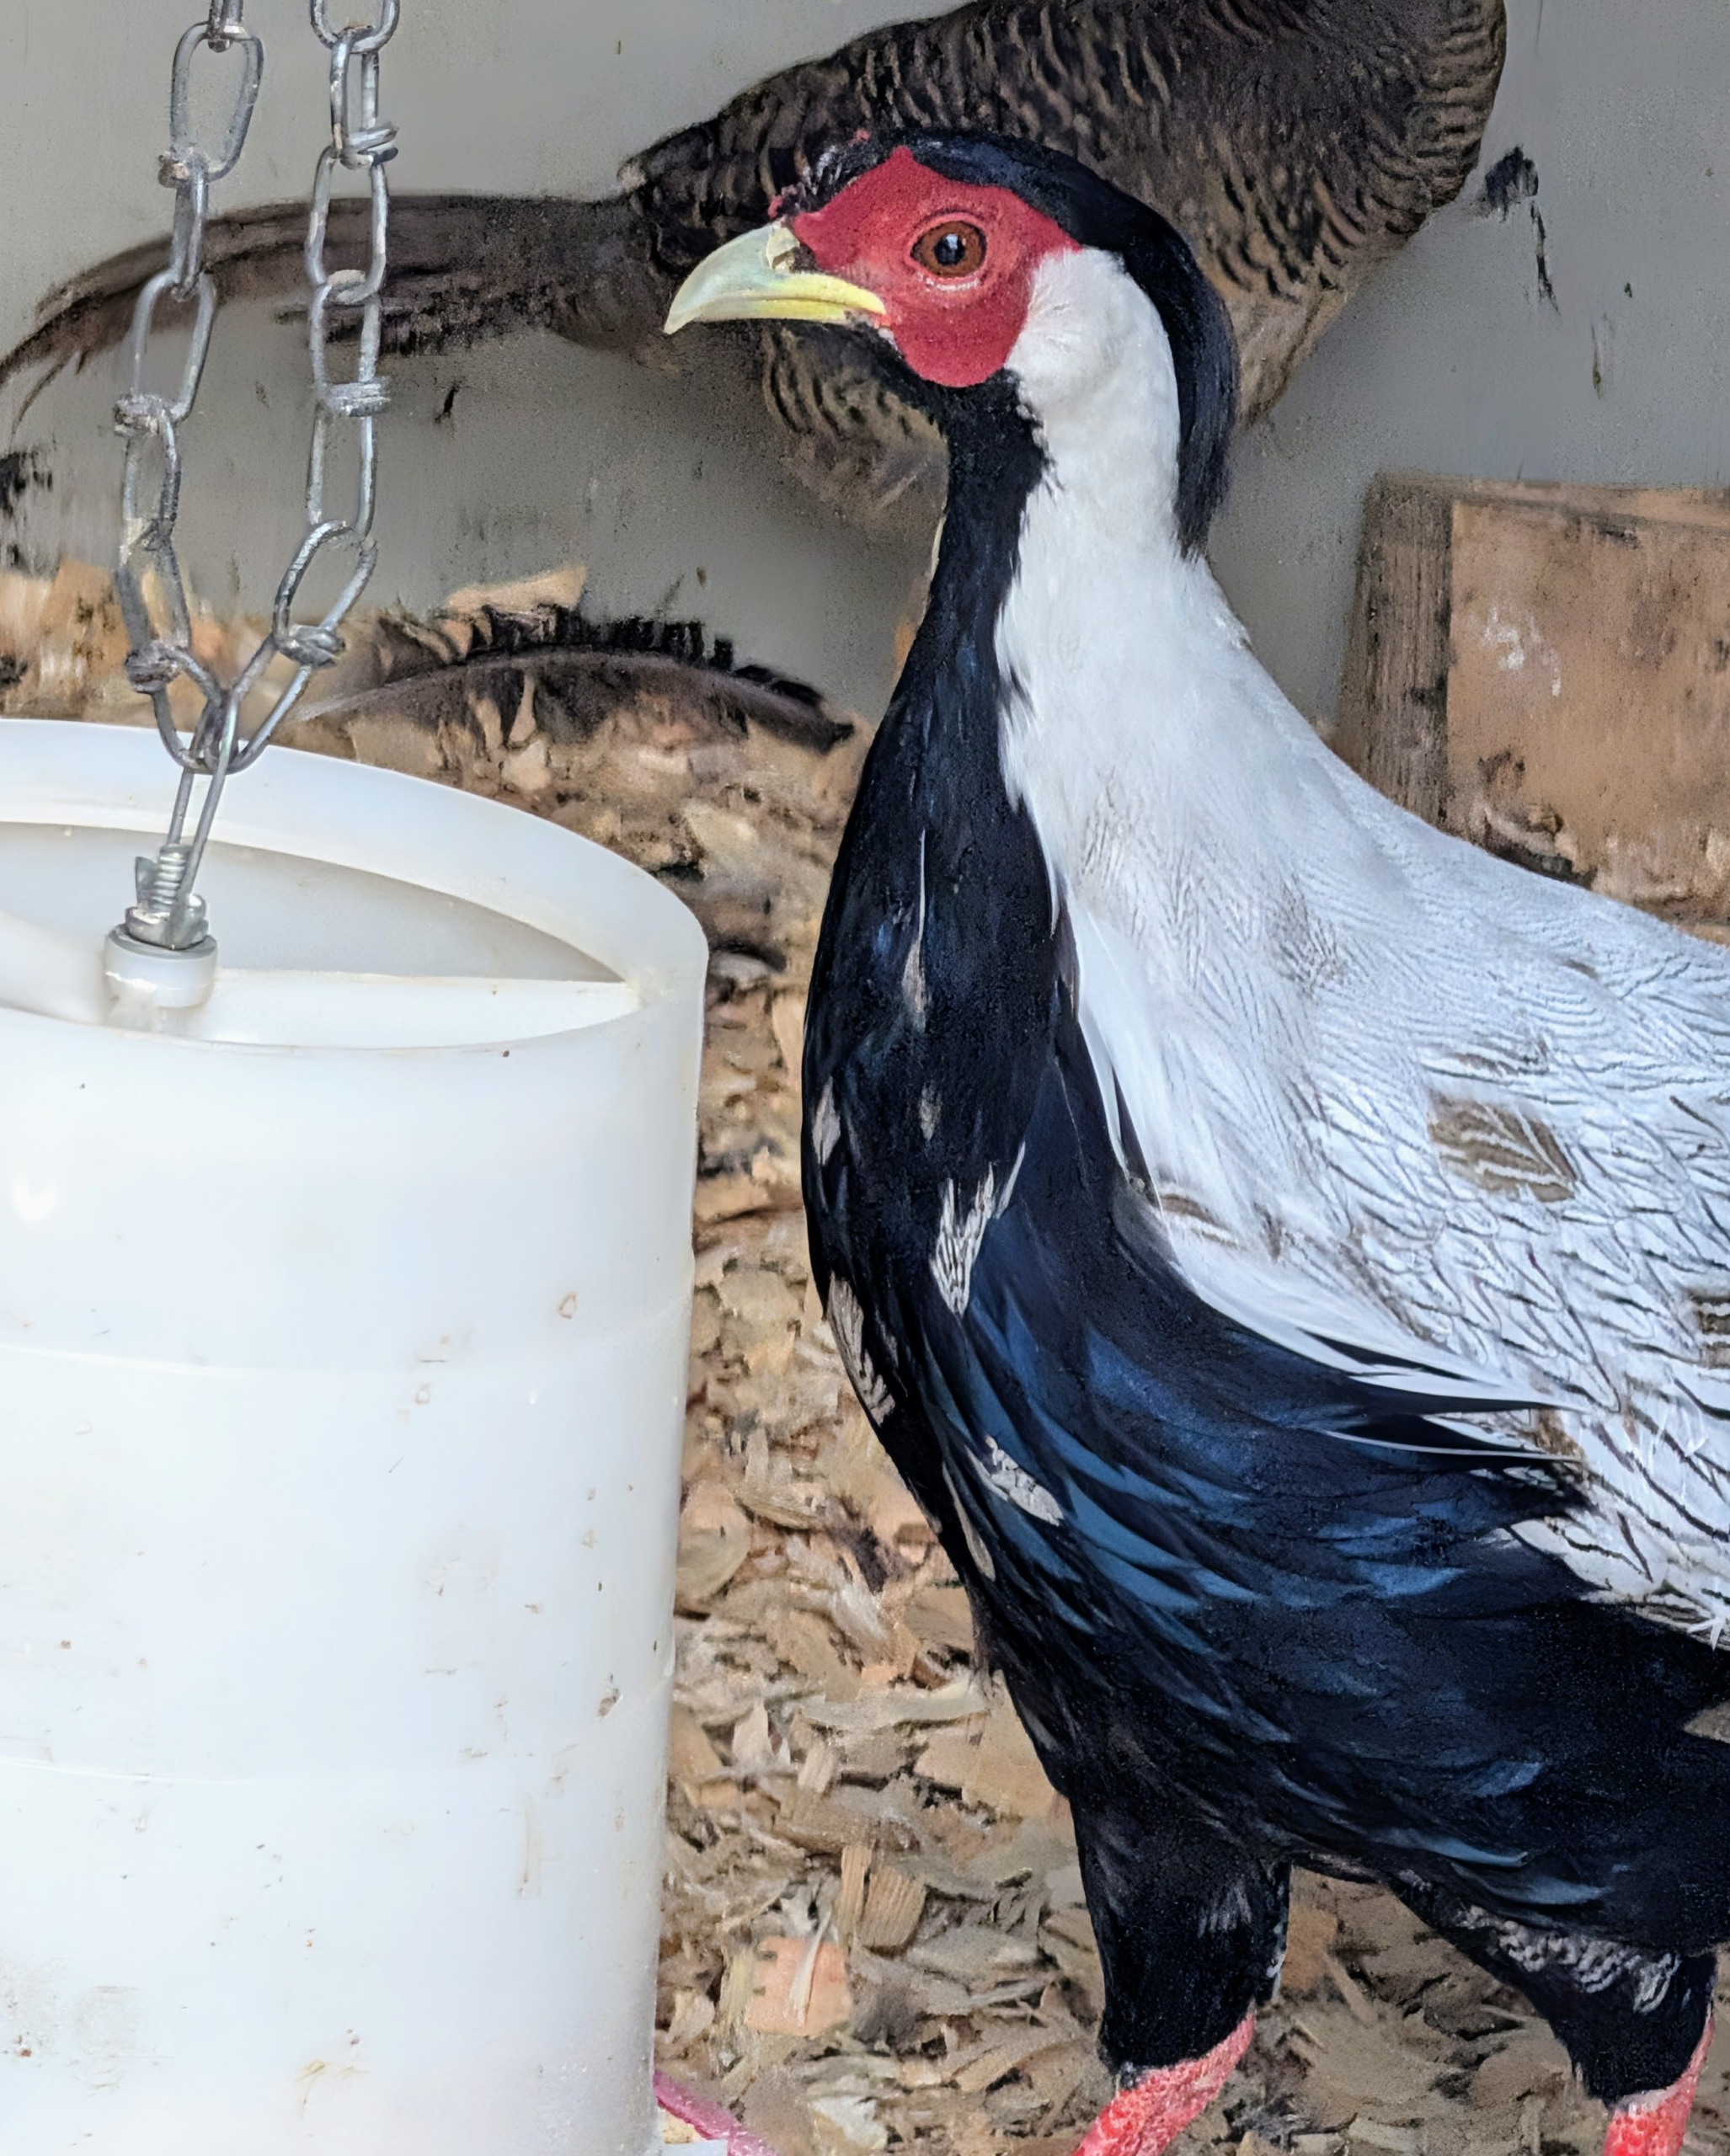
This is my male silver pheasant. Male pheasants have more vivid, iridescent plumage than the females, so they appear more attractive during breeding season.
This is a photo of the same male when I first acquired him last February. His feathering looked different then. It changes until the bird is full grown at around two years.
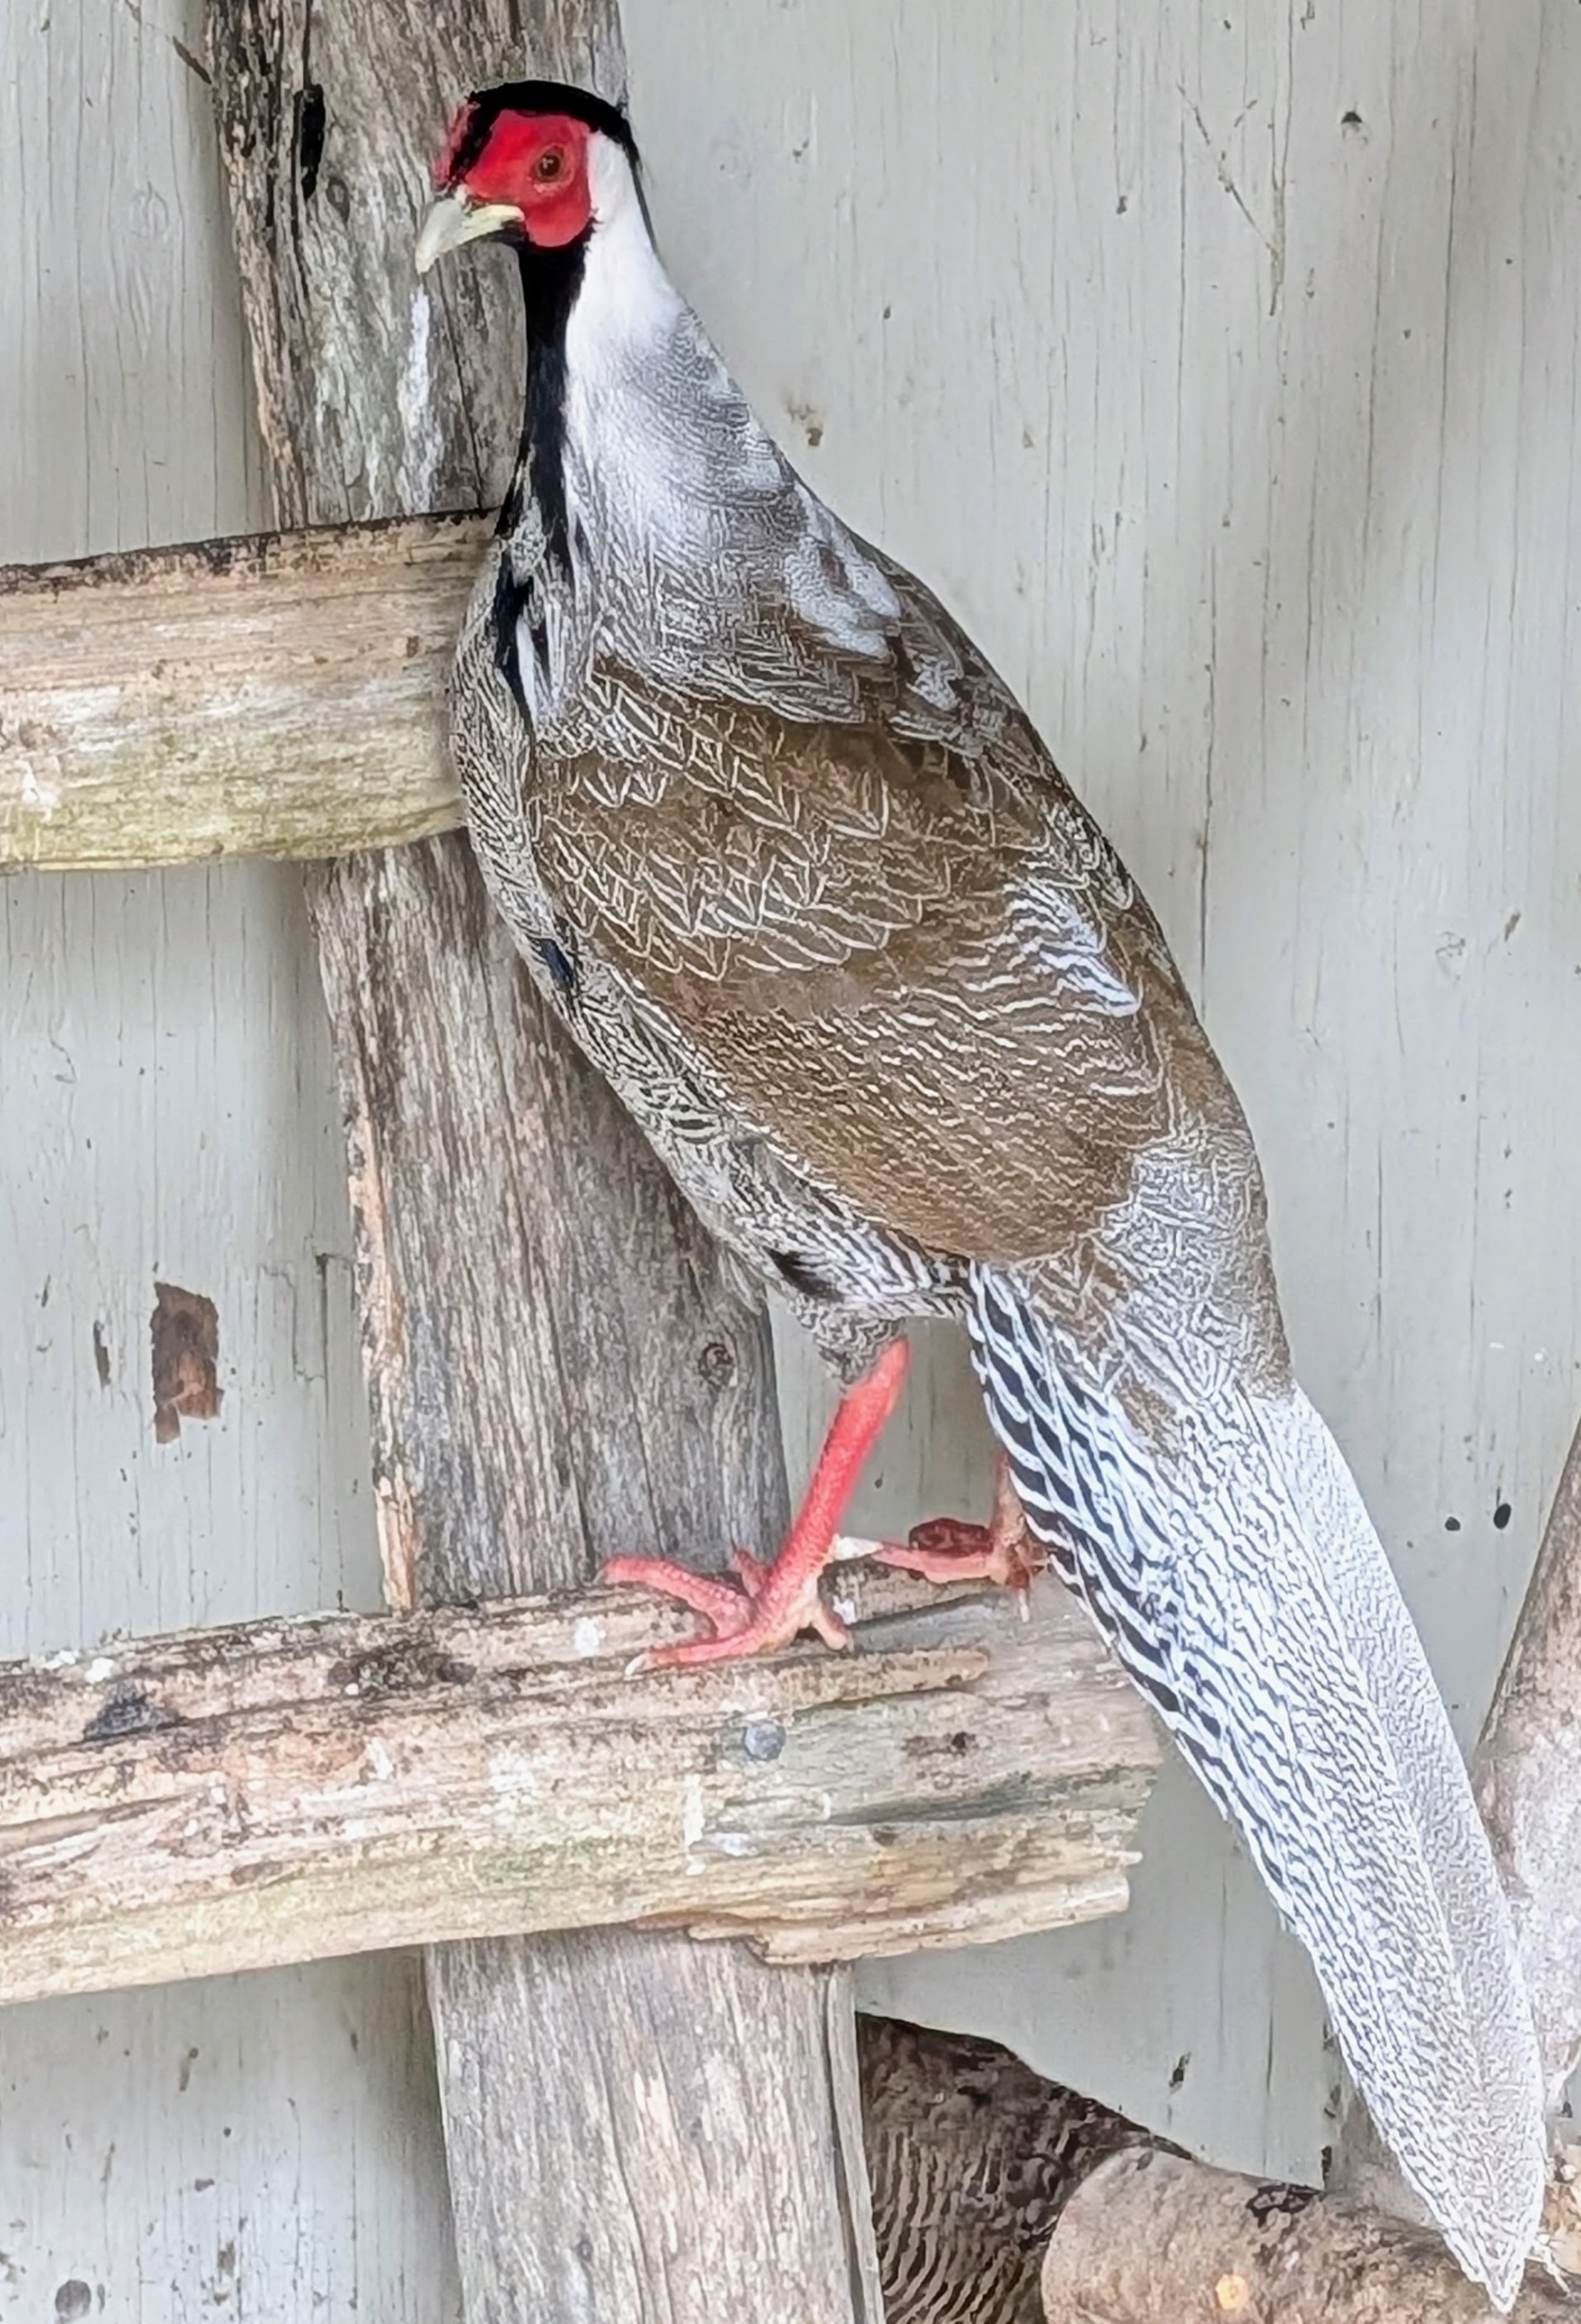
This was him just yesterday. He’s growing fast. At full maturity, he will have a longer black crest, with central feathers becoming more and more white. Males also continue to grow until the total body length is about 50 inches including a tail of up to 30 inches.
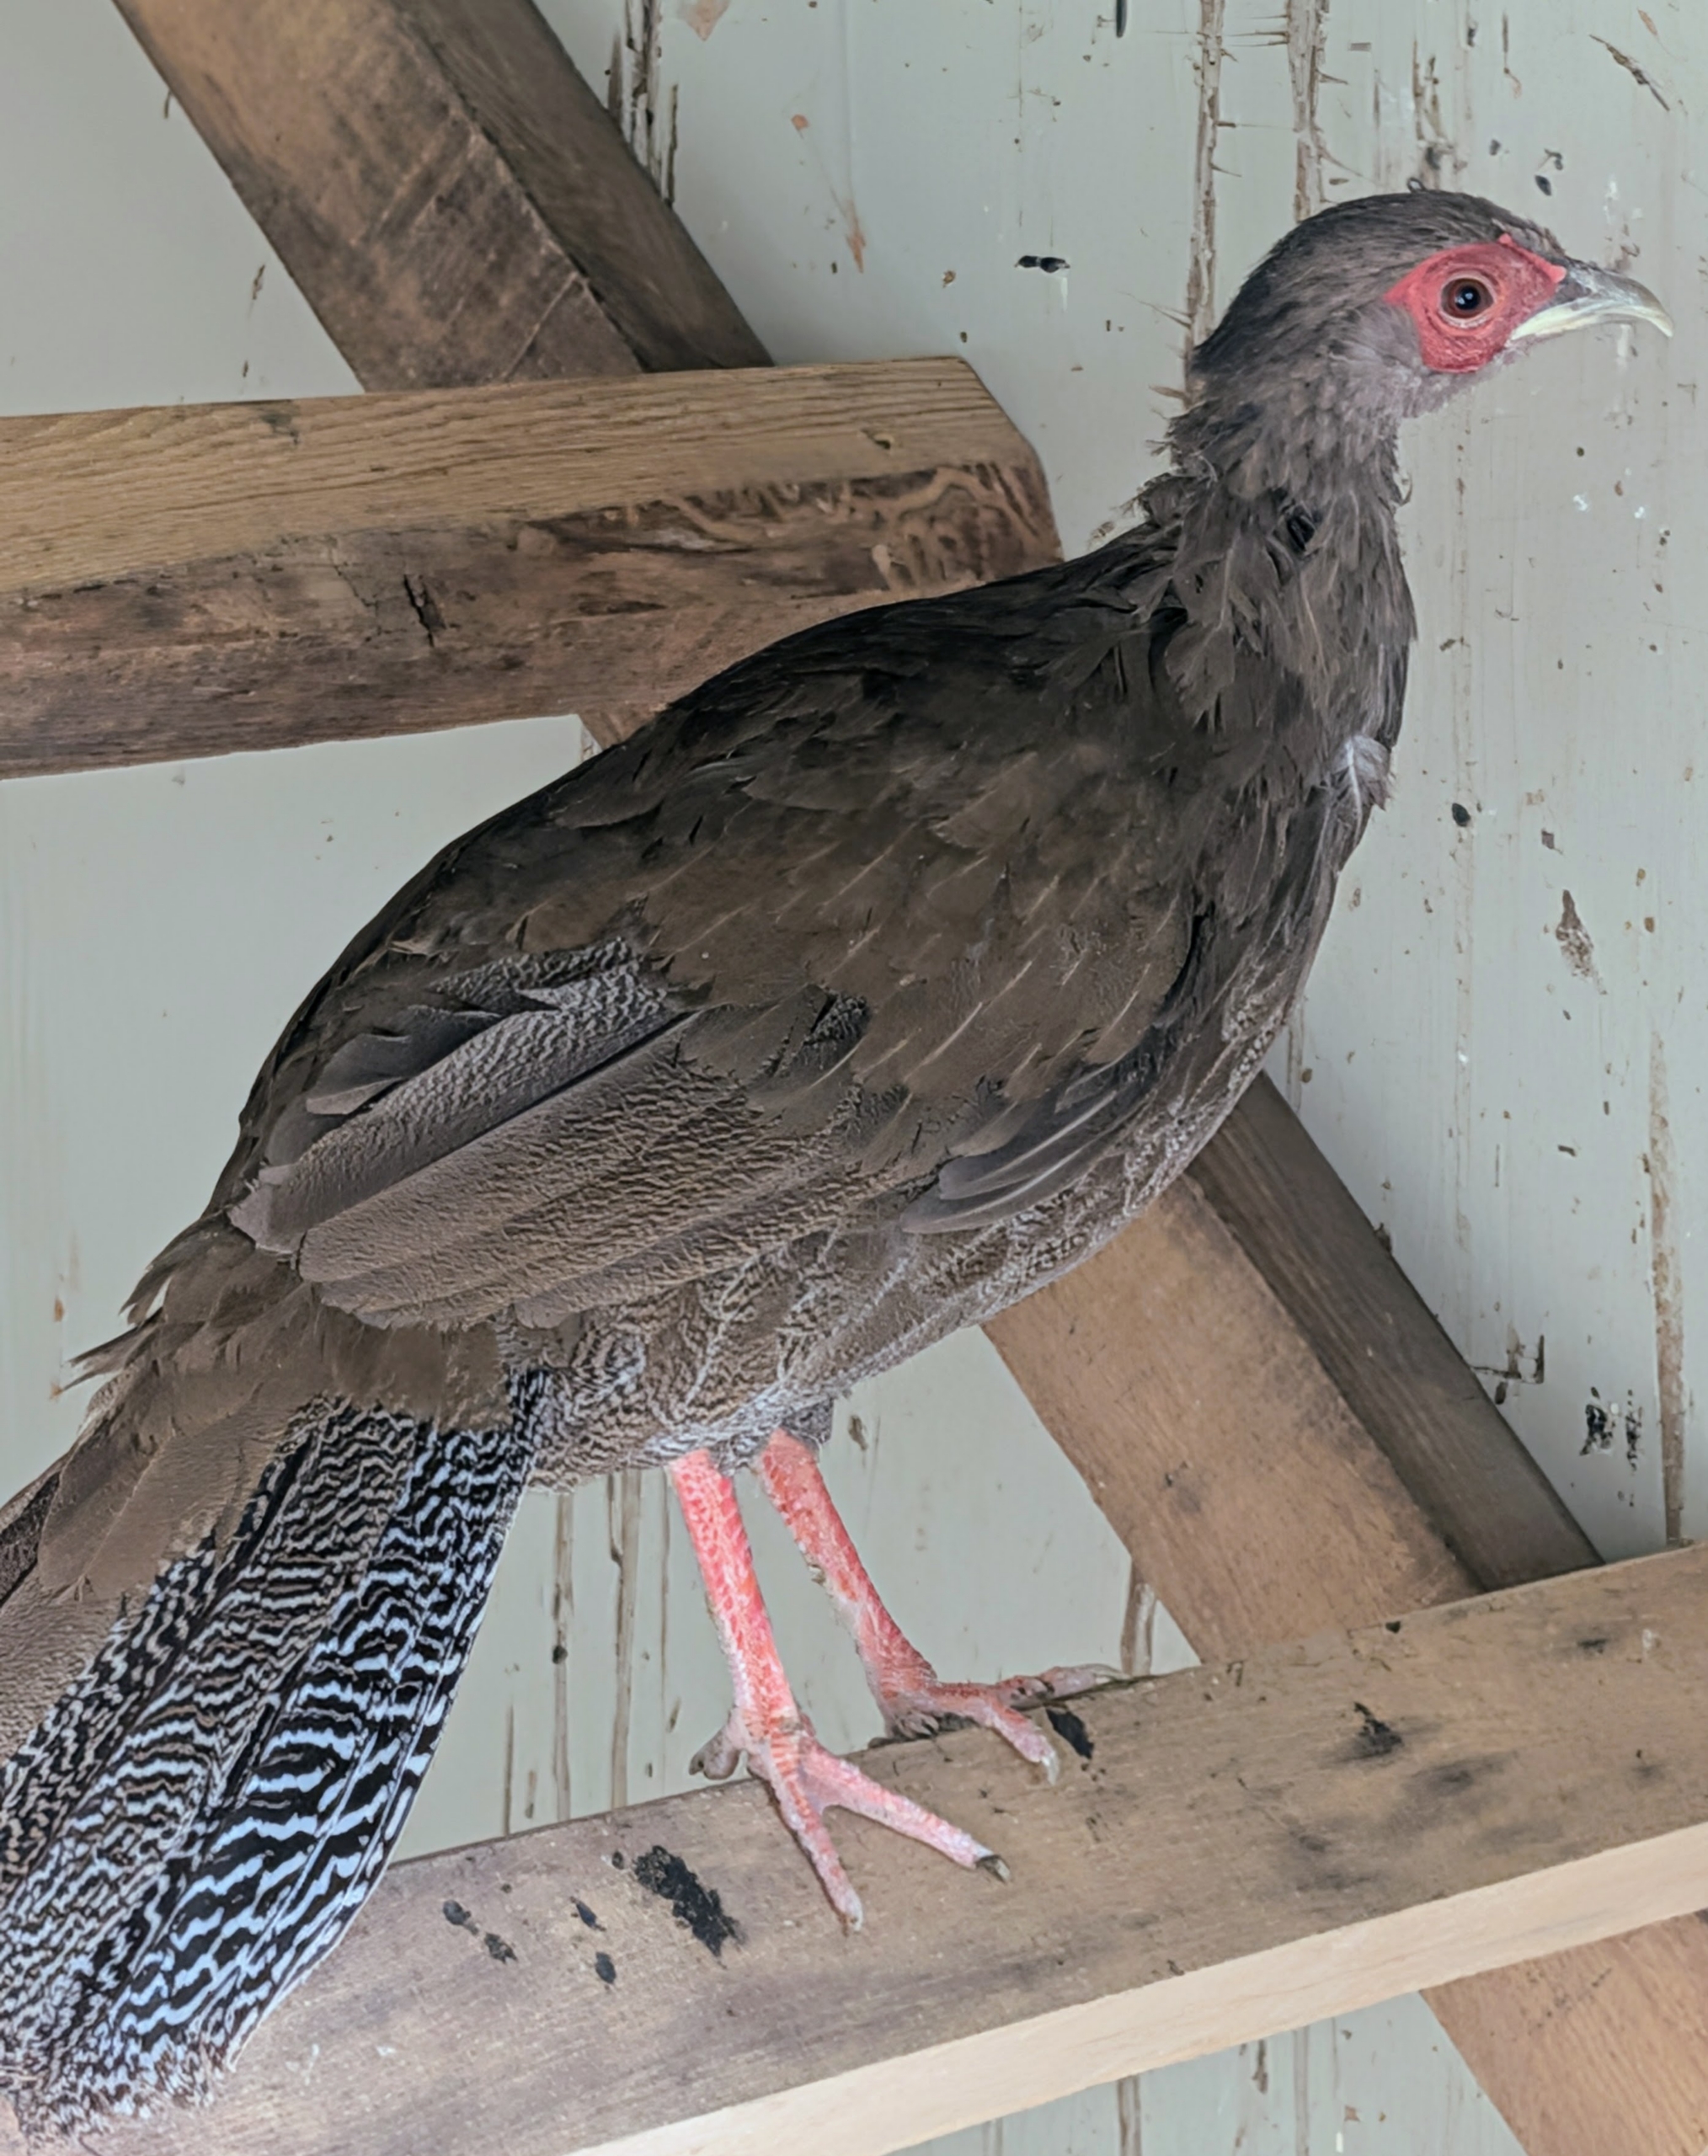
Silver pheasants are quiet and mild. This one is also very attentive to his surroundings.
While mostly ground dwelling, pheasants will perch up high to escape predators.
And pheasants have surprisingly good memories and can recall the location of their nests even after traveling long distances.
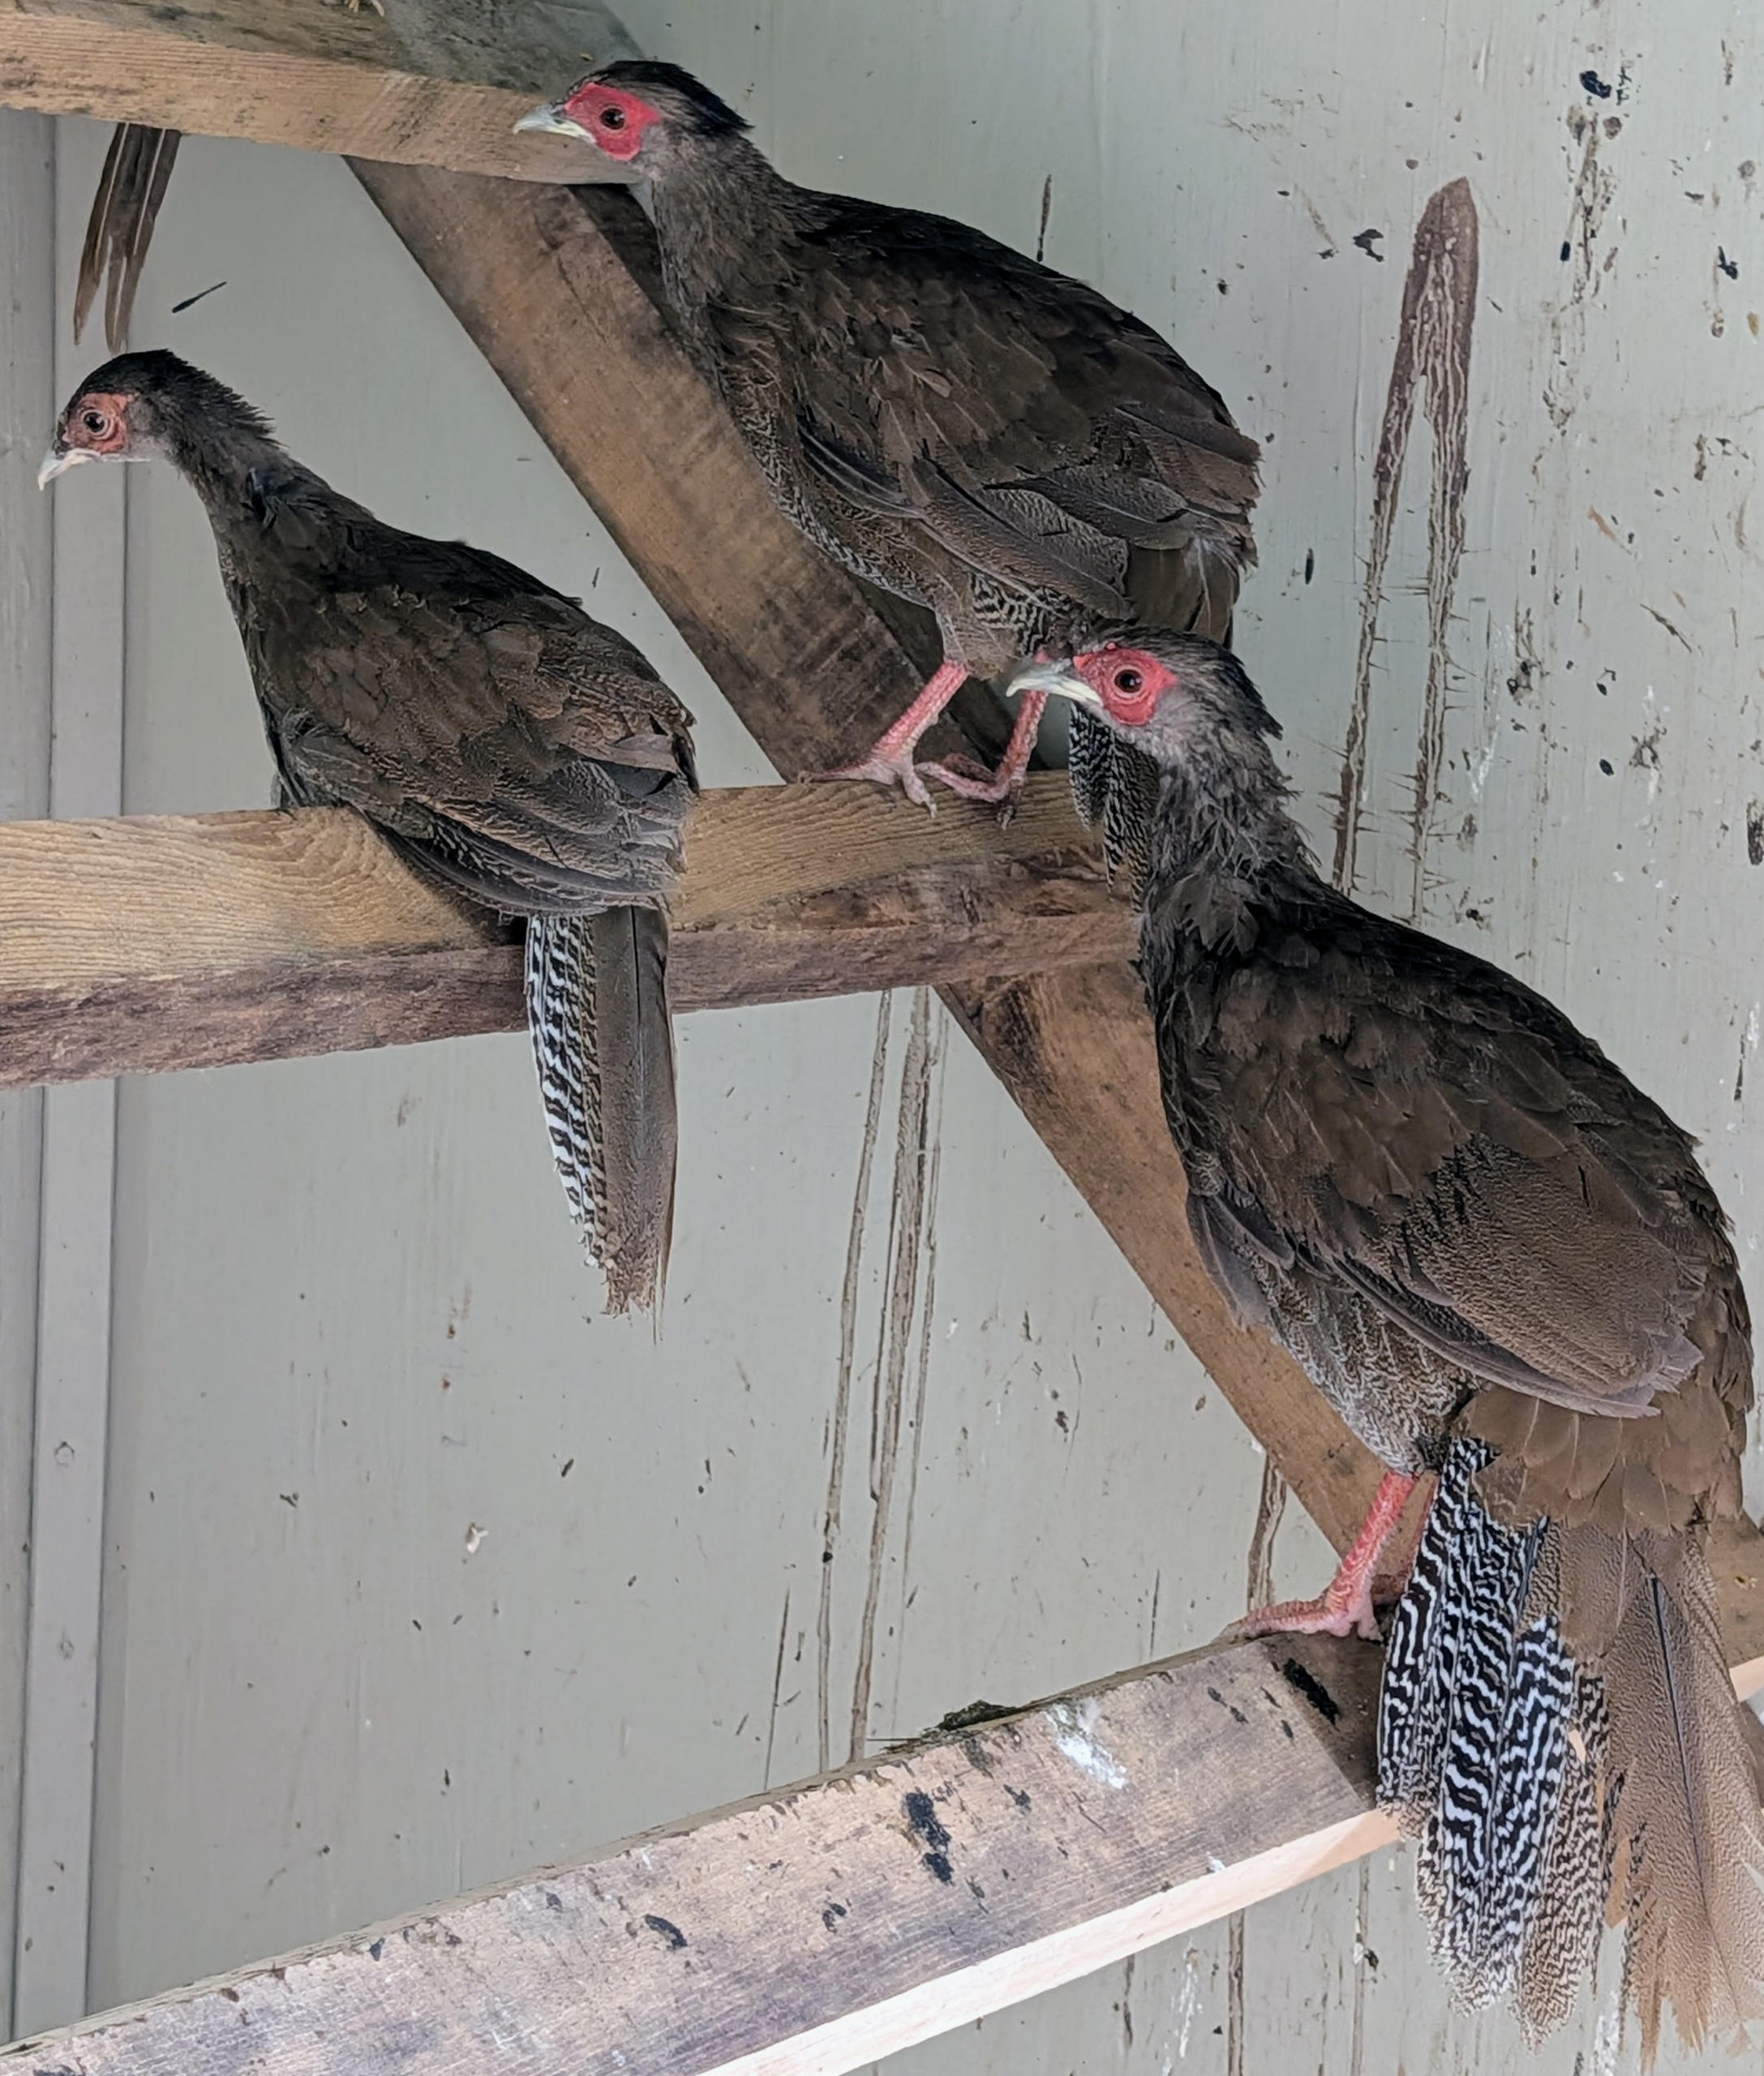
The new hens are perching on their ladder in the coop. They are quiet, hardy, and generally calm.
They are also getting along well with the other pheasants that share their coop.
But they are also quite active and able to fly. Look at their legs and feet. They have four digits on their feet, with the first toe, known as the hallux, typically pointing backward for effective stability and movement. The legs of silver pheasants are red, distinguishing them from other species.
All my outdoor birds get a good supply of seeds. Pheasants also eat insects, berries, and plant matter – they are excellent foragers.
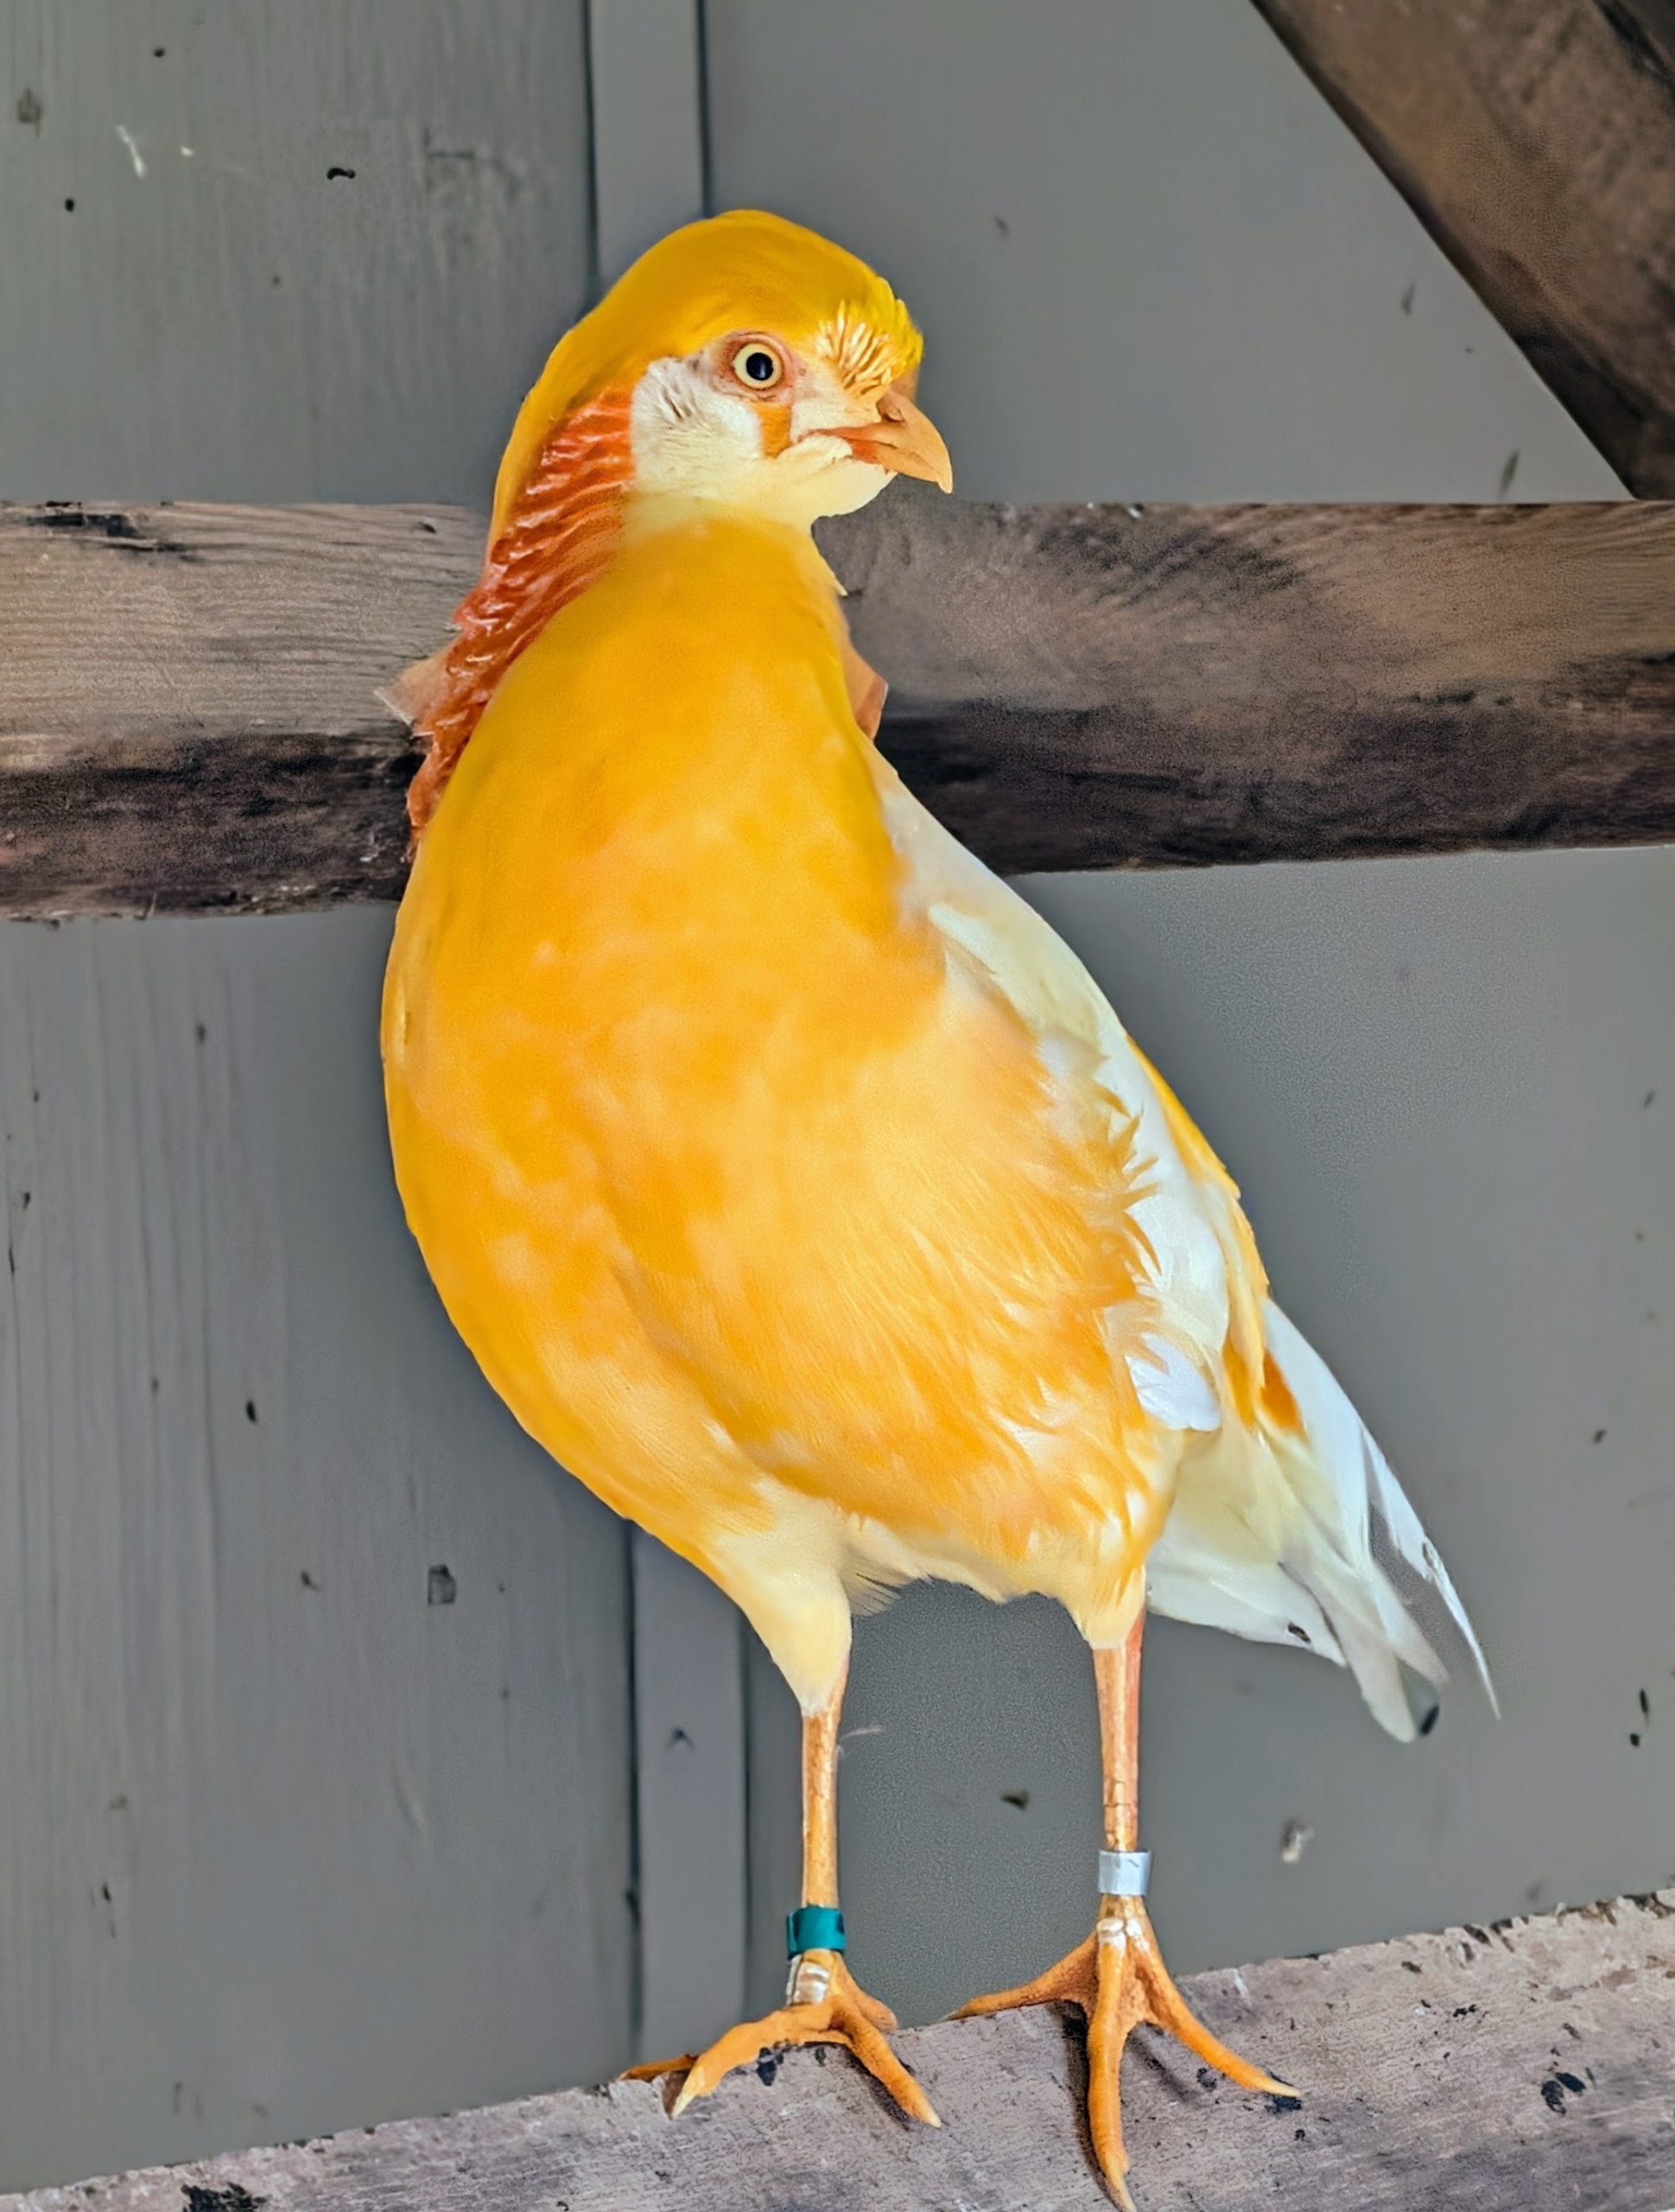
The silver pheasants live with my golden pheasants. This is a male peach golden pheasant, strikingly rare in its coloration. Males are white with a light, shiny golden breast and body and a full peachy ruff.
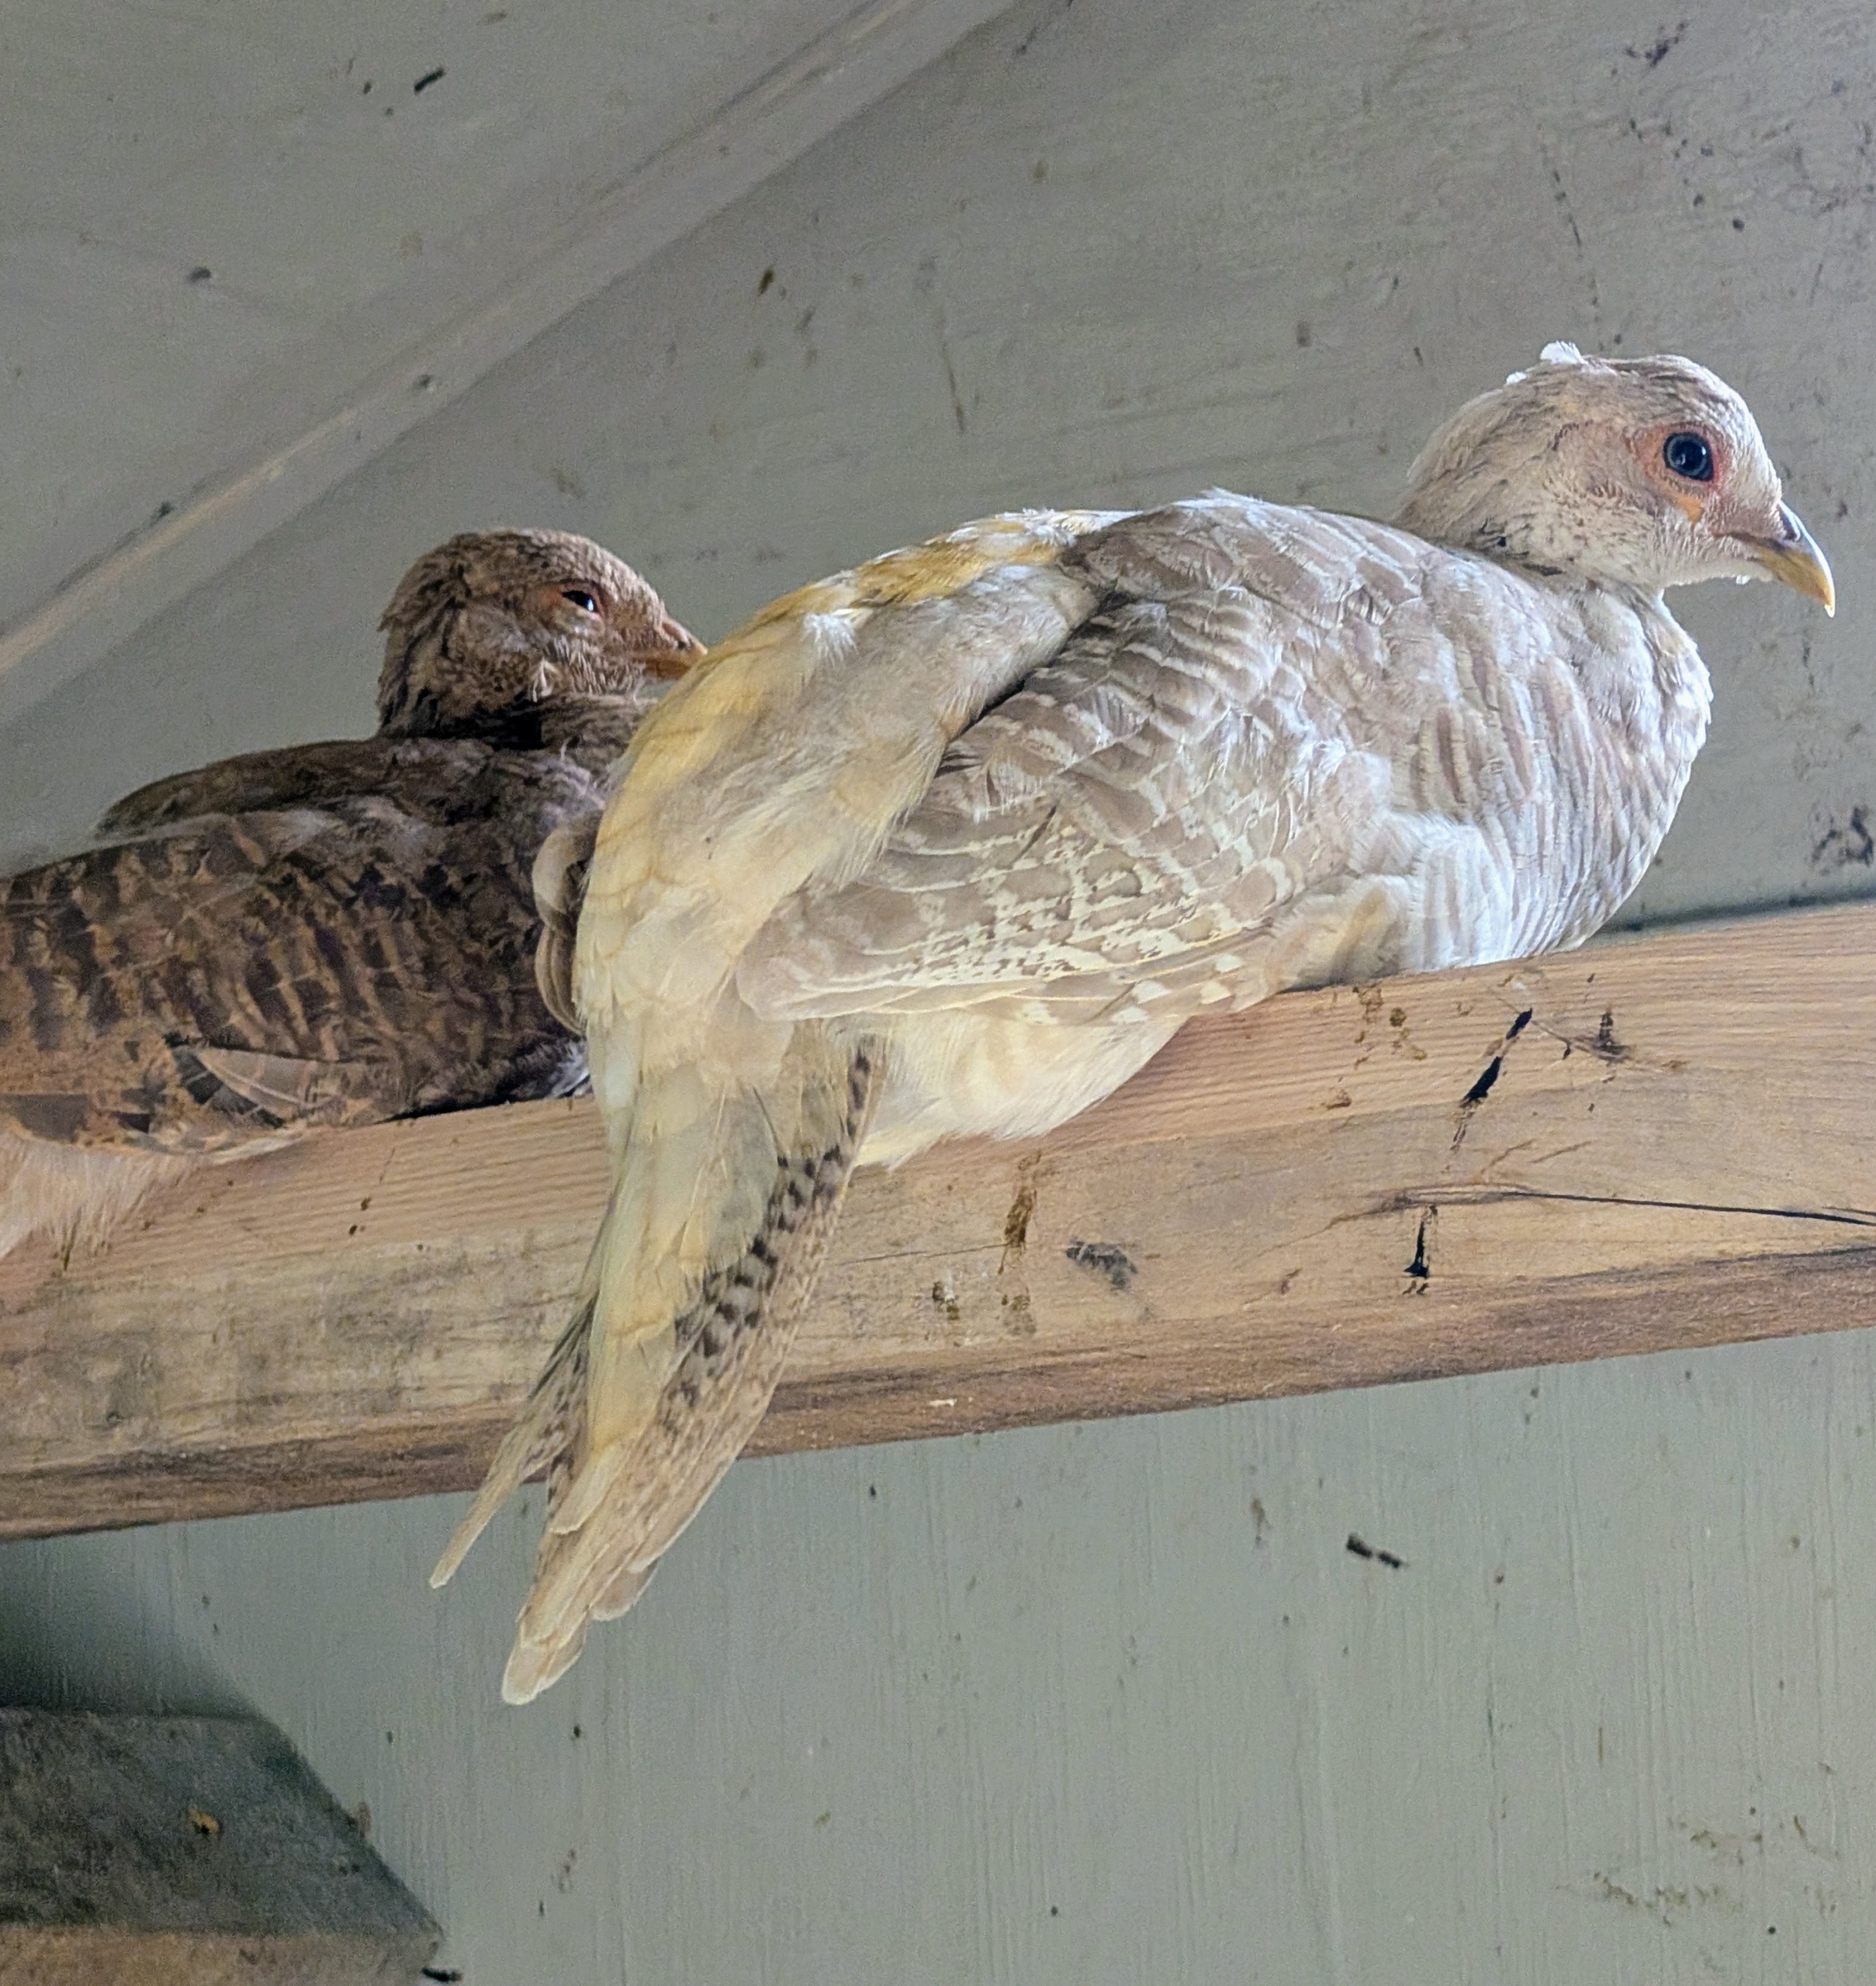
The white is a female peach golden pheasant – much duller in color.
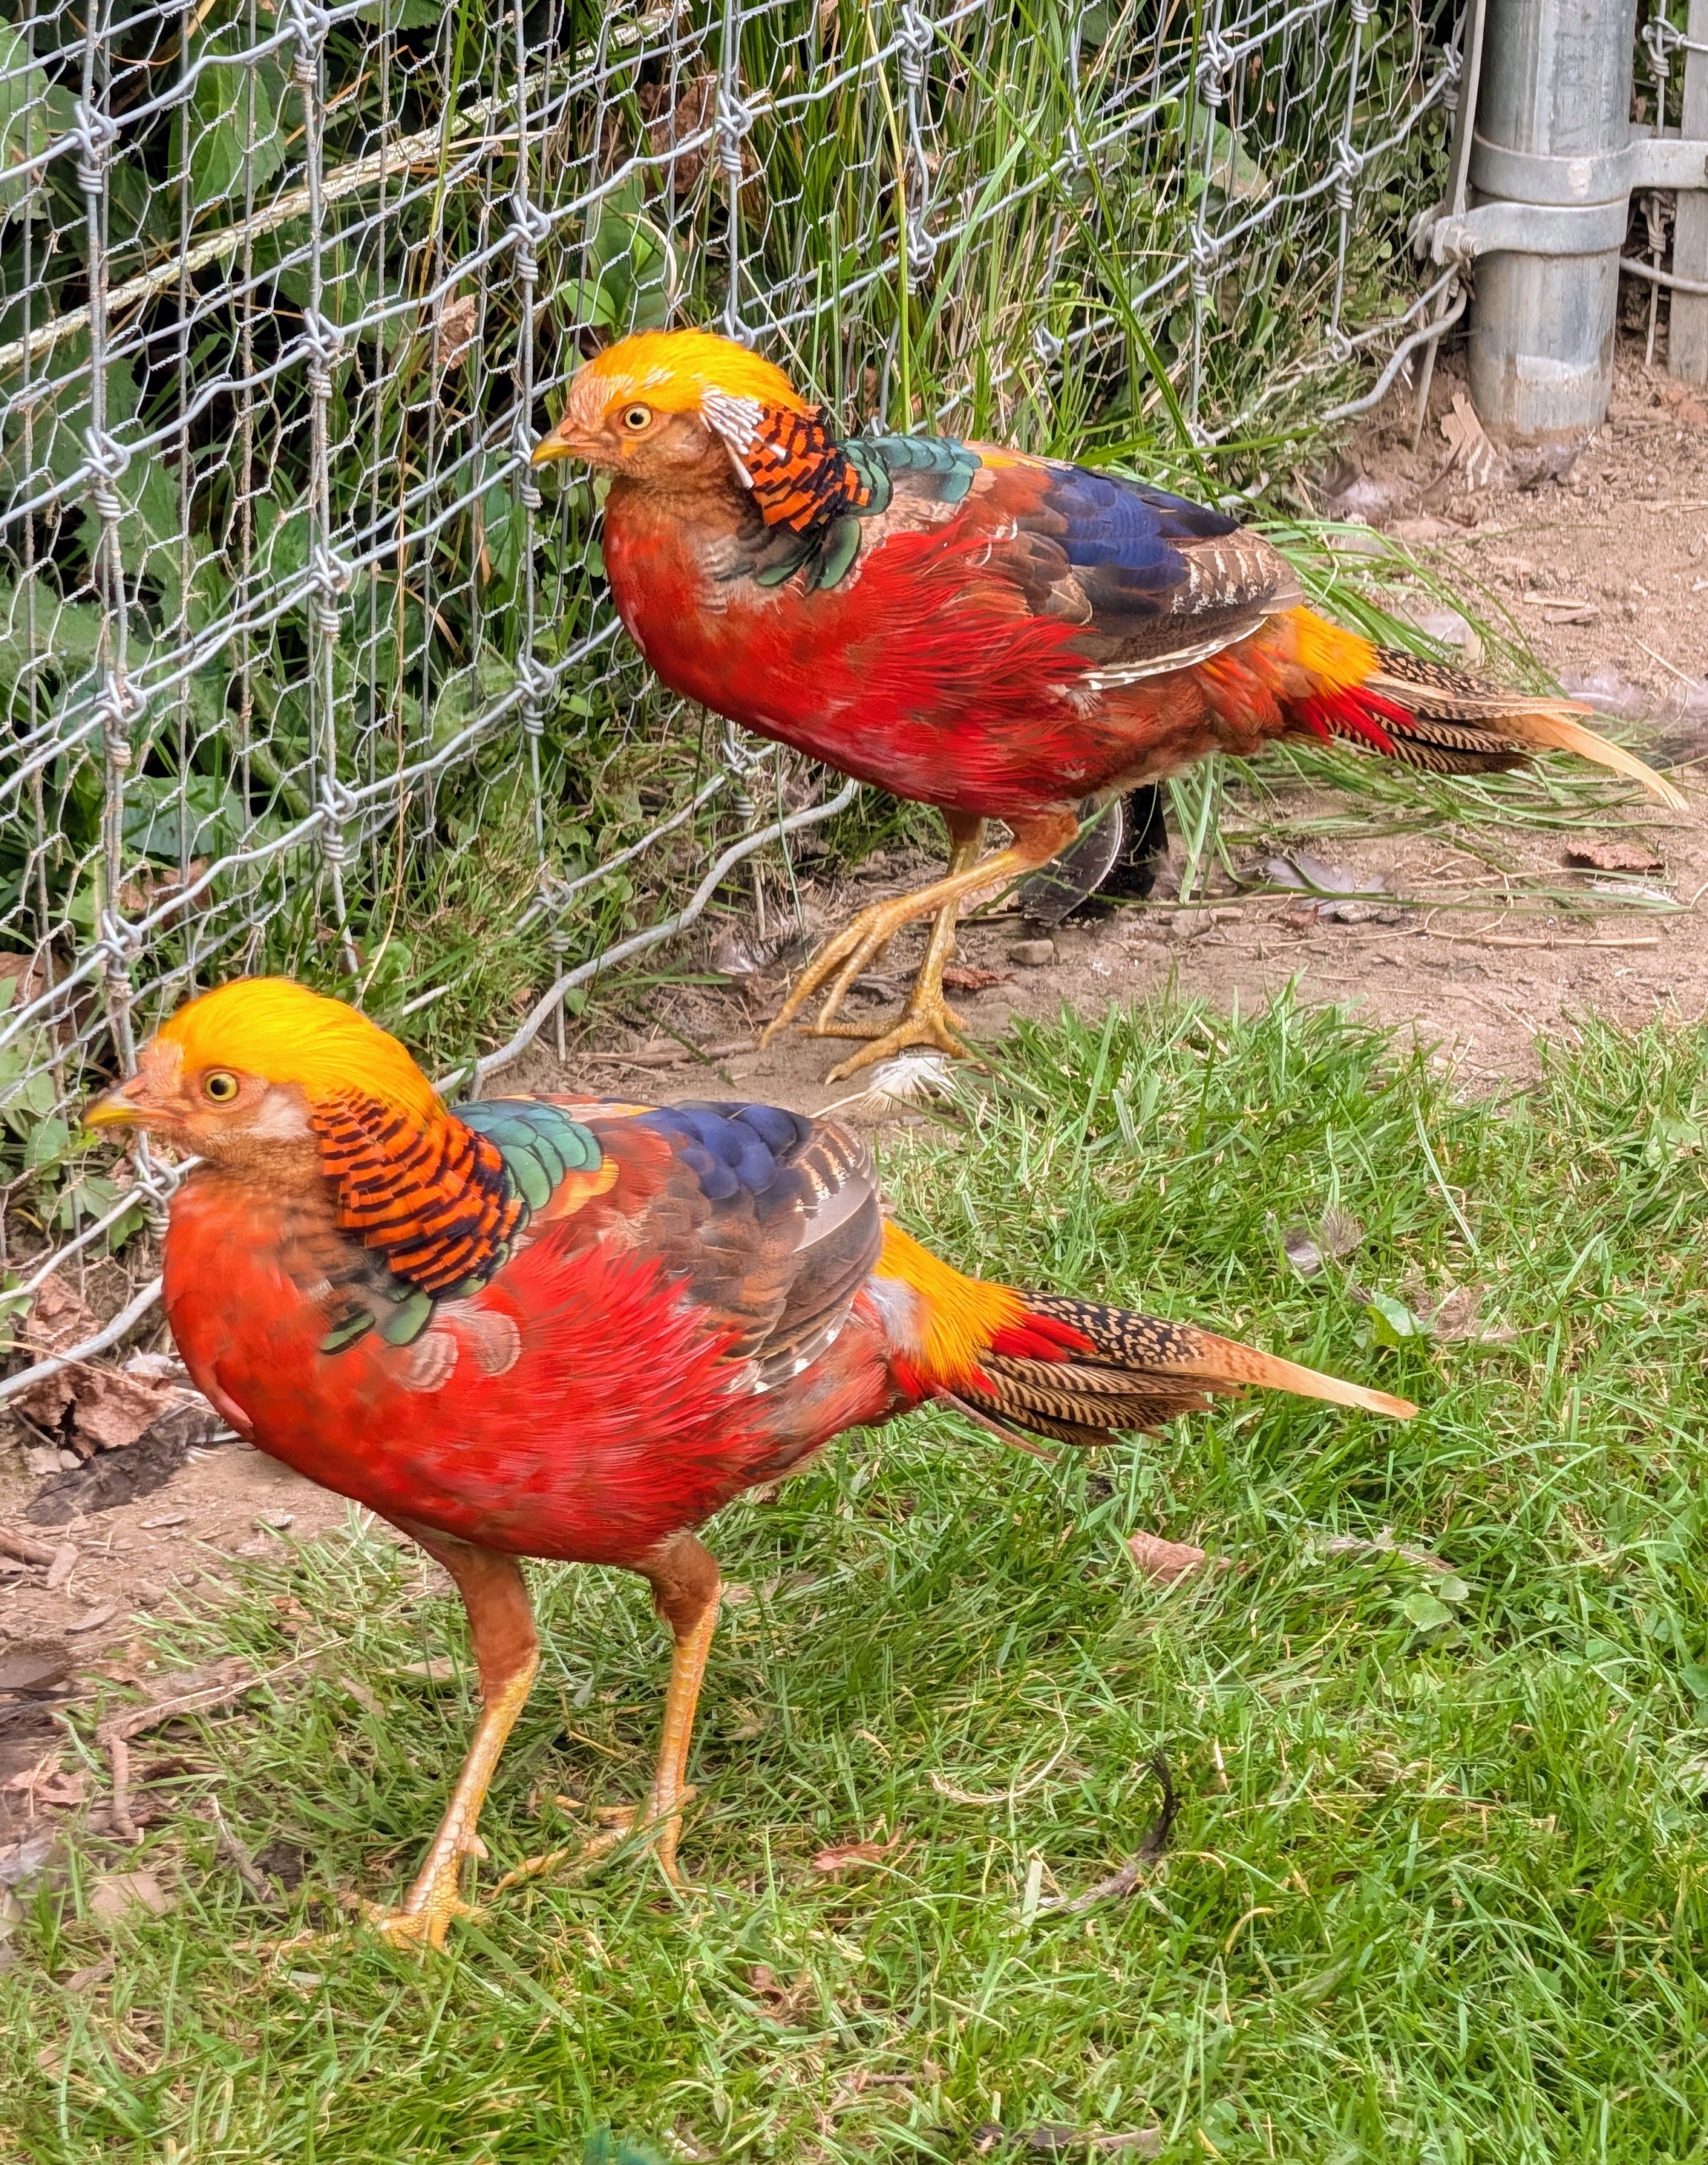
And these are vibrant, exotic red golden pheasants, known for their striking red and gold plumage and hardy nature.
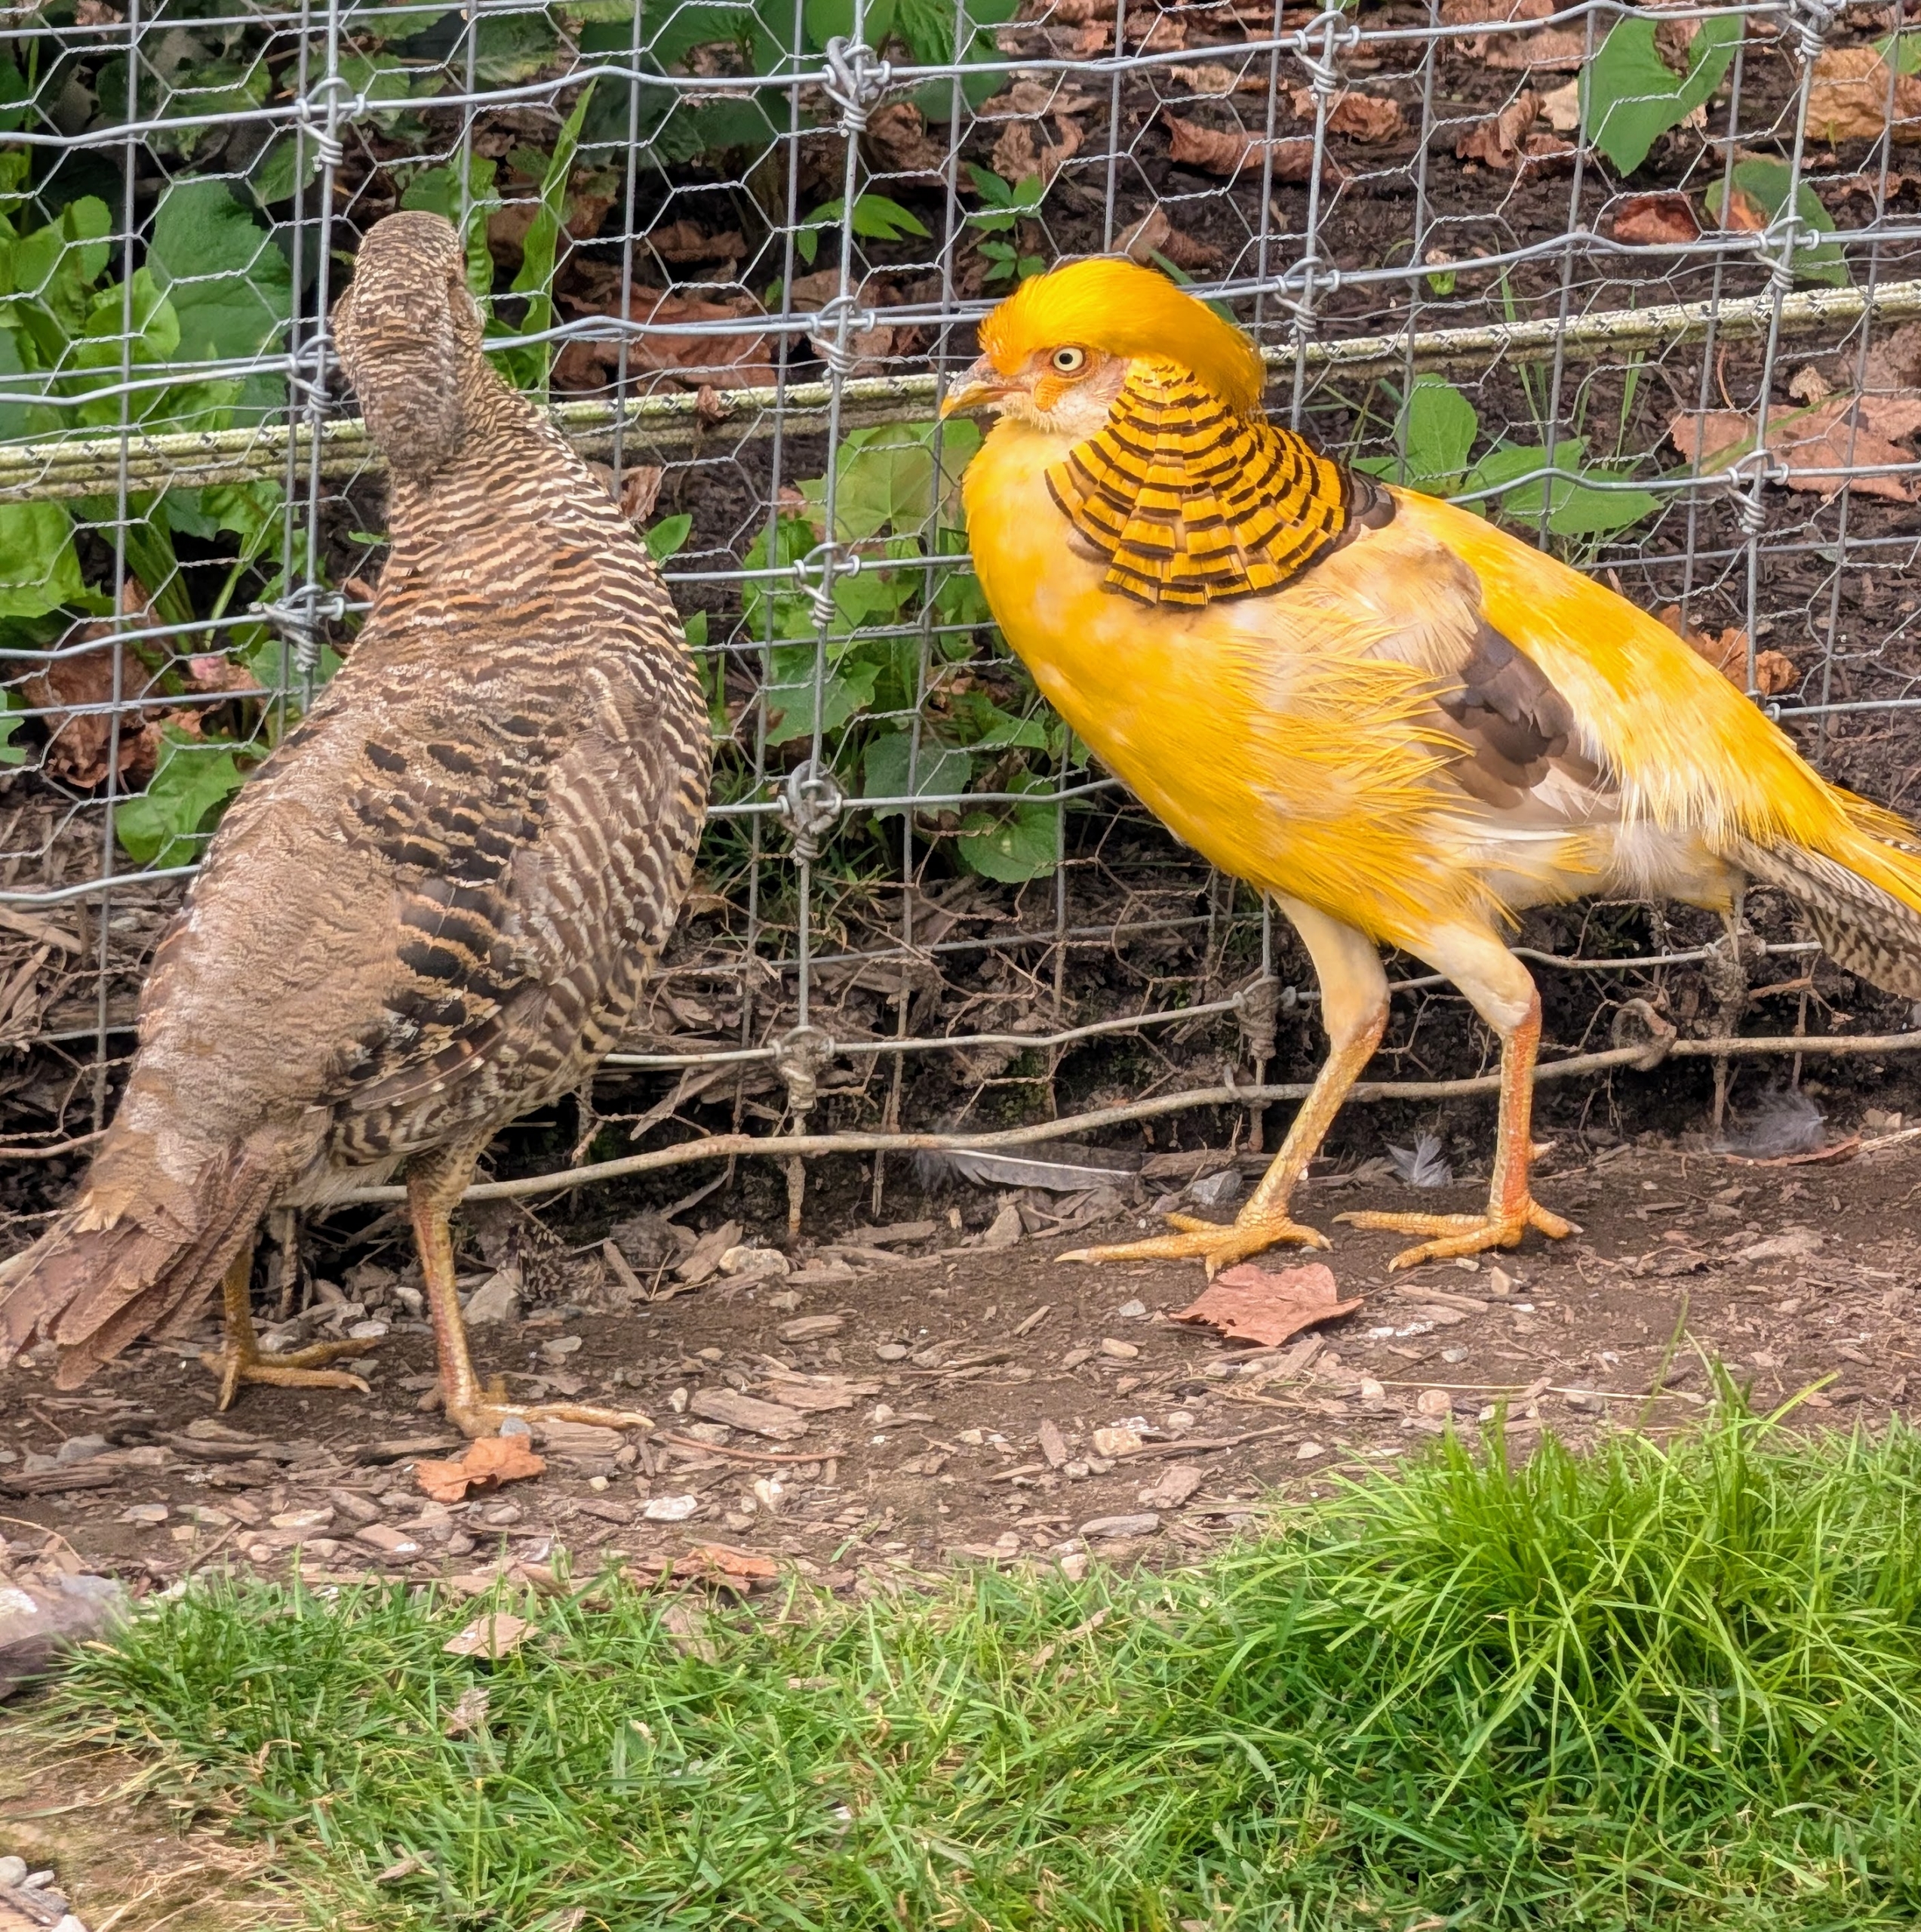
On the right is a male yellow golden pheasant. The yellow is a color mutation of the red golden pheasant. It was originally developed in the 1950s. To maintain the yellow coloring, these birds need shaded areas to protect their feathers from the sun. A female is on the left.
I am happy they all get along so well in their enclosure. In all, I have 19 pheasants – many of which were hatched right here at my farm. I am looking forward to watching them all thrive here at the farm.
Their graceful appearance, fascinating behaviors, and vibrant colors make pheasants a true pleasure to raise. With good care, these beautiful birds will live for 15 to 18 years.