It’s September… are you ready for fall and Halloween? I have so many wonderful new offerings from my Collections on QVC, and I’m excited to share them with you!
I hope you caught some of my Signature Fashion and Fall Décor broadcasts on QVC yesterday. In the morning, QVC Host Terri Conn and I did a two-hour LIVE show. I was here at my farm in Bedford, New York, joined by QVC Brand Ambassador Andrea Wilczynski, while Terri was in Pennsylvania at QVC’s headquarters and studios. Together, we shared some of my newest signature apparel pieces for fall's cooler weather. Then, in the afternoon, I was joined by QVC Host Shawn Killinger, who was broadcasting remotely from Pennsylvania. We unveiled my newest Halloween decorations. My friend Harry Slatkin also stopped by my farm so we could share some of our latest collaboration pieces LIVE, including our Ceramic Pumpkin Candle Sets and Harvest Reed Diffusers. I’m so happy with the wonderful response to everything we showed. Many of the pieces sold out quickly, but there are still lots of great items available on the QVC web site.
Here are some photos, enjoy.
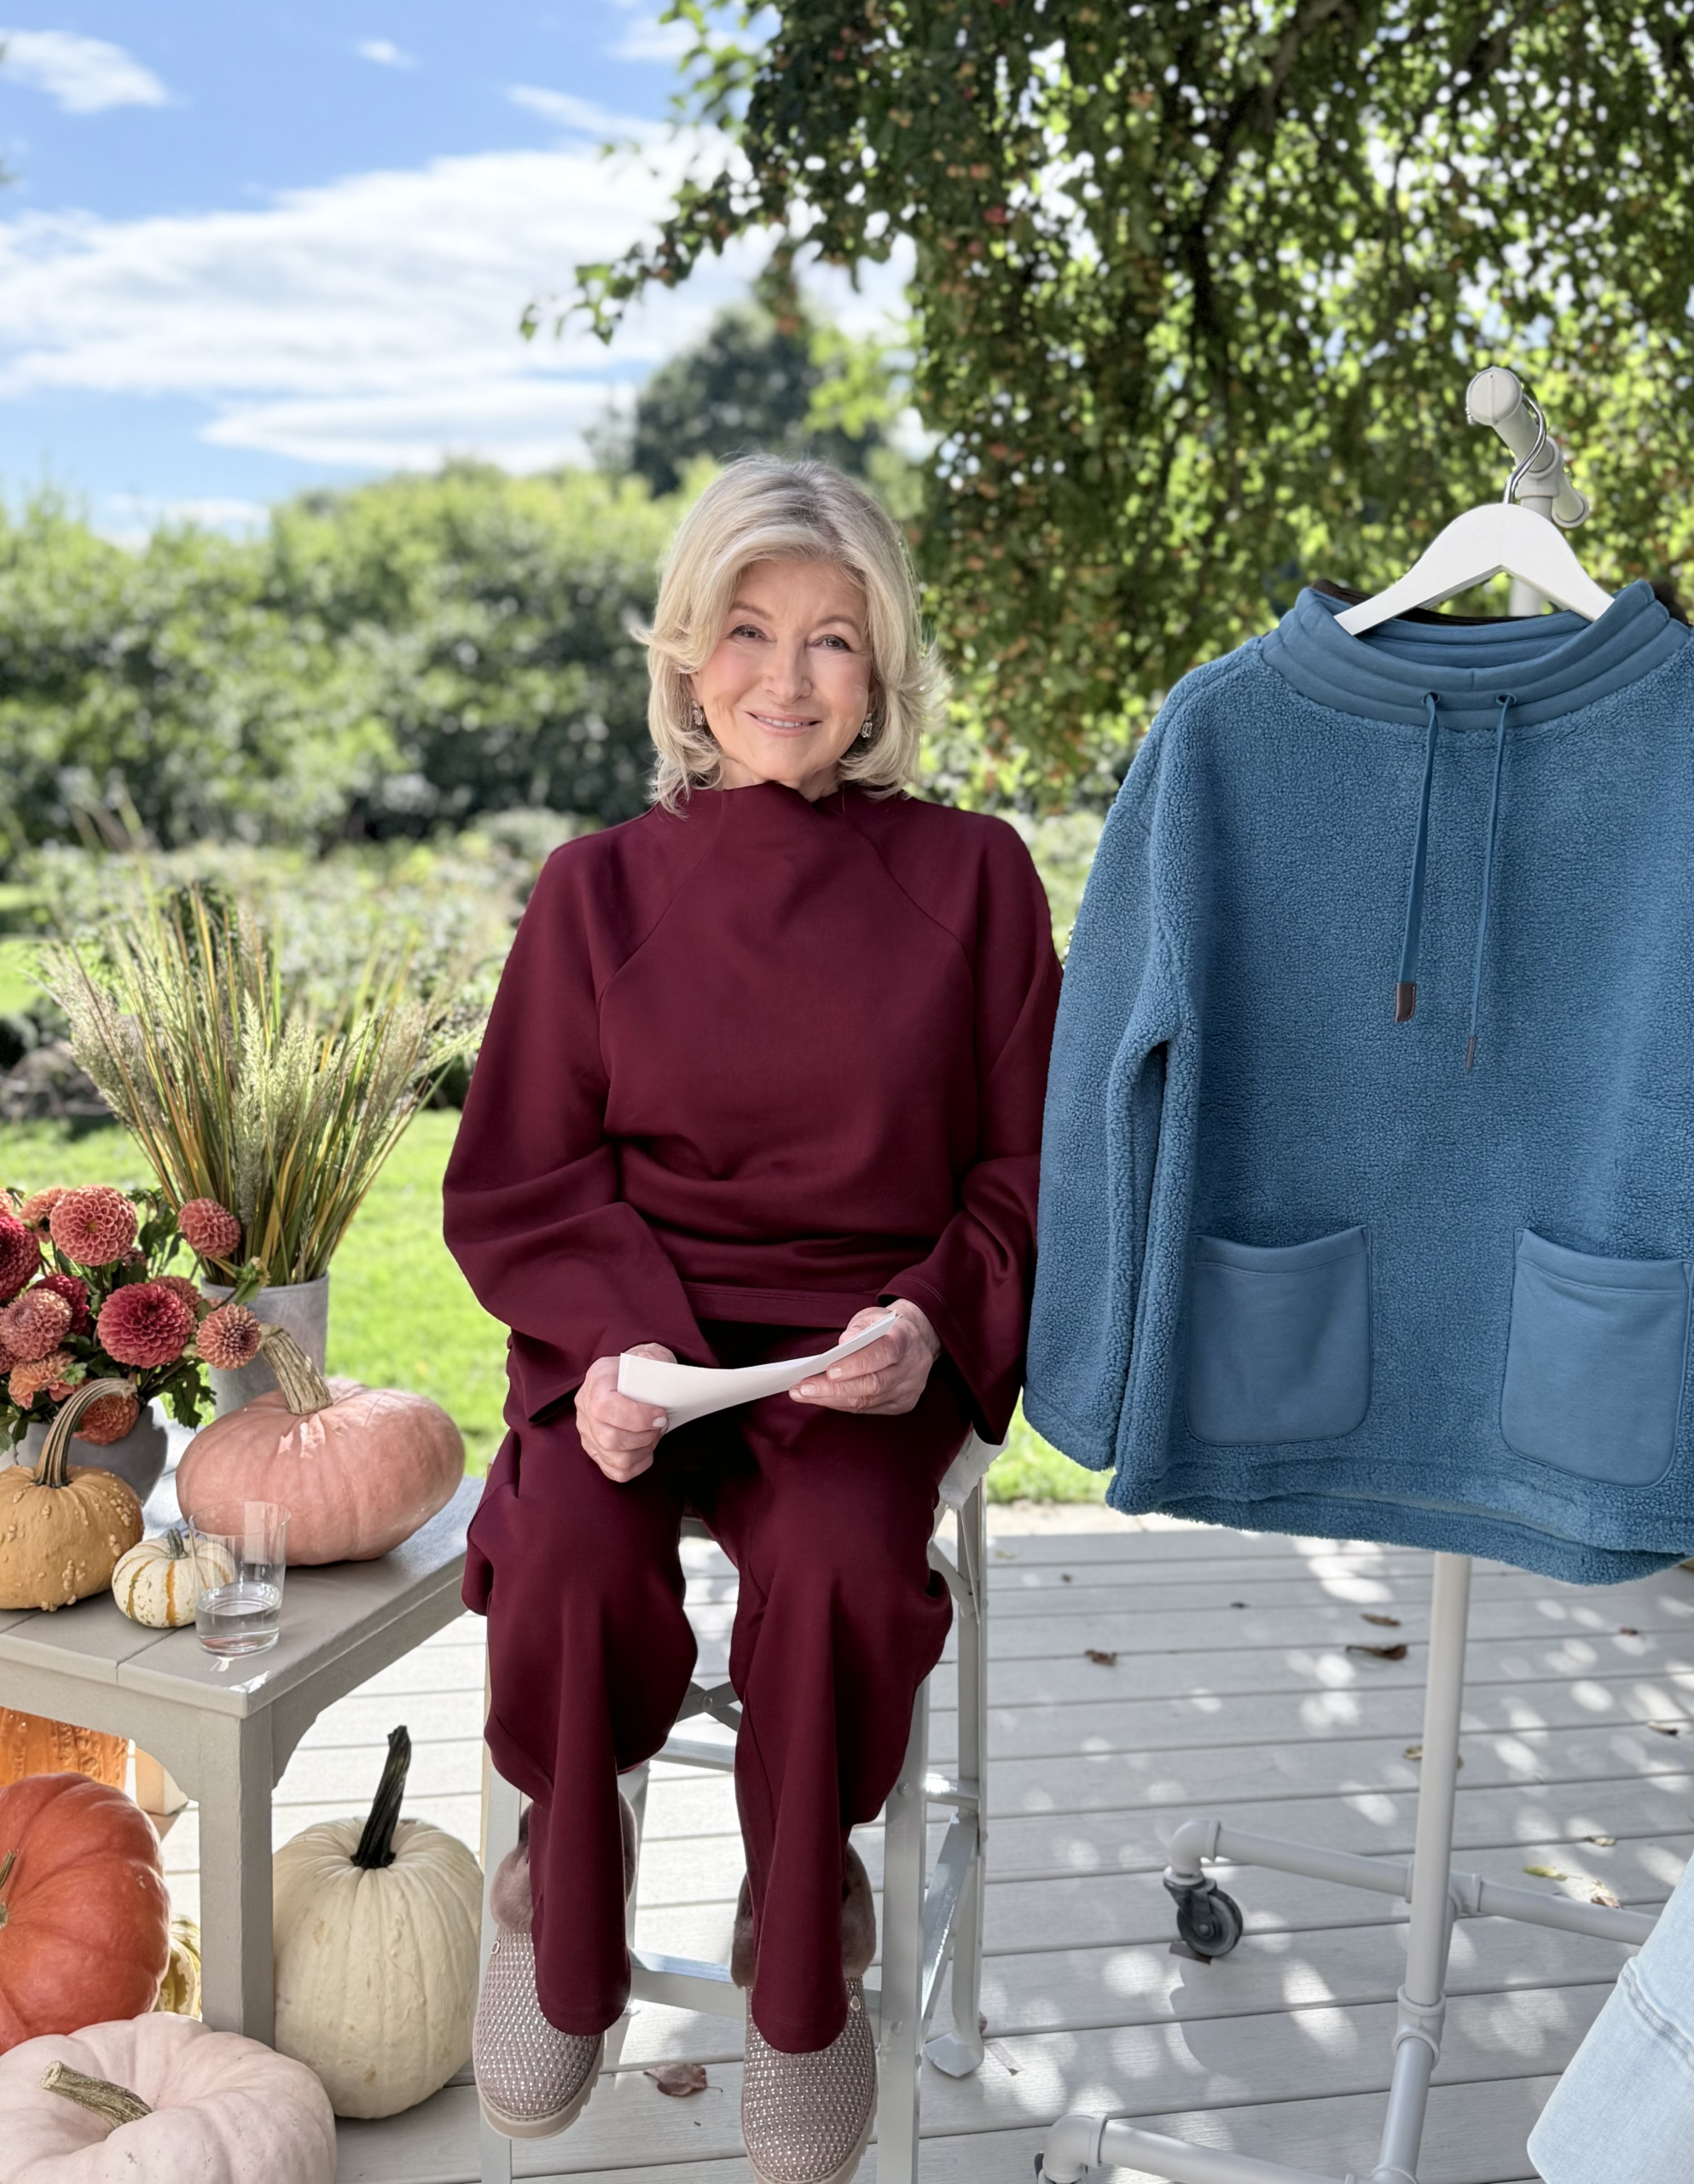
It was the perfect morning for an outdoor broadcast here at my farm. Here I am in my Comfort Stretch Funnel Neck Top with matching Wide Leg Pants. It comes in this maroon banner color as well as sea turtle green and a taupe grey – so comfortable and so versatile. Next to me is my Sherpa Pullover Fleece in mallard blue.
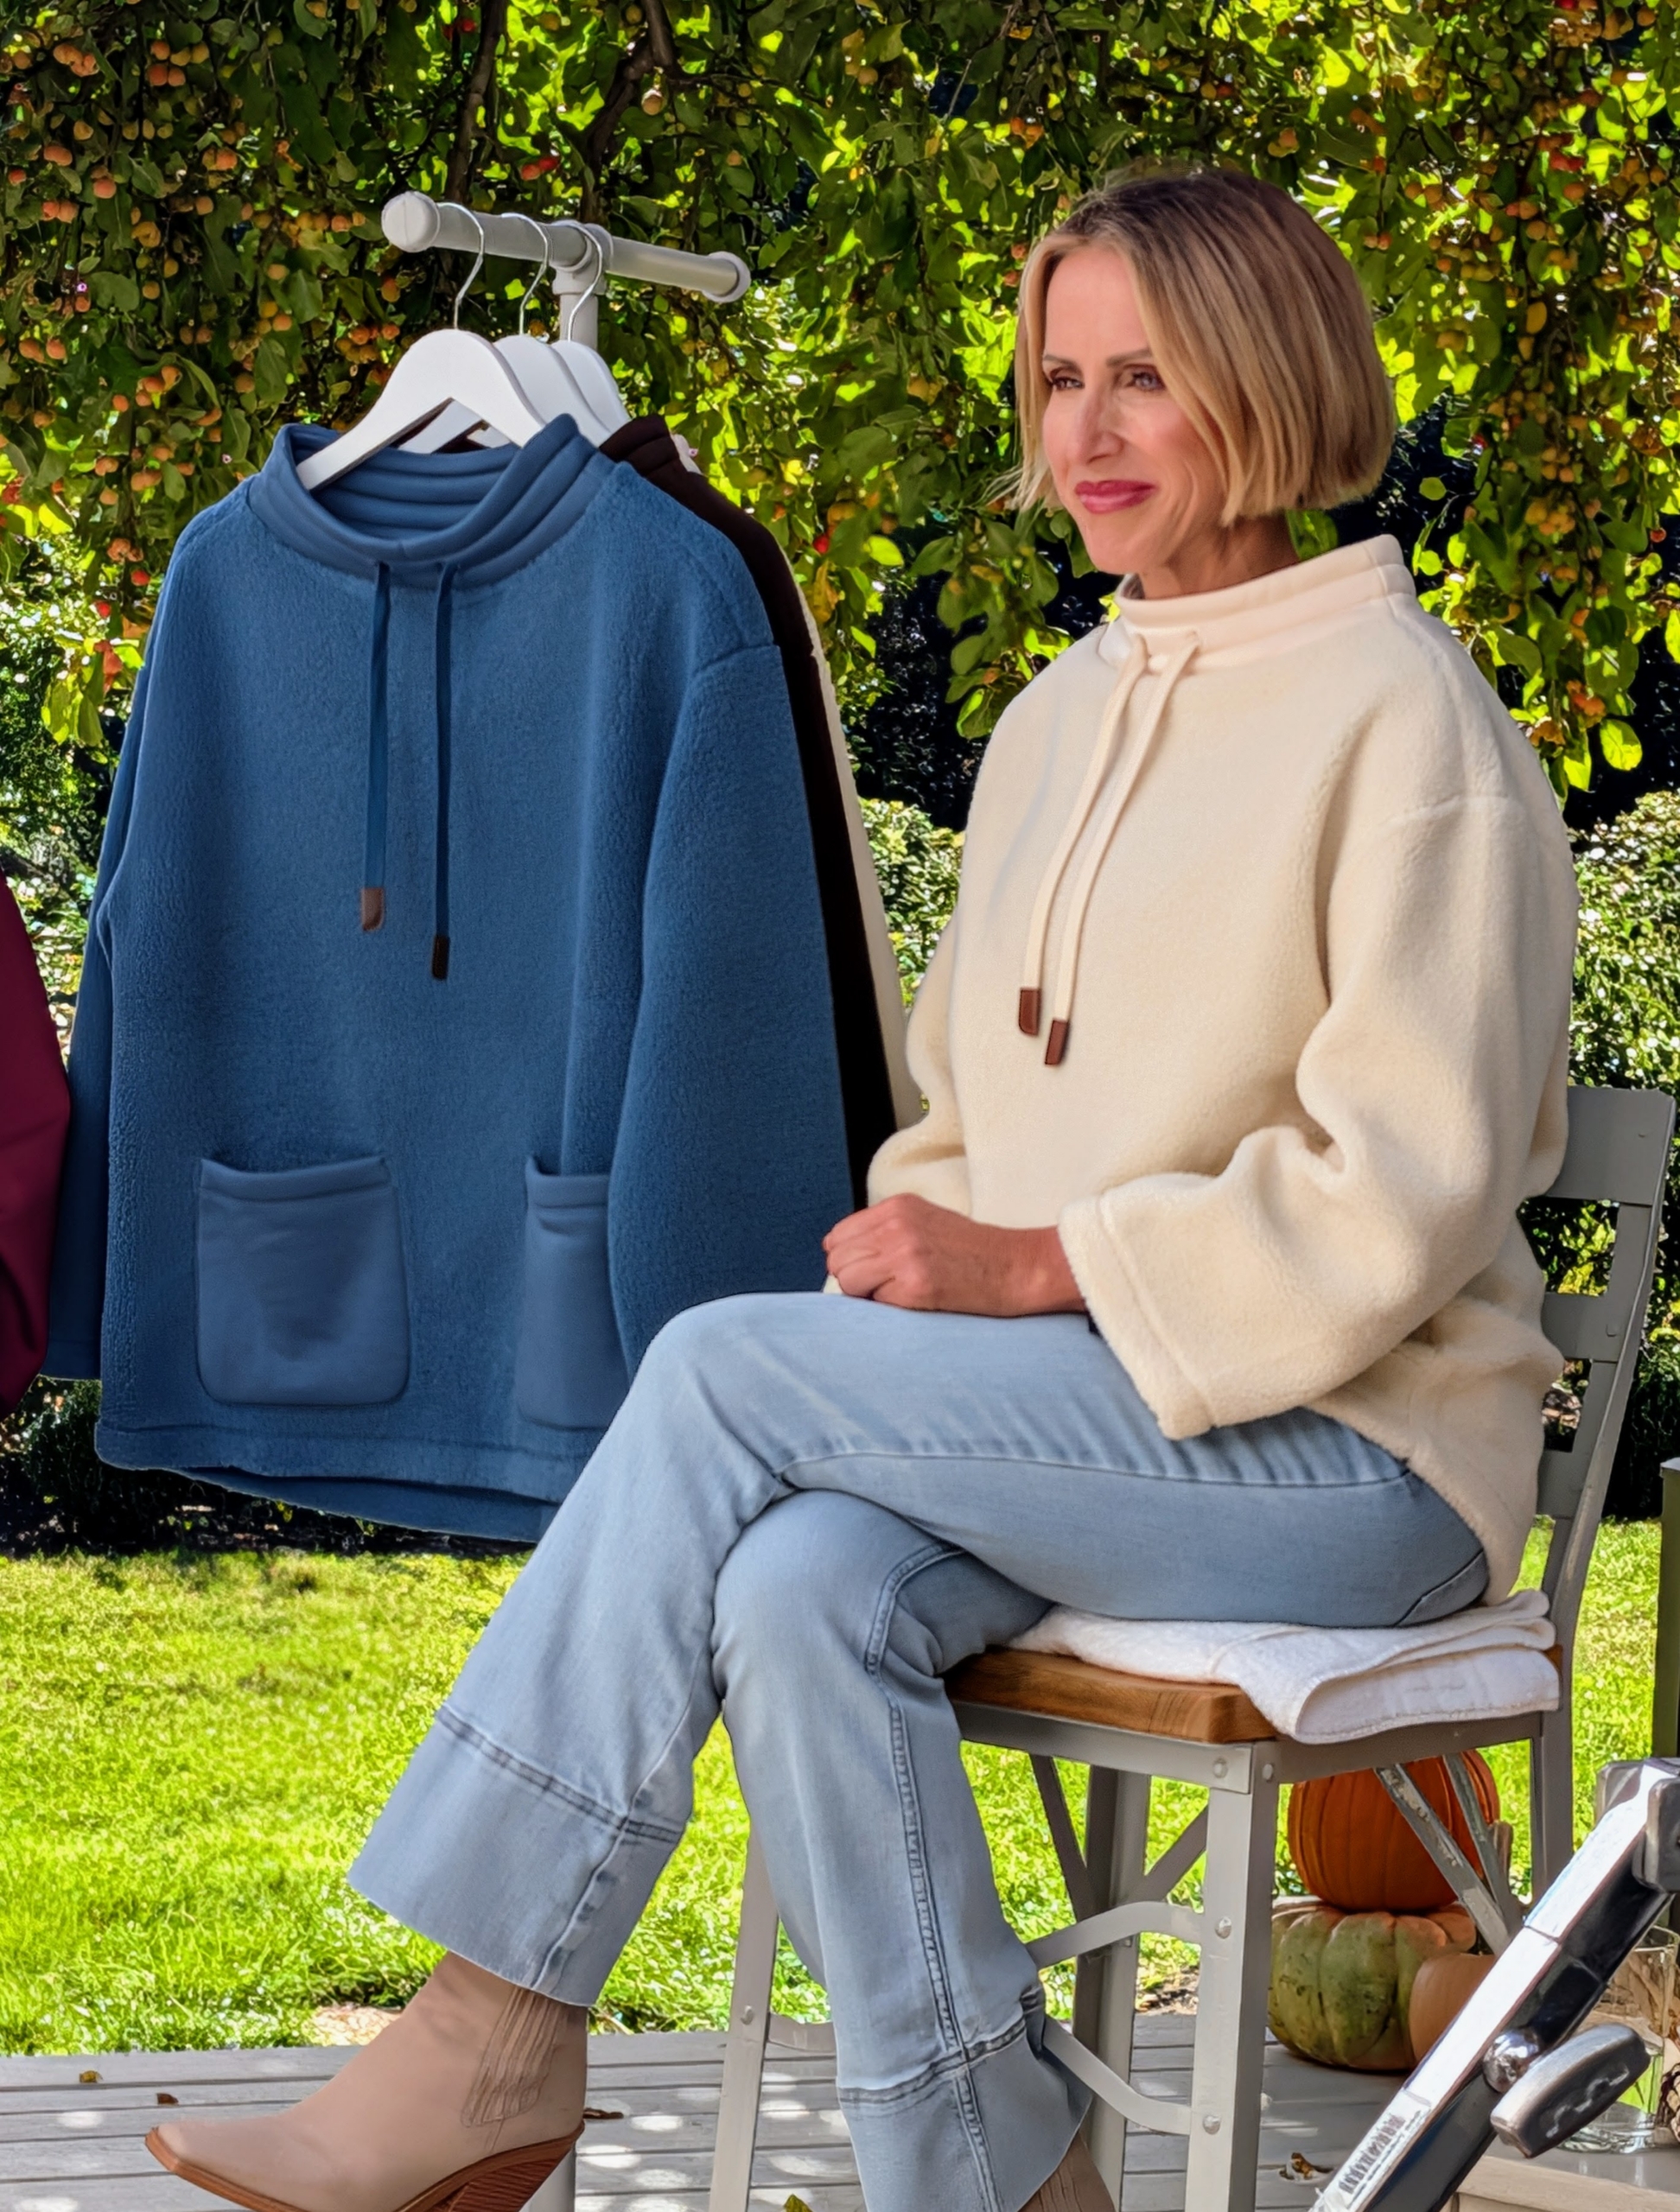
Andrea joined me at the farm and showed off the Sherpa Pullover Fleece in white swan. It also comes in a darker demitasse. This piece has a stand collar, tunnel drawcord, and great, durable pockets.
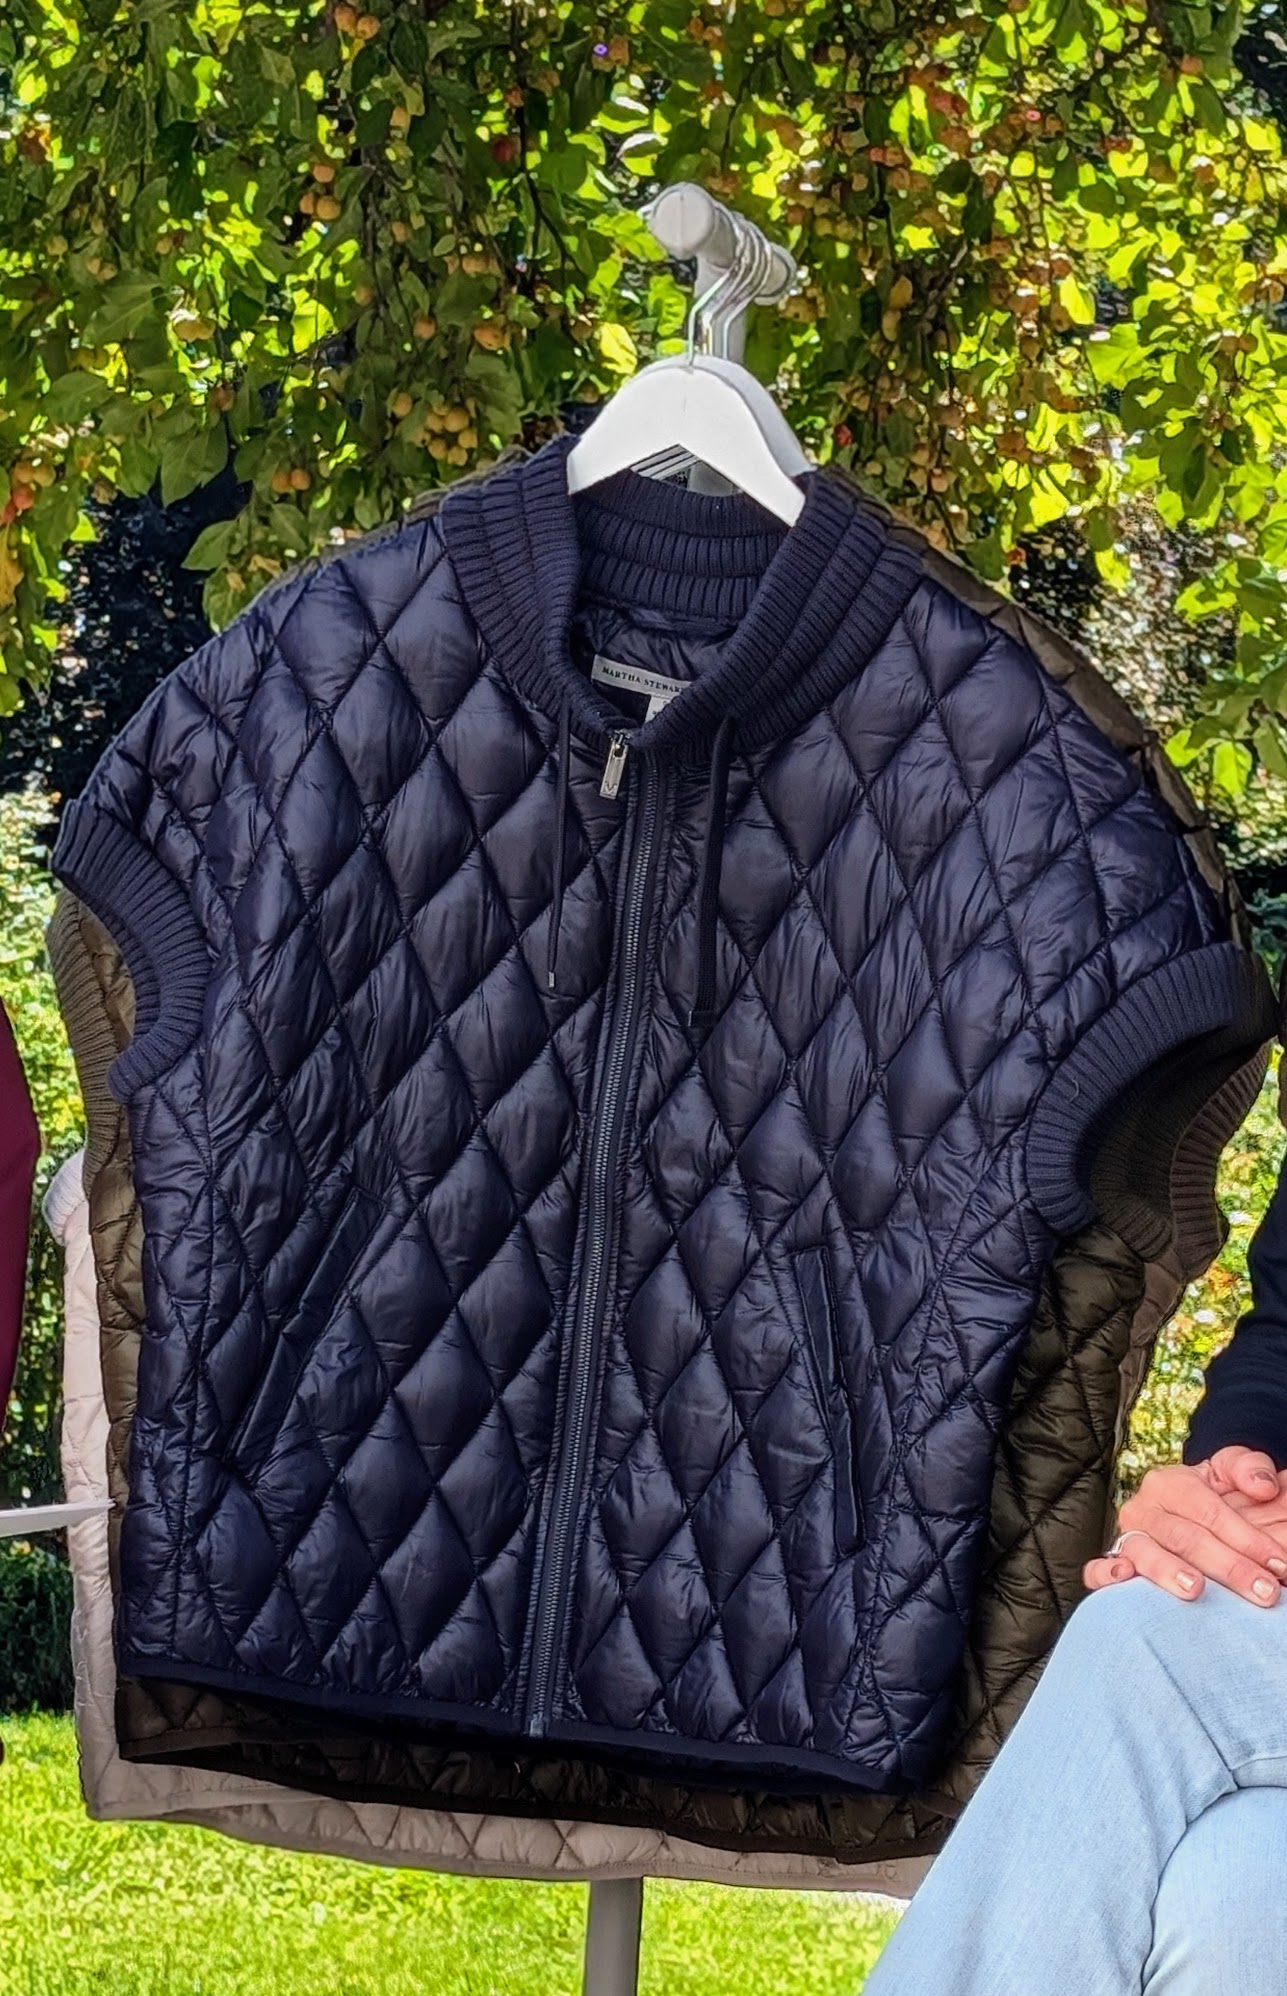
Everyone loves a good vest for fall and this is it – my Diamond Quilted Short-Sleeve Jacket with cap sleeves and a sweater knit ribbed trim. It has zippered fleece lined pockets and comes in this baritone blue, as well as caviar, dark olive, burro, and moon beam.
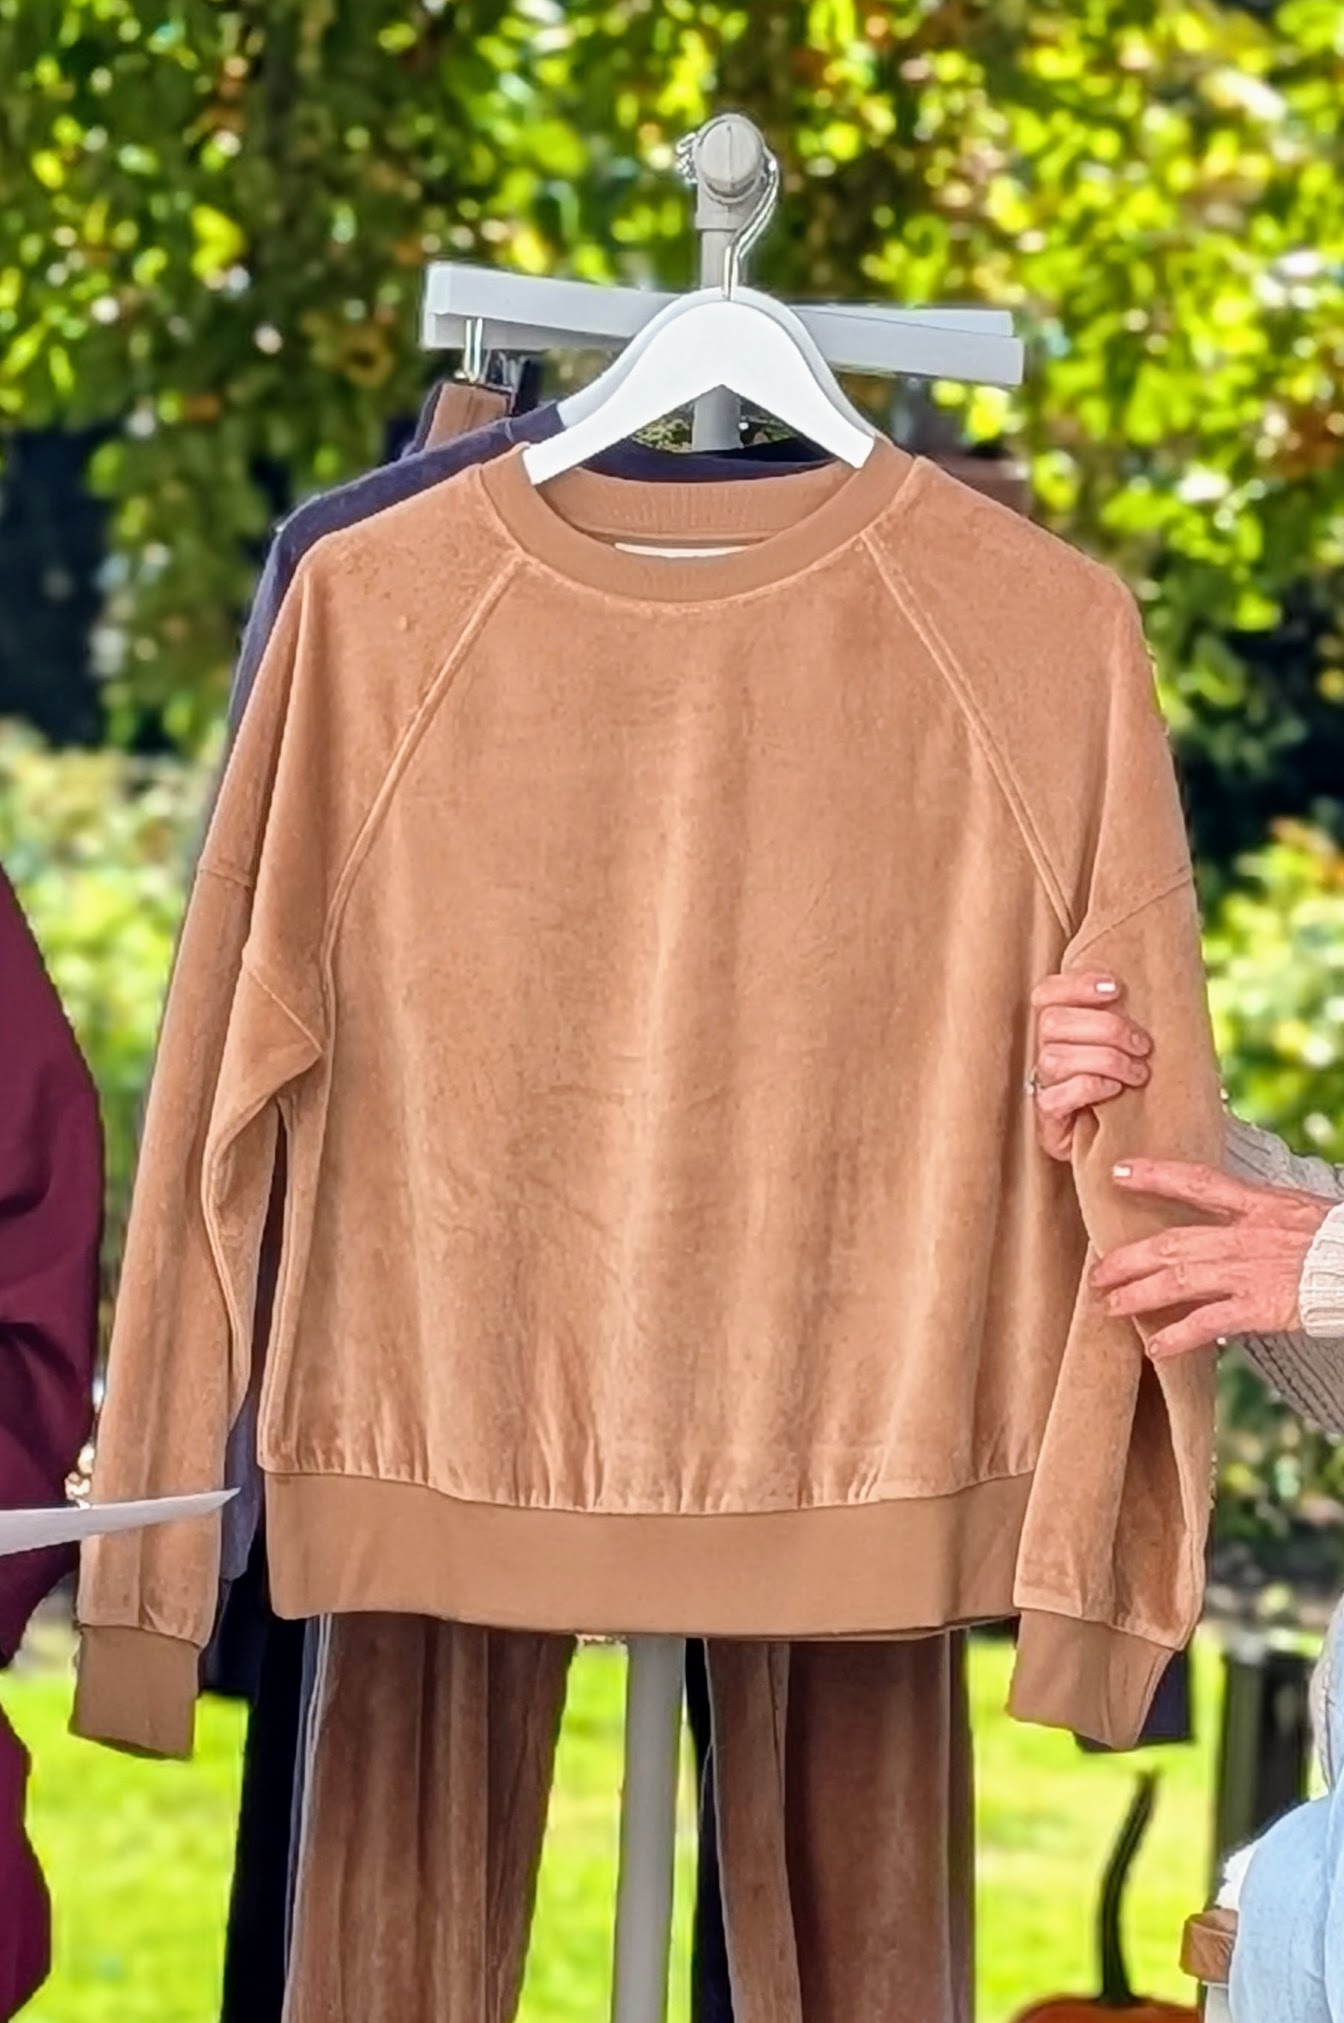
This is comfort at its finest – my Velour Raglan Sleeve Pullover and matching joggers. Nothing compares to the relaxed, soft, cozy fabric in burro, caviar or greystone. Wear the outfit casually or dress it up for dinner.
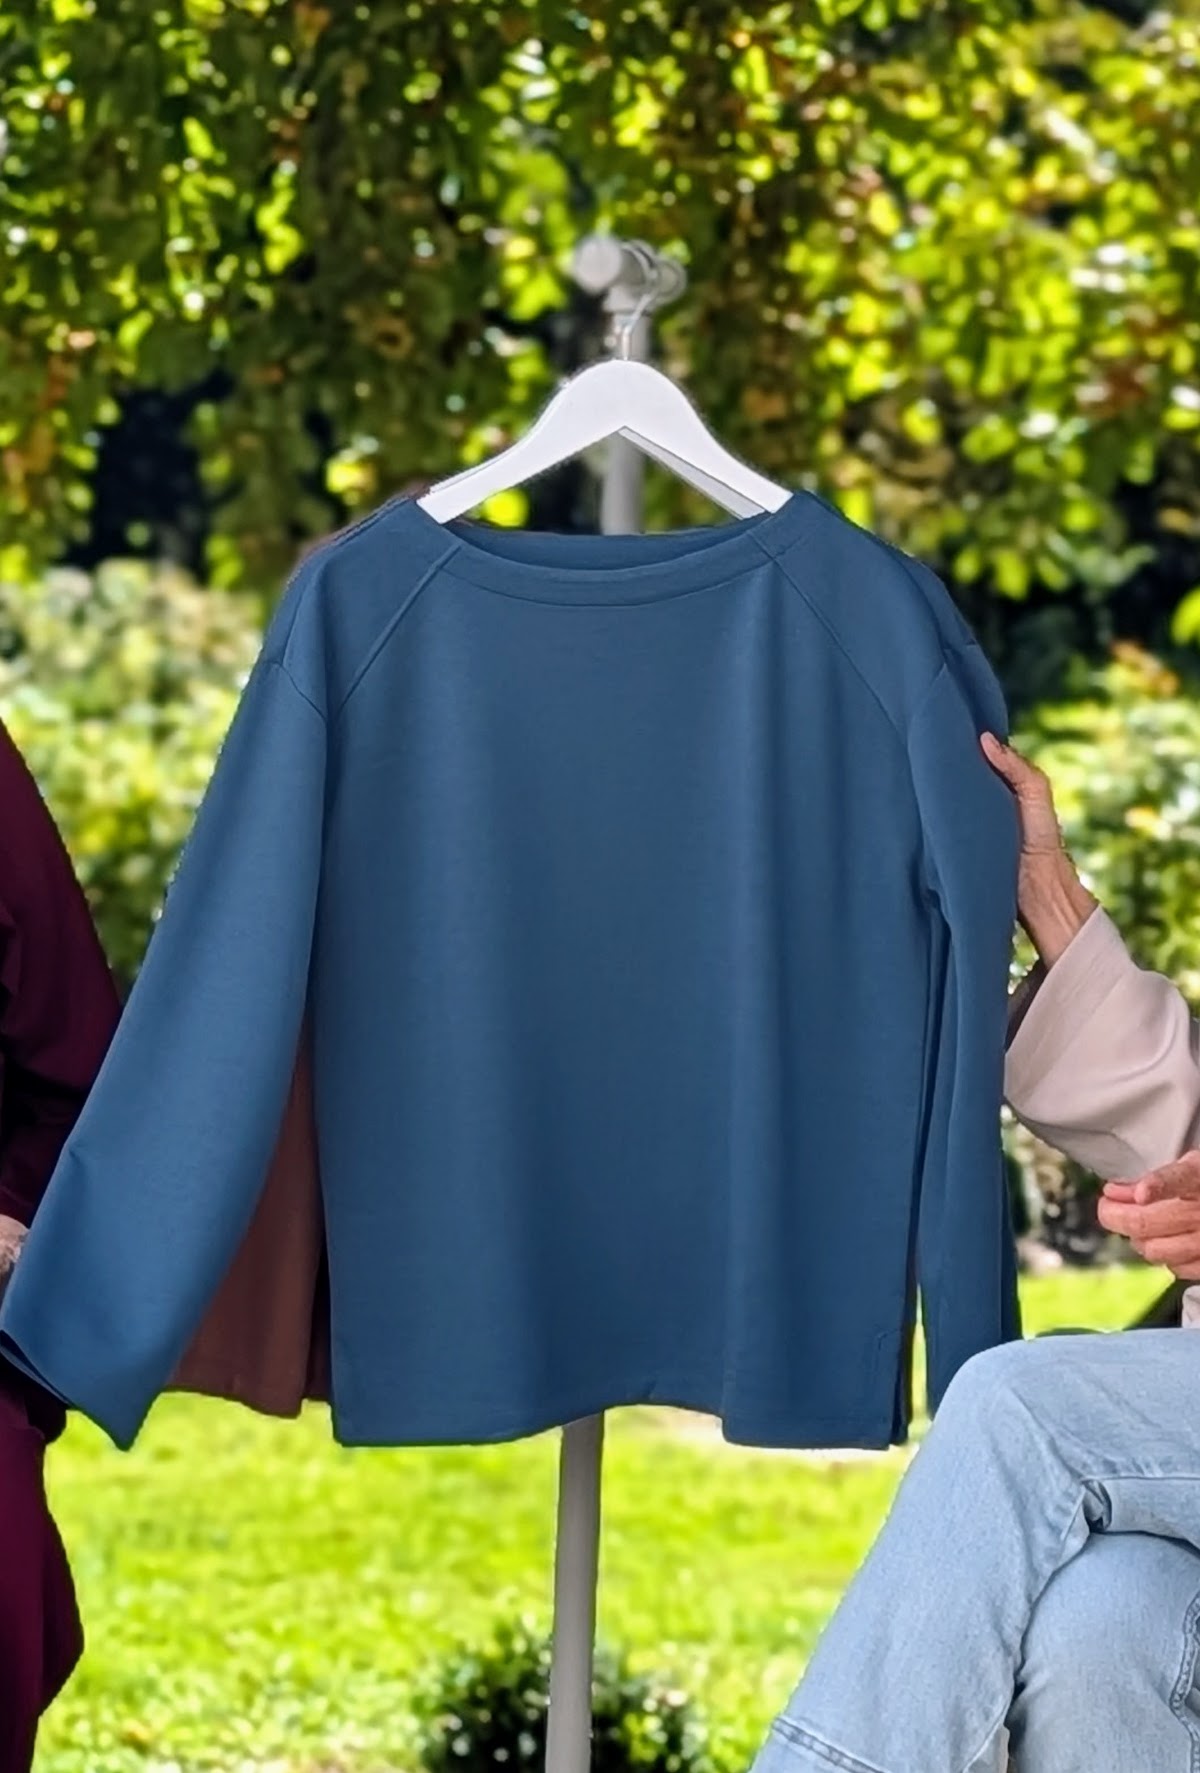
This is my Comfort Stretch Bateau Neck Top in mallard blue. It is also available in chateau grey and Myristica brown. It features dropped armhole shoulder details with angled seams.
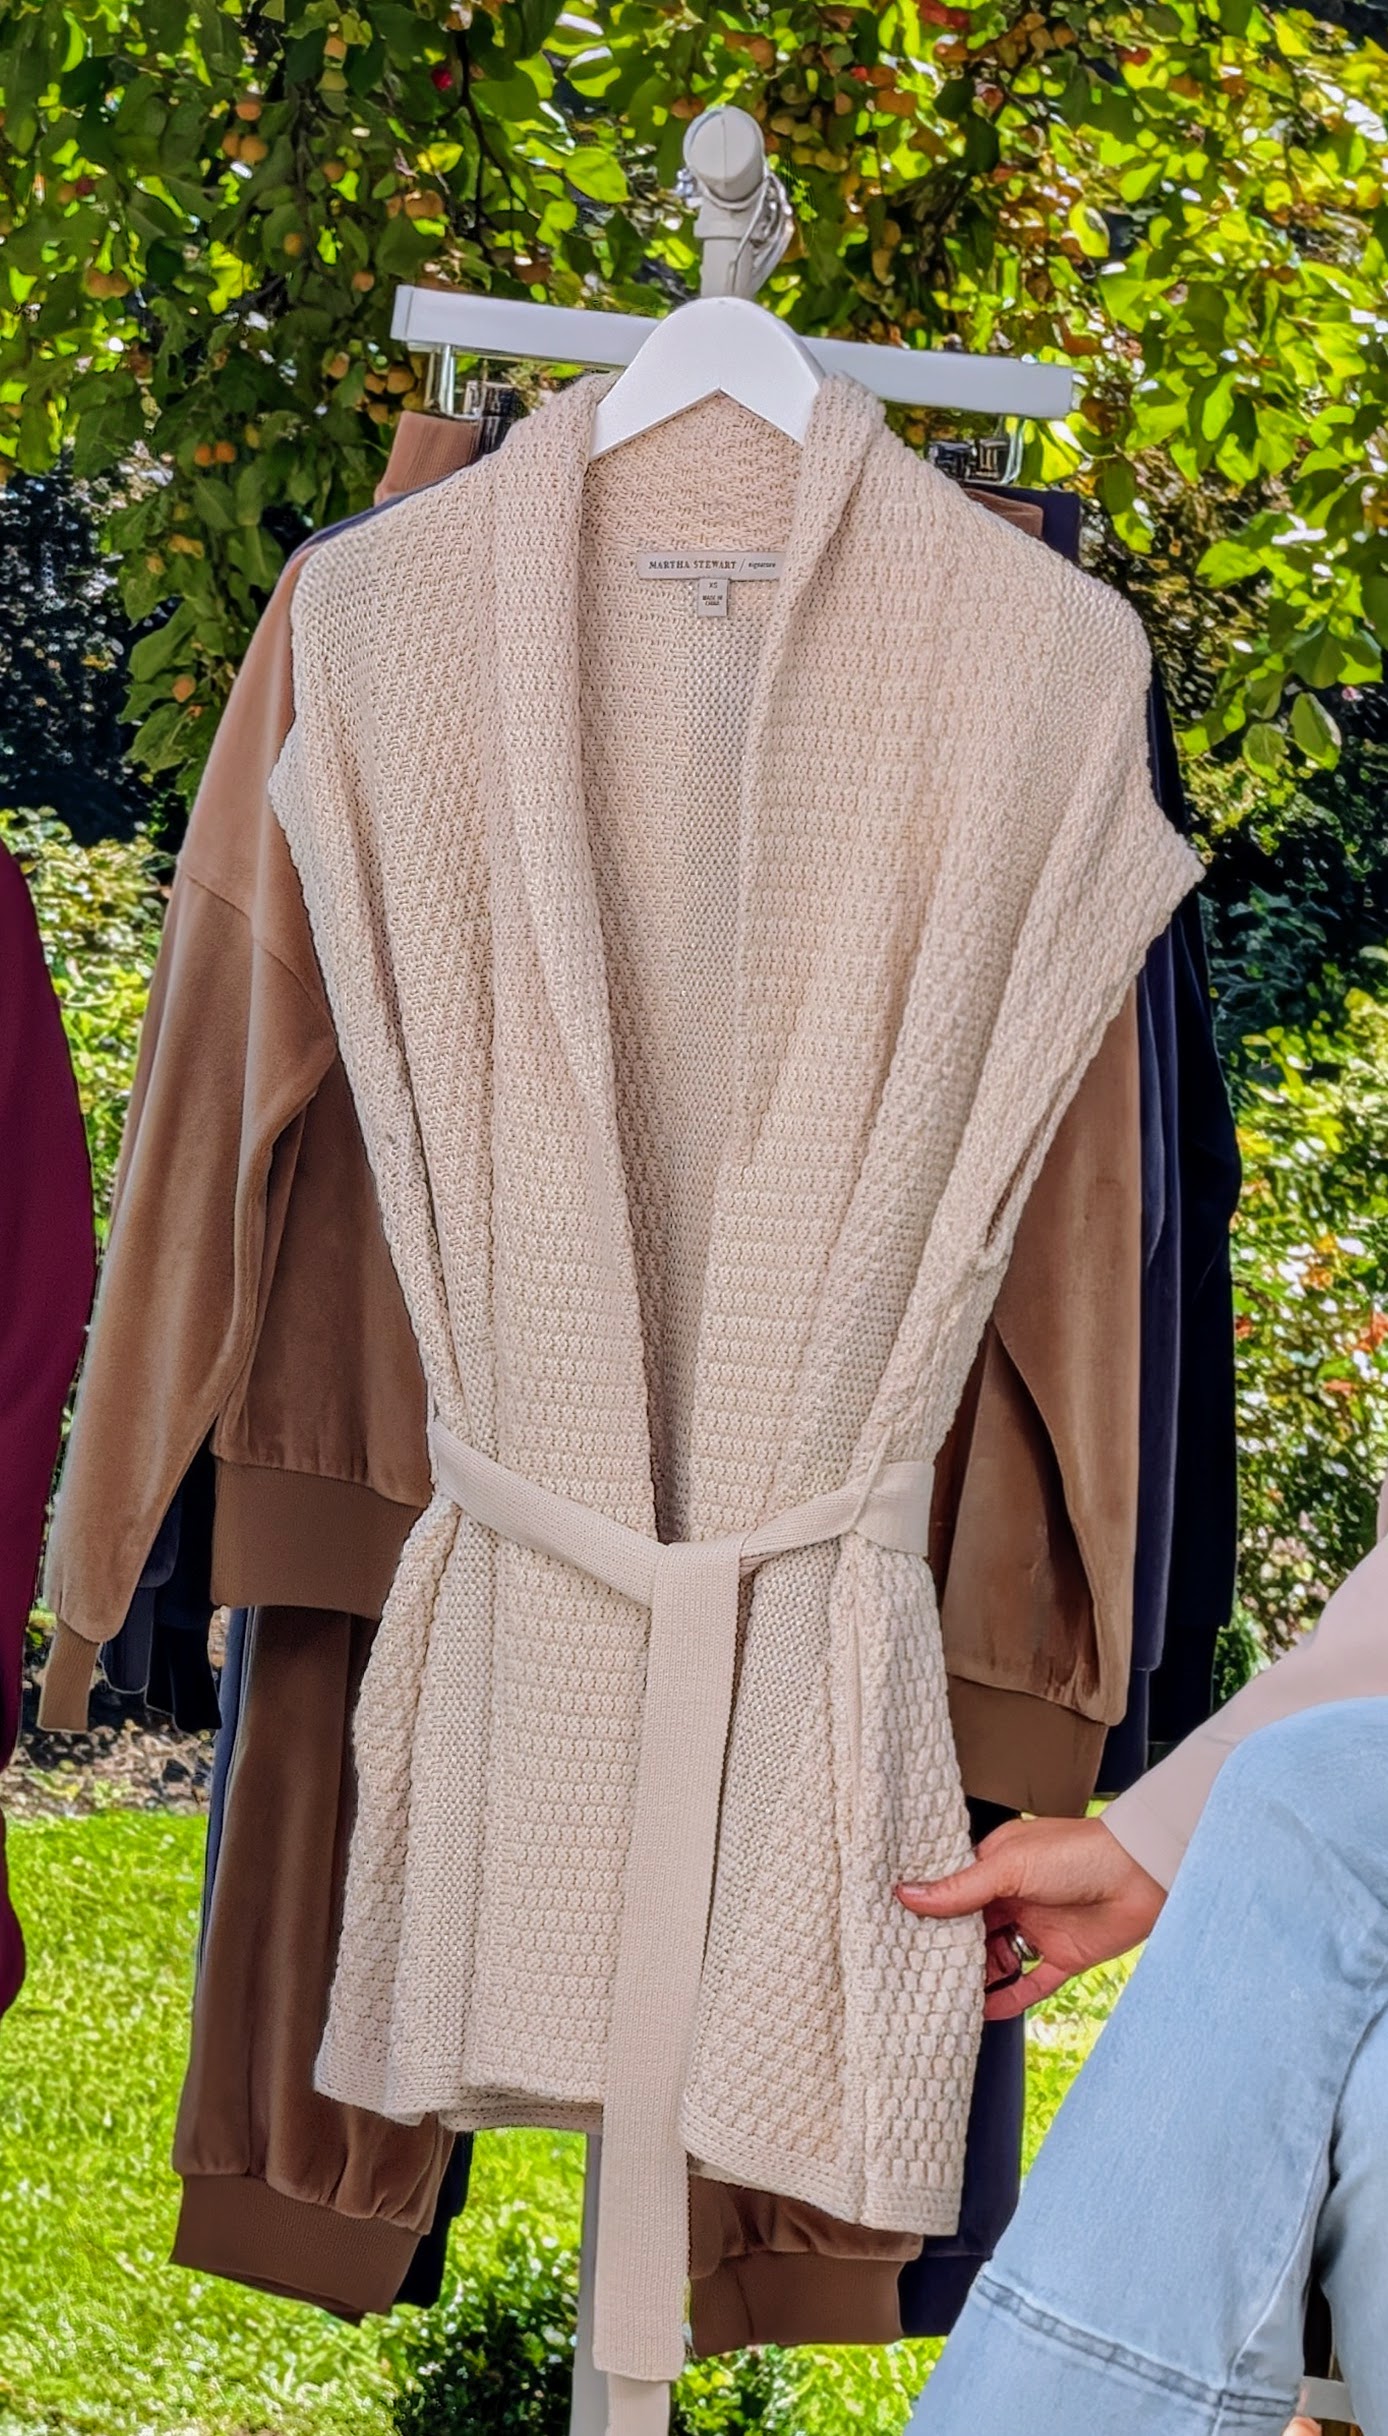
If you’re looking for a perfect transition piece this season, get my Sleeveless Sweater Cardigan with Belt. It has a basketweave knit stitch with novelty sequin accents to give it just the right pop. And, it has deep pockets to carry essentials. Here it is in moon beam, but it also comes in a light Arona blue.
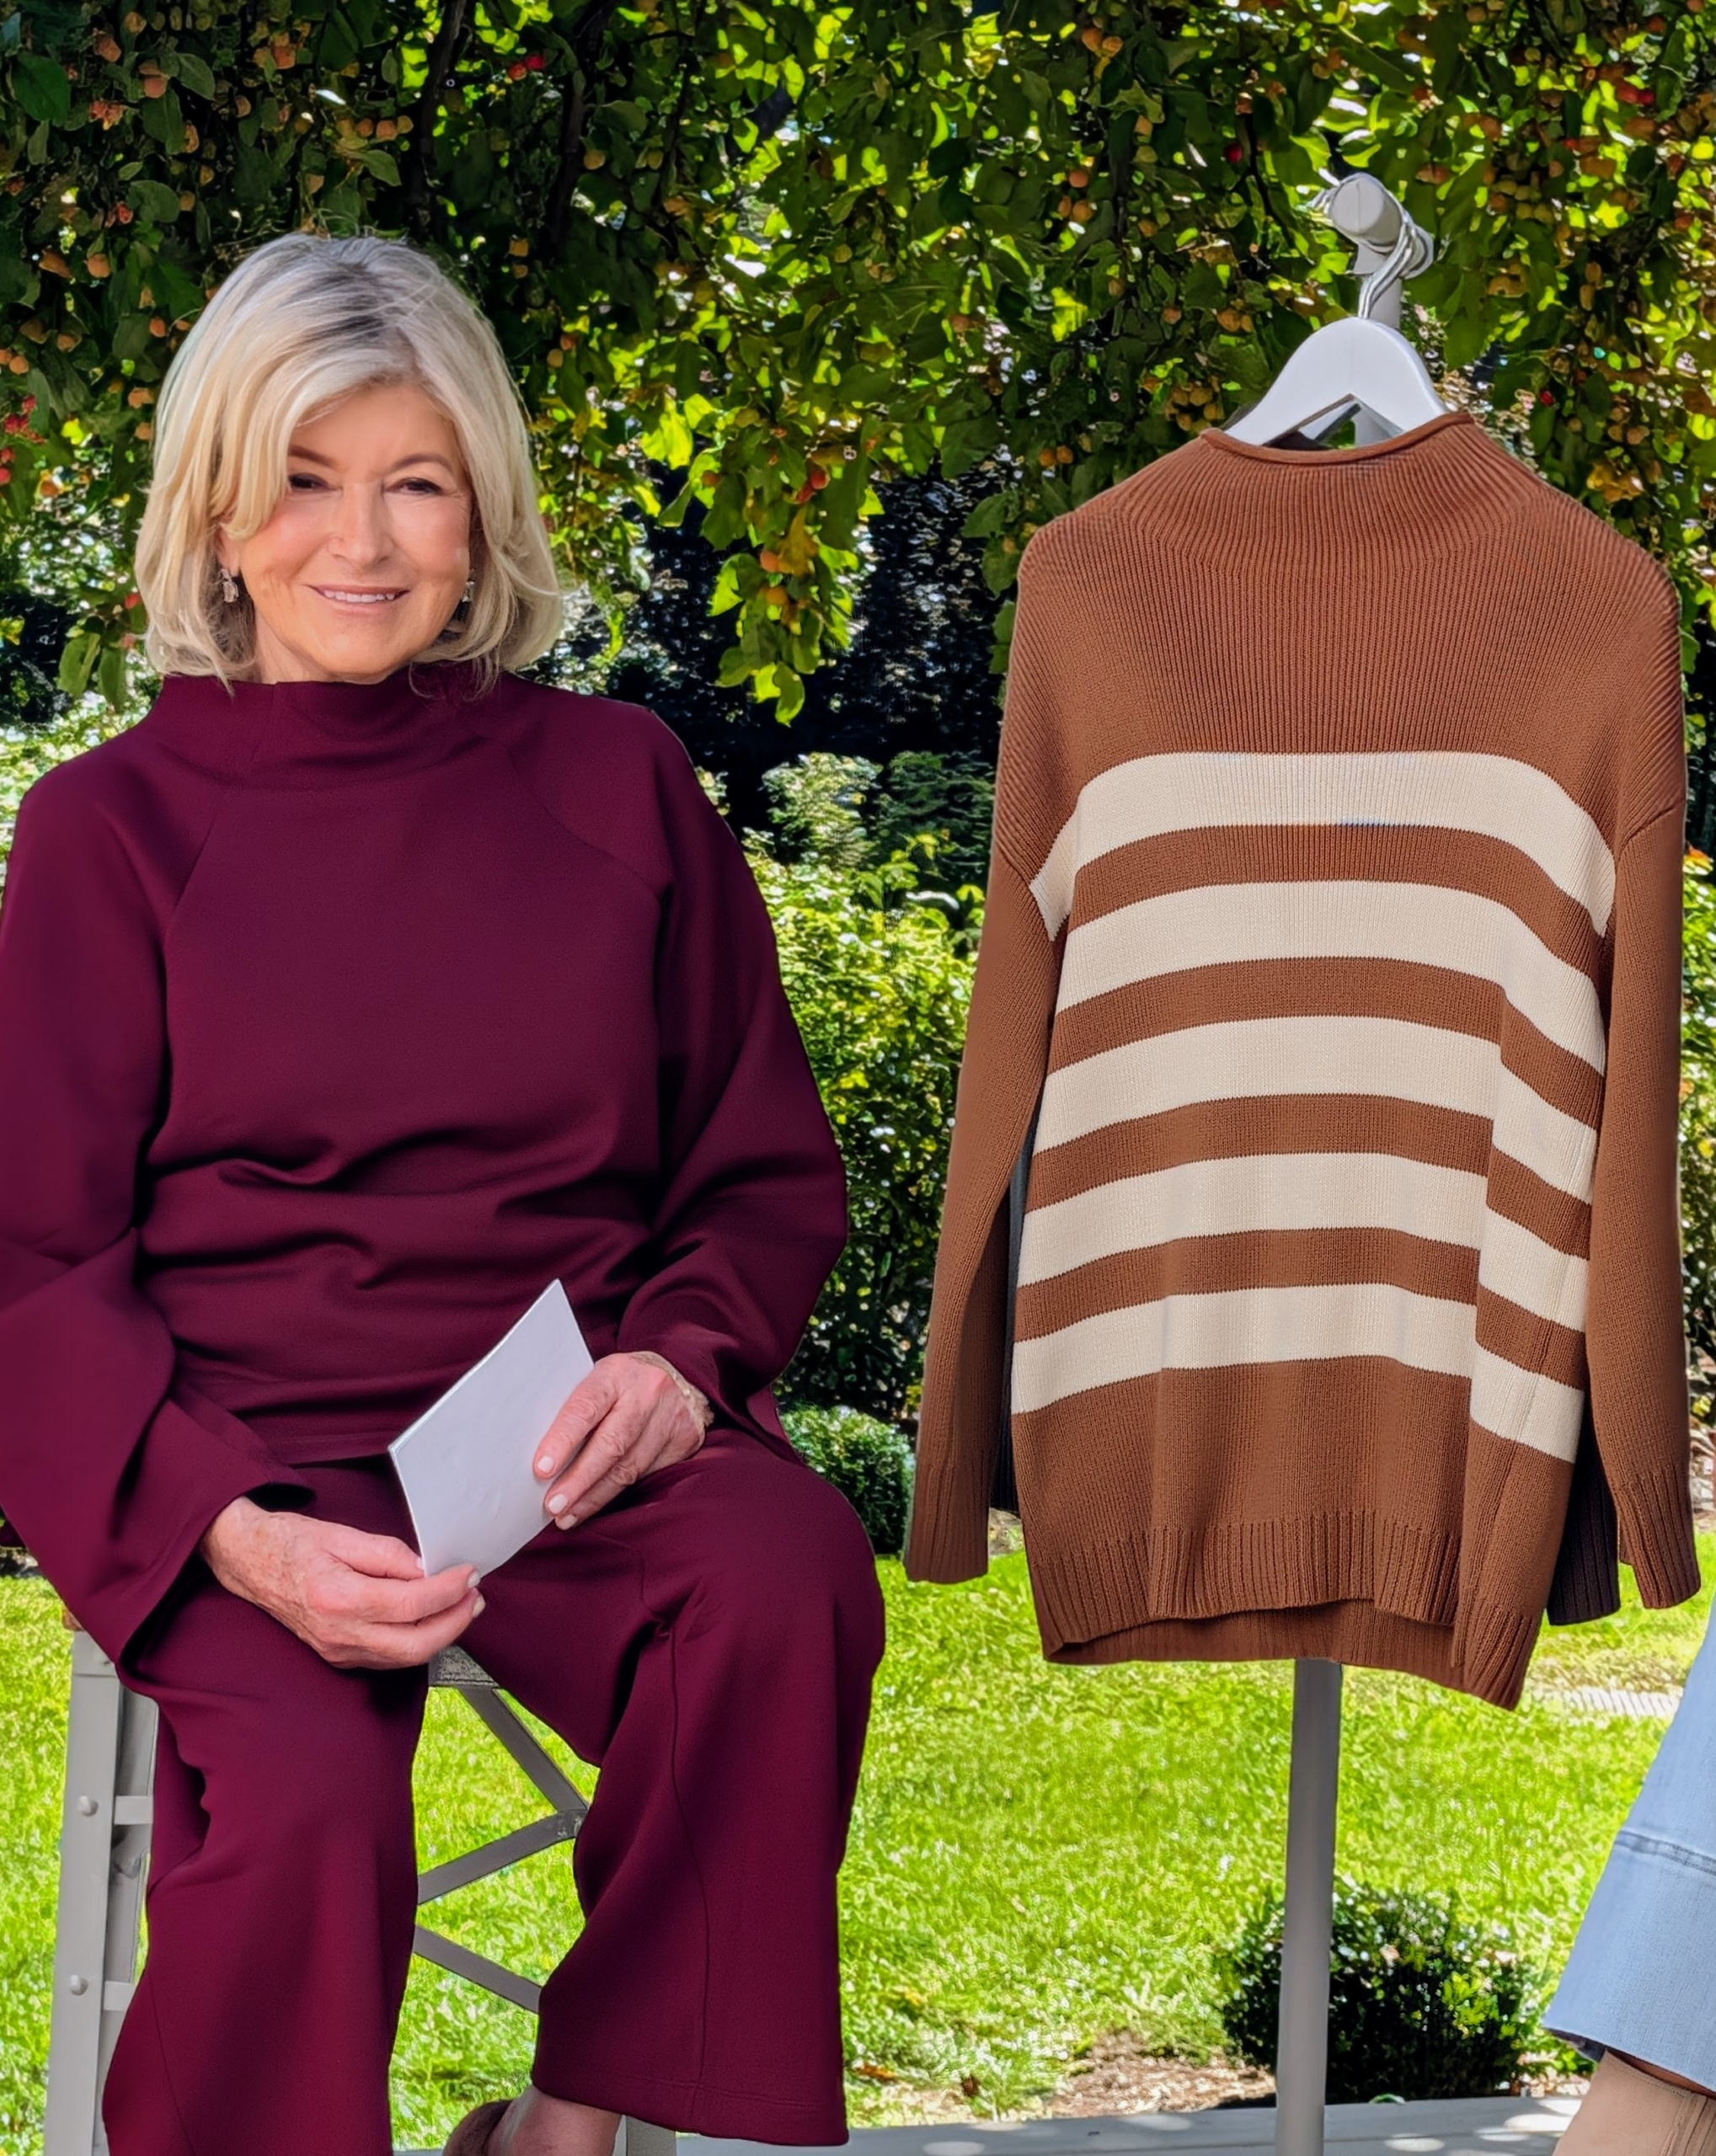
Here I am next to my 100% Cotton Roll Neck Striped Sweater. It features dropped shoulders with full length sleeves and a modern bold striped detail in the front. Get it in all the colors. This is fox trot, but it also comes in midnight navy and sea turtle with coordinating colored stripes.
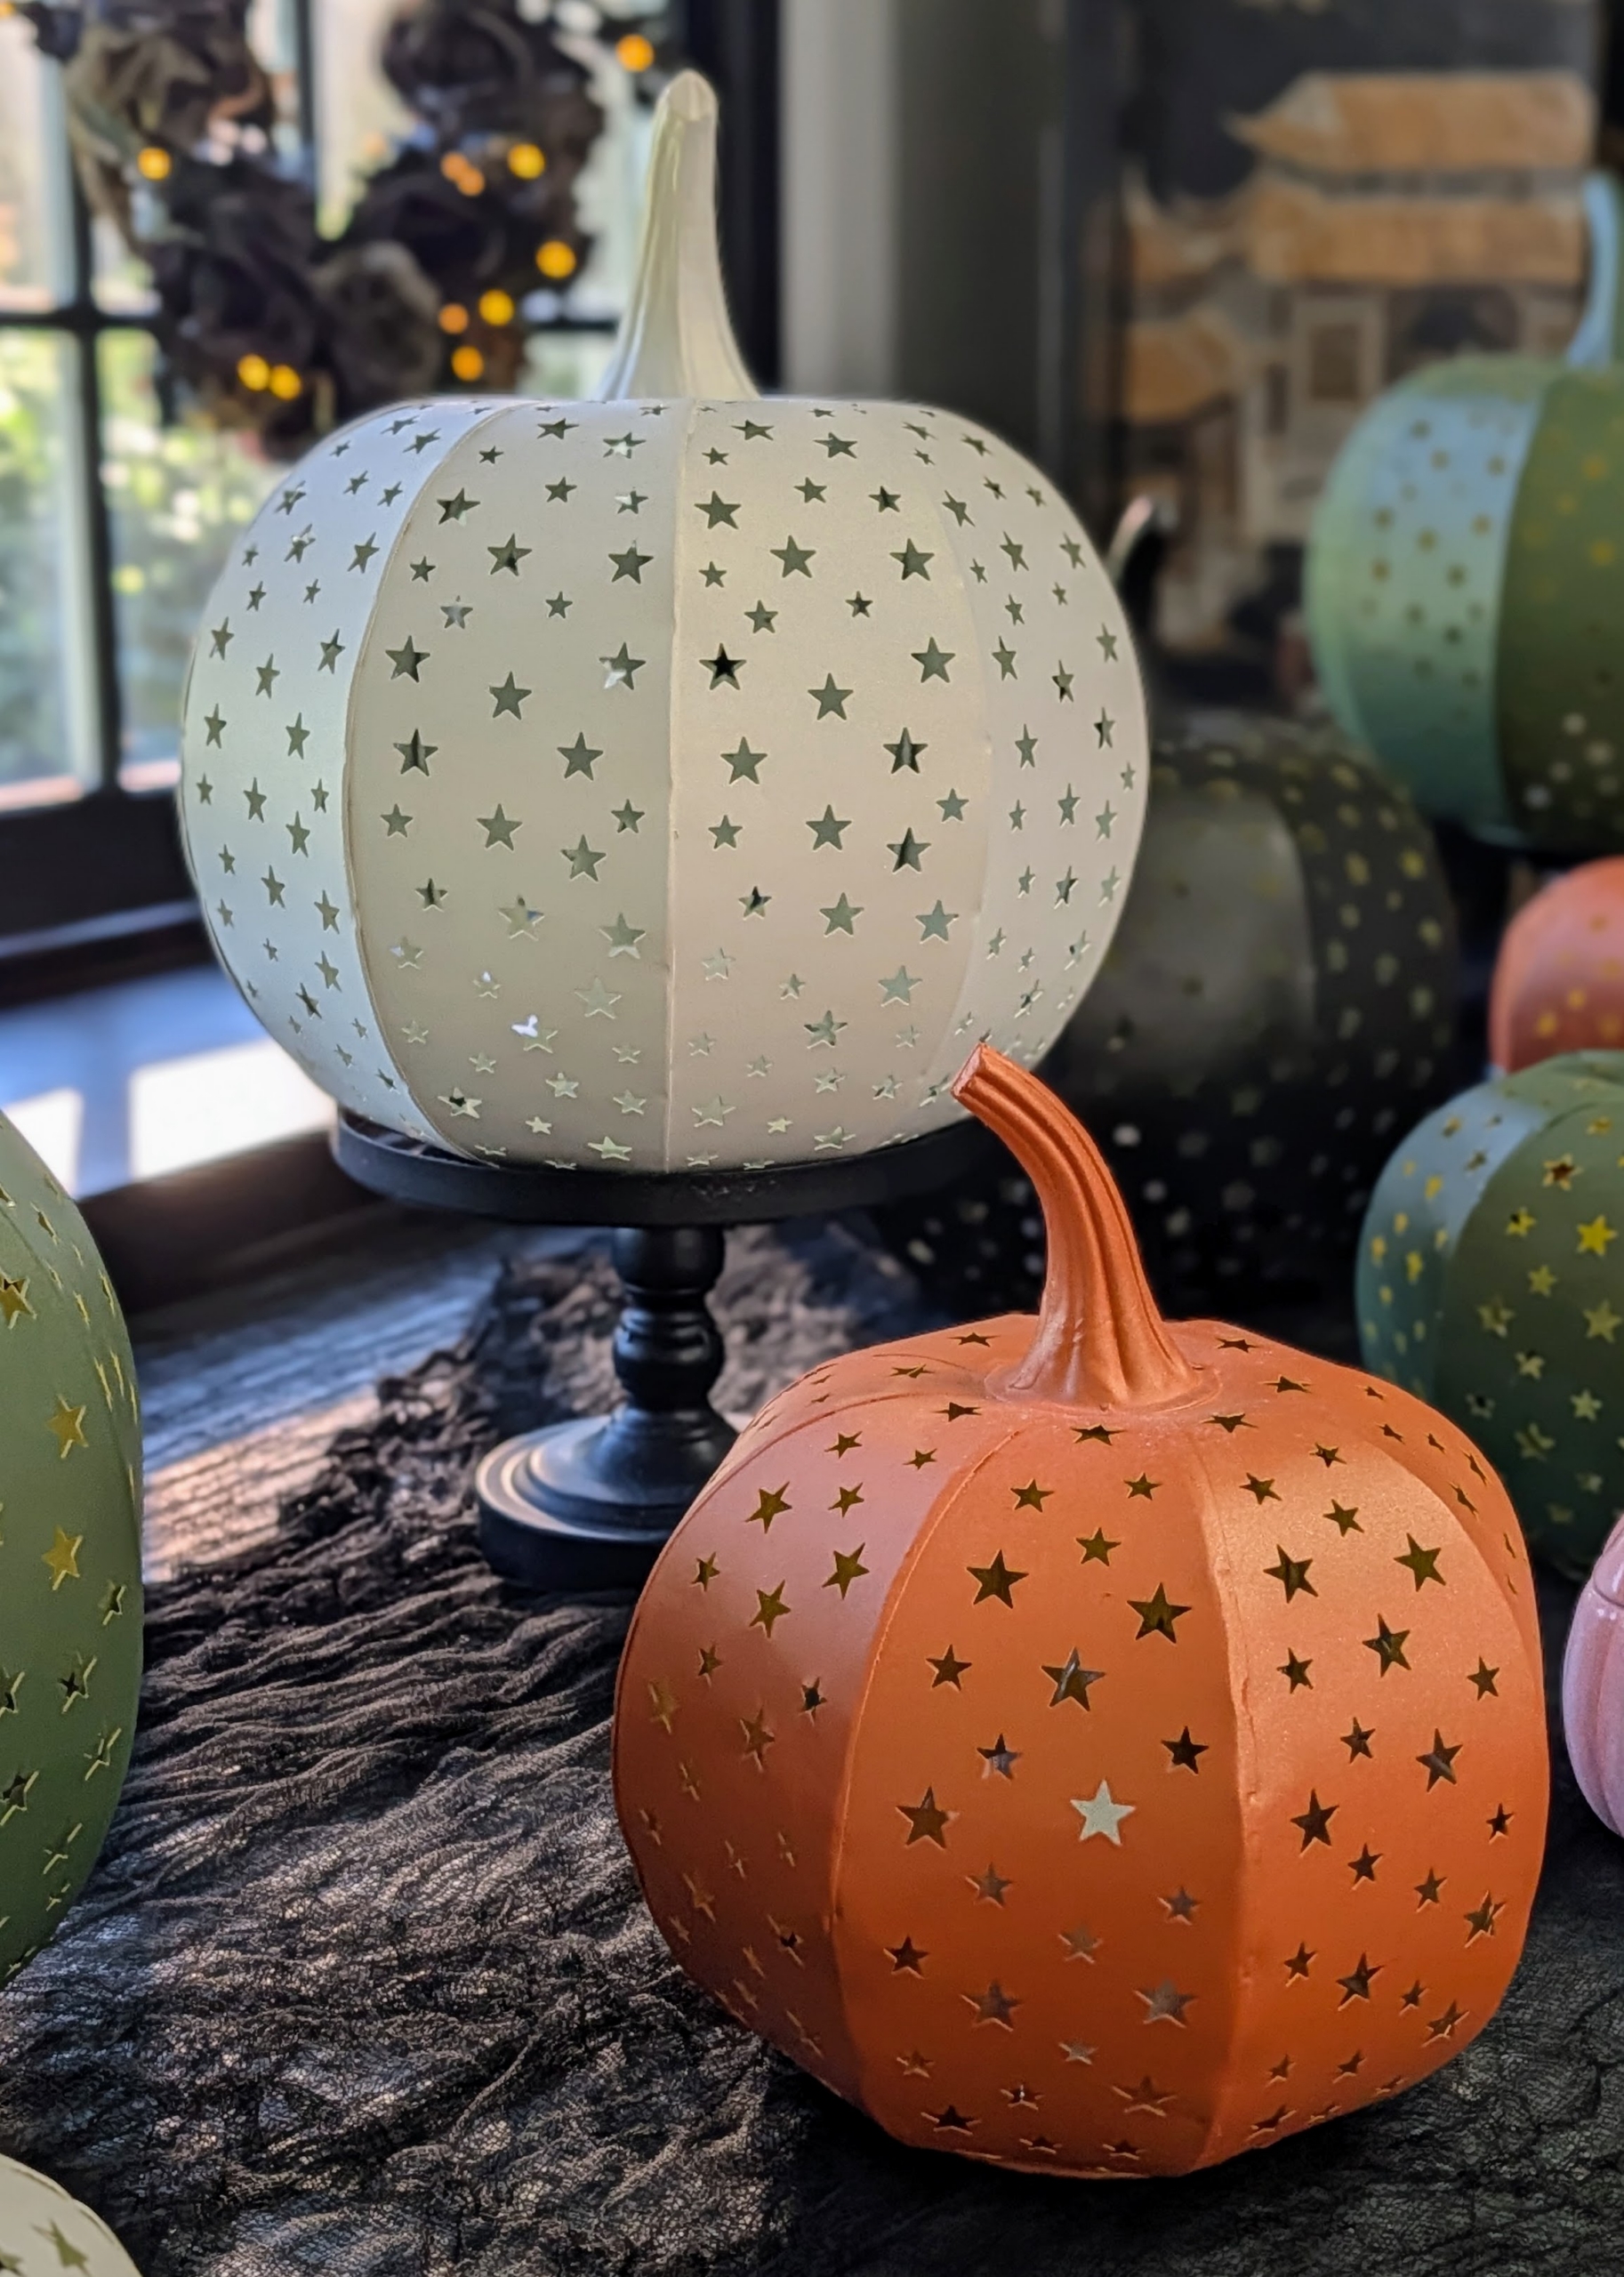
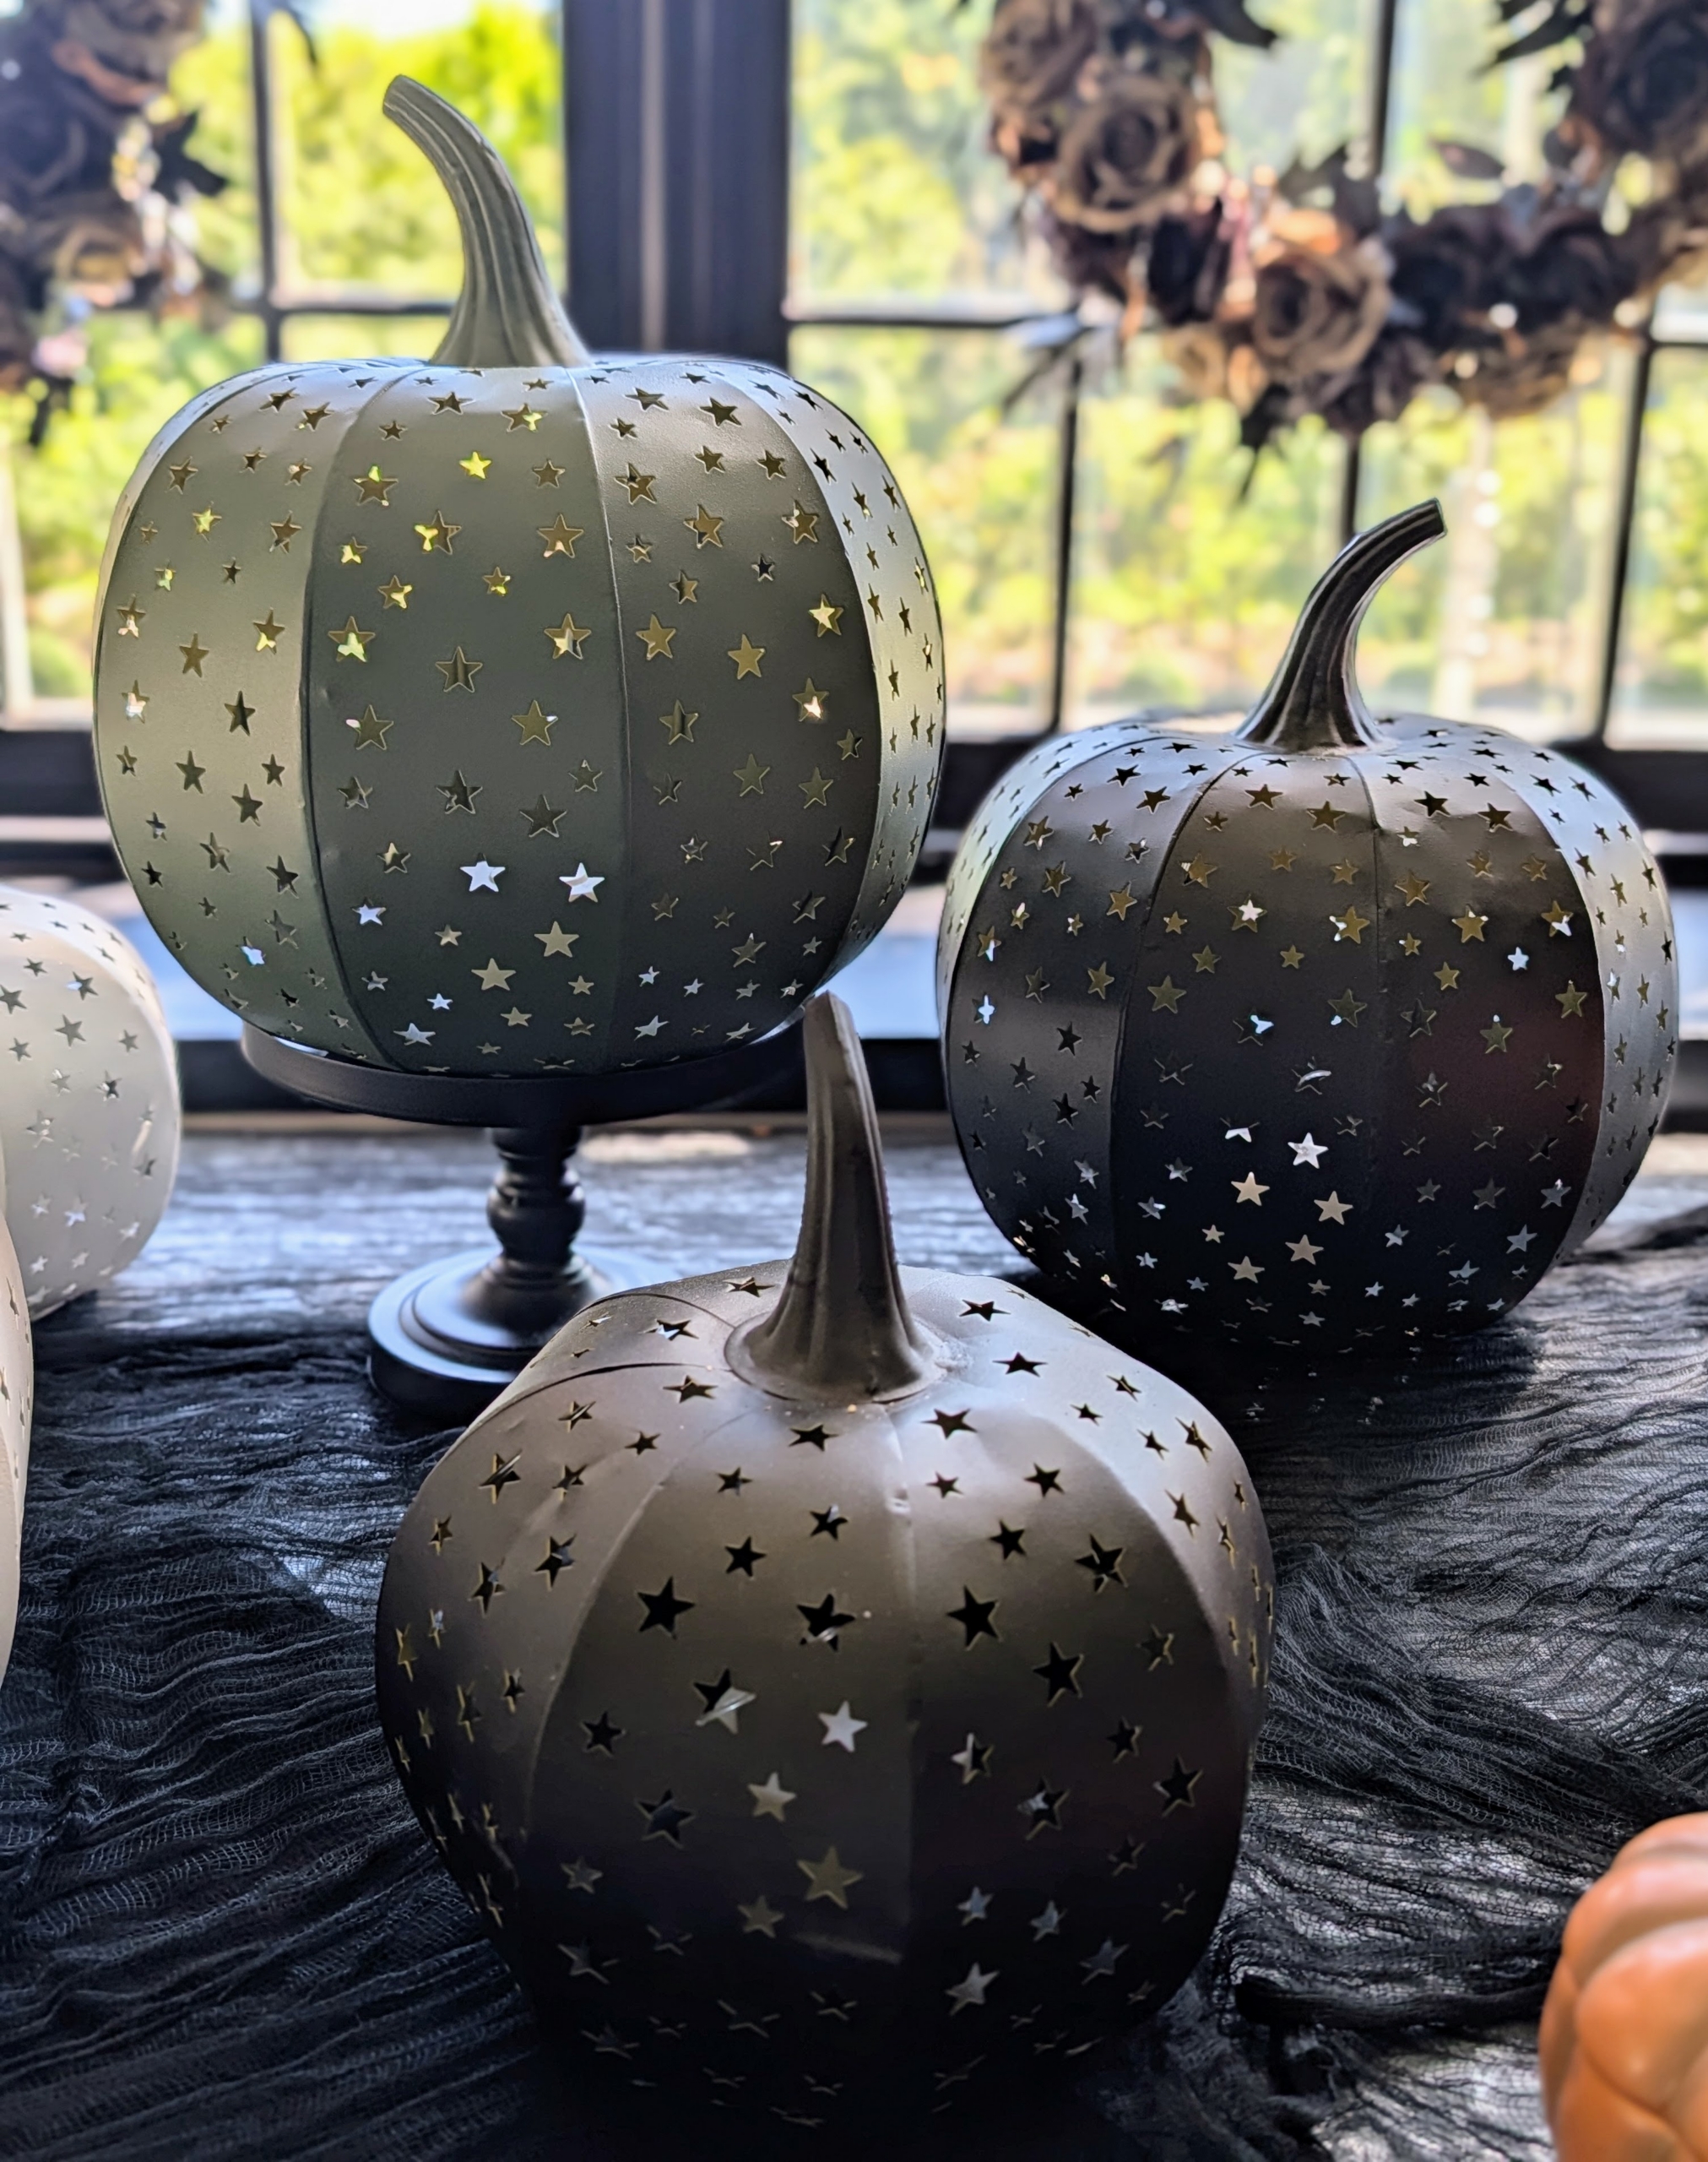
In the afternoon, I shared my latest Halloween décor. This collection has so many wonderful items. Here are two of my signature Illuminated Stargazer Metal Pumpkins – great indoors and out. These pumpkins come in two sizes – 15 inch and 10 inch. They both have star-shaped cutouts and two light modes, steady on or twinkle. They are available in orange, ivory…
… hunter, and black. They have built in timers and more than 390 hours of battery life.
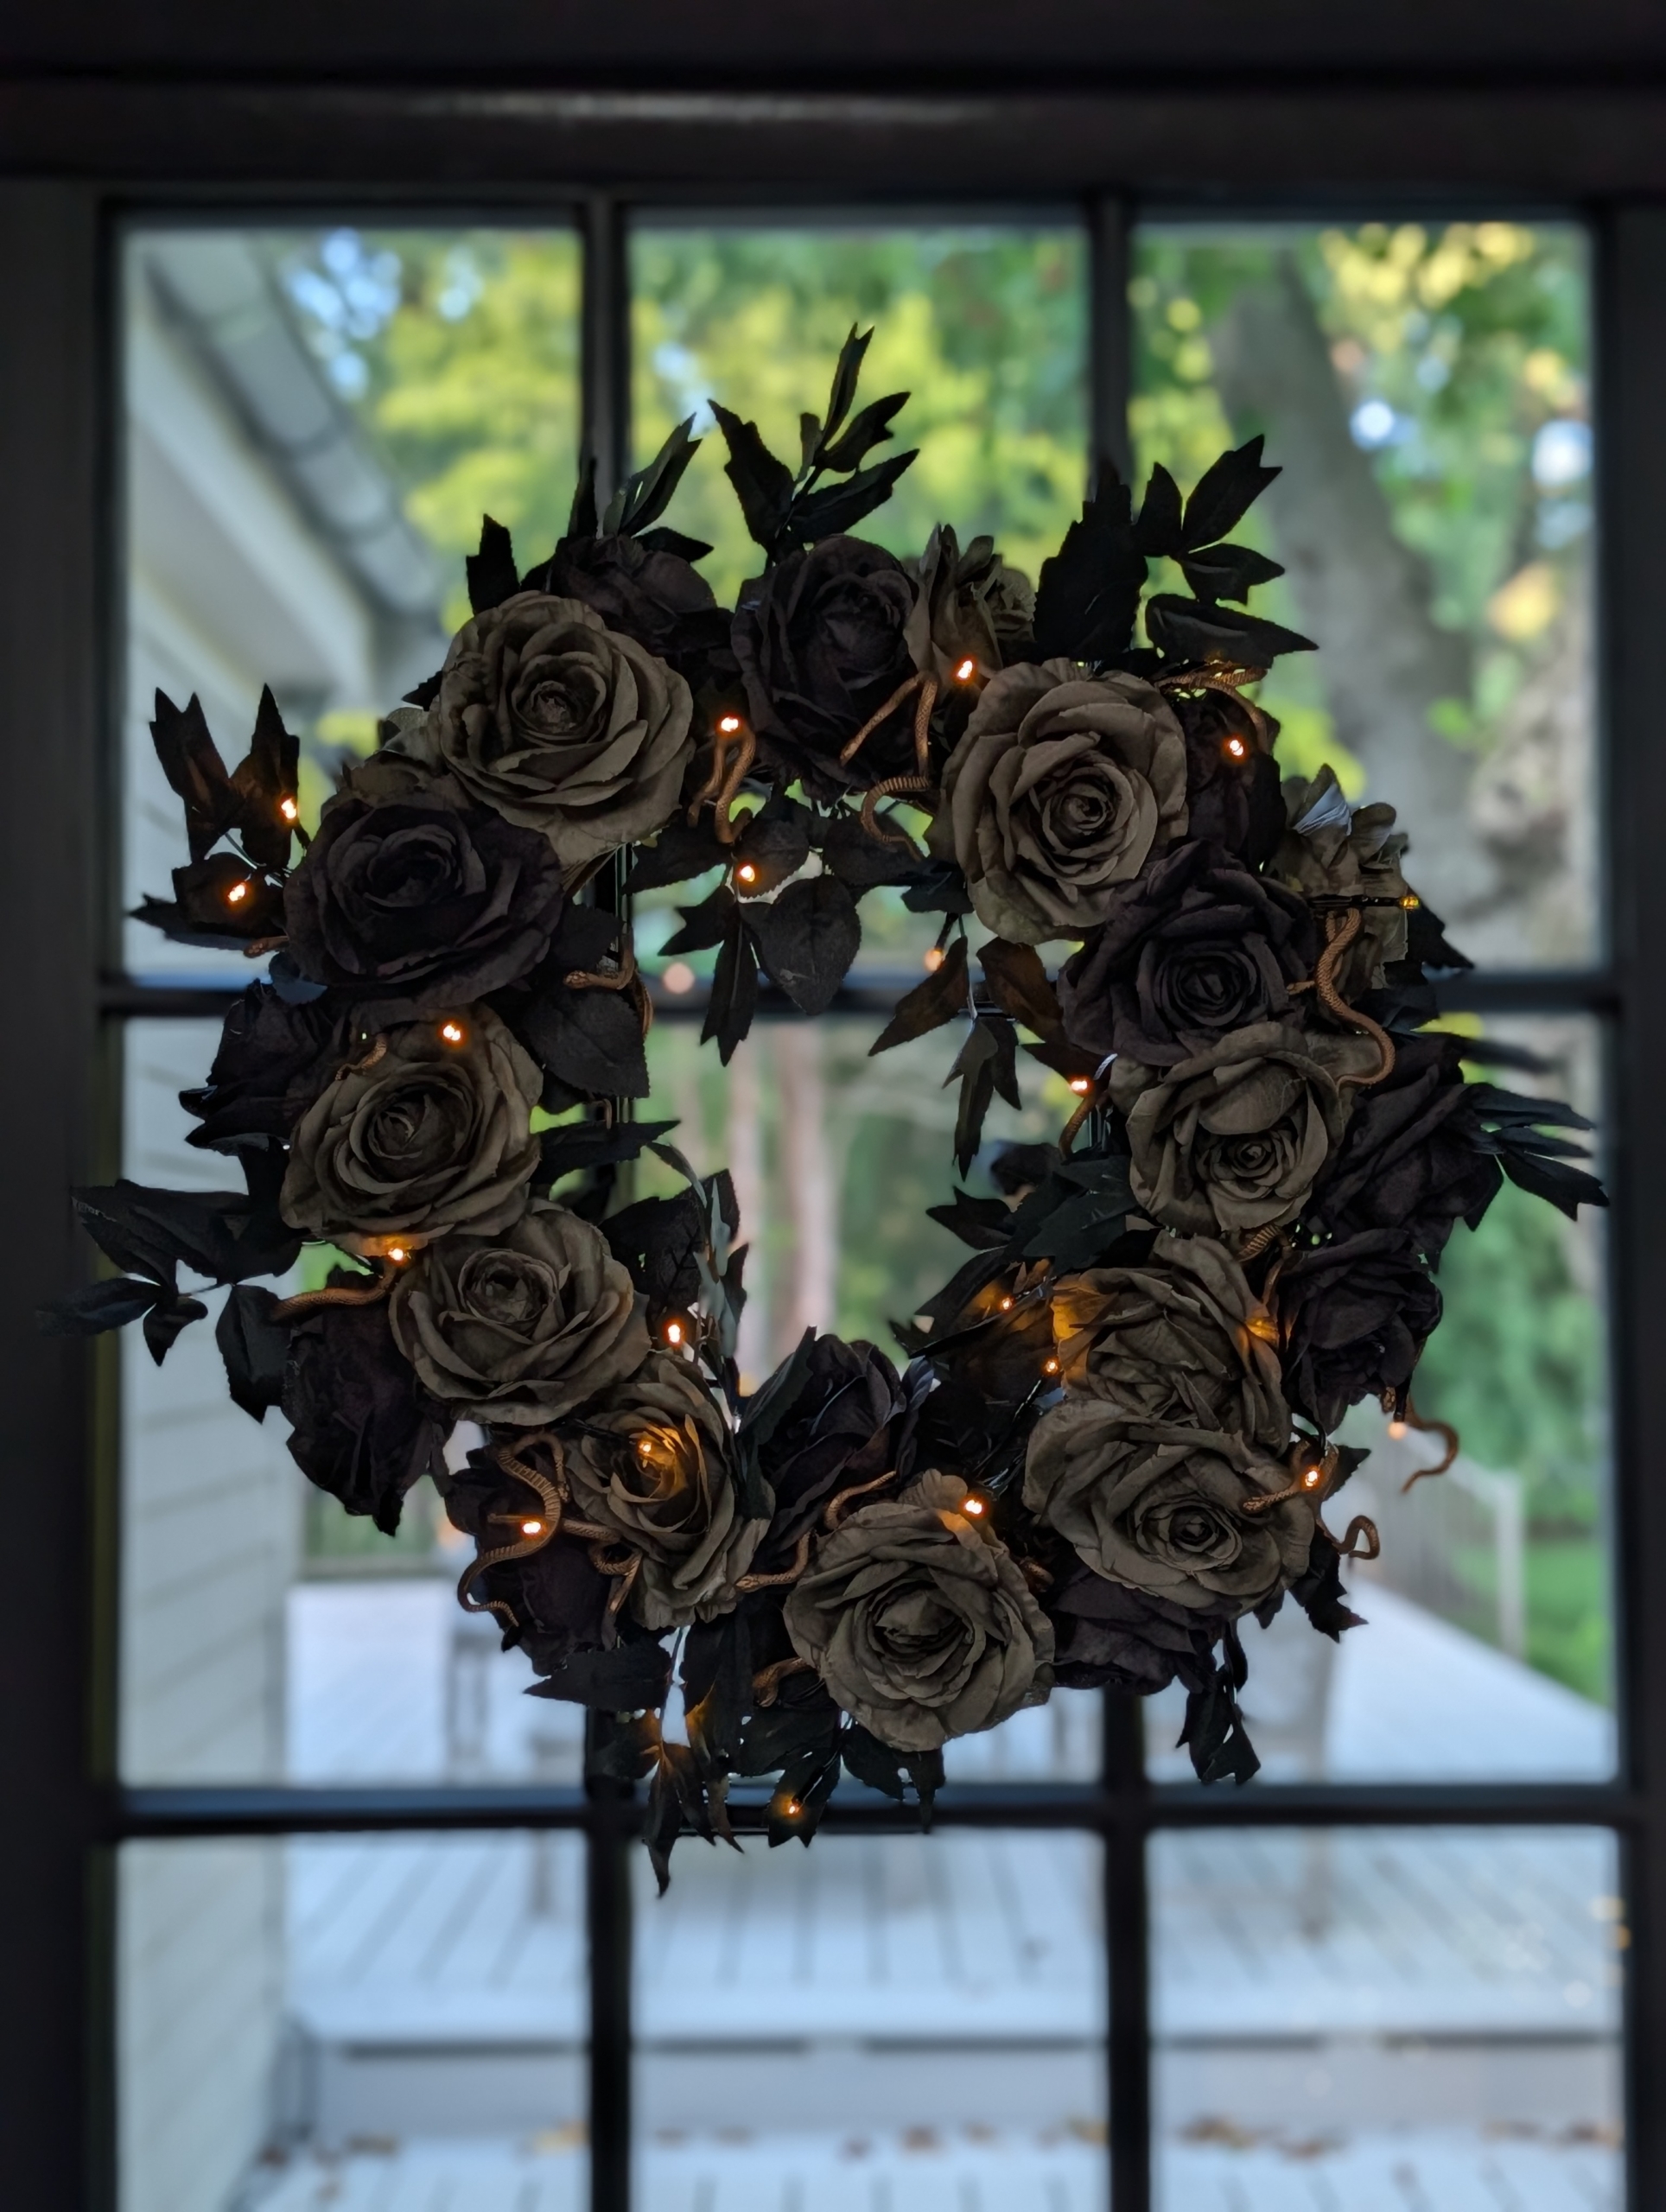
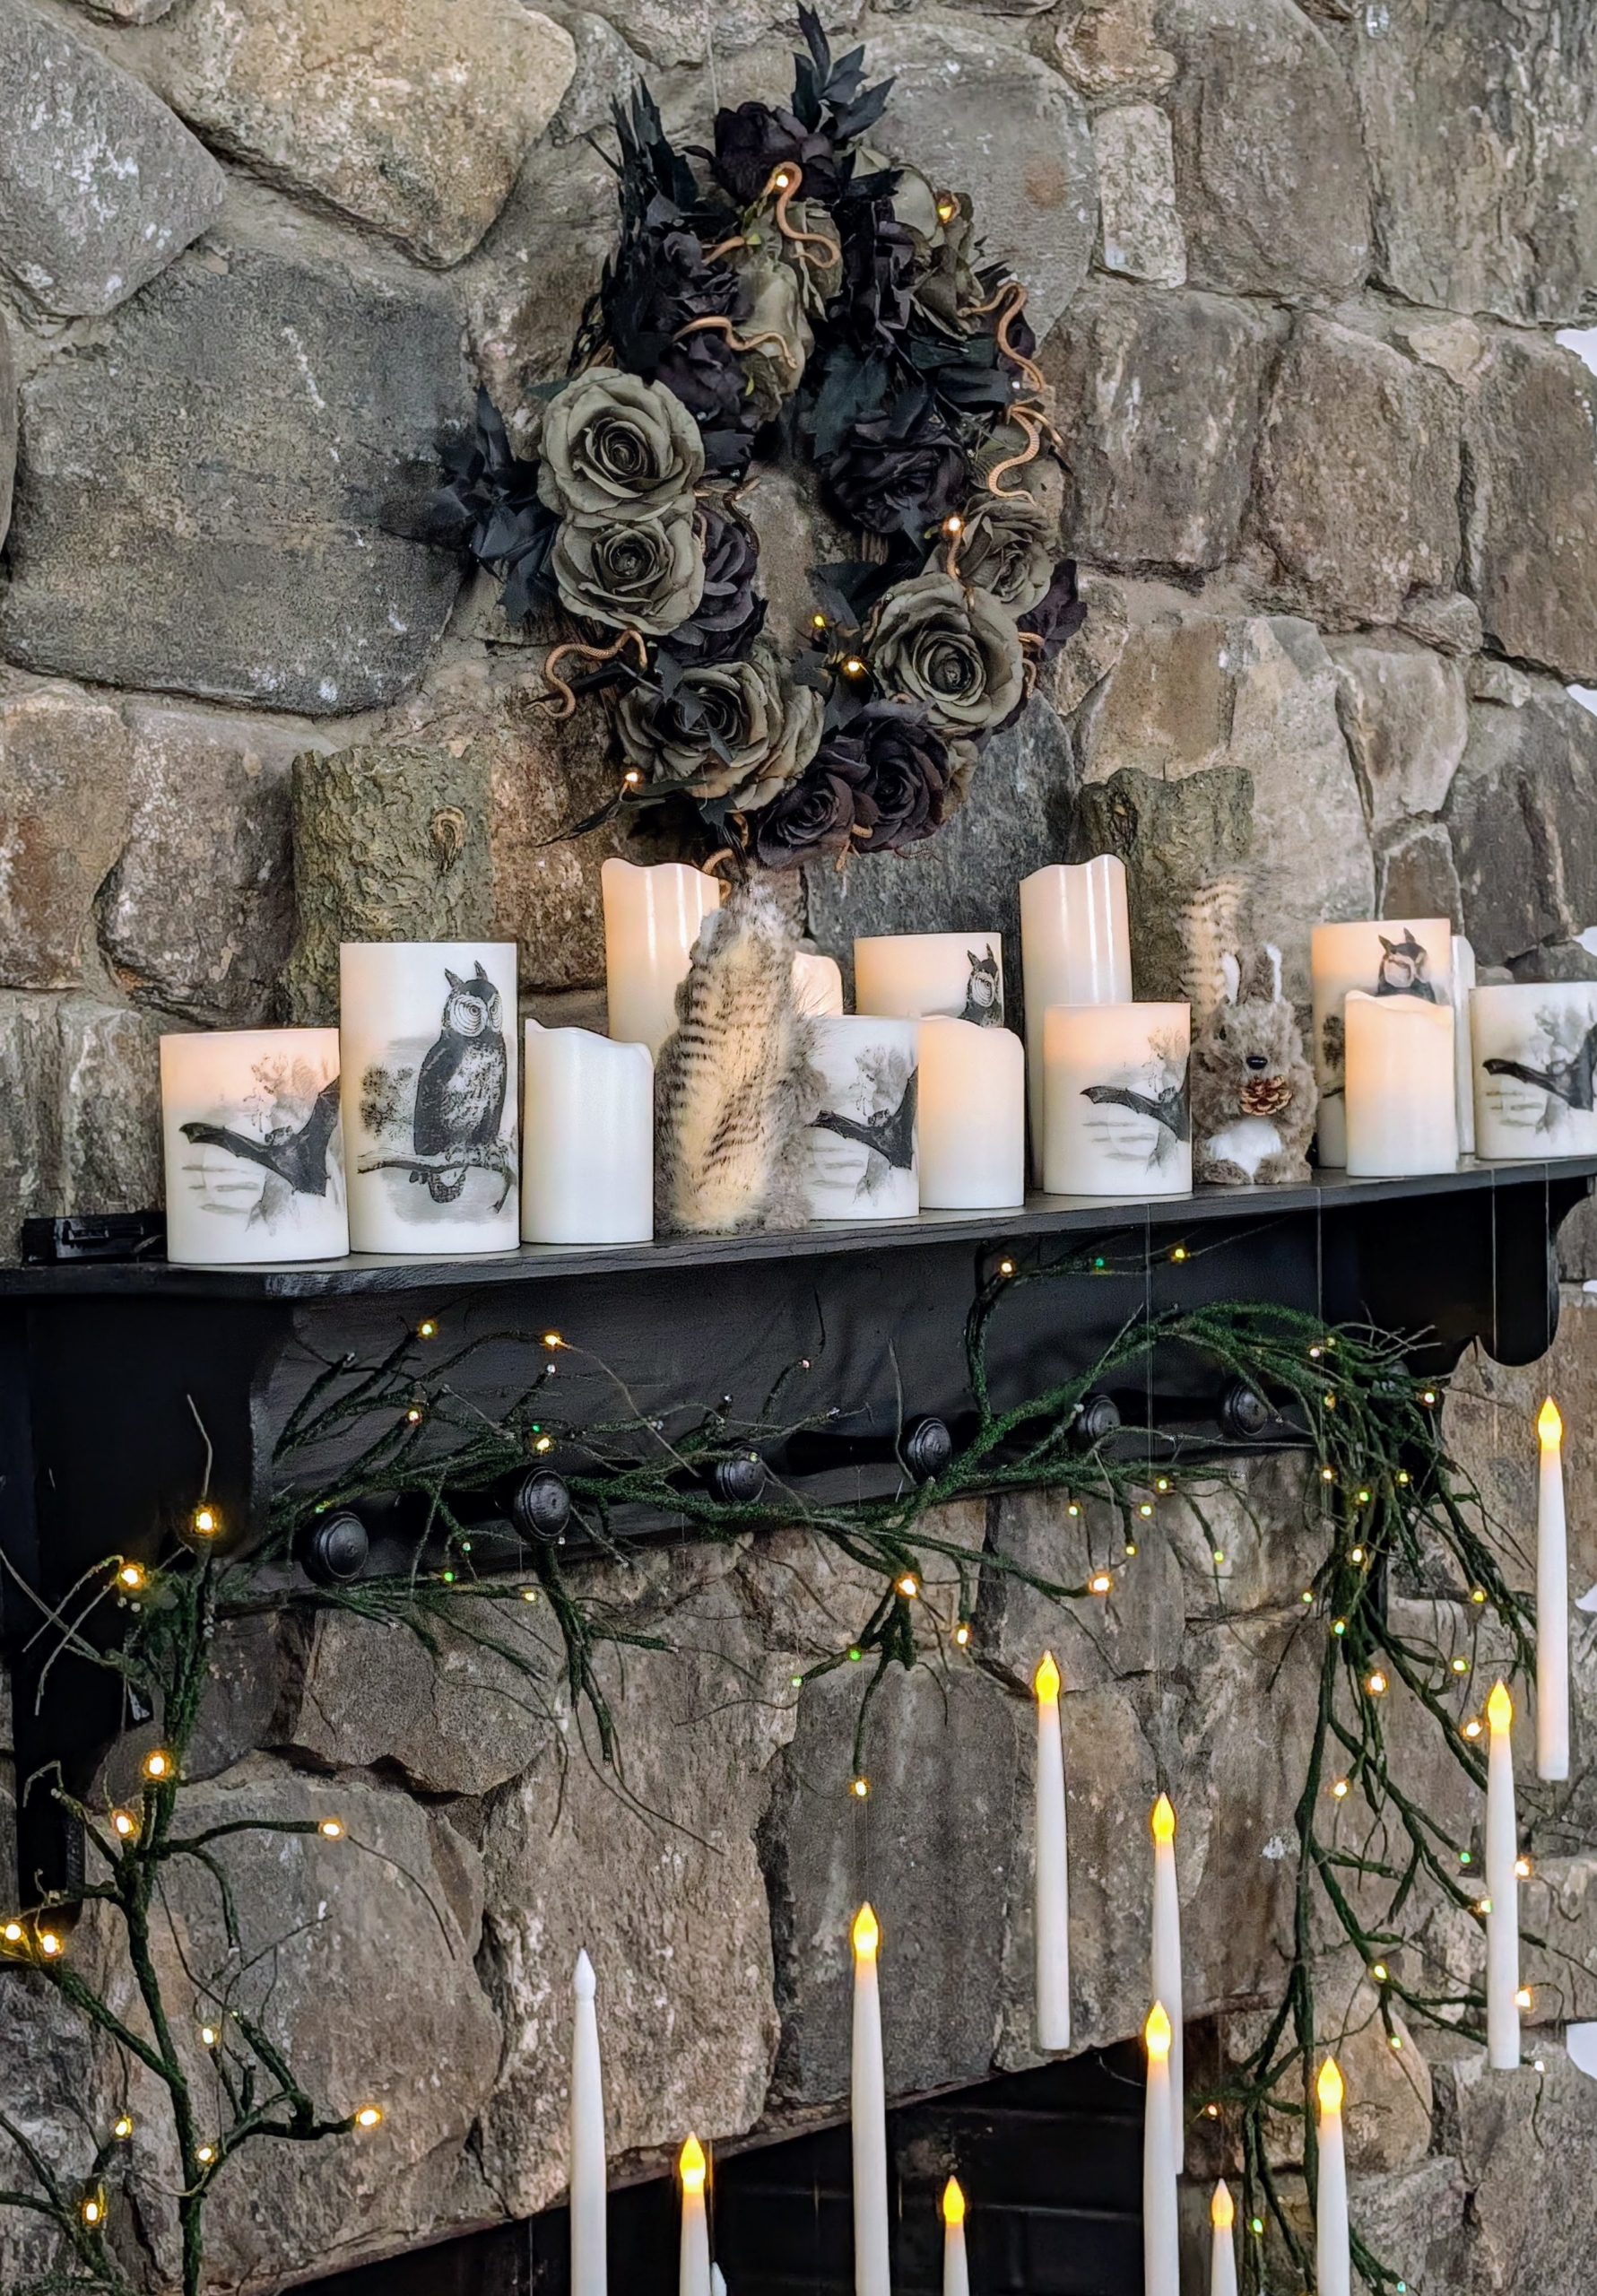
Here is an eerie Halloween Illuminated Rose & Snake Wreath – all your guests will love it. This 24 inch wreath includes several timer and lighting modes for the 40 LED lights.
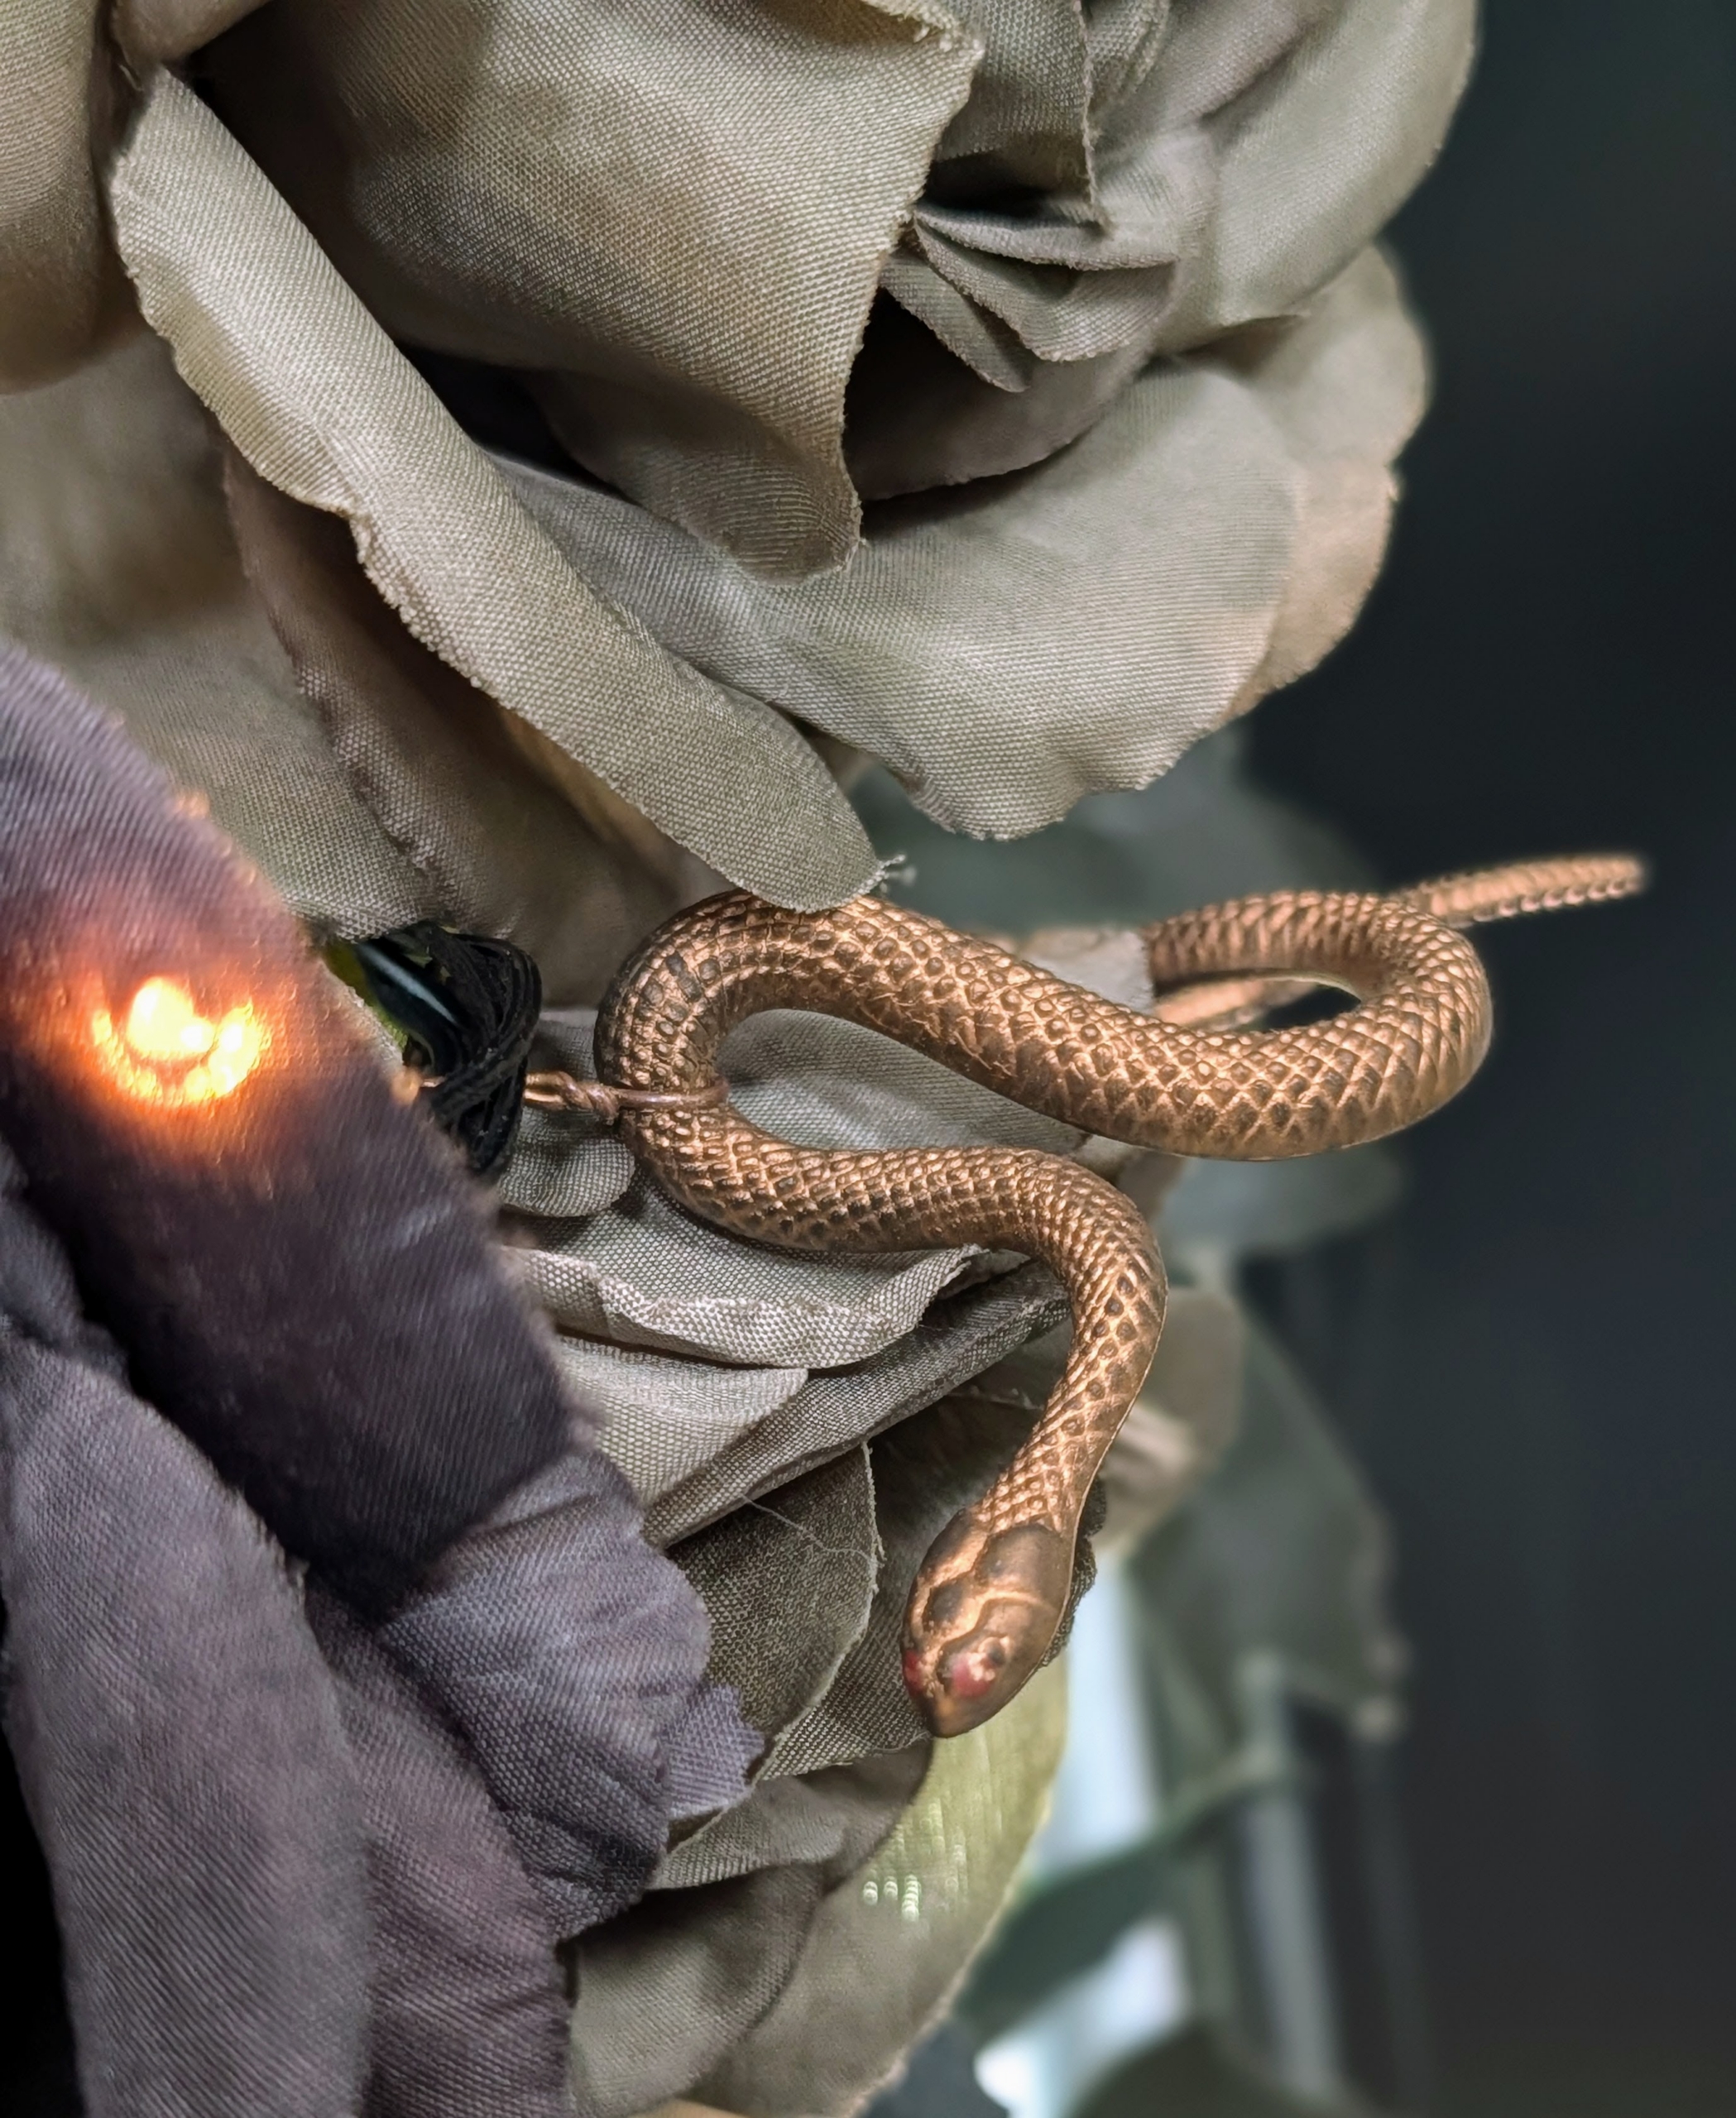
And the snakes make perfect company slithering around the roses.
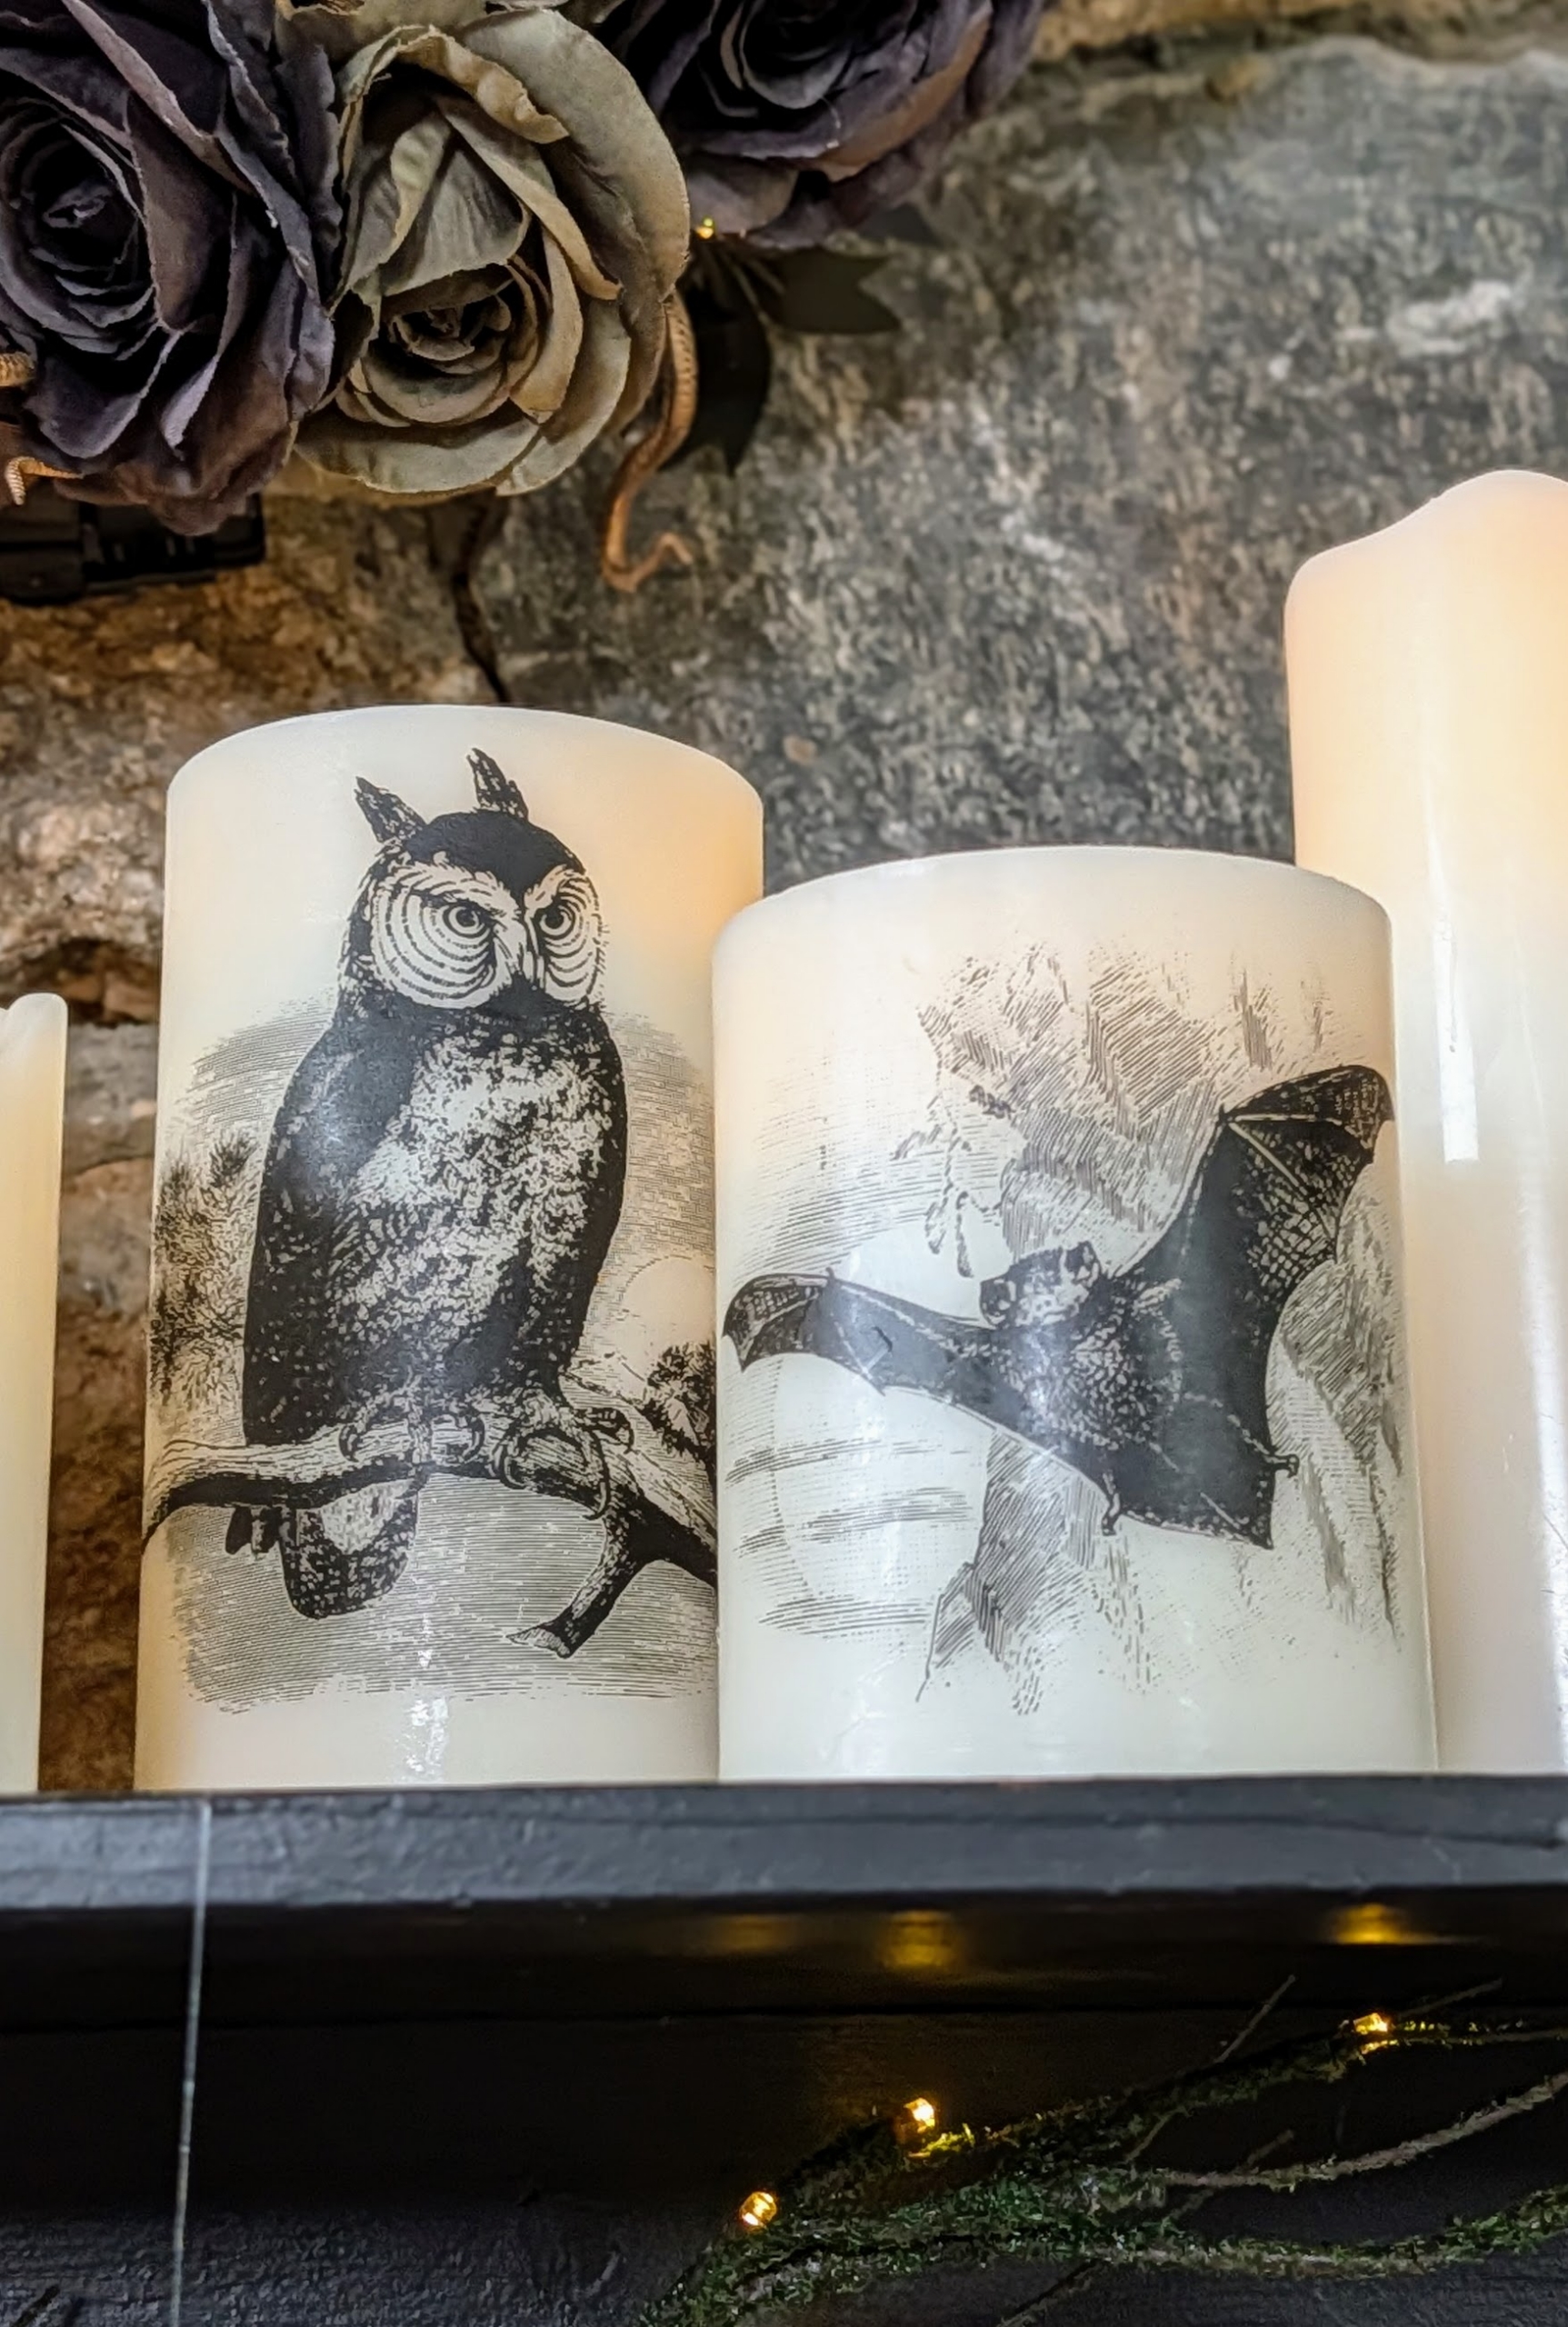
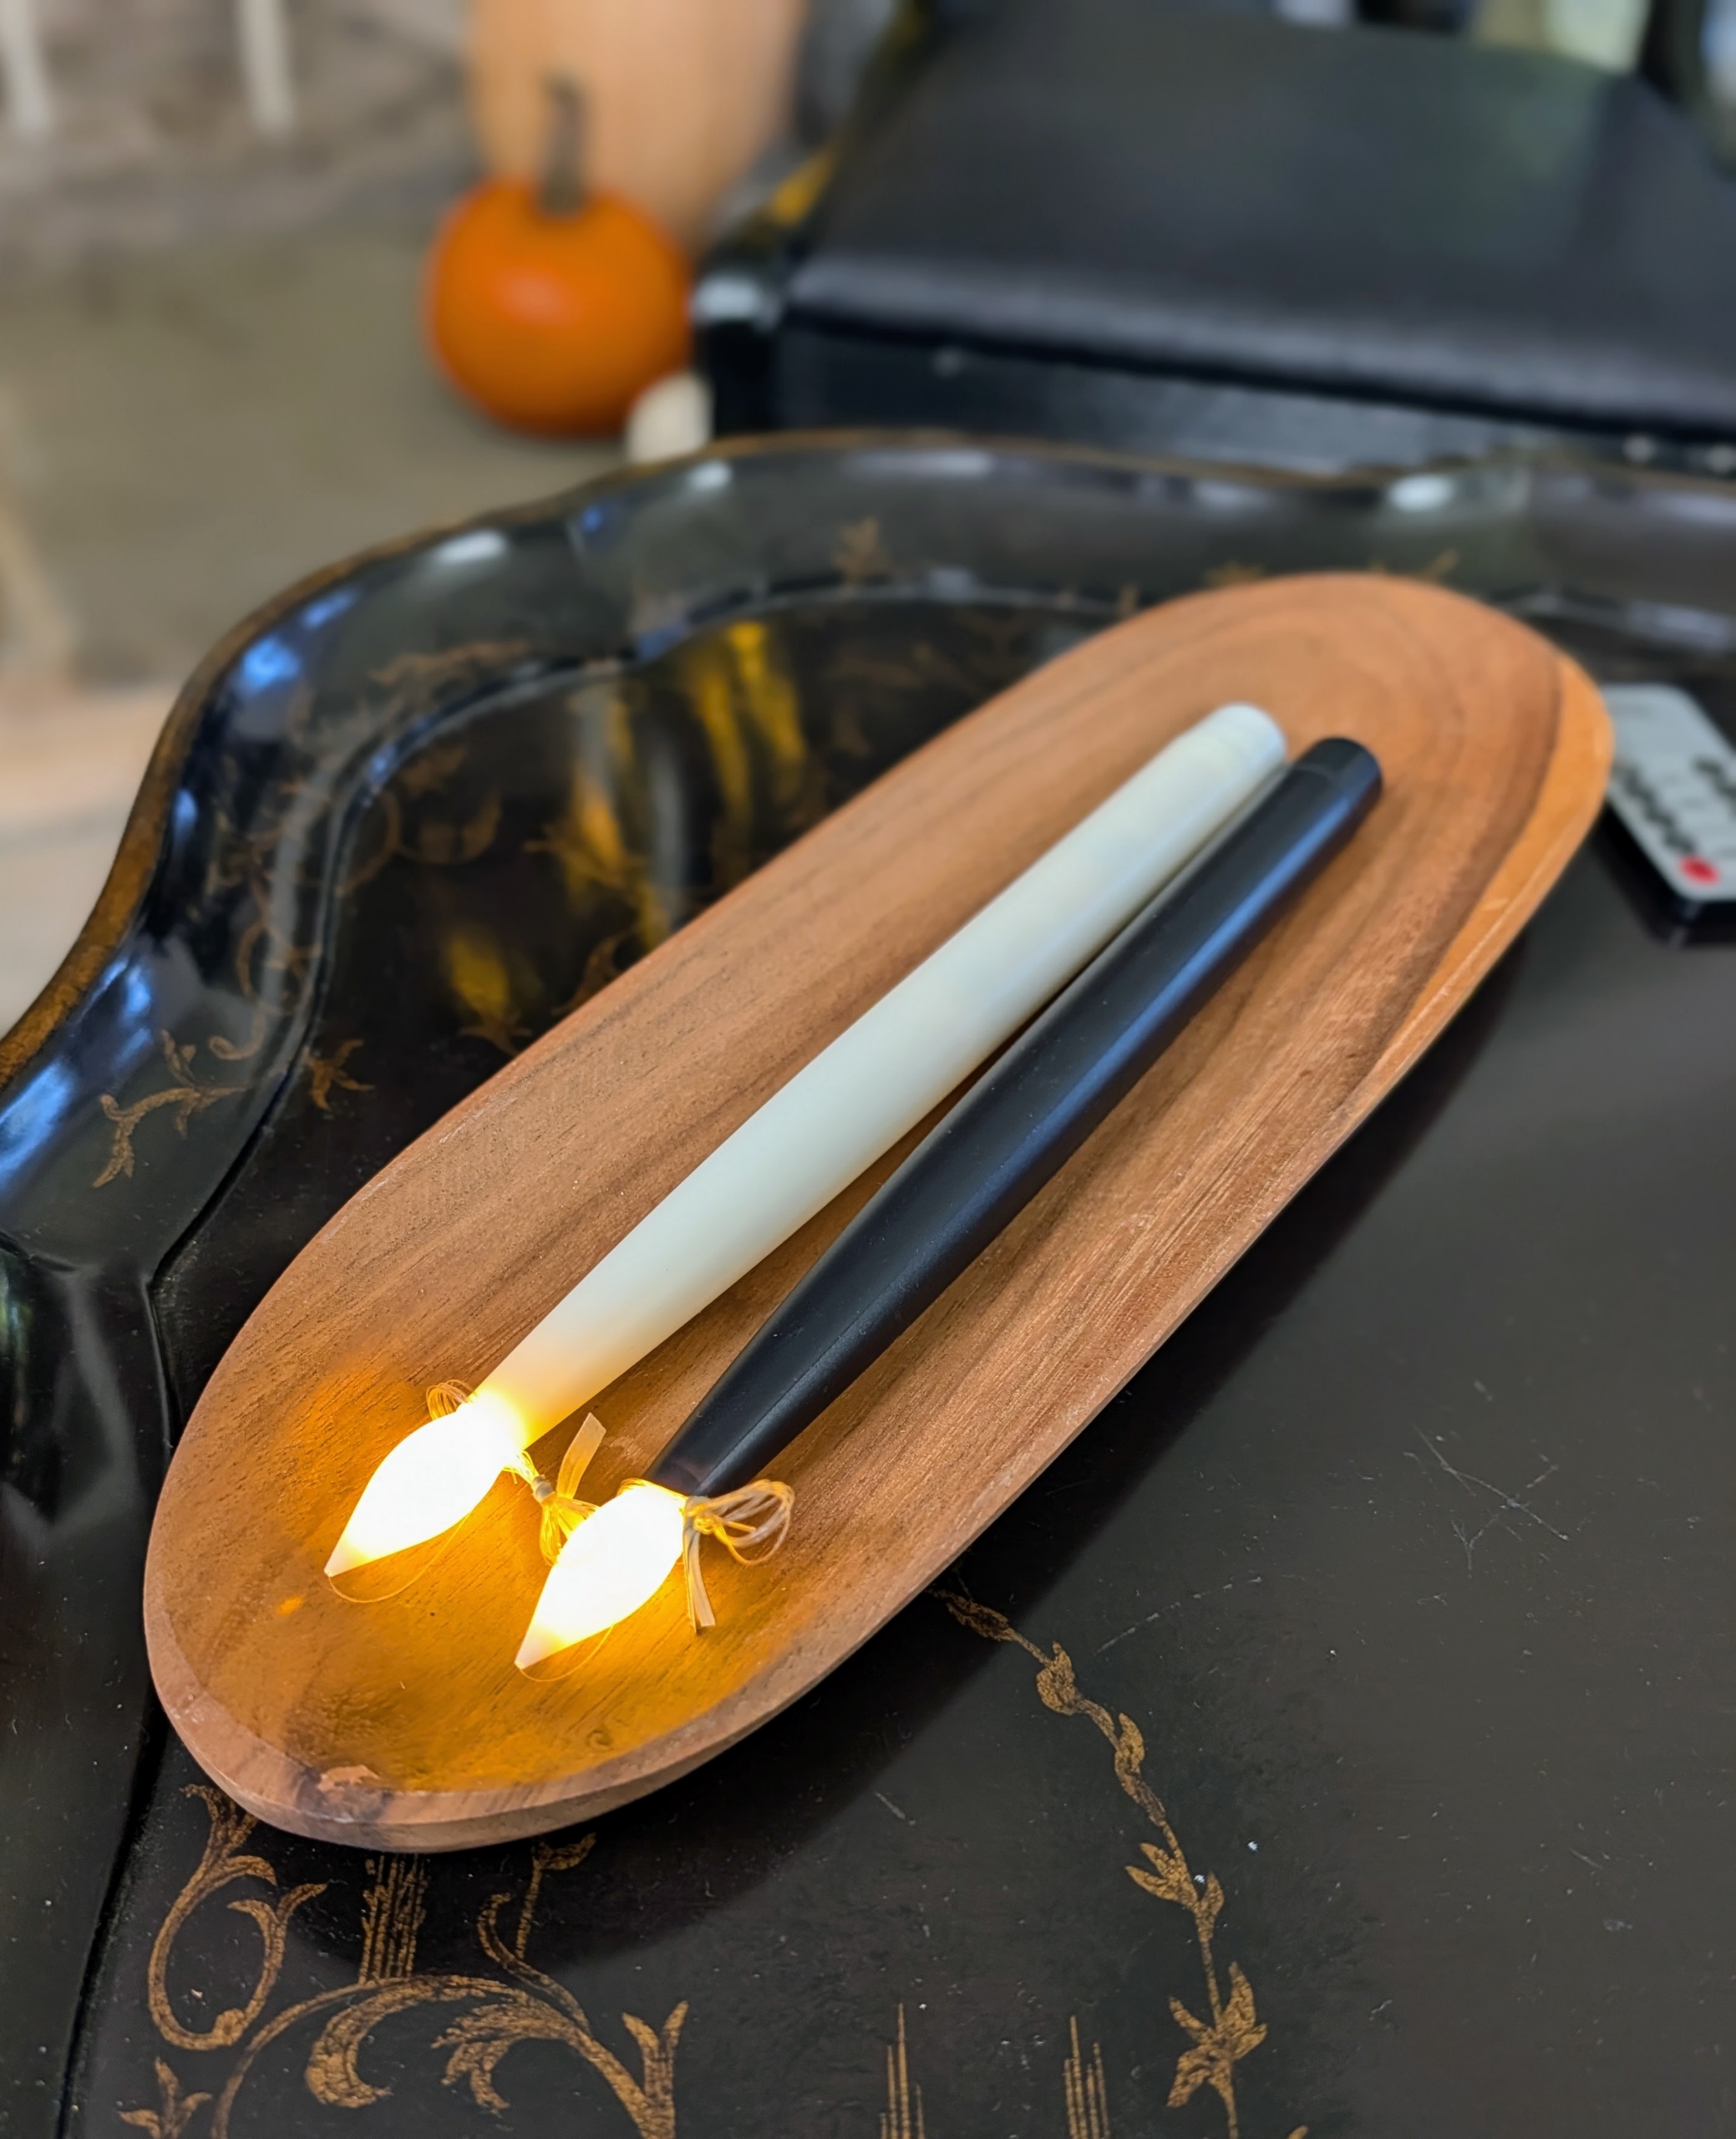
Also great for the mantel are my Halloween Flameless candles in this ivory or in bright Halloween orange – both with softly illuminated designs that add character, warmth, and whimsy.
Get several in the varying five inch or seven inch sizes and fill a space.
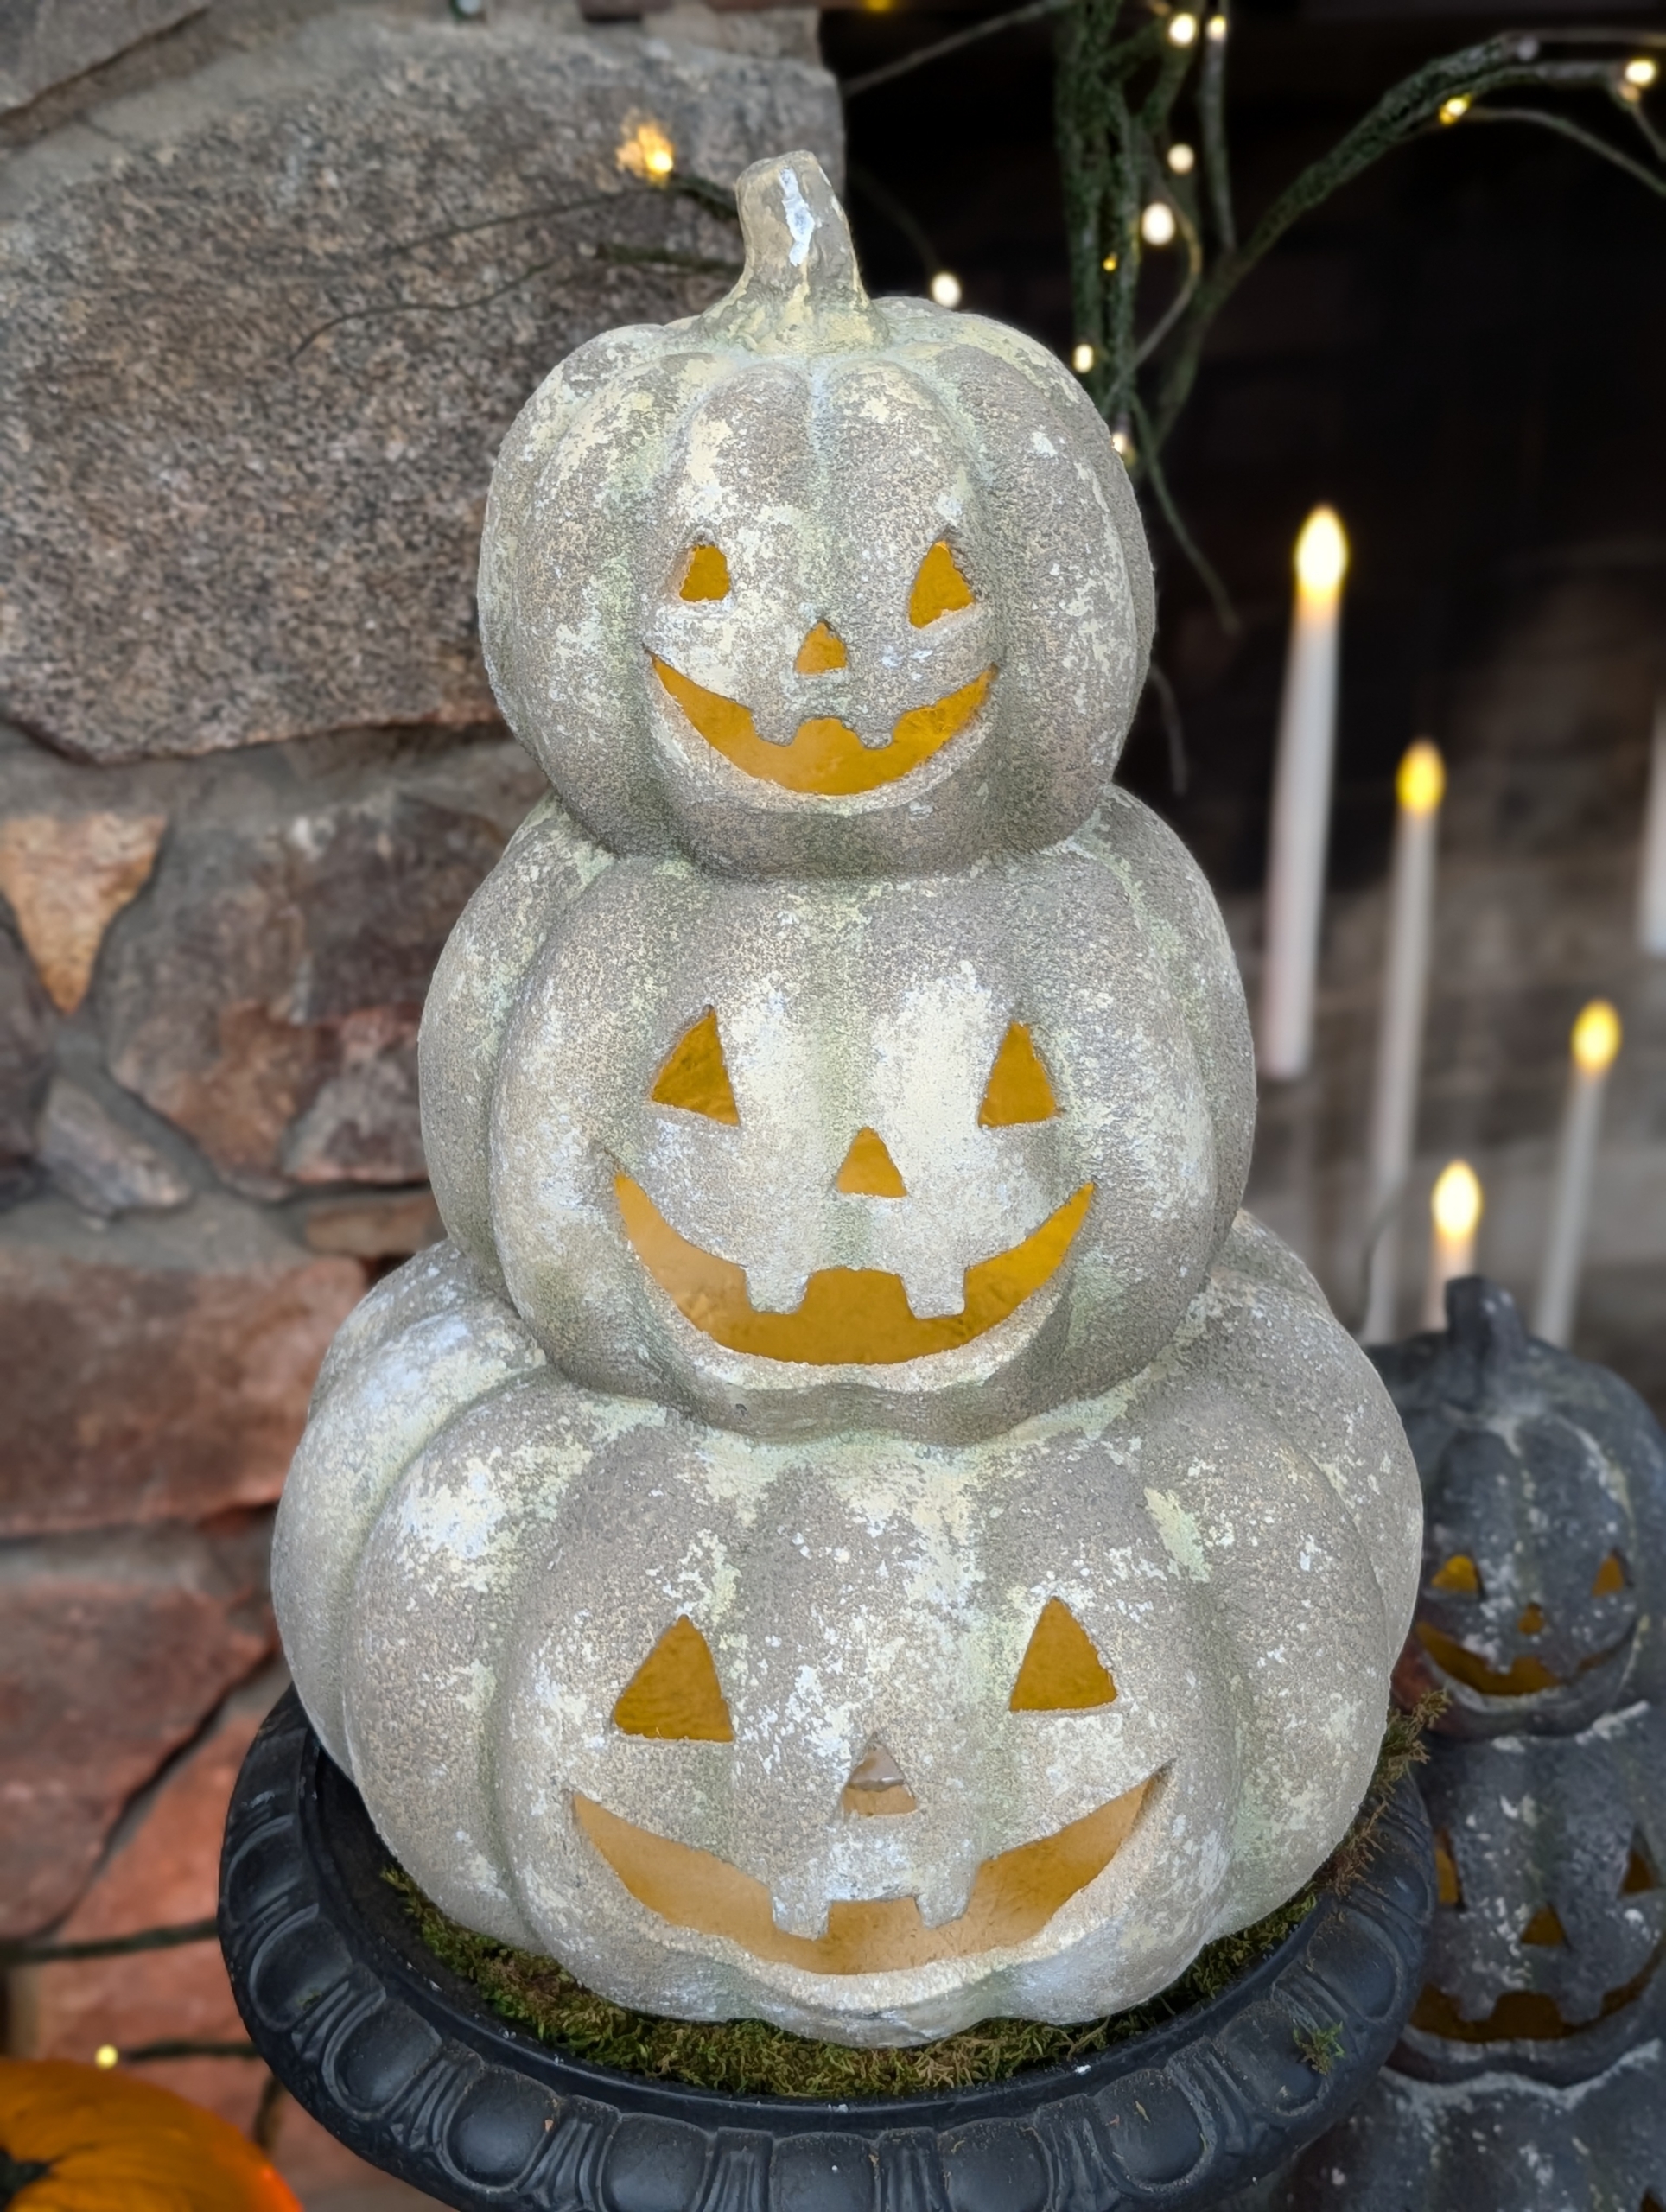
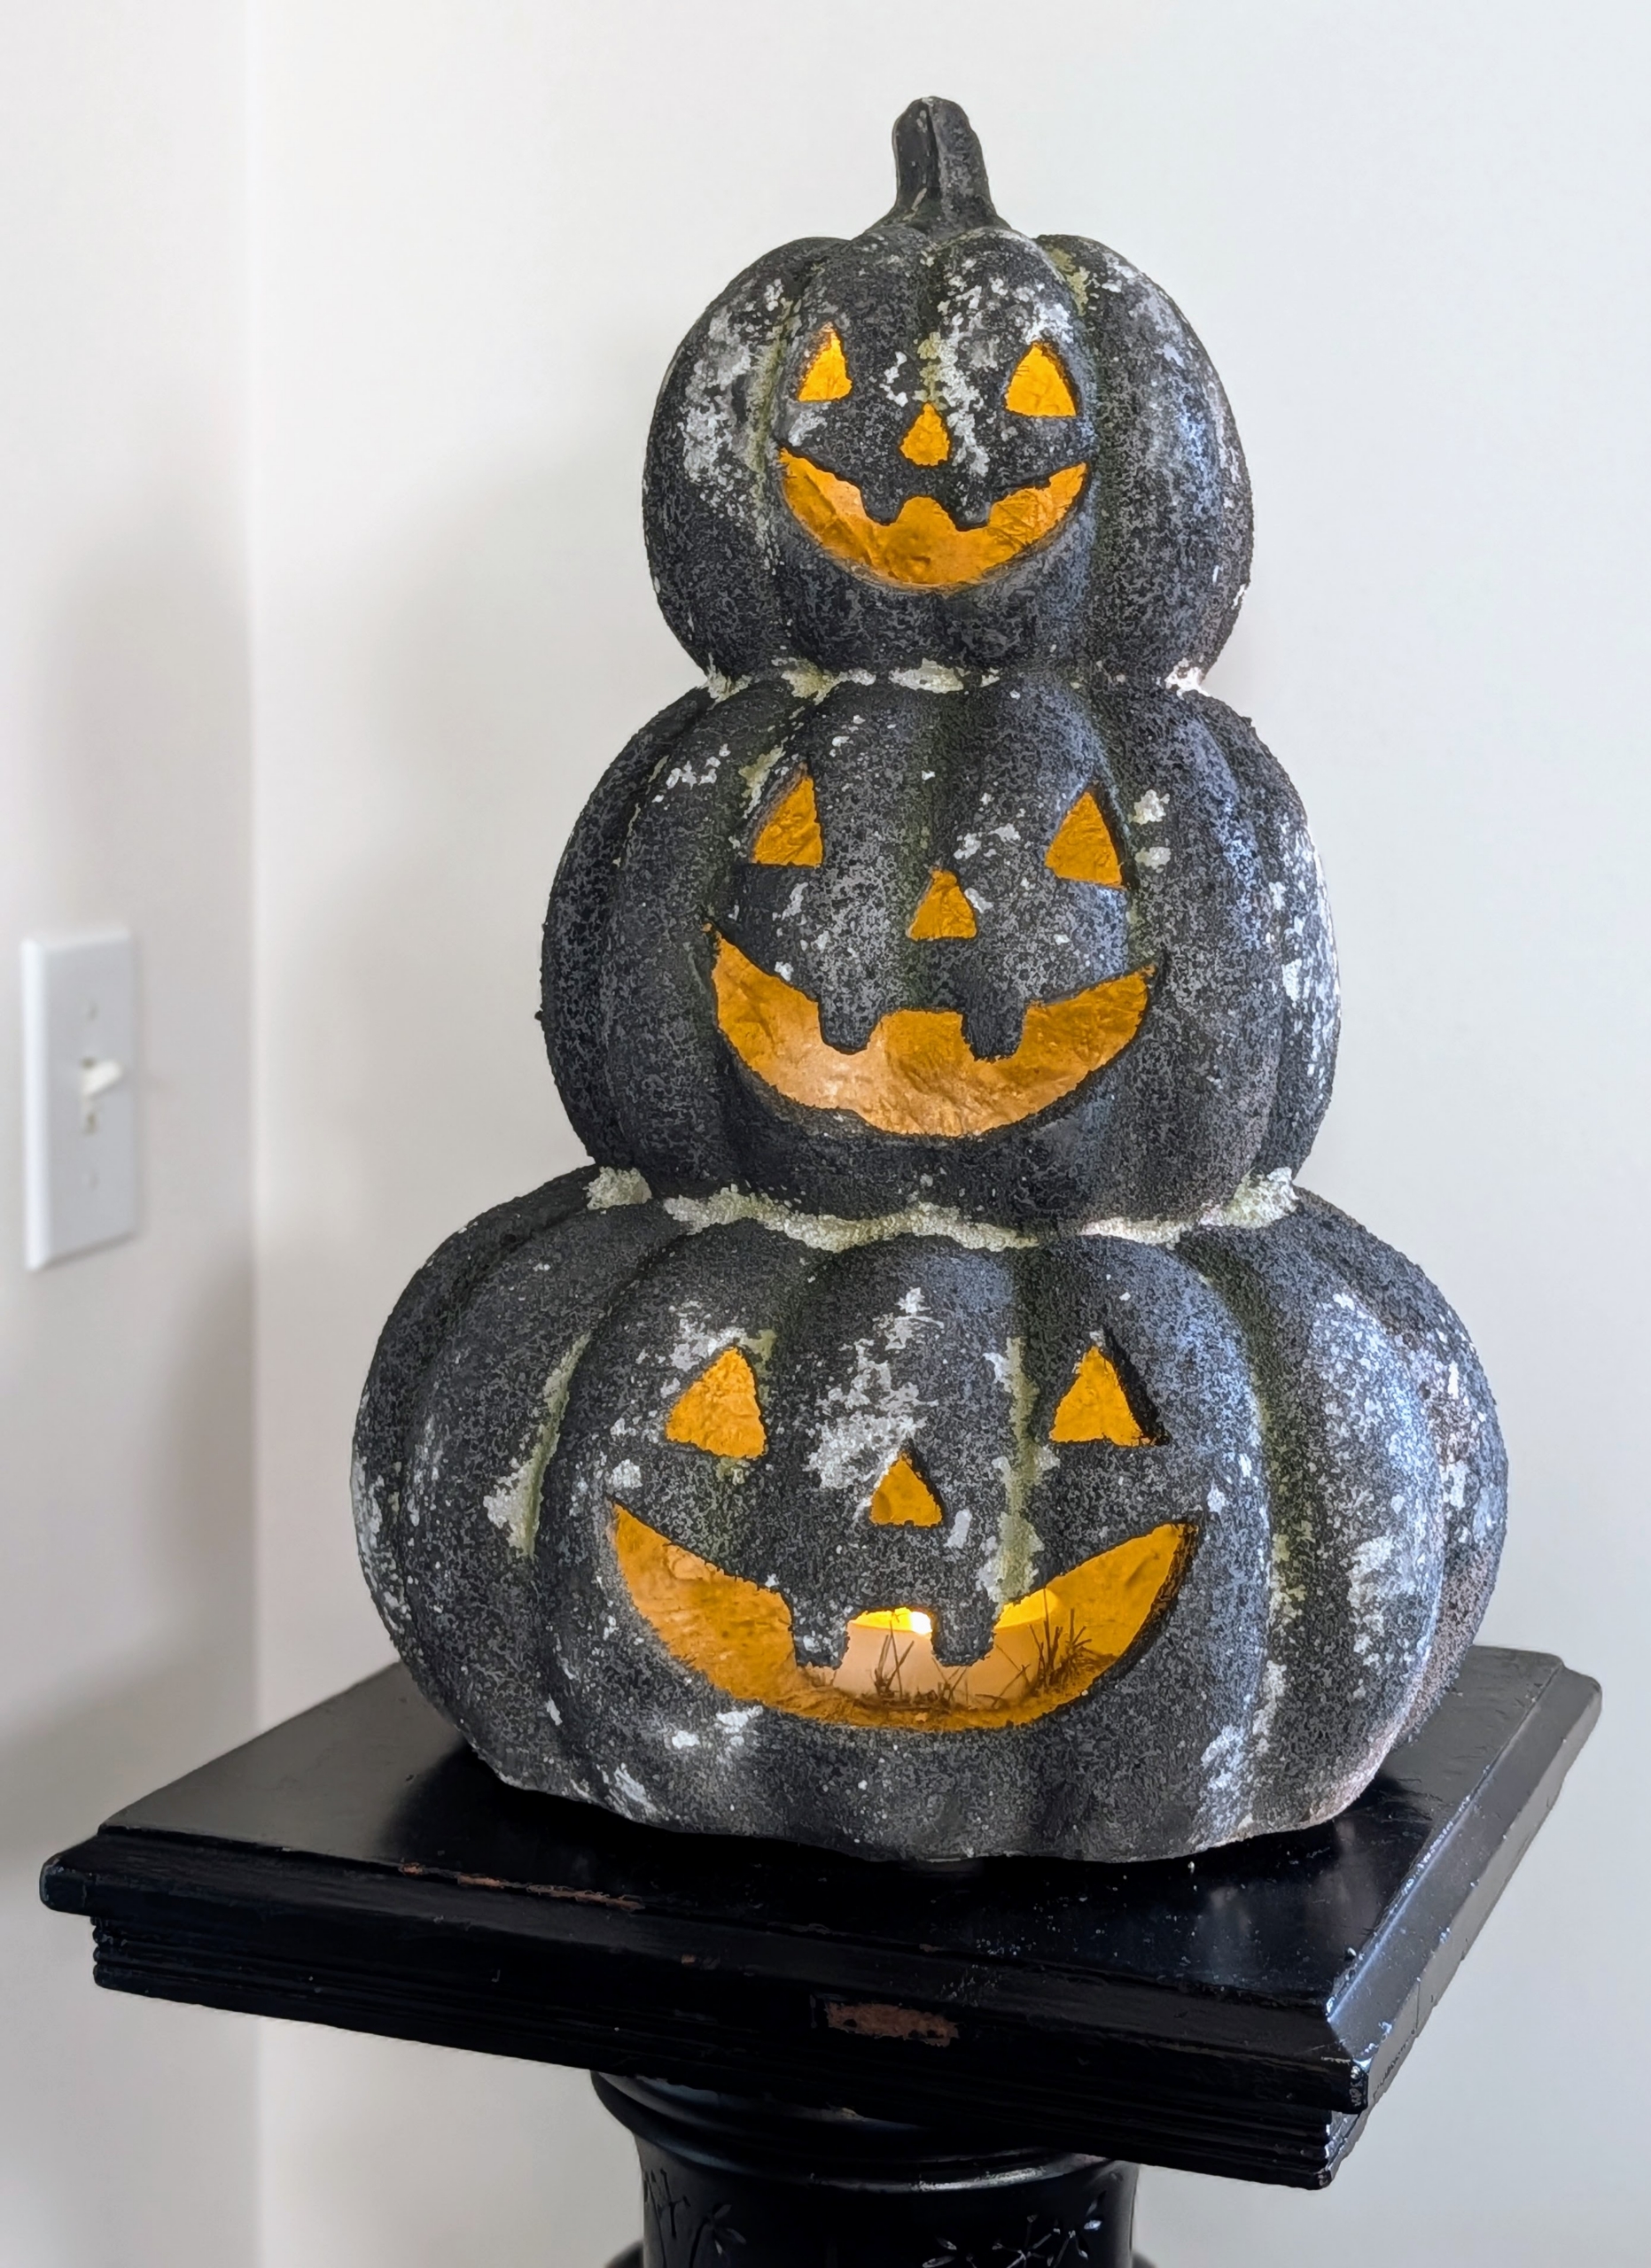
This is one of my Illuminated Indoor/Outdoor Pumpkin Stacks. Display these by the fireplace or out by the front door. Lights can be manually turned on or off or set to a six hour timer. I offer it in this light stone…
… and in a dark stone. Get both colors and add some spooky good fun to your Halloween décor.
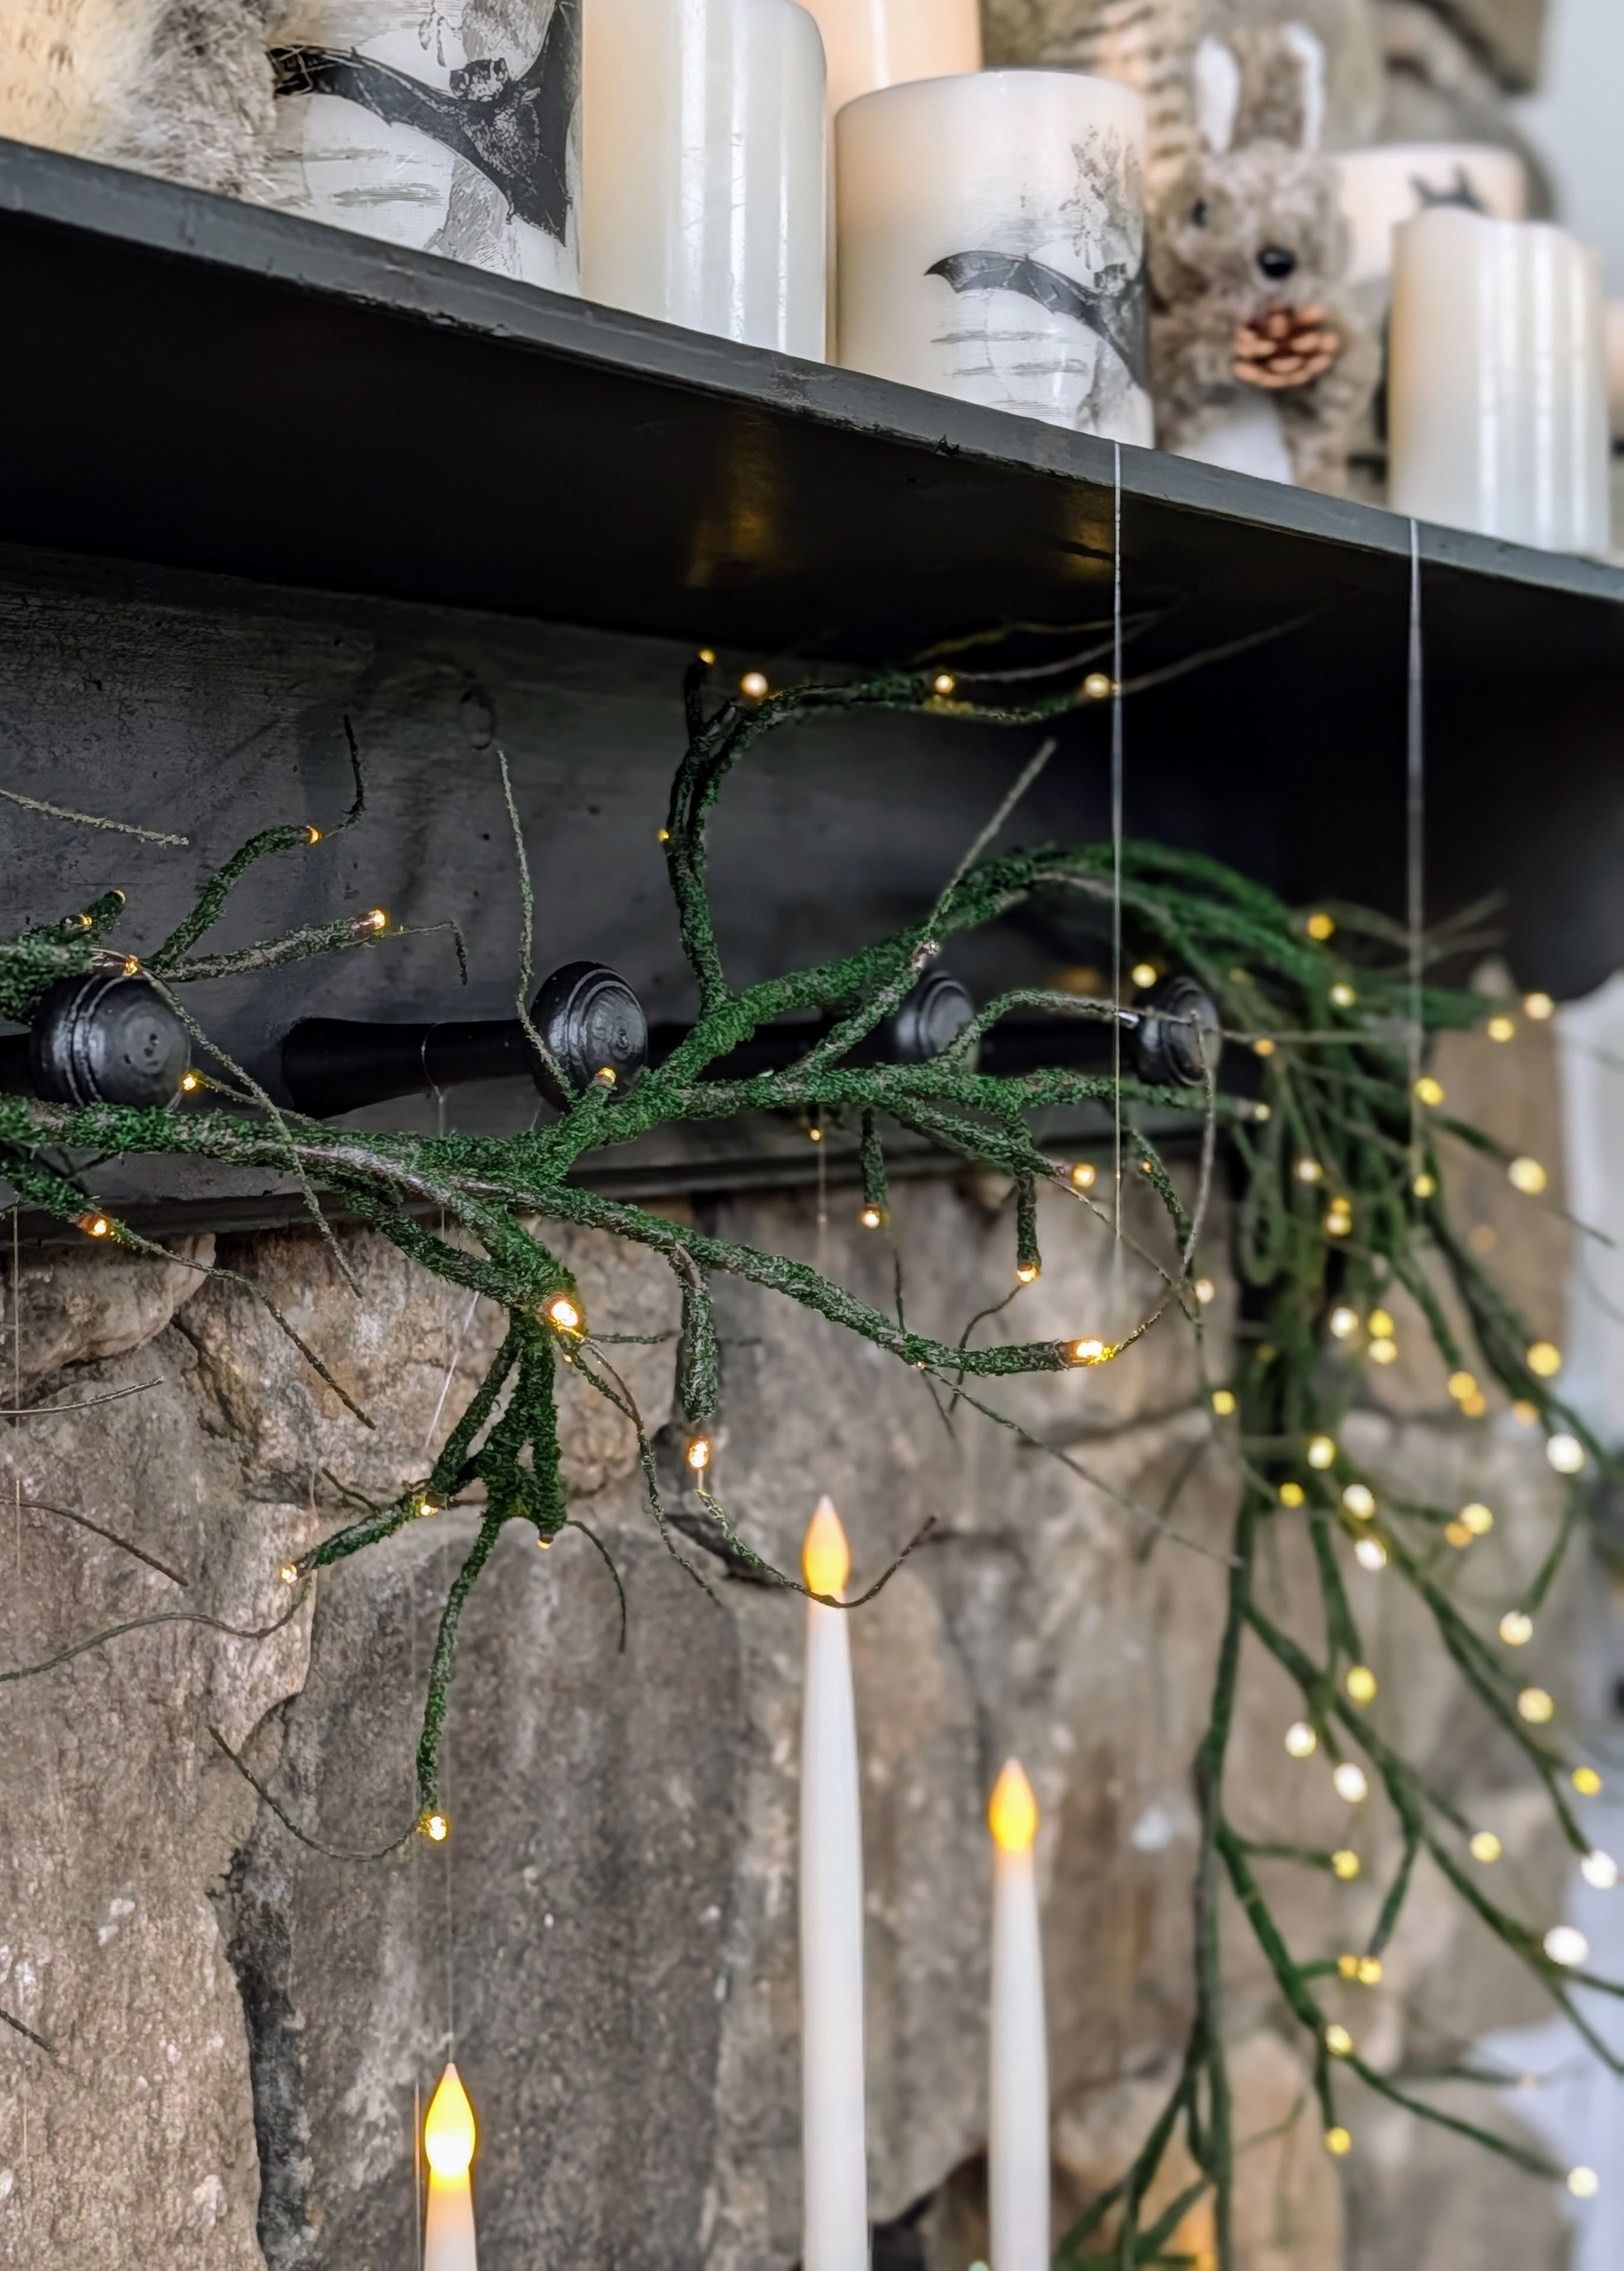
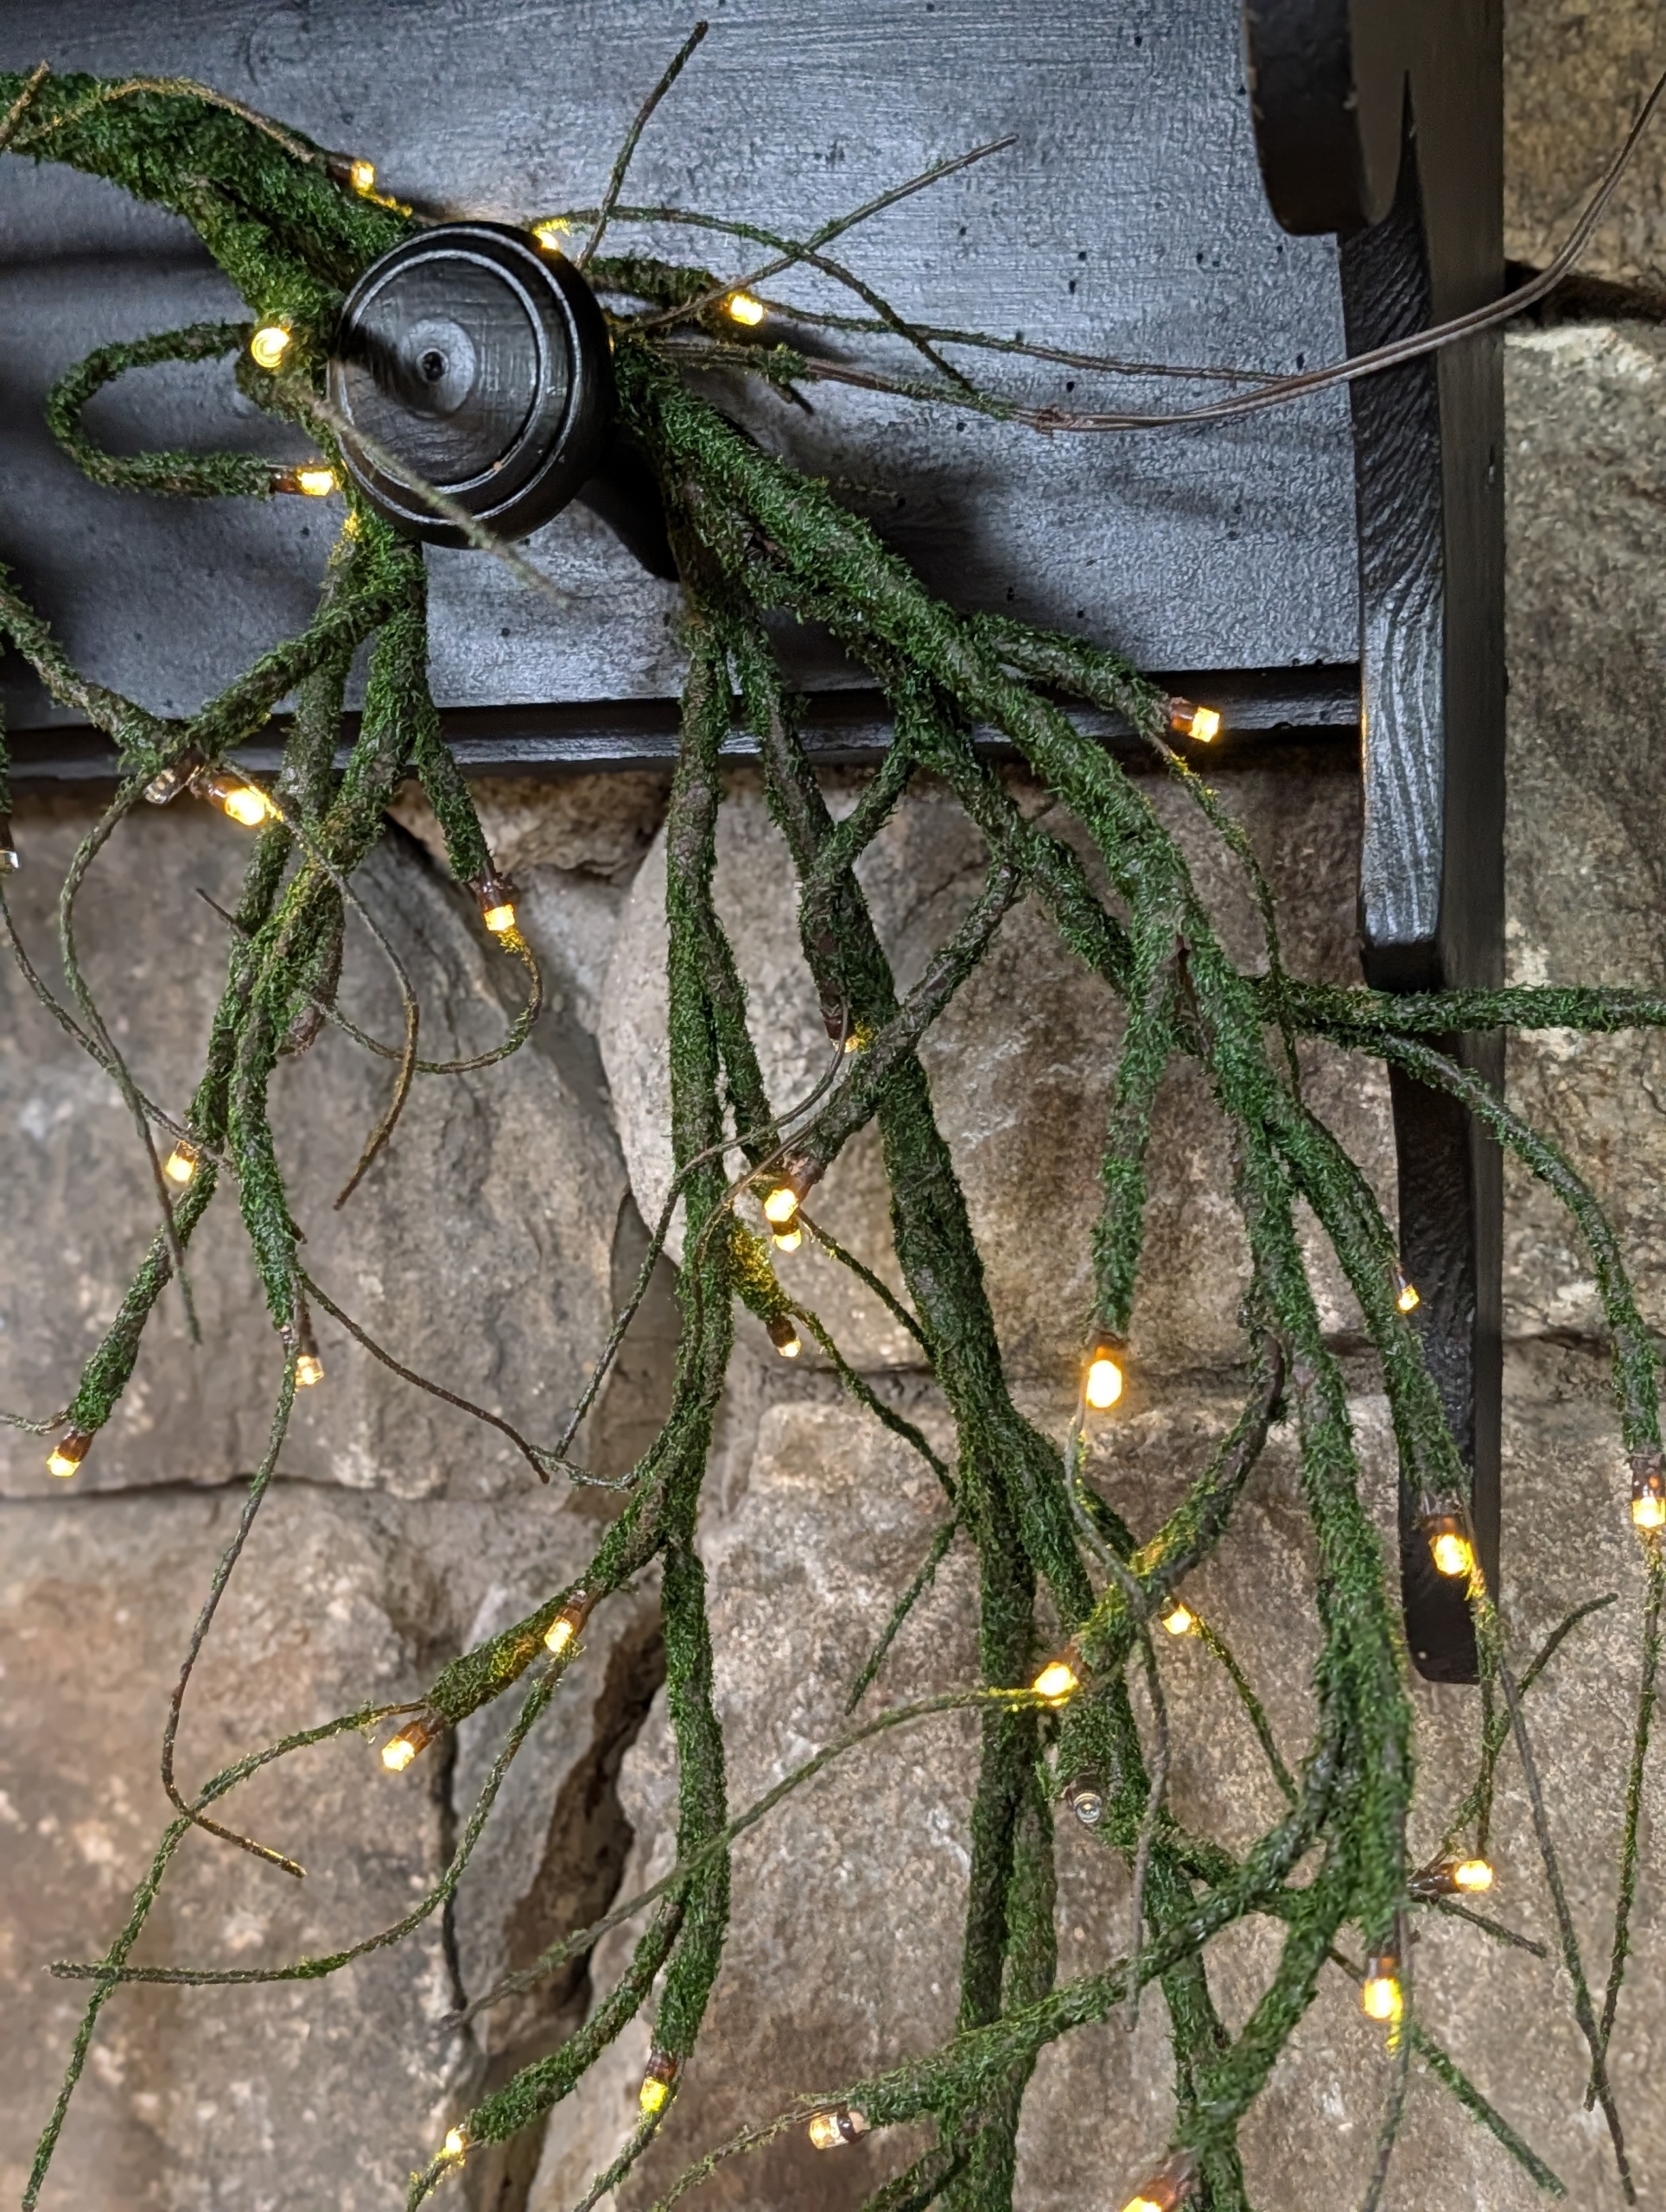
Dressing up the fireplace mantel can be so fun at Halloween with my six foot Illuminated Moss Garland. It can also be used on a dining room table as part of the centerpiece decorations.
It includes remote controlled lights and eight lighting functions to customize the moody glow.
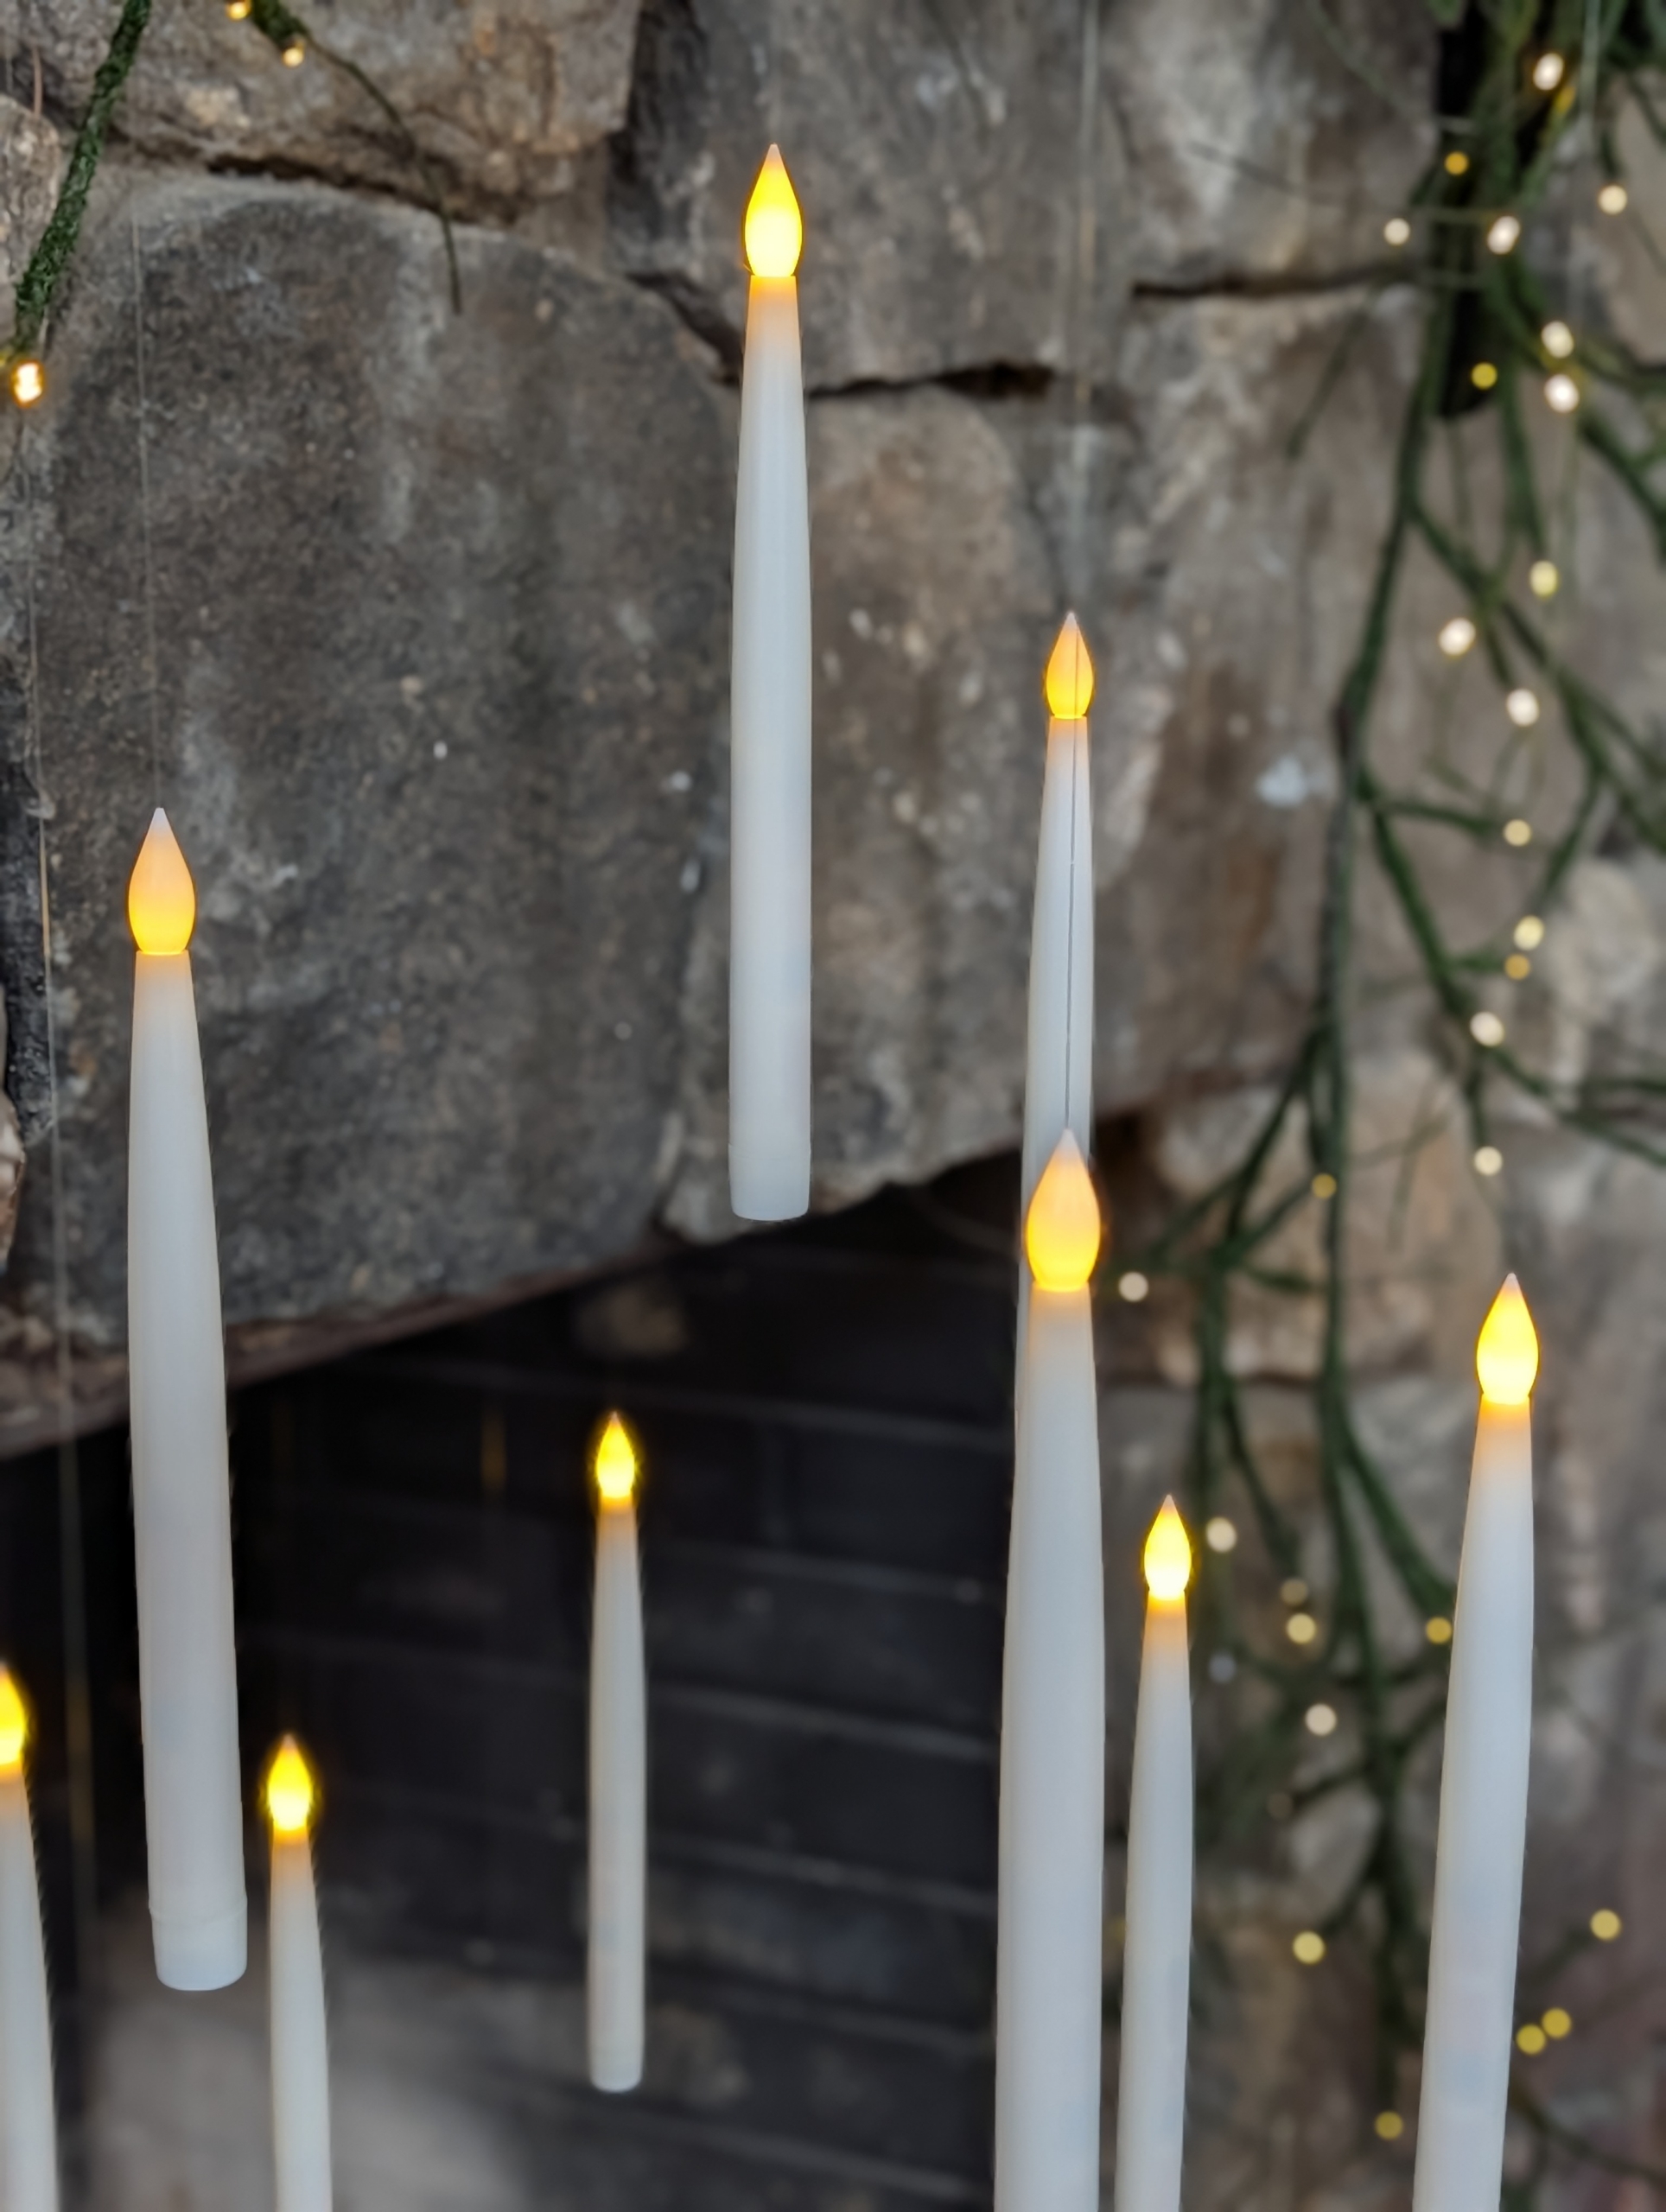
These are also fun – my set of 15 Floating Taper Candles with remote. These are designed to “hover” above a space for a chilling yet magical glow.
I offer them in white and black.
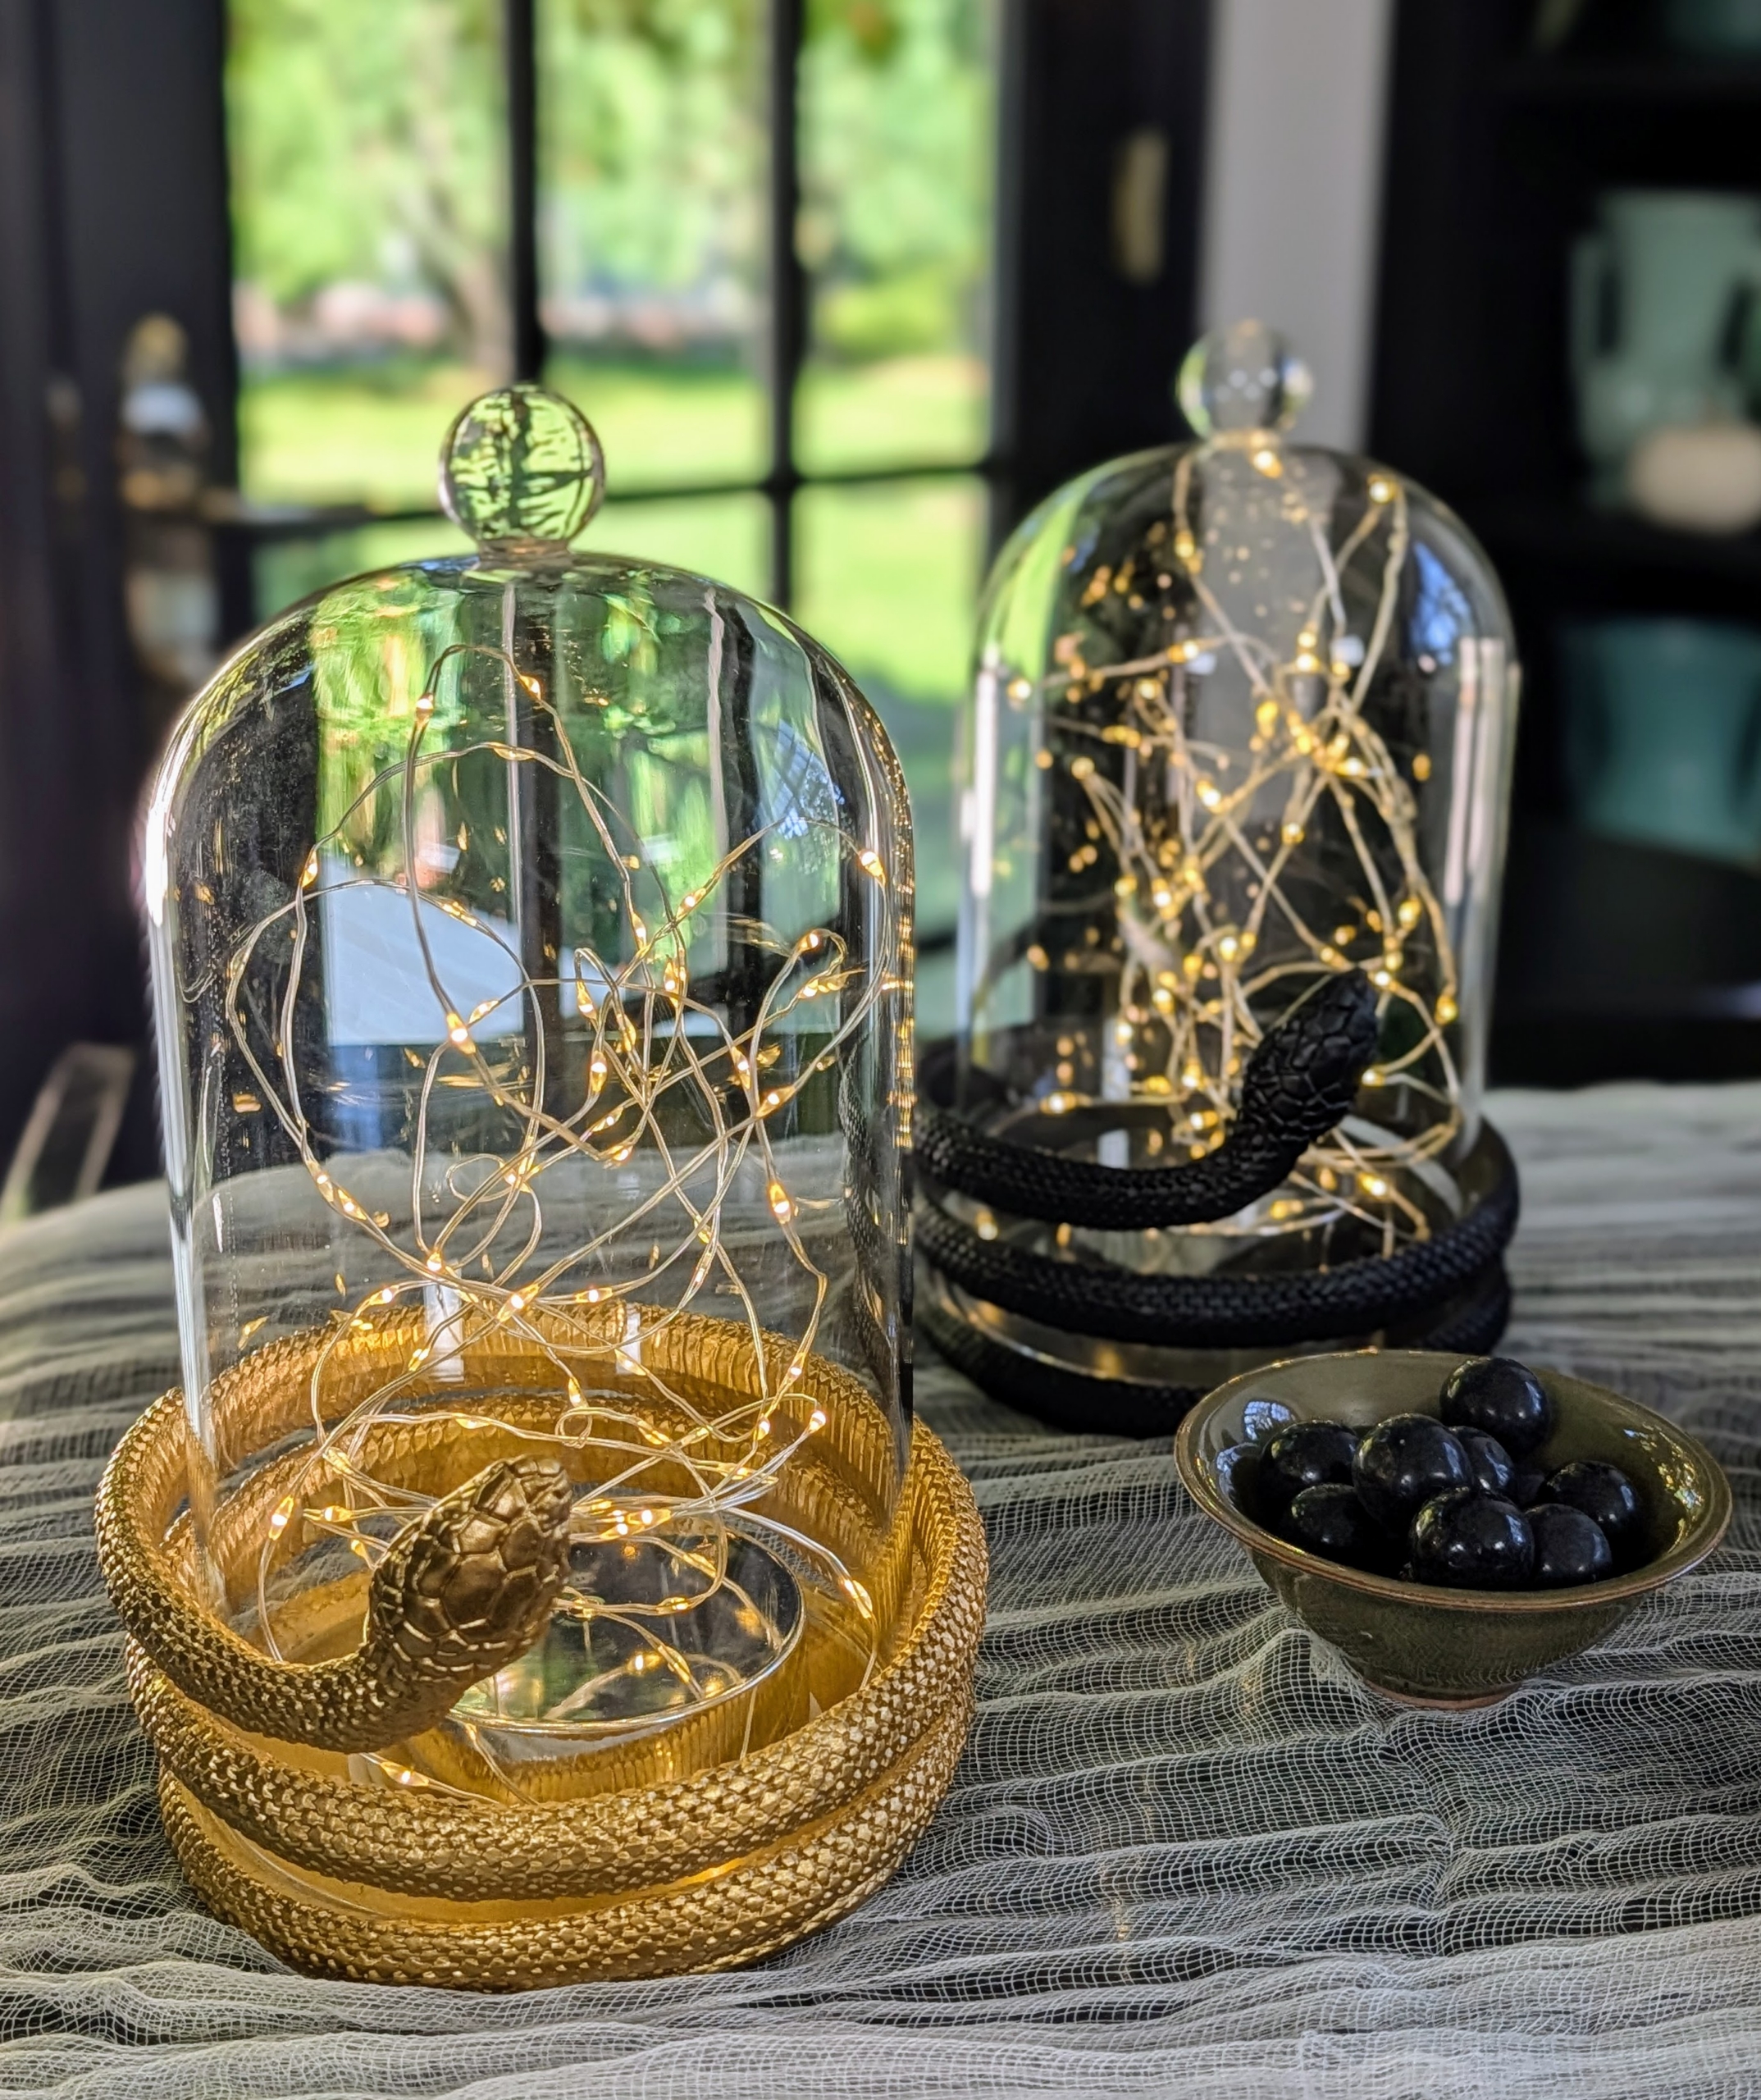
These are my charming 12 inch Twinkling Glass Snake Cloches – in gold and black. These add dramatic flair to the table with a gracefully coiled snake and glowing fairy lights under a clear dome.
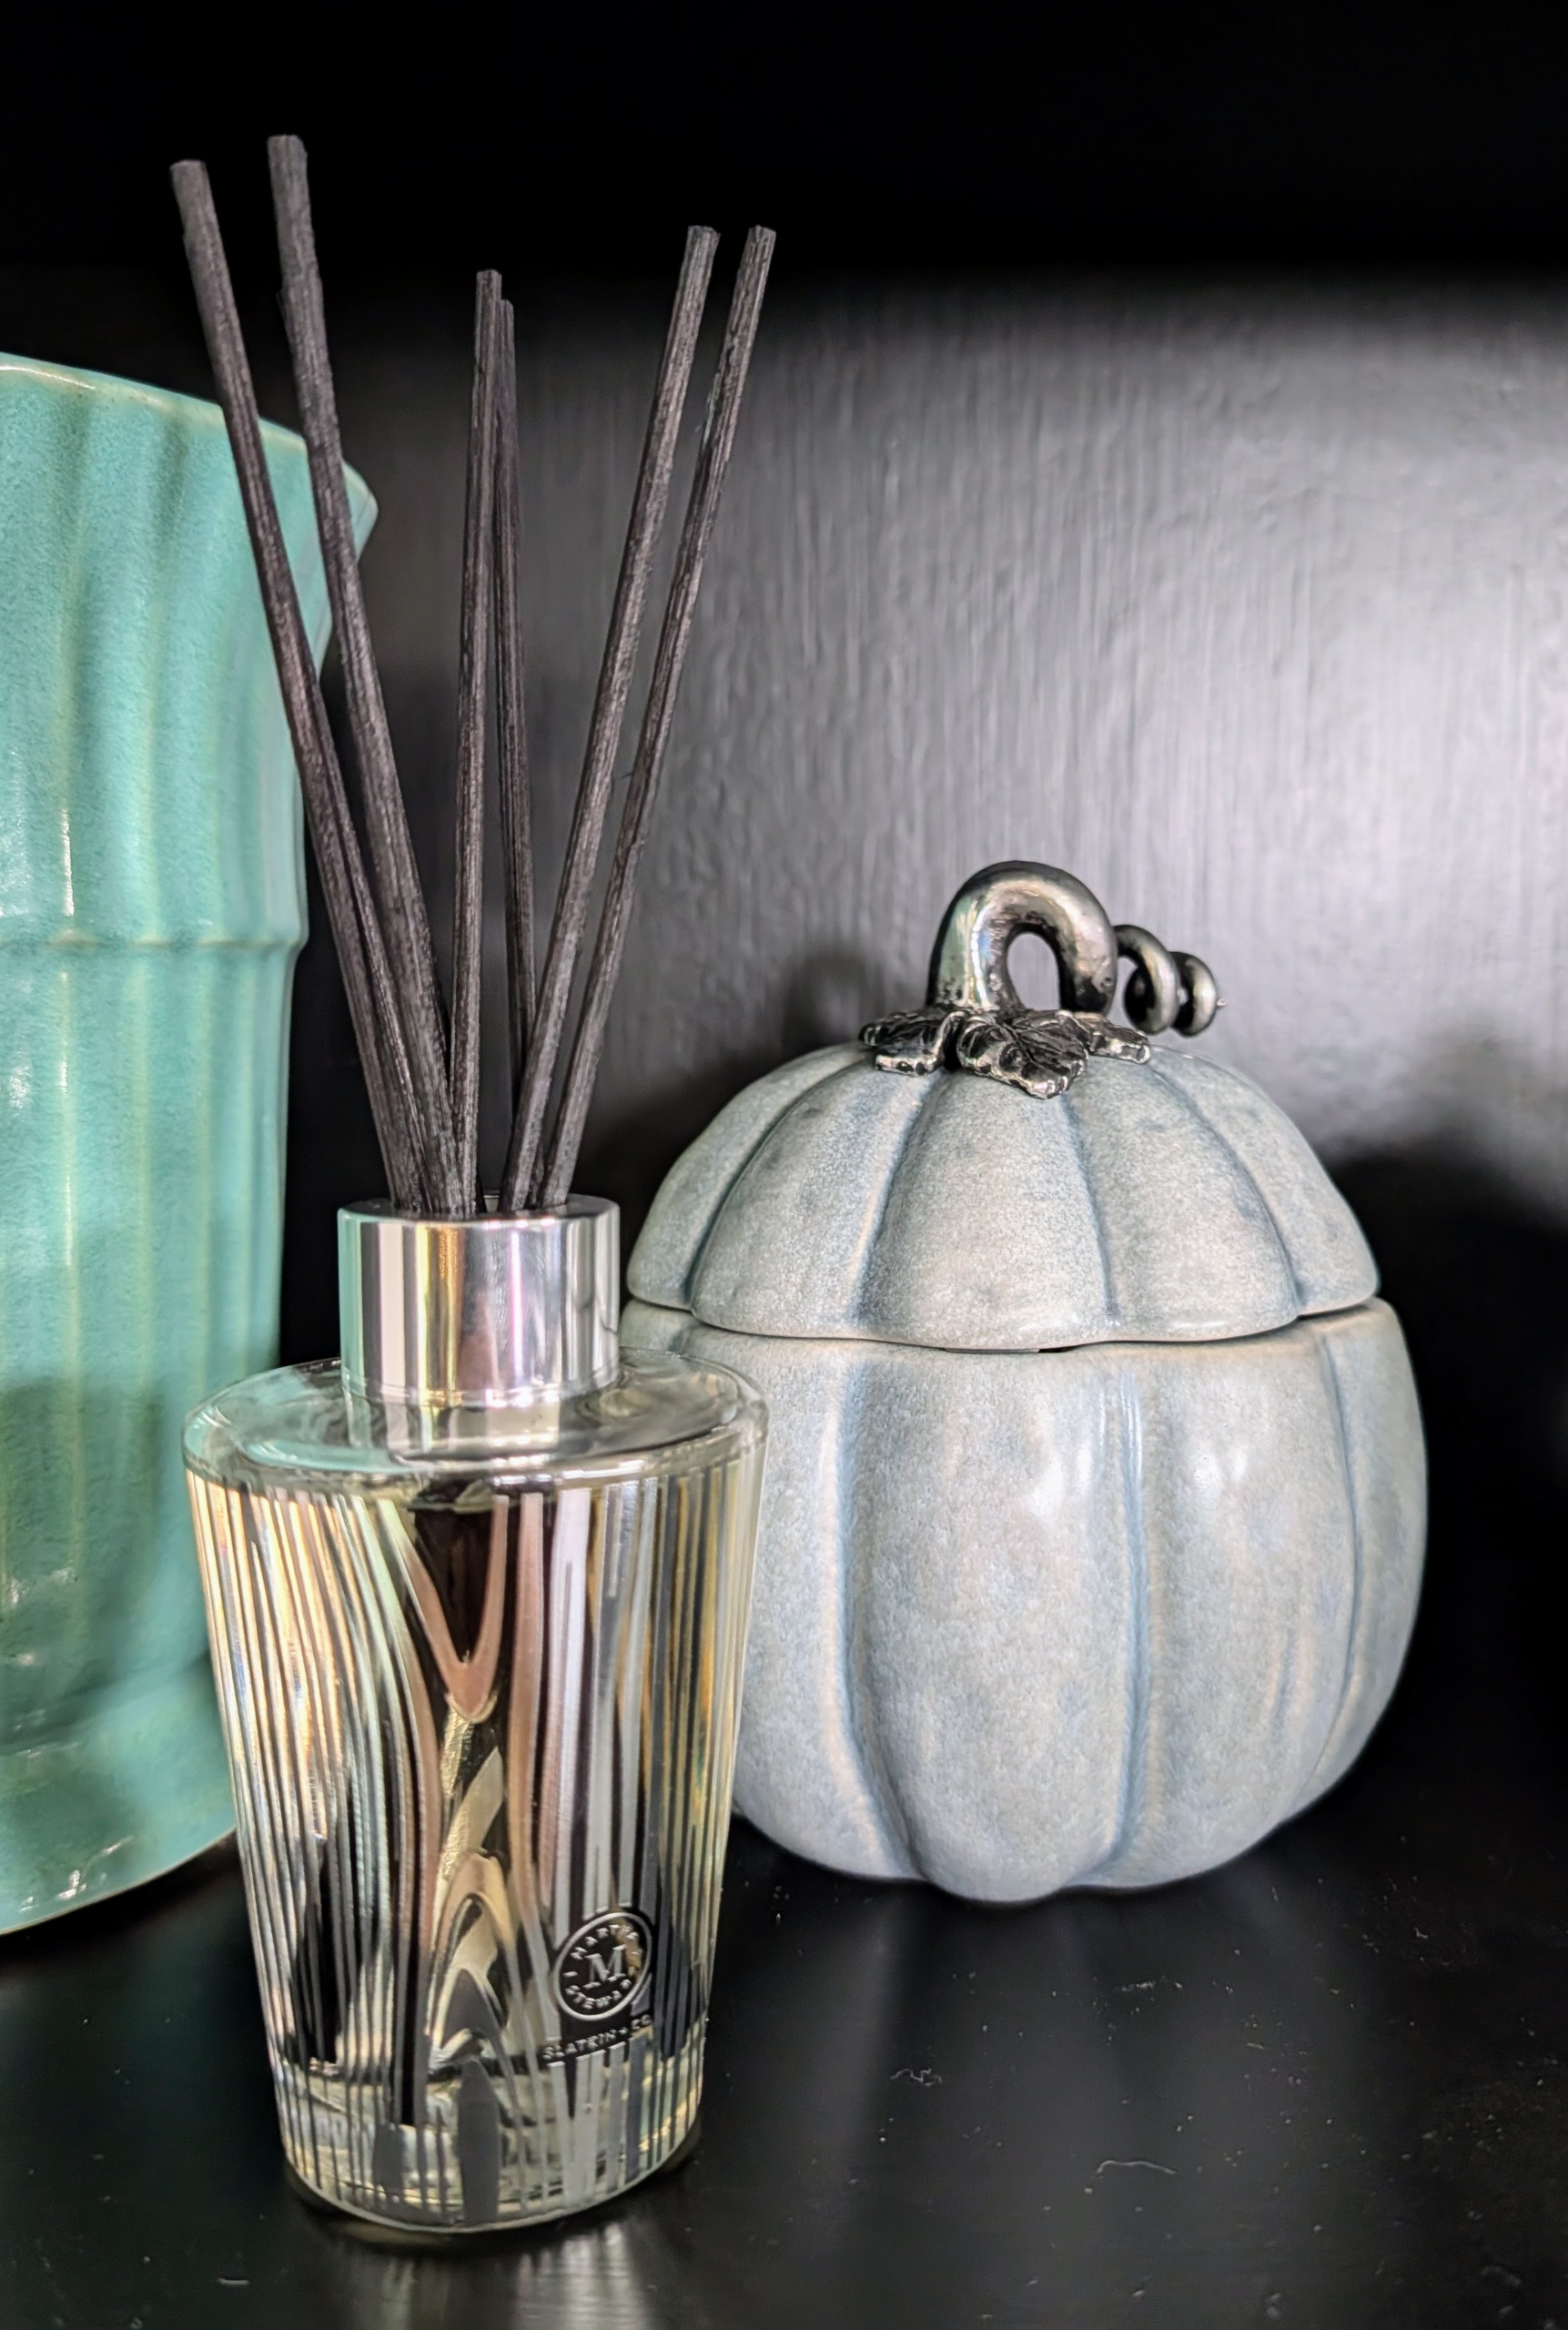
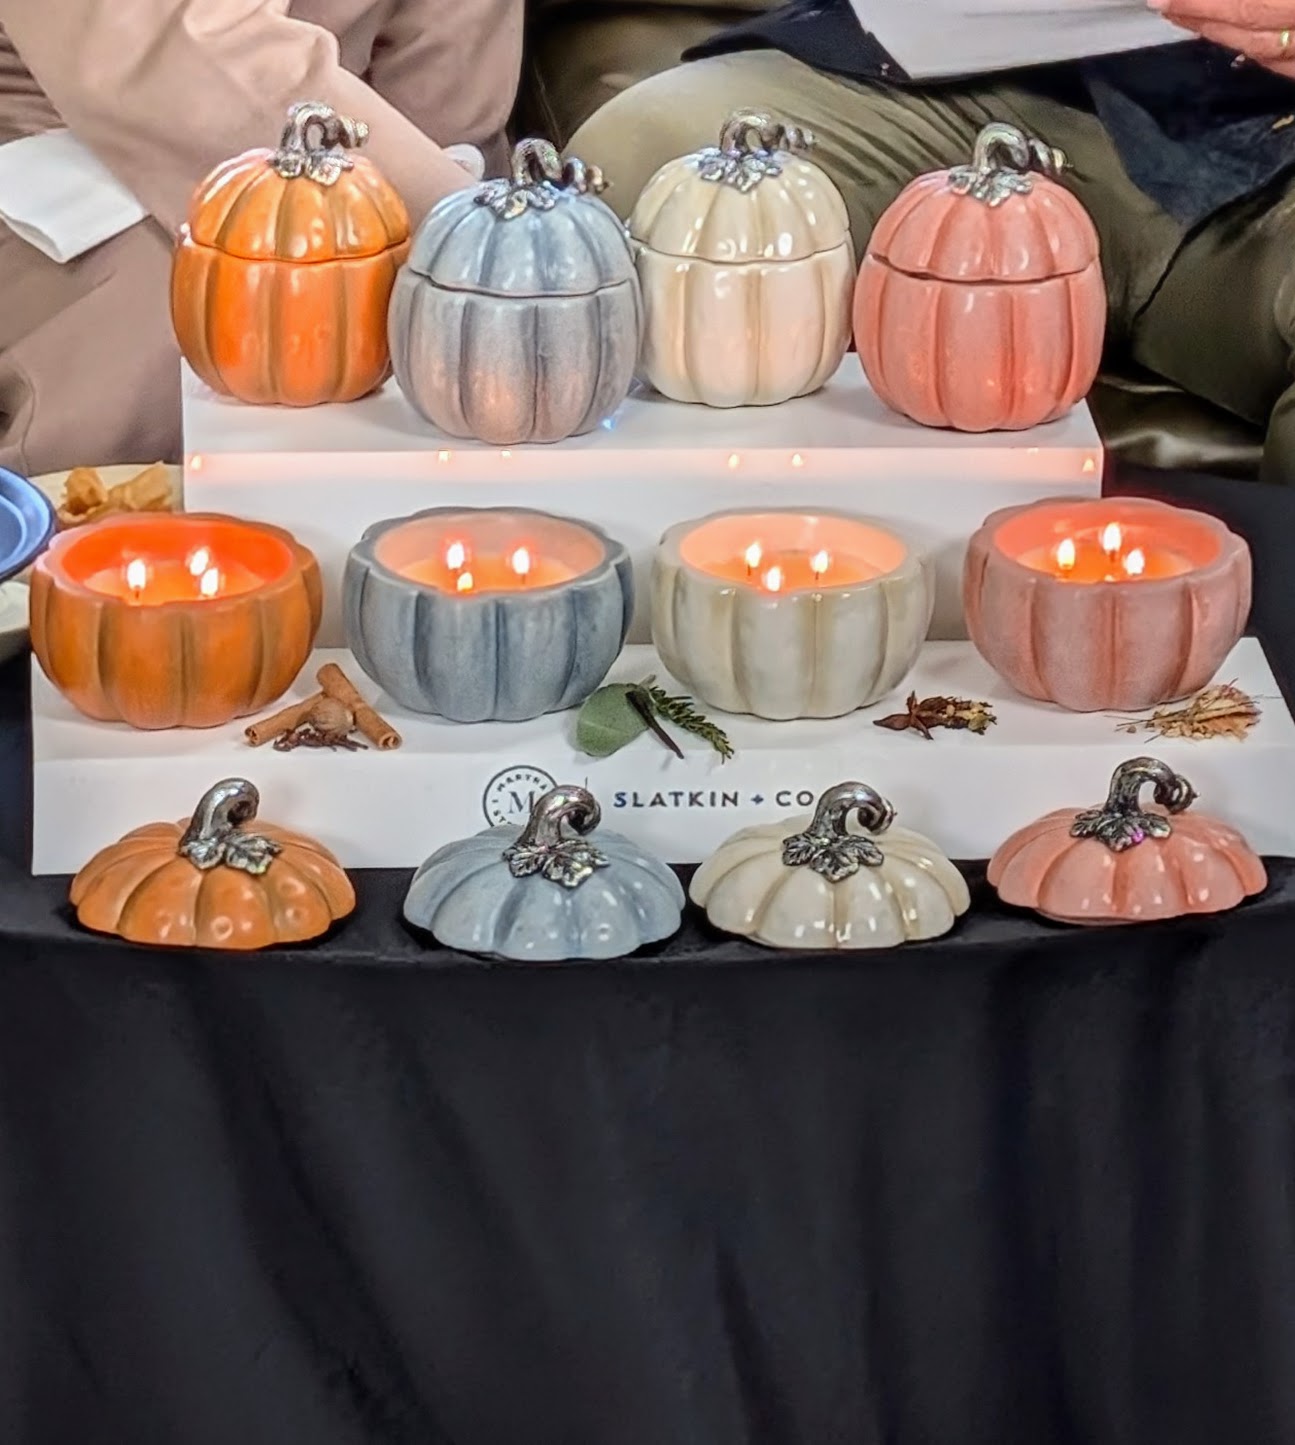
My friend, Harry Slatkin, and I collaborated on these two items – on the left, four ounce Harvest Reed Diffusers designed to effortlessly add a pleasant autumn scent around the home. We also released these charming six ounce Pumpkin & Gourd Candle Sets.
Each candle set is sold as two with three wicks in each pumpkin. Colors include orange, slate blue, mauve, brown, and cream.
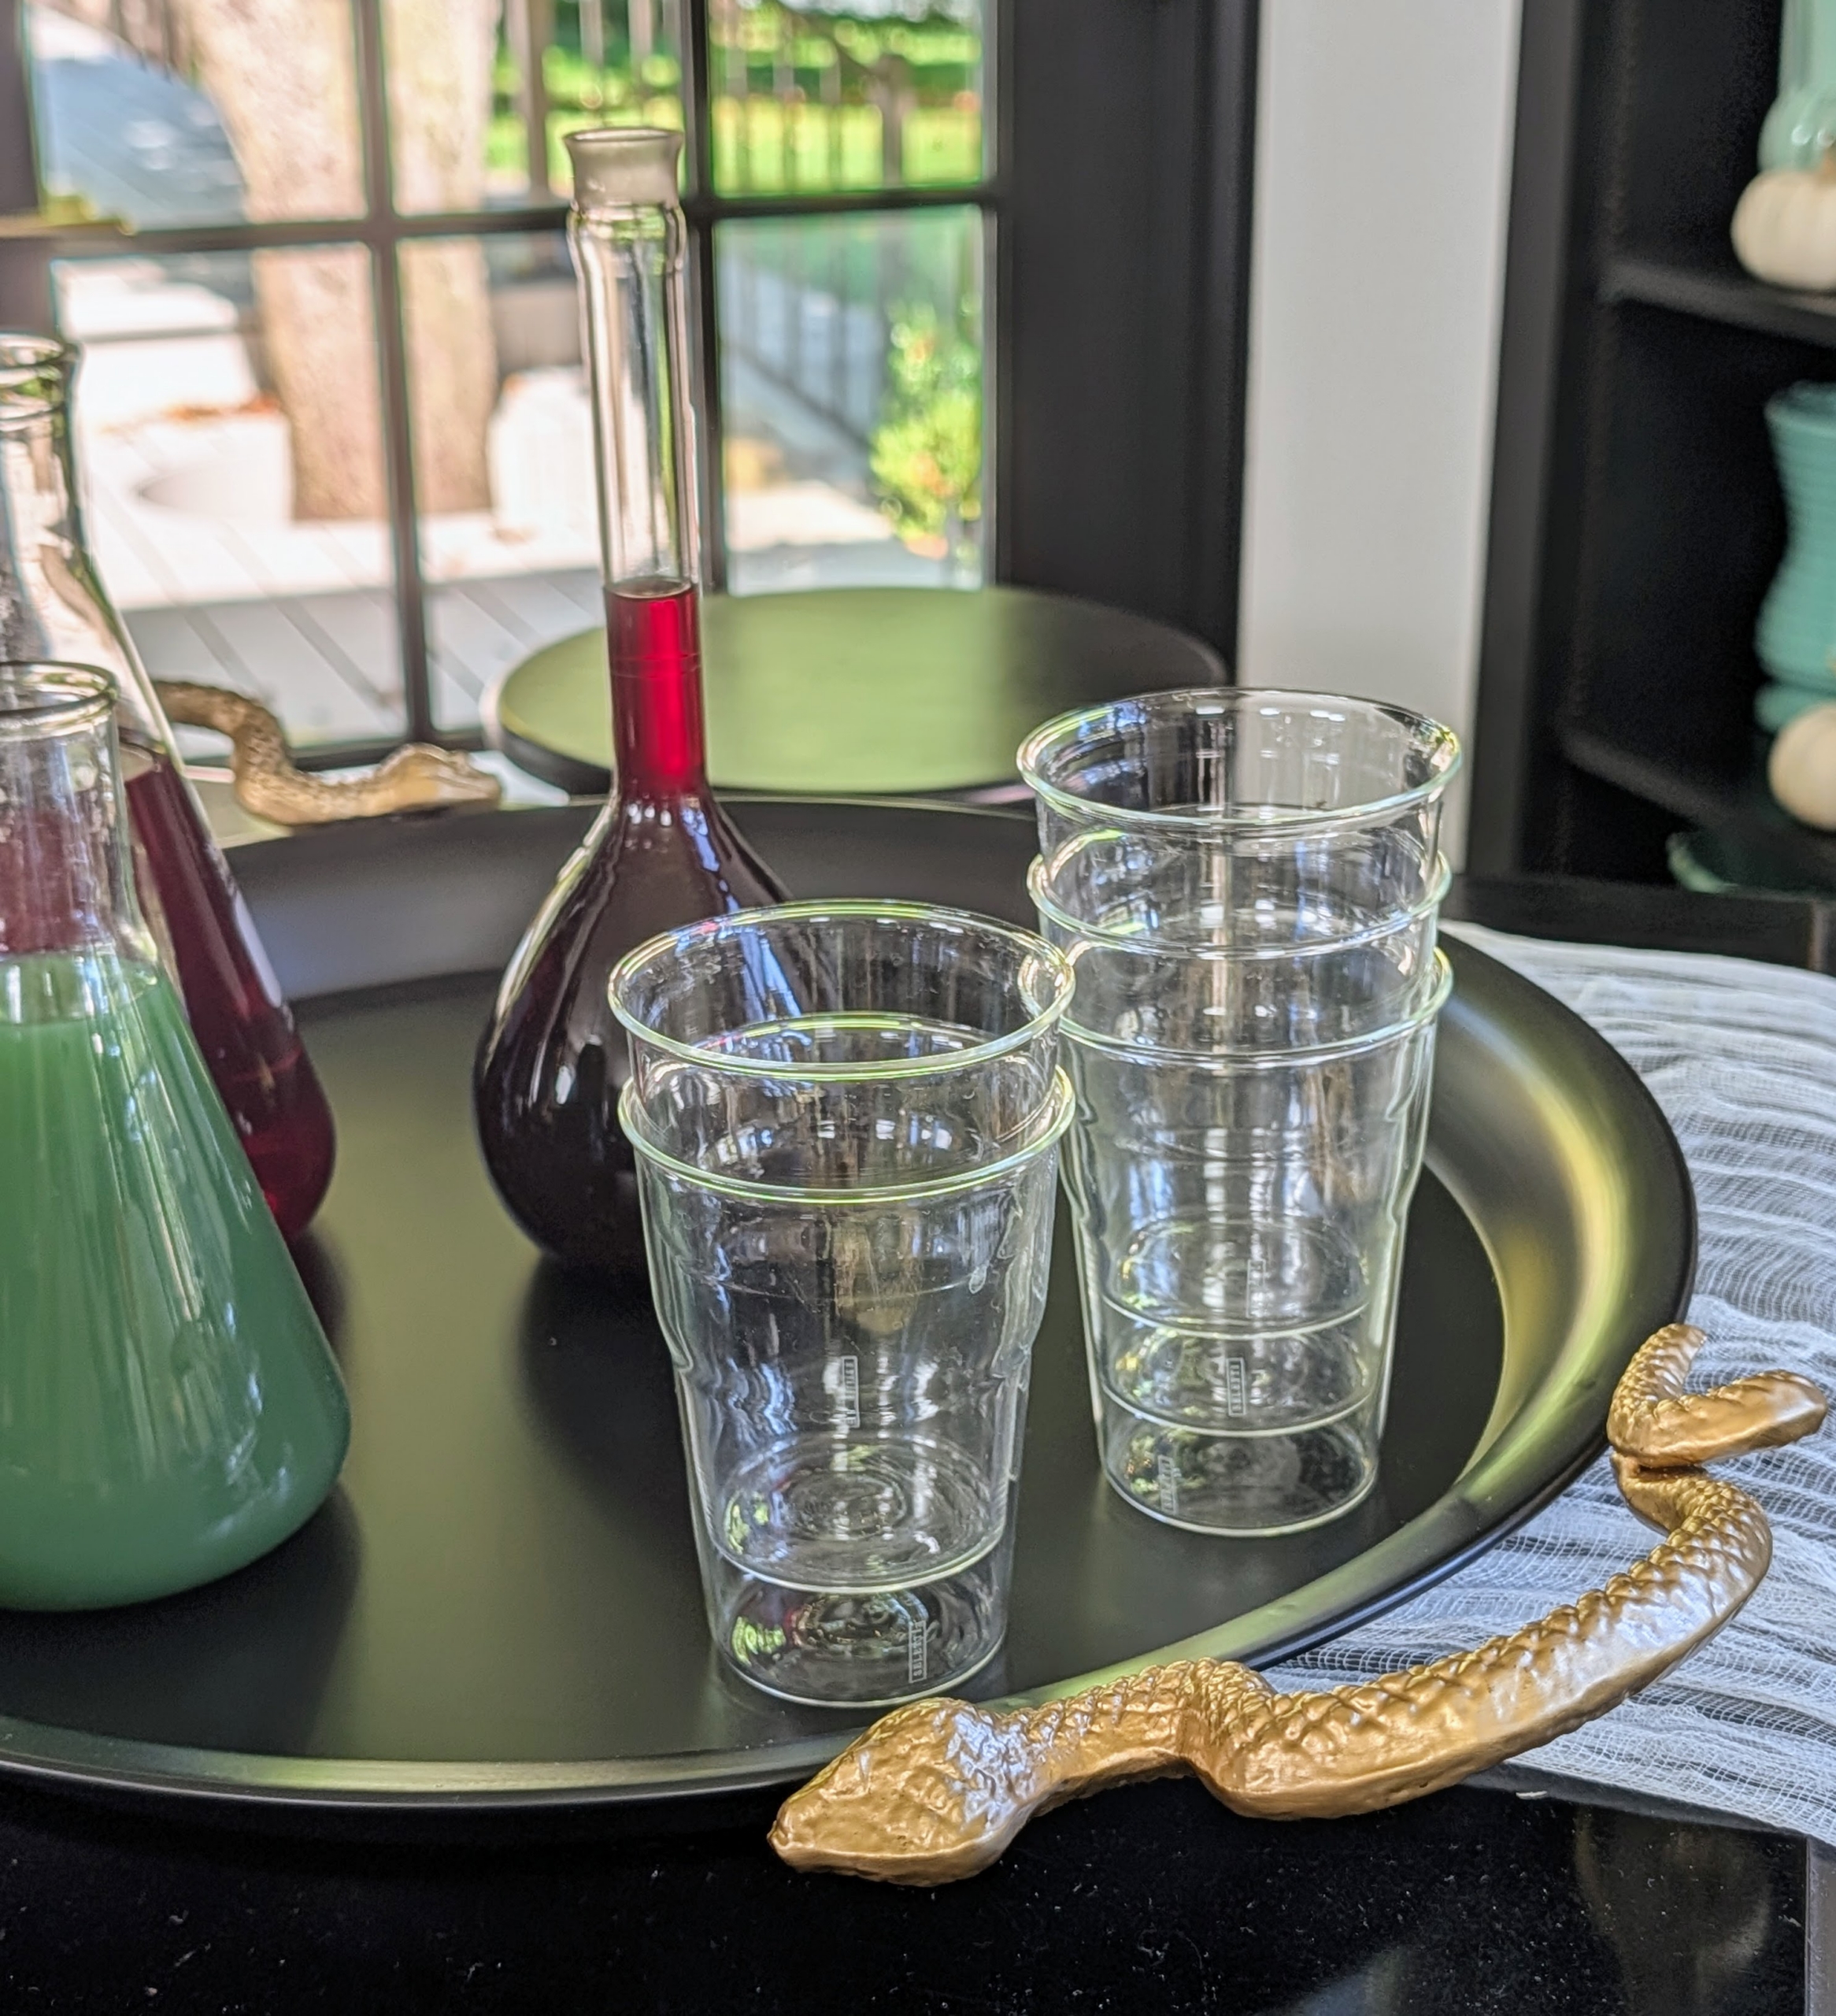
For serving, make just the right Halloween statement with my Martha Stewart Oversized Tray. The striking snake designed handles add an extra spooky touch.
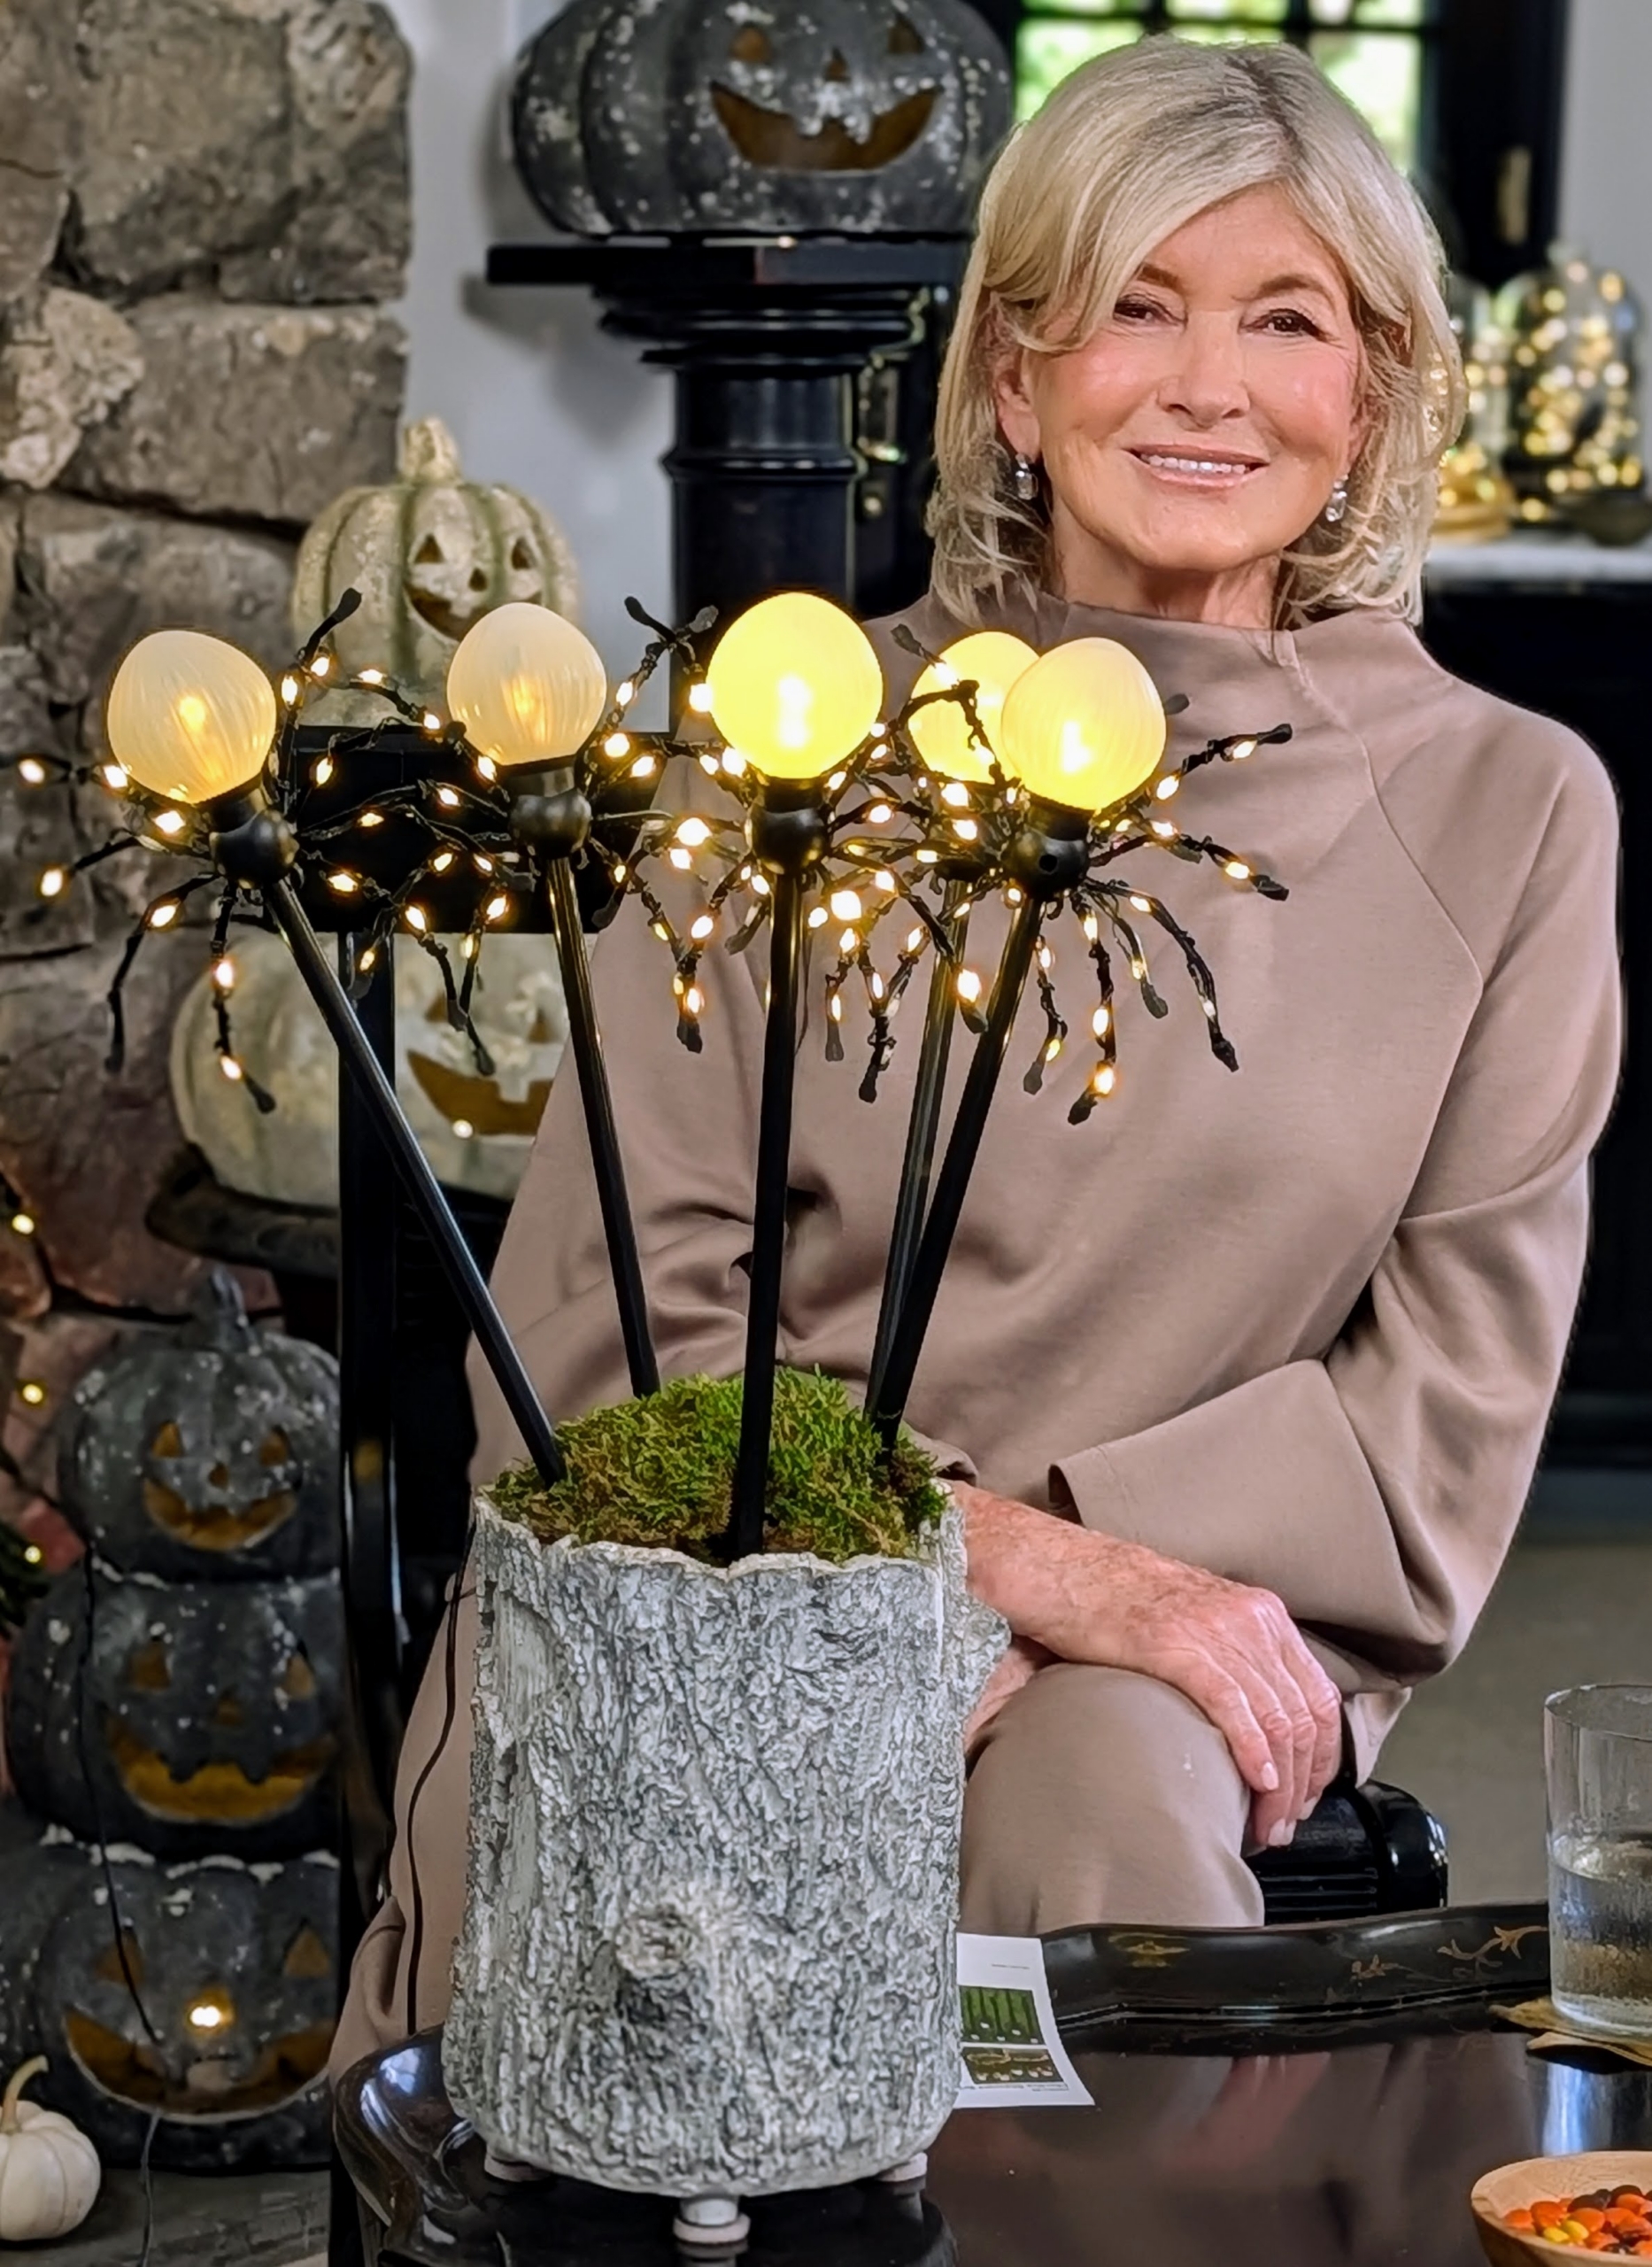
These are my Martha Stewart Spider Pathway Lights. Set them out along your home’s footpath for those trick-or-treaters. Each set includes five lights with pre-attached stakes and 26 lights per spider that twinkle when on. They can also be displayed in pots “planted” in moss. Please go to the QVC web site to see all these items and more. Fall officially arrives in less than a week and Halloween is just around the corner – get ready!
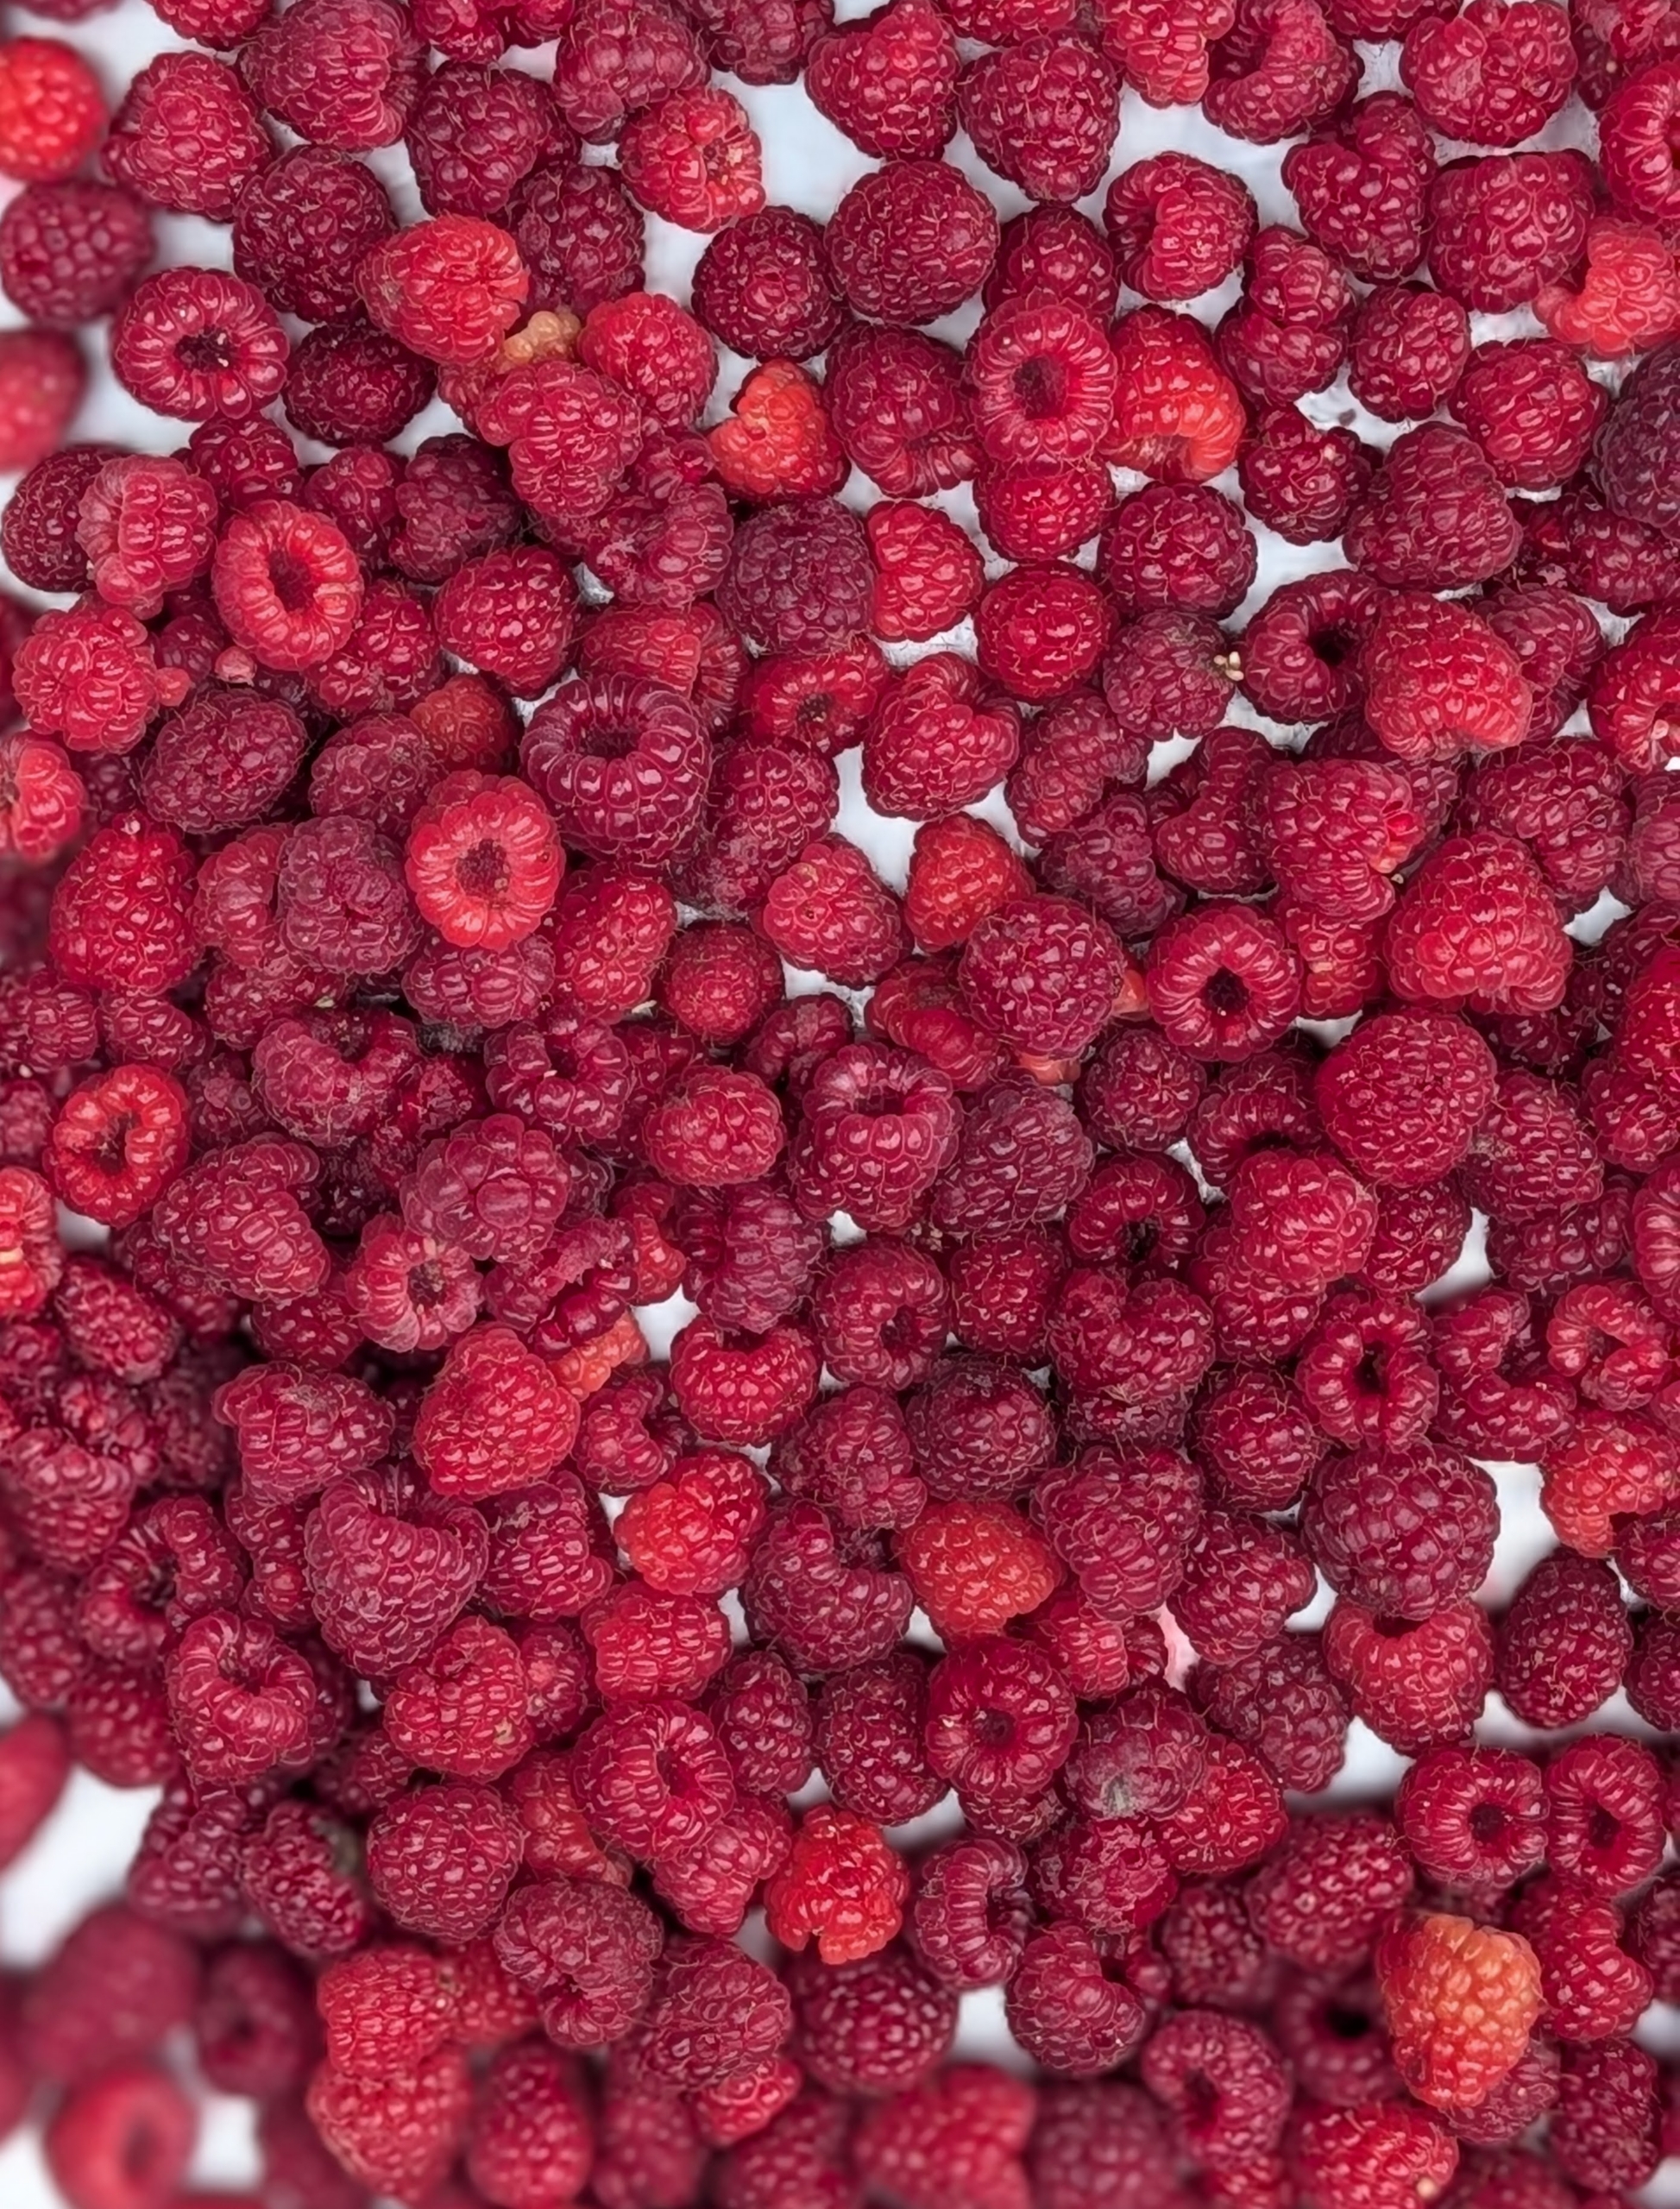
While fall is less than a week away, we’re still picking the last of summer’s delicious fruits here at my farm - those small, fragrant, and wonderfully sweet raspberries.
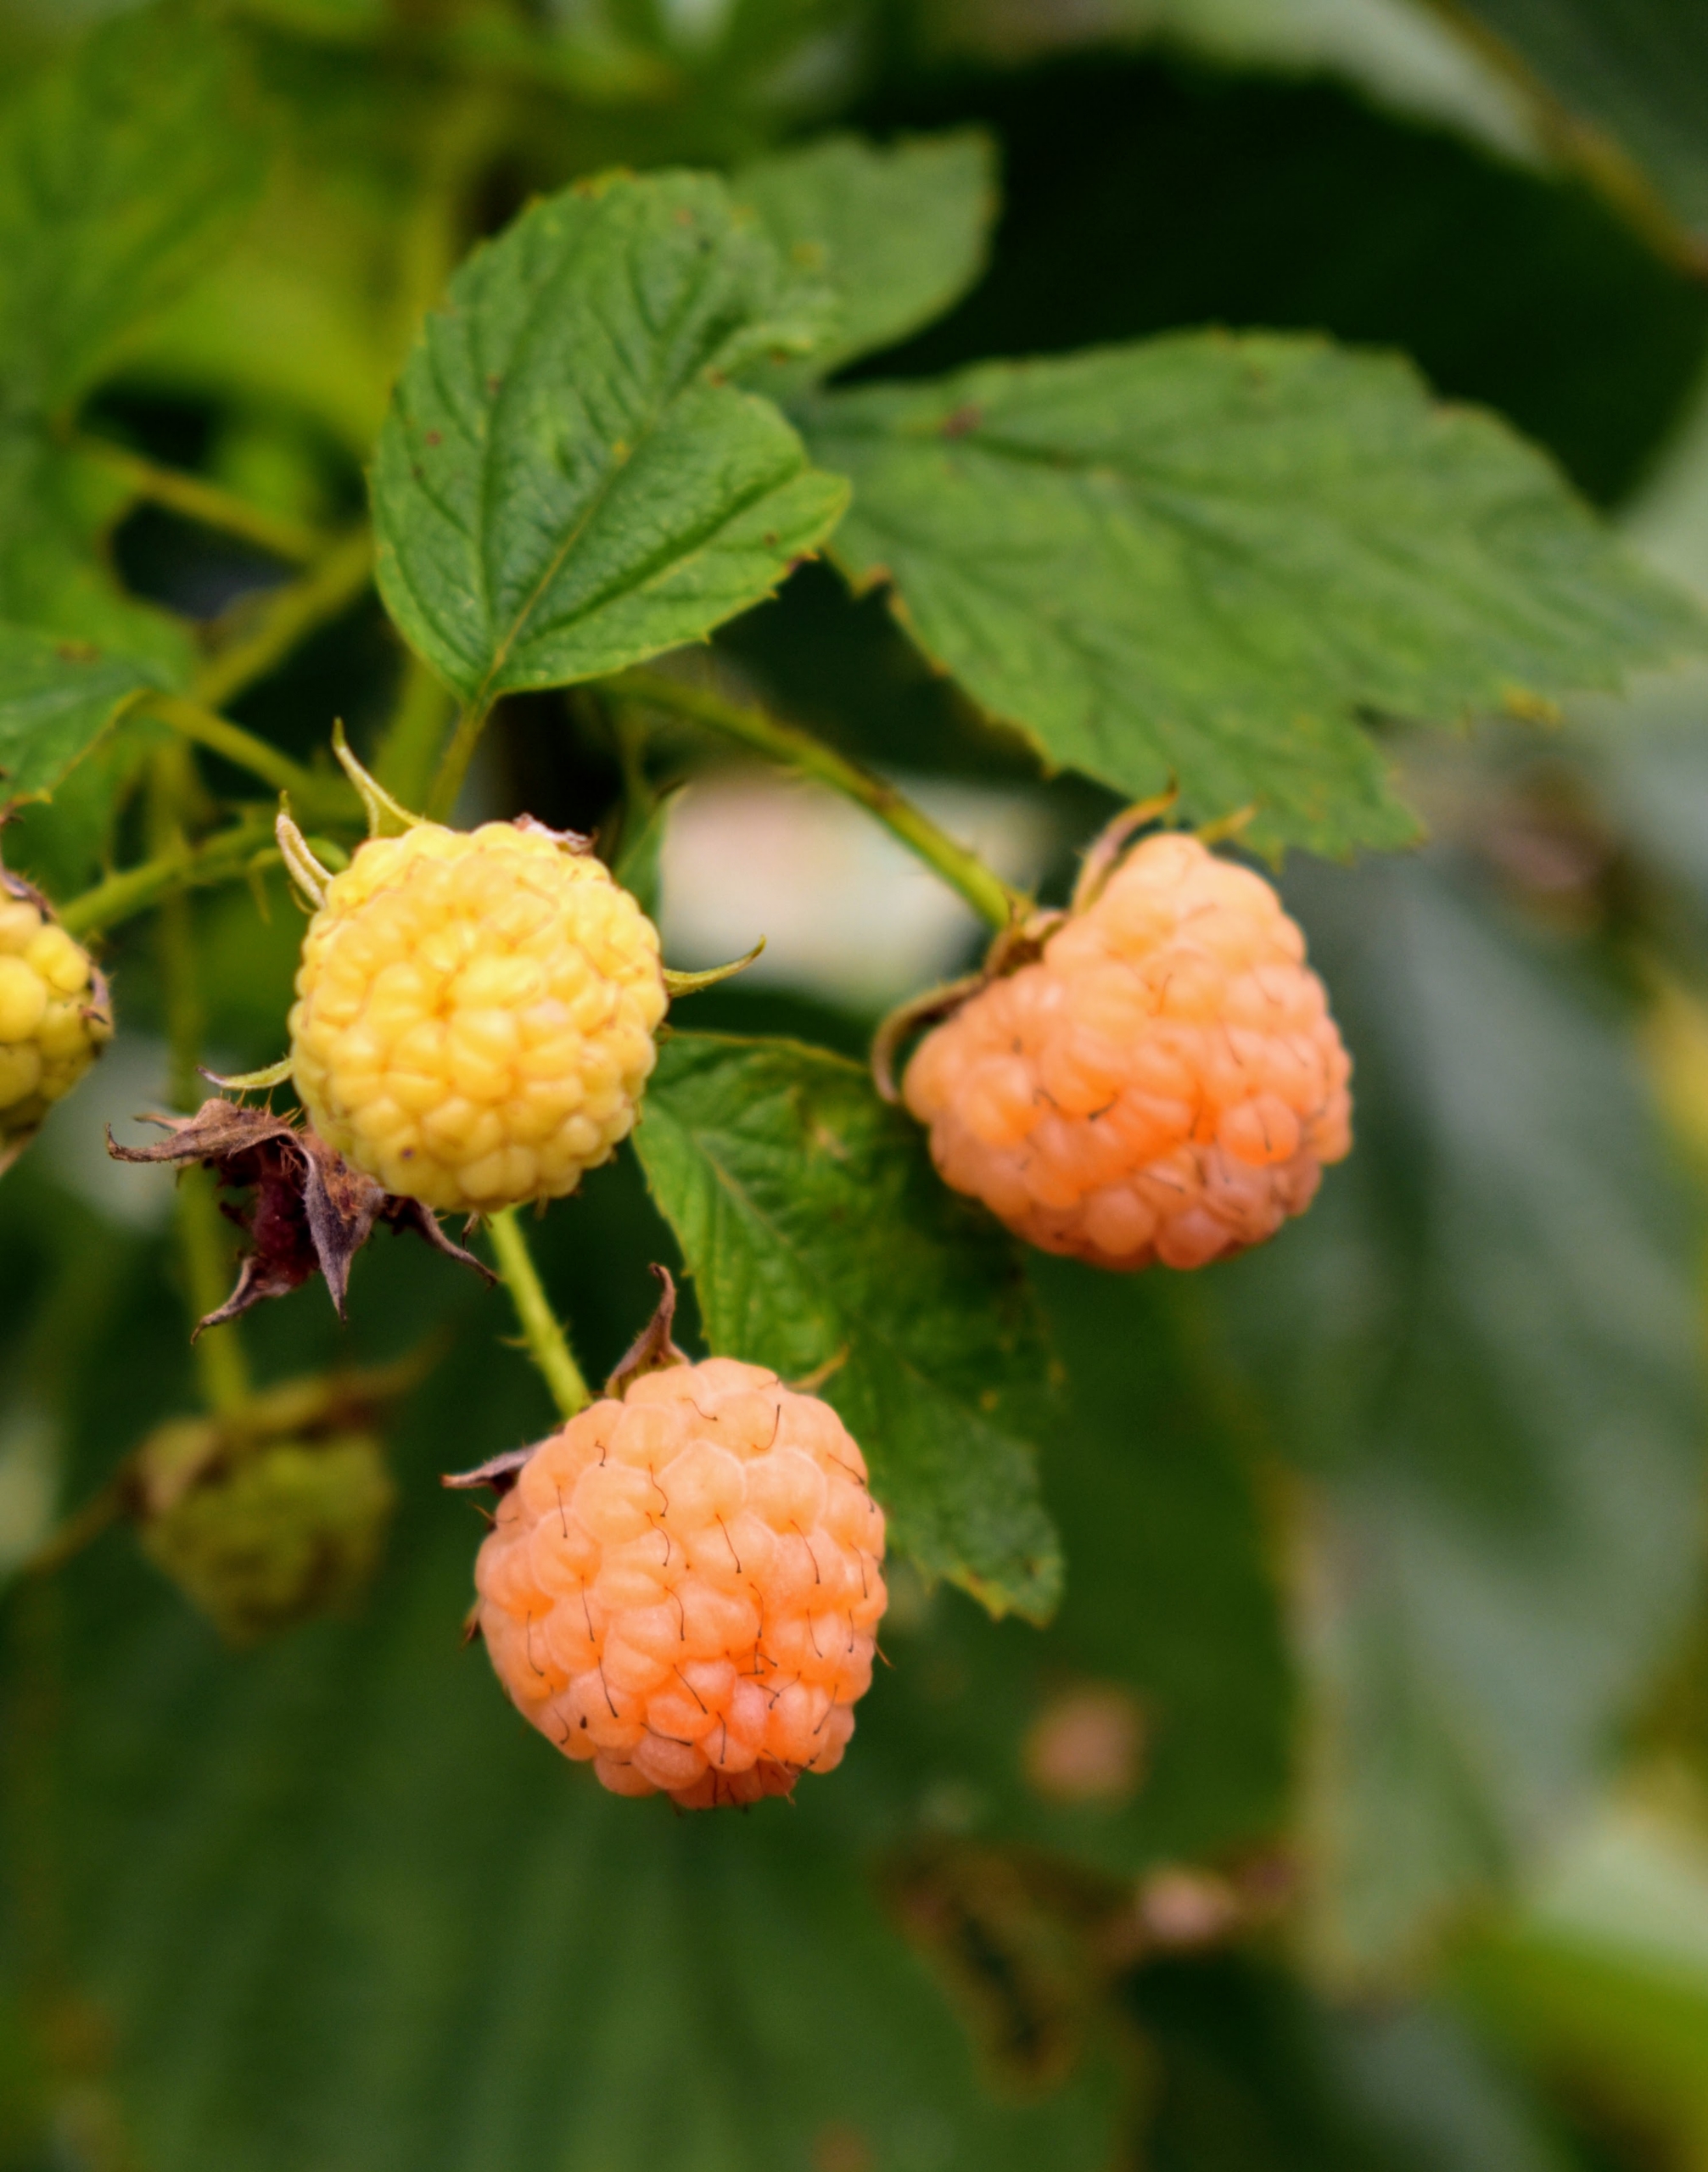
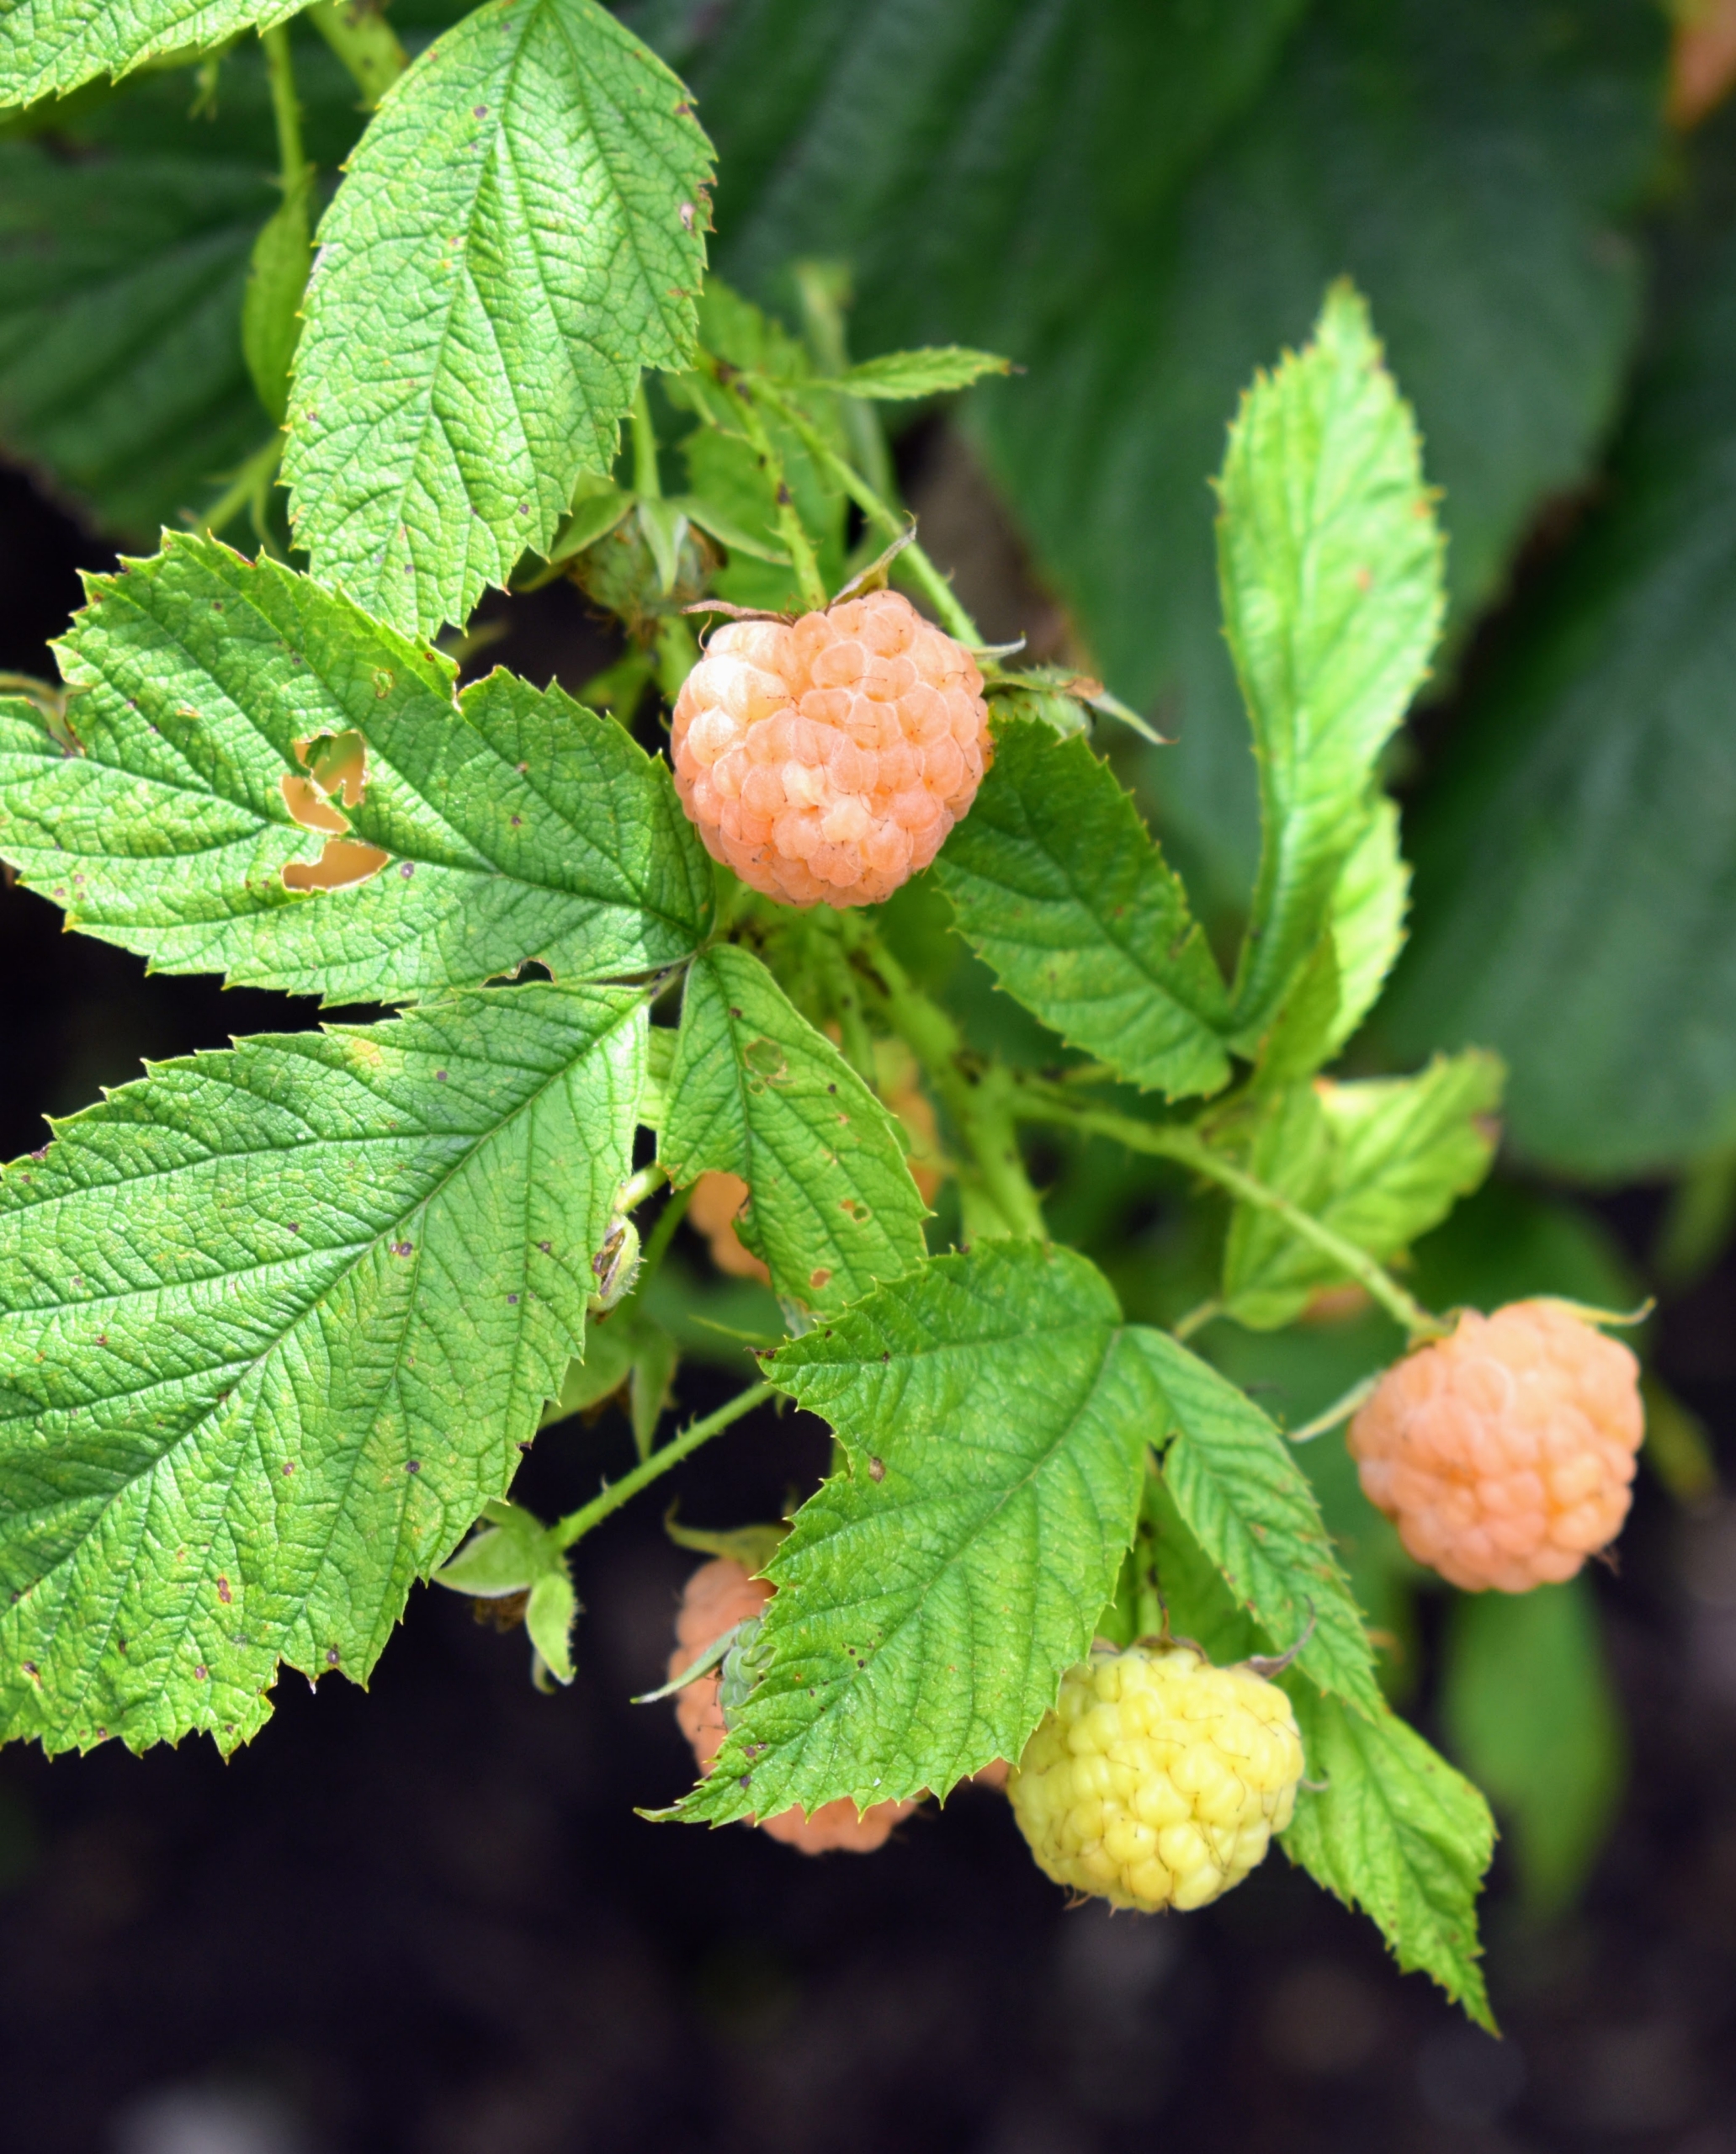
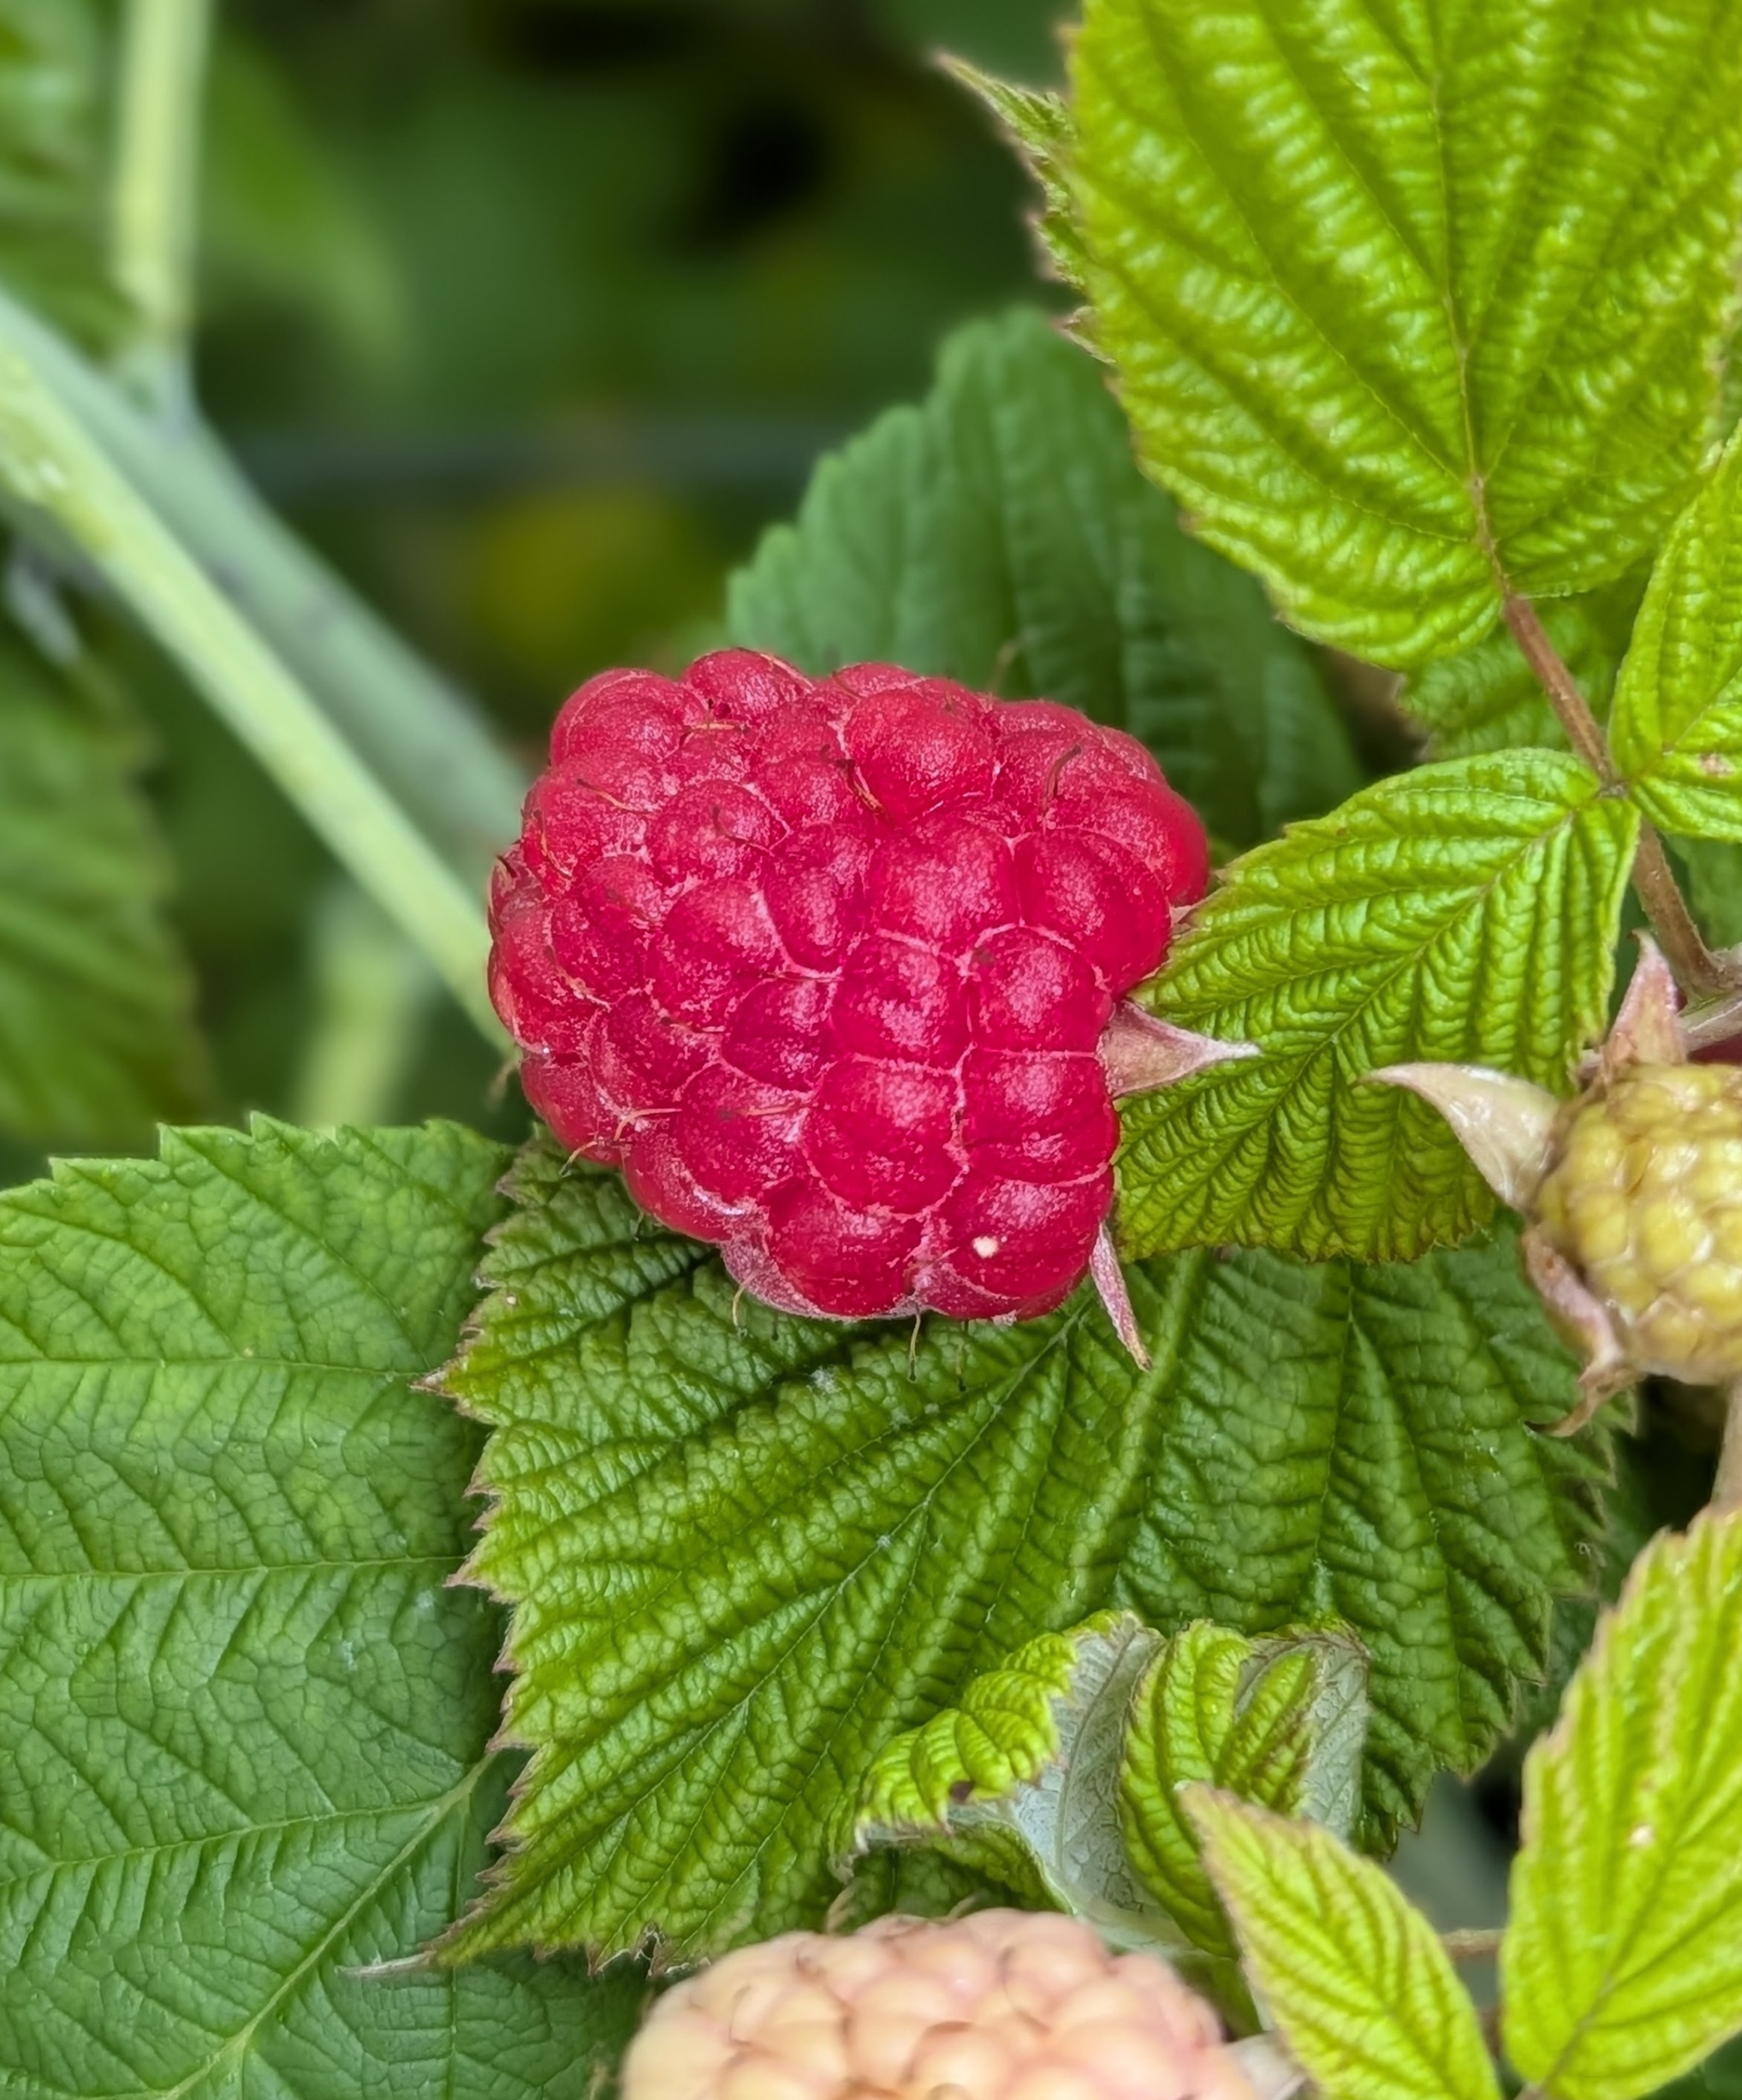
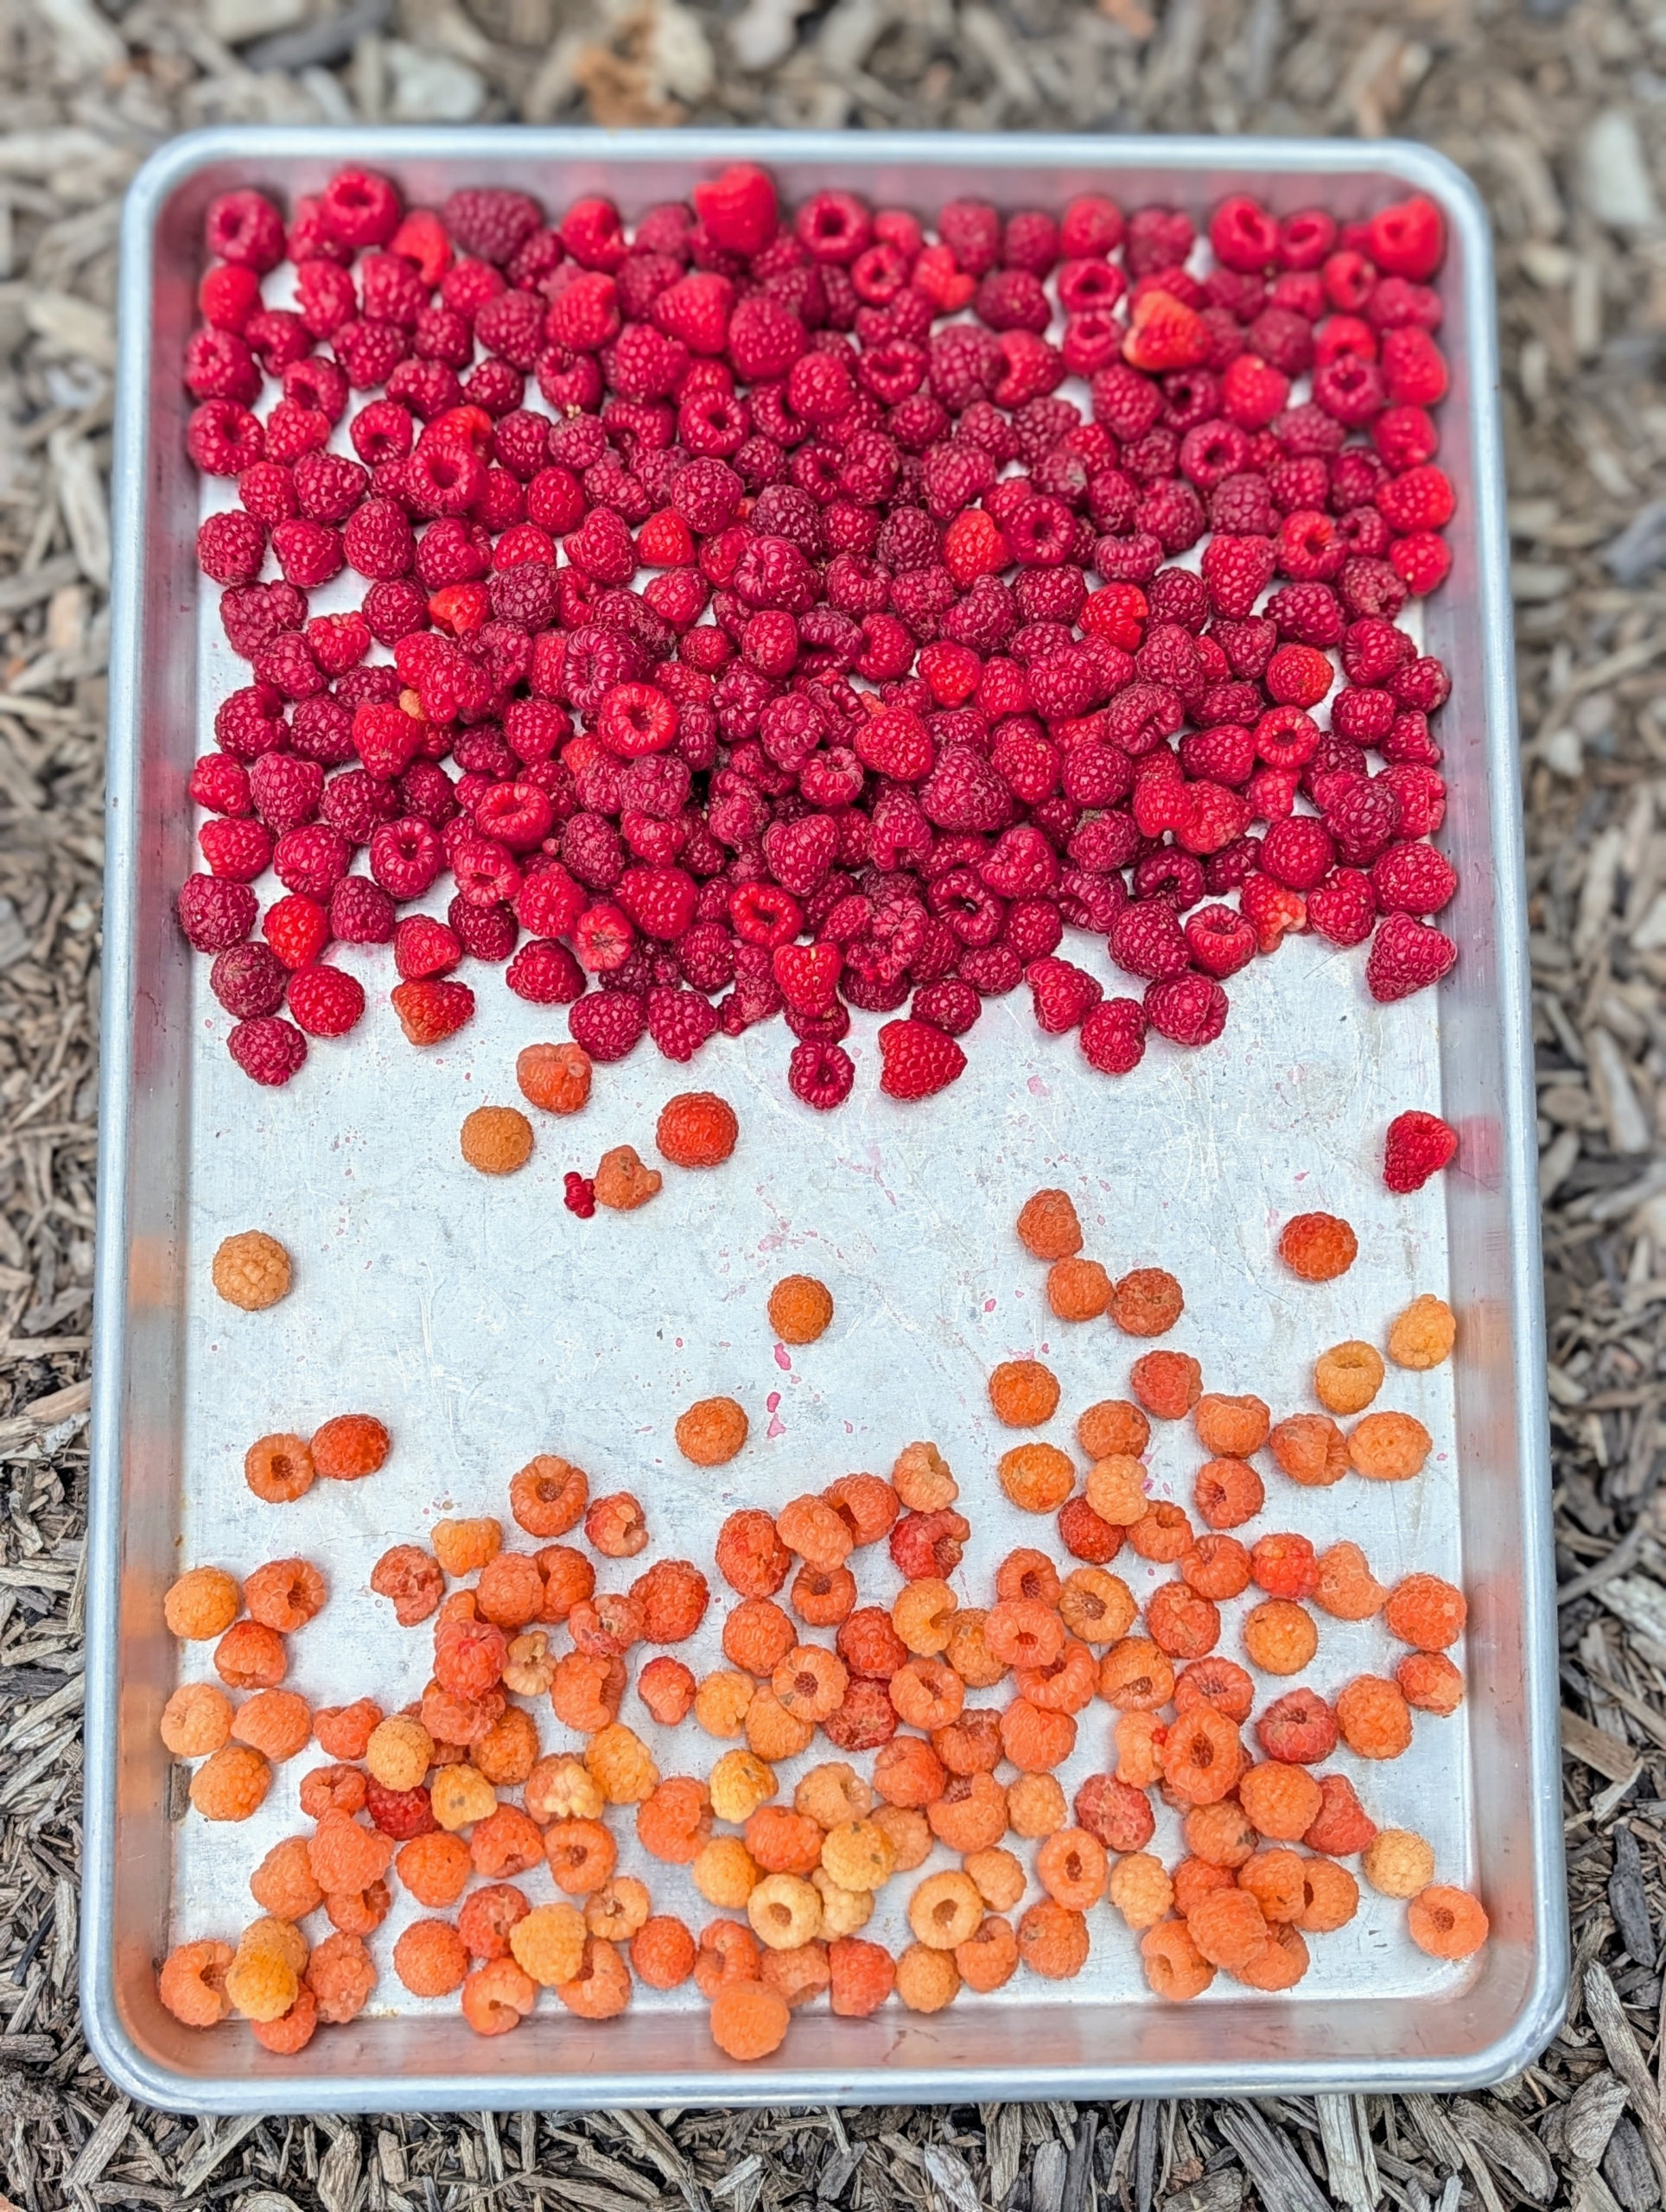
A few days ago, I noticed an abundance of both red and gold raspberries on the bushes. Gold raspberries are much like their red counterparts, but with a beautiful golden color and an especially sweet, honeyed flavor with subtle apricot notes and just a hint of tartness. Raspberries are delicious eaten fresh, but I also love using them in jams and jellies, pies, and tarts.
Enjoy these photos.
Ripe raspberries are rich in color, whether they are red, golden, or black. They are great for use in desserts, but can also be used in cereals, ice-creams, juices, and herbal teas.
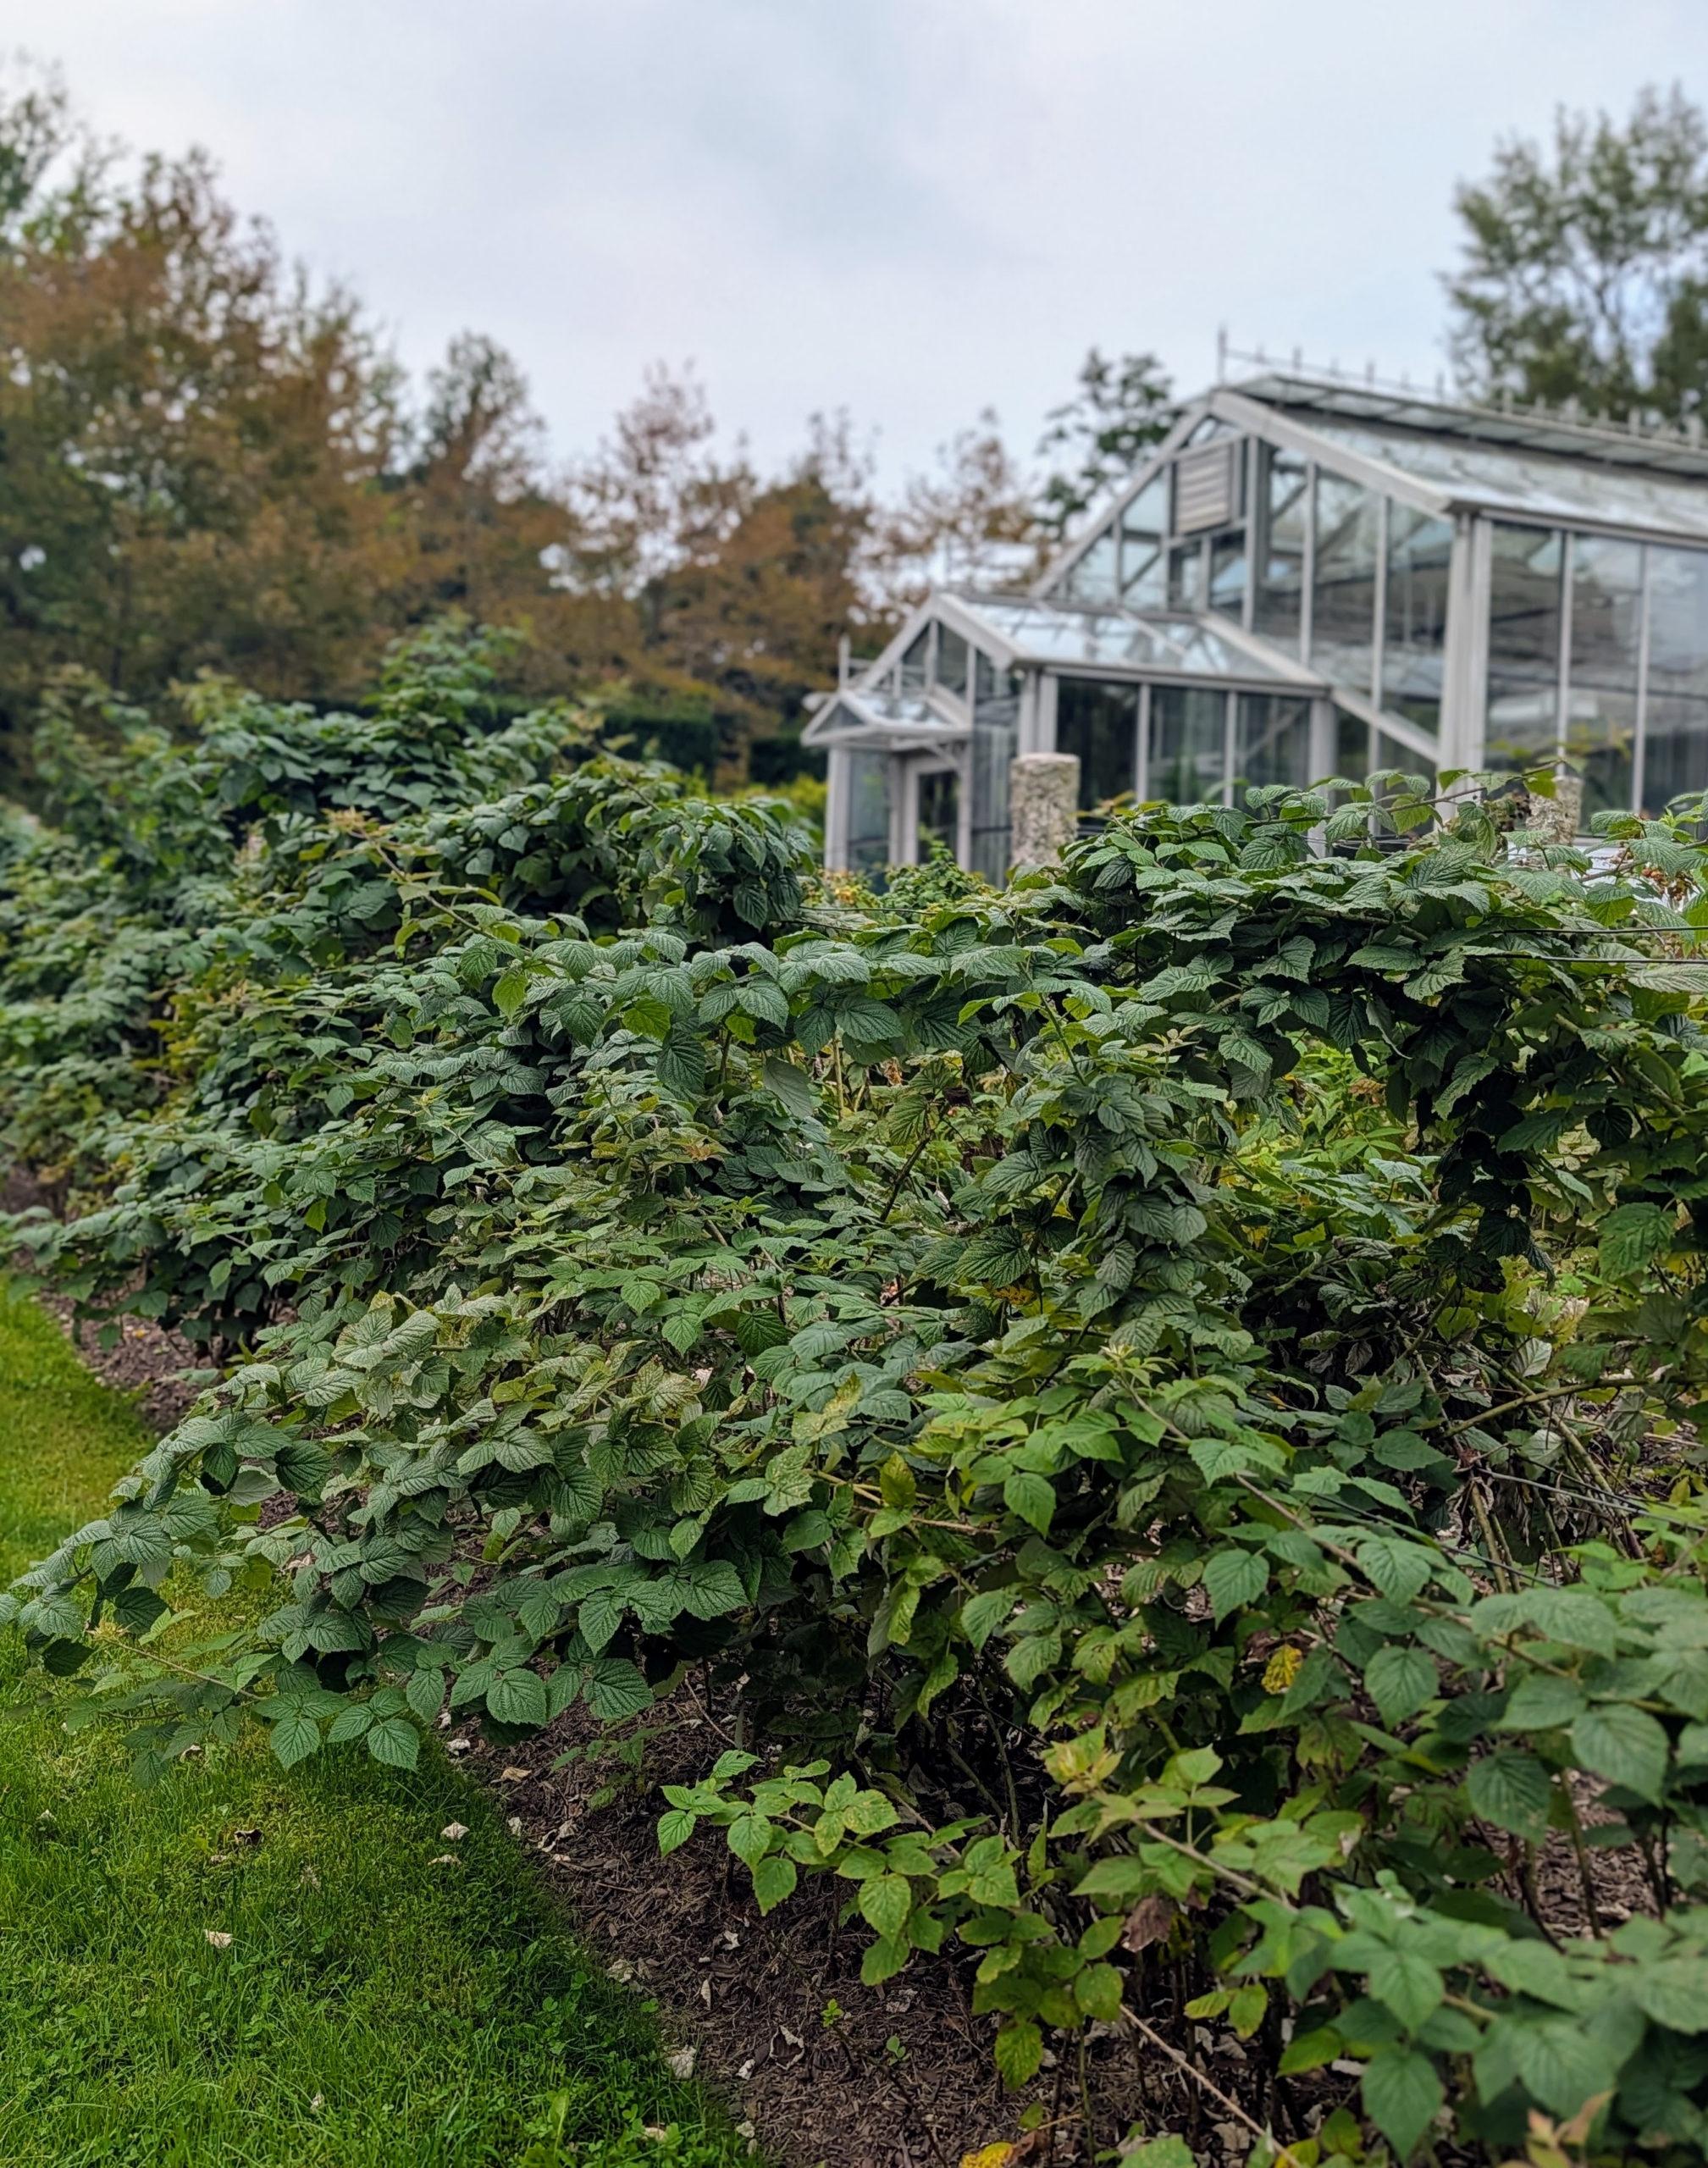
I have several rows of raspberries behind my main greenhouse. They all produce many fruits every summer.
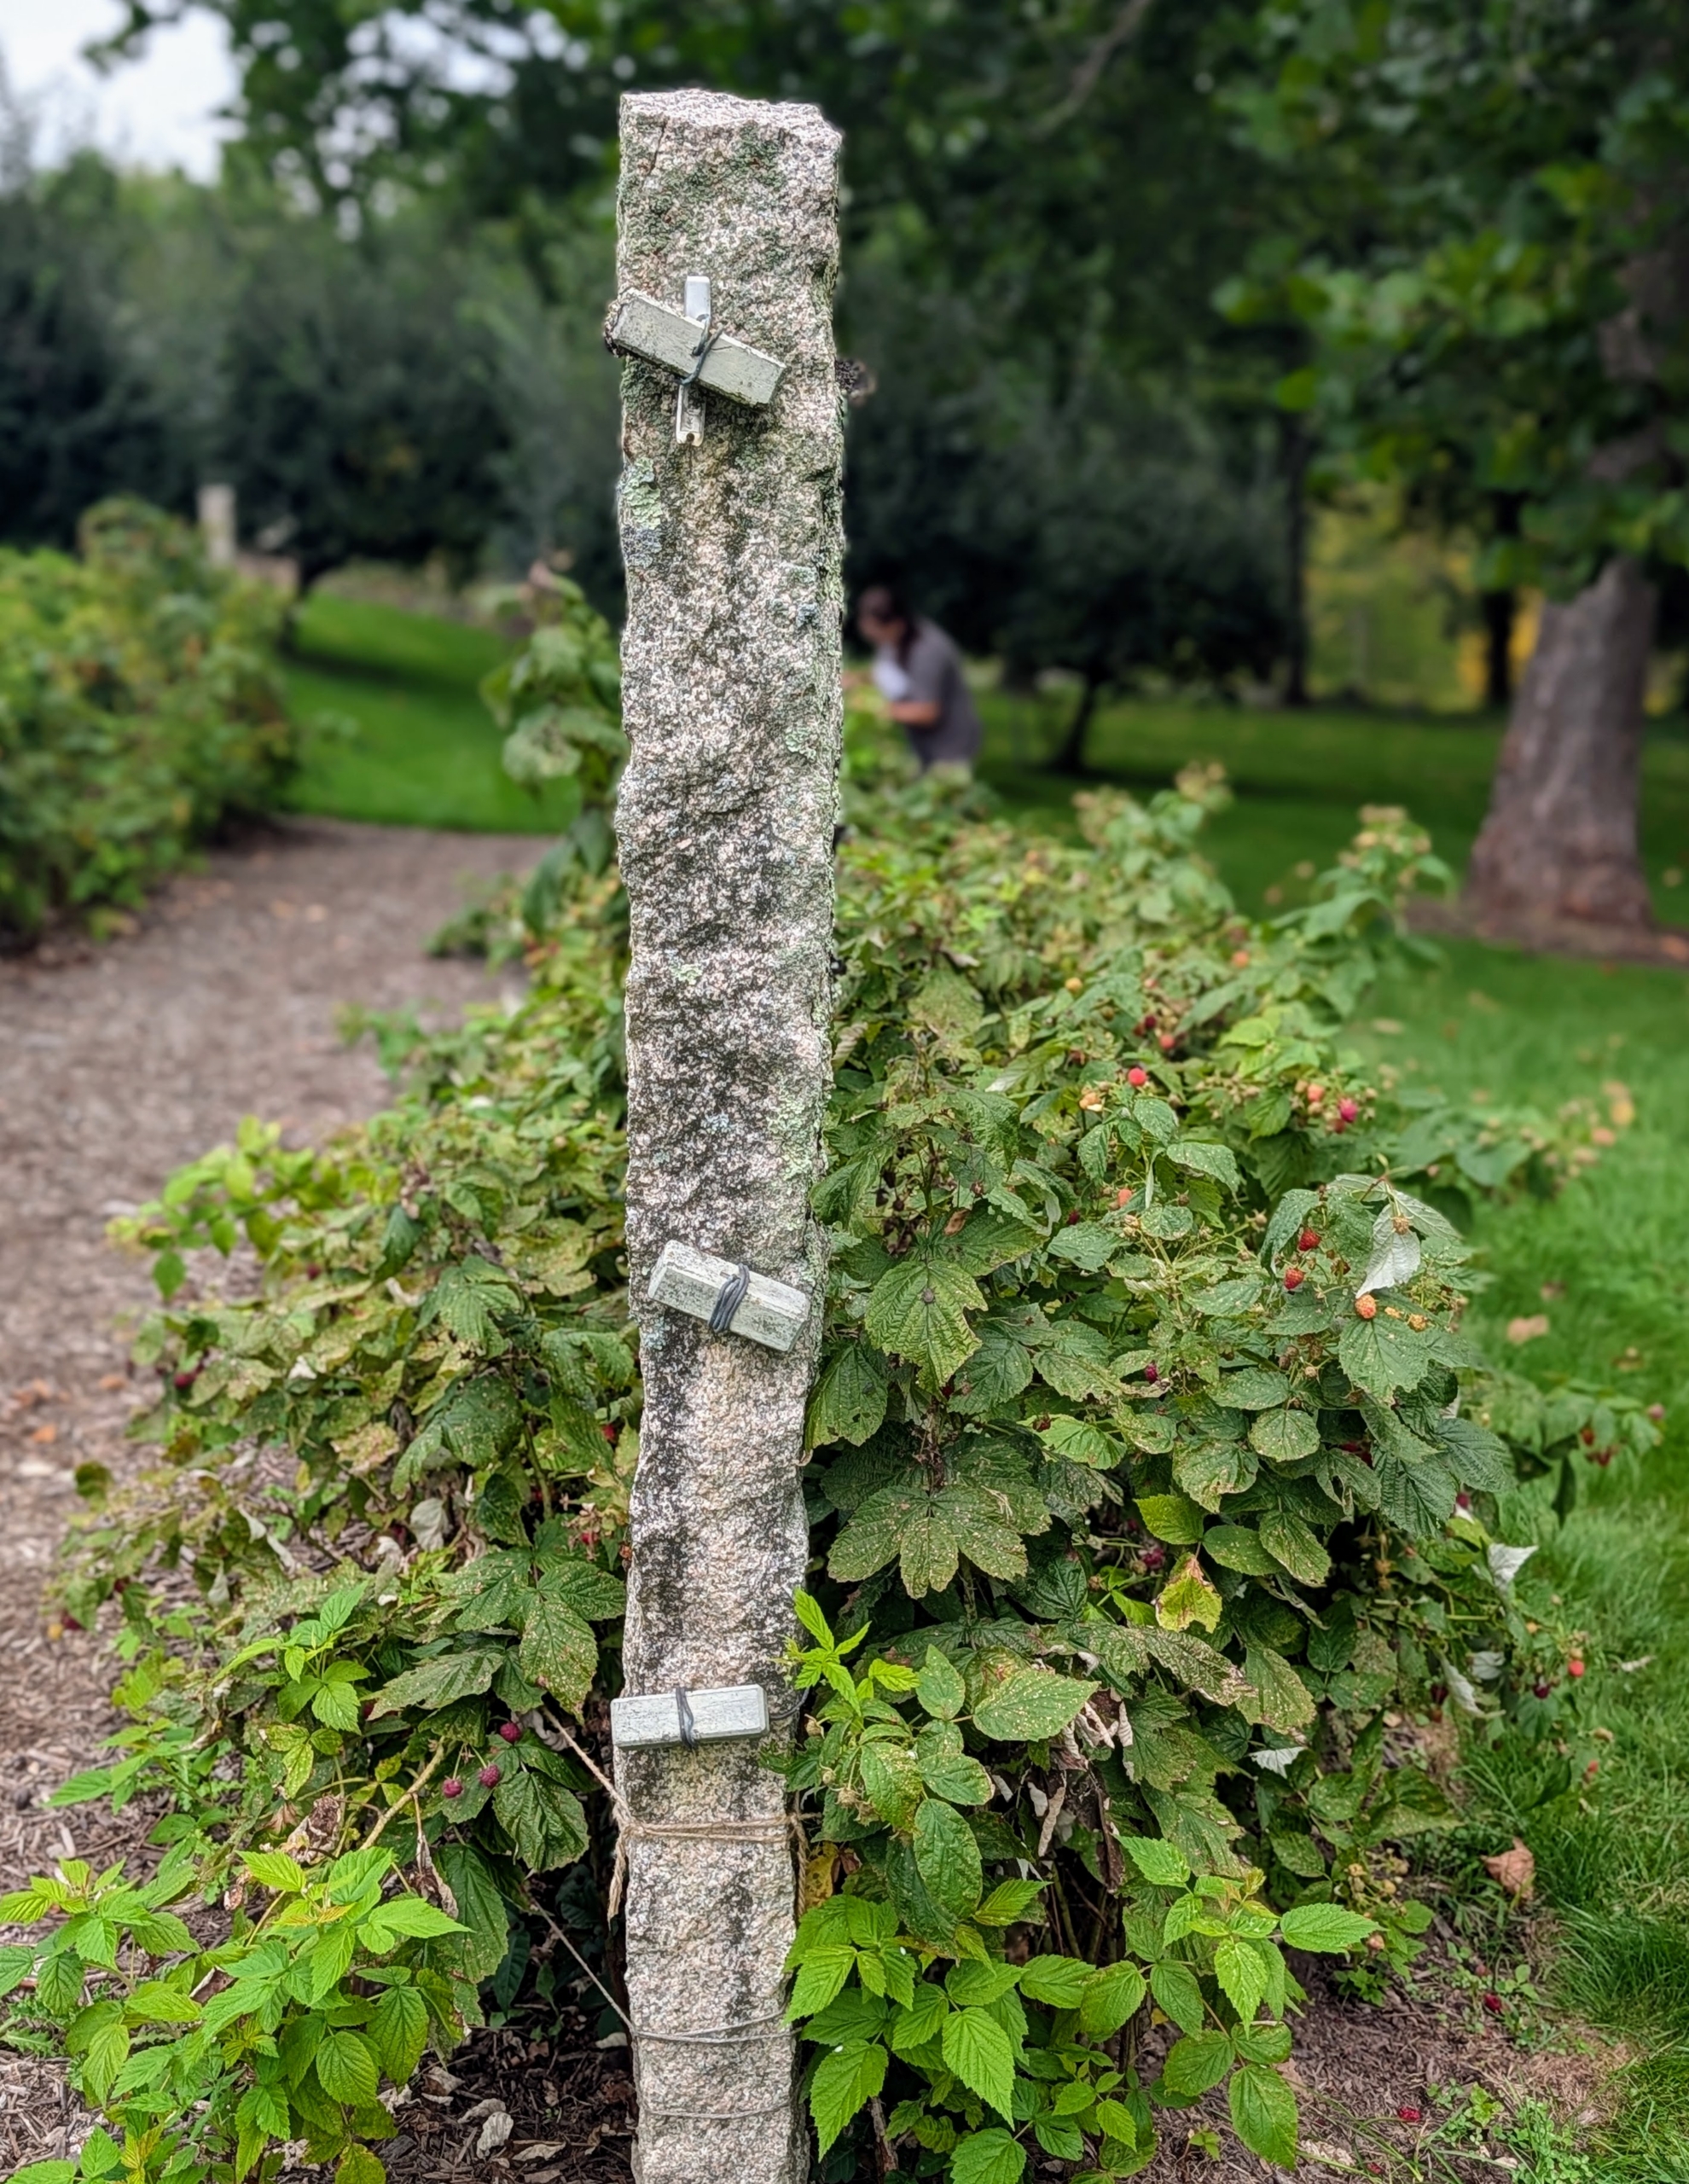
Most raspberry plants need additional support to grow properly. I use these granite posts at the end of each row, and stretch strong gauge copper wire in between them to hold up the plants. These antique posts are from China. They were originally used to support grape vines.
Raspberries thrive in temperate climates with cool winters, mild summers, and full sun exposure. I am fortunate to be able to maintain such healthy berry bushes here at the farm. I also grow blackberries, goose berries, strawberries, currants, and blueberries.
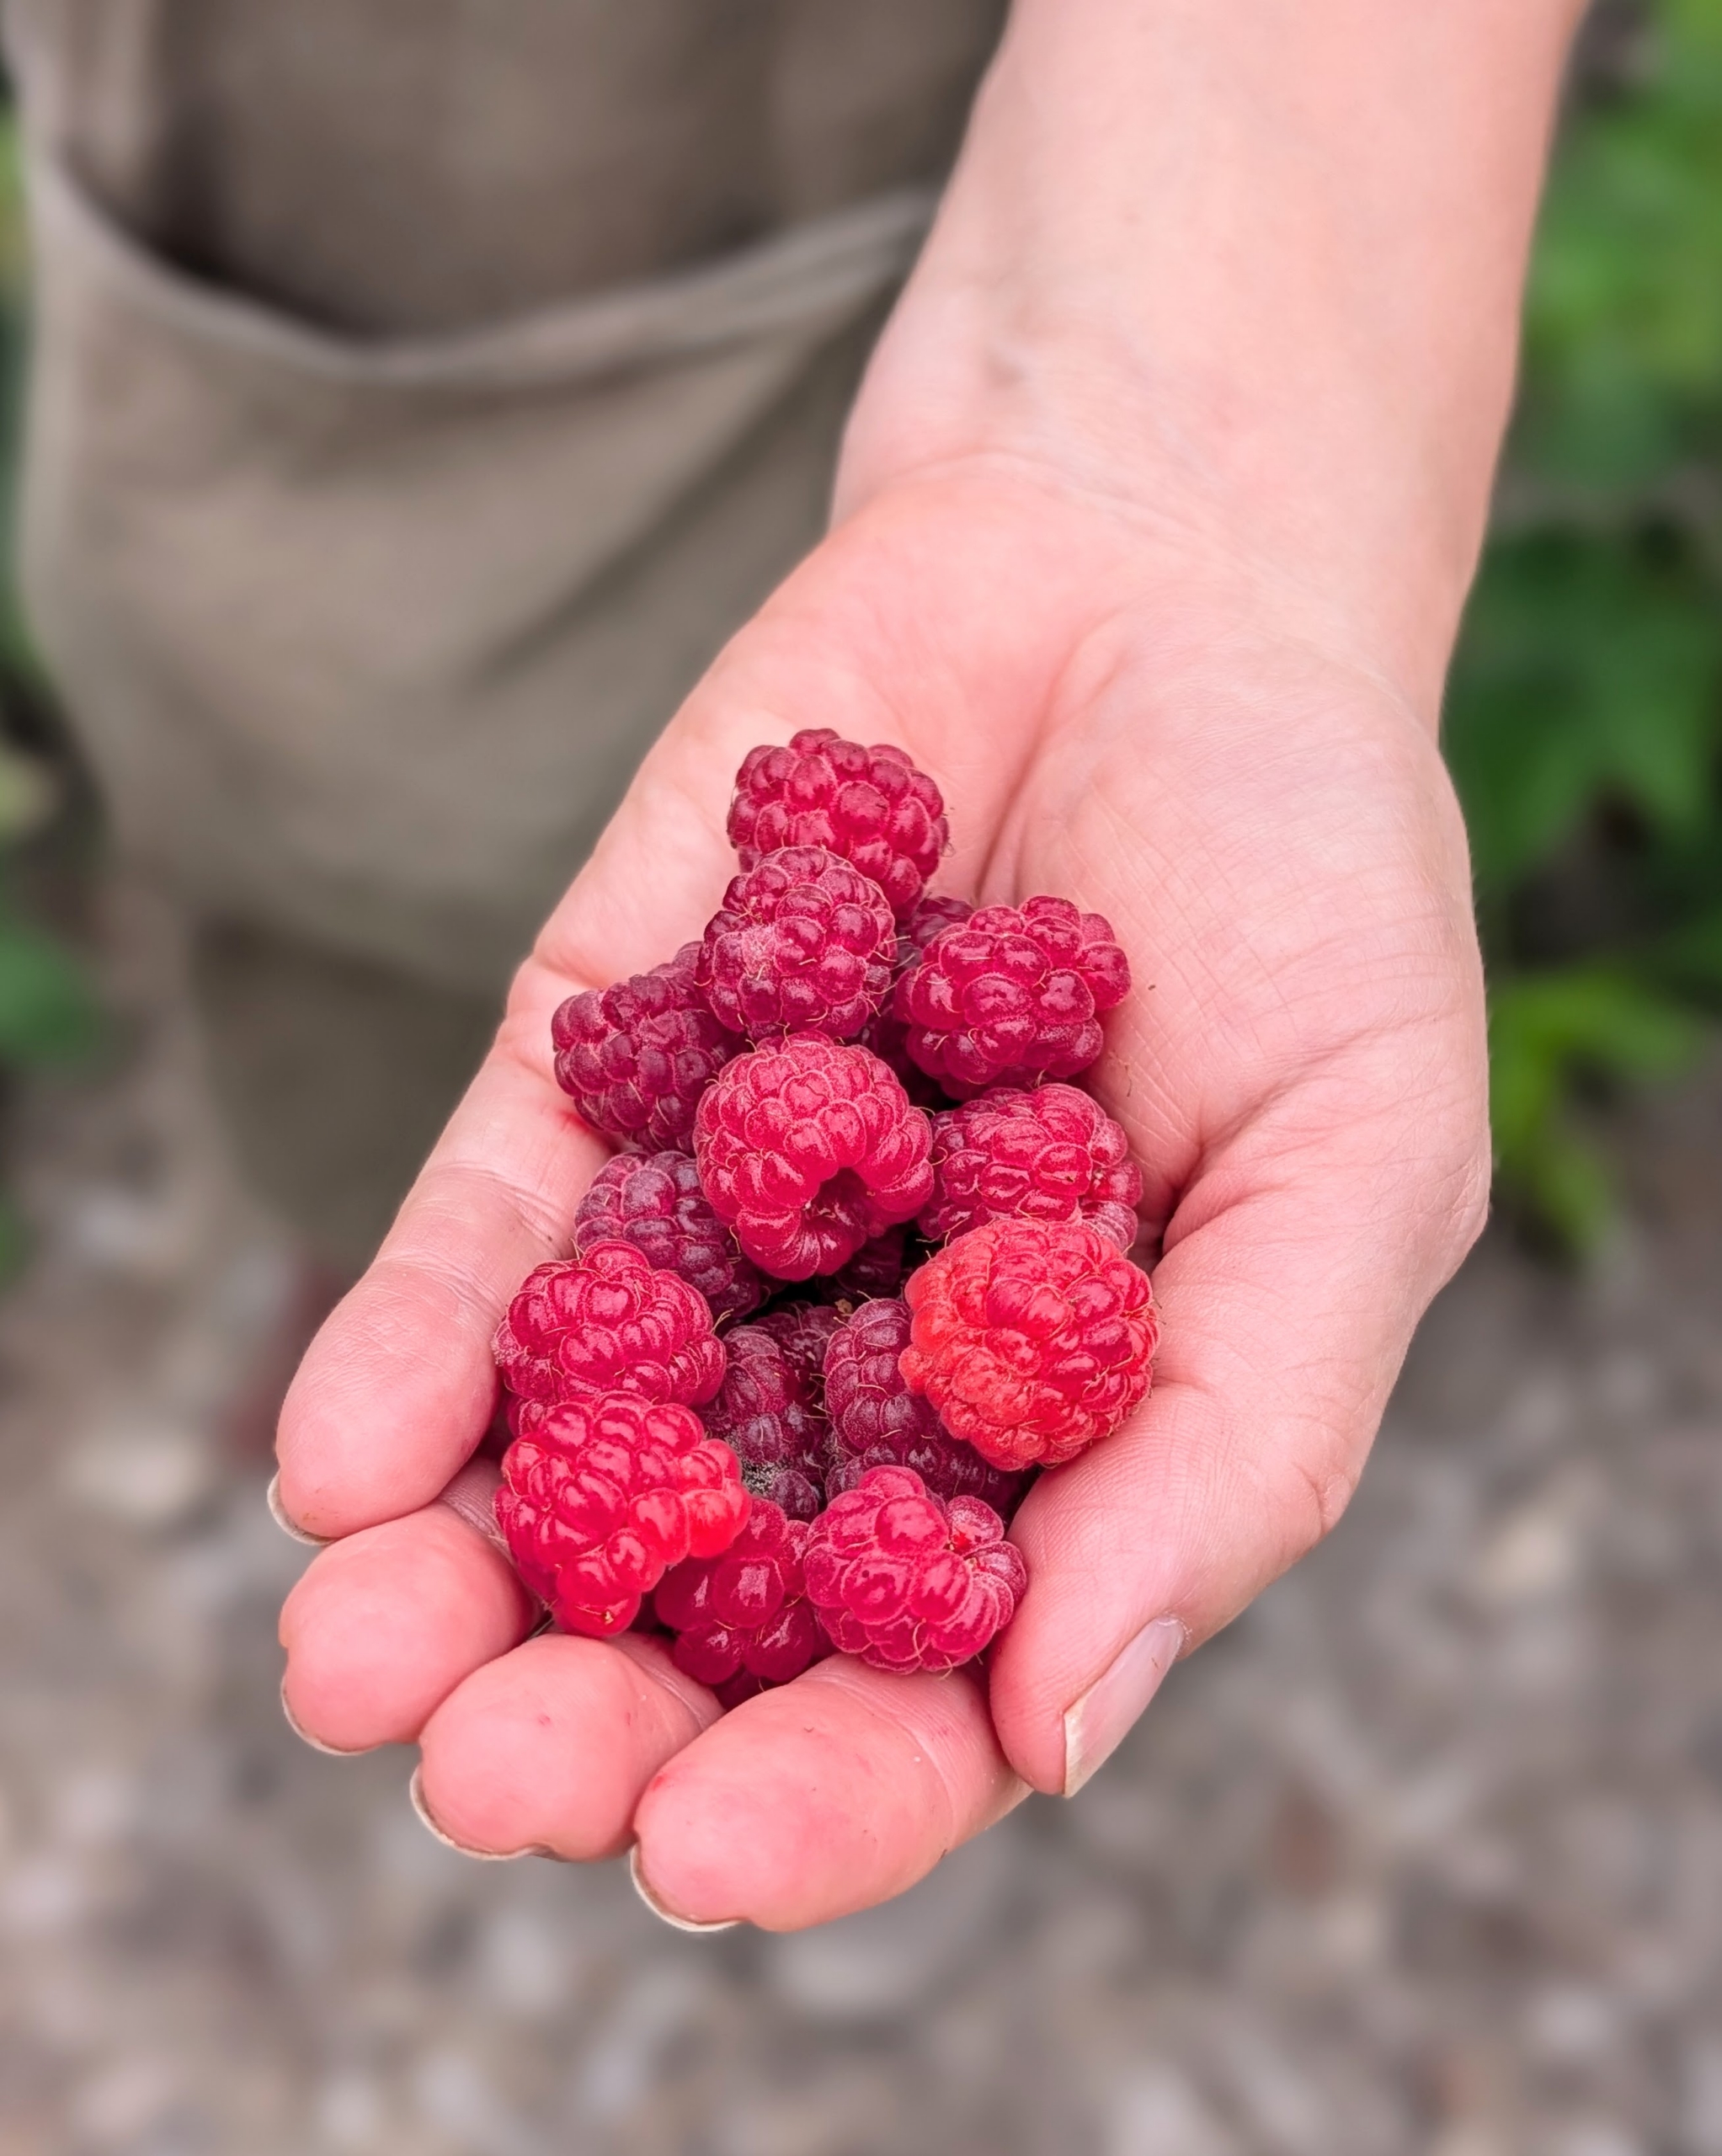
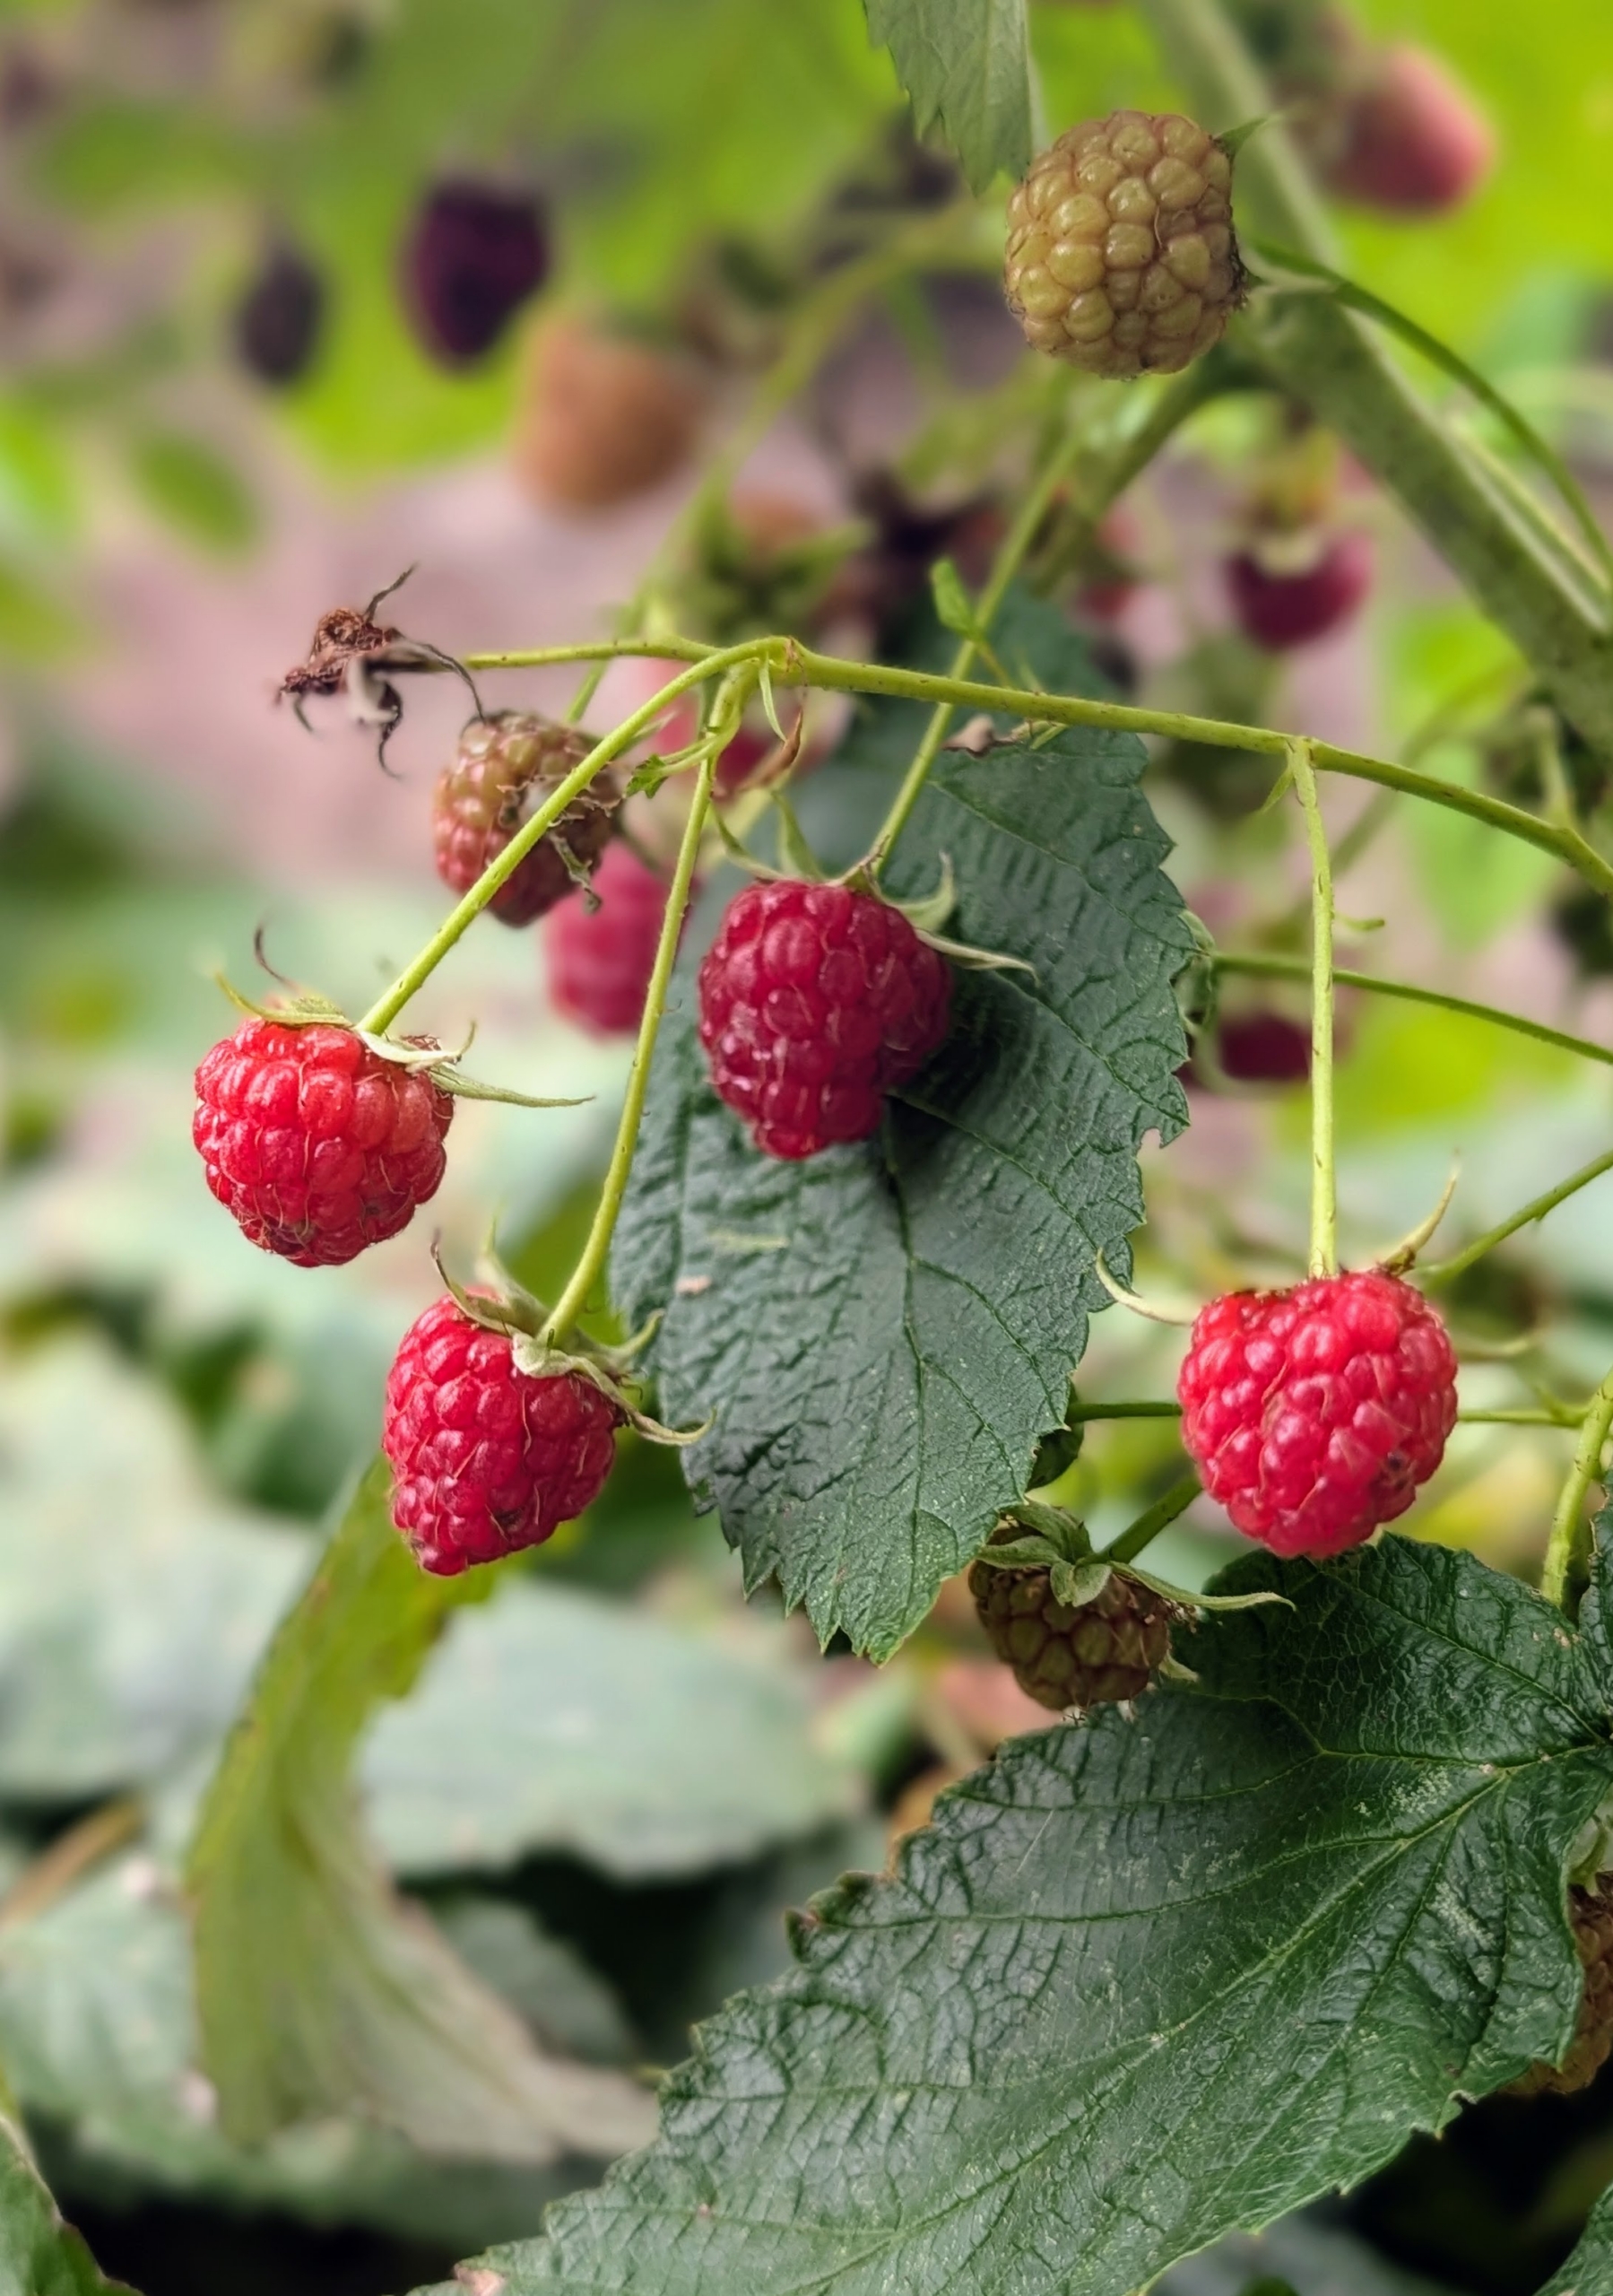
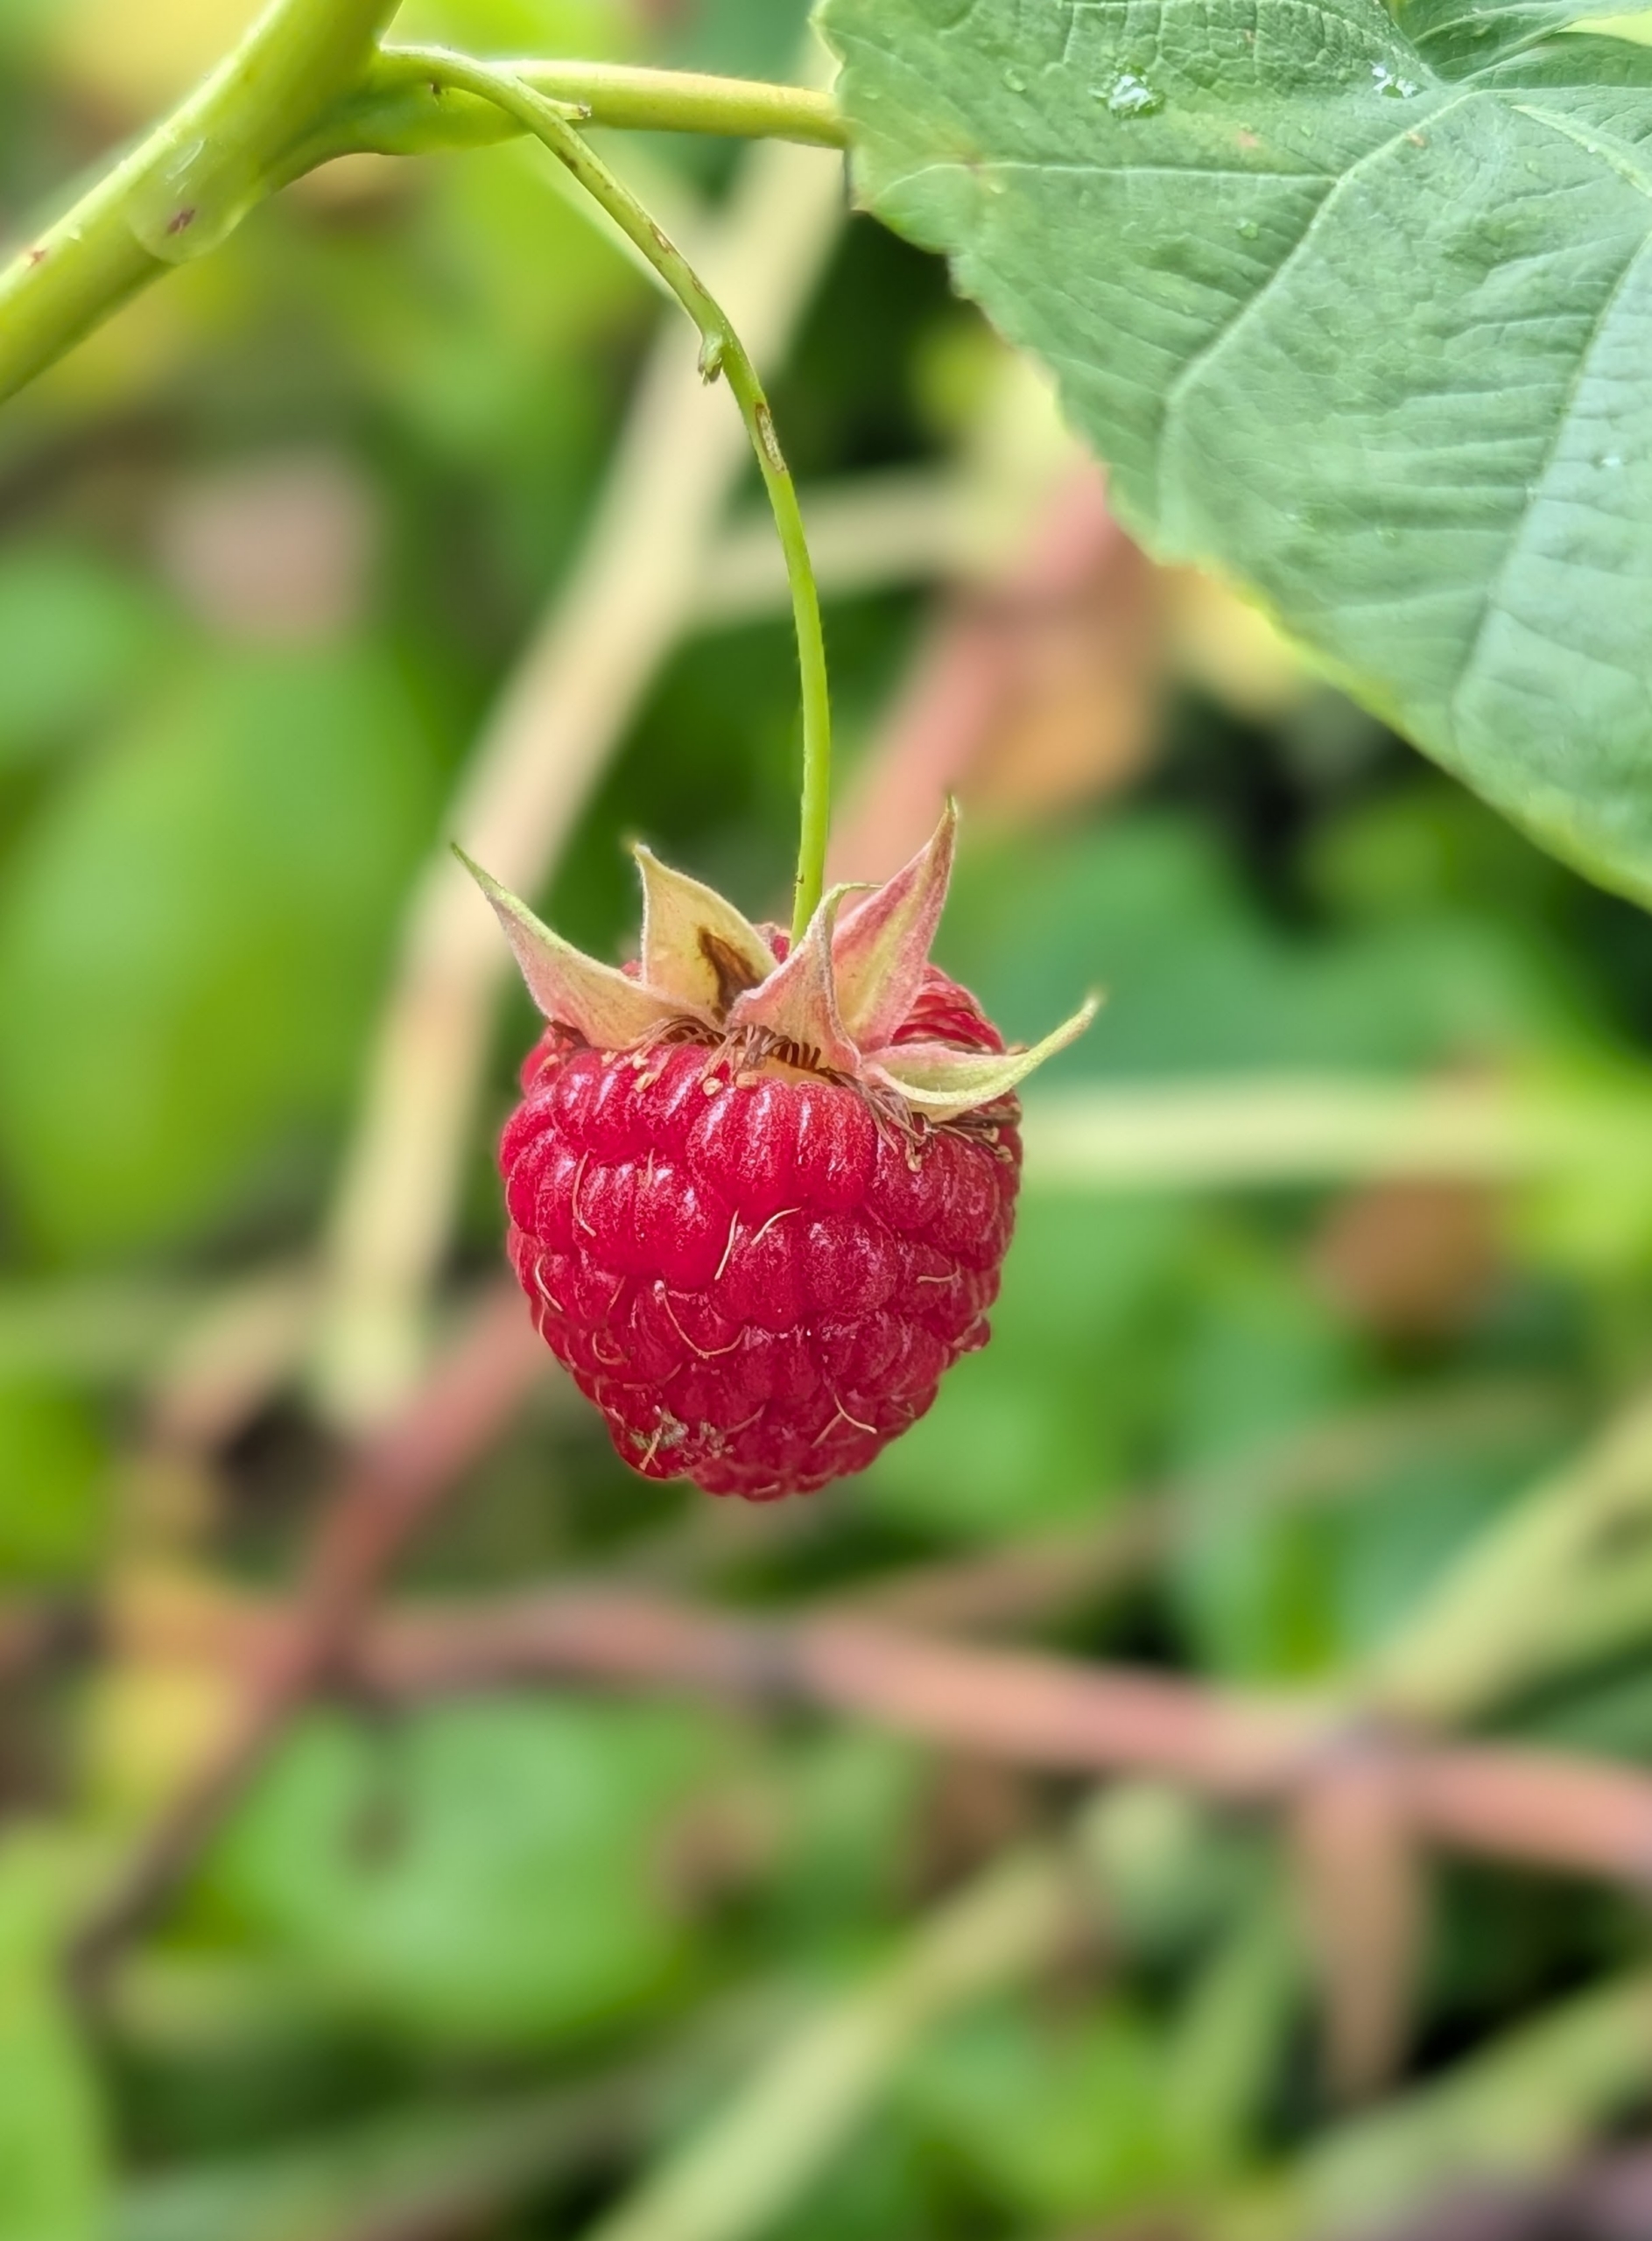
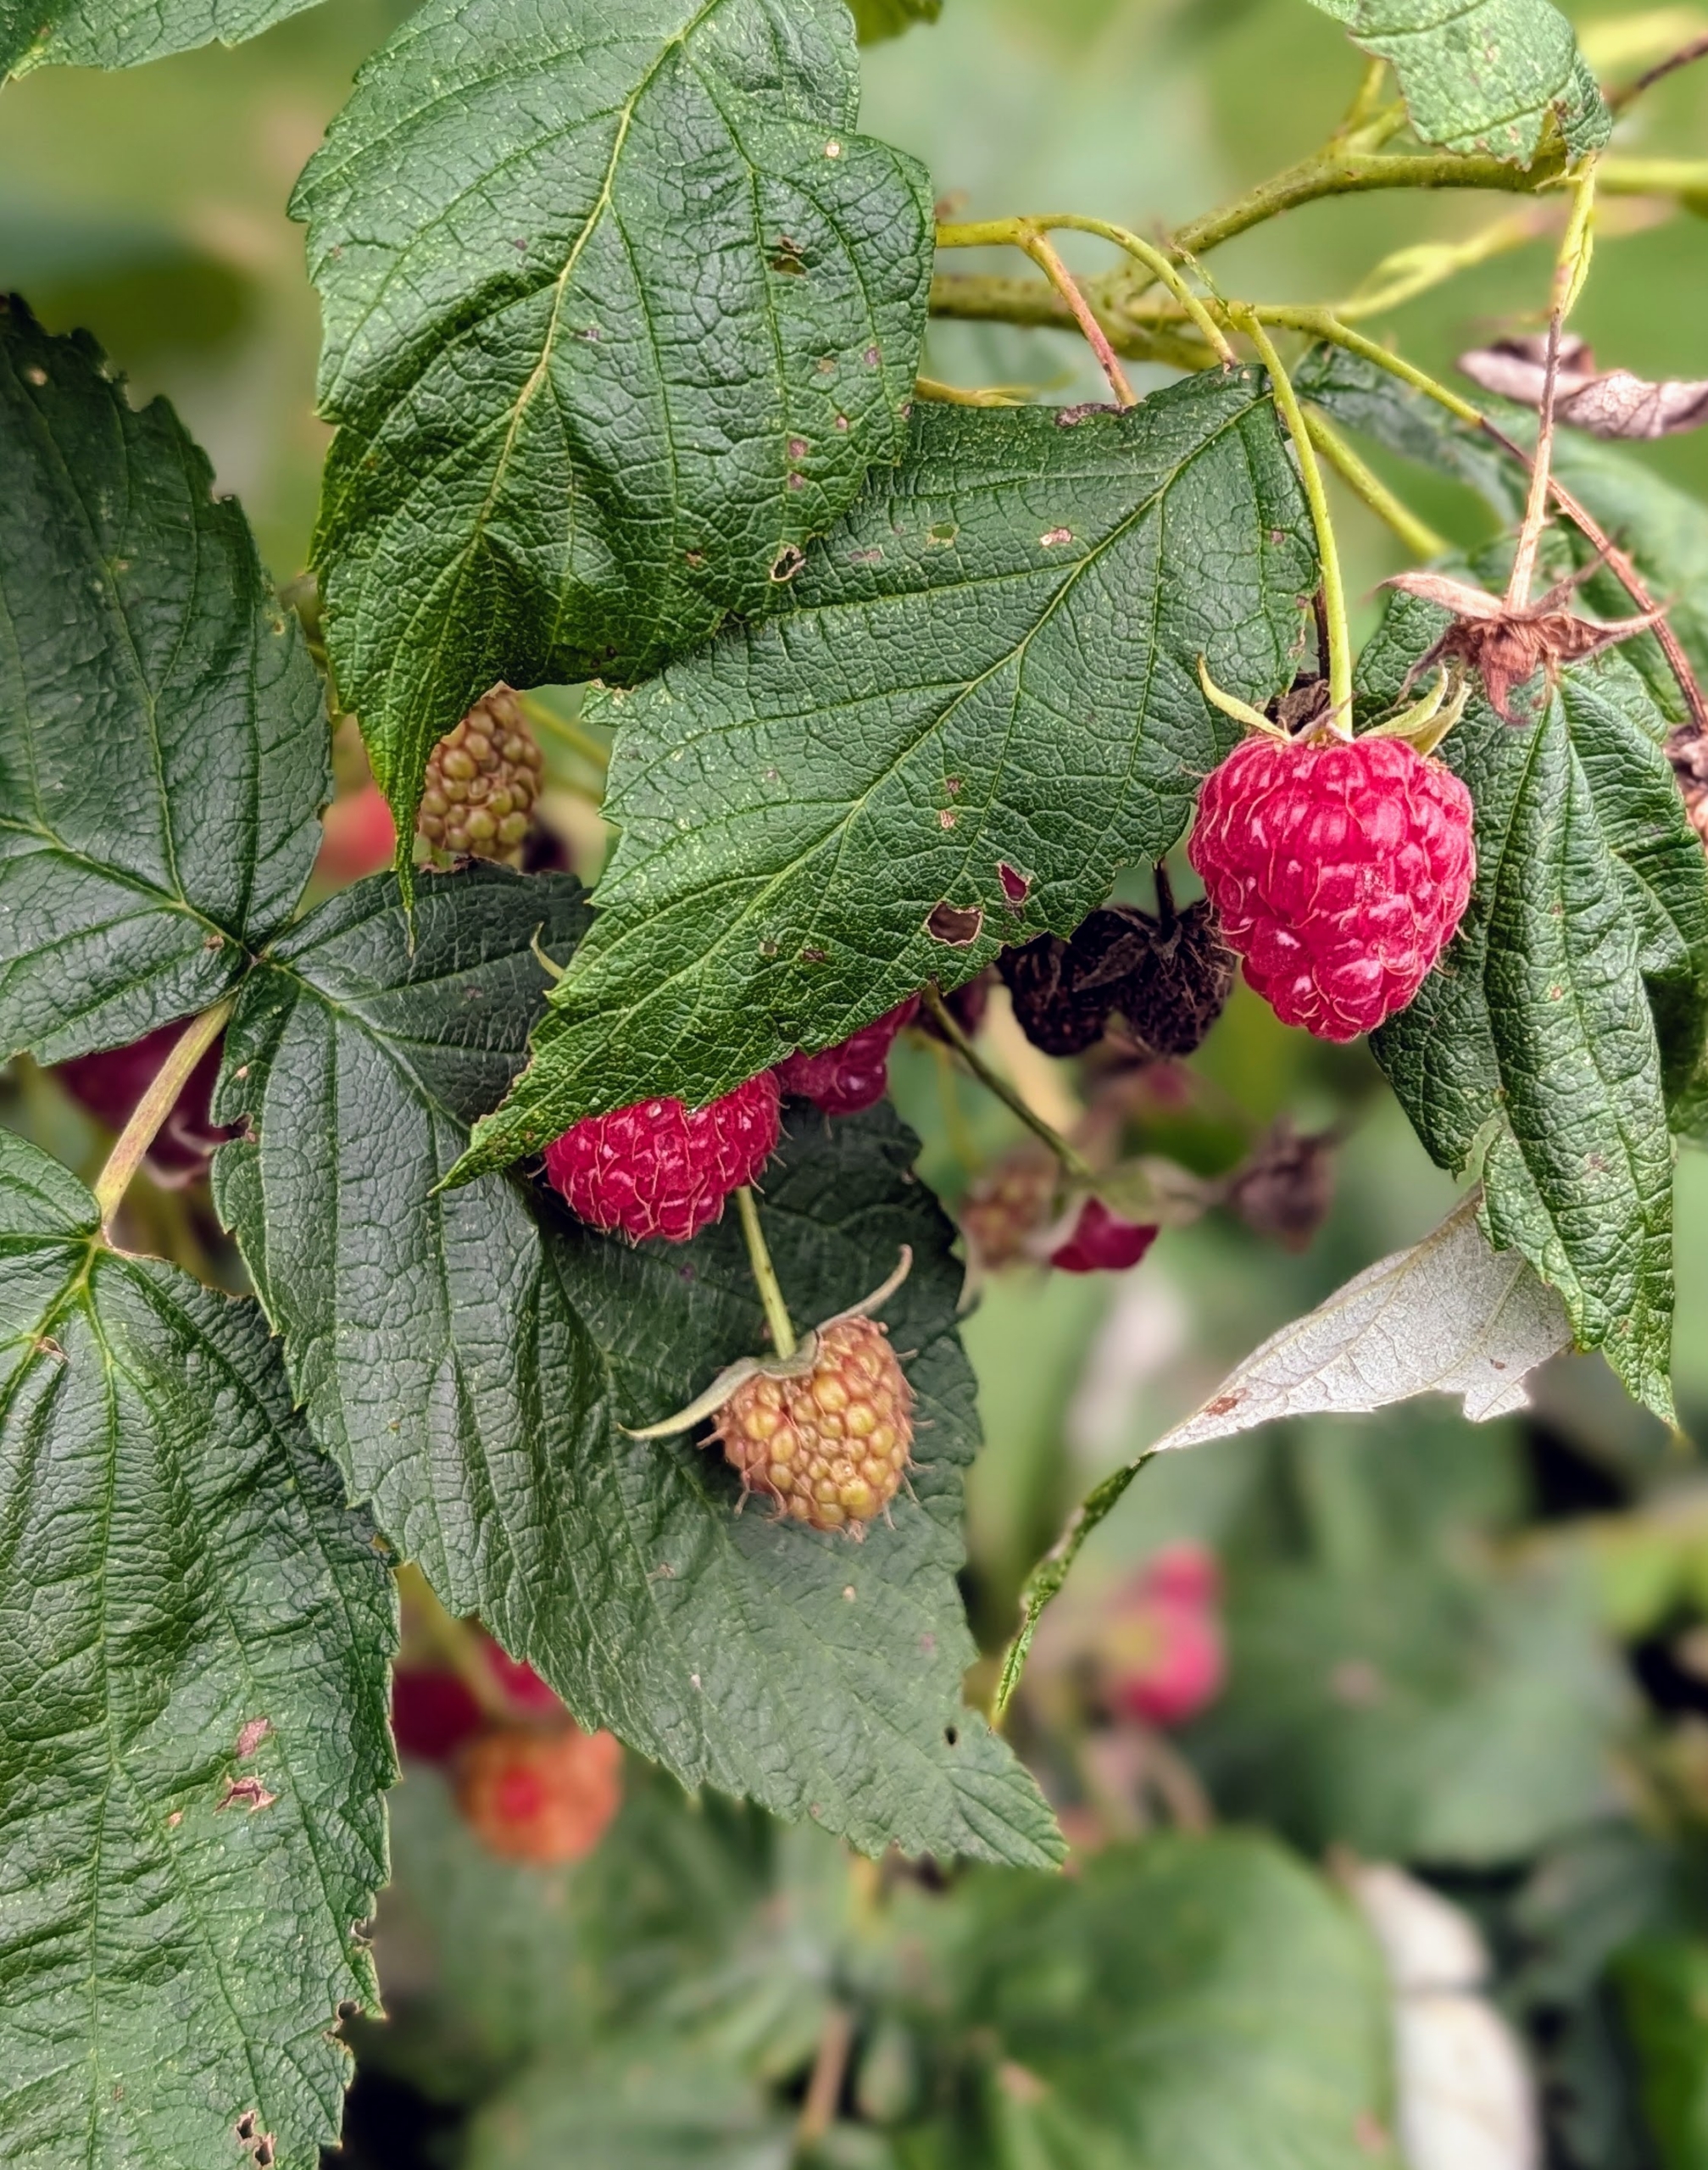
Only the ripe raspberries will slip off the stems easily. All of these red raspberries are in perfect condition.
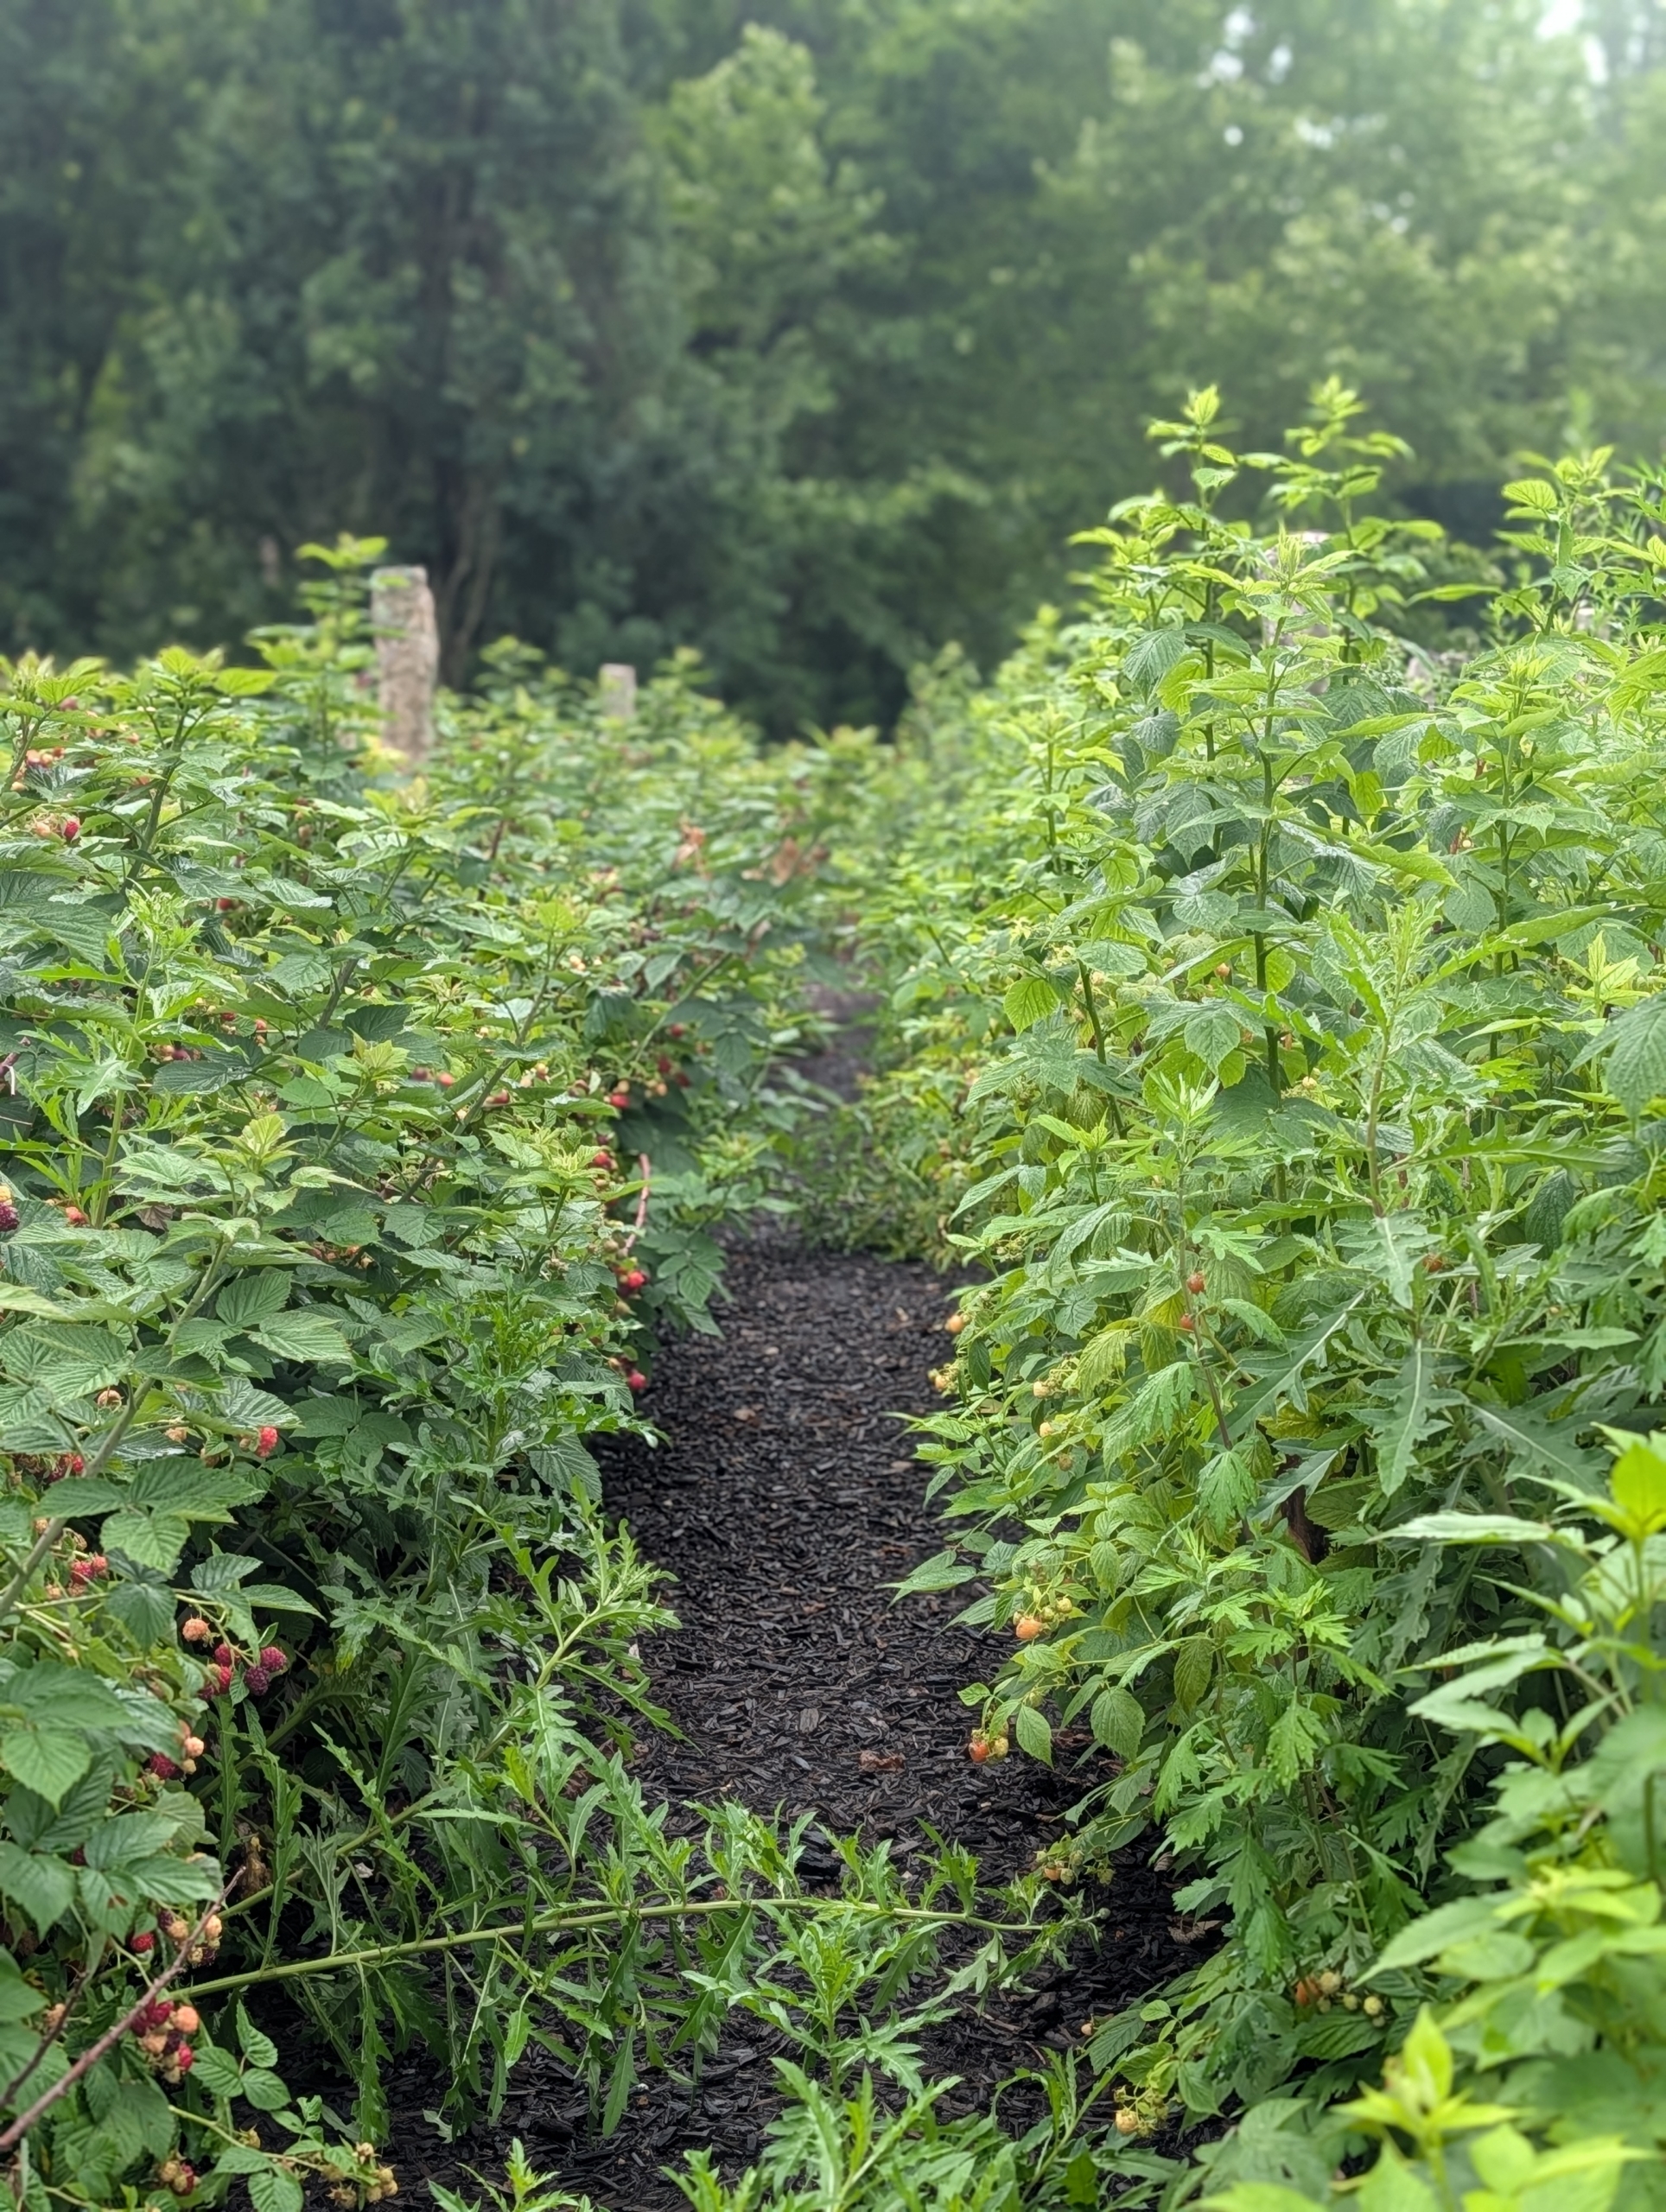
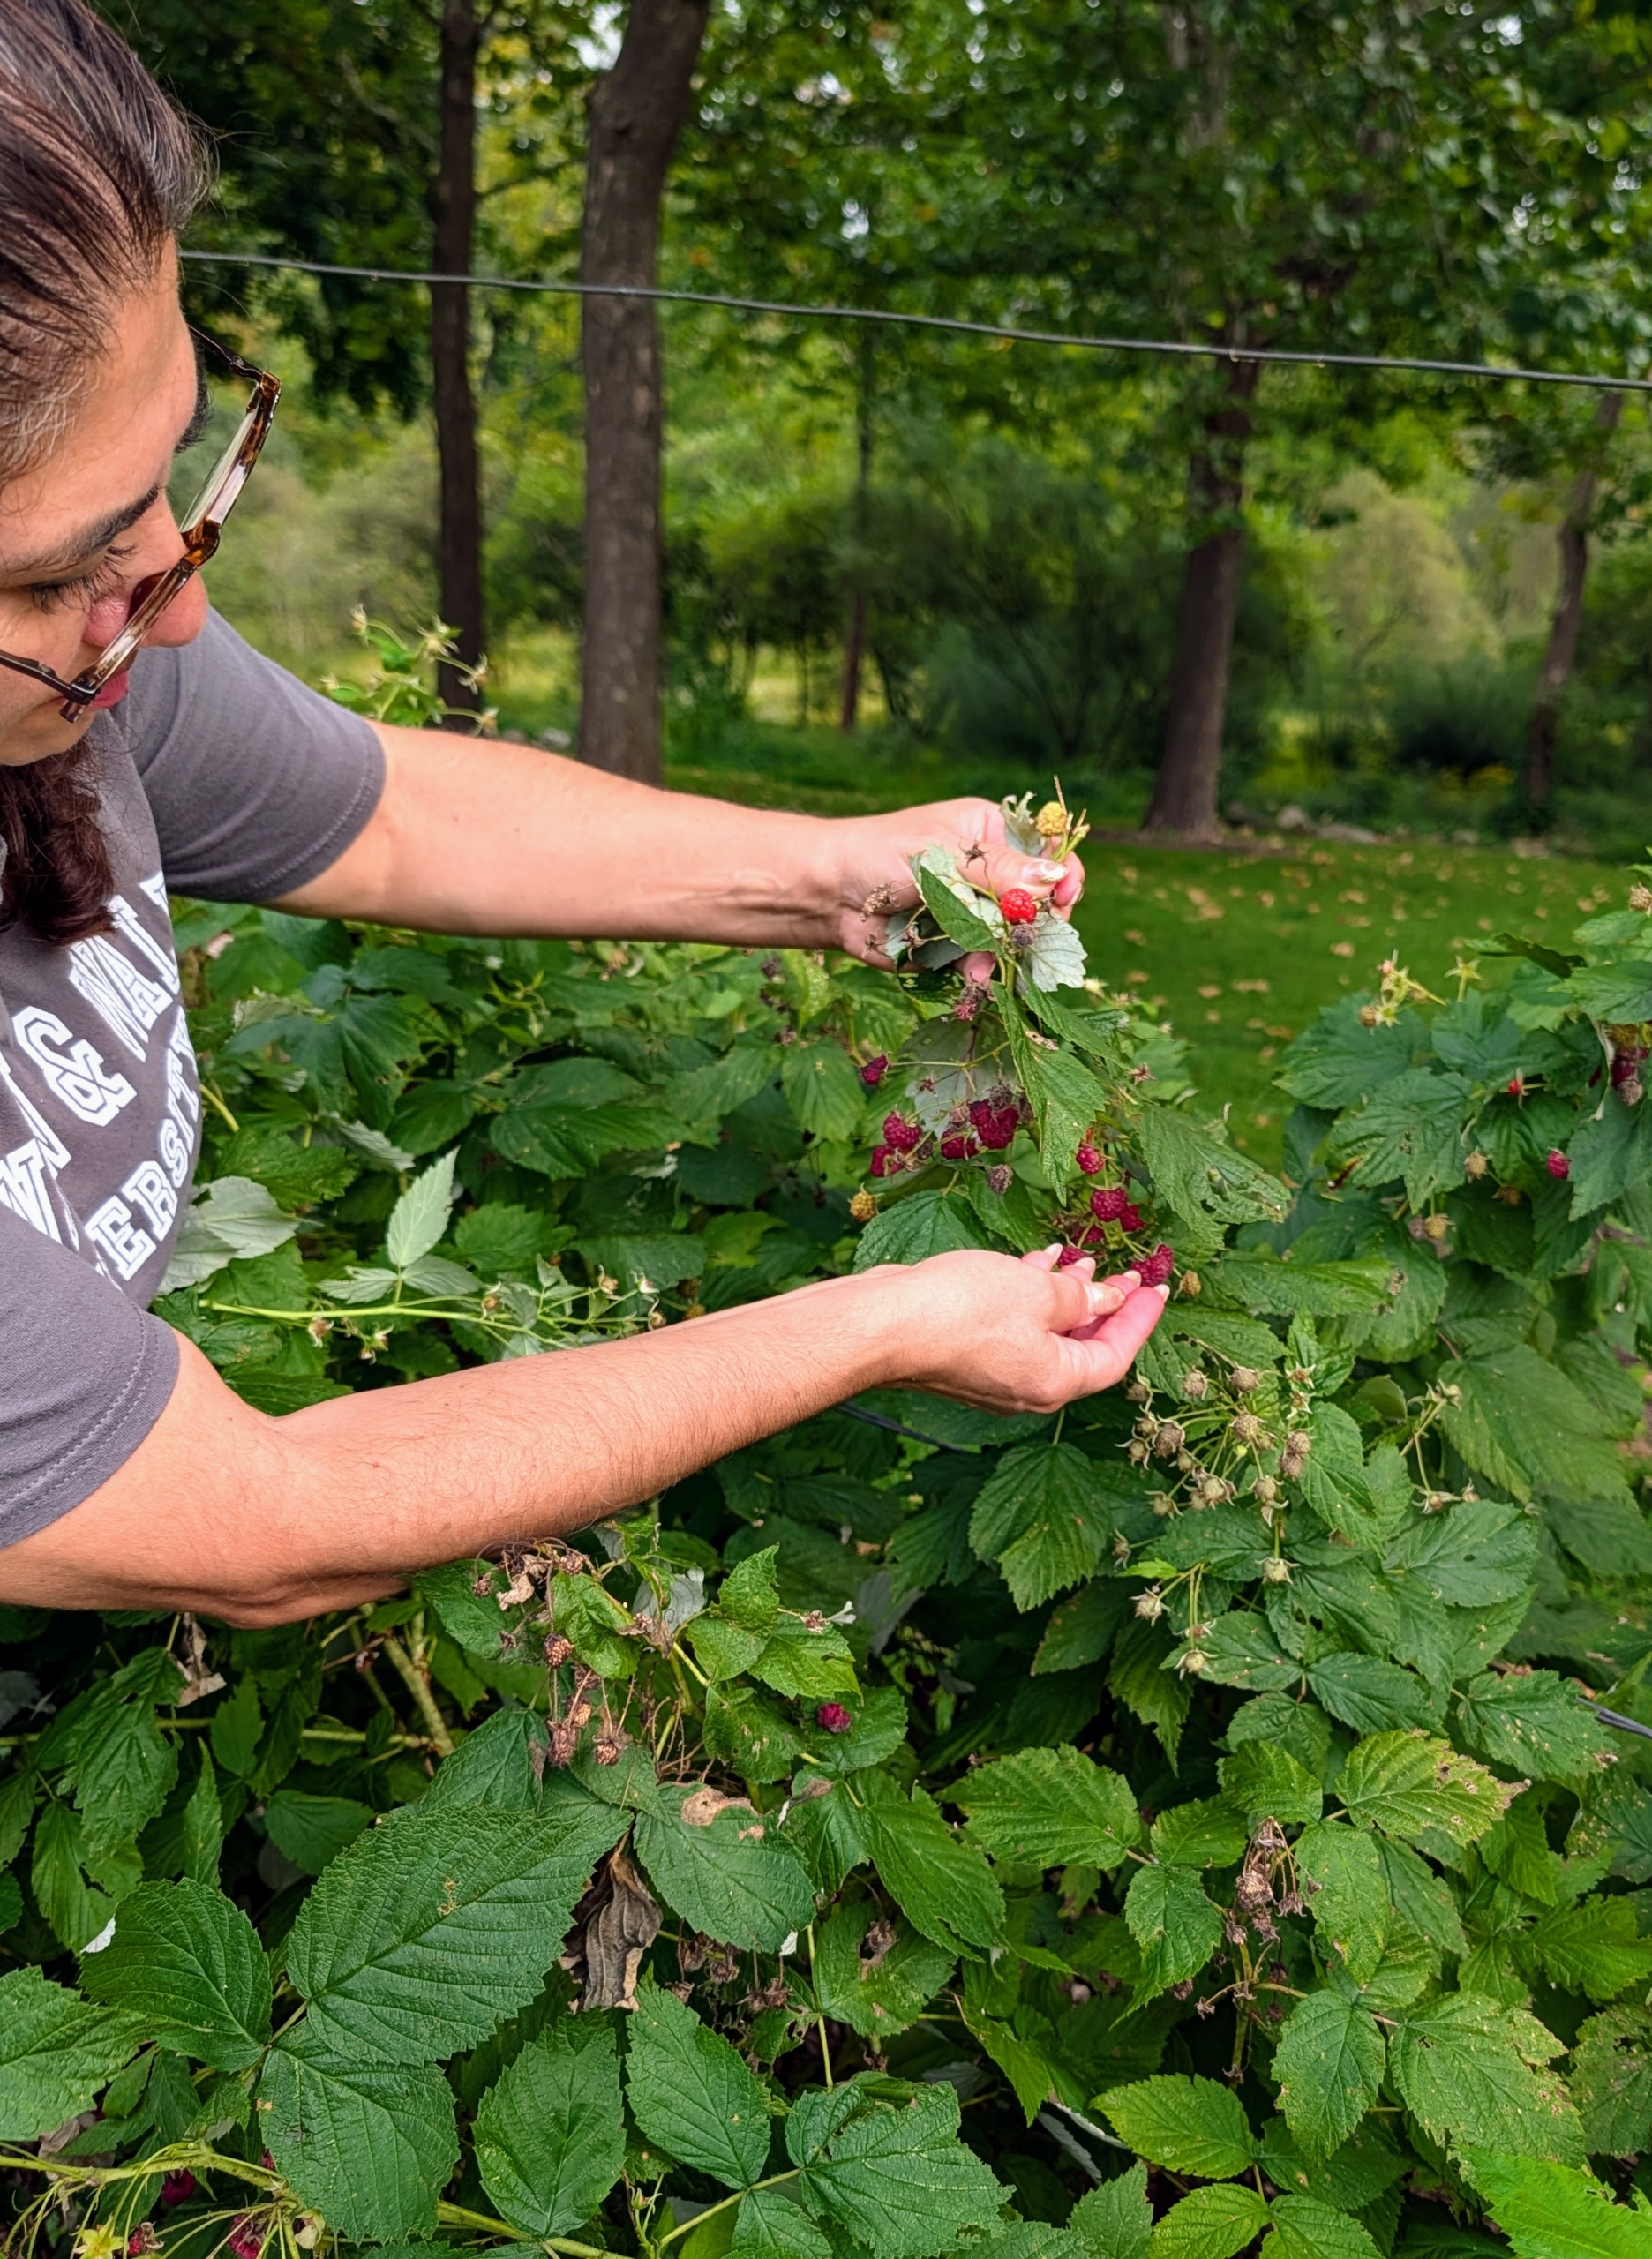
The plants grow on woody, arching stems called canes. And the berries form on the tips and along the sides of those canes.
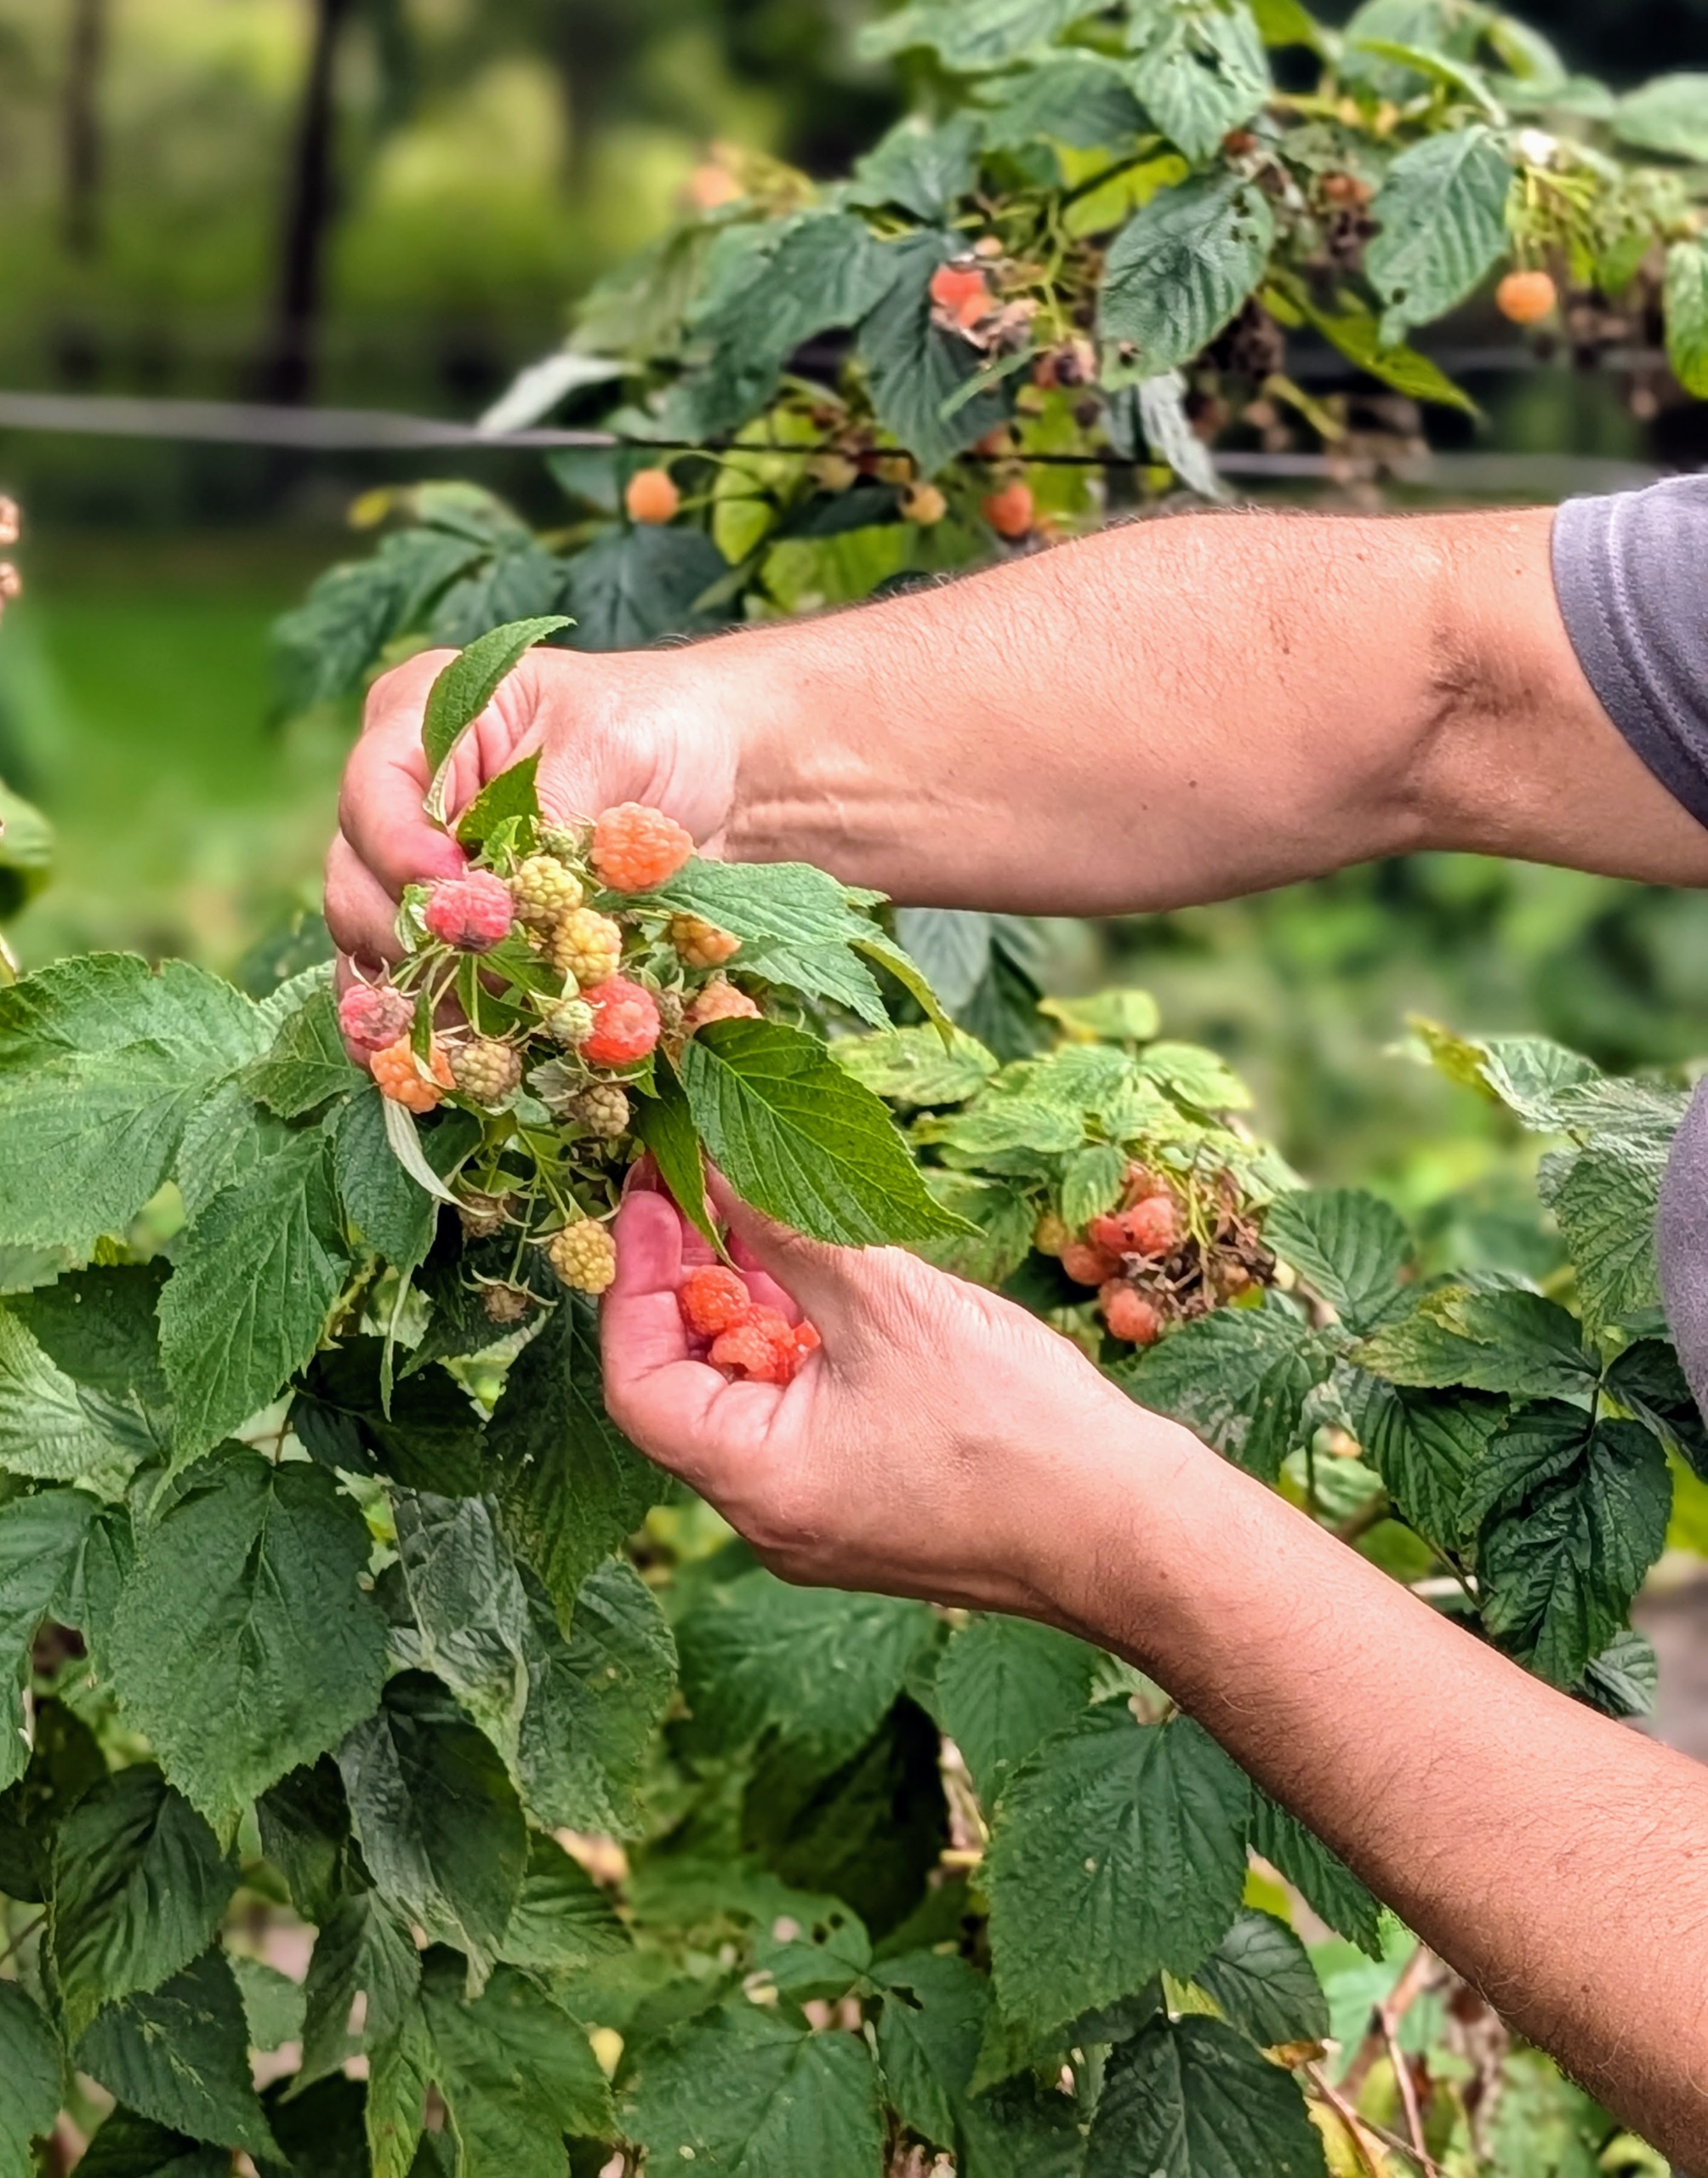
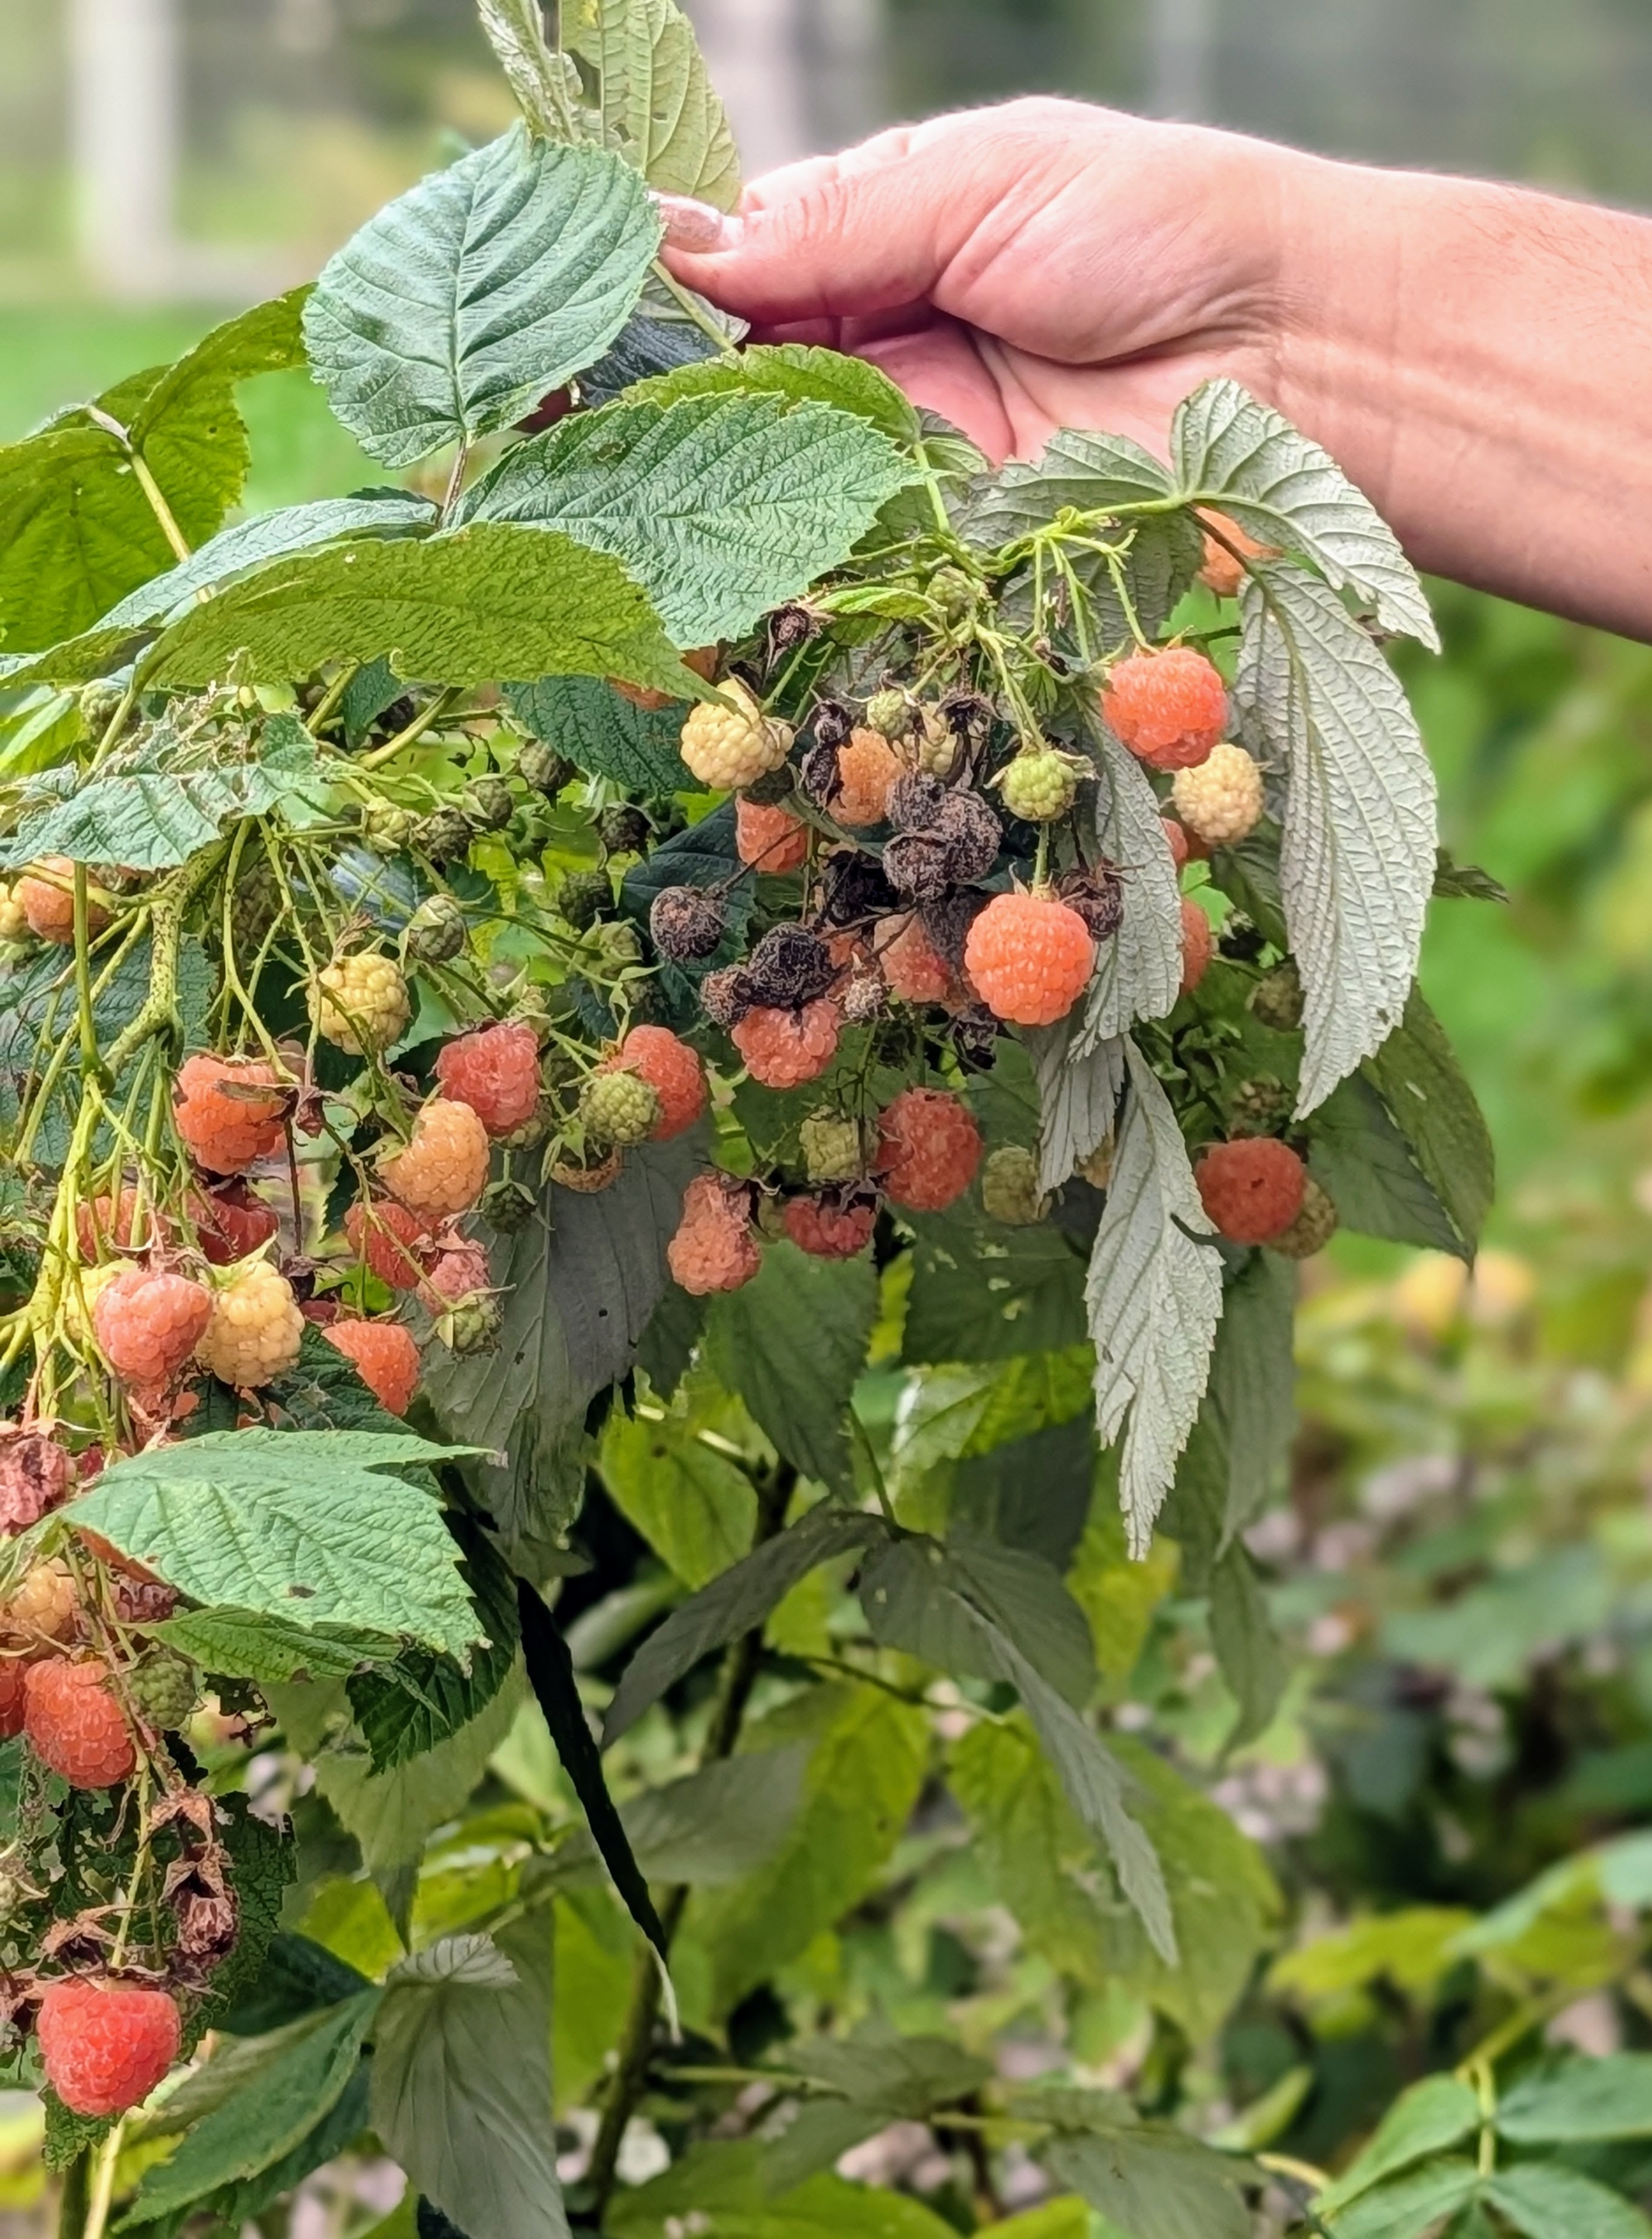
Although not as bright and easy to see as the red raspberries, these bushes are filled with ripe, gold raspberries. Botanically, all raspberries grow on shrubs belonging to the Rosaceae family, in the genus Rubus.
The raspberry is made up of small “drupe” fruits which are arranged in a circular fashion around a hollow central cavity. Each drupelet features a juicy pulp with a single seed.
Gold raspberries get their distinctive yellow‑to‑amber color from a natural genetic mutation in the common red raspberry that prevents the production of anthocyanins – the water‑soluble plant pigments responsible for the red, purple, and blue colors in many berries, including red raspberries.
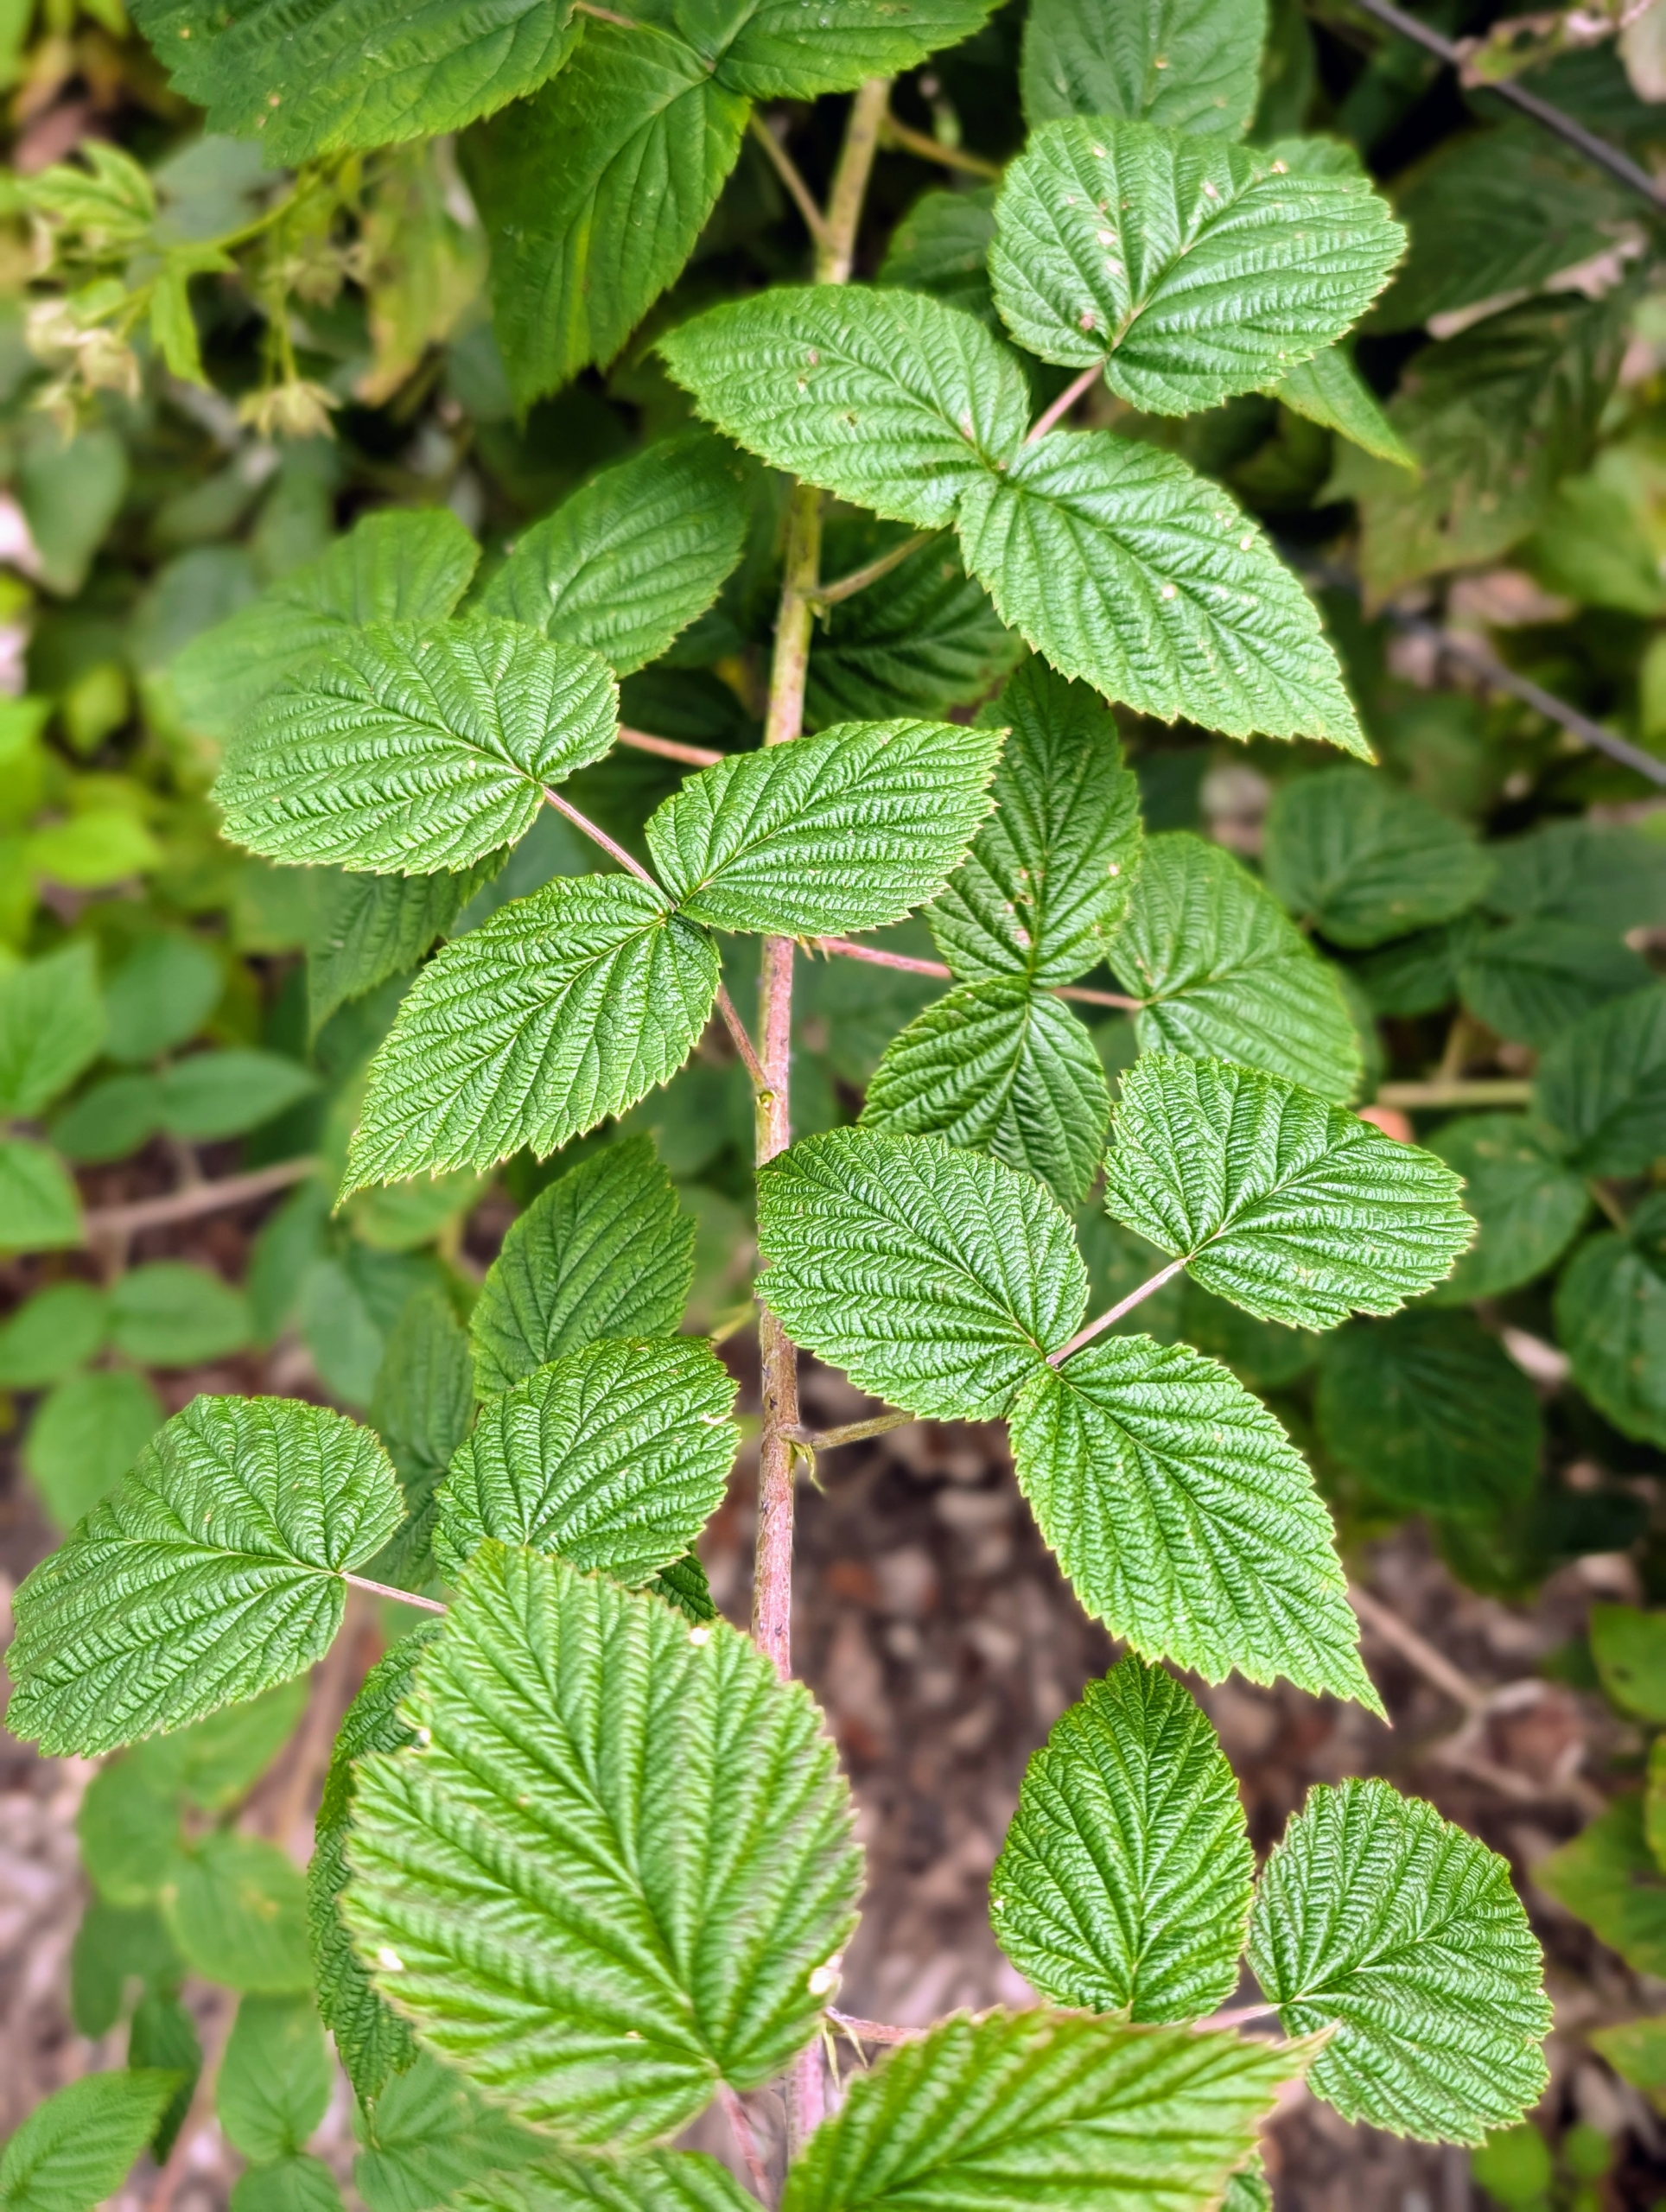
The raspberry plant has spade-shaped leaves that are toothed along the edges. It takes about two to three years for a new raspberry plant to produce a significant crop of fruit. Once mature, one plant can produce several hundred berries in a season.
Raspberries are unique because their roots and crowns are perennial, while their stems or canes are biennial.
Here, Enma picks many of the red raspberries. They are quite fragile, so she is careful not to pack them in or press them down.
Raspberries contain vitamins A and E and are also rich in minerals, such as potassium, manganese, copper, iron, and magnesium.
Enma fills this tray with berries in just a few minutes.
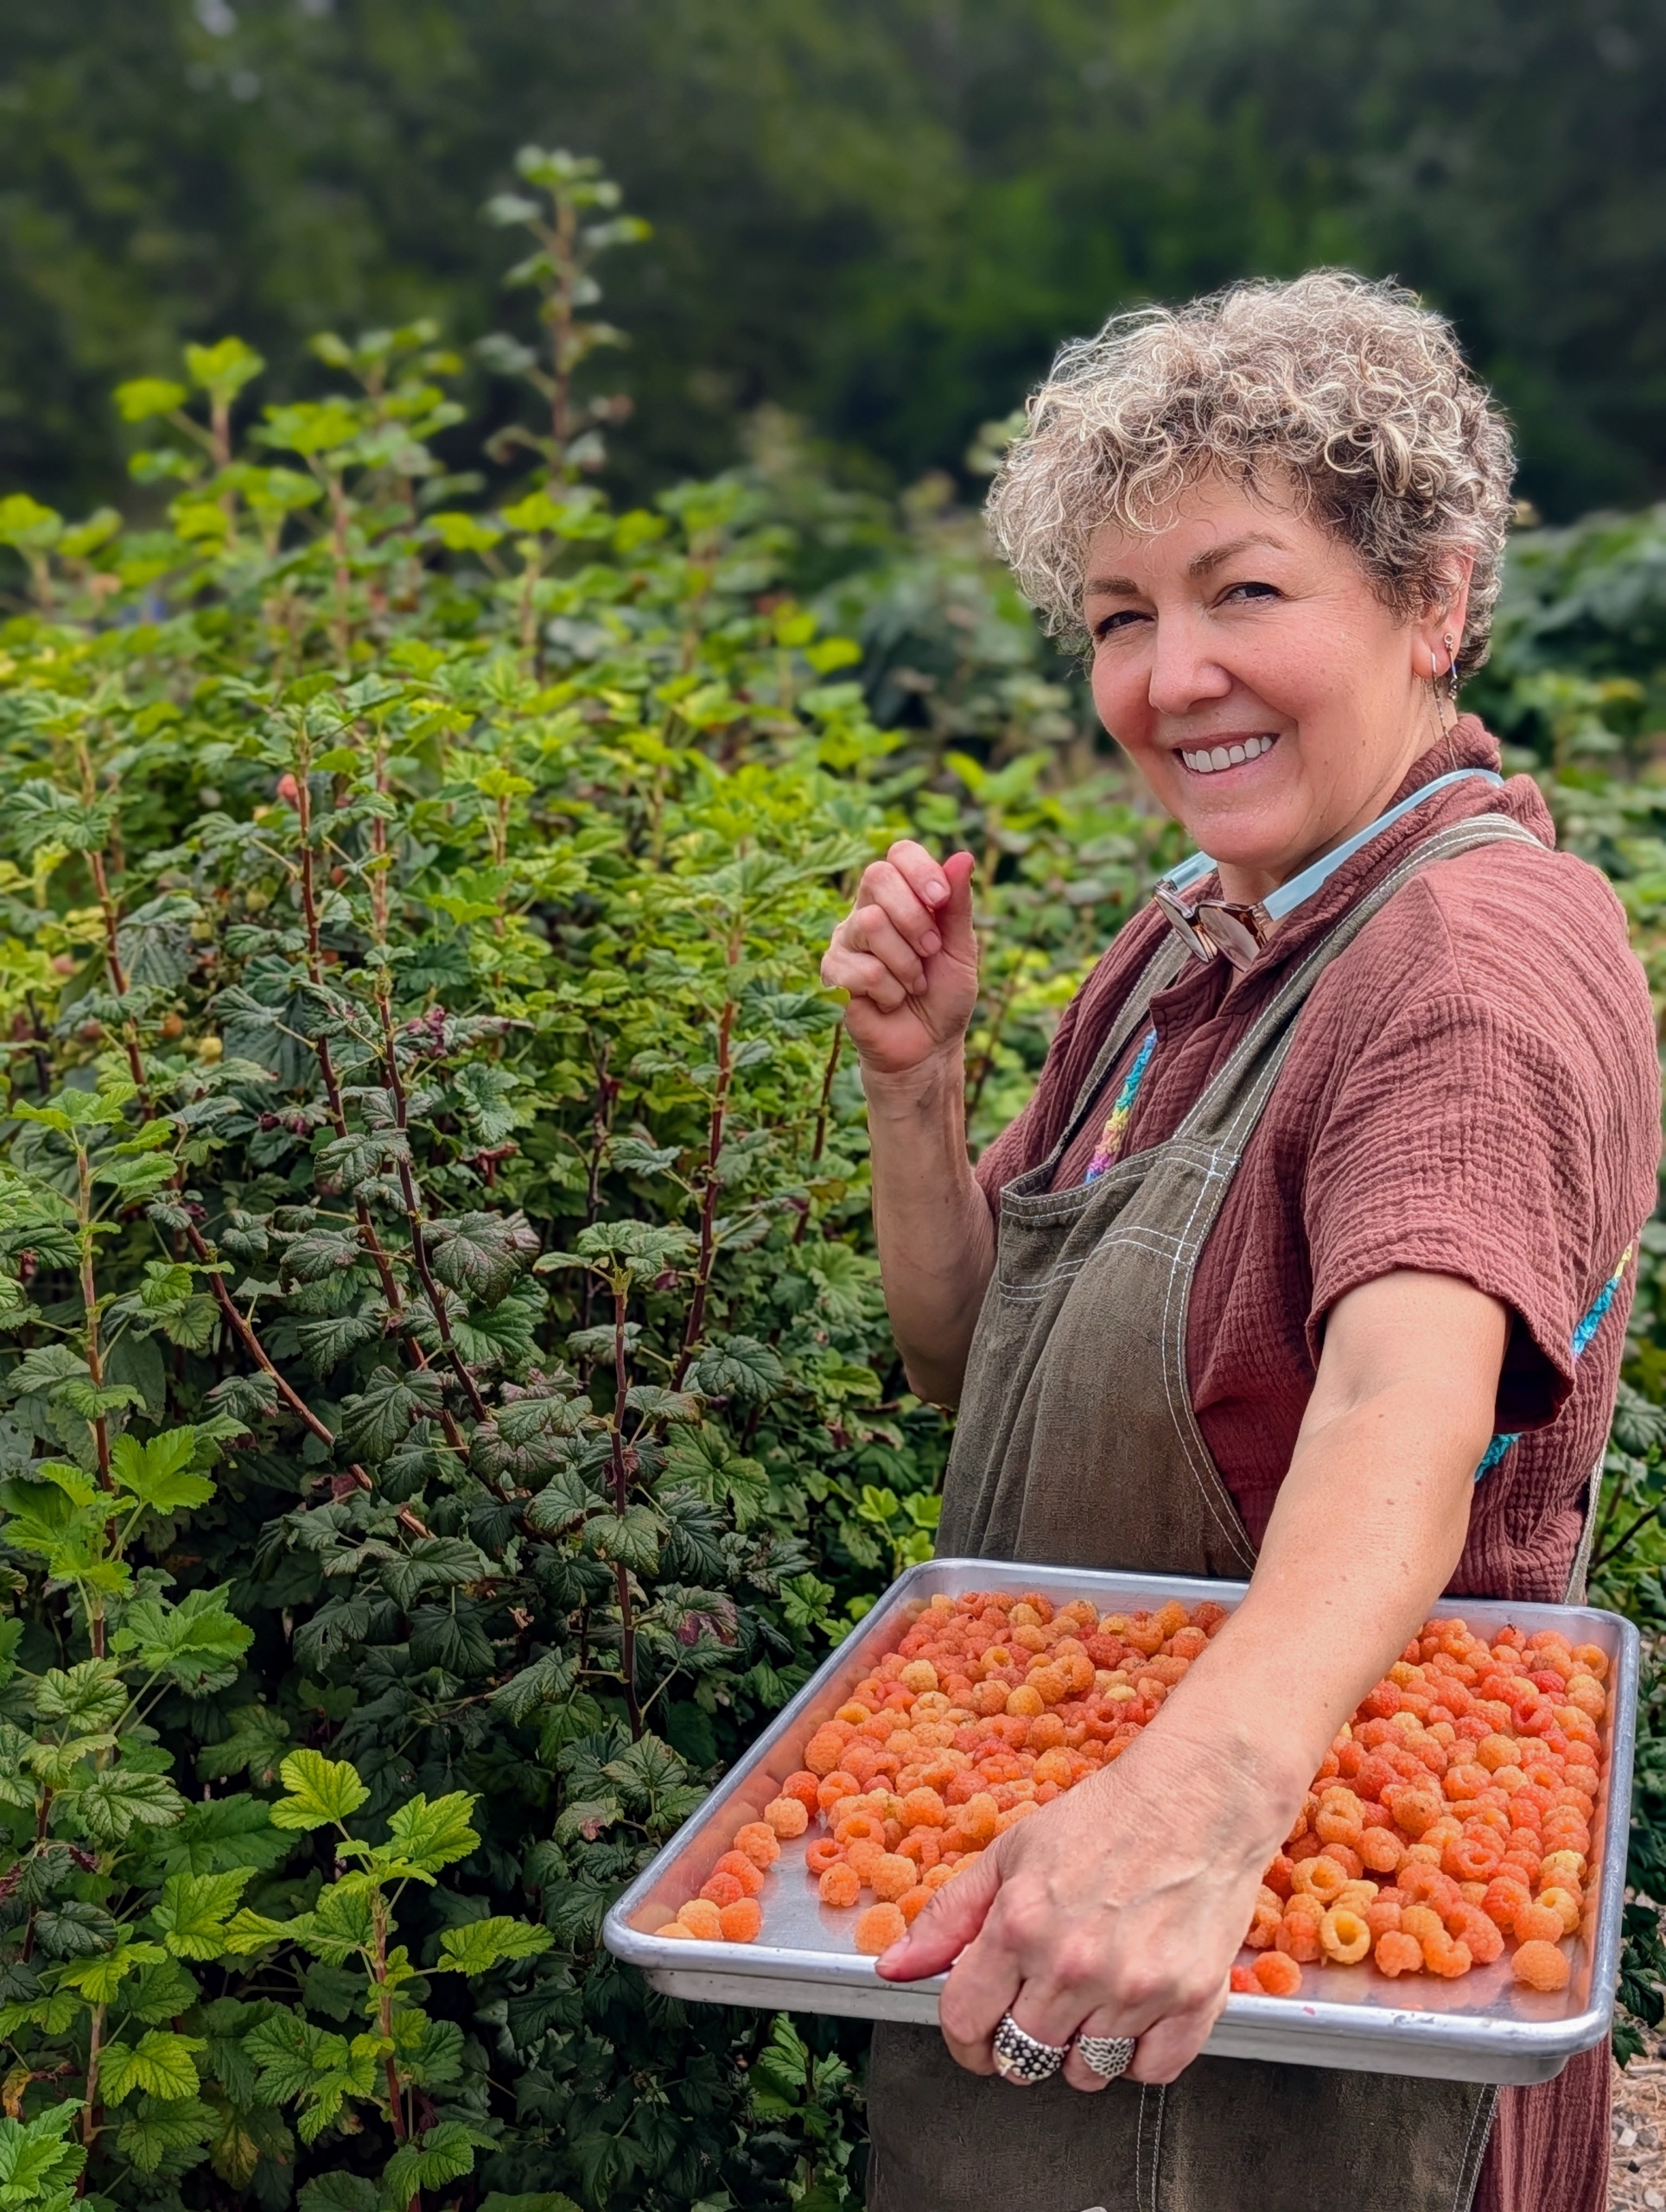
Elvira picks an abundance of sweet gold berries from another row.
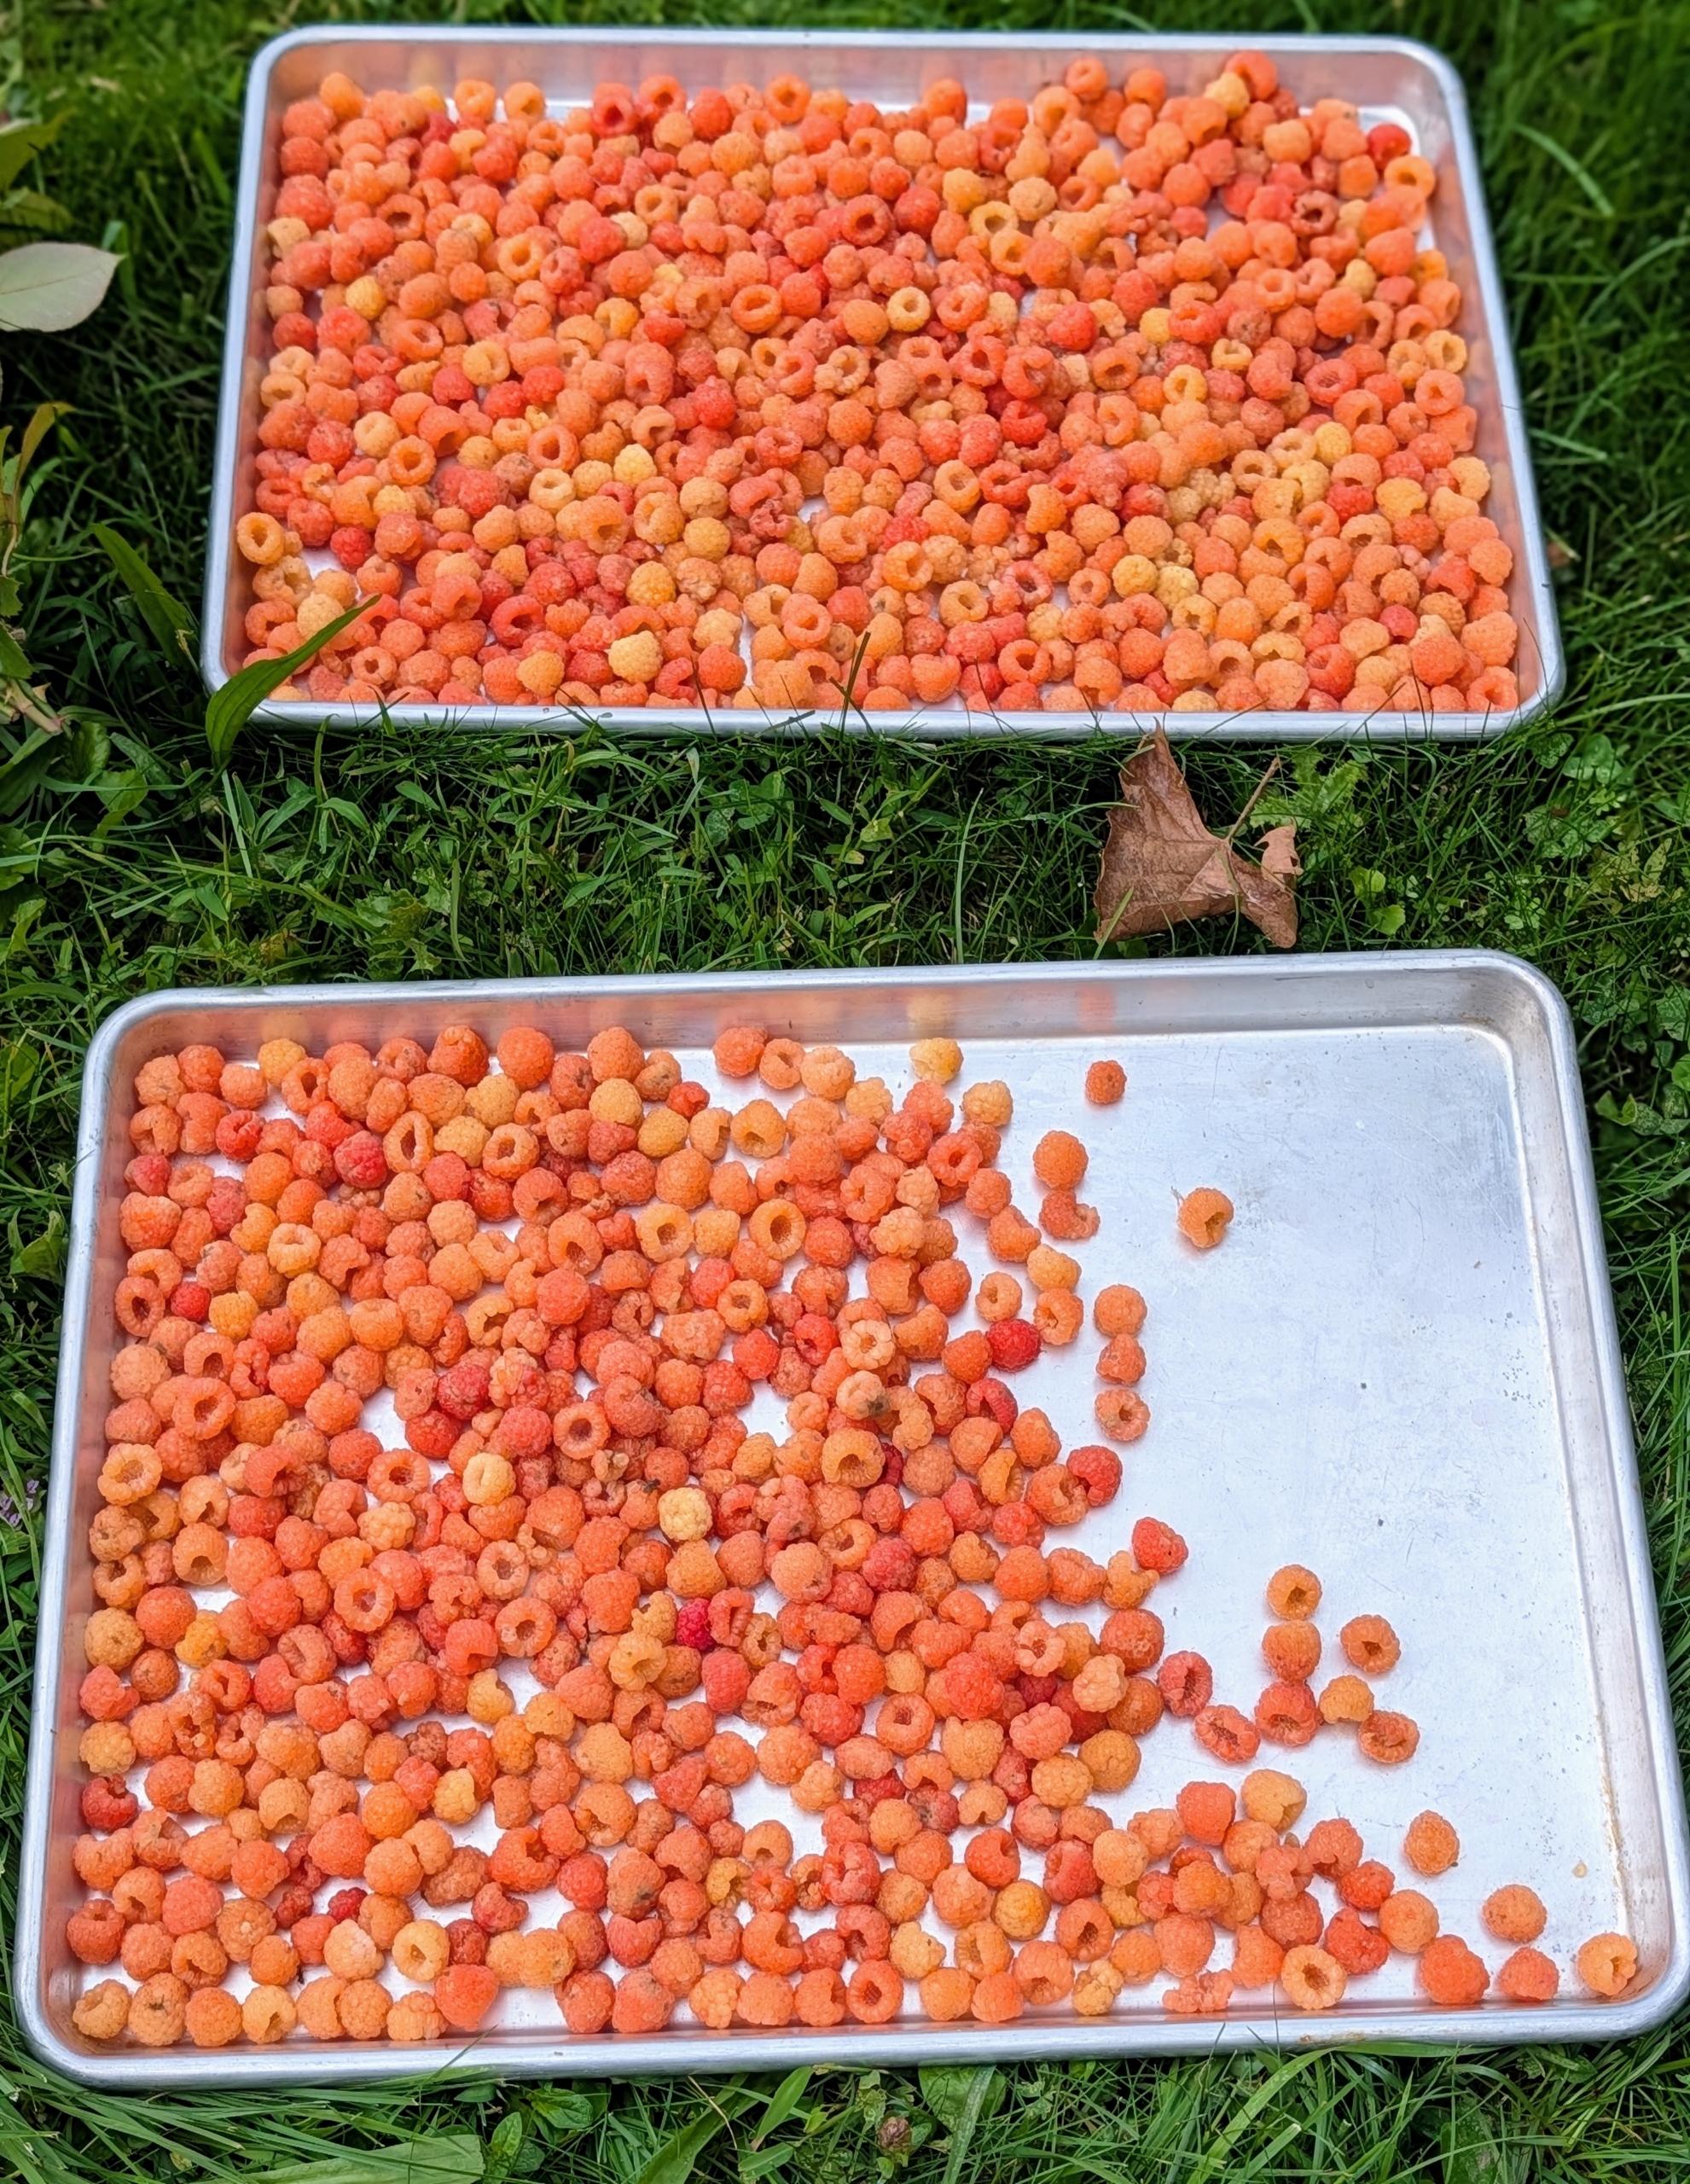
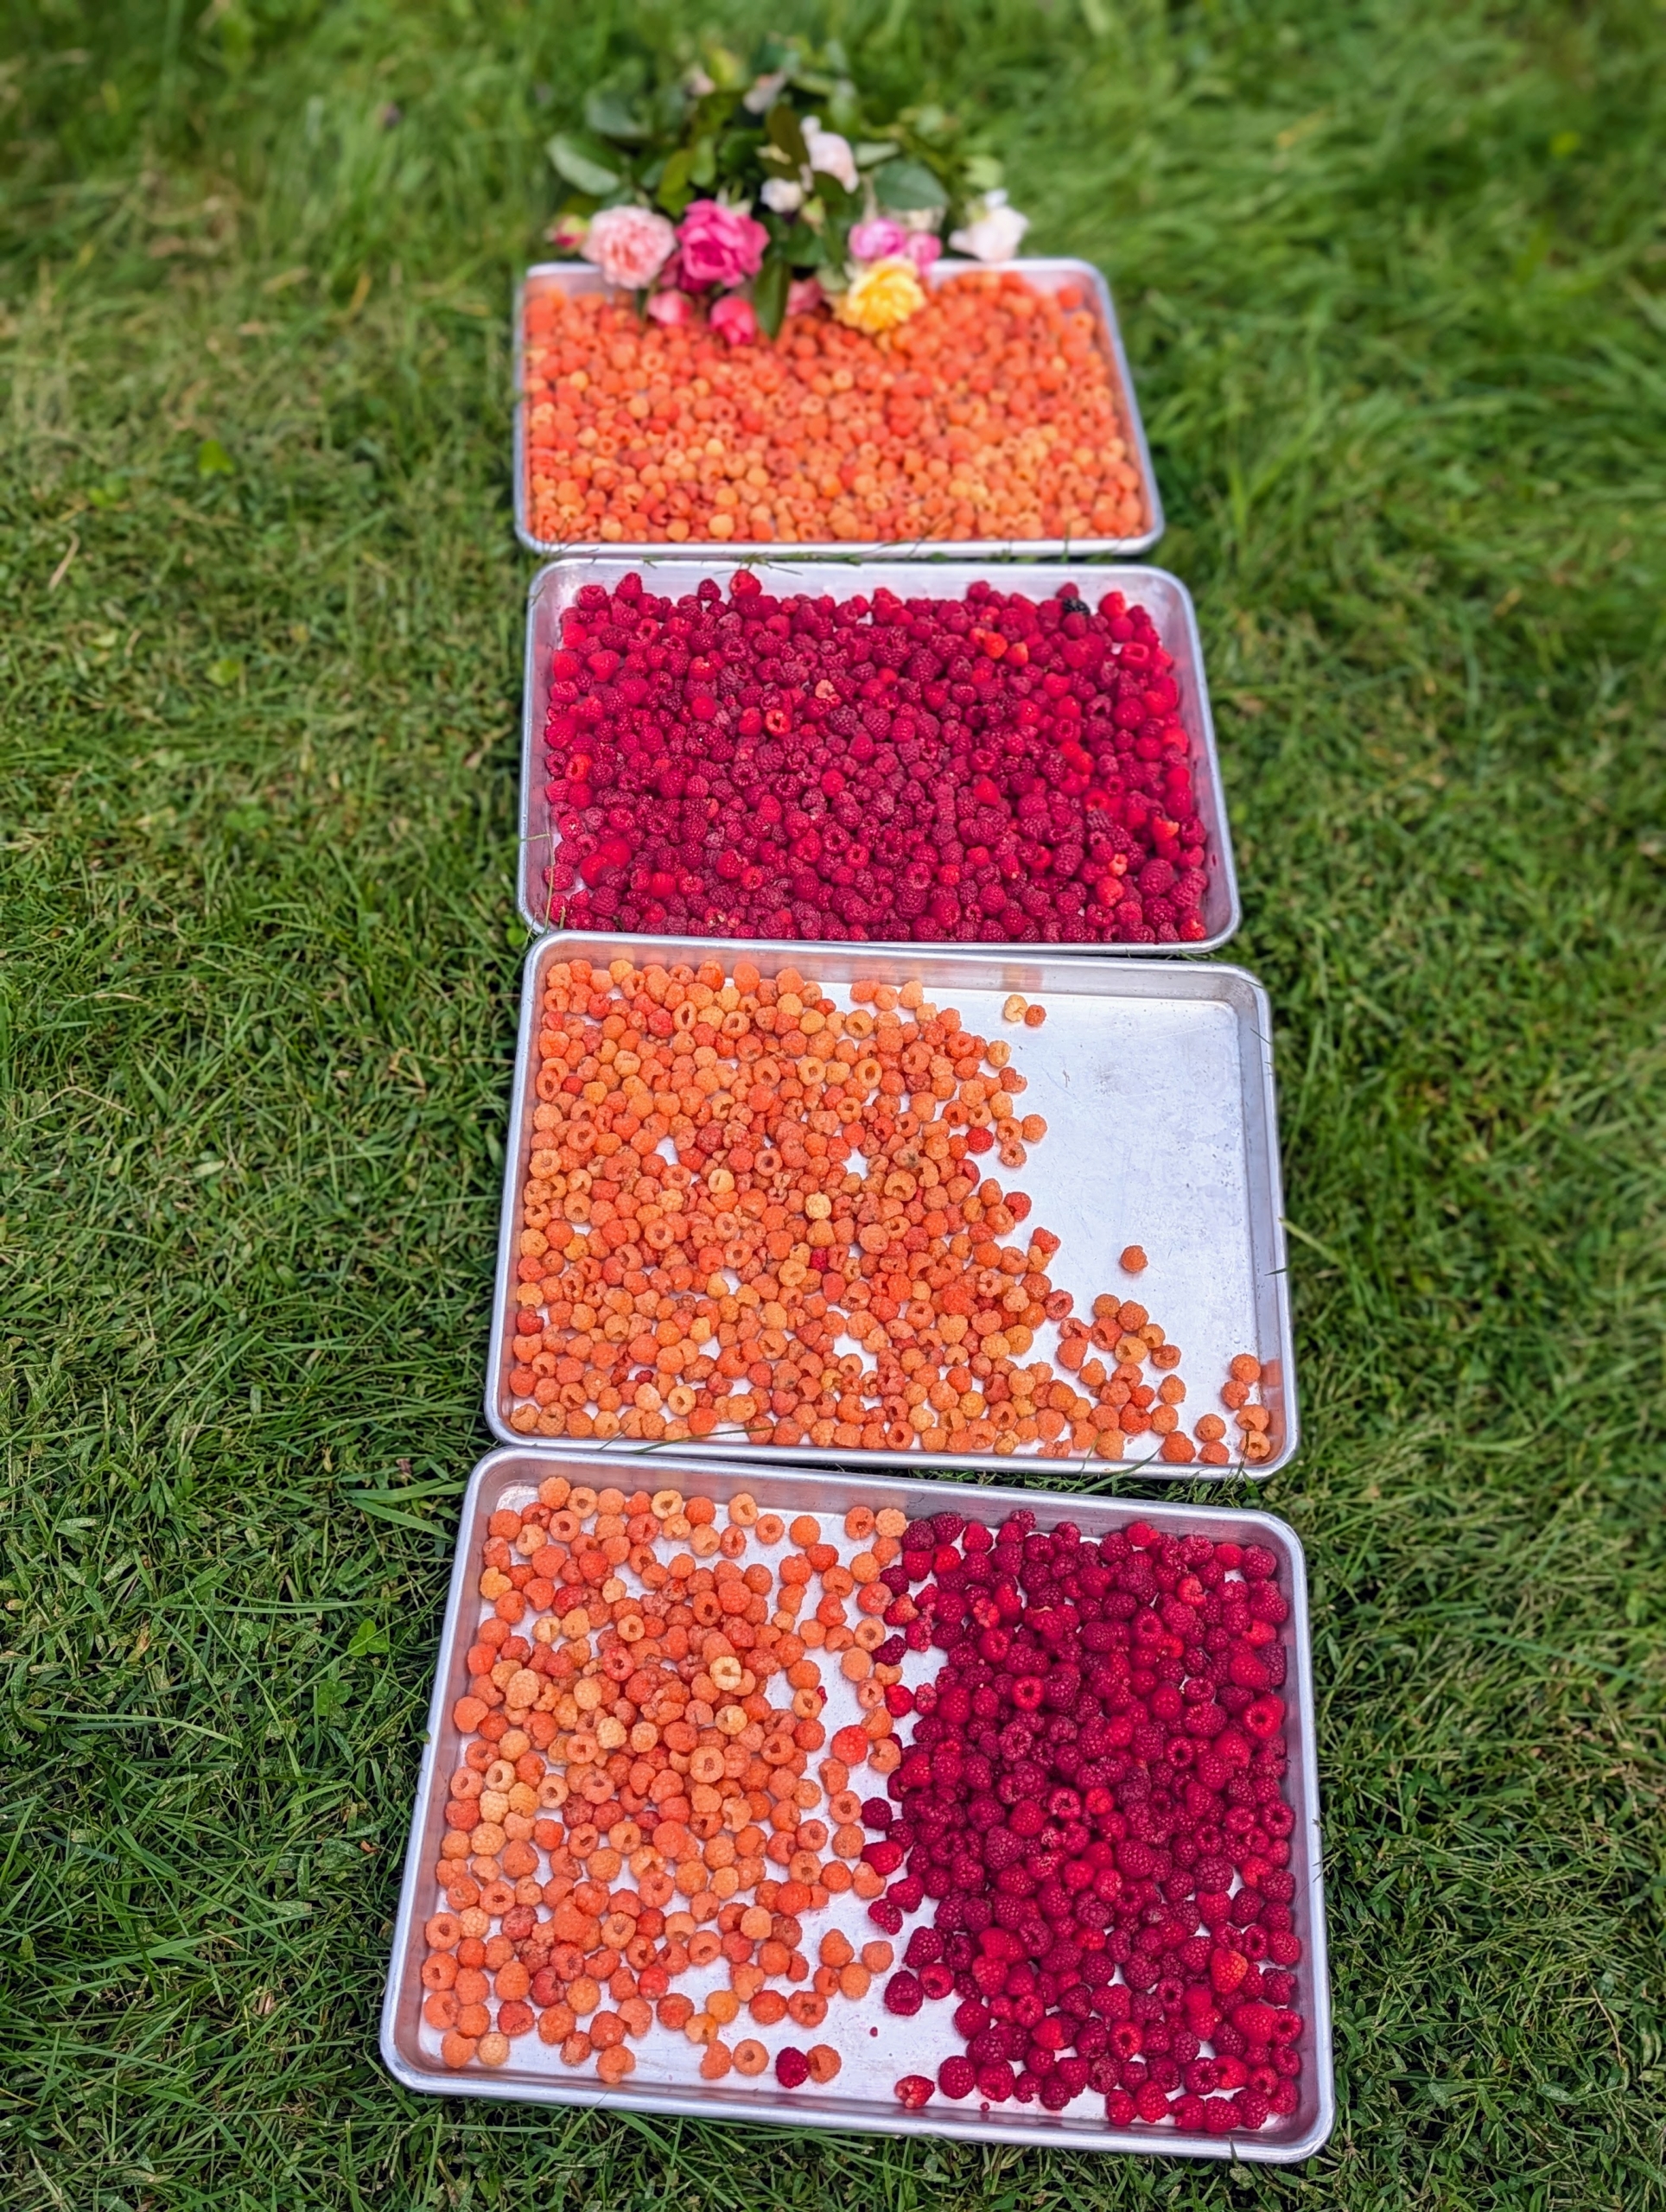
The berries are placed in one layer on large sheet trays, so they retain their shape after picking.
Looking carefully under the foliage, one can find so many berries waiting to be harvested.
Patricia also fills an entire tray.
Four trays of berries picked in less than an hour. To save berries for use at another time, they can be frozen and used as needed.
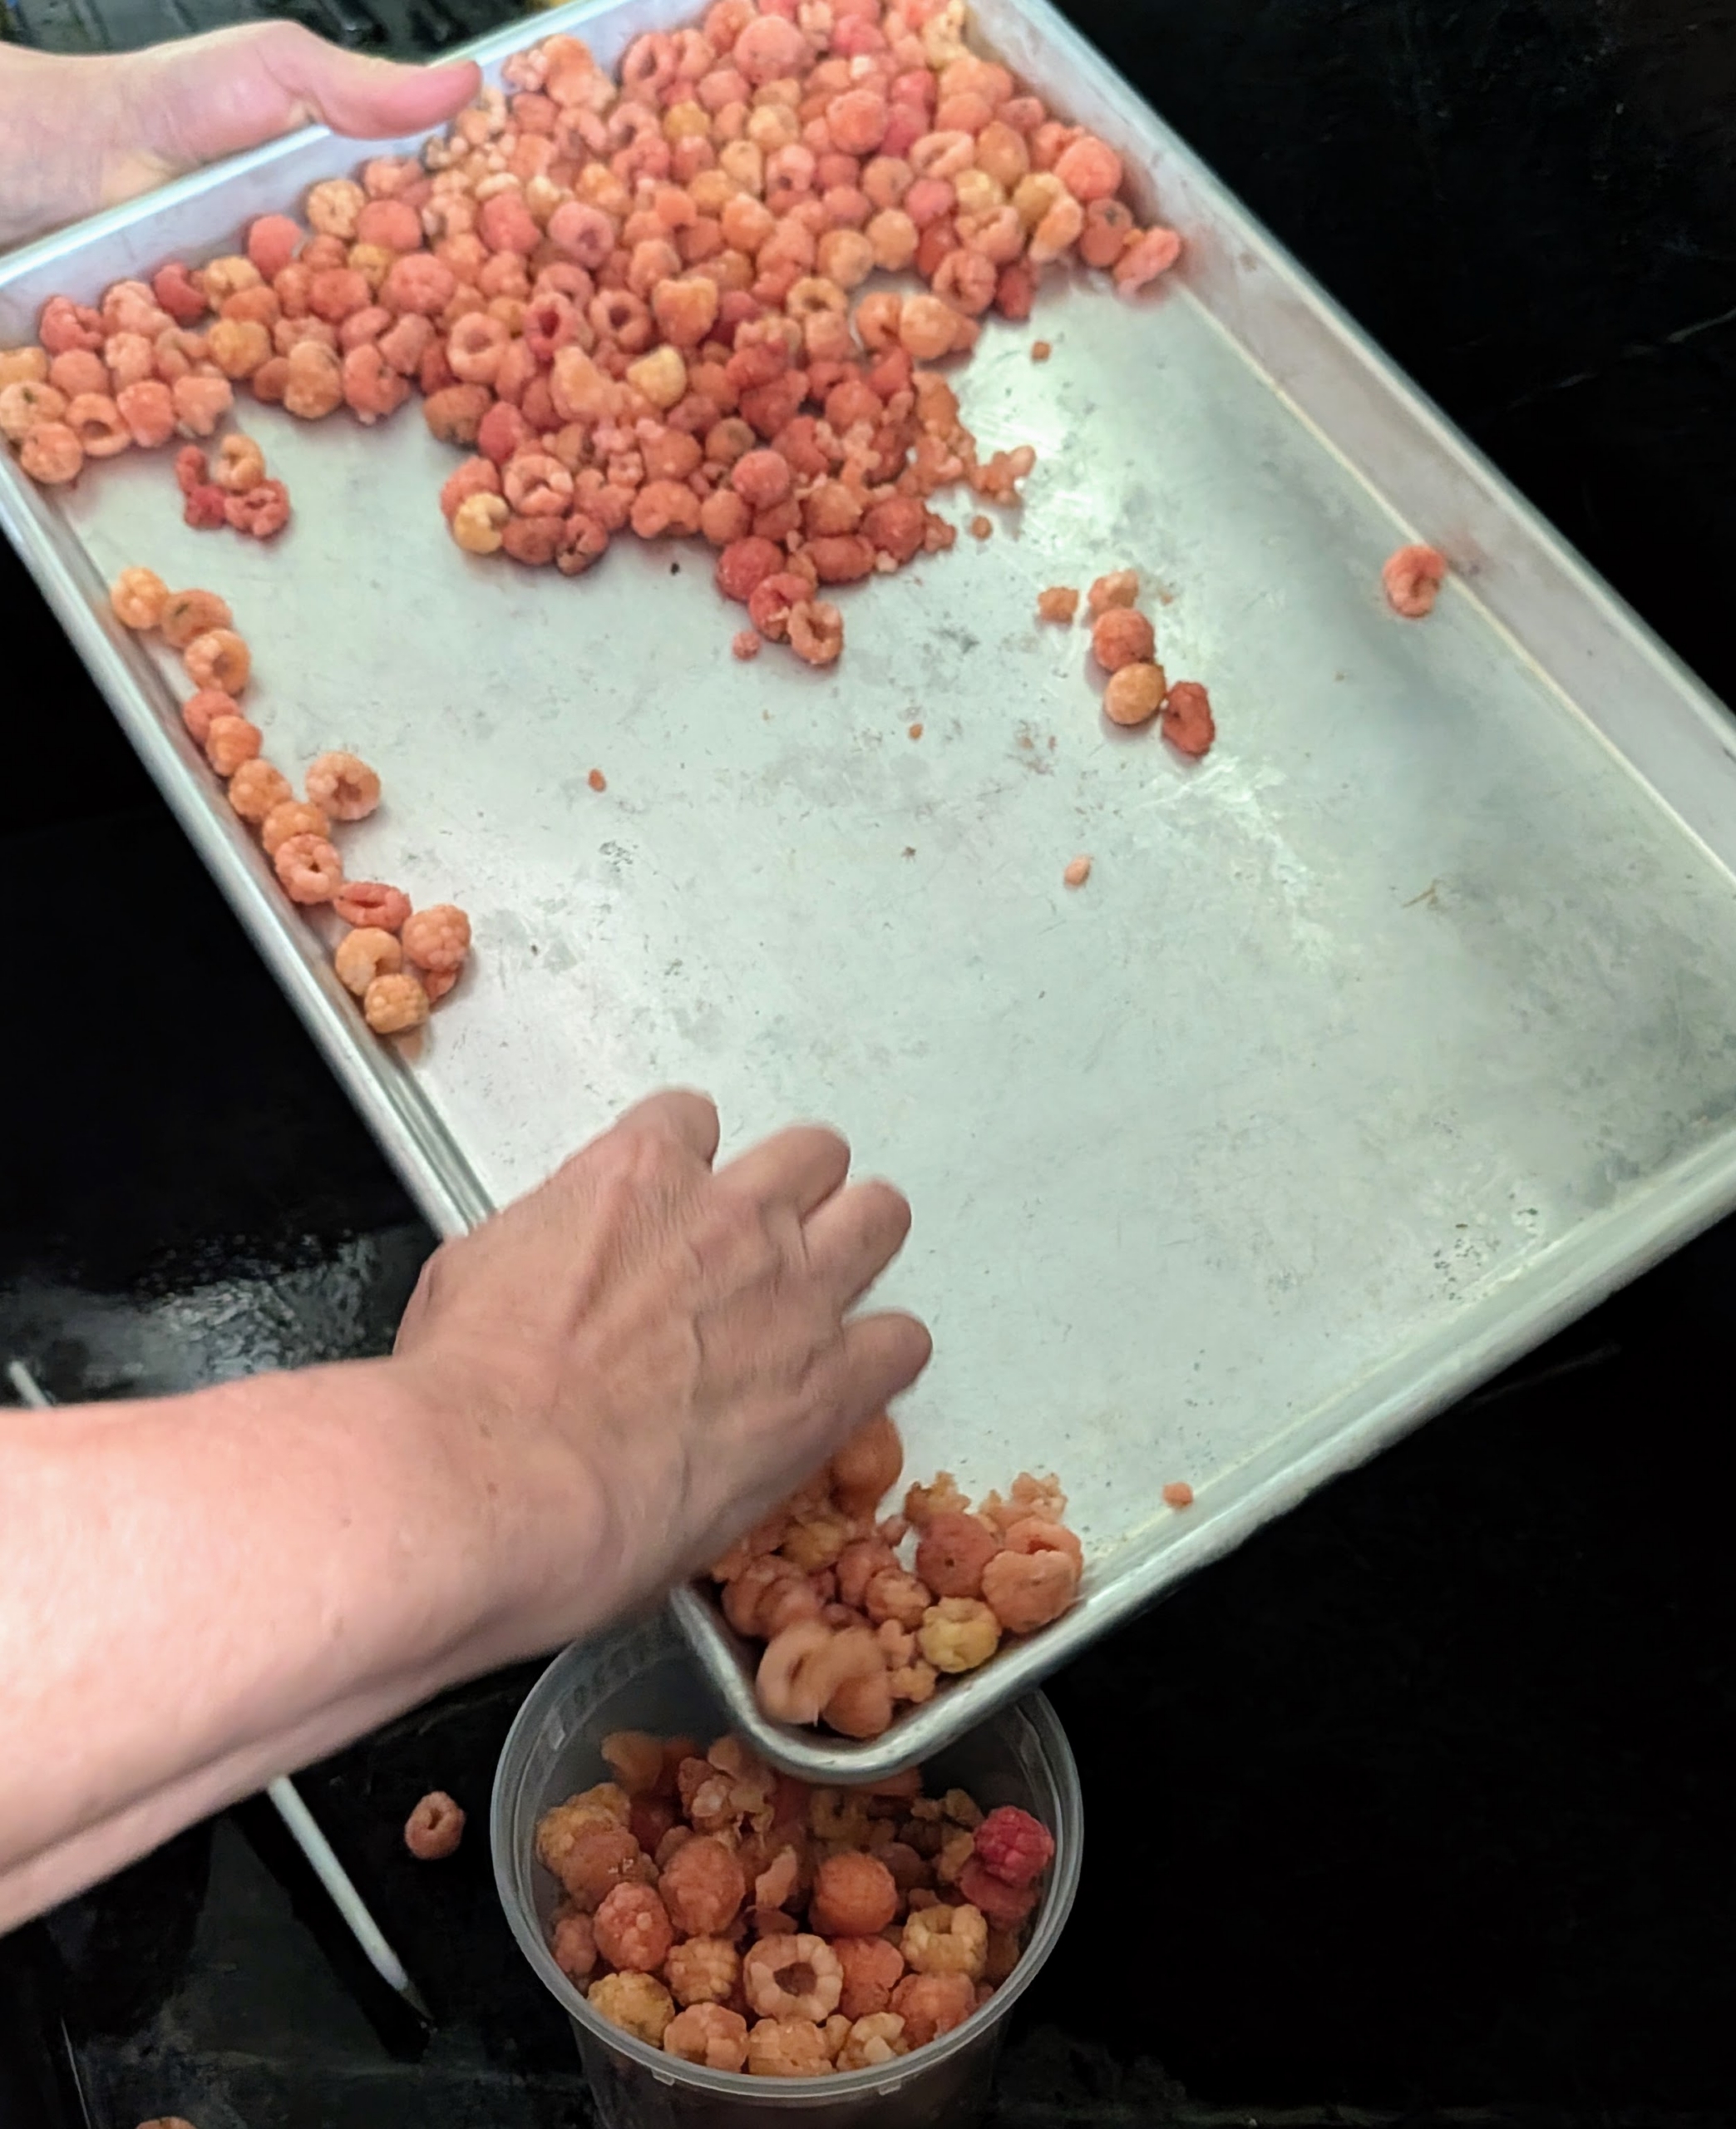
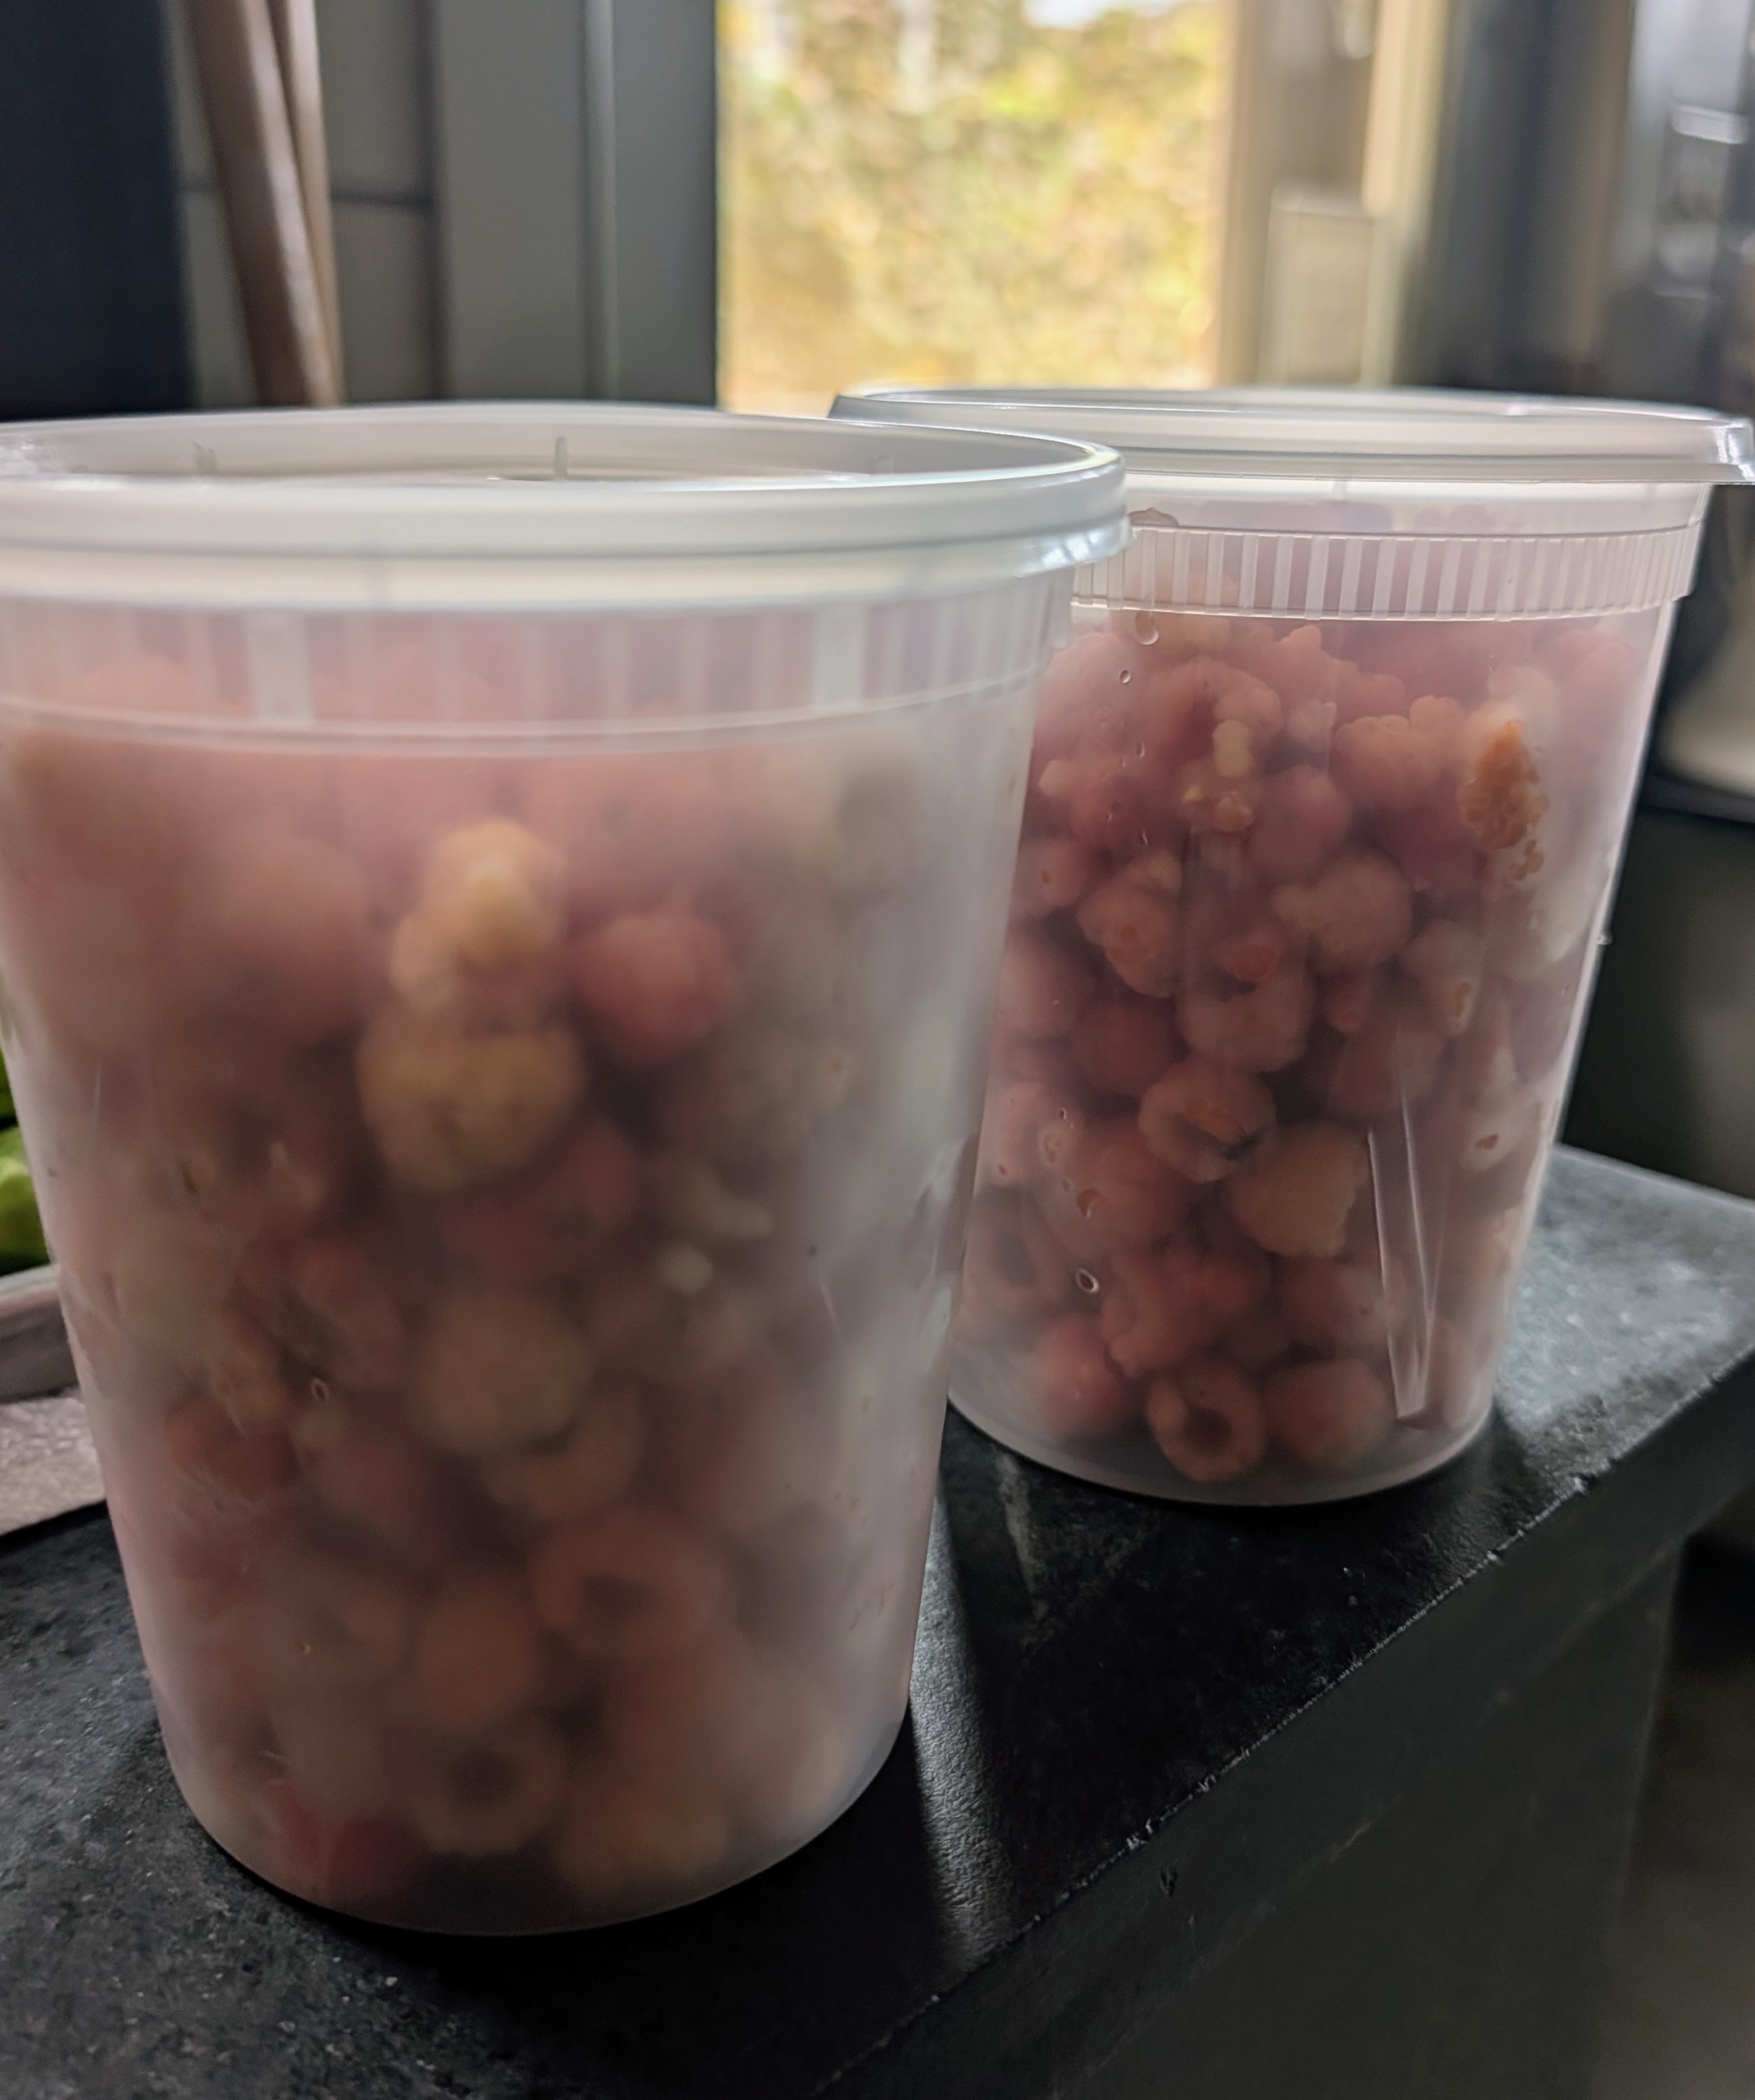
These berries were left in the freezer for several hours. Now, they can be moved into plastic containers or freezer bags.
Properly frozen raspberries retain their flavor, texture, and nutritional value for eight to 12 months.
Freshly picked raspberries provide a combination of sweet‑tart flavor, juicy texture, and vibrant aroma that’s unmatched. Check your bushes – maybe you have more to pick before the season ends!
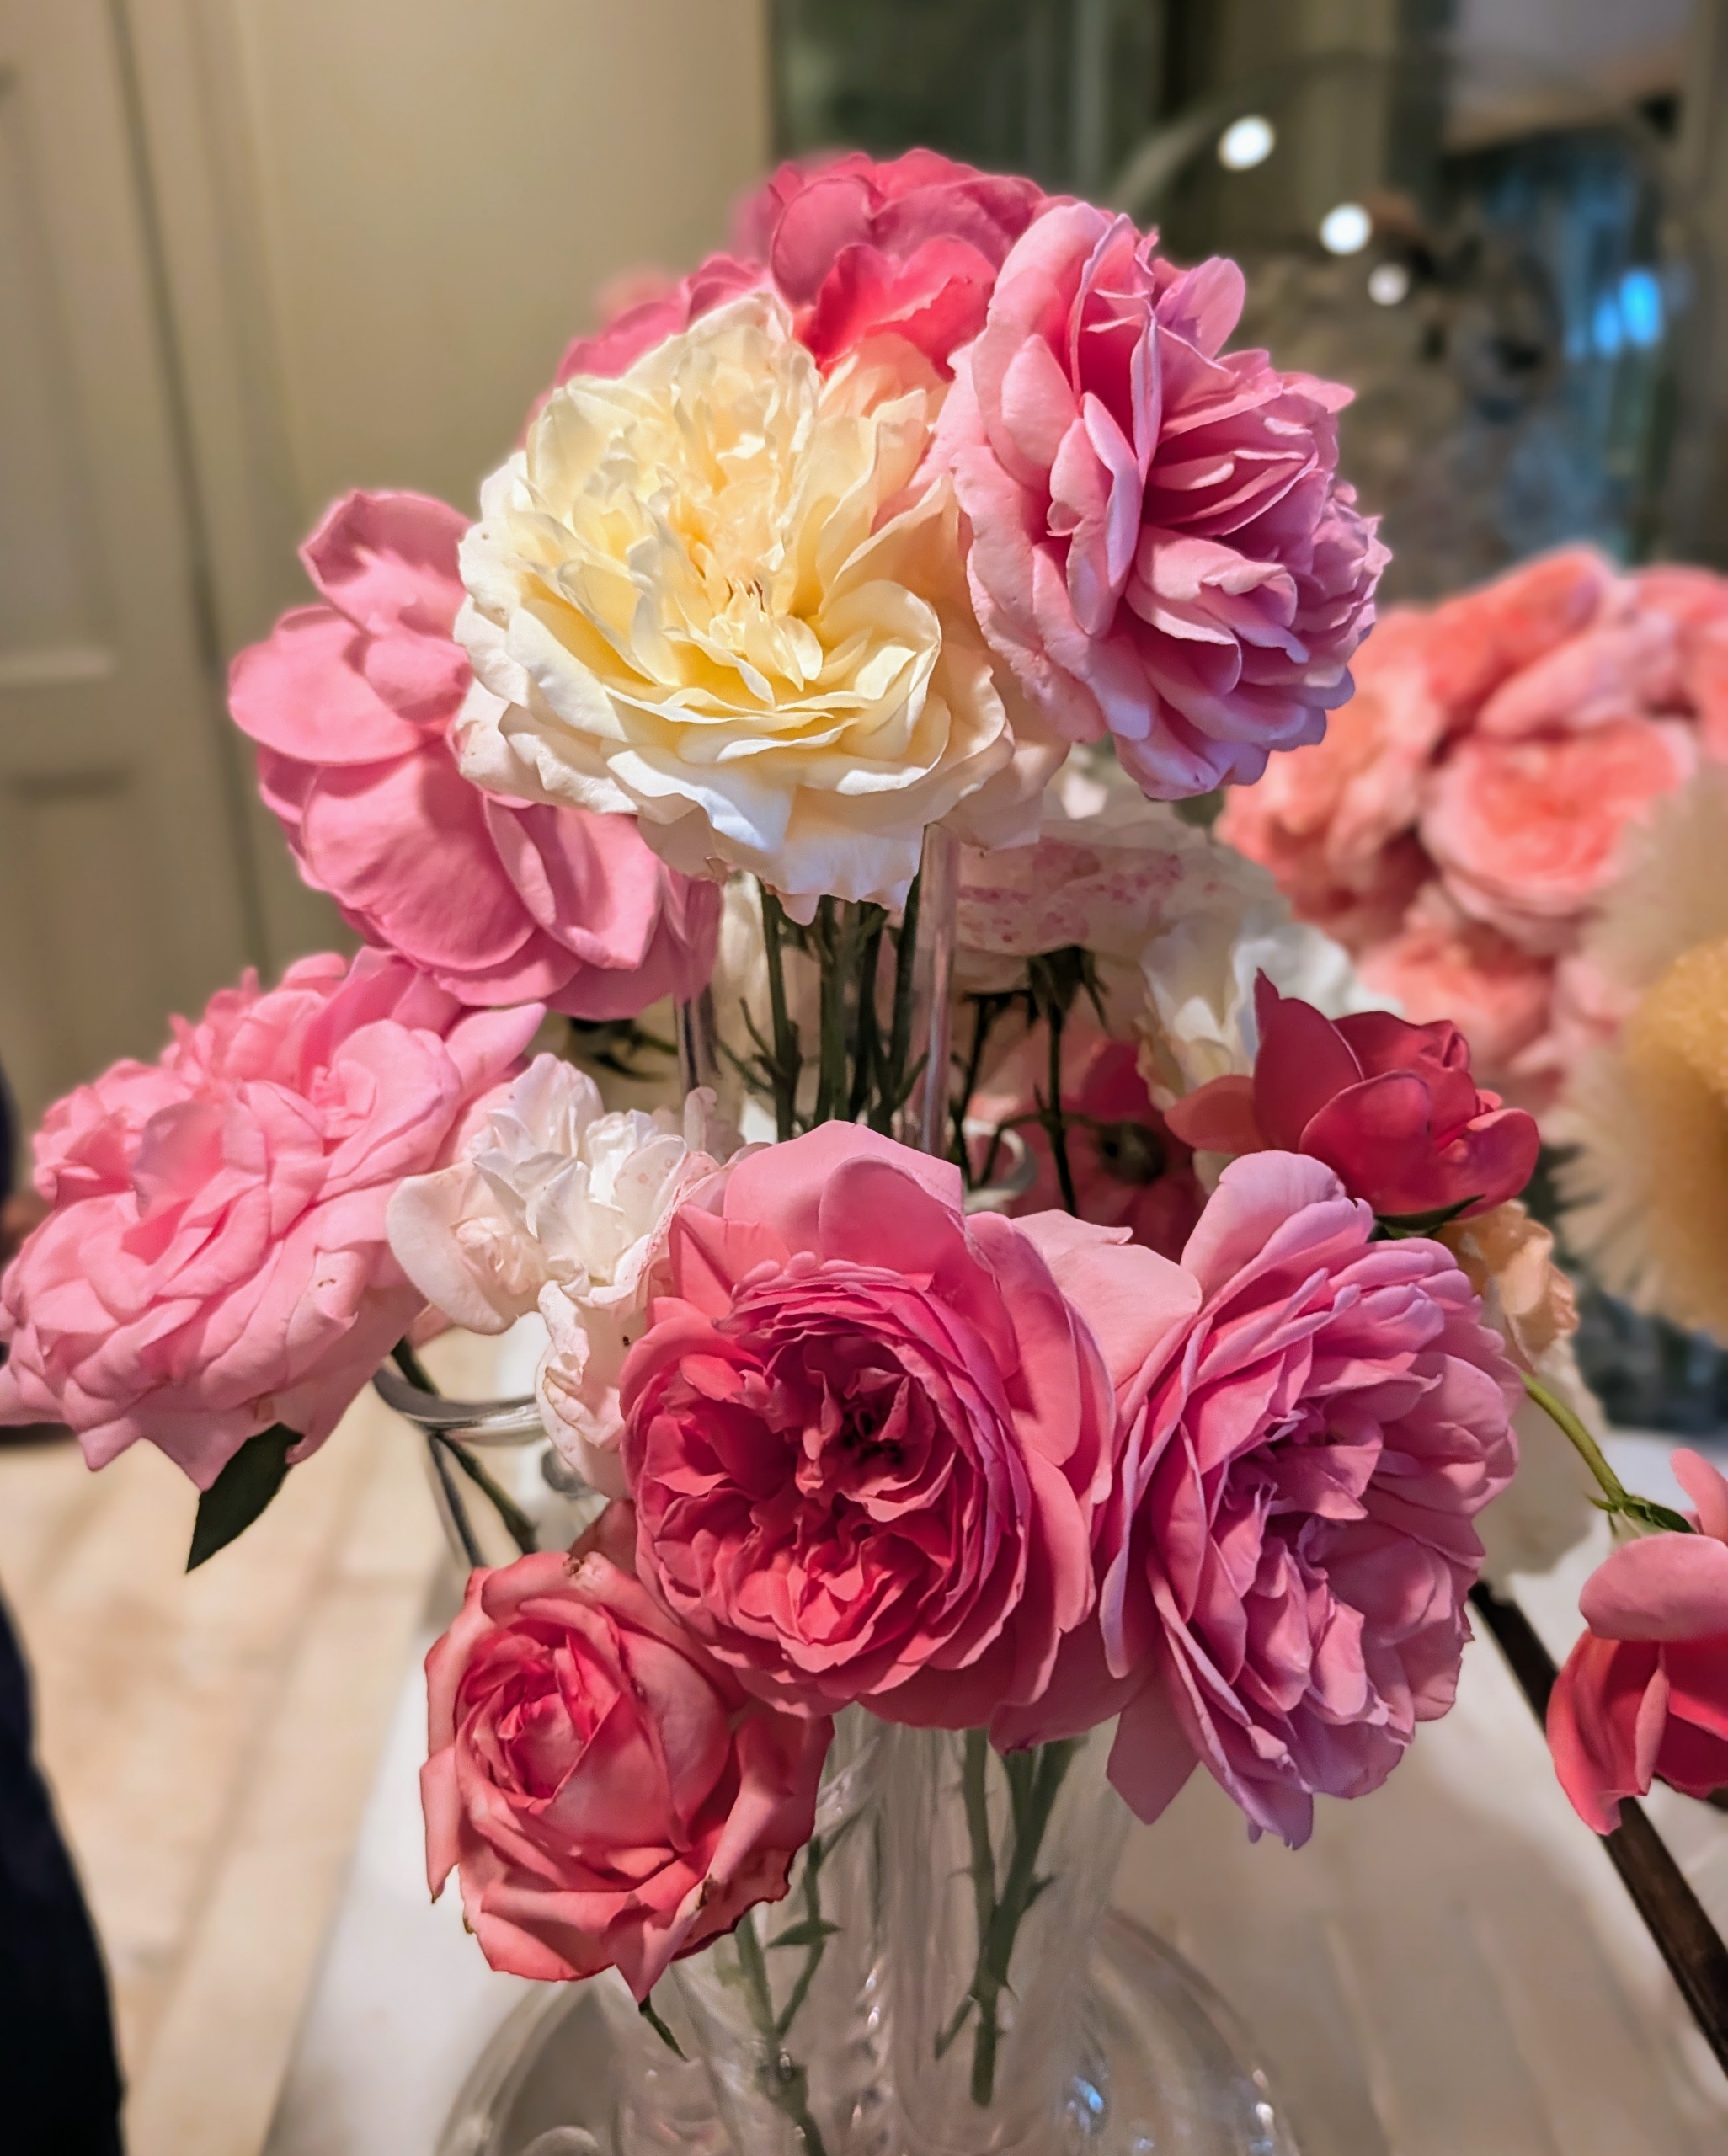
This time of year - late summer to early fall - many roses are still producing abundant blooms, including my Martha Stewart Hybrid Tea Roses. It’s a great time to cut some fragrant stems and enjoy their arrangements indoors.
When cutting roses, try to do so in the morning, when the stems are well hydrated and fresh. Select healthy stems with either open blooms or tight buds. And always use sharp shears for clean cuts - the sharper the blades, the cleaner the cuts, and the longer the roses will last. At my farm yesterday, we had enough roses to make three beautiful and colorful floral bouquets.
Enjoy these photos.
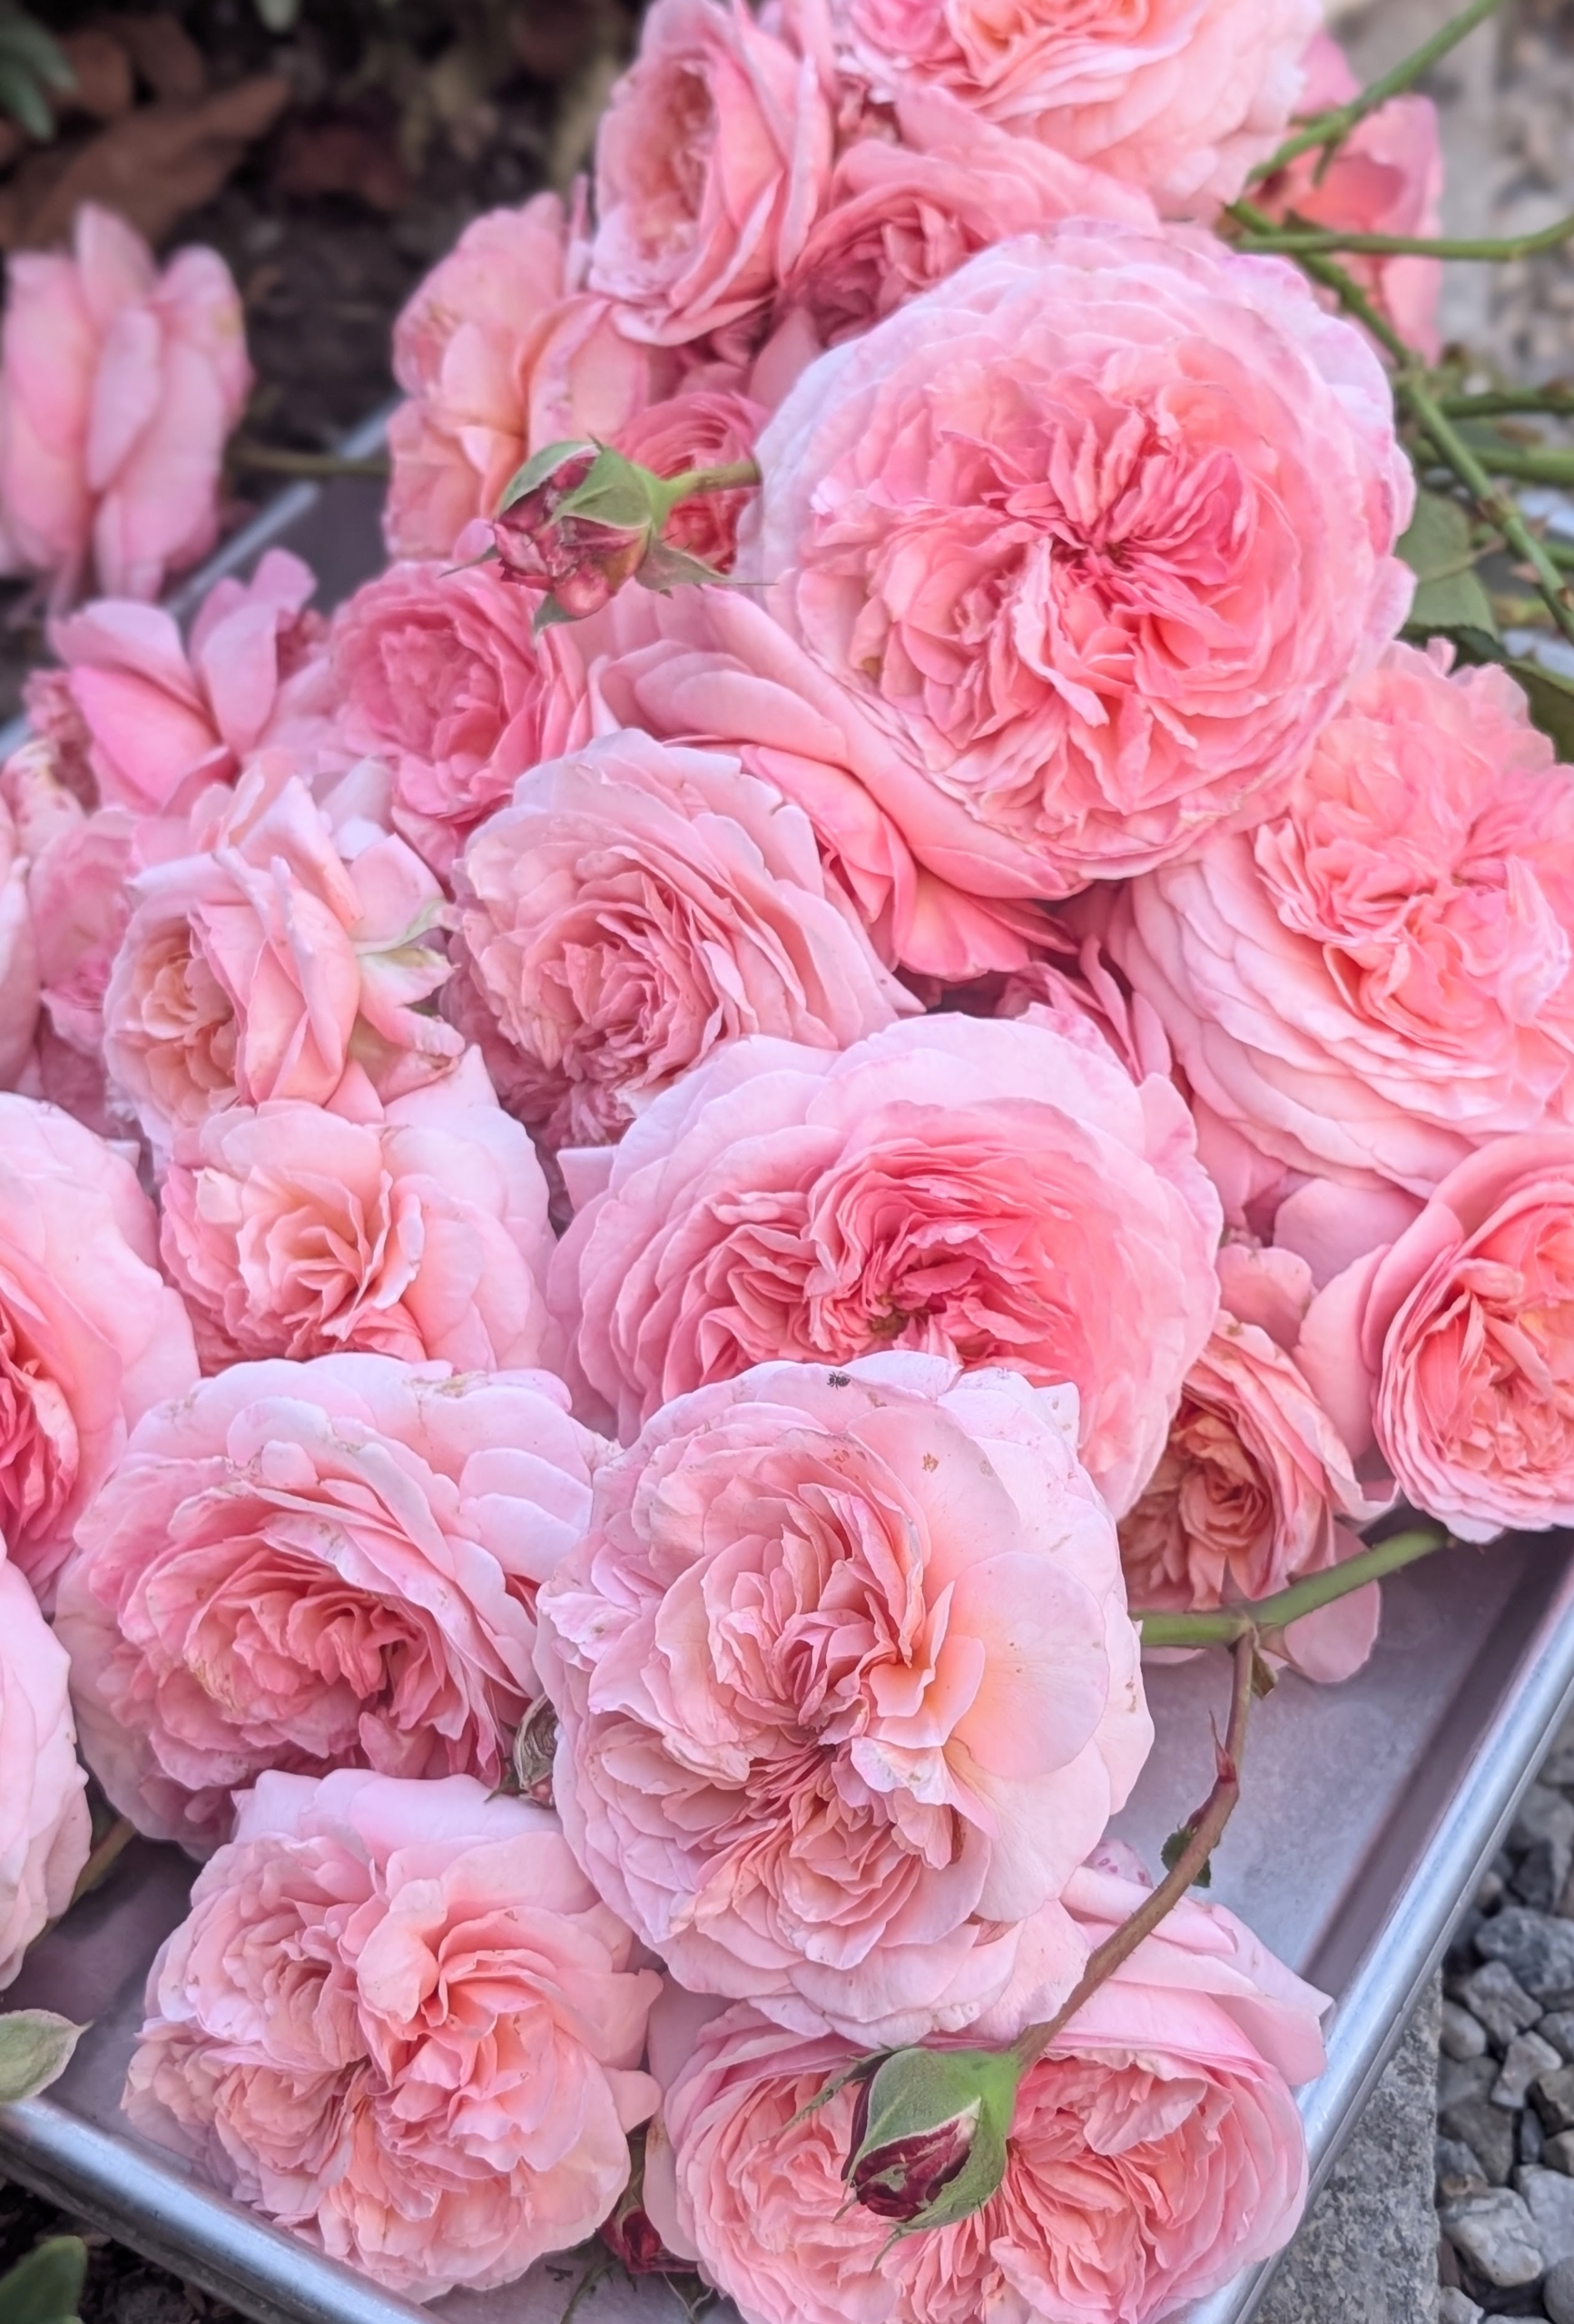
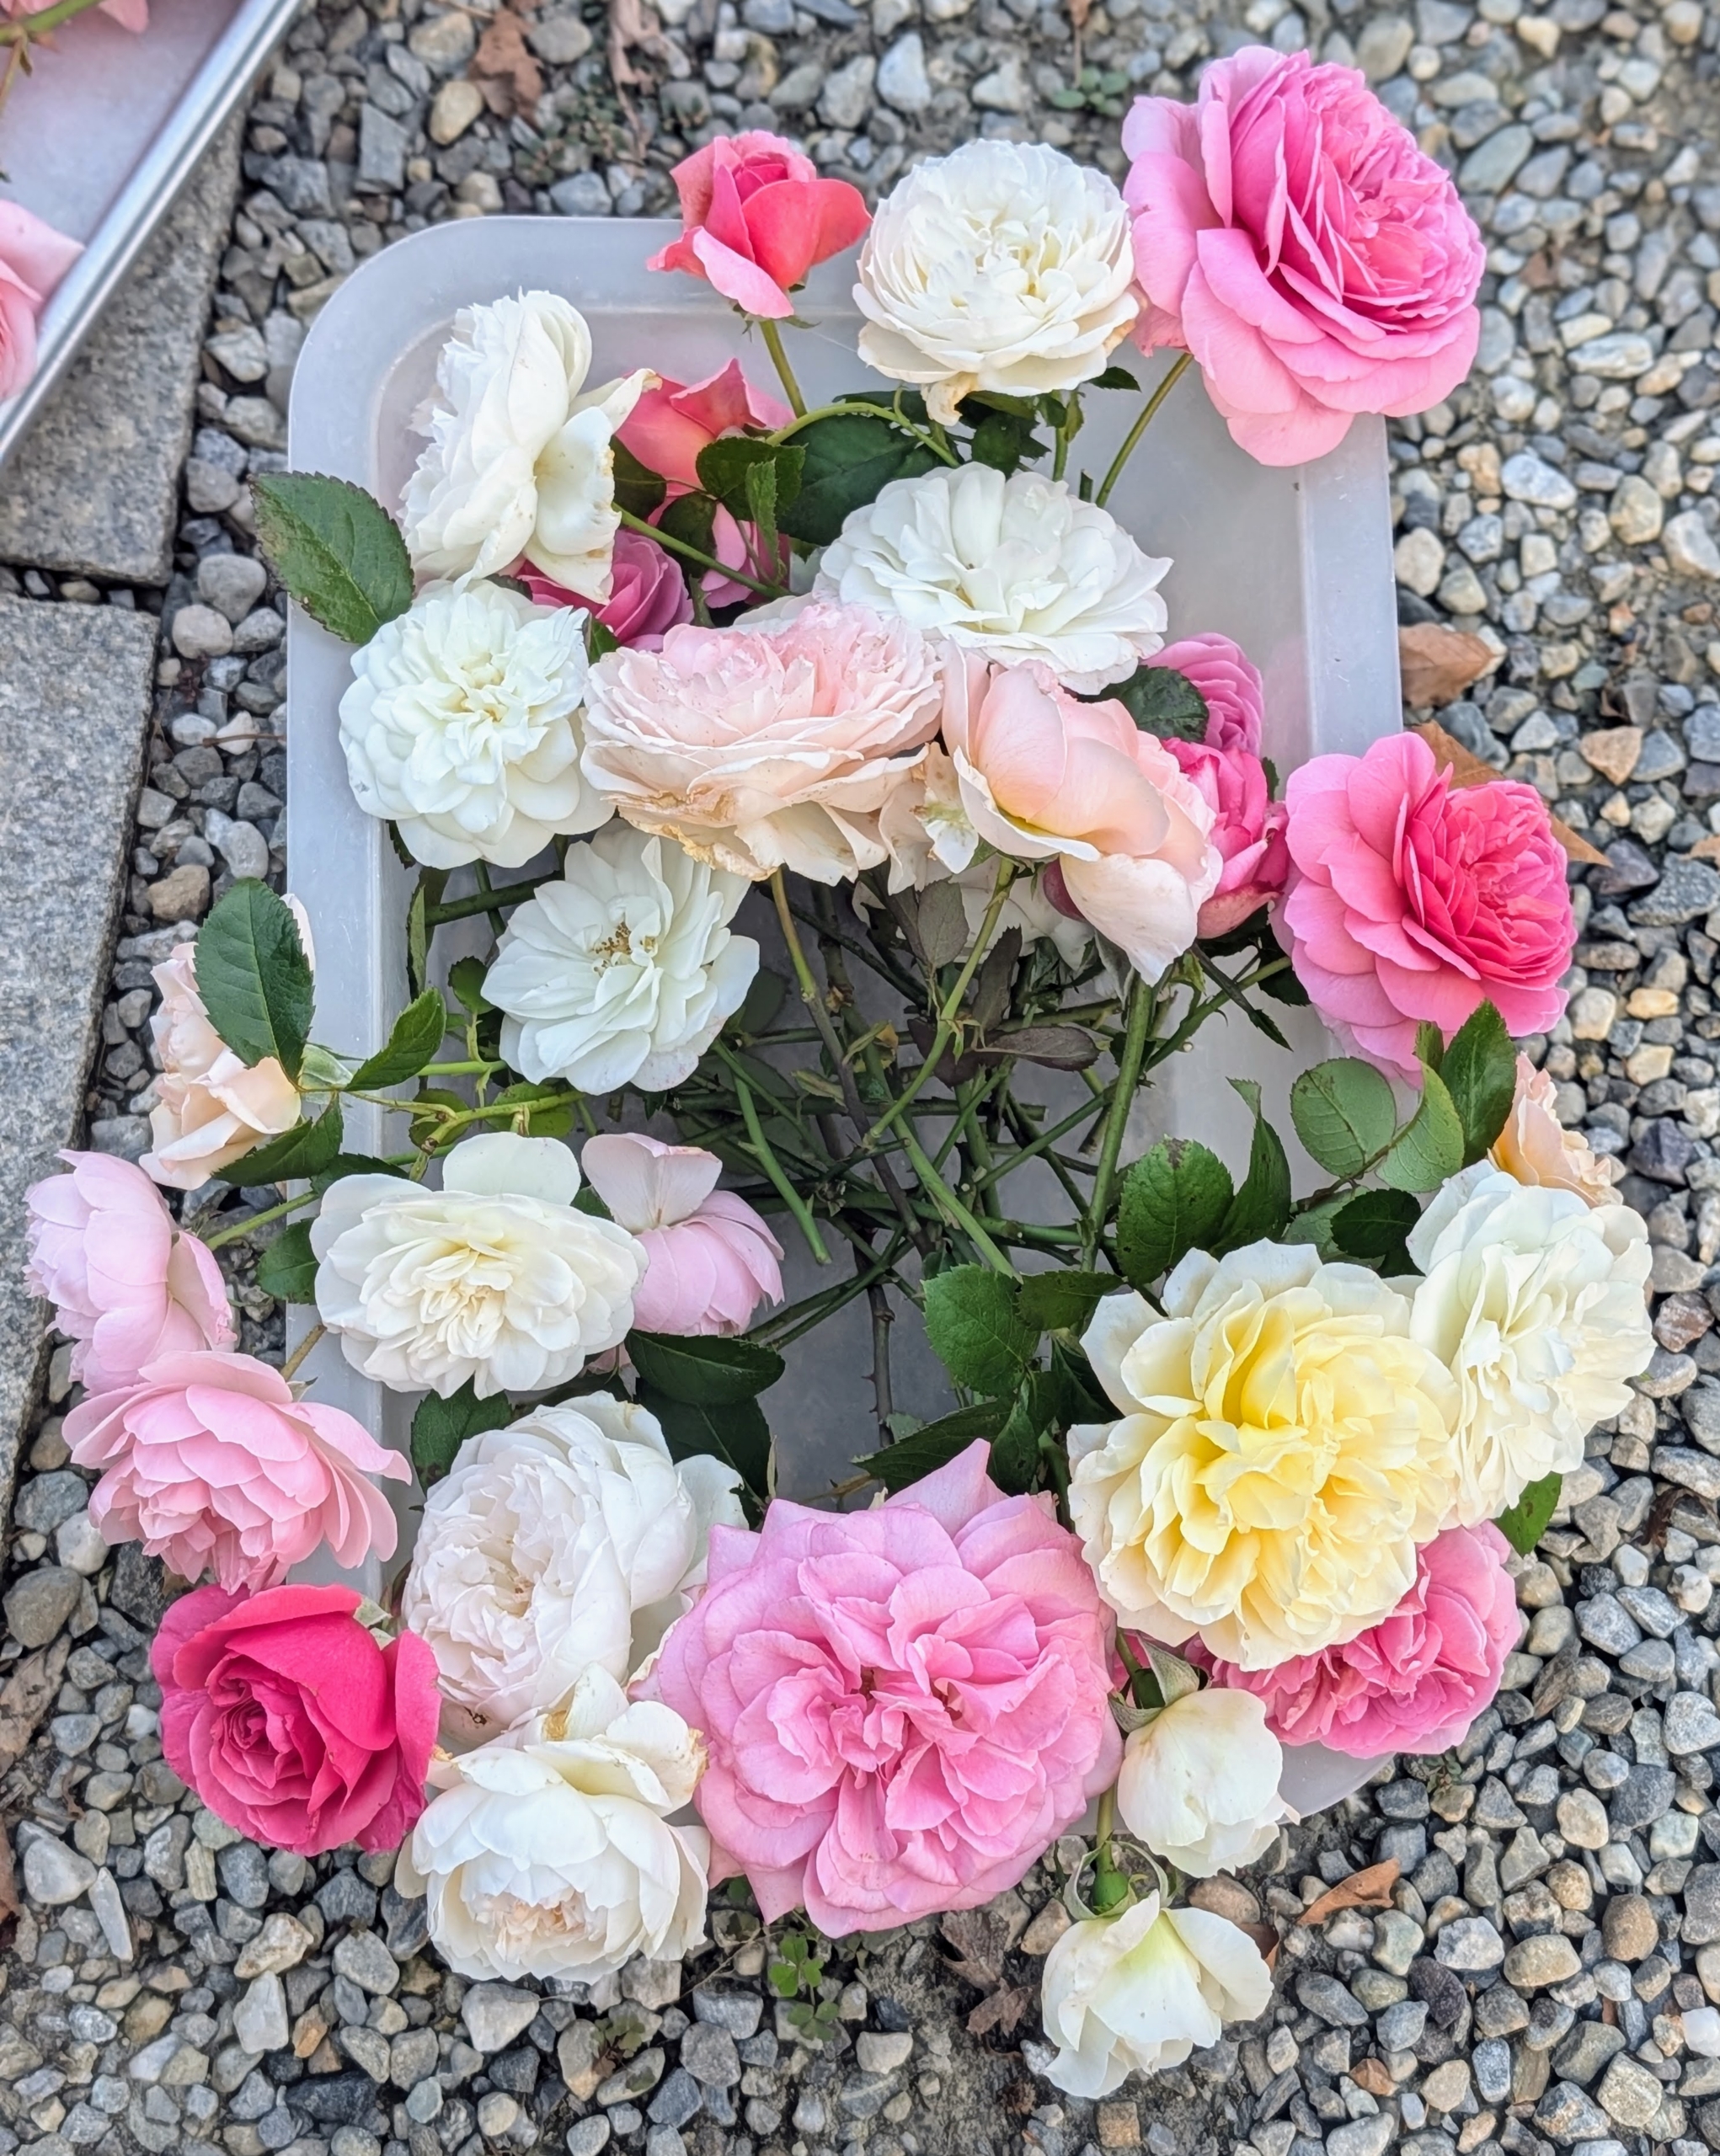
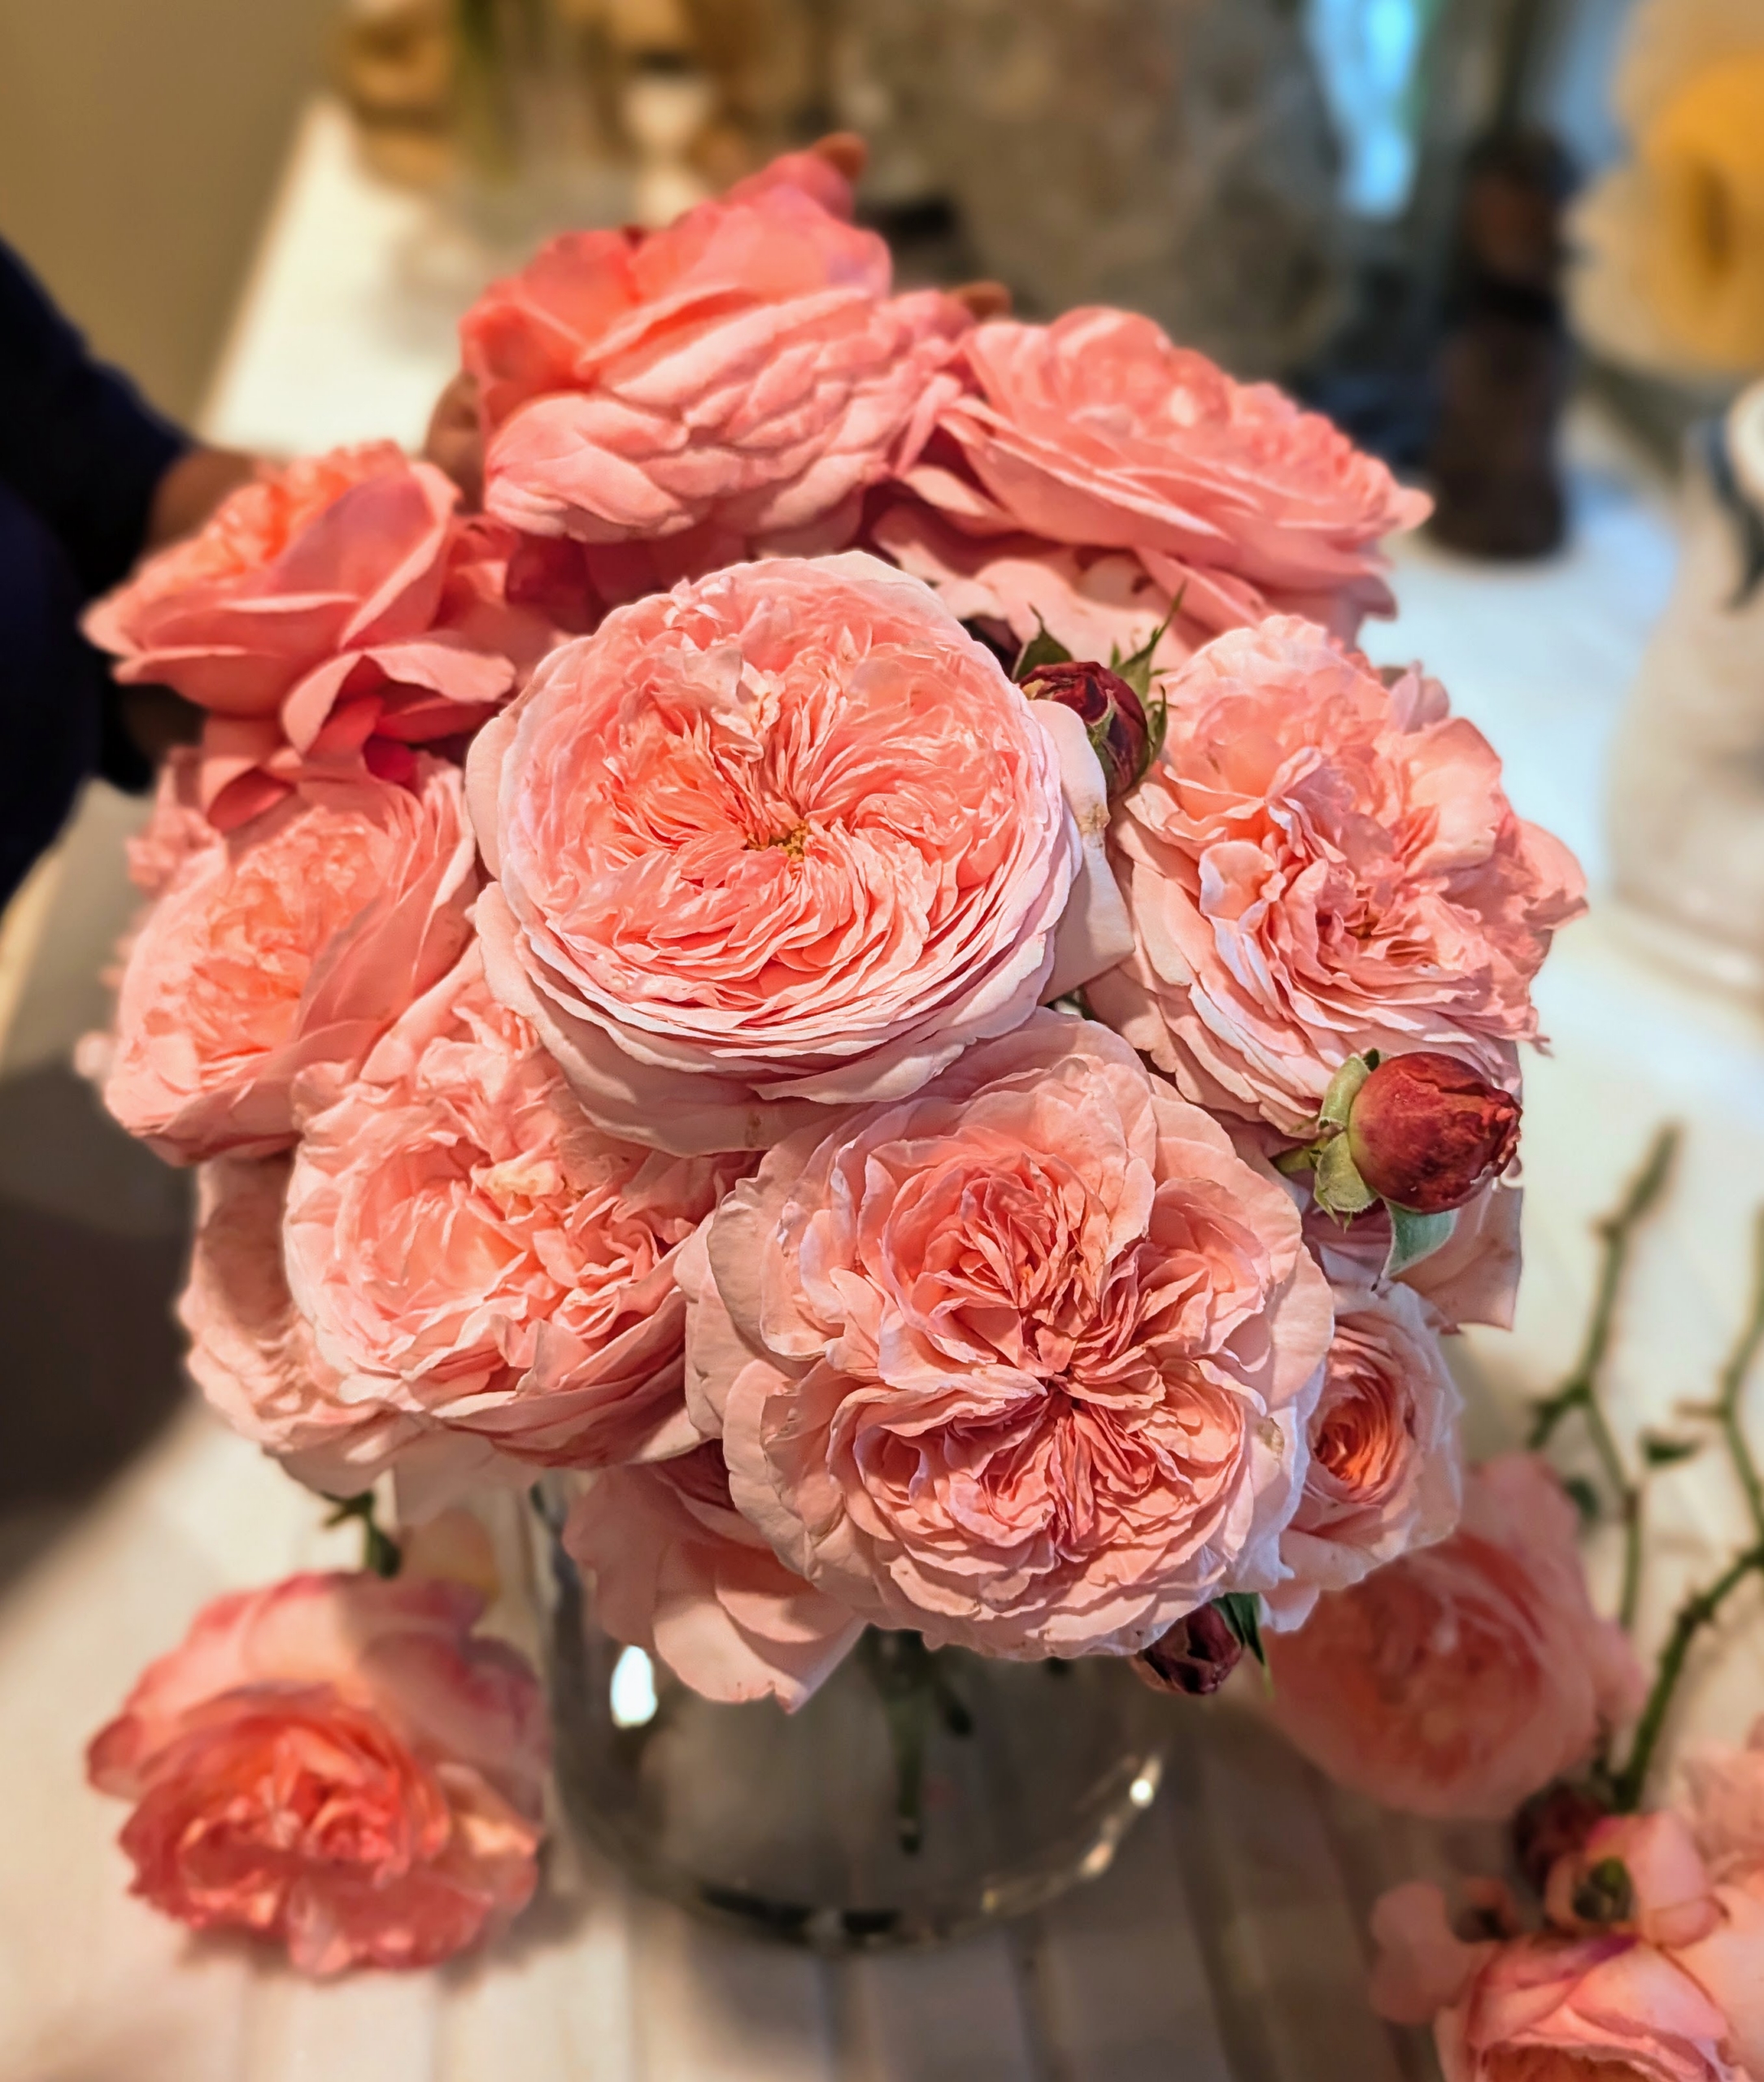
Look at all my Martha Stewart hybrid tea roses freshly picked from my gardens. These will make a stunning arrangement for my Winter House.
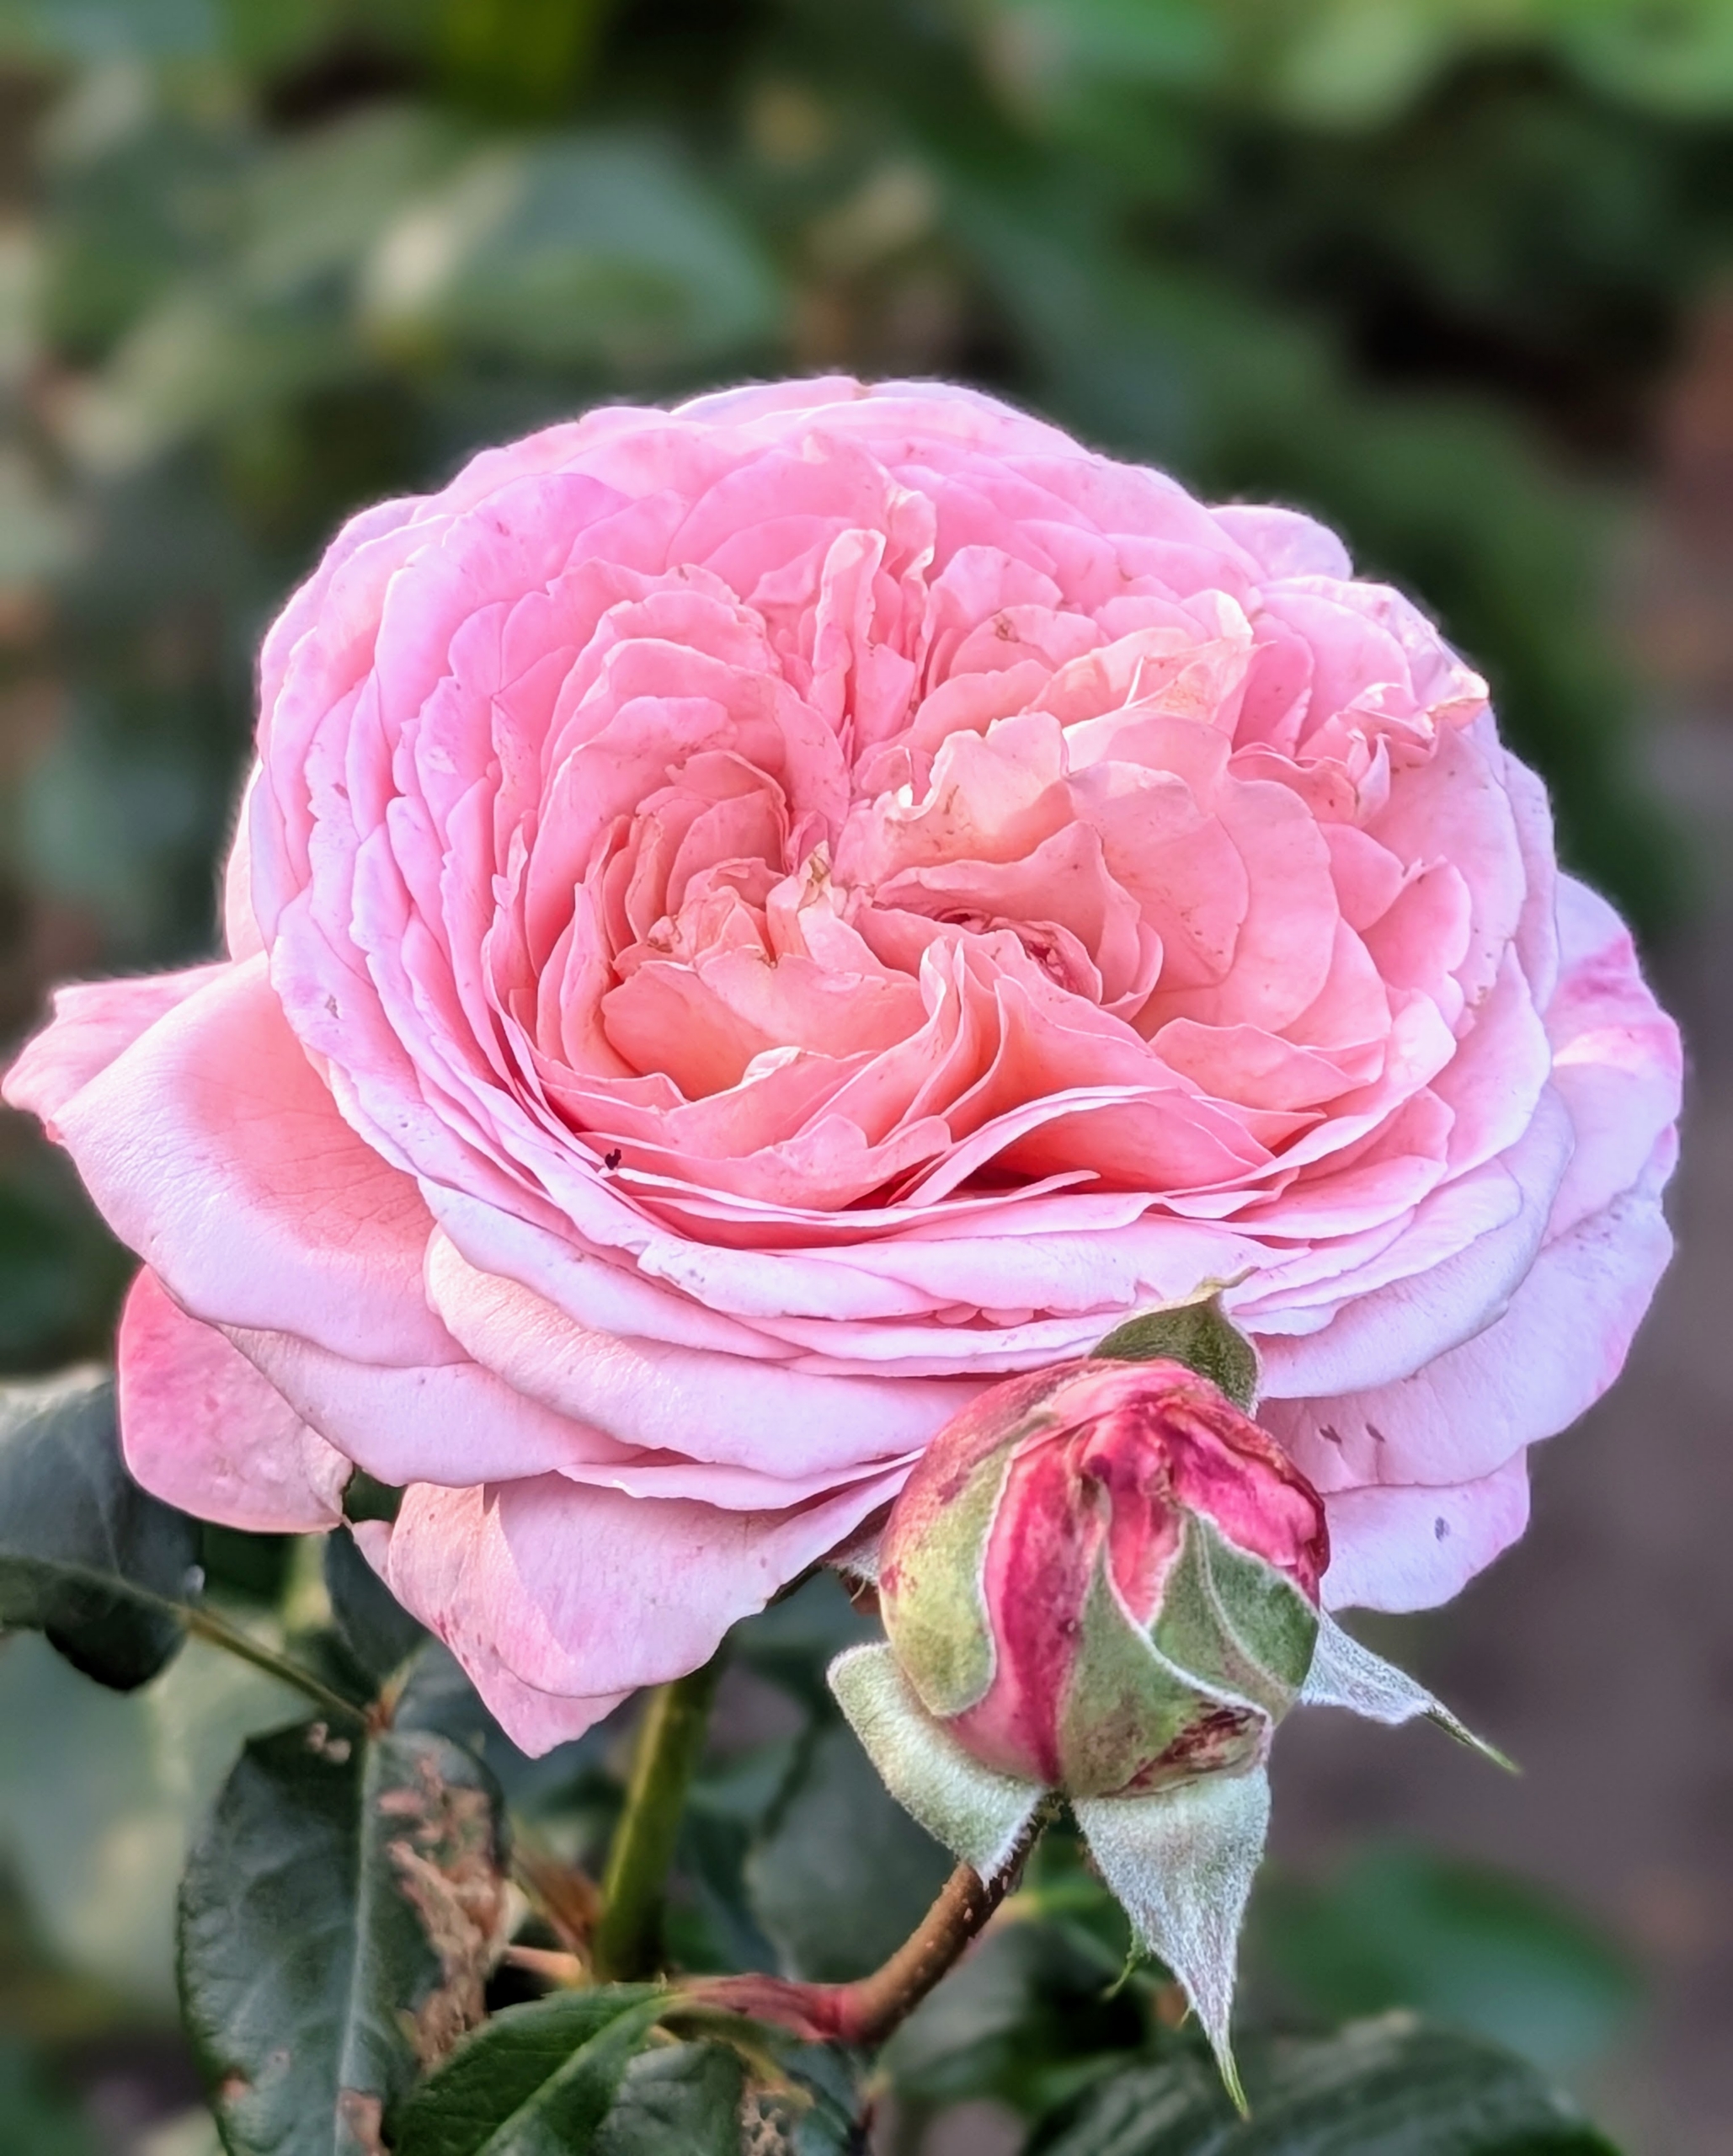
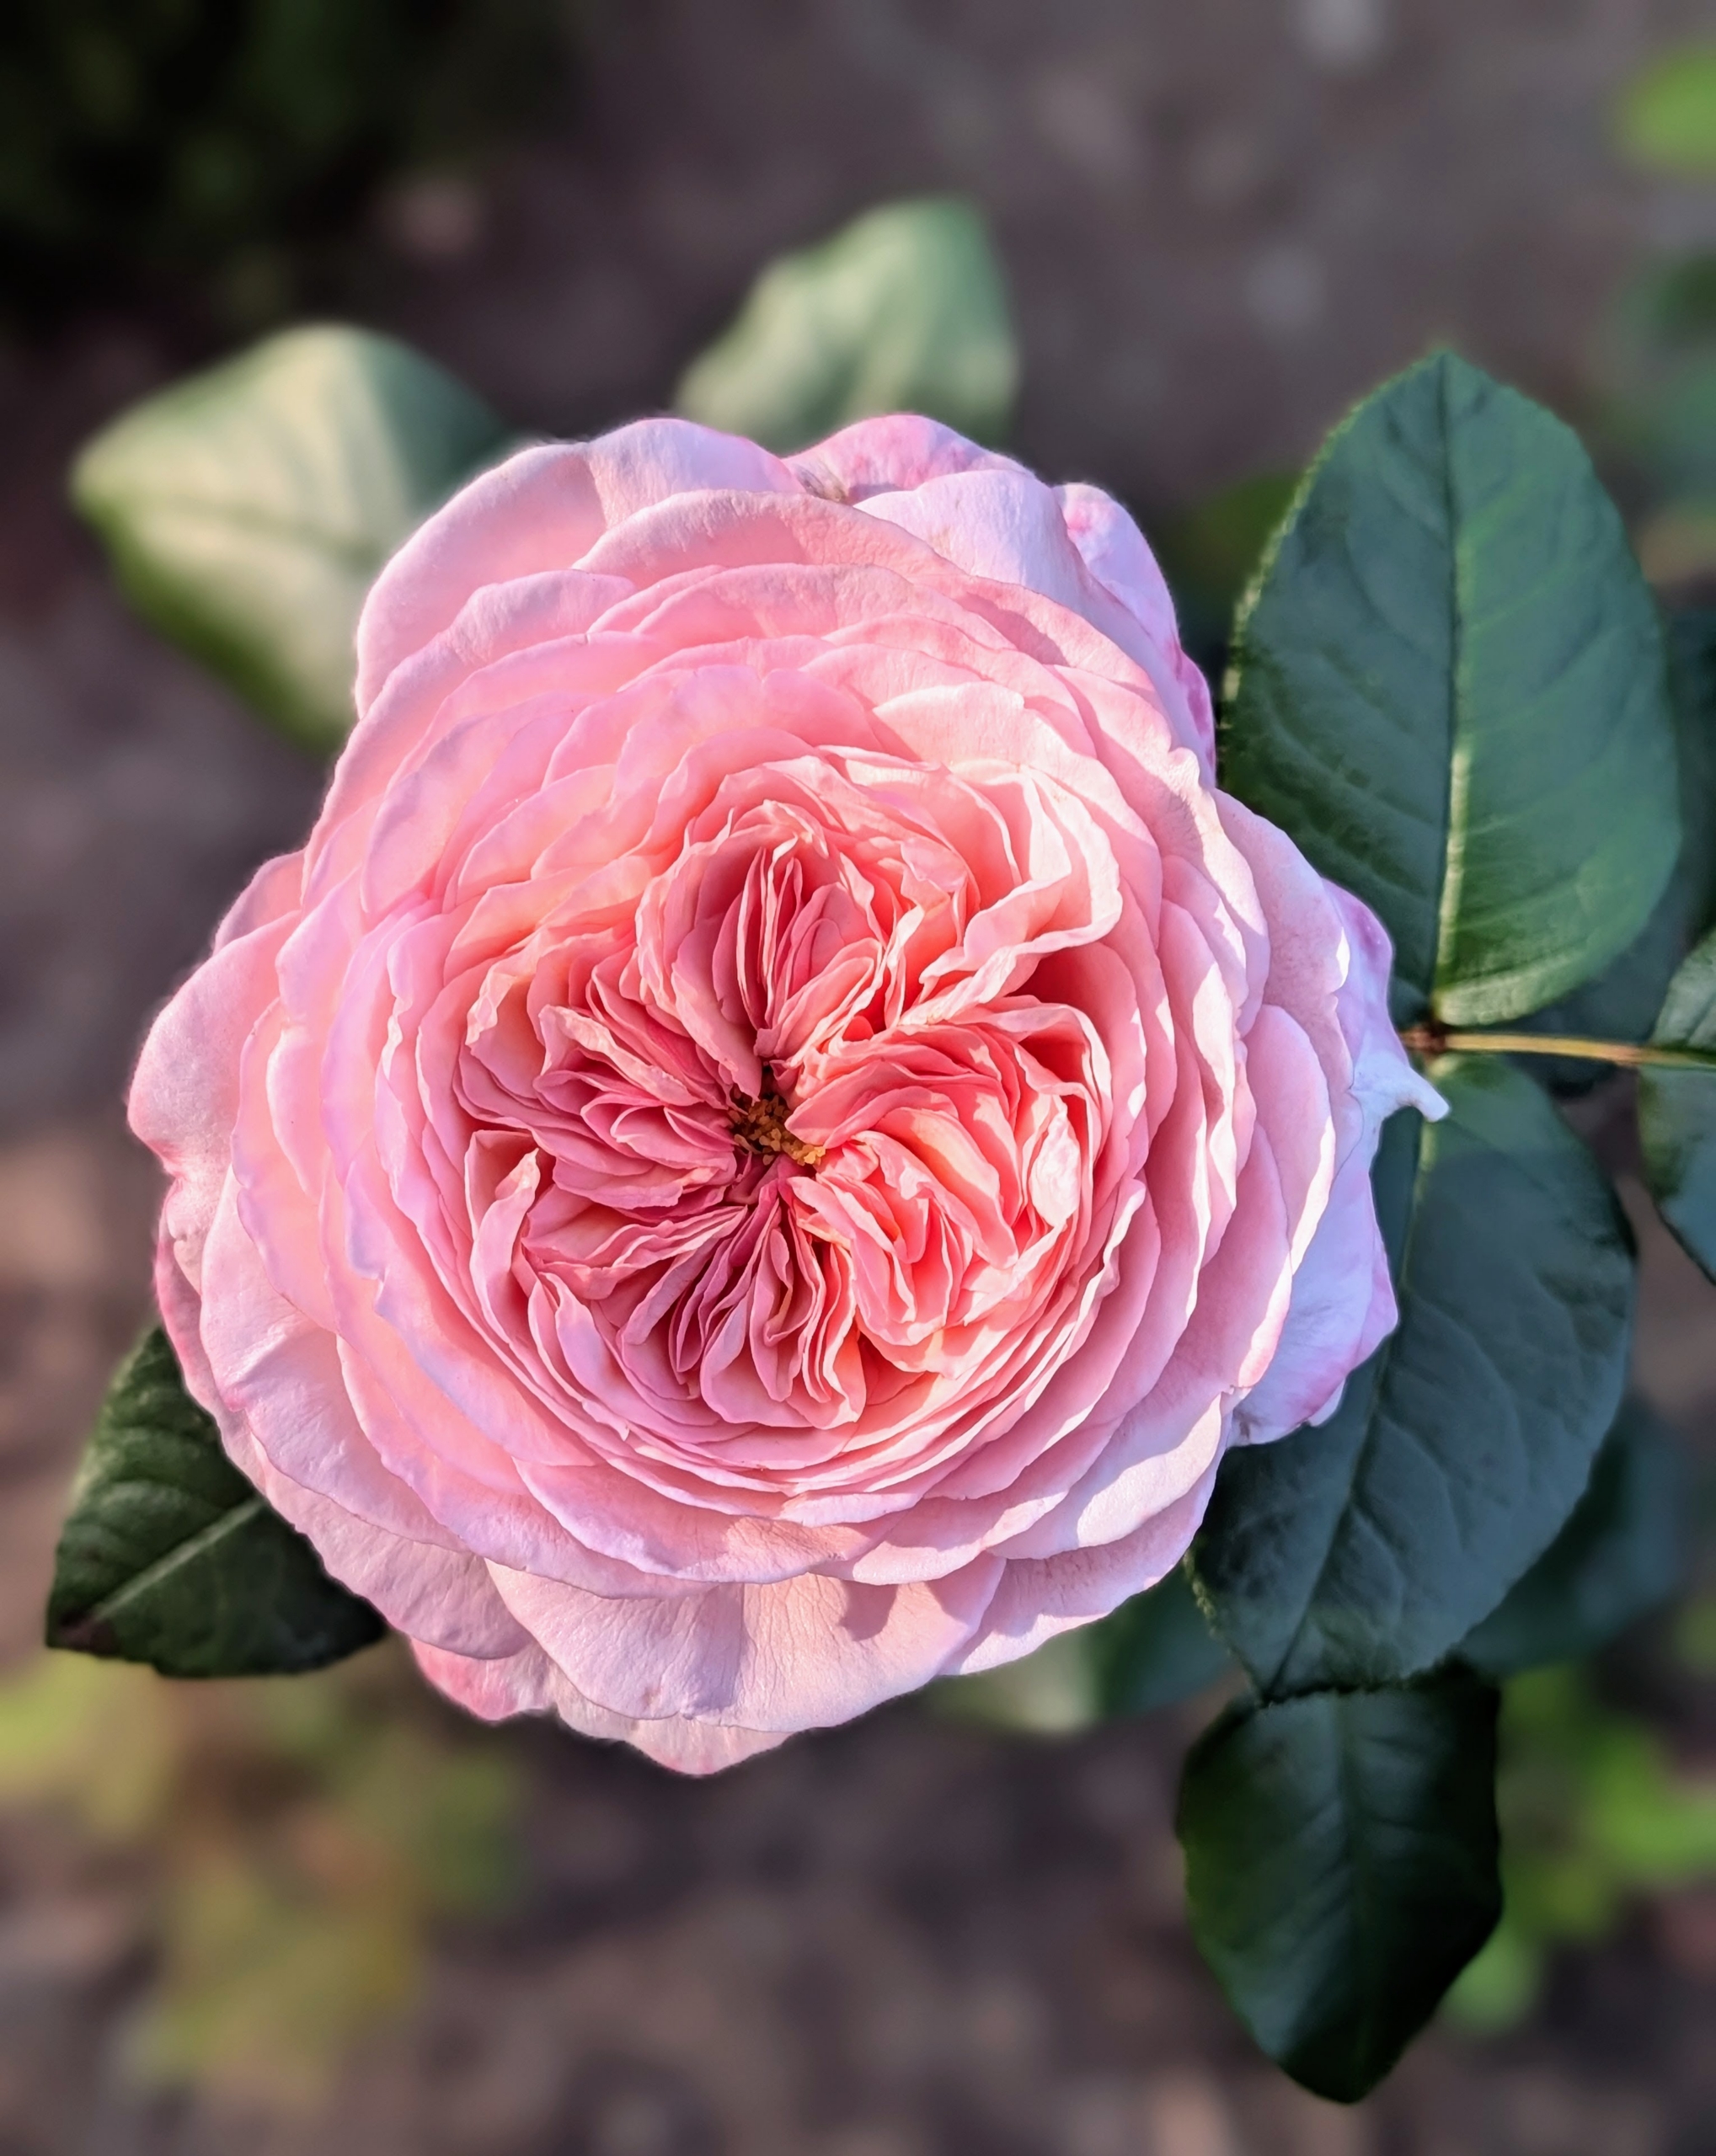
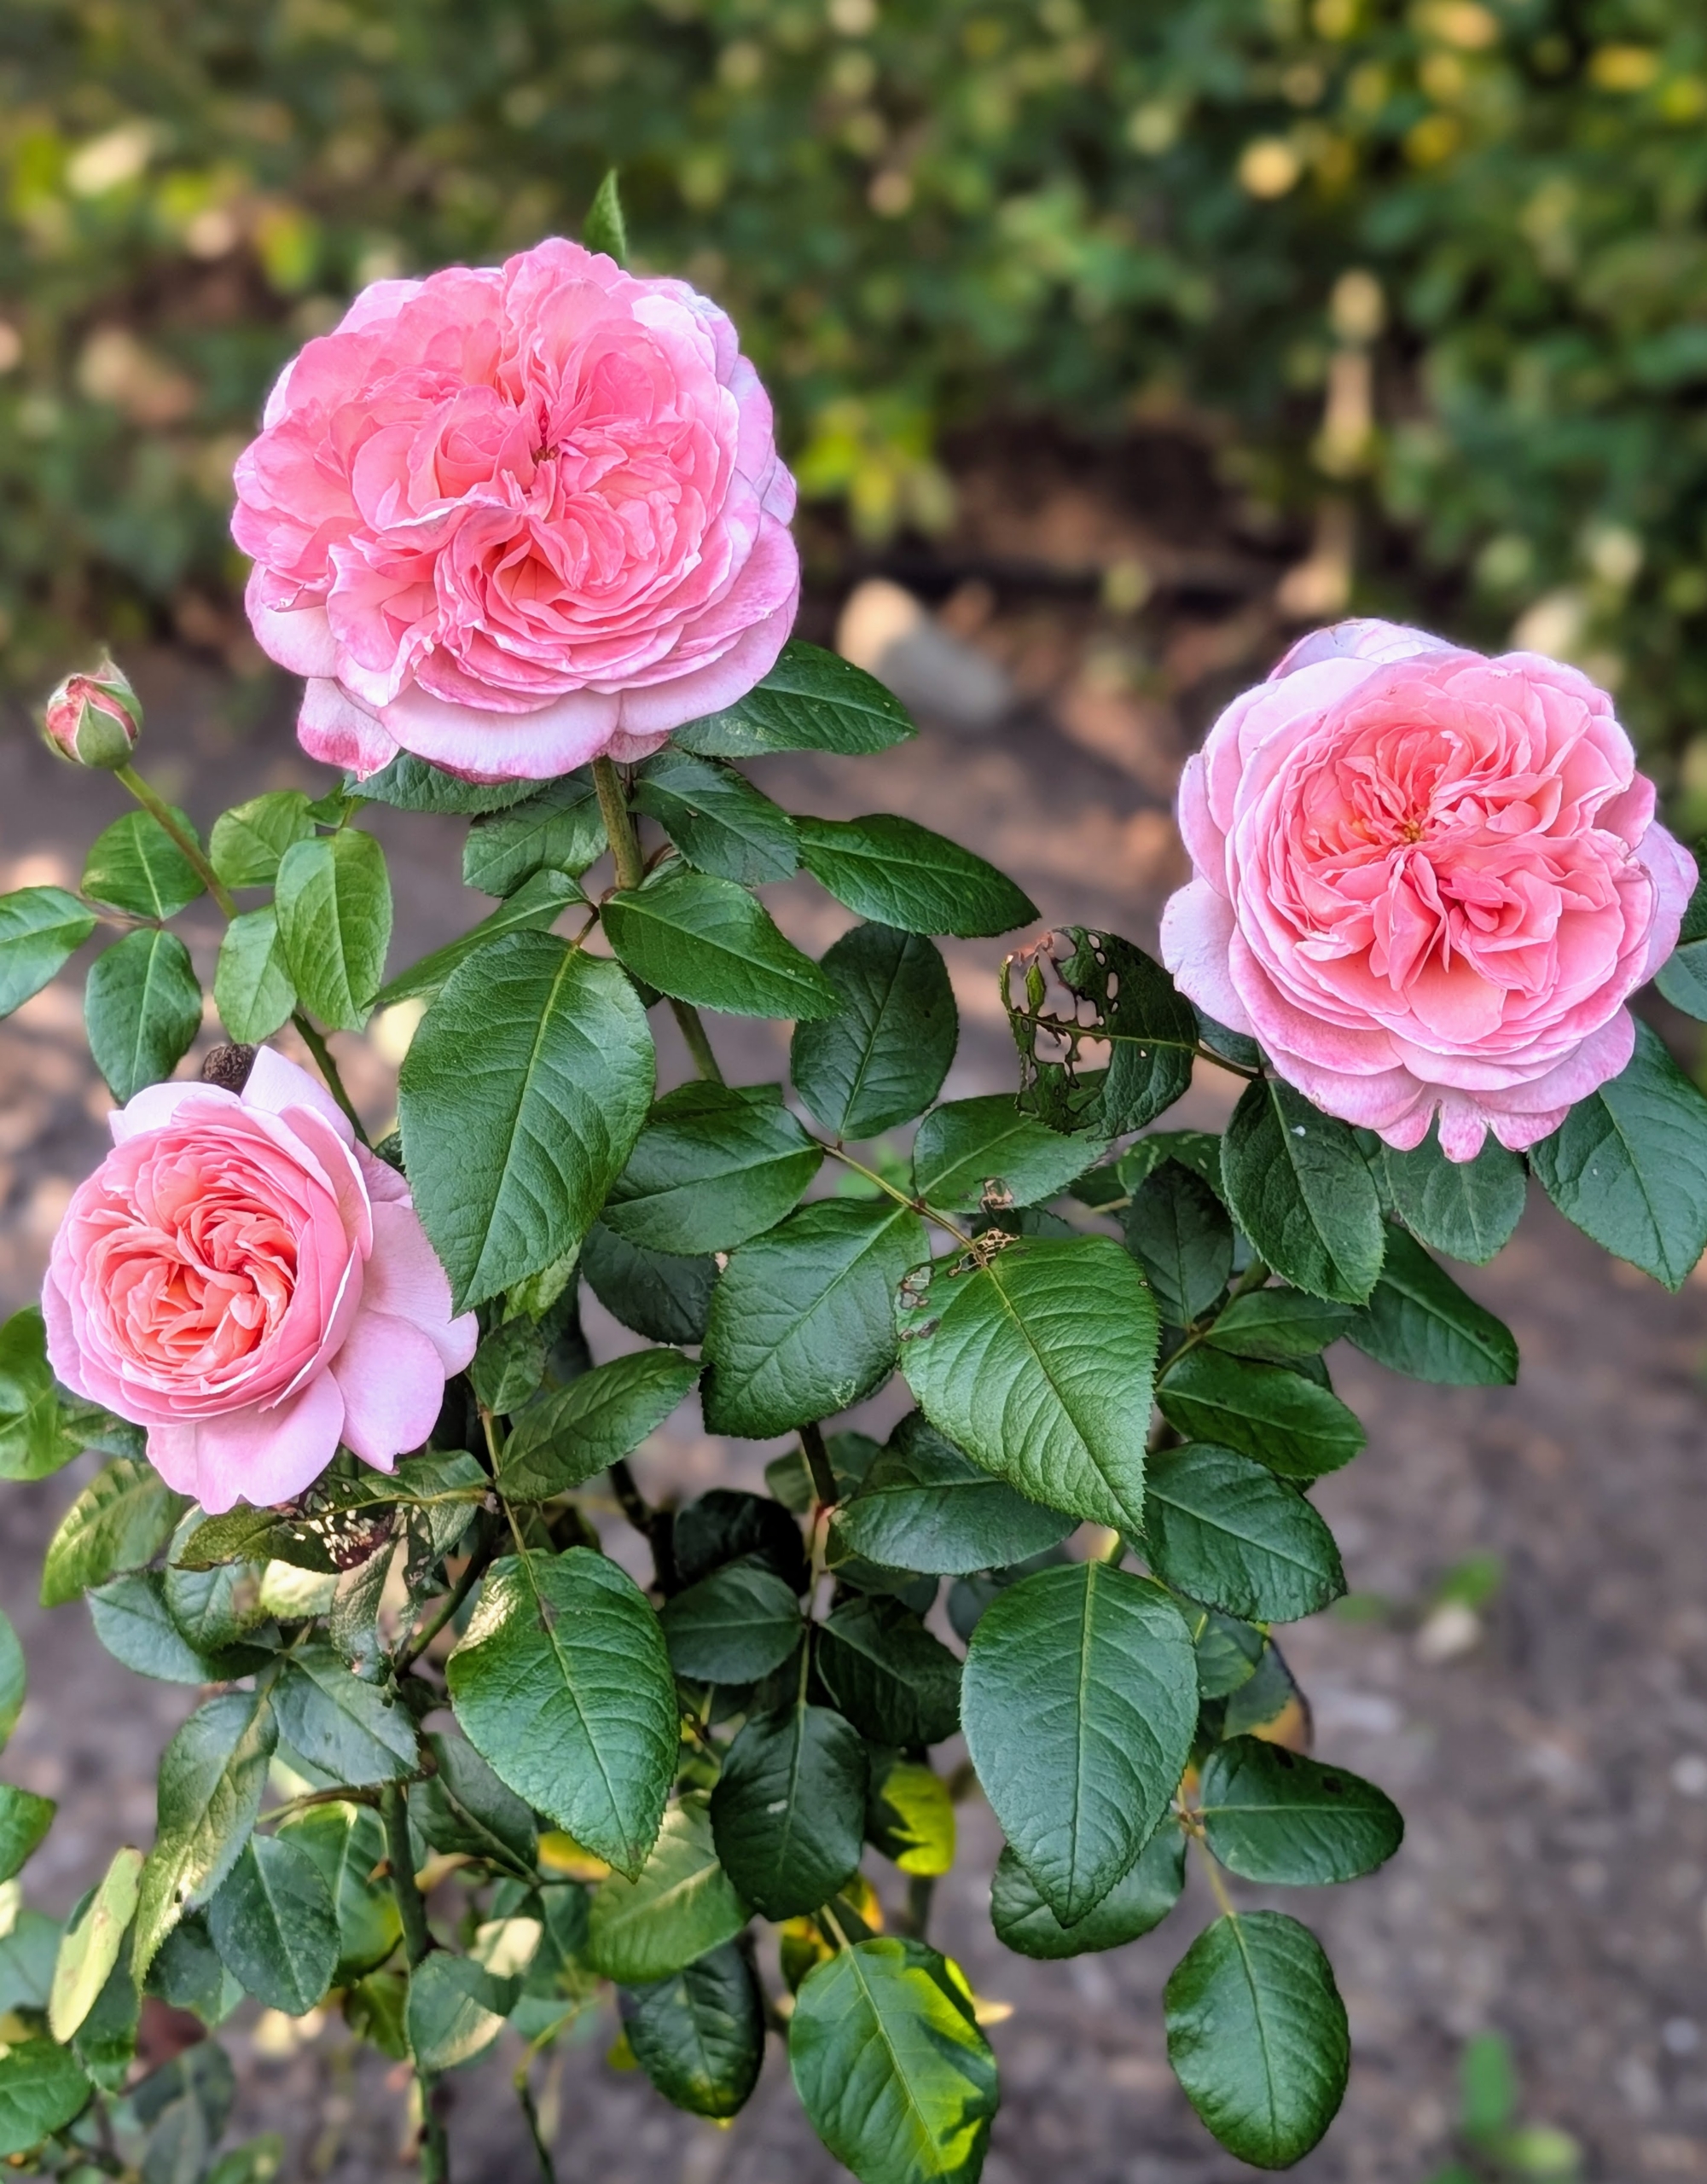
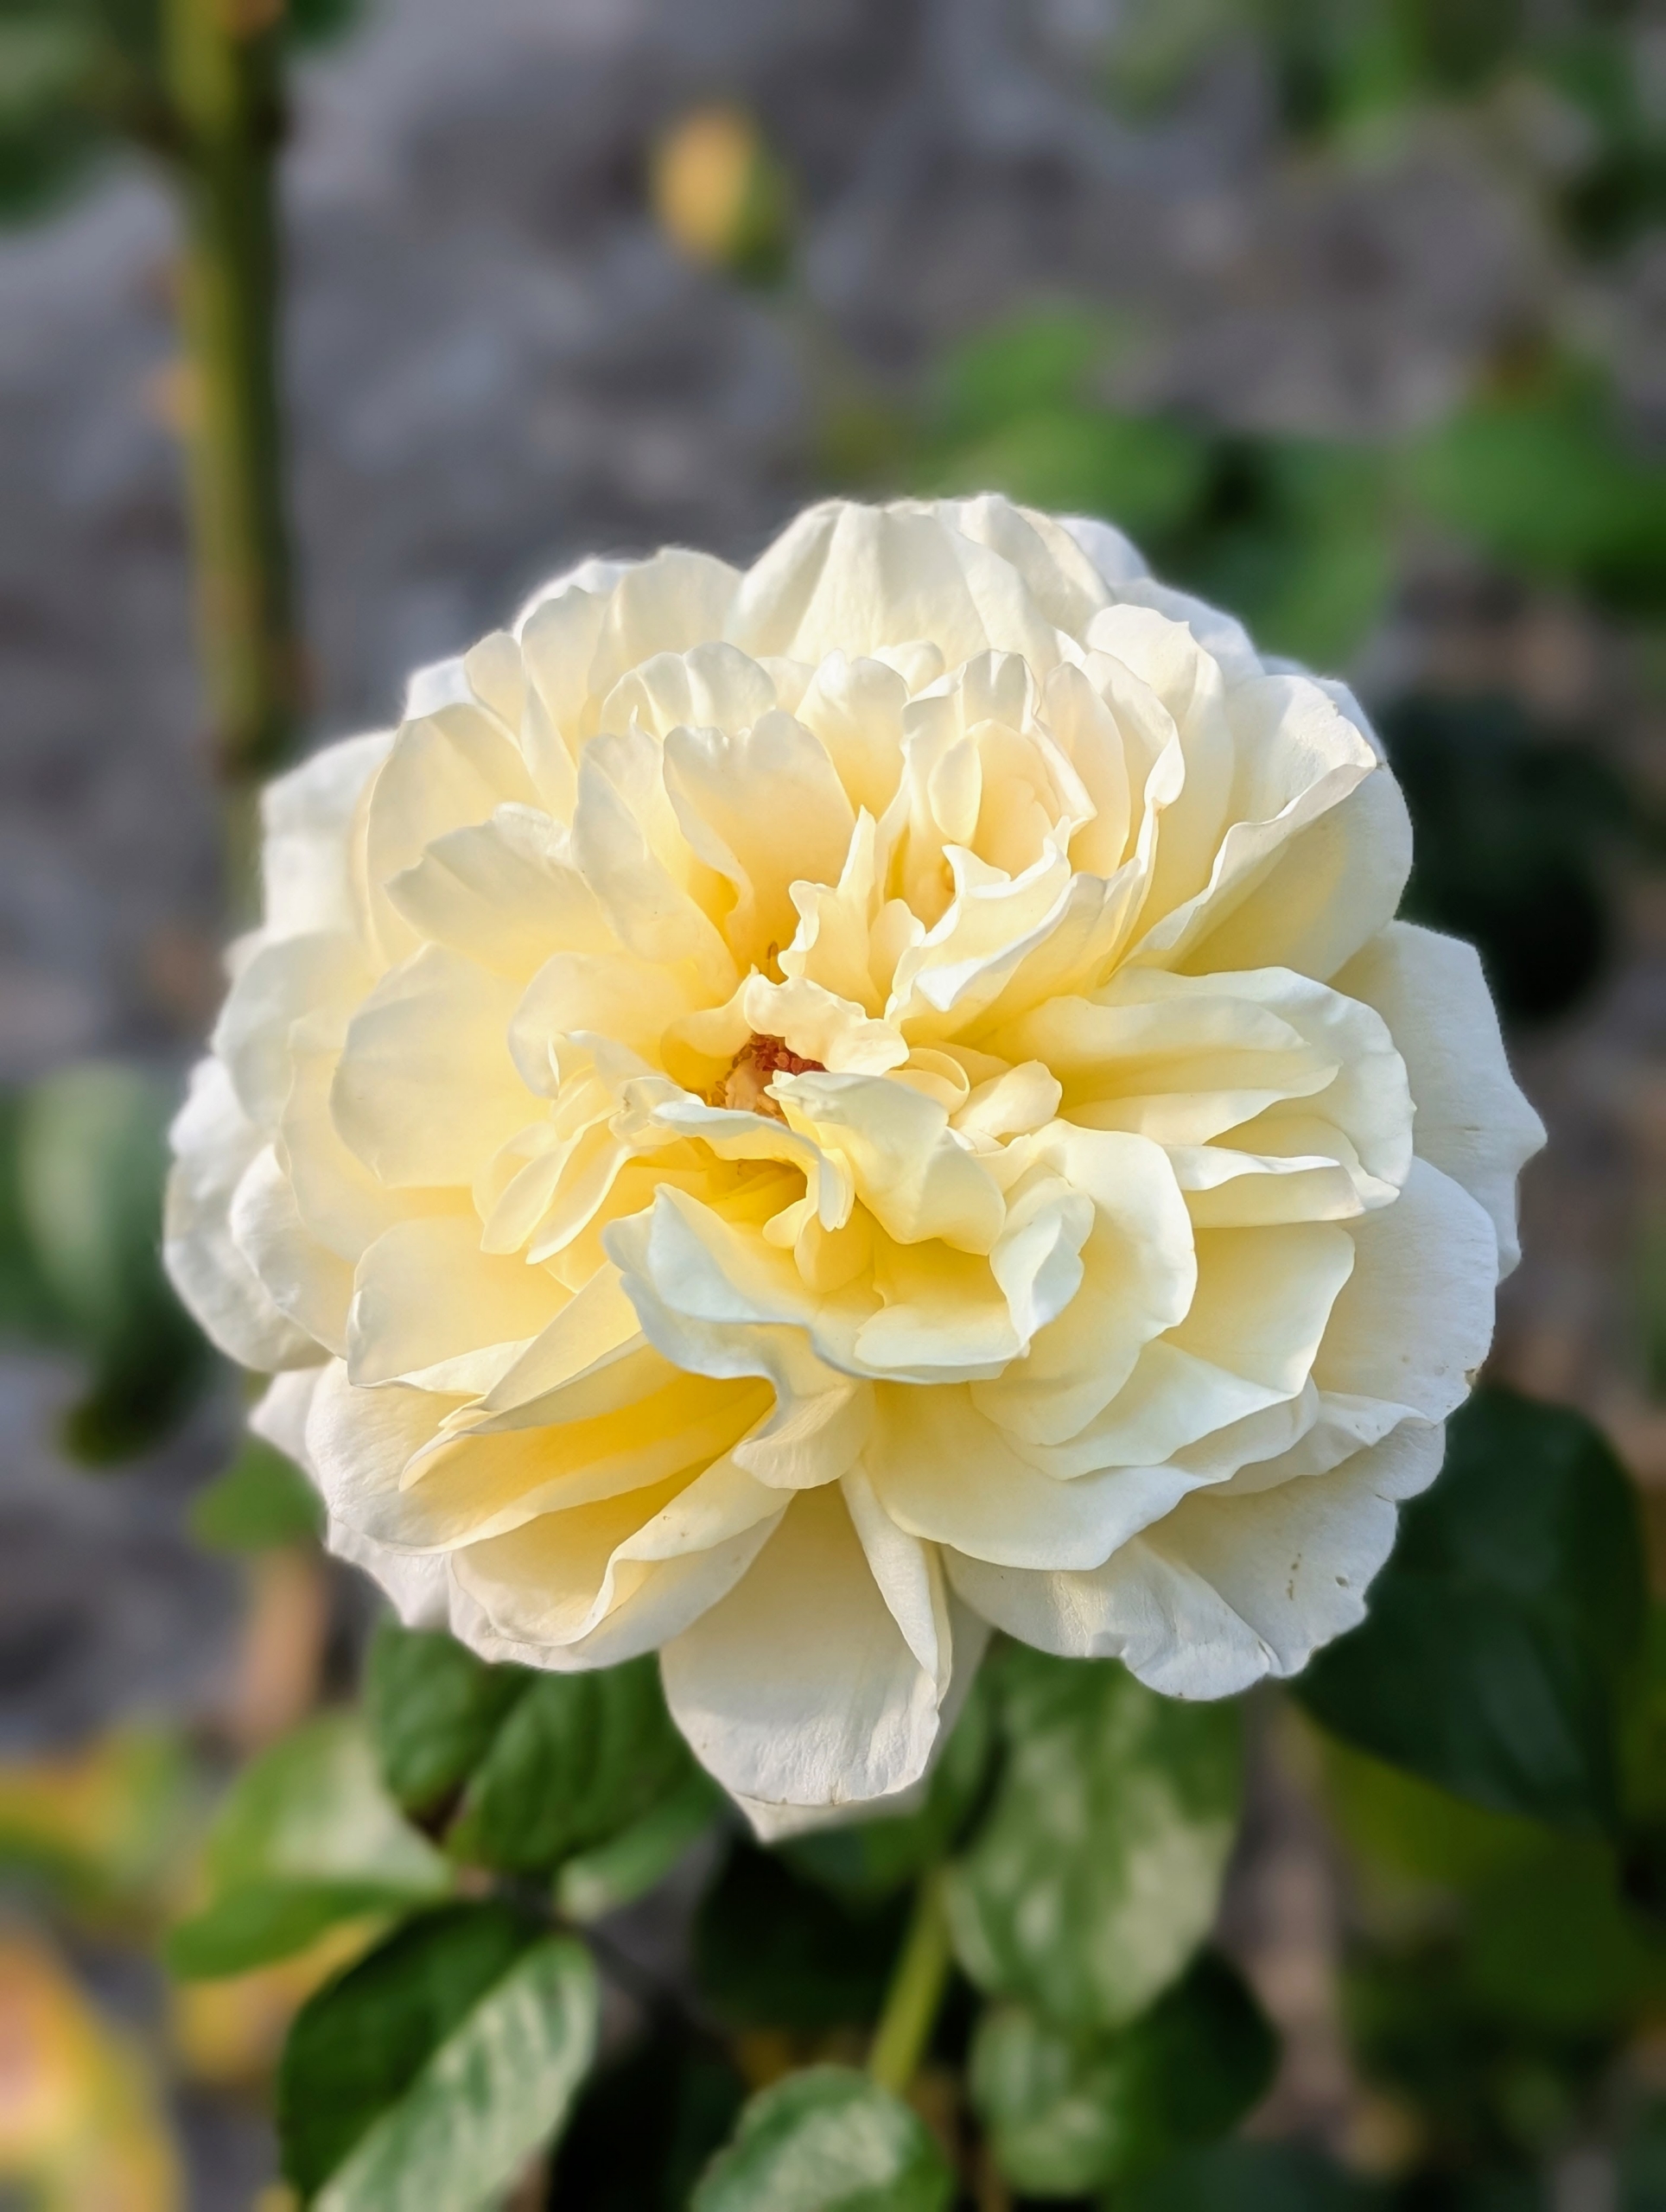
My rose has large pink blooms, dark green foliage, and a most wonderful and sweet fragrance. When in peak bloom, it shows off more than 100 lush pink to apricot petals and a citrus-honeysuckle scent.
I have Martha Stewart roses growing in two formal beds outside my main greenhouse and in a cutting garden near my chicken coops.
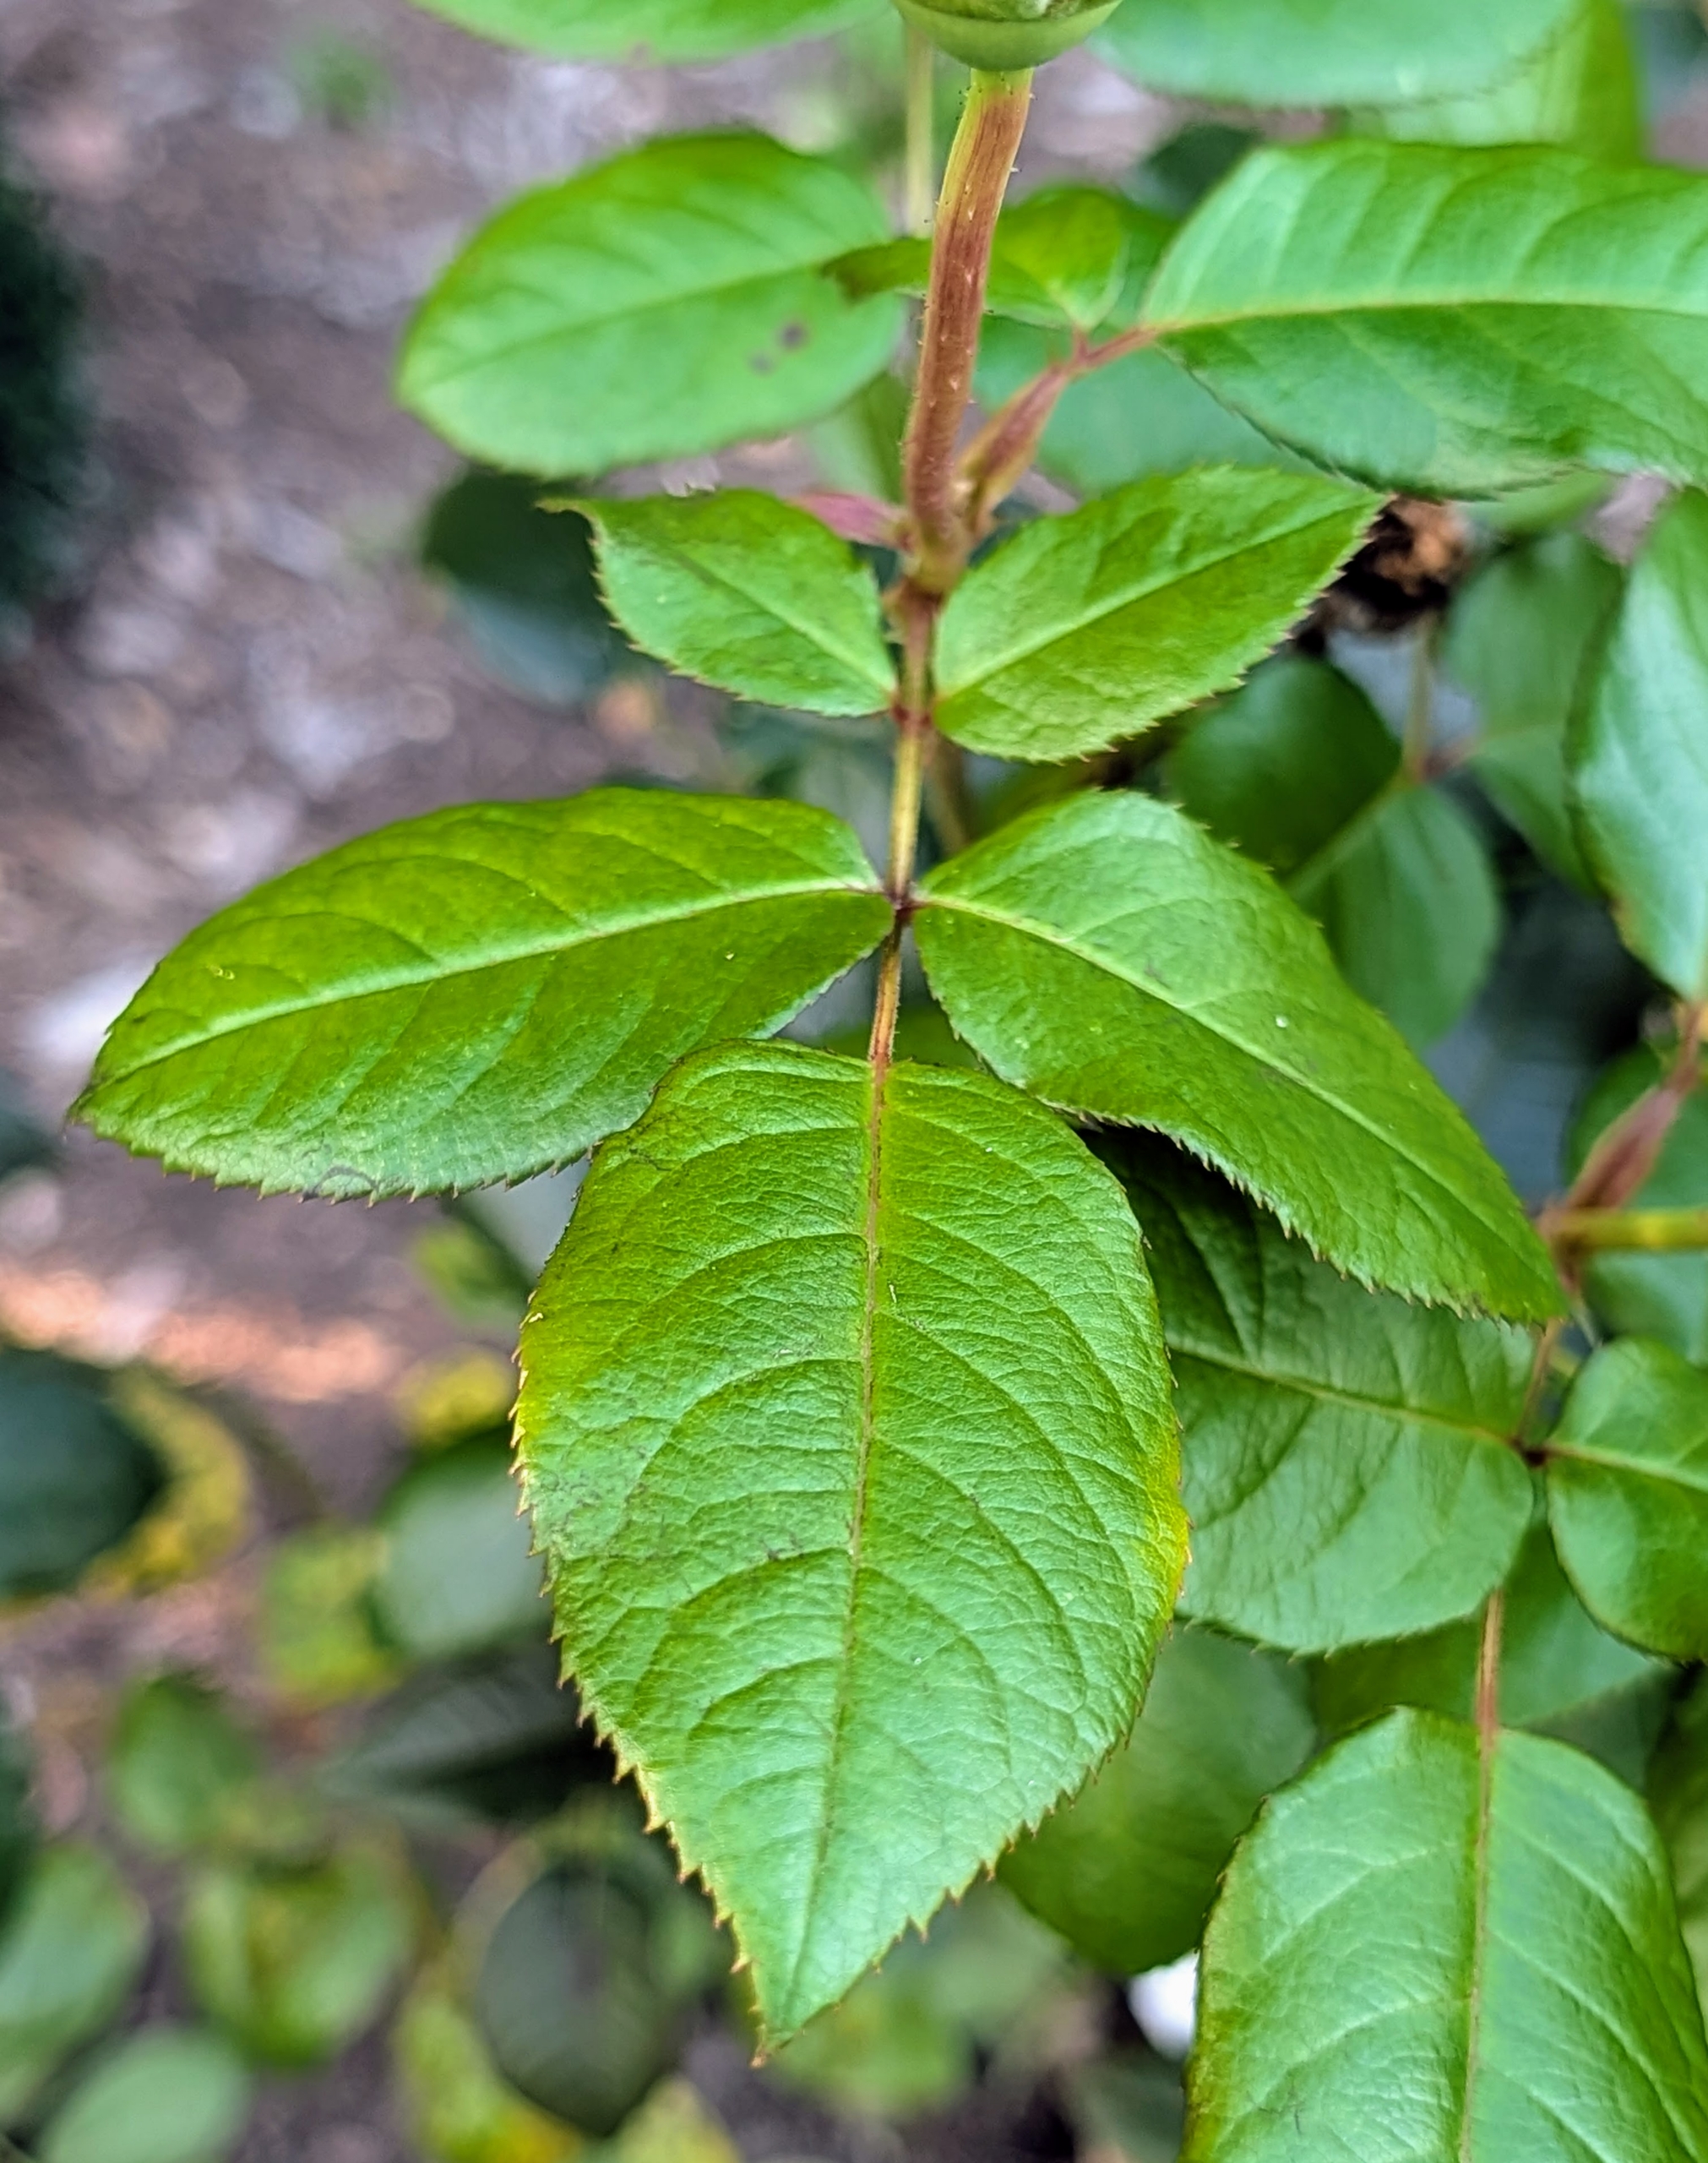
The leaves are glossy and dark green. Rose leaves are described as “pinnate” – meaning there is a central rib and then leaflets off to each side, with one terminal leaflet. Rose leaves can have anywhere from two to 13 leaflets.
The Martha Stewart rose matures to three feet tall and about three feet wide making it ideal for borders, small gardens, and containers. The fragrance is wonderfully intoxicating.
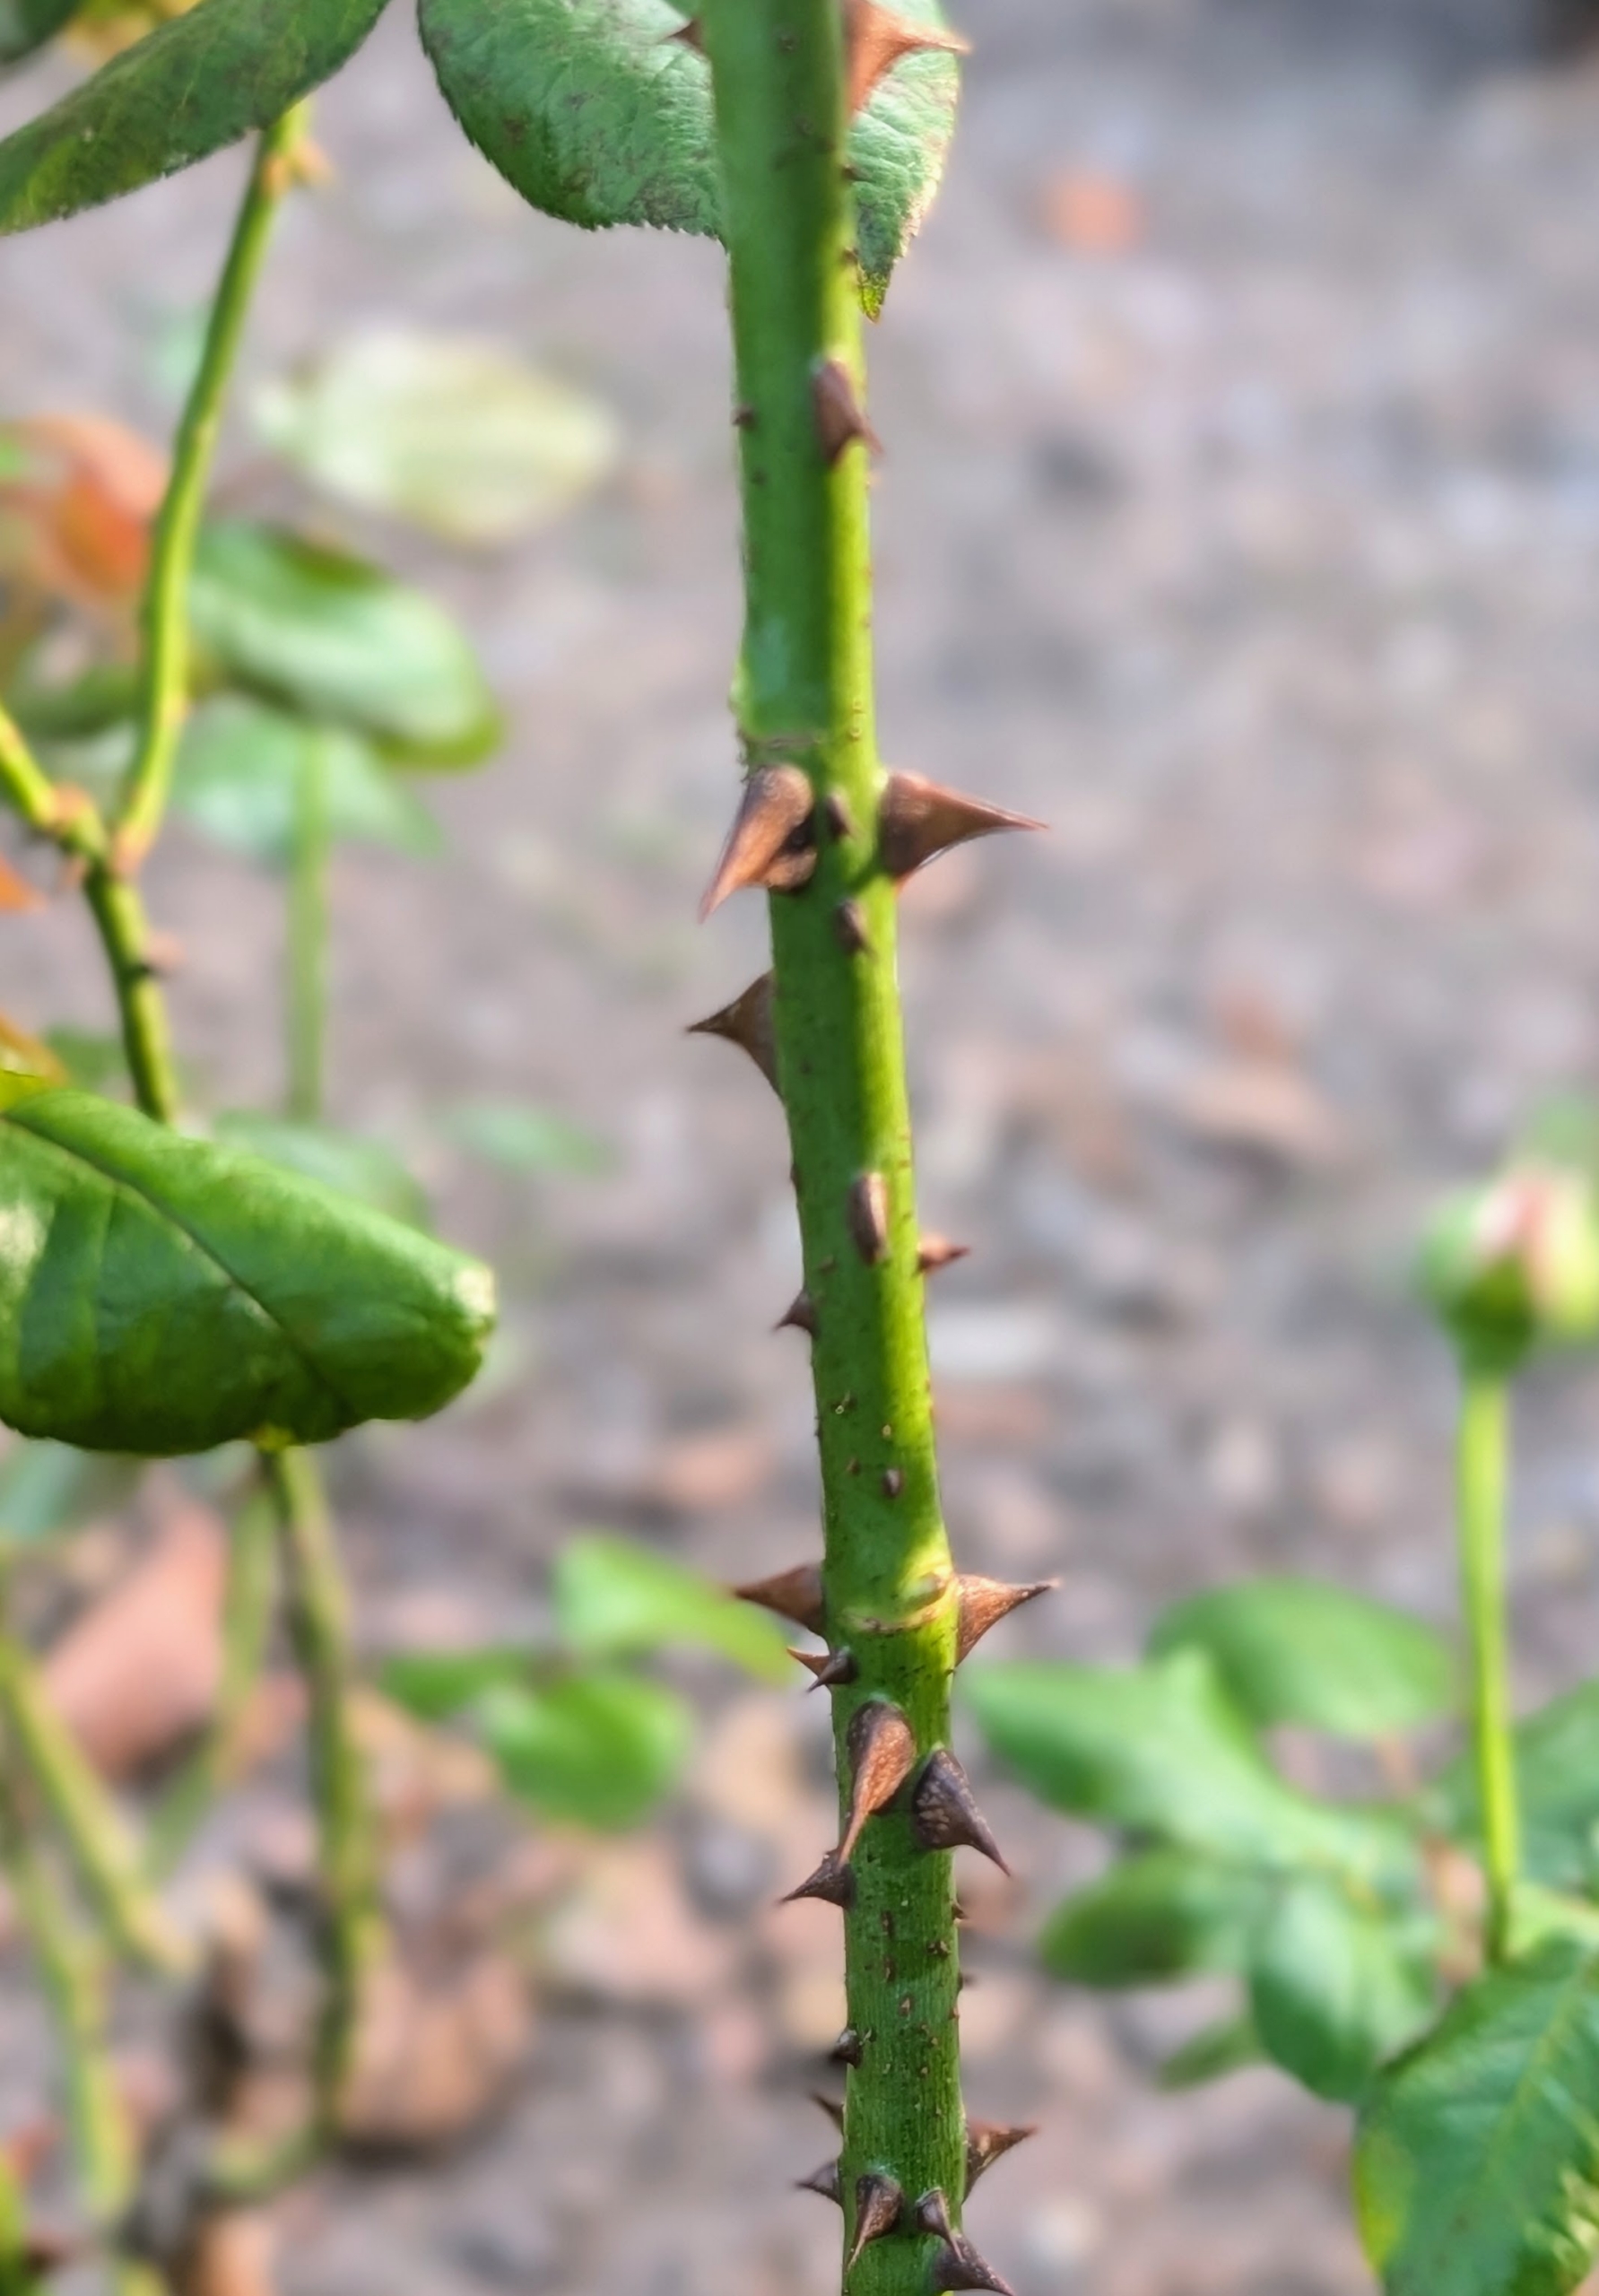
And remember, rose stems are often armed with sharp prickles, not thorns. A prickle can be easily broken off the plant because it is really a feature of the outer layers rather than part of the wood, like a thorn.
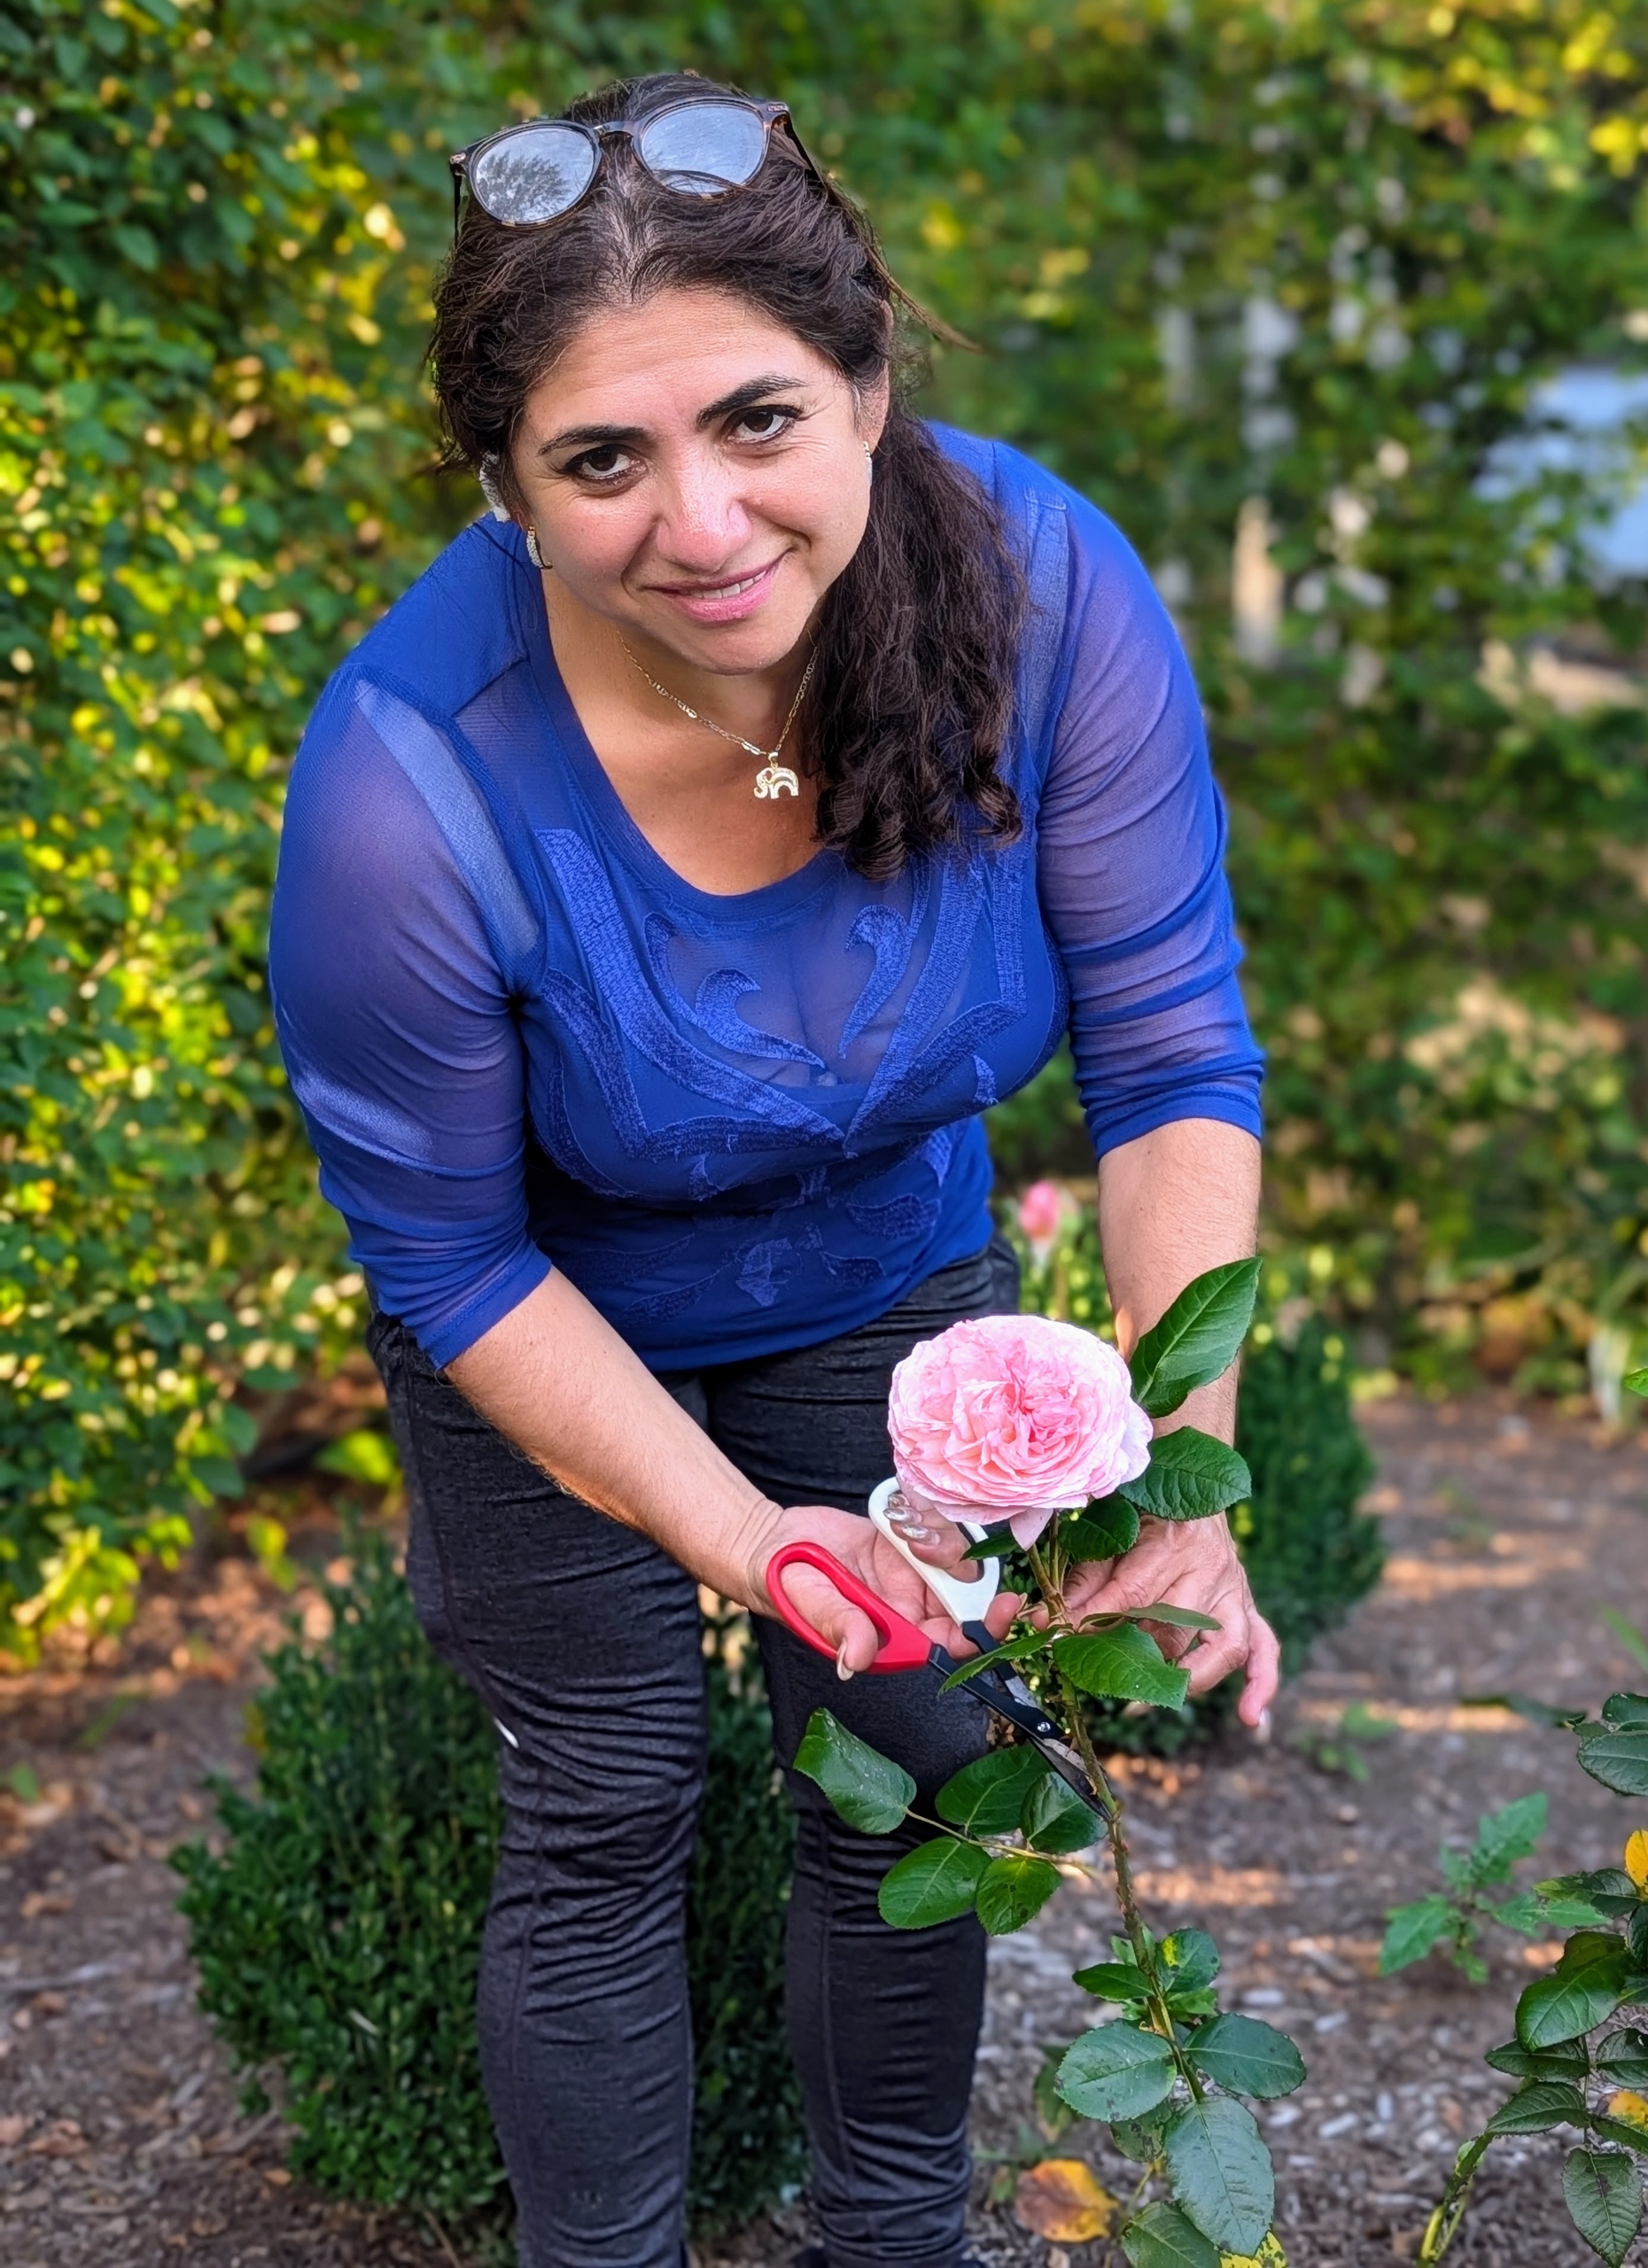
Enma cuts the flowers that are newly opened and fresh looking.
I also have many other roses blooming right now. A rose is a woody perennial flowering plant of the genus Rosa, in the family Rosaceae. There are more than a hundred species and thousands of cultivars.
Roses come in many different colors, such as creamy yellow, pink, peach, white, red, magenta, copper, vermilion, purple, and apricot.
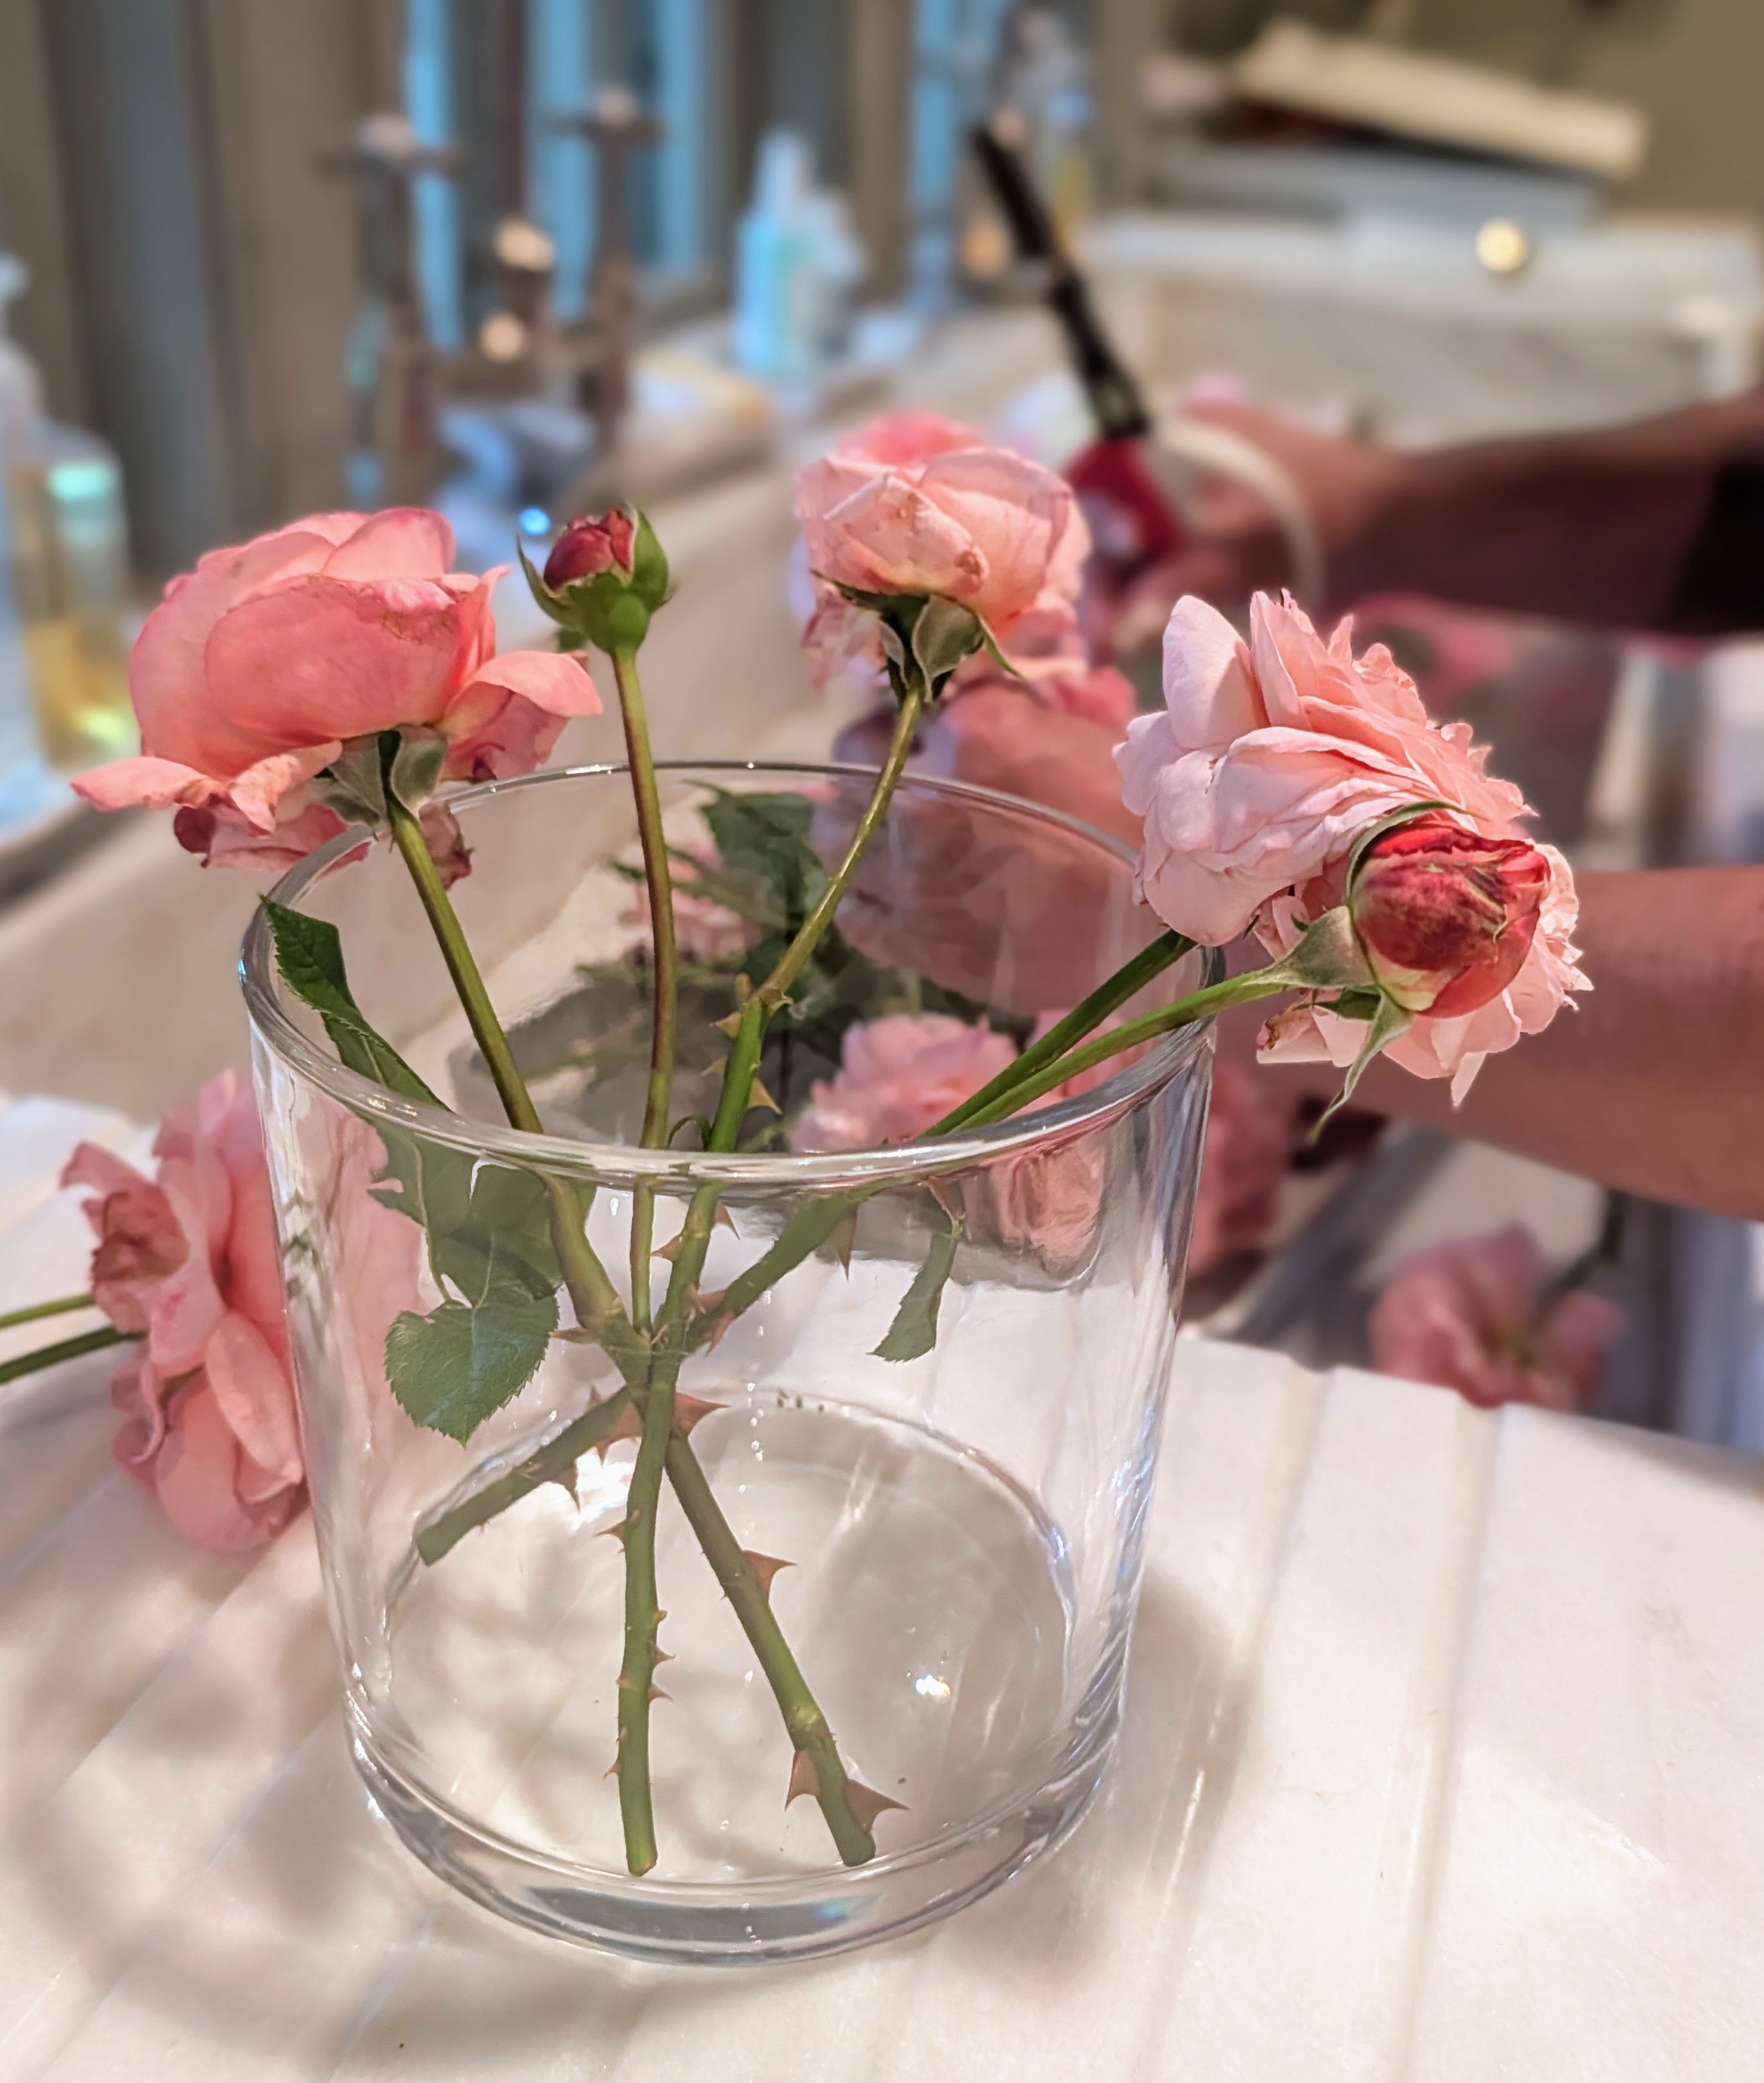
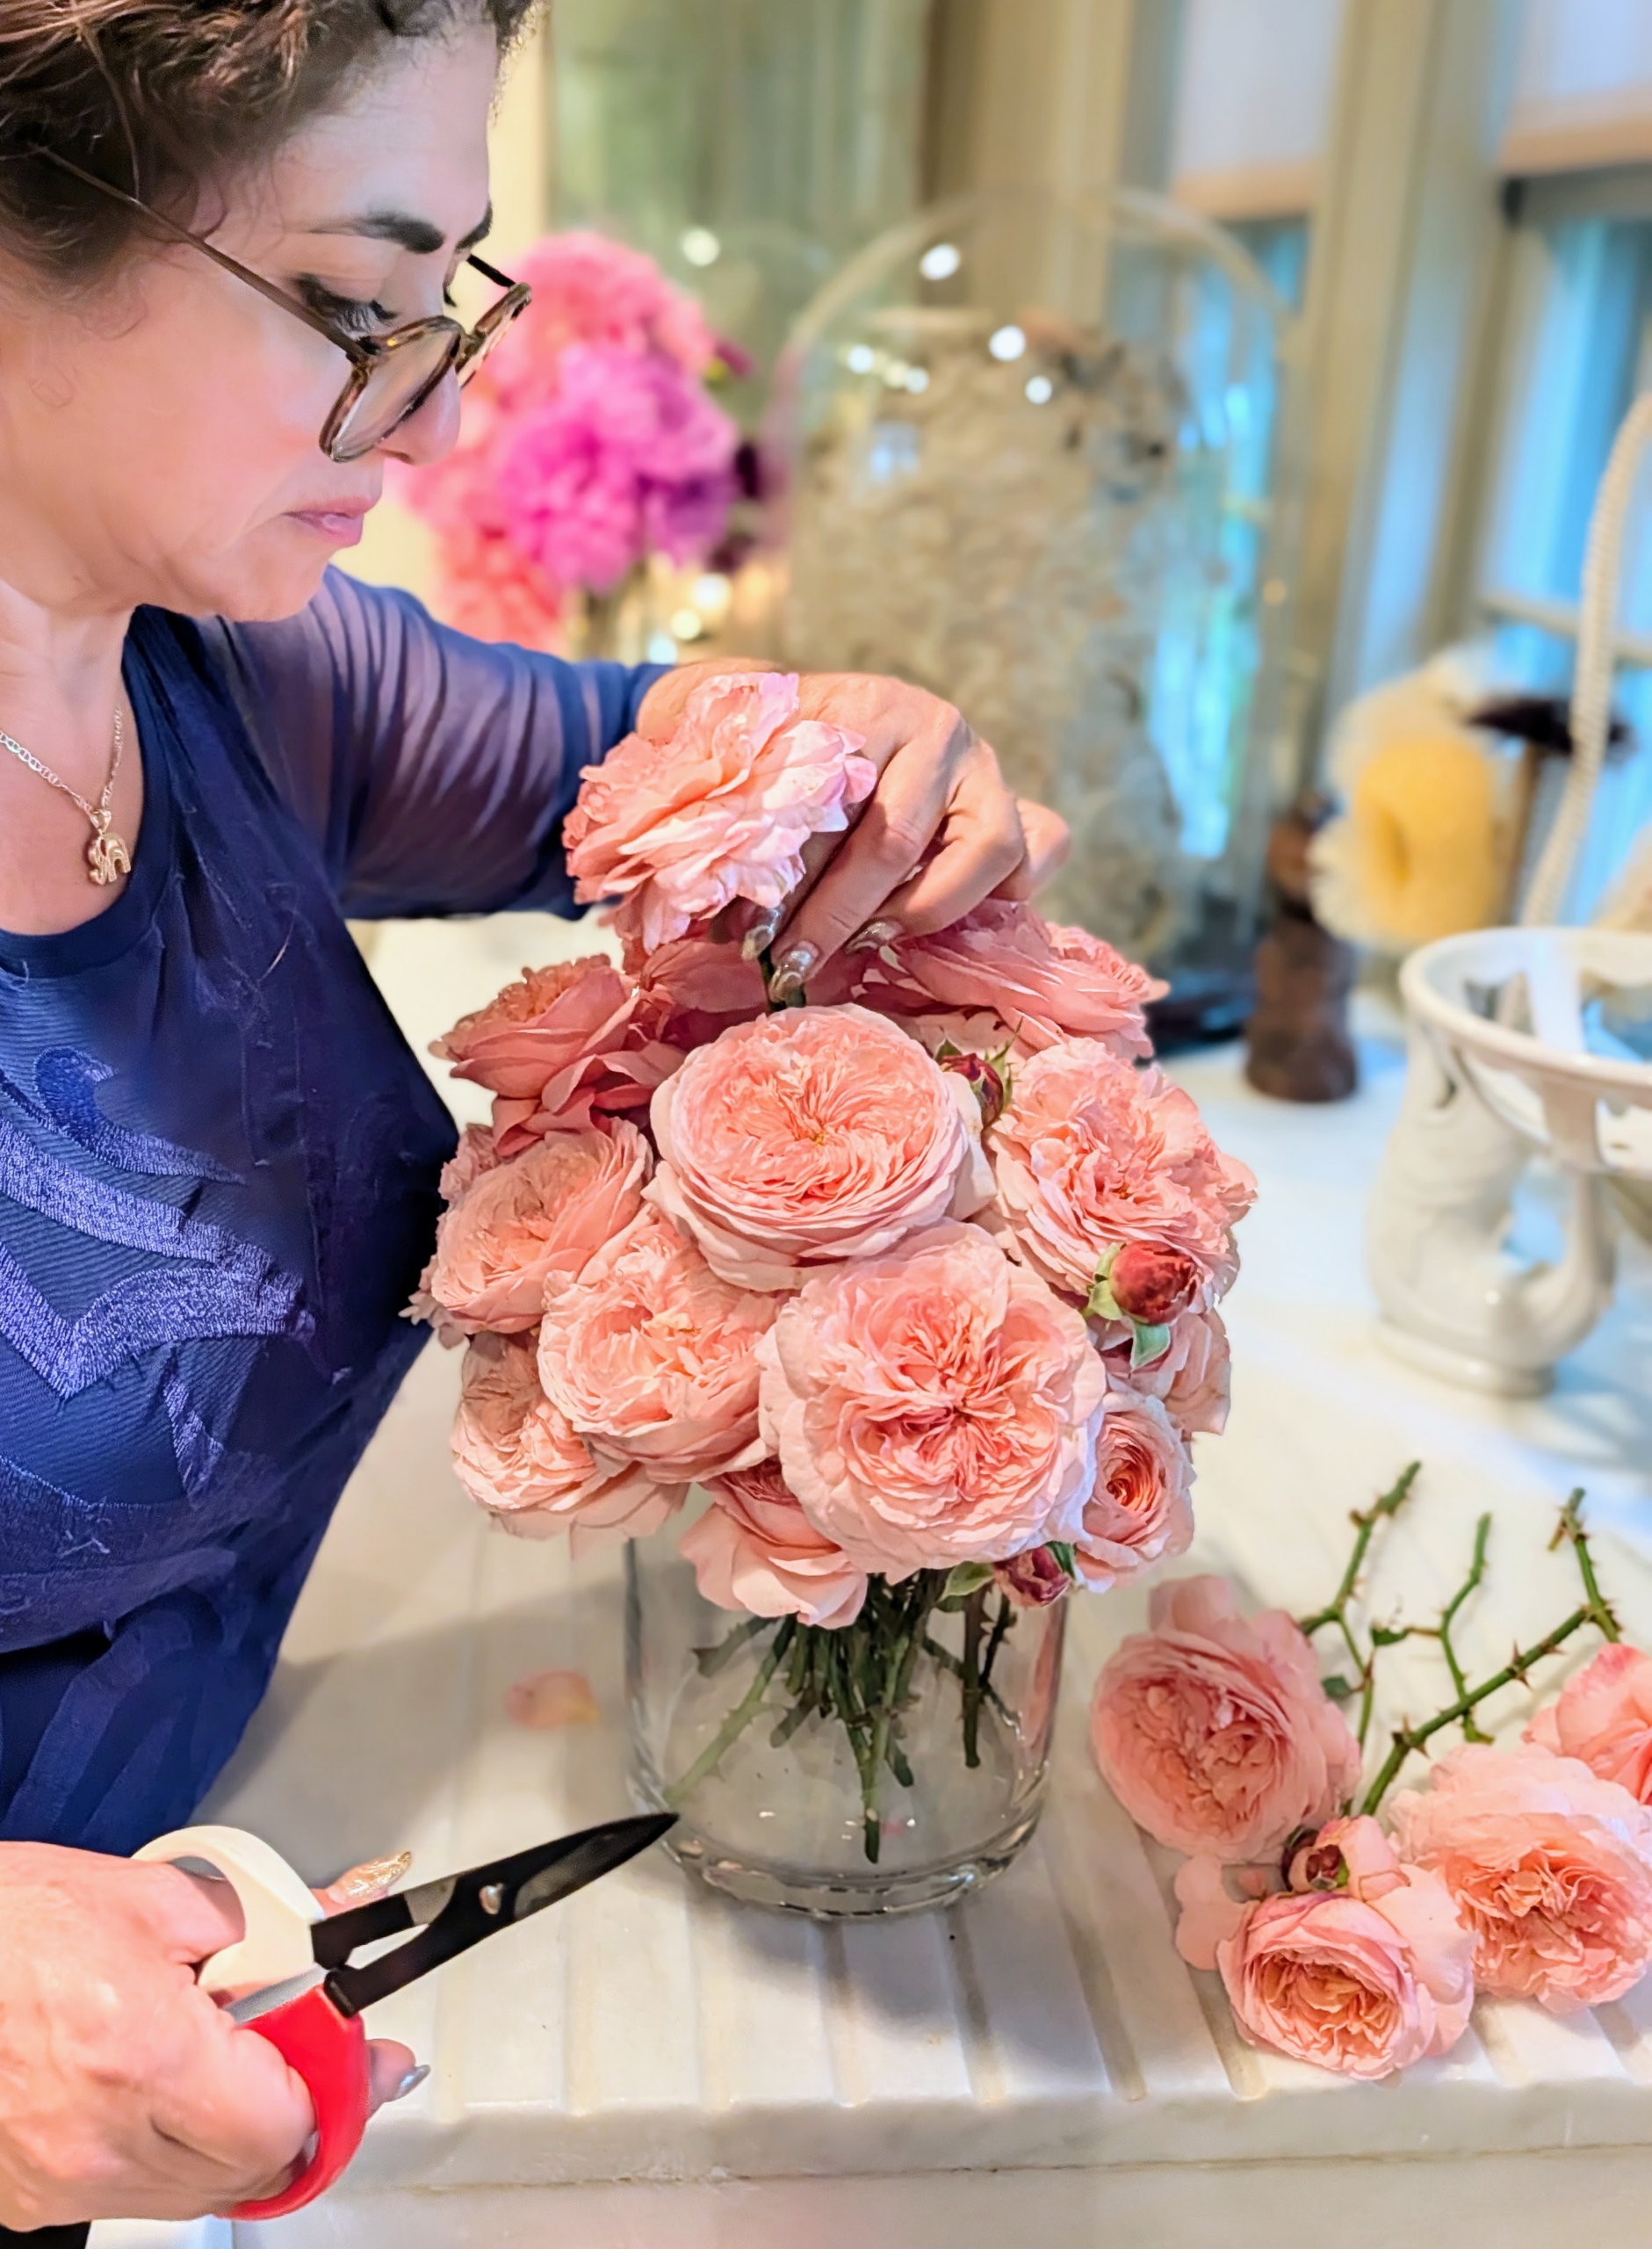
I instructed Enma to cut medium length stems for a shorter, more full arrangement in this glass cylinder.
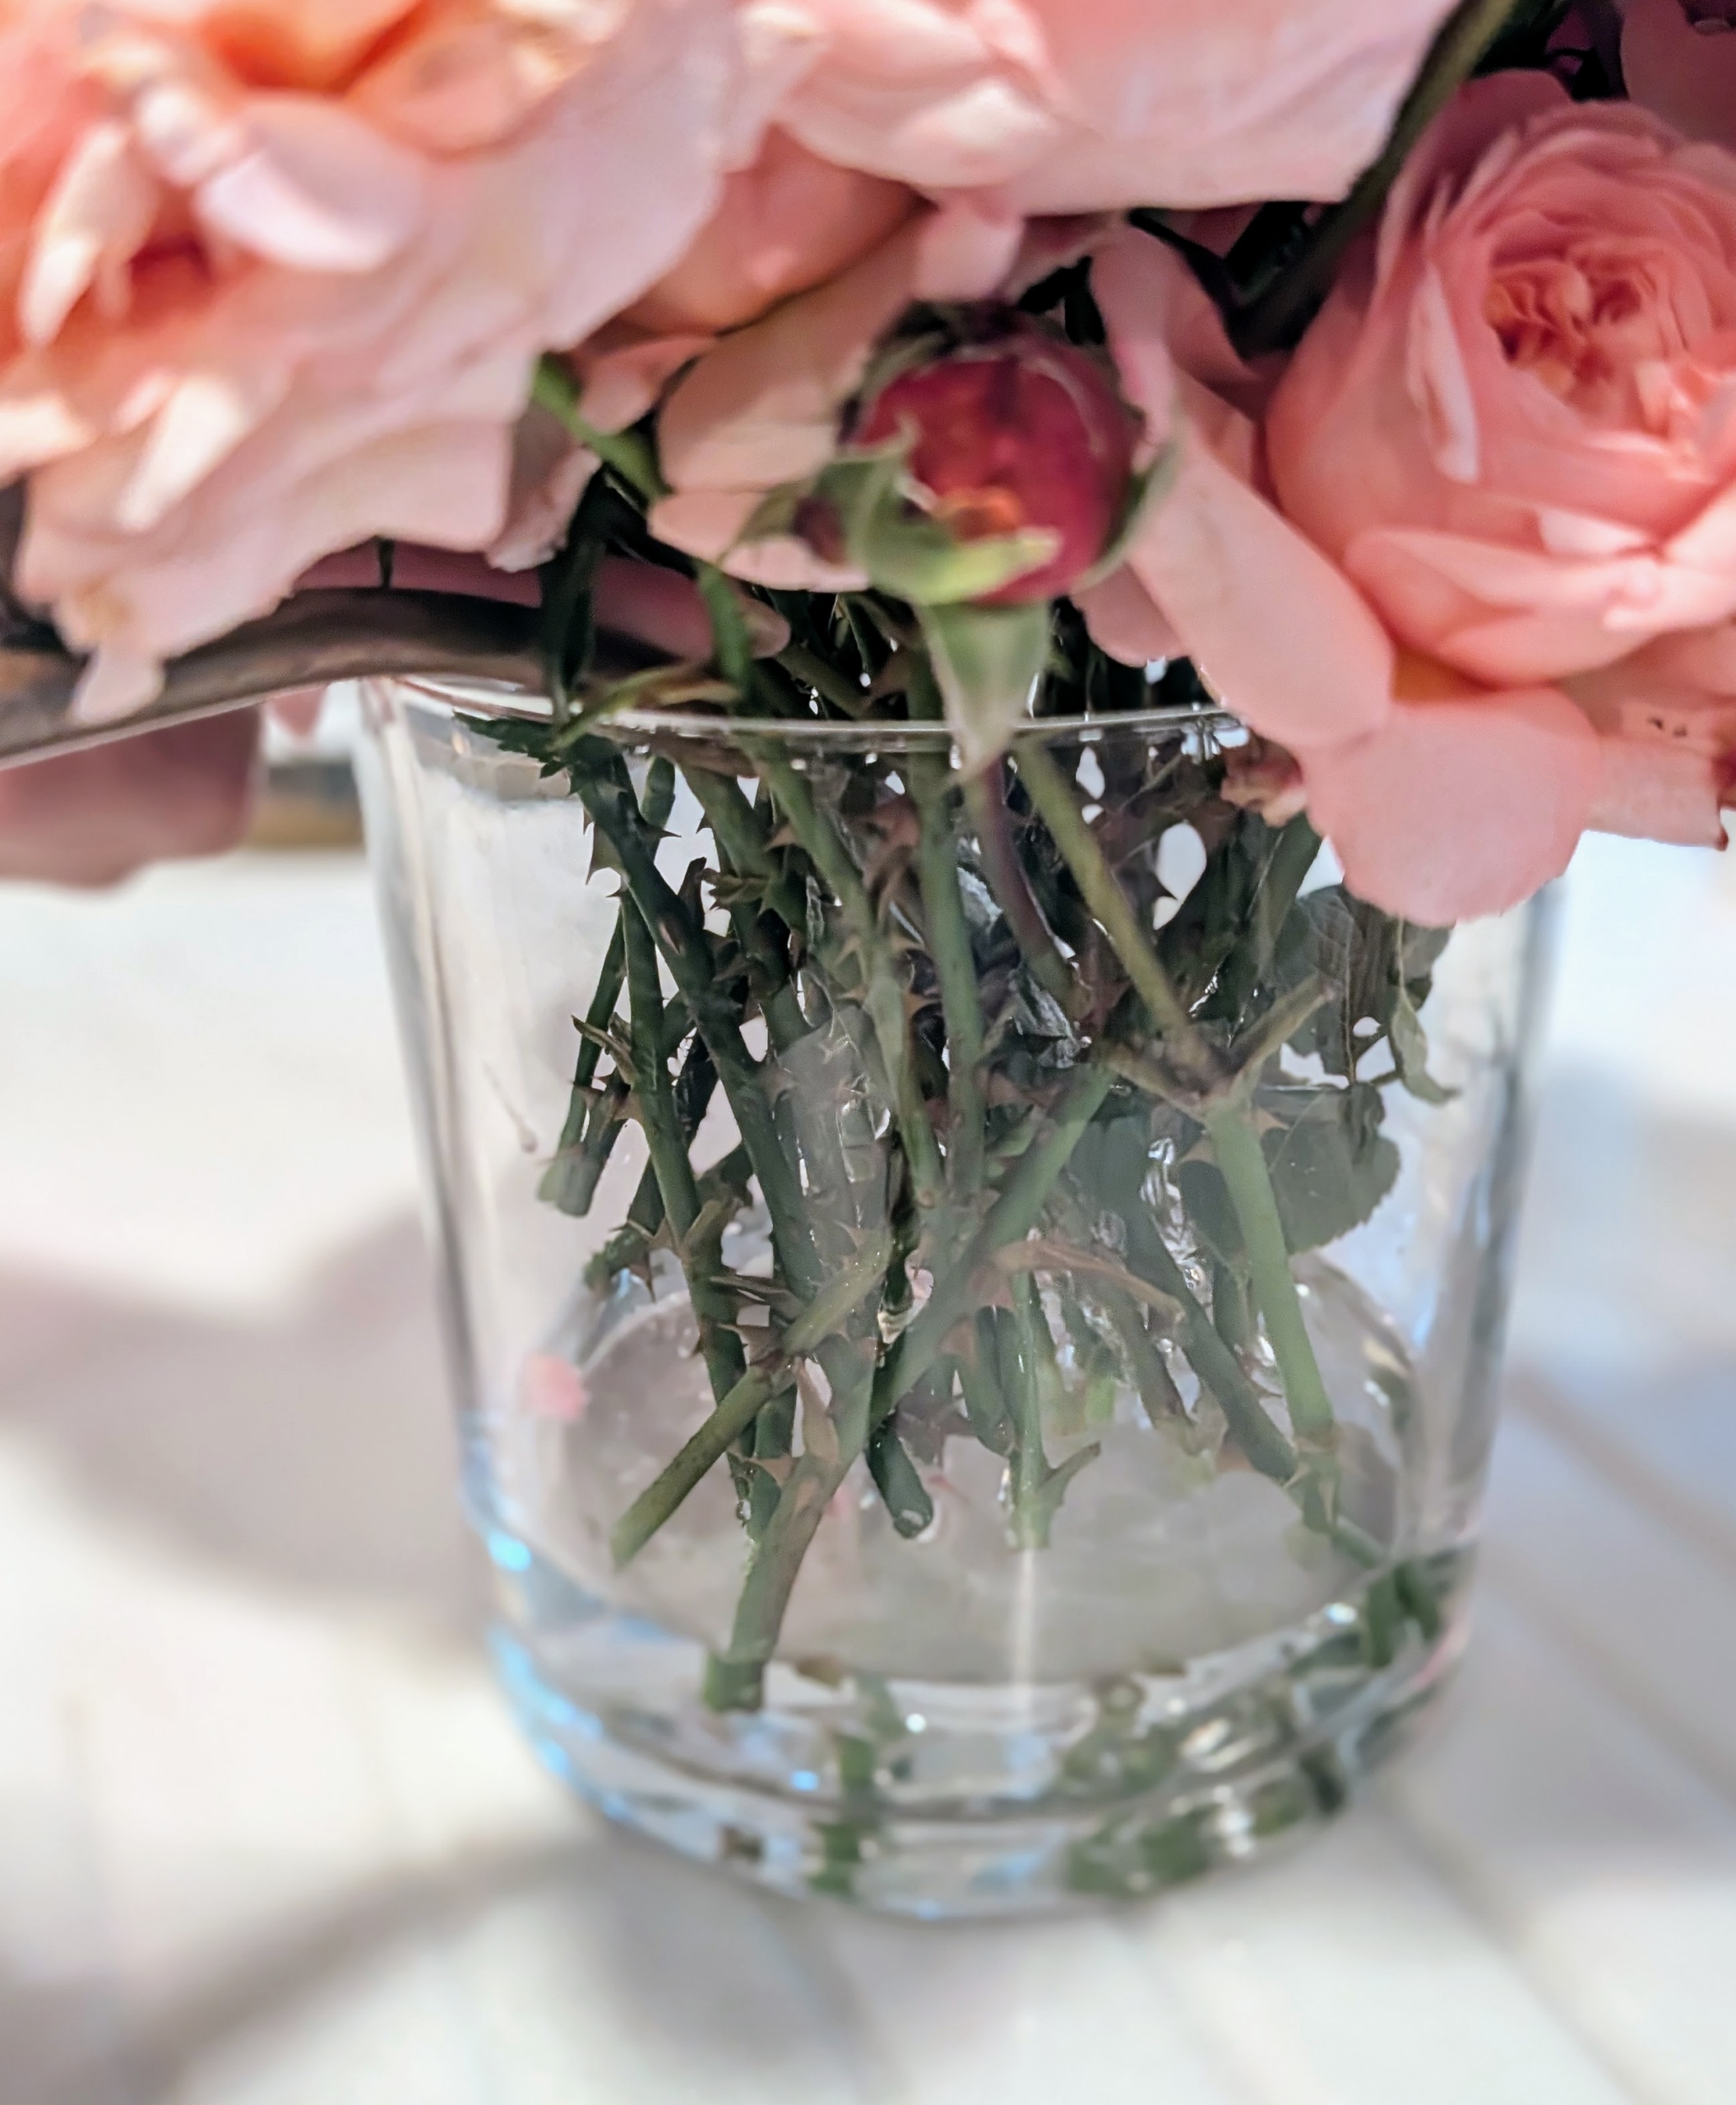
Enma removes any leaves from the stem that sit below the water line in the vase. This makes the arrangement look clean, but it also prevents leaves and flowers from rotting too quickly.
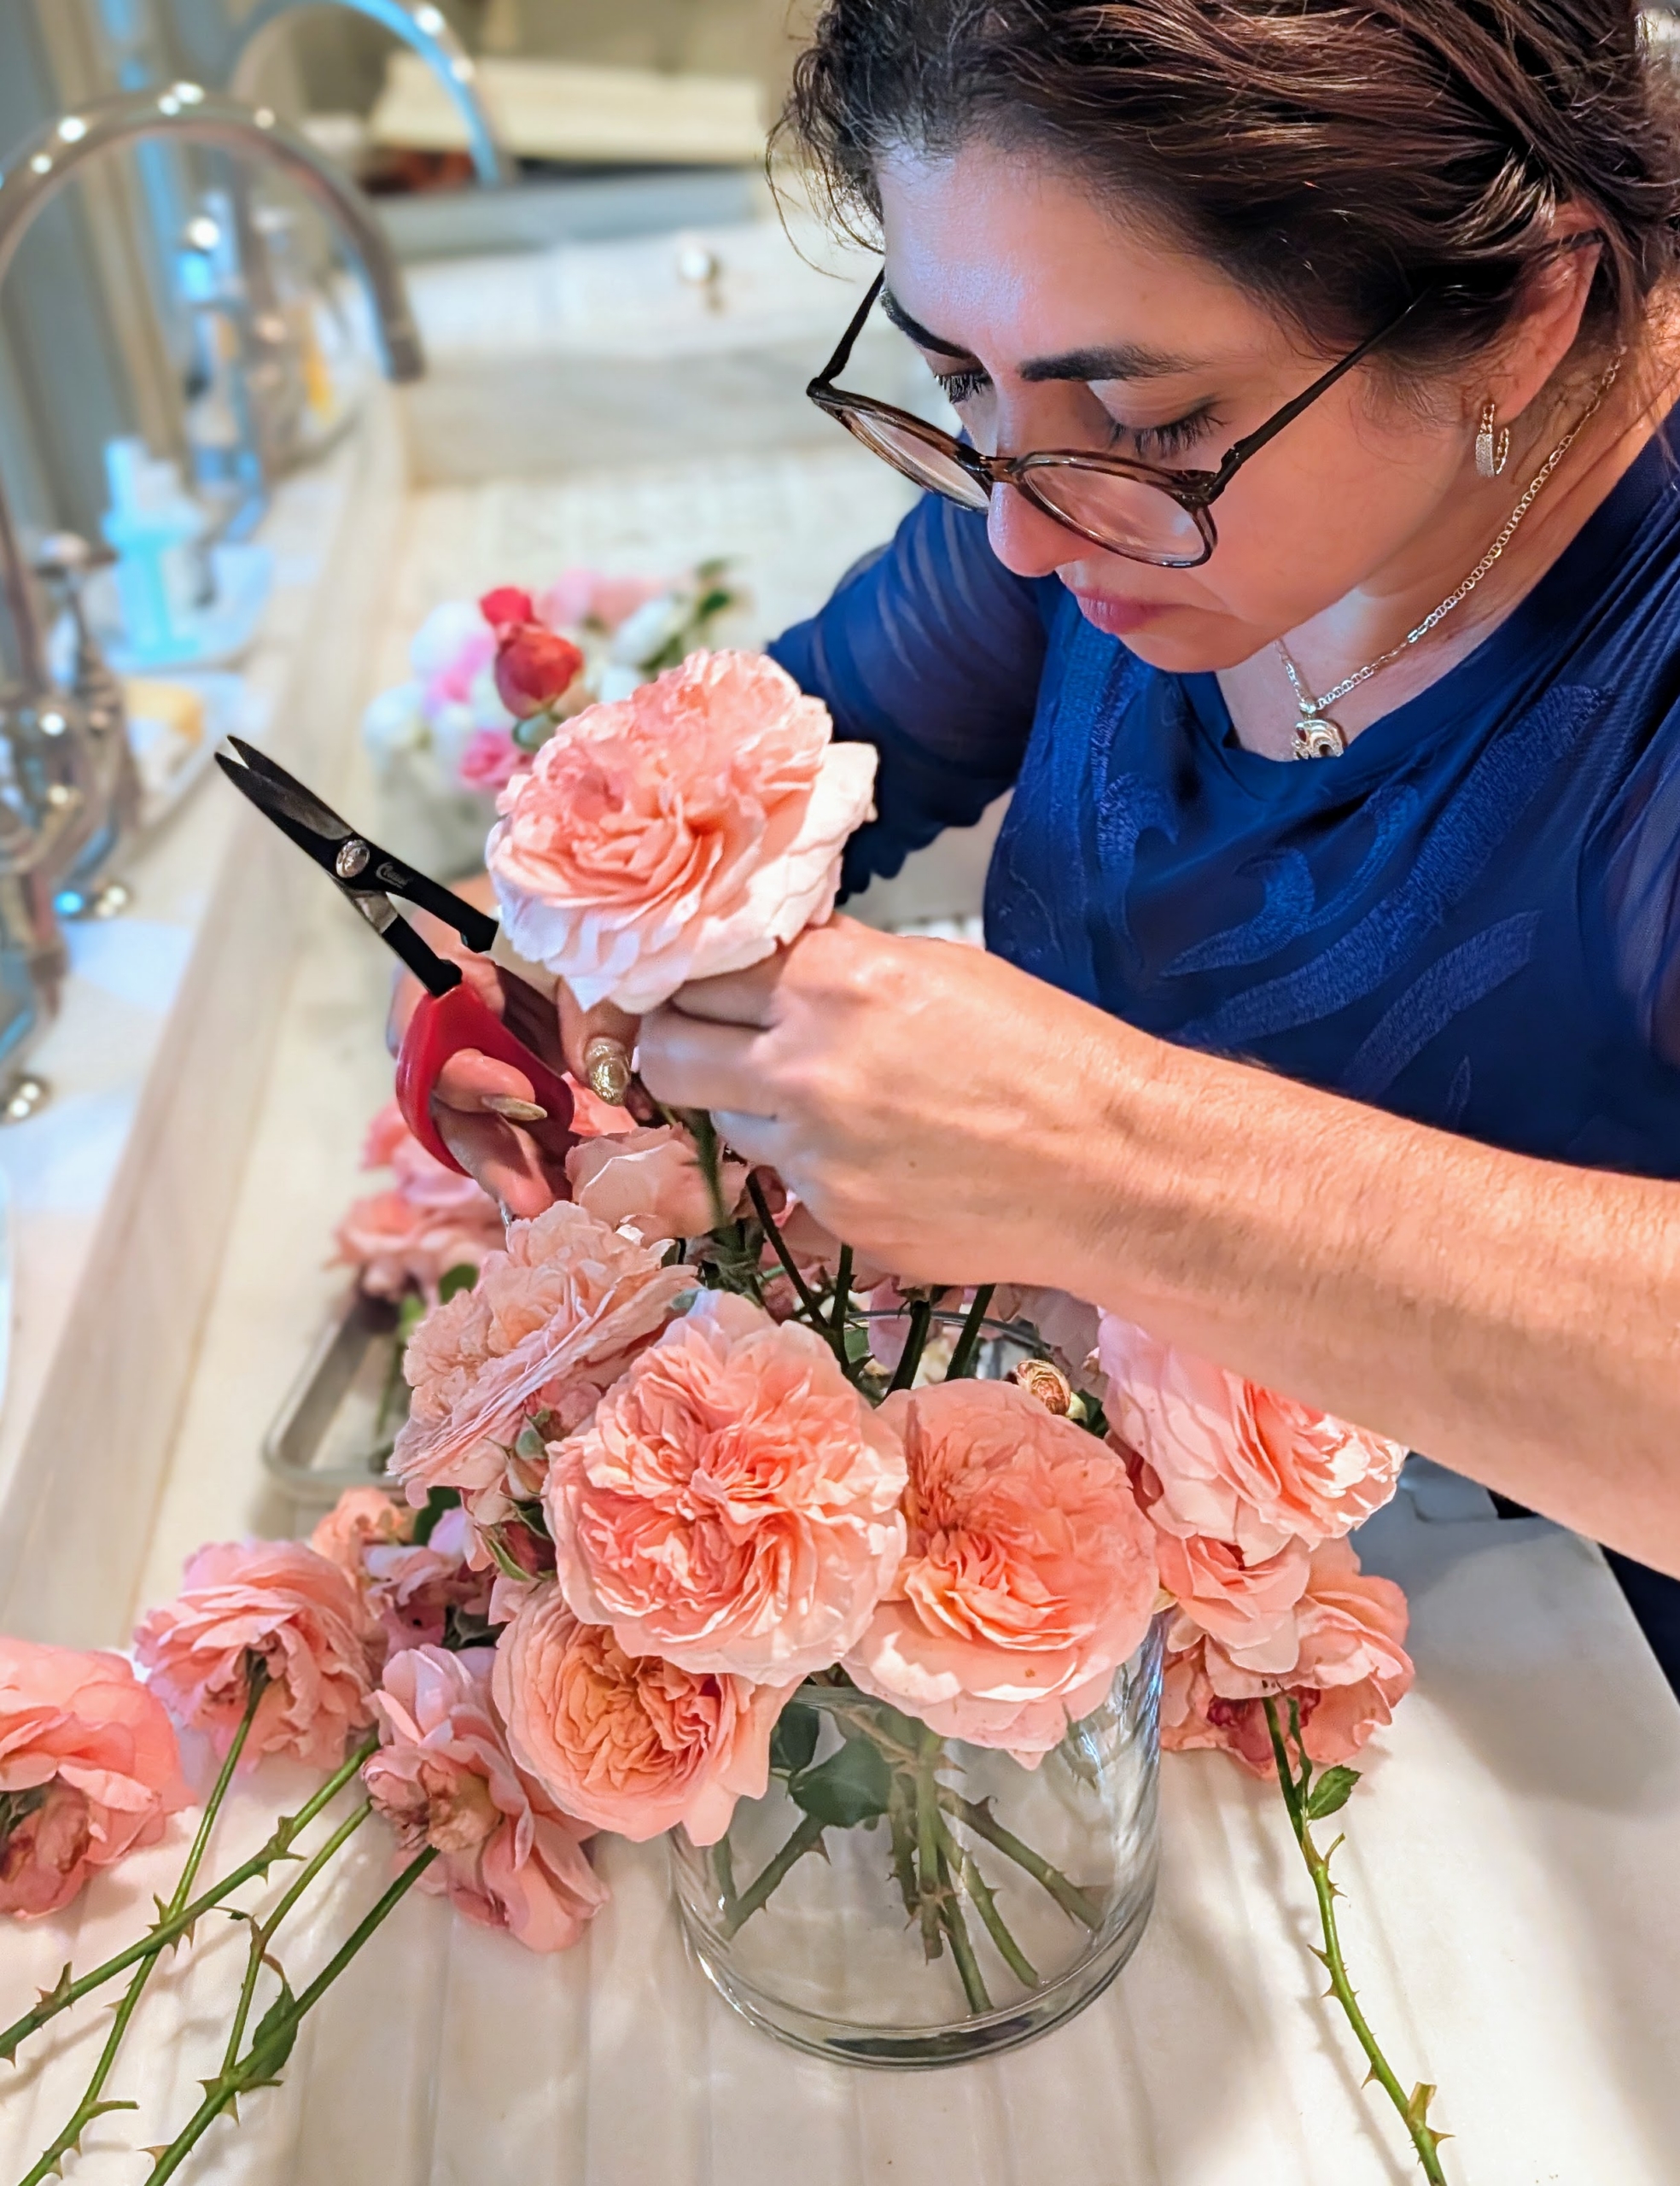
Working carefully and thoughtfully, Enma fills every space with a beautiful Martha Stewart rose. Using a single variety for an arrangement shows consistent bloom shape, size, and color, making the display dramatic and visually impactful.
Always look at the arrangement from all angles to ensure there are no bare spaces.
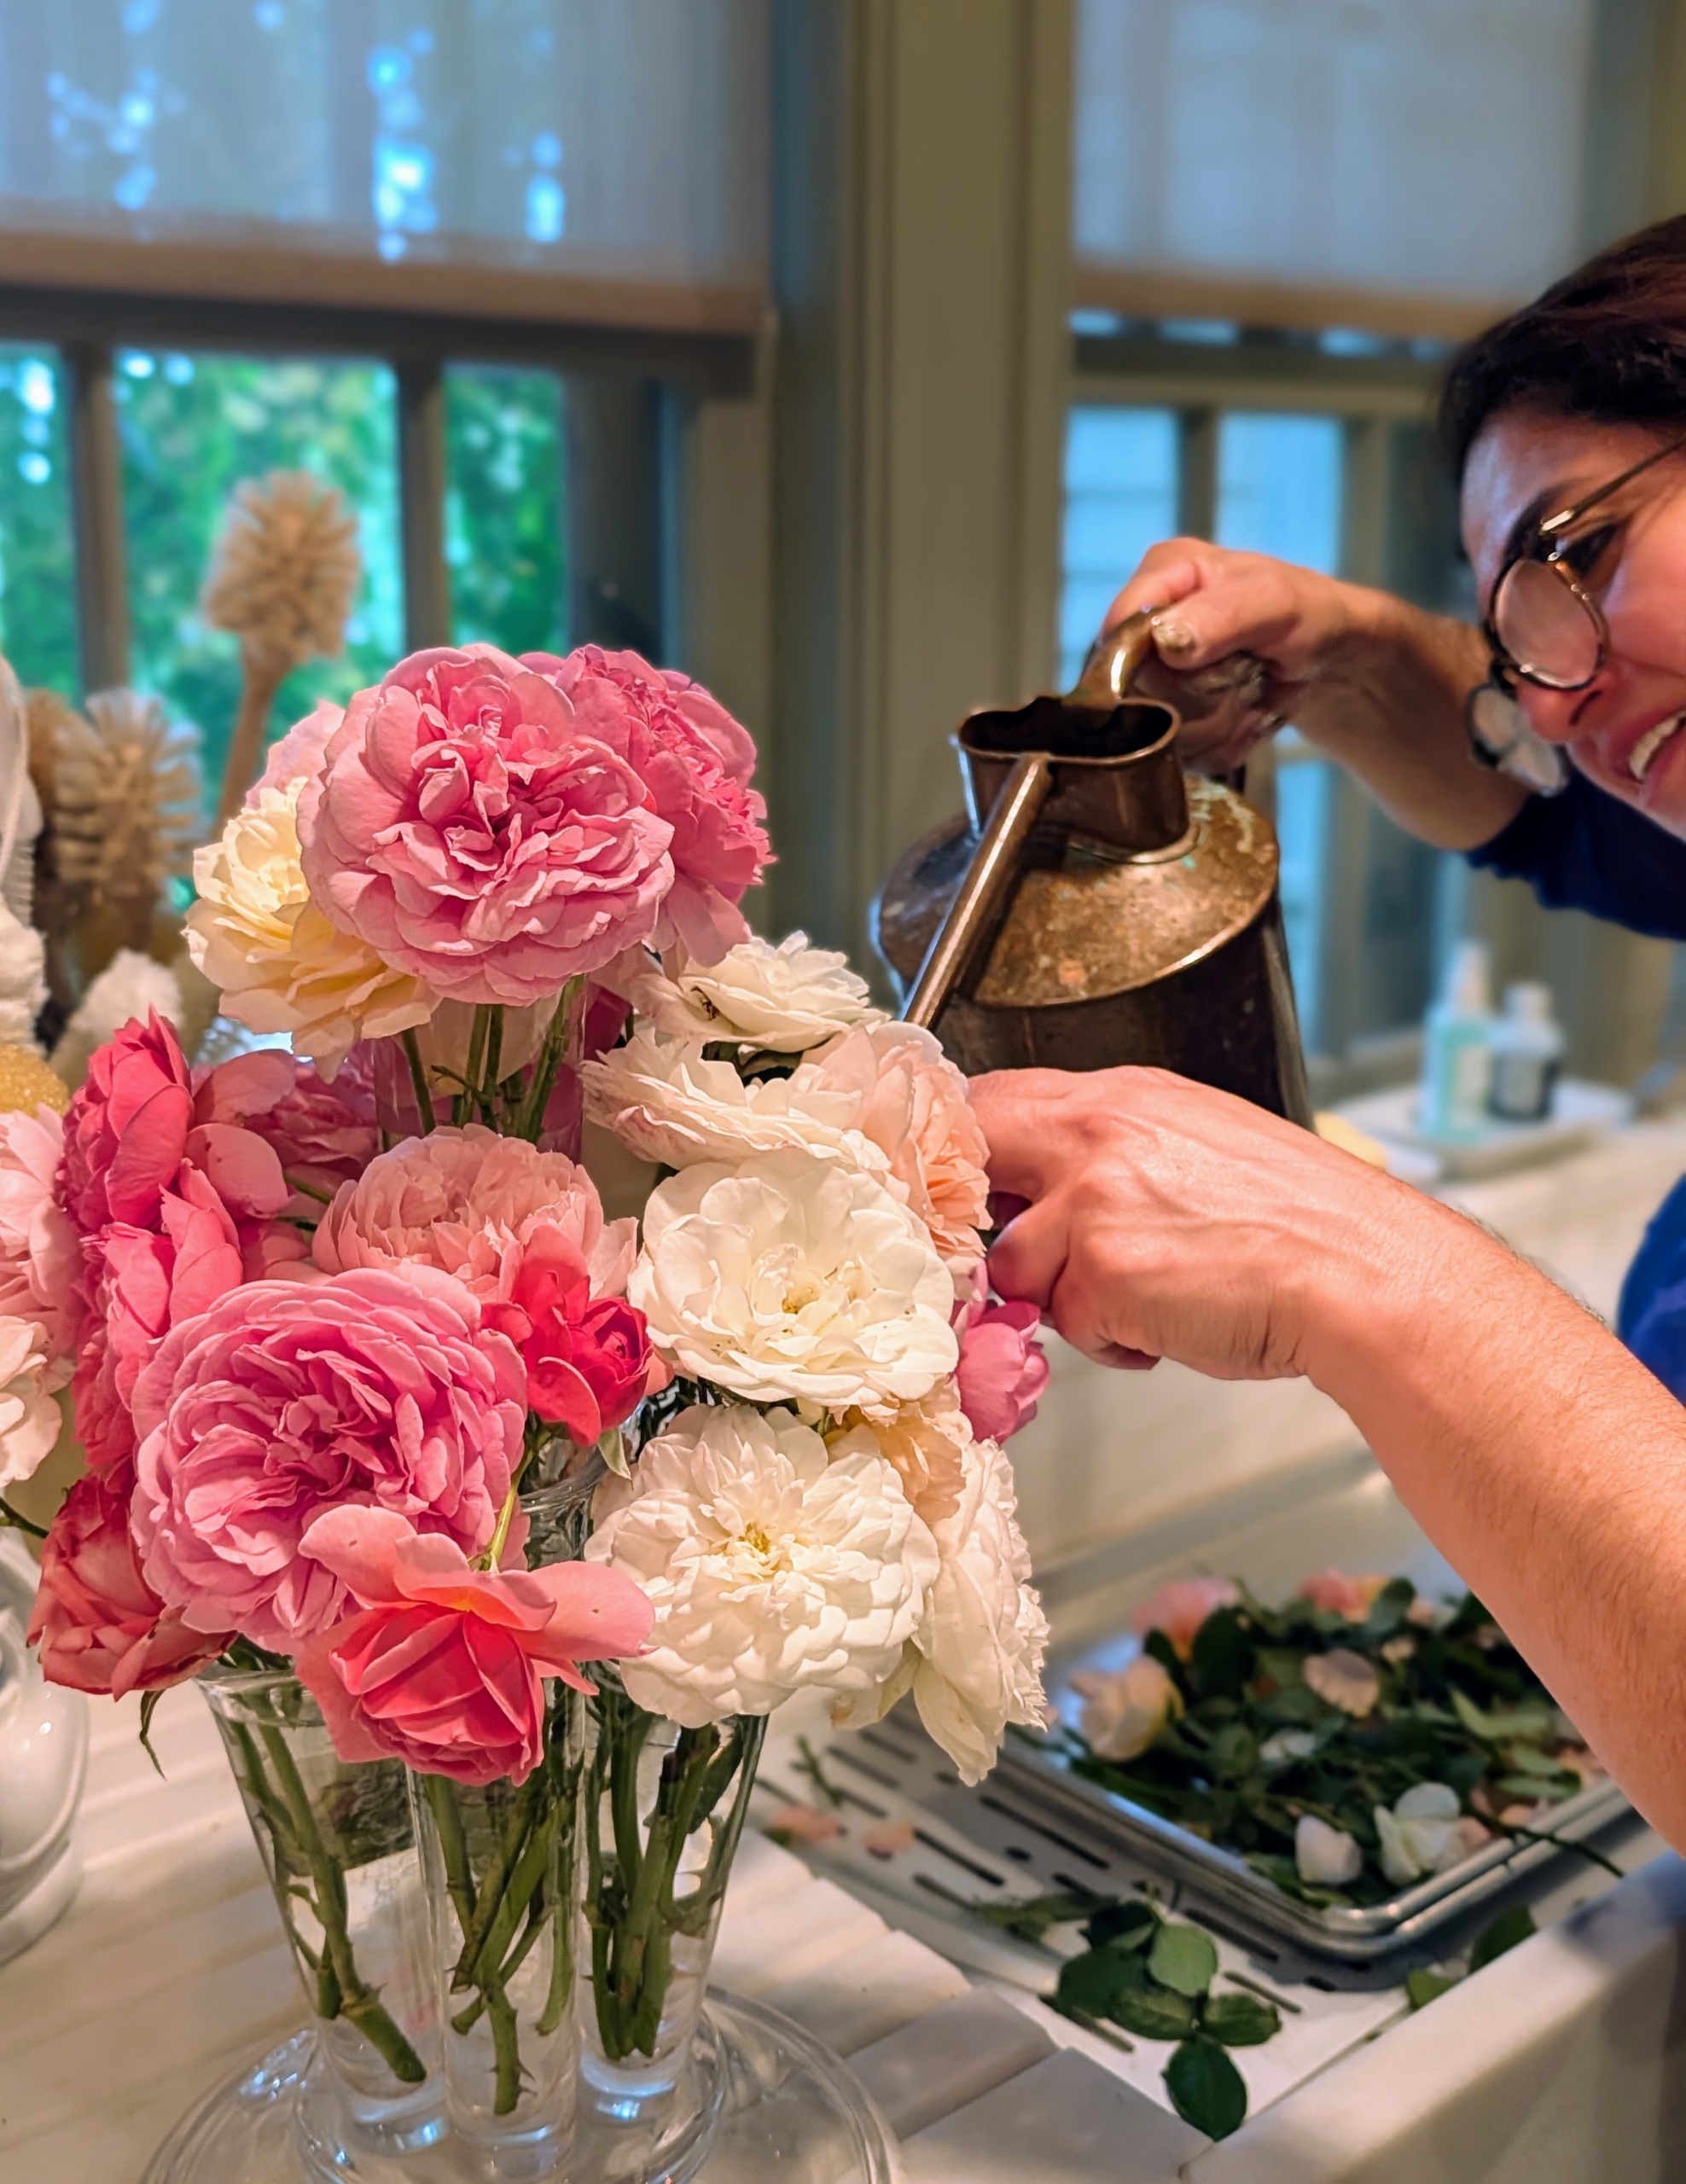
And invest in a good watering can for the flowers – one that allows for controlled use without damaging any of the fragile petals.
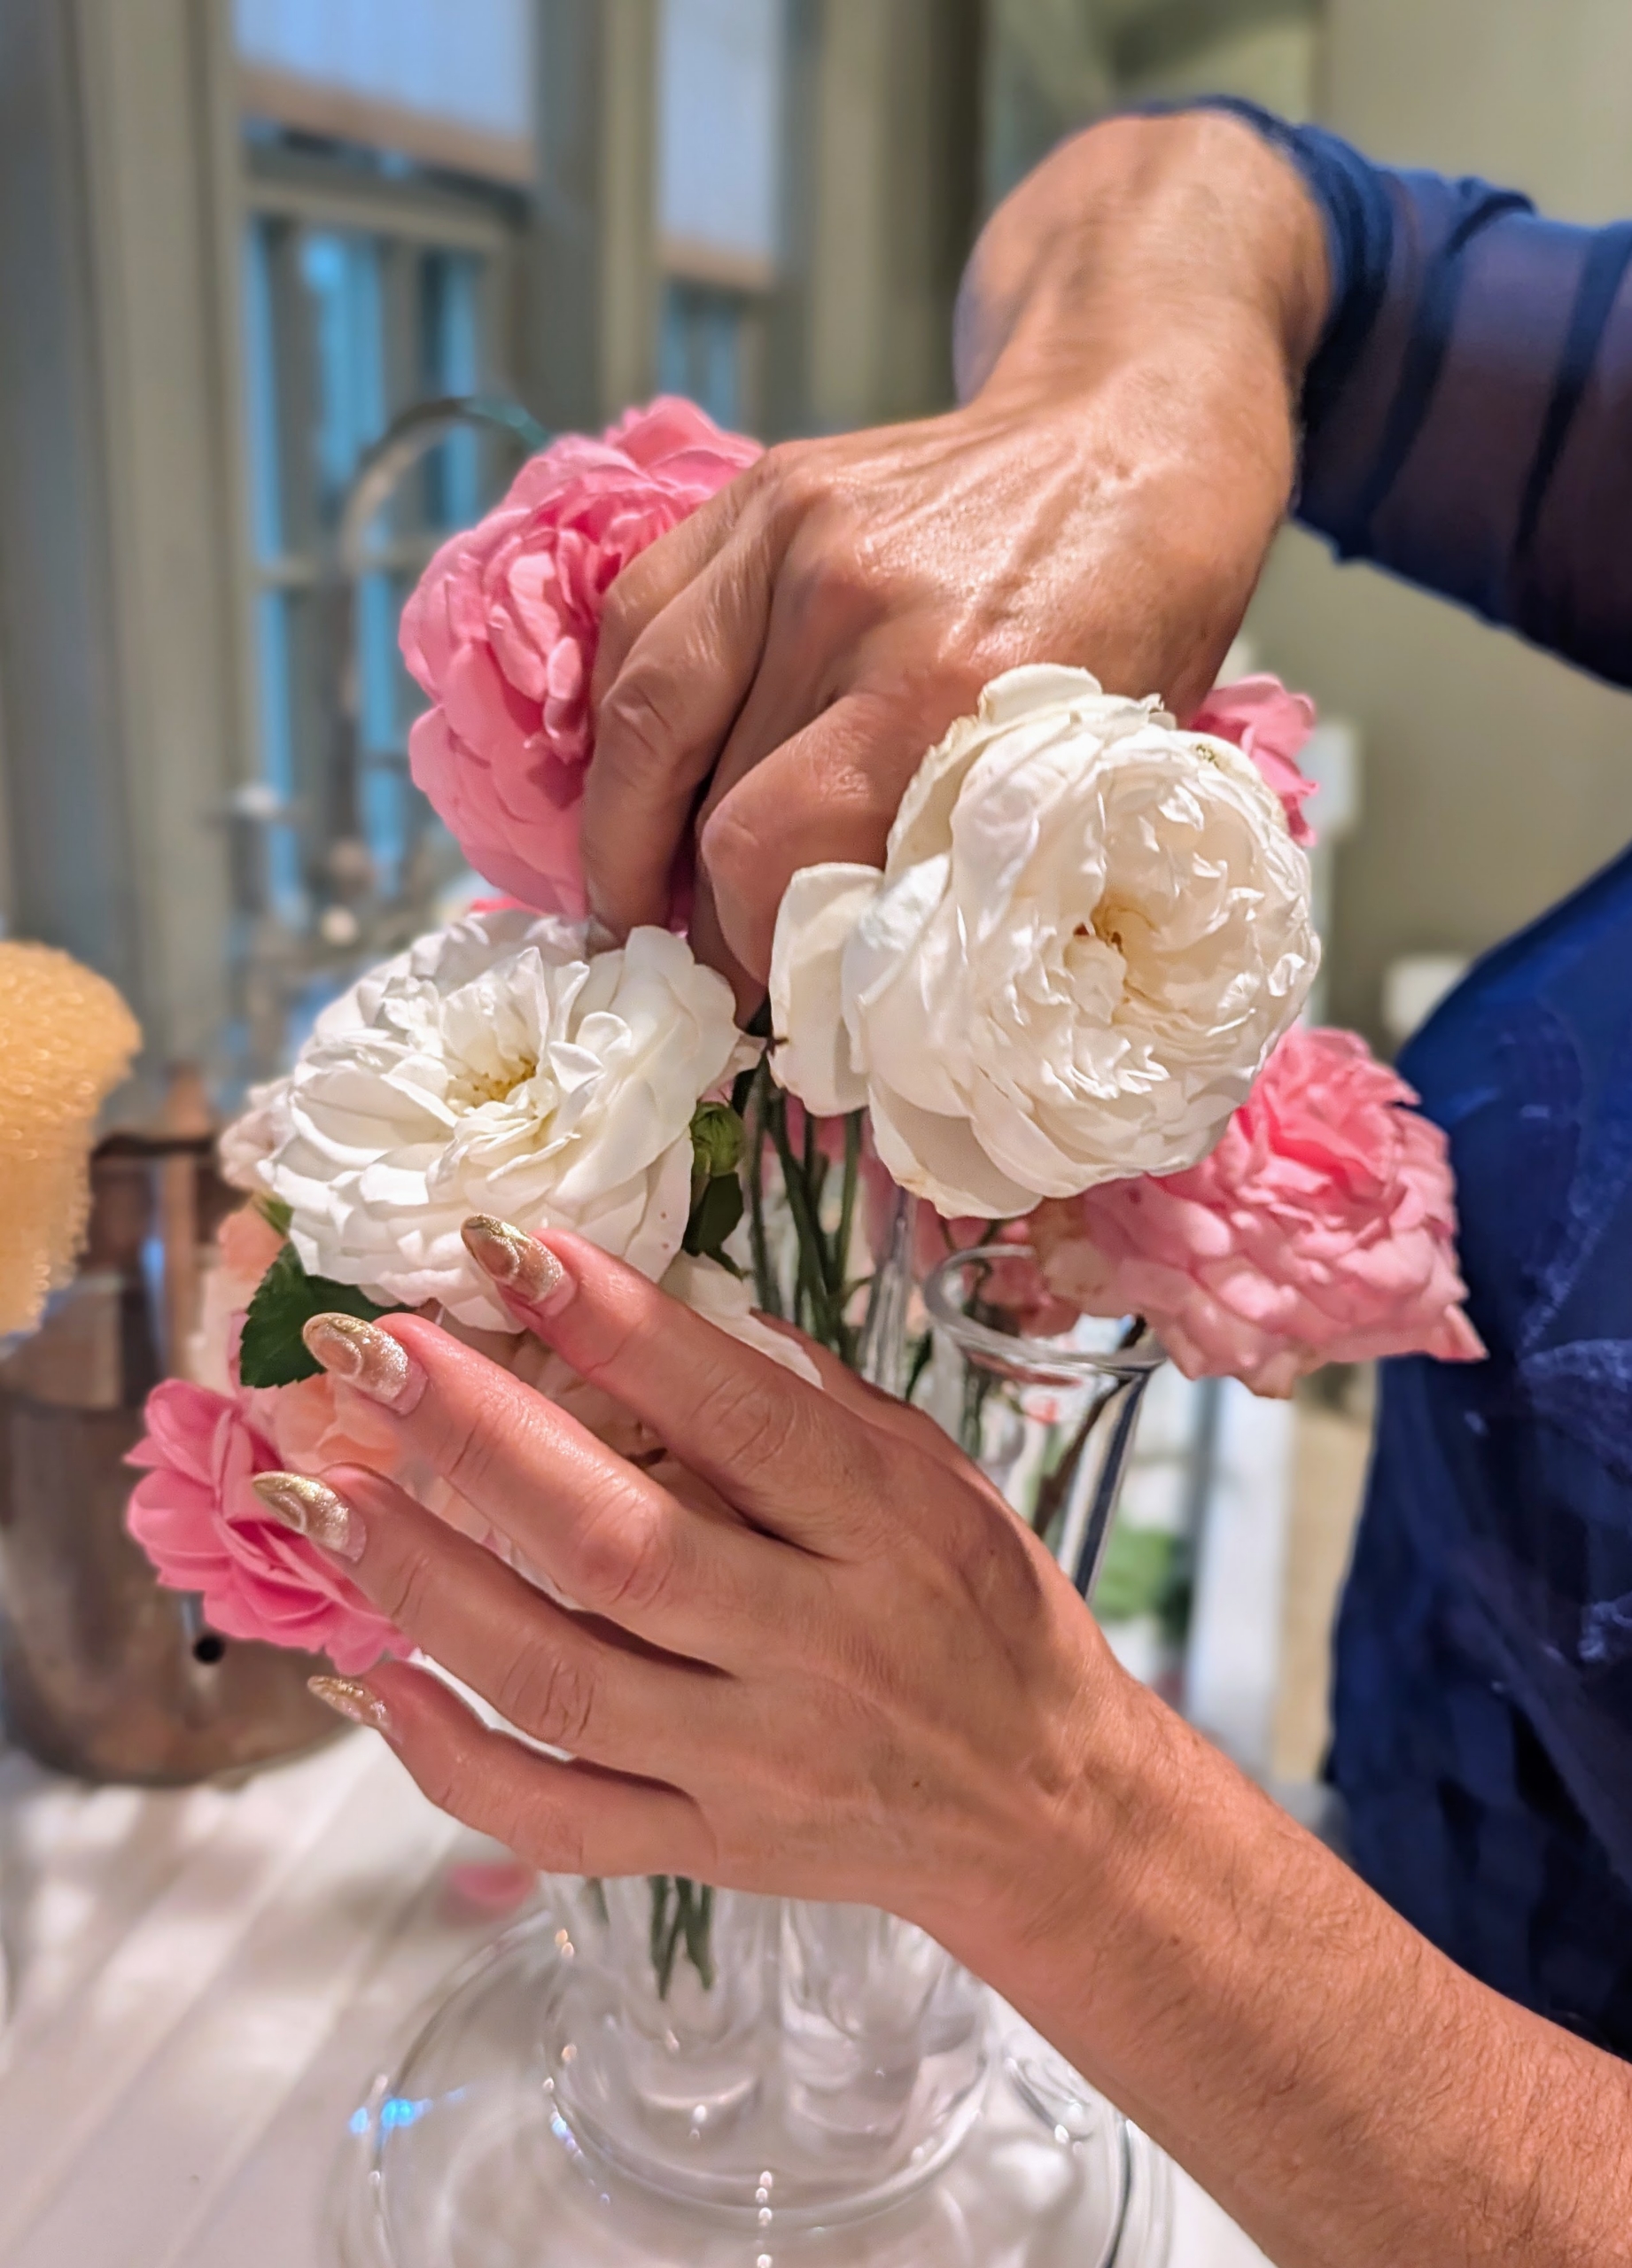
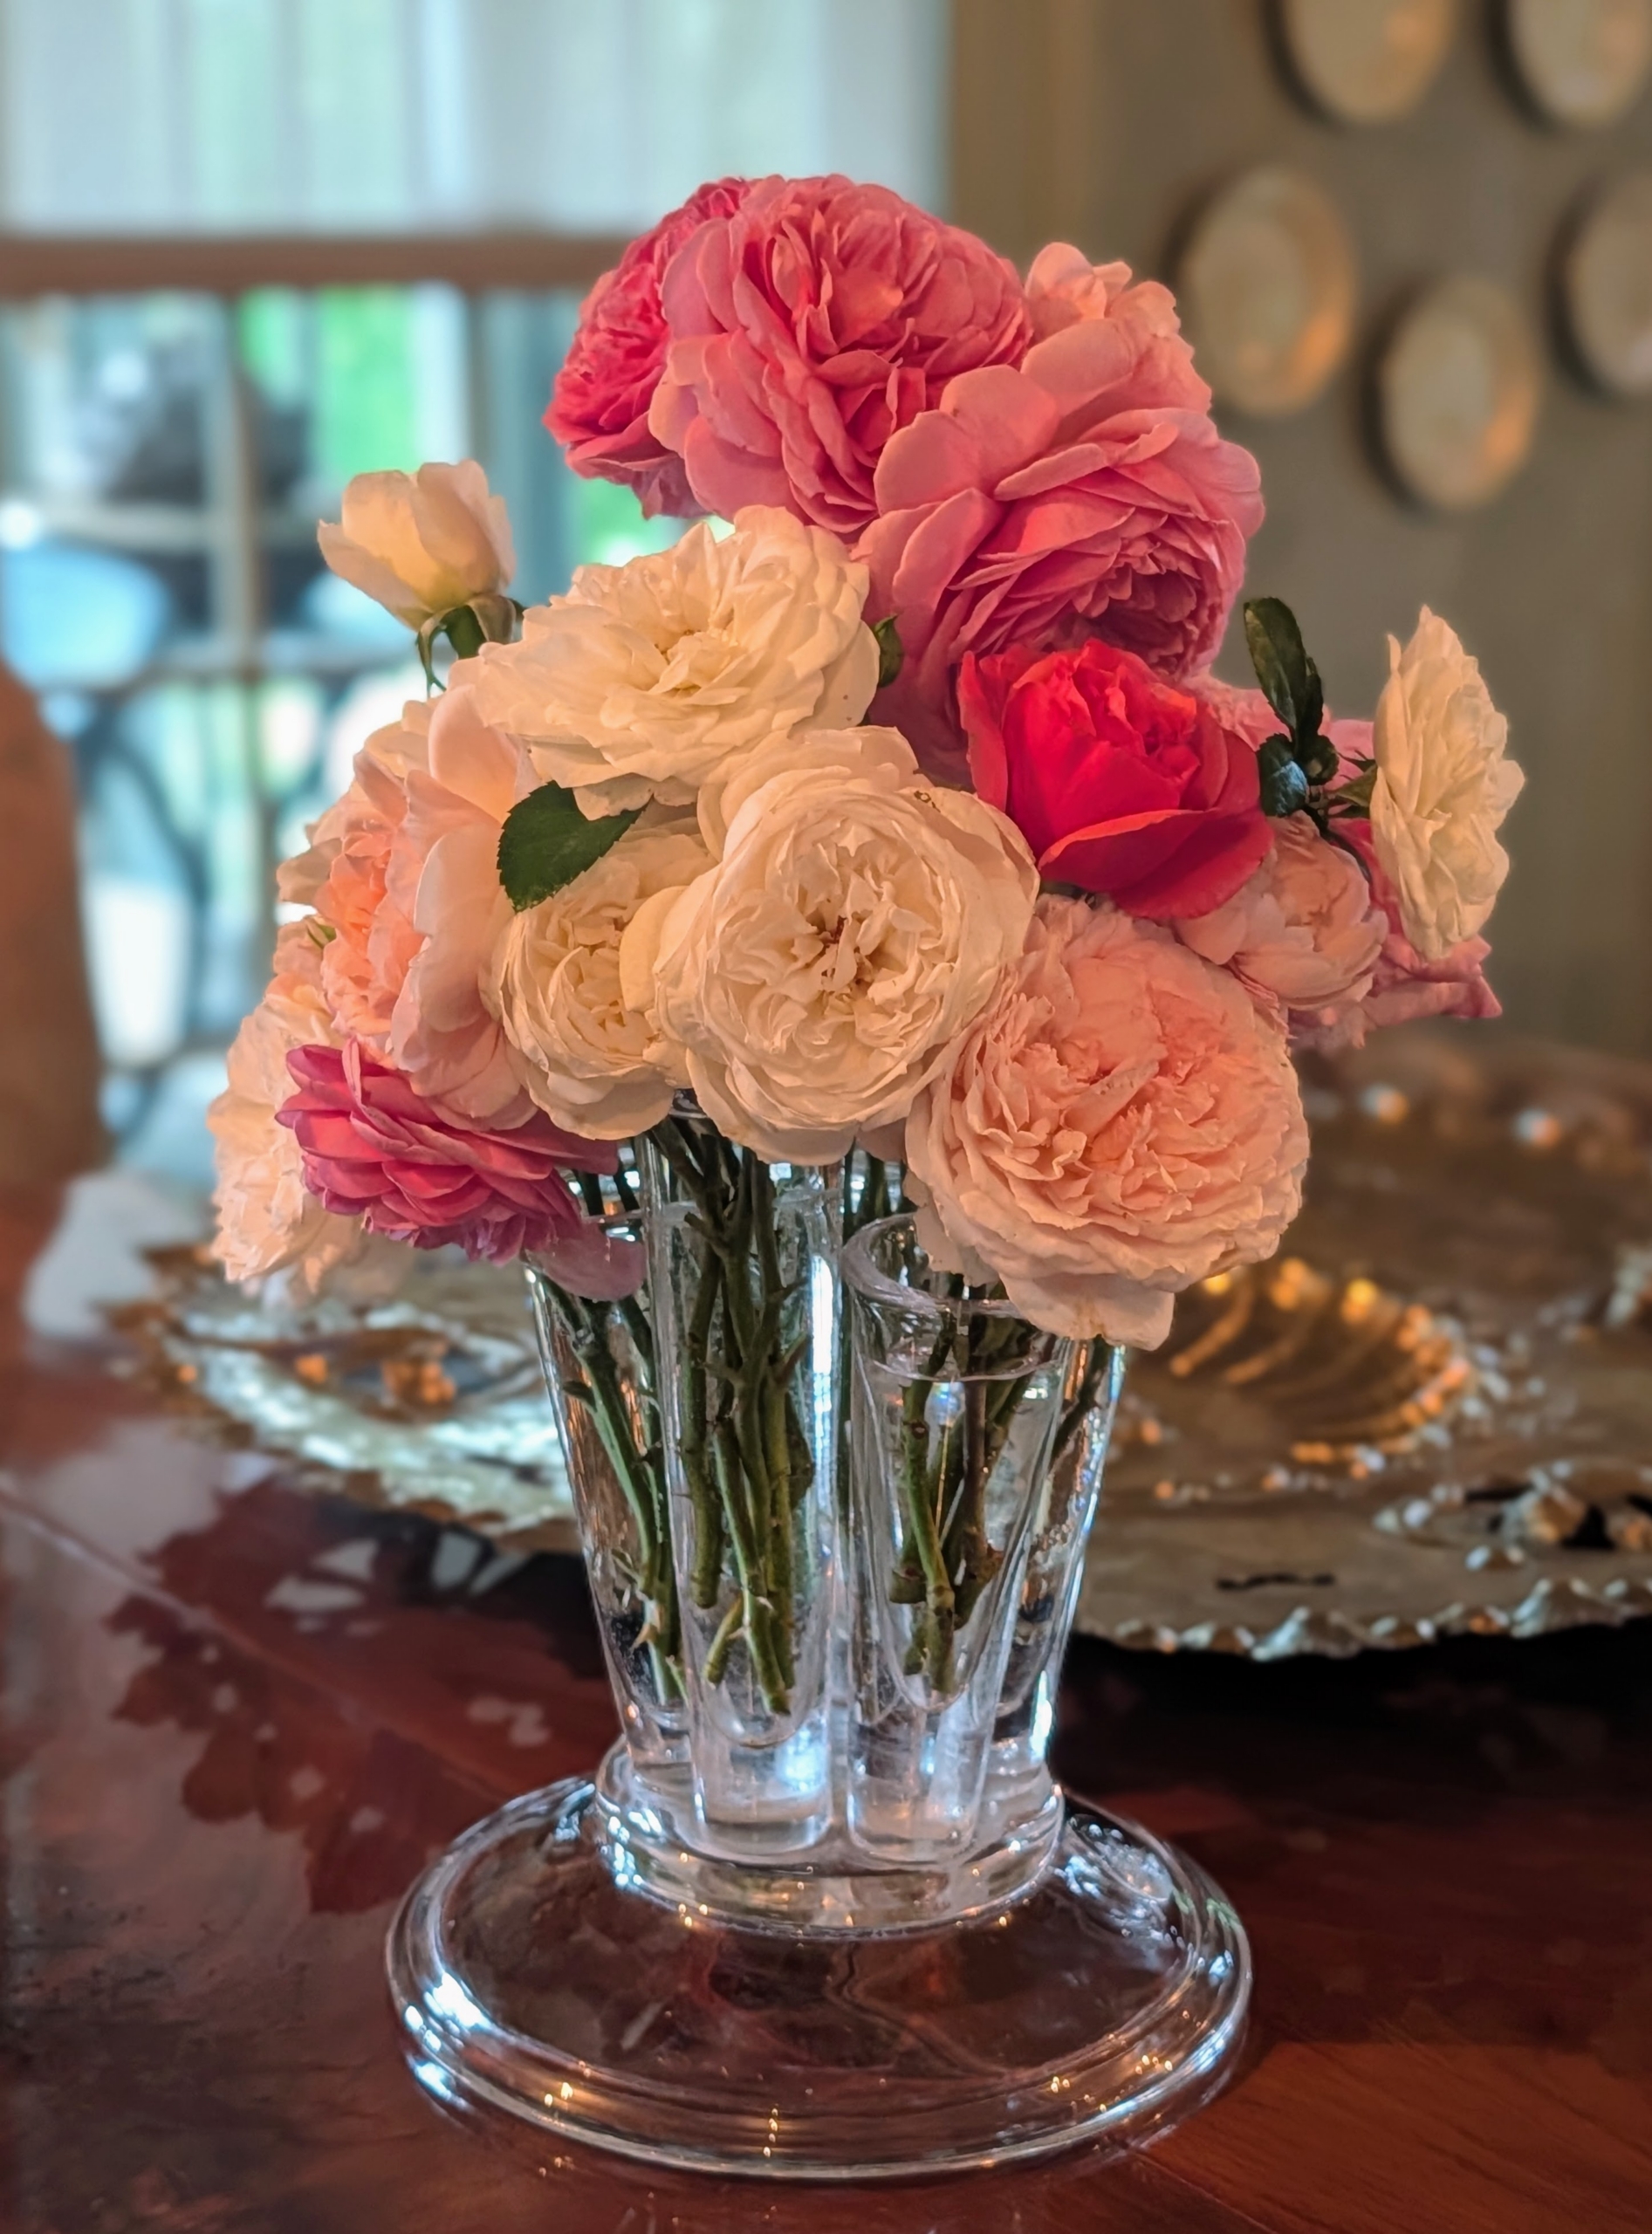
Enma chooses one of my glass finger vases for the next arrangement. I love these vessels – they fit lots of stems and can be arranged to look very full.
Most freshly cut roses should last up to one week if properly tended. When displaying roses, be sure to keep them away from heat and bright light, which will shorten the vase life.
Enma fills the vase with tepid to slightly cool water. Always leave a little room, so water doesn’t overflow. Vases need enough to keep stems submerged so they can draw water efficiently, without deteriorating.
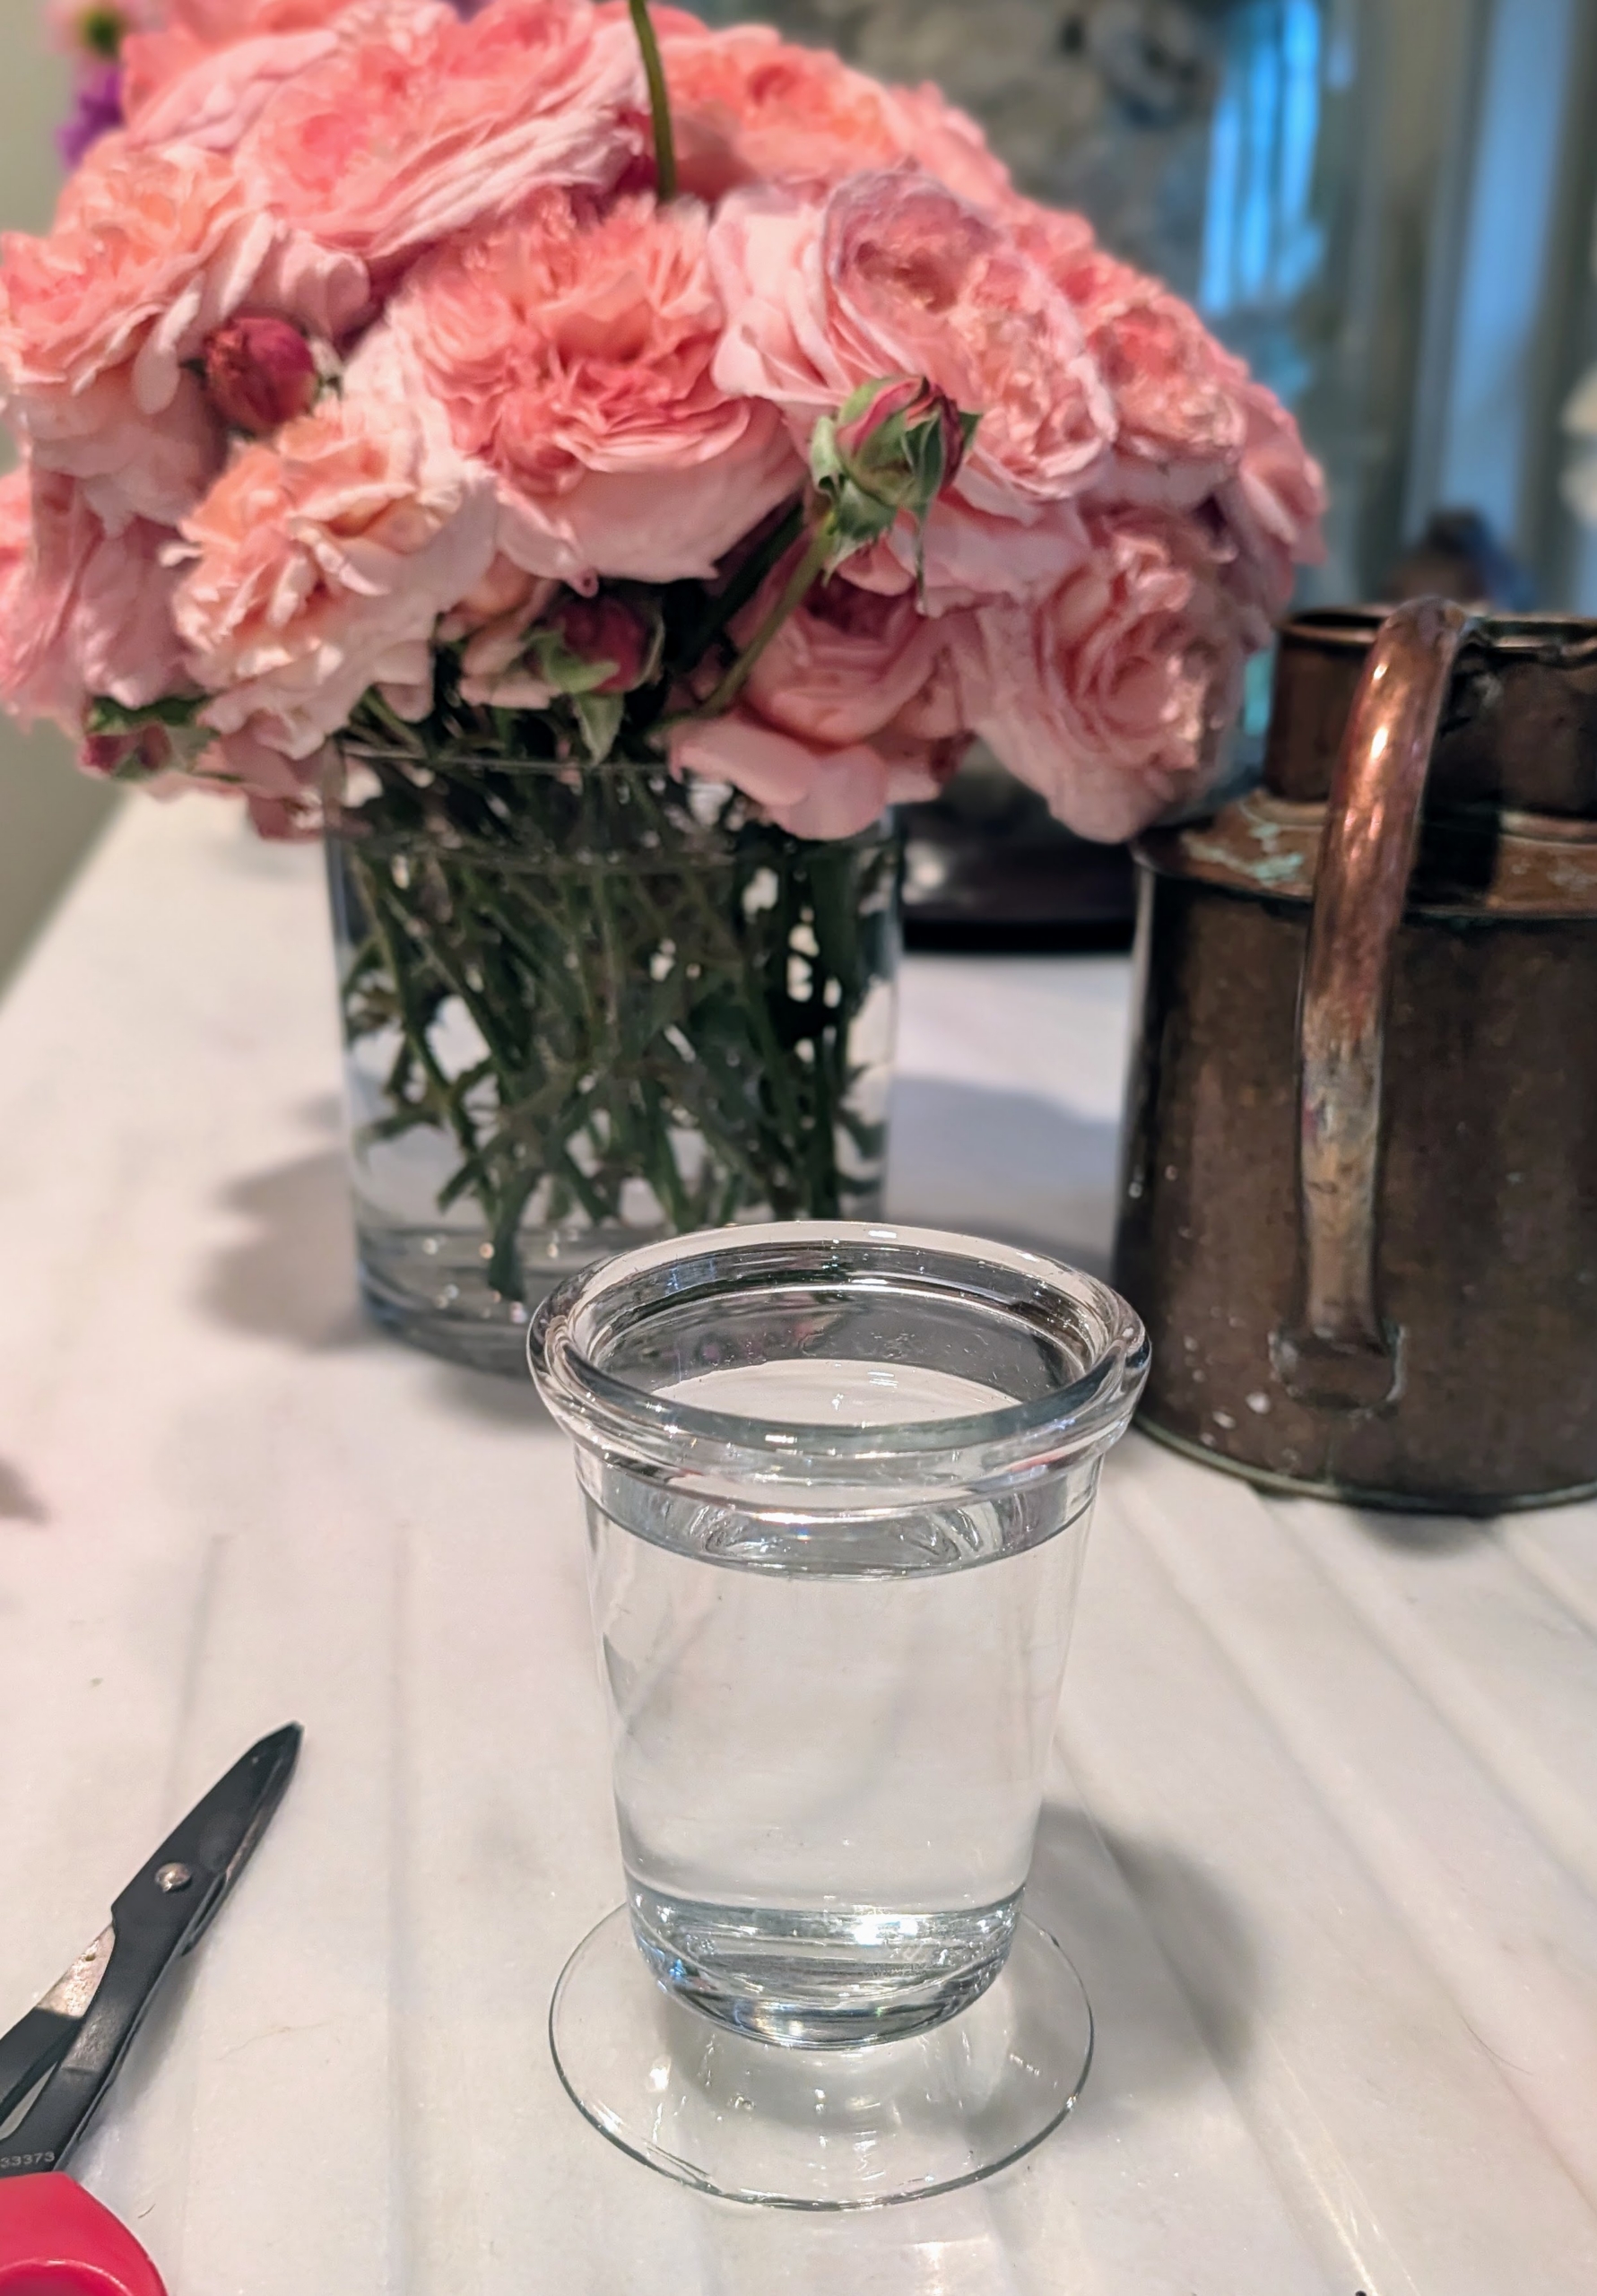
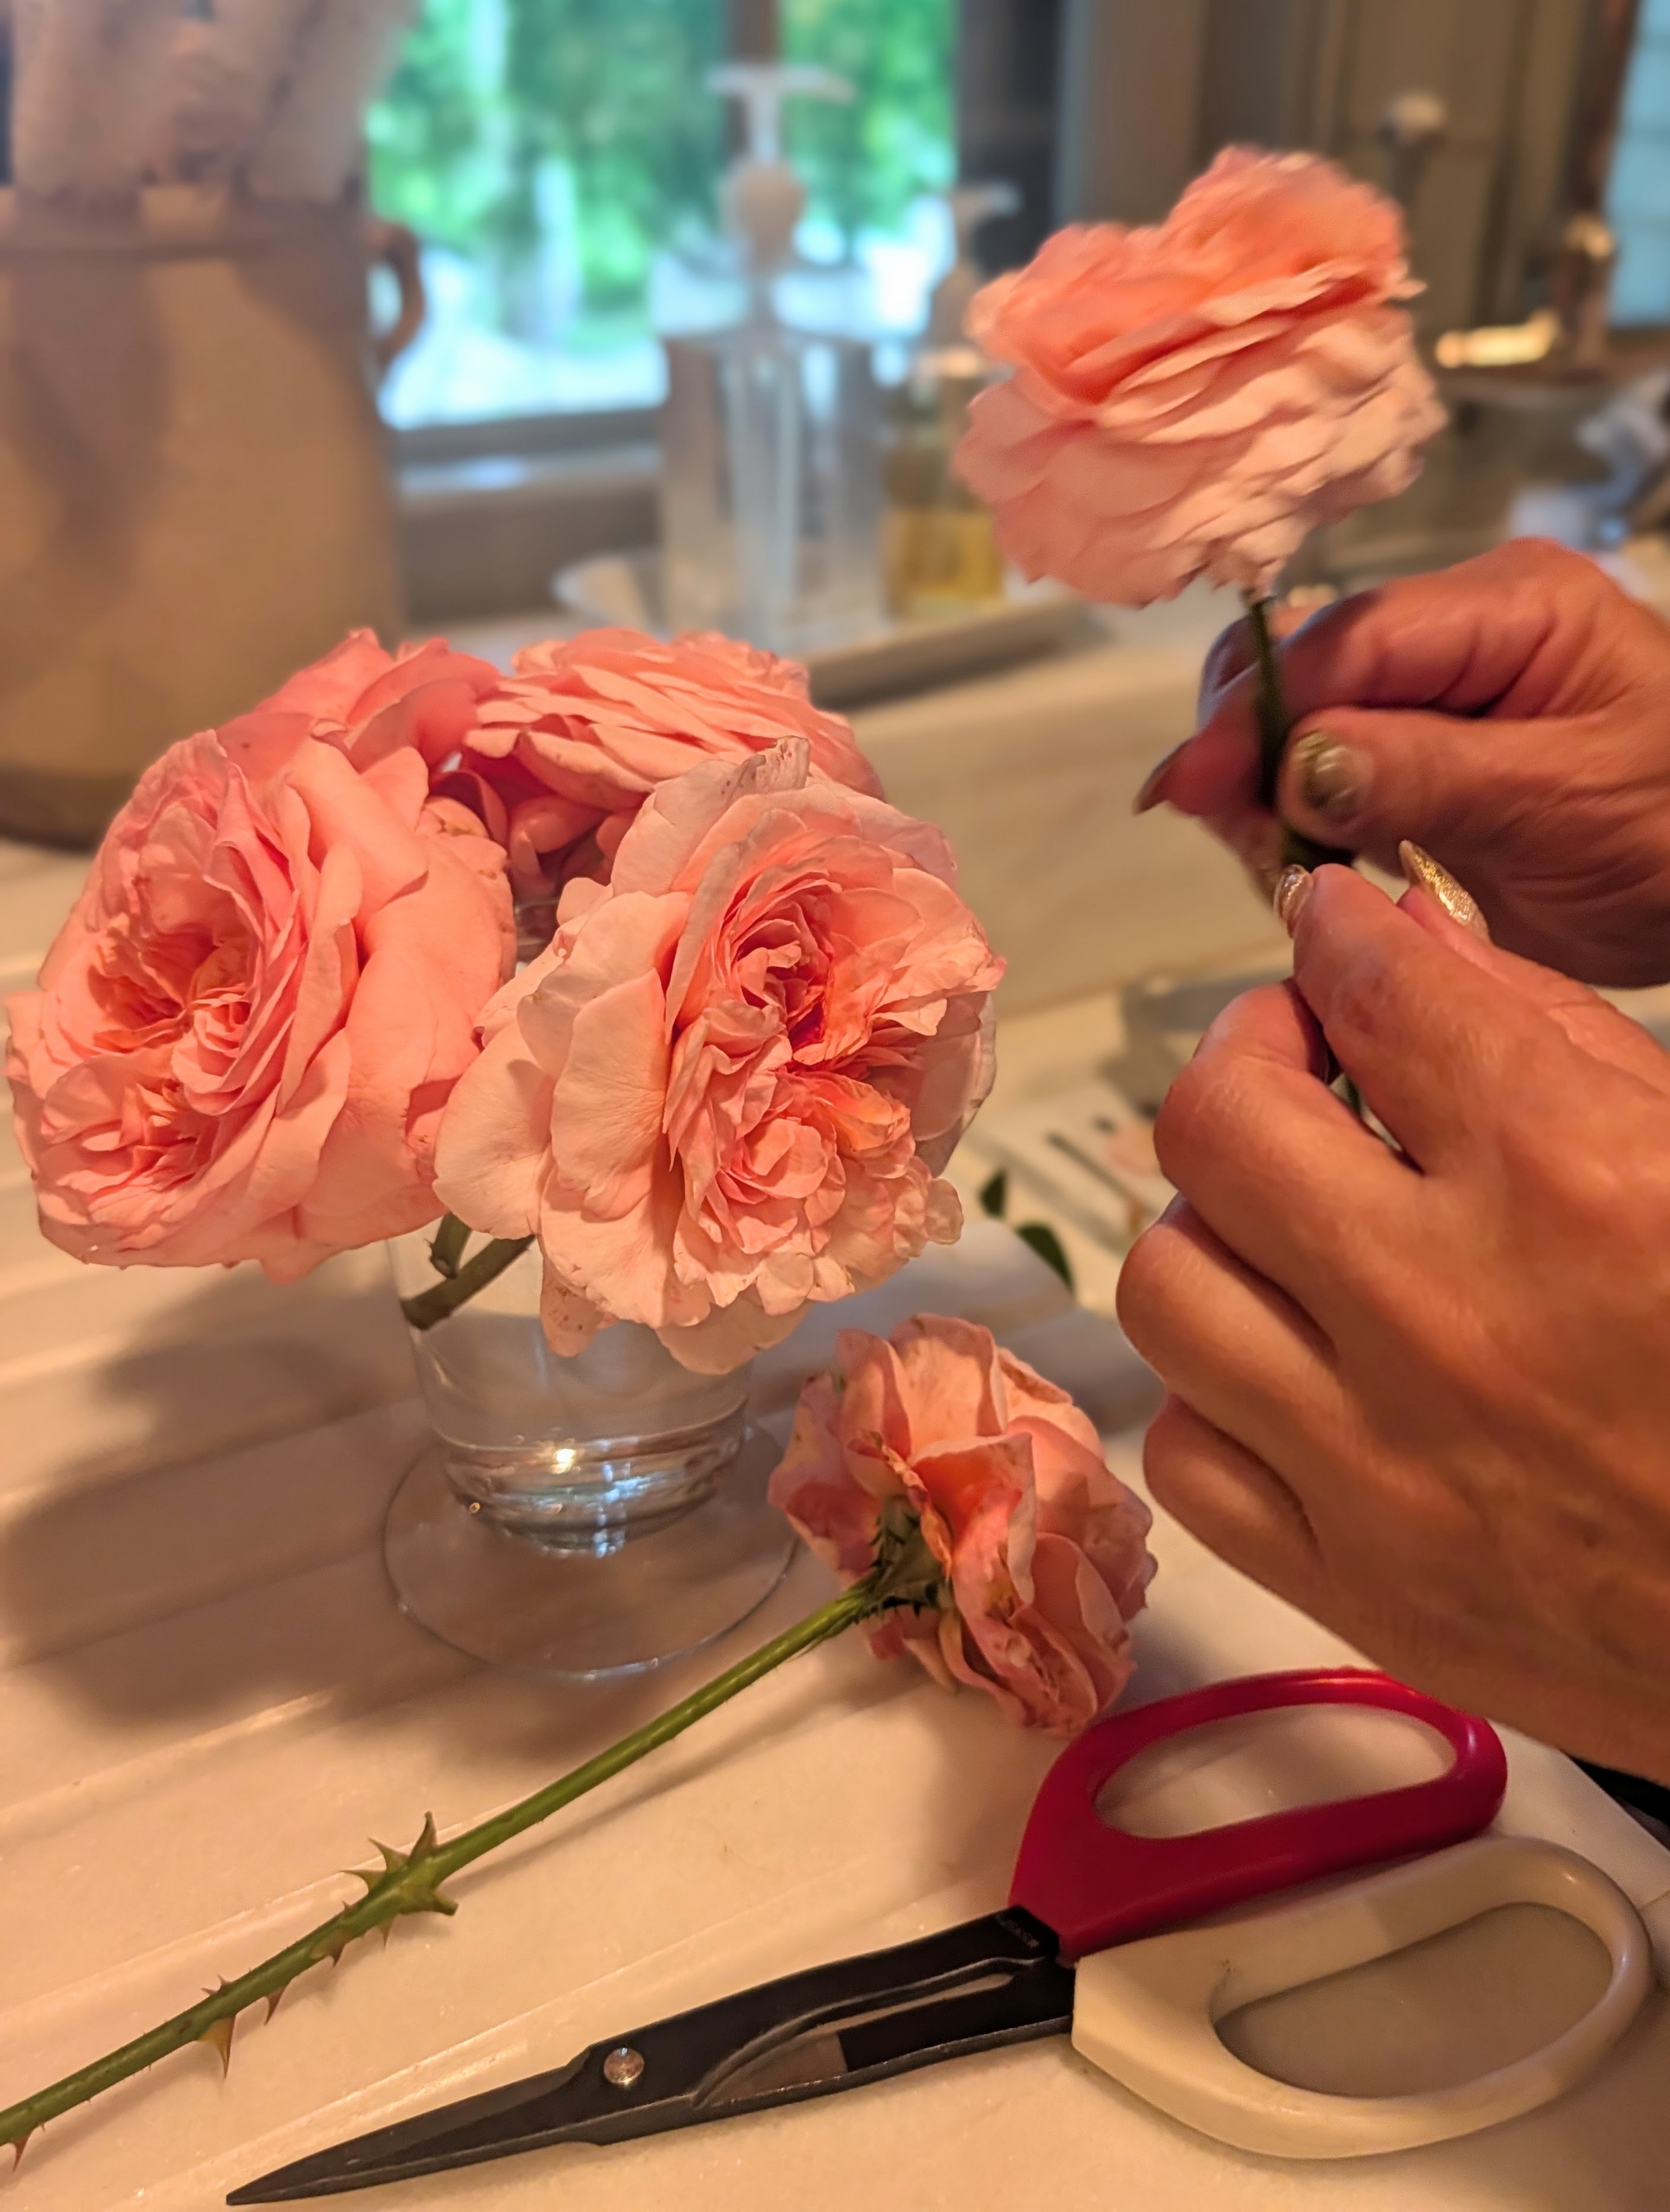
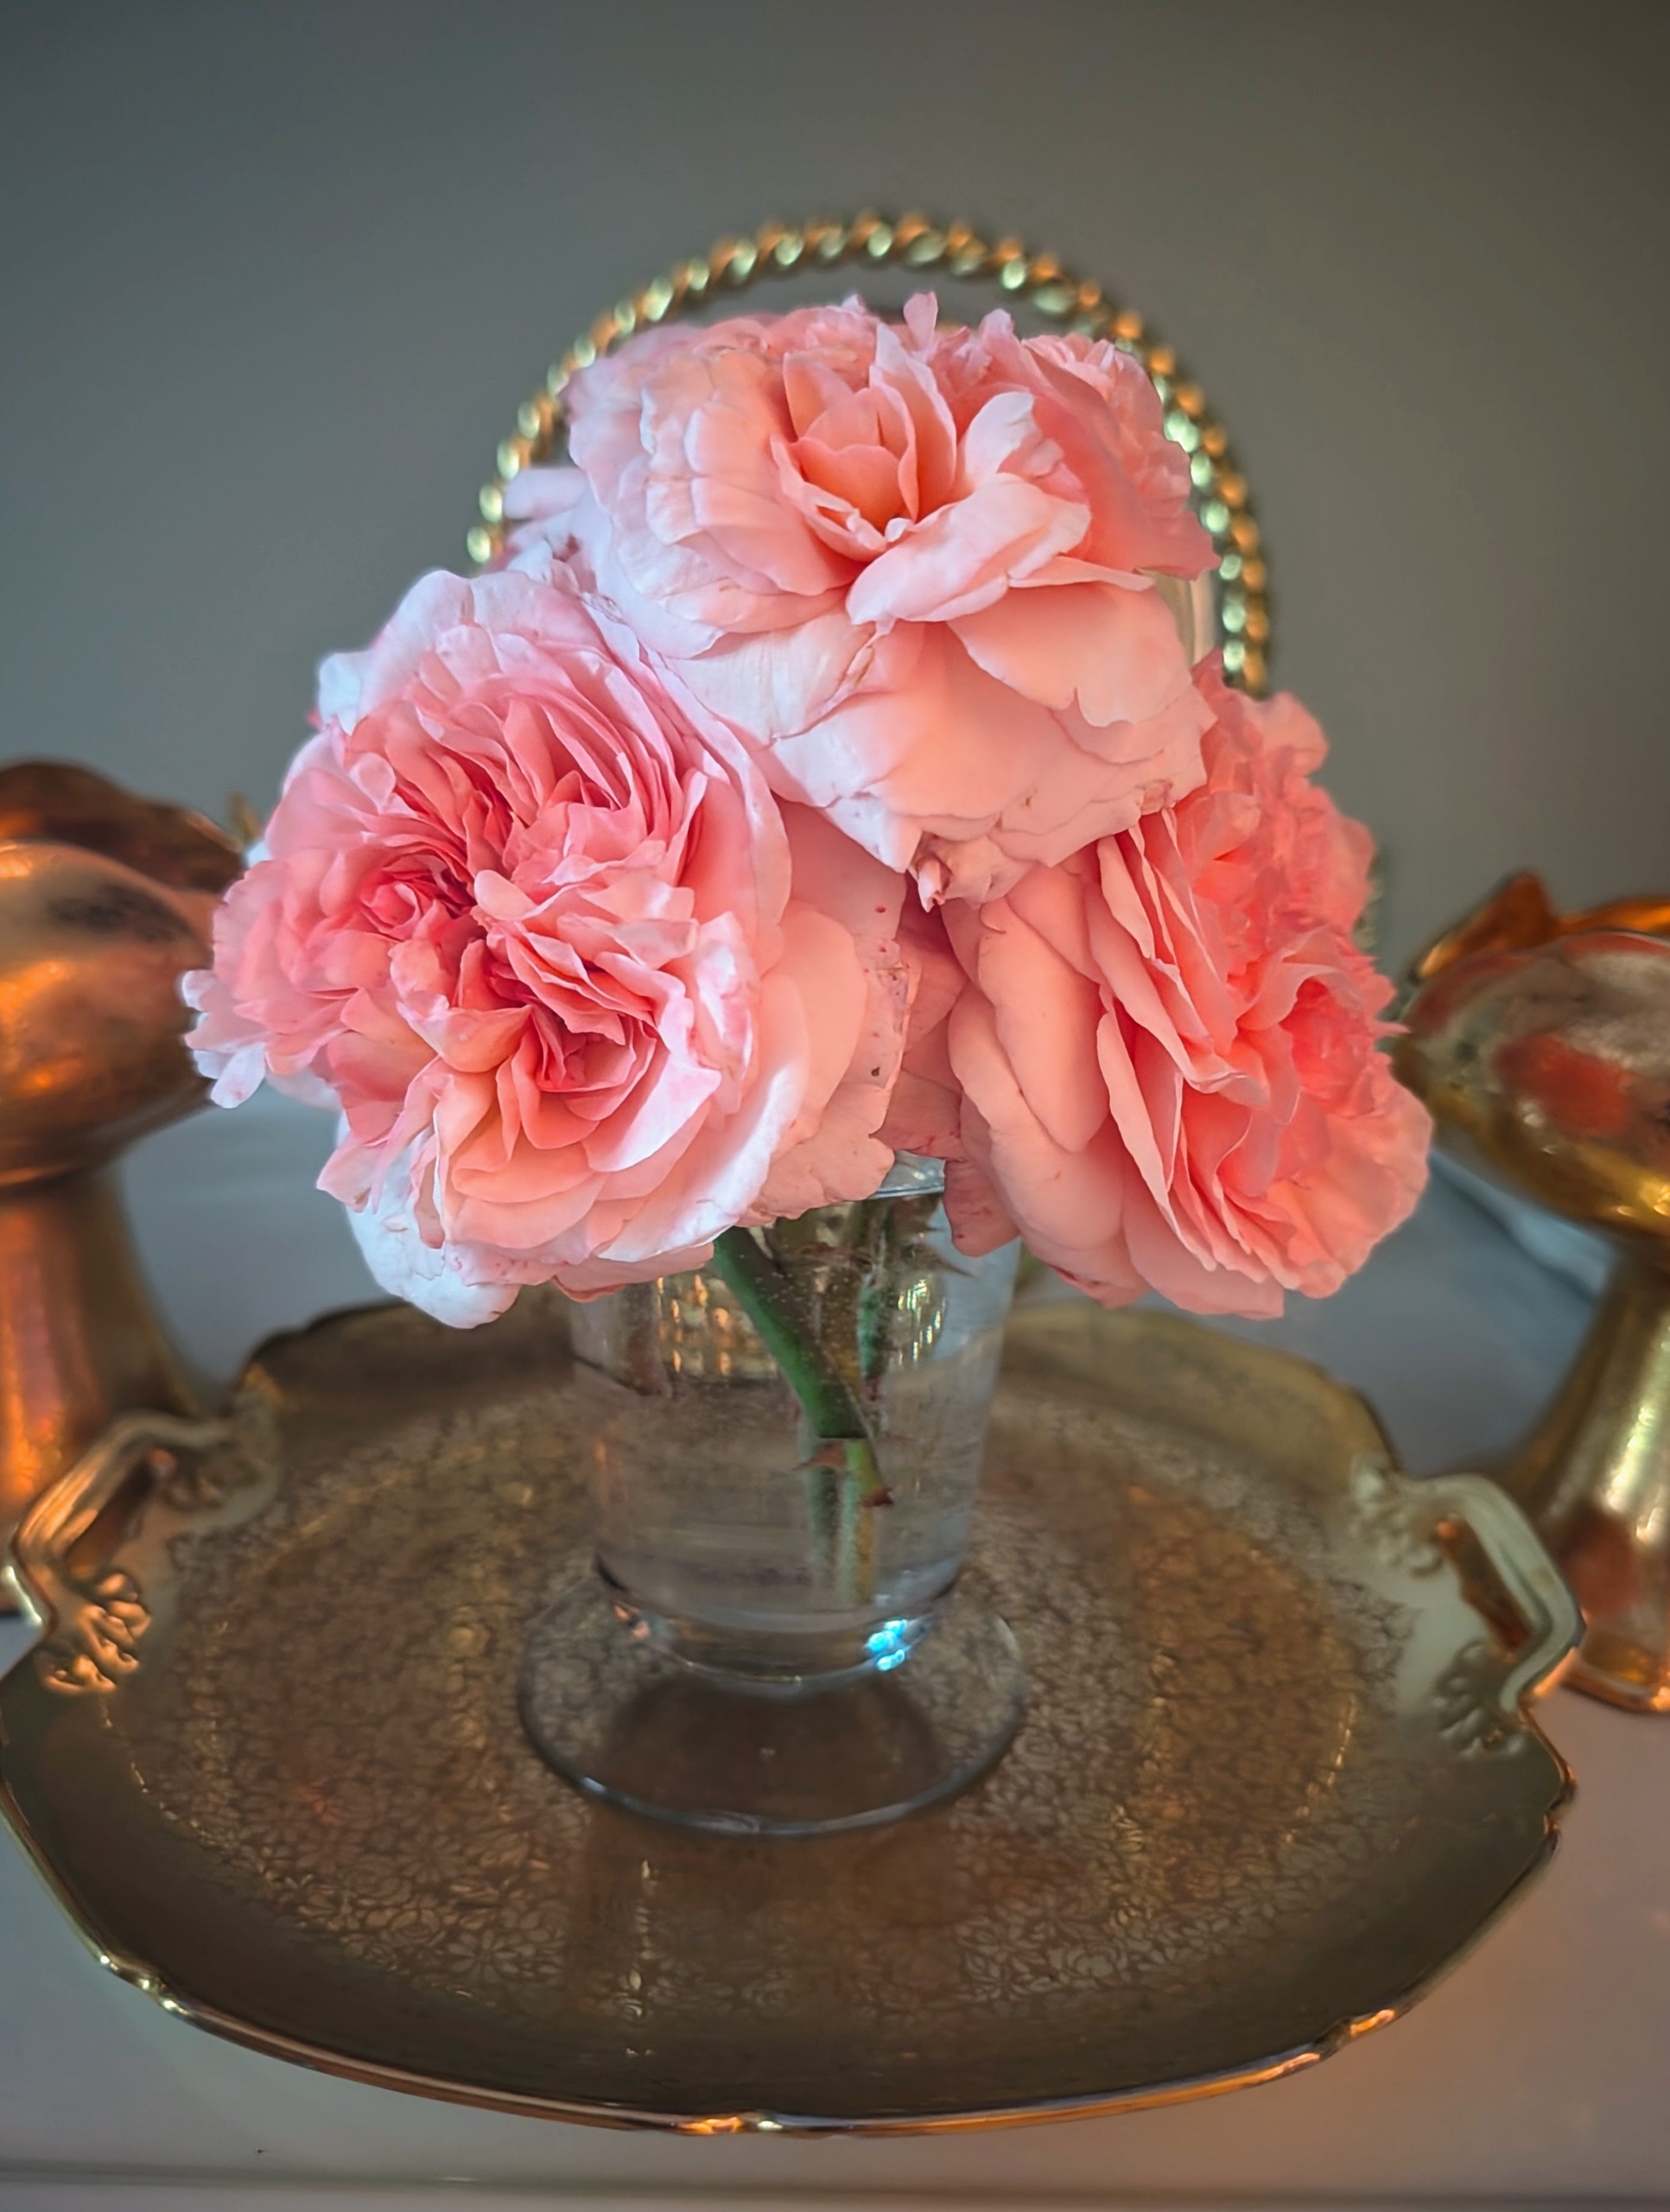
Arrangements don’t always have to be big. A small glass container like this one will hold four to five stems beautifully.
Size up the stems next to the vase being used, so they can be cut appropriately.
For longevity, change the water every one to two days and recut stems to maintain freshness.
This vase of roses is in my sitting room, where I can see them every morning on my way to the kitchen.
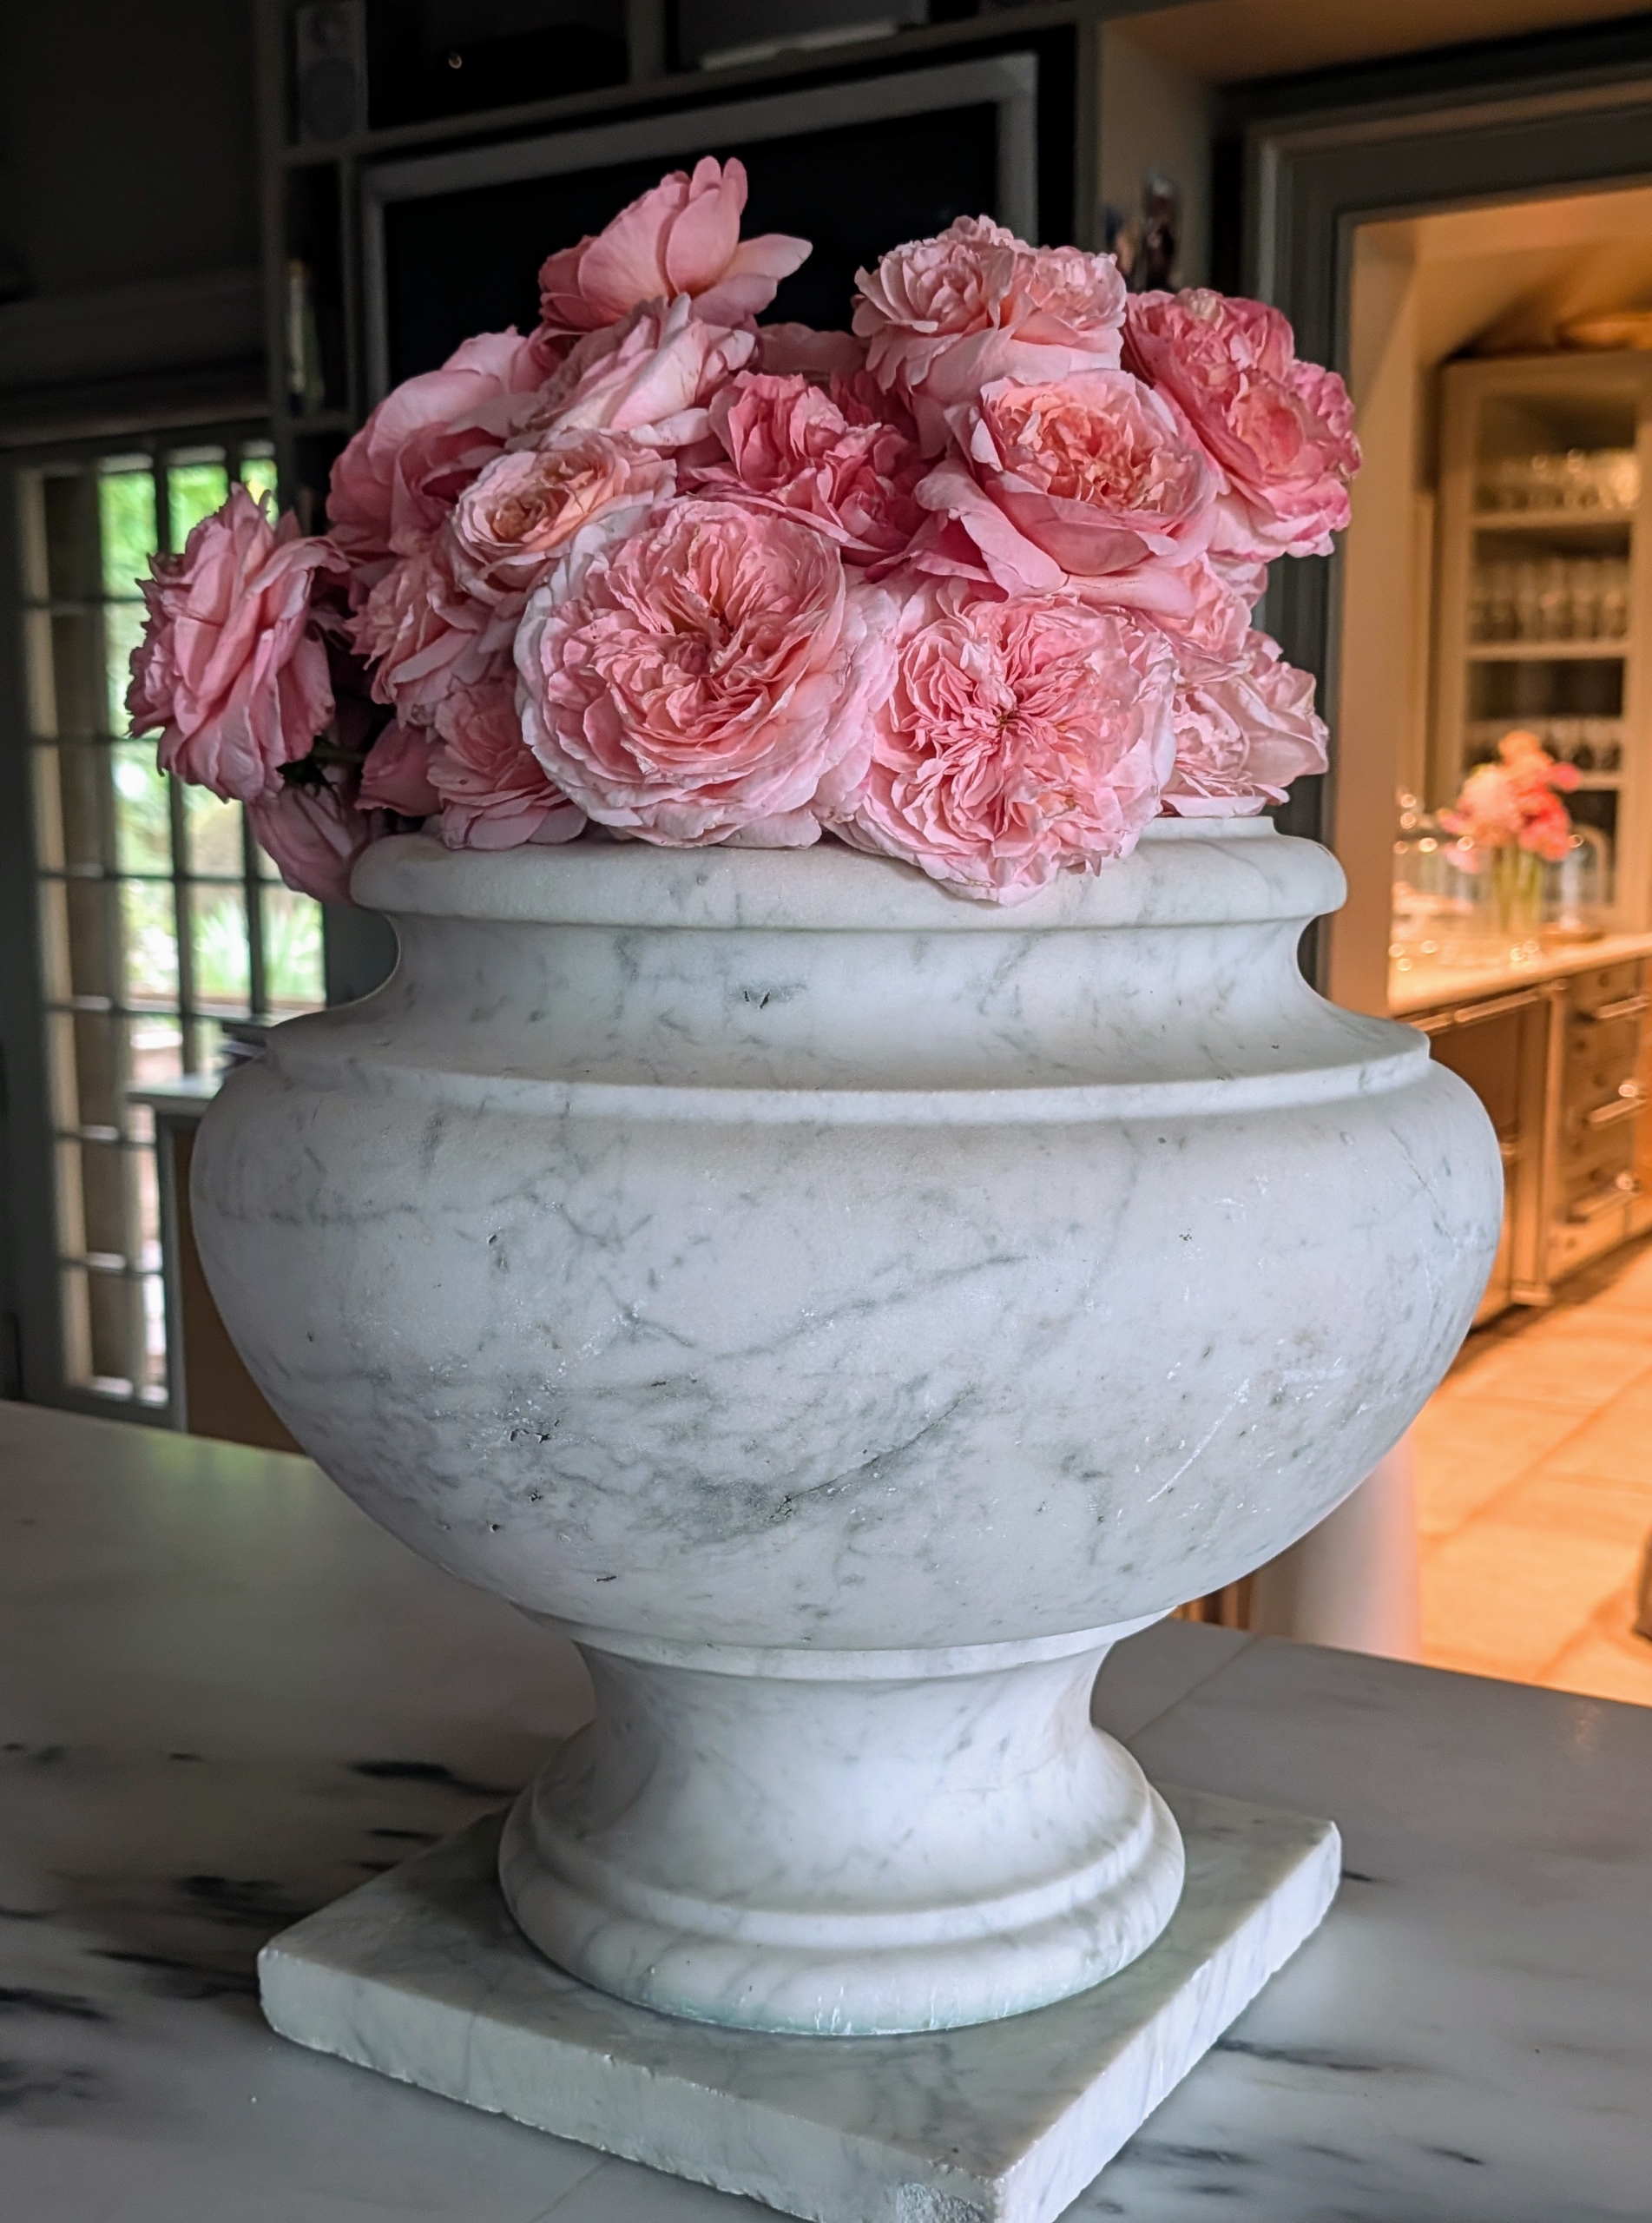
And this arrangement of Martha Stewart roses is in my Winter House kitchen, another nice spot where it can be seen and enjoyed every day. If you grow roses, I hope this inspires you to go out and cut a selection of flowers, so you, too, can enjoy their beauty and fragrance inside.



 Martha Pins


 Martha Tweets

