New Paths in My Perennial Flower Garden
Another exciting garden transformation is complete at my Bedford, New York farm.
I have long wanted to use up hundreds and hundreds of black granite bricks that I originally purchased for a terrace floor project. Over the years, some of the bricks were used sparingly under pots for drainage, but most of them remained in crates stored alongside my stable barn. I knew one day, I would figure out how best to utilize them - and I did. One-third of the bricks now edge the footpaths in my expansive perennial flower cutting garden, giving the entire space a whole new look. The process was tedious and took more than a week to complete, but it looks fantastic.
Enjoy these photos.
-

- I finally had a purpose for some of the black granite bricks I bought years ago that were never used. Recently, I decided they would look great edging the paths in this cutting garden, so my gardeners and outdoor grounds crew went to work.

-
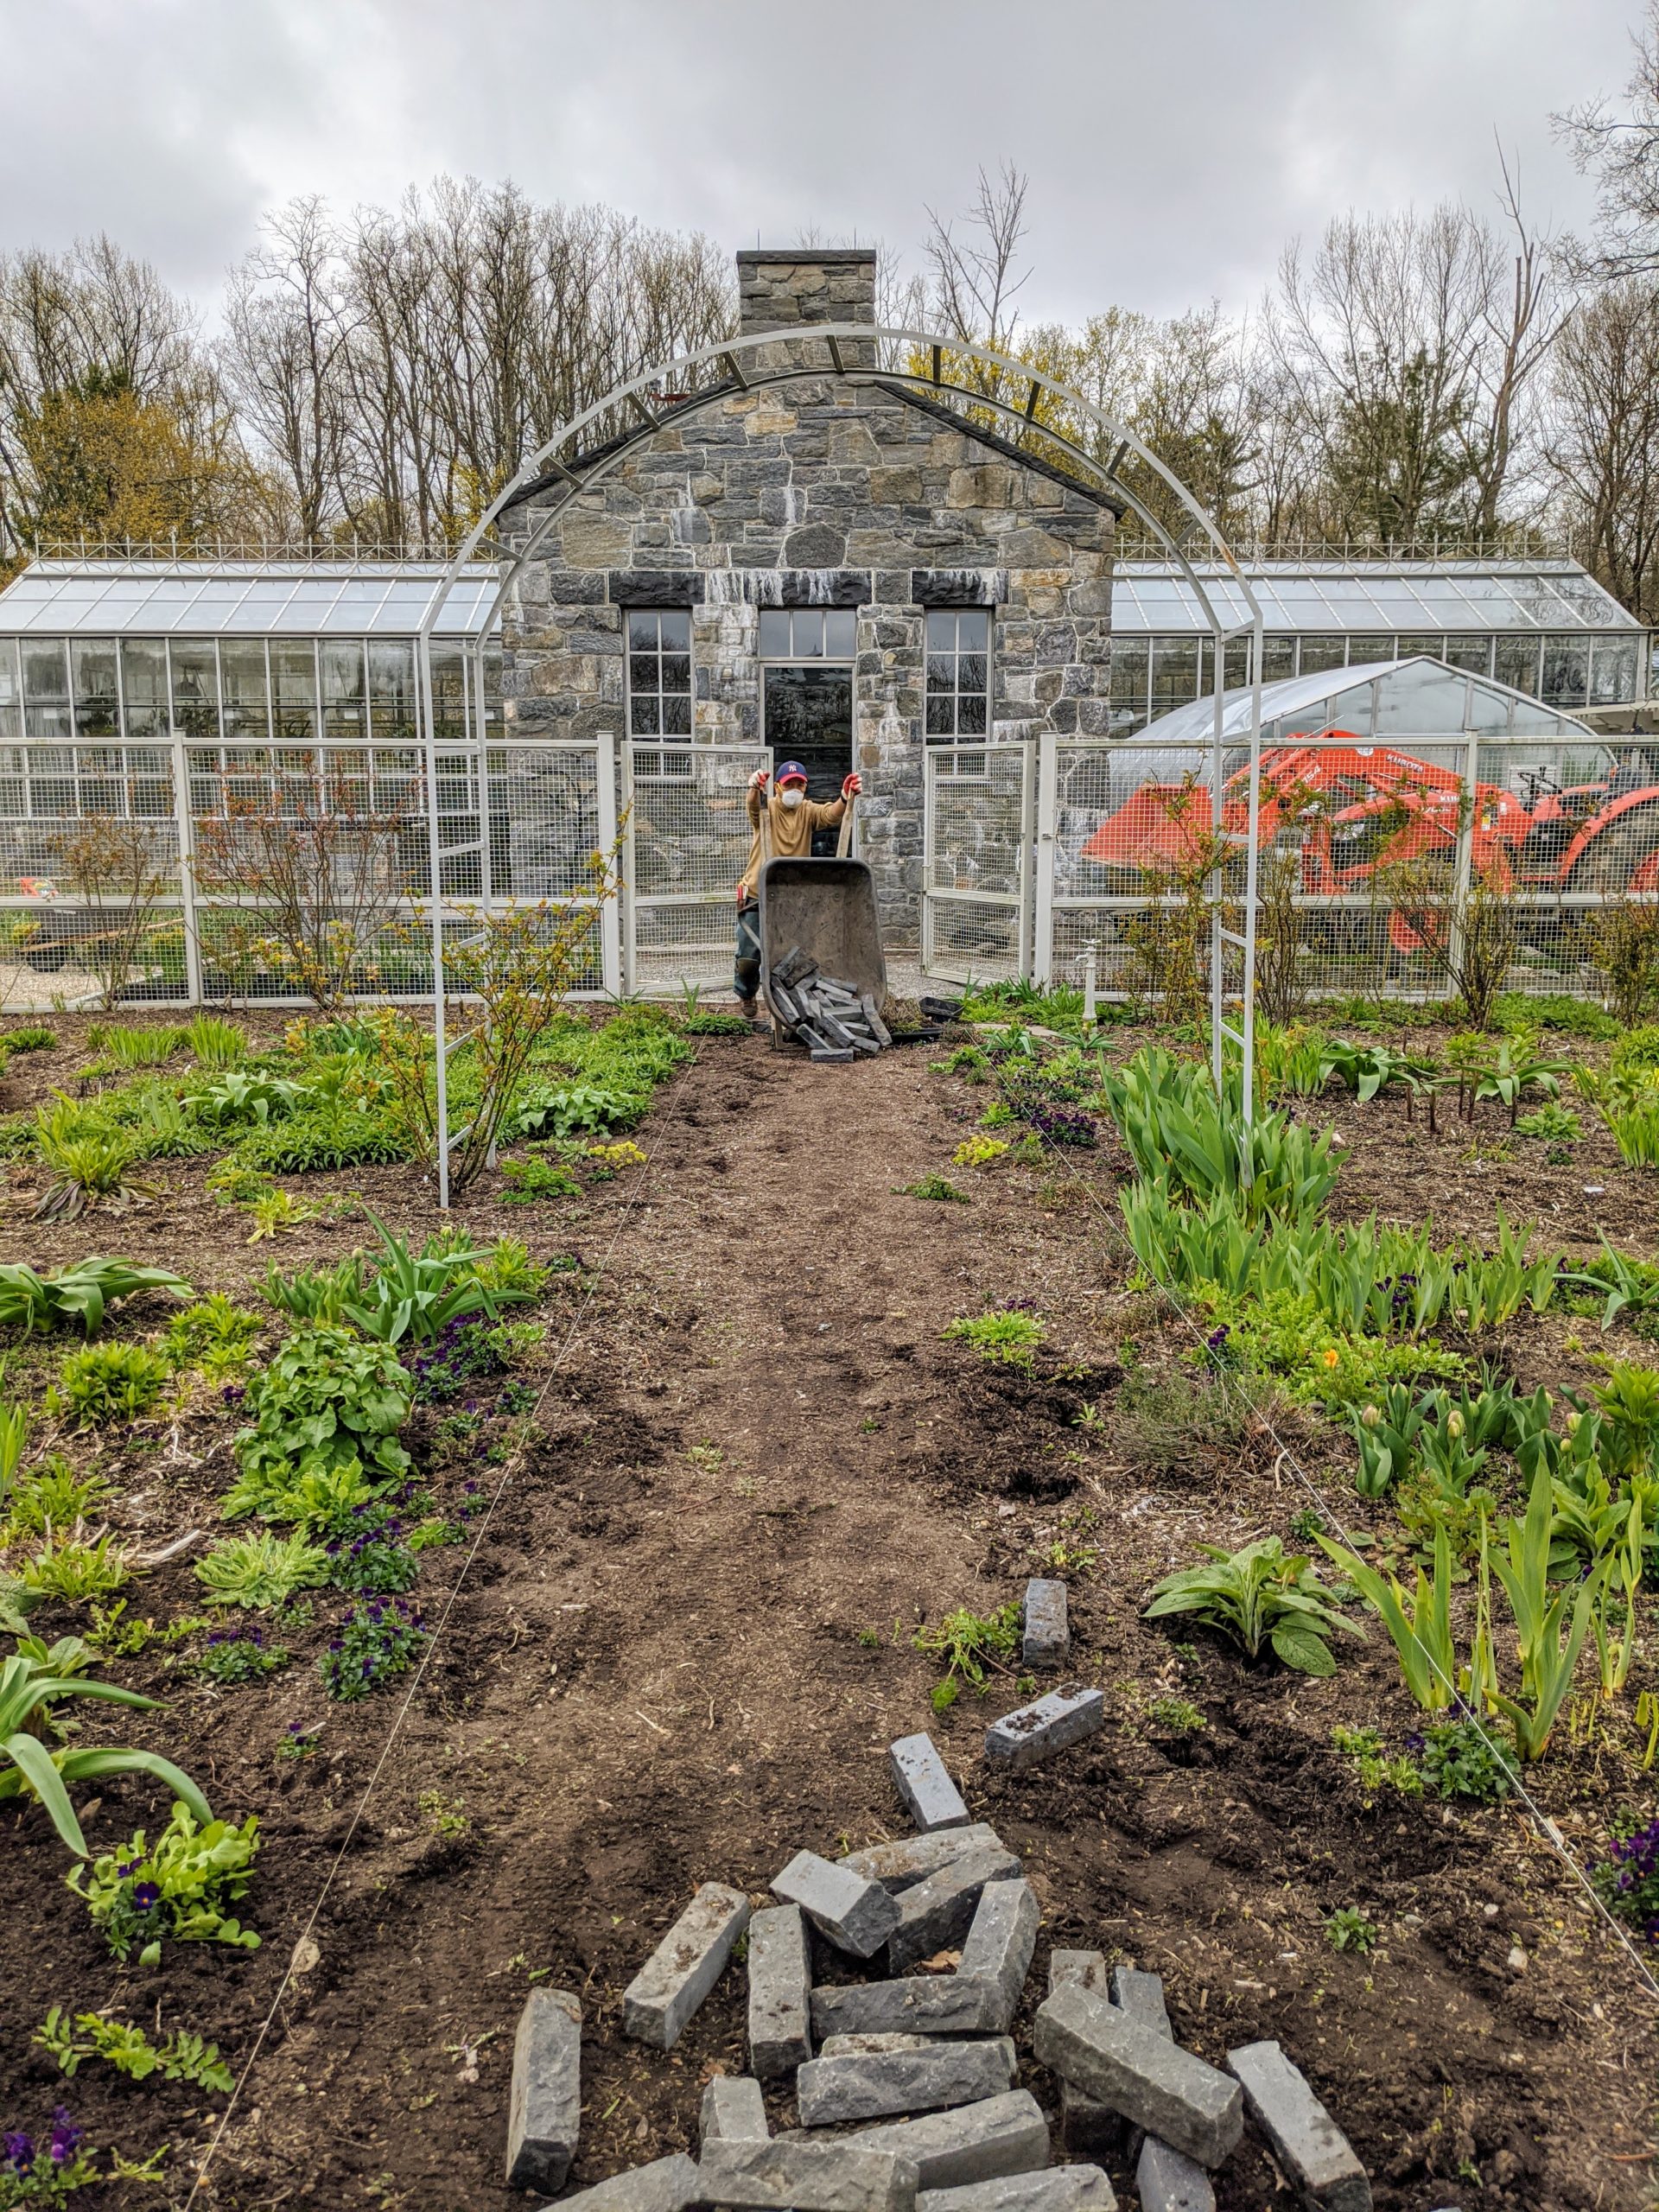
- My outdoor grounds crew foreman, Chhiring, is very skilled at executing many of my garden designs. Here he is transporting wheelbarrows of bricks to the flower garden for this project.
-
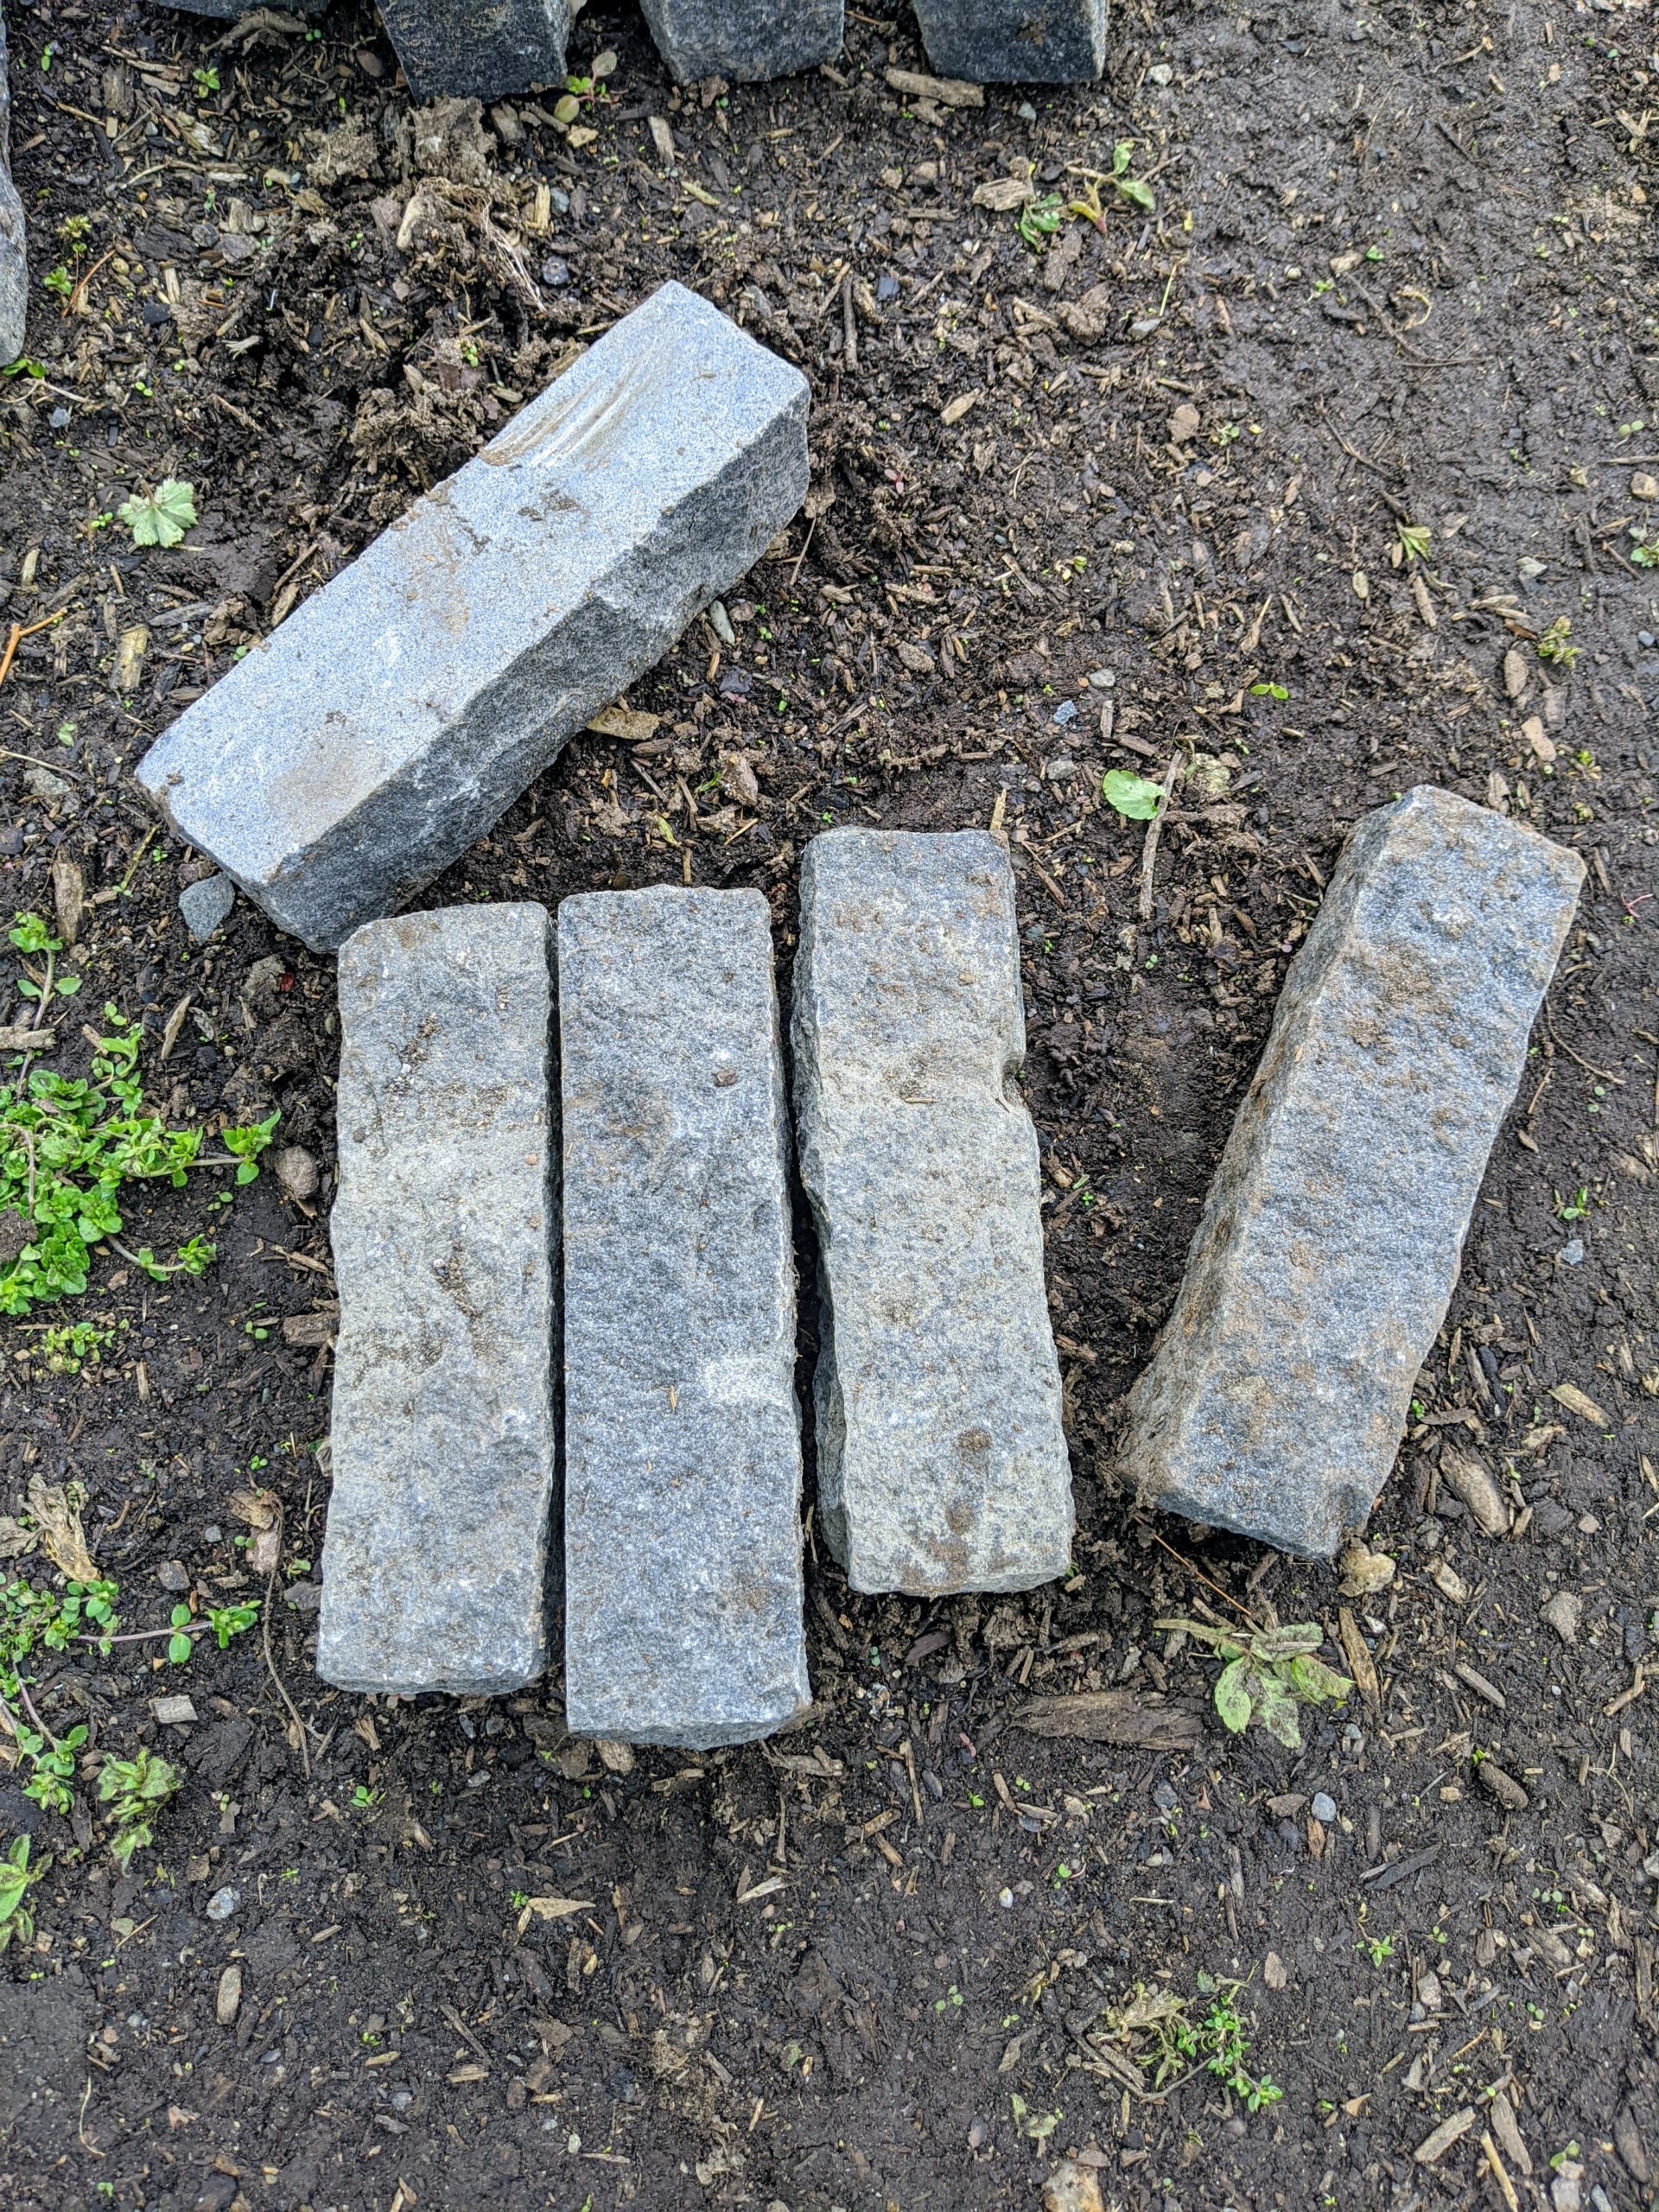
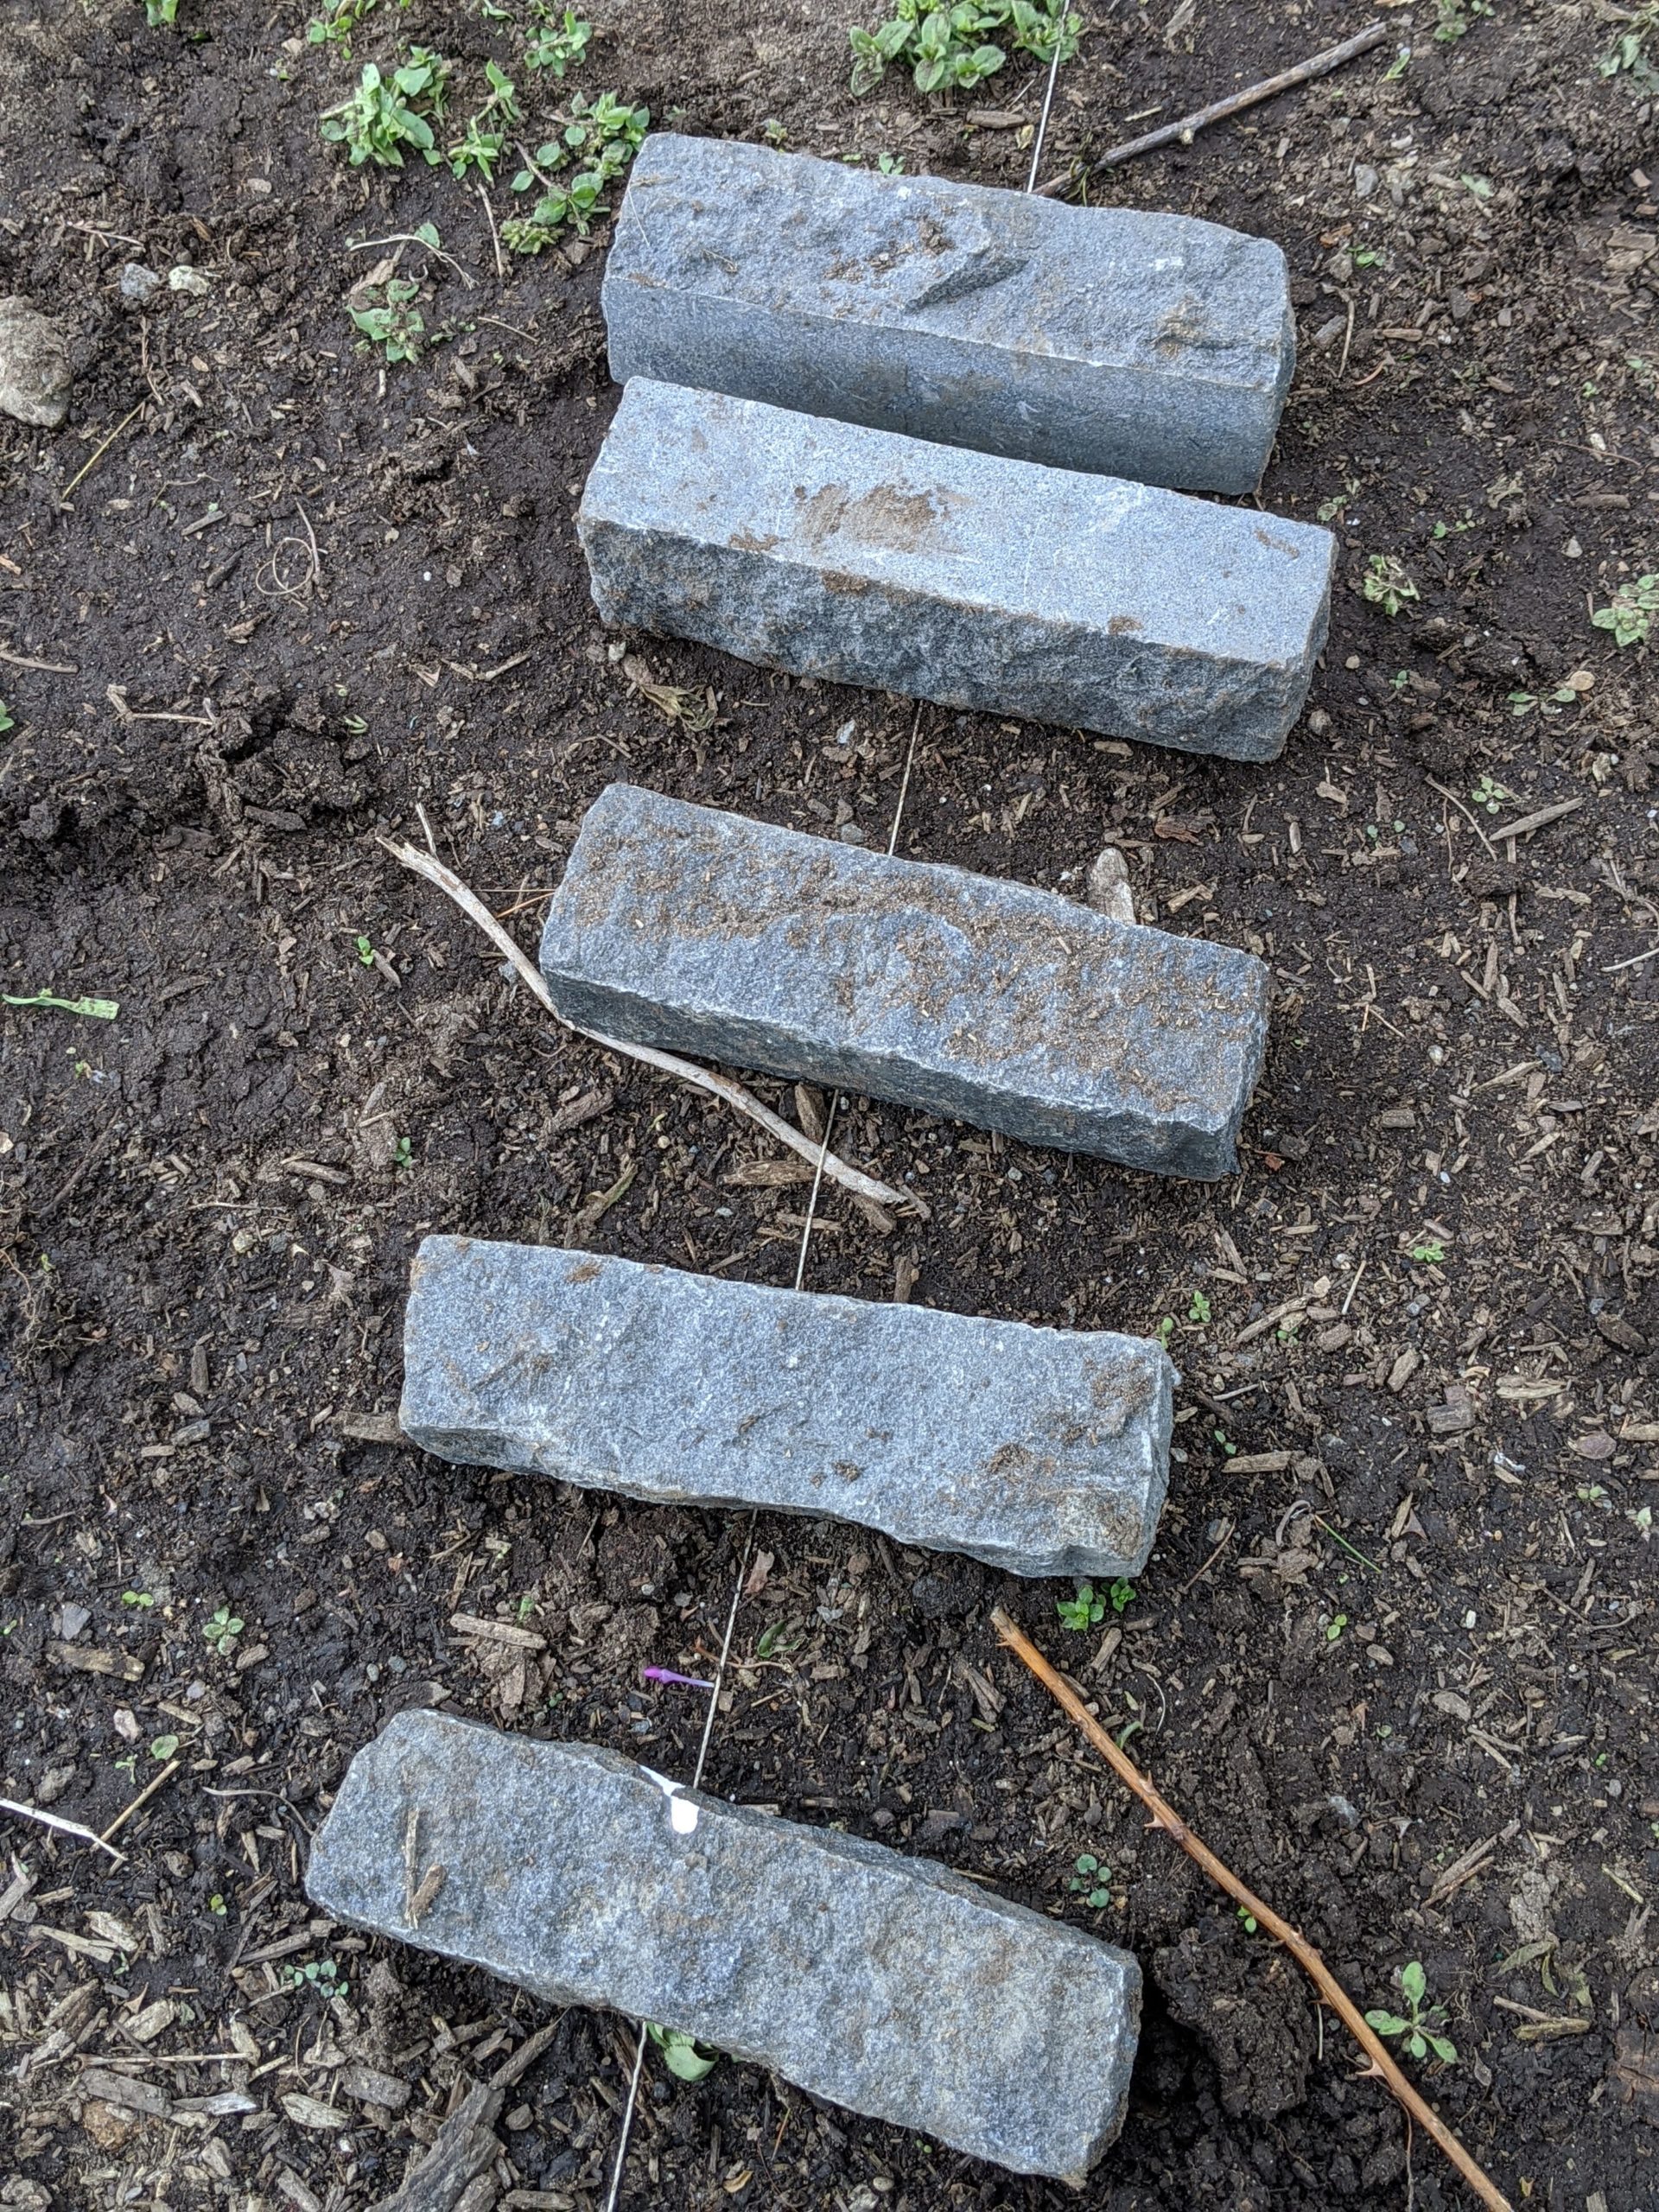
- Each black granite brick measures eight inches long by about two inches wide and two inches thick.
-
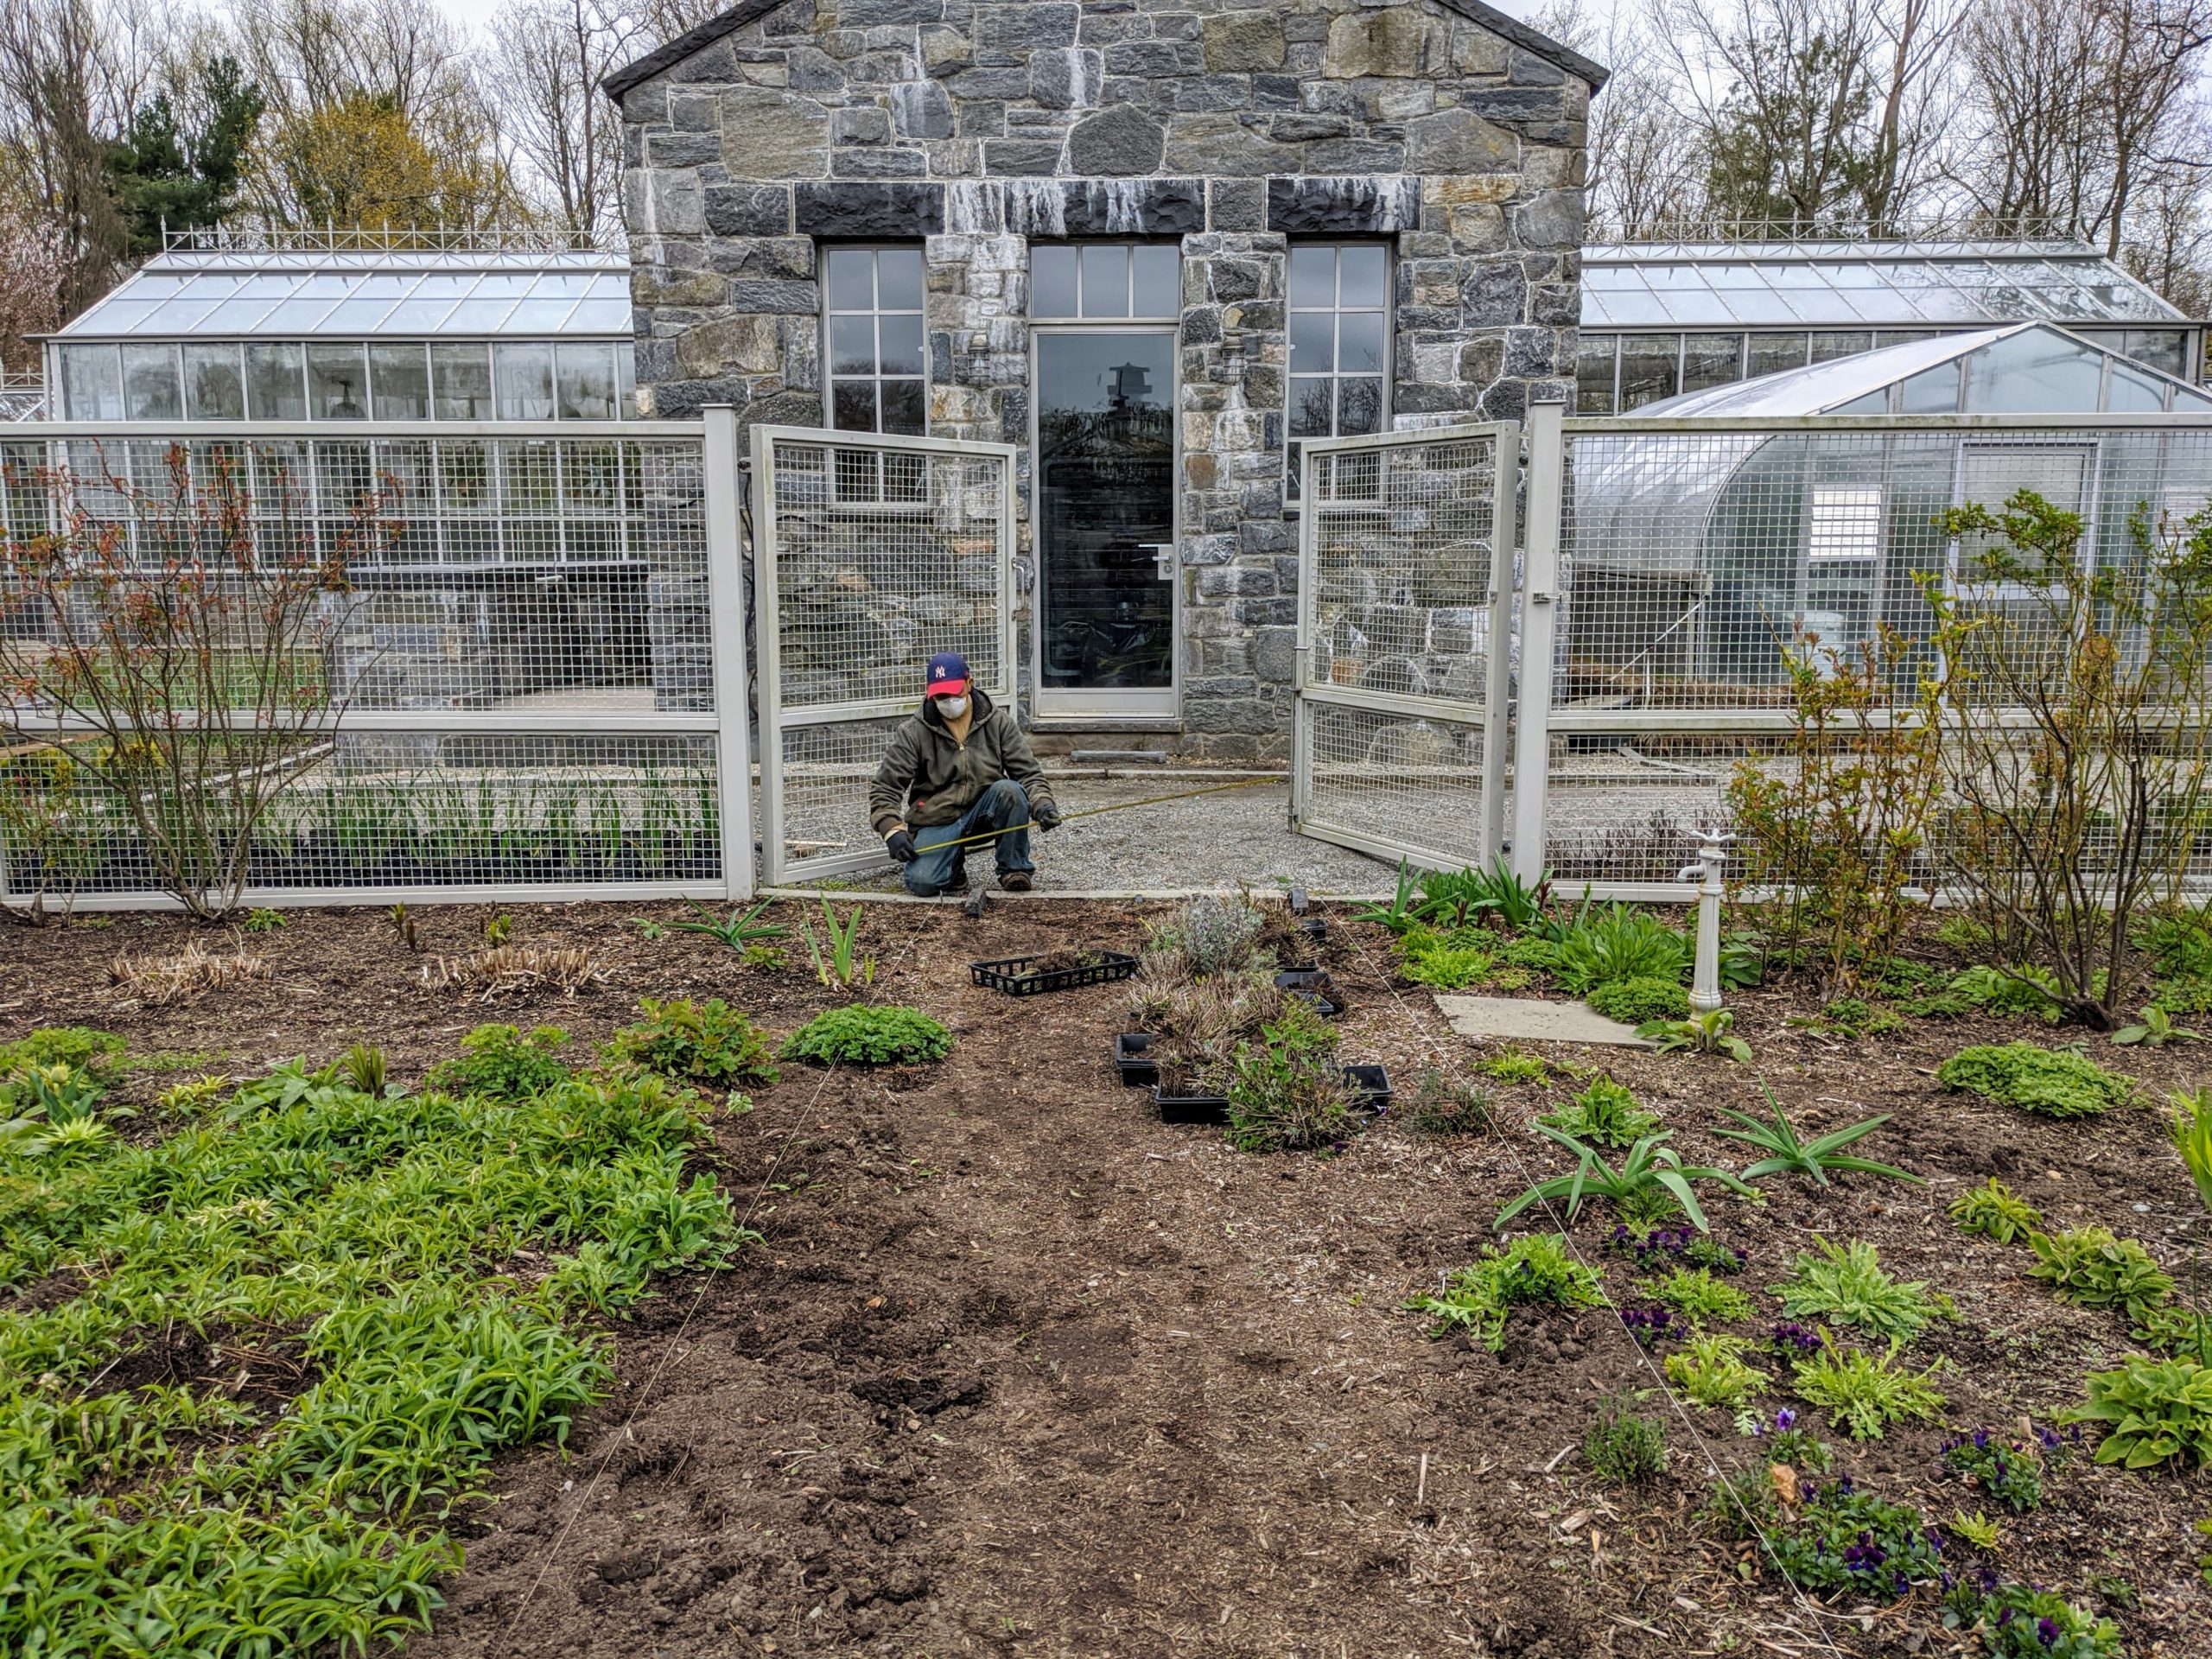
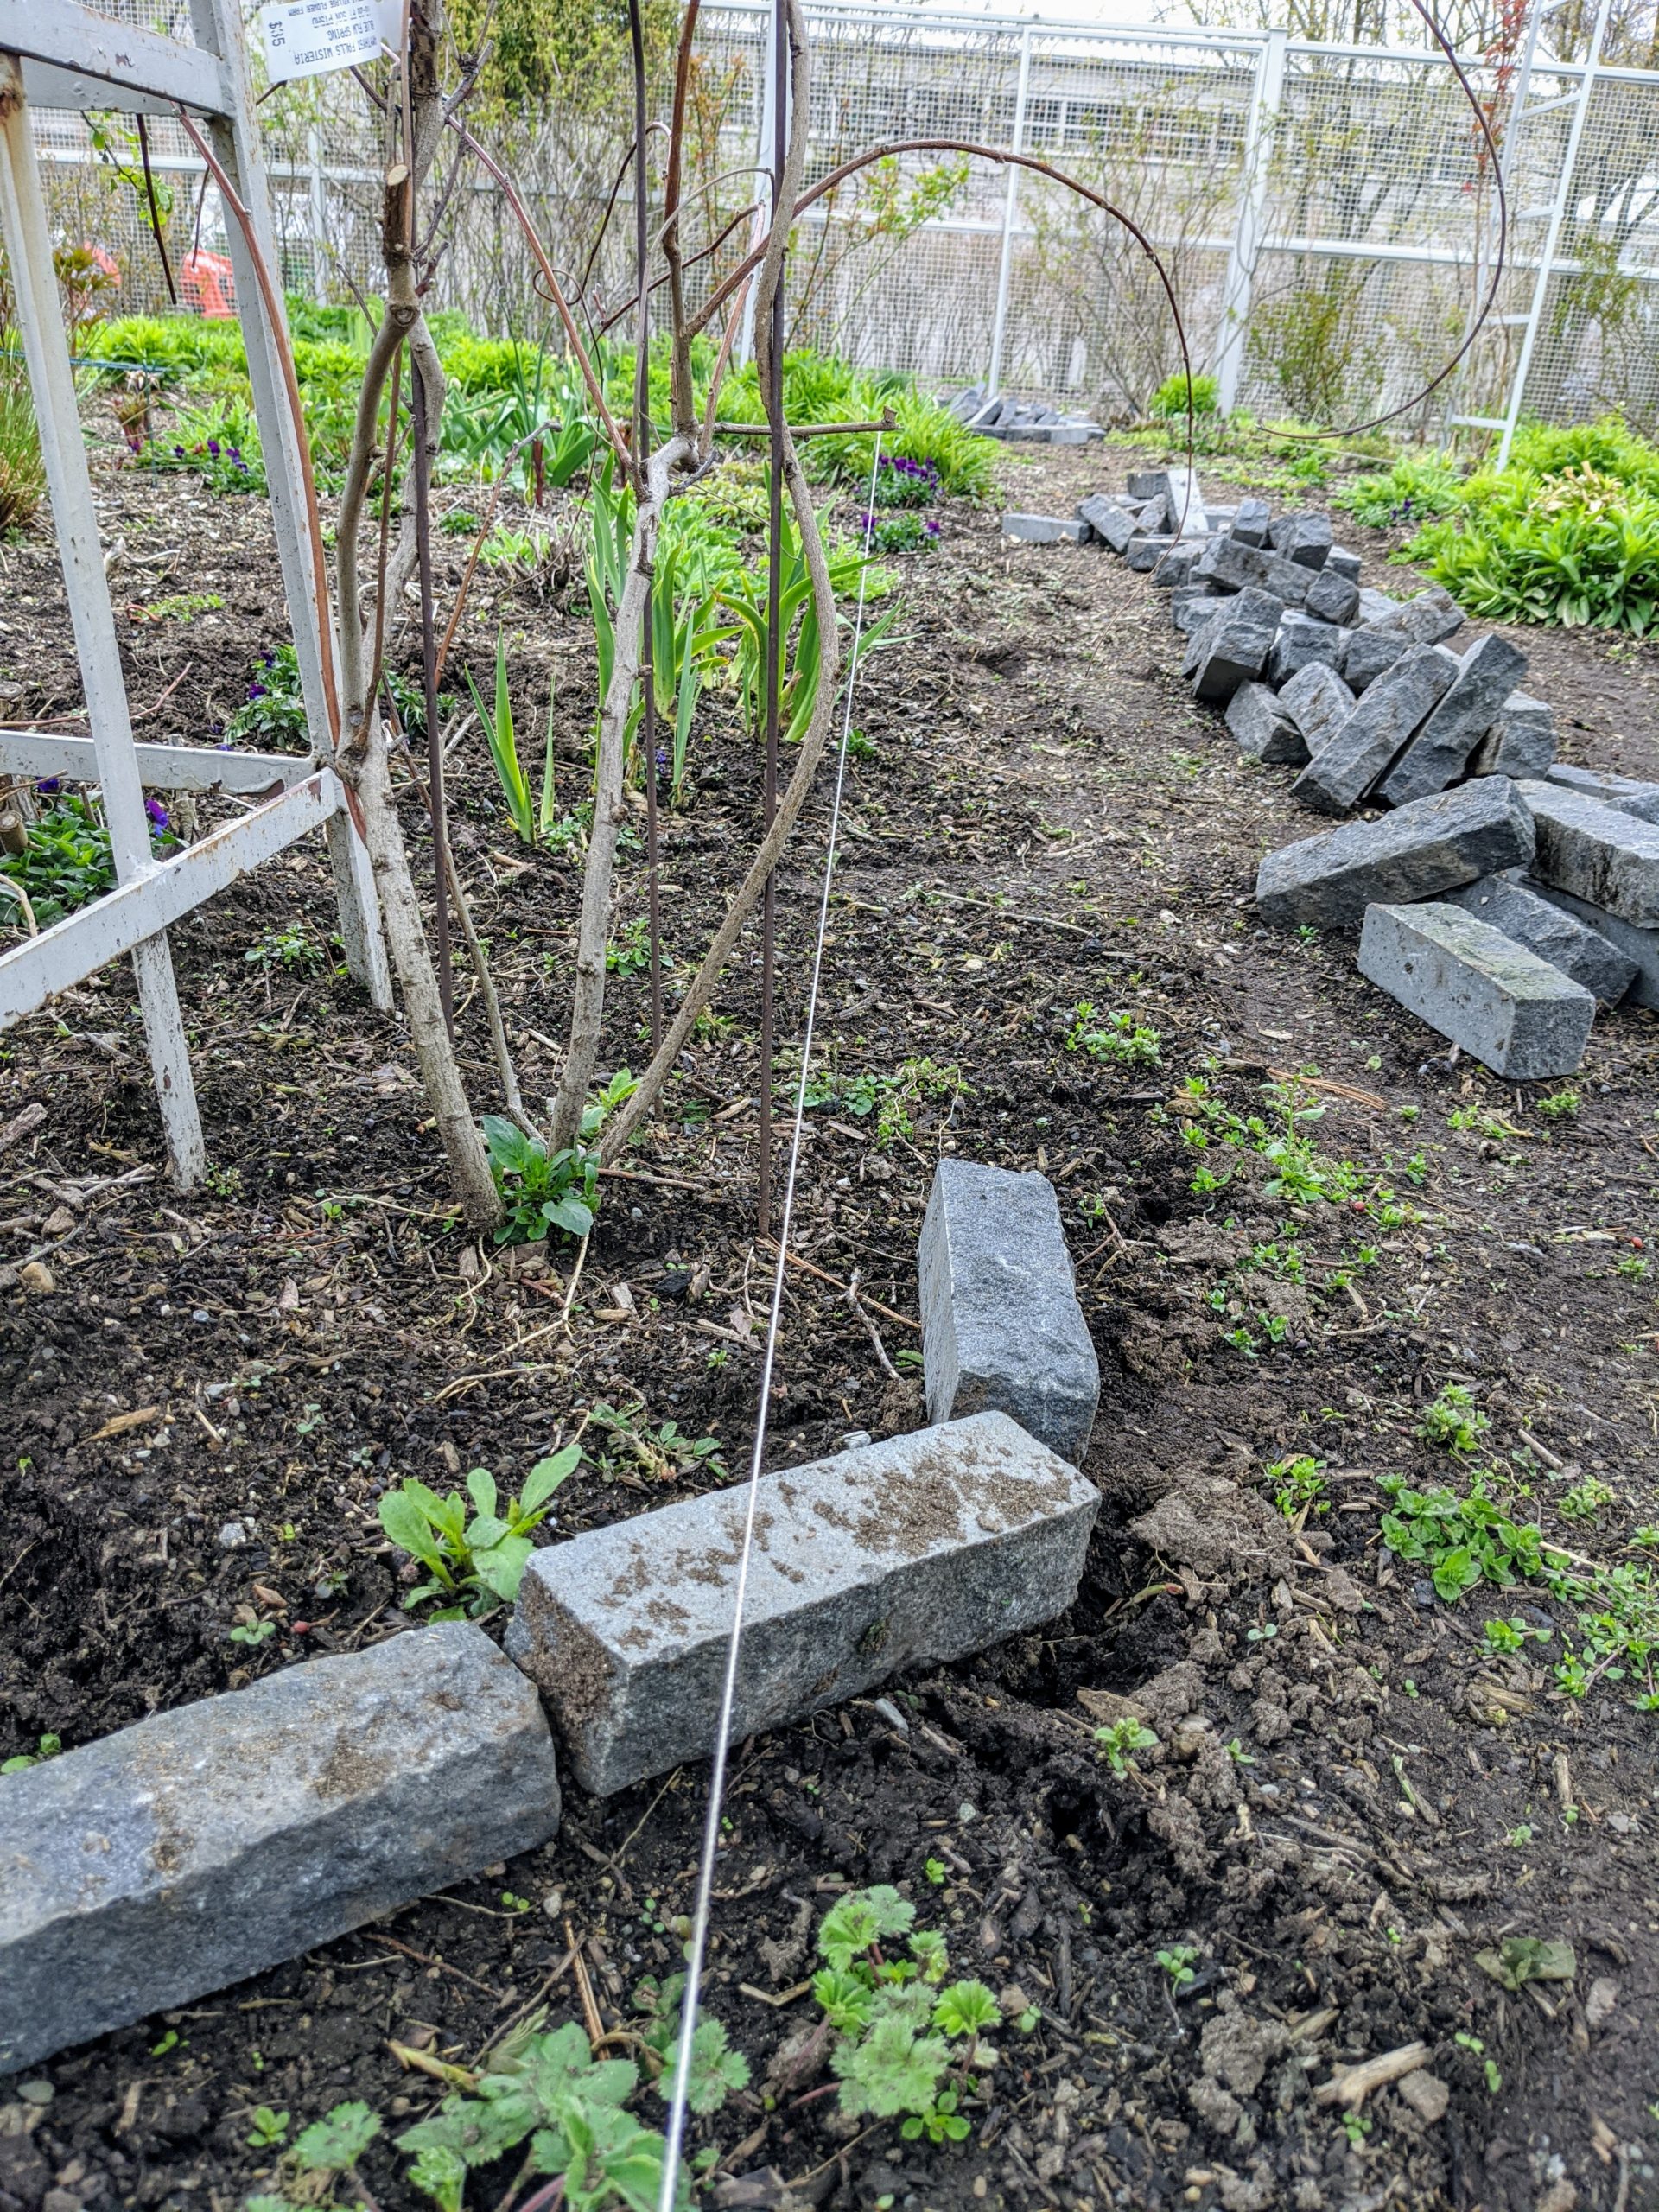
- The first step is to put up the jute twine which will guide the placement of the bricks. I wanted one path to be about three feet wide, and the other about five feet wide to accommodate wheelbarrows and other gardening equipment.
-
- The twine was pulled from one gate to the other showing exactly where the bricks would be positioned.
-
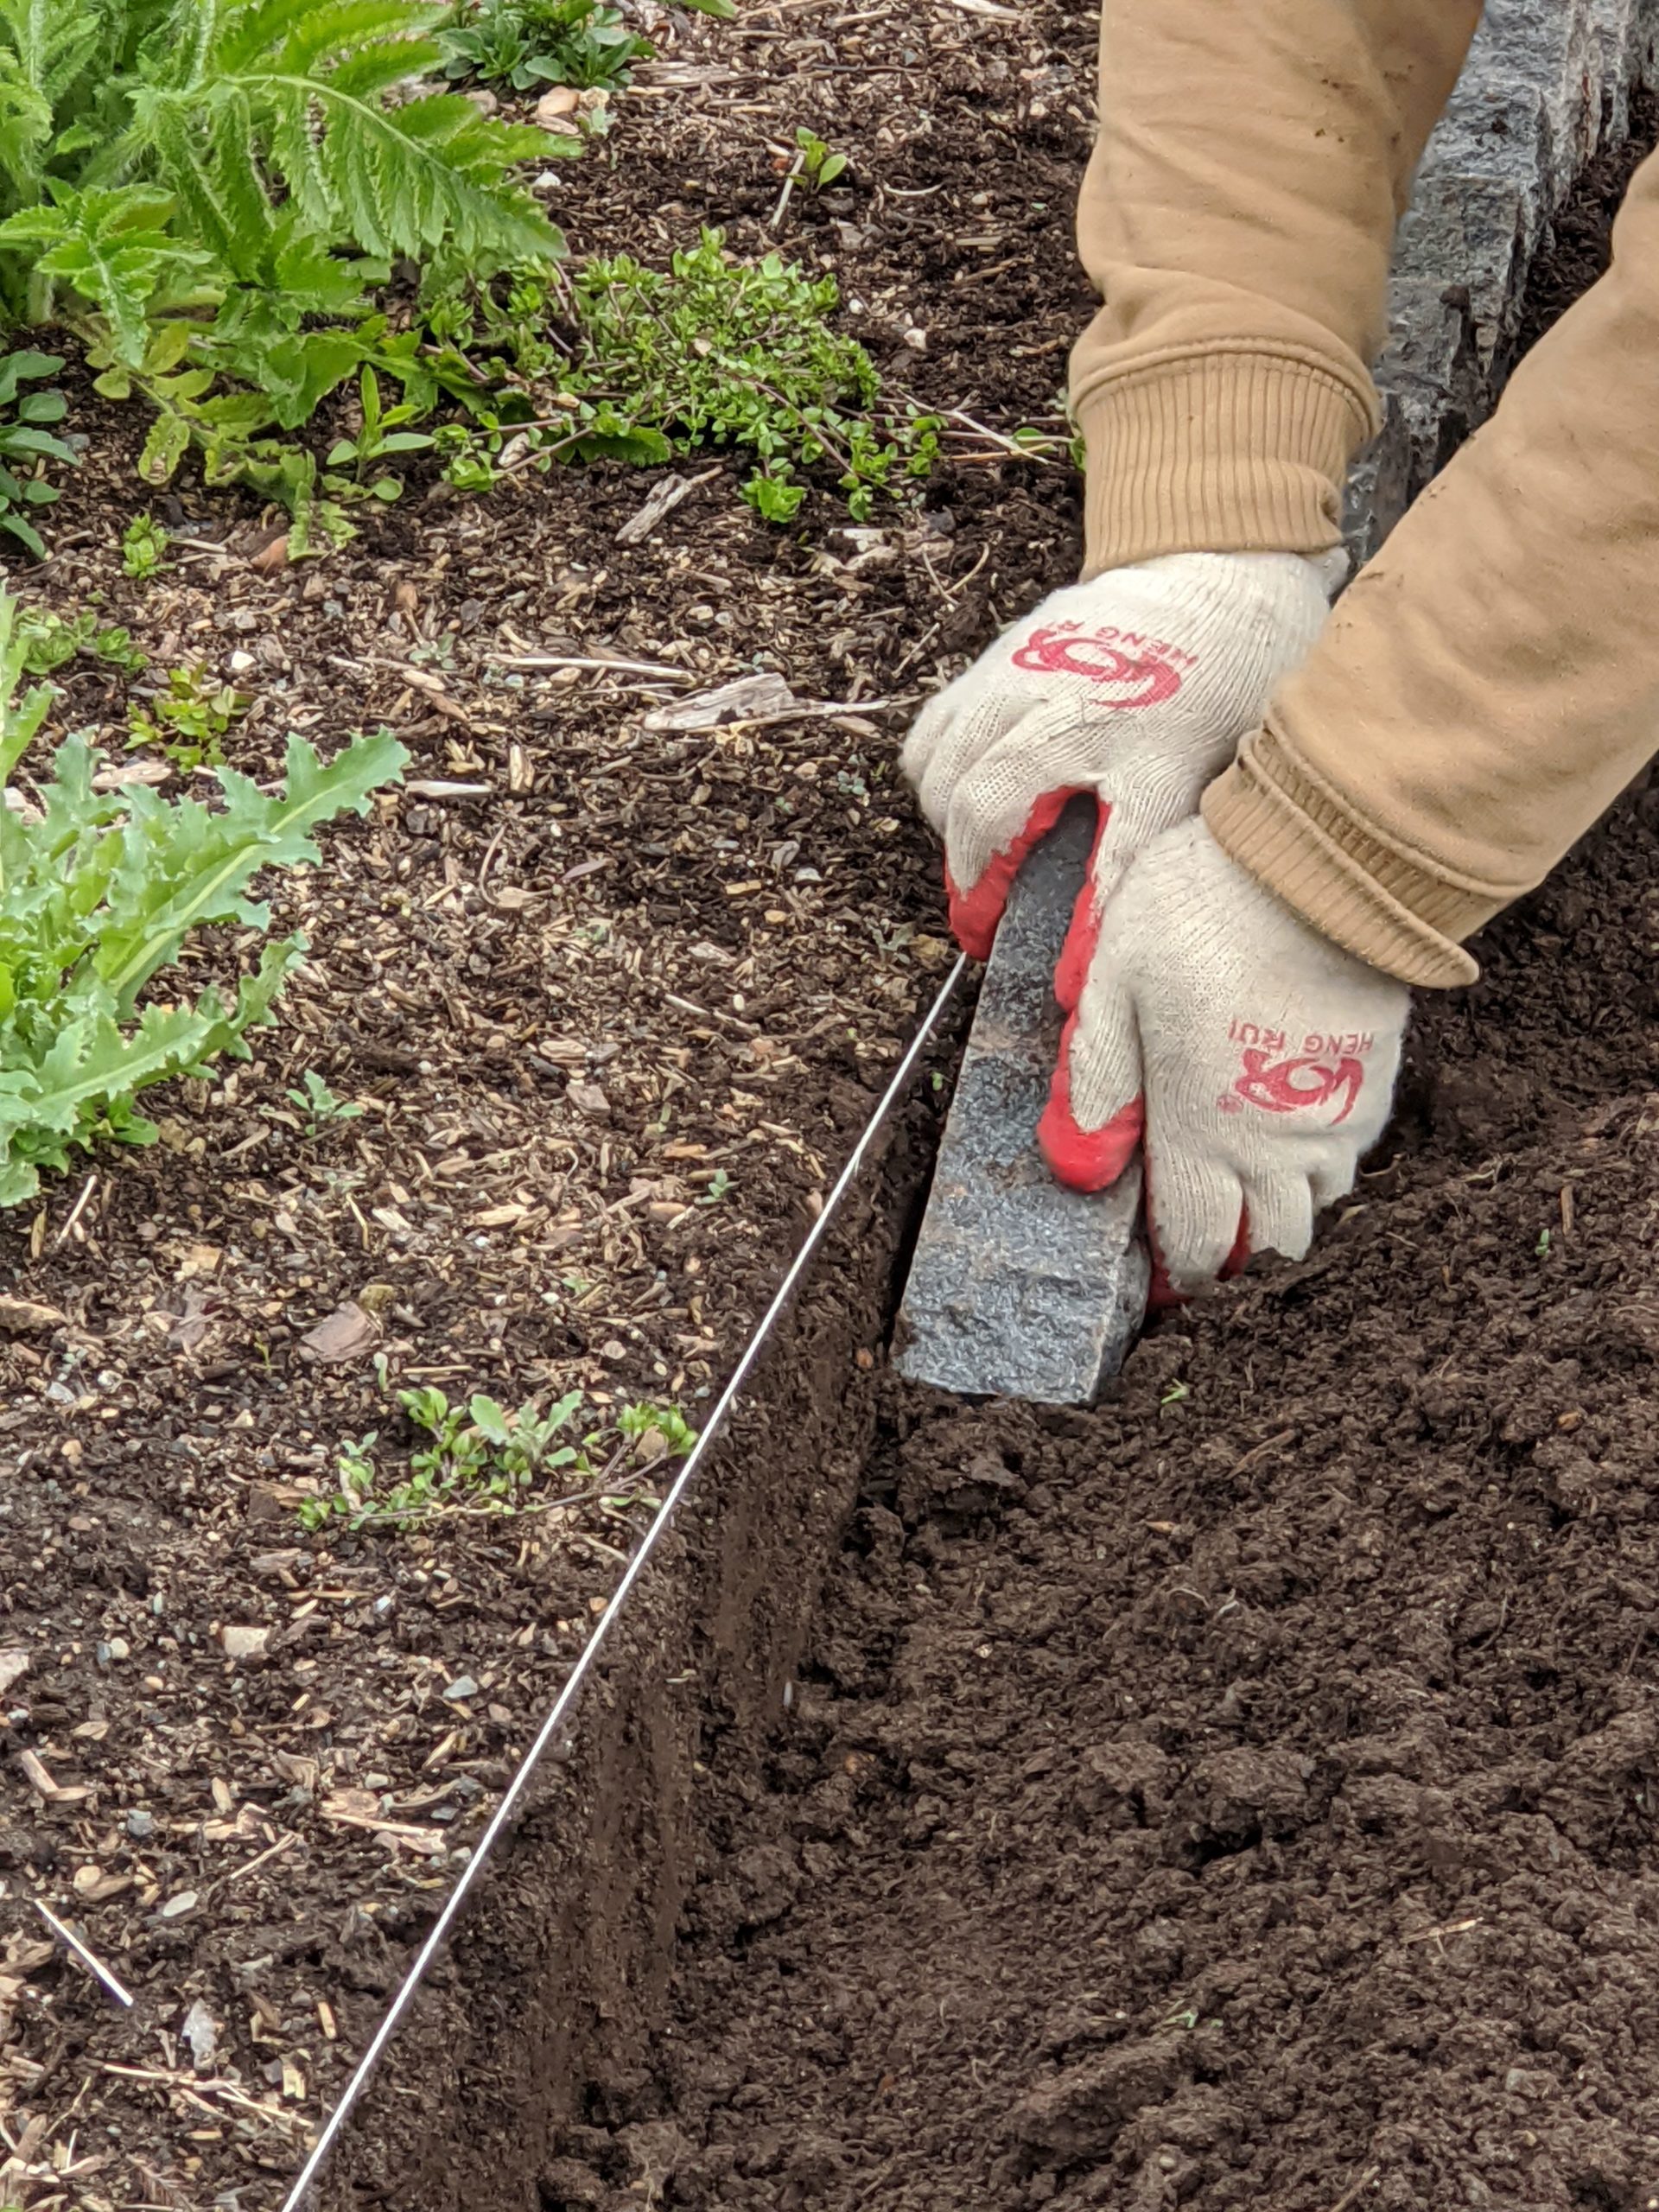
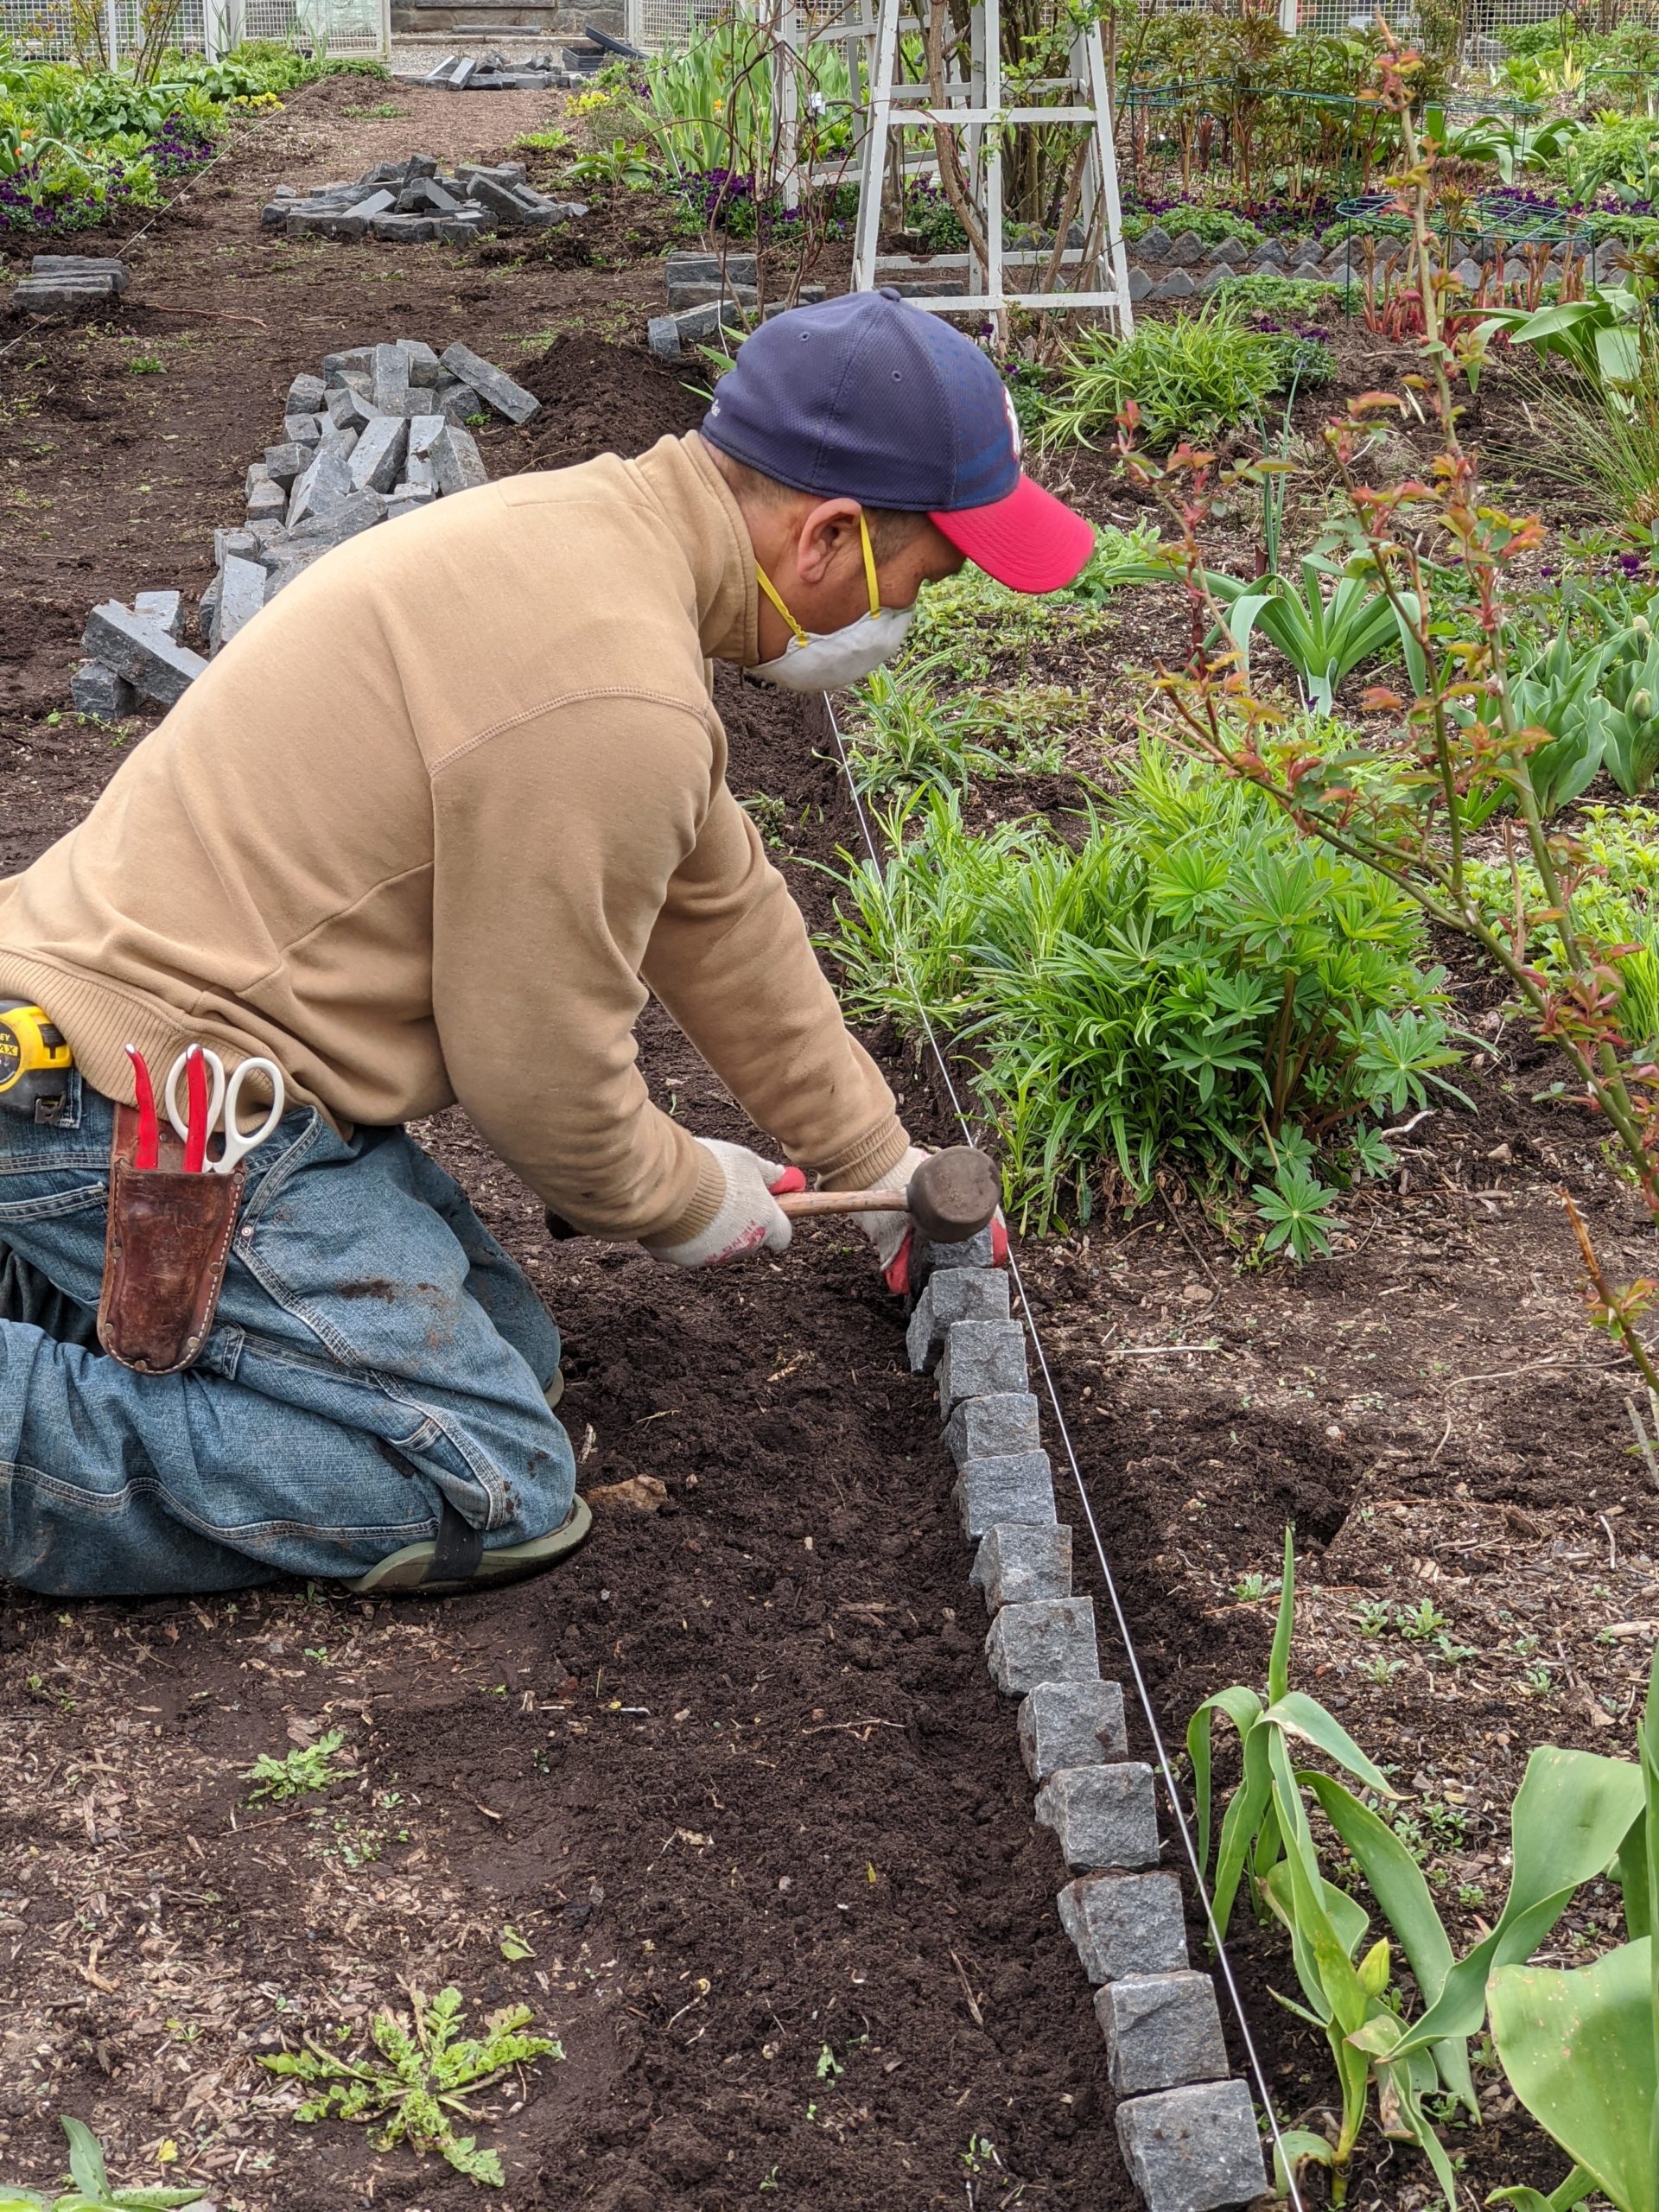
- Chhiring starts by digging a trench about five-inches deep on one side of the twine.

-
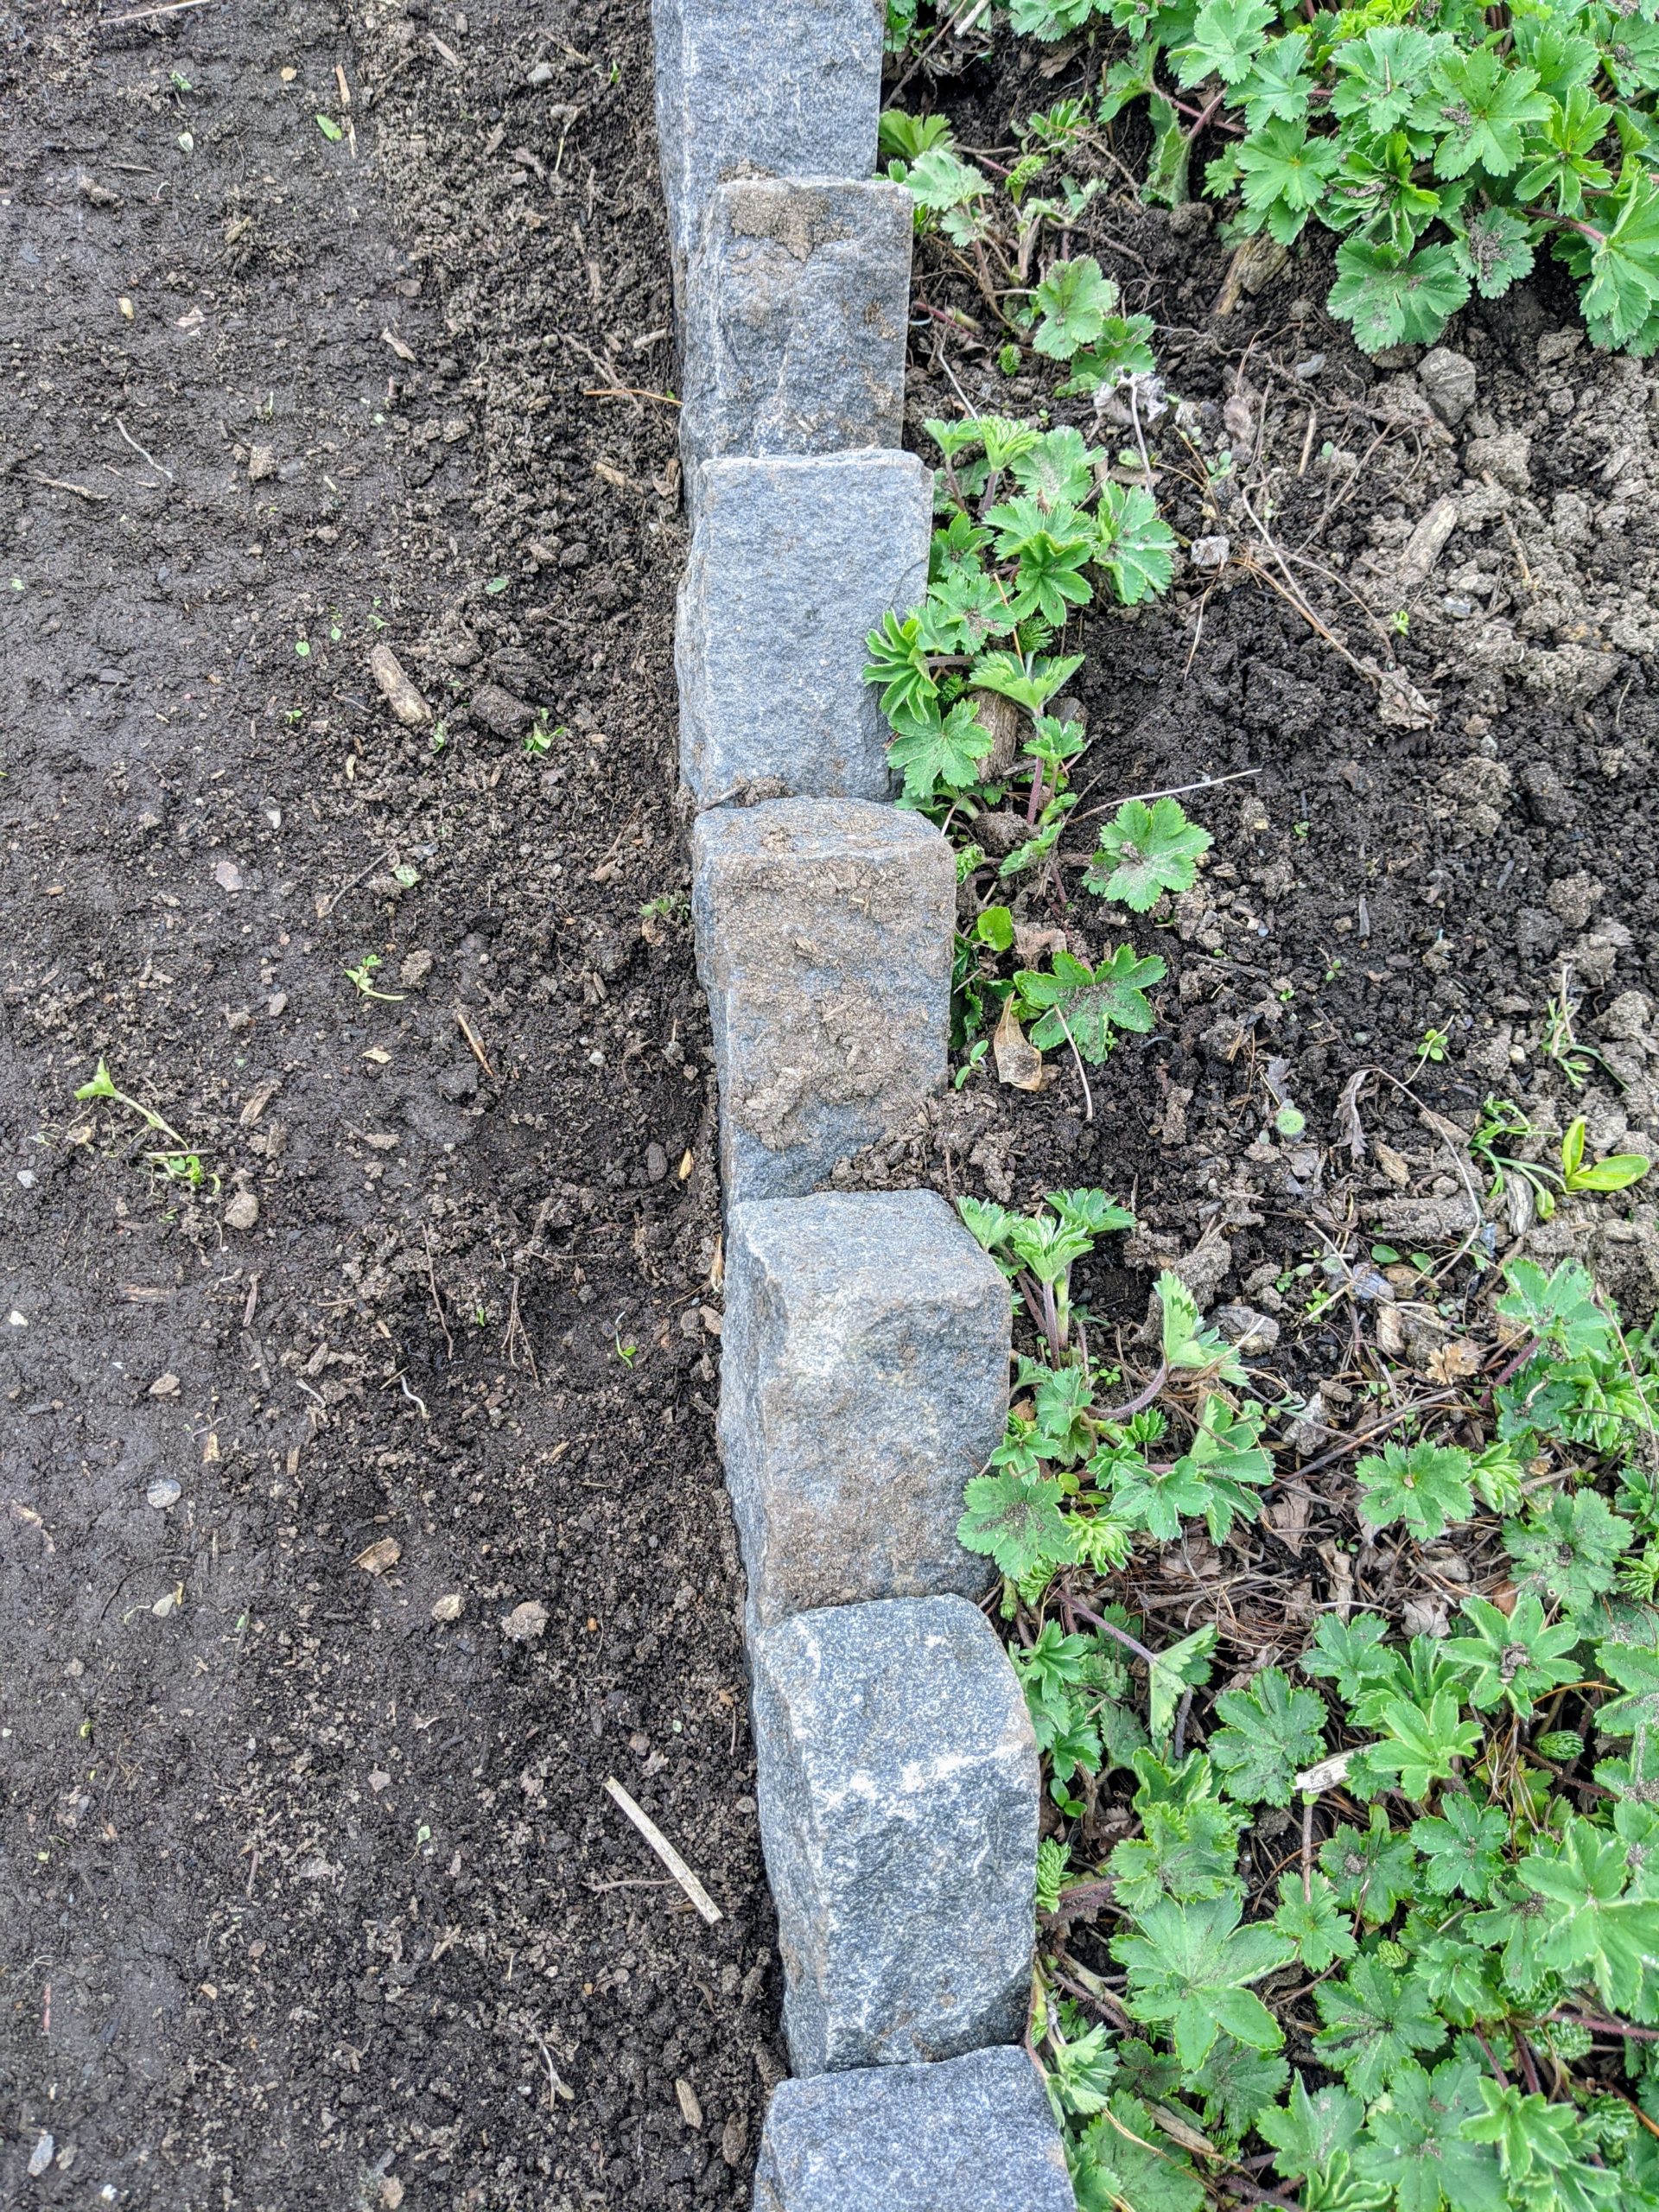
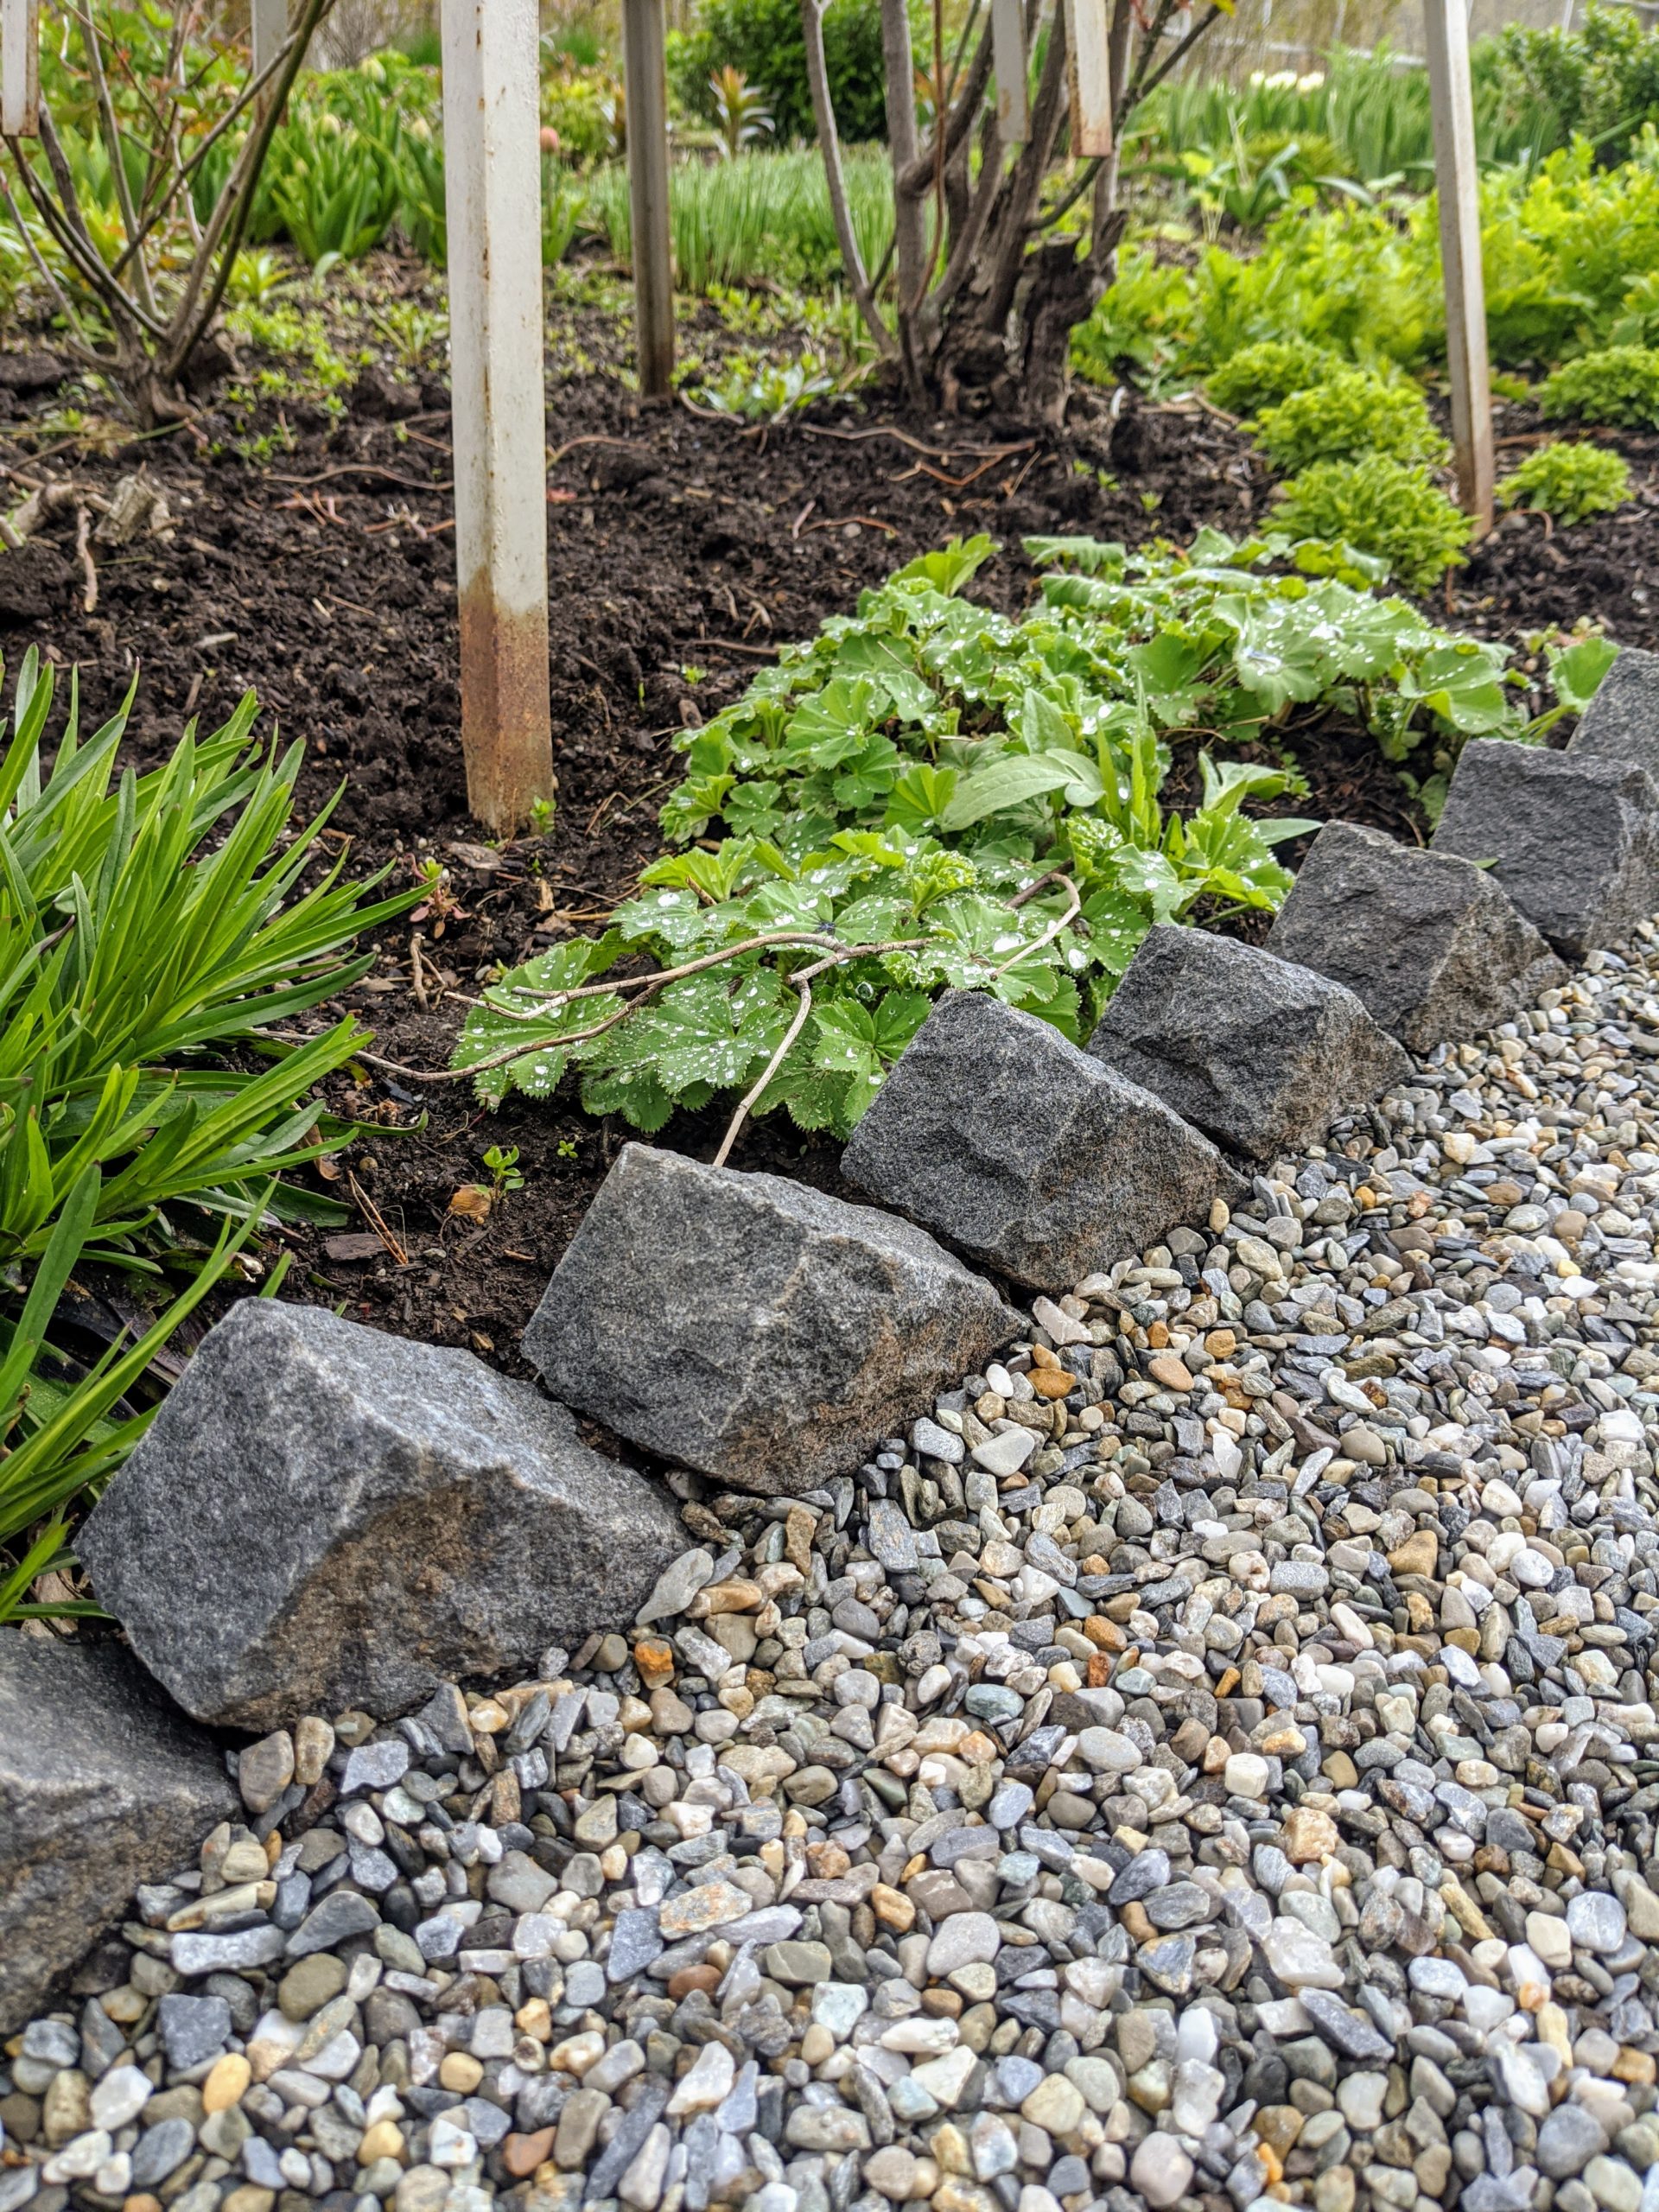
- And then one by one, he angles the bricks and positions them in a sawtooth style, laying one on another at a 45-degree angle.
-
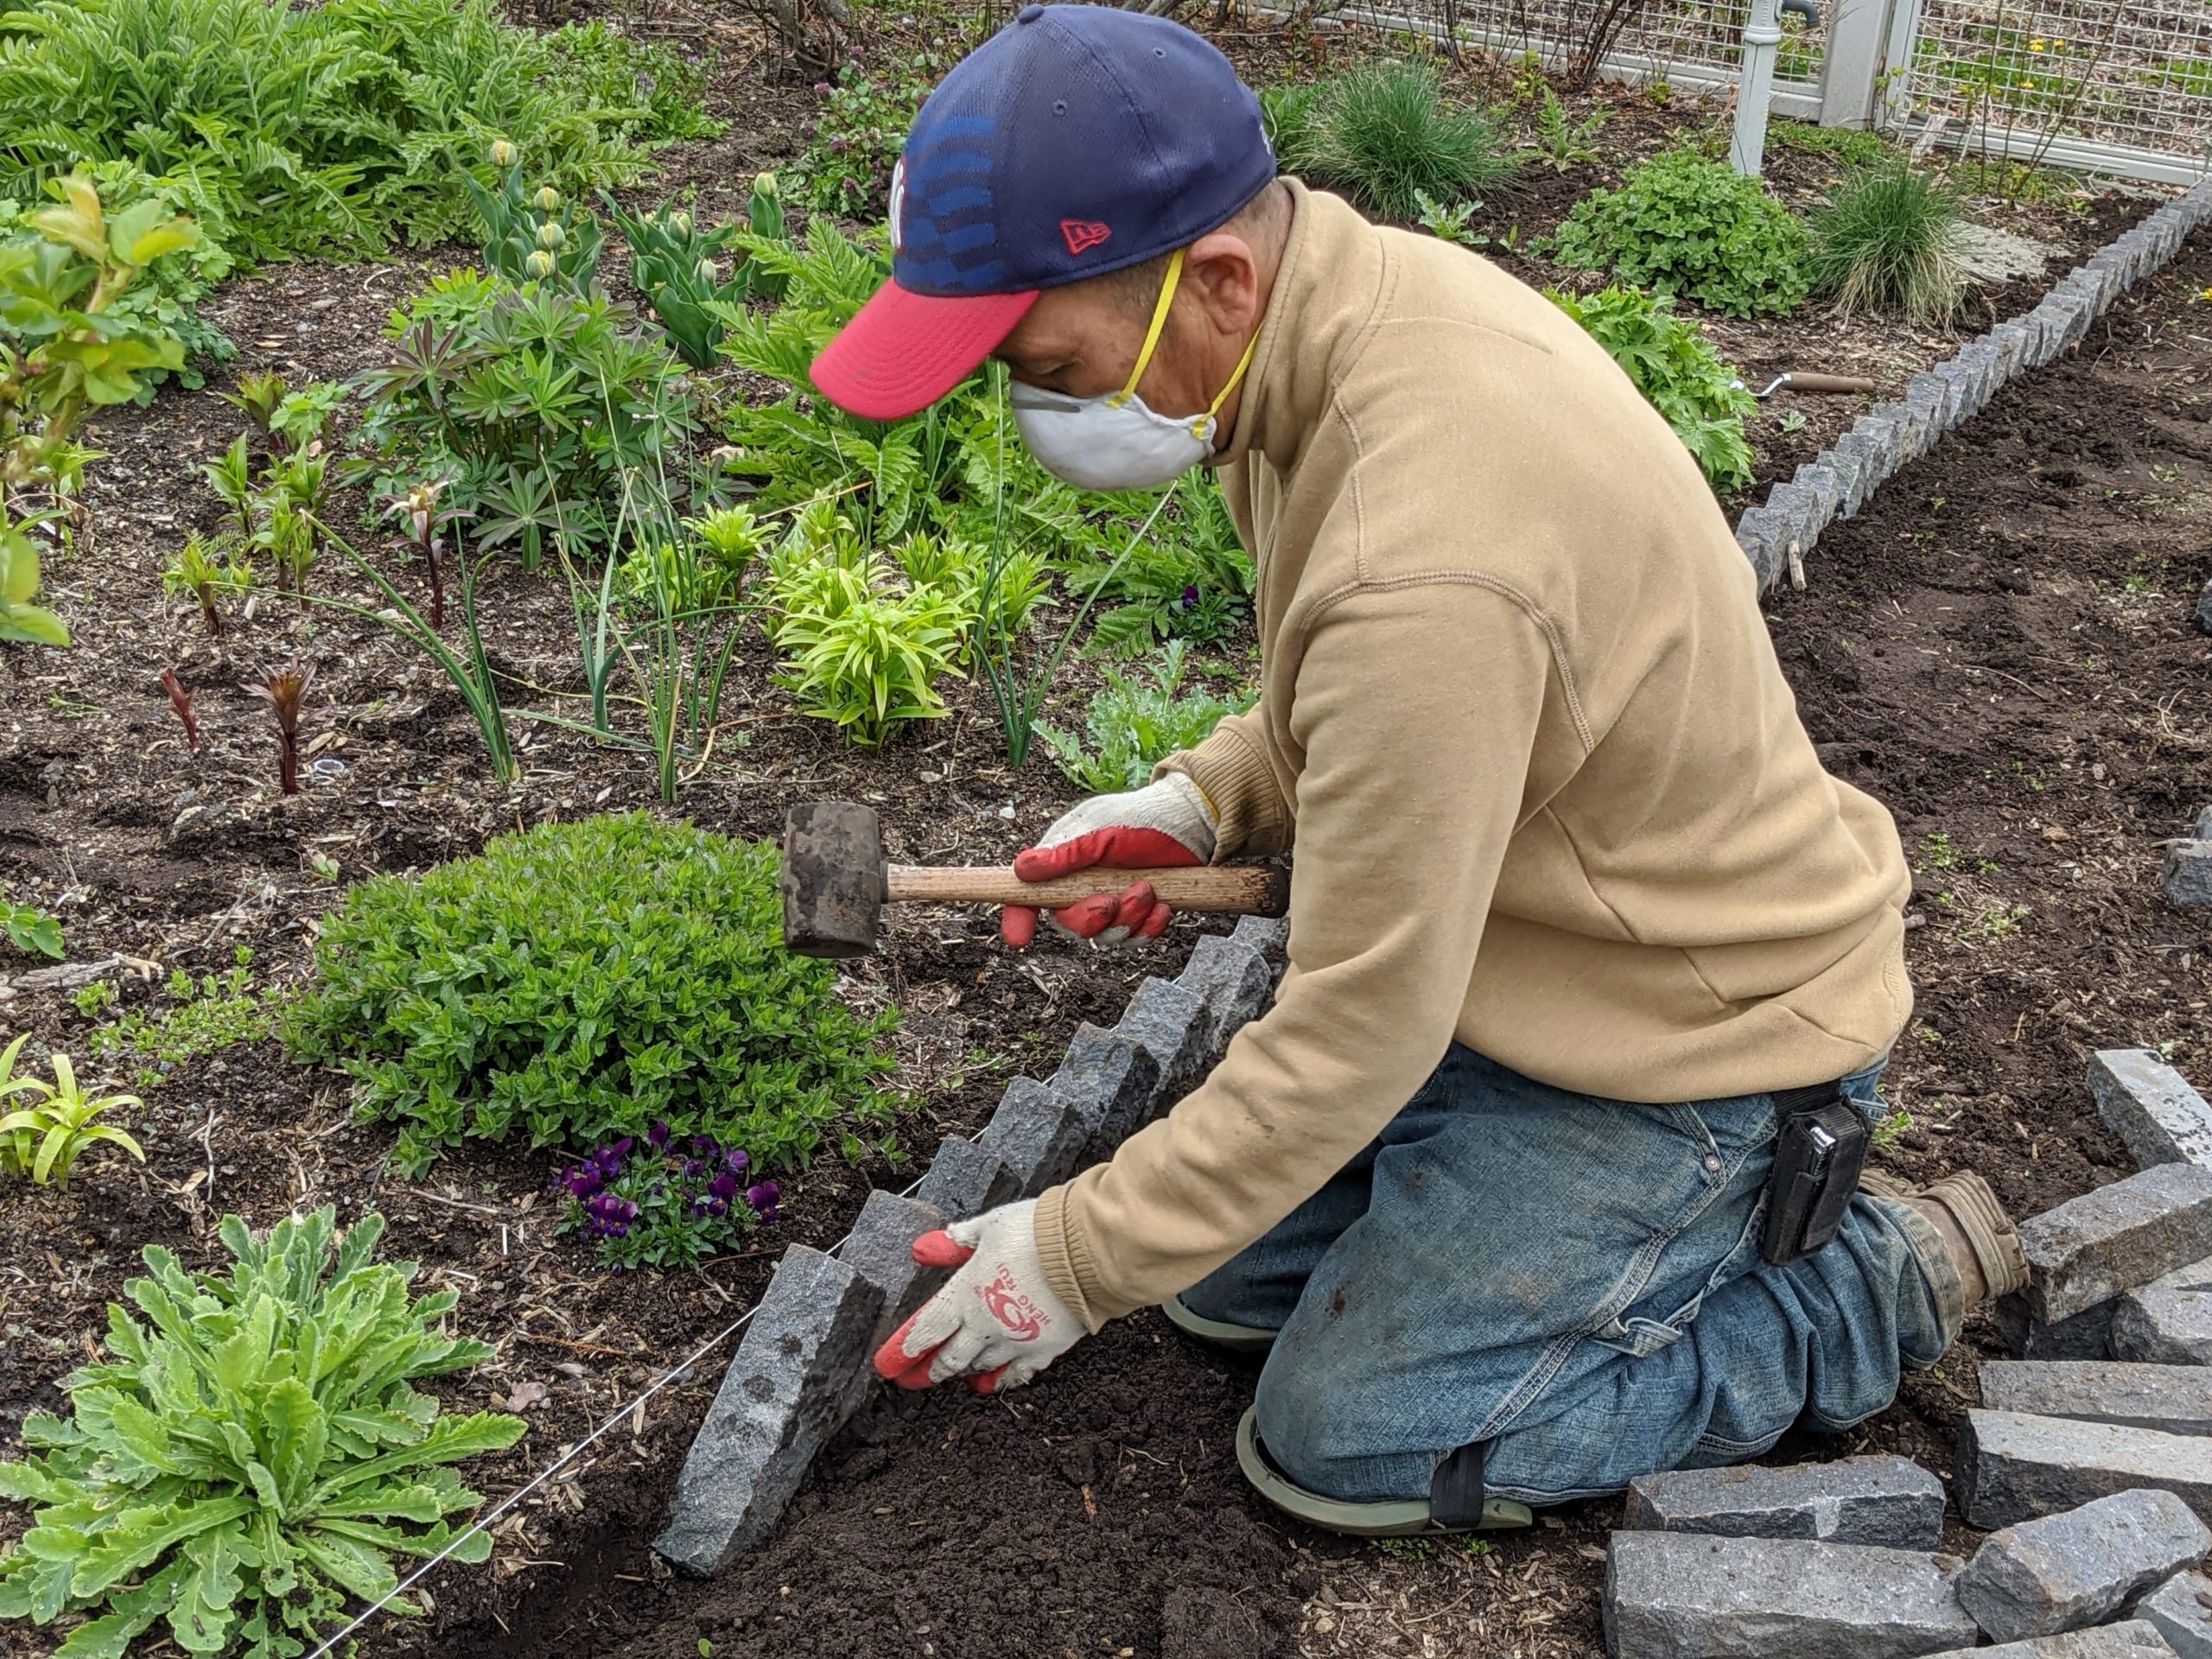
- Each brick is carefully placed and pounded securely into the trench.
-
- Chhiring uses a mallet to pound the bricks into place, so they are not damaged in the process.
-
- Once the brick is positioned, the soil is pushed around it until it is secure.

-
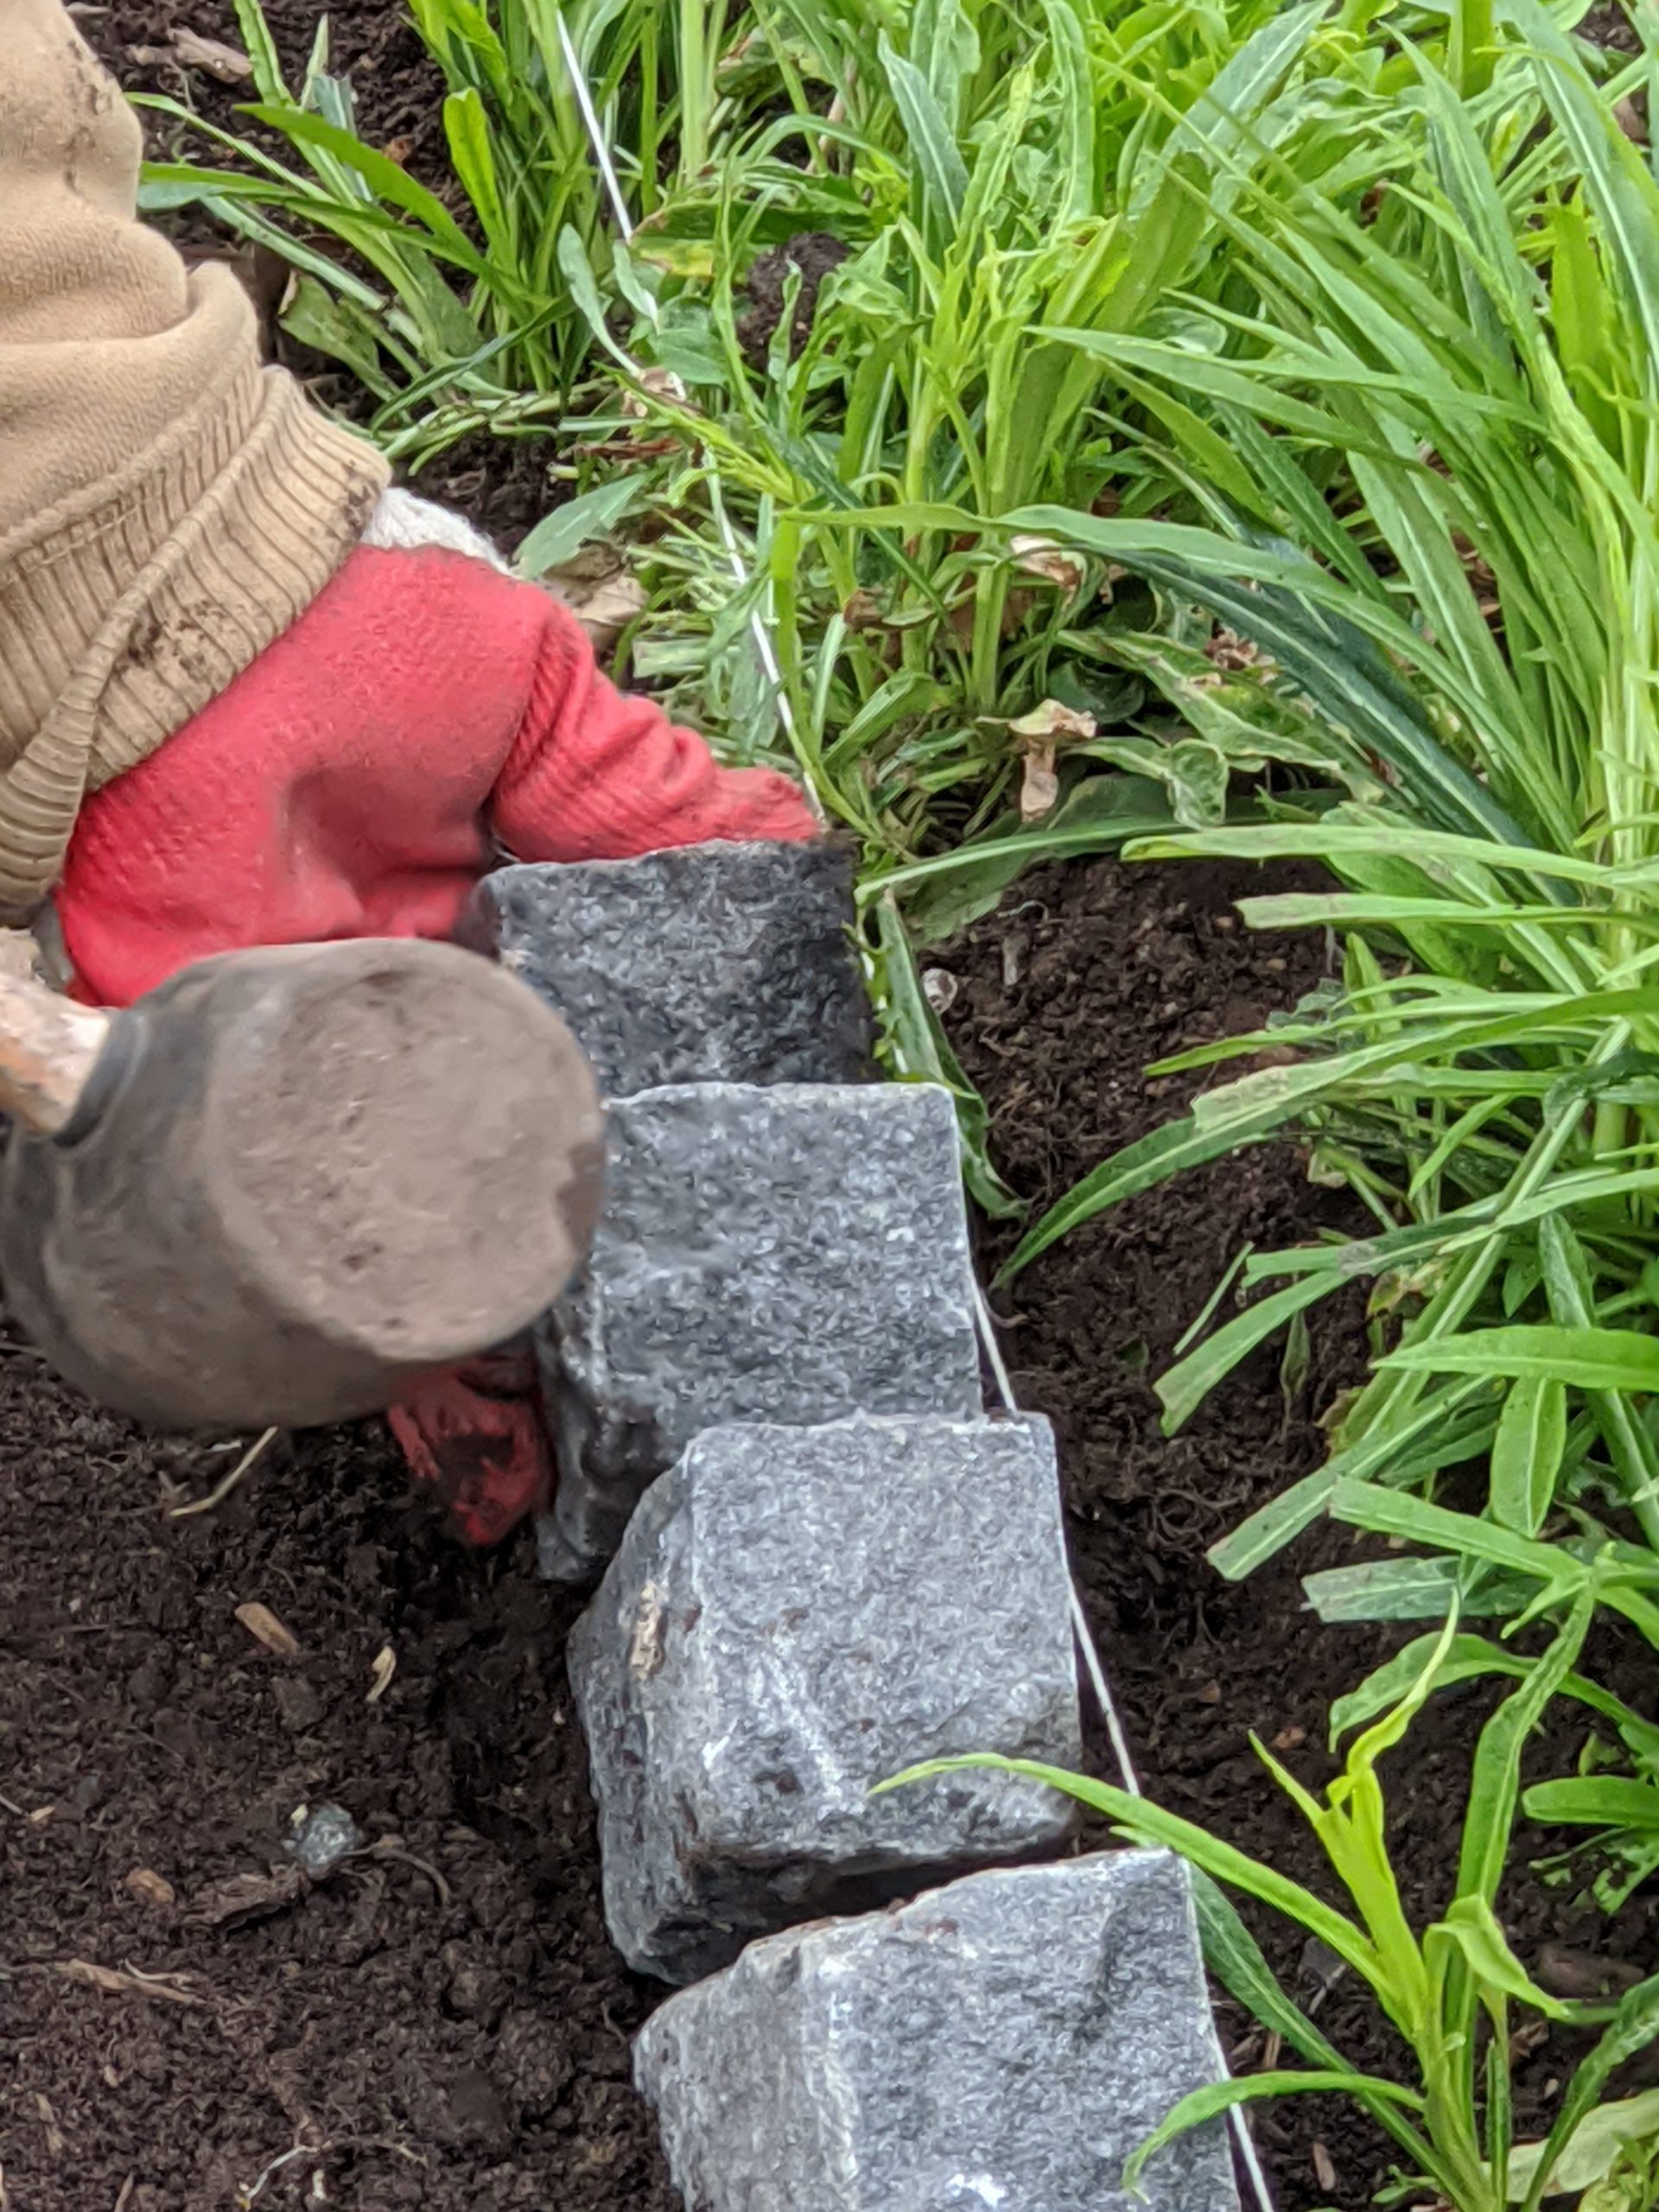
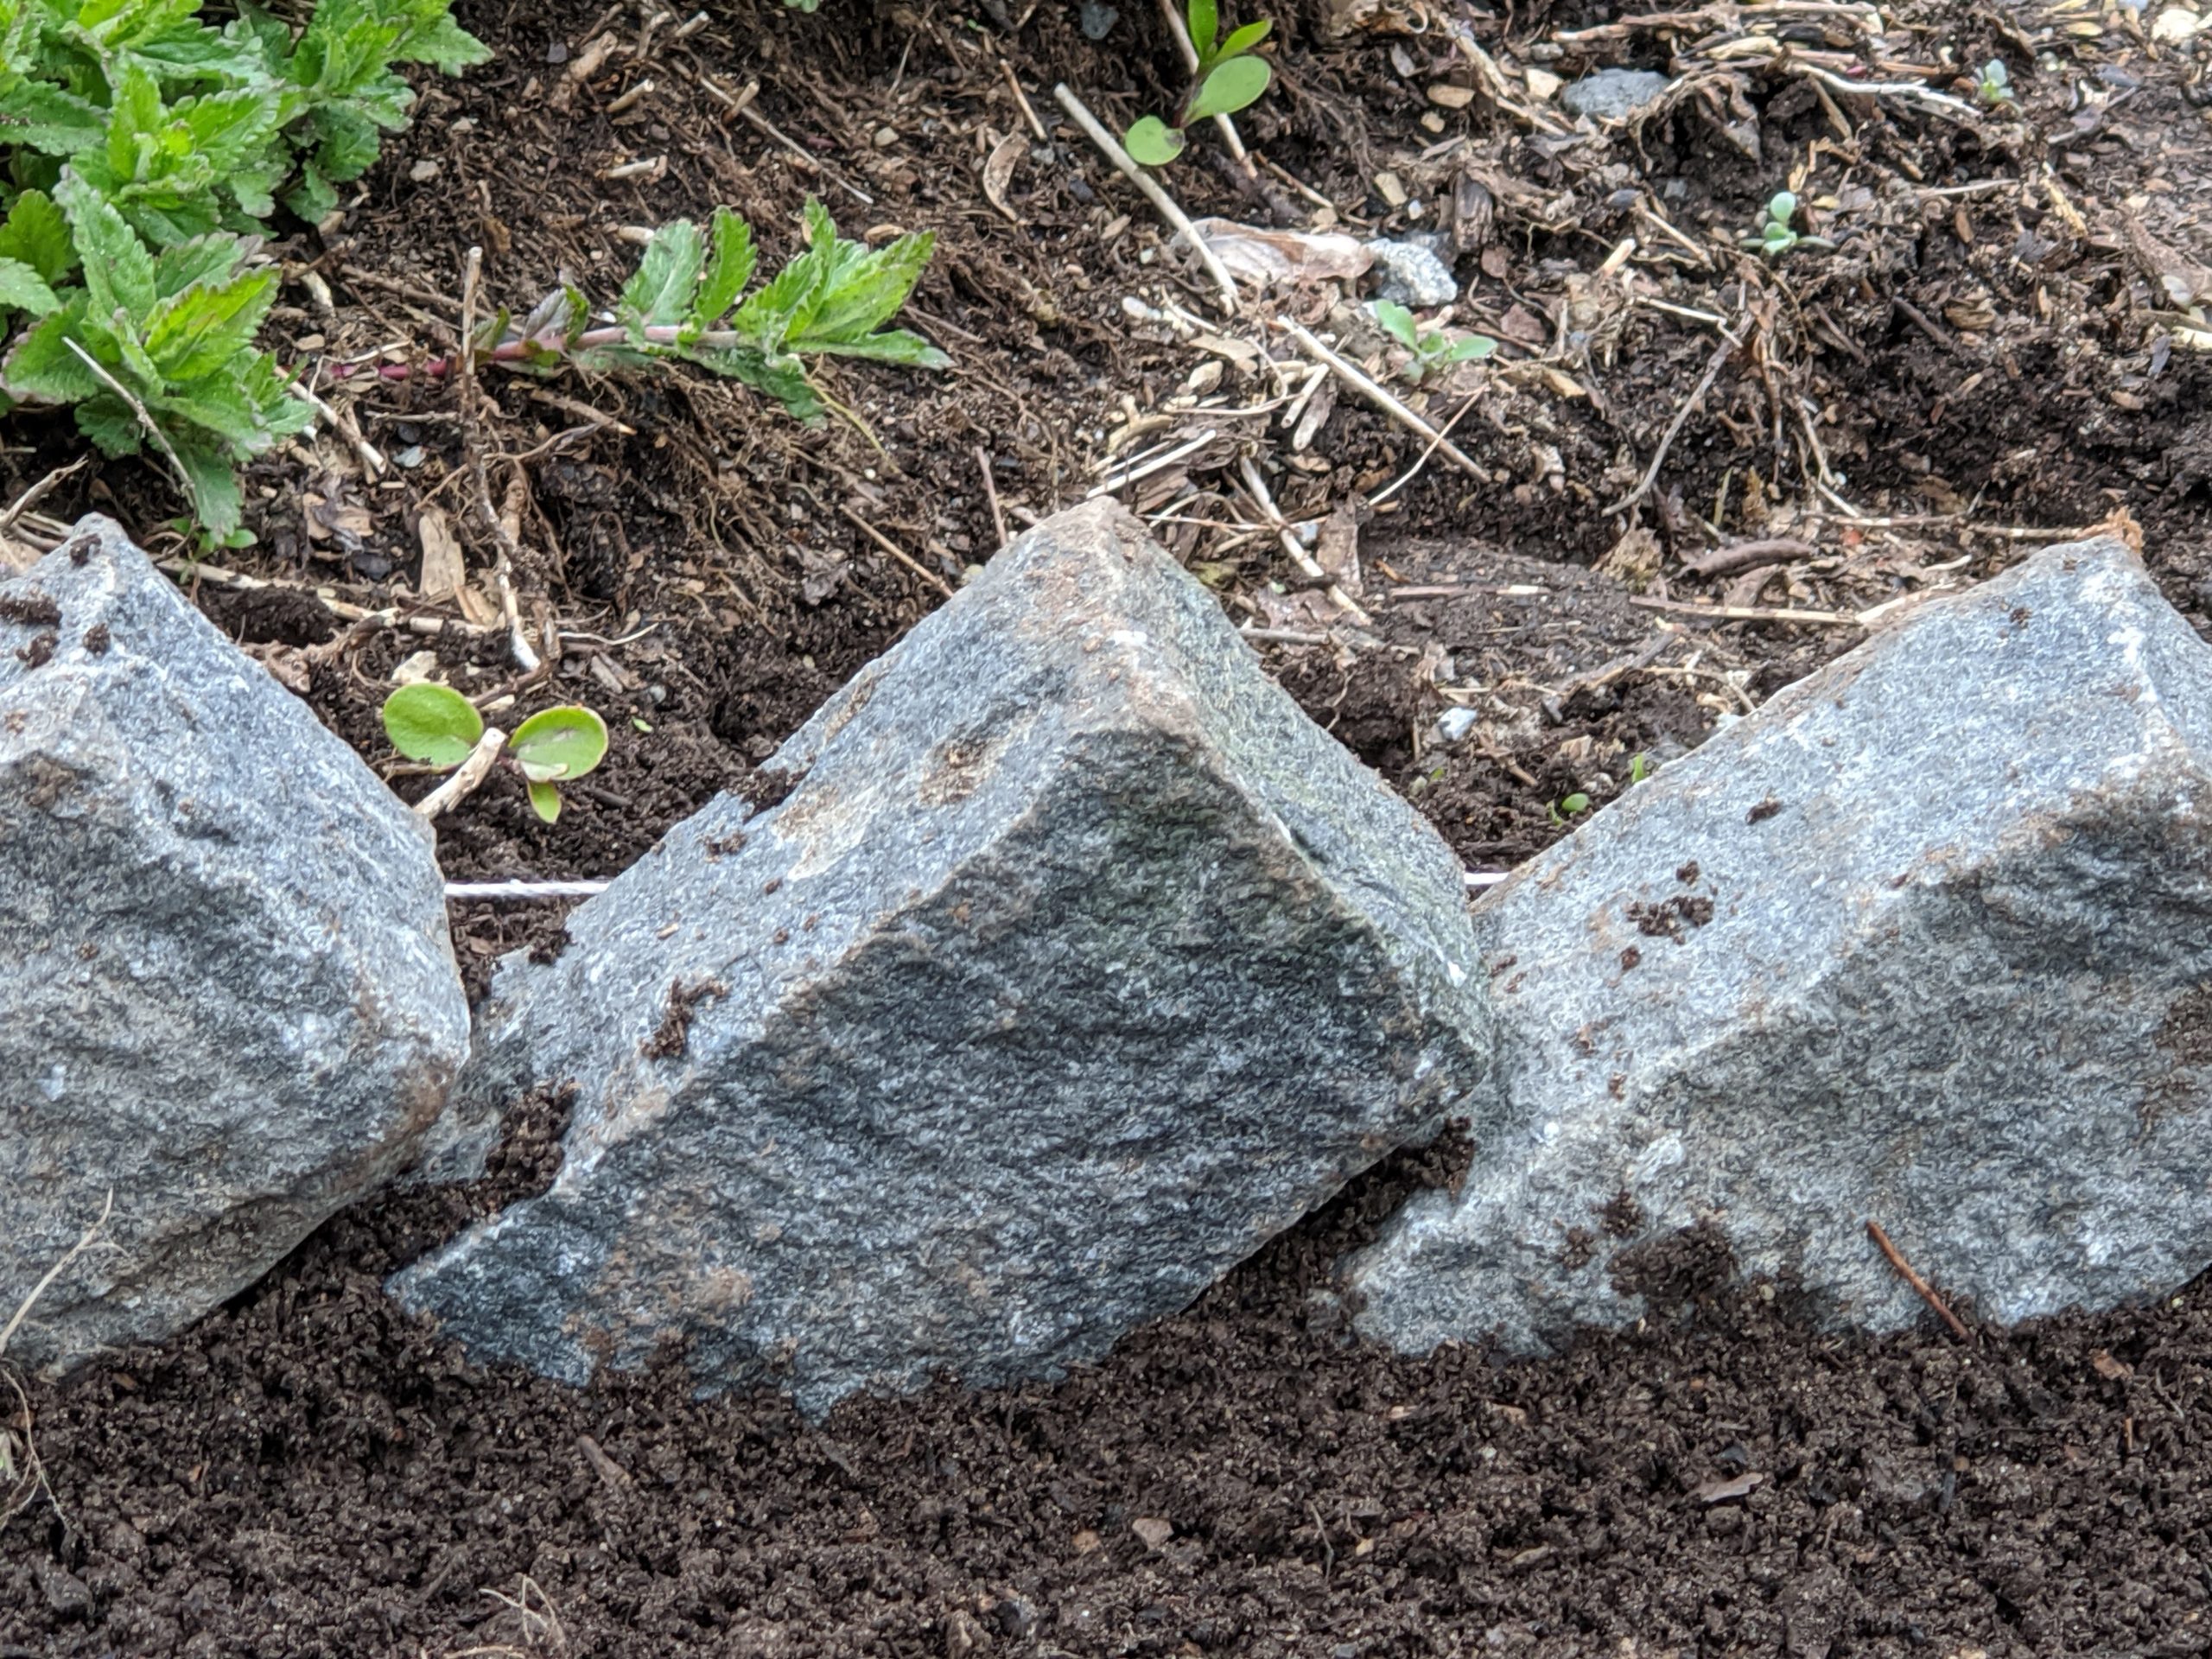
- From the top, they look like “teeth” coming out of the soil.
-
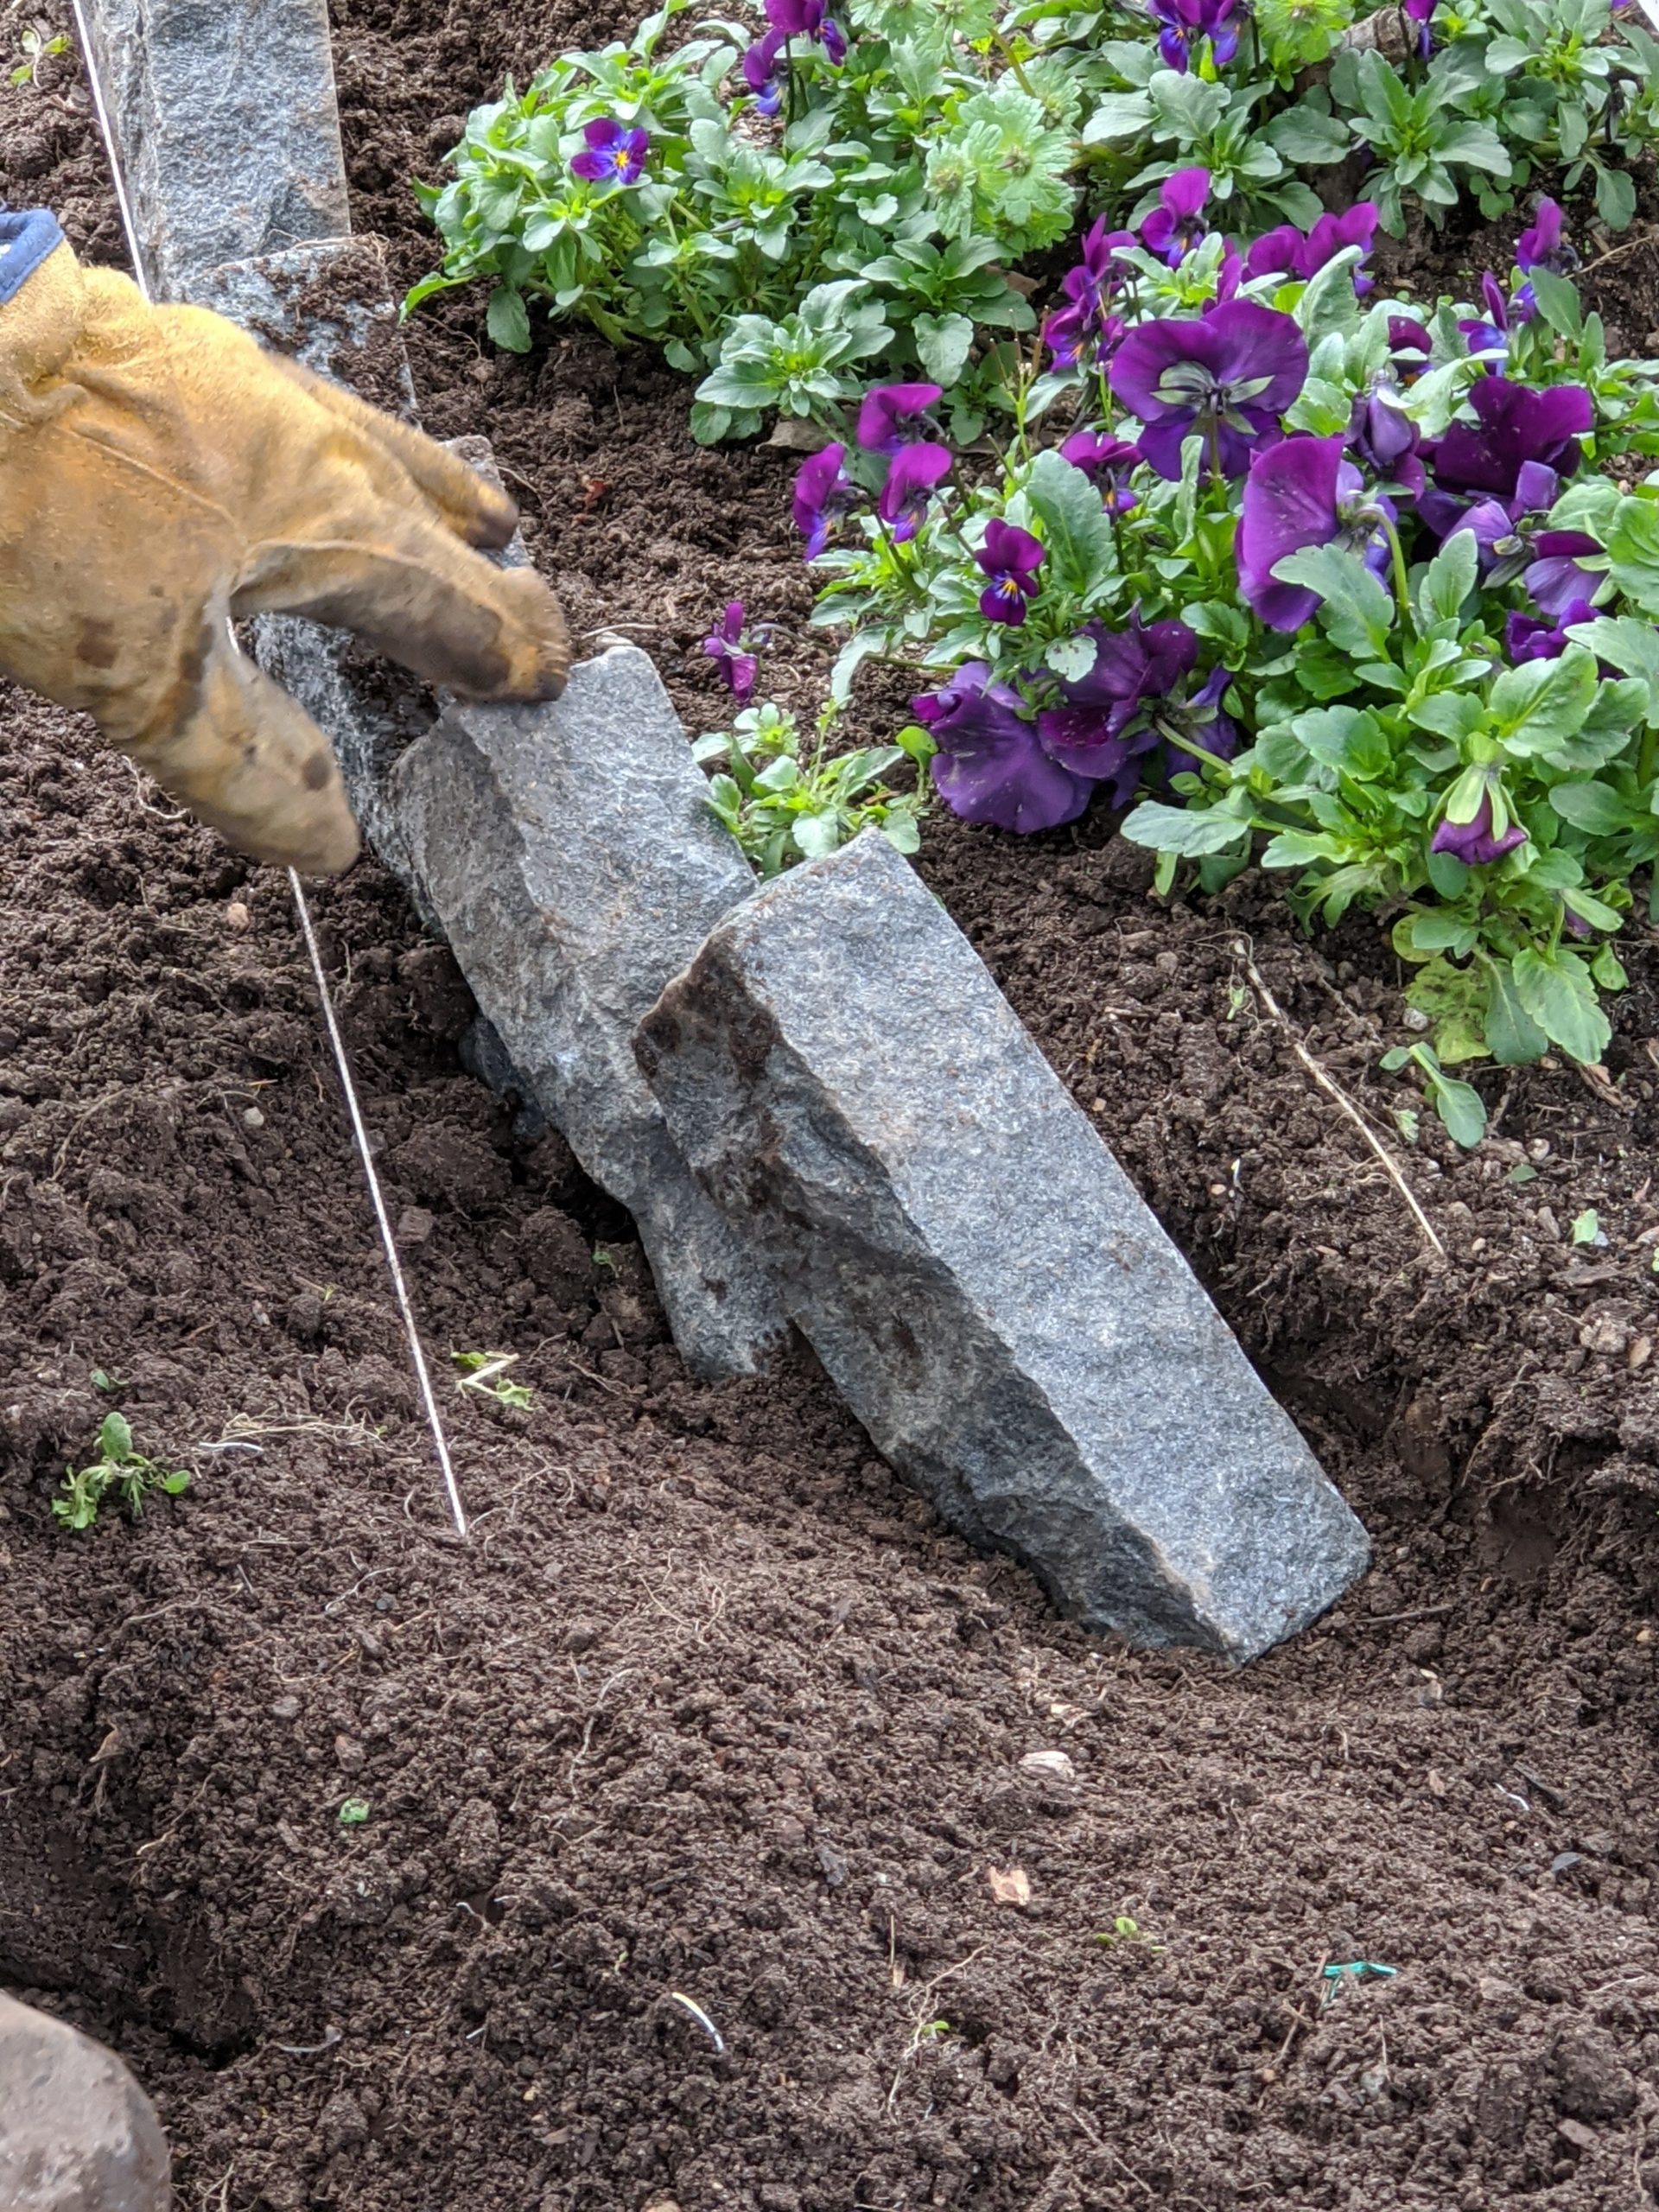
- Here is the view from the side. The string also helps to make sure the points are at the same level.
-
- These bricks also have a natural, uneven texture, so Chhiring selects each one as he works – choosing the brick that would fit best next to the one preceding.
-
- After several hours, this section is edged with bricks. Path edging helps to keep the structure of the path defined and the gravel contained.
-
- As the bricks are put down, any plants that are growing in the way of the twine are moved and transplanted elsewhere.
-
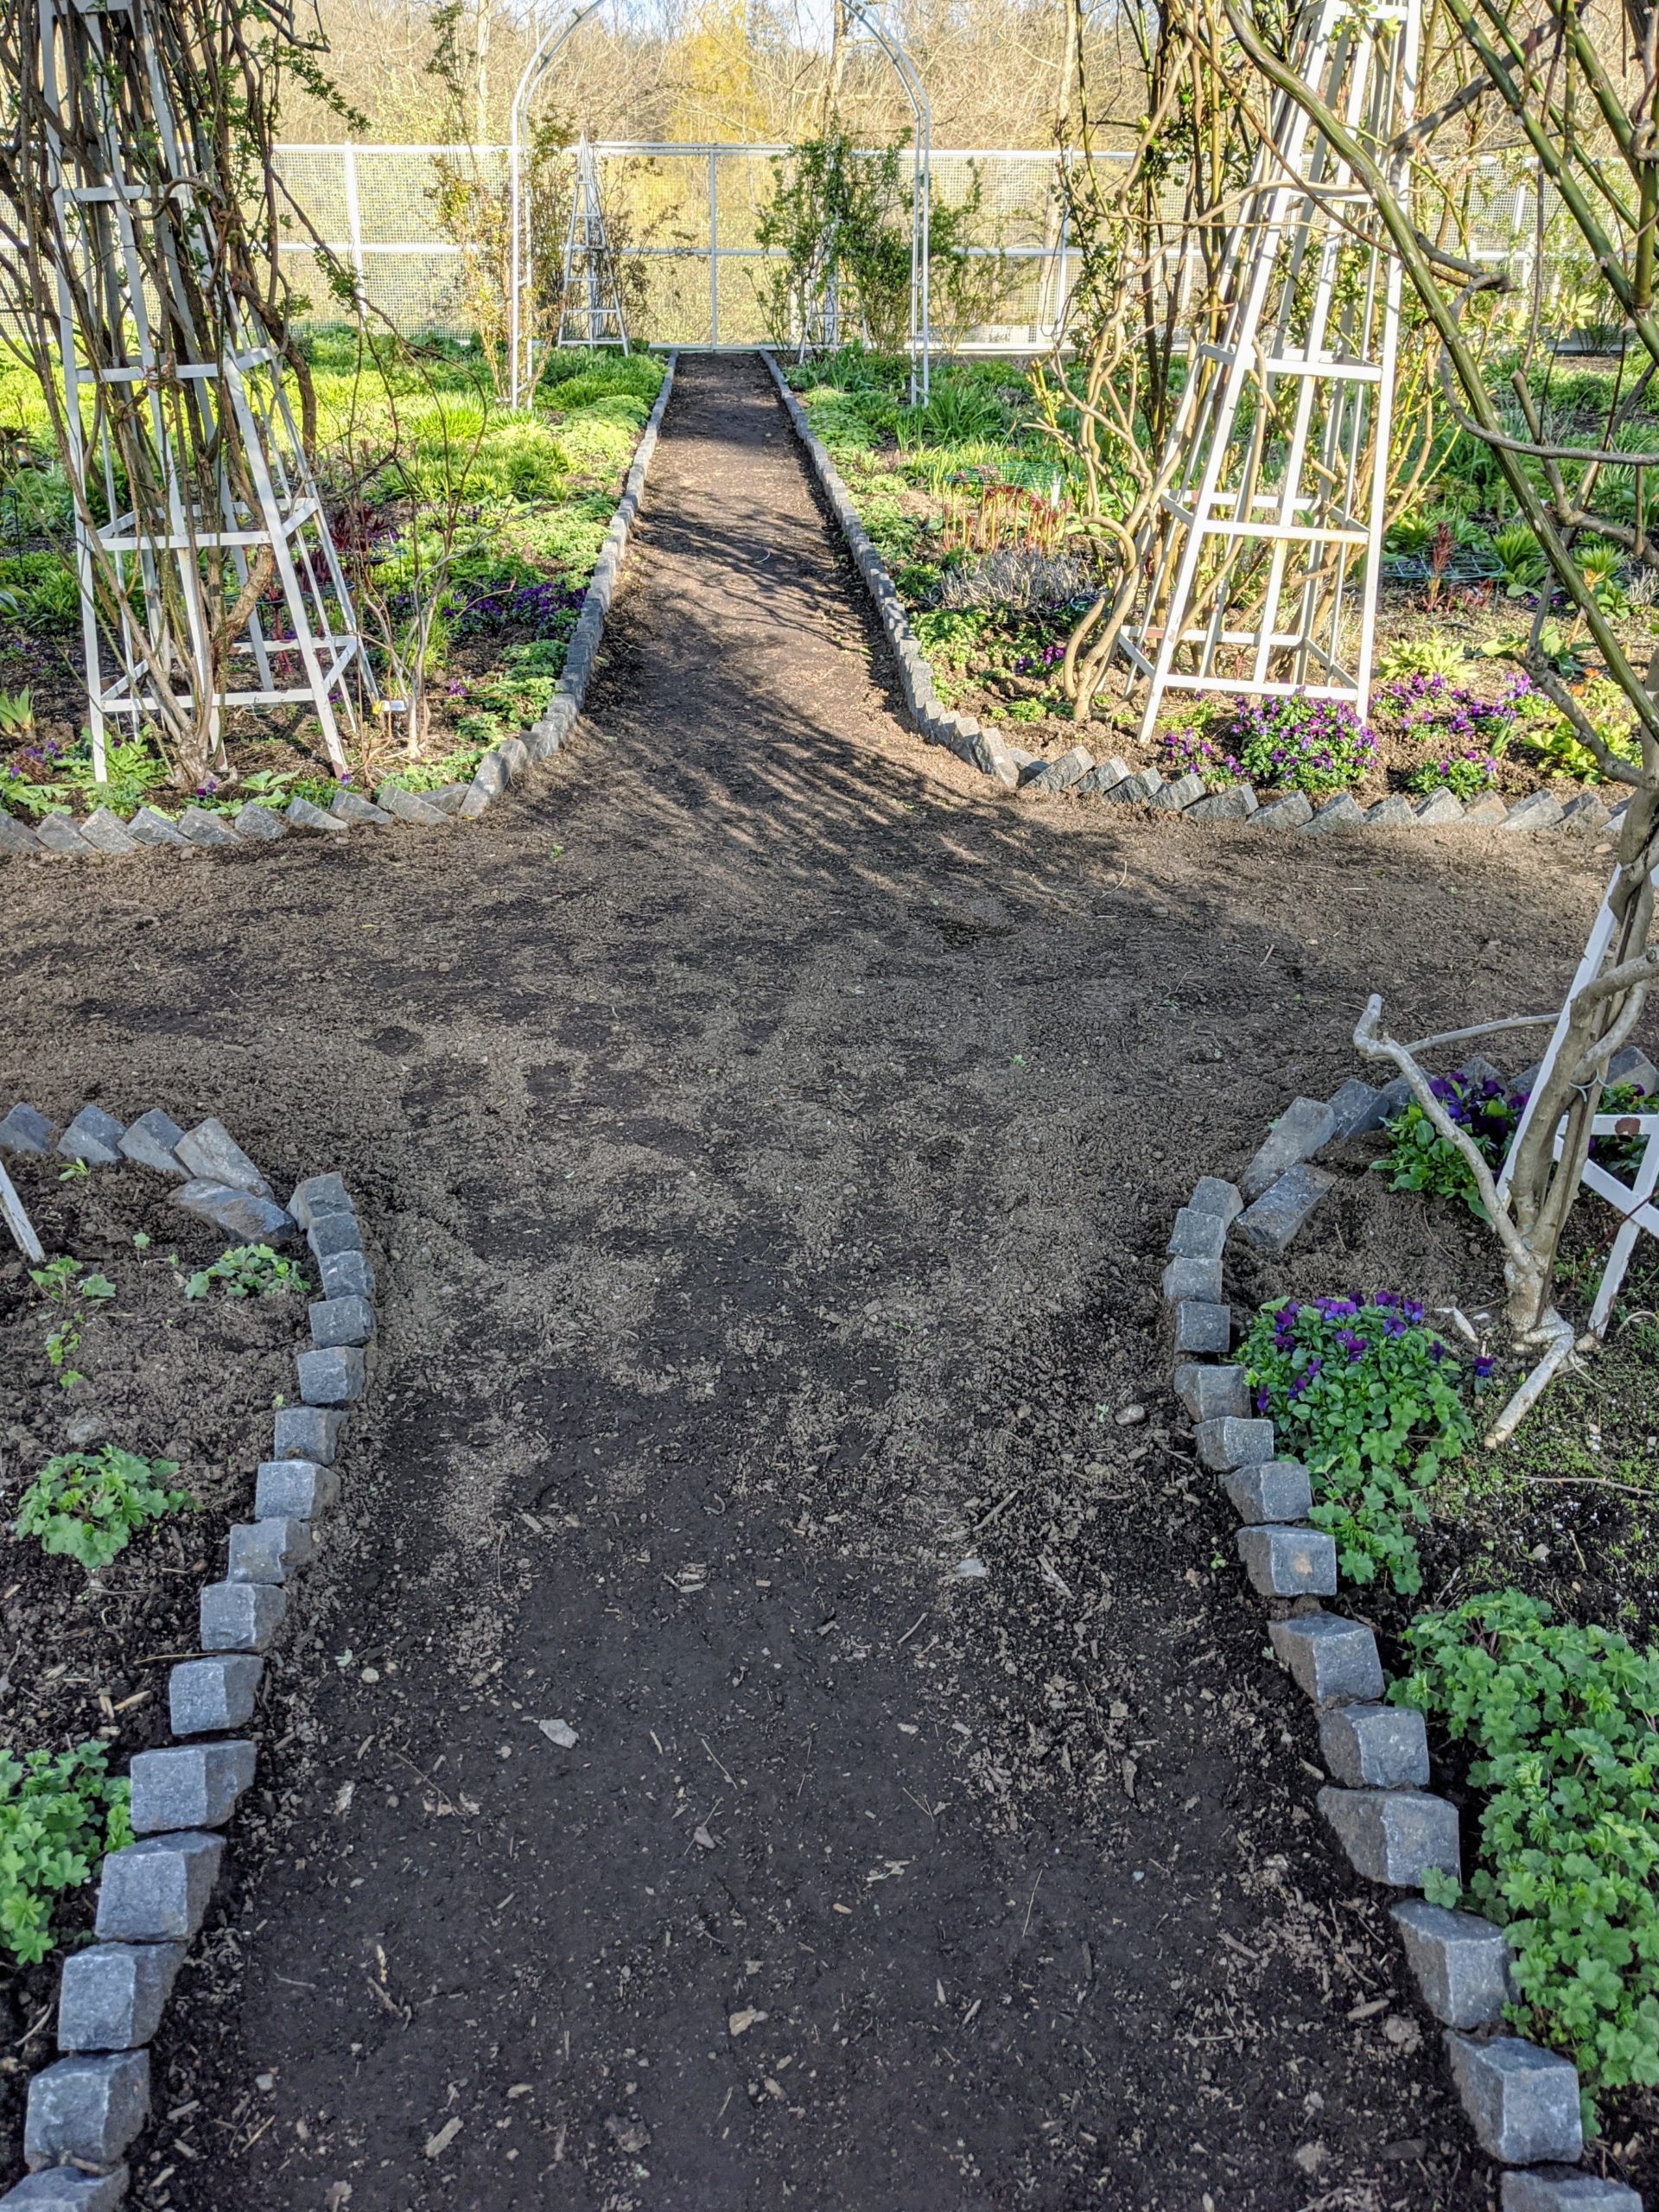
- At the center where all the paths meet, Chhiring turns the bricks slightly to round the corners.
-
- He also lays one brick horizontally where the two angled ends meet, so there is a consistent barrier between the path and the garden bed.

-
- Here is a view of the finished center. All the soil is tamped down and raked evenly across the paths.
-
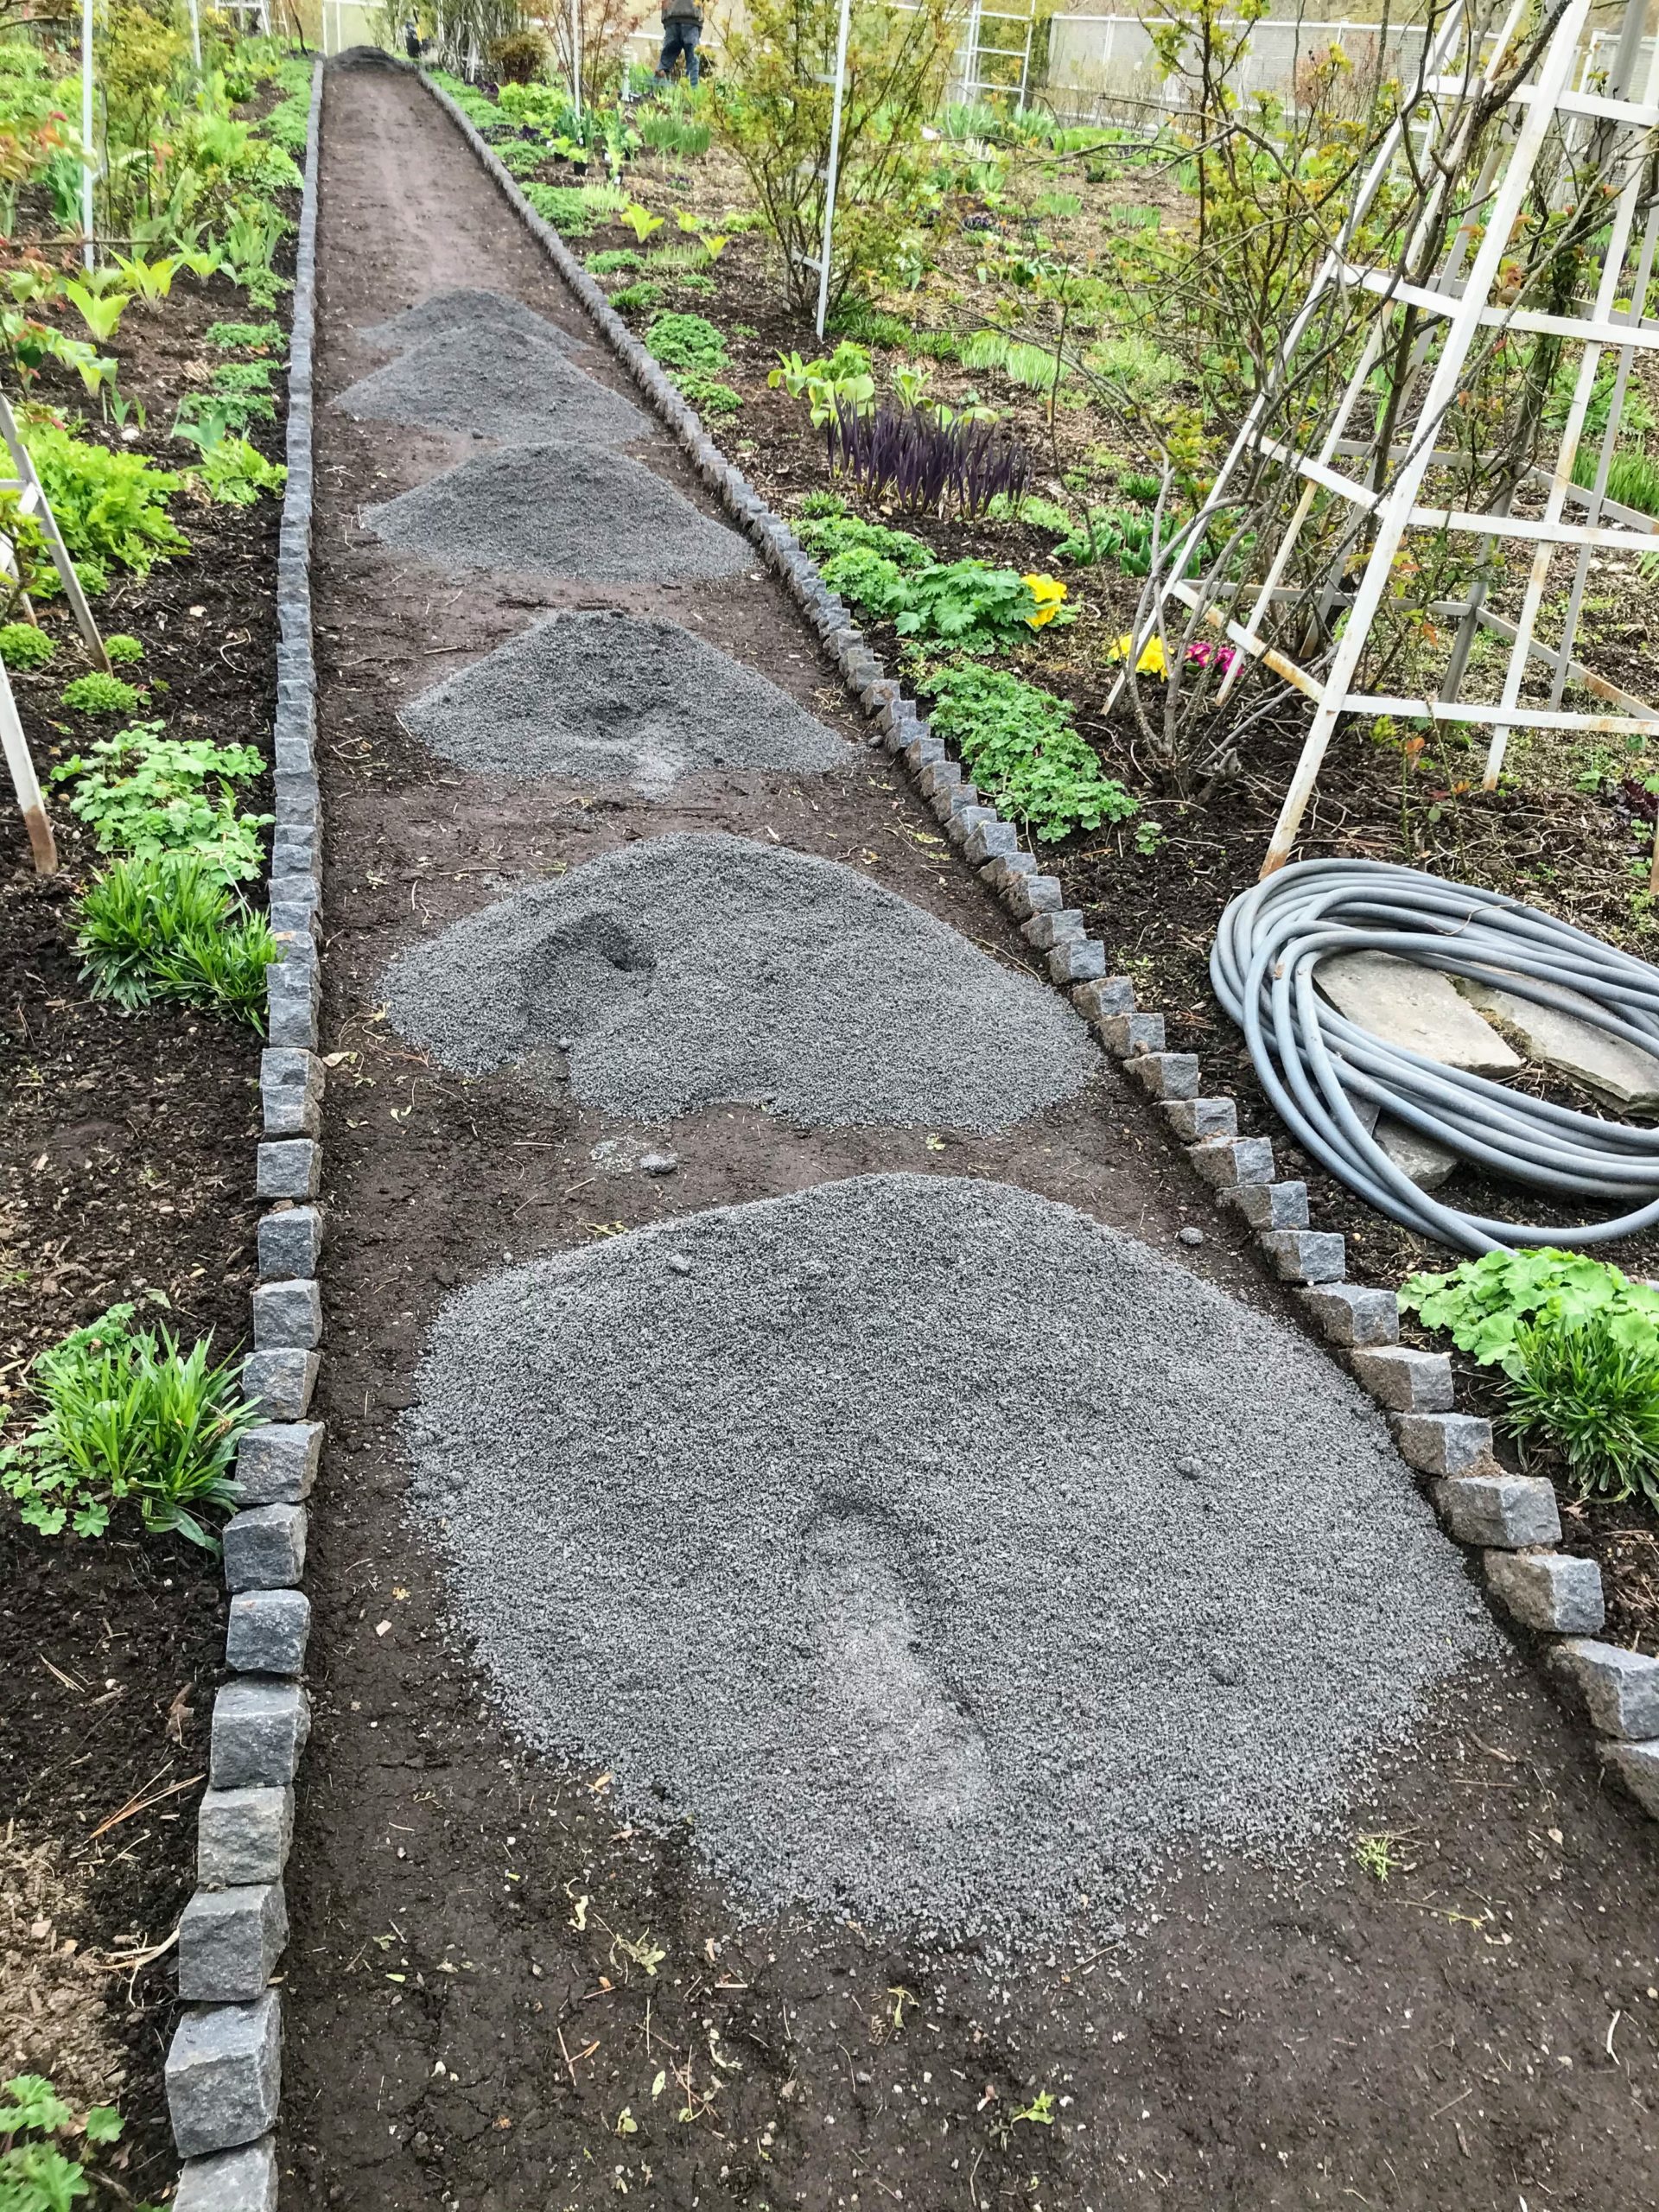
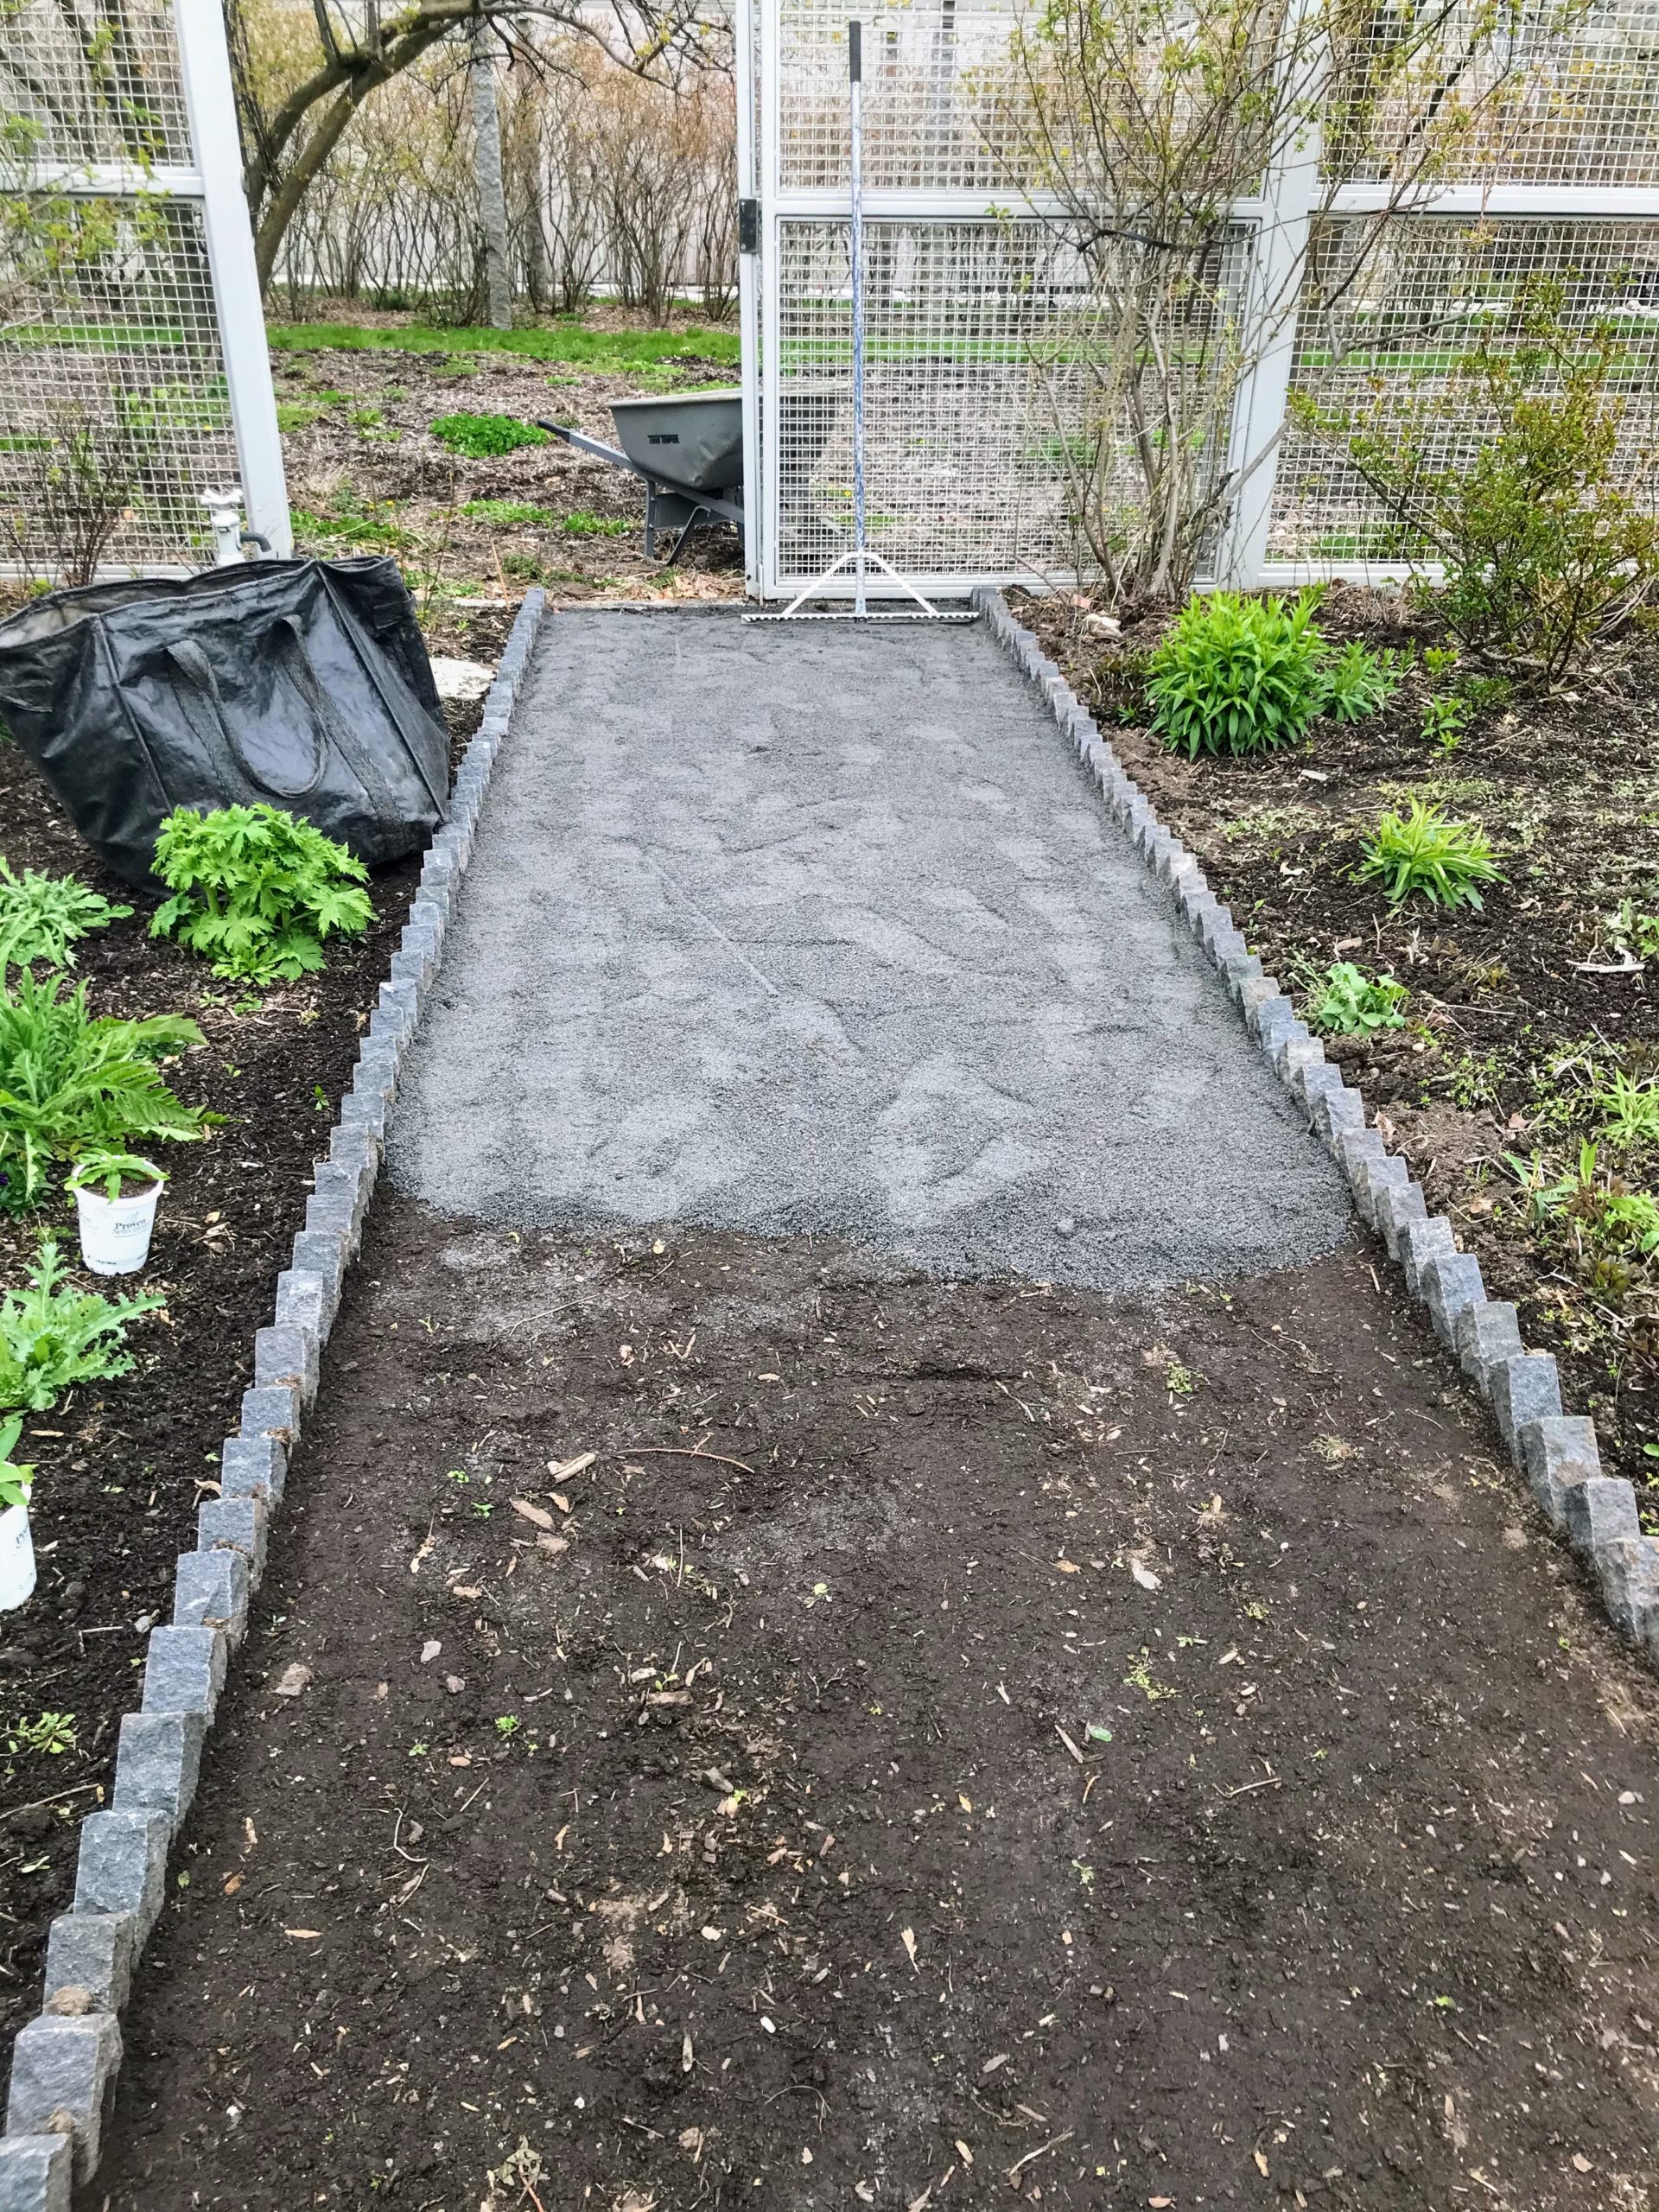
- The next step is to put down a layer of stone dust.

-
- Stone dust is crushed stone, which is sometimes called crusher run, rock dust, or quarry dust. Stone dust is used as a base layer or setting bed for laying stone pavers or gravel. Chhiring places small mounds along the paths to make it easier to spread.
-
- Using a hard rake, Chhiring spreads an even layer of stone dust over the existing soil in the pathways.
-
- It looks markedly different already.
-
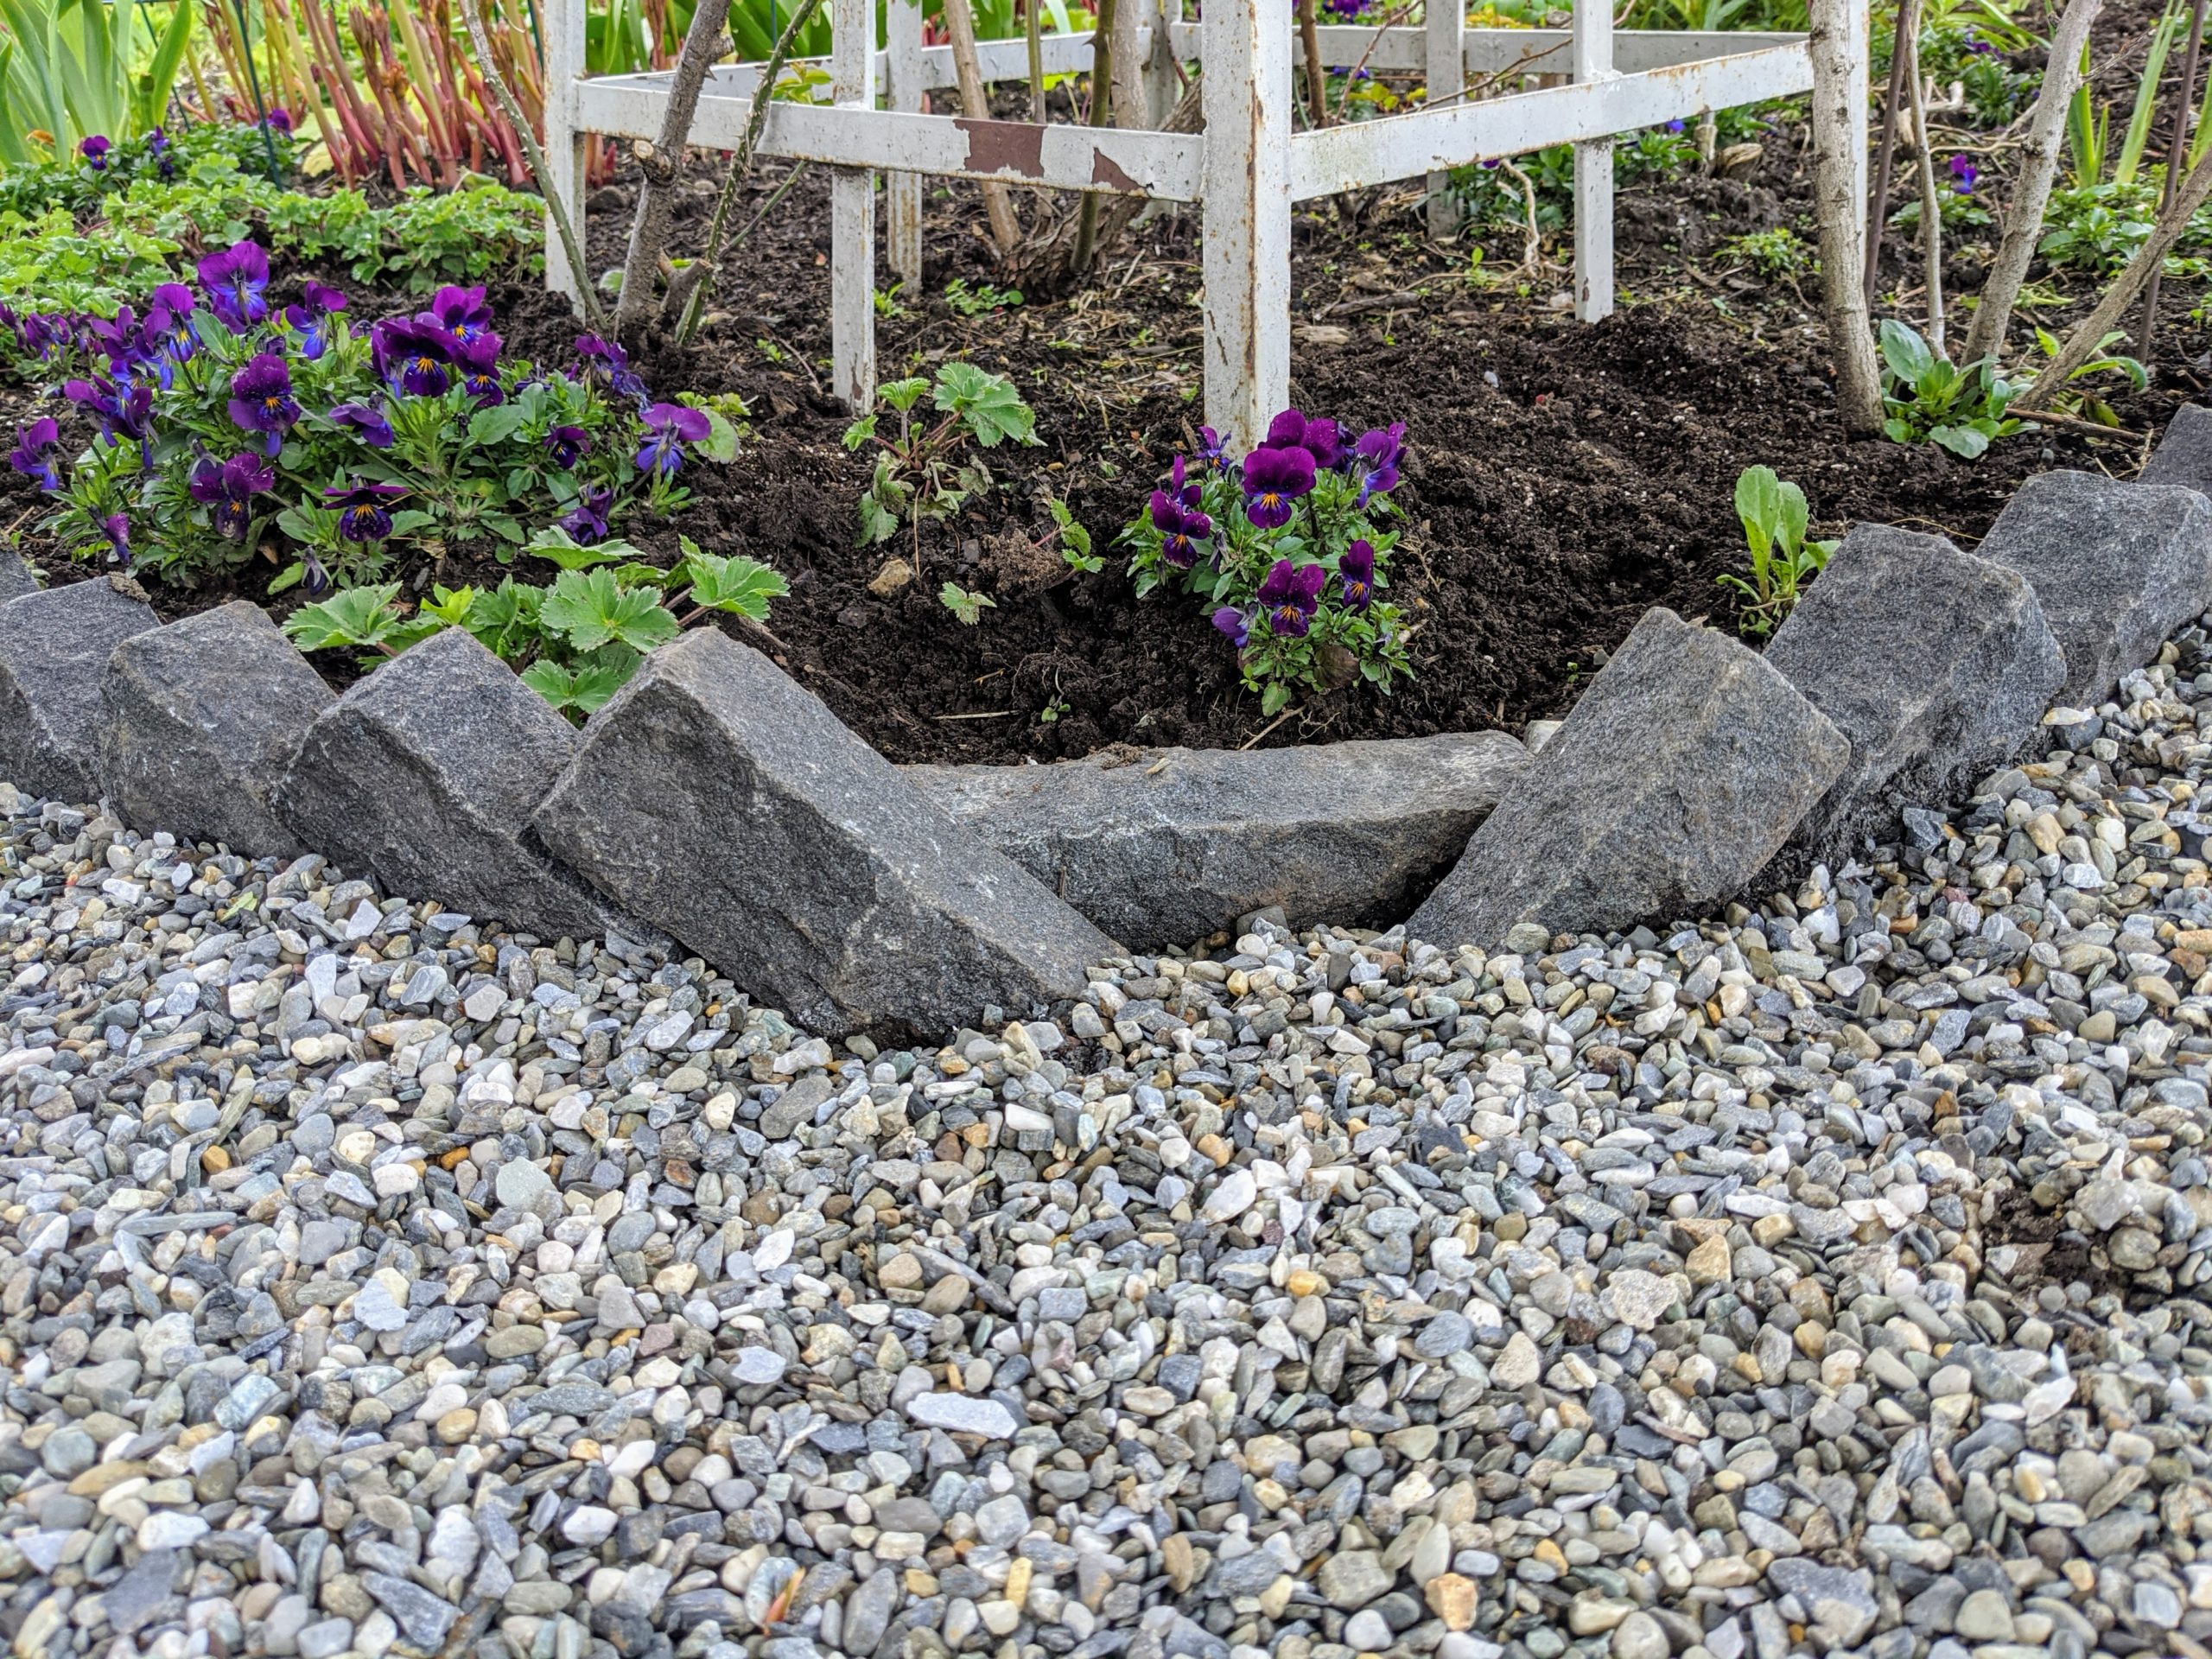
- The stone dust looks so nice next to the angled bricks – and the bricks will keep all of the stone dust and gravel out of the beds.

-
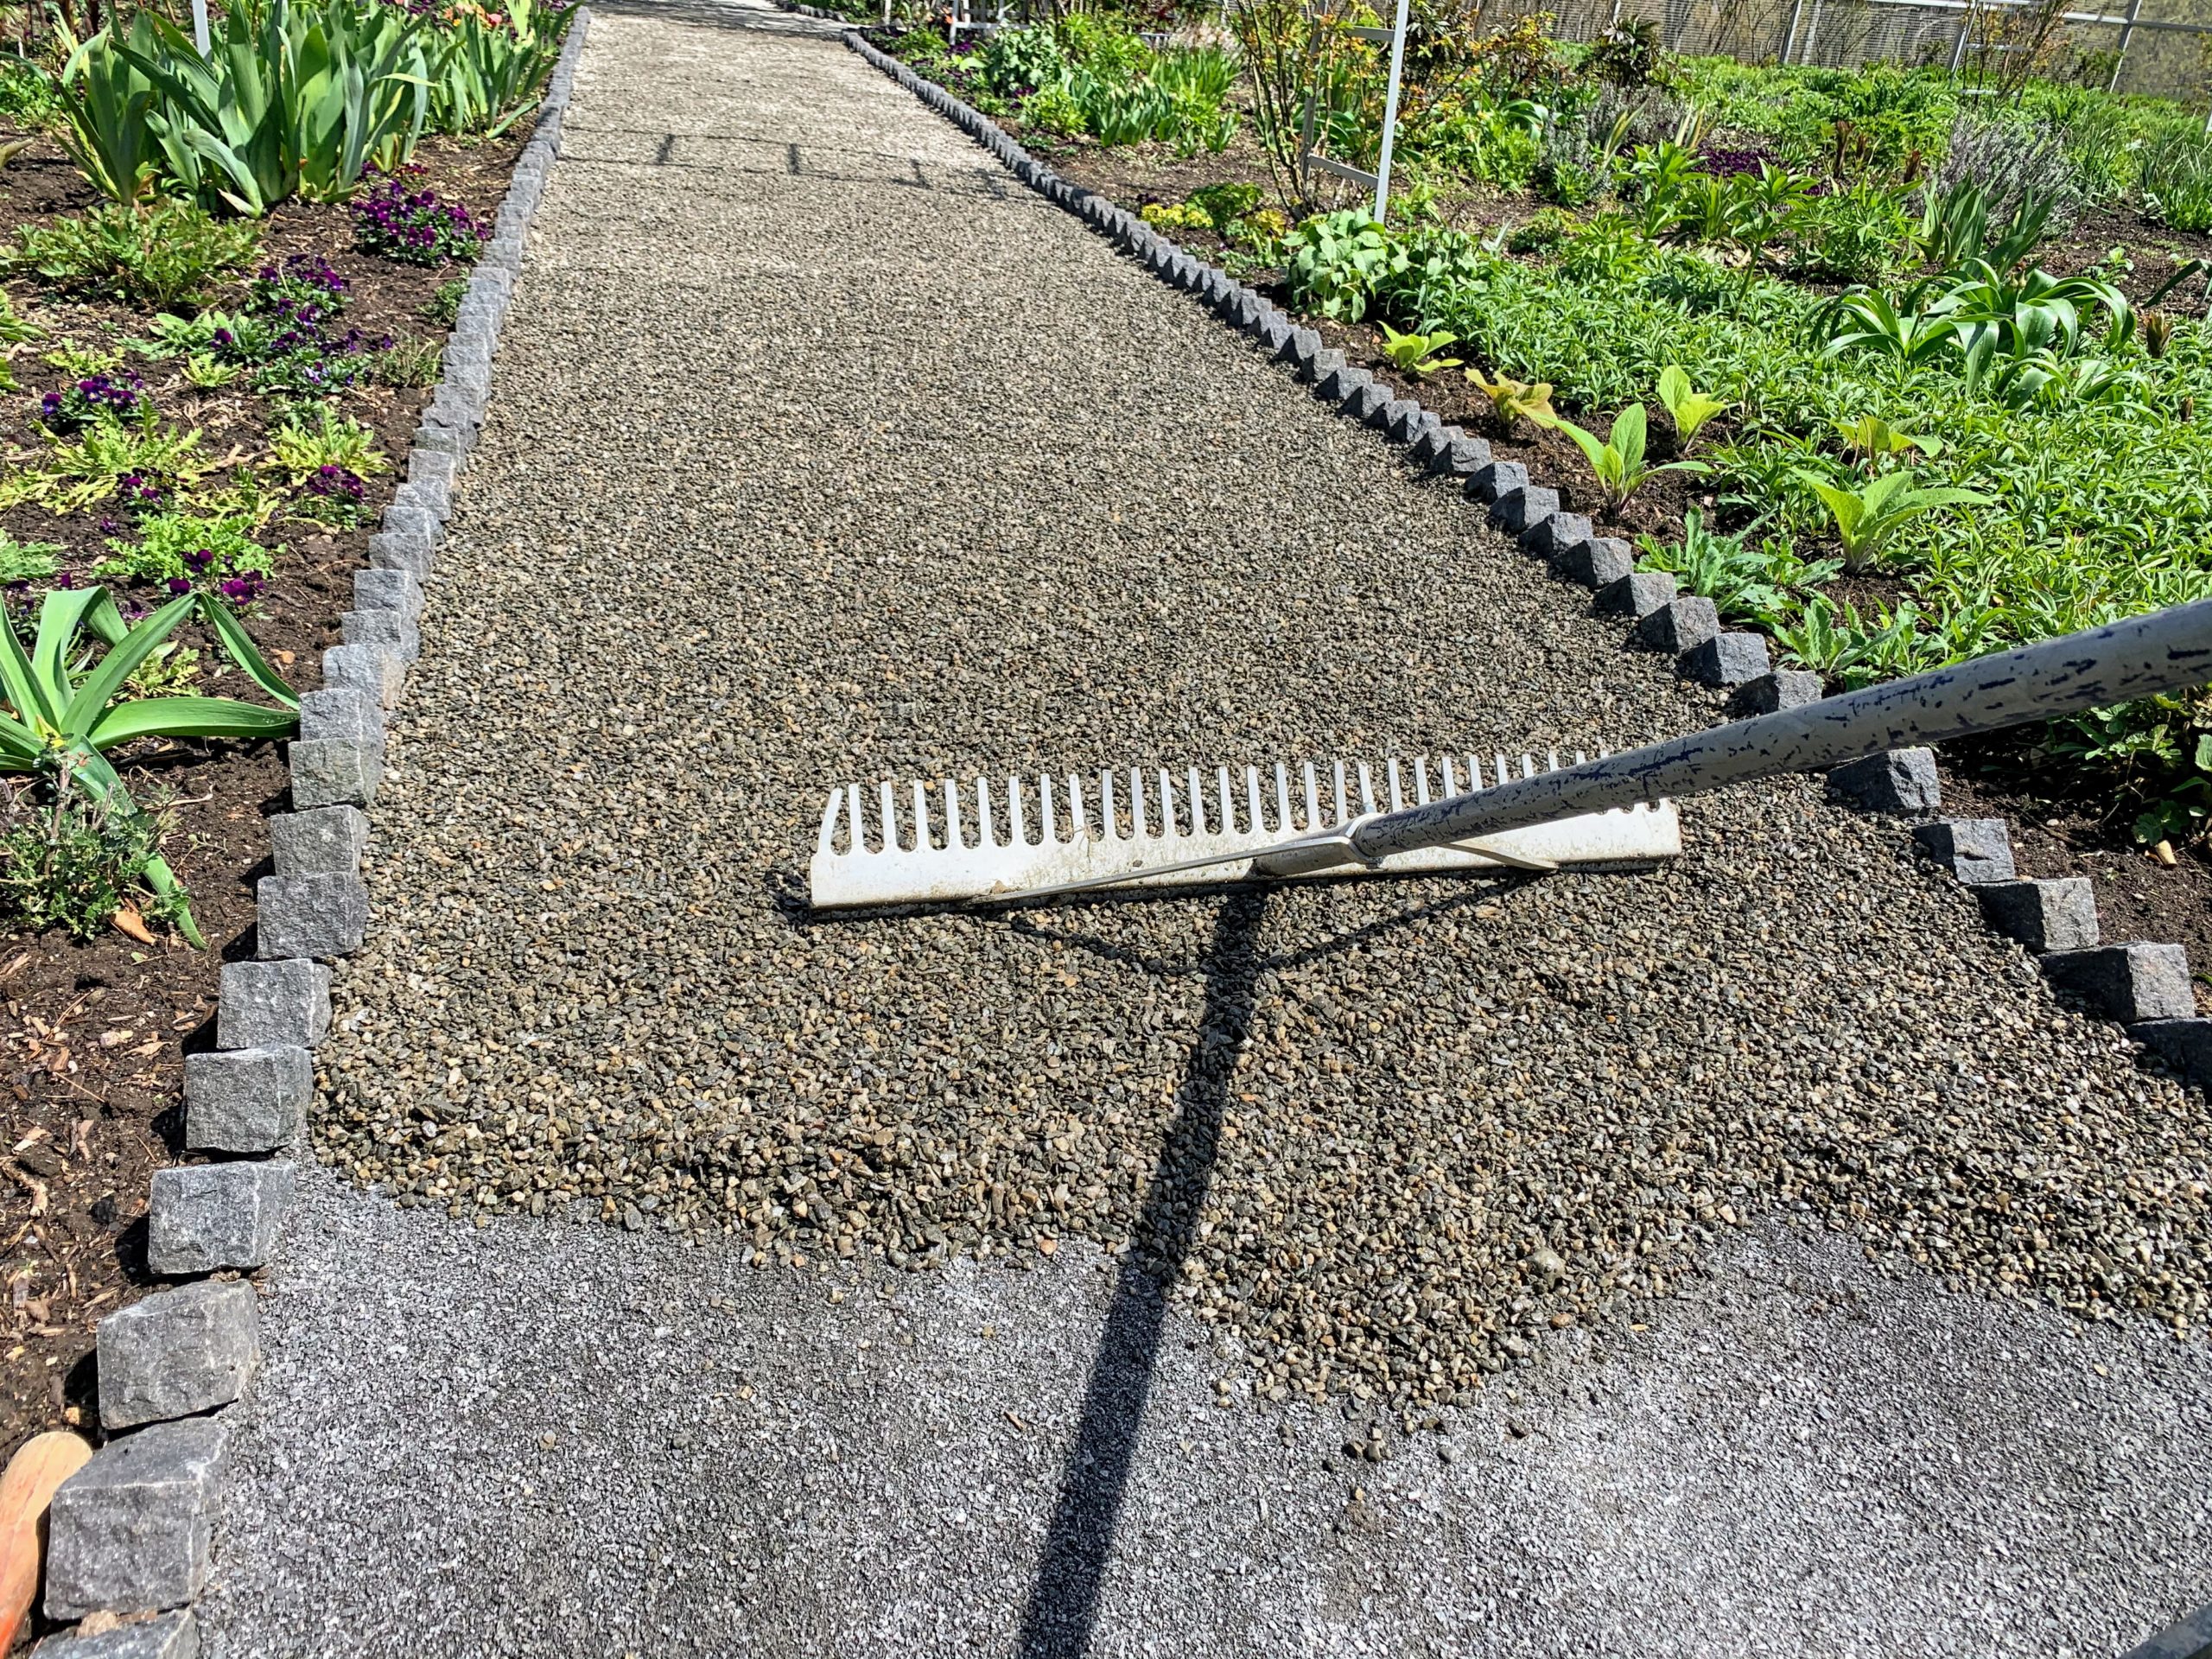
- Next, is the gravel. I chose quarter-inch native washed stone. Each stone is about the size of a pea. The gravel is also spread evenly with a hard rake. The gravel and the stone dust are from Lawton Adams in nearby Somers, New York.
-
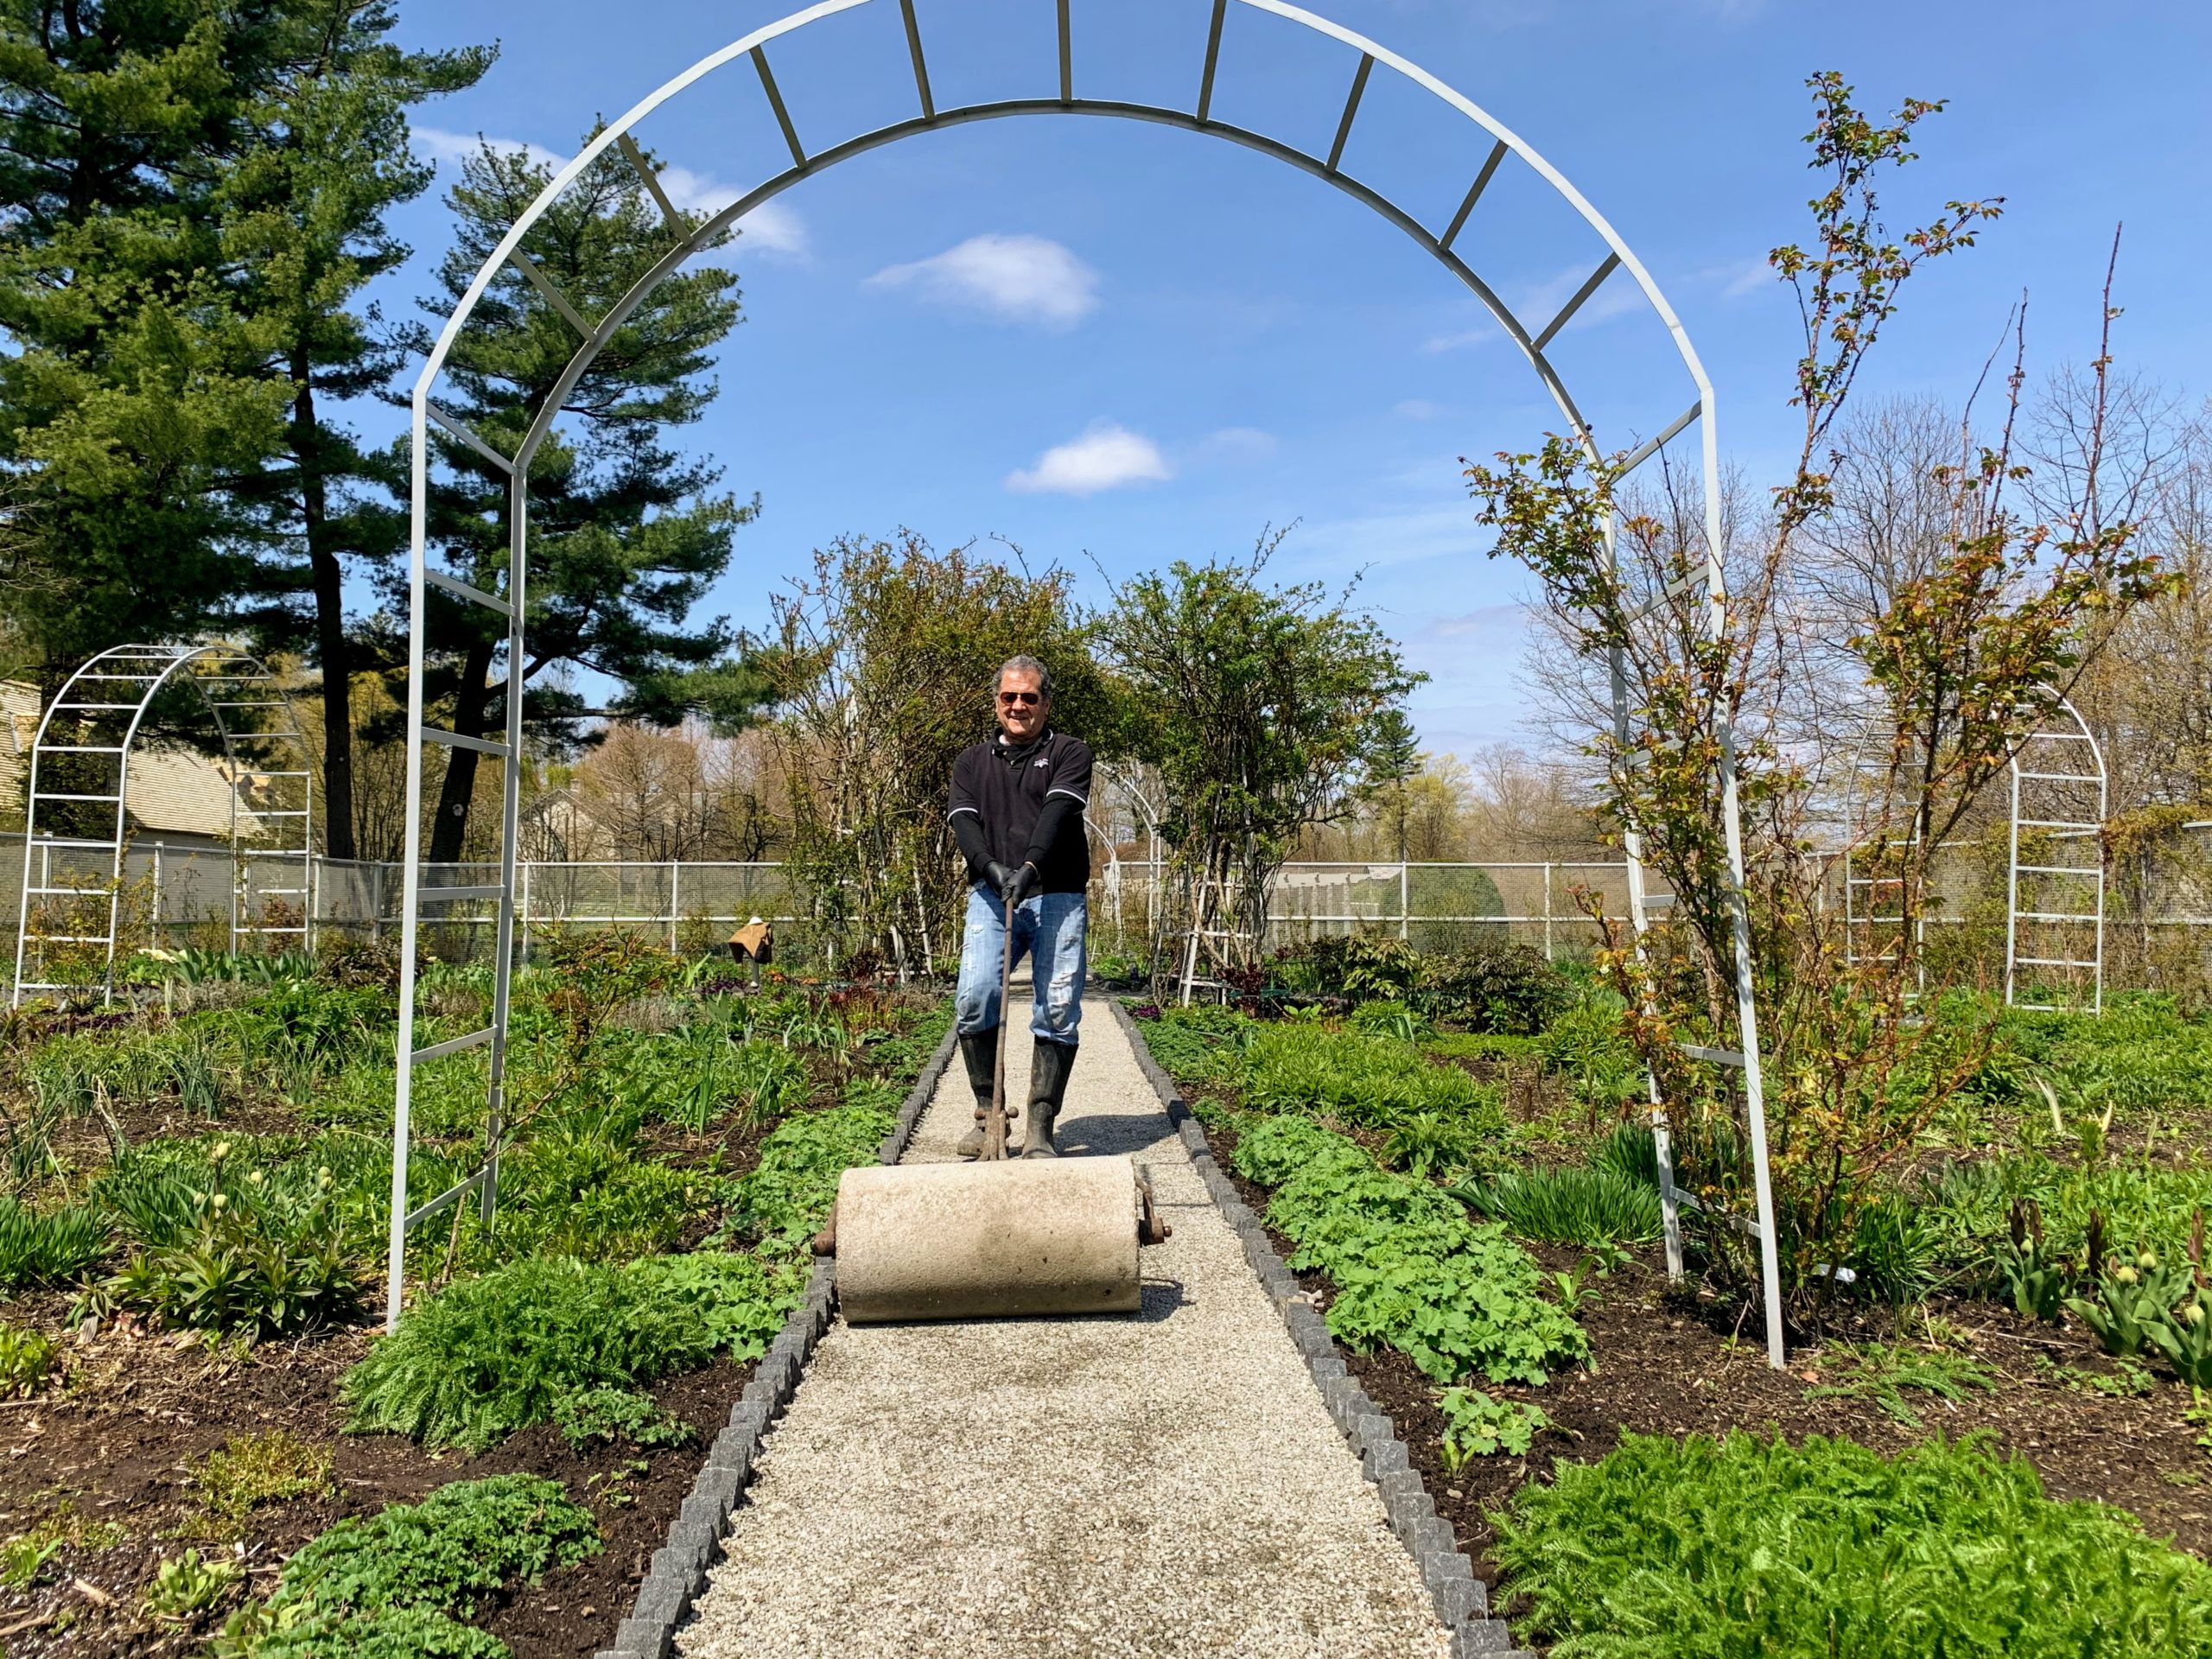
- And then Carlos comes by with the roller to compact the stone.
-
- It is at the perfect height against the bricks. This native washed stone is grey blended gravel with a mix of white and brown.
-
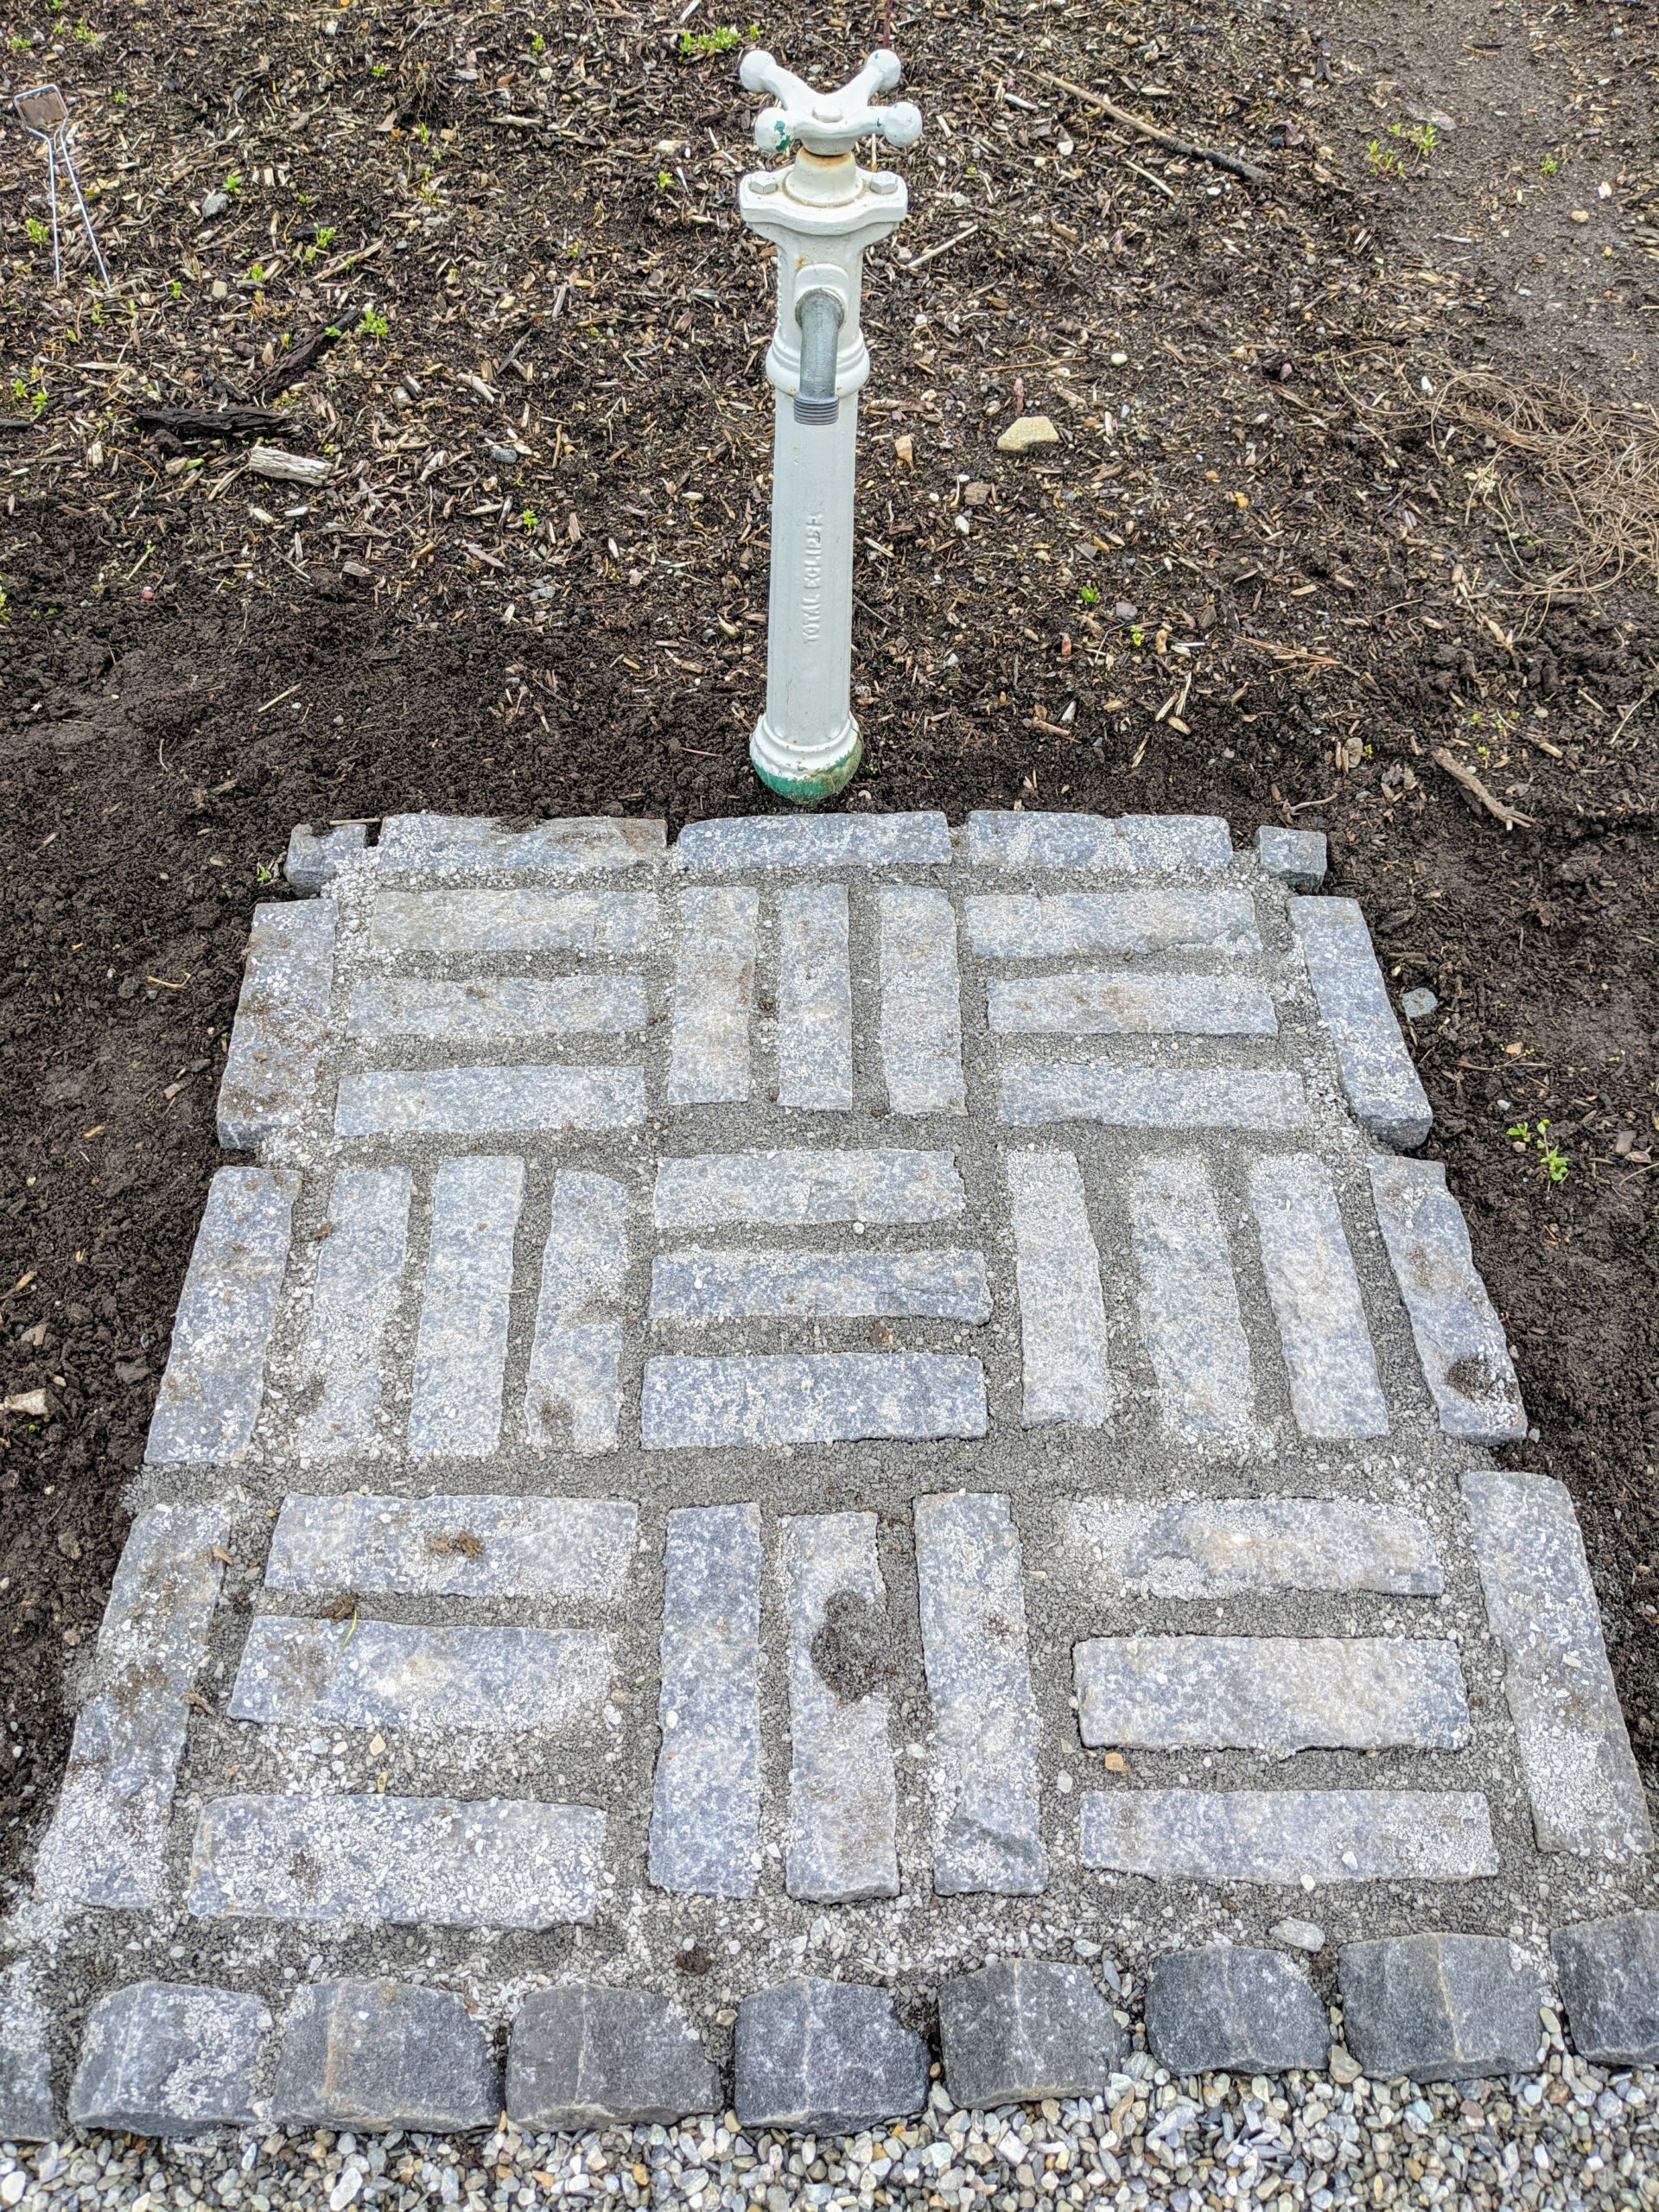
- Here, Chhiring also laid the bricks as pavers in front of the garden hose bibs and filled the spaces with stone dust to keep them in place.
-
- Here is the native washed stone at the center corners – everything is perfectly level and well-delineated.
-
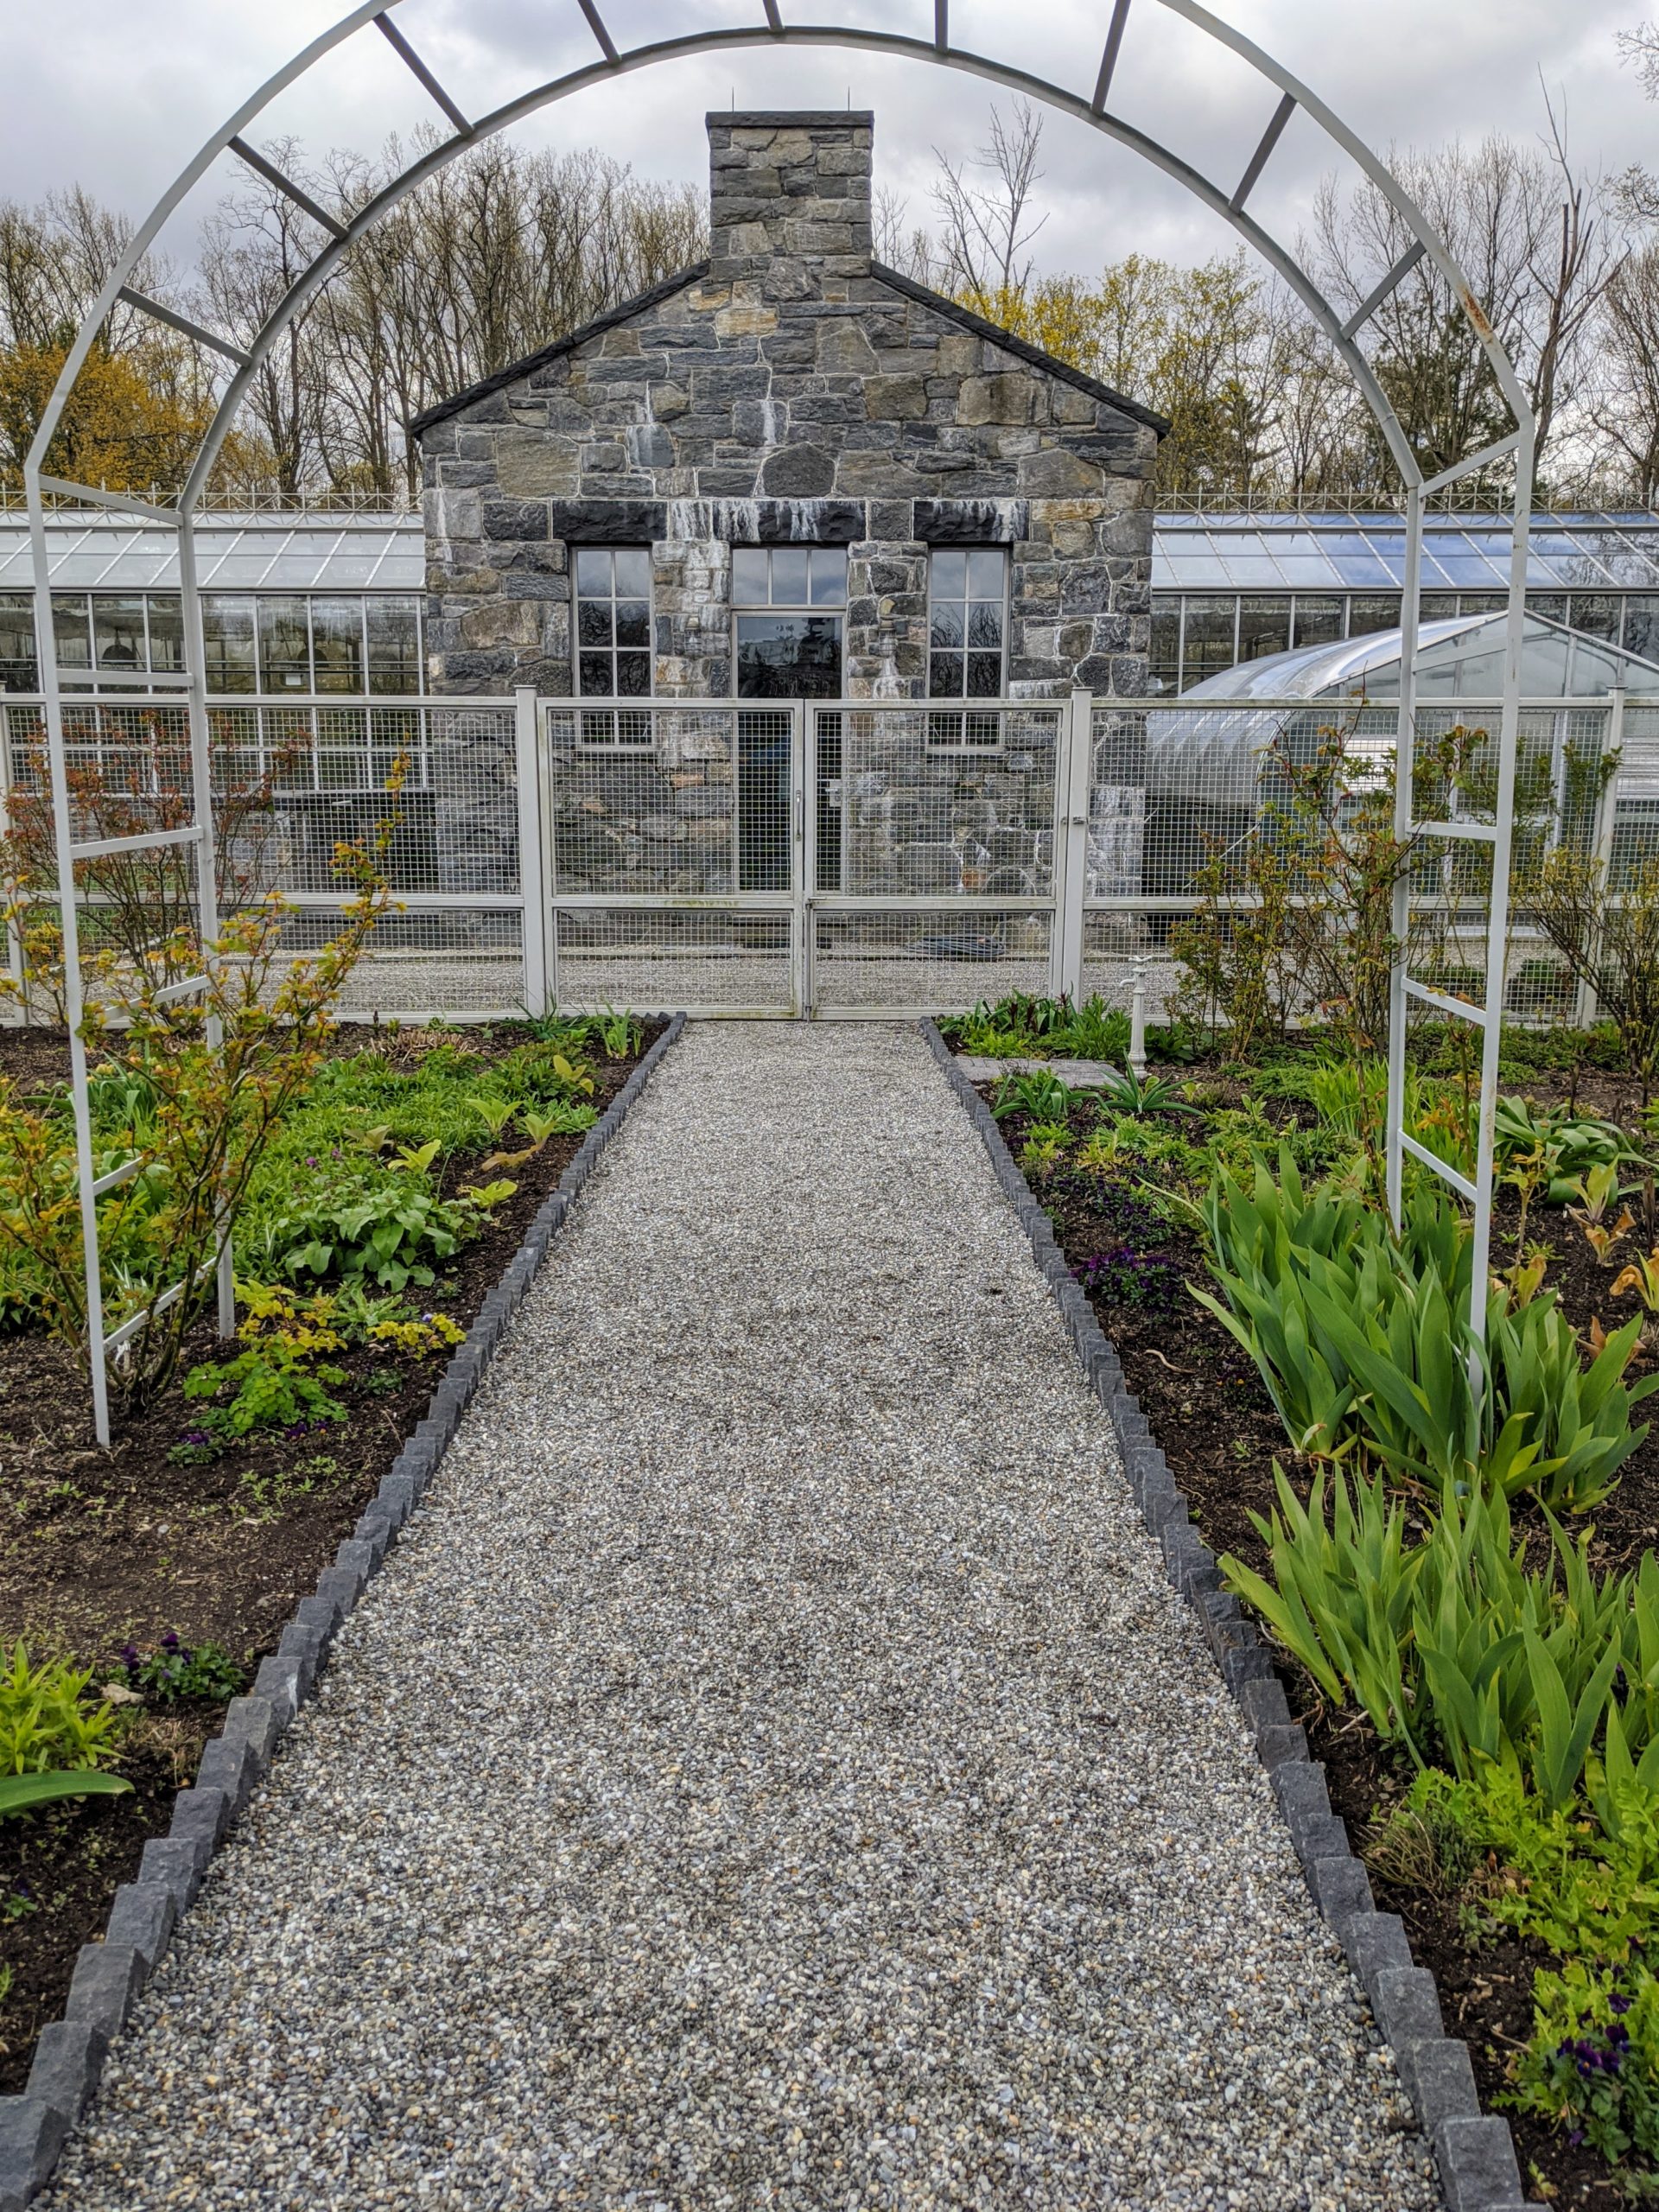
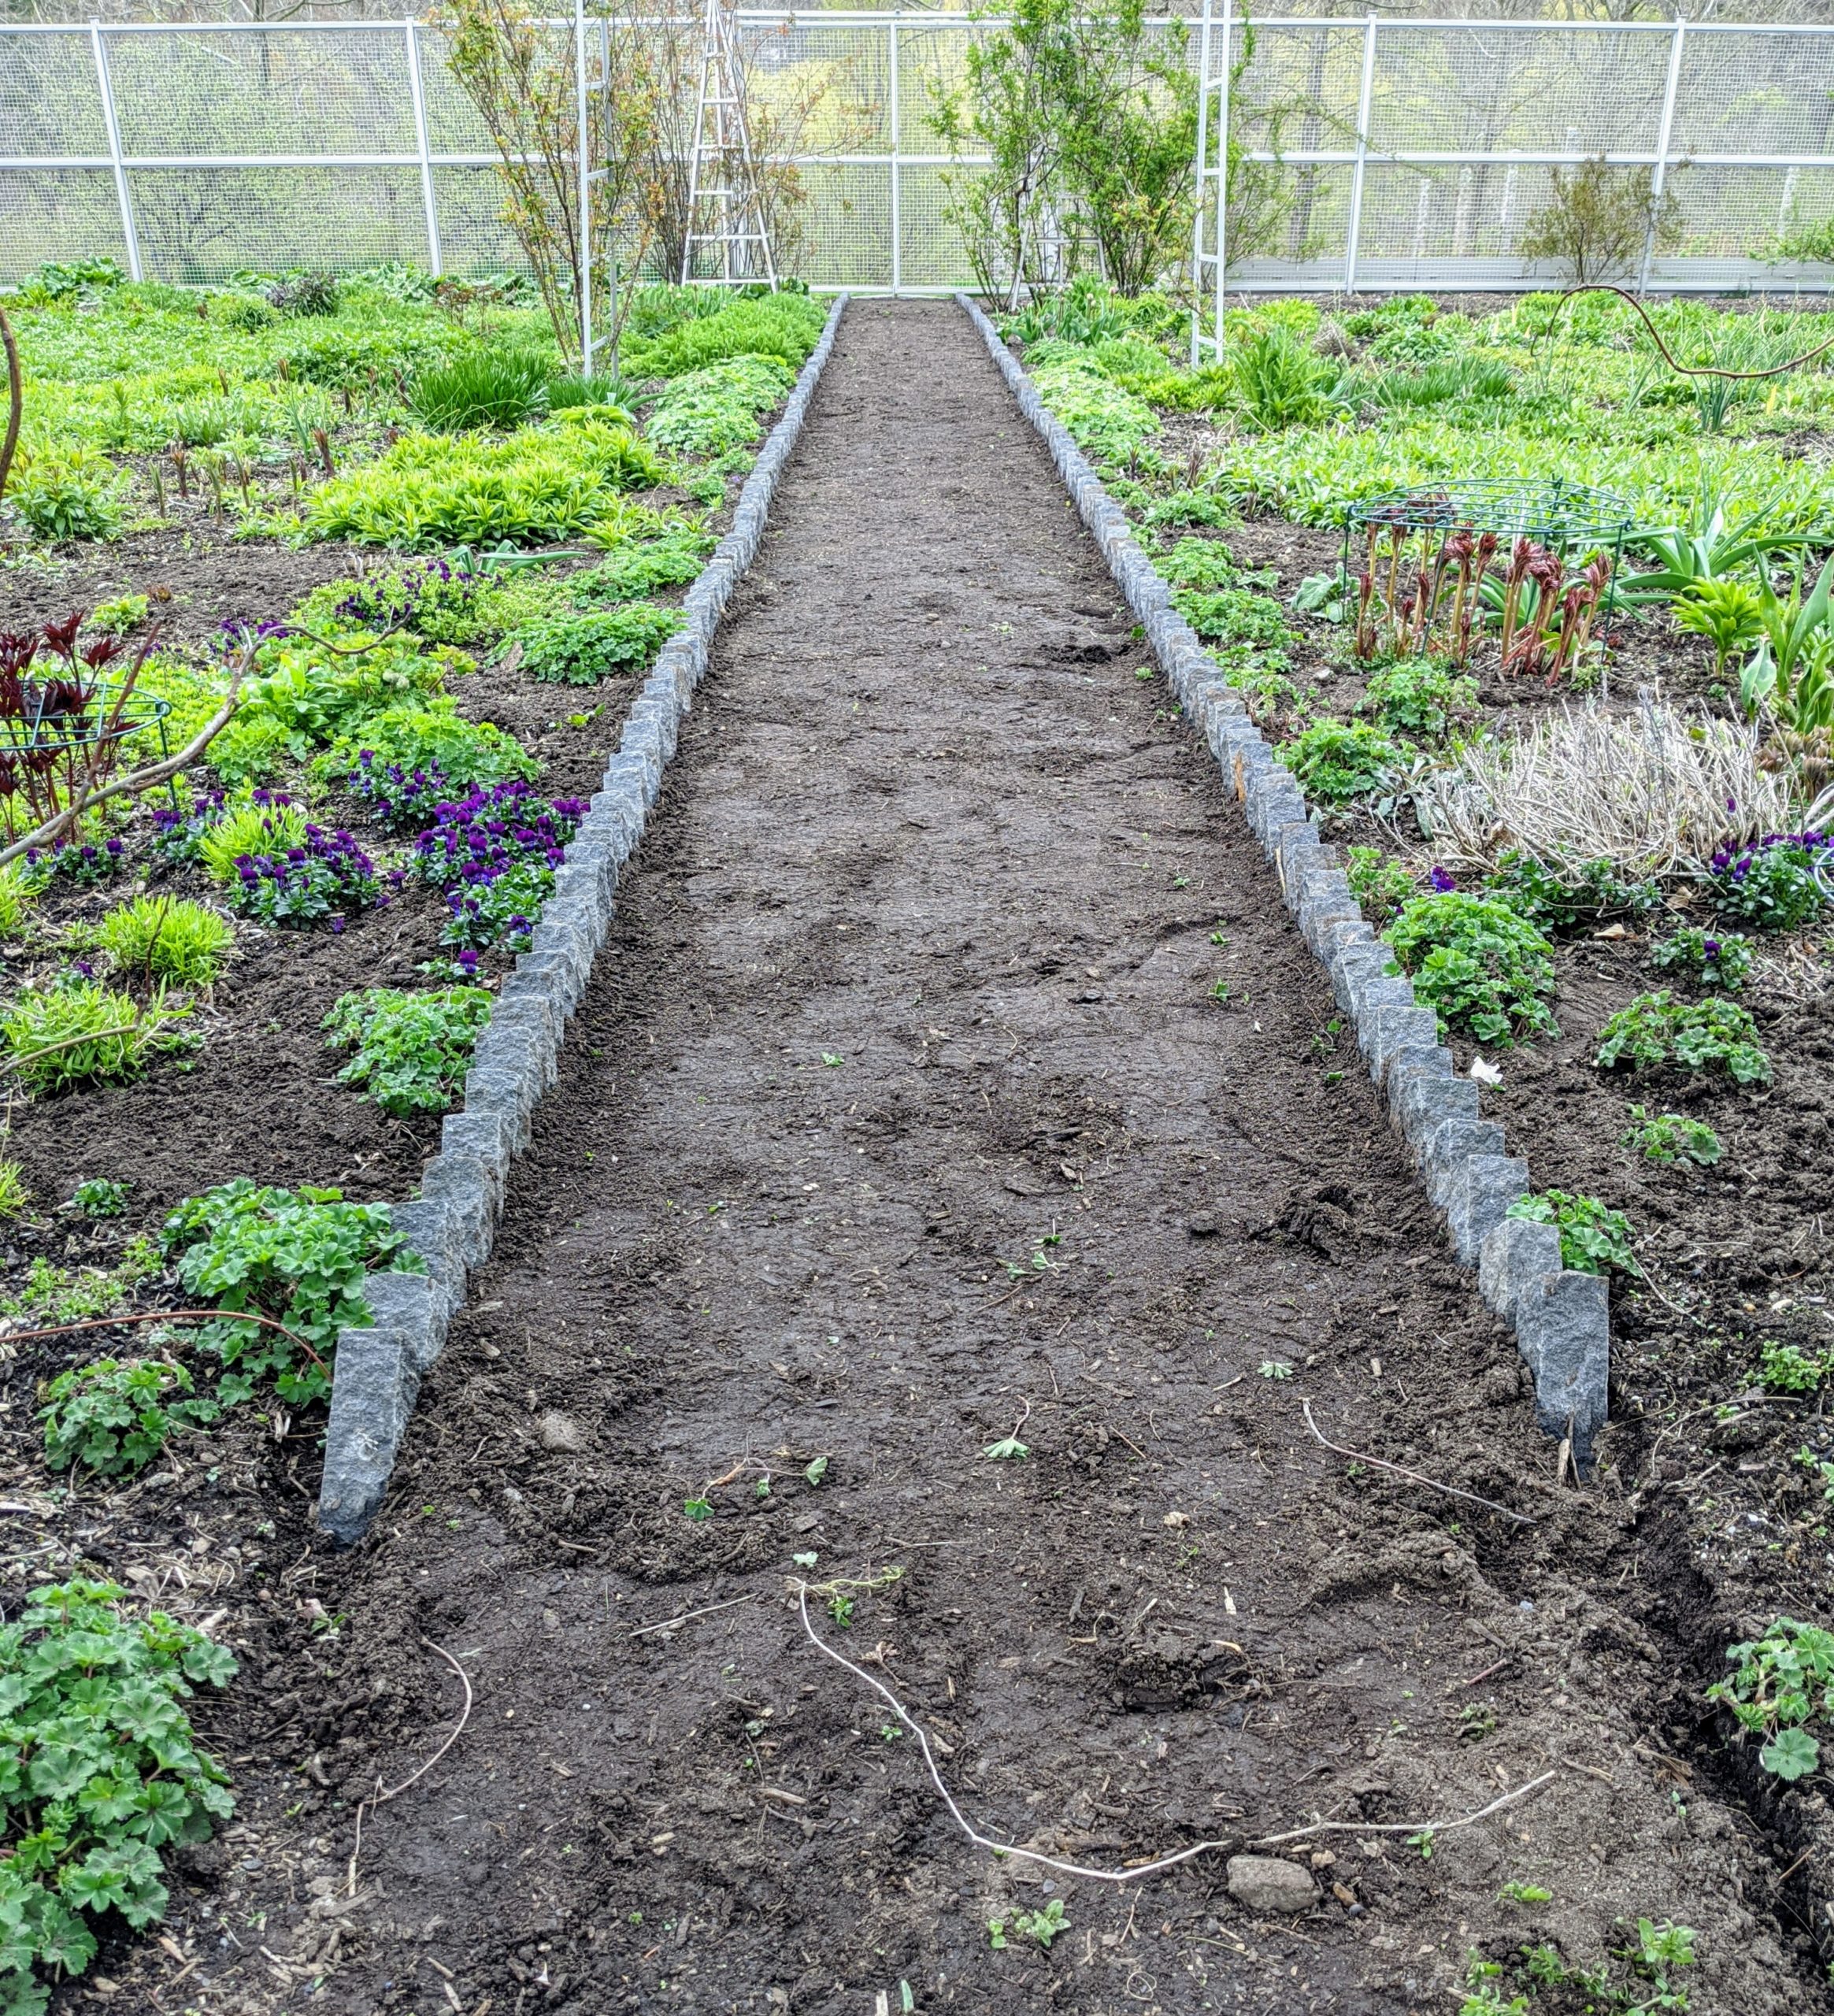
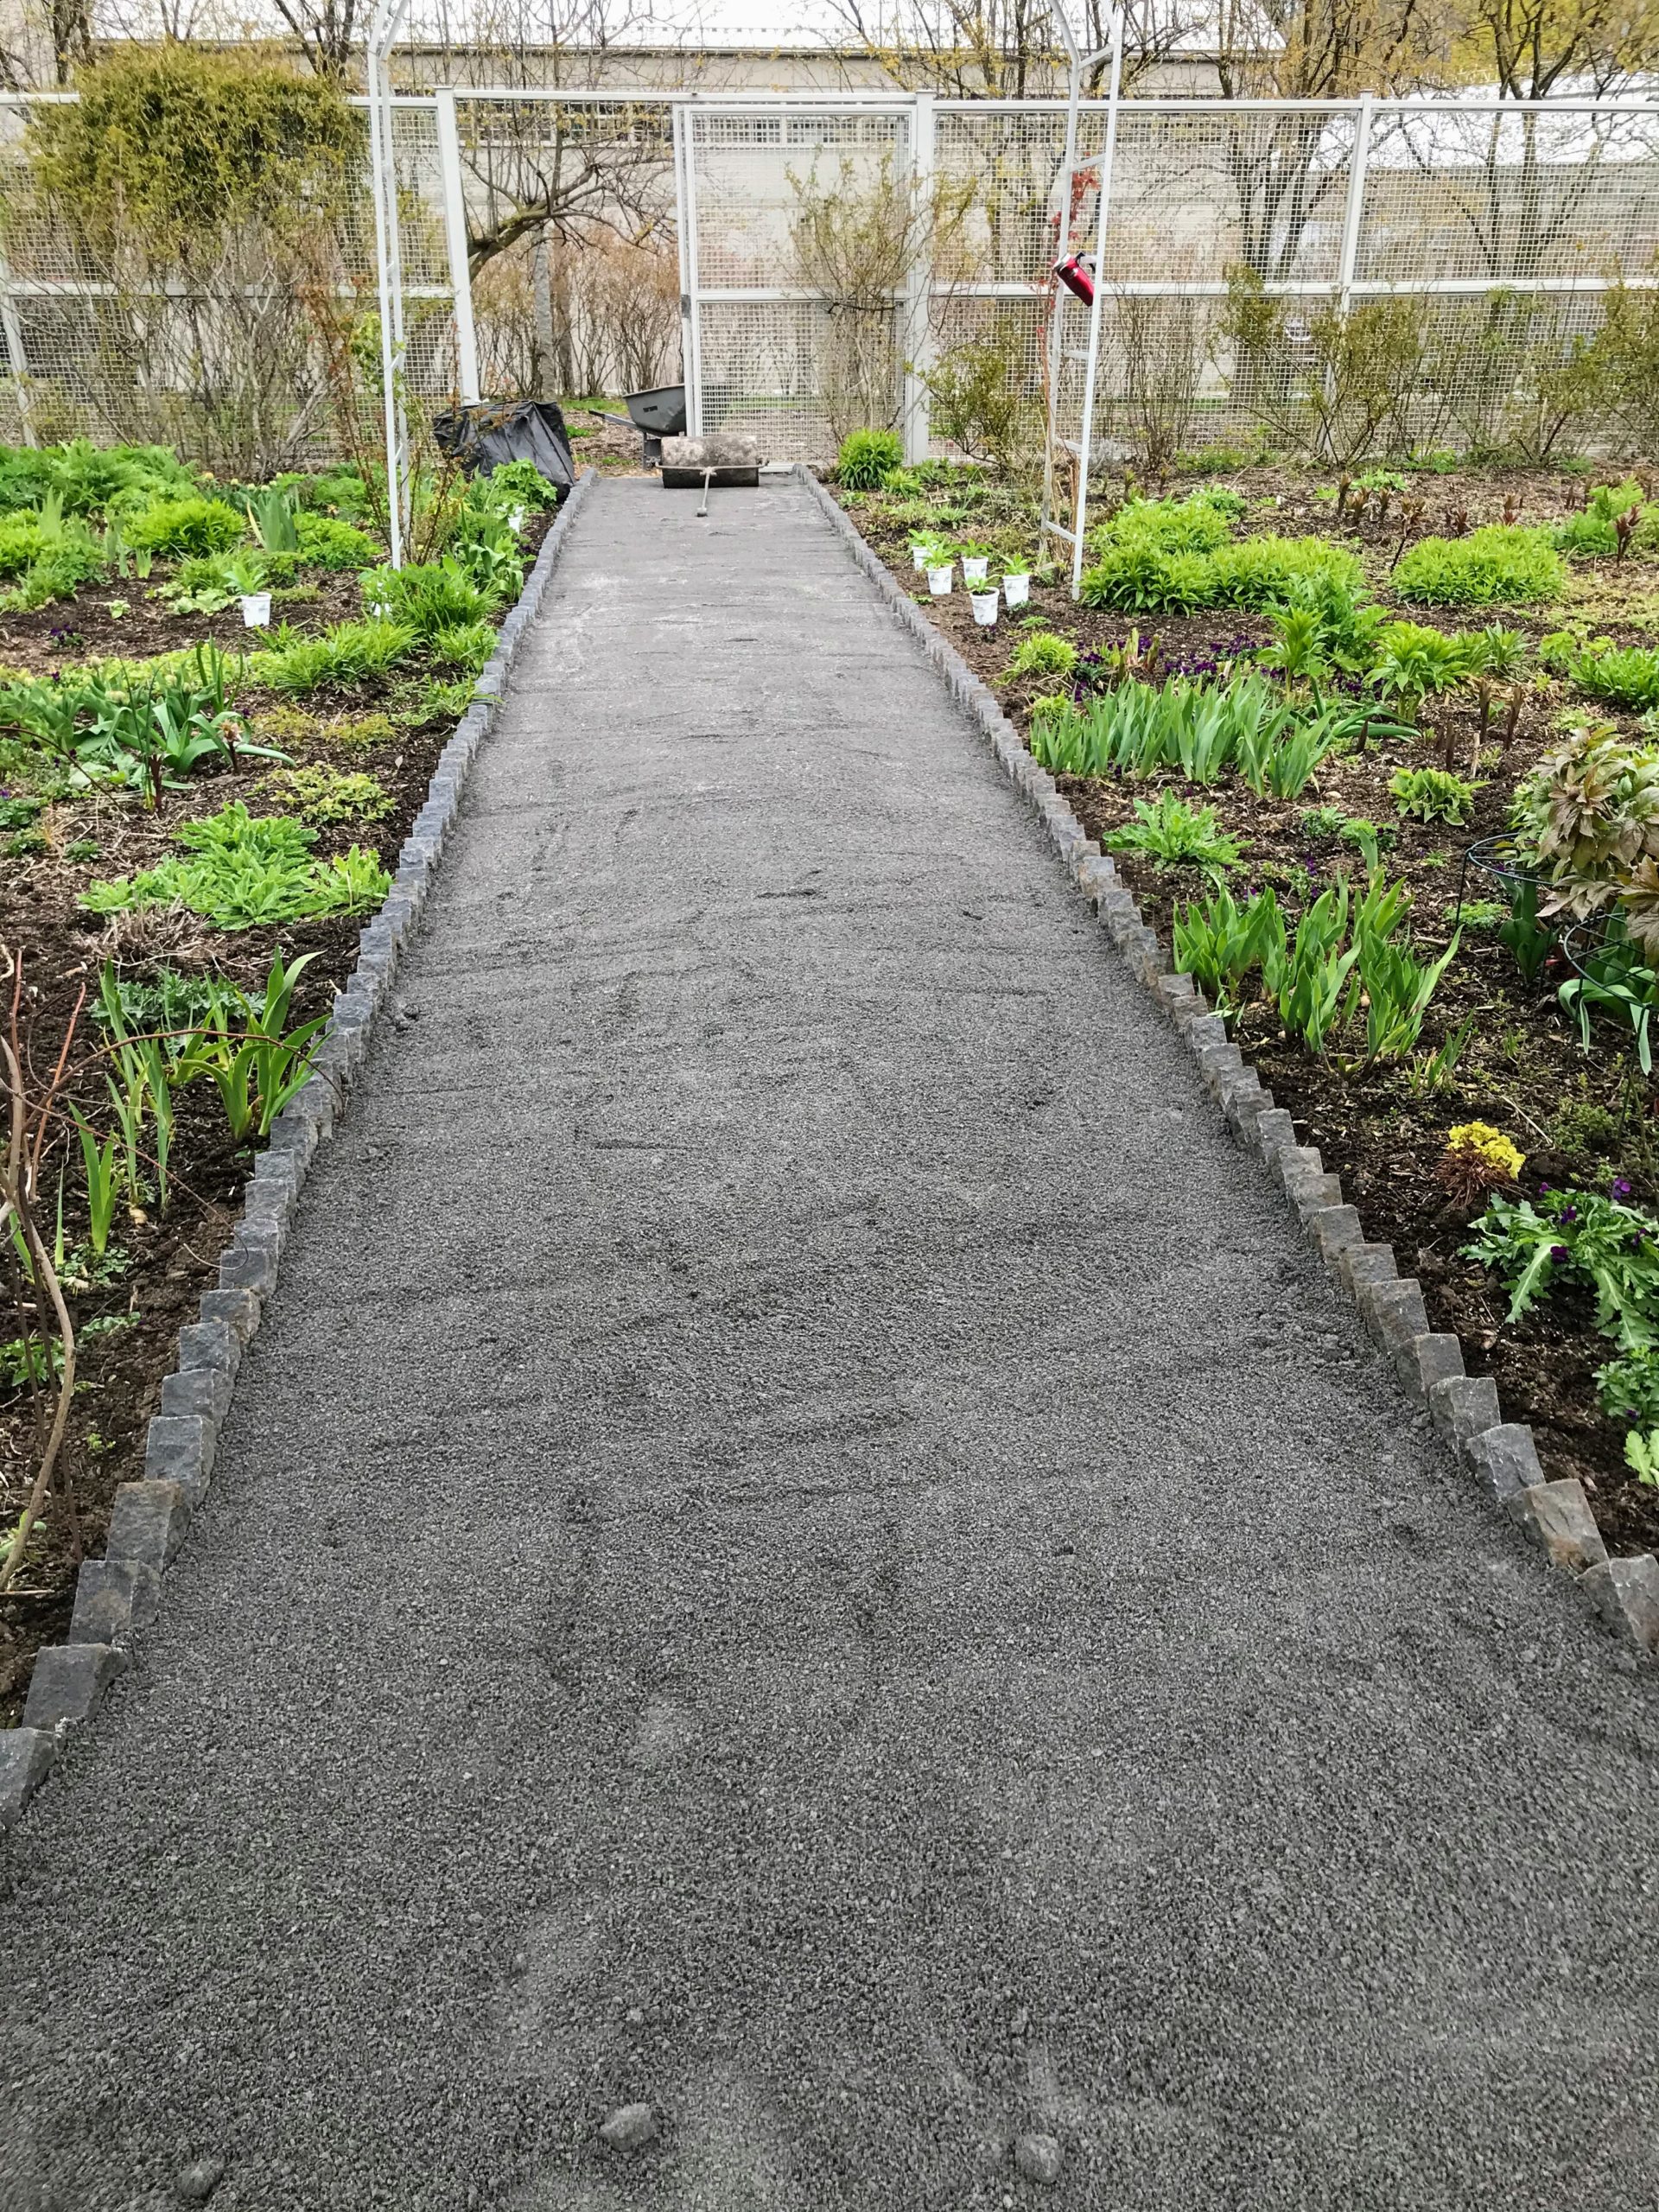
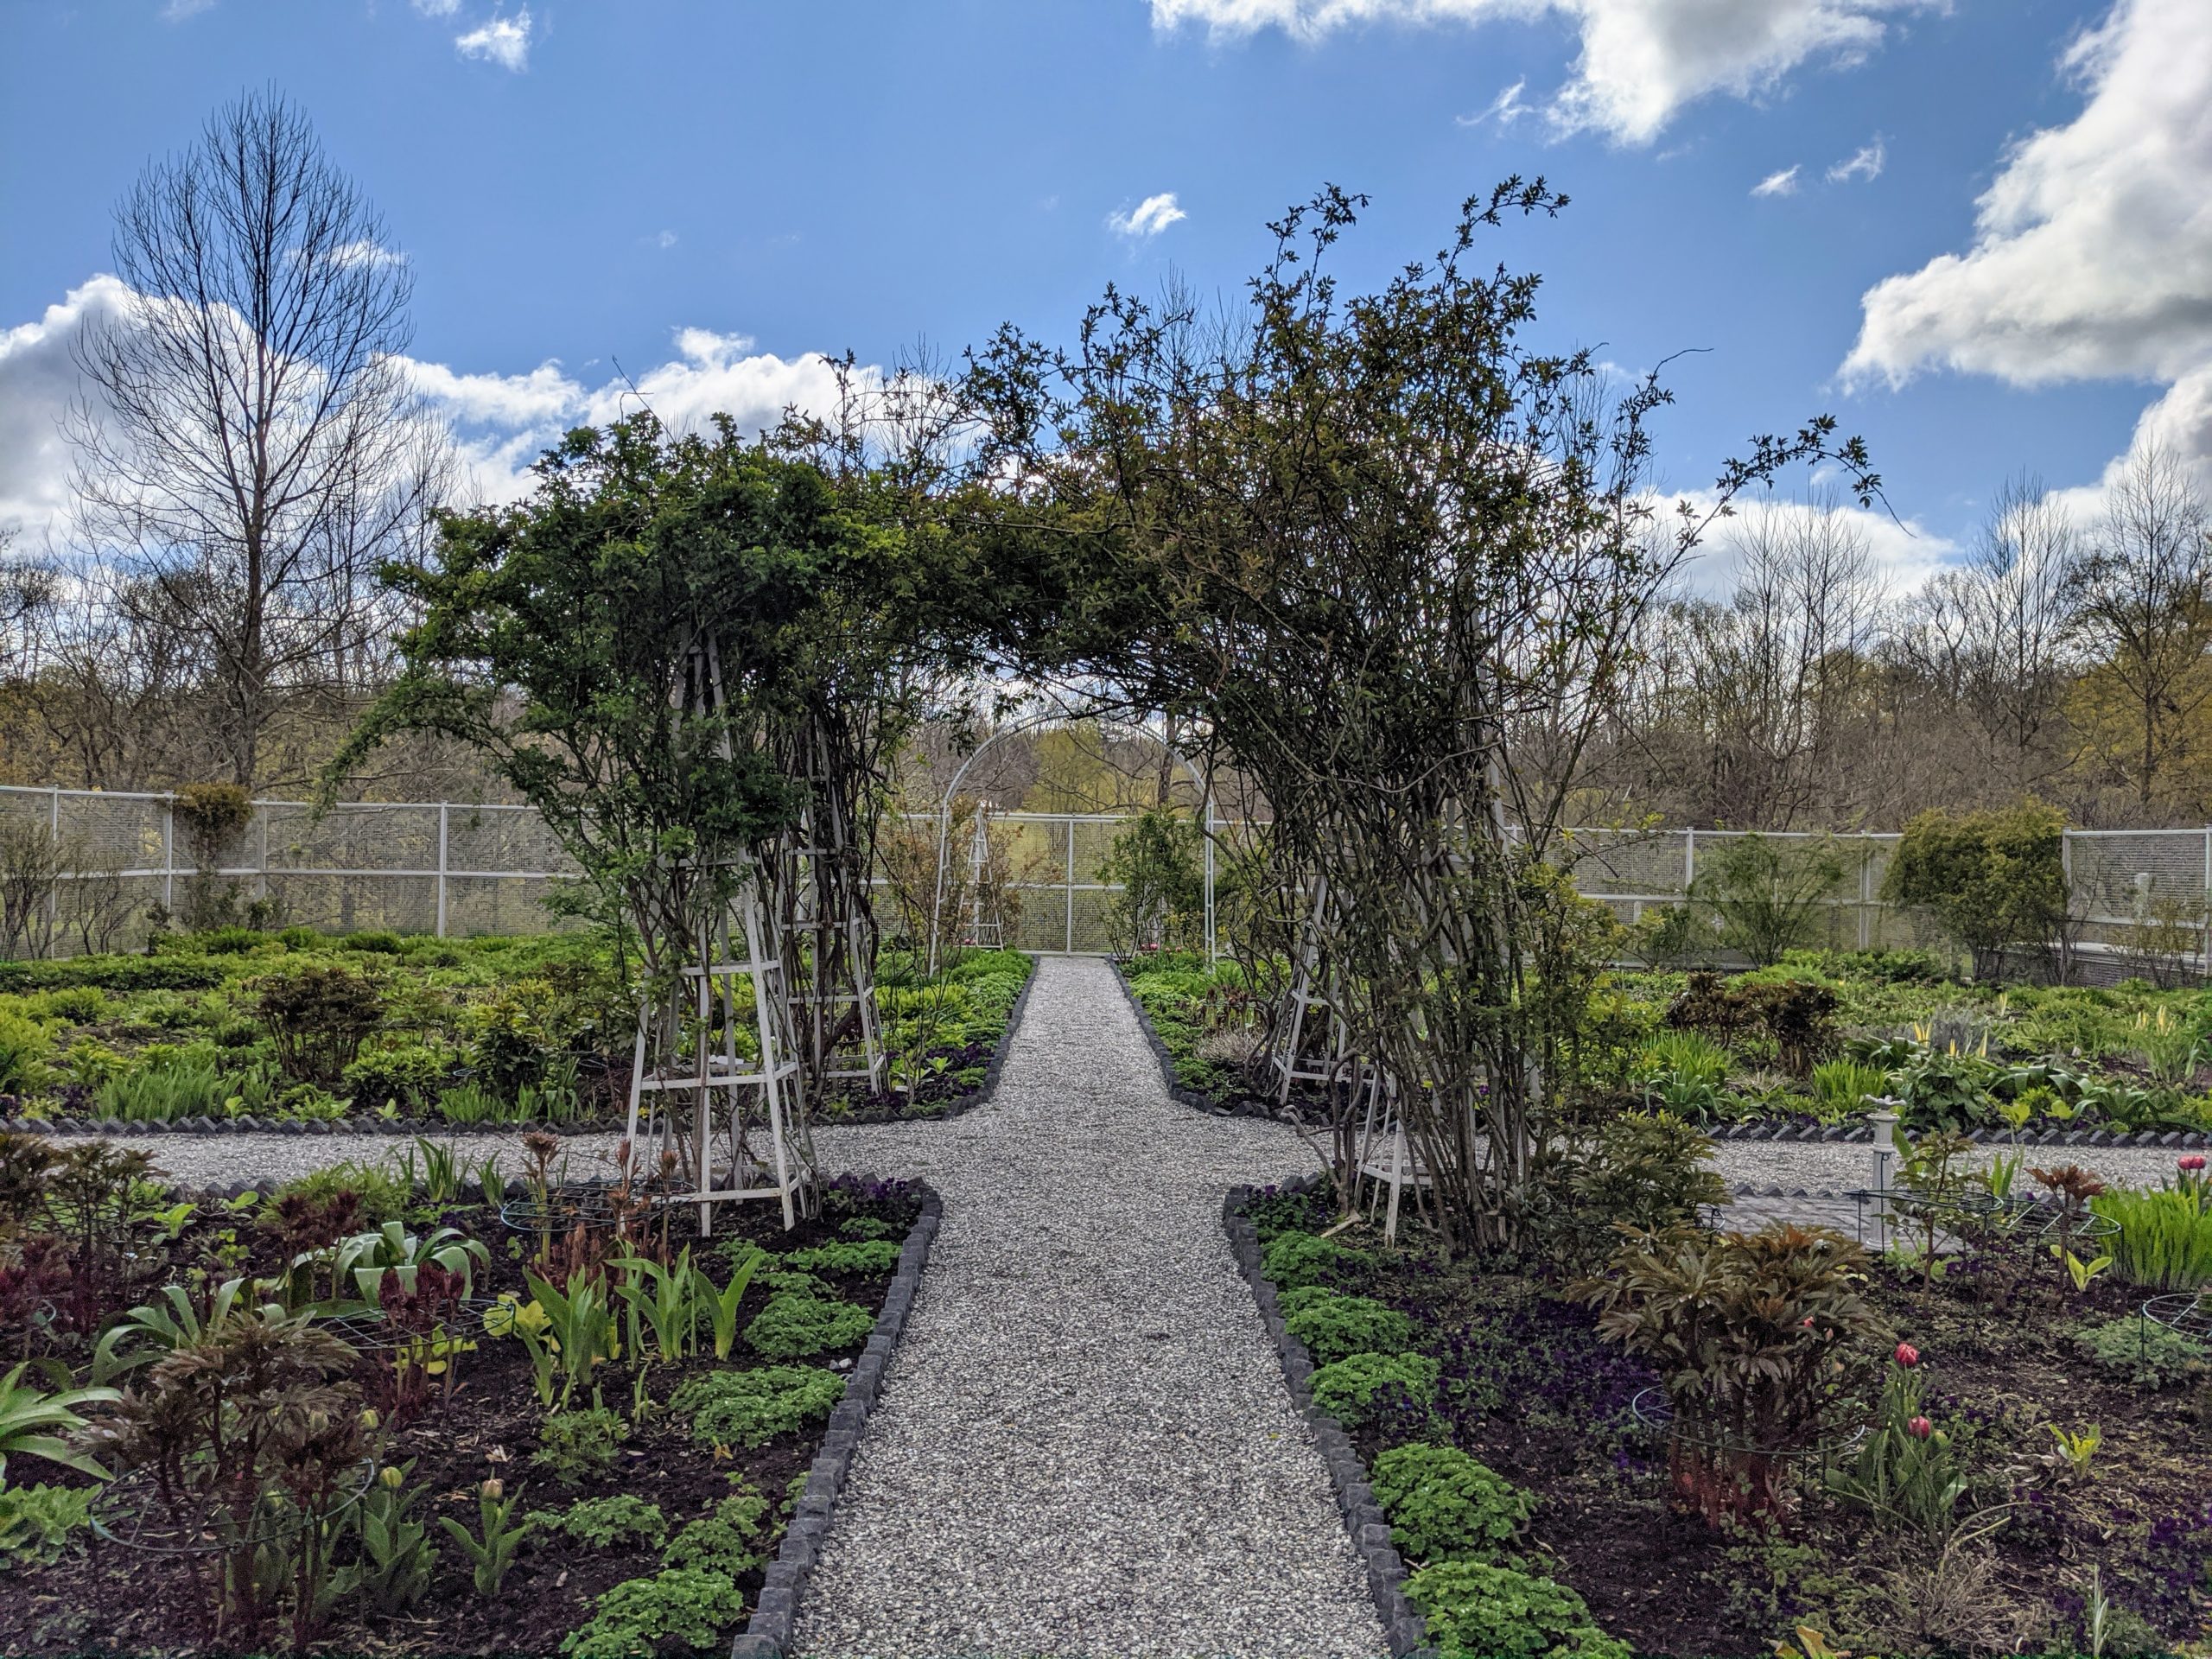
- This is the view looking down the main path – the bricks and gravel give it a more formal appearance. I can’t wait to see how it looks when all the flowers are in bloom.
-
- Here’s another look at the cross path toward my greenhouse. The new path is perfectly aligned and centered with the fence gate. Another great project completed at my farm – nice job, Chhiring!