

Replacing the Windows on My Stable
Are you getting all your outdoor home projects done this summer? Here at my farm, one of this year's big tasks includes replacing the double-pane windows on several buildings that have suffered damage over the years.
During the last several weeks, the crew from Heritage Fabrications in Greenwich, Connecticut, has been making the necessary repairs. They assessed each window, removed the sash and glass, sanded and painted the wood trim and then carefully installed the new custom made single pane restoration glass. Everything is done by hand with great care and attention to detail.
Here are photos of how the windows were replaced on my stable, enjoy.
-

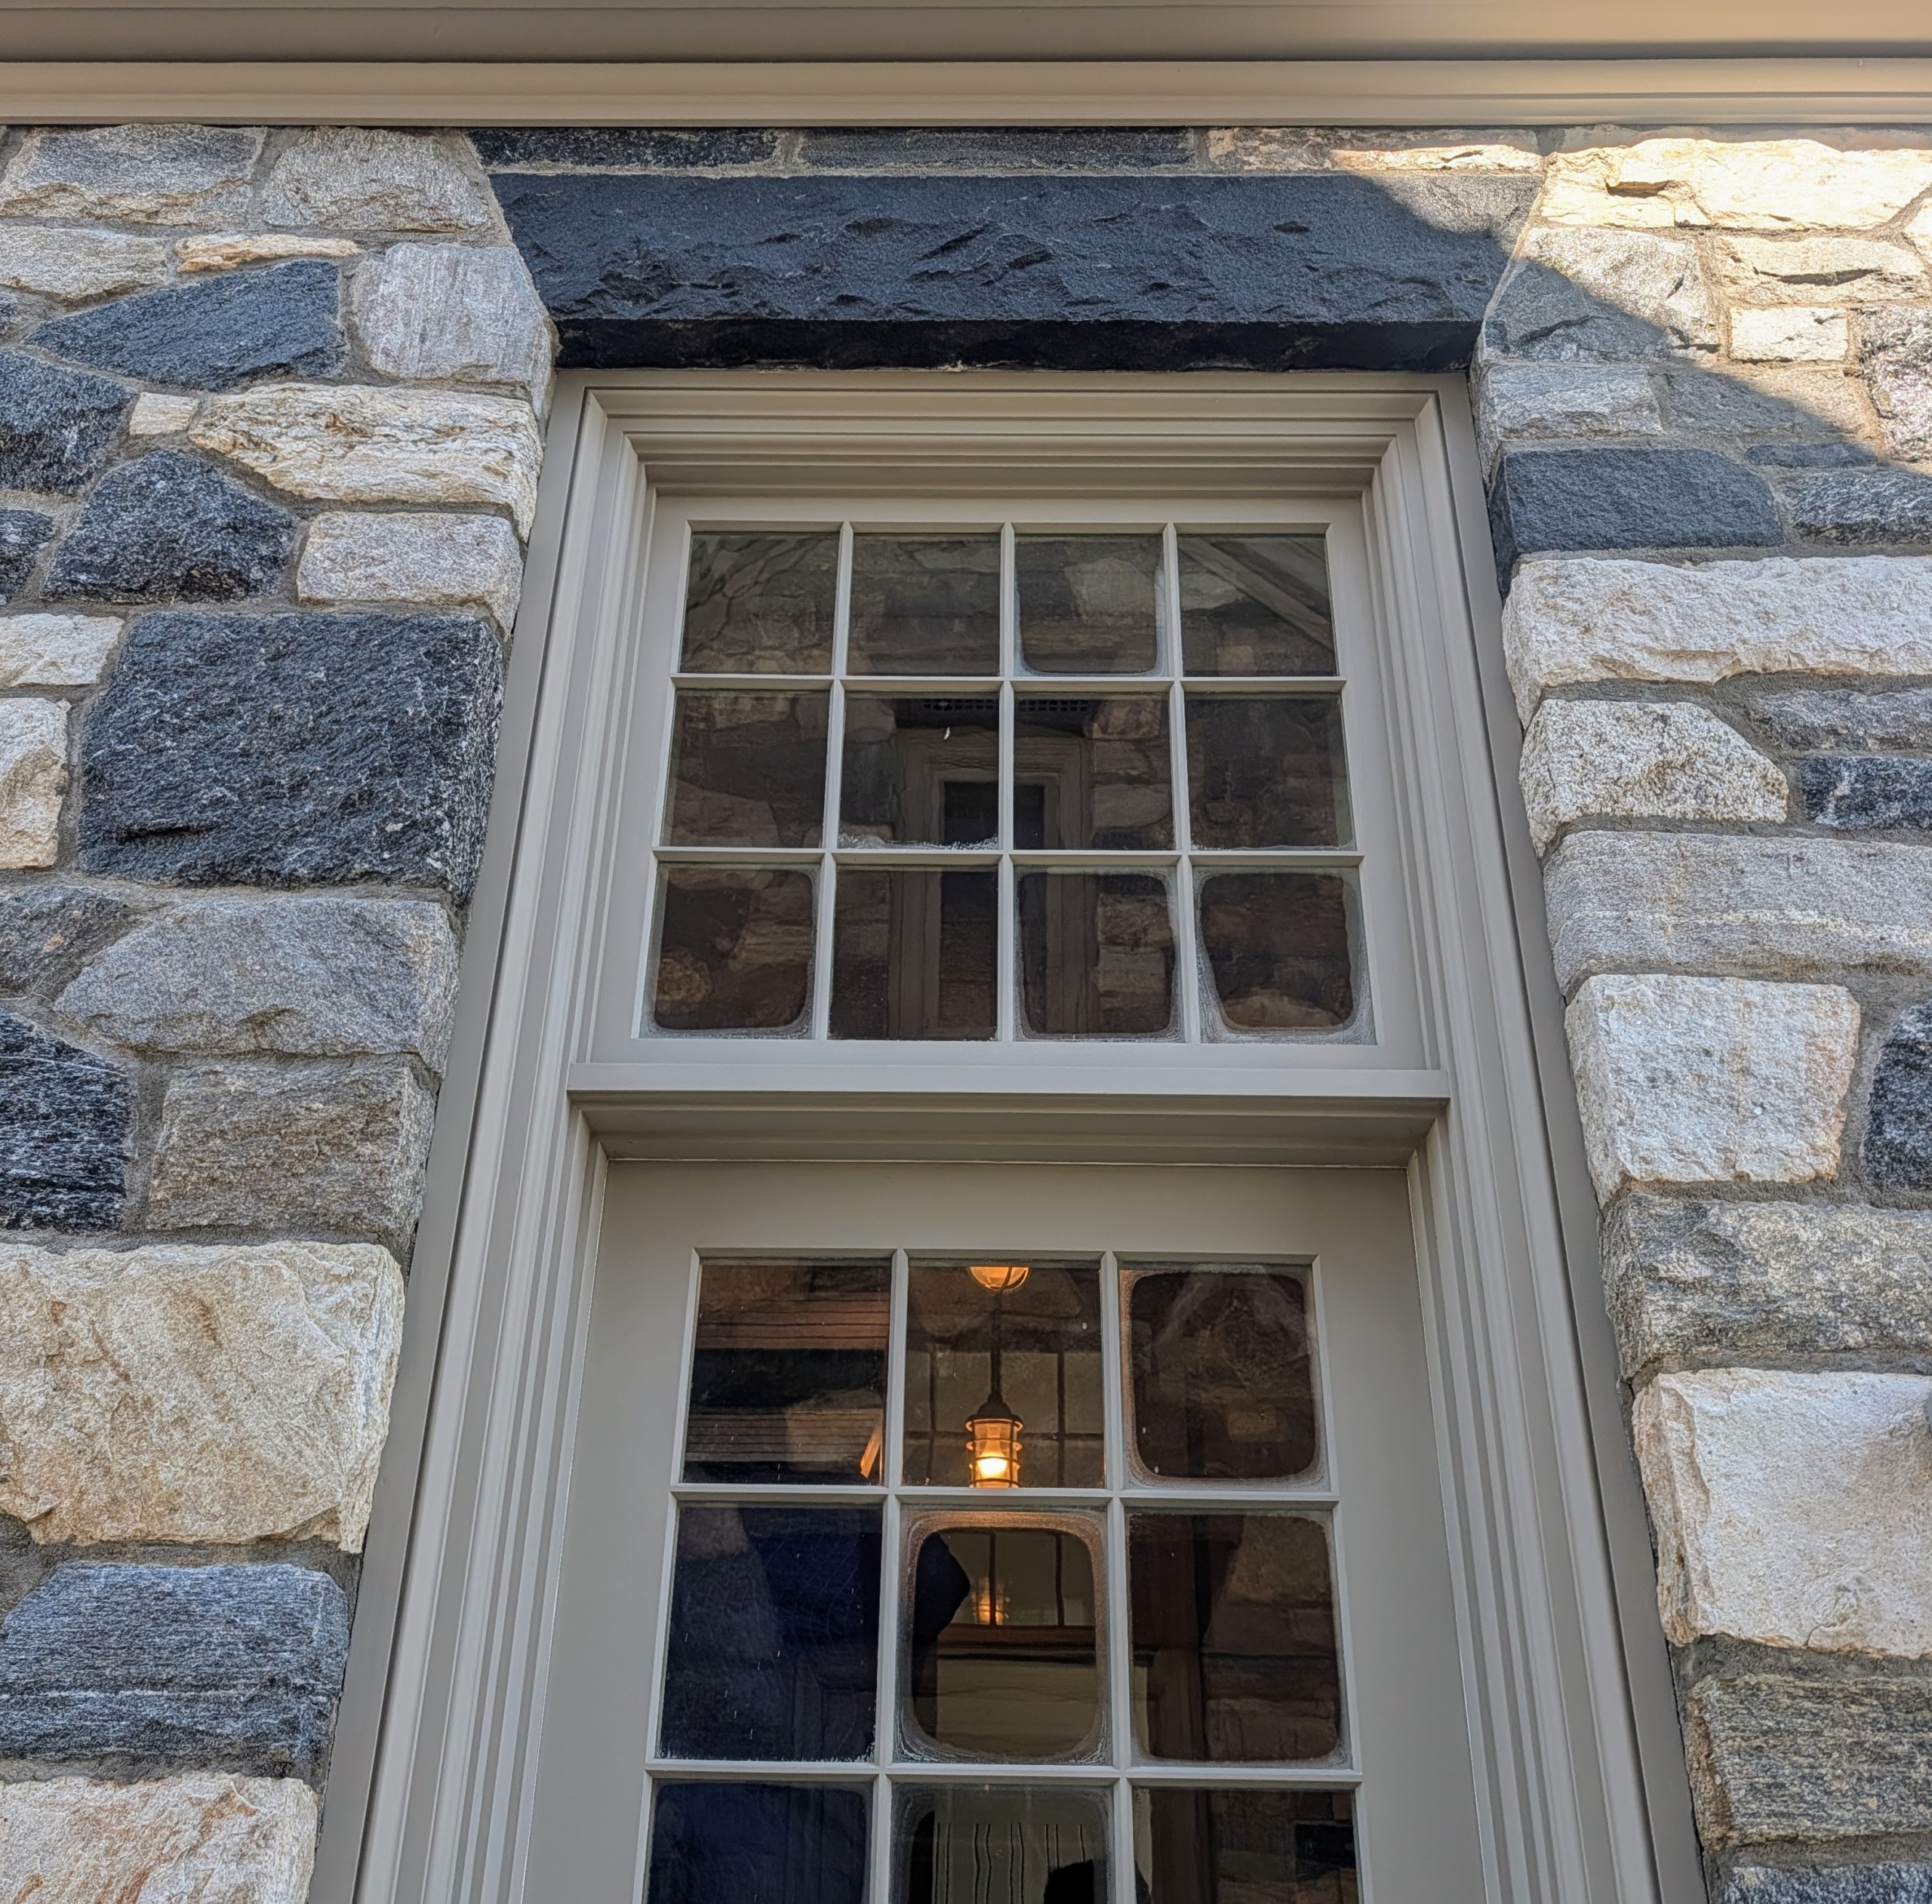
- Looking closely, one can see the fogging on the window panes of one of my stable doors and transoms. Unfortunately, every window on the stable looks like these and has to be replaced.
-
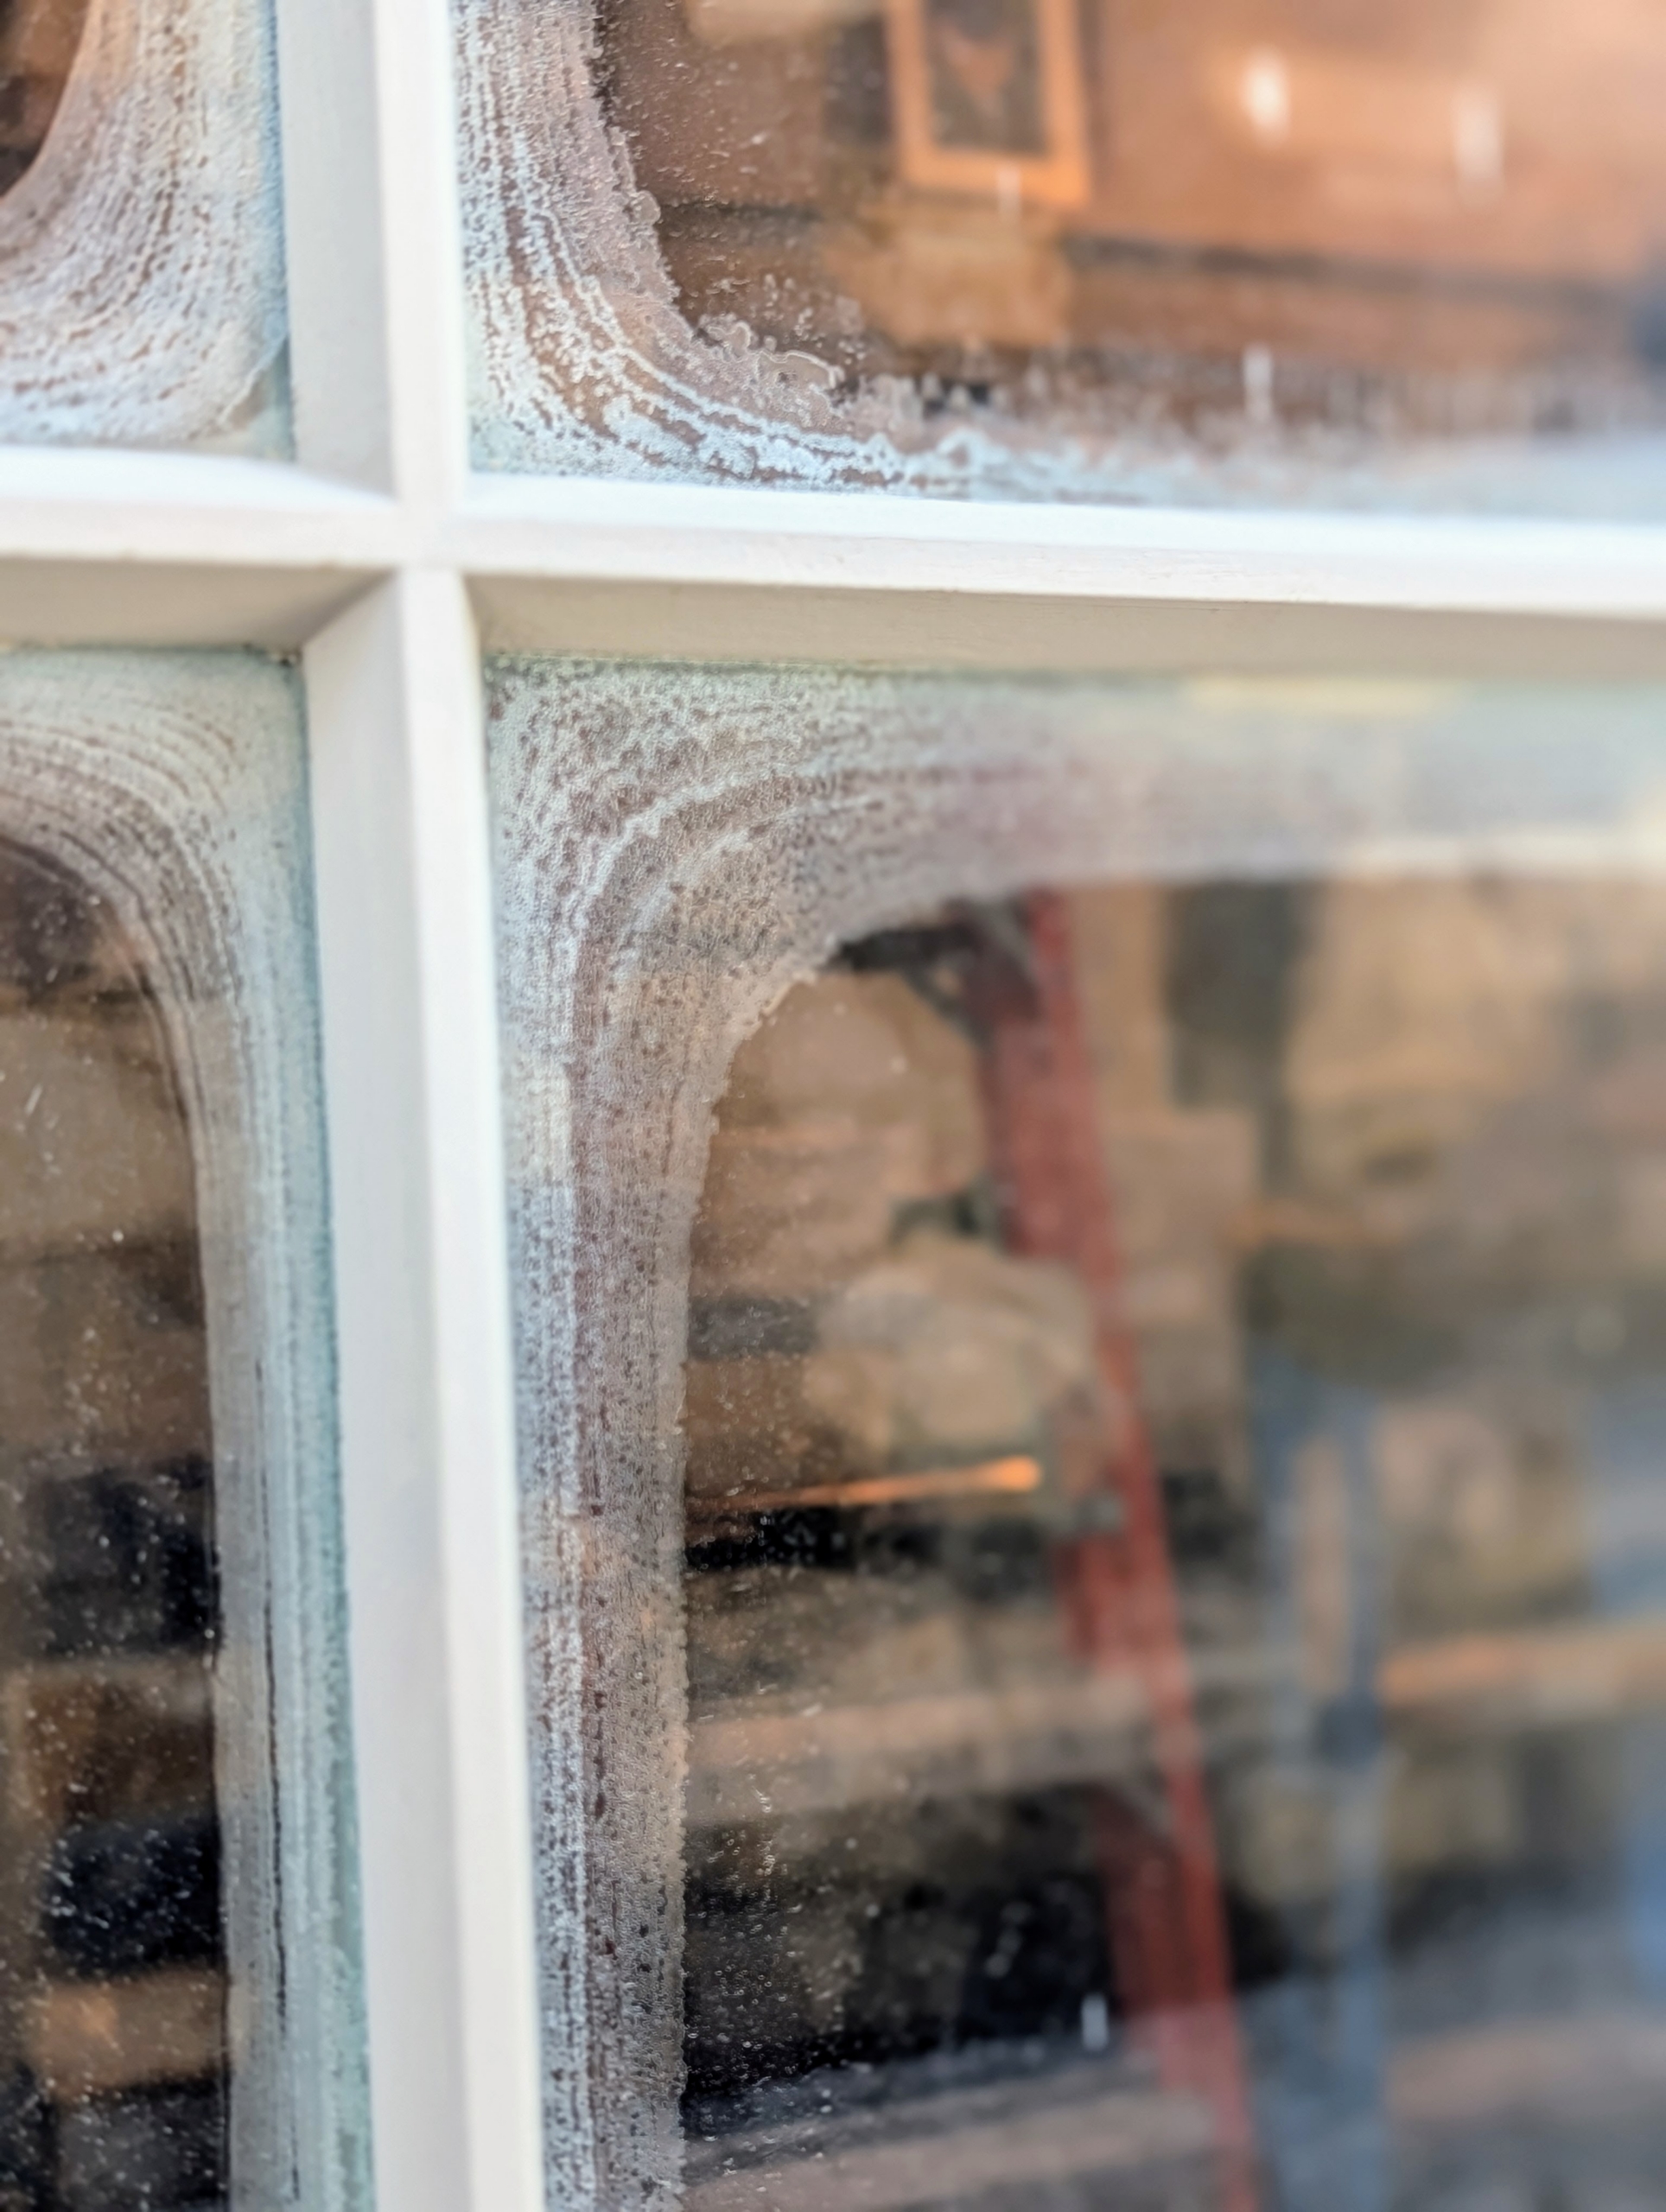
- Window fogging occurs when moisture condenses on or between glass panes, caused over time by high humidity, temperature differences, or failed window seals.
-
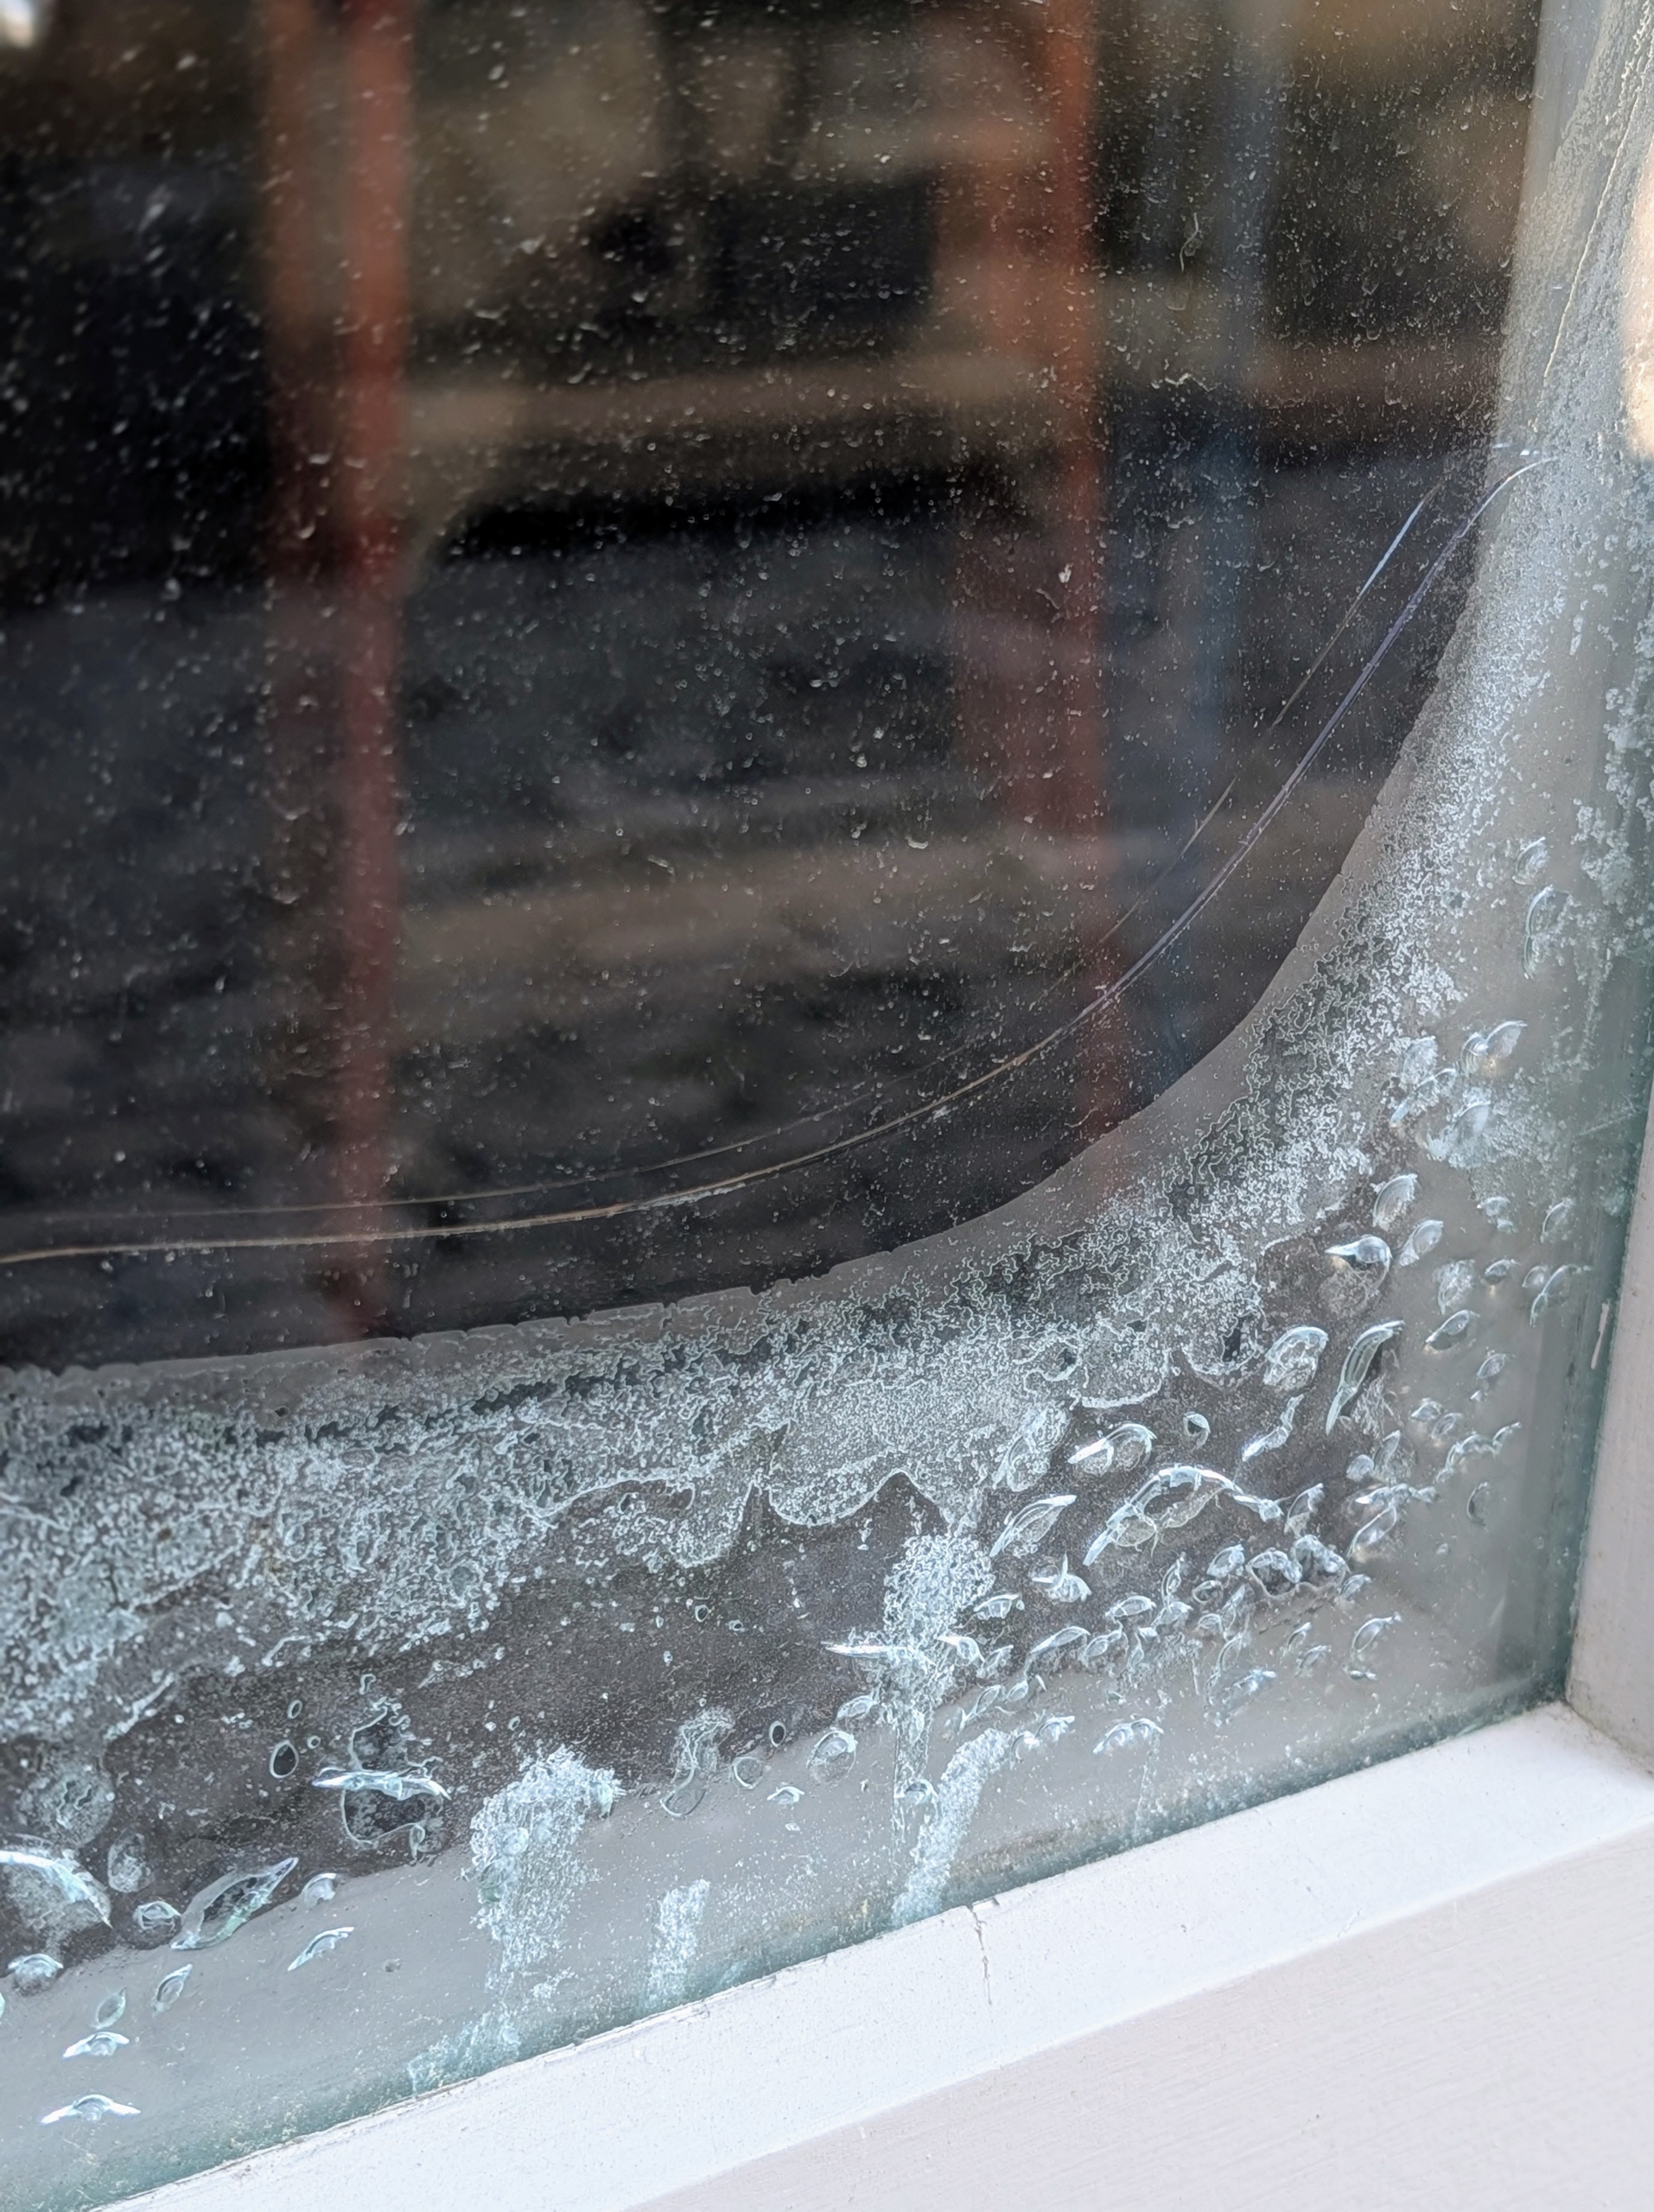
- When the seal fails, moisture enters the air space, causing a permanent hazy appearance that cannot be wiped away. I’ve noticed this condition worsen over the years.
-
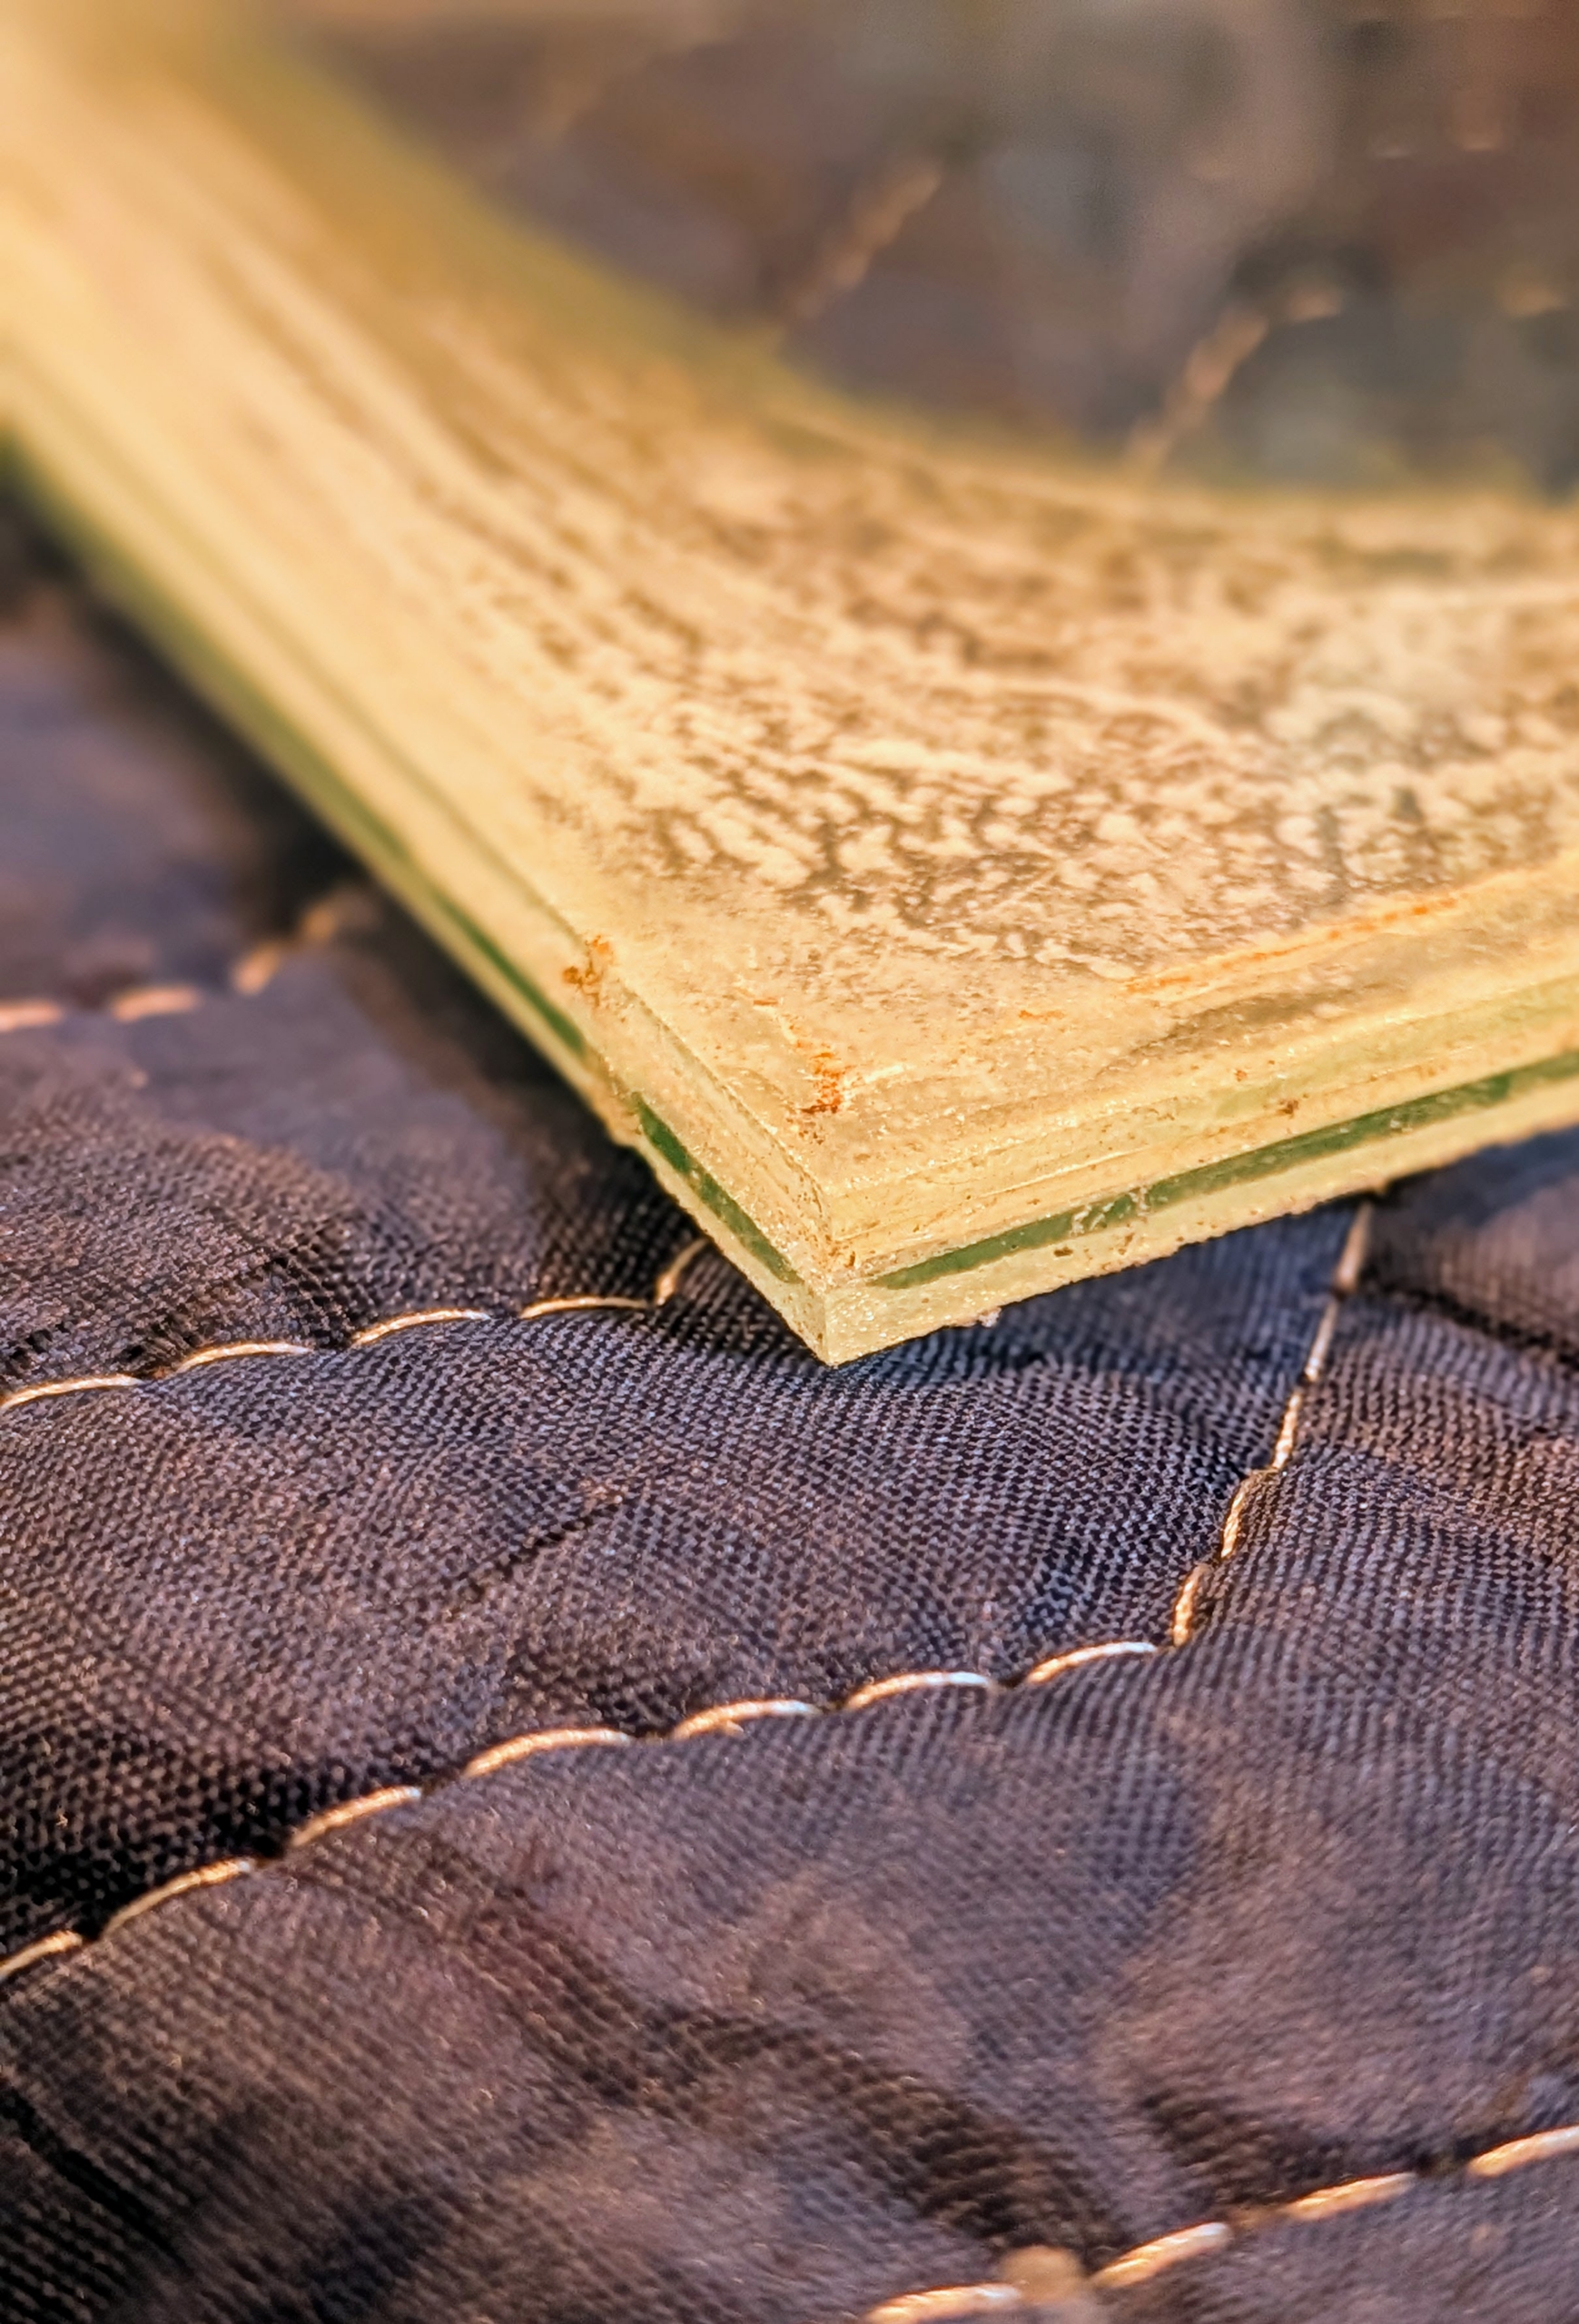
- Here is a view from the side of the double-pane. Here, one can see where the seal has failed between the two panes.
-
- I called Arkadiusz Sudol and his team from Heritage Fabrications to replace the existing panes with new restoration single pane glass.

-
- The process is slow and exact. Once all the replacement glass is ordered and delivered, each pane is then removed and replaced one by one.
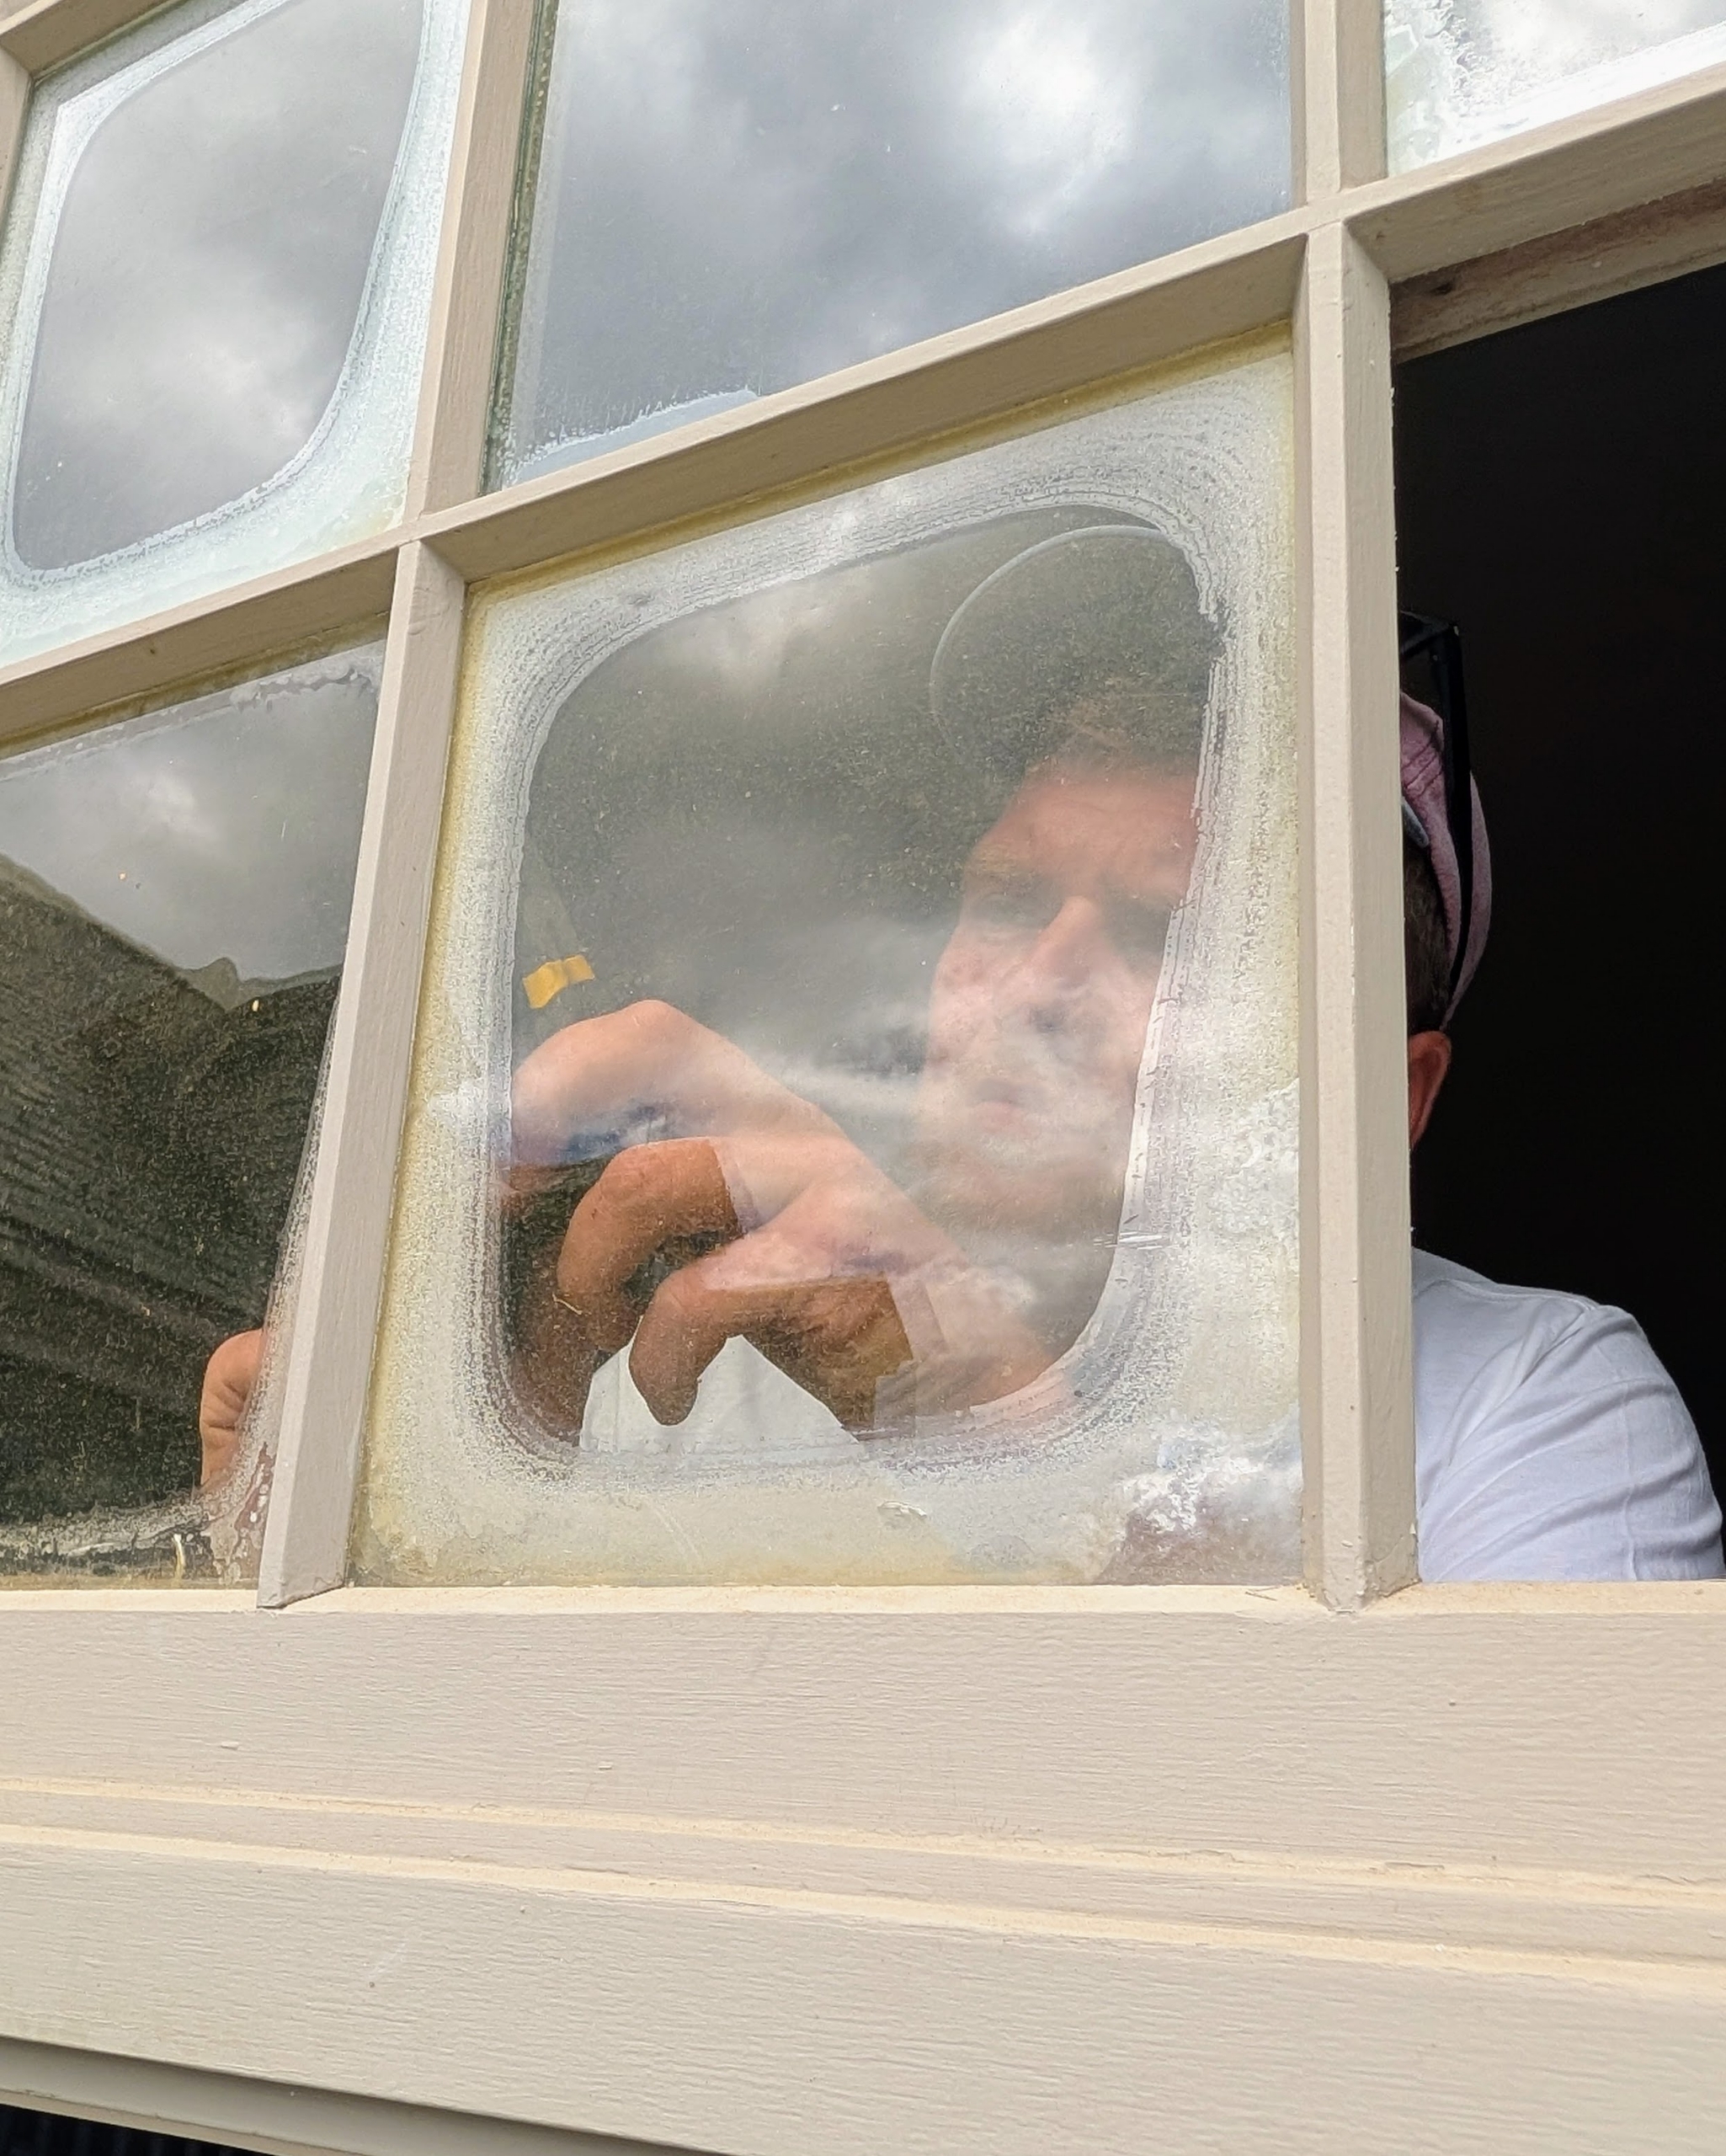
-
- The sash holding the window is removed first. These are the wooden pieces that hold the glass in place.
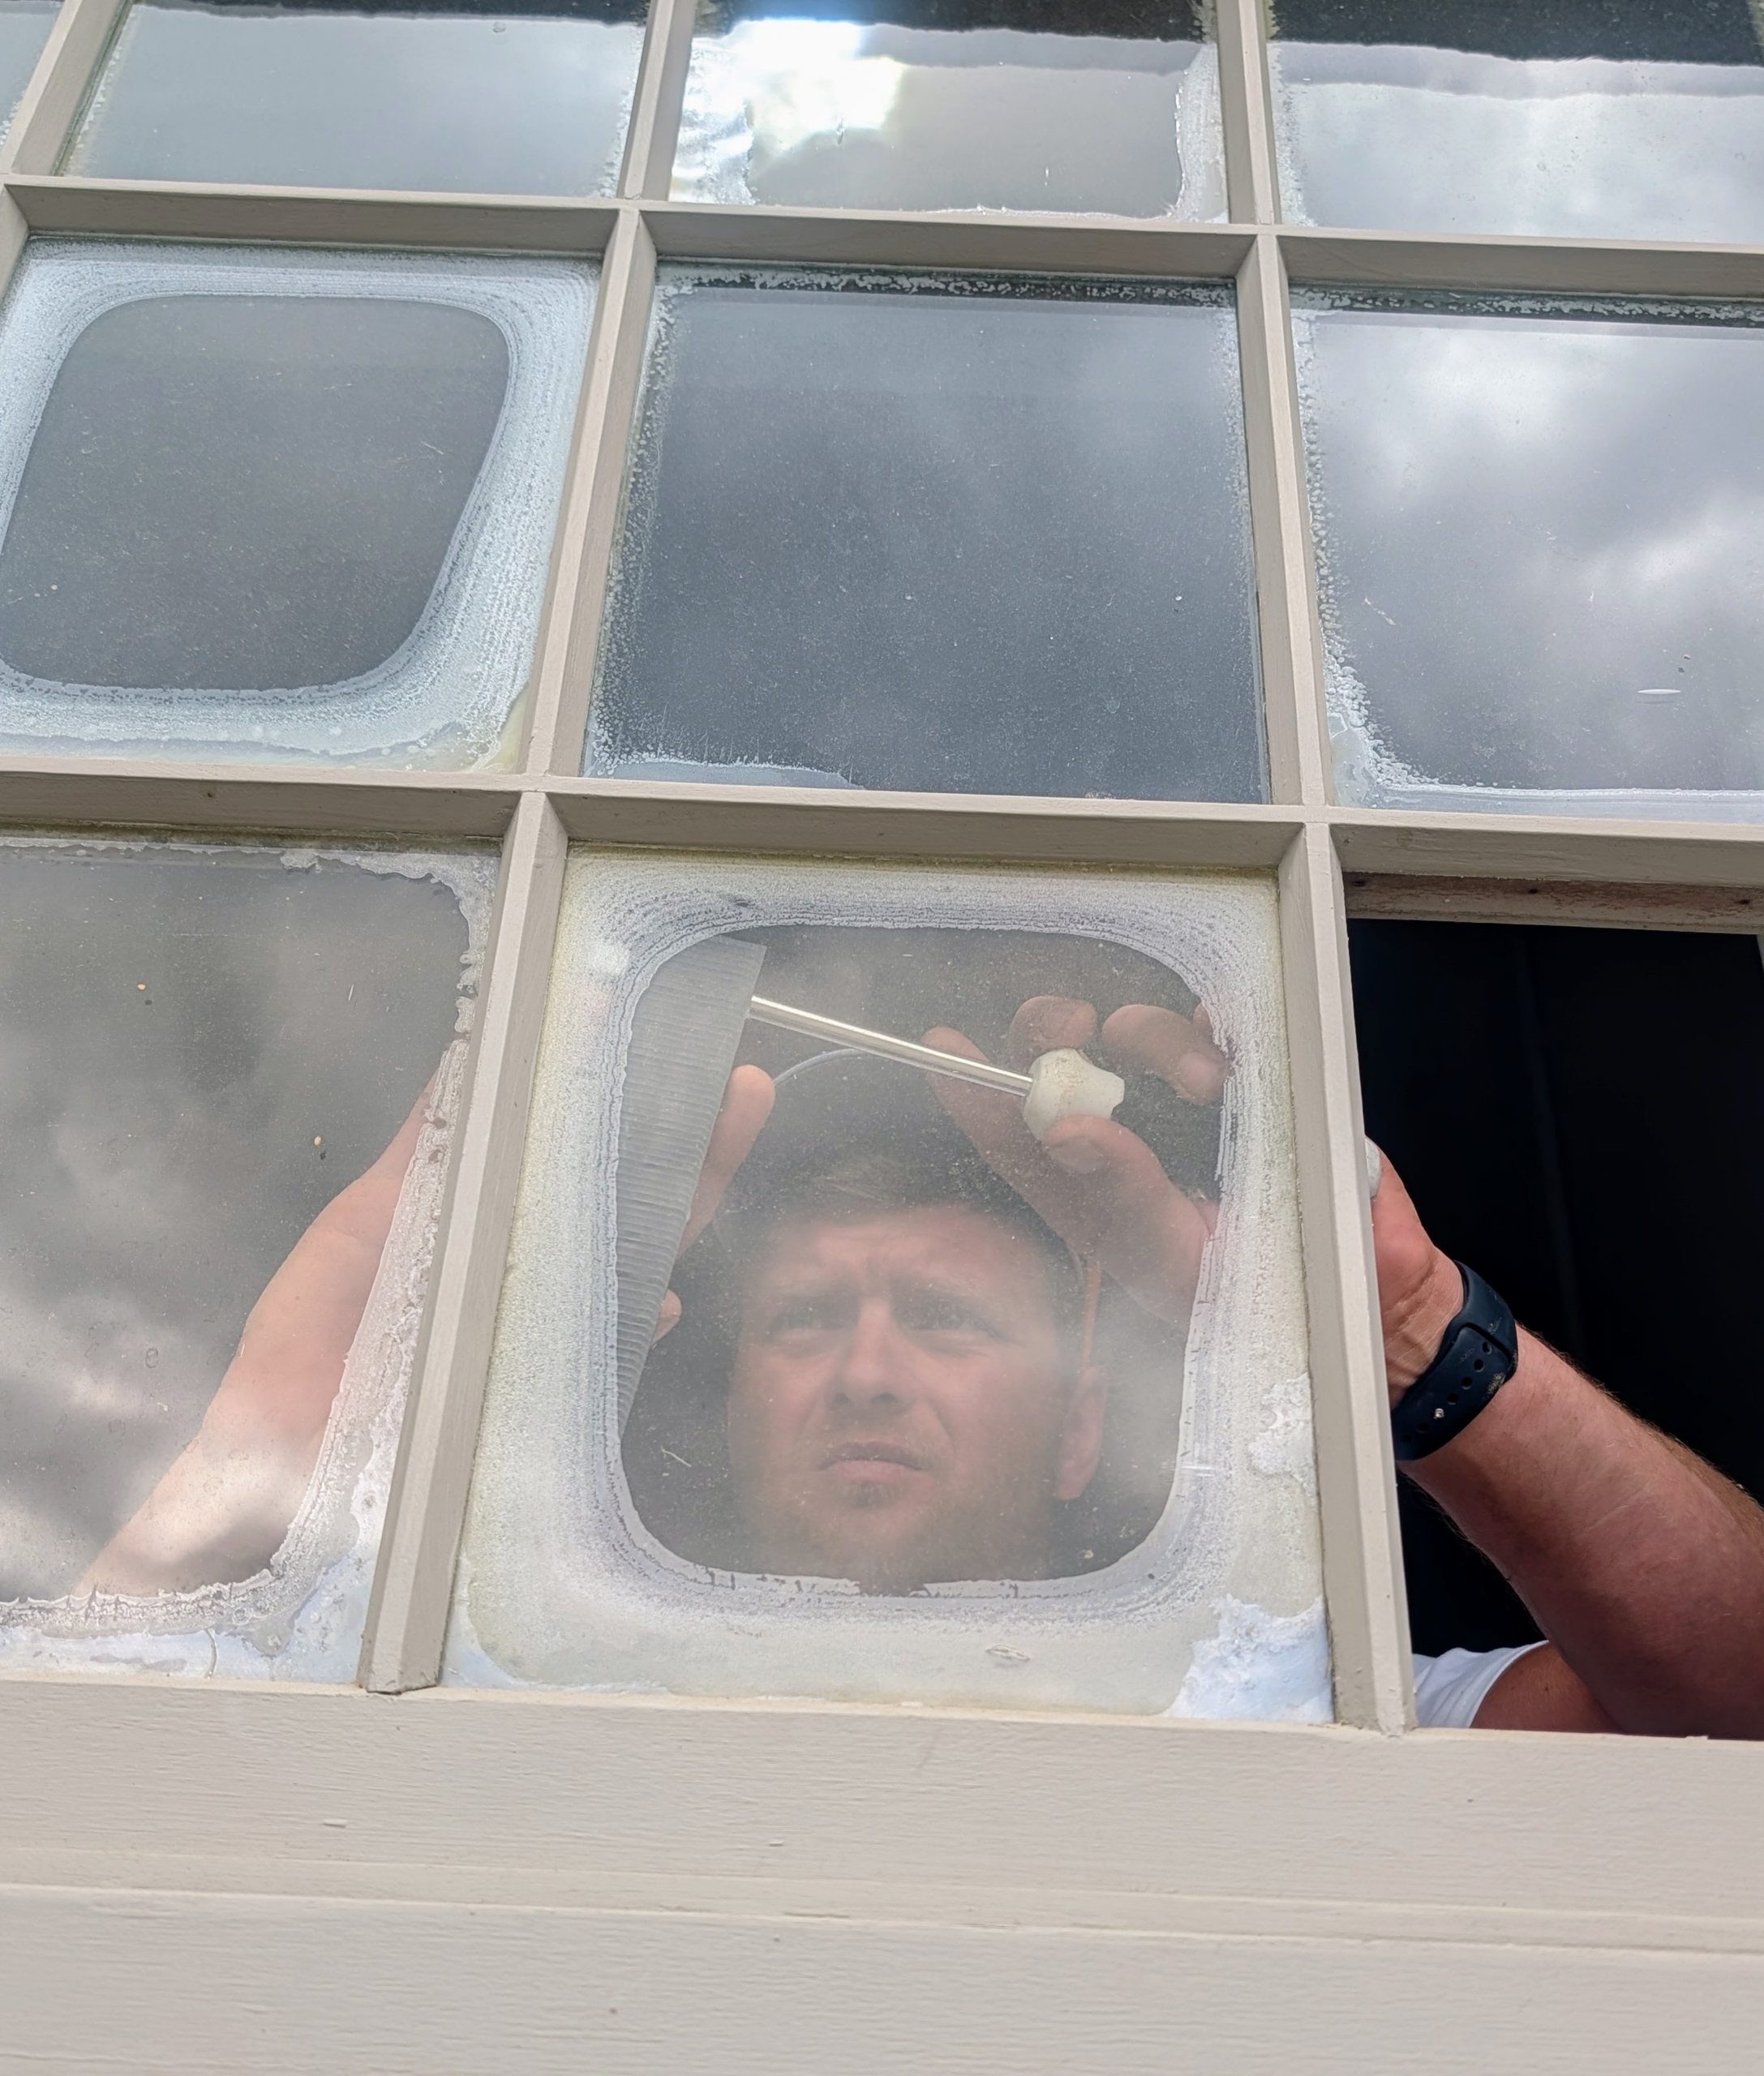
-
- As each piece is removed, it is labeled right away, so there is no confusion when putting it back.
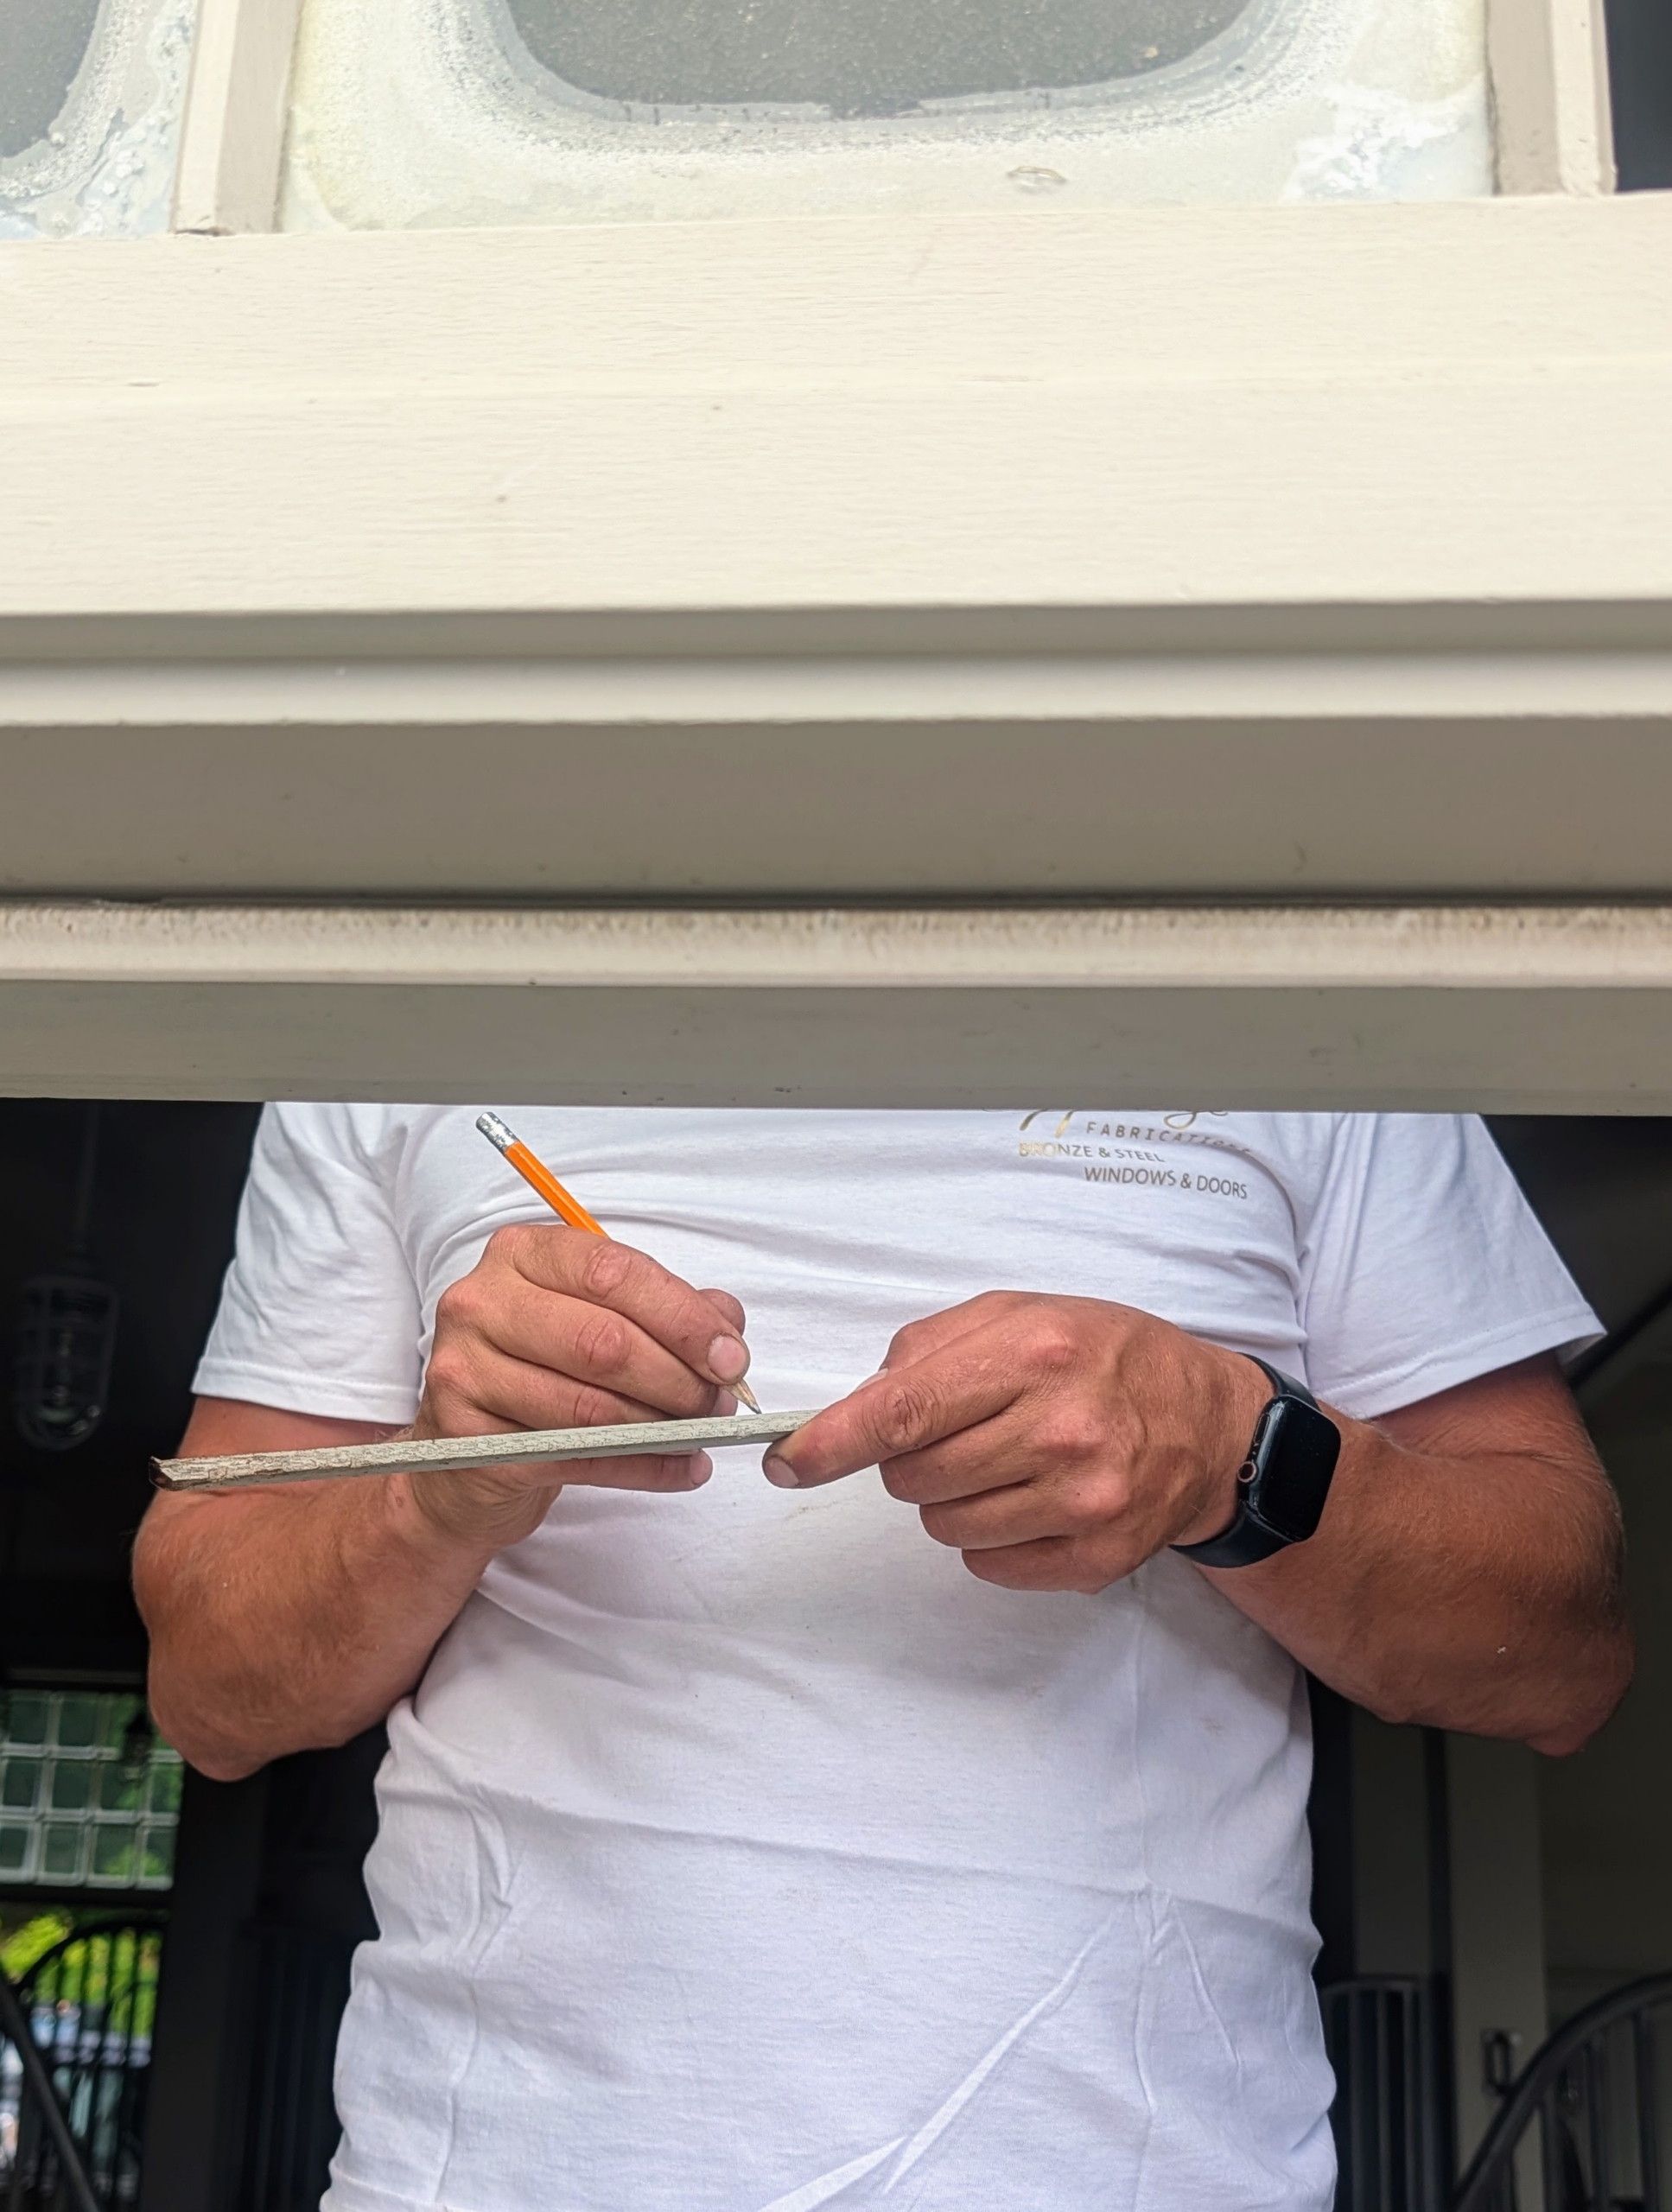
-
- Here, after the sash is taken off, the glass is also carefully removed.
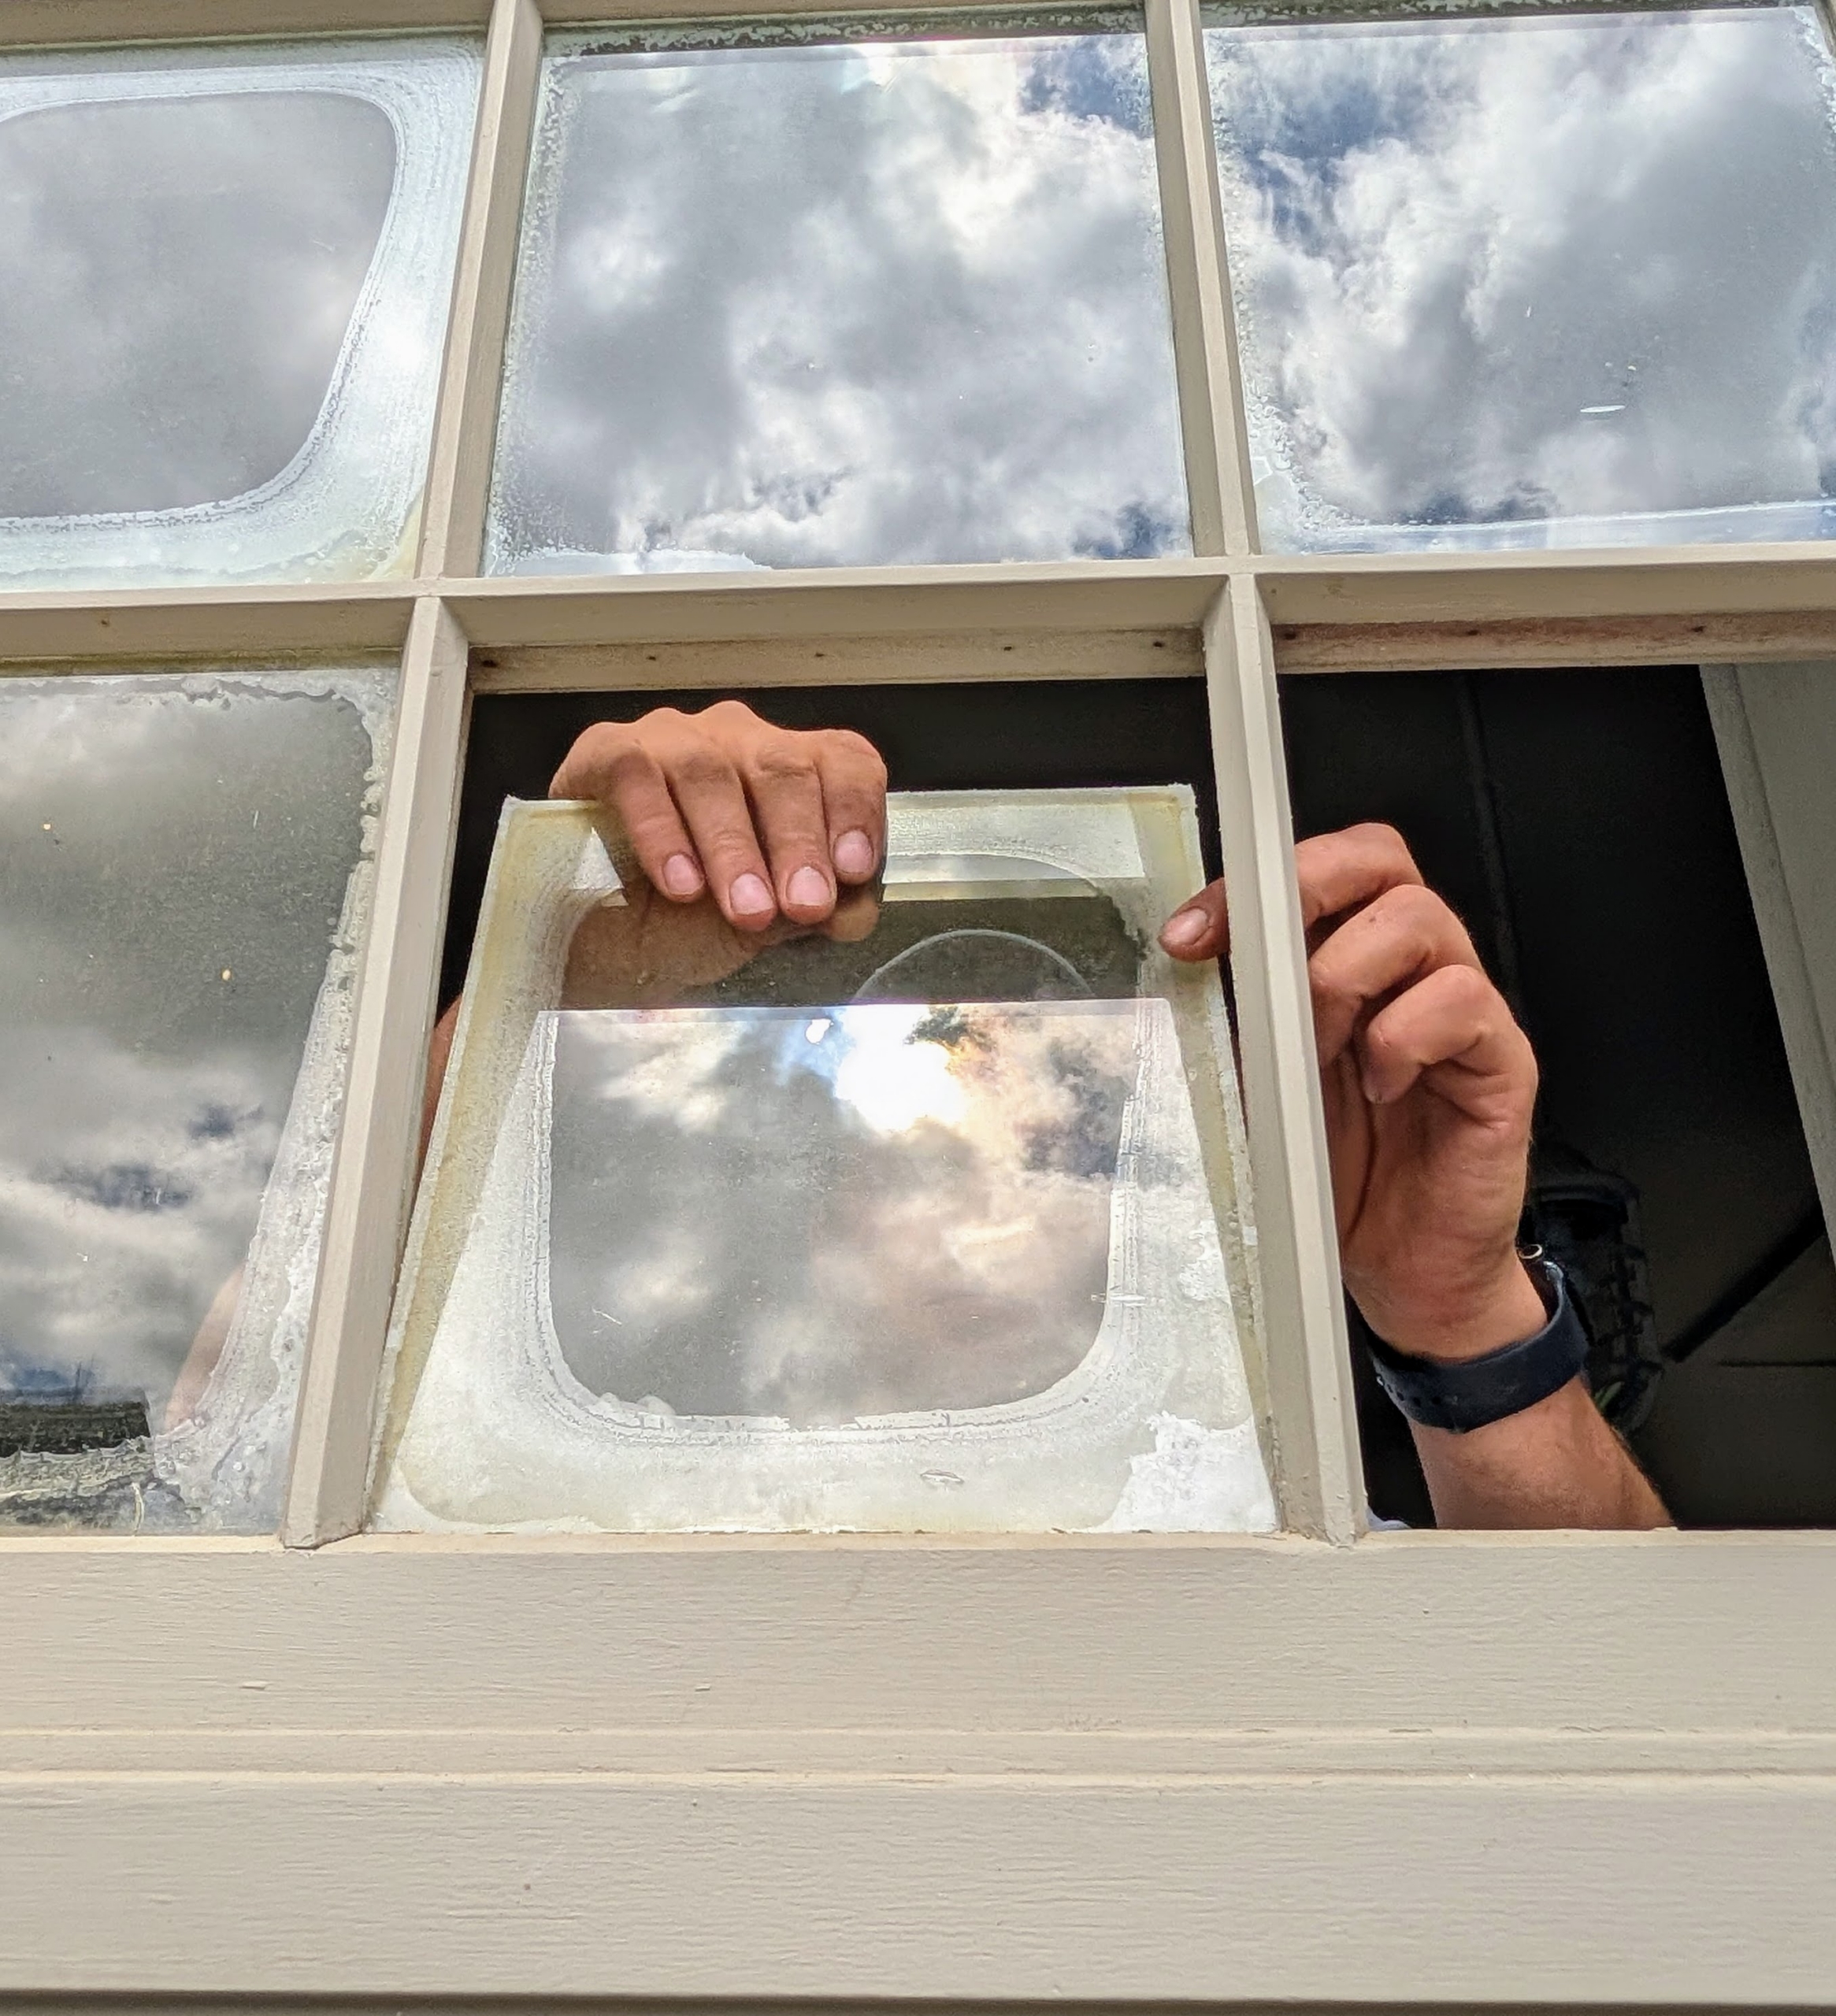
-
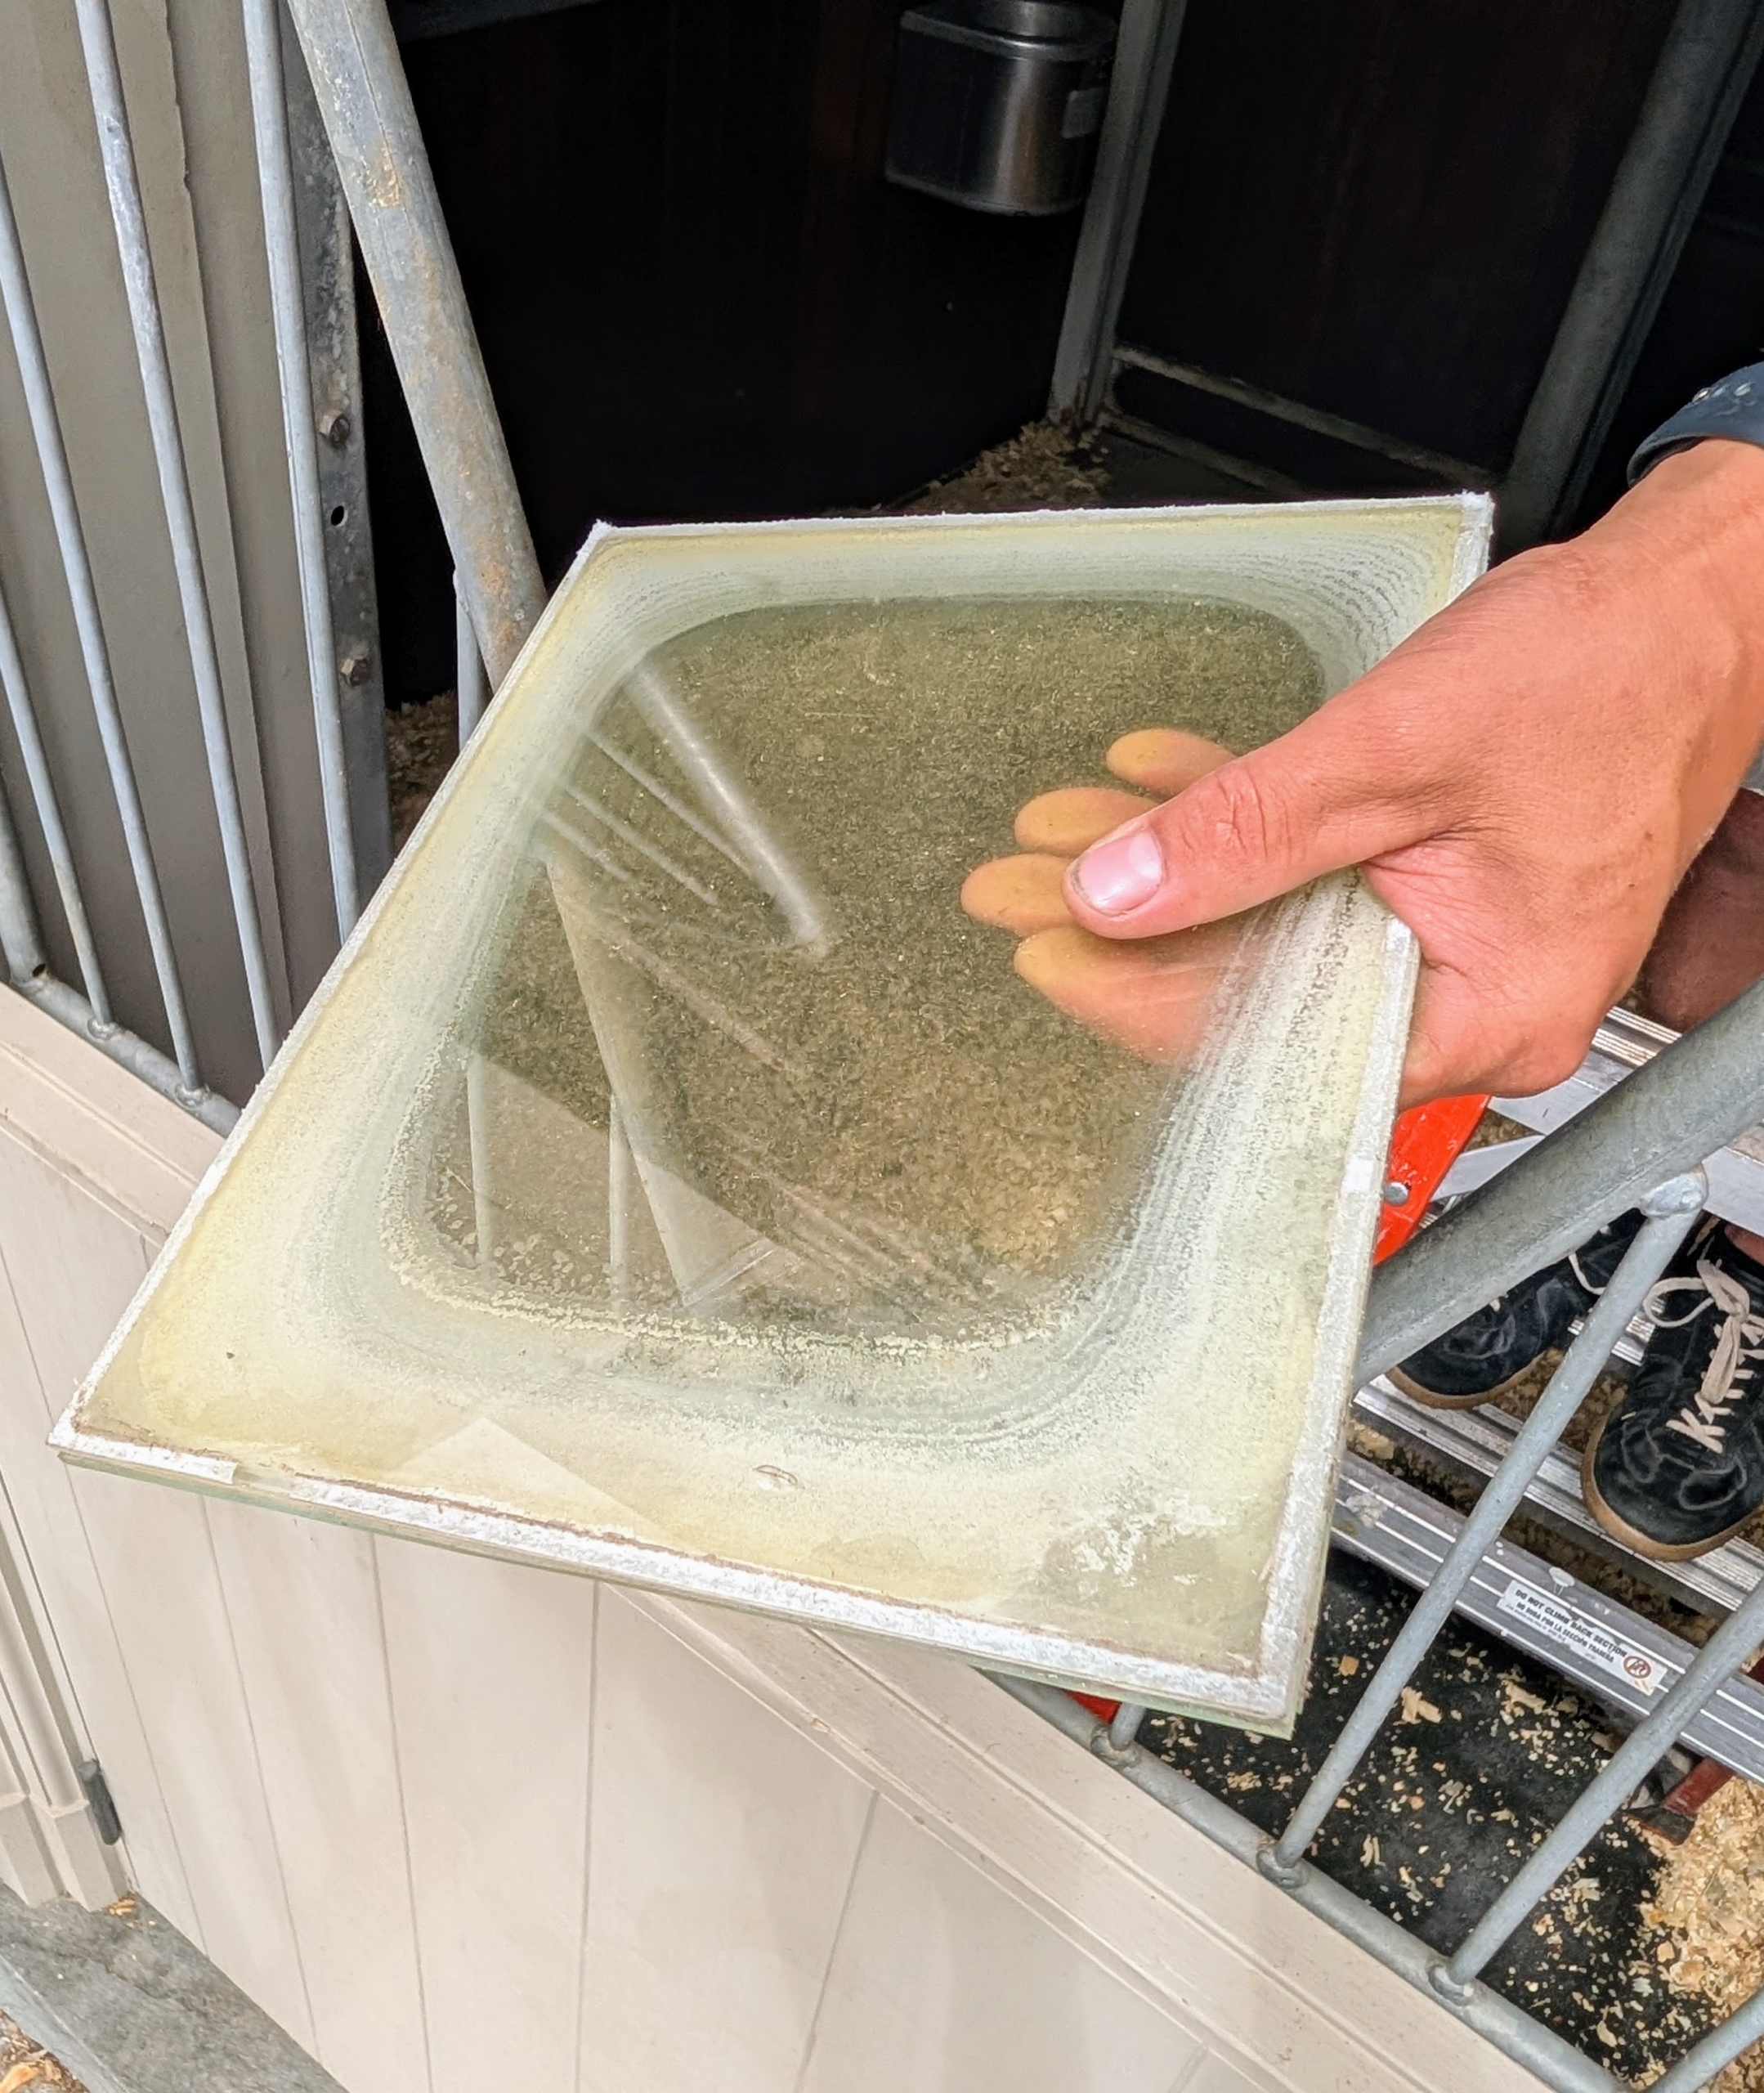
- This kind of damage can occur over years. UV exposure, inclement weather, and minor stress can cause the polymer sealant to develop microscopic cracks or gaps, and then allowing the moisture to enter the space between.
-
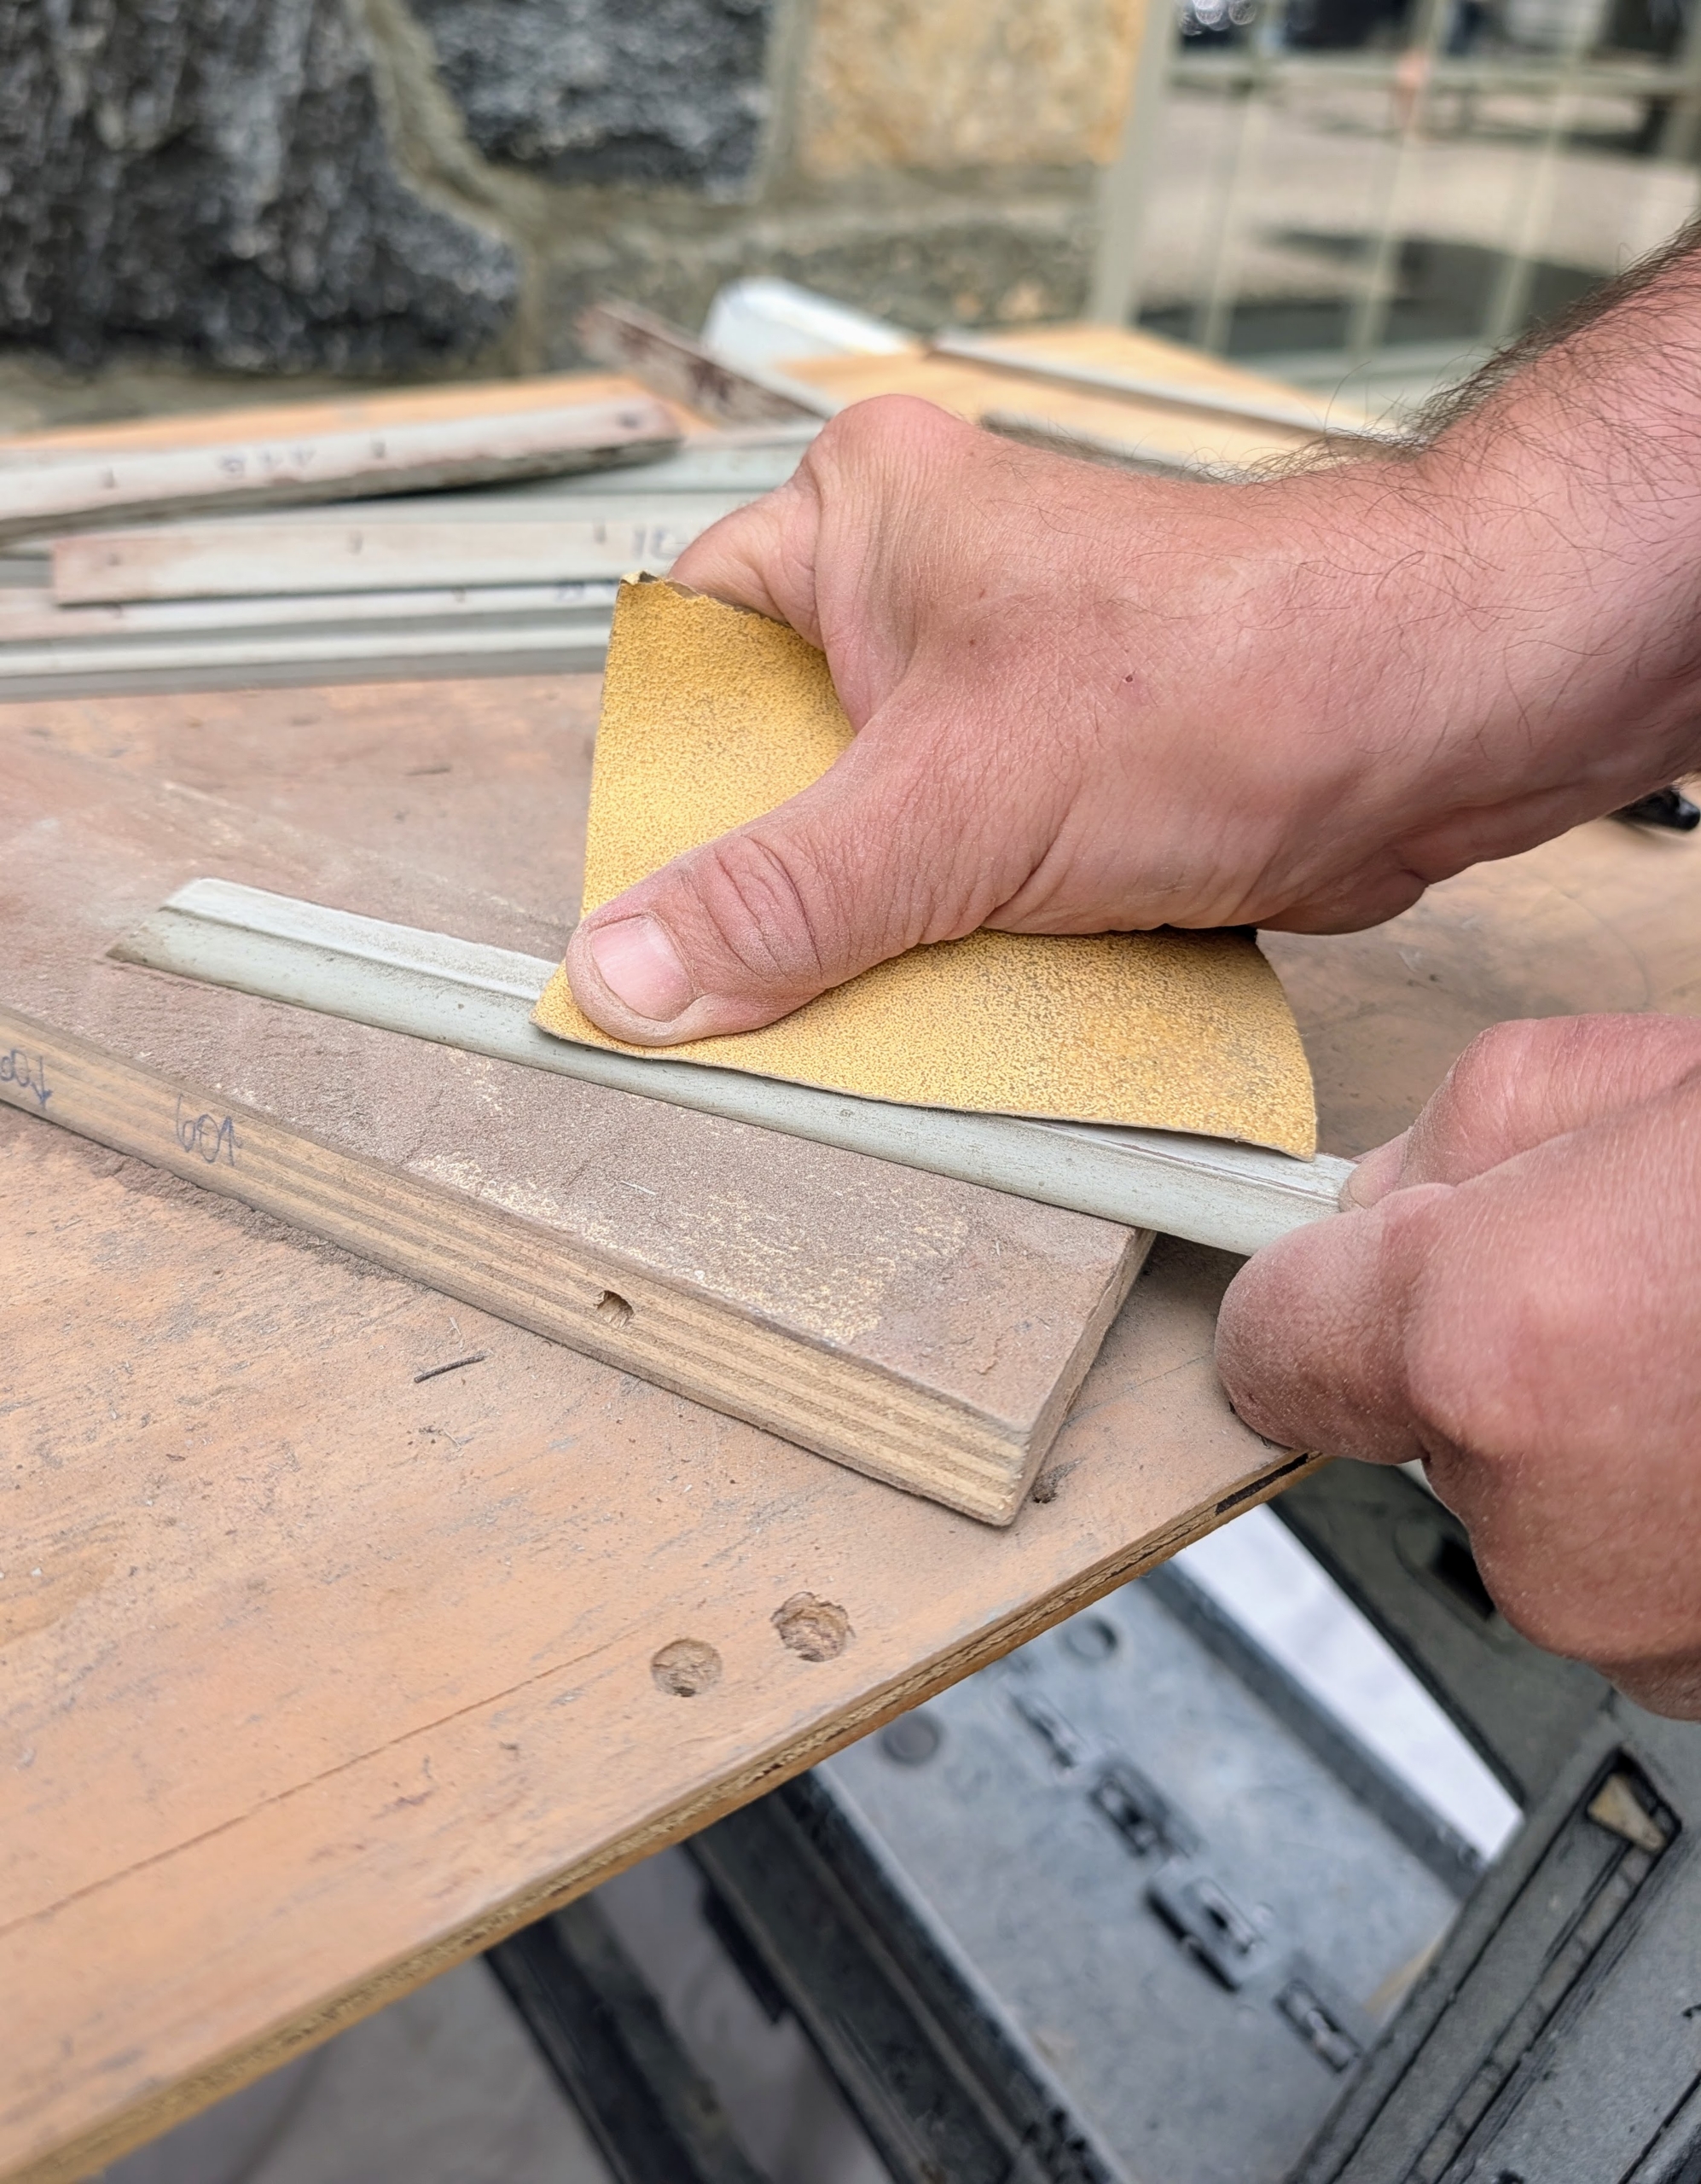
- After removal, each wooden piece is sanded, cleaned, and painted.
-
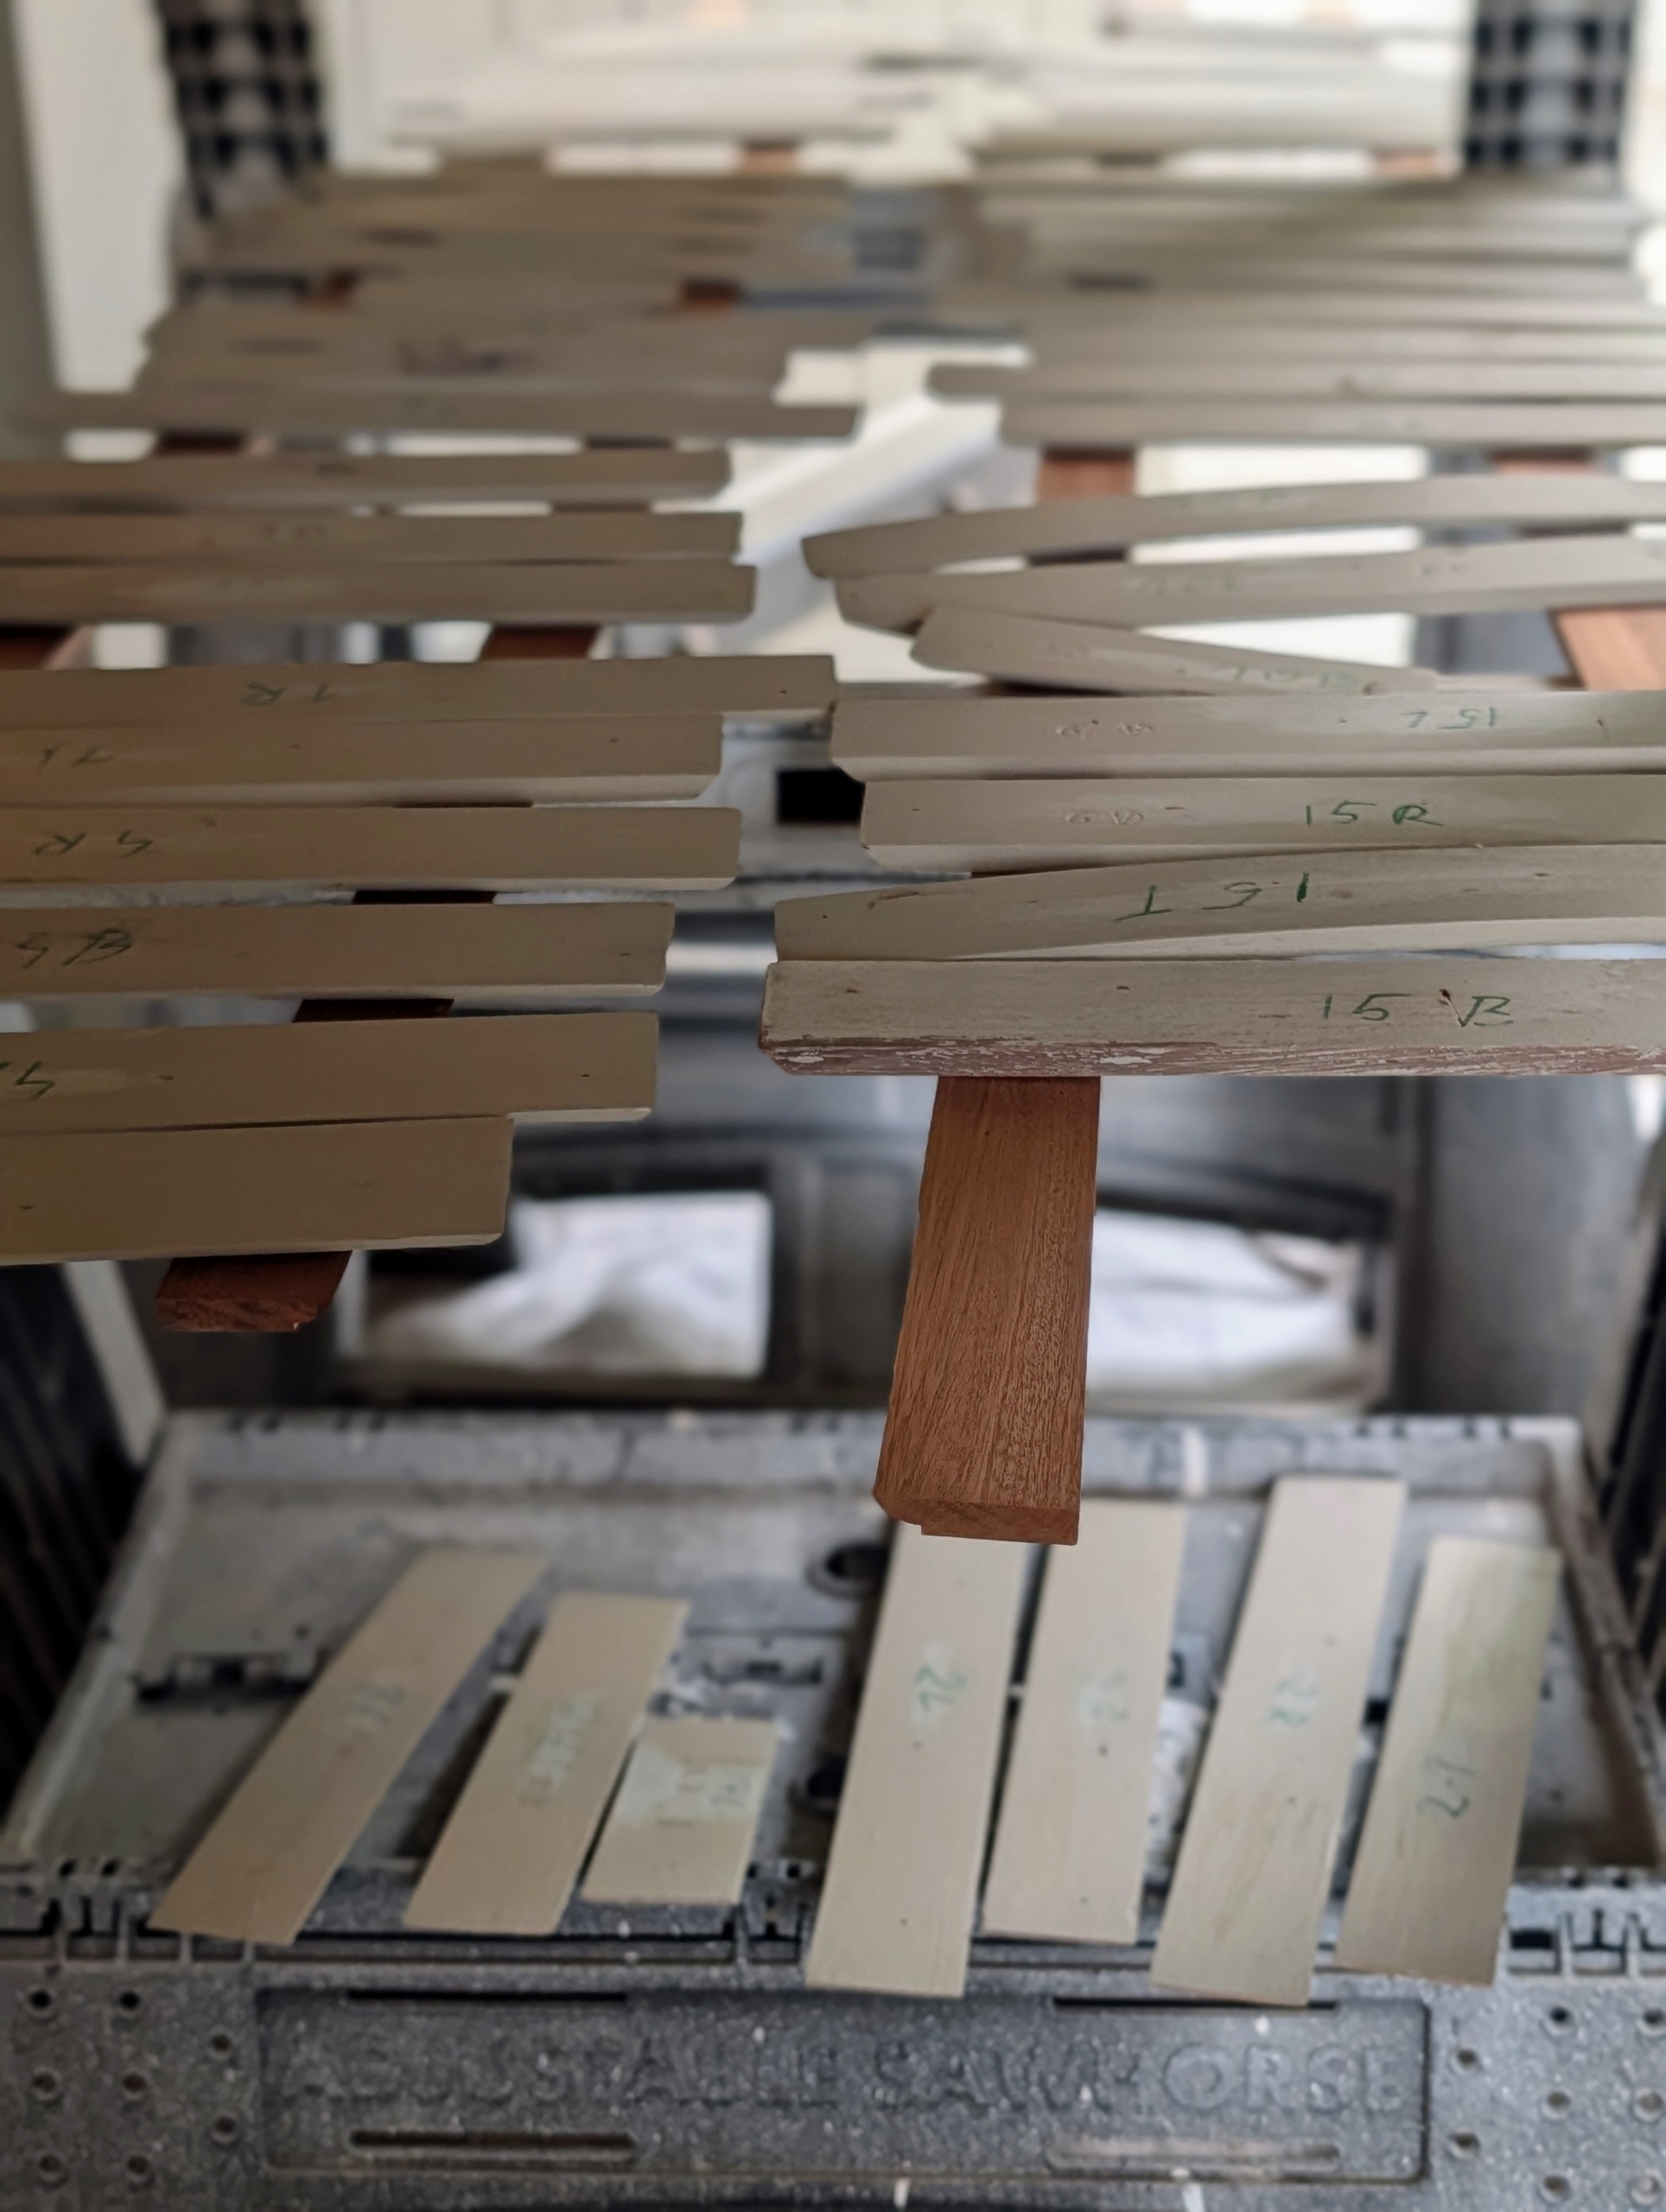
- Here are the wooden pieces are drying. They are all painted my signature color, Bedford Gray.
-
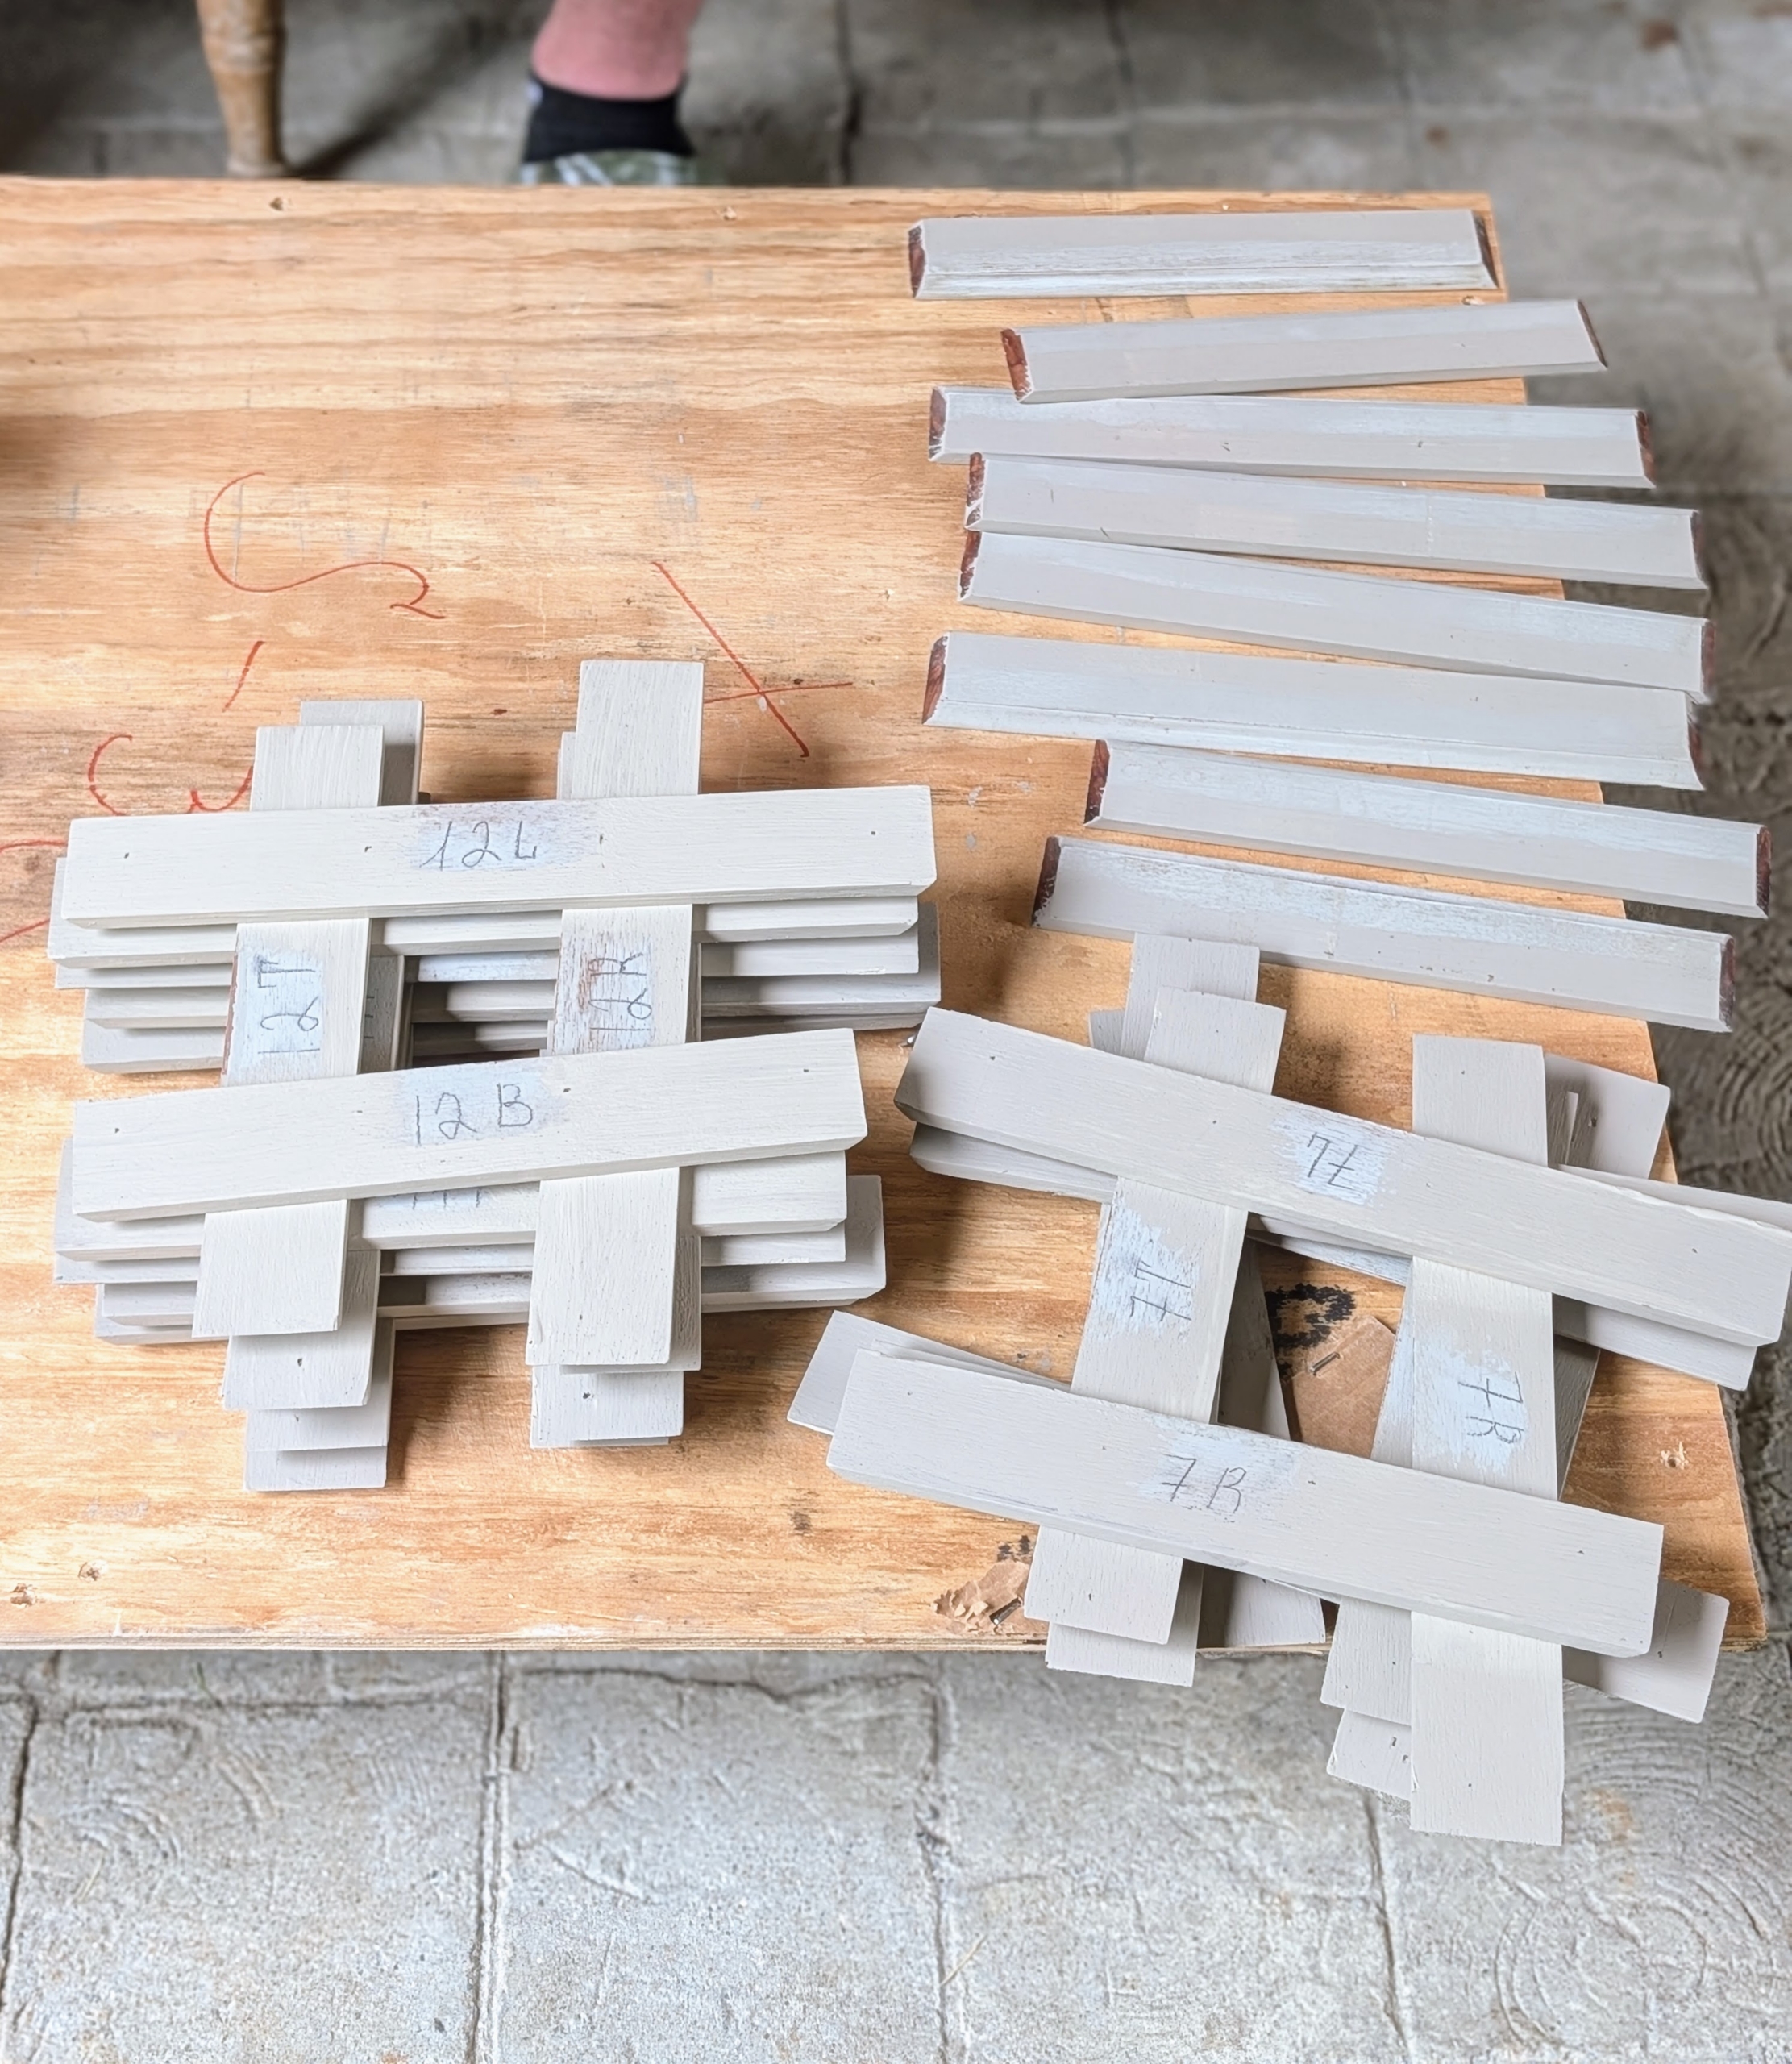
- The pieces are always kept organized during the entire process. Doing this carefully saves time in the long run.
-
- The new restoration glass features medium waves, reflective and dimpled distortions with some pitting. This glass is well suited for historically accurate window restoration.
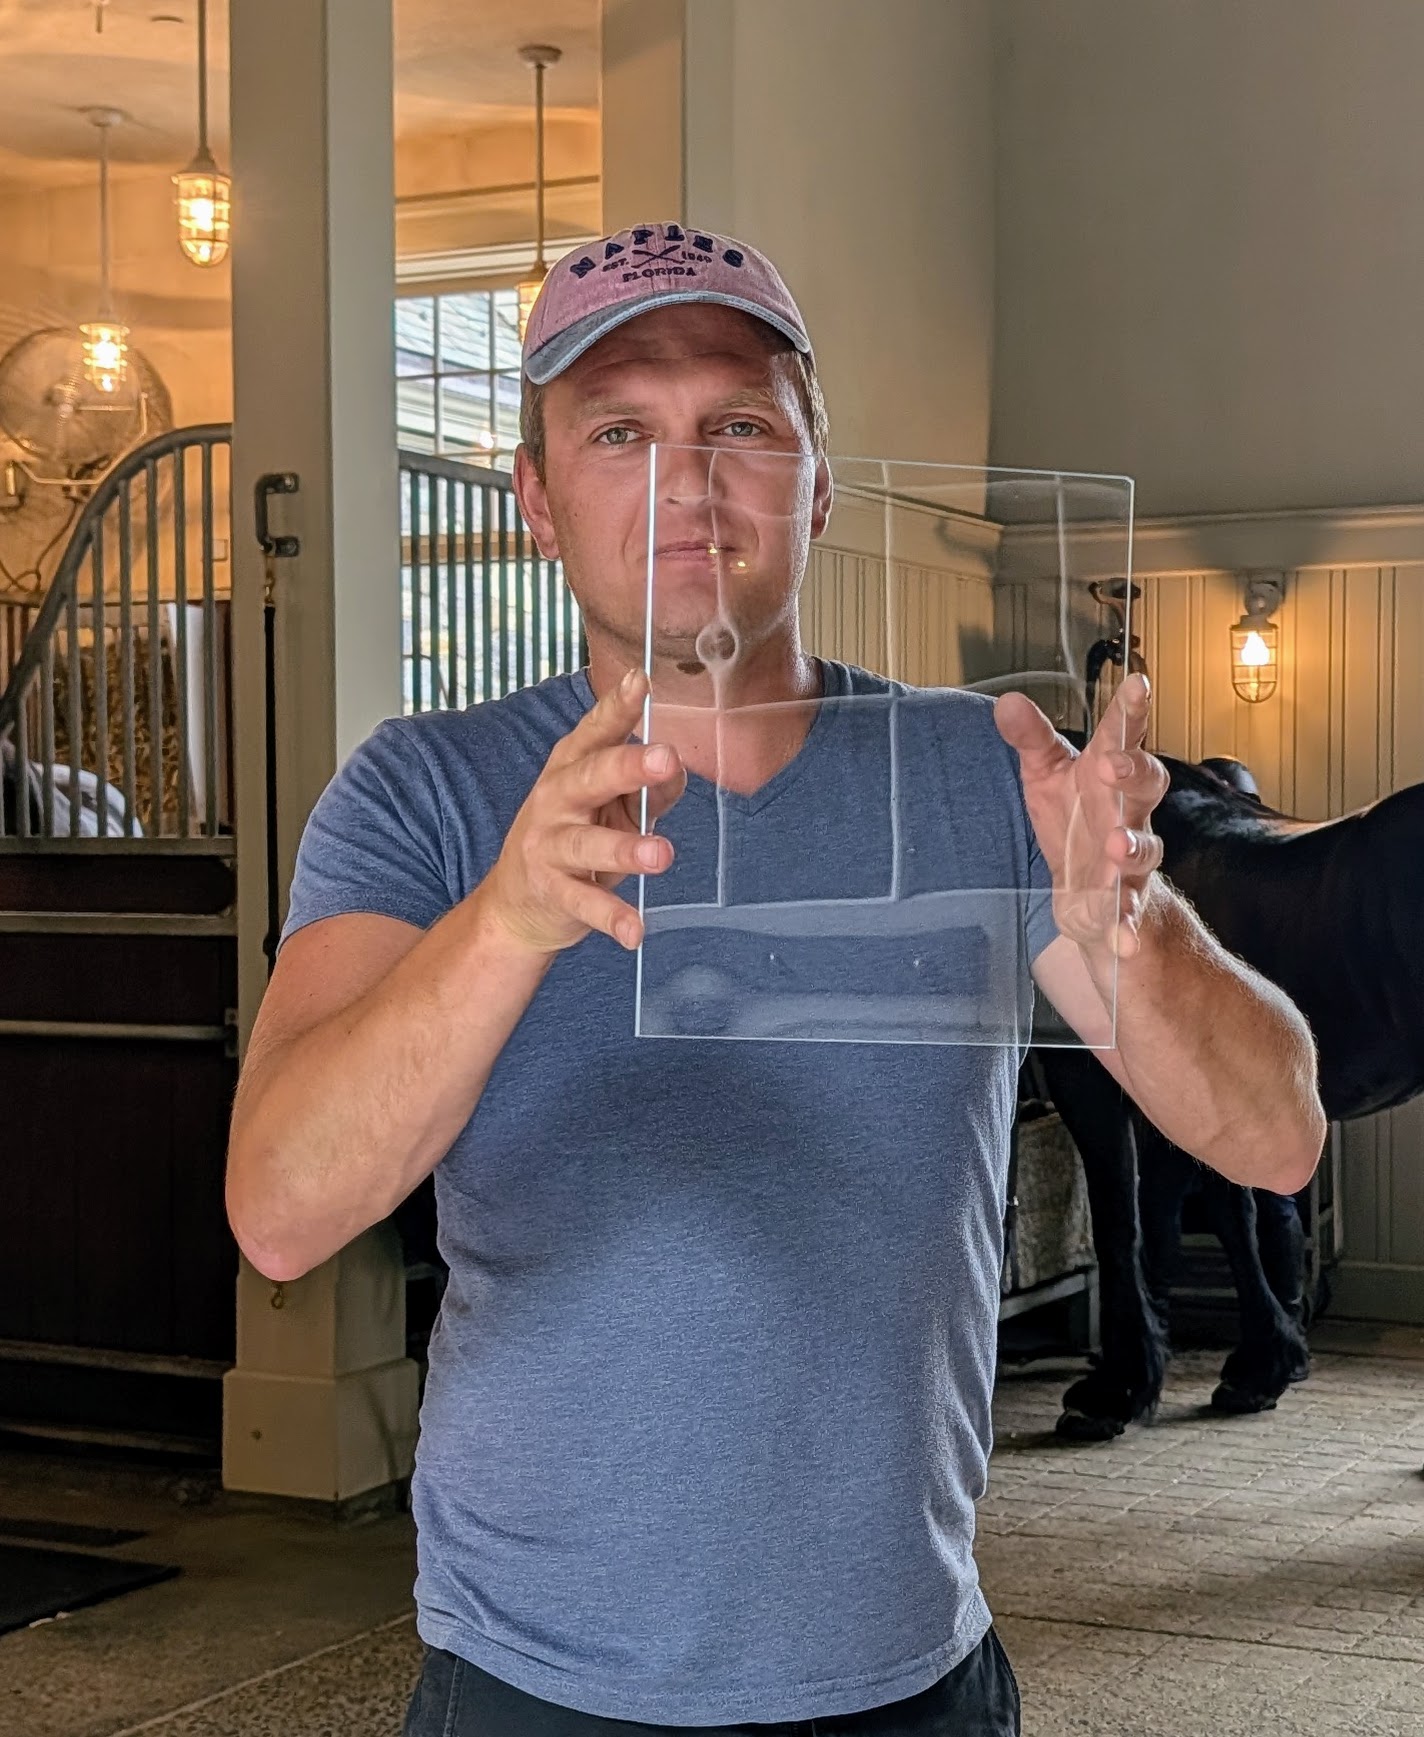
-
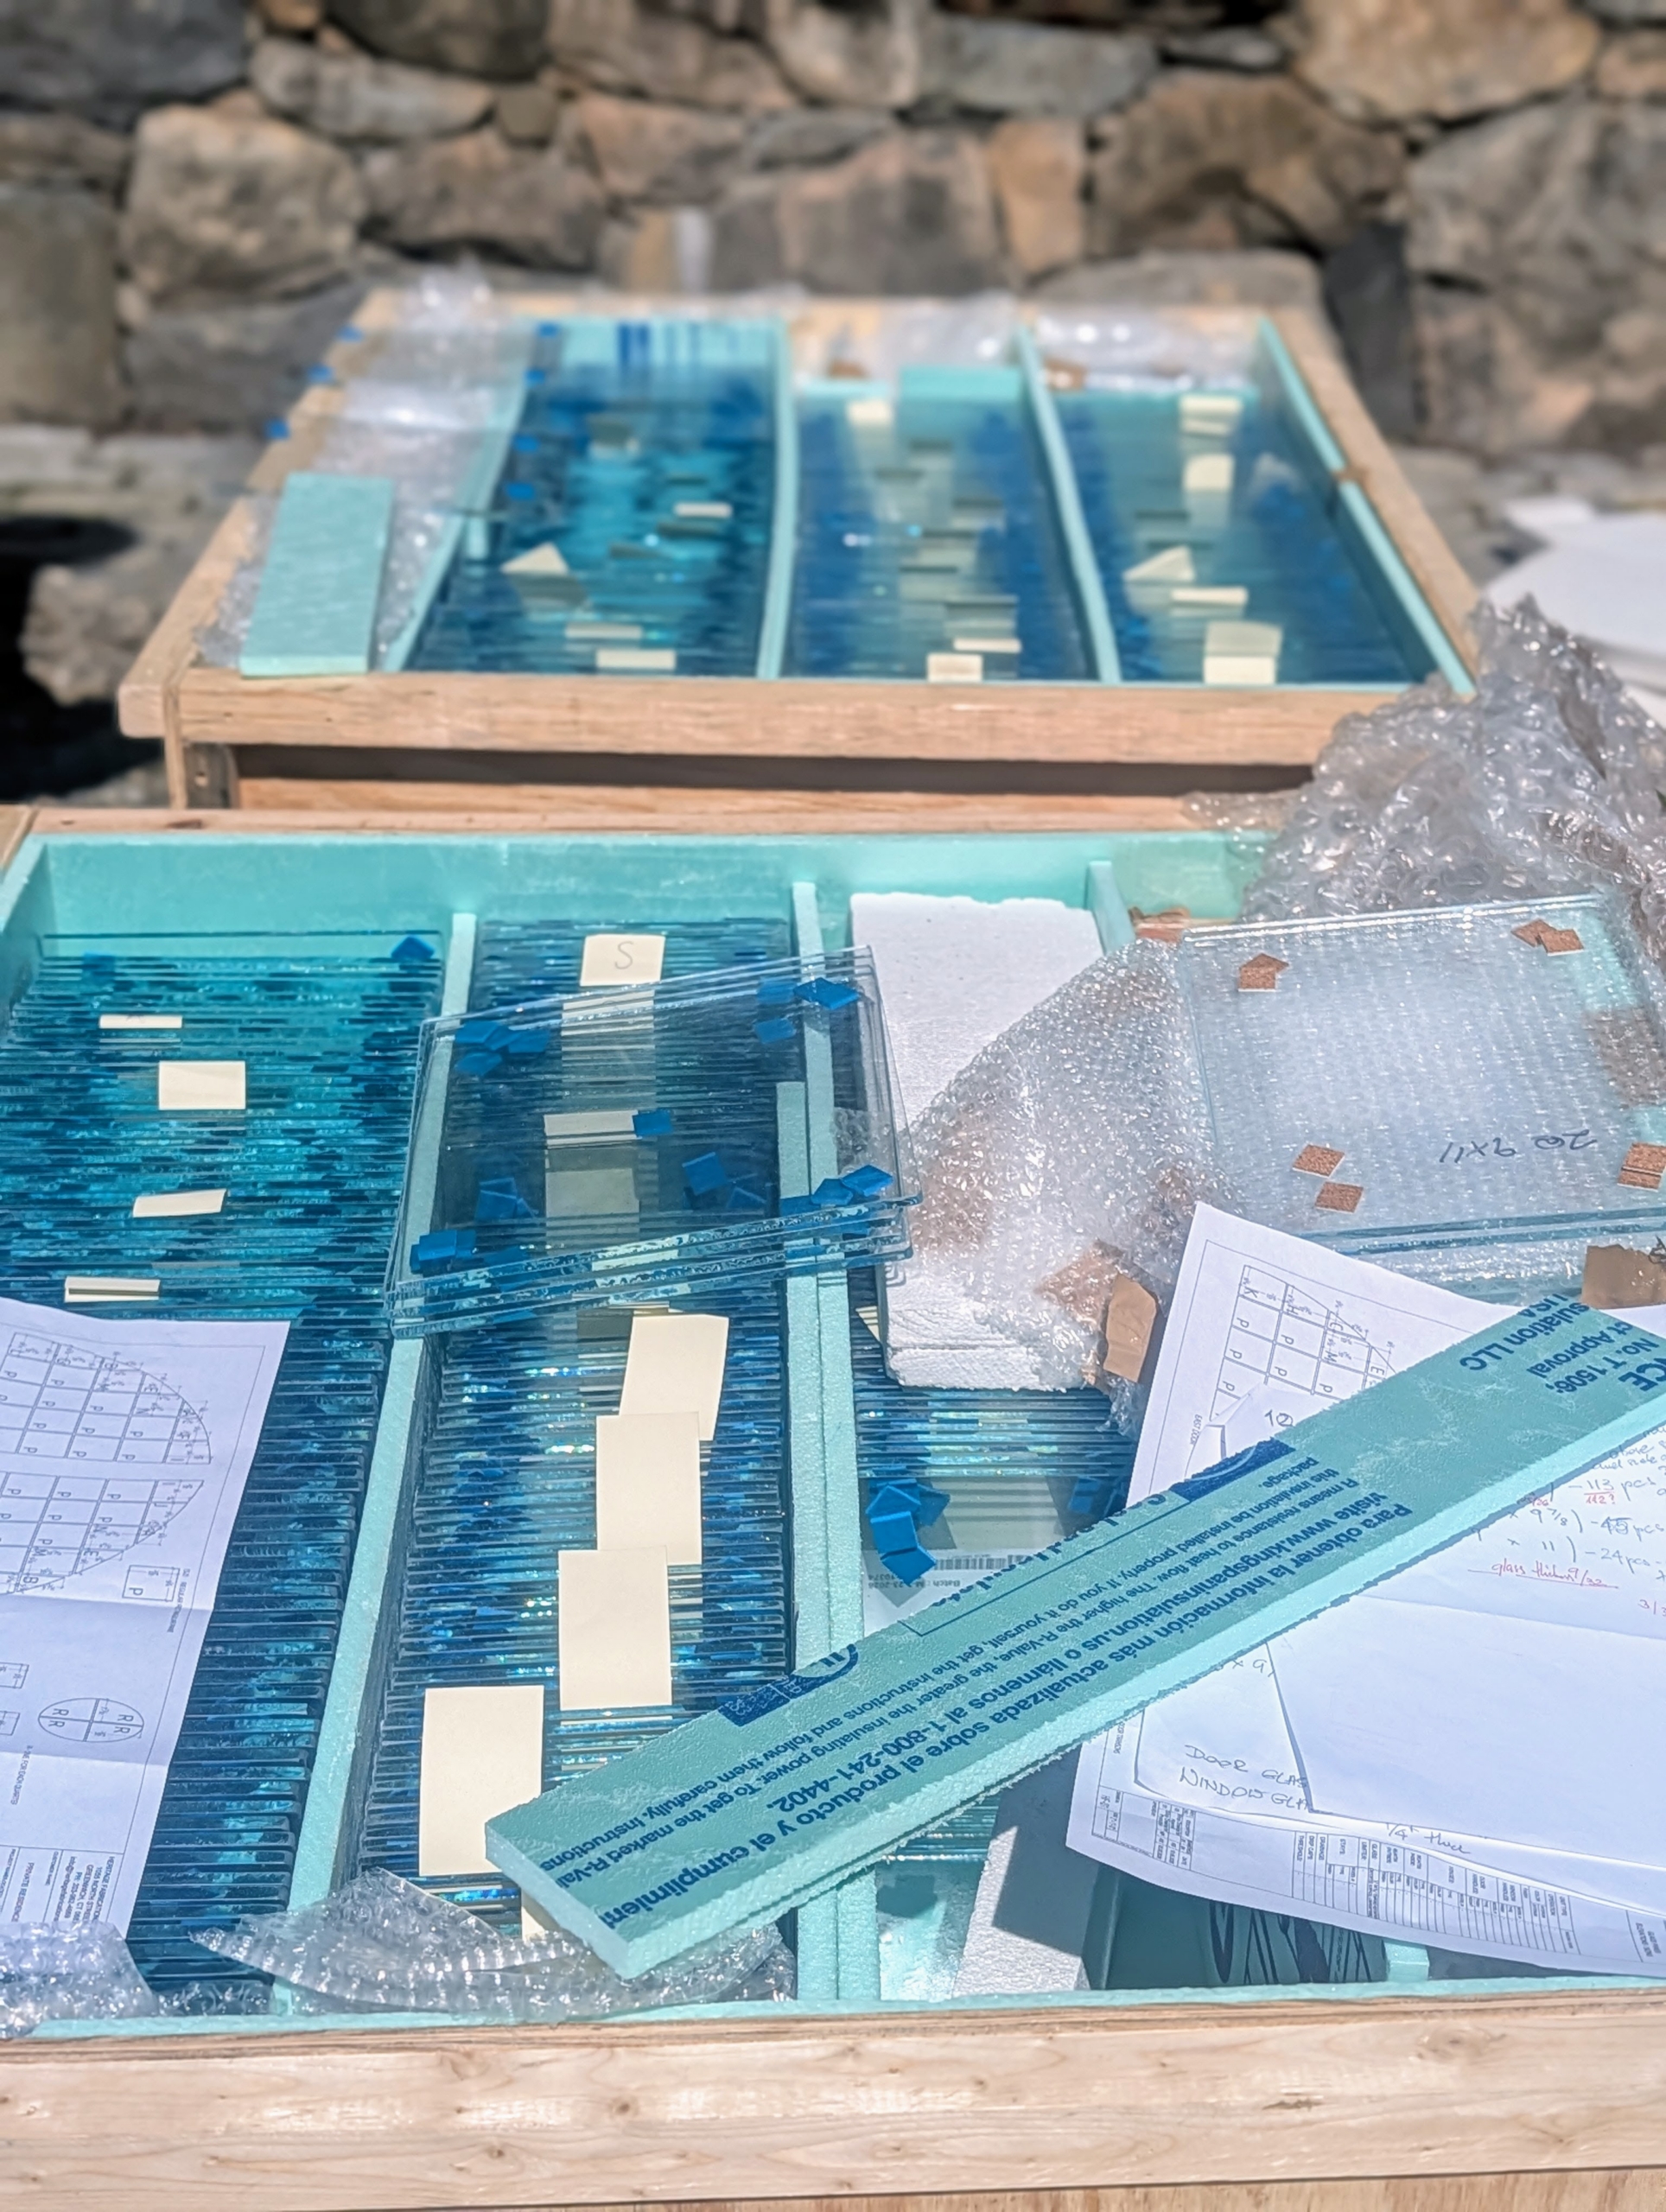
- All the new windows came labeled, and properly packaged.
-
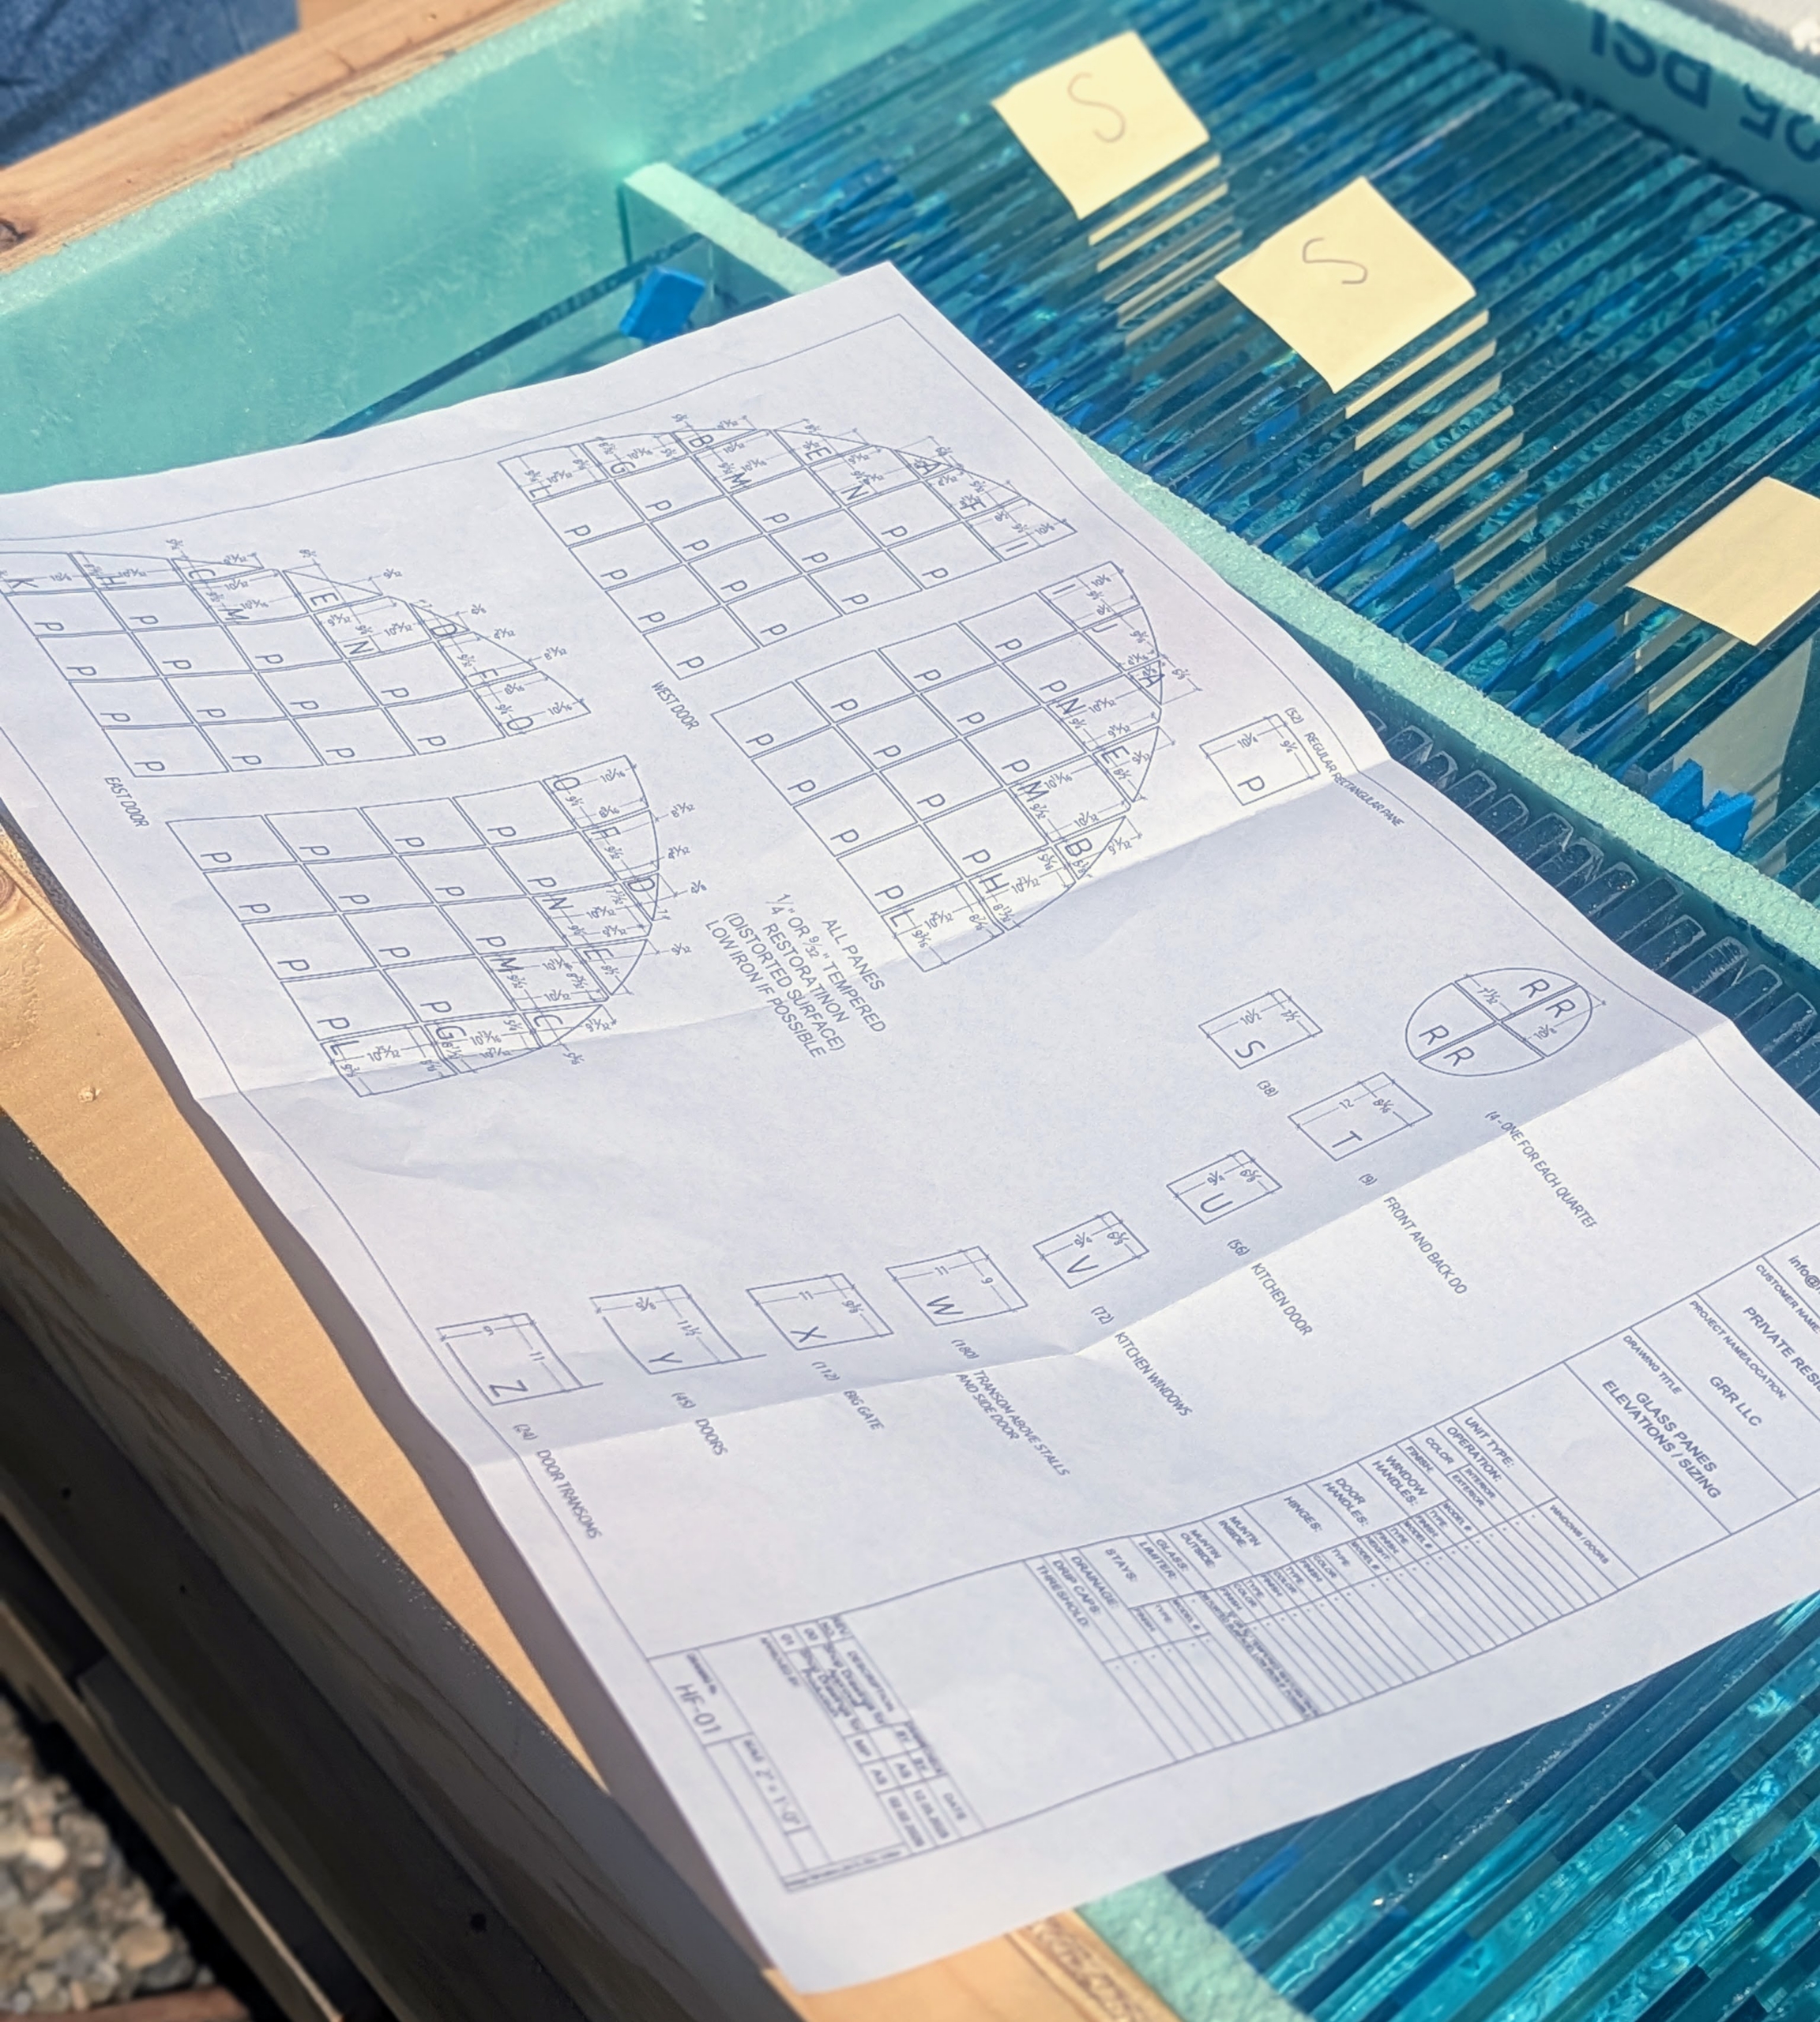
- Each piece is measured precisely for each section and listed on a diagram for reference.
-
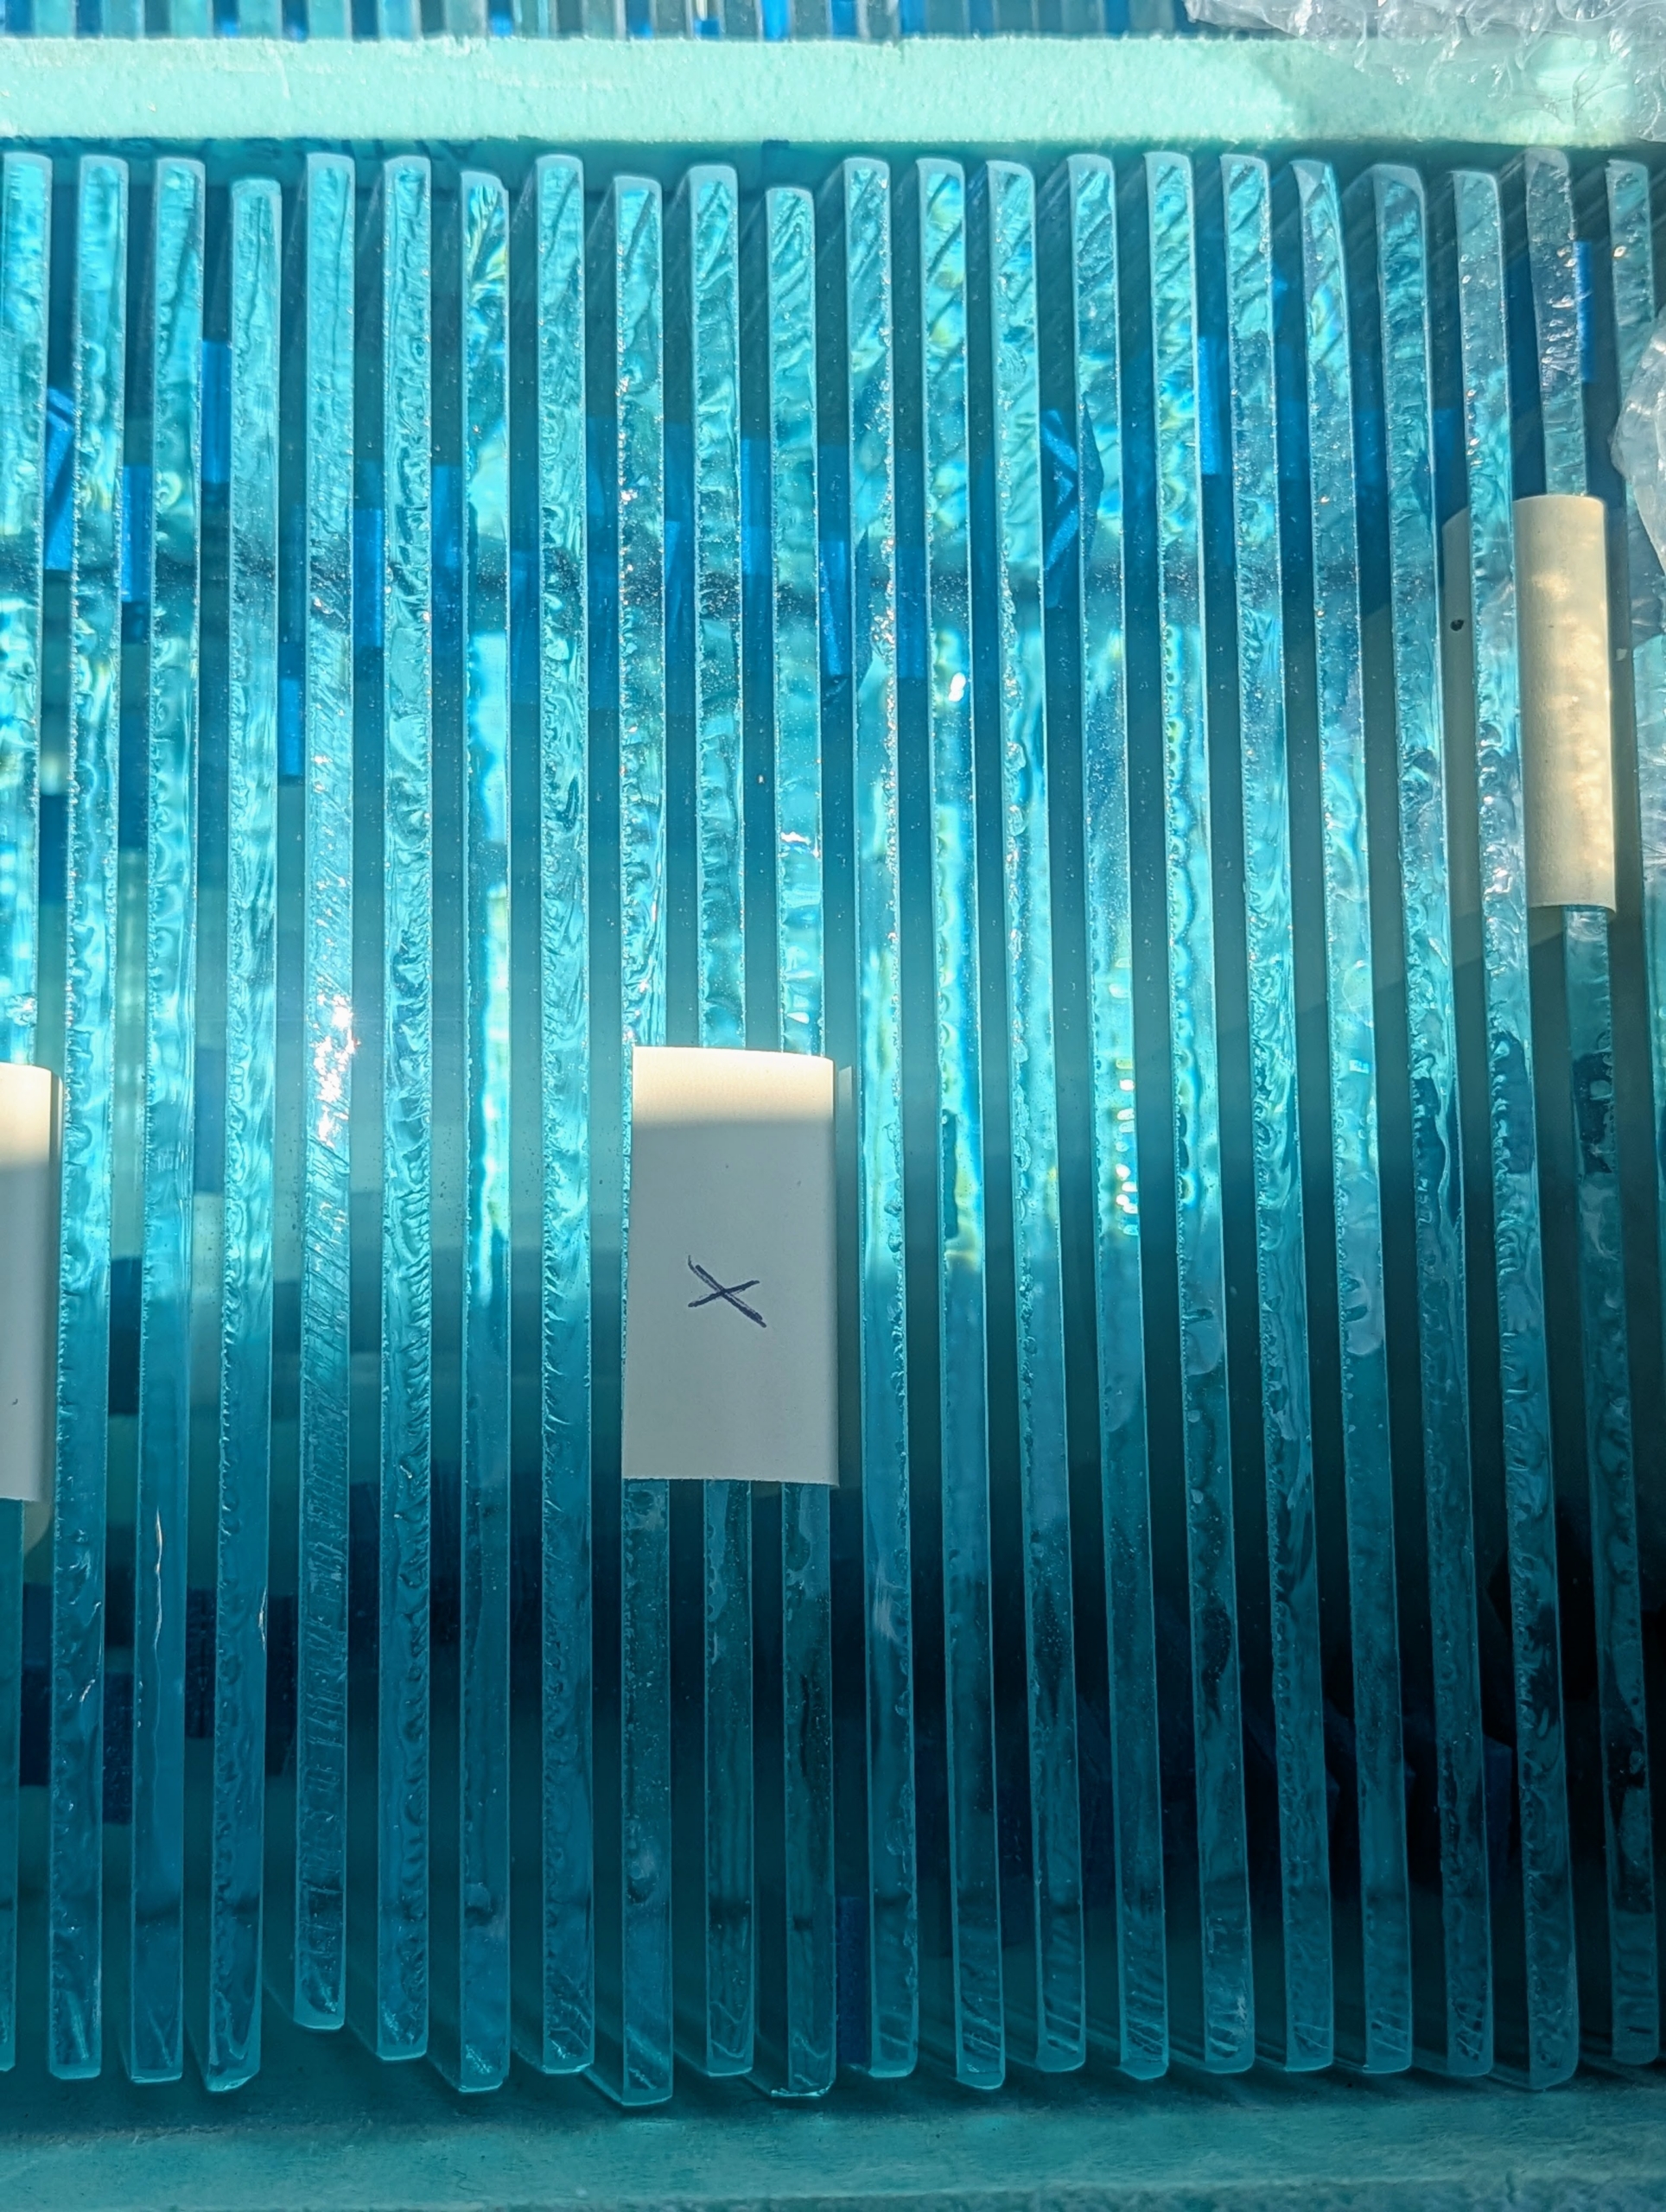
- These are thicker single pane glass windows that won’t suffer the same kind of damage as the ones being replaced.
-
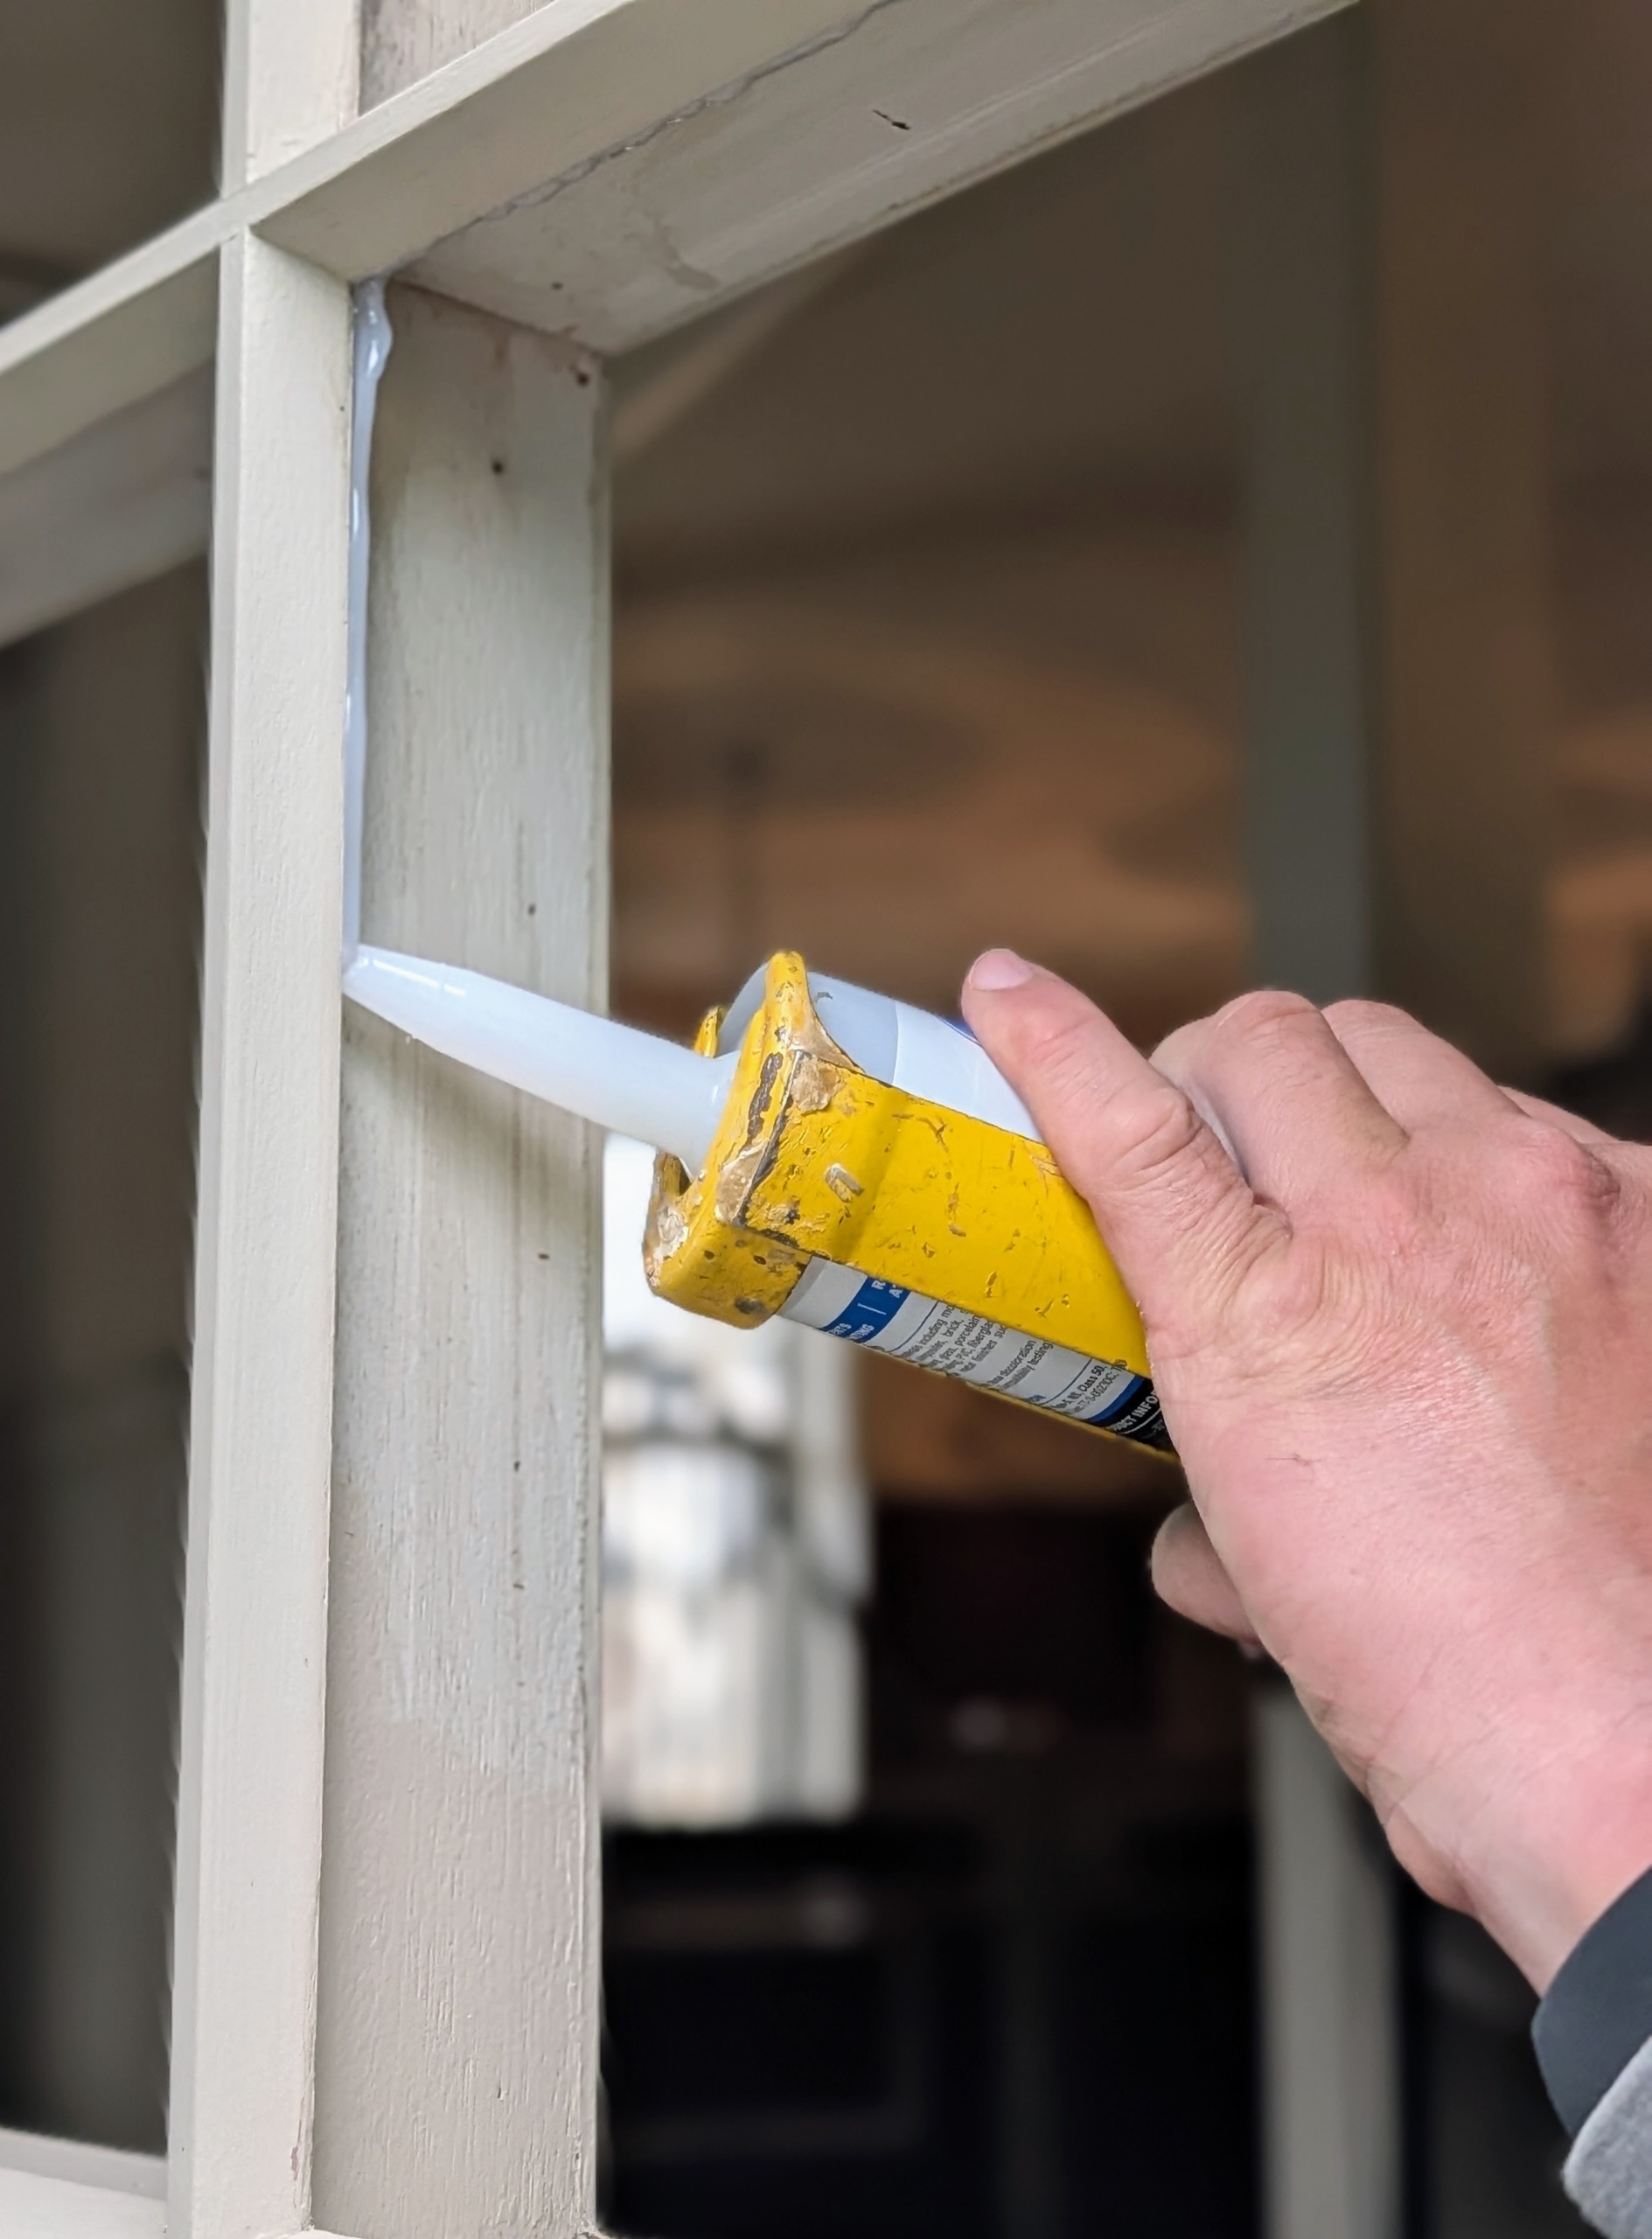
- A thin layer of window glazing compound is carefully squeezed into the frame. This will create a durable, airtight, and watertight seal between the wood sashes and the glass.
-
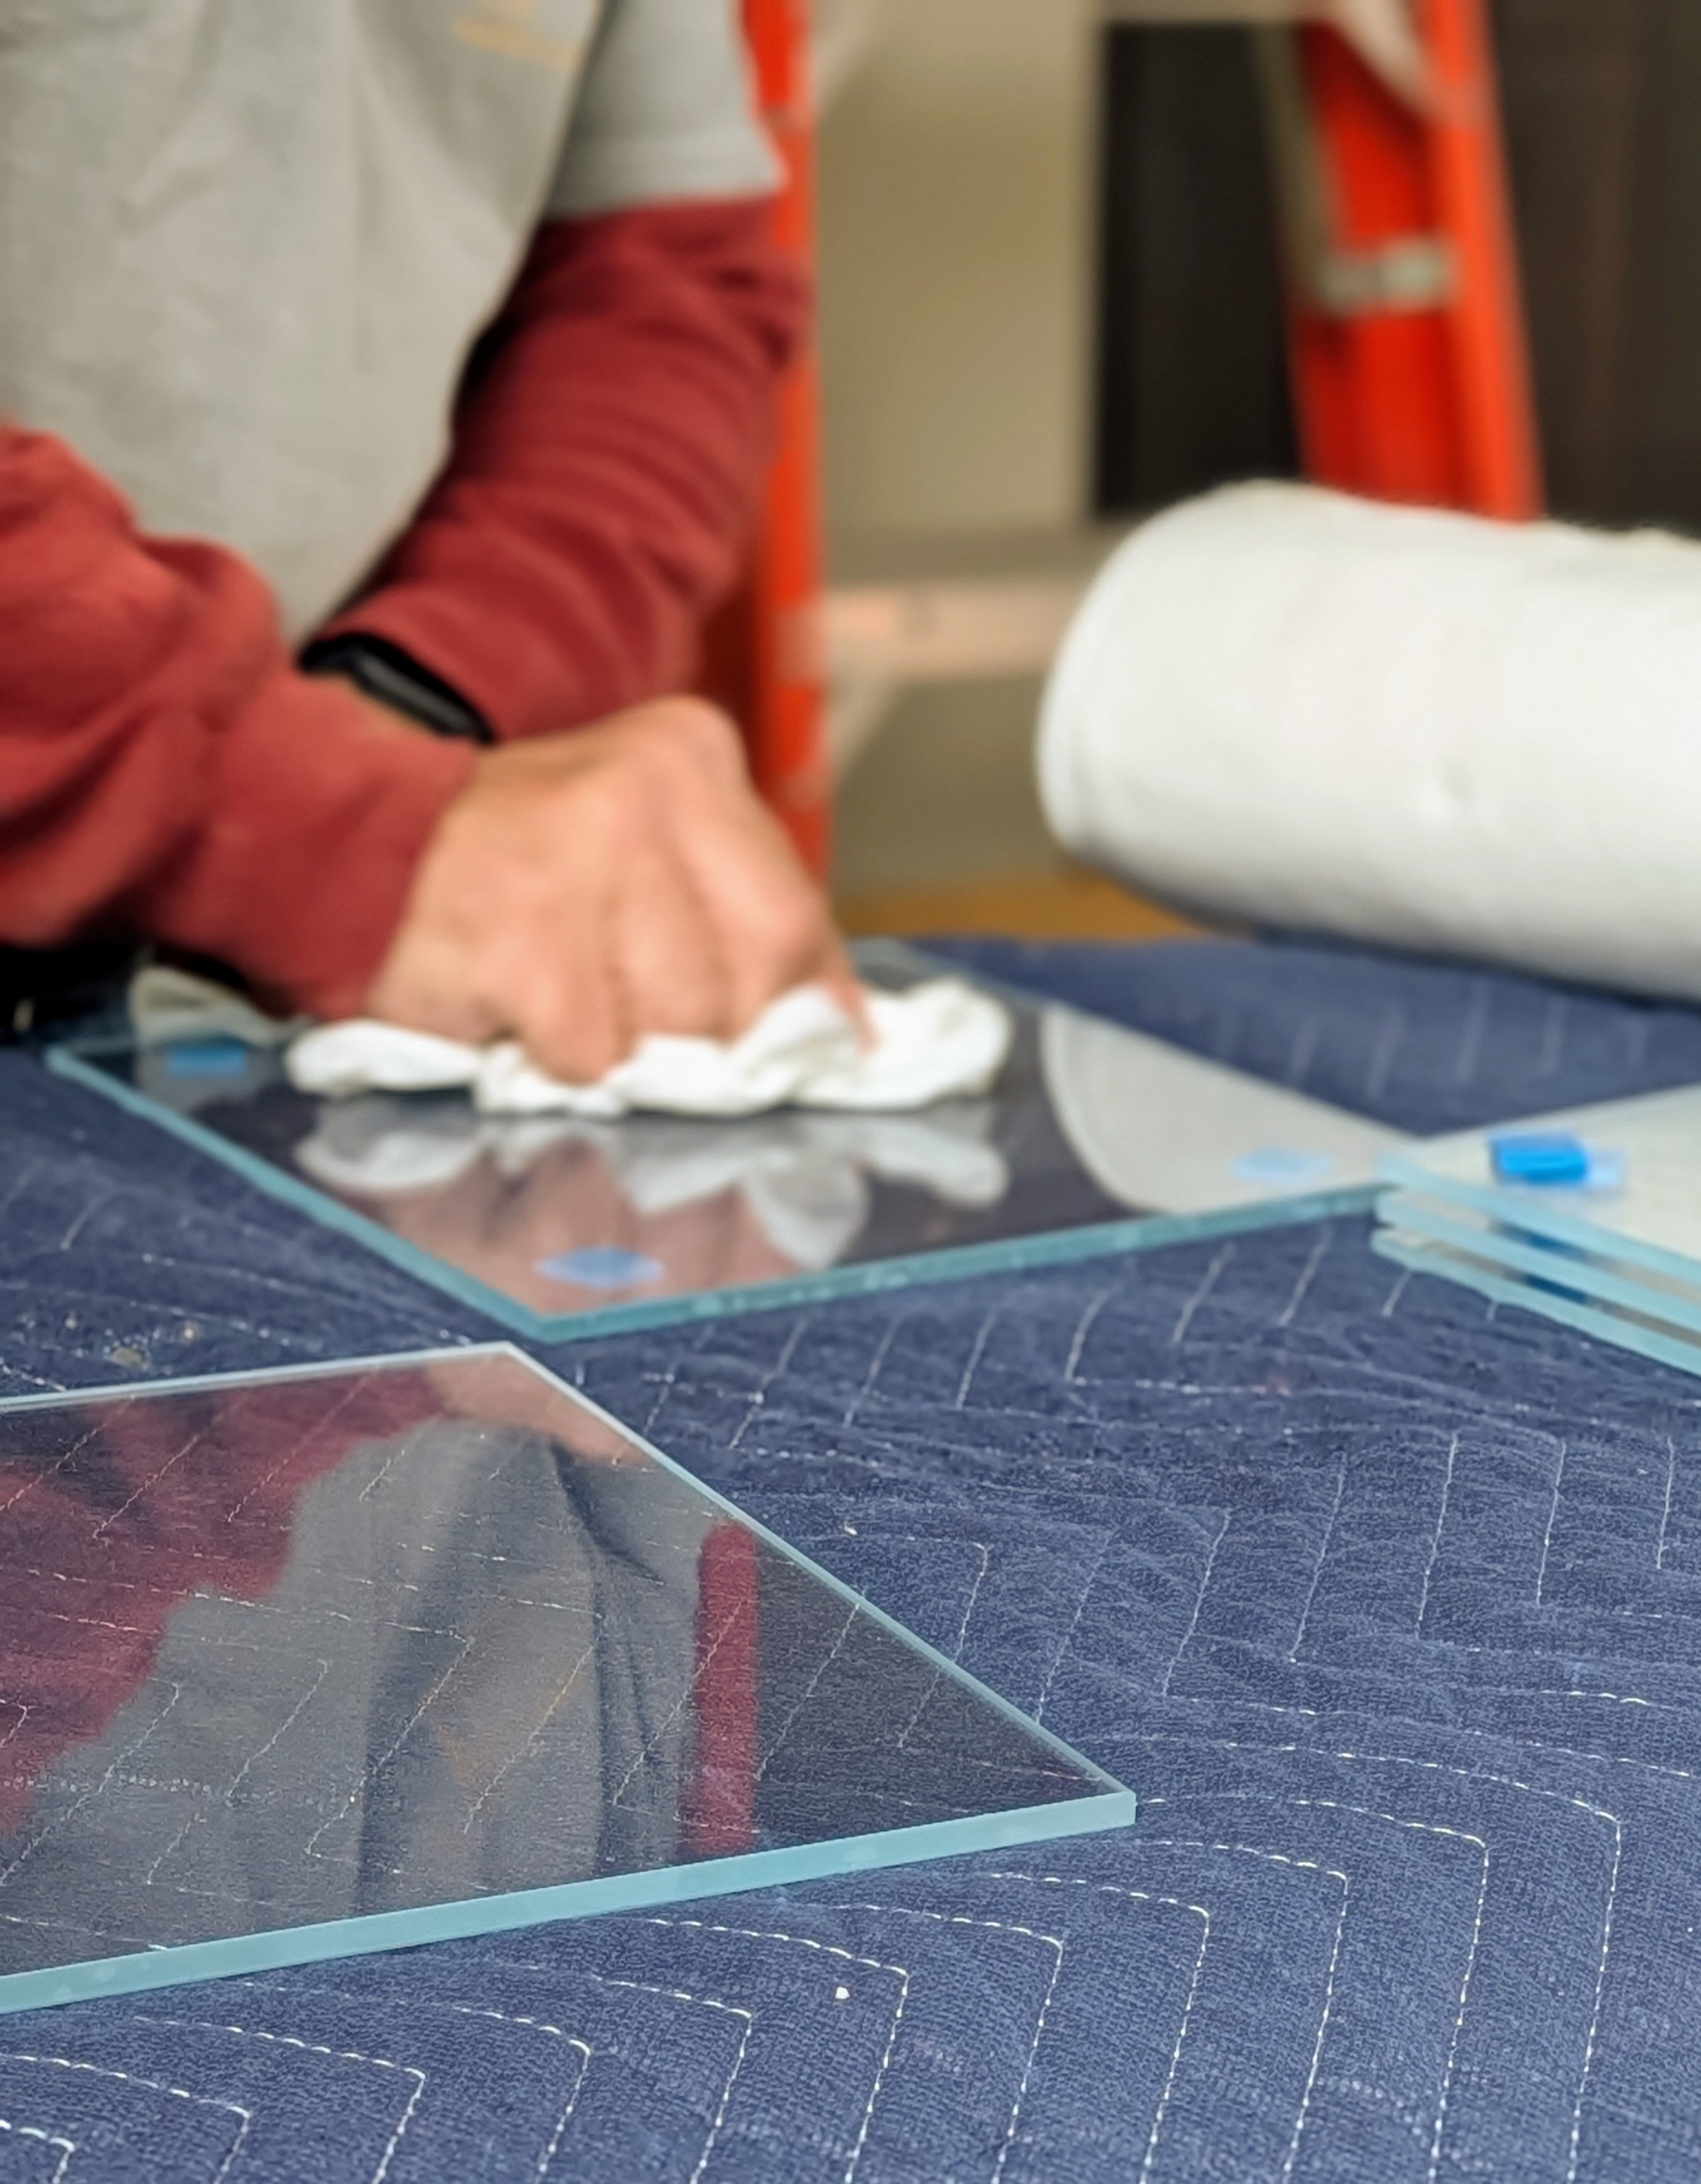
- Each piece of glass is cleaned of any marks before it is installed.
-
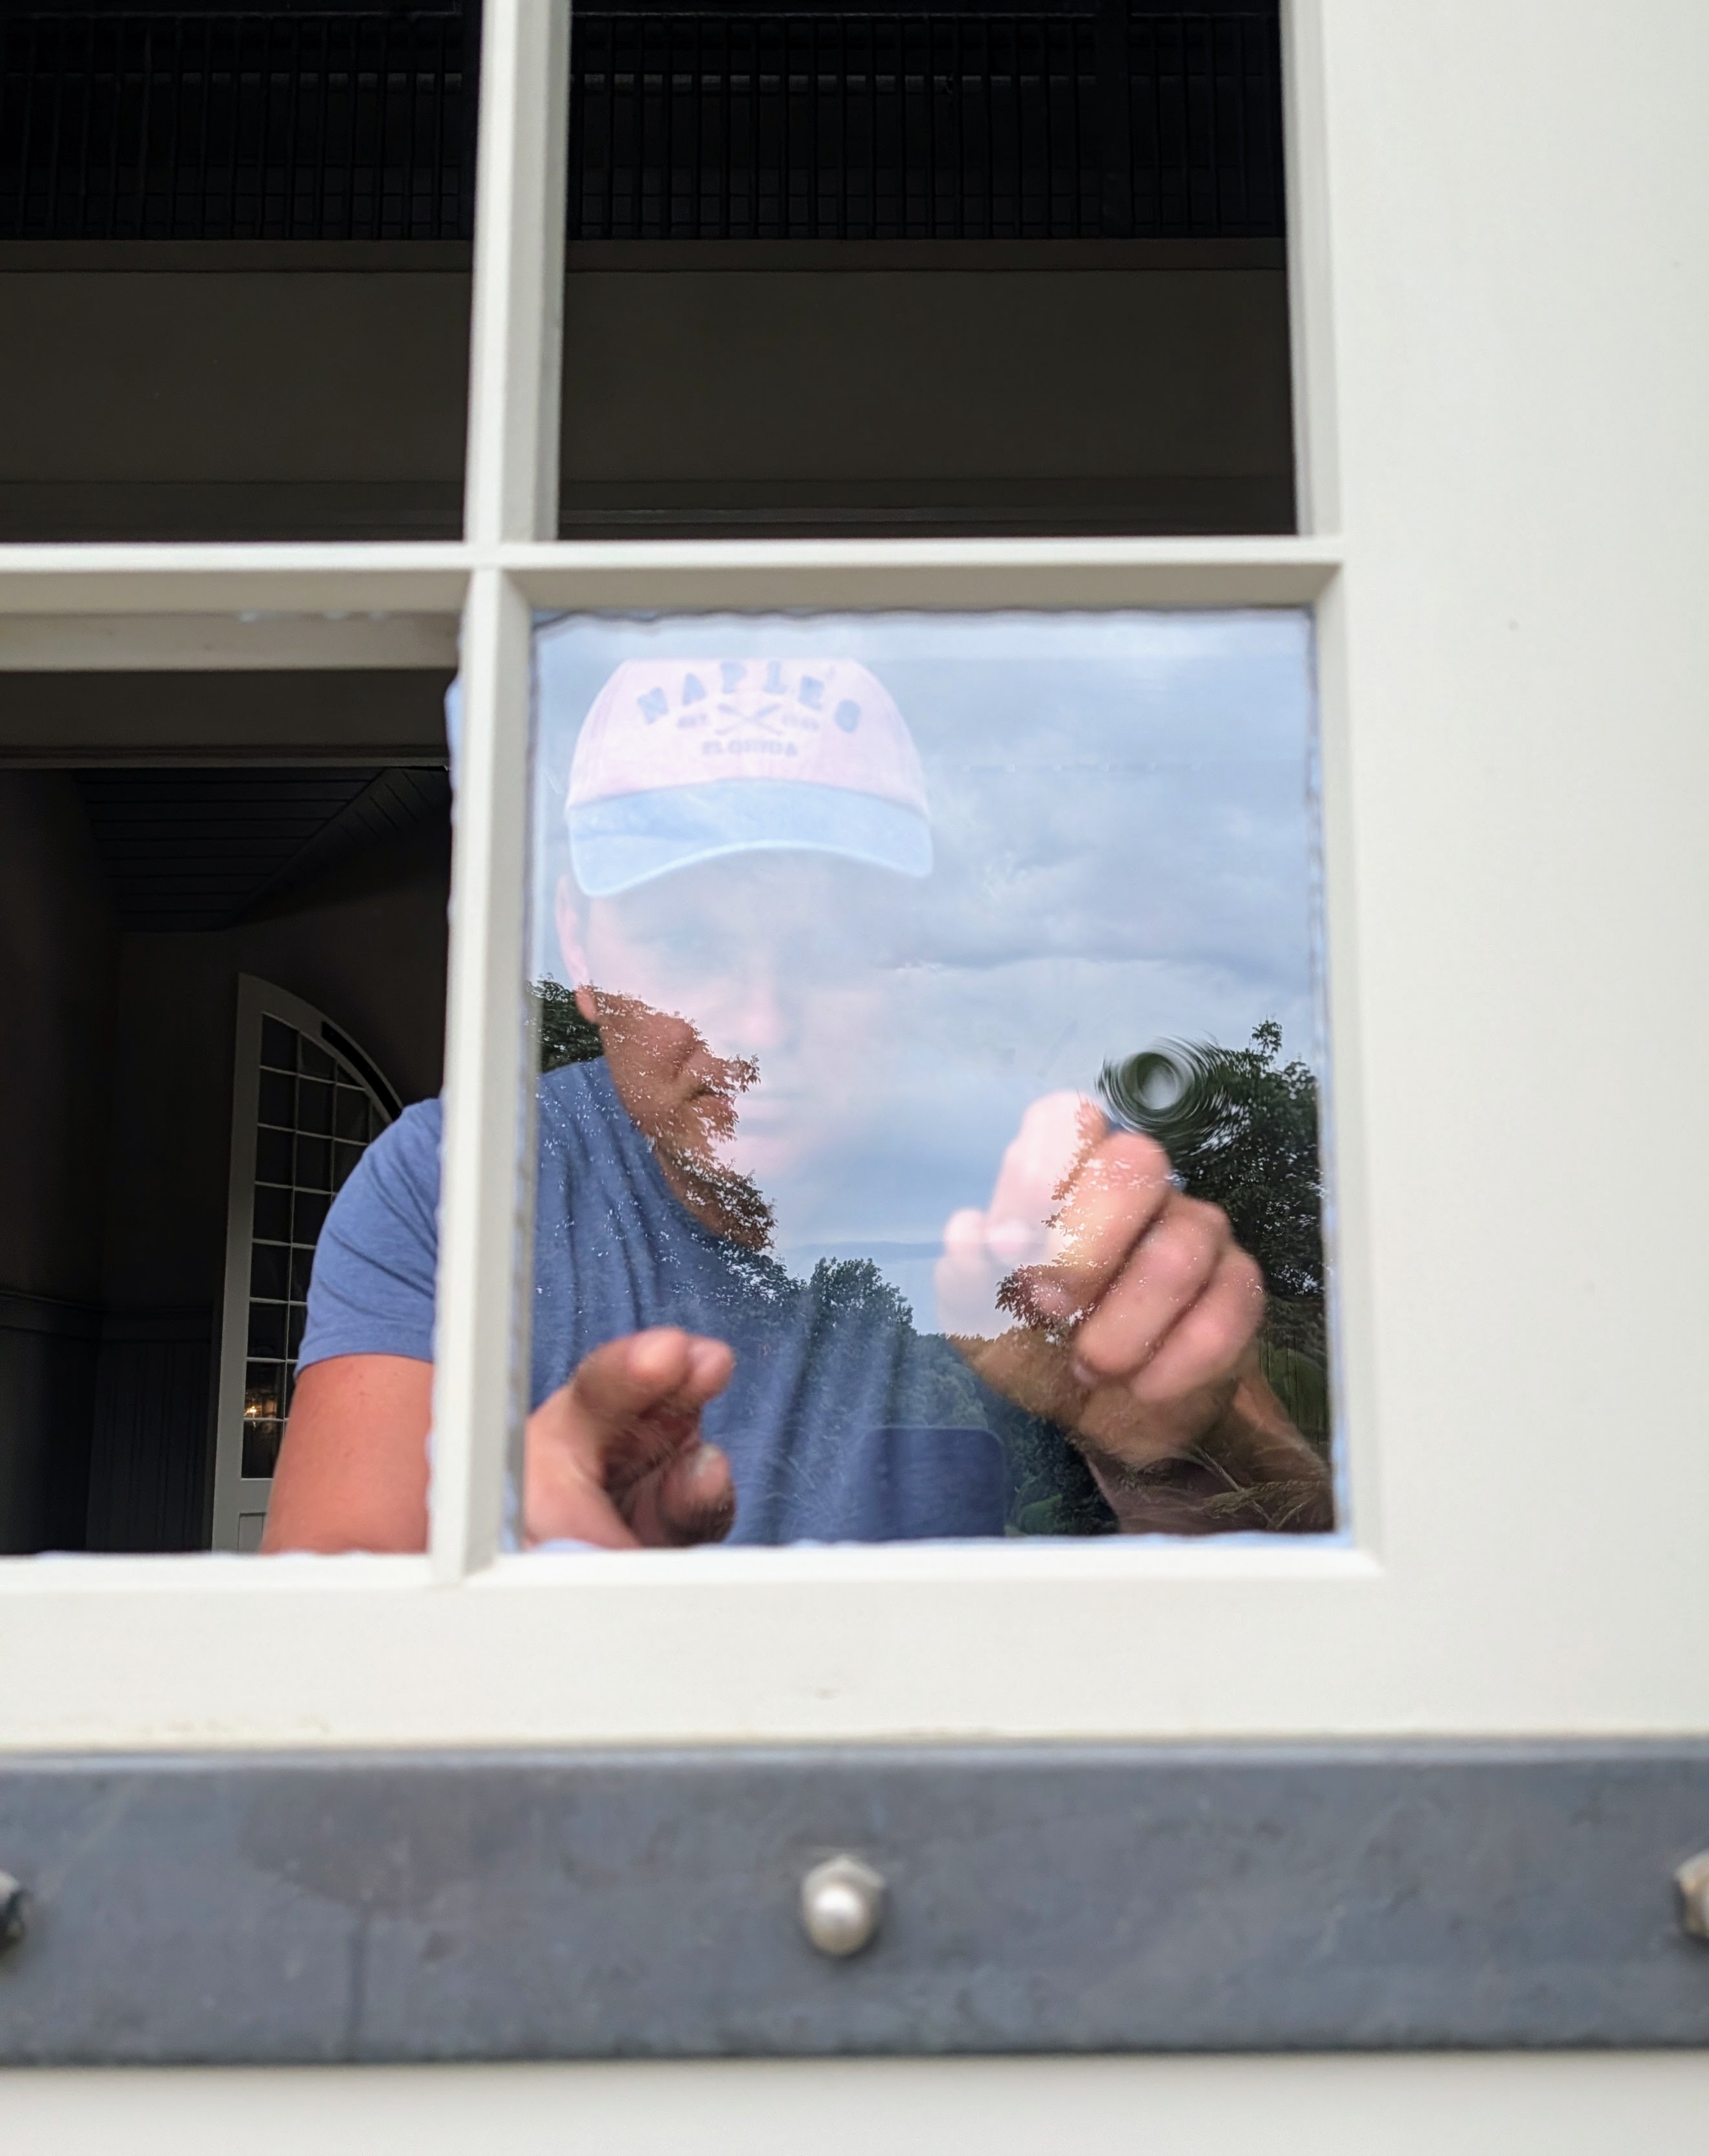
- The glass is carefully put into place. It is pressed lightly to “bed” it. Any extraneous compound is scraped away.
-
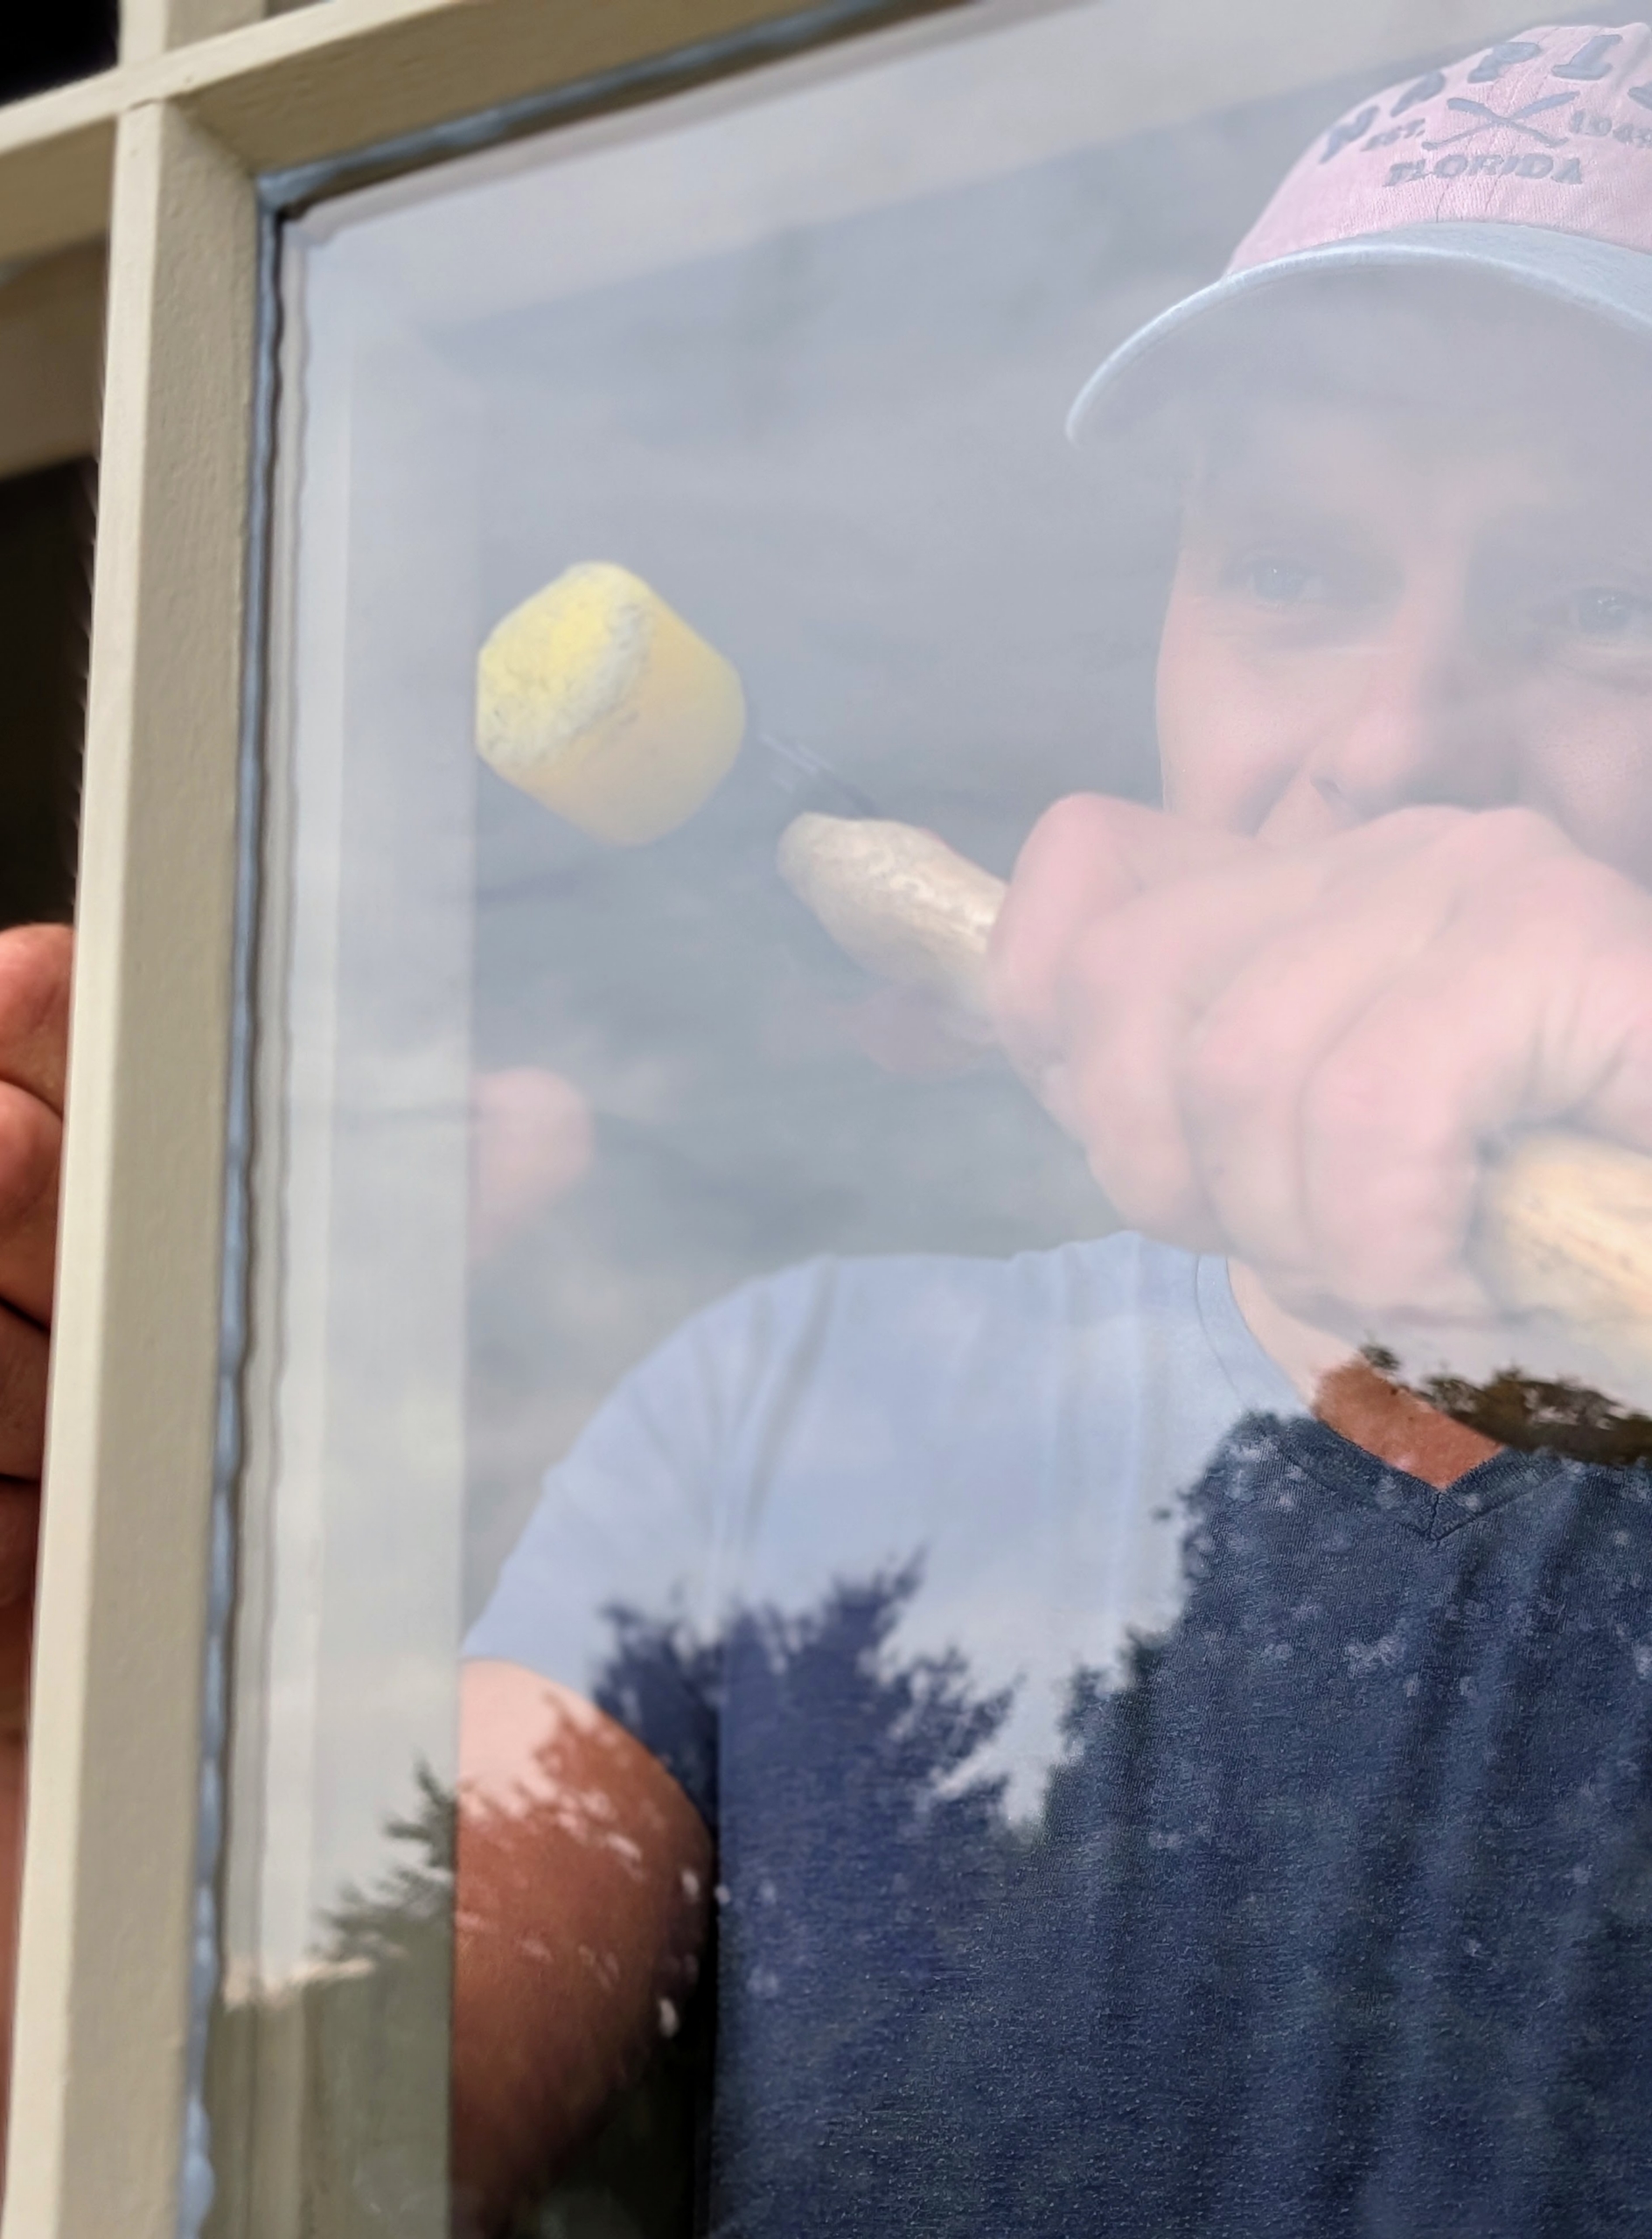
- The glass pane is then tapped lightly into its secure position.
-
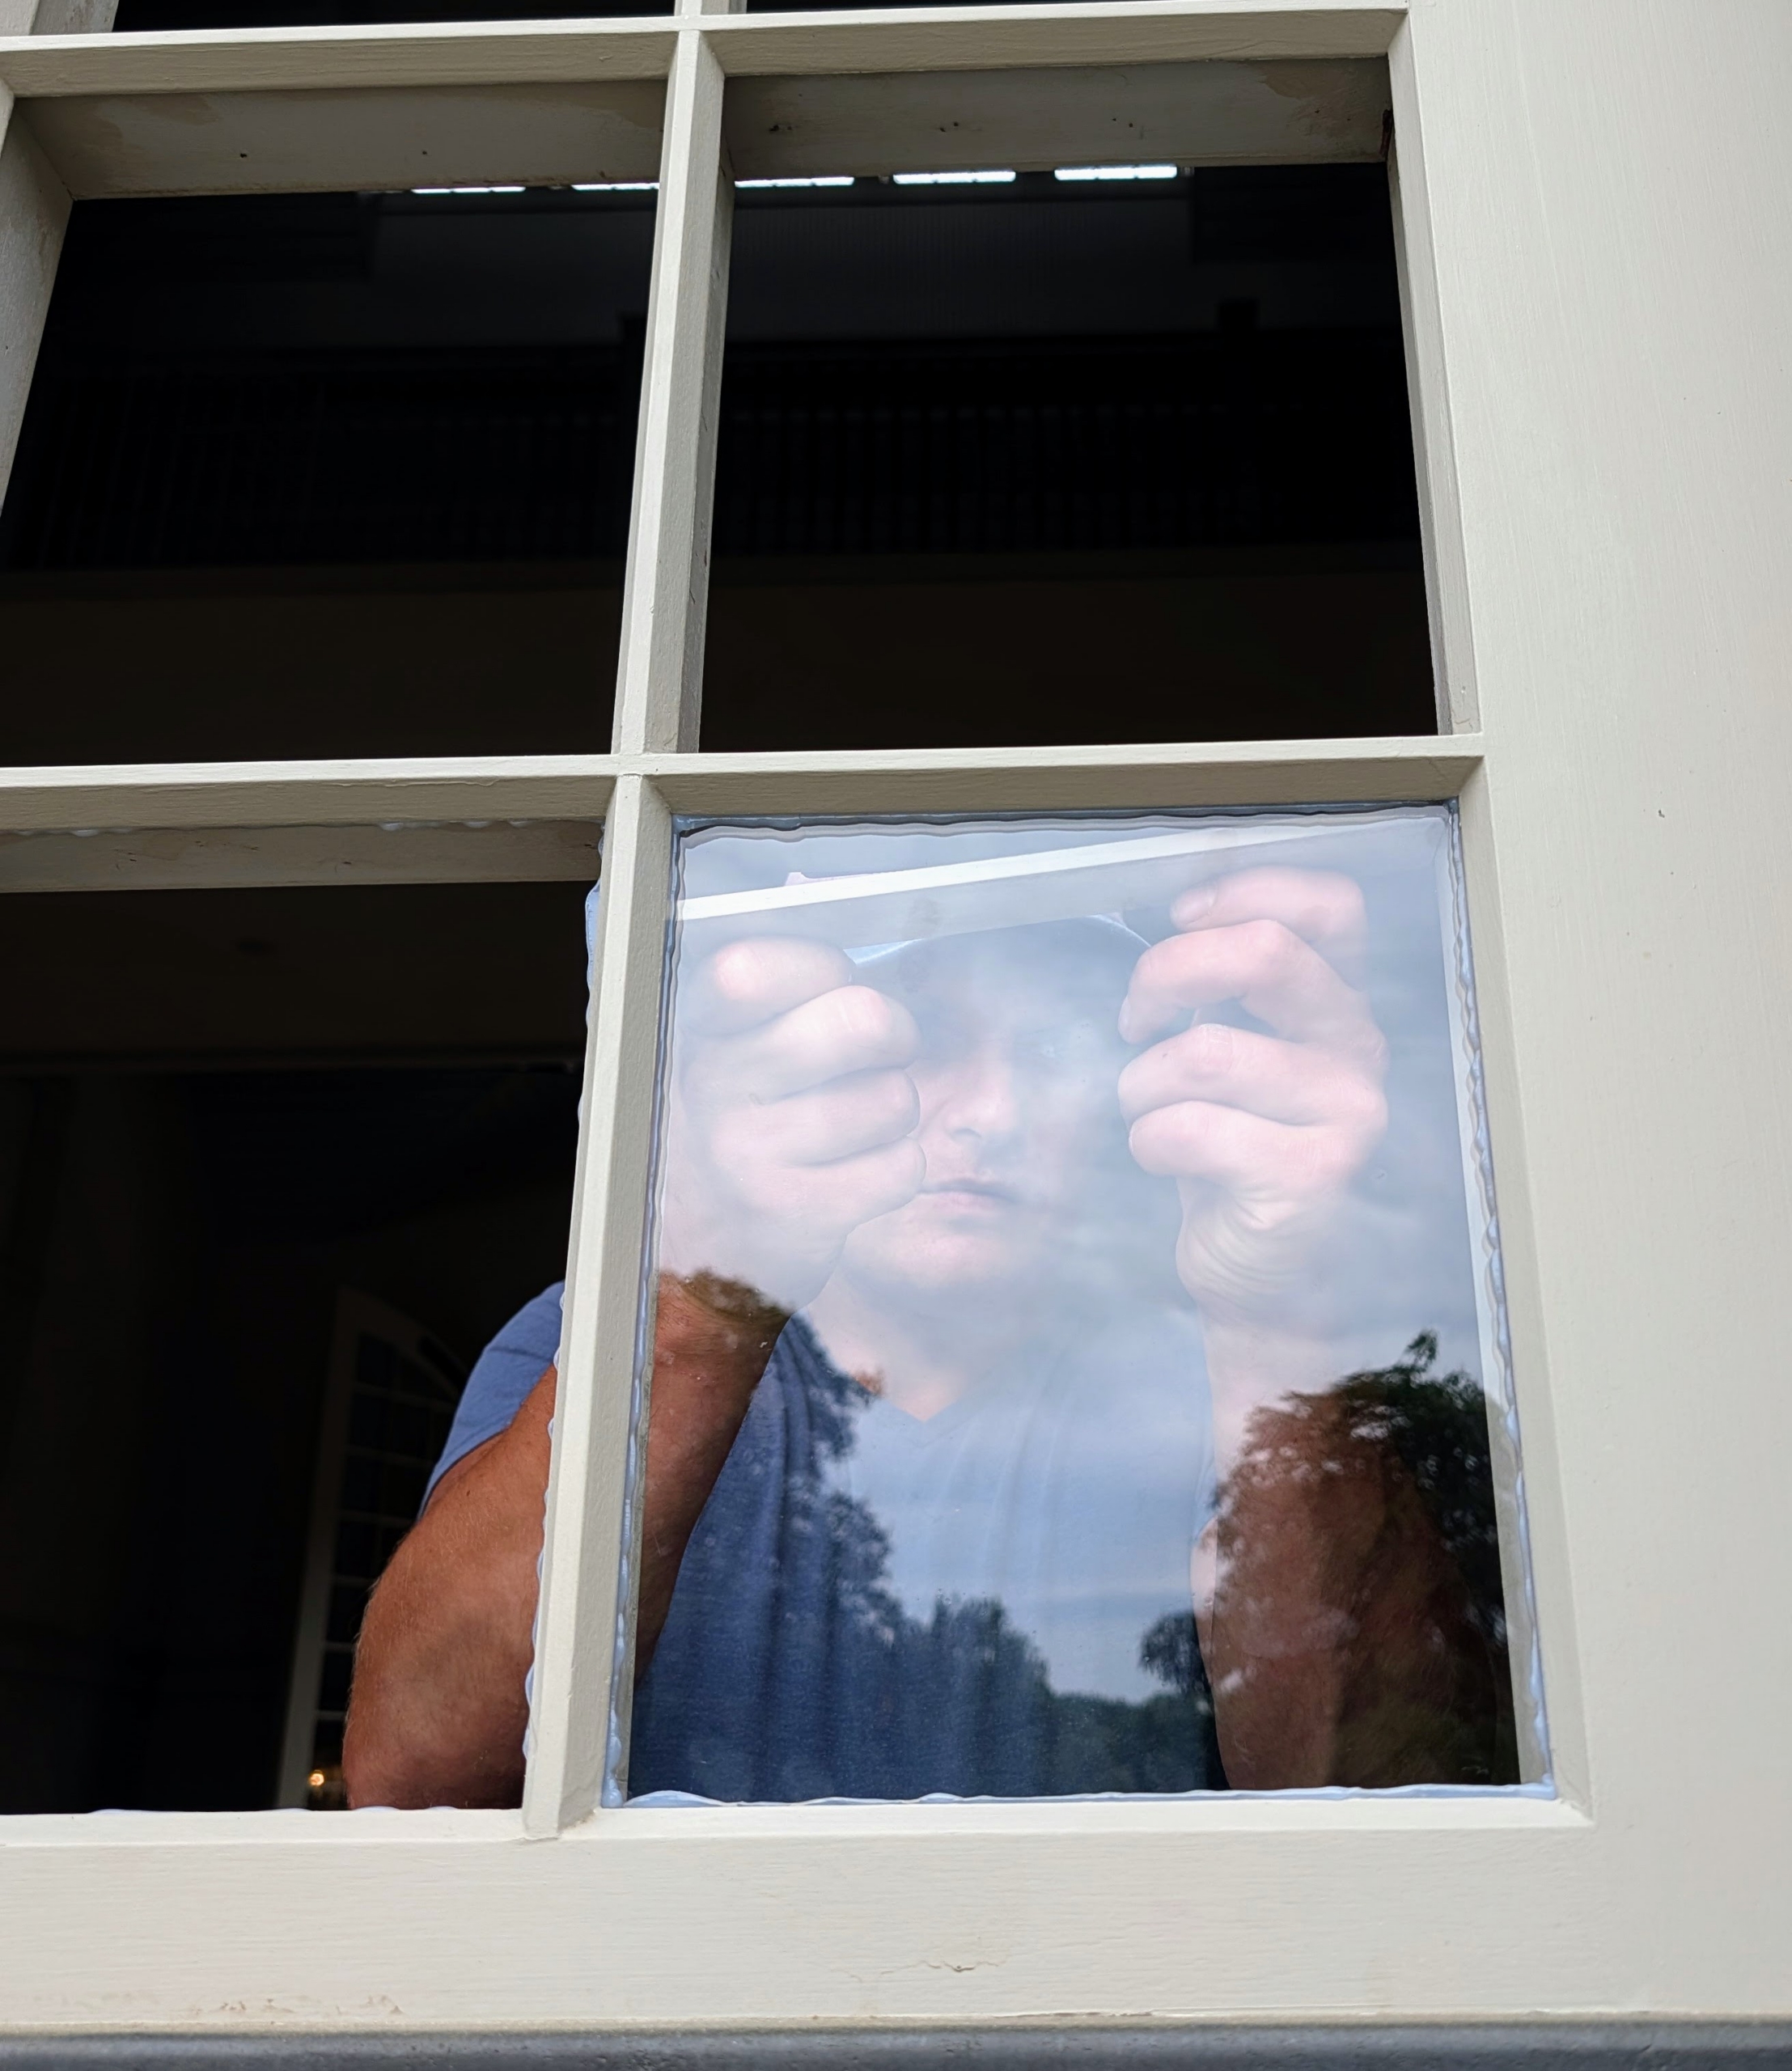
- And then the sash pieces are returned.
-
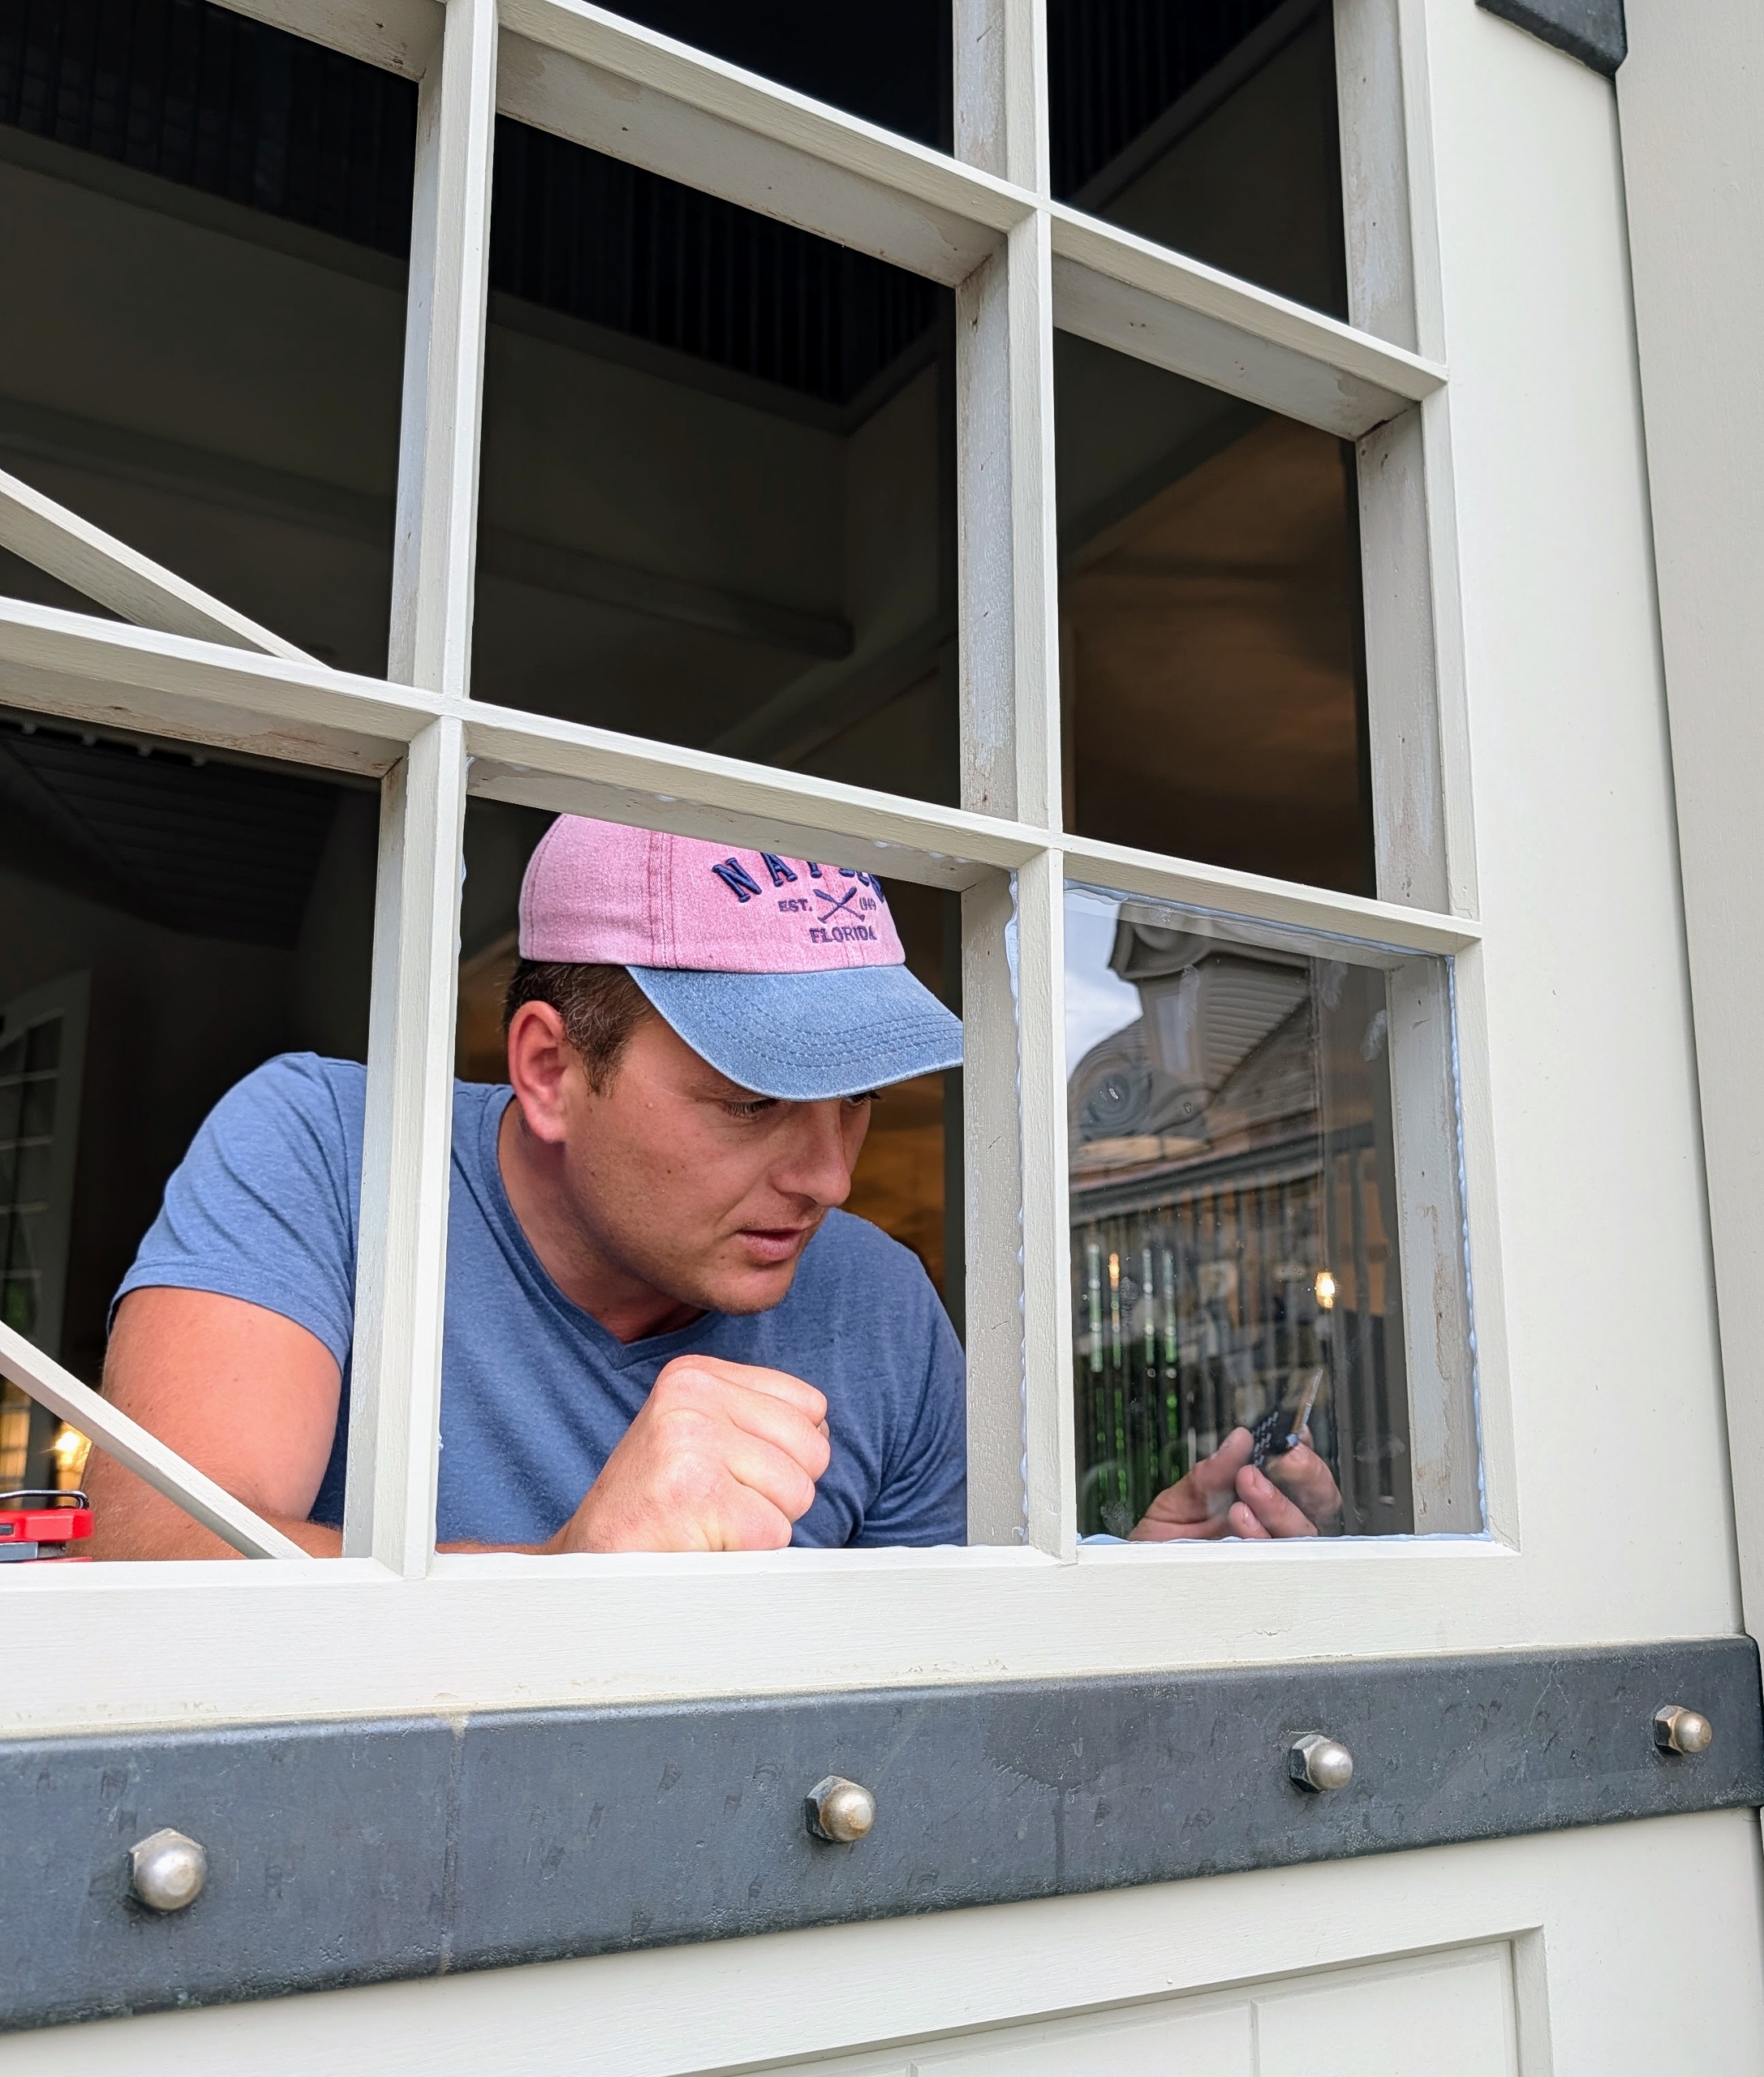
- It takes time and care to make sure everything is done with great attention to detail.
-
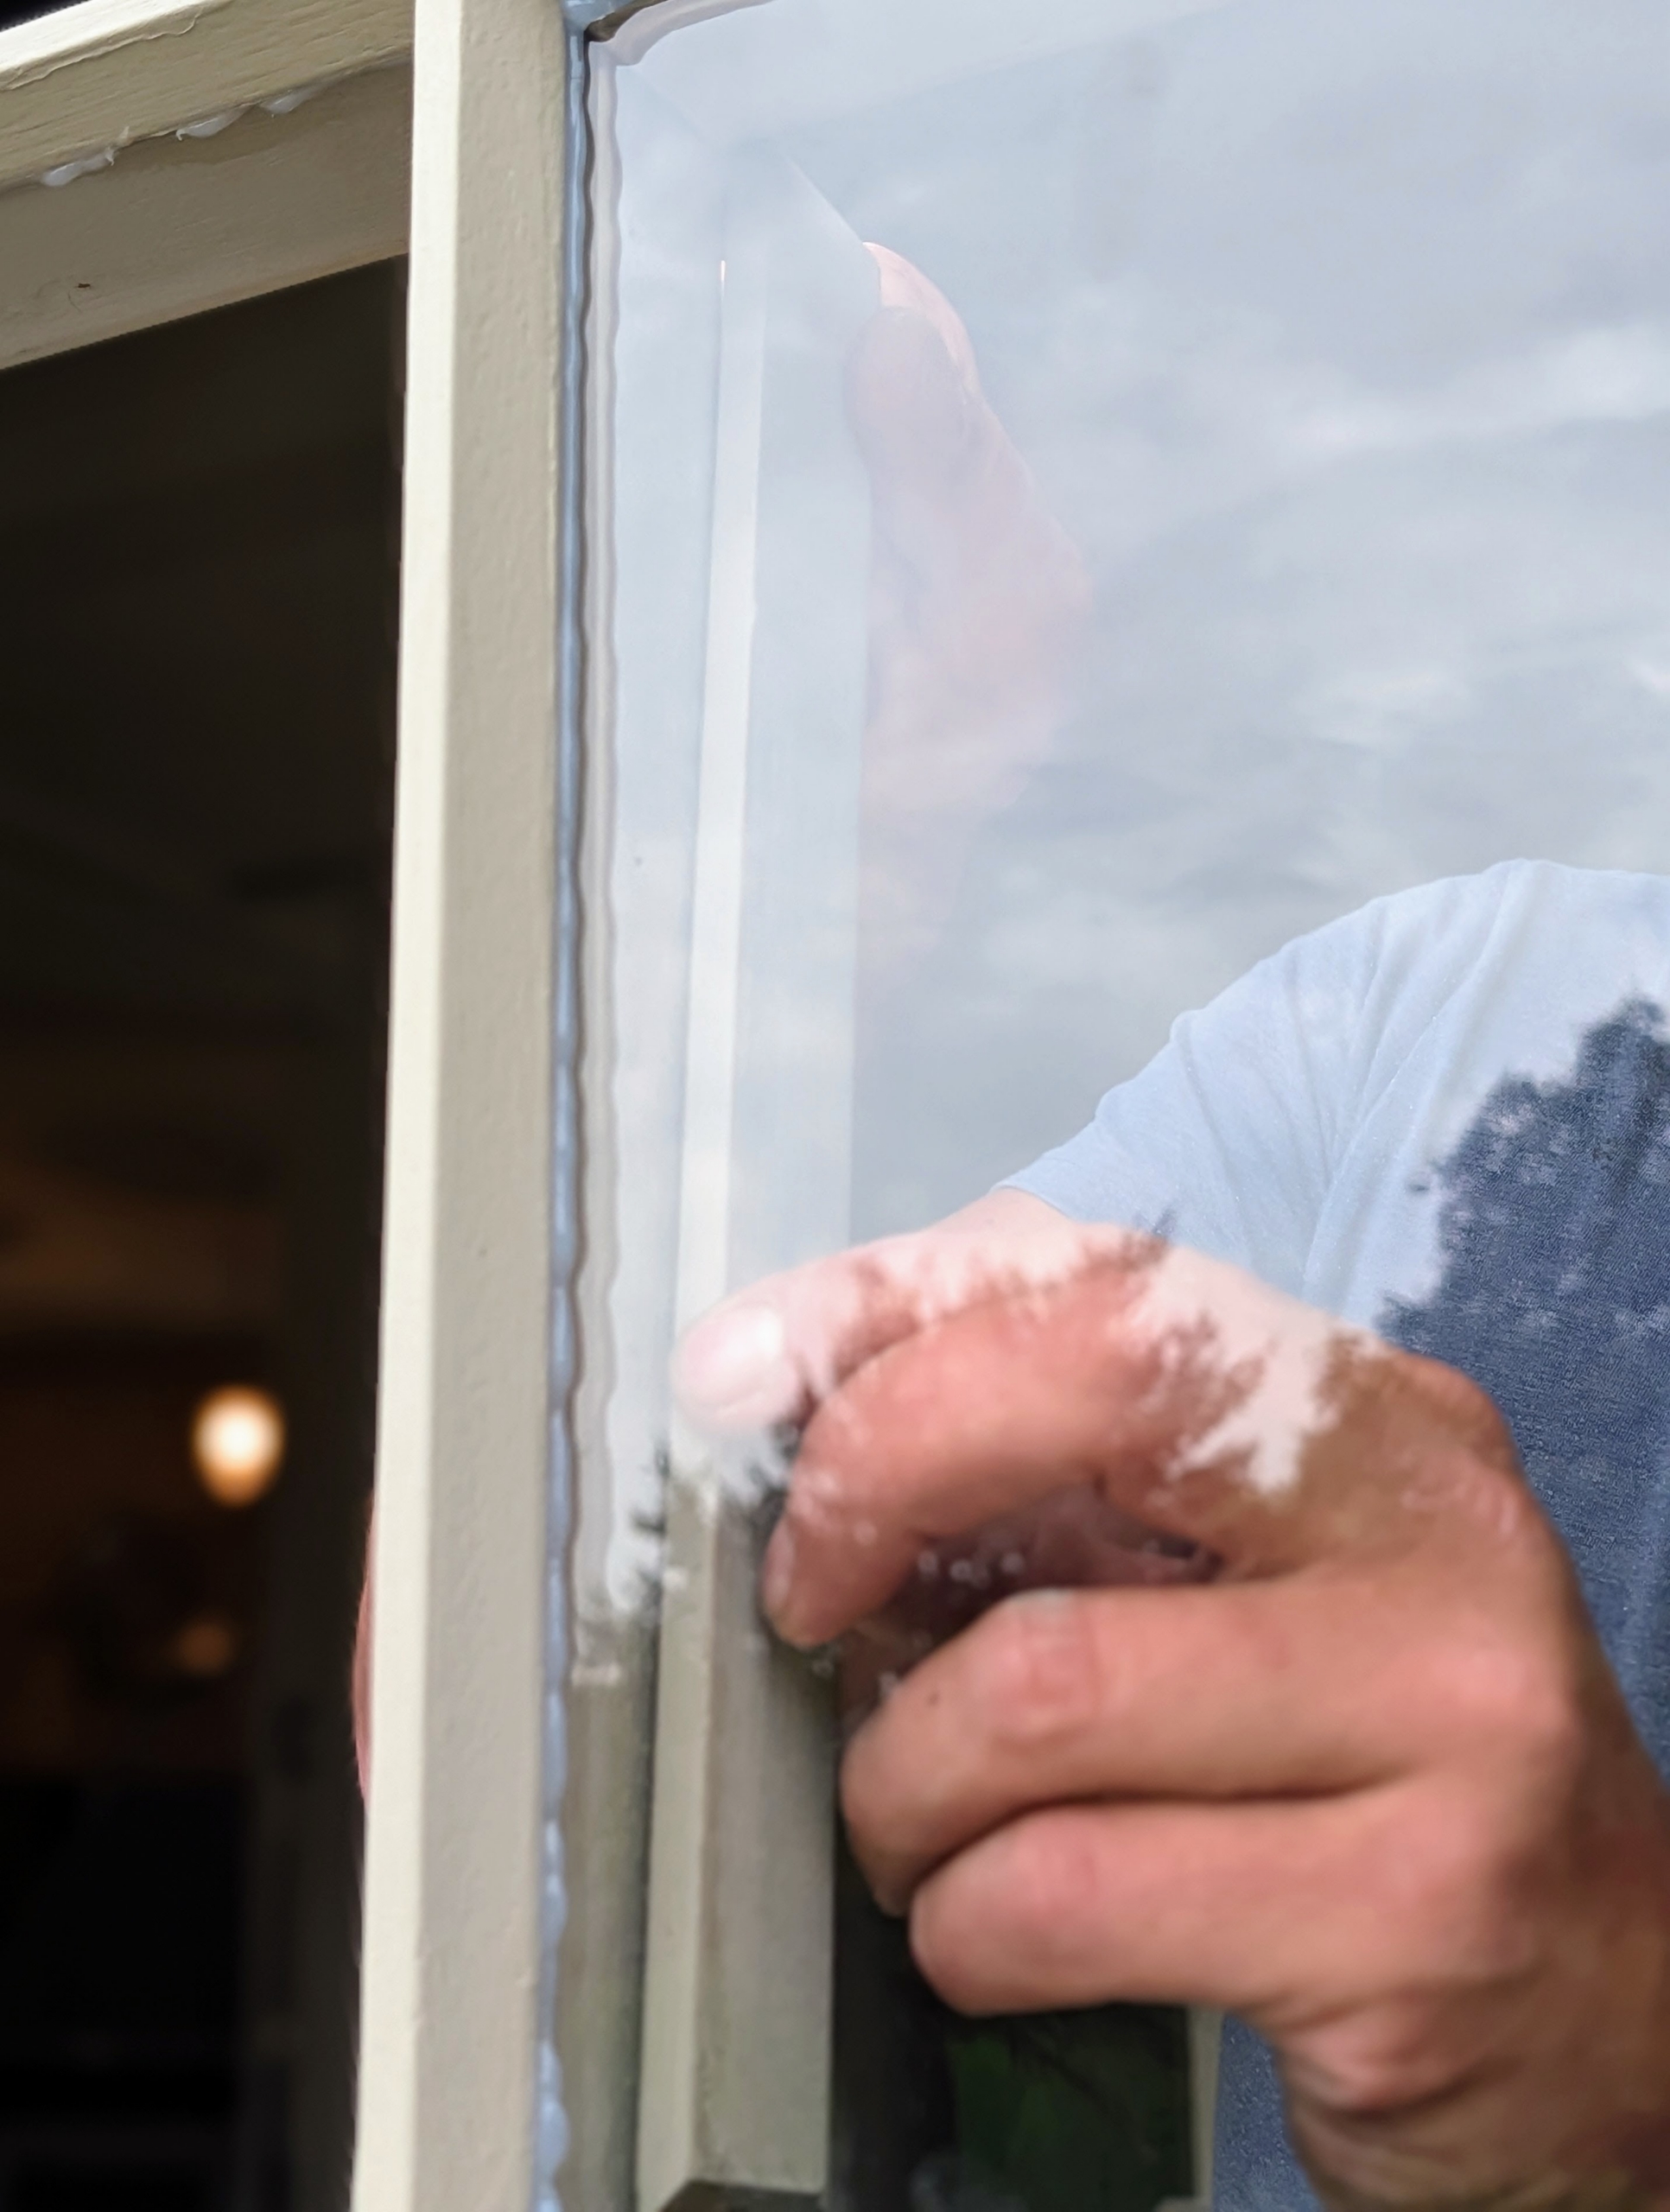
- The side pieces are also carefully returned.
-
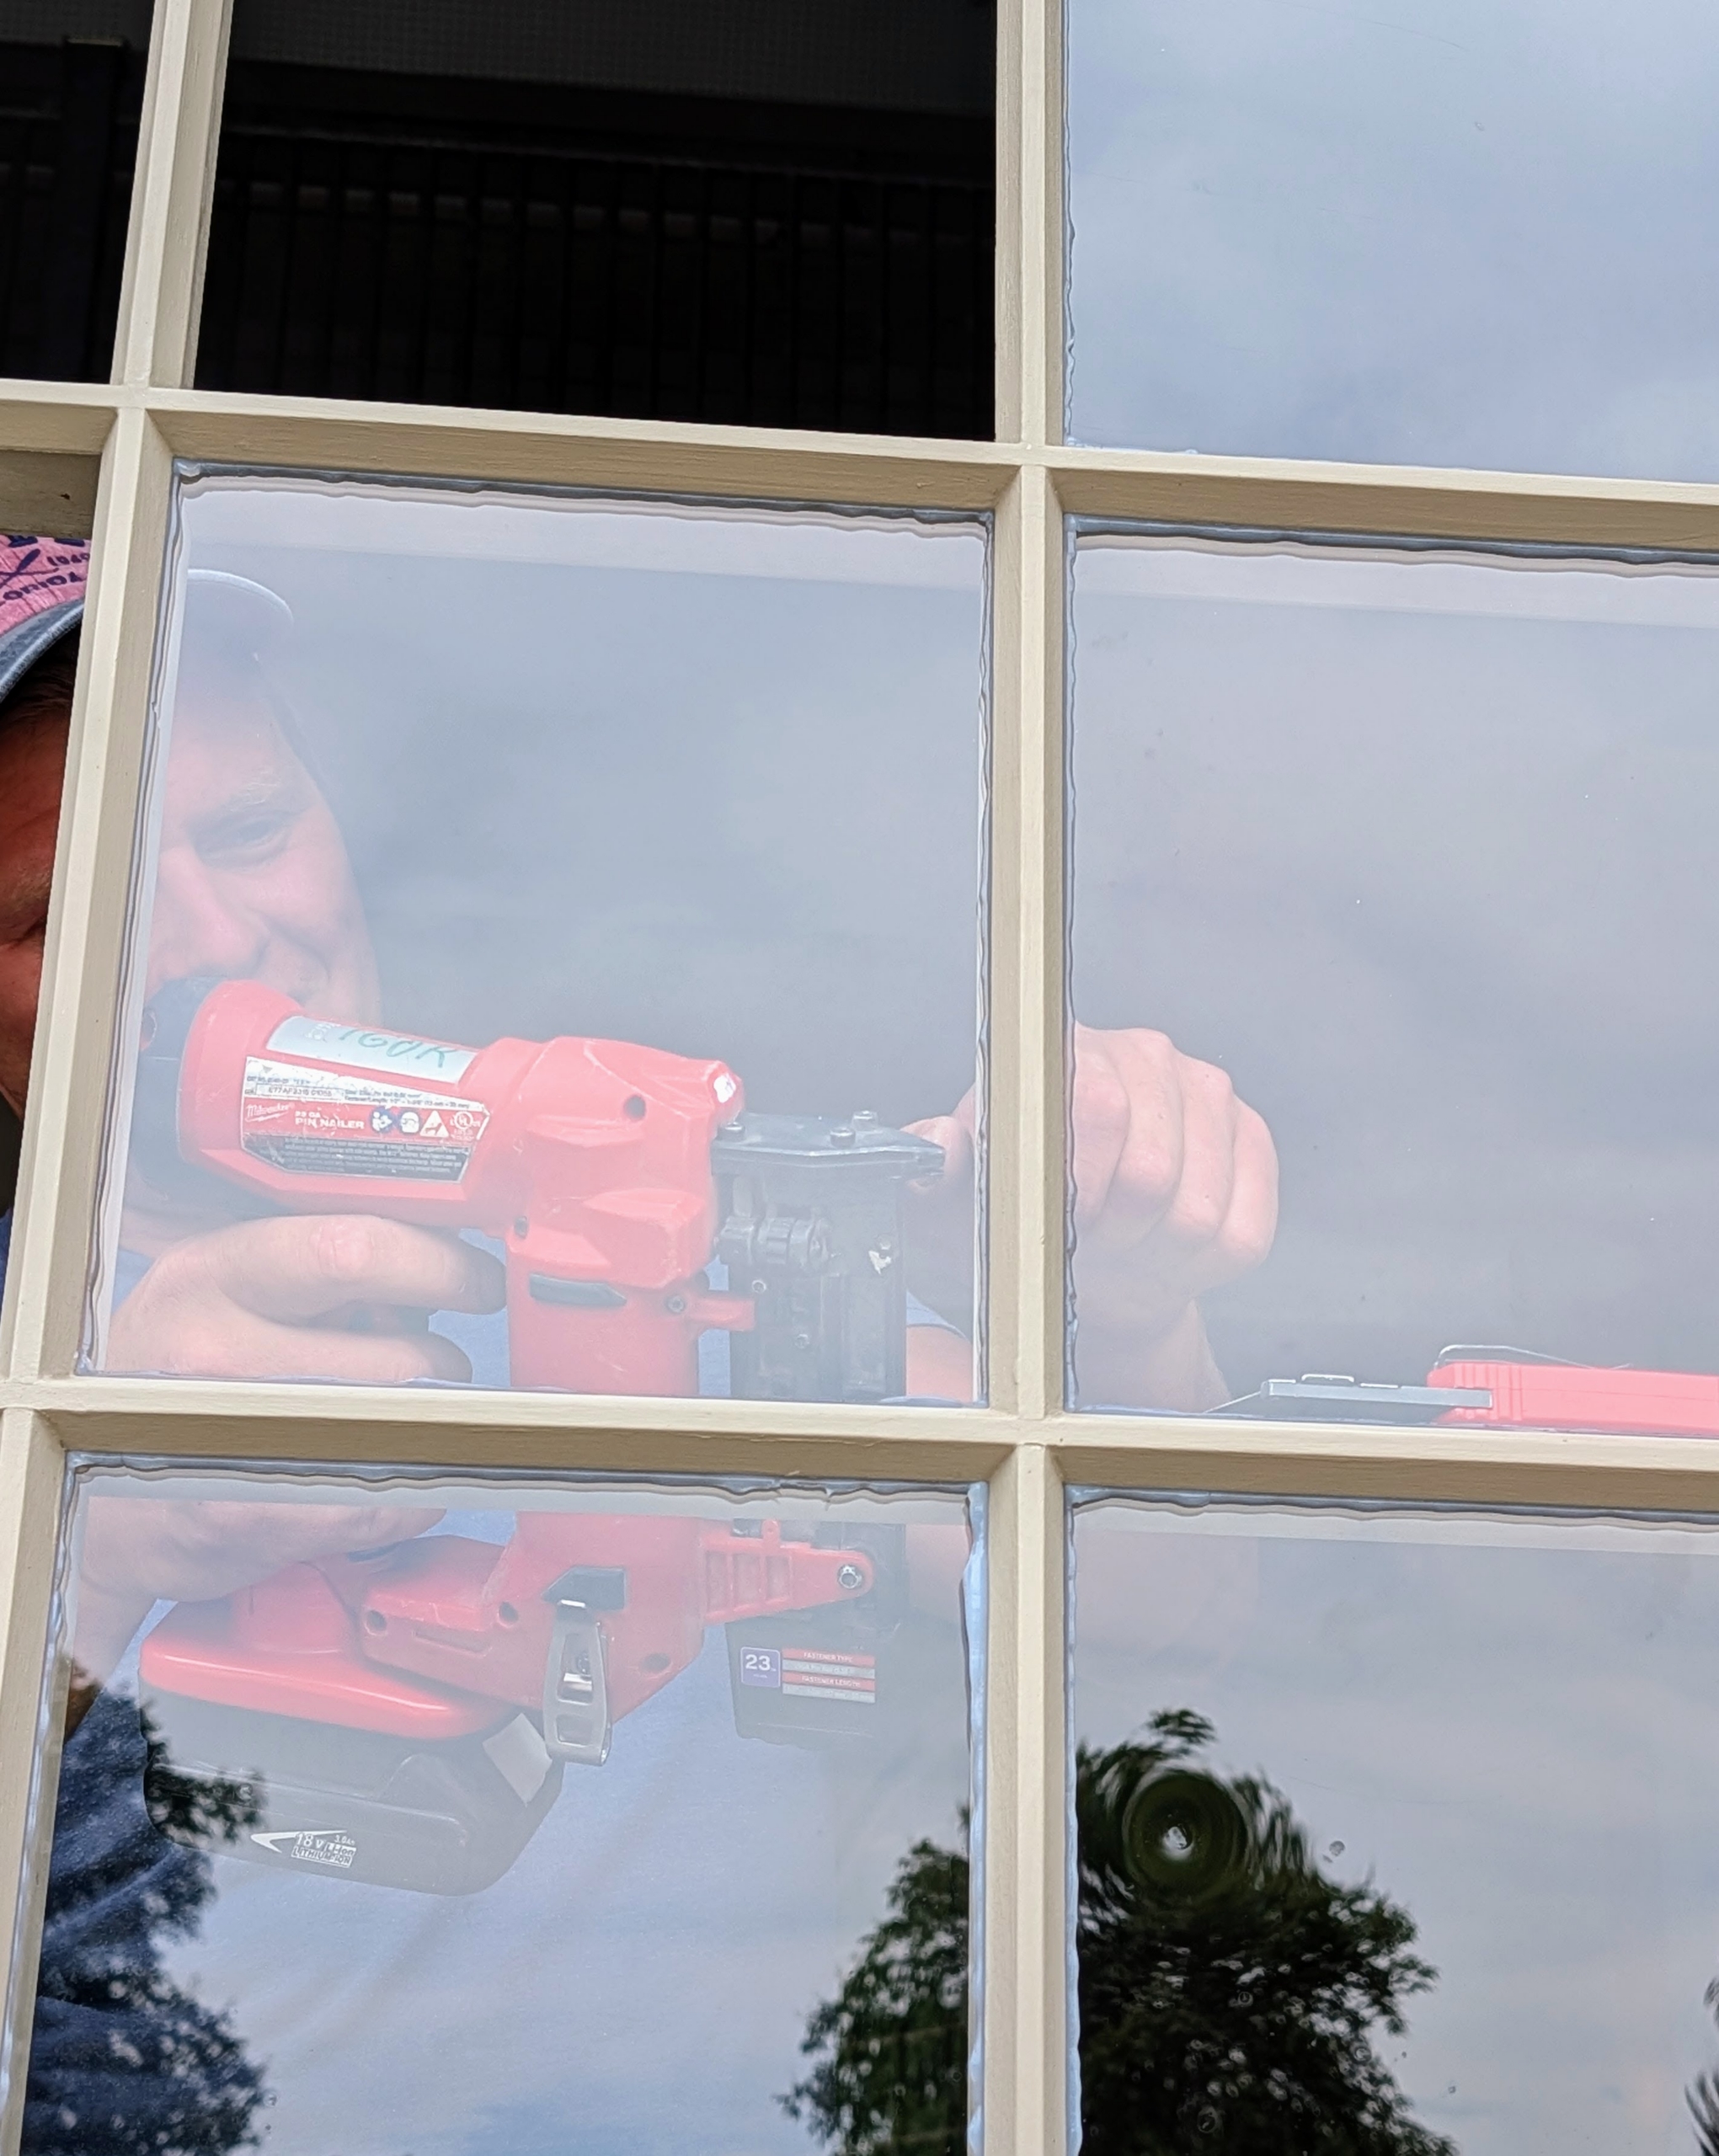
- And then a pneumatic nailer is used to secure the nails in the frame. This tool uses compressed air to drive nails quickly and efficiently into the place they are intended.
-
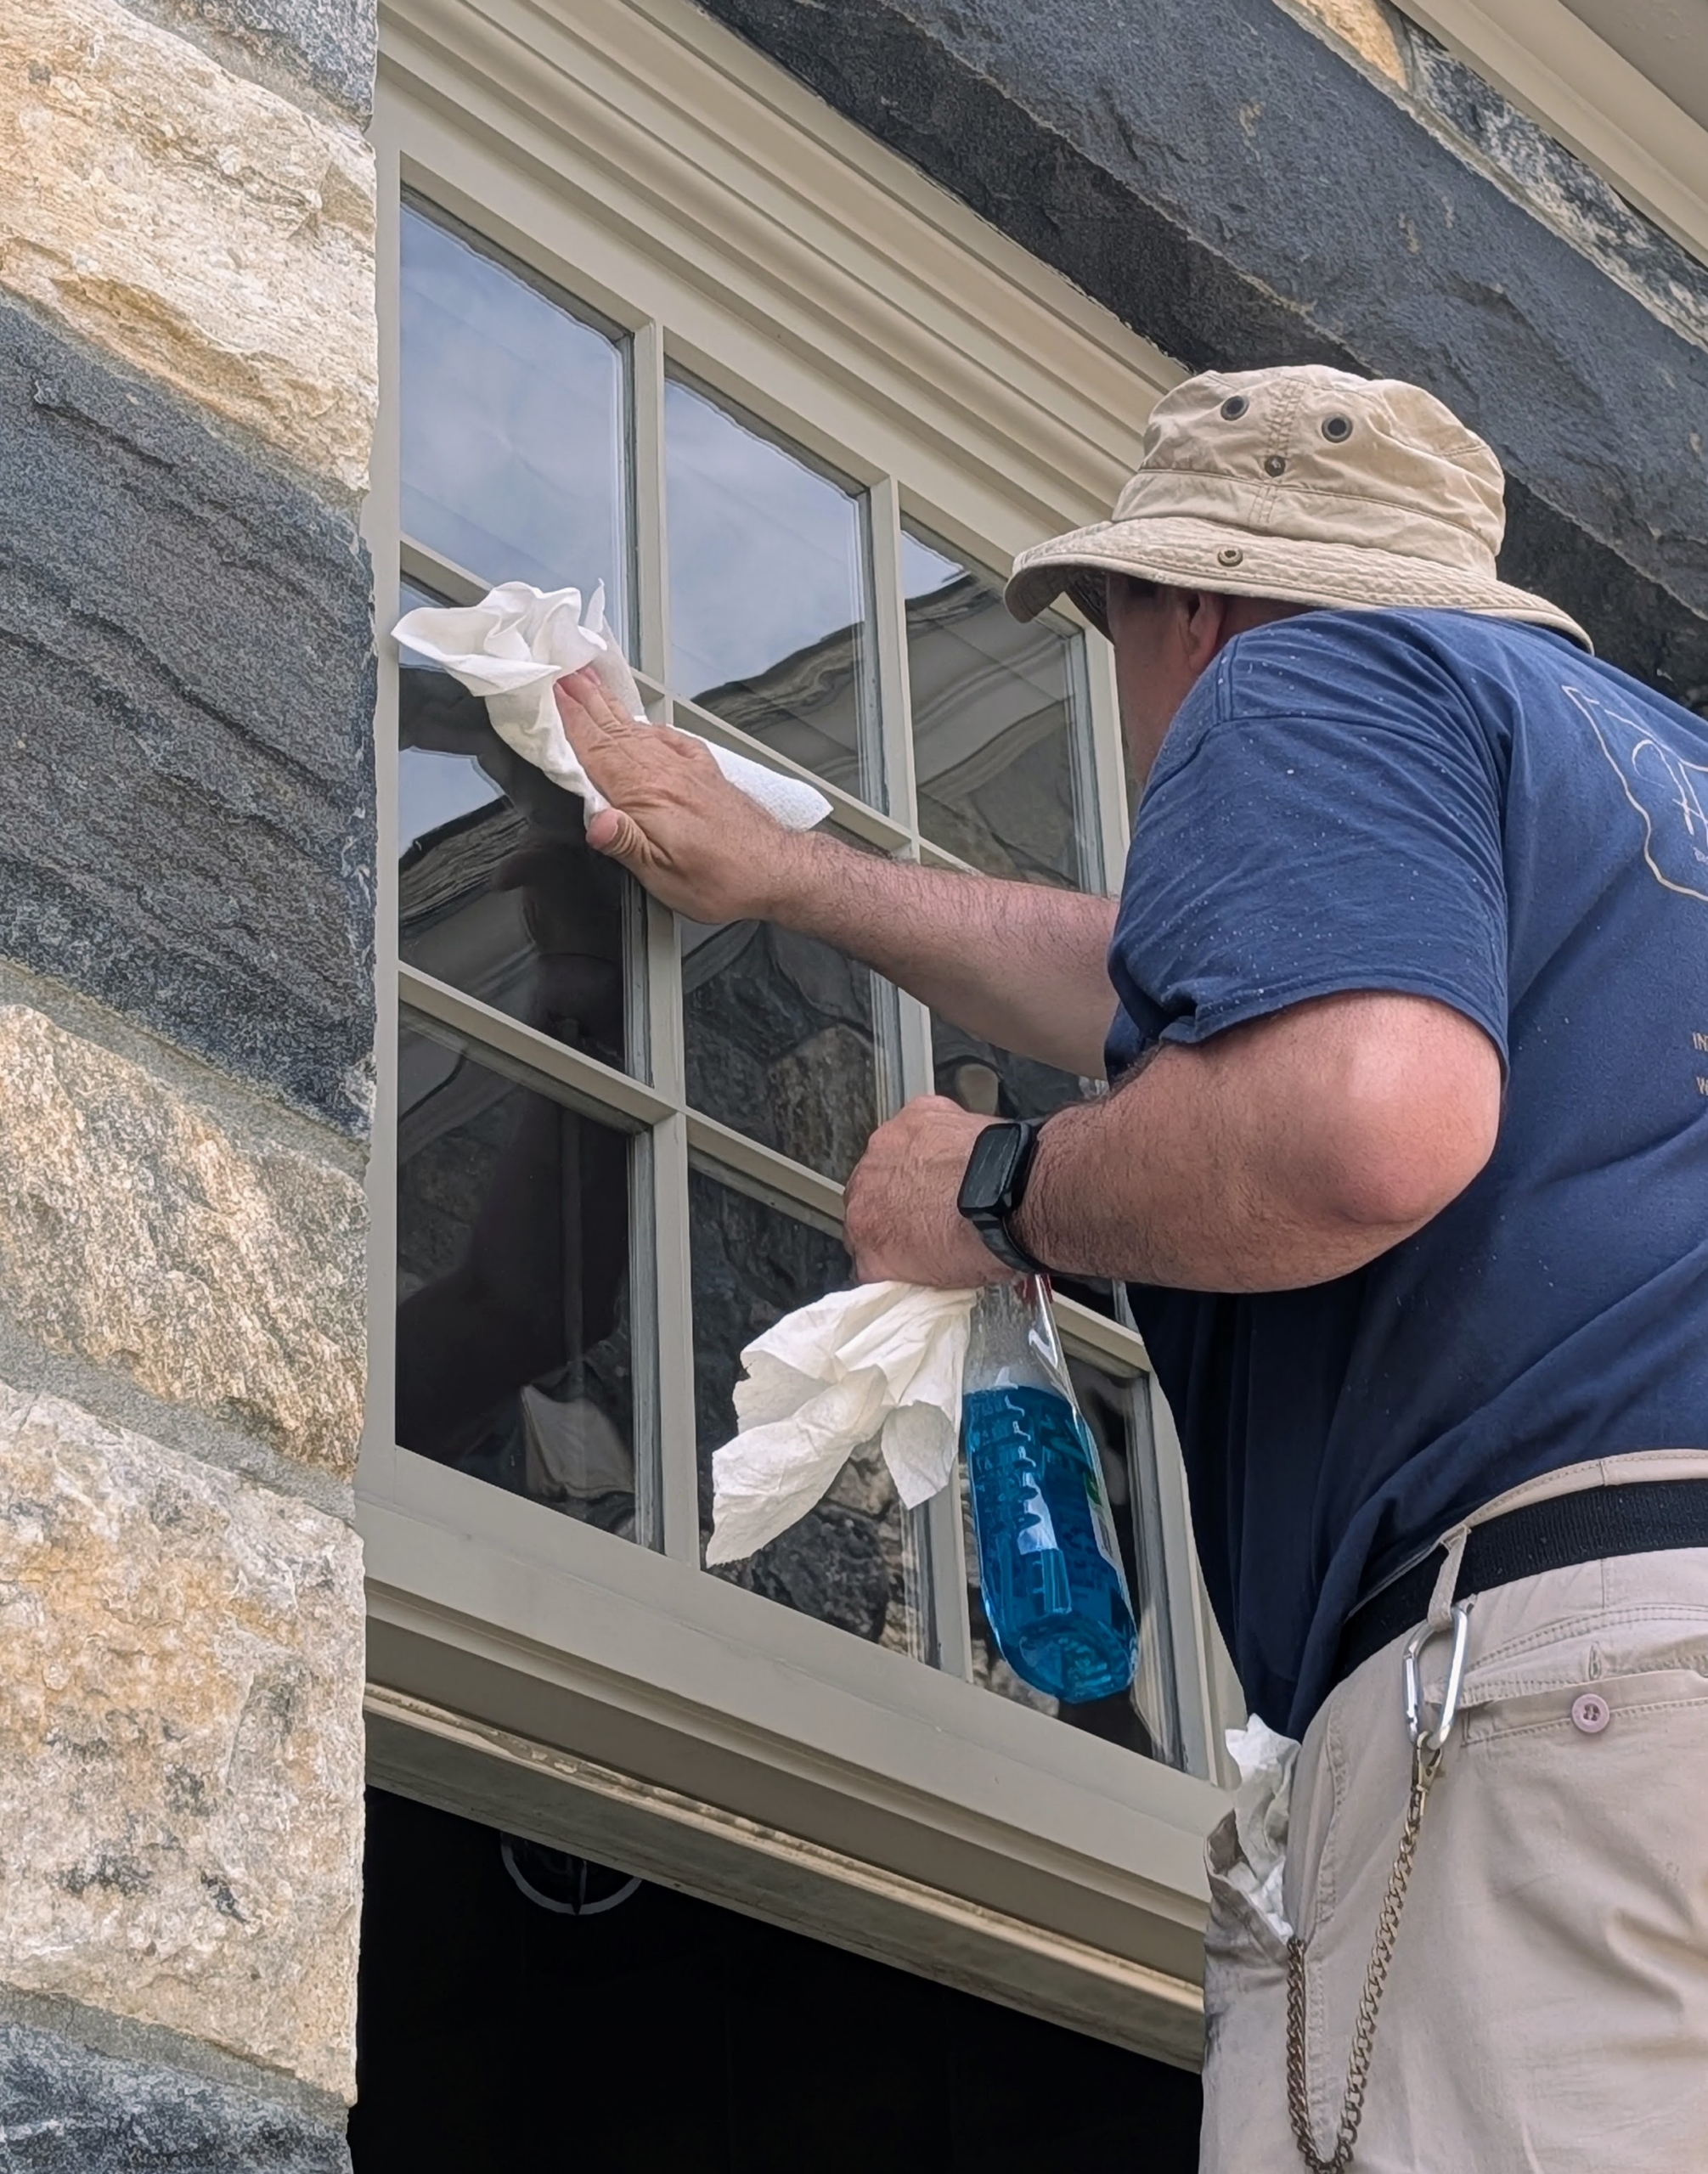
- Lastly, the window is once again cleaned from both sides.
-
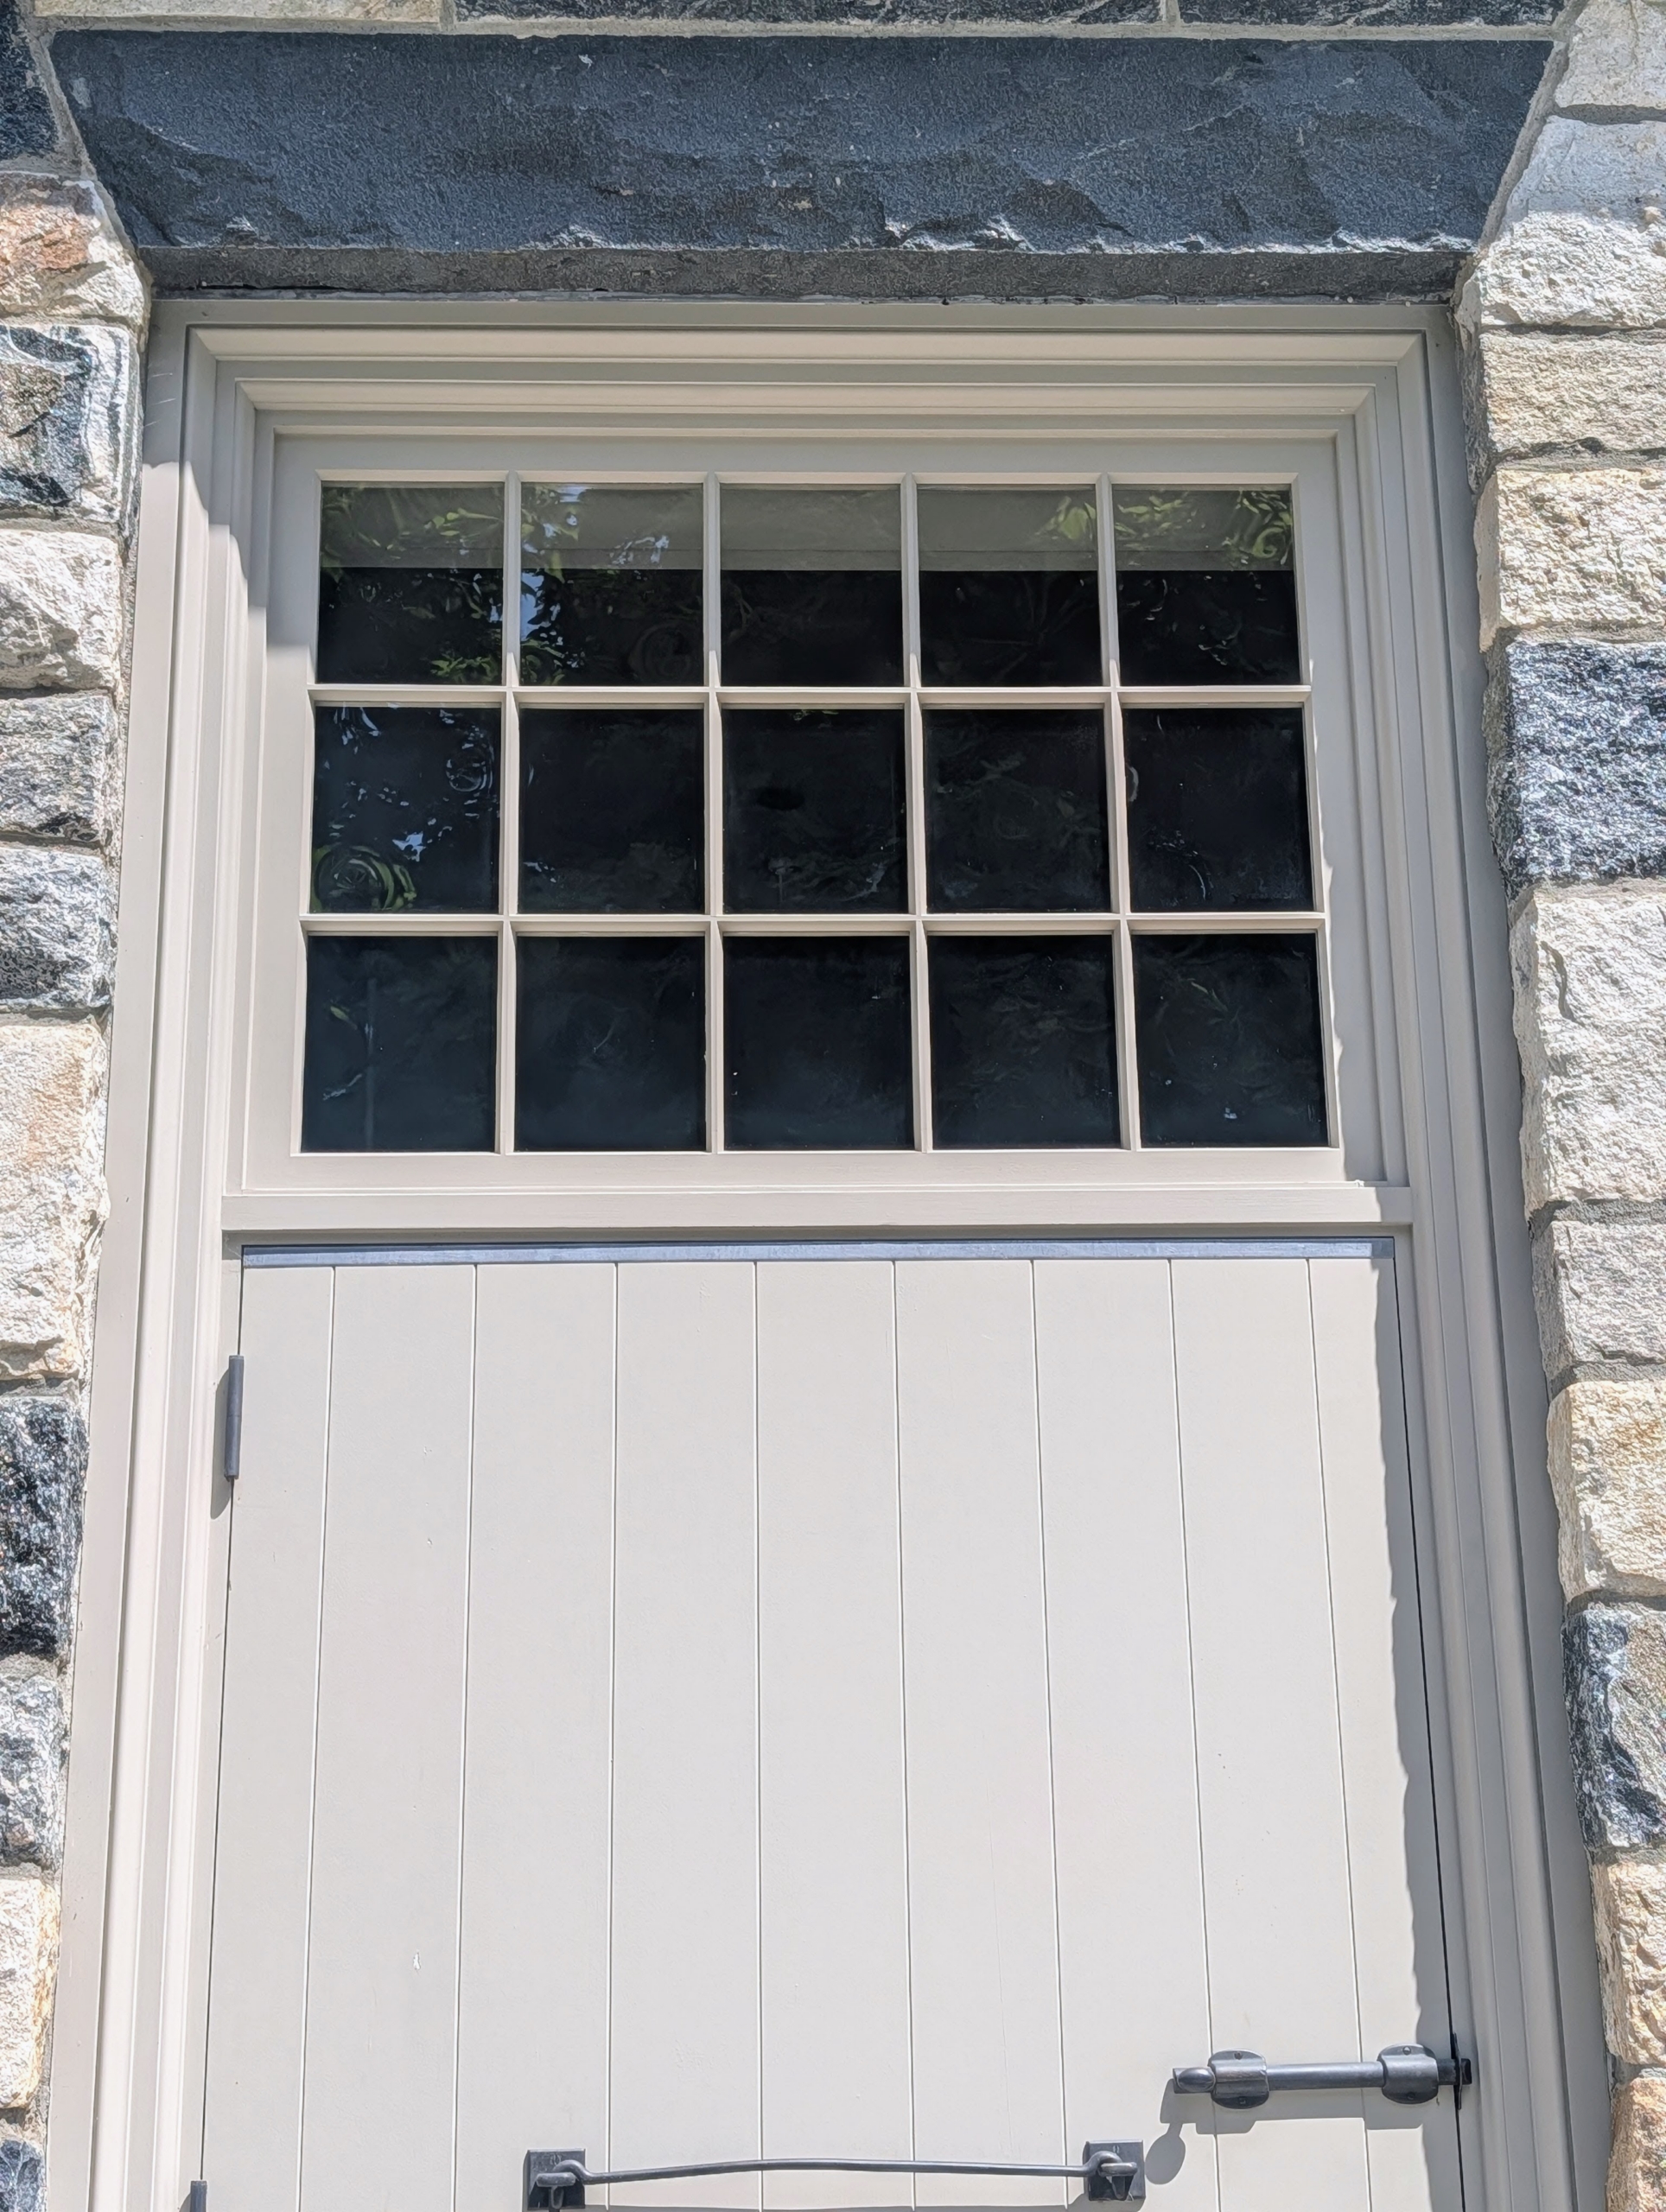
- All 15 of these windows are now replaced.
-
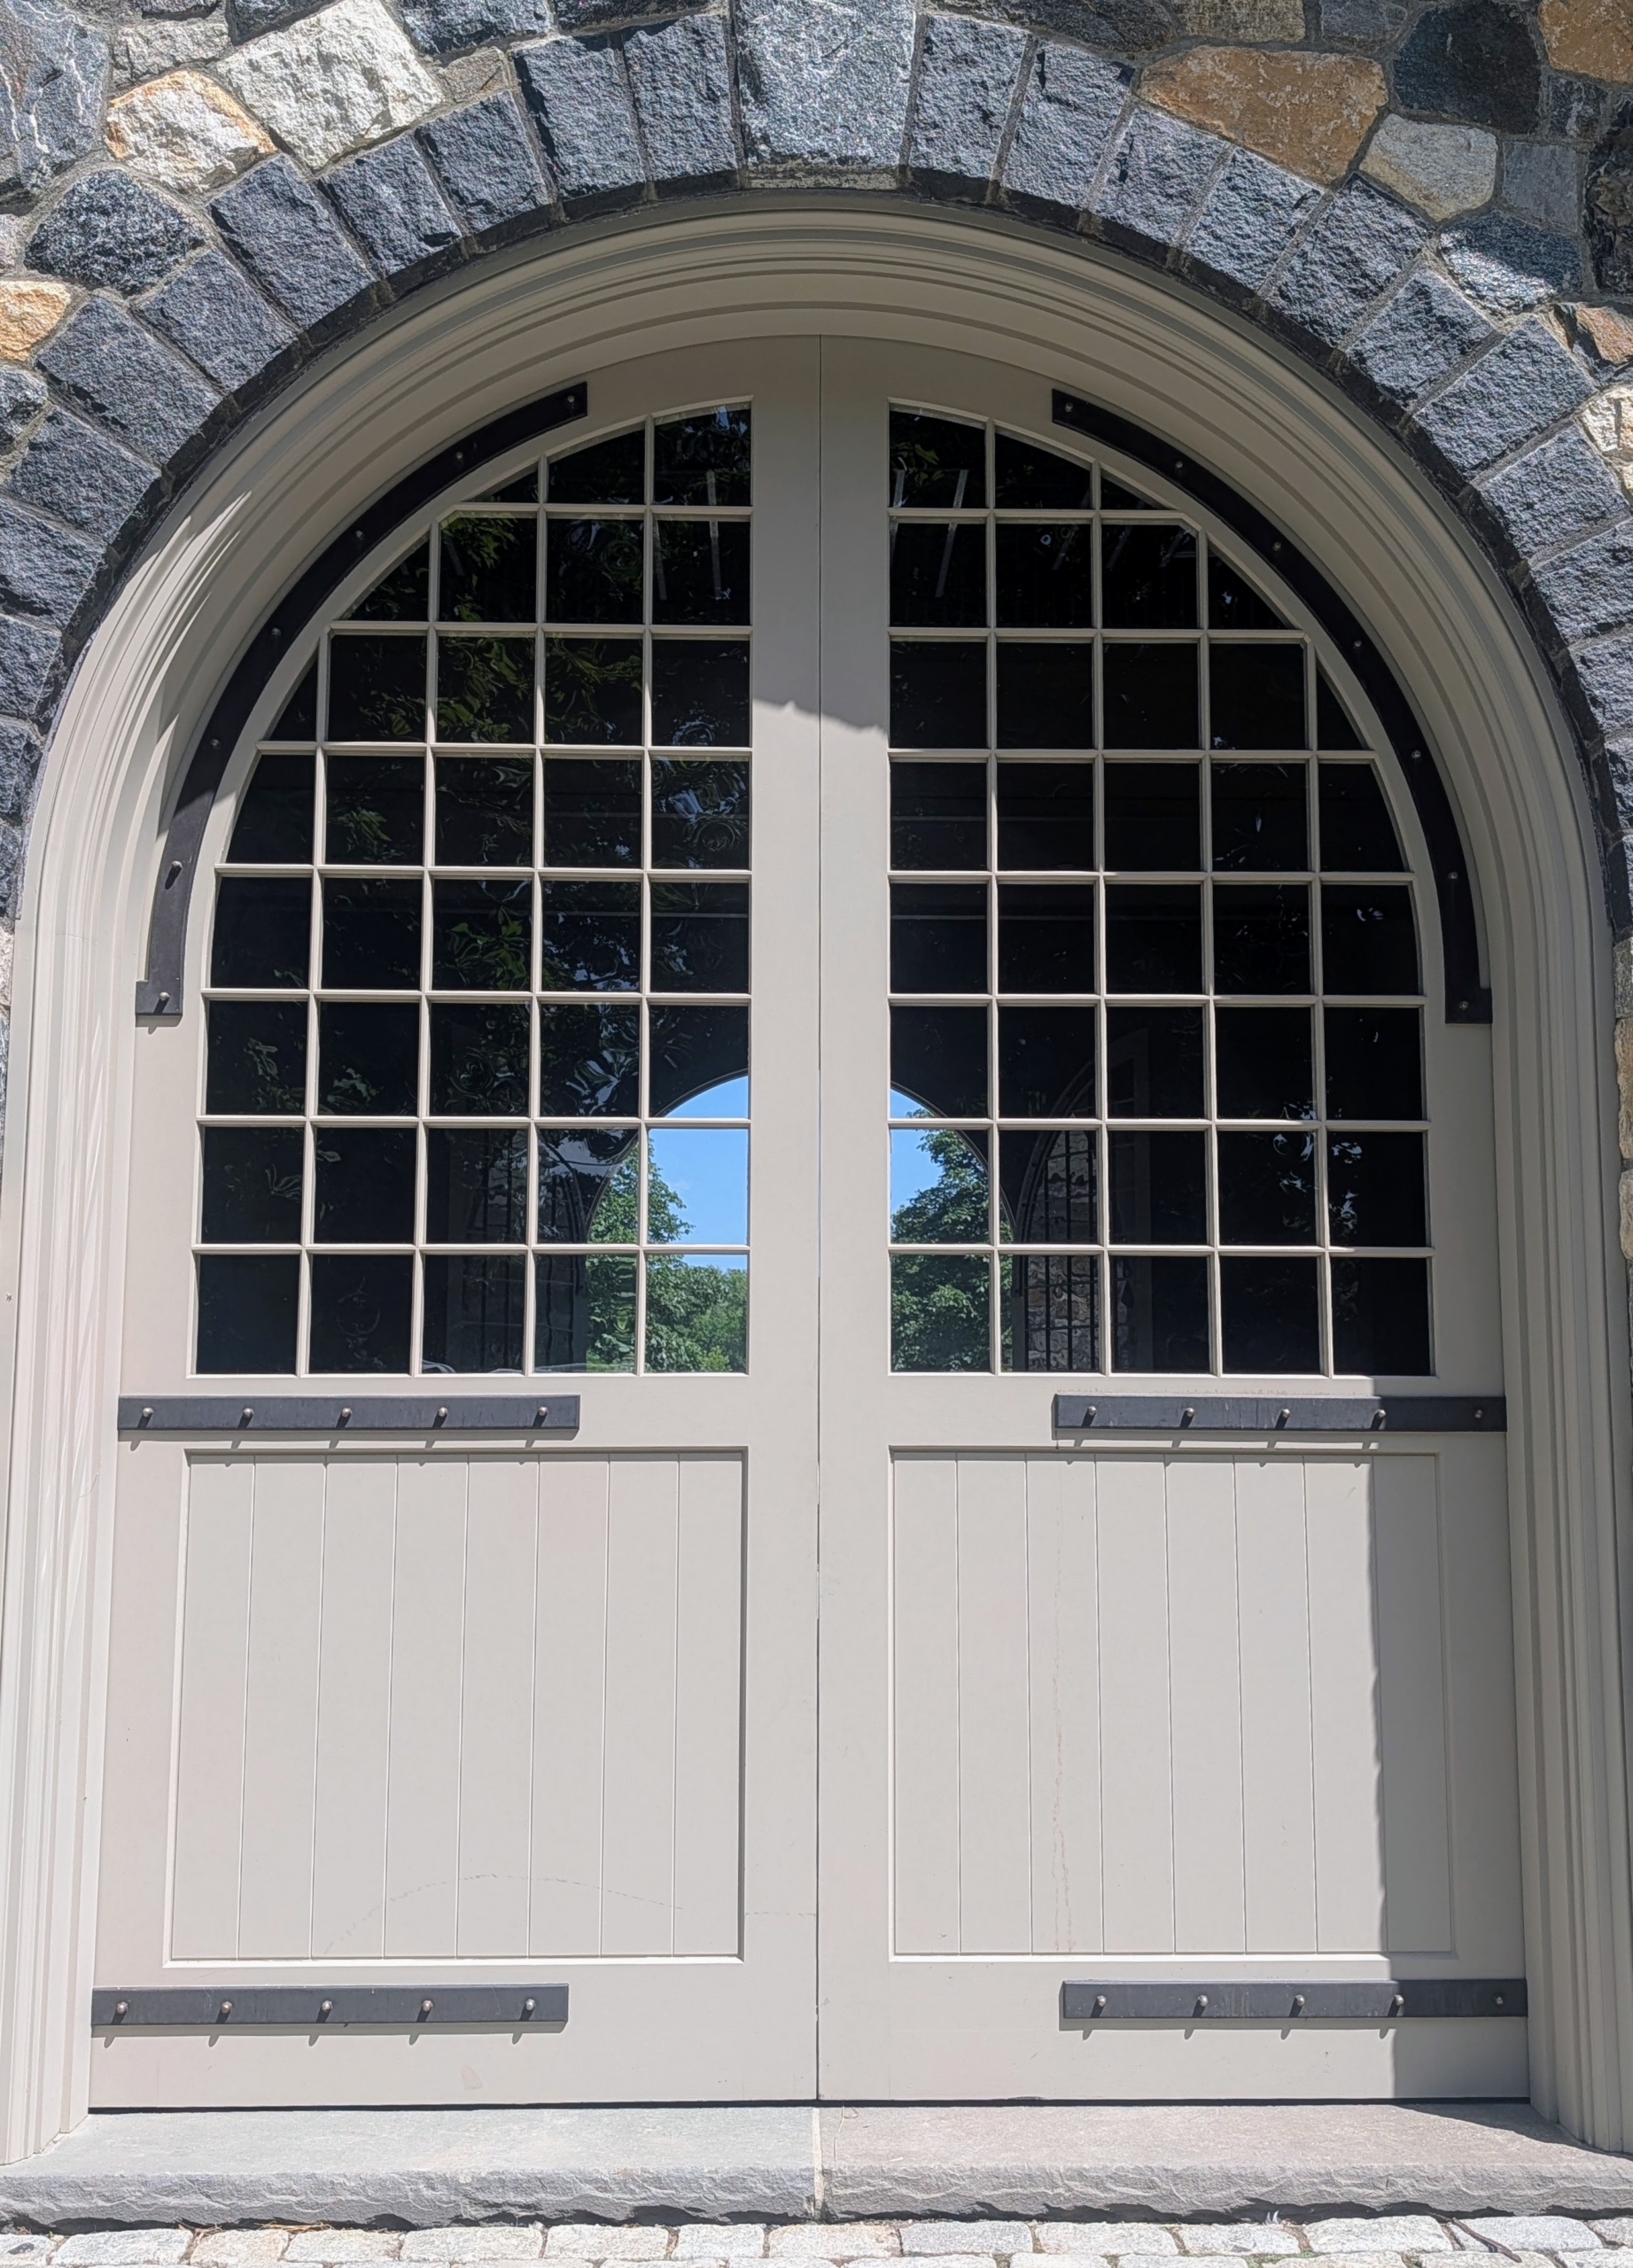
- And so are these windows on the stable door. Each window is approximately nine by 10 inches, depending on the individual pane. It takes a lot of time to replace every one.
-
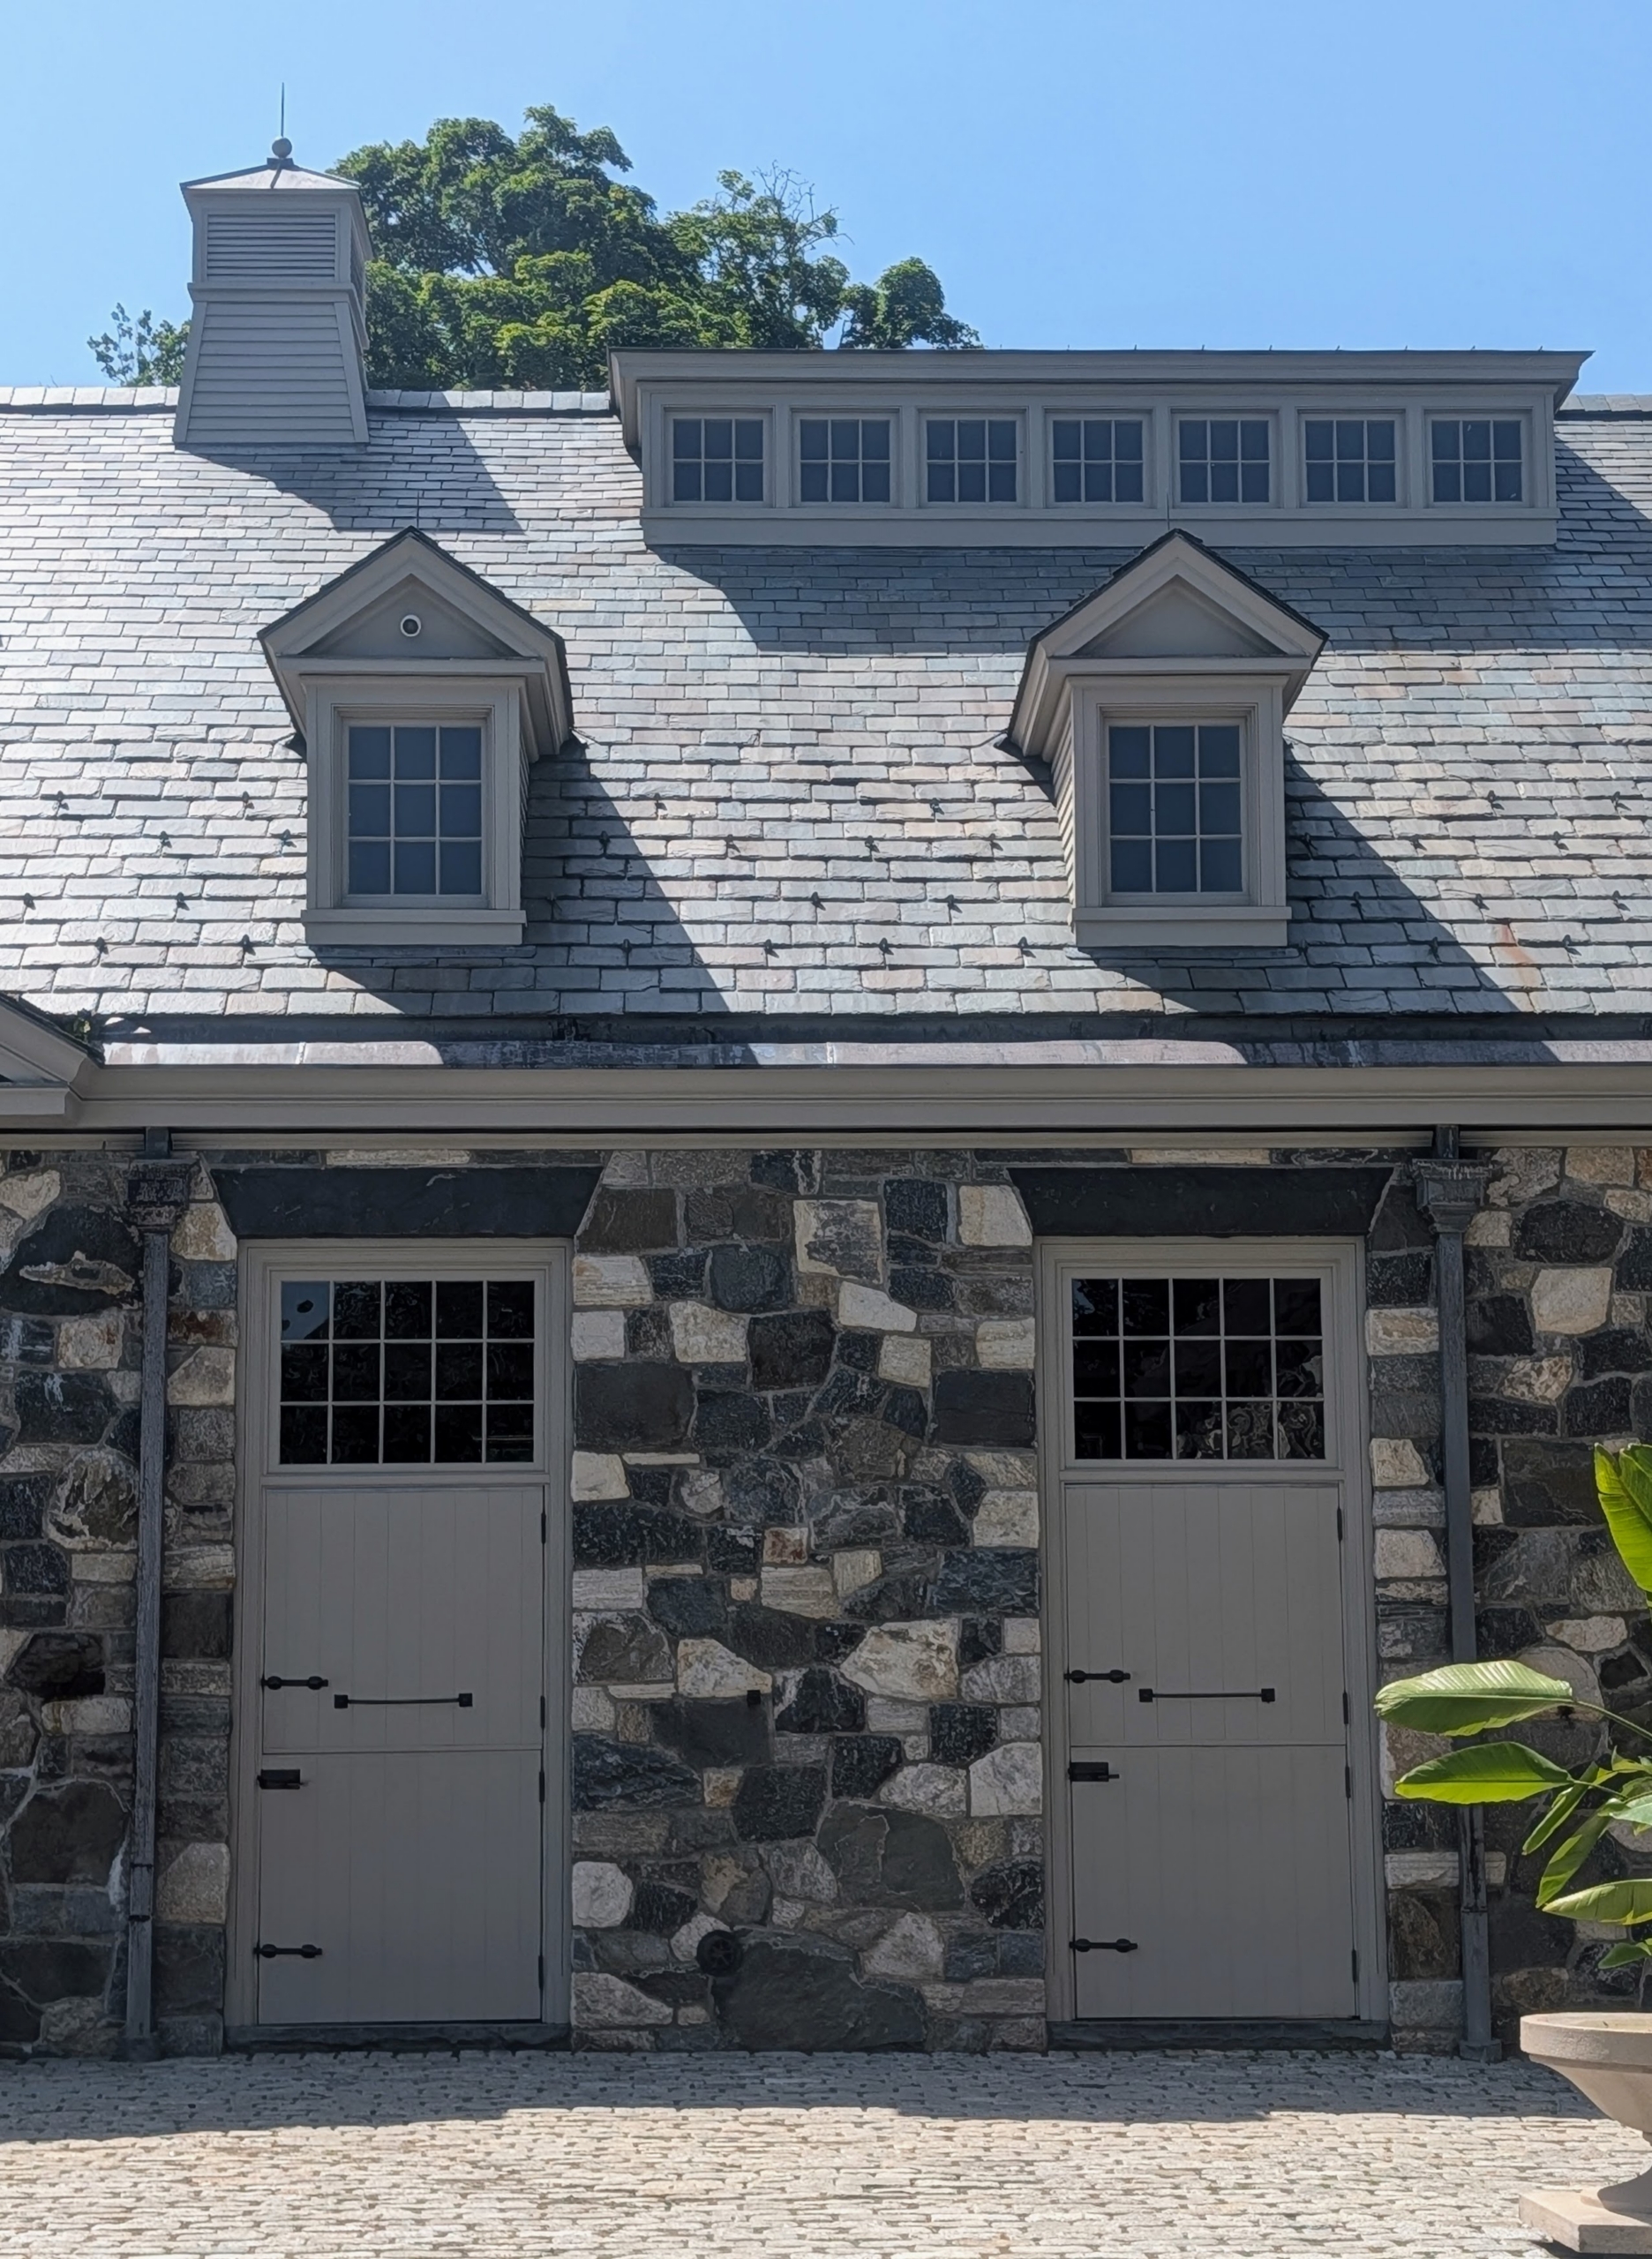
- The stable looks so much better with all its new windows. Thanks Heritage Fabrications – they look fantastic. Now onto the next building…
 Martha Pins


 Martha Tweets

