

Manicuring My Orchard Tree Pits
Effective orchard maintenance requires year-round care, from seasonal pruning and fertilization to irrigation and regular grooming.
At my farm, the orchard surrounds my pool and is home to more than 200 fruit trees, including a variety of apples, plums, cherries, peaches, pears, medlars, and quinces. Each season, these trees reward me with an abundance of delicious, sweet fruit. Keeping such a large orchard healthy and looking its best is no small task. Right now, my outdoor grounds crew is carefully manicuring the pits beneath each tree — the prepared areas that provide support for the trees and their roots. It is meticulous and time-consuming work, but as I’m sure you will agree, the results make all the efforts worthwhile.
Enjoy these photos.
-

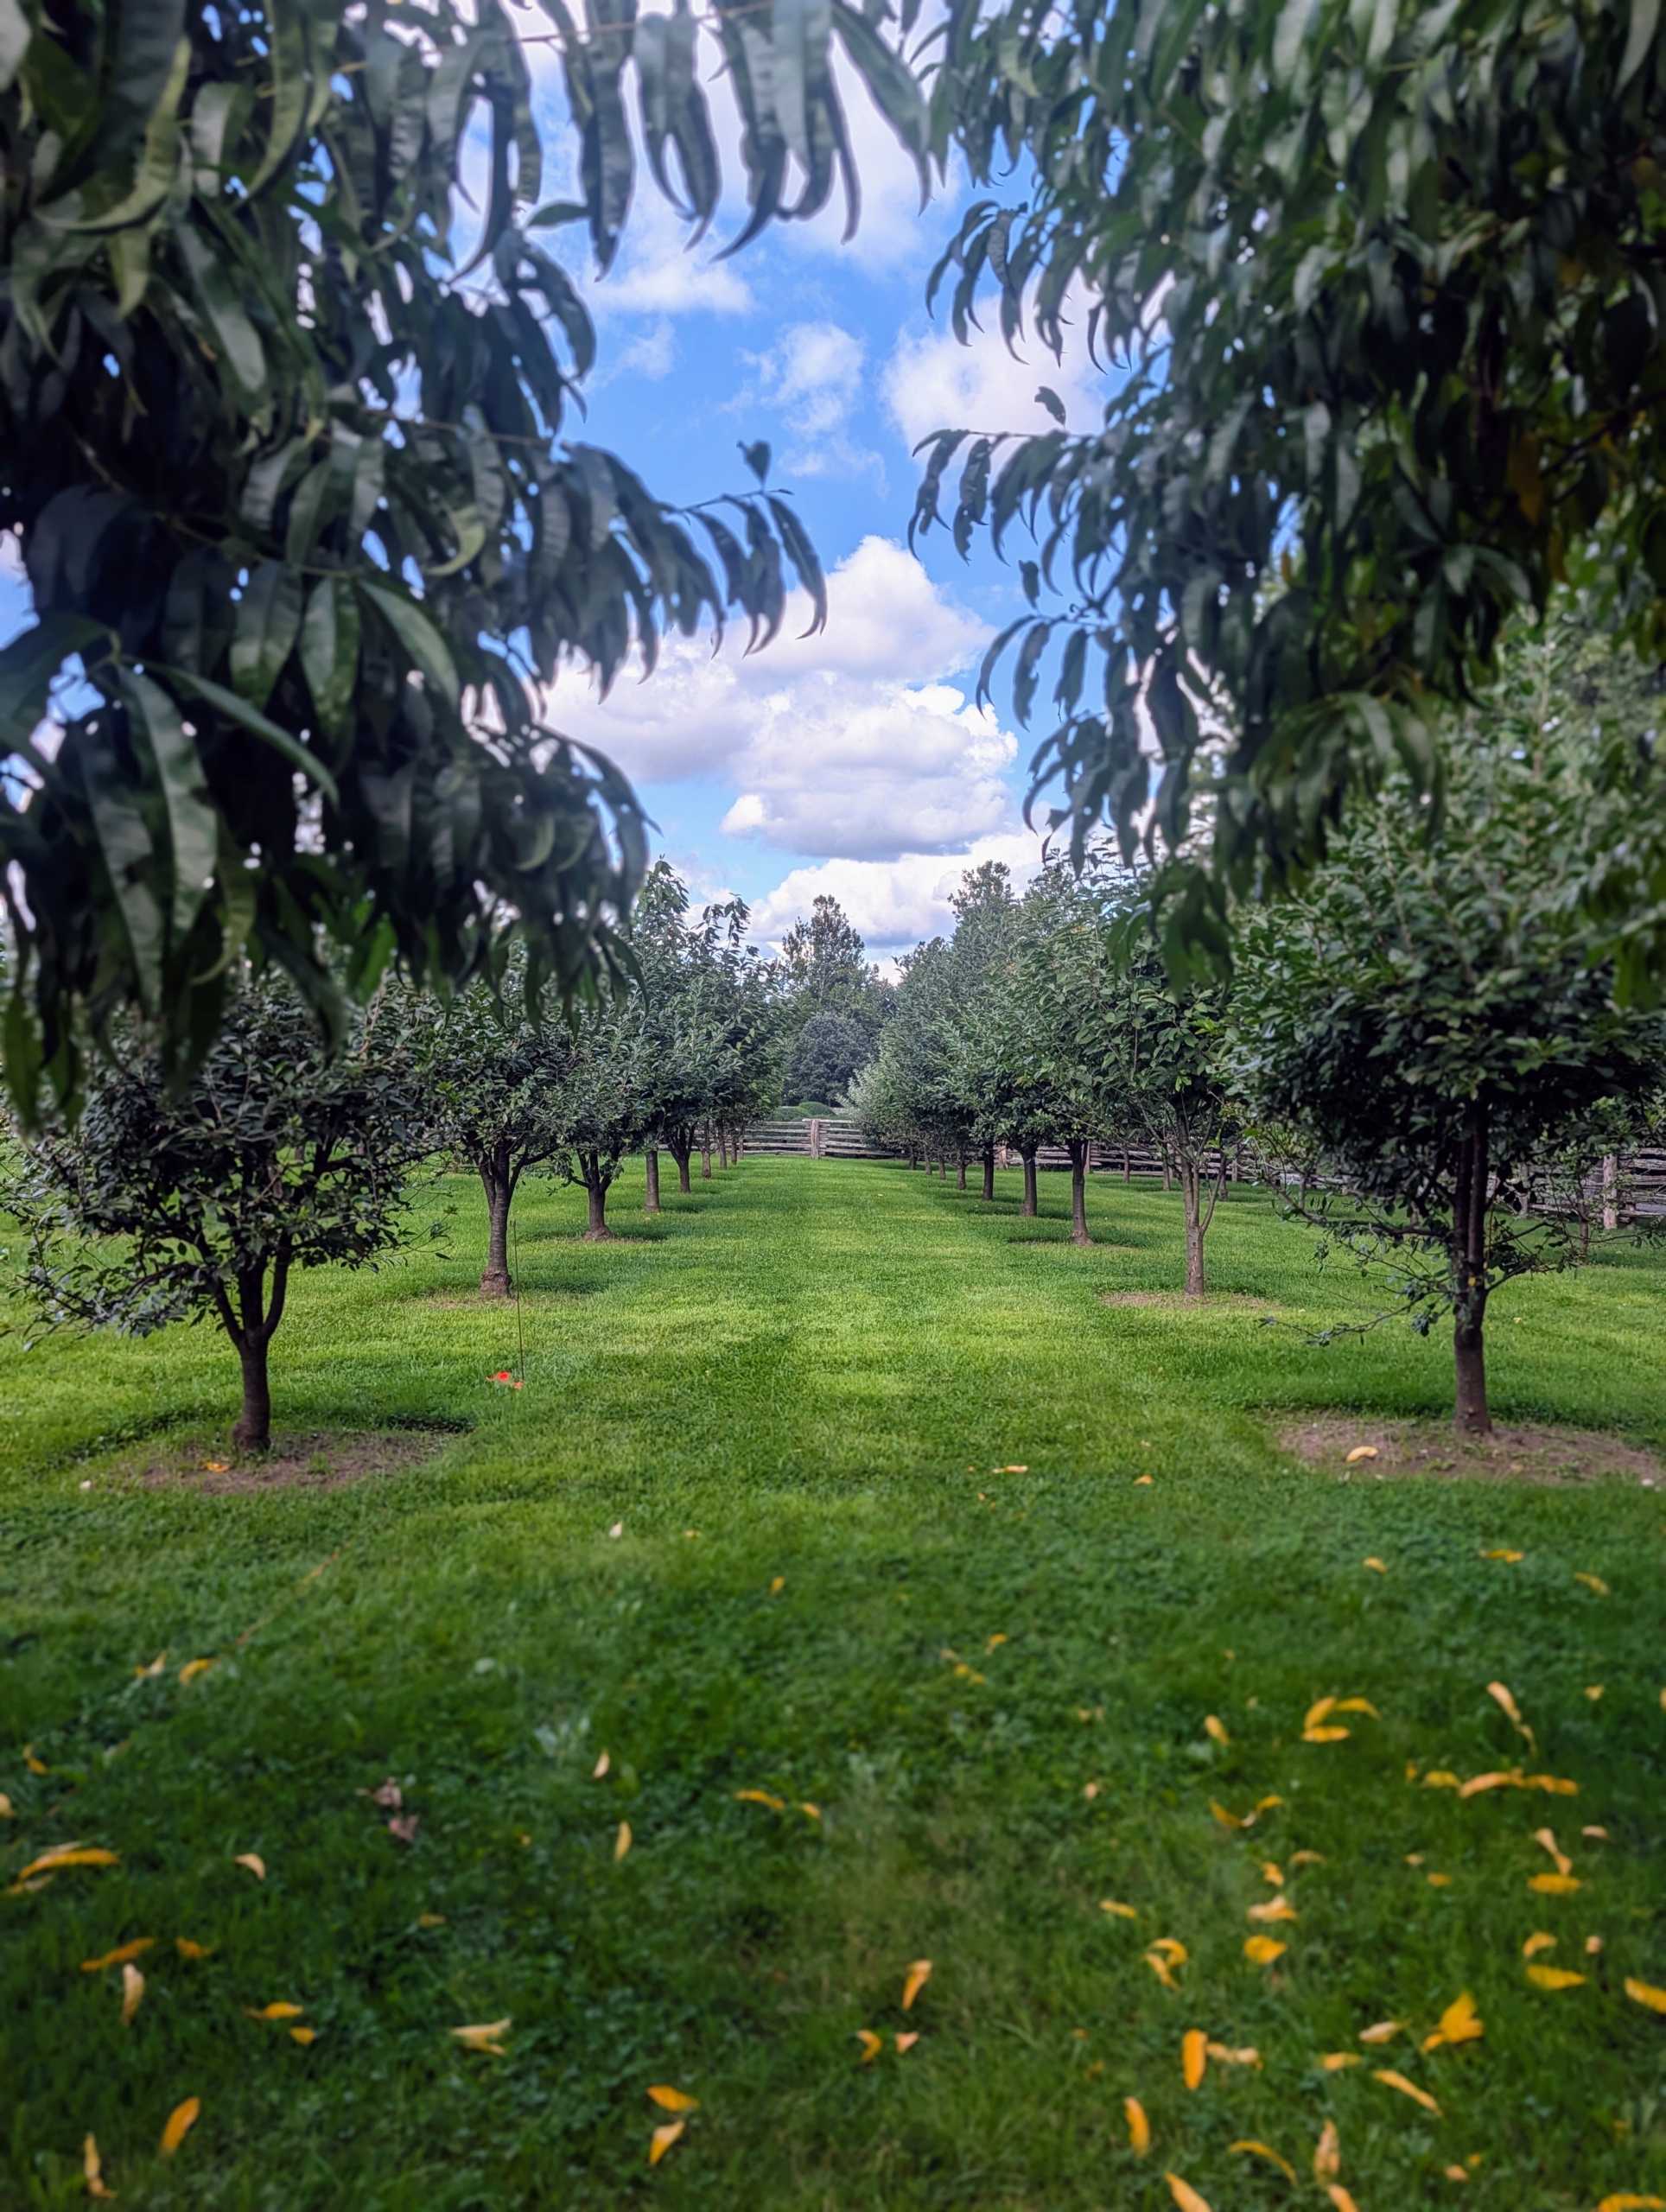
- I planted this orchard in 2017. Many of these trees were started as bare-root cuttings. They’ve grown excellently over the years. Fruit trees need a good amount of room to mature. When planting, be sure to space them at least 15-feet apart.
-
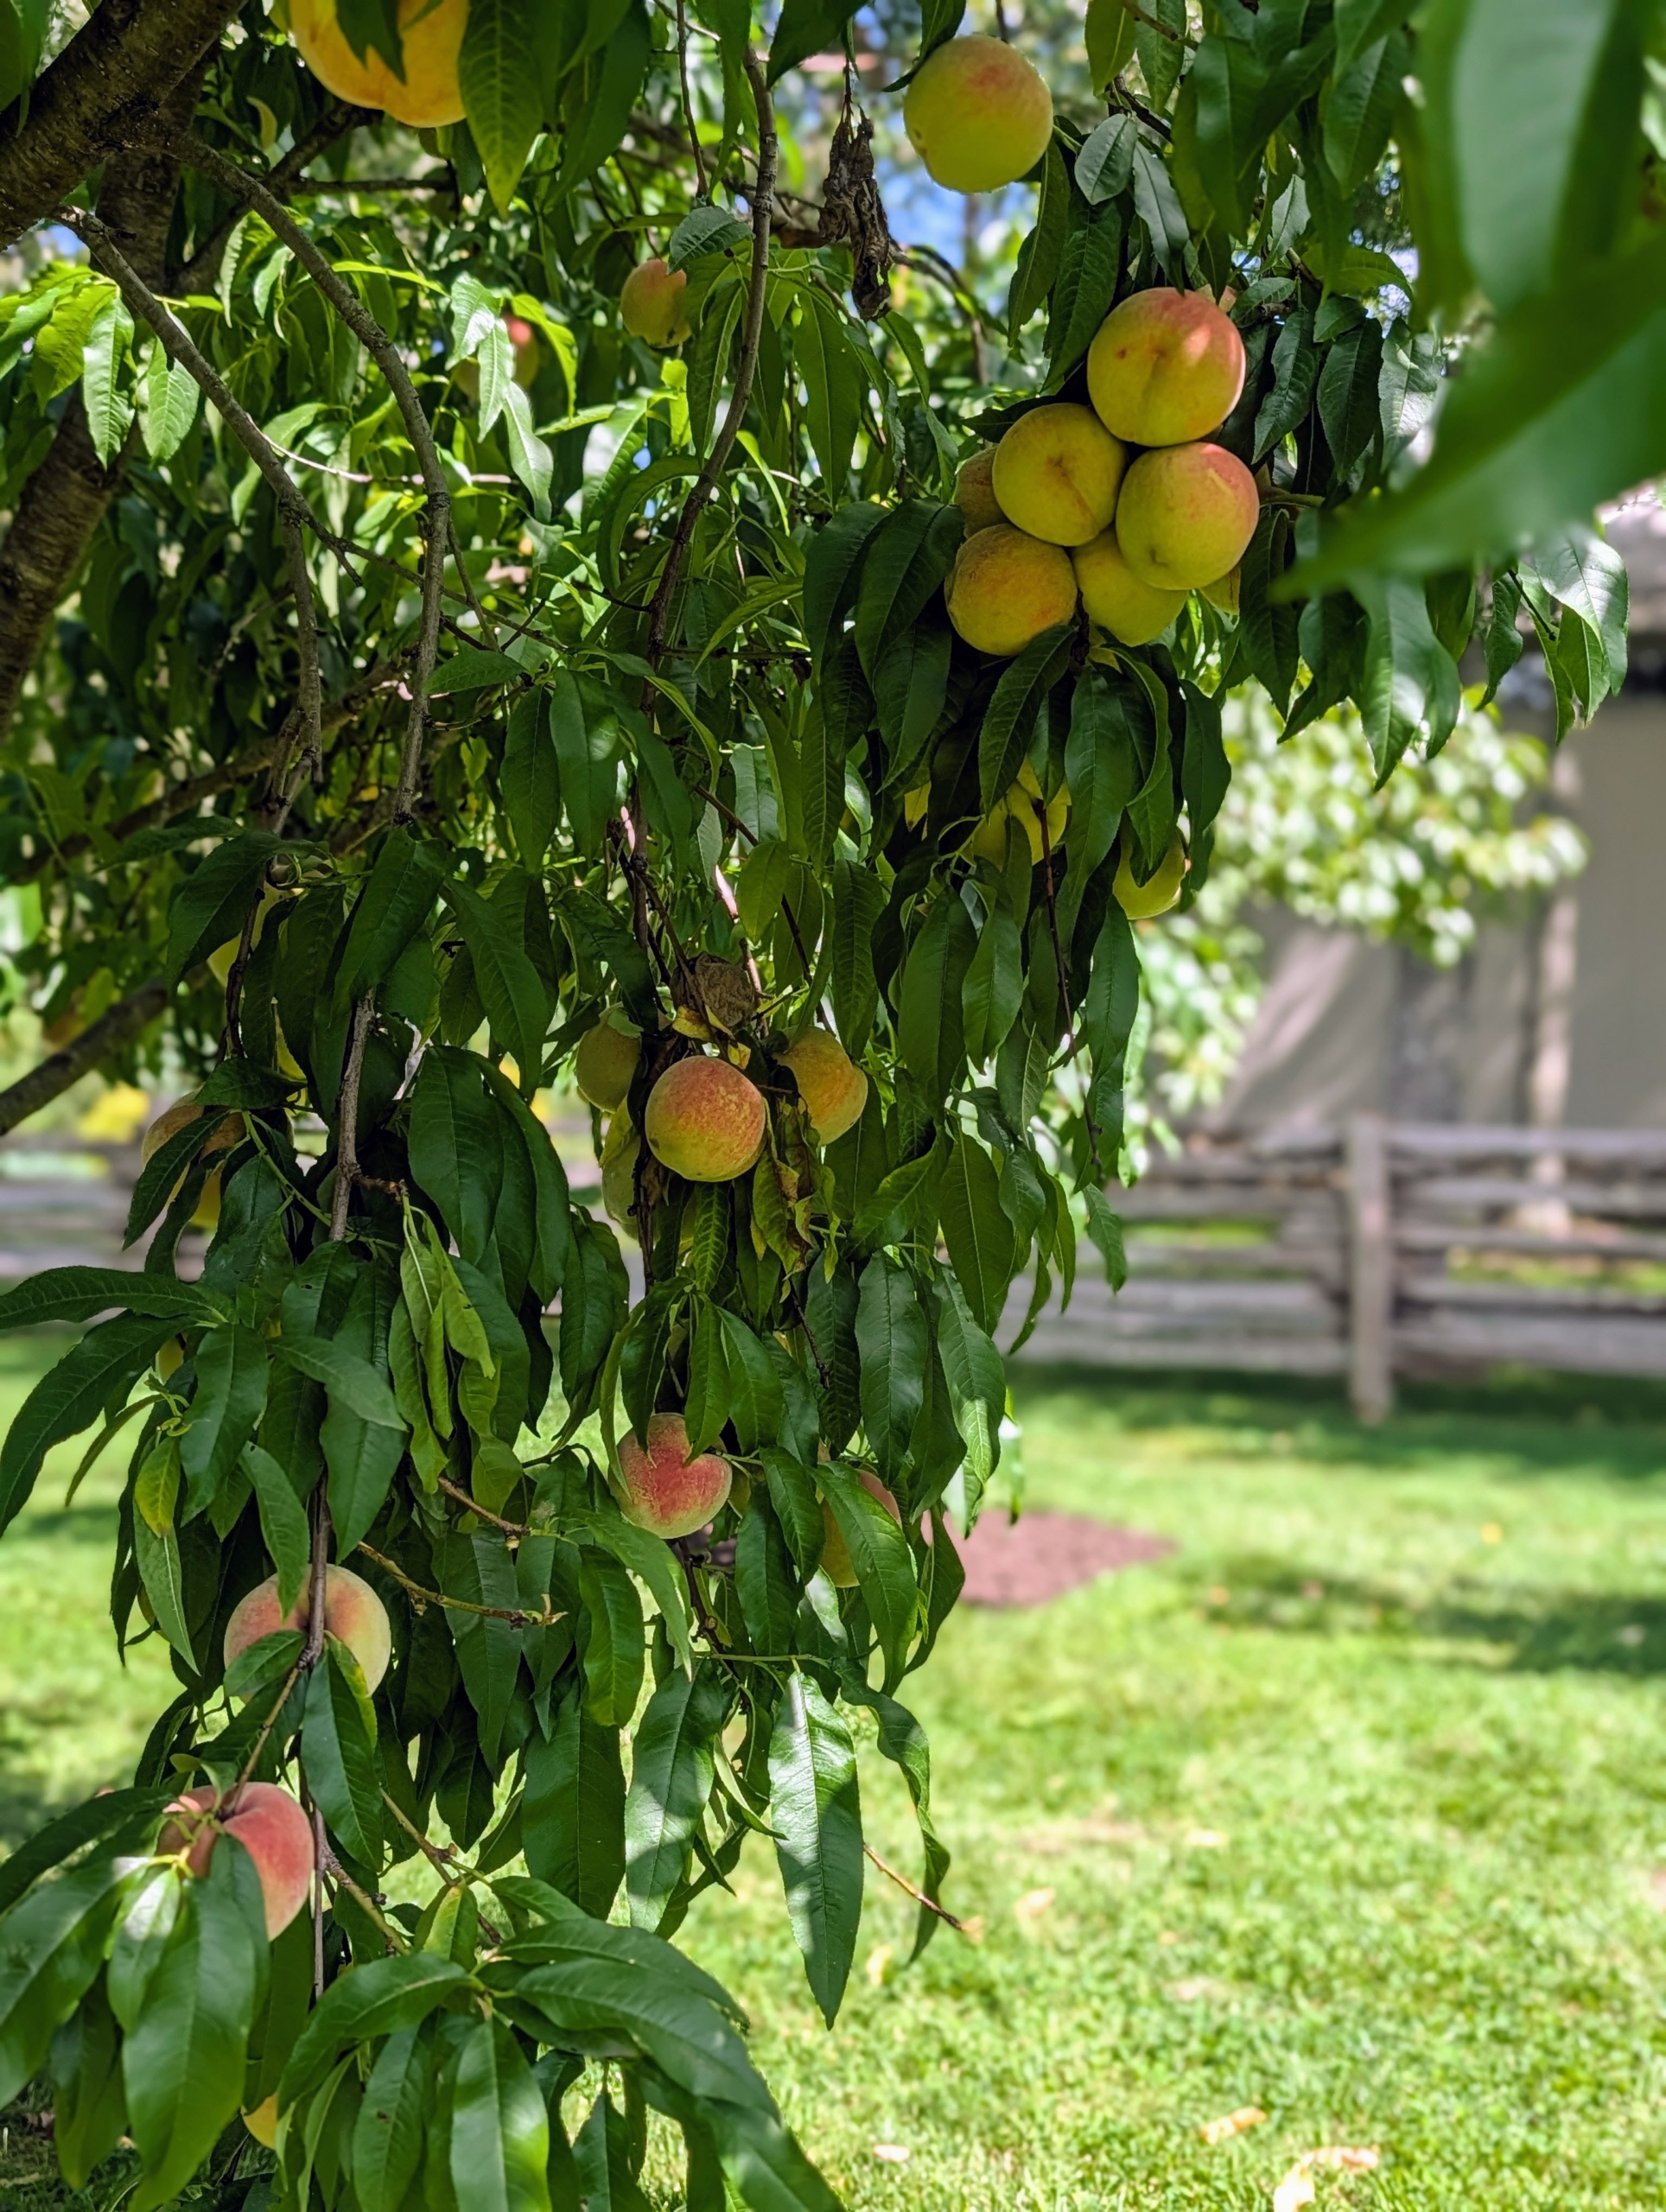
- The peach trees still have many fruits. They are so delicious this year.
-
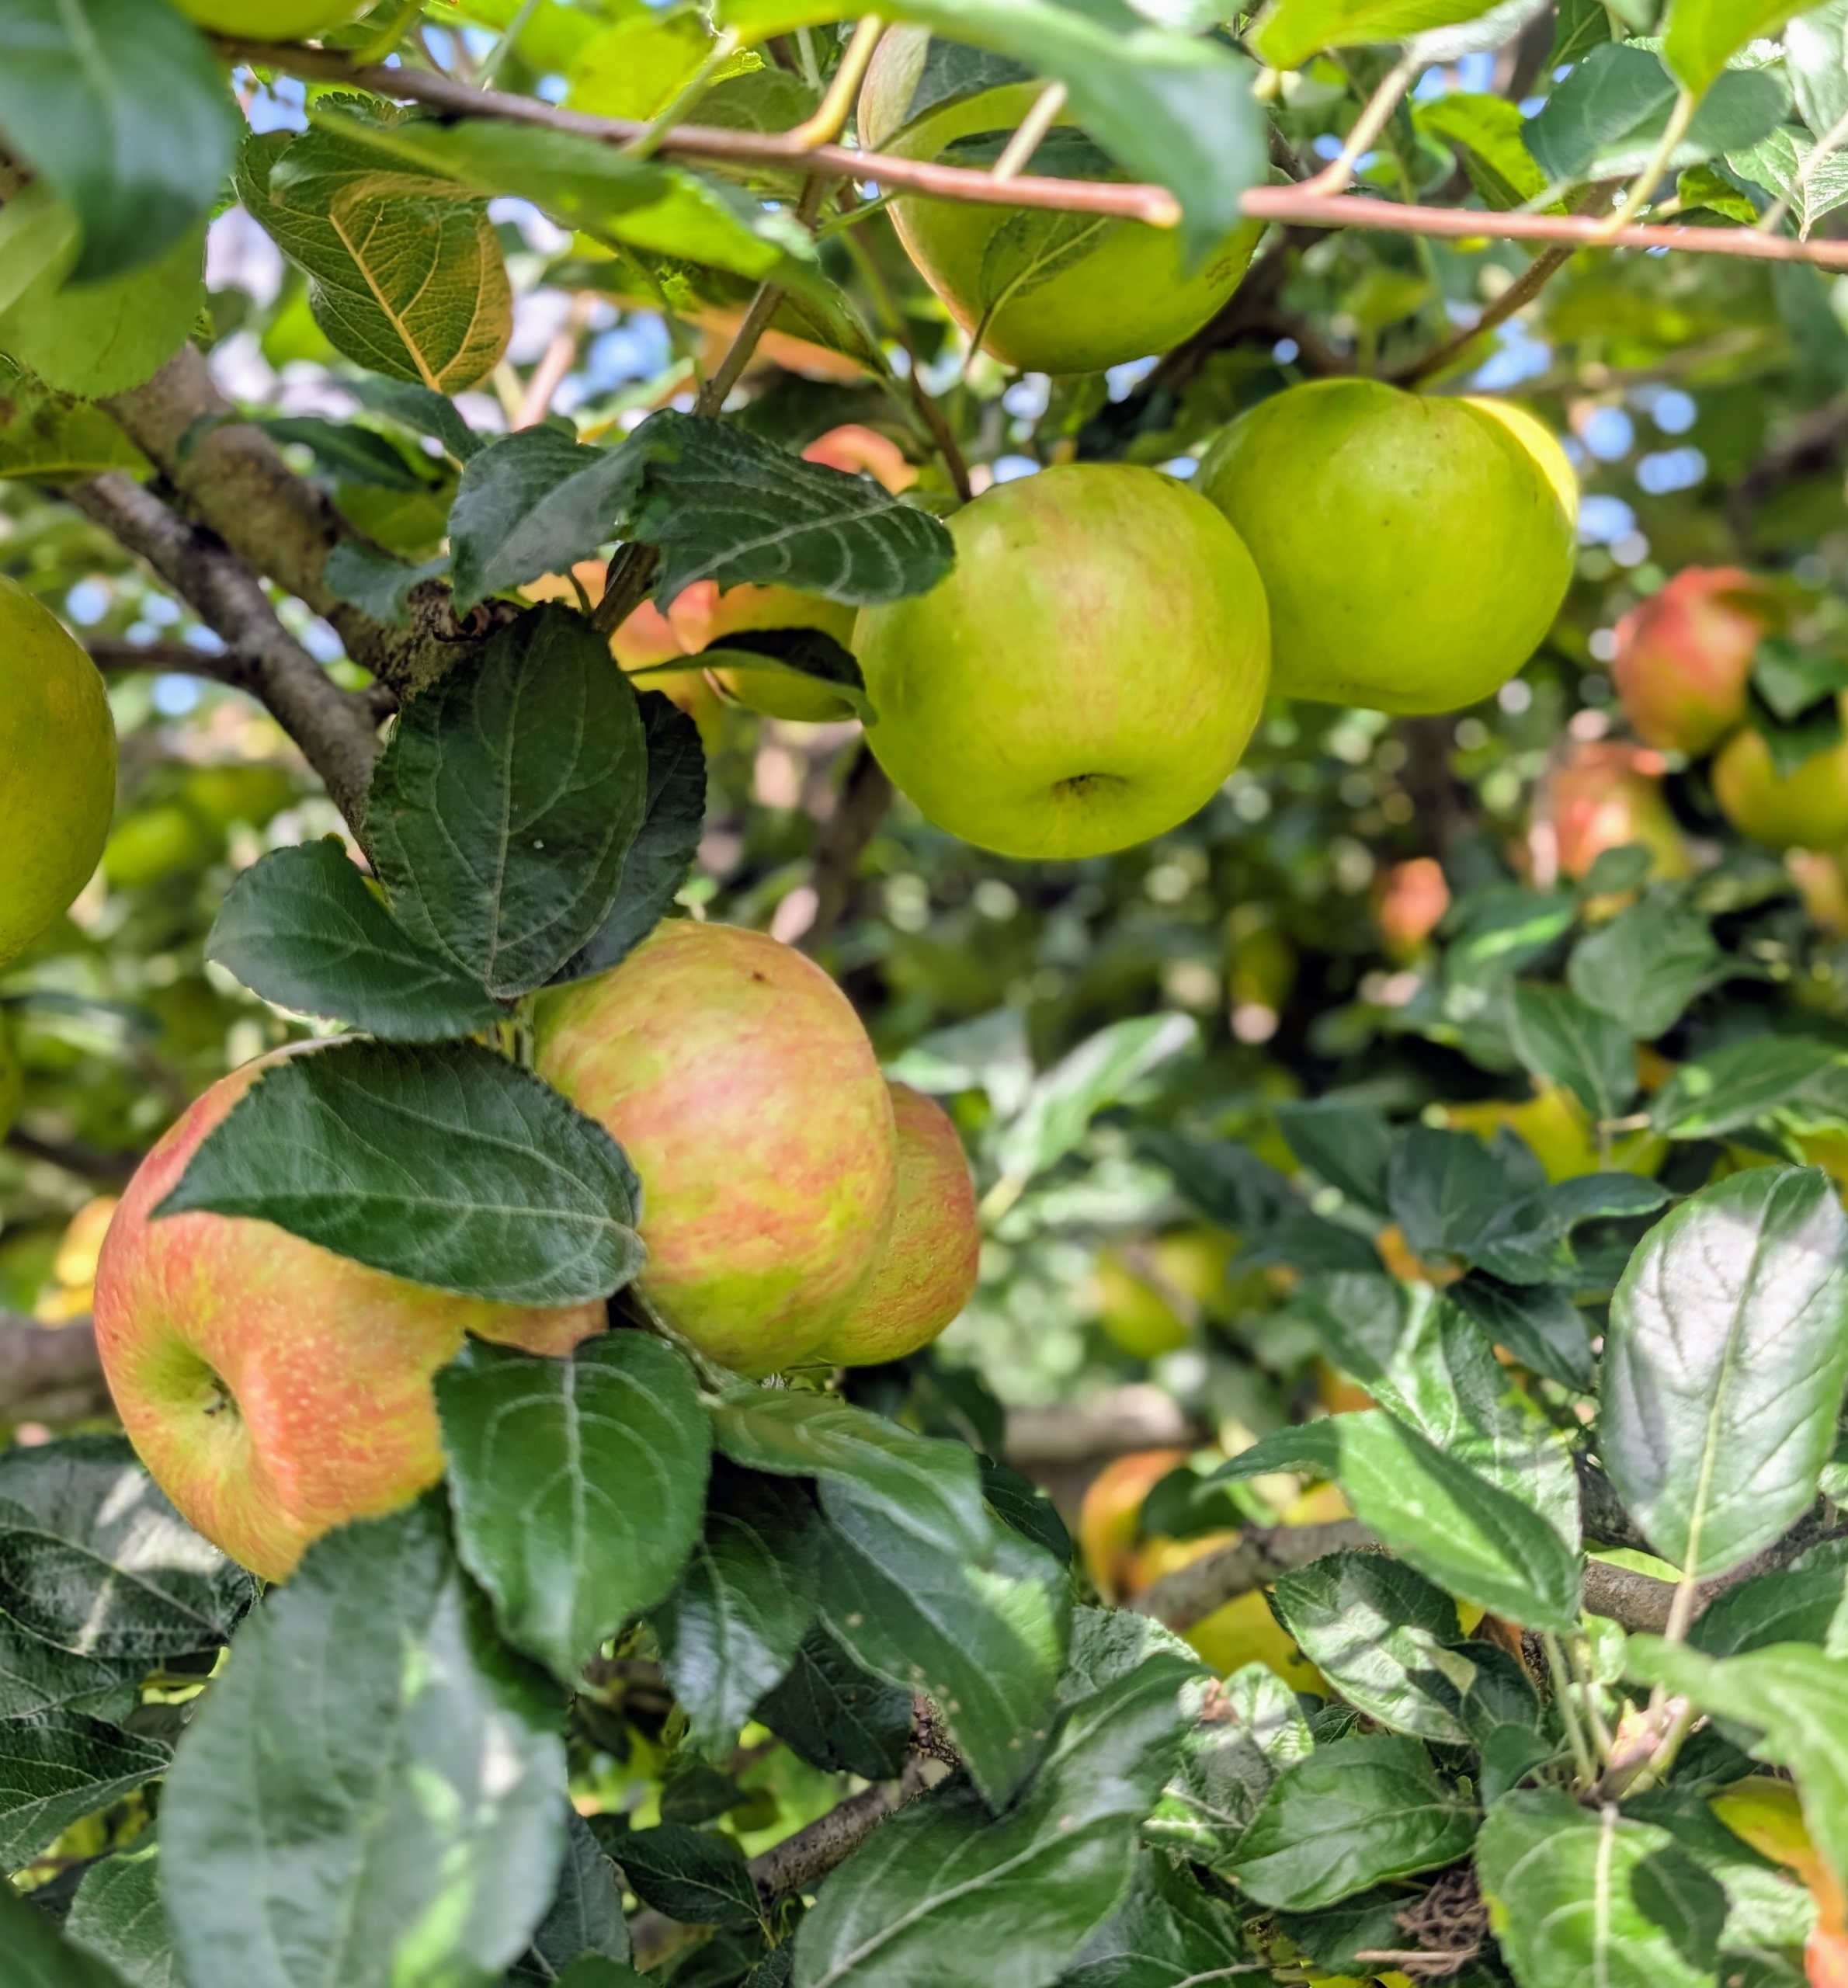
- And the apples are also growing nicely – we should have a bountiful apple season come fall.
-
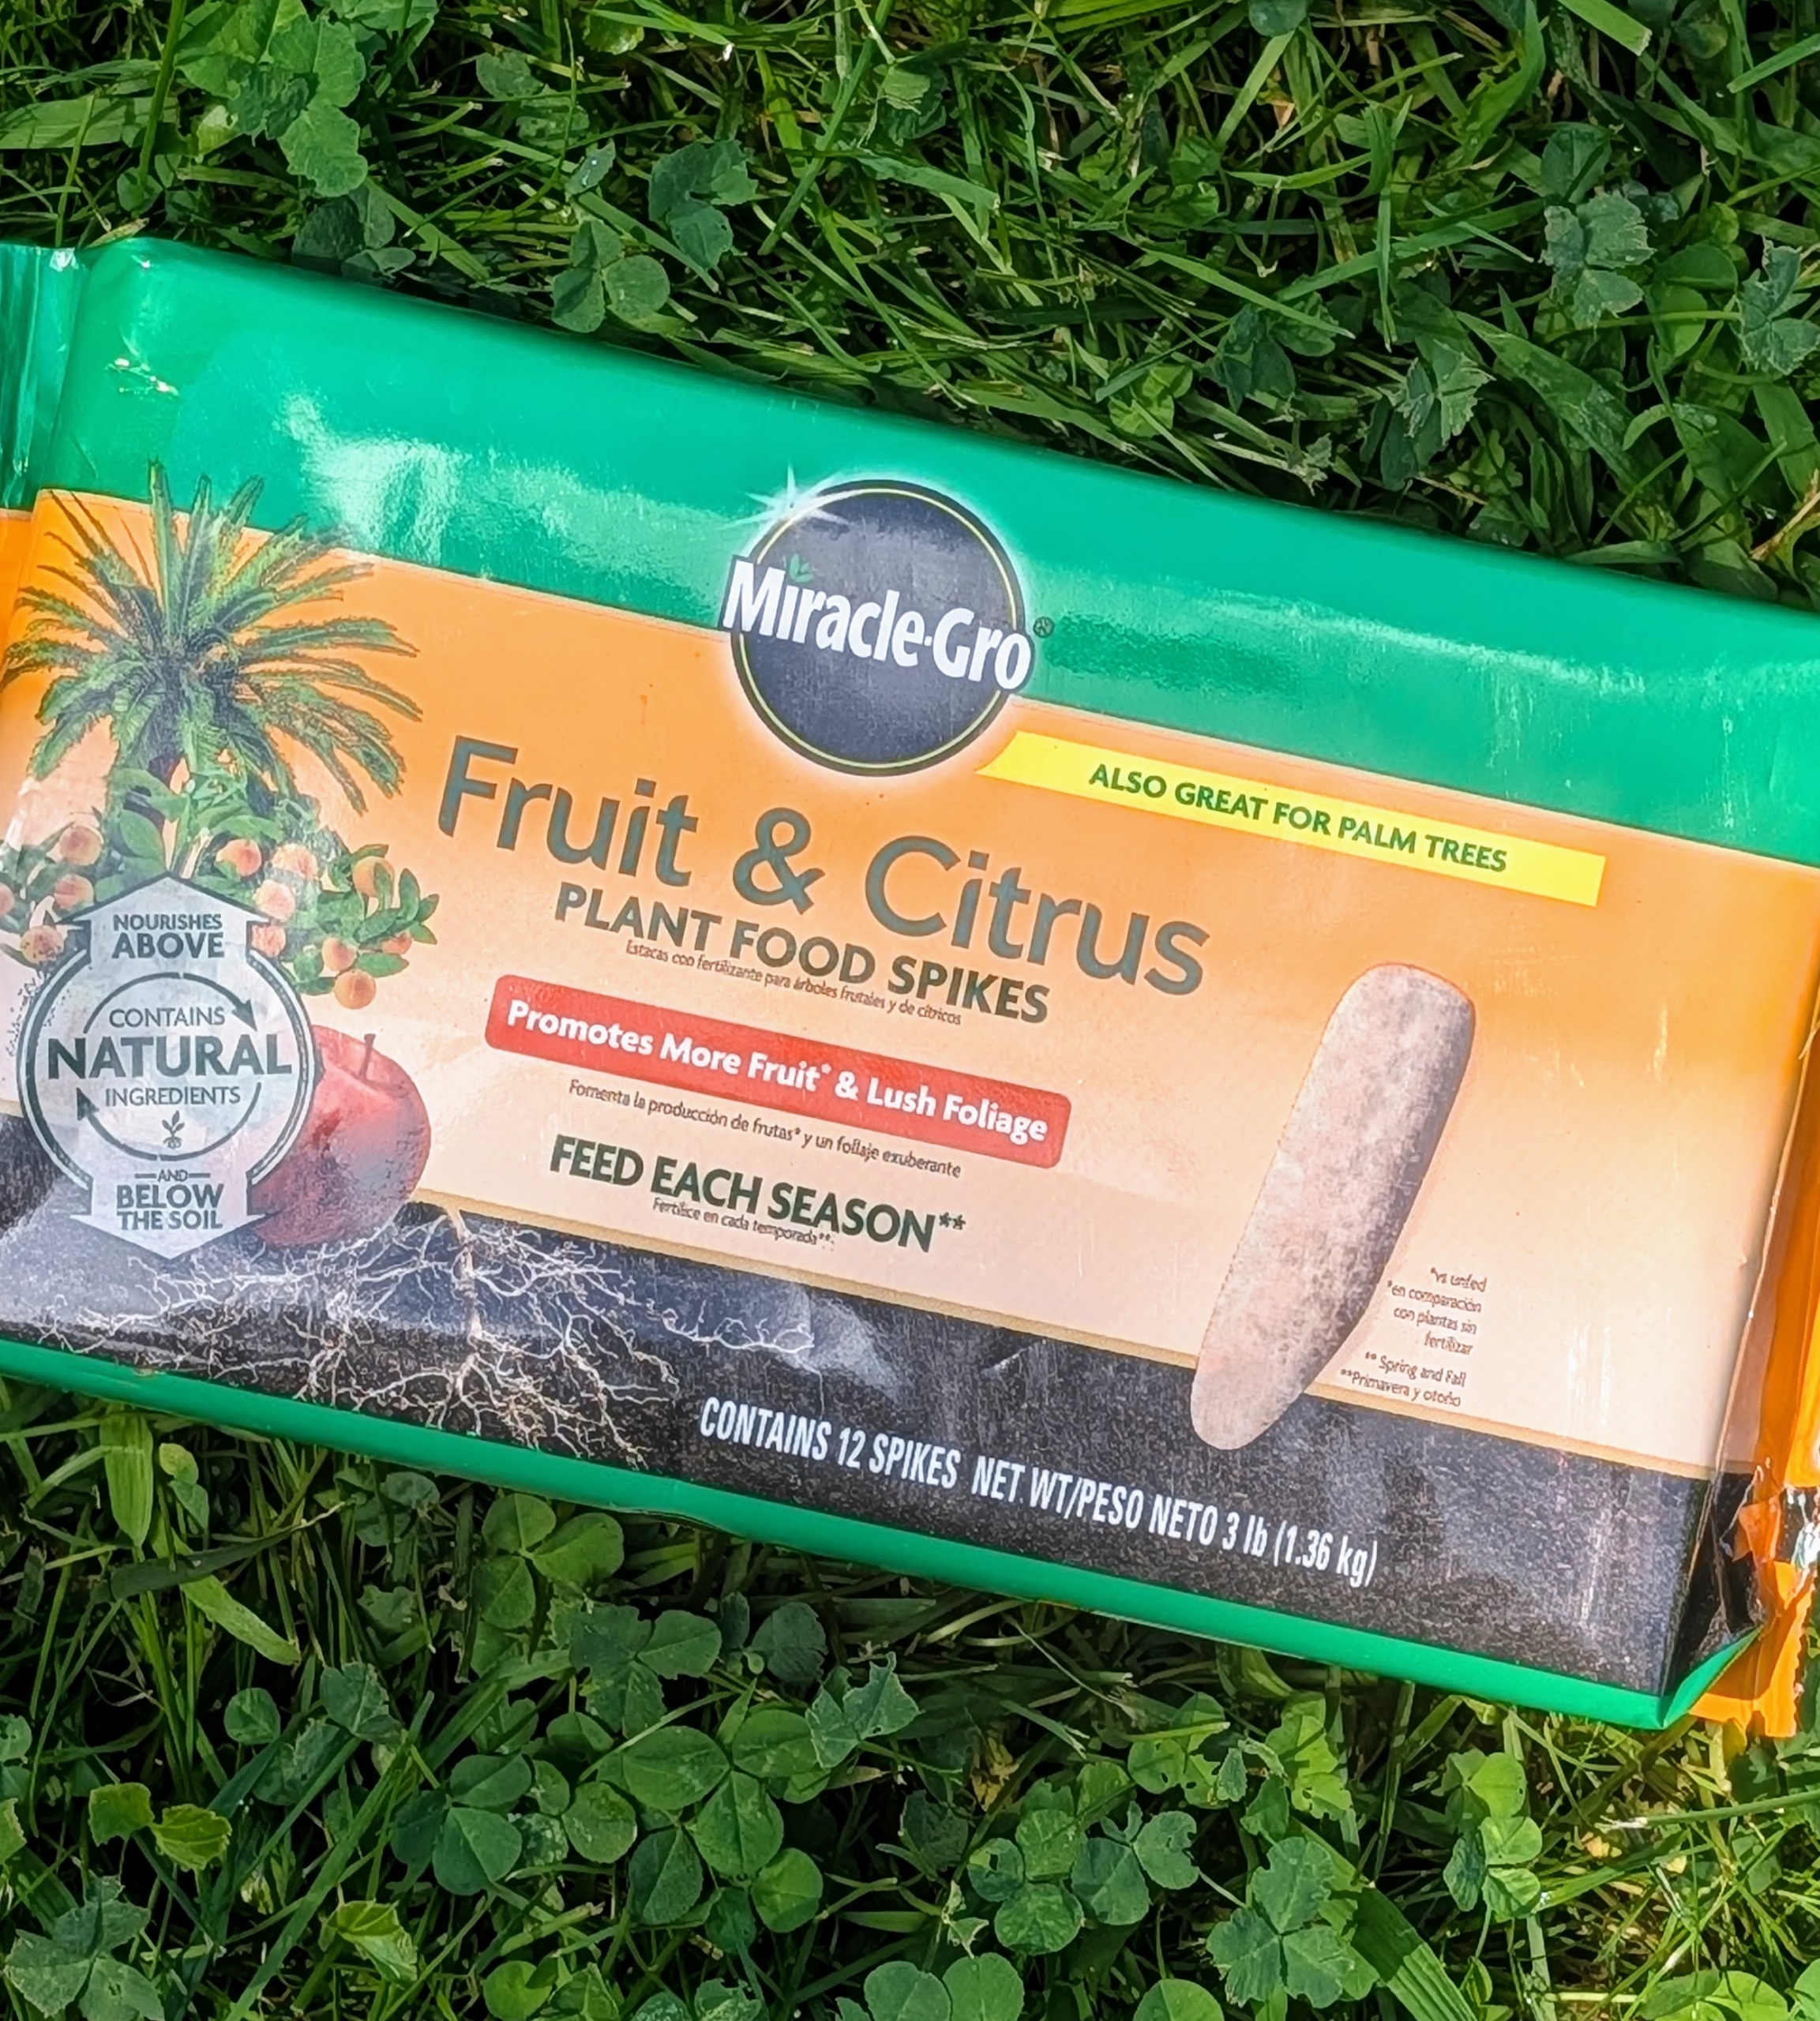
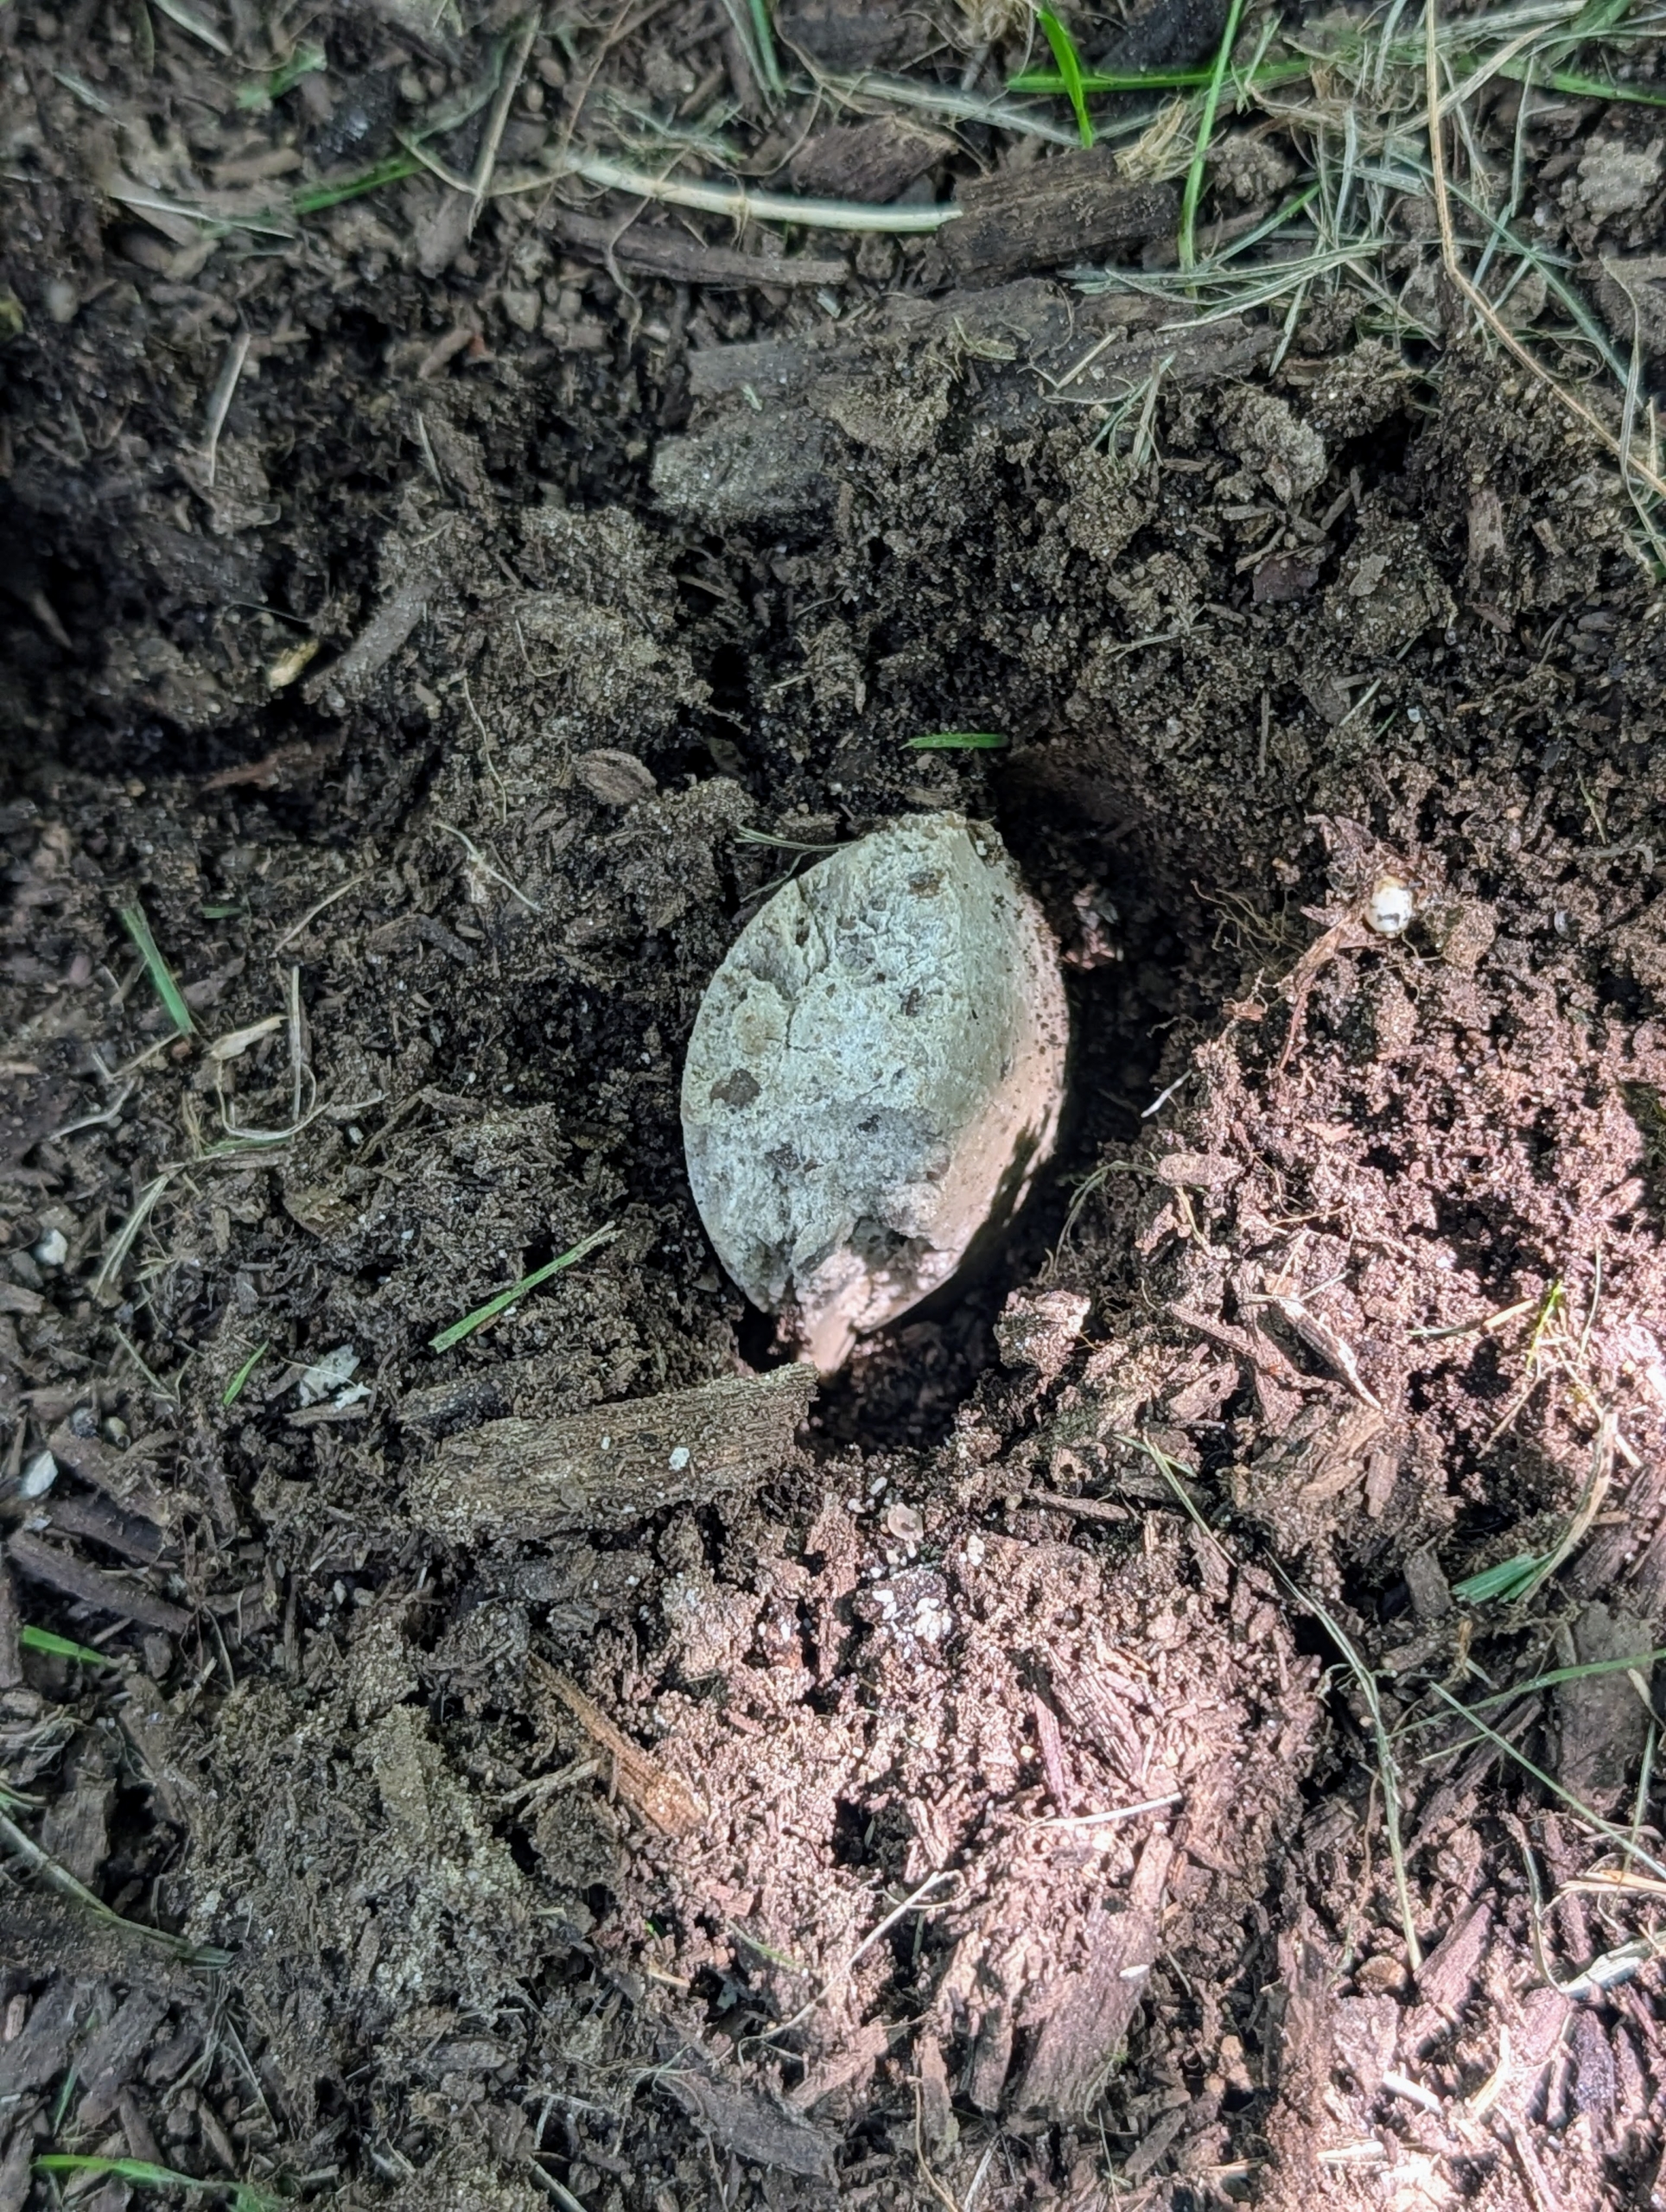
- Before any tree pit is groomed, the crew feeds the trees with Miracle-Gro Fruit & Citrus Plant Food Spikes, which will promote more fruit and lush foliage.
-
- Each spike is inserted into the soil where it will release food slowly. I usually put a couple under each tree.
-
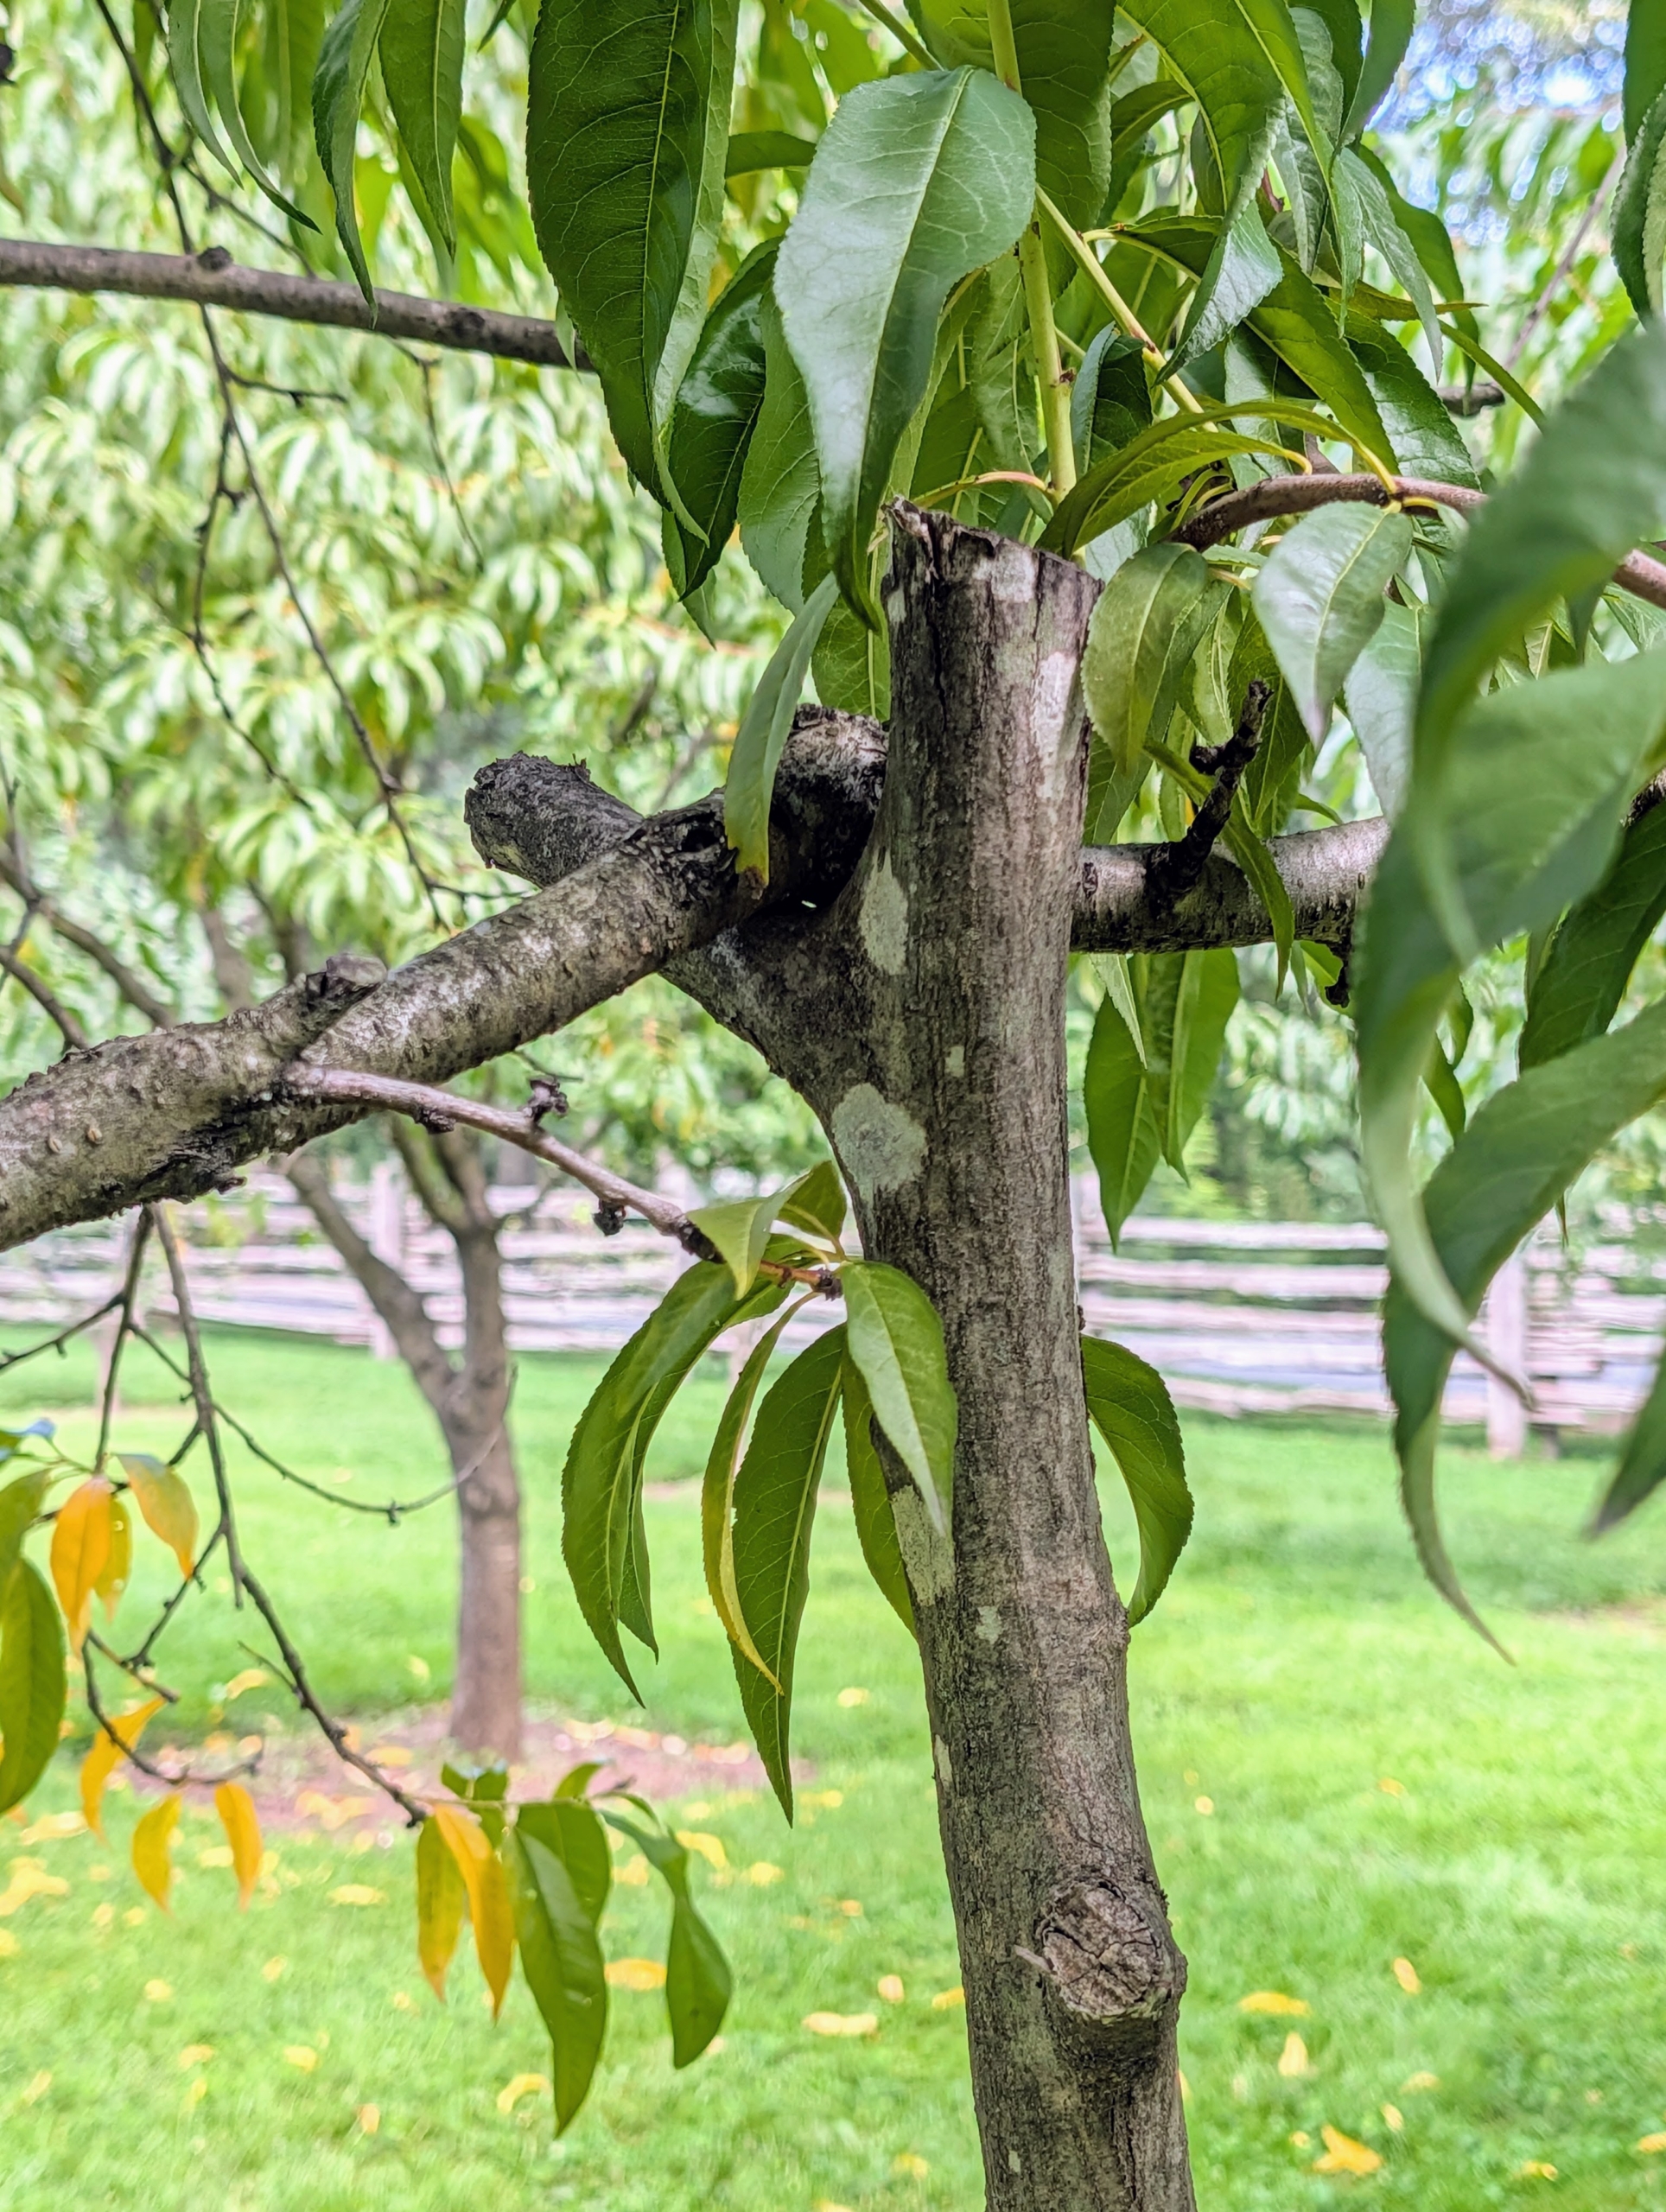
- I also use natural tree “crutches” to support limbs weighed down by fruit. Notice the natural notch that supports the branch. These crutches are repurposed from felled limbs around the farm.
-
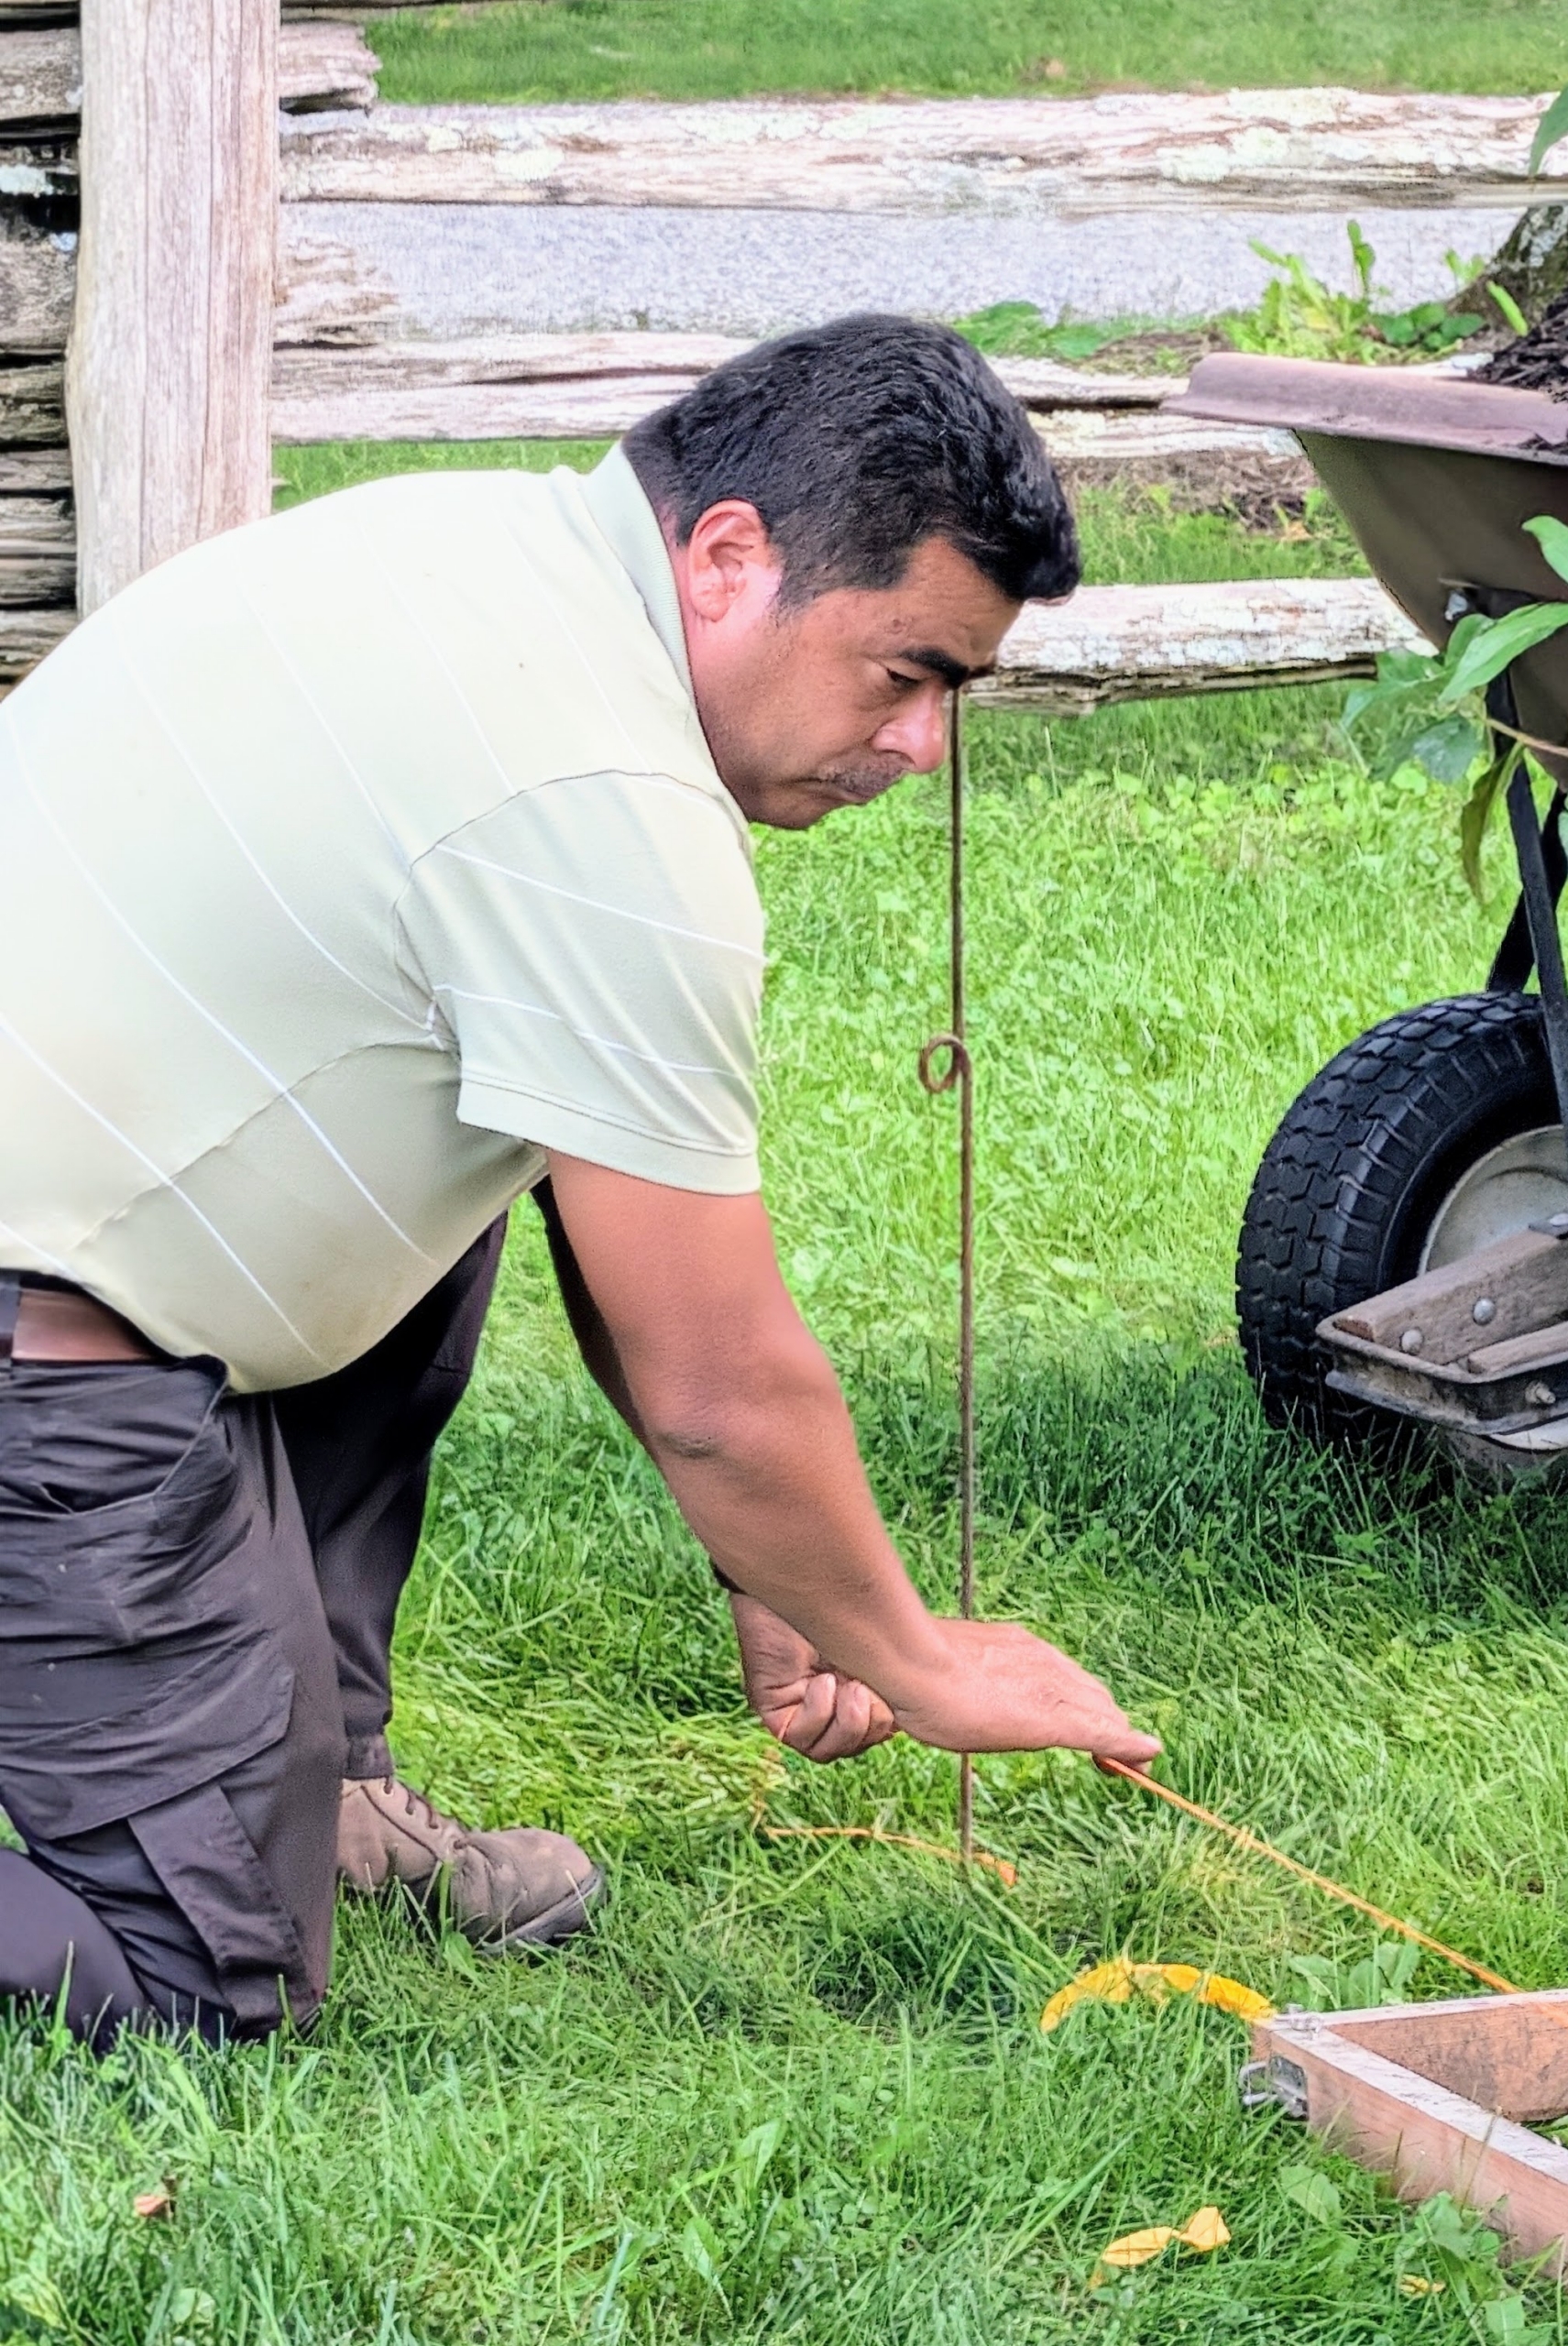
- Arnold sets up the twine. I encourage my crew to use twine to line the spaces whenever they do this kind of work. Arnold secures the twine at one end of each row. This takes time to do, but this is a very important step in the process – it will guide all the work that is done.
-
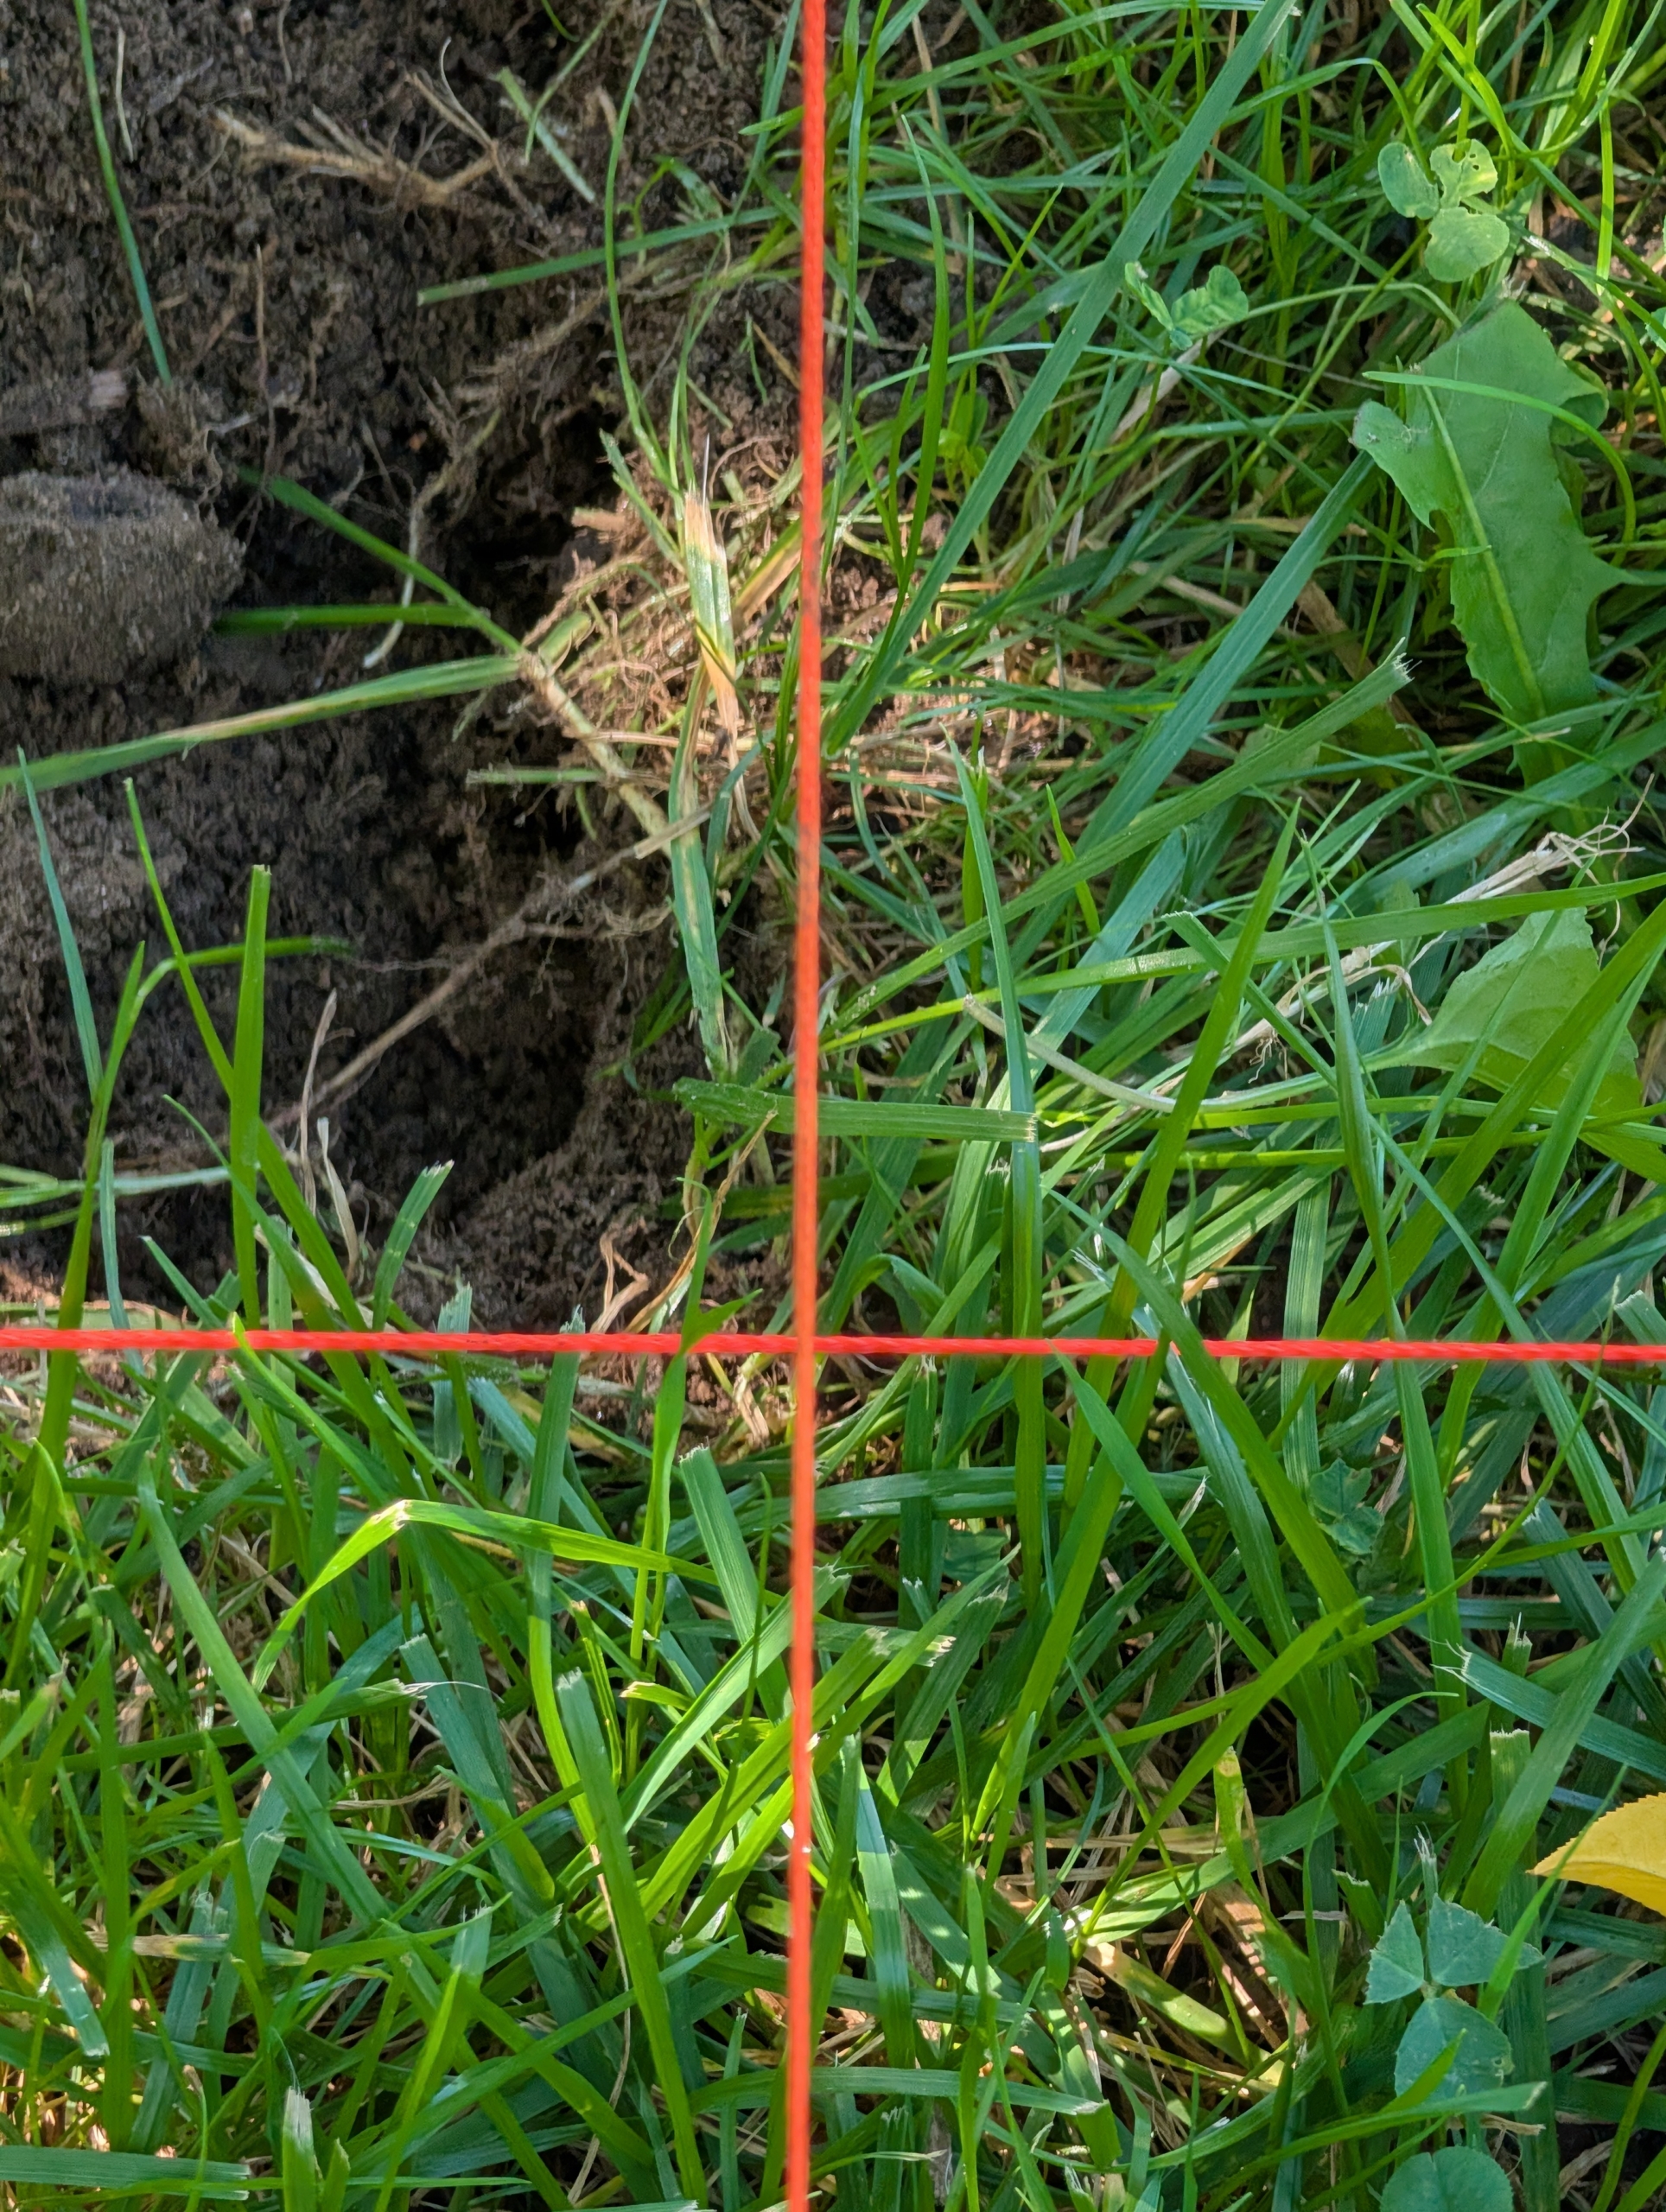
- We use gardener’s twine to line up the squares so it is perfectly straight down each row of trees. The bright color makes it easier to see in the grass.
-
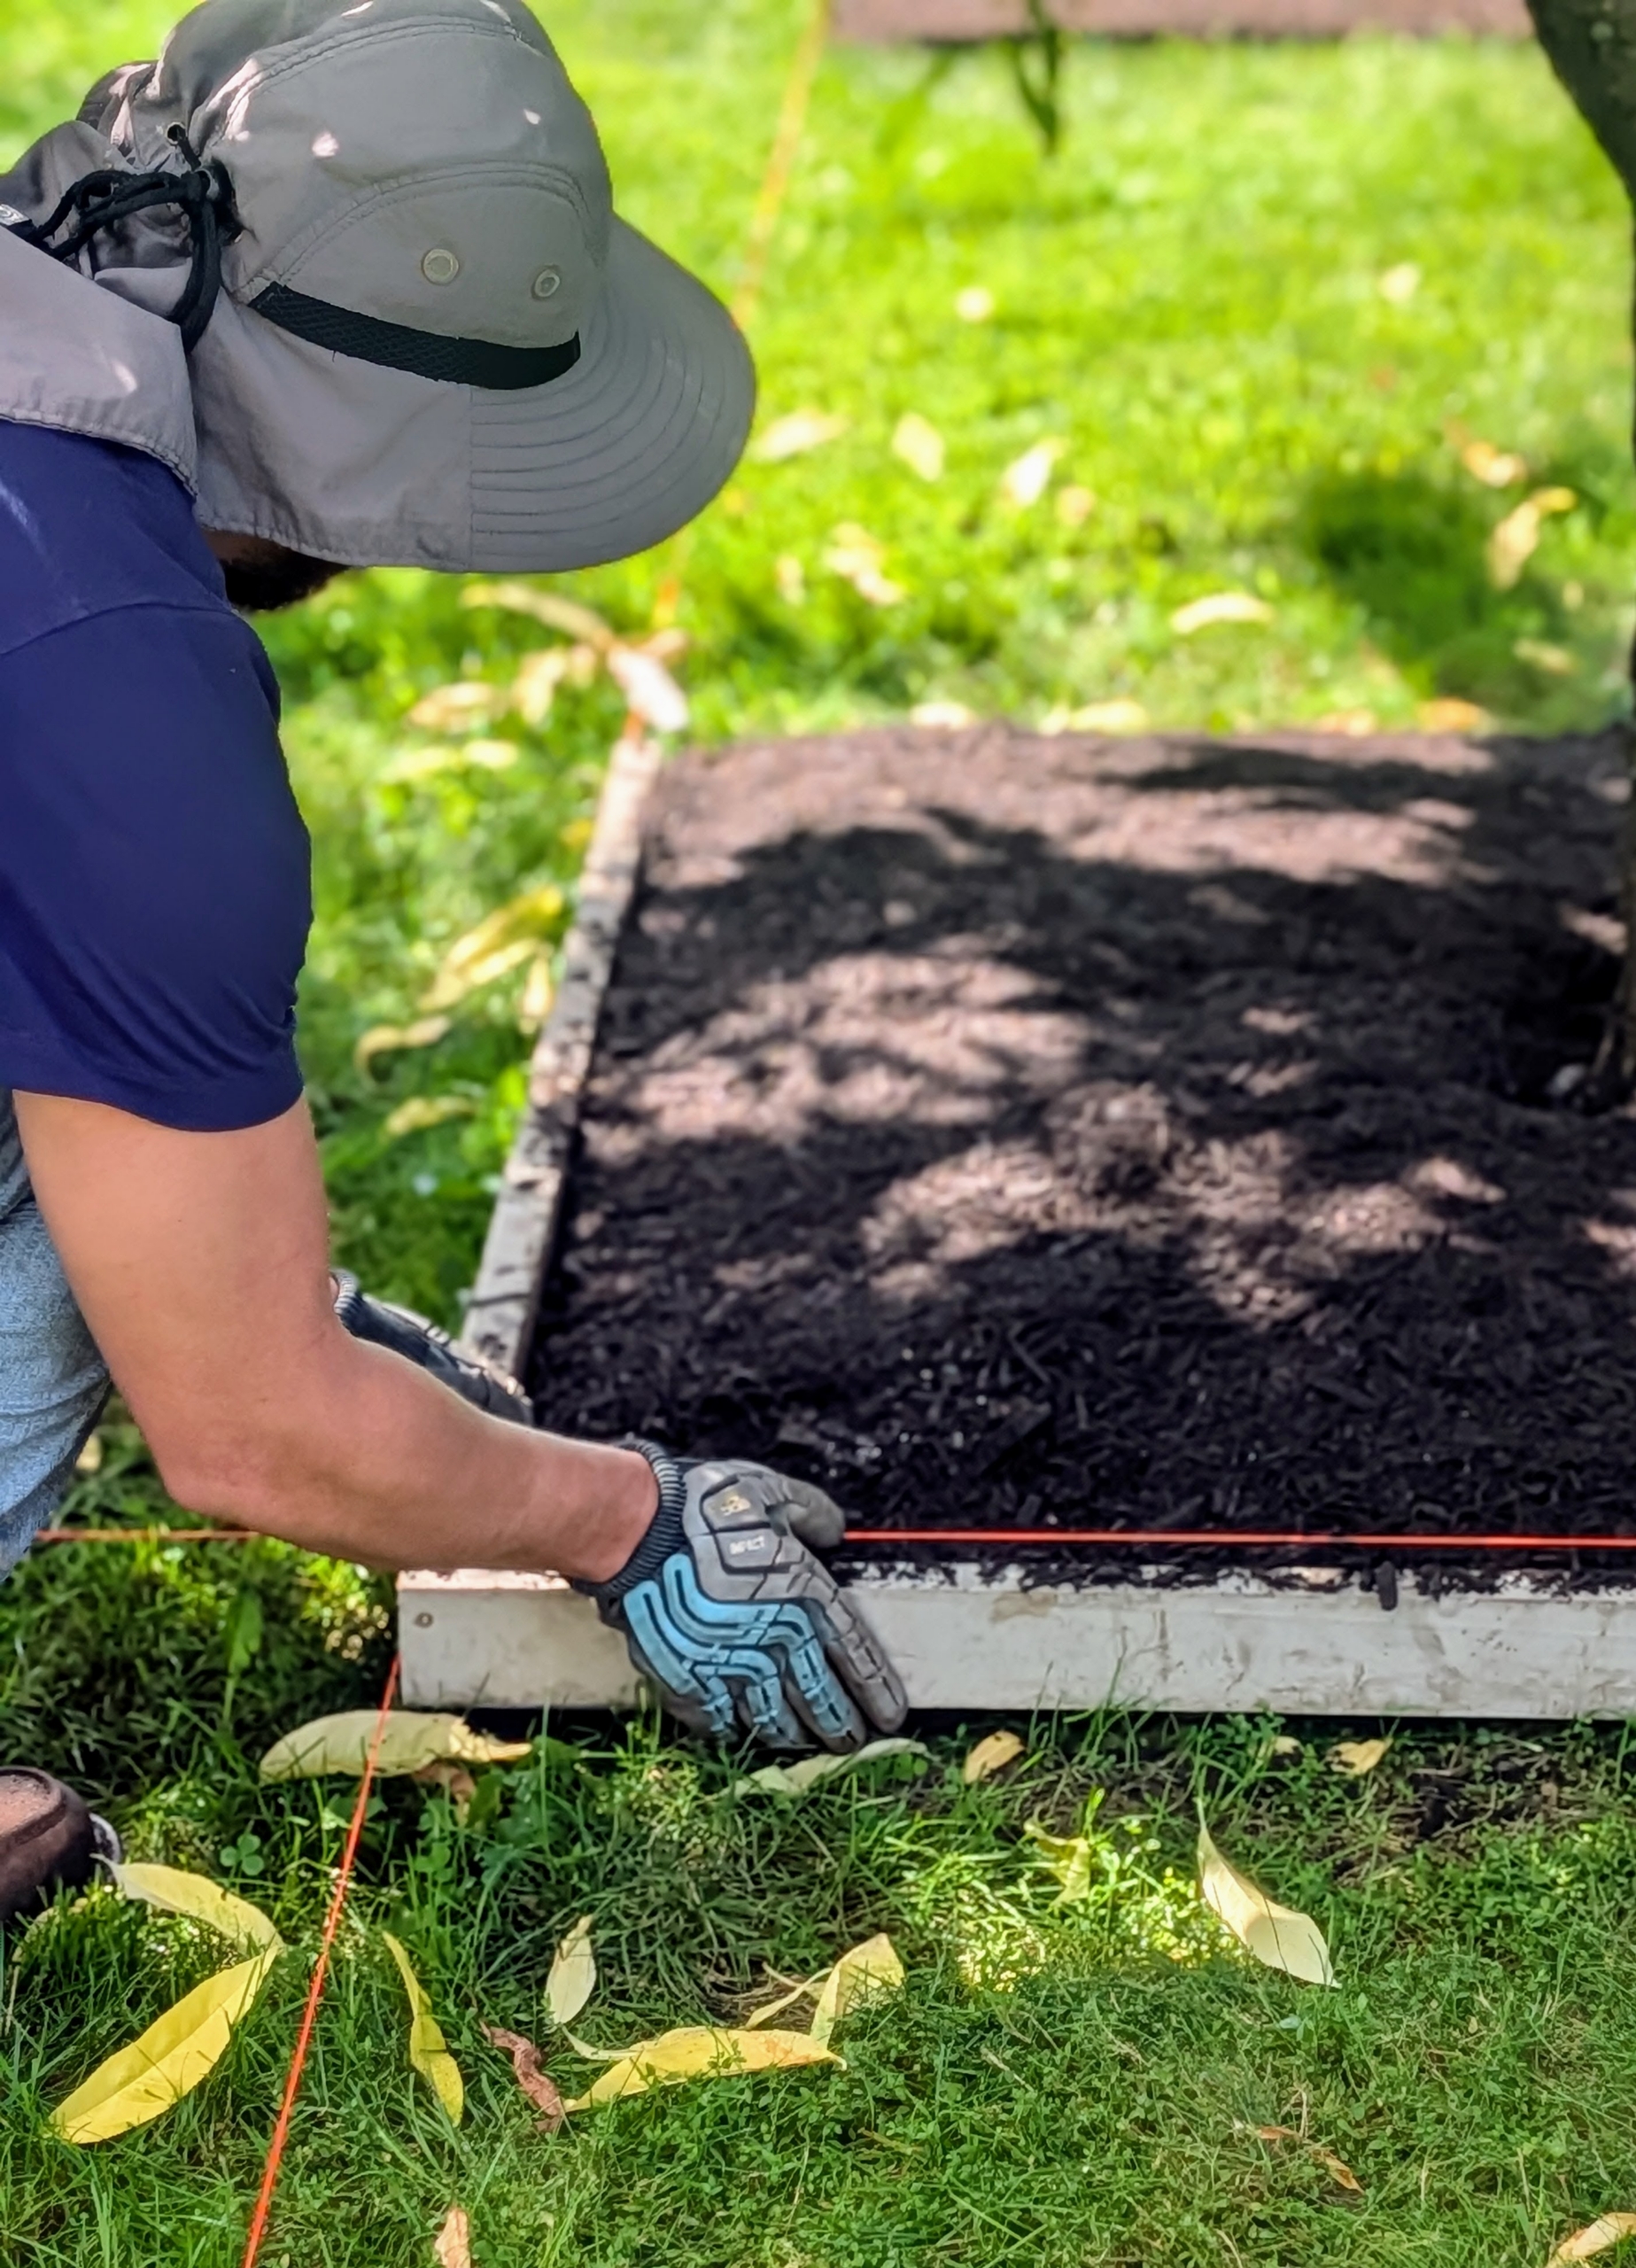
- I wanted each tree pit to be about four feet square. My outdoor grounds crew foreman built simple wooden square frames that could be placed down and removed easily.
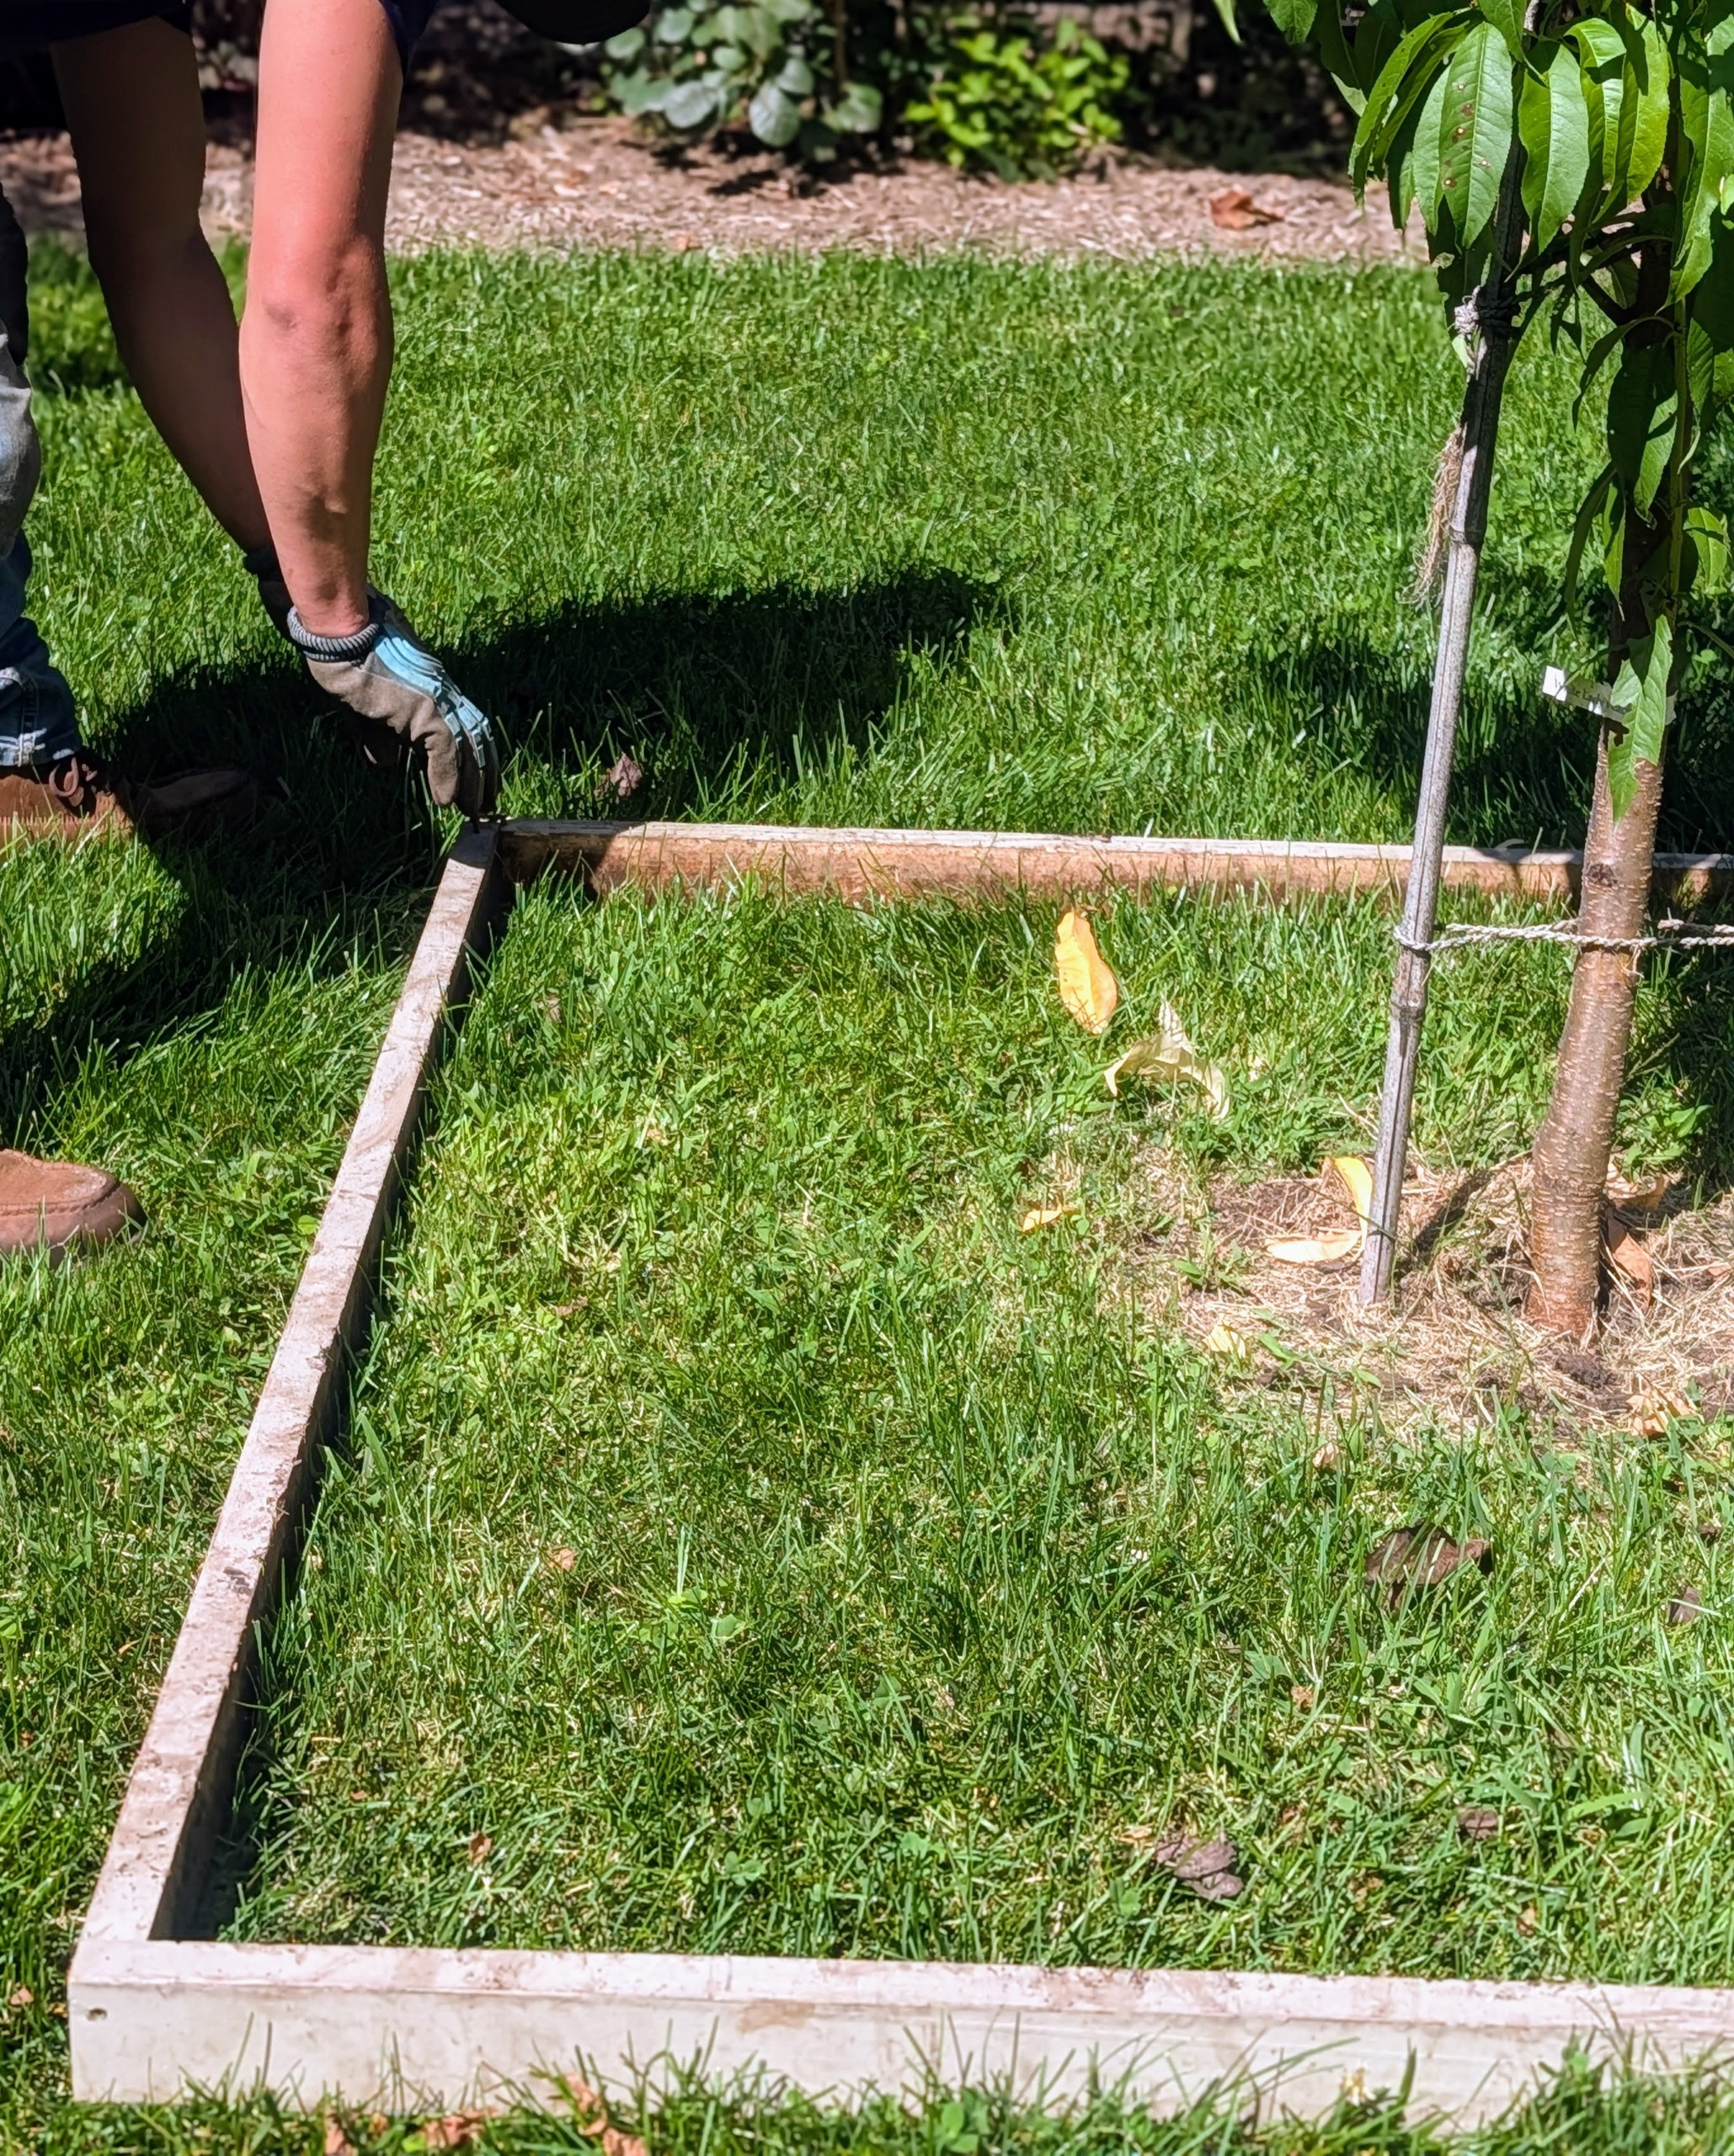
-
- The frame is secured with latches and hooks to ensure it is perfectly square.
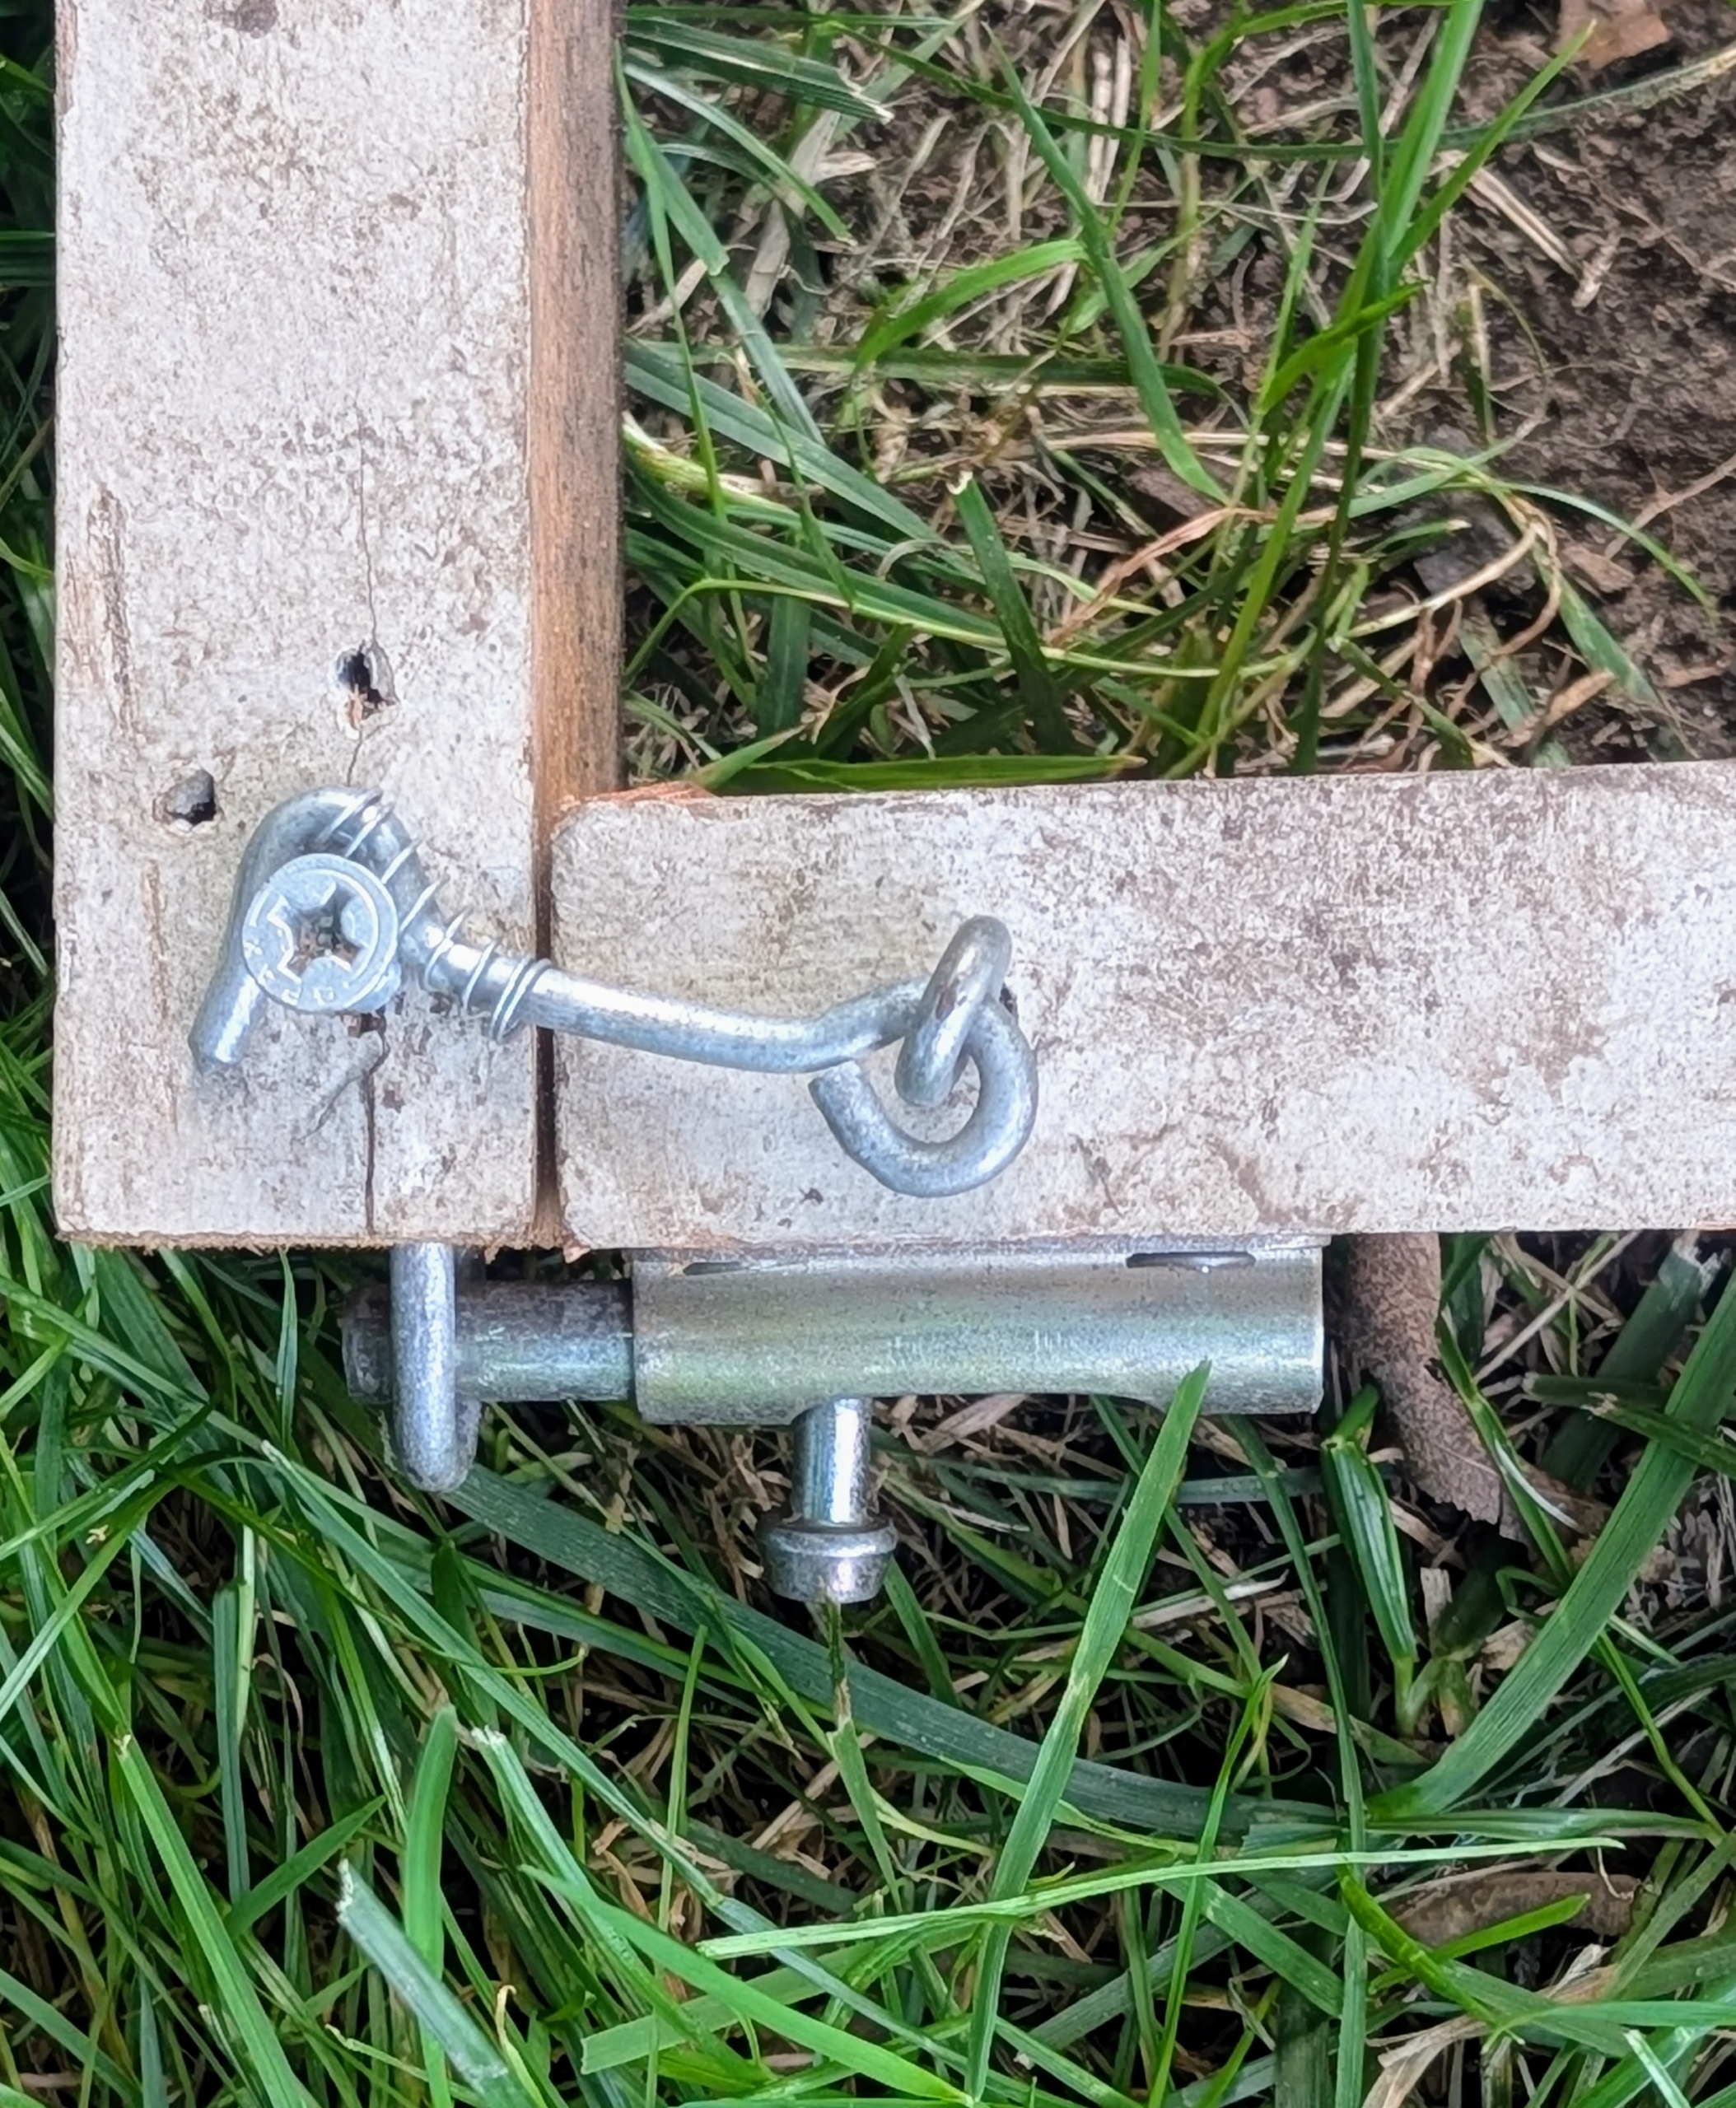
-
- Any grass within the frame is trimmed and covered.
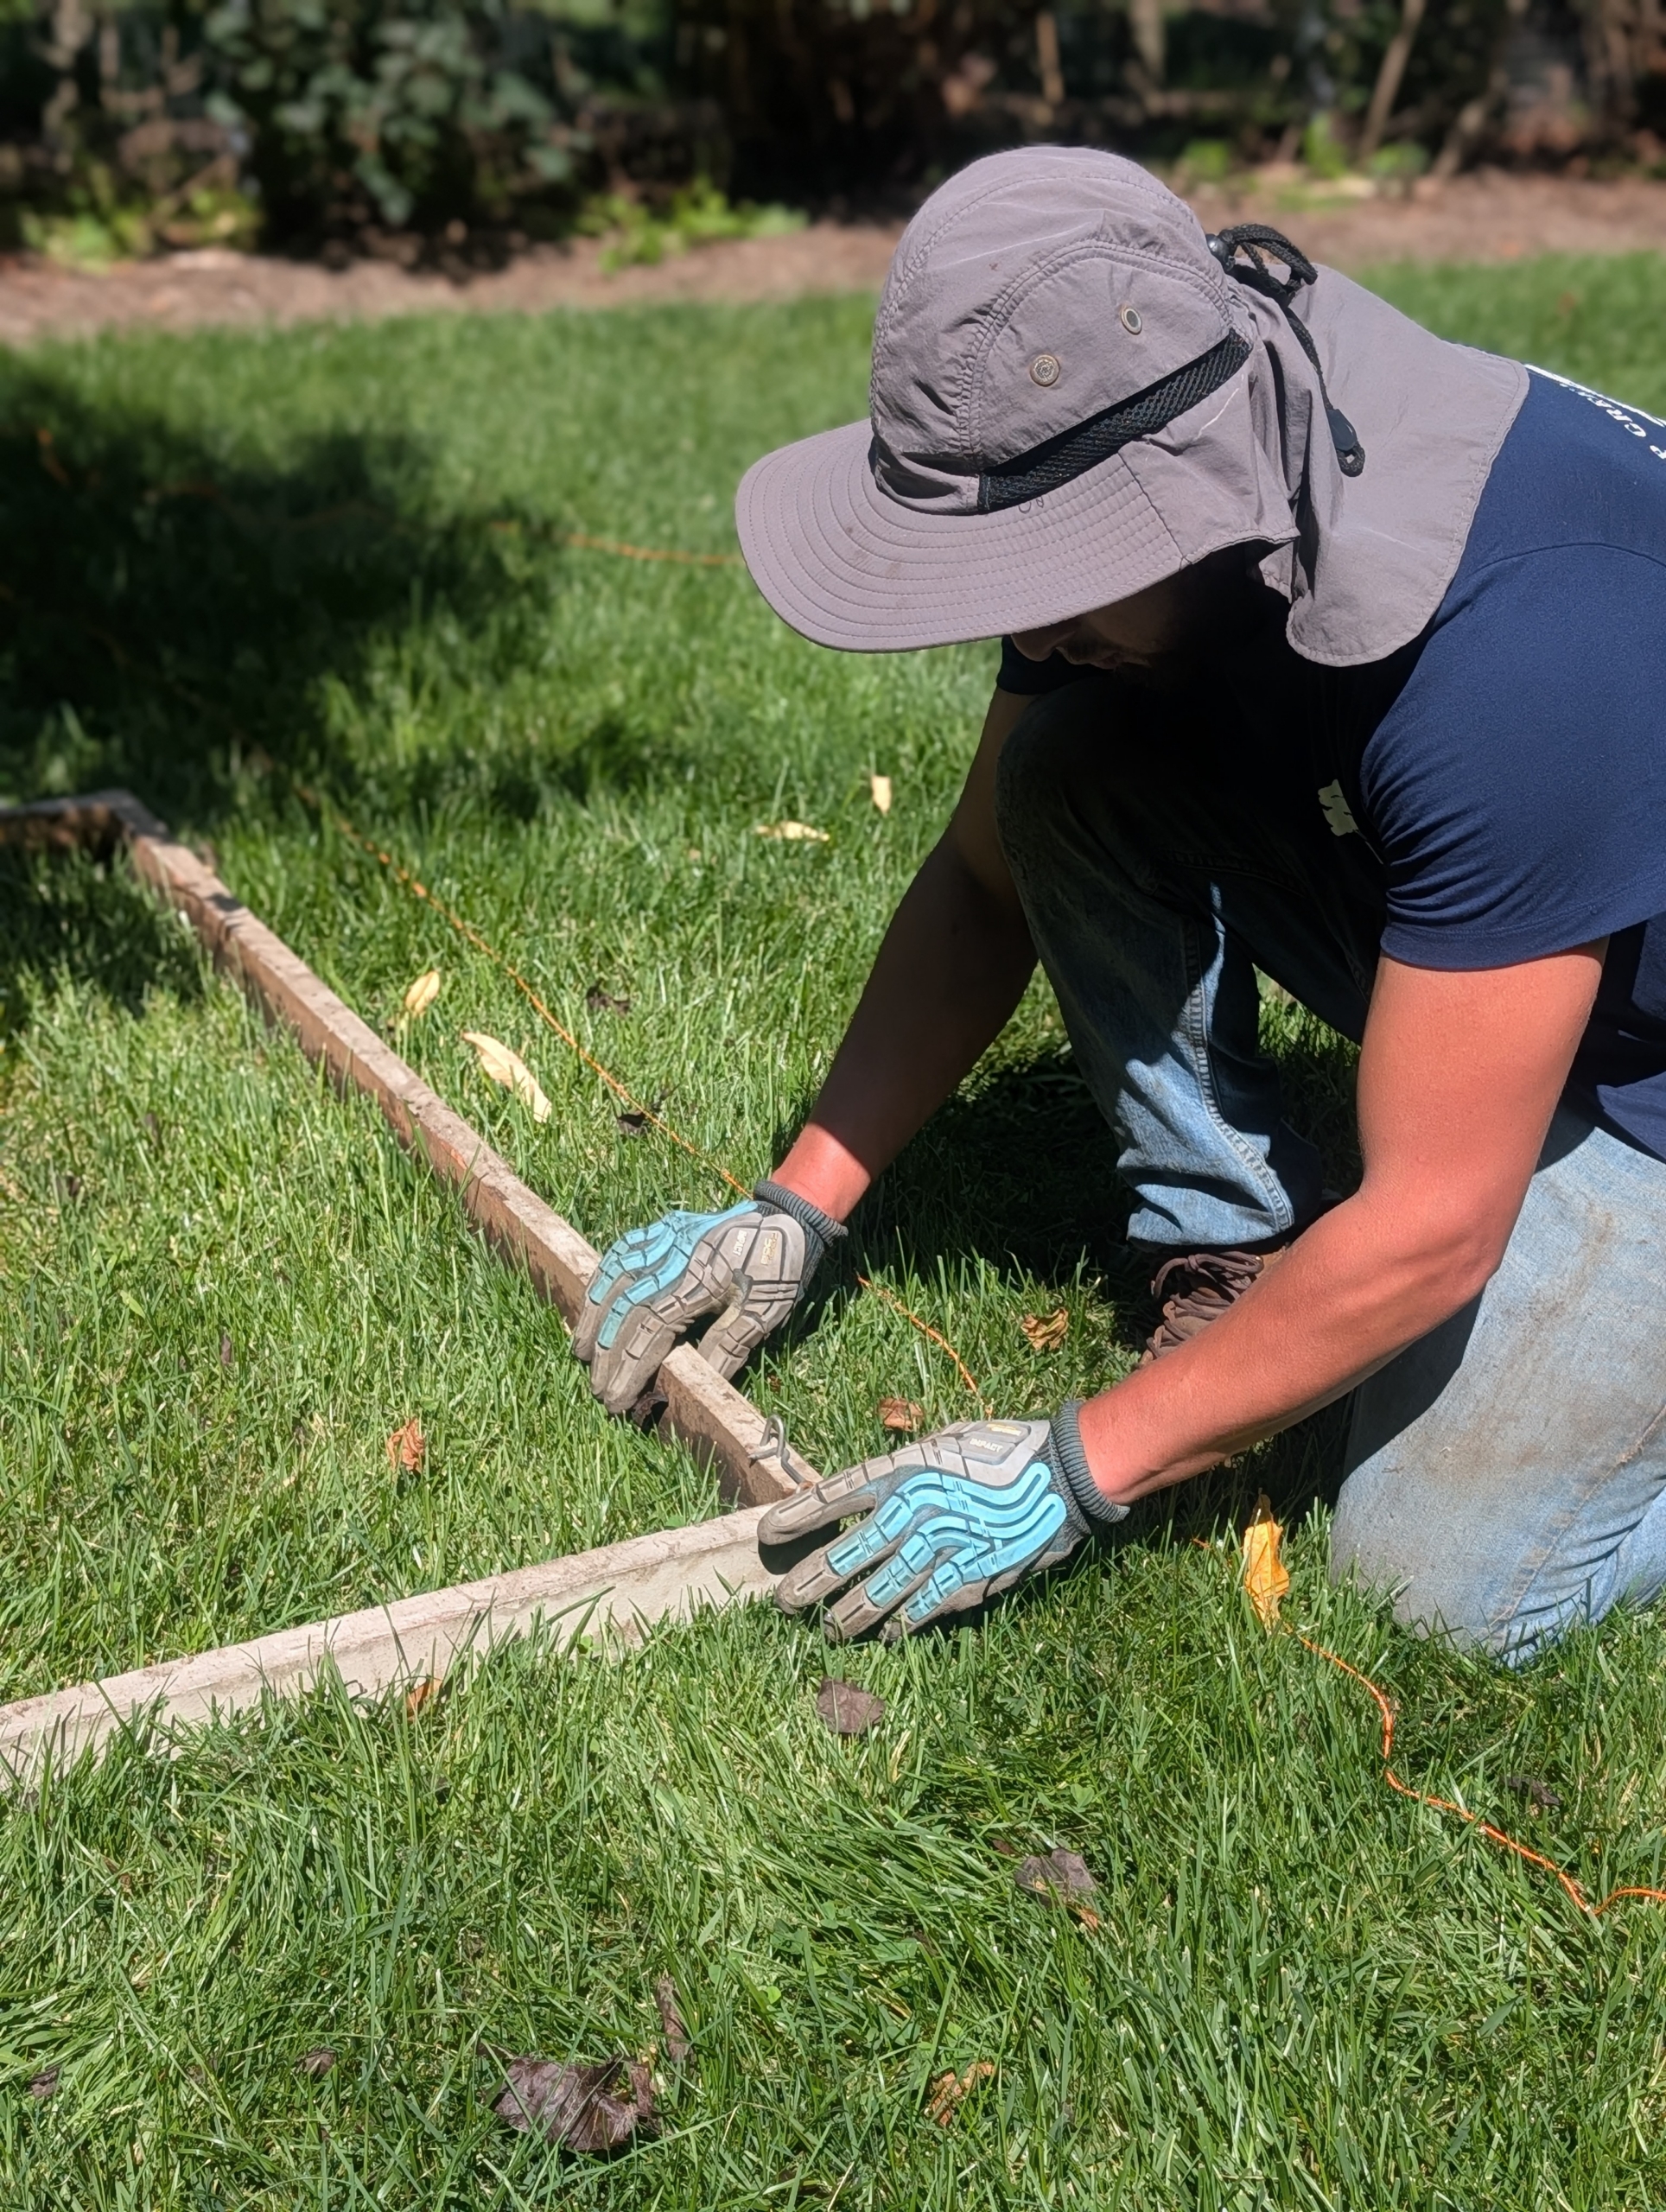
-
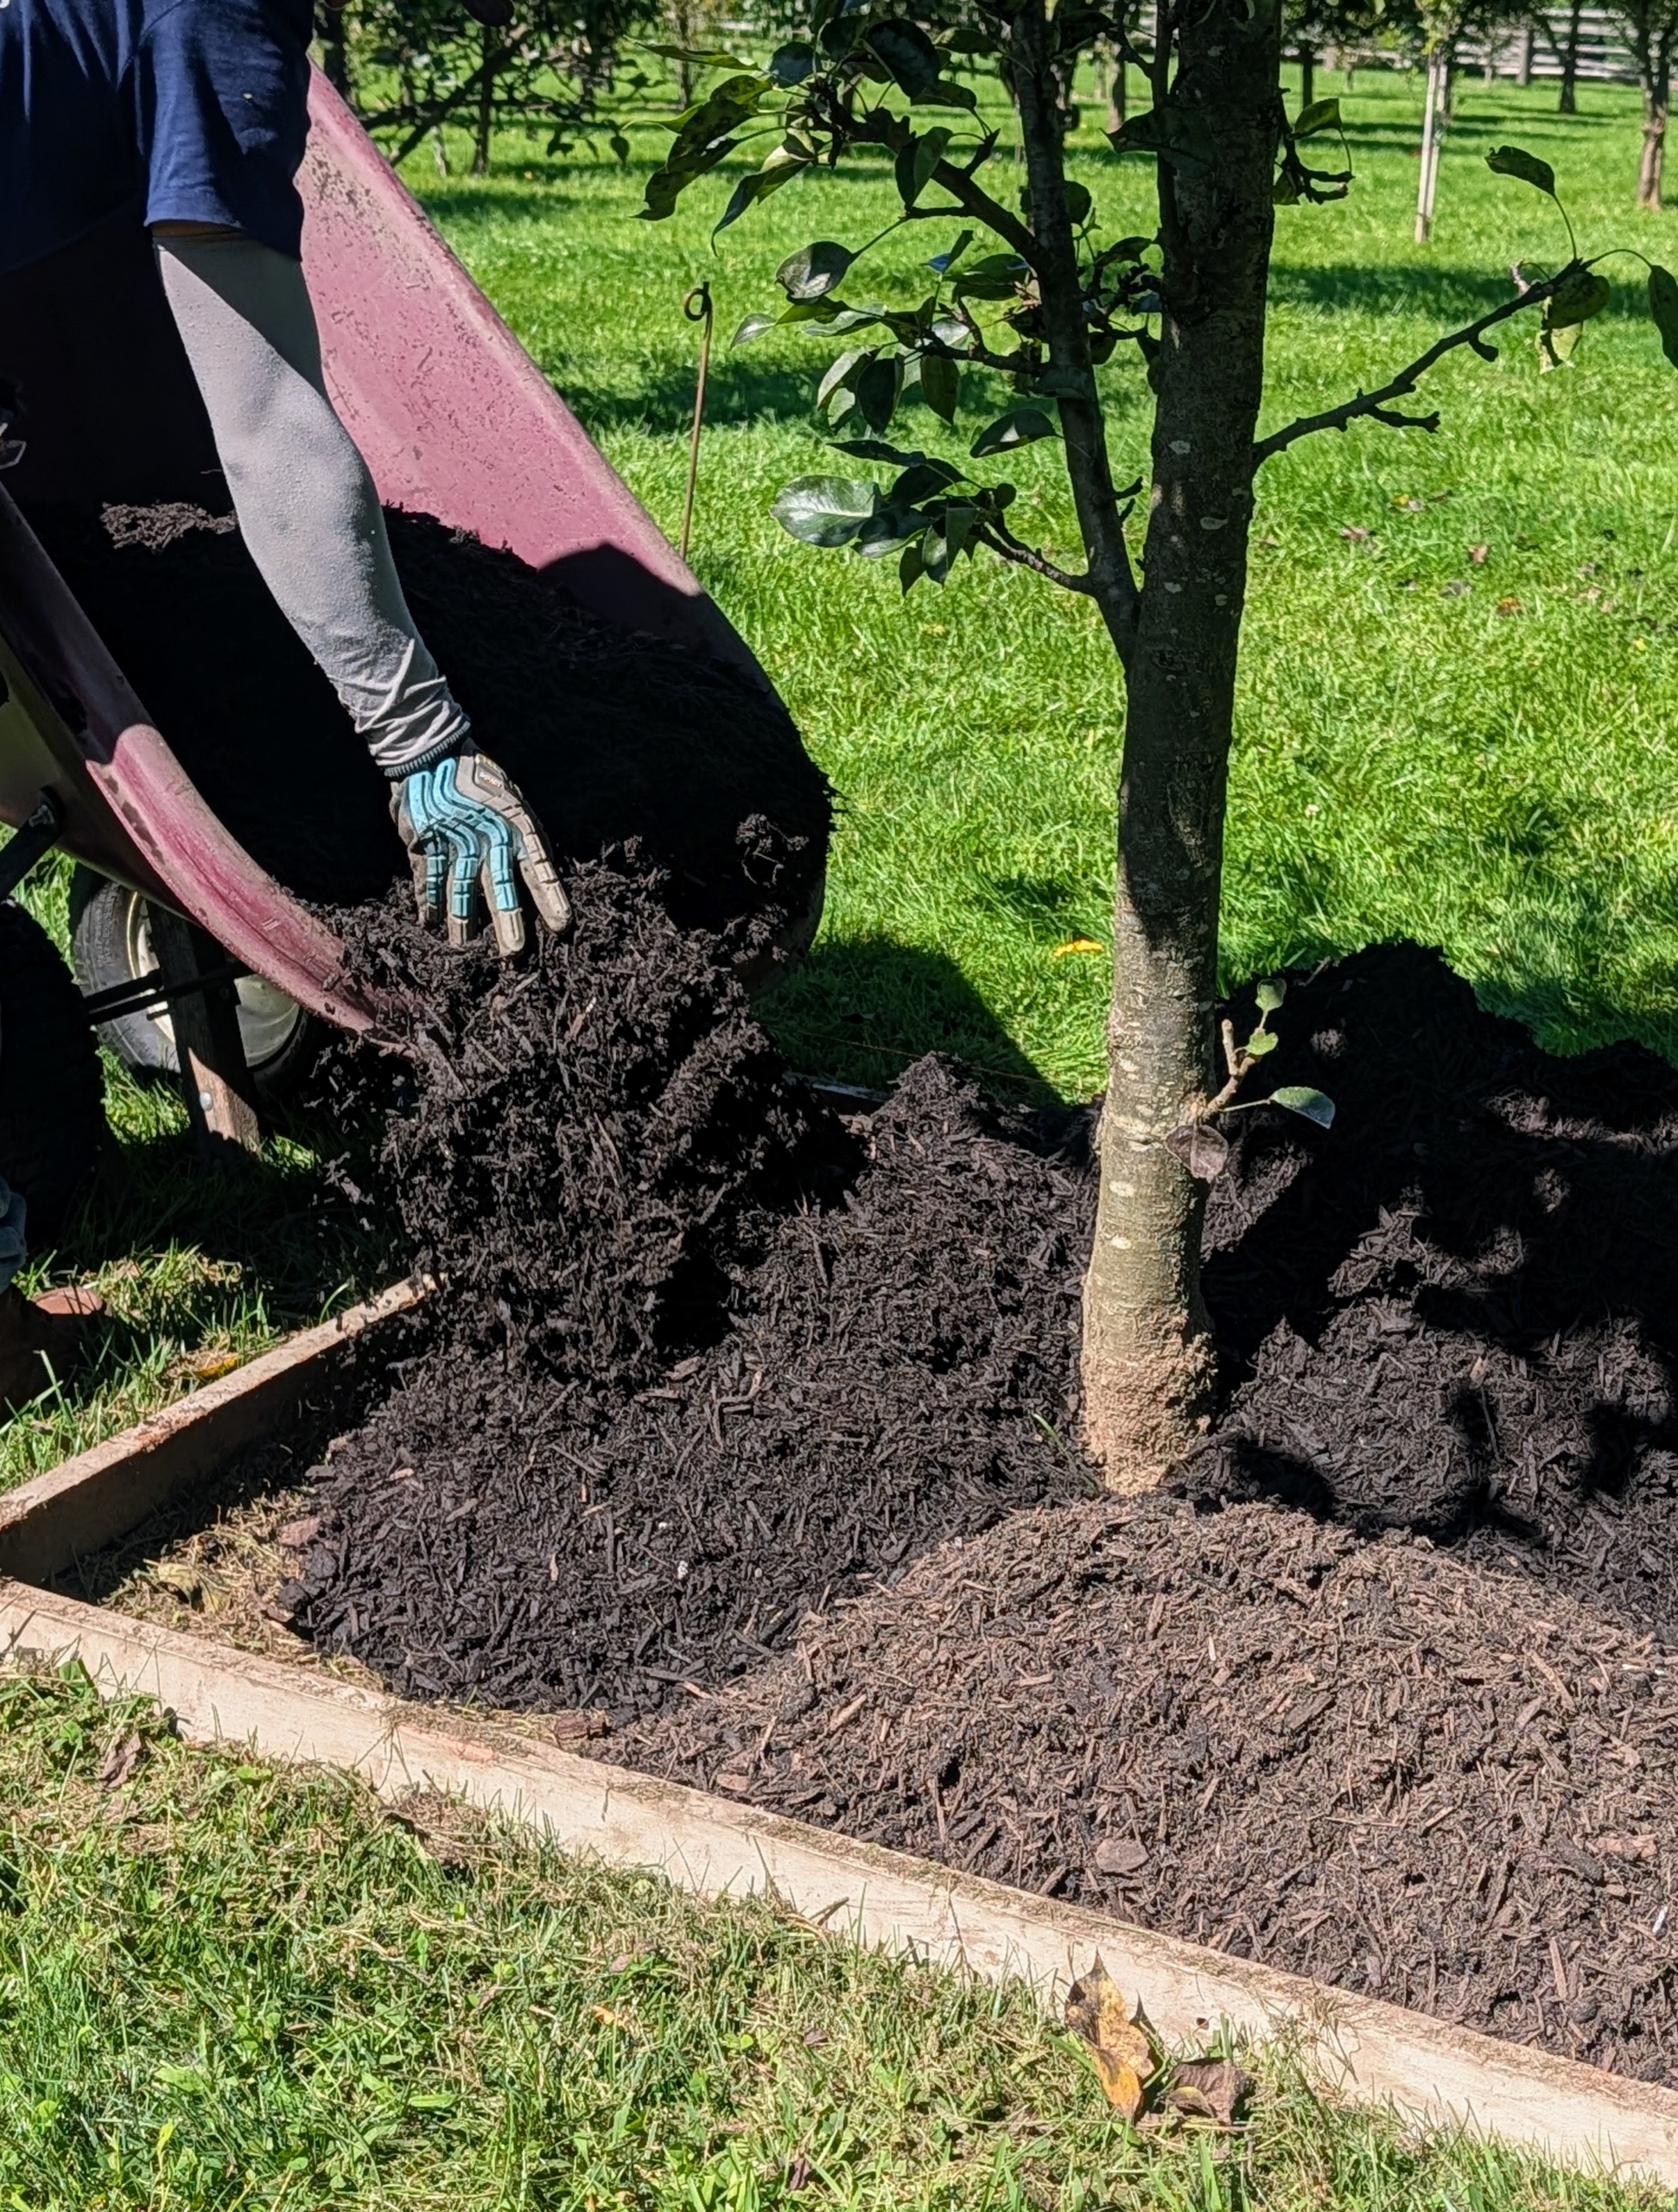
- Wheelbarrows are brought in full of mulch made right here at my farm.
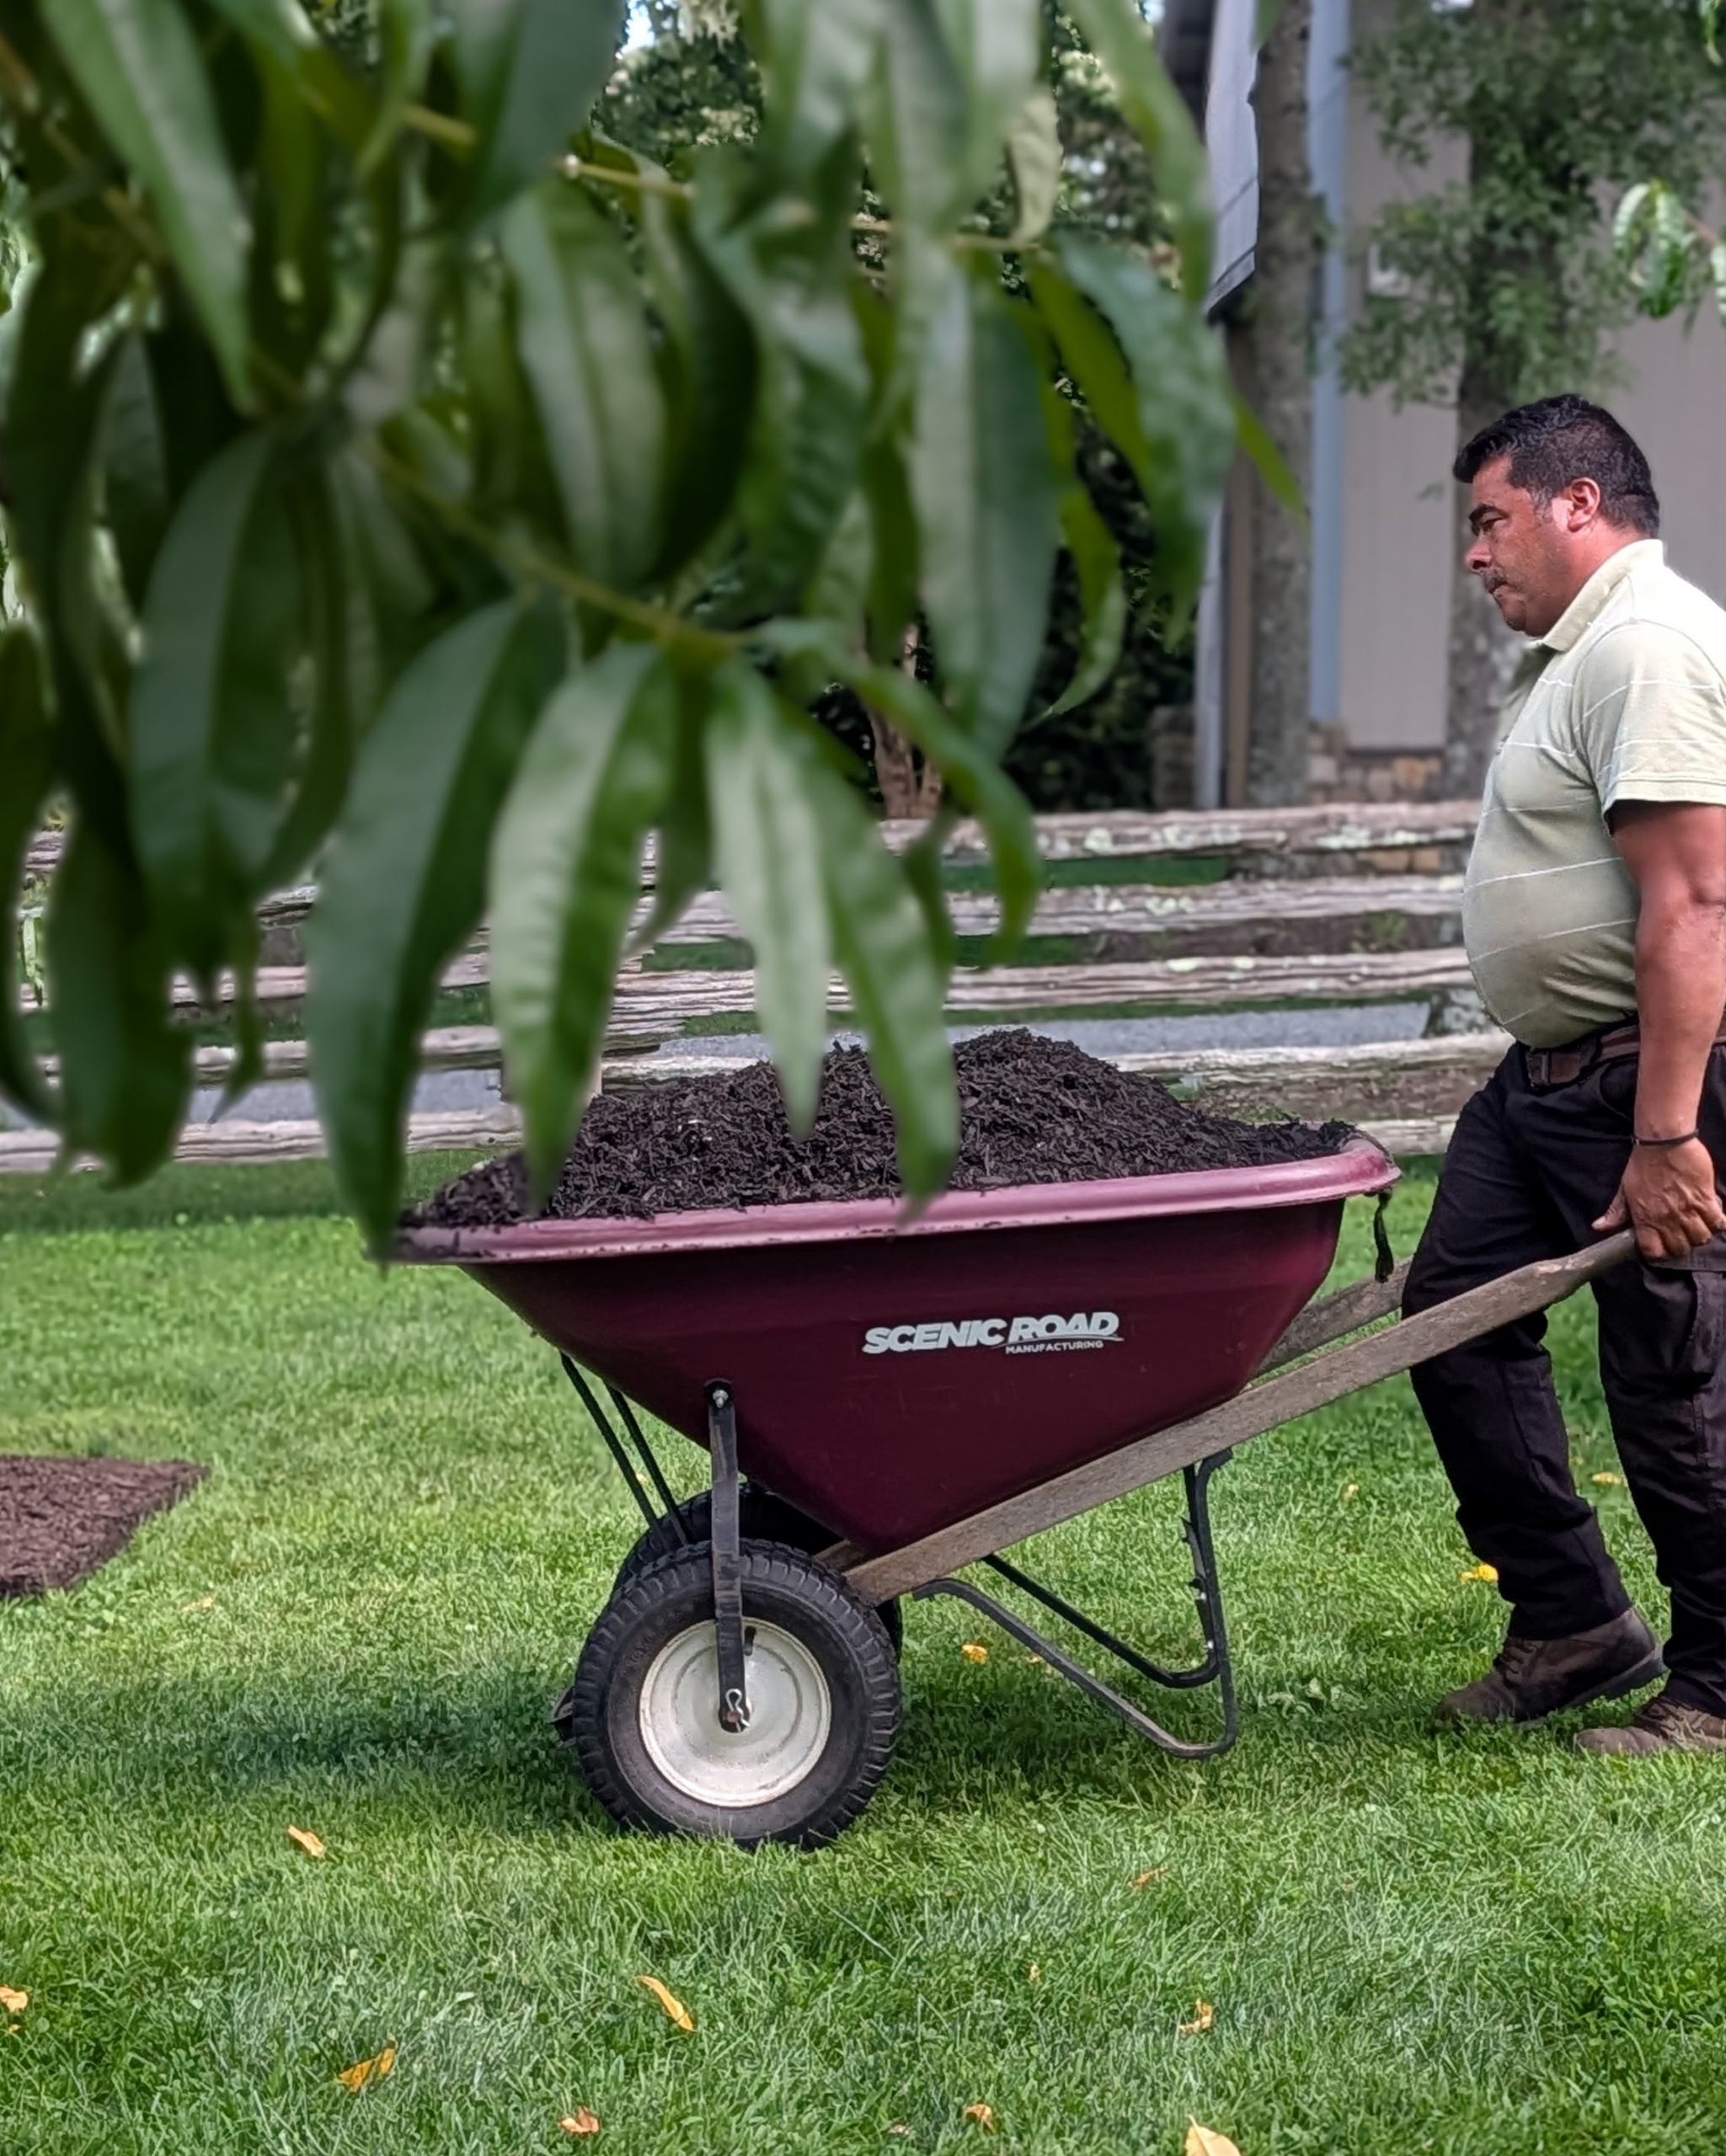
-
- It takes about a wheelbarrow and a half to cover the tree pit sufficiently.
-
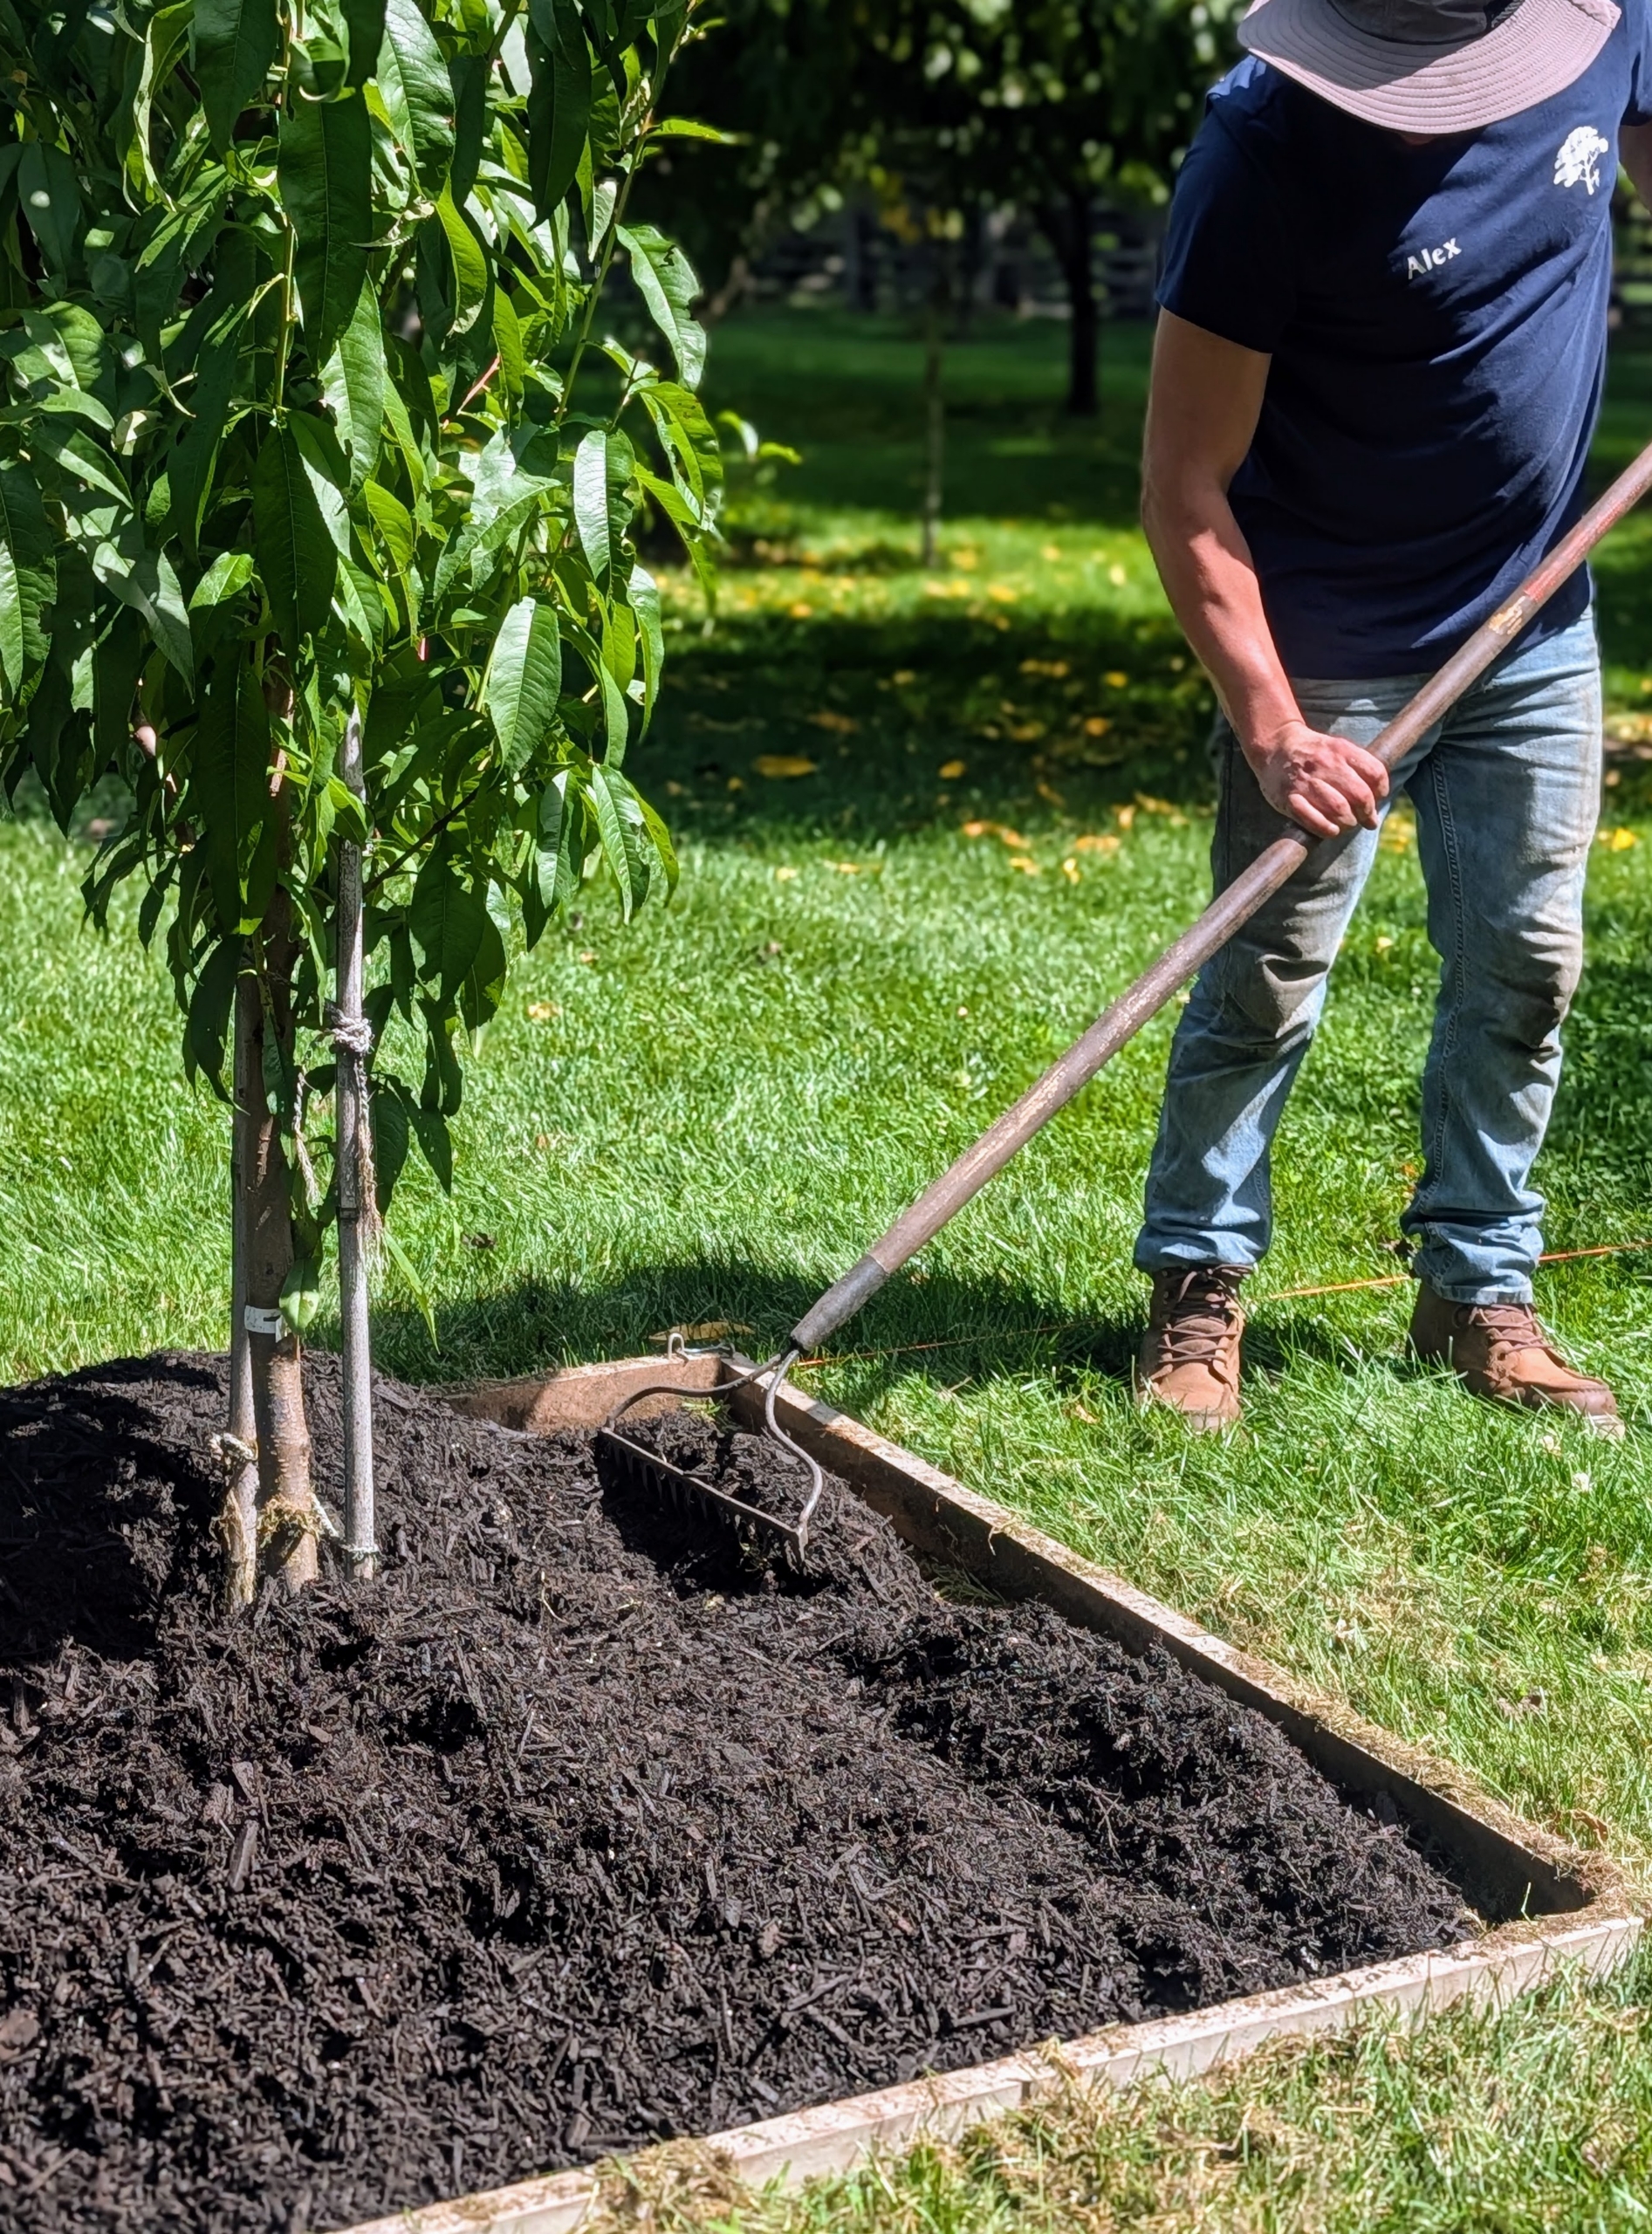
- Using a hard rake, the mulch is spread out evenly. Using the frame also allows the crew to bypass edging, which could harm the roots.
-
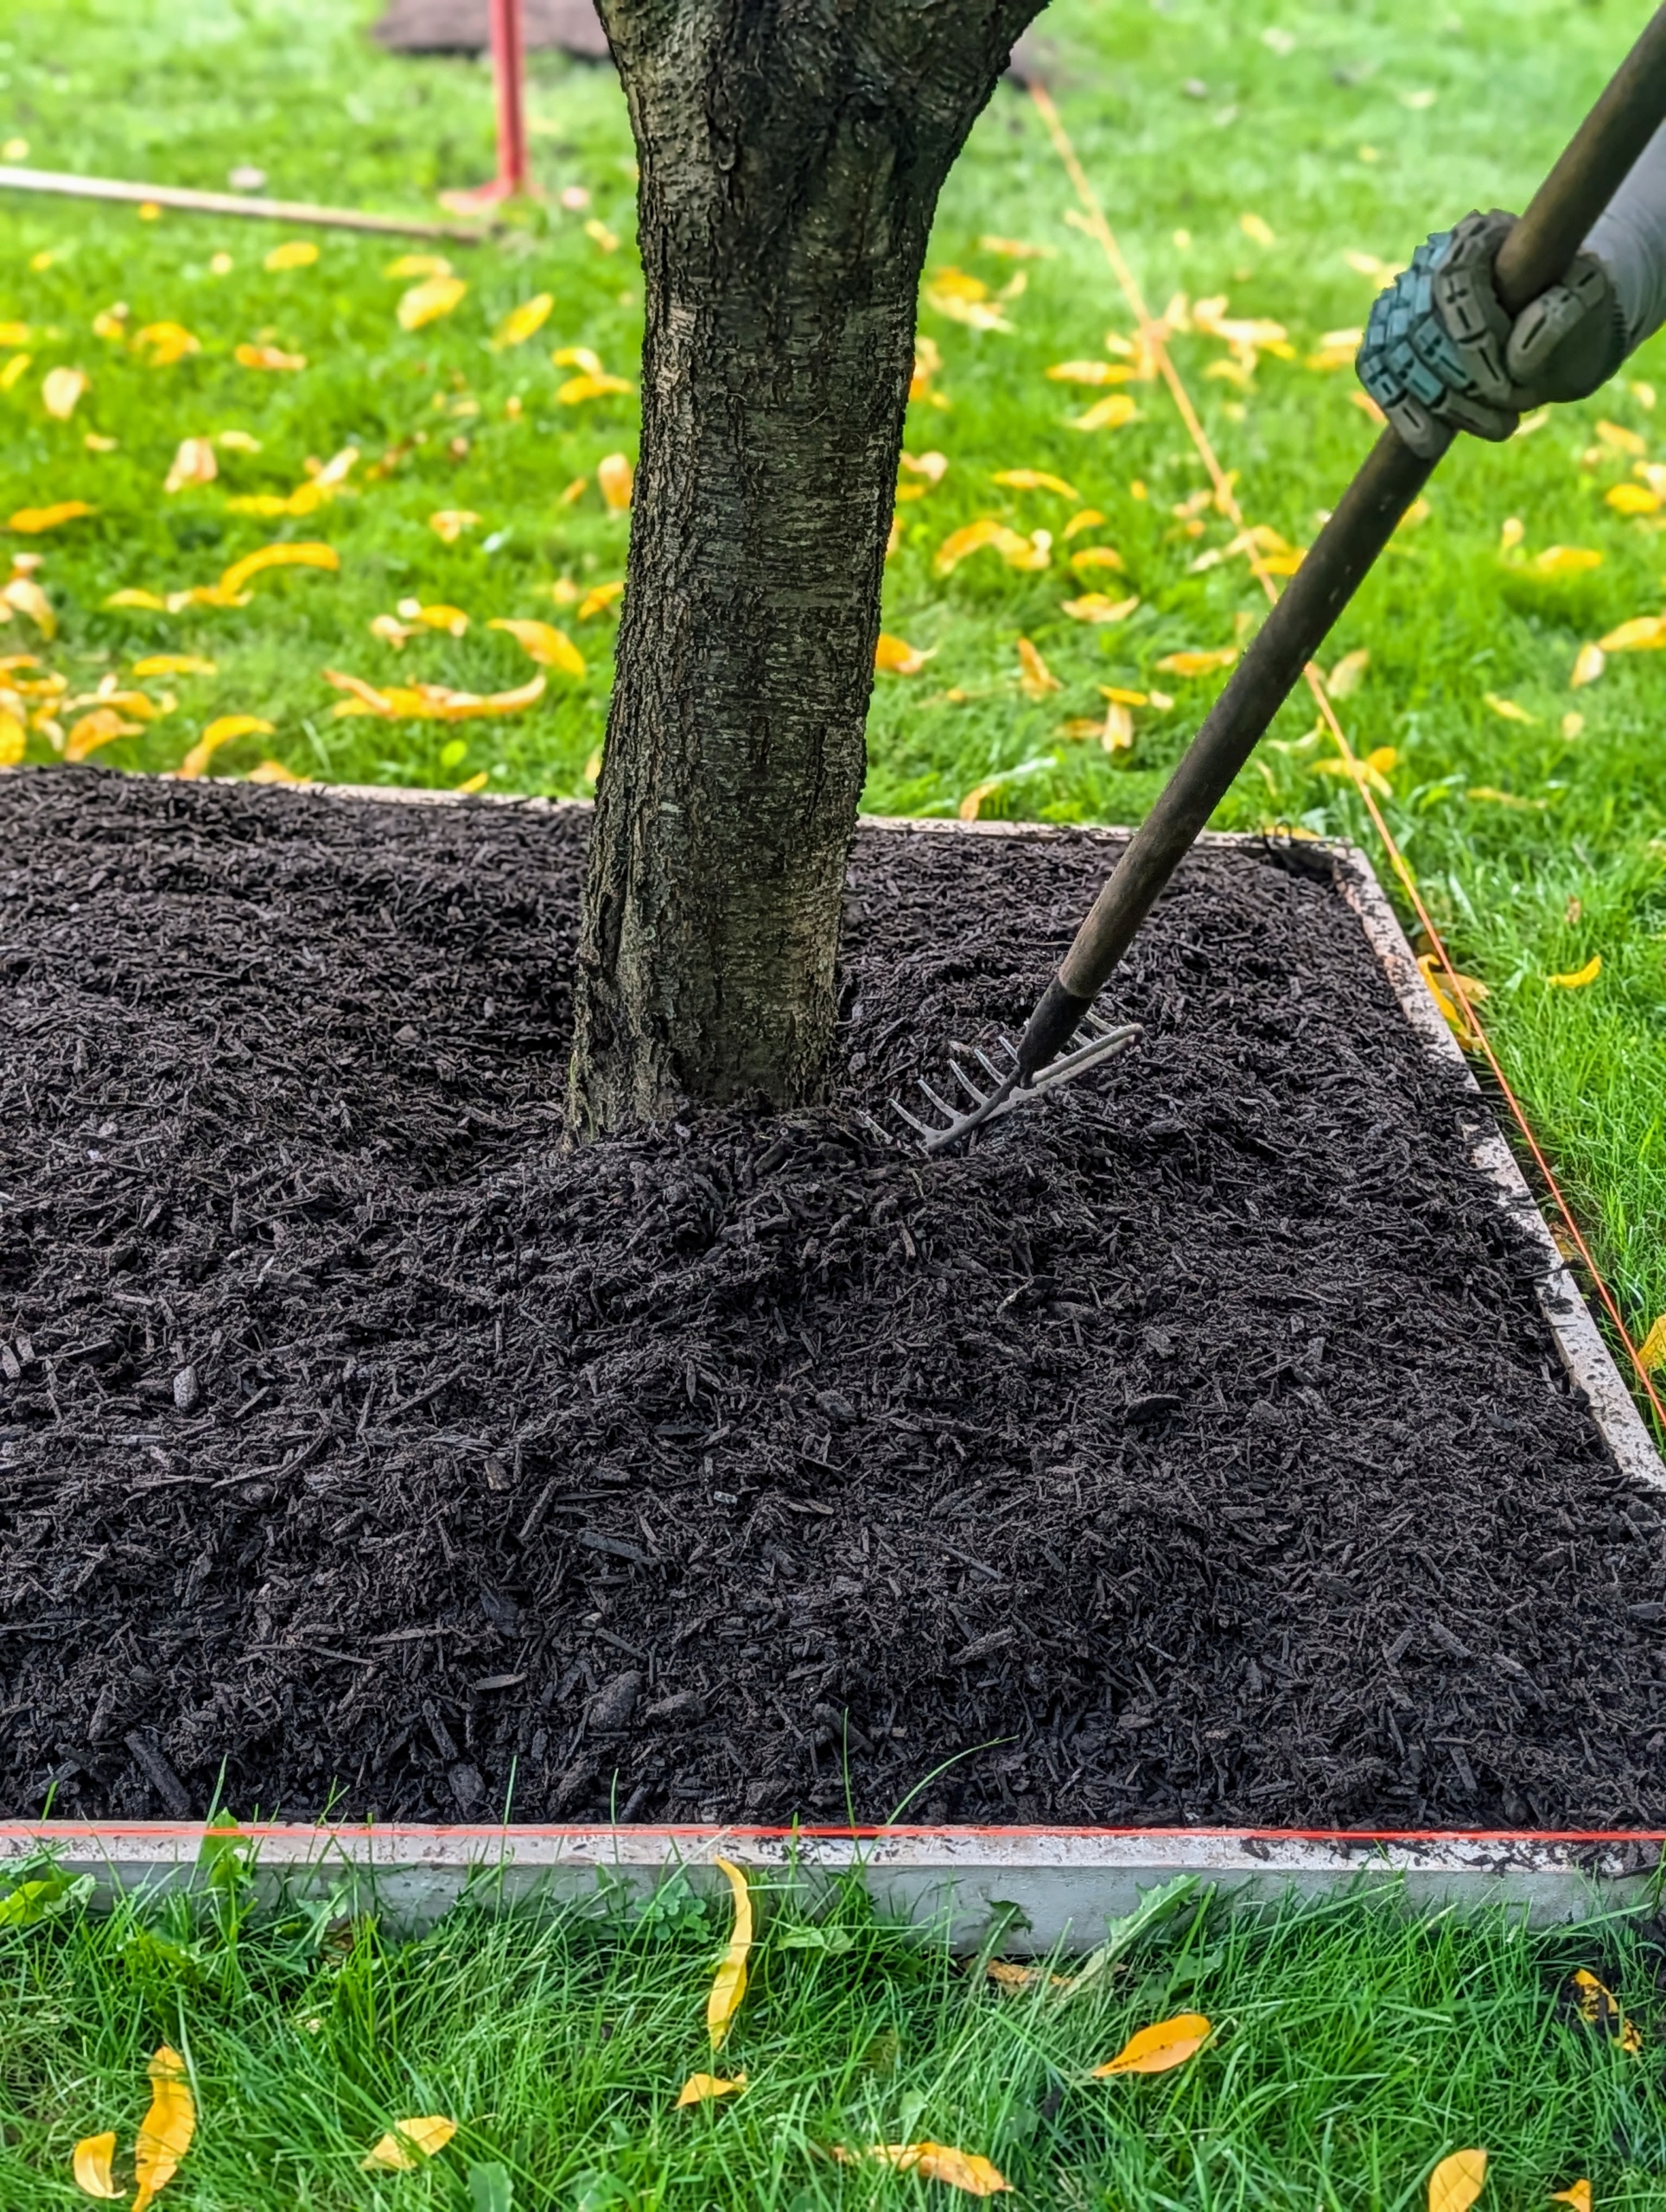
- And the mulch layer should never be more than about two to four inches deep. This depth provides moisture retention, temperature regulation, and weed suppression without suffocating the tree.
-
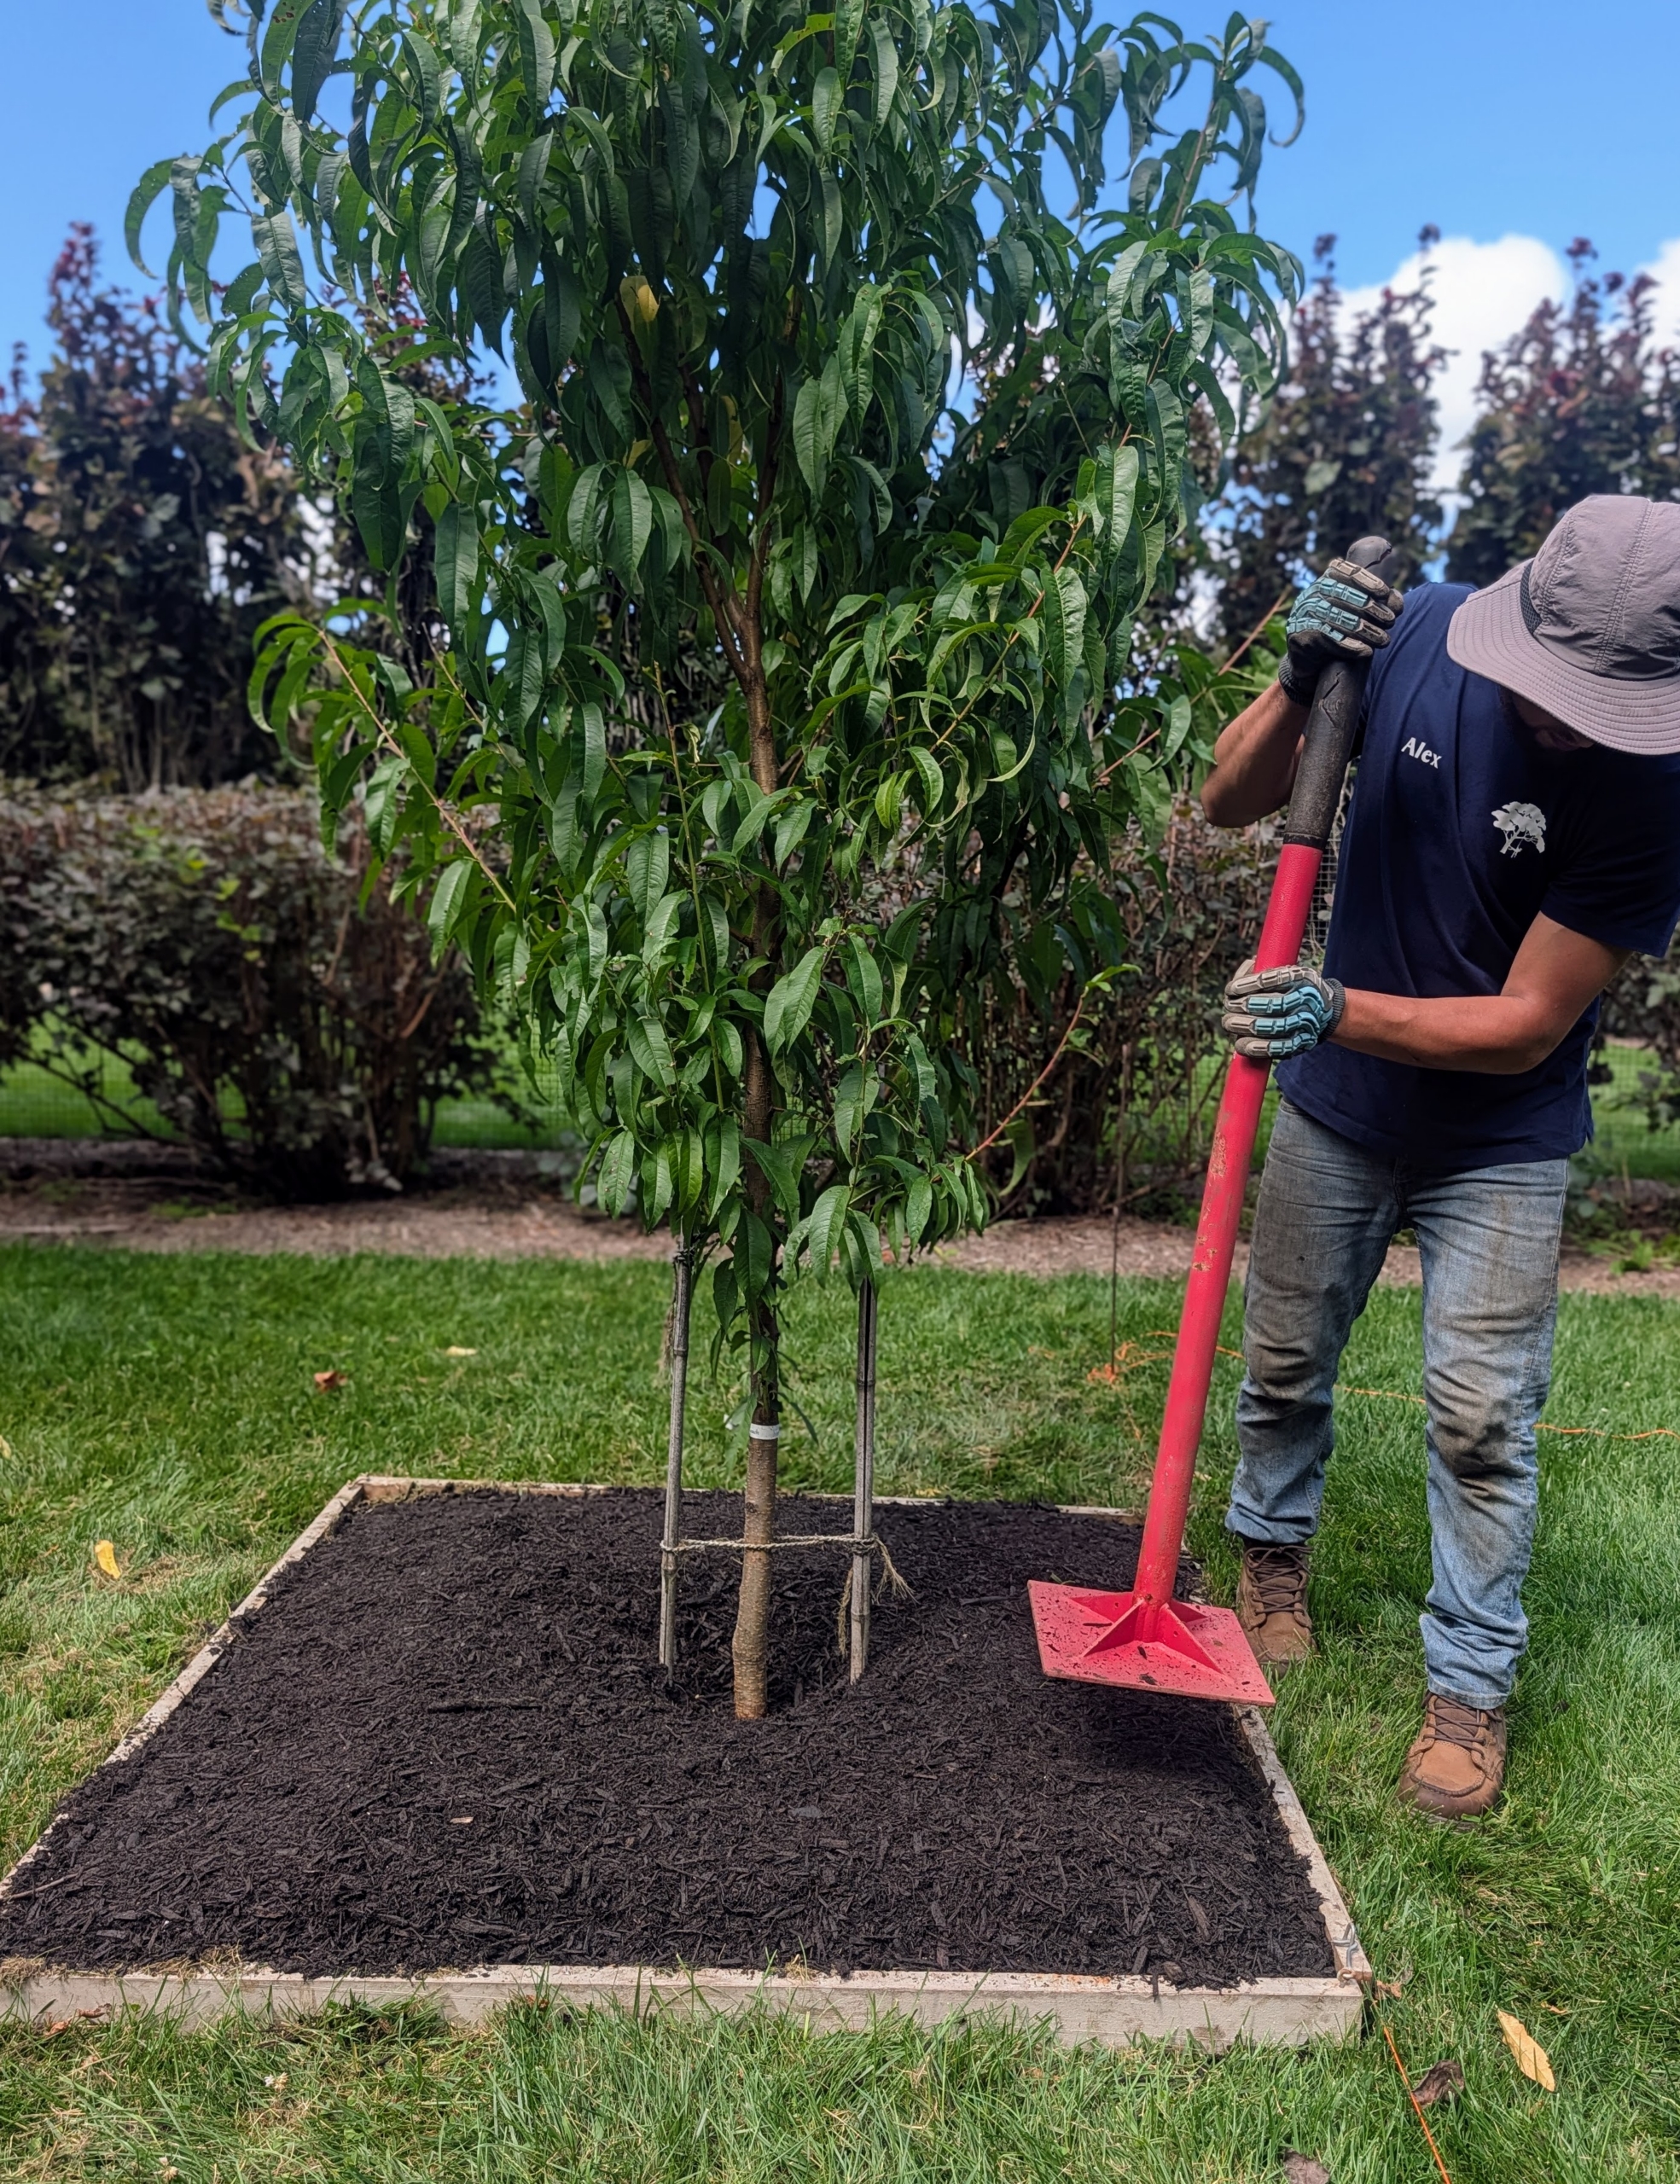
- The mulch is then tamped down carefully to create a well-shaped tree pit.
-
- Once the pit is formed, the wooden frame is removed slowly and carefully.
-
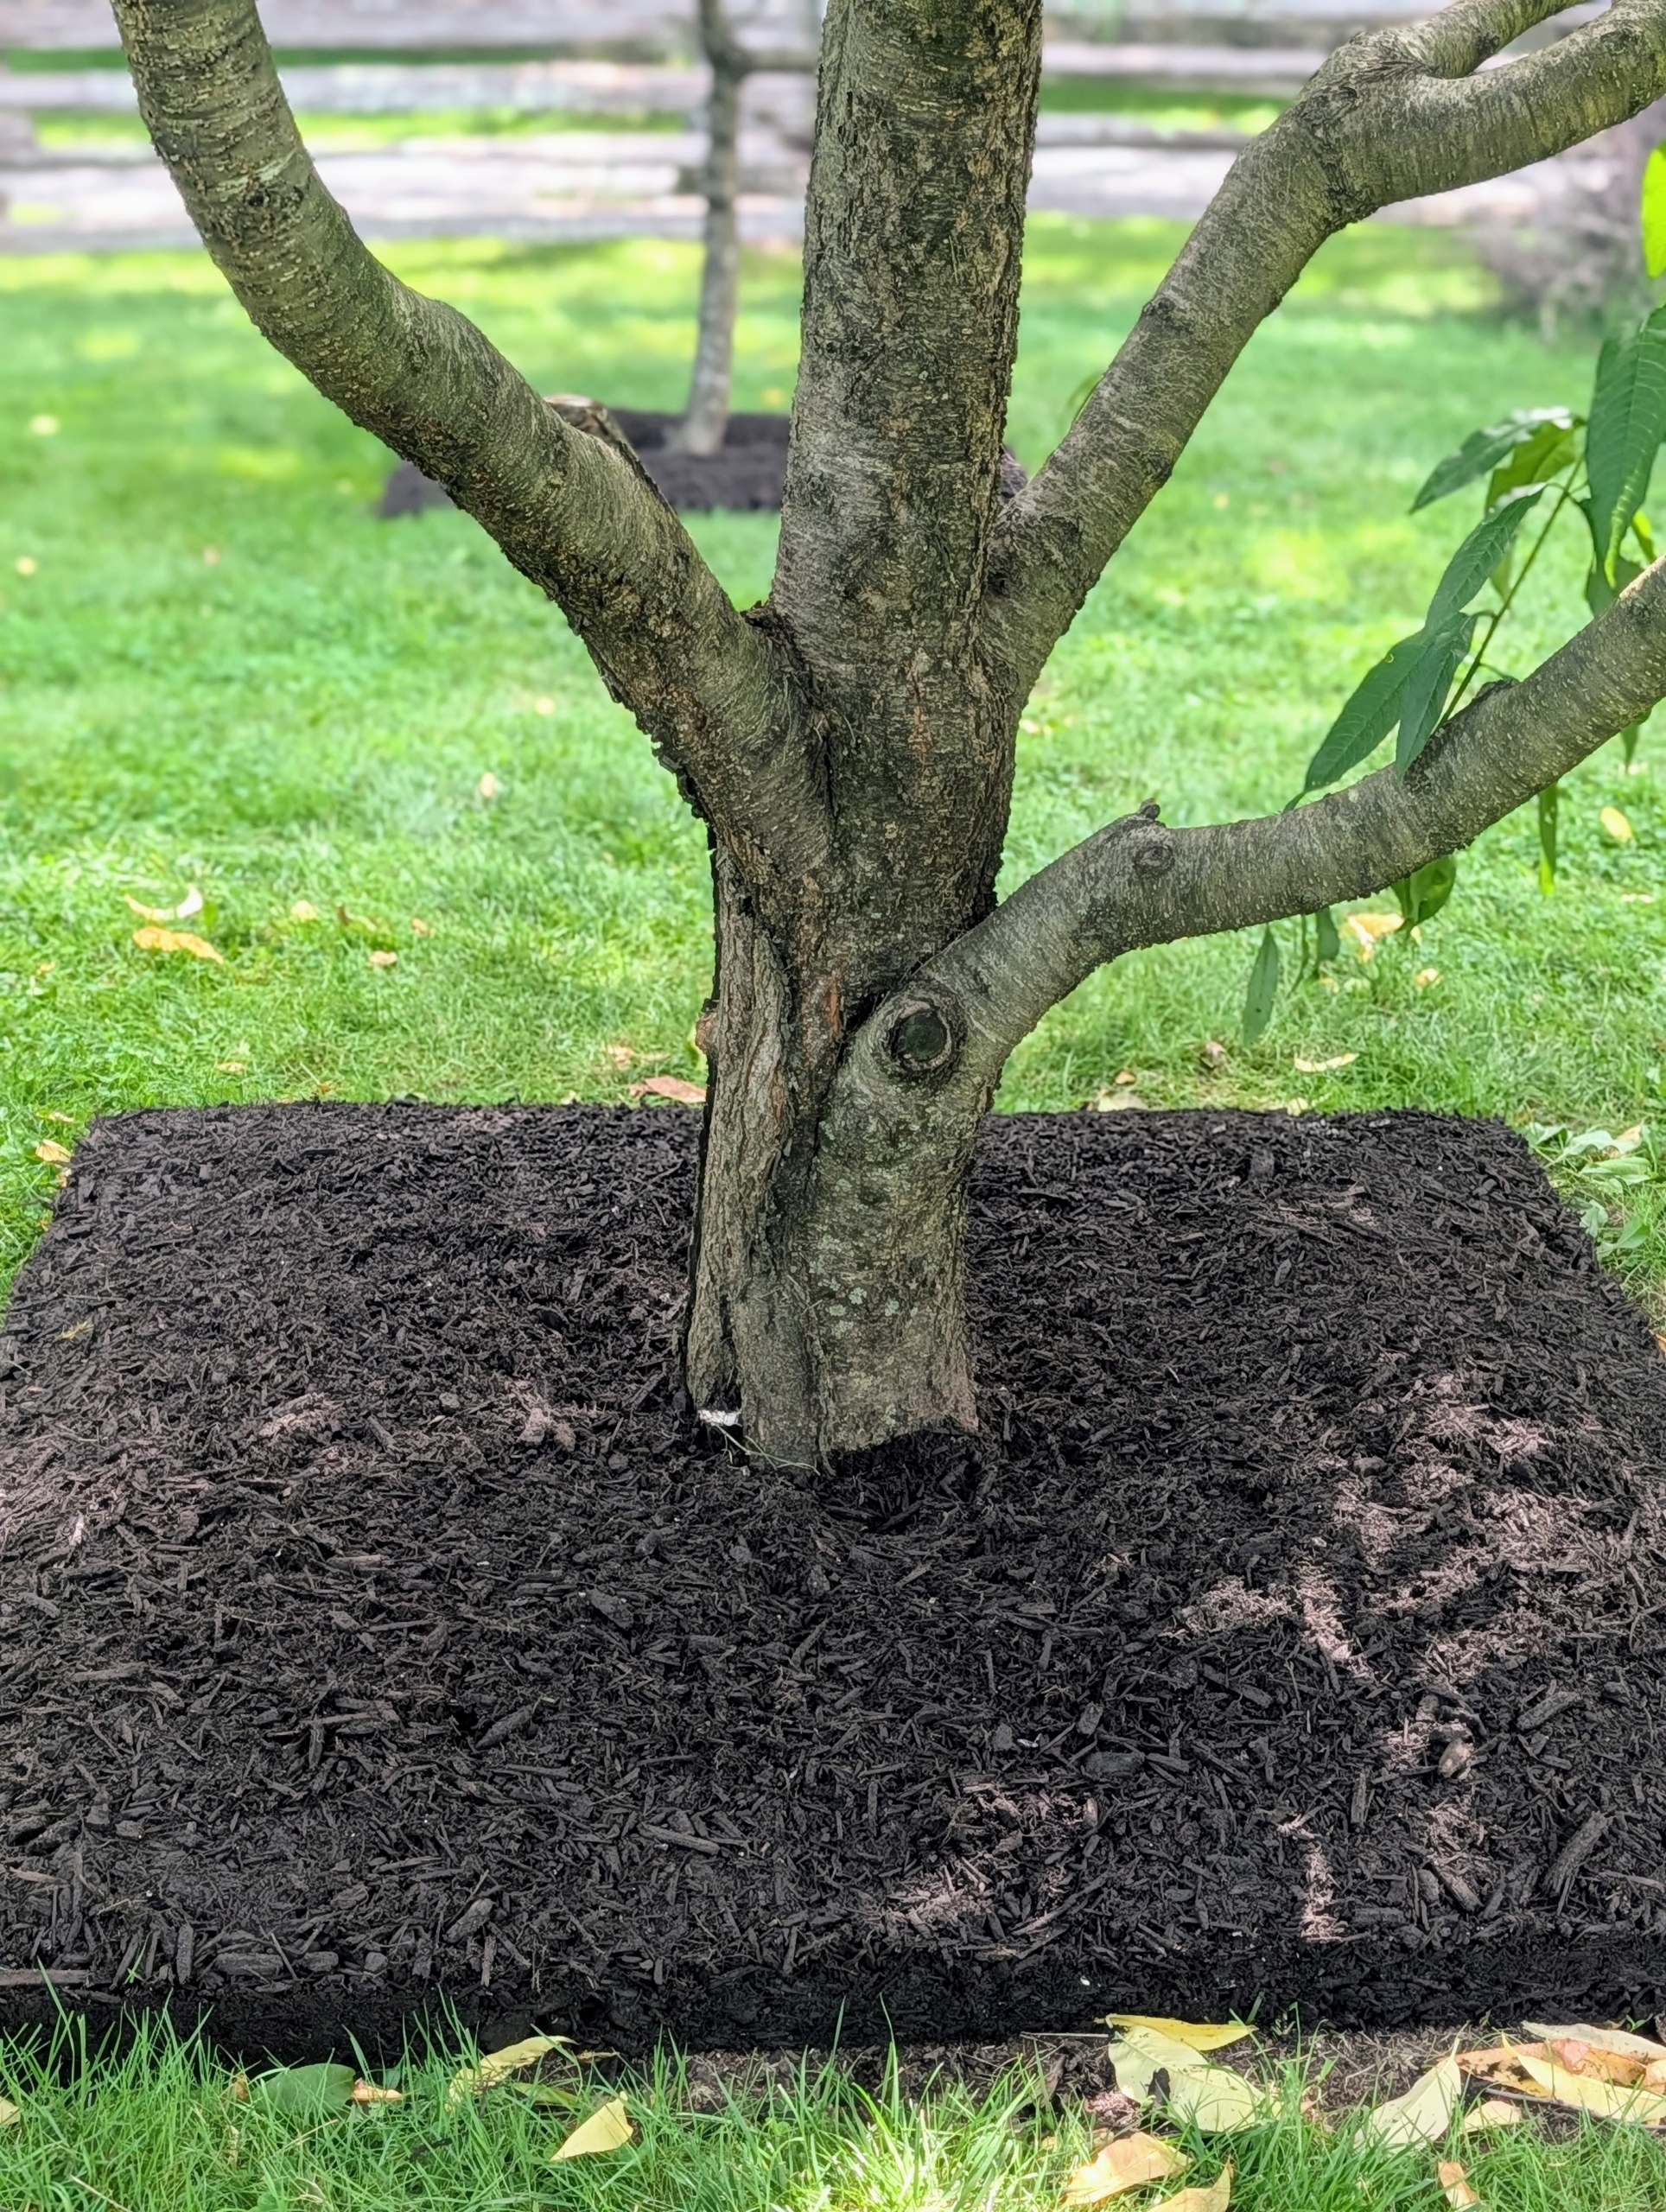
- The most important tip is keep the trunk of the tree “bare to the flare,” meaning nothing should ever be above the tree’s flare – the point where the tree stops widening at meets the roots.
-
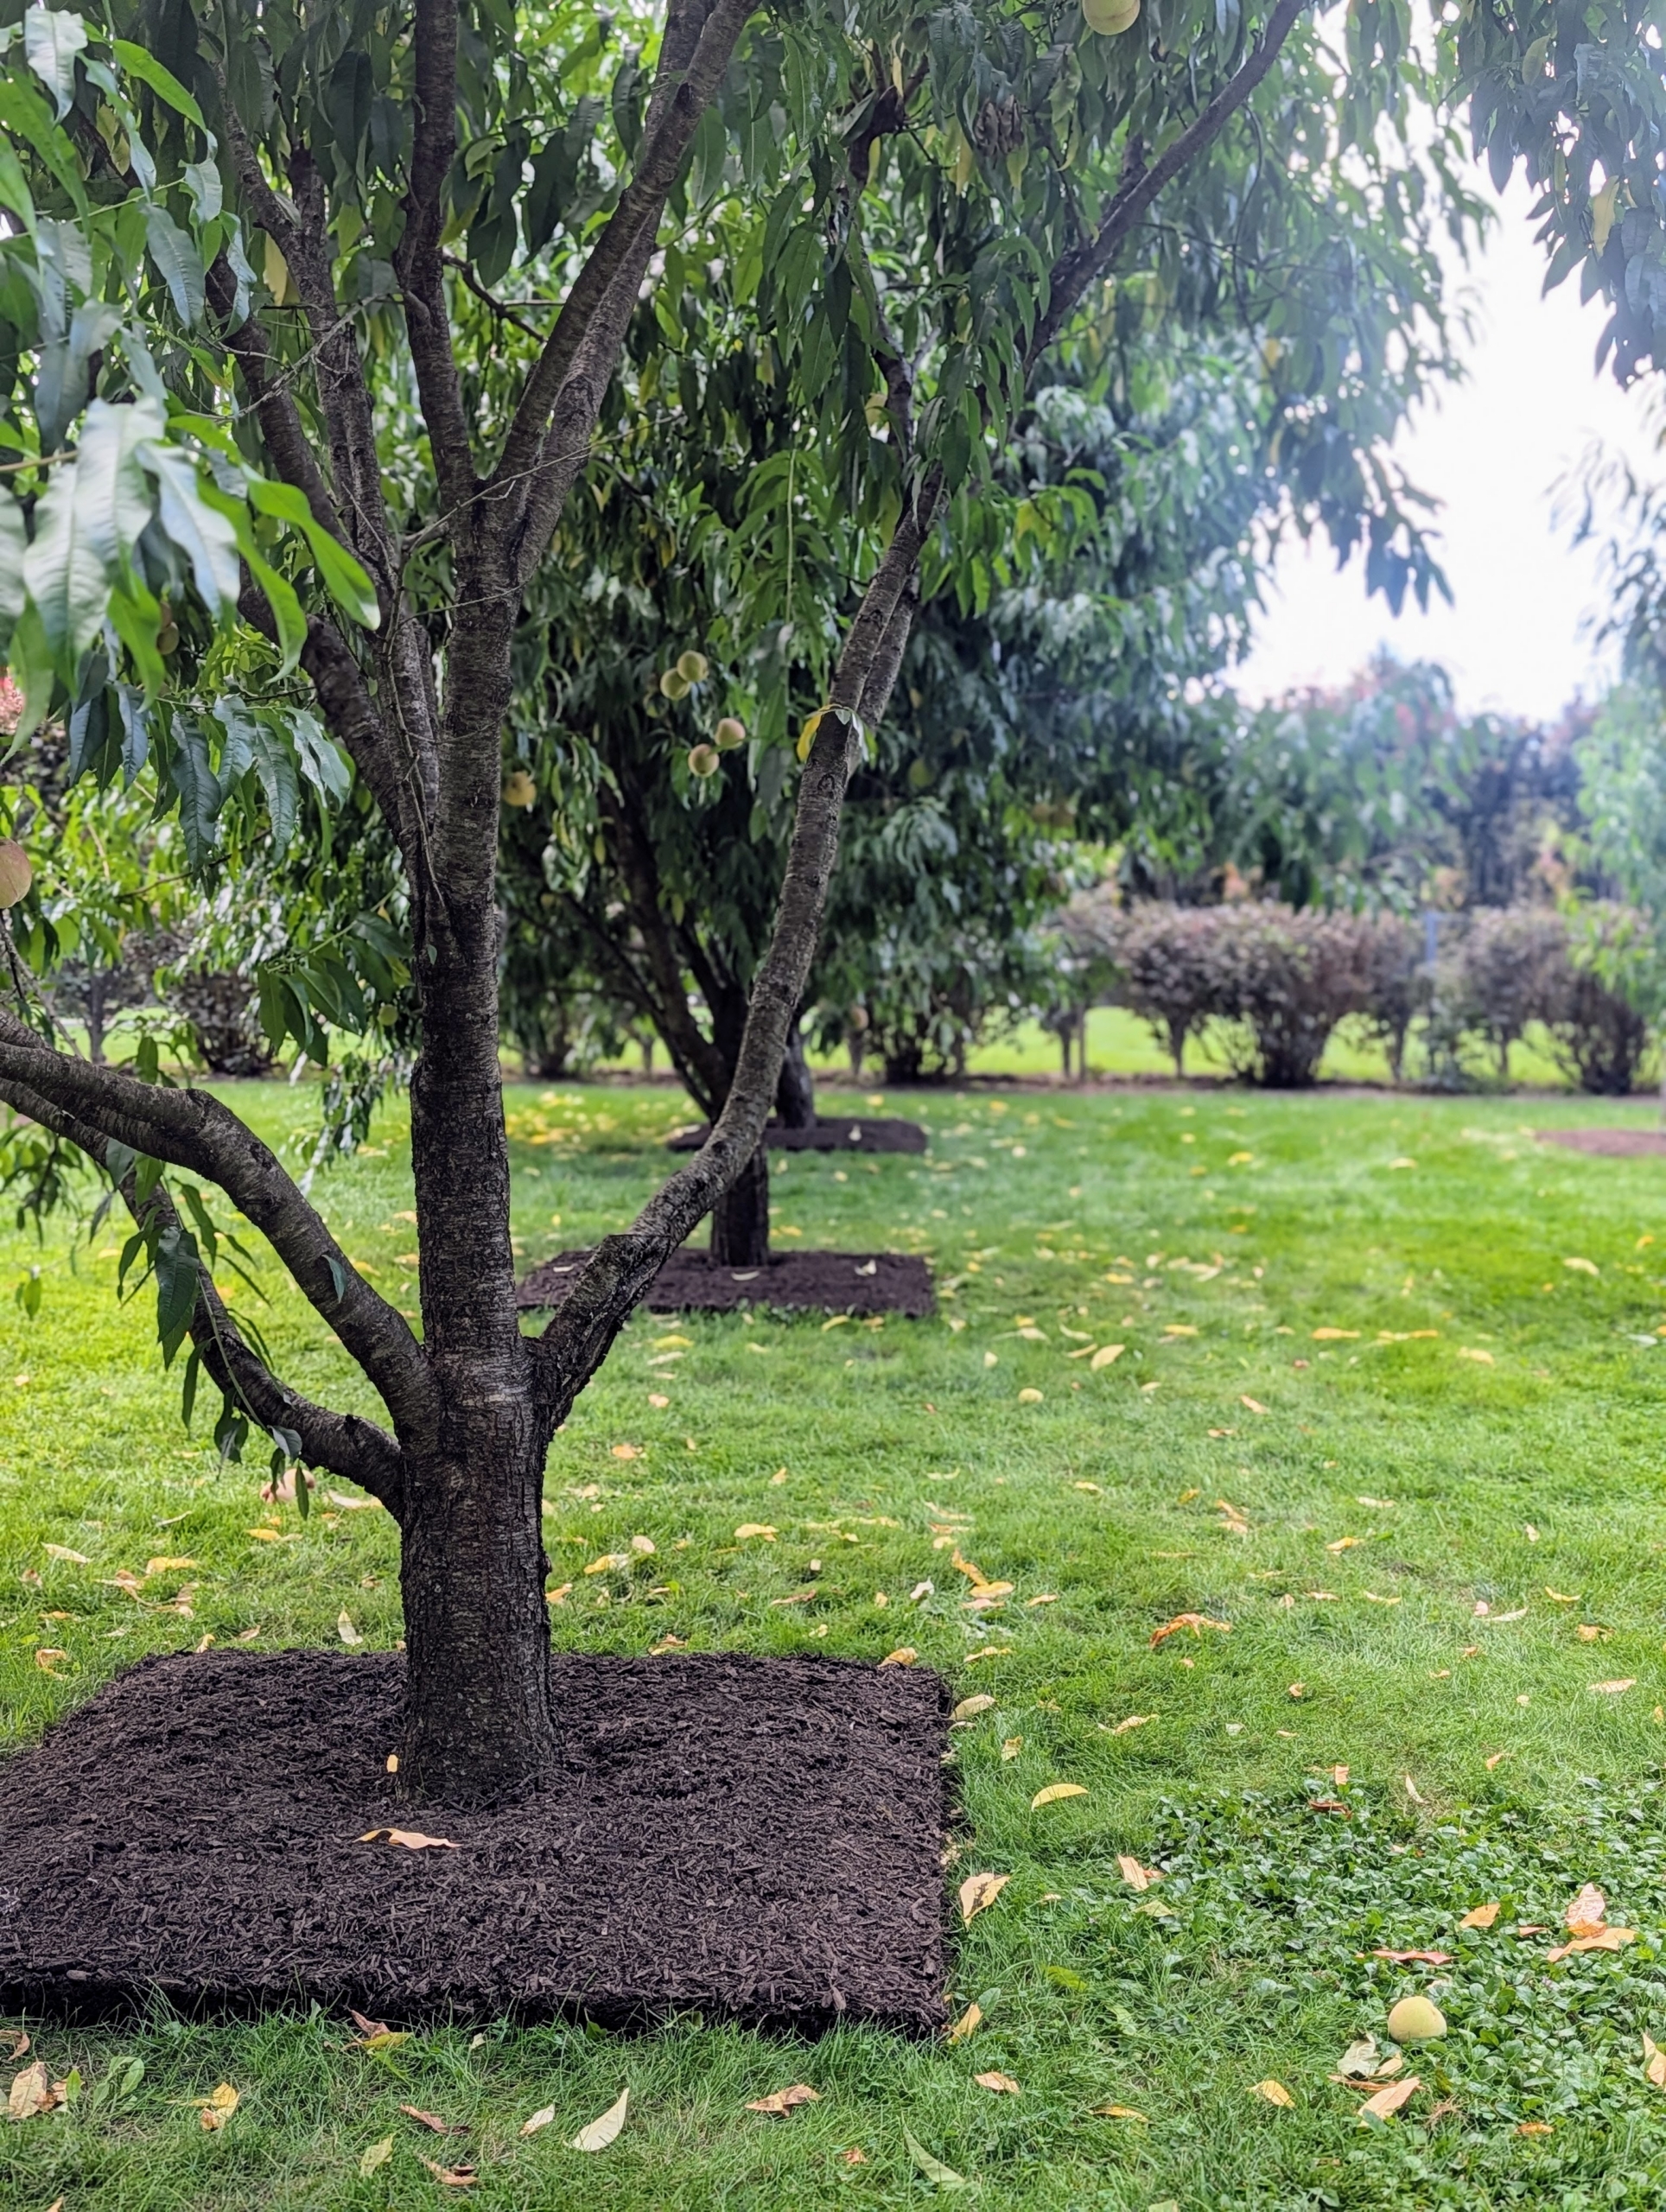
- The trees look so great already – I love the geometric appearance of all the square pits.
-
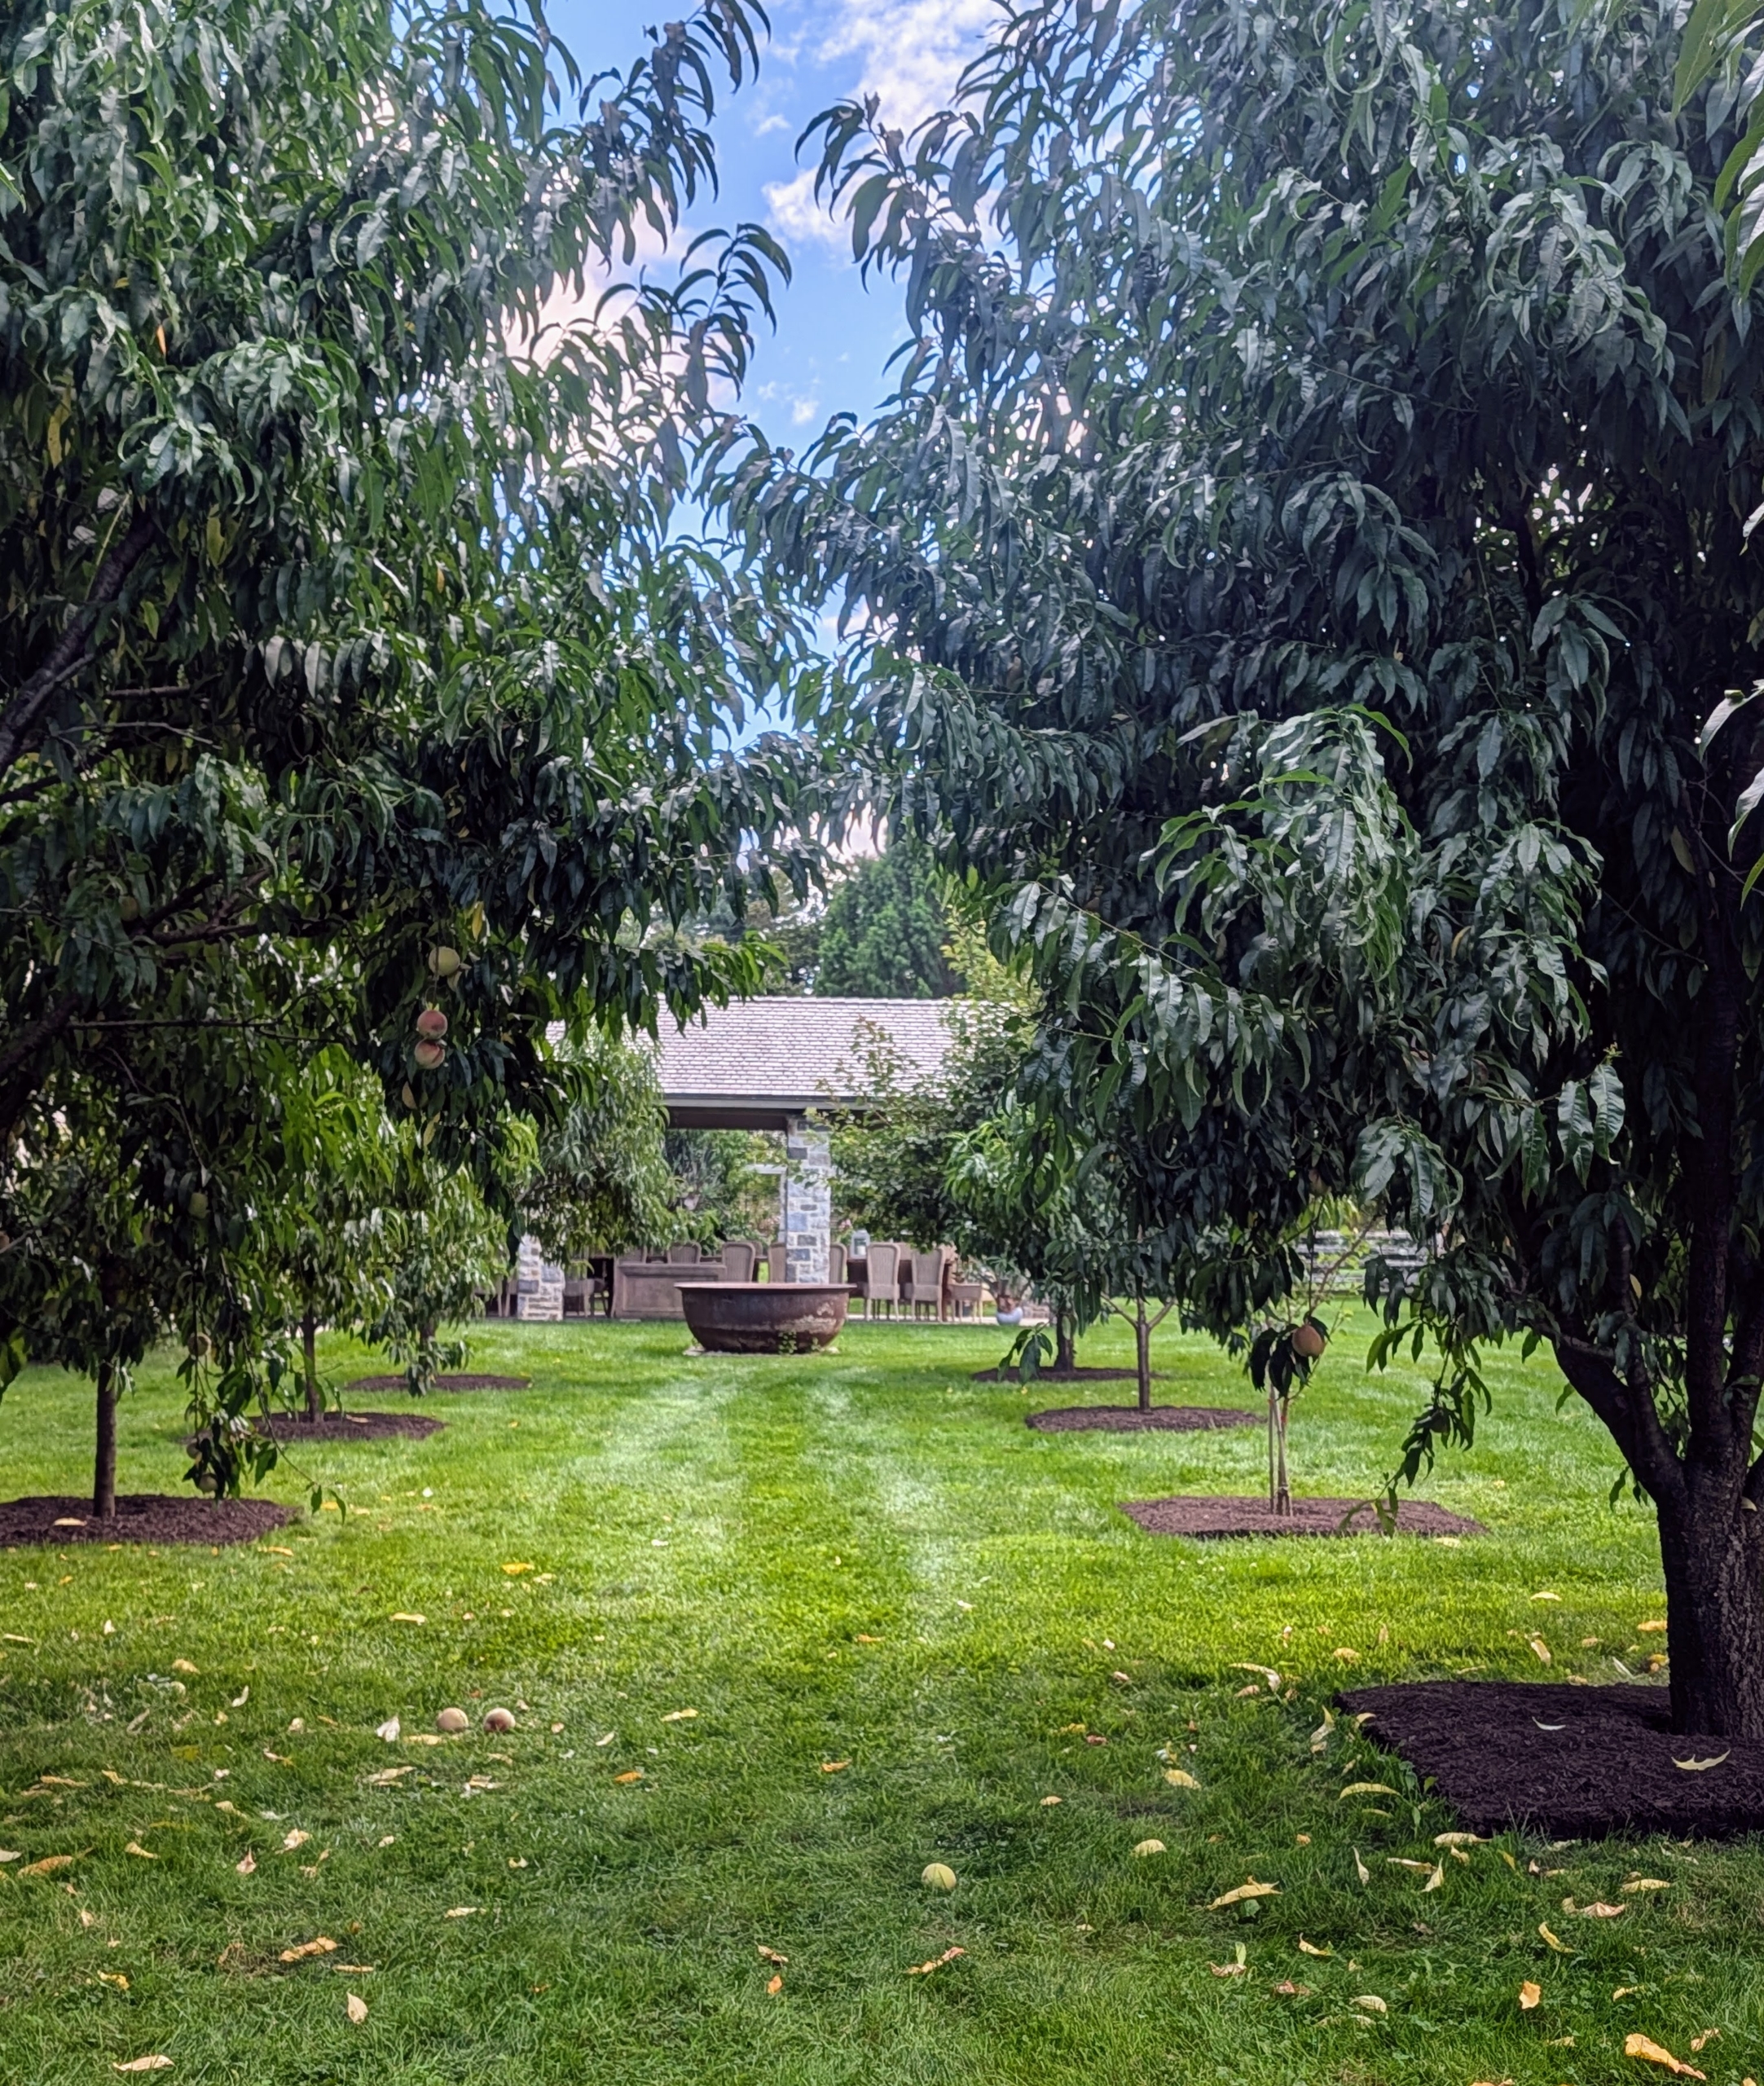
- The crew has completed a good number of pits already. Maintaining a garden space correctly and thoughtfully will go far beyond just growing plants and trees, it will encourage vibrant growth and higher yields, which are very good things.
 Martha Pins


 Martha Tweets

