All of us here at my farm are thinking about the spring gardens. In fact, the season’s first peas are already in the ground.
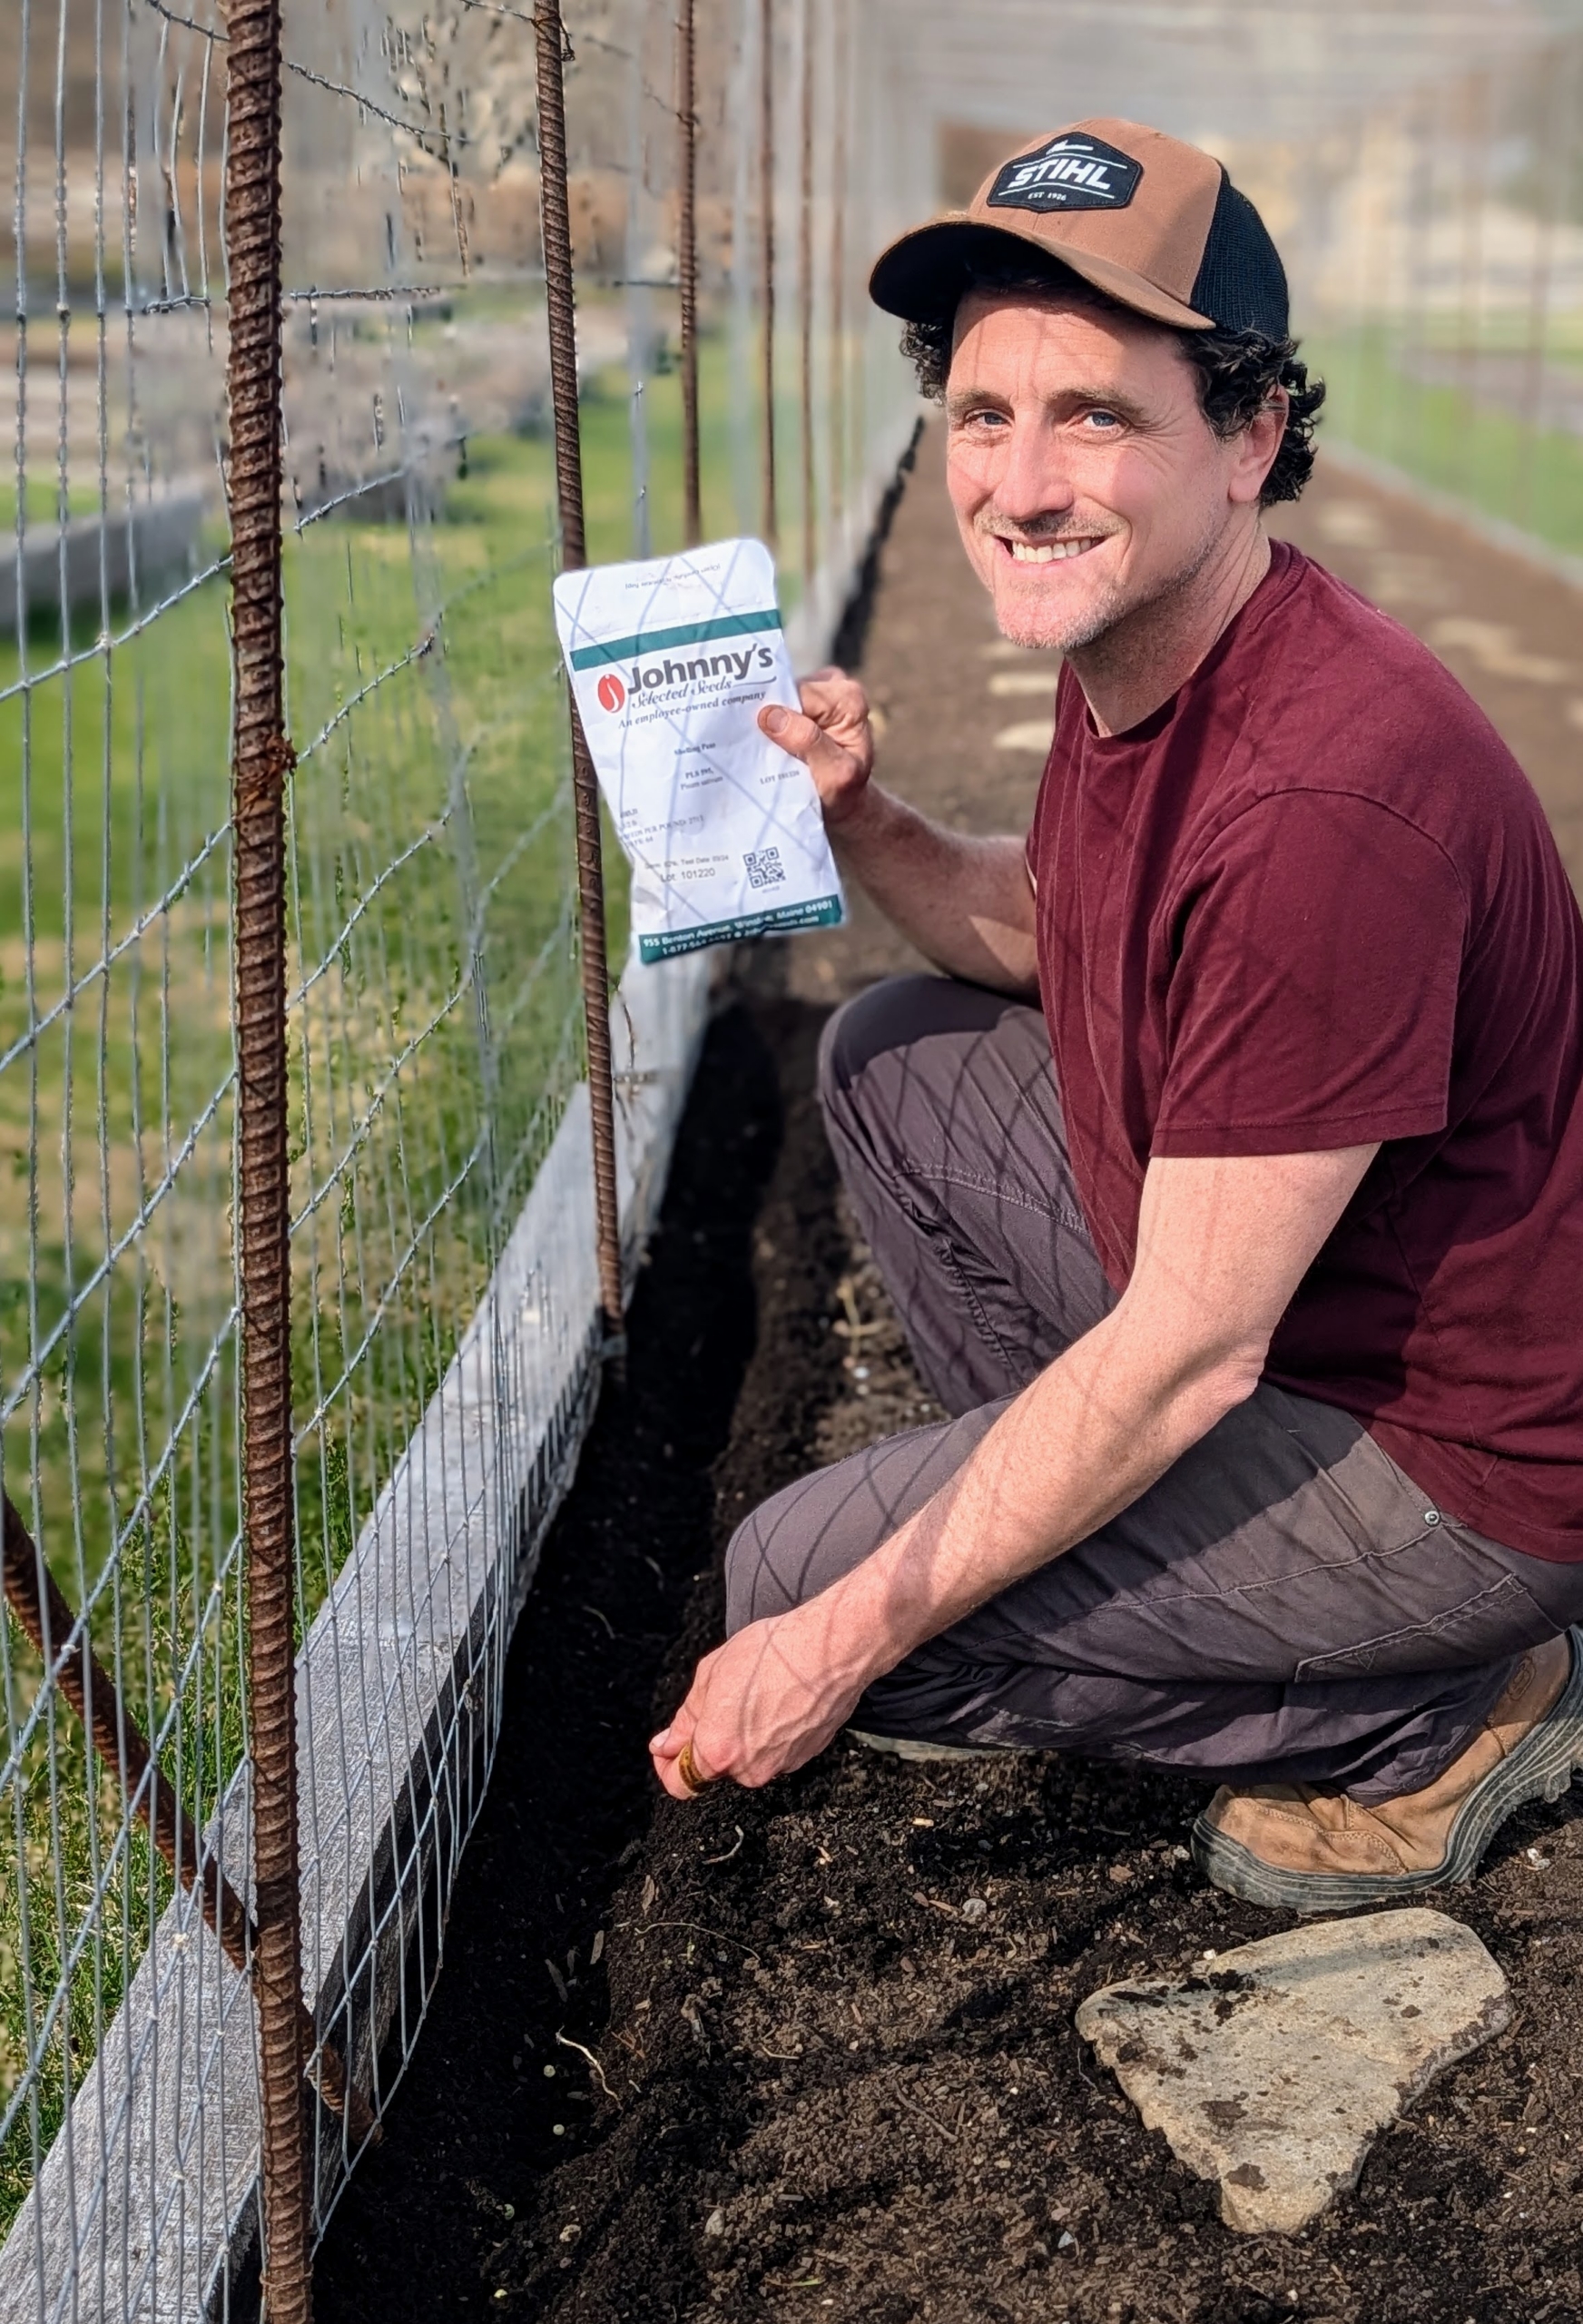
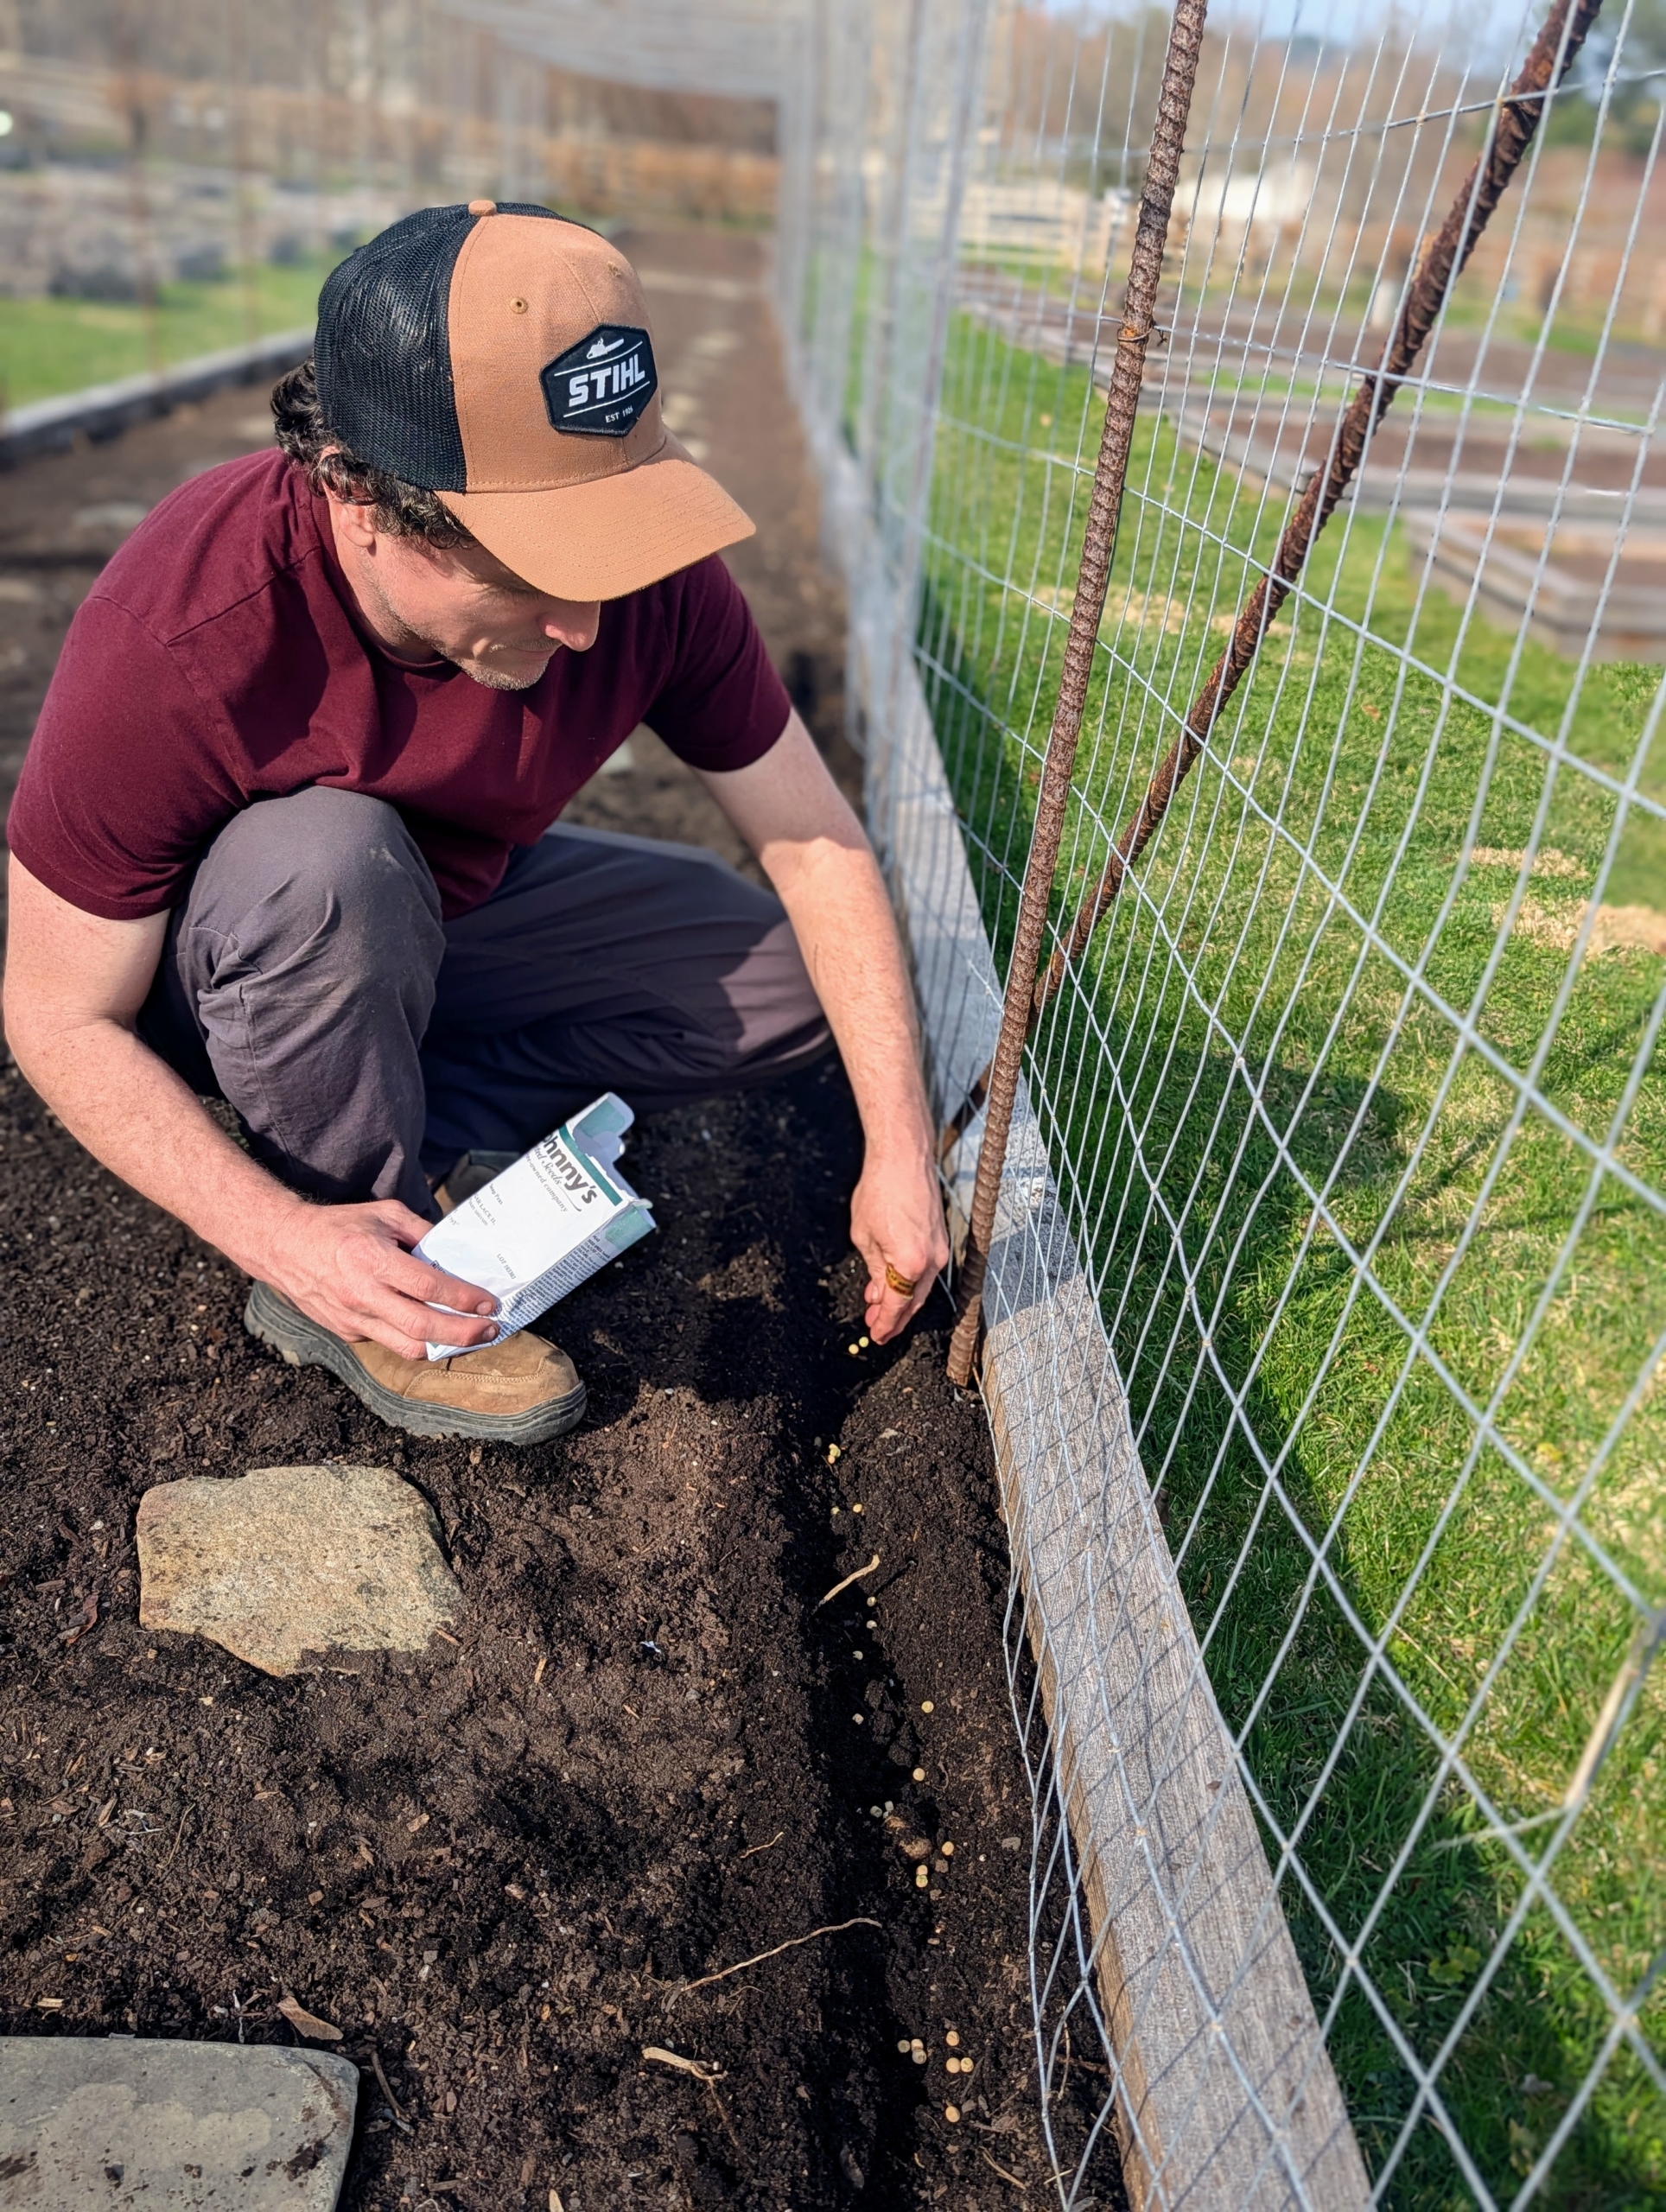
Peas thrive in cool weather, and young plants can even tolerate light frosts. It’s important to plant peas as soon as possible in spring in order to get a full harvest before hot summer temperatures arrive. Yesterday, my head gardener, Ryan McCallister, planted several varieties of shelling peas and edible pods along two sides of a fenced bed in the vegetable garden.
Here are some photos, enjoy.
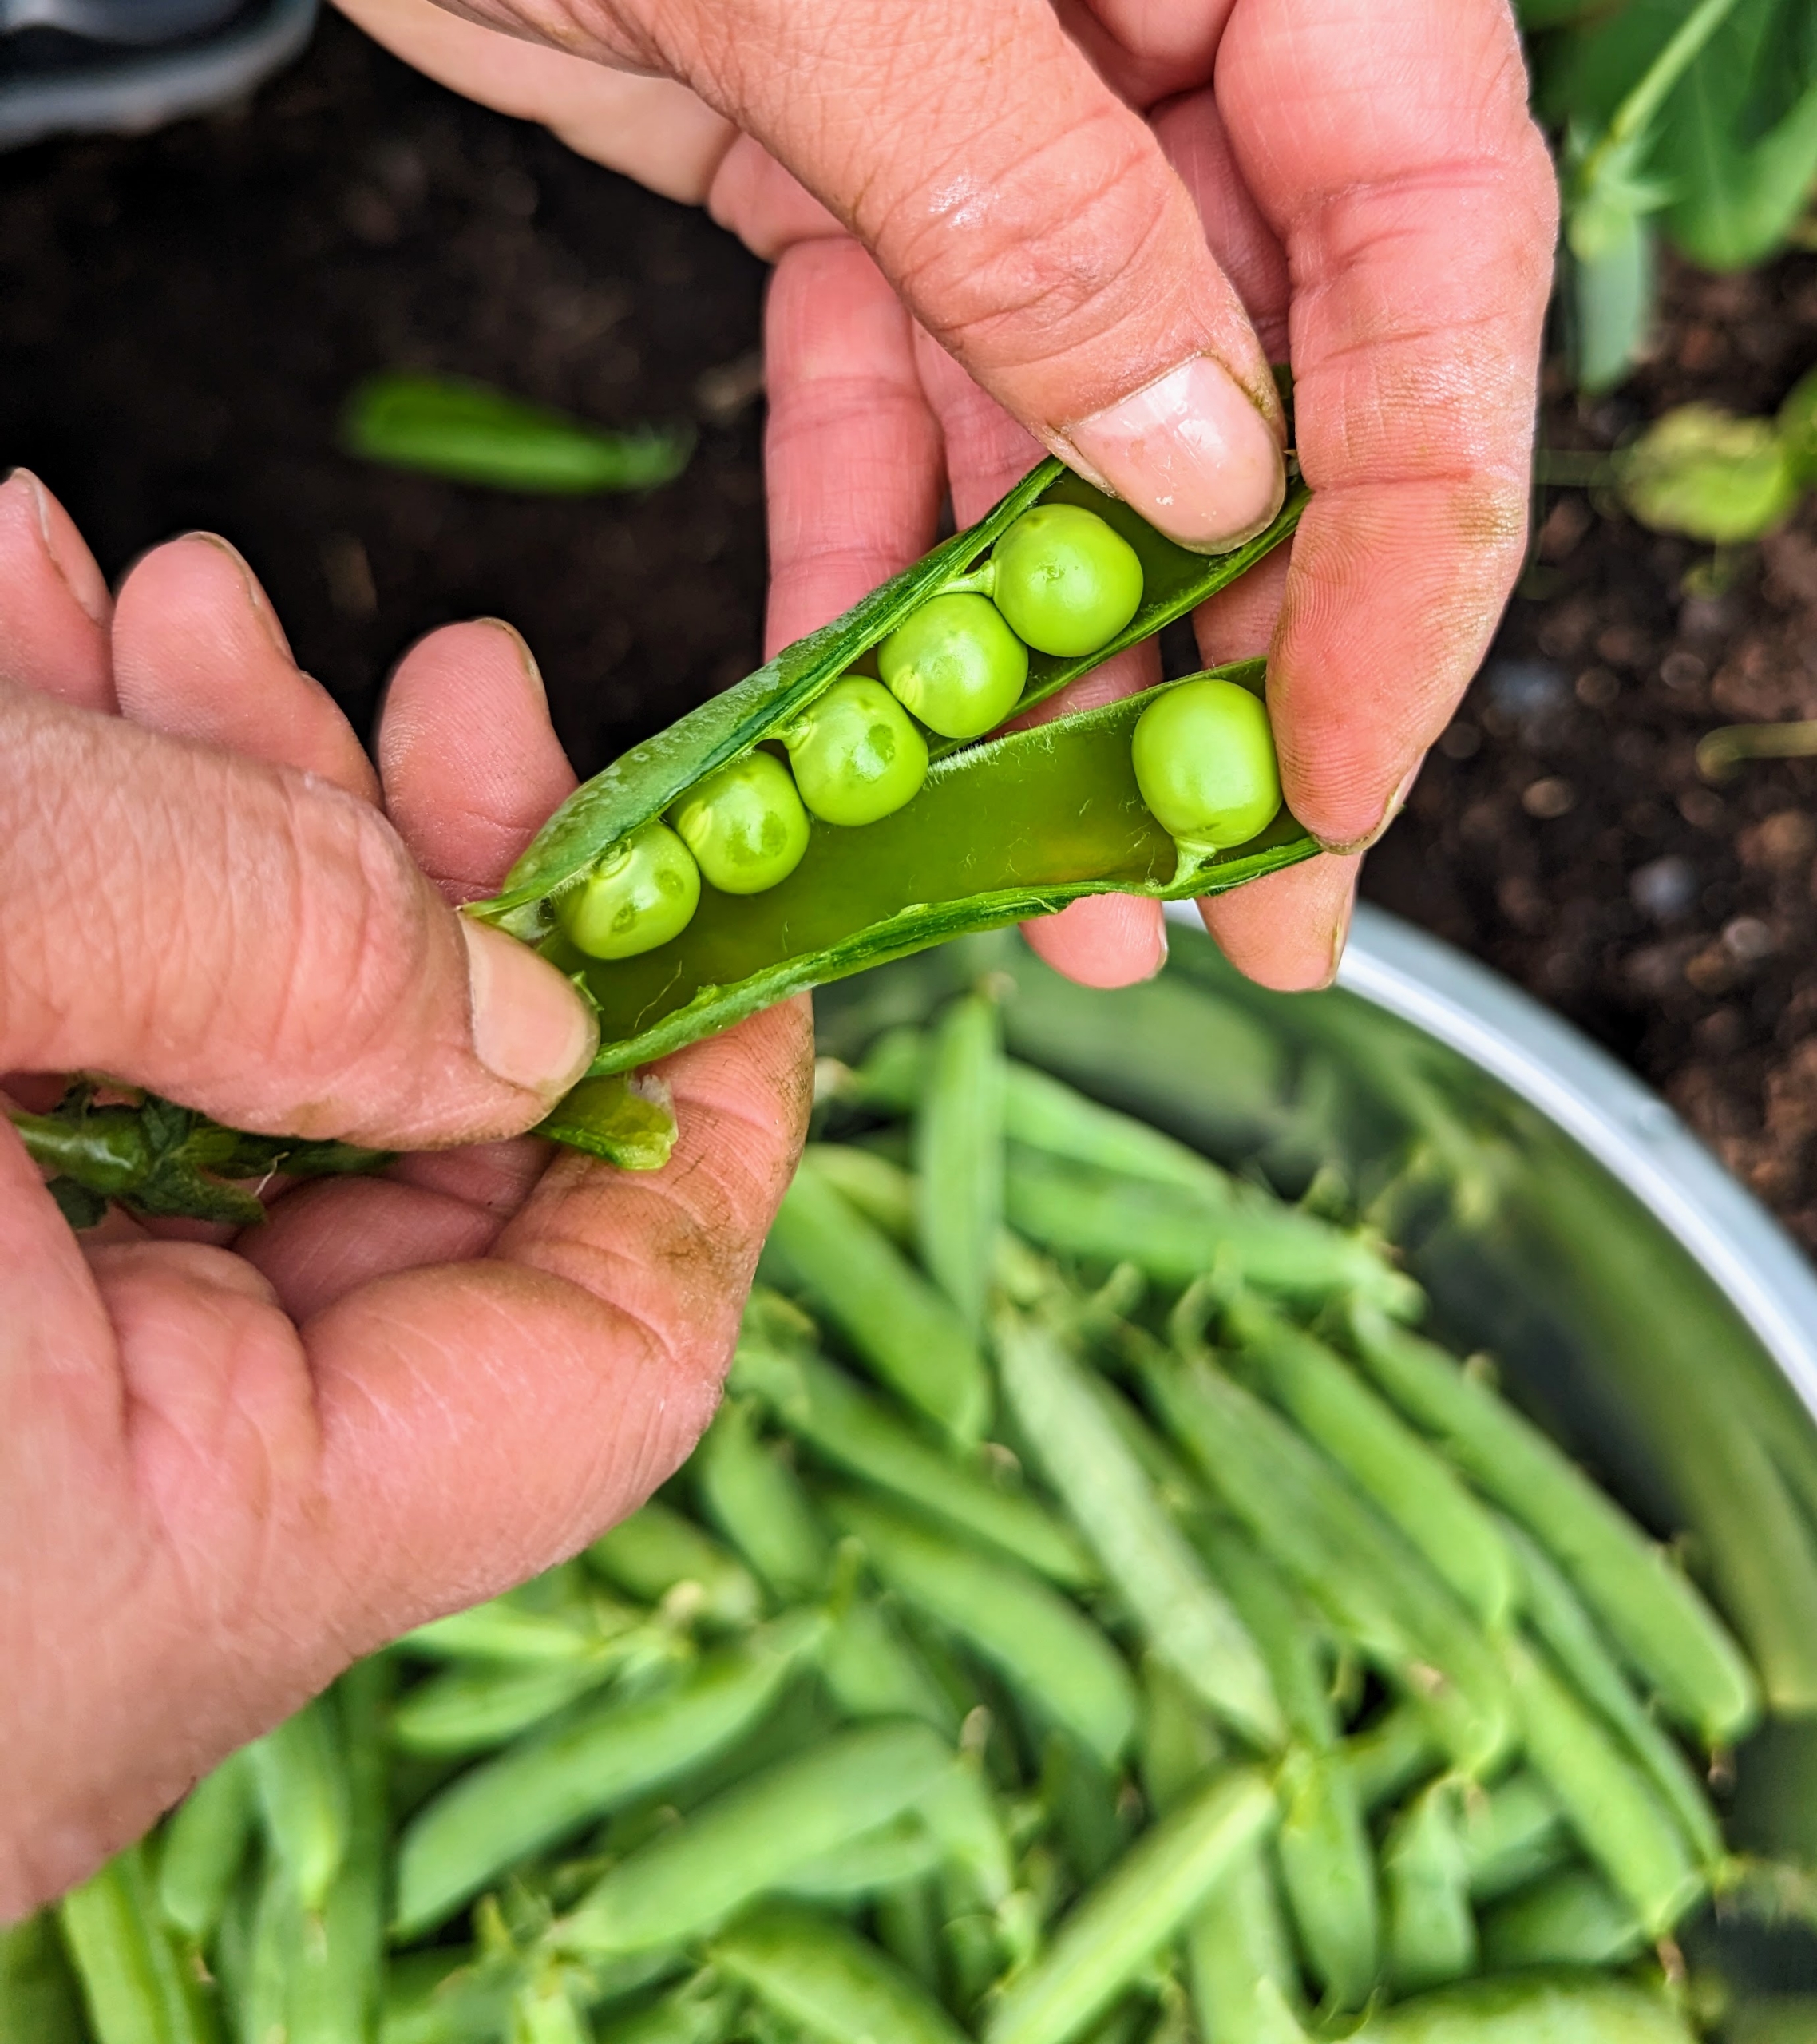
Snow, snap, and shelling peas are all members of the legume family. Snow peas are also known as Chinese pea pods. They are flat with very small peas inside, and the whole pod is edible. Snap peas are a cross between snow peas and shelling peas – the whole pod is eaten and has a crunchy texture and very sweet flavor. Shelling peas are also sometimes called garden peas, sweet peas or English peas. The pods are firm and rounded, and the round peas inside need to be removed, or shelled, before eating. The peas are sweet and may be eaten raw or cooked.
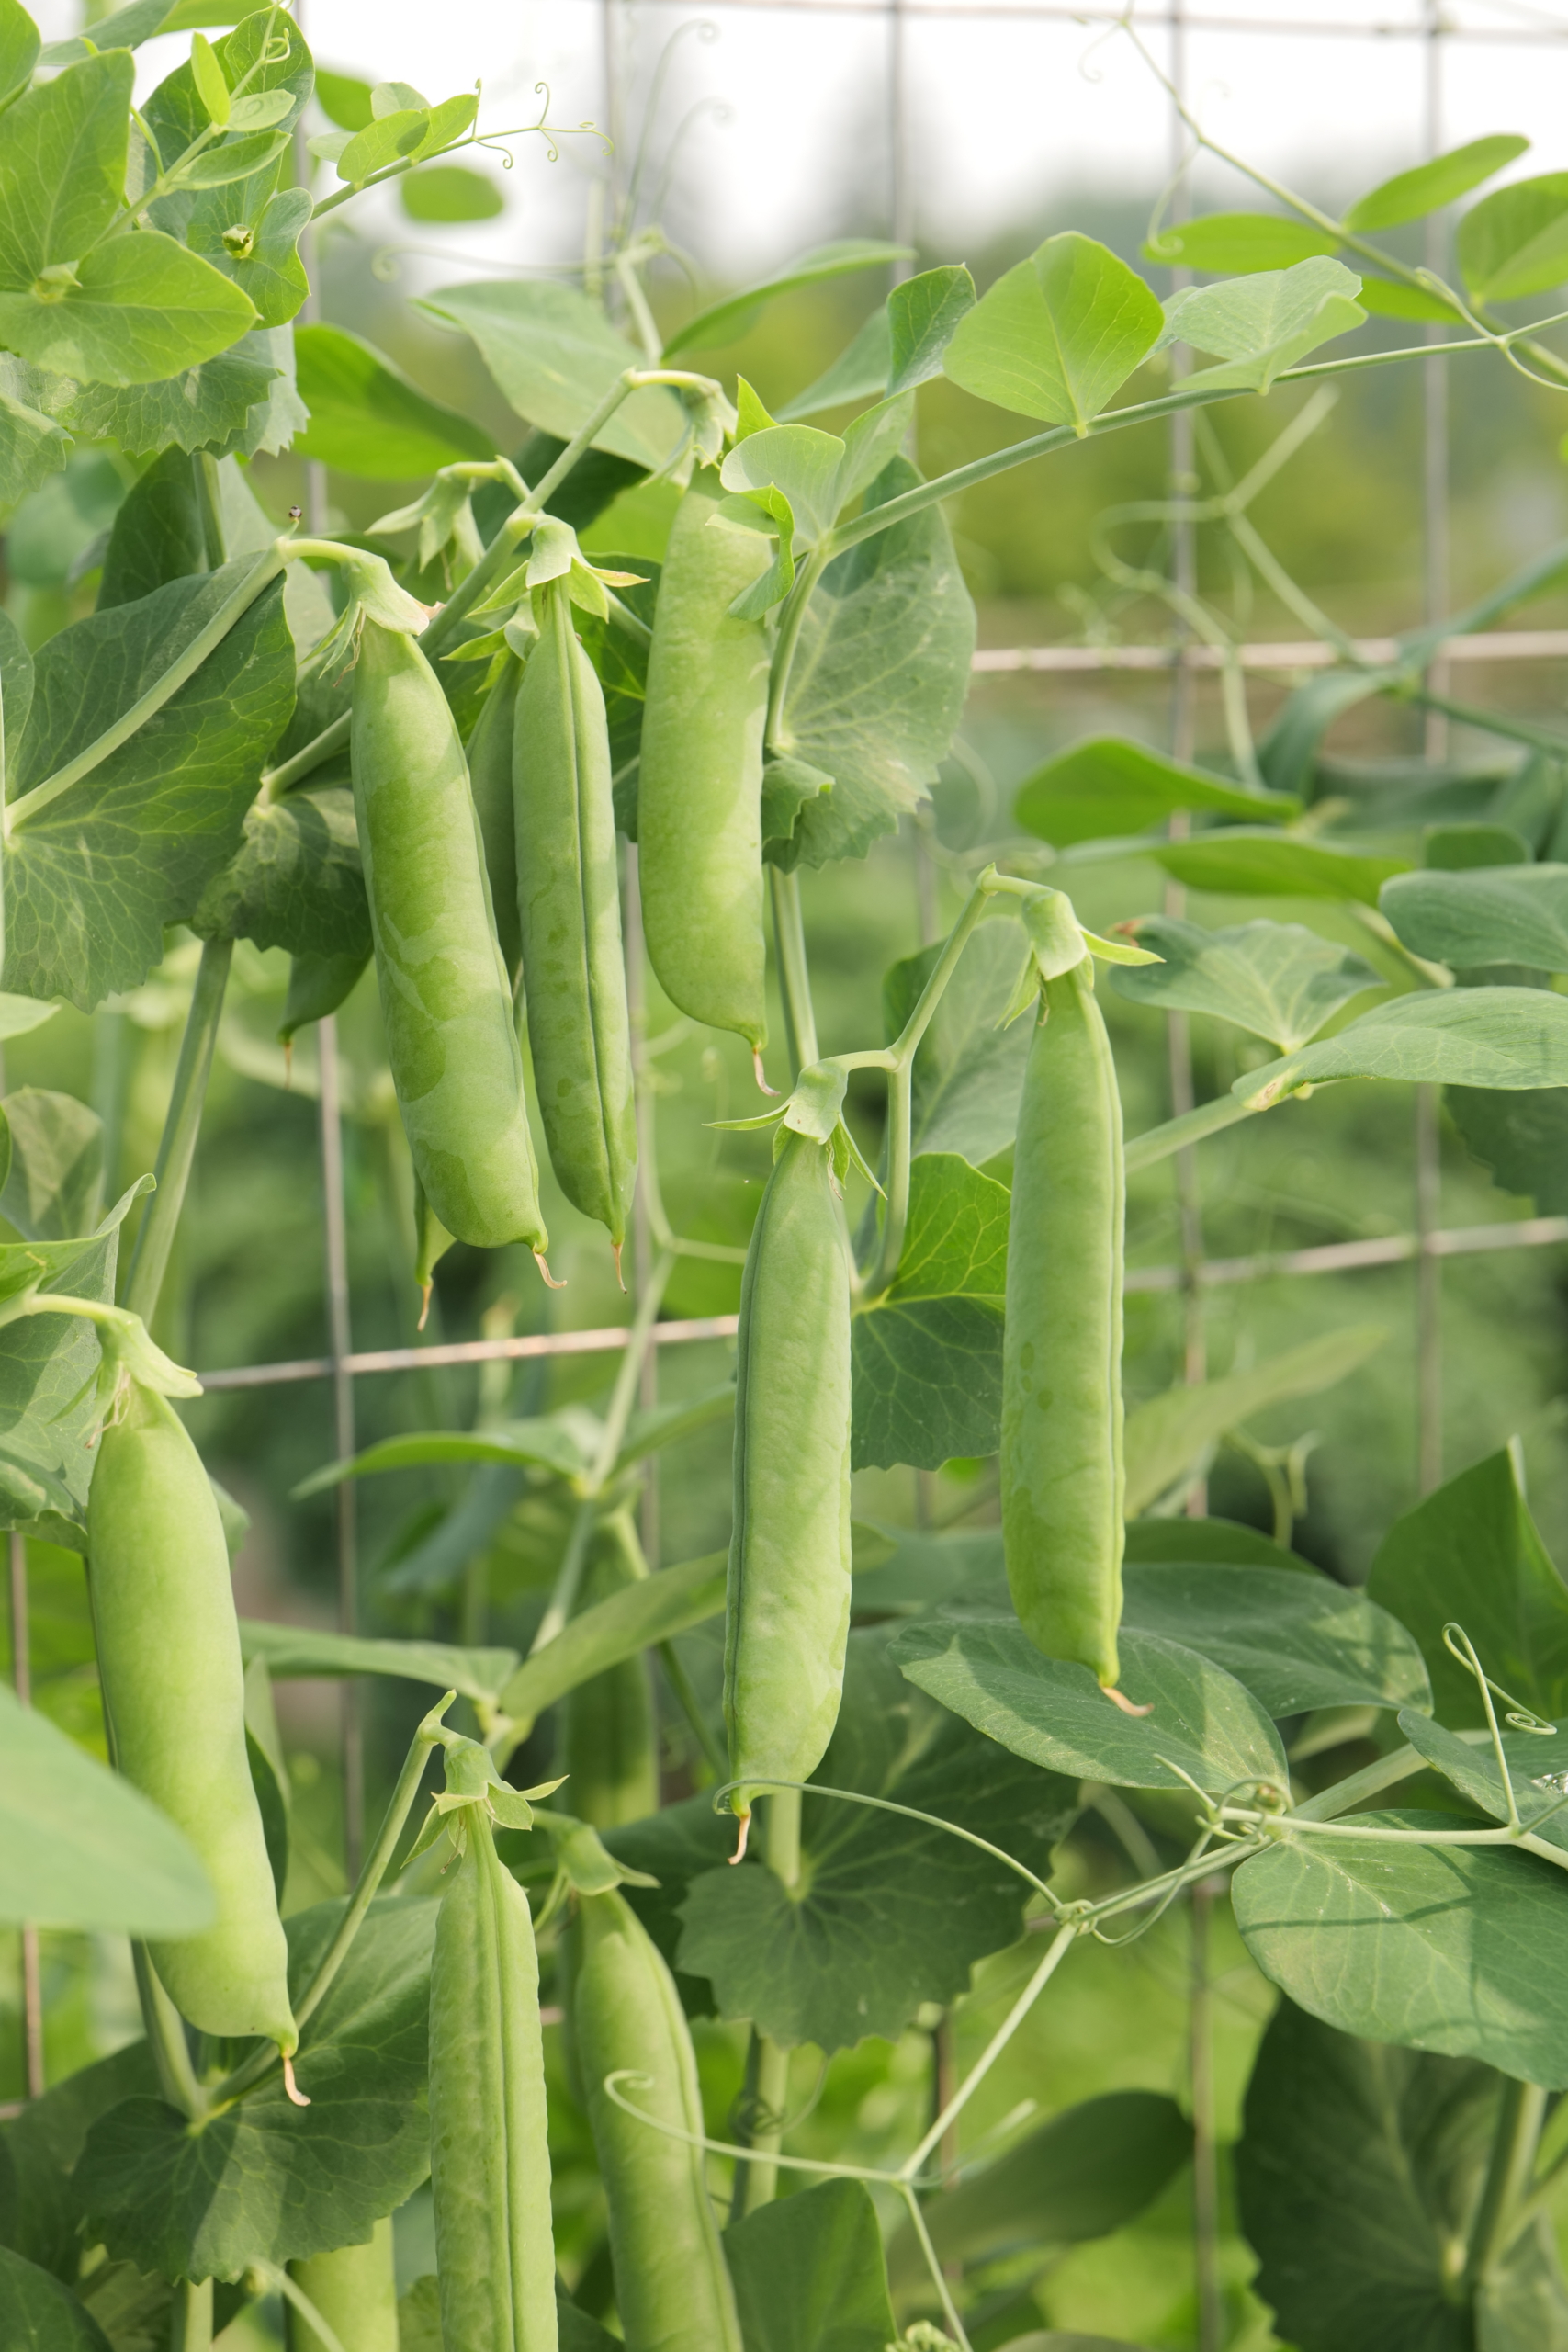
Peas grow vertically and hang from tendrils latched on trellis structures. I have always grown peas in my garden.
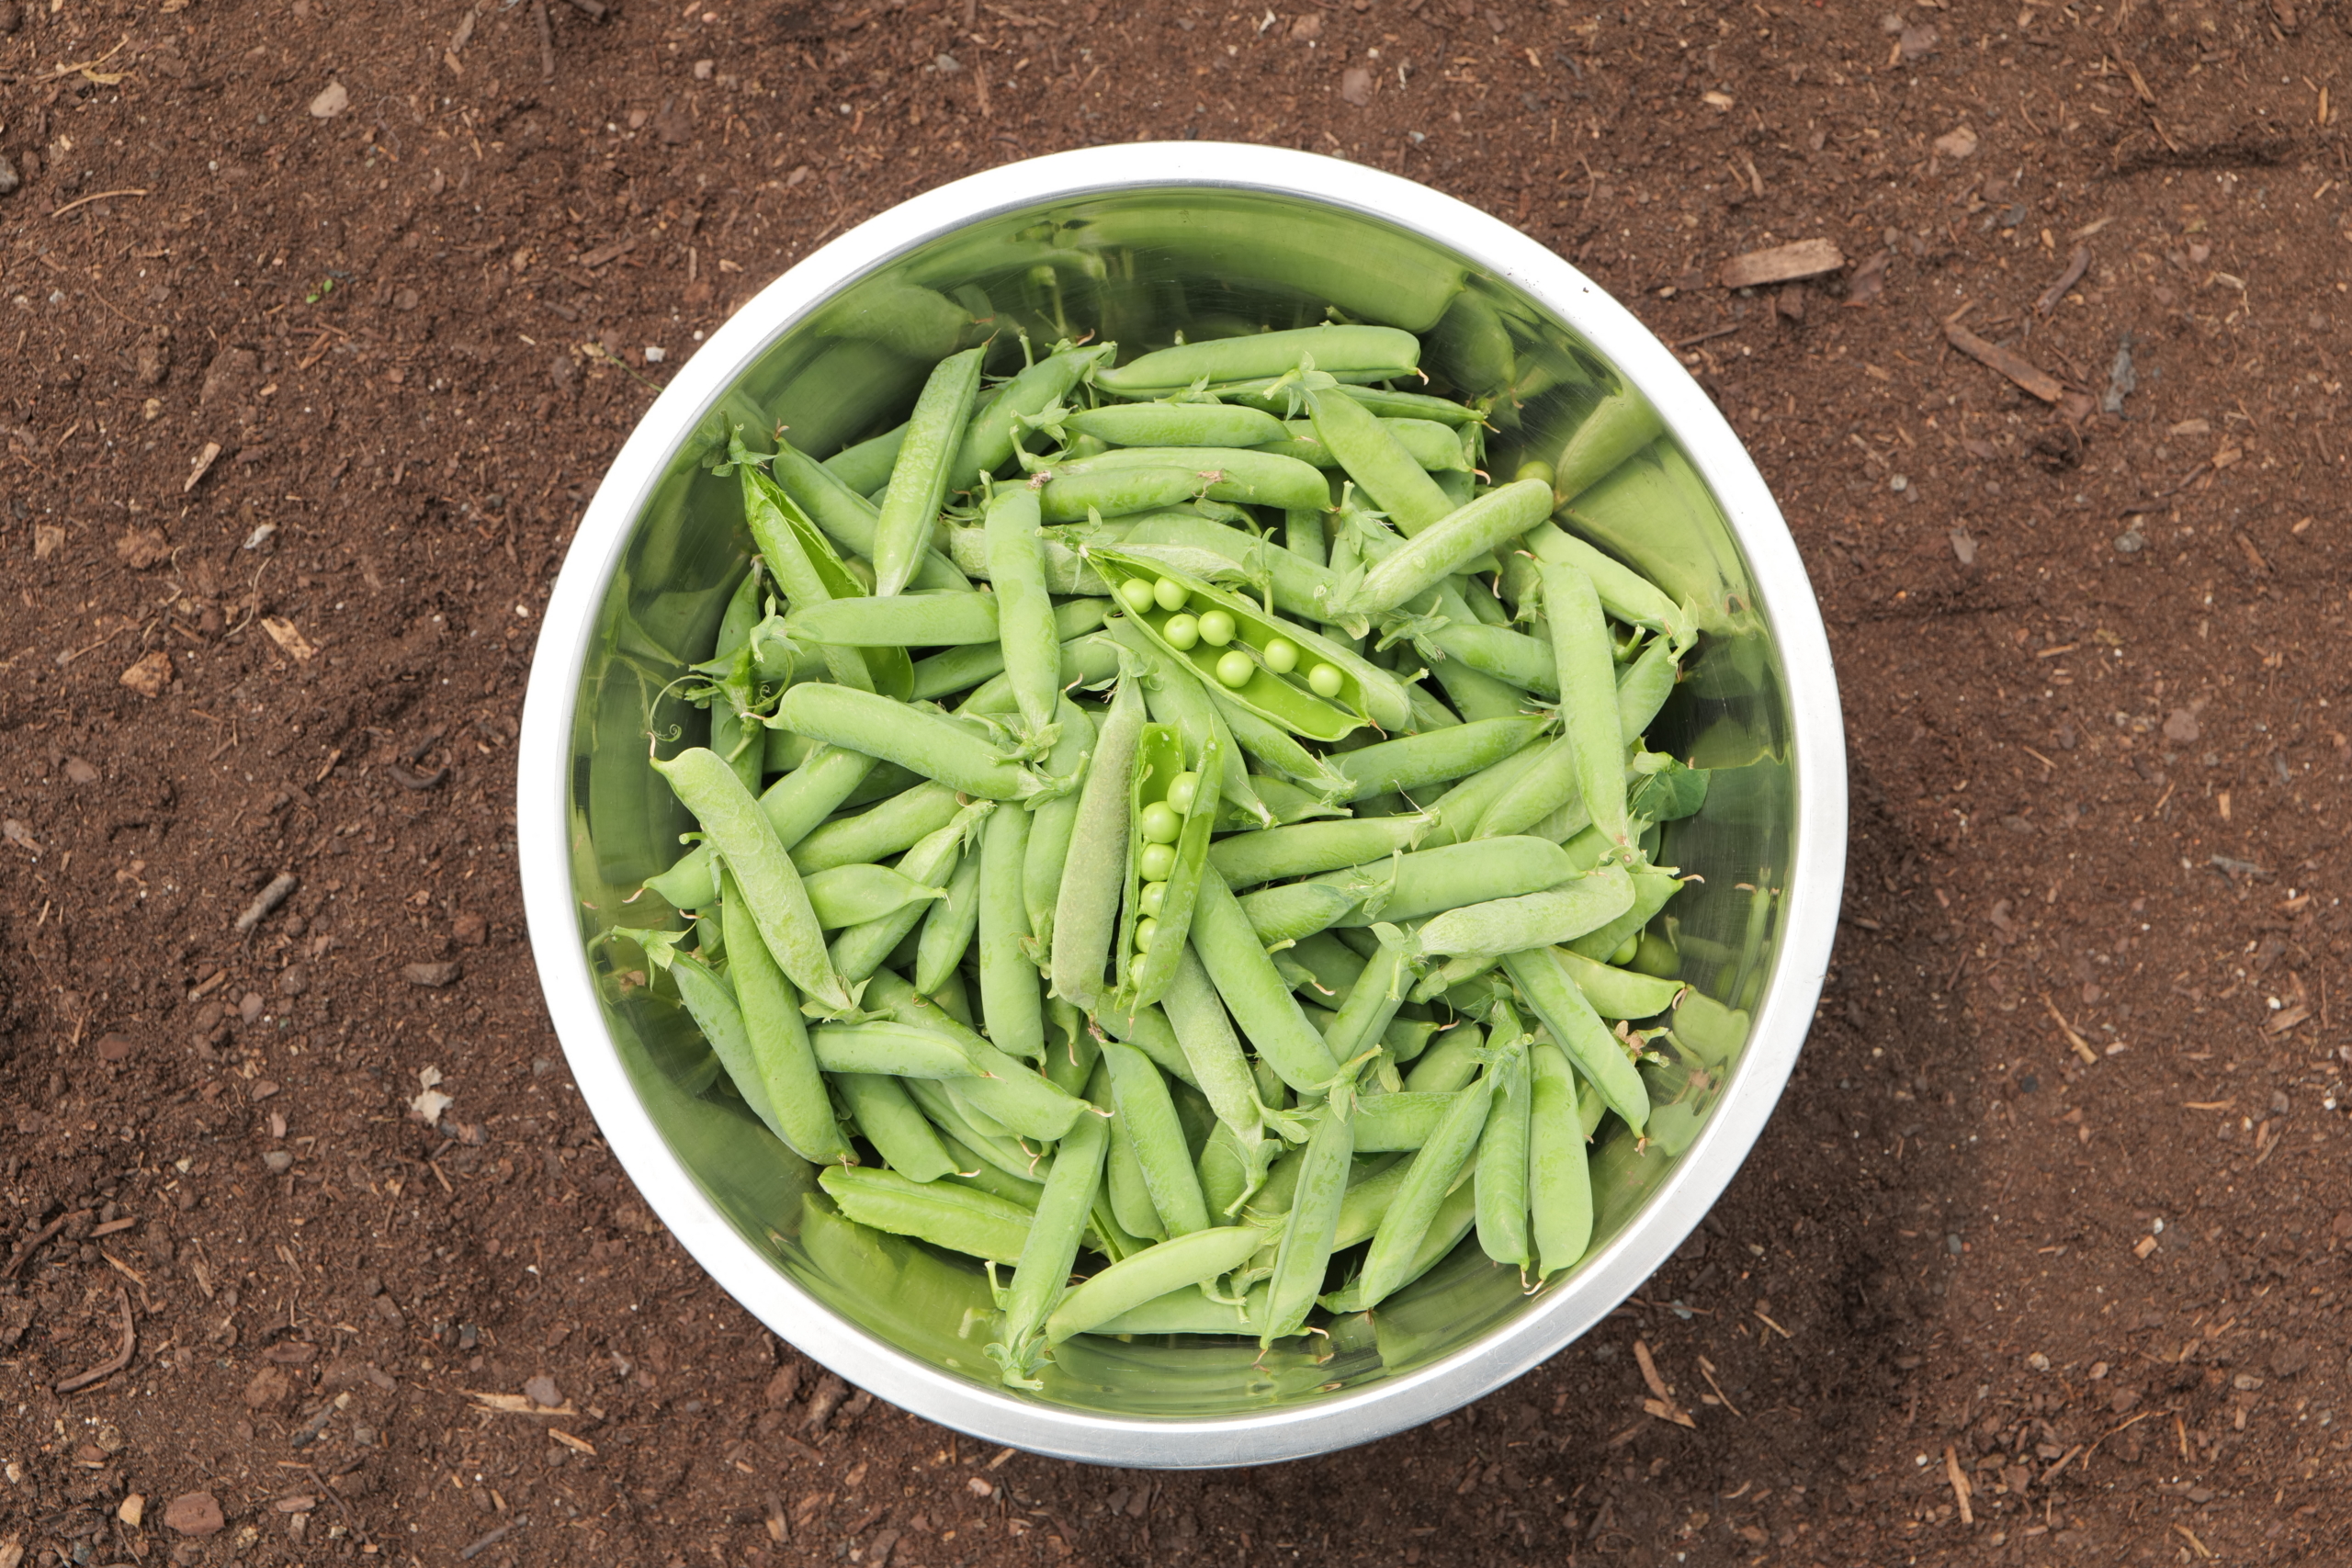
These are shelling peas. The pods can range in size from four to 15-centimeters long and about one-and-a-half to two-and-a-half centimeters wide. Each pod contains between two and 10-peas.
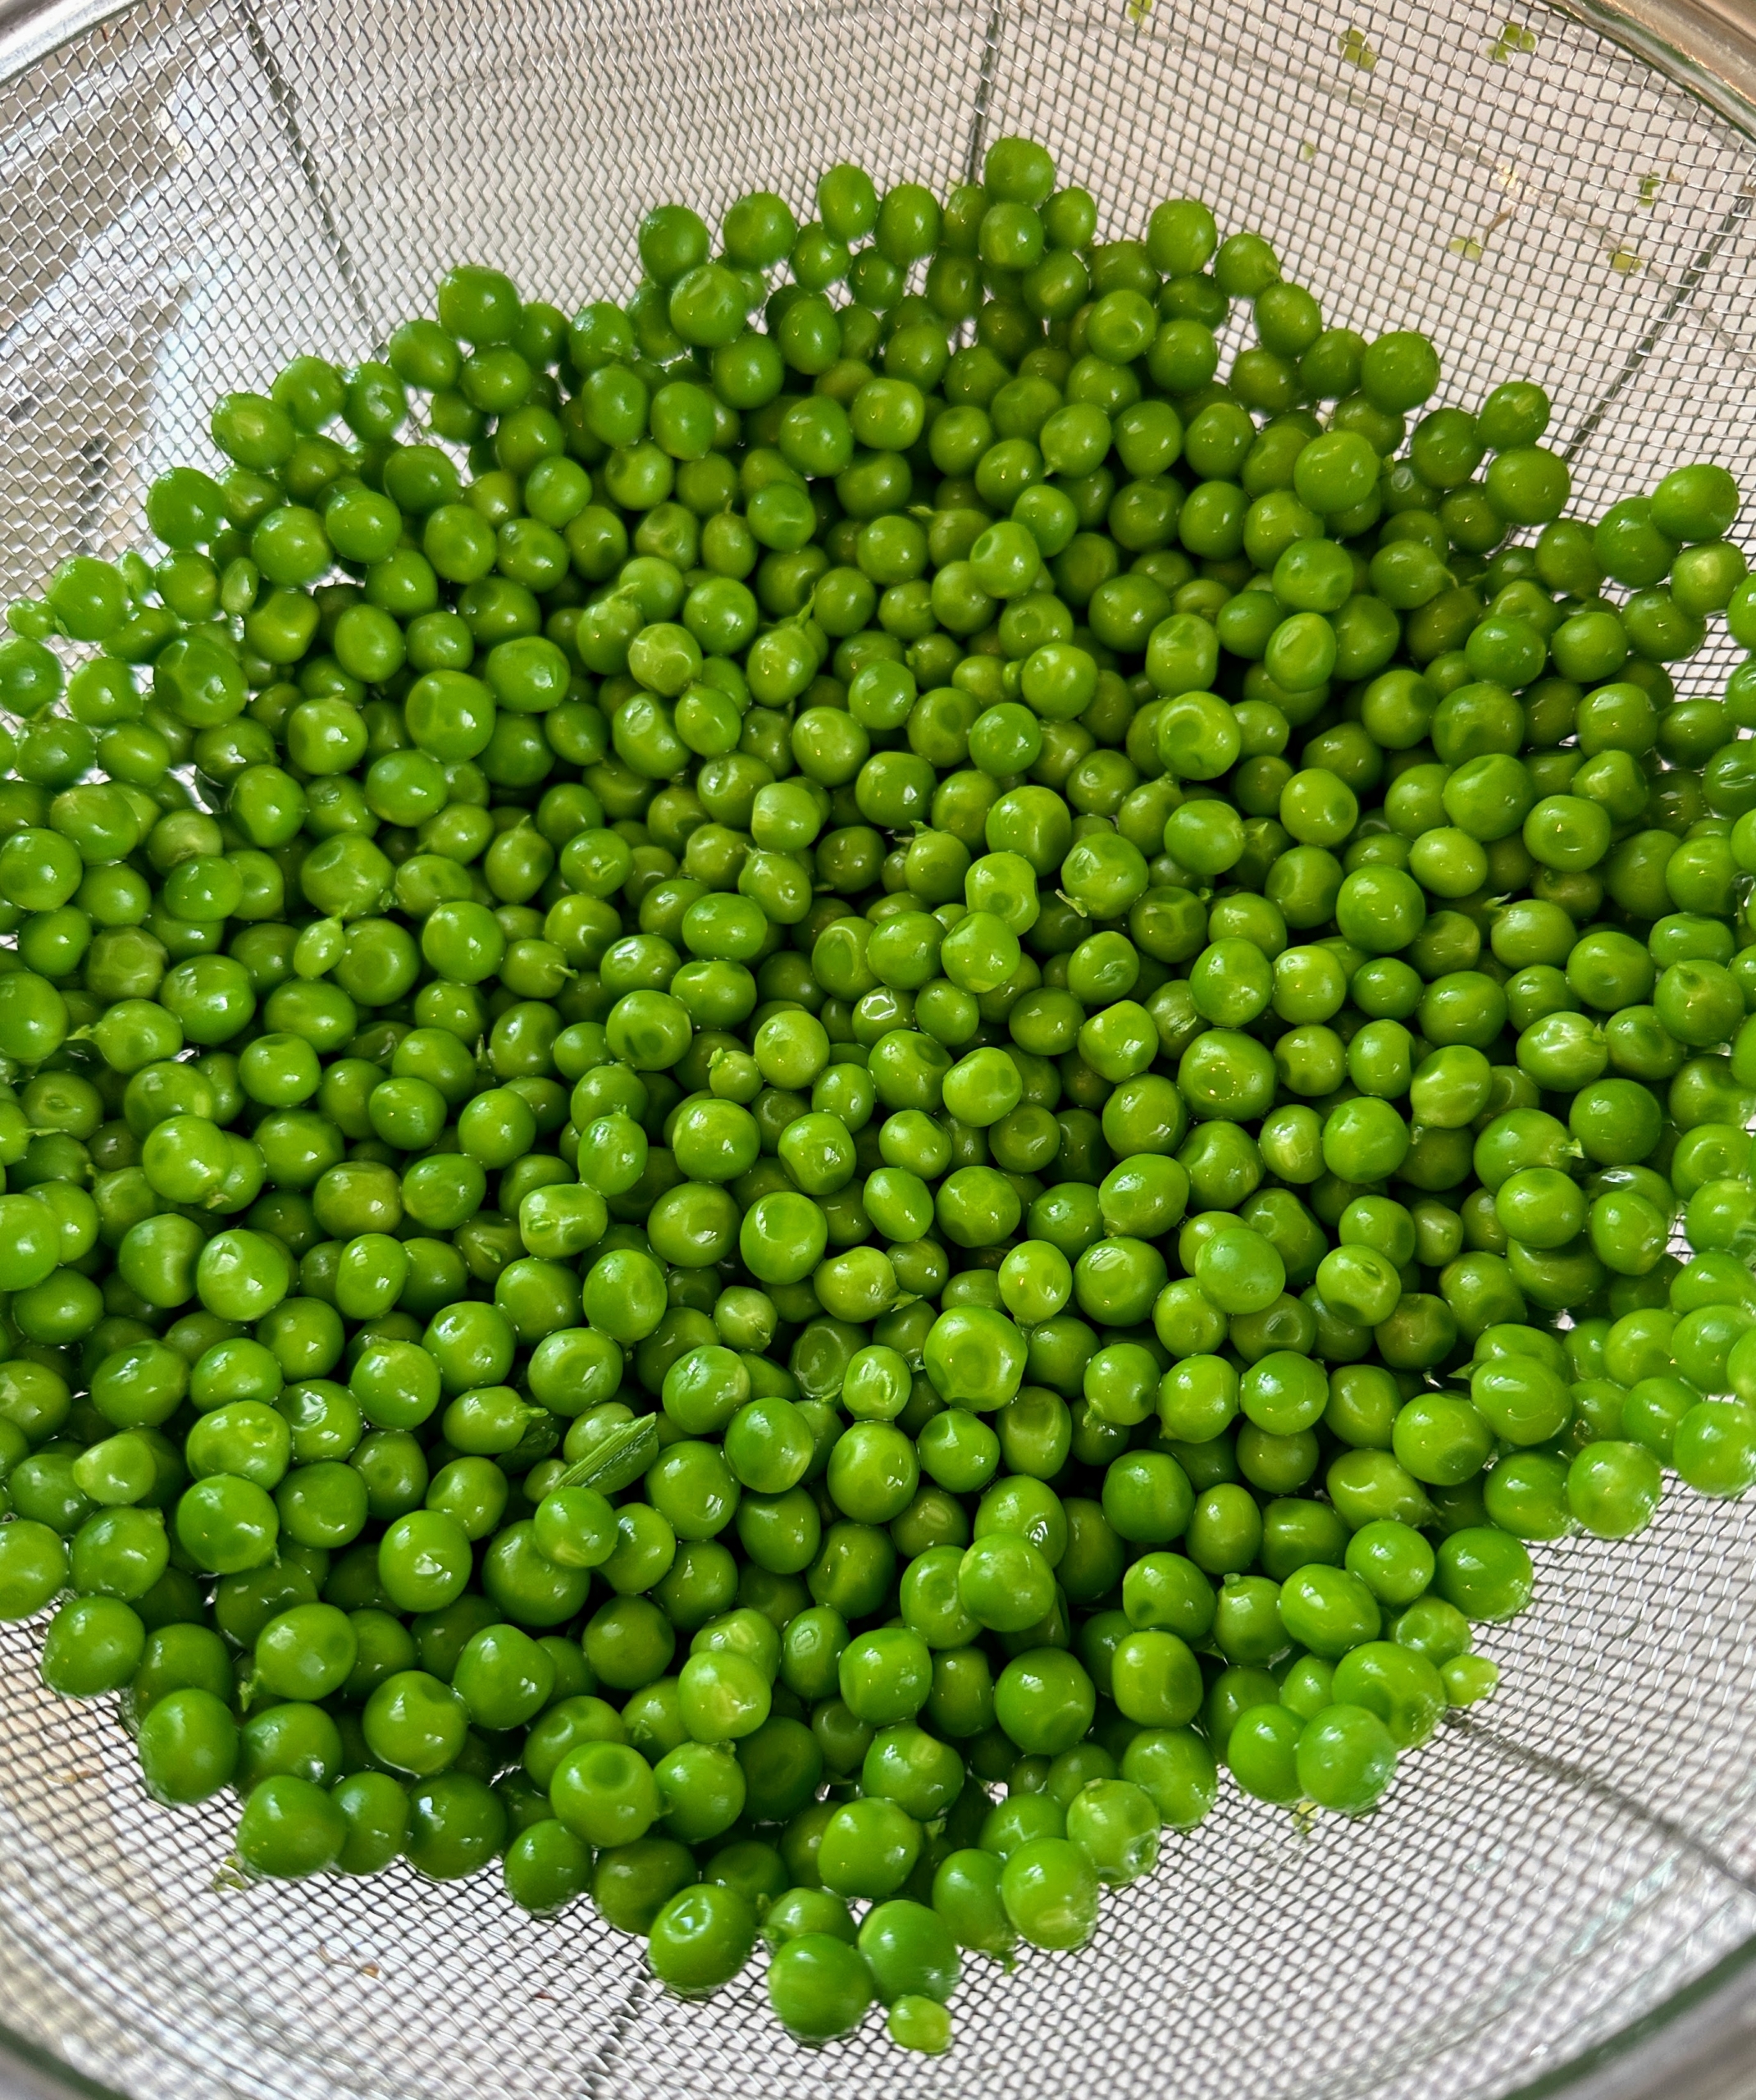
Peas are packed with nutrition – high in protein and fiber.
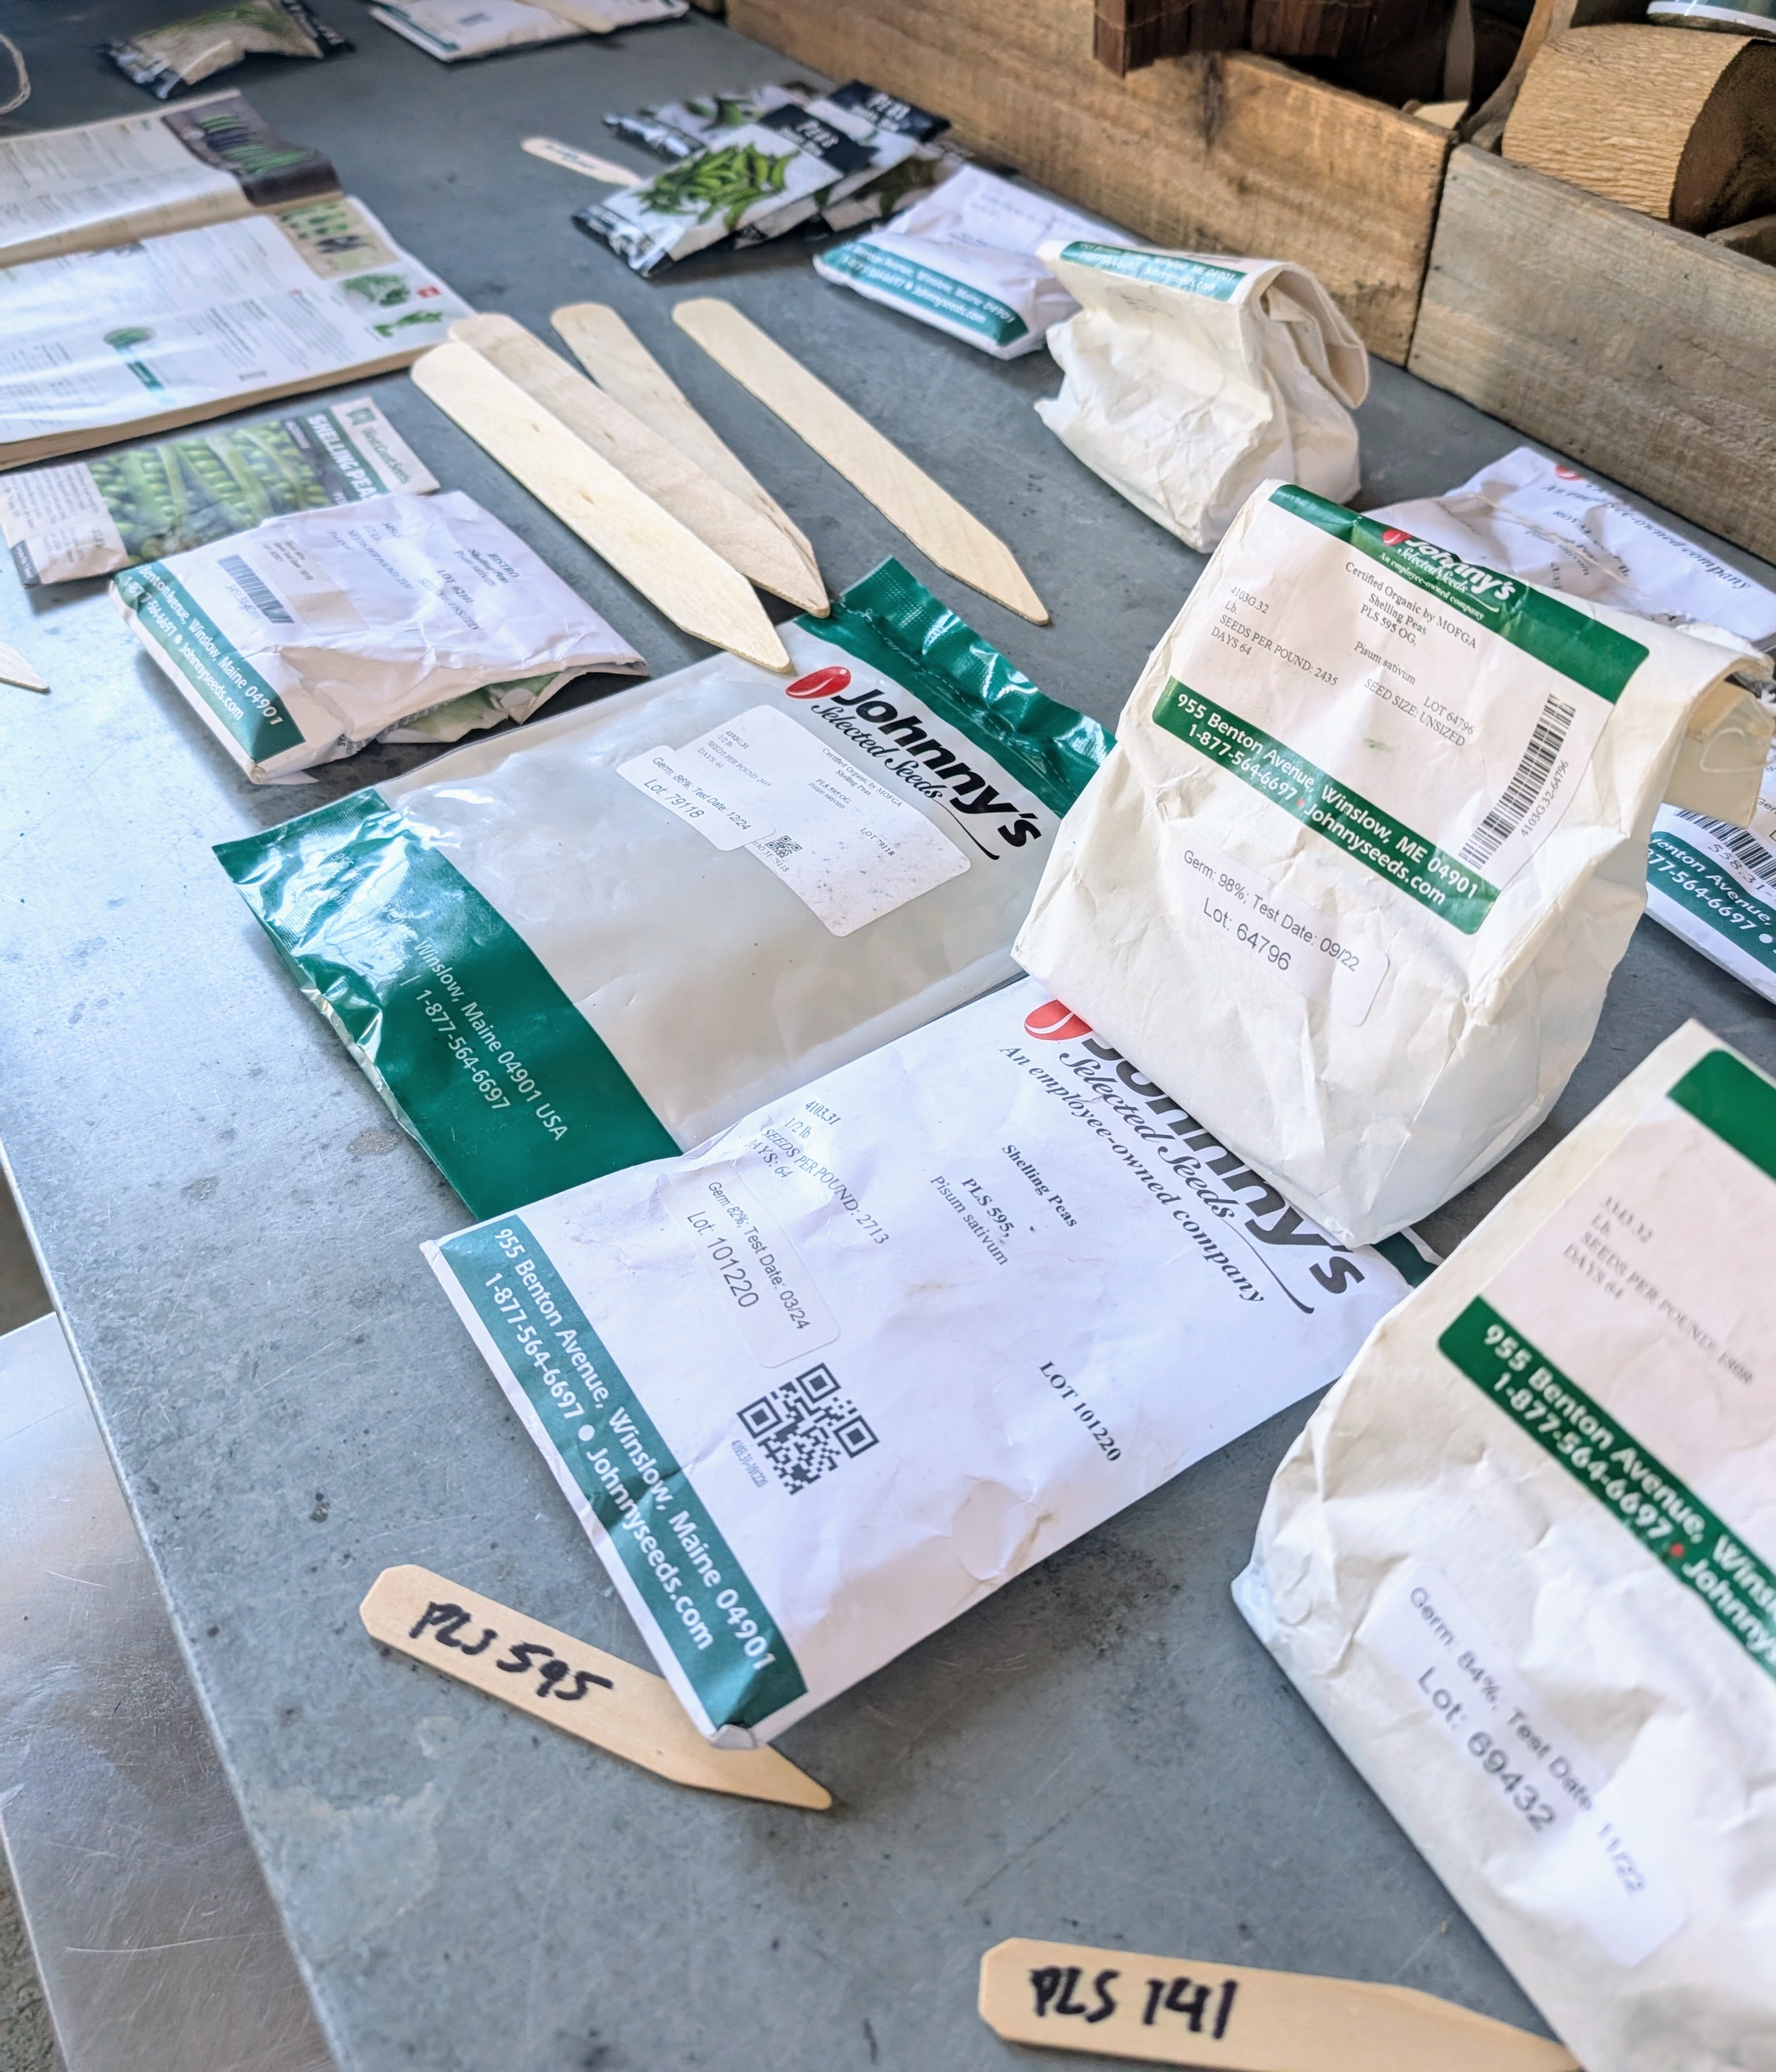
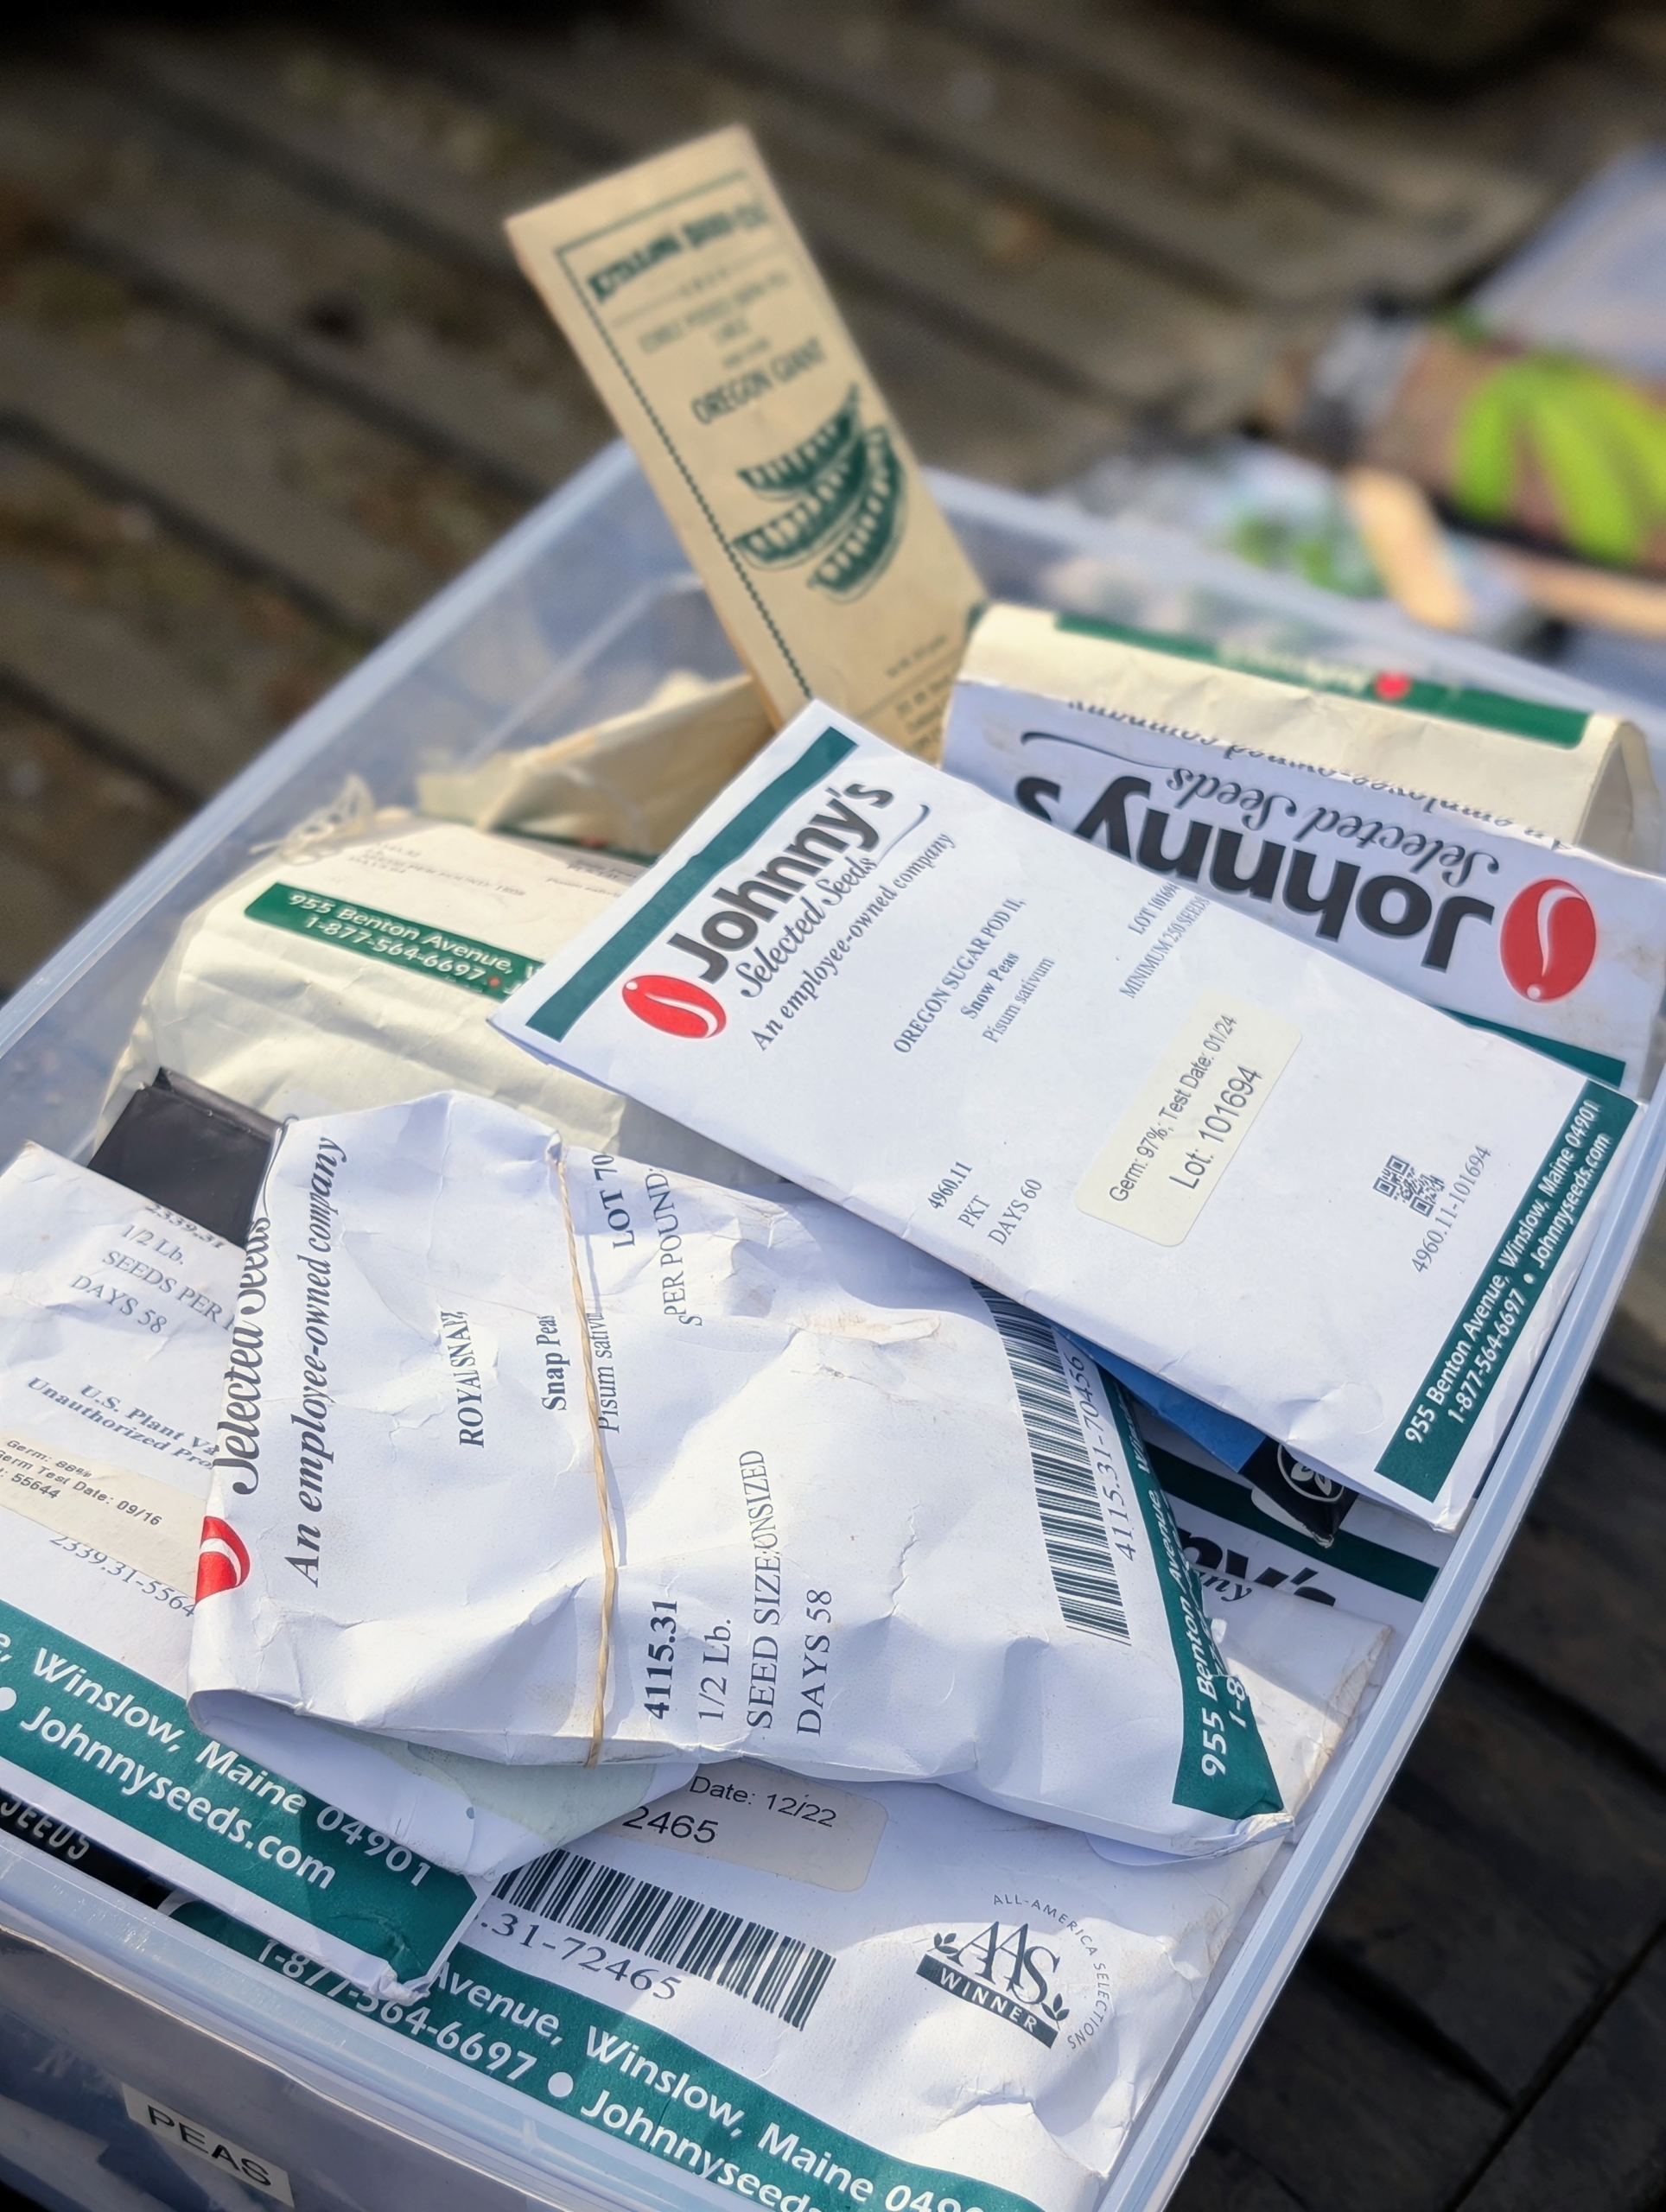
This season’s peas are from Johnny’s Selected Seeds, a source I have used for many years. Johnny’s Selected seeds is a privately held, employee-owned organic seed producer in Maine. Johnny’s offers hundreds of varieties of organic vegetable, herb, flower, fruit and farm seeds, along with all sorts of gardening supplies and accessories.
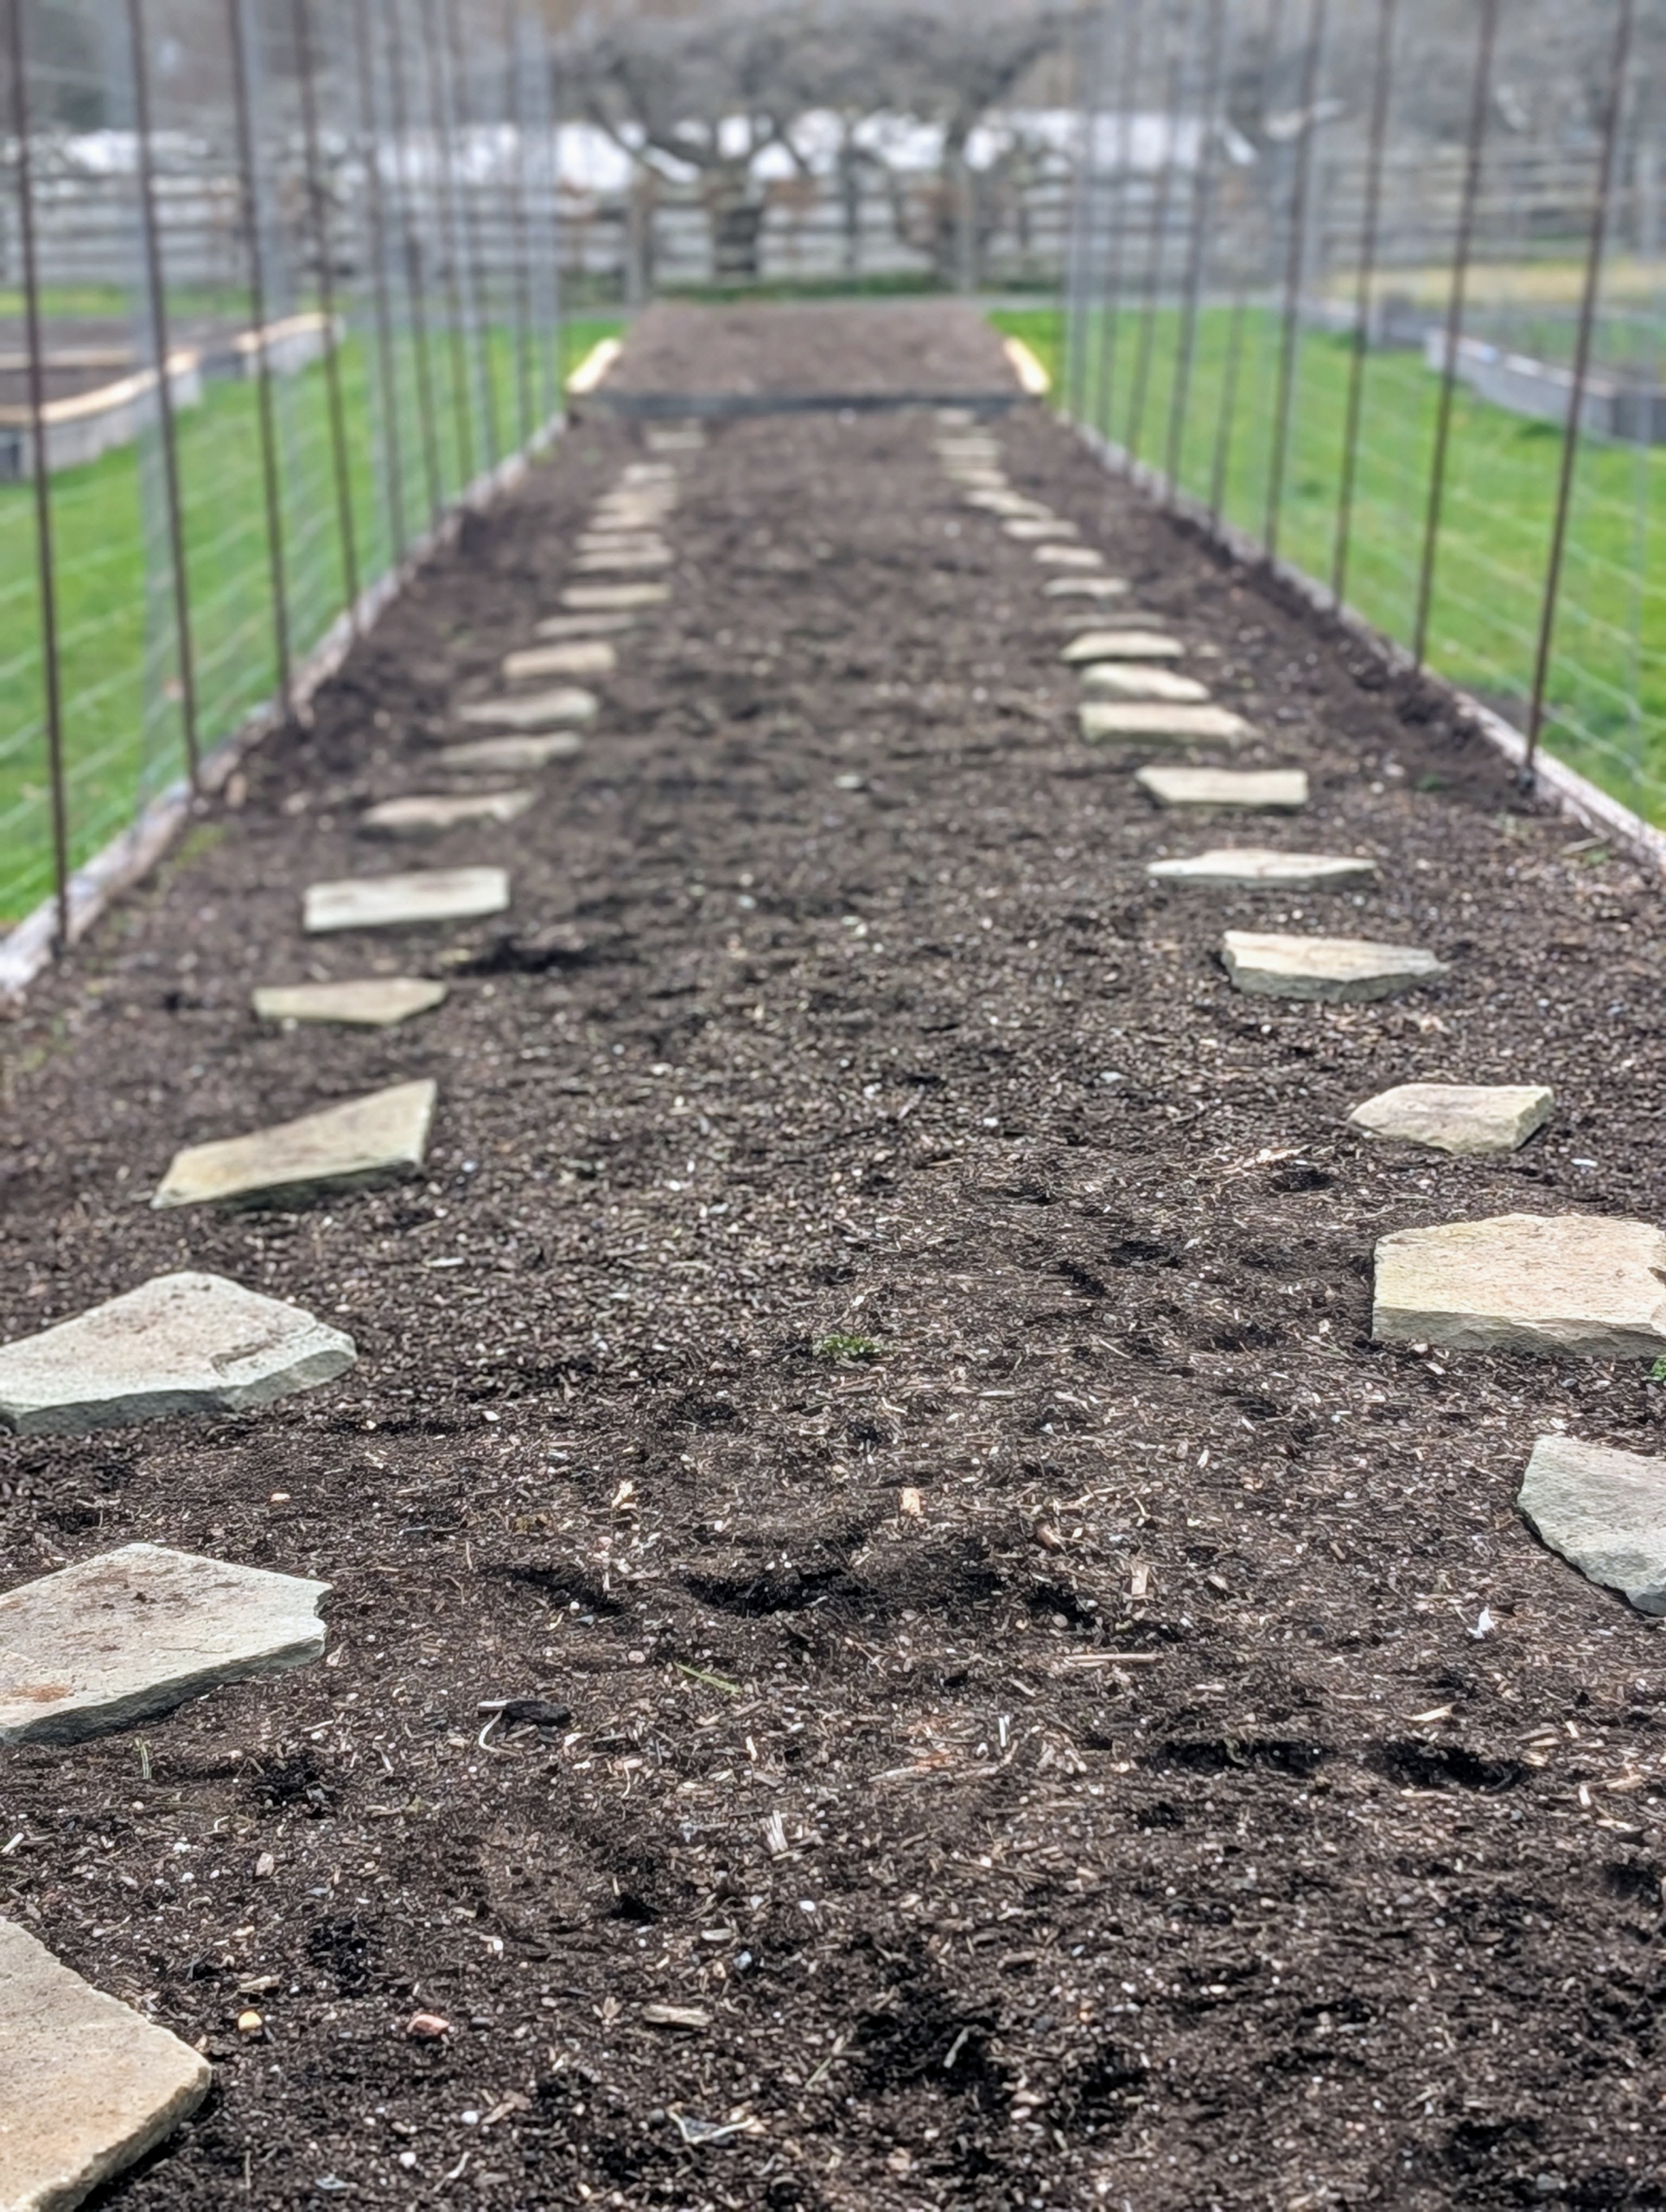
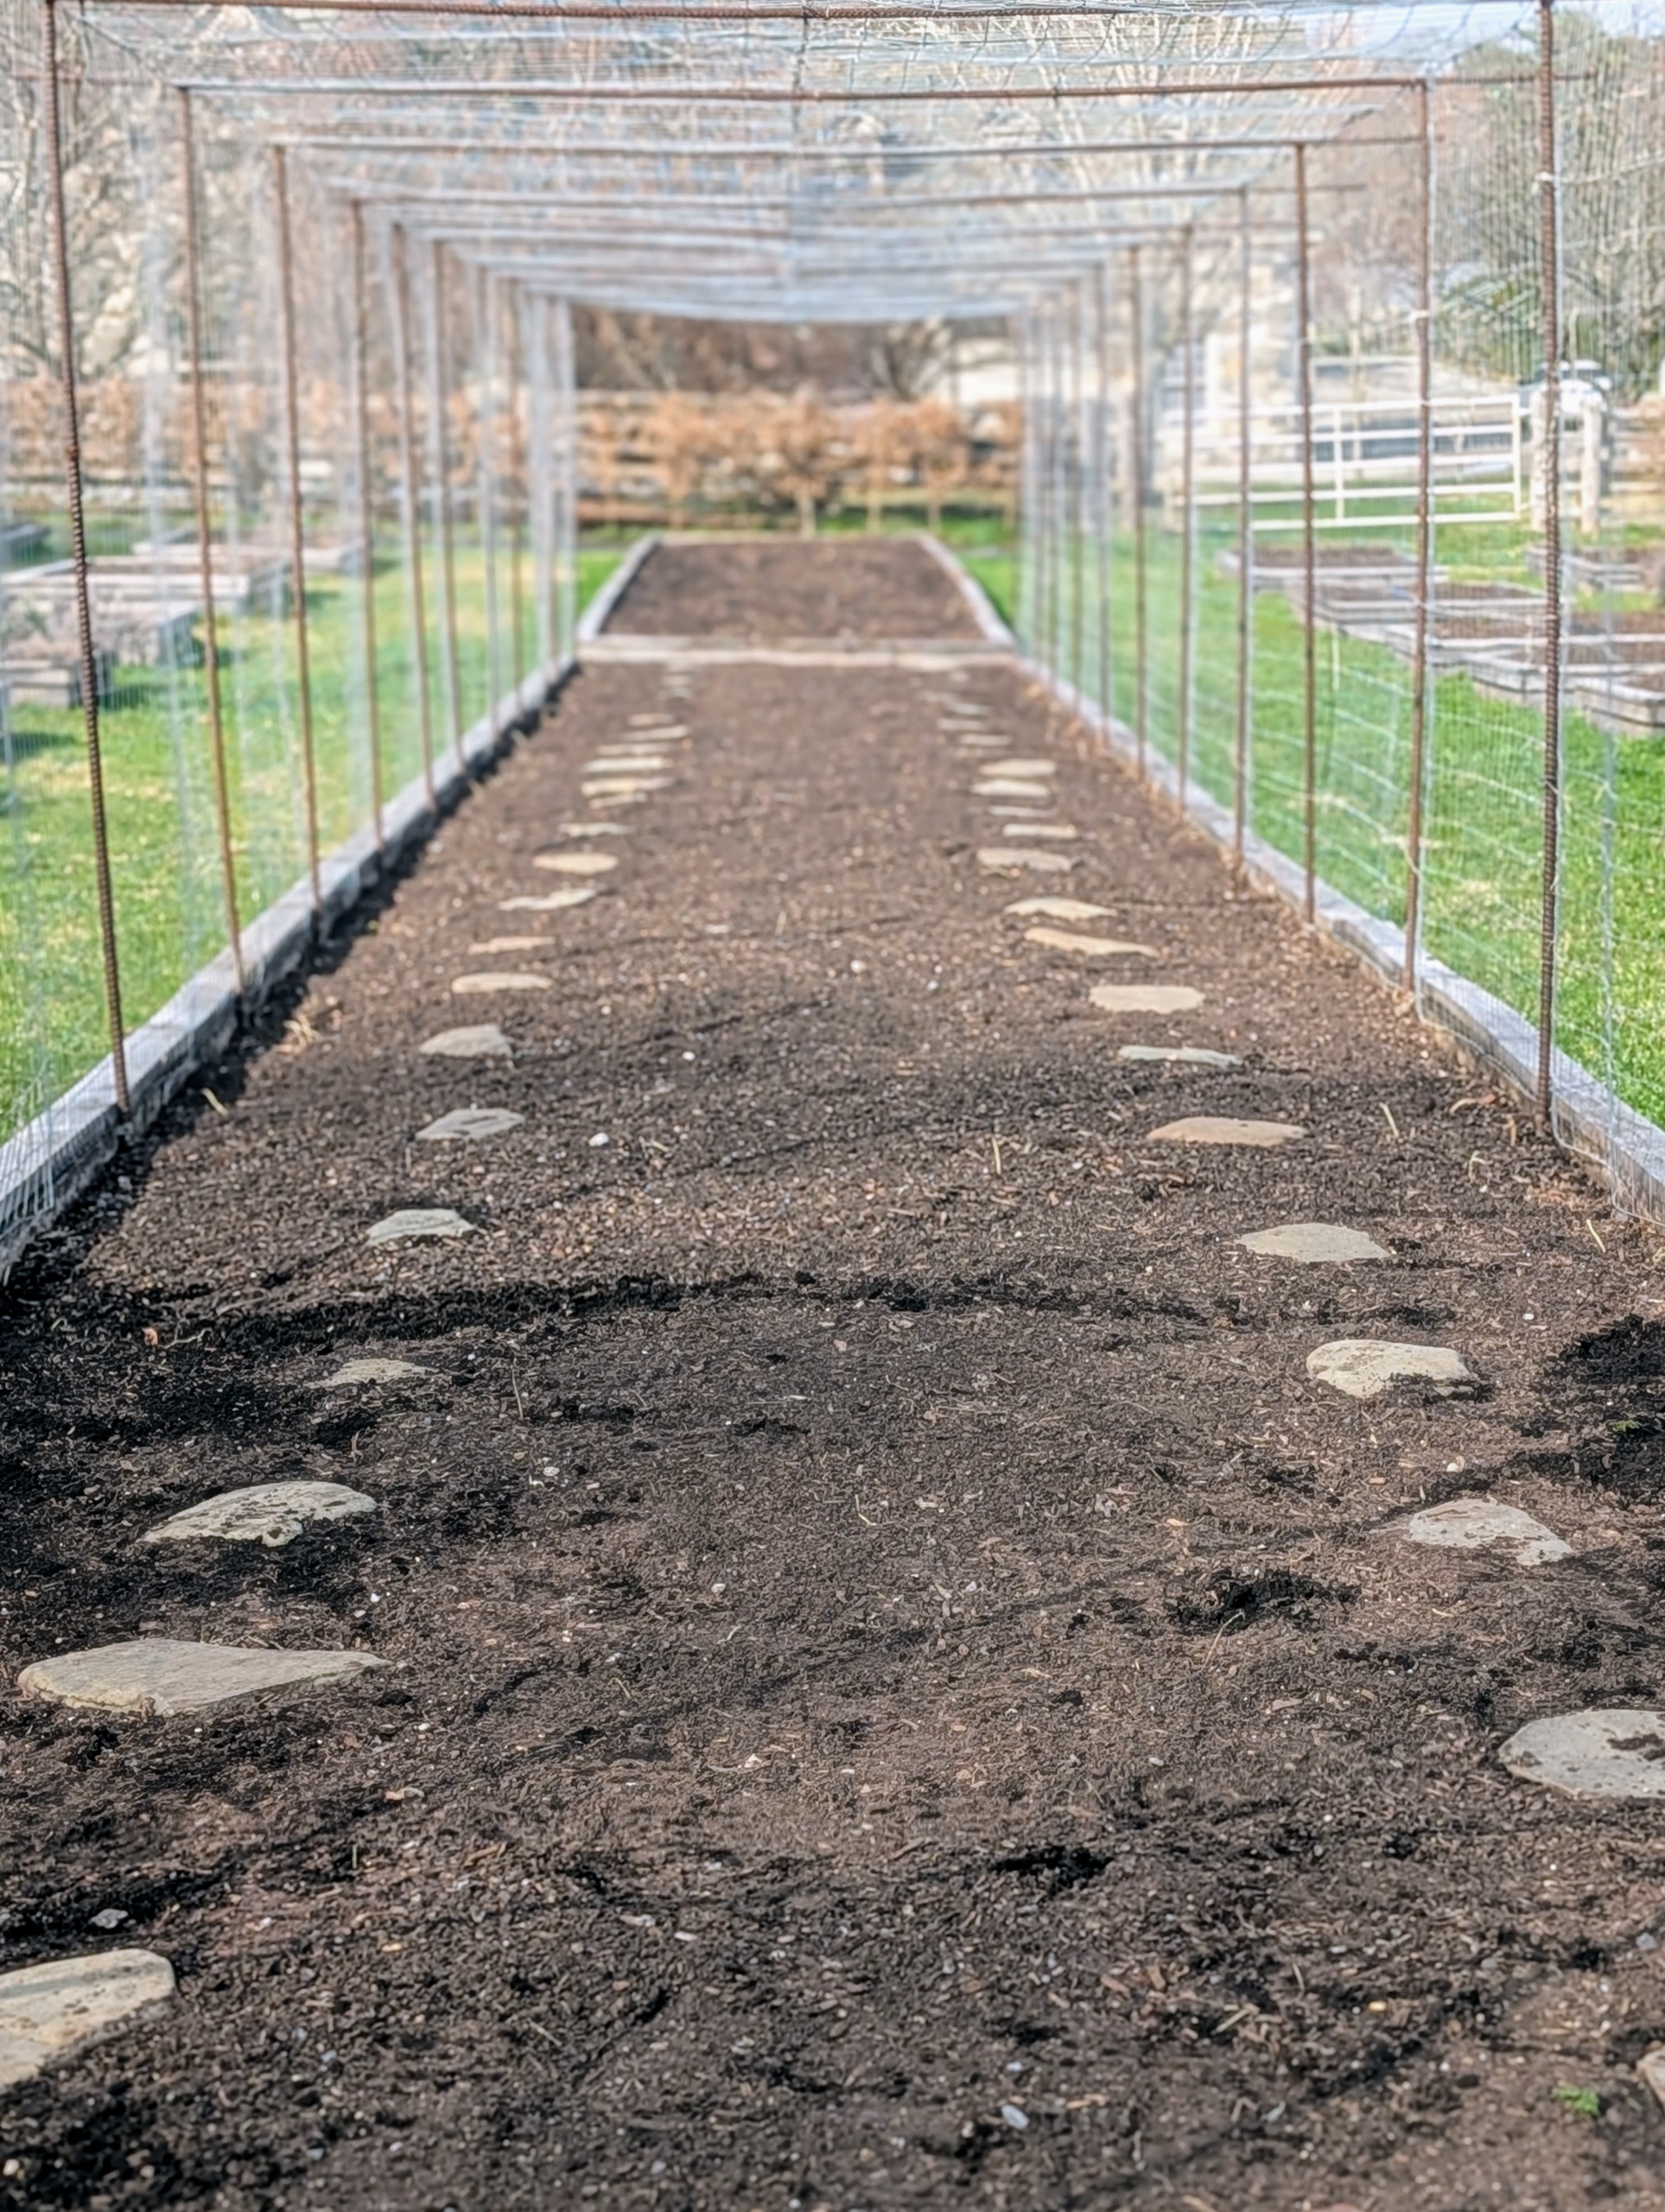
Out in my vegetable garden, the large center bed is already prepared for planting peas – it’s been raked and fed. I always plant them in this bed so the pea vines can climb up the trellis fencing.
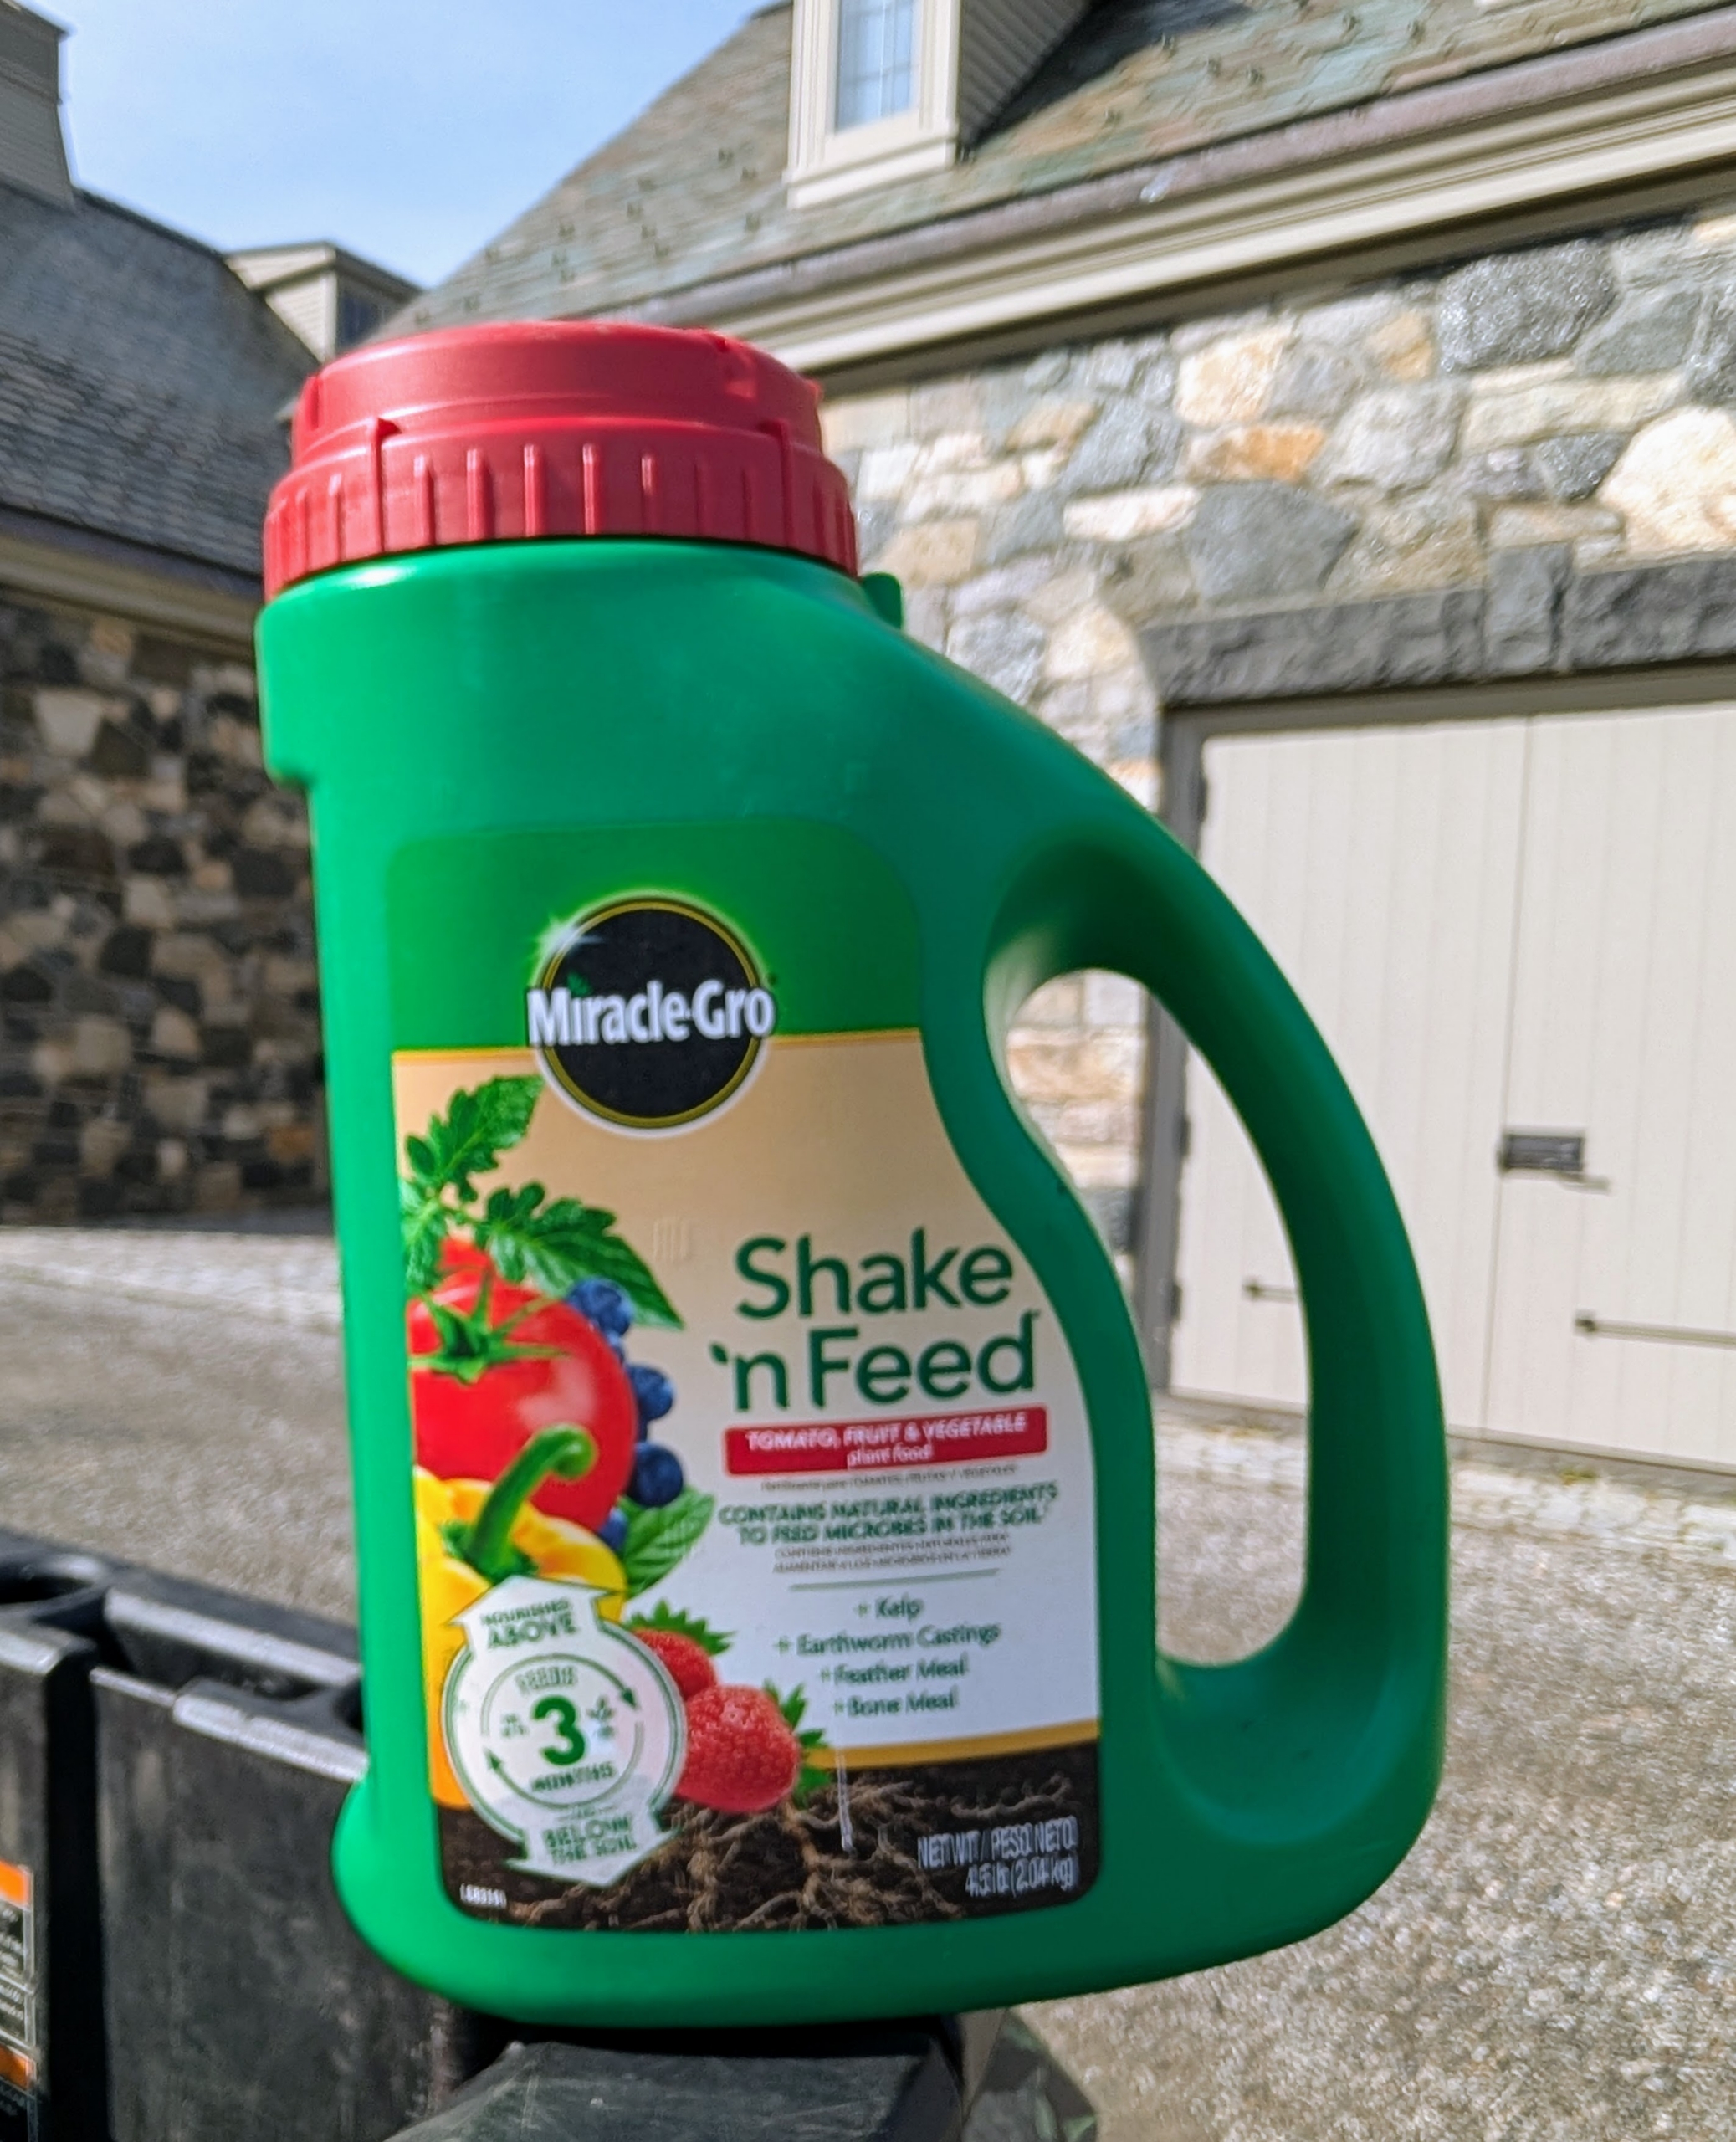
The soil is fed with Miracle-Gro Shake ‘n Feed Tomato, Fruit & Vegetable Plant Food.
Ryan selects those varieties that have done well here in my garden.
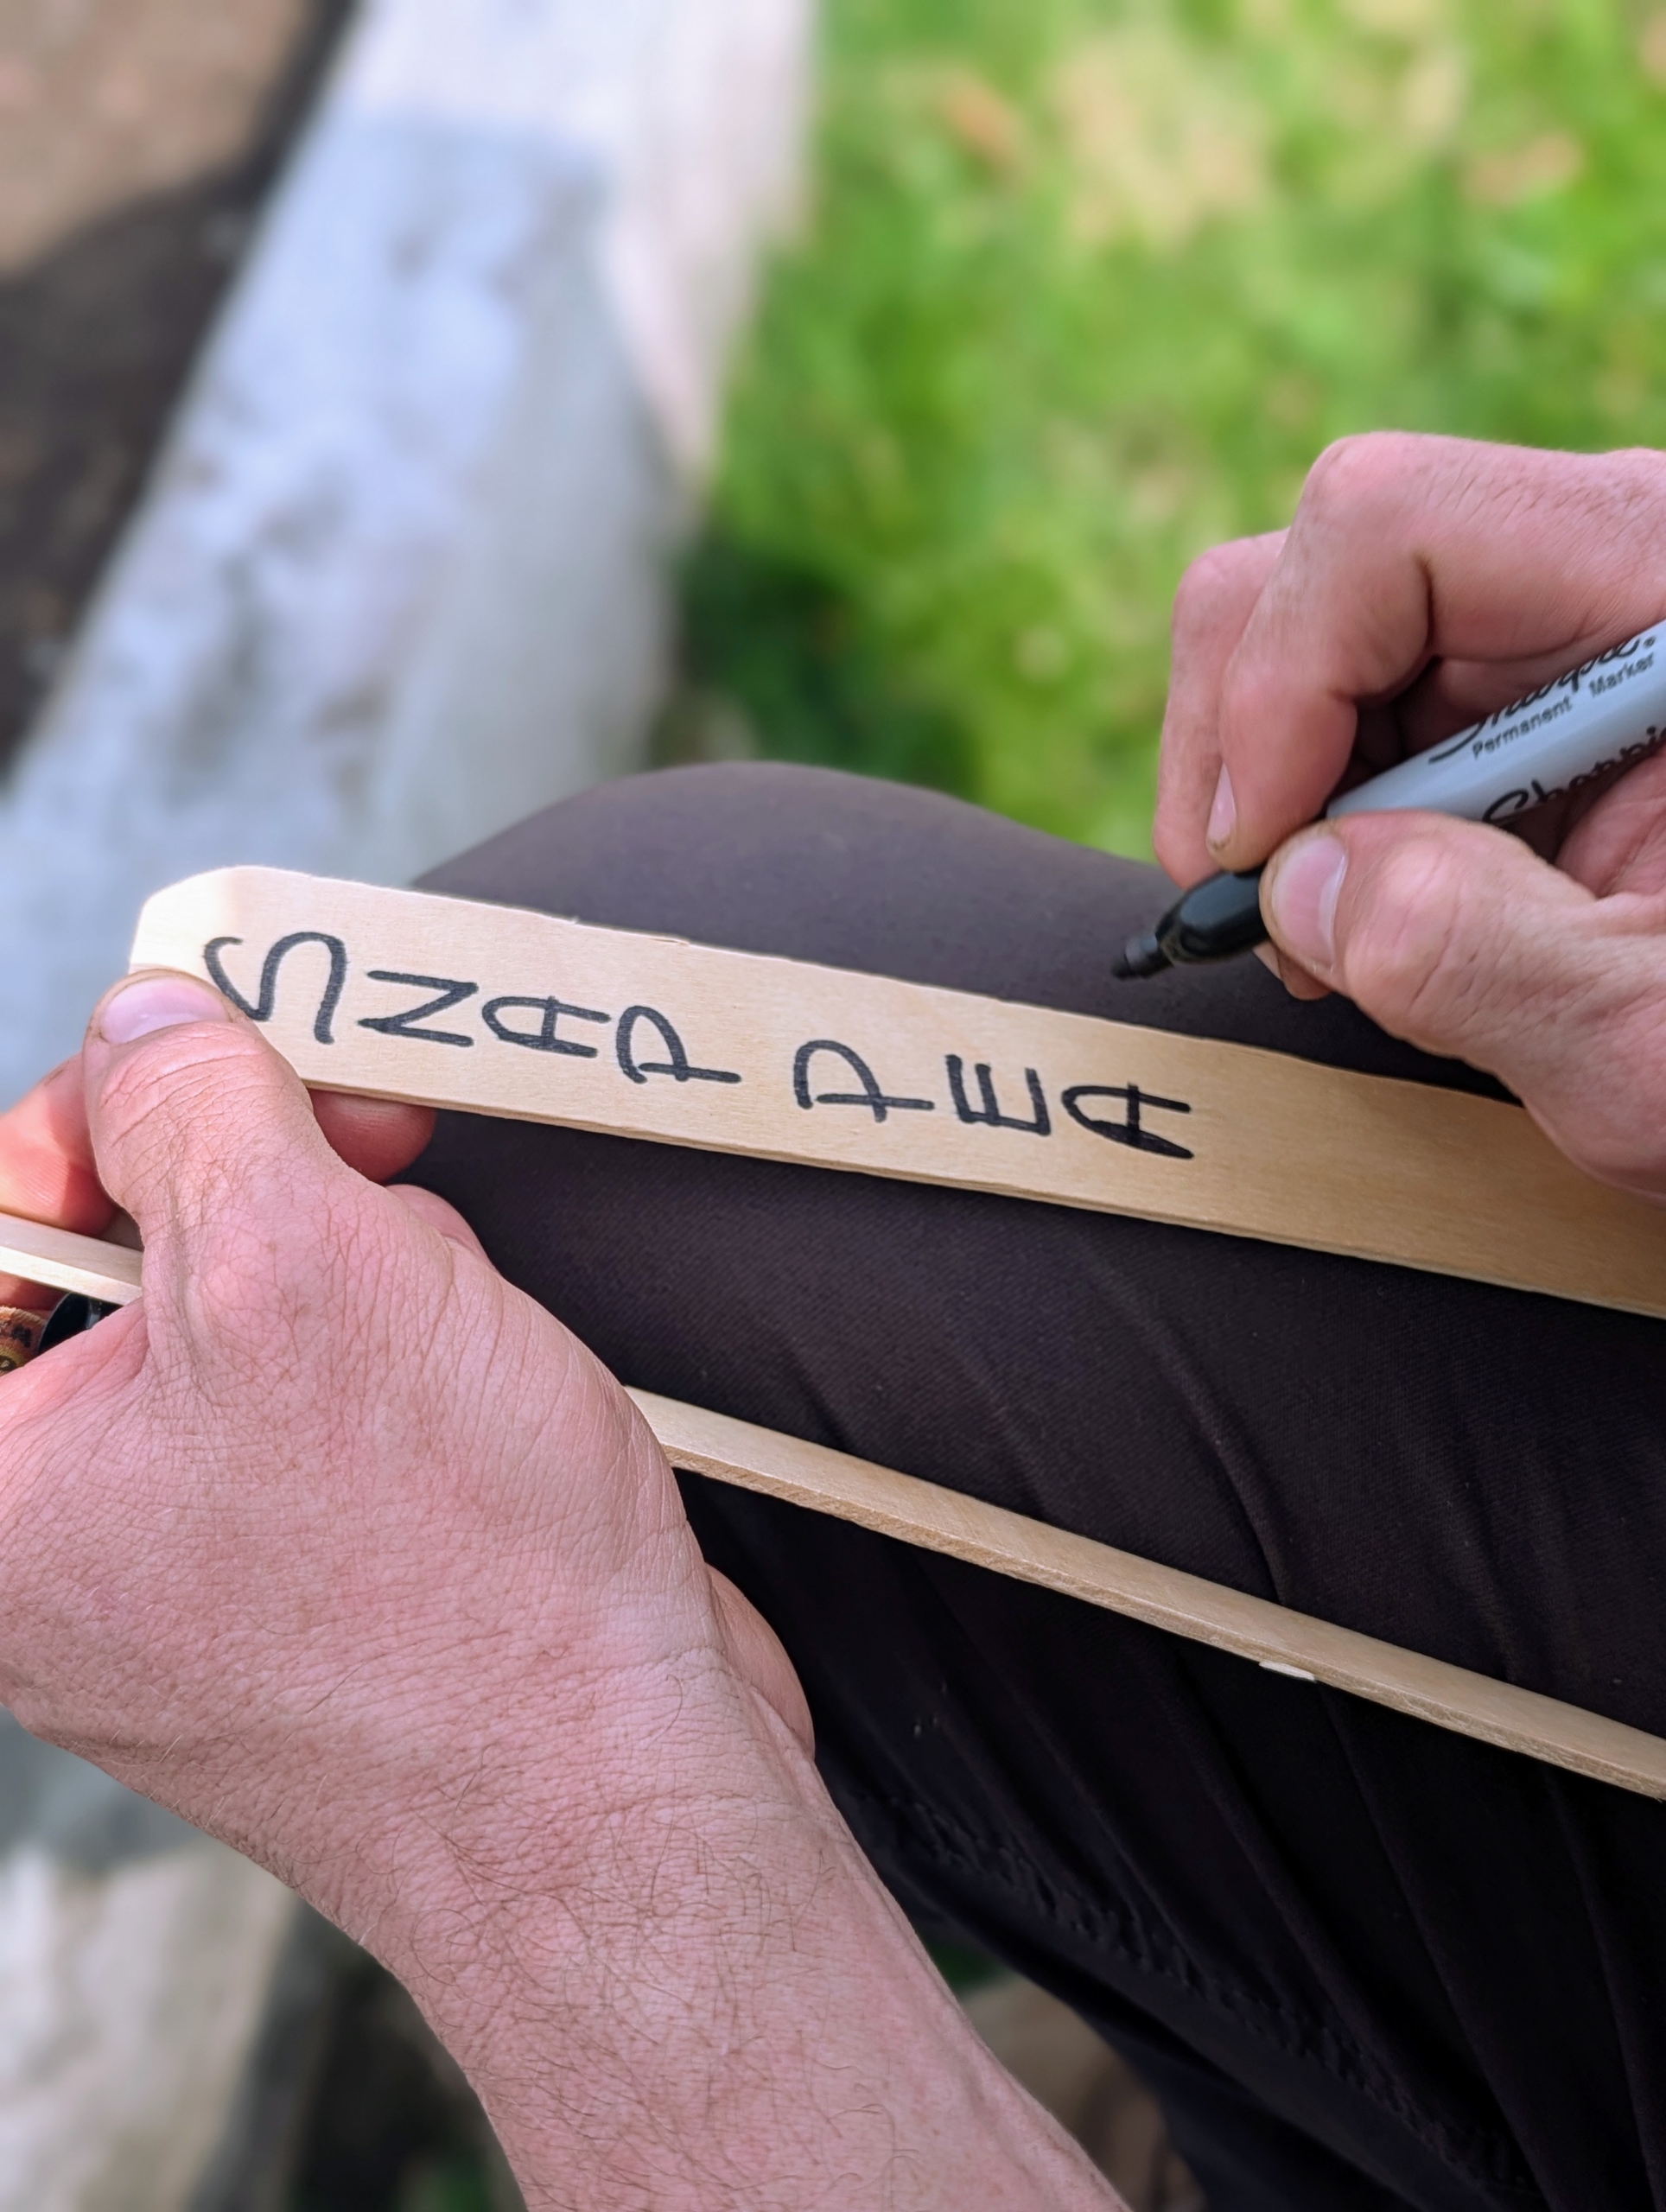
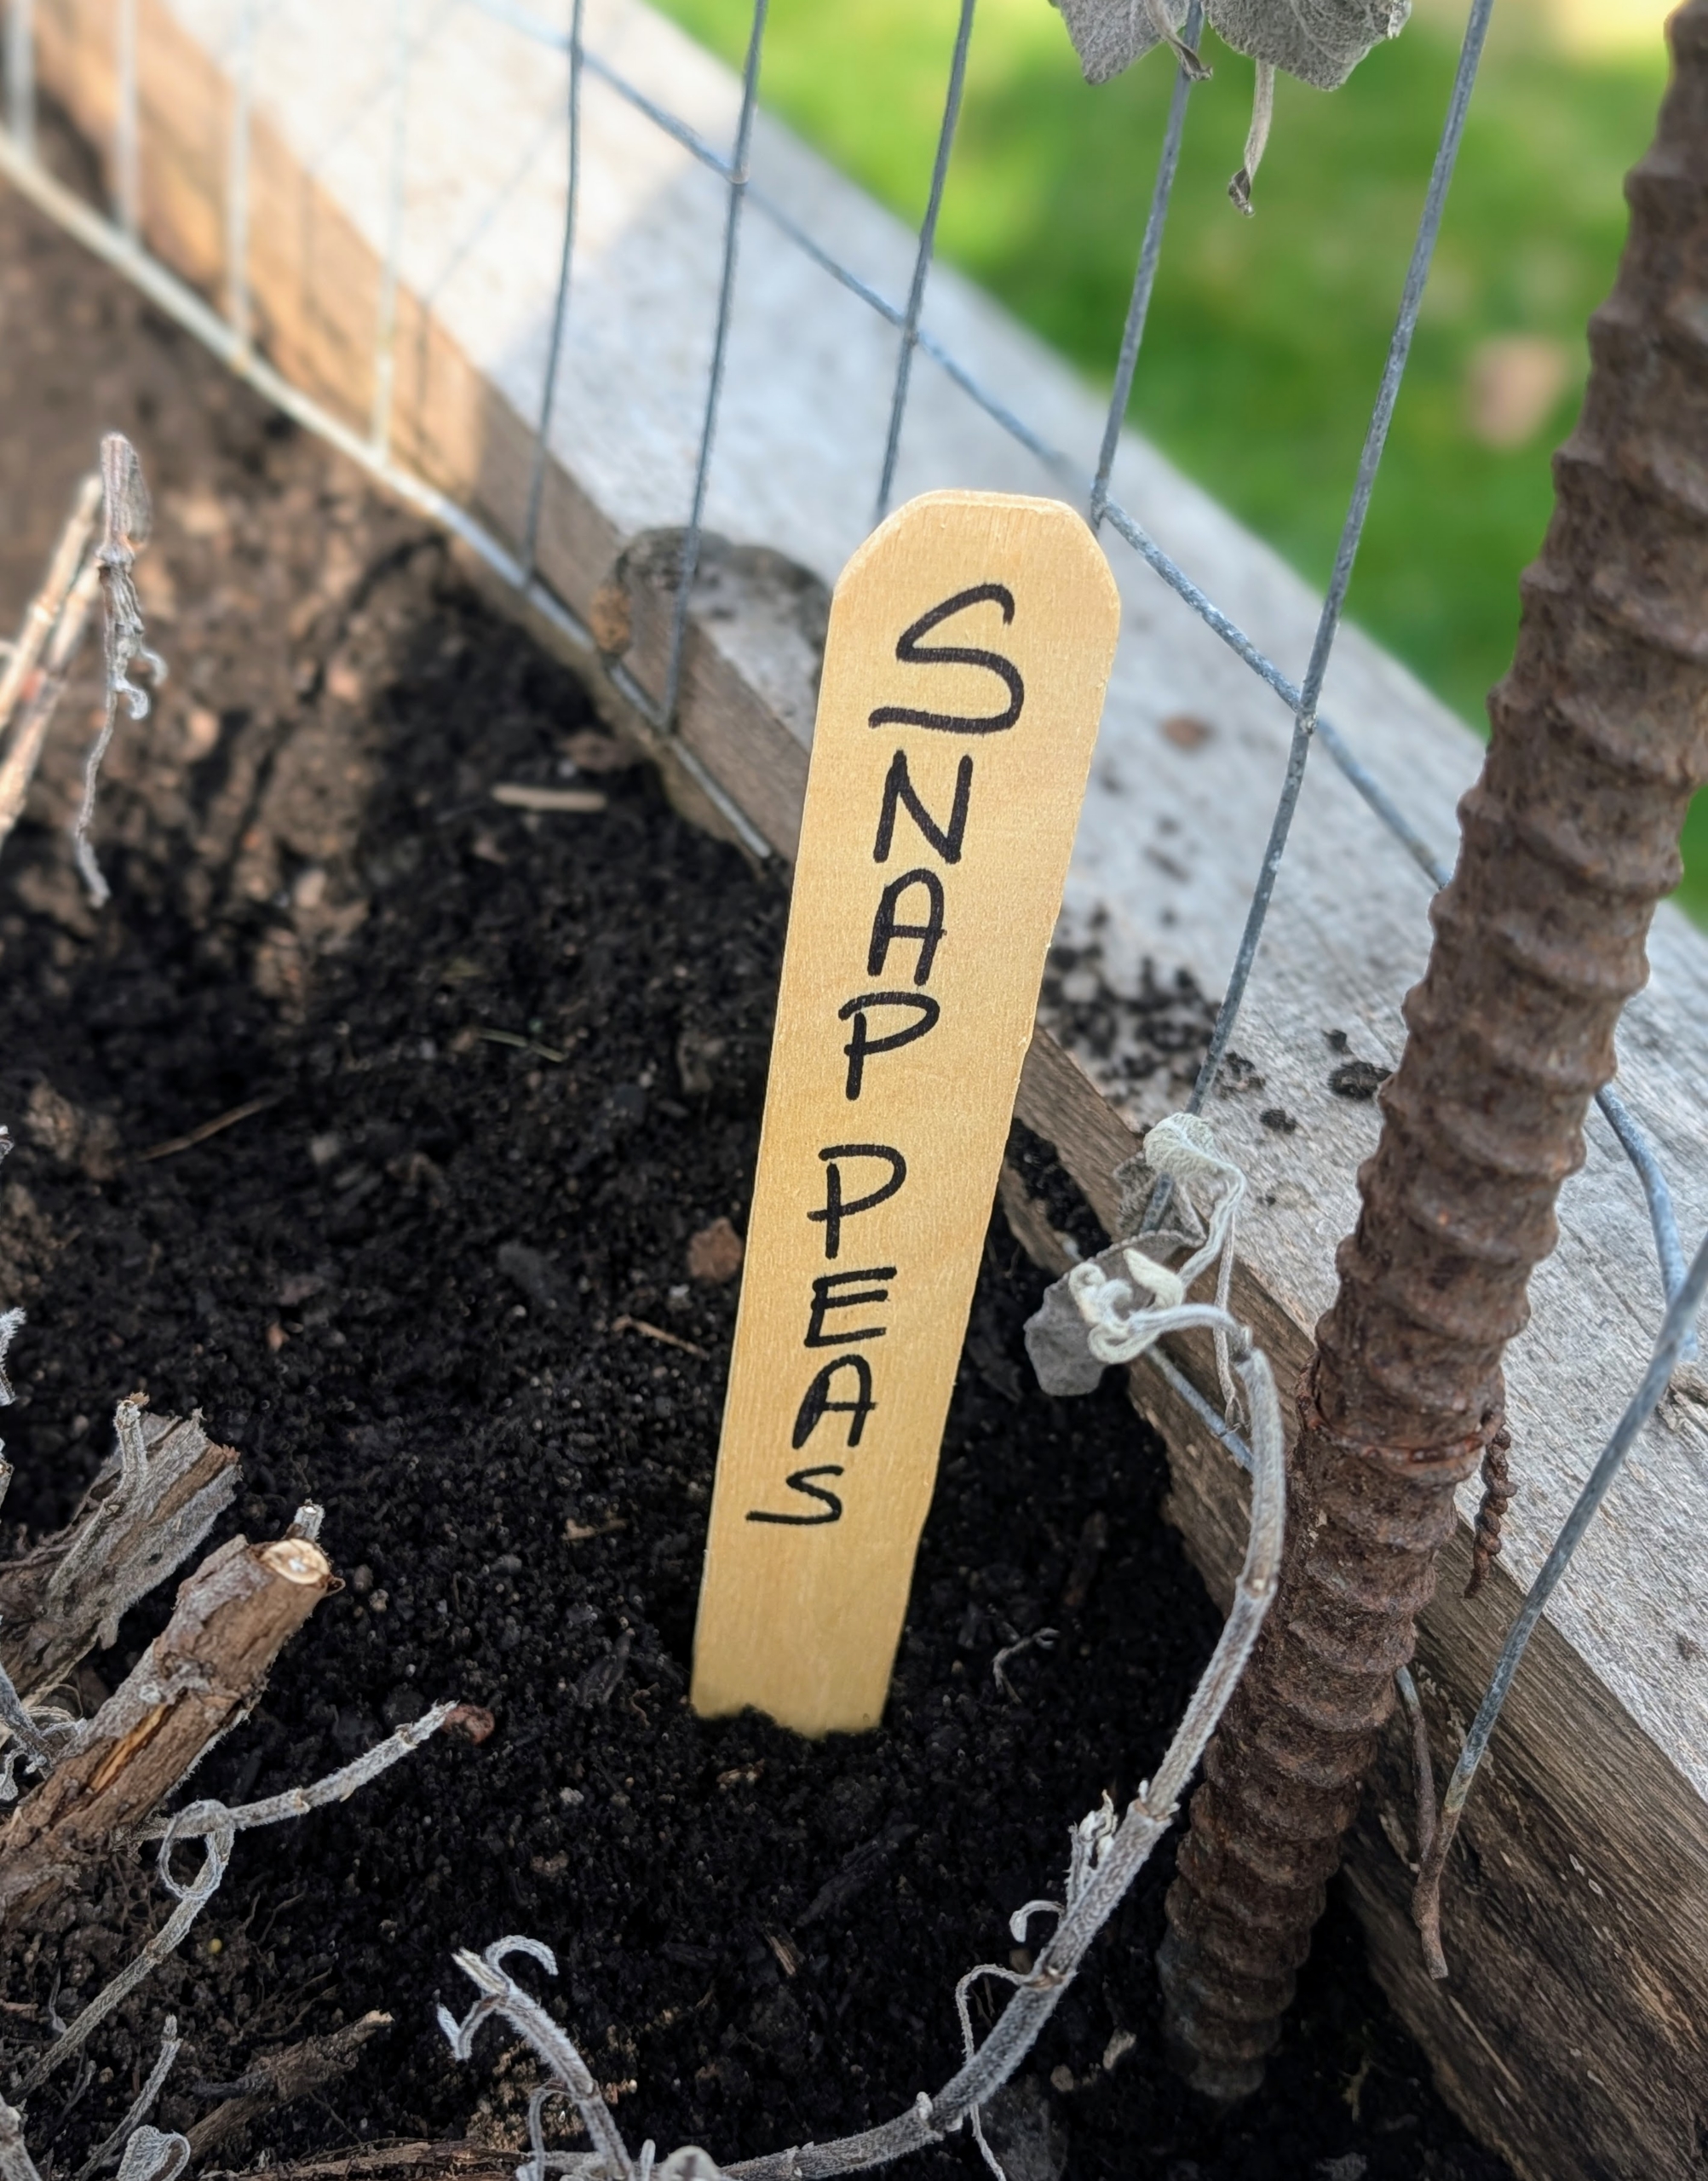
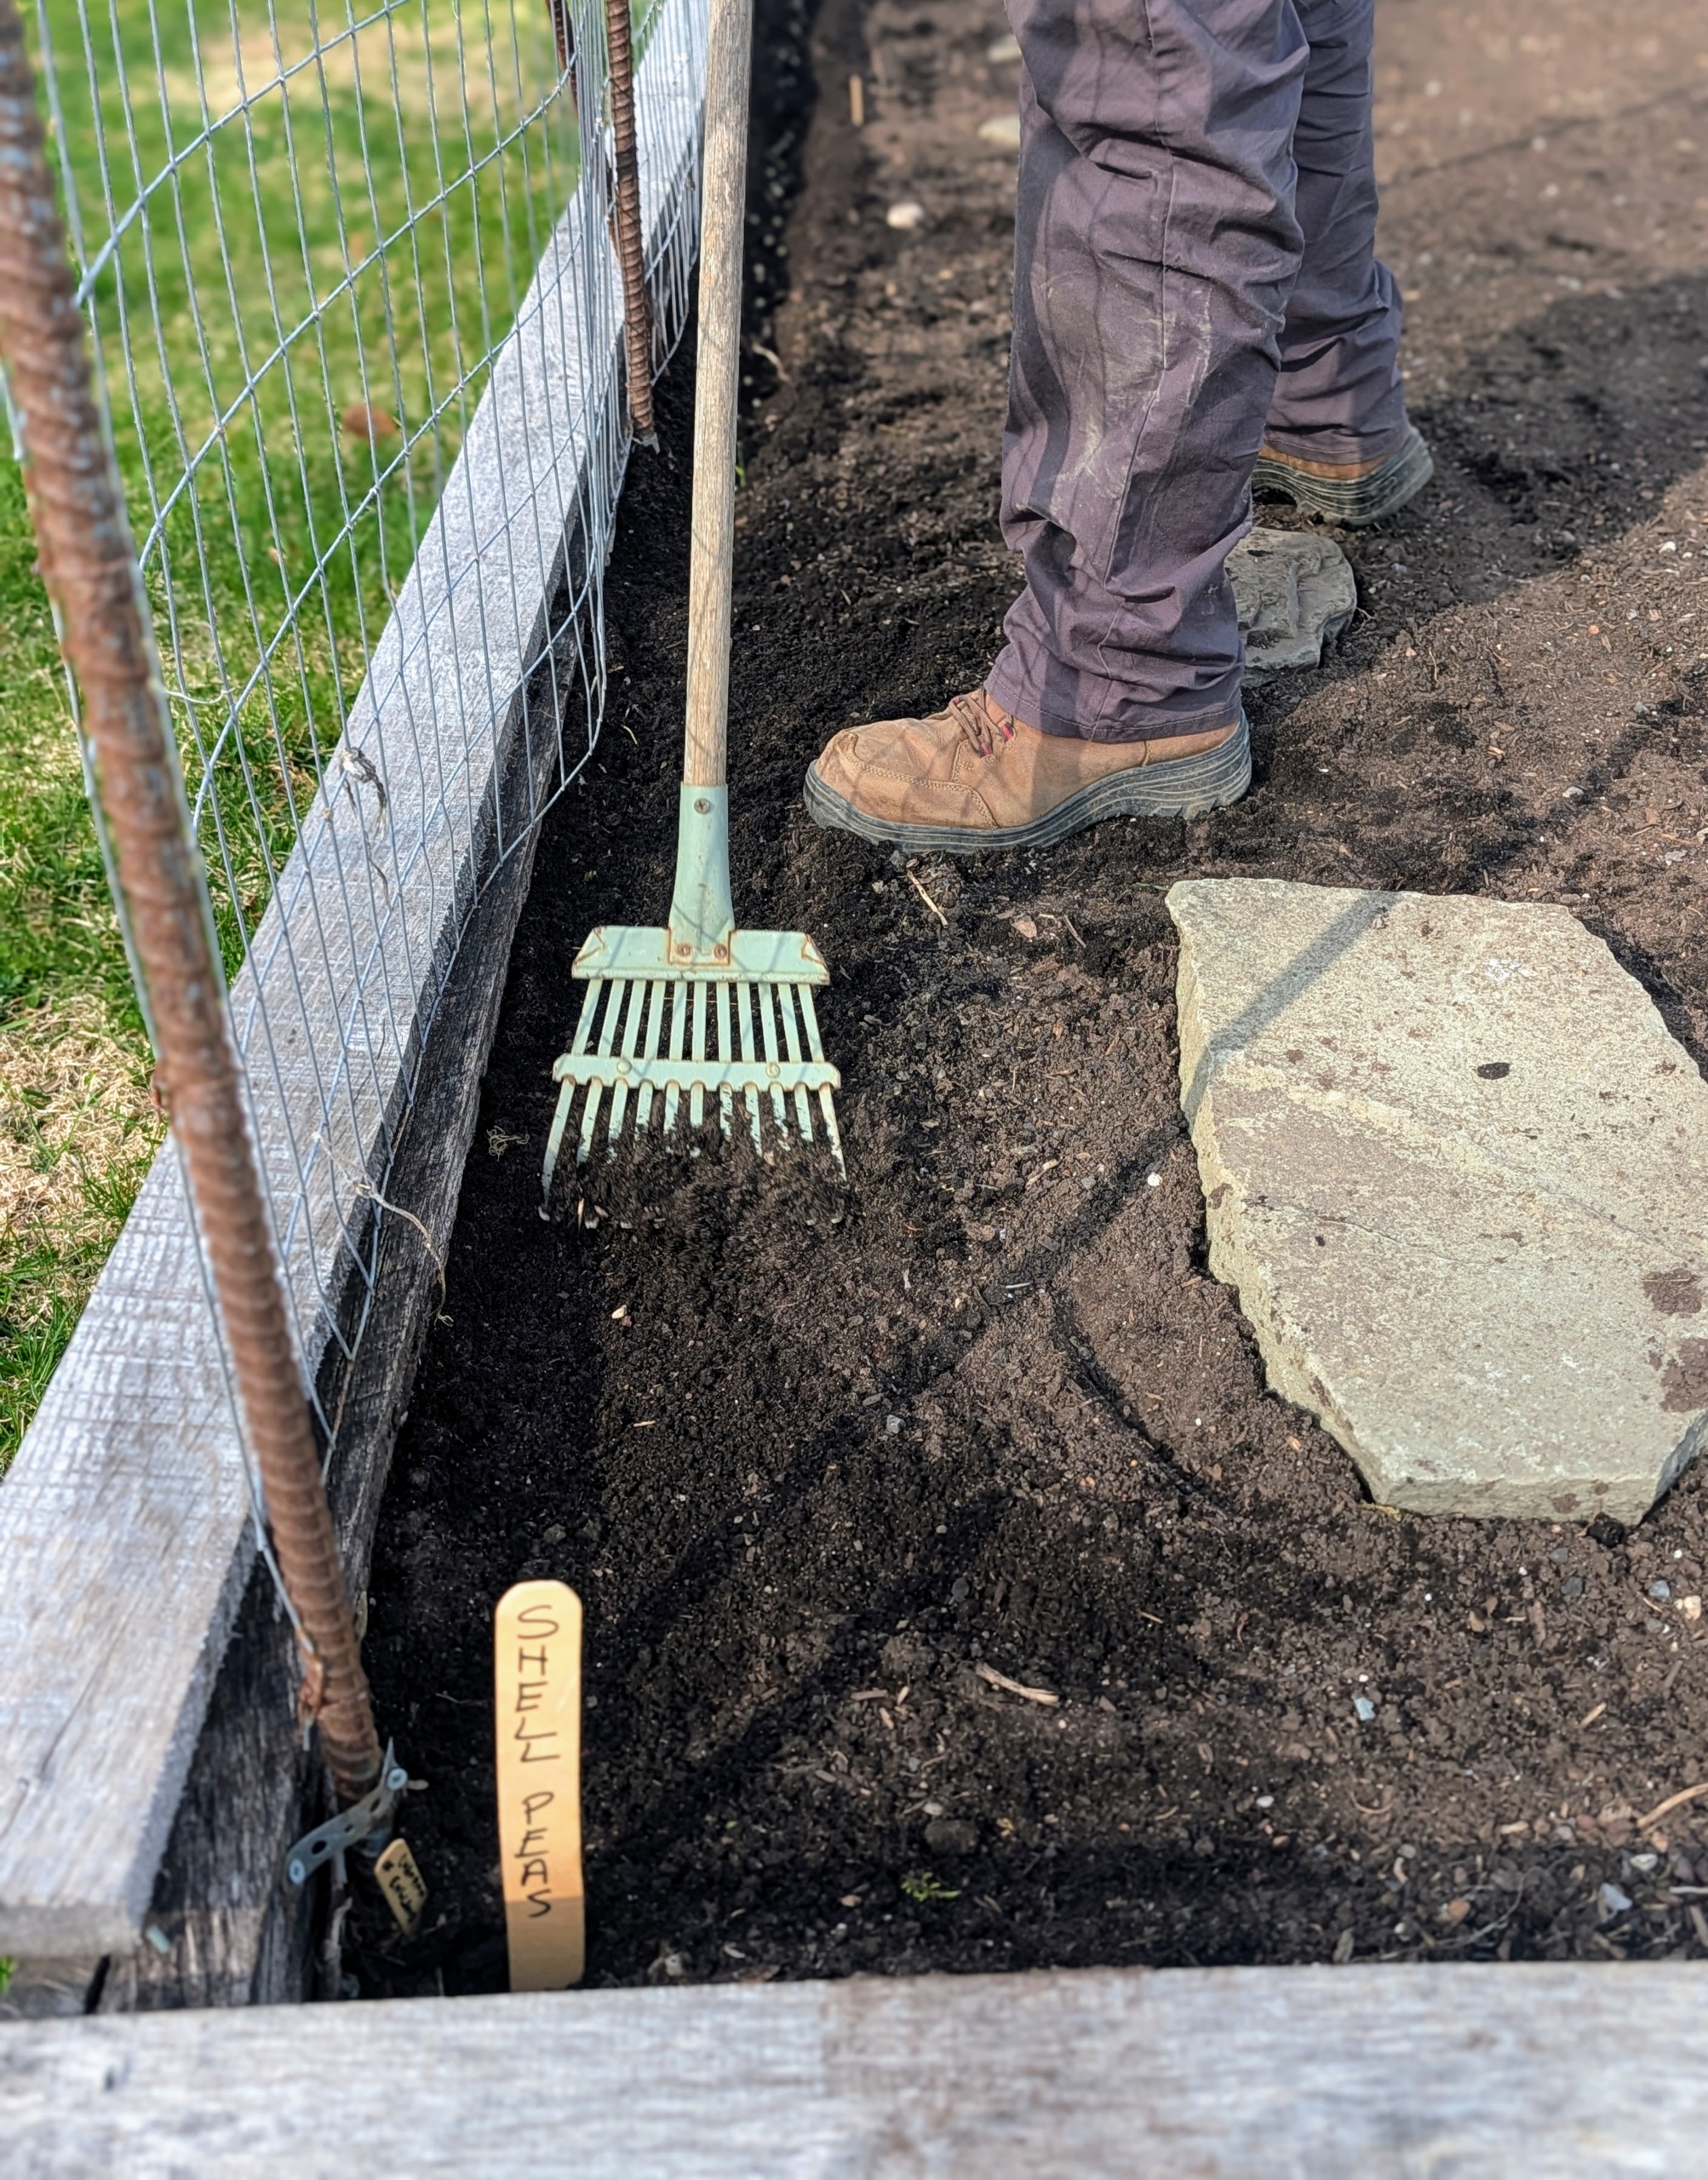
He writes out the type of peas on large wooden markers – also available through Johnny’s Selected Seeds. Variety names will be on smaller wooden markers.
The markers are placed at the edge of the bed – one side for snap, the other for shelling.
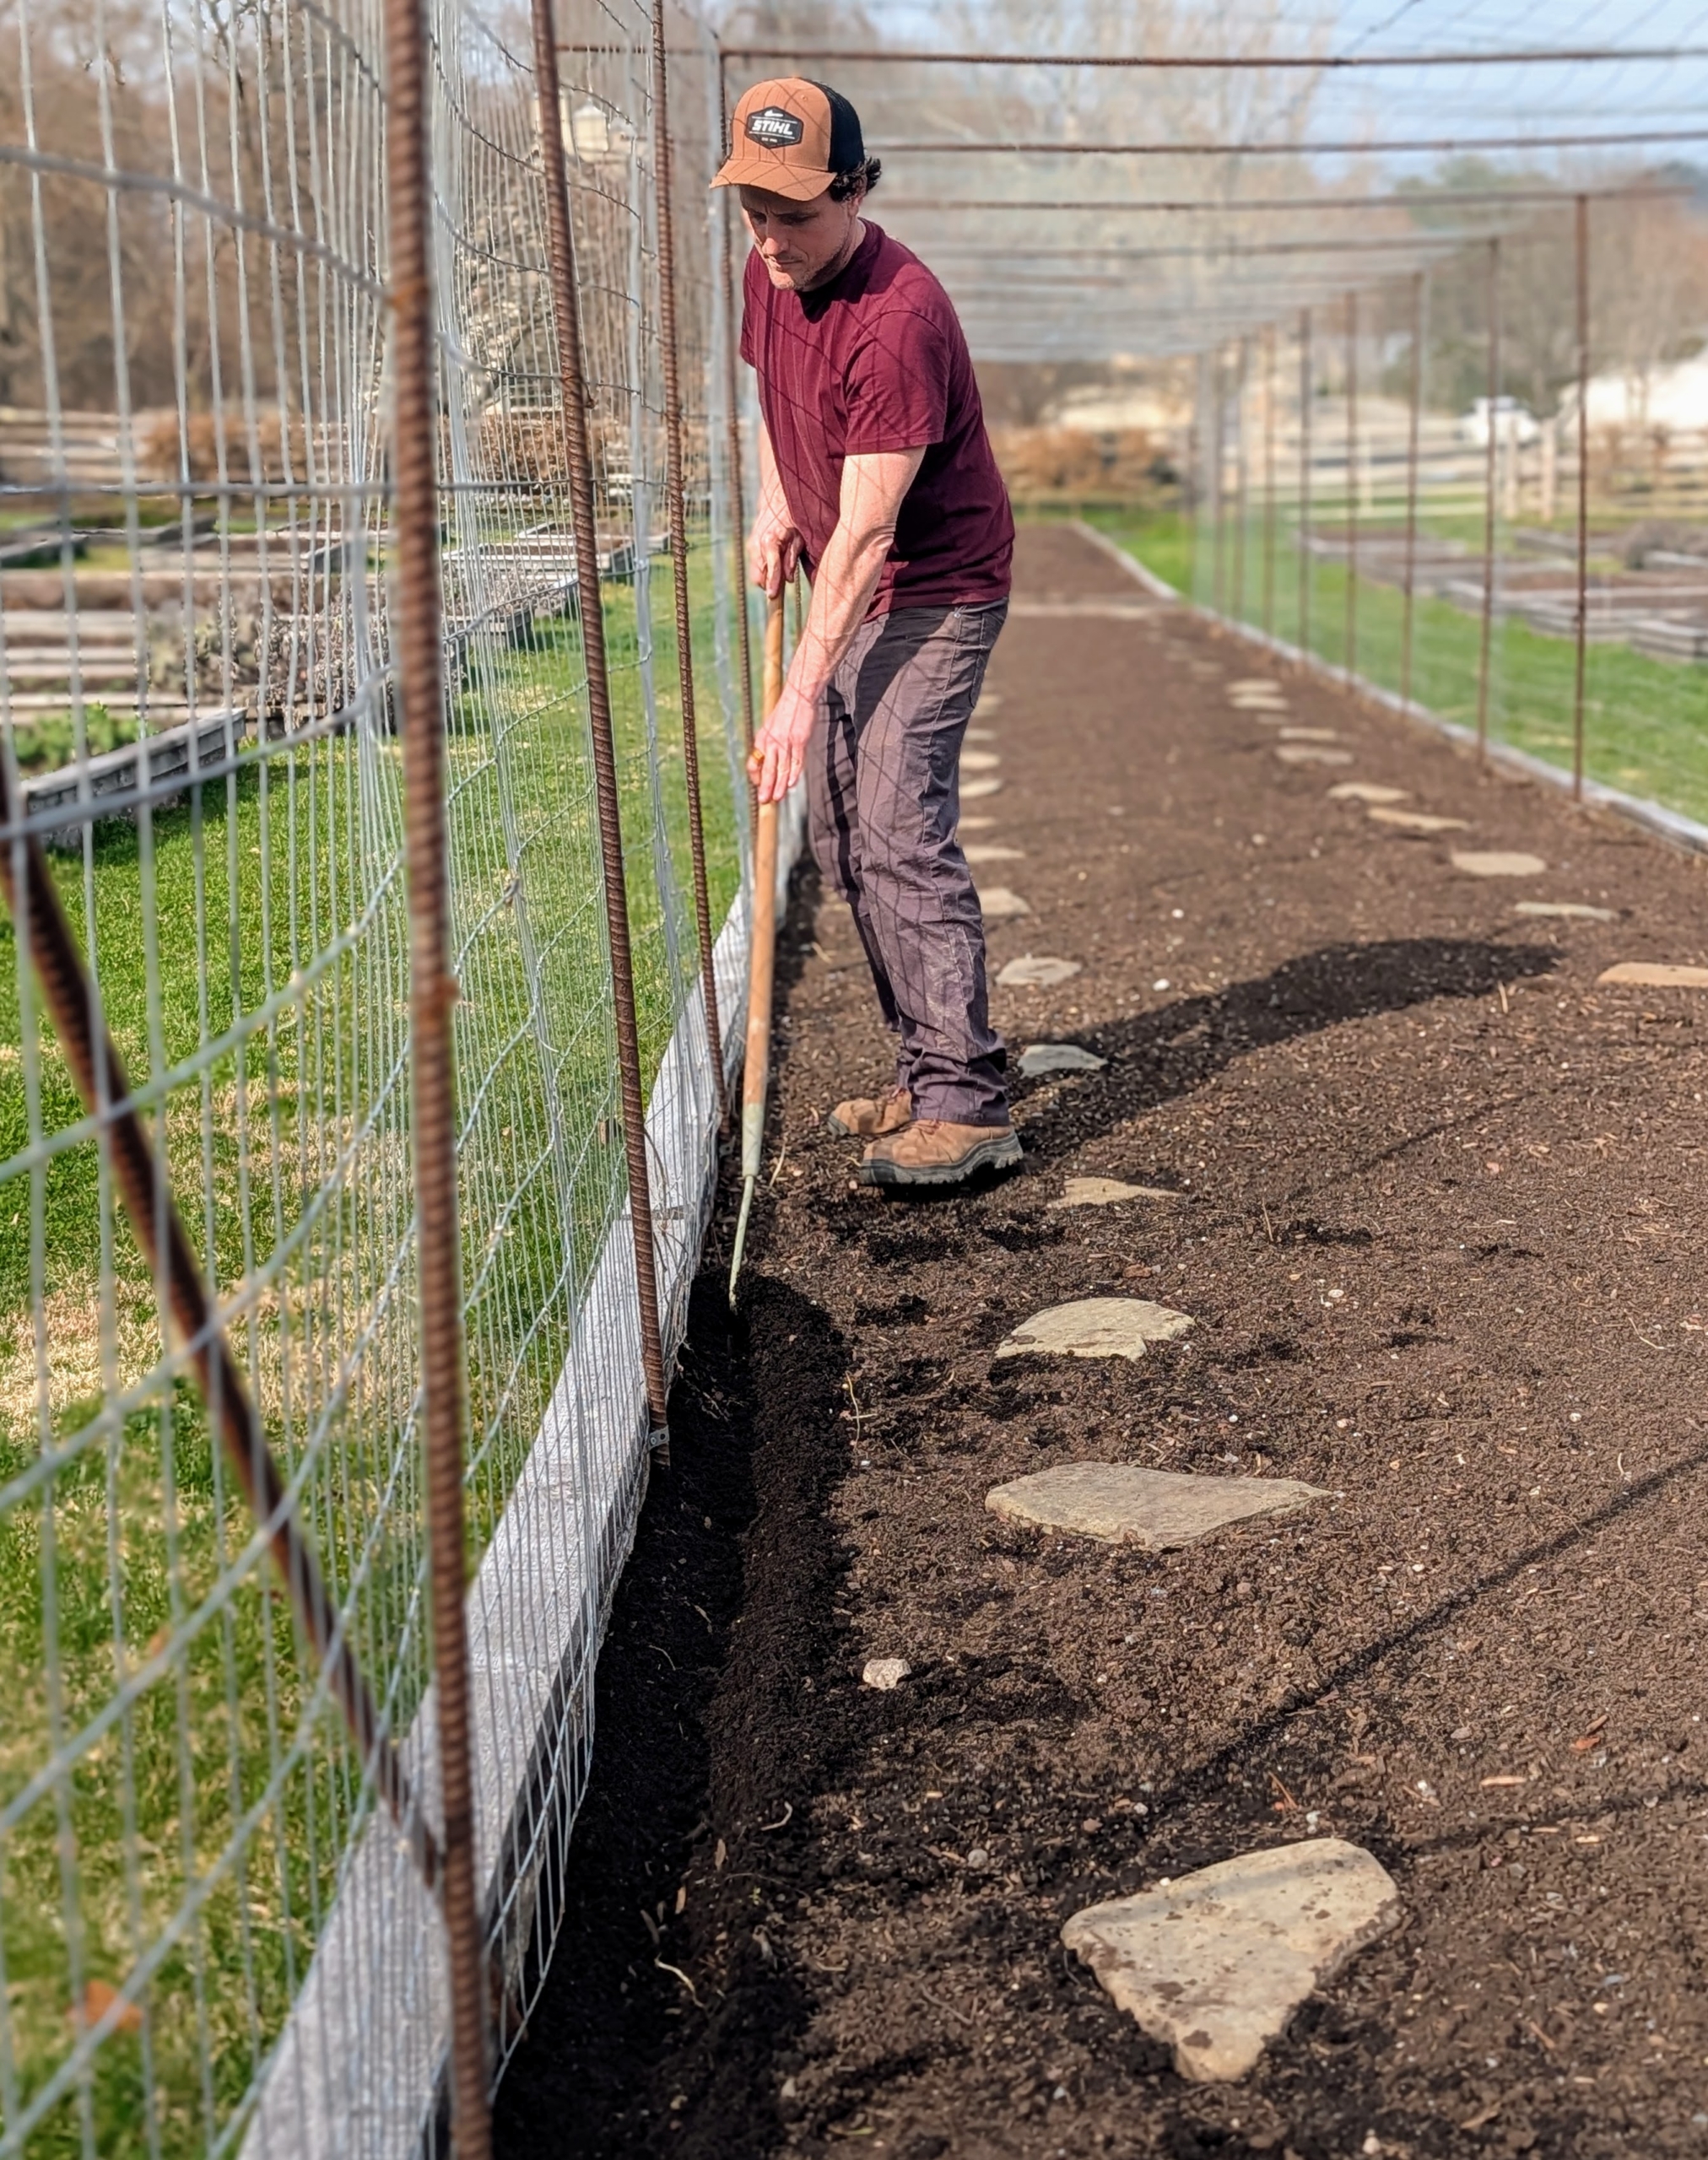
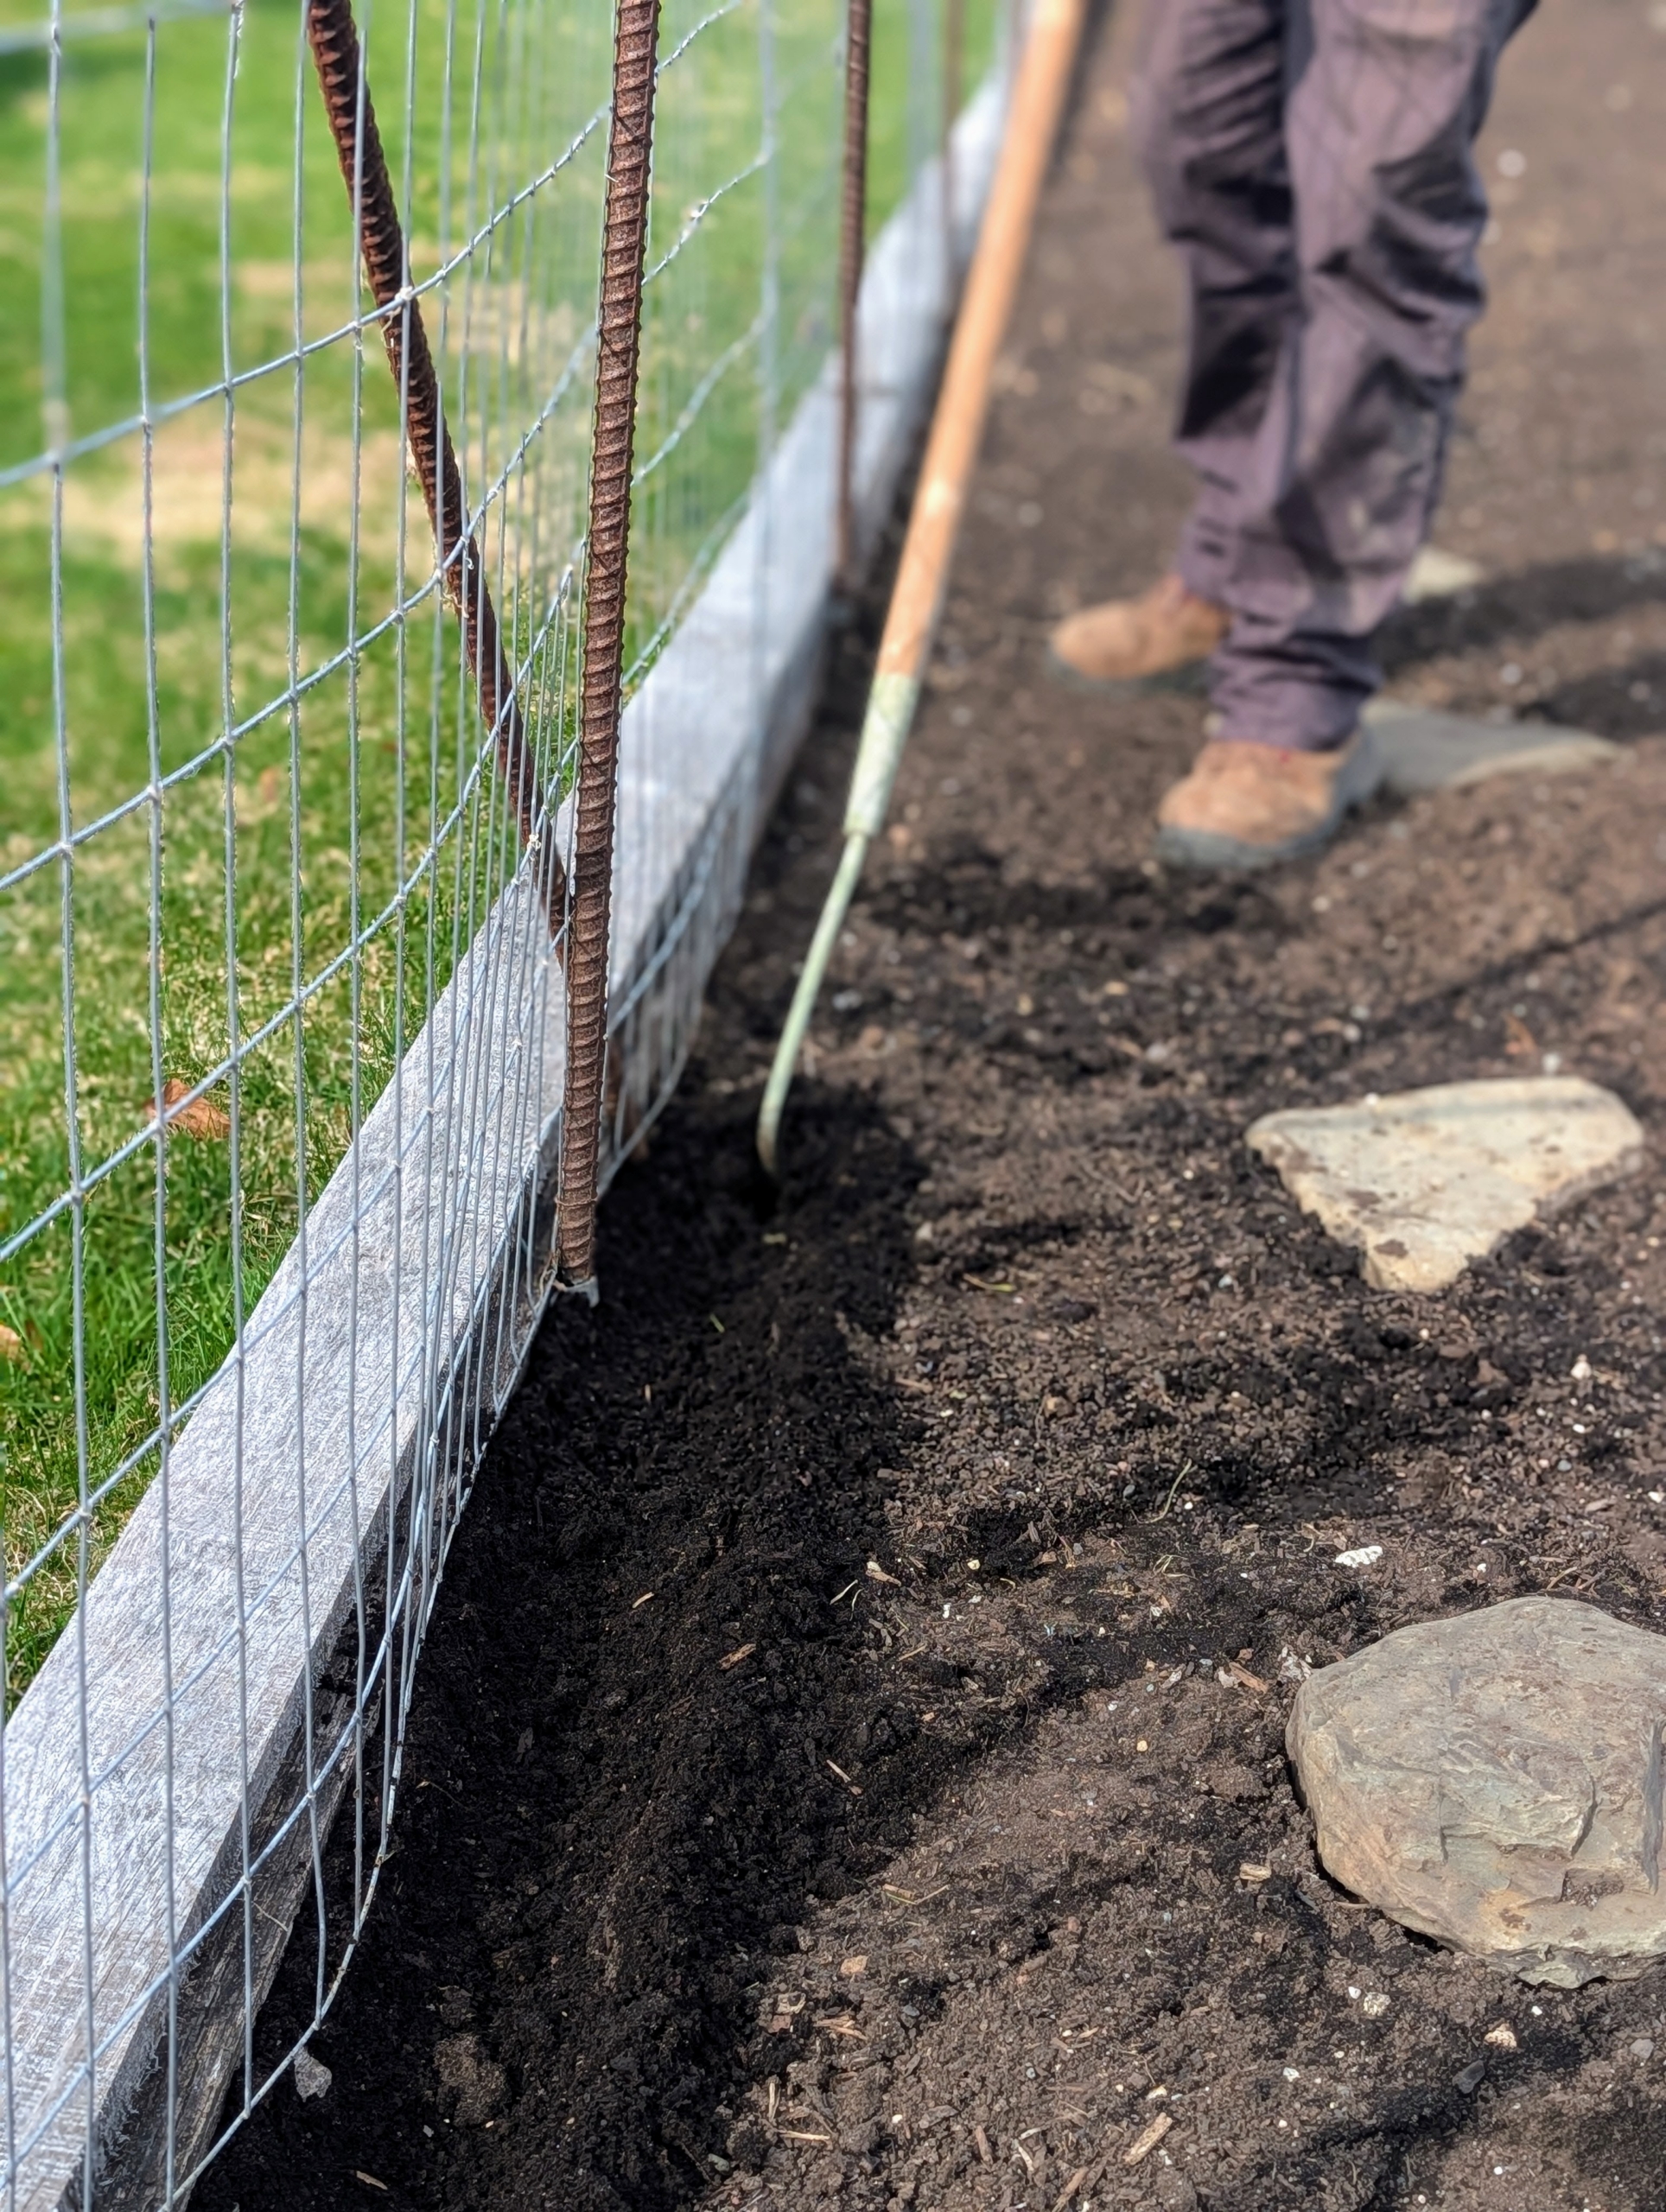
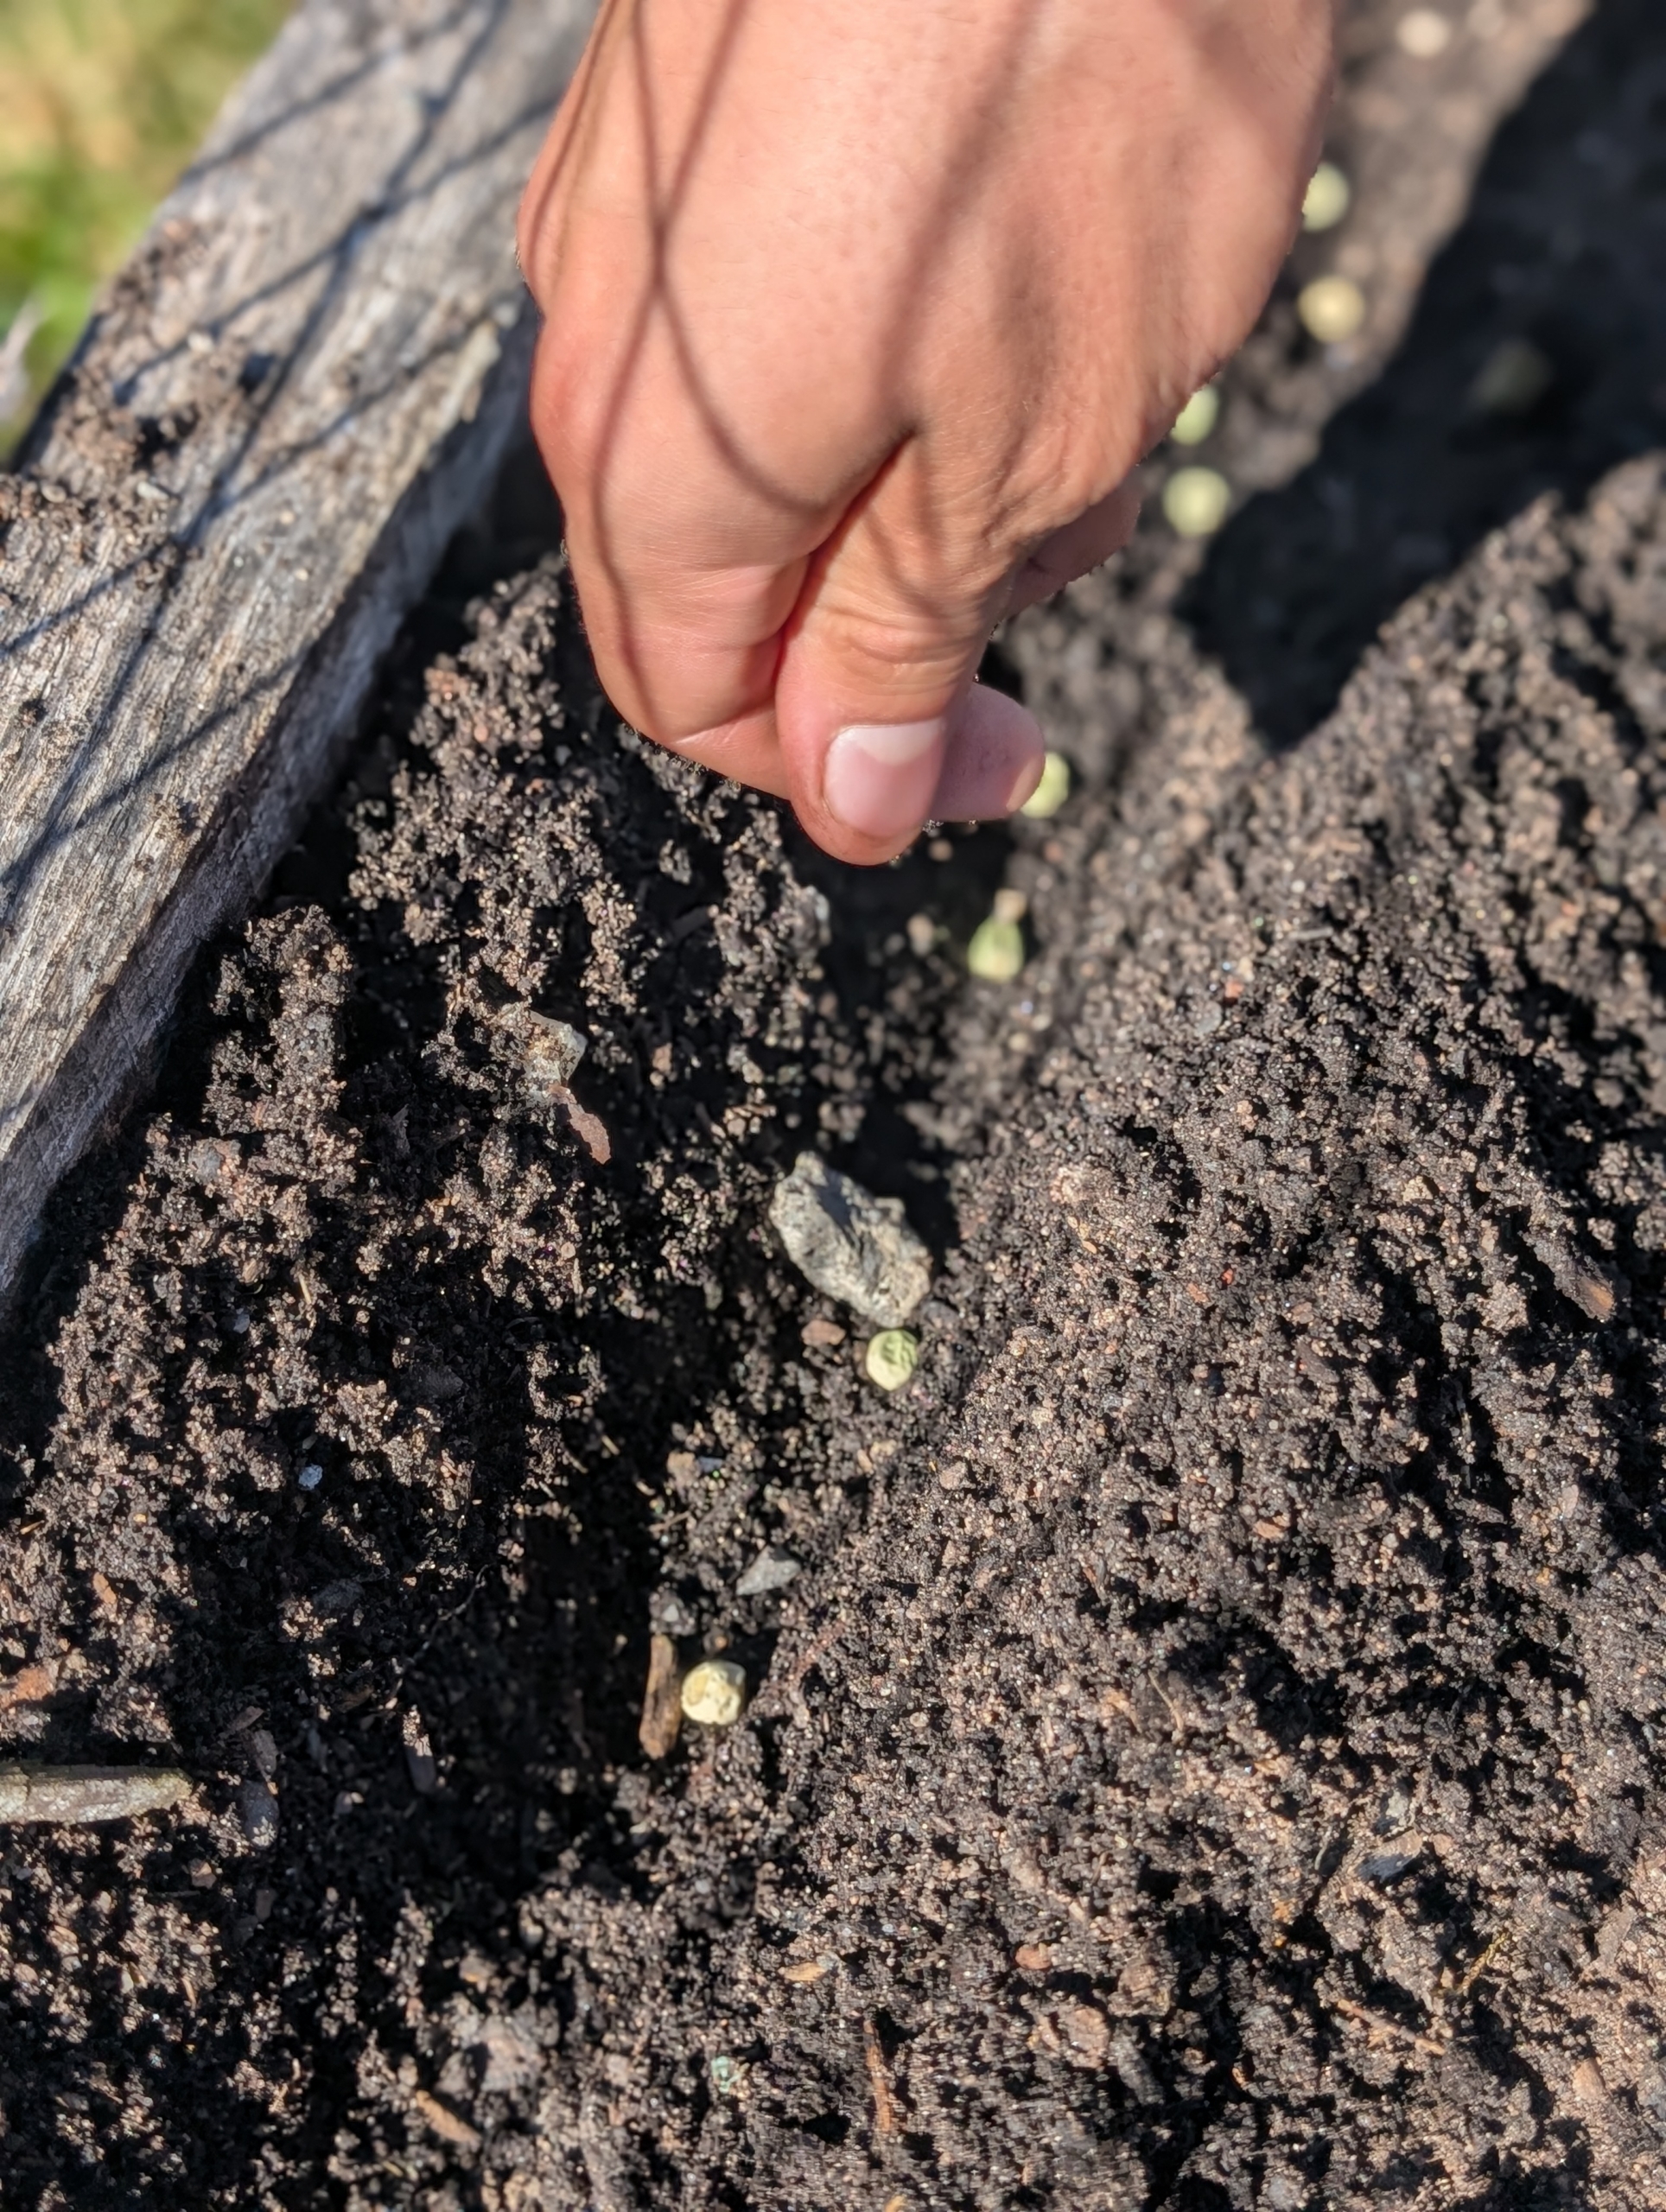
Ryan starts by digging a shallow furrow in the soil using a hoe. The furrows don’t have to be deep – two inches will work nicely.
Peas do much better when given some kind of support such as a fence or a trellis. Since the furrow is up against this fence, the pea vines should find the supportive wire very easily.
These peas are planted in a sunny location in well-draining soil from Miracle-Gro.
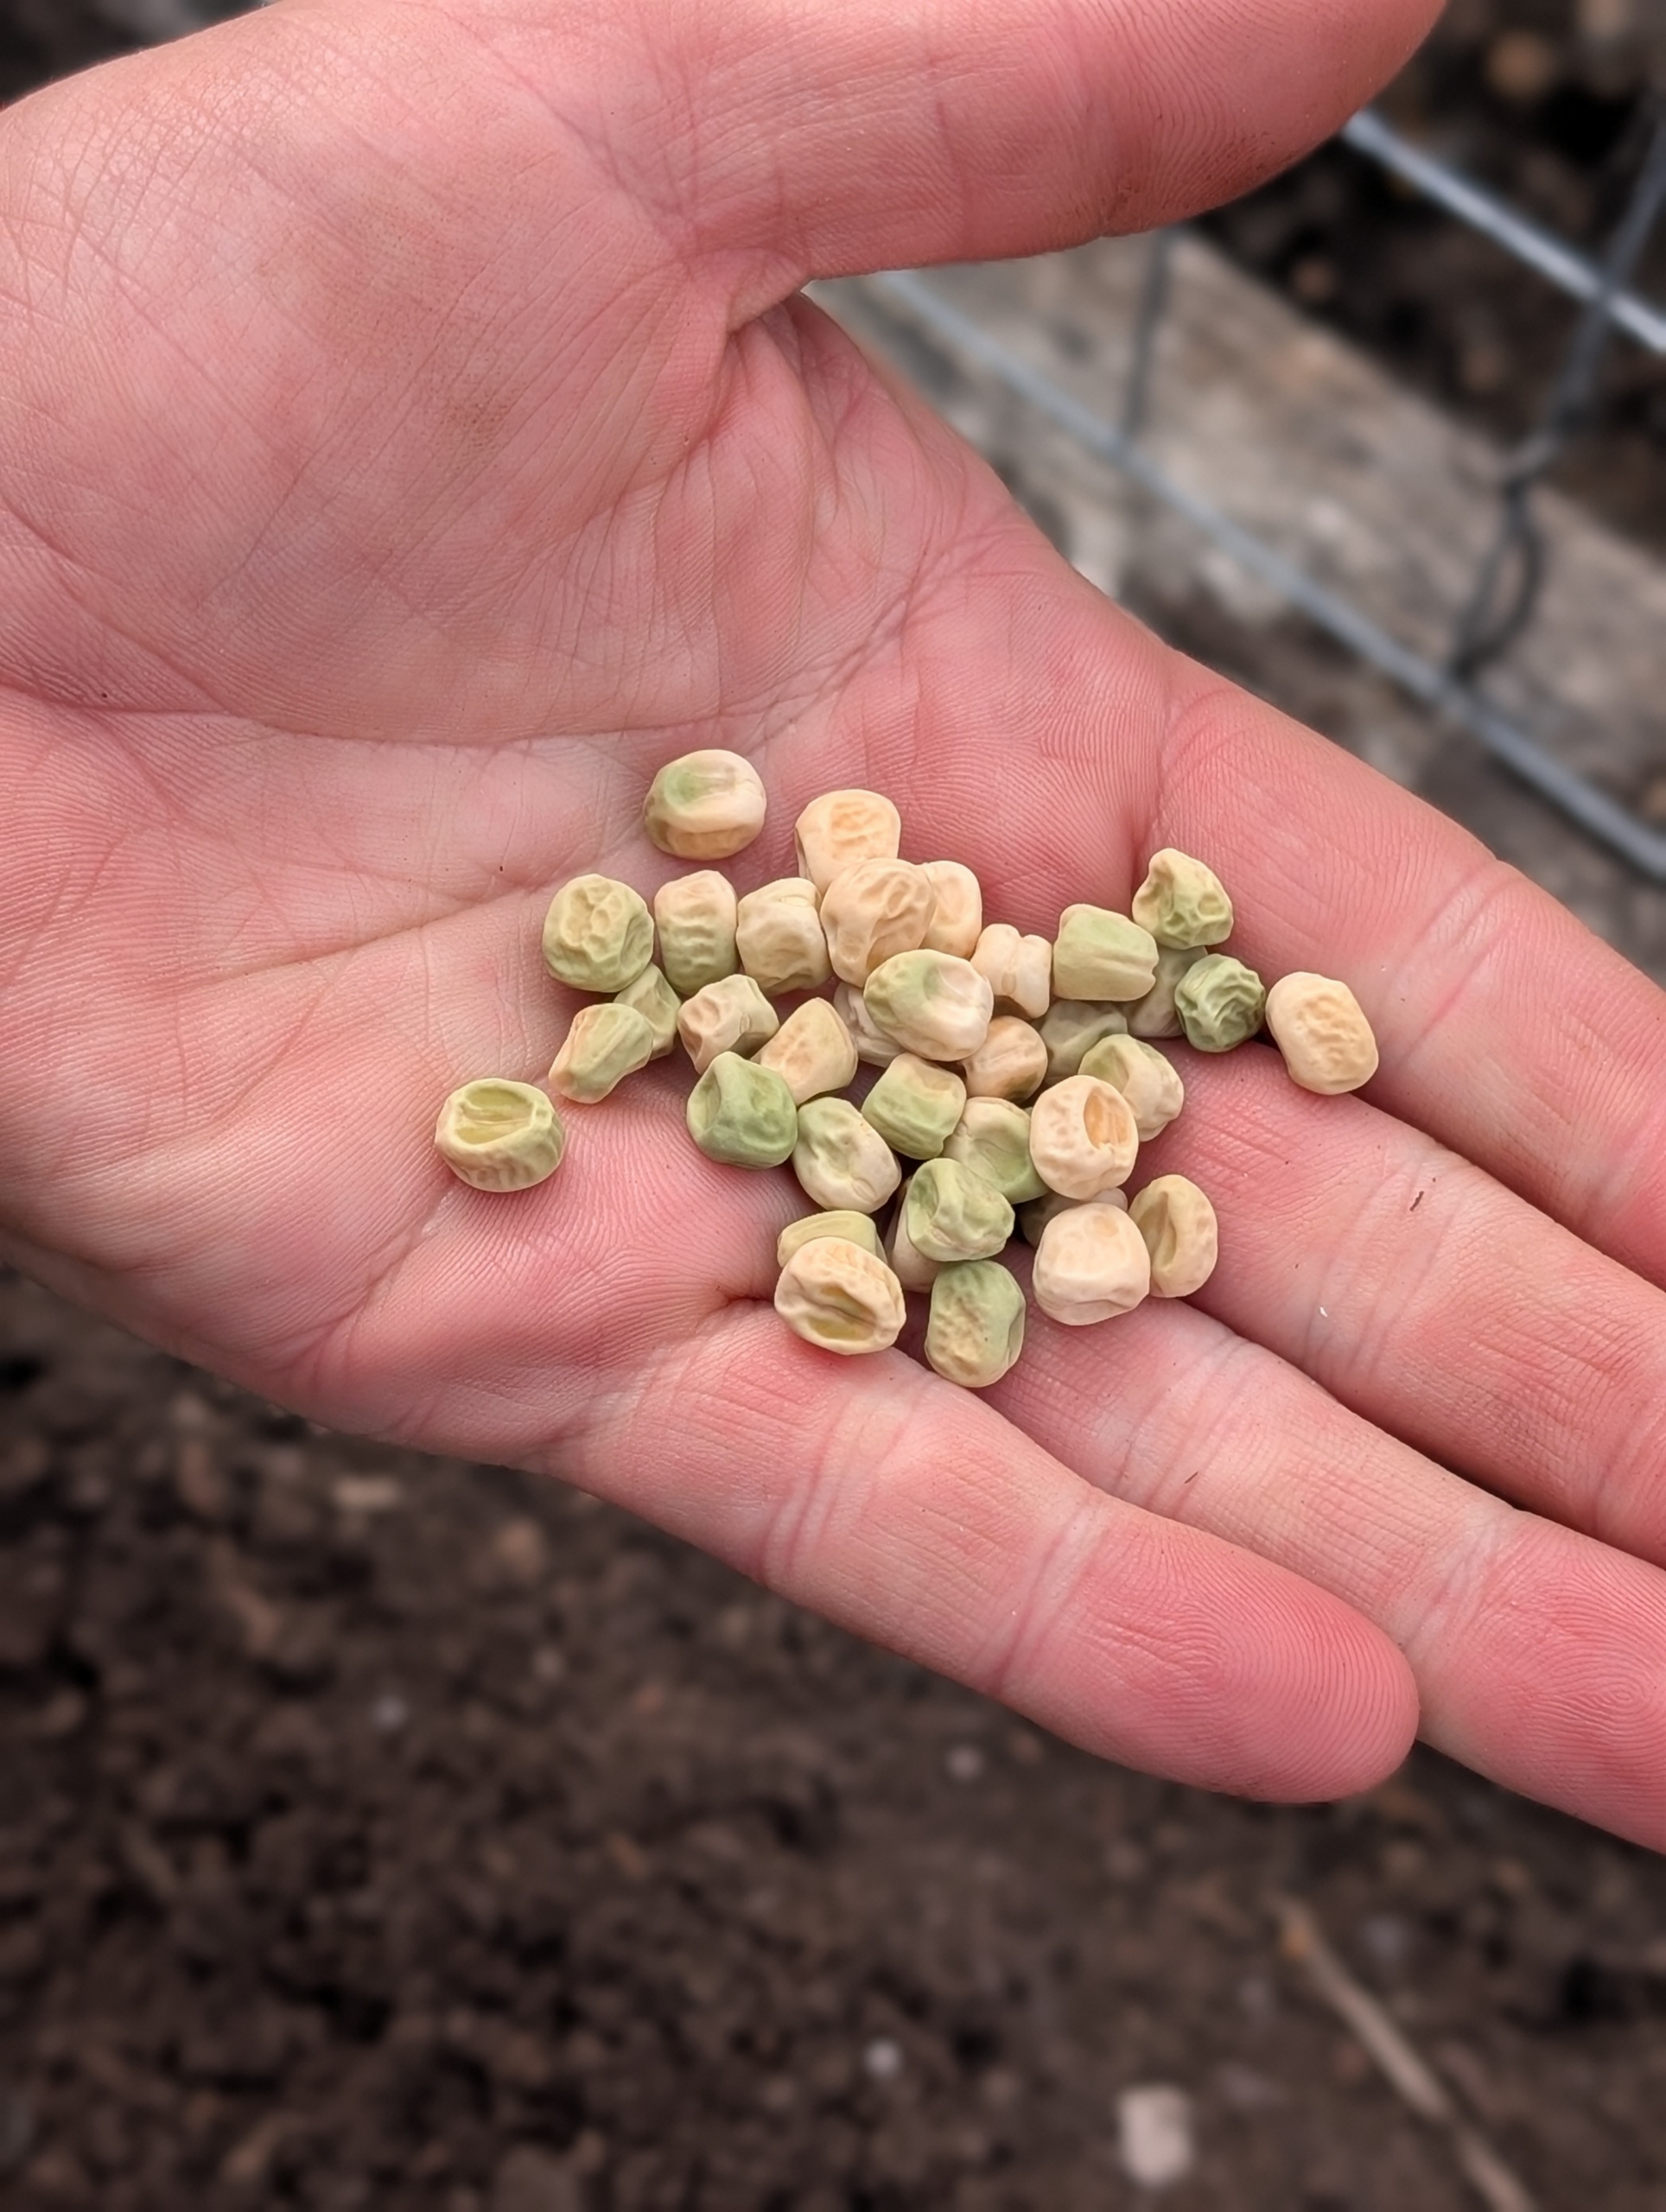
The pea seeds are hard, wrinkled, and inedible.
Ryan drops the seeds into the furrow about one to two-inches apart.
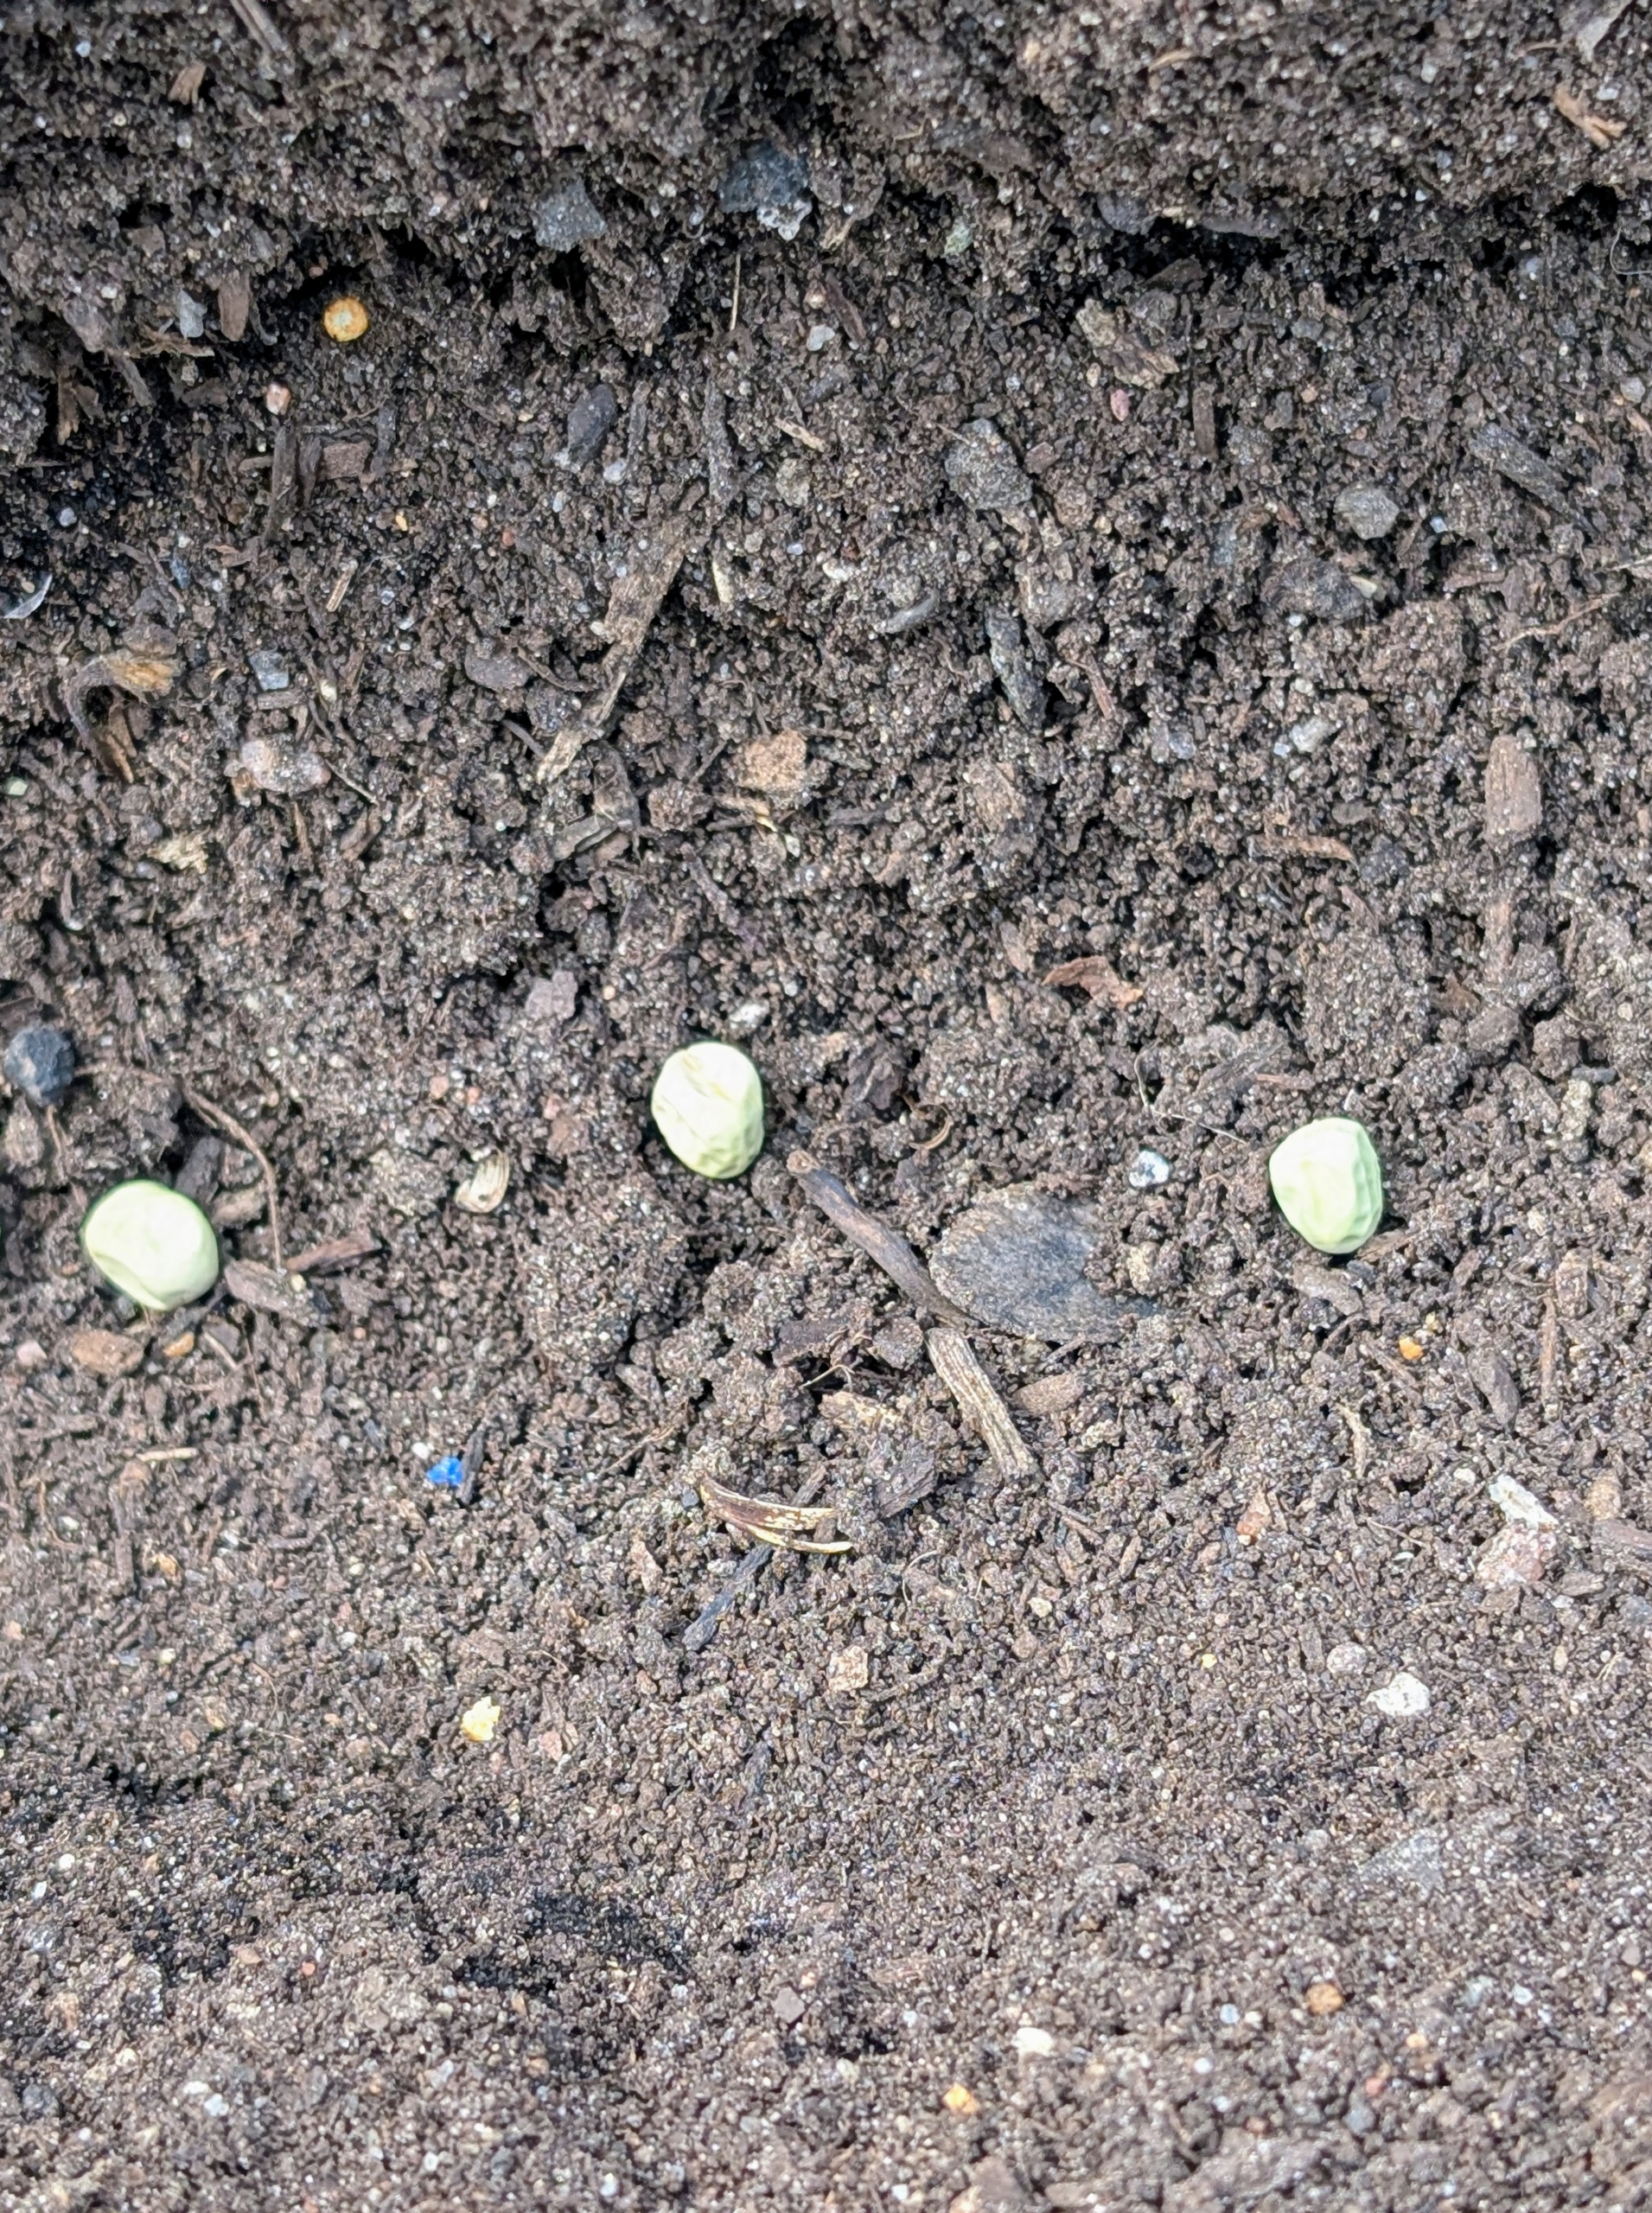
Here, one can see the seeds well-placed in the furrow. Sow pea seeds four to six weeks before the last spring frost, when soil temperatures reach 45-degrees Fahrenheit.
A single pea plant can produce between 50 and 200 peas, depending on the variety and care.
Ryan carefully drops the snap peas into the furrow on the opposite side of the fence, so it’s clear which peas are which when harvested.
Once all the seeds are in the ground, Ryan uses the back of a soft rake to cover them.
The peas will be watered deeply once a week and should be ready to pick around mid-June to early July. Happy gardening!
It's always rewarding to repurpose materials and put them to good use around my farm.
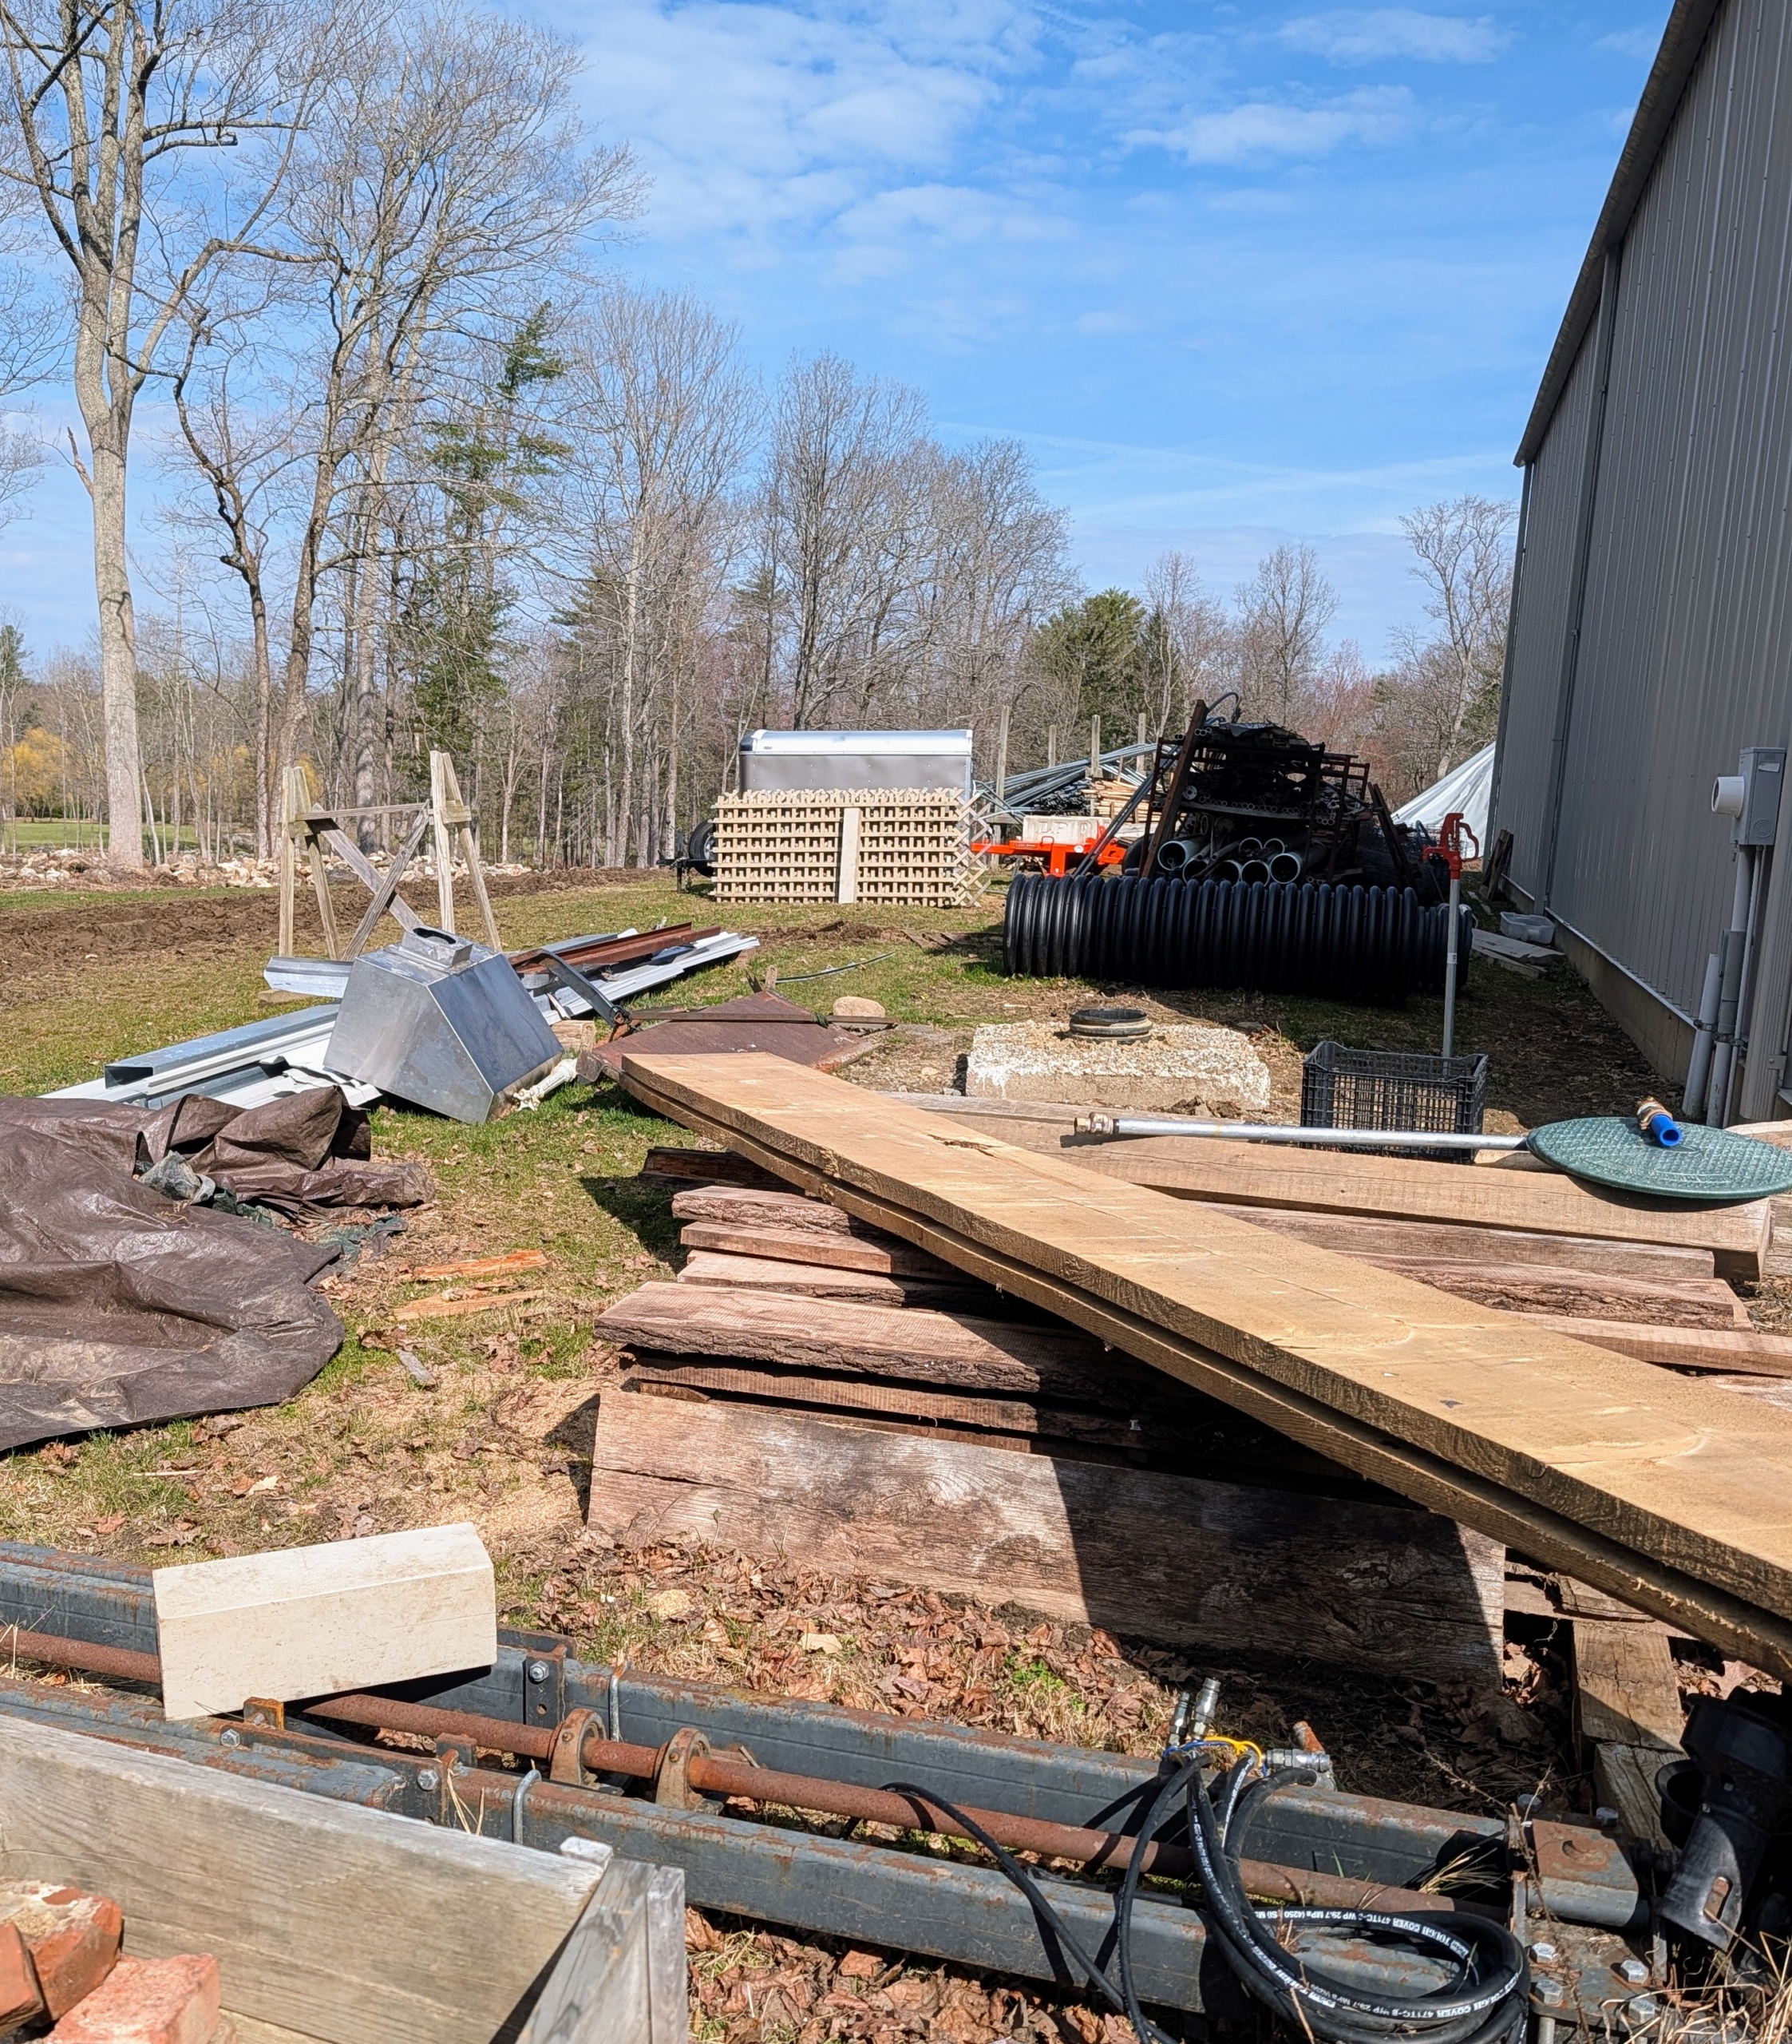
Now that the weather is warmer, I asked Pete Sherpa from my outdoor grounds crew to clean and organize an area in the back of one of my fields where I store various building materials including wooden stakes and boards, metal framing for our protective burlap structures, spare wire fencing, etc. Soon after starting the project Pete found an old concrete slab once used as a base for an automatic horse waterer and thought it would make a good foundation for the outdoor faucet in this space.
Enjoy these photos.
Do you have a storage shed or space where you keep spare lumber and other materials? Is it all in order? This area is located just behind my compost yard. Once a year, I like to go through it and take stock of what is there, what is usable, and what needs to be disposed.
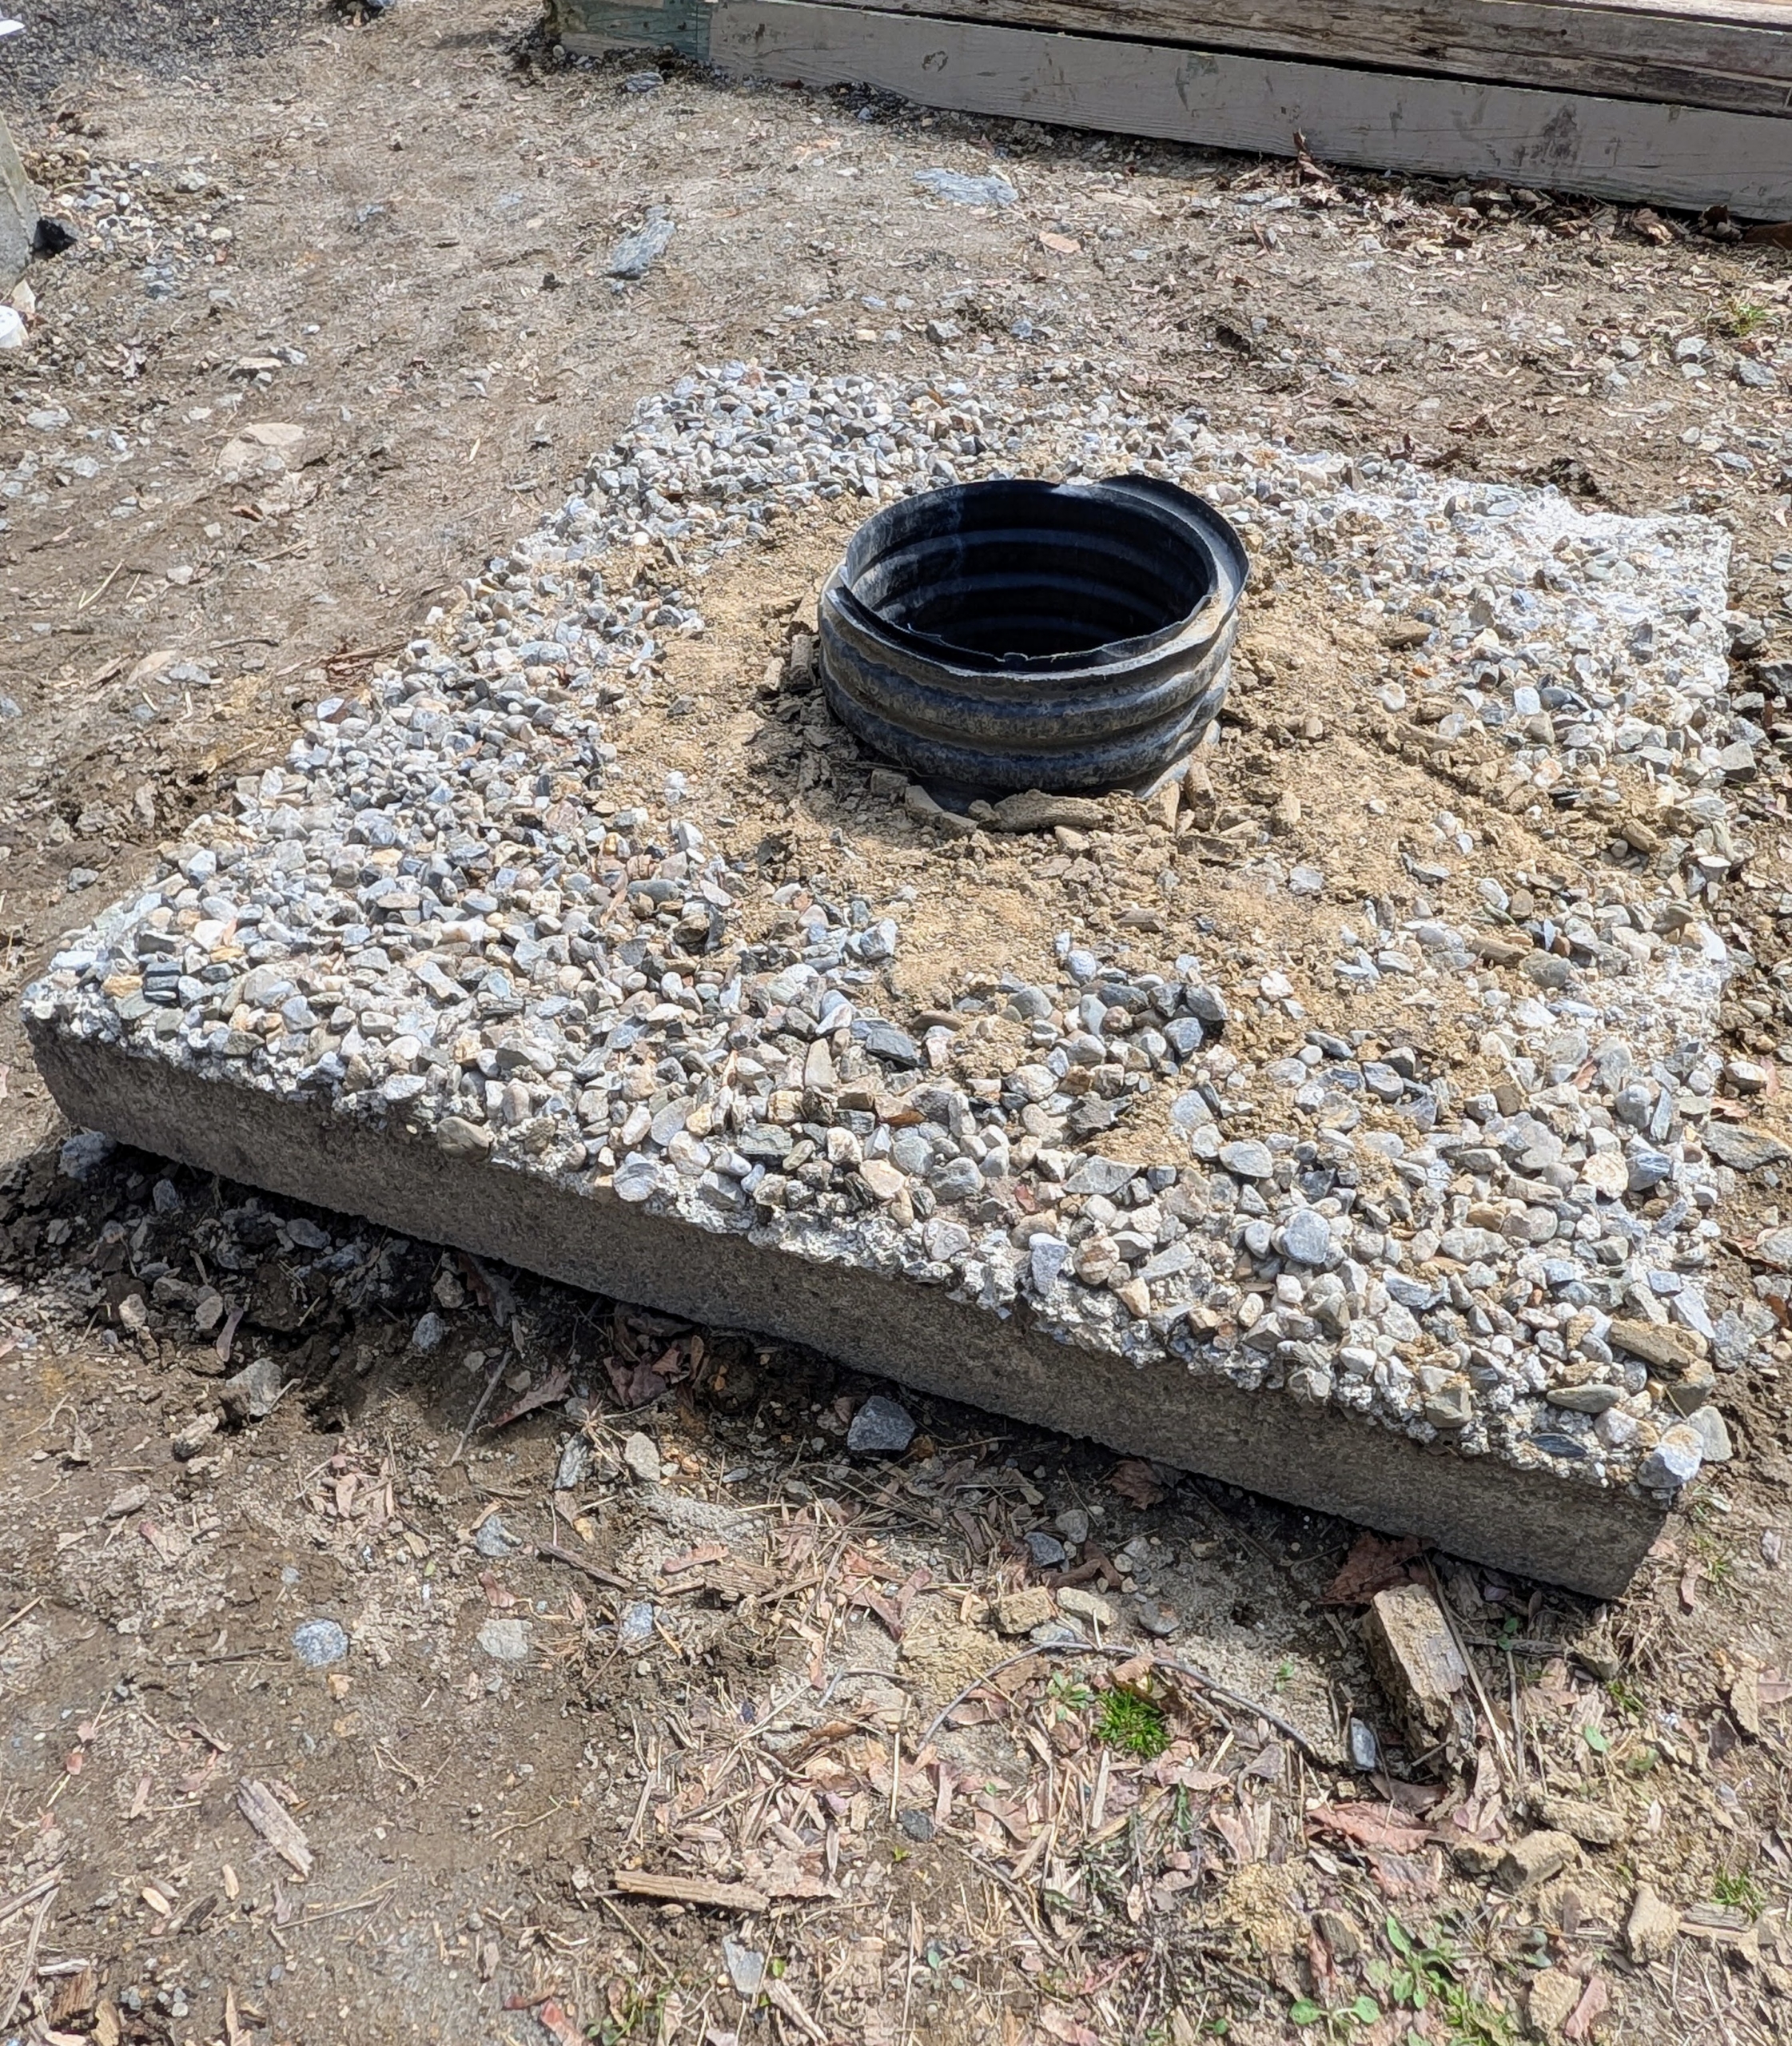
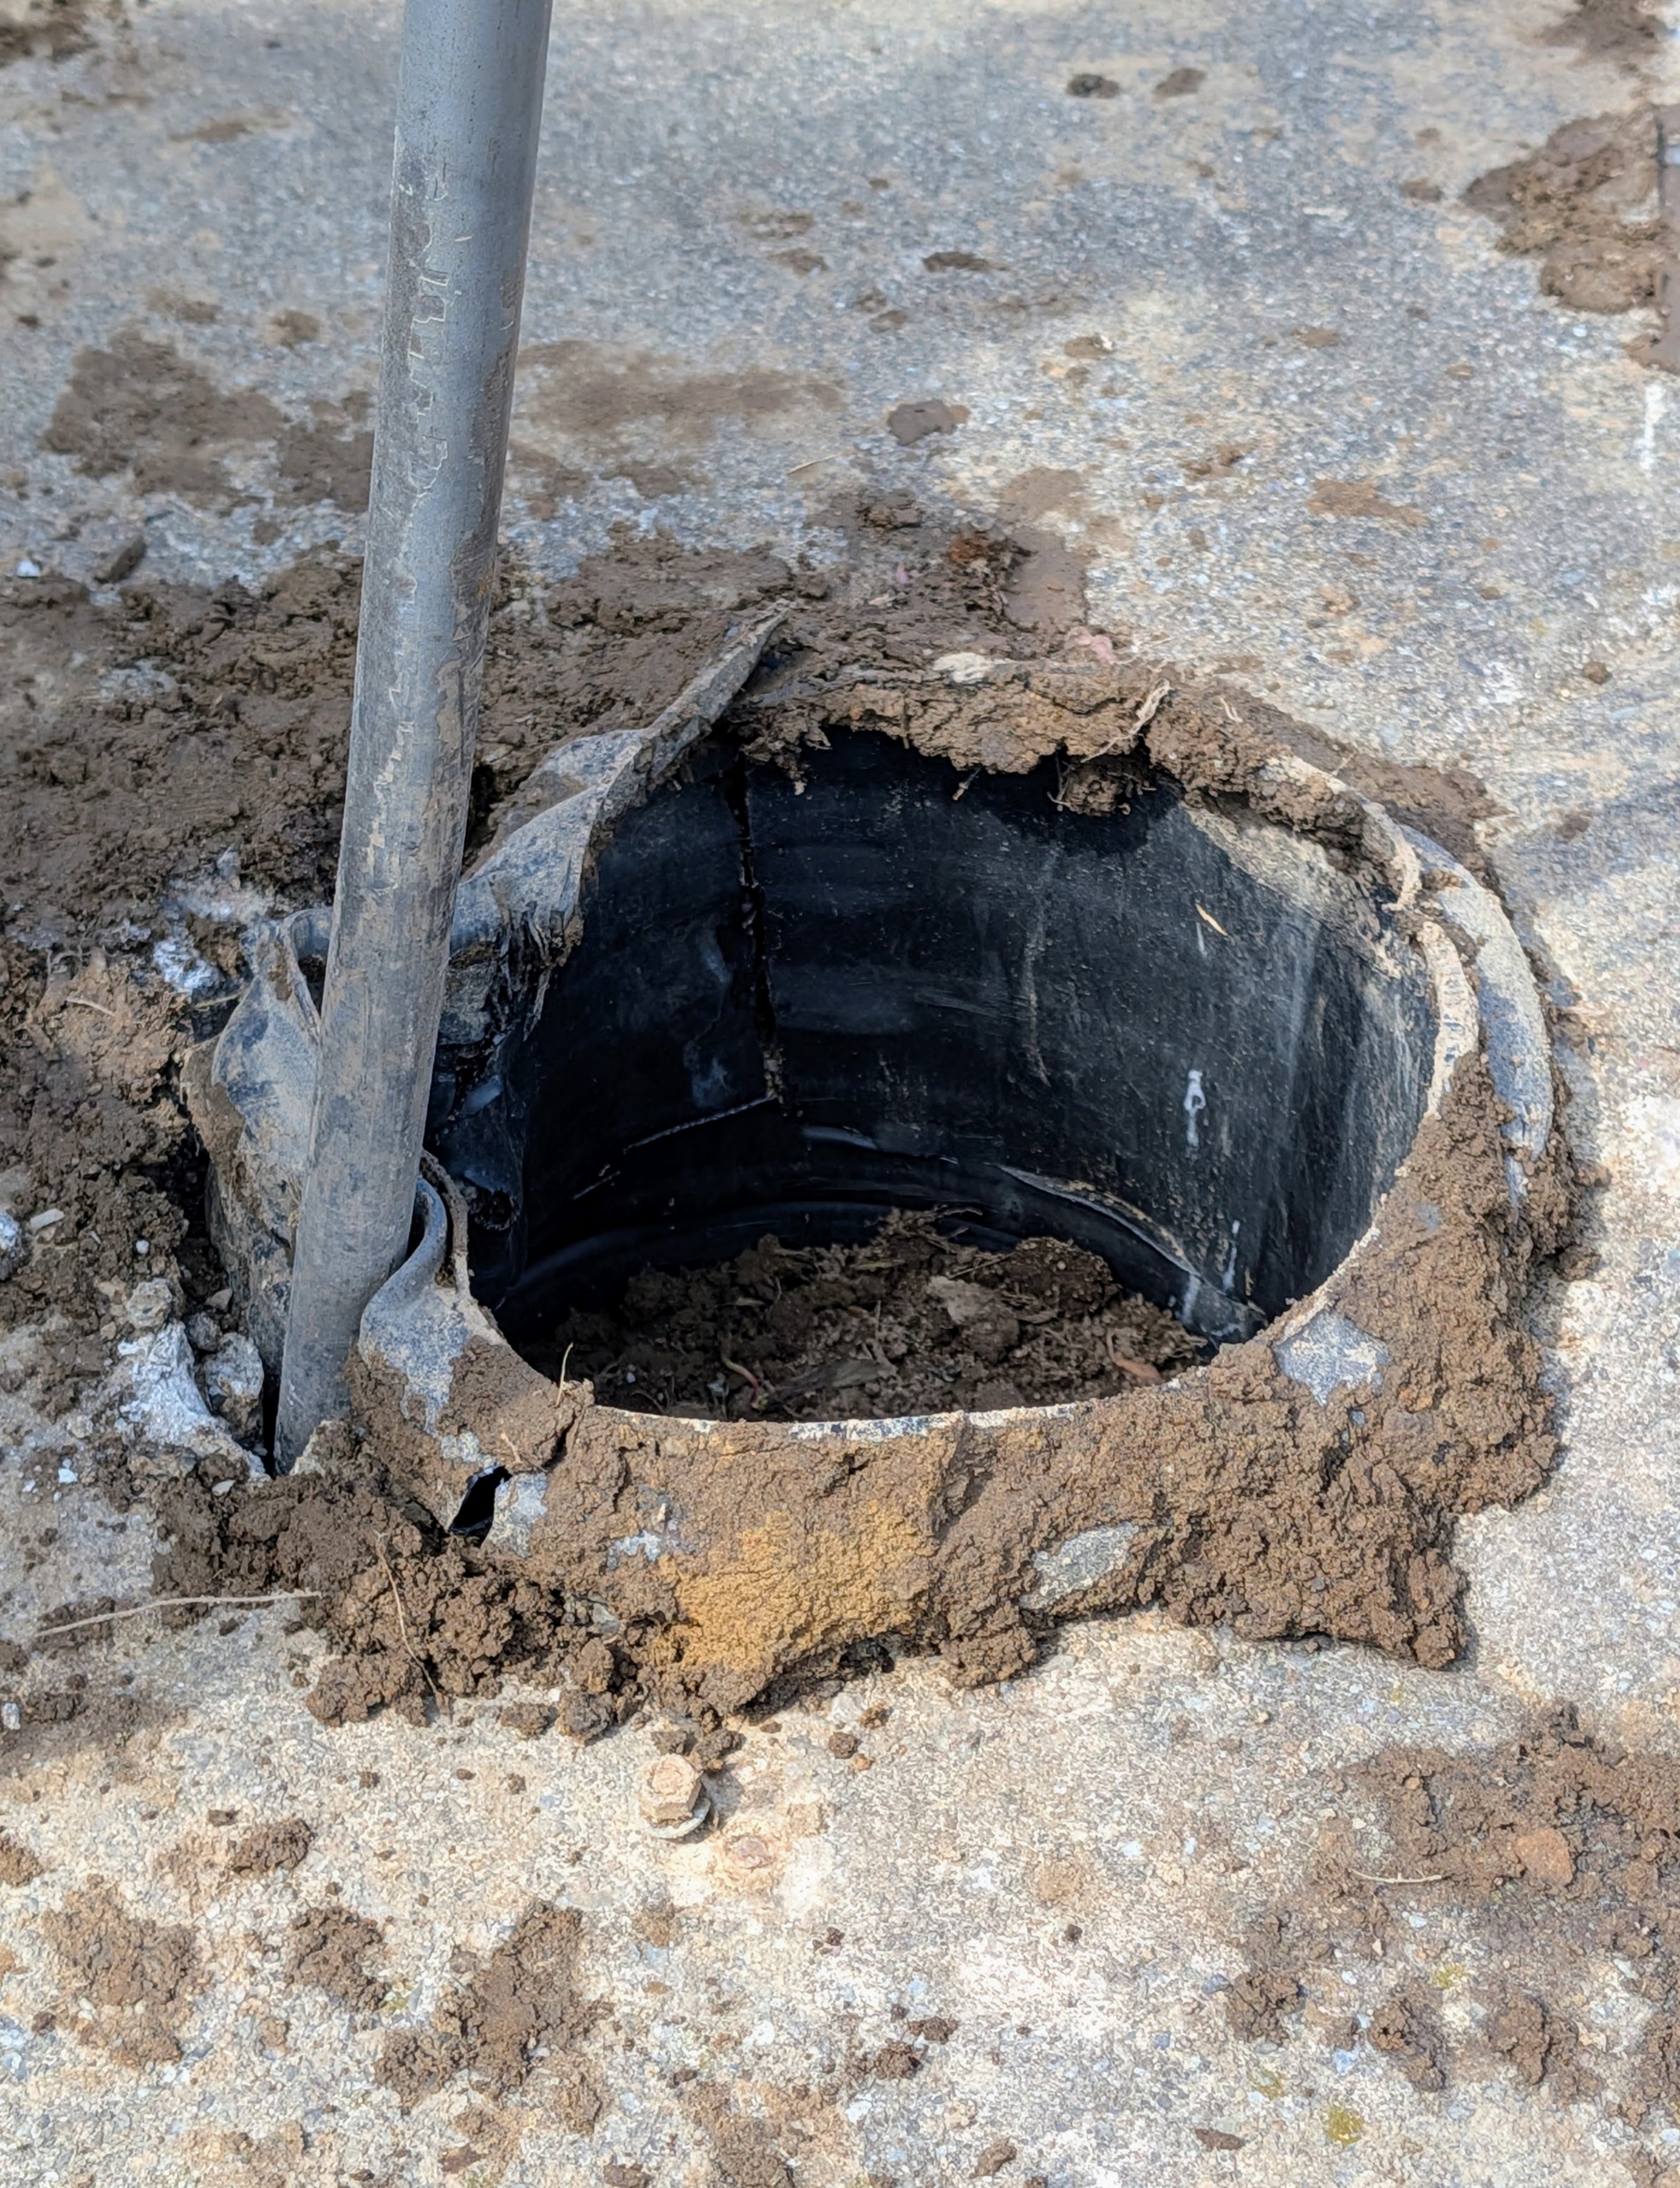
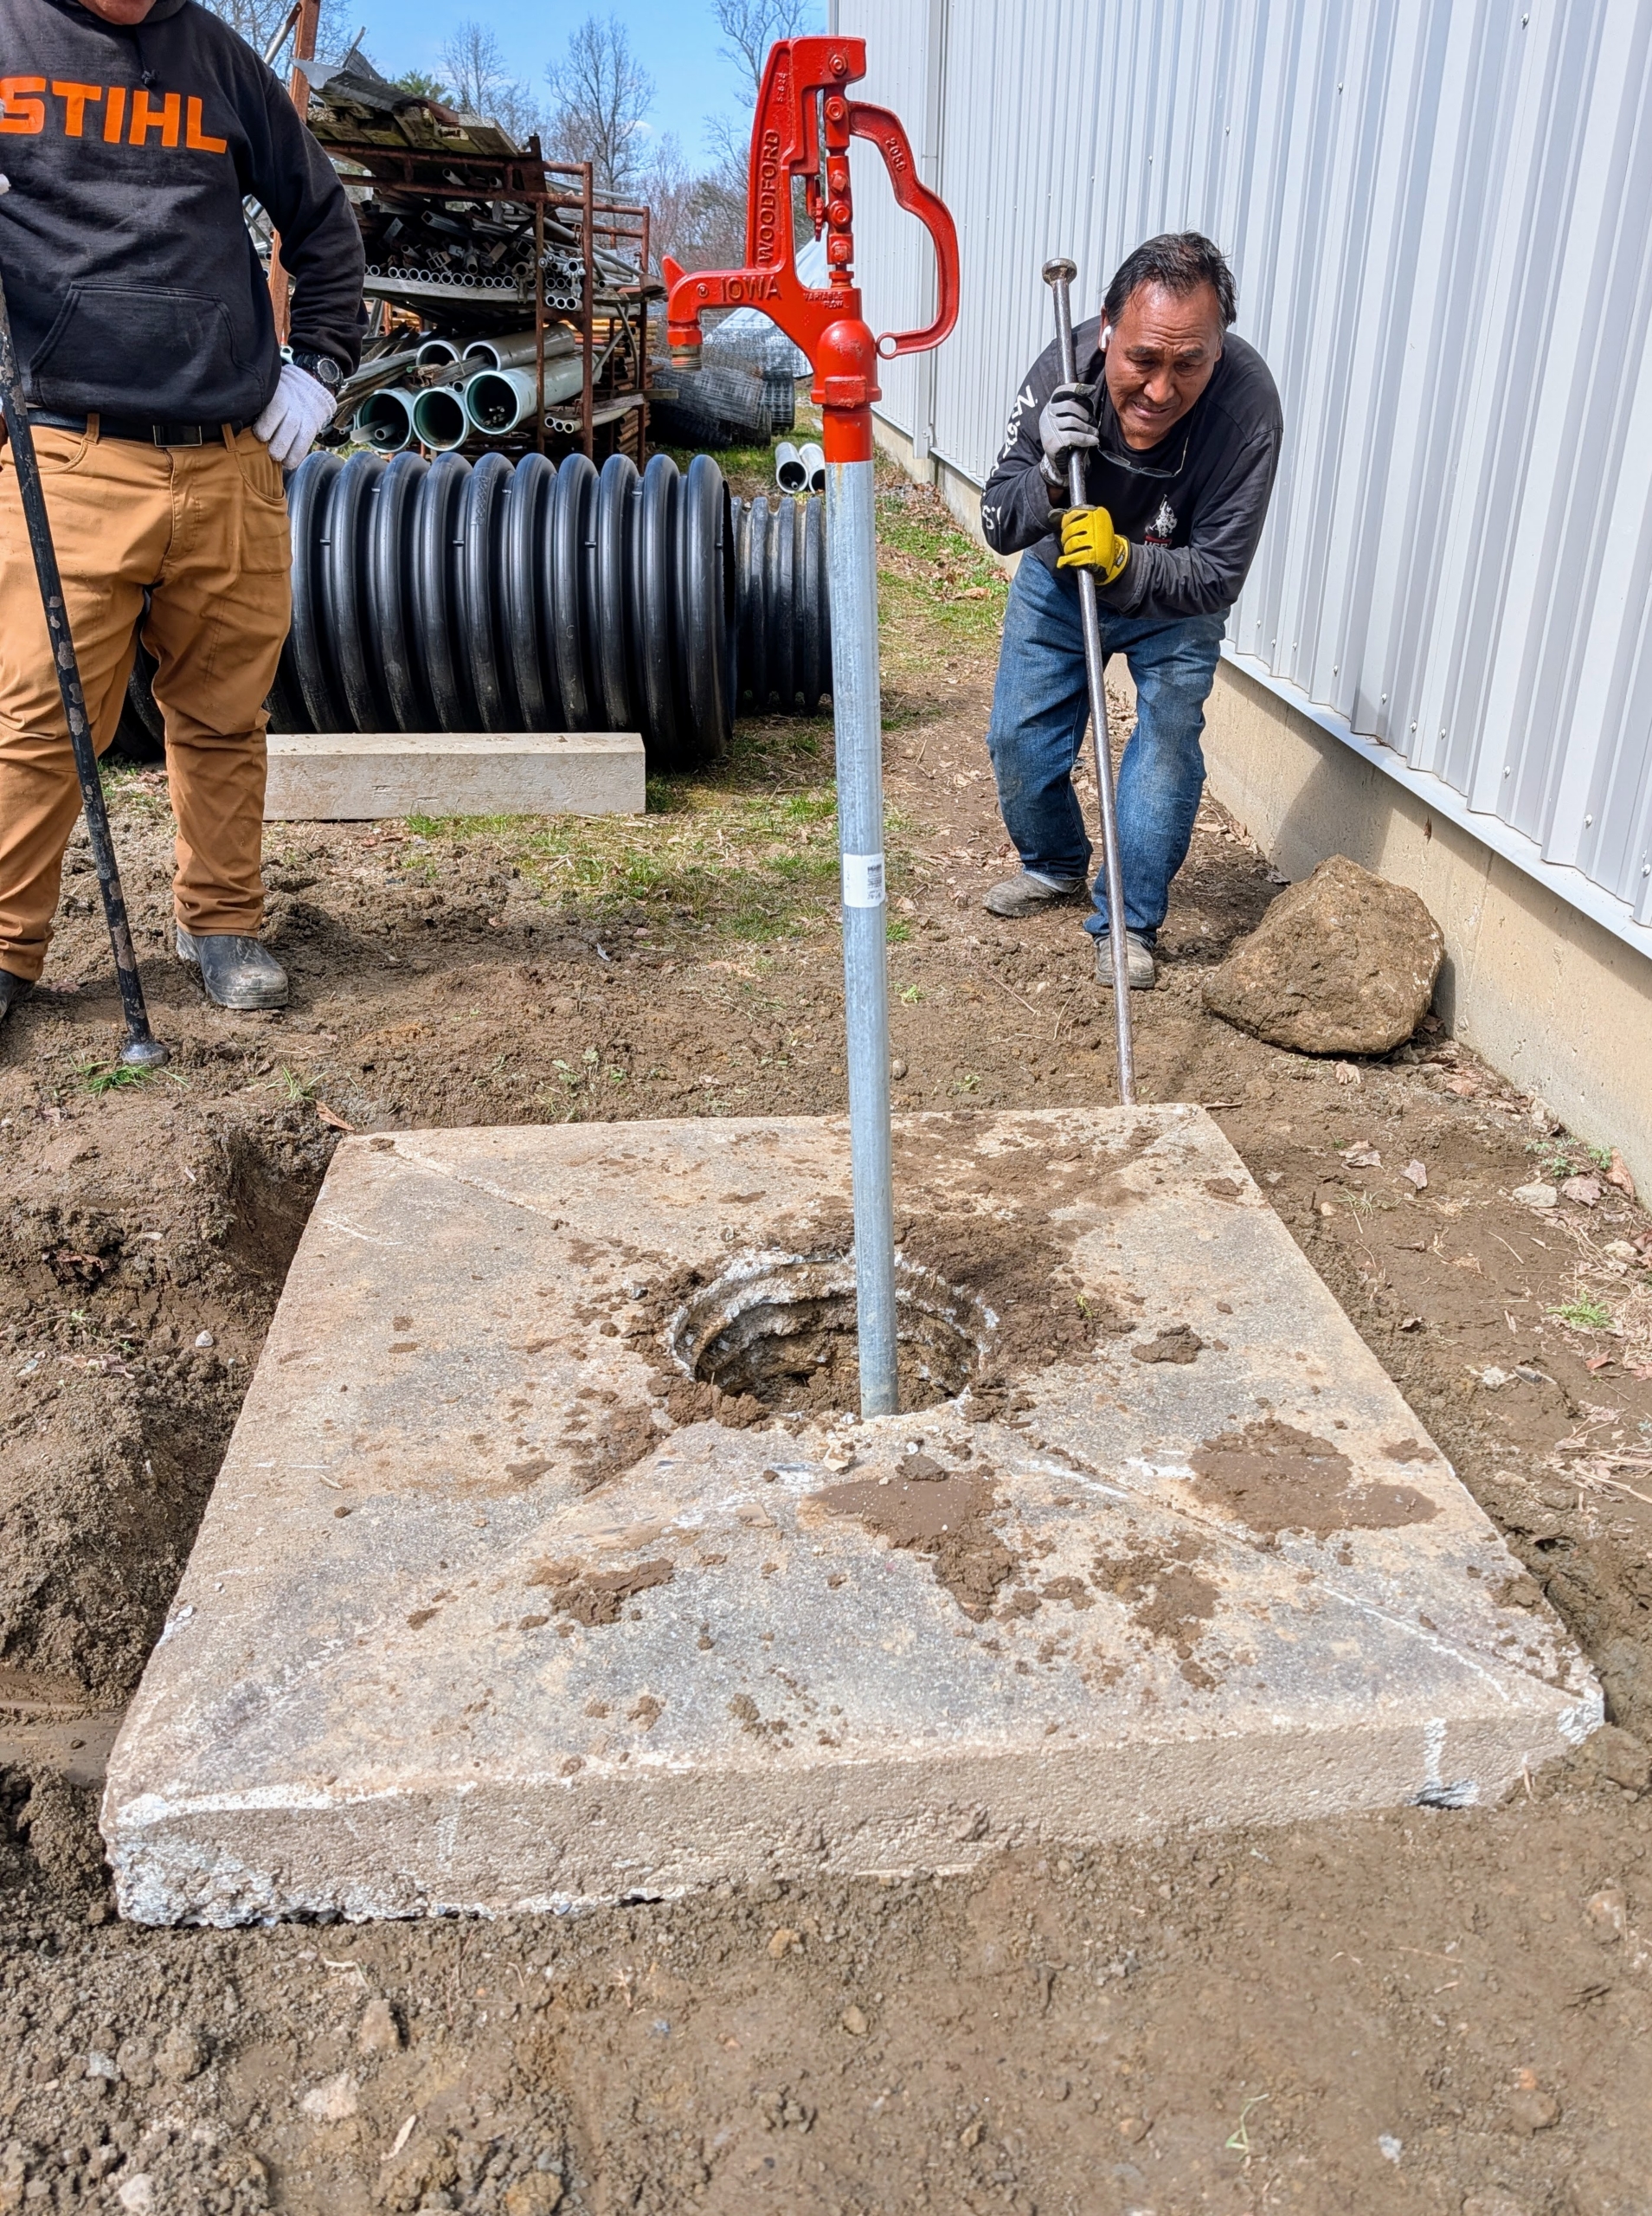
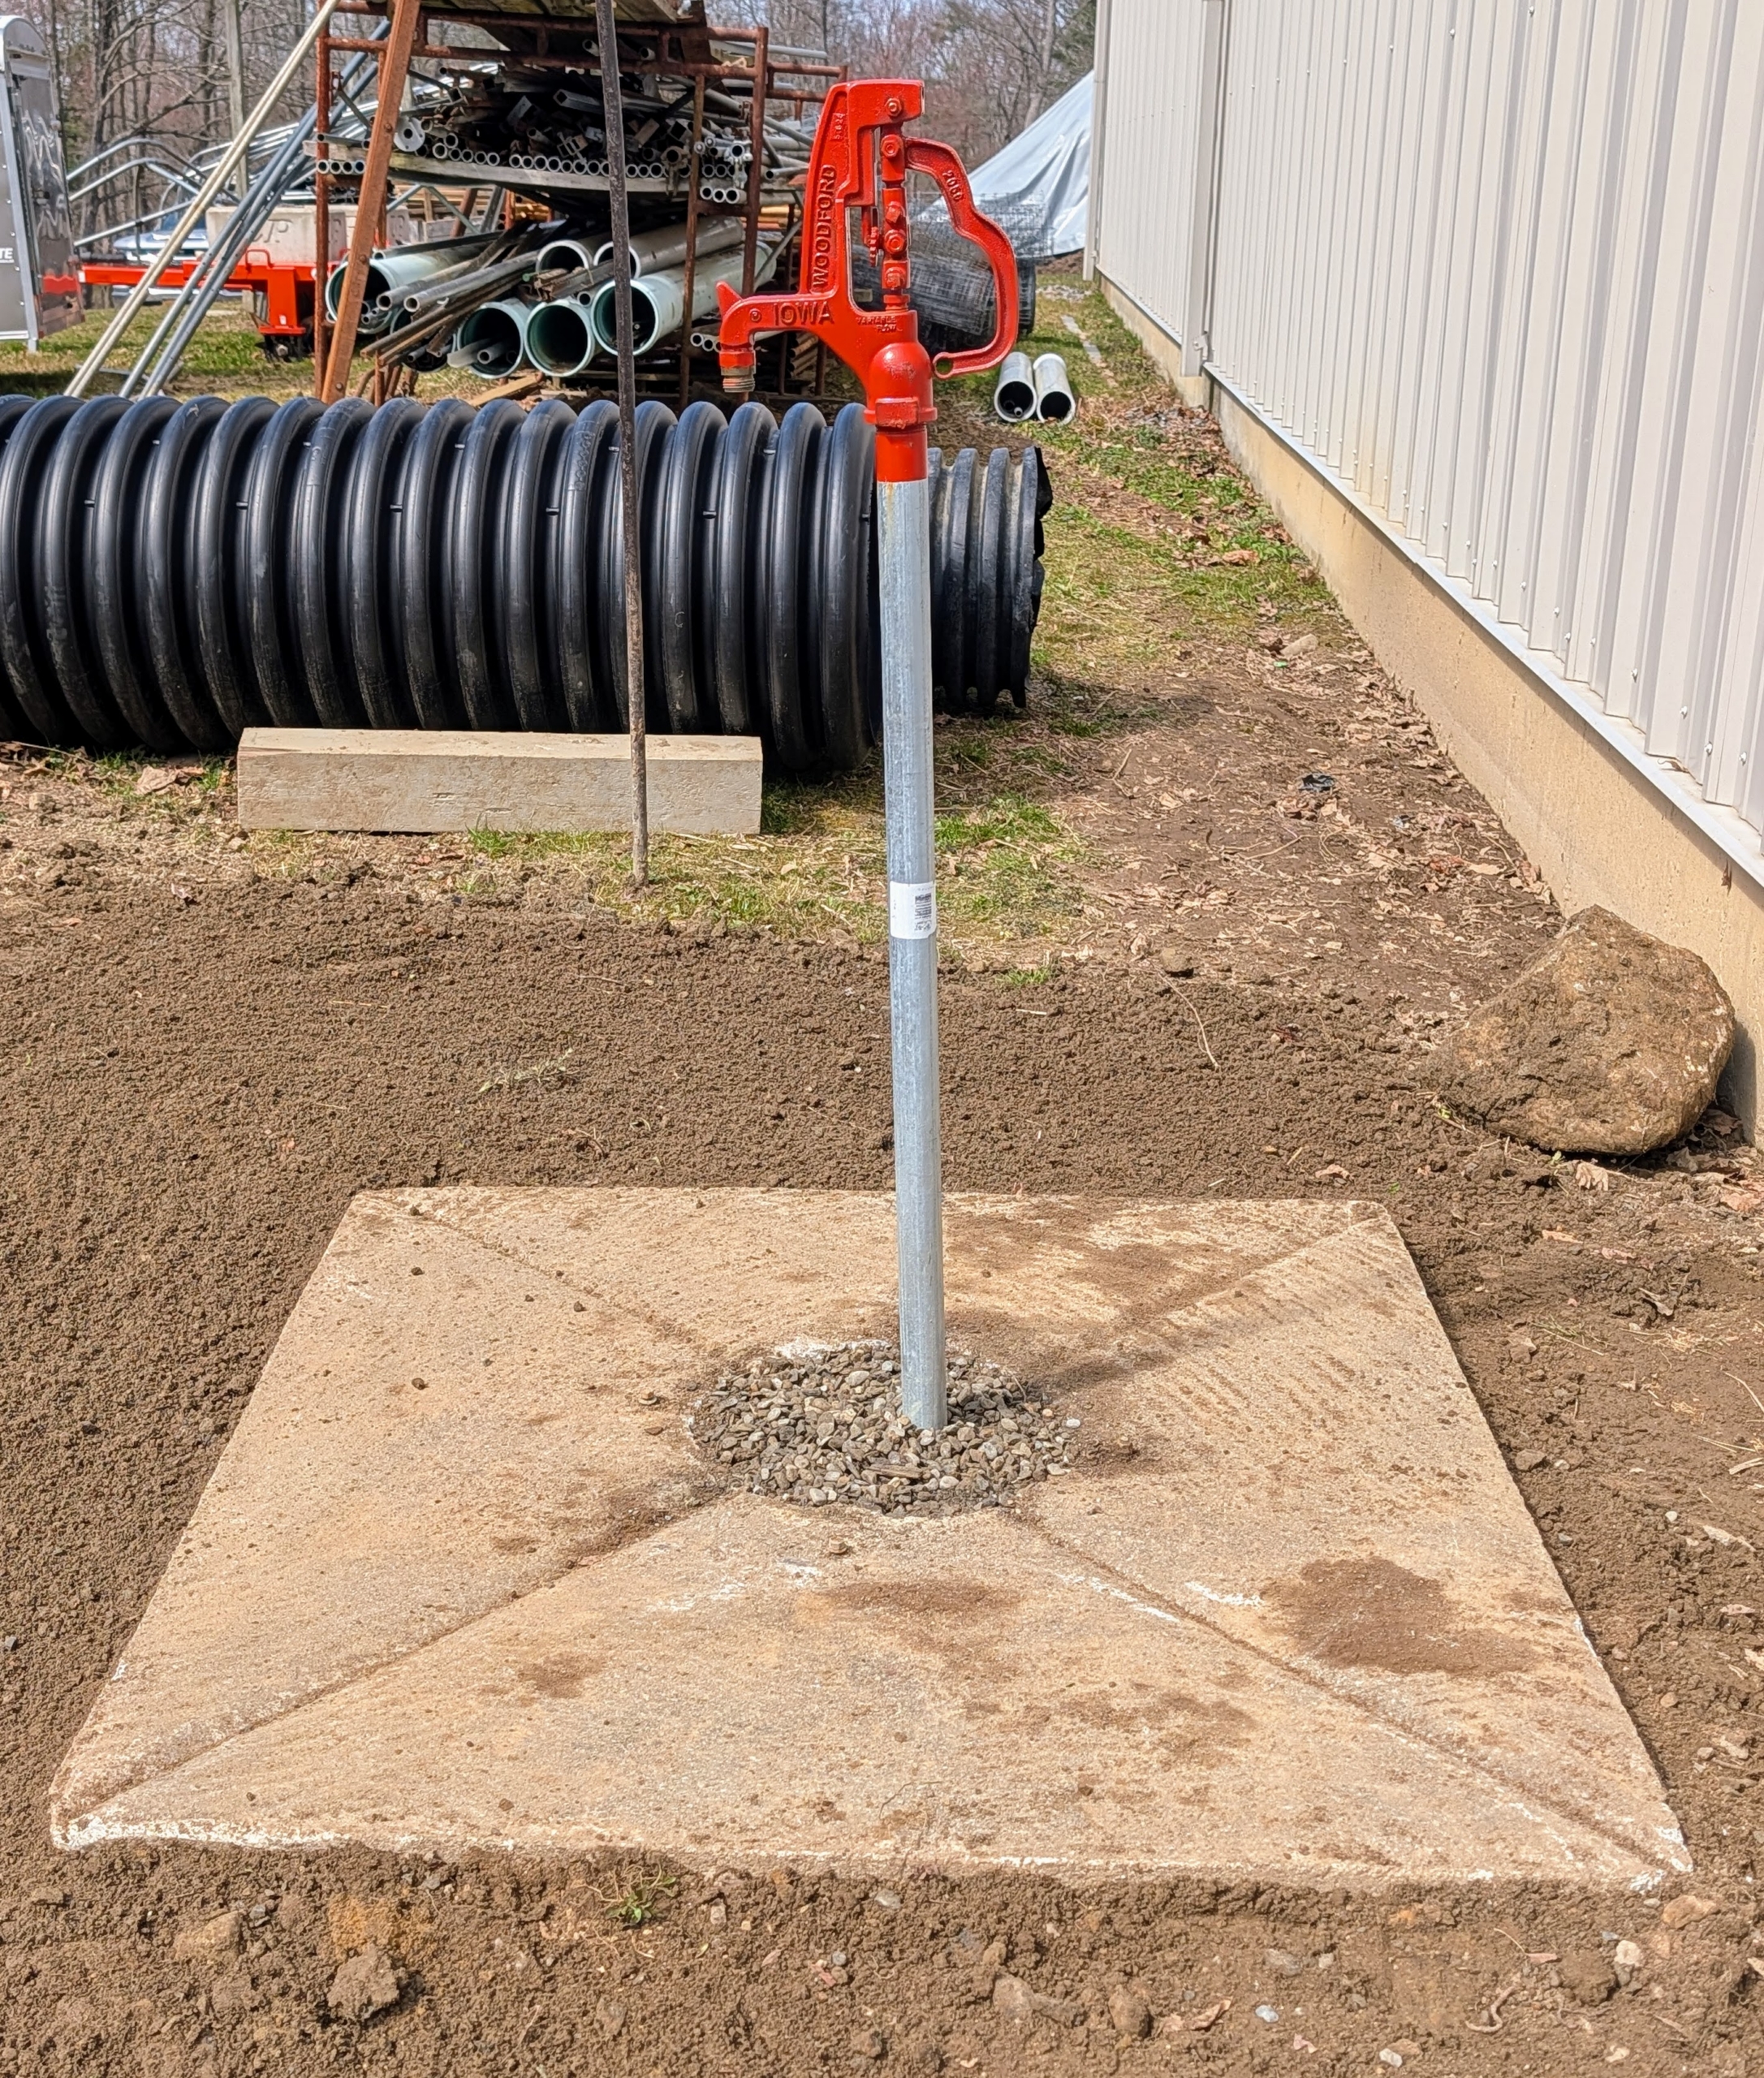
Underneath some lumber, Pete found this four foot square piece of concrete once located in one of my paddocks and used as the foundation of an automatic equine water source – one of those things I saved “just in case” it could be reused.
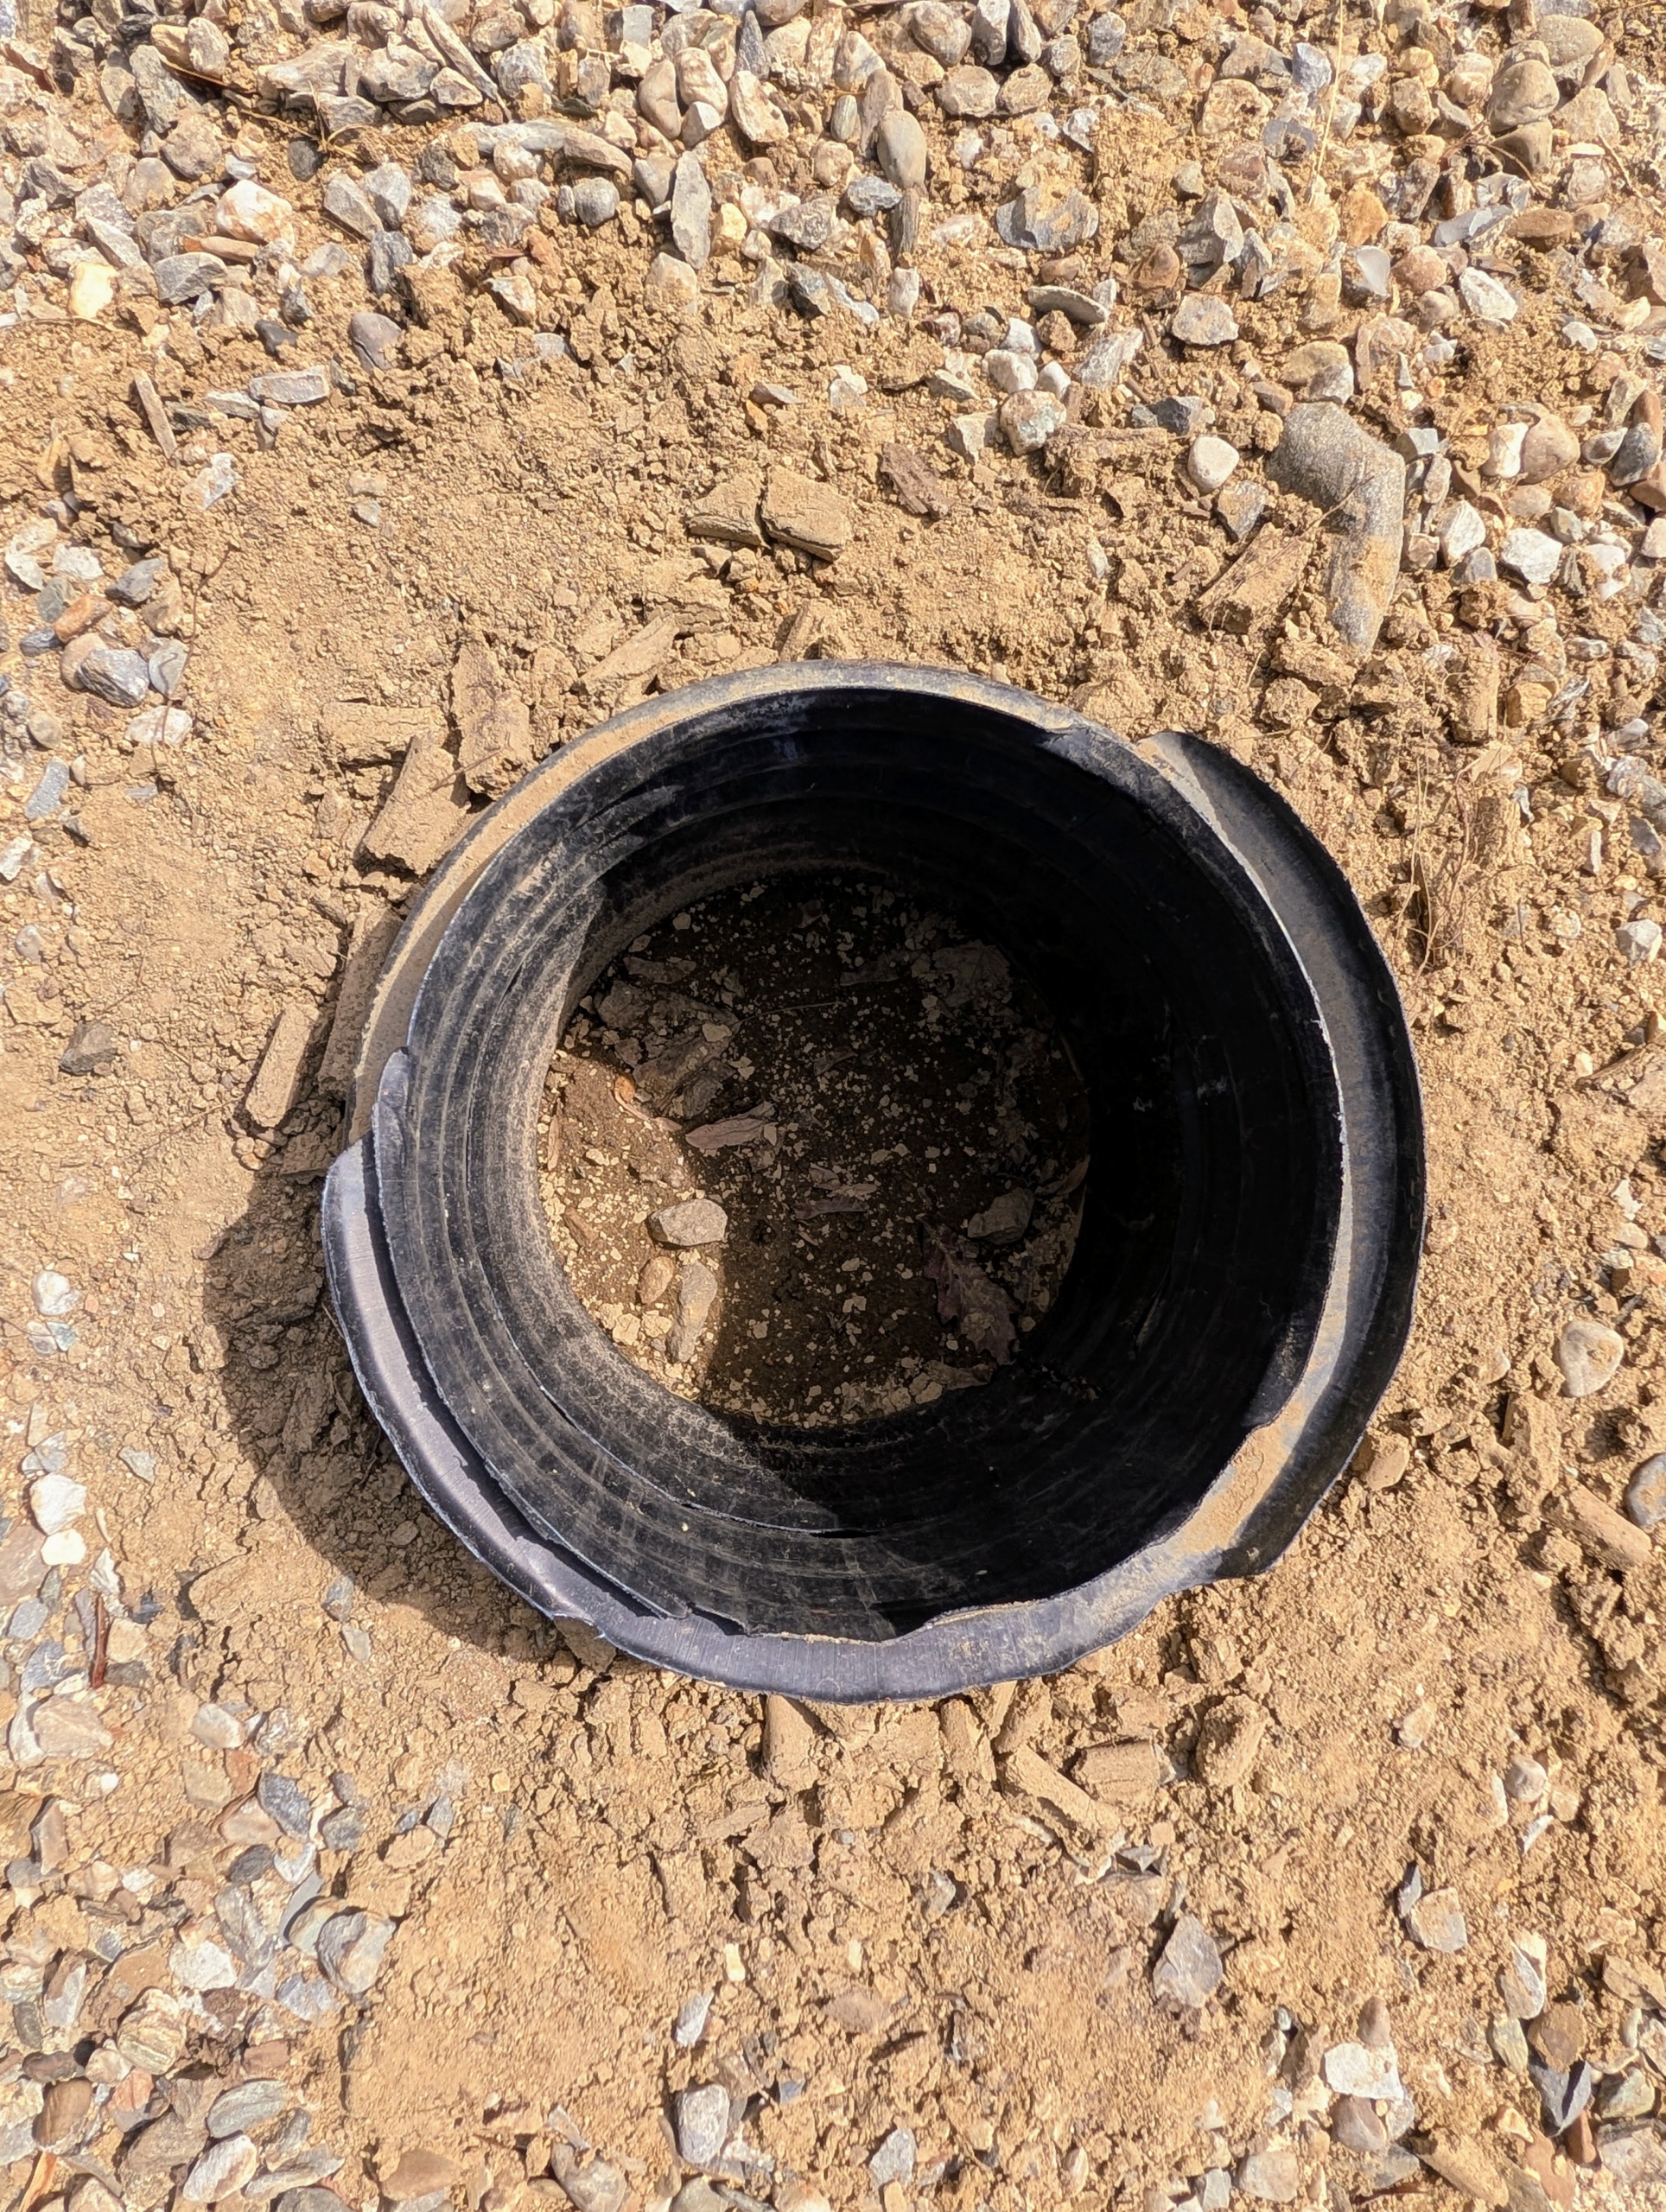
In the center was a hole lined with a piece of industrial drainage piping.
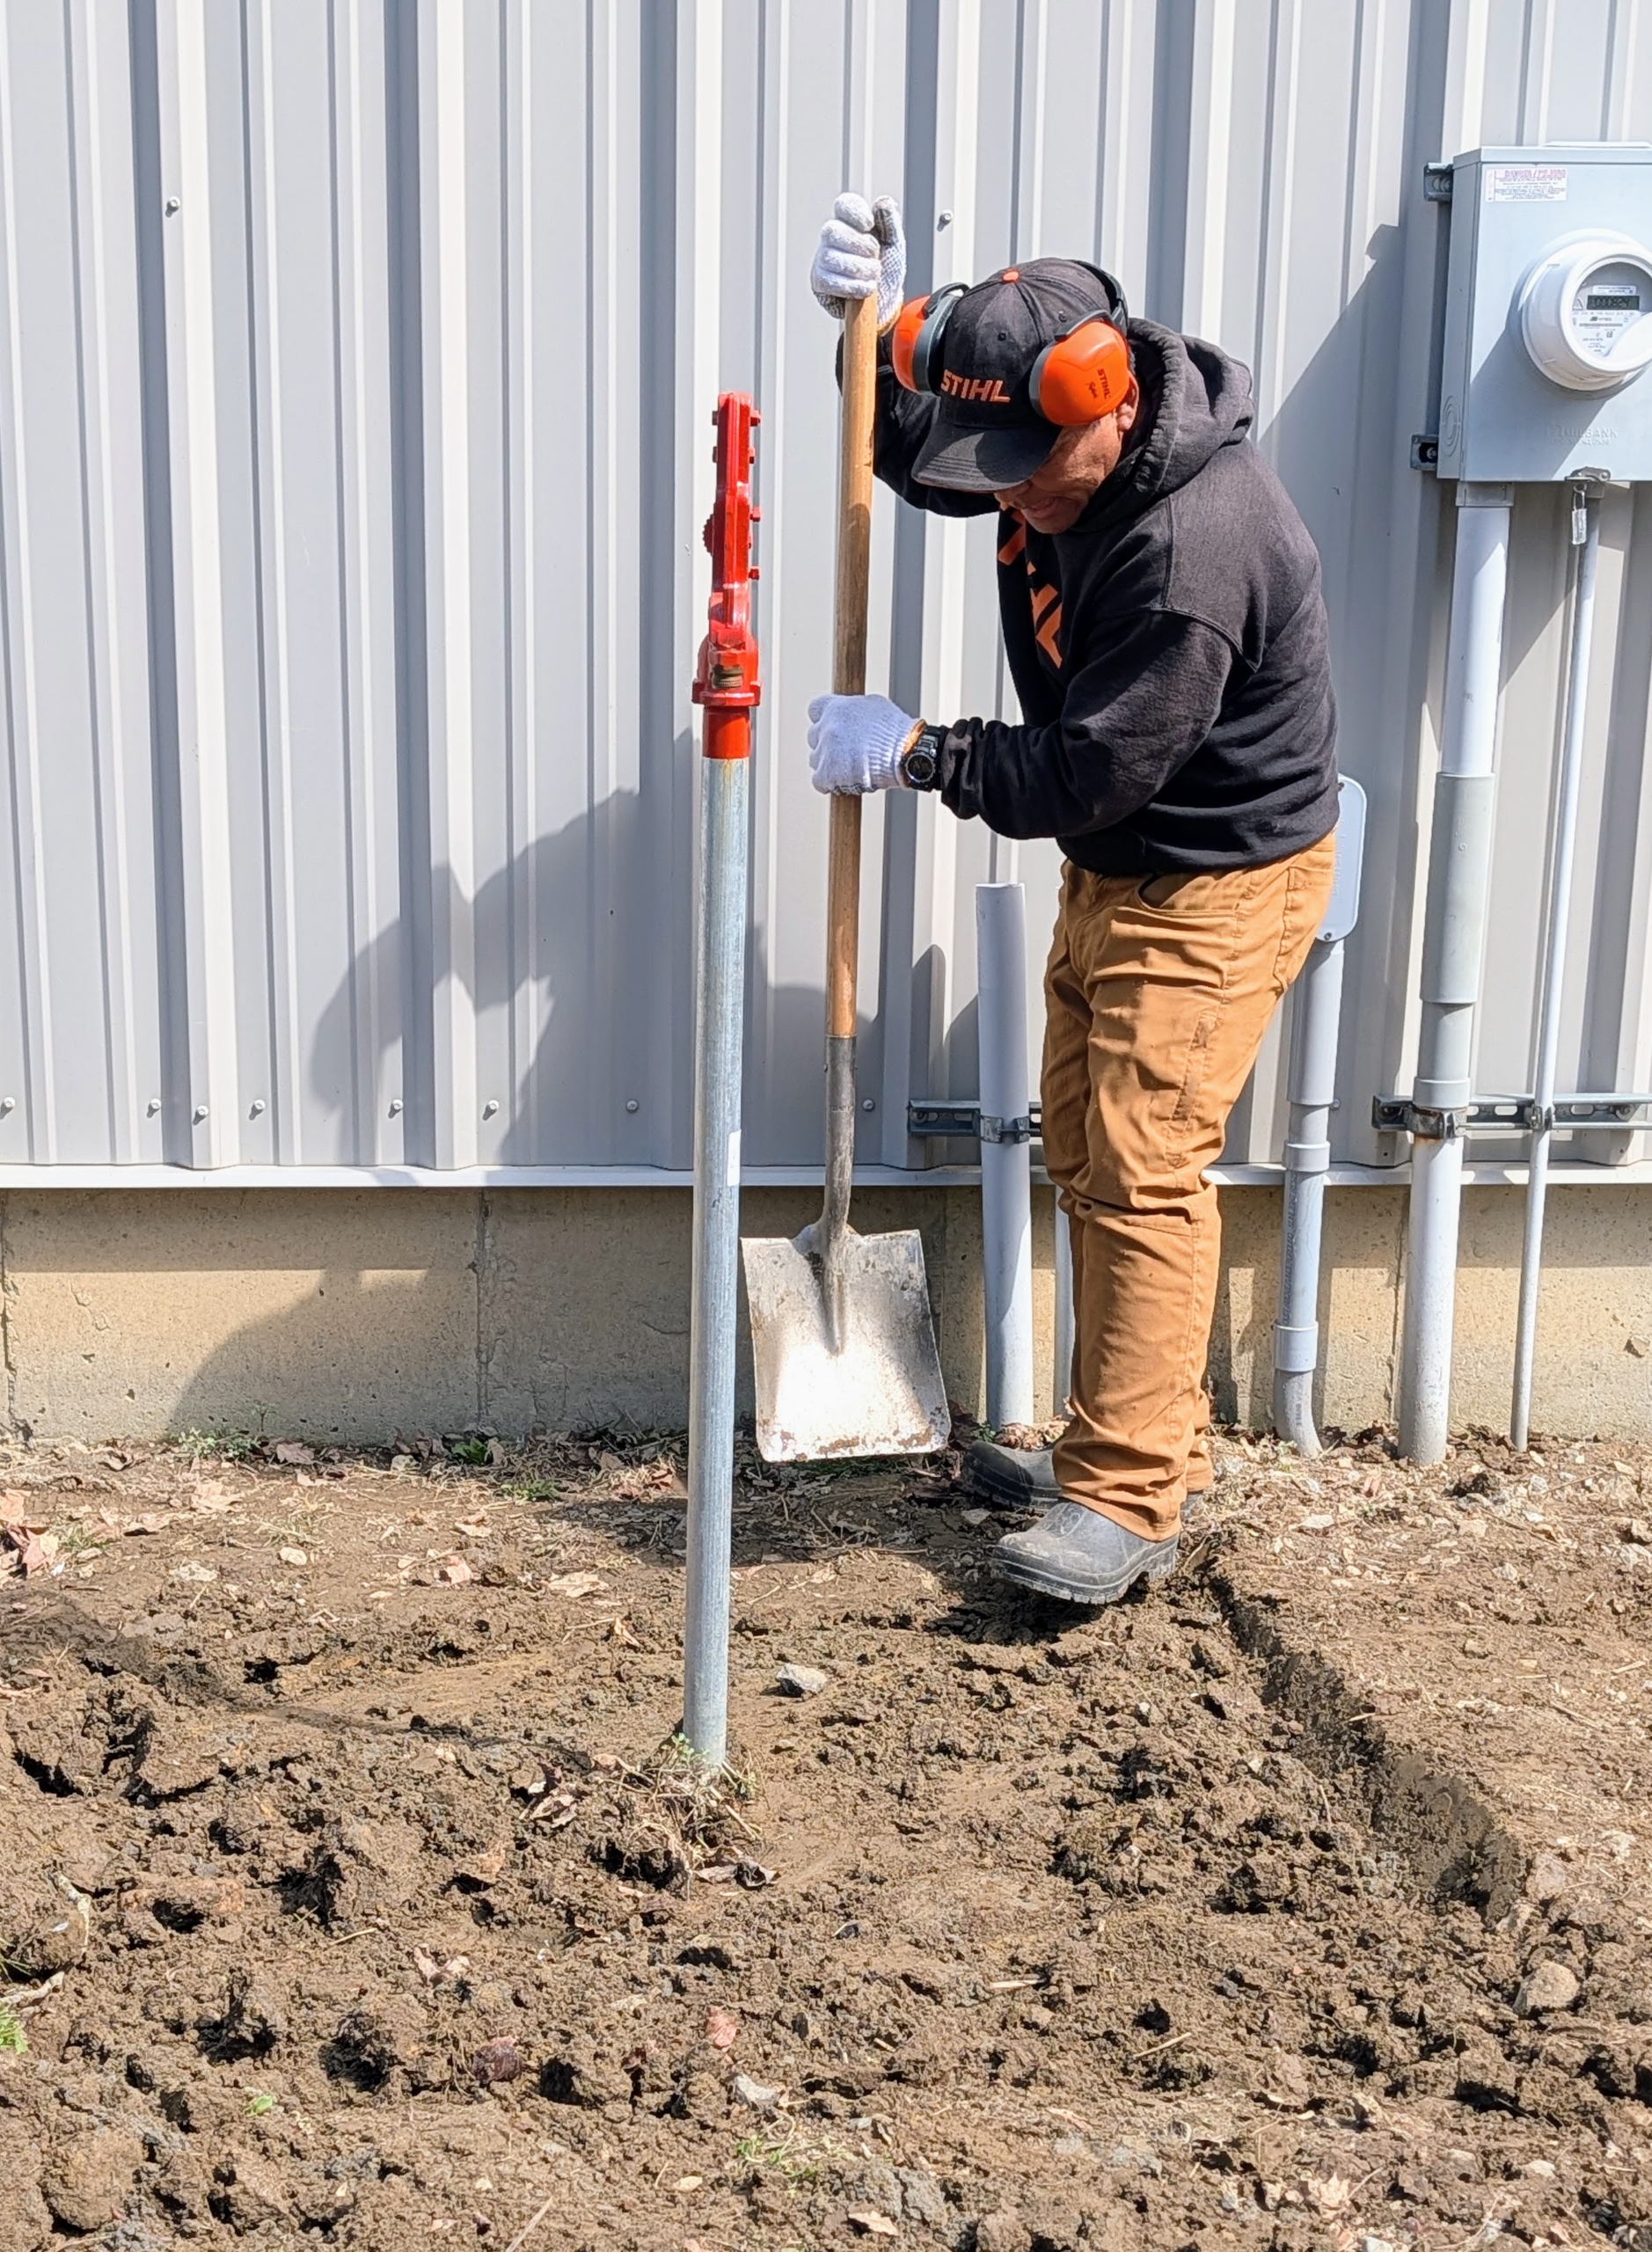
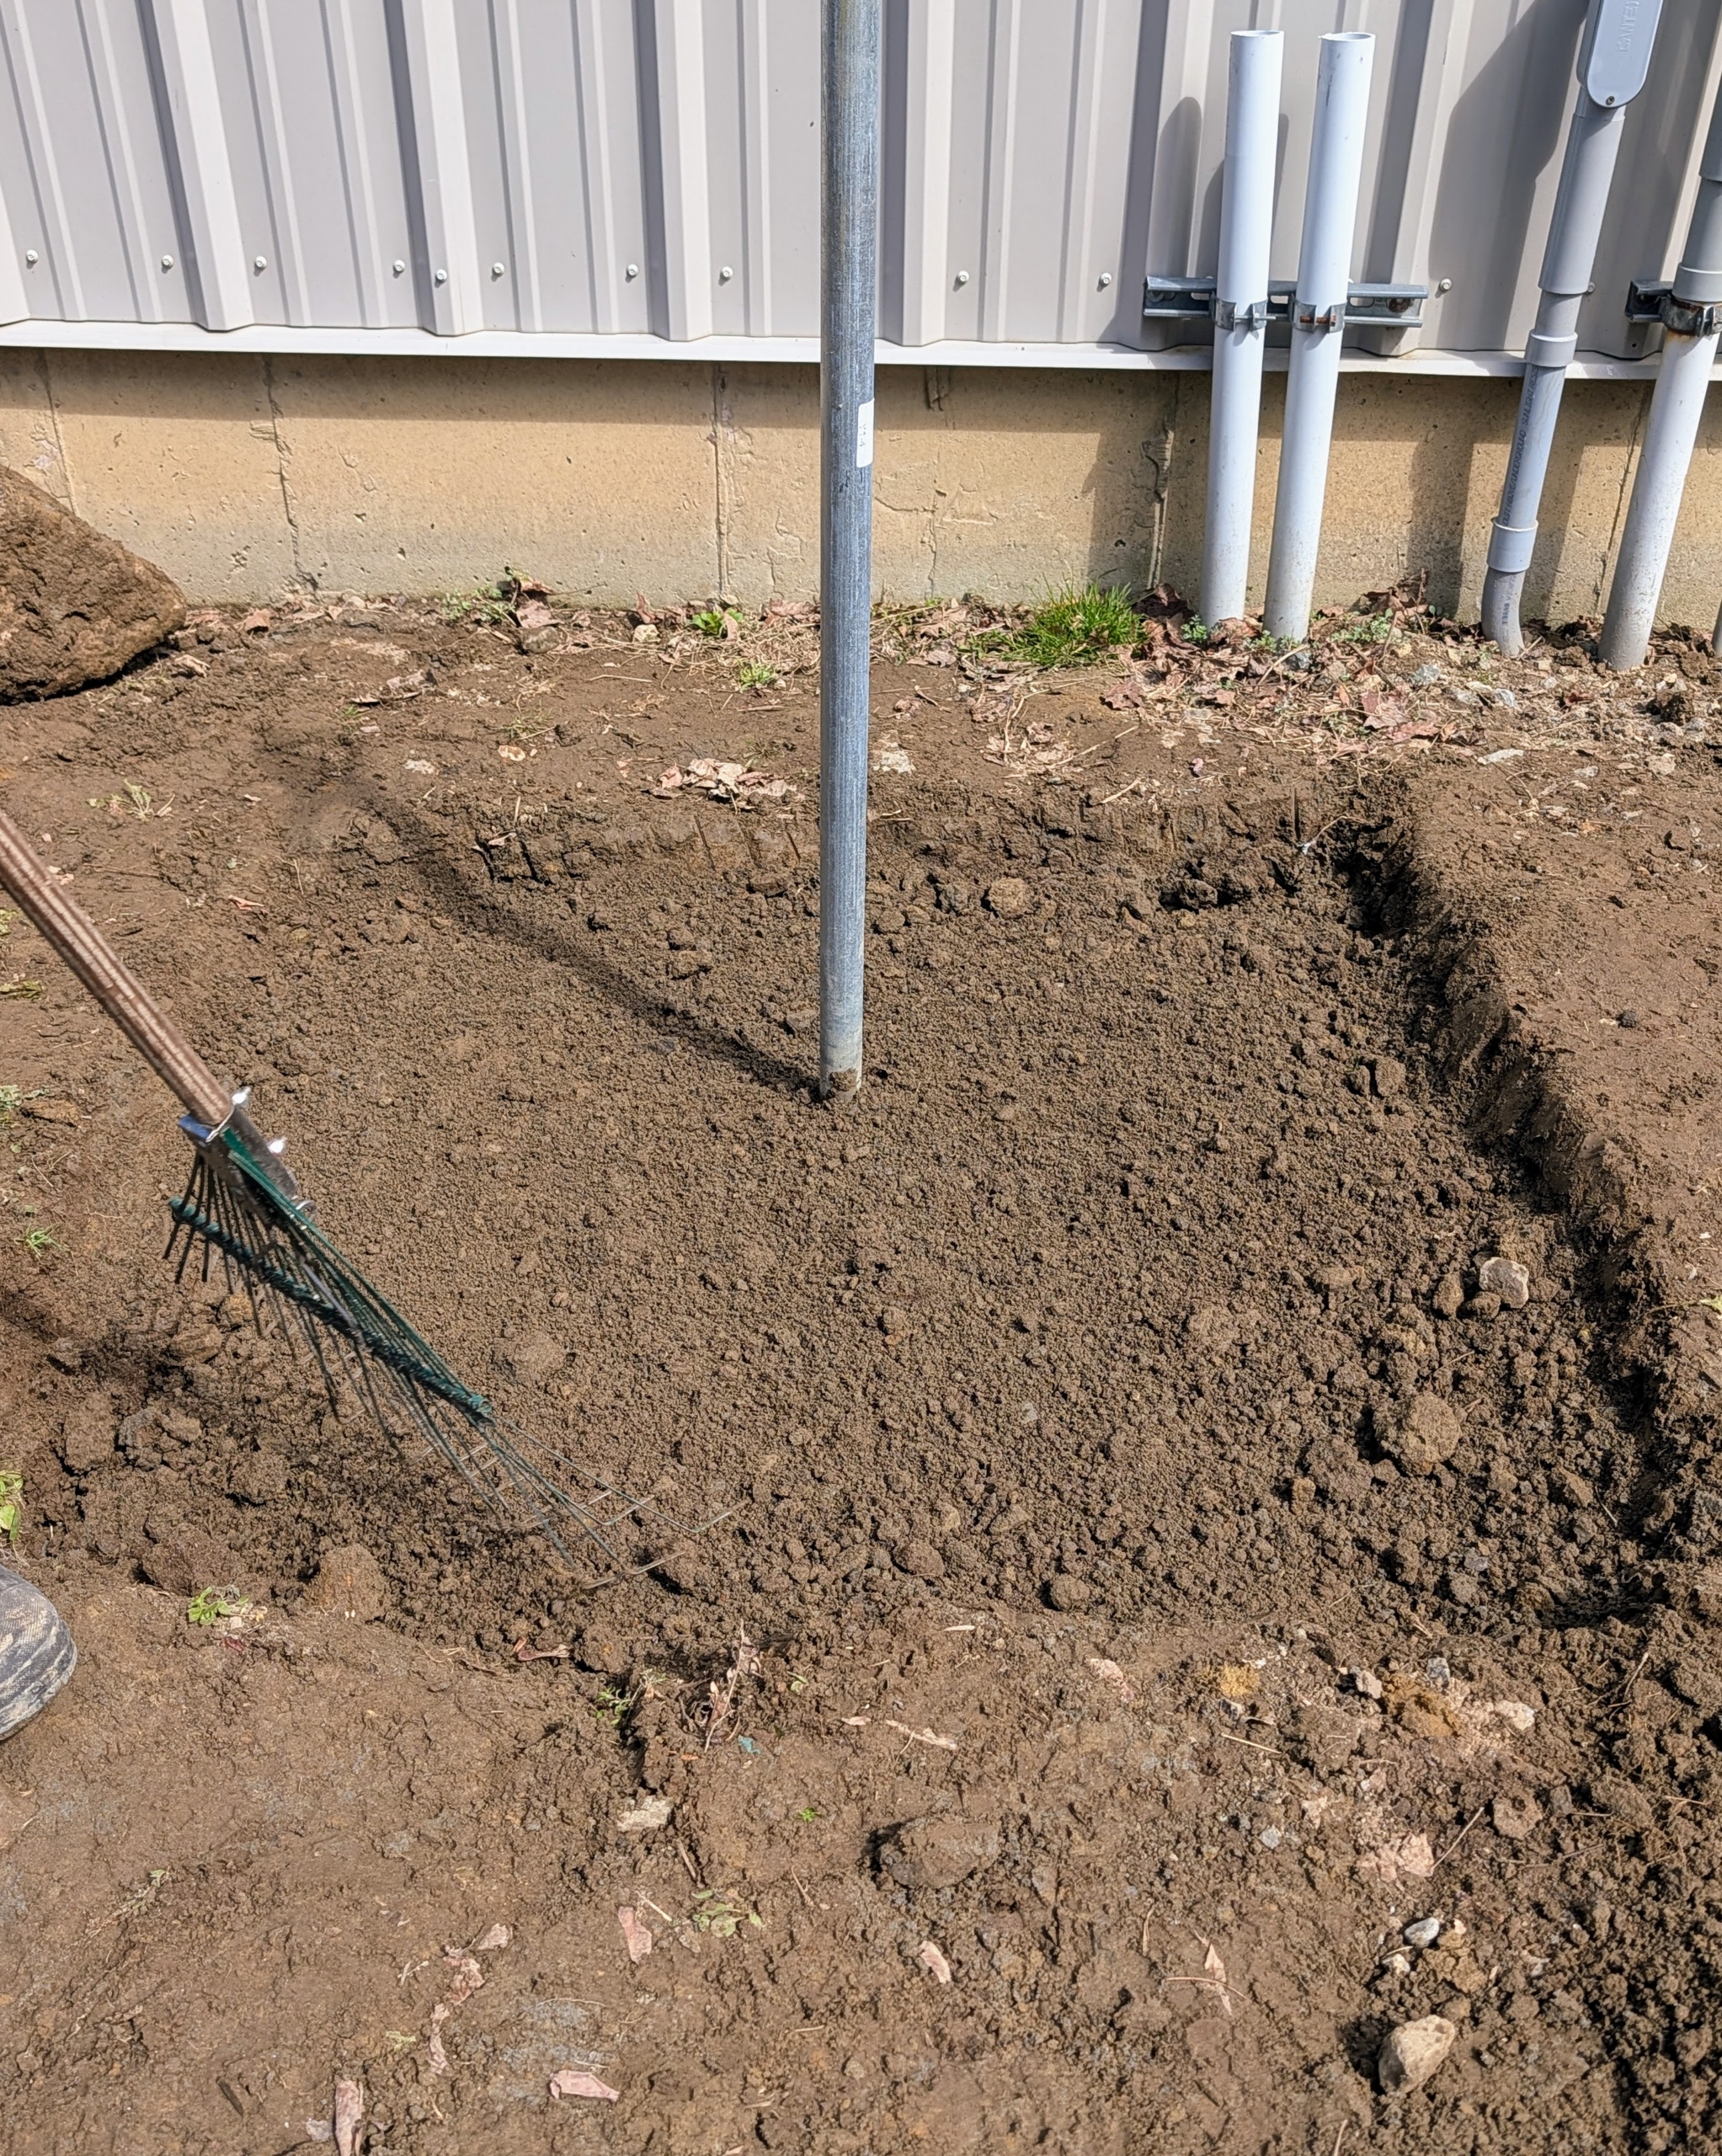
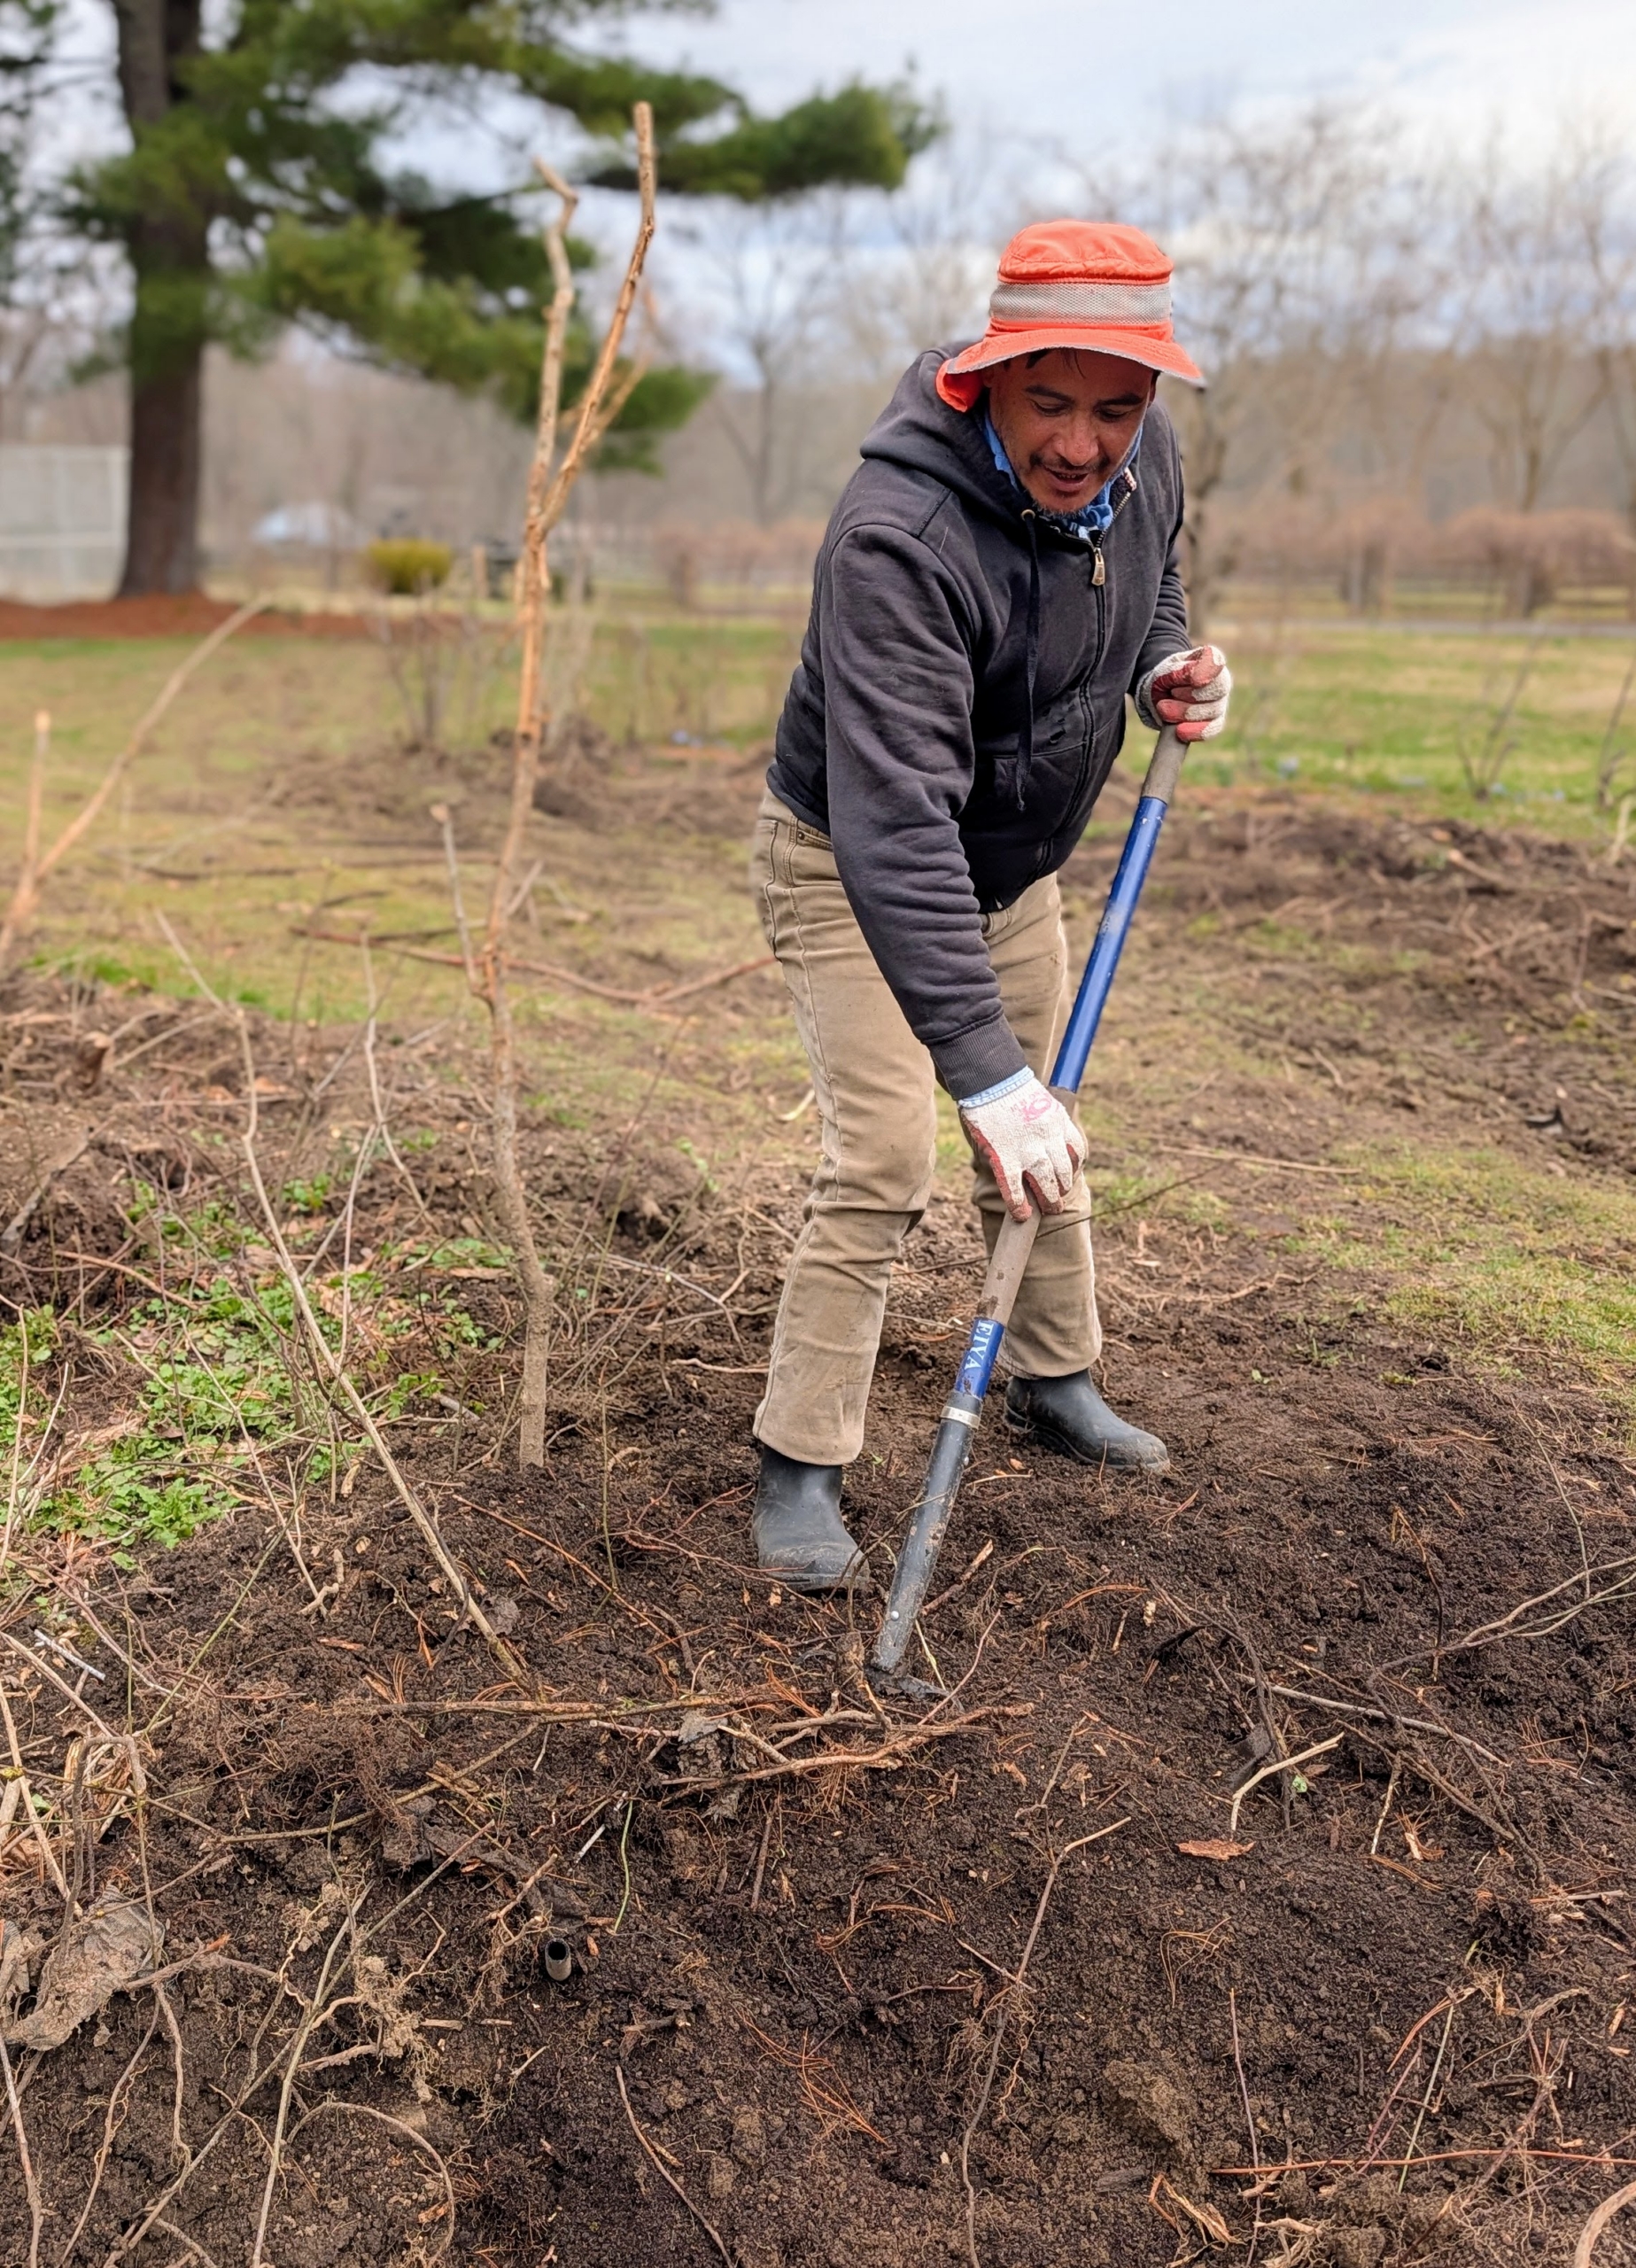
Pete thought it would work well as a base for this existing free standing hose bib. Here’s Phurba digging a level space to fit the concrete square.
The new base would provide a place to stand and store a hose. It will also keep mud from ponding around the faucet.
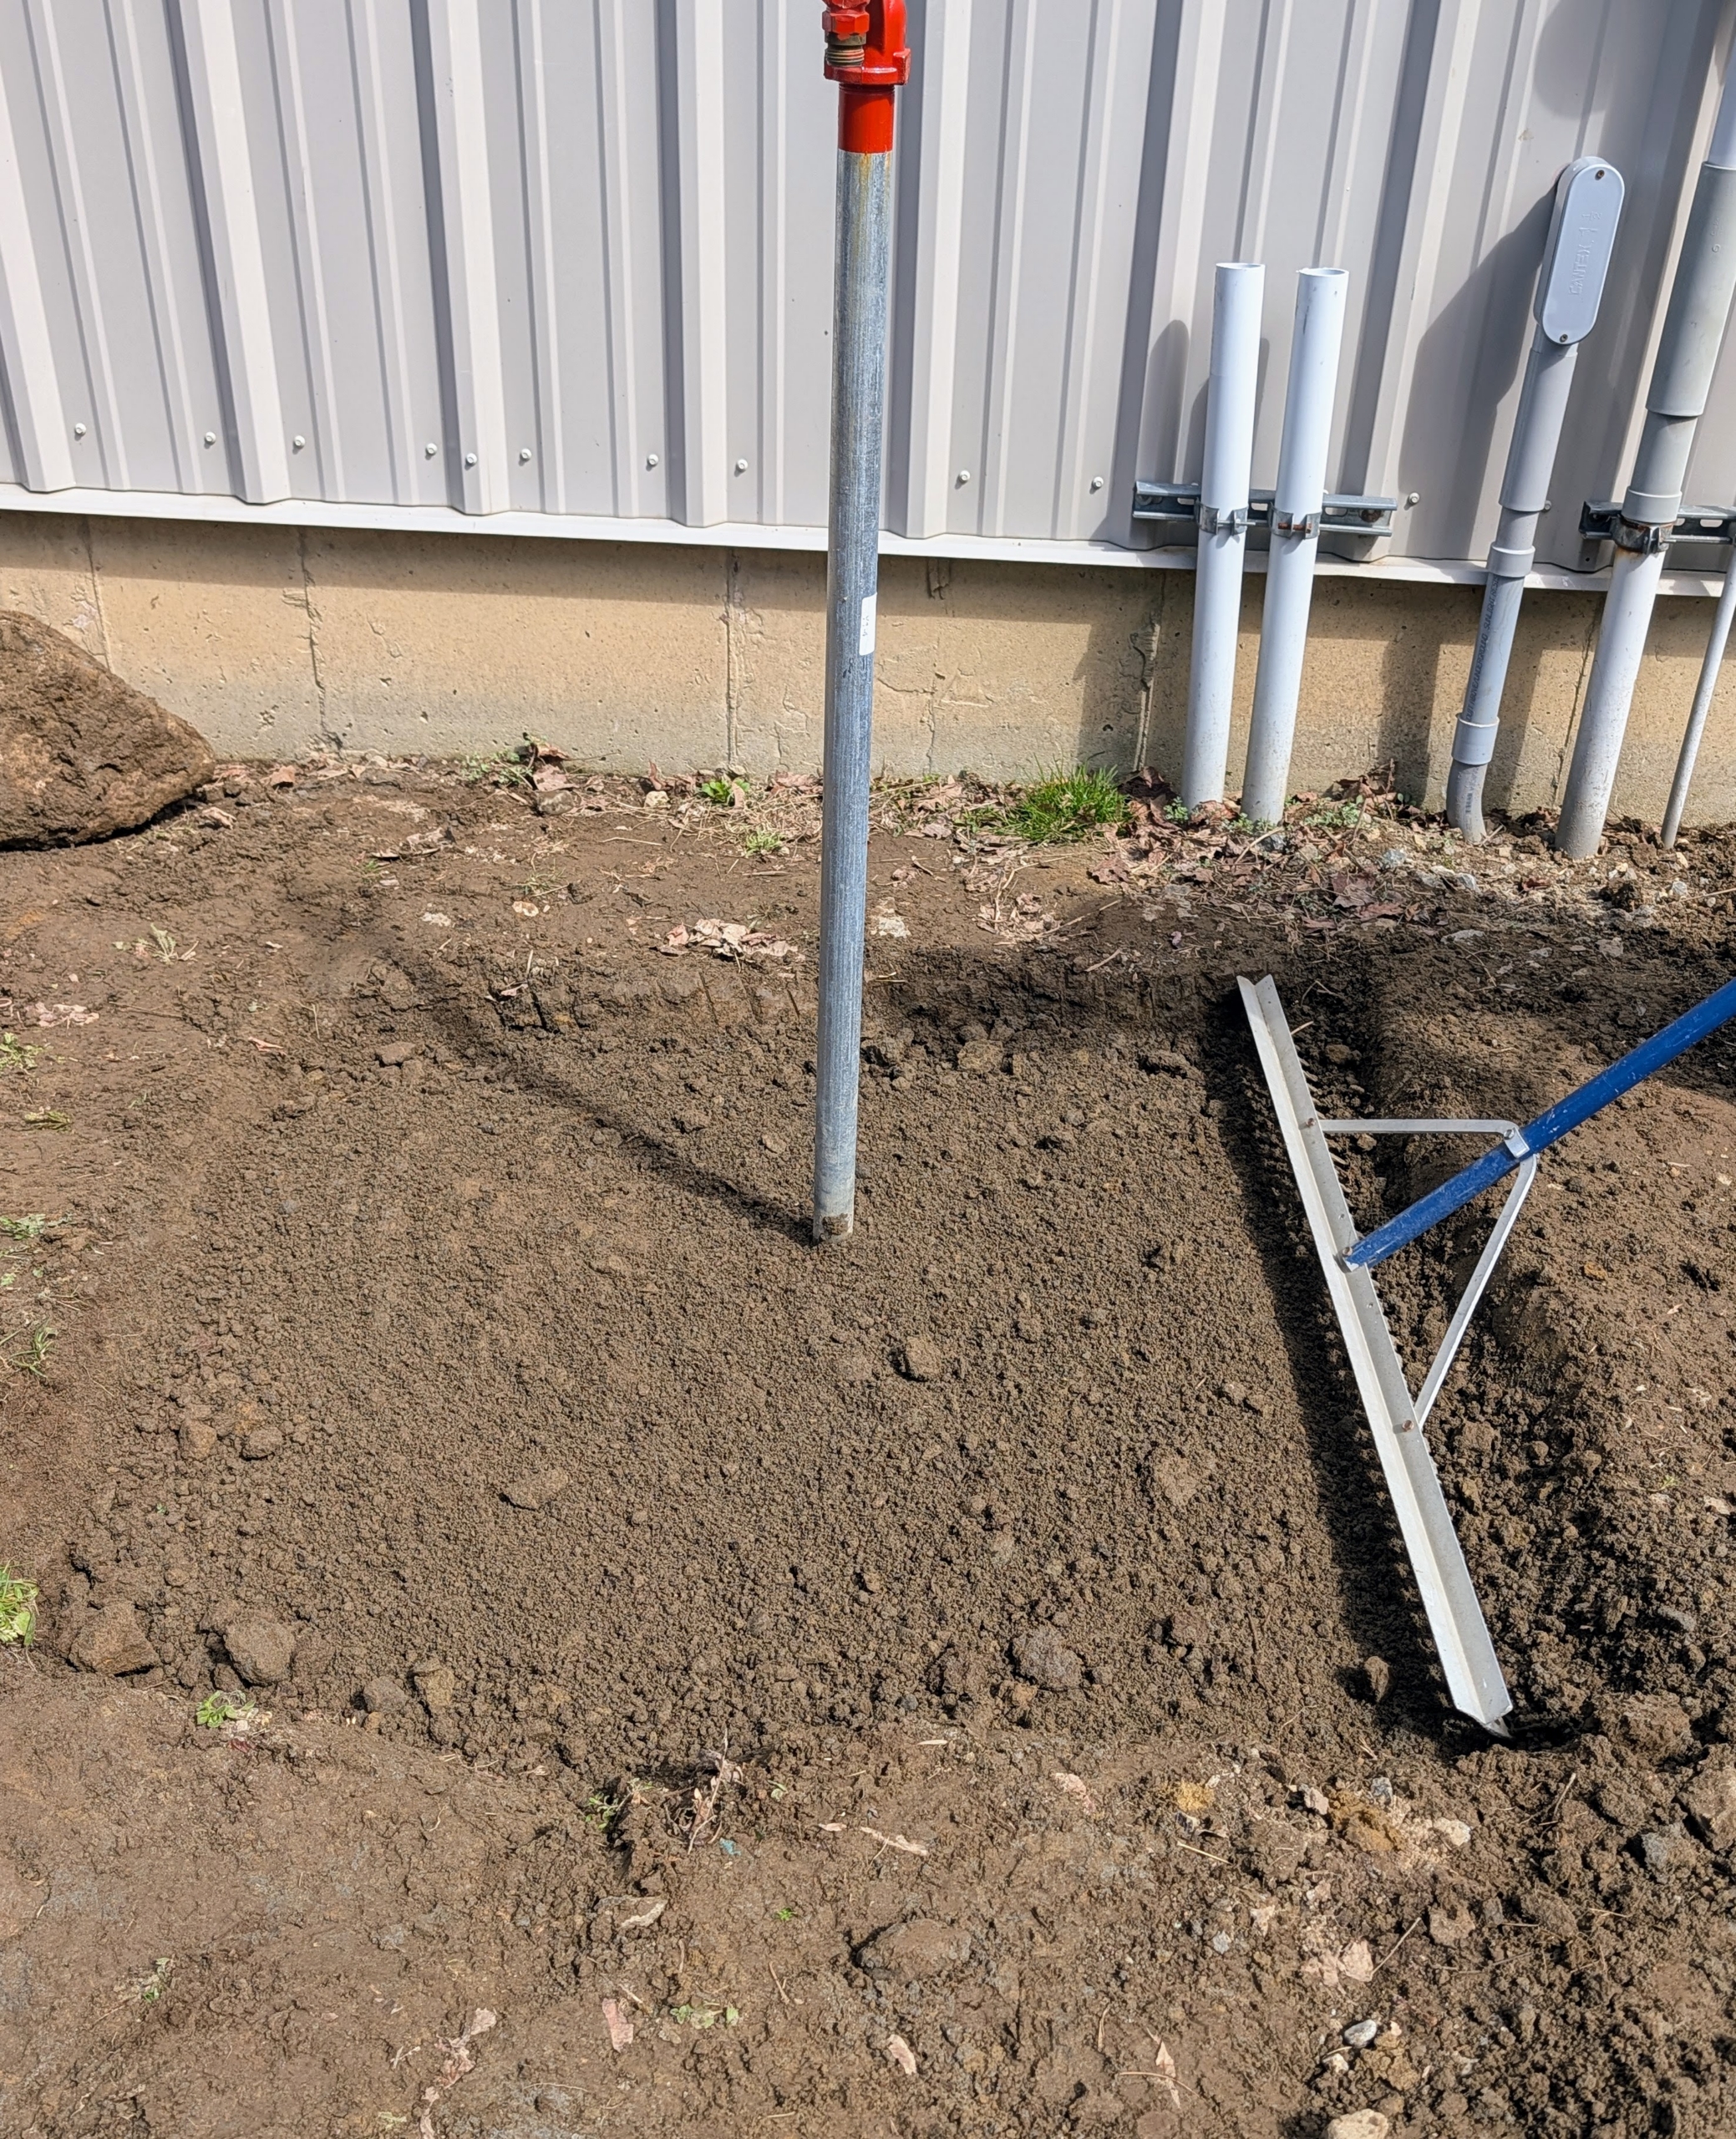
But the area must first be prepped. Pete rakes any stones away from the space.
He also goes over it with a four foot wide gravel rake.
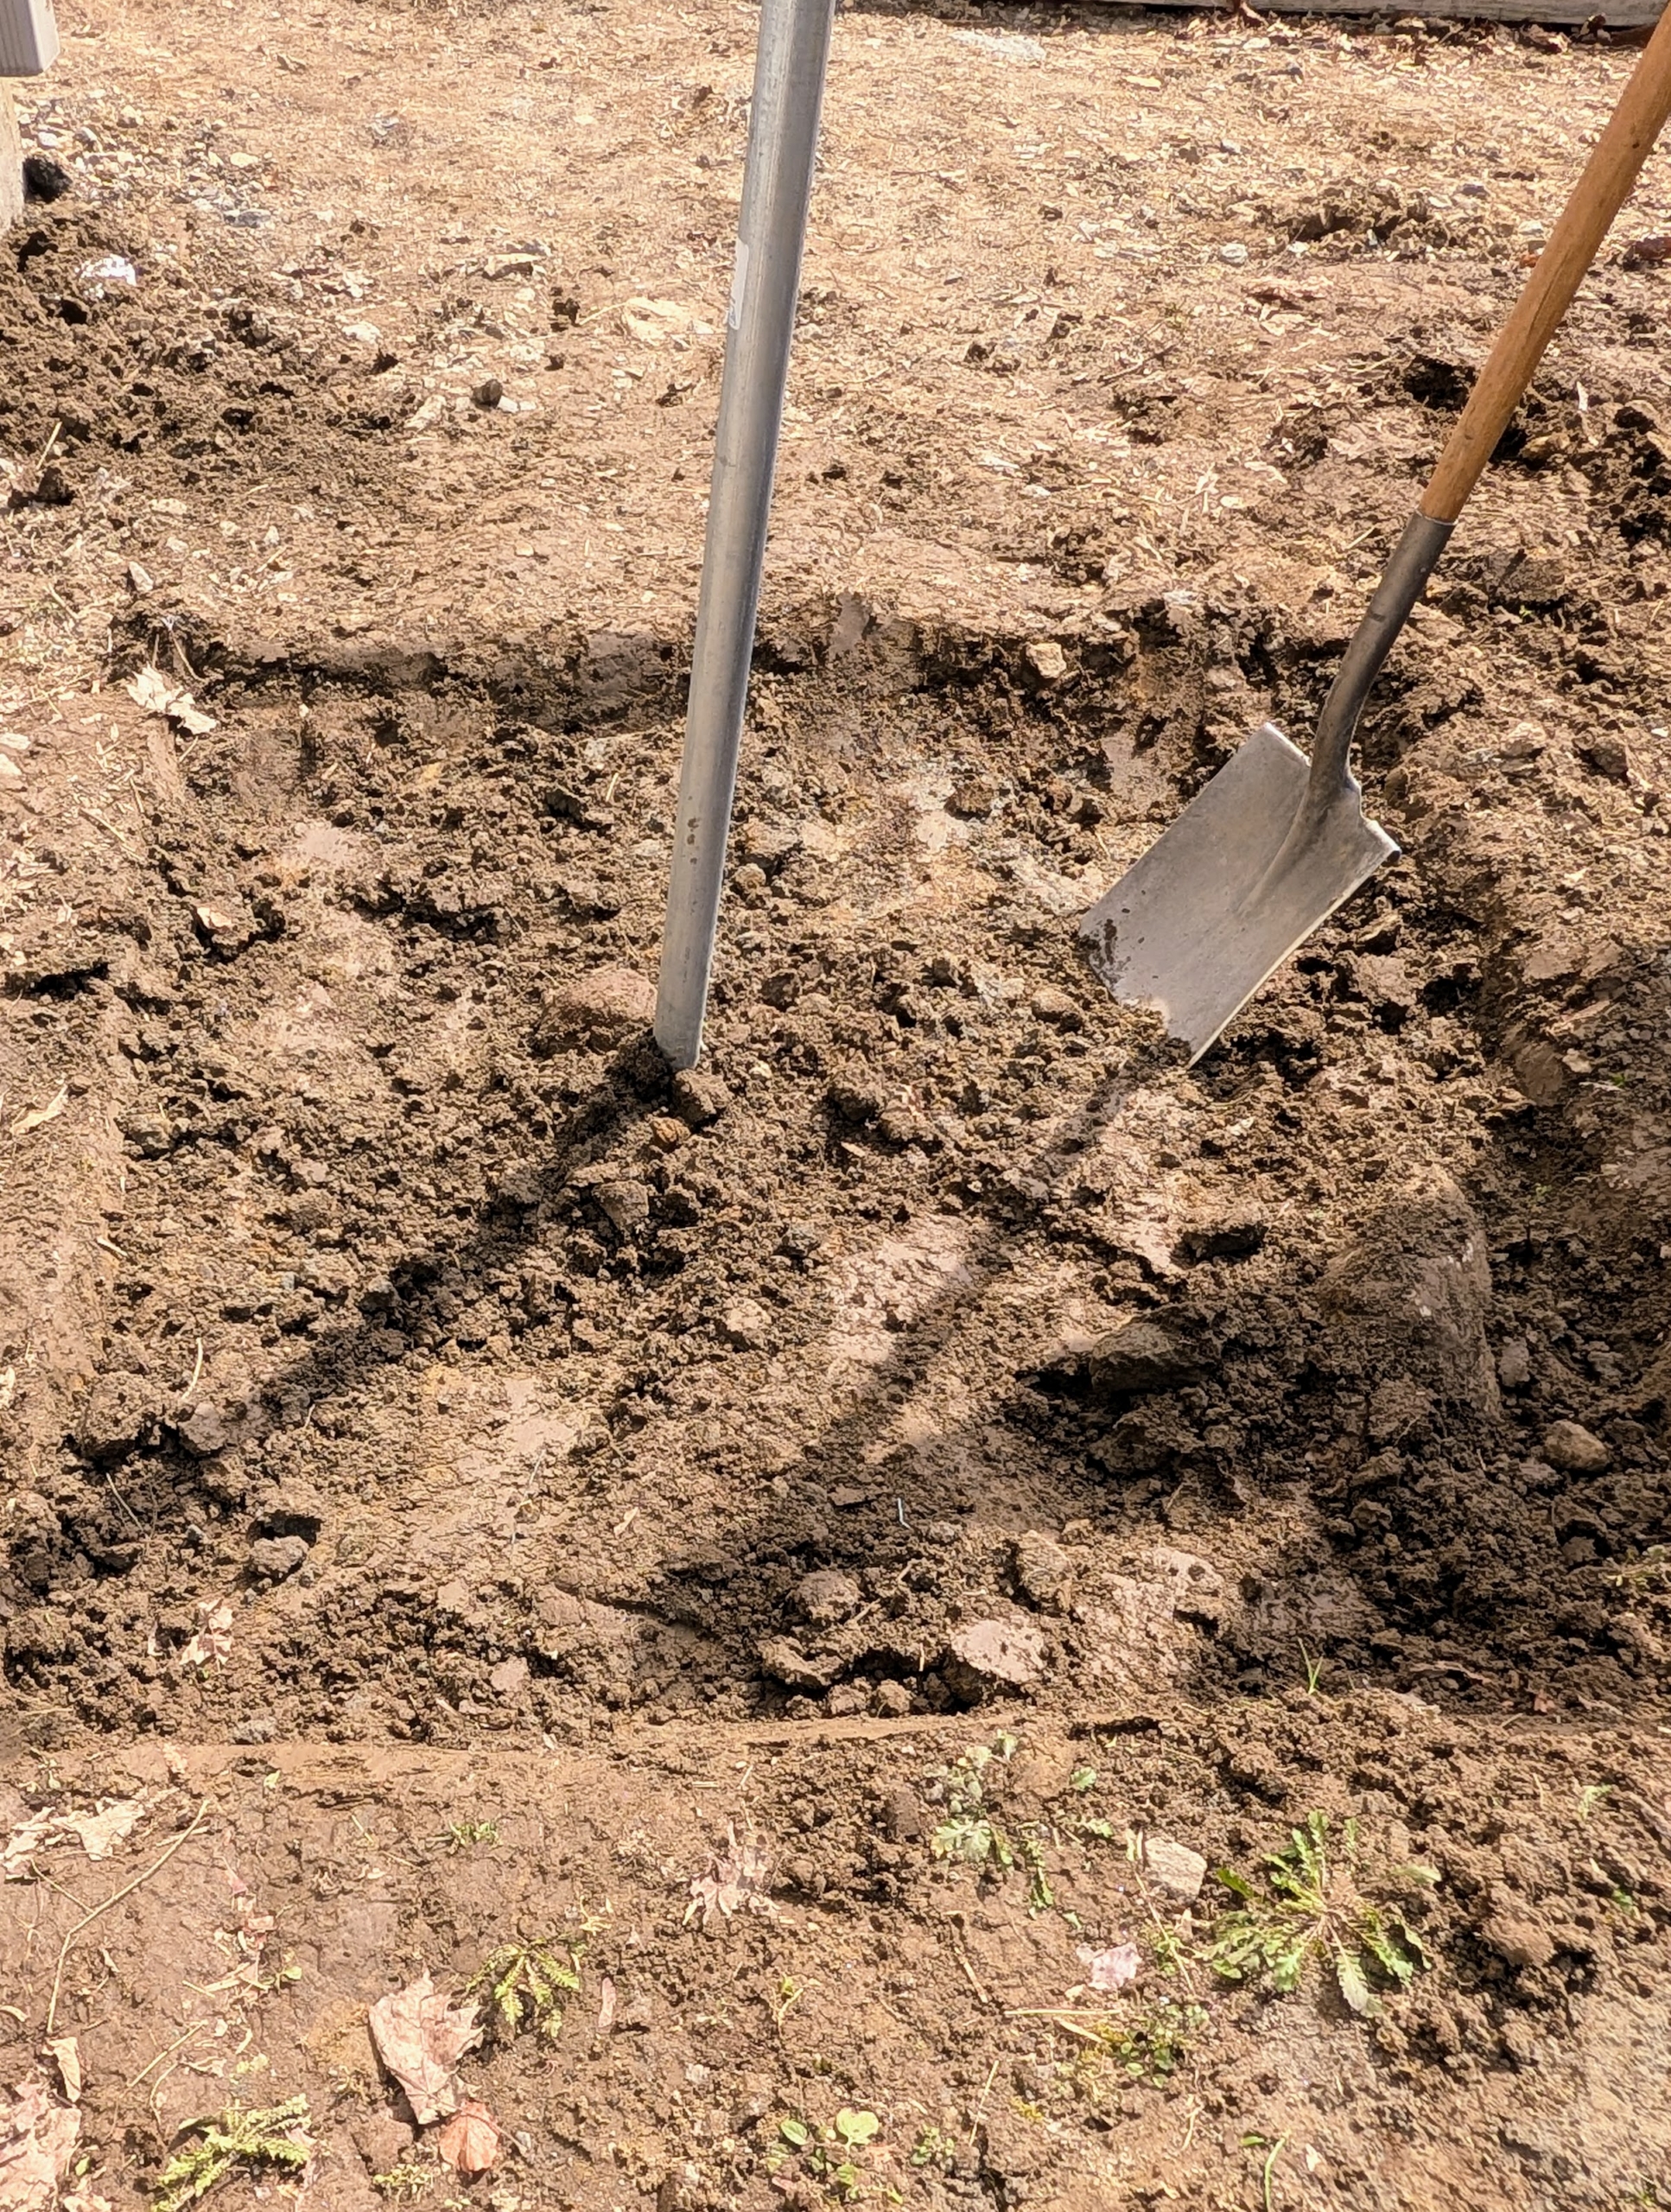
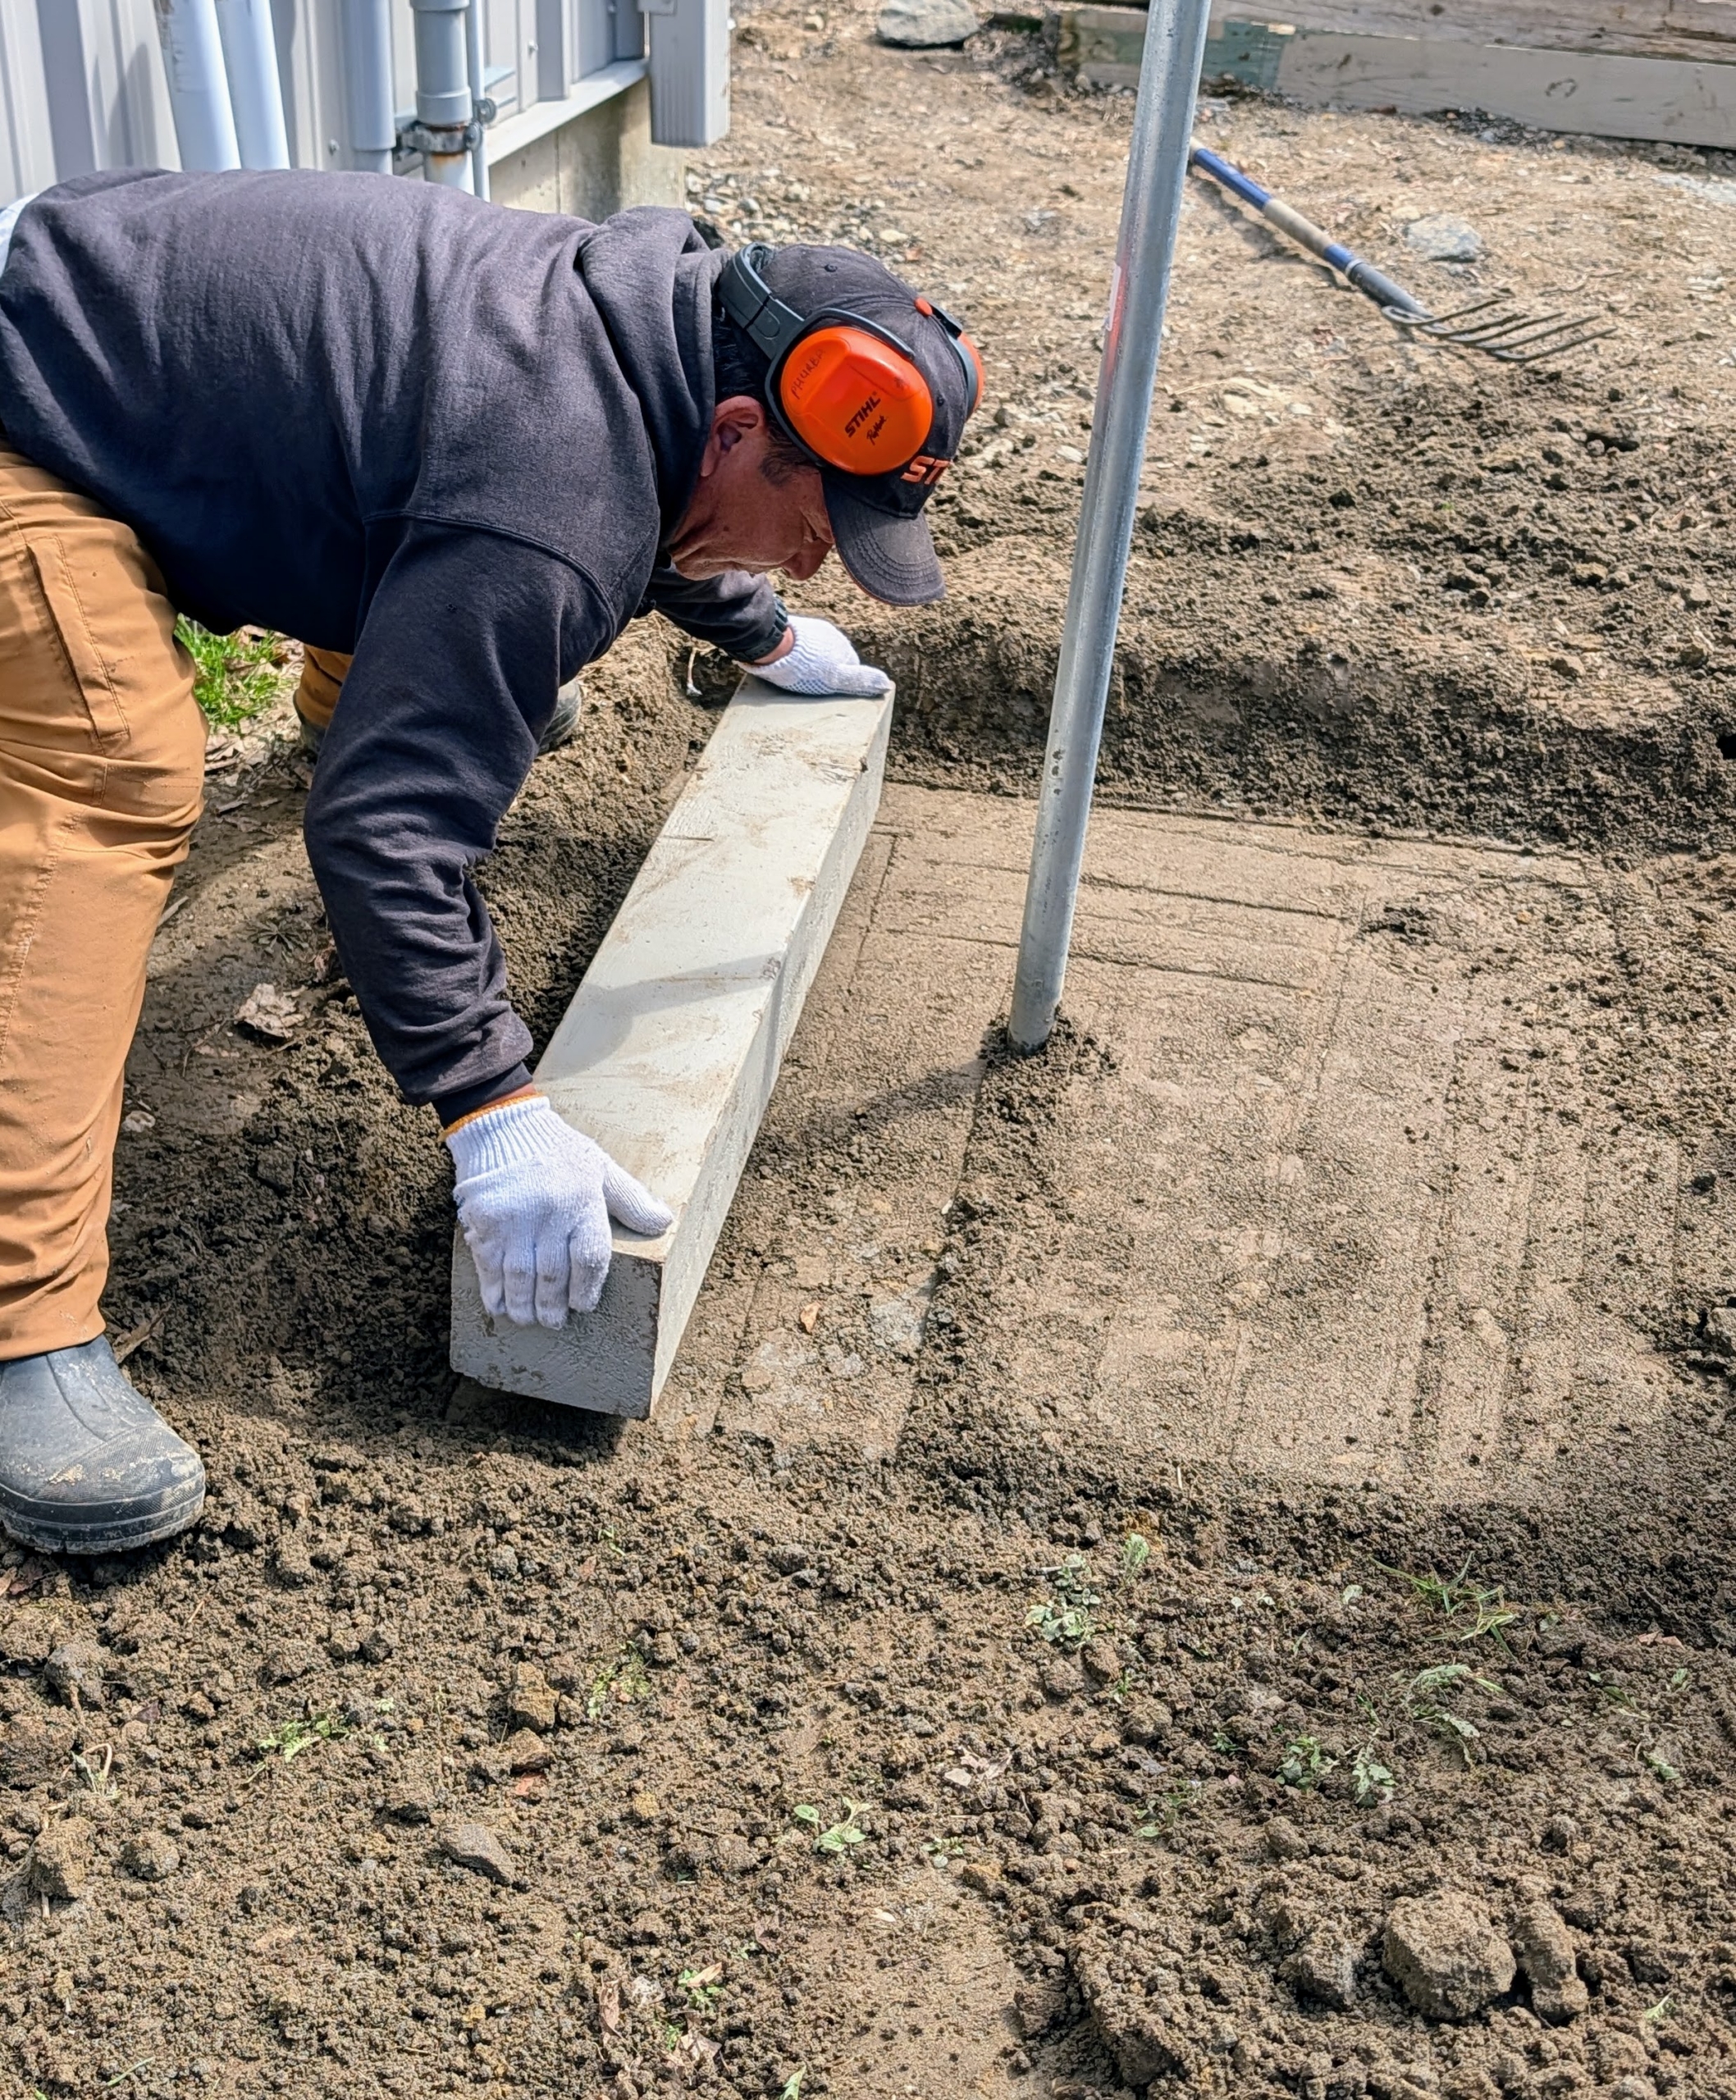
Phurba uses a four foot long piece of wood to tamp down on the soil.
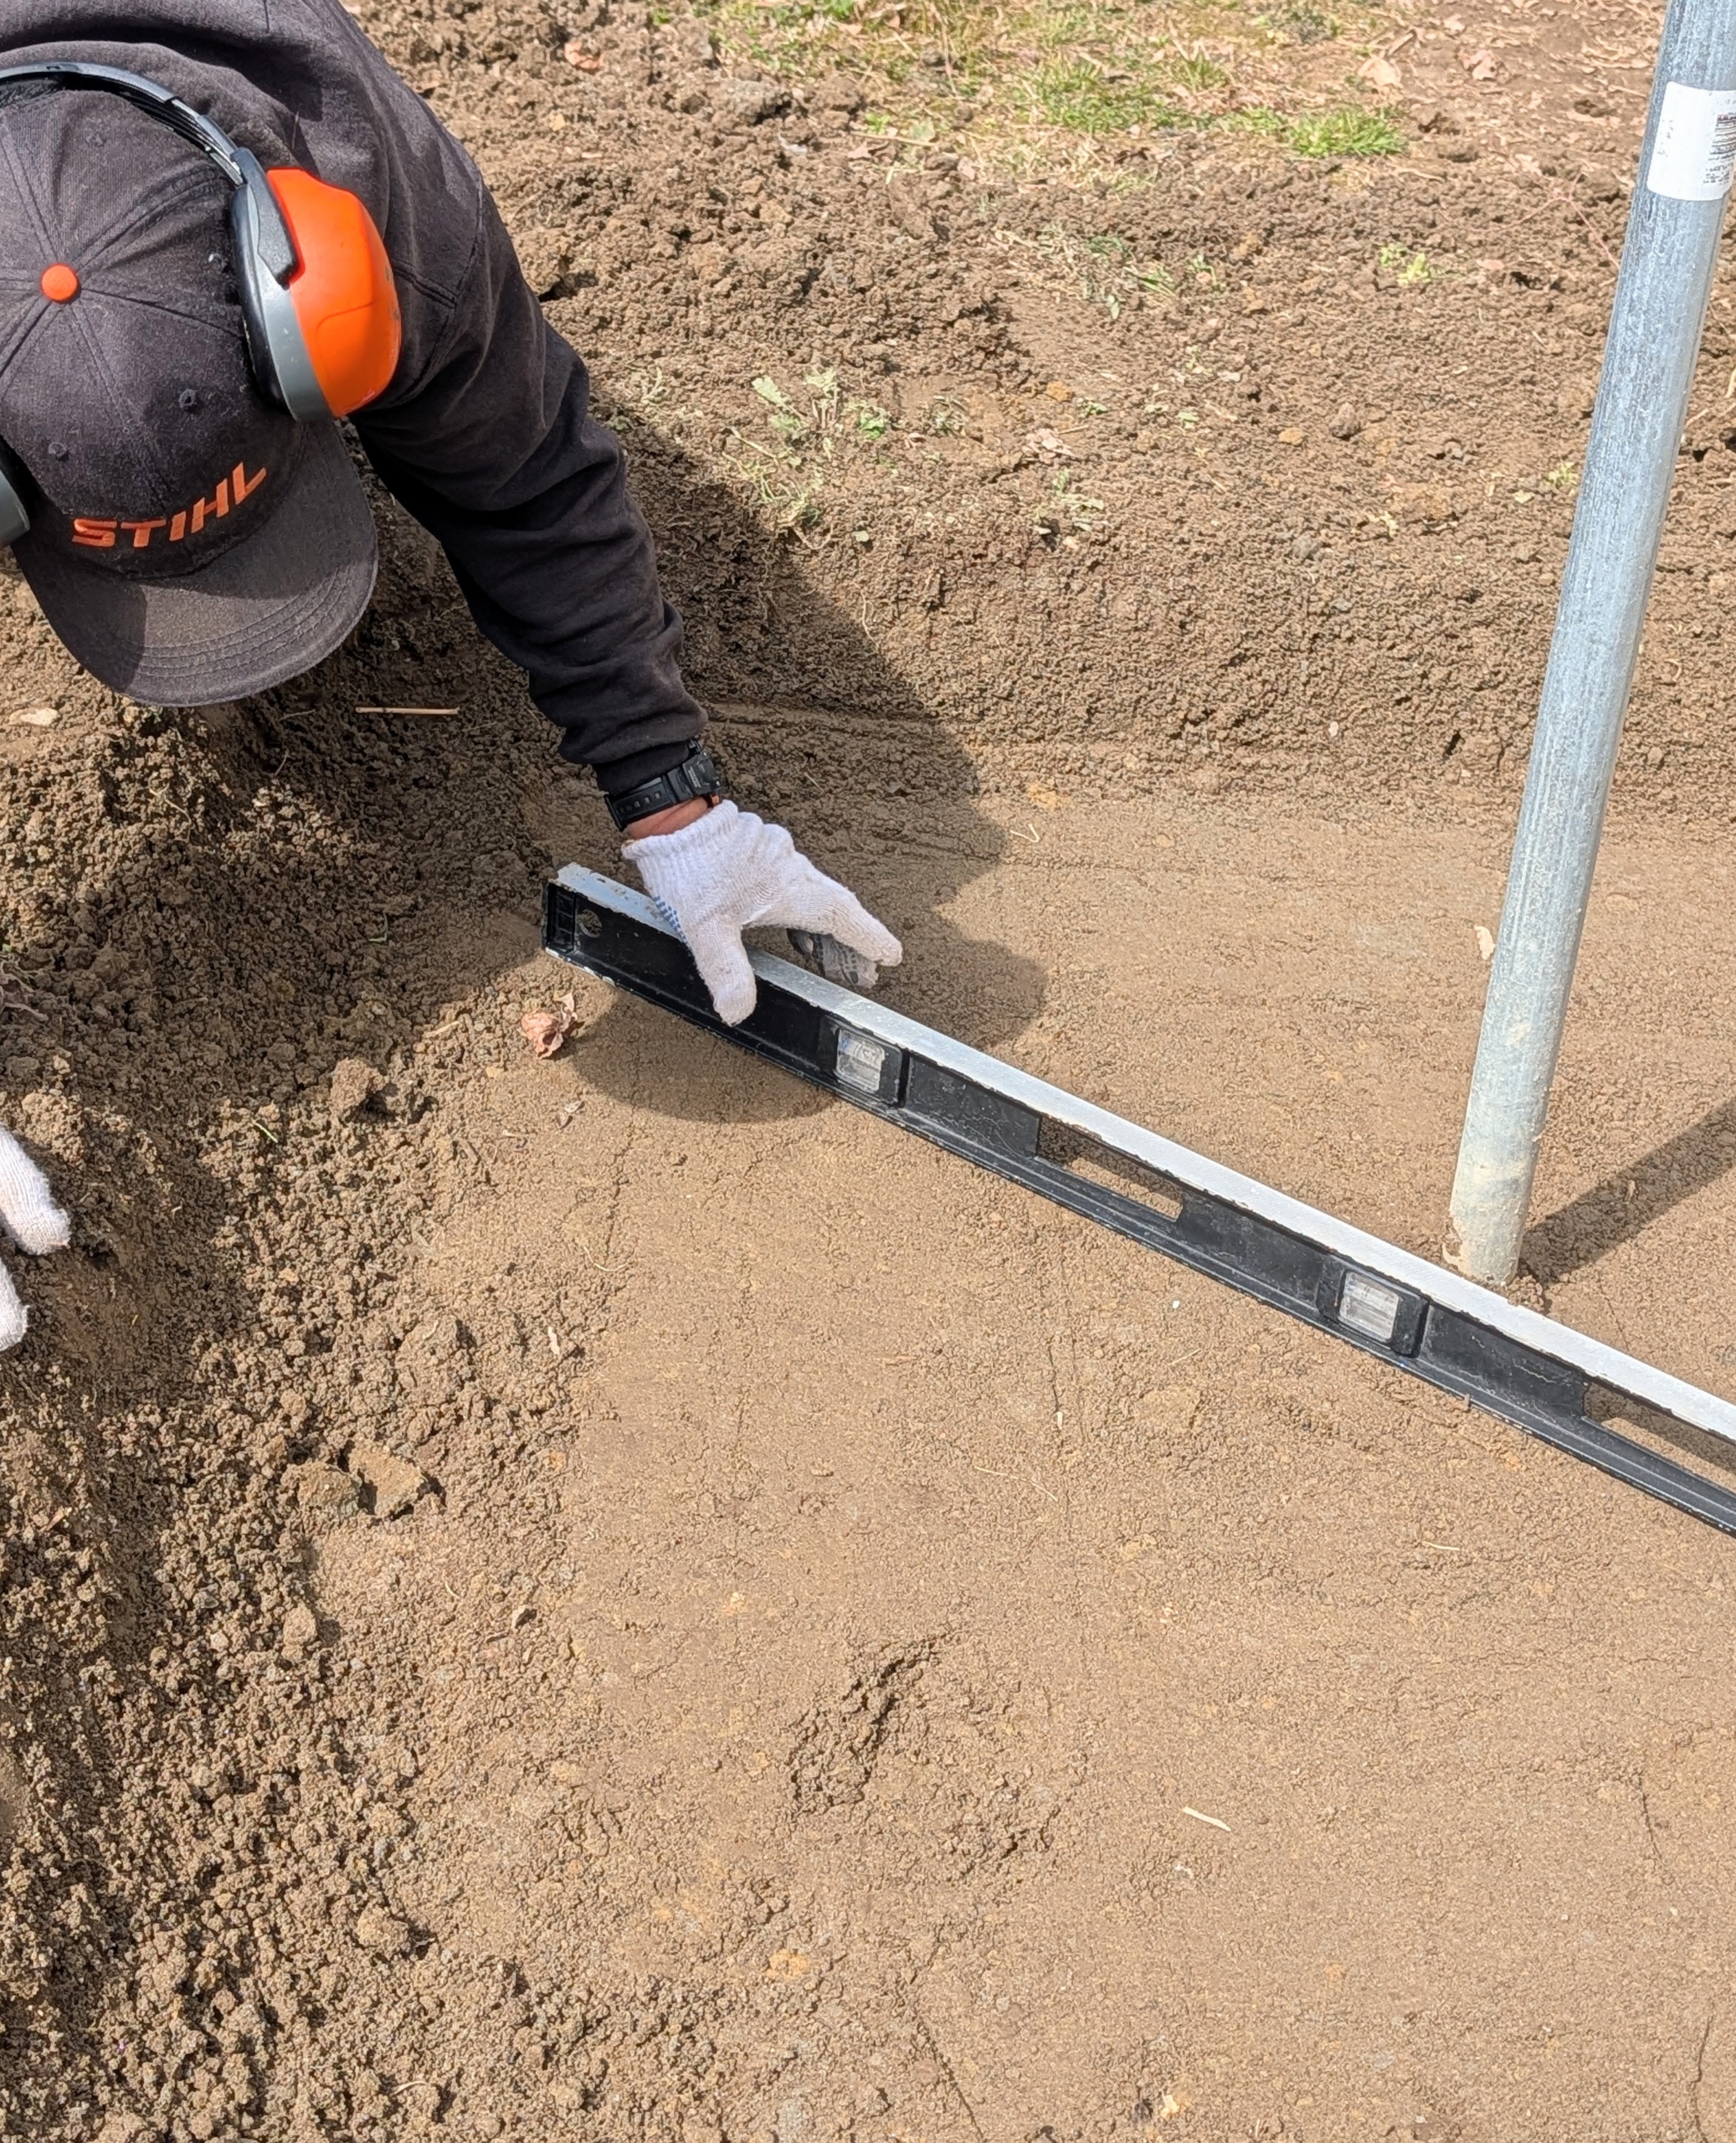
And then the area is checked for level. It must be perfectly level for the concrete to sit properly in the space.
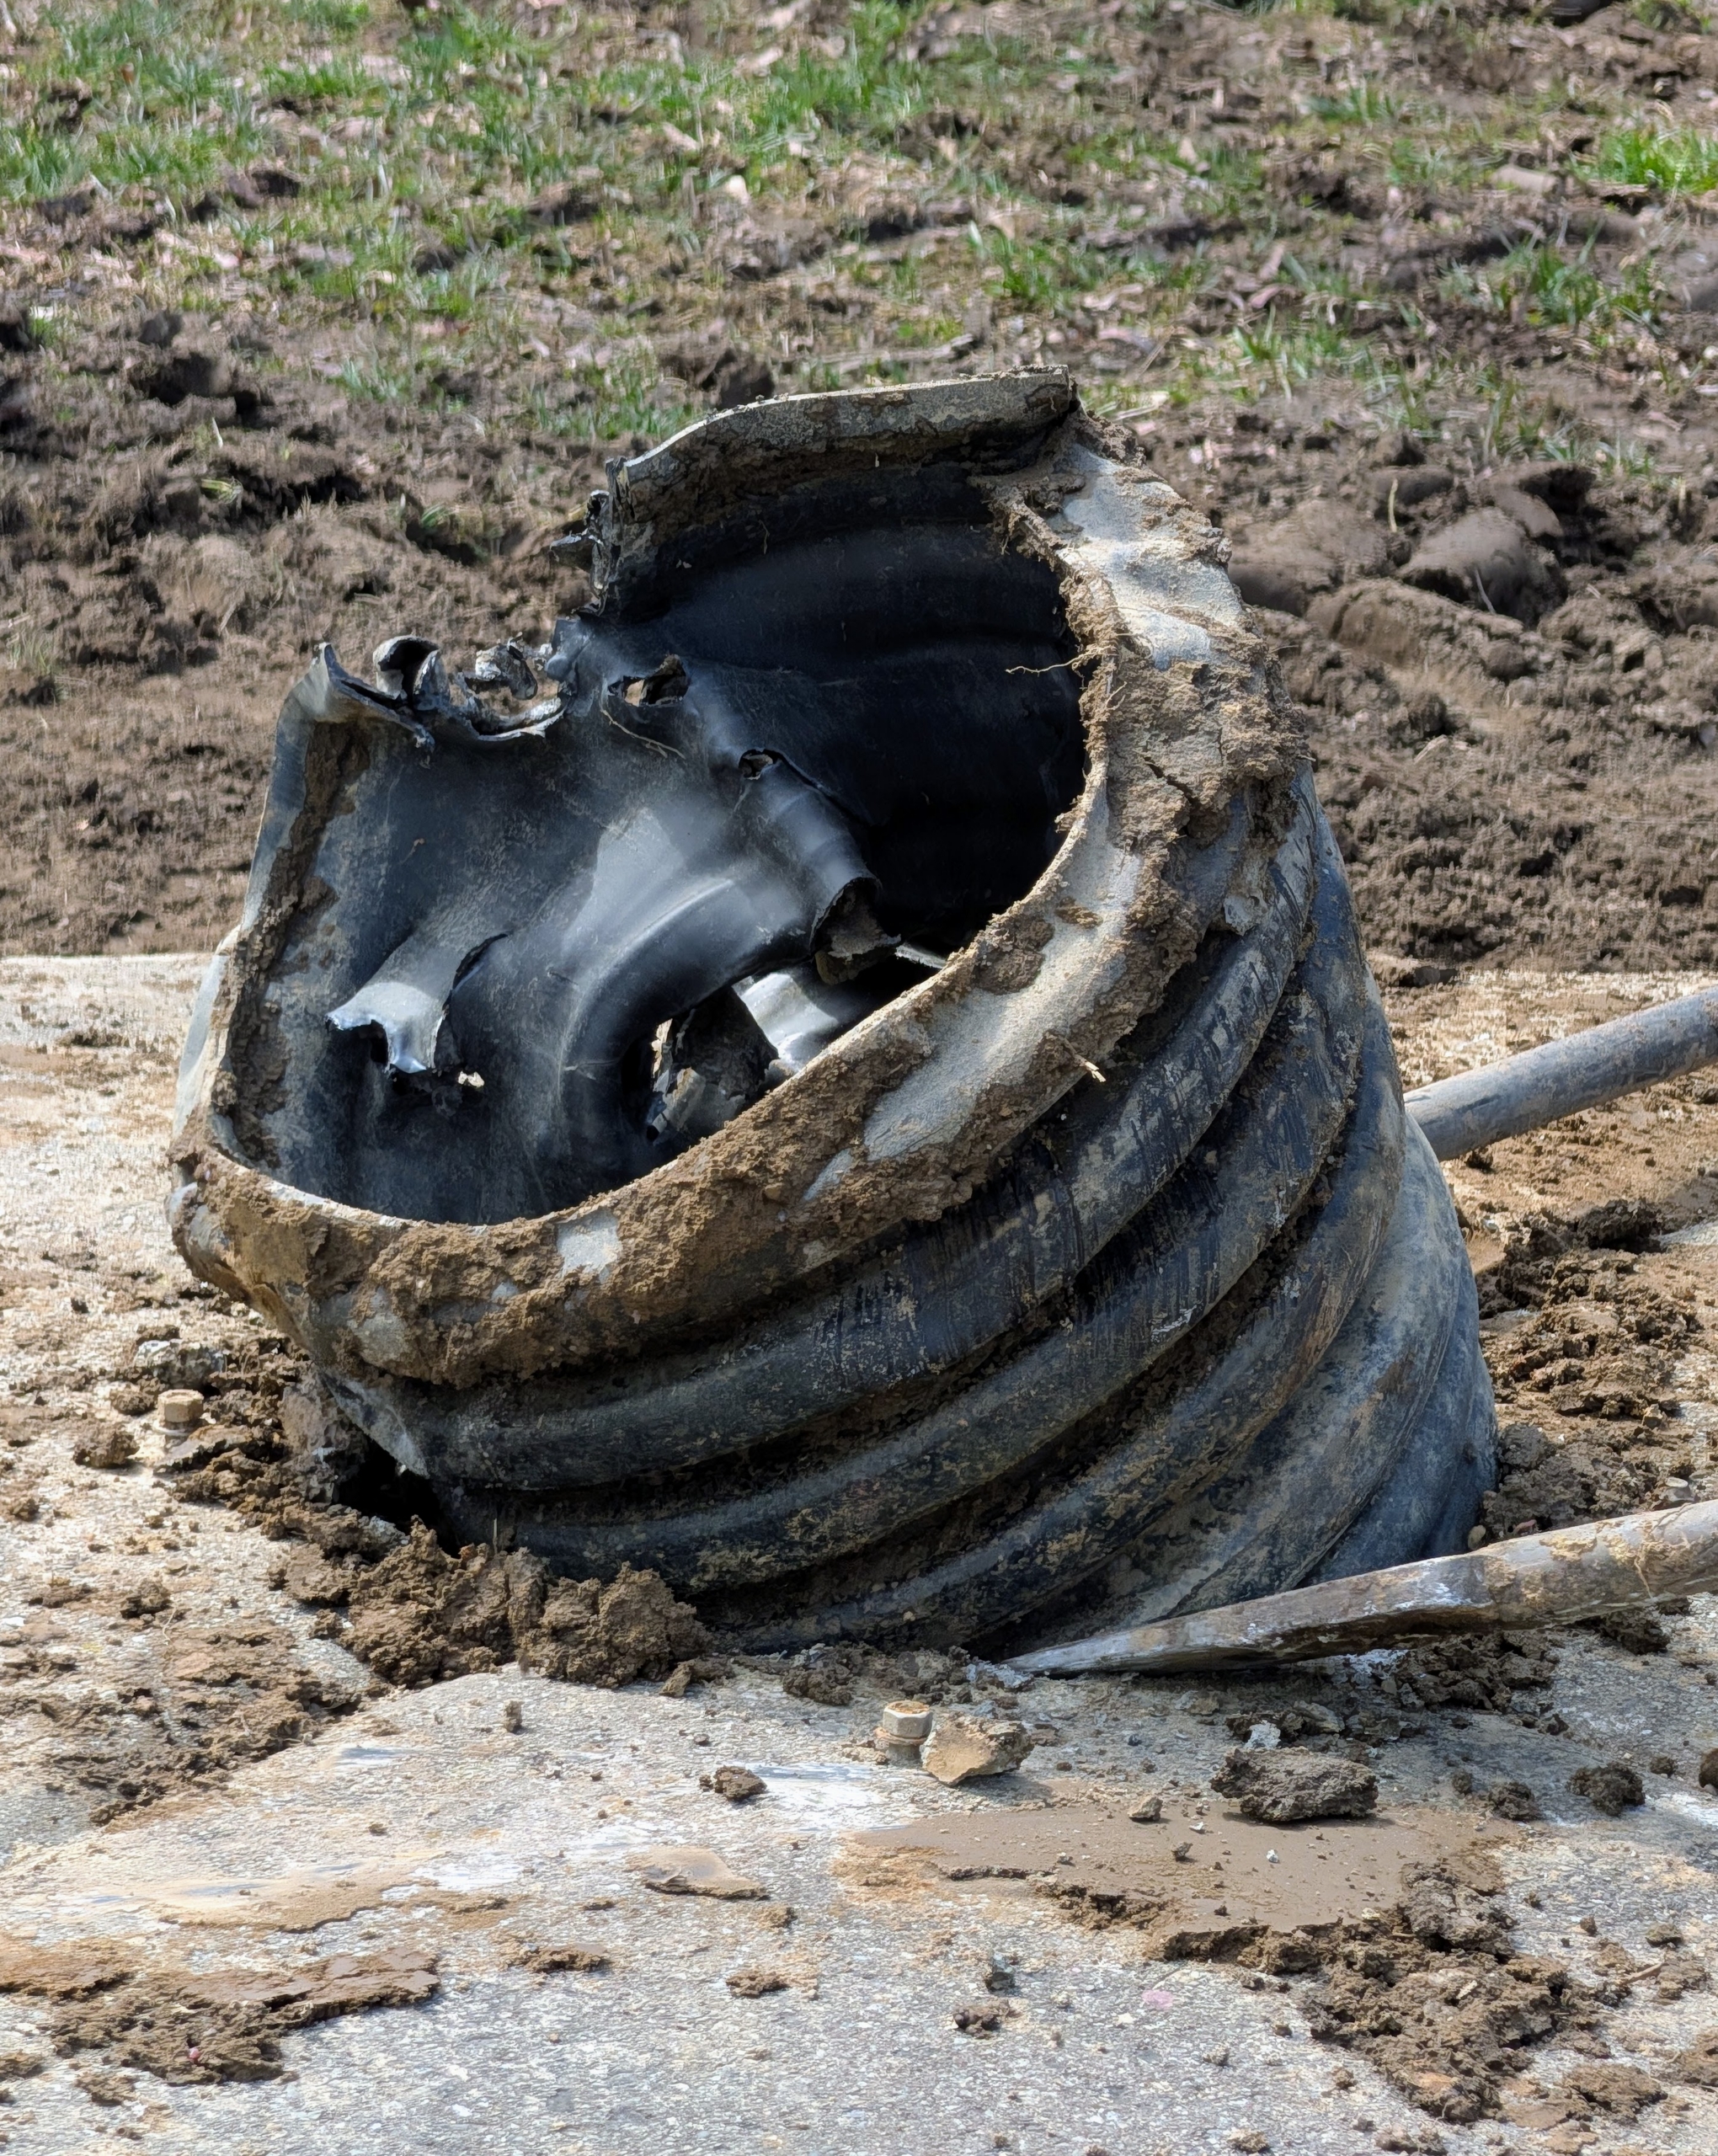
Meanwhile, using a steel digging bar Pete removes the underground drainage pipe from center of the piece.
It takes some elbow grease to remove, but in a few minutes, it’s out and discarded.
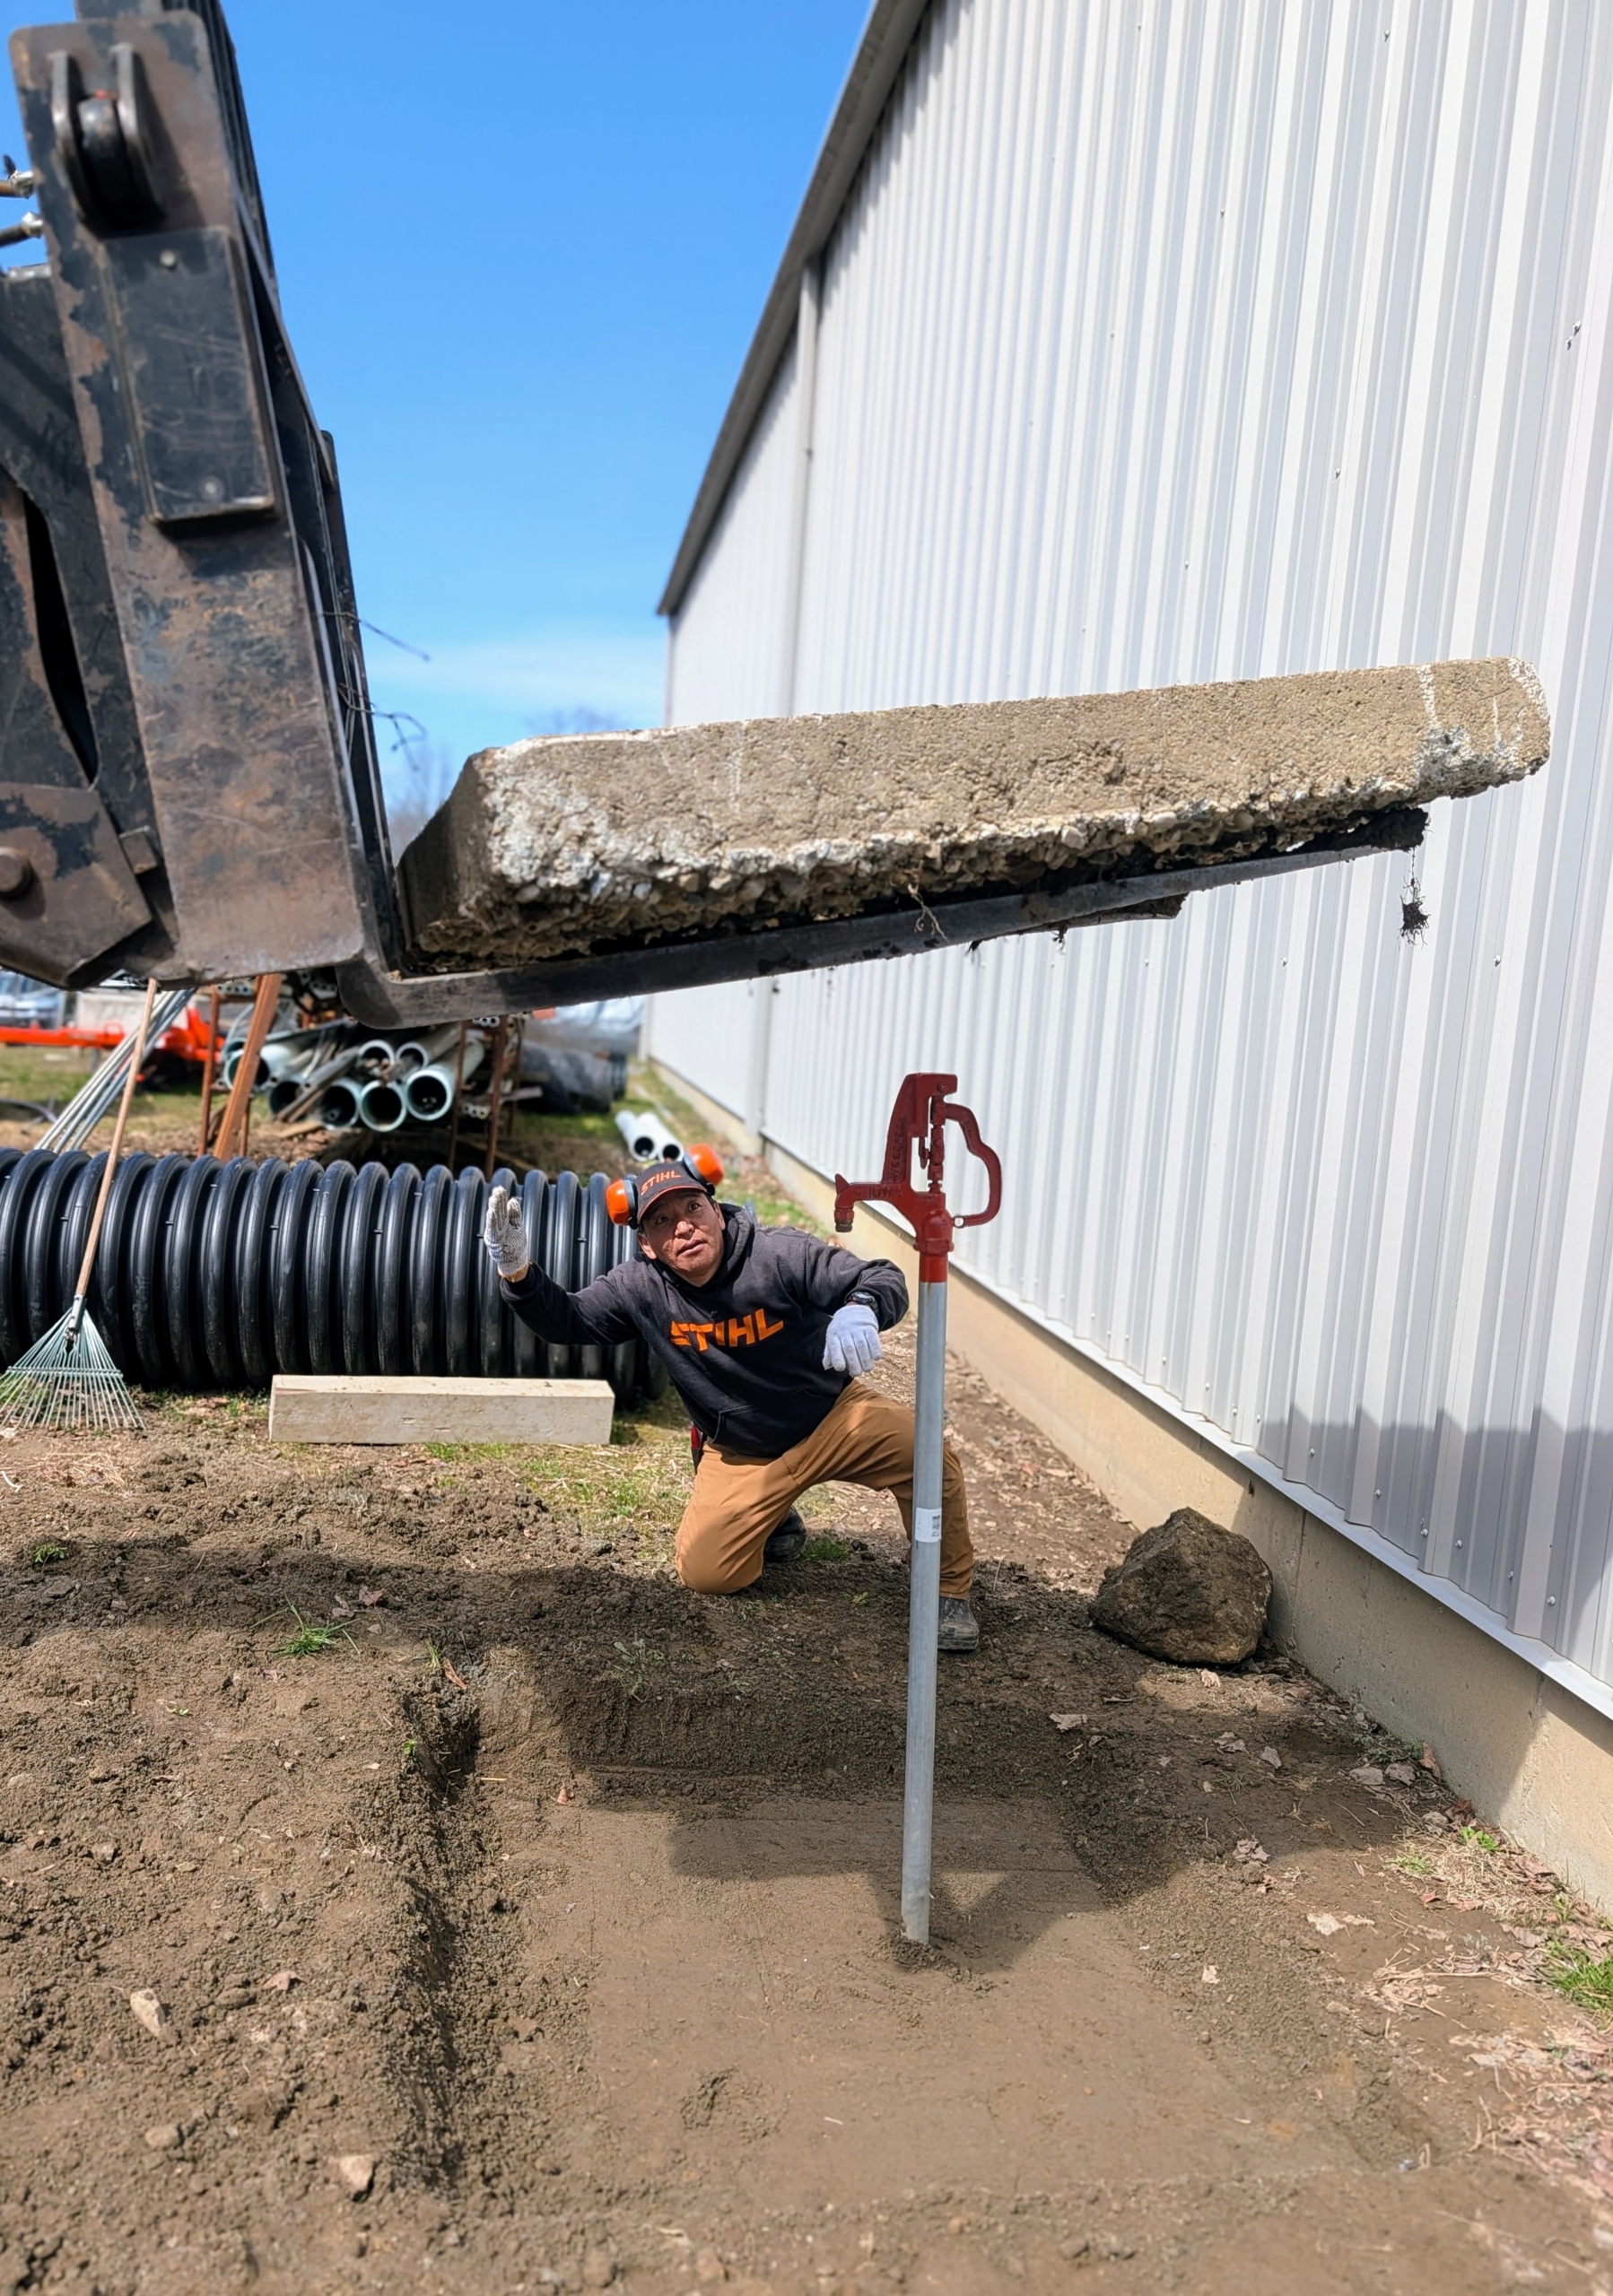
Next, Pete uses the fork of the Hi-Lo to transport the concrete to the faucet.
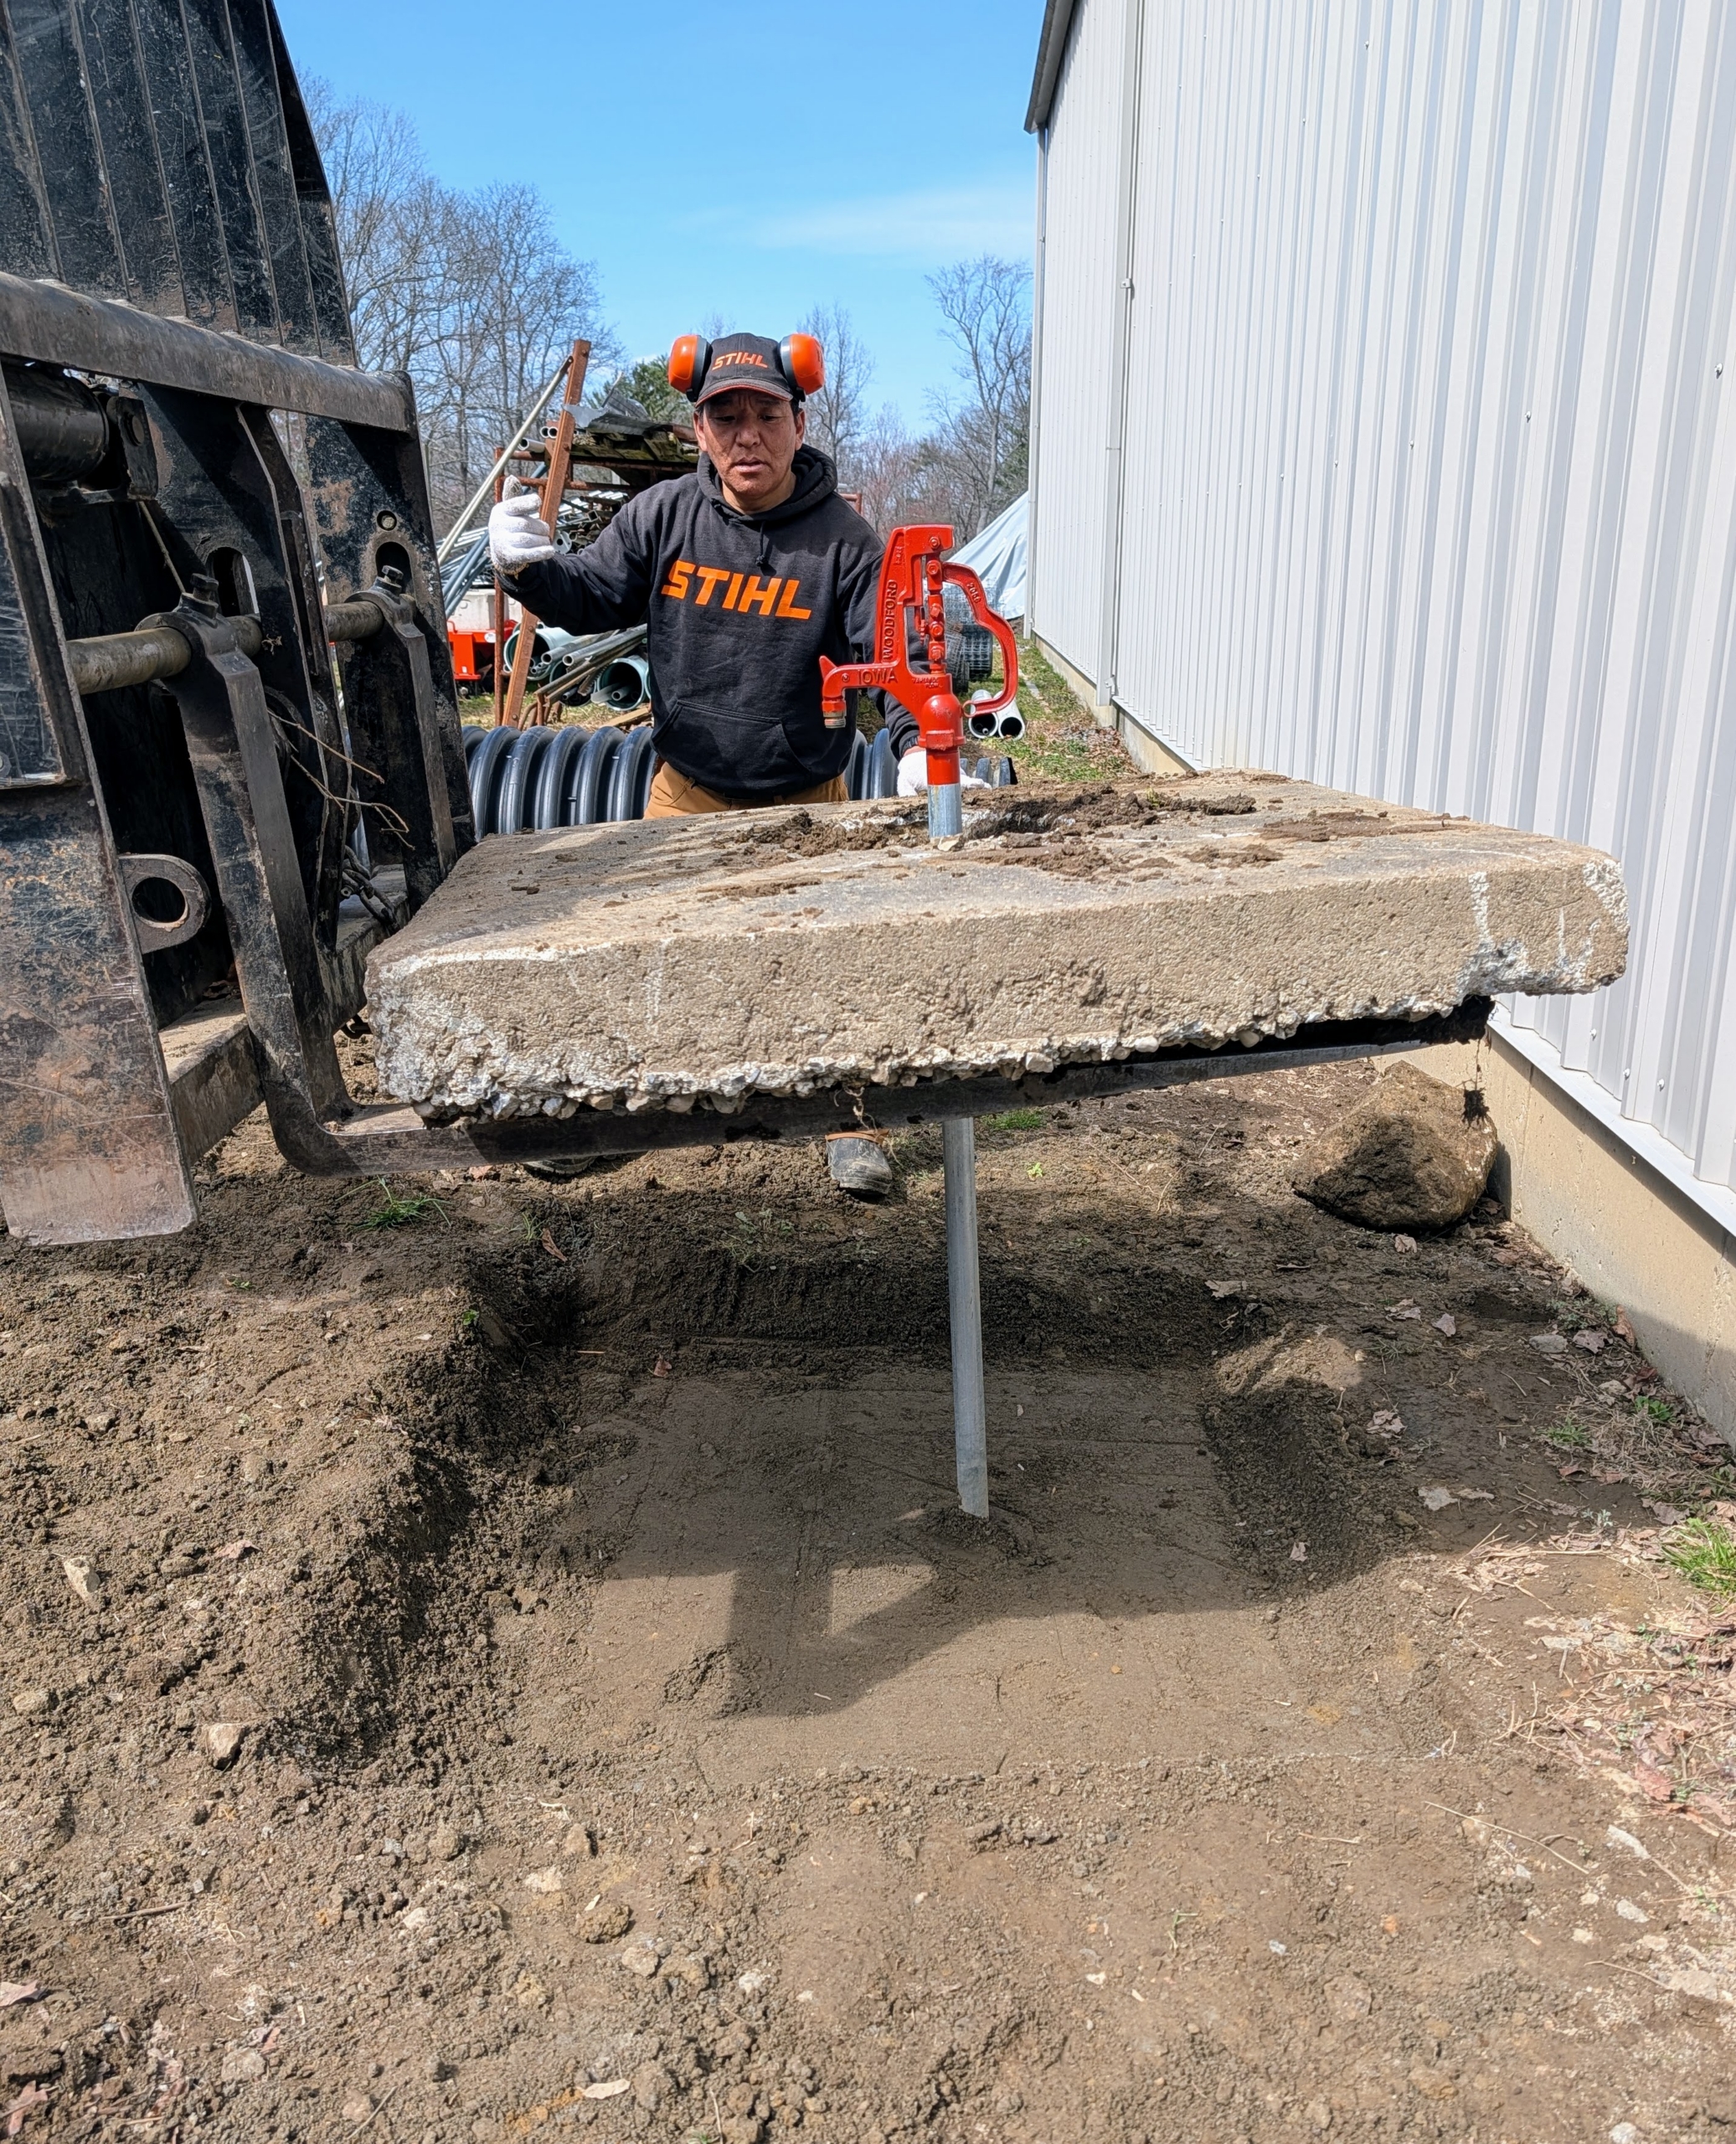
With Phurba on the side to direct Pete’s positioning, the square is carefully positioned with the center hole just above the faucet.
And then it is slowly lowered into position.
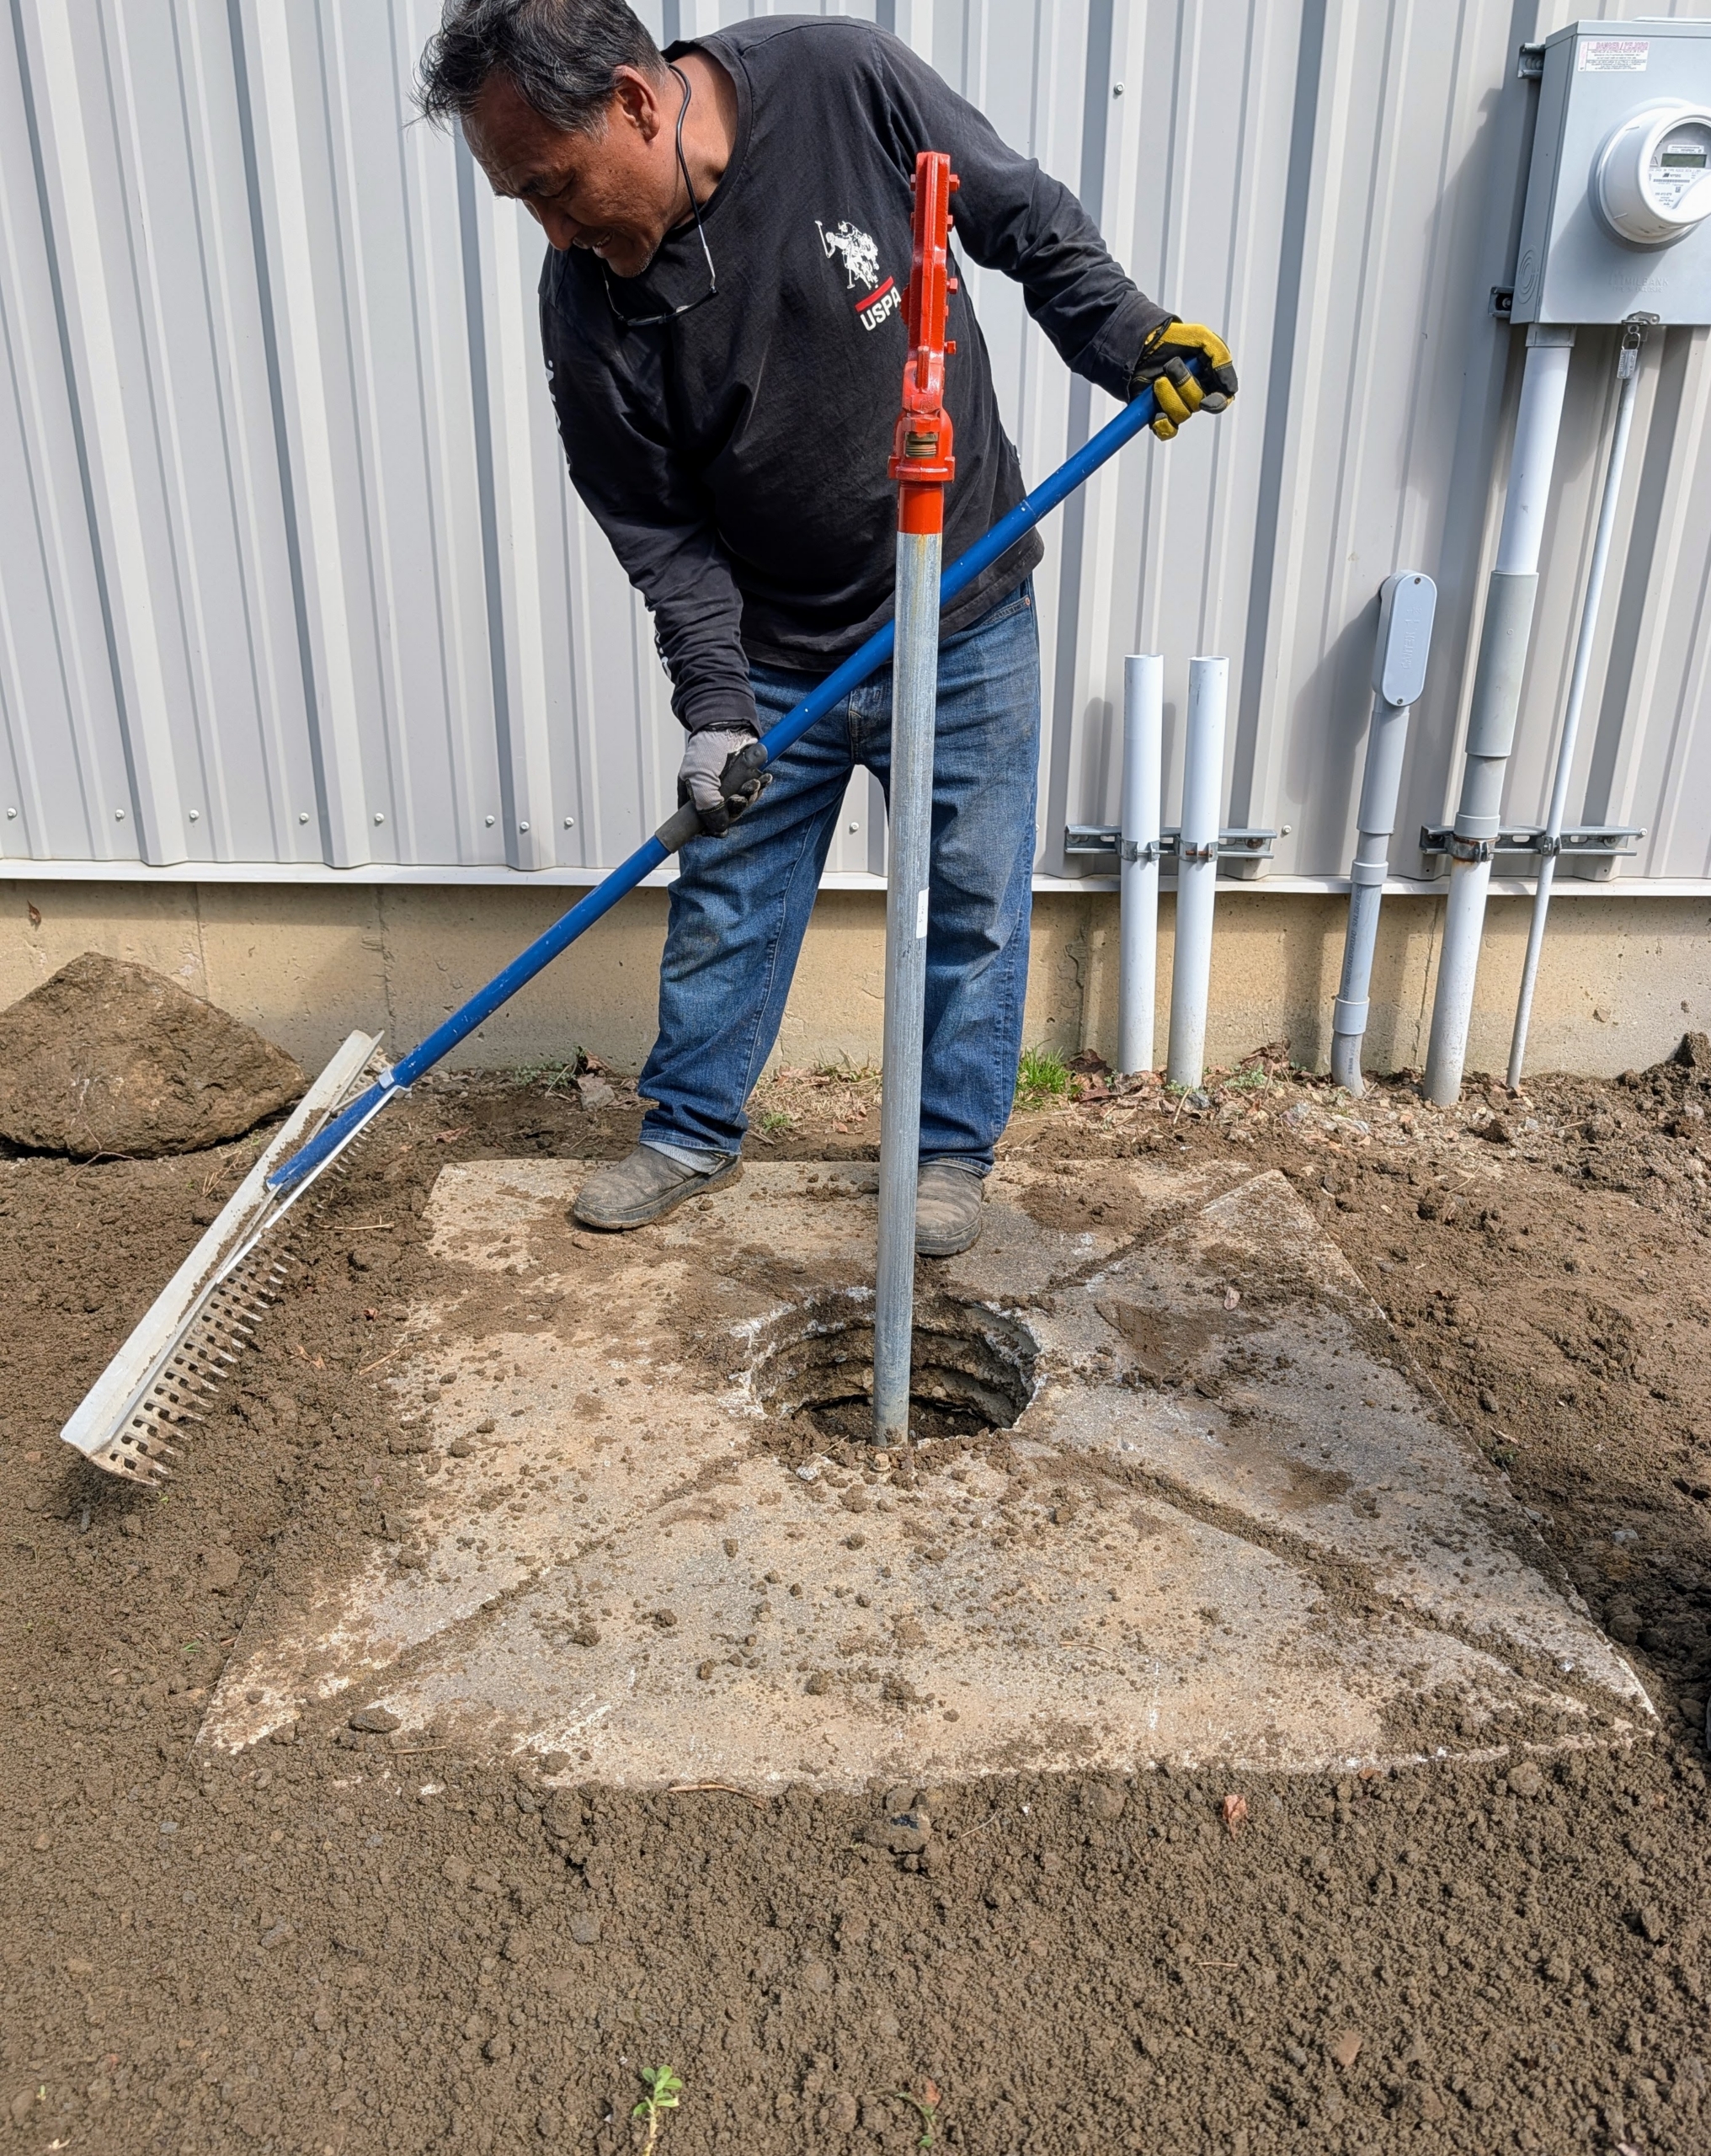
Pete uses the digging bar to make sure the piece is completely straight.
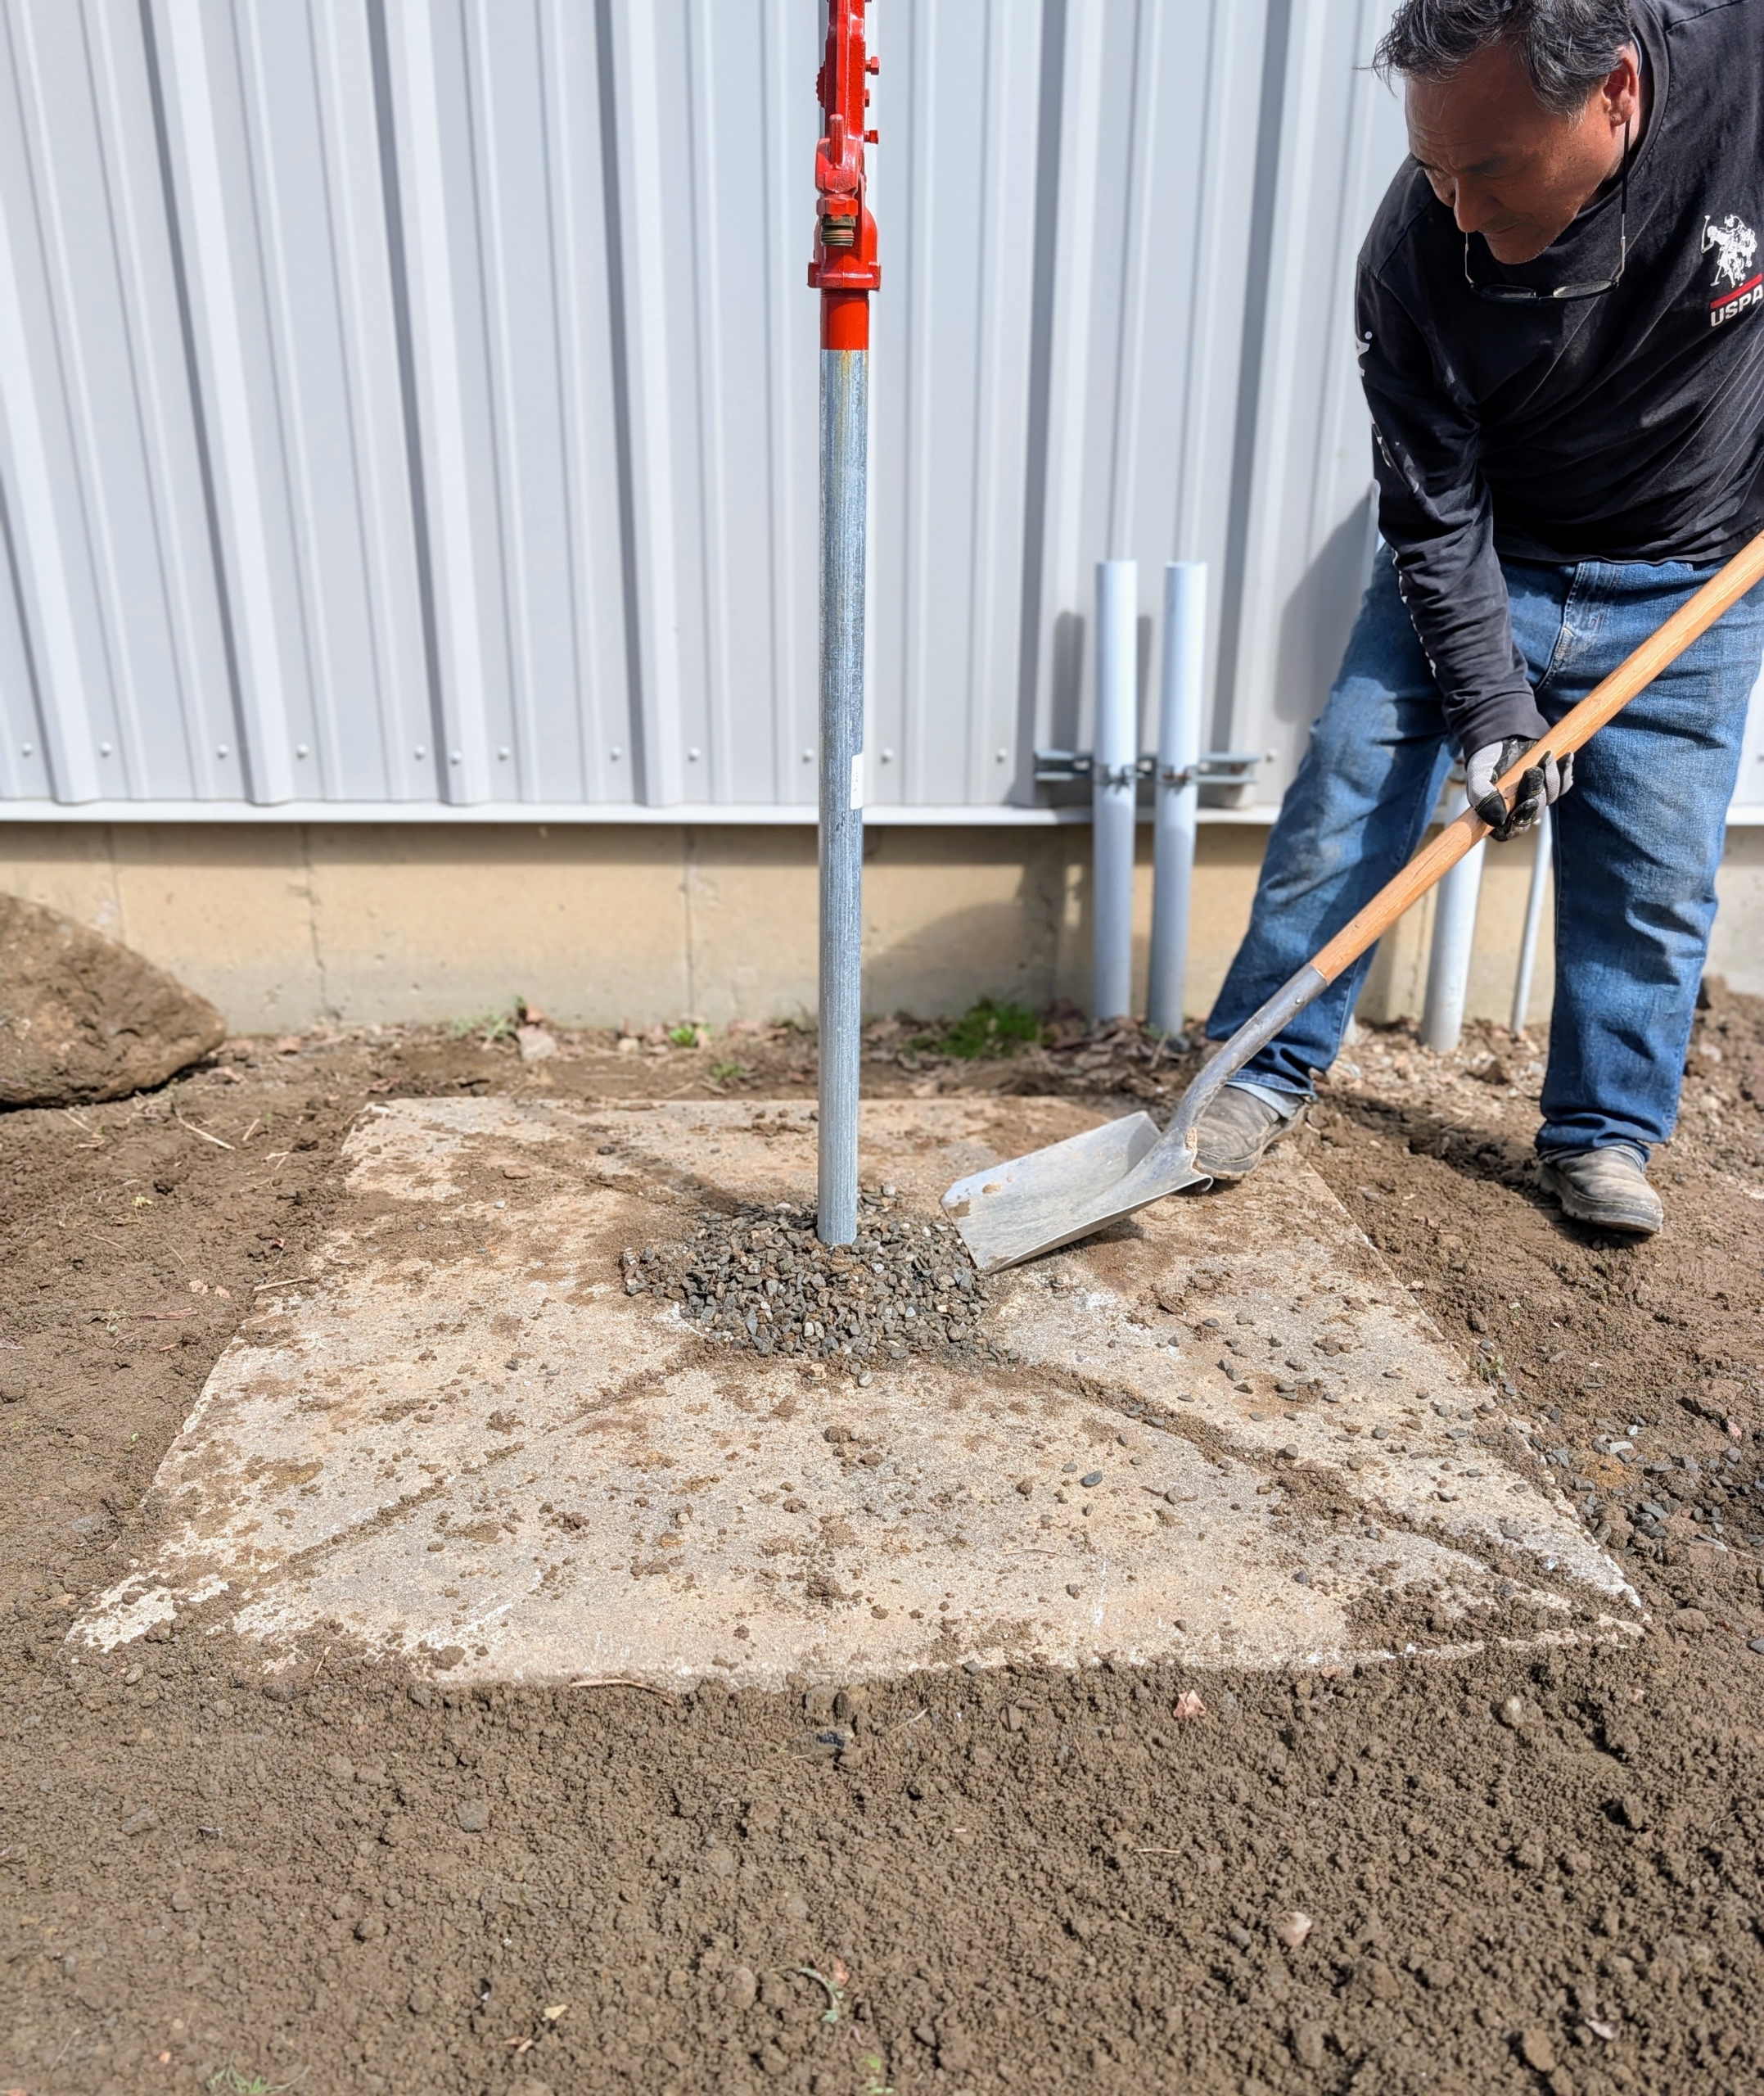
Next, he uses the gravel rake to move the soil snug around the base.
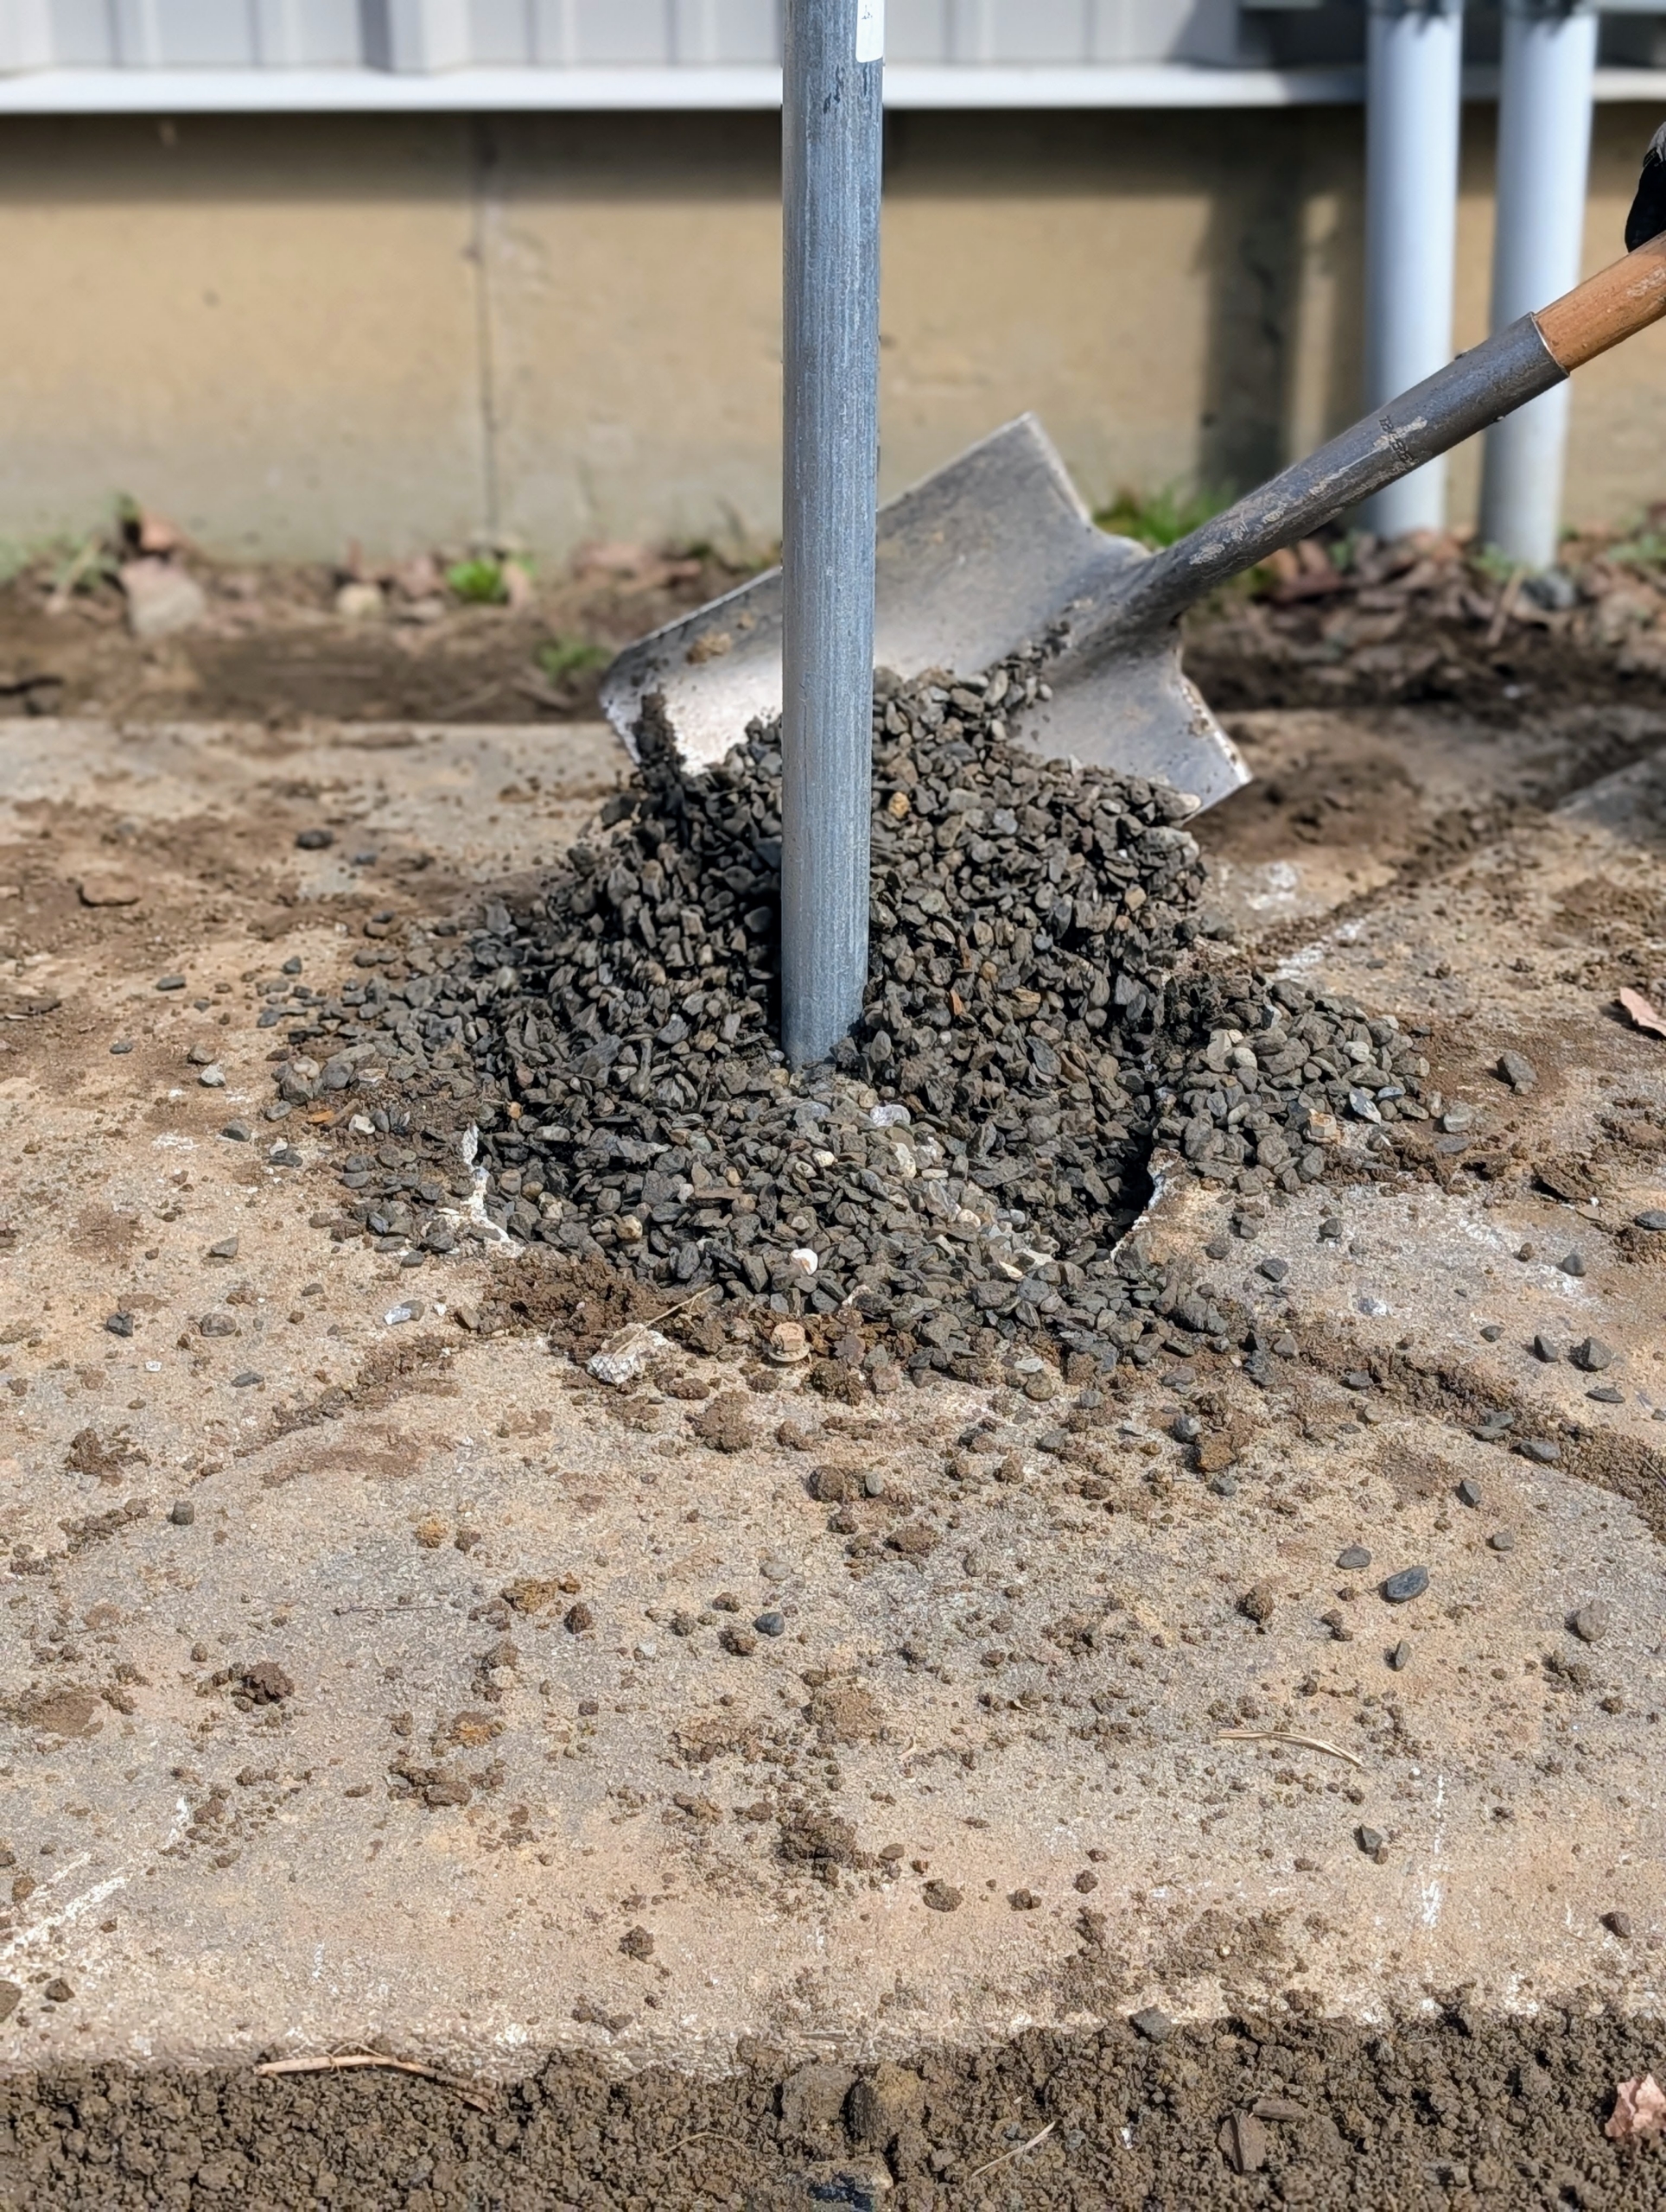
He surrounds the faucet pipe with gravel to keep it sturdy in place.
And then tamps down lightly to ensure the gravel is settled.
It looks so much better – as if it was always there. If you’re doing some spring cleaning around your home, take a look at what you have – you may just find something you can reuse and repurpose.
Now that it's spring, everyone on the farm is busy cleaning up and preparing for the season.
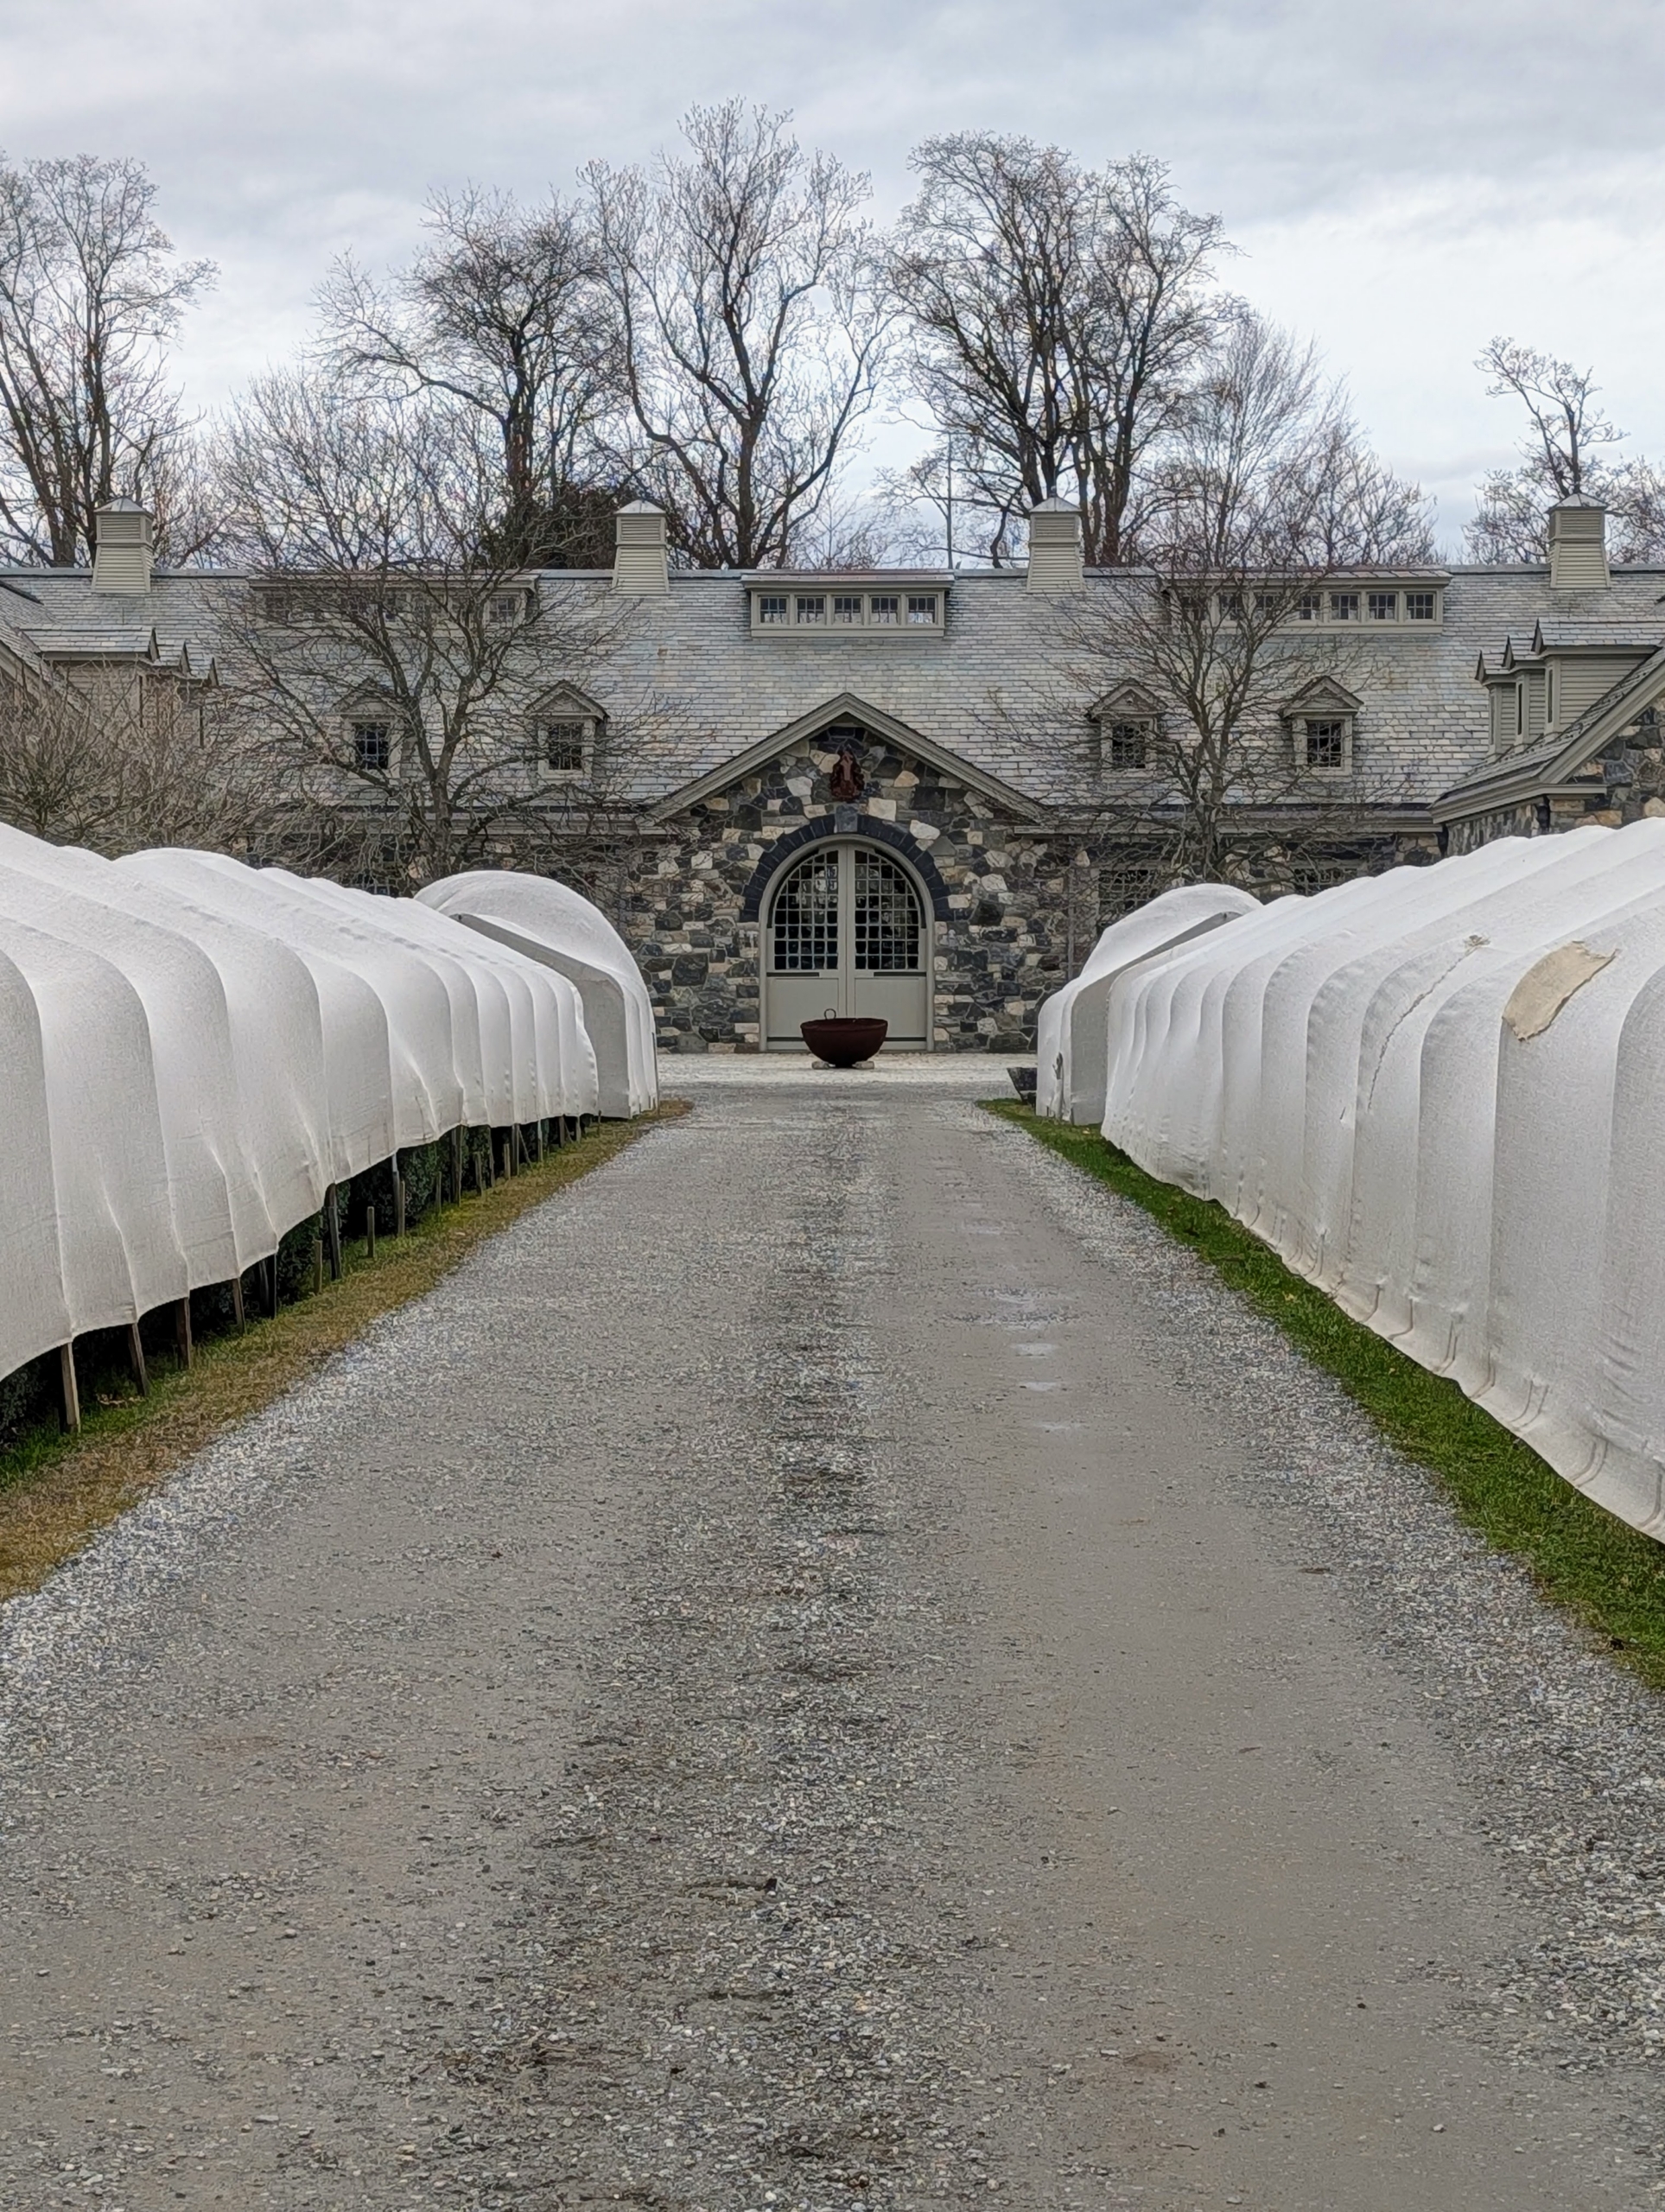
Farm chores include animal care, garden maintenance, and other seasonal tasks. To stay organized during transitions, we follow a schedule of chores from one year to the next. Over the last few weeks, we've been blowing old leaves, pruning trees, cleaning out garden beds, and removing all the burlap that protected my precious boxwood all winter long.
Here are some photos, enjoy.
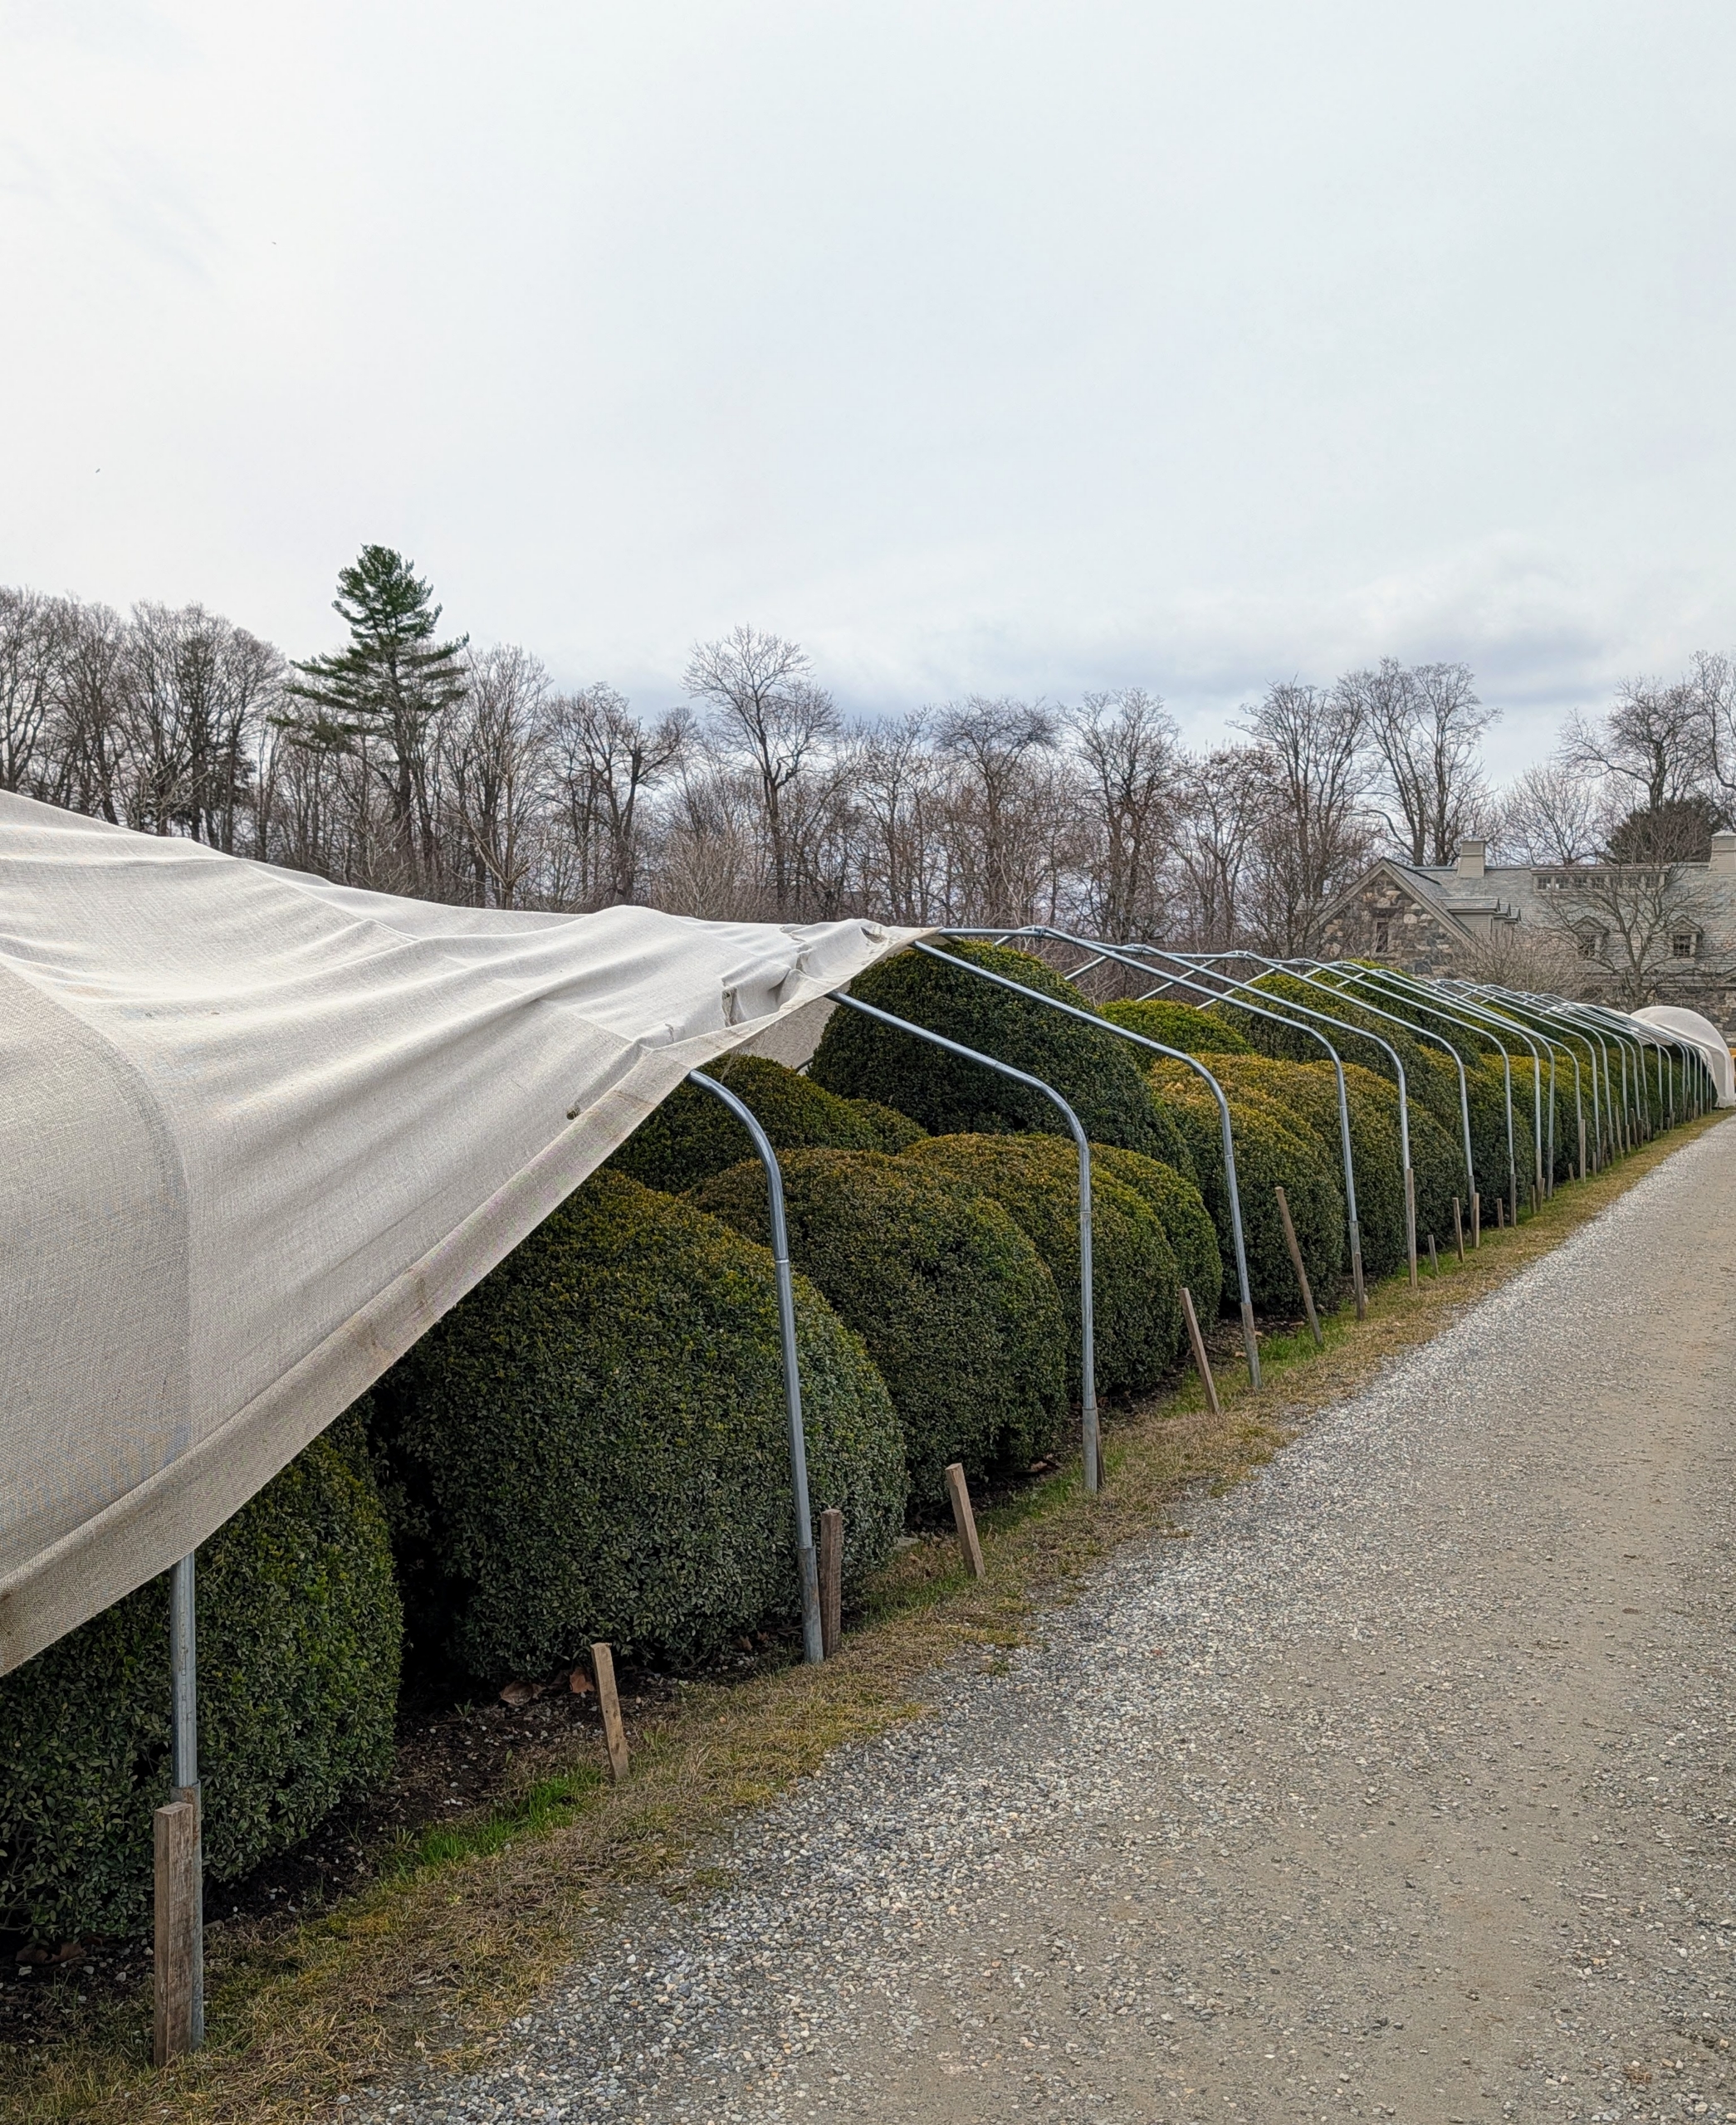
For as long as I’ve been gardening I’ve covered my boxwood shrubs and outdoor ornamental urns. When the ground begins to thaw, it’s all removed. Here is the Boxwood Allee about to go through its spring transformation.
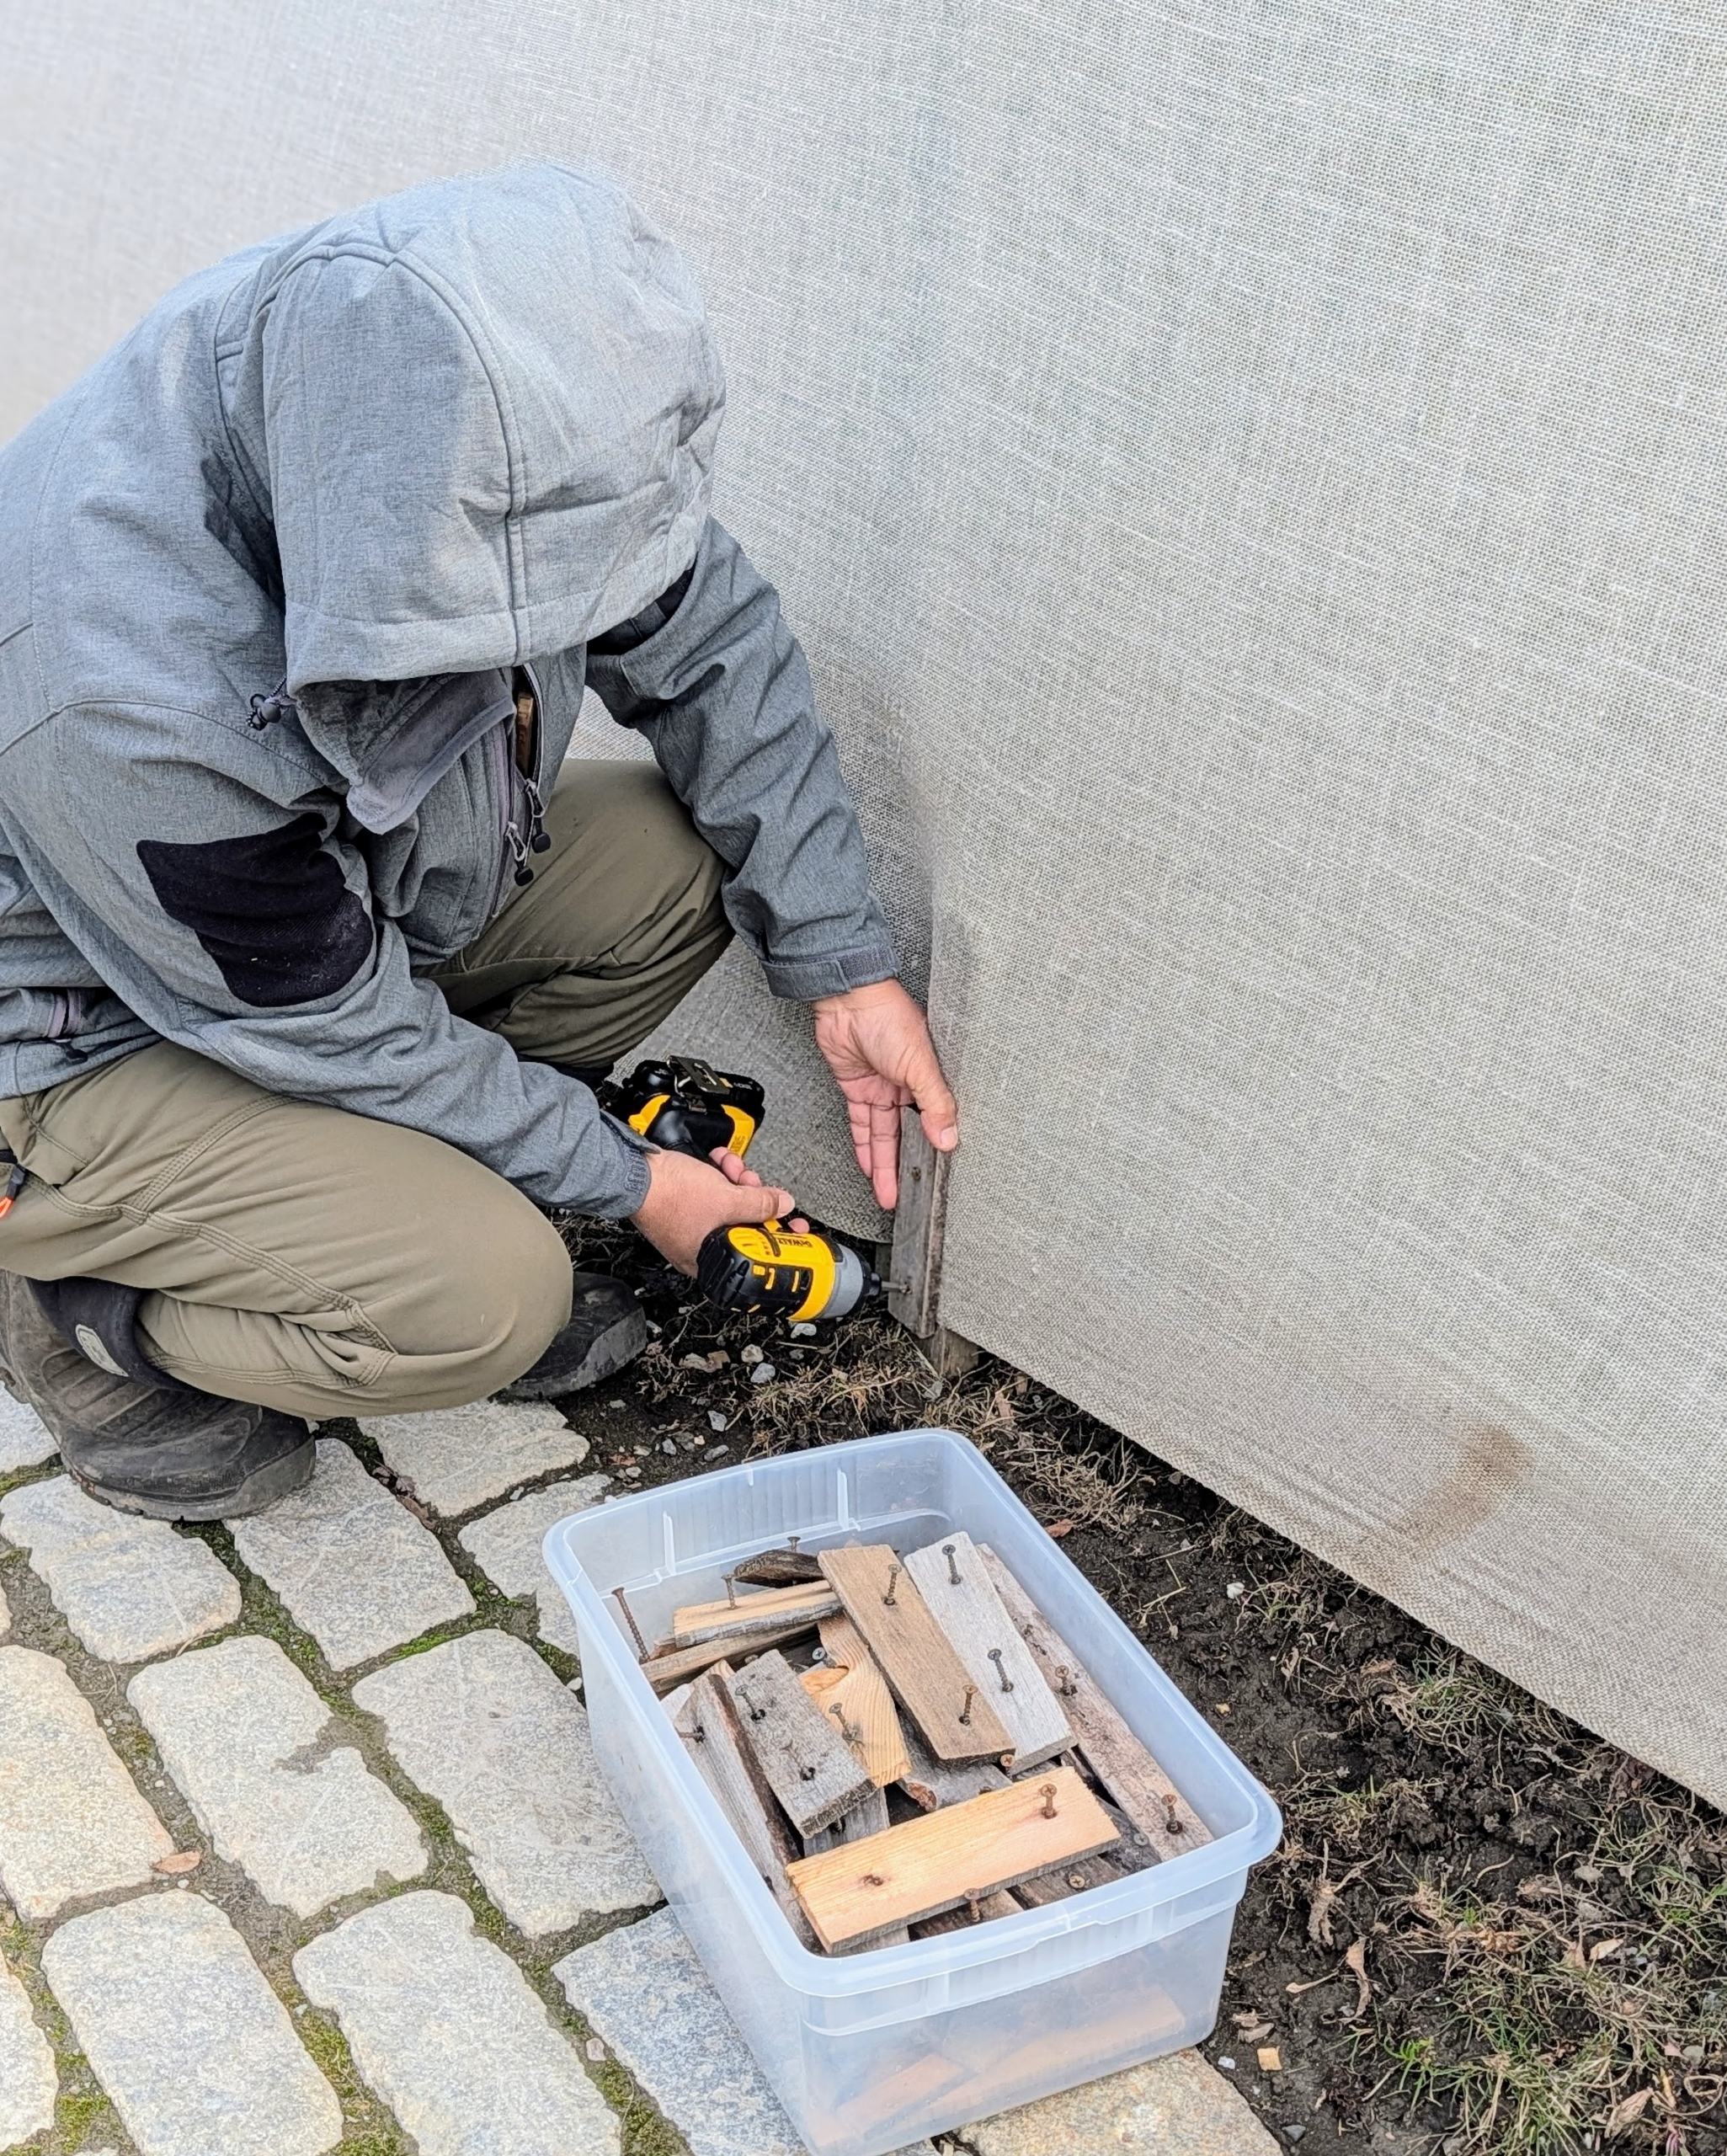
The first step is to remove the wooden strips that help sandwich and secure the burlap. These strips are at the bottom of the metal frames.
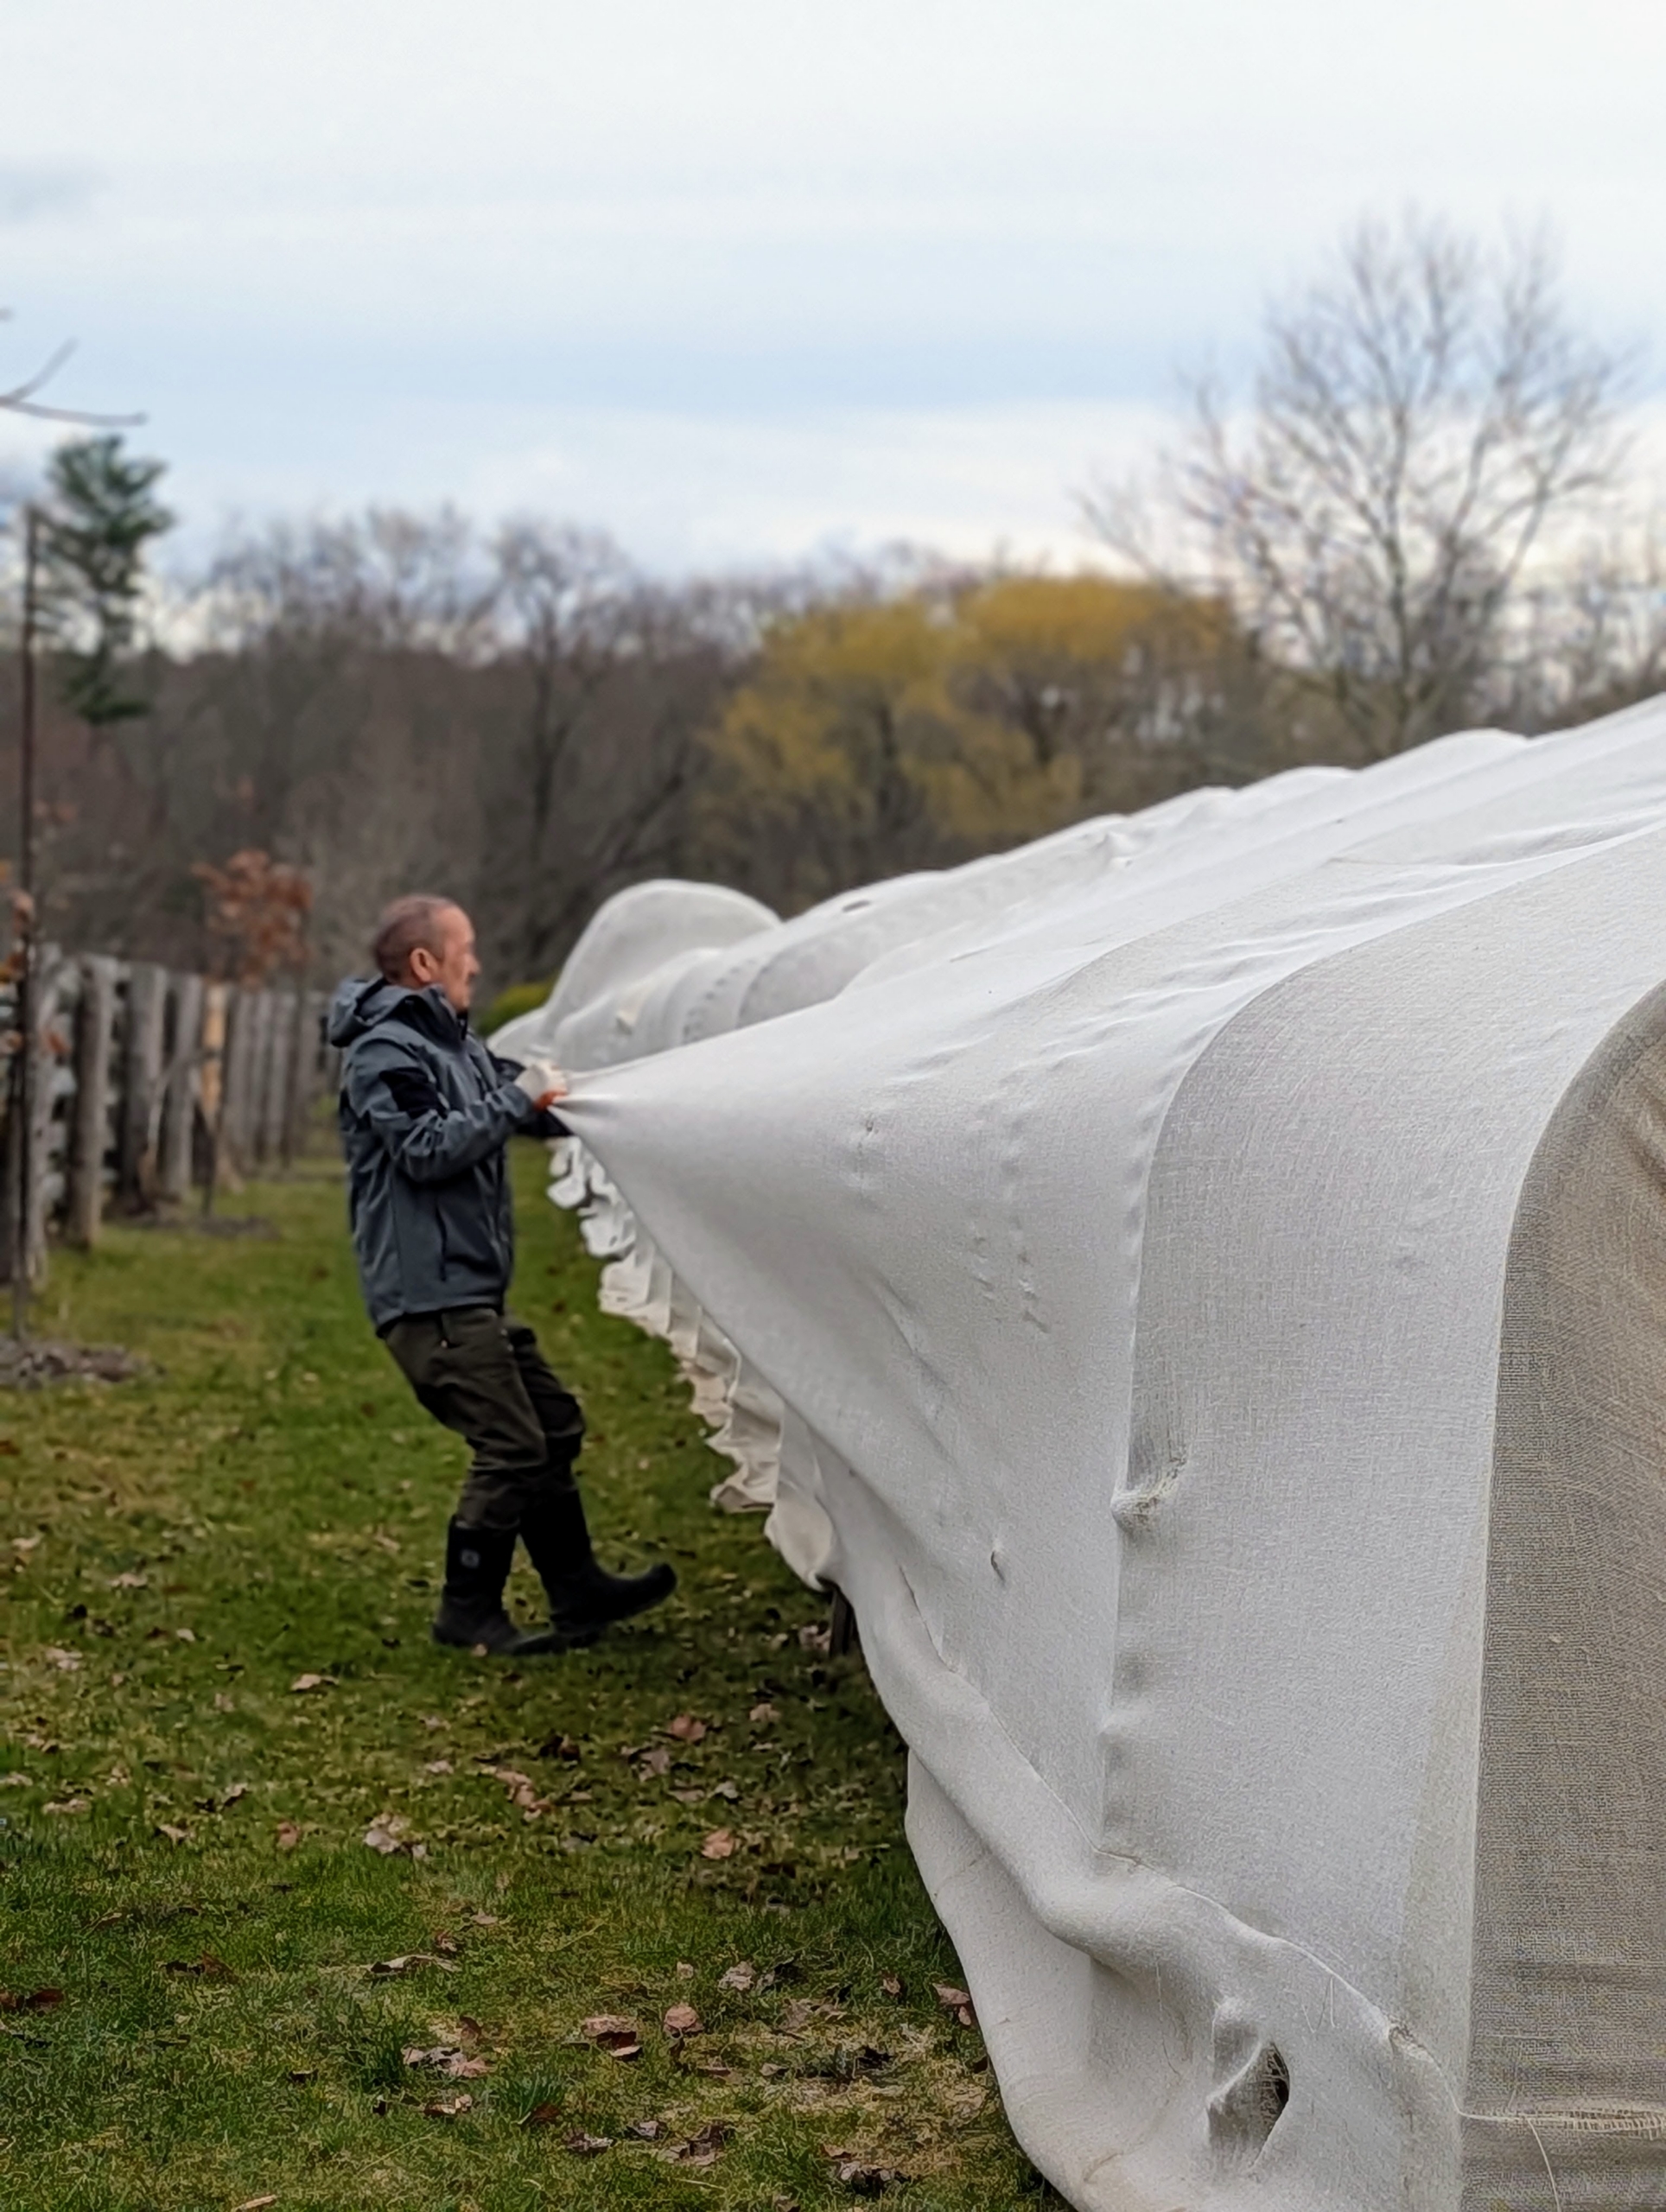
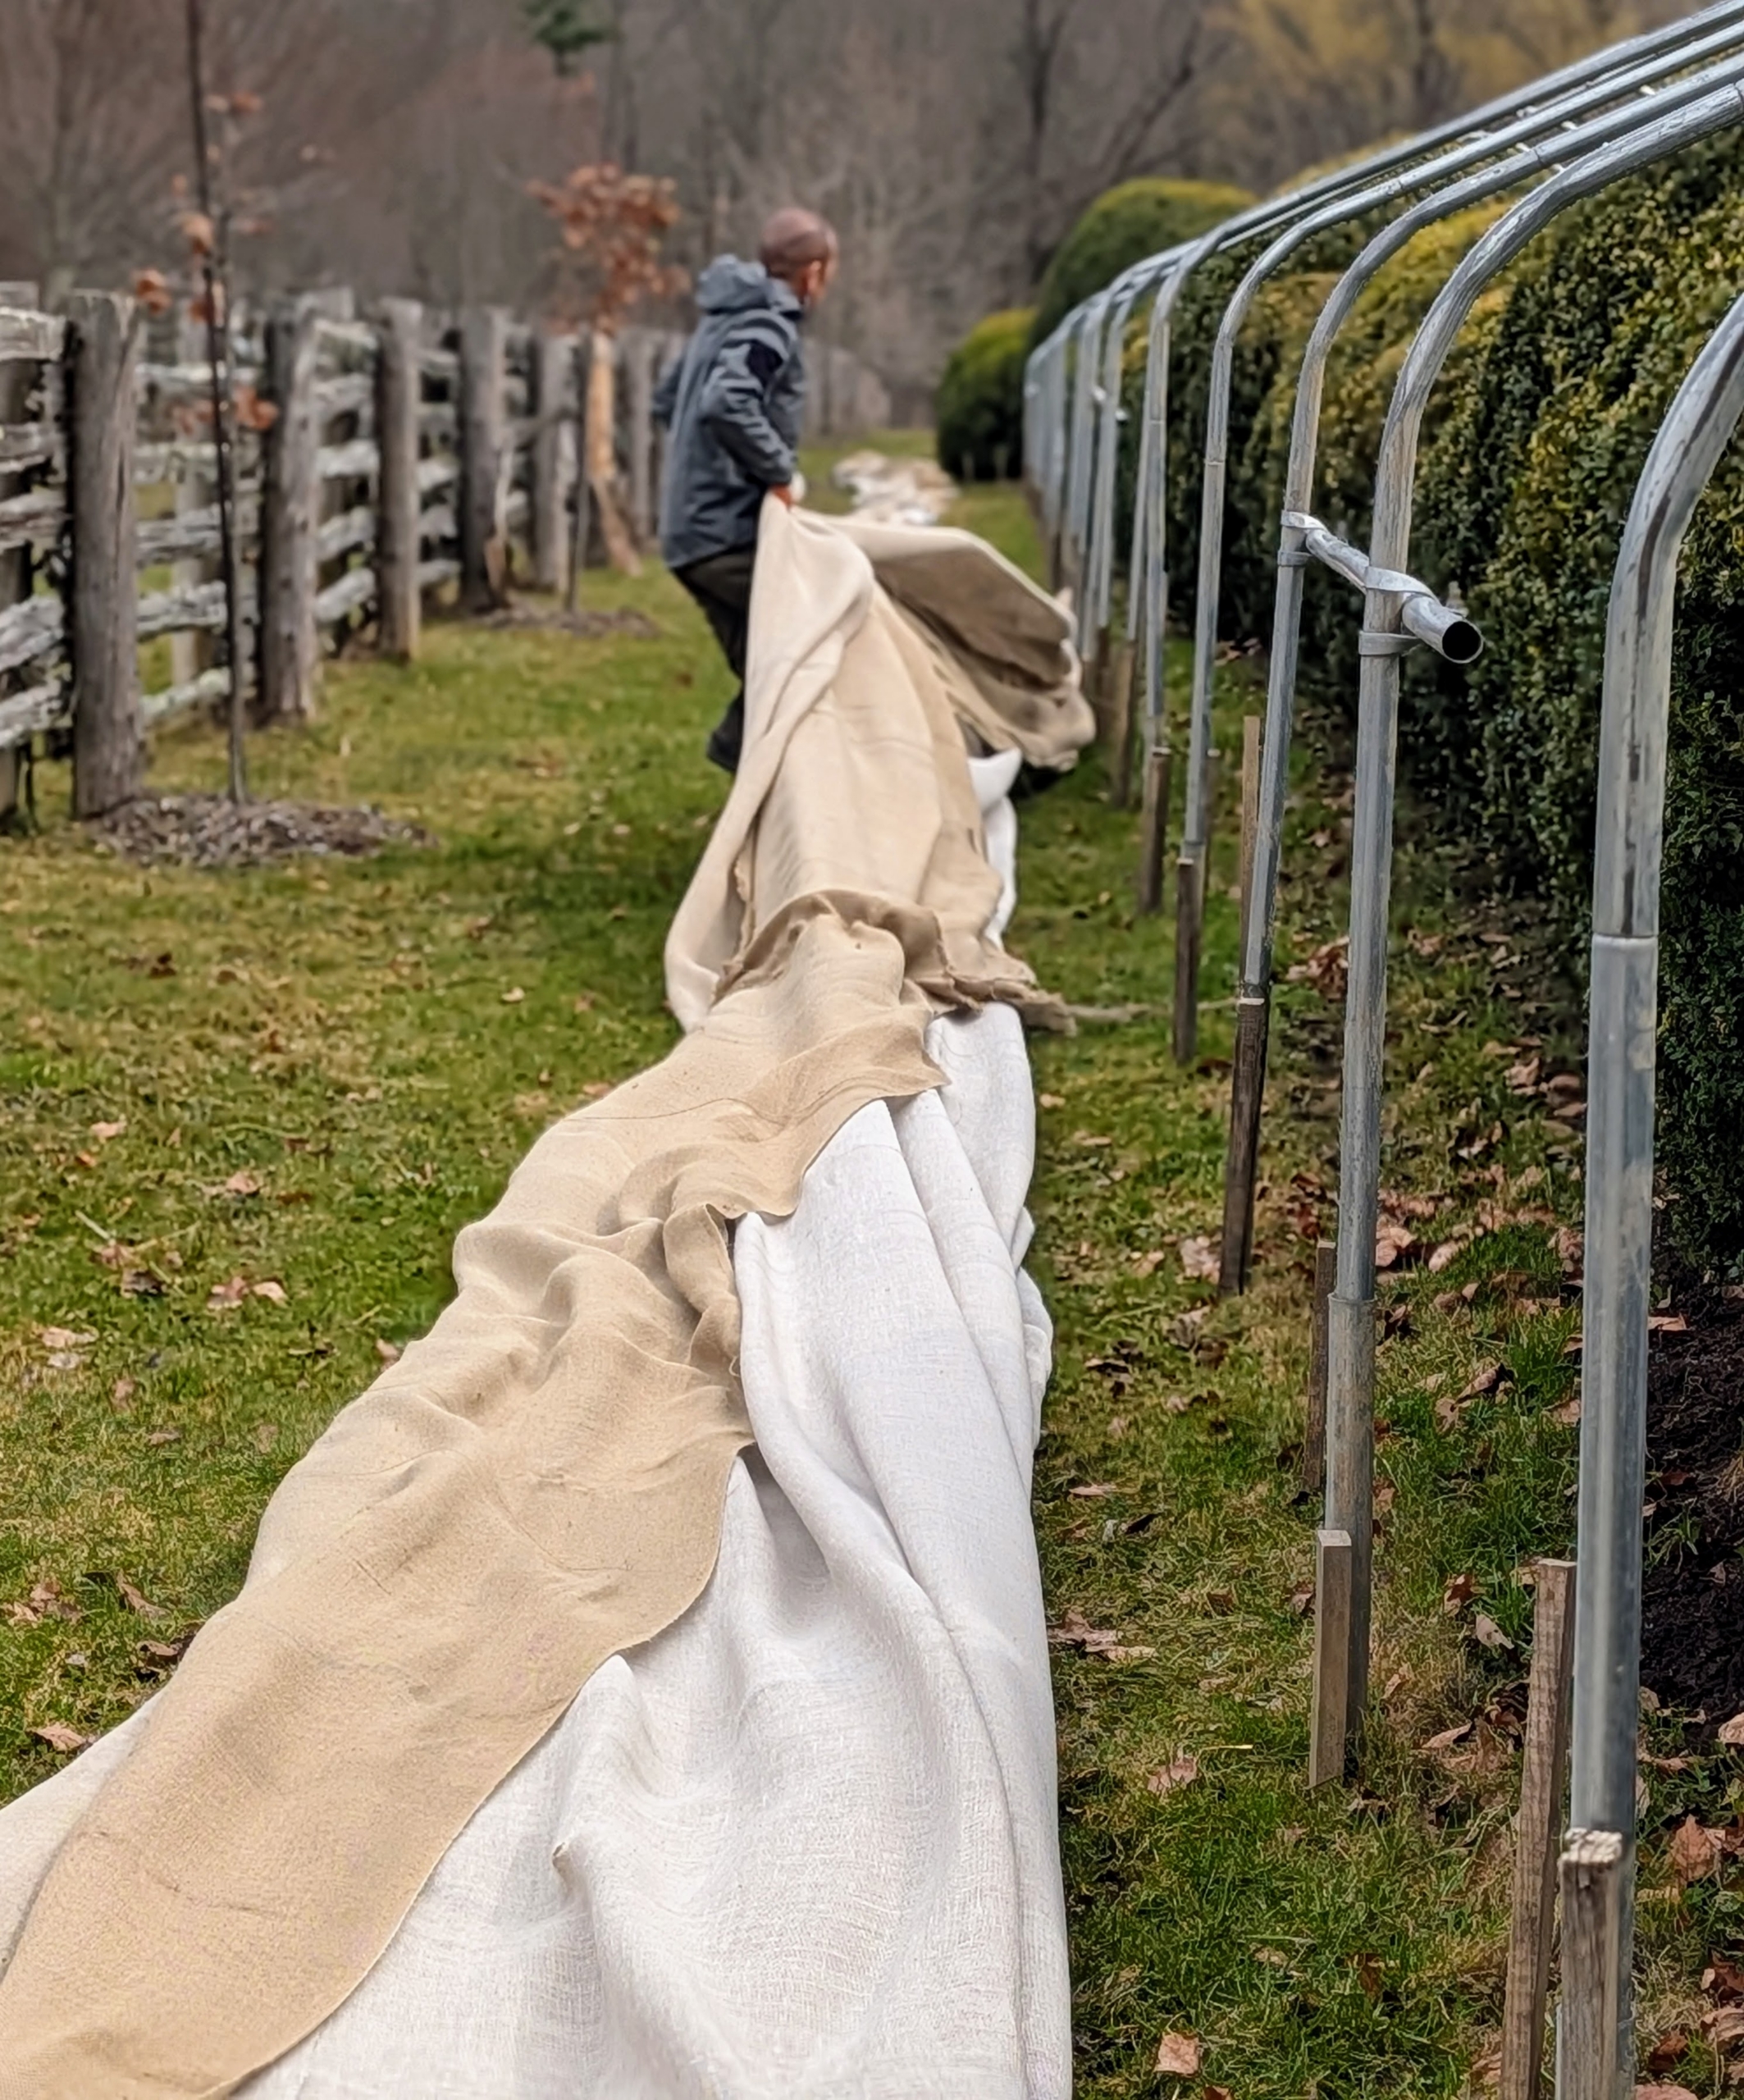
Once a section is unattached, Chhiring slowly pulls back the fabric from on top of the metal frames.
It doesn’t take long, but the burlap is very heavy.
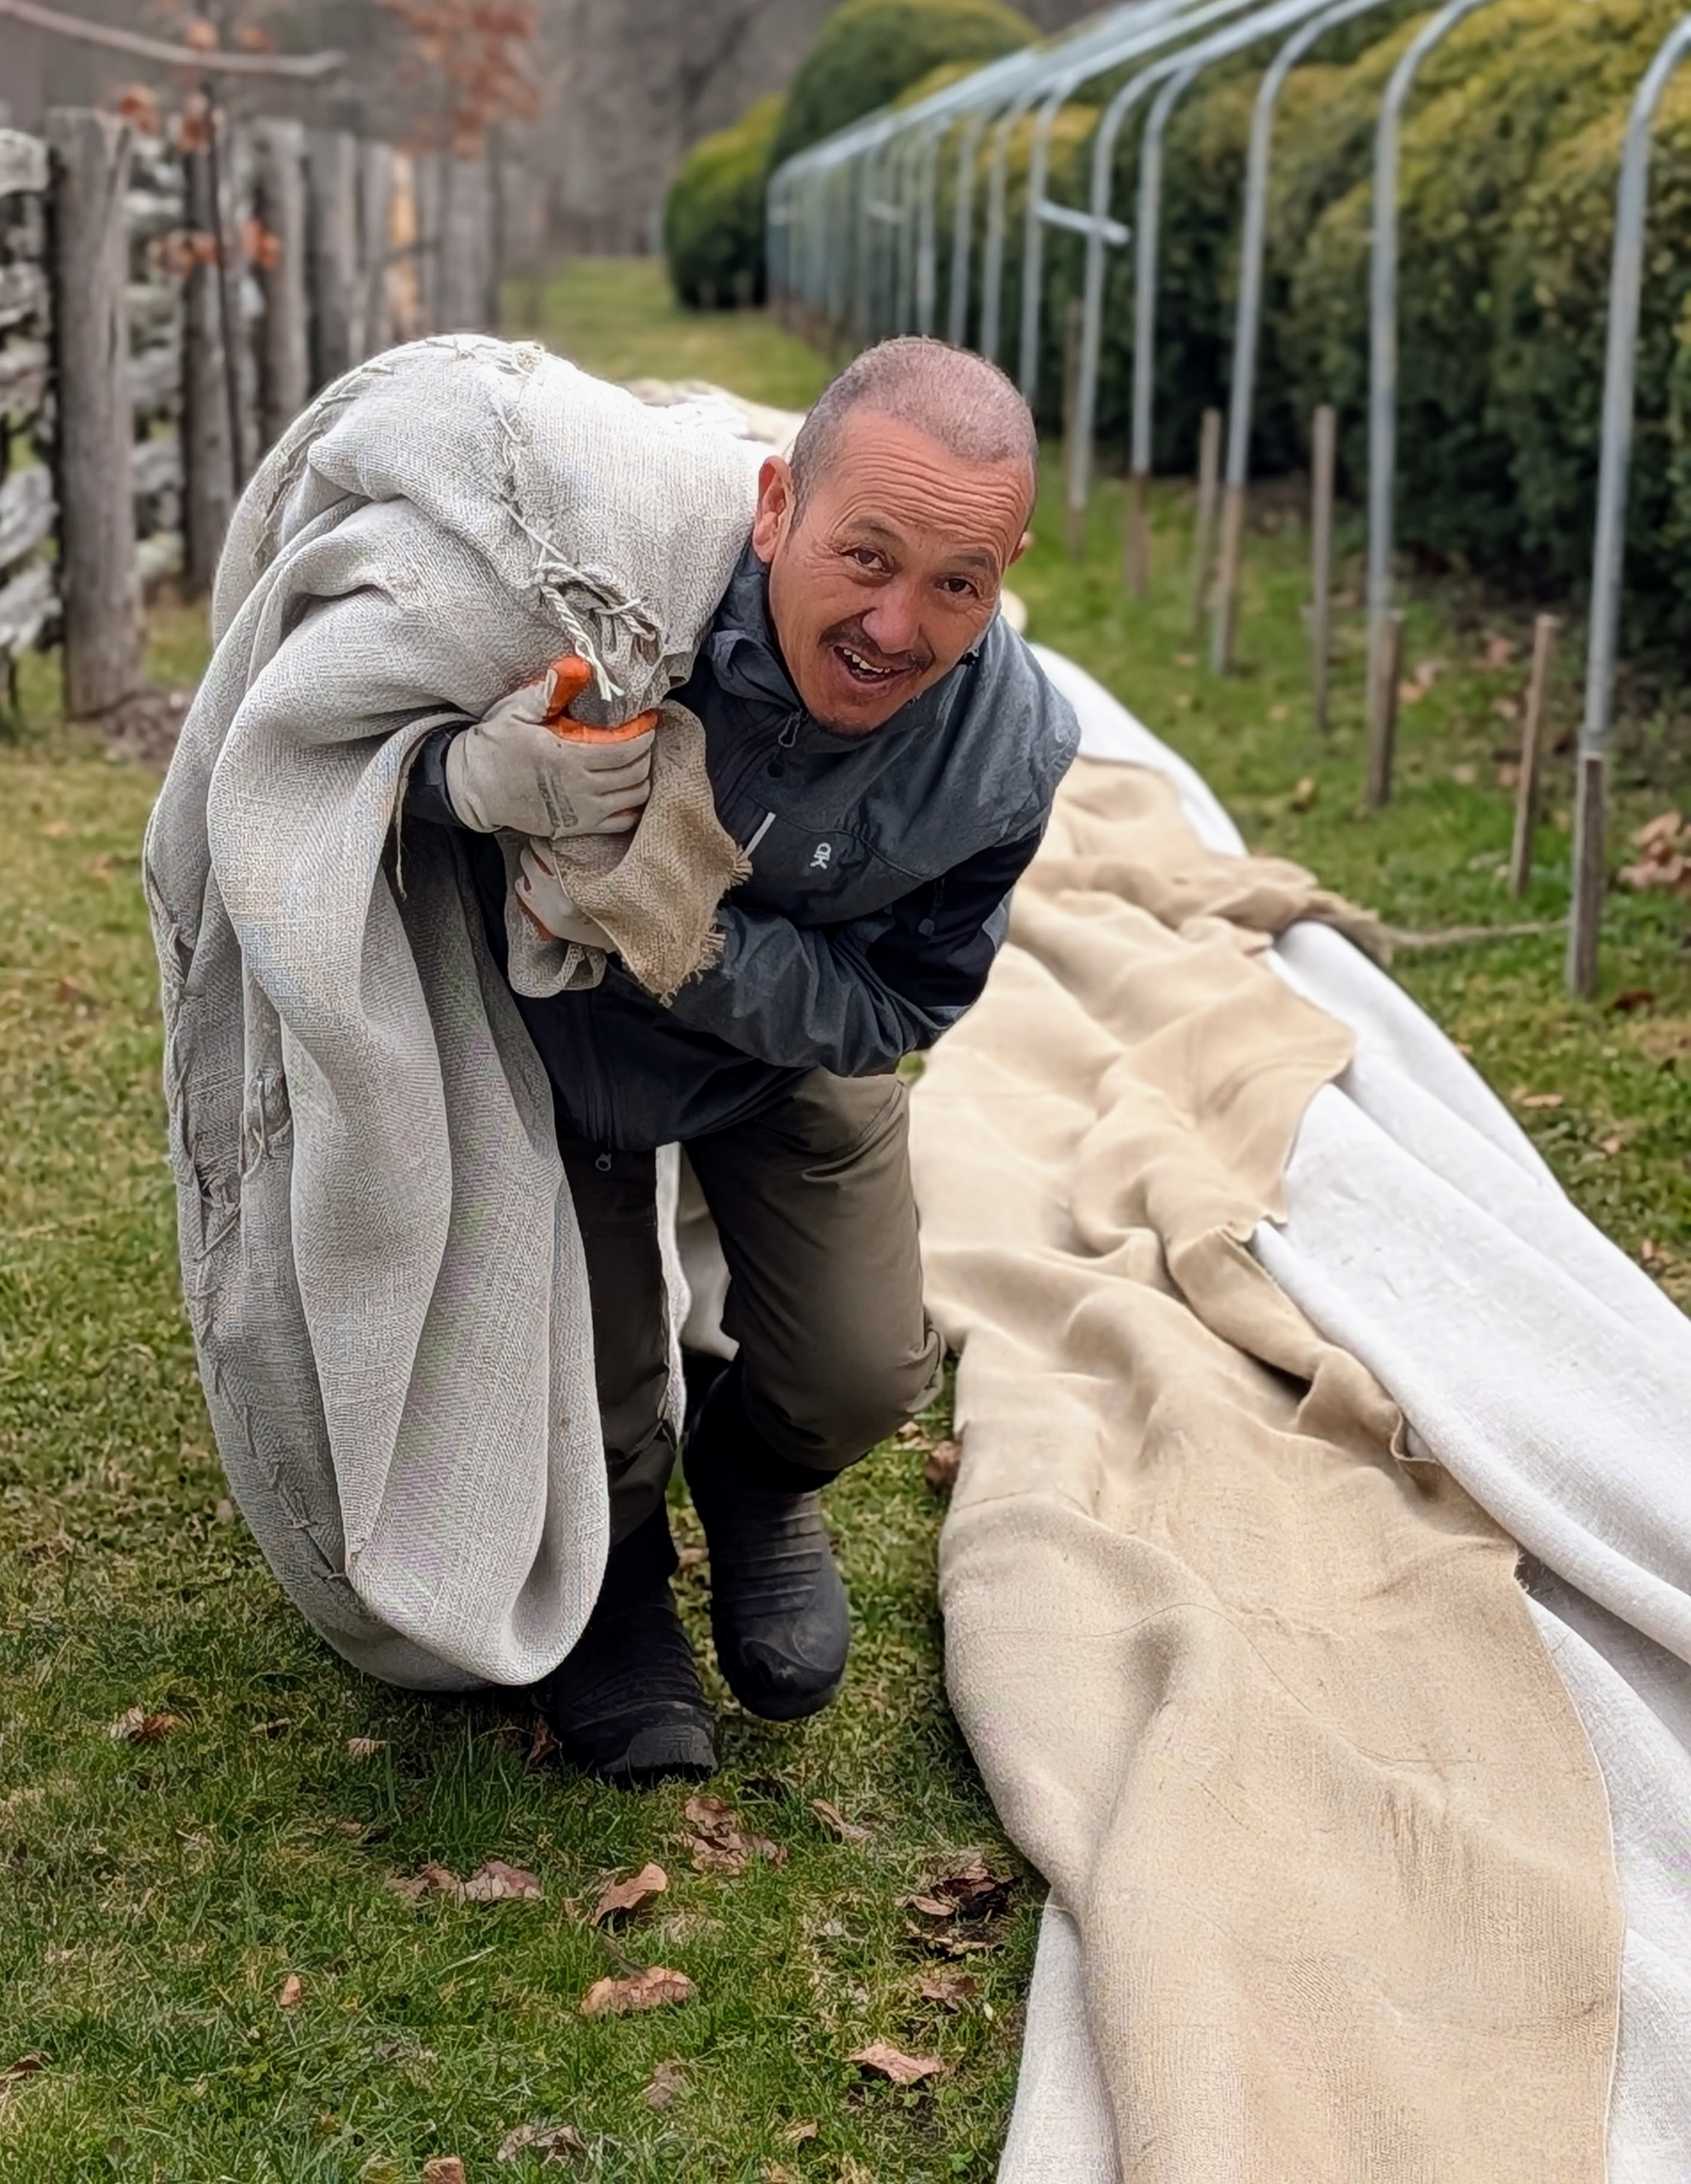
After the burlap is removed, it is folded in half neatly on the ground and then rolled.
Here’s Chhiring bringing one end up as part of the folding process.
Meanwhile, Justin walks my Fell Pony Banchunch into the stable after his turnout. Depending on the weather, my horses are turned out during the day and then brought into the stable for grooming and feeding.
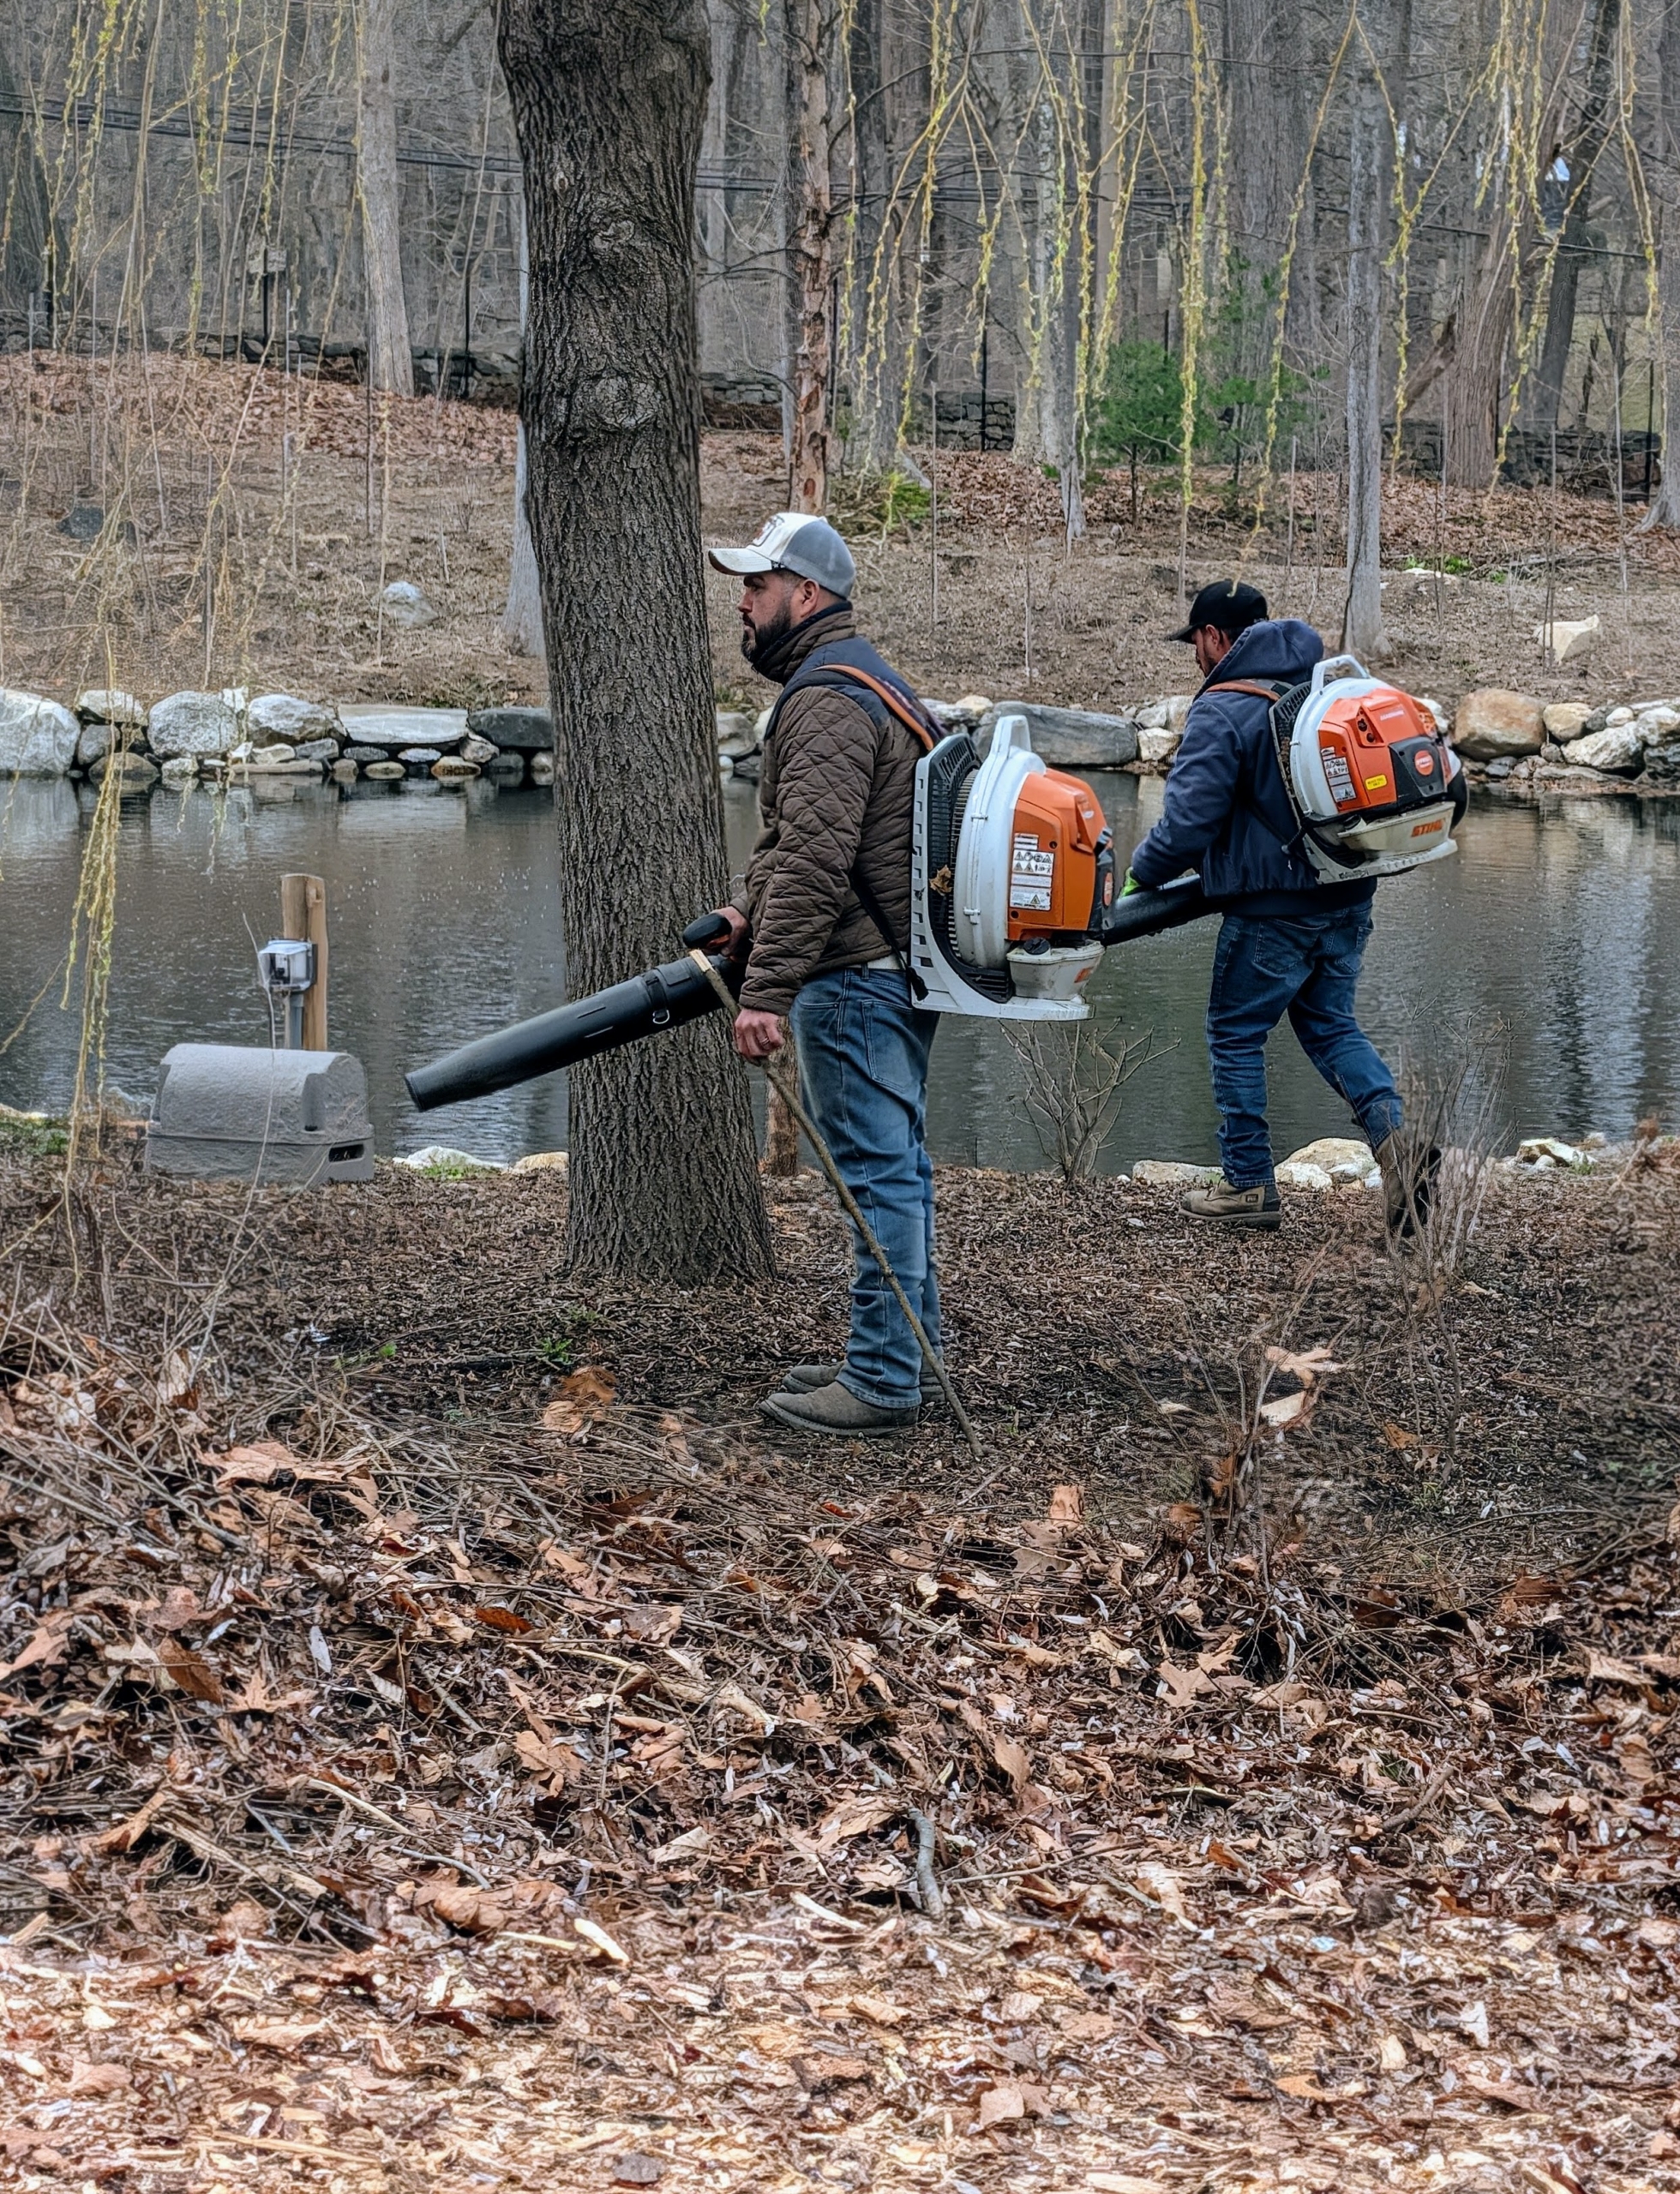
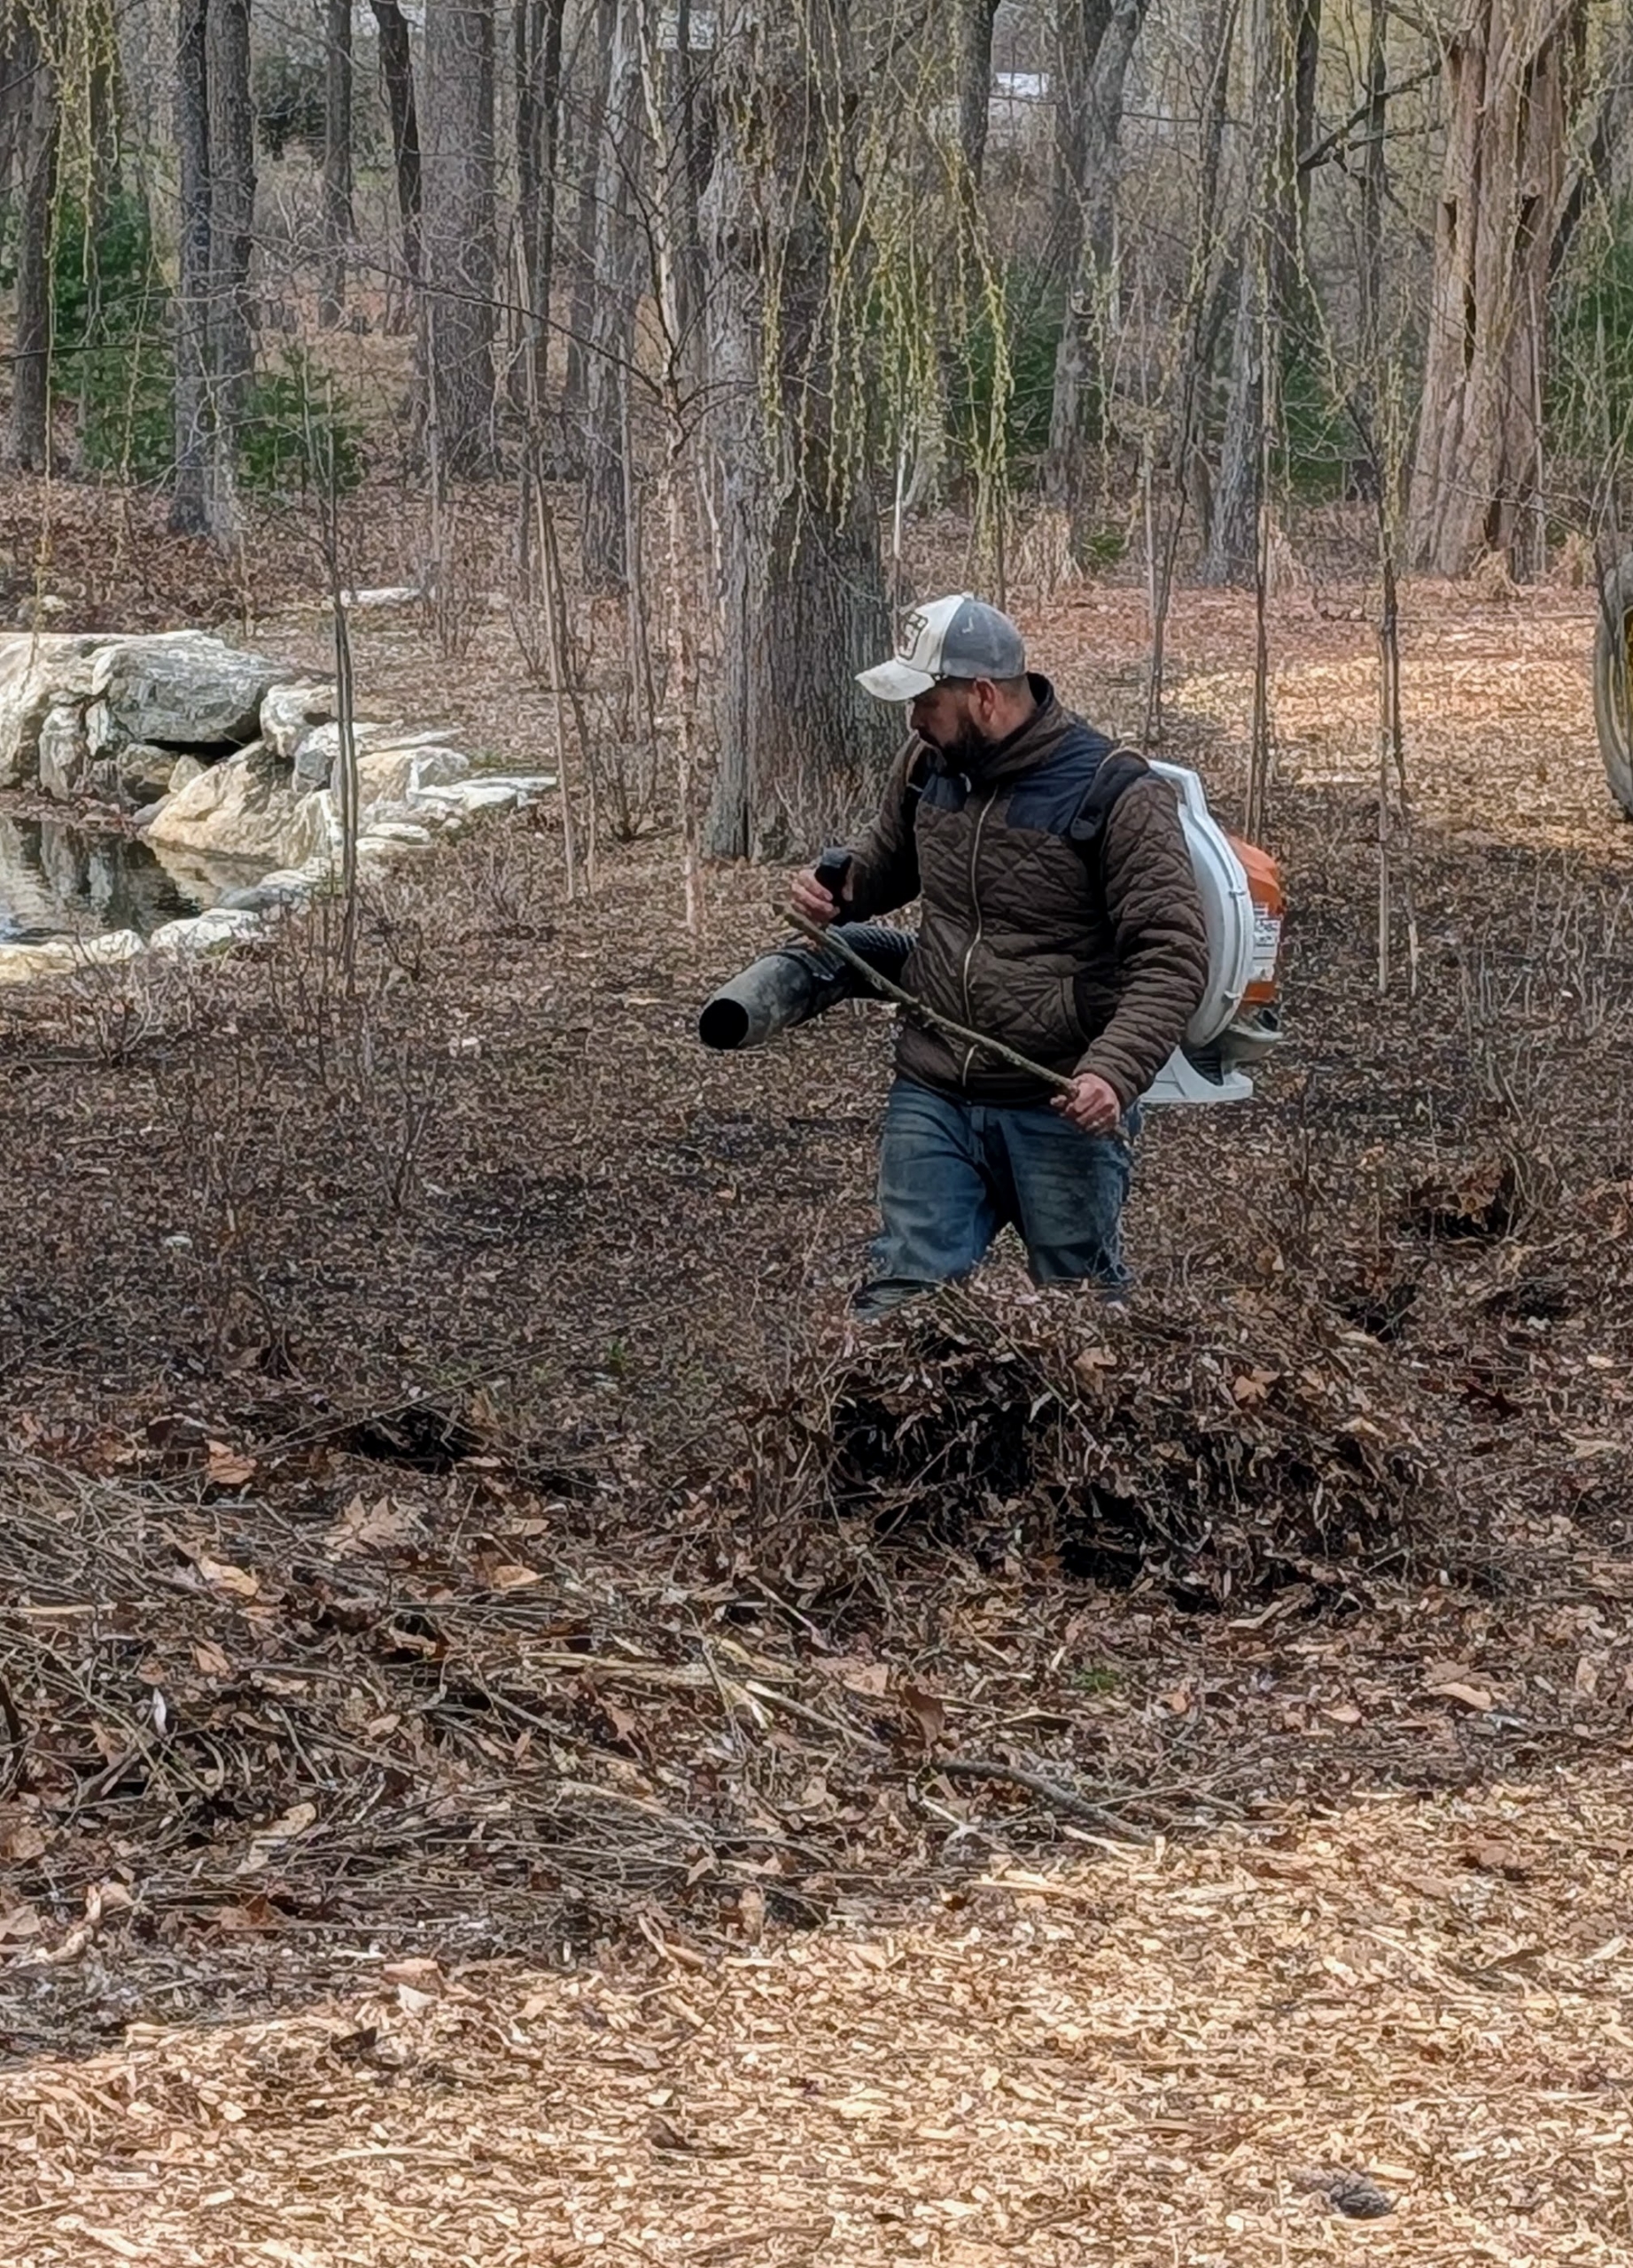
Up at my pond, the leaves left over from last fall are blown. The pond are was in need of a good cleanup. I am looking forward to seeing all the blooming azaleas this spring.
Here’s Adan clearing the area using one of our STIHL leaf blowers. I’ve been using STIHL’s backpack blowers for years here at my farm. Both the gas and battery powered units are powerful and efficient.
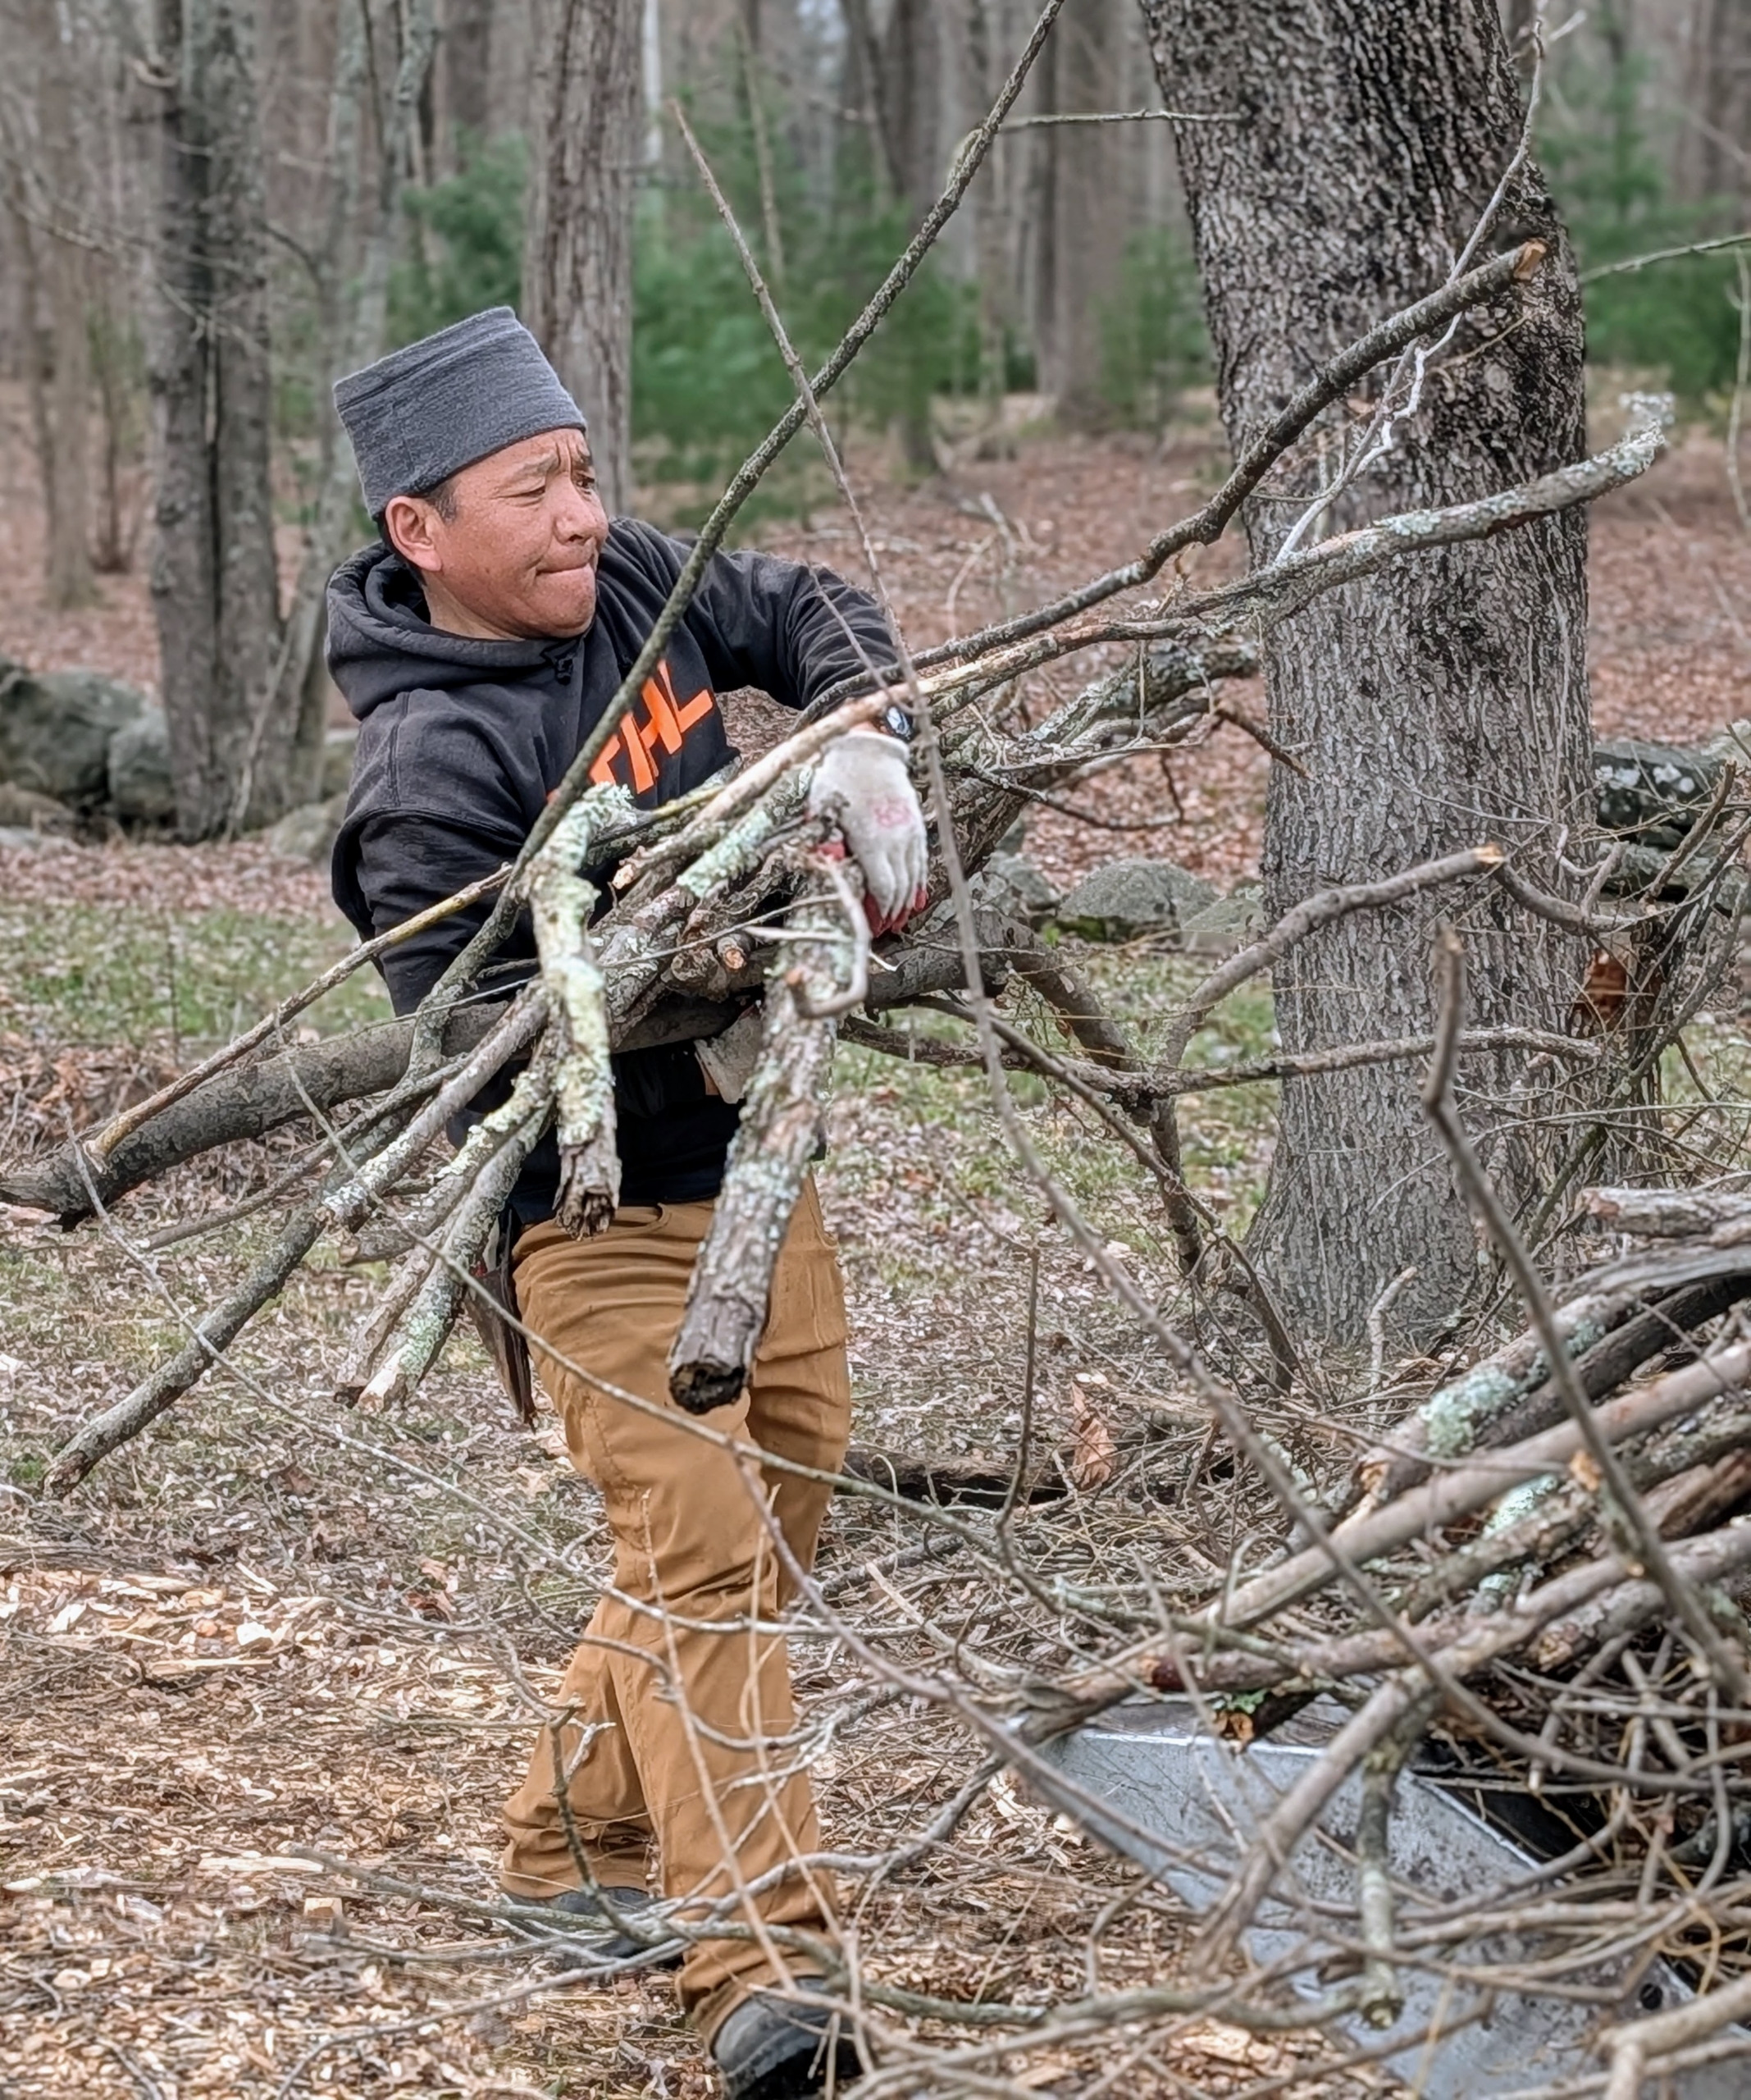
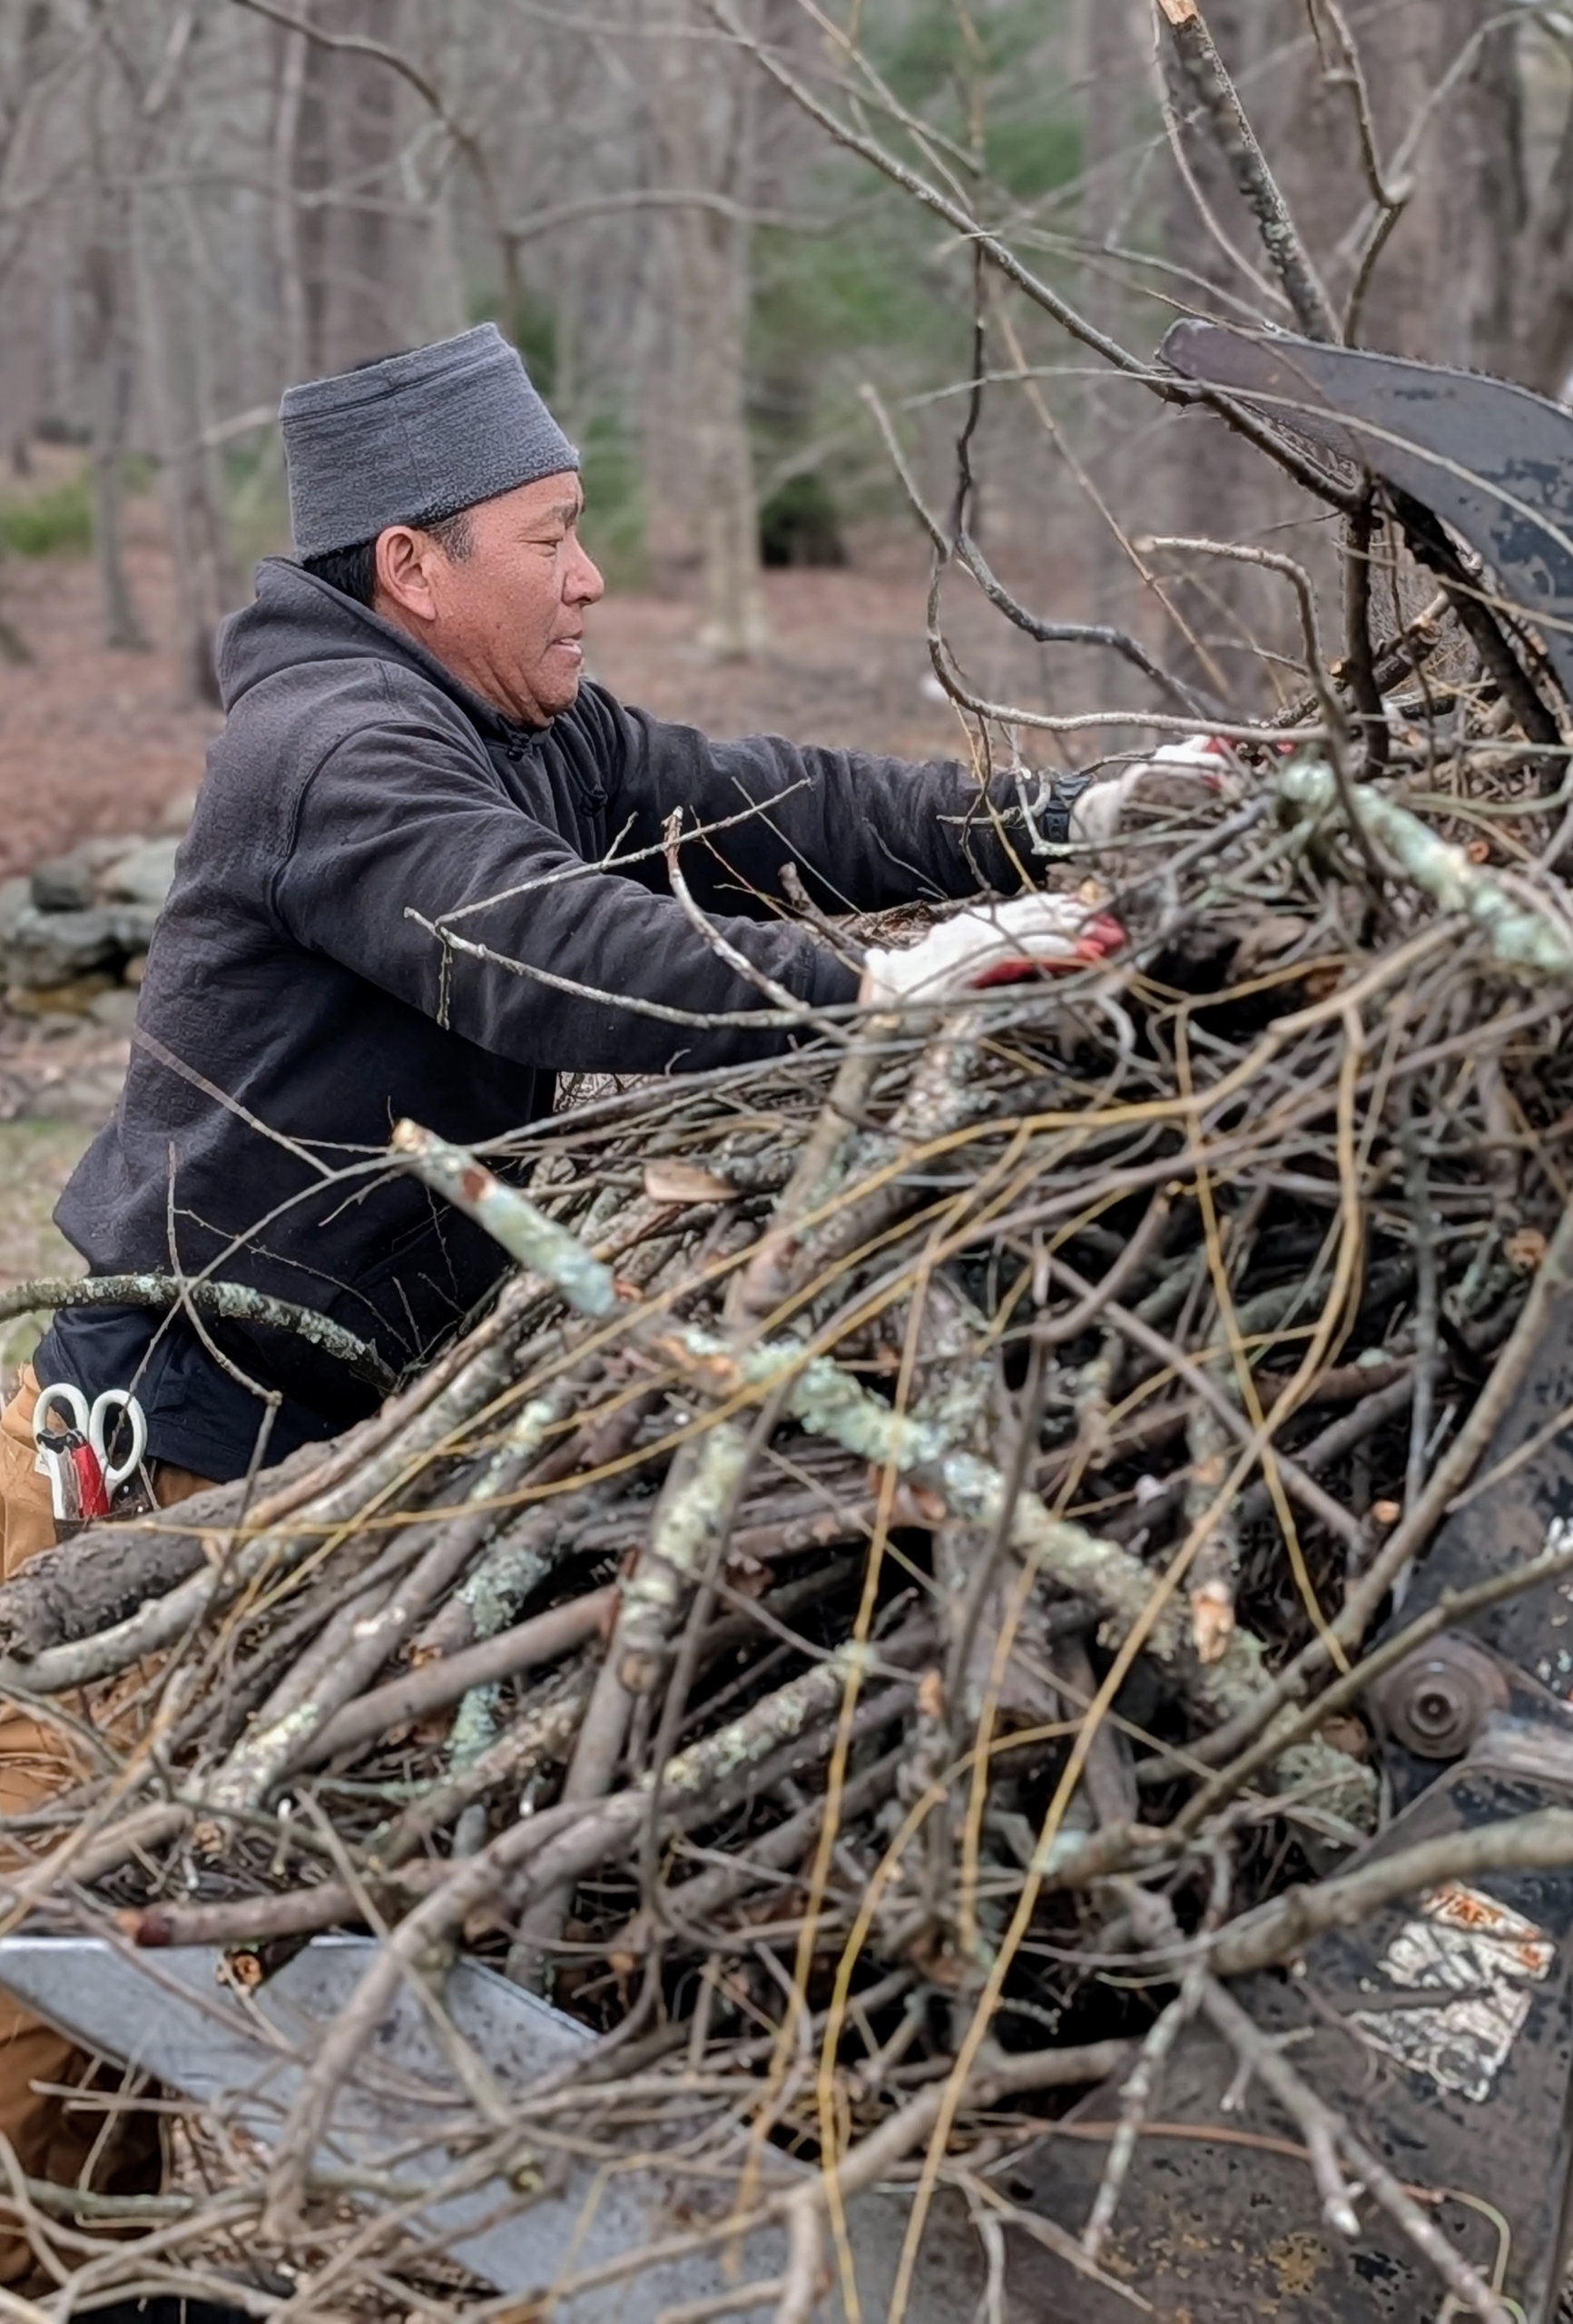
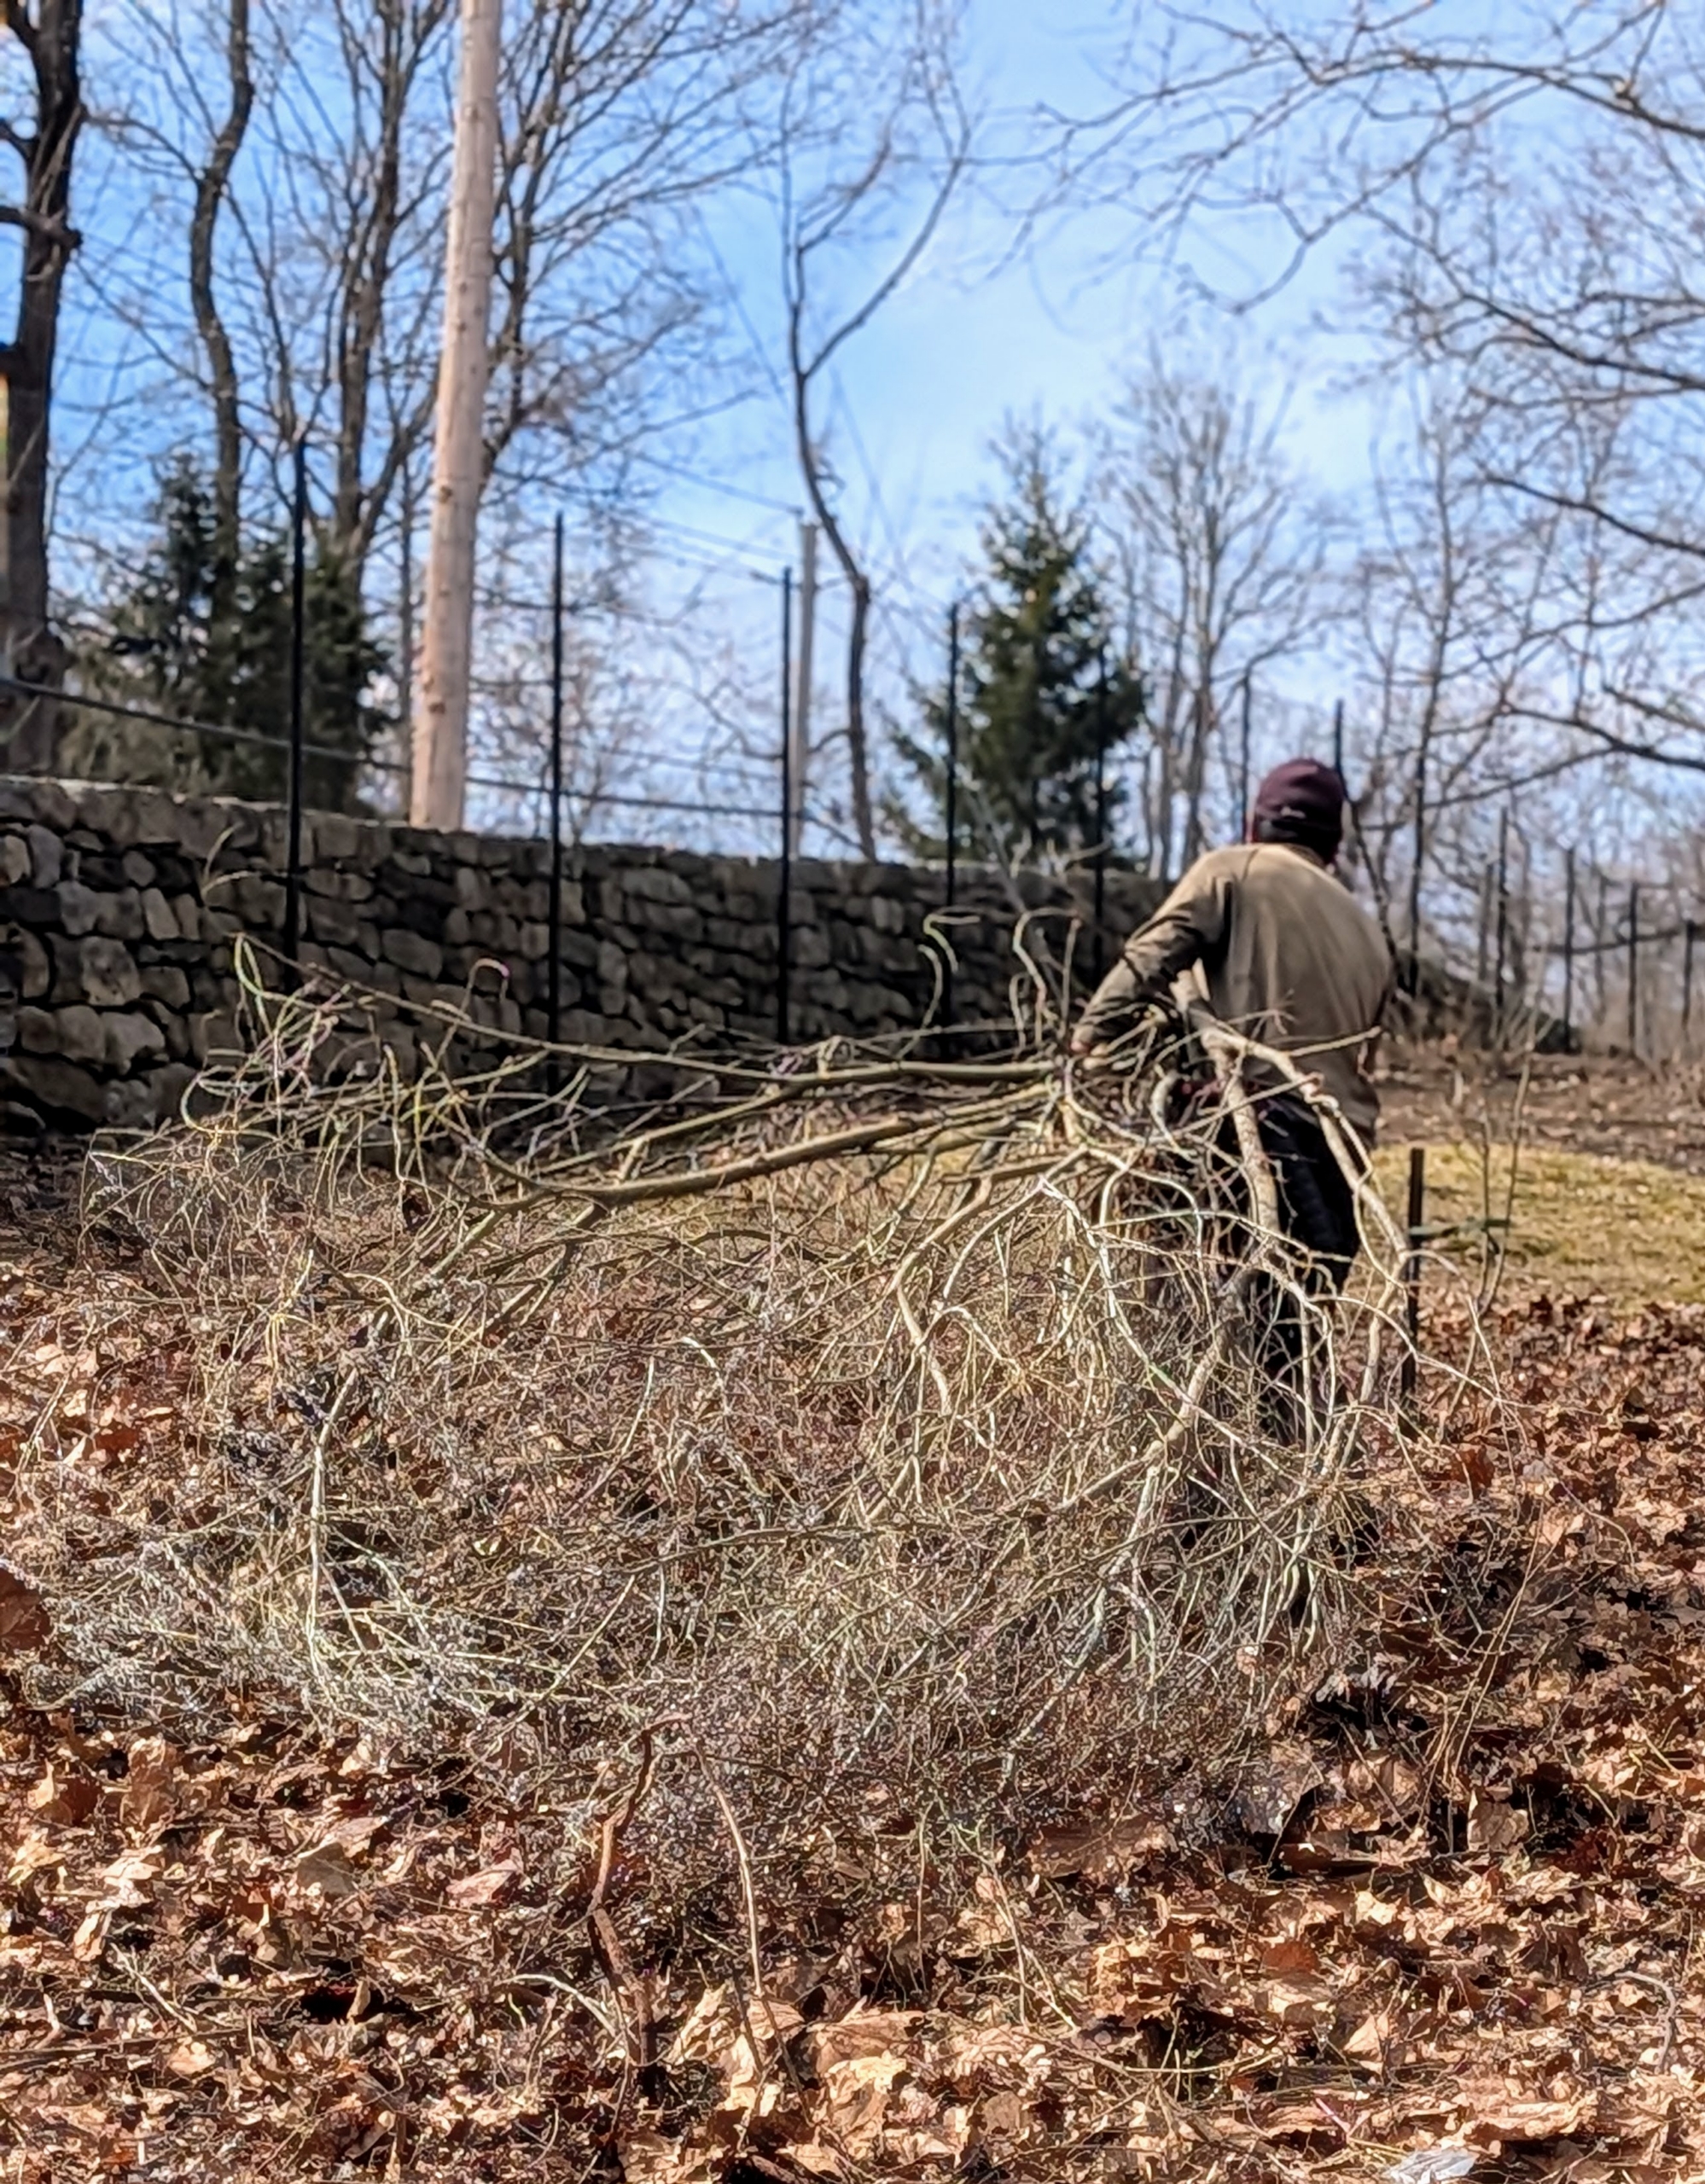
Phurba follows and collects the branches and other debris gathered in bunches.
All the debris is put onto the tractor bucket and brought to the compost yard where they await chipping and then spread out in other areas of the farm as top dressing.
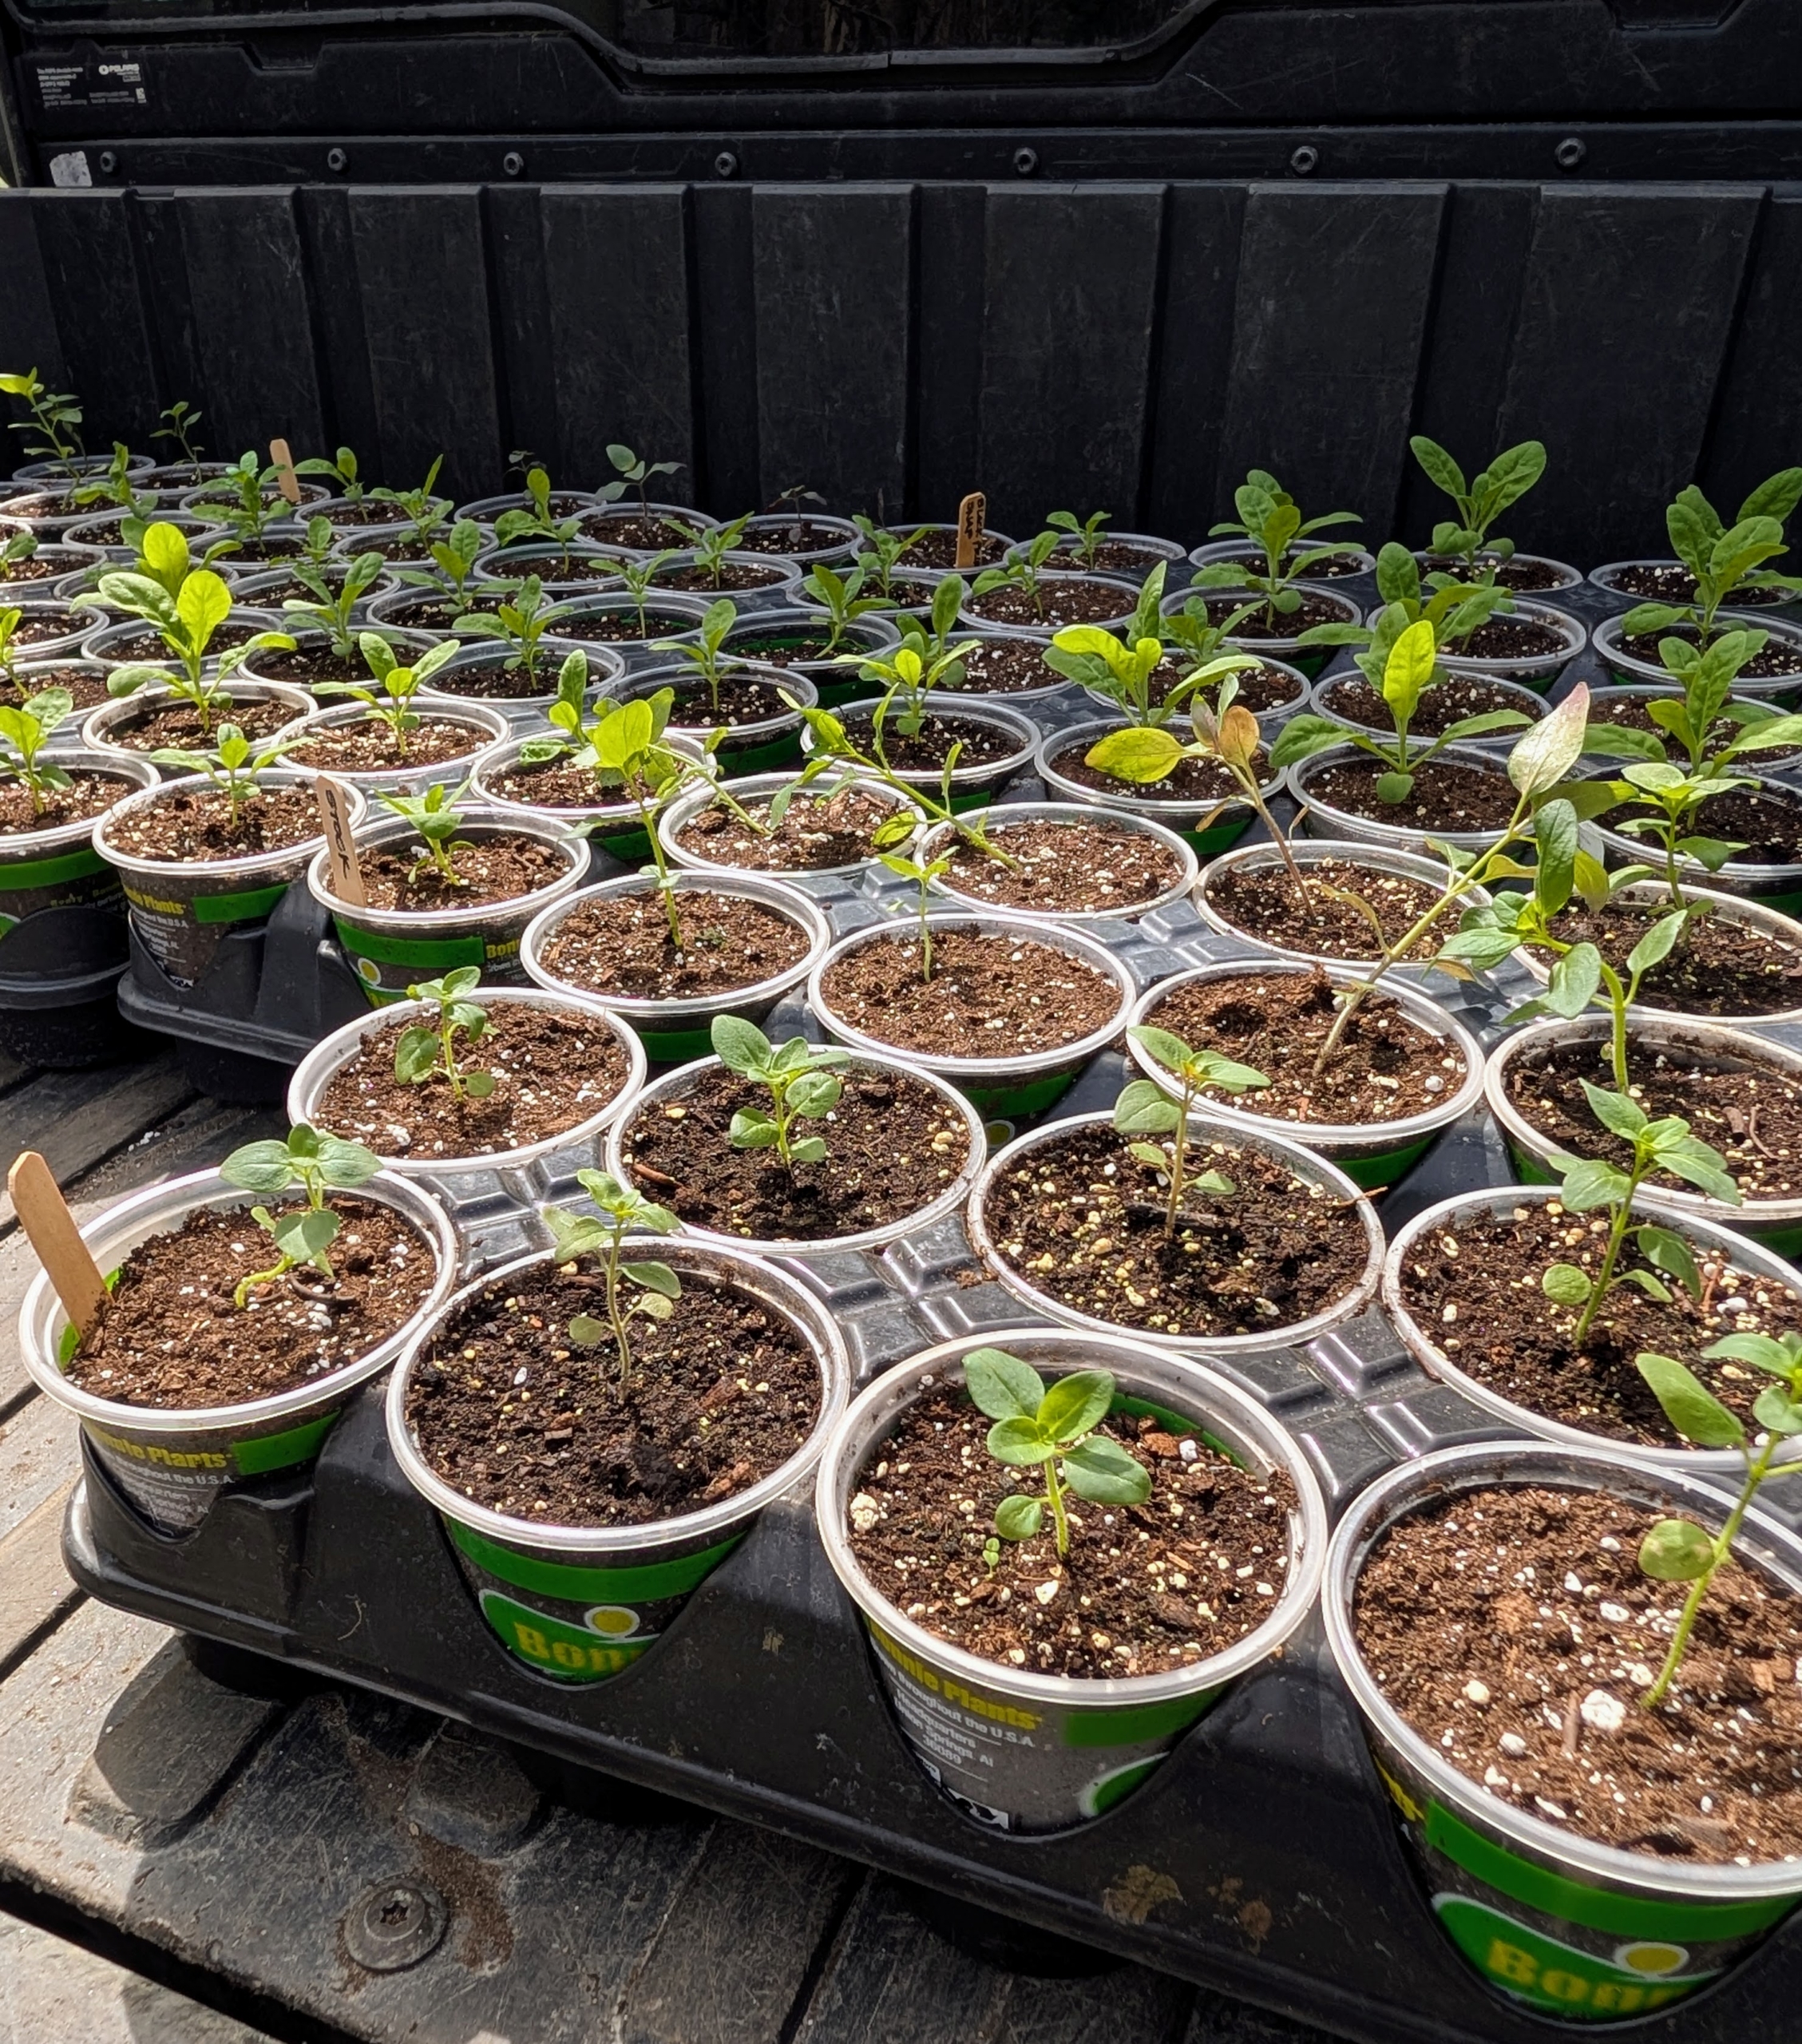
More growing seedlings are transplanted into larger pots and brought to one of the temperature and humidity controlled hoop houses where they can continue to grow until they are planted into the ground.
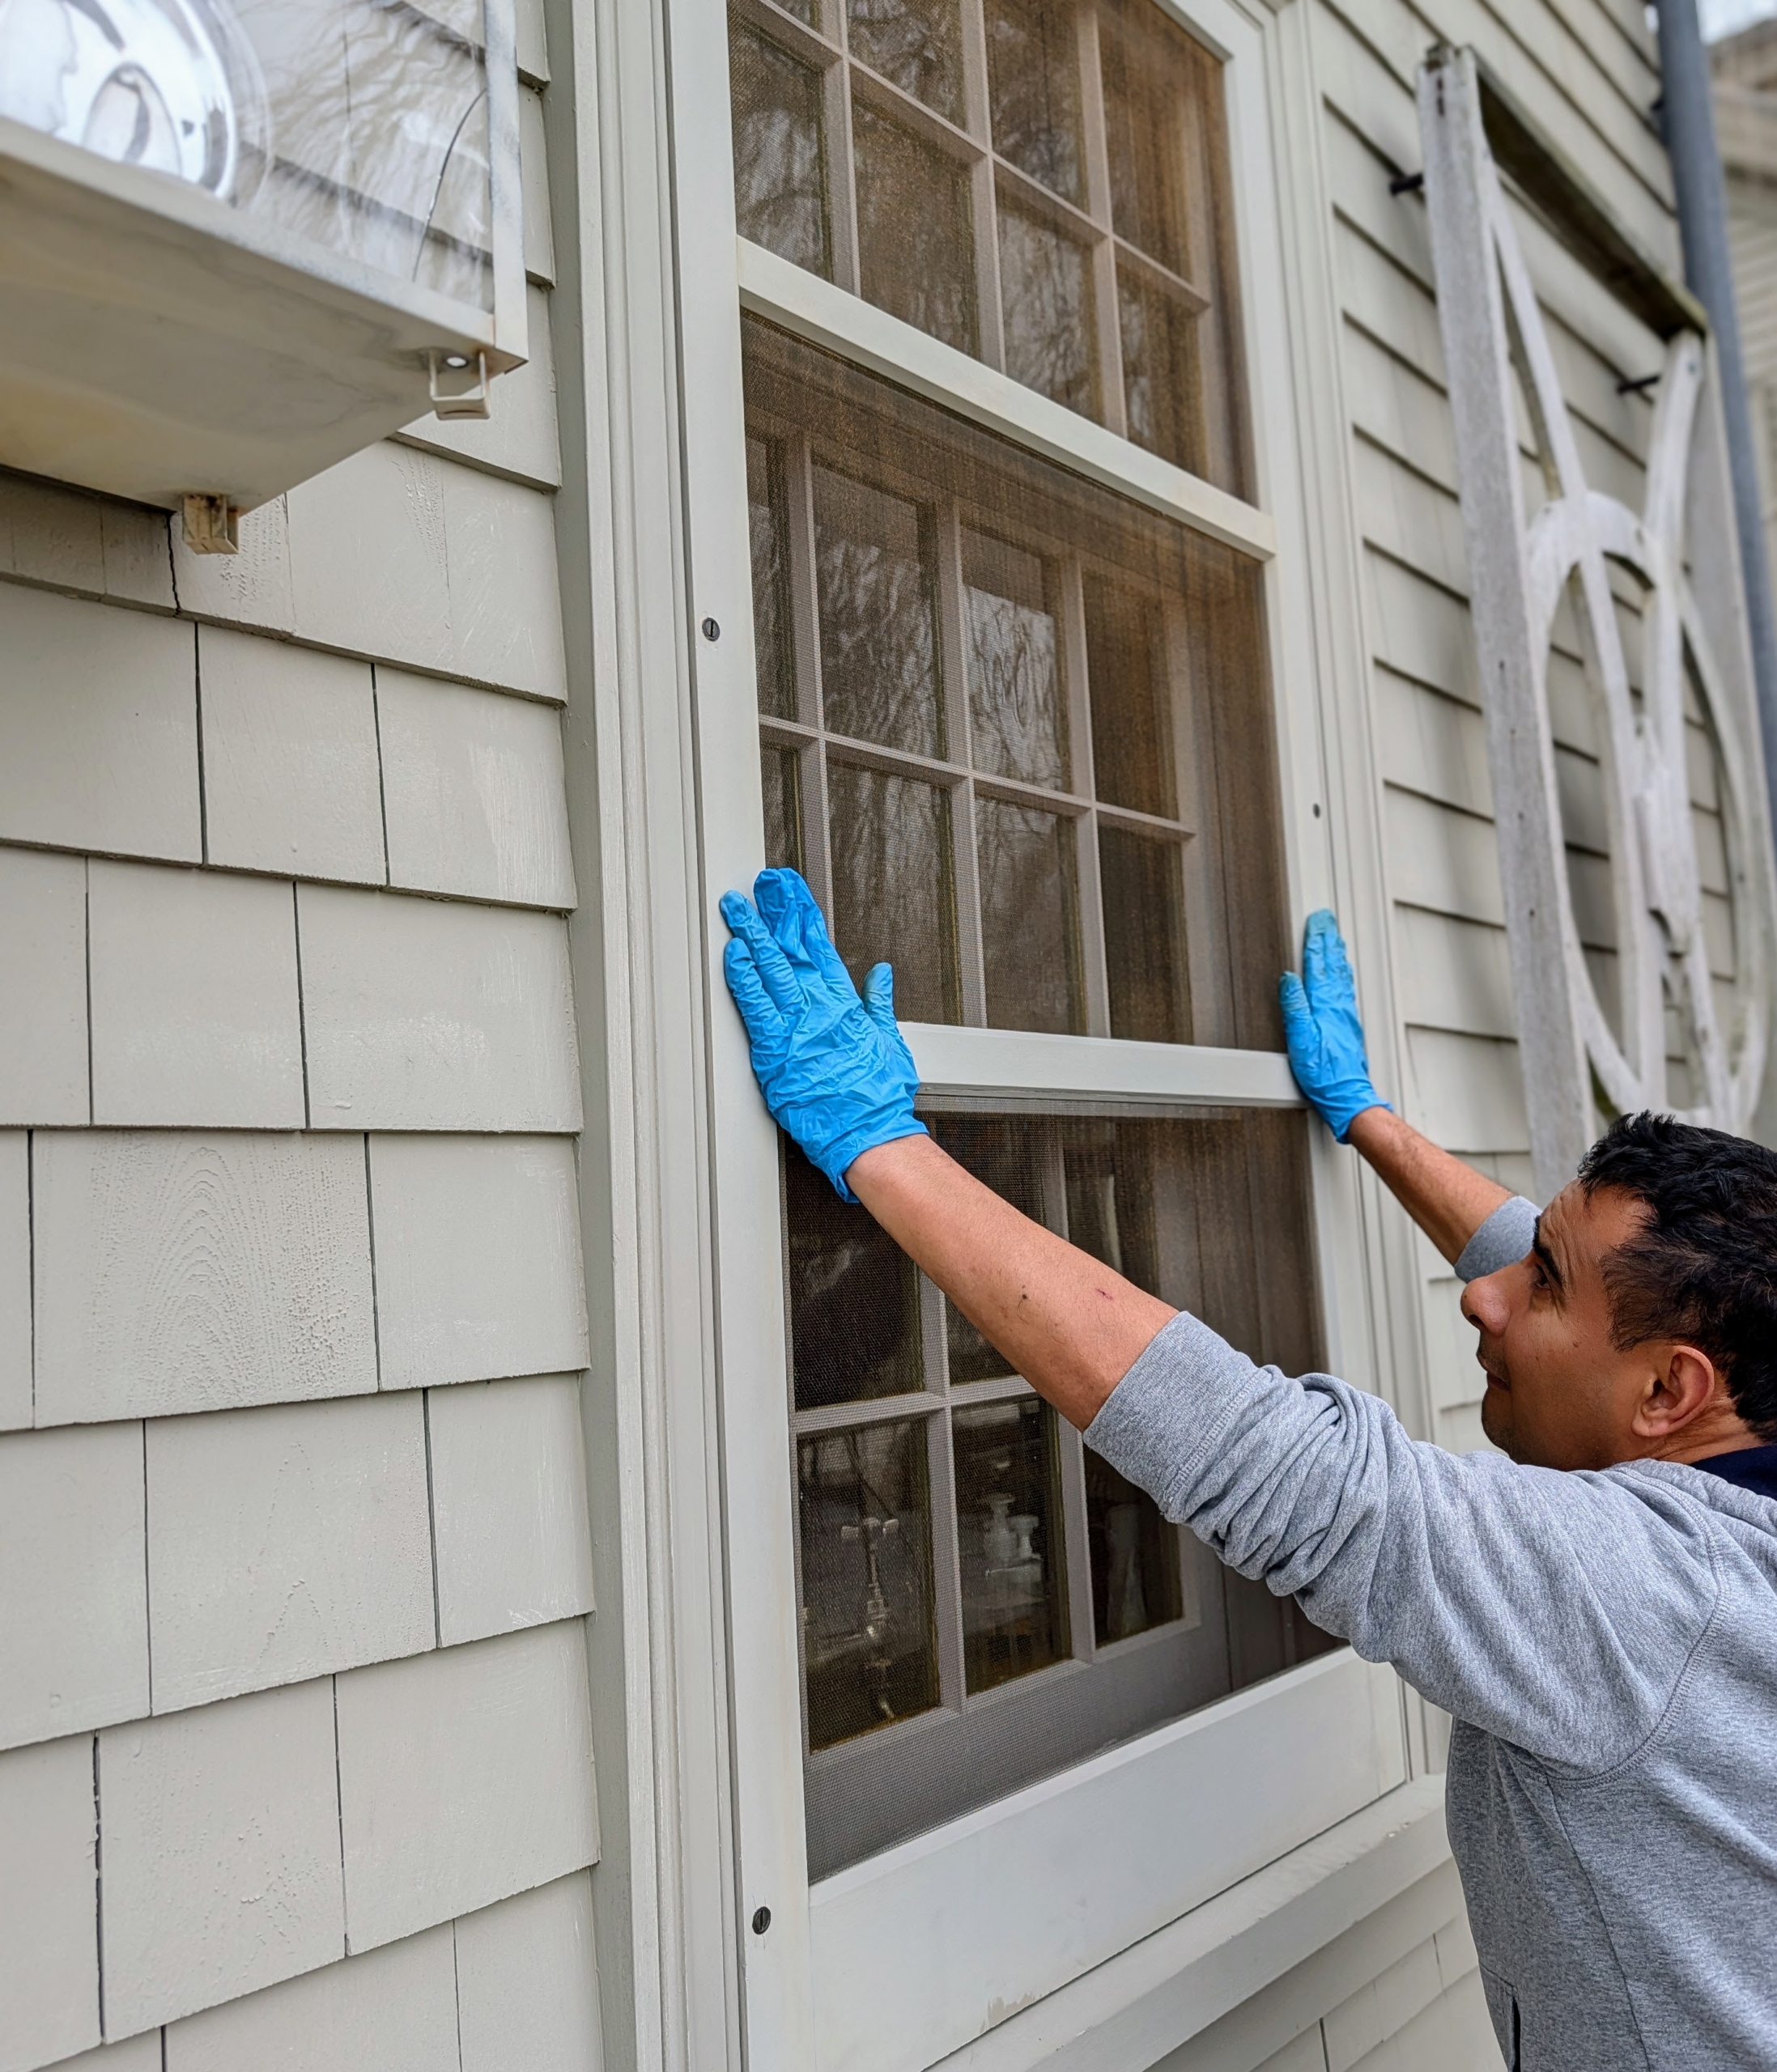
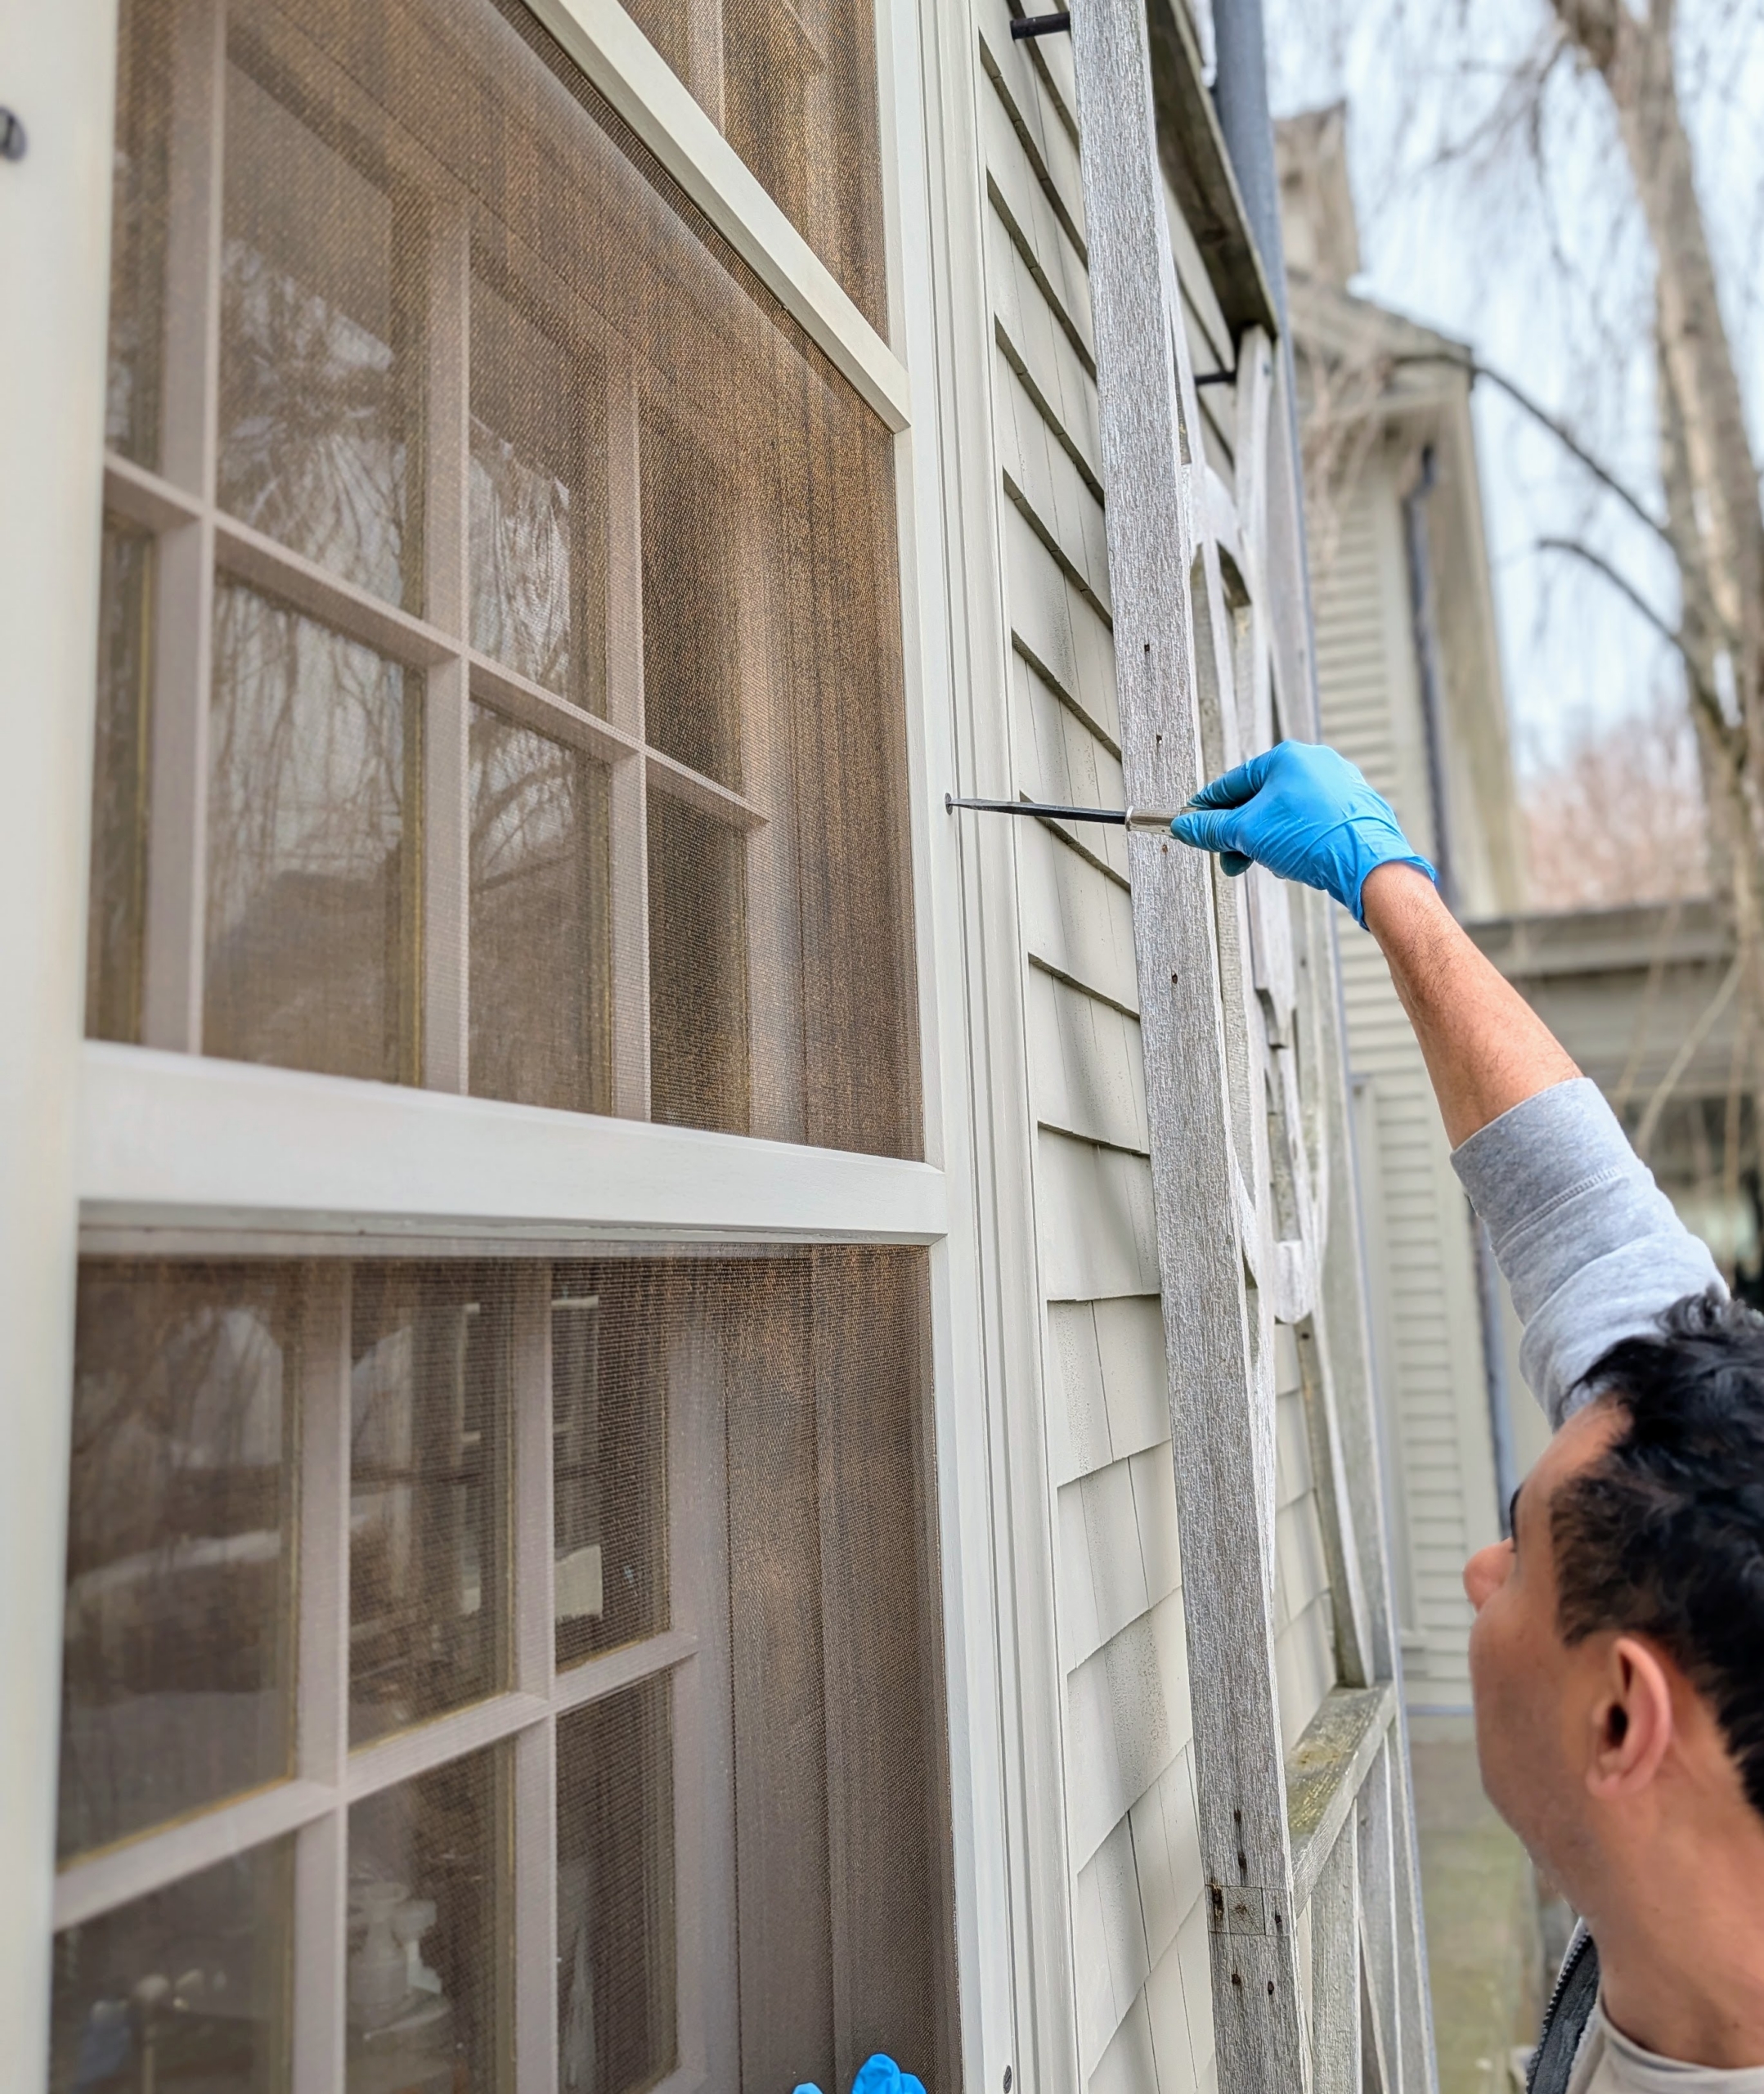
Storm windows are removed and screens are installed for the season.
Carlos carefully inserts each screen and secures it to the window frame. Mine are secured with screws.
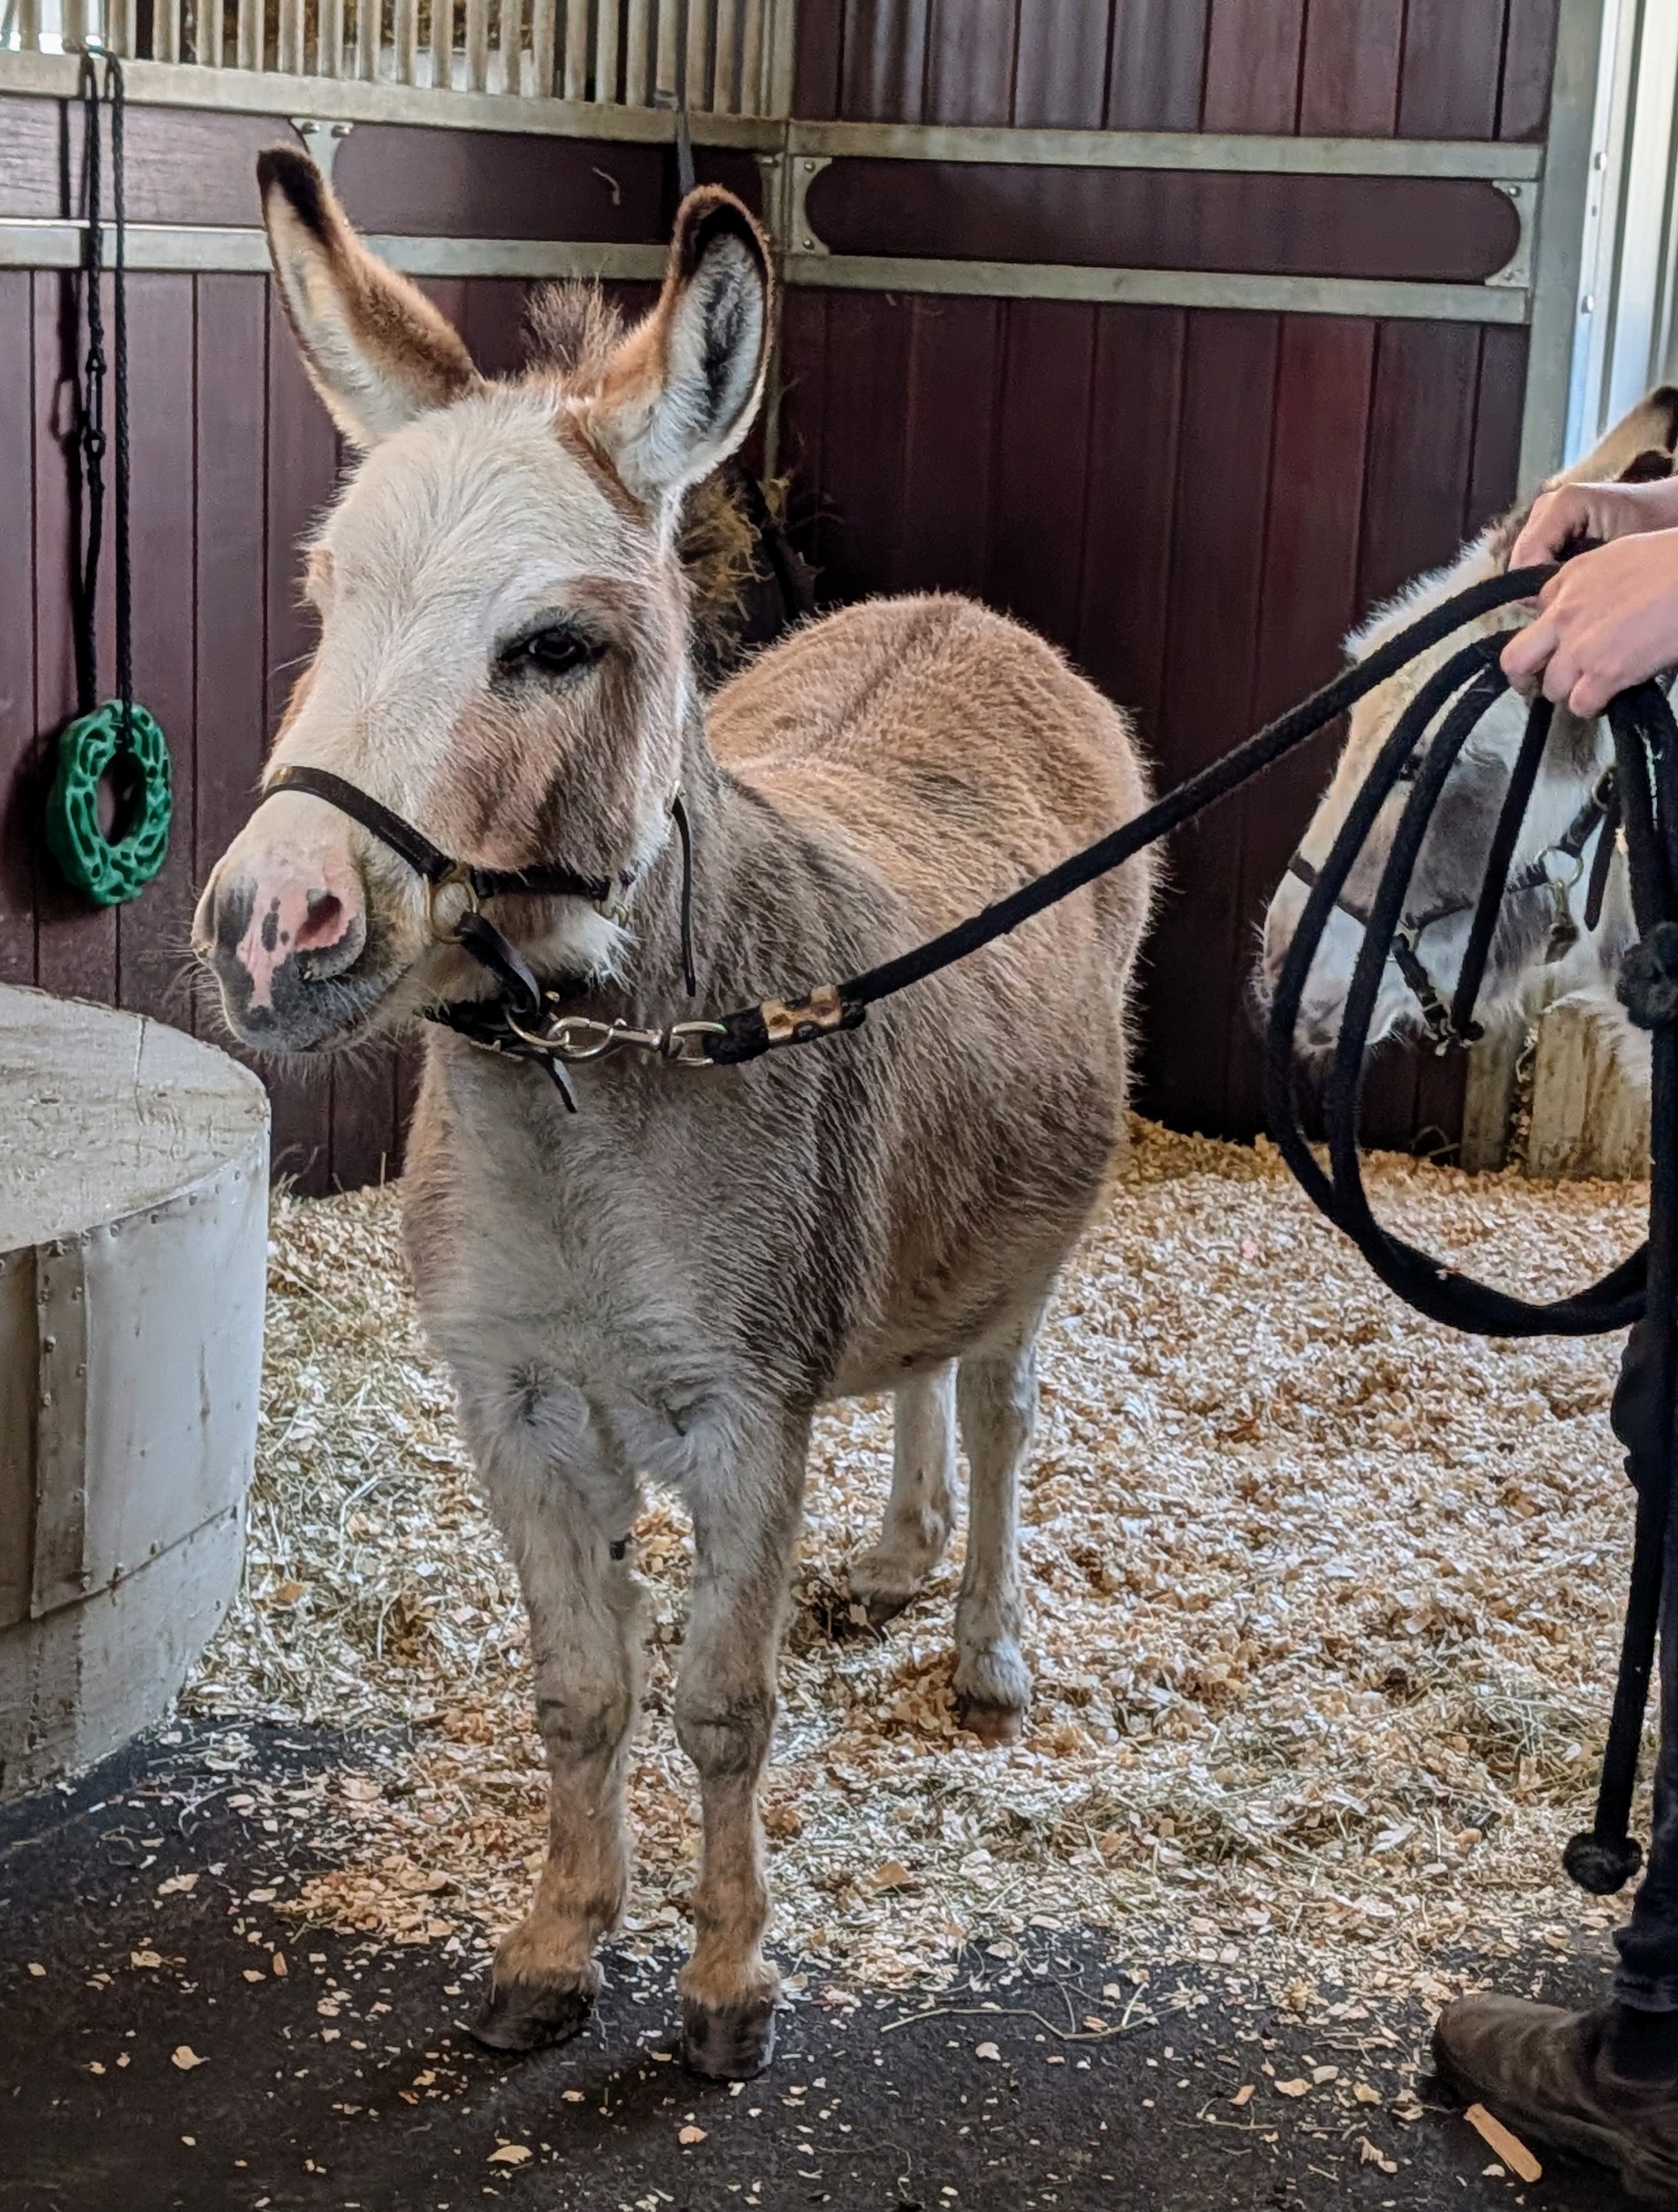
Truman “TJ” Junior is taken out of his stall to meet with his farrier. Compared to a horse, a donkey’s hooves are smaller, more upright, and more resistant, but like all equines, their hooves are constantly growing. My farrier comes every six to eight weeks to check on the donkeys’ hooves and give them a good trim.
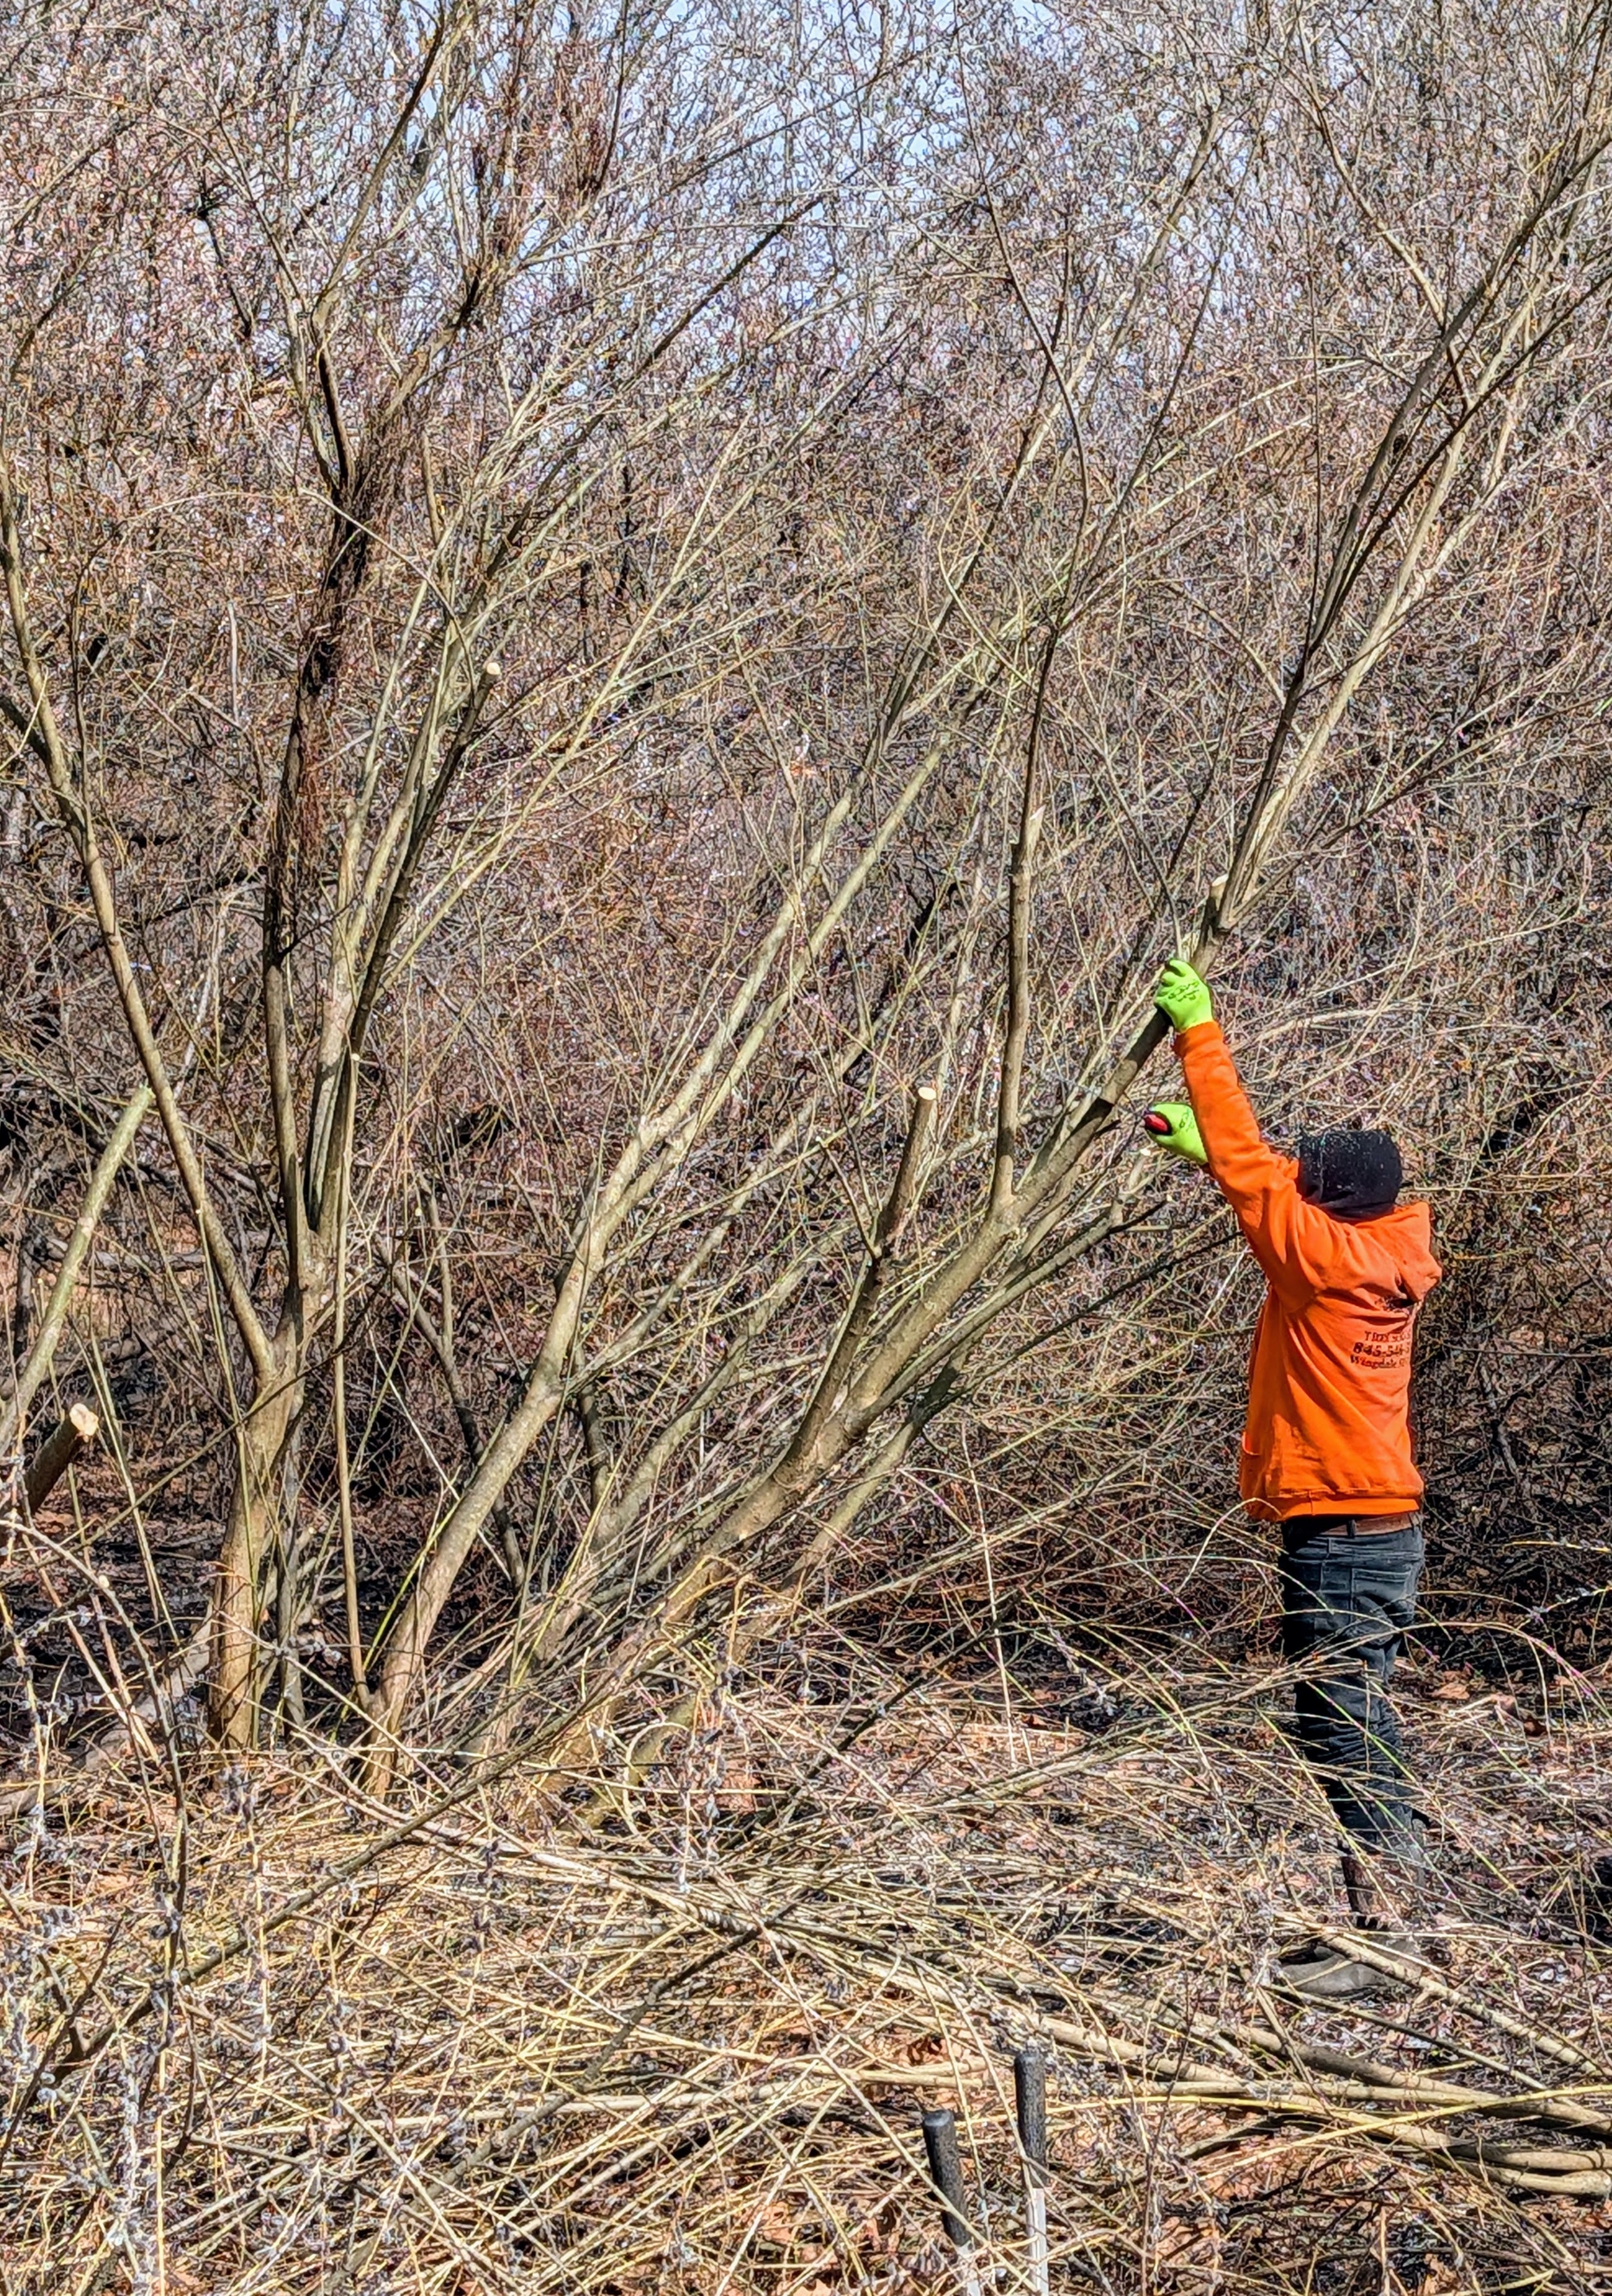
Behind my main greenhouse, the pussy willows are getting a hard pruning which helps to promote healthy growth, enhance blooms, control size, and prevent disease.
Here, Pasang takes away any pruned branches and piles them up at the edge for easy removal later.
Cesar is cleaning up another garden – wait until you see this transformation in a future post.
Fernando helps to remove the branches and take them away.
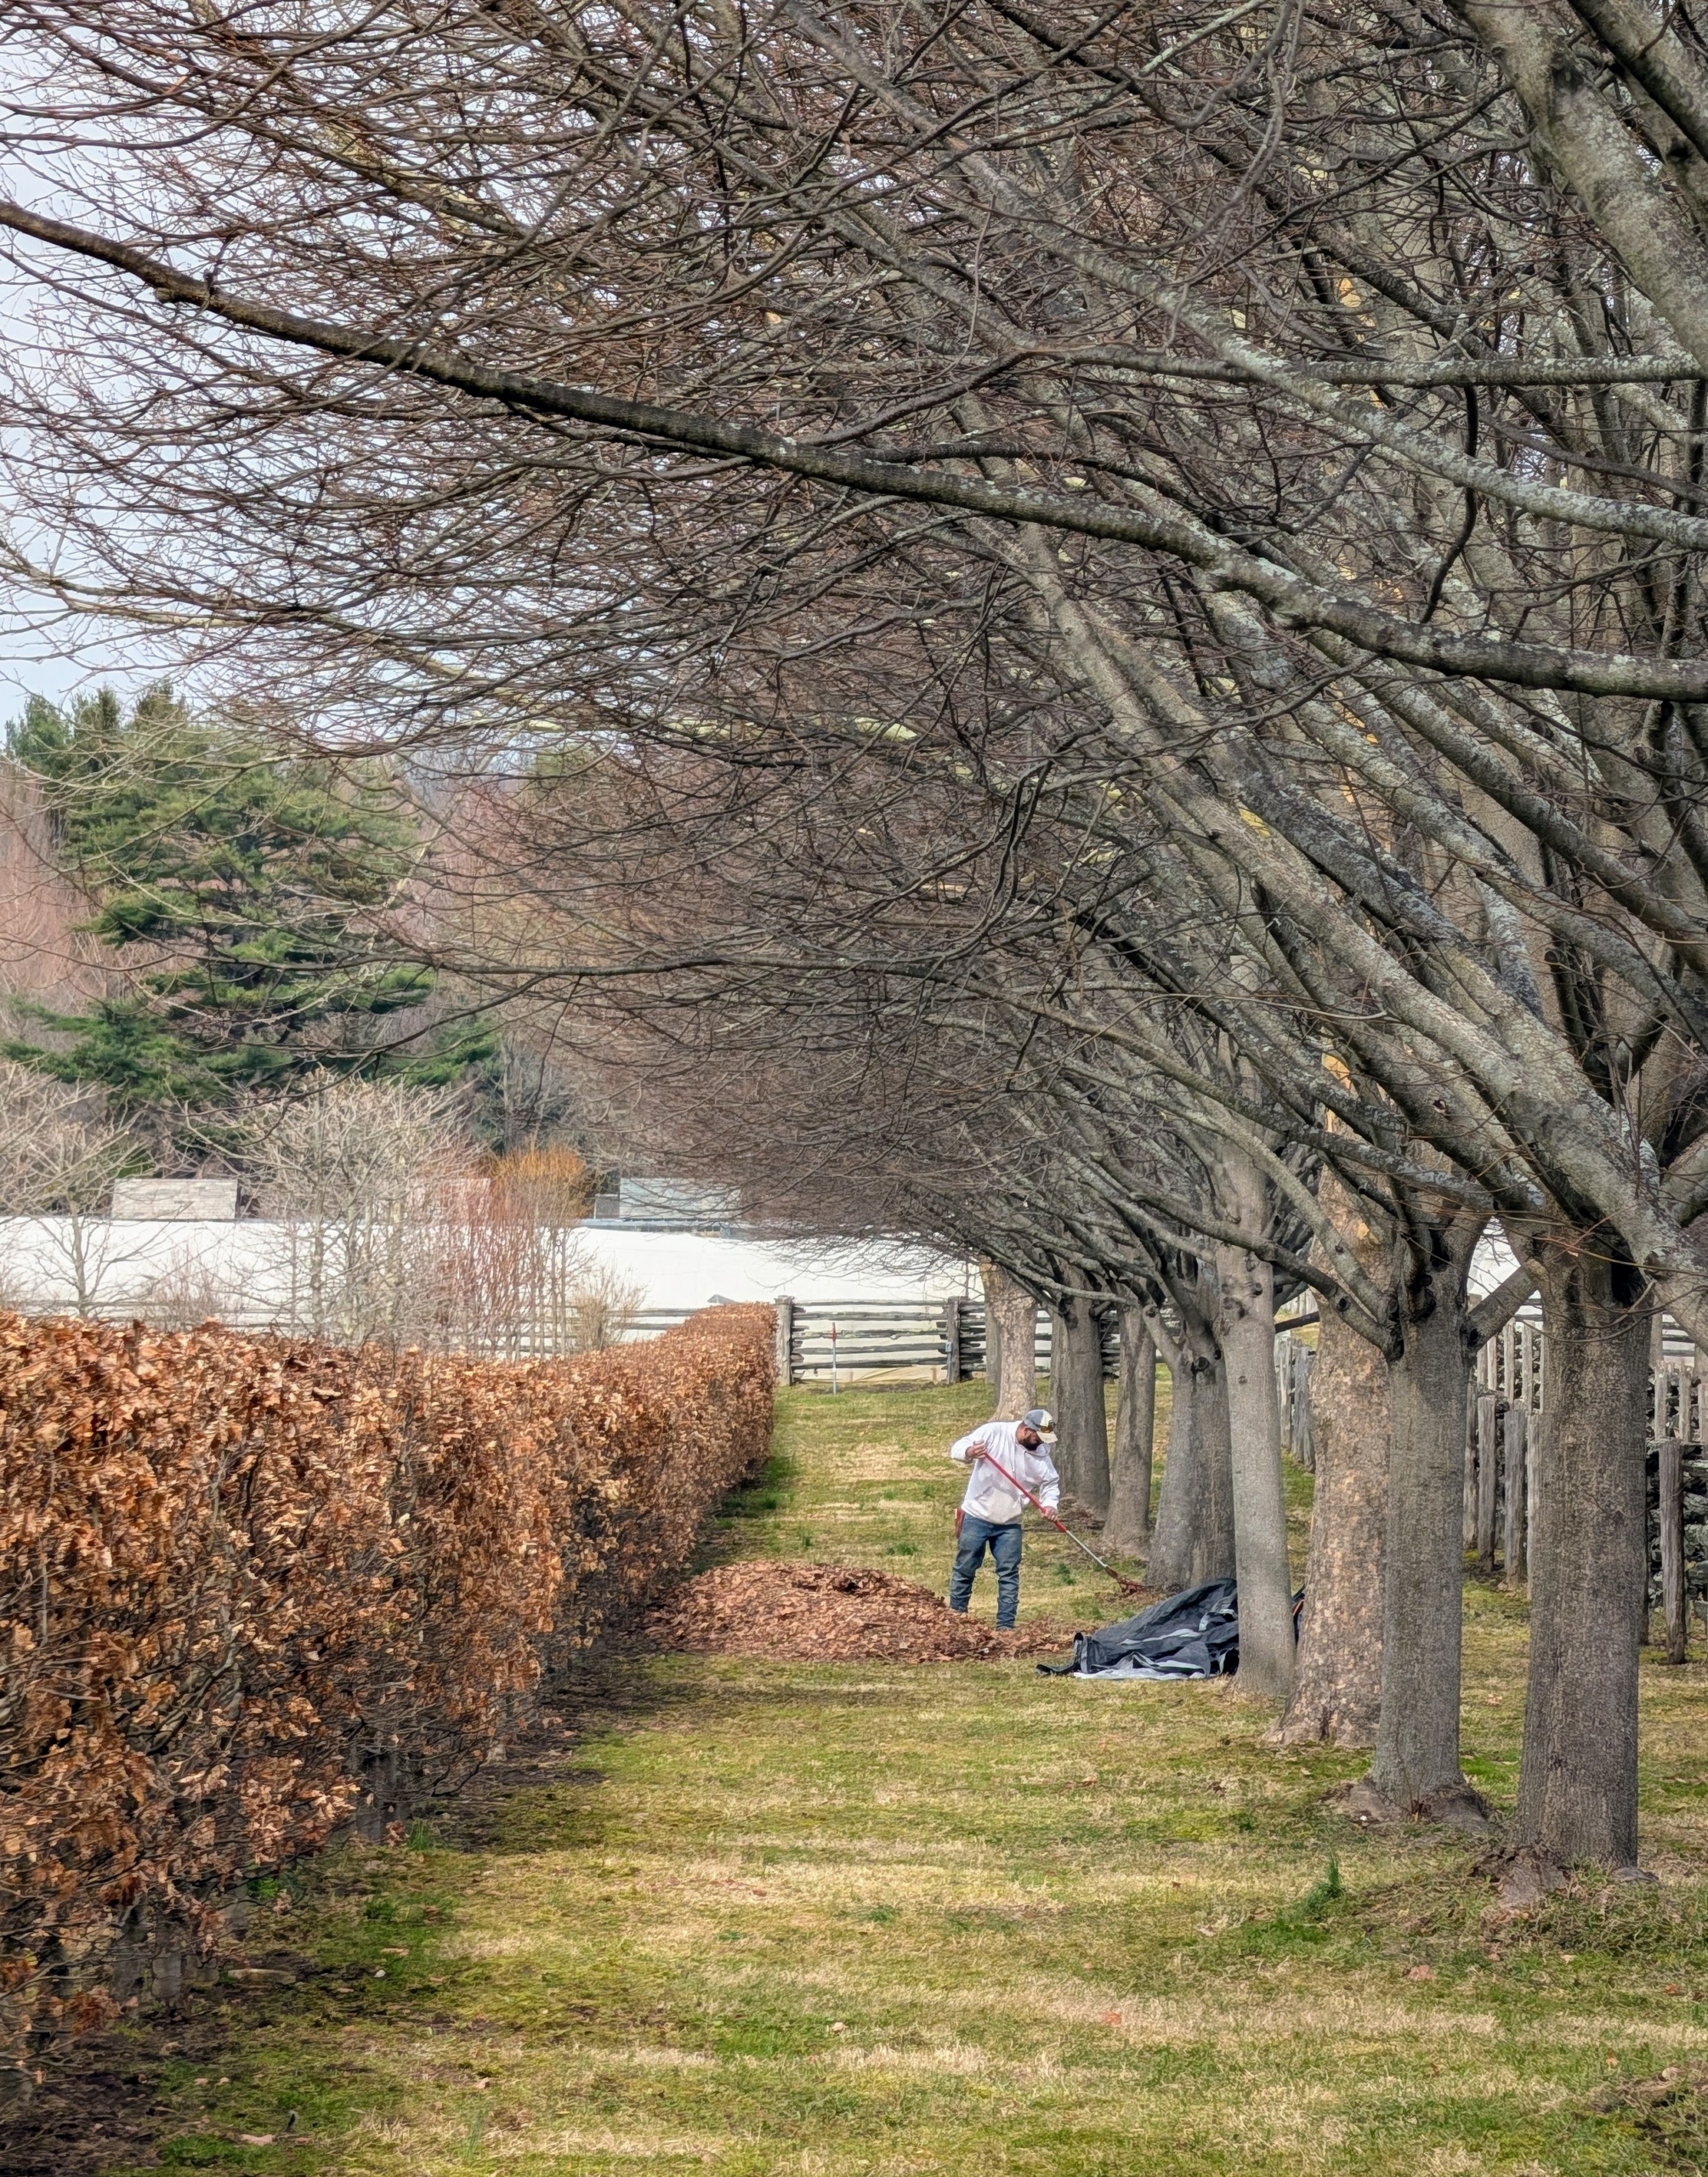
And here’s Adan blowing more old leaves by this allée of lindens. On the left is a hedge of European beech trees, Fagus sylvatica, or the common beech.
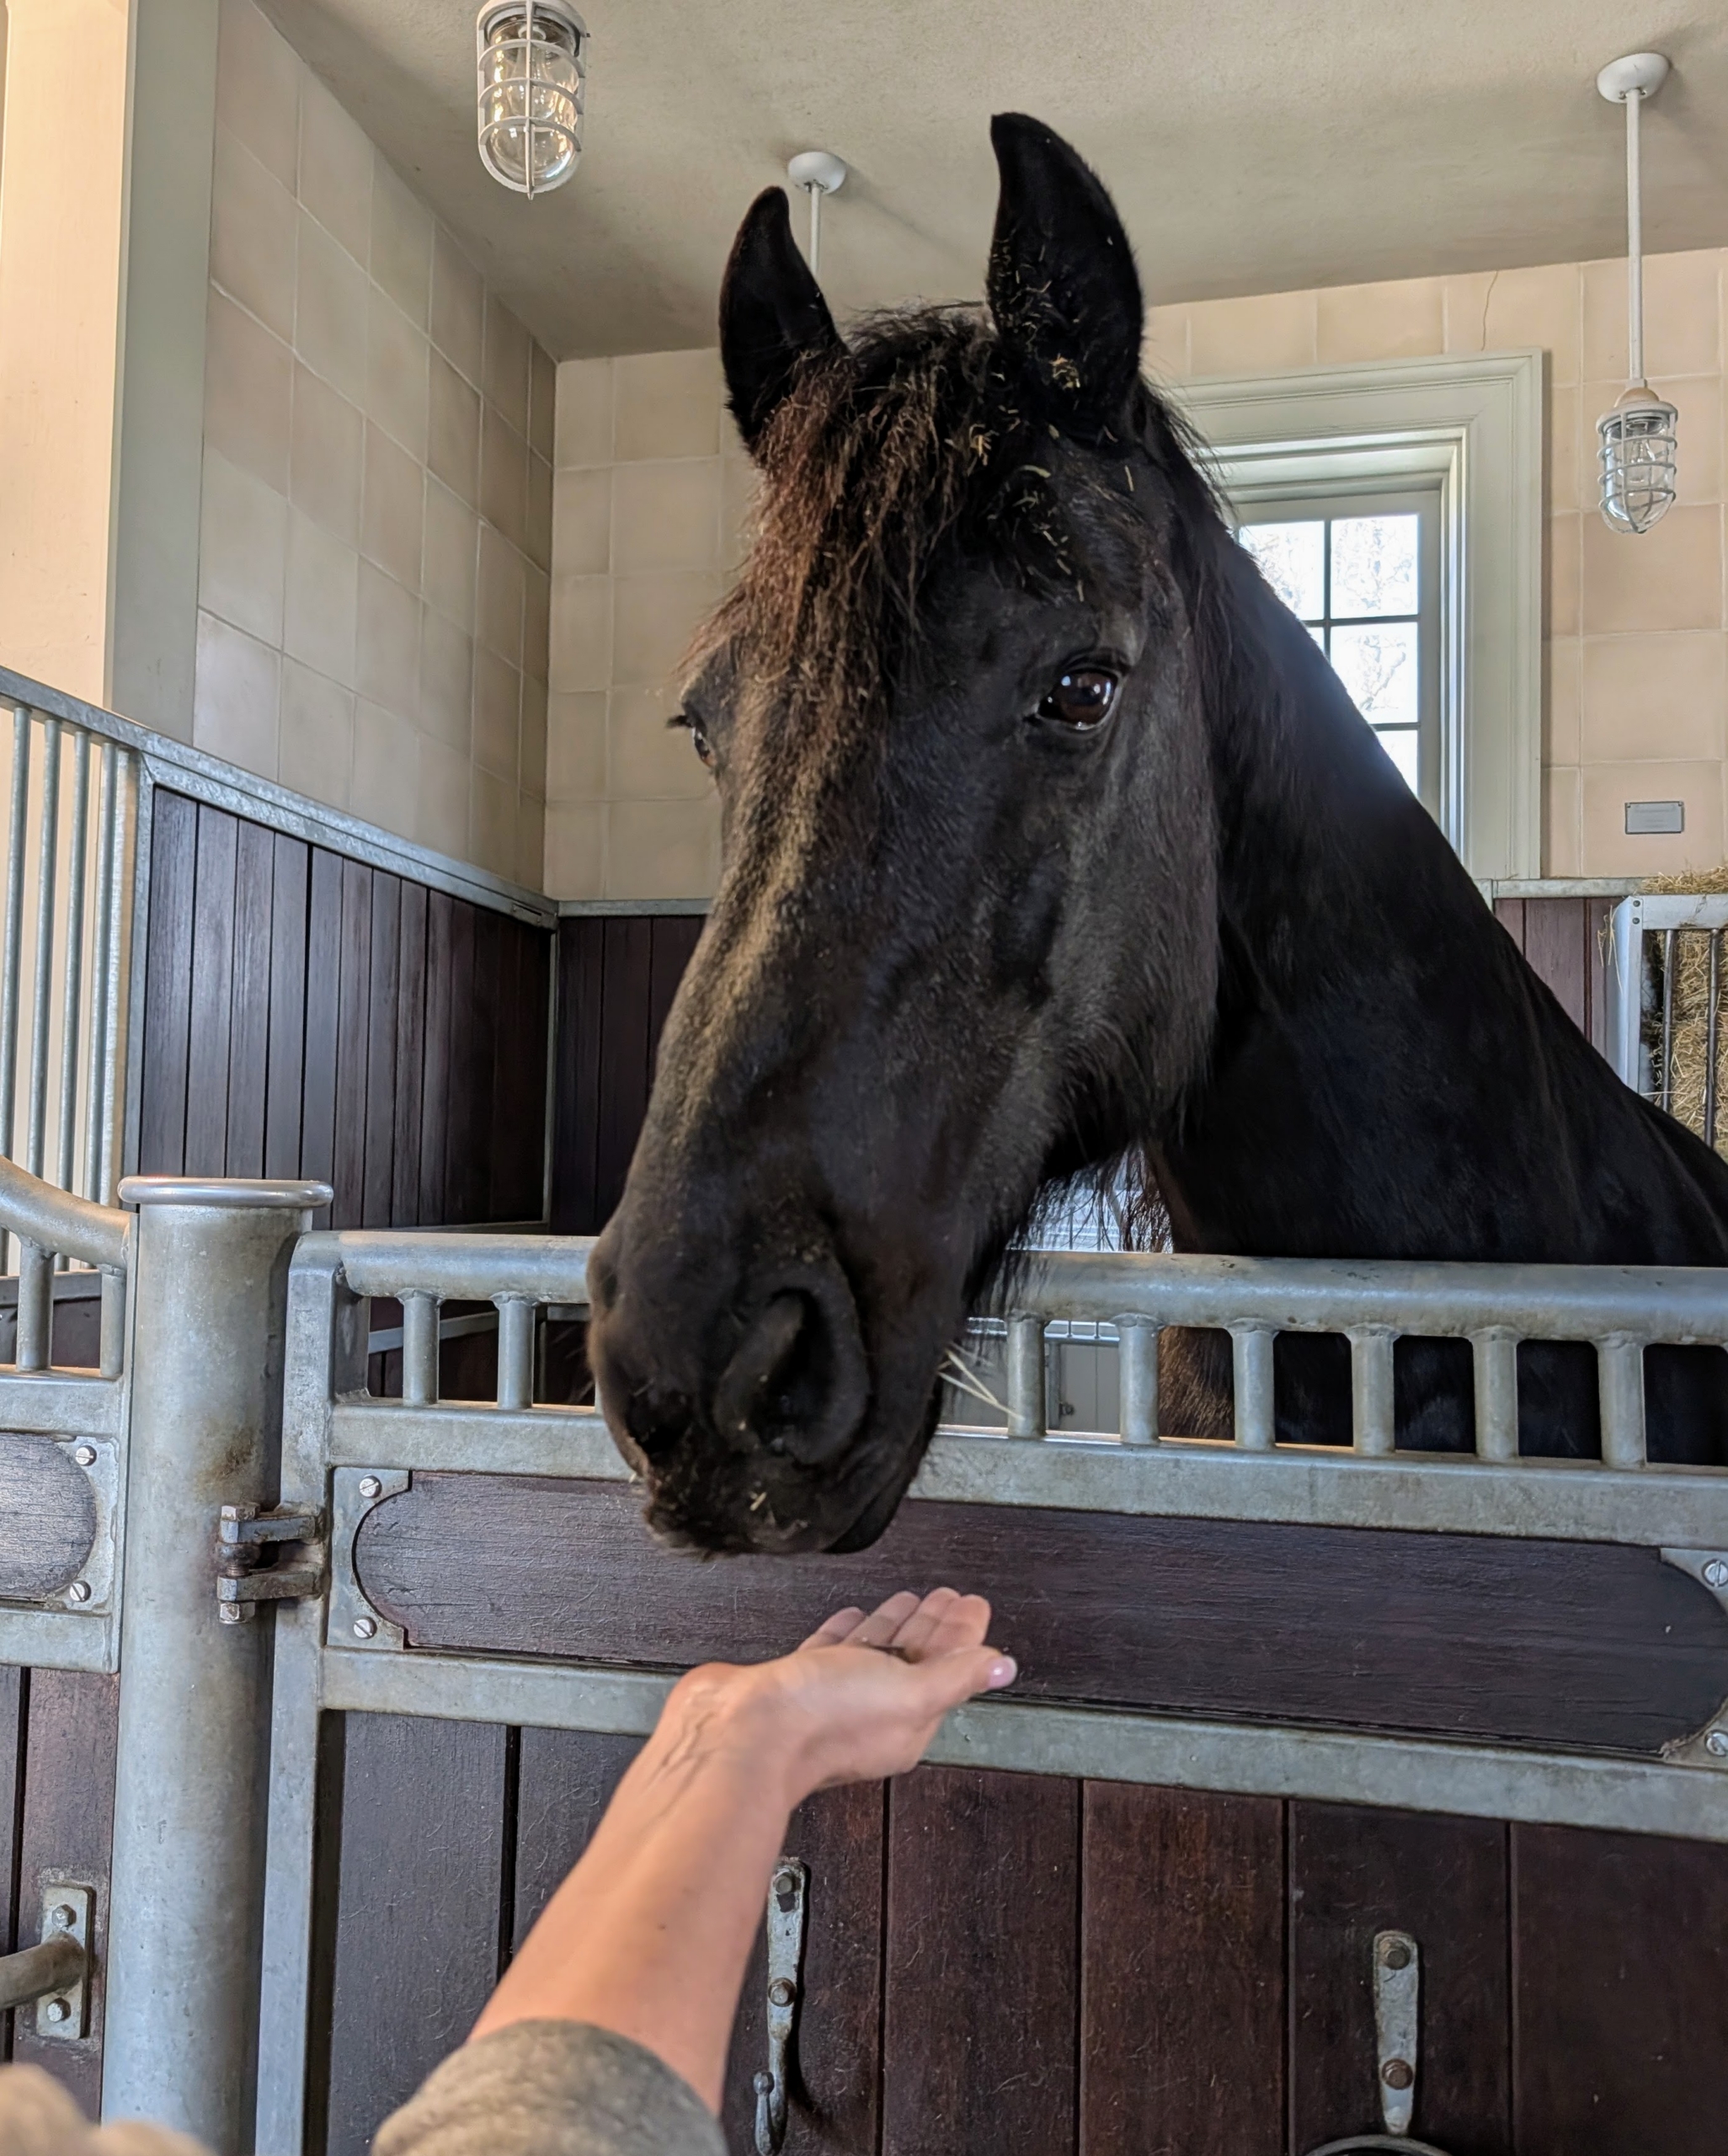
And at the end of the day – treats for everyone. Here’s Bond, one of the handsome Friesian residents in my stable. As long as the weather continues to cooperate, we can get lots of good tasks done around the farm. What spring jobs did you do around your home this weekend?