Maintaining My Antique Fencing
It takes a lot of work to maintain the beautiful fencing at my farm.
My pasture fencing is made from 125-year-old white spruce railings I purchased in Canada. When the fences were built, I used new cedar uprights to support them. They've held up very well over the years, but many are now deteriorated and need replacing. Pete Sherpa, a longtime member of my outdoor grounds crew, takes on the task whenever he can. It's a tedious process and has to be done by hand so as not to damage the antique wood.
Here are some photos, enjoy.
-

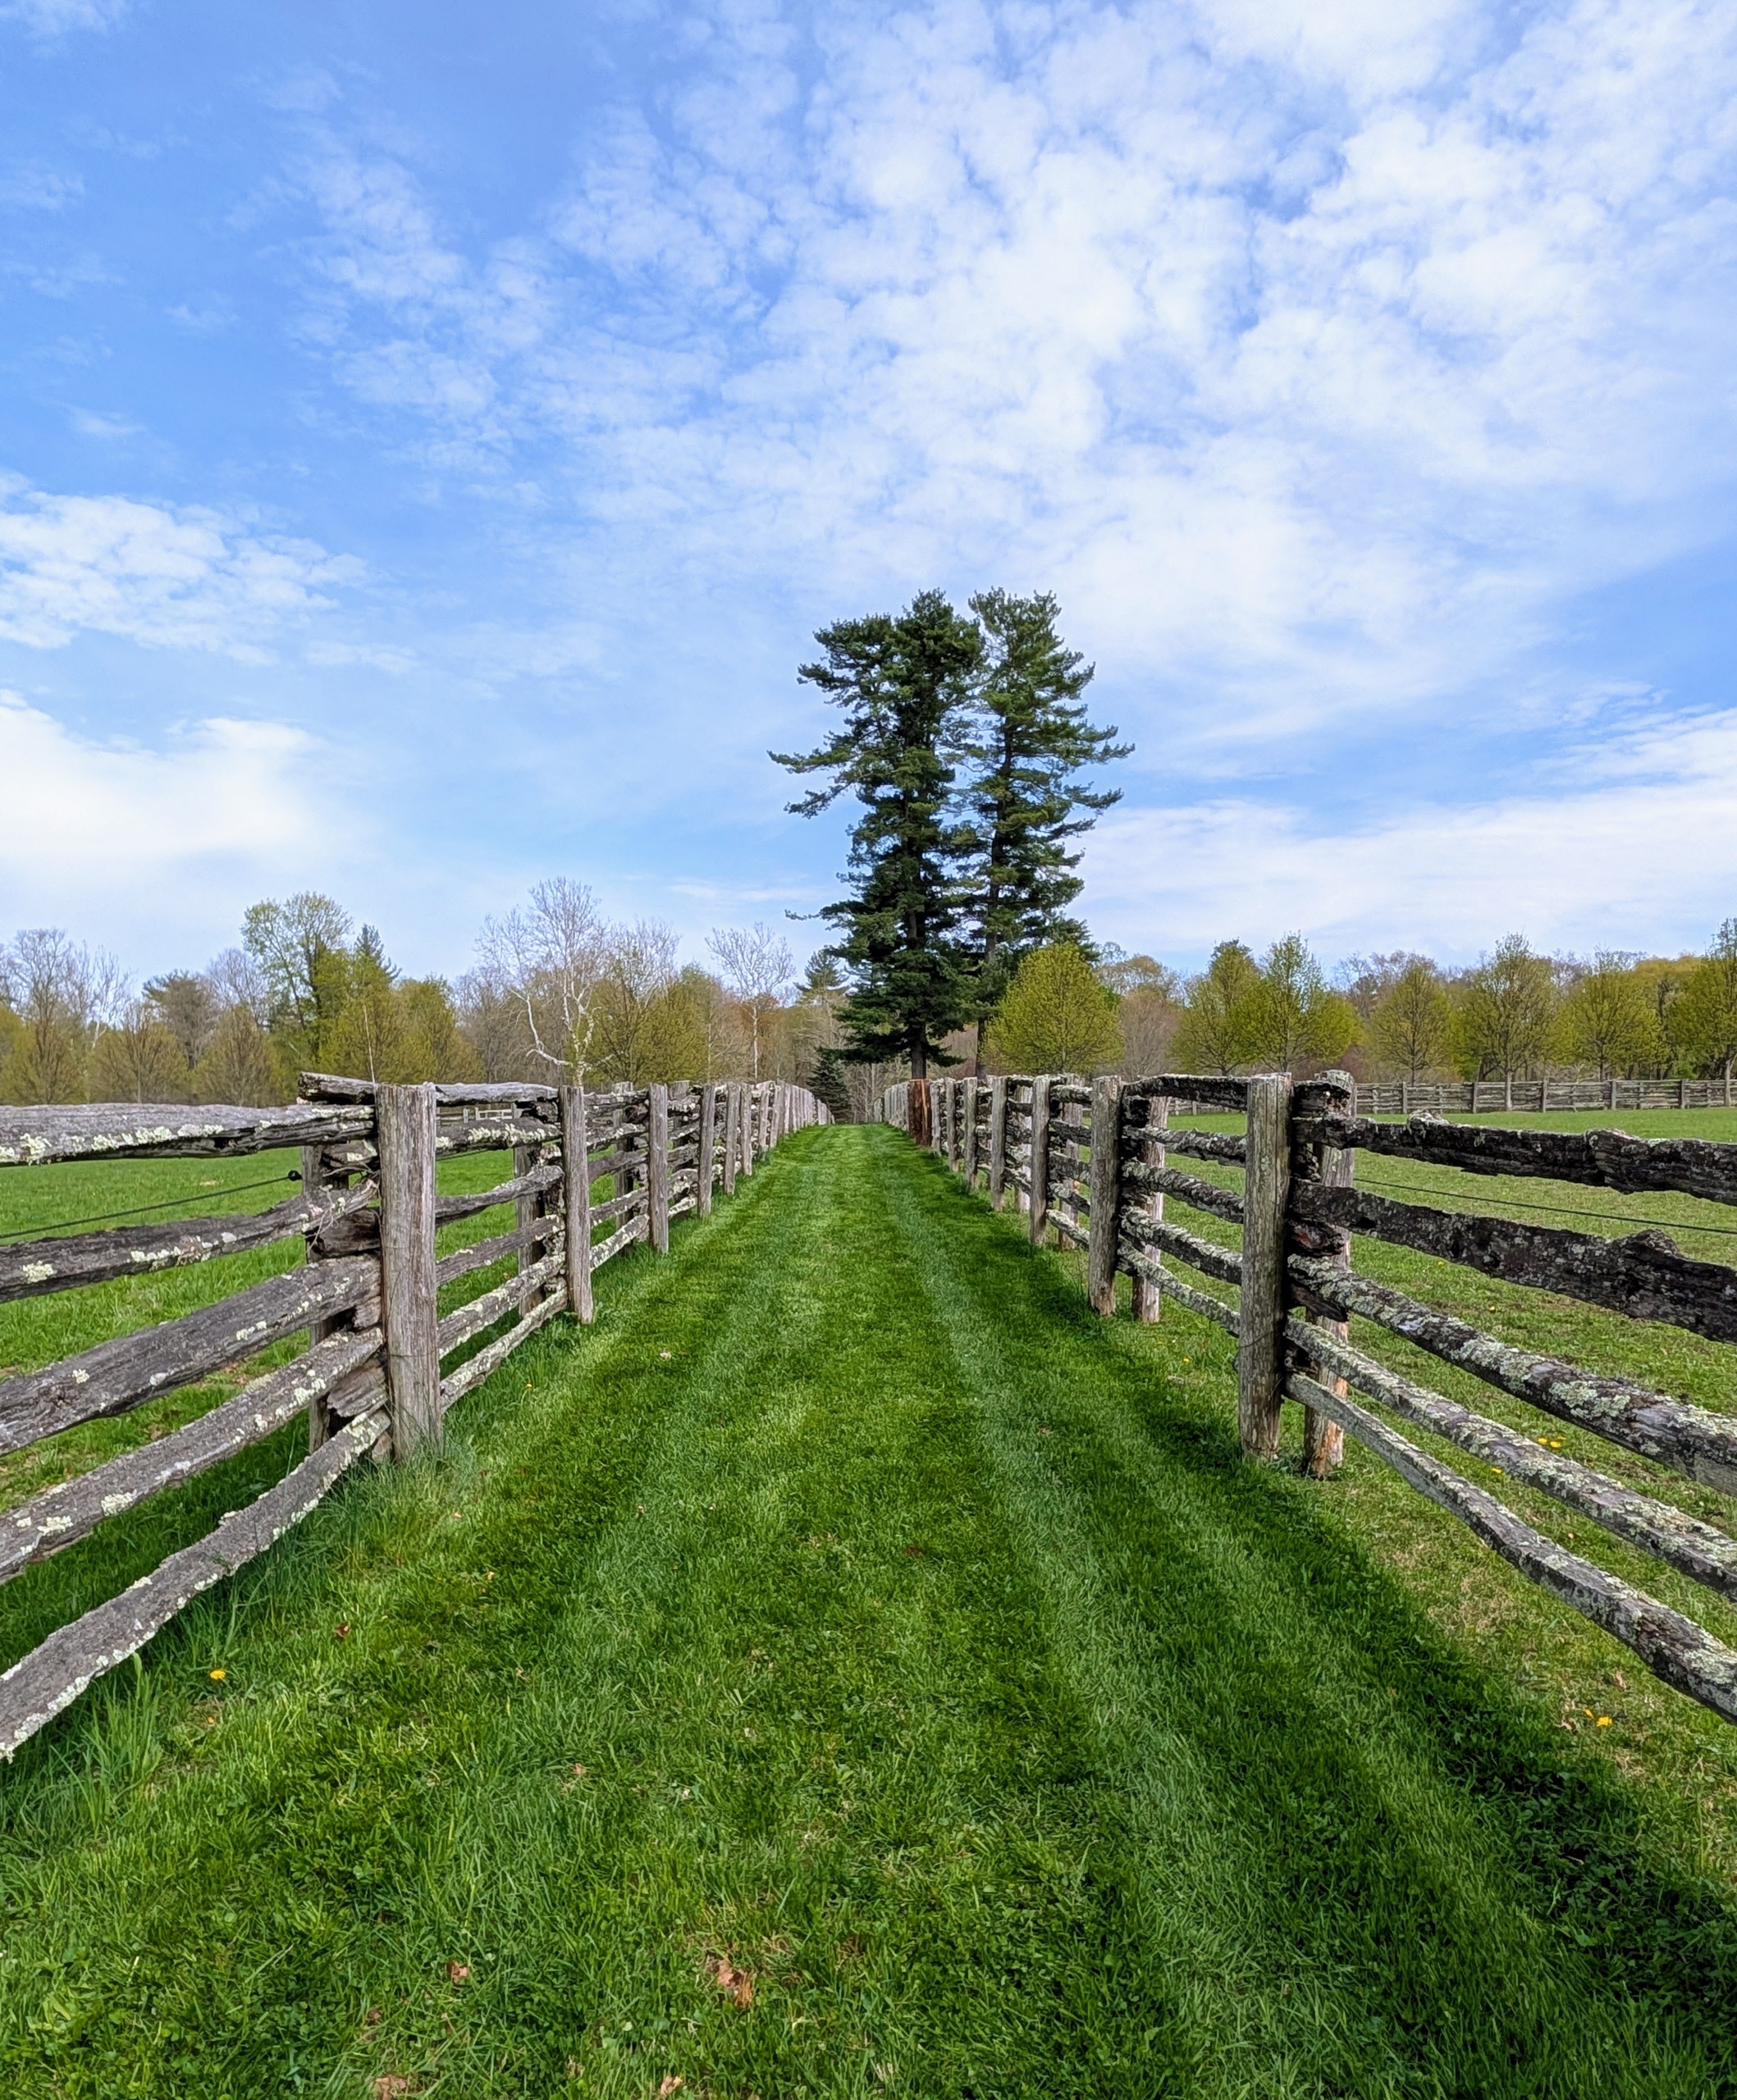
- I have lots of fencing here at my farm. It surrounds my horse paddocks, my orchard, my vegetable garden, and various other trees. The antique railings were constructed into a split rail fence and are in good shape, but many of the cedar uprights are deteriorated, wobbly, and no longer support the railings as they should.
-
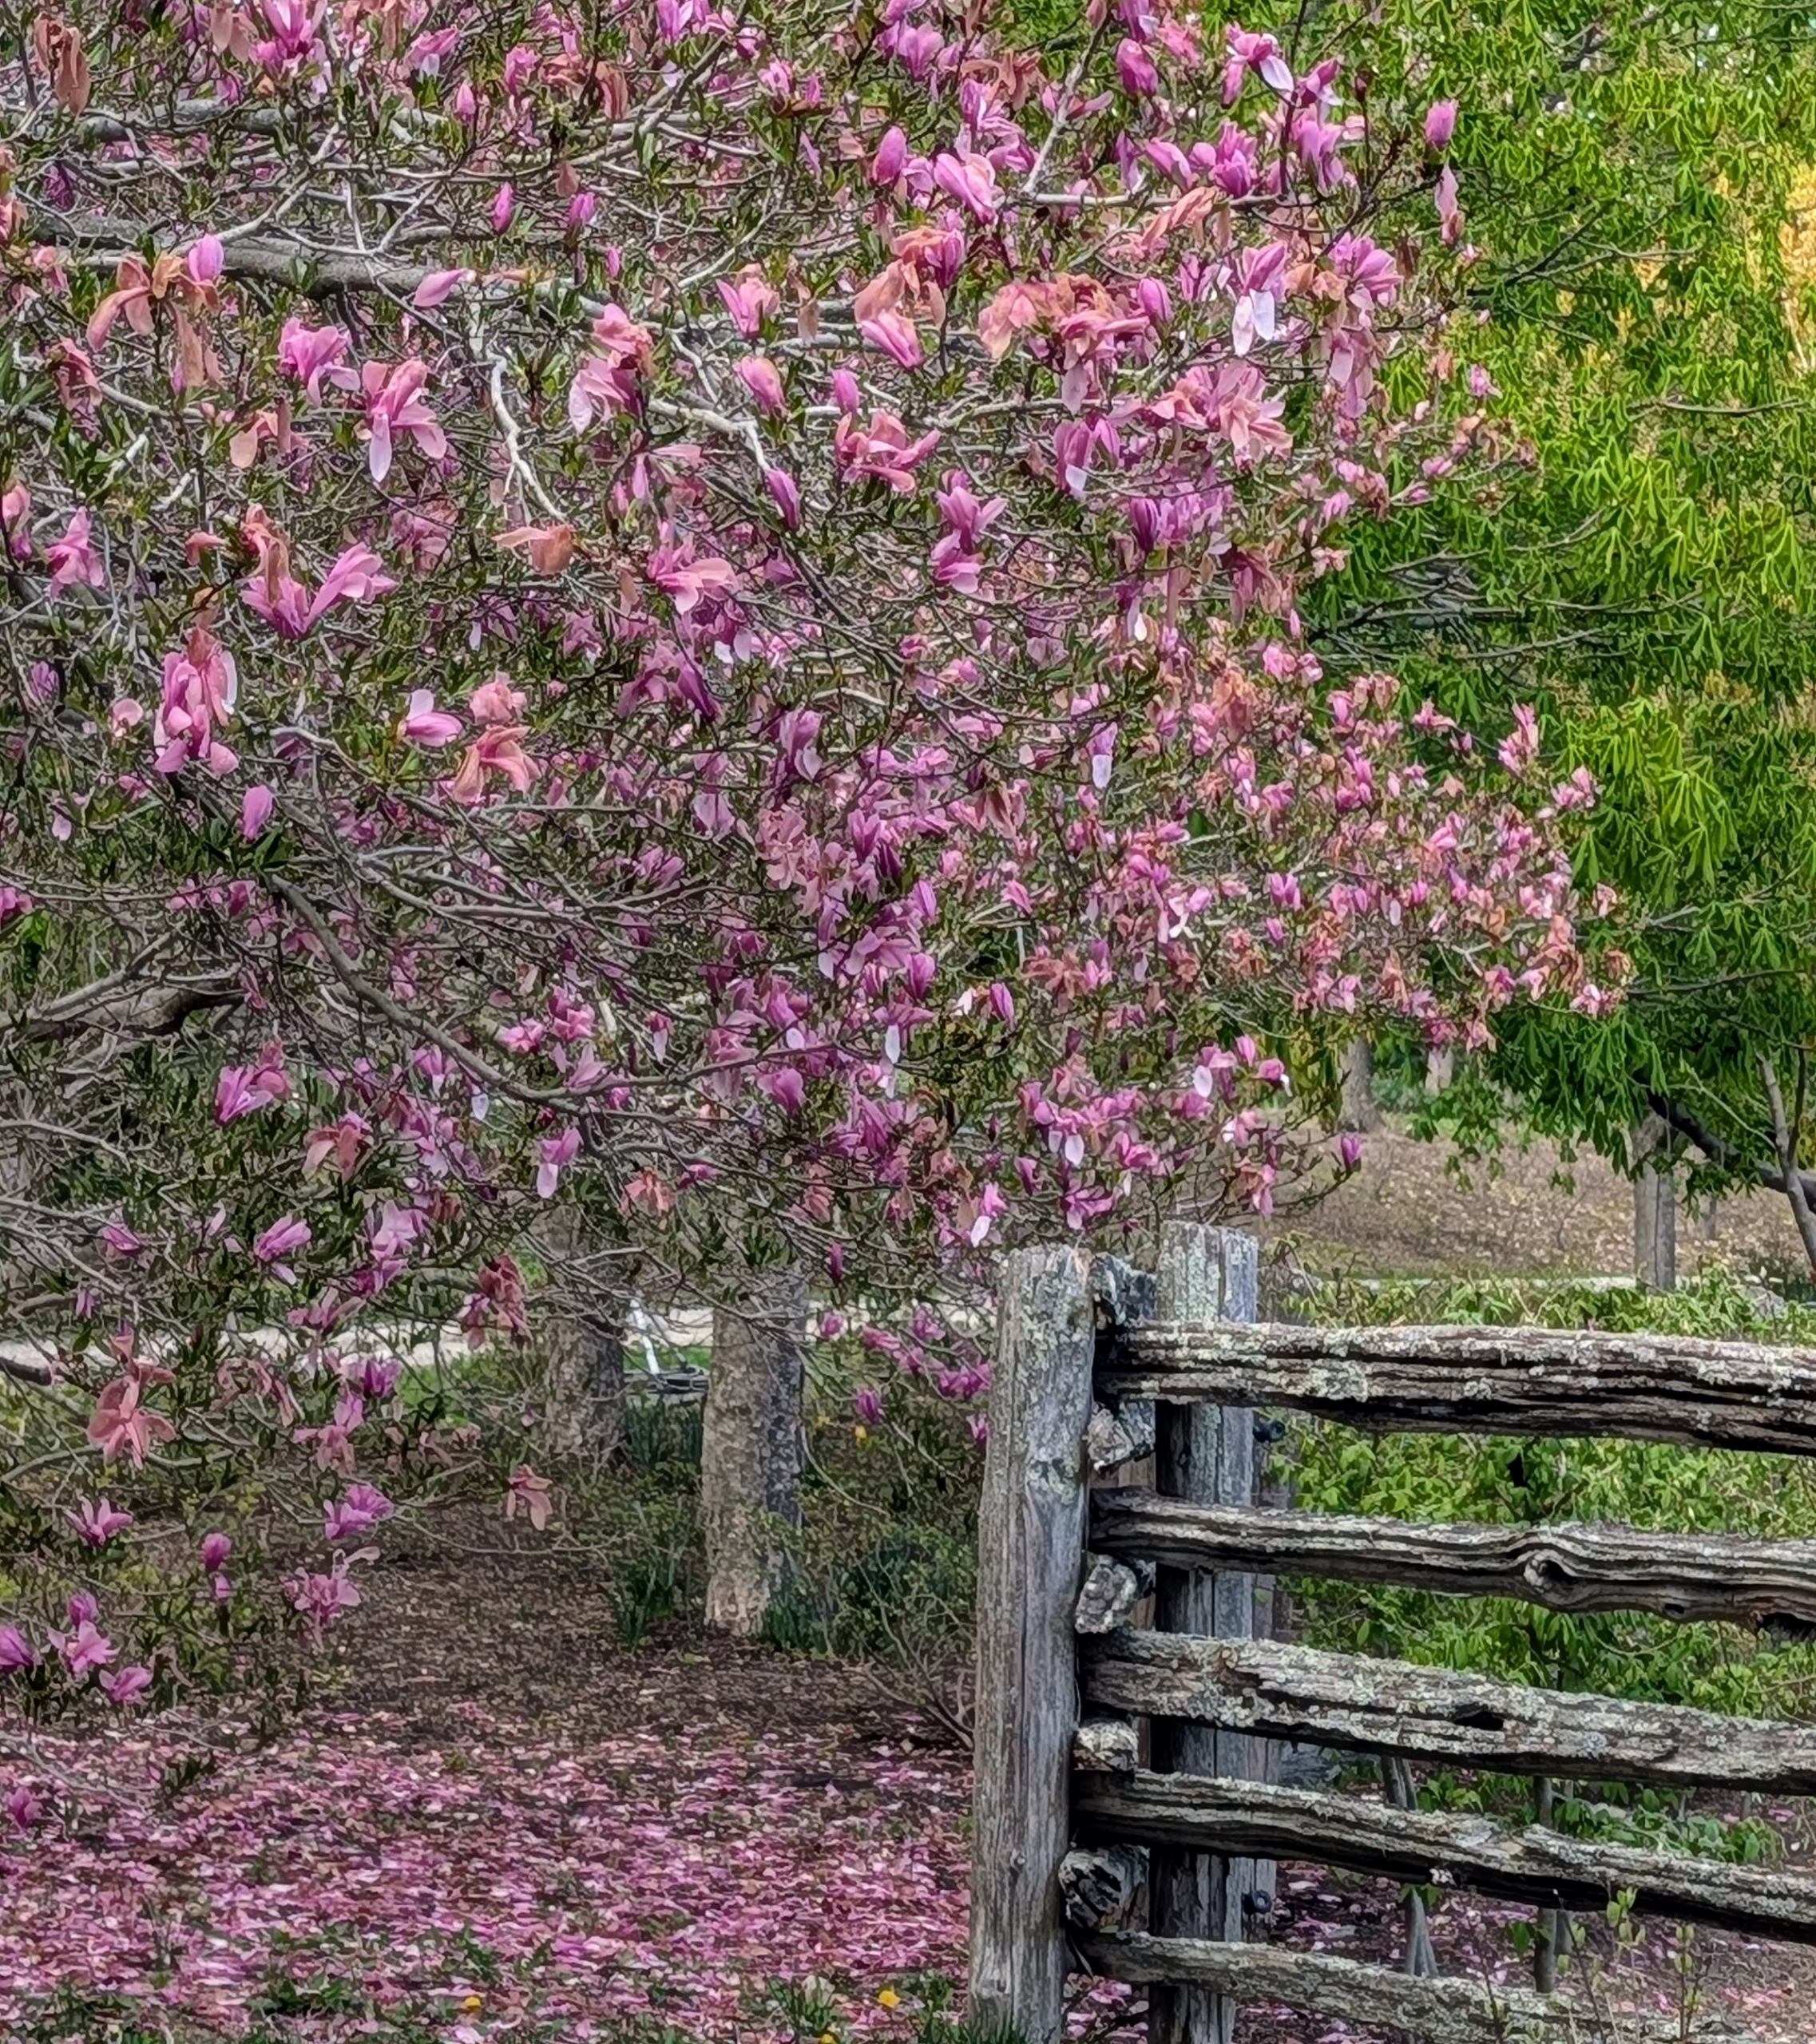
- This fence surrounds my half-acre vegetable garden. This corner is located just under one of my pink magnolia trees. The railings are sandwiched between two cedar posts buried deep into the ground.
-
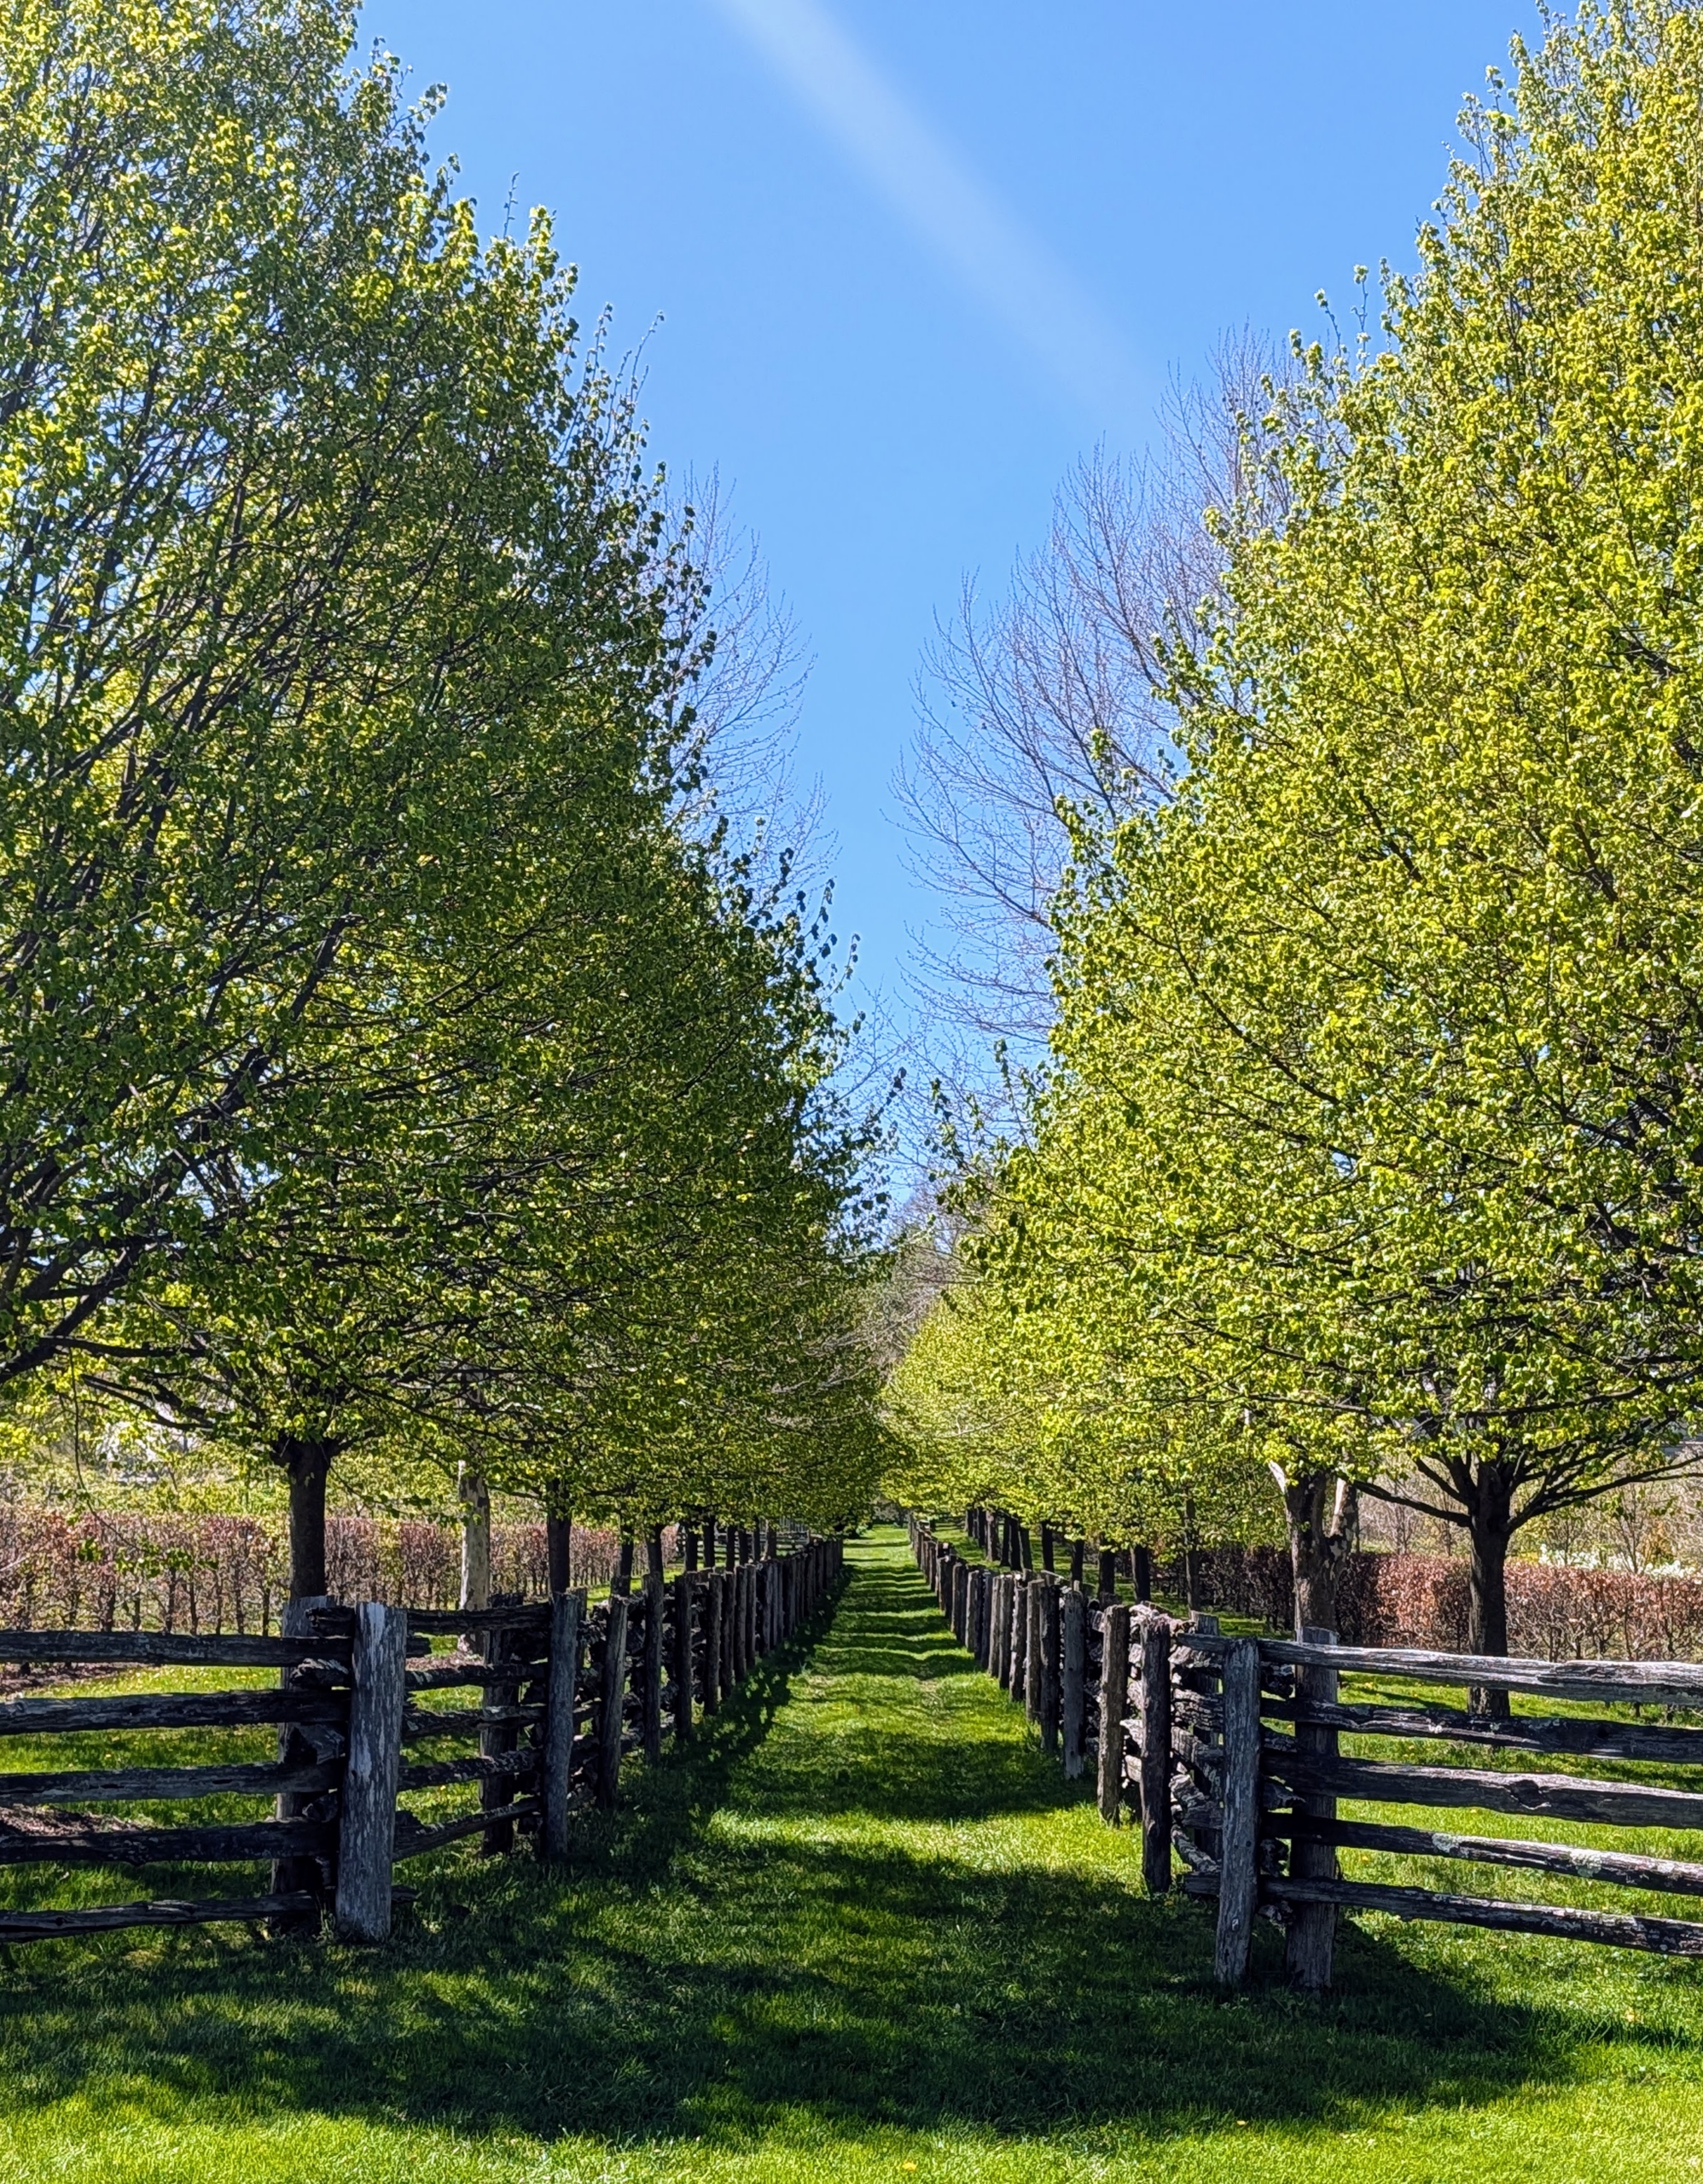
- Here is the fencing on one side of my allée of pin oaks. This was once a horse pasture and now surrounds my orchard. Many of you have commented on how much you admire these fences – I love them too!
-
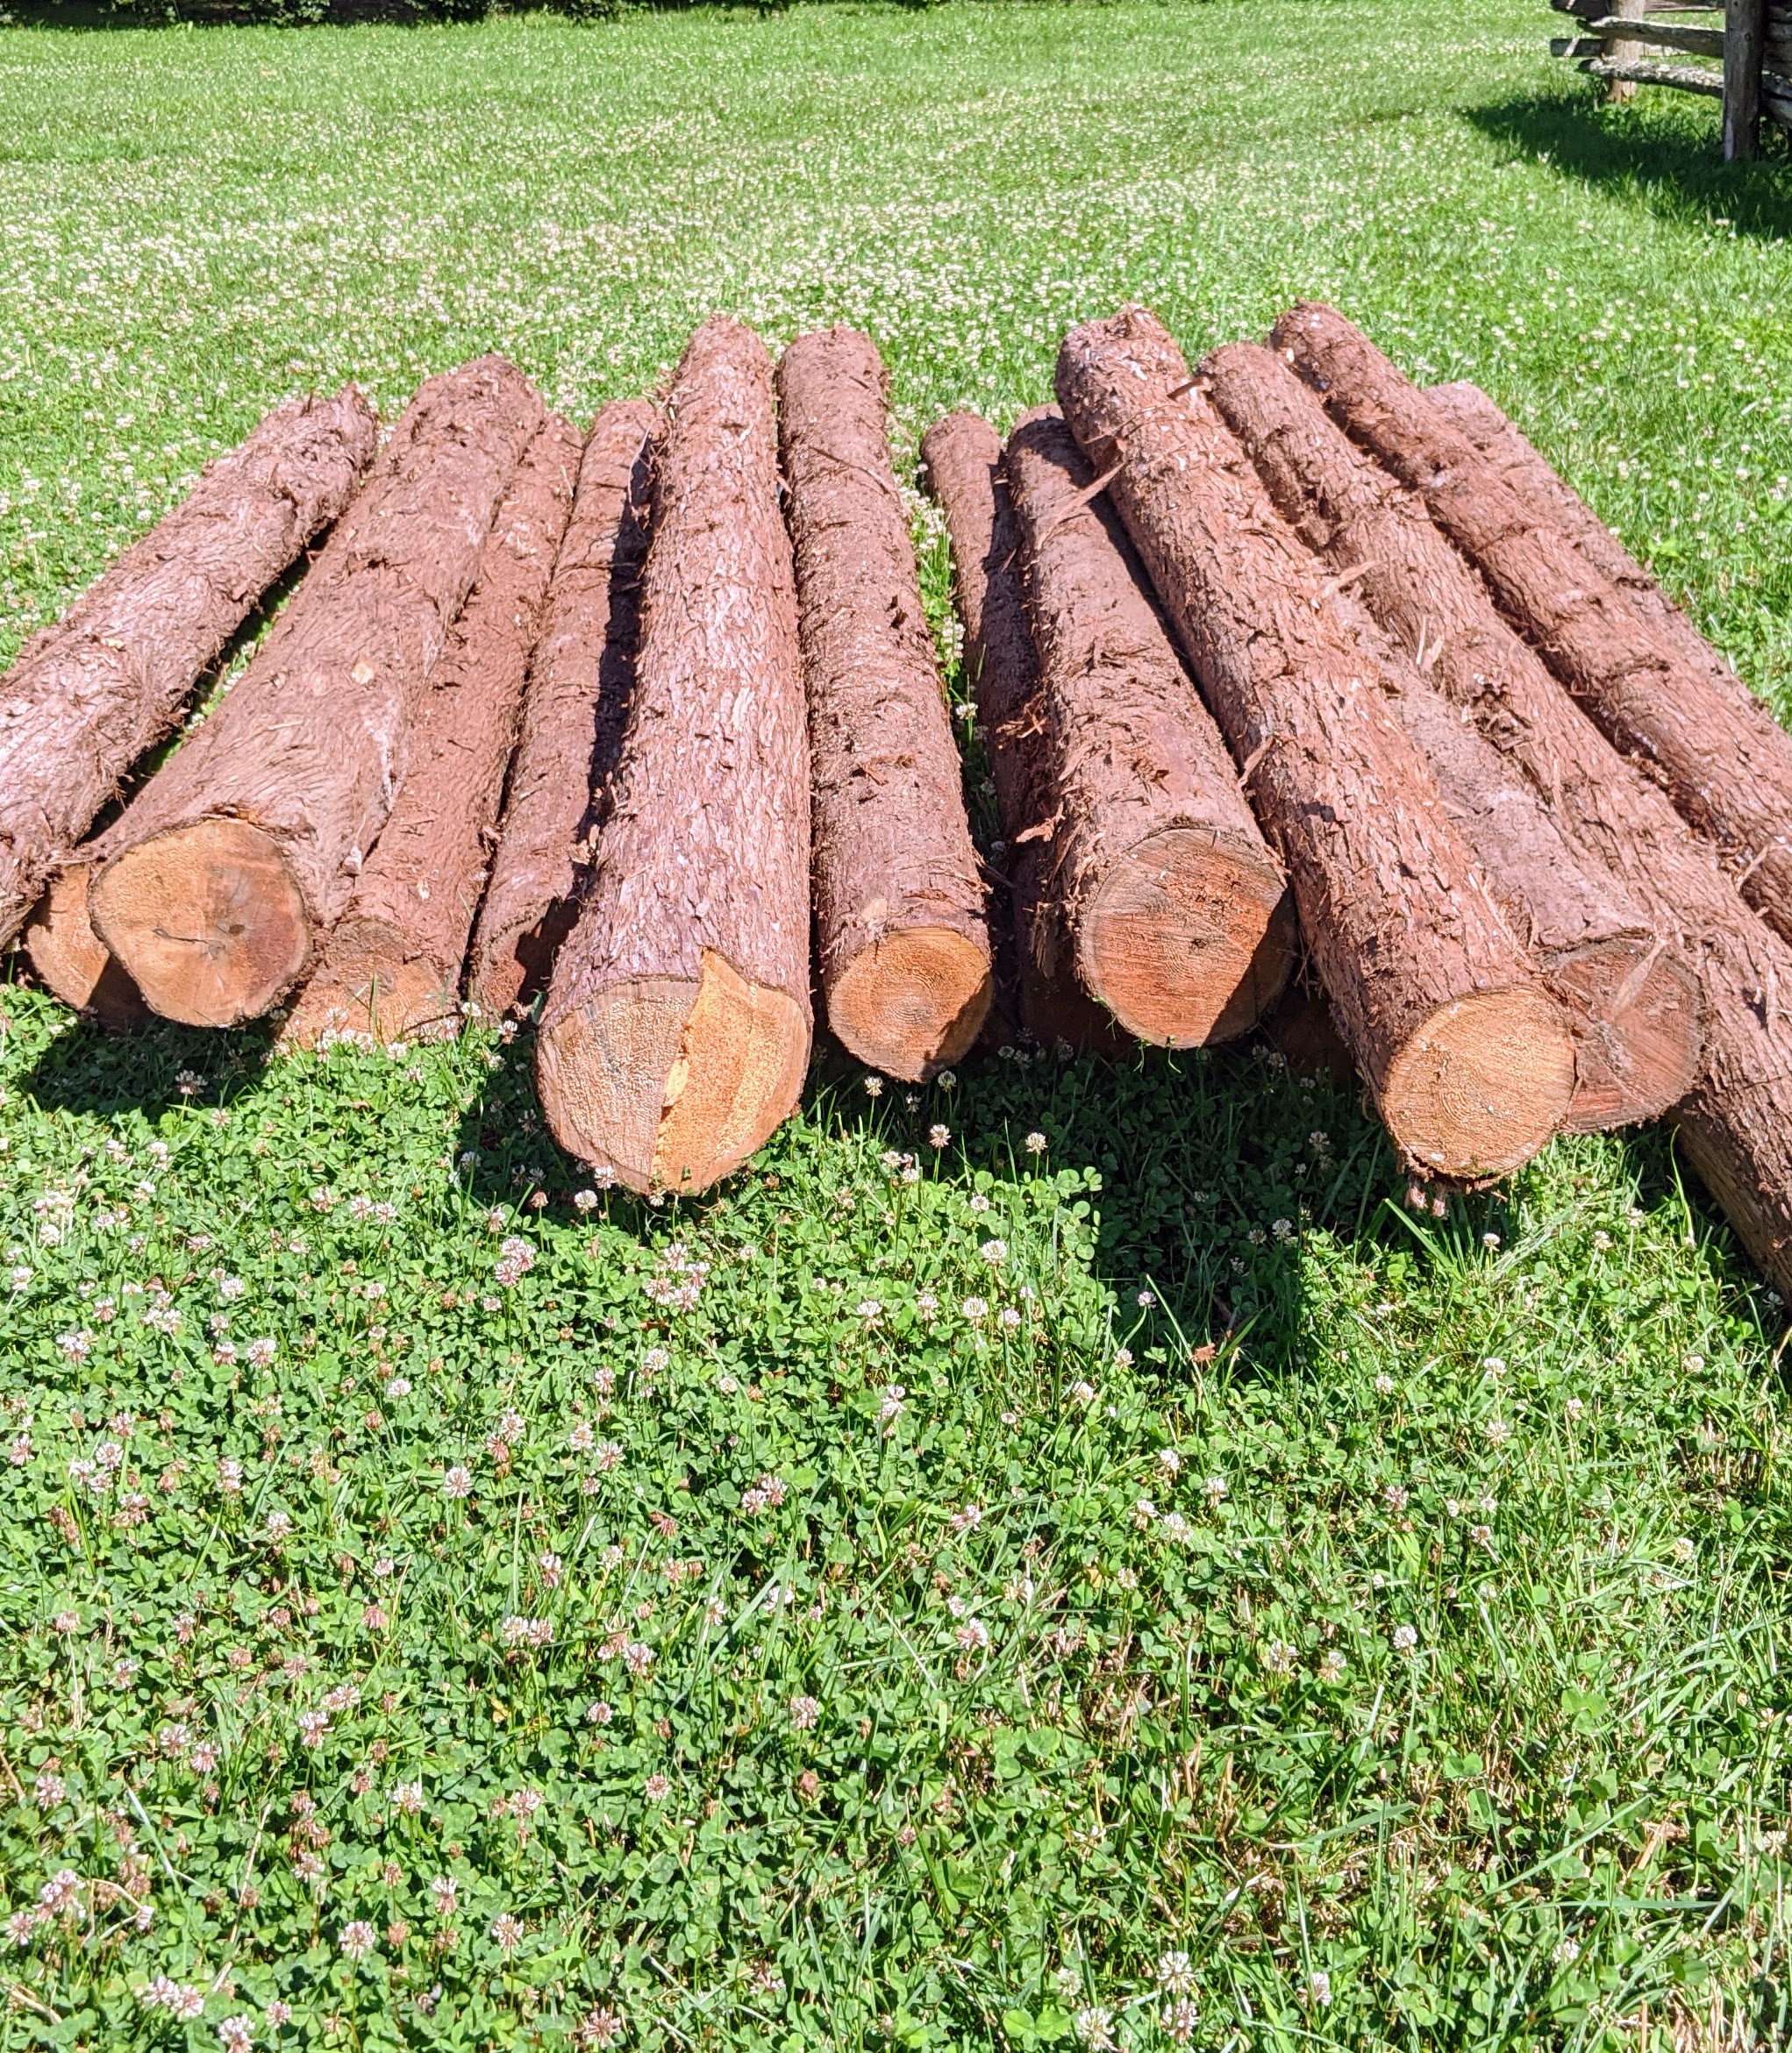
- Cedar logs are available at lumber yards. Here are new cedar logs piled nearby for easy access.
-
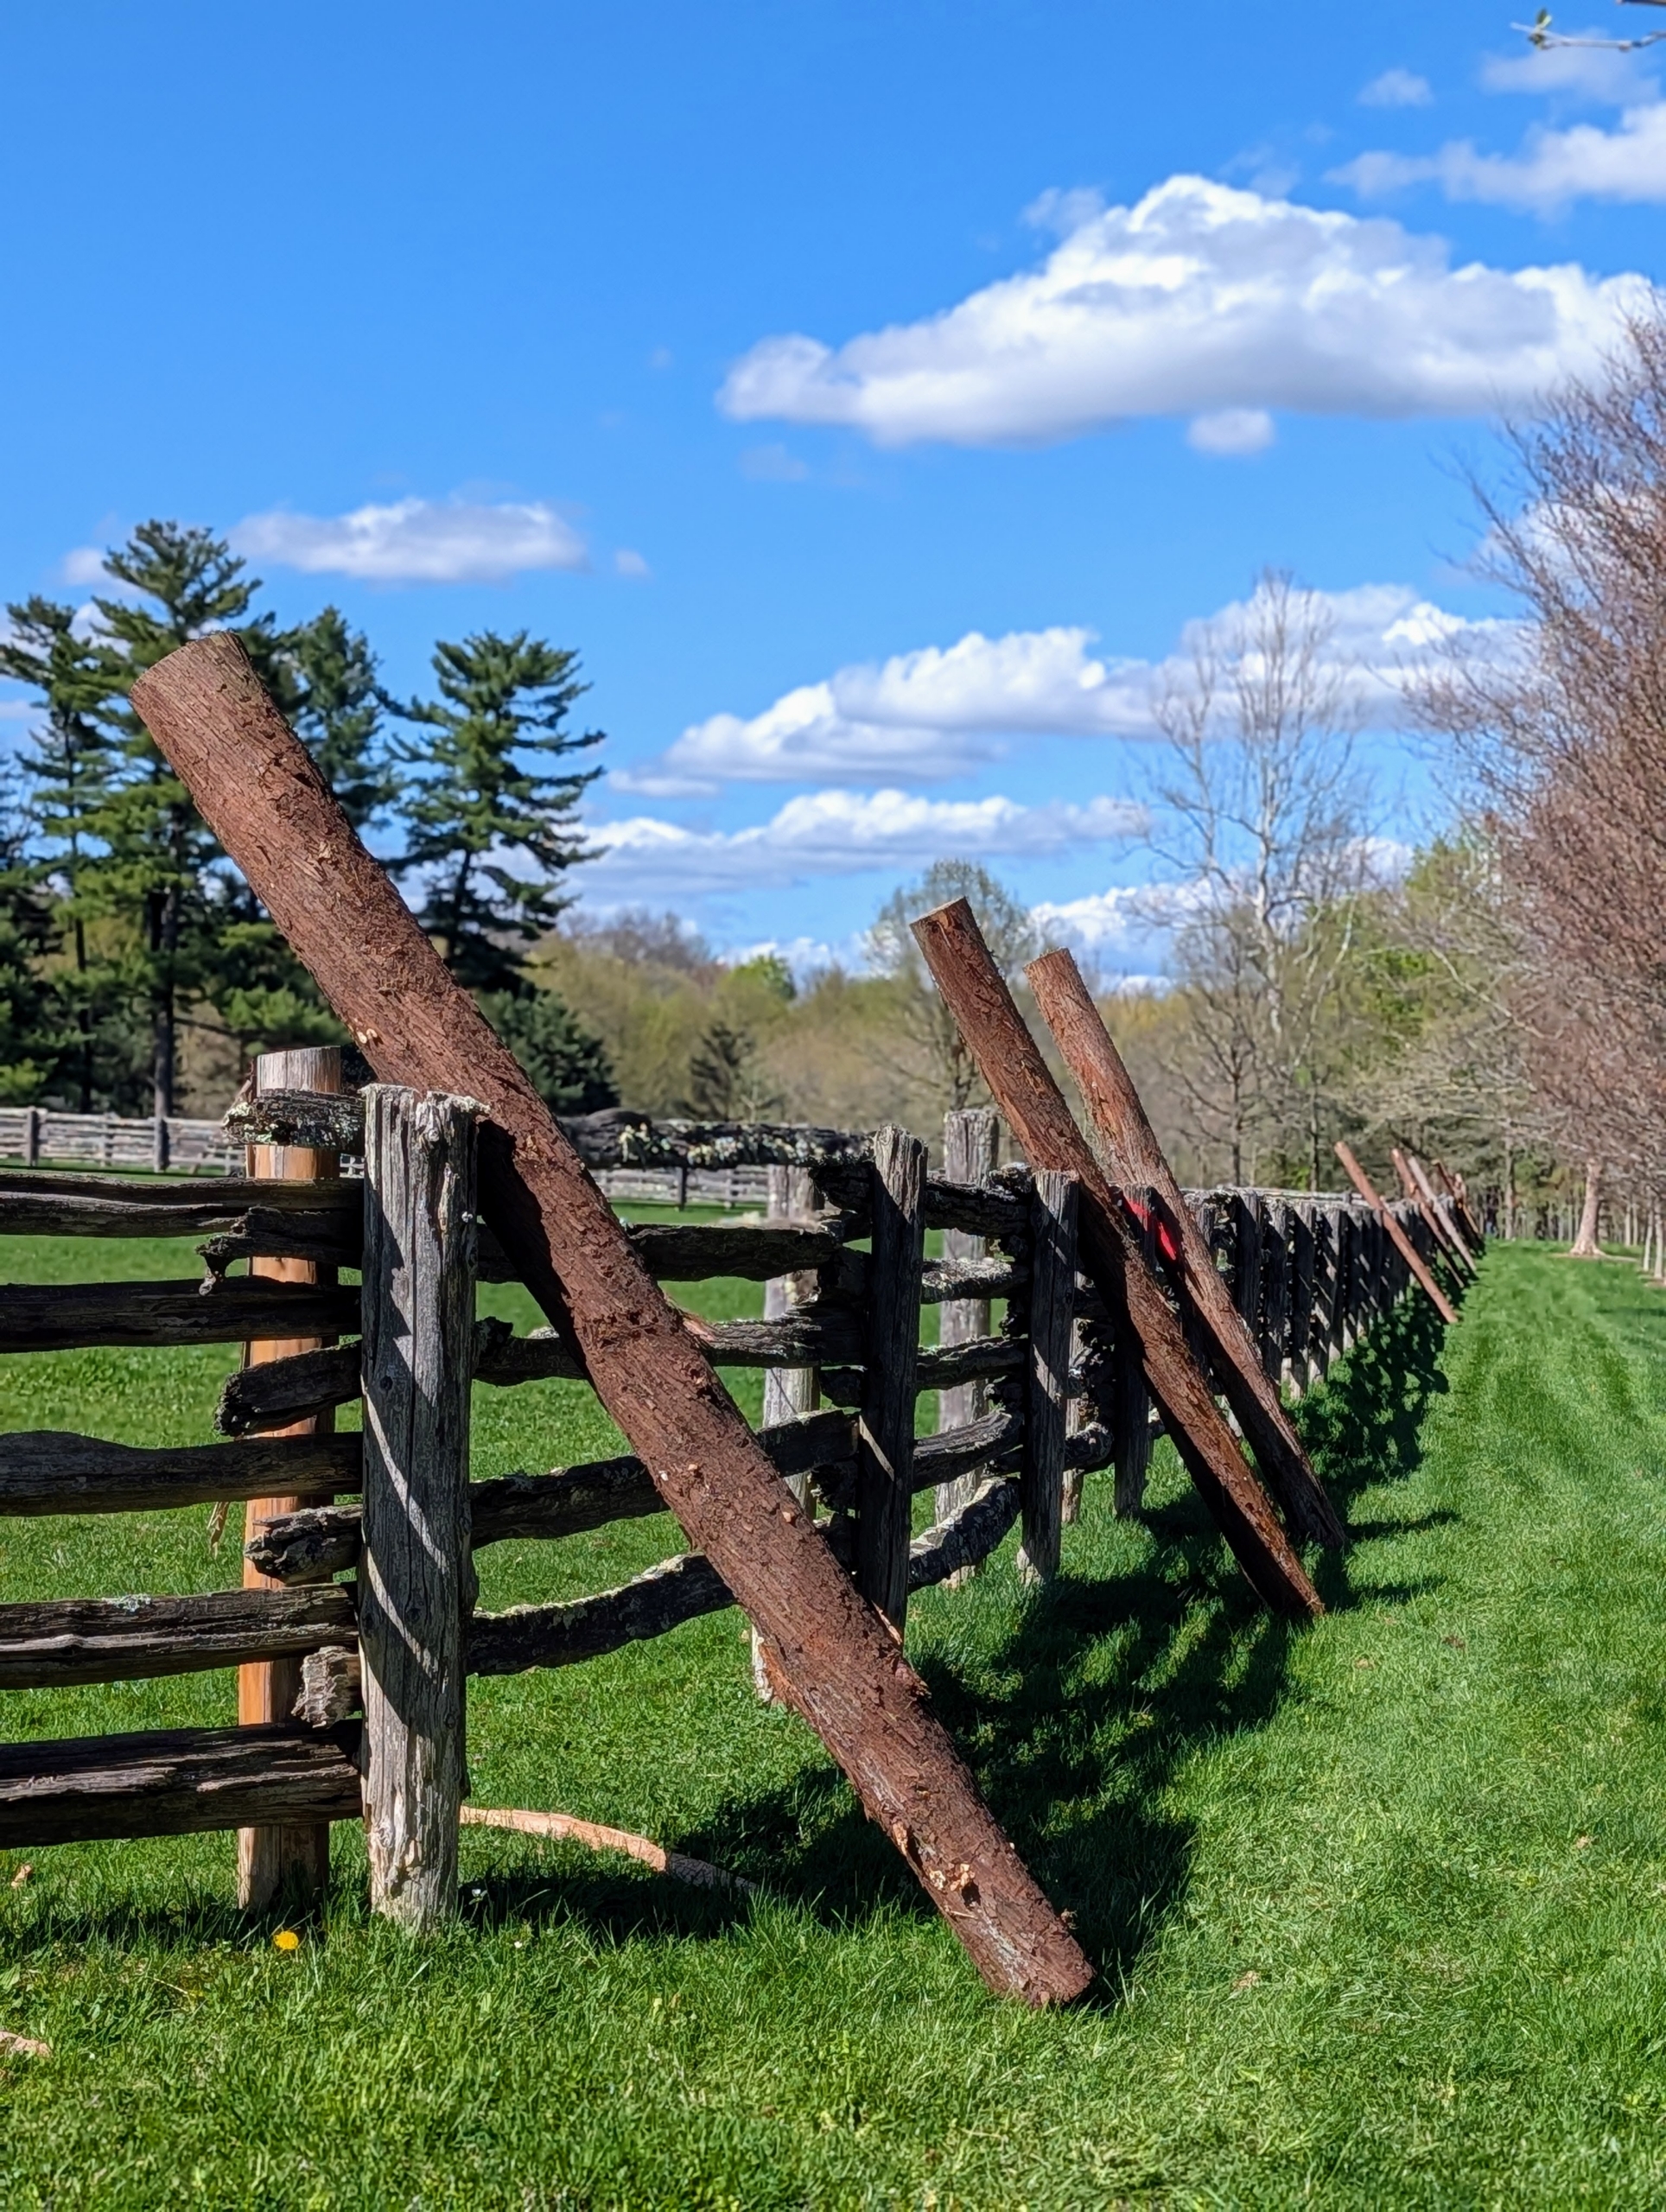
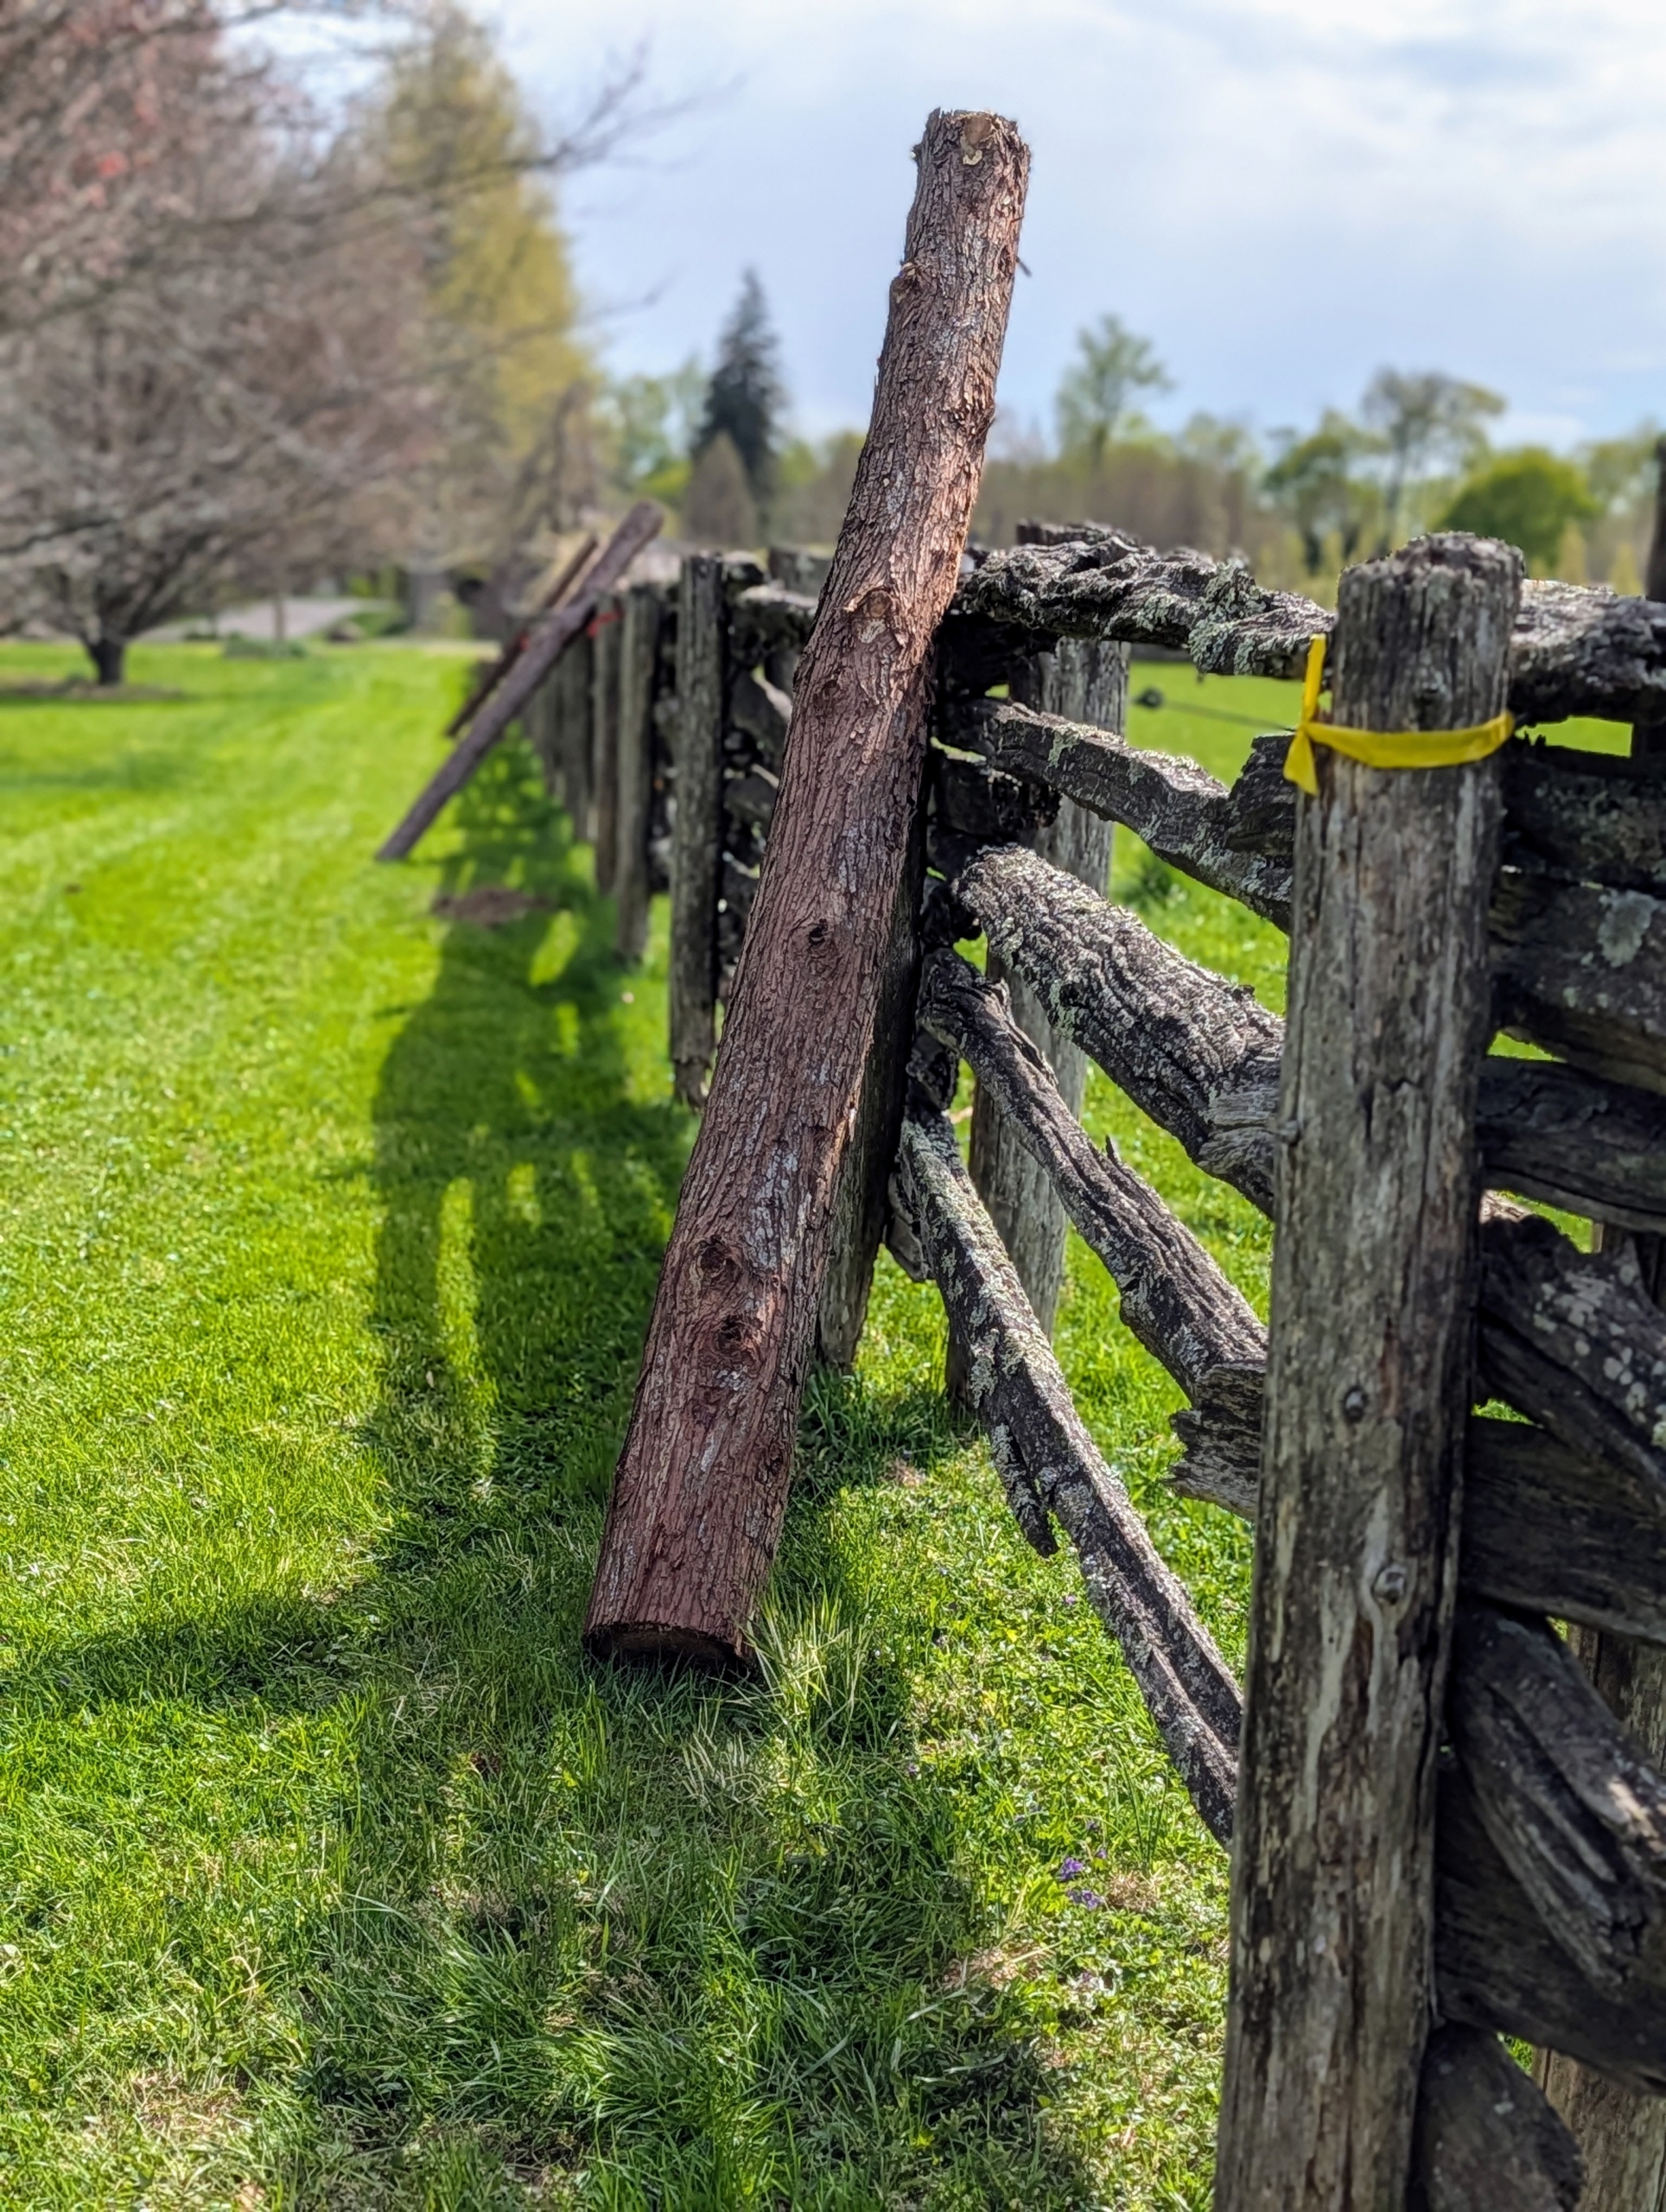
- One by one they are placed next to the old posts being removed.
-
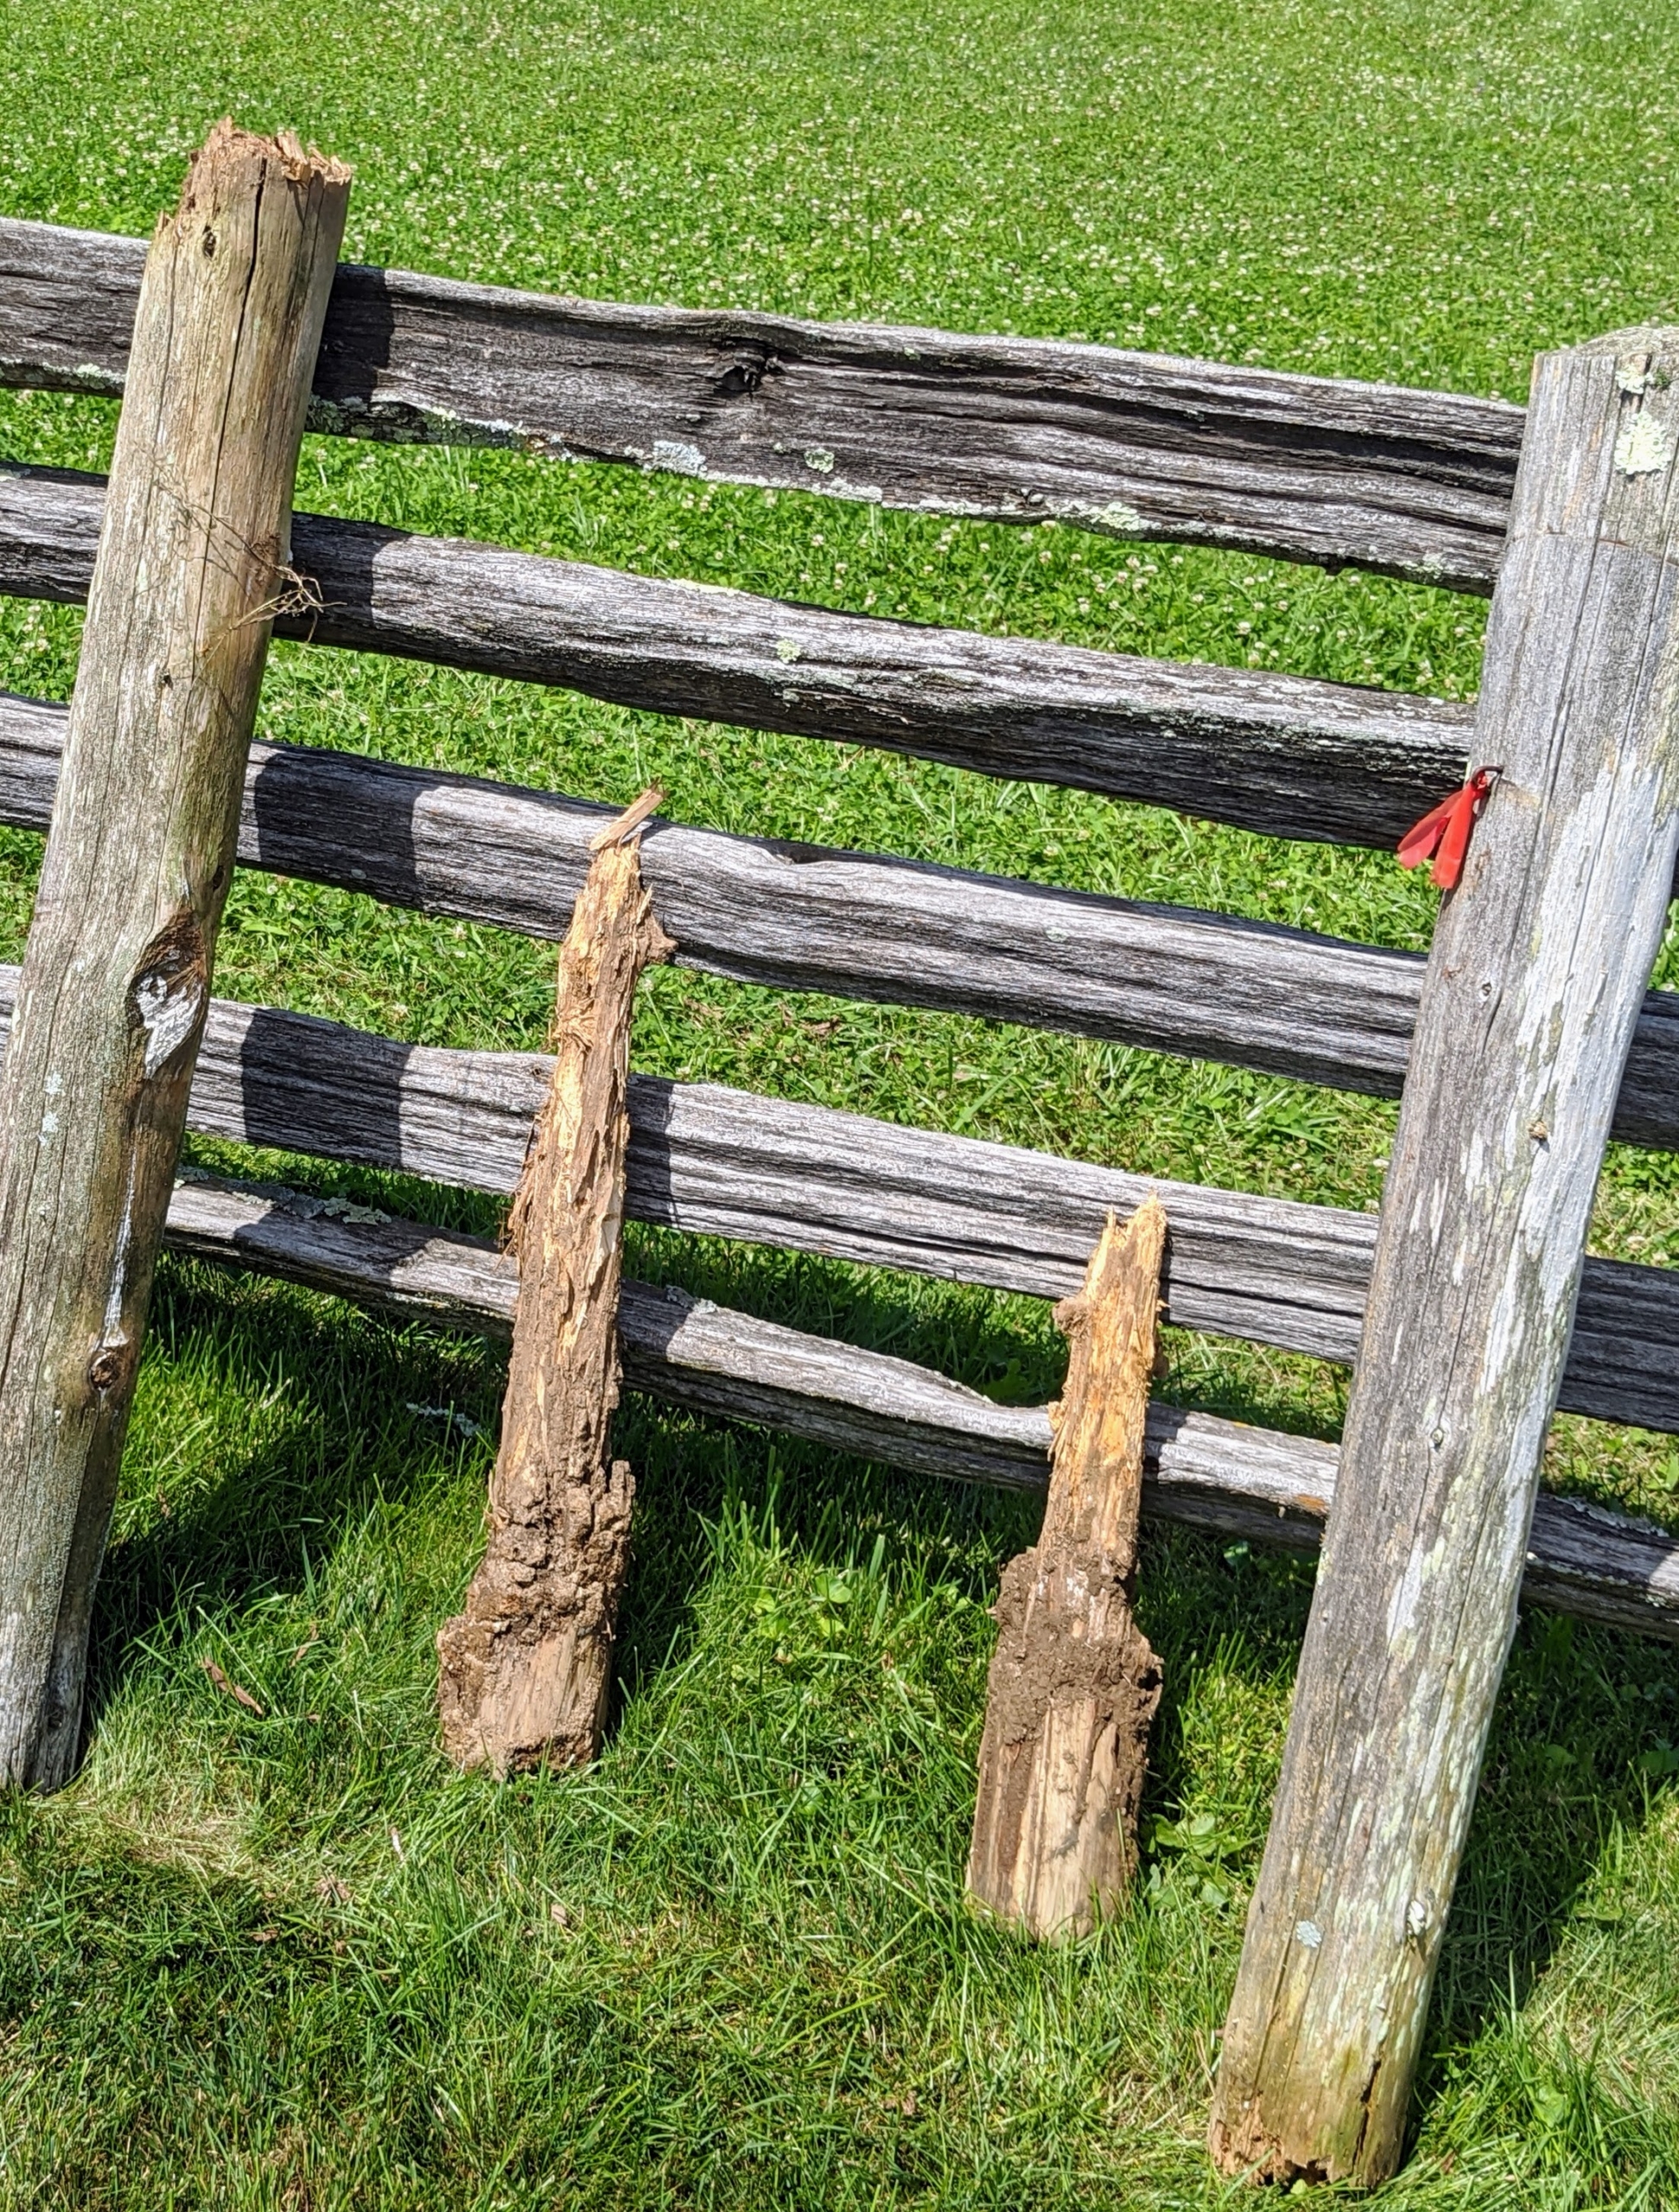
- Posts are periodically checked for sturdiness. Those posts that need replacing are marked with brightly colored tree tape.
-
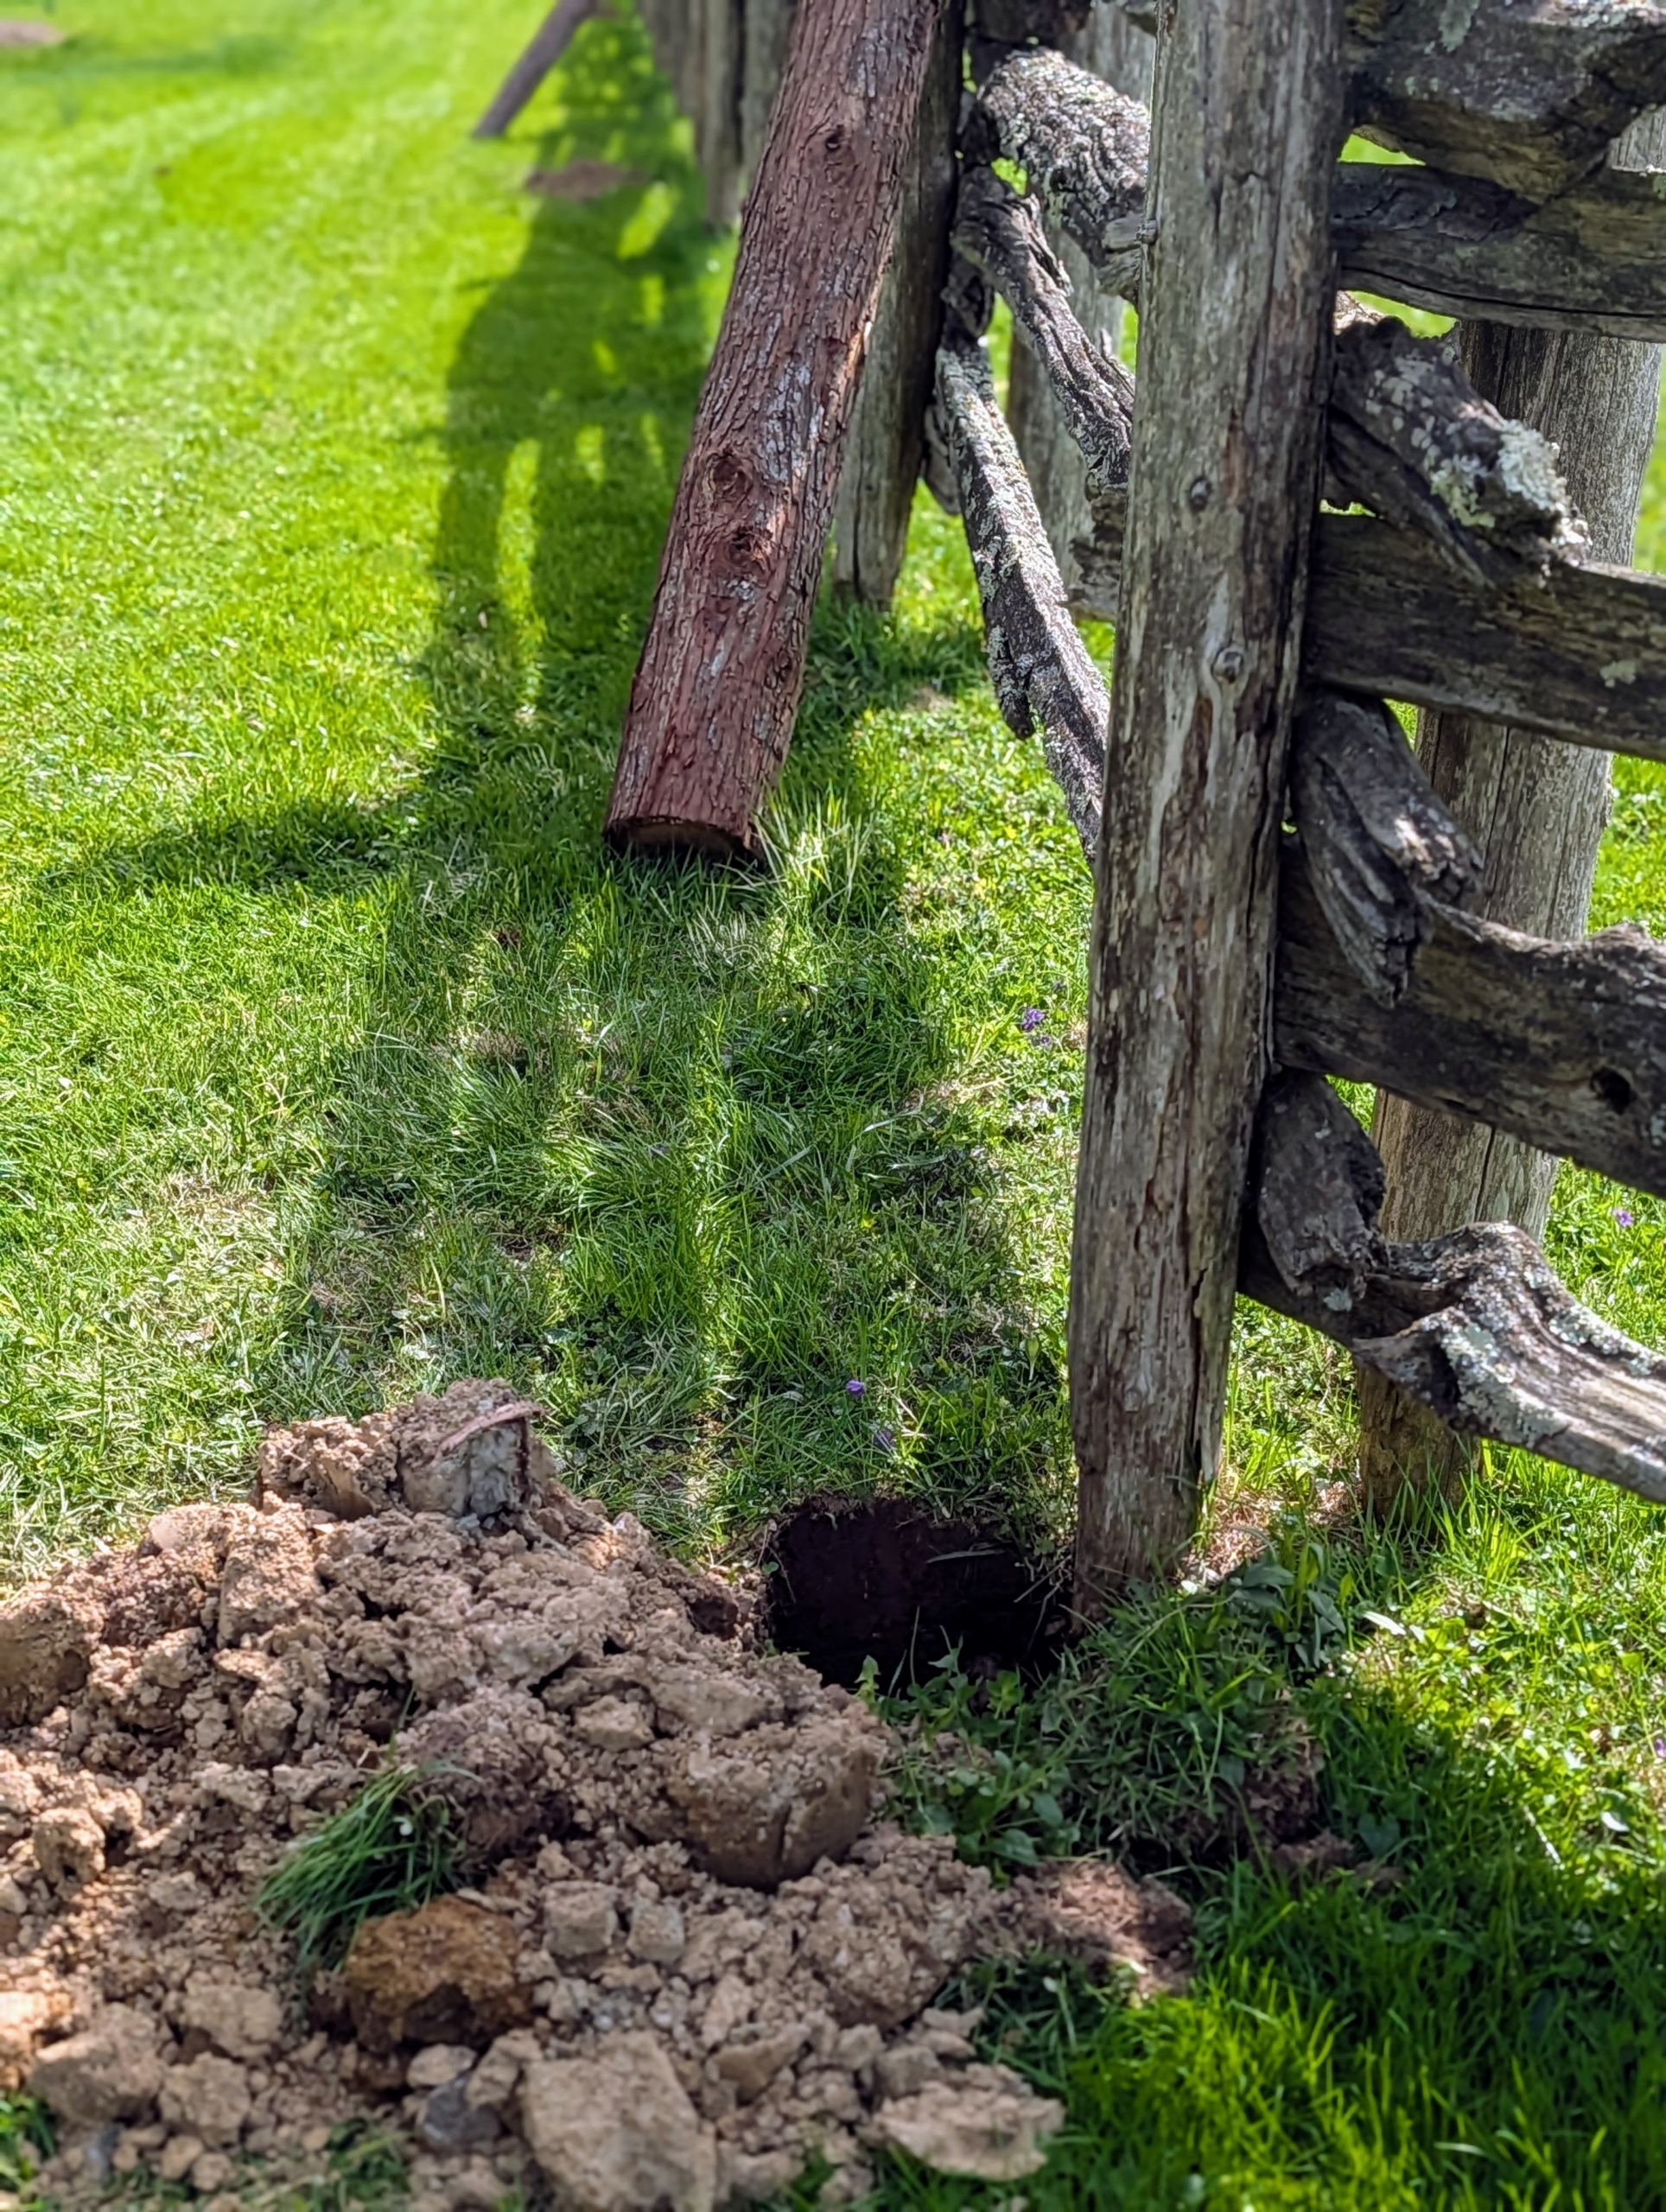
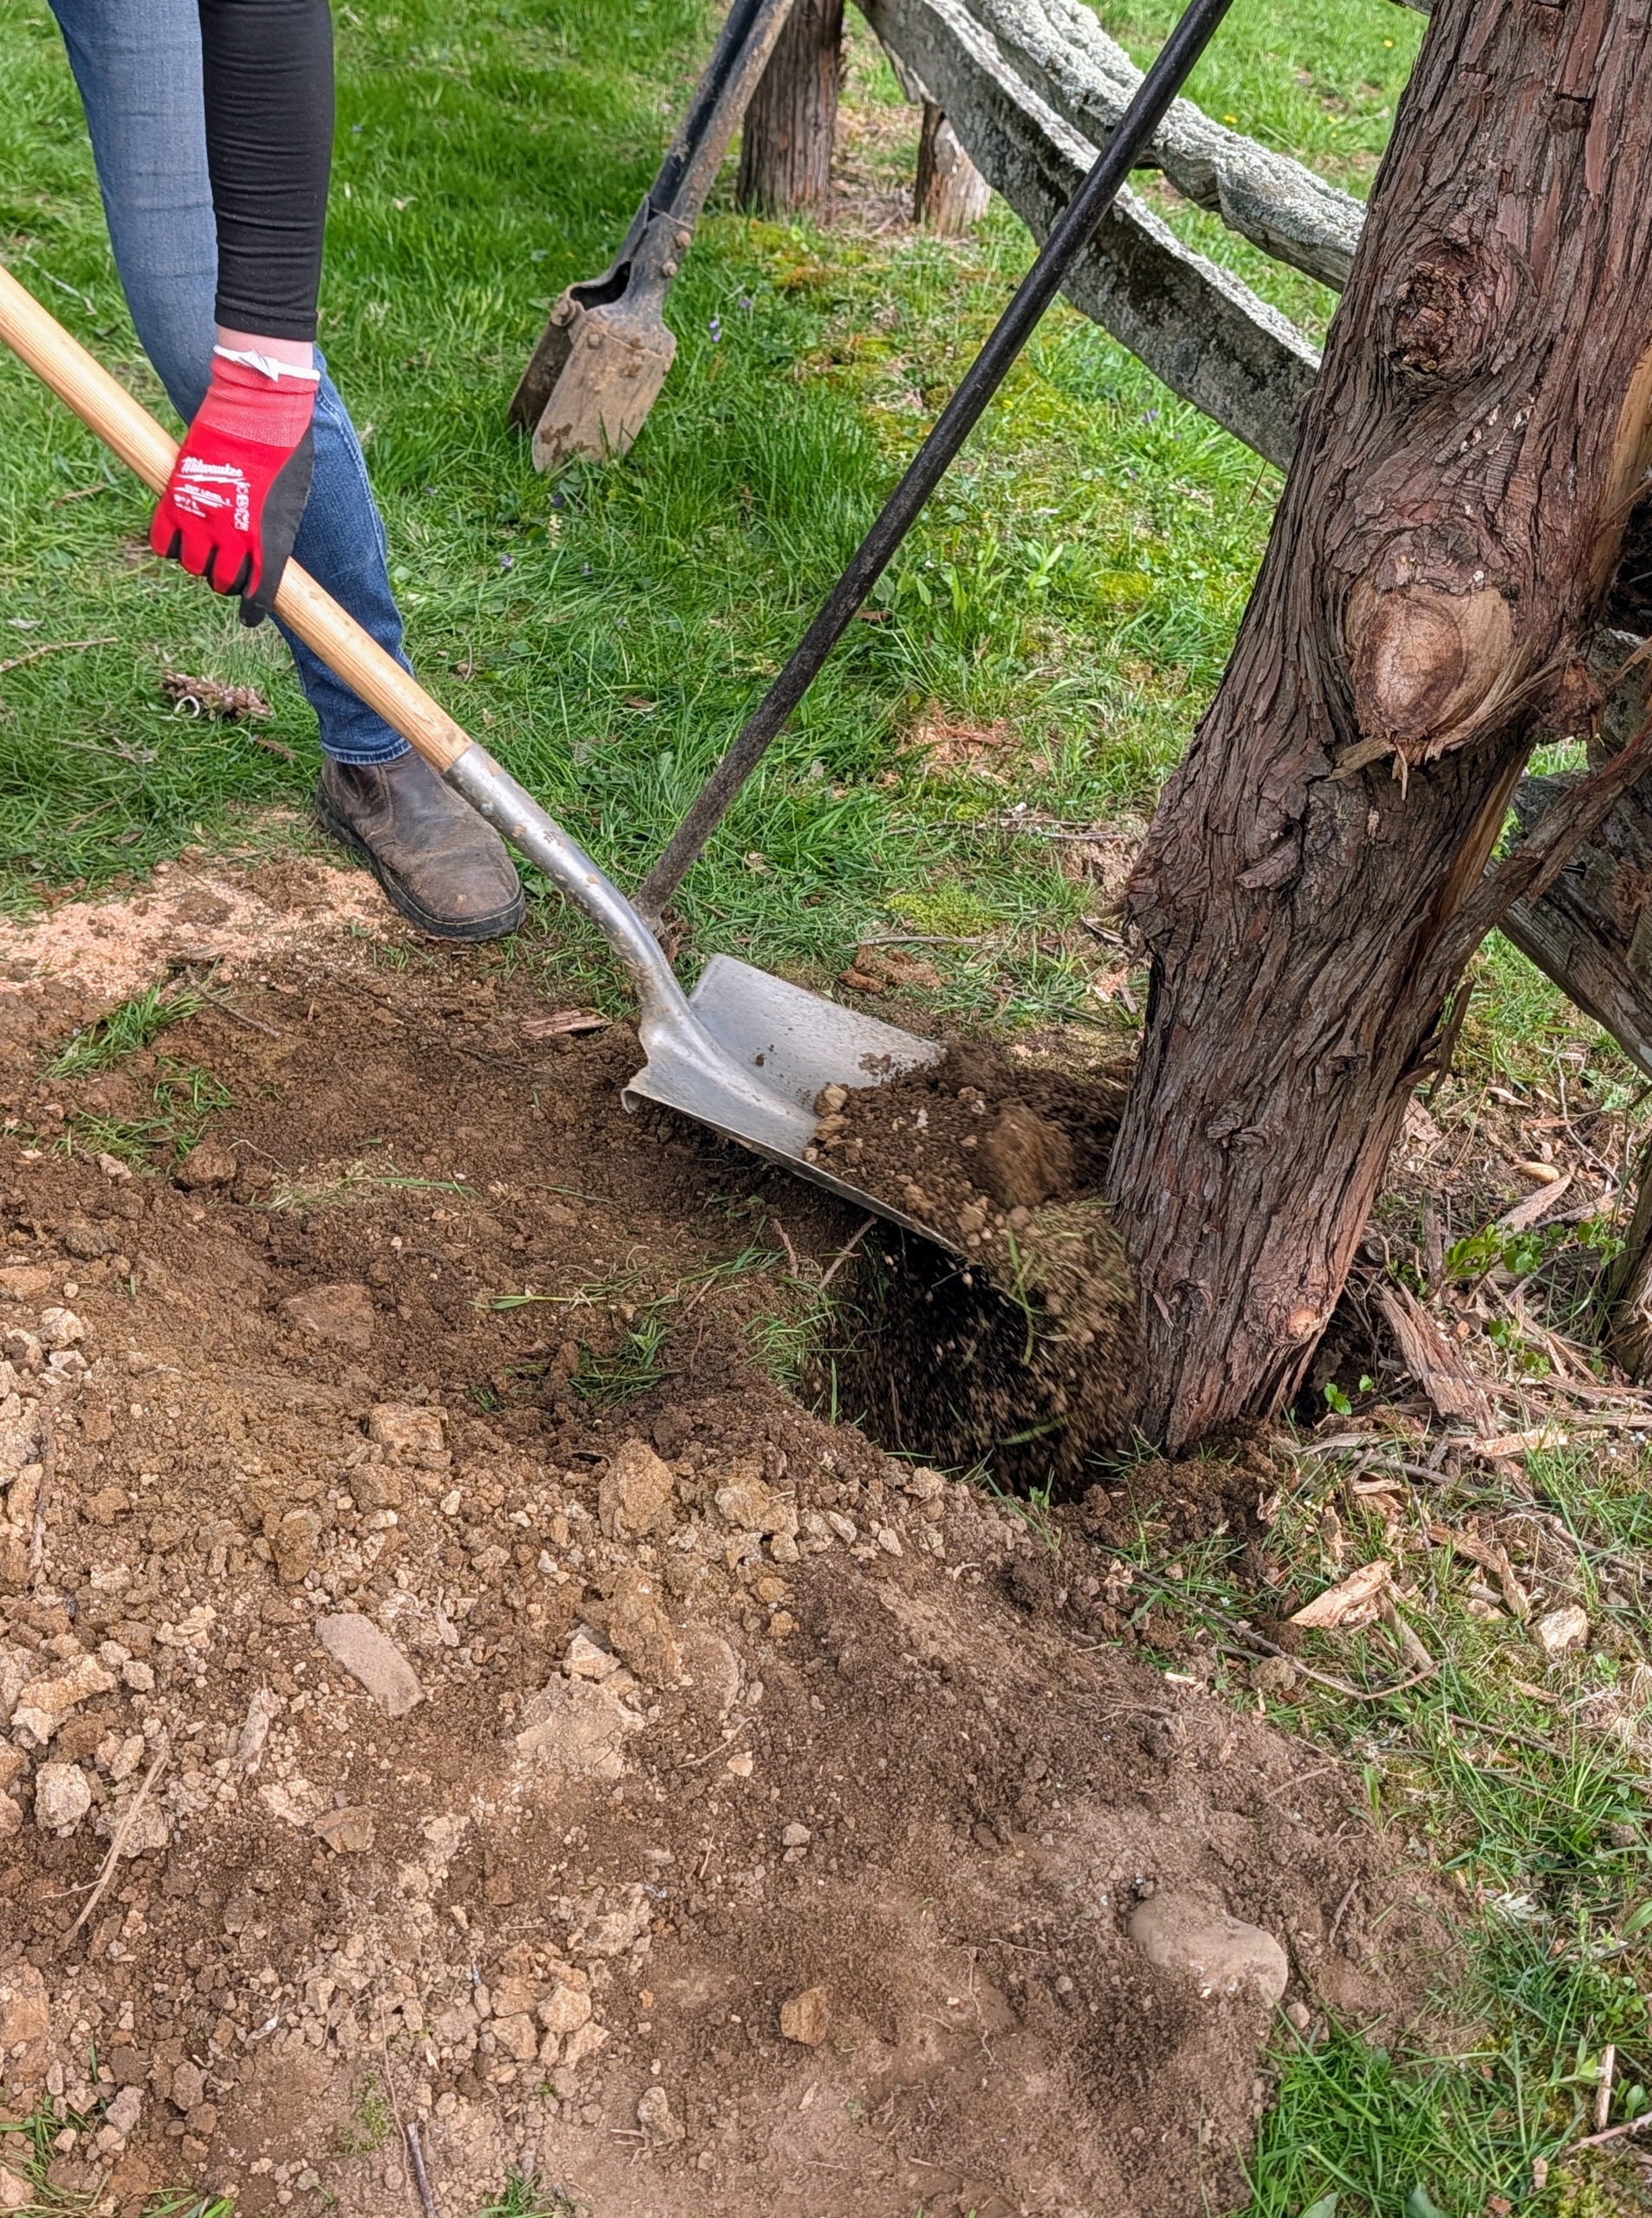
- Here is an old post just removed from its hole. Notice how the bottom has deteriorated.
-
- Some of the uprights were so worn, they broke during the removal process. These old posts will be chipped and repurposed as top dressing in the woodlands at a later time.
-
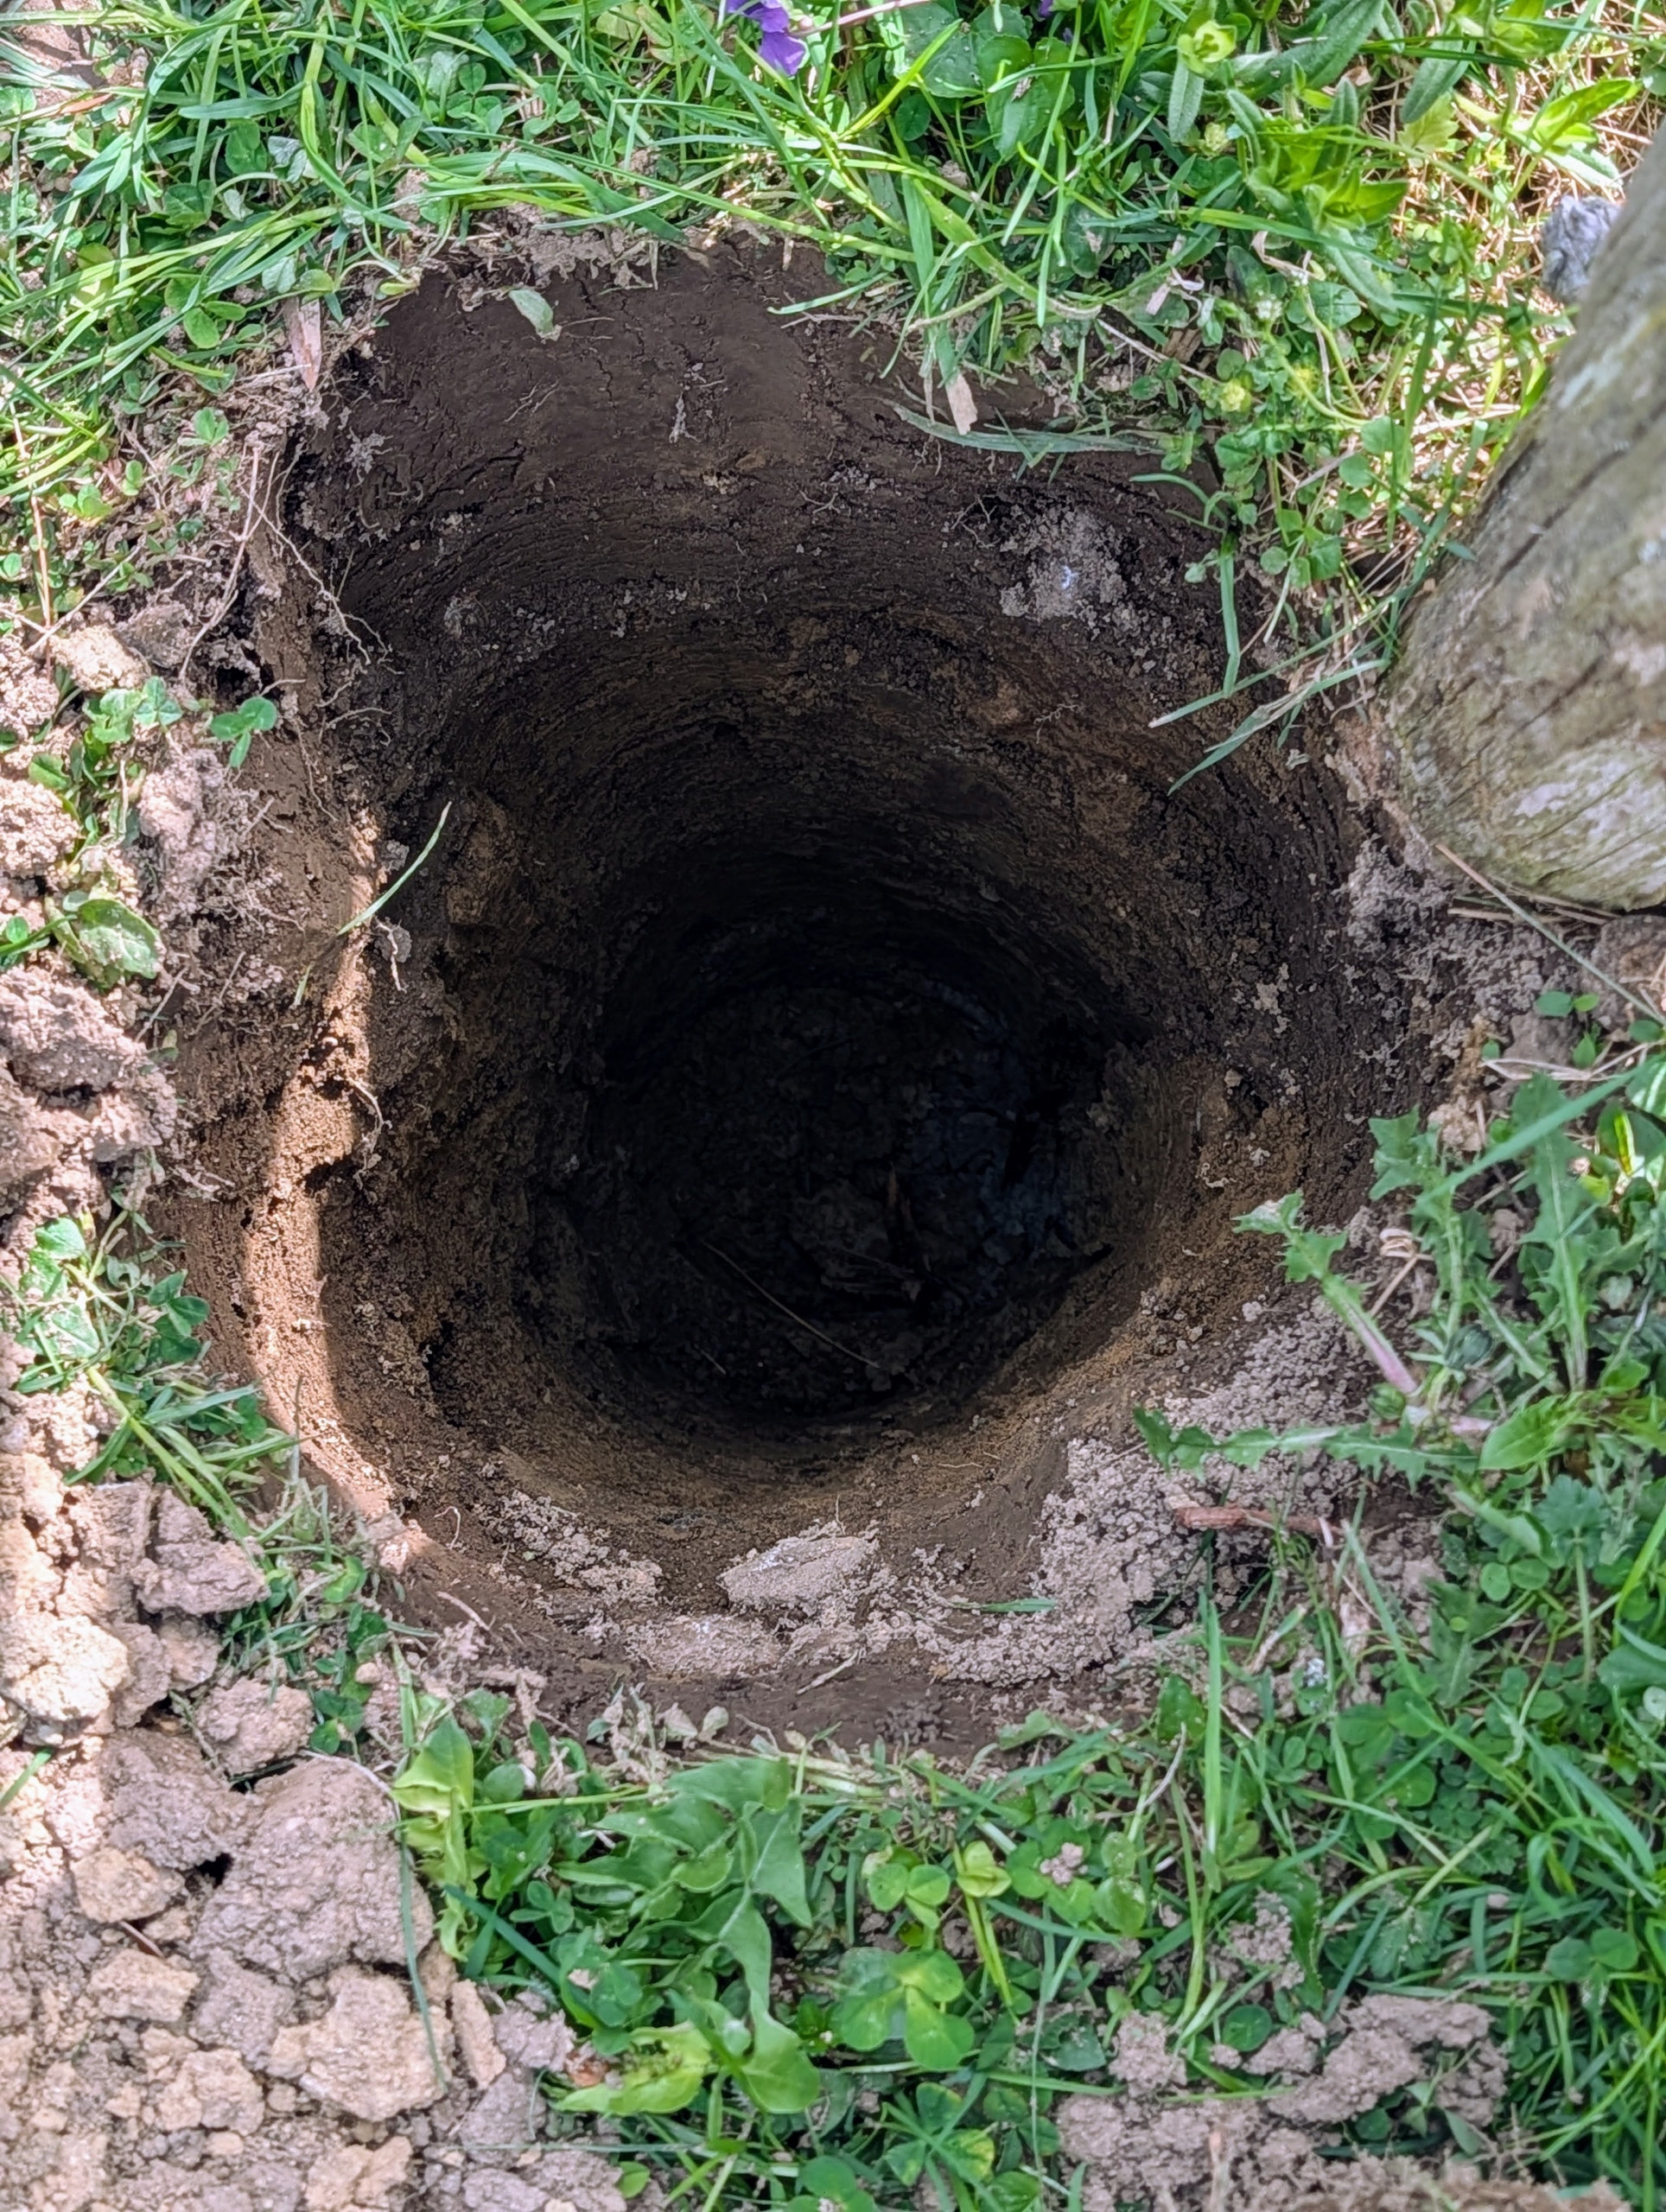
- The existing holes are checked for proper depth and adjusted as needed. They need to be deep and narrow in order to accommodate the fence posts.
-
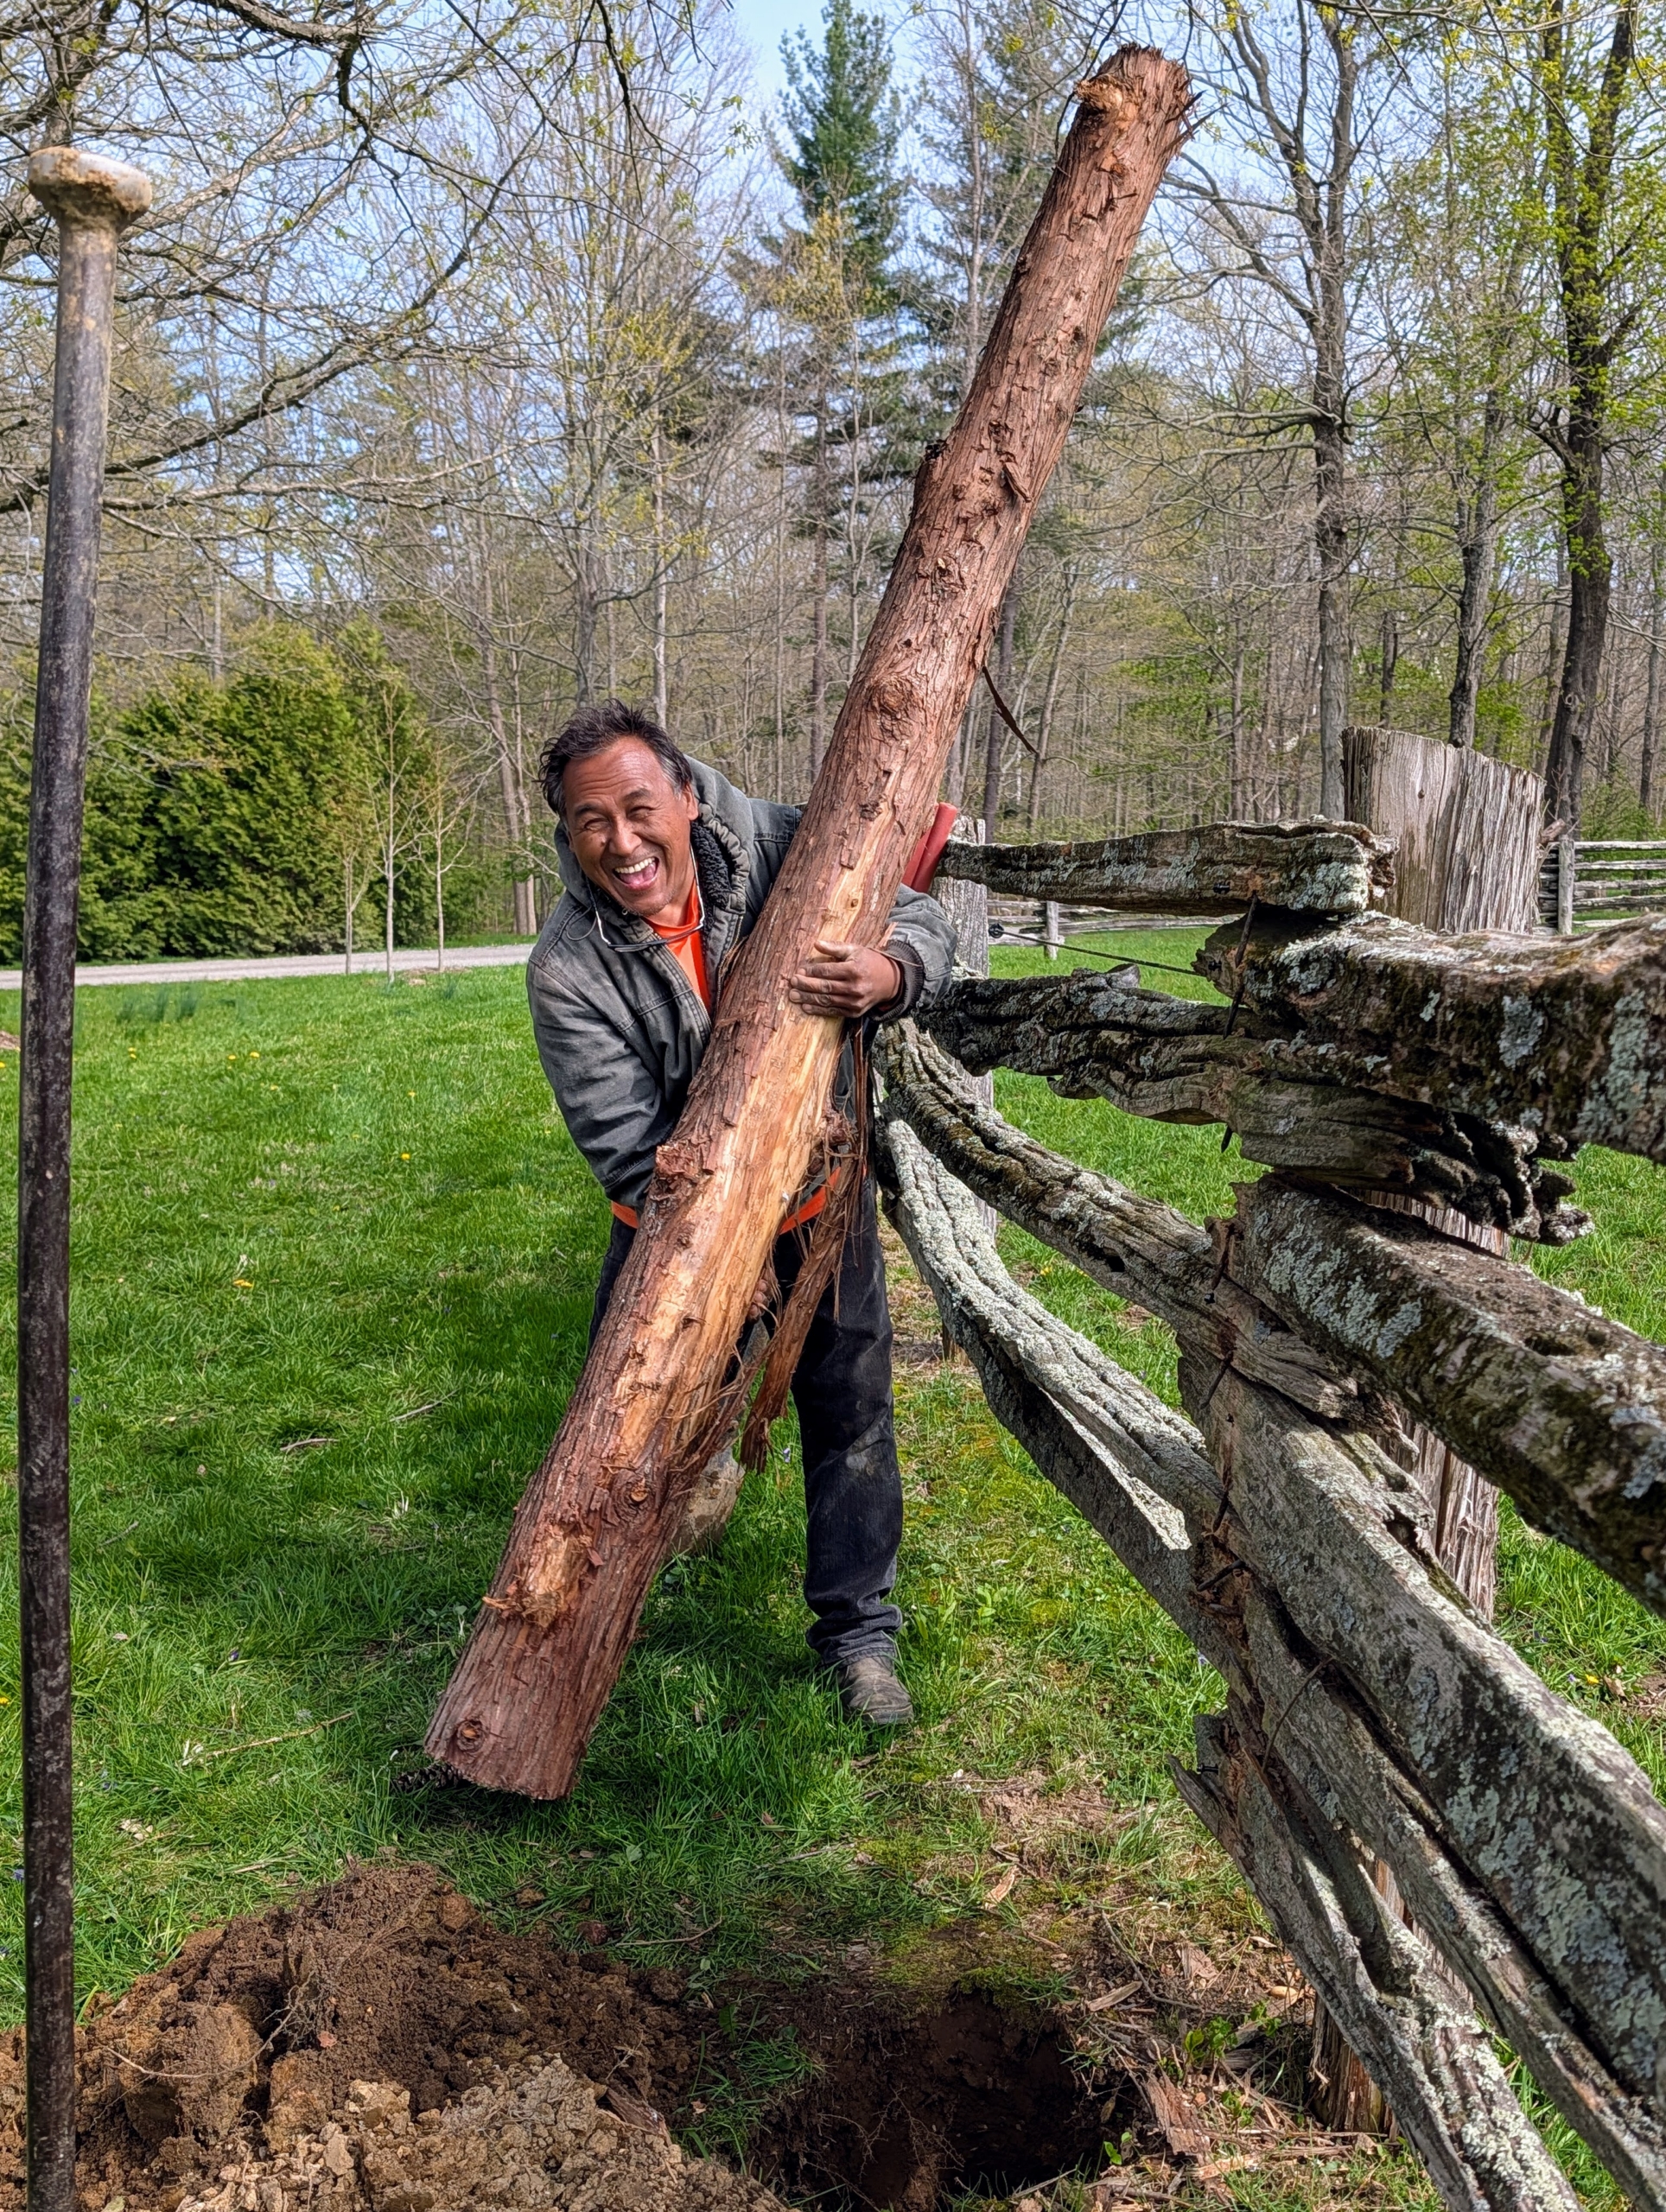
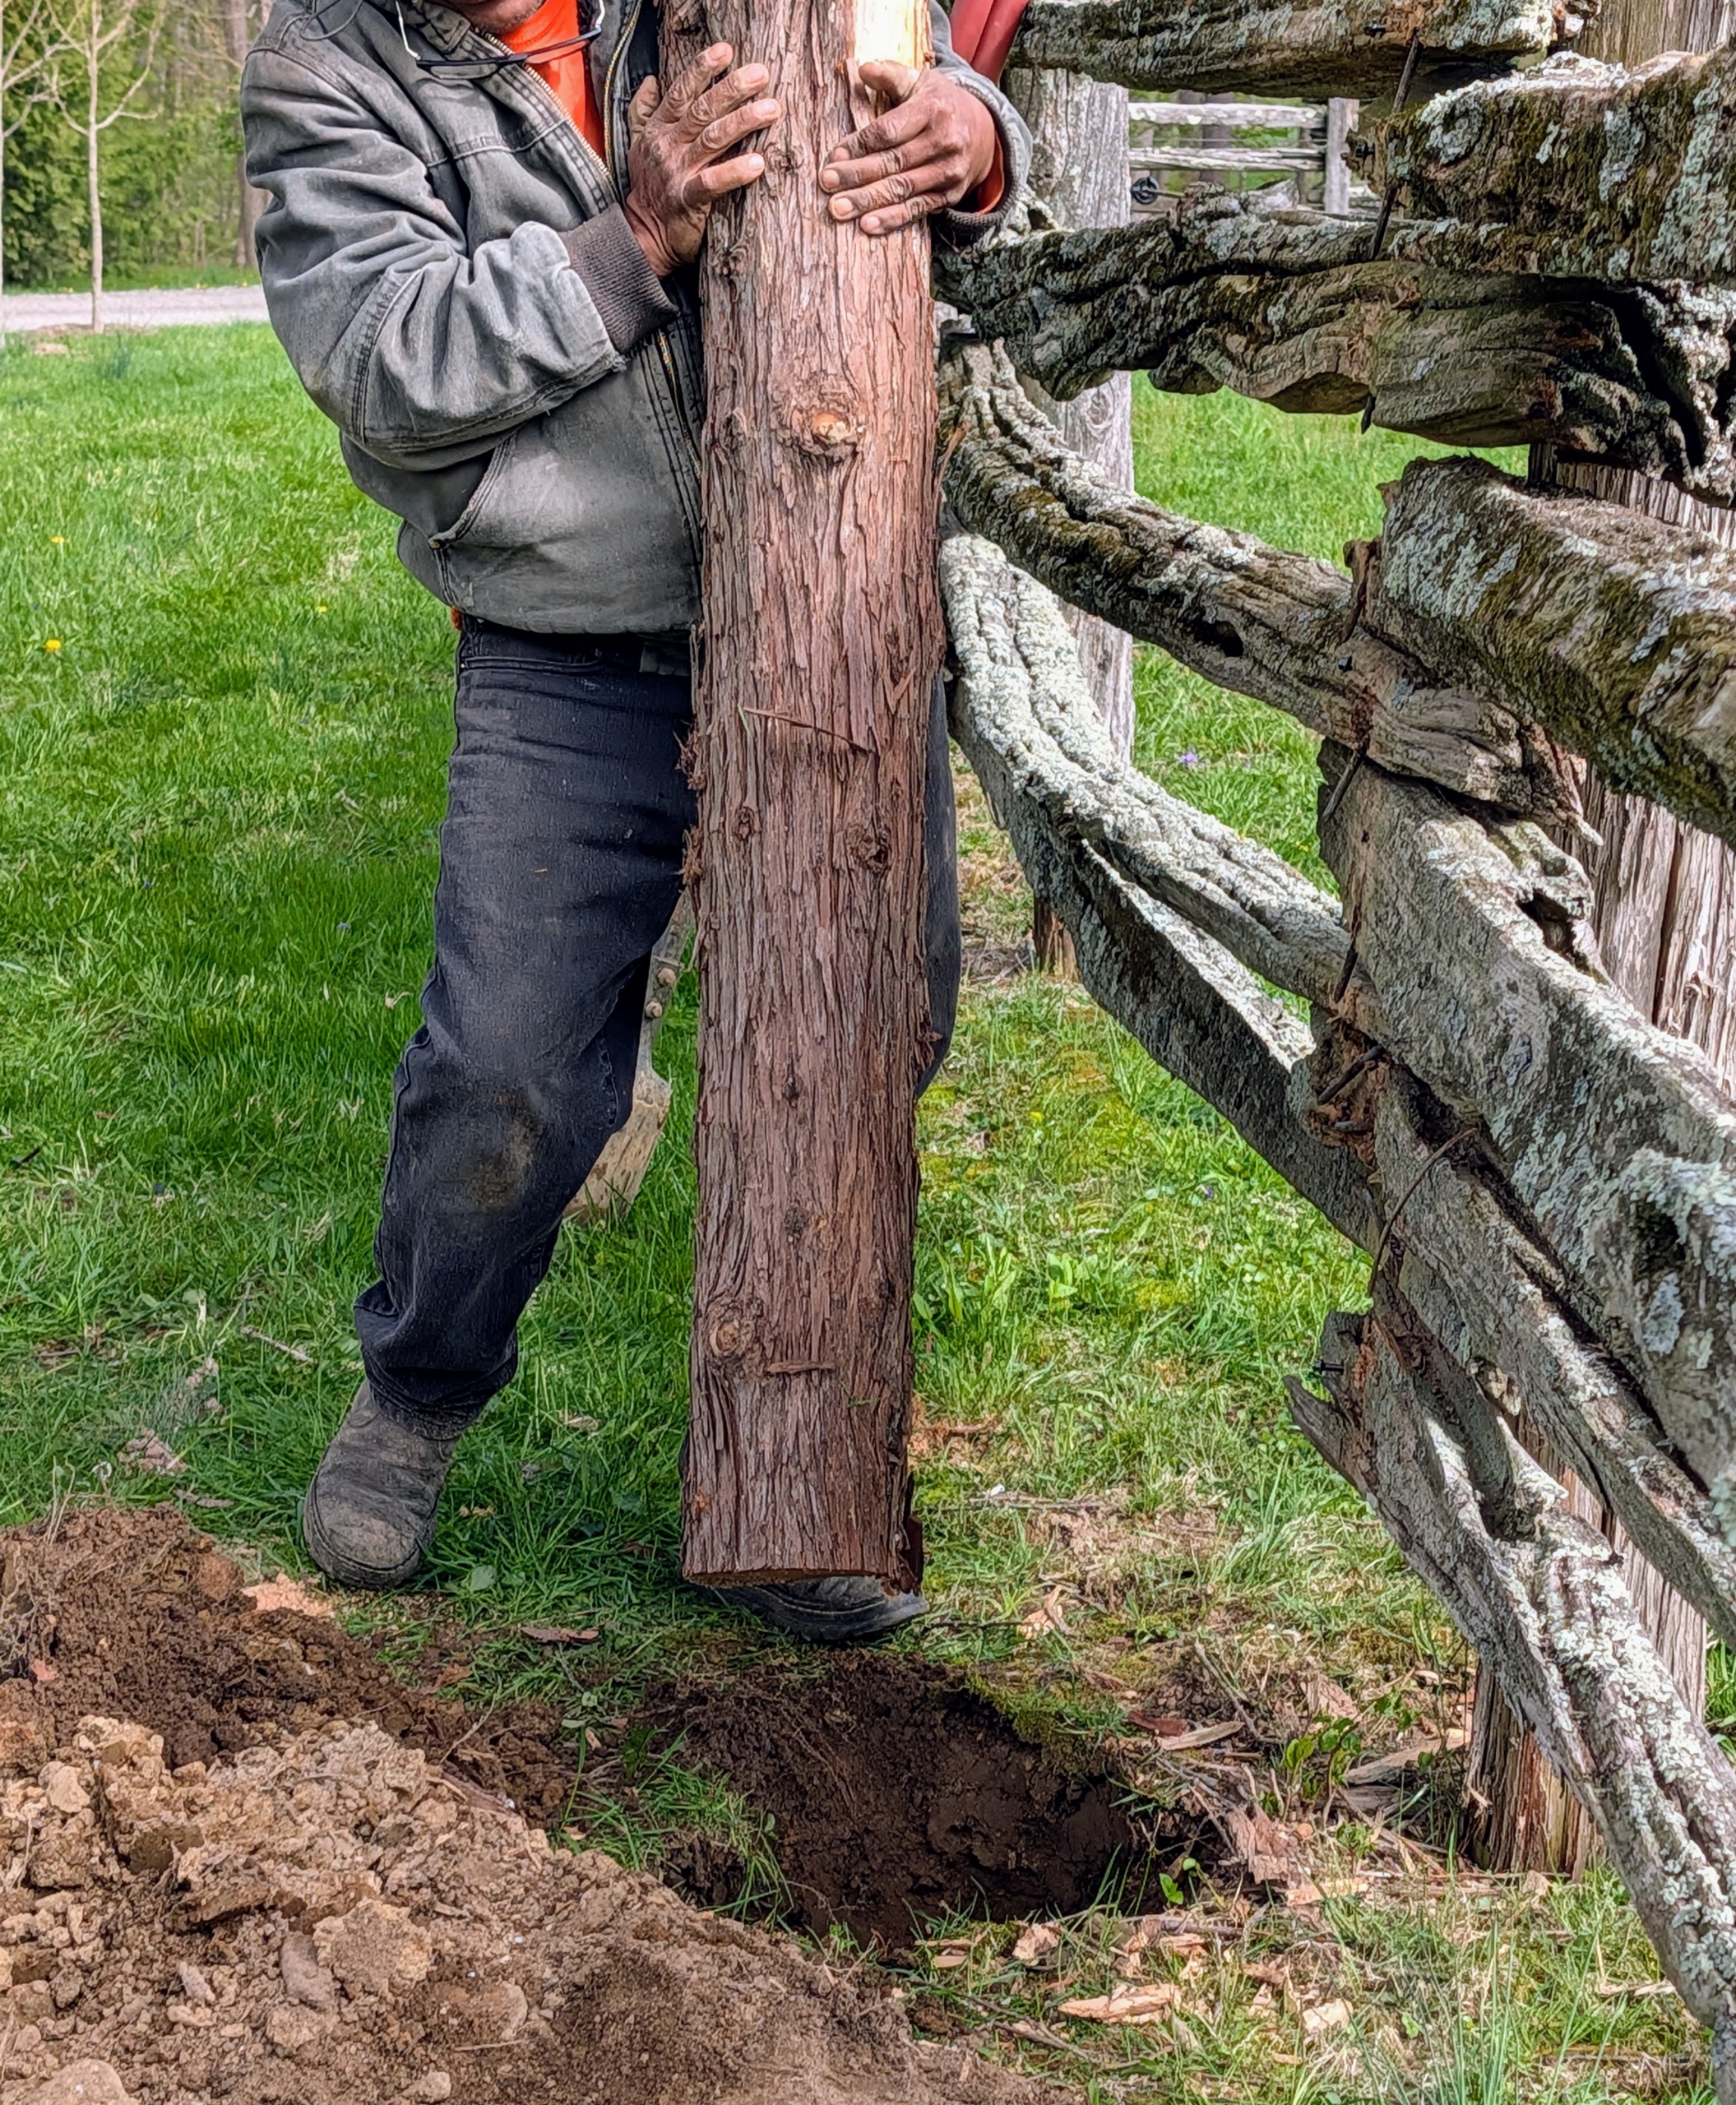
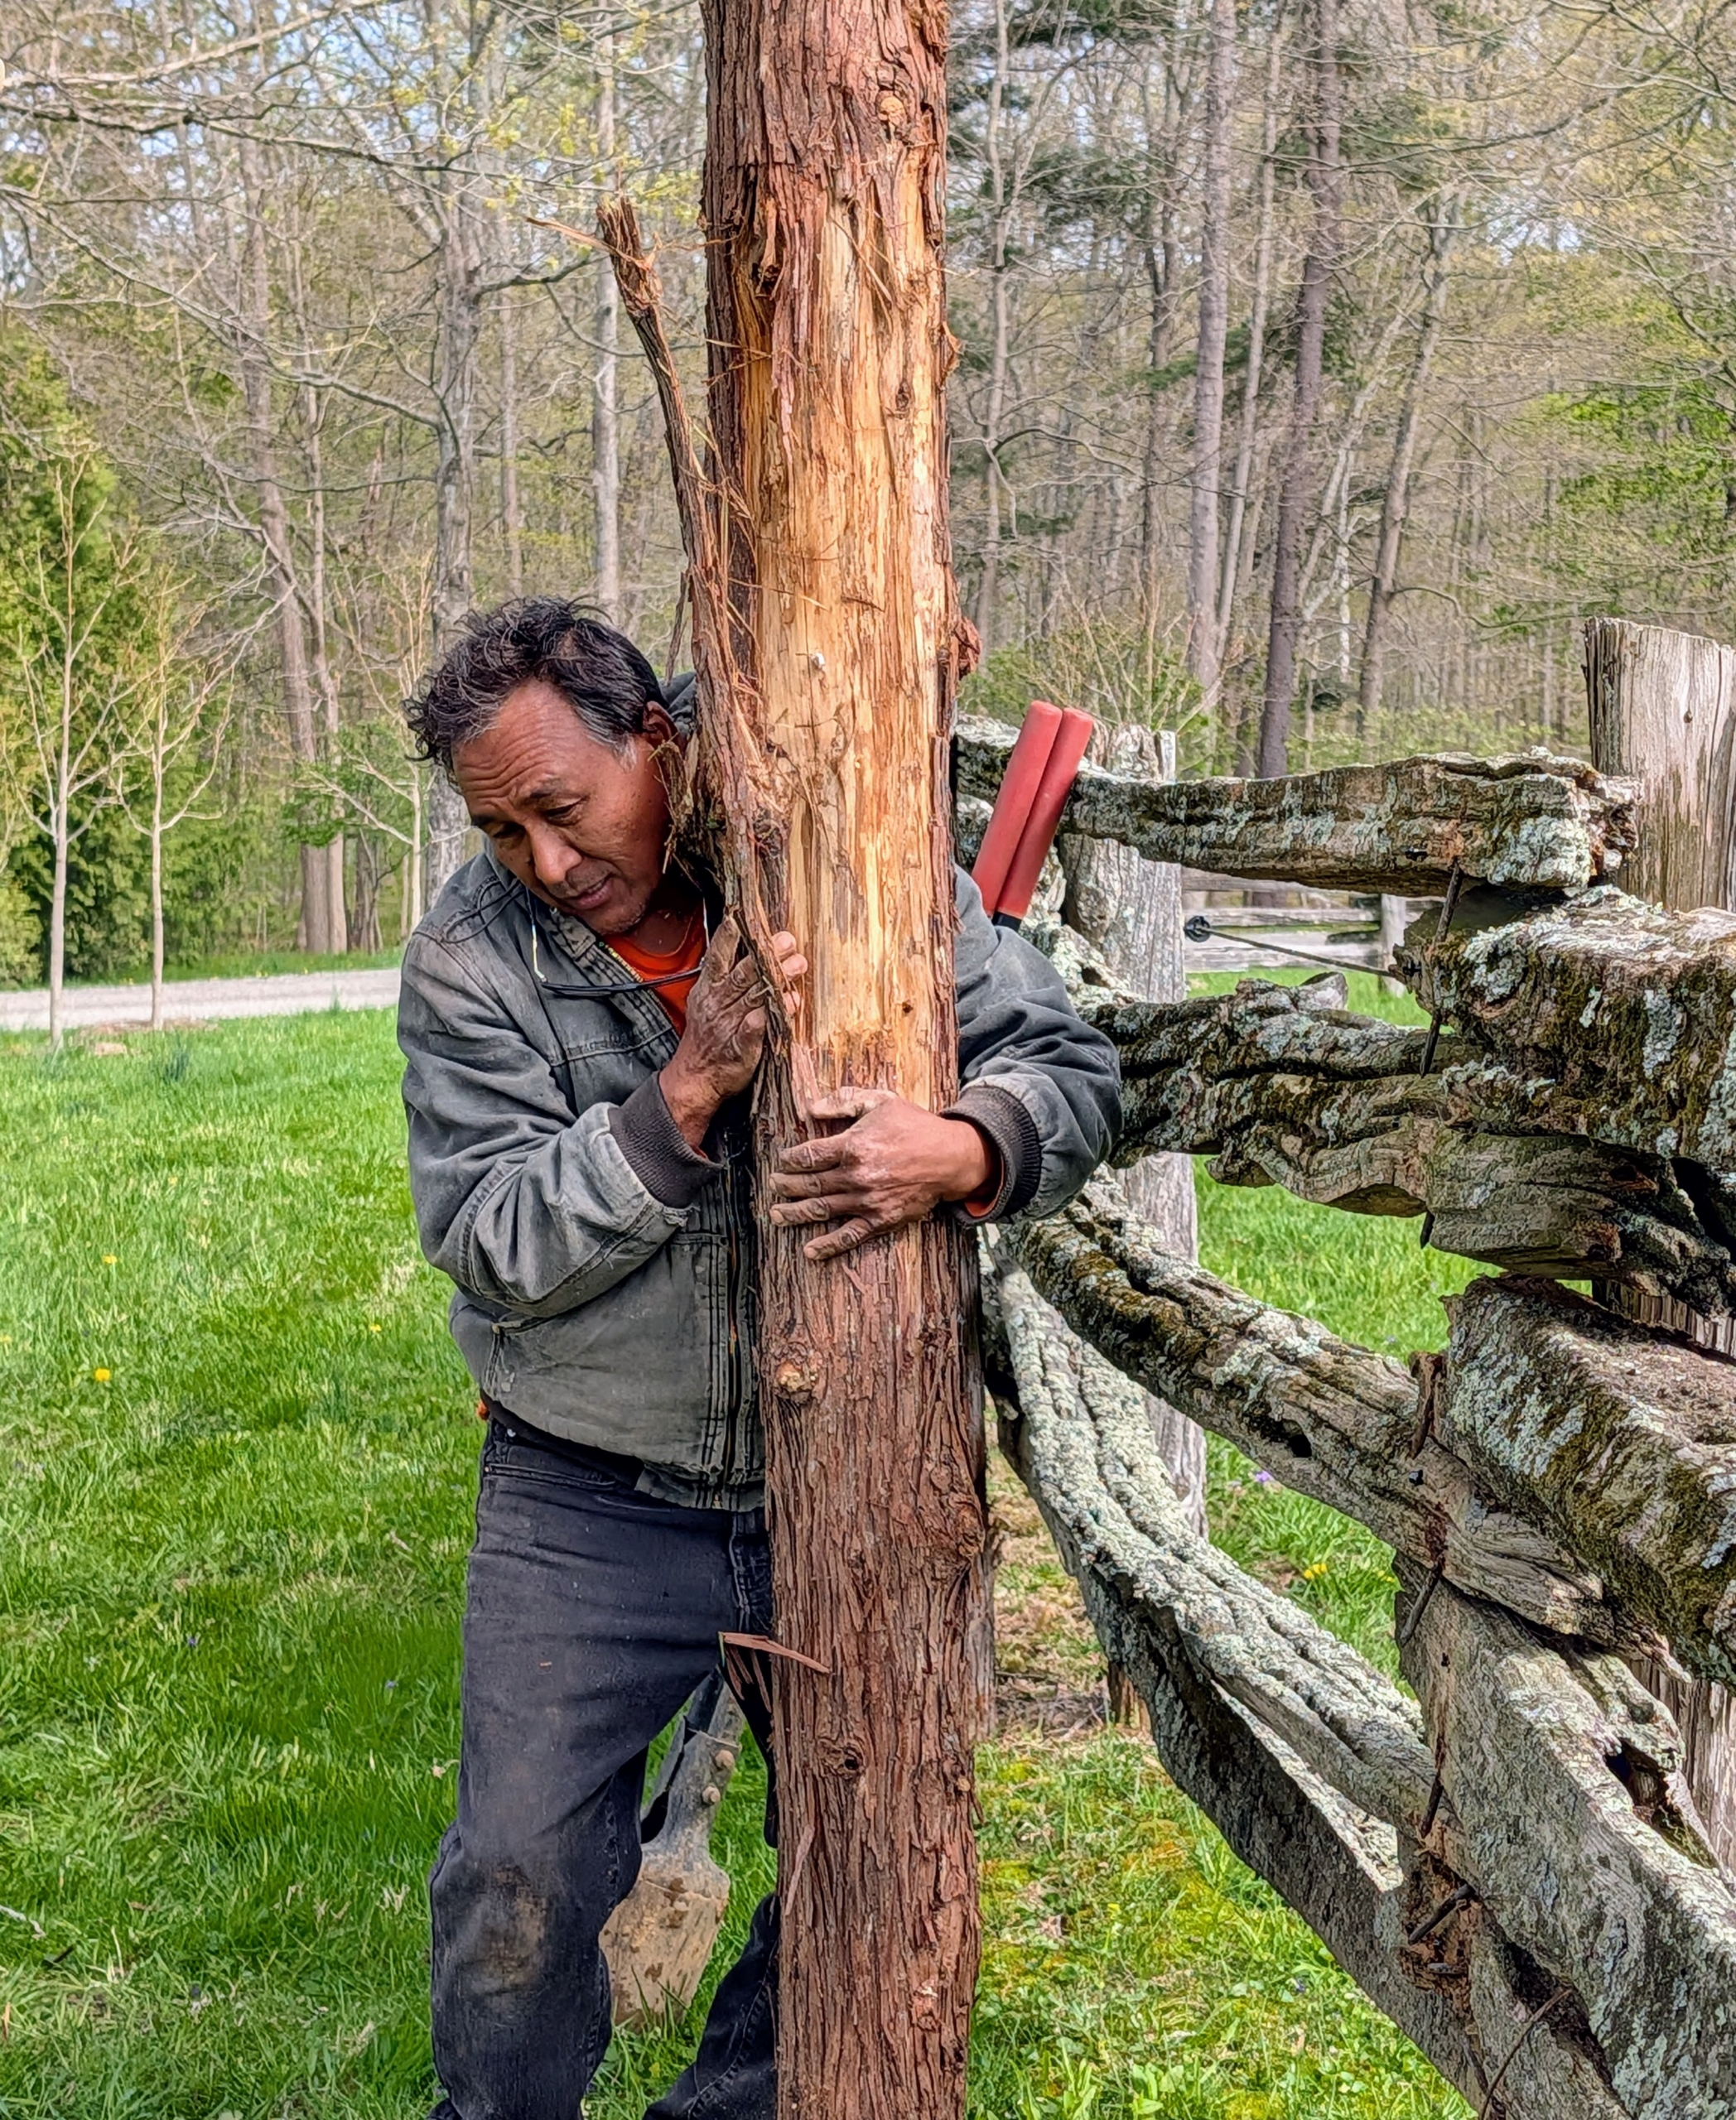
- Here’s Pete carrying the new log to the hole. For Pete, it doesn’t even seem heavy, does it Pete?
-
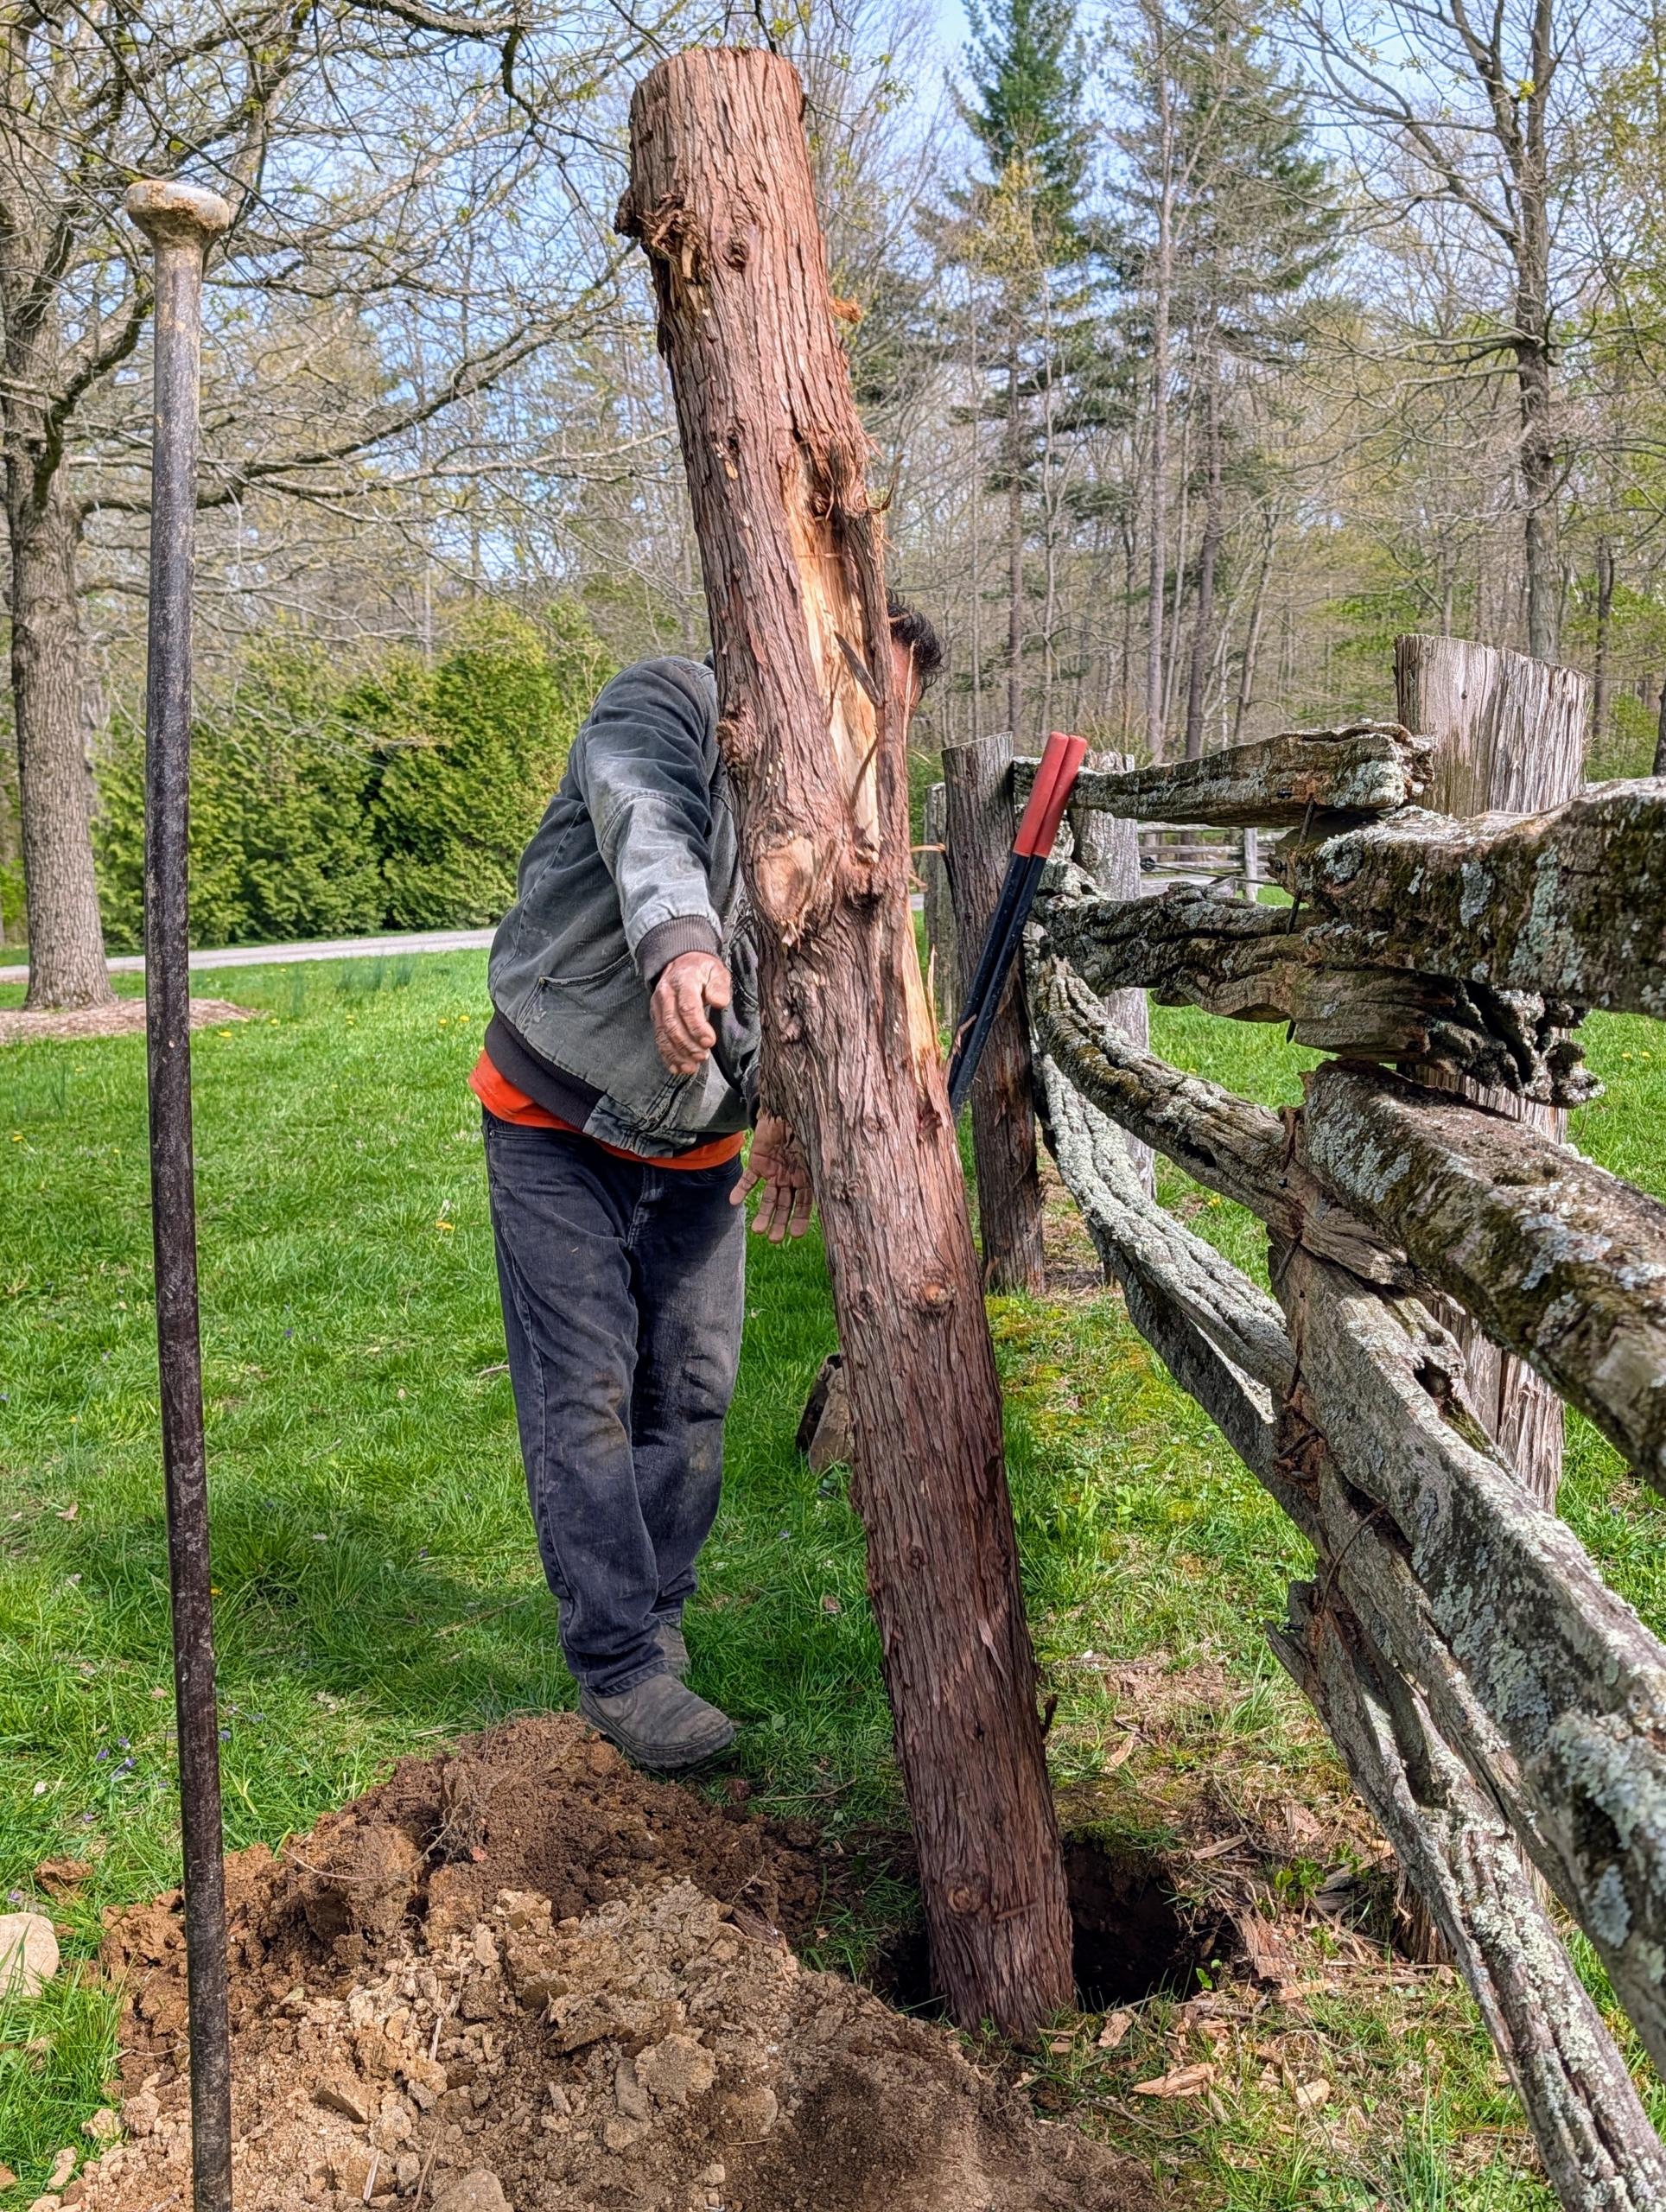
- Pete places the new cedar log into the hole and checks its height above ground. It needs a little trimming to match the others.
-
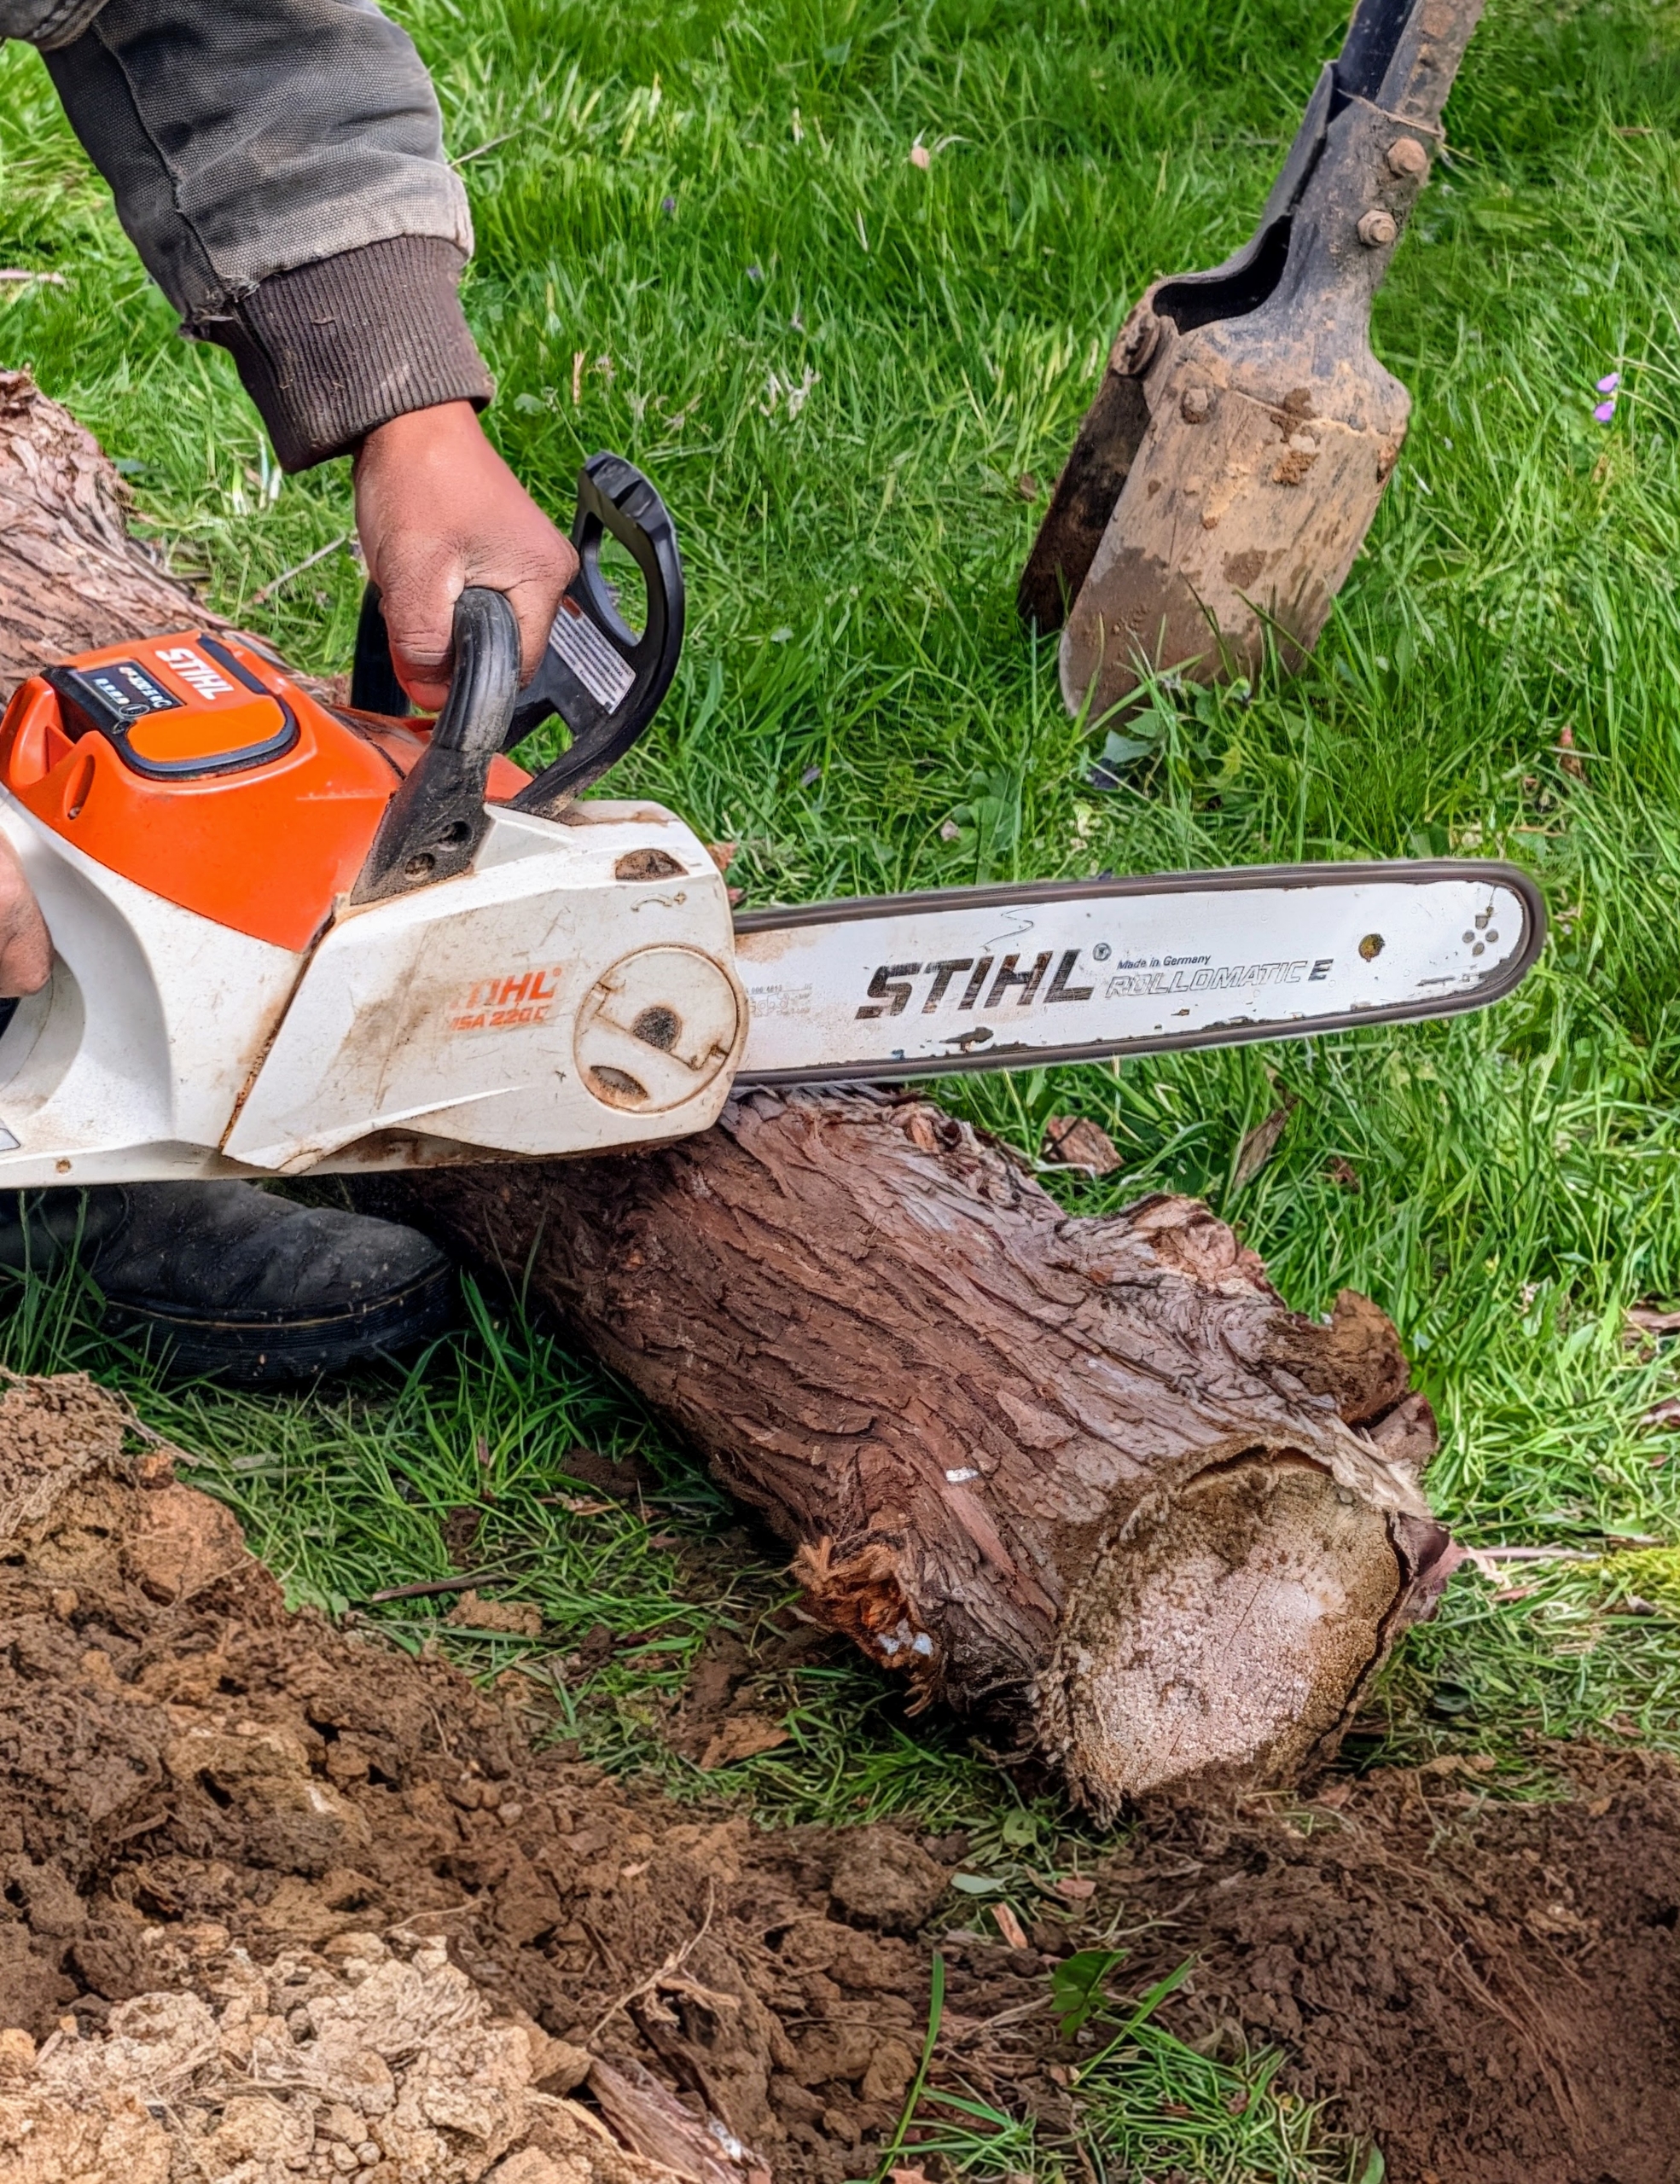
- He uses our STIHL chainsaw. STIHL designed and built its first electric chain saw in 1926 and 100 years later, it is still one of its best pieces of equipment. I’ve been using STIHL tools for a long time.
-
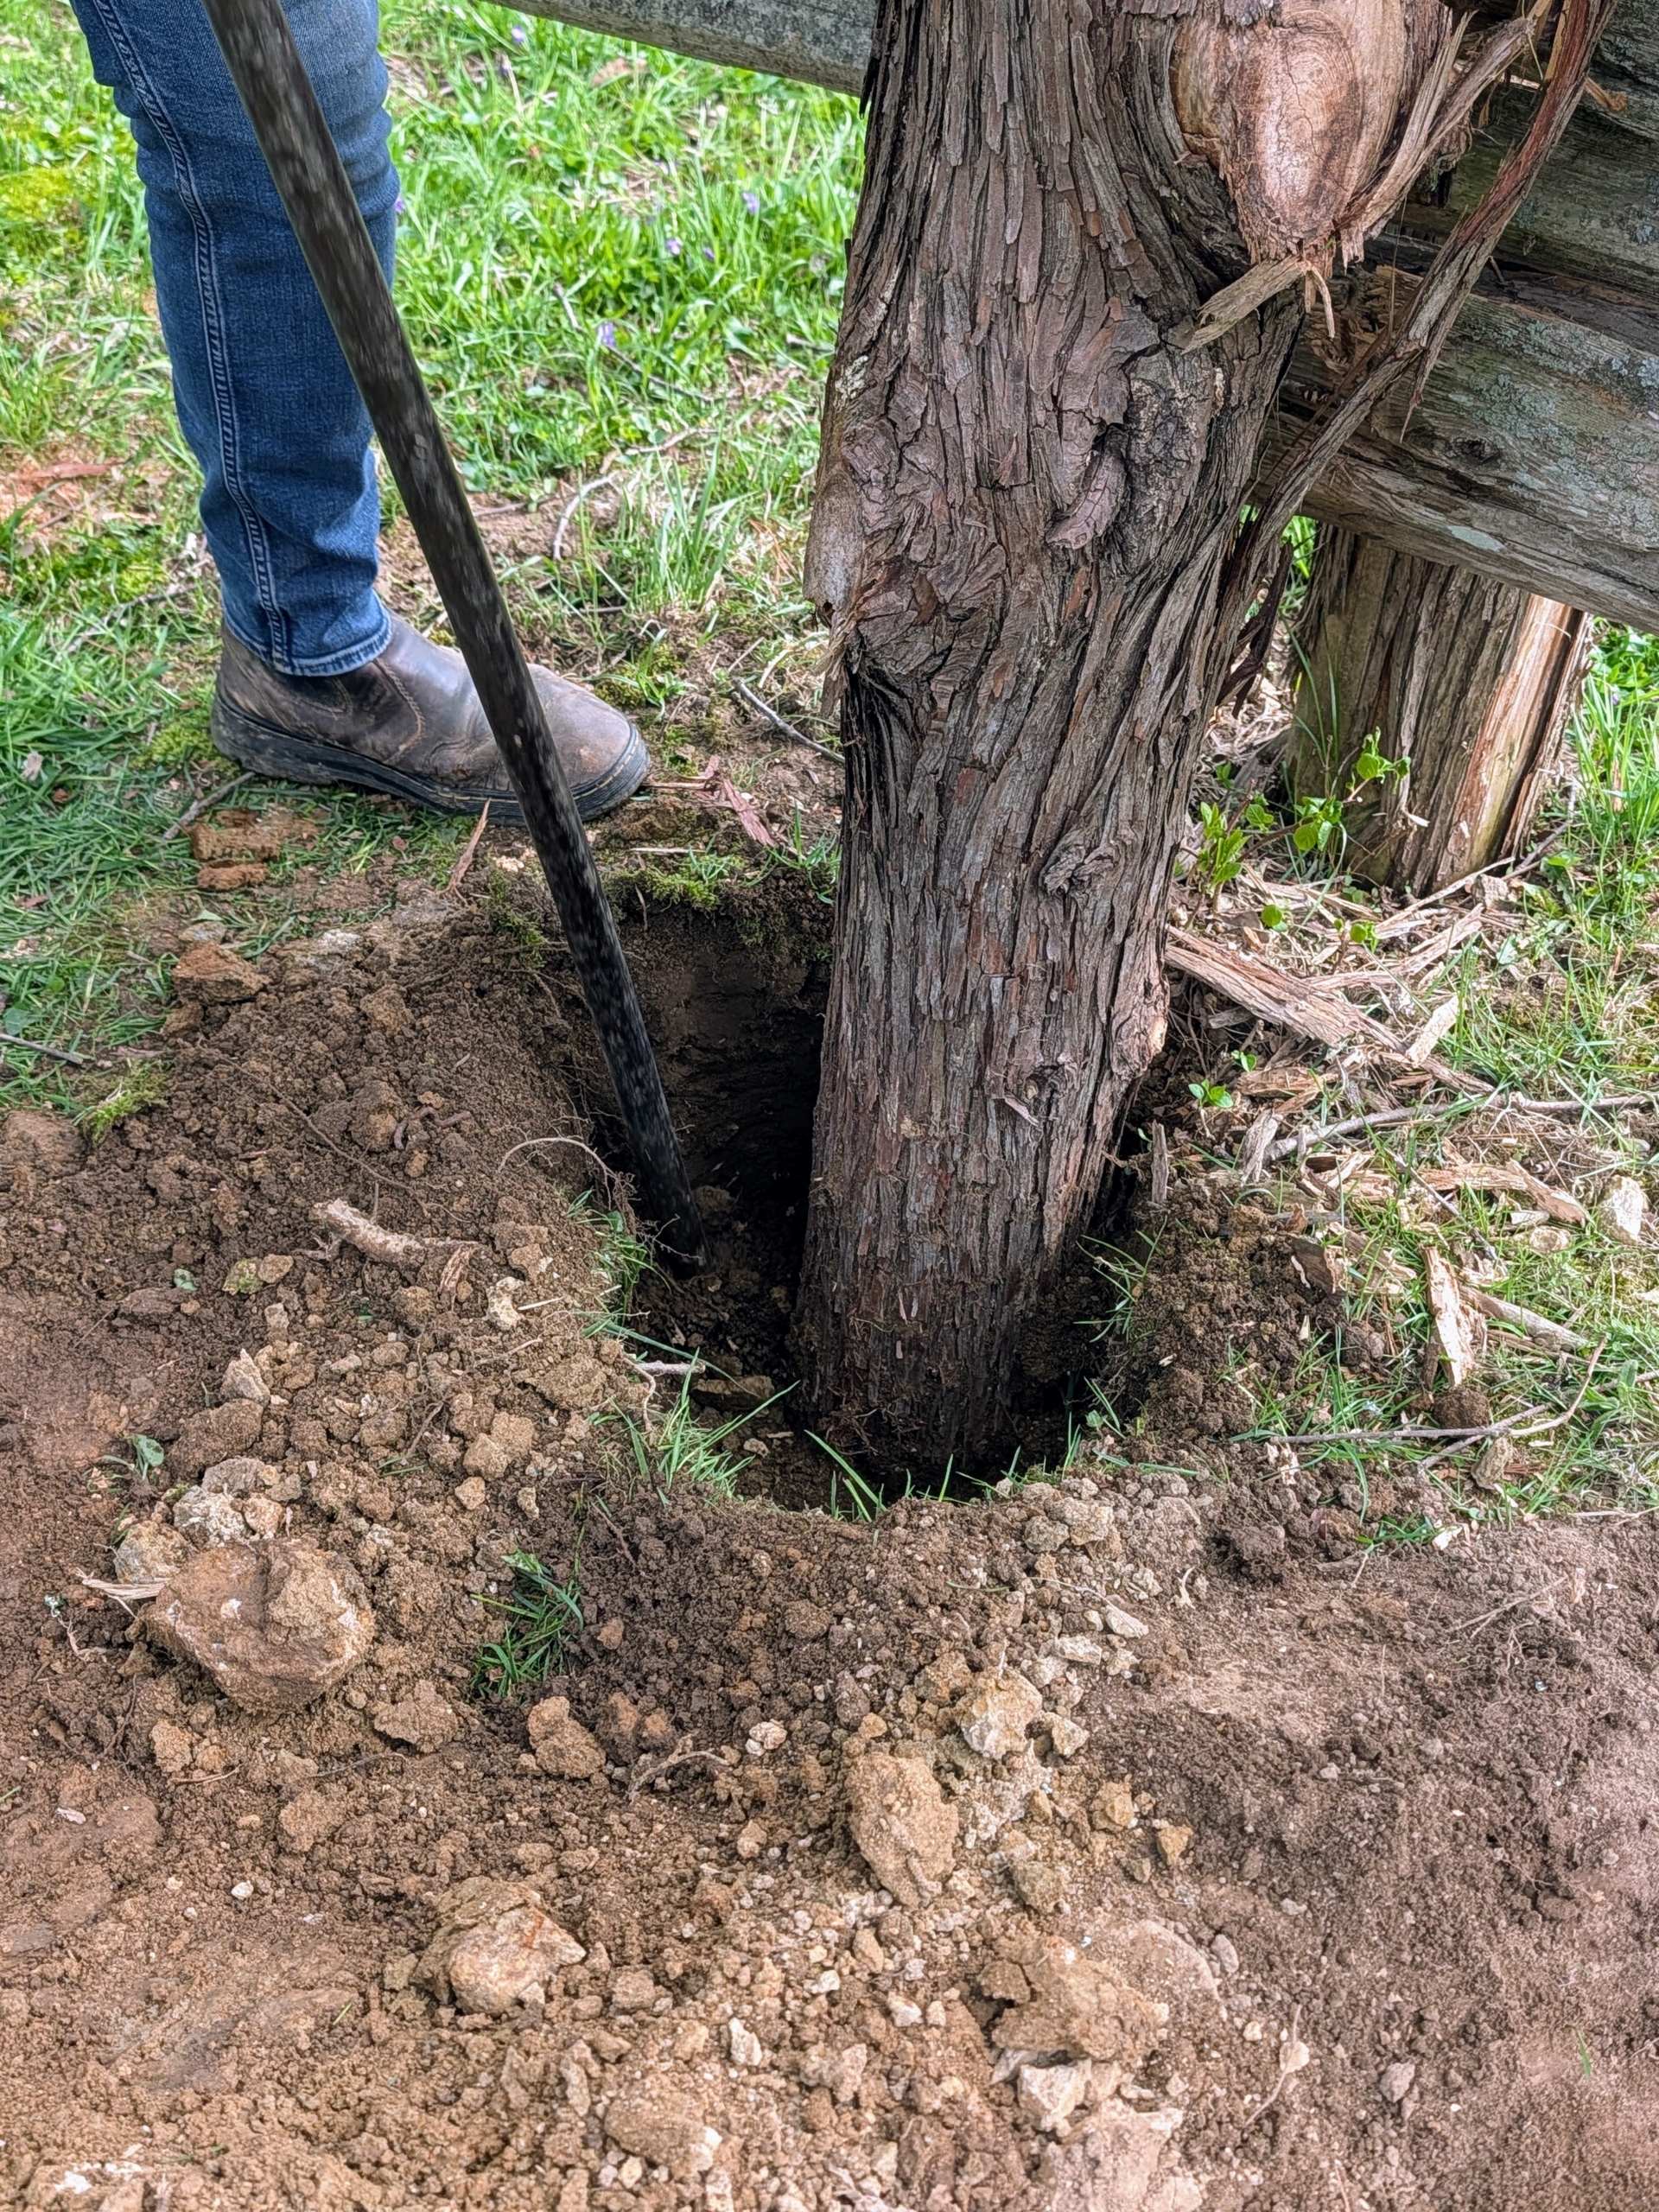
- And then back it goes into the designated hole. Each hole is more than three feet deep. The new posts will be very secure here – and no cement is needed.
-
- Once a new post is positioned, Pete and adjusts it for level and turns the post so that the nicest side faces out.
-
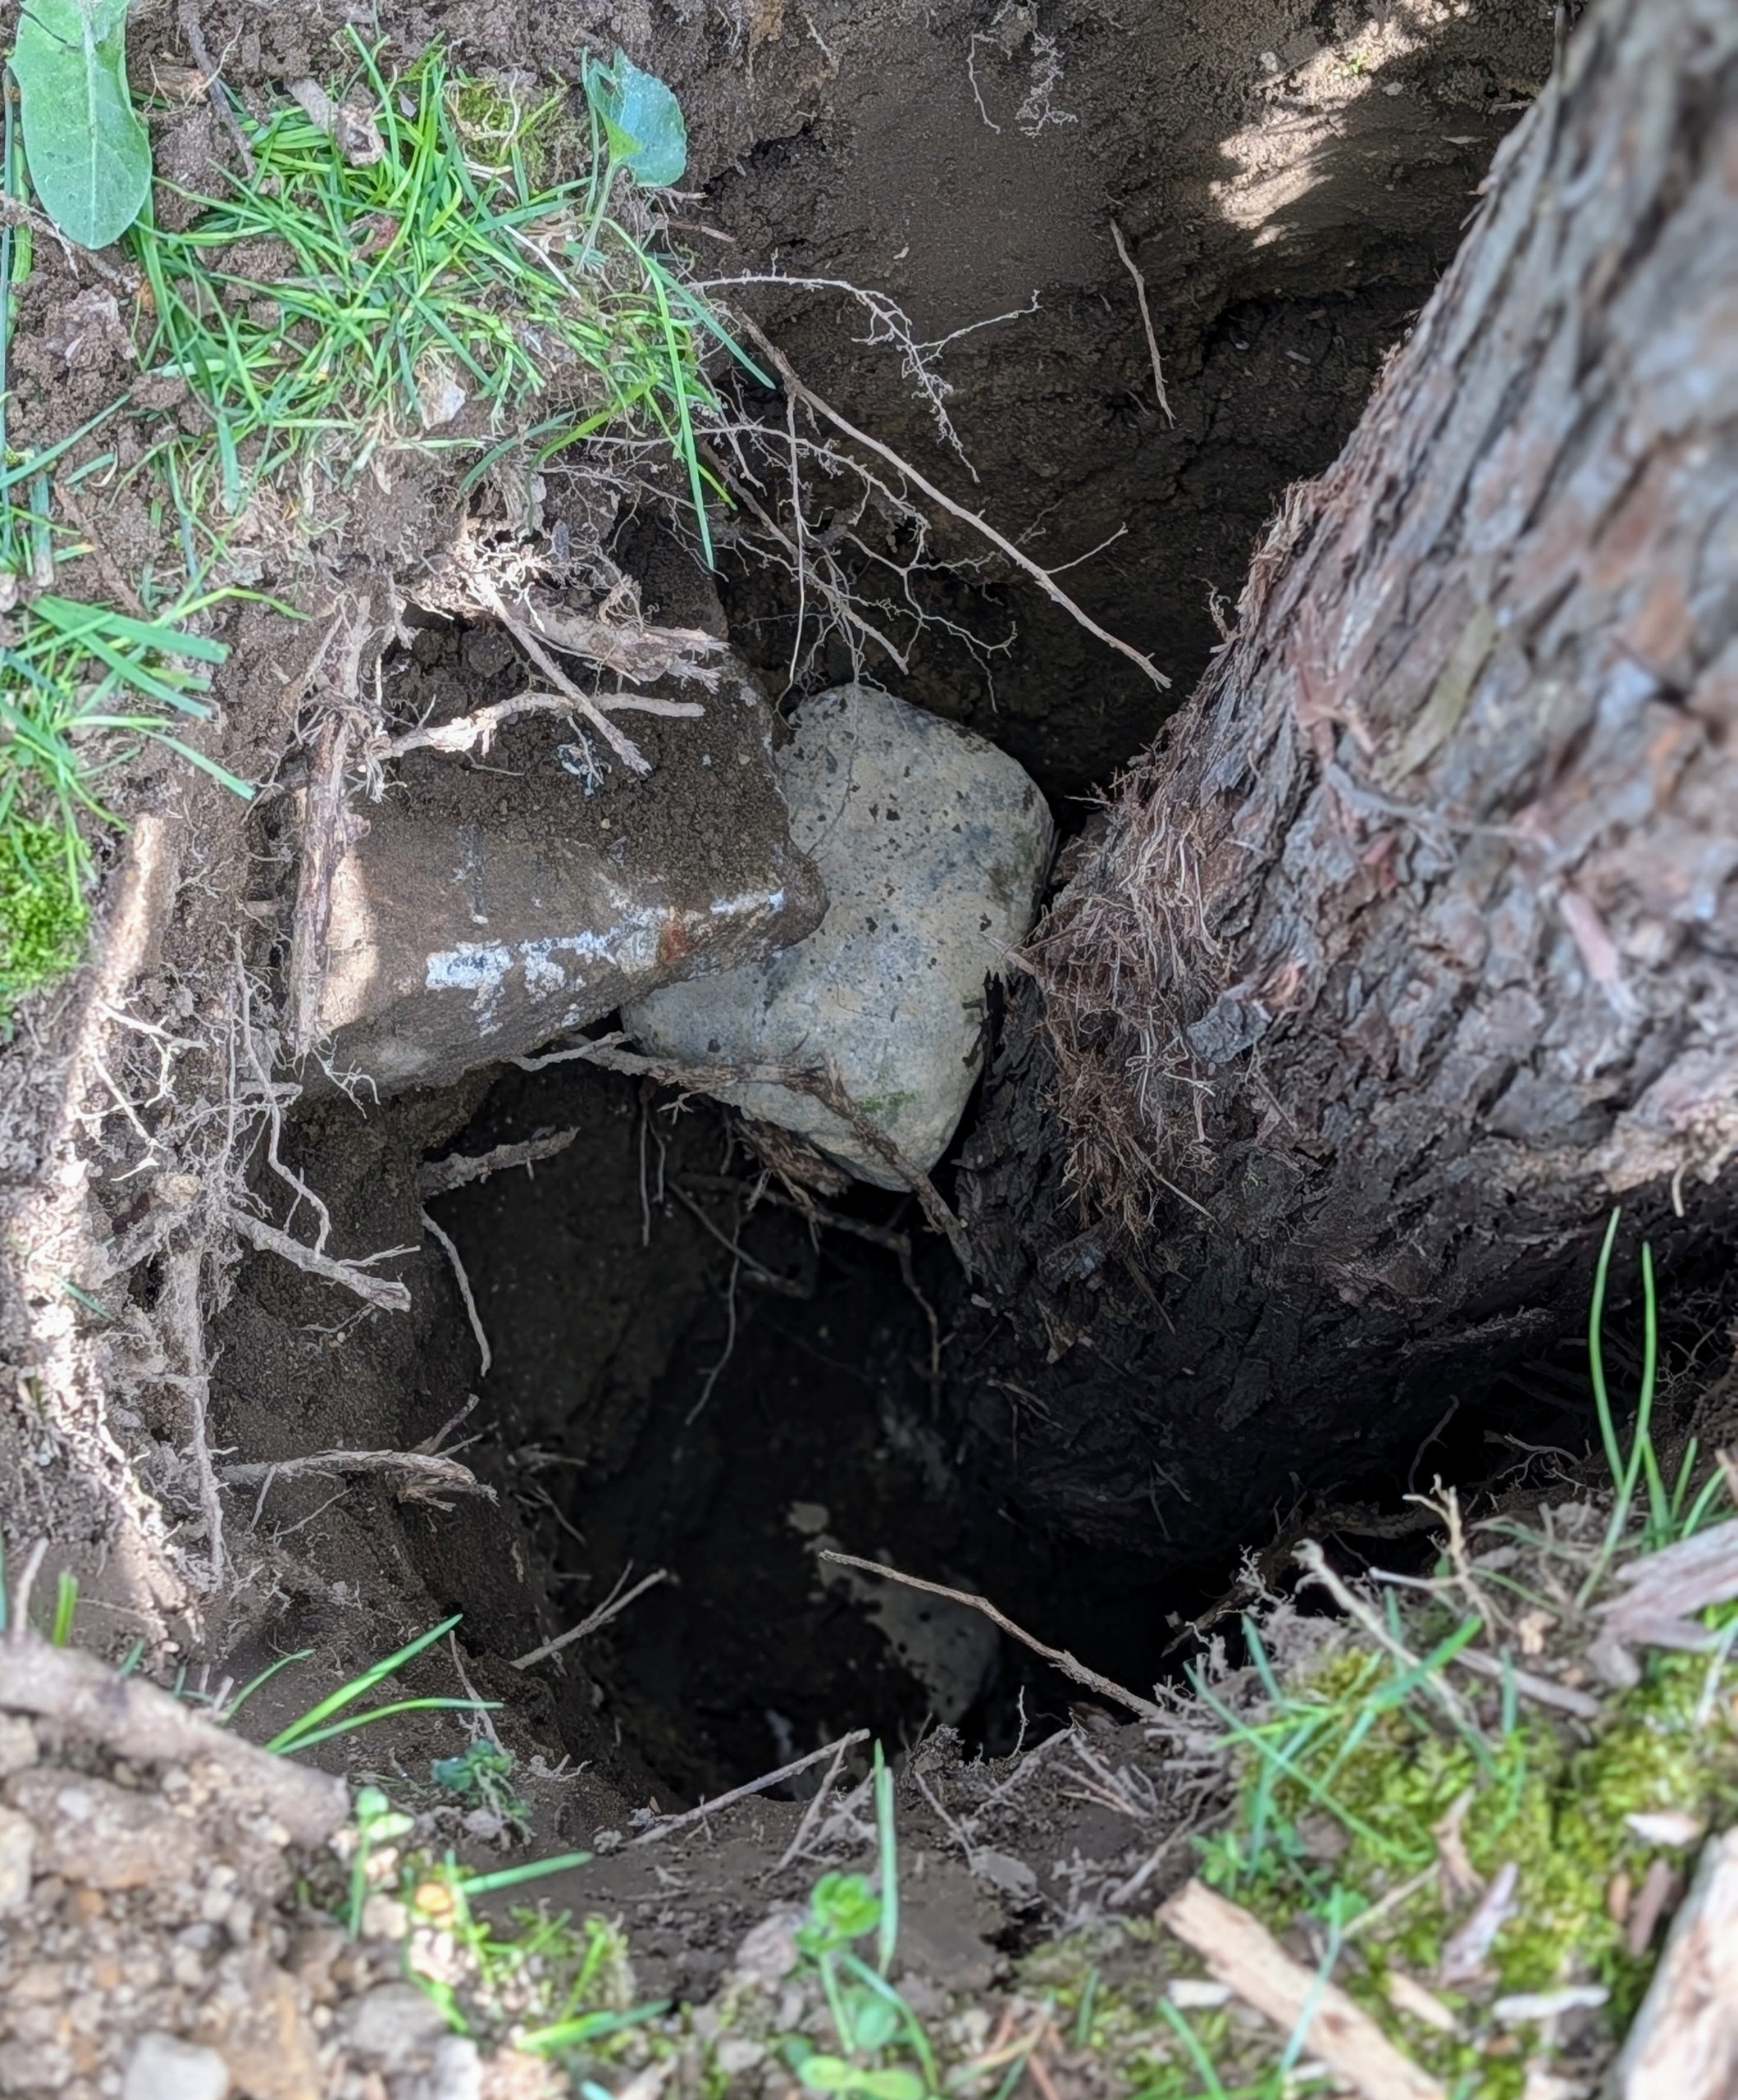
- Rocks are dropped in for extra tightness and security around the post.
-
- And here, backfilling begins.
-
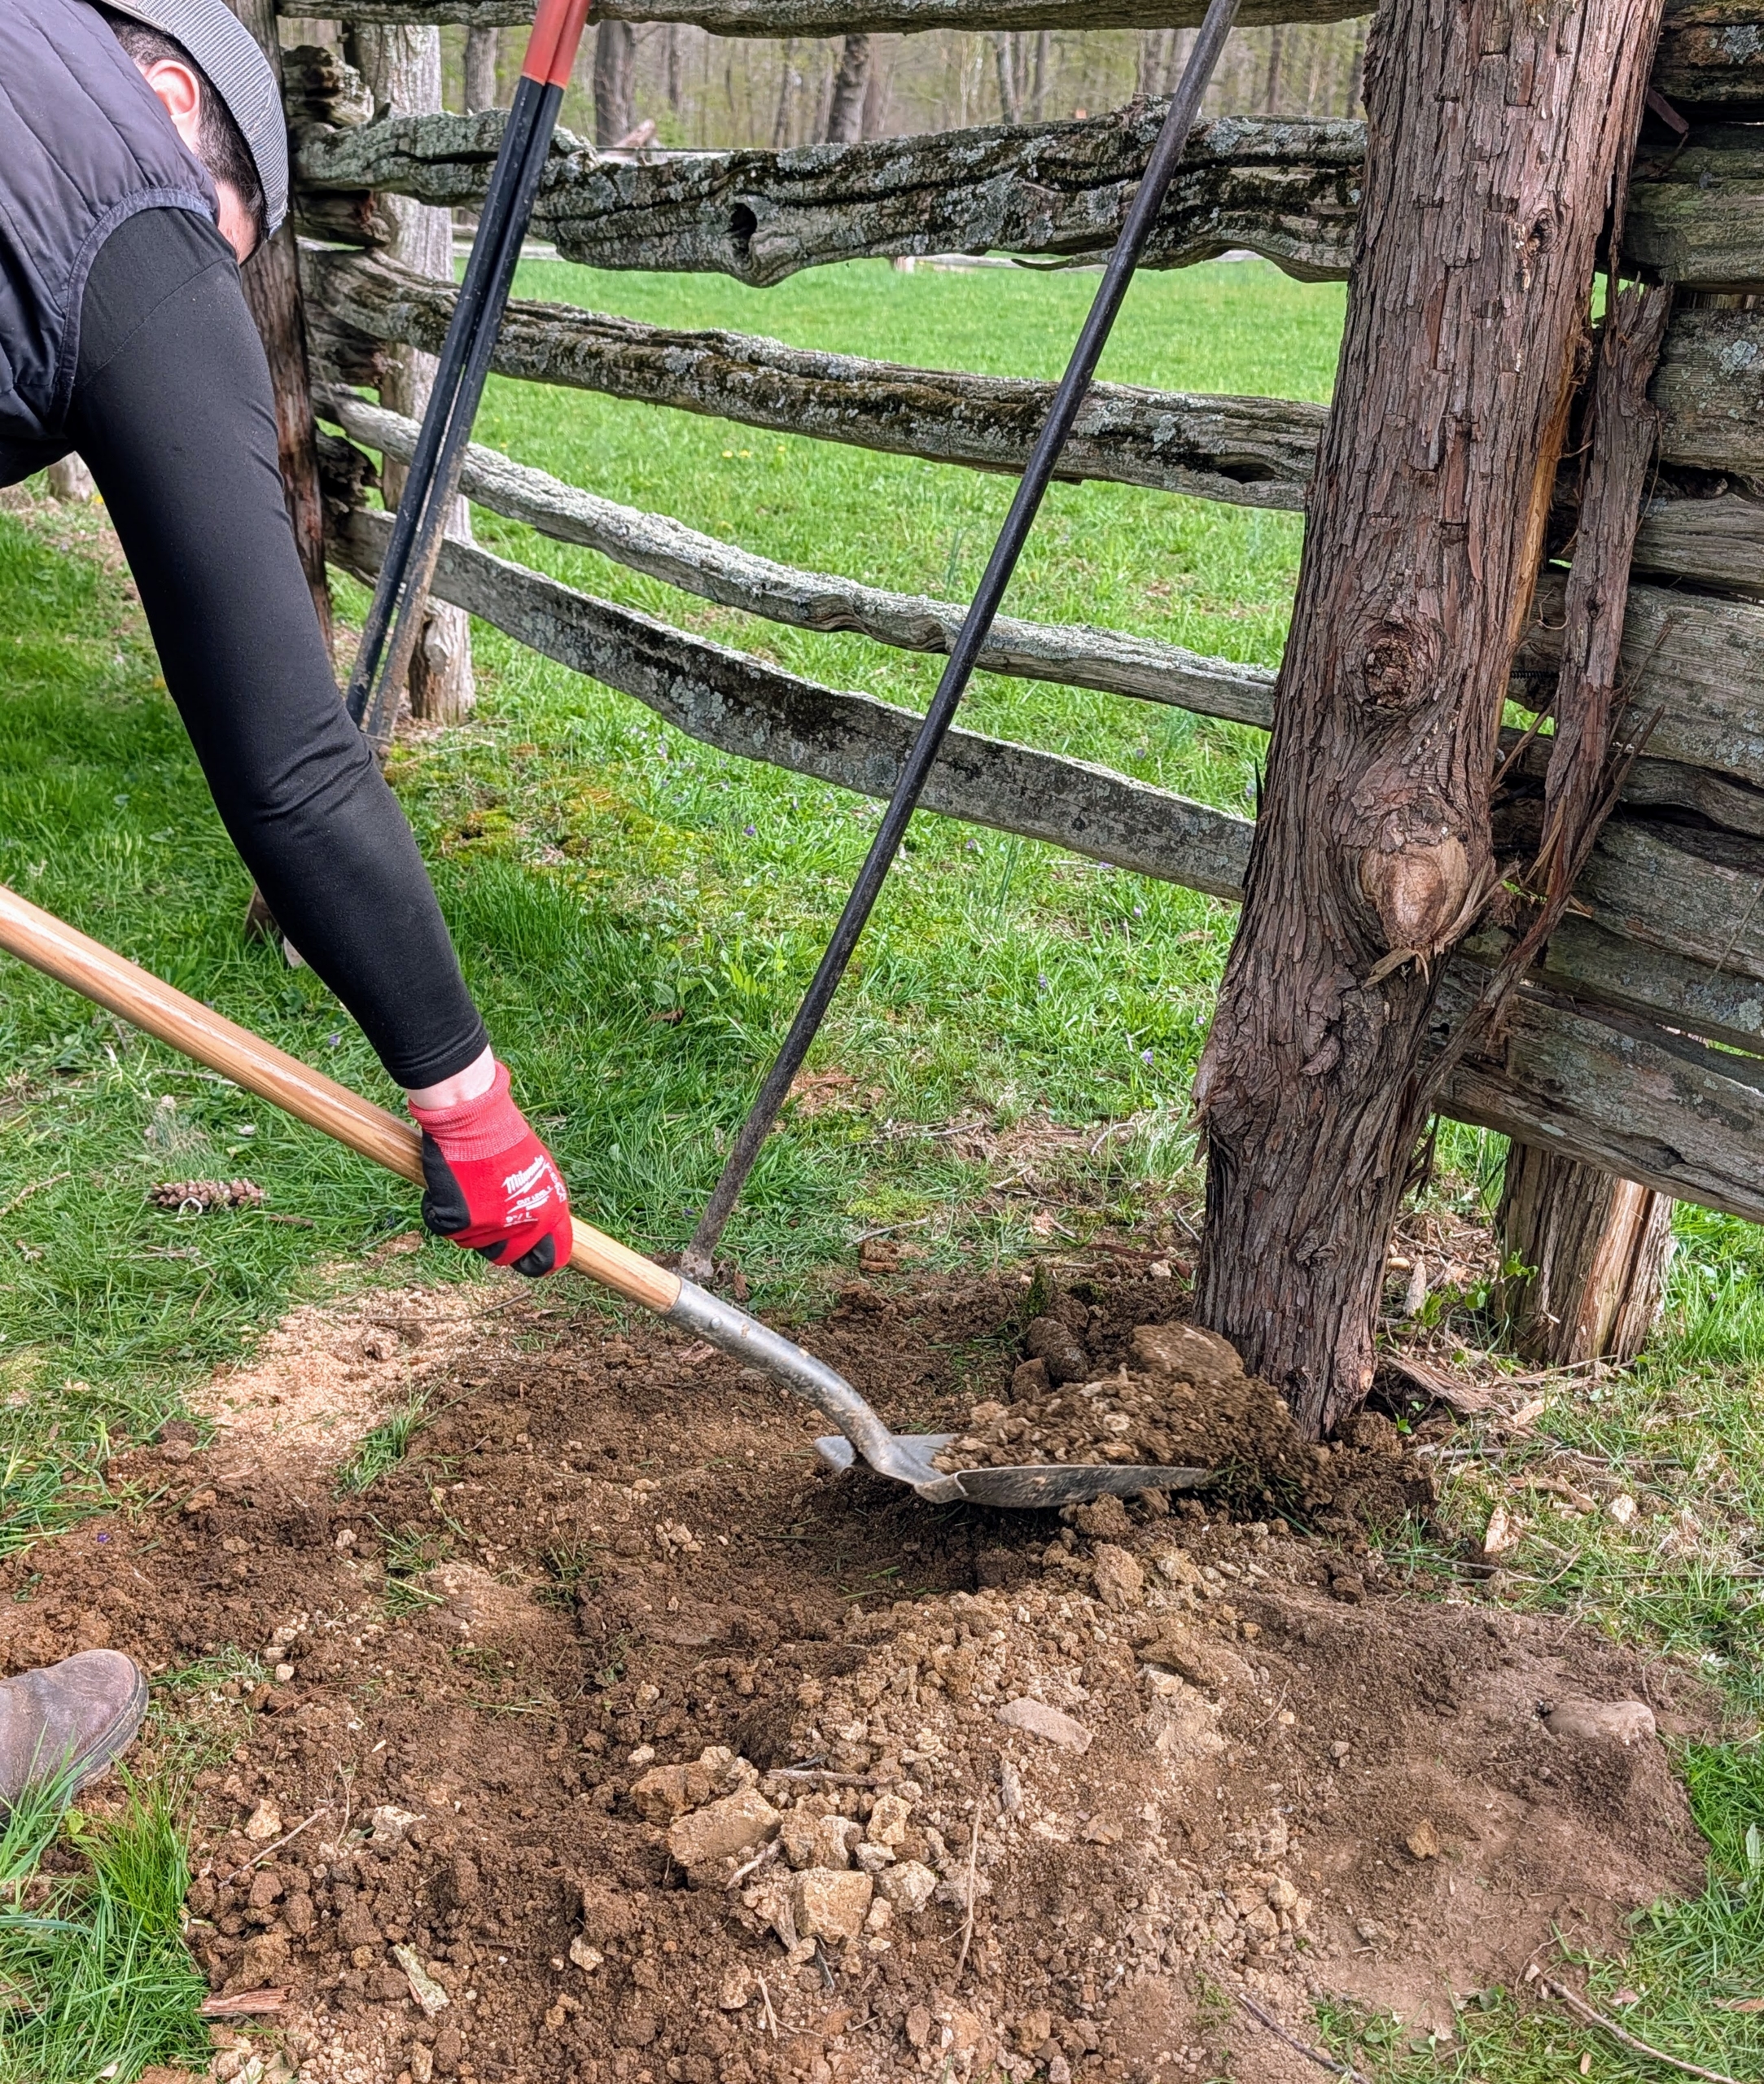
- When the hole is filled half way, Pete uses a tamping bar to pack the soil tightly.
-
- And then it is backfilled completely.
-
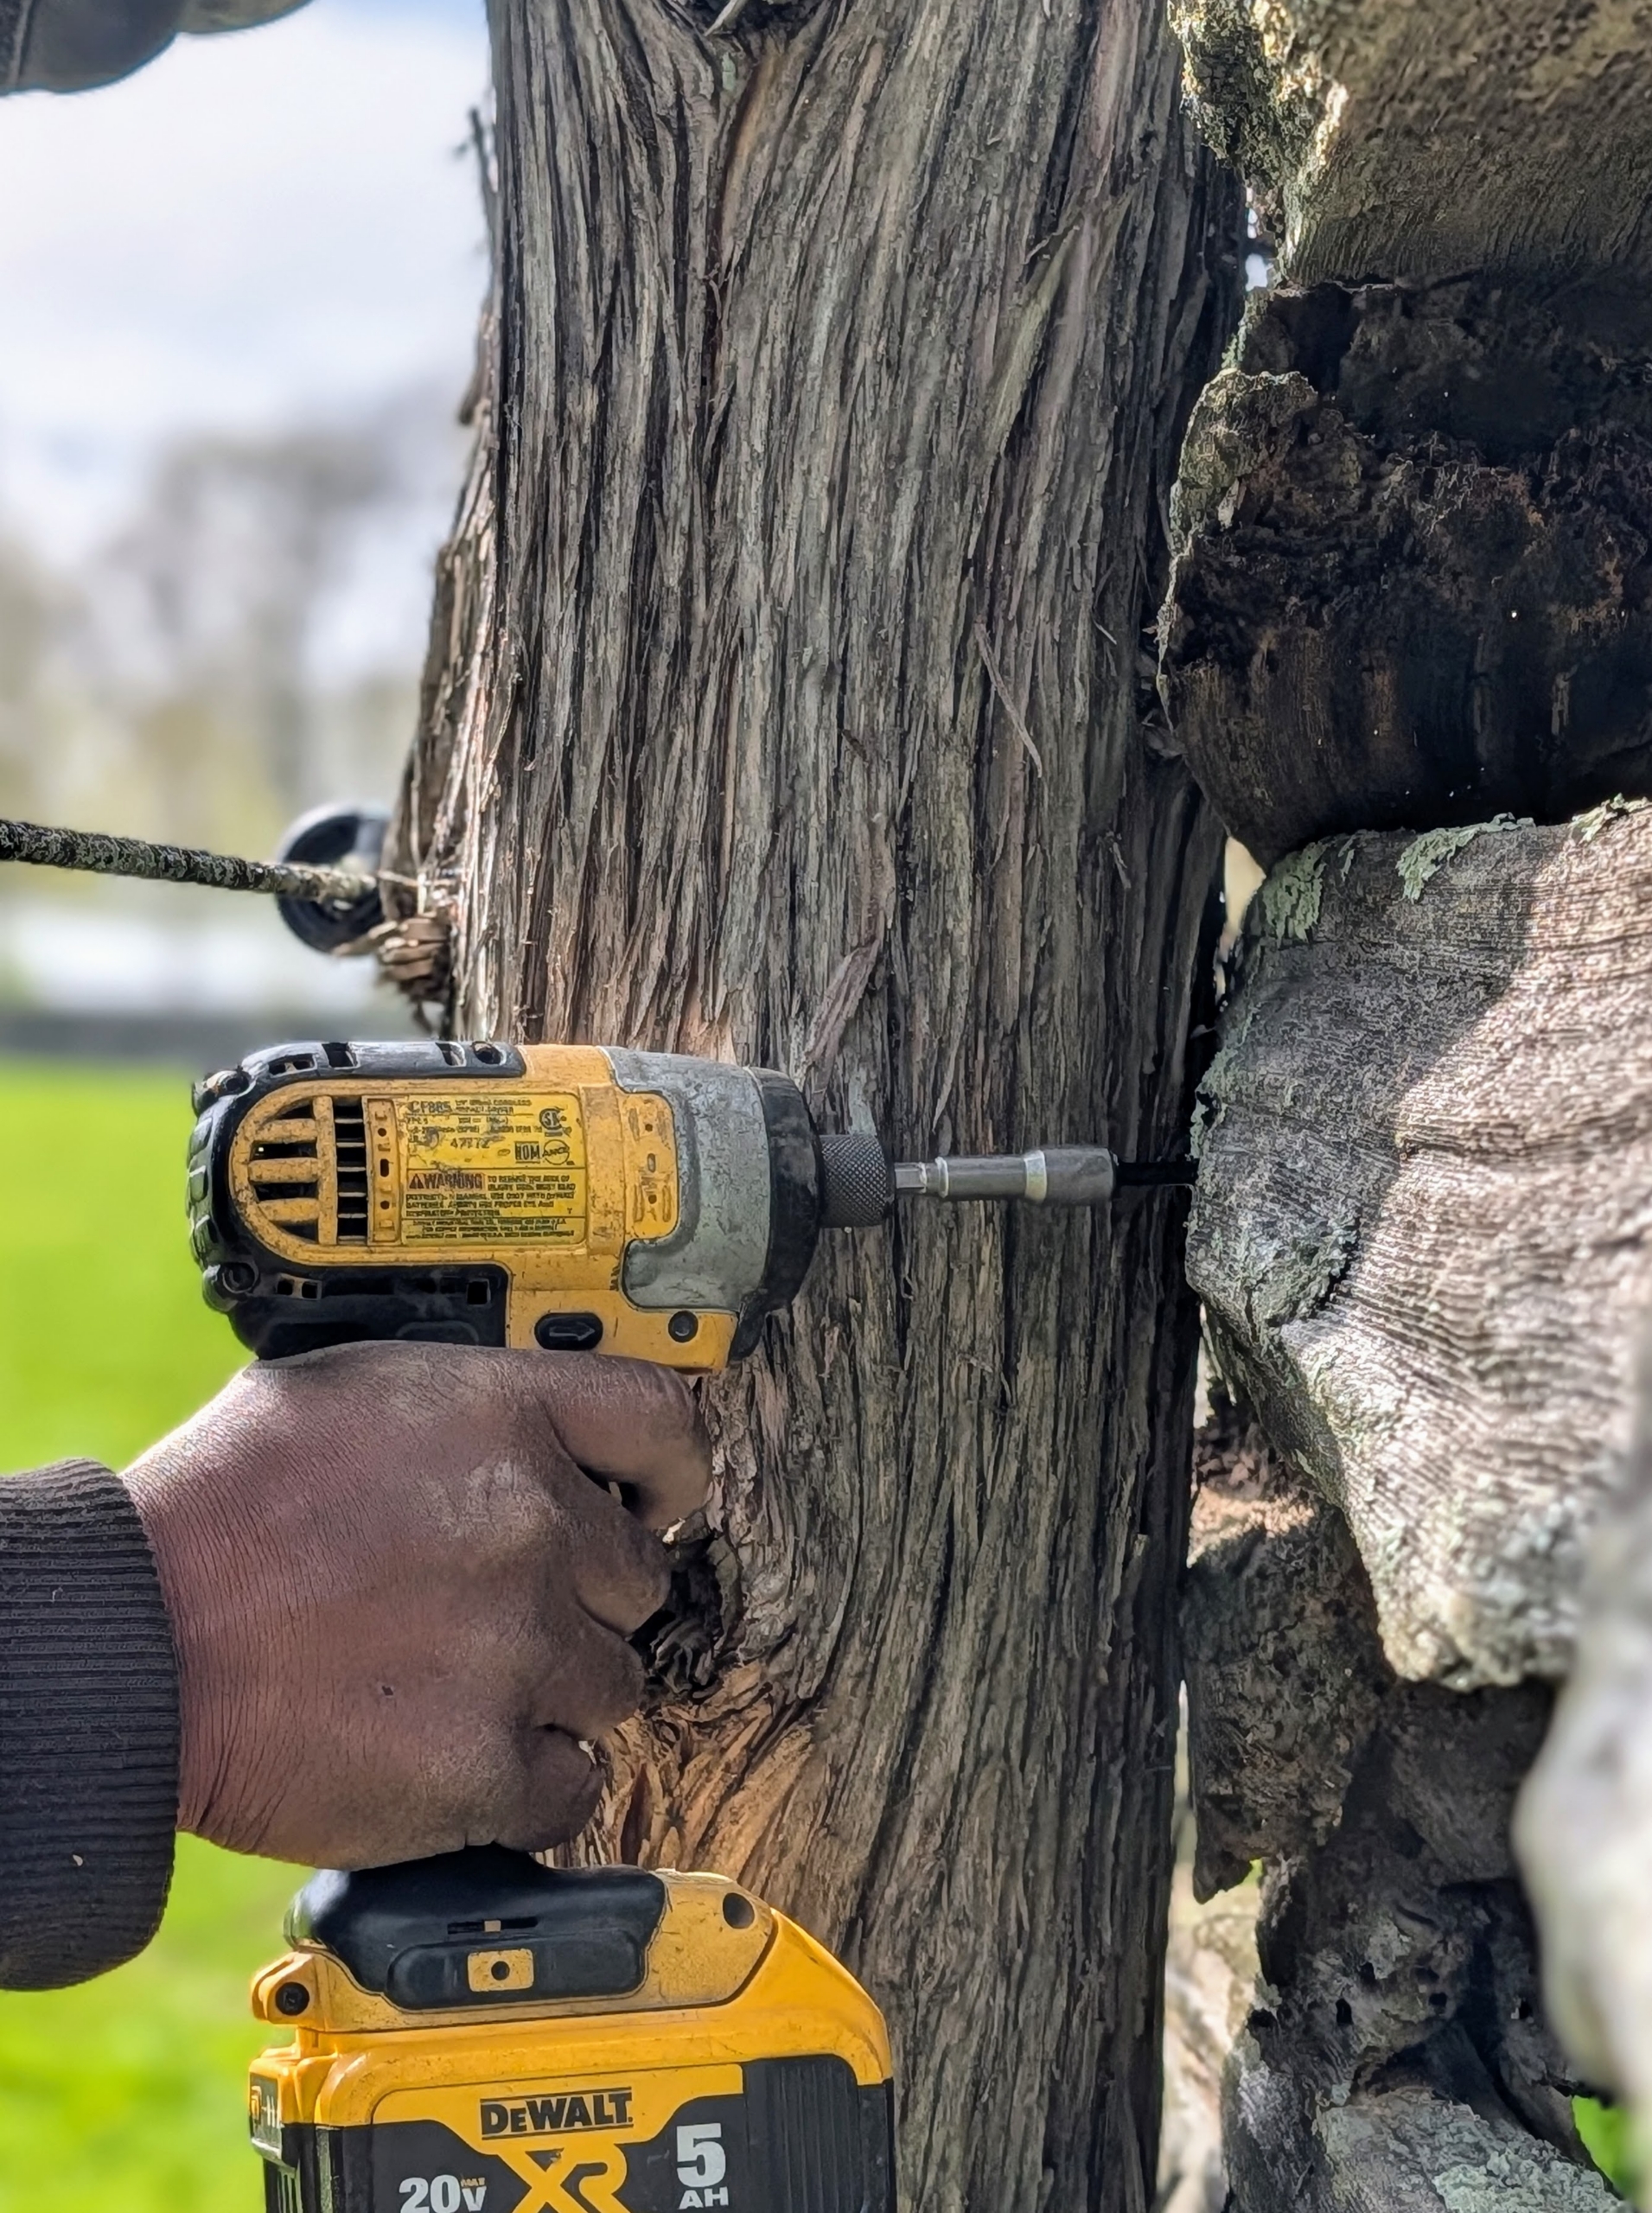
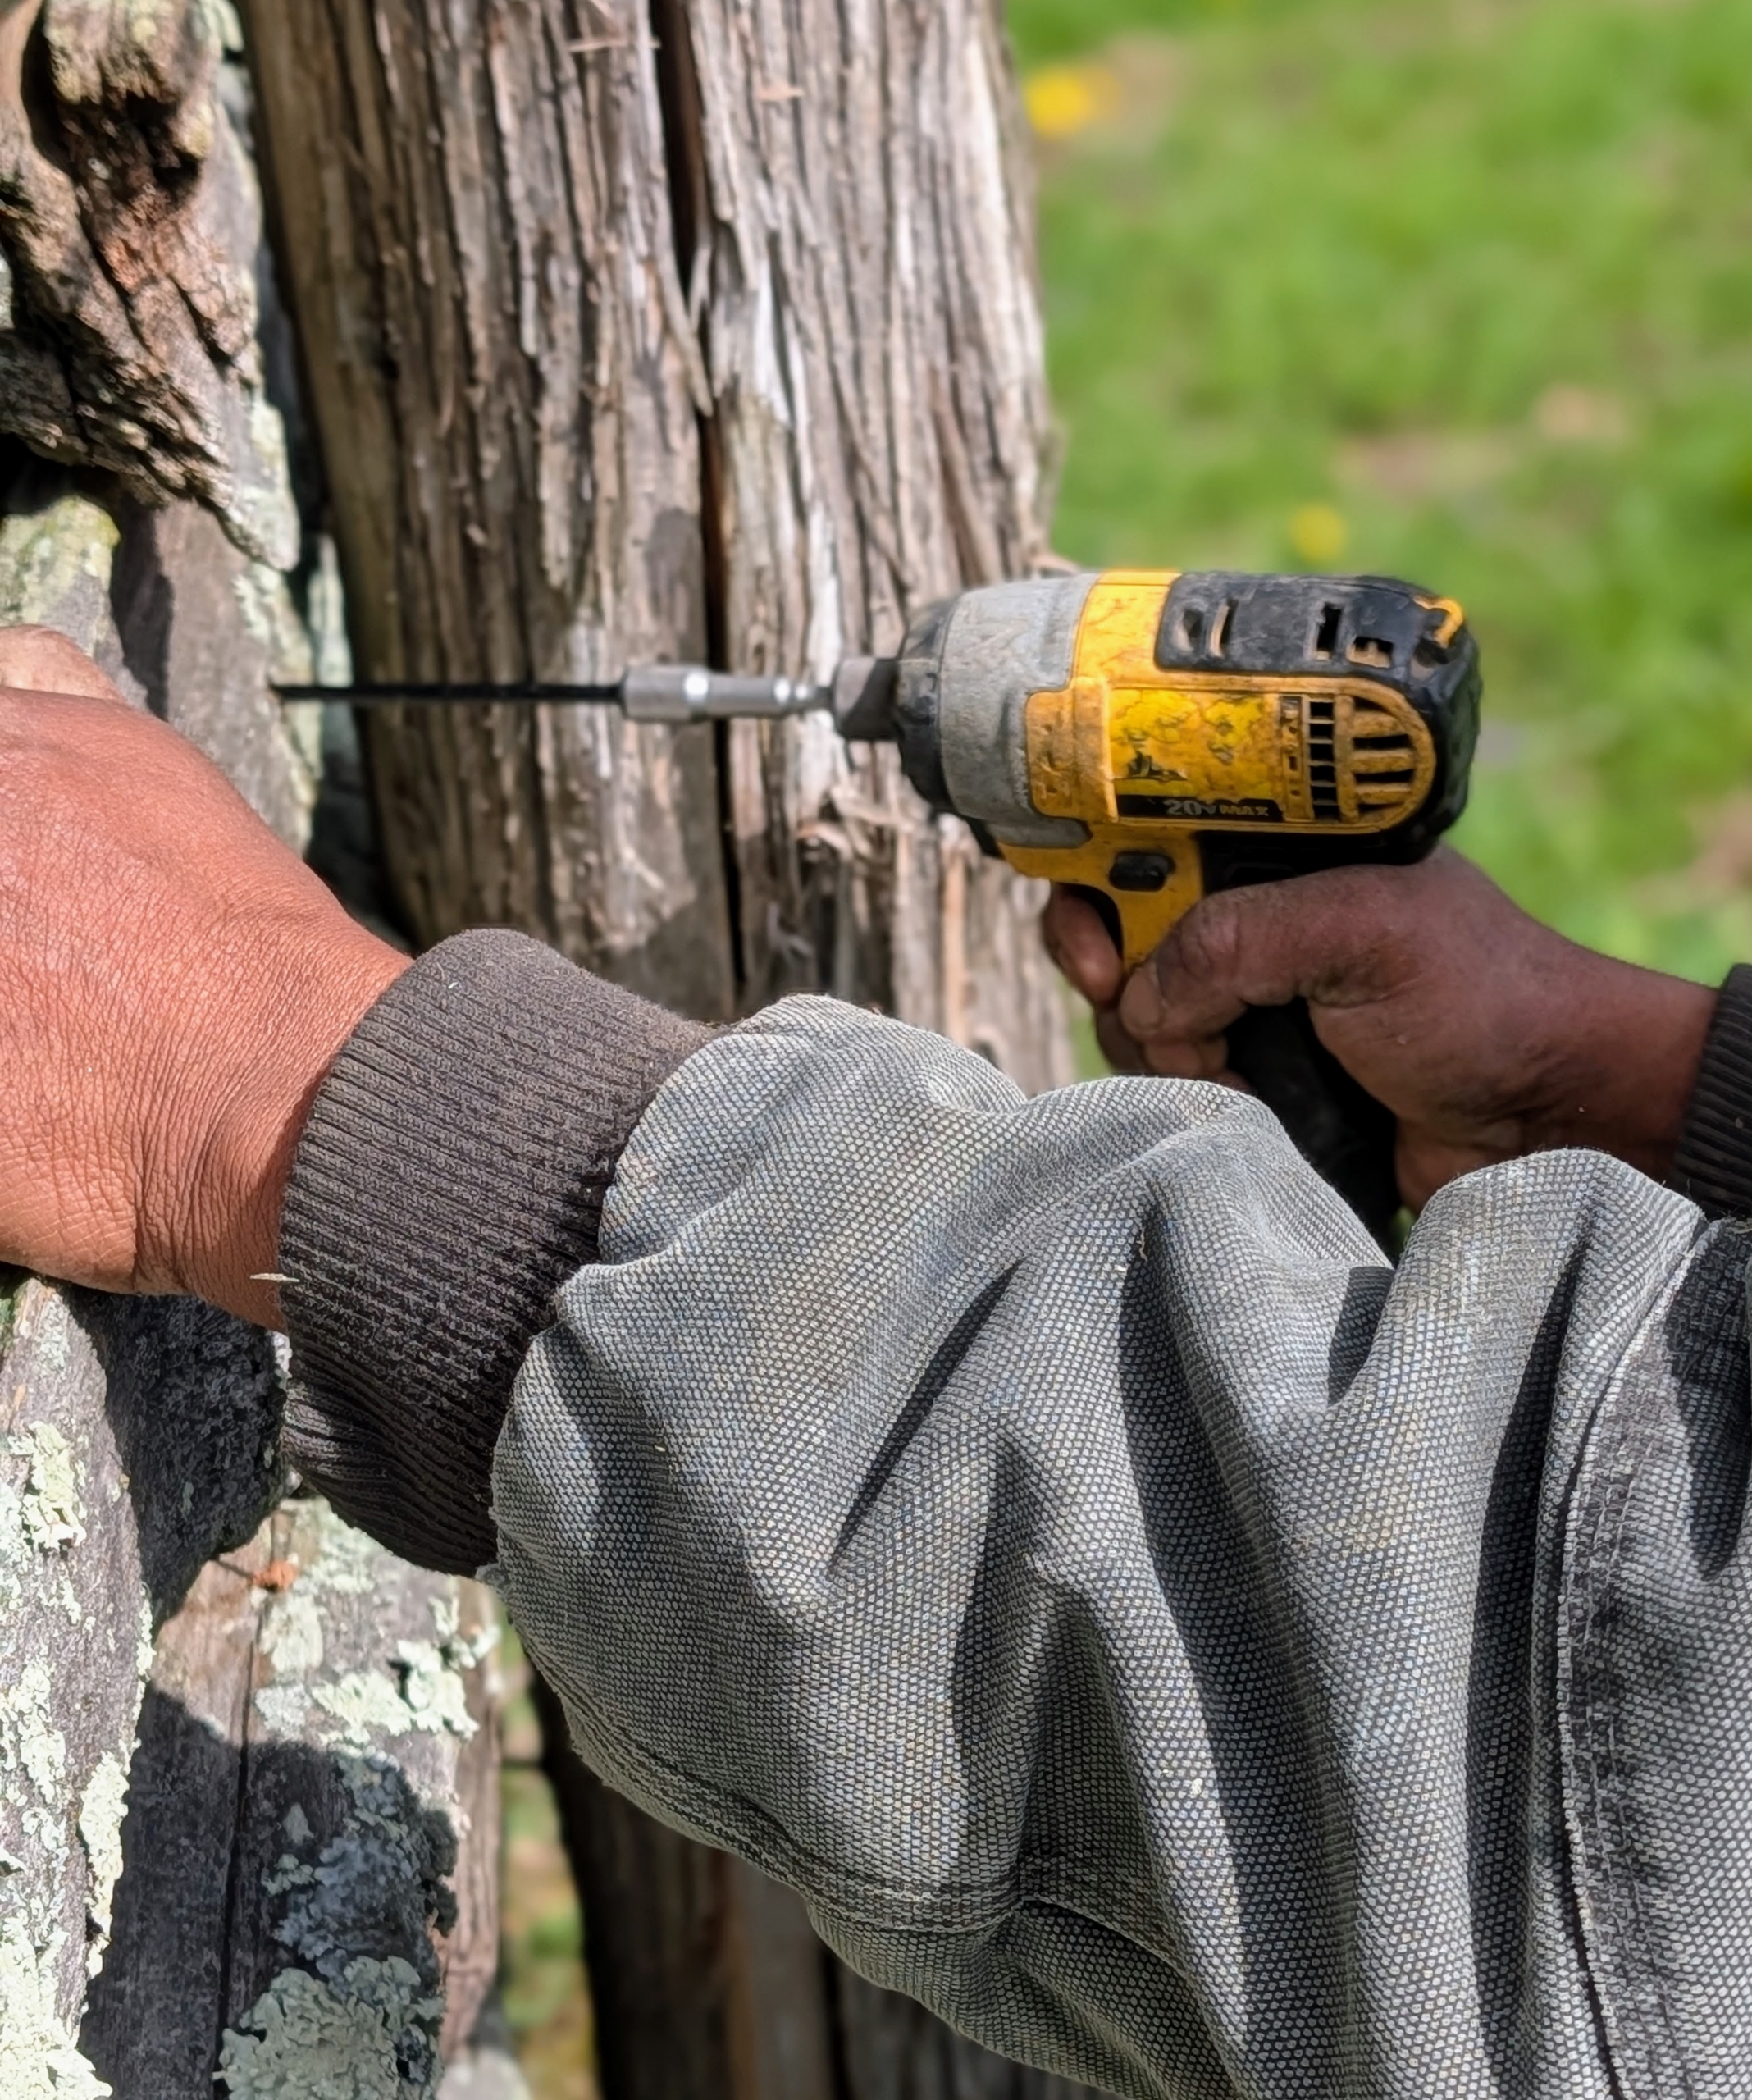
- The new upright is secured with four-inch screws to keep it in line with the railings and the other posts.
-
- Pete secures several screws to ensure it is well connected.
-
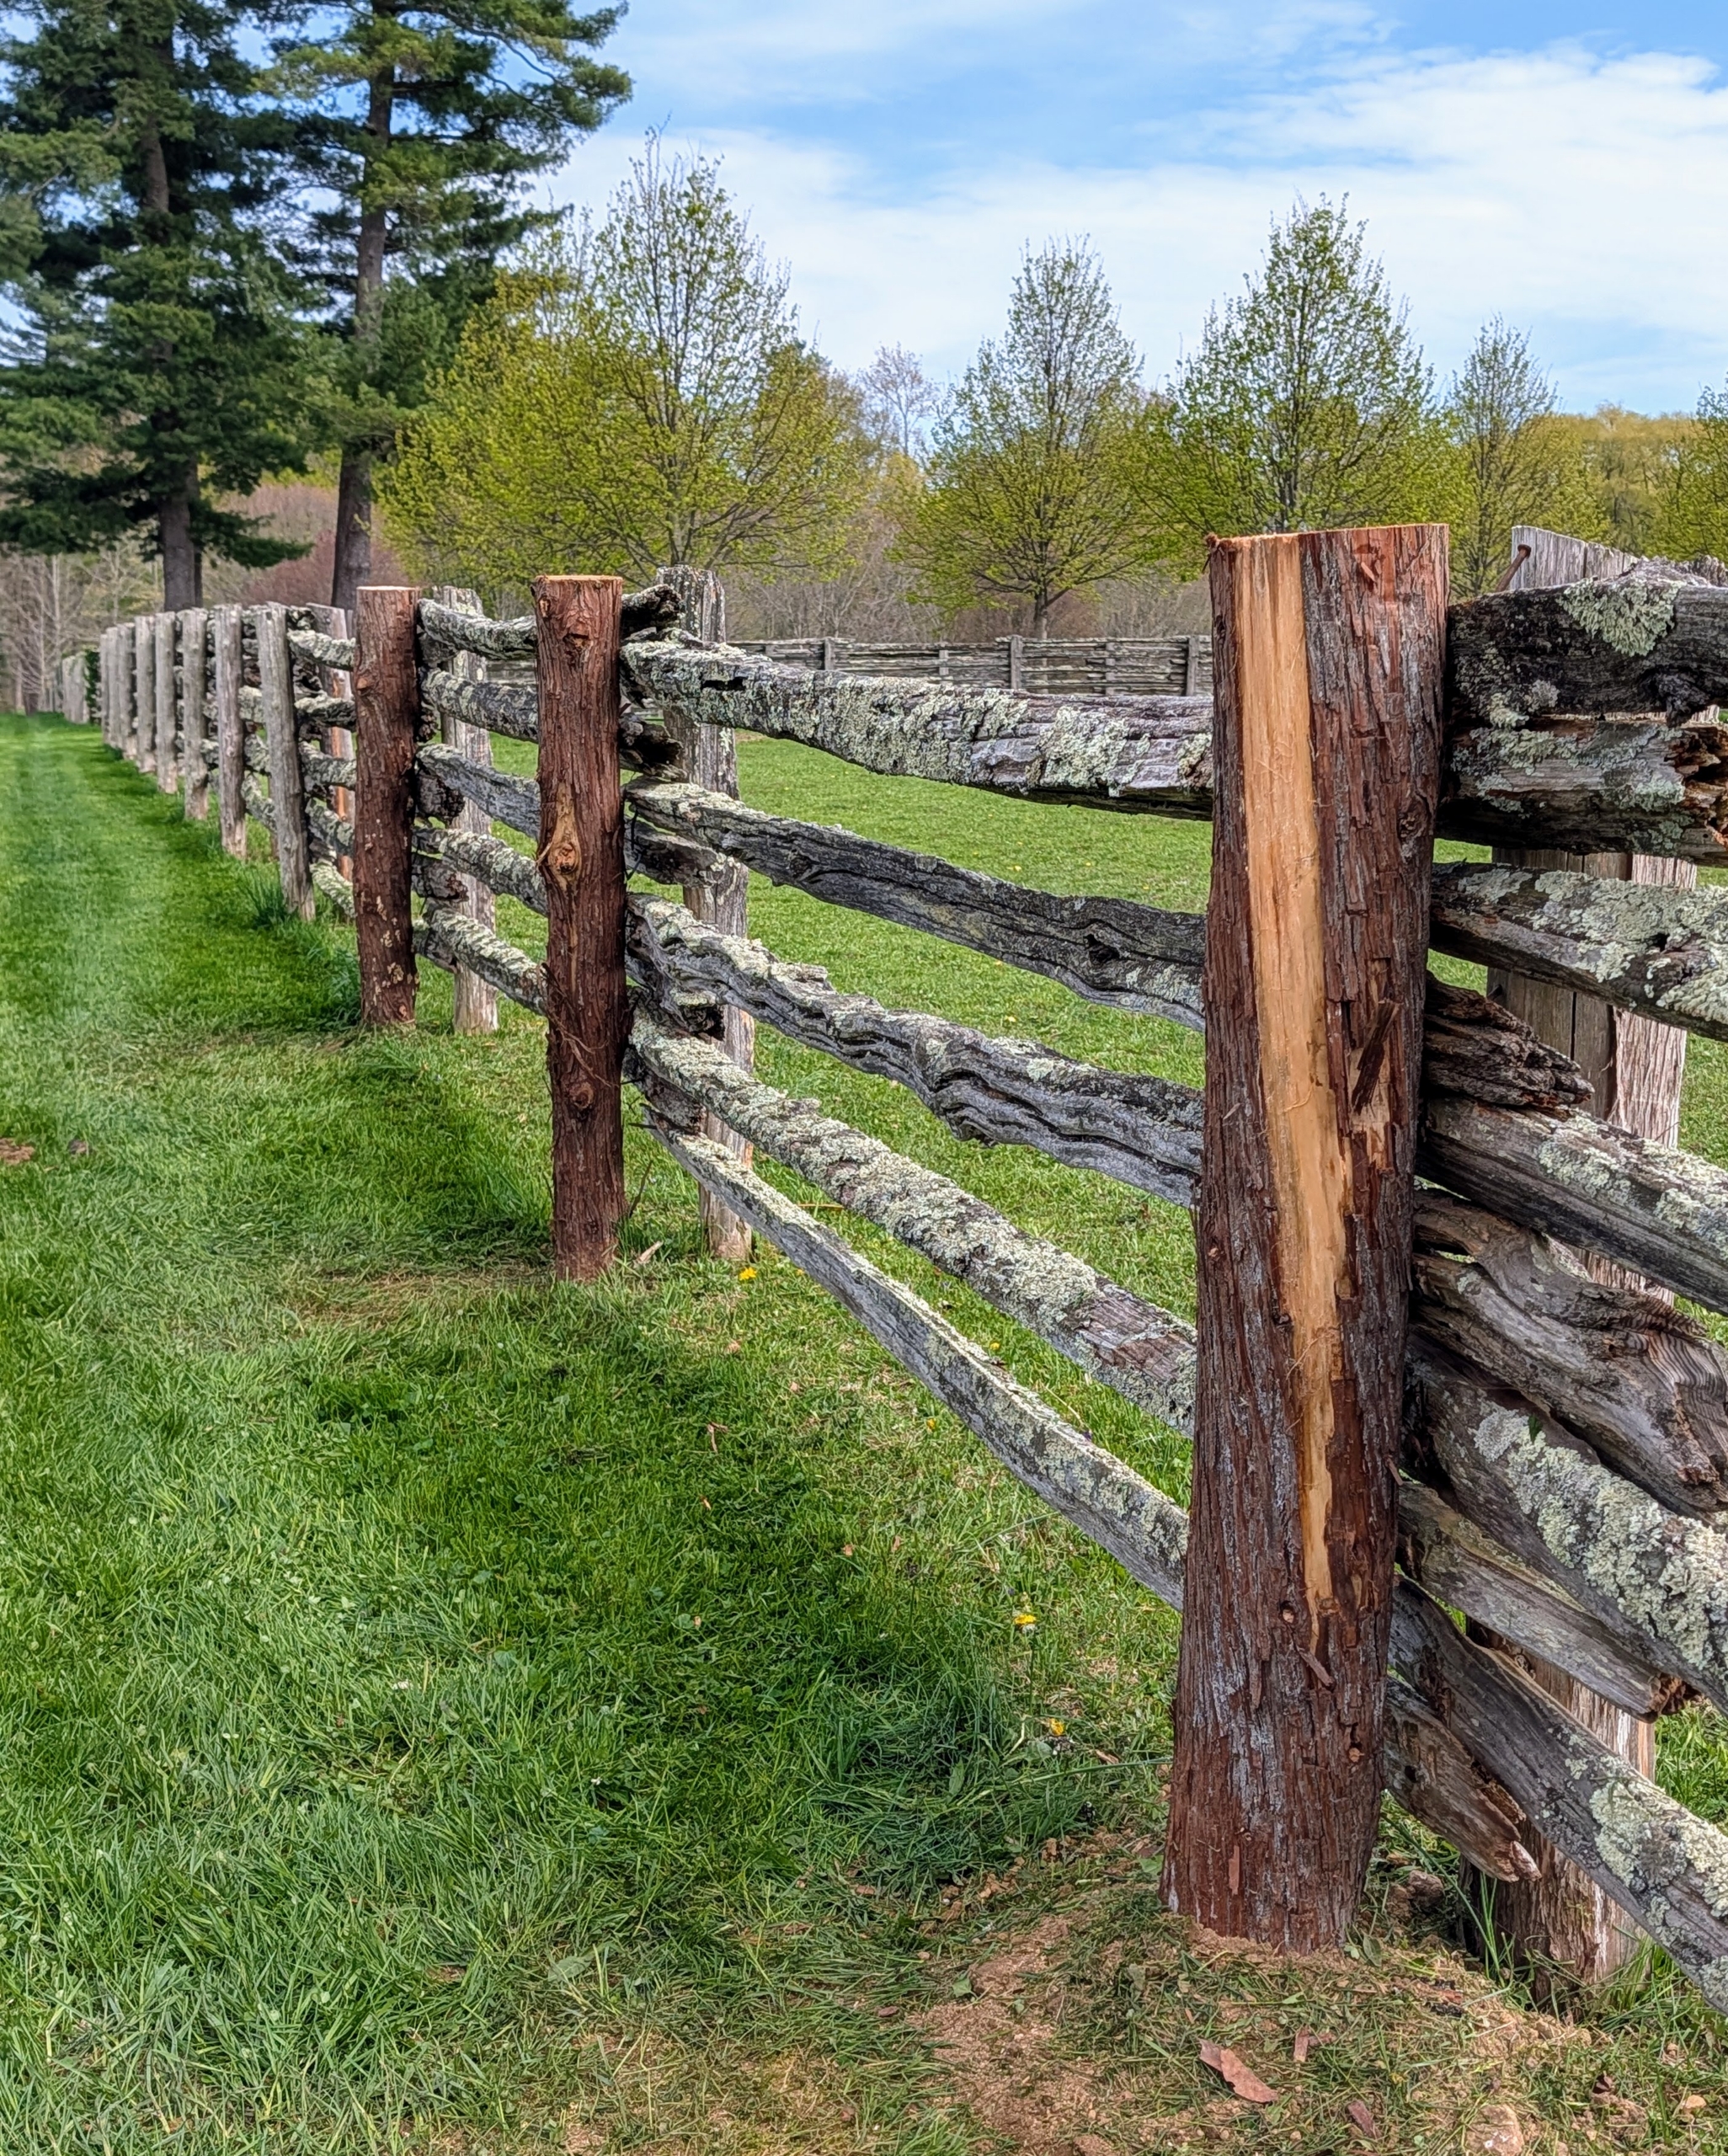
- Here, one can see which posts were replaced. This project will take some time to complete with all the fencing on the property, but we’re making good progress.
-
- Cedar is extremely durable and holds up well to outdoor weather conditions. The new posts should last about 15 years or more, keeping my horses, pony, and donkeys safe in their enclosures.