As an impassioned gardener, I have many ornamental urns filled with lush, green plants around my home. Some of them needed a little extra maintenance care and attention.
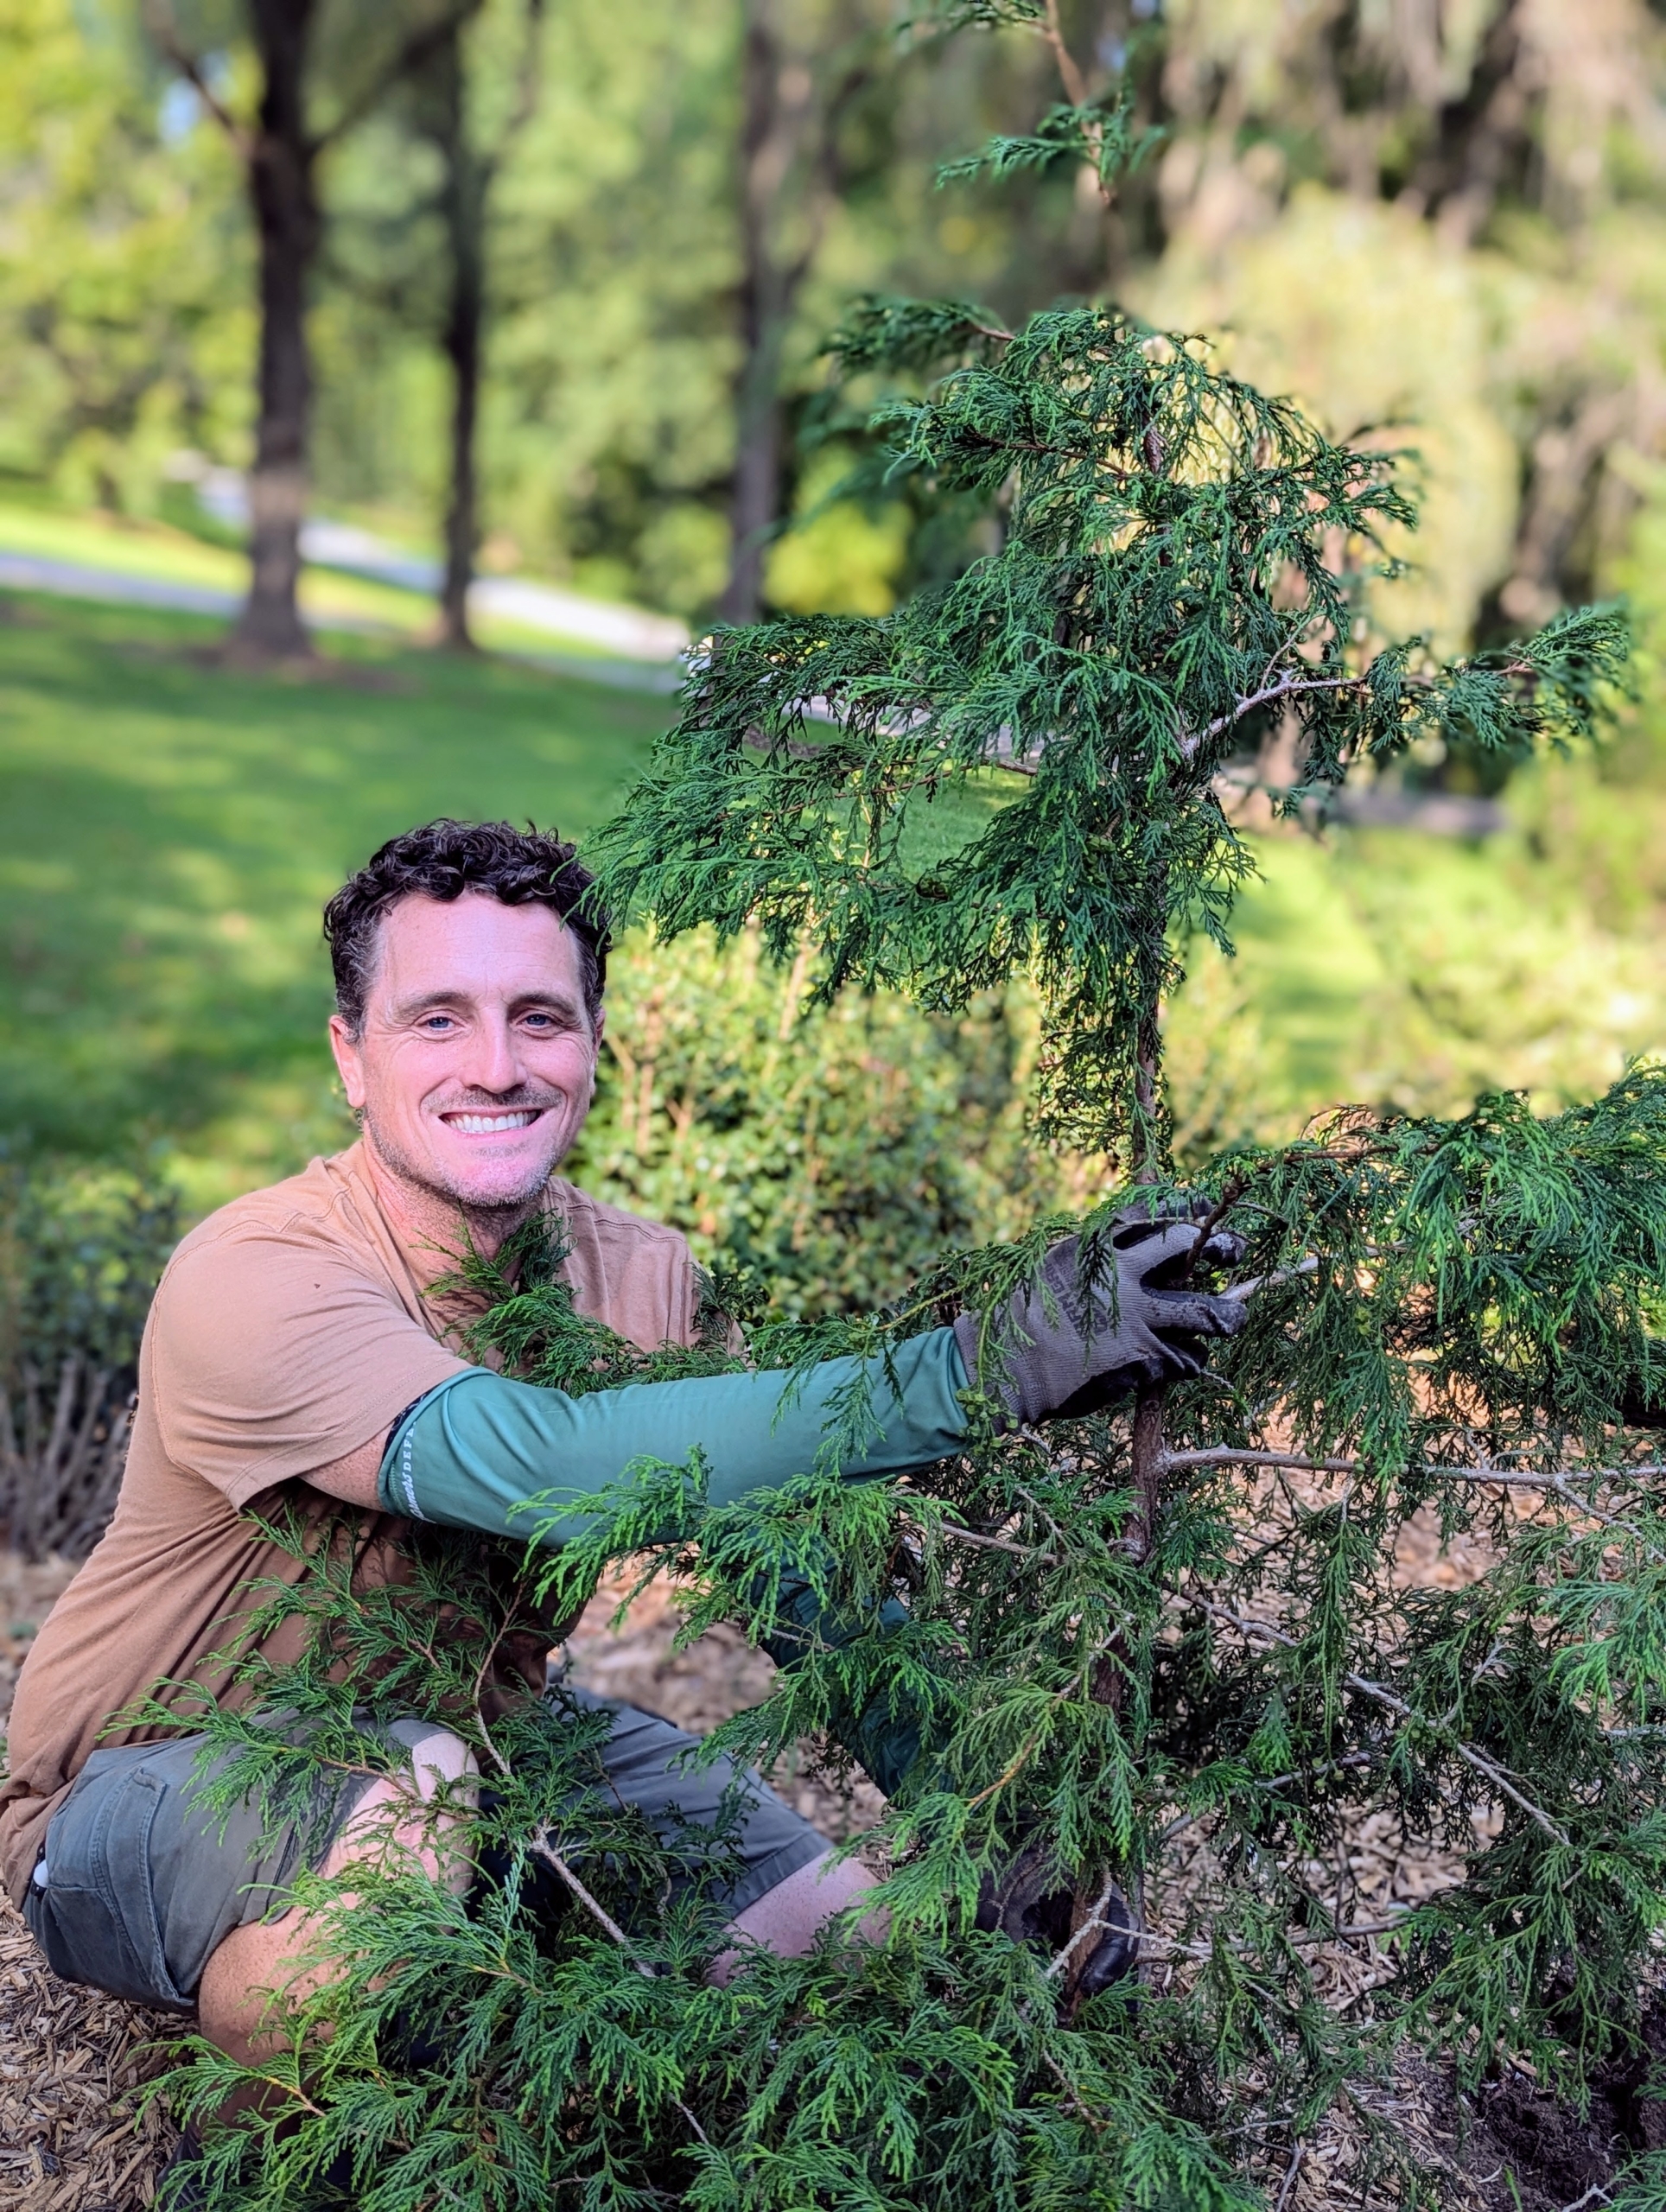
A selection of these plants are small evergreen specimens such as Hinoki Cypress, white spruce, balsam fir, and creeping juniper. This week, my head gardener Ryan McCallister, pruned and groomed them, separated those that had gotten too big, and repotted all in fresh, nutrient-rich potting mix.
Here are some photos, enjoy.
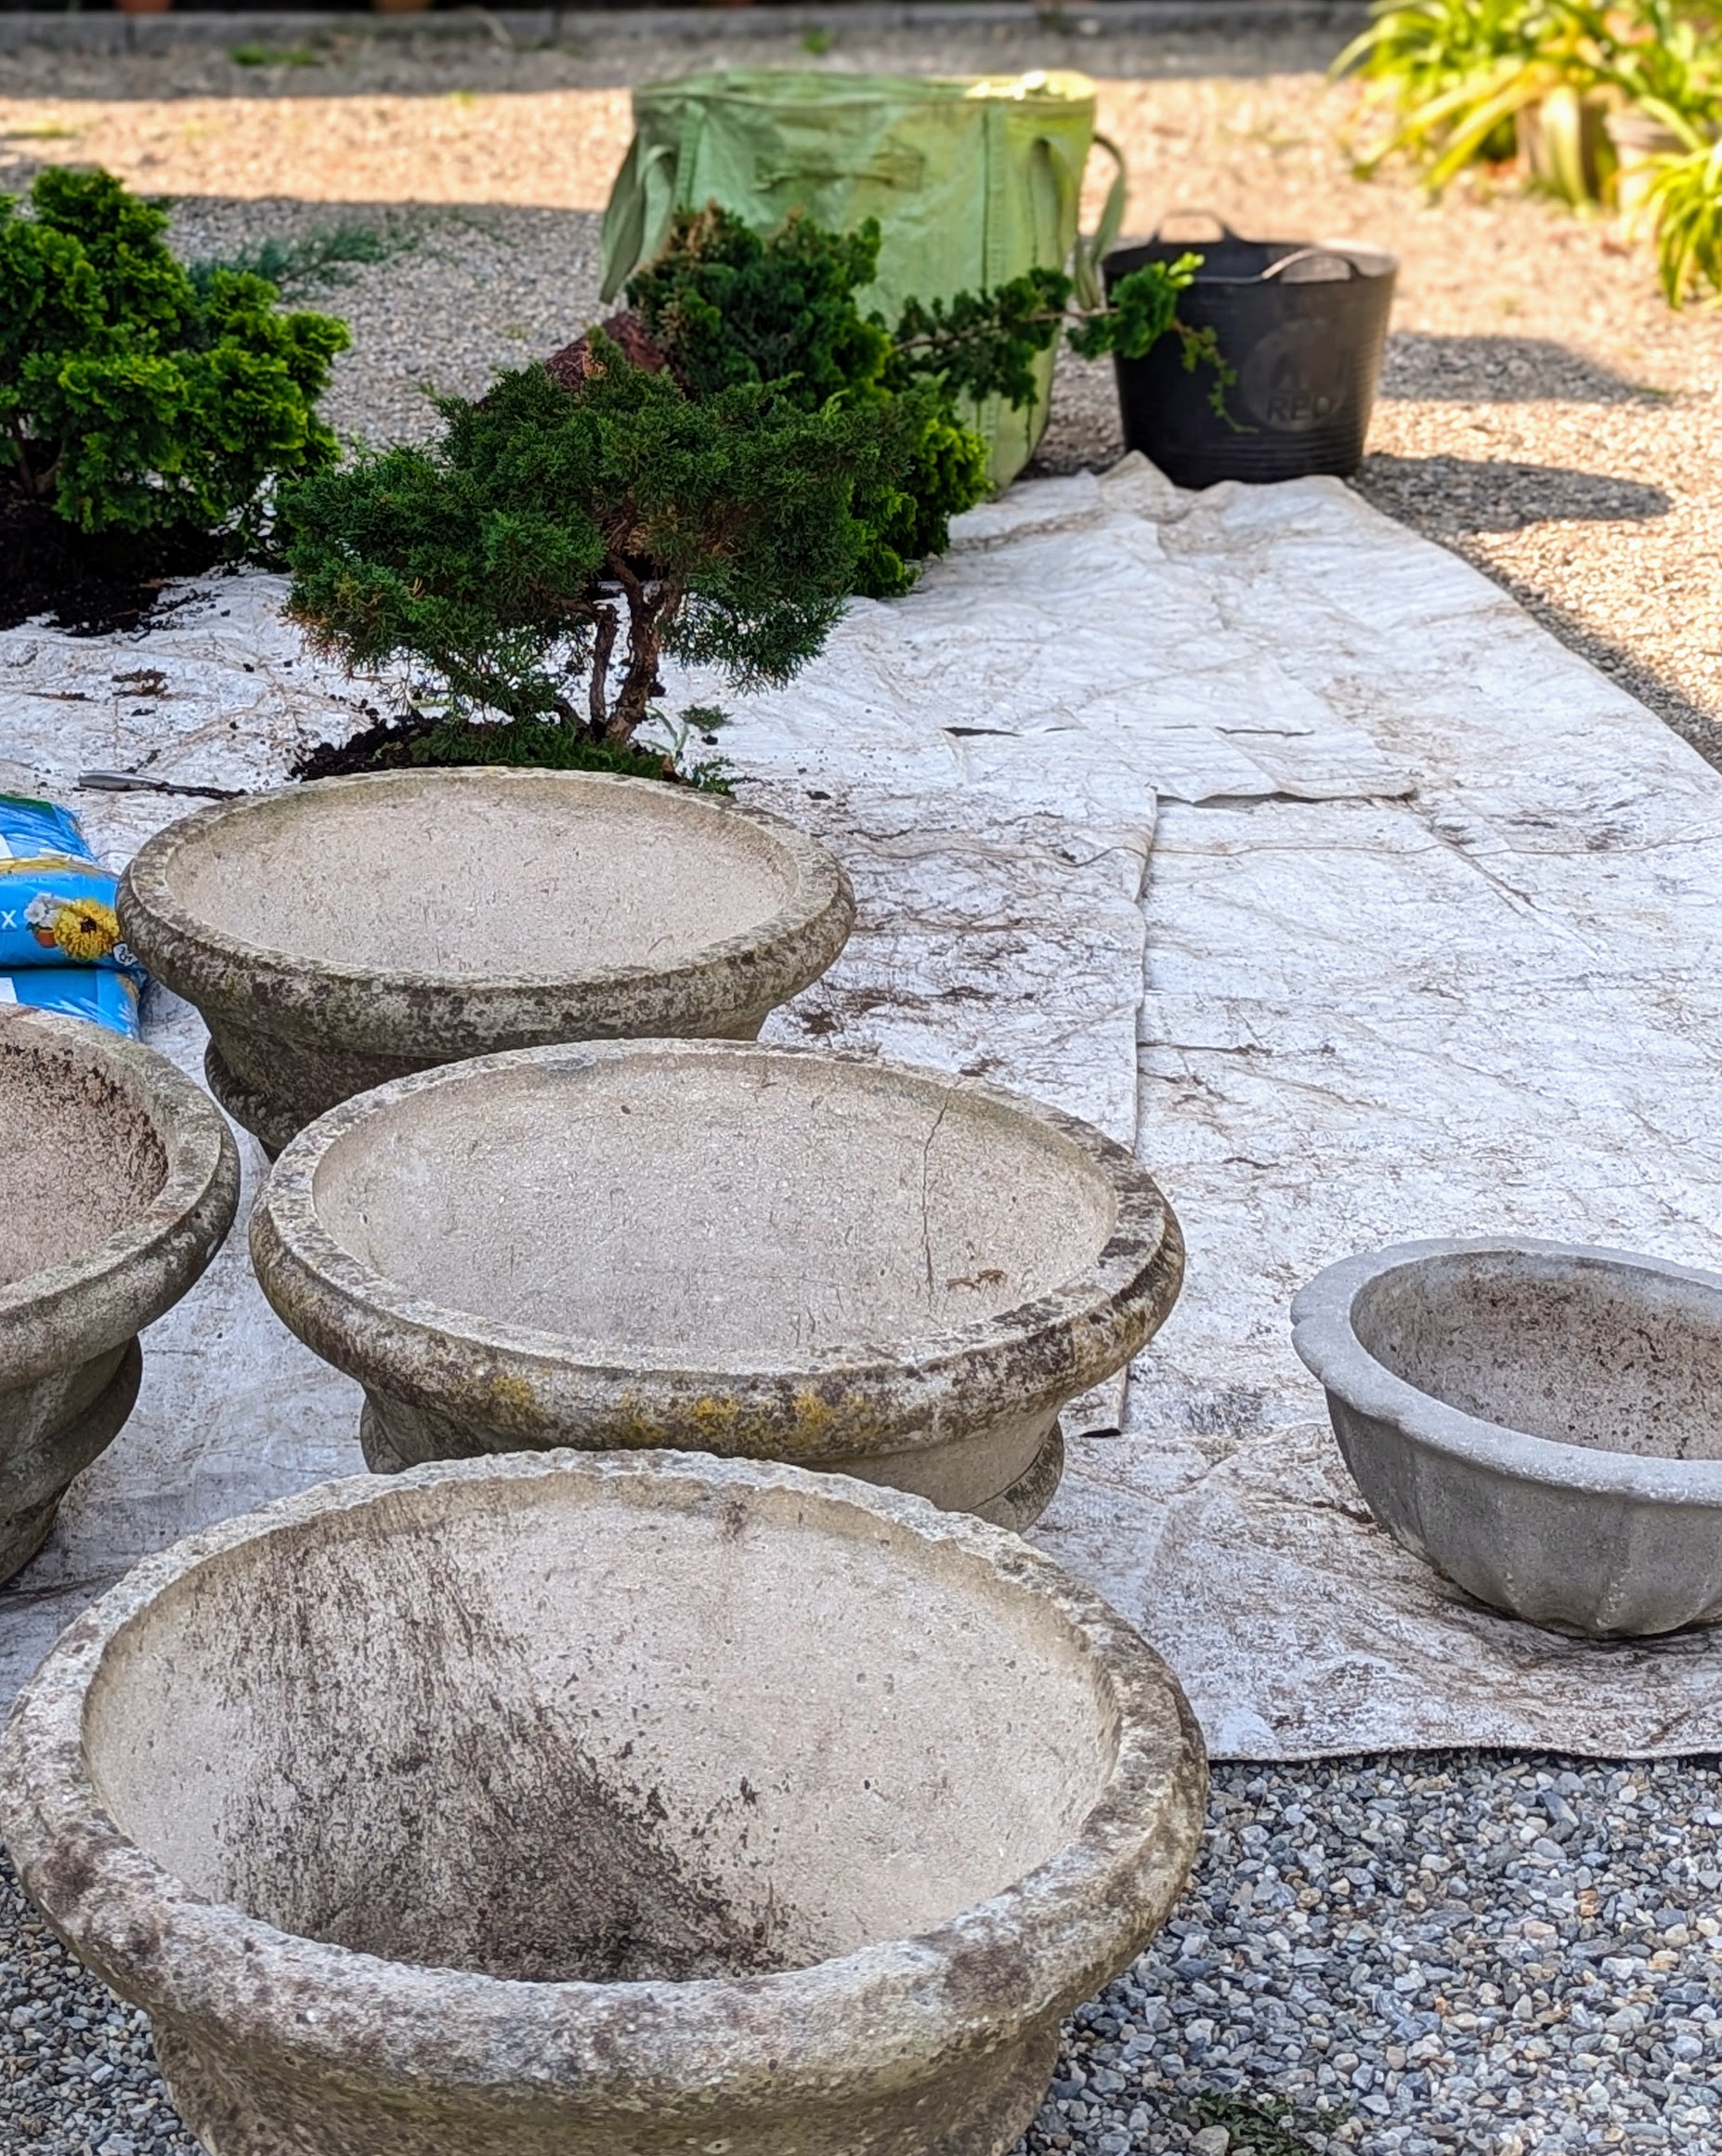
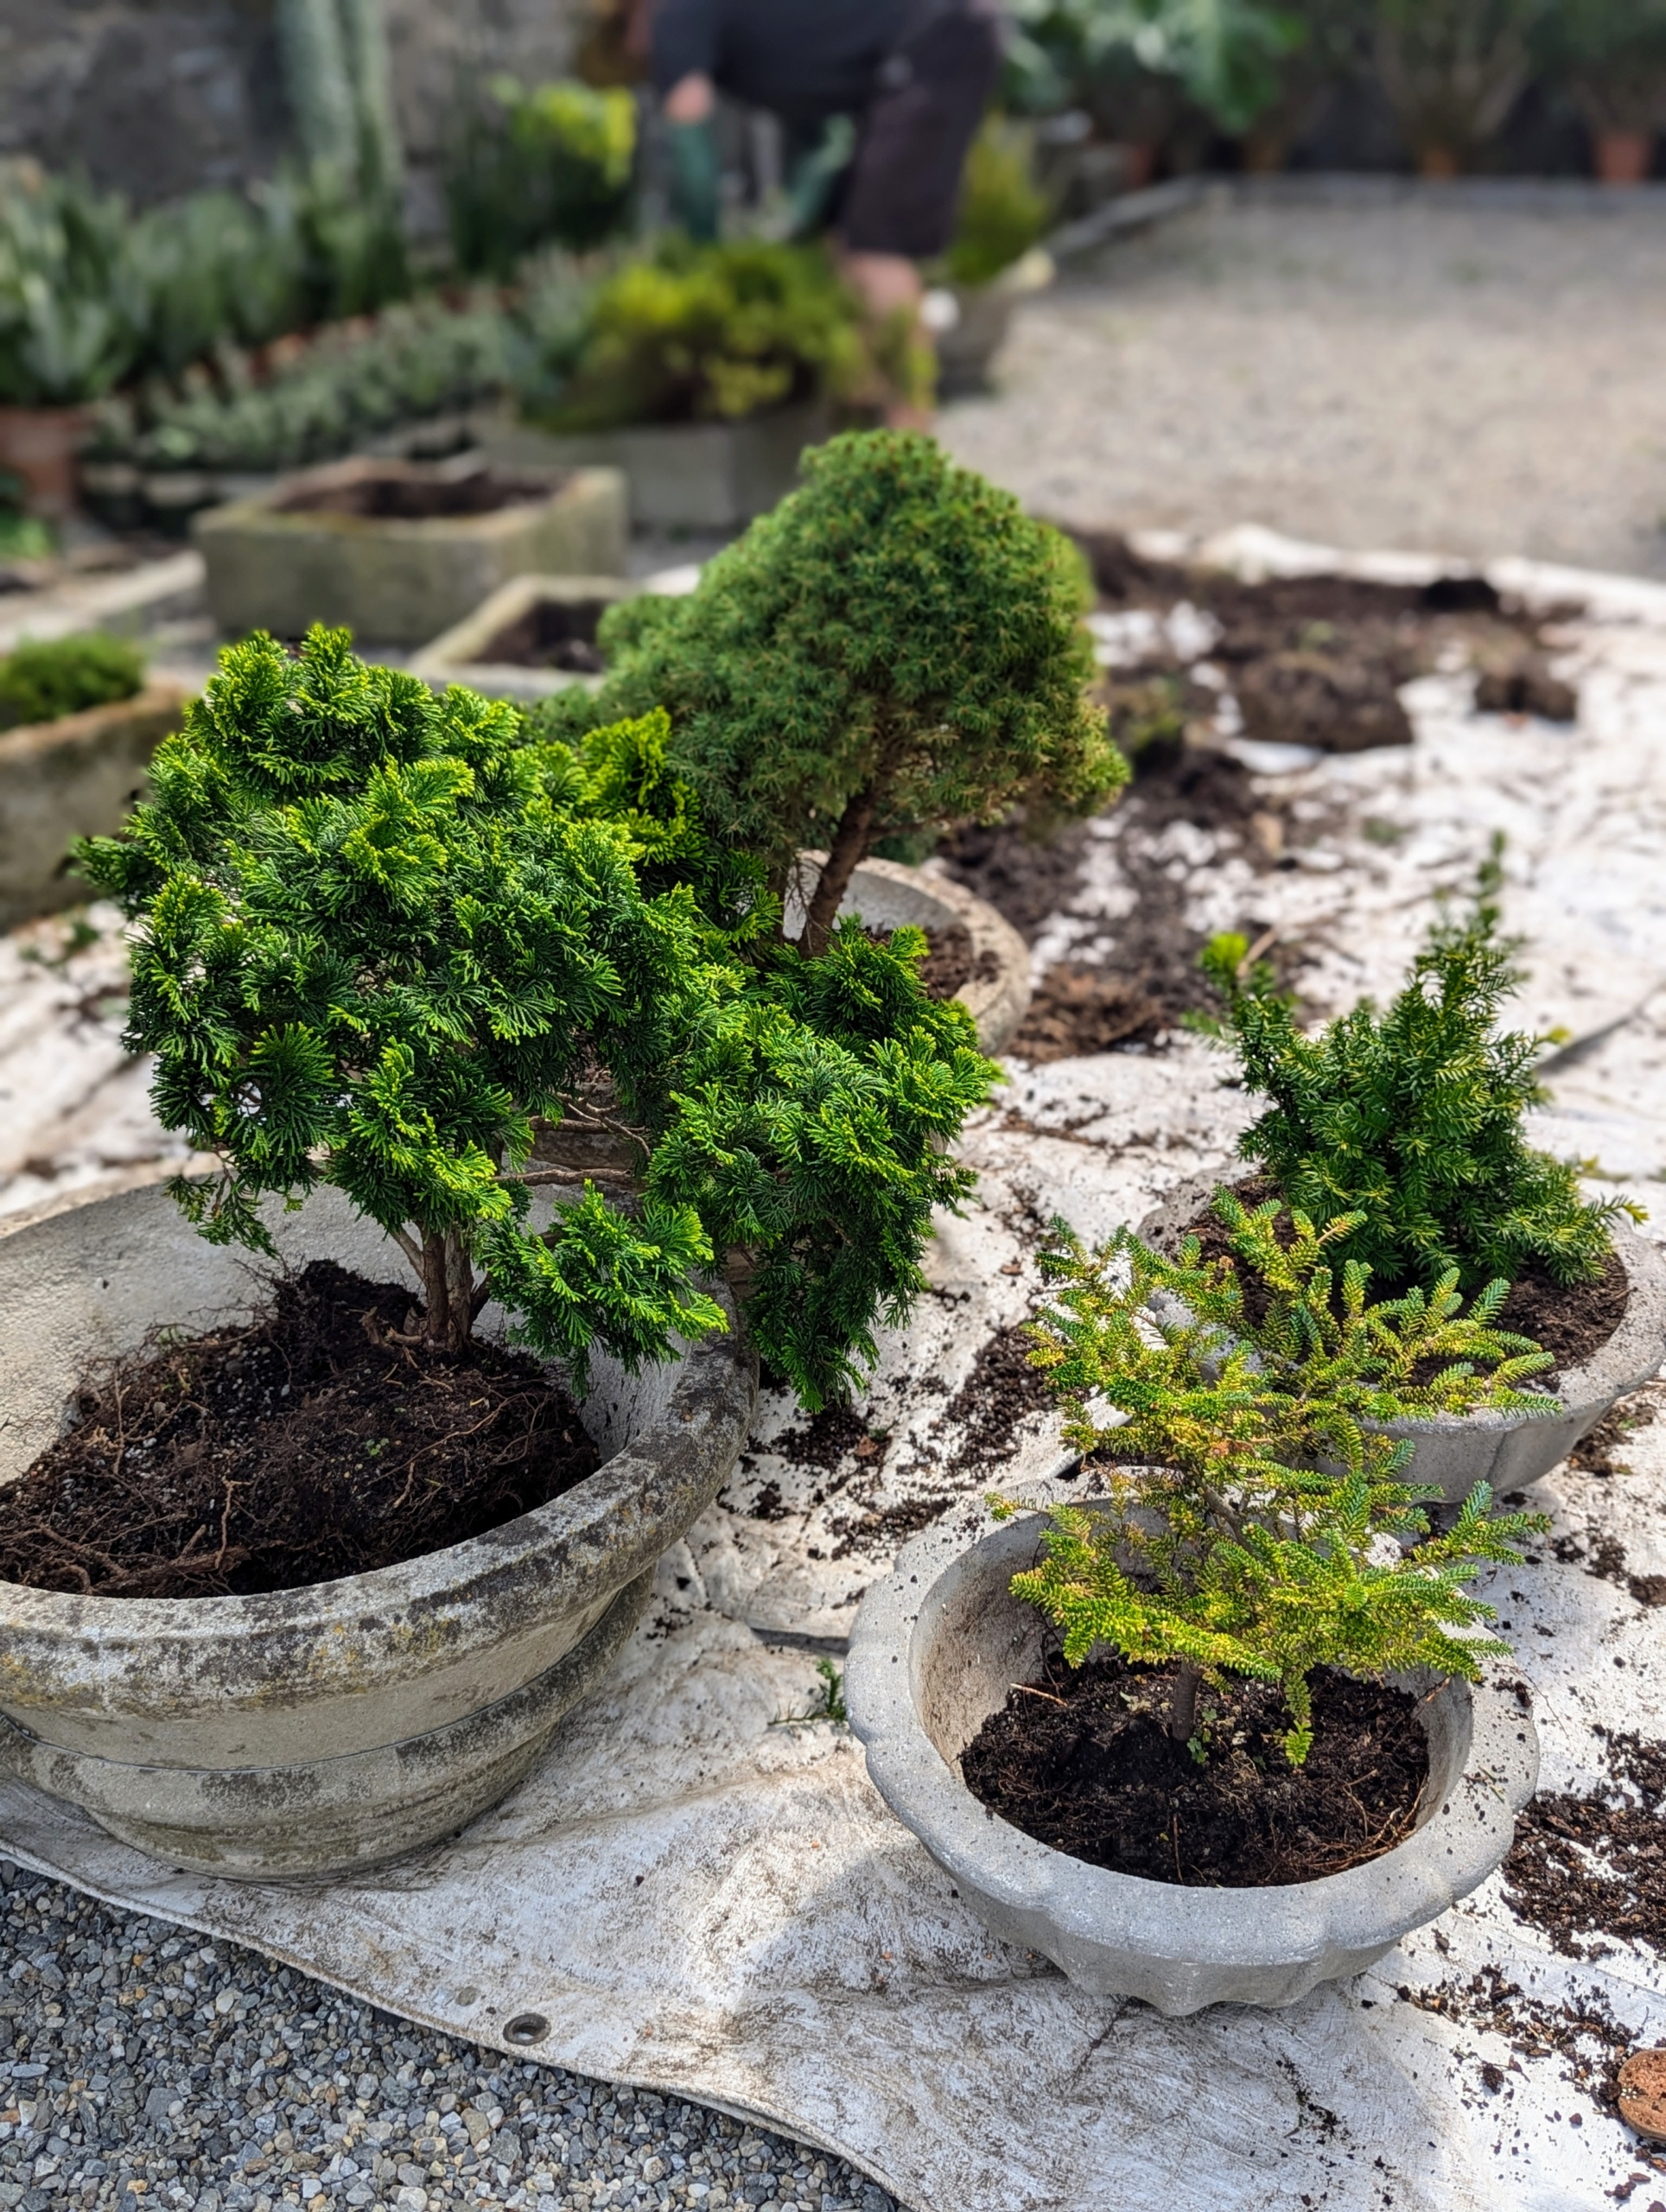
I always instruct my crew to gather all the necessary tools and supplies before starting any project. This area is located just outside my main greenhouse and head house. It is set up for repotting several evergreens.
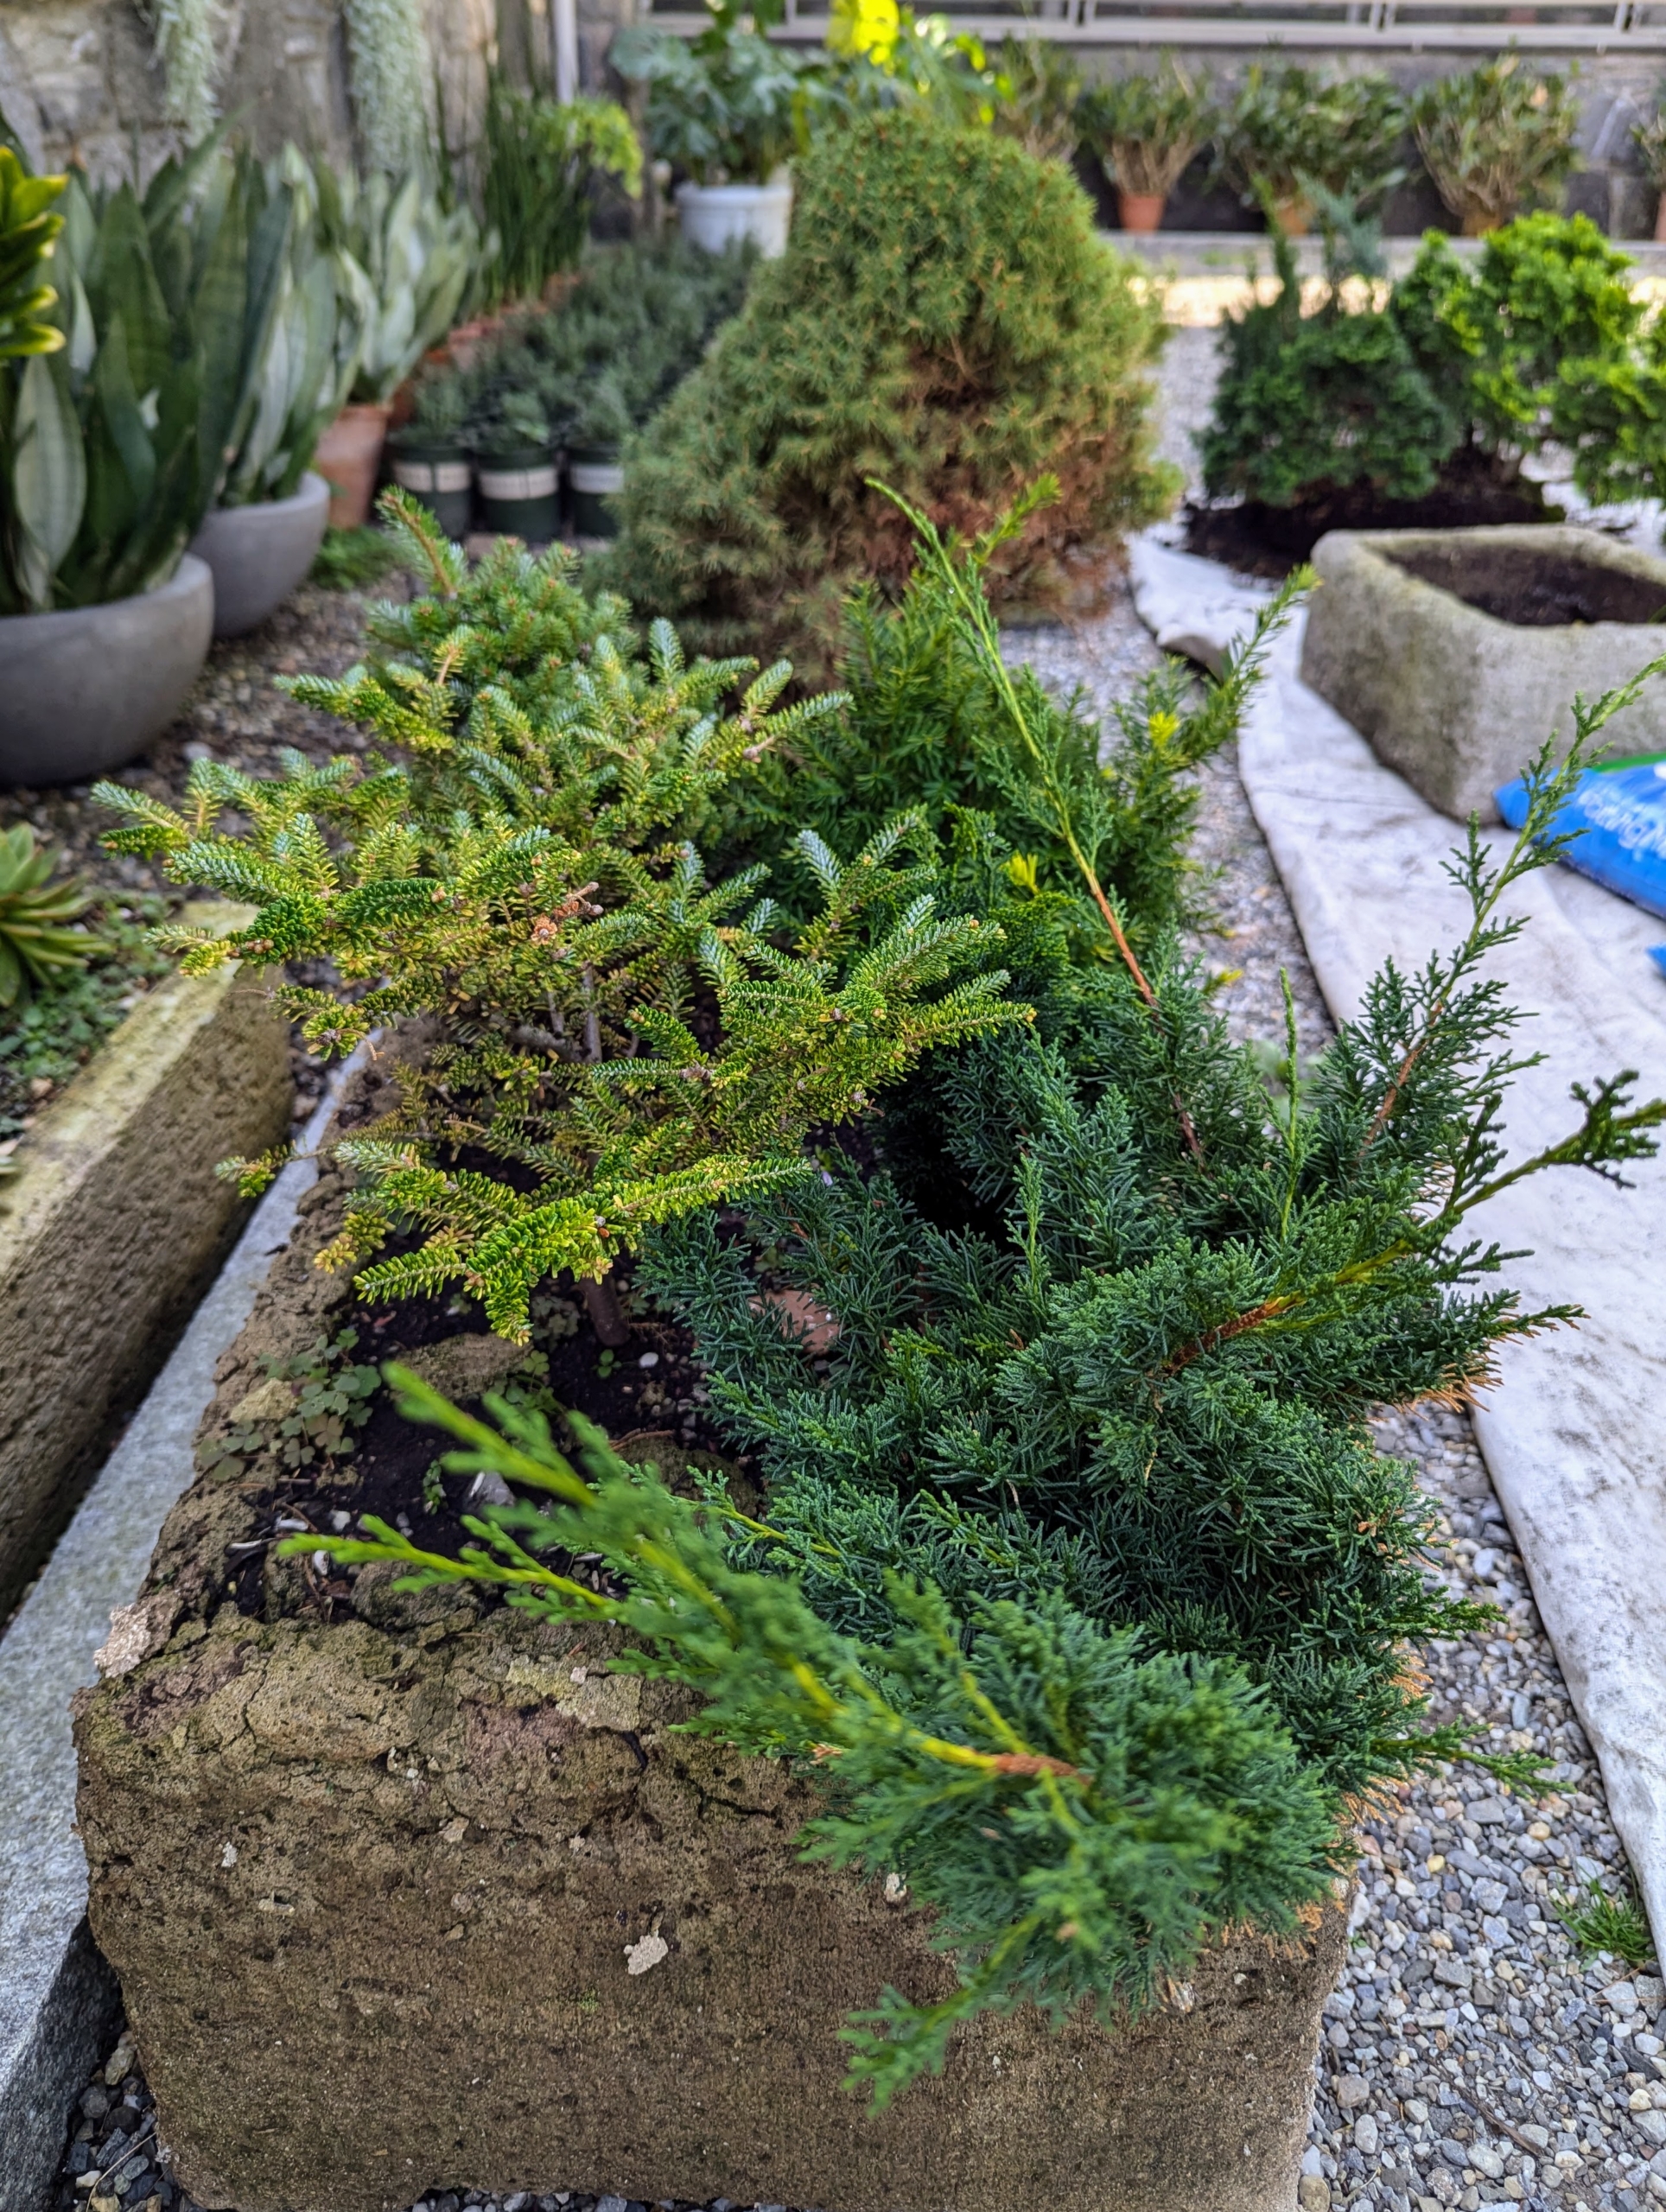
The planter housing this balsam fir and juniper is timeworn and in need of replacing. Some of the other evergreens have also grown too big for their containers.
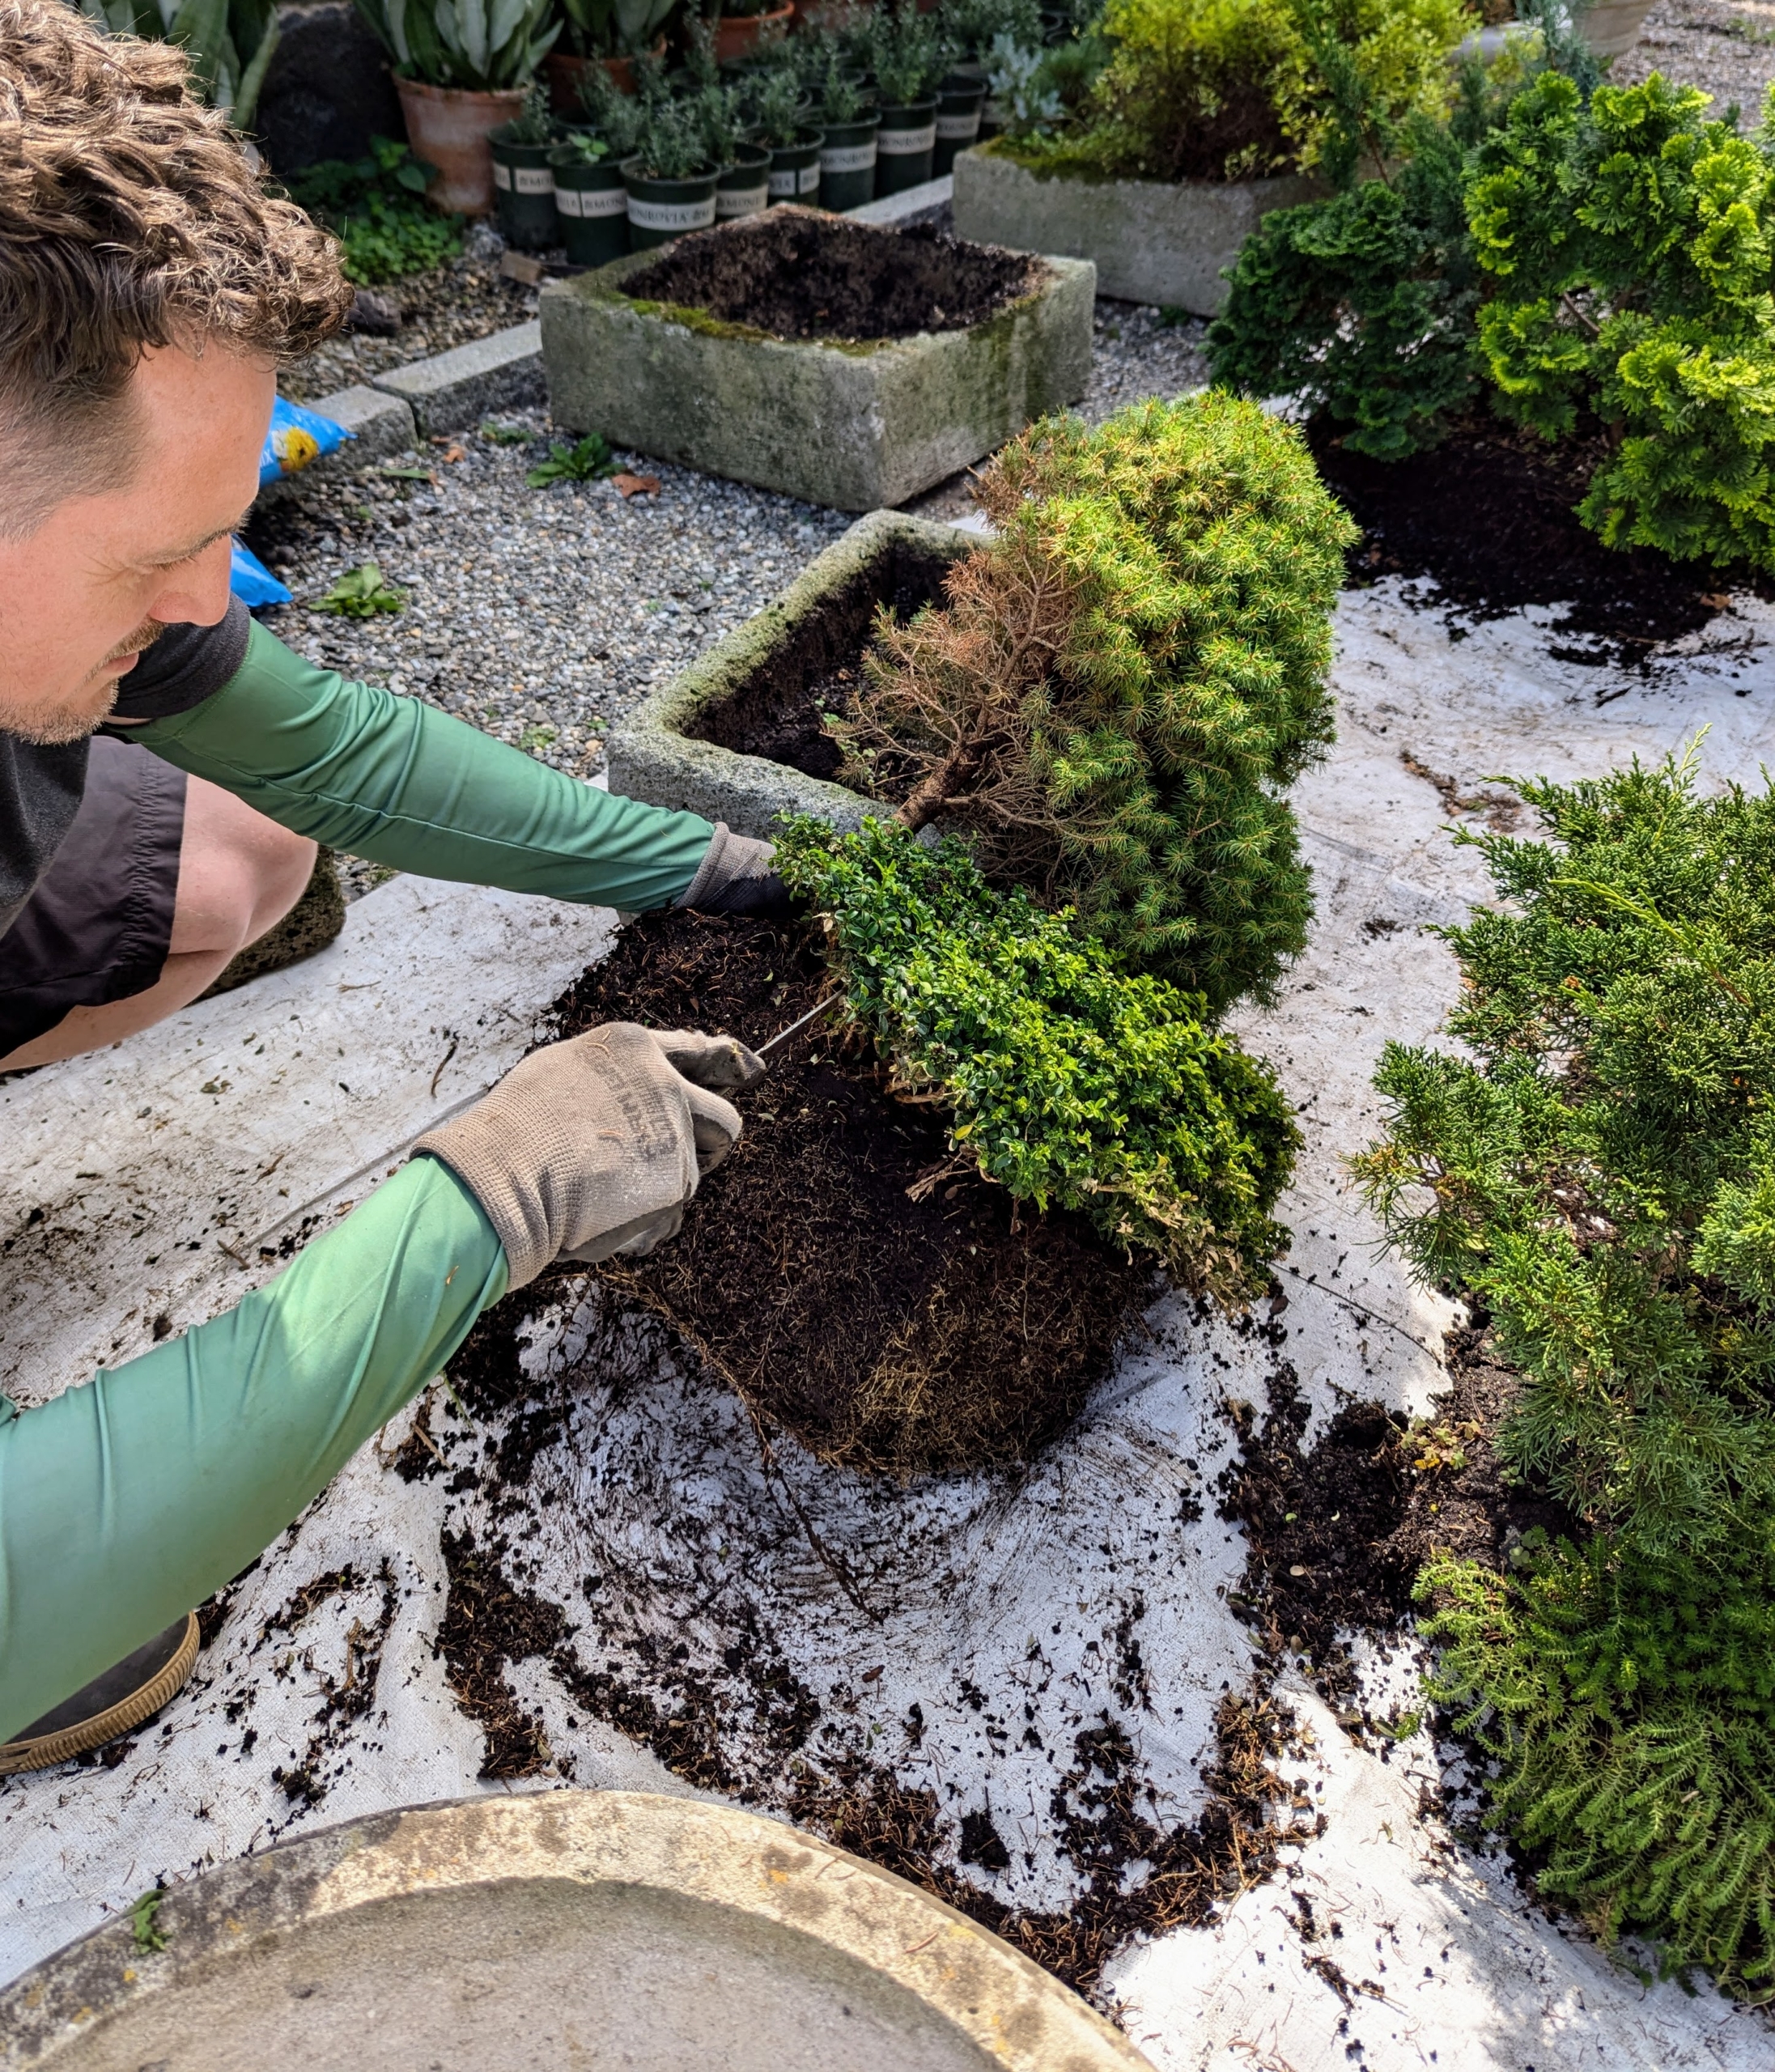
Ryan removes all of the plants to assess what pots they would go into next.
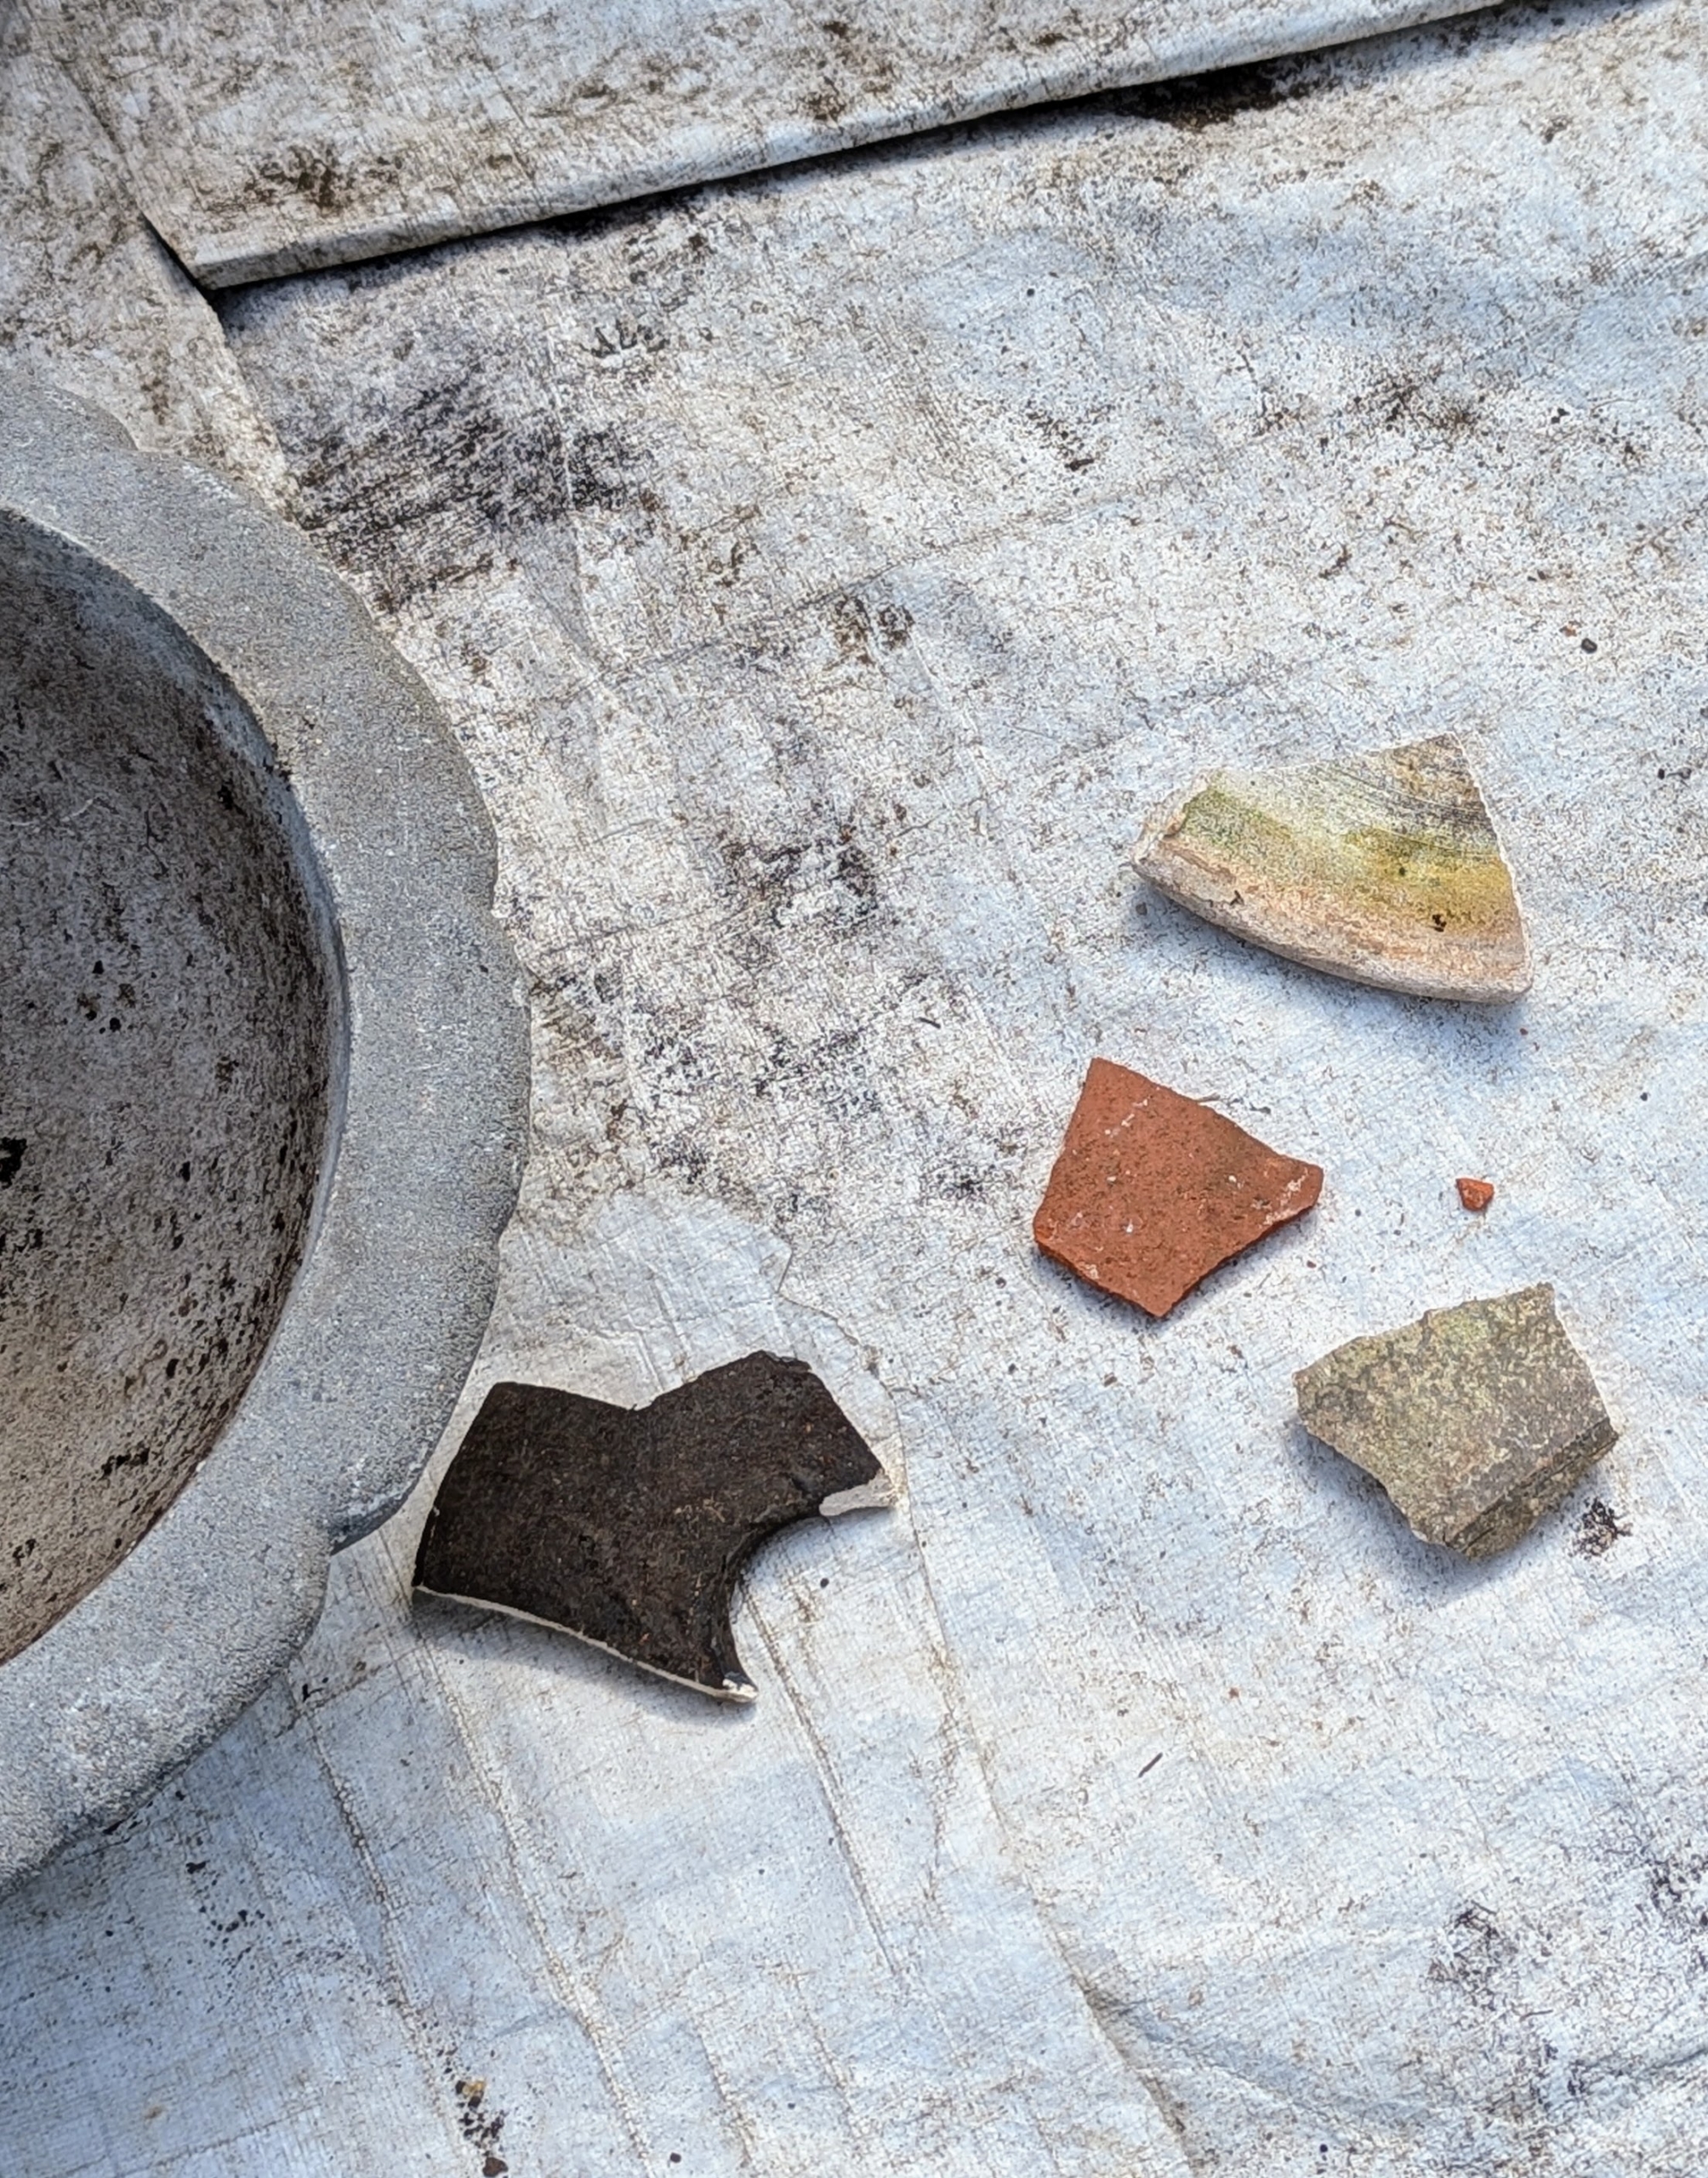
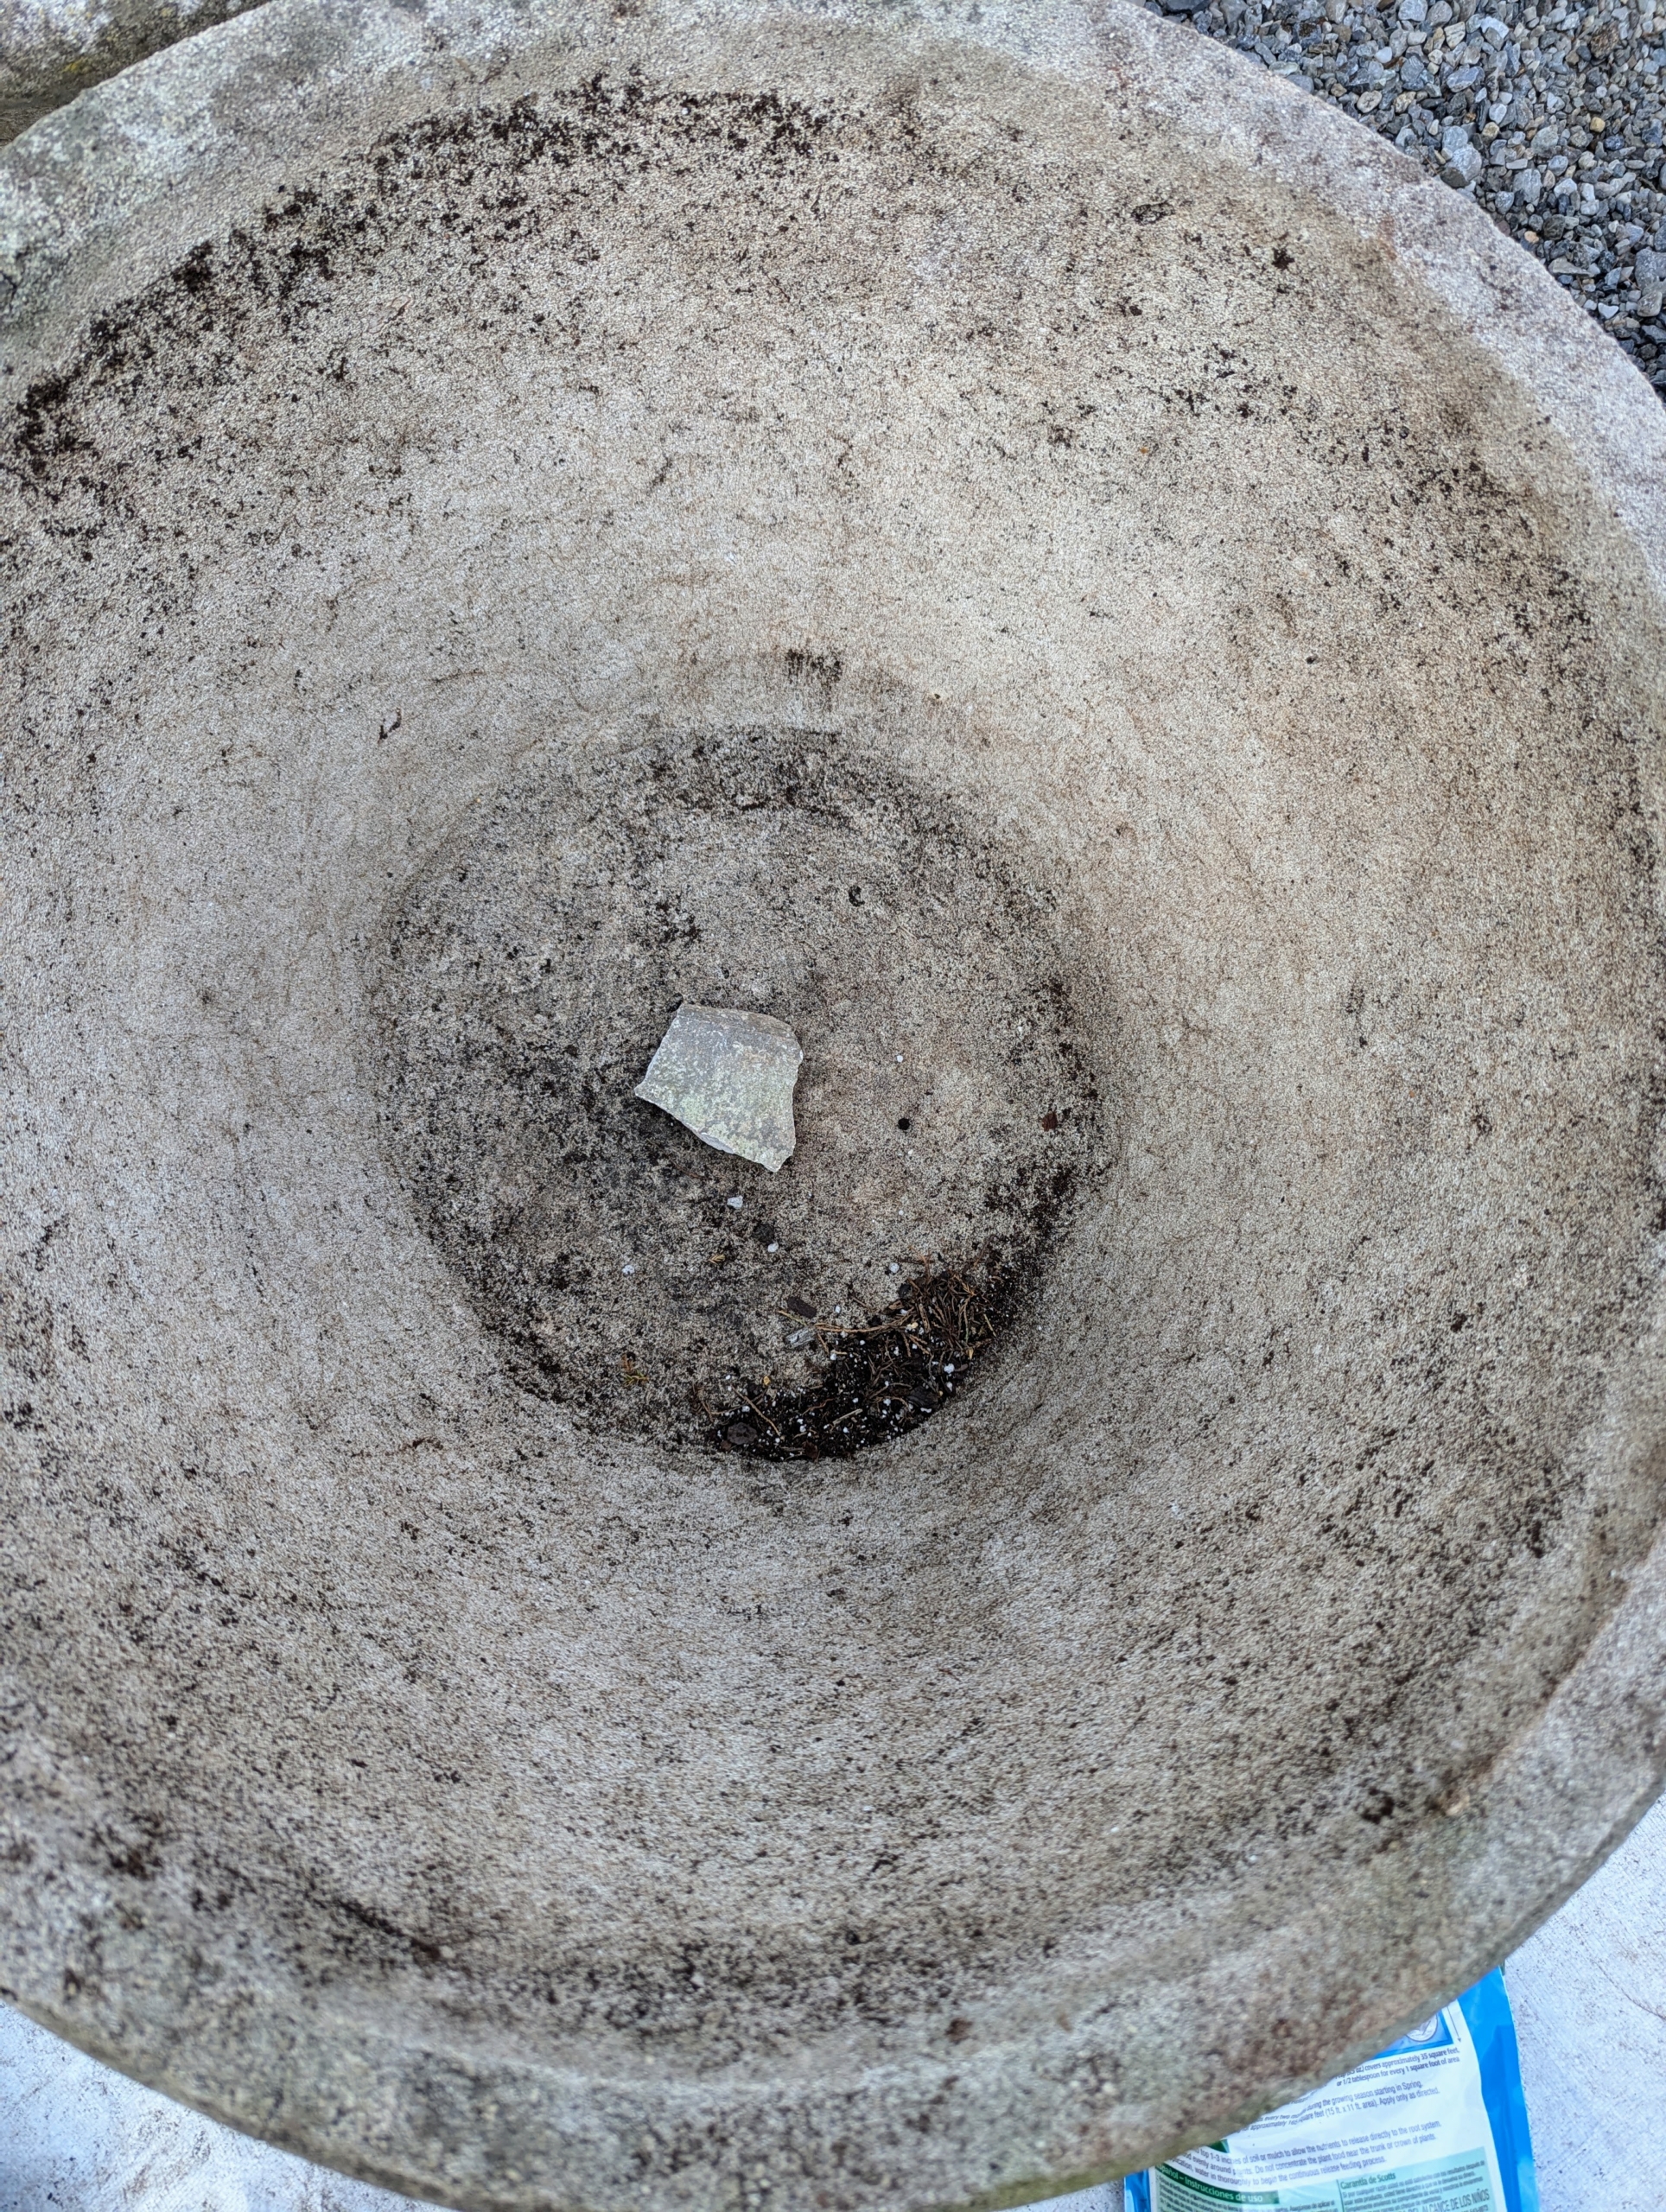
To prepare the pot for planting, Ryan first covers the drainage hole with a shard. I save all clay shards from broken pots so they can be repurposed in this way.
The shard keeps soil from falling through the hole and also allows for better drainage.
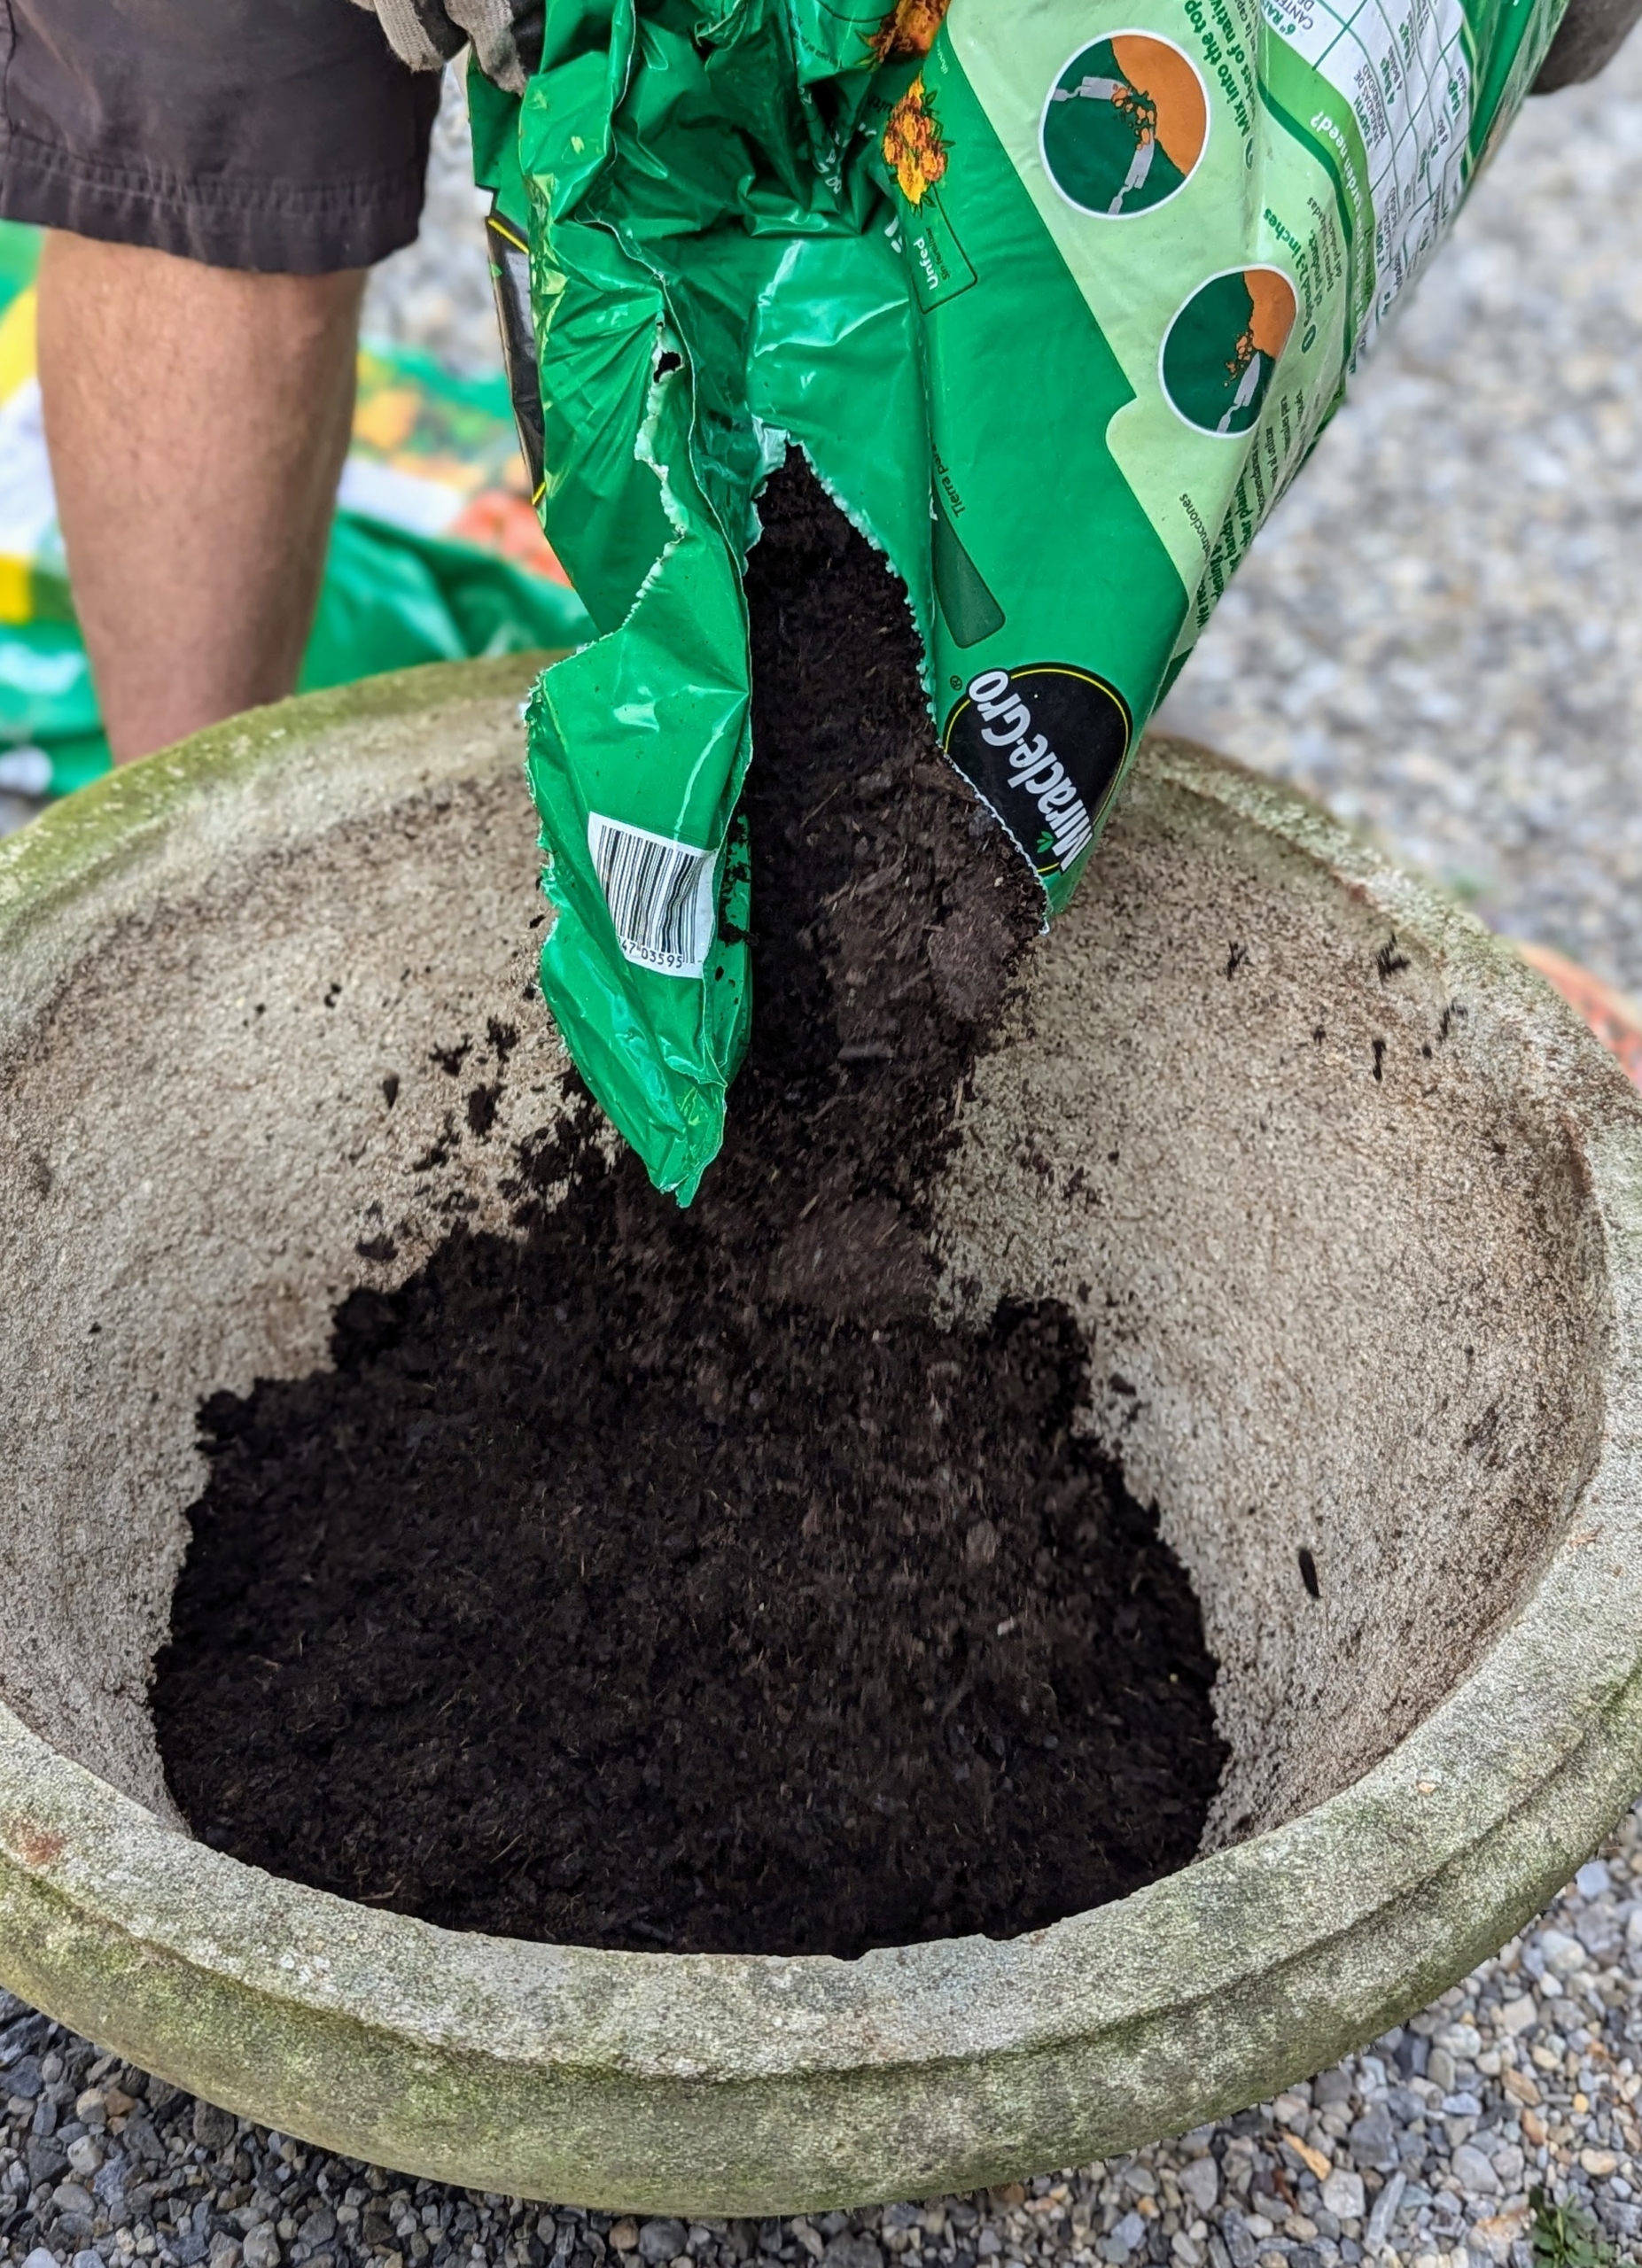
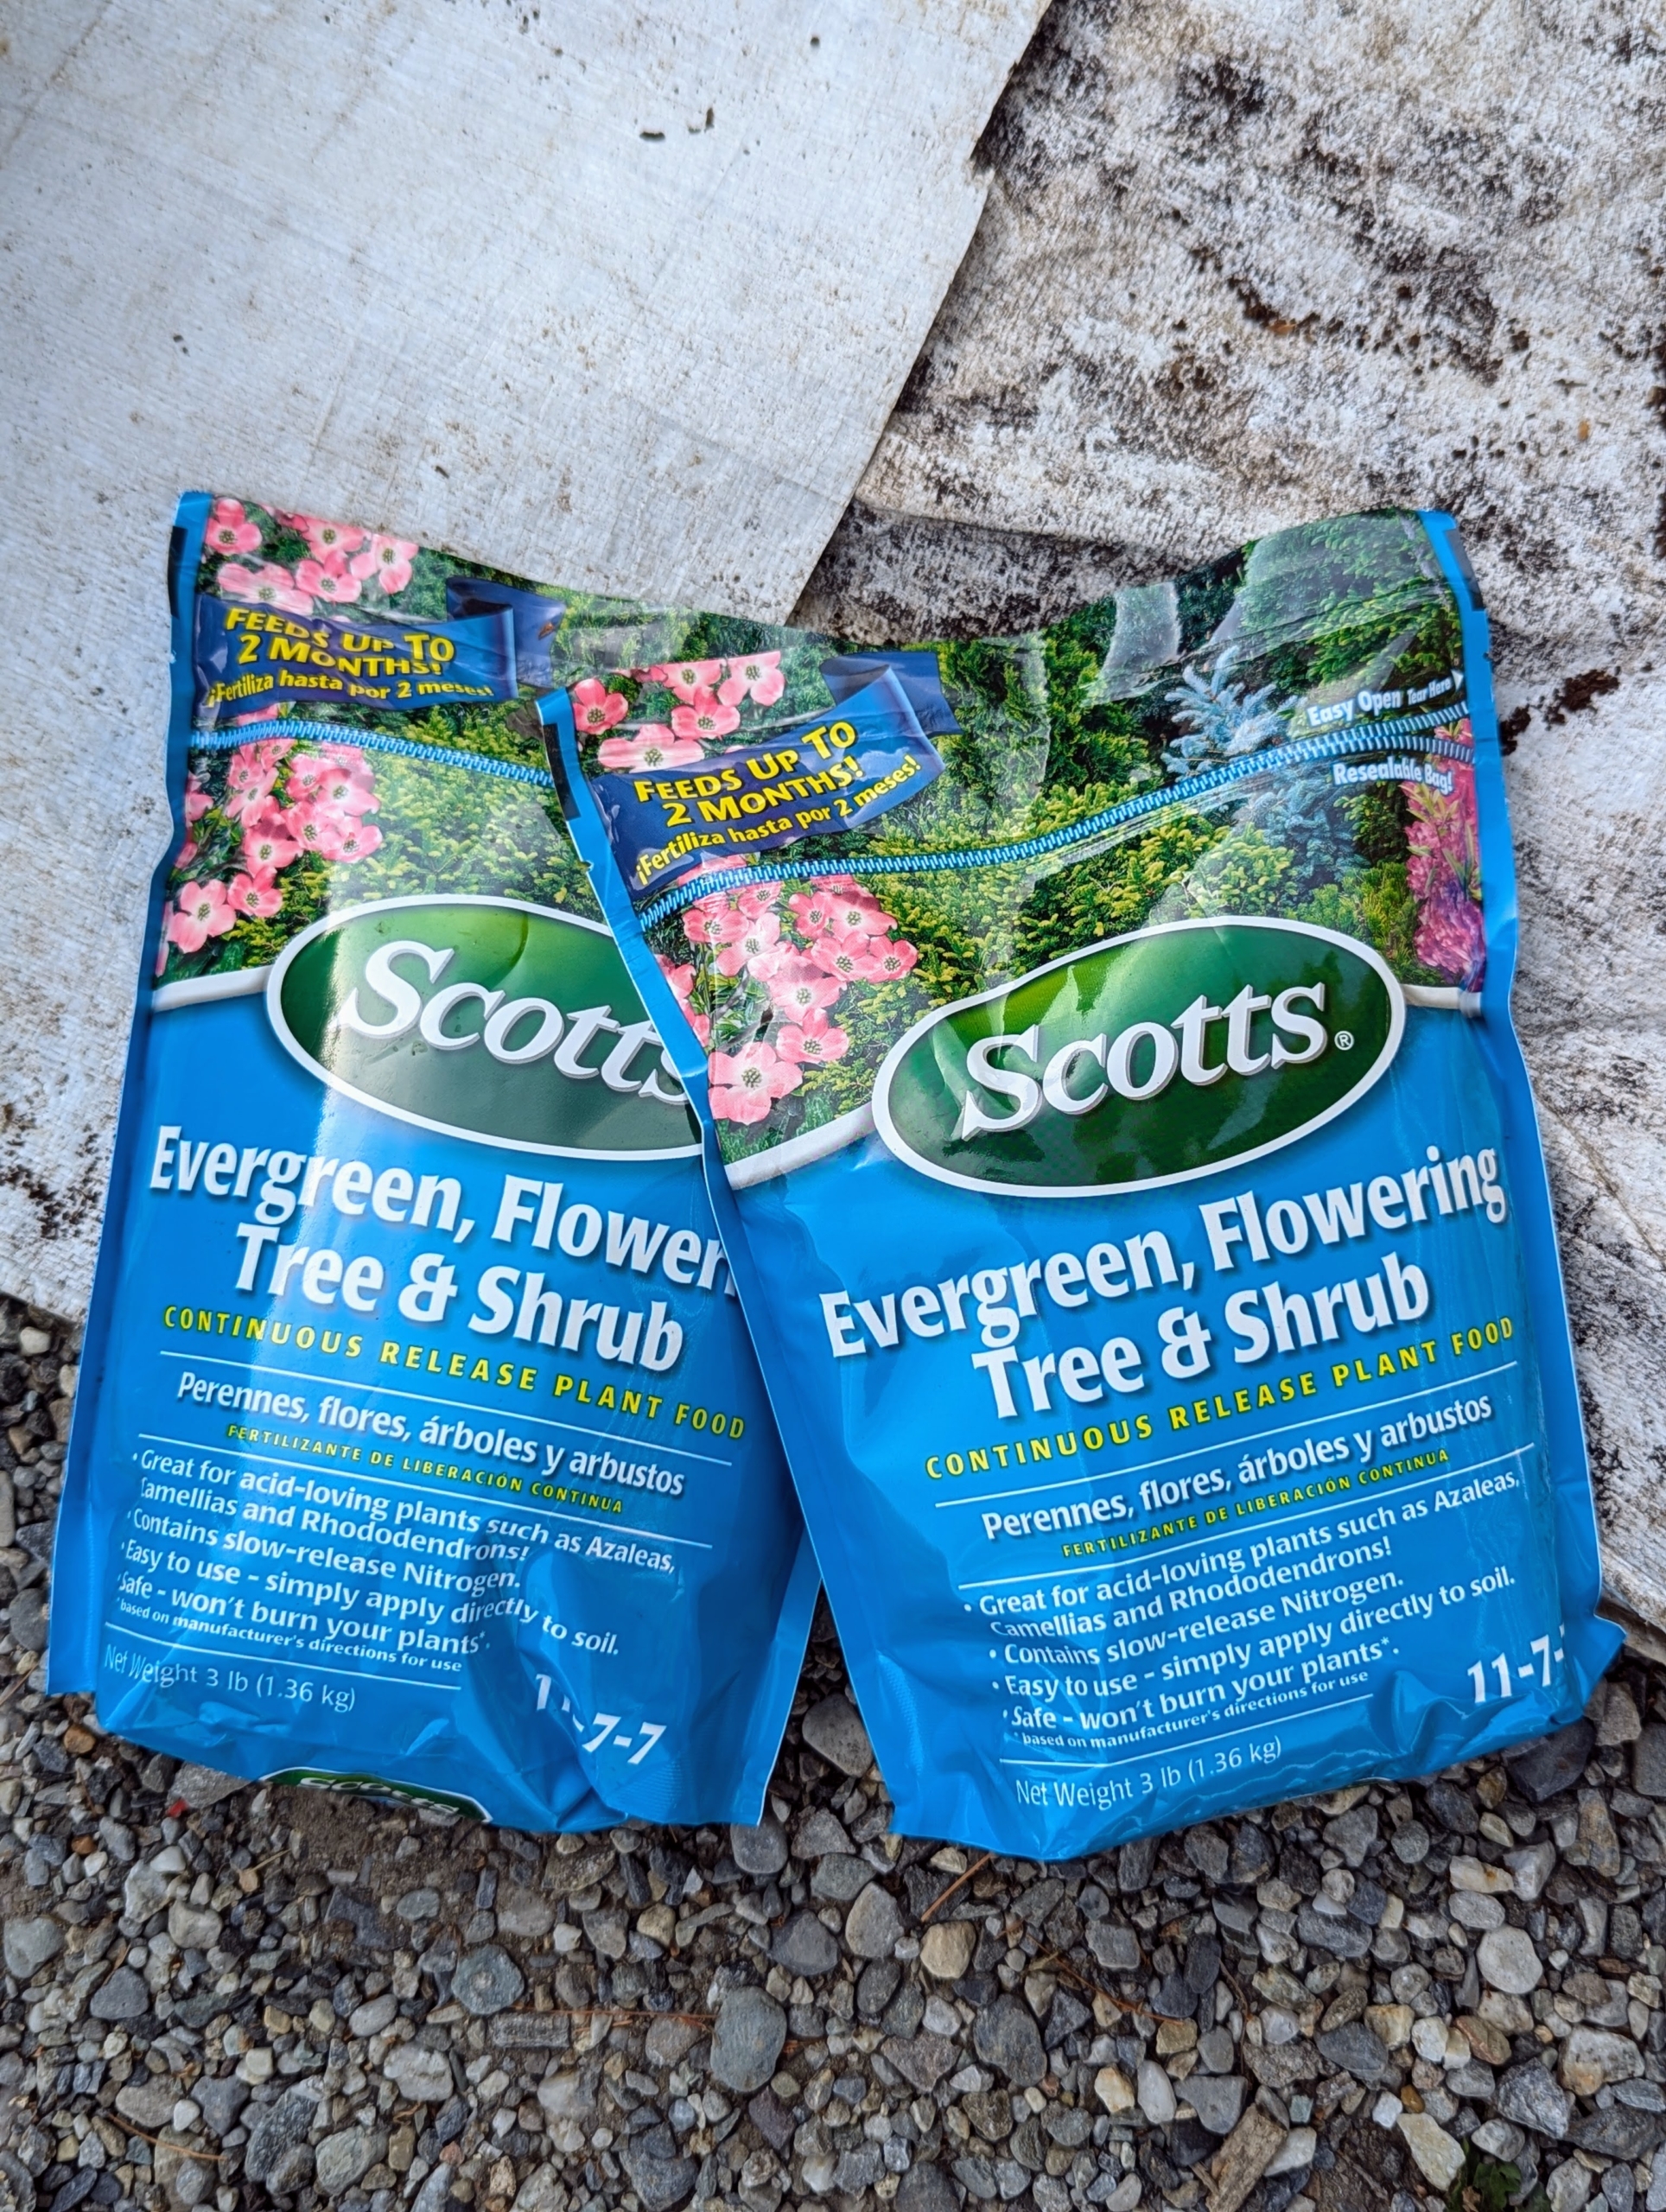
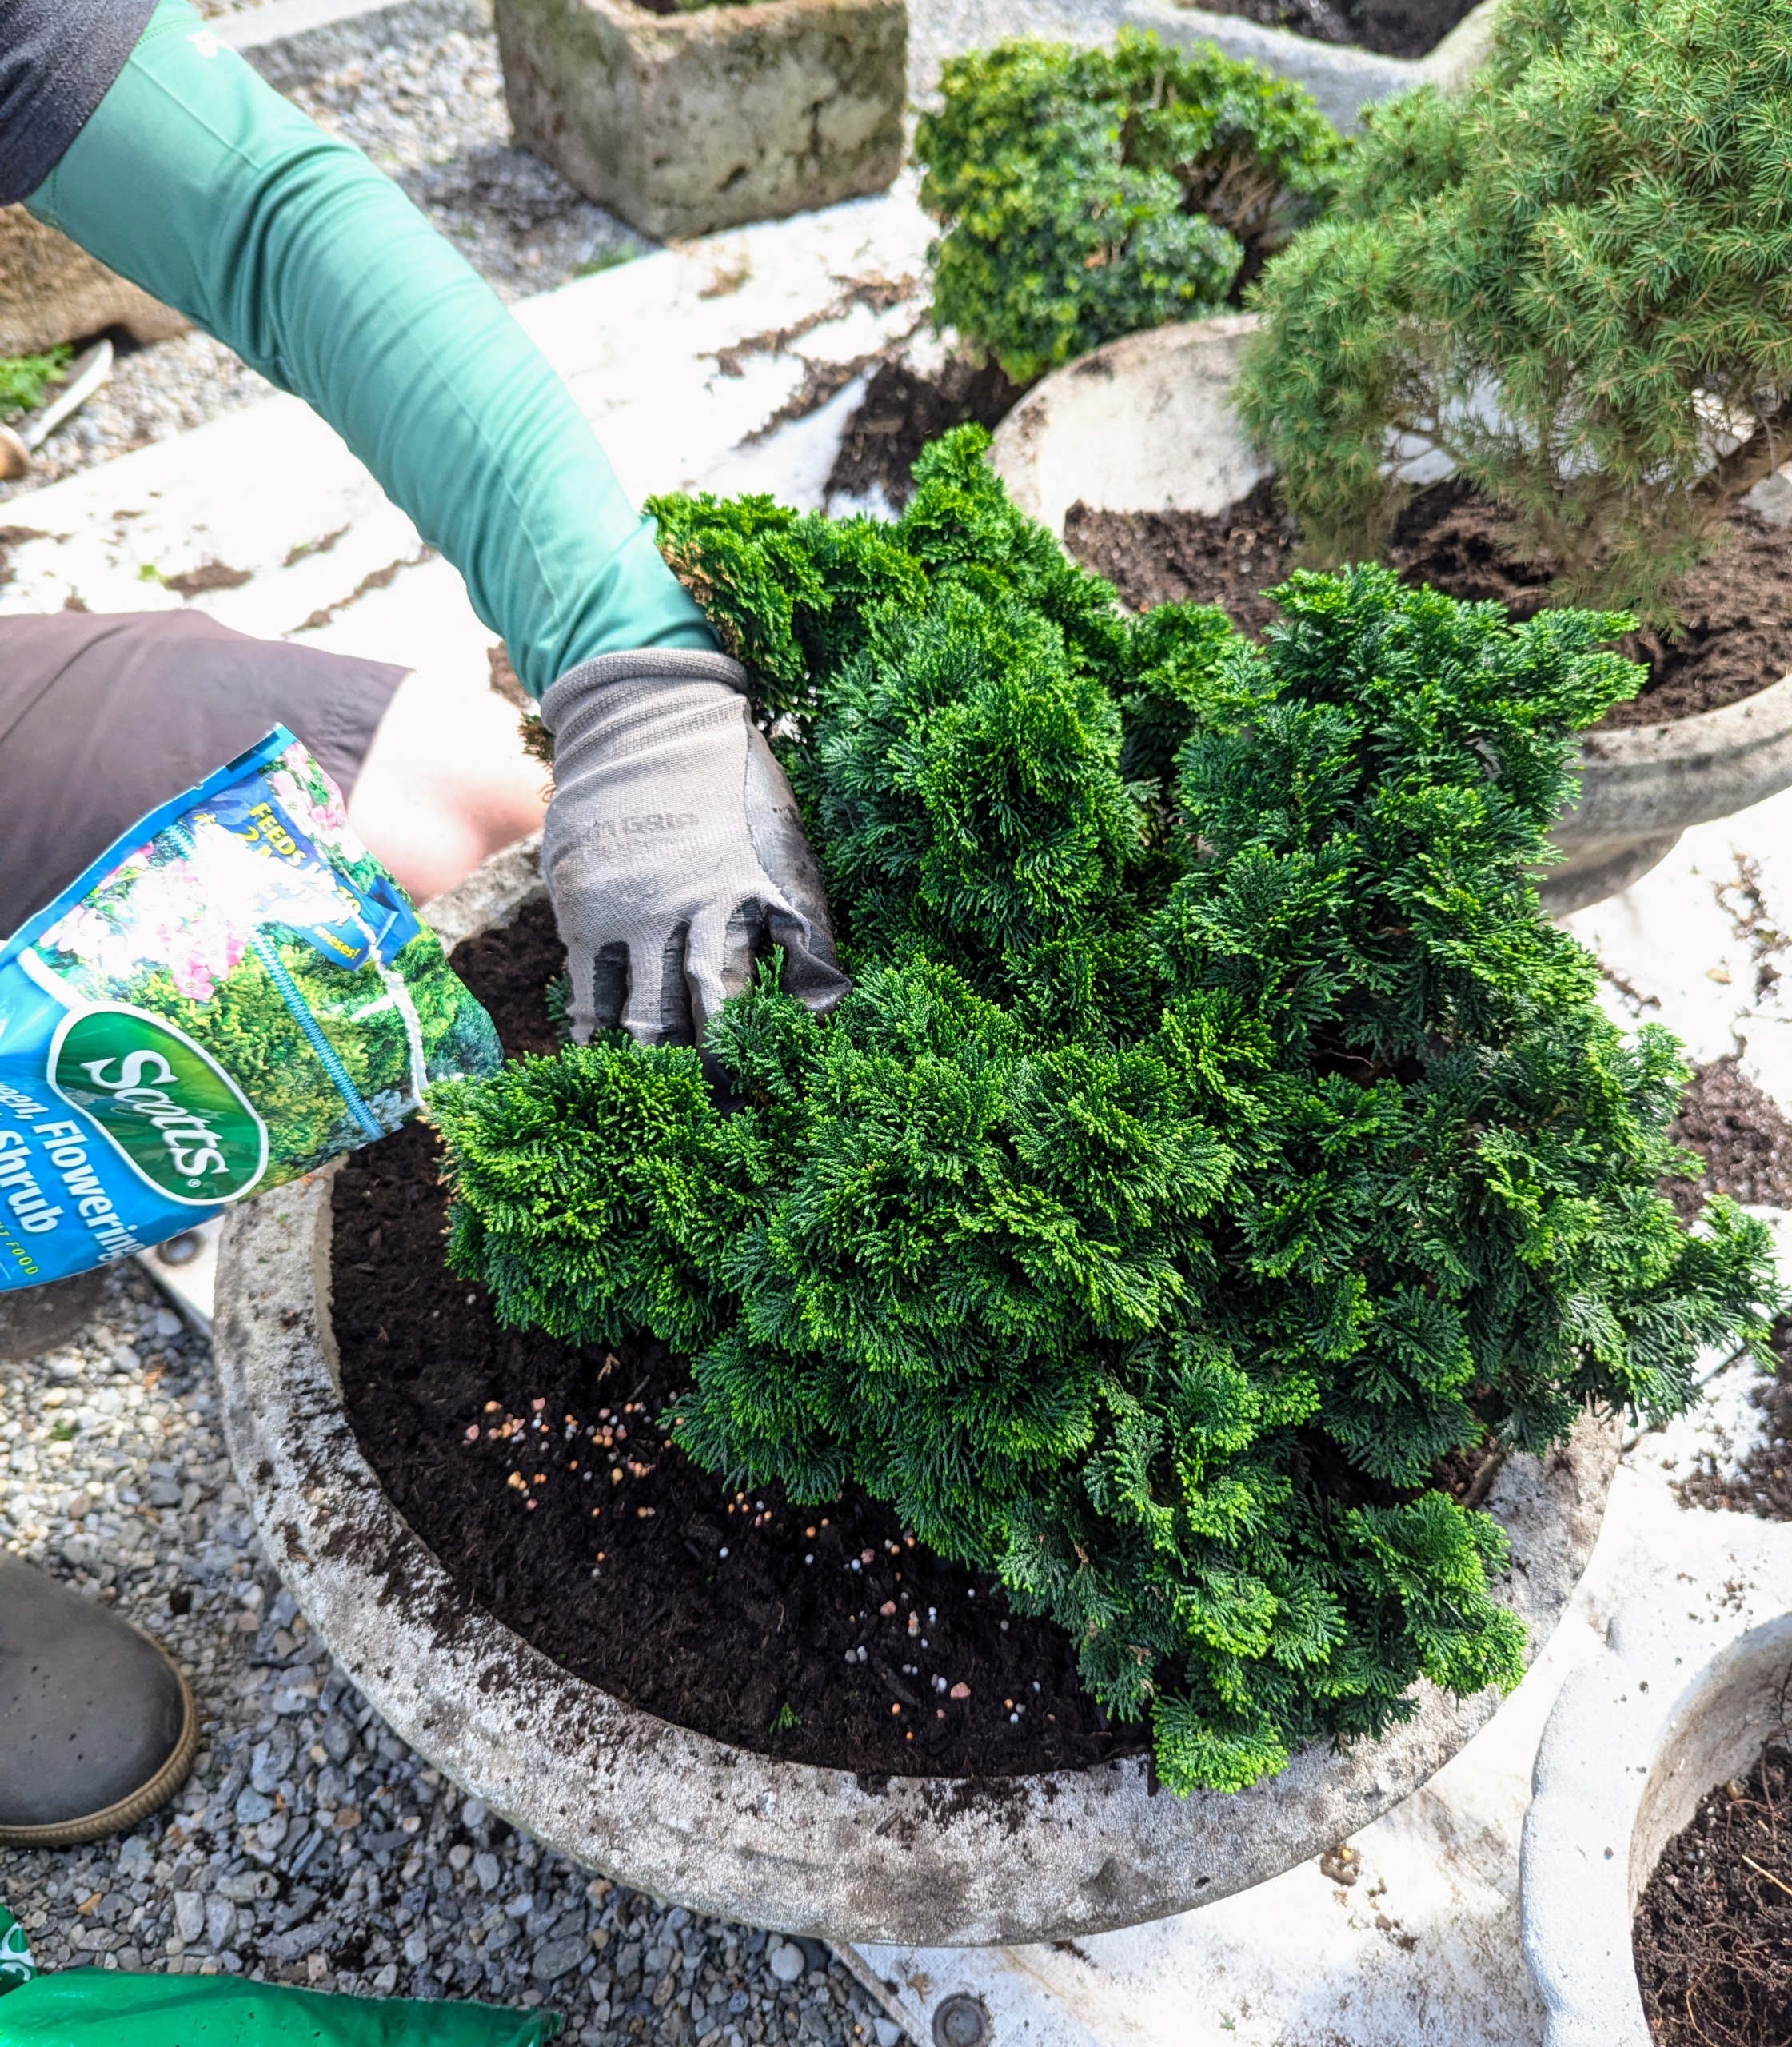
I use Scotts Organic Potting Mix, which can be used for potting or repotting foliage, tropical and flowering houseplants as well as potted vegetables and herbs.
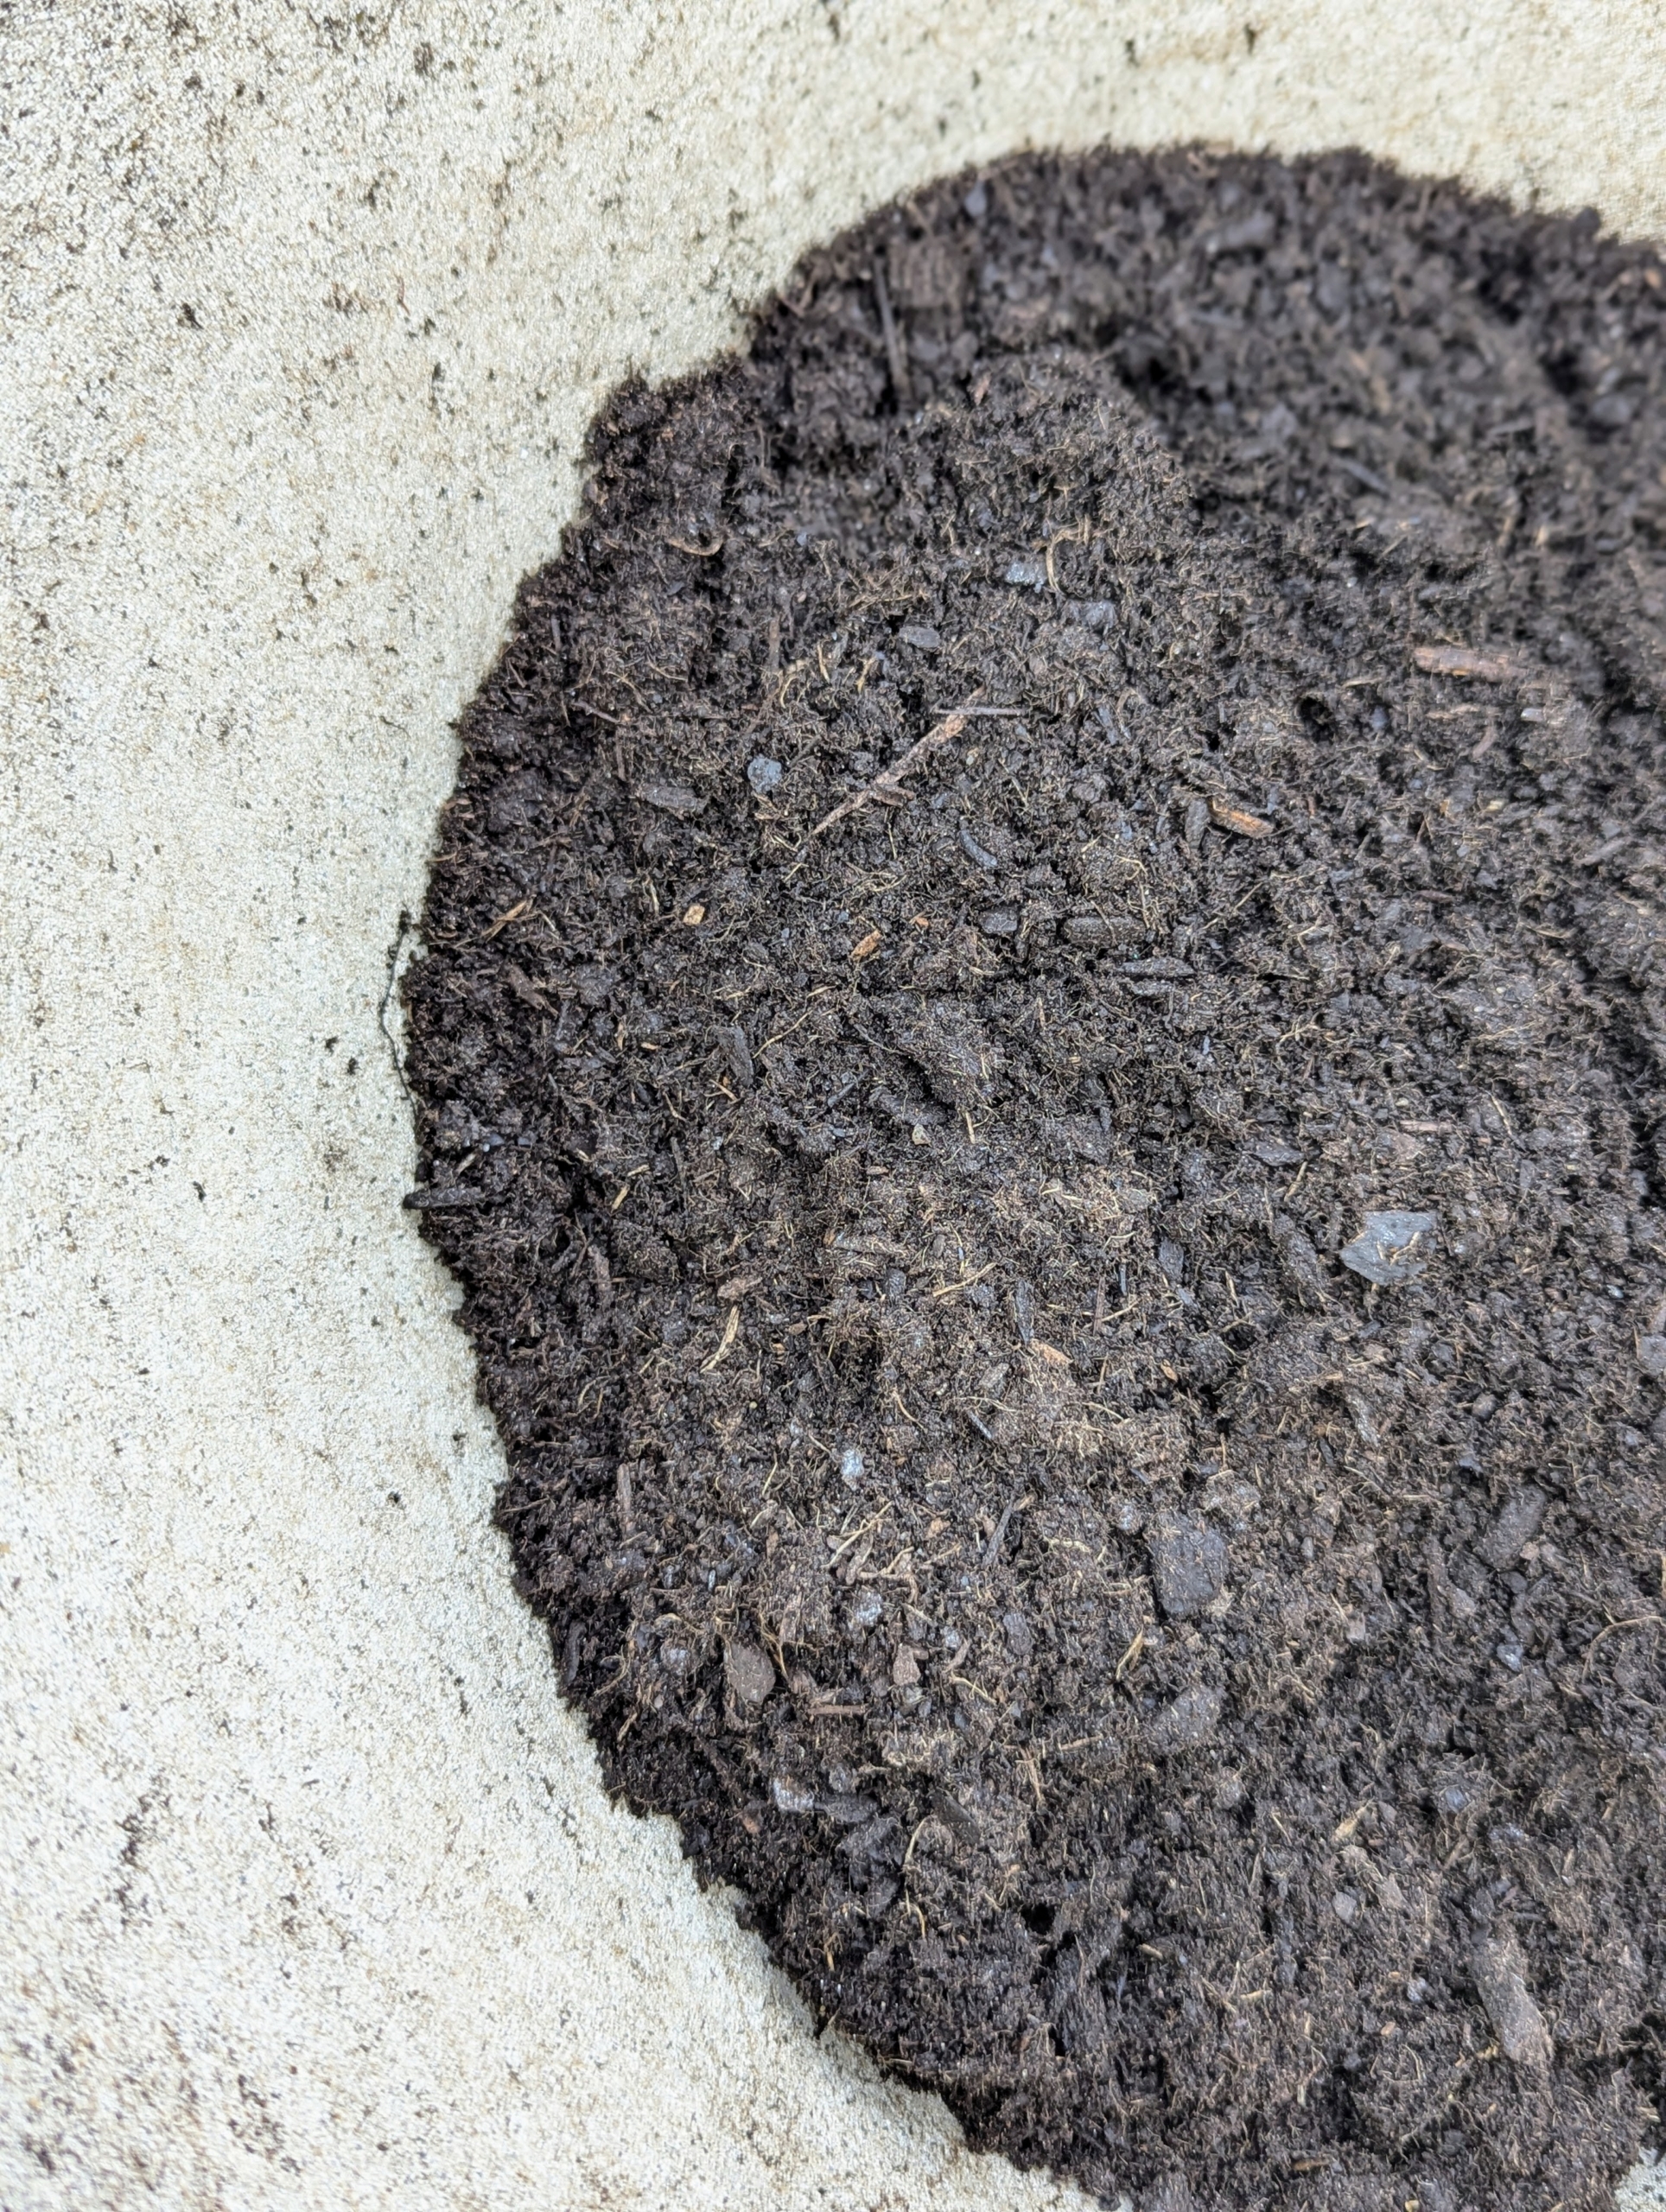
A quality potting soil must have good water retention capacity and good porosity. It should also feel light, airy, and not show any signs of mold.
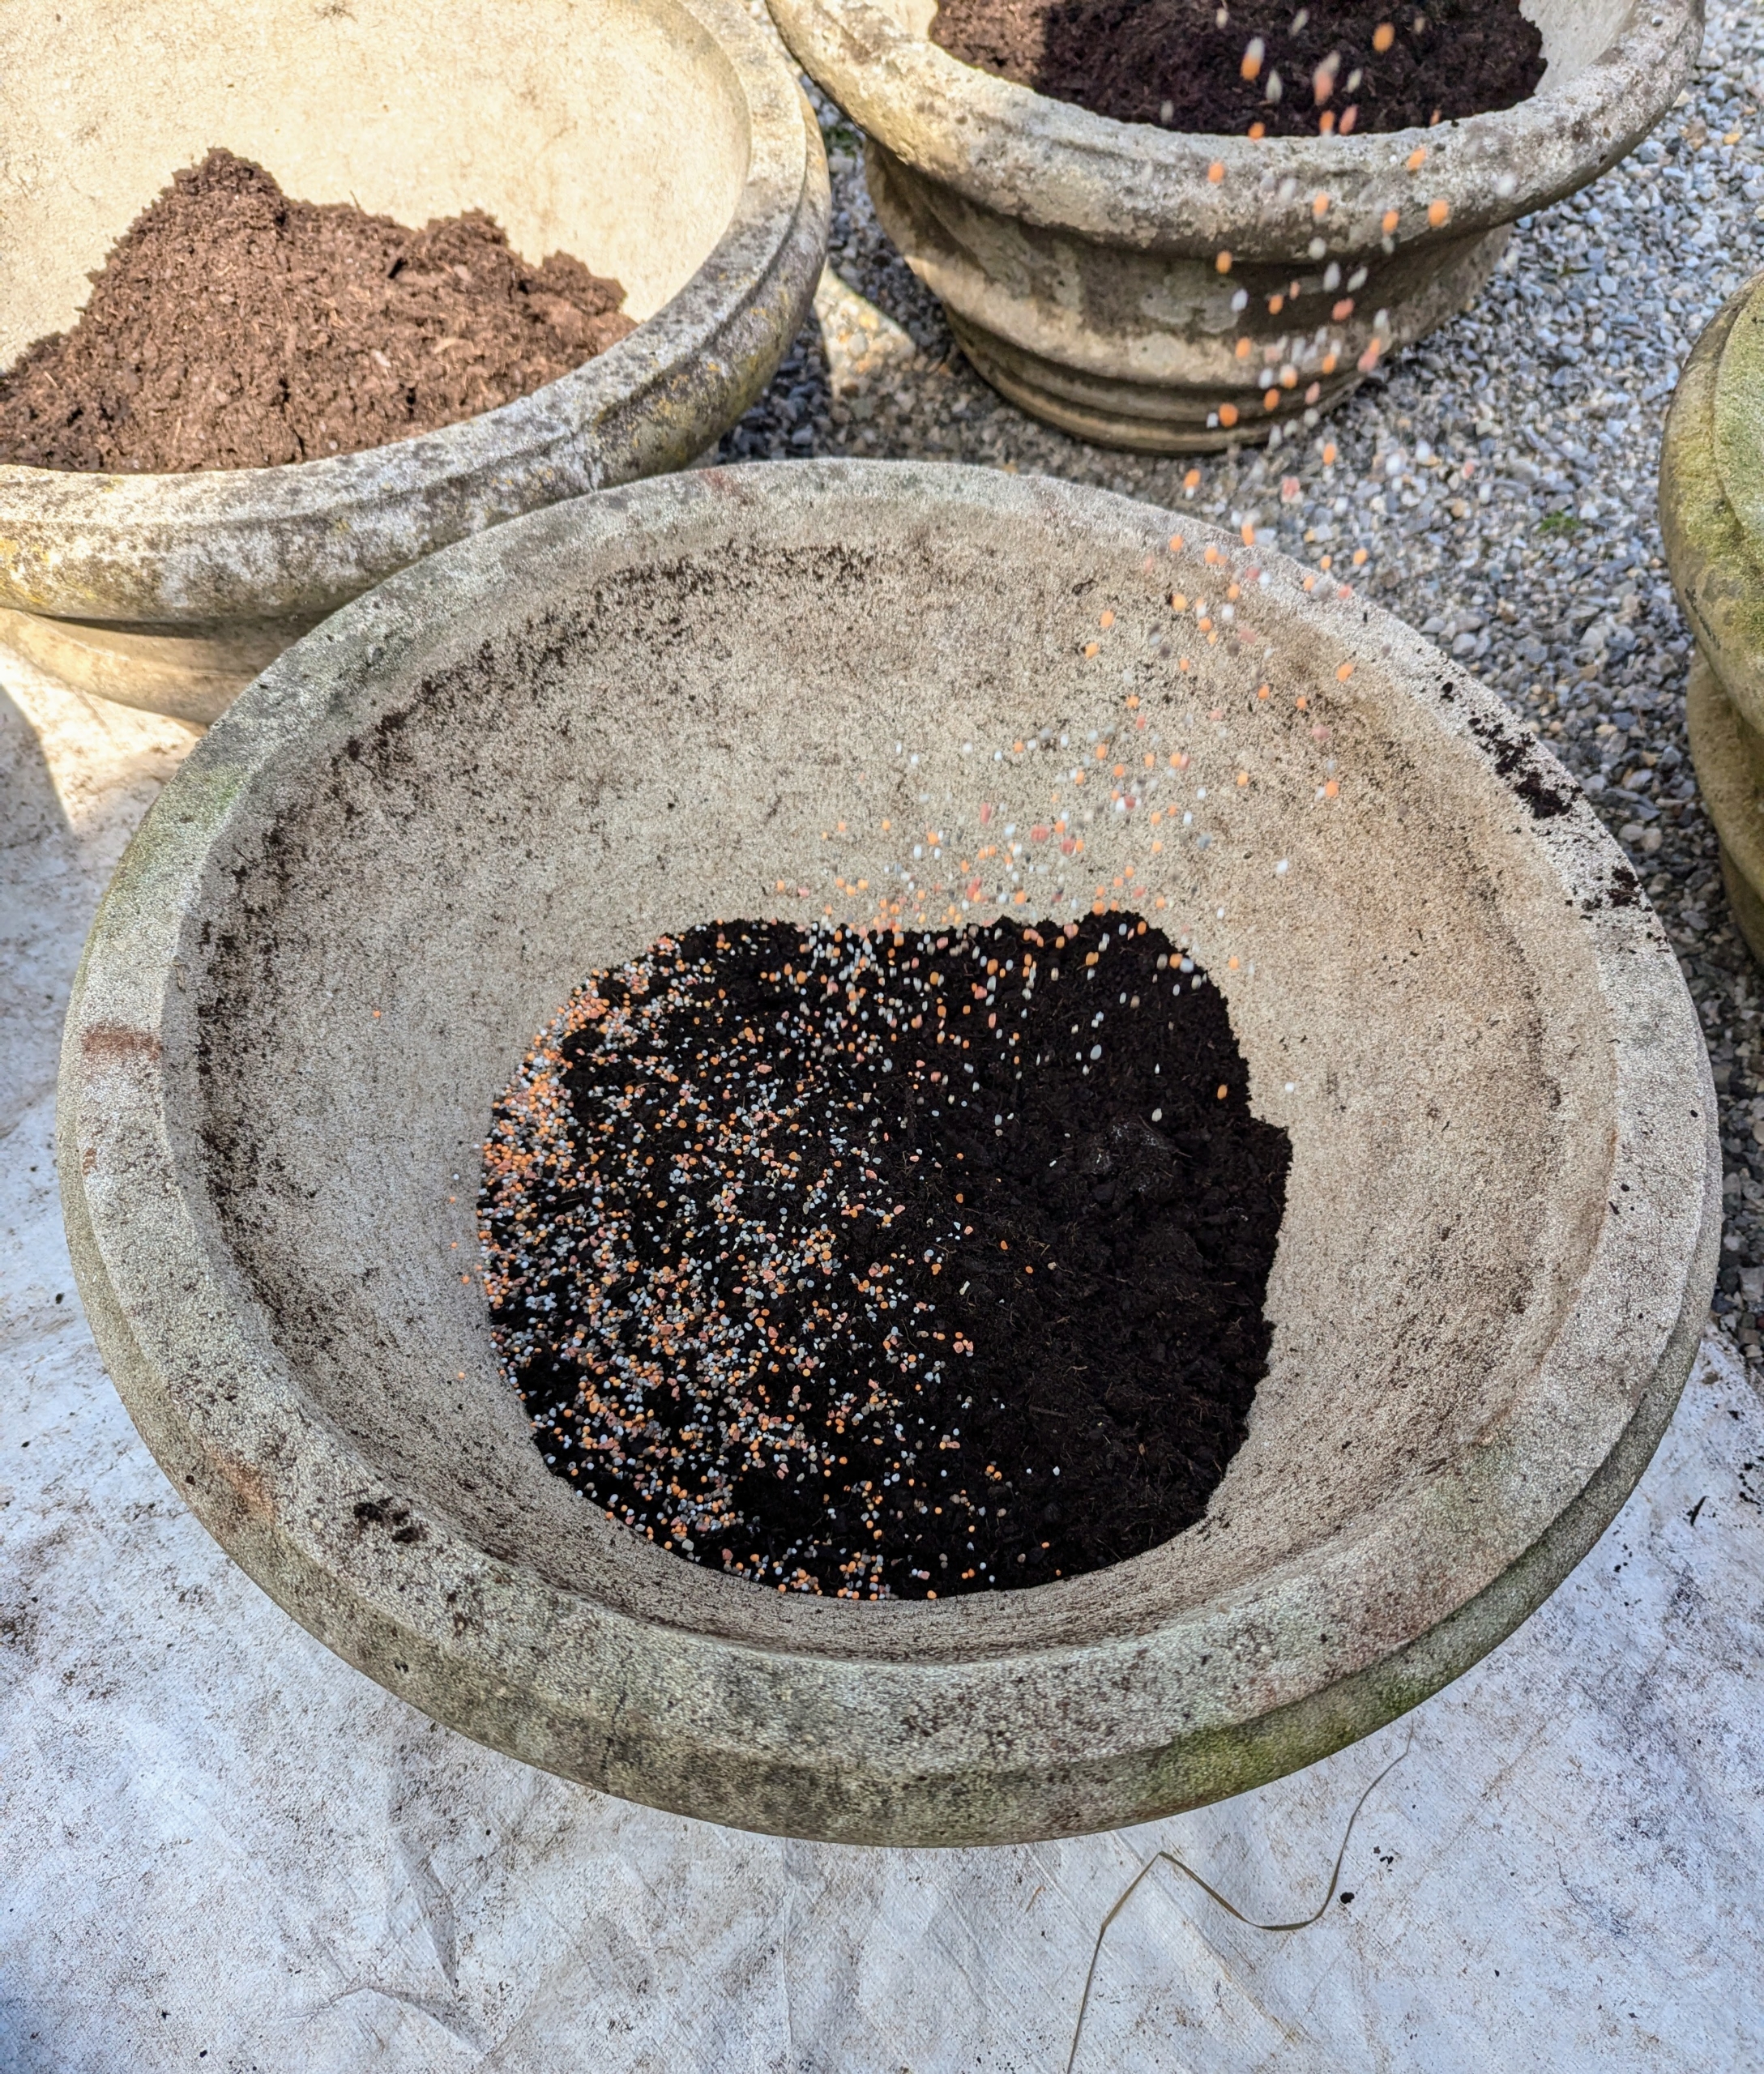
Ryan also sprinkles a generous amount of fertilizer and mixes it in with the potting soil.
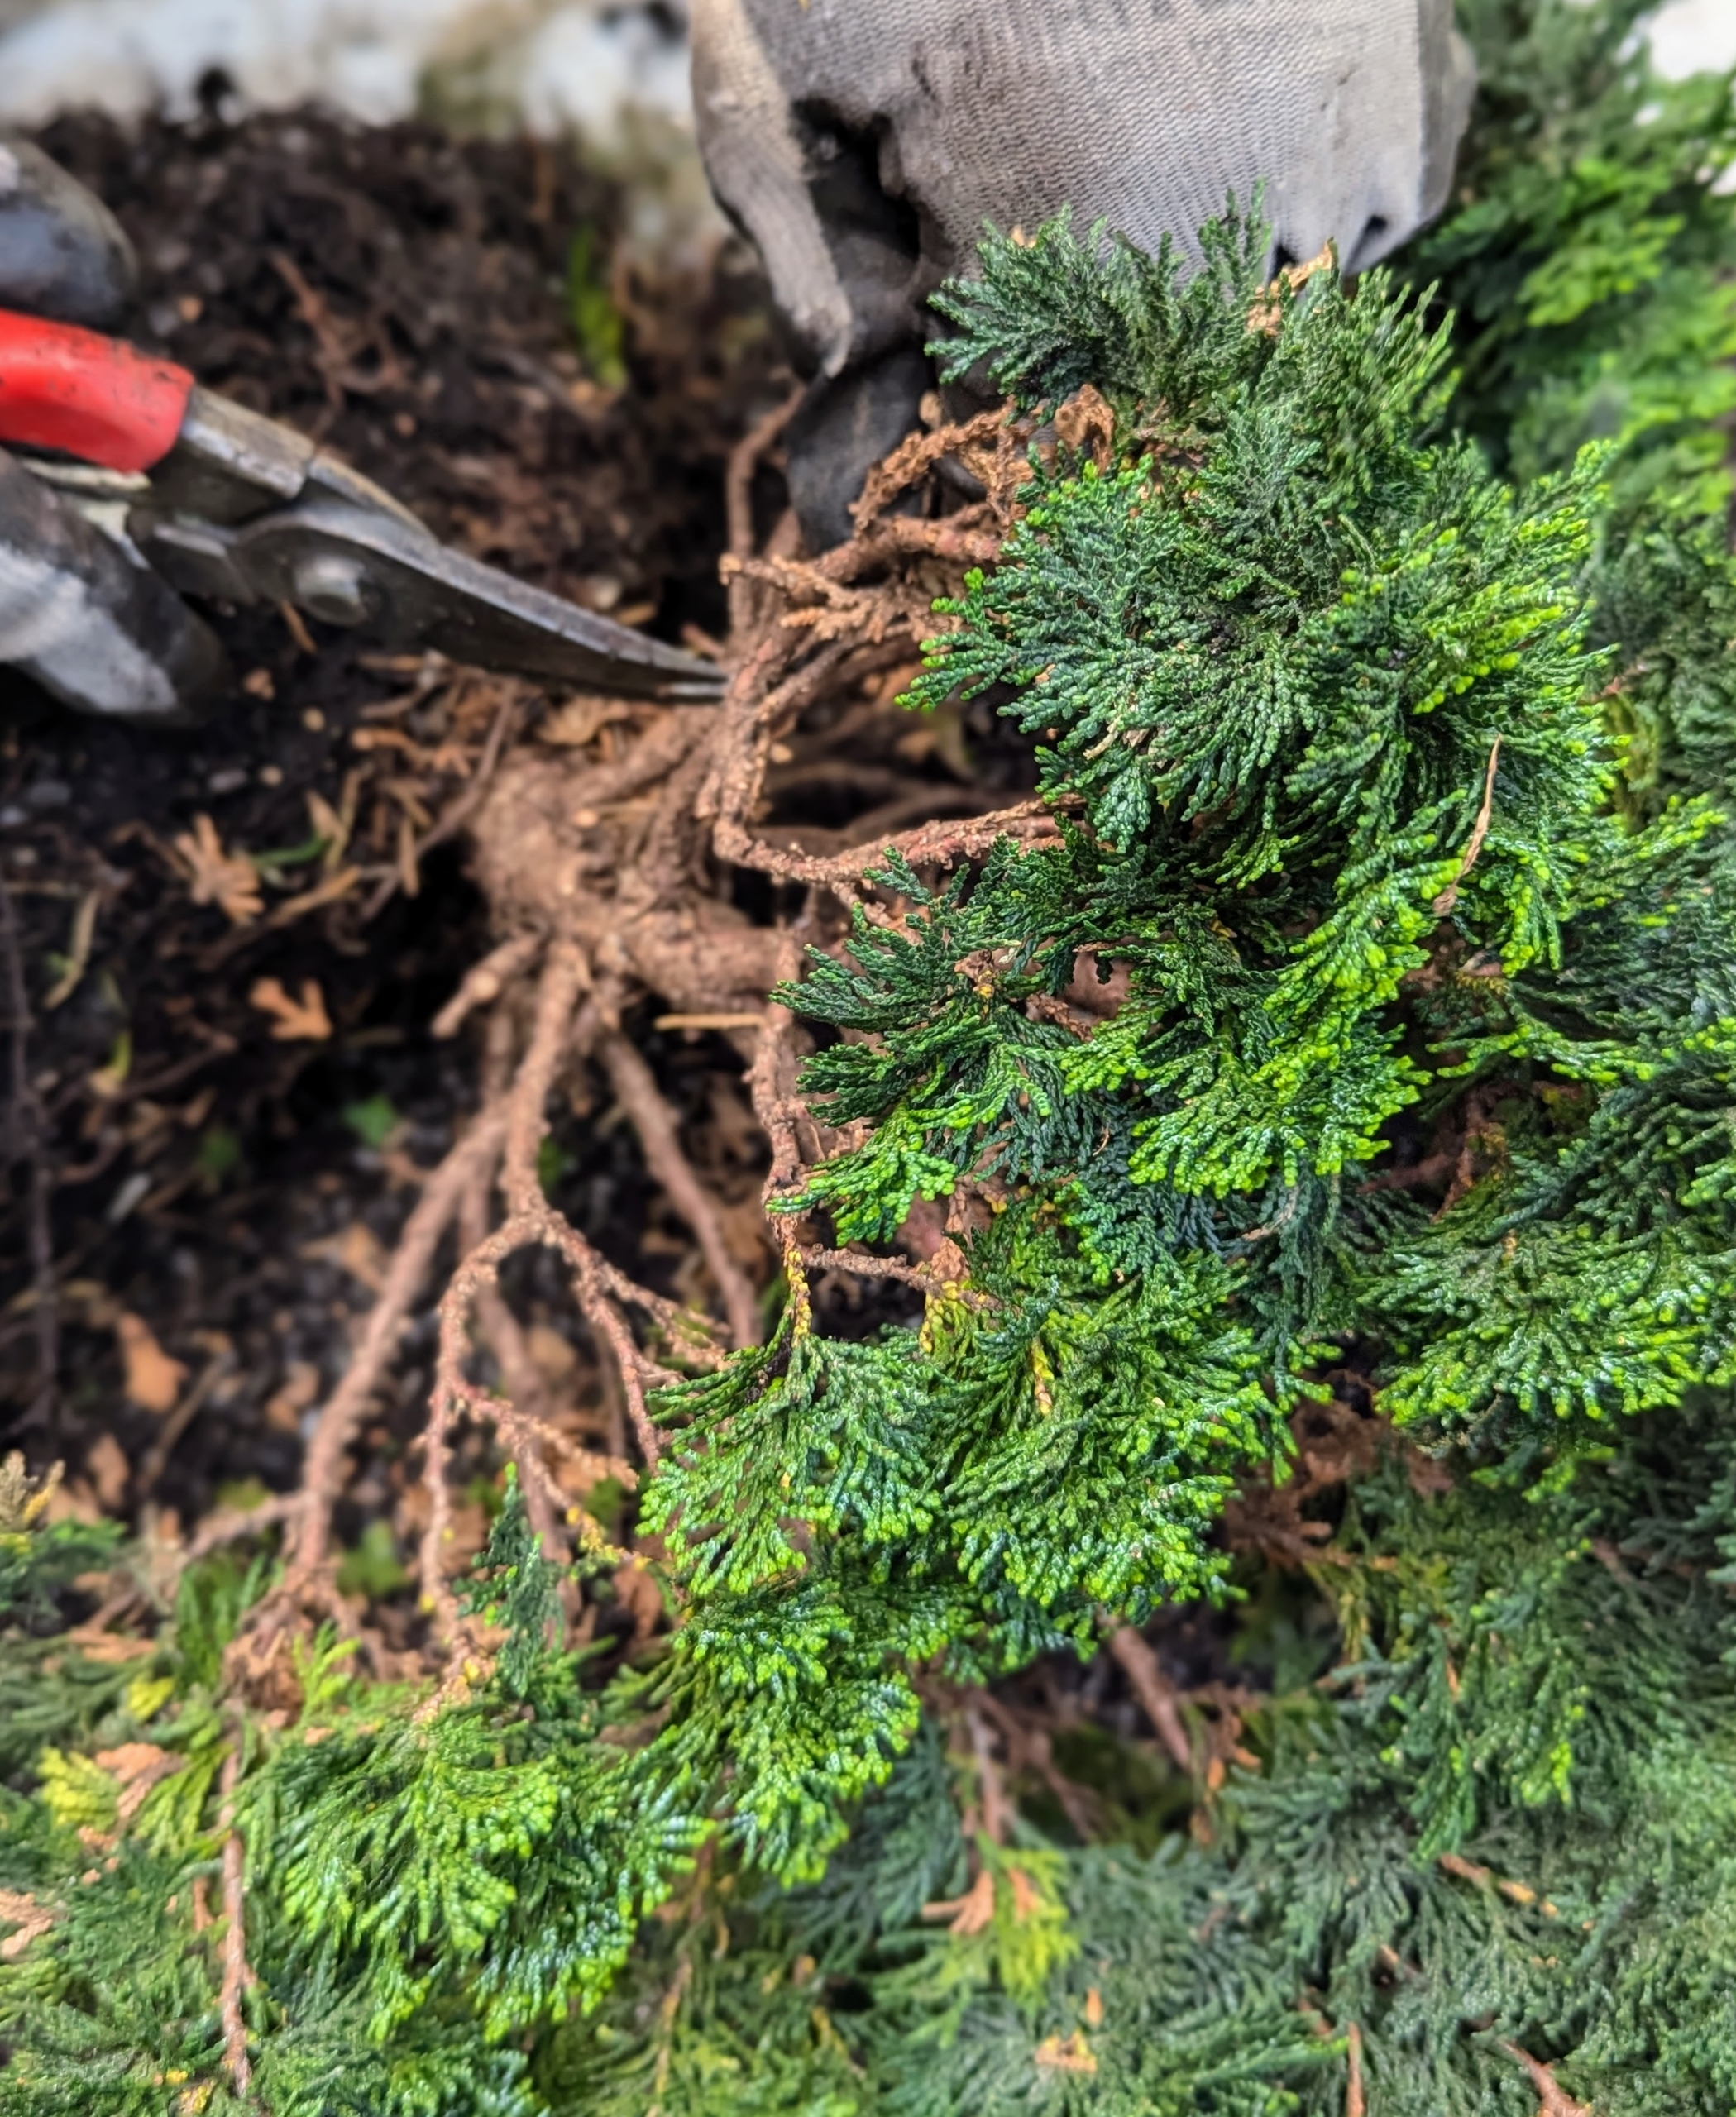
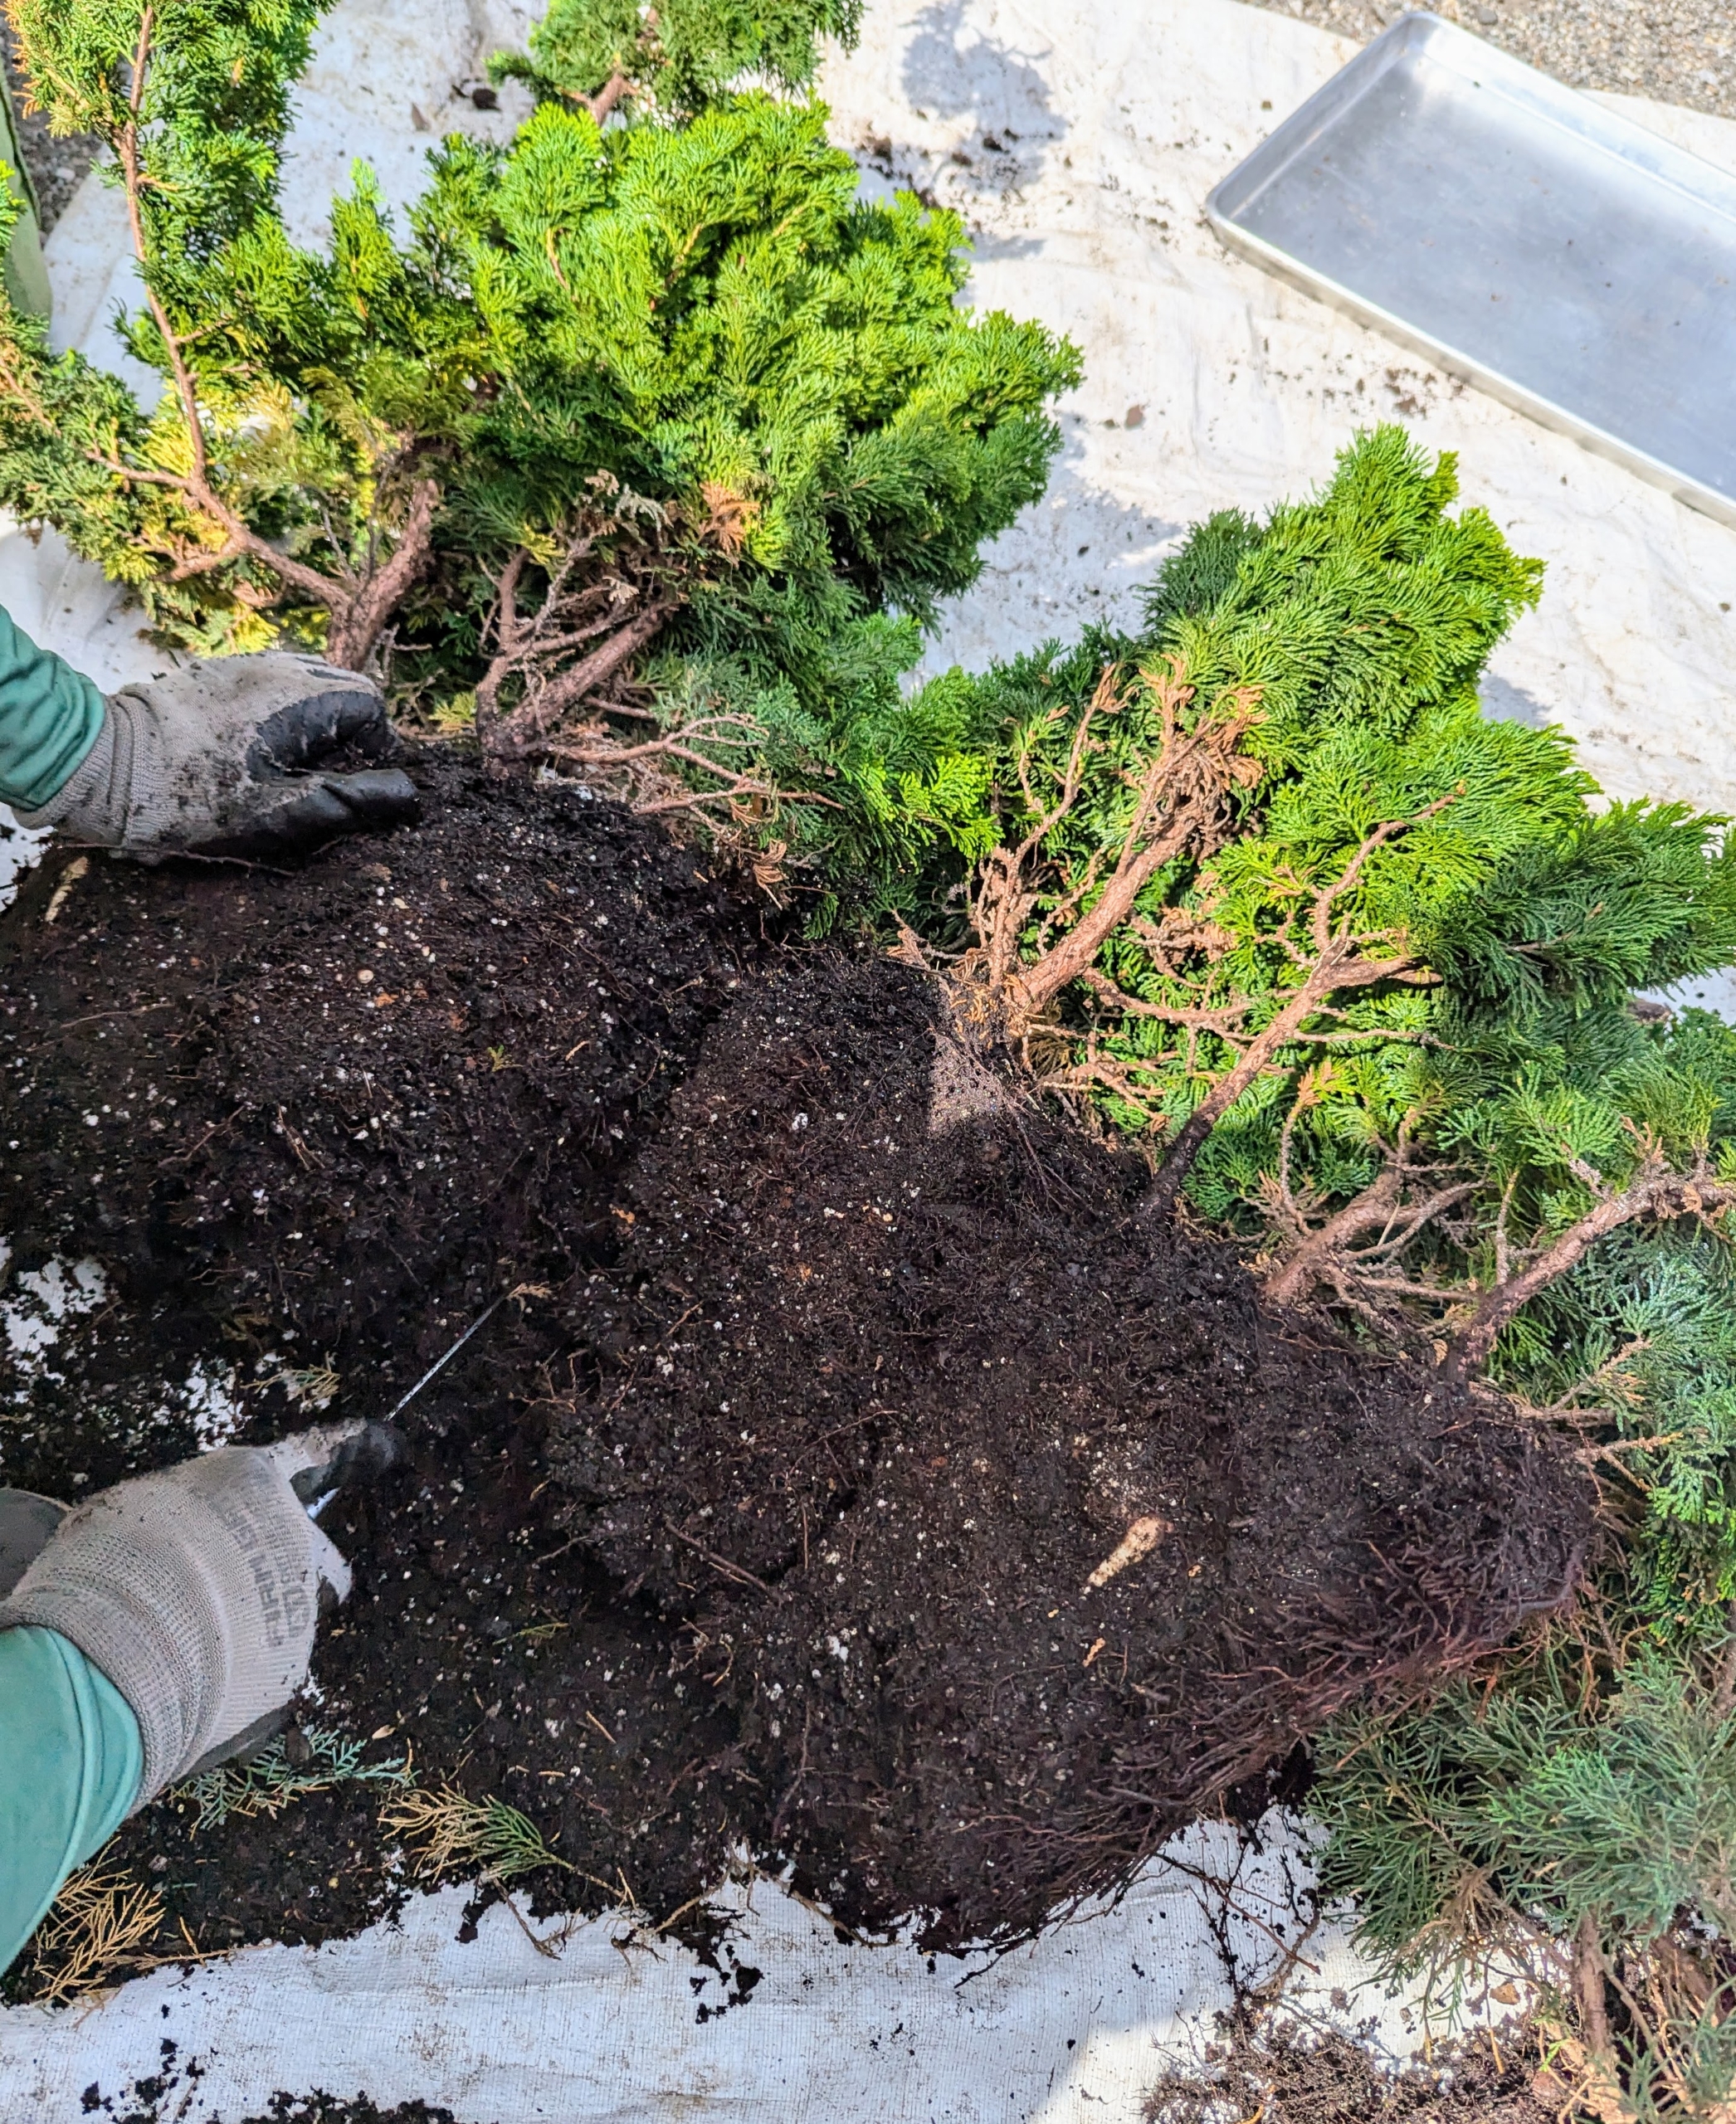
Ryan removes these plants from the container and separates them. The two had been planted together but are now big enough to be planted separately.
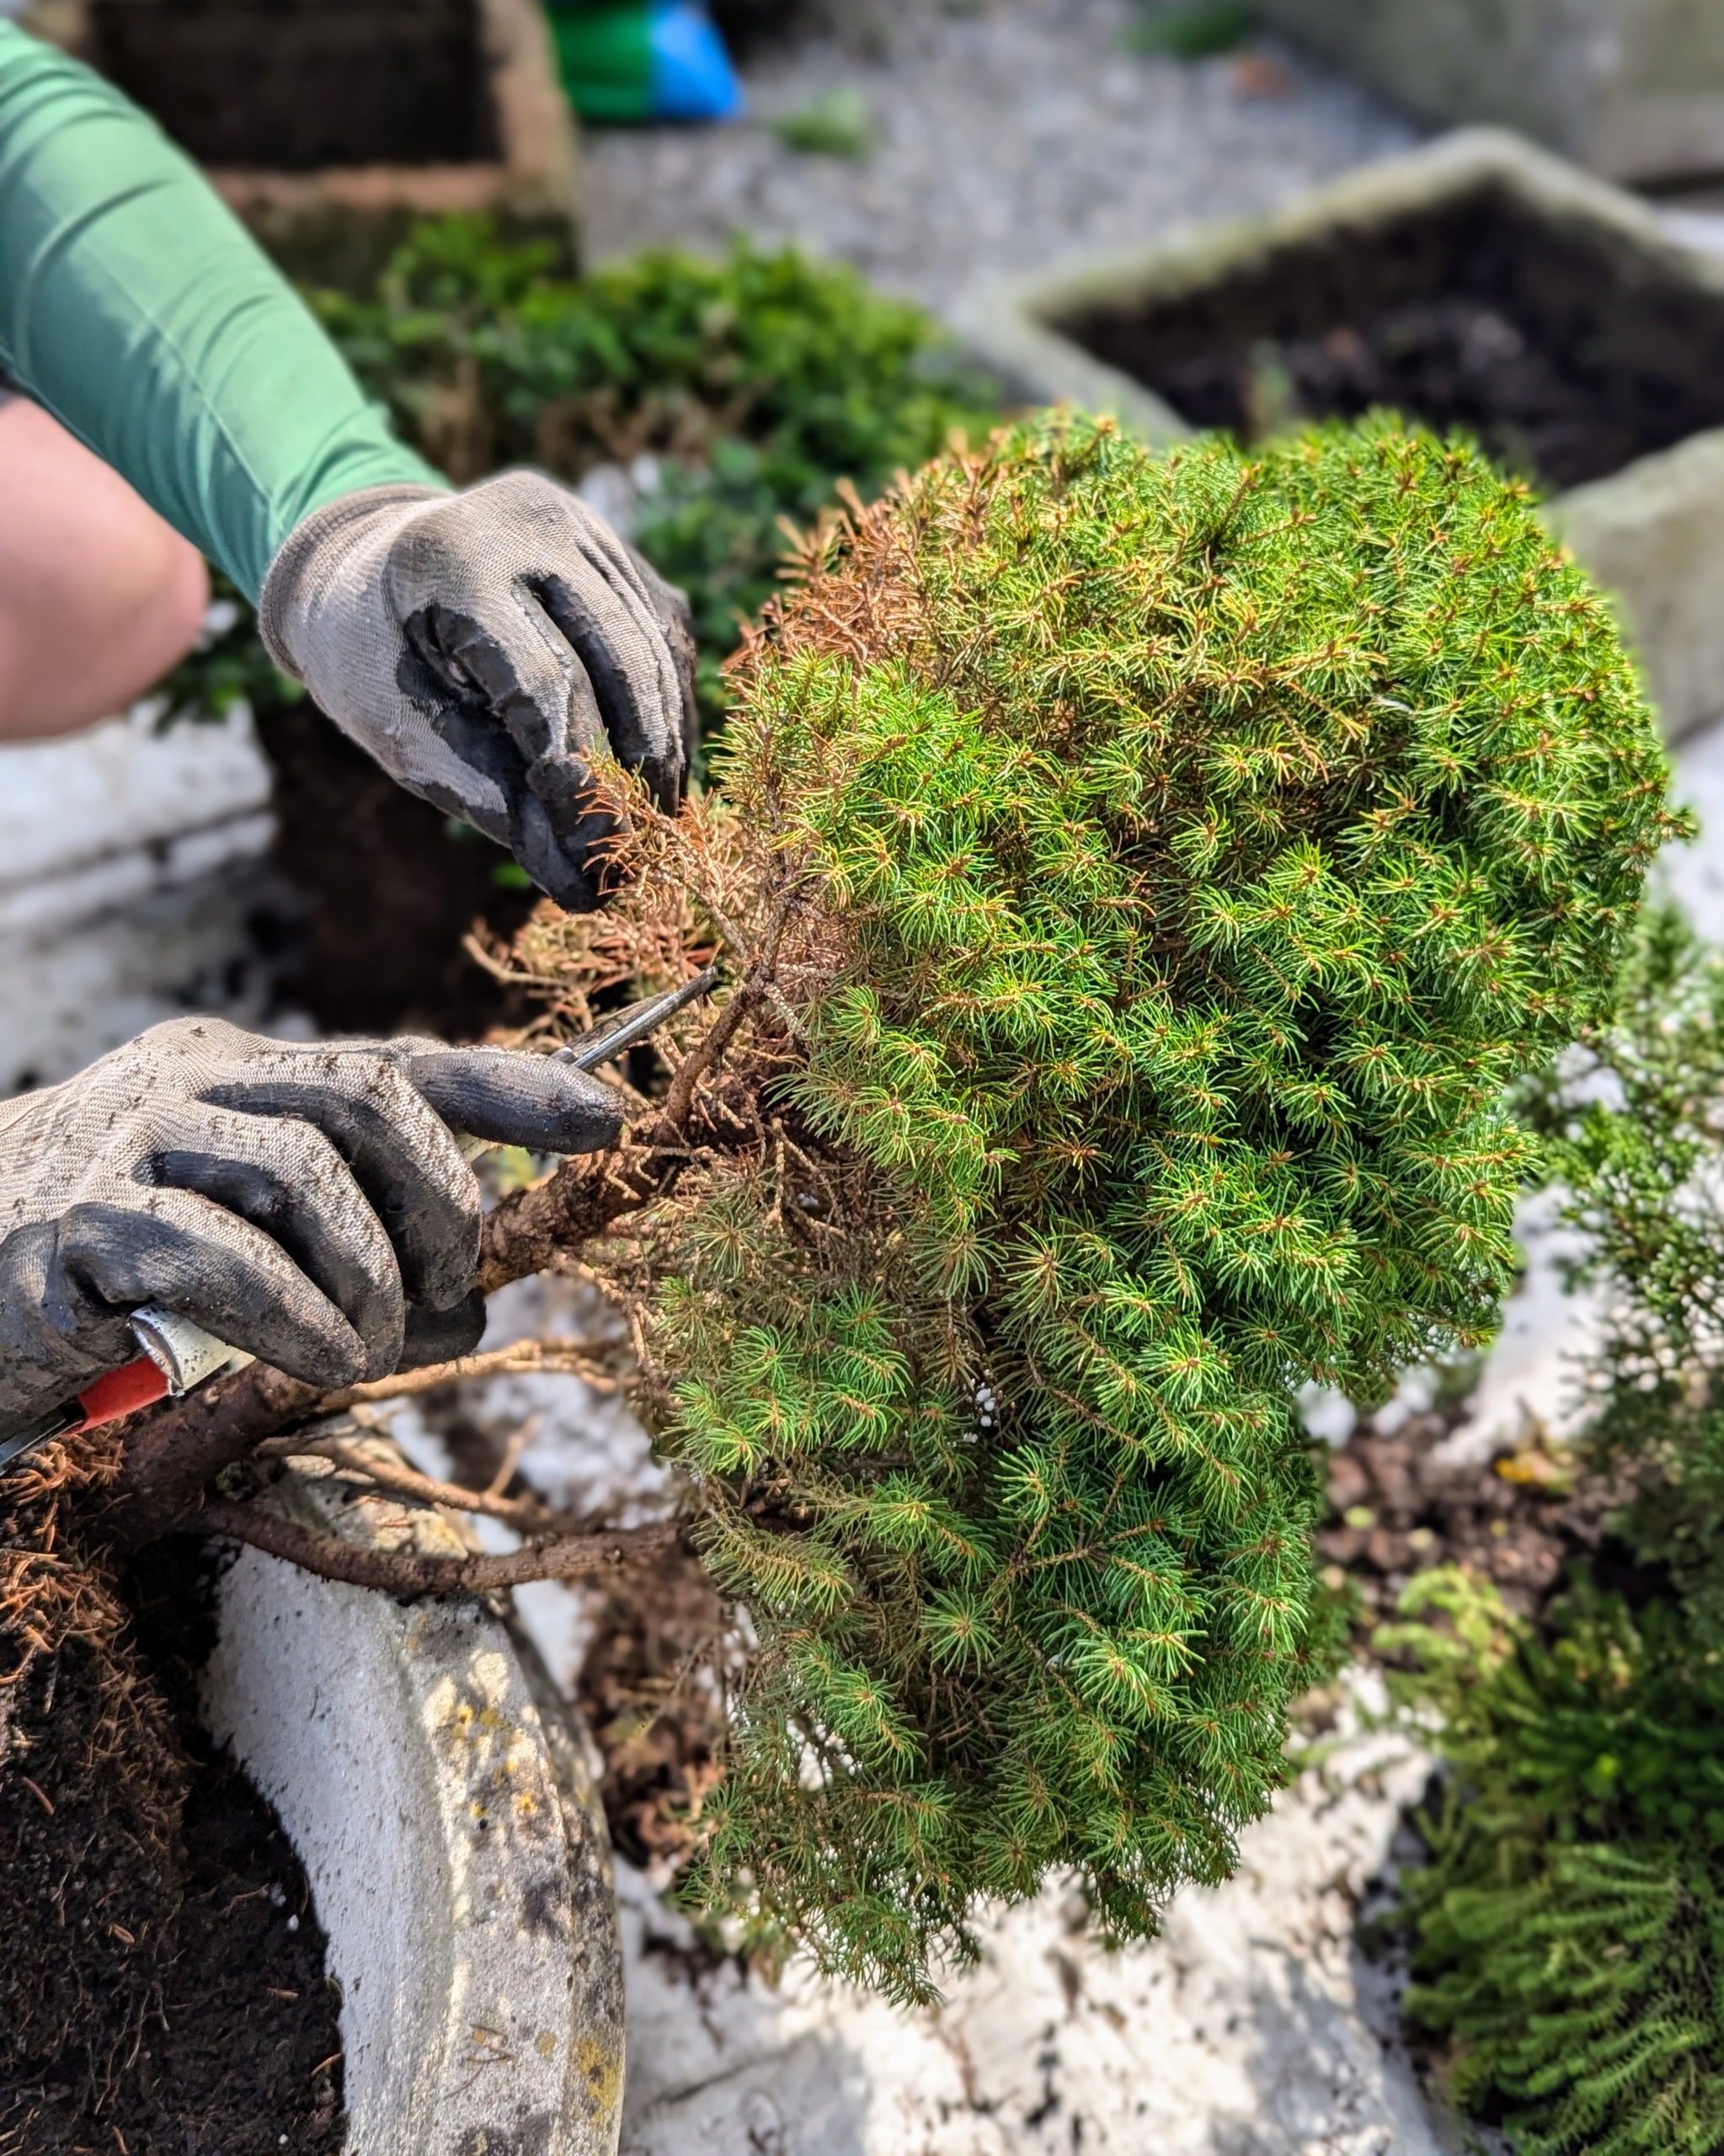
Before putting it in its new pot, Ryan grooms it and removes and dead, diseased, damaged or deranged branches. This specimen is in excellent shape and just needs a bit of trimming.
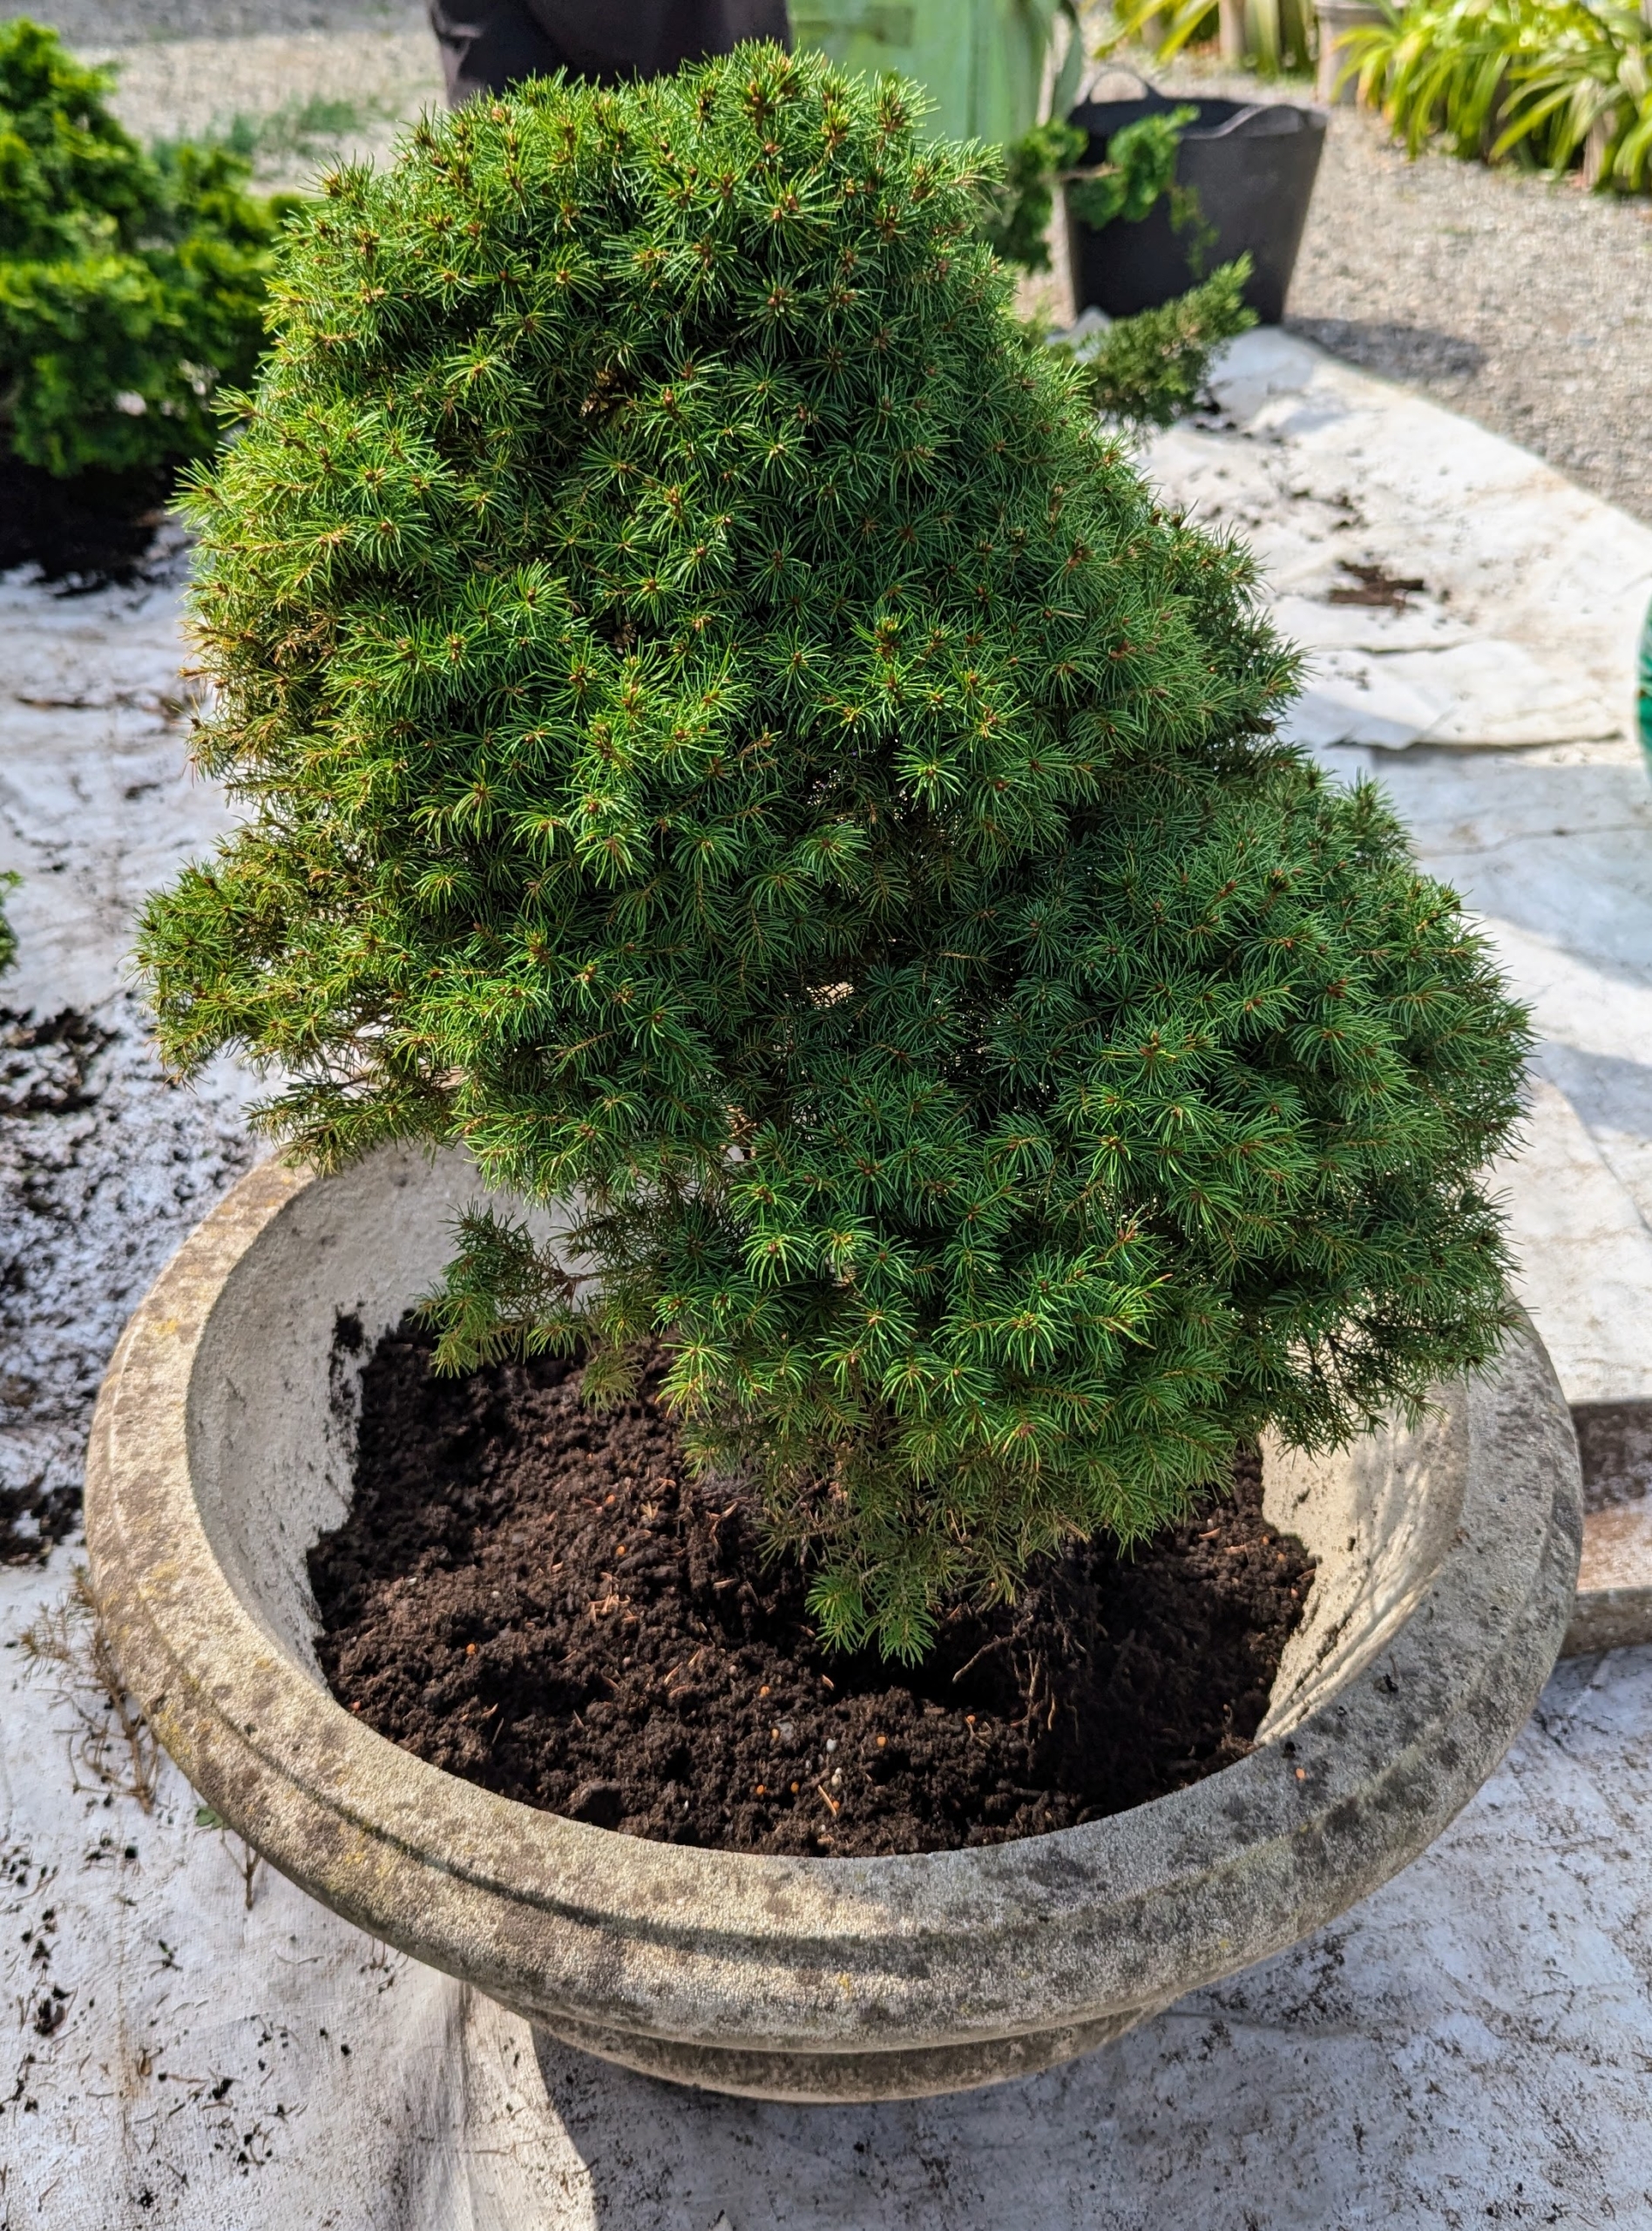
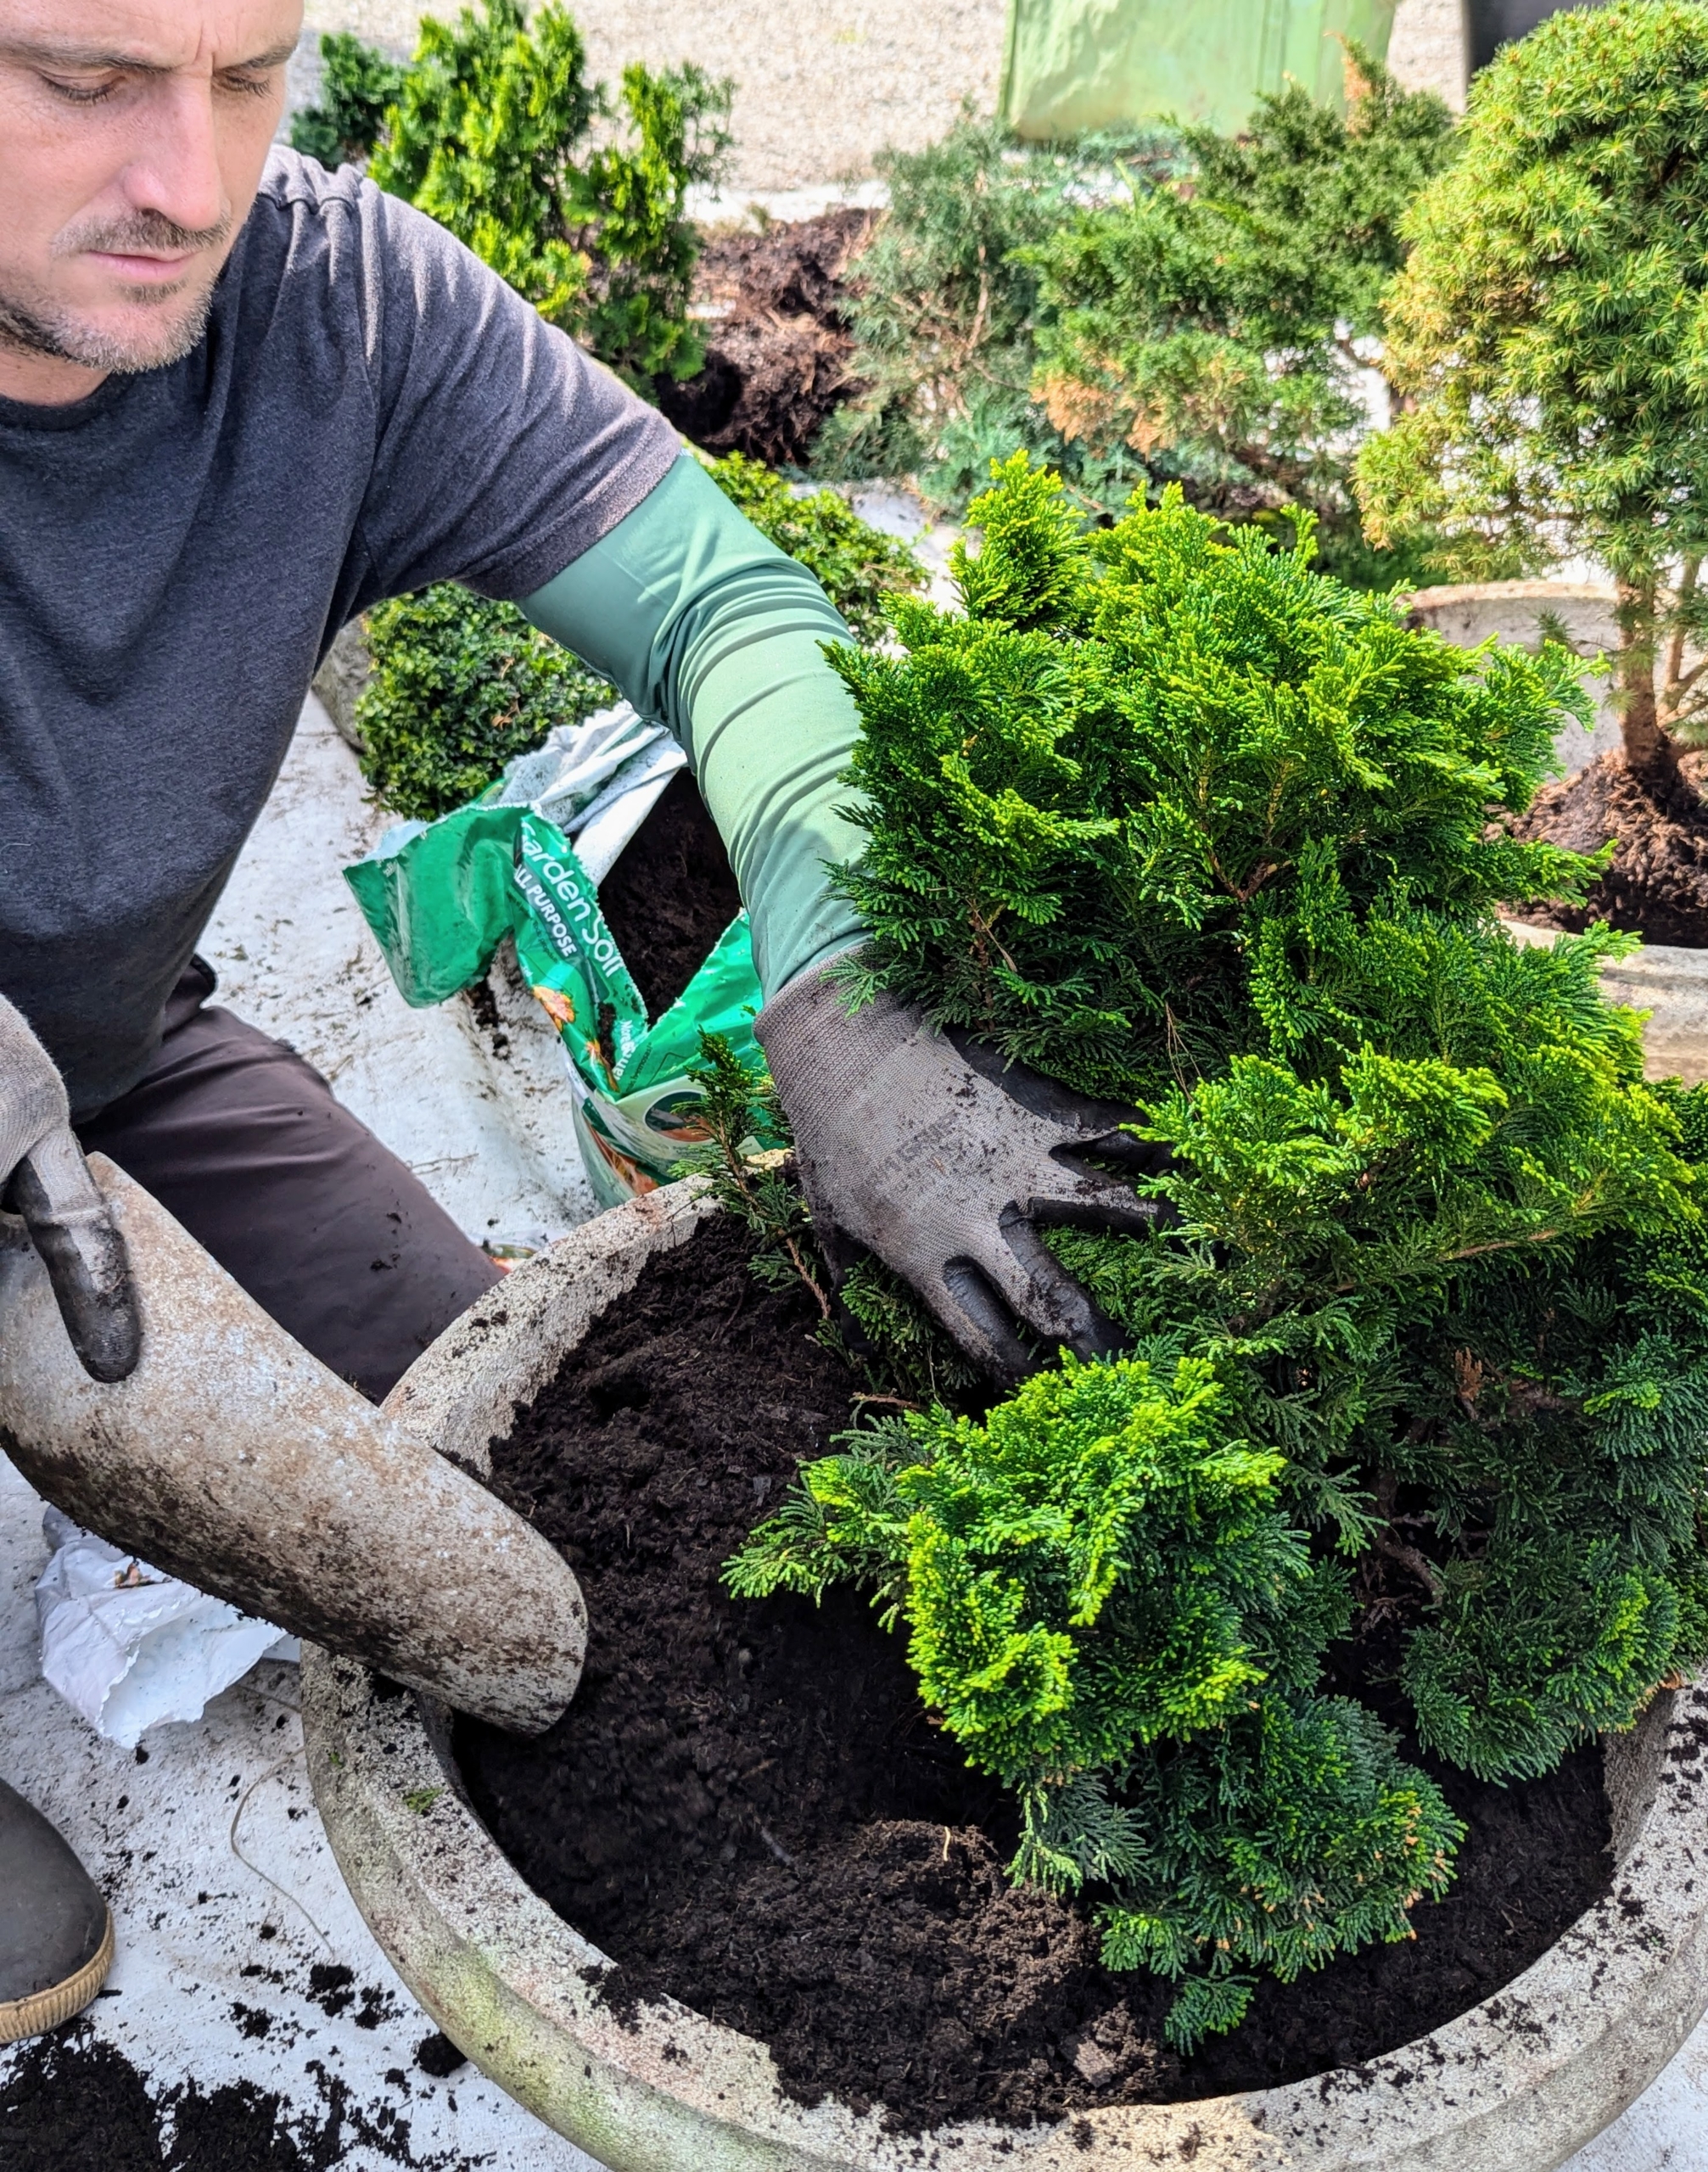
Here it is in its new pot. Ryan positions it firmly before backfilling.
Ryan does the same with this cypress. Proper trimming rejuvenates mature plants and encourages new growth.
This one is cut in two. It is crucial that any cutting be done with a sharp knife to reduce any risk of crushing or tearing the plant’s tissues.
When selecting a pot, consider plant size and growth habit as well as root size. The pot should be at least one inch wider than the plant’s root mass.
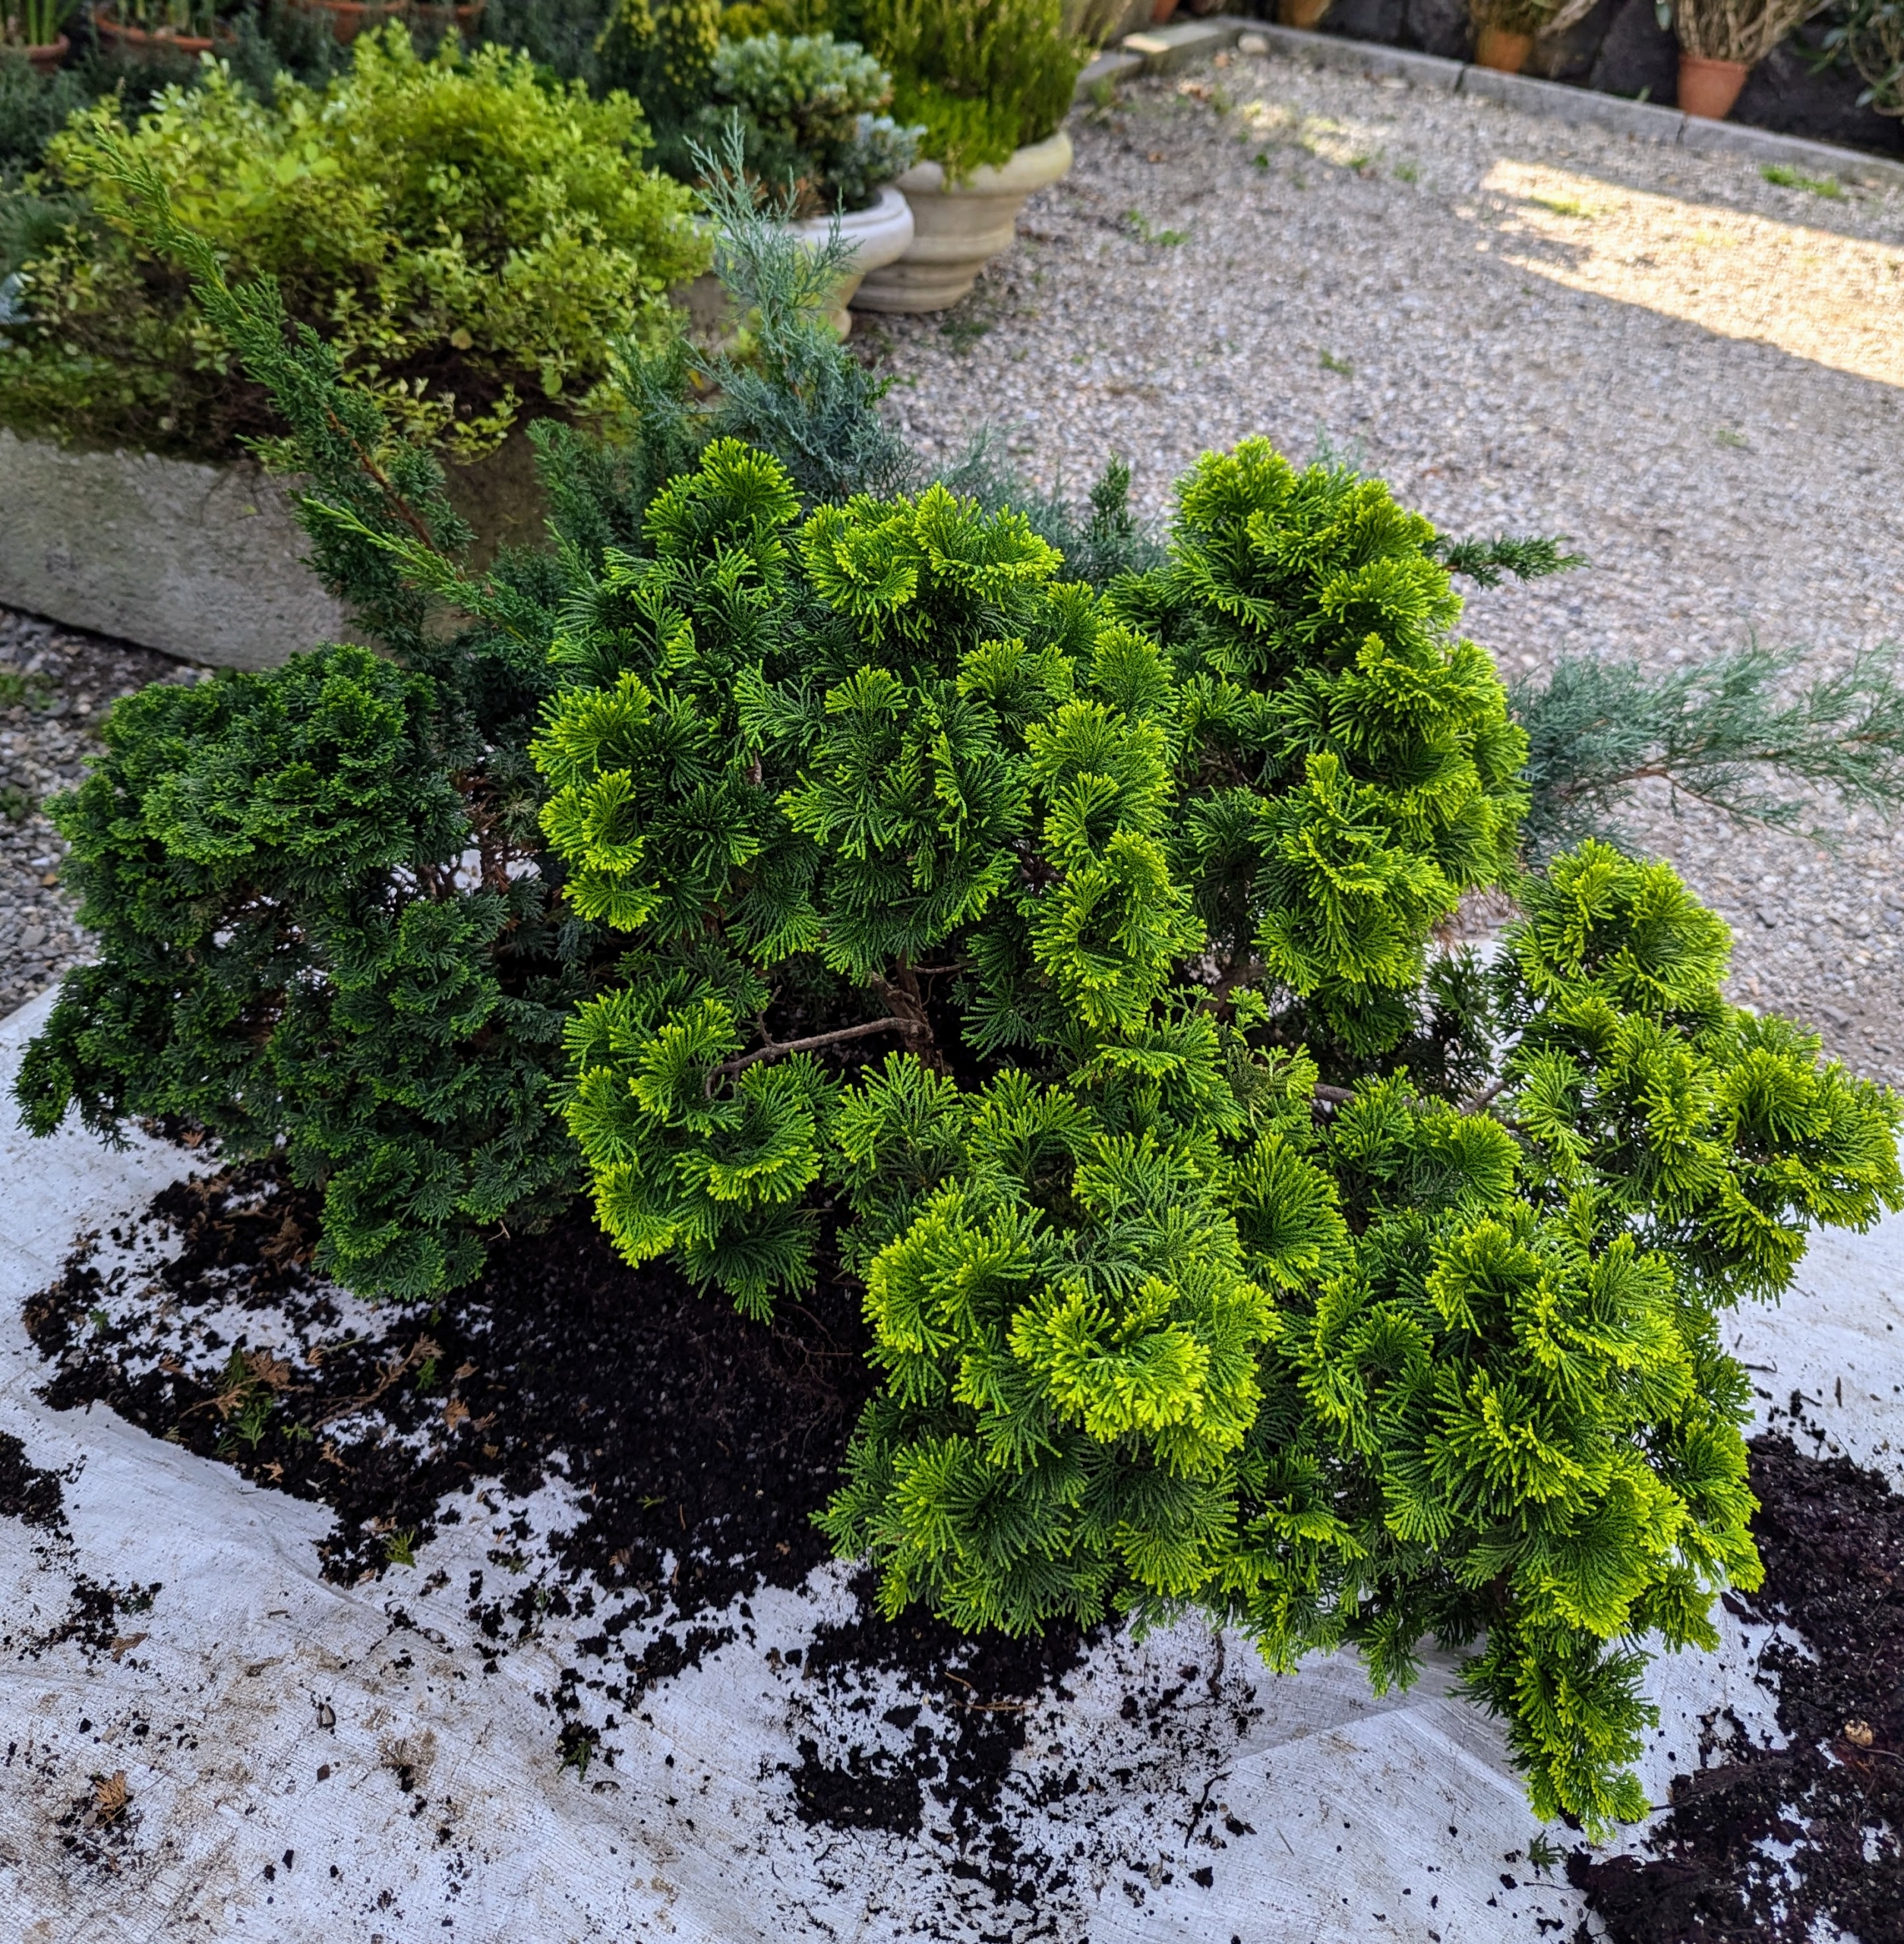
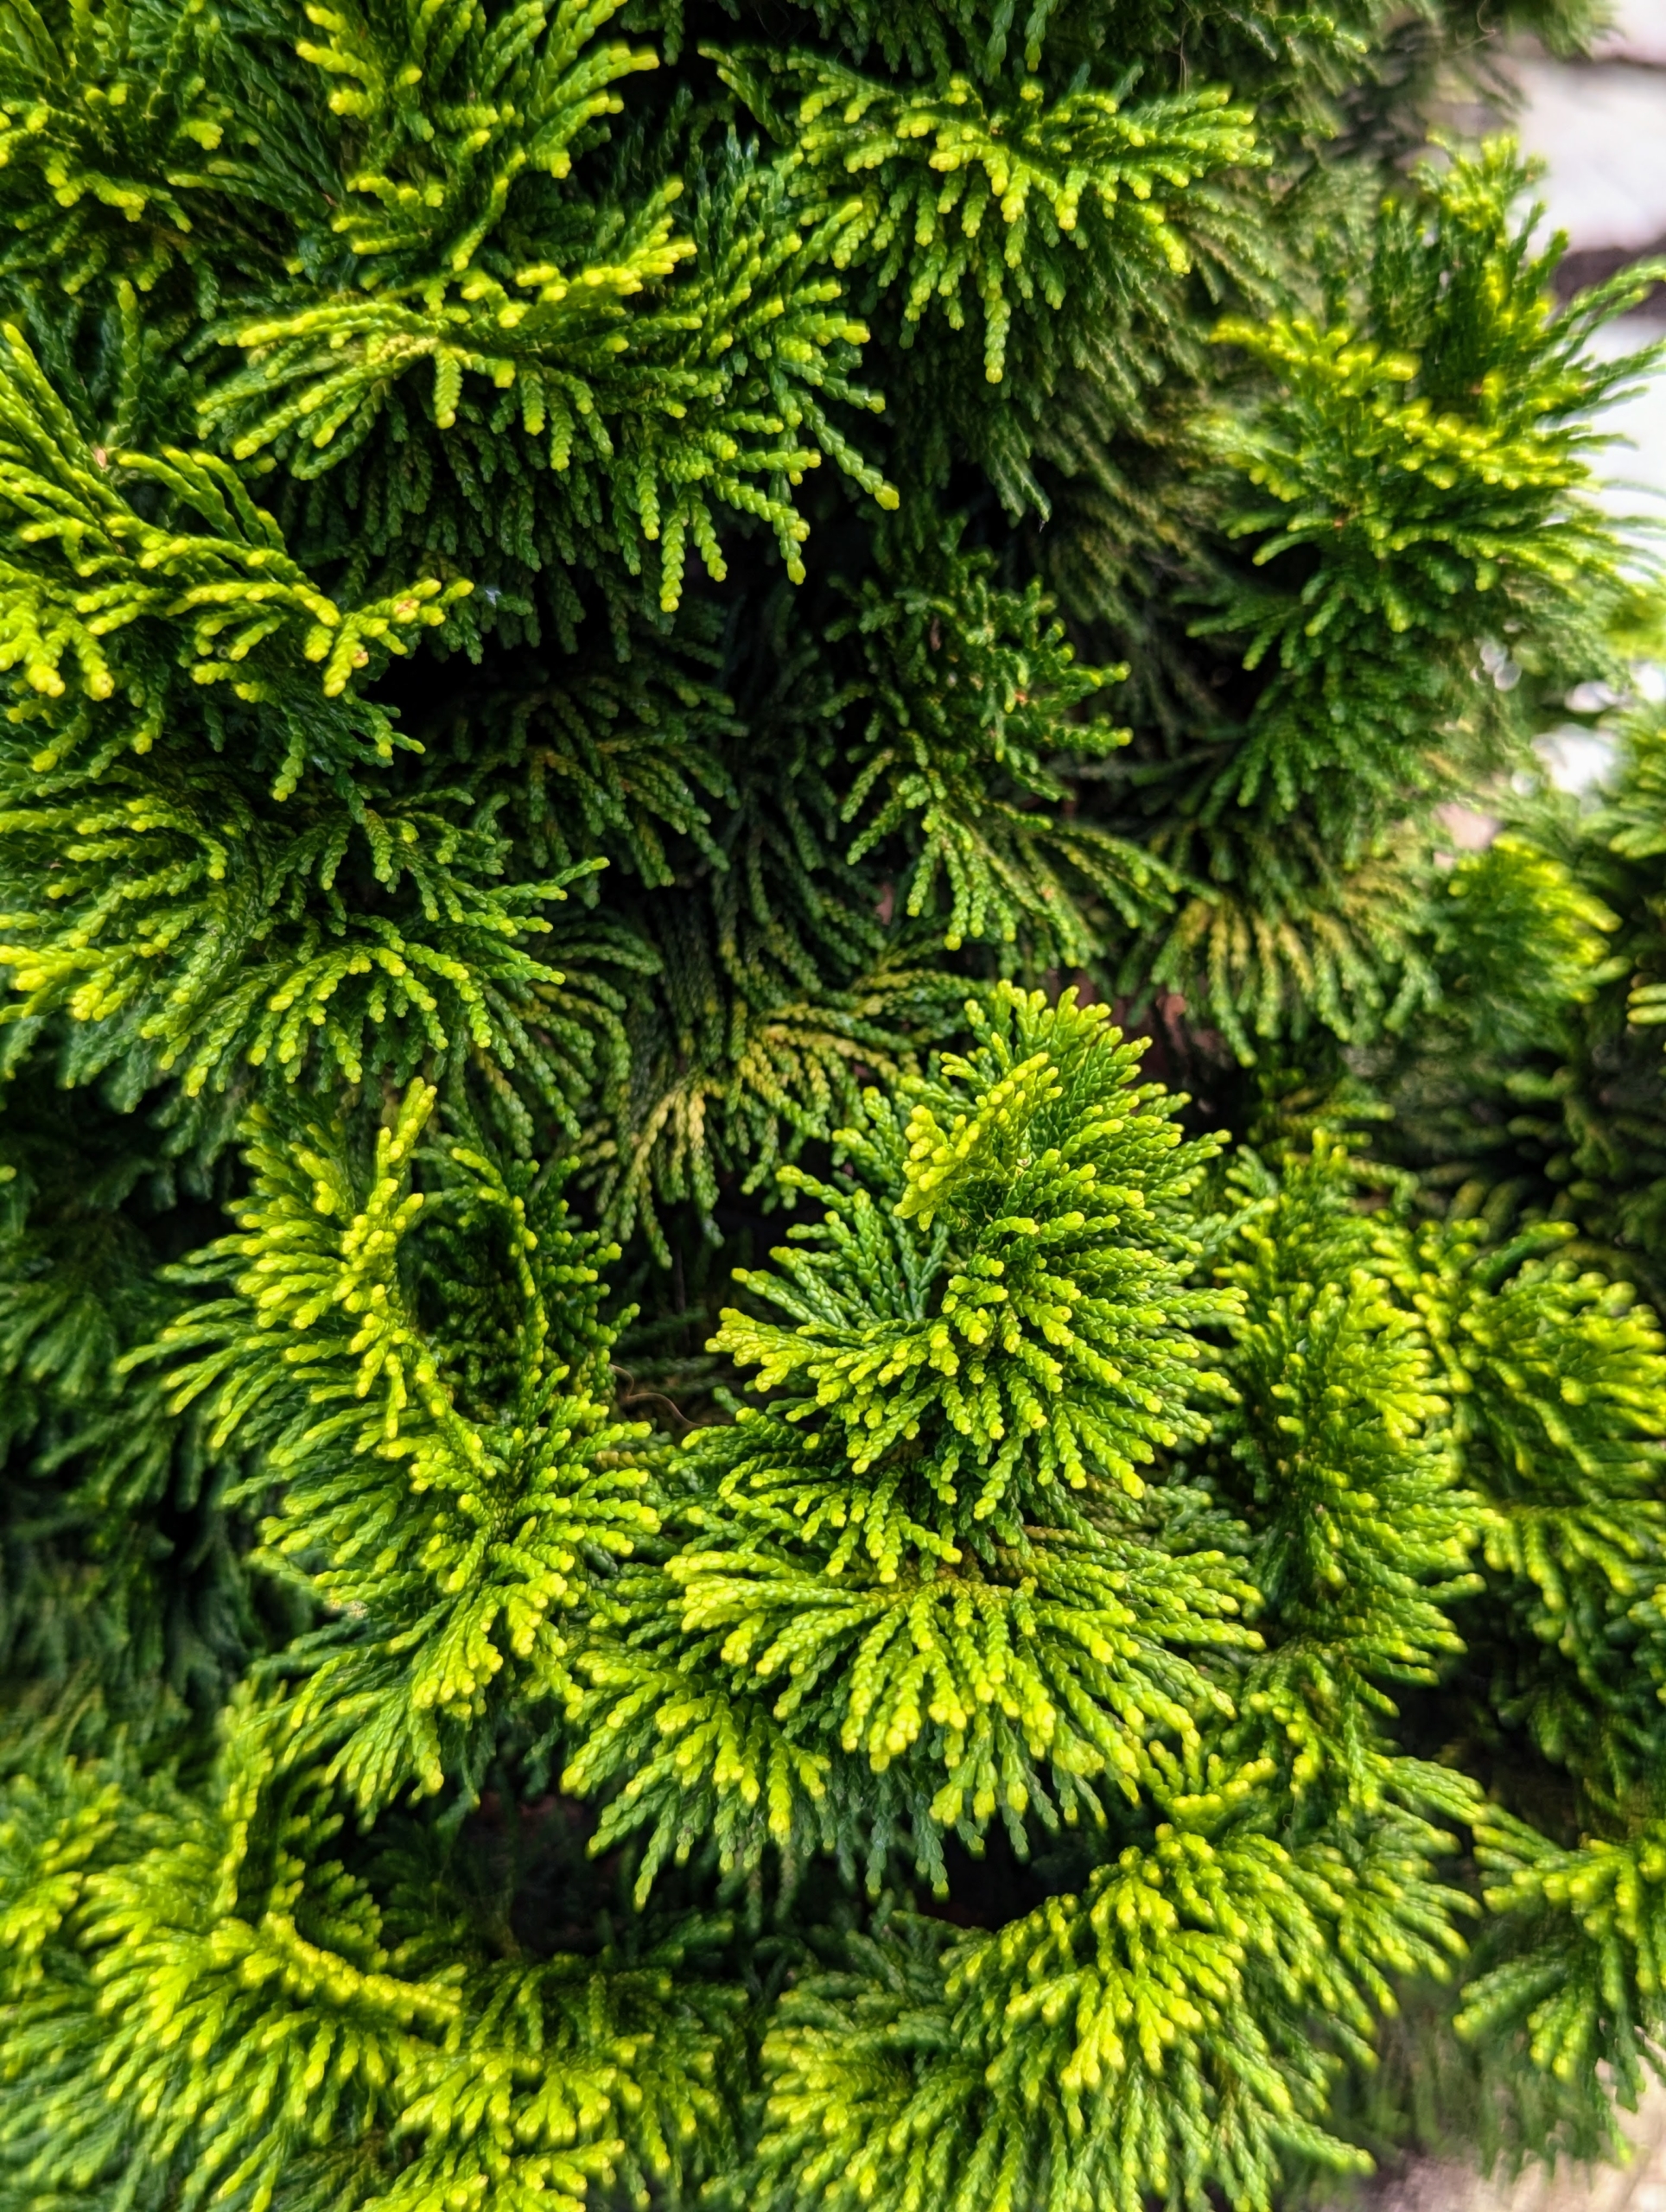
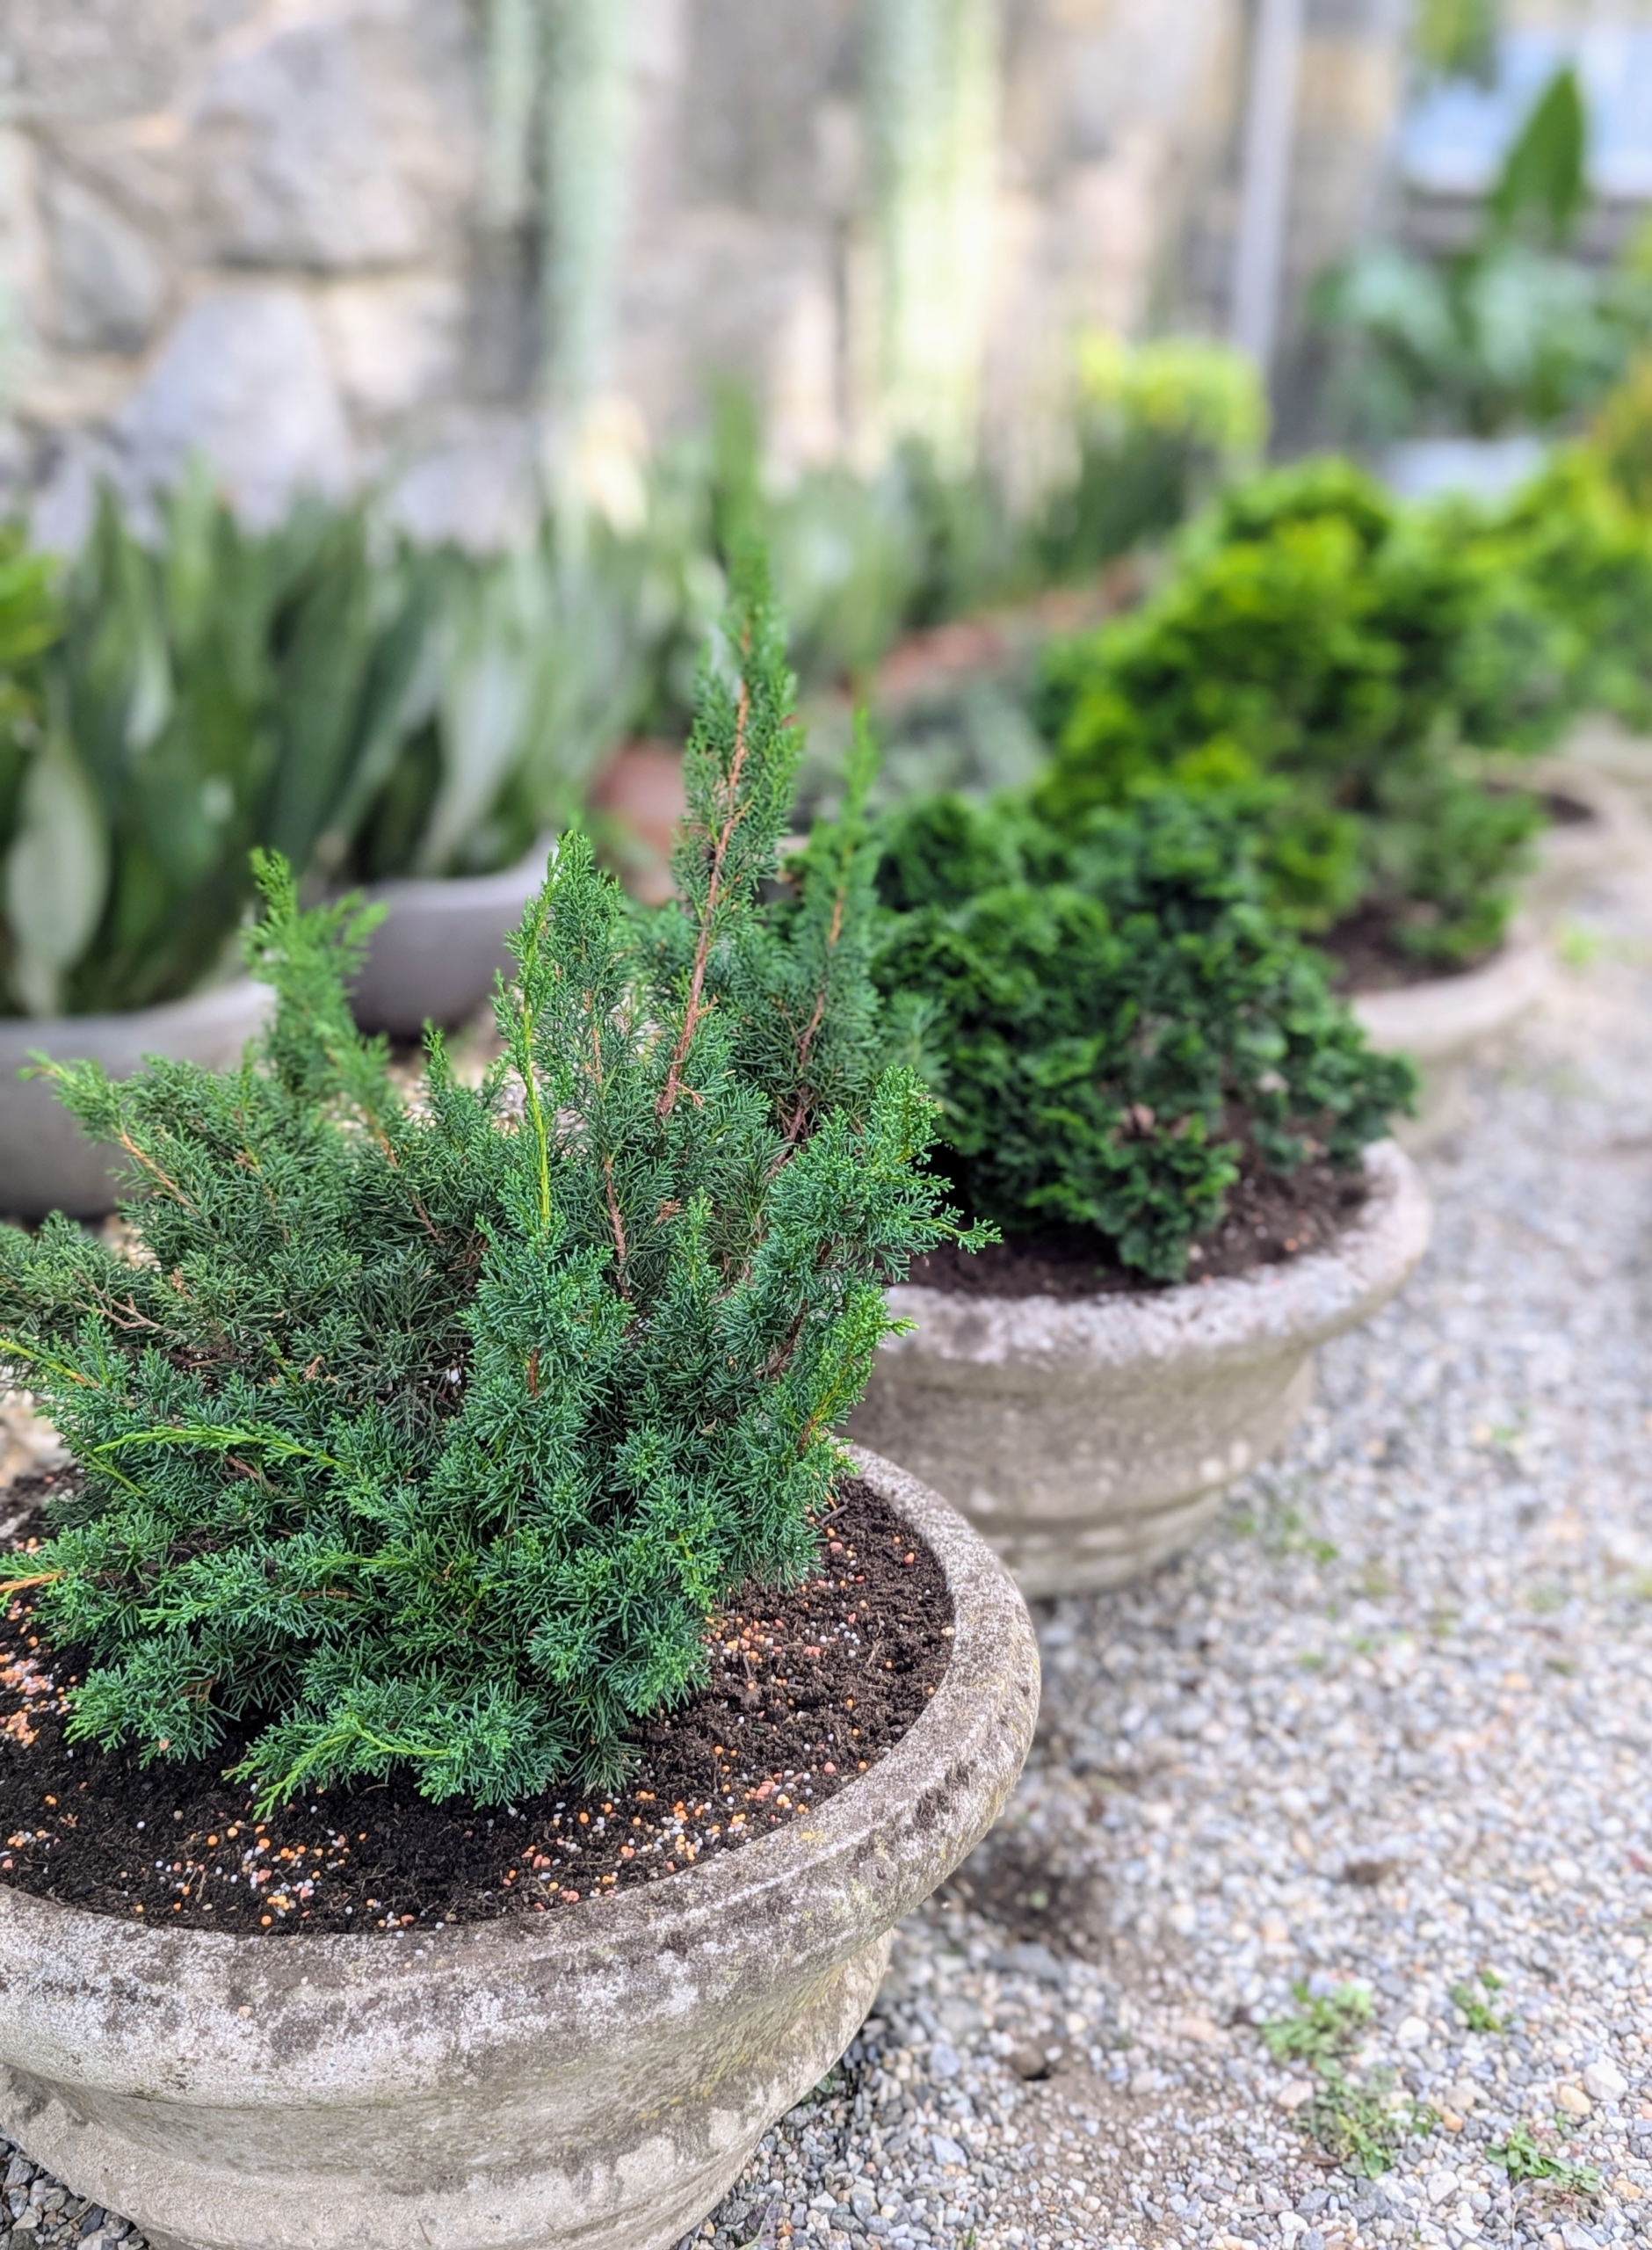
This dwarf Hinoki cypress is a charming evergreen shrub prized for its rounded and compact habit and soft fernlike foliage.
There are different types of Japanese cypress. Most are slow growing and great in full sun. It is most loved for providing year round bold green color.
Ryan places the plants in pots to see if they are the right size and shape for the specimens before planting. I use clay pots which are very sturdy and durable.
Ryan sprinkles a little more Scotts fertilizer on top of the soil. Be sure the food used does not burn the foliage. This food will encourages vigorous root growth and lush foliage and feed for up to two months.
The right pot for the right plant provides the right amount of space and stability for proper watering and feeding. These evergreens will continue to thrive here at my farm.
Planting evergreen shrubs is a great way to layer in color and texture in the garden.
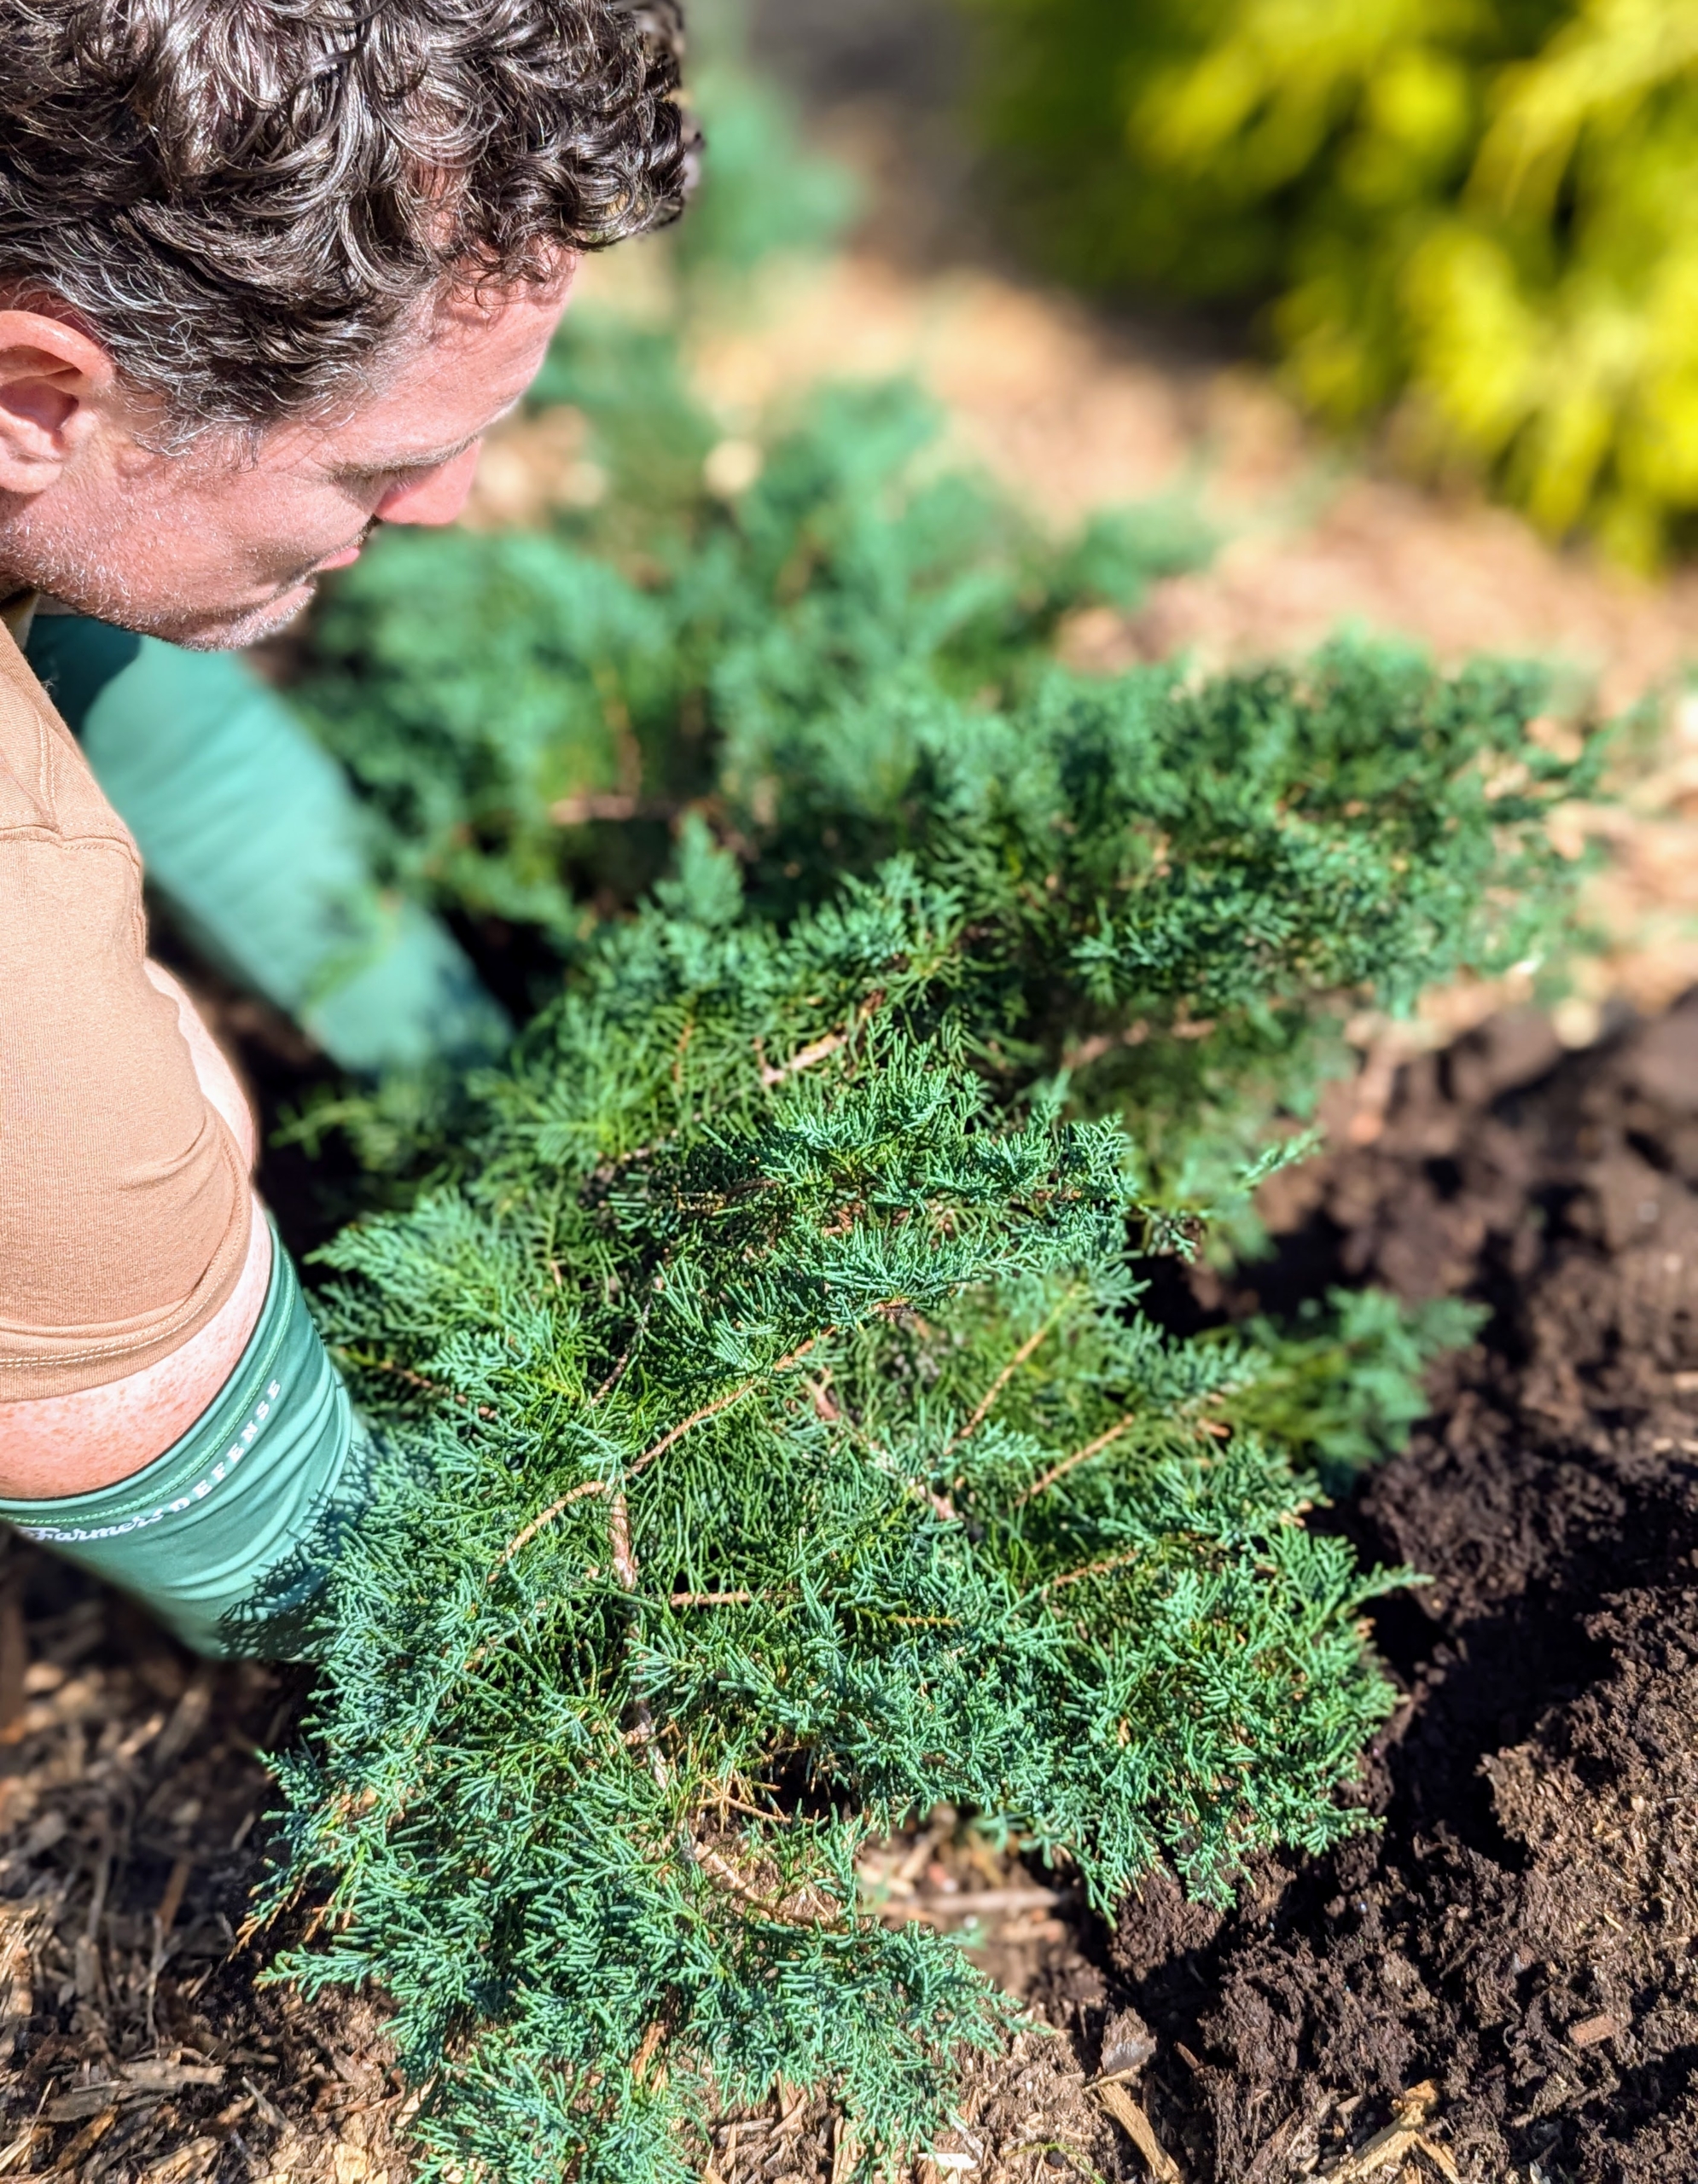
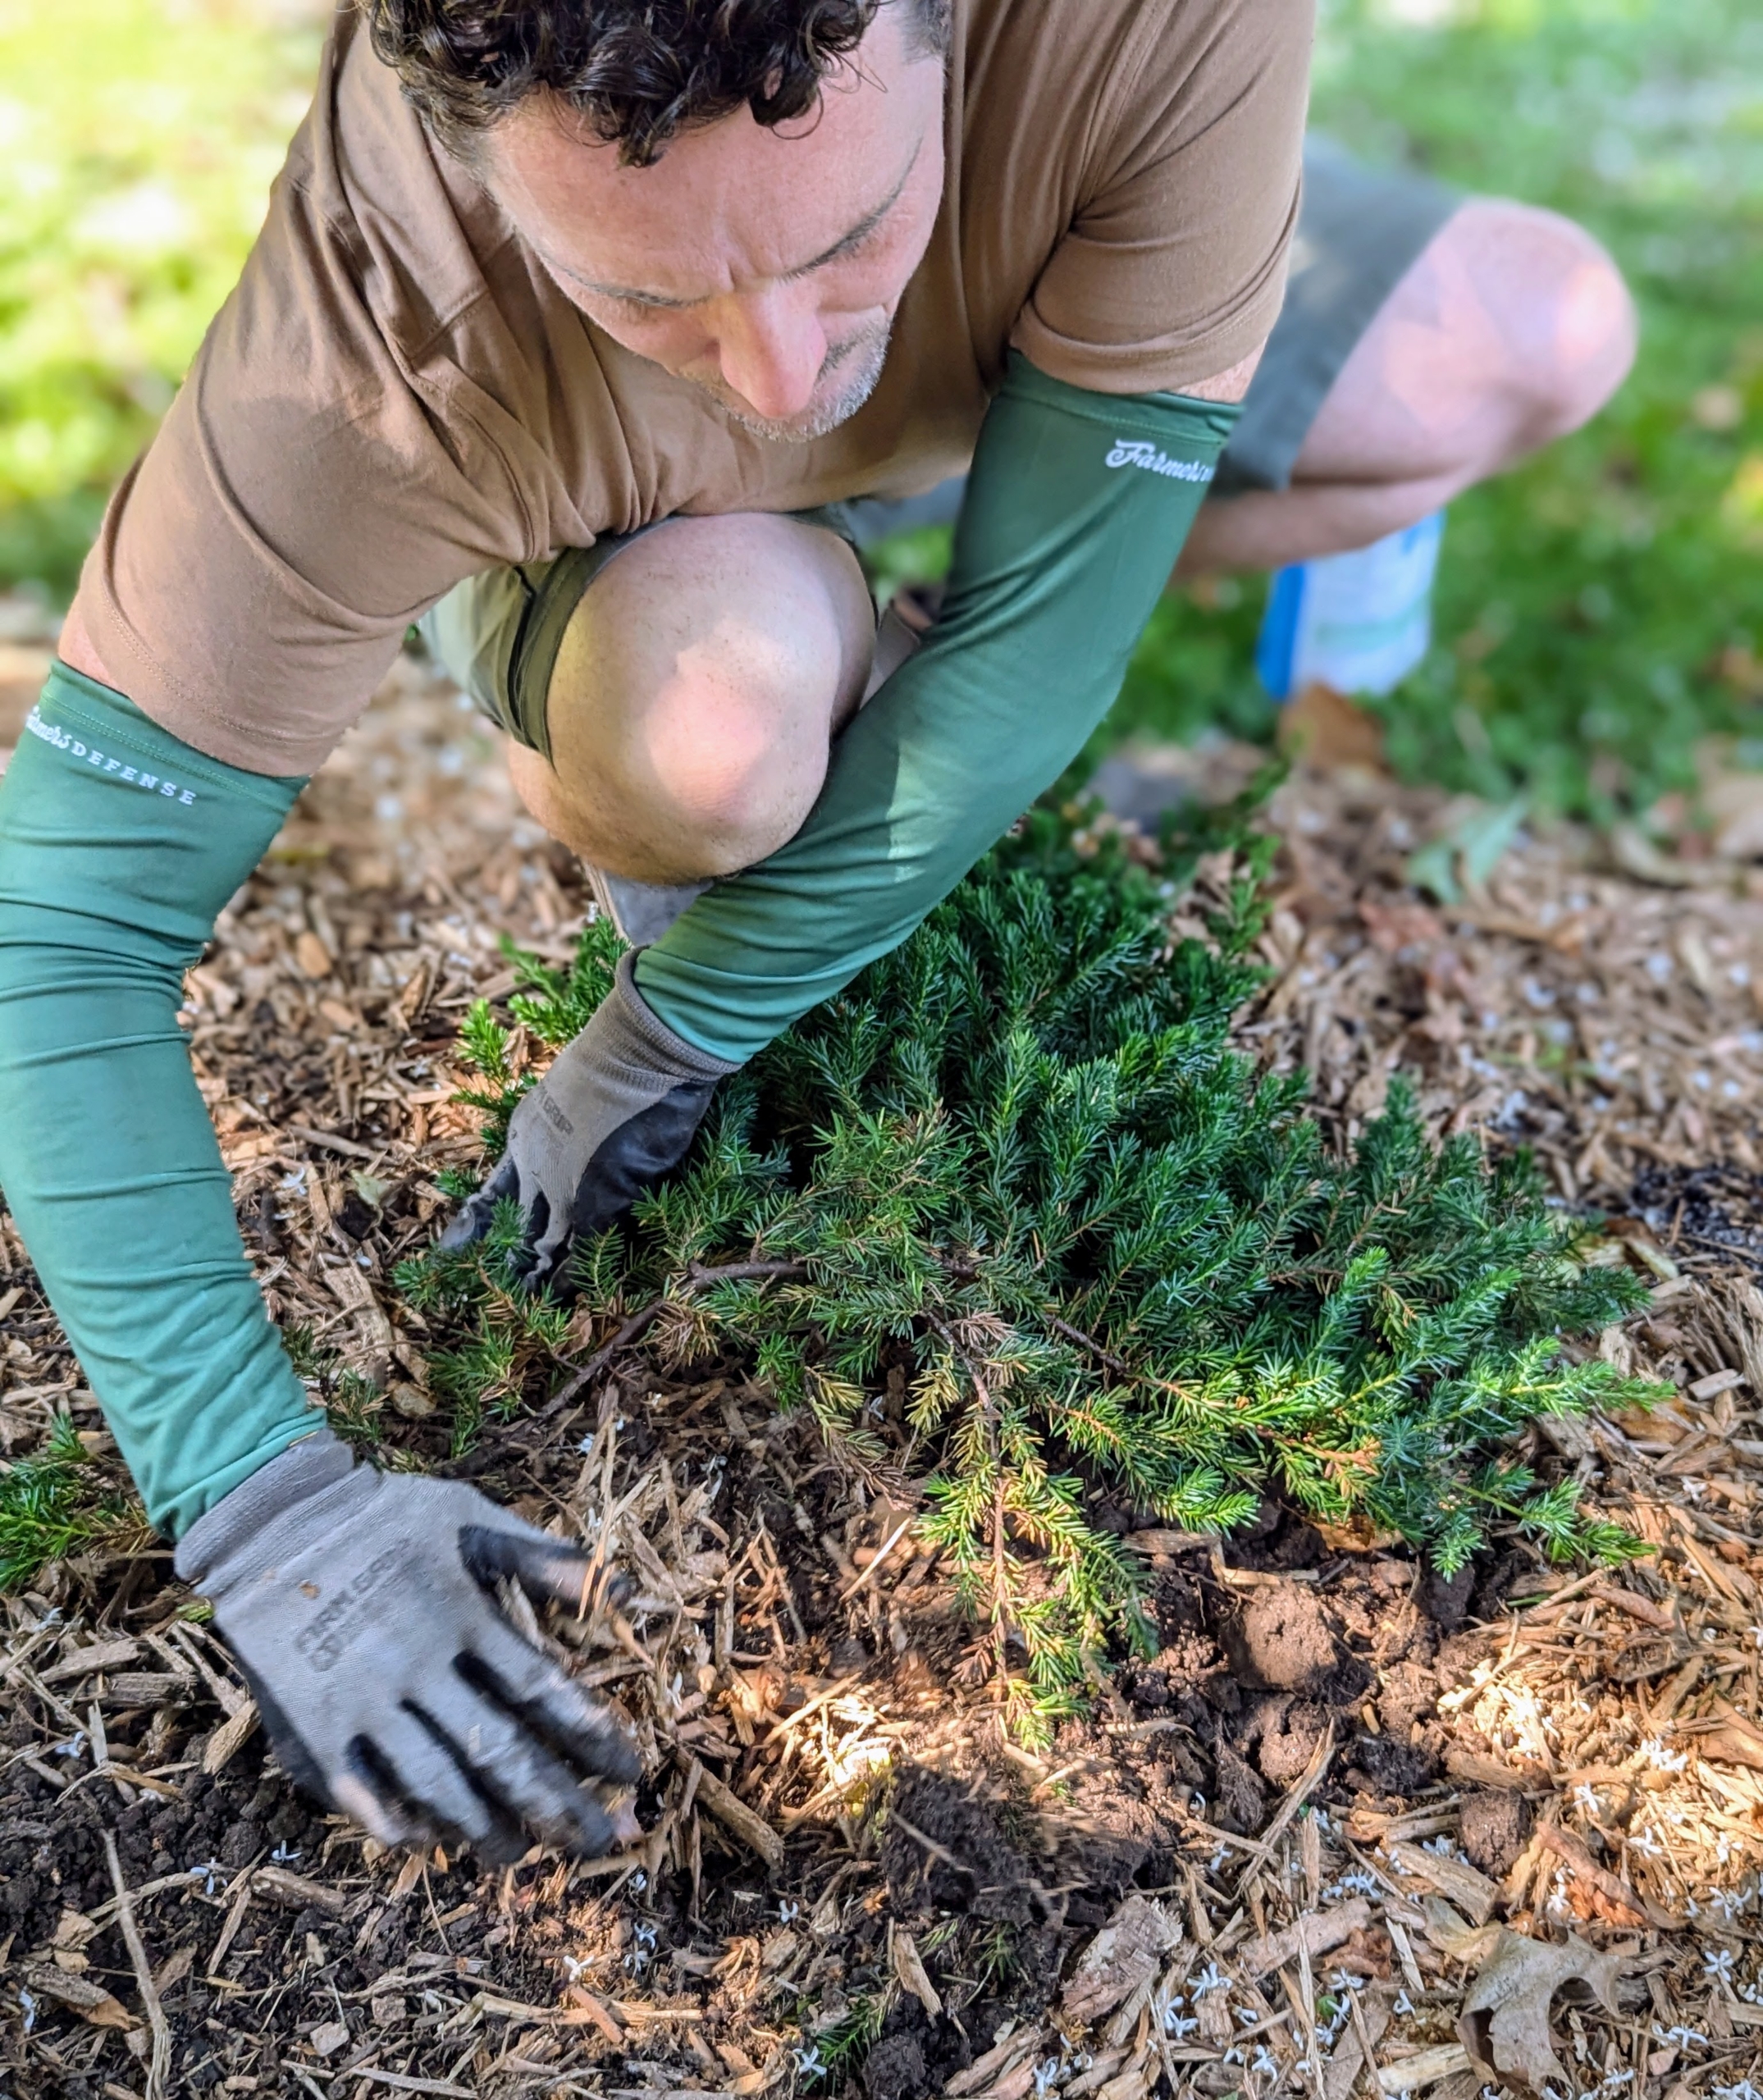
Near my Winter House were some potted evergreens that were in need of transplanting. While a couple of the pots had broken, other plants had just grown too big for their containers. I instructed my head gardener, Ryan McCallister, to transplant some of them into the pinetum, an arboretum of pine trees and other conifers. This time of year, late summer into early fall, is ideal for transplanting specimens into the ground as temperatures are cooler and less stressful on the plants.
Here are some photos, enjoy.
As a serious and passionate gardener, I am always looking for ways to add more beauty and texture to all my garden beds. One area that is constantly evolving is my pinetum – an arboretum of pine trees and other conifers.
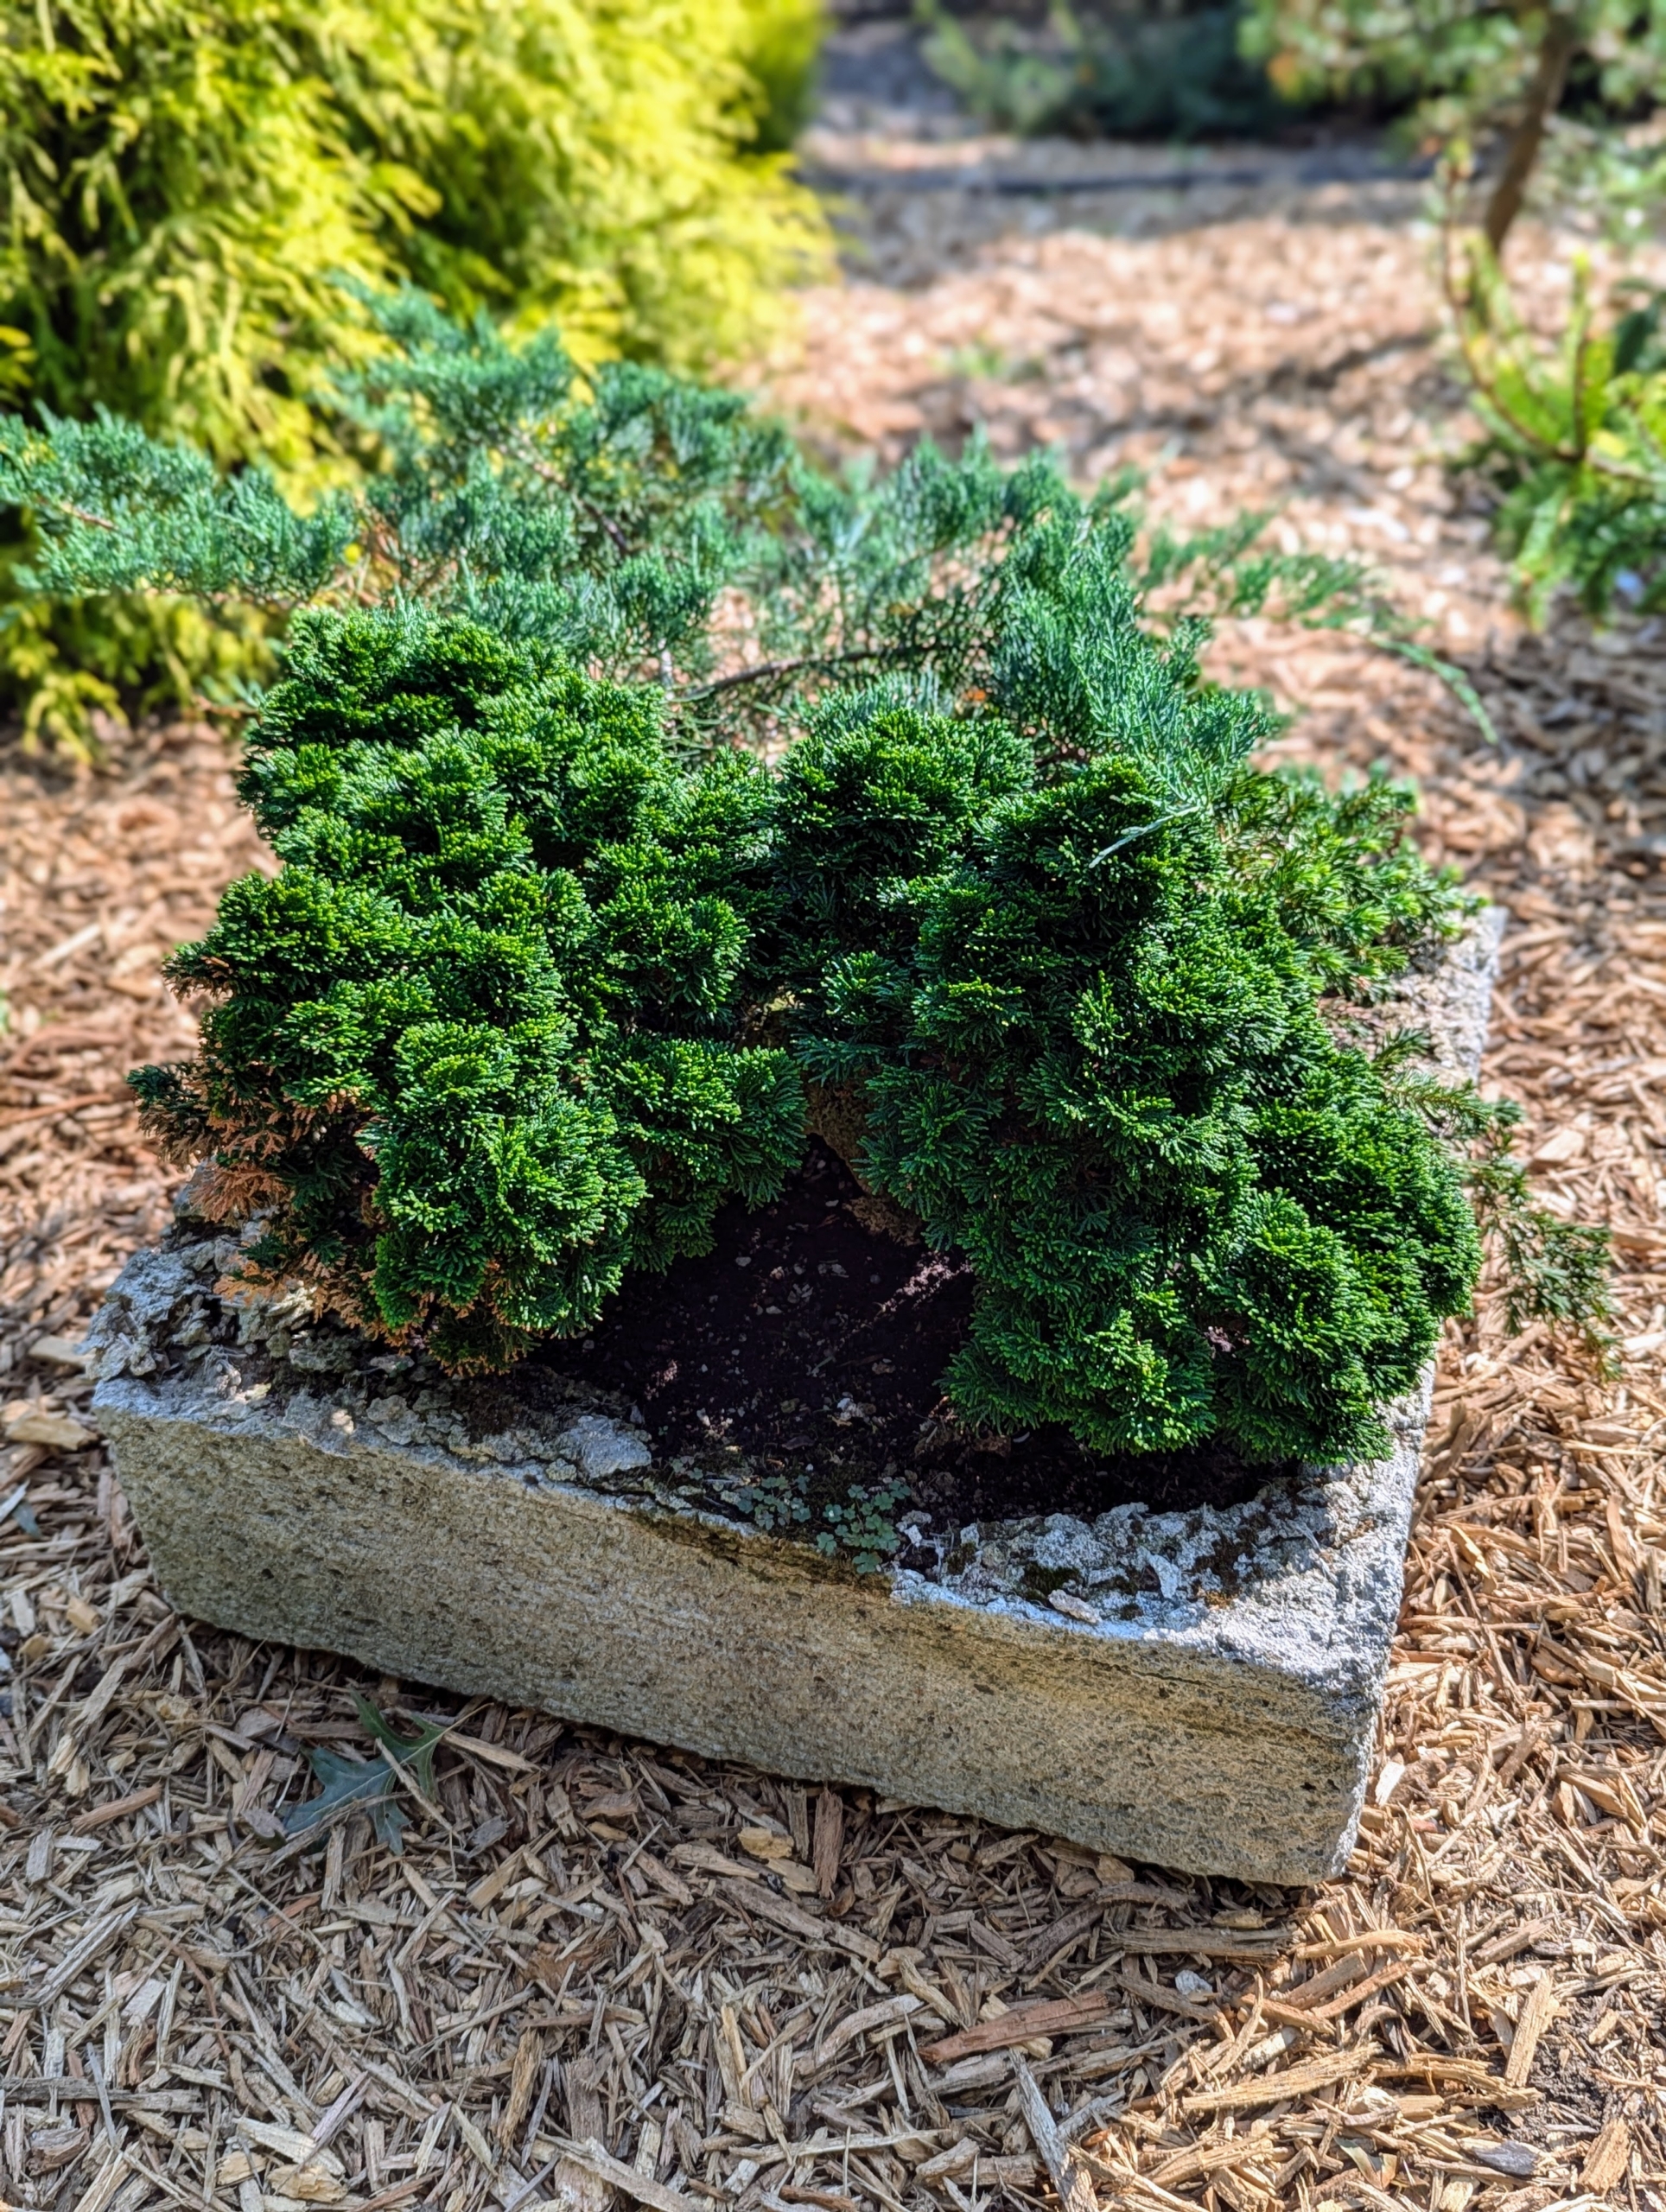
Some of these hypertufa pots had chipped or cracked, so I wanted the plants to be moved. This is a hypertufa container. Hypertufa is a lightweight, porous, man-made material that looks like stone and is often used to make garden containers and ornaments. It’s made from a mixture of Portland cement, peat moss, and either sand, vermiculite, or perlite.
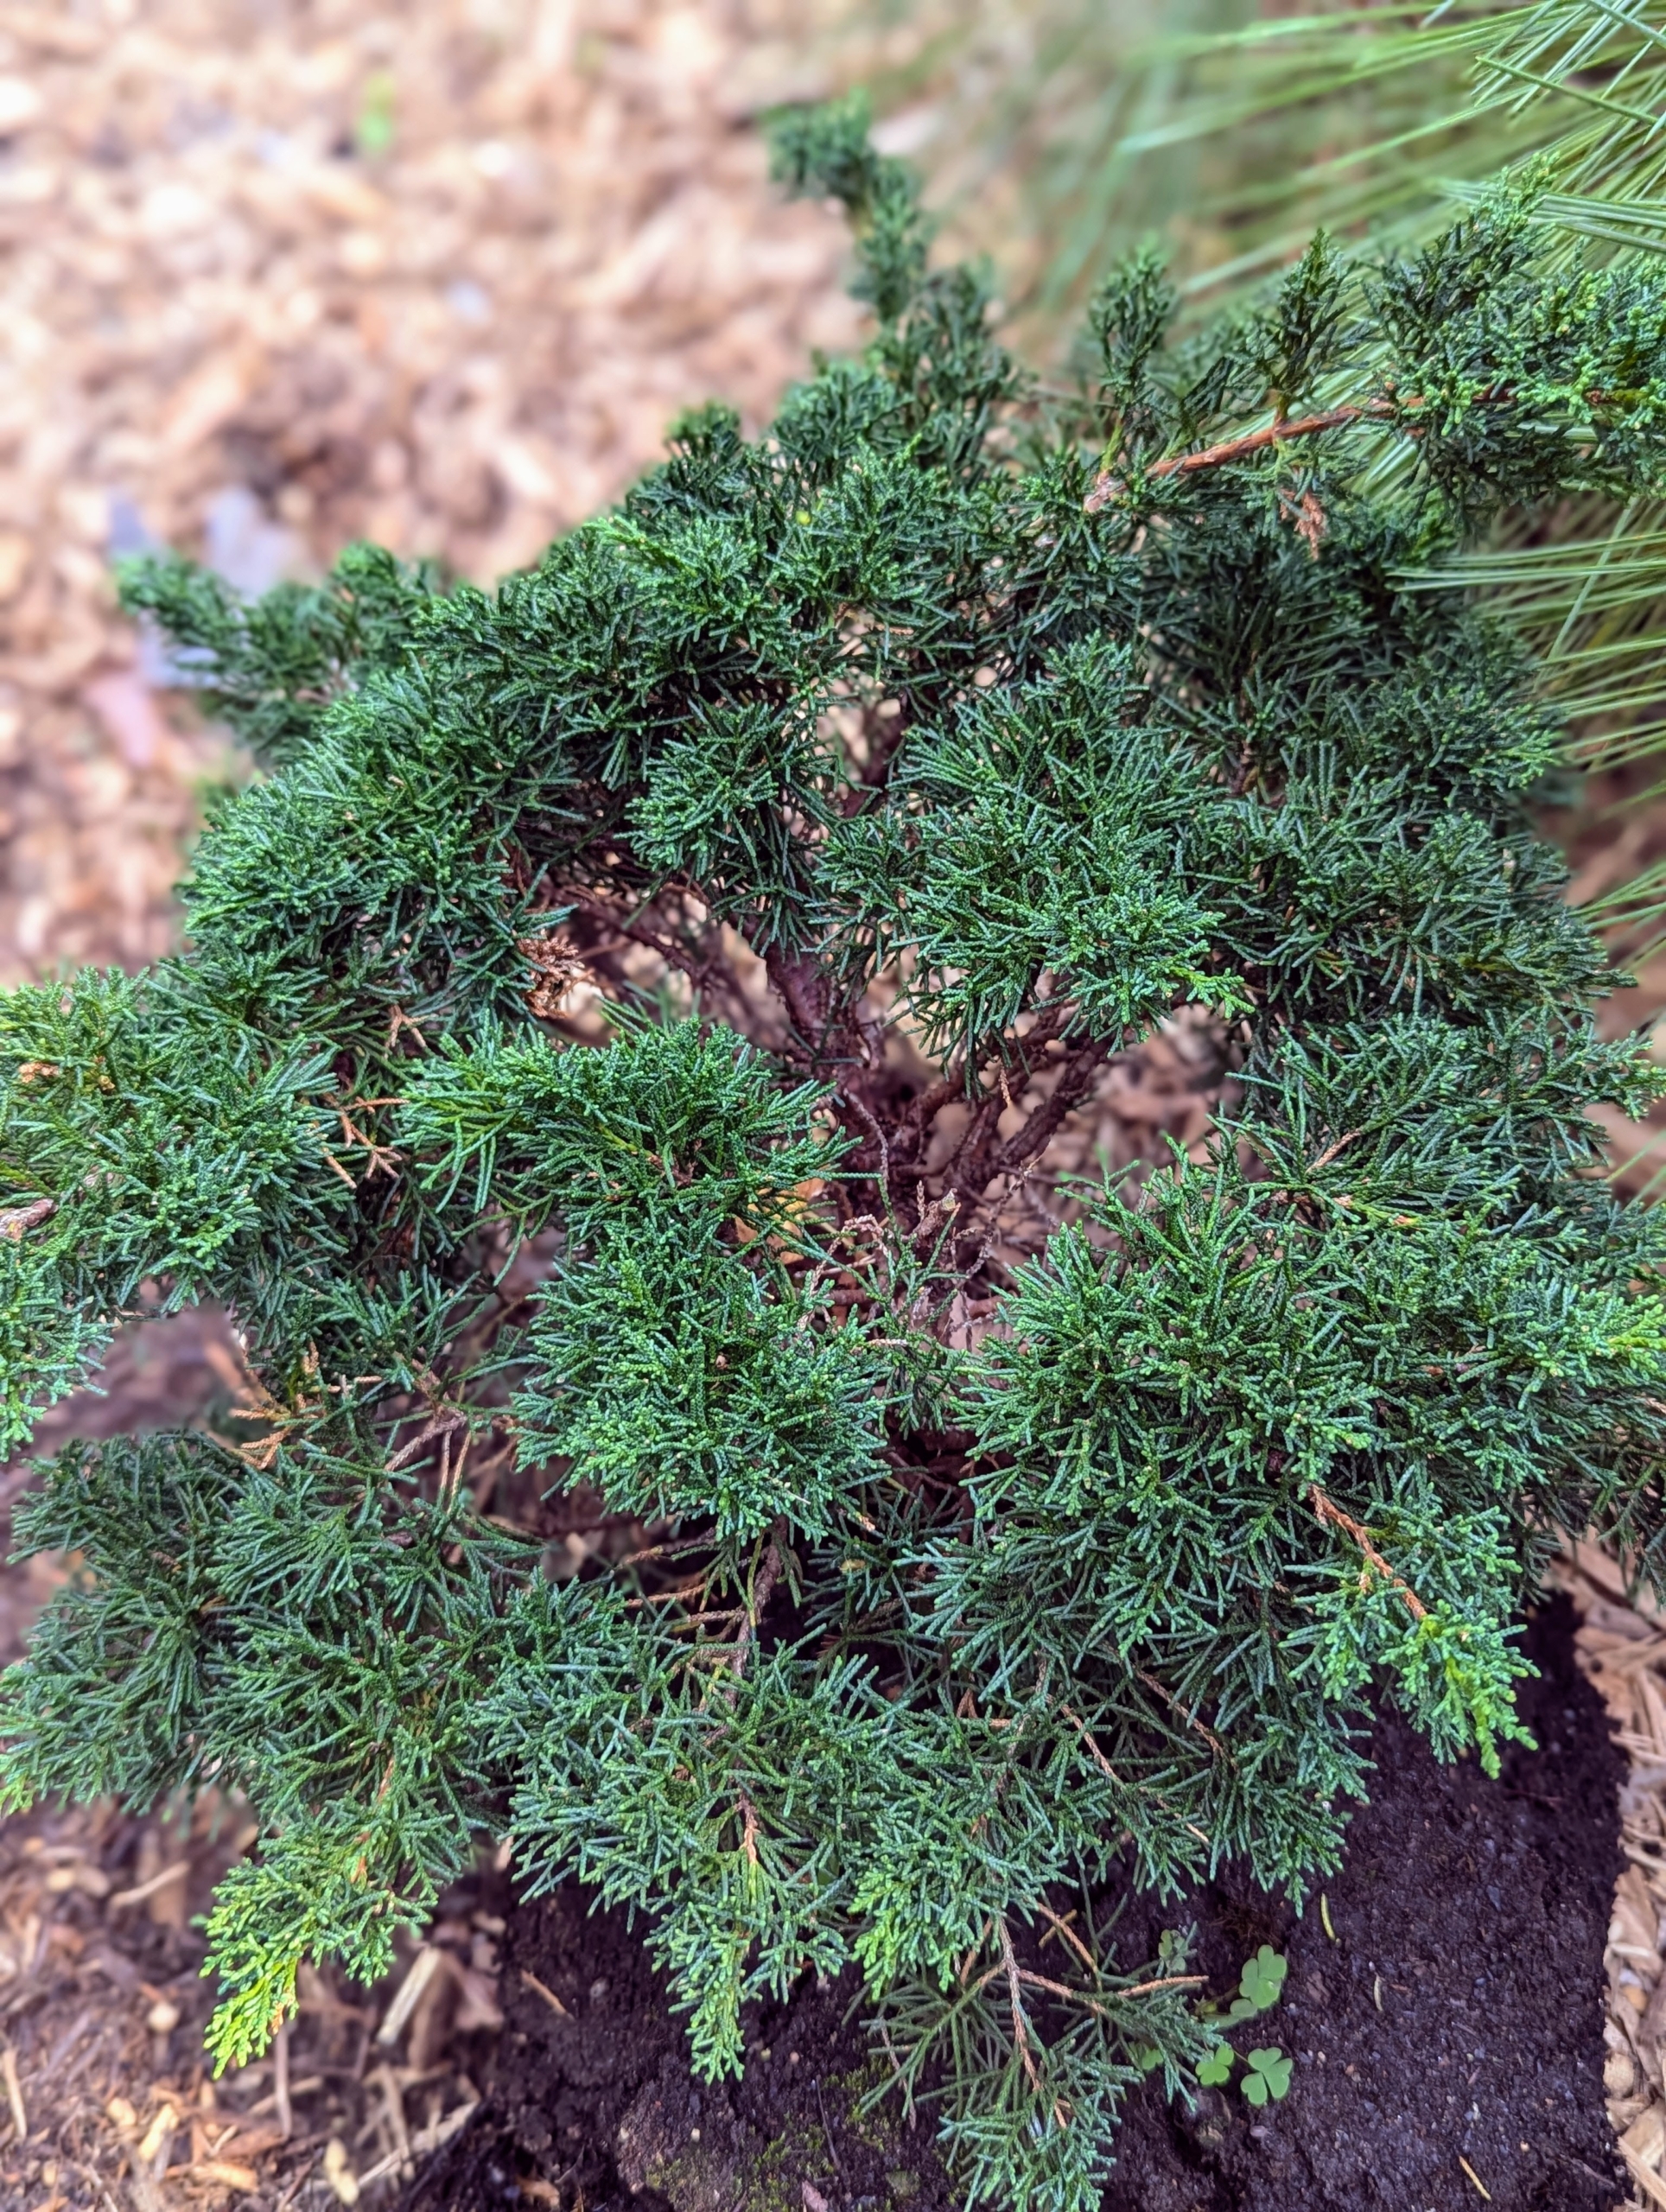
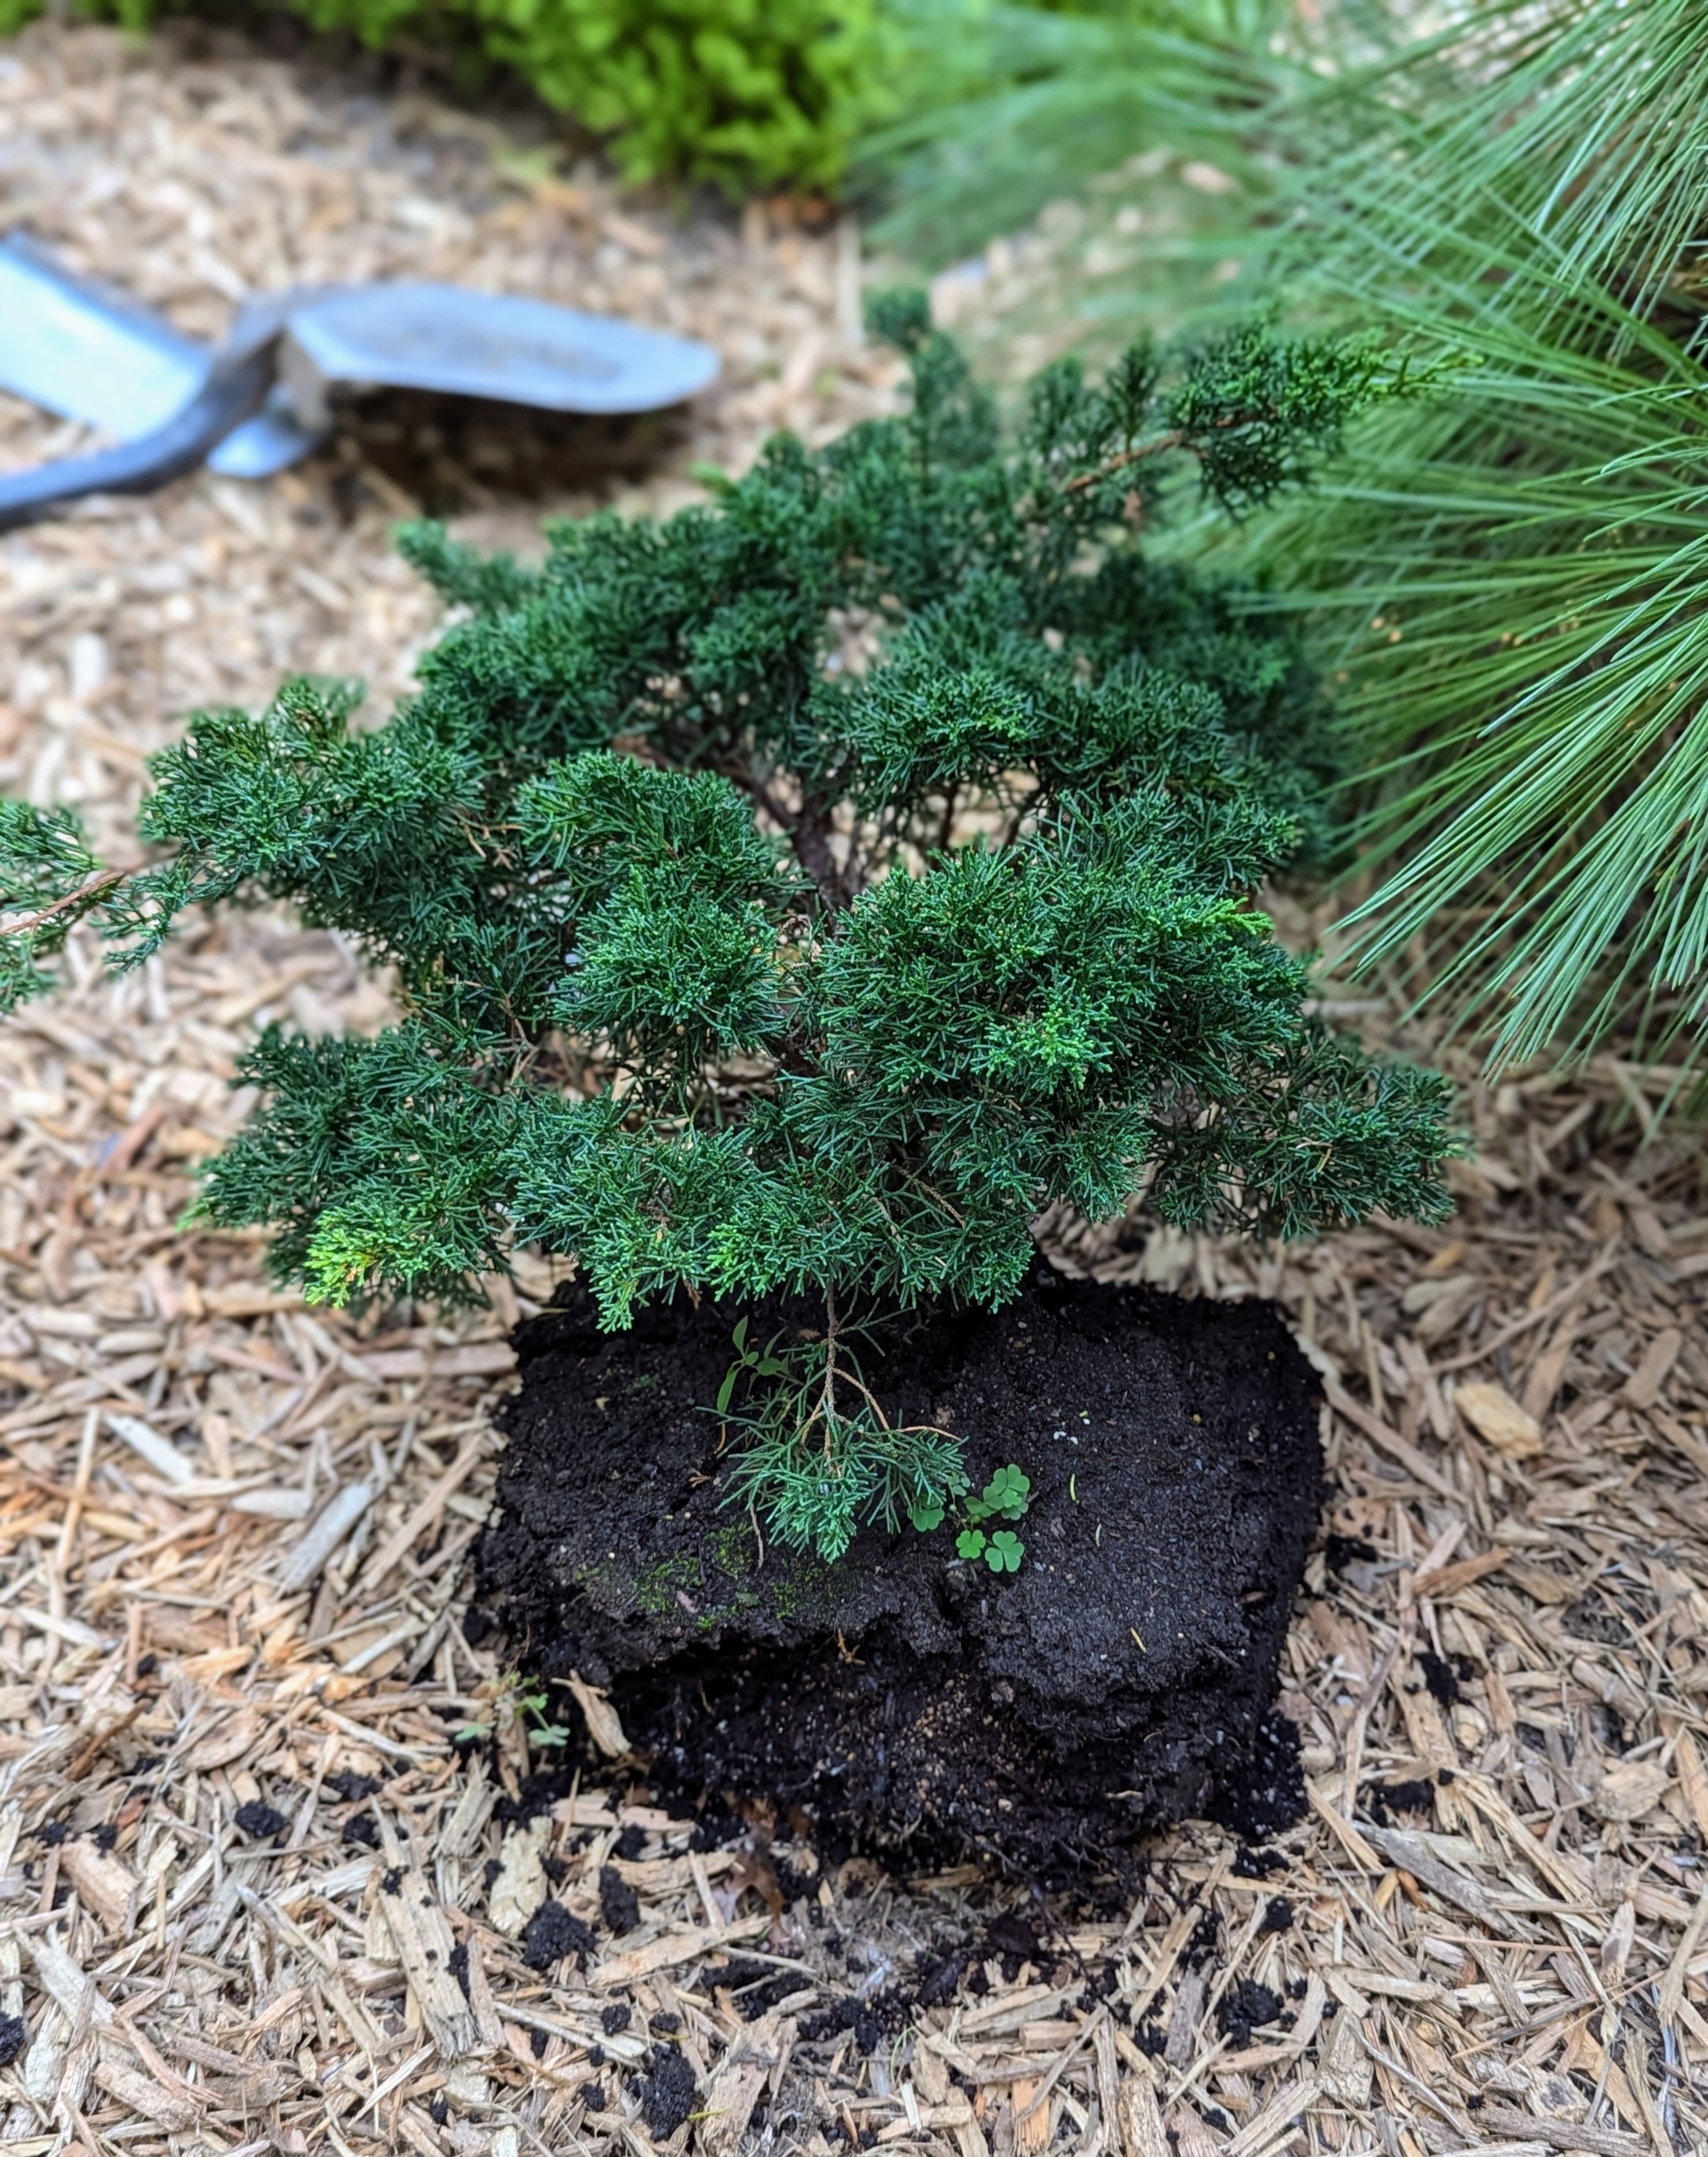
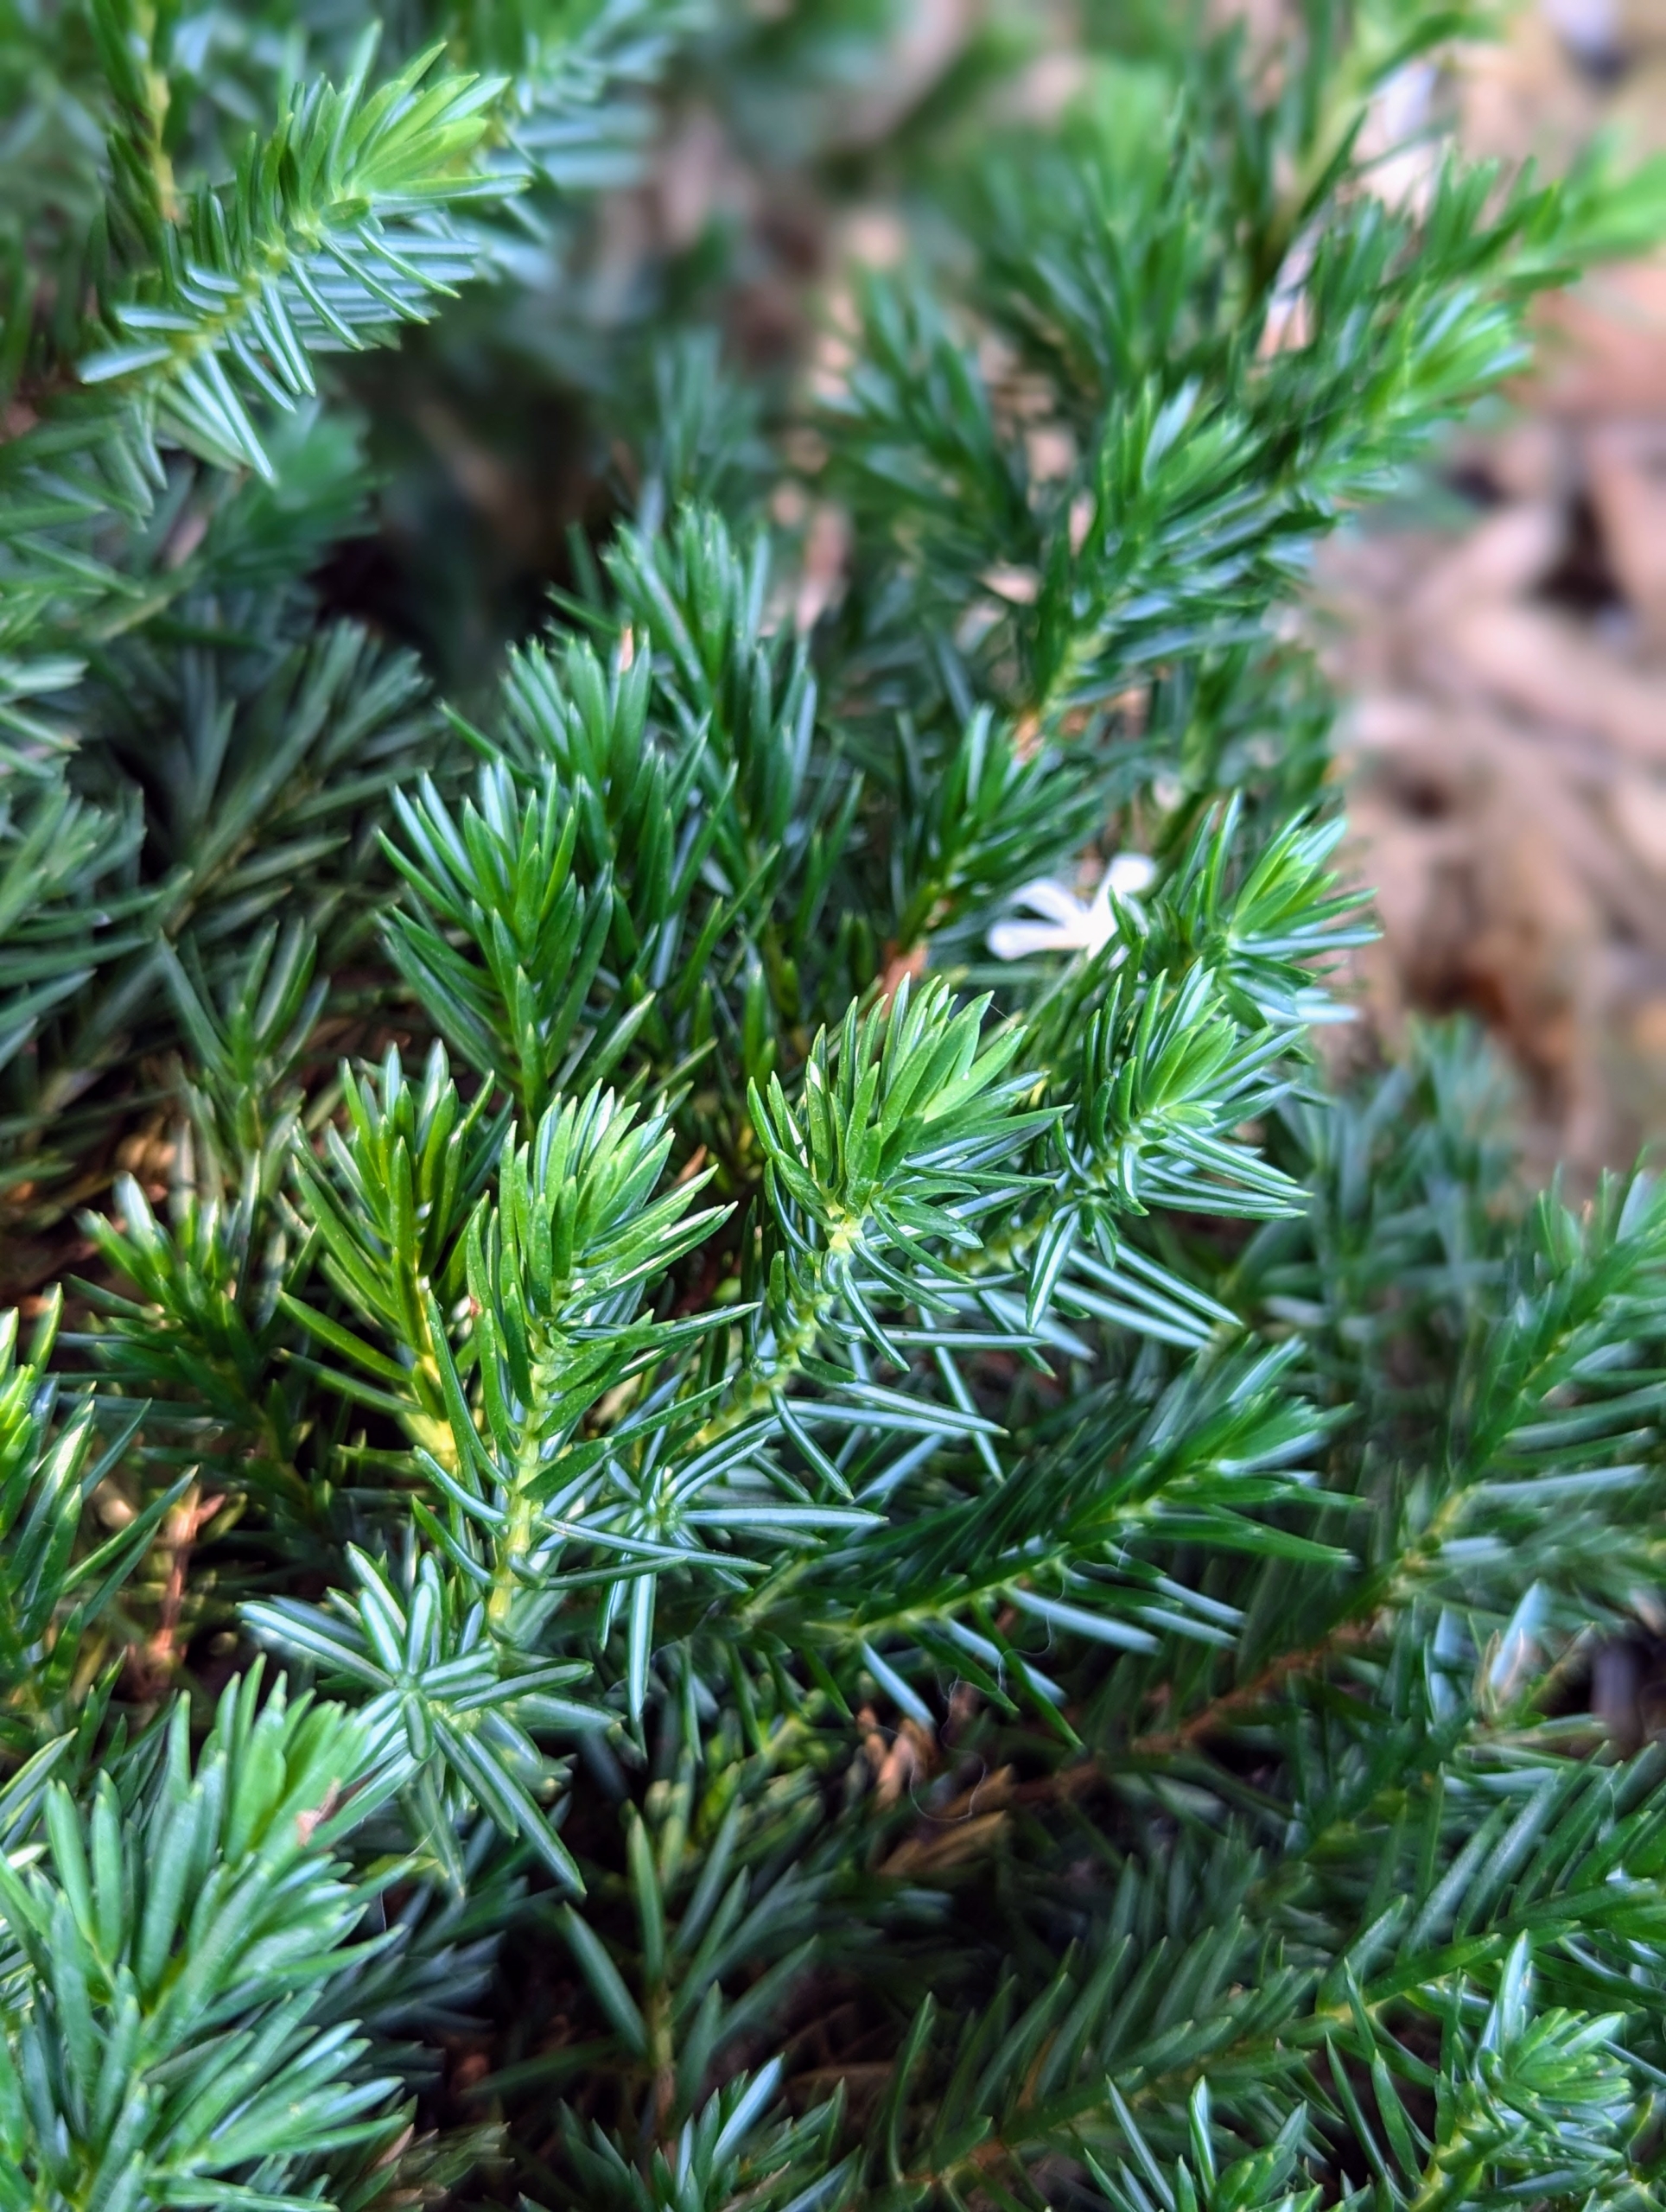
The plant removed is a long-lived, fast-growing, needled evergreen juniper with lemony fragrant leaves.
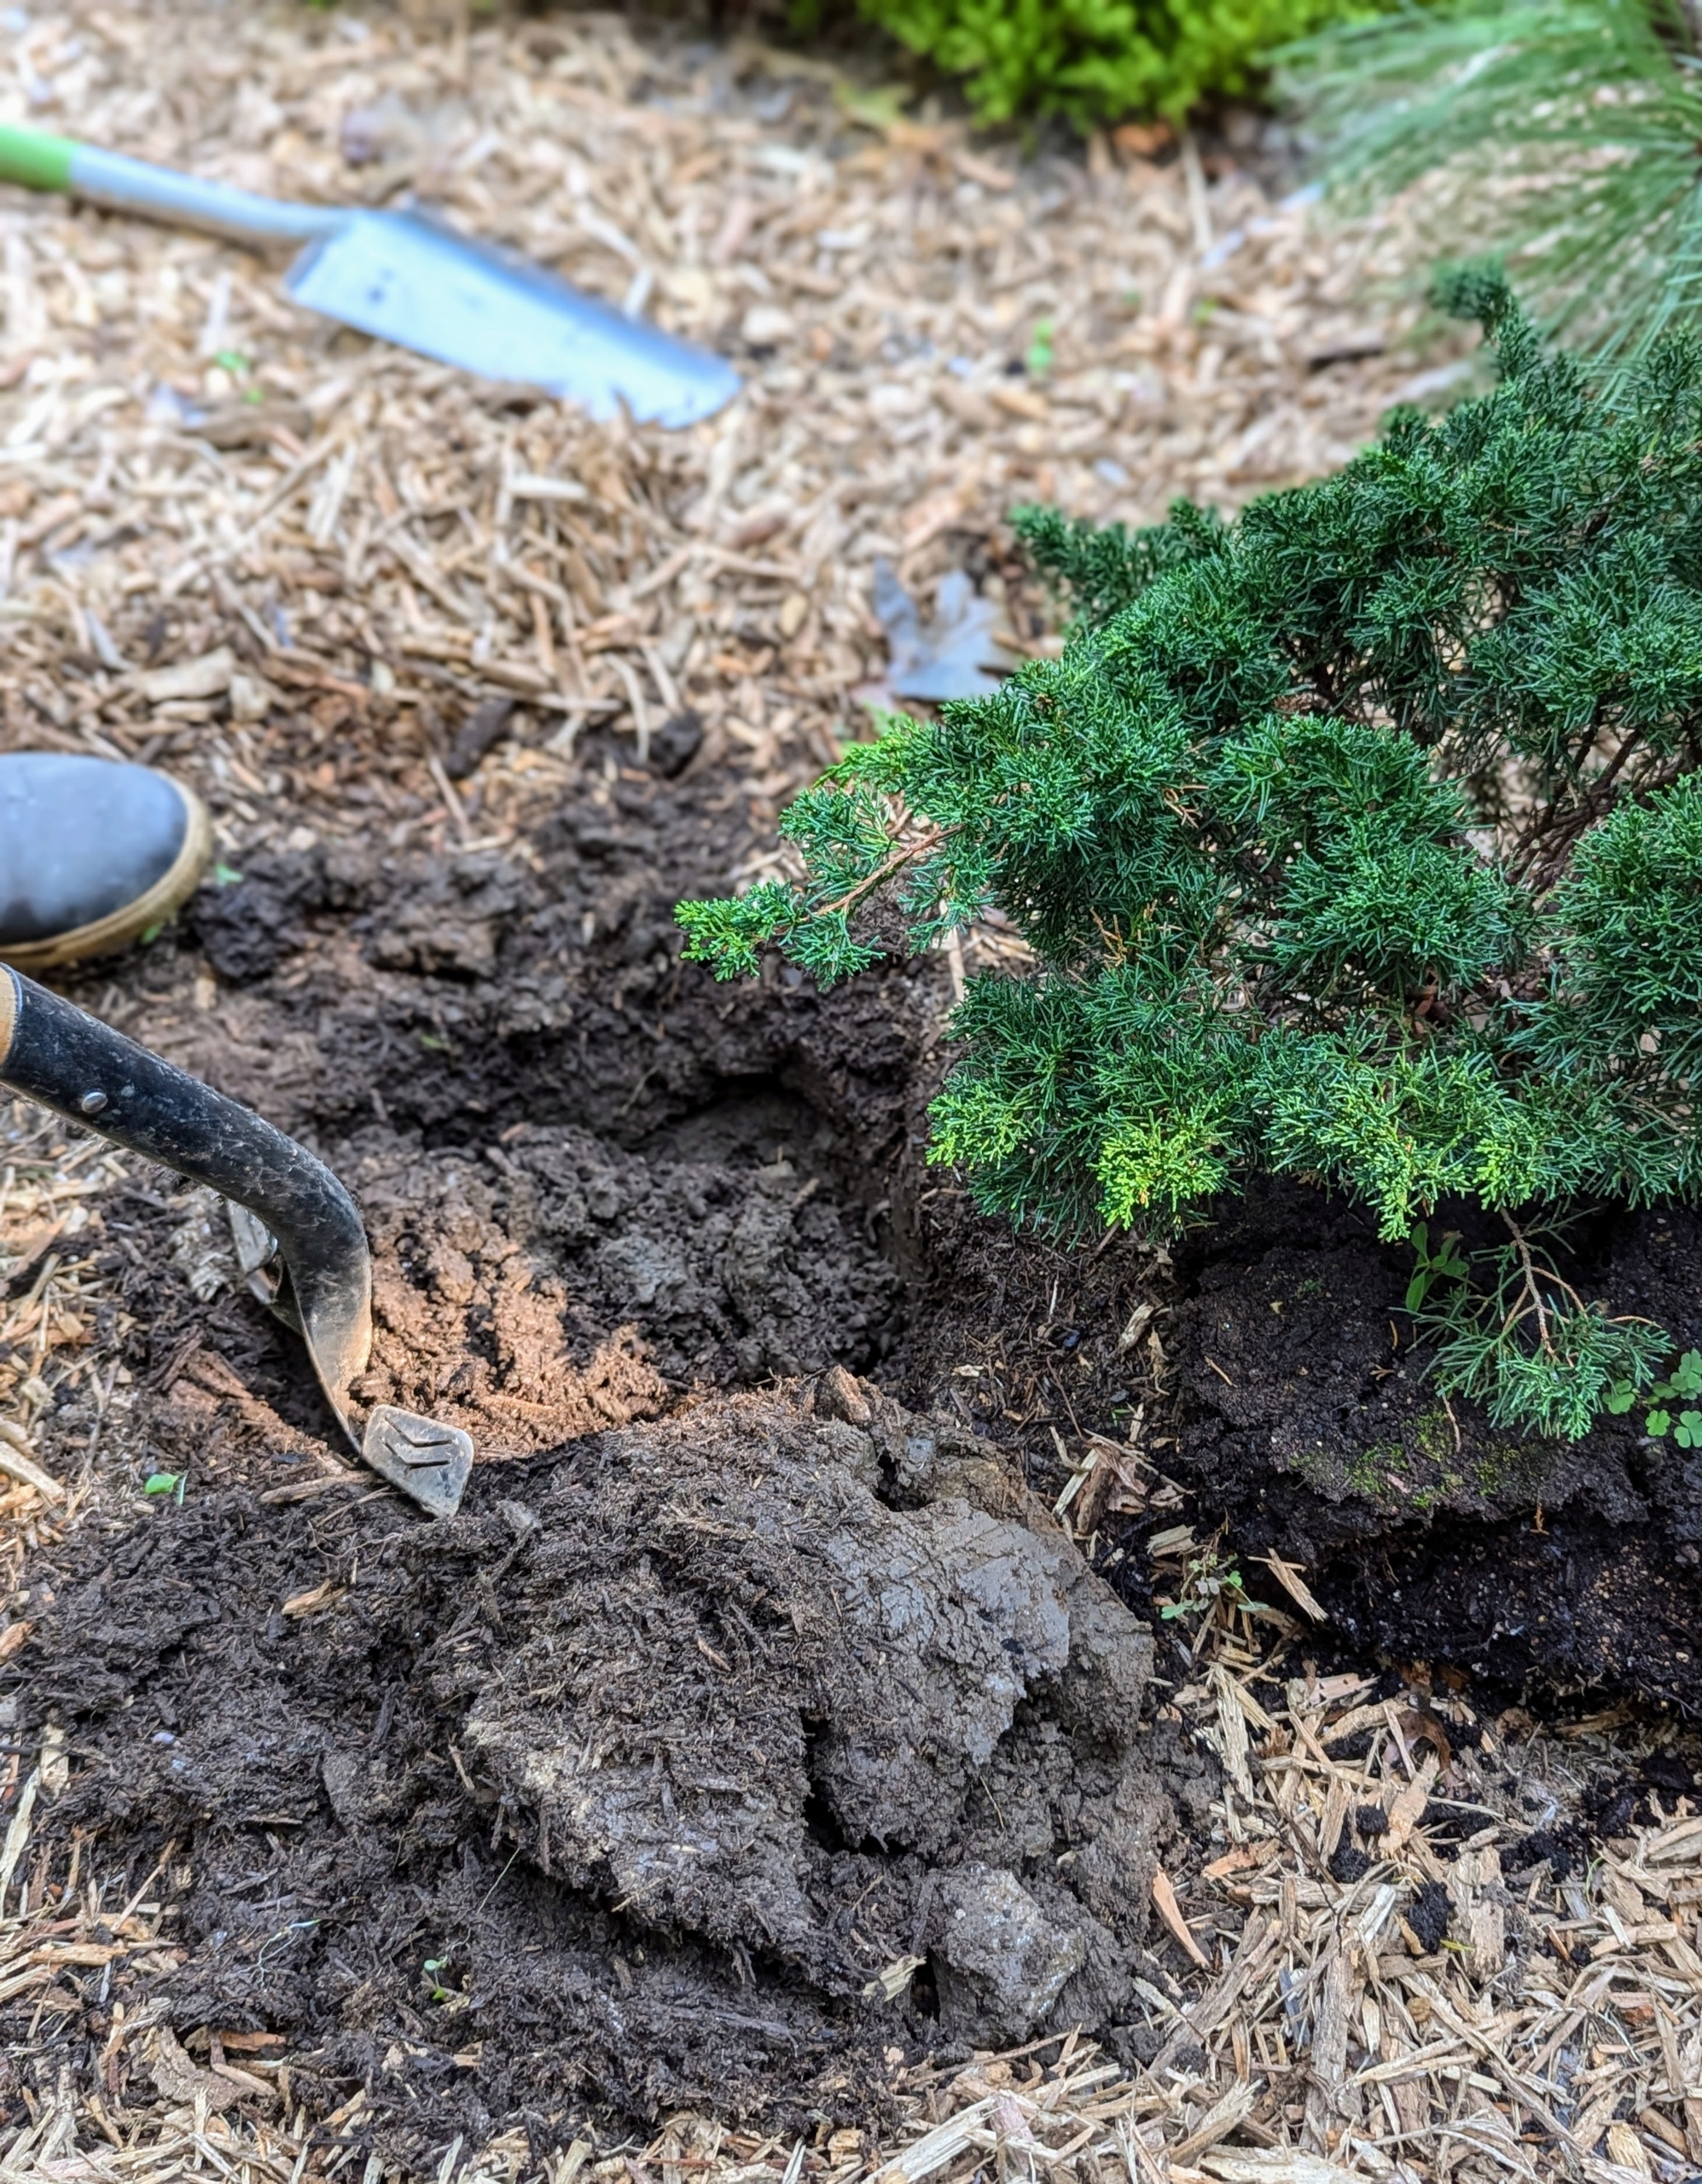
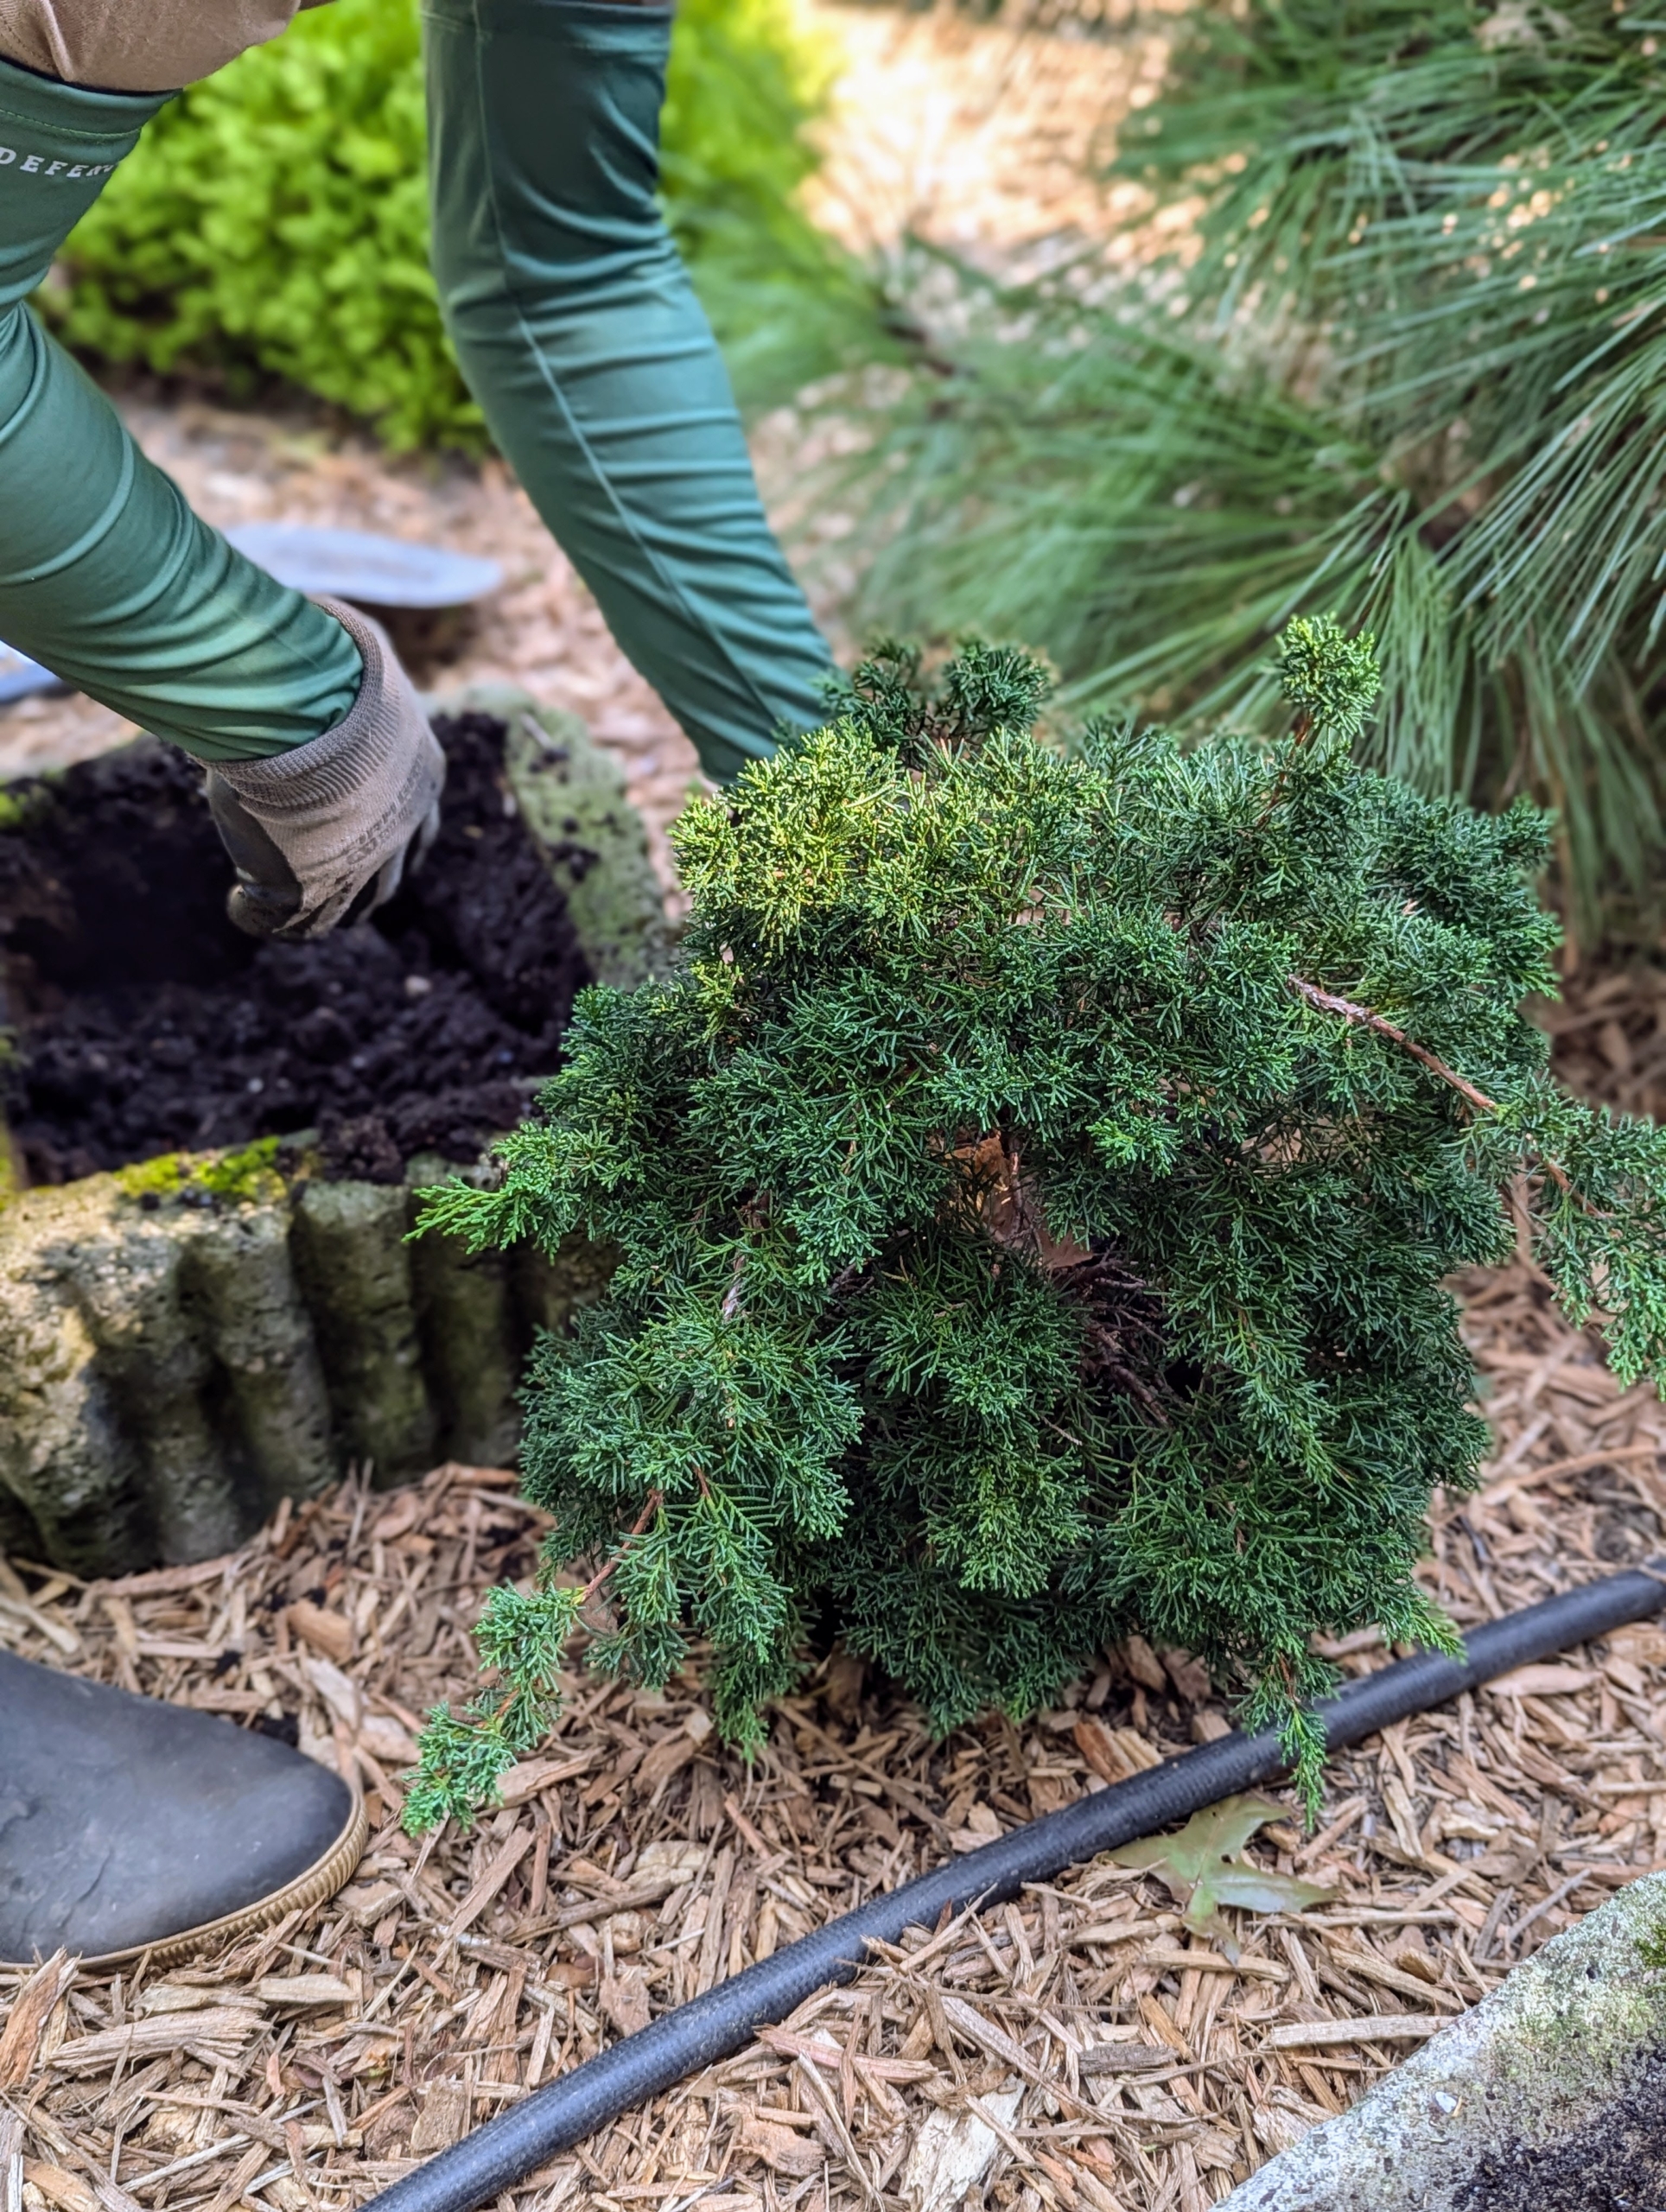
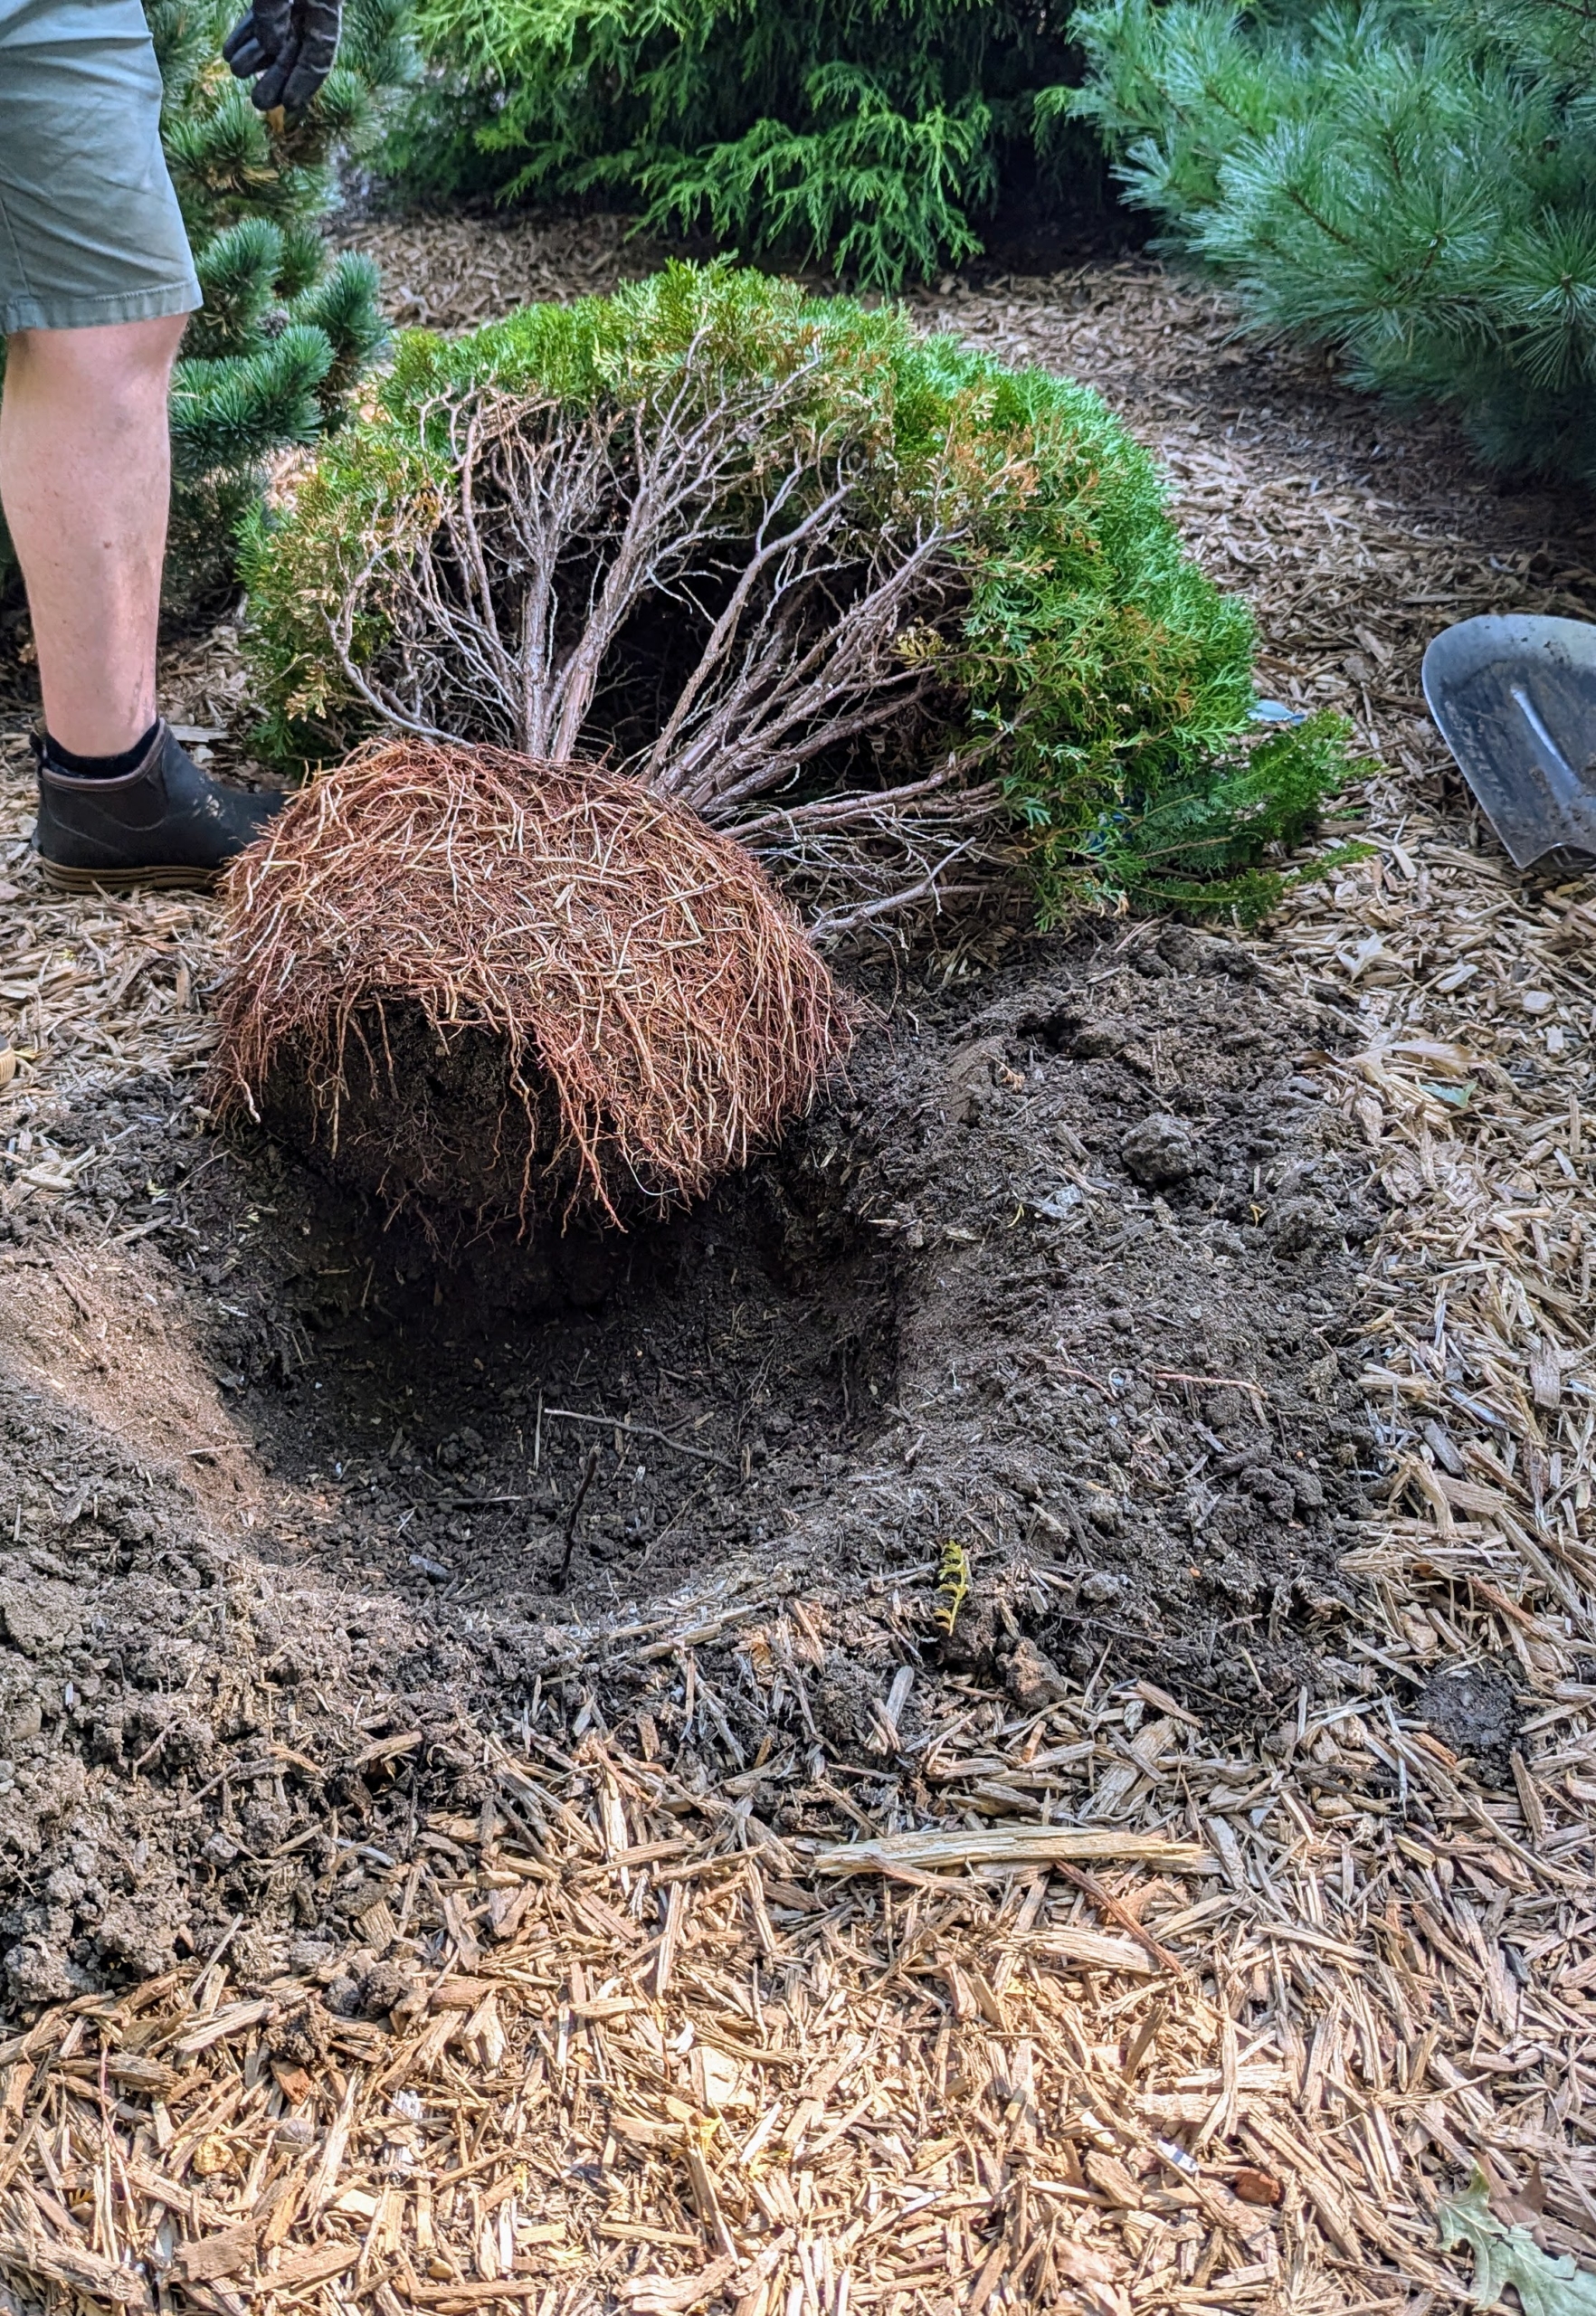
Ryan starts by digging the hole at least twice the size of the plant.
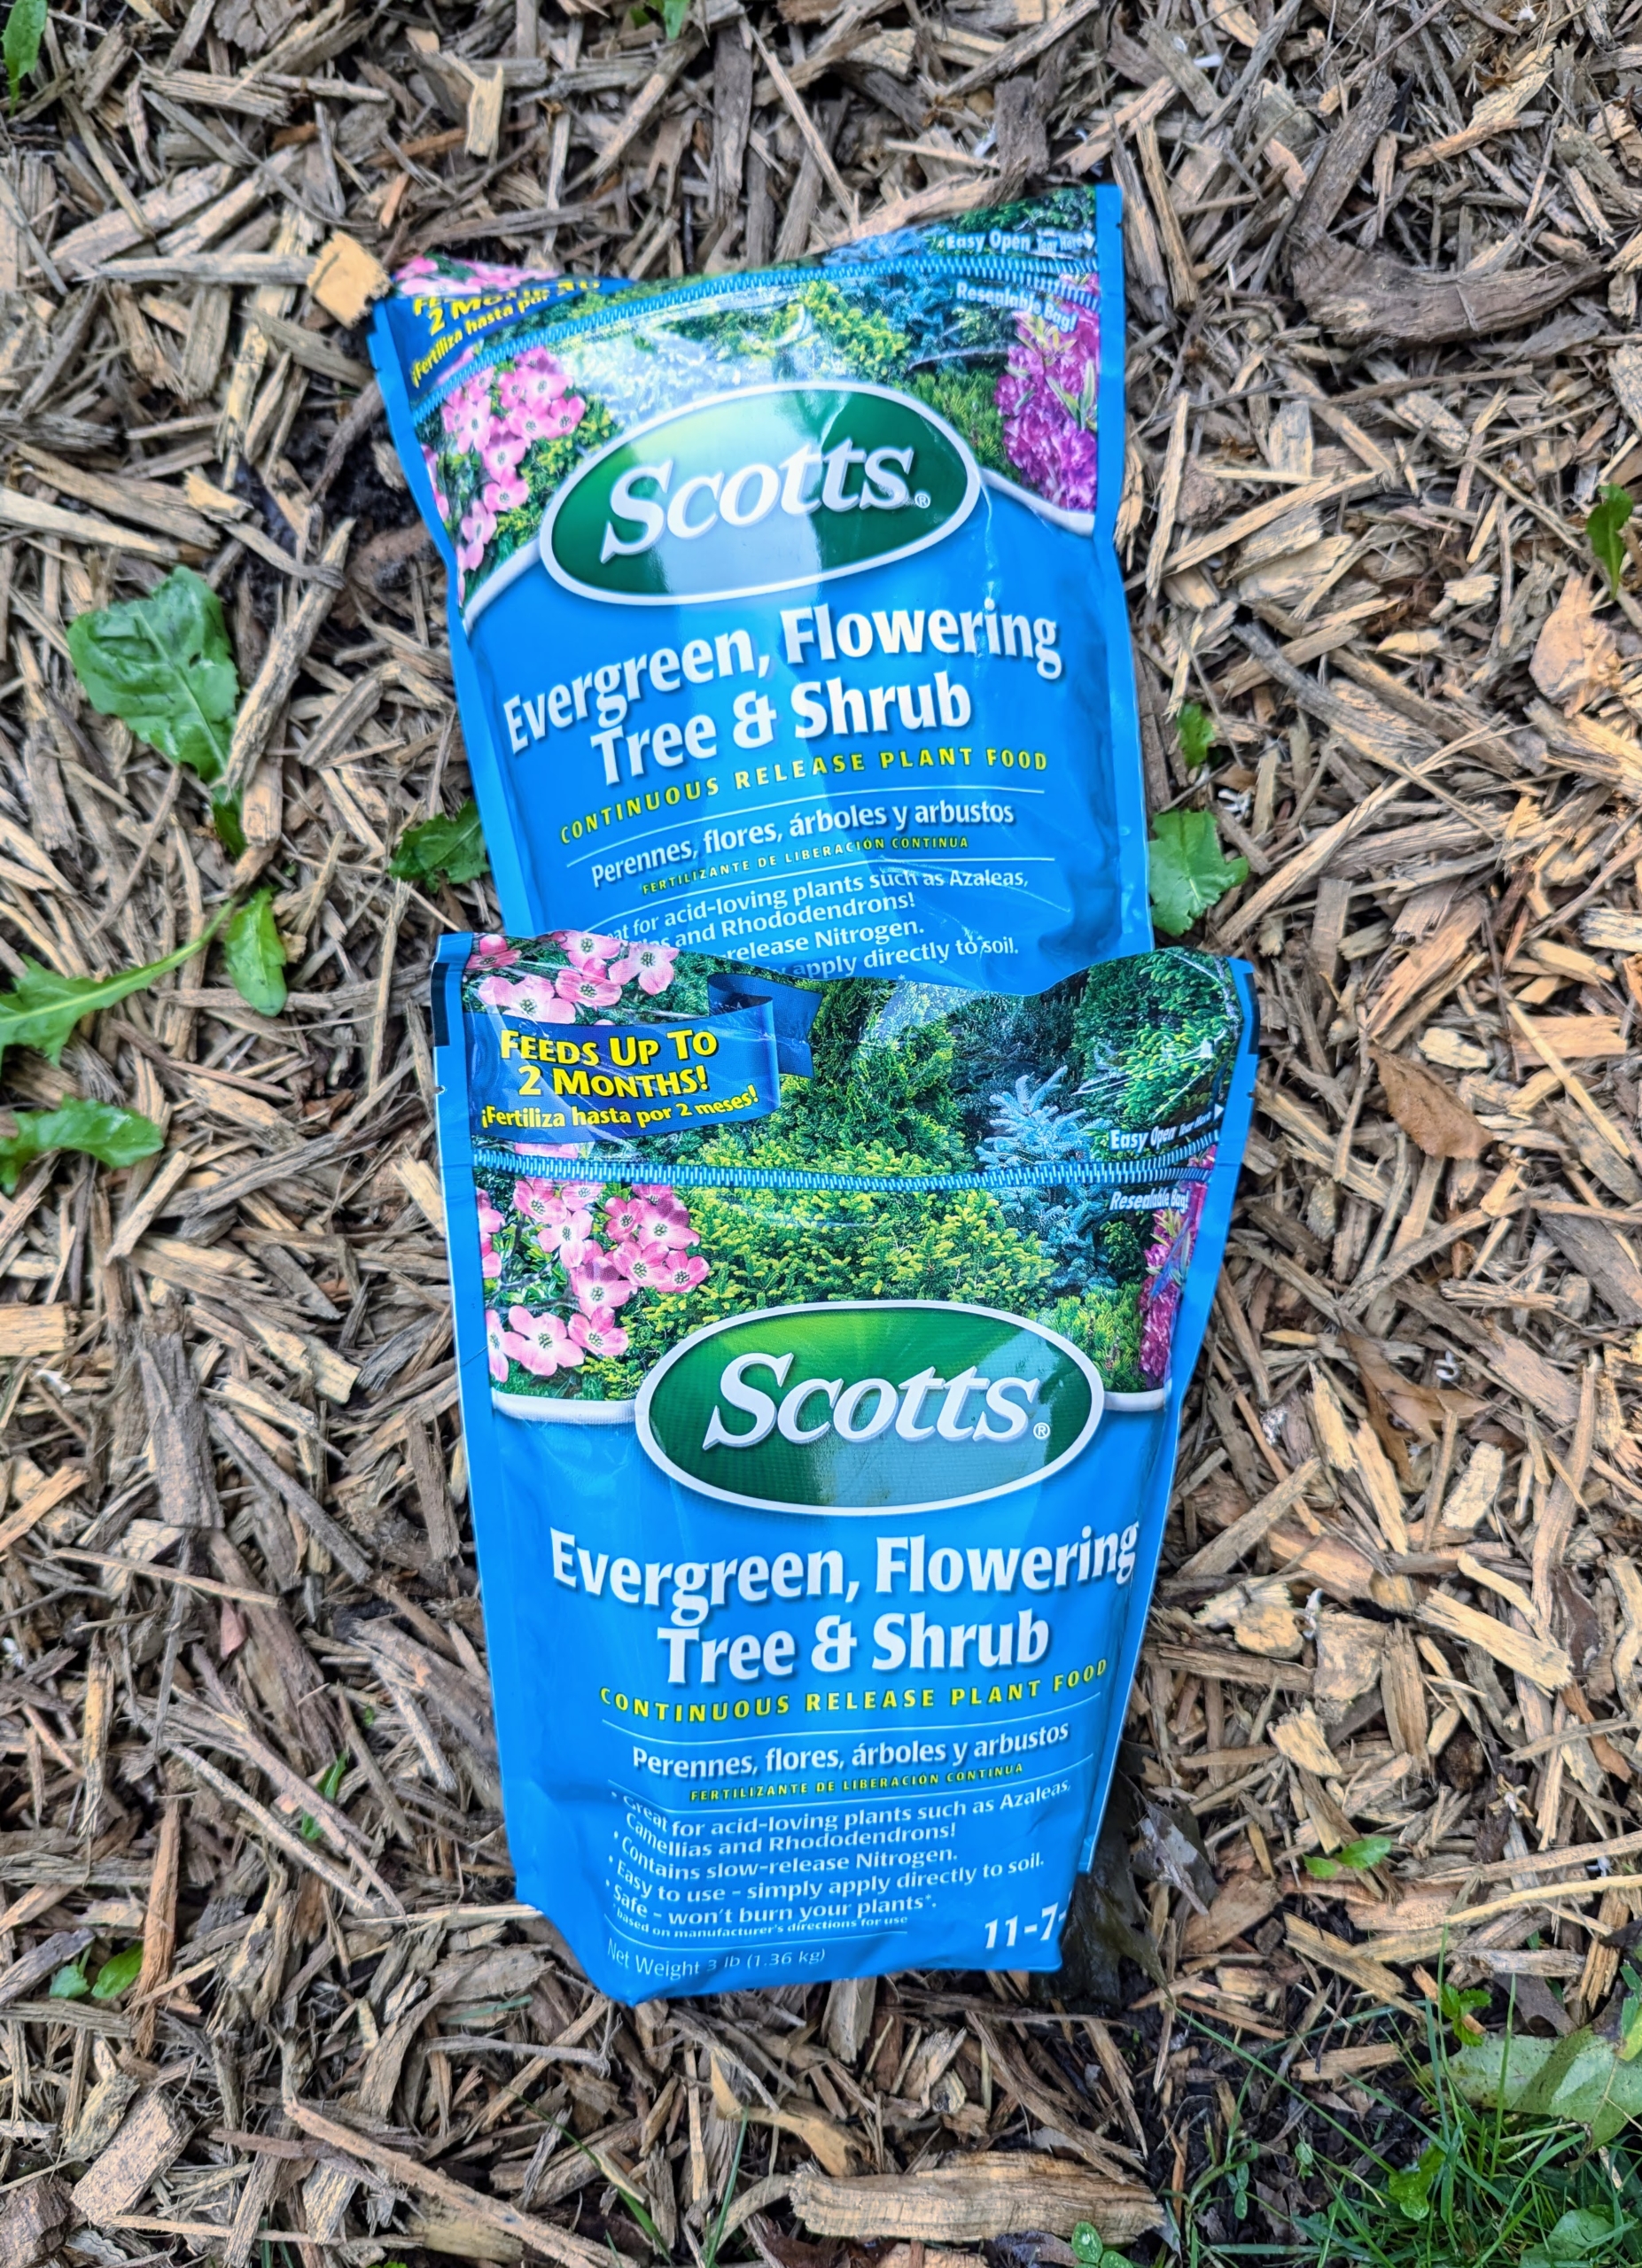
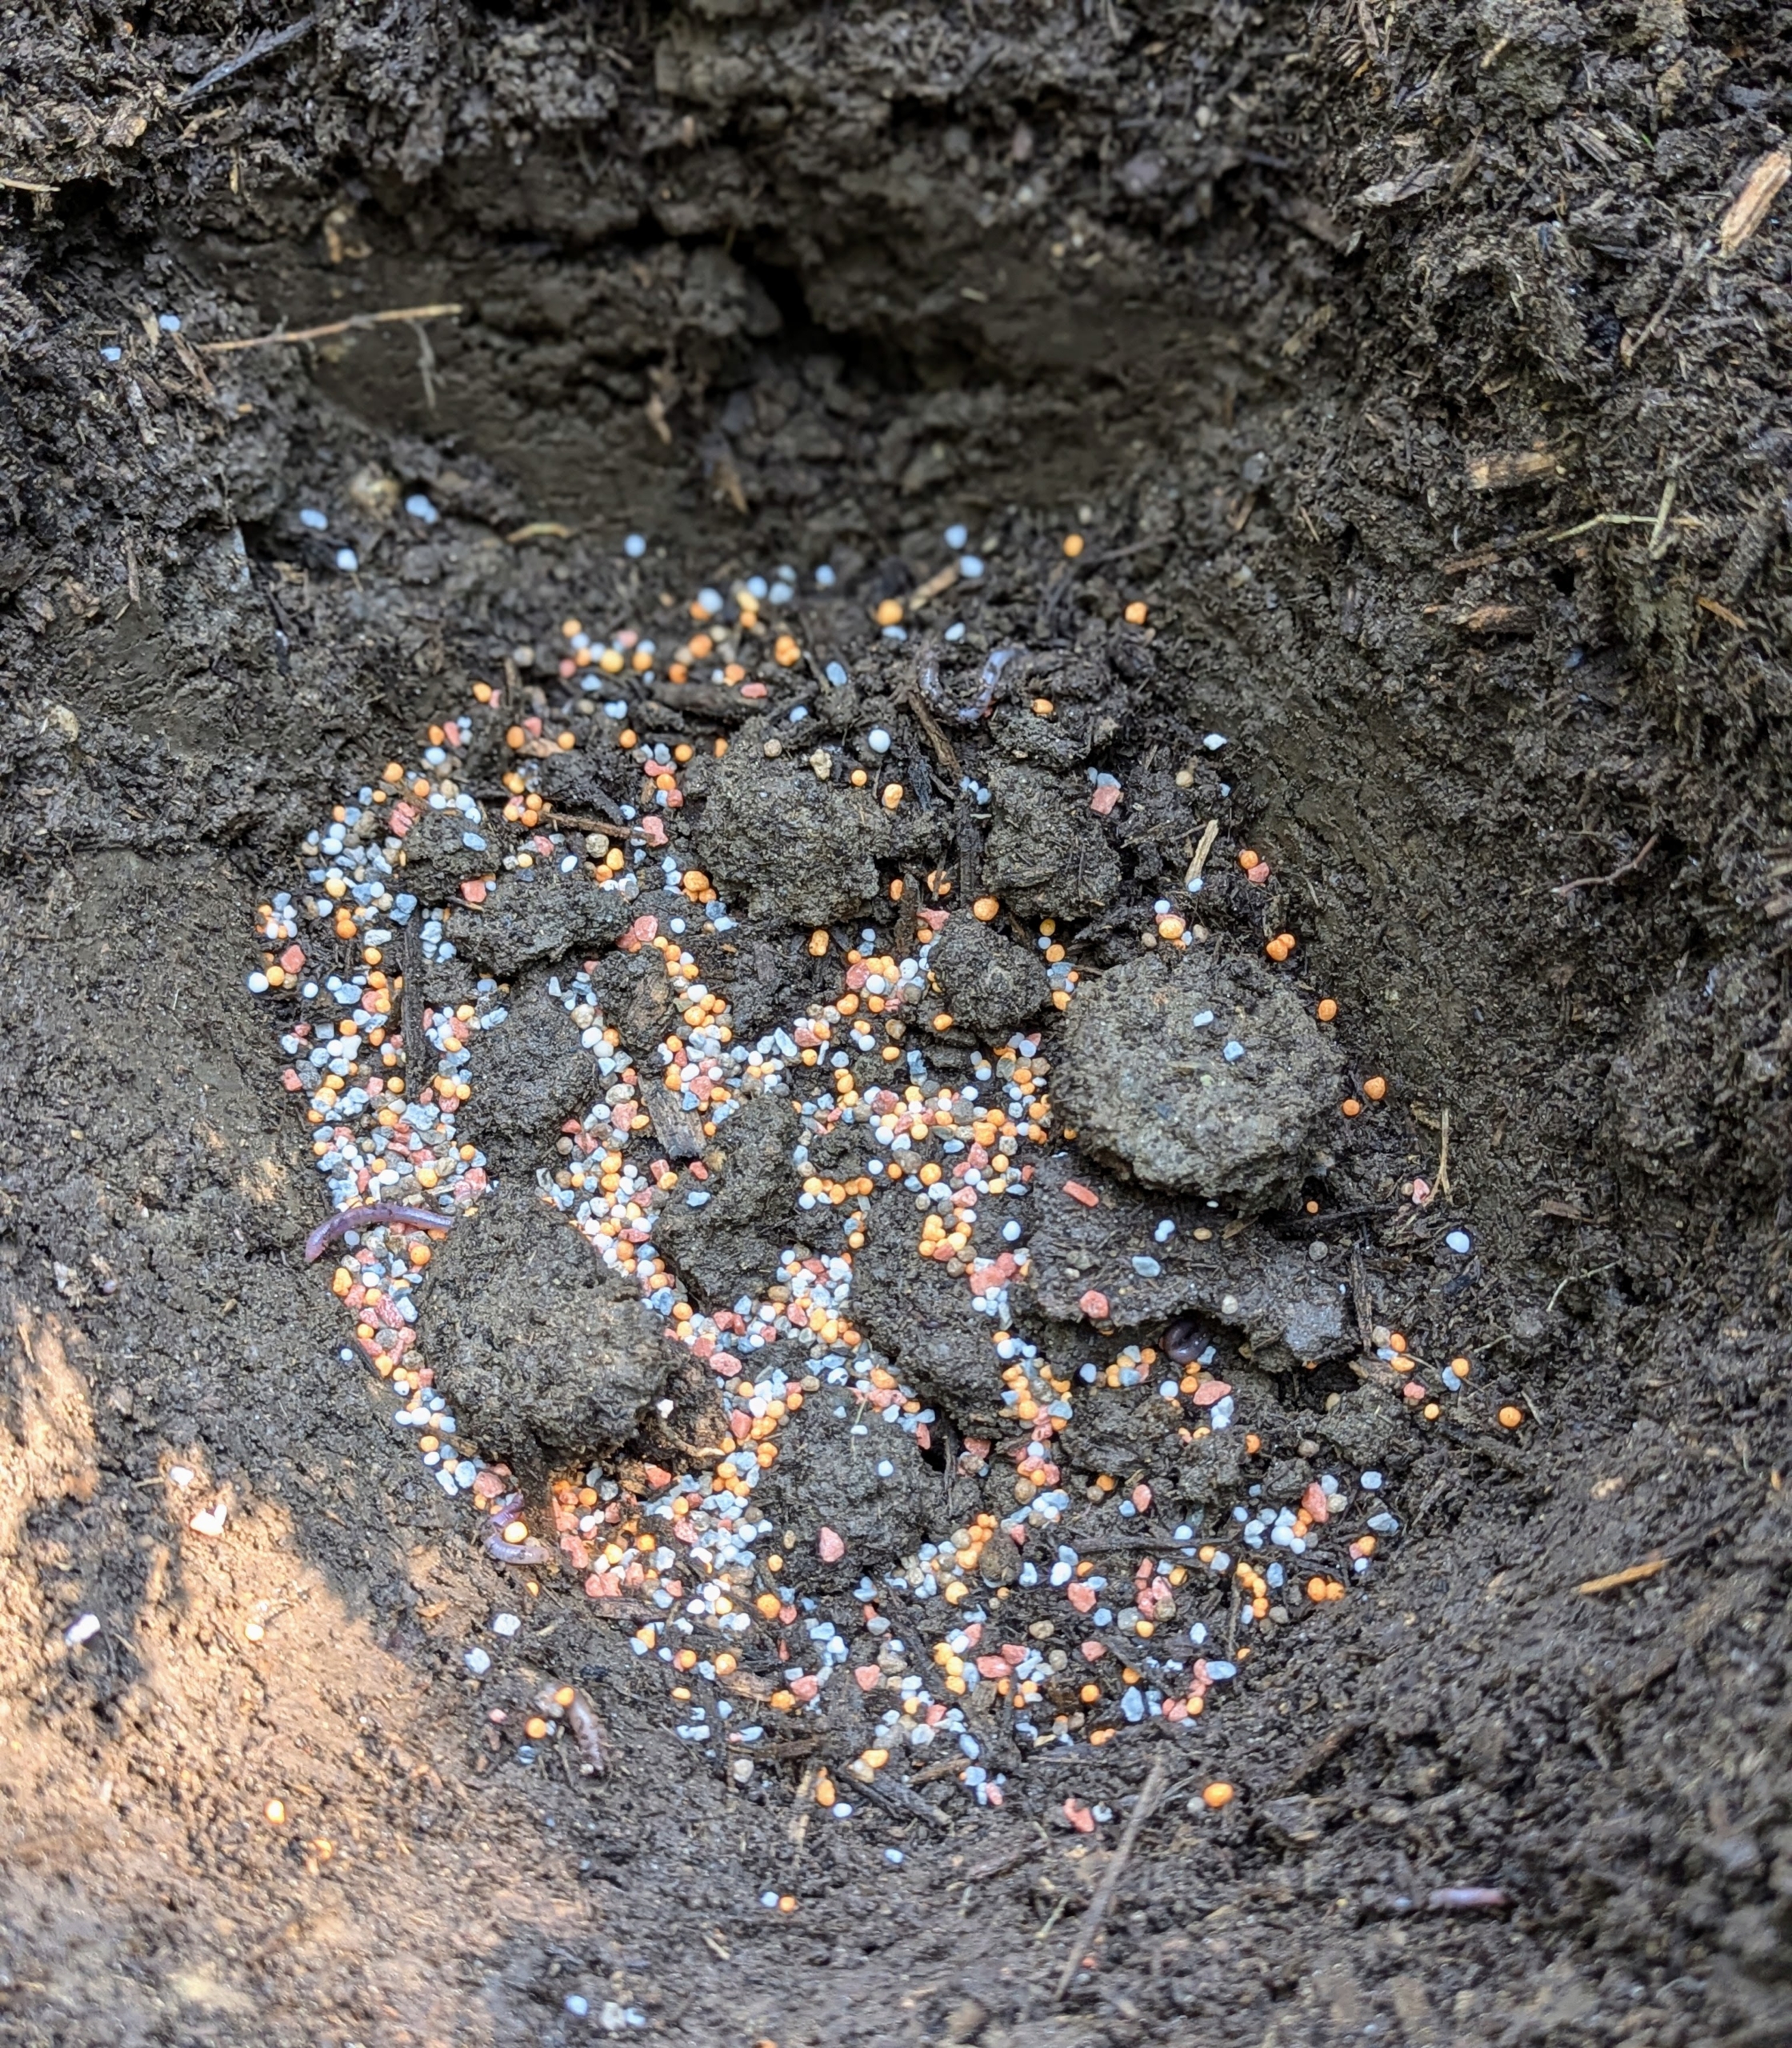
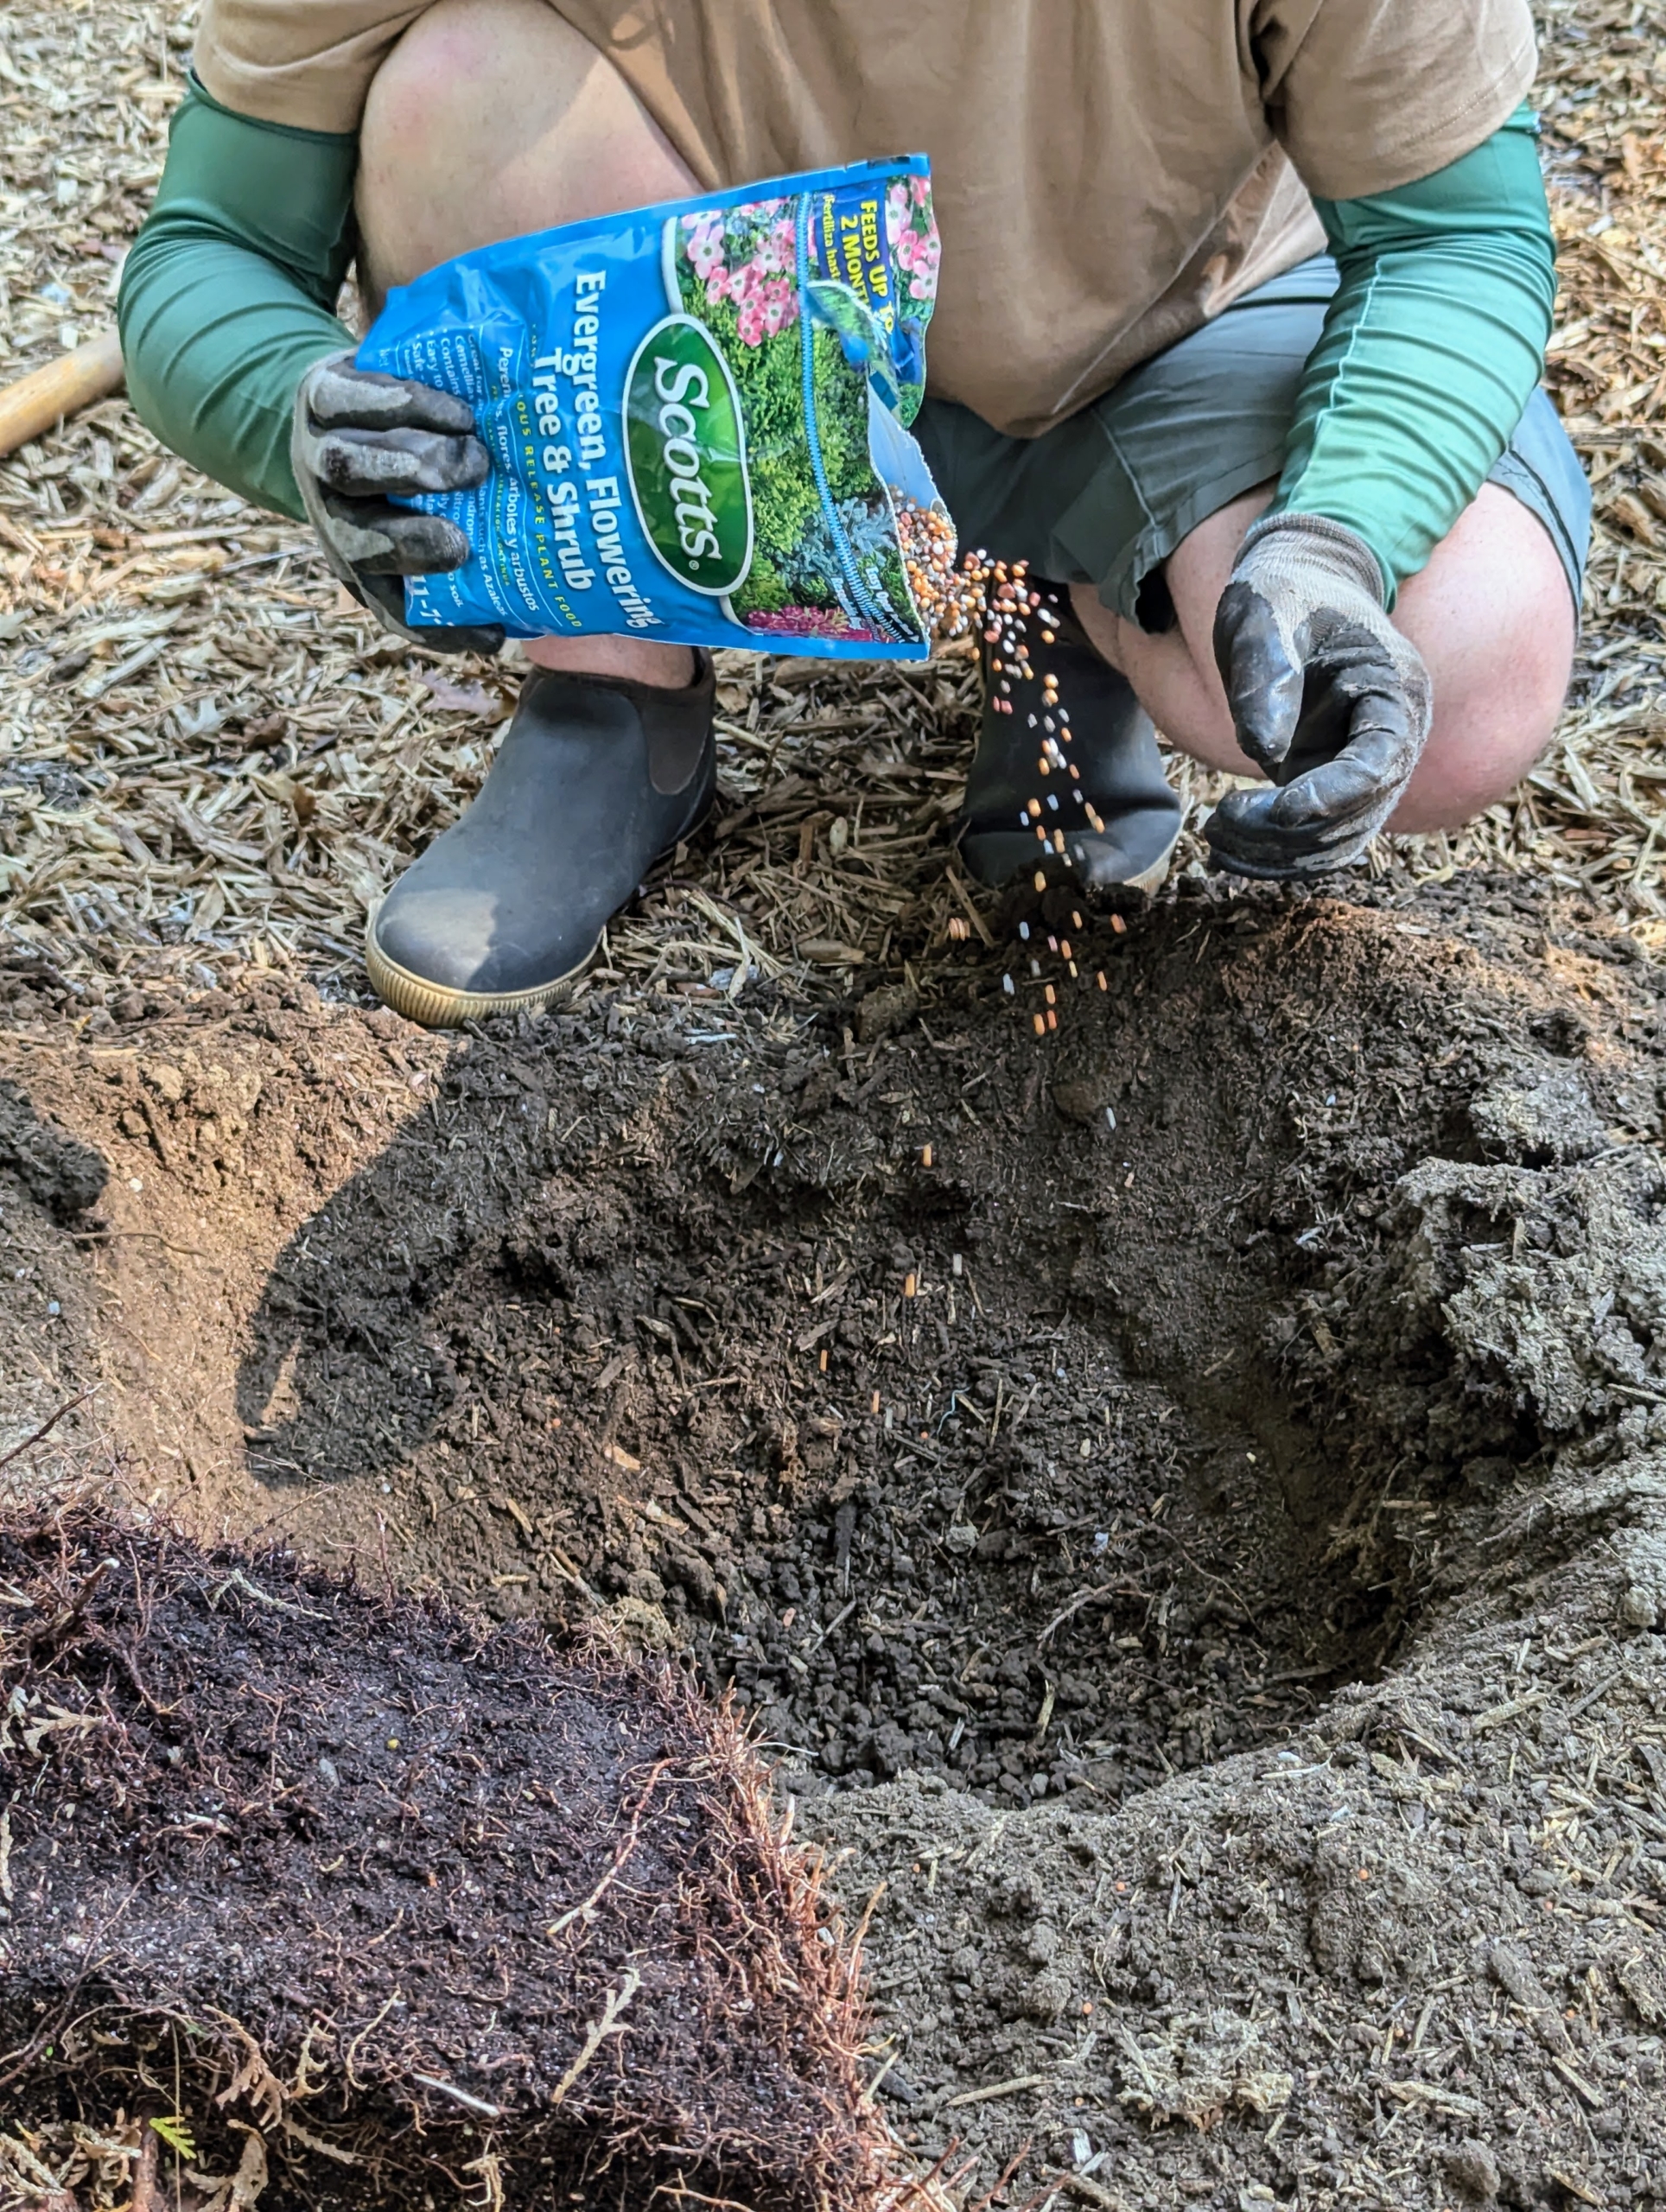
Ryan sprinkles a generous amount of food into the hole and mixes it with the existing soil.
Then he place the evergreen into the hole and backfills.
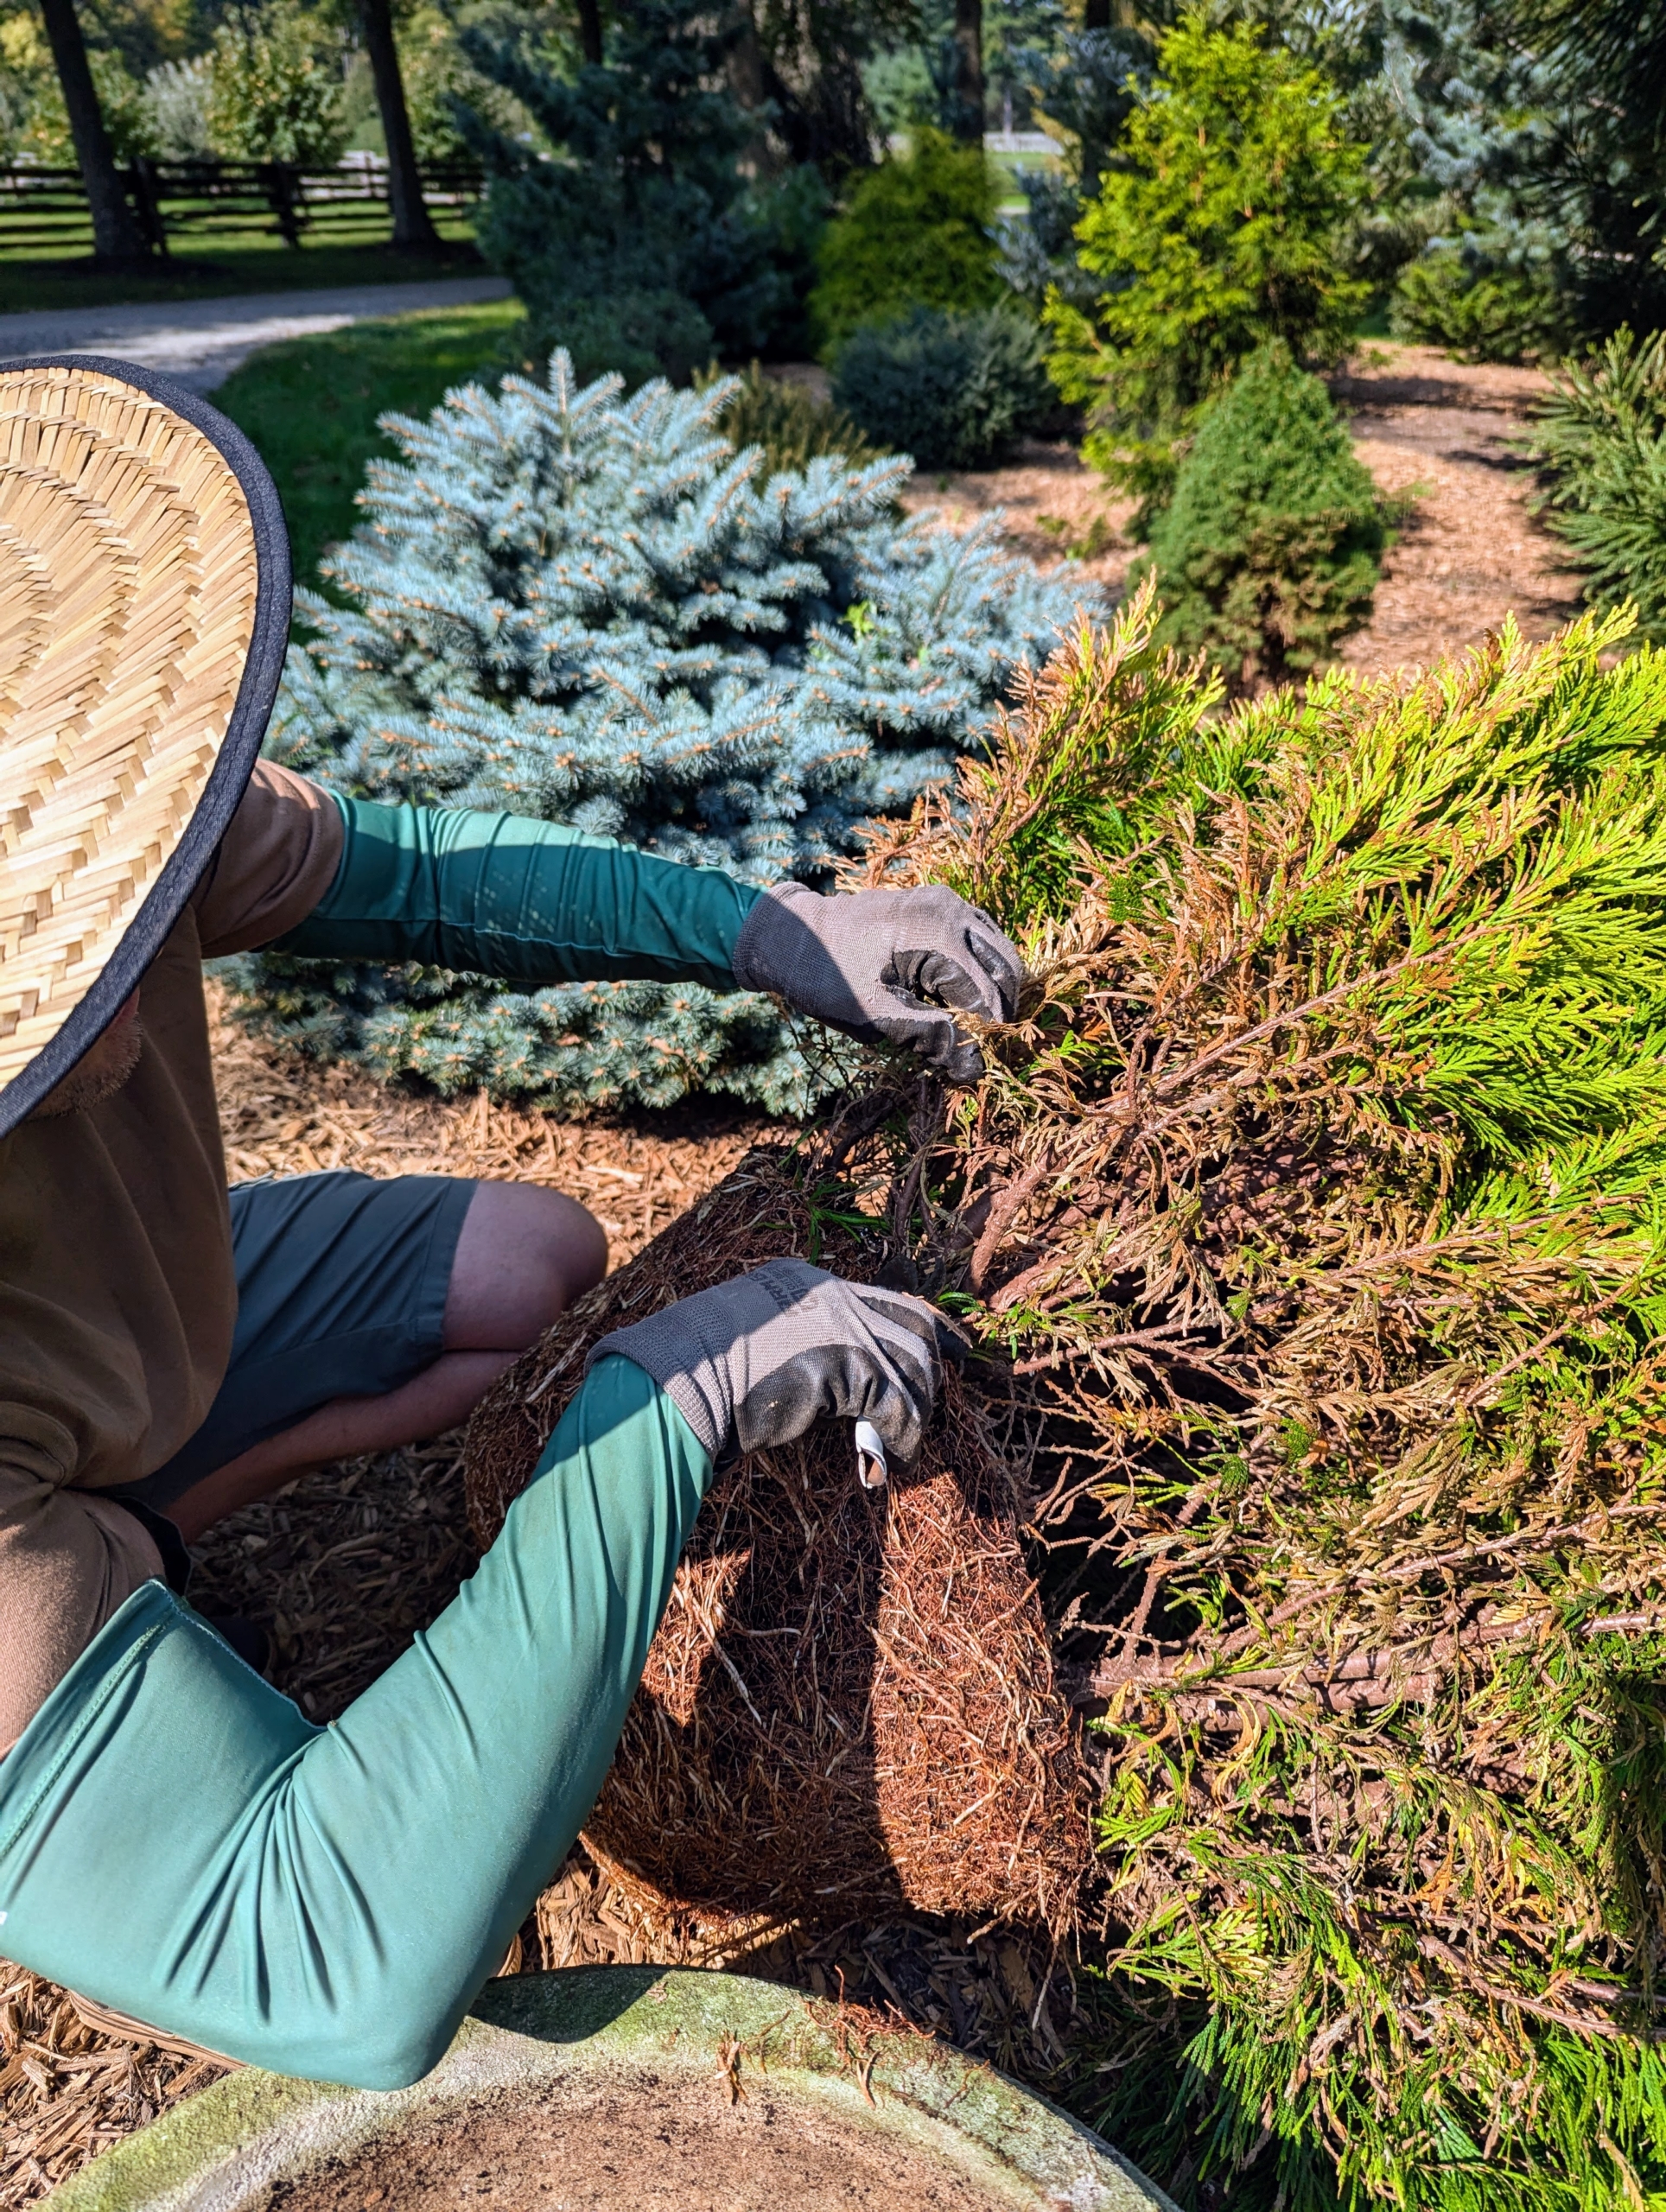
Ryan is removing another evergreen from a container so it can be transplanted into the ground. It had outgrown this small container and will do much better here in the pinetum.
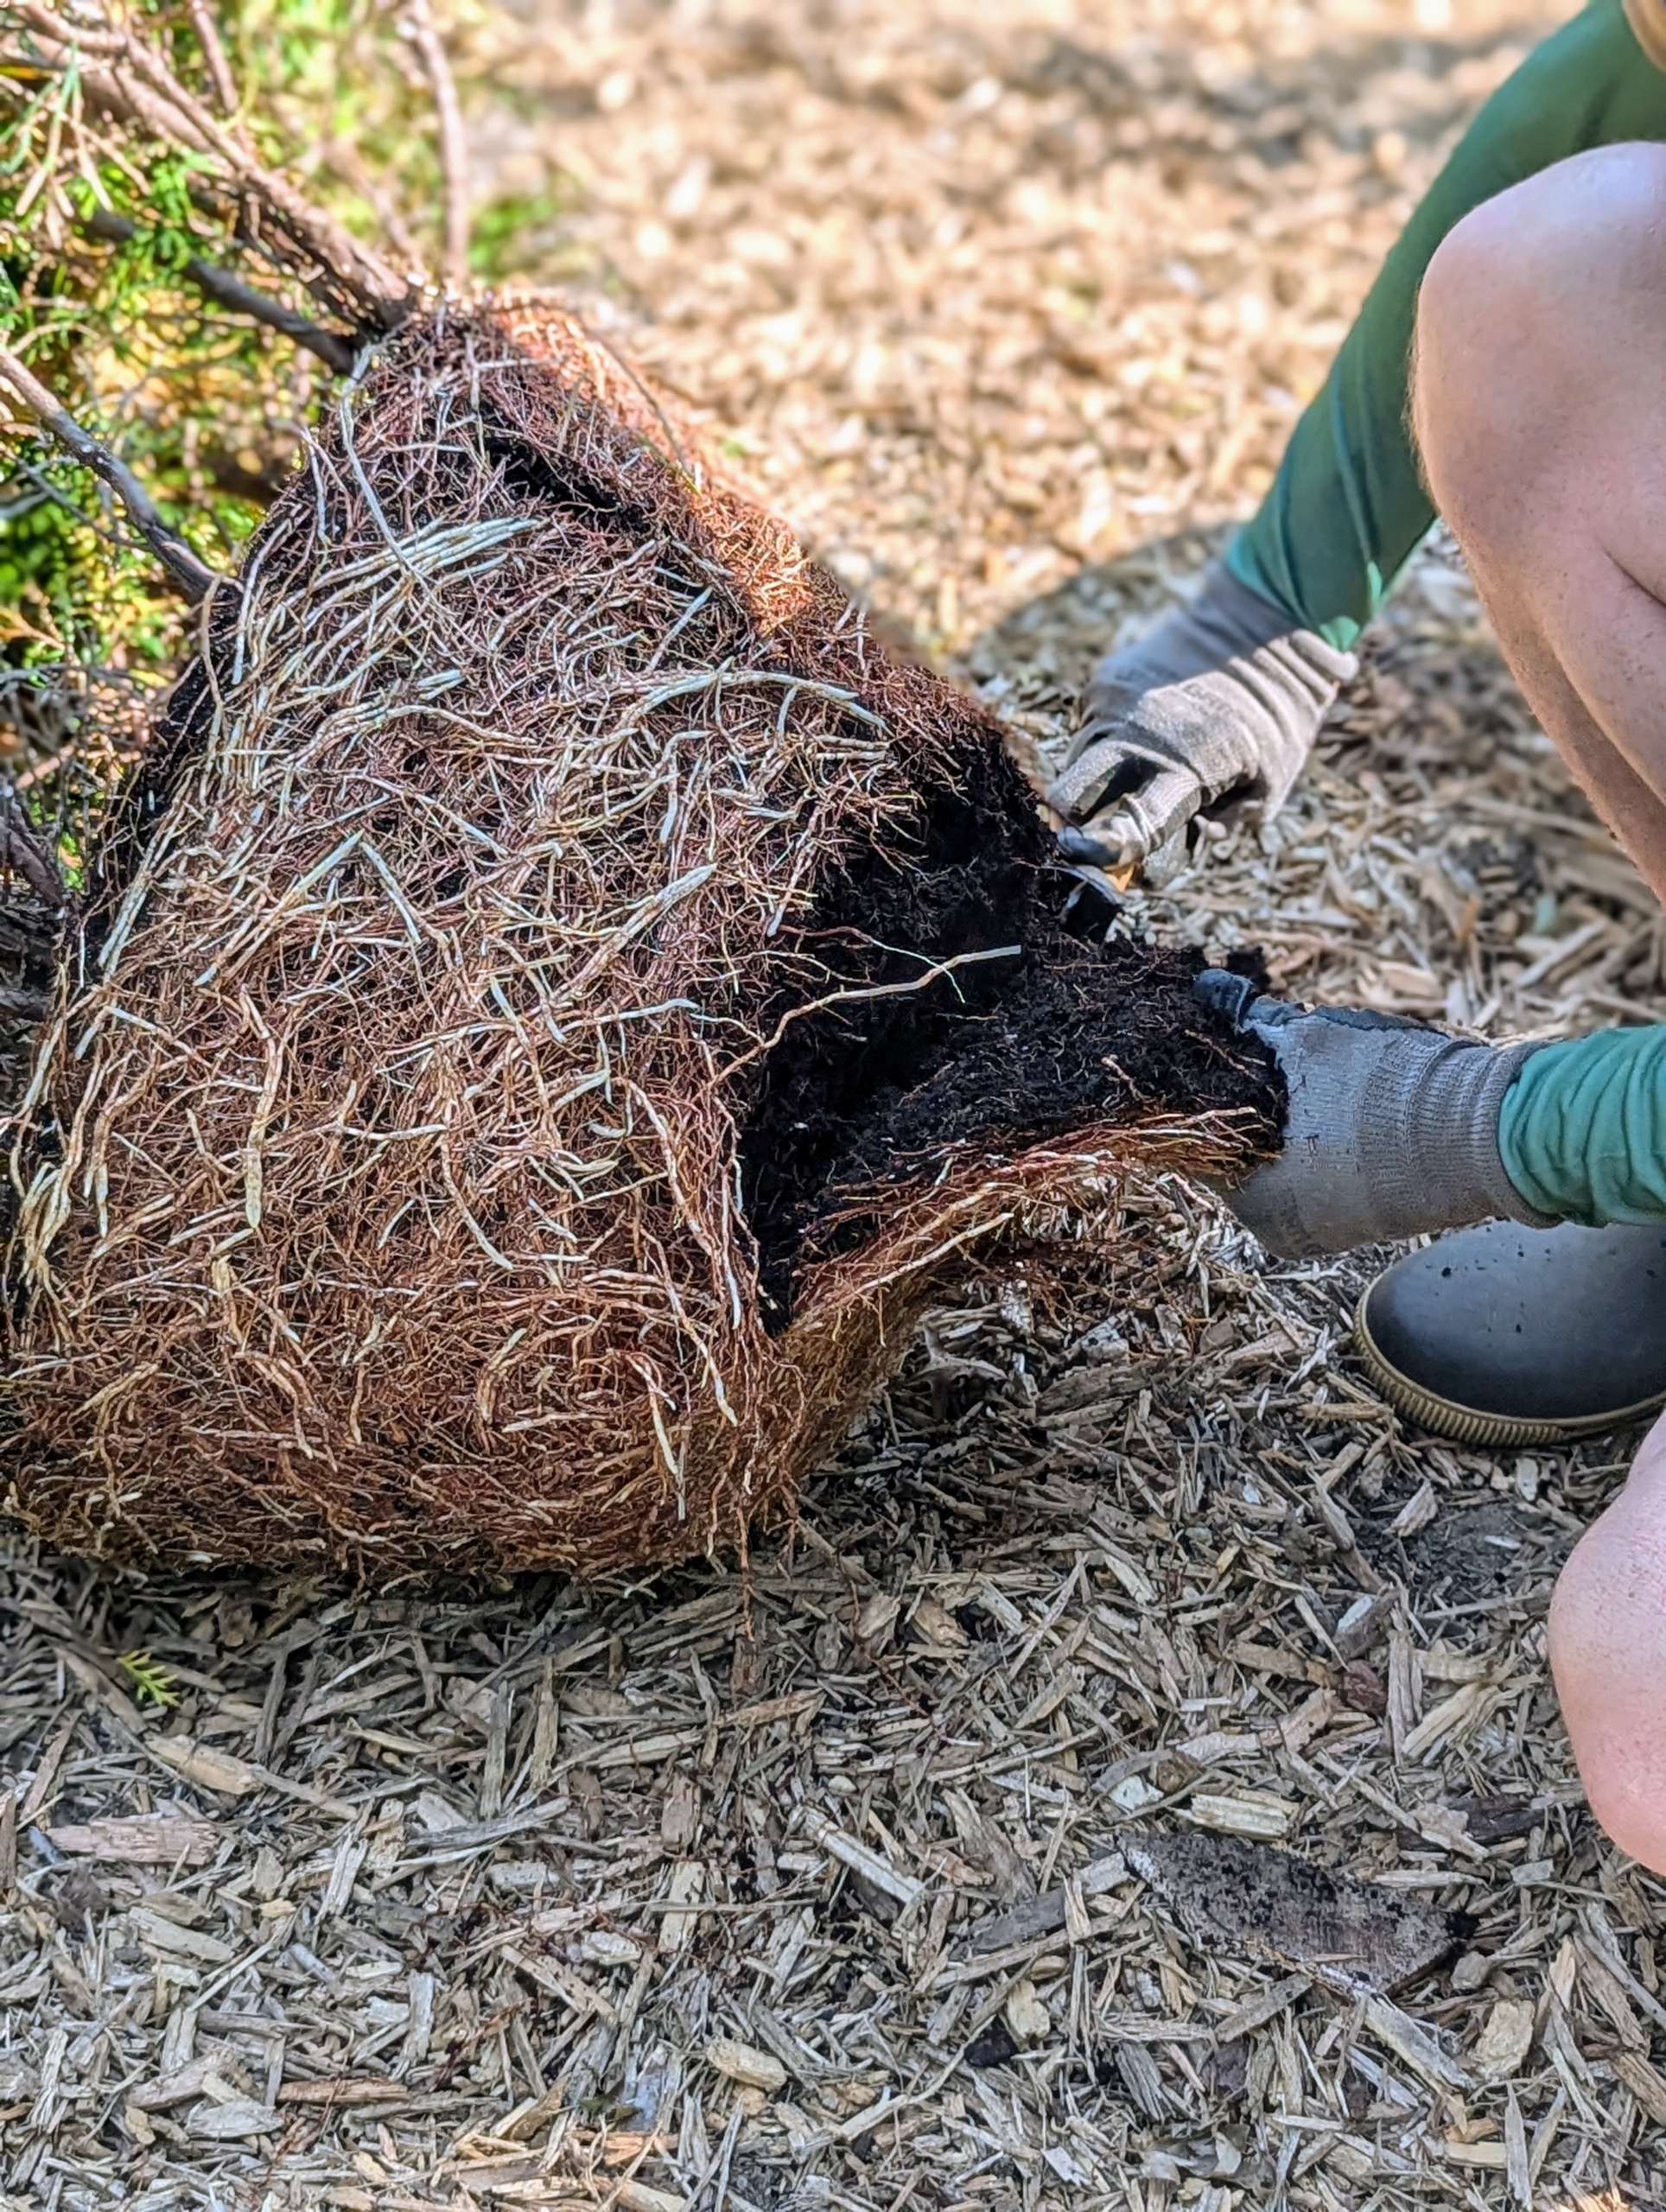
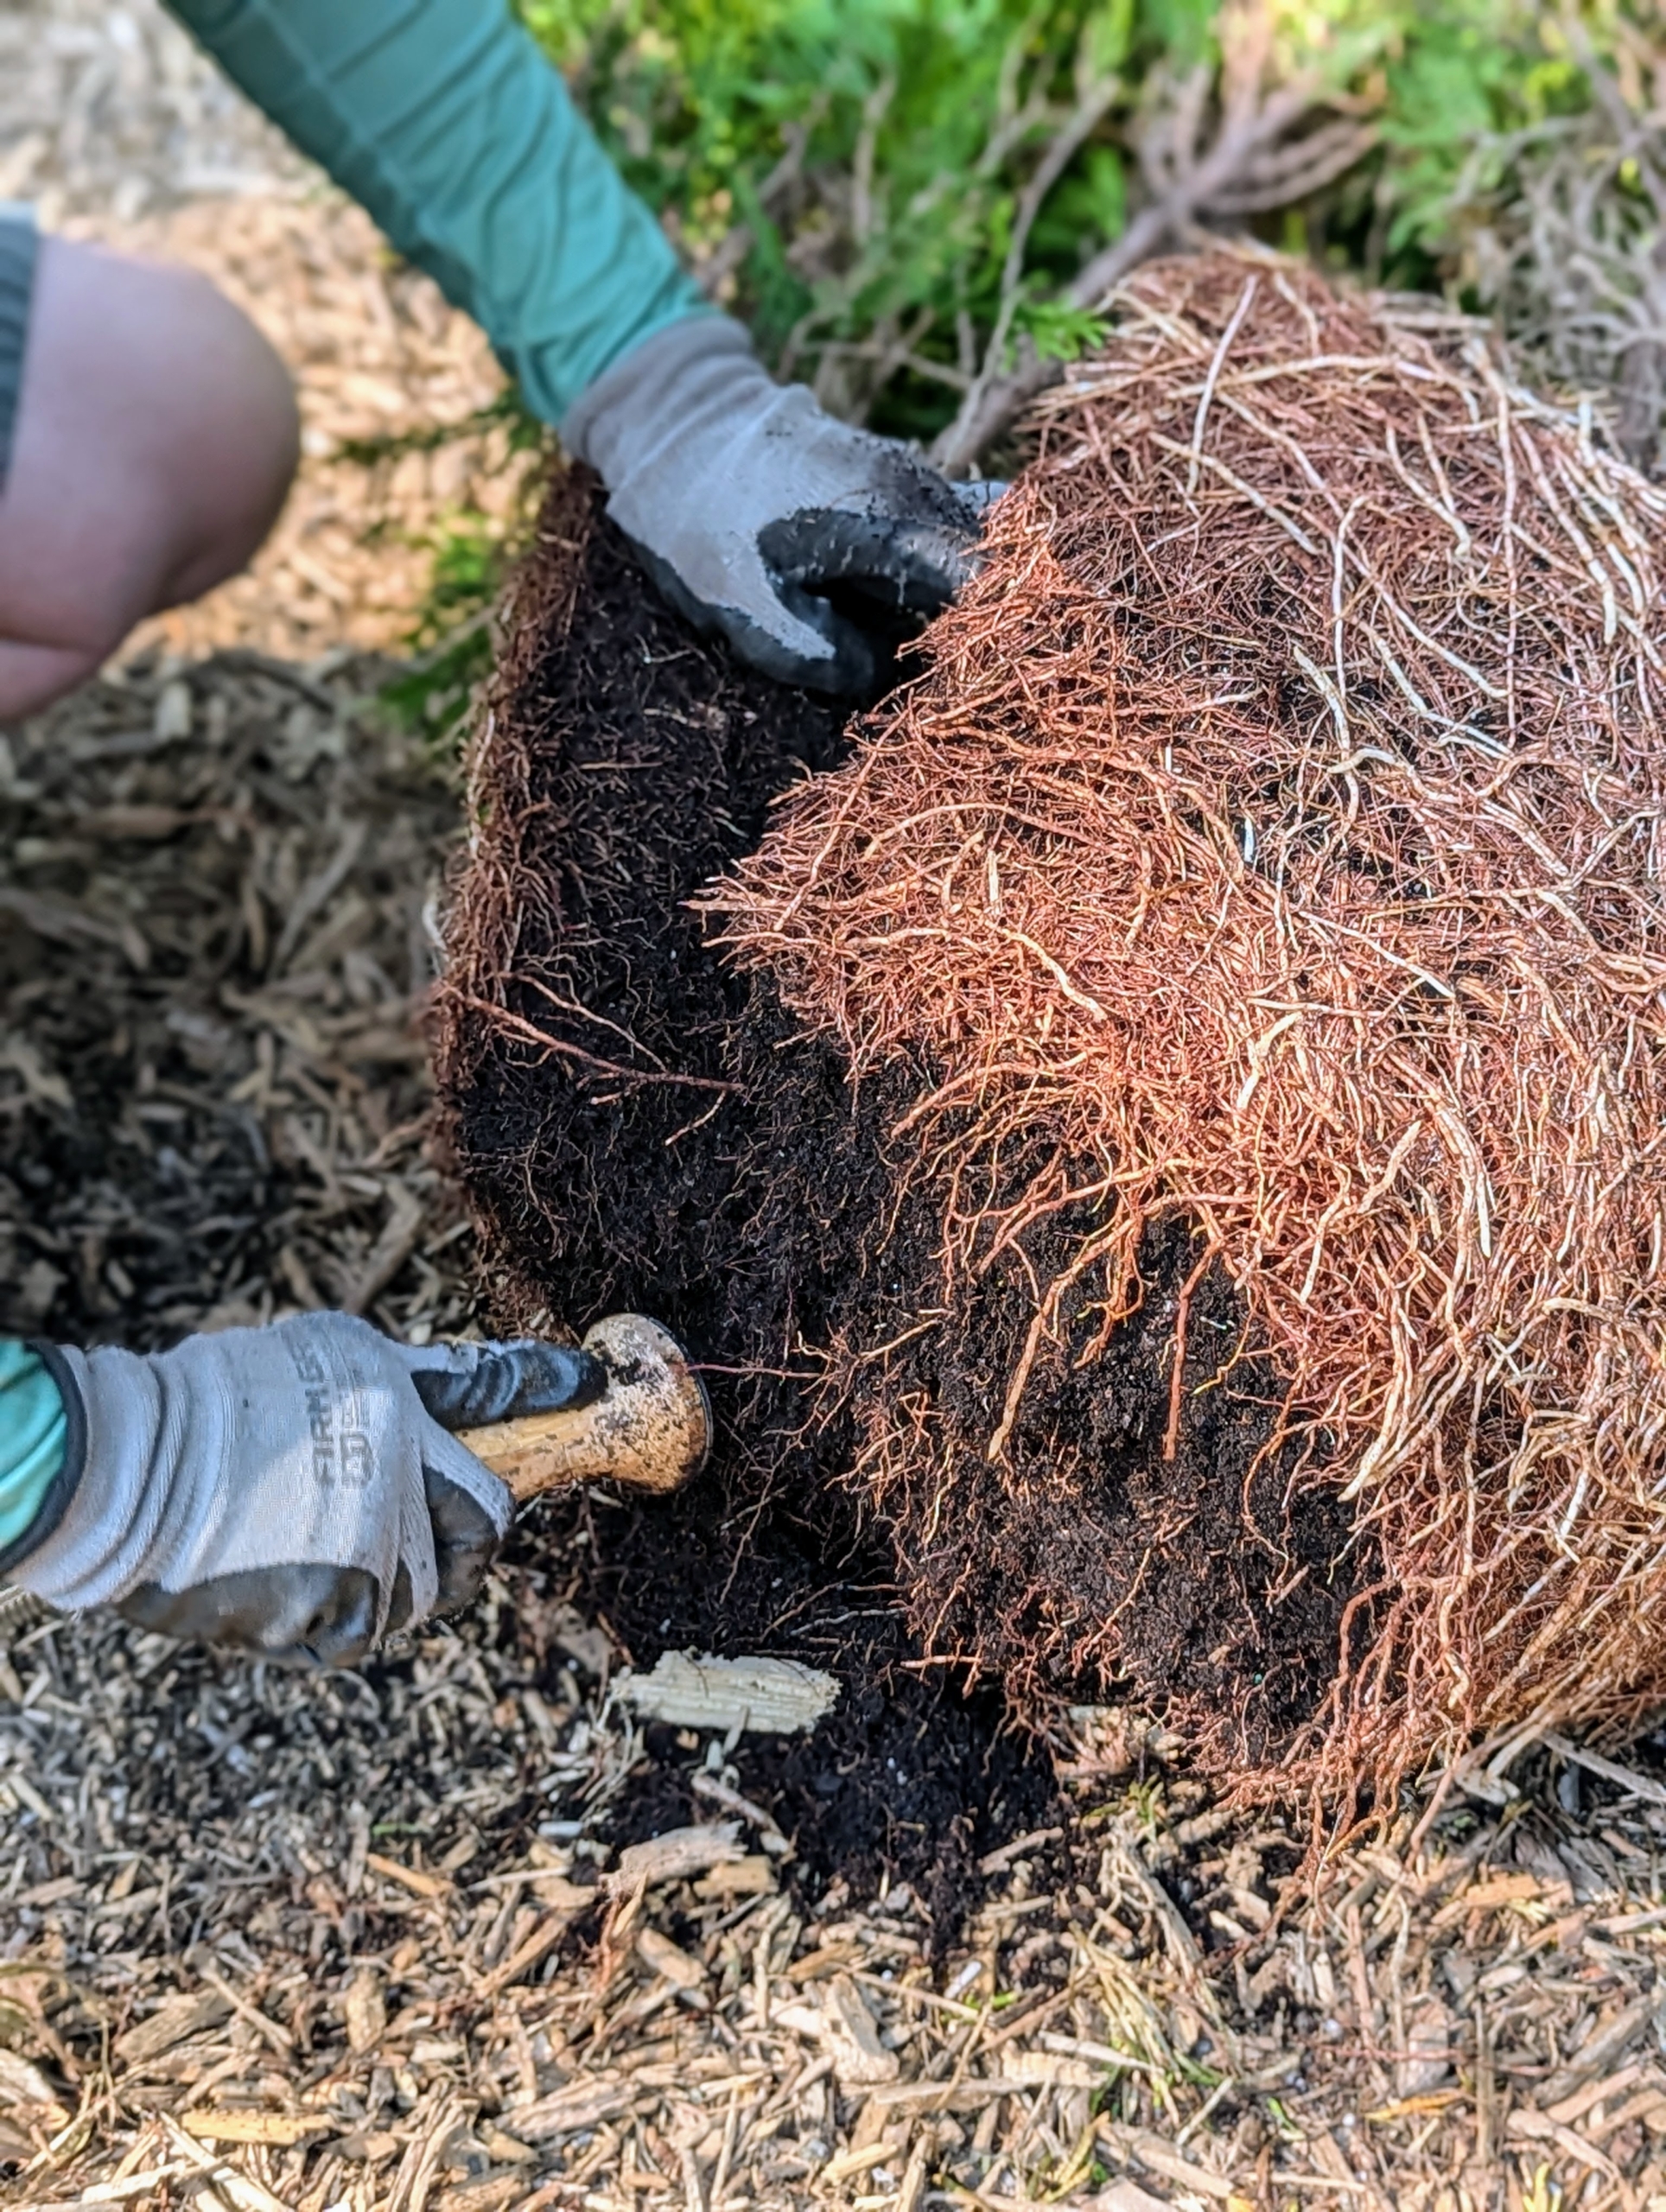
Ryan removes as much of the root ball as possible to minimize root damage.
He places specimens strategically around the pinetum taking into consideration the size of the plant at maturity, its light needs, and its proximity to other plantings.
On this shrub, Ryan lightly packs the soil around and under the root ball to eliminate air pockets.
Junipers are coniferous trees and shrubs in the genus Juniperus of the cypress family Cupressaceae. They are hardy evergreens that thrive in most US growing zones. Junipers are deer resistant, salt tolerant, and extremely low maintenance.
On this evergreen, Ryan trims out the four Ds of pruning – dead, damaged, diseased, and deranged – those branches that cross or rub against each other.
He also cuts off the bottom of the root ball. Scarifying helps promote healthy growth and nutrient absorption by loosening the roots and allowing them to expand into the new soil.
These were actually two plants in one container, so Ryan splits it up to plant separately.
Once again he sprinkles a goodly amount of fertilizer into the hole.
Notice that the hole is about twice the size as the root ball itself.
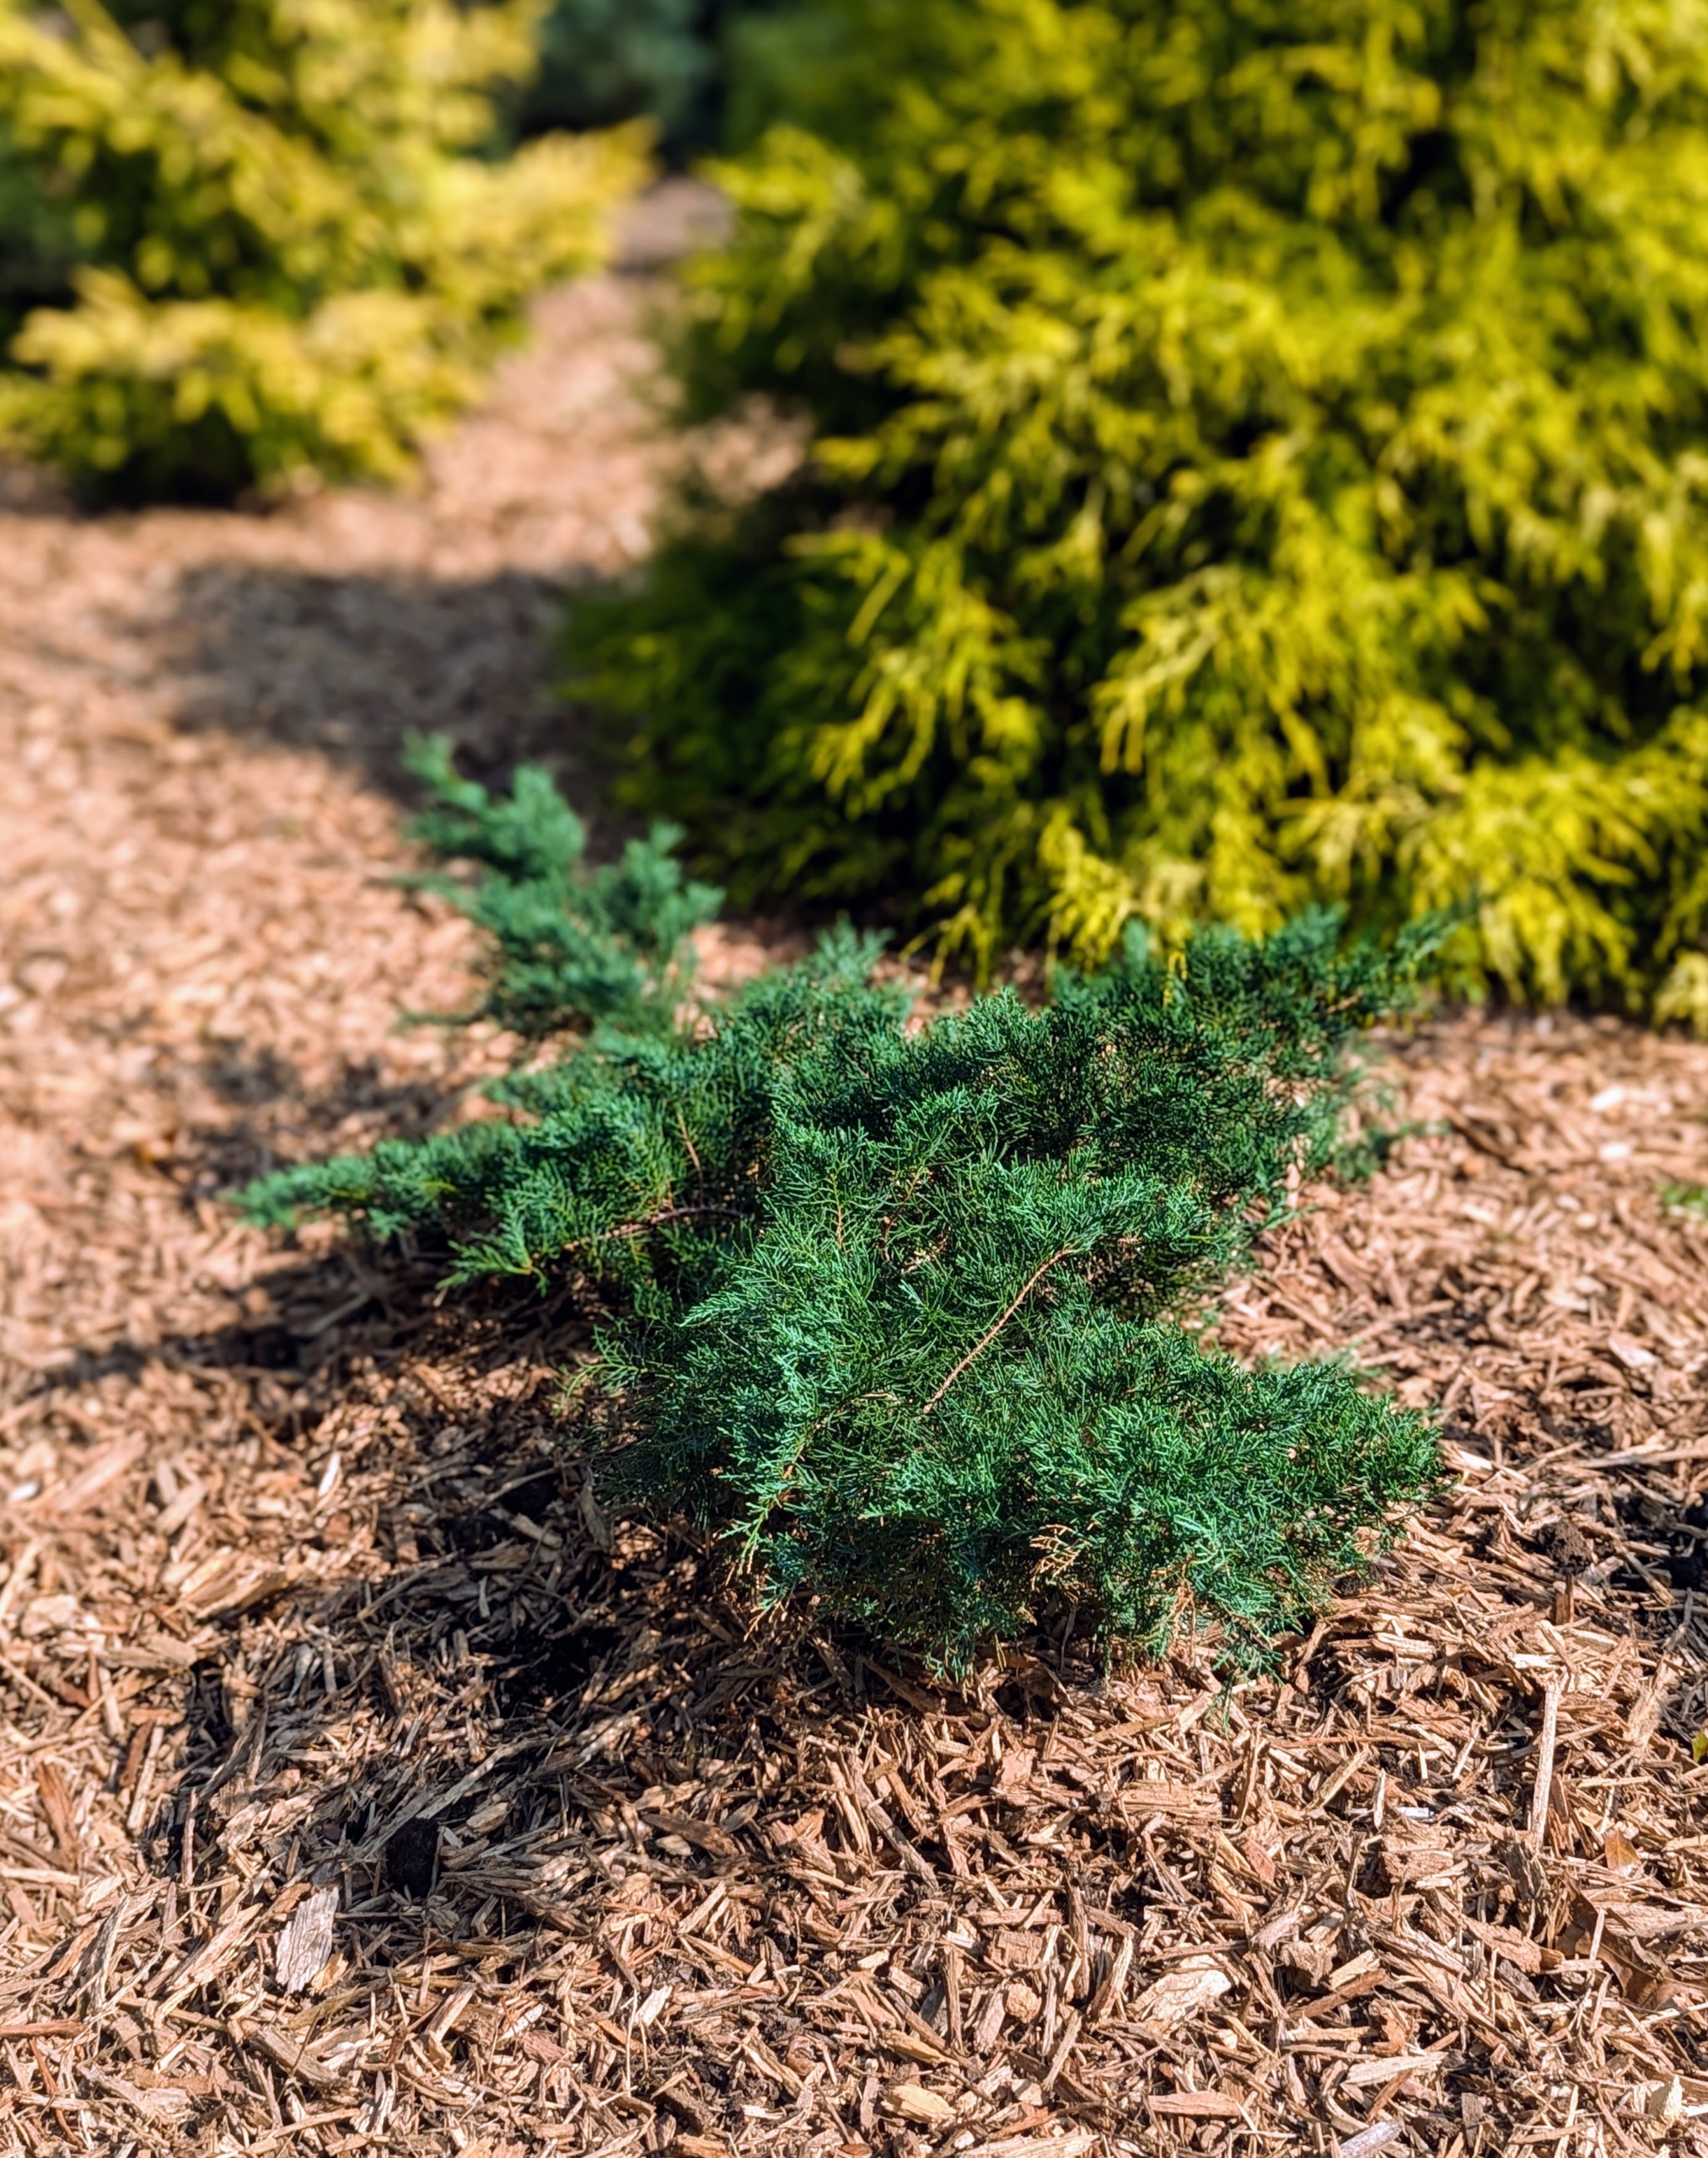
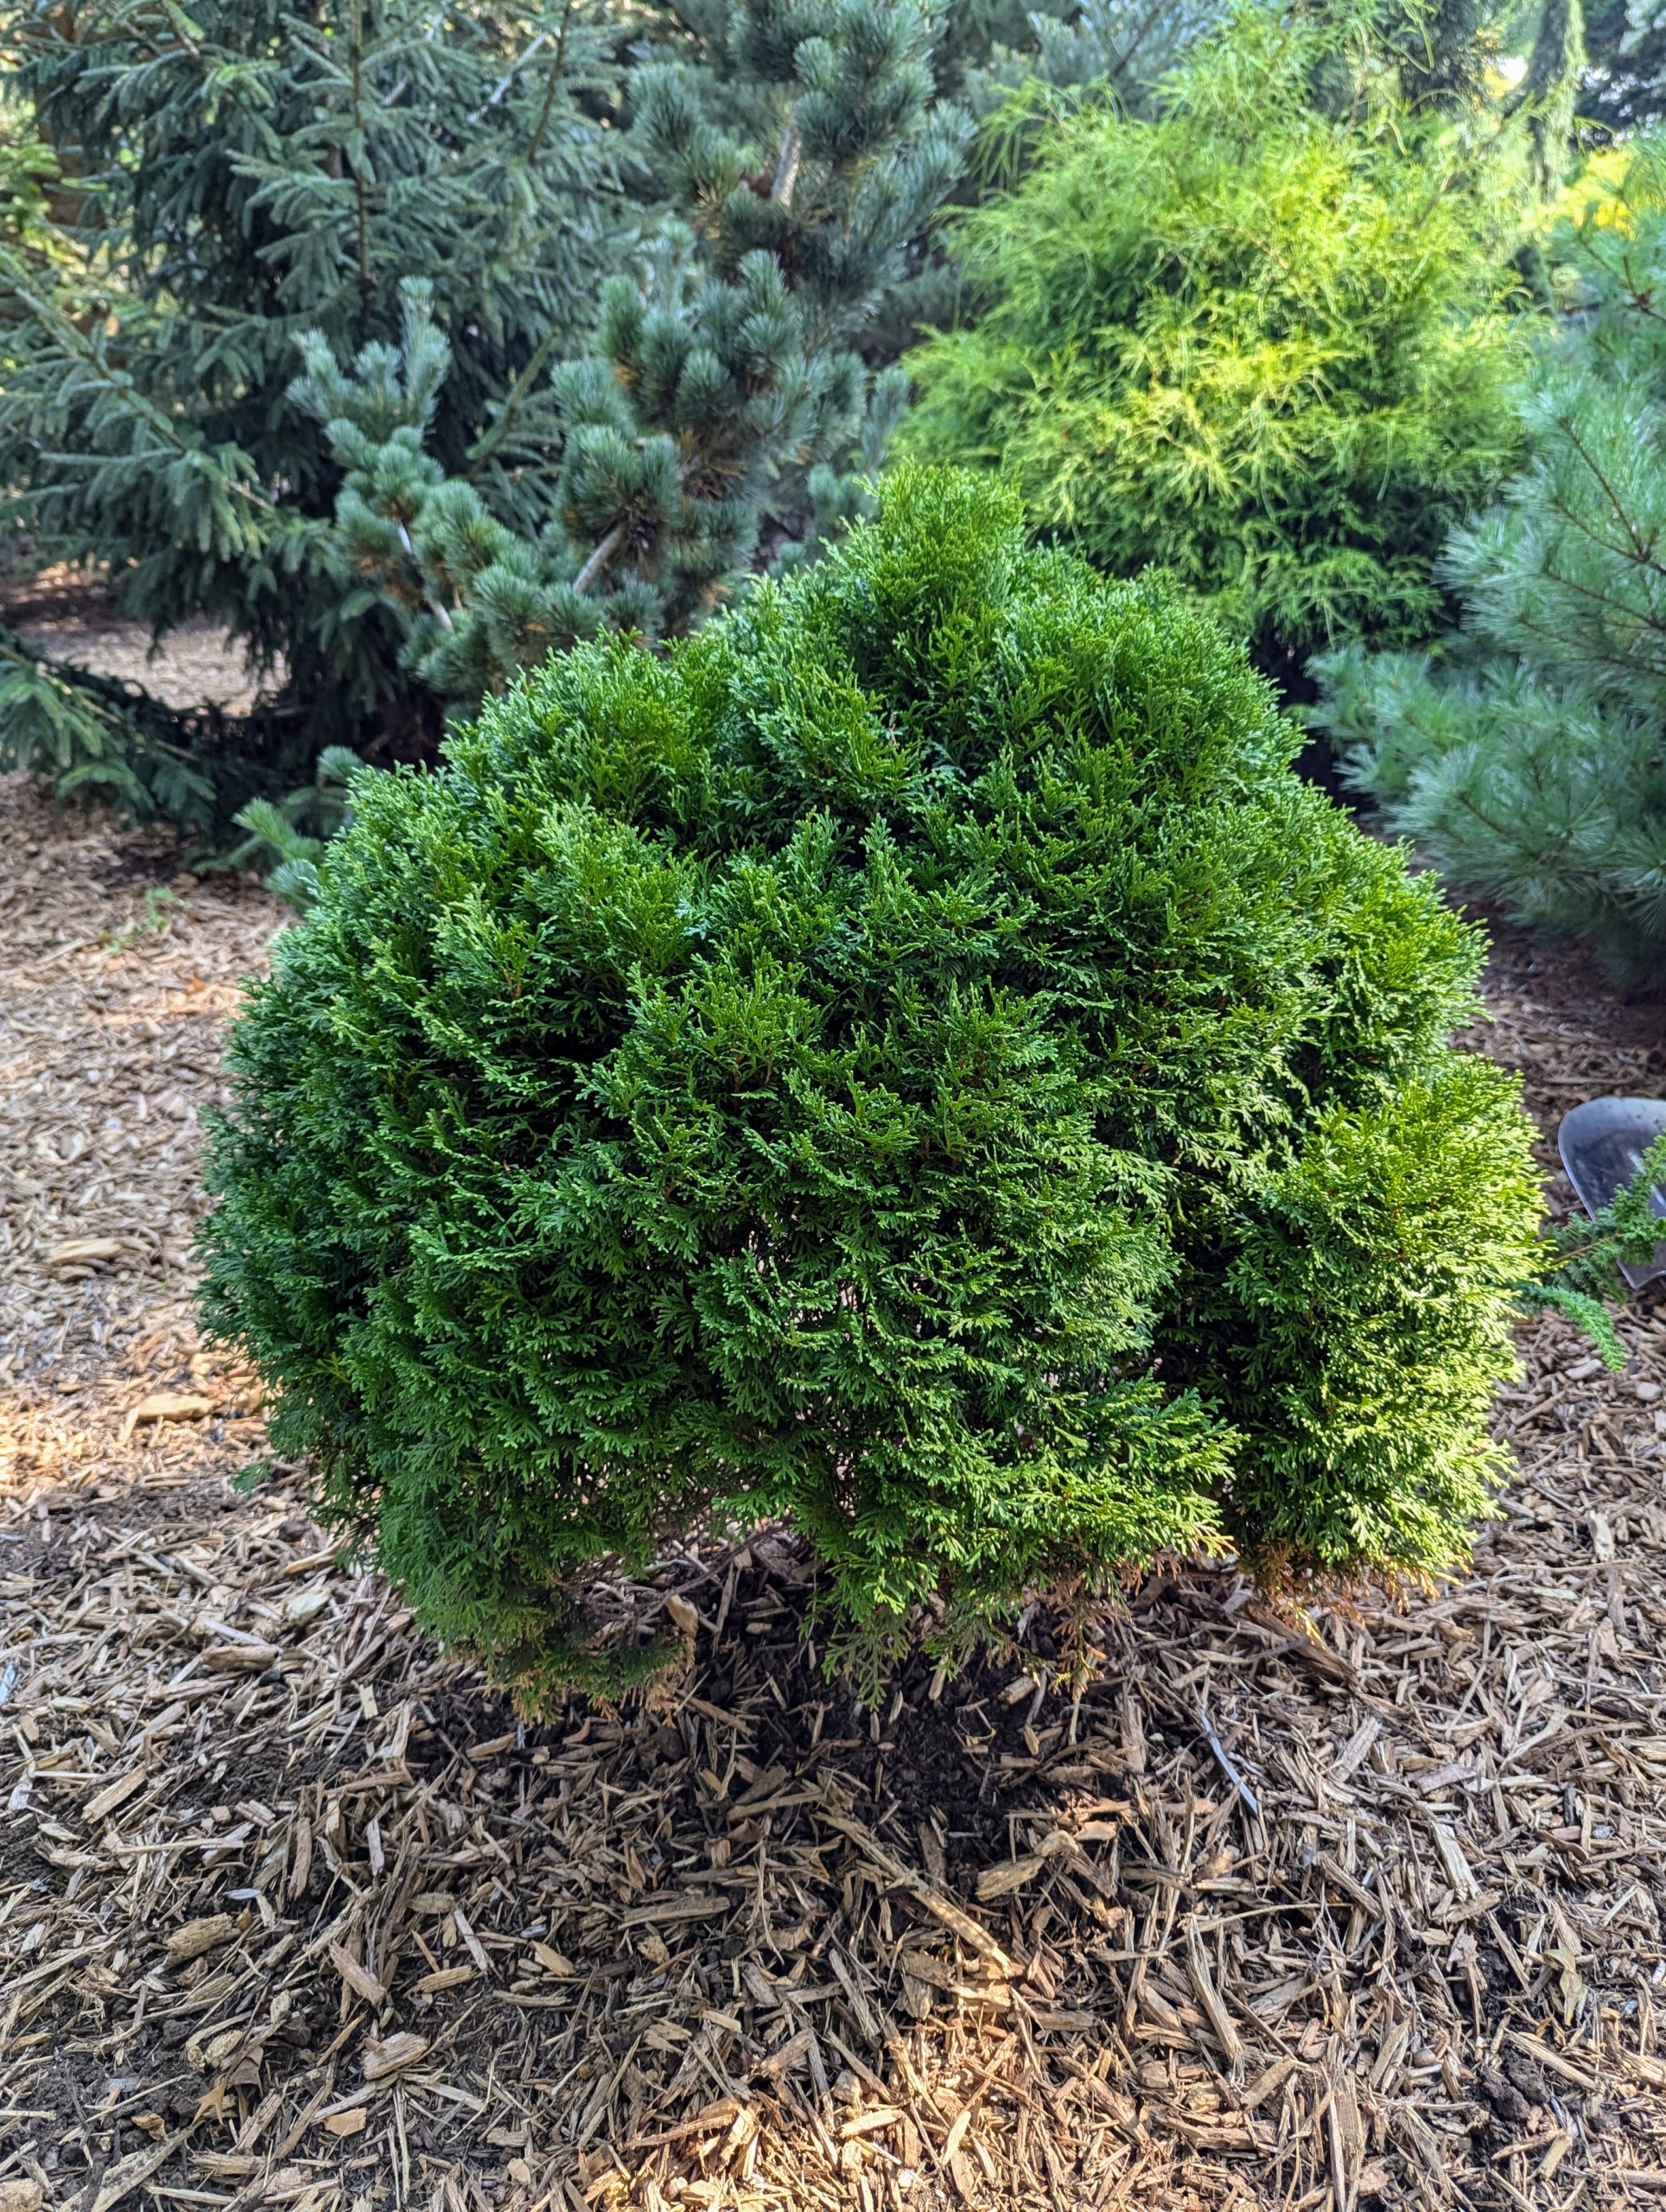
In time, this cypress will fill out in this space. Cypress are loved for their gorgeous and deep blue-green color. This will grow nicely in the pinetum.
Here’s Ryan planting a taller evergreen tree. Some of these newer specimens had grown fast. When planting be sure specimens are planted at the right depth. Planting a tree too deep can kill it. Plant it only at its flare – the bulge just above the root system where the roots begin to branch away from the trunk.
My pinetum collection has grown so well over the years. I am pleased with how it looks, and so happy these trees are thriving here at the farm.
Here at the farm, I try hard to keep everything clean, organized, and in good working condition - especially all the large and important agricultural equipment.
Last week, my outdoor grounds crew baled our second cut of hay - 663 bales for my horses from three large fields. I am so proud I can make hay right here at the farm. After all the hay is properly stacked, it's crucial that all the equipment is checked and cleaned before storing. Keeping farm equipment clean and maintained ensures optimal performance, minimizes breakdowns, and extends the lifespan of the units.
Here are some photos, enjoy.
I am very fortunate to have all the proper equipment to make nutritious and delicious hay for my horses. I try to impress upon my team how important it is to take good care of everything we have.
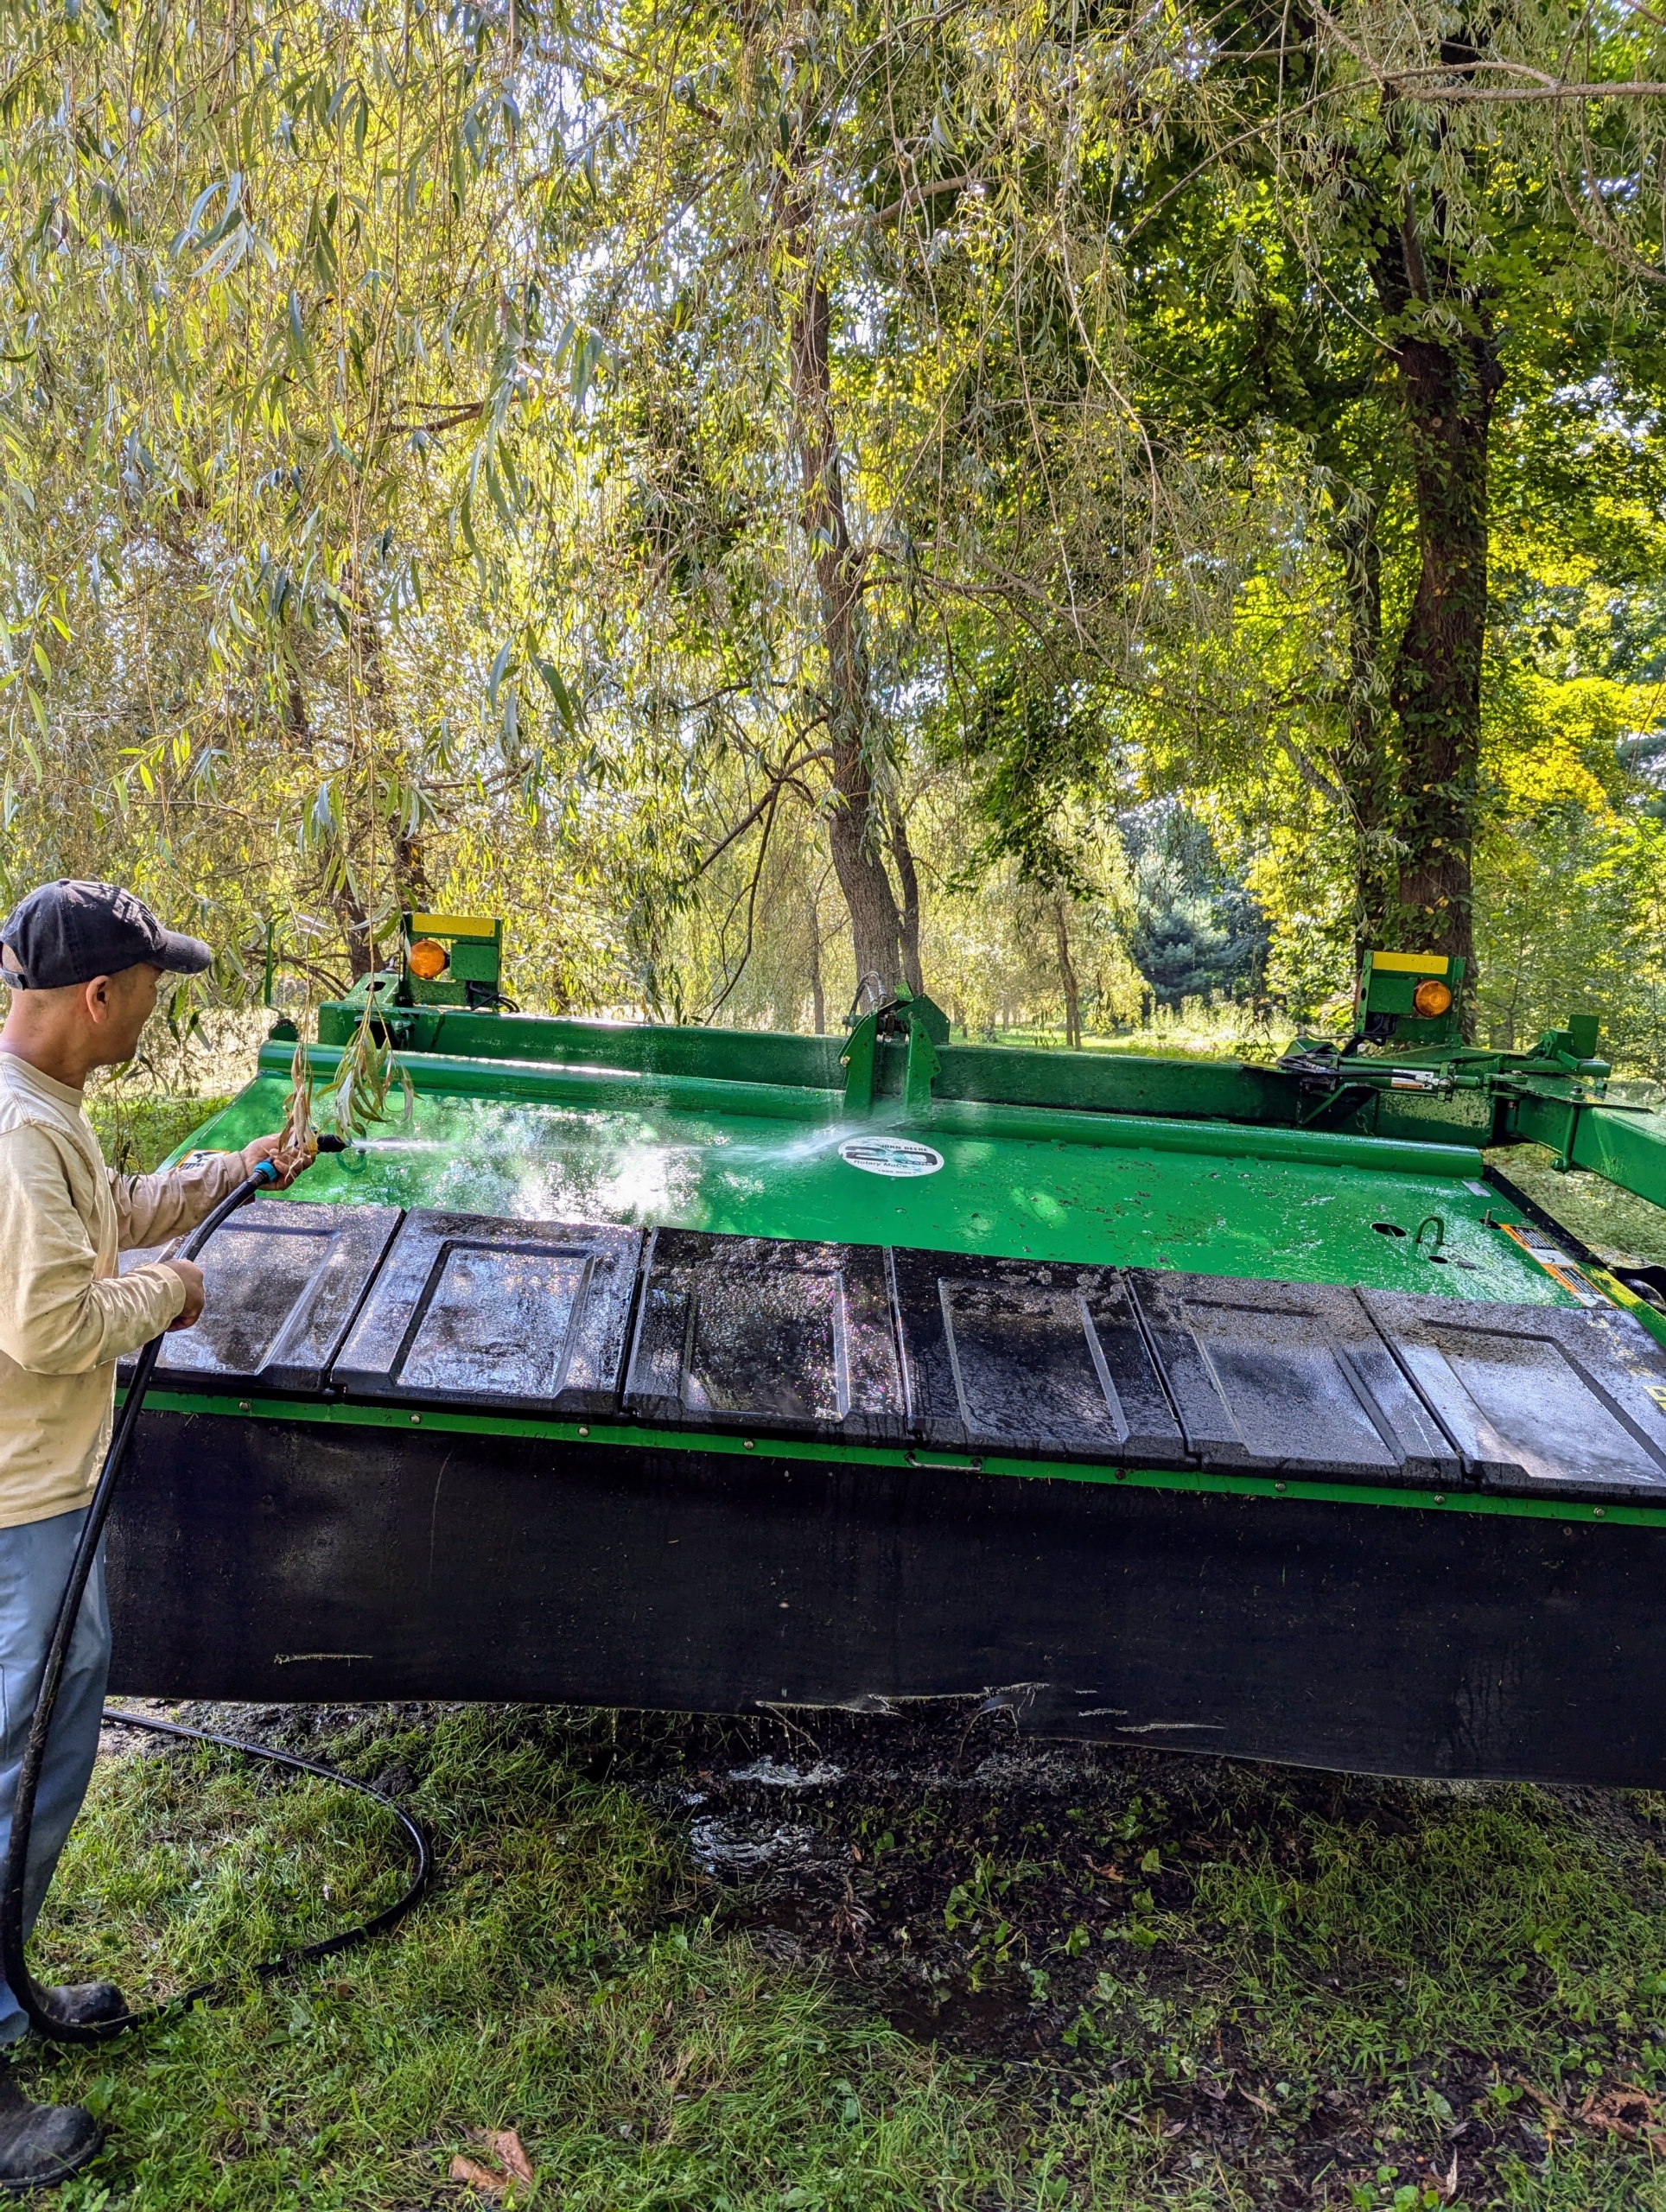
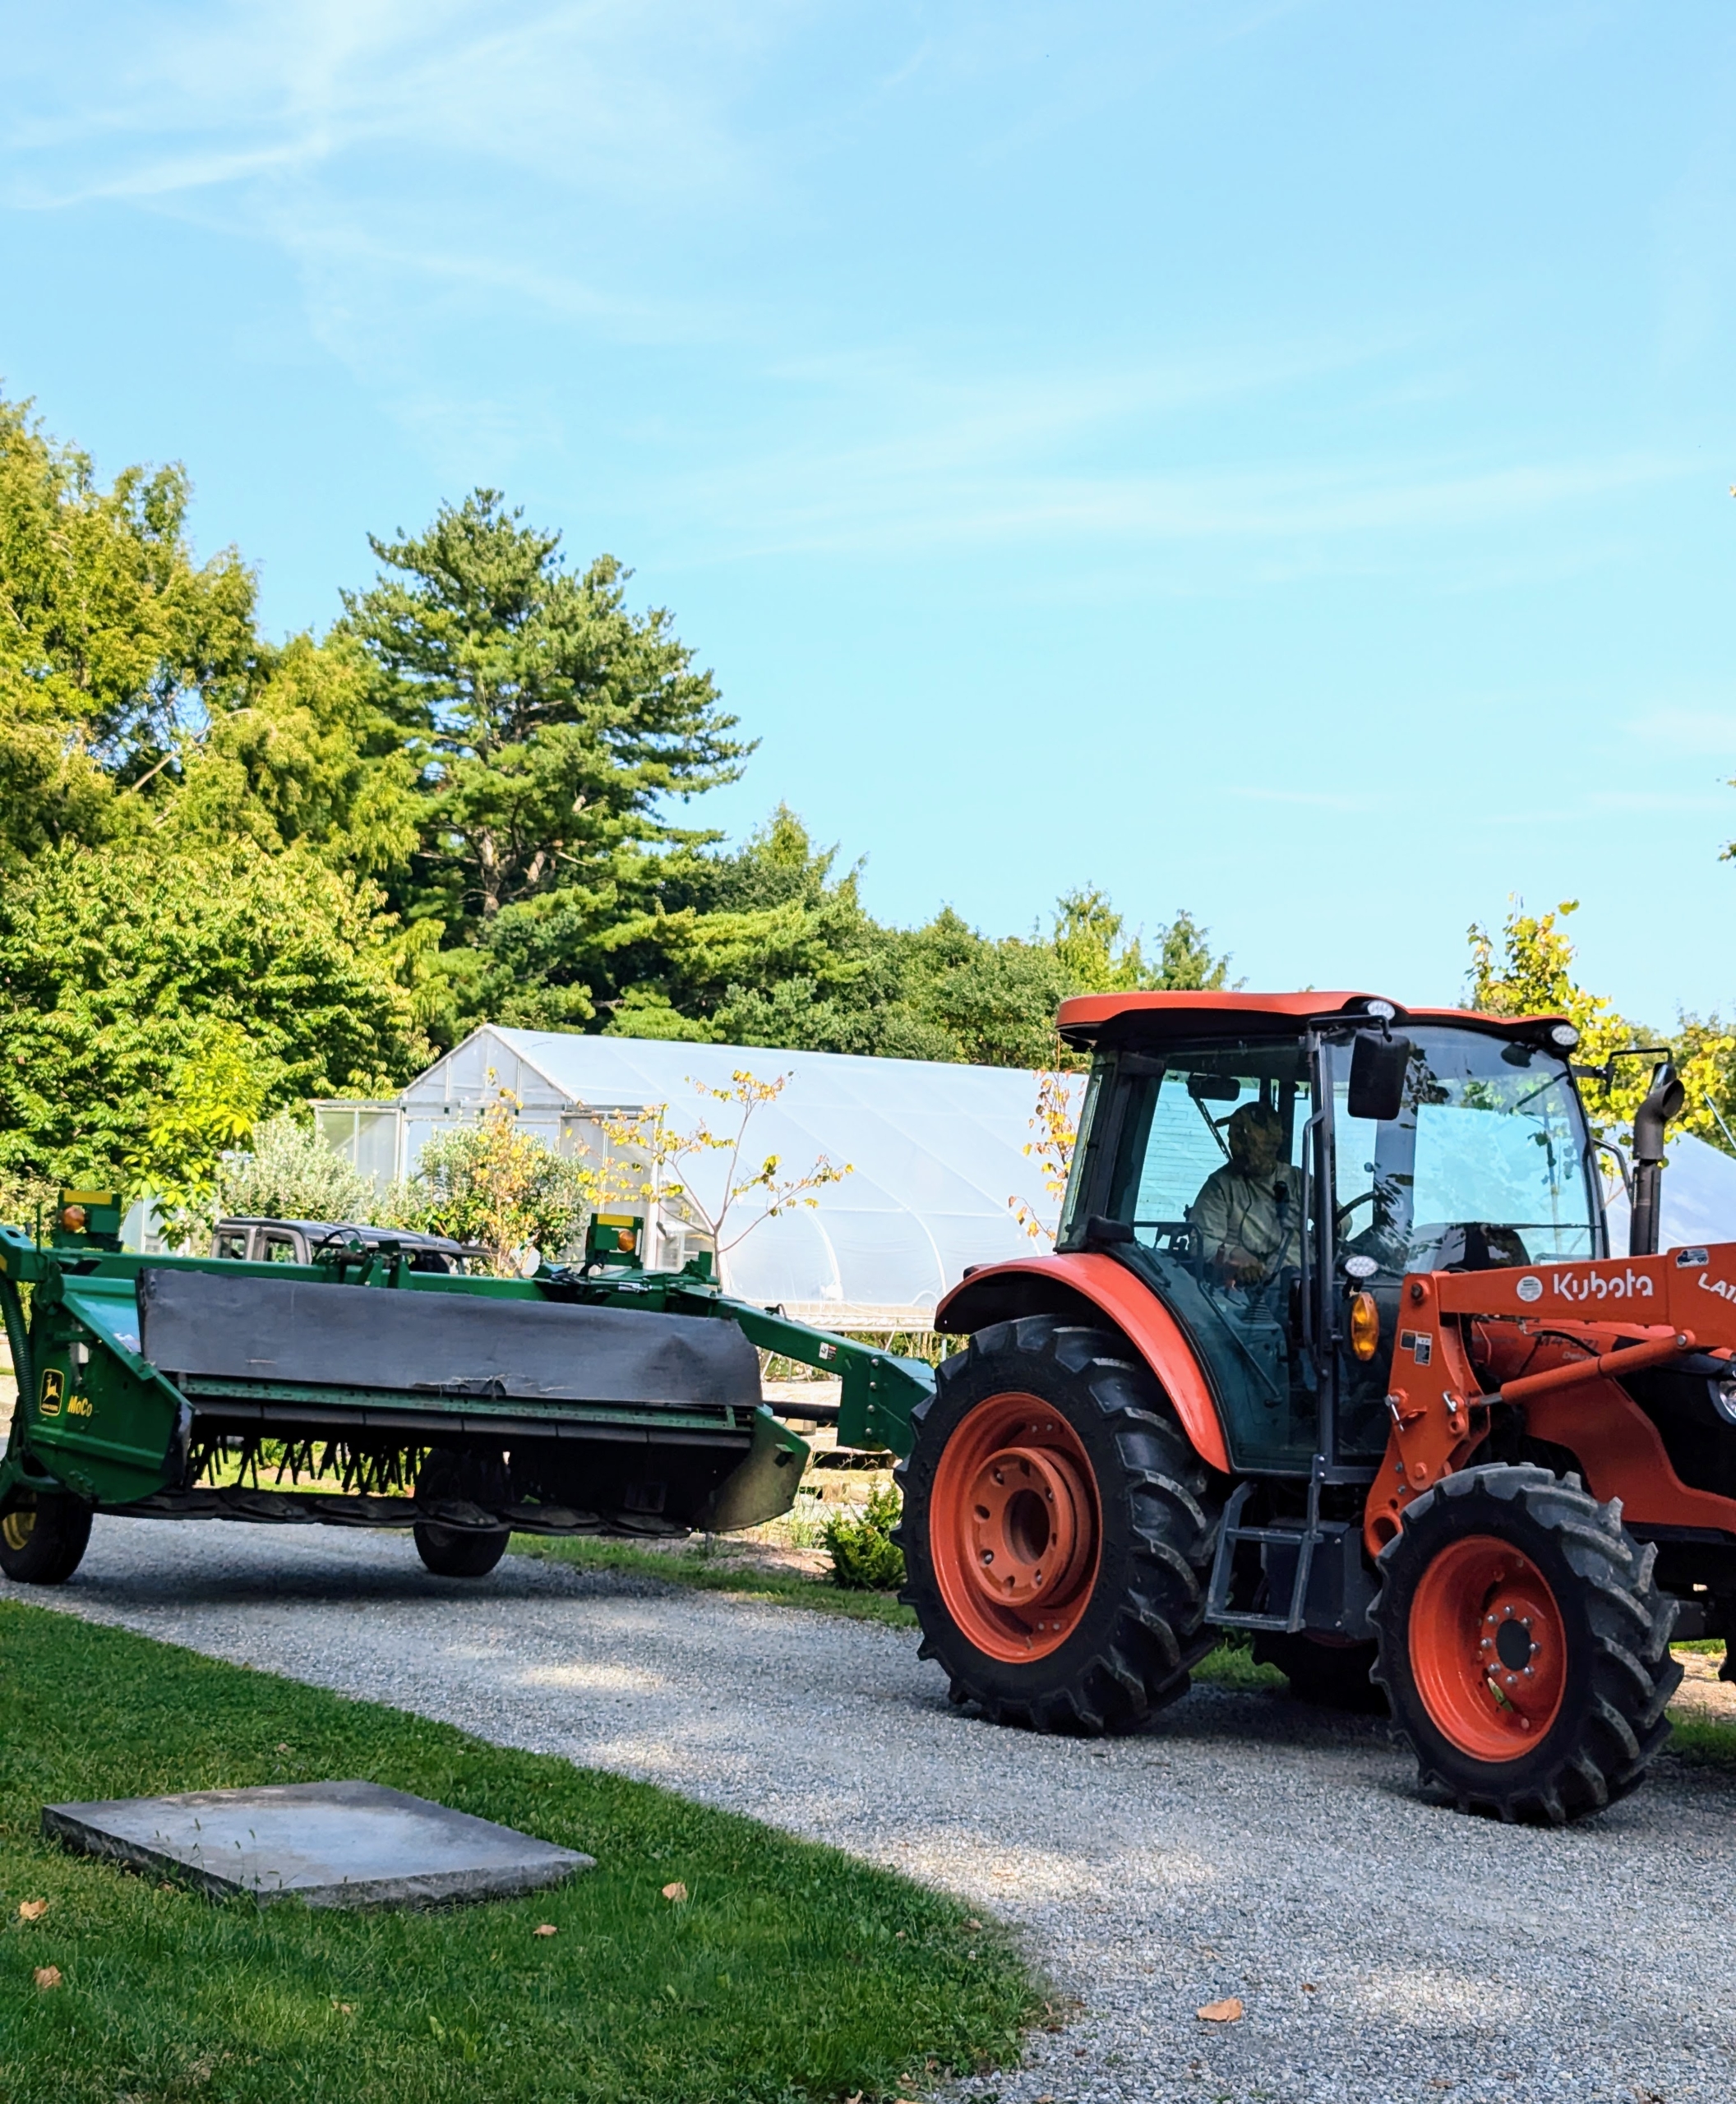
This is our mower-conditioner. A hay mower conditioner cuts, crimps and crushes the hay to promote faster and more even drying. My outdoor grounds crew foreman, Chhiring Sherpa, thoroughly power washes the hood and top of the mower.
When weather conditions are ideal, these machines allow farmers to cut wide and fast – the best formula for quality field productivity.
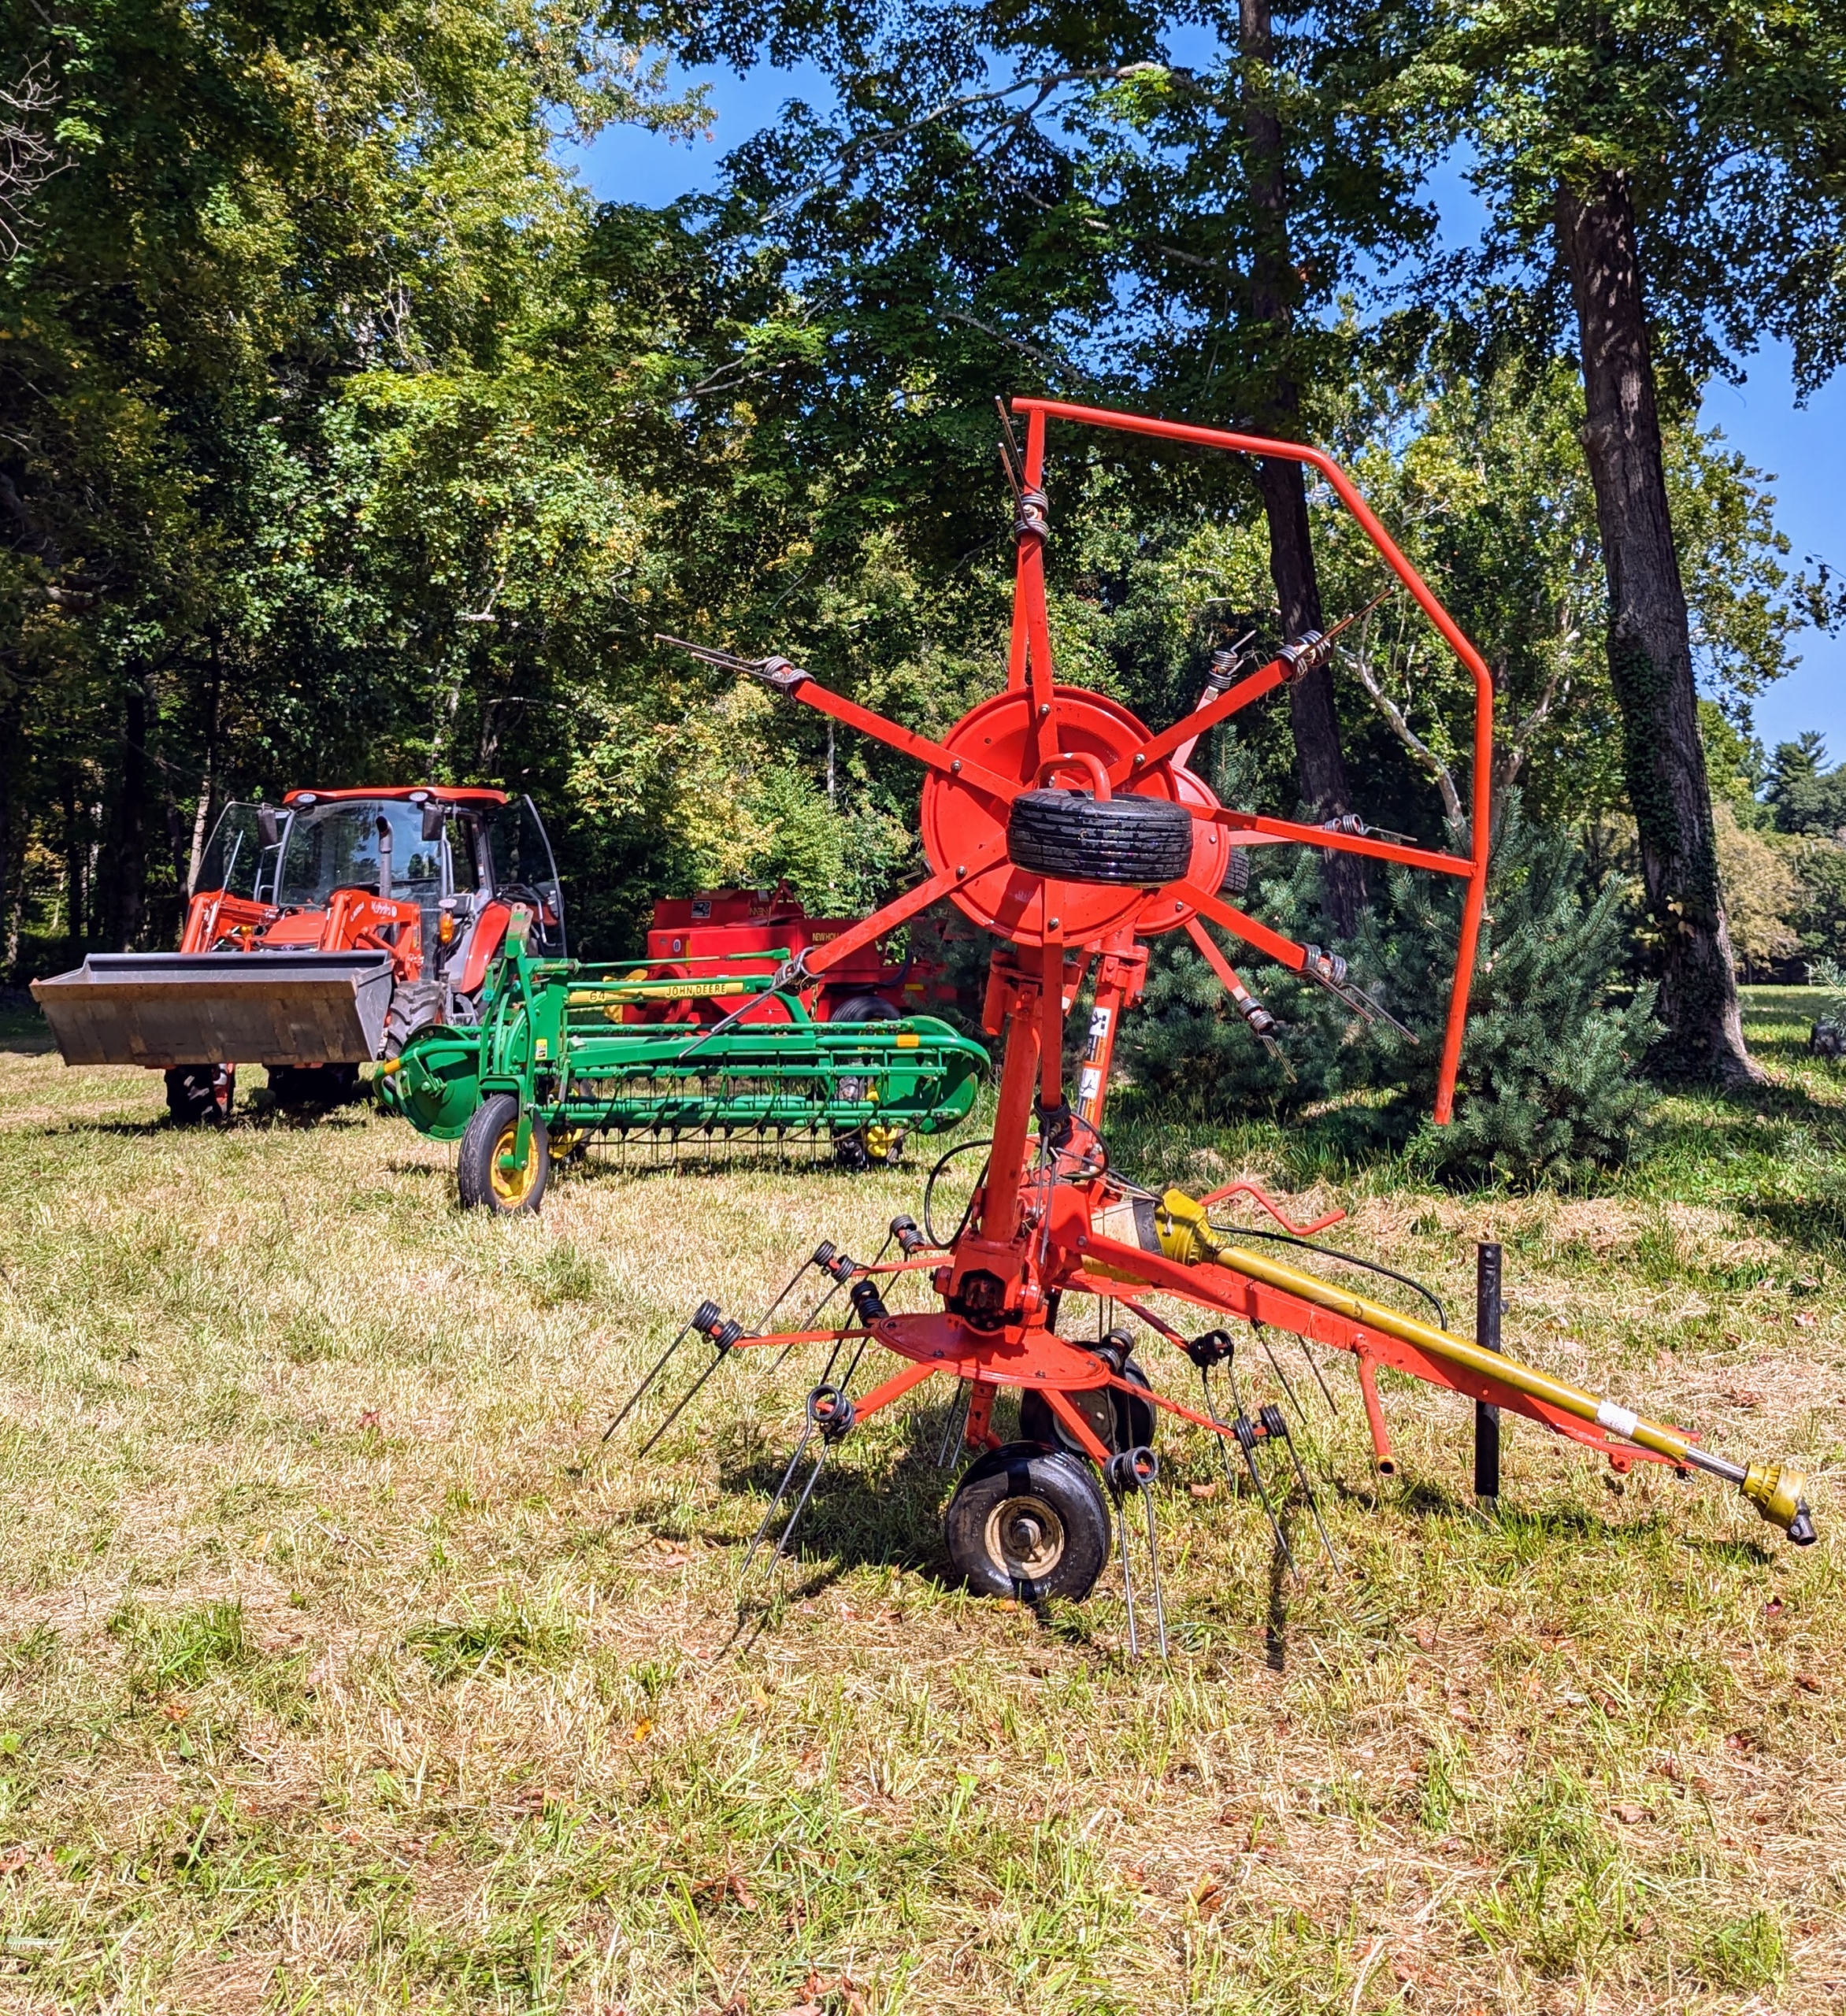
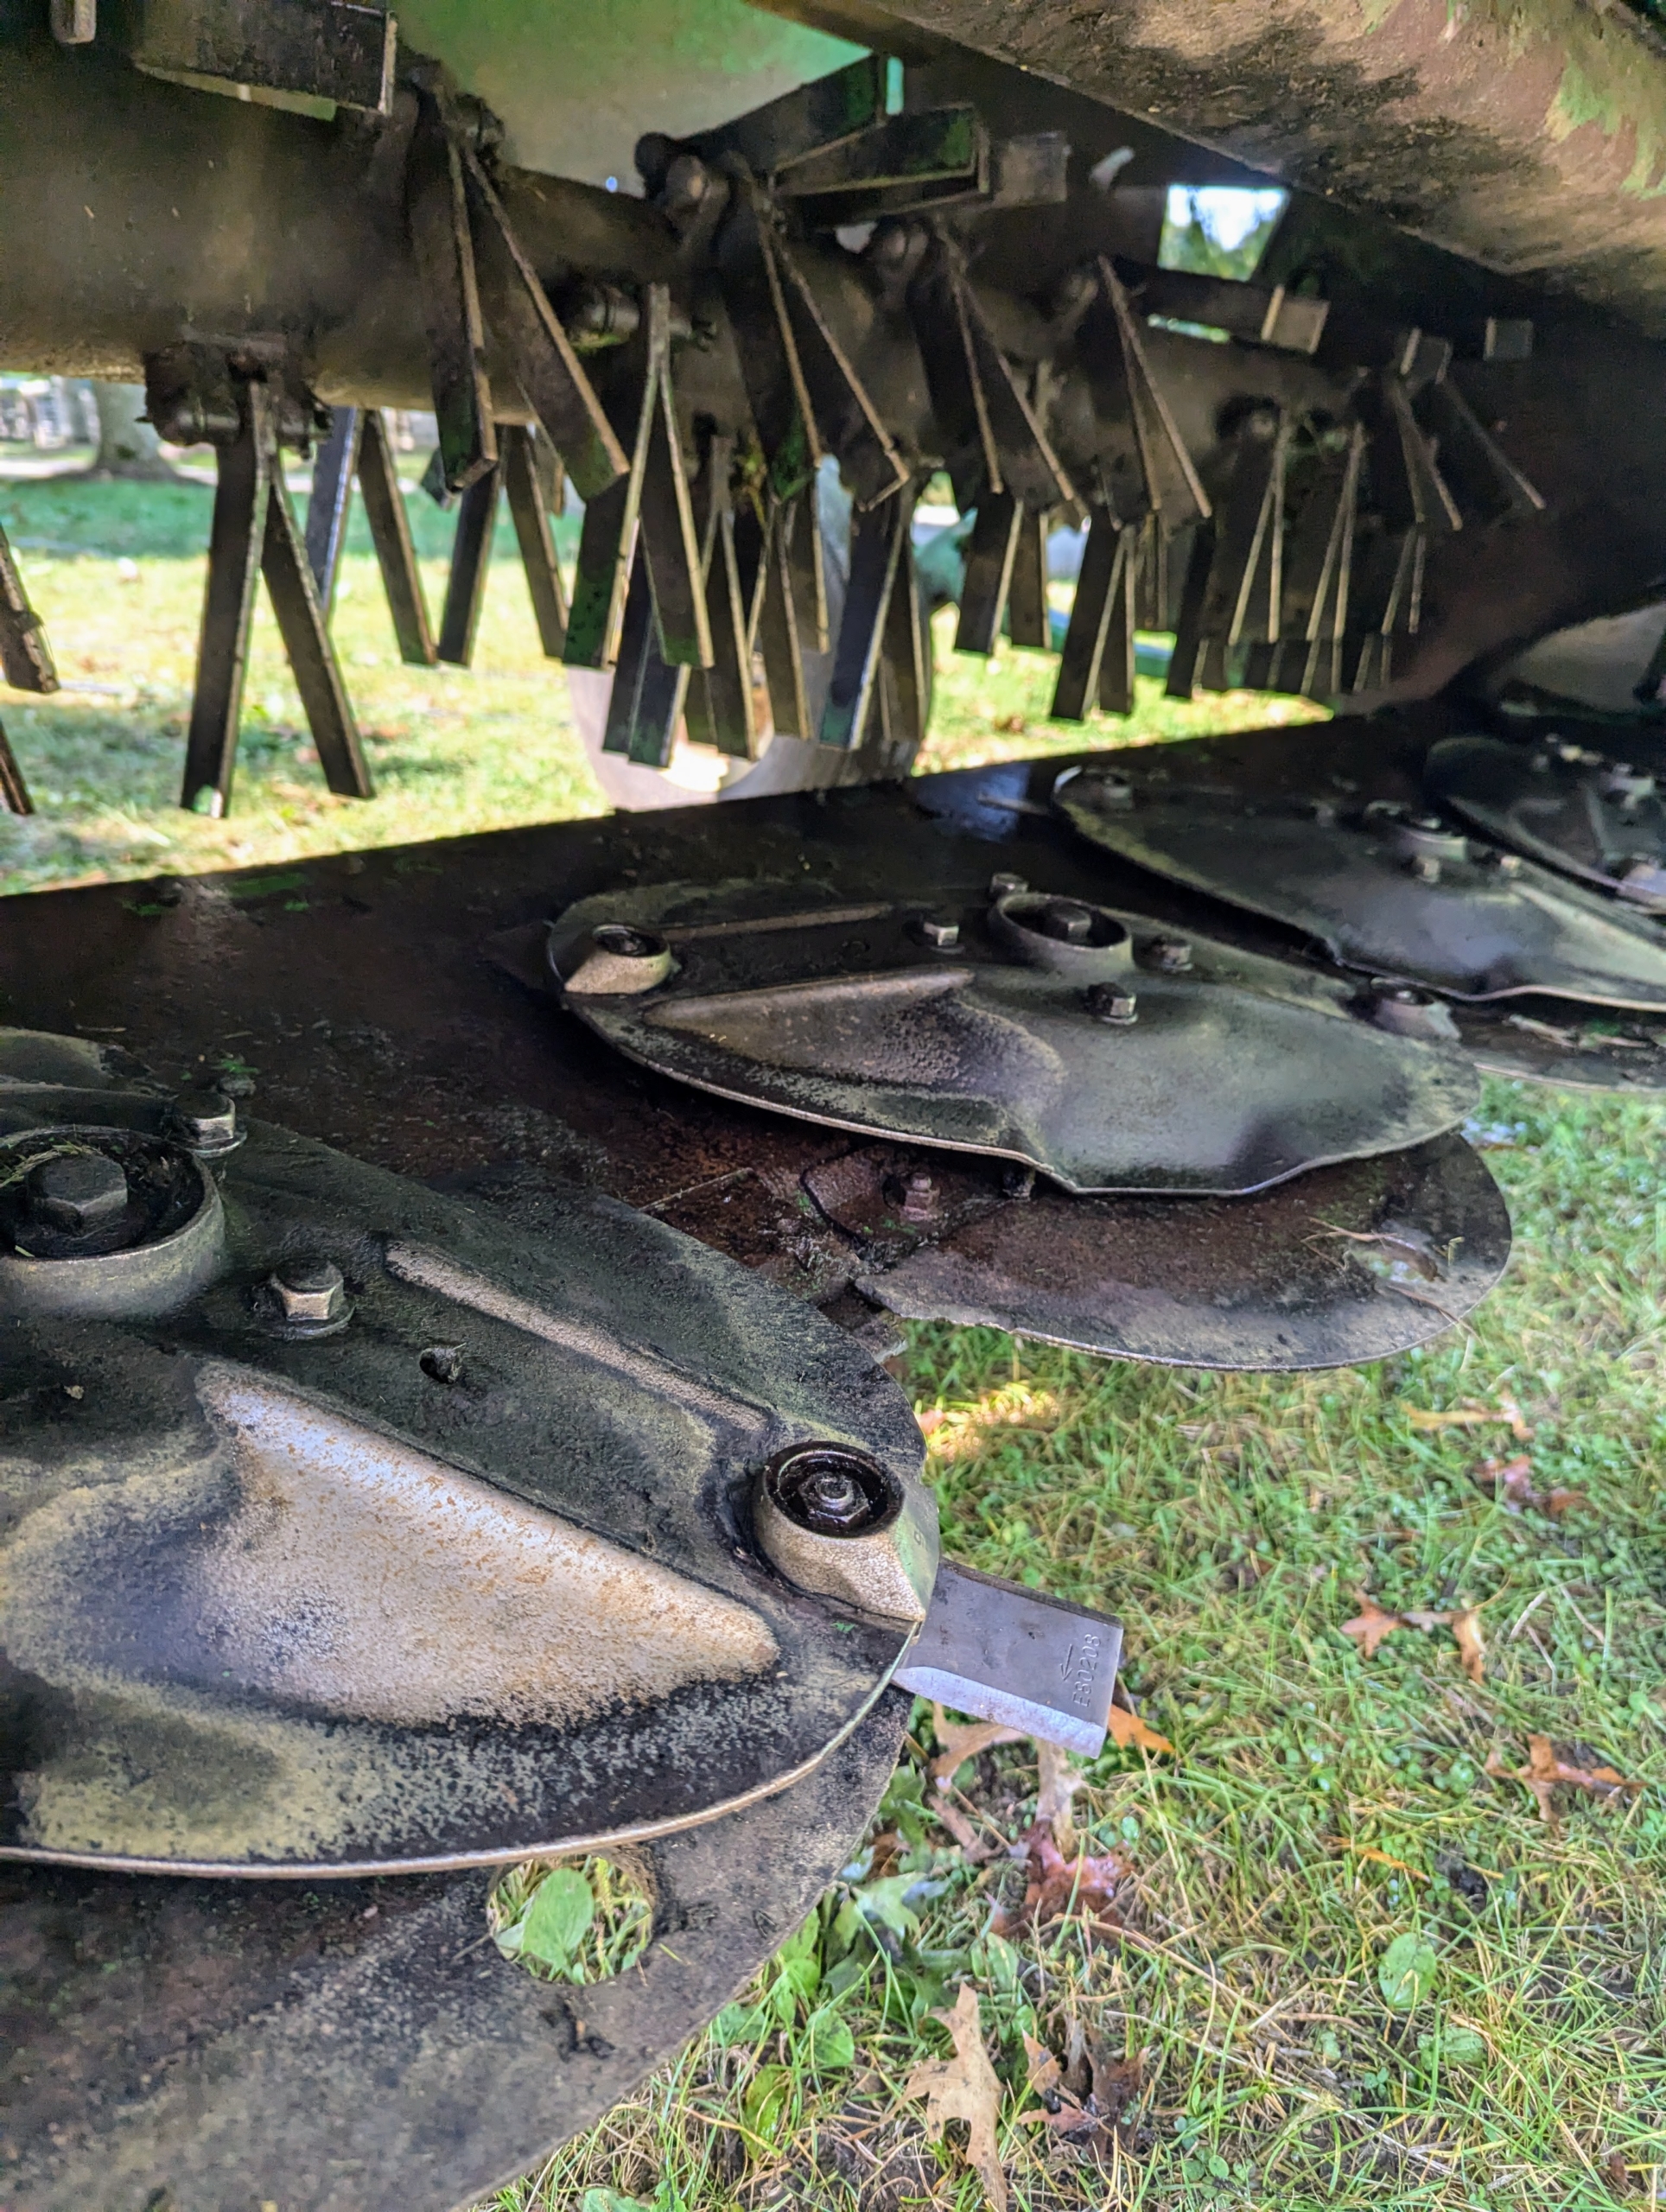
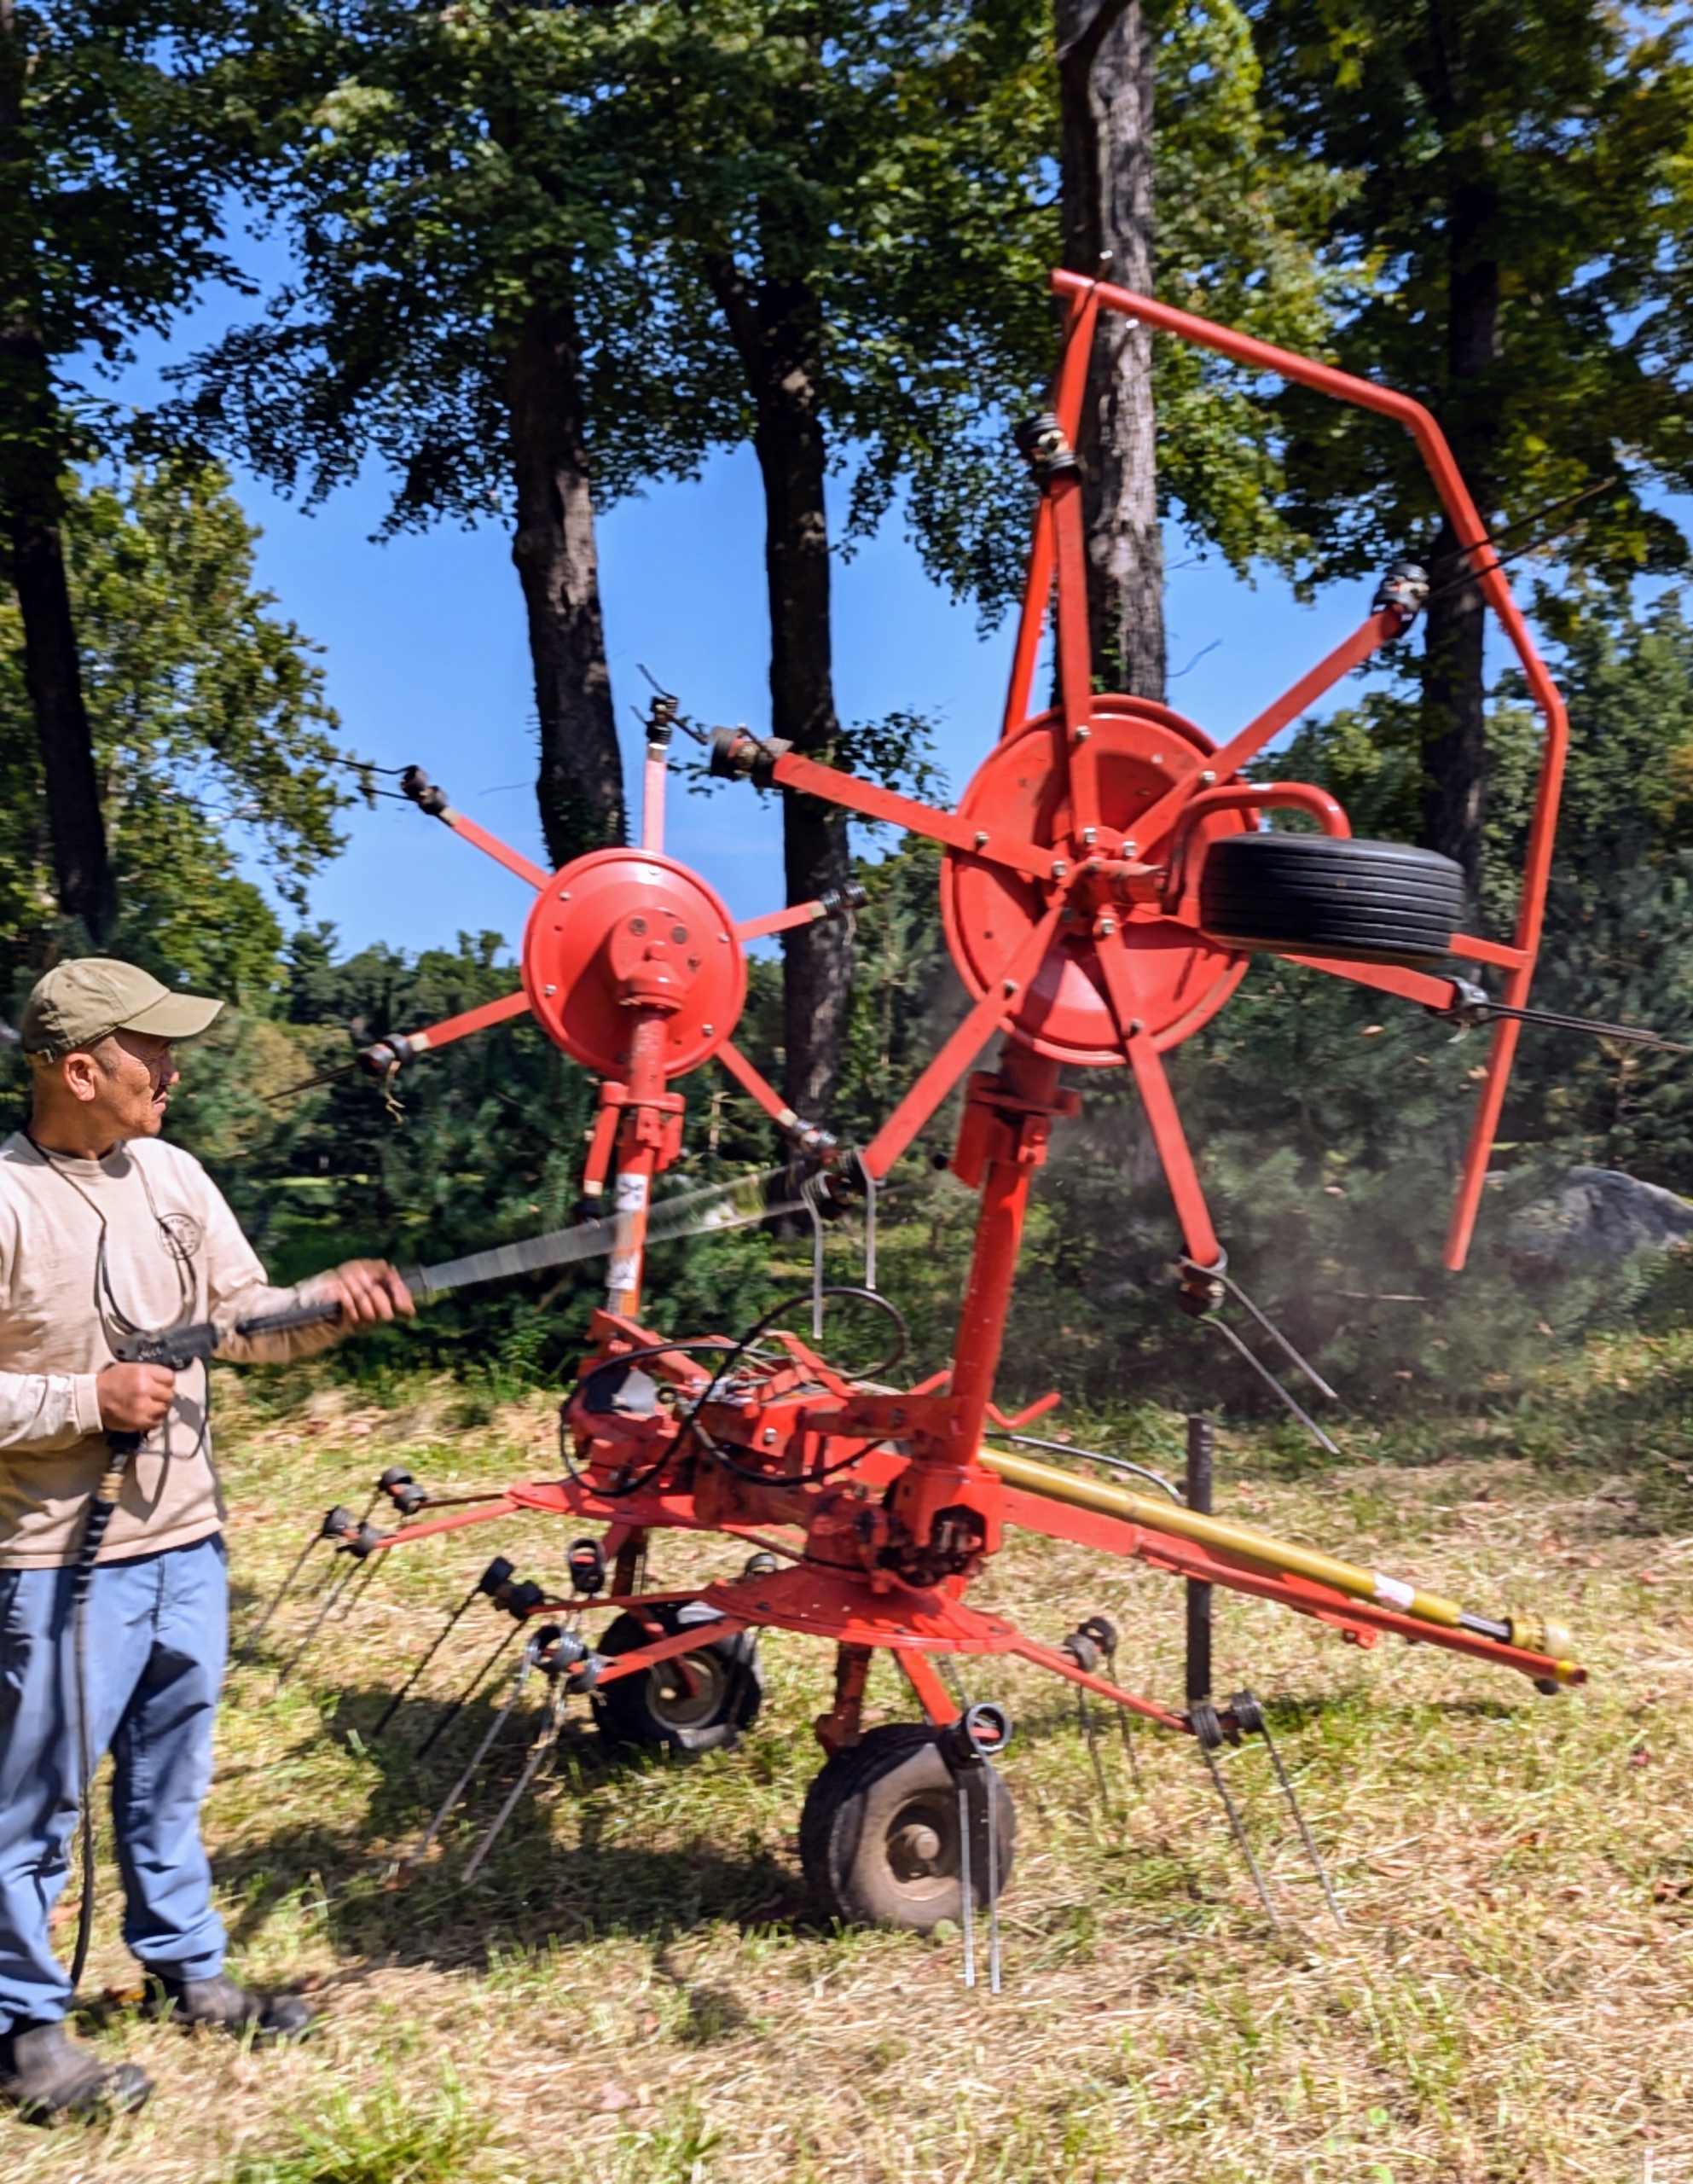
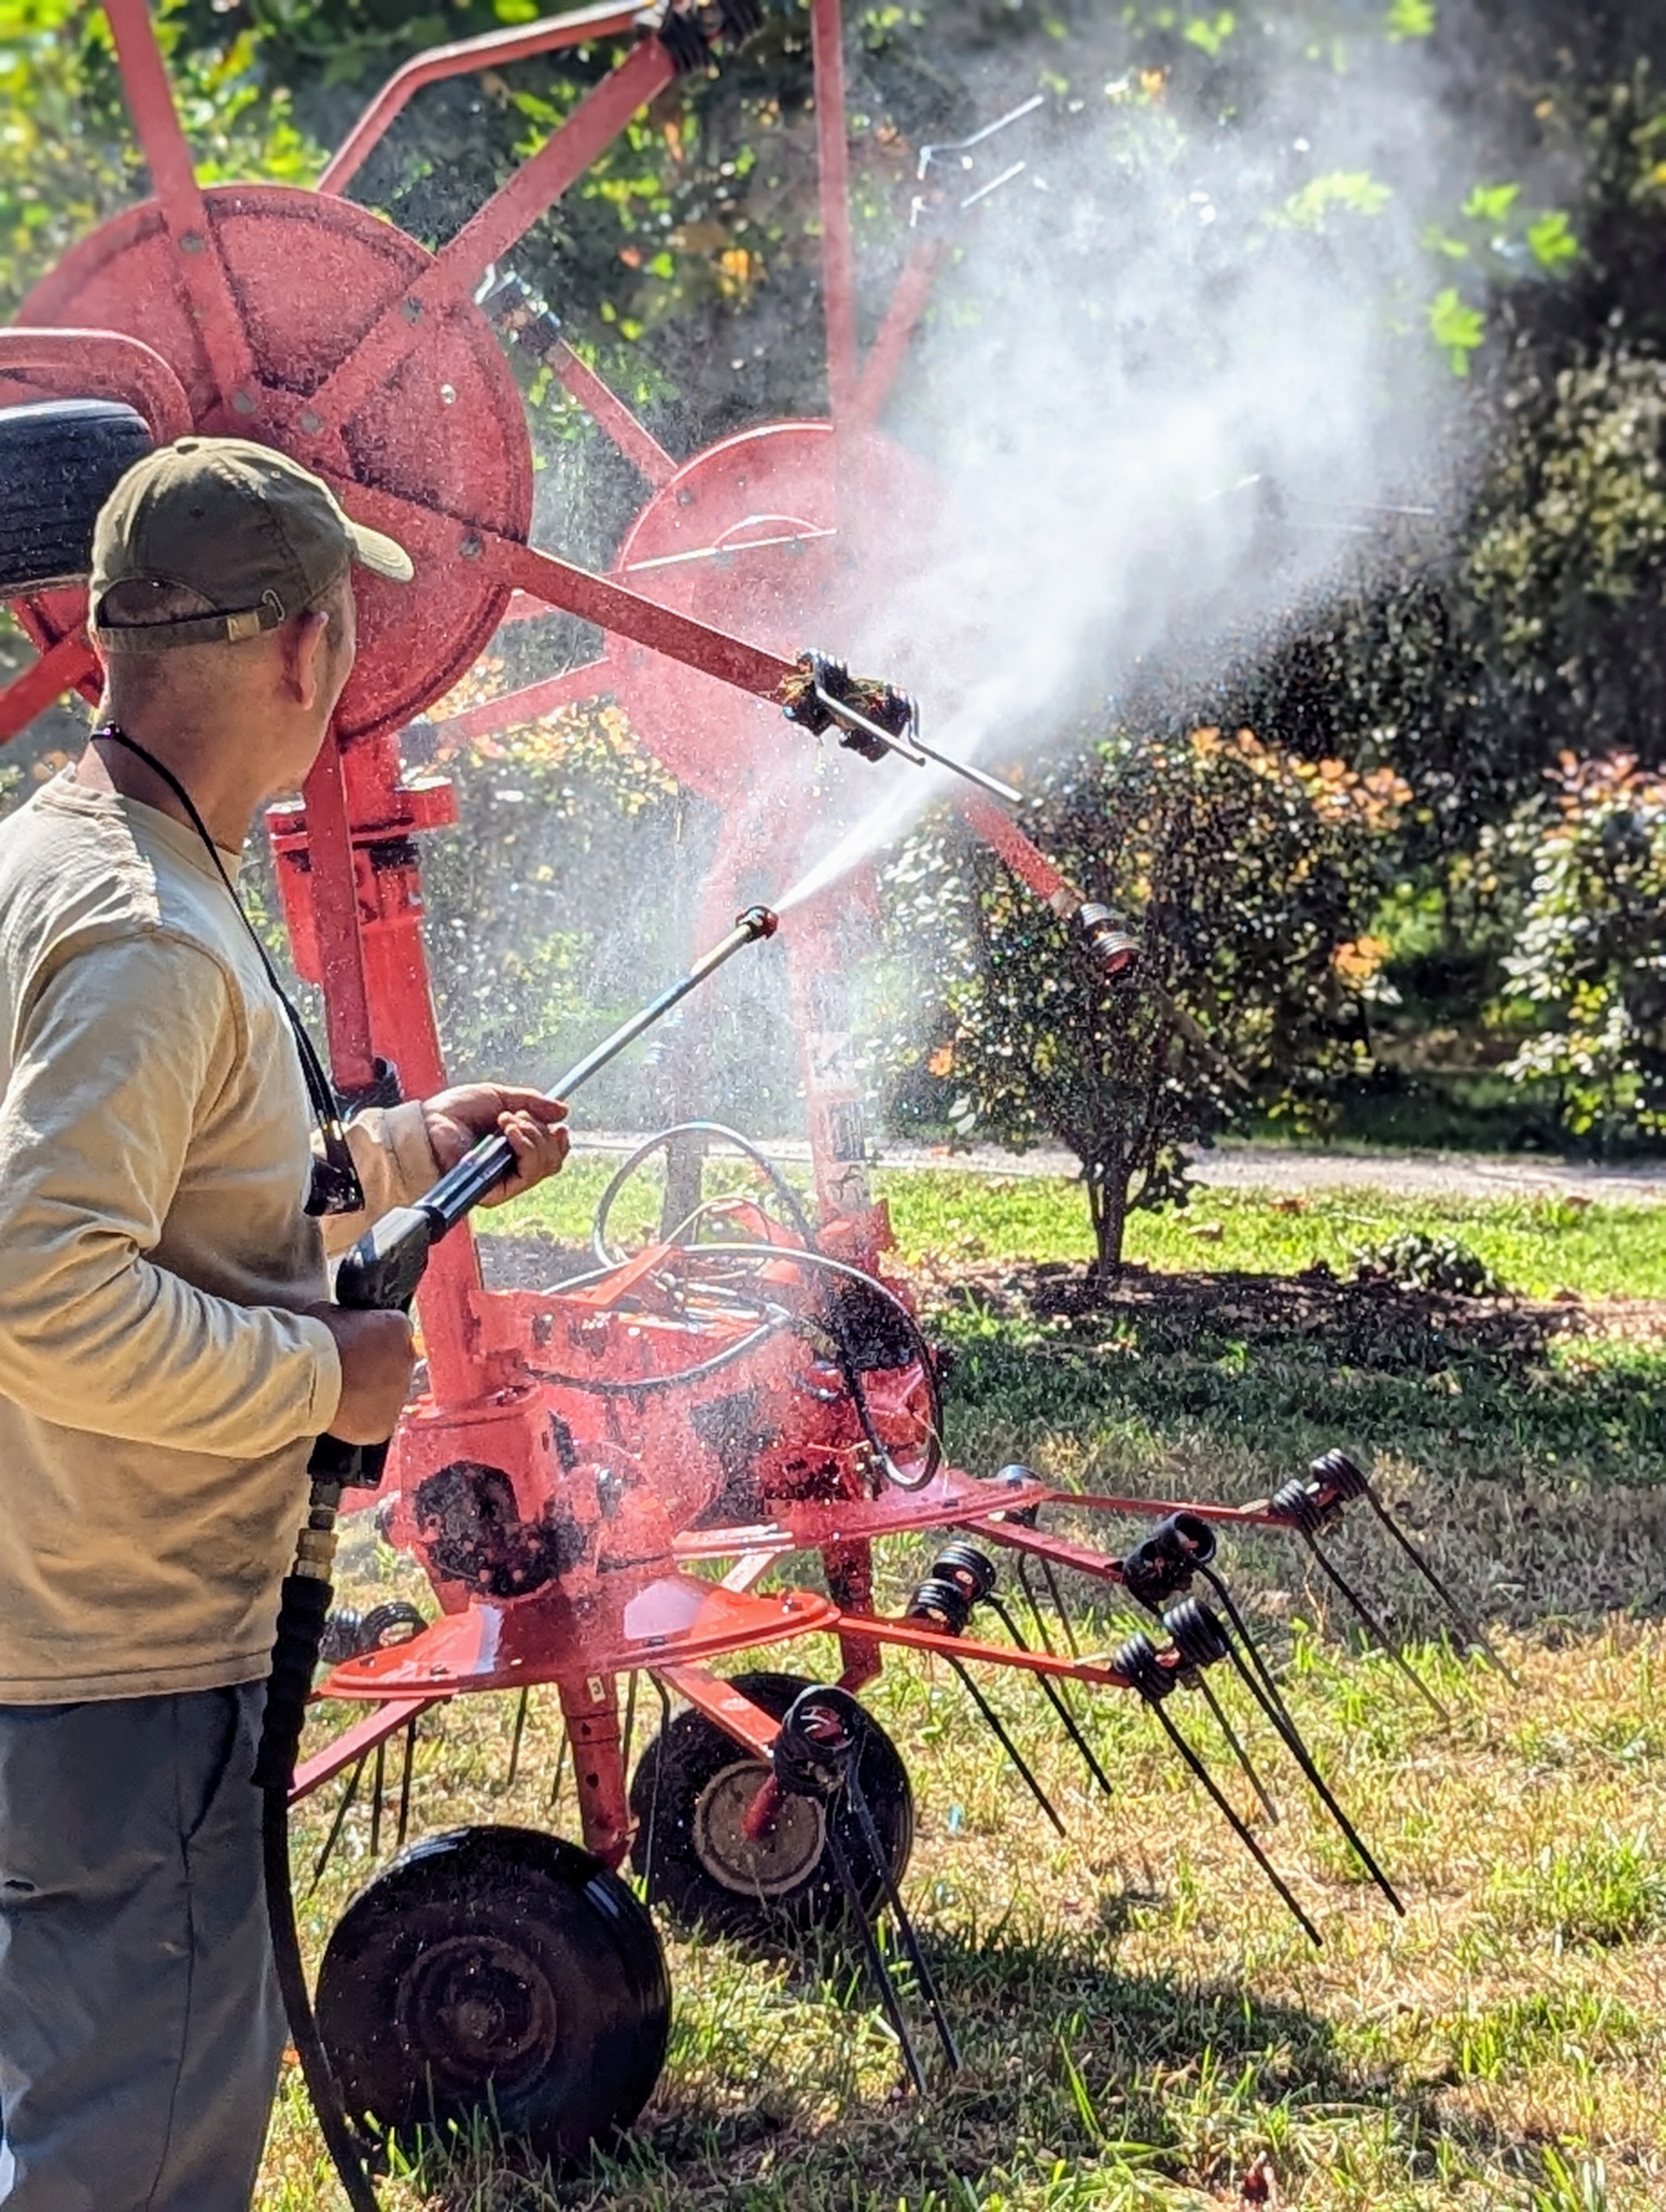
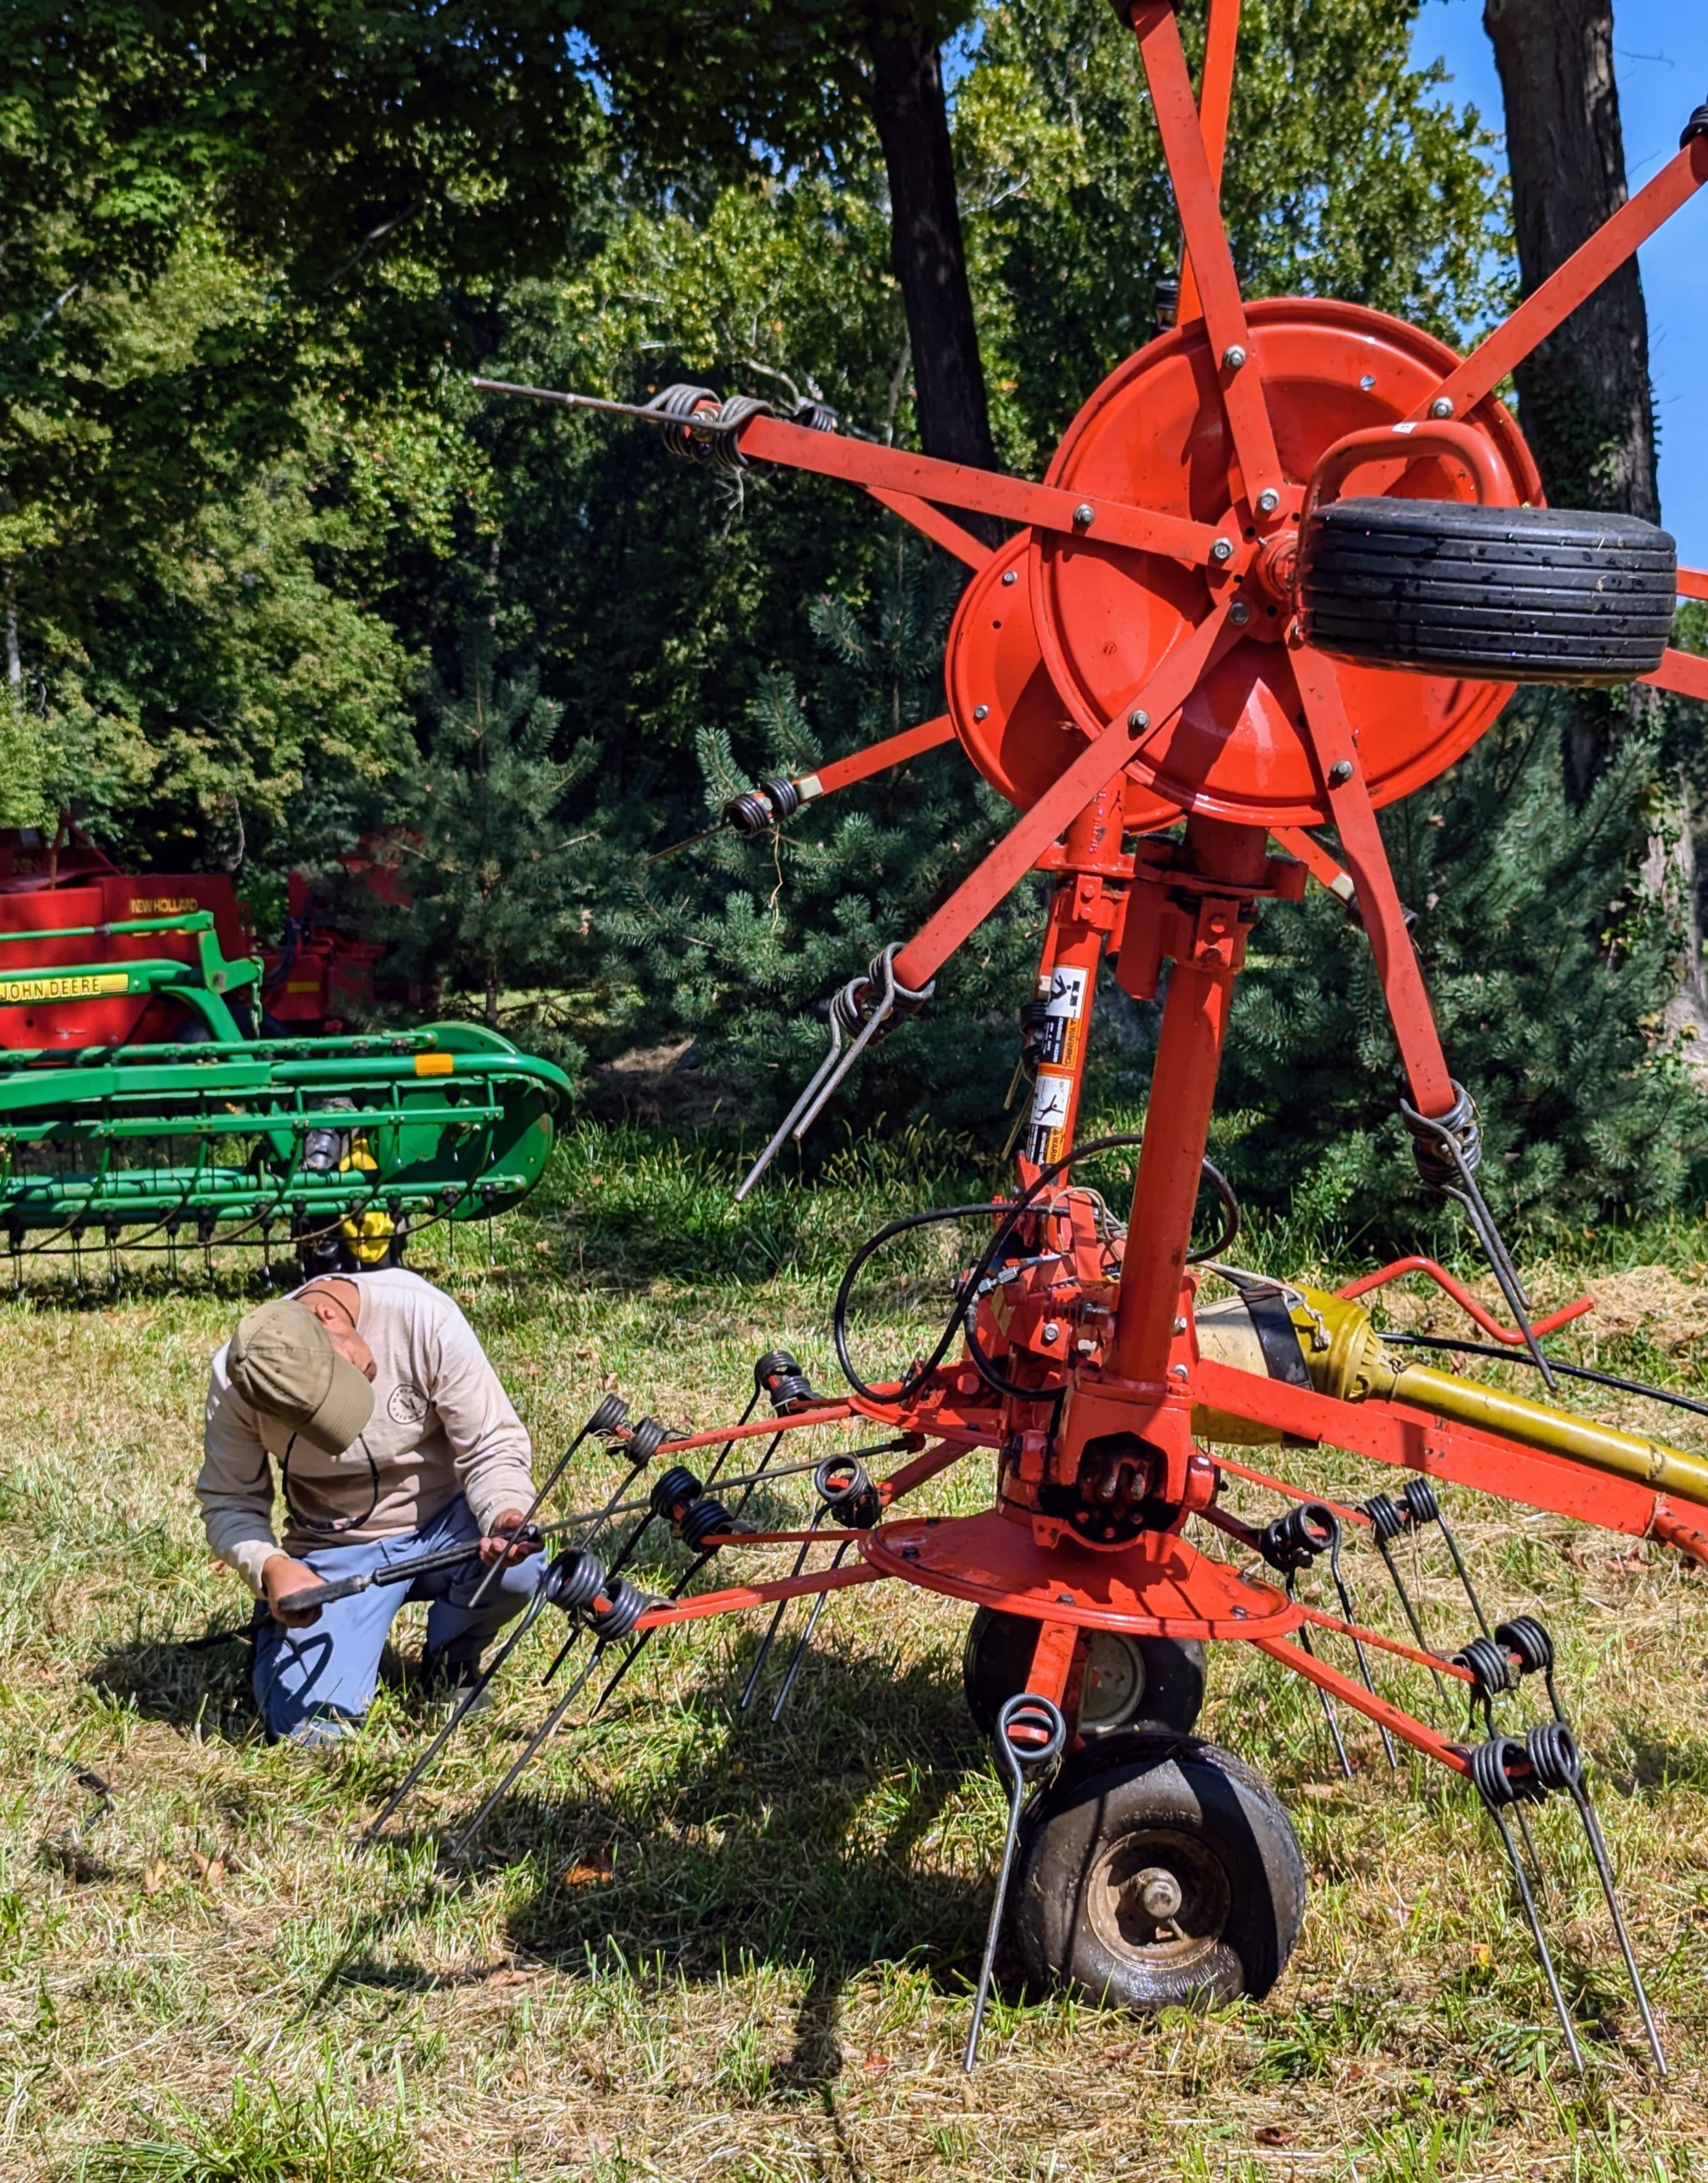
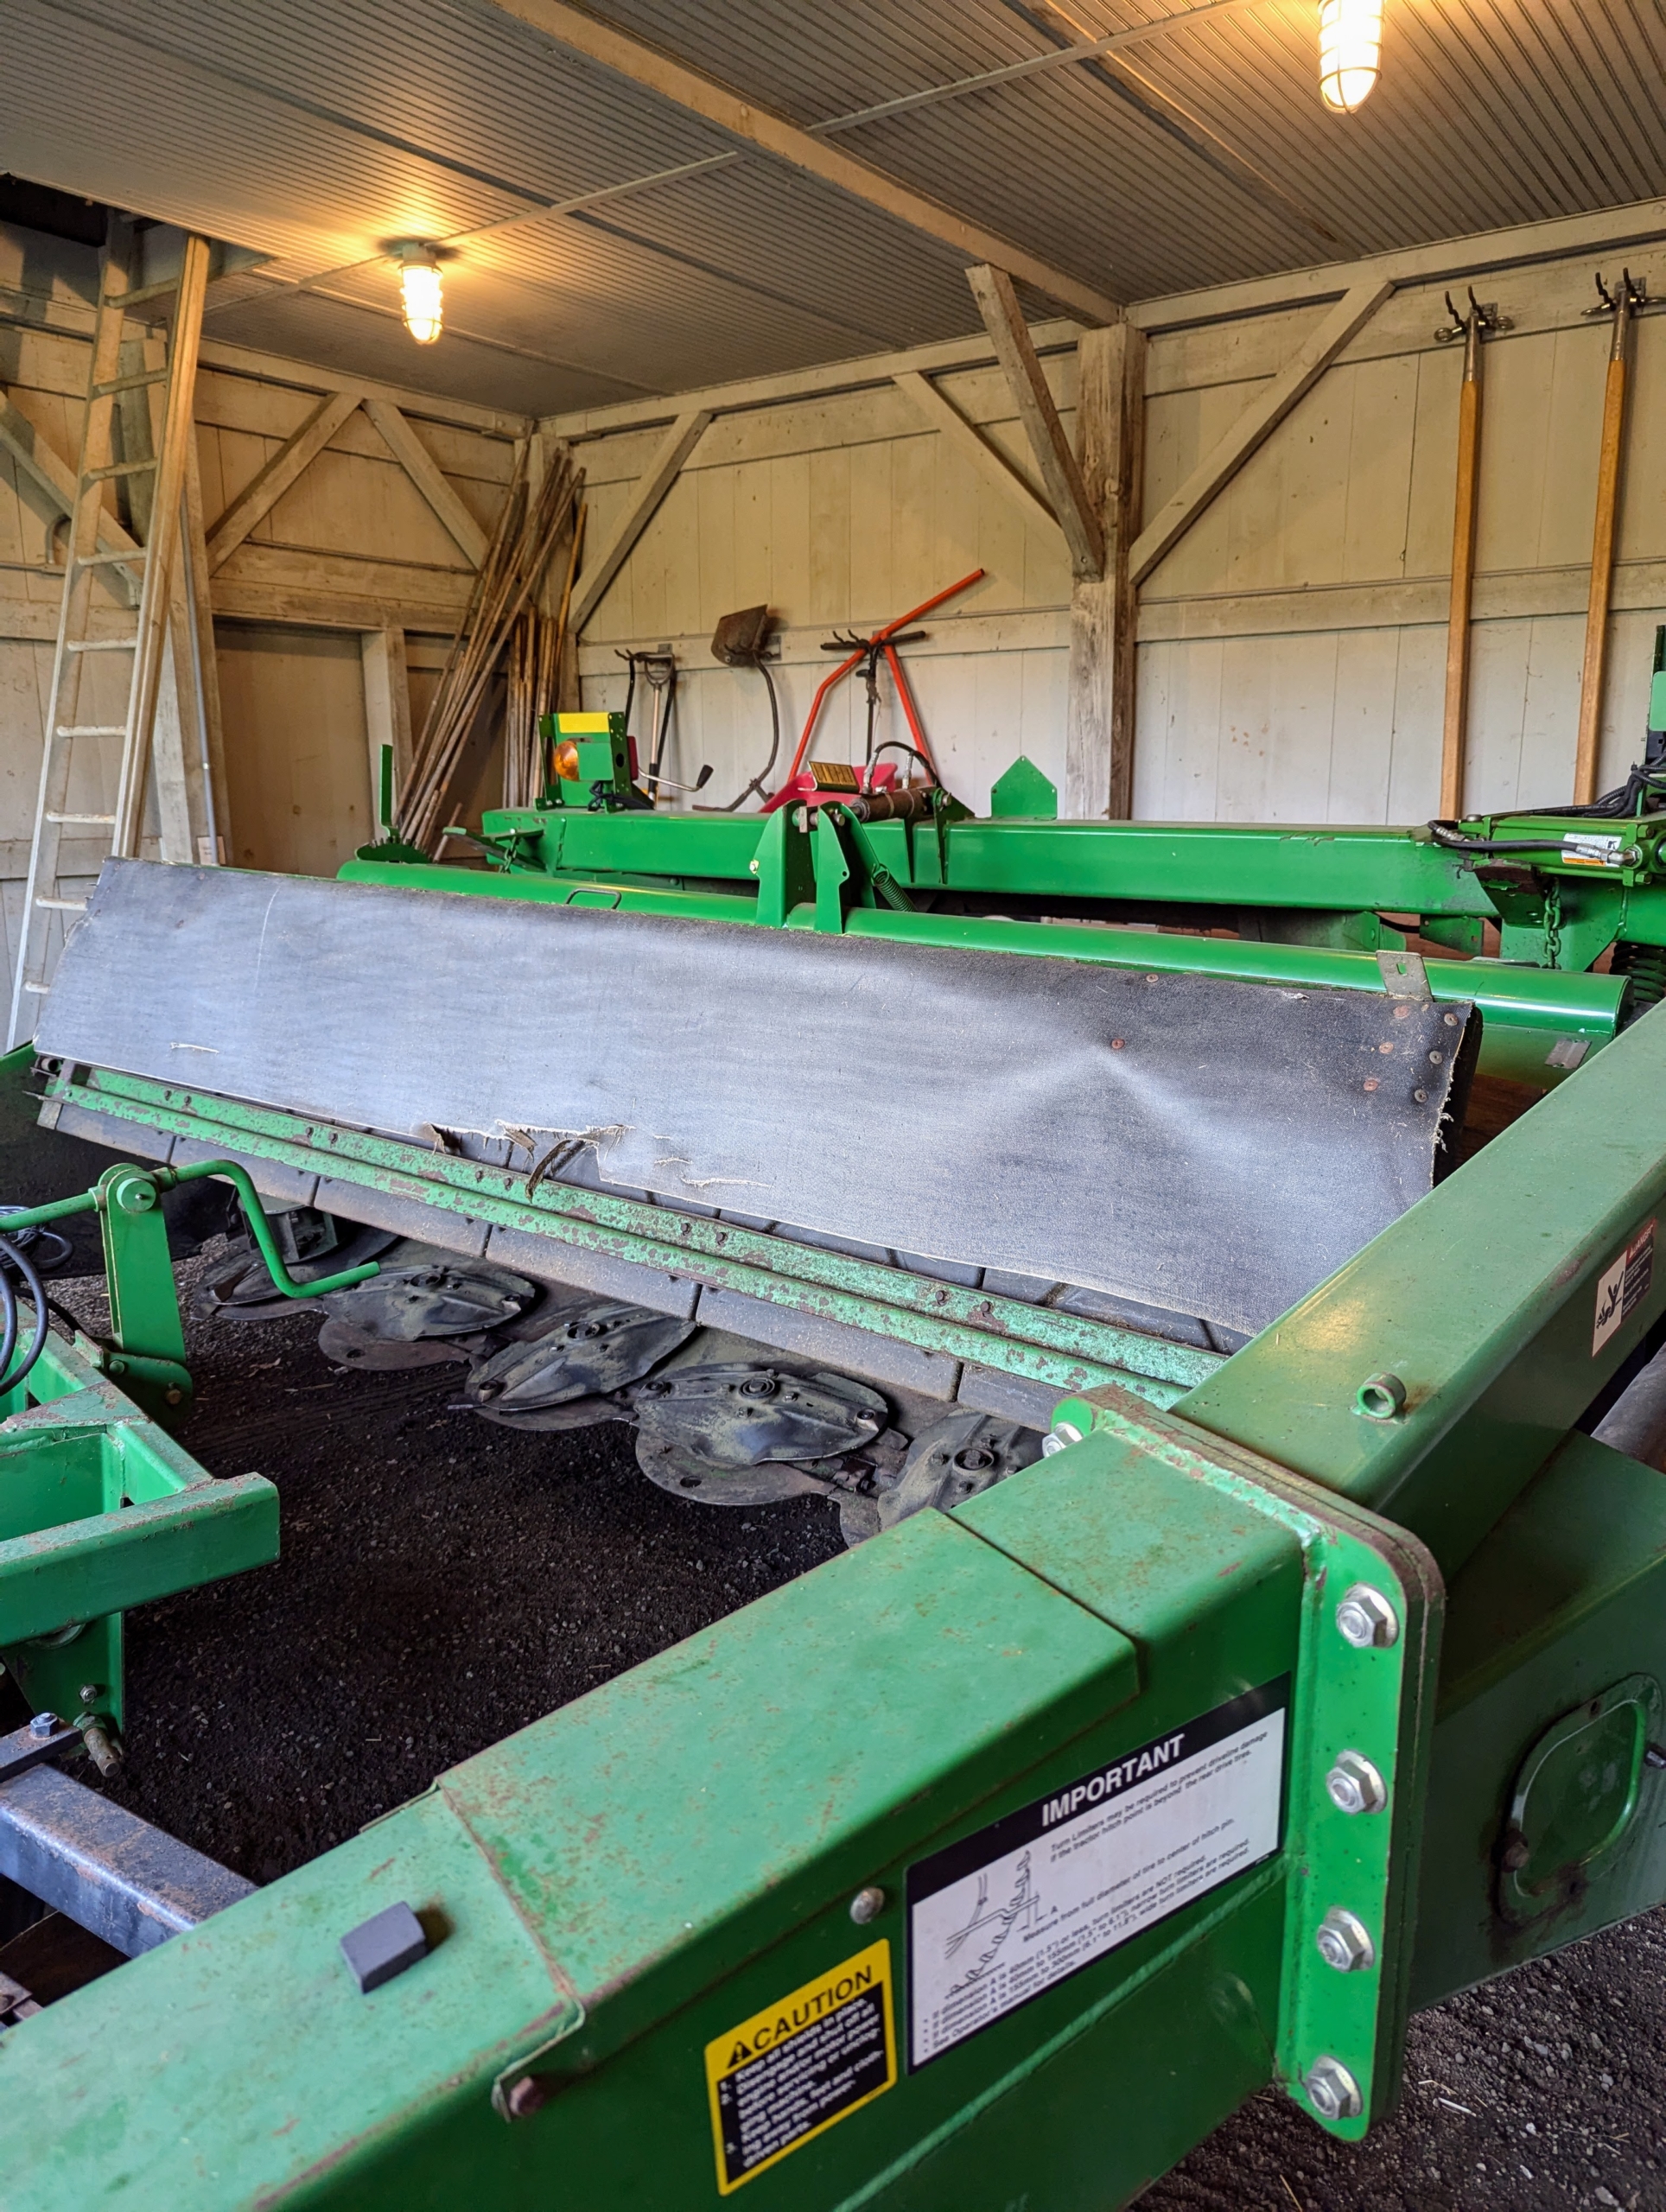
Next, Chhiring washes the tedder. A tedder spreads and fluffs the hay in a uniform swath after the mower-conditioner has cut the hay.
It uses a rotary motion to grab the hay with spinning tines and then cast it out the back of the machine.
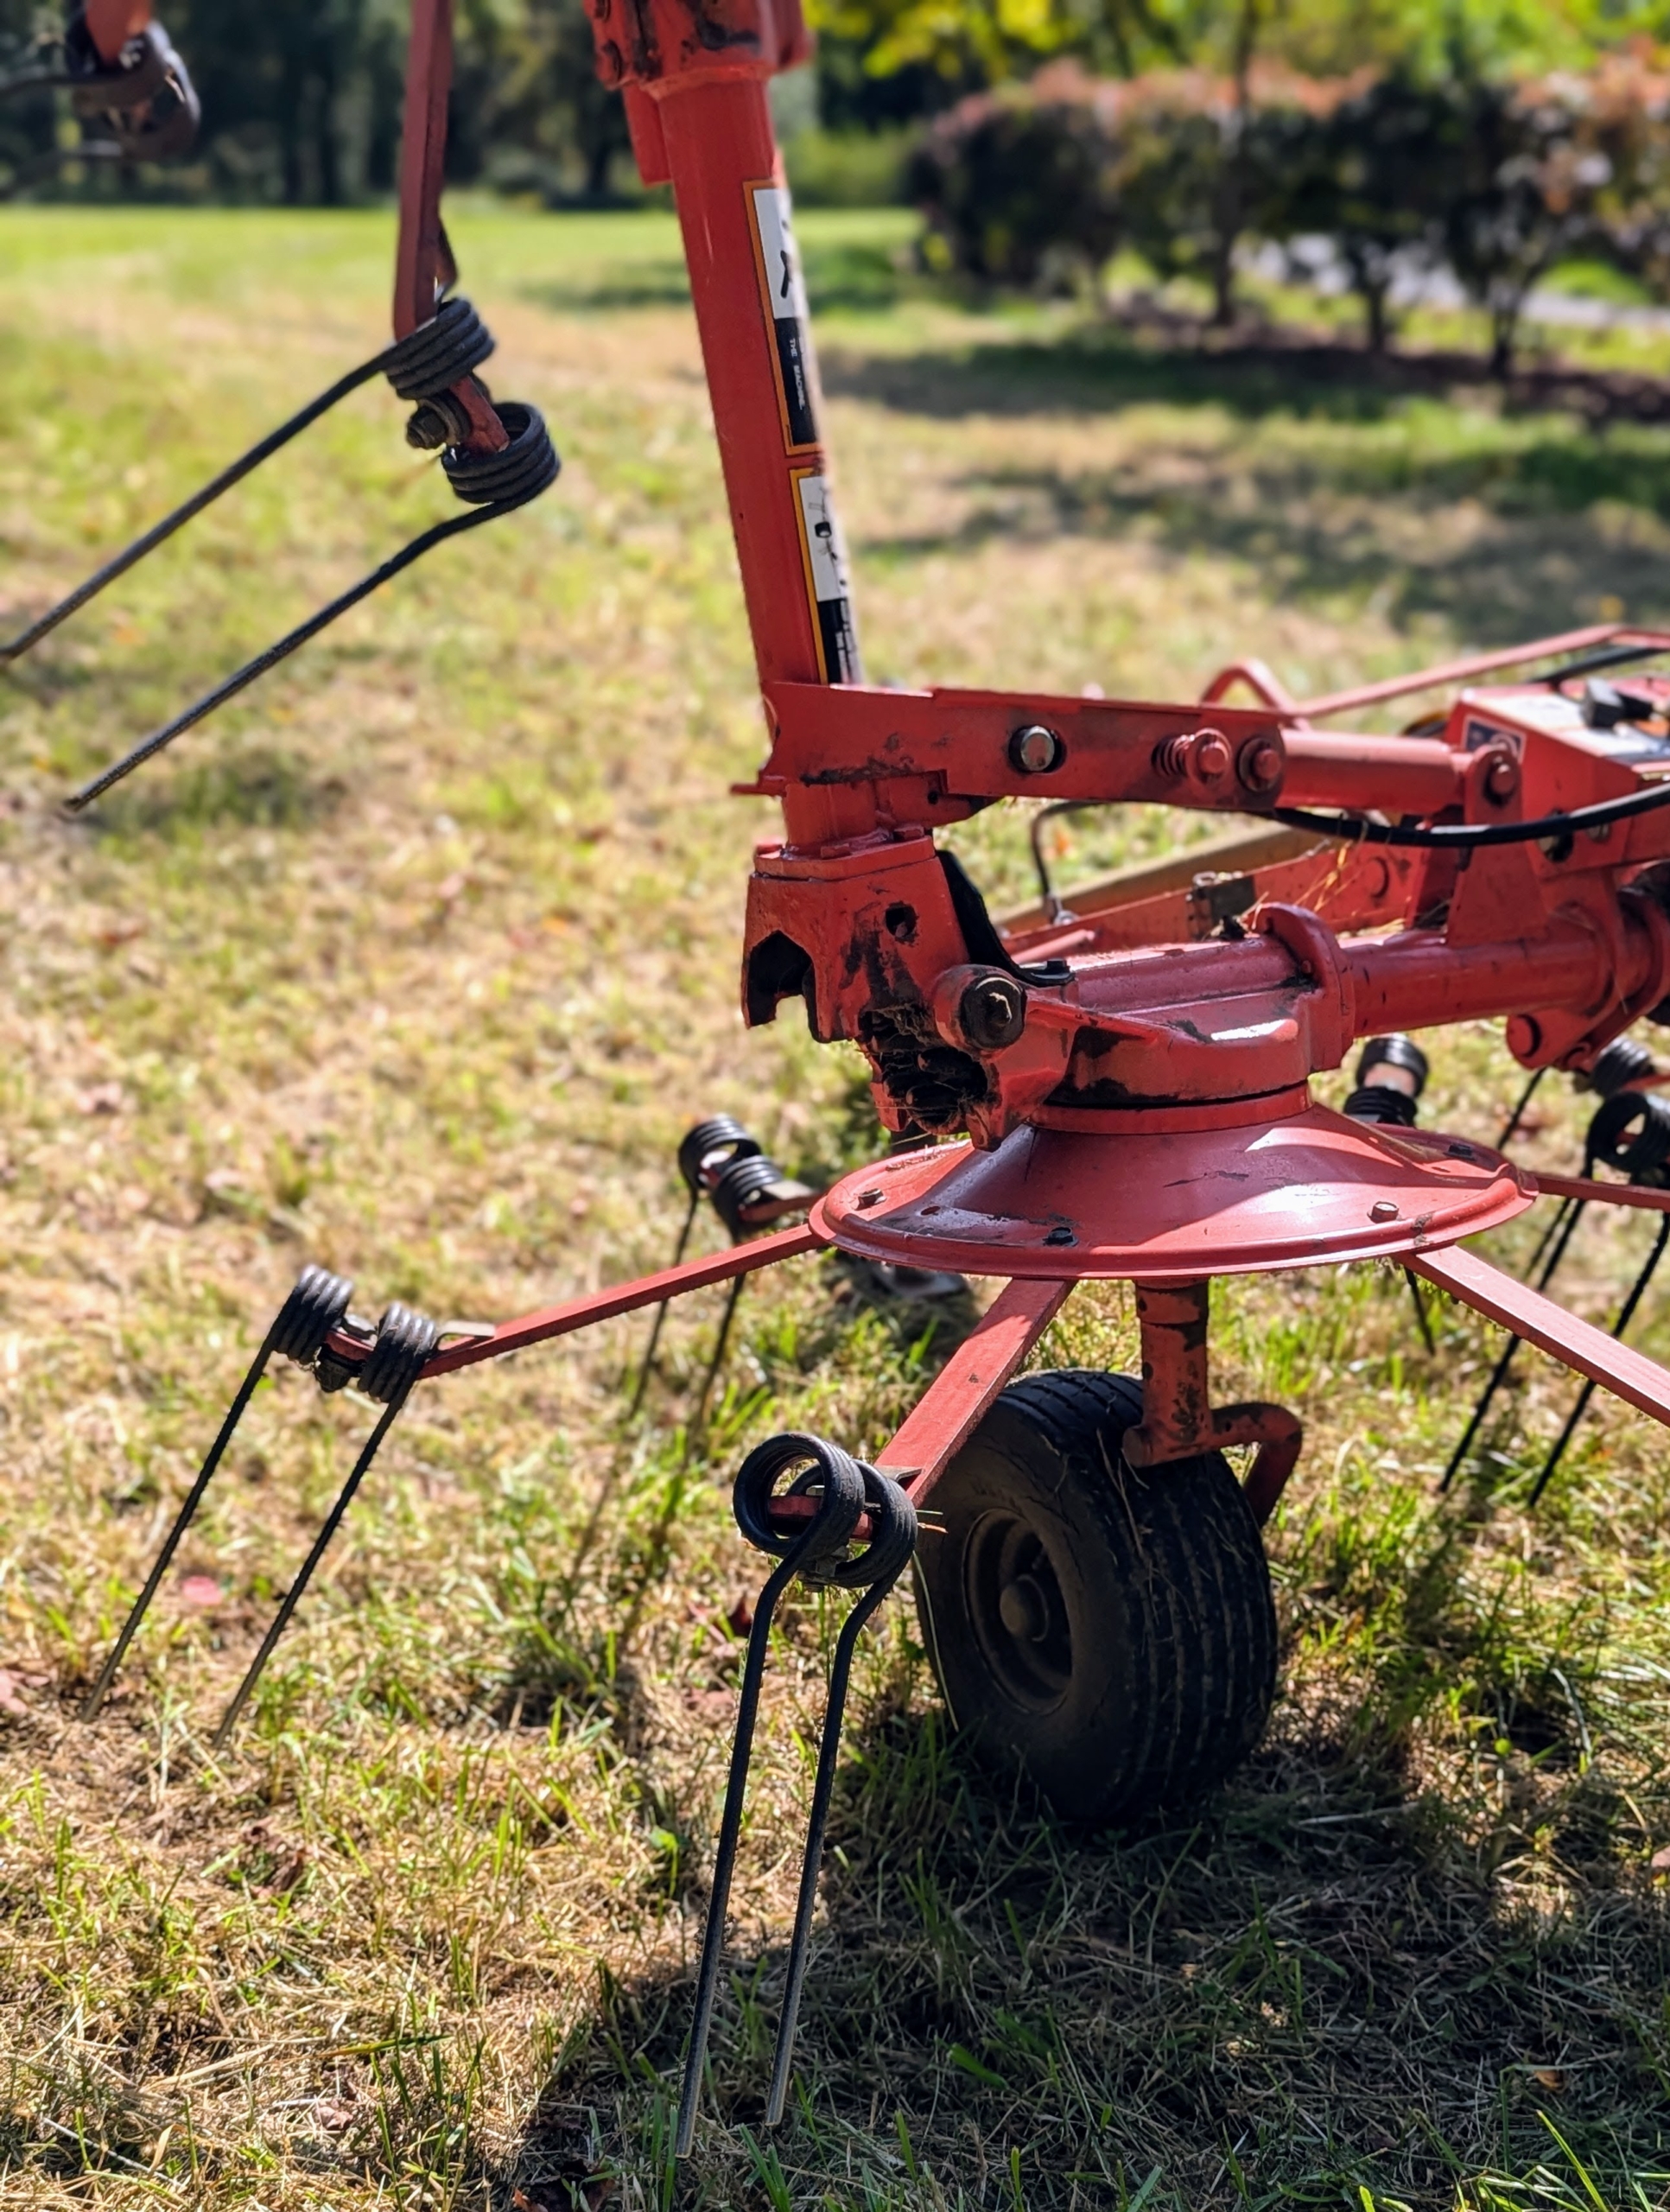
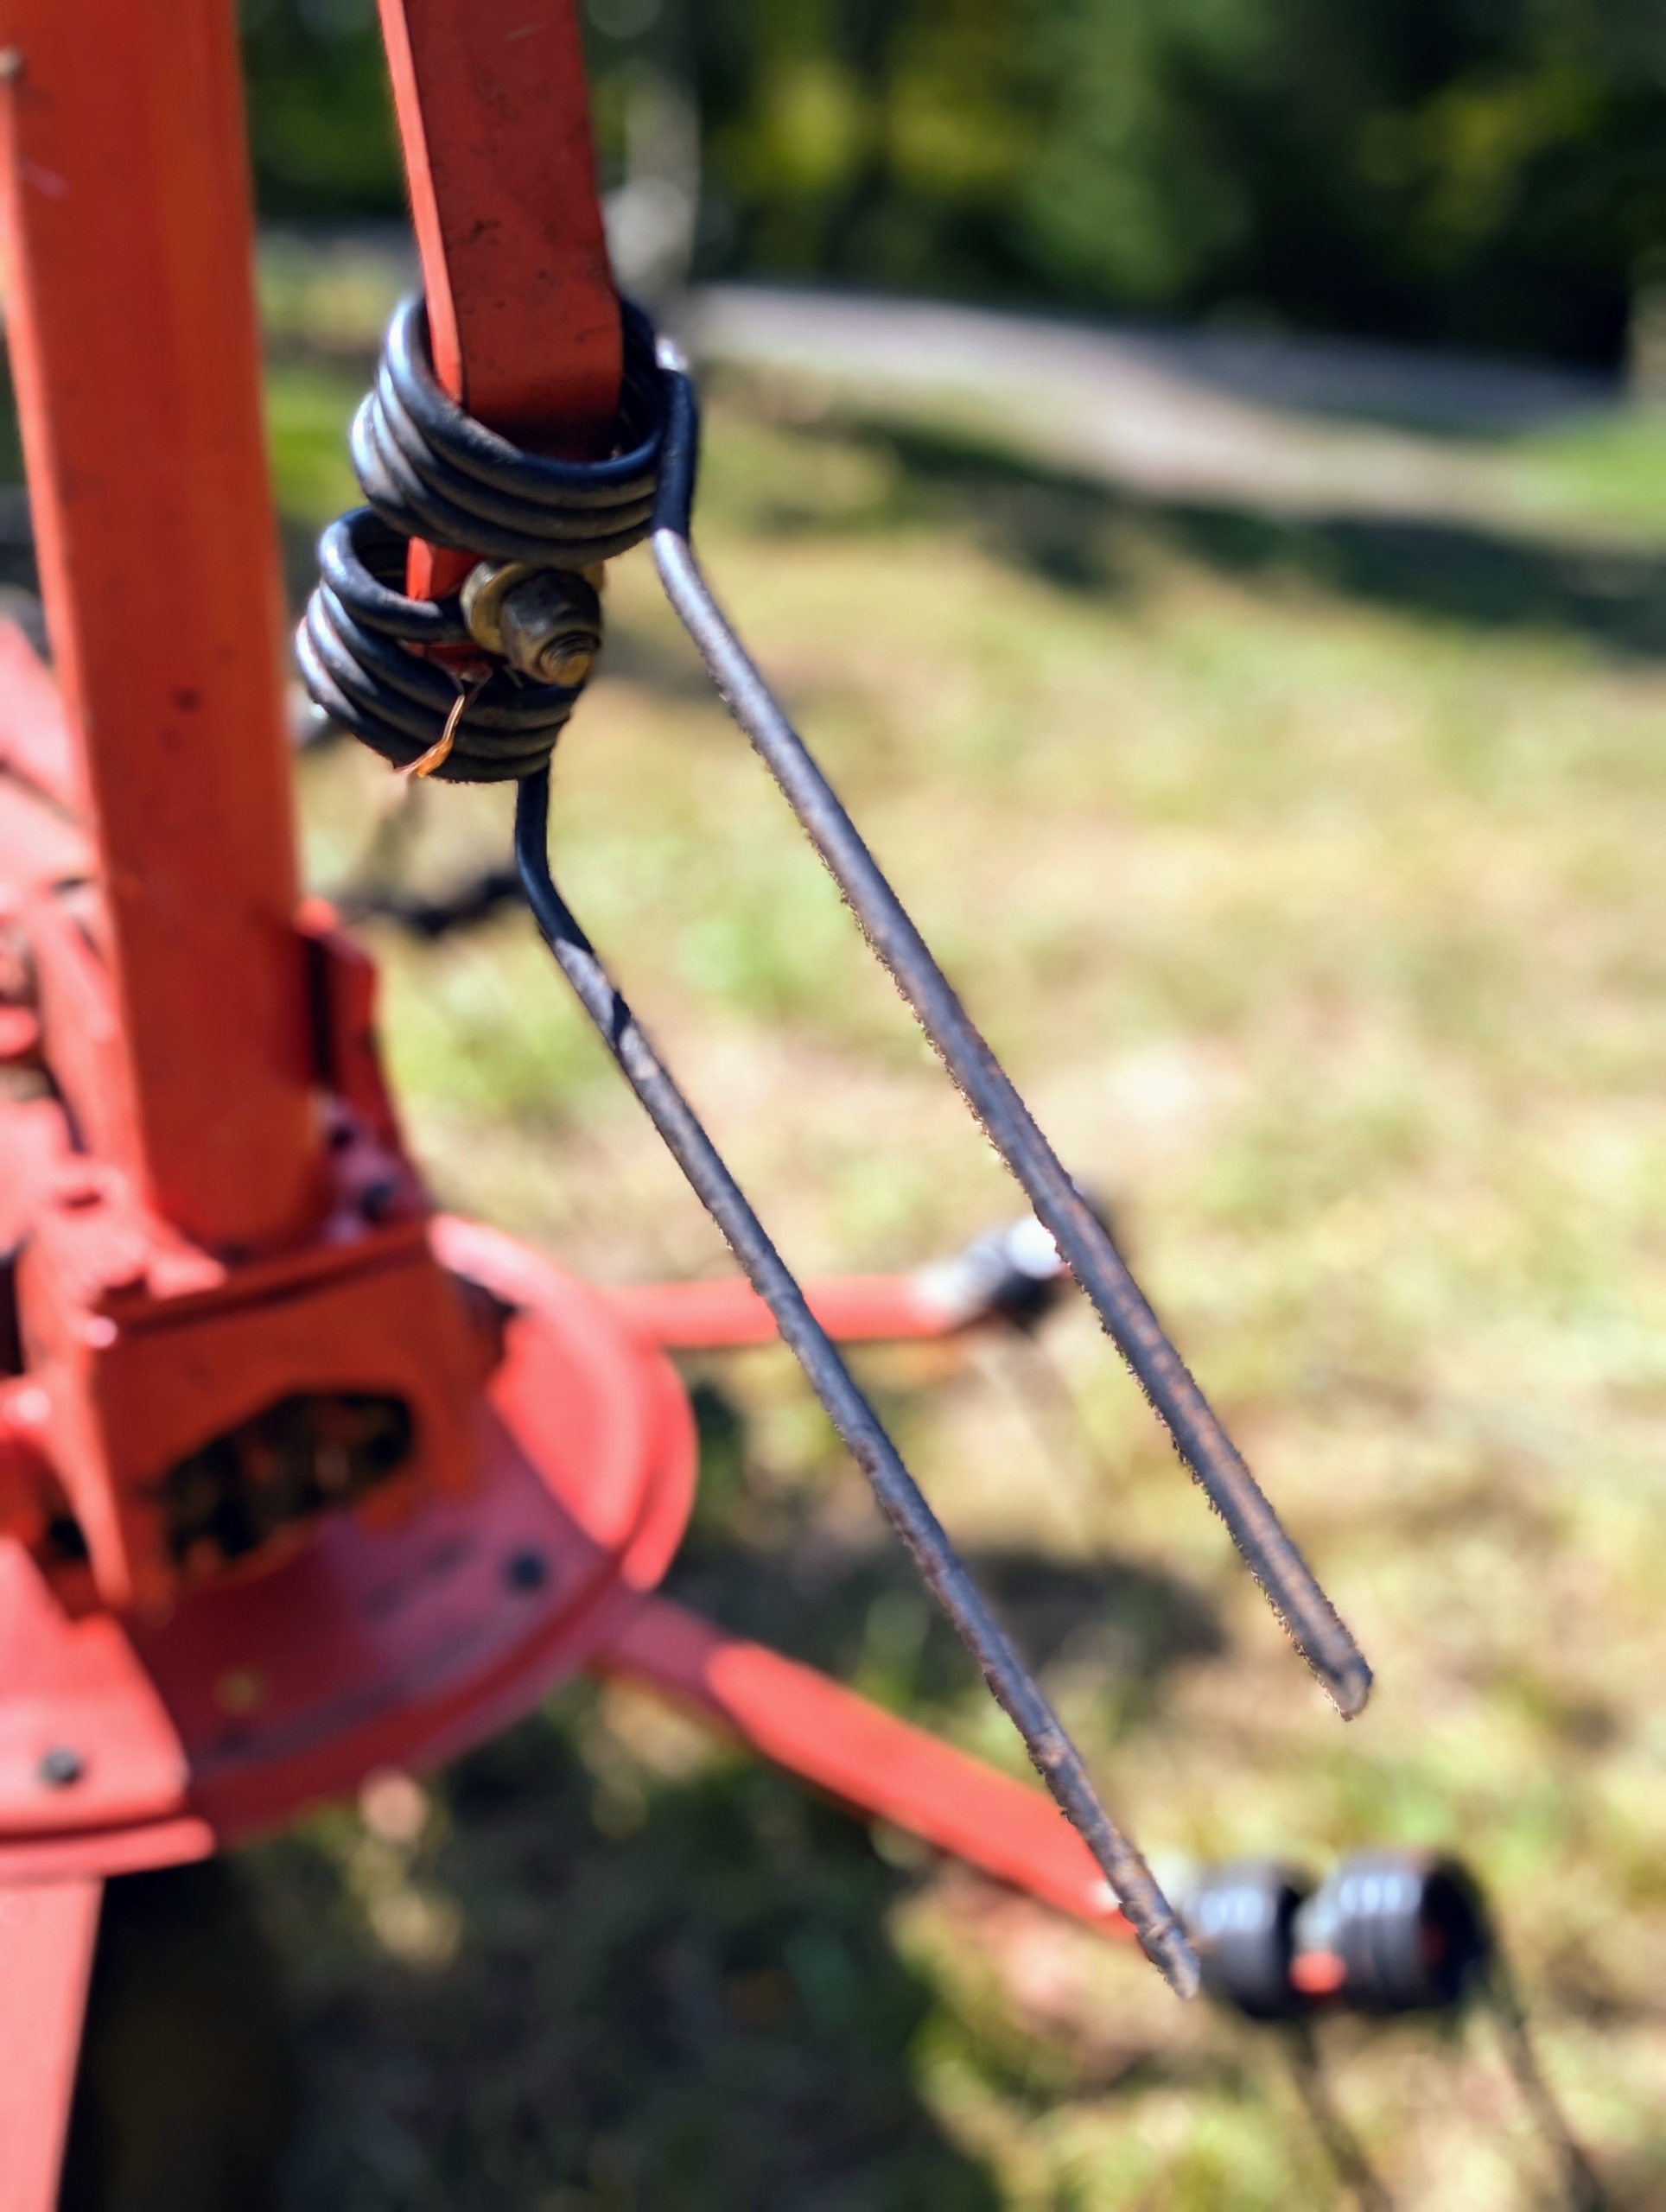
Here is a closer look at the tines, or moving forks, which aerate or “wuffle” the hay and speed up the drying process.
Chhiring rinses each of the tines individually to make sure they are free of any crop debris.
He also thoroughly cleans underneath the tedder which can accumulate clippings.
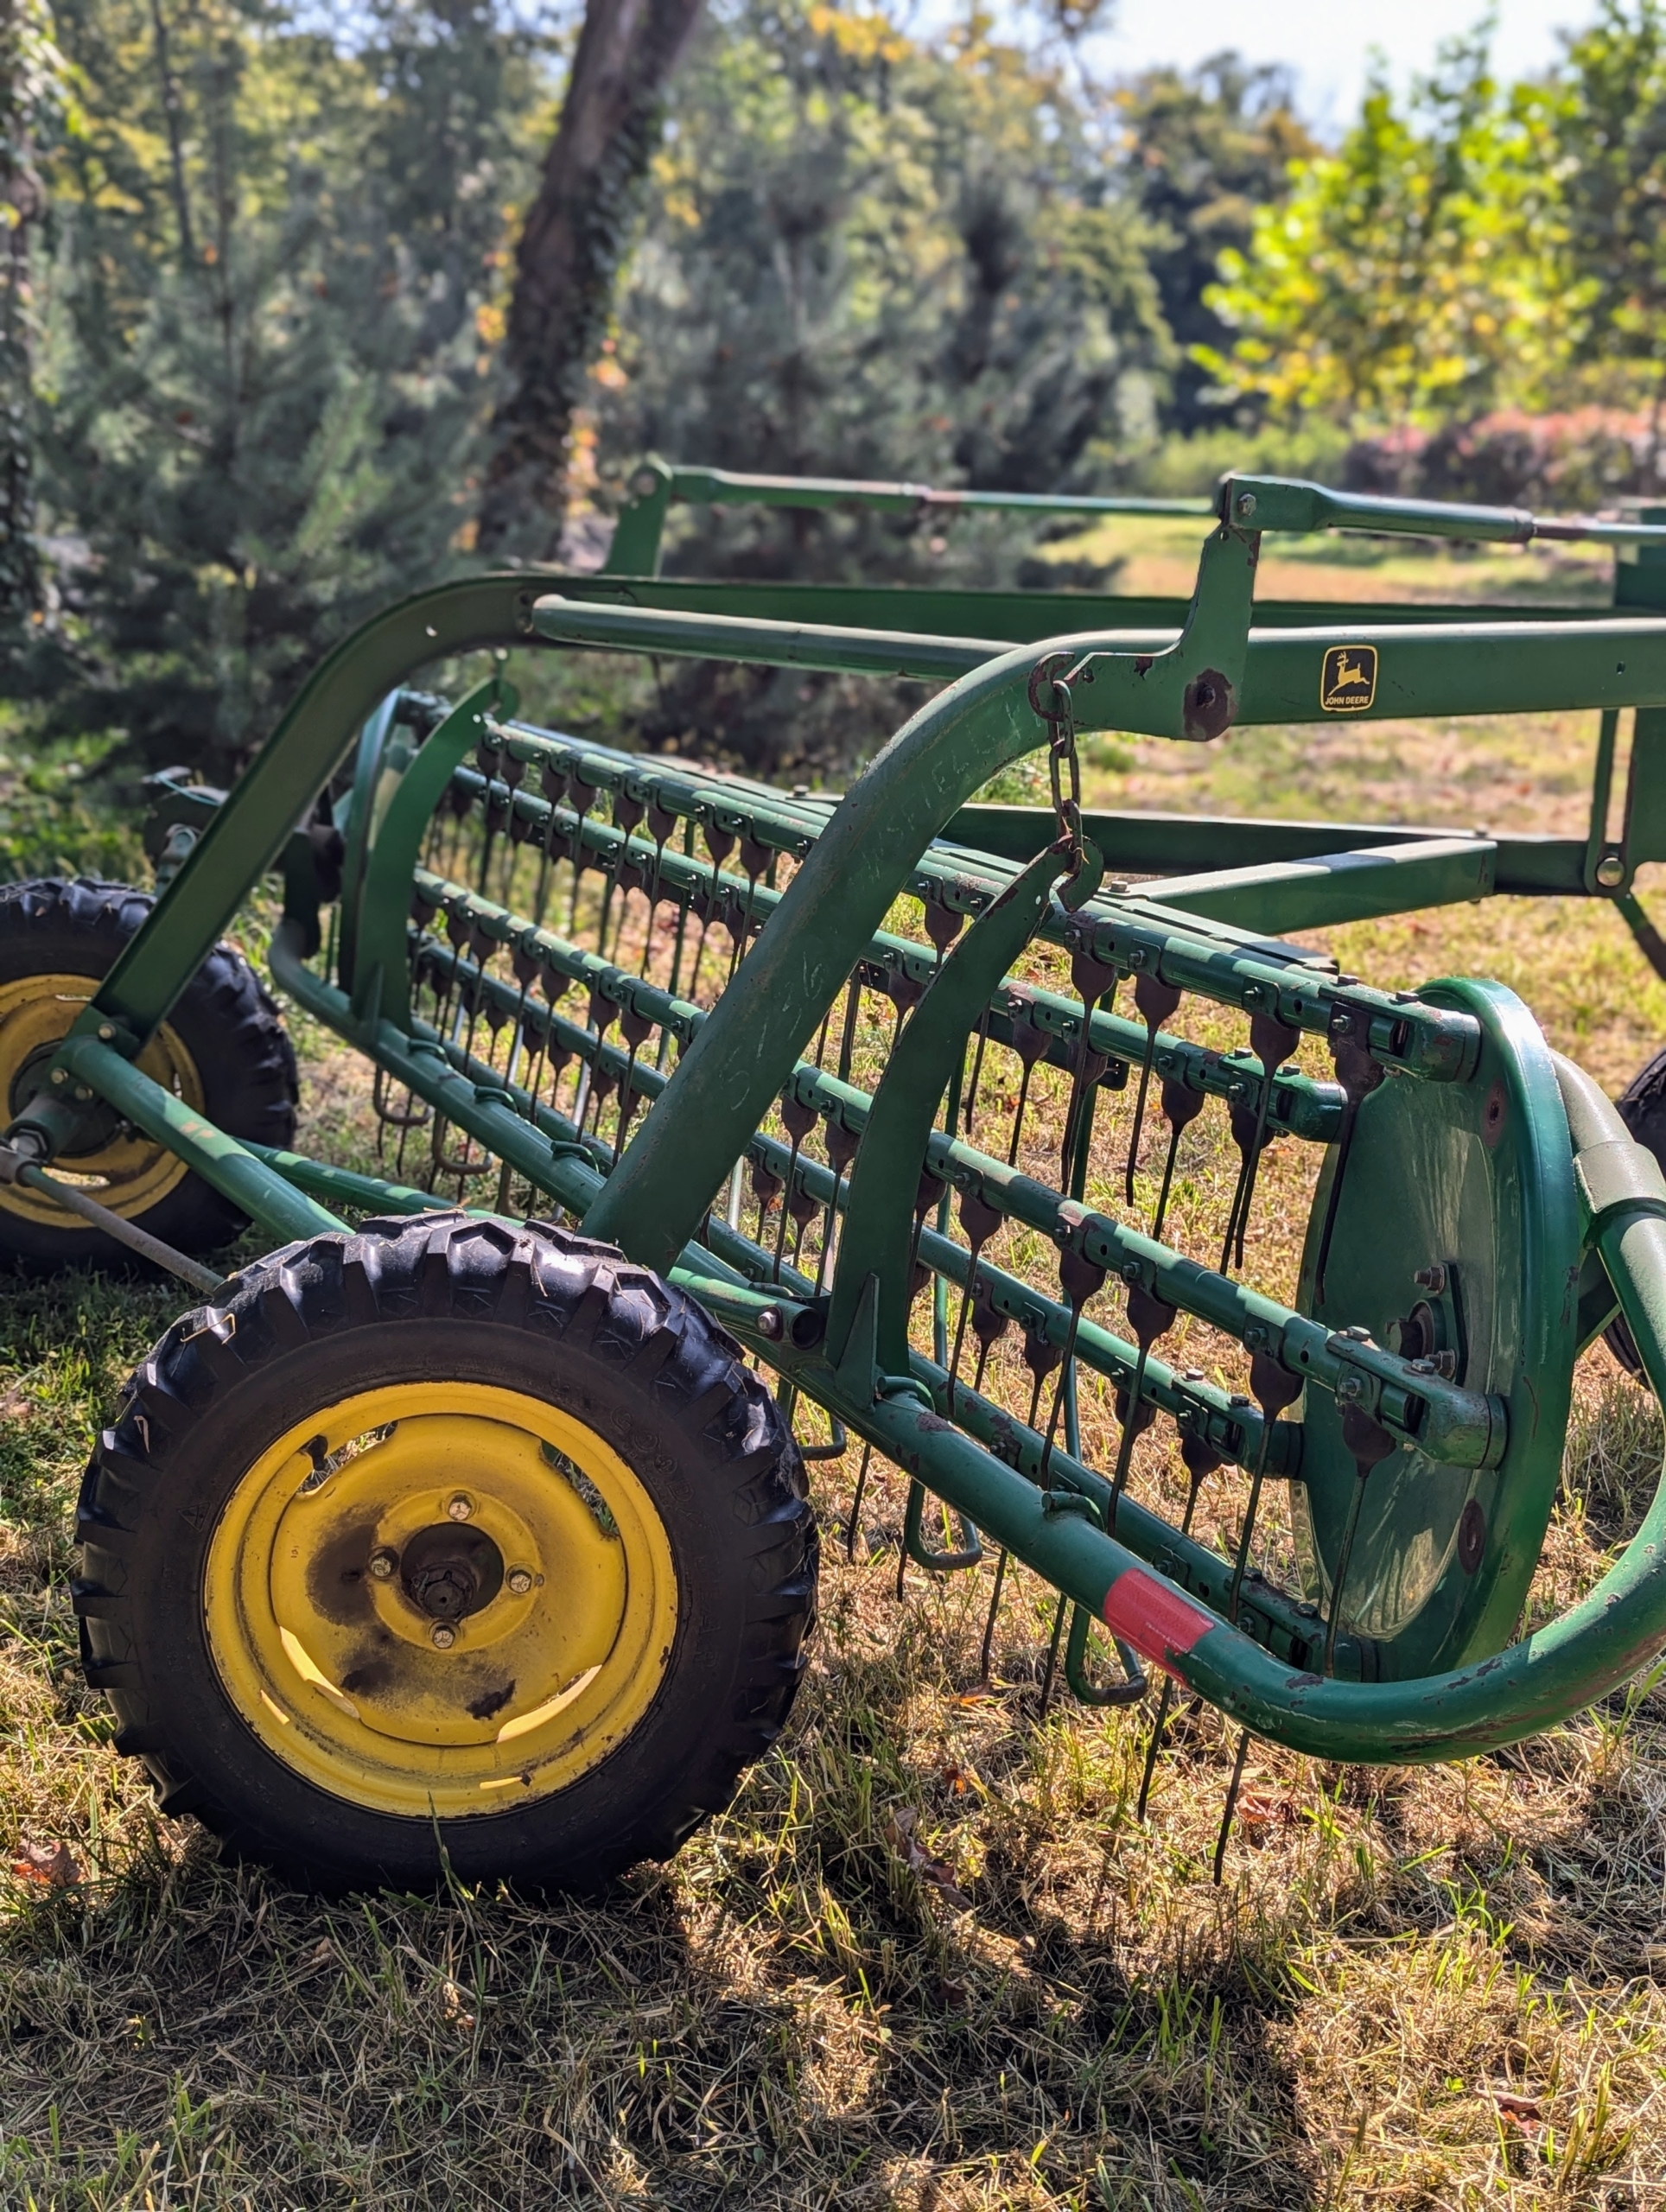
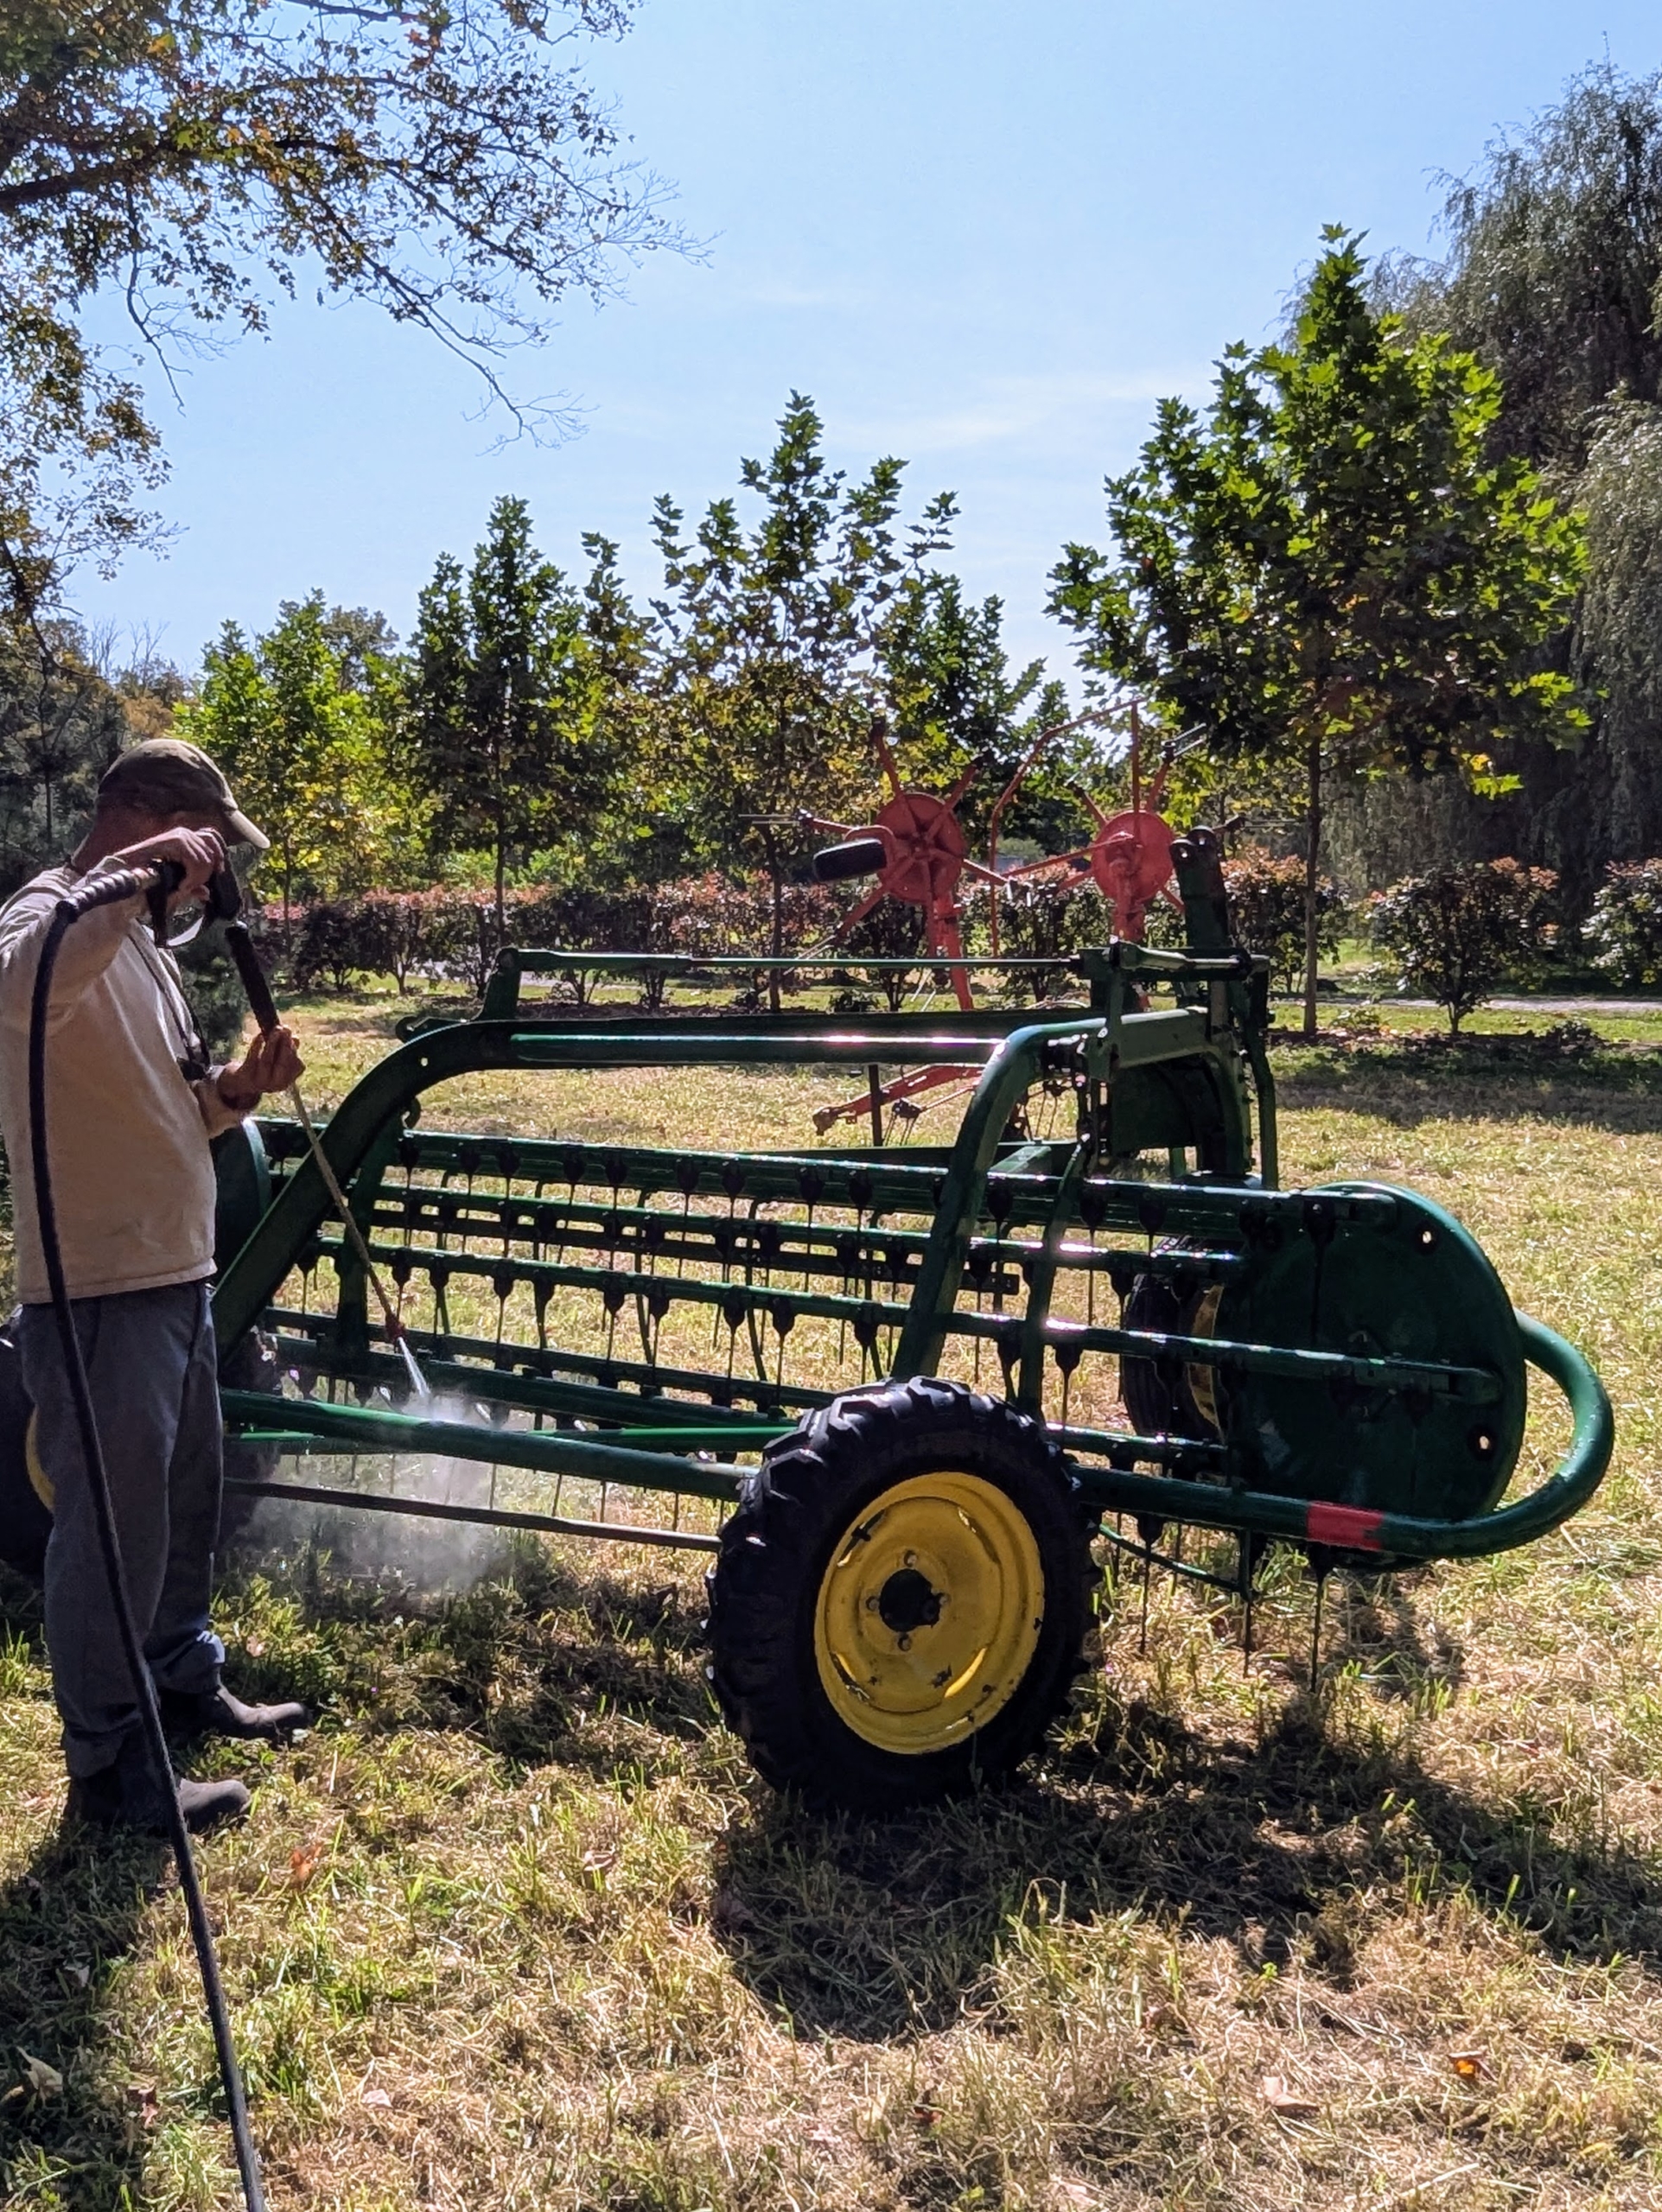
The bar rake, also known as a basket rake is hydraulically driven. This rake allows for consistent movement across the fields making well-shaped windrows, or rows of hay.
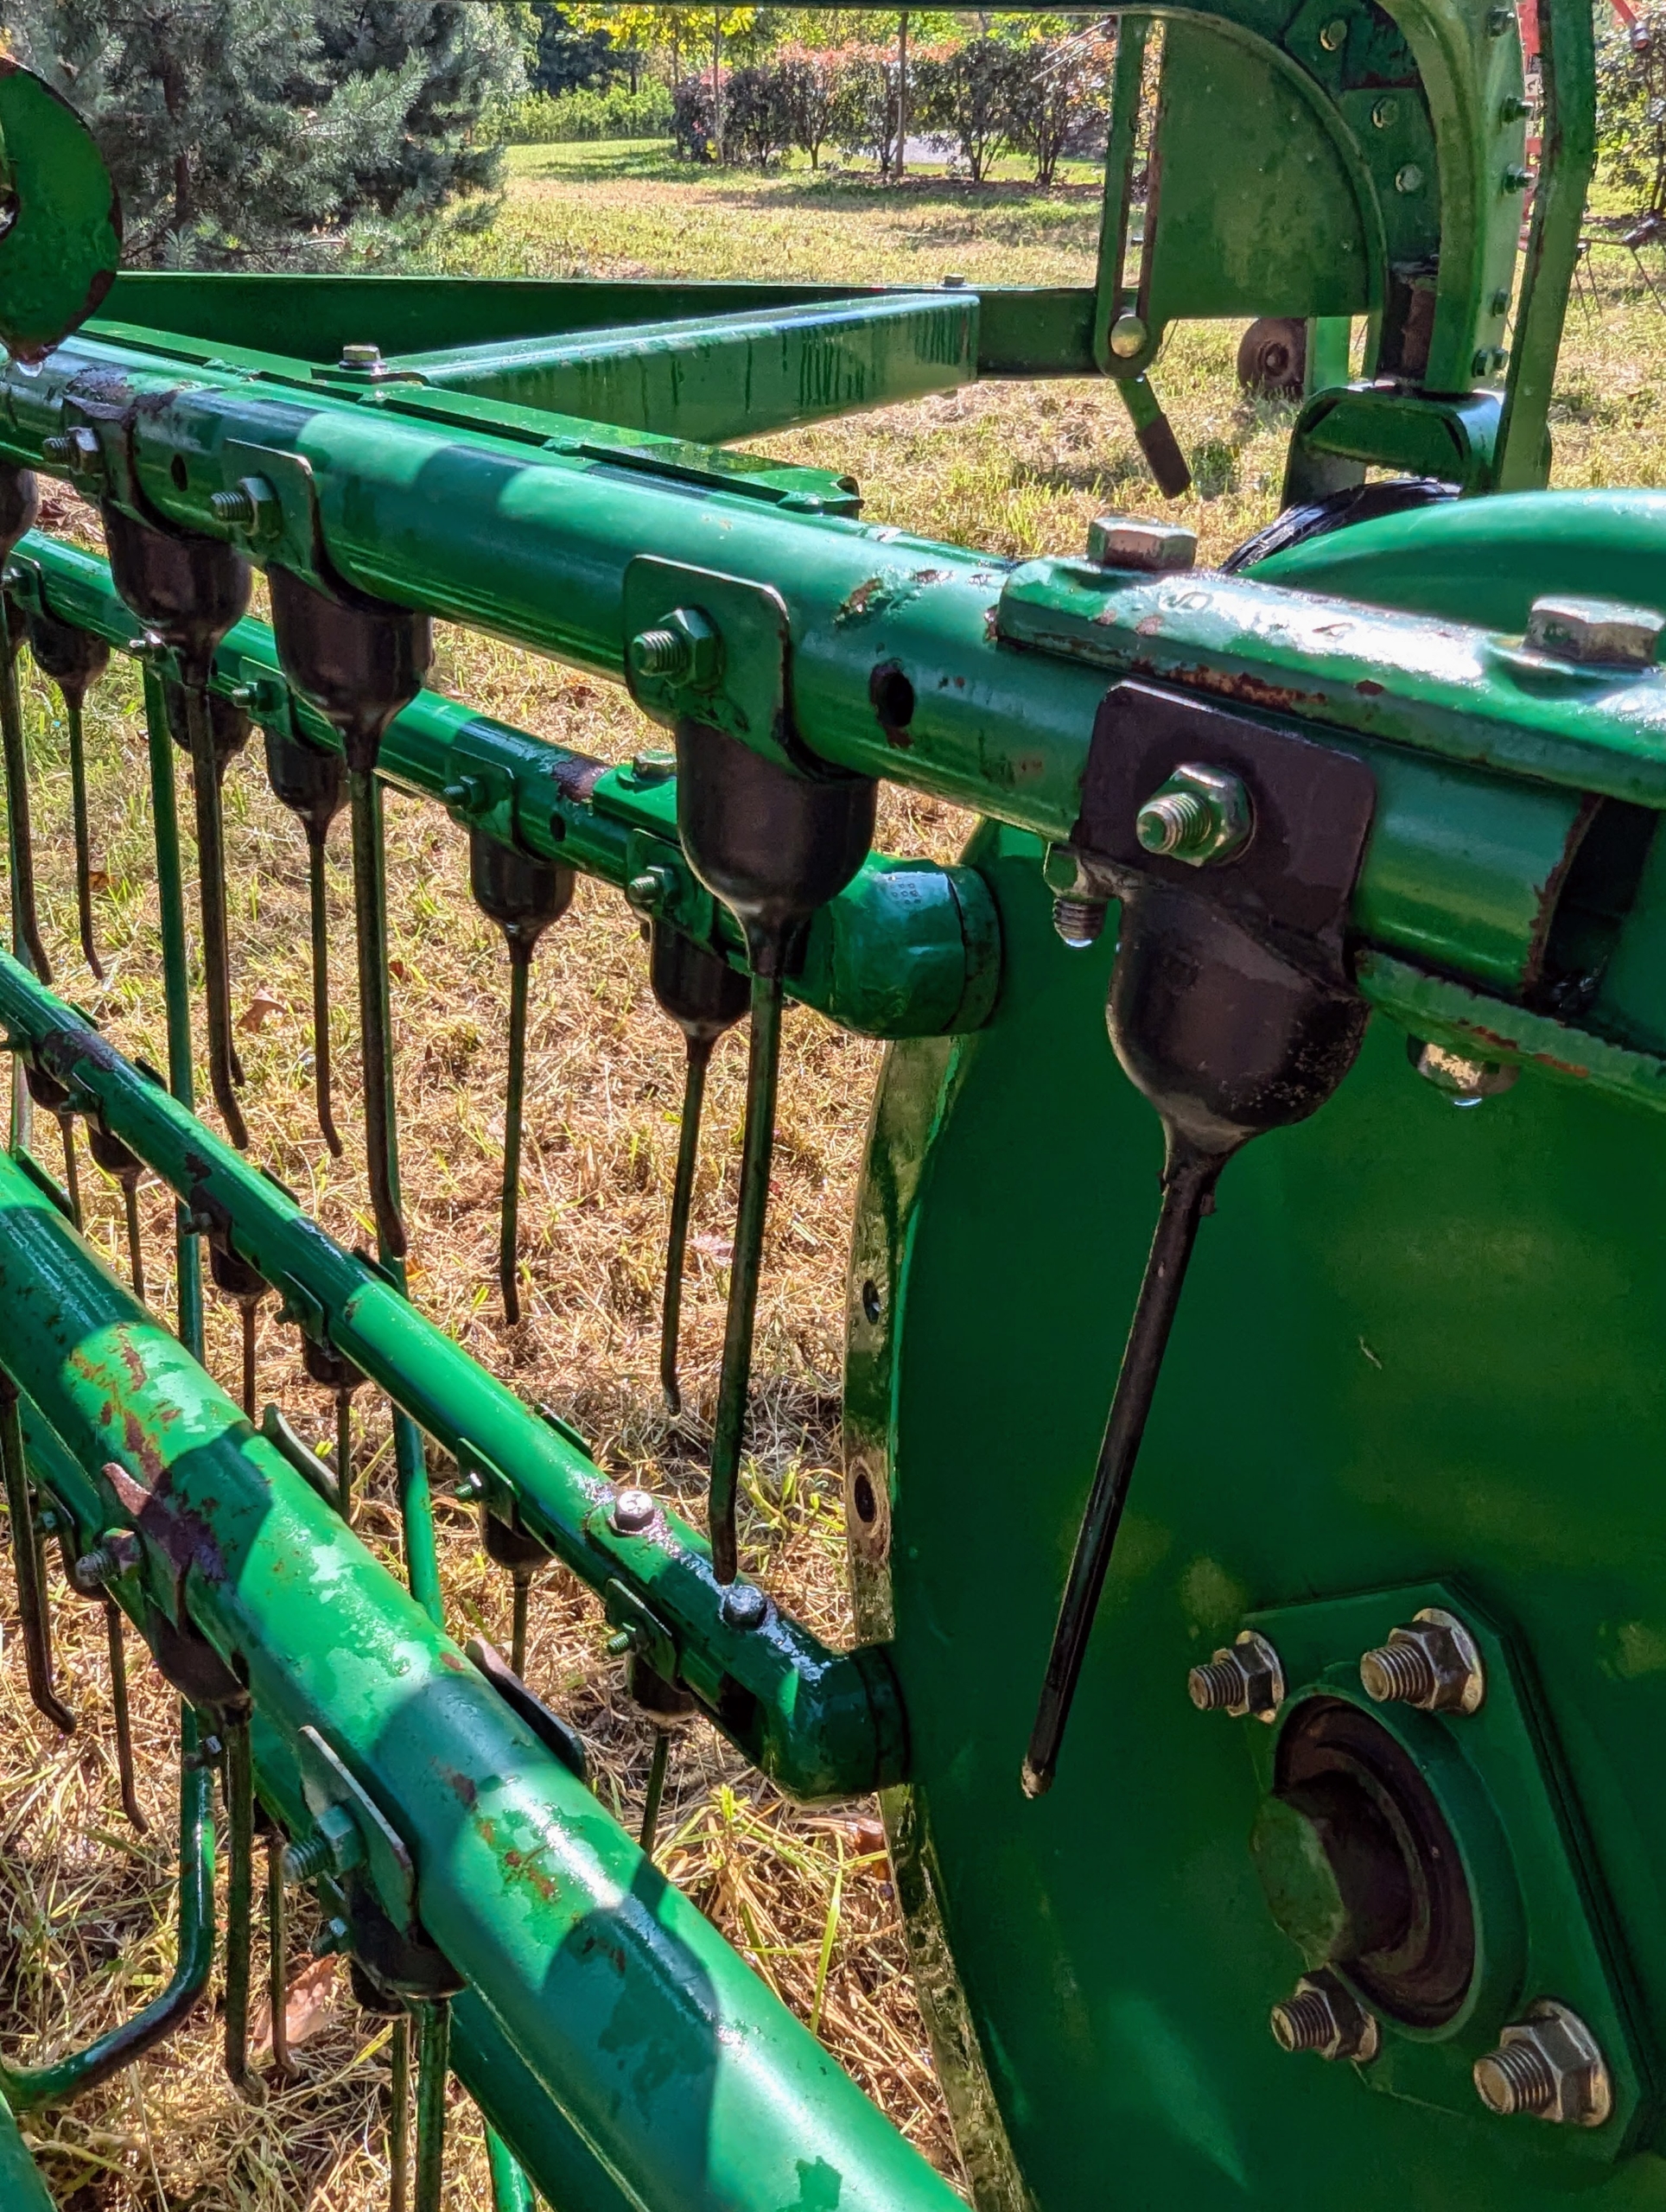
This apparatus also has tines that pick up the hay and sweep it into the long rows around the field.
I’ve had all these pieces for years and am glad to say good care has kept them in the best working condition.
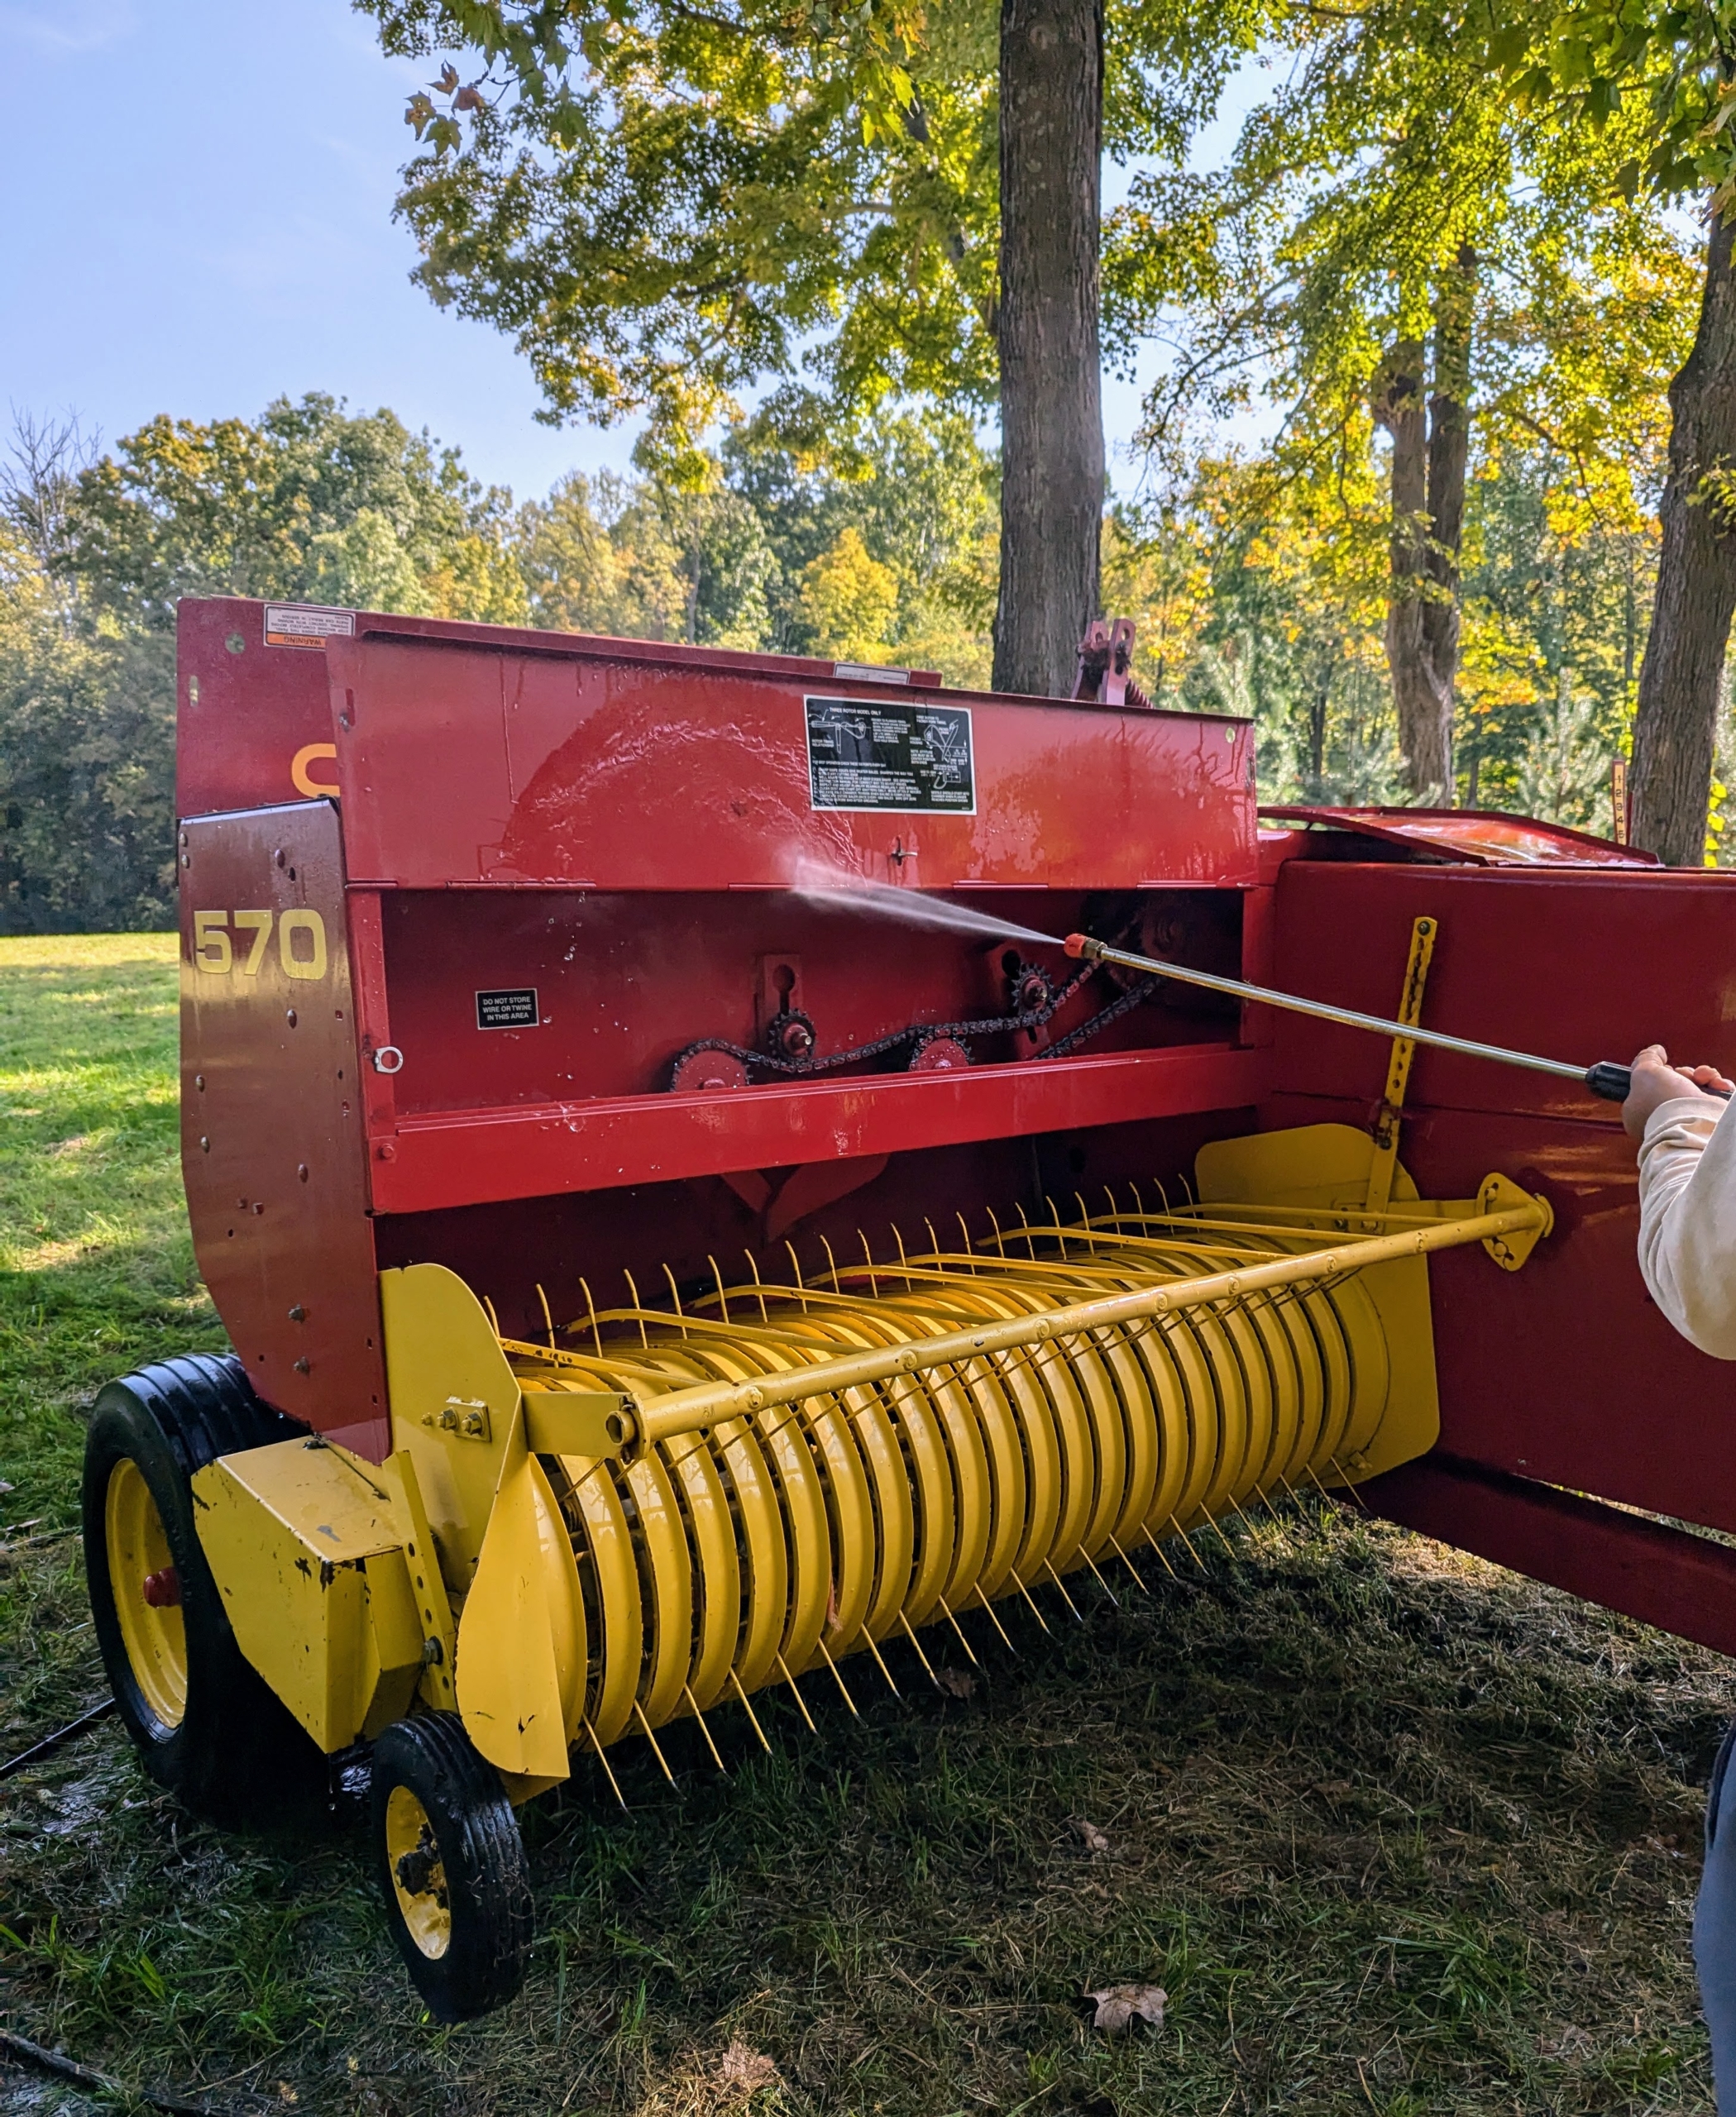
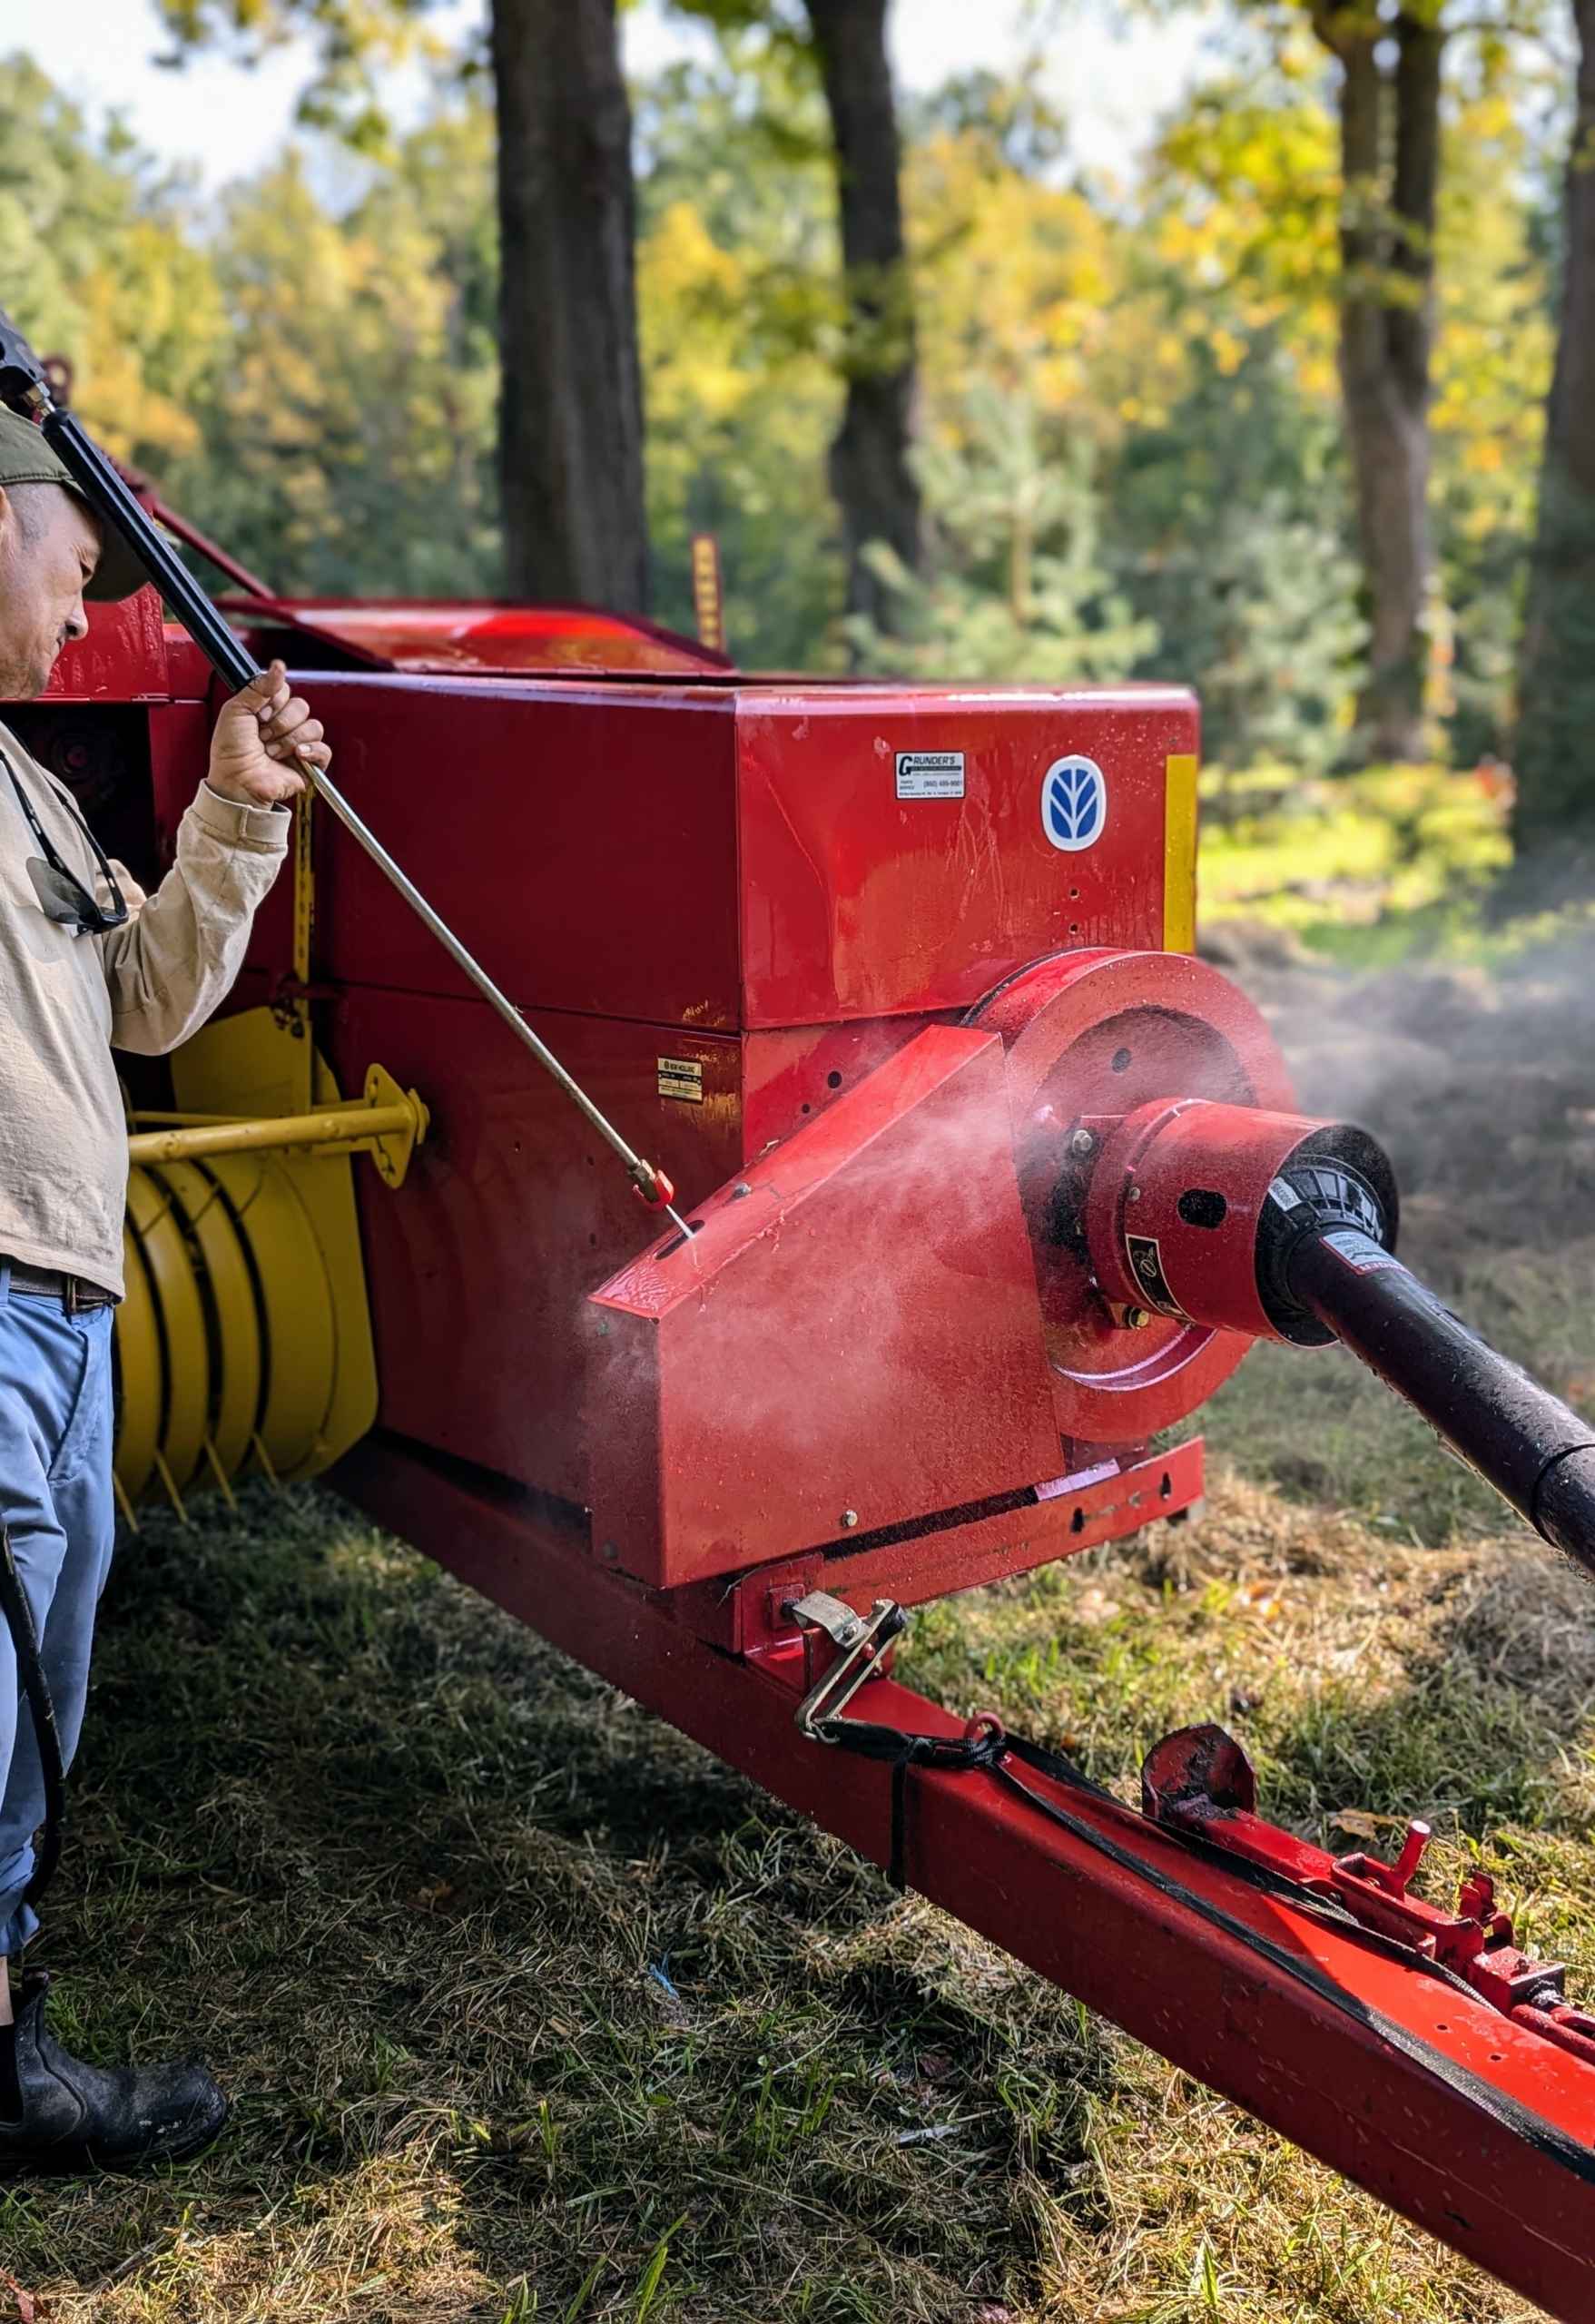
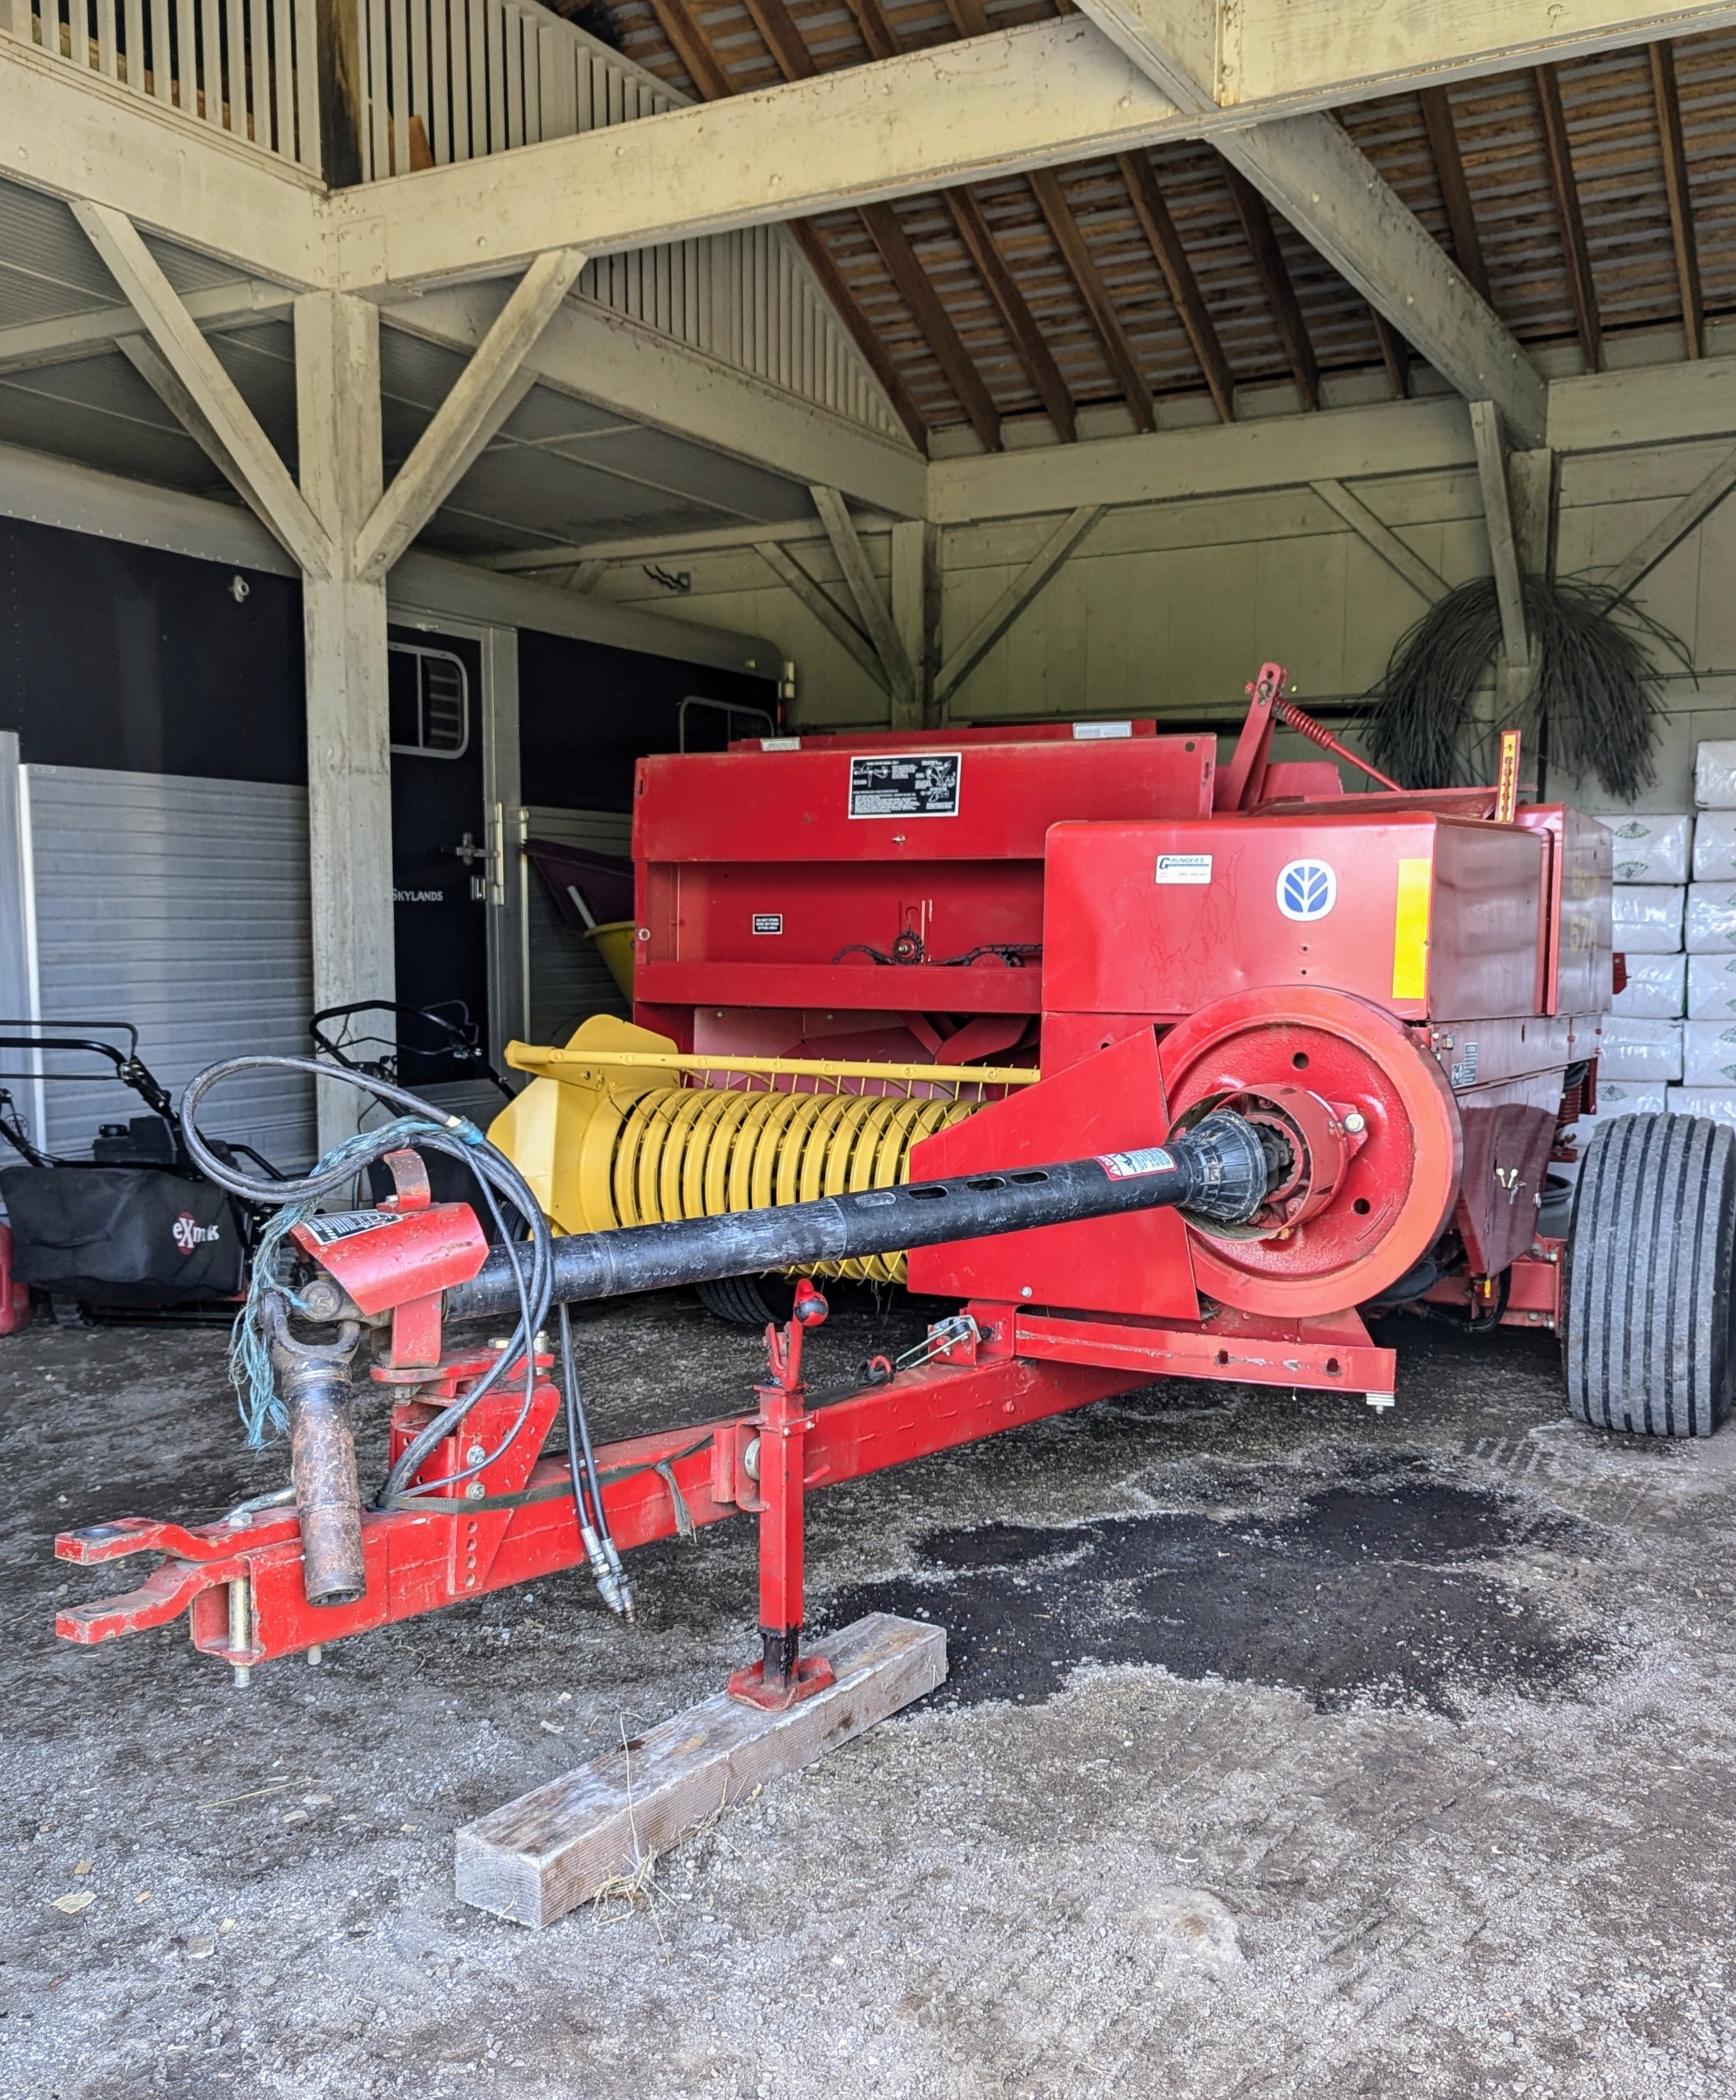
A baler is a piece of farm machinery used to compress a cut and raked crop into compact bales that are easy to handle, transport, and store.
This is the pick up cylinder which rolls over the cut hay and gathers it into the chamber.
The spiked wheel grabs the bale and with the motor helps to move and propel the bales through the baler.
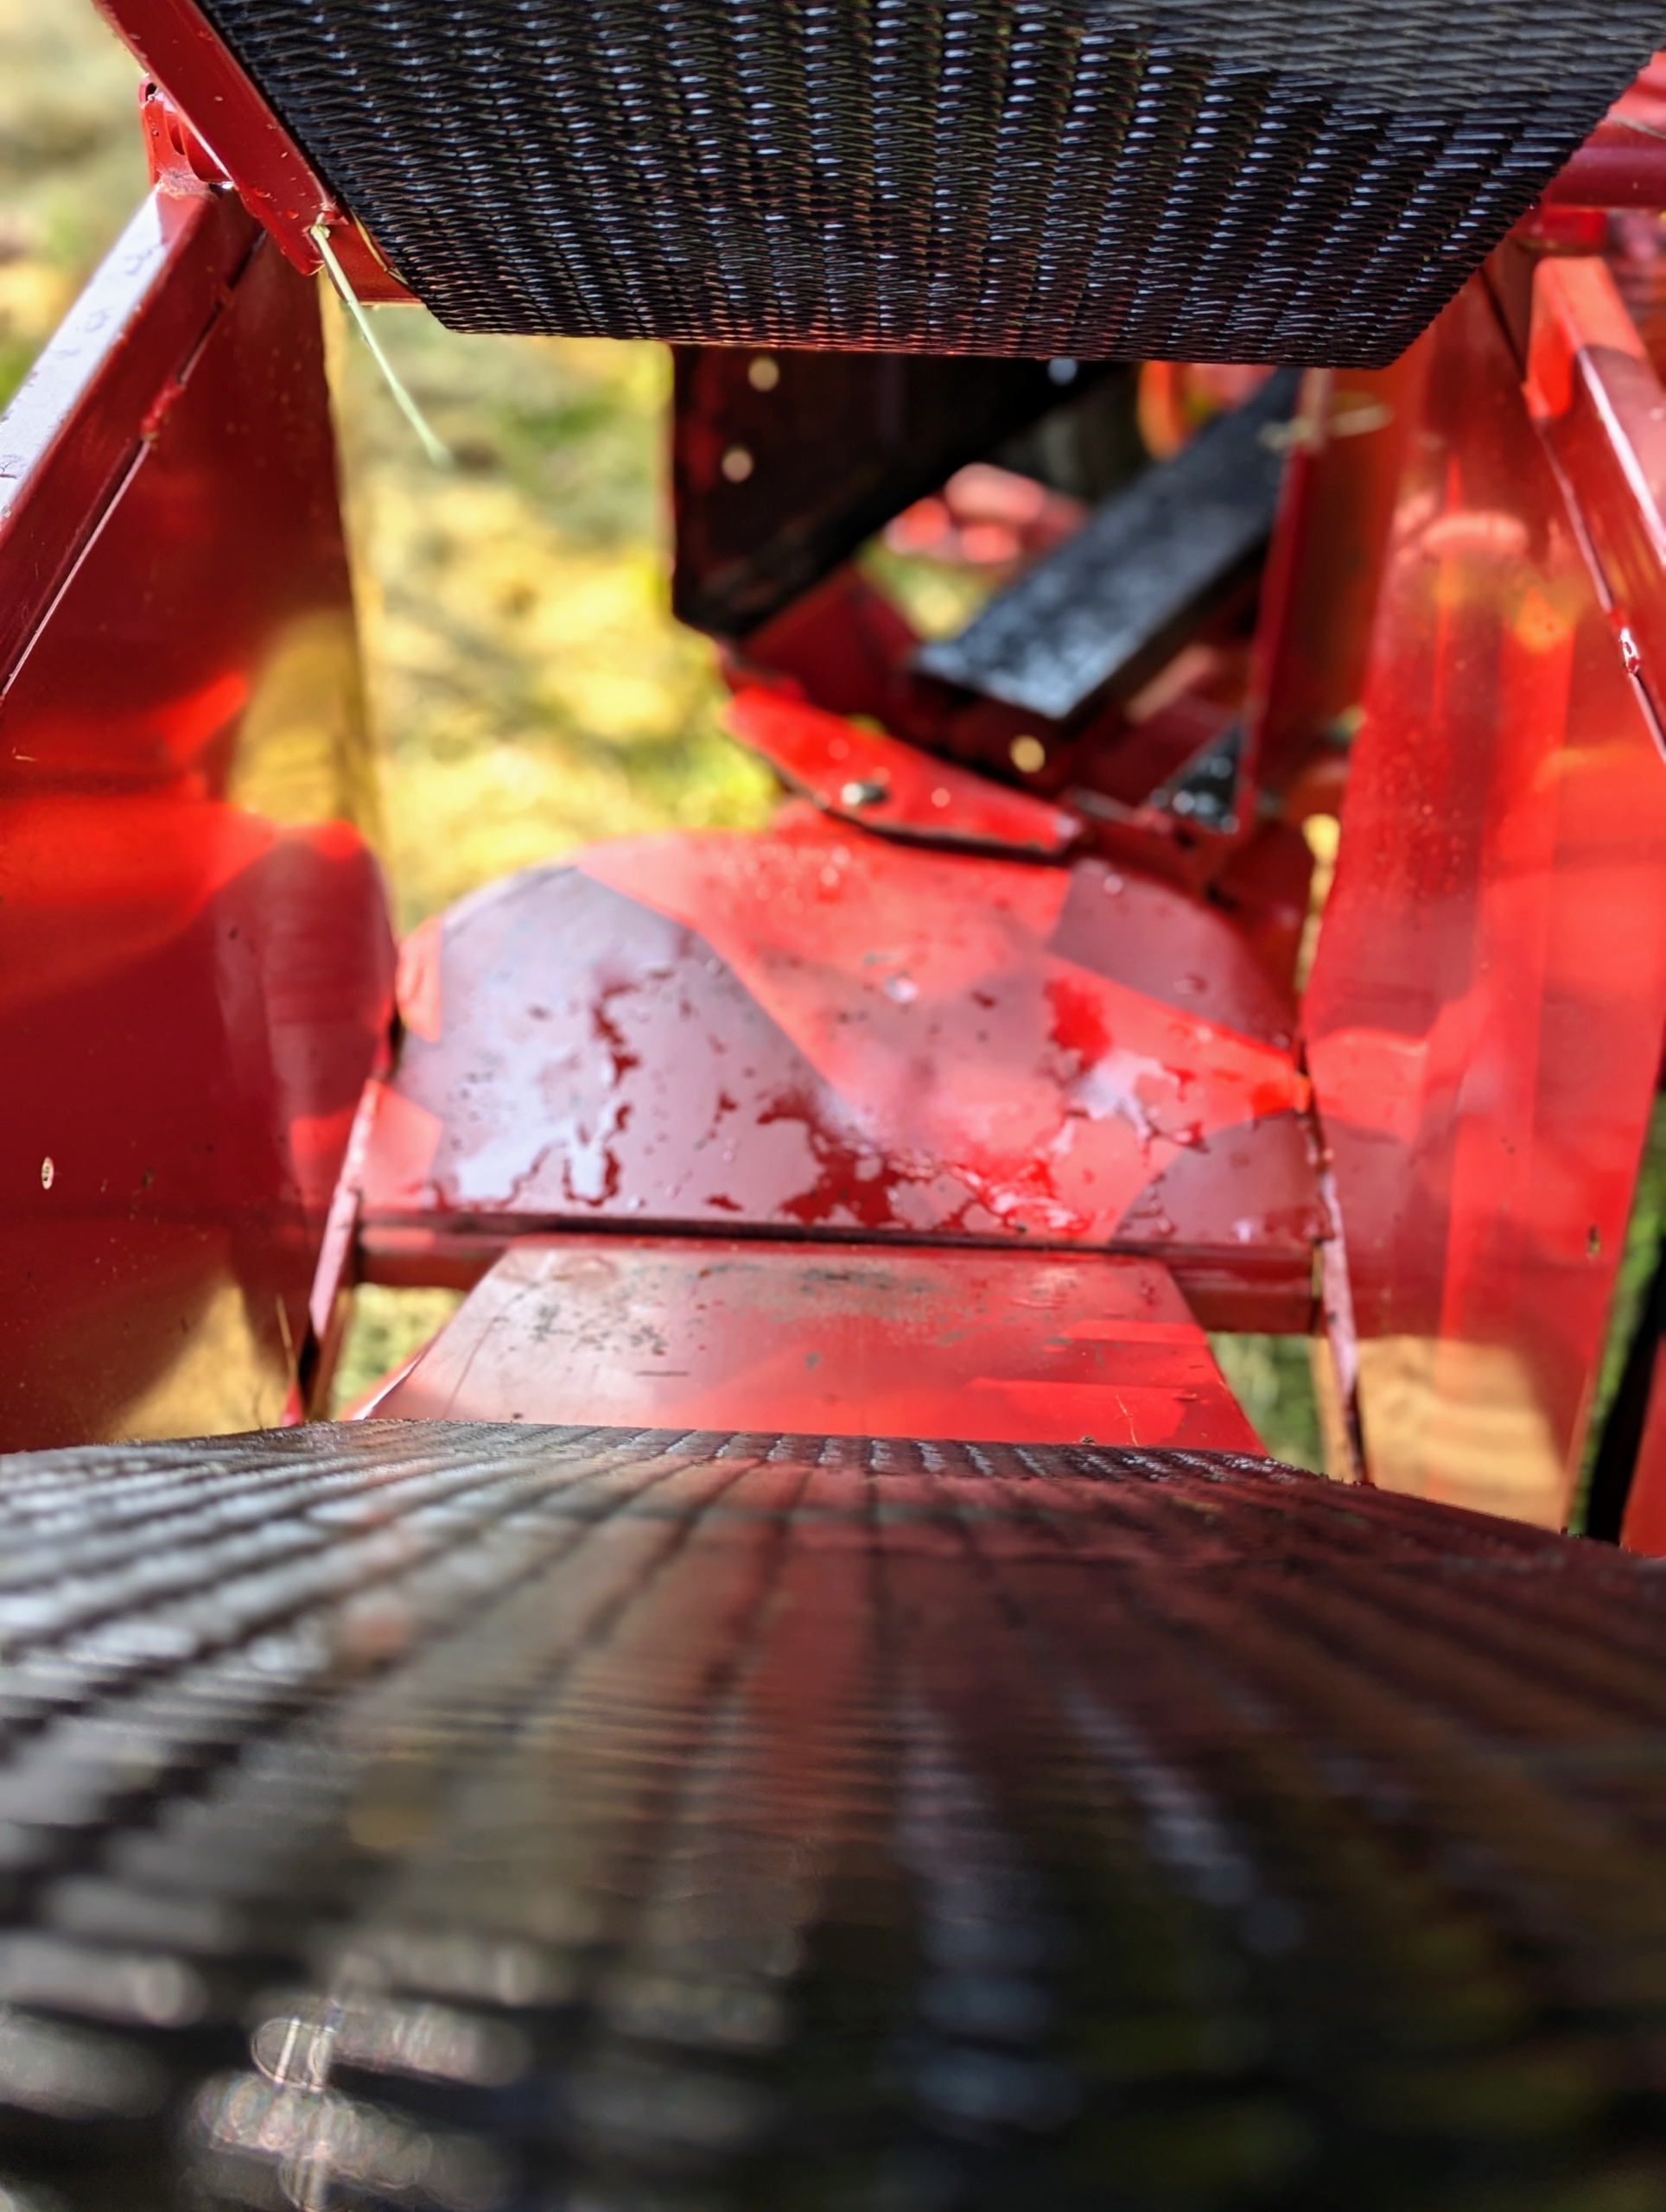
And then it goes up the conveyor belt to where it is thrown into the wagon.
Chhiring cleans every crevice to remove any debris caught in the machine. This is also a good time for Chhiring to check any parts that may need more maintenance attention.
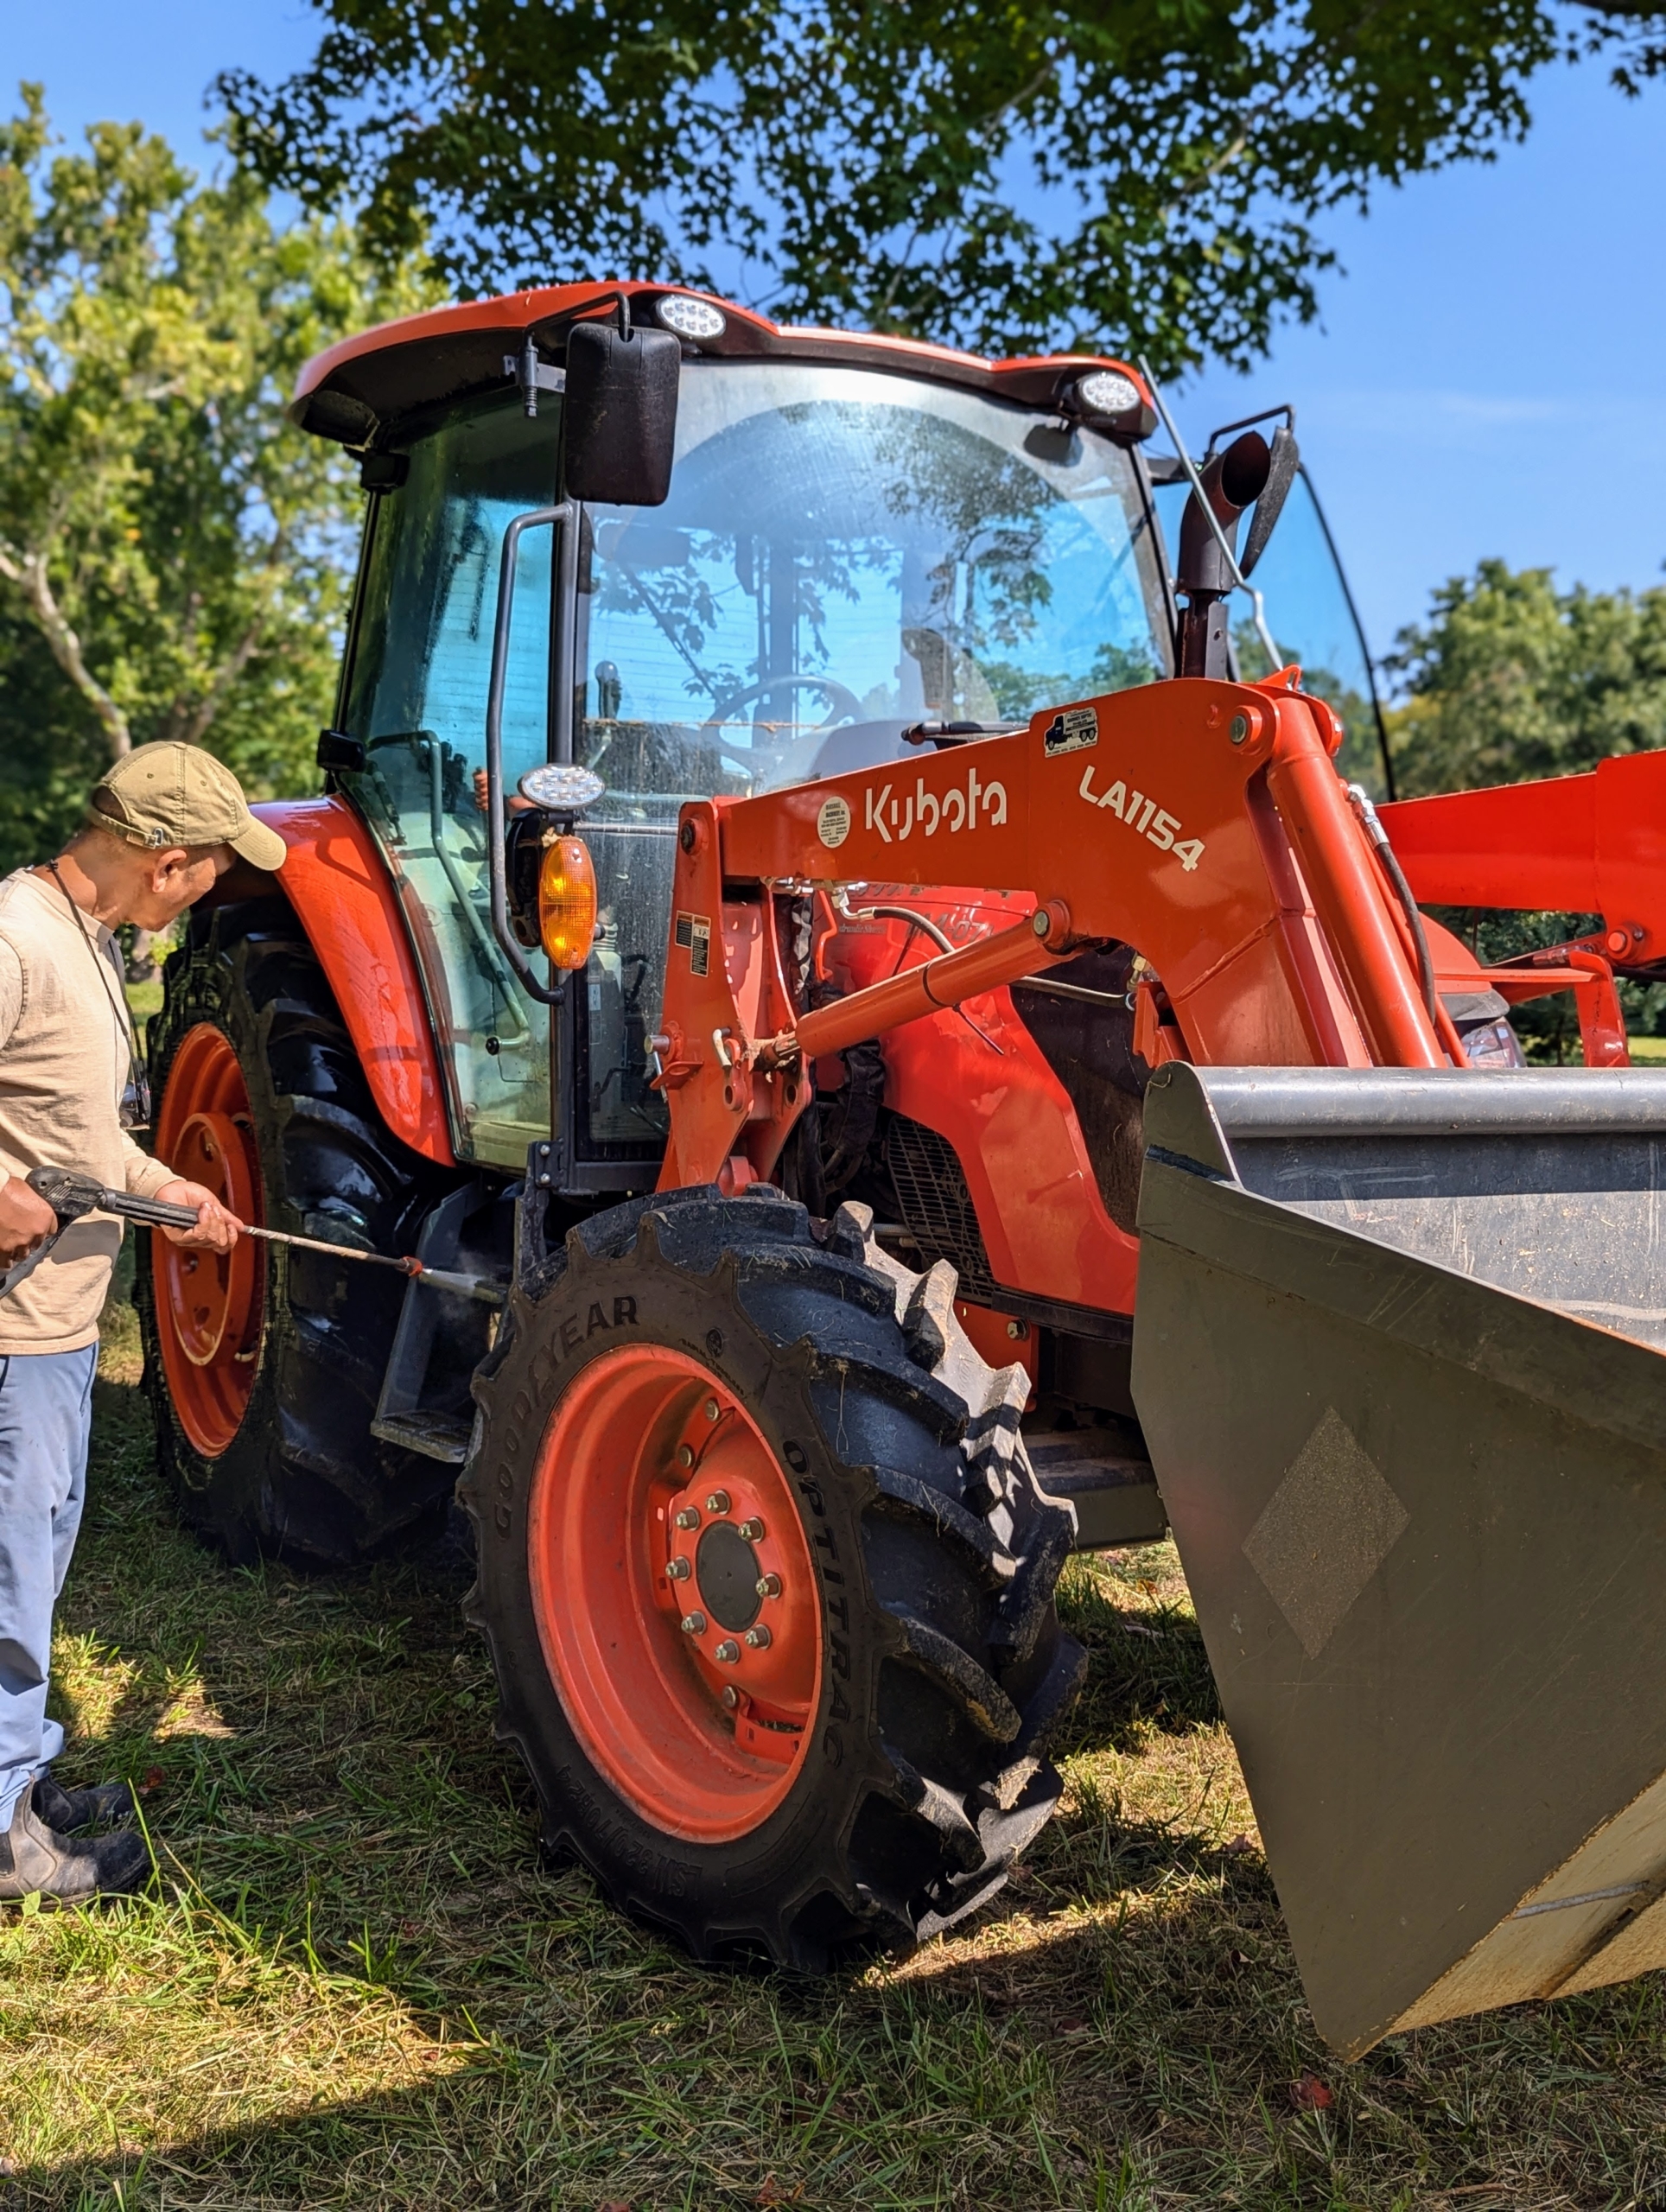
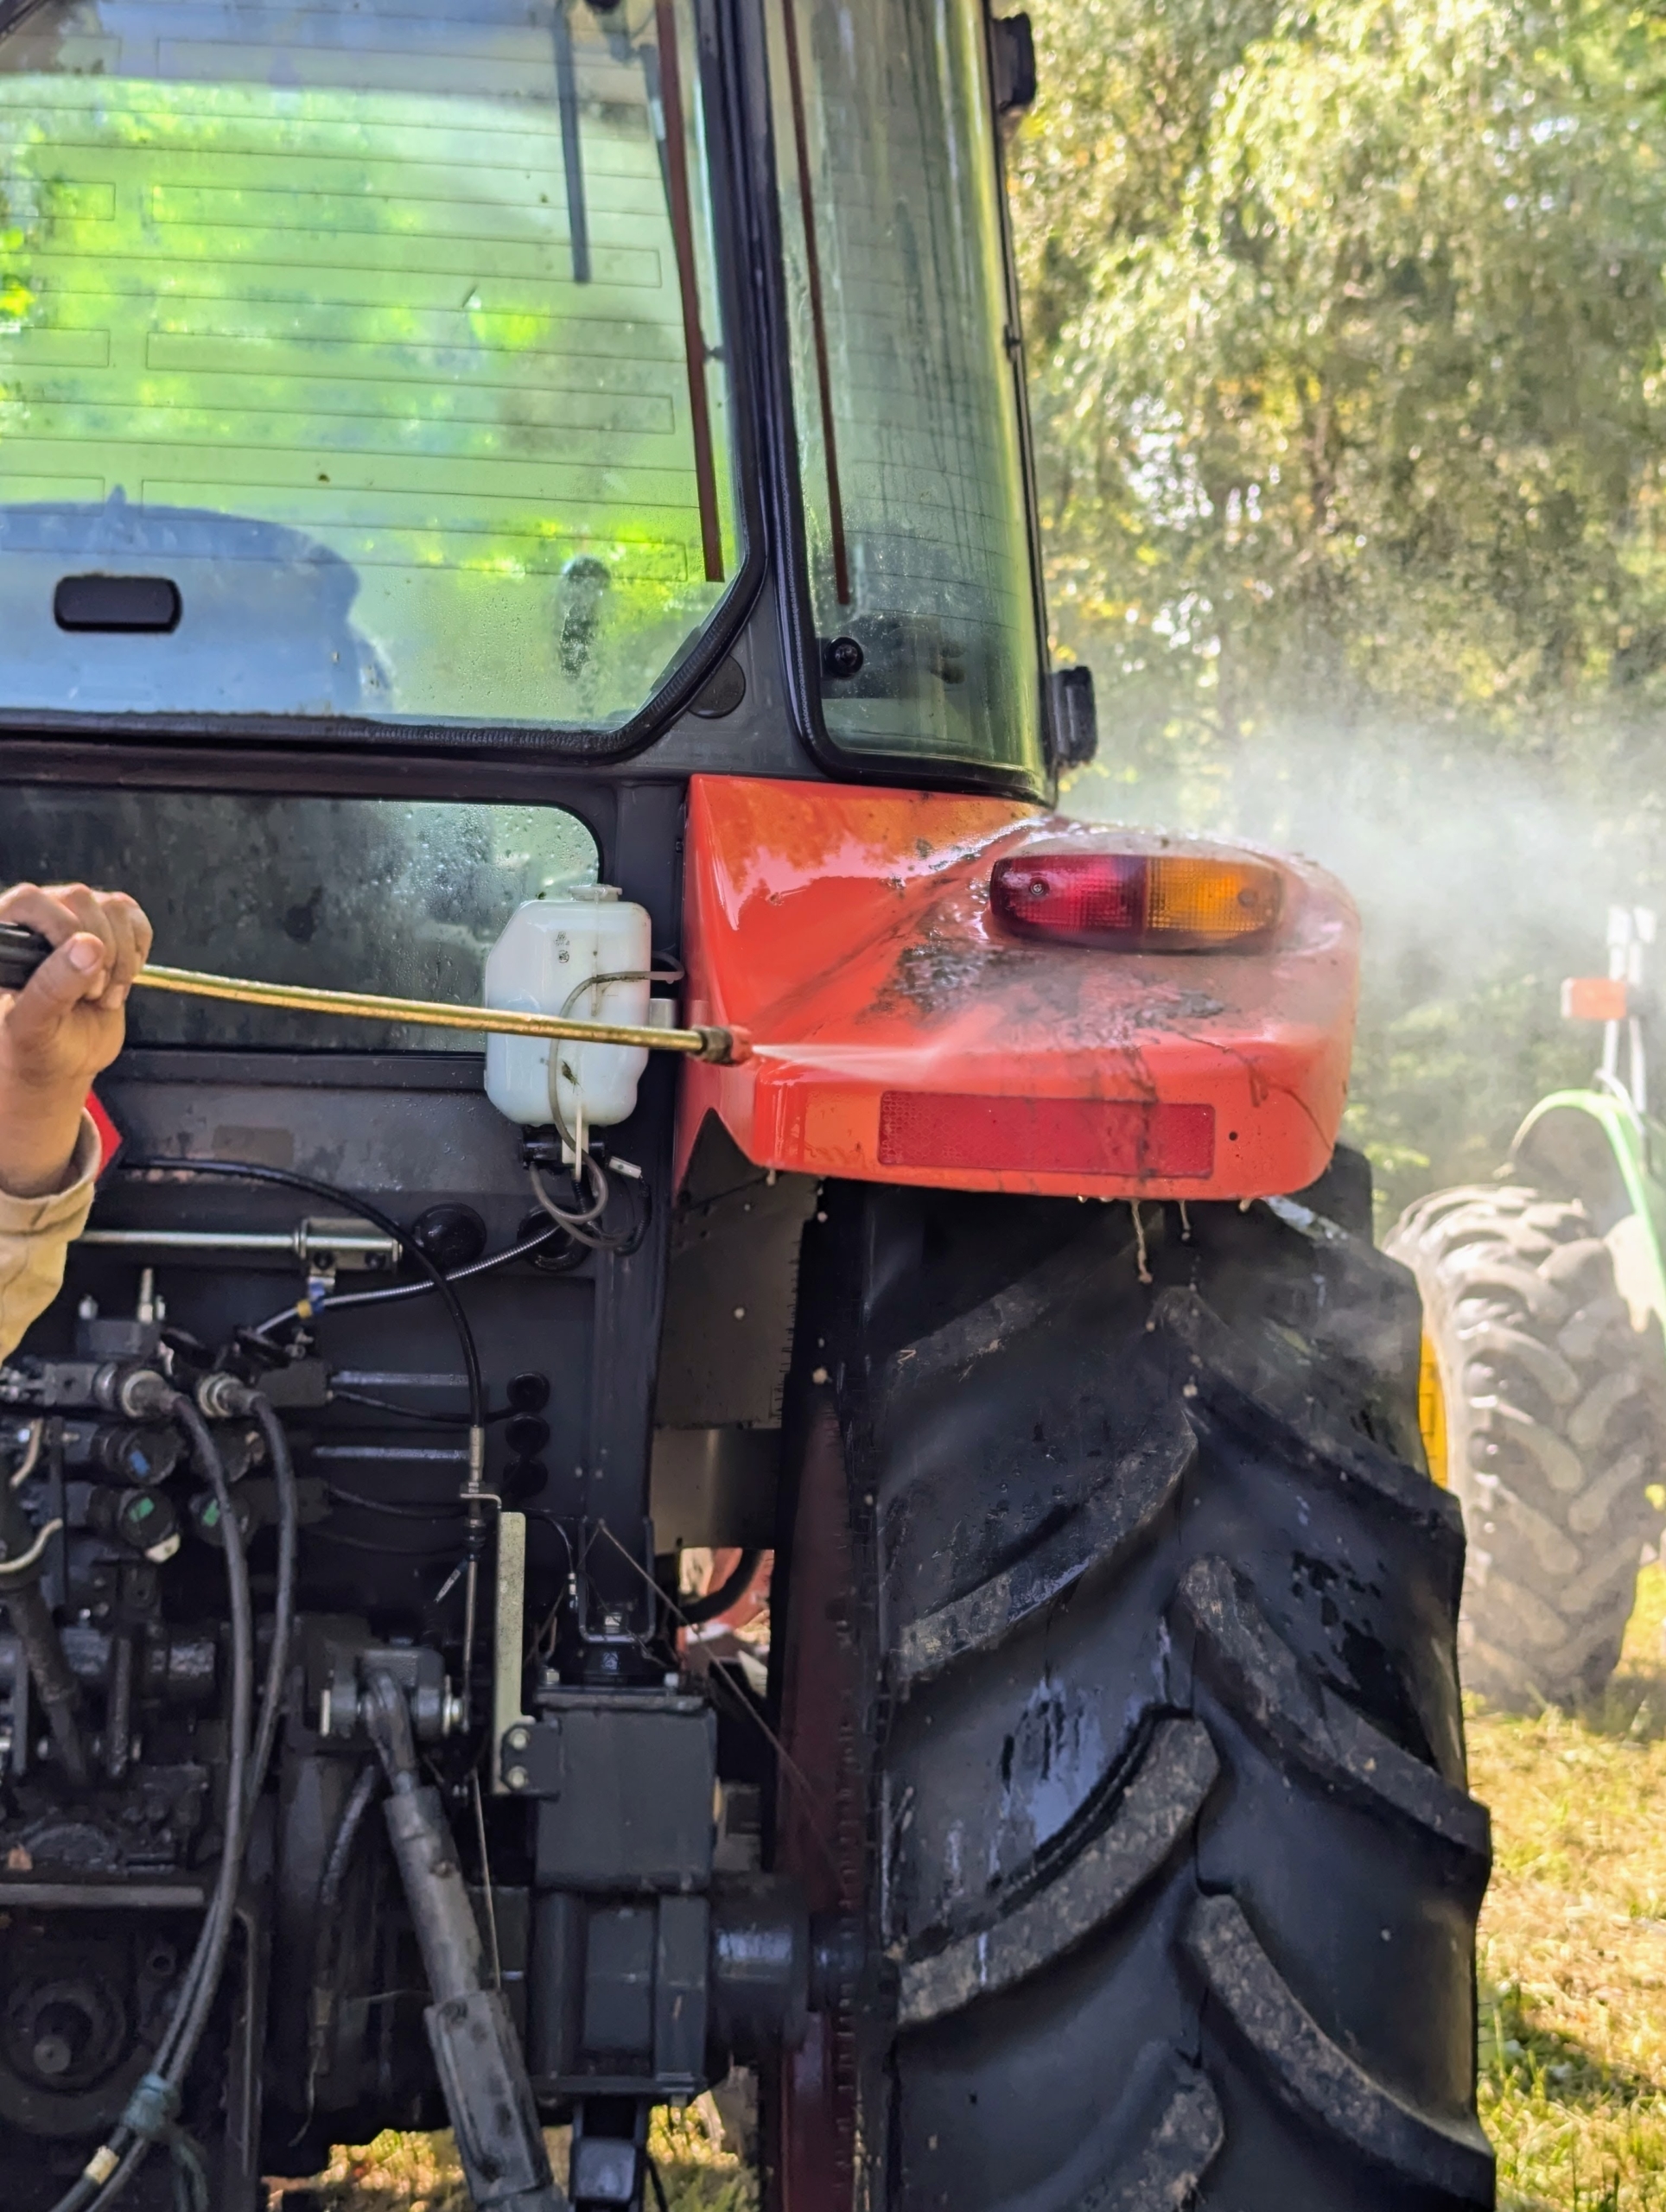
Most of the equipment is pulled by our trusted Kubota M4-071 tractor, one of the most important pieces of equipment here at the farm. It is used every single day of the year.
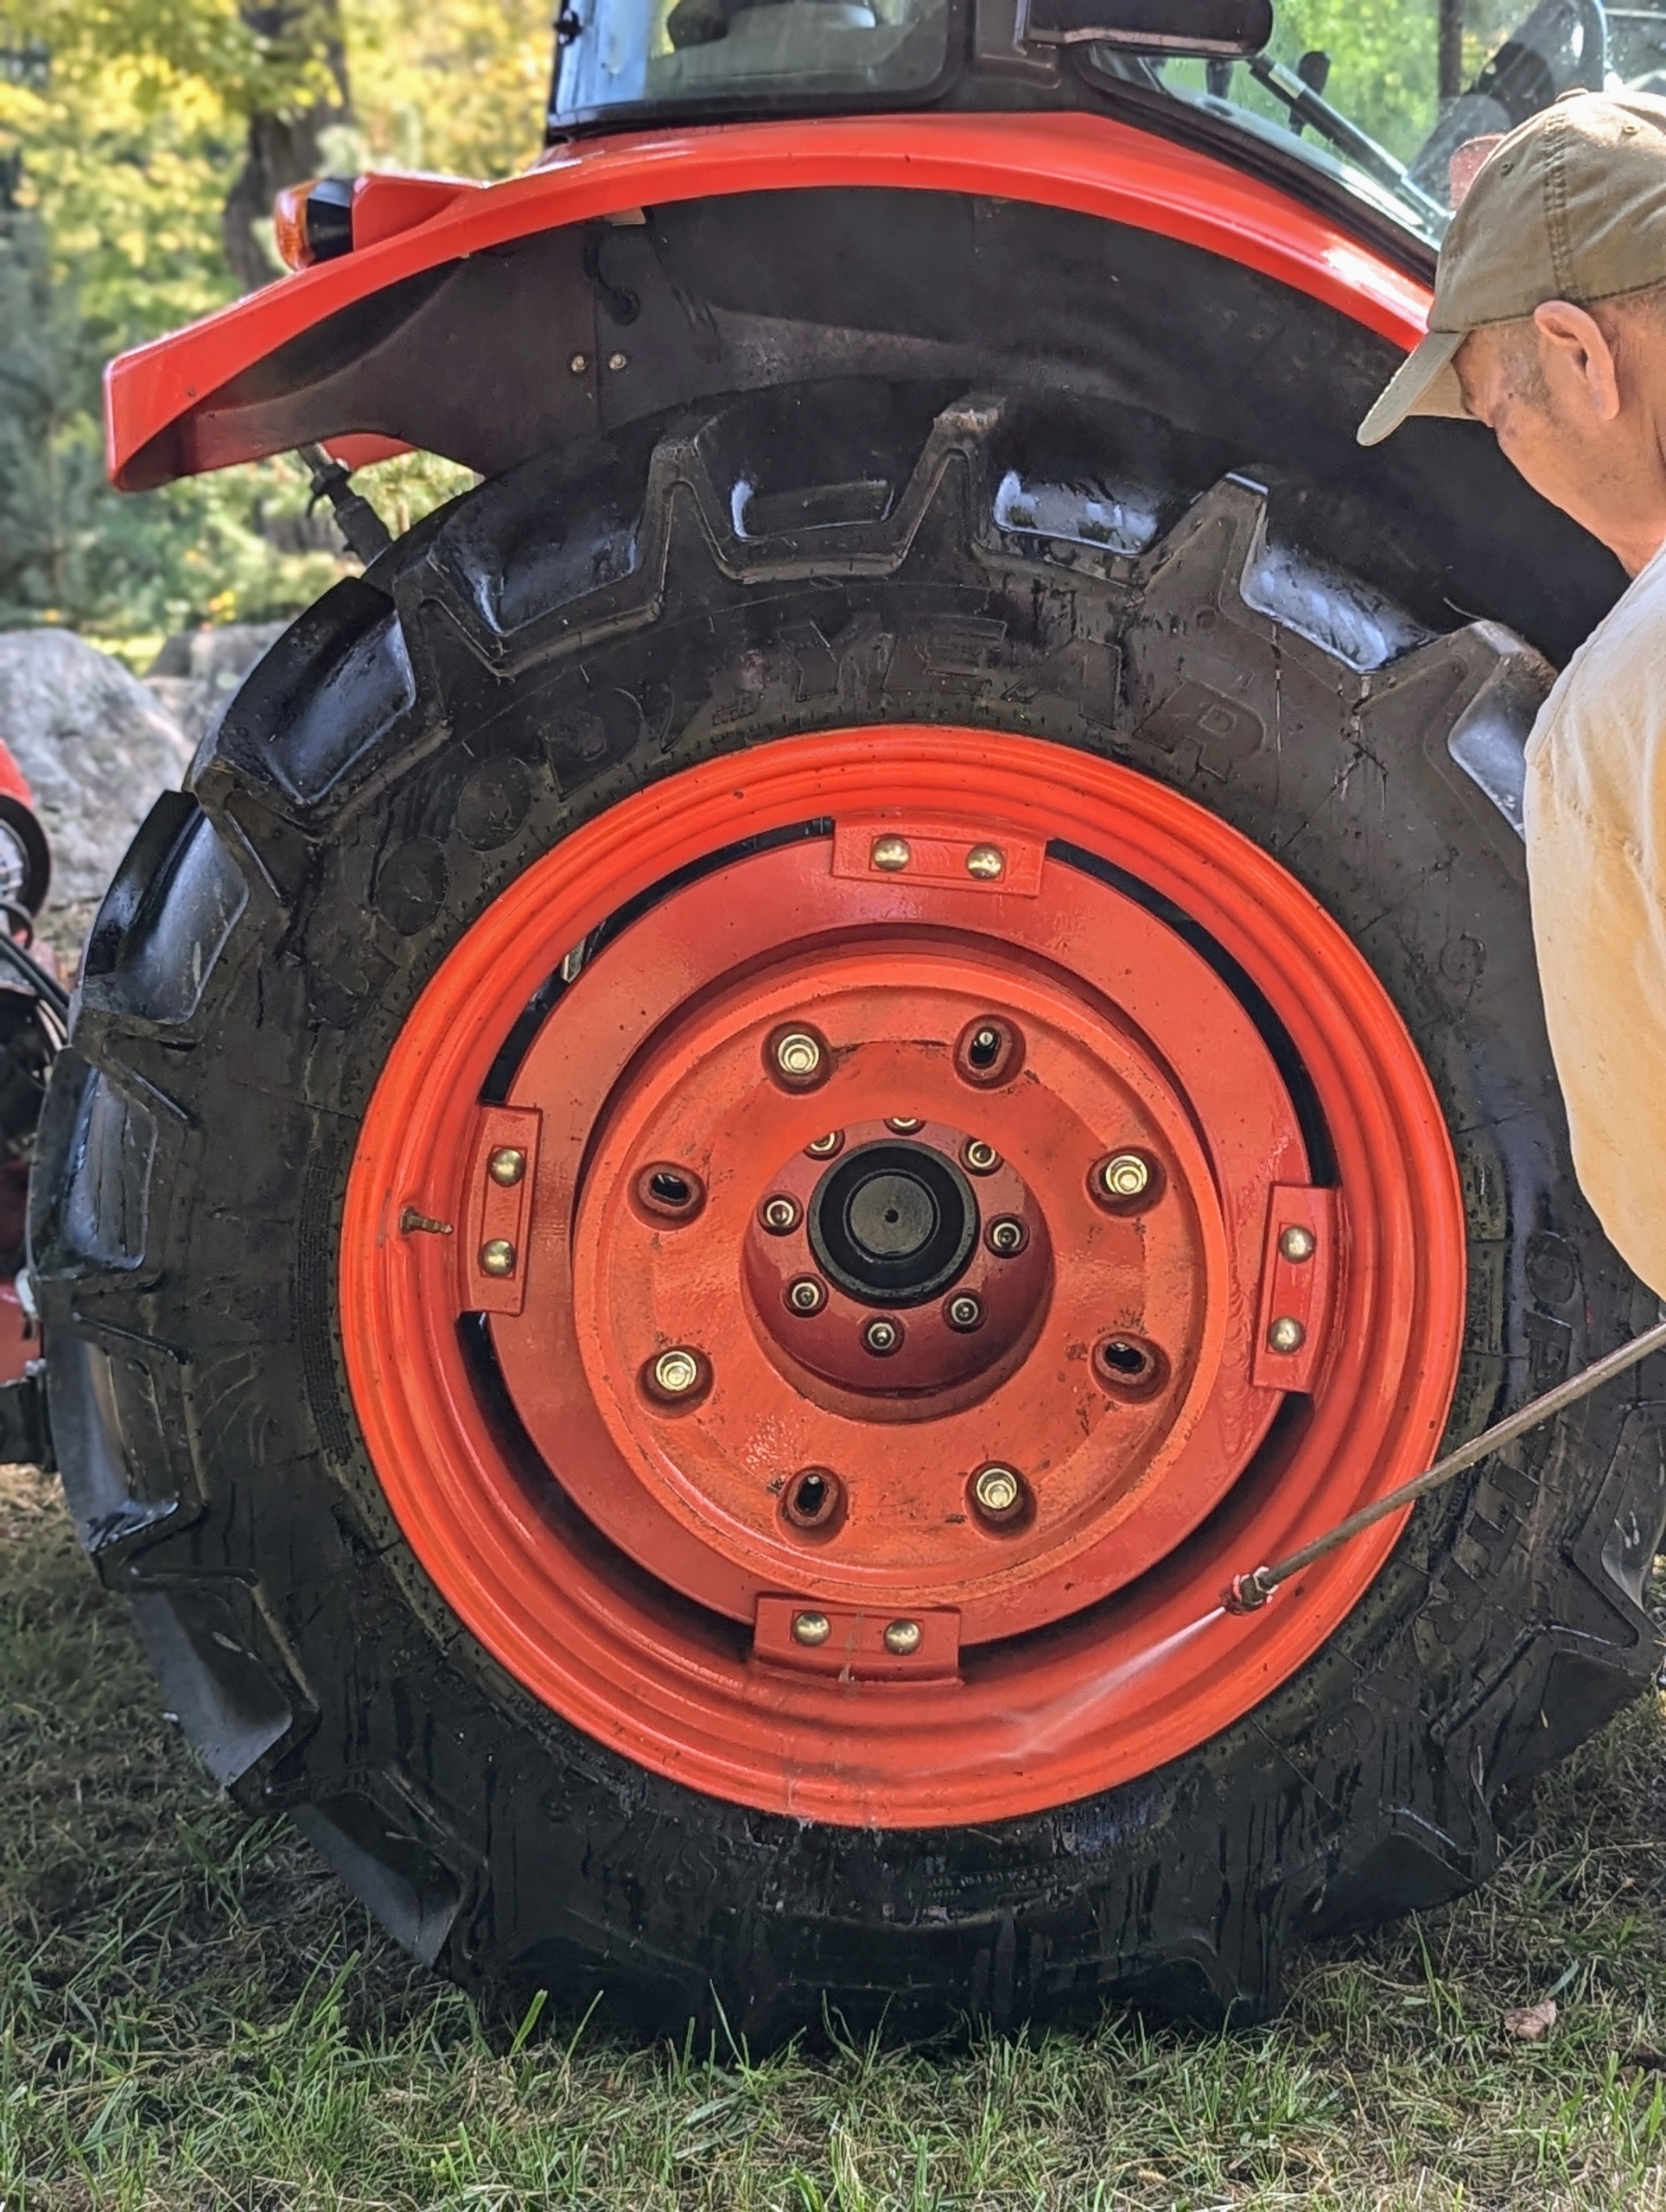
And look at the wheels – each one is five feet in diameter.
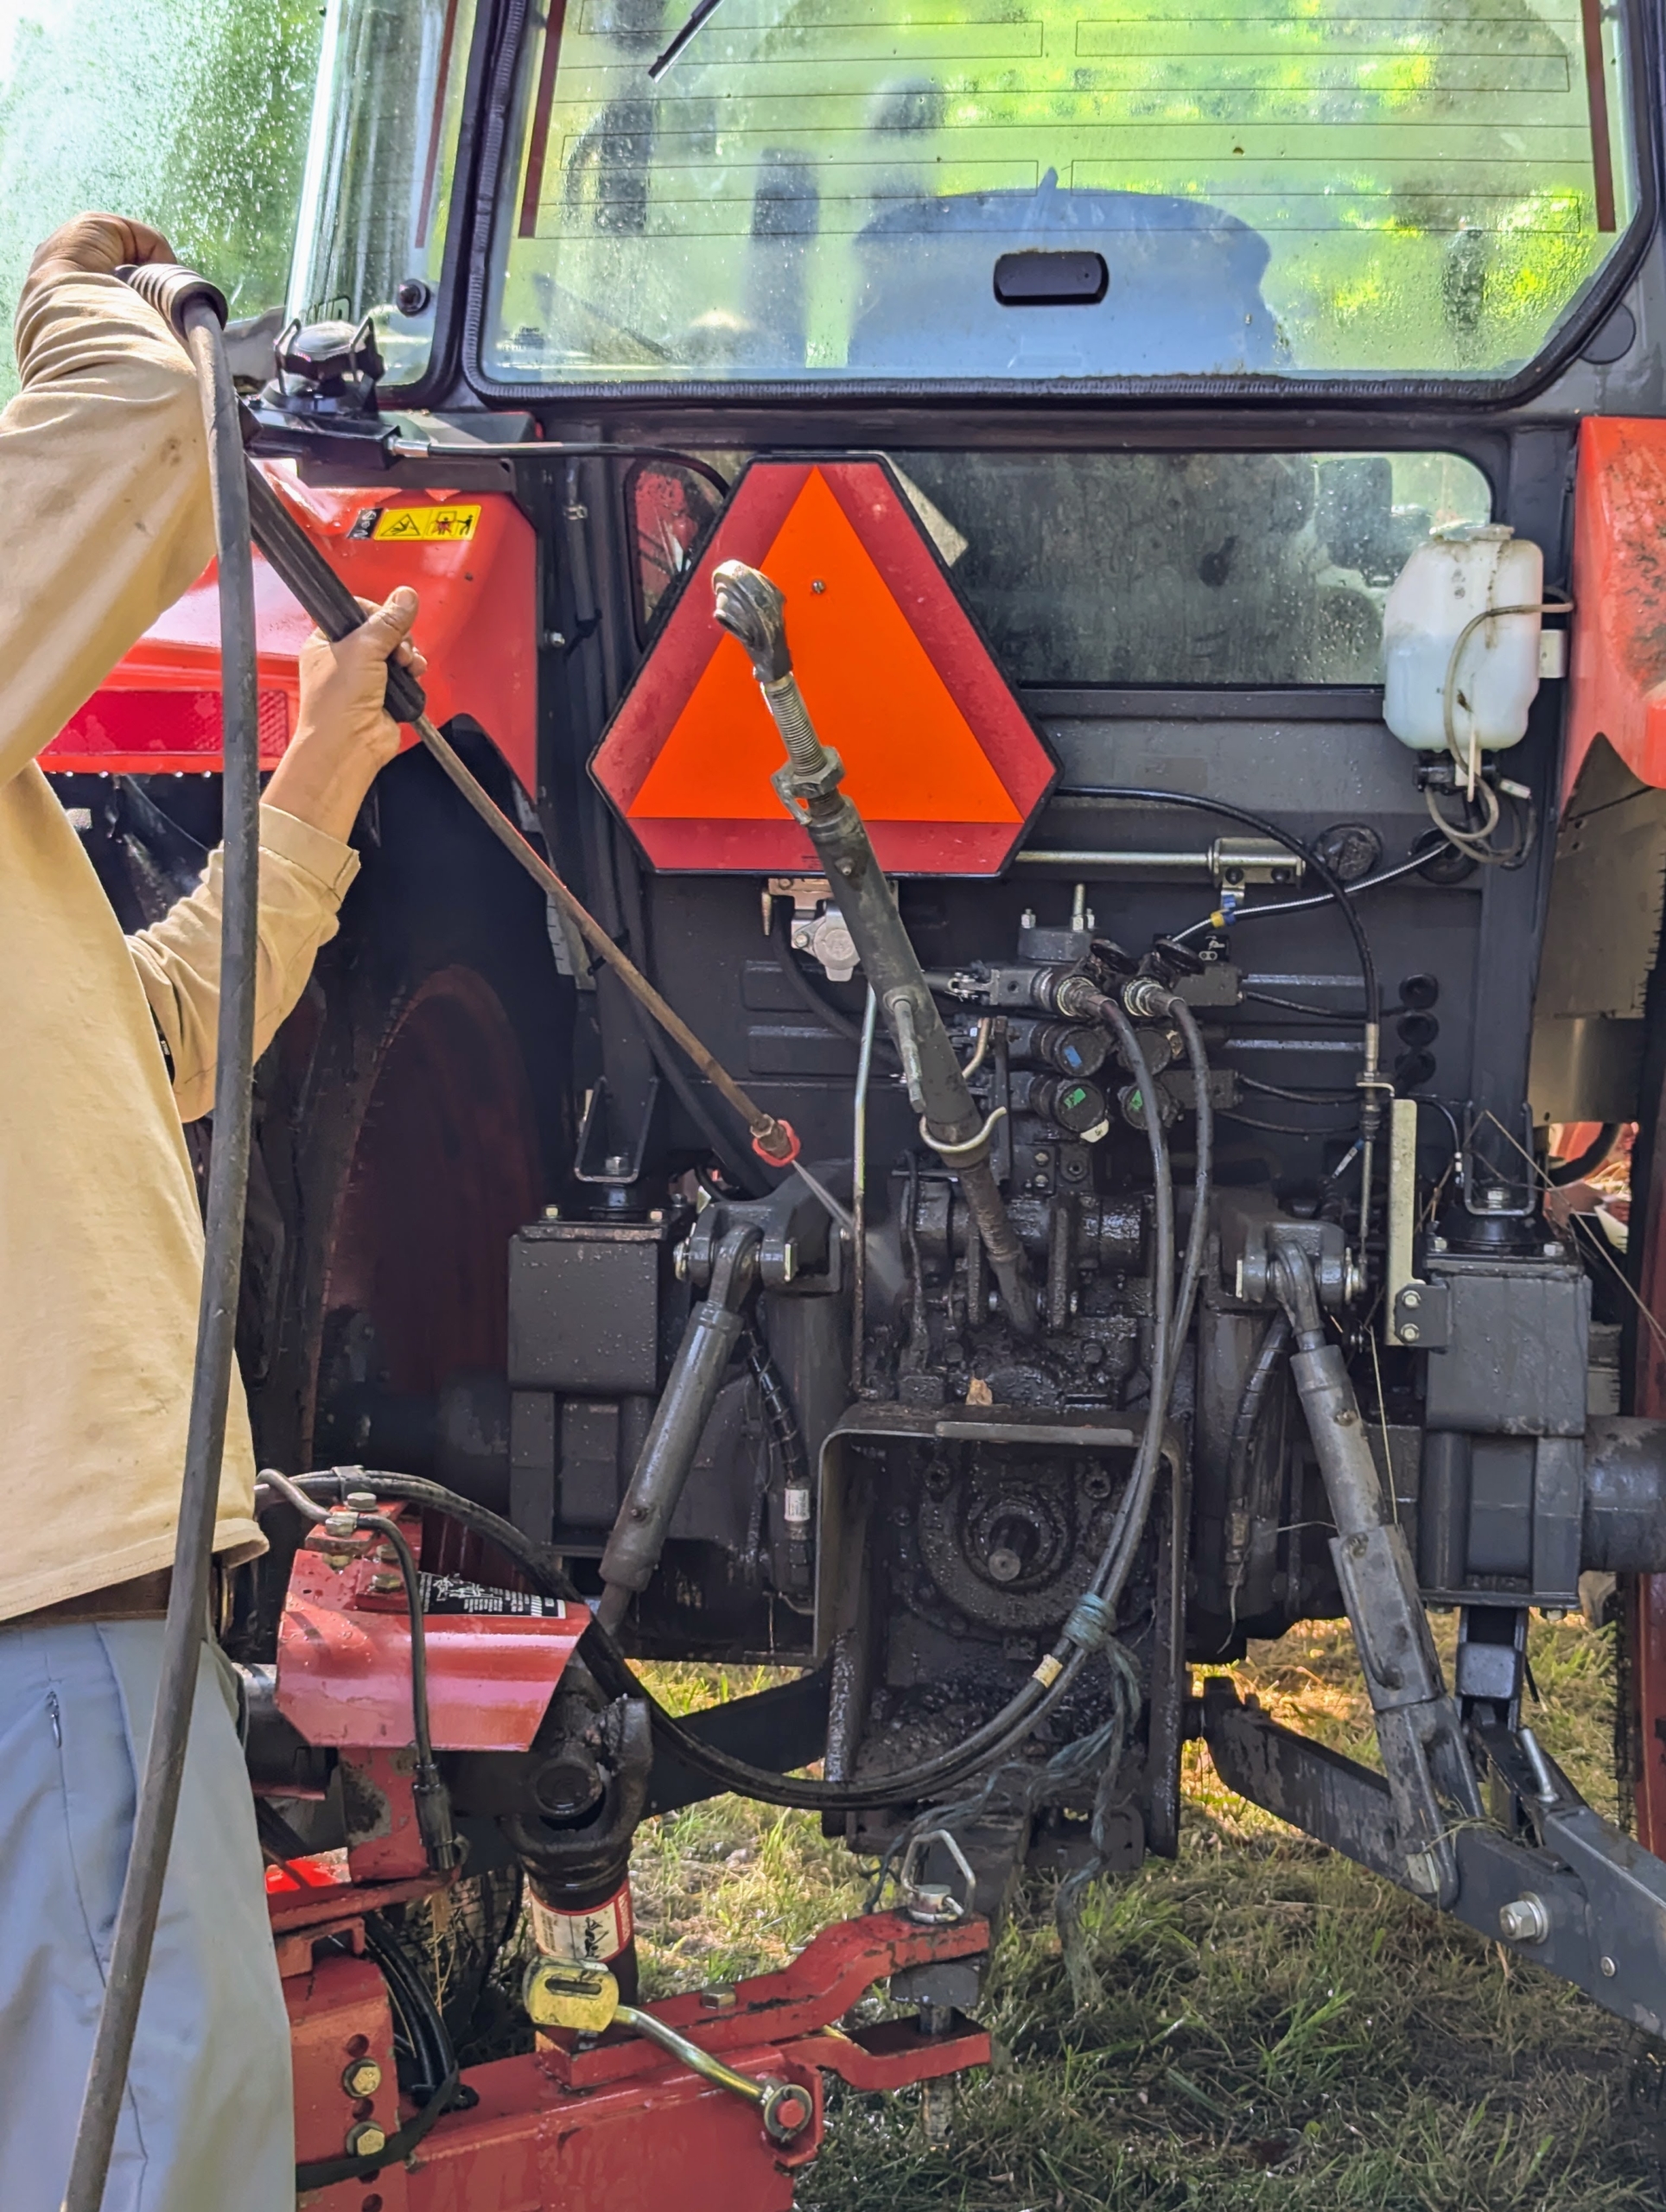
Chhiring takes time to also clean the tractor. He cleans around the mechanicals, but is careful to avoid any direct contact with bearings and seals.
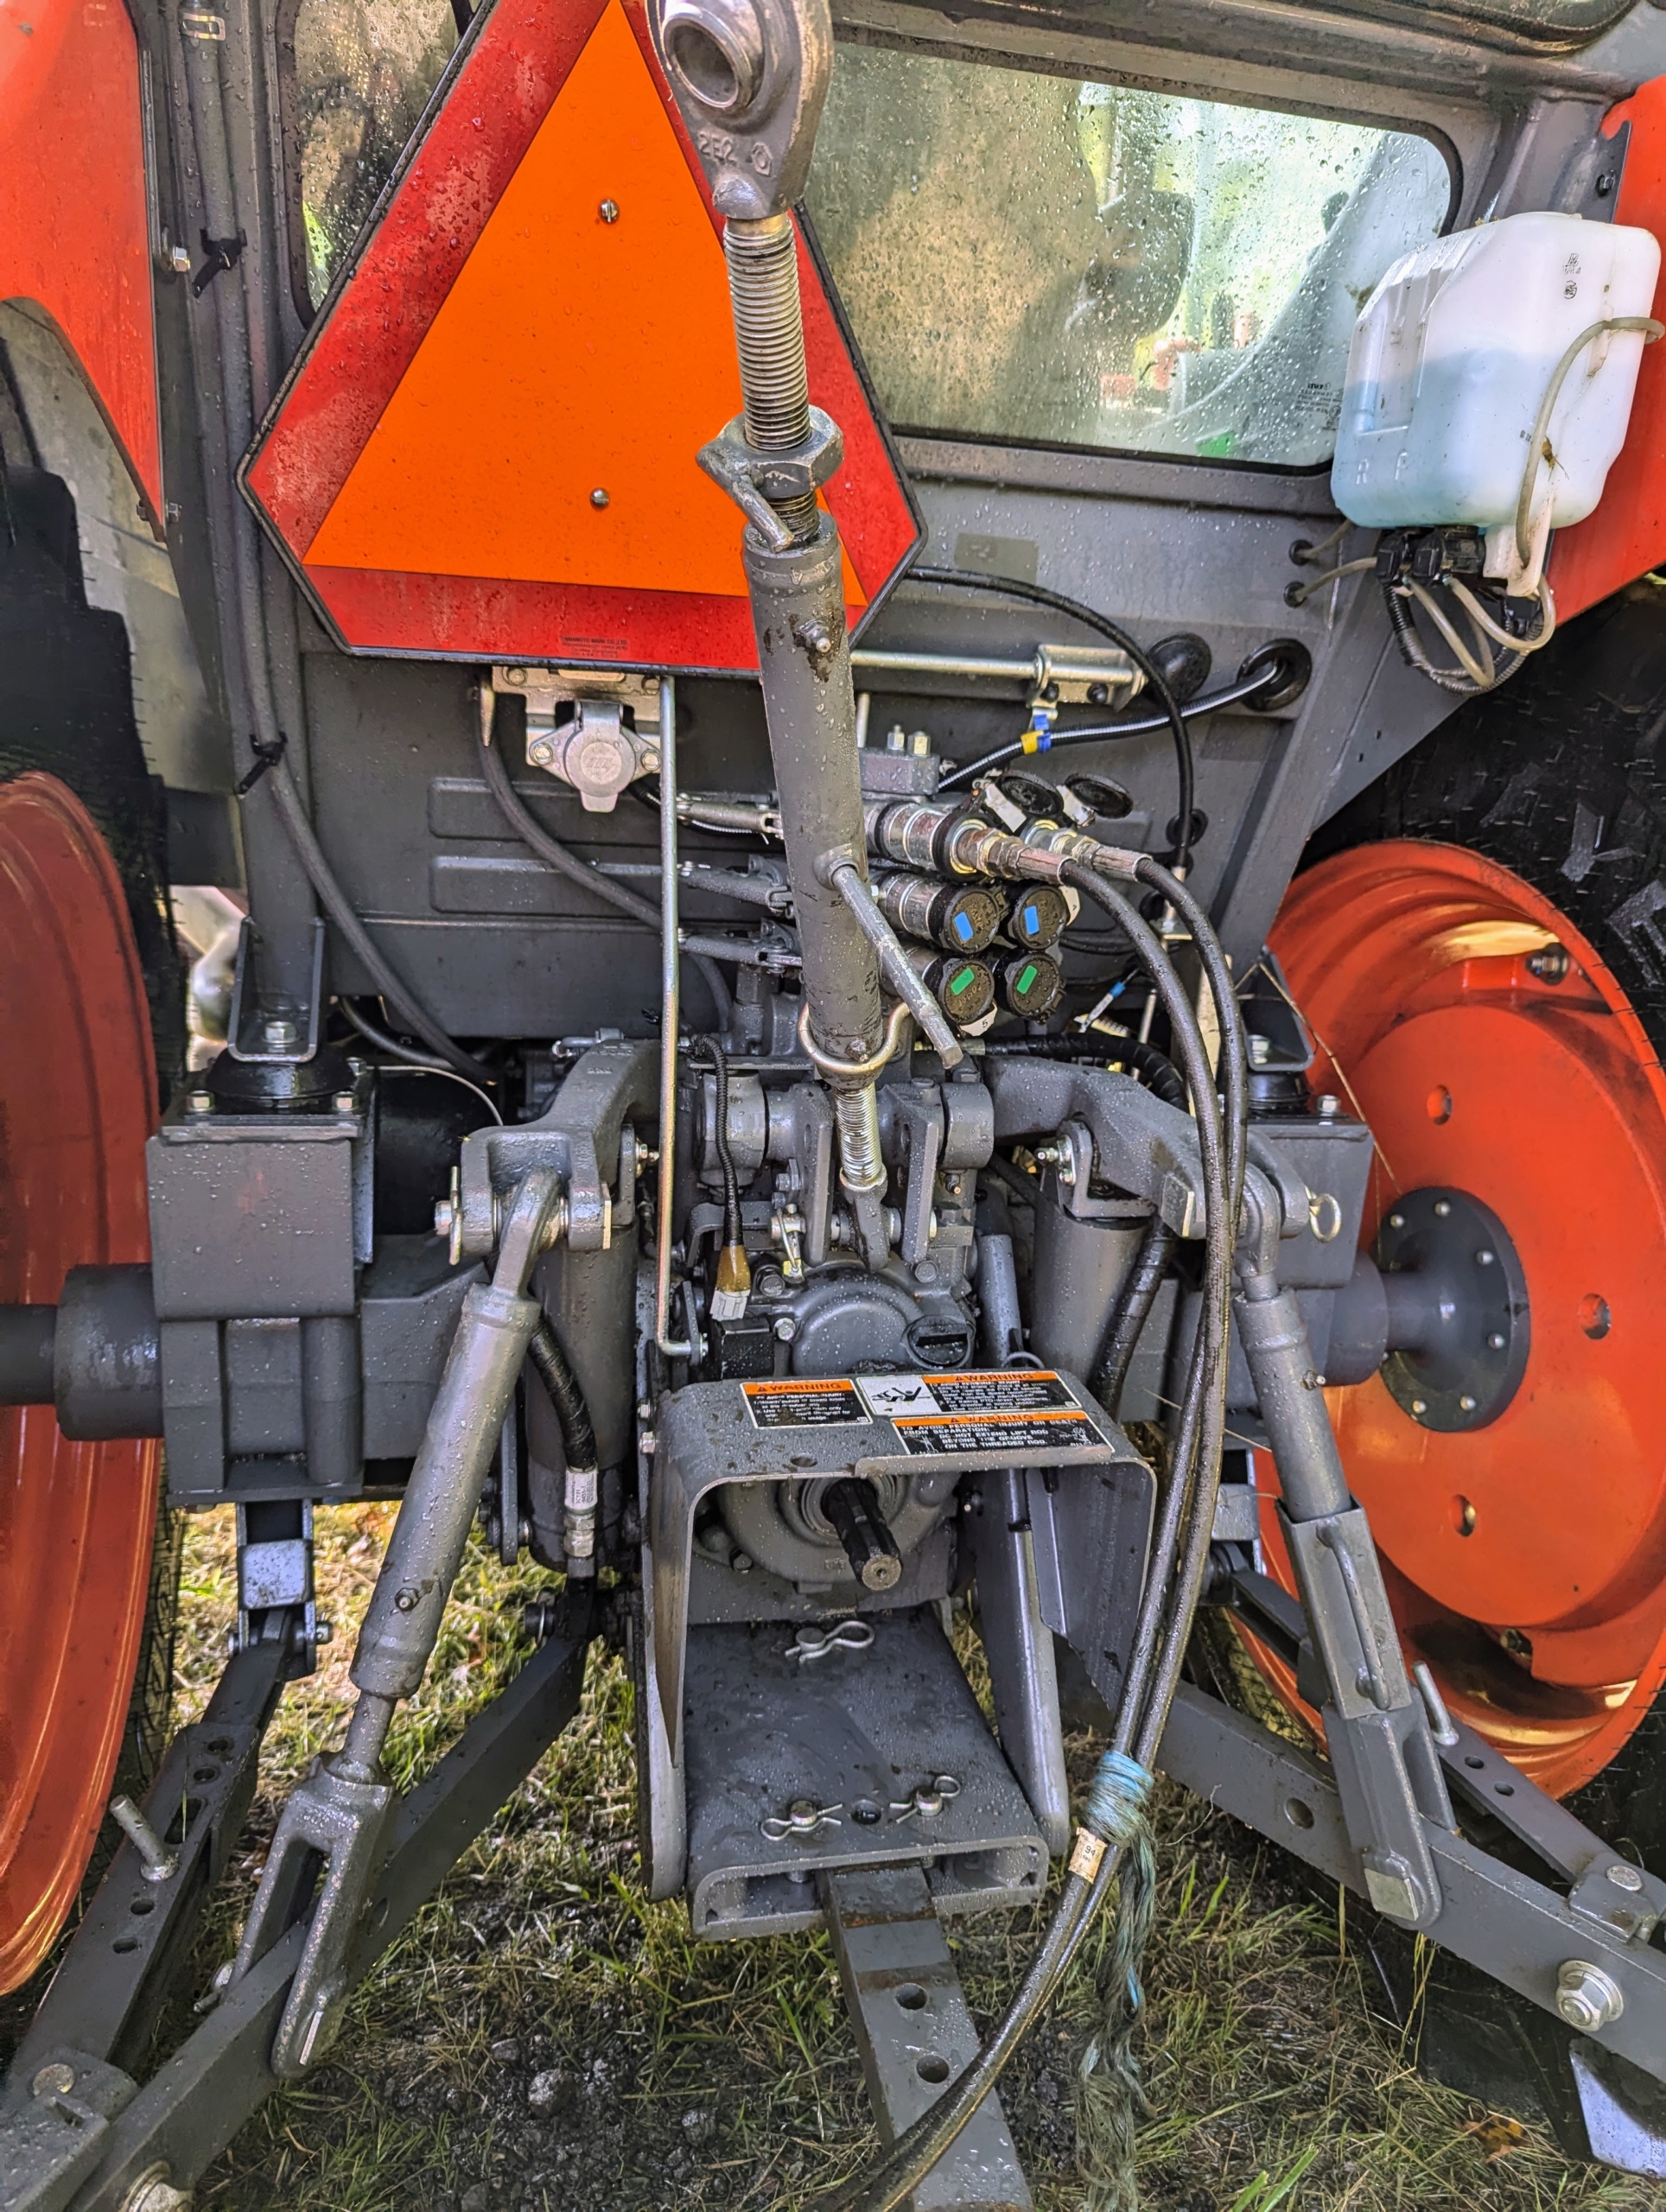
Look how much cleaner it is after just a few minutes. The M4 tractor is designed for basic farm chores, such as raking, tedding, and rotary cutting, but I also use it for moving heavy planters, transporting mulch and compost, and other important tasks.
Chhiring also makes sure to clean and check all the lights and other safety features.
Once the hay baling equipment is cleaned and adequately sun dried, it is all pulled one by one behind the tractor to the barn specifically designated for these pieces.
I house them all indoors for the cold season to prevent any weather damage and rust. This barn provides adequate air circulation and proper drainage to keep them all dry and safe from the elements.
Here is the baler parked for the off-season. Chhiring checks the equipment periodically through the year to ensure it is all safe from moisture, mold, and pests. Good, clean, well-maintained equipment of any kind is sure to last many years.