Happy New Year! May 2026 be a wonderful year for us all. Here's an inspiring post from January 31, 2025.
There's no time like the present to start a new organizing project.
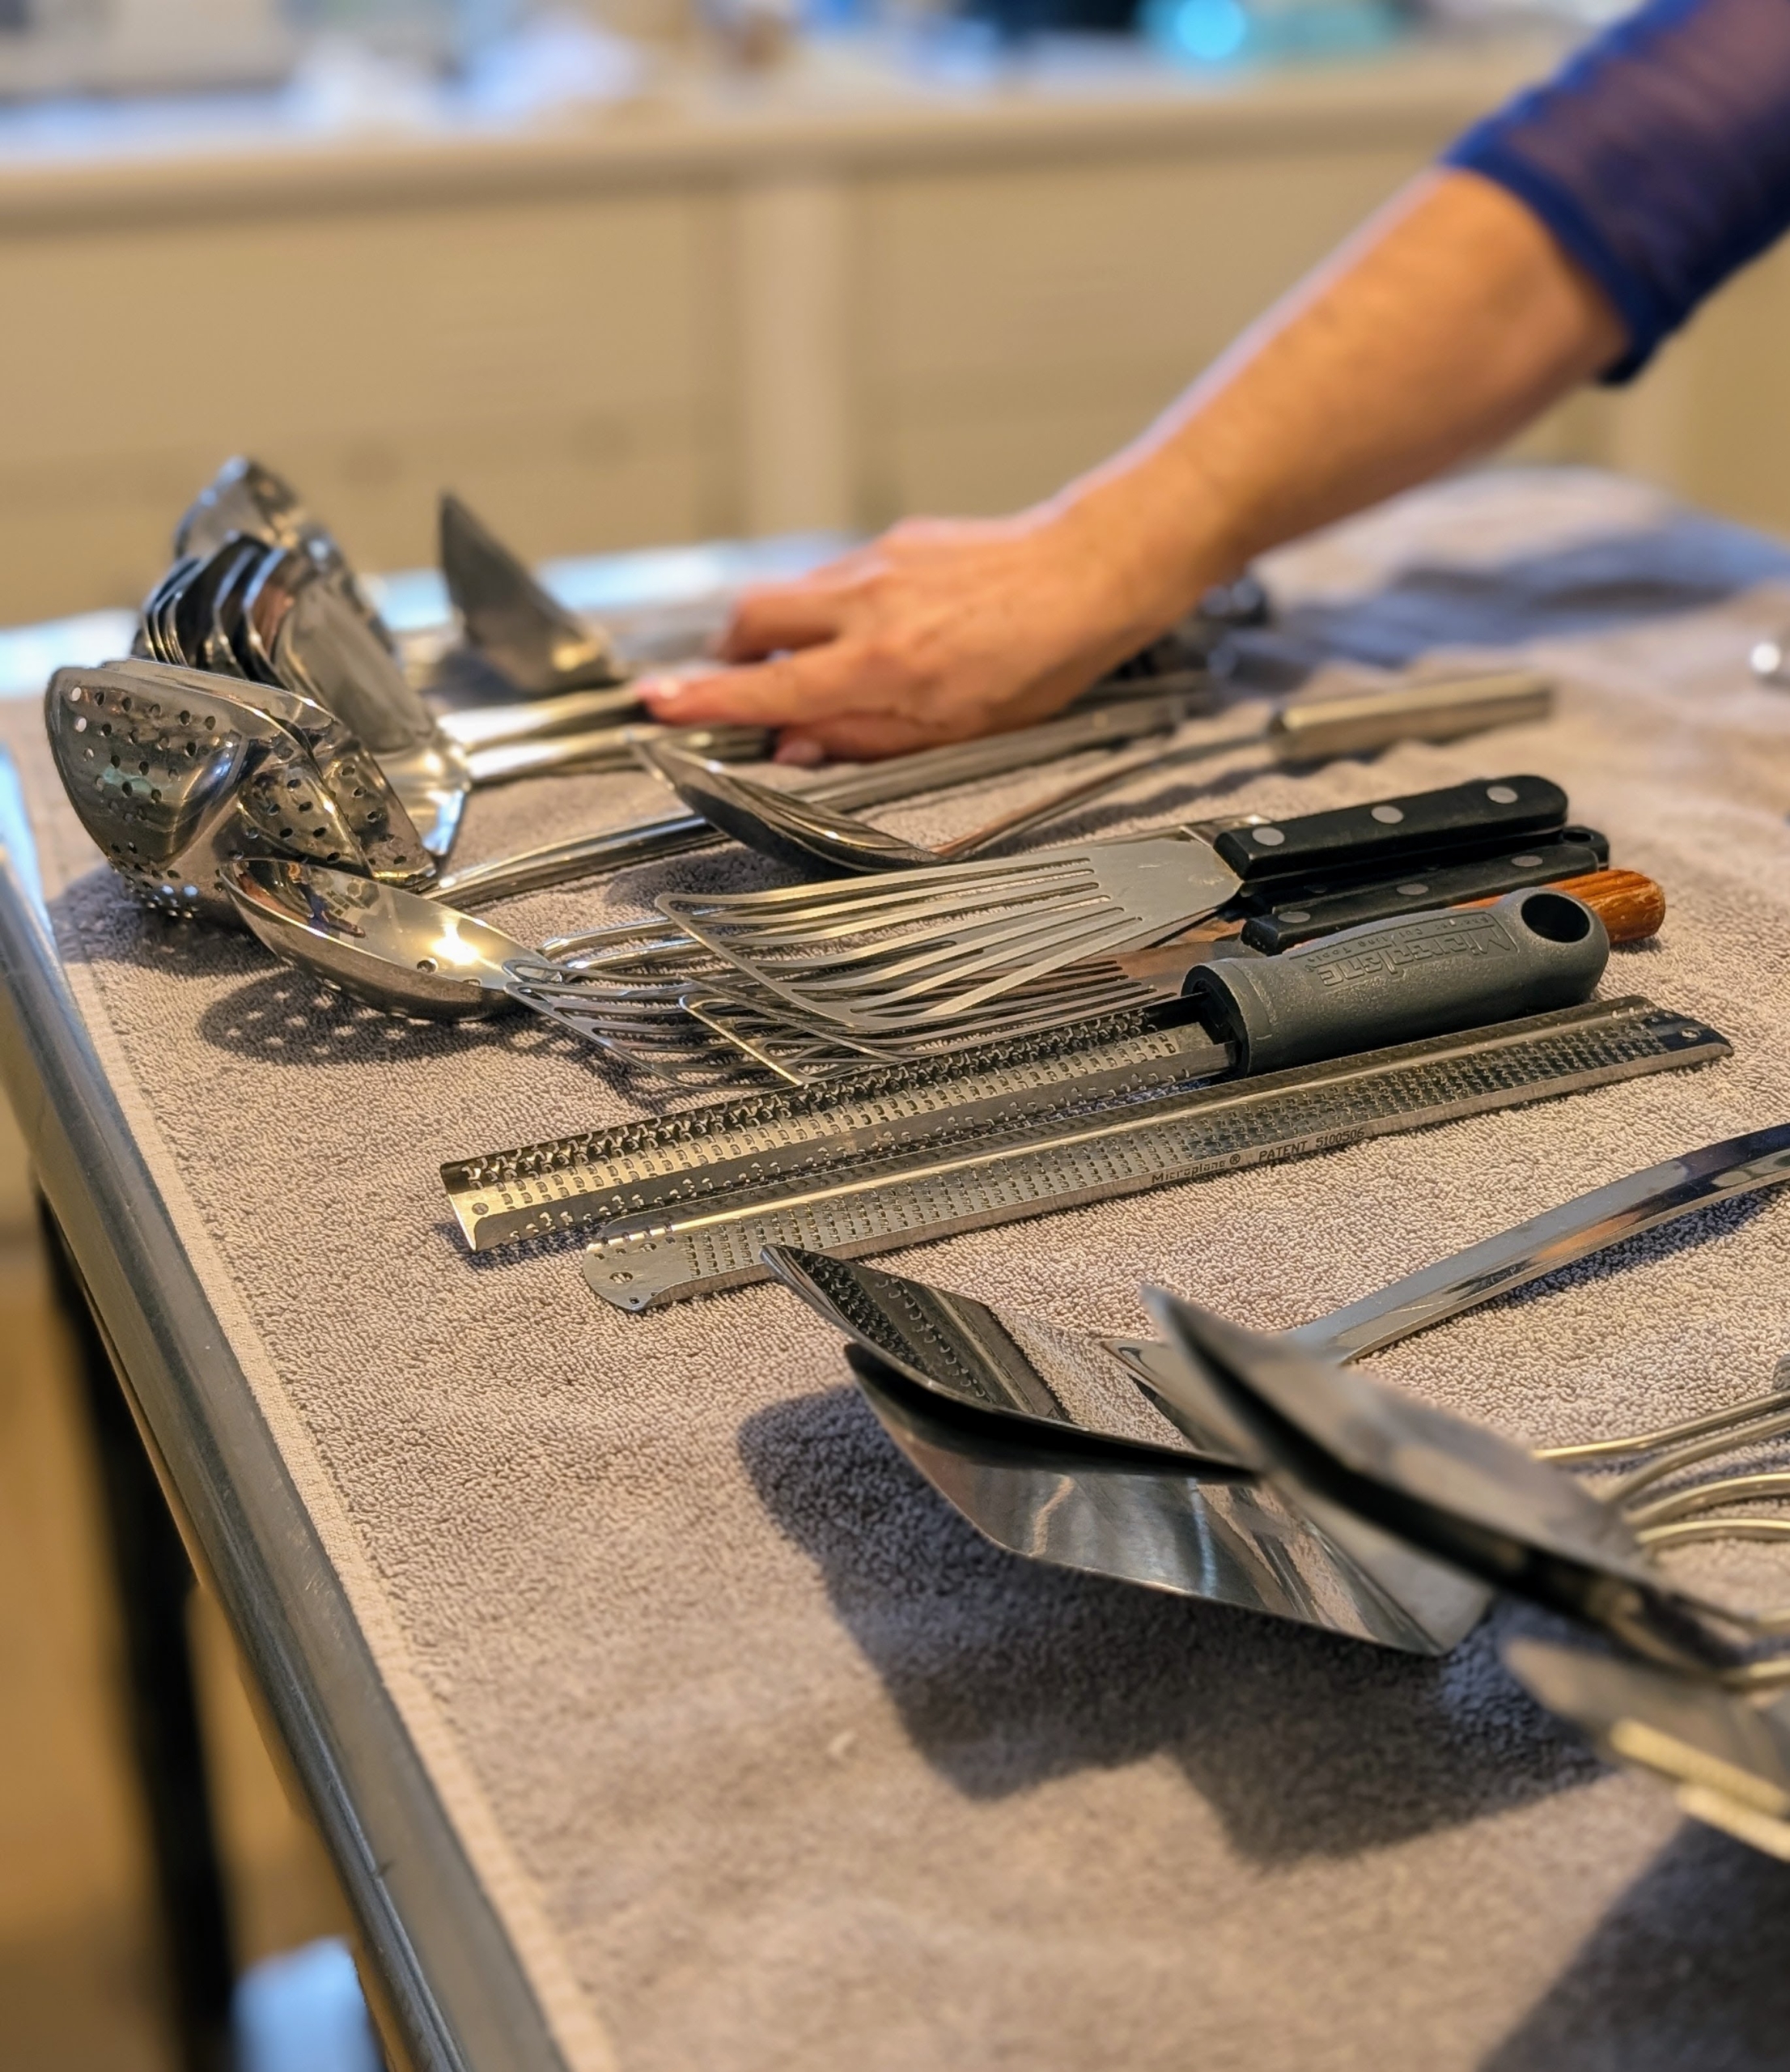
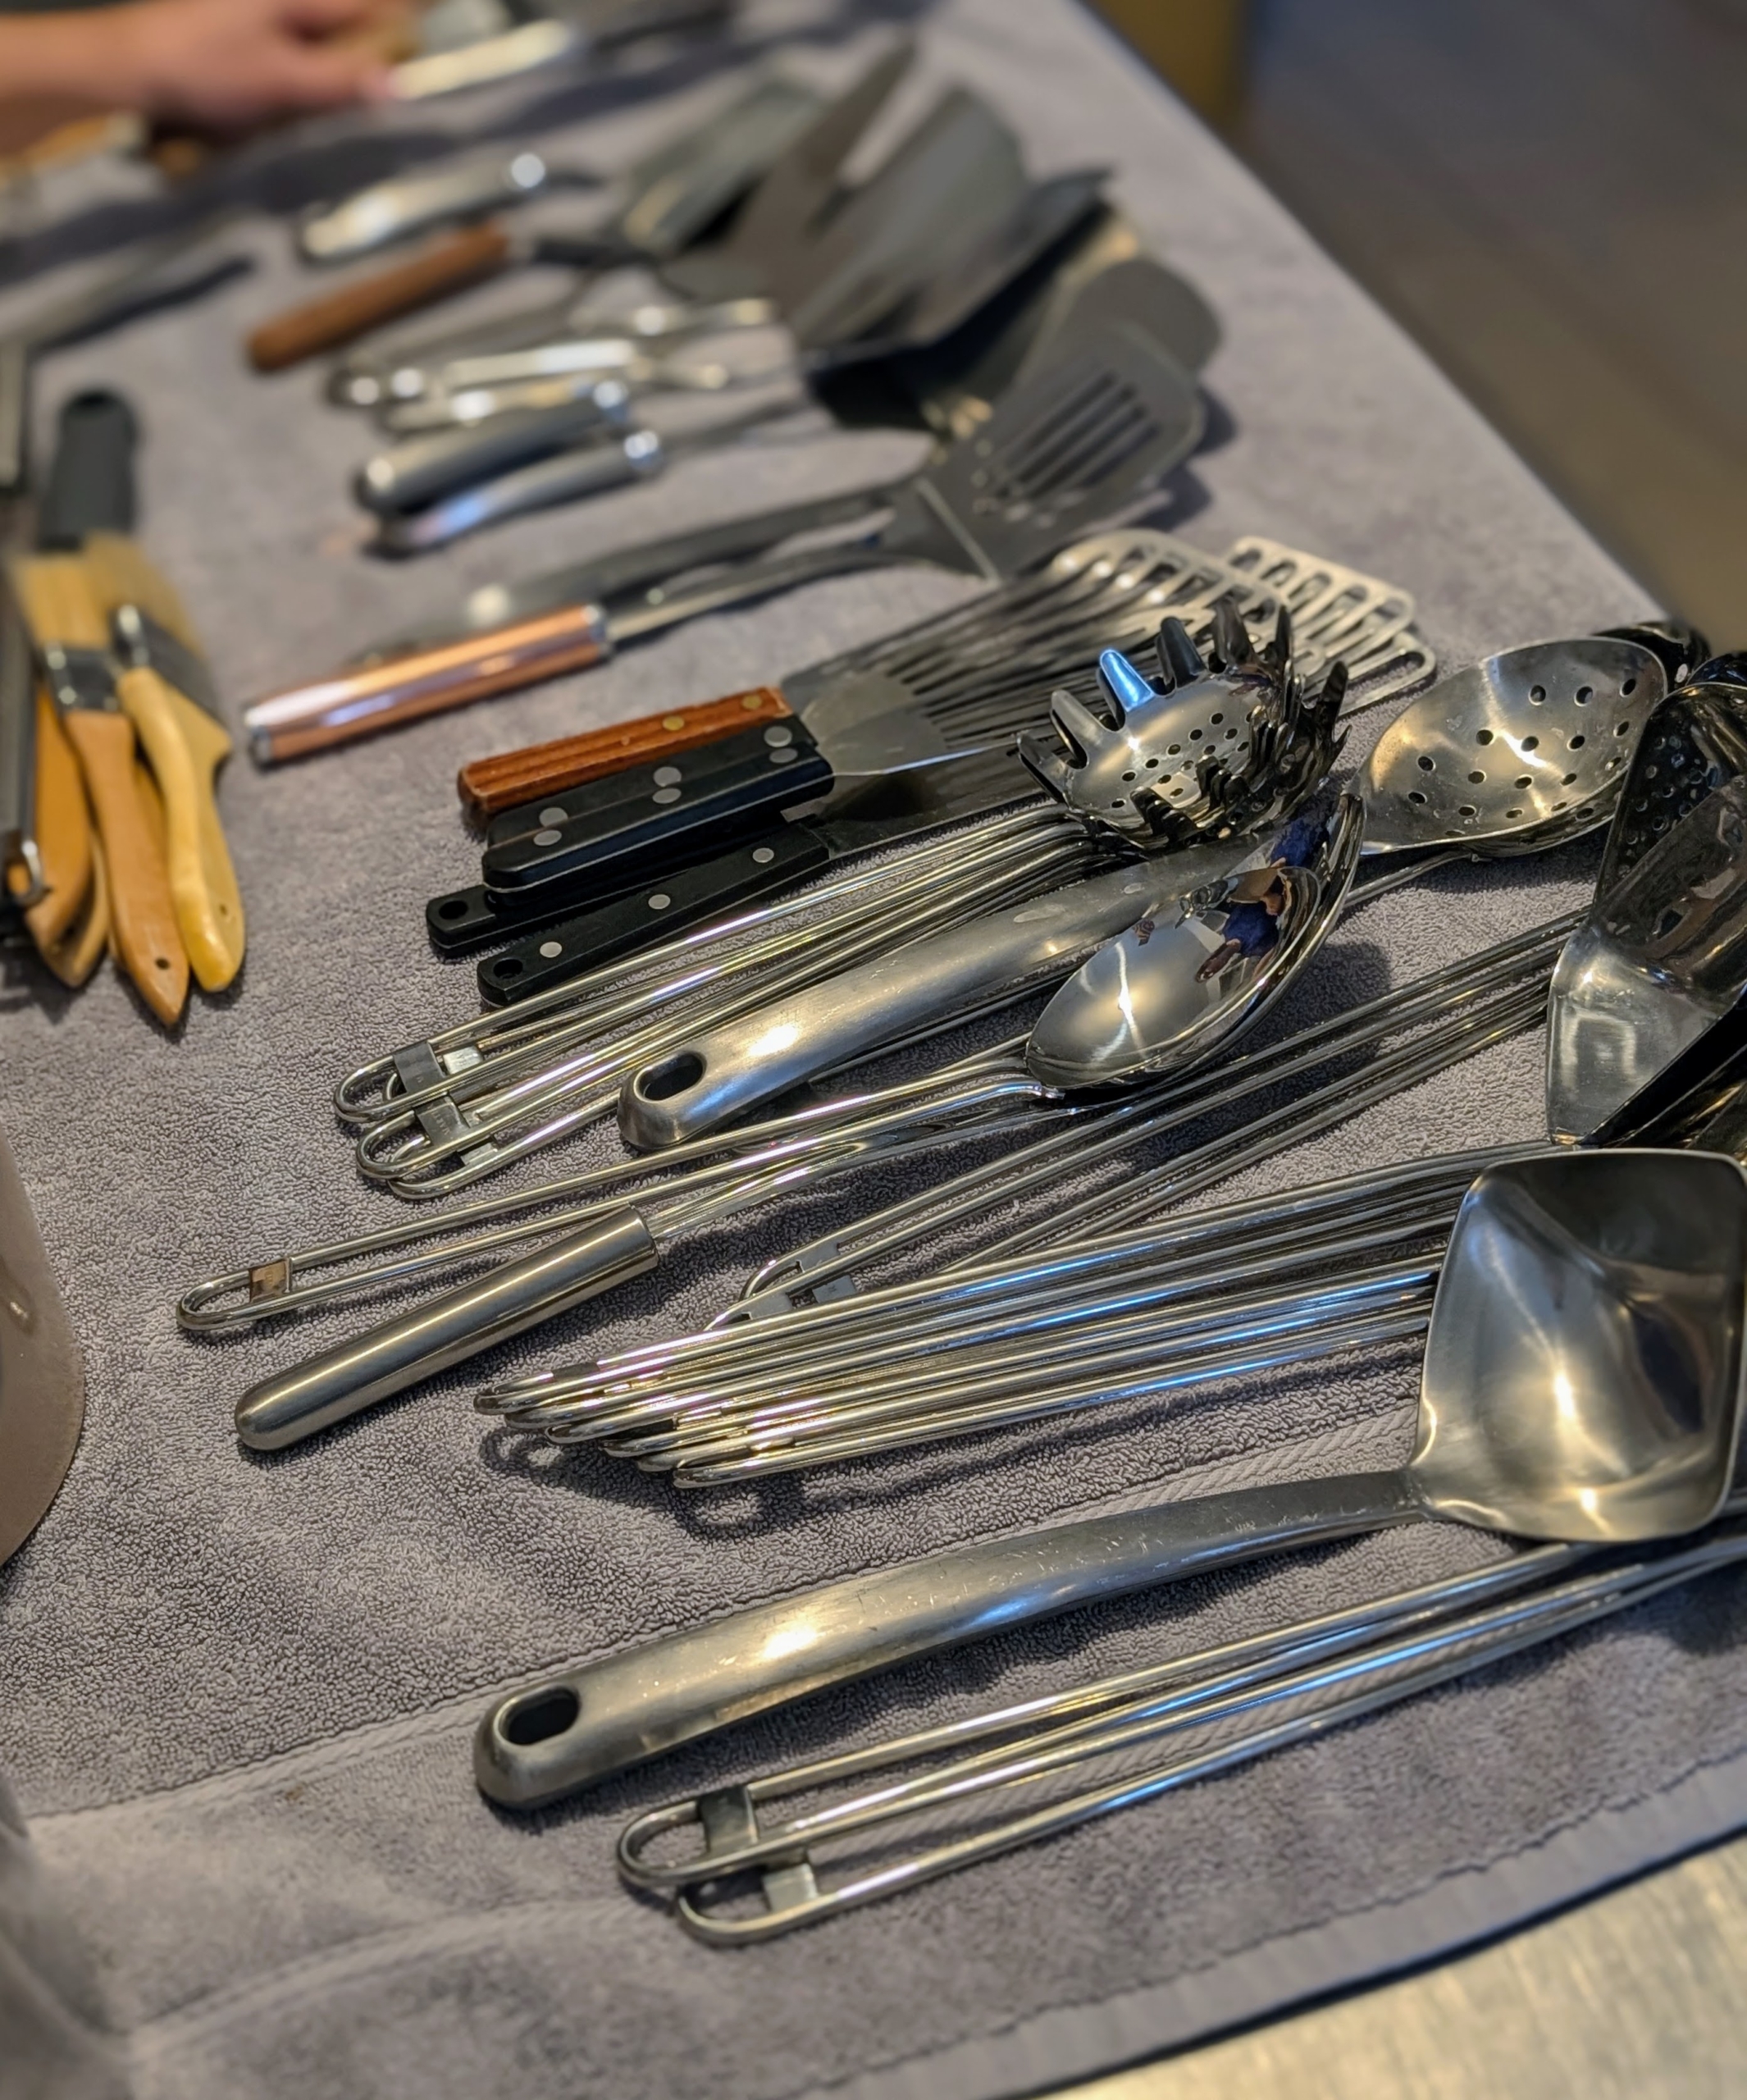
Here at my busy farm, I try very hard to keep things clean and well-organized - in my kitchens, my offices, my craft room, my large Equipment Barn, my greenhouses, etc. Staying organized saves time, boosts productivity, and helps minimize stress. Recently, I decided the prep kitchen in my studio/guest house needed cleaning and re-organizing from top to bottom. It's a big task, but it can be done in stages. On day-one my housekeepers tackled all the many cooking utensils.
Here are some photos, enjoy.
Ever walk into the kitchen, see all those kitchen tools and supplies on the counter or in the drawers, and wonder whether they’re all necessary?
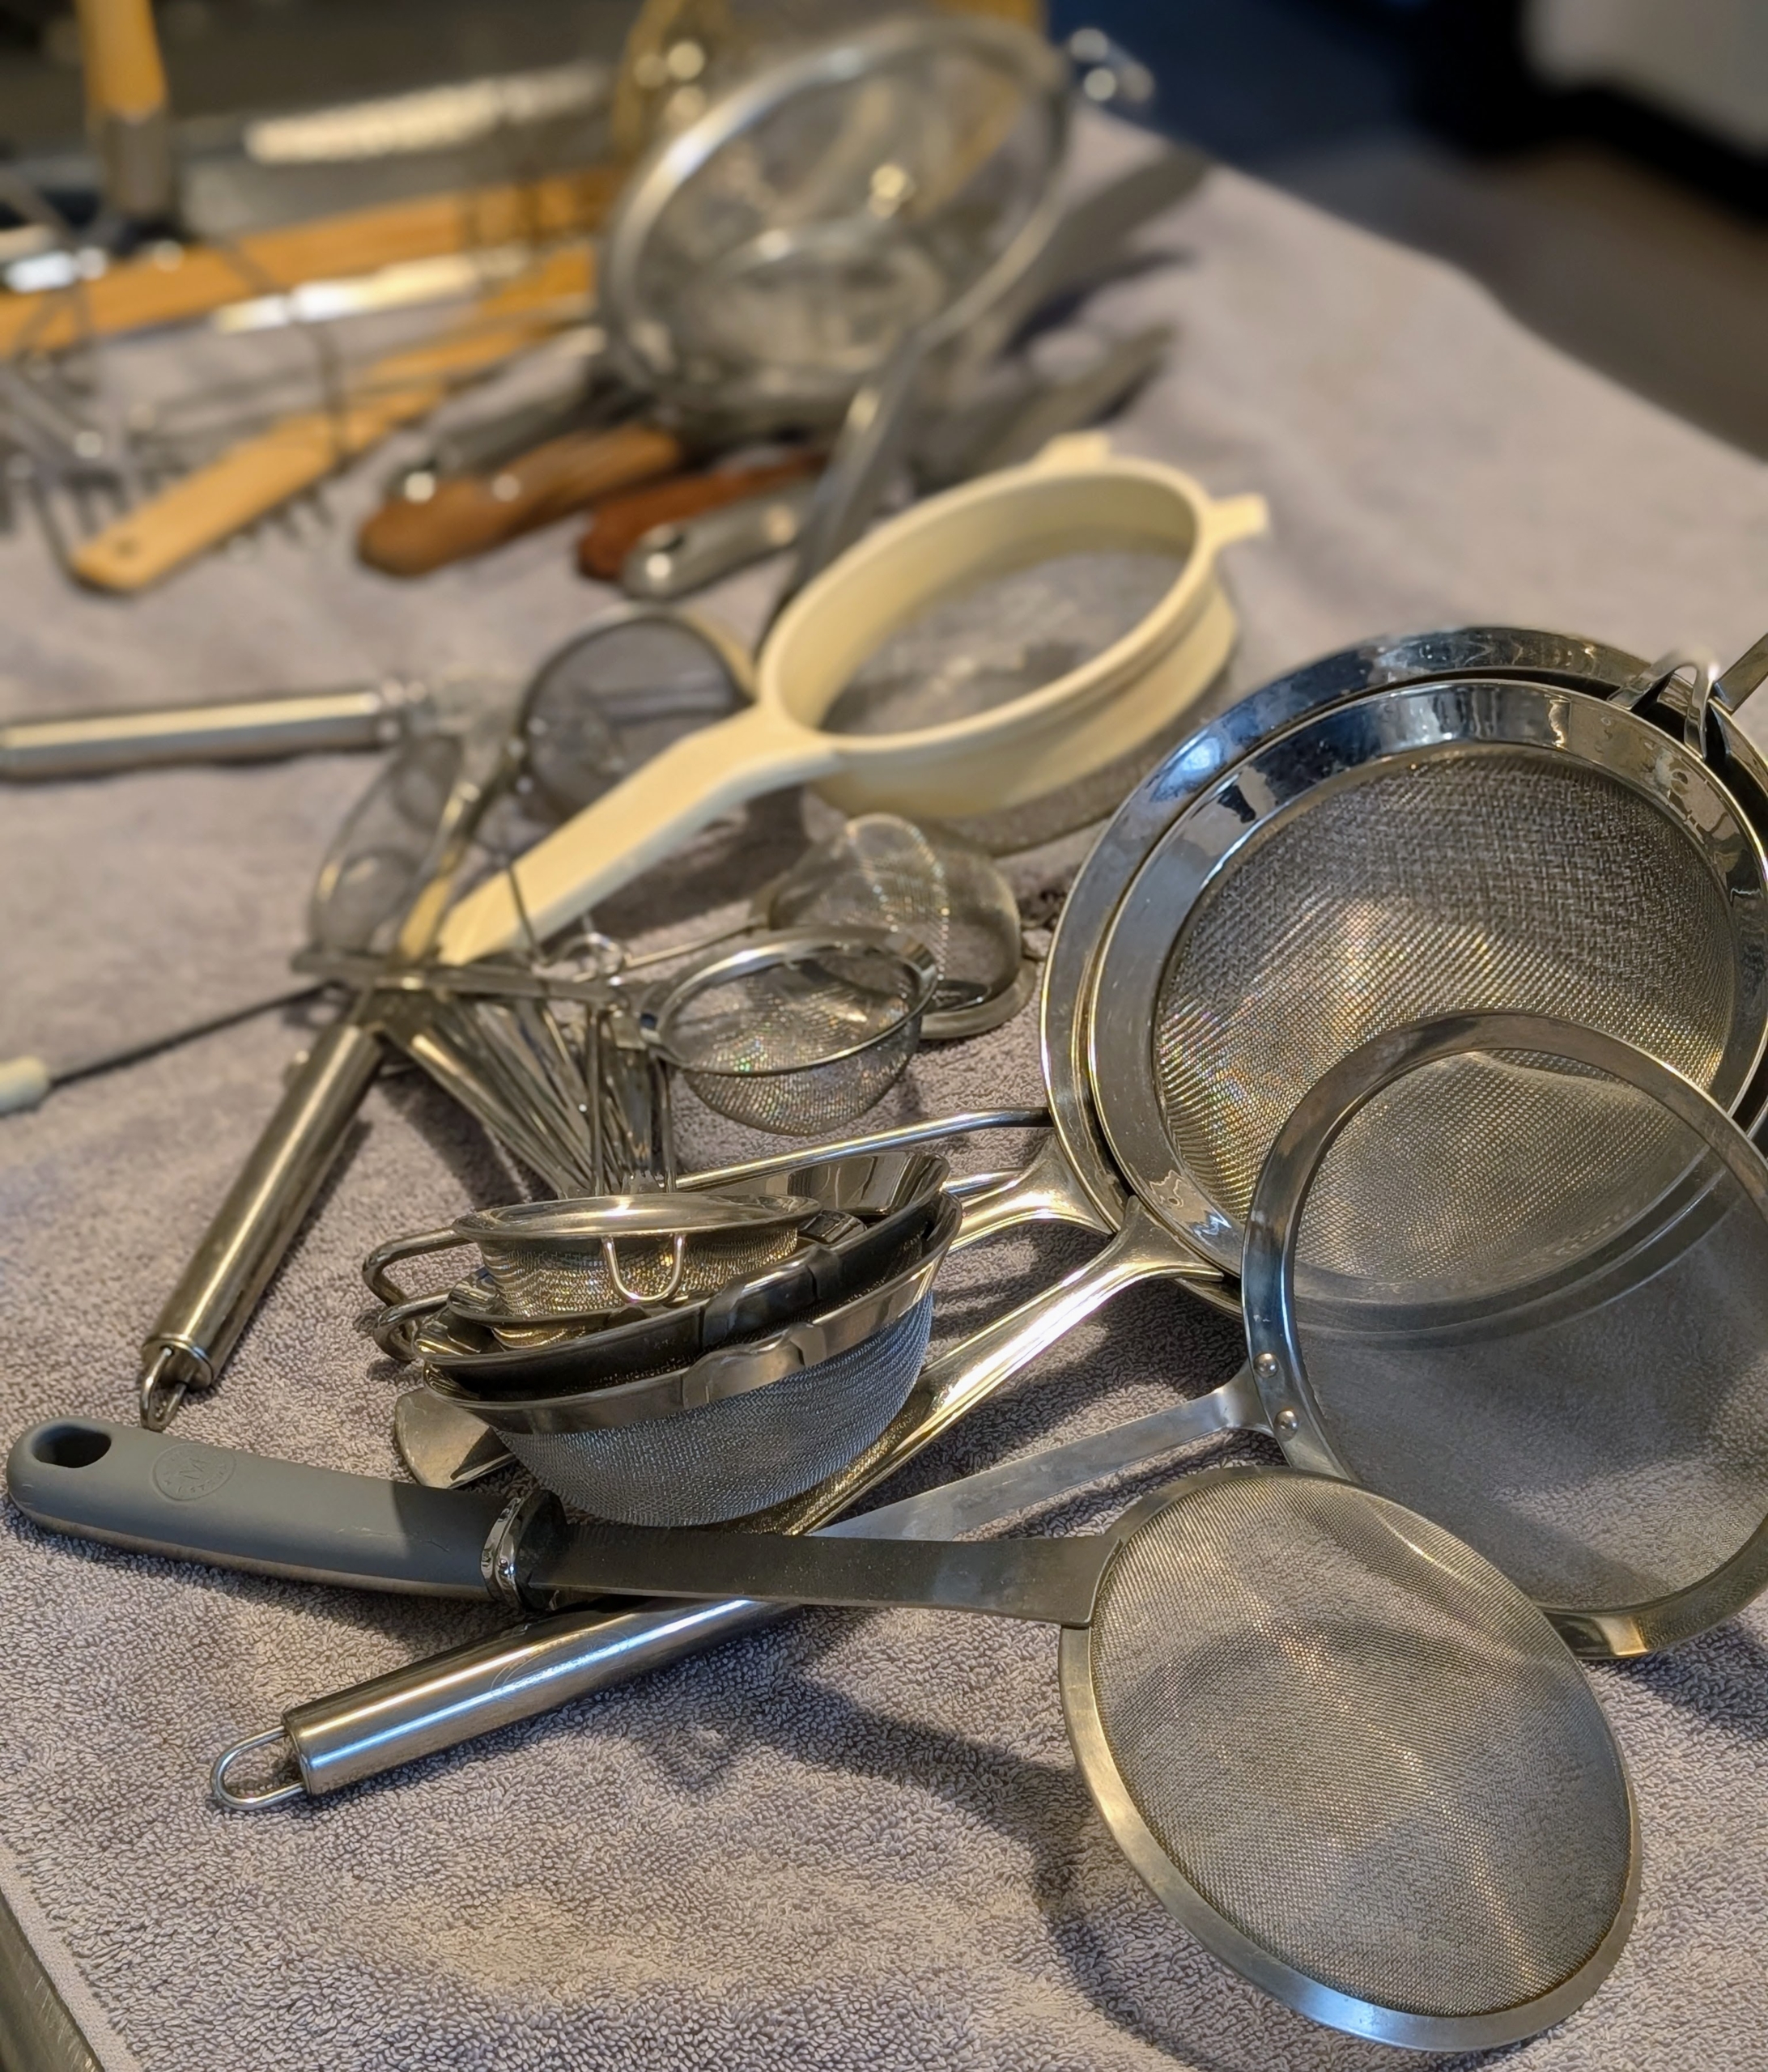
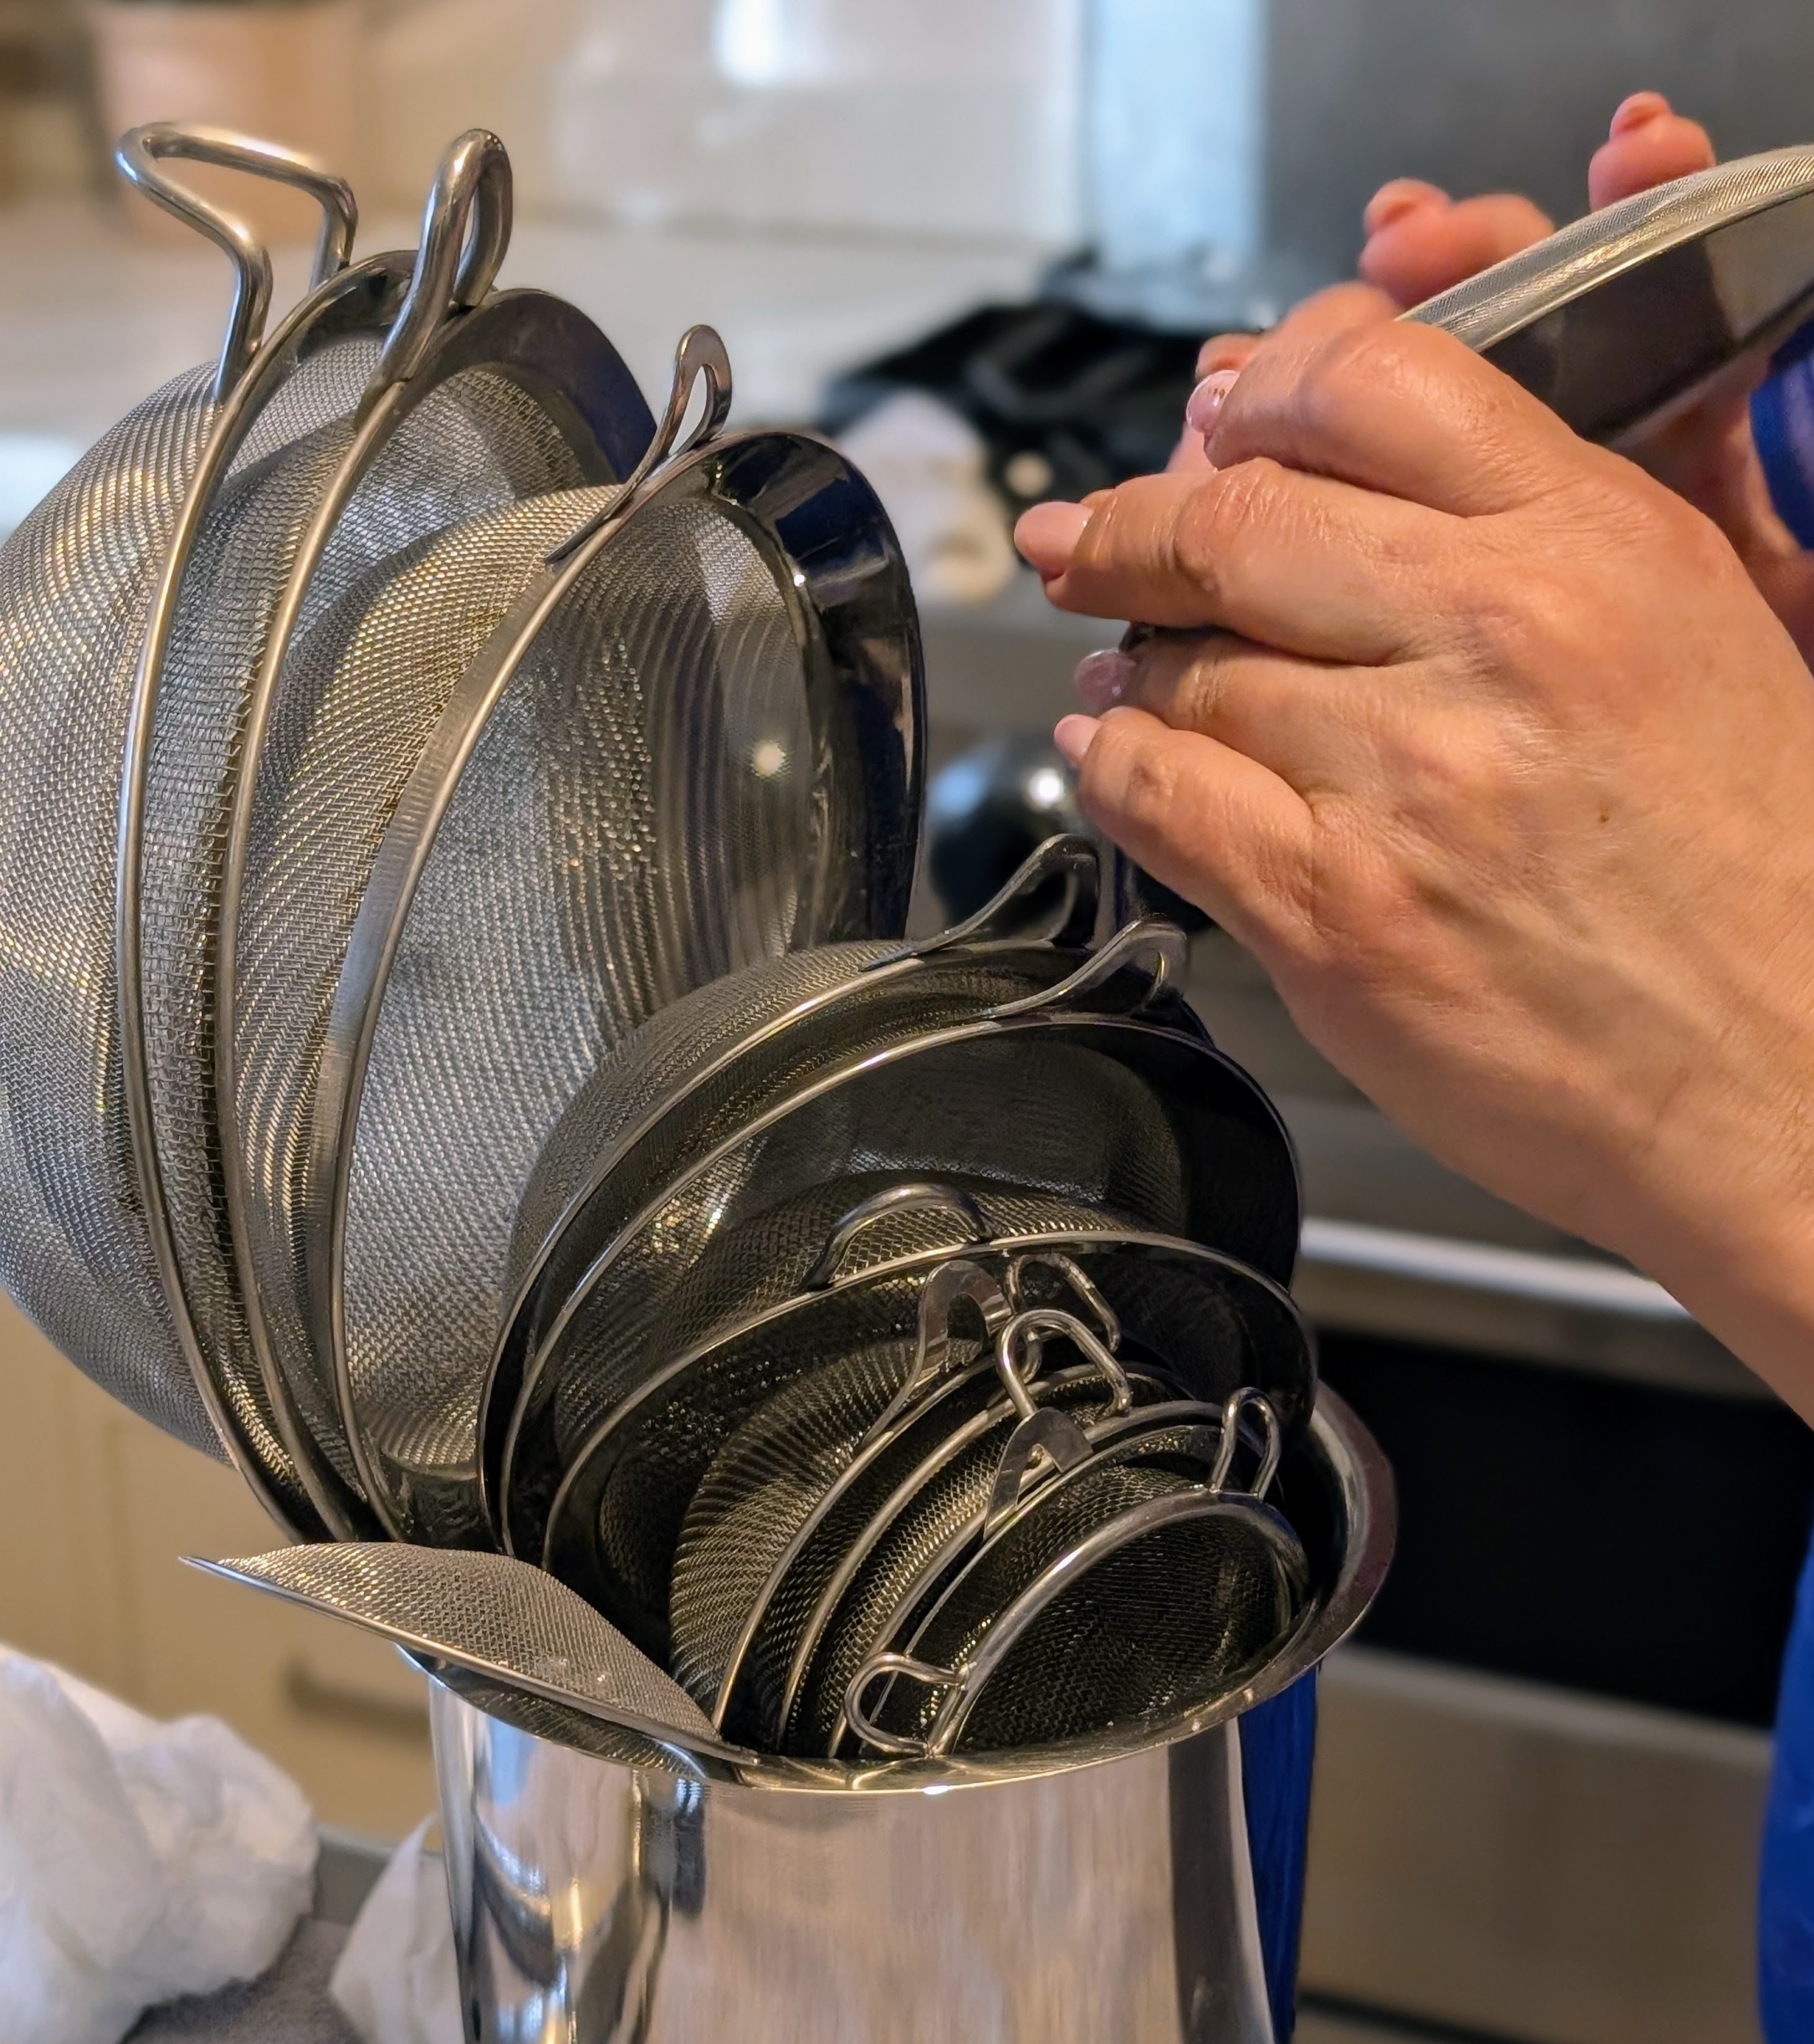
Does one need all these sifters, colanders, and strainers? And how can they be better organized?
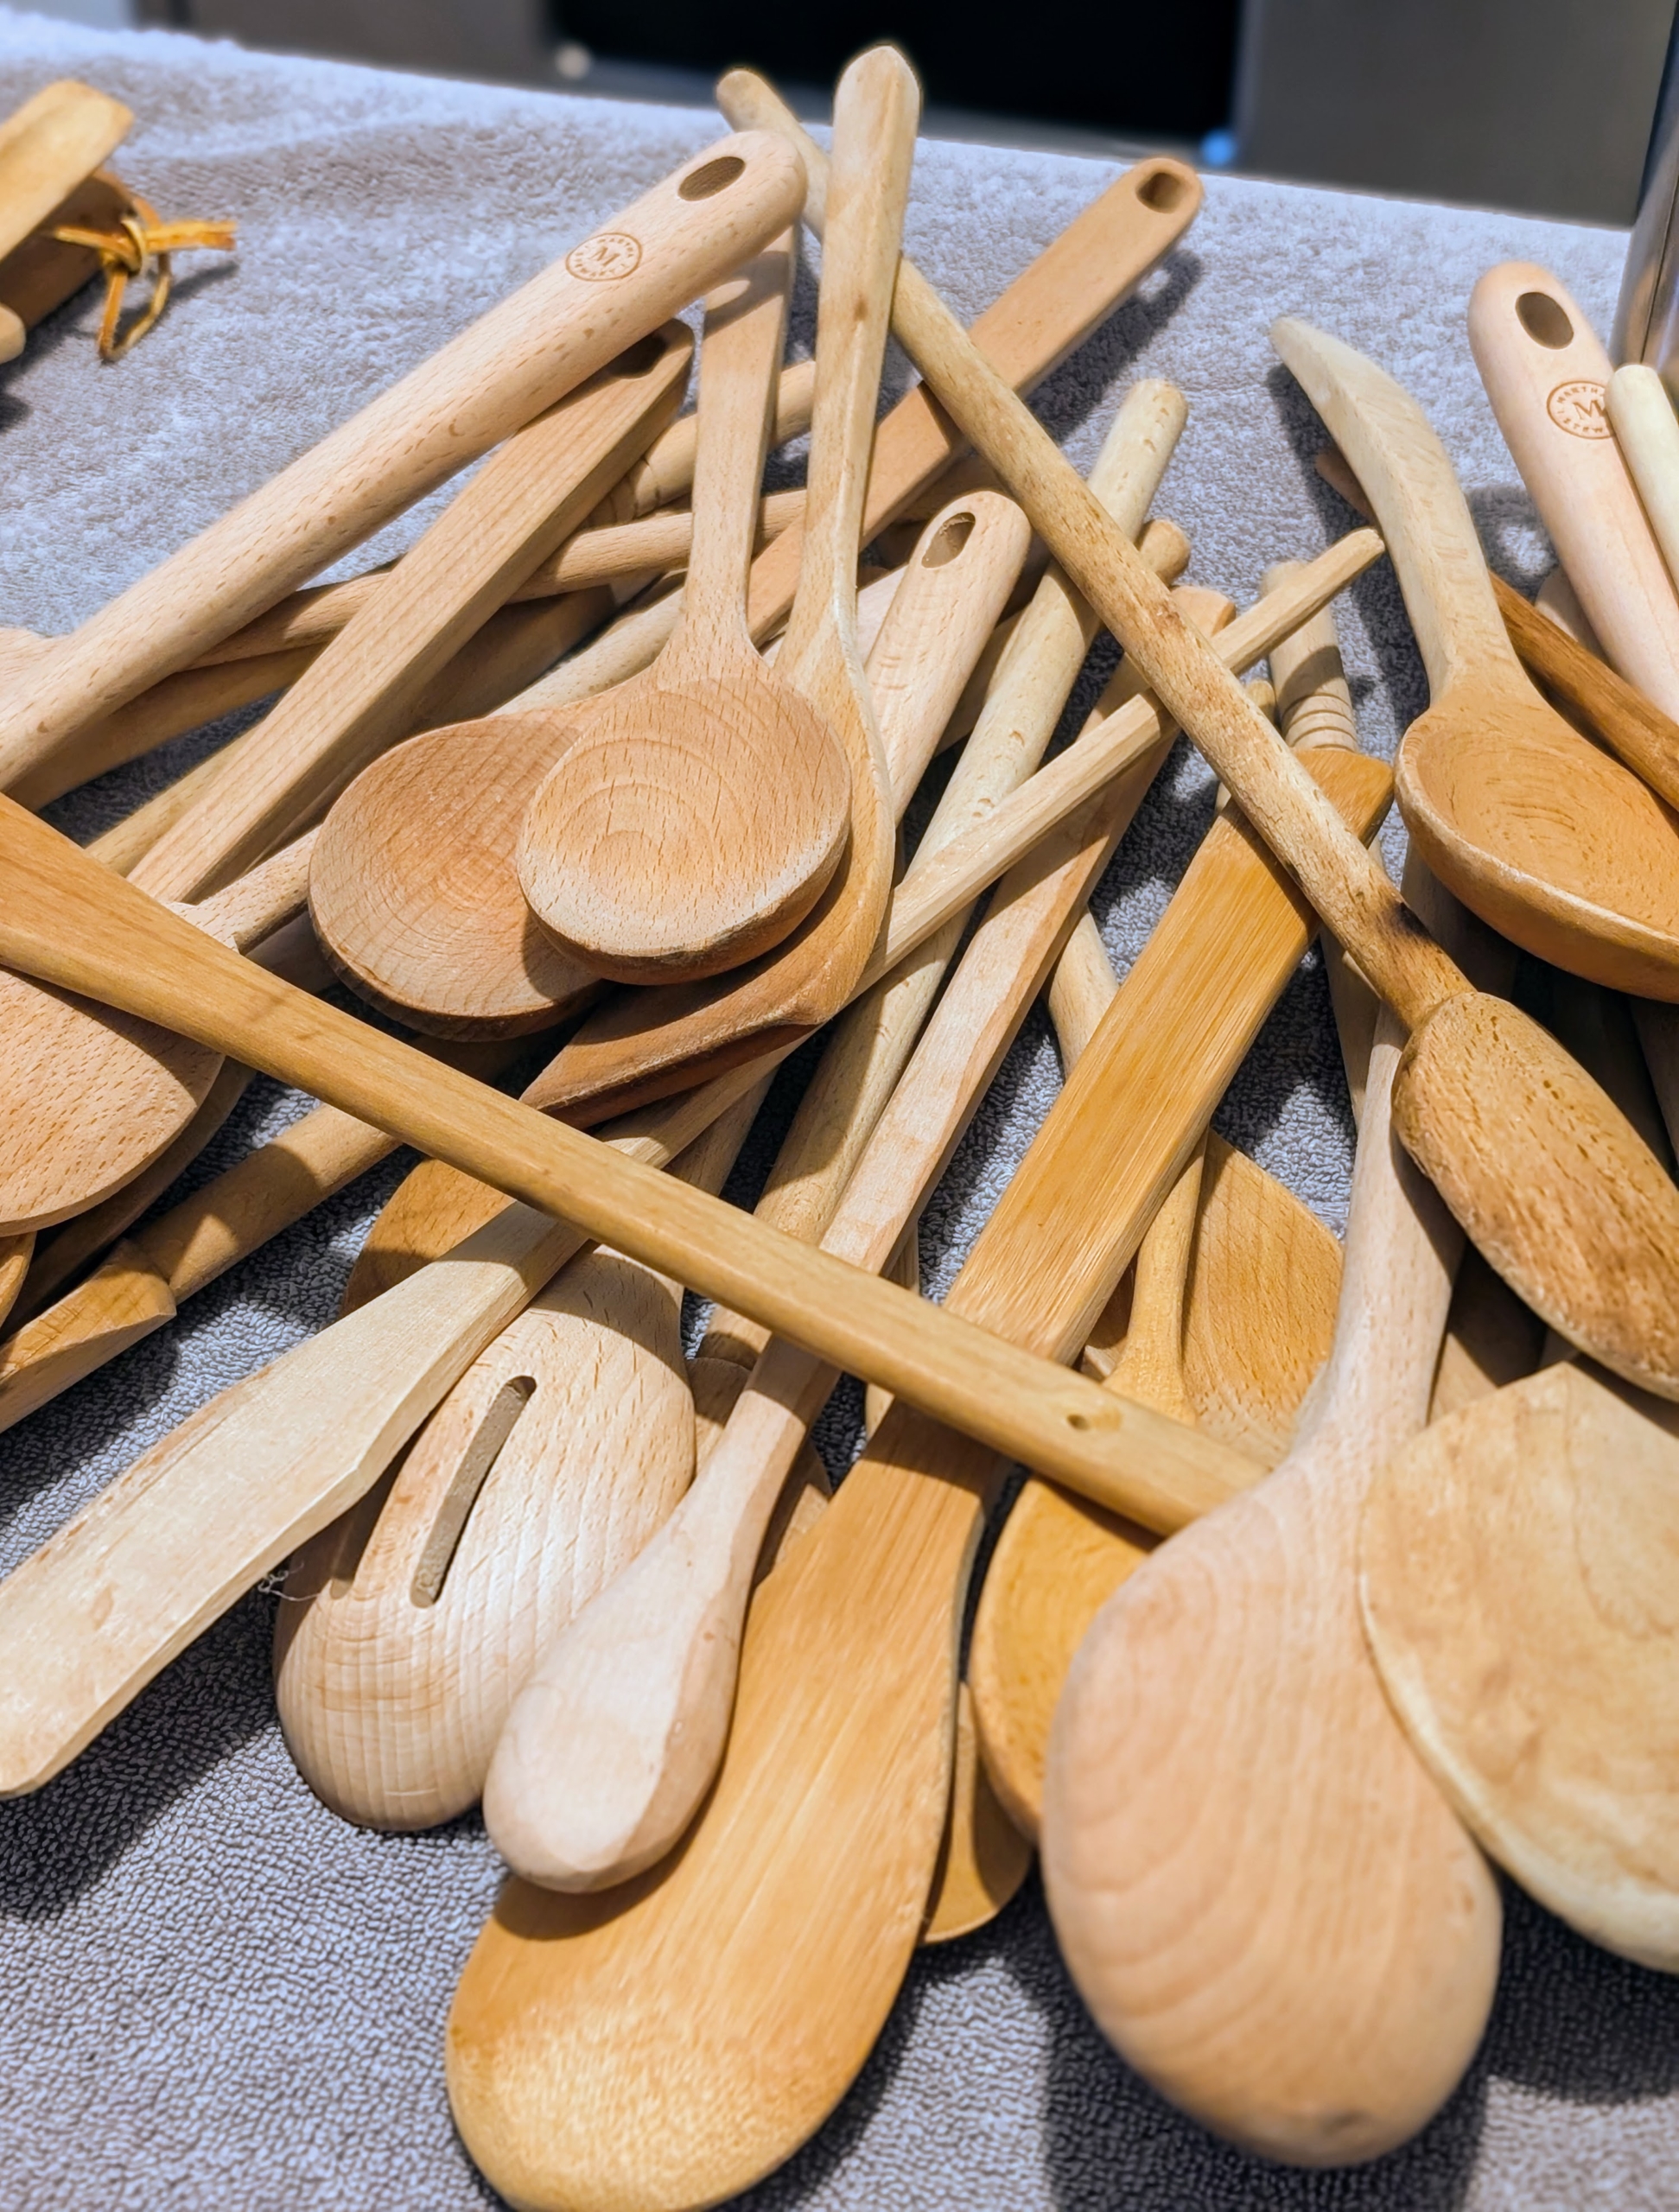
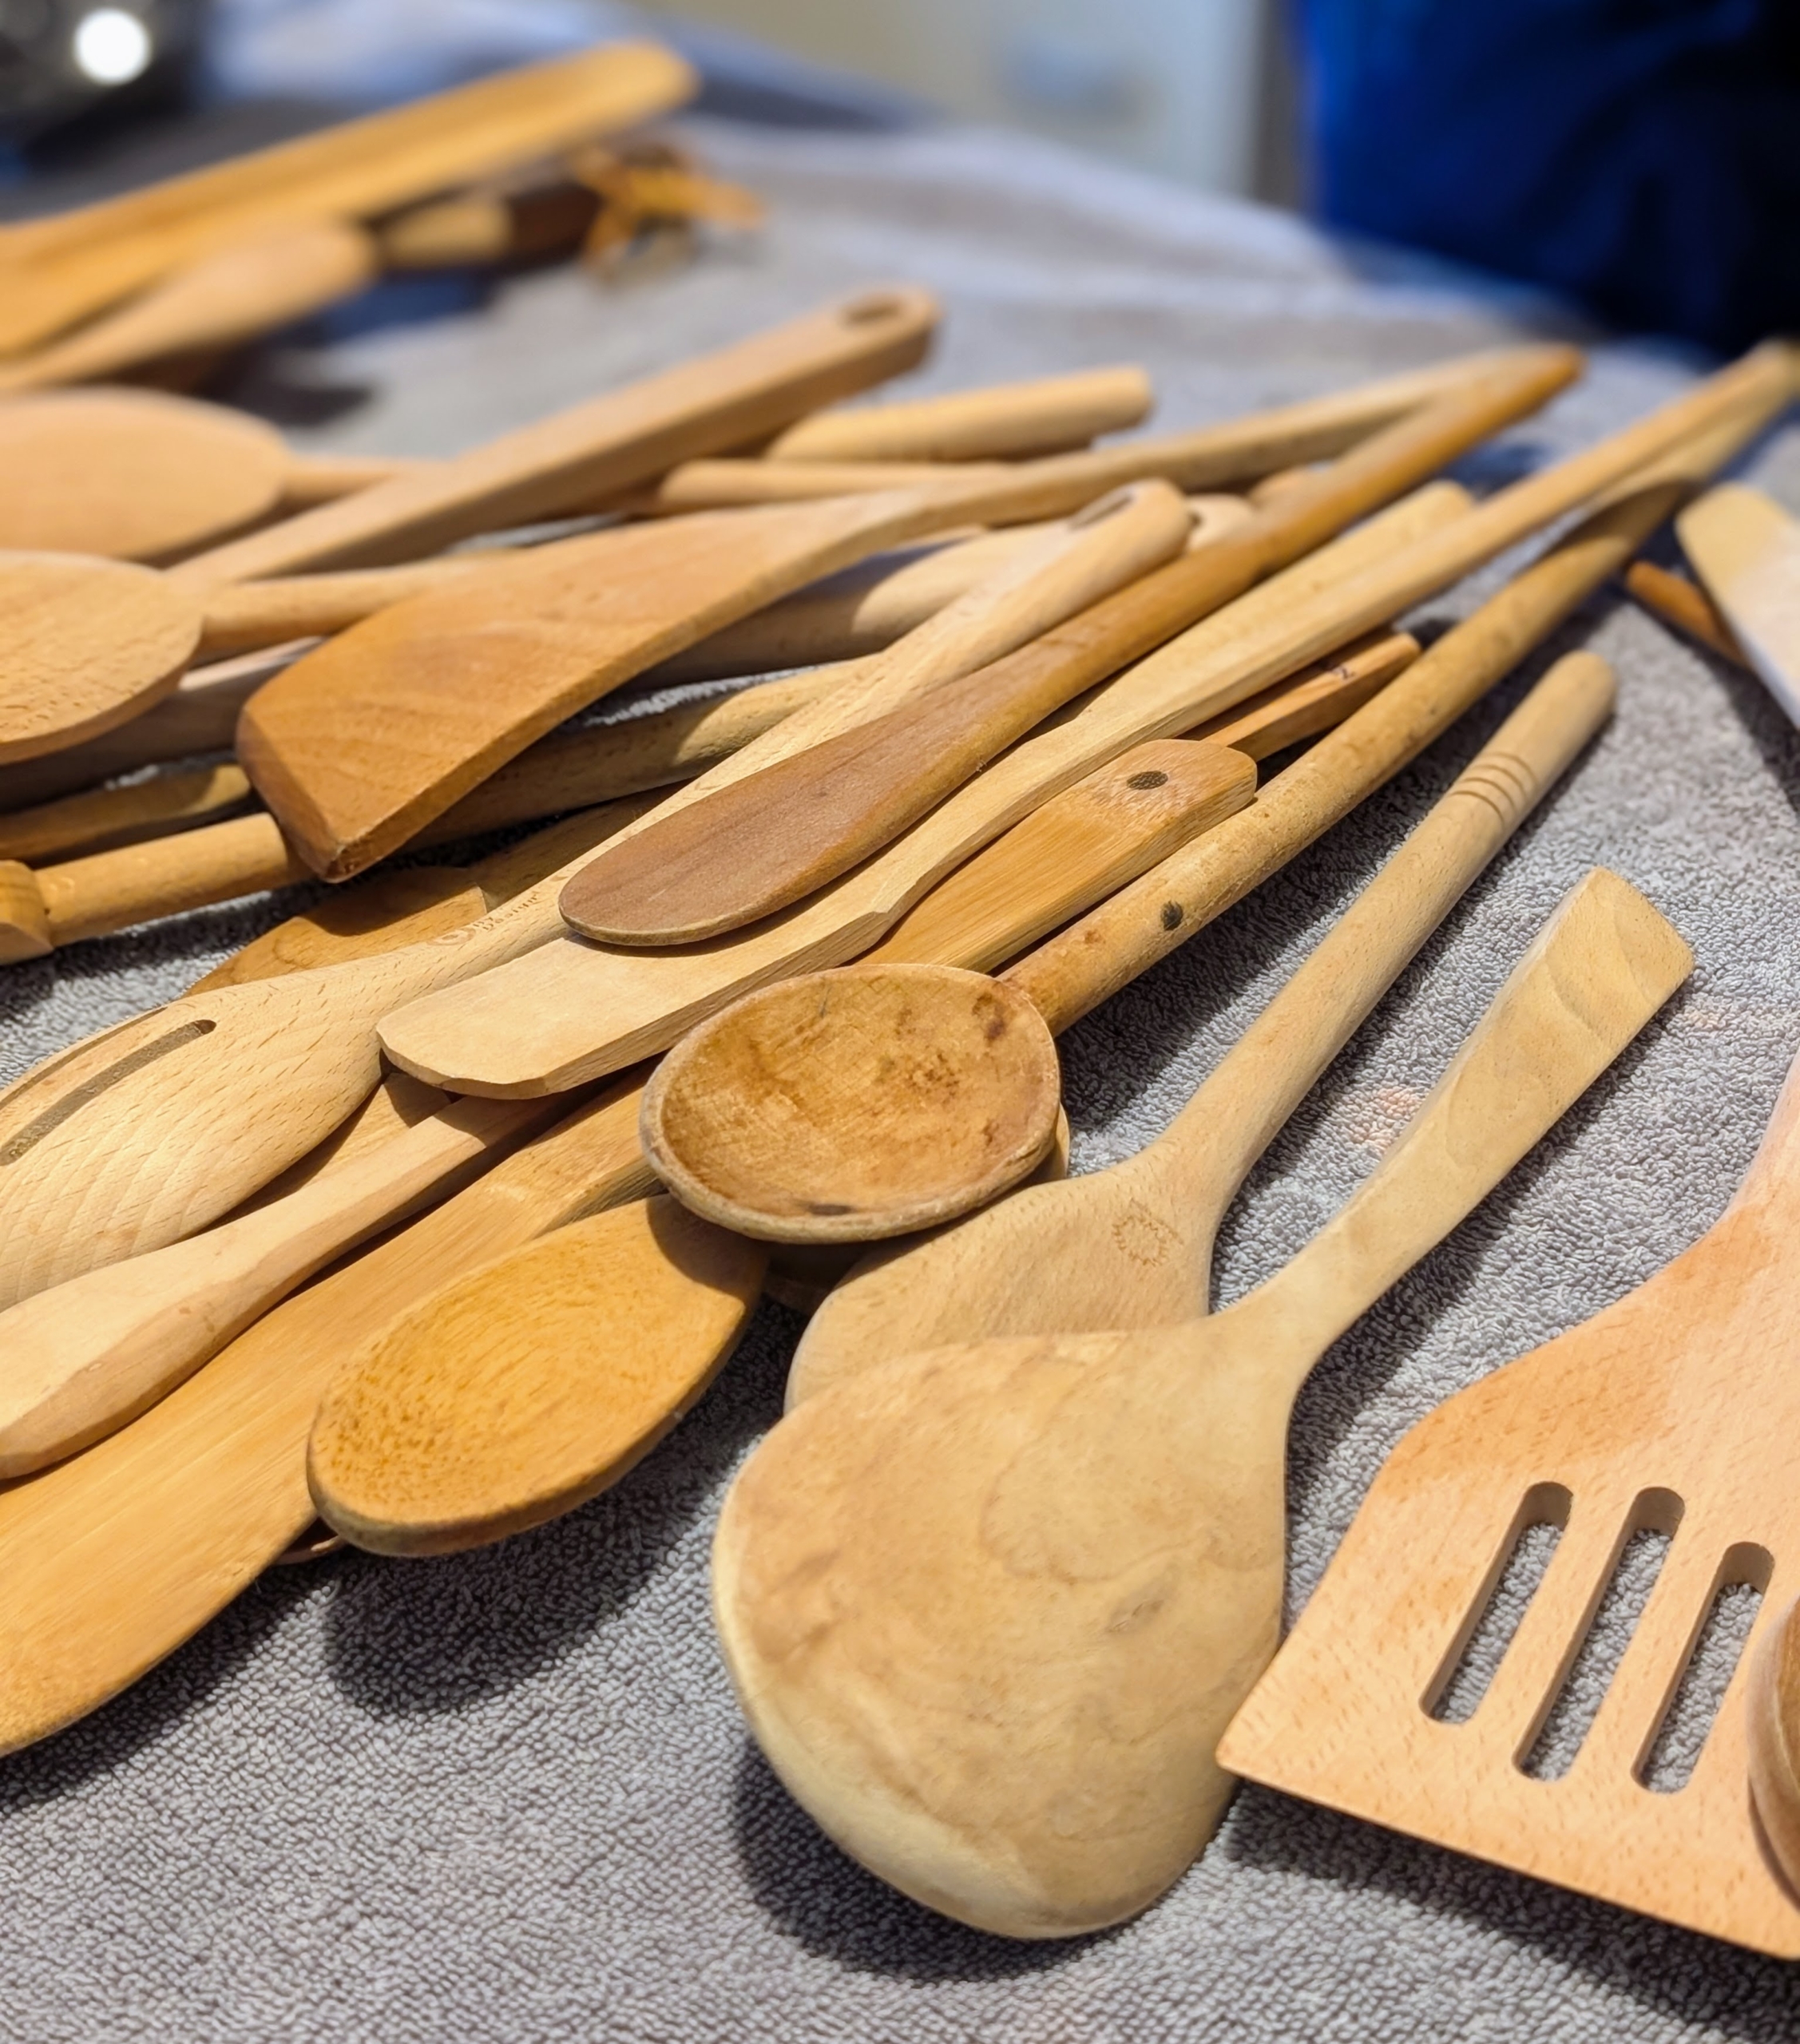
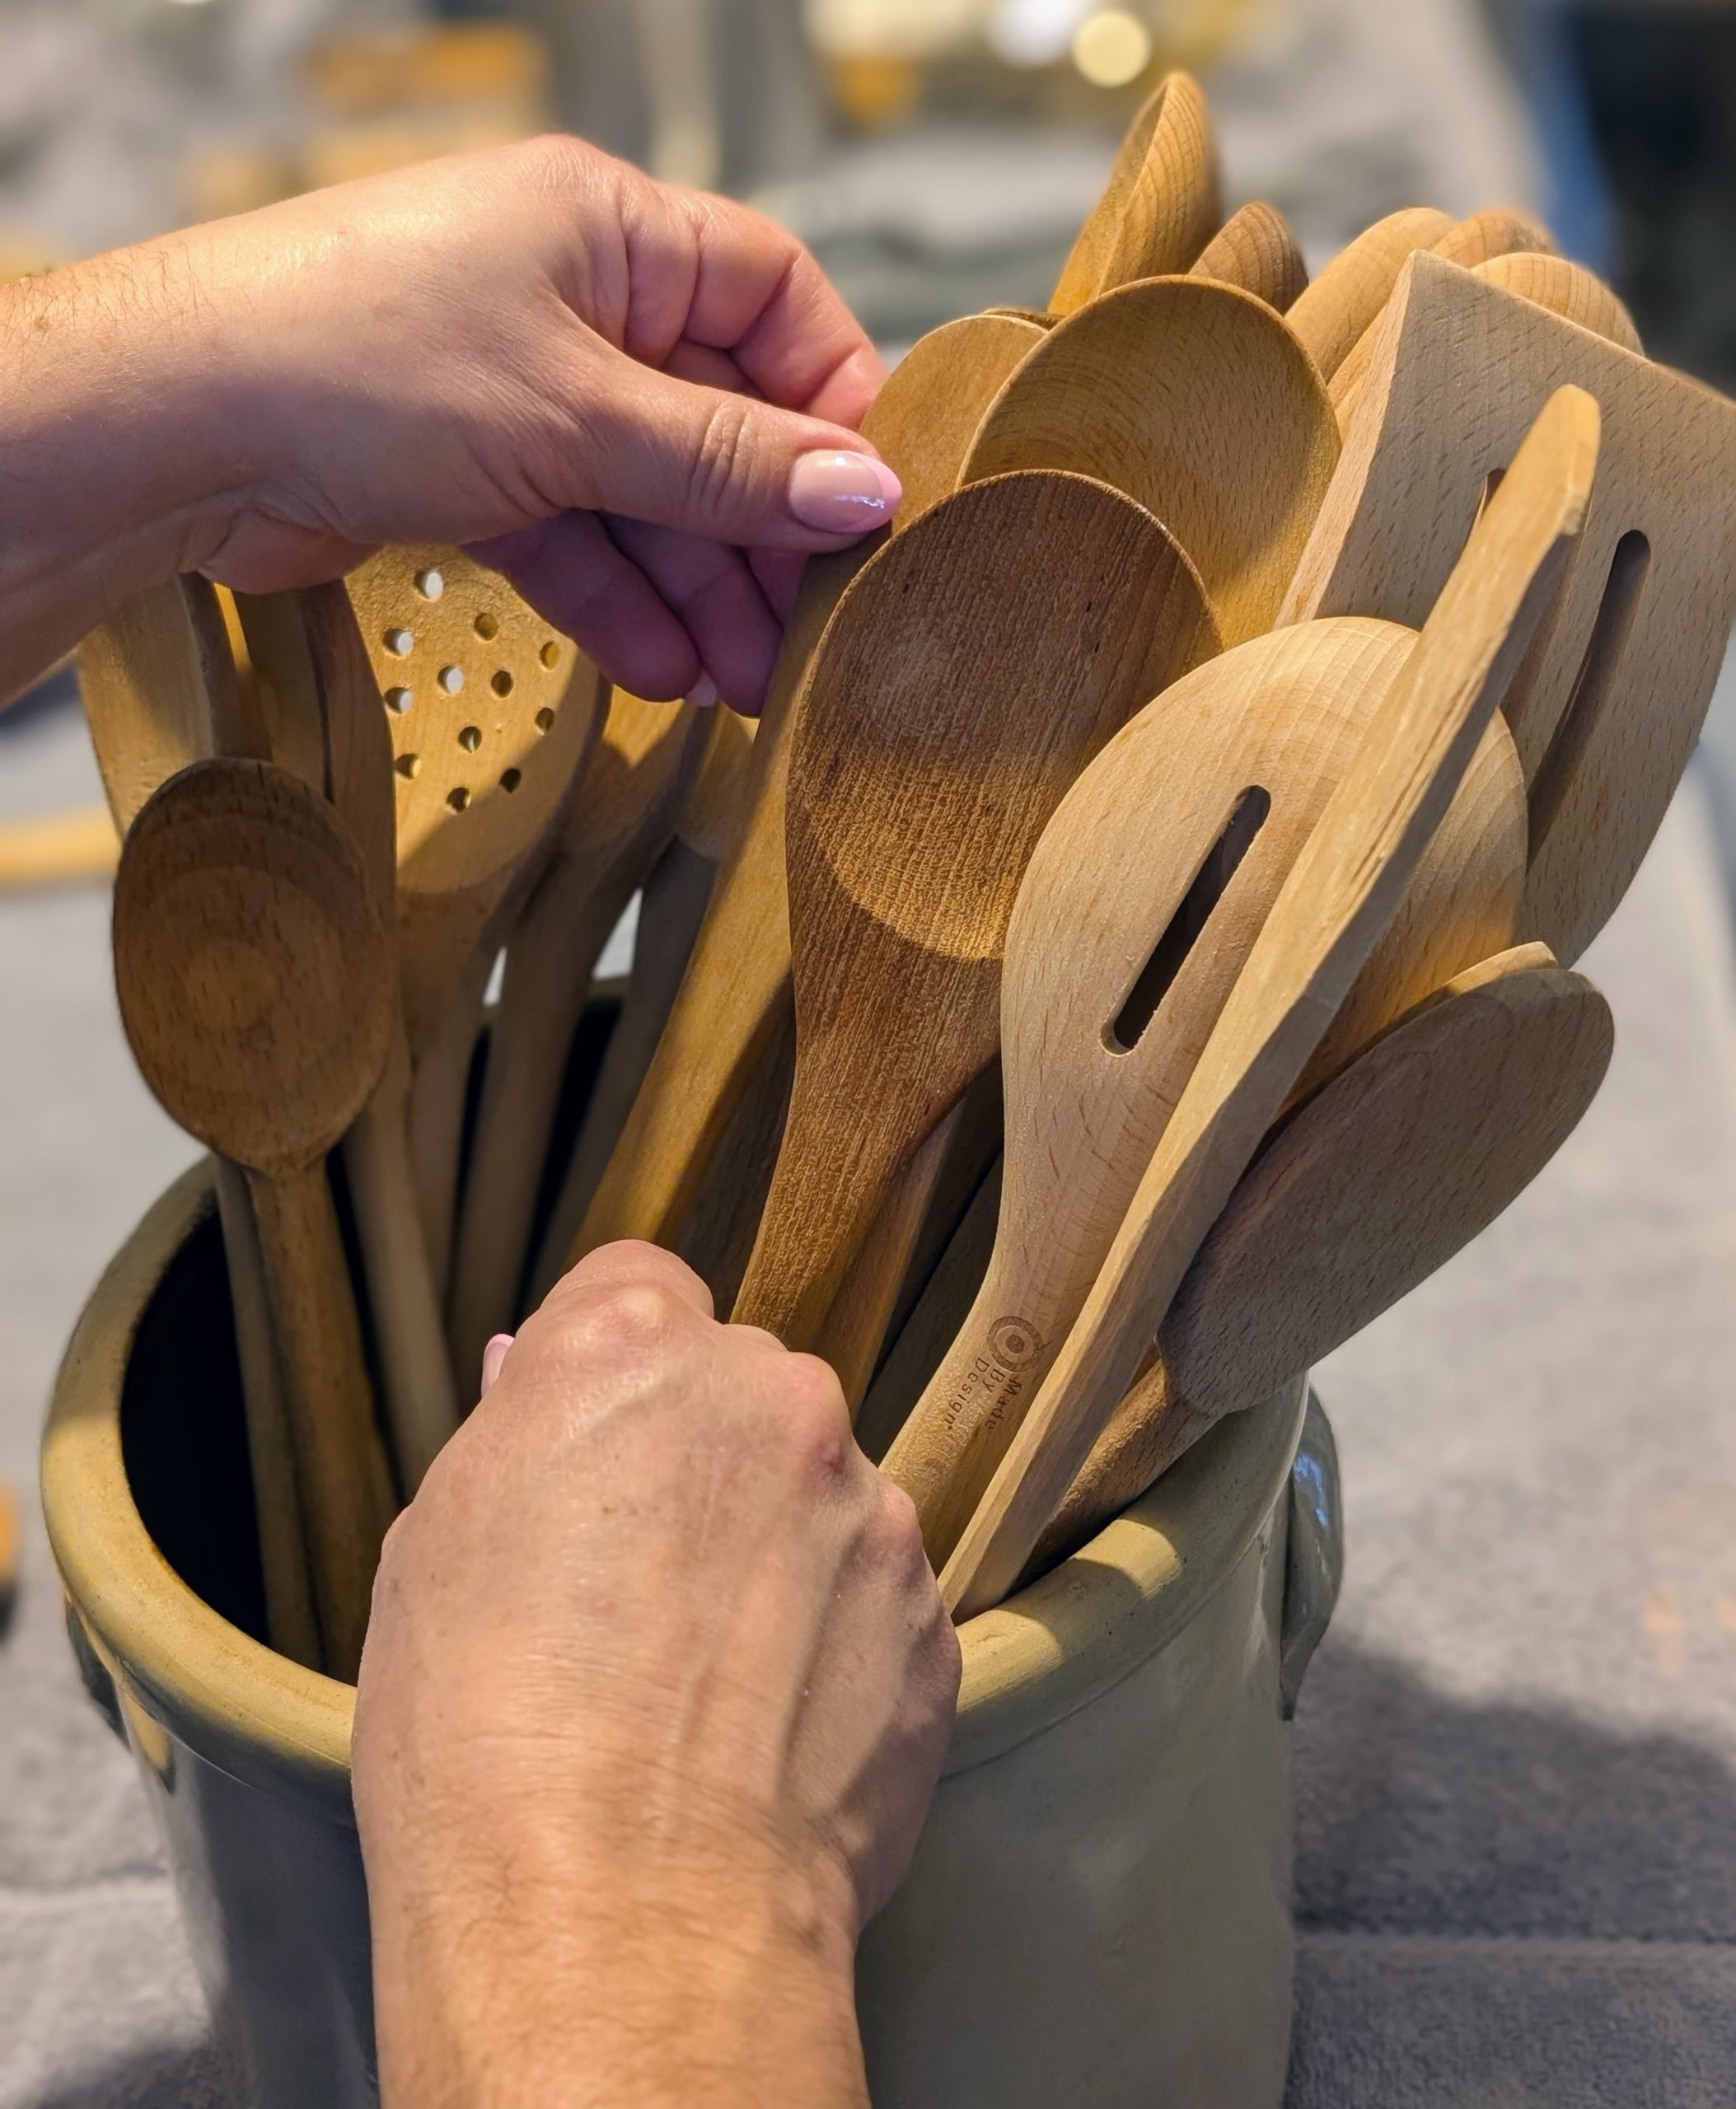
And what about all the wooden spoons and spatulas? Which ones are the most important?
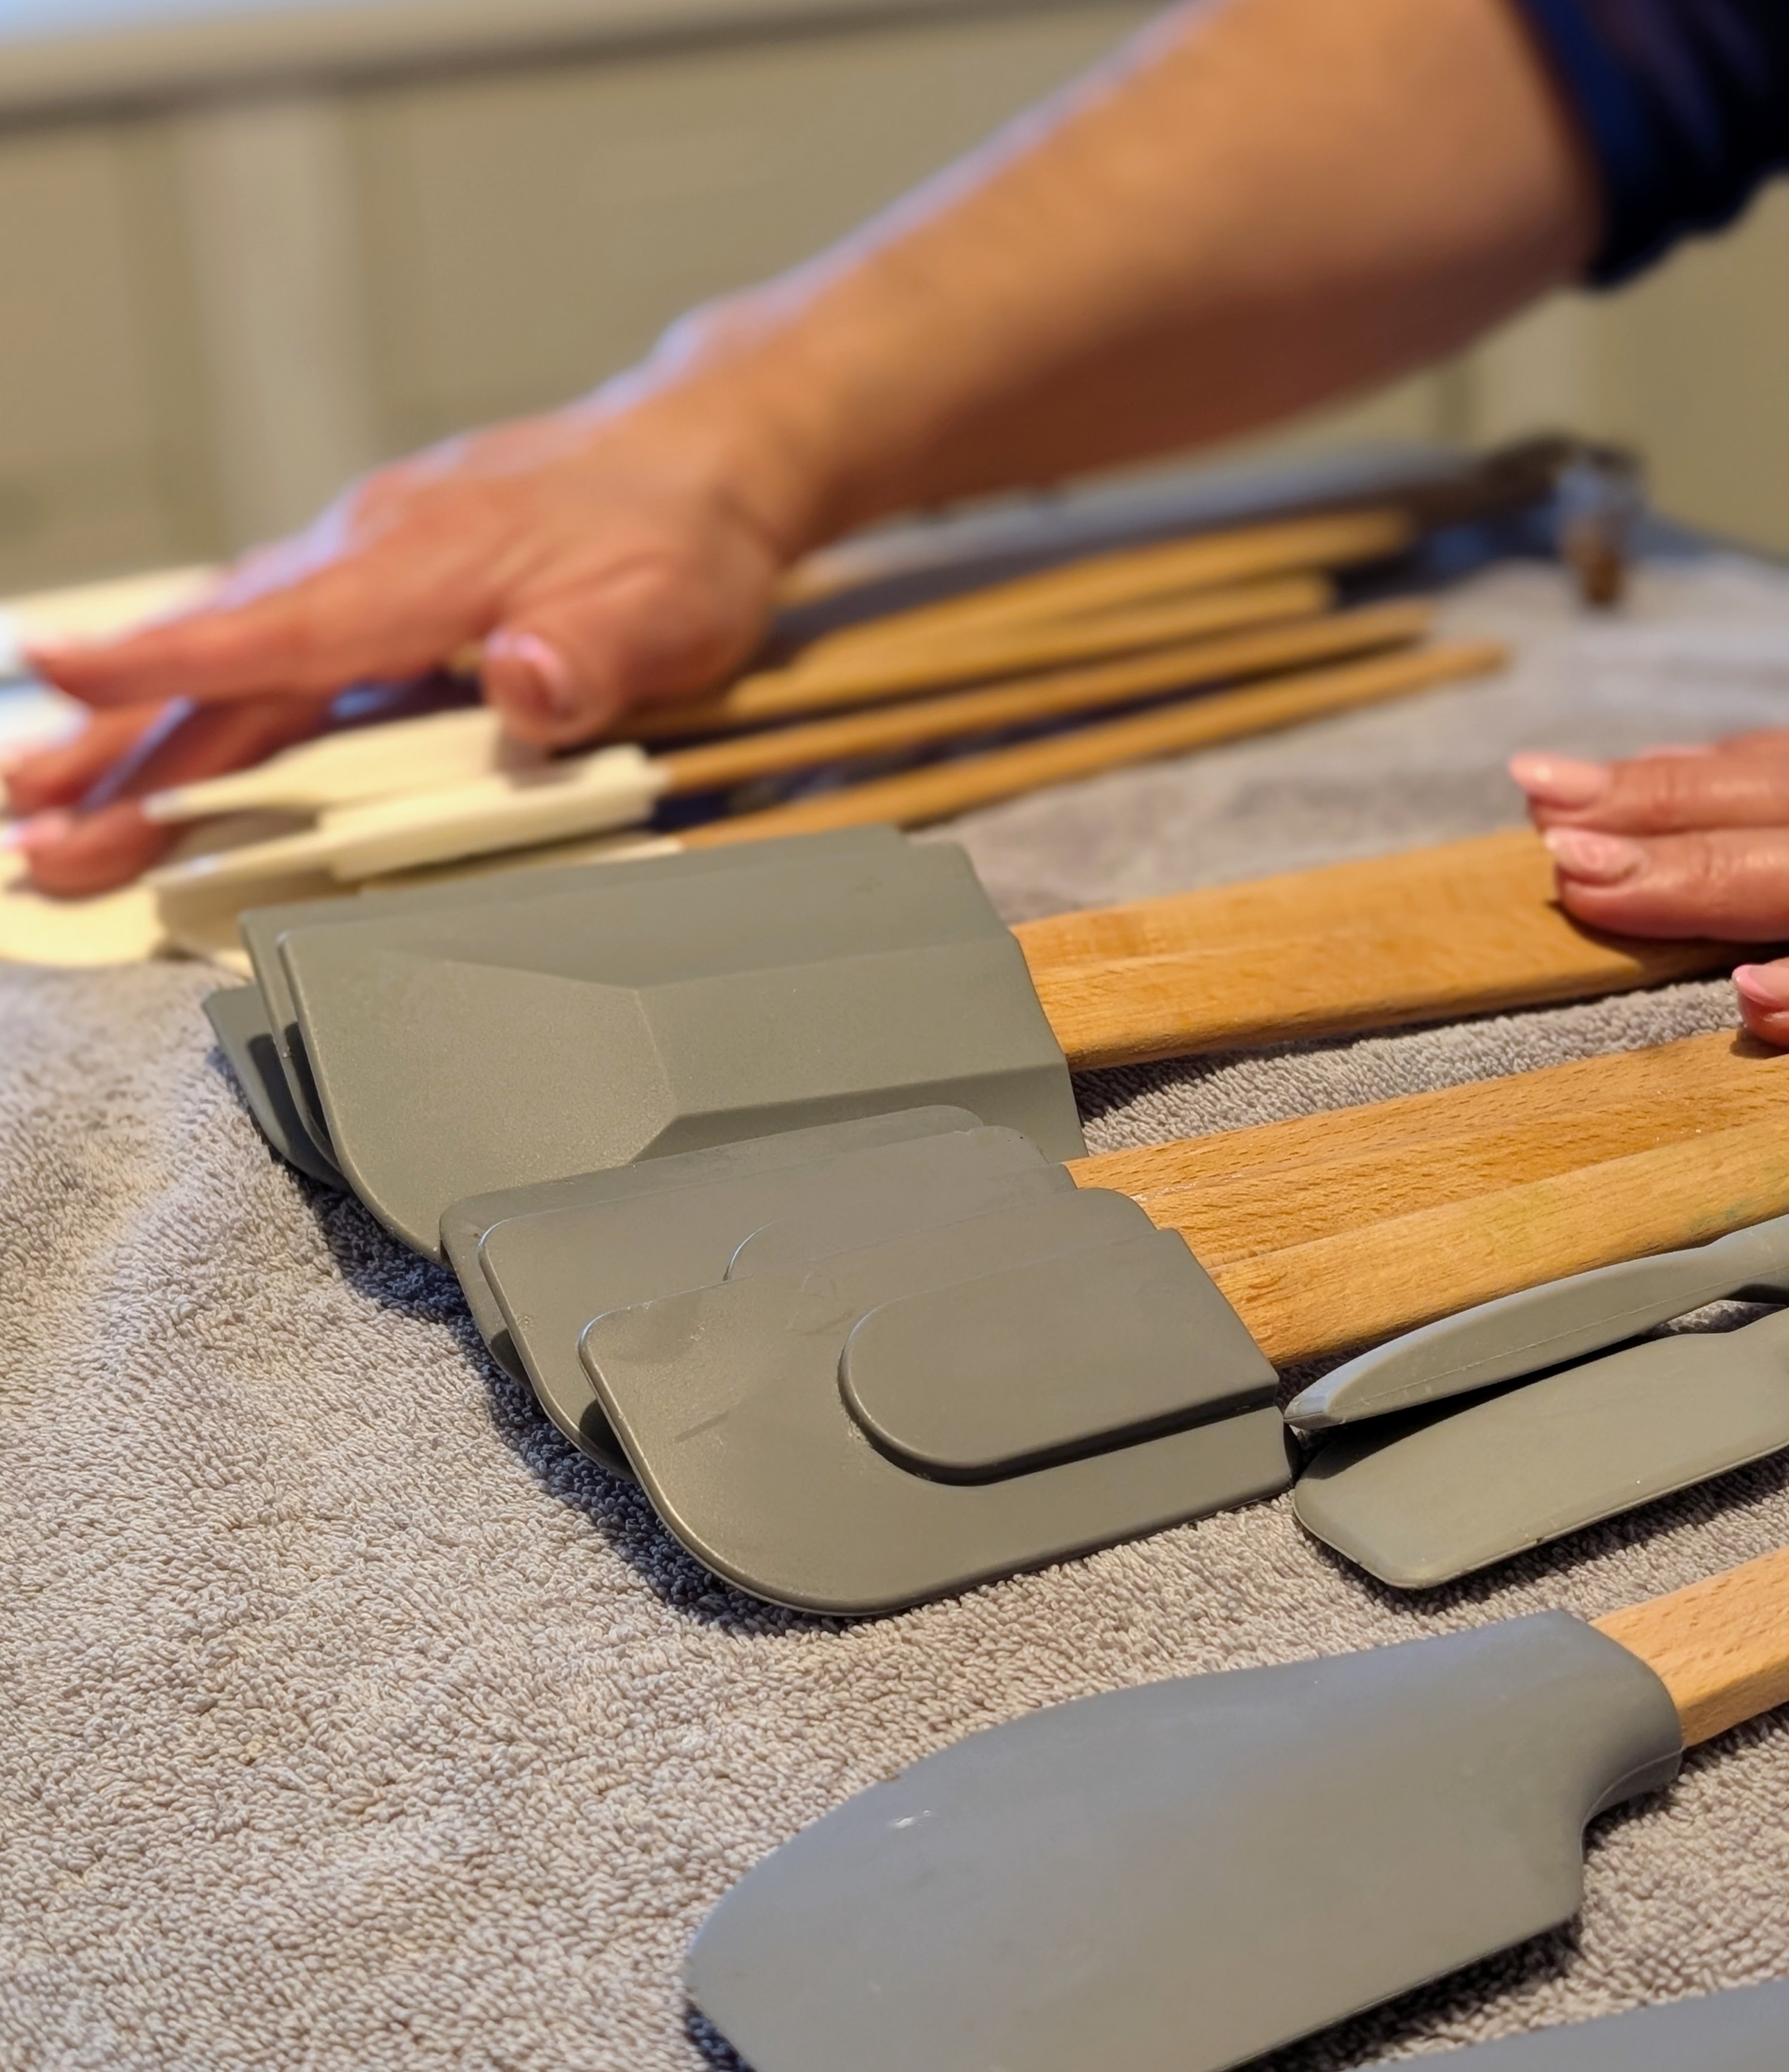
Or all those rubber kitchen scrapers? These rubber spatula scrapers are used for scraping the sides and bottom of bowls, folding ingredients together, or moving foods from one vessel to another. They are typically made from flexible rubber or silicone that is gentle on surfaces and can withstand high temperatures.
When organizing kitchen utensils, the first thing to do is place everything on a table and group like items together, discarding any that are broken or too worn.
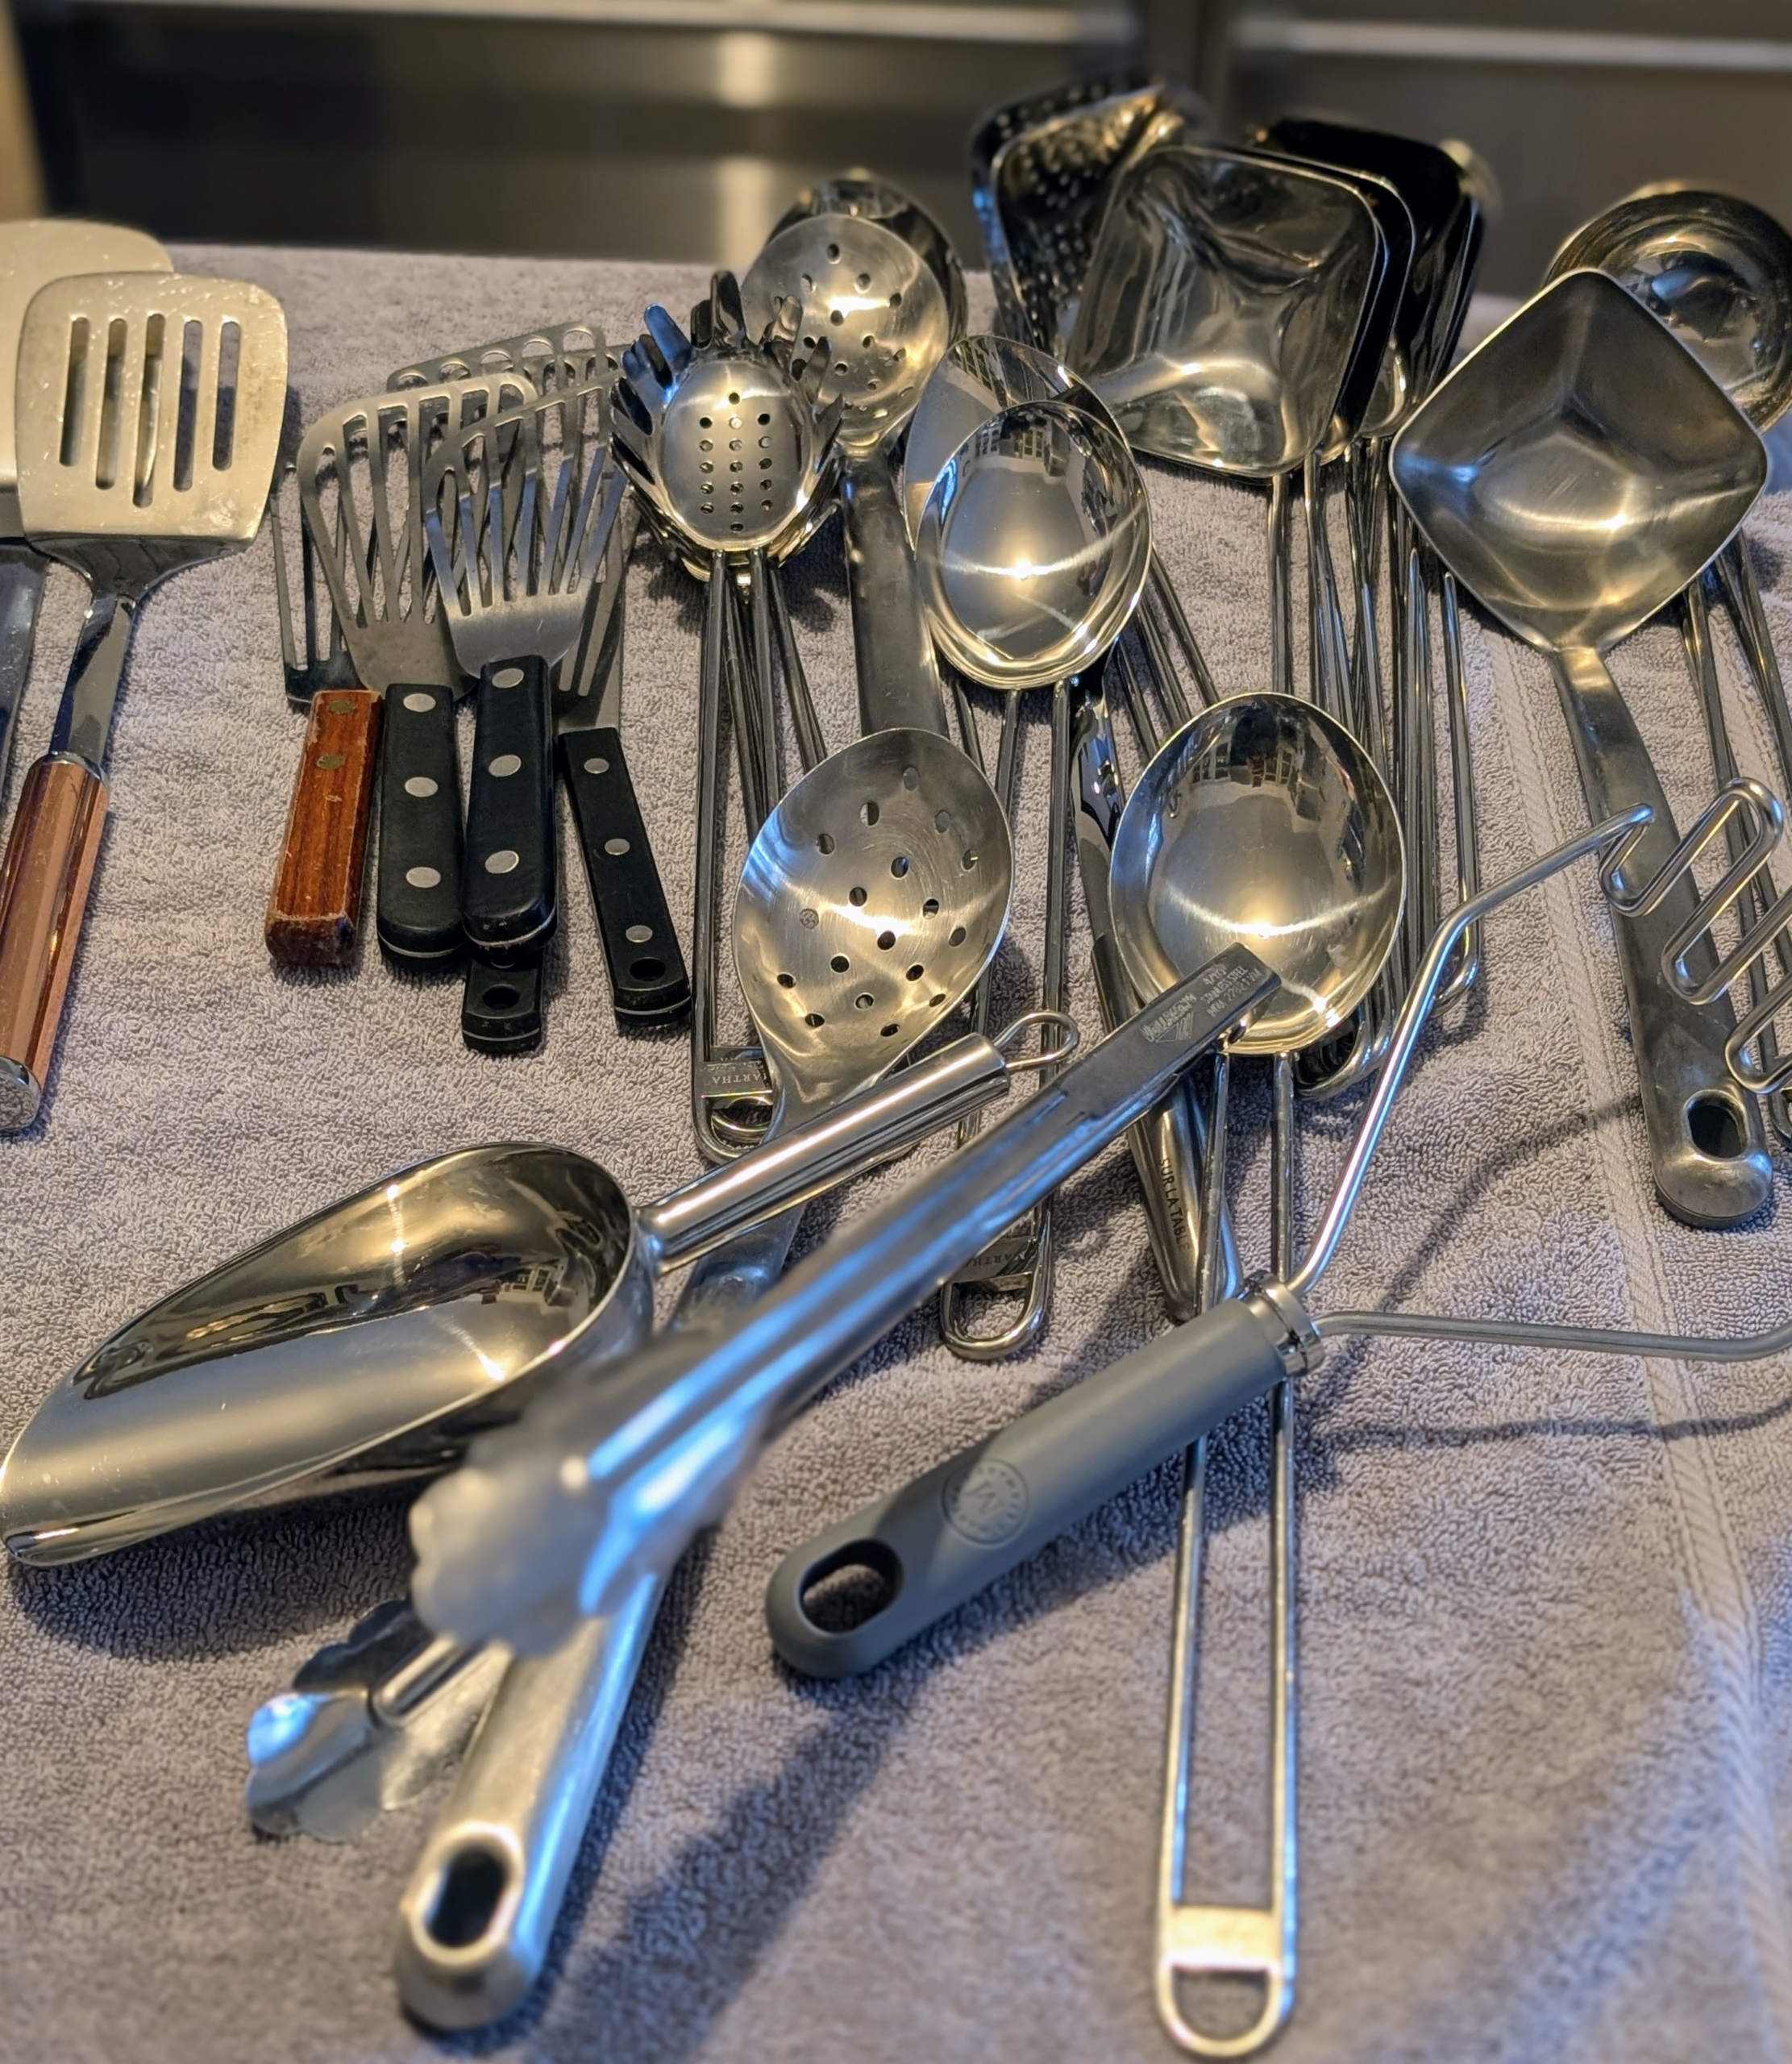
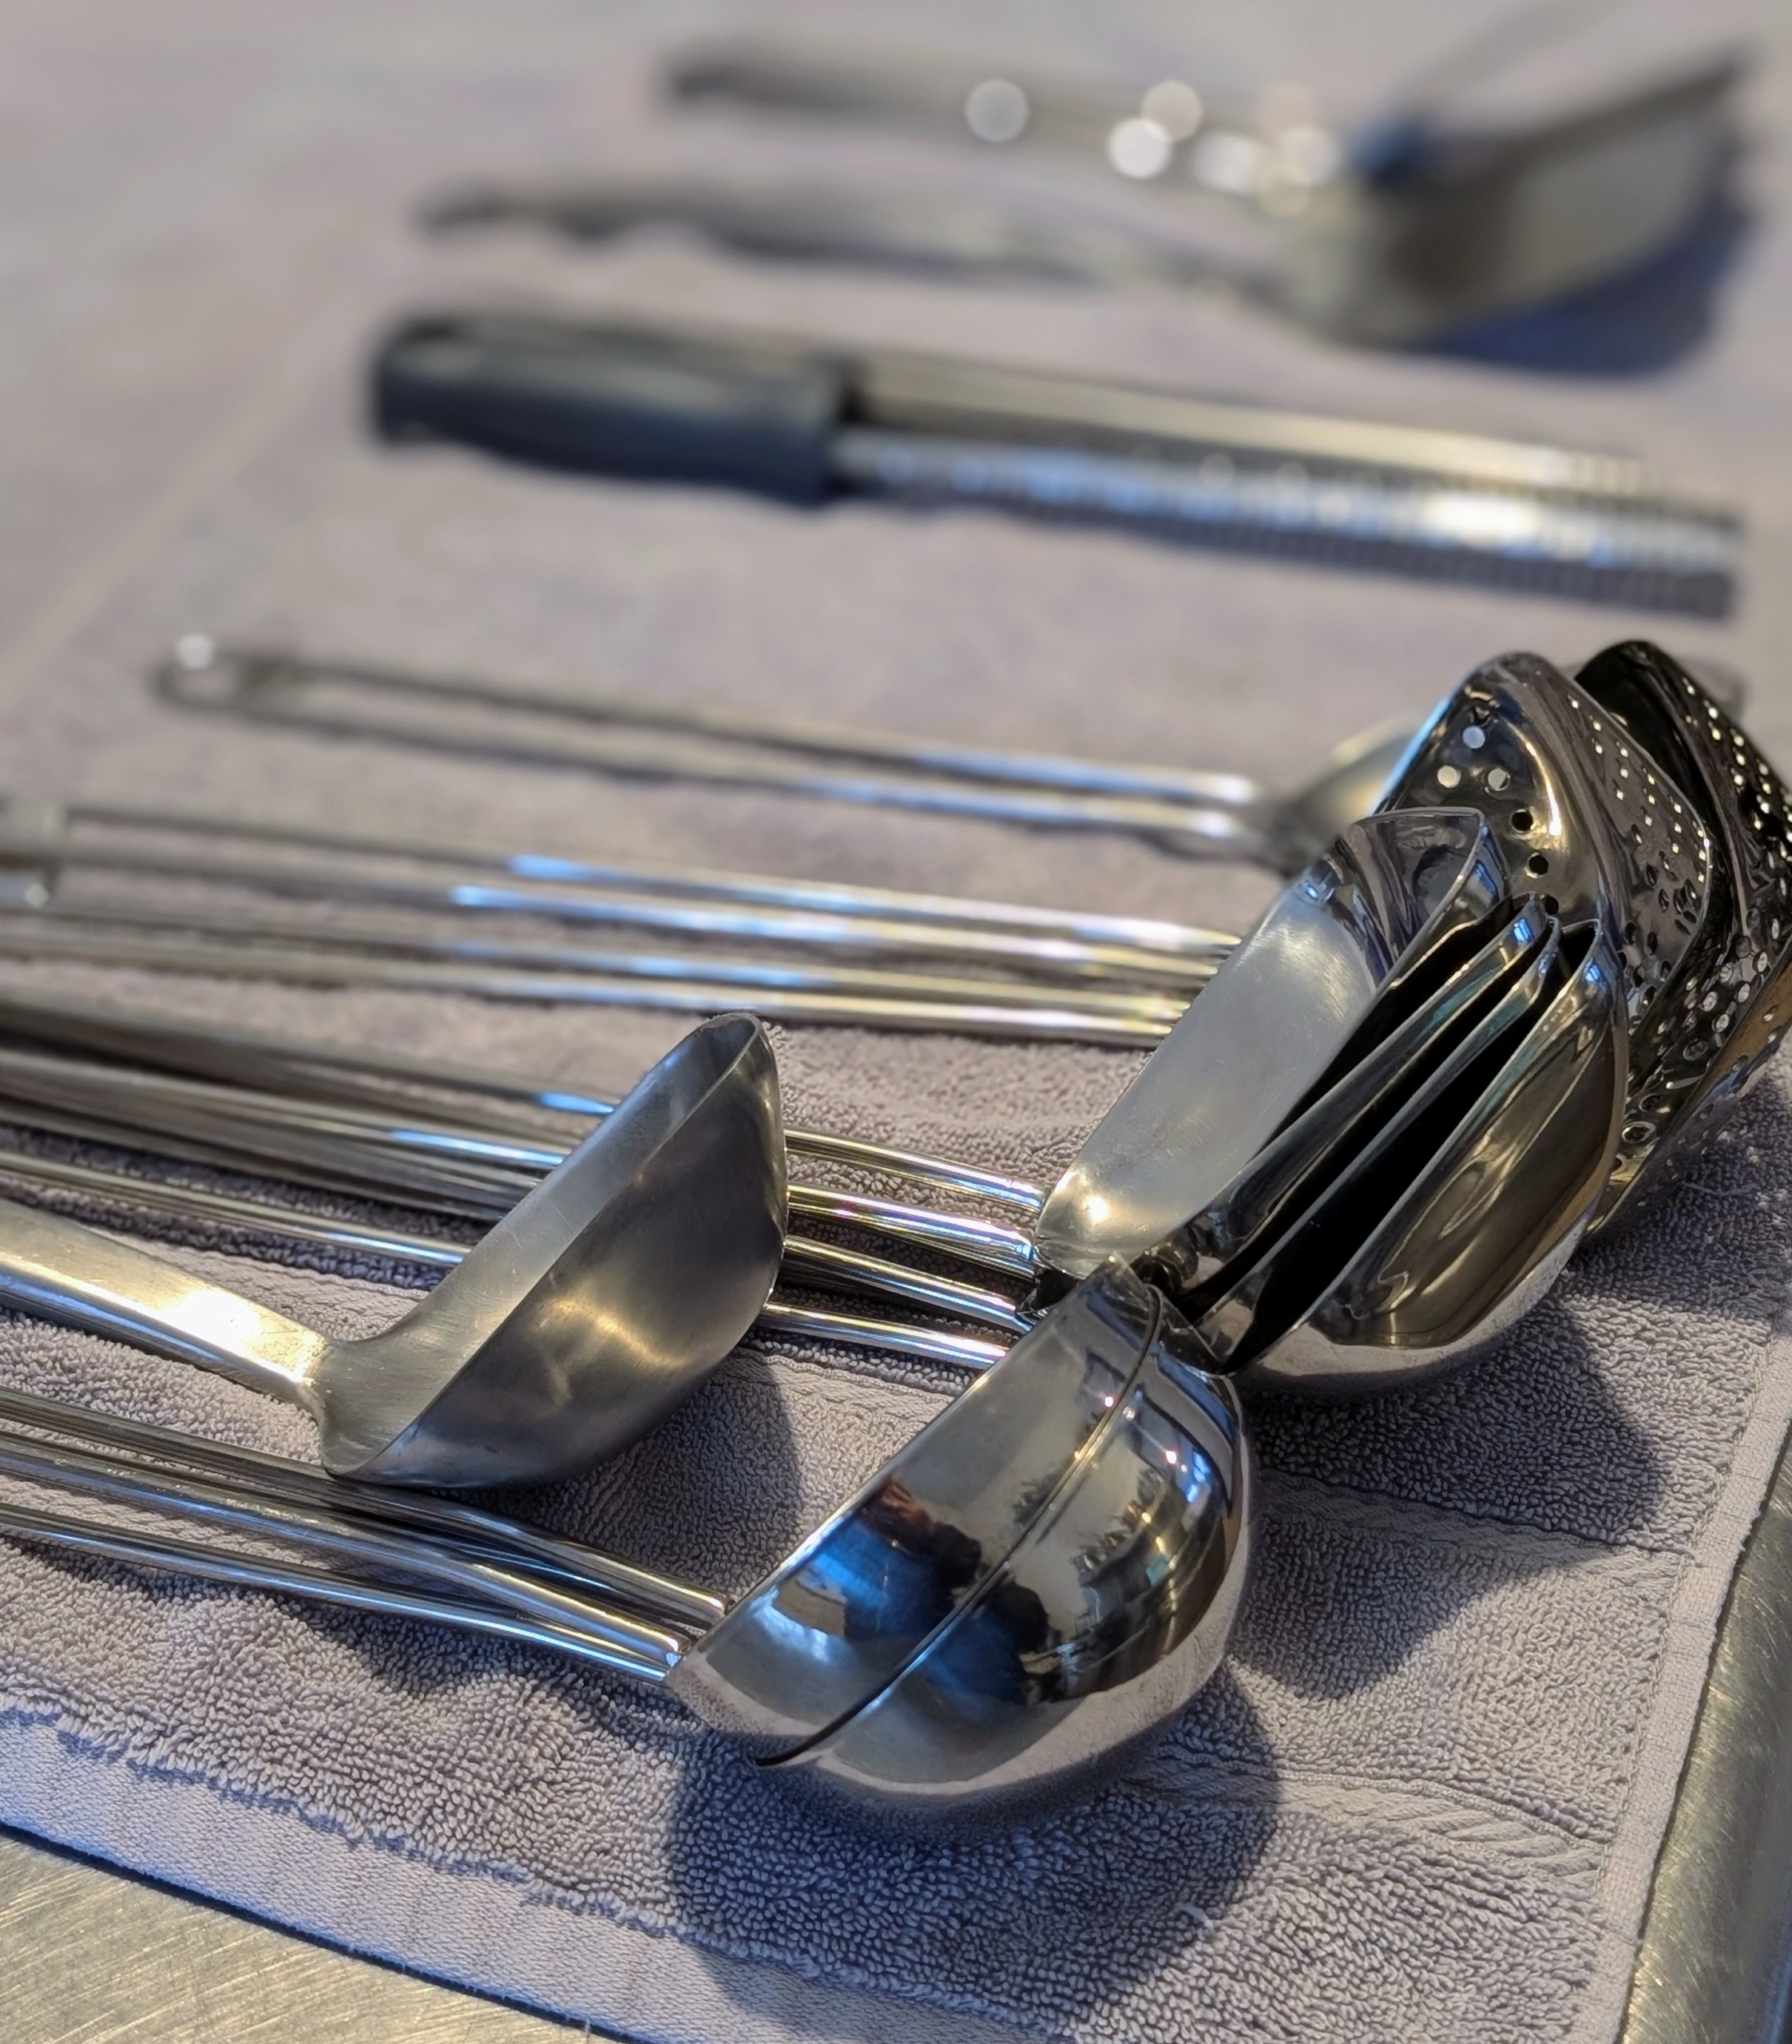
I do a lot of cooking for television and photo shoots, so I have multiples of everything, Here, Enma puts together all my soup ladles – round, square, those that are slotted, and those that are not, etc. You can find my useful kitchen tool sets @marthastewartshop on Instagram.
Pick up my latest organizing special issue magazine. It’s on newsstands and on Amazon until March 21st.
All my kitchen tools are designed for preparing all my delicious recipes such as the ones in my 100th book, MARTHA: The Cookbook – hope you have a copy.
She goes through every piece, assessing condition and usefulness.
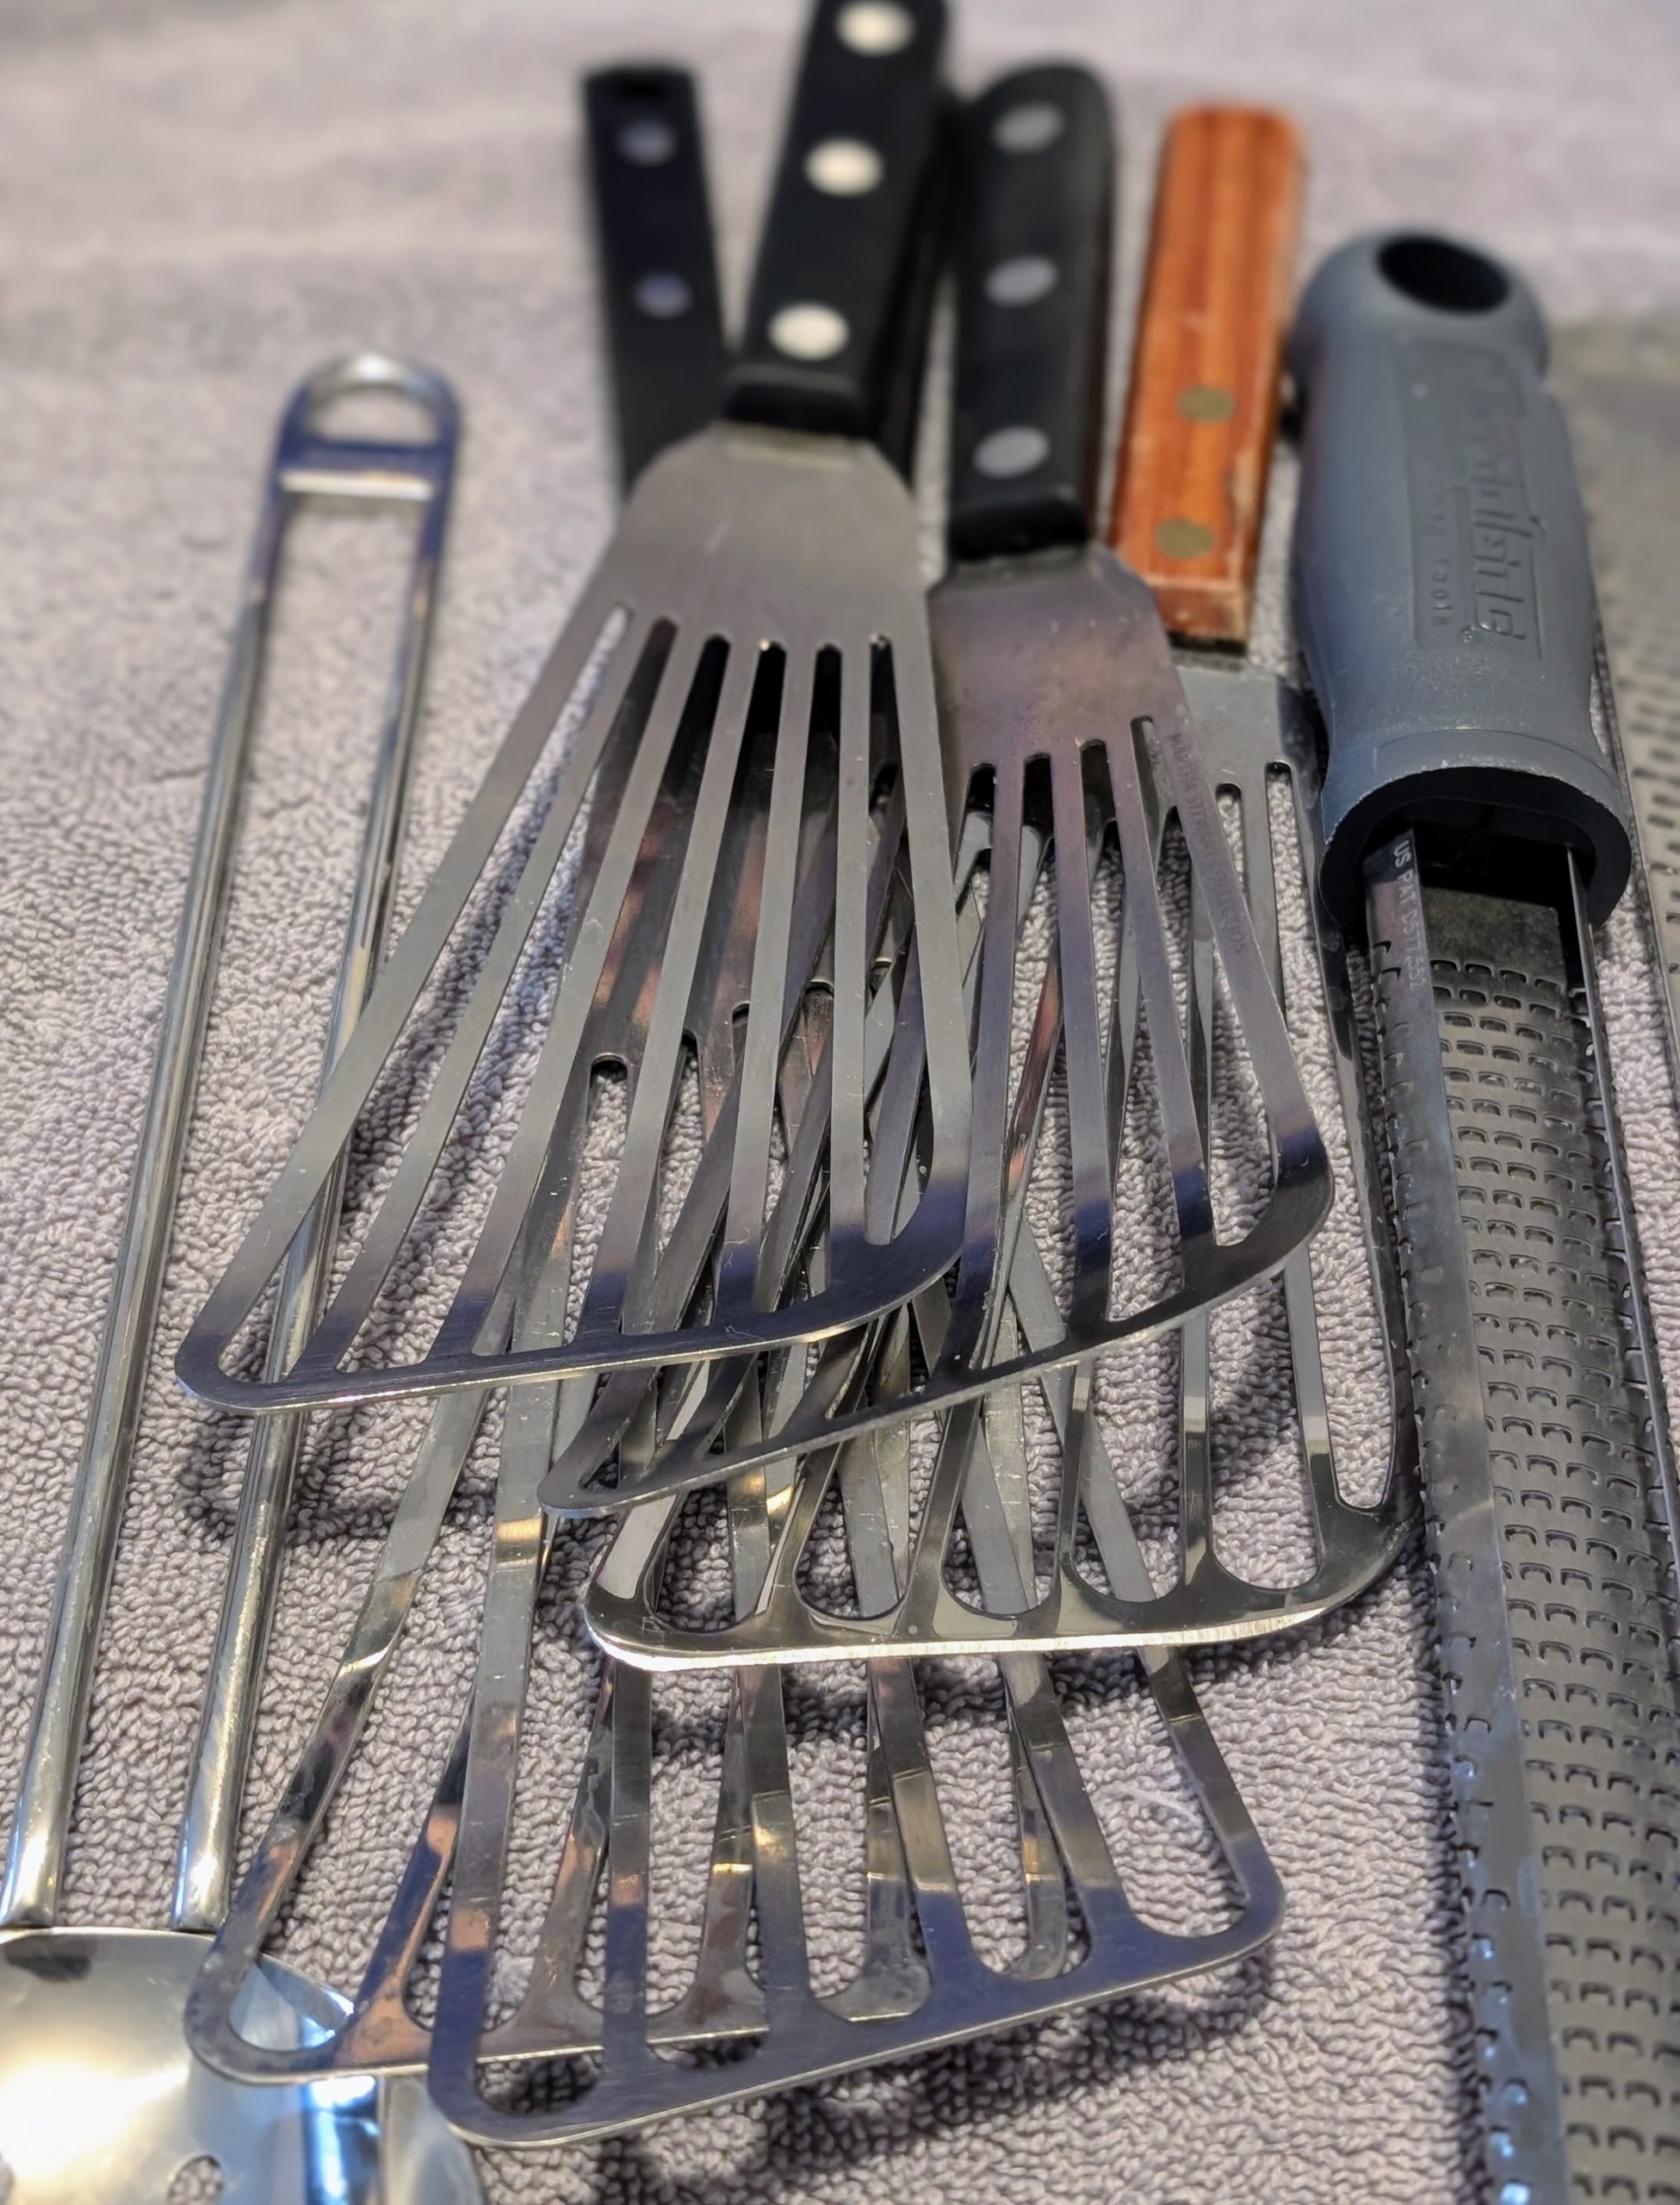
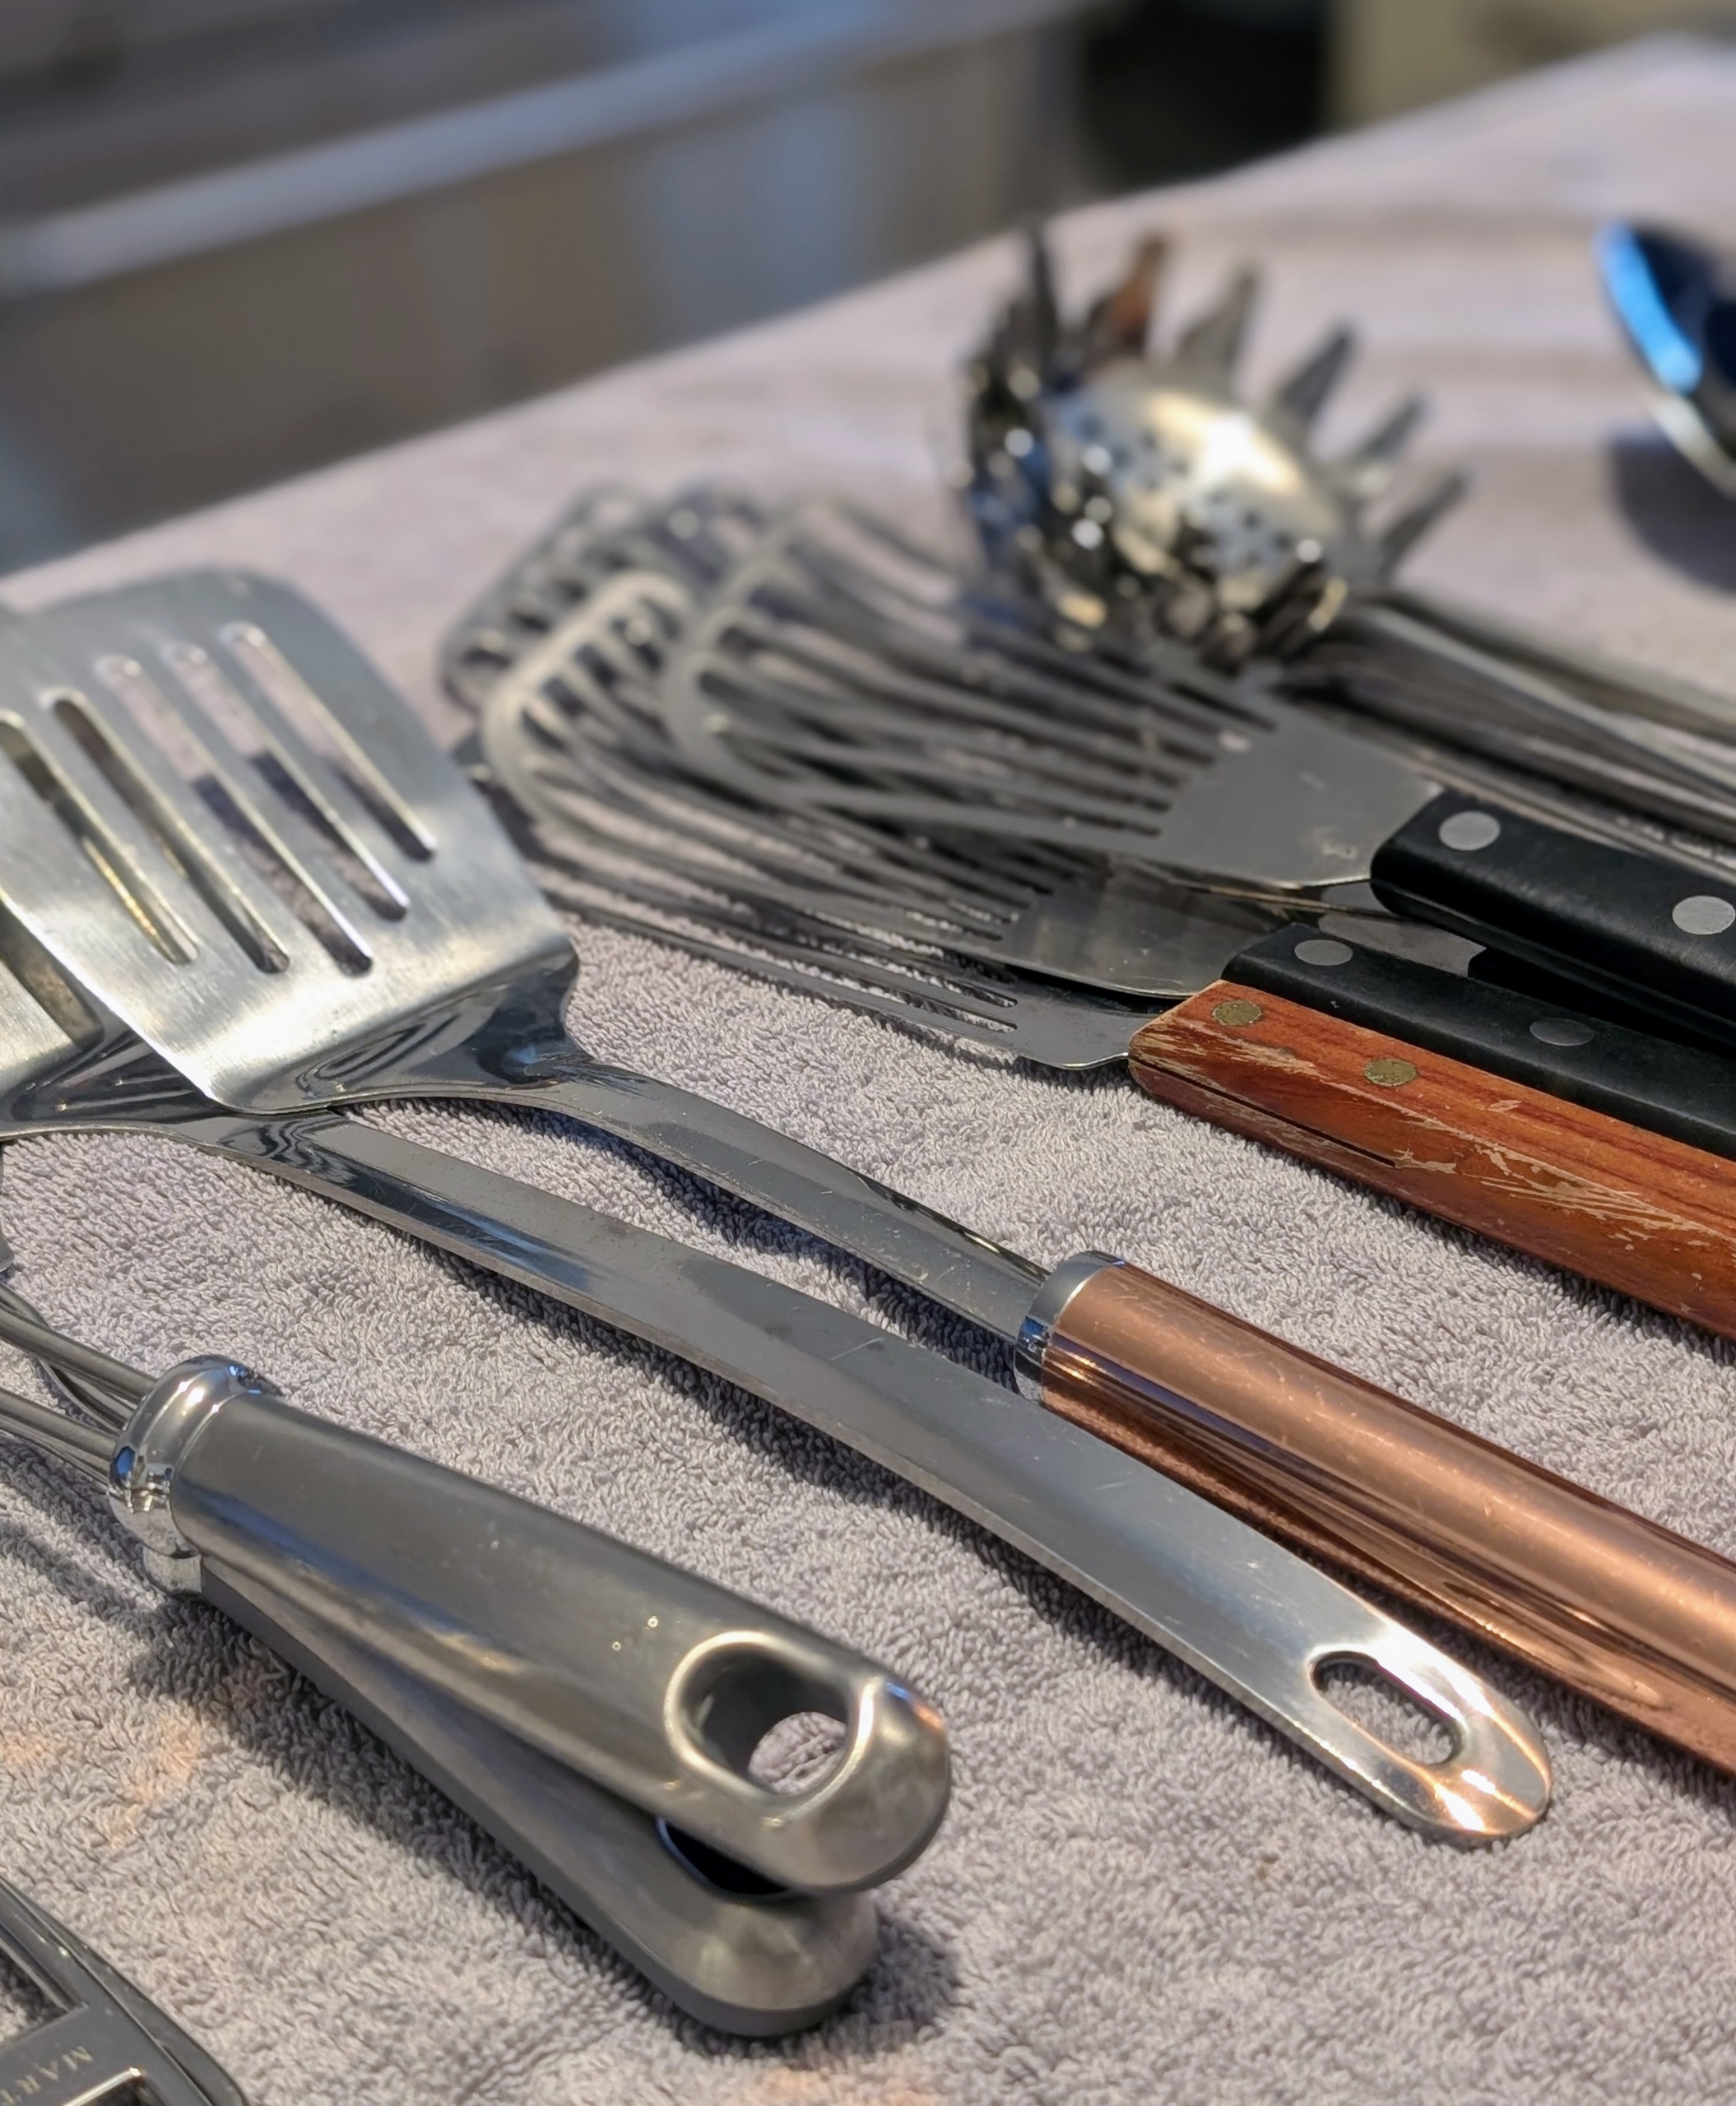
These are fish spatulas. A good one should be sturdy enough to lift and flip fish, meat, and other foods, easily.
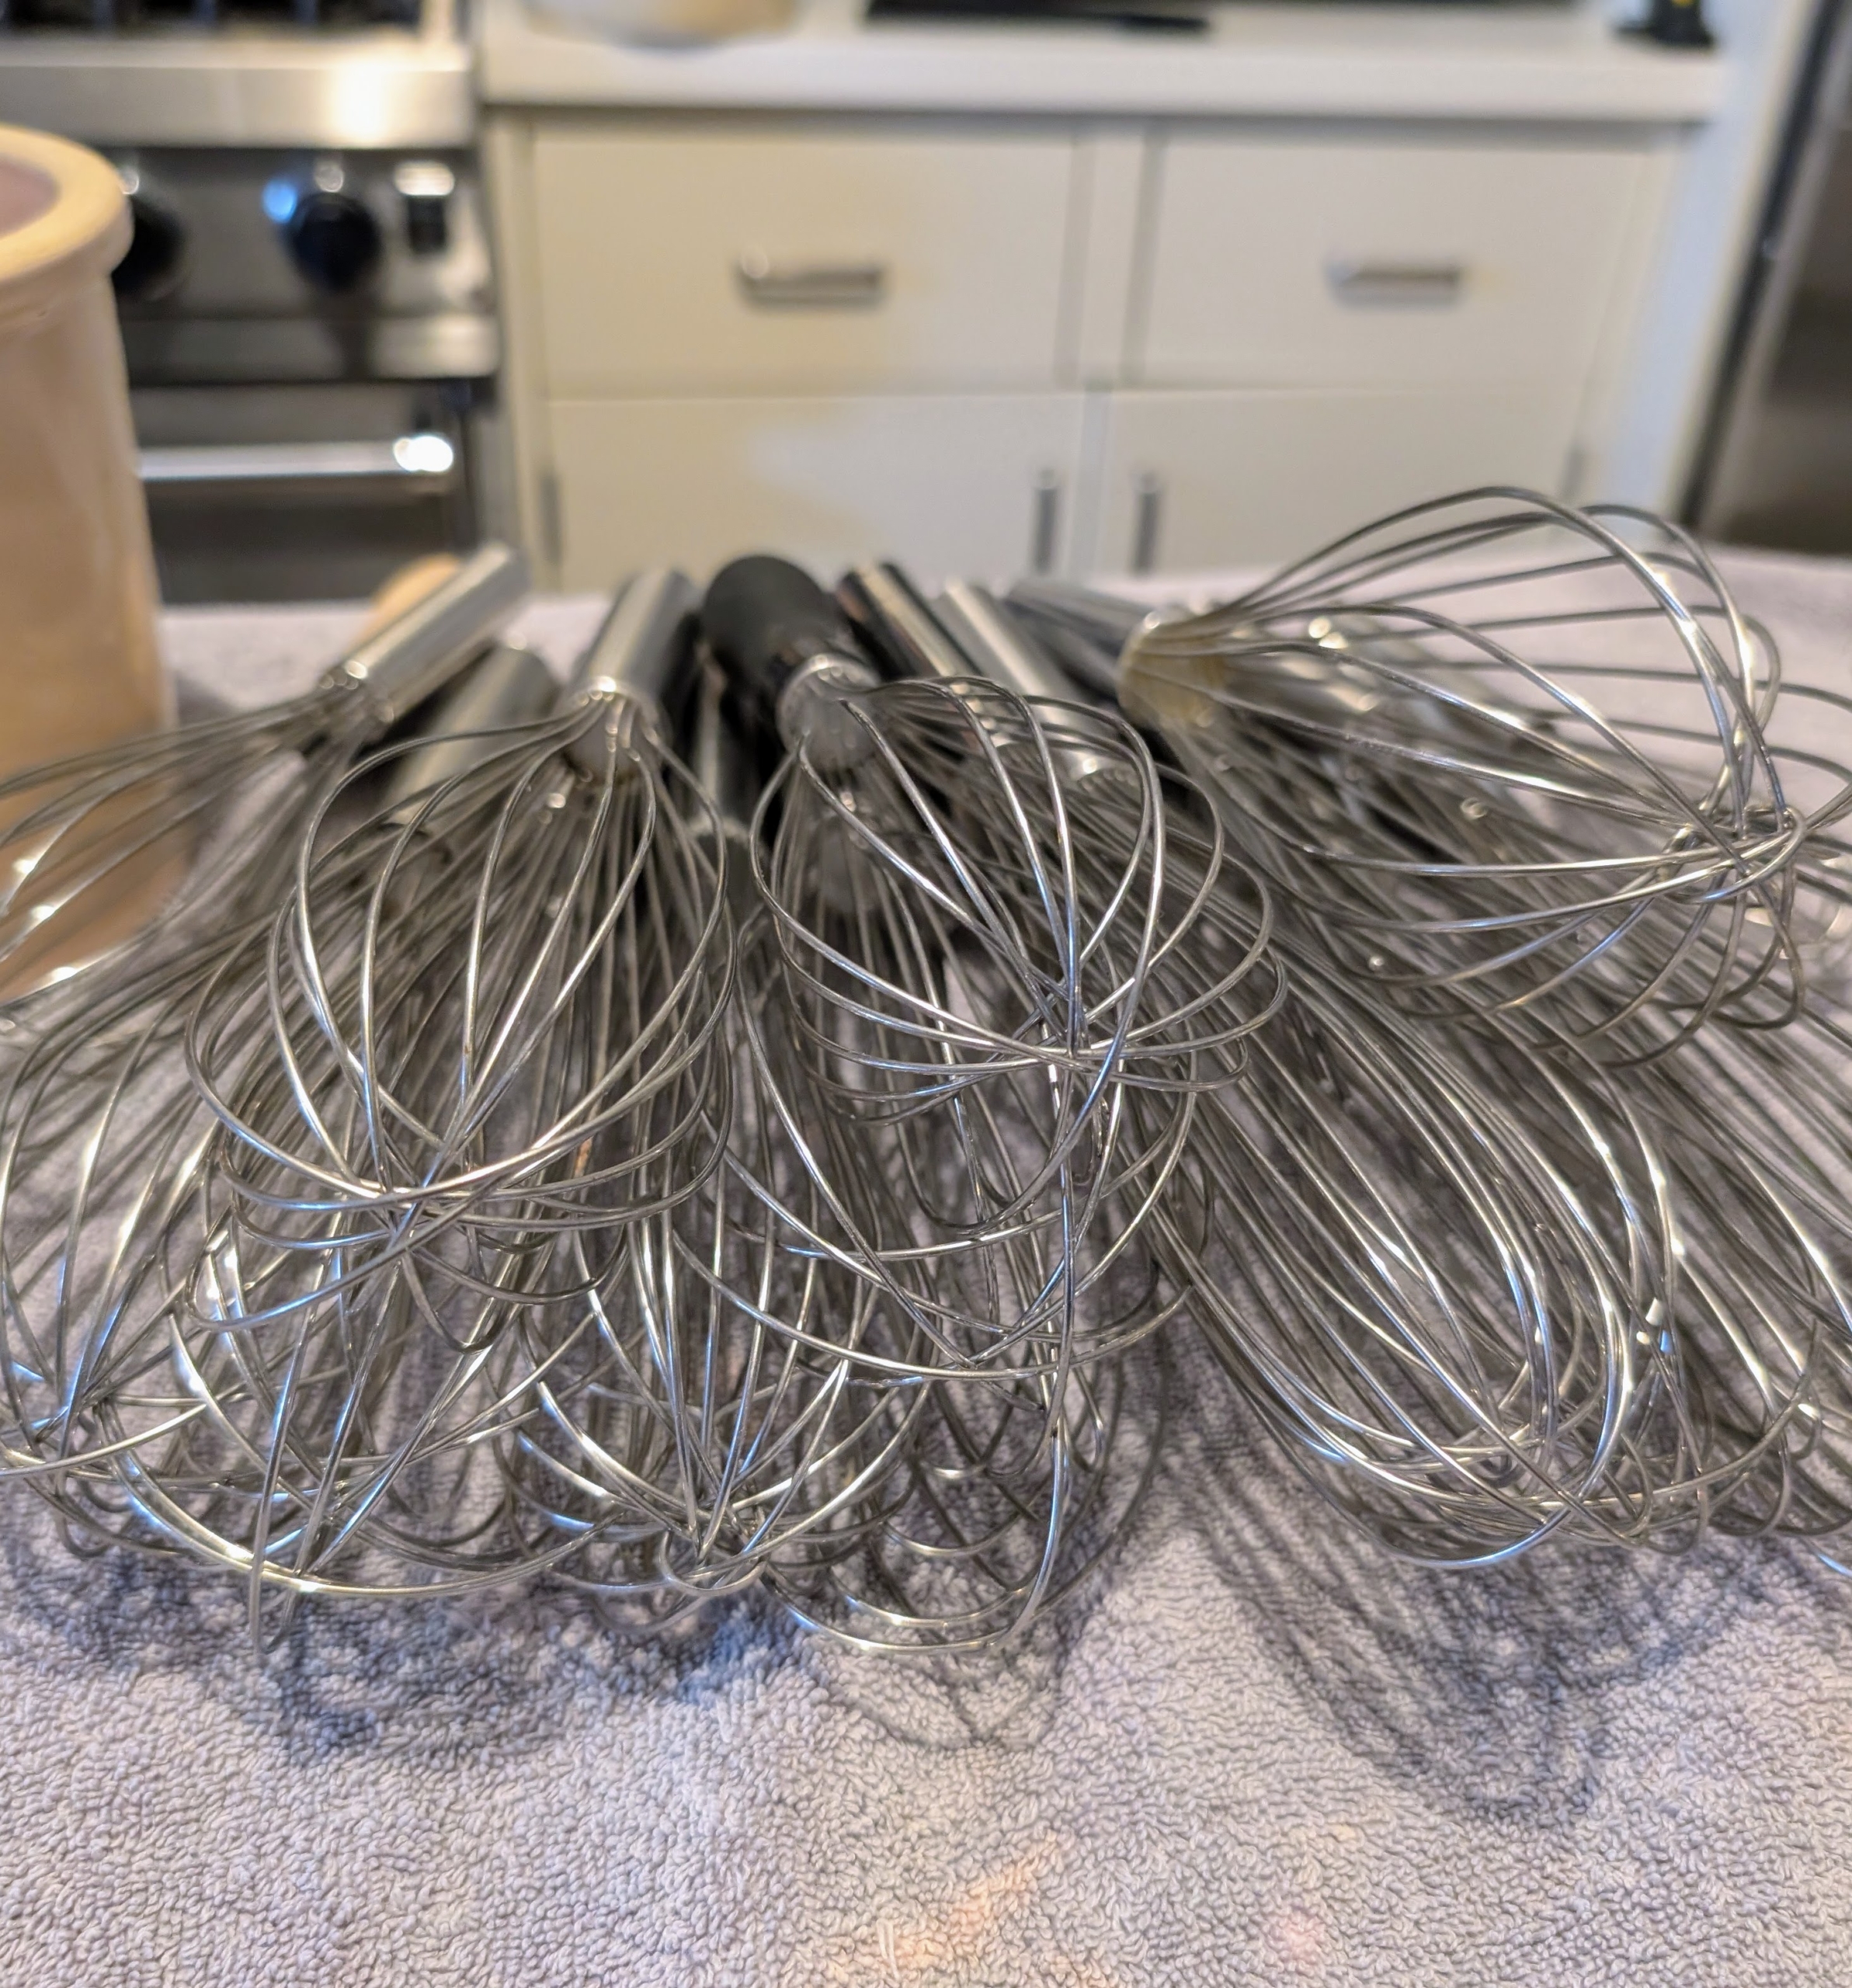
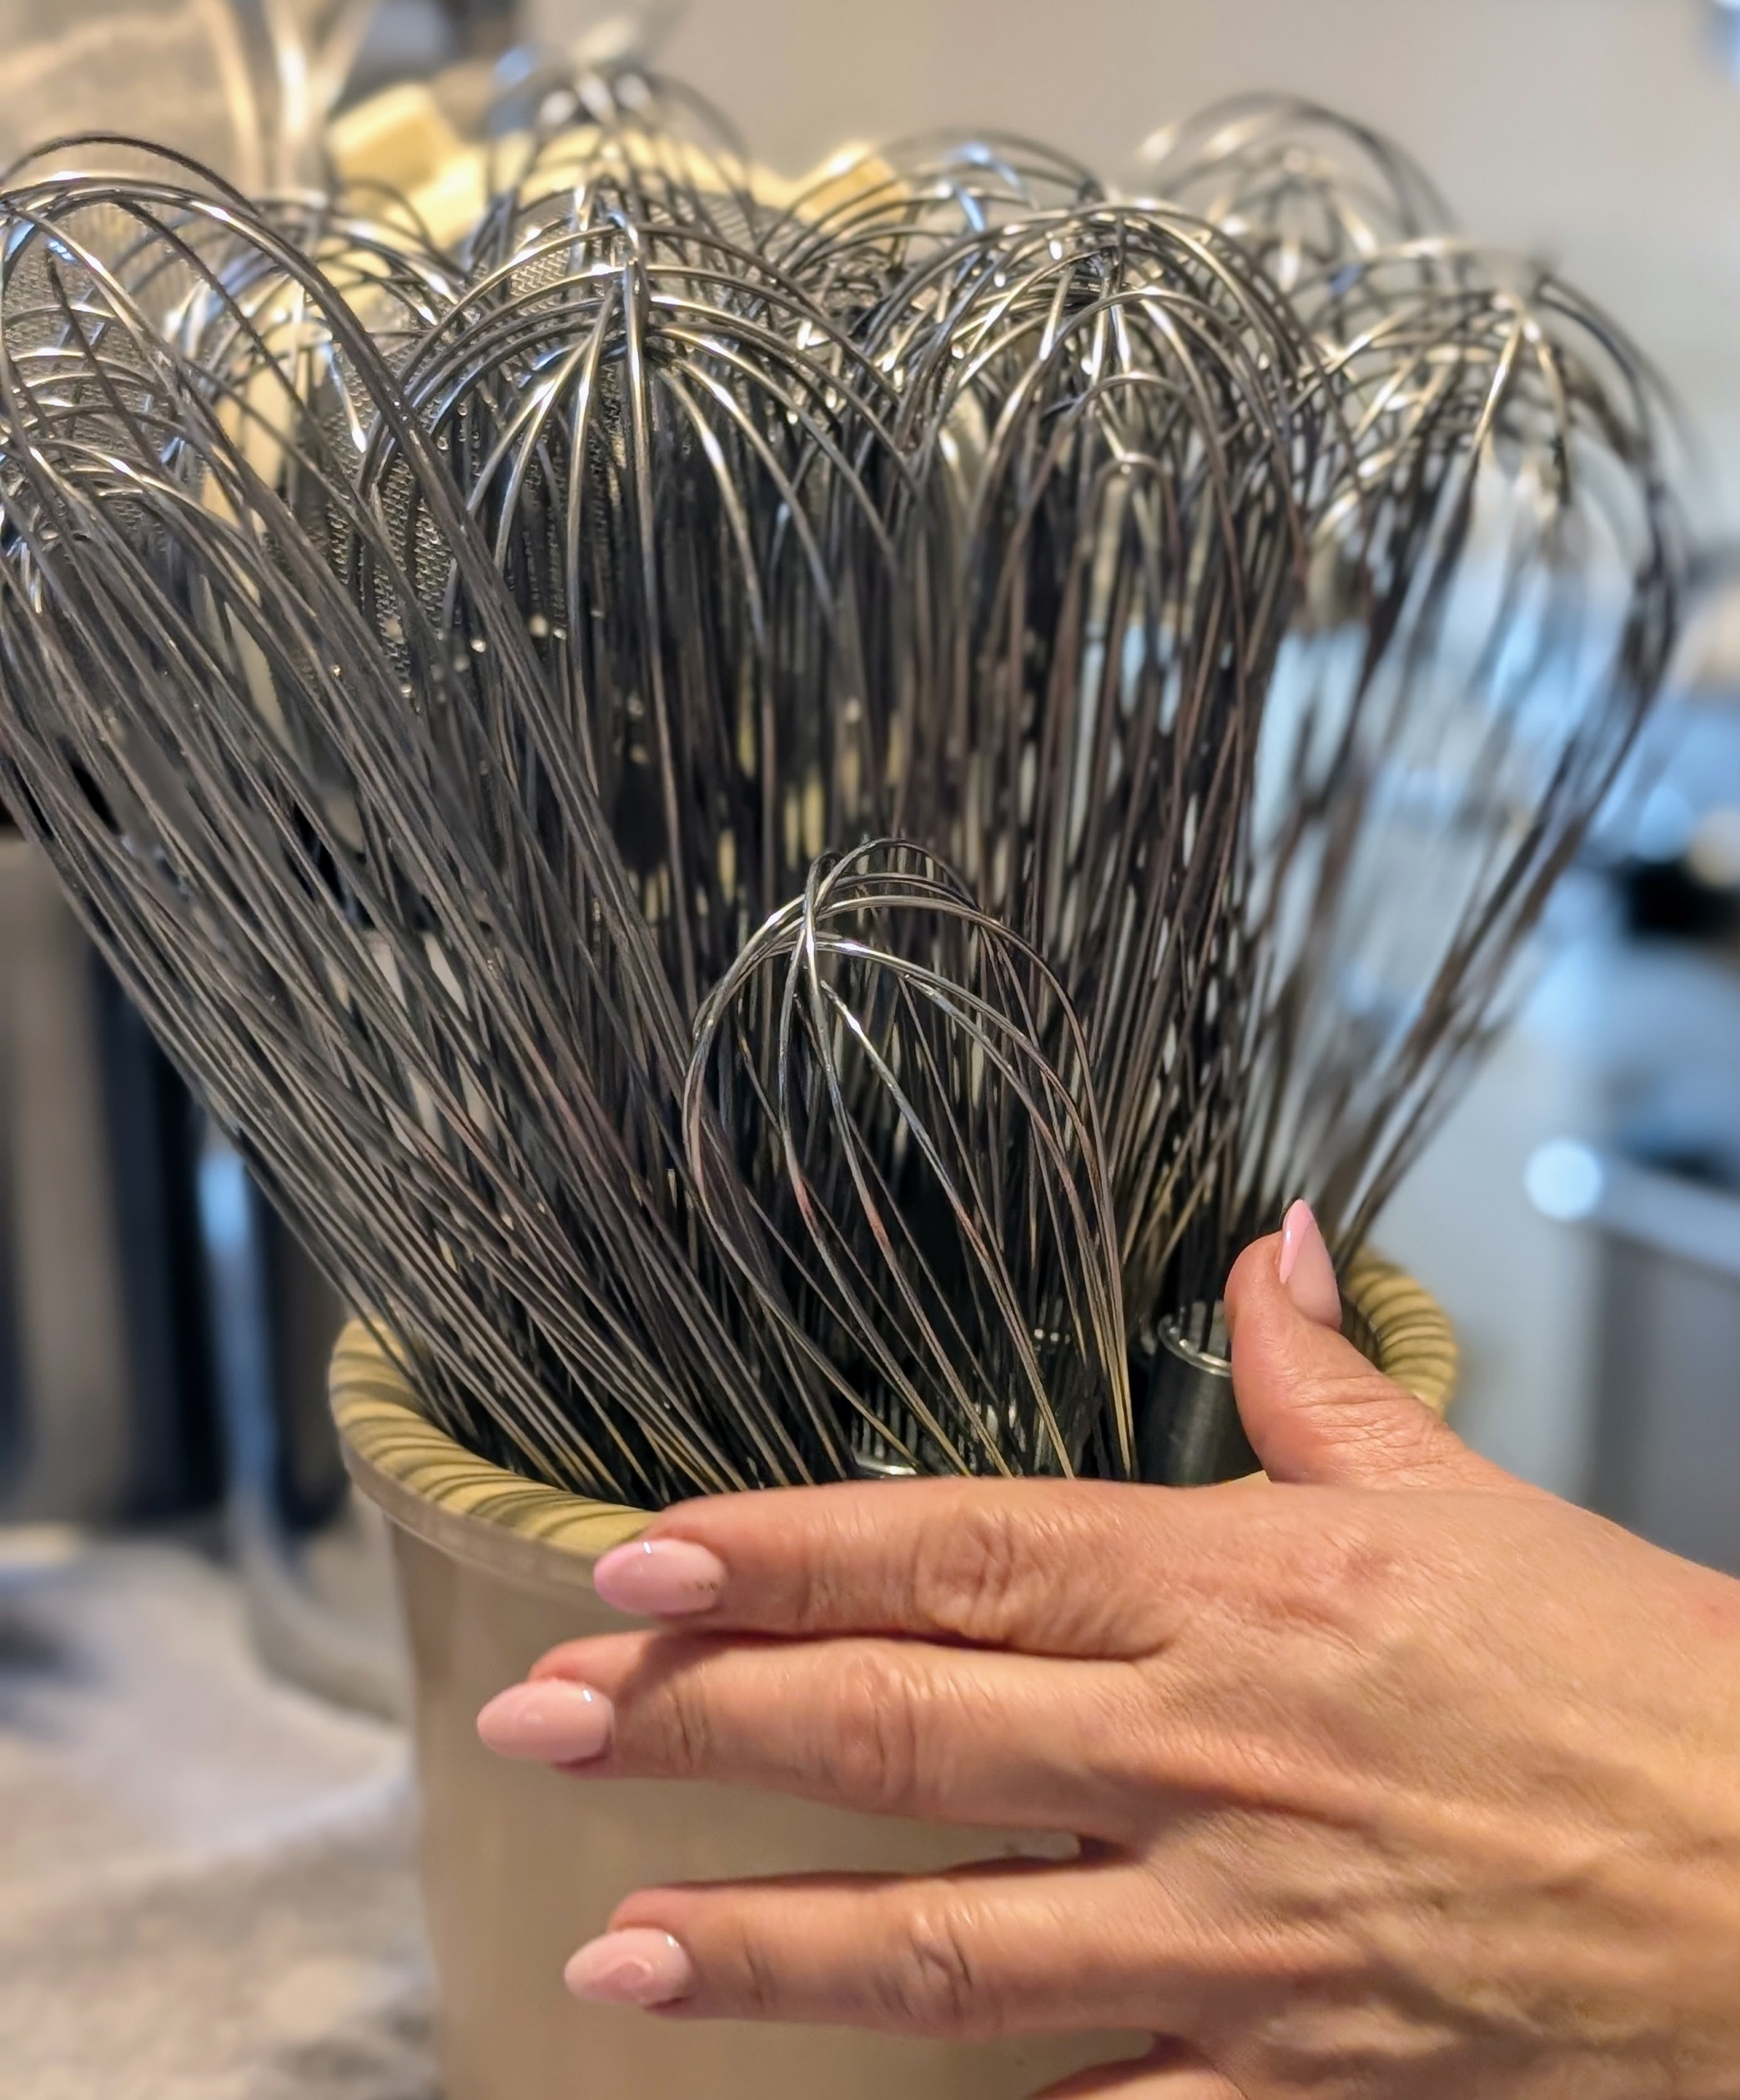
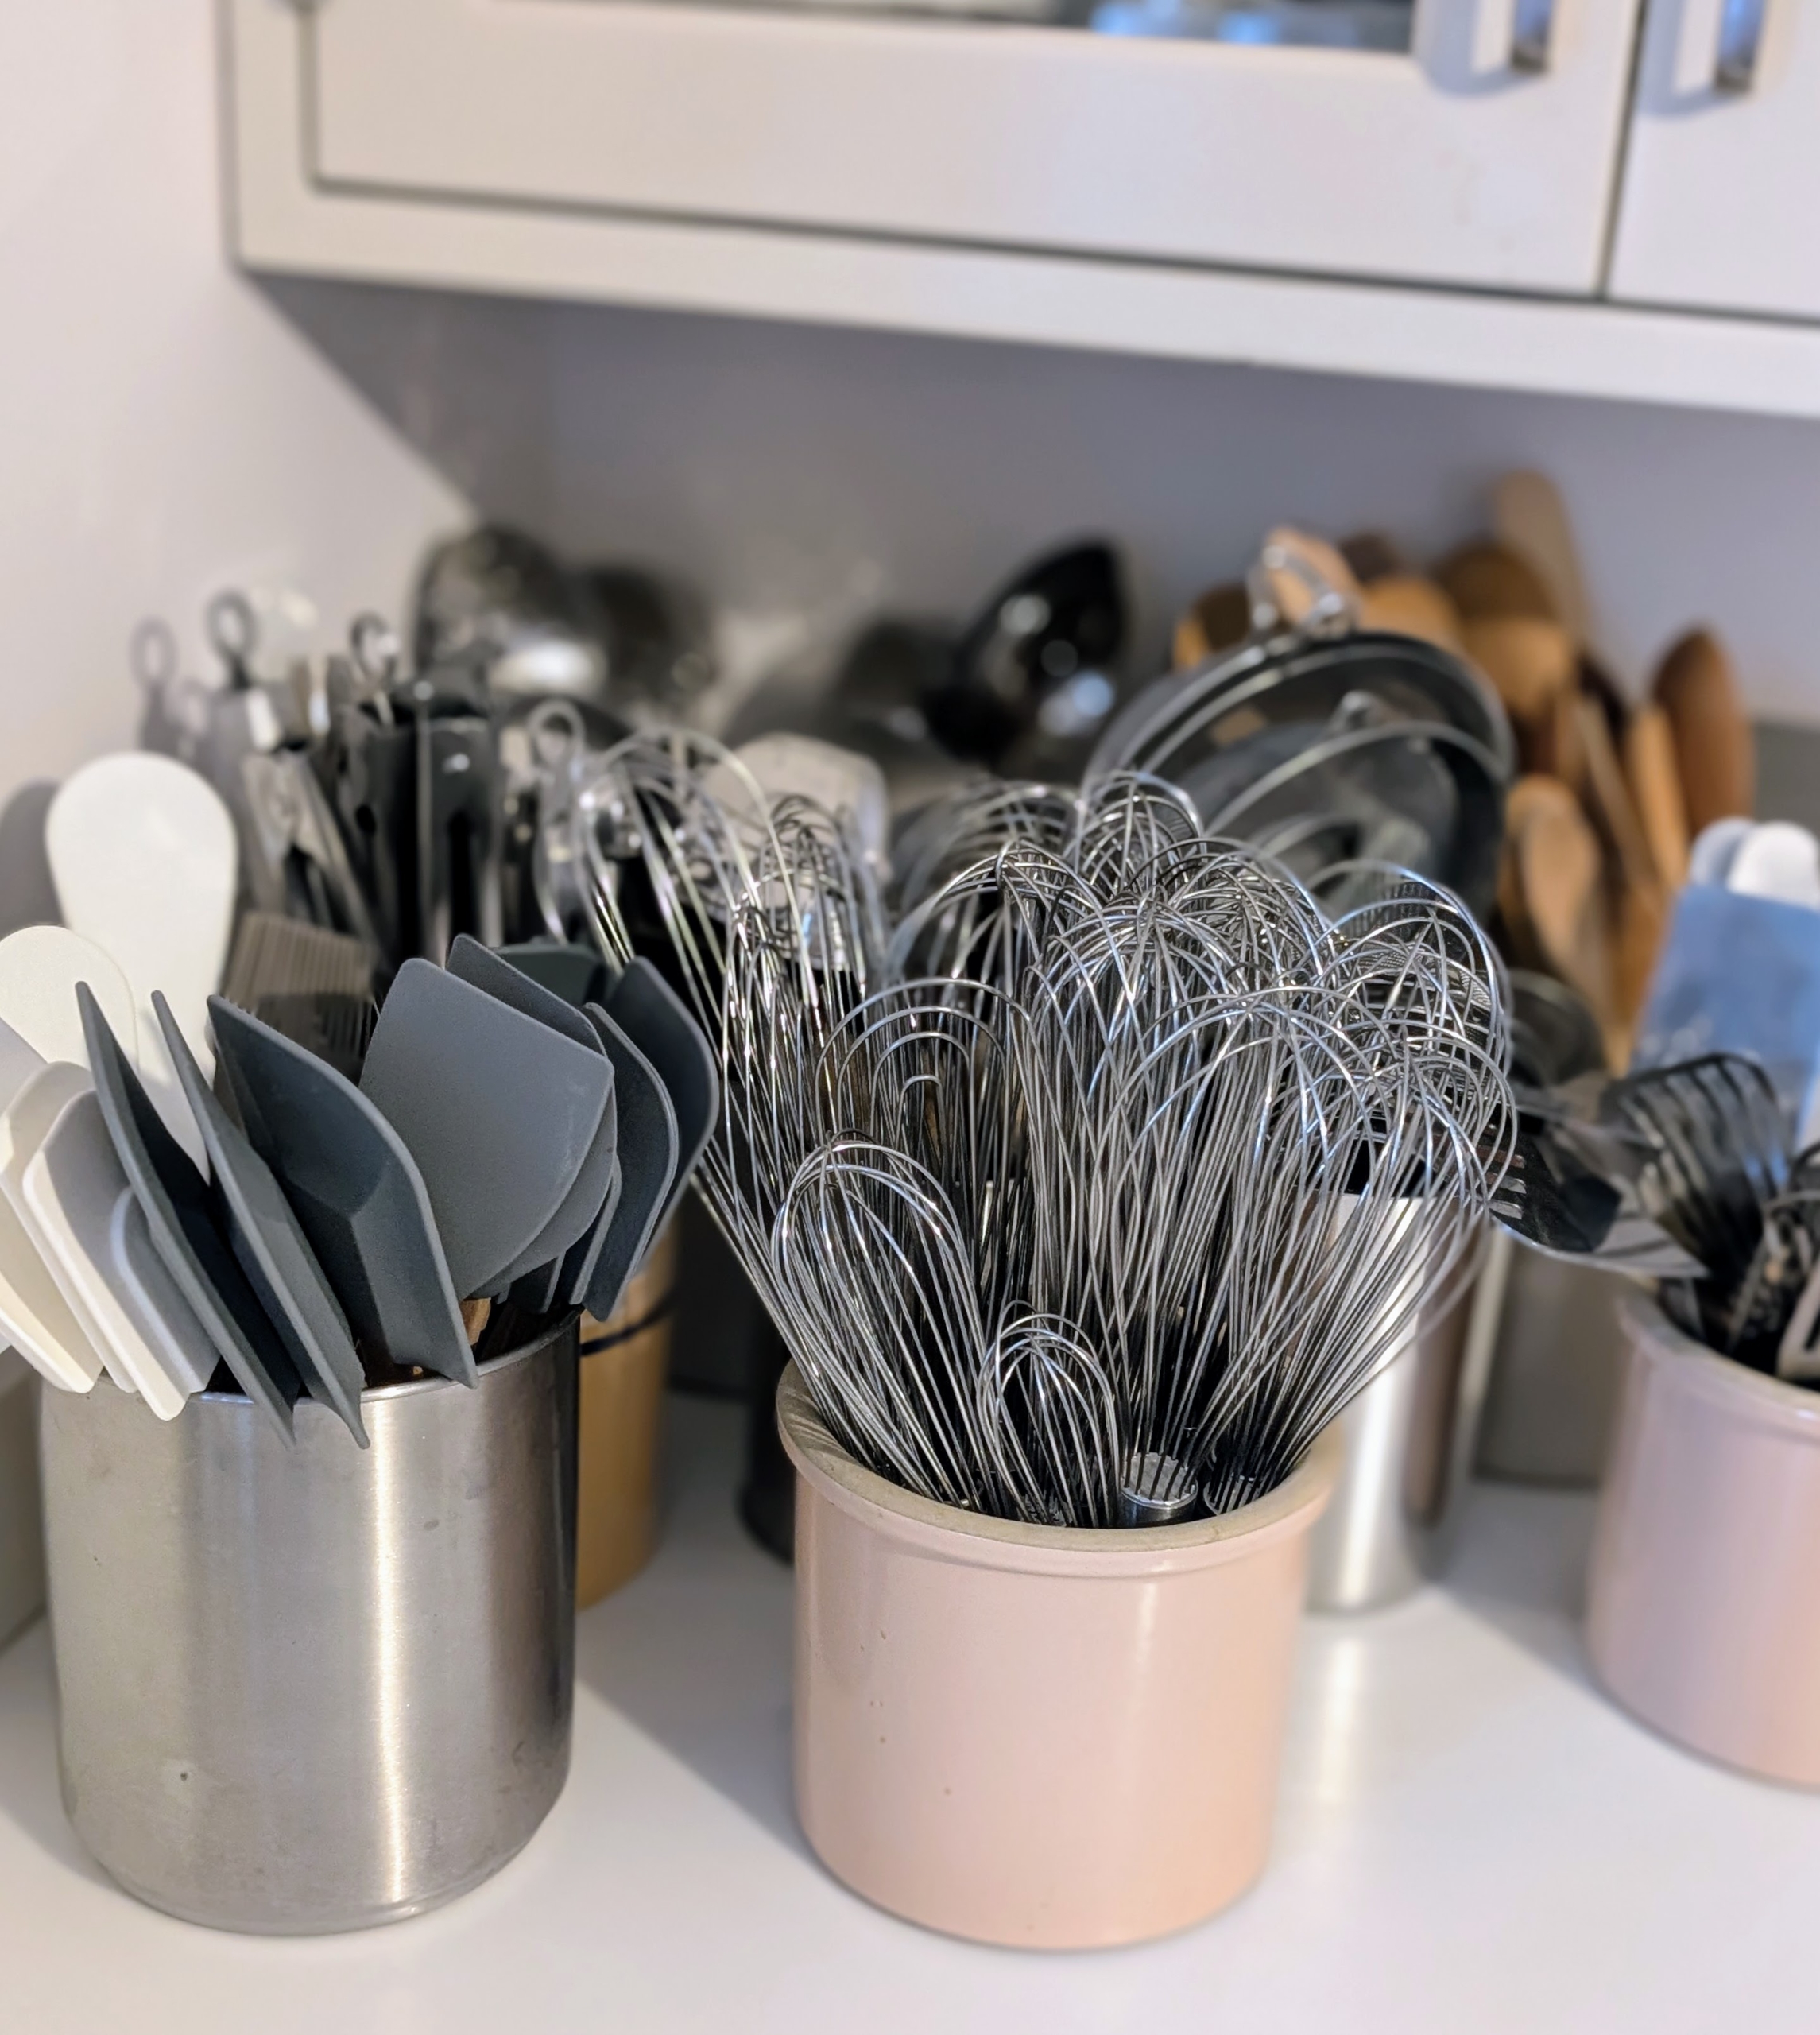
These are whisks. I have all kinds of whisks – big, small, classic, balloon, and flat whisks. Each kind is designed for a different function, but all are generally used for blending, beating, and whipping ingredients together.
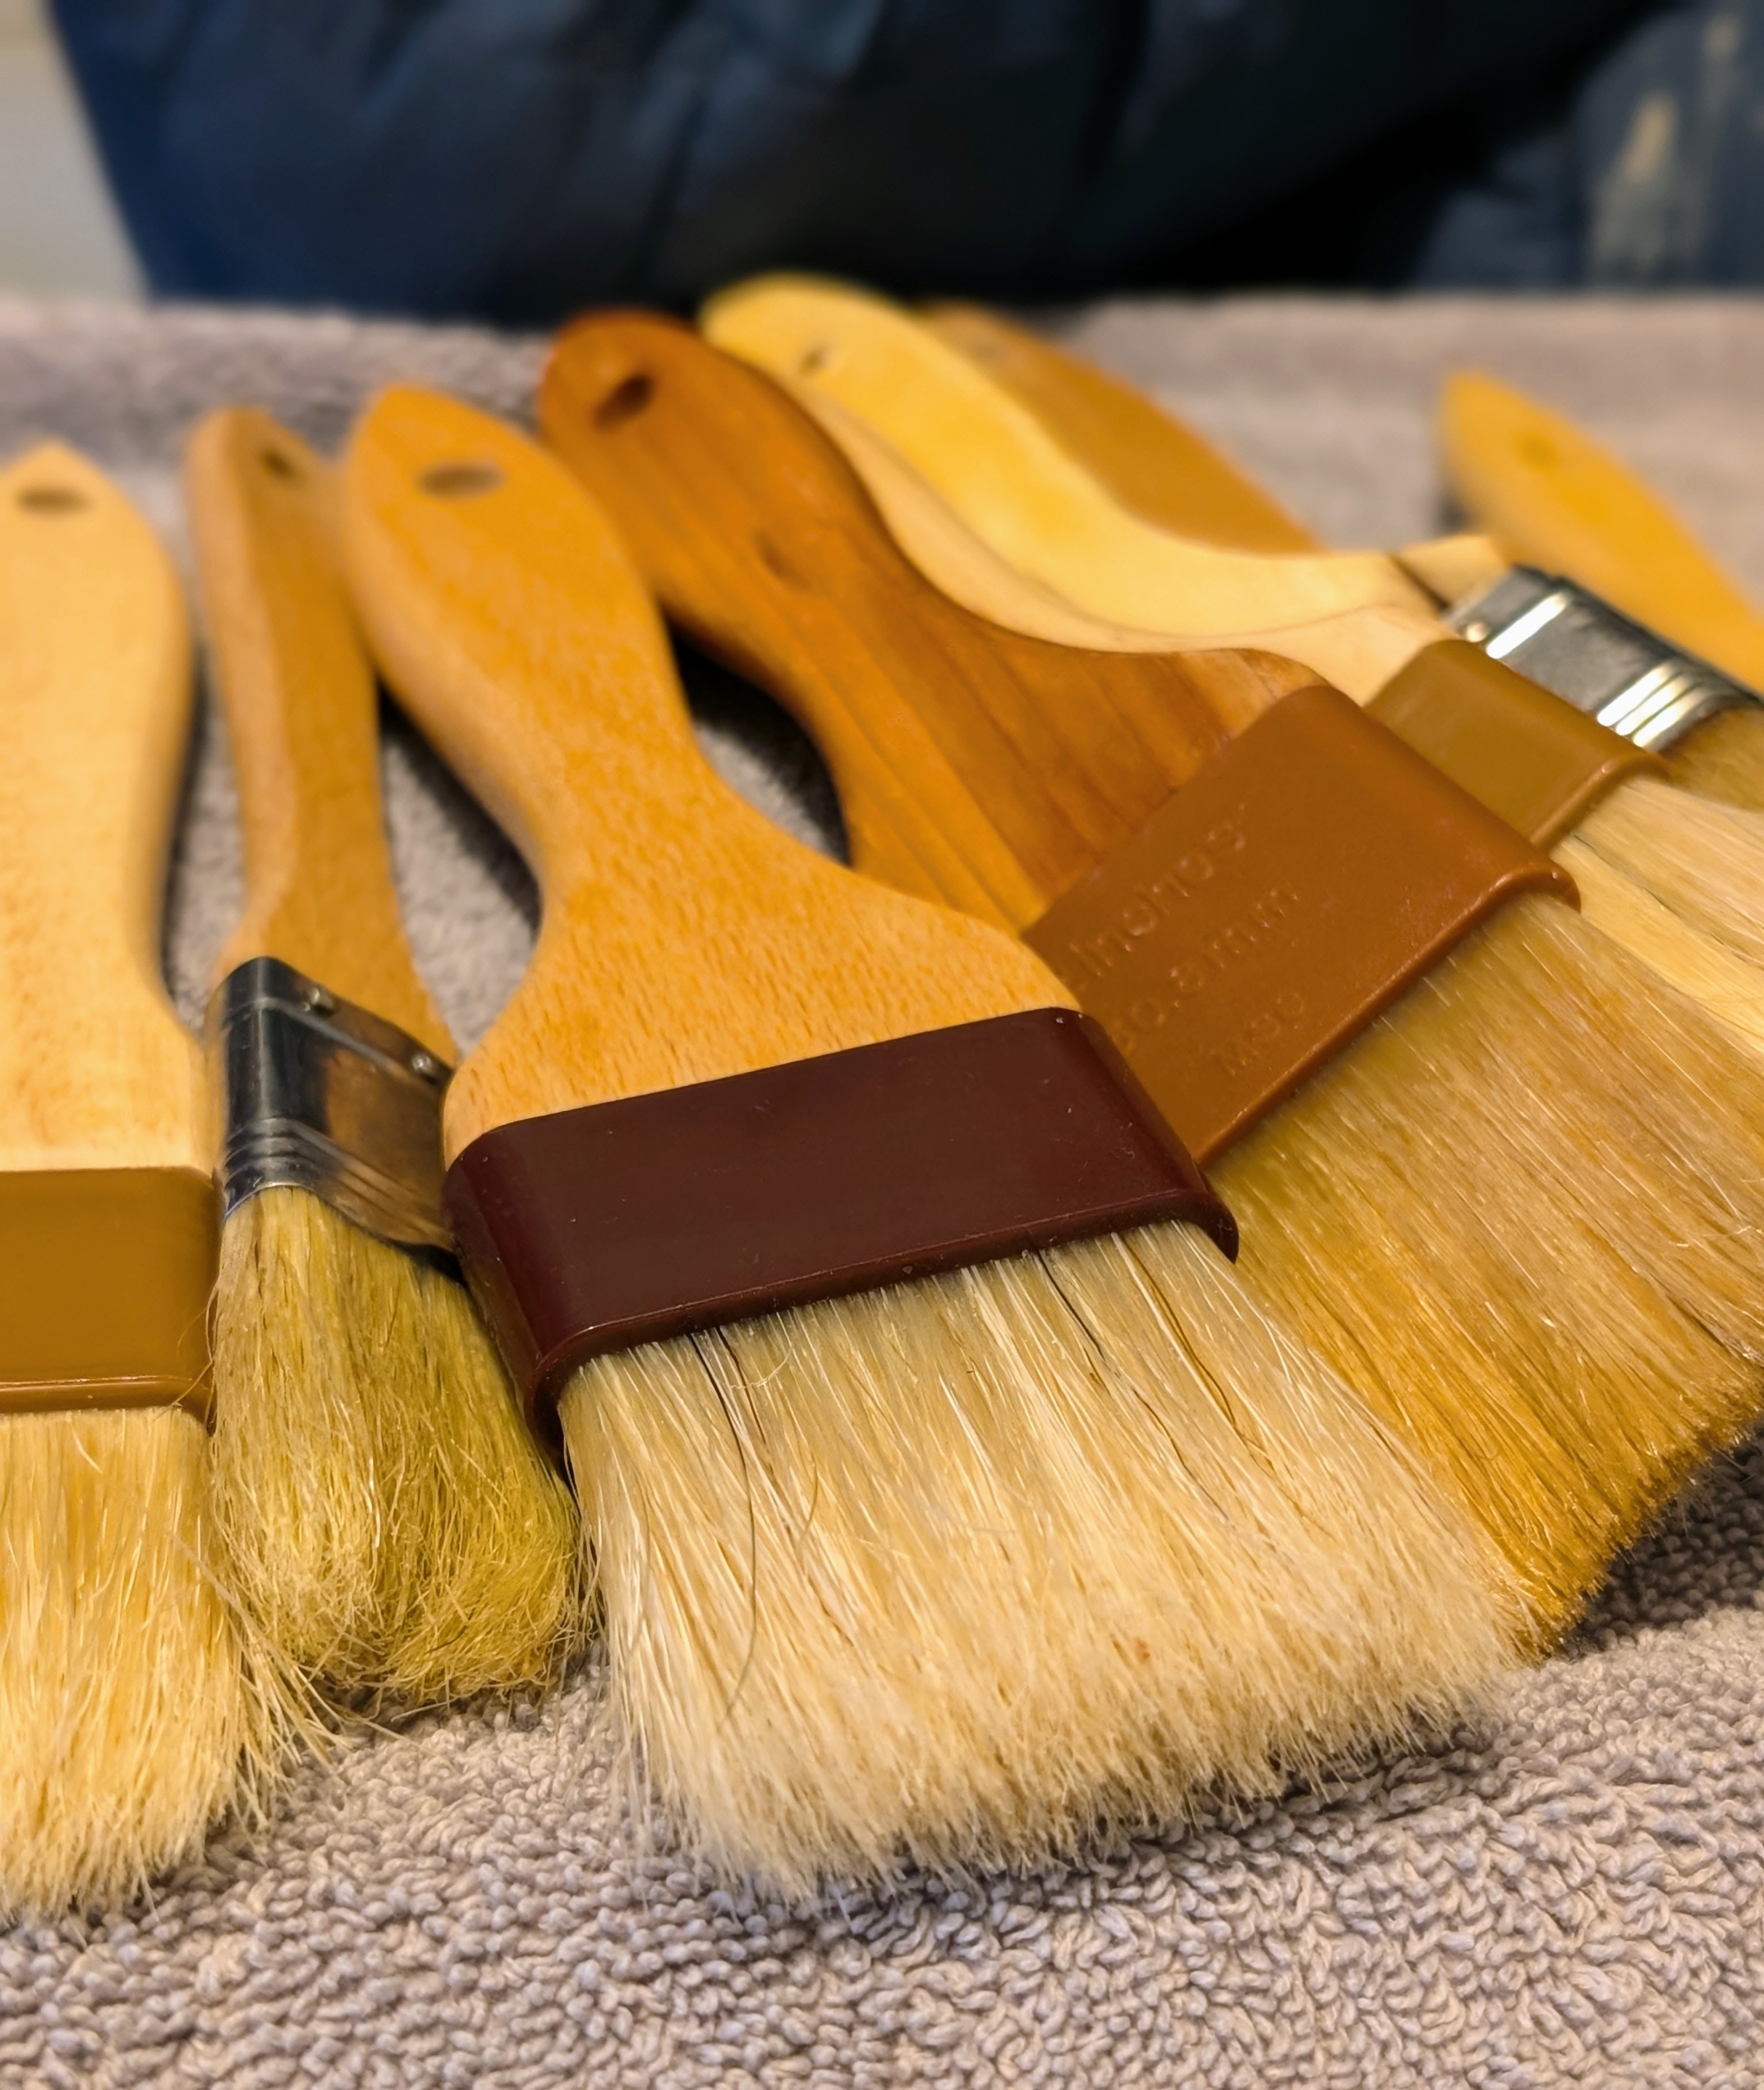
I also have a large assortment of basting brushes – some made with animal hair, some synthetic. I have wide ones and narrow ones. I also have silicone bristle brushes that are easier to clean and suitable for basic basting tasks.
The process of organizing kitchen tools is a good way to declutter and condense one’s collection and make room for other necessary items.
And these small organizing chores can be done in batches, whenever a busy schedule allows. Enma also makes sure every piece is clean and ready to use.
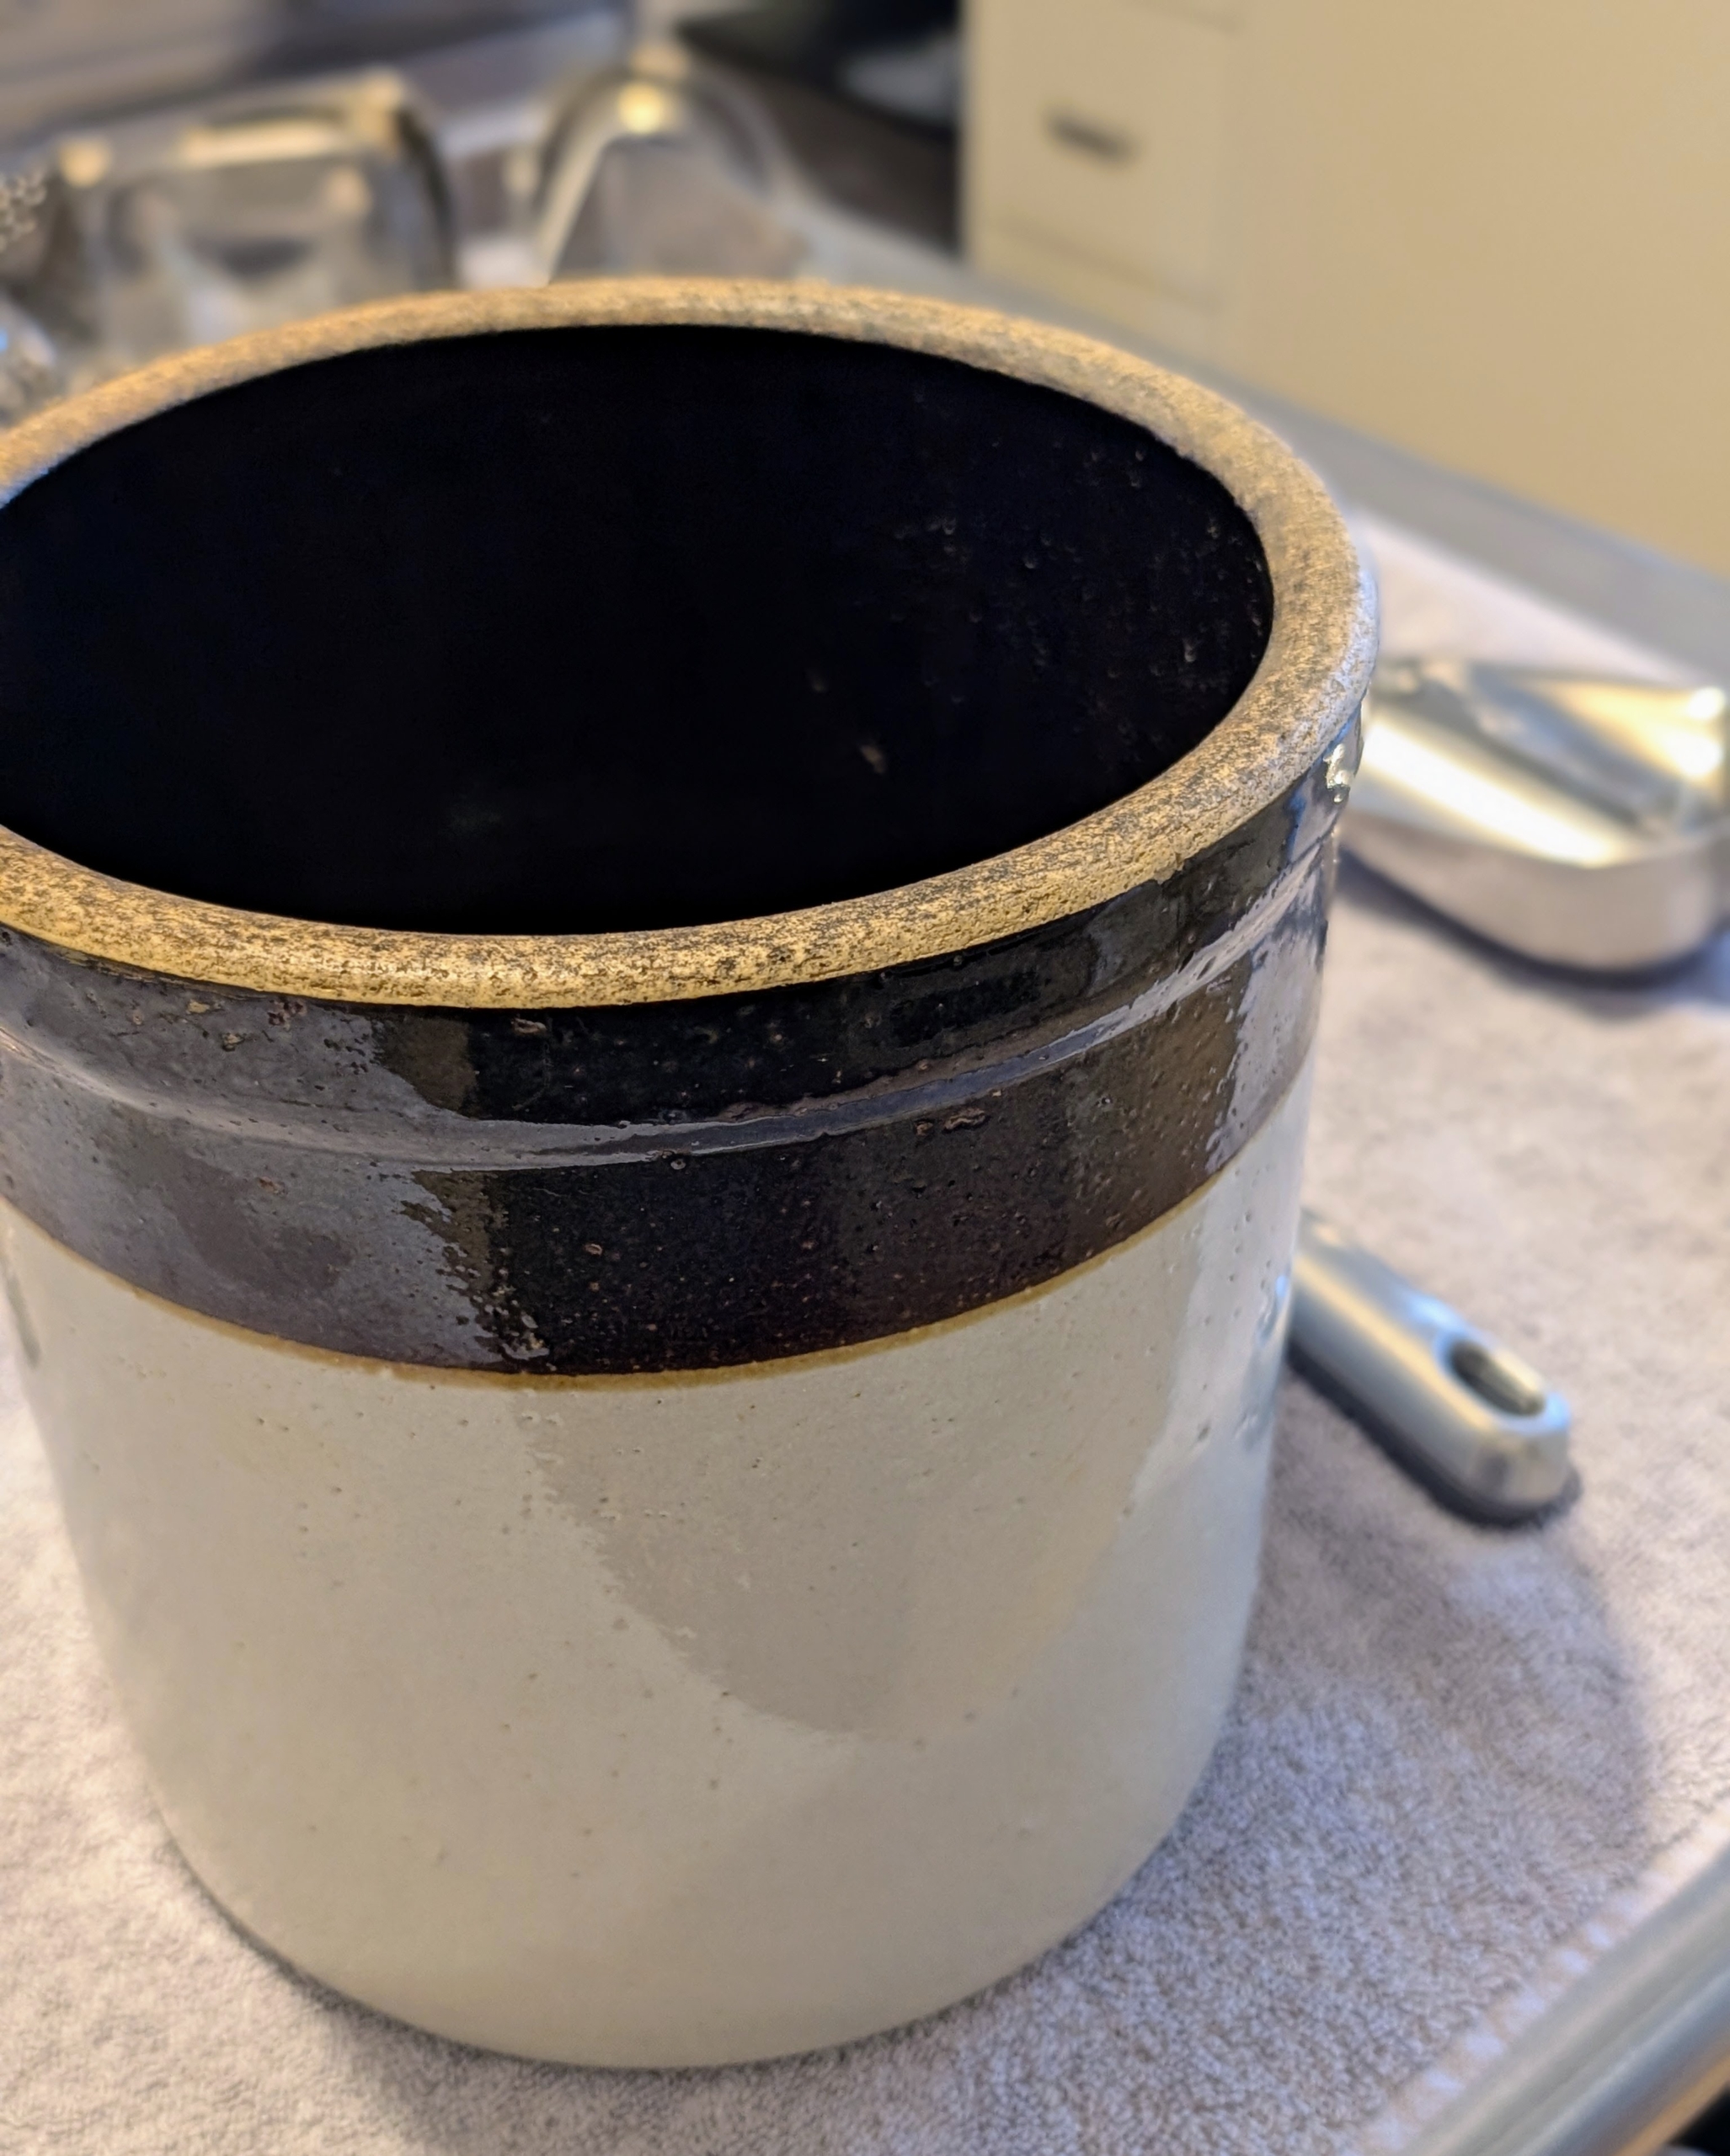
Vintage and antique crocks can be used to hold utensils on the counter. These strong, large jars are durable and easy to keep clean. They can be found at tag sales and consignment shops, or new in stores and online.
Metal spatulas first. Enma returns them in size order, so everything is easy to see.
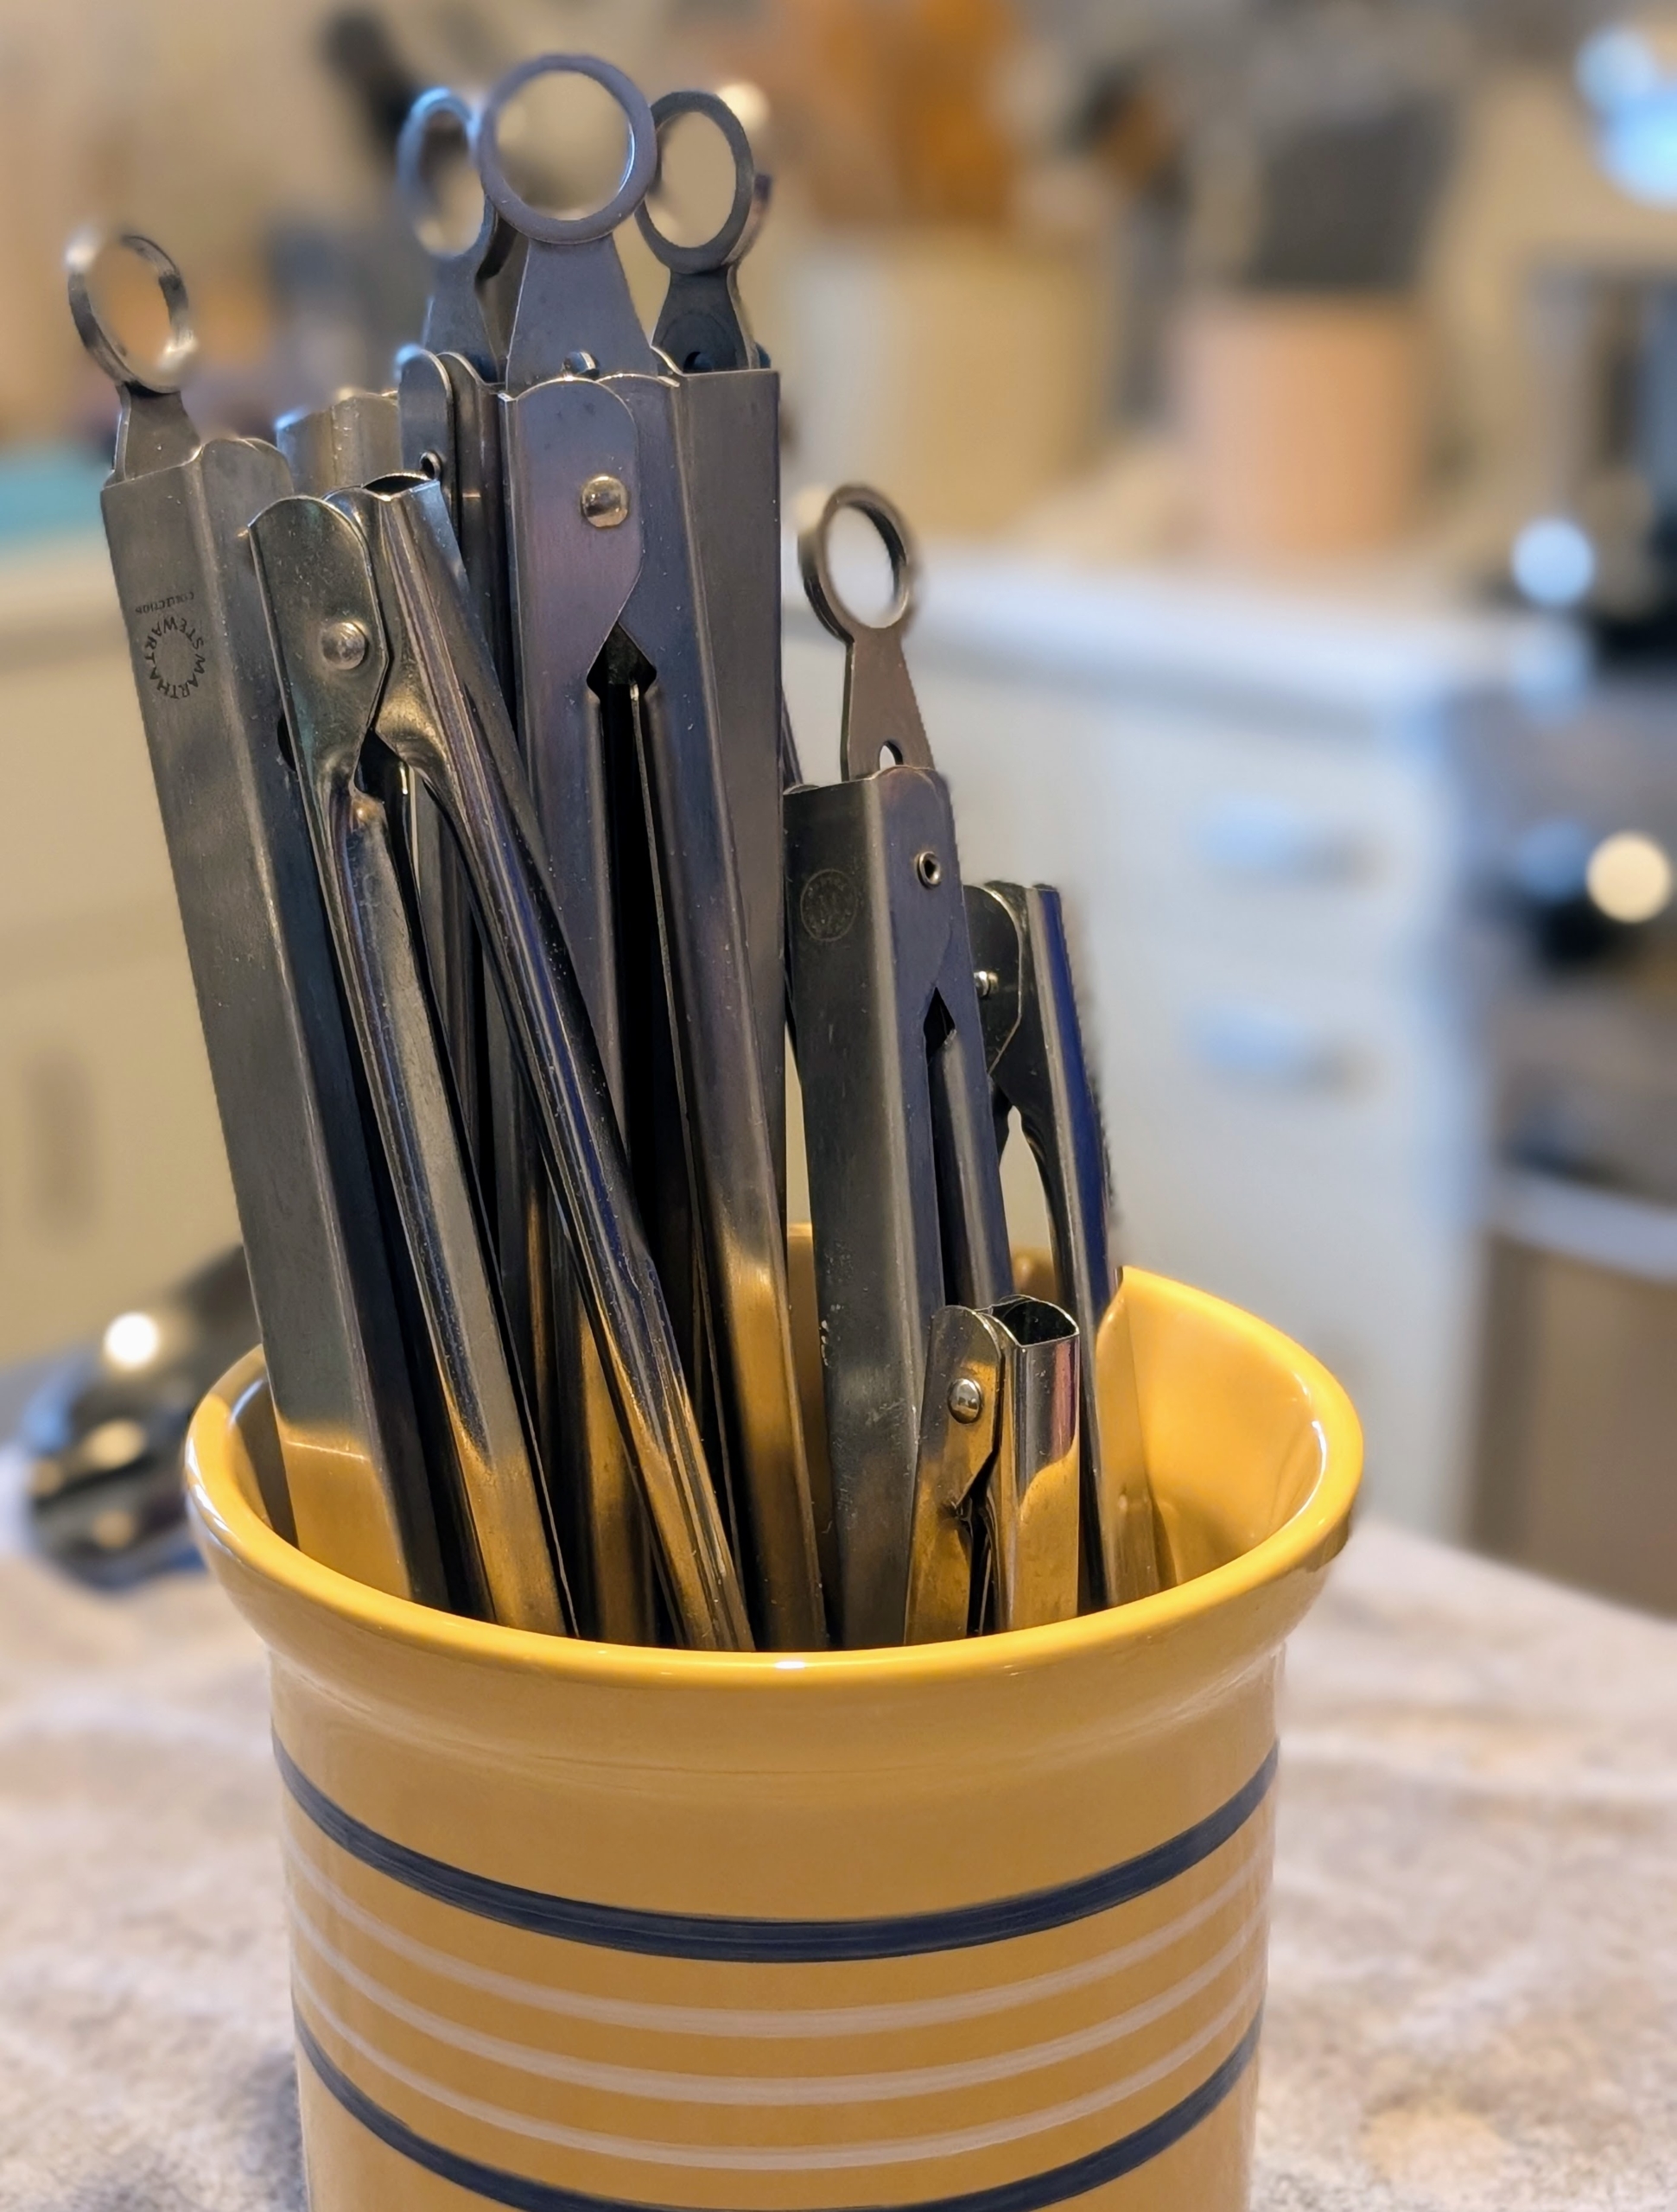
This crock is filled with tongs of all sizes – again in size order.
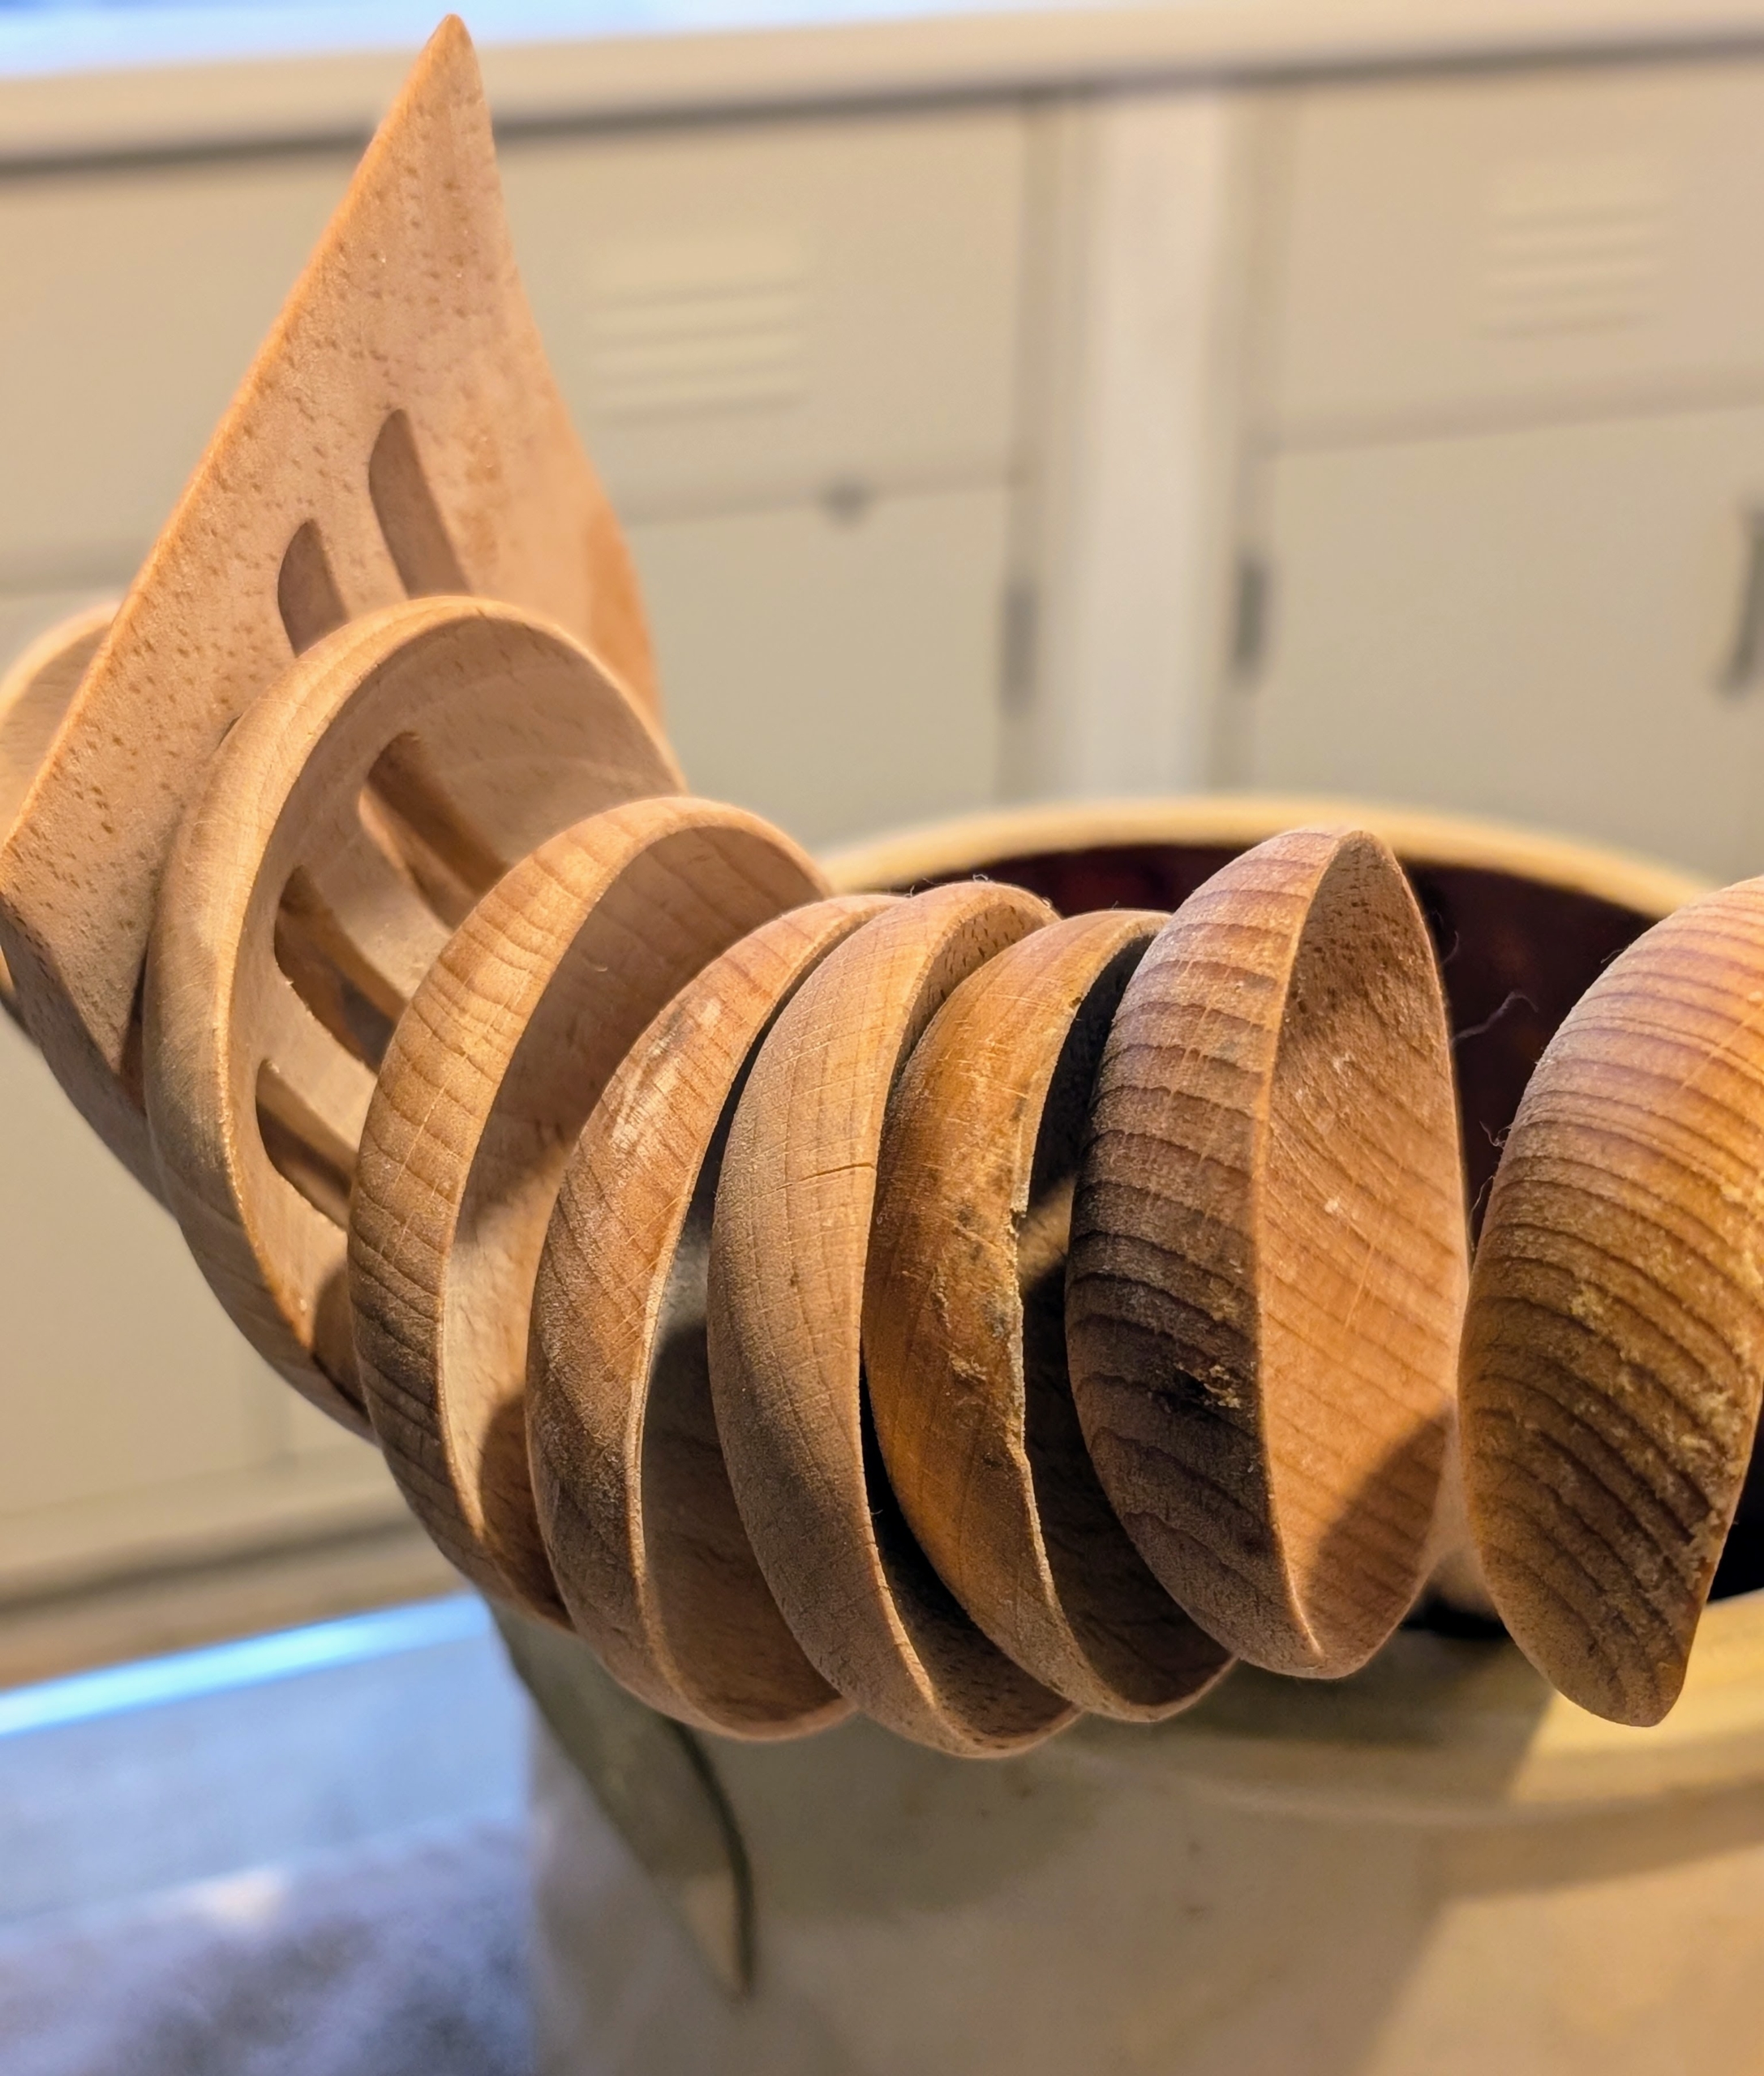
The wooden spoons are arranged in a nesting display to save space.
And all like tools are kept together, so there’s no question where to find what.
Here is a vessel of nesting sifters and strainers, now within arm’s reach.
And here are all the whisks. Any unused pieces in good condition can be given away or donated.
In my Winter House, I keep frequently used utensils on a movable cart, but crocks of tools on the counter is also very helpful. In just a few minutes, all these supplies are neatly organized in clean, containers close at hand. What’s next?
Remember this one? This encore blog is from my trip to Namibia. It was originally posted at the beginning of this year on January 11, 2025.
I always enjoy traveling with my family, especially now that my grandchildren are older and can help decide our destinations and plan our itineraries.
Over the holidays, my daughter, Alexis, her children, Jude and Truman, our friend Ari Katz, and I spent a very interesting seven days in the Republic of Namibia, a country located in Southern Africa that shares borders with Angola, Zambia, Botswana, South Africa, and the Atlantic Ocean. We toured the area with Micato safaris. We traveled through Etosha National Park and the Ongava Game Reserve. We journeyed through the Kaokoveld Desert which stretches into the Skeleton Coast from the northwestern part of Namibia. During the trip, we saw a host of different animals including elephants, zebras, antelopes, impalas, giraffes, white rhinos, and so many more. We learned about the diverse vegetation and the alabaster salt pans. And we spent time with a local Himba tribe in their small village to understand how they've adapted to life in the desert for generations.
You may have seen some of my photos on my Instagram page @MarthaStewart48. Here are a few more, enjoy.
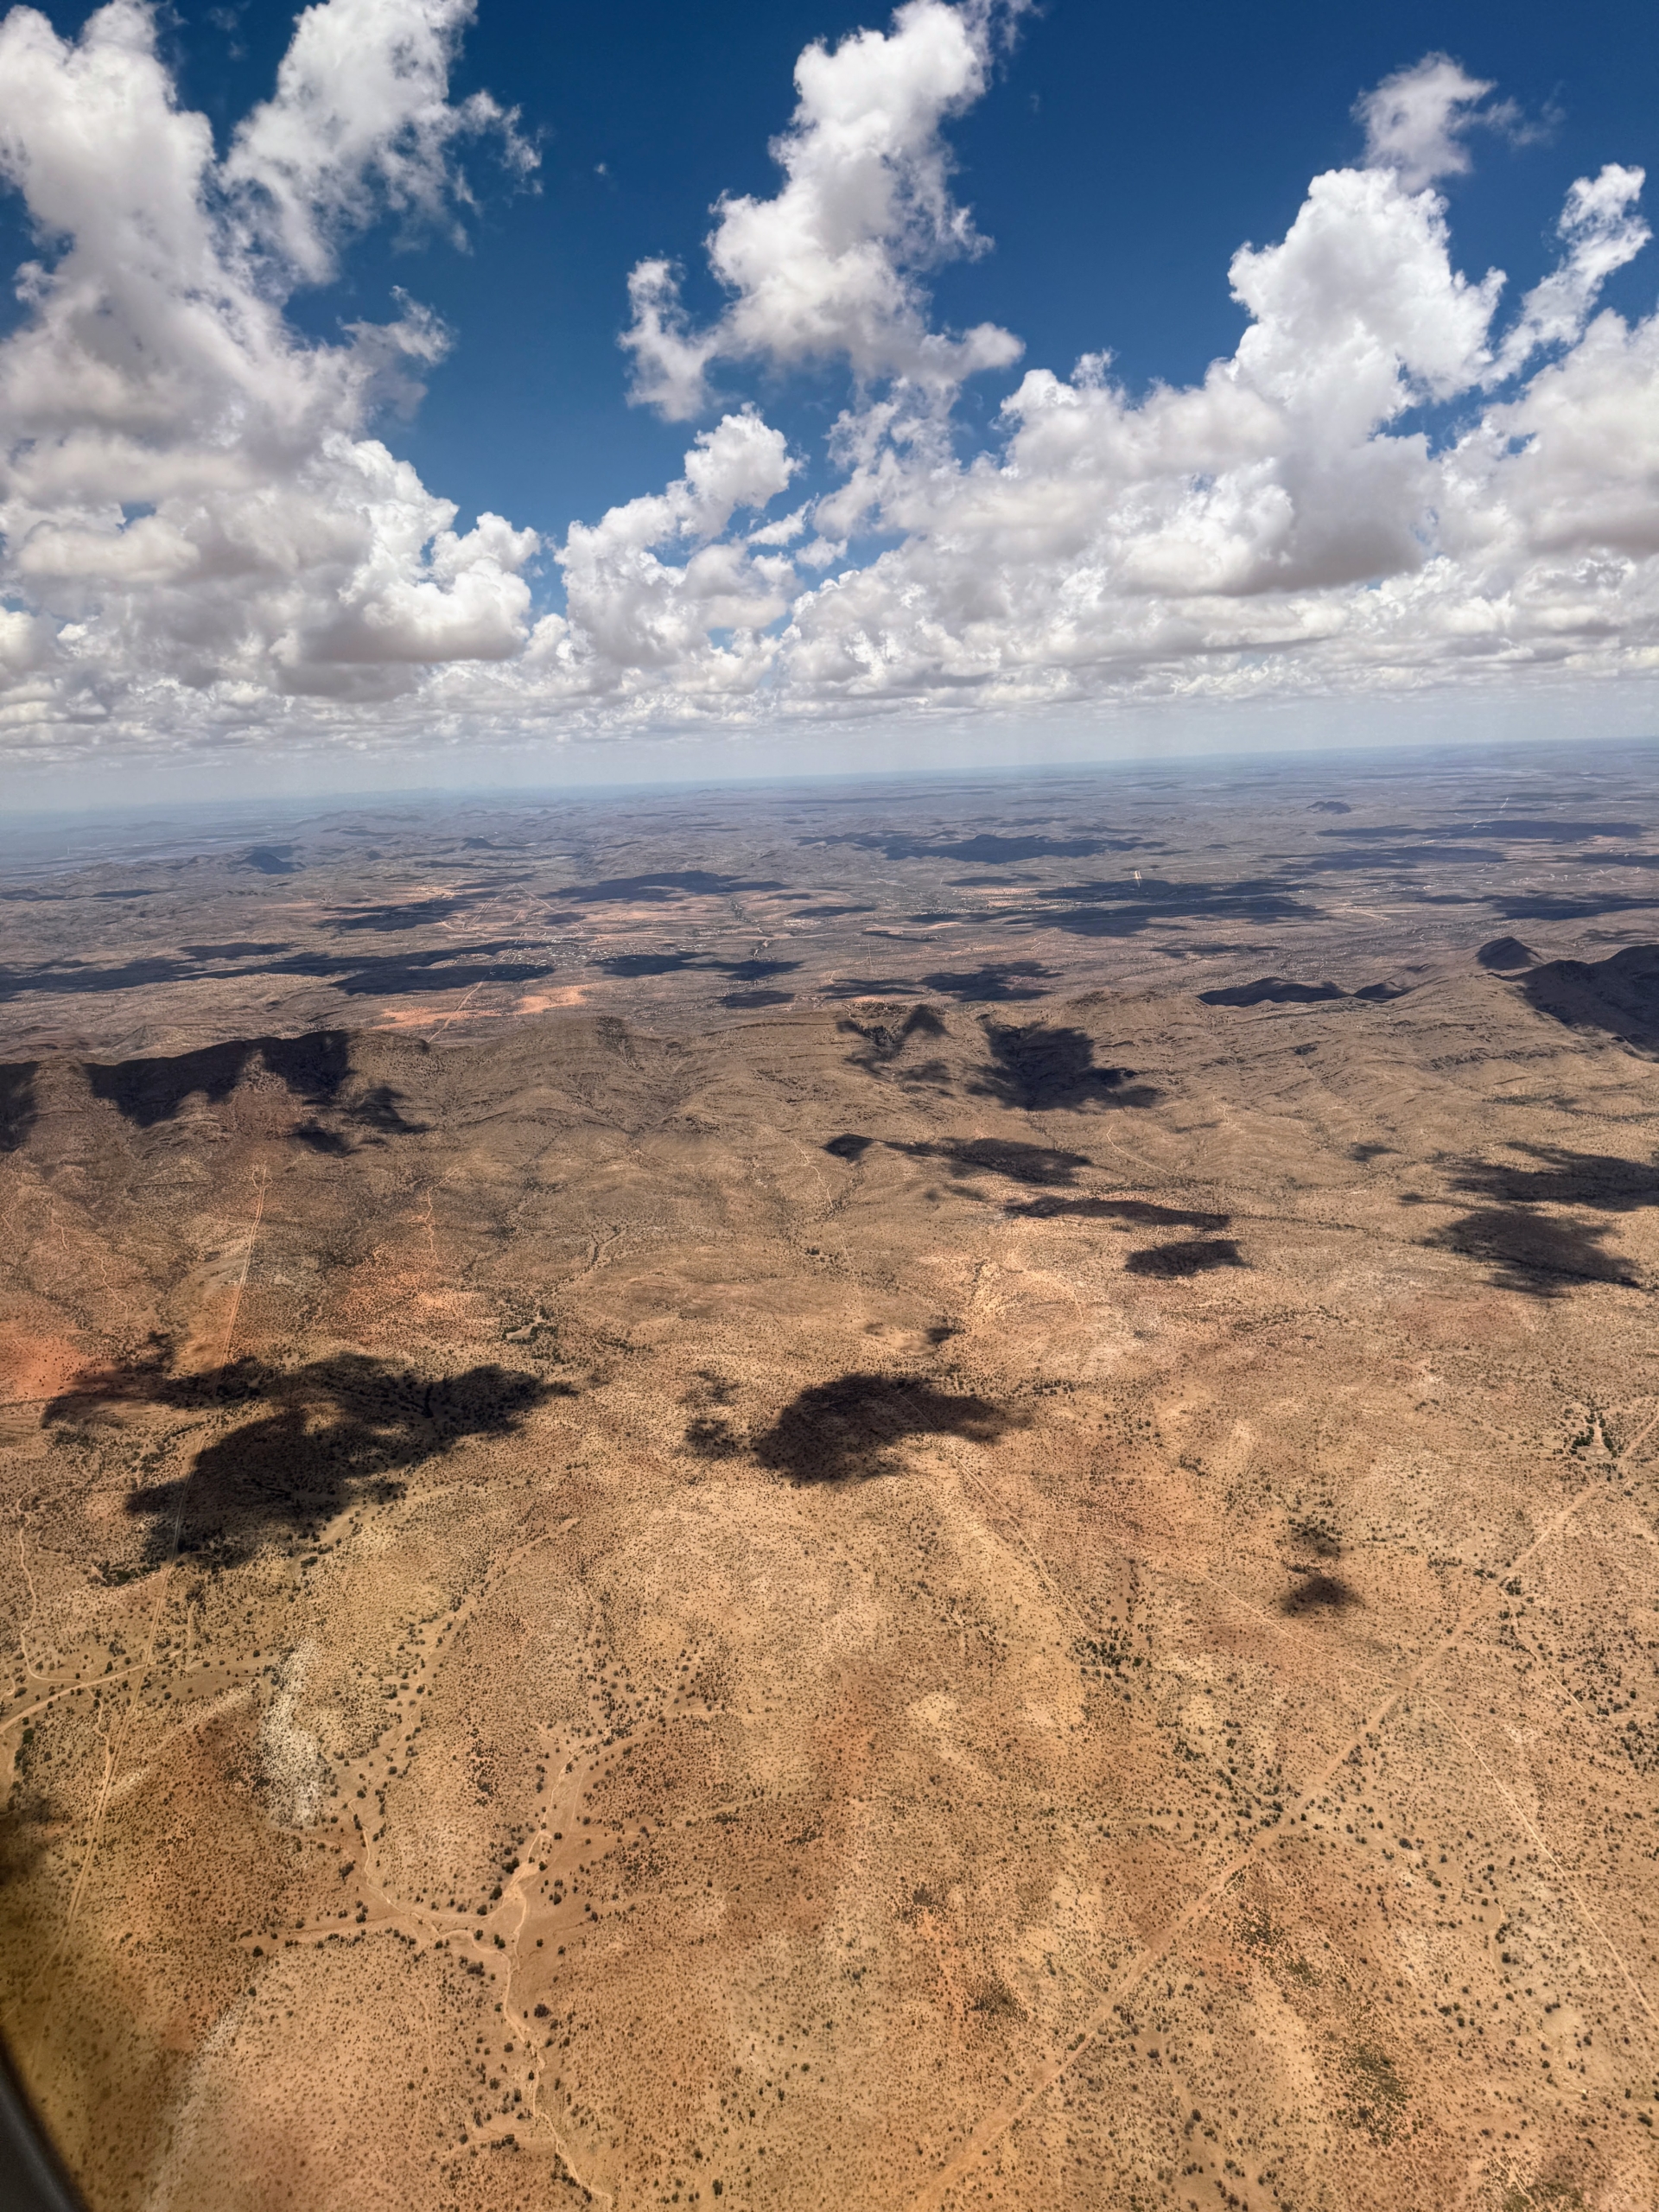
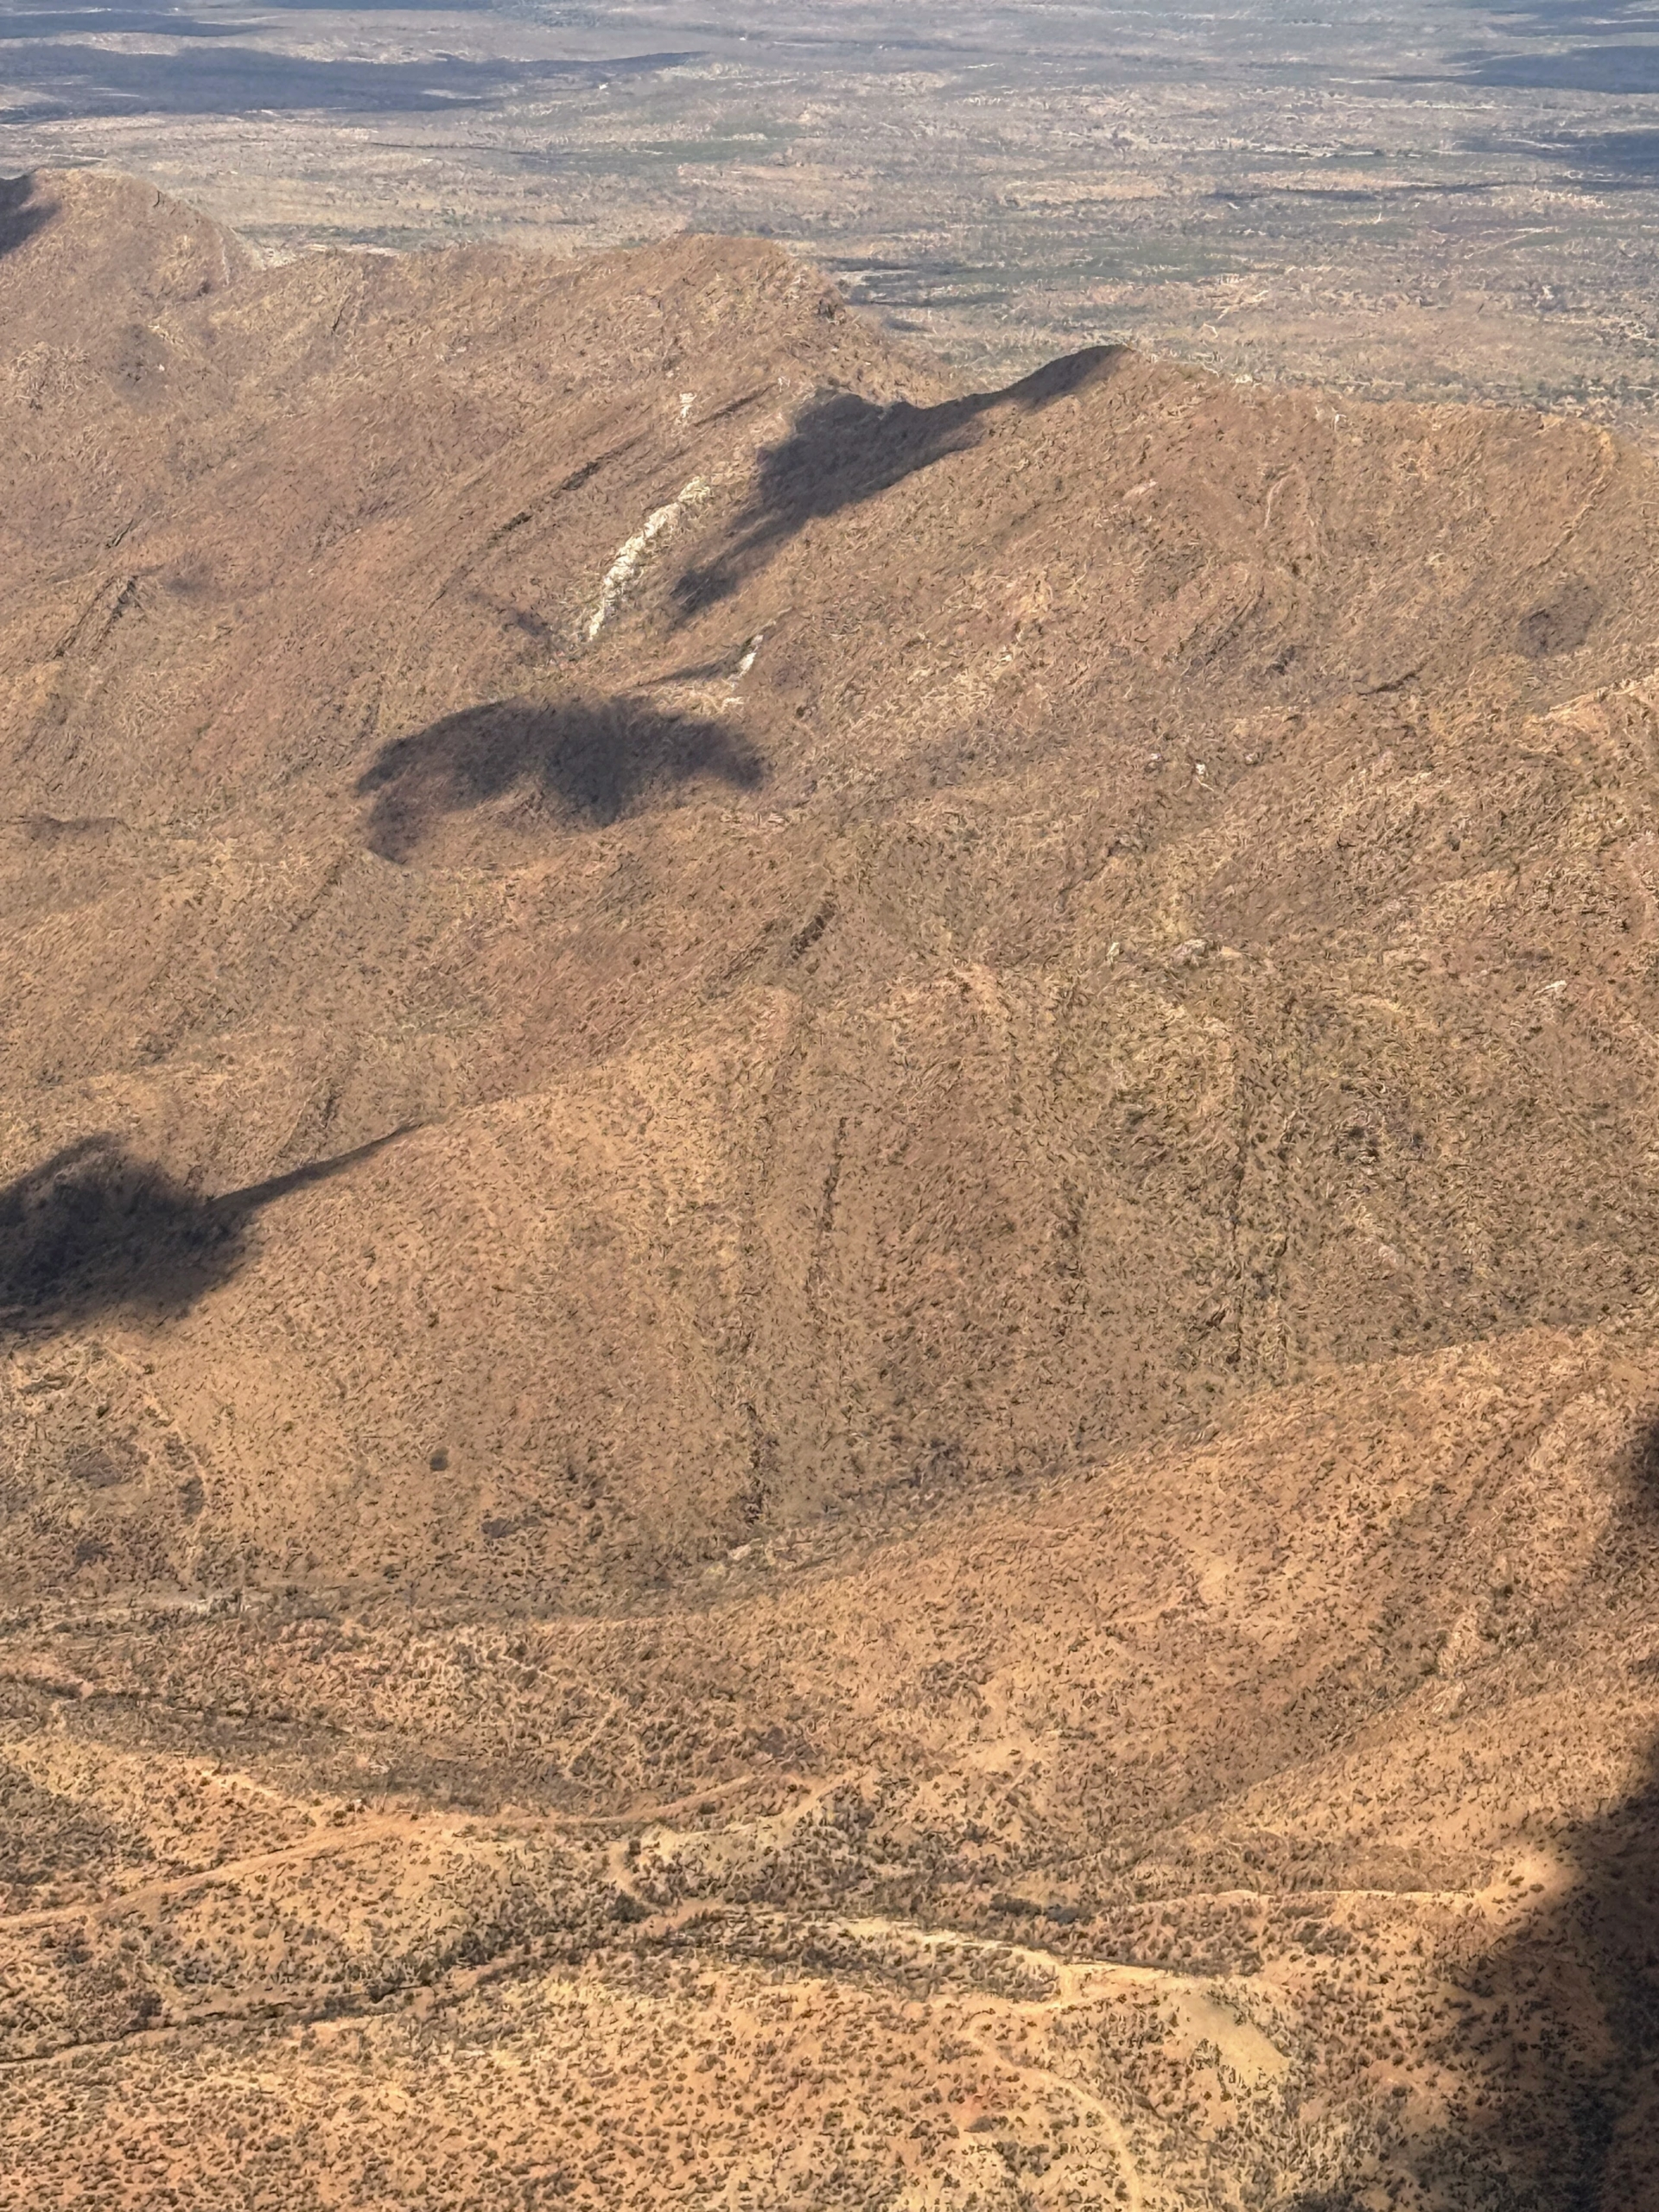
In December when my grandchildren are on holiday break from school, my family and I often travel somewhere exotic and interesting. Last month, we went to the Republic of Namibia in Southern Africa. The name of the country is derived from the Namib desert, believed to be the oldest desert in the world. The word Namib means “vast place”. Flying to our destination, we were able to capture many stunning desert photos.
Namibia is the driest country in Sub-Saharan Africa. The general climate of Namibia is arid with an average of more than 300 days of sunshine per year.
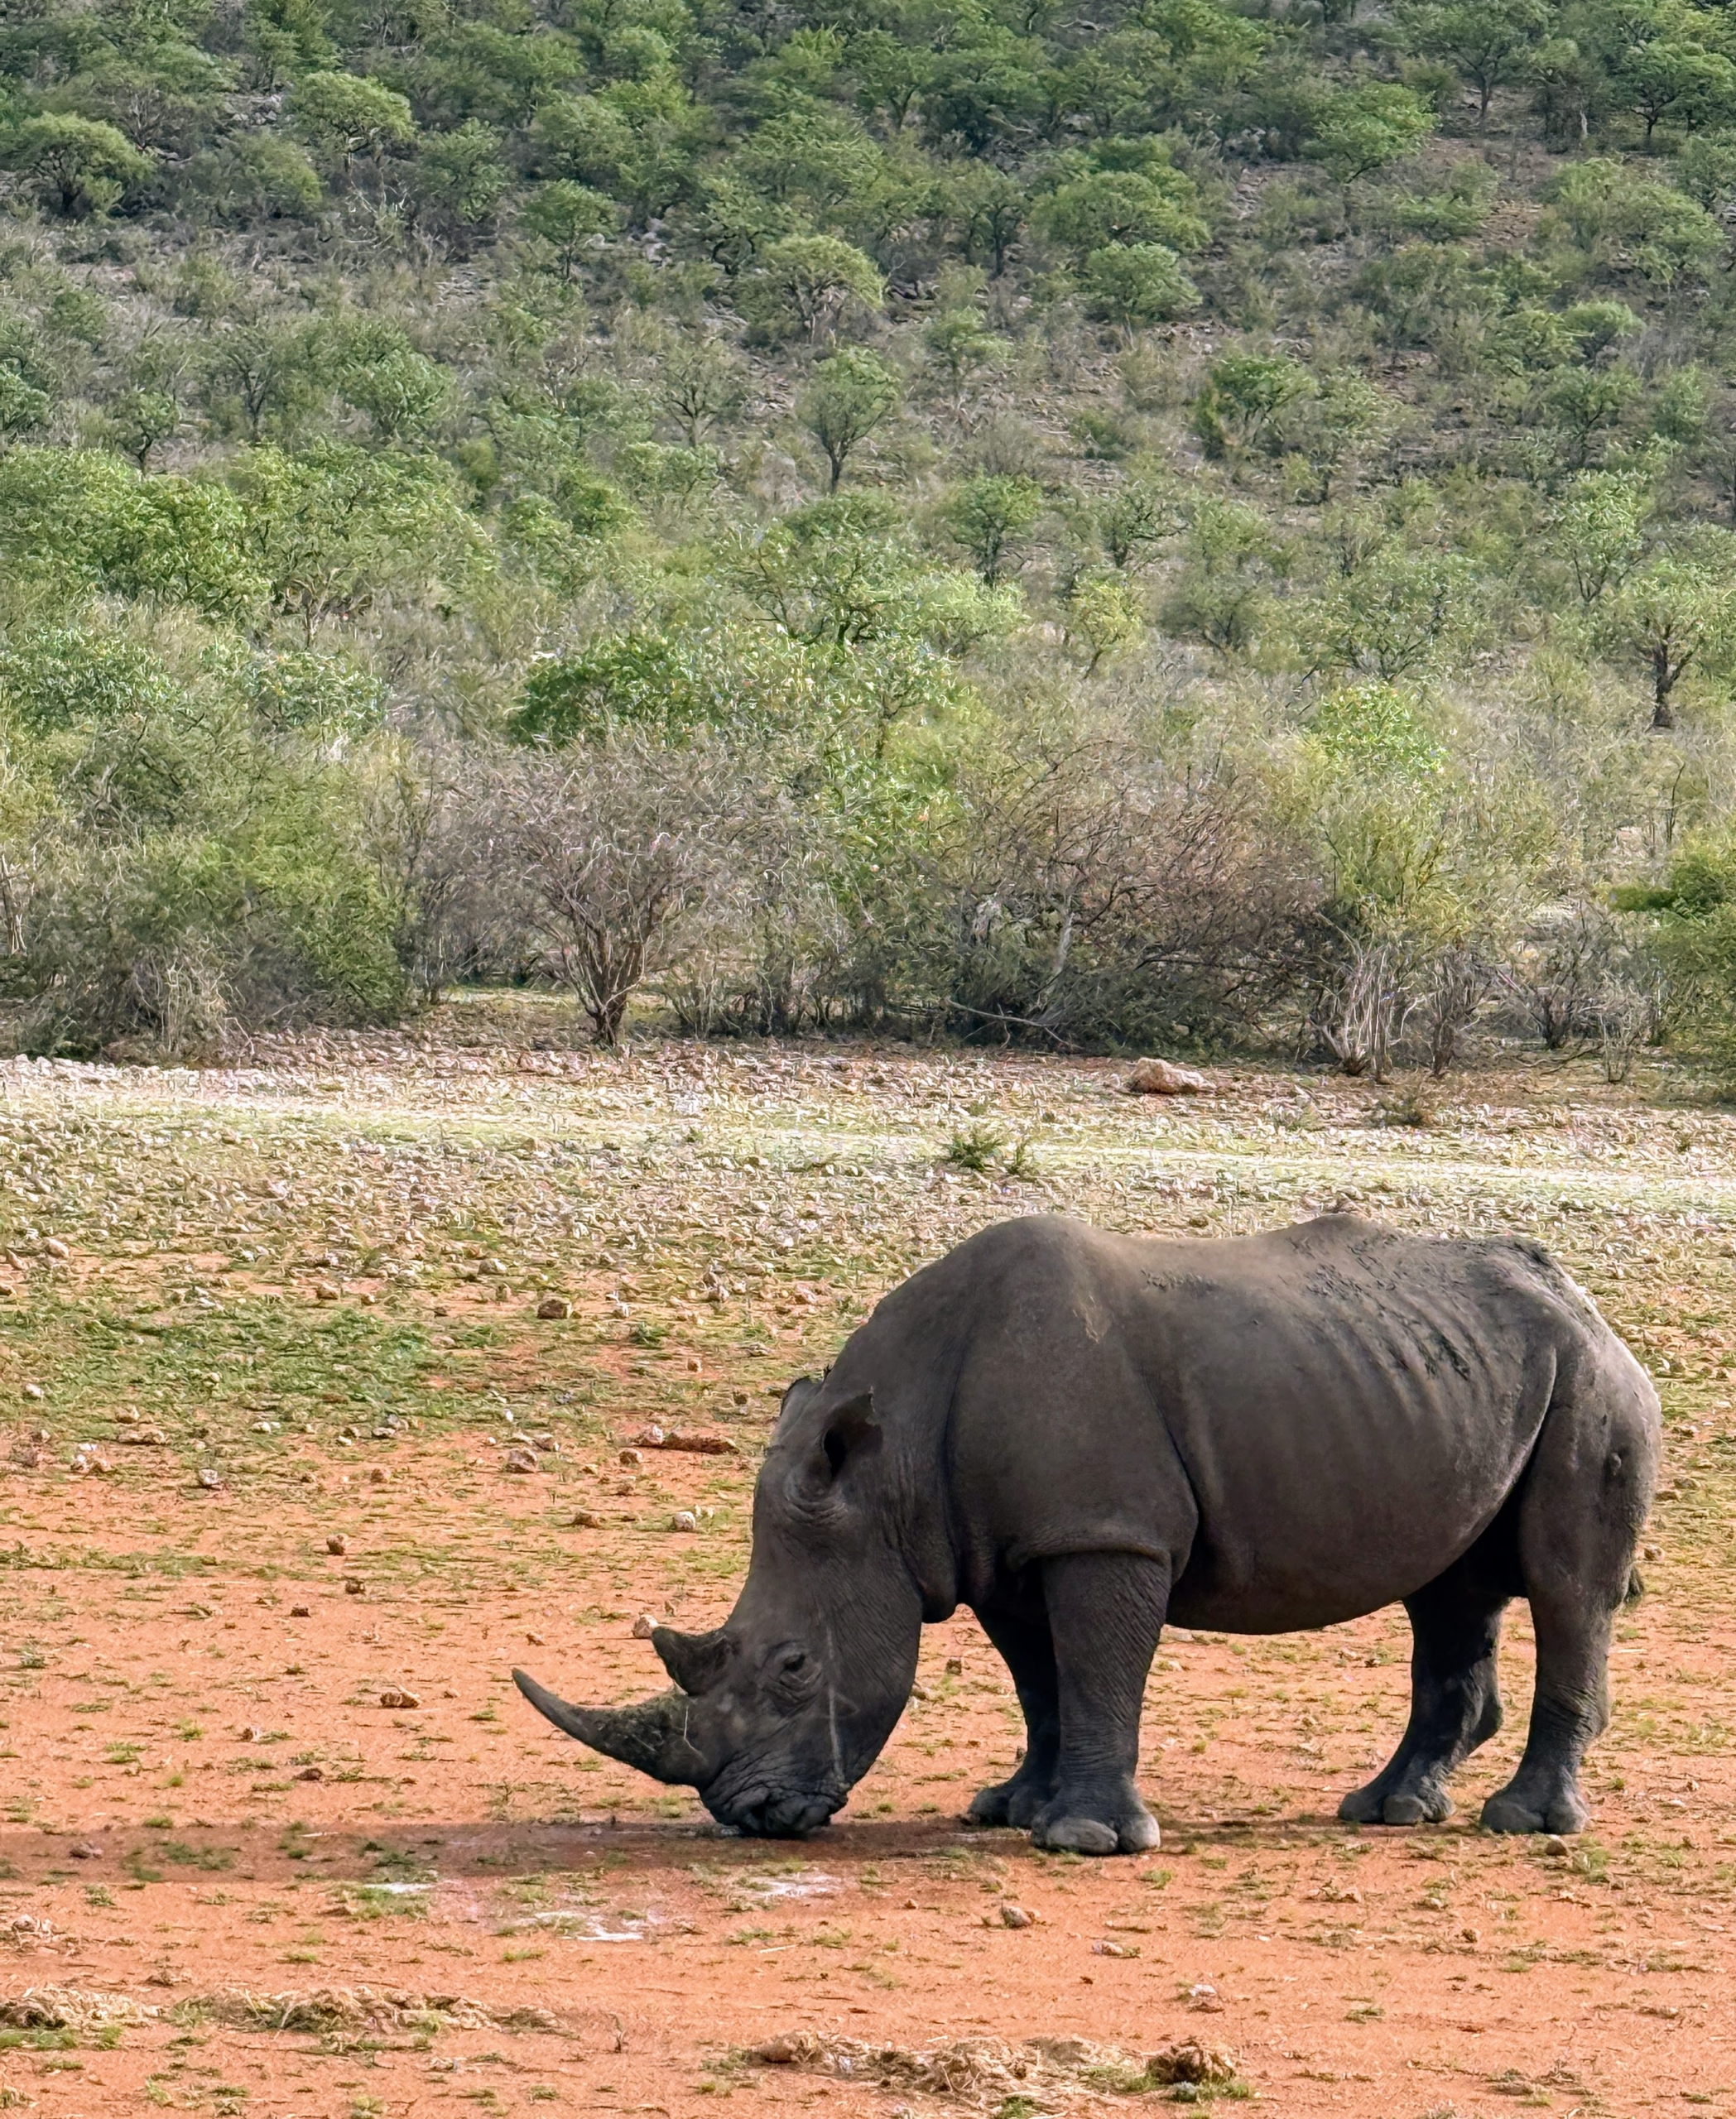
The first wild animals we saw were in the Ongava Private Game Reserve. Ongava is home to more than 300 species of mammal and 340 species of bird, and an abundance of amphibians, reptiles, and insects. The white rhino is the largest and most social species of rhino.
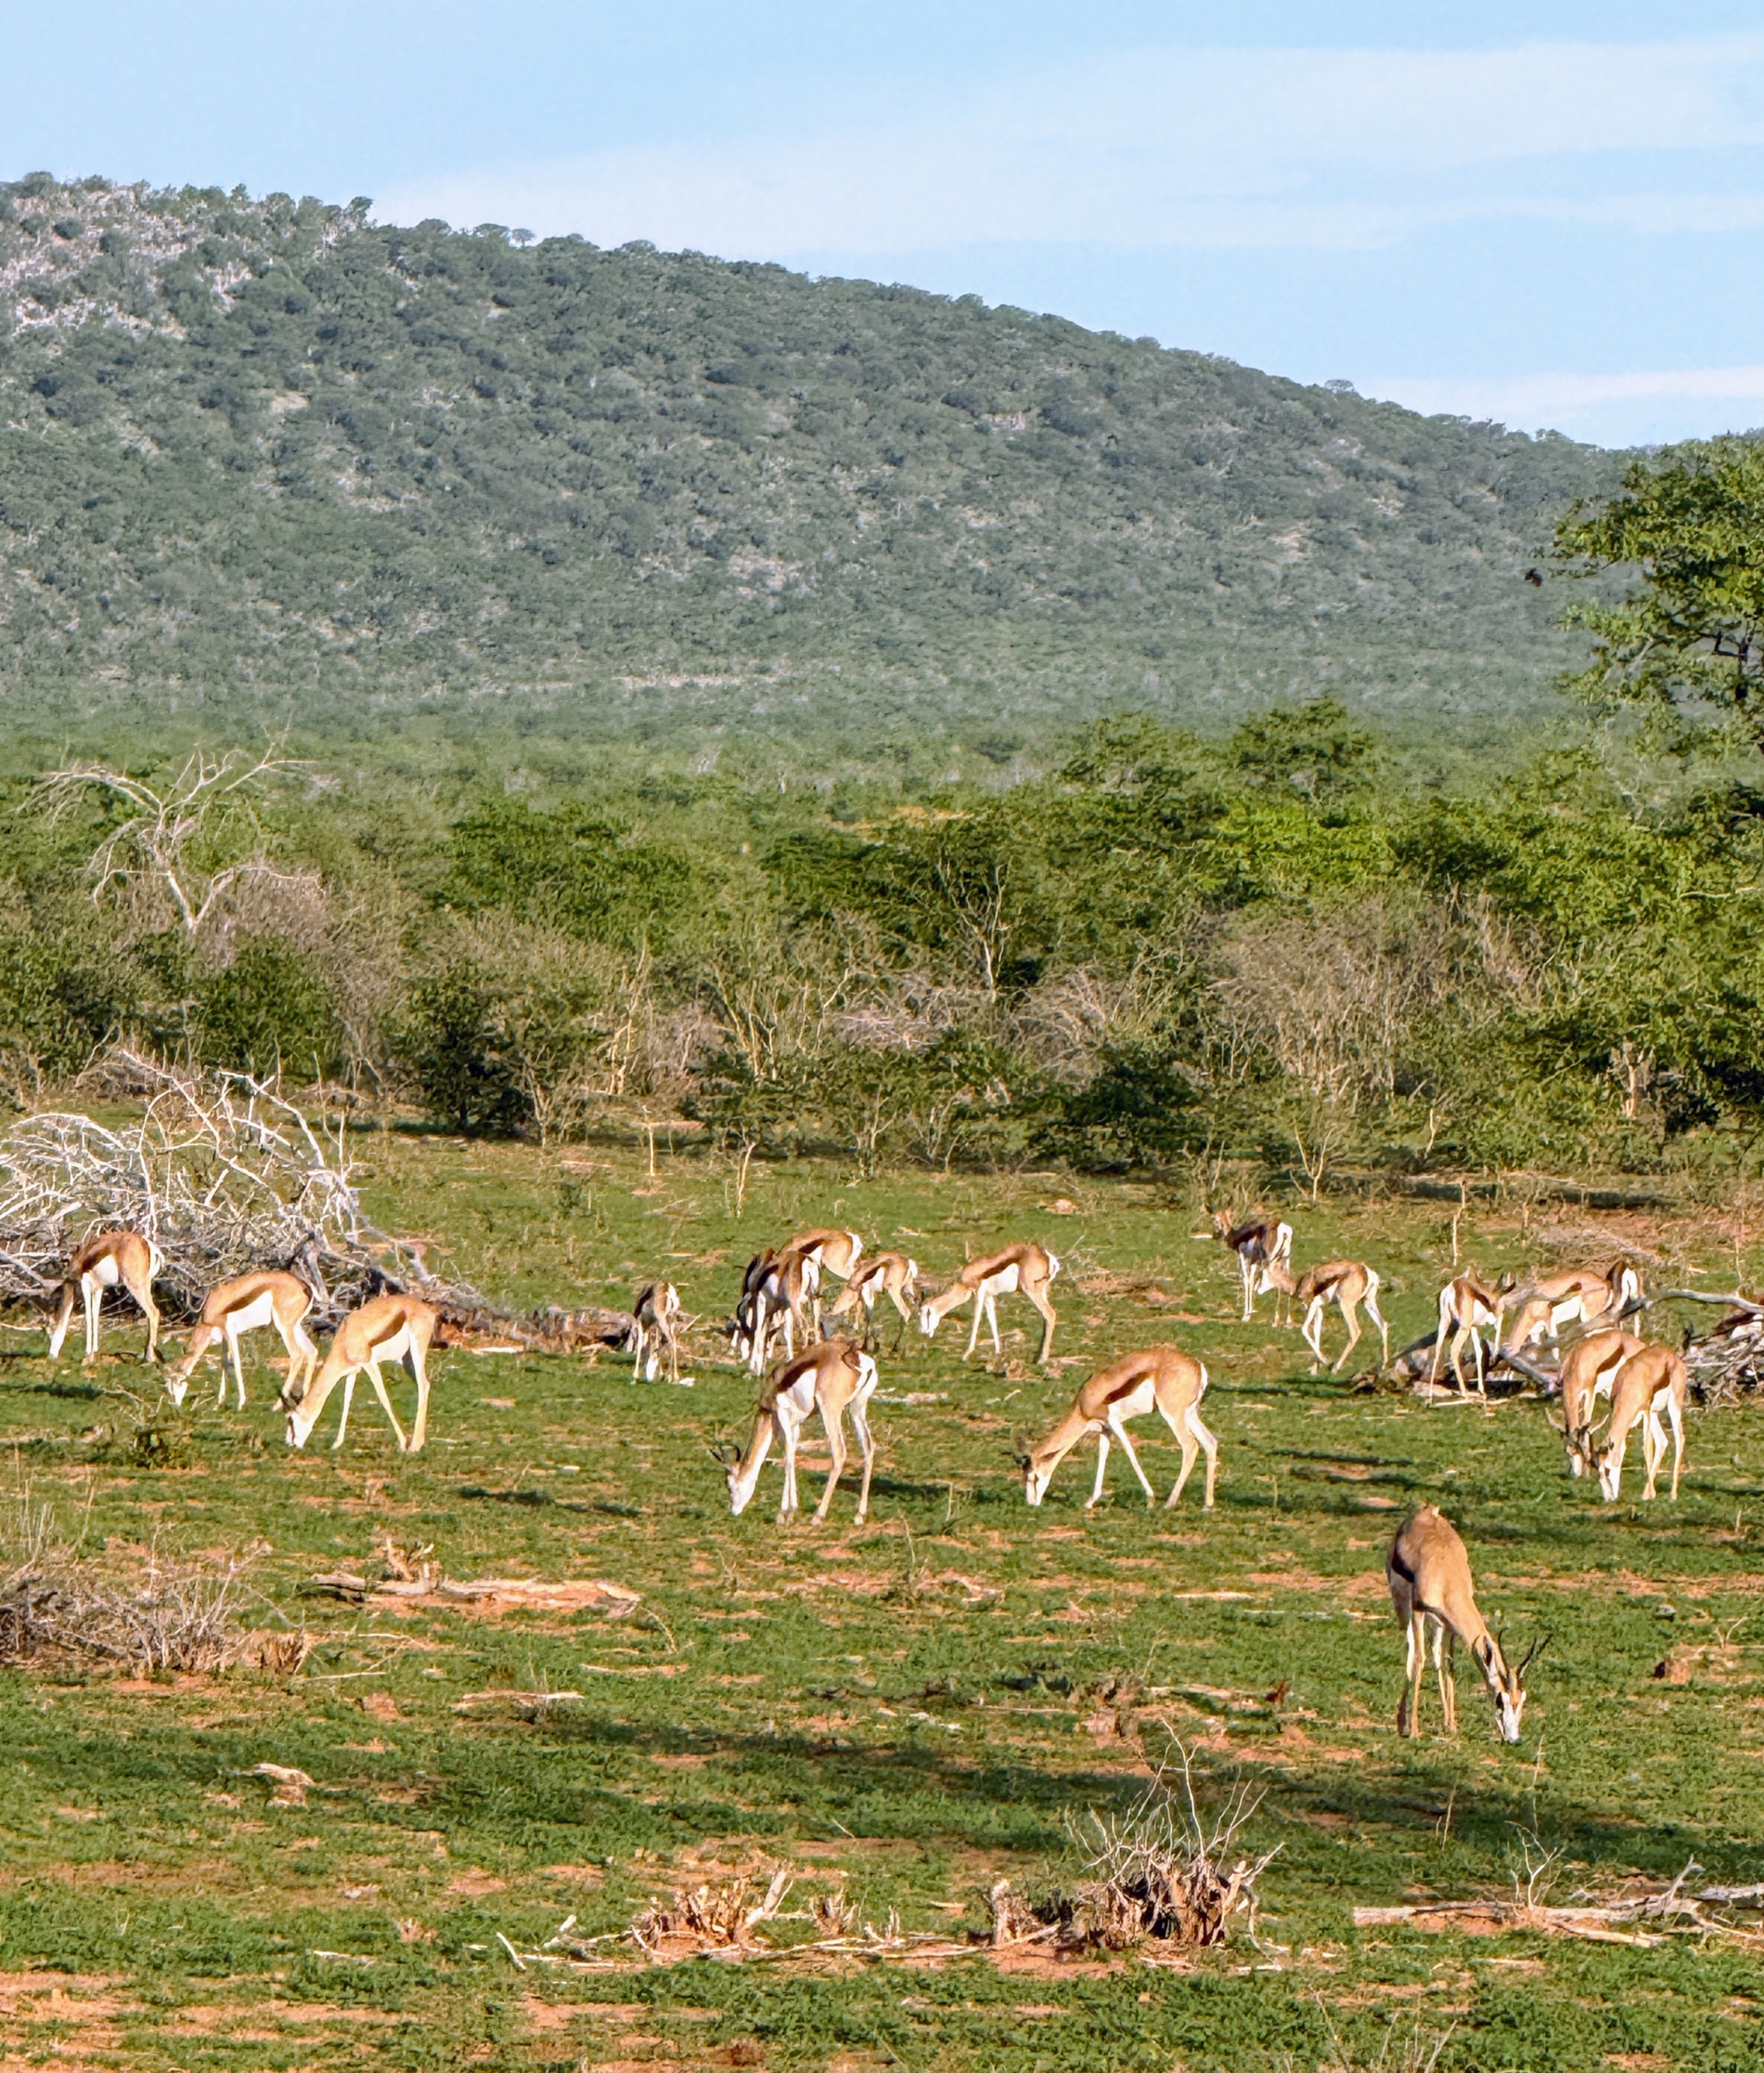
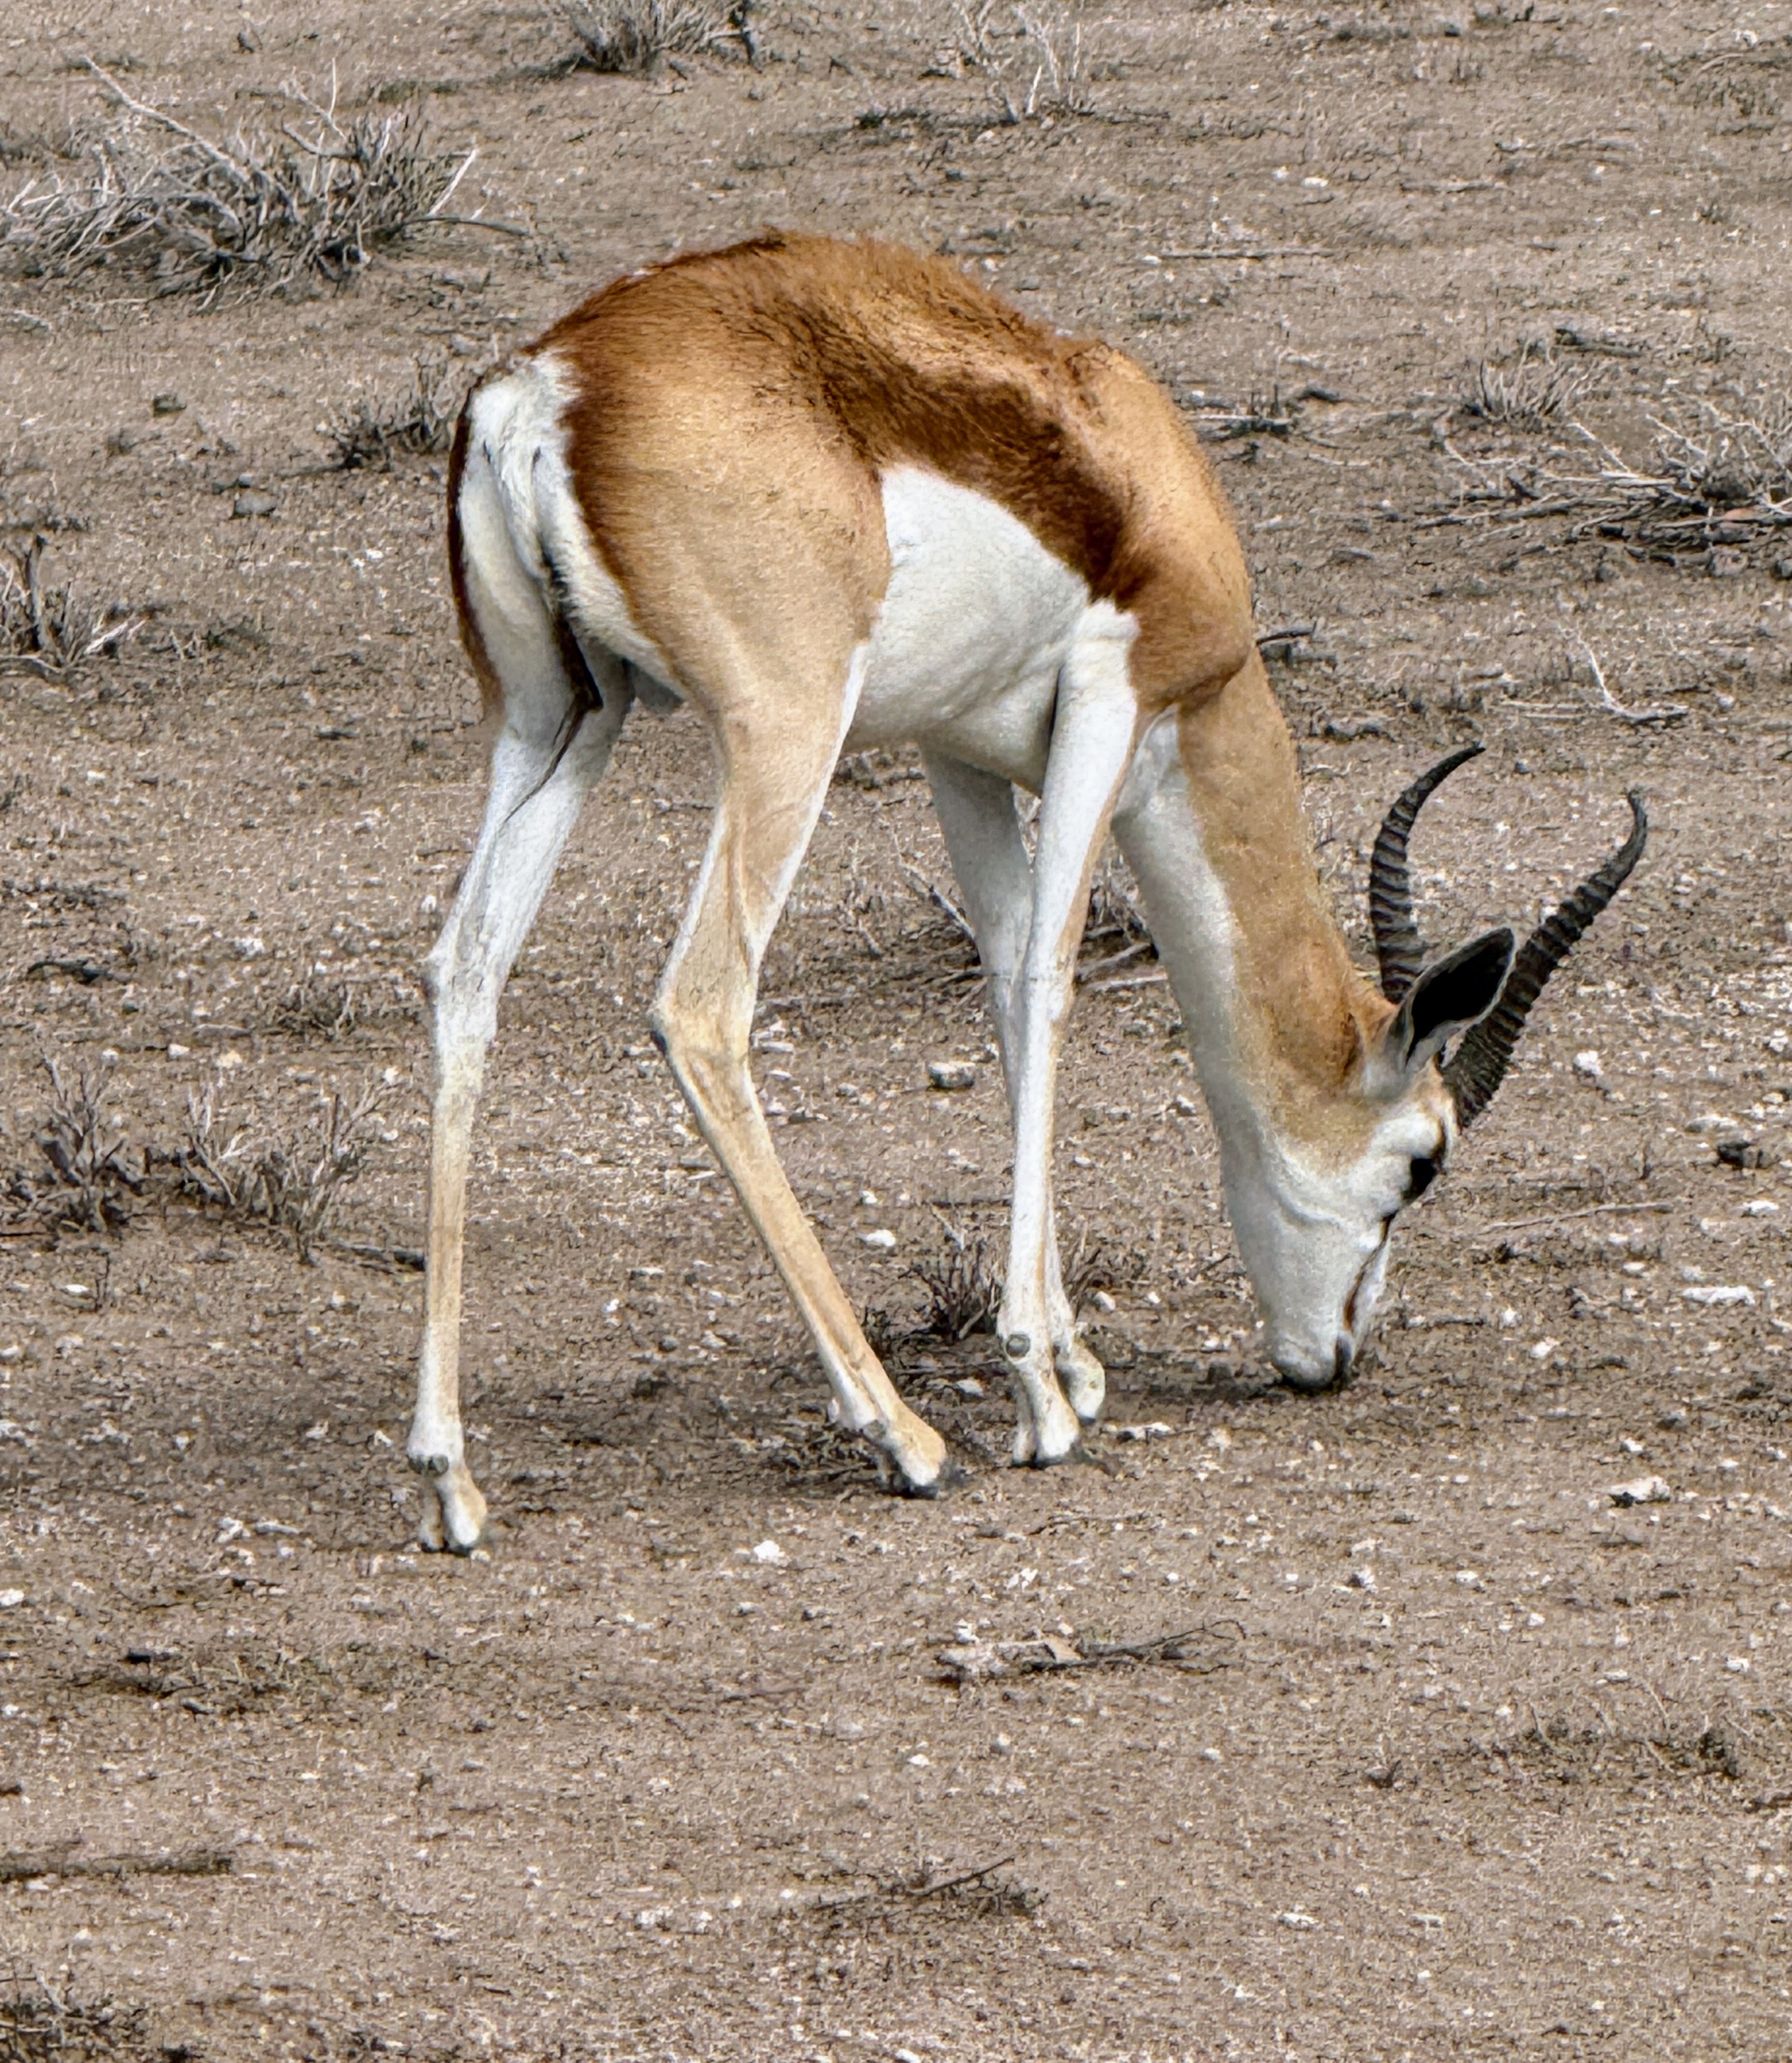
The springbok or springbuck is an antelope found in south and southwest Africa. These animals are active mainly at dawn and dusk and found in harems, or mixed-sex herds.
The springbok is characterized by a white face, a light brown coat marked by a reddish-brown stripe that runs from the upper foreleg to its rear, and a white rump flap. It is a slender, long-legged antelope and weighs between 60 and 93 pounds when mature. Both males and females have long black horns that curve backwards.
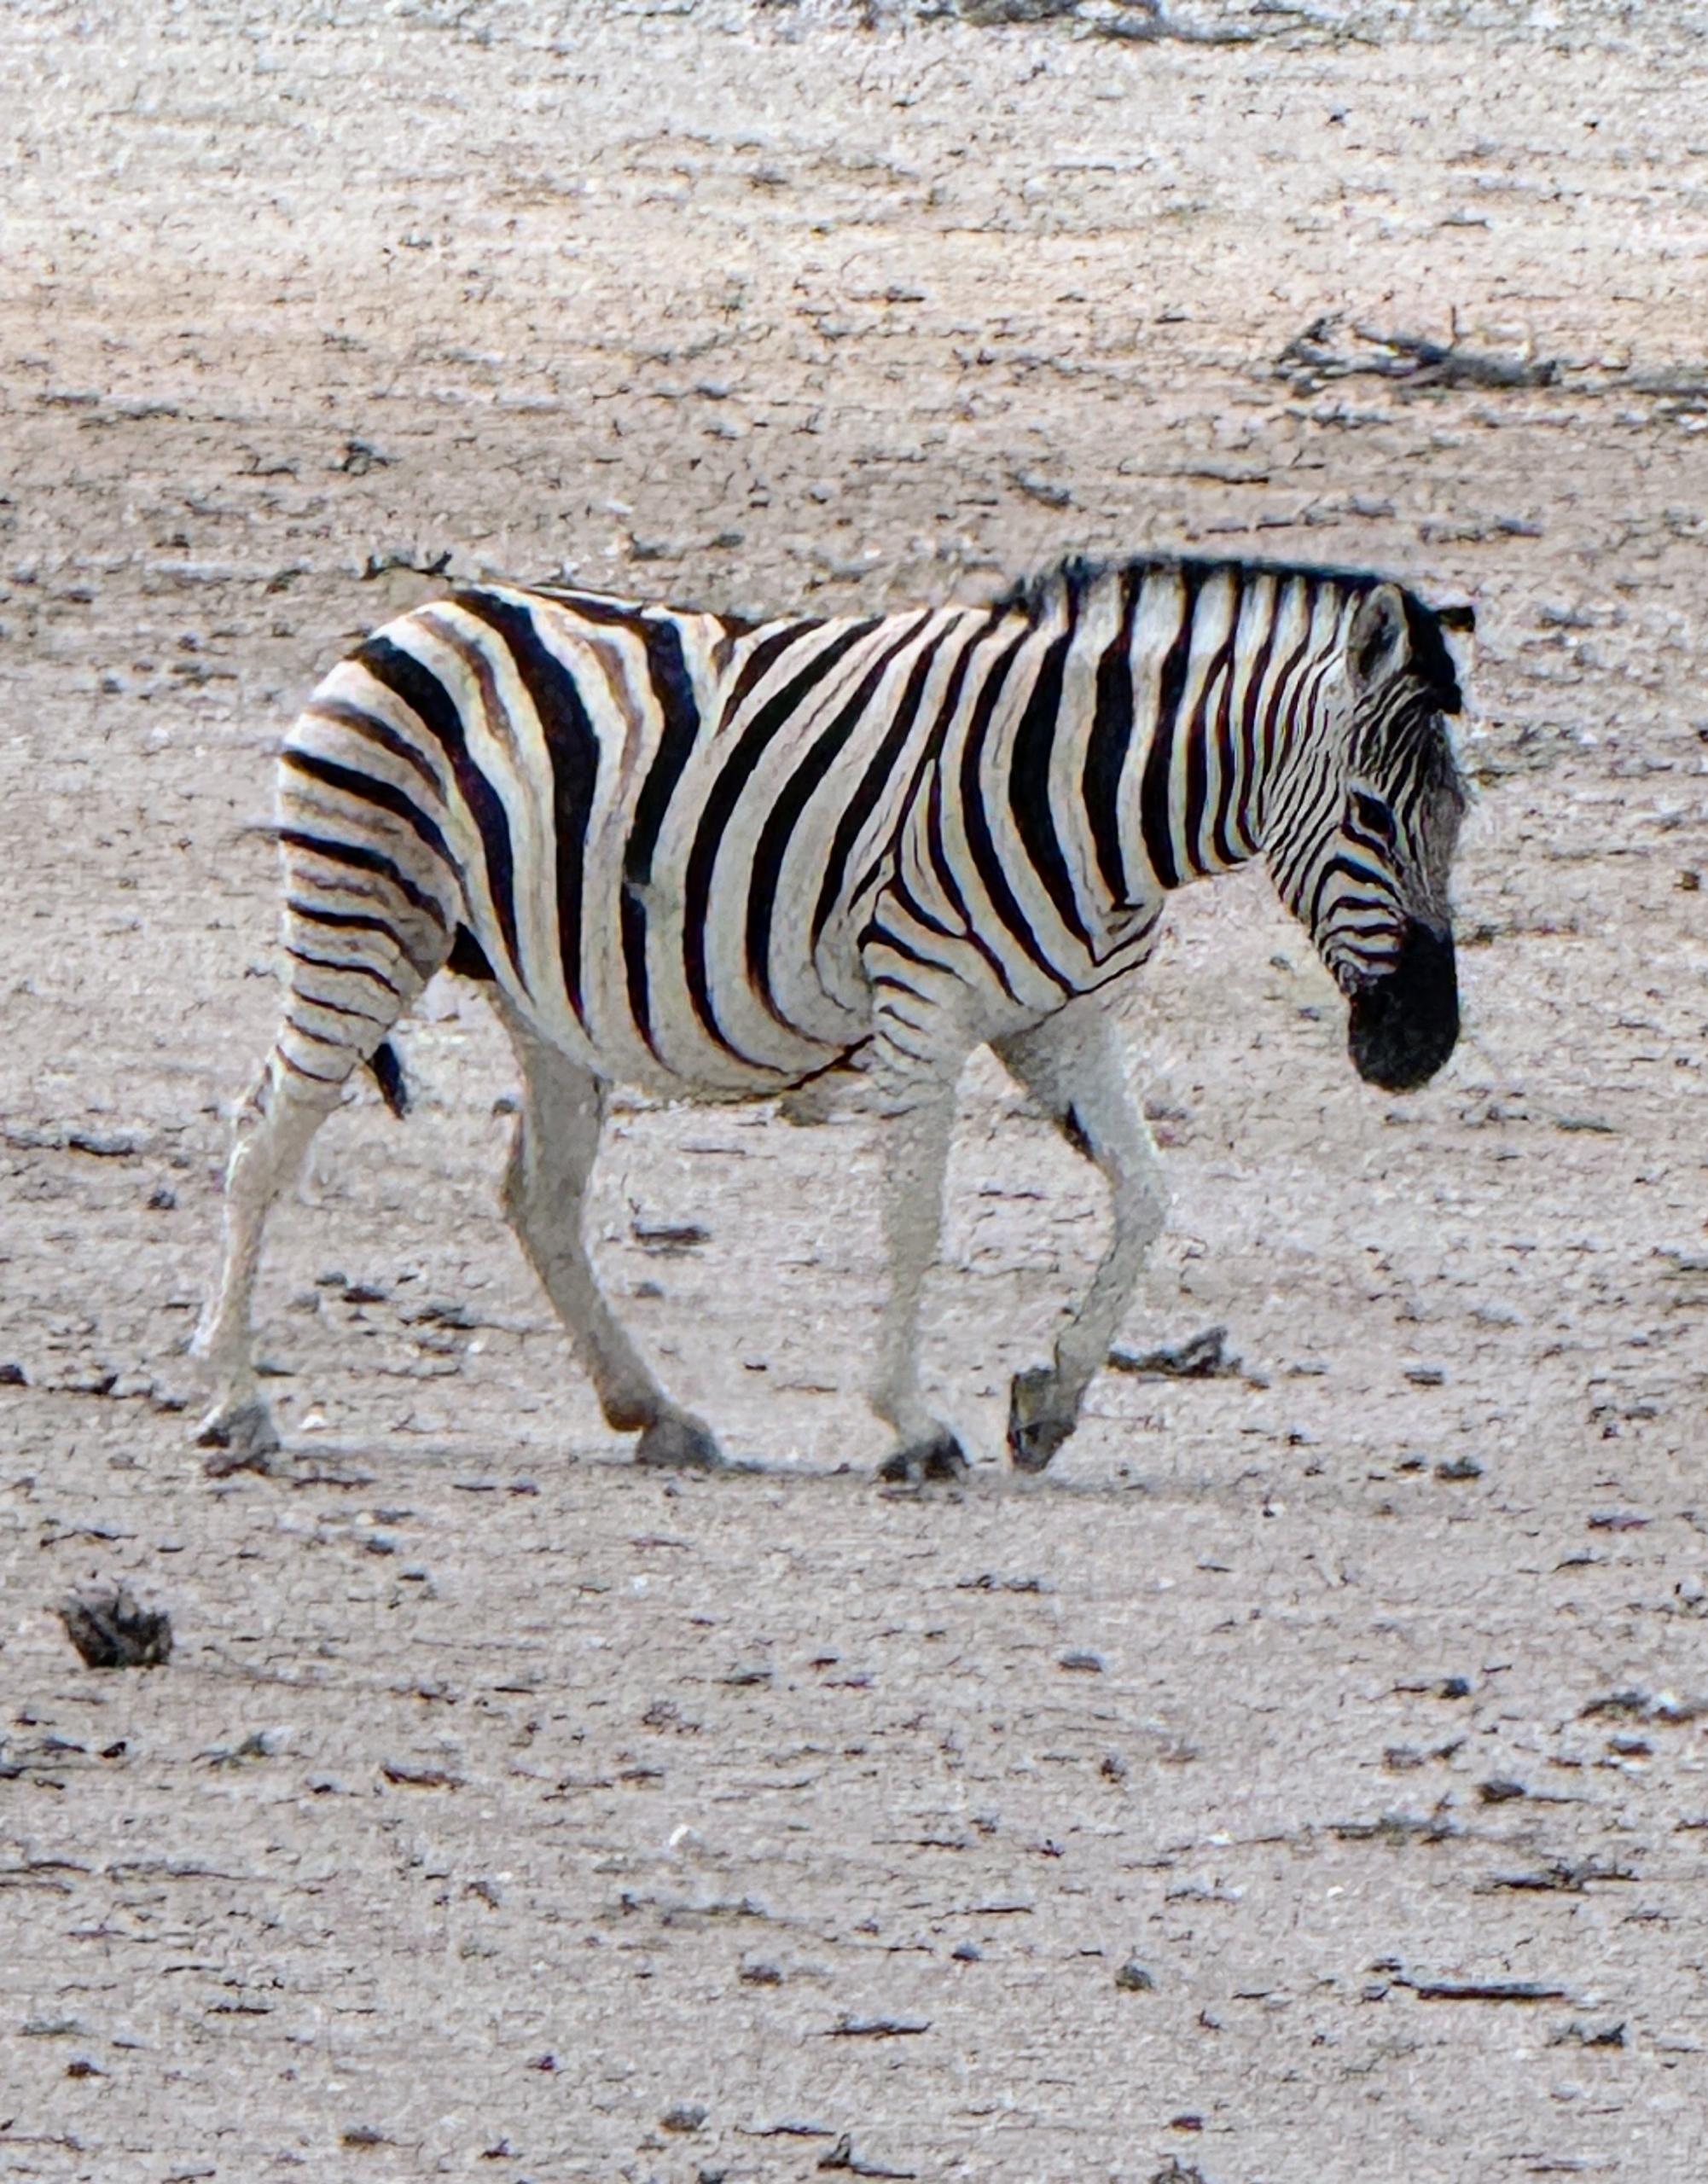
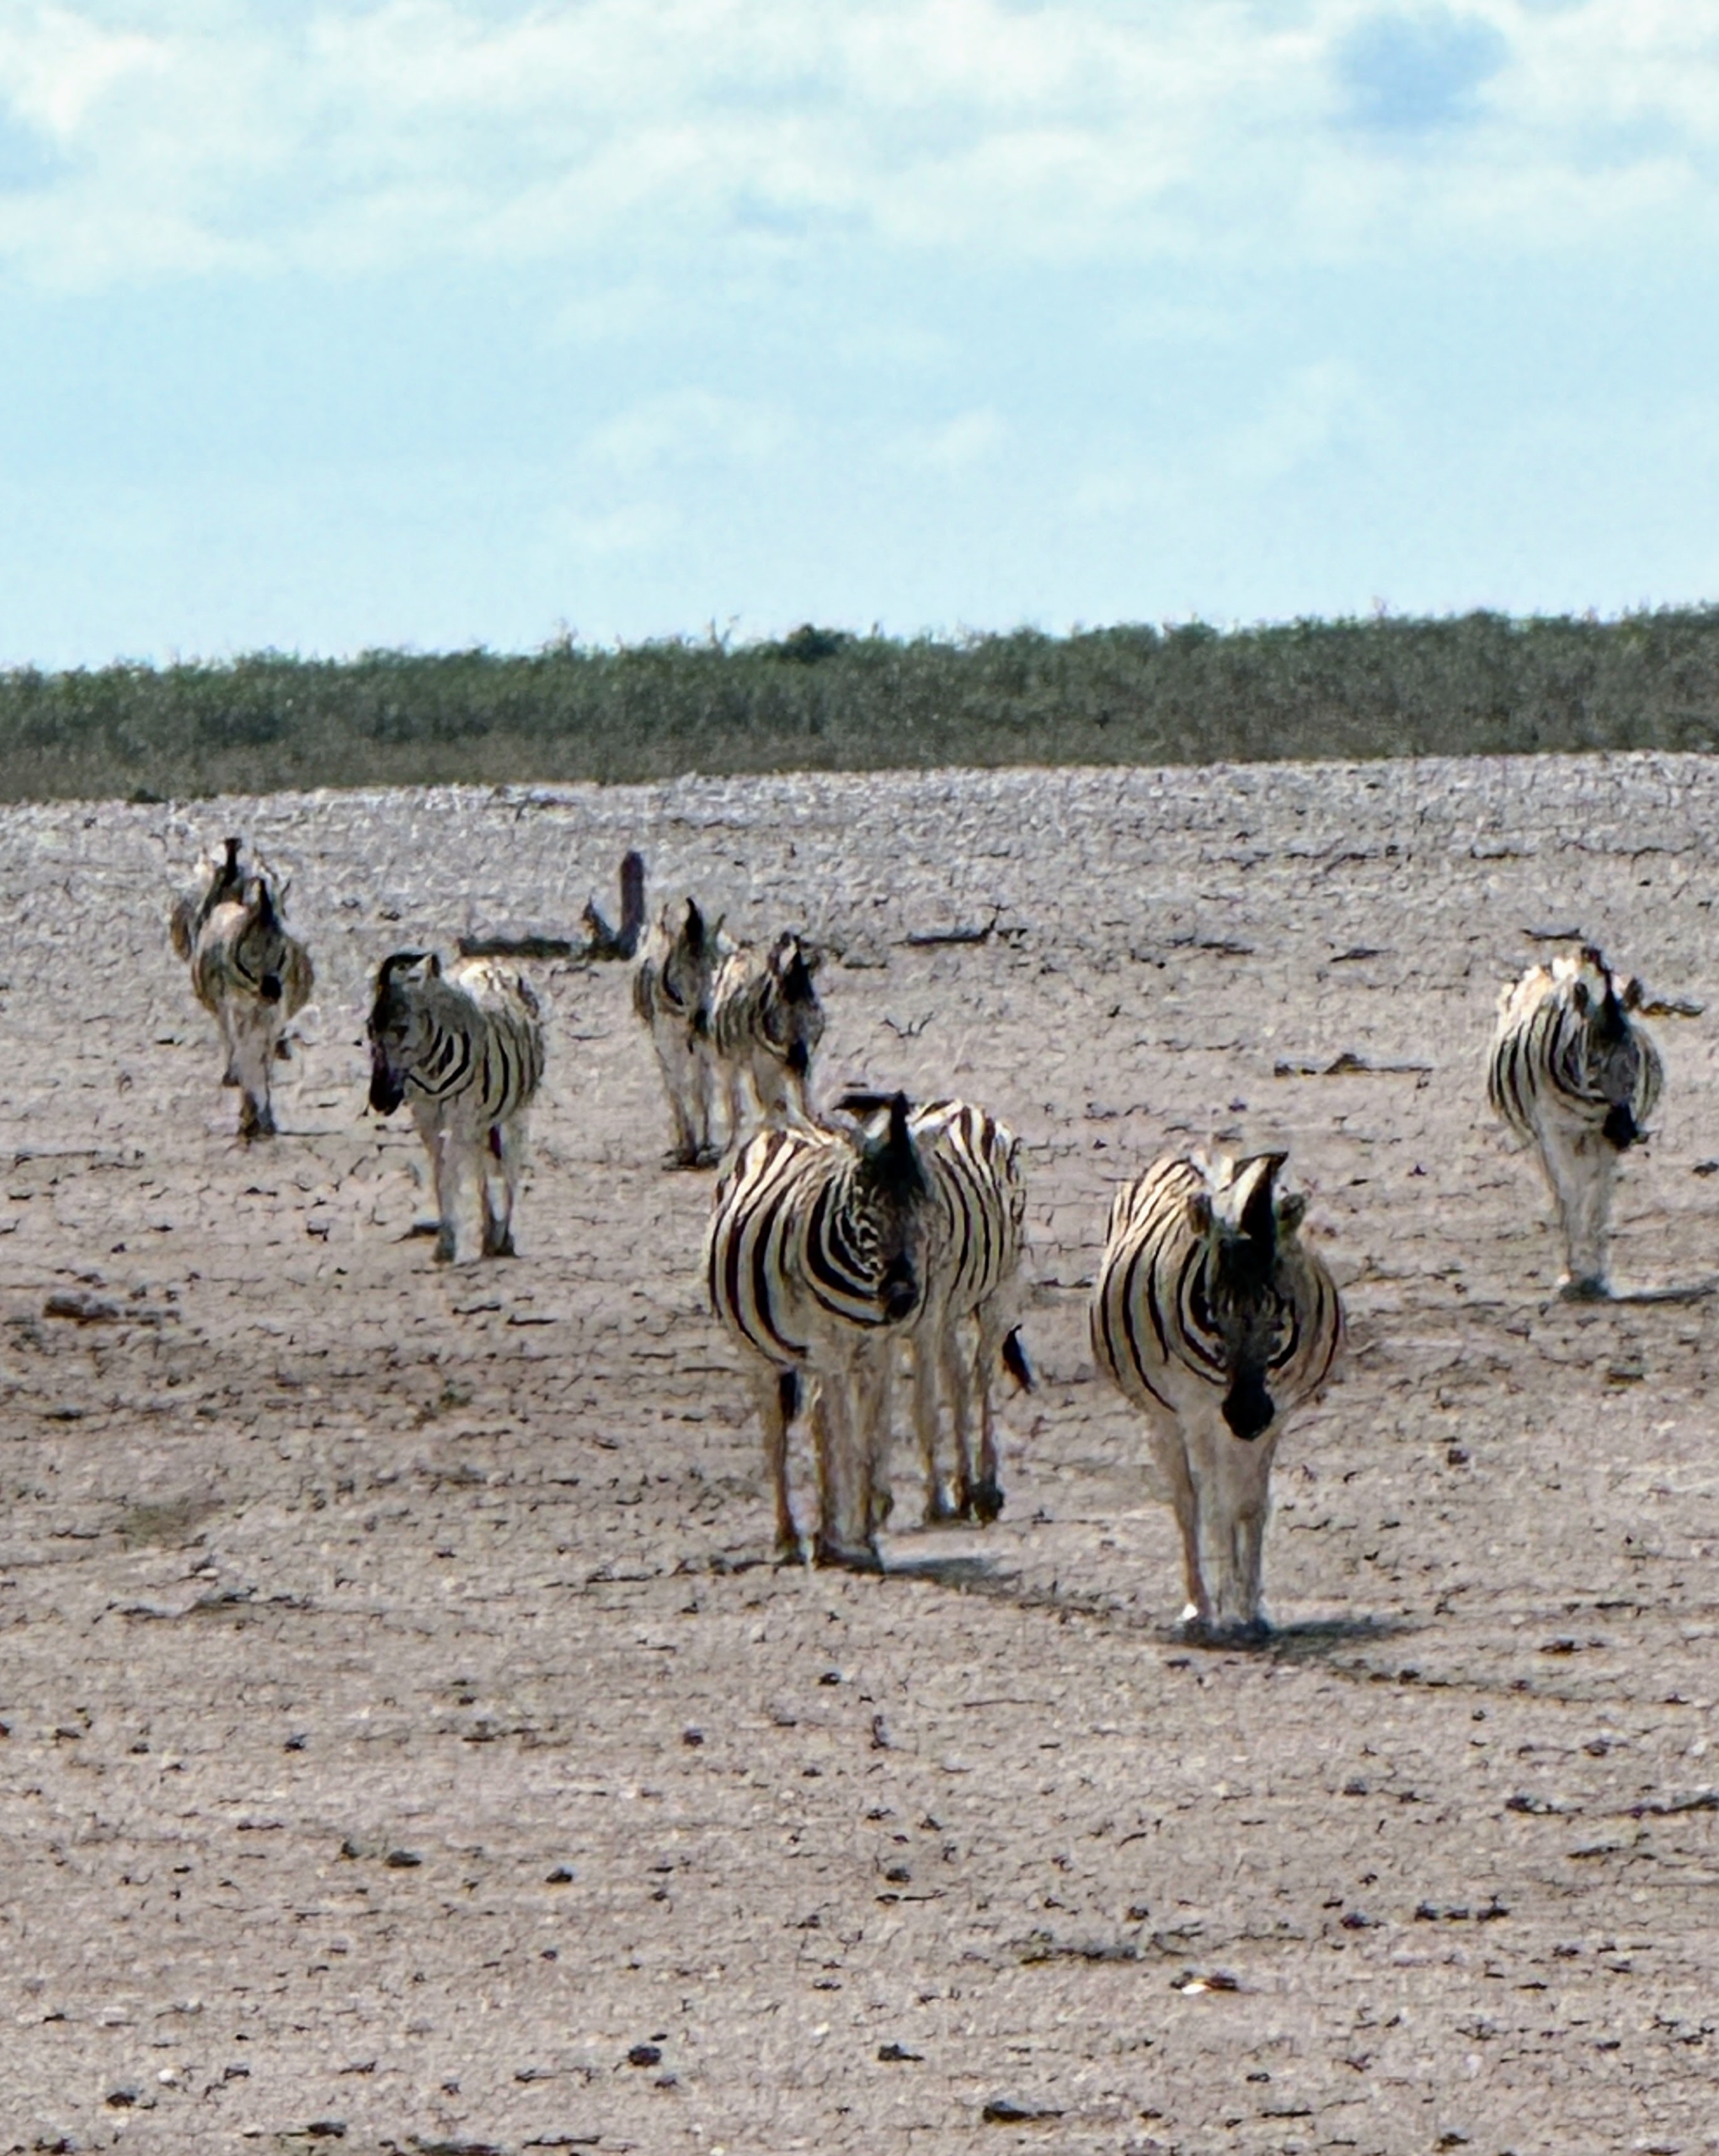
This is a plains zebra, the most common and geographically widespread species of zebra.
These zebras are also very social, forming harems often with a single stallion, several mares and their recent offspring. All members of the group keep watch for predators, alerting each other through various barks and snorts.
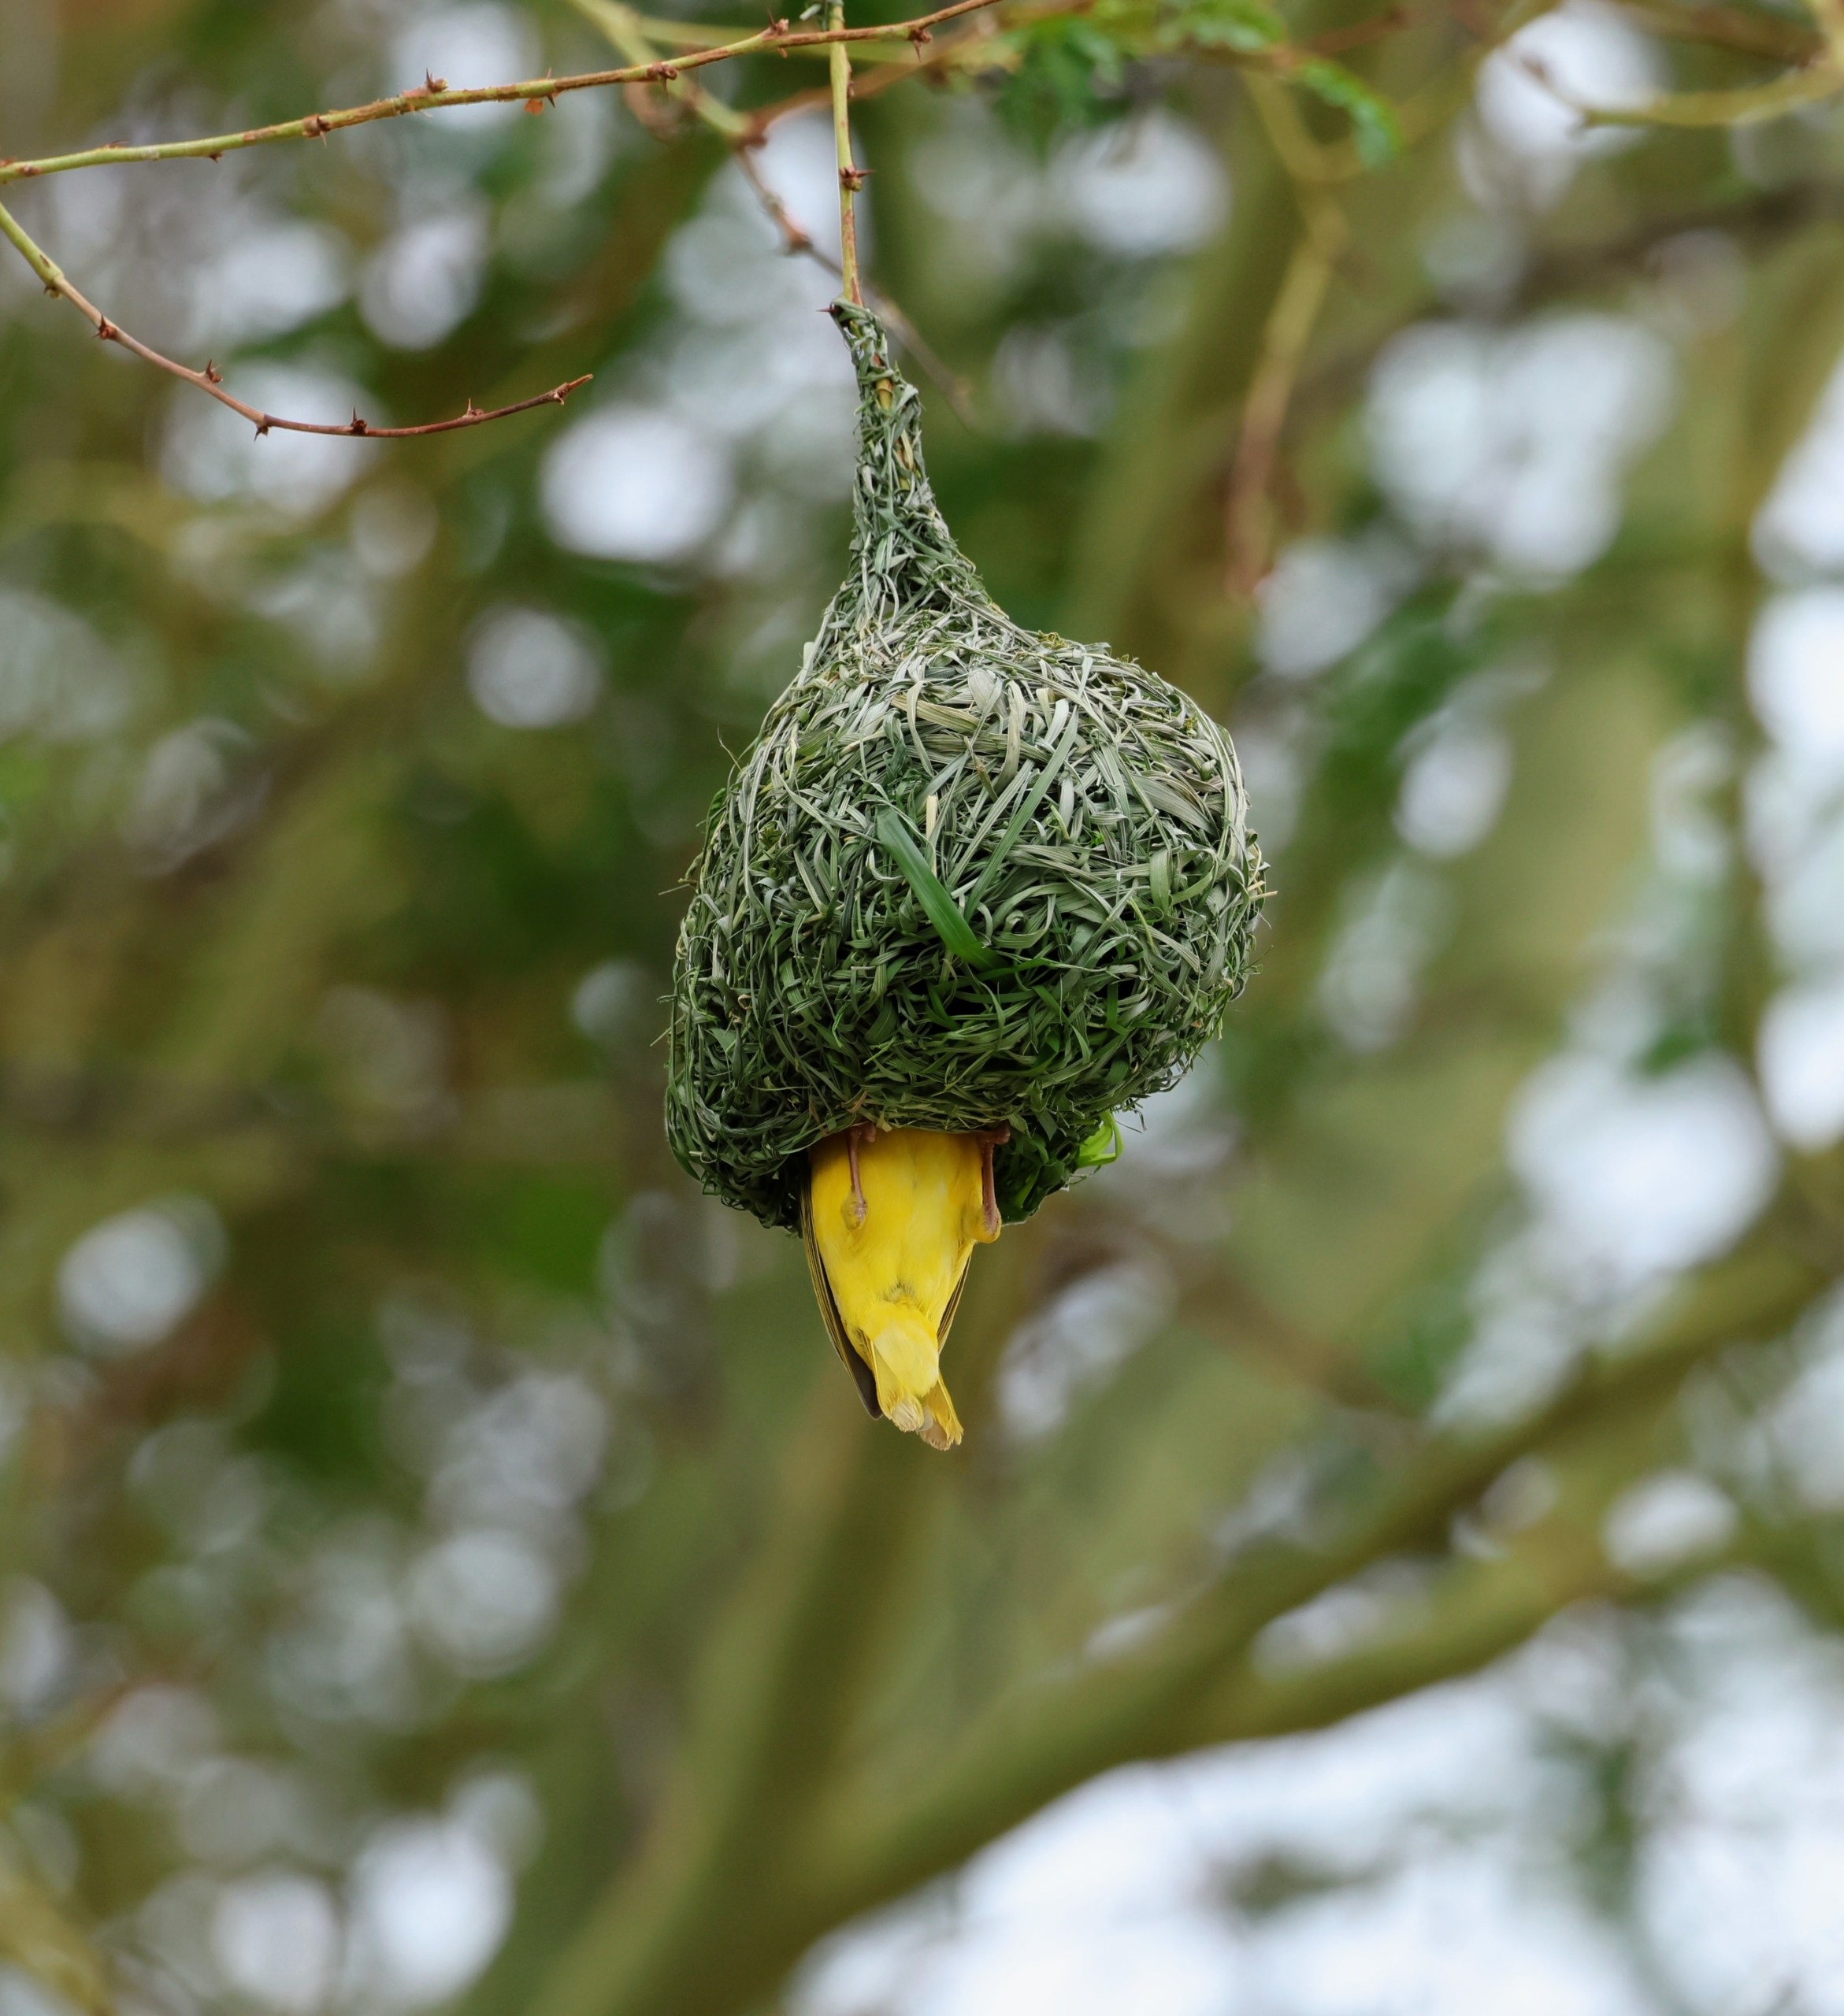
Weaver birds are named for their artistically woven nests. The nests come in various sizes and shapes, with different material used to build them. The most intricate nests are built by the males. The males build many nests until the female accepts one and agrees to breed.
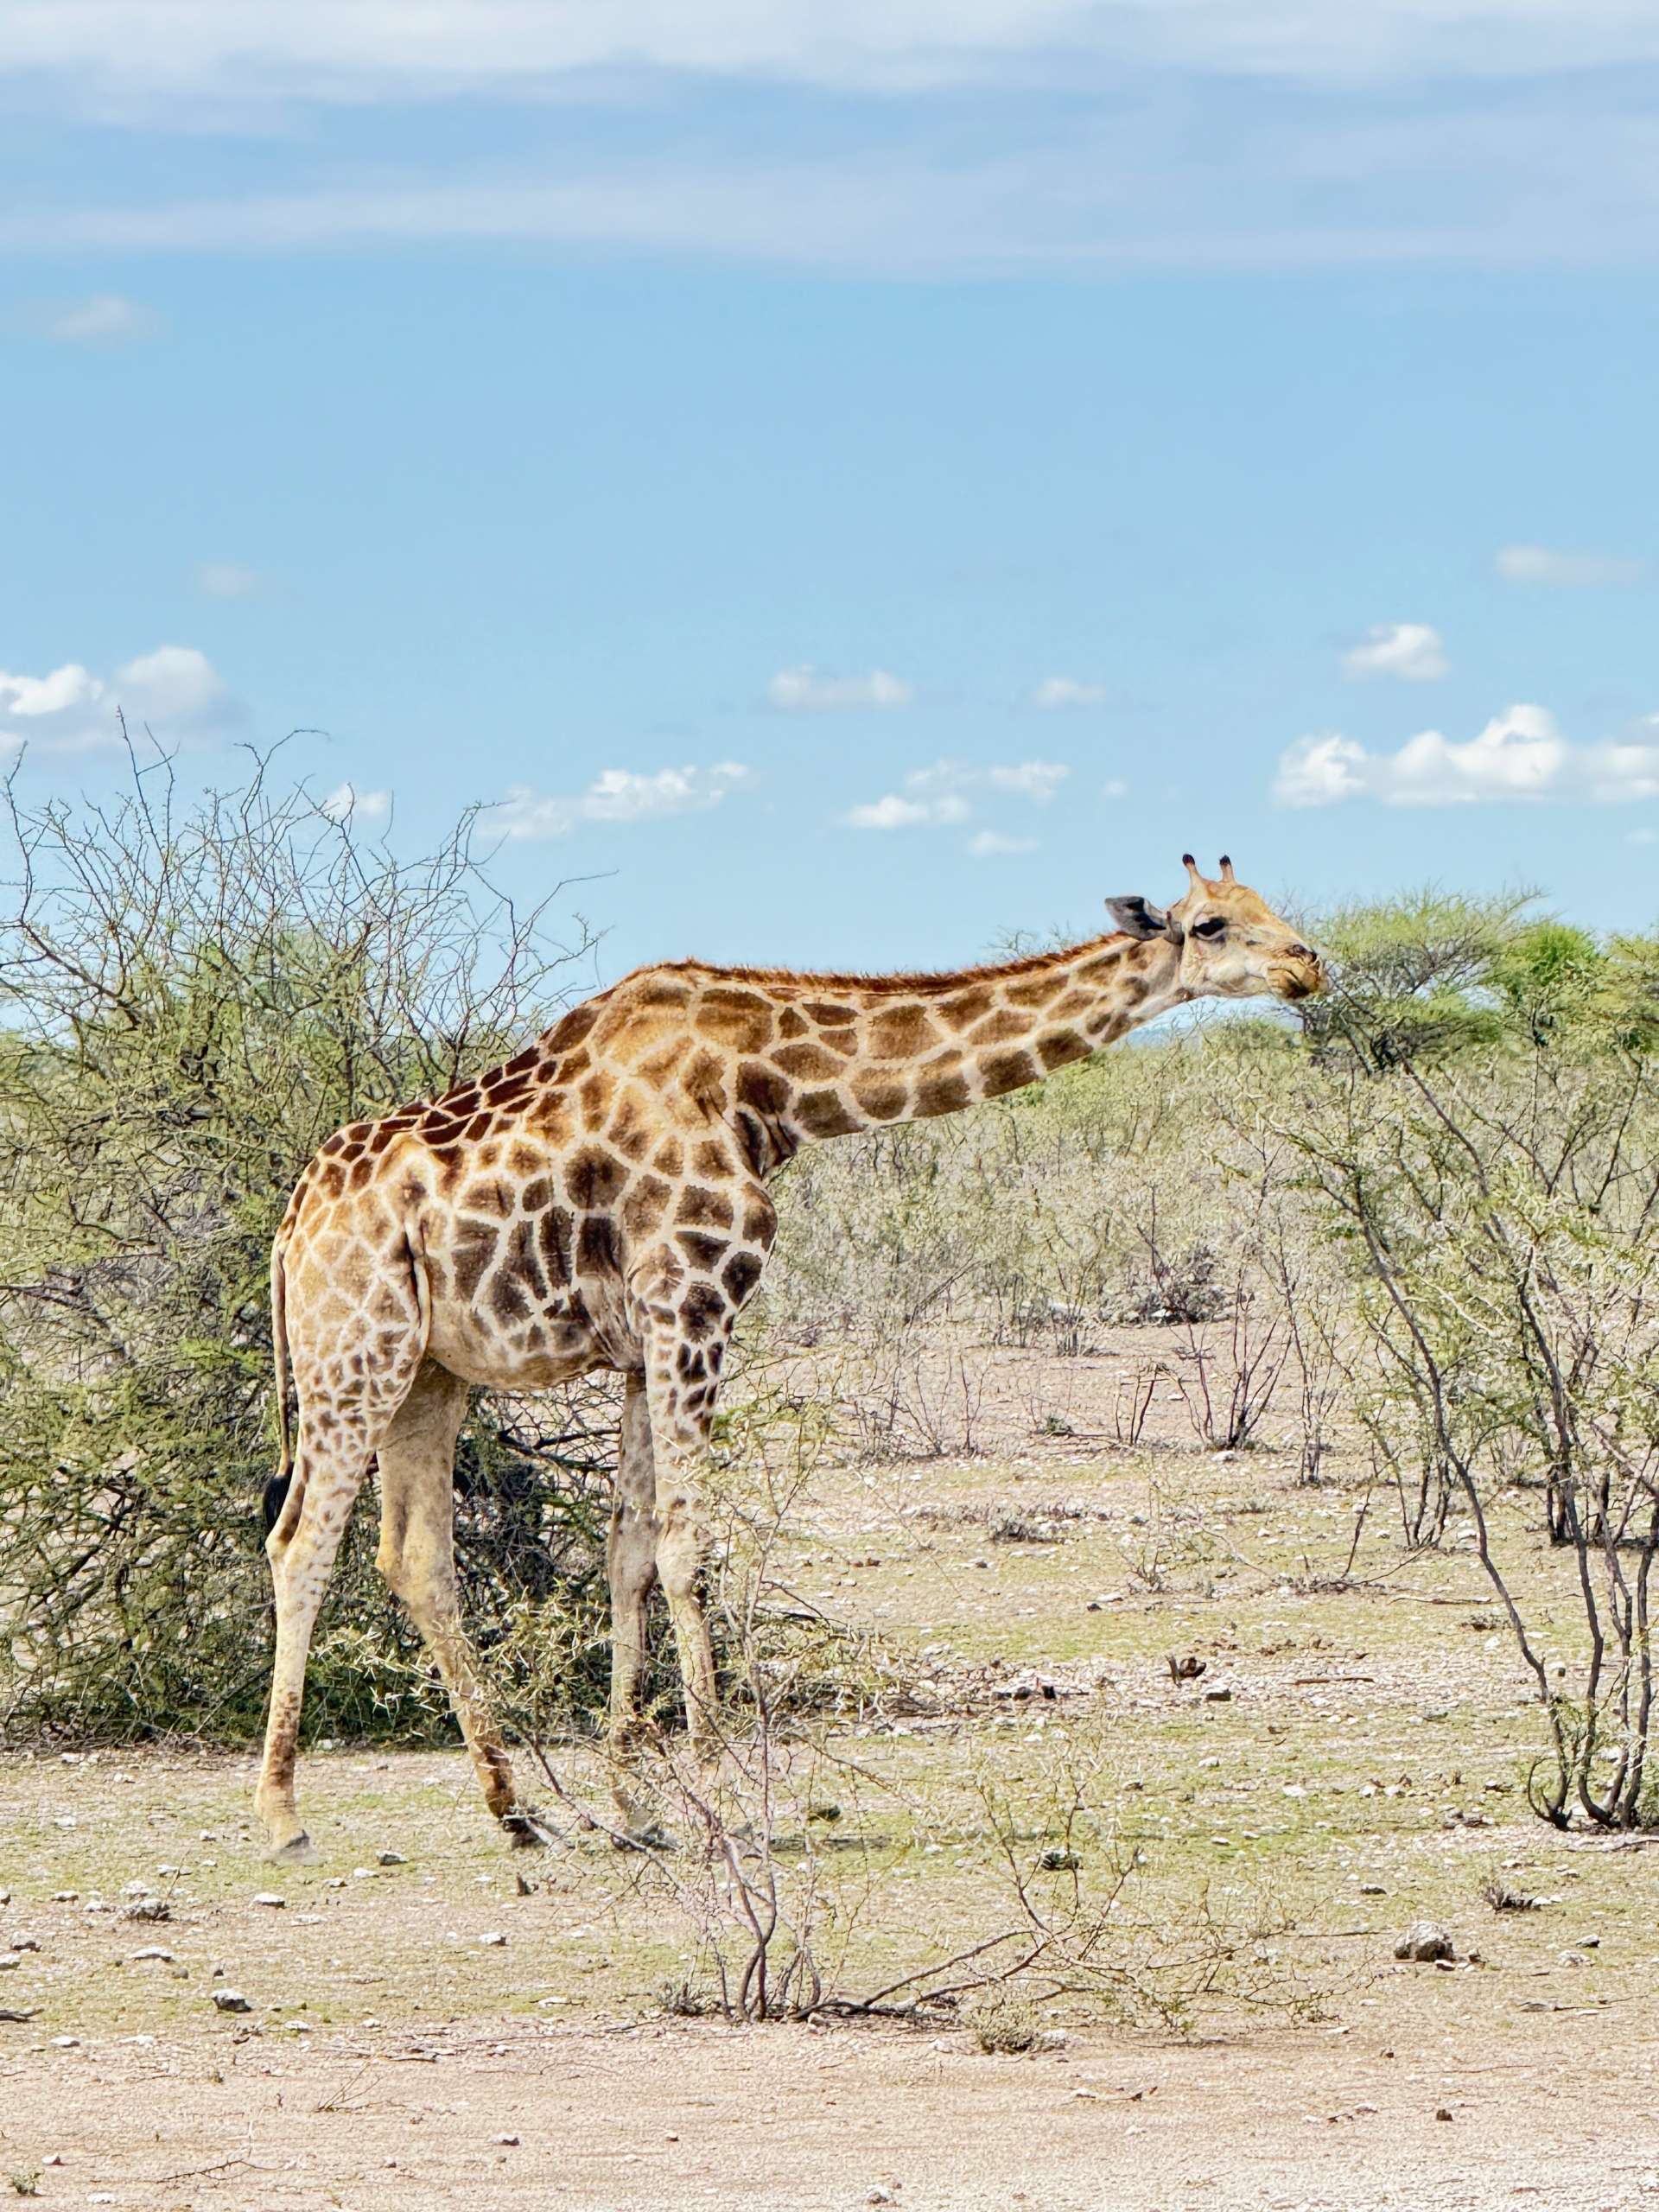
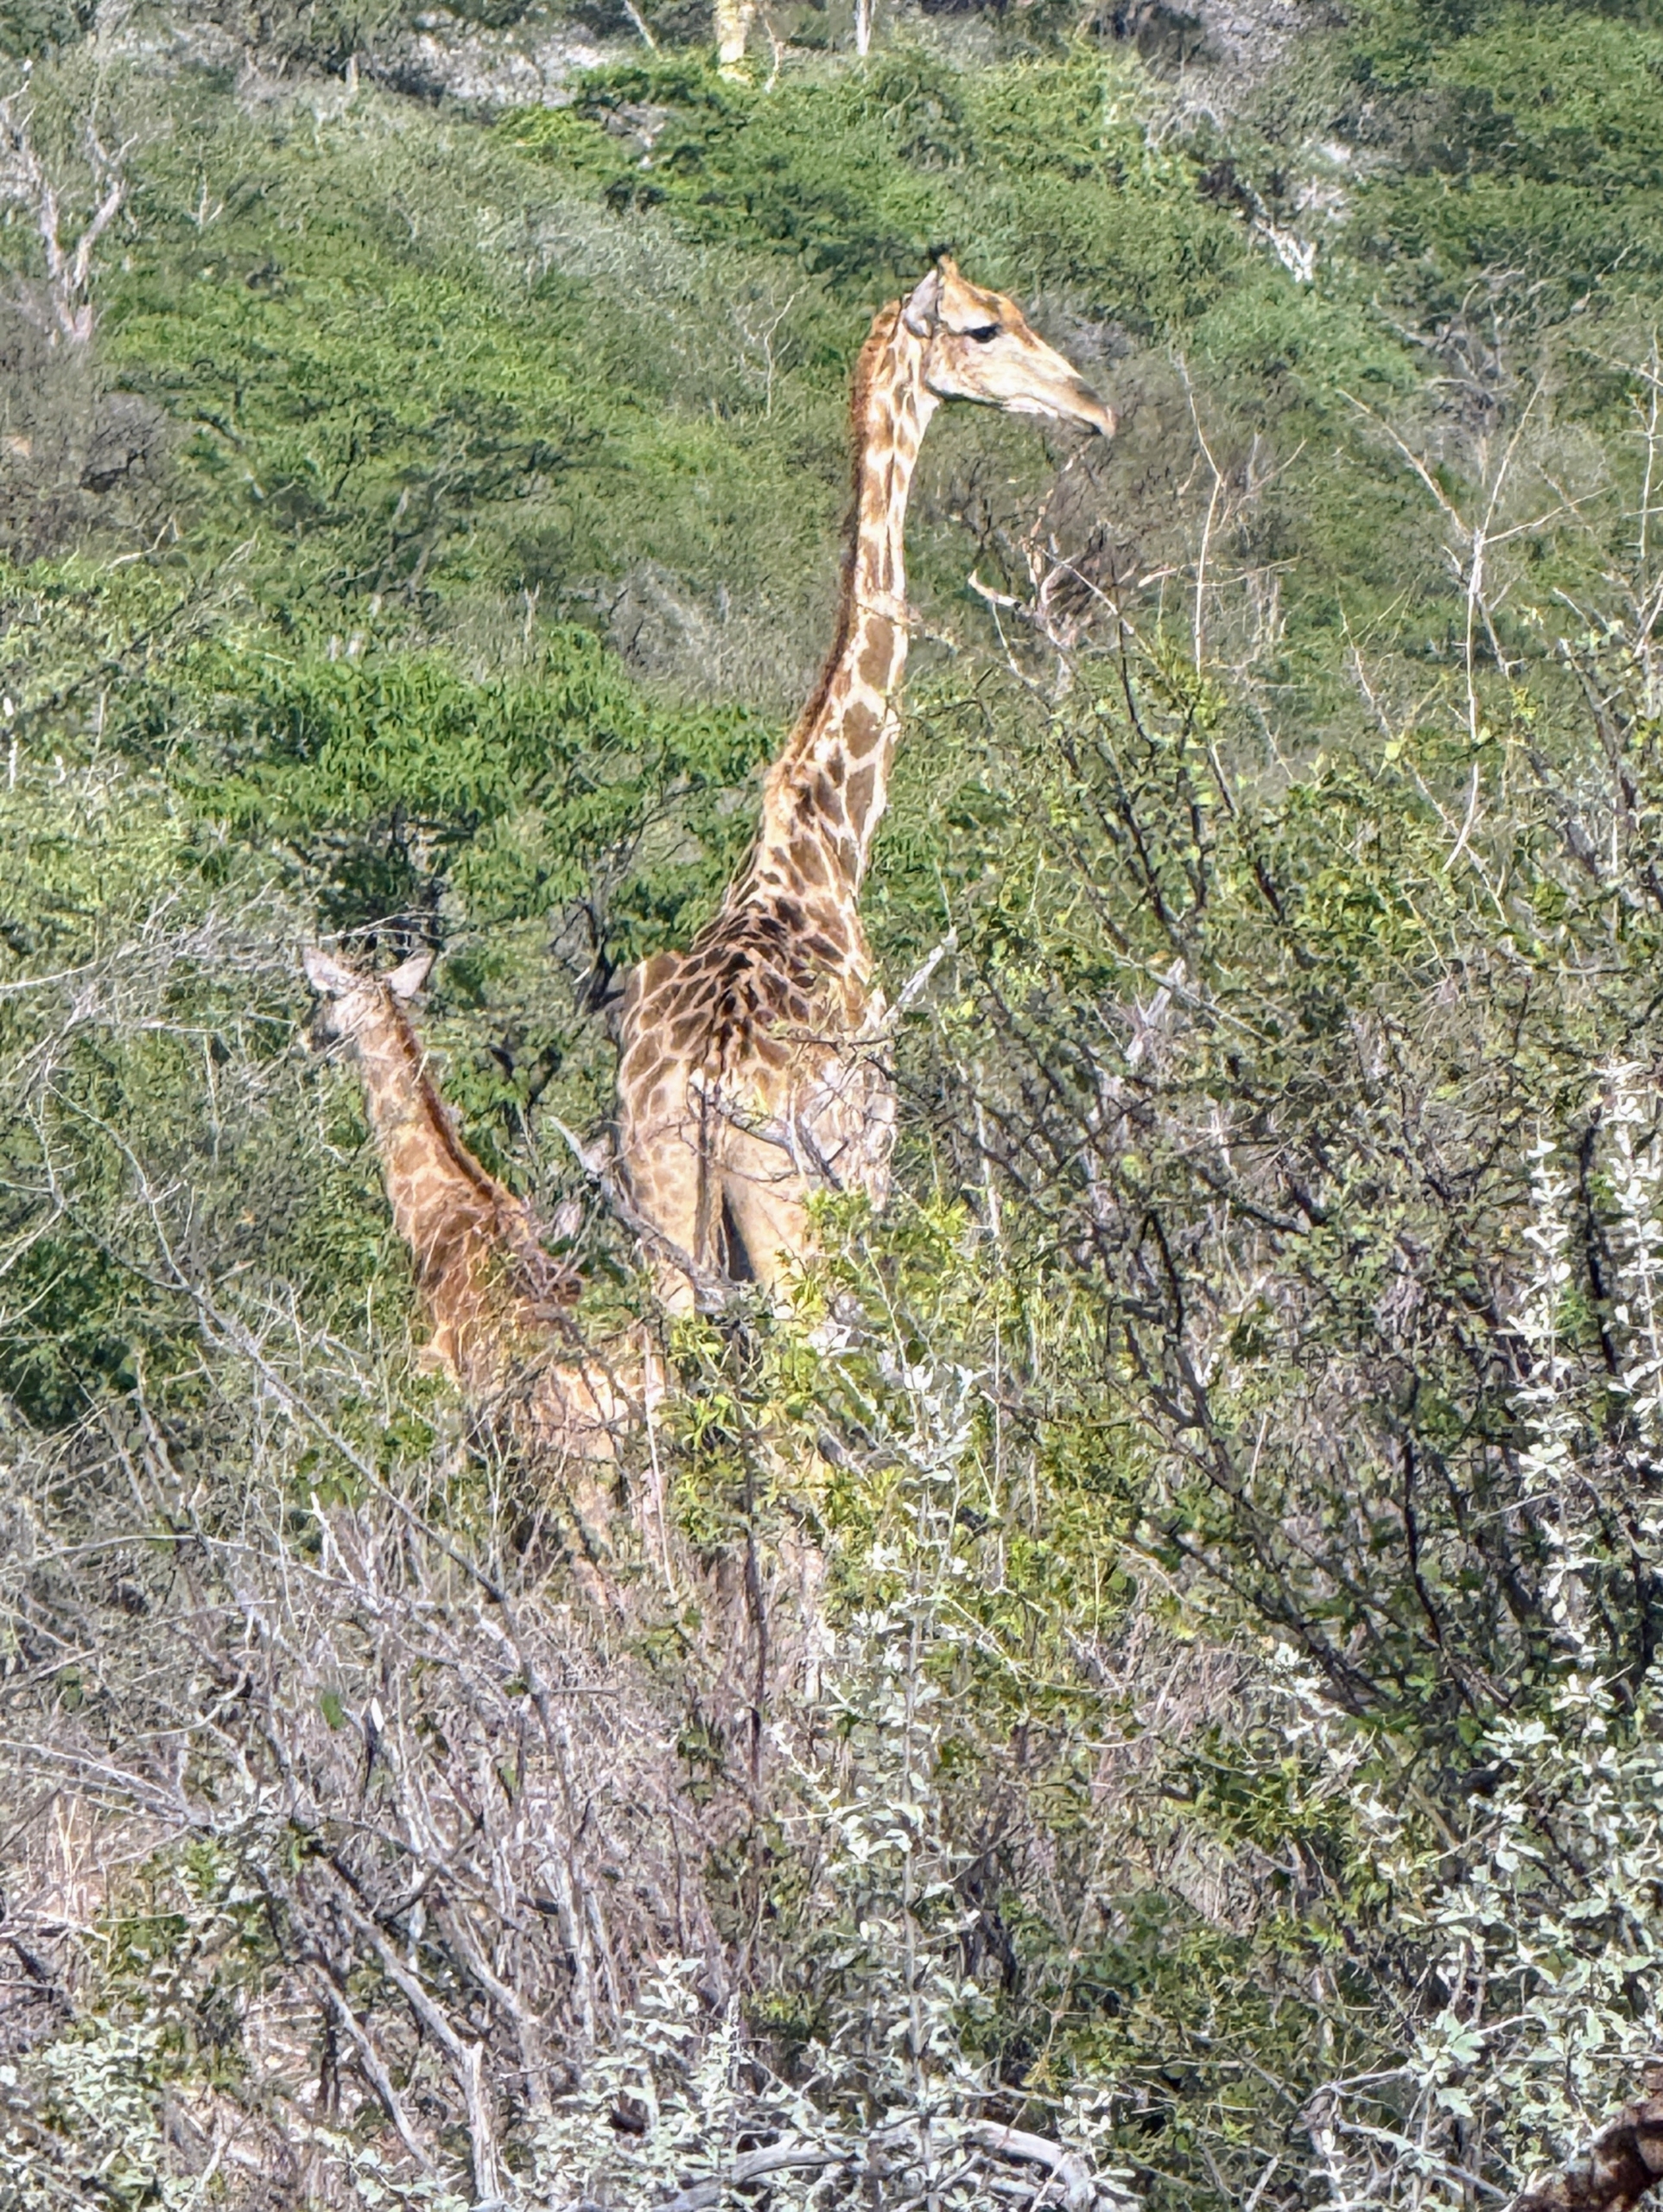
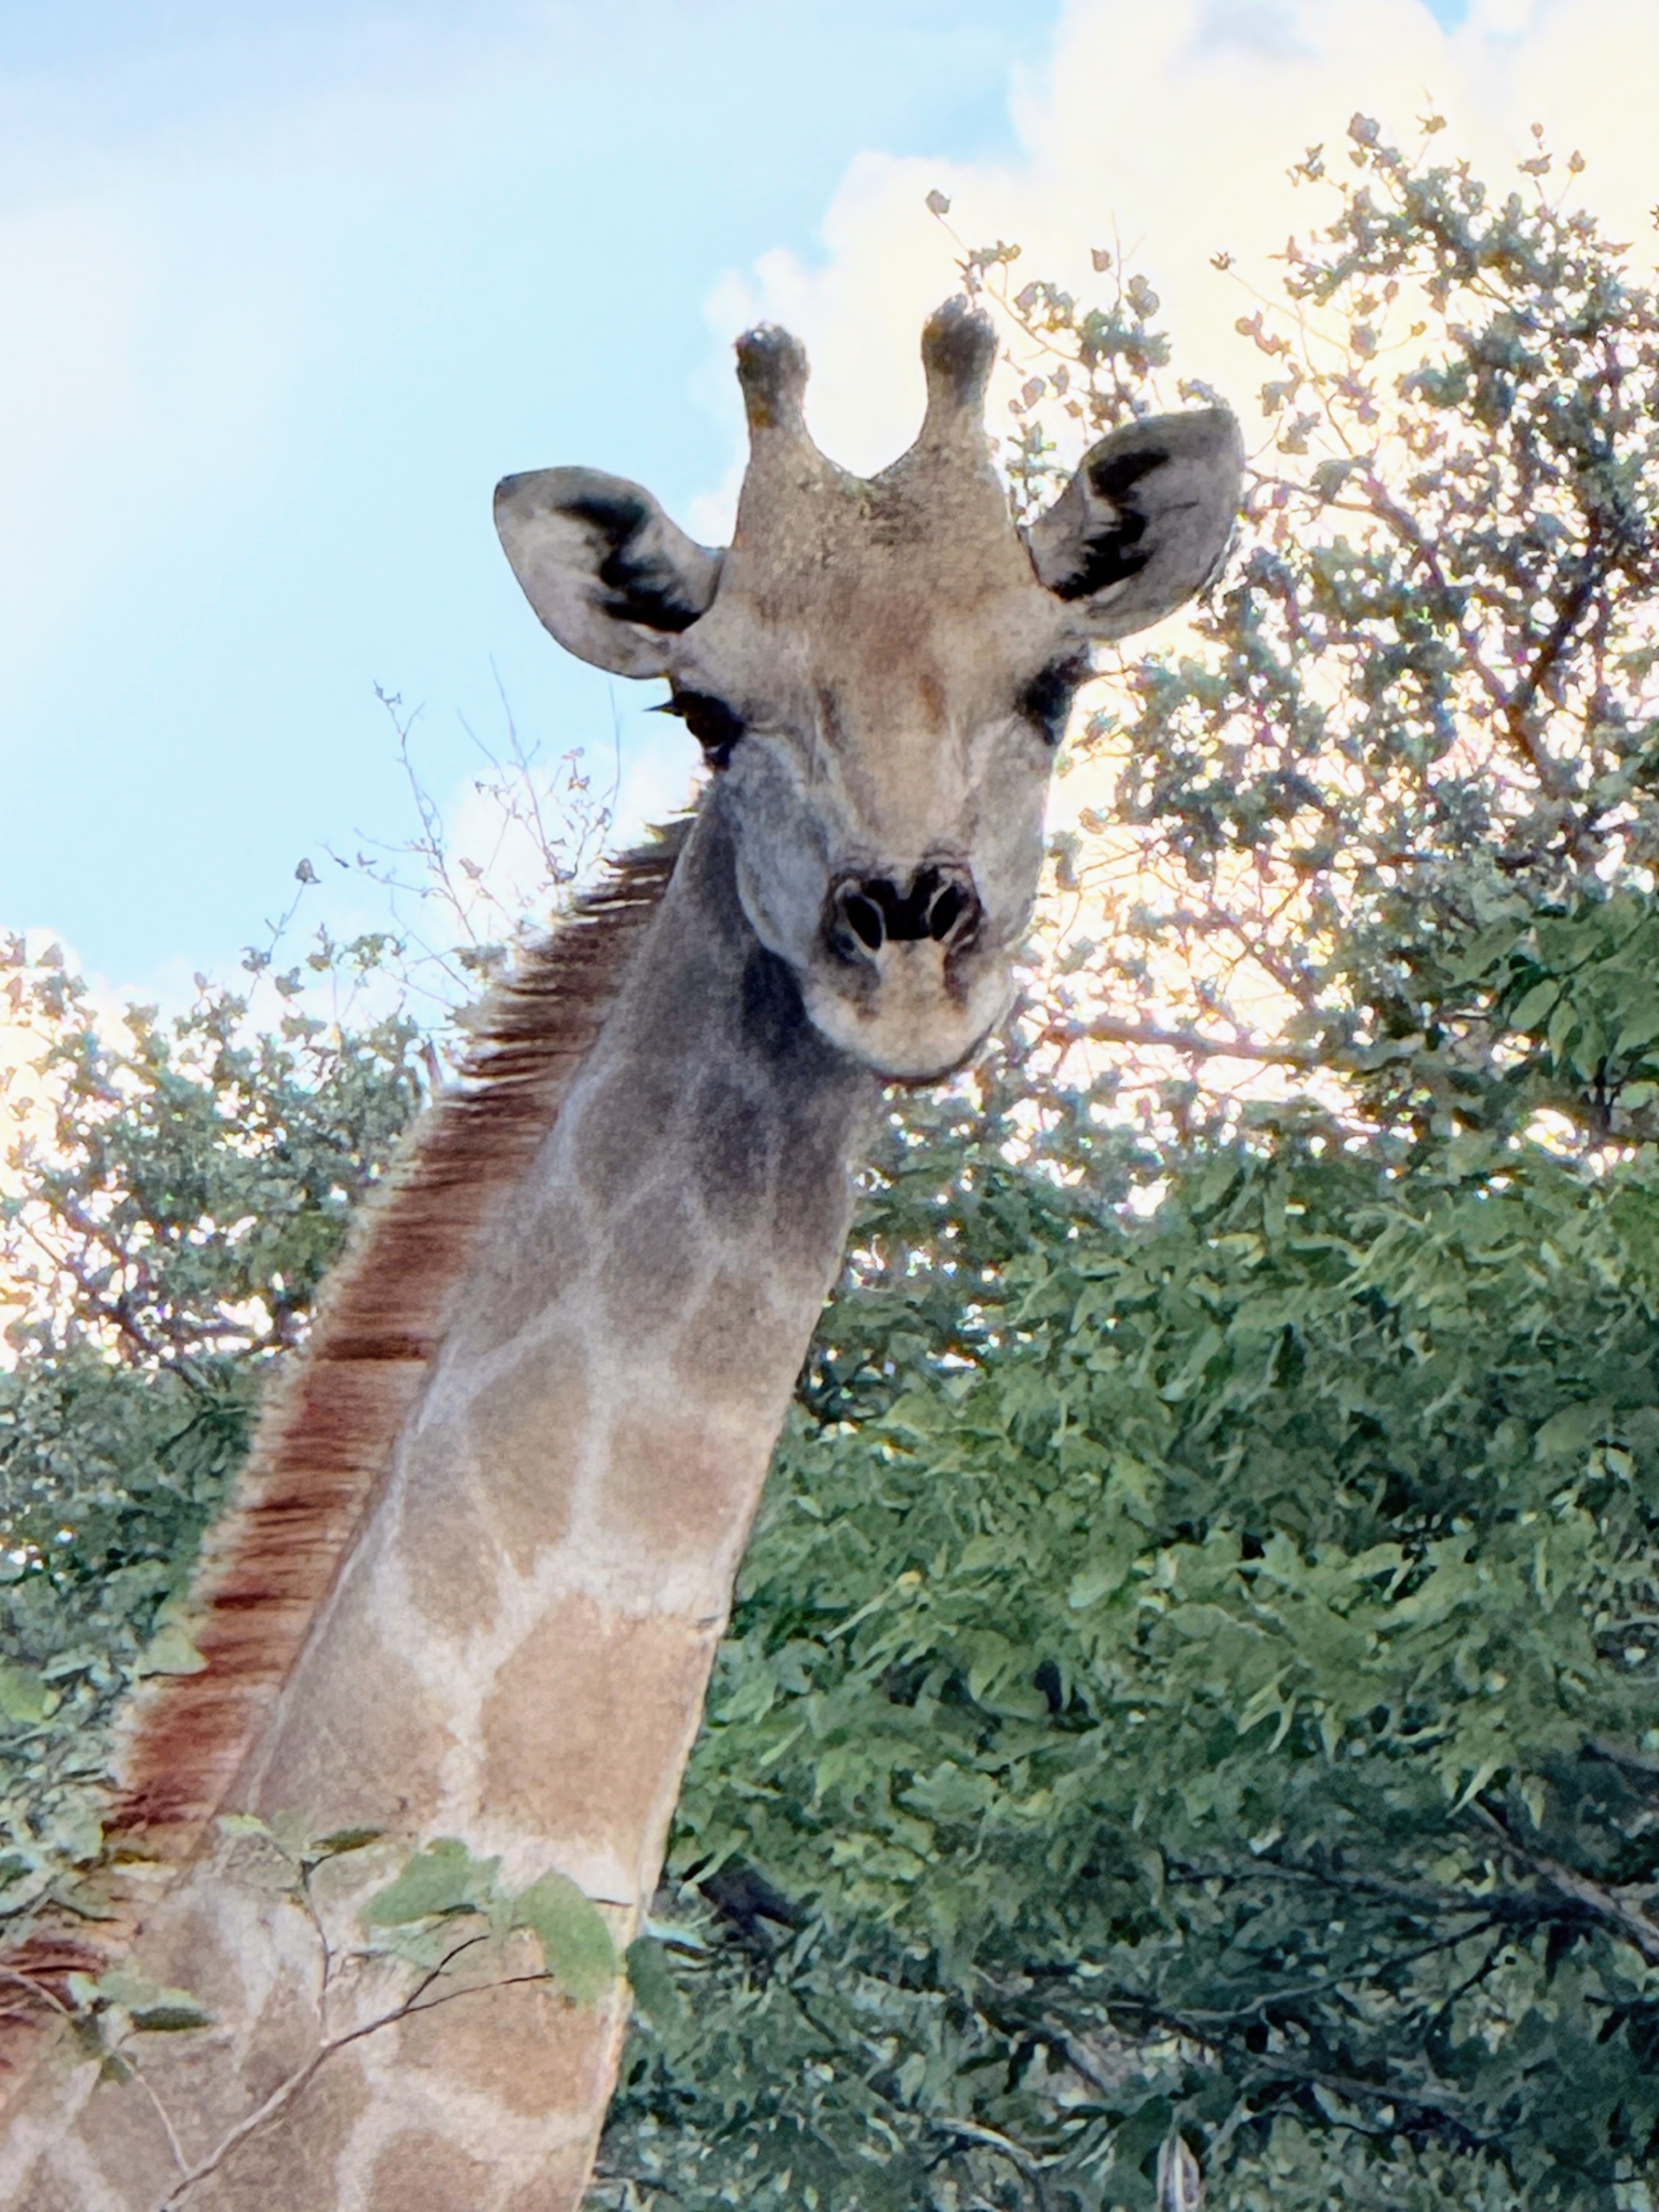
We were lucky to see many giraffes. In Namibia, giraffes are widely spread across the dry savannah habitats, including open grassland, and woodland. The two subspecies of giraffe found in Namibia are the southern giraffe and the Angolan giraffe.
Namibia giraffes can grow to more than 18-feet tall, but despite their characteristic long necks, giraffes actually have the same number of neck vertebrae as humans – seven.
And, like fingerprints, no two giraffes share the same pattern. Giraffes also have excellent vision. They can see in color and over great distances frontally, and their peripheral vision is so wide-angled they can almost see behind them.
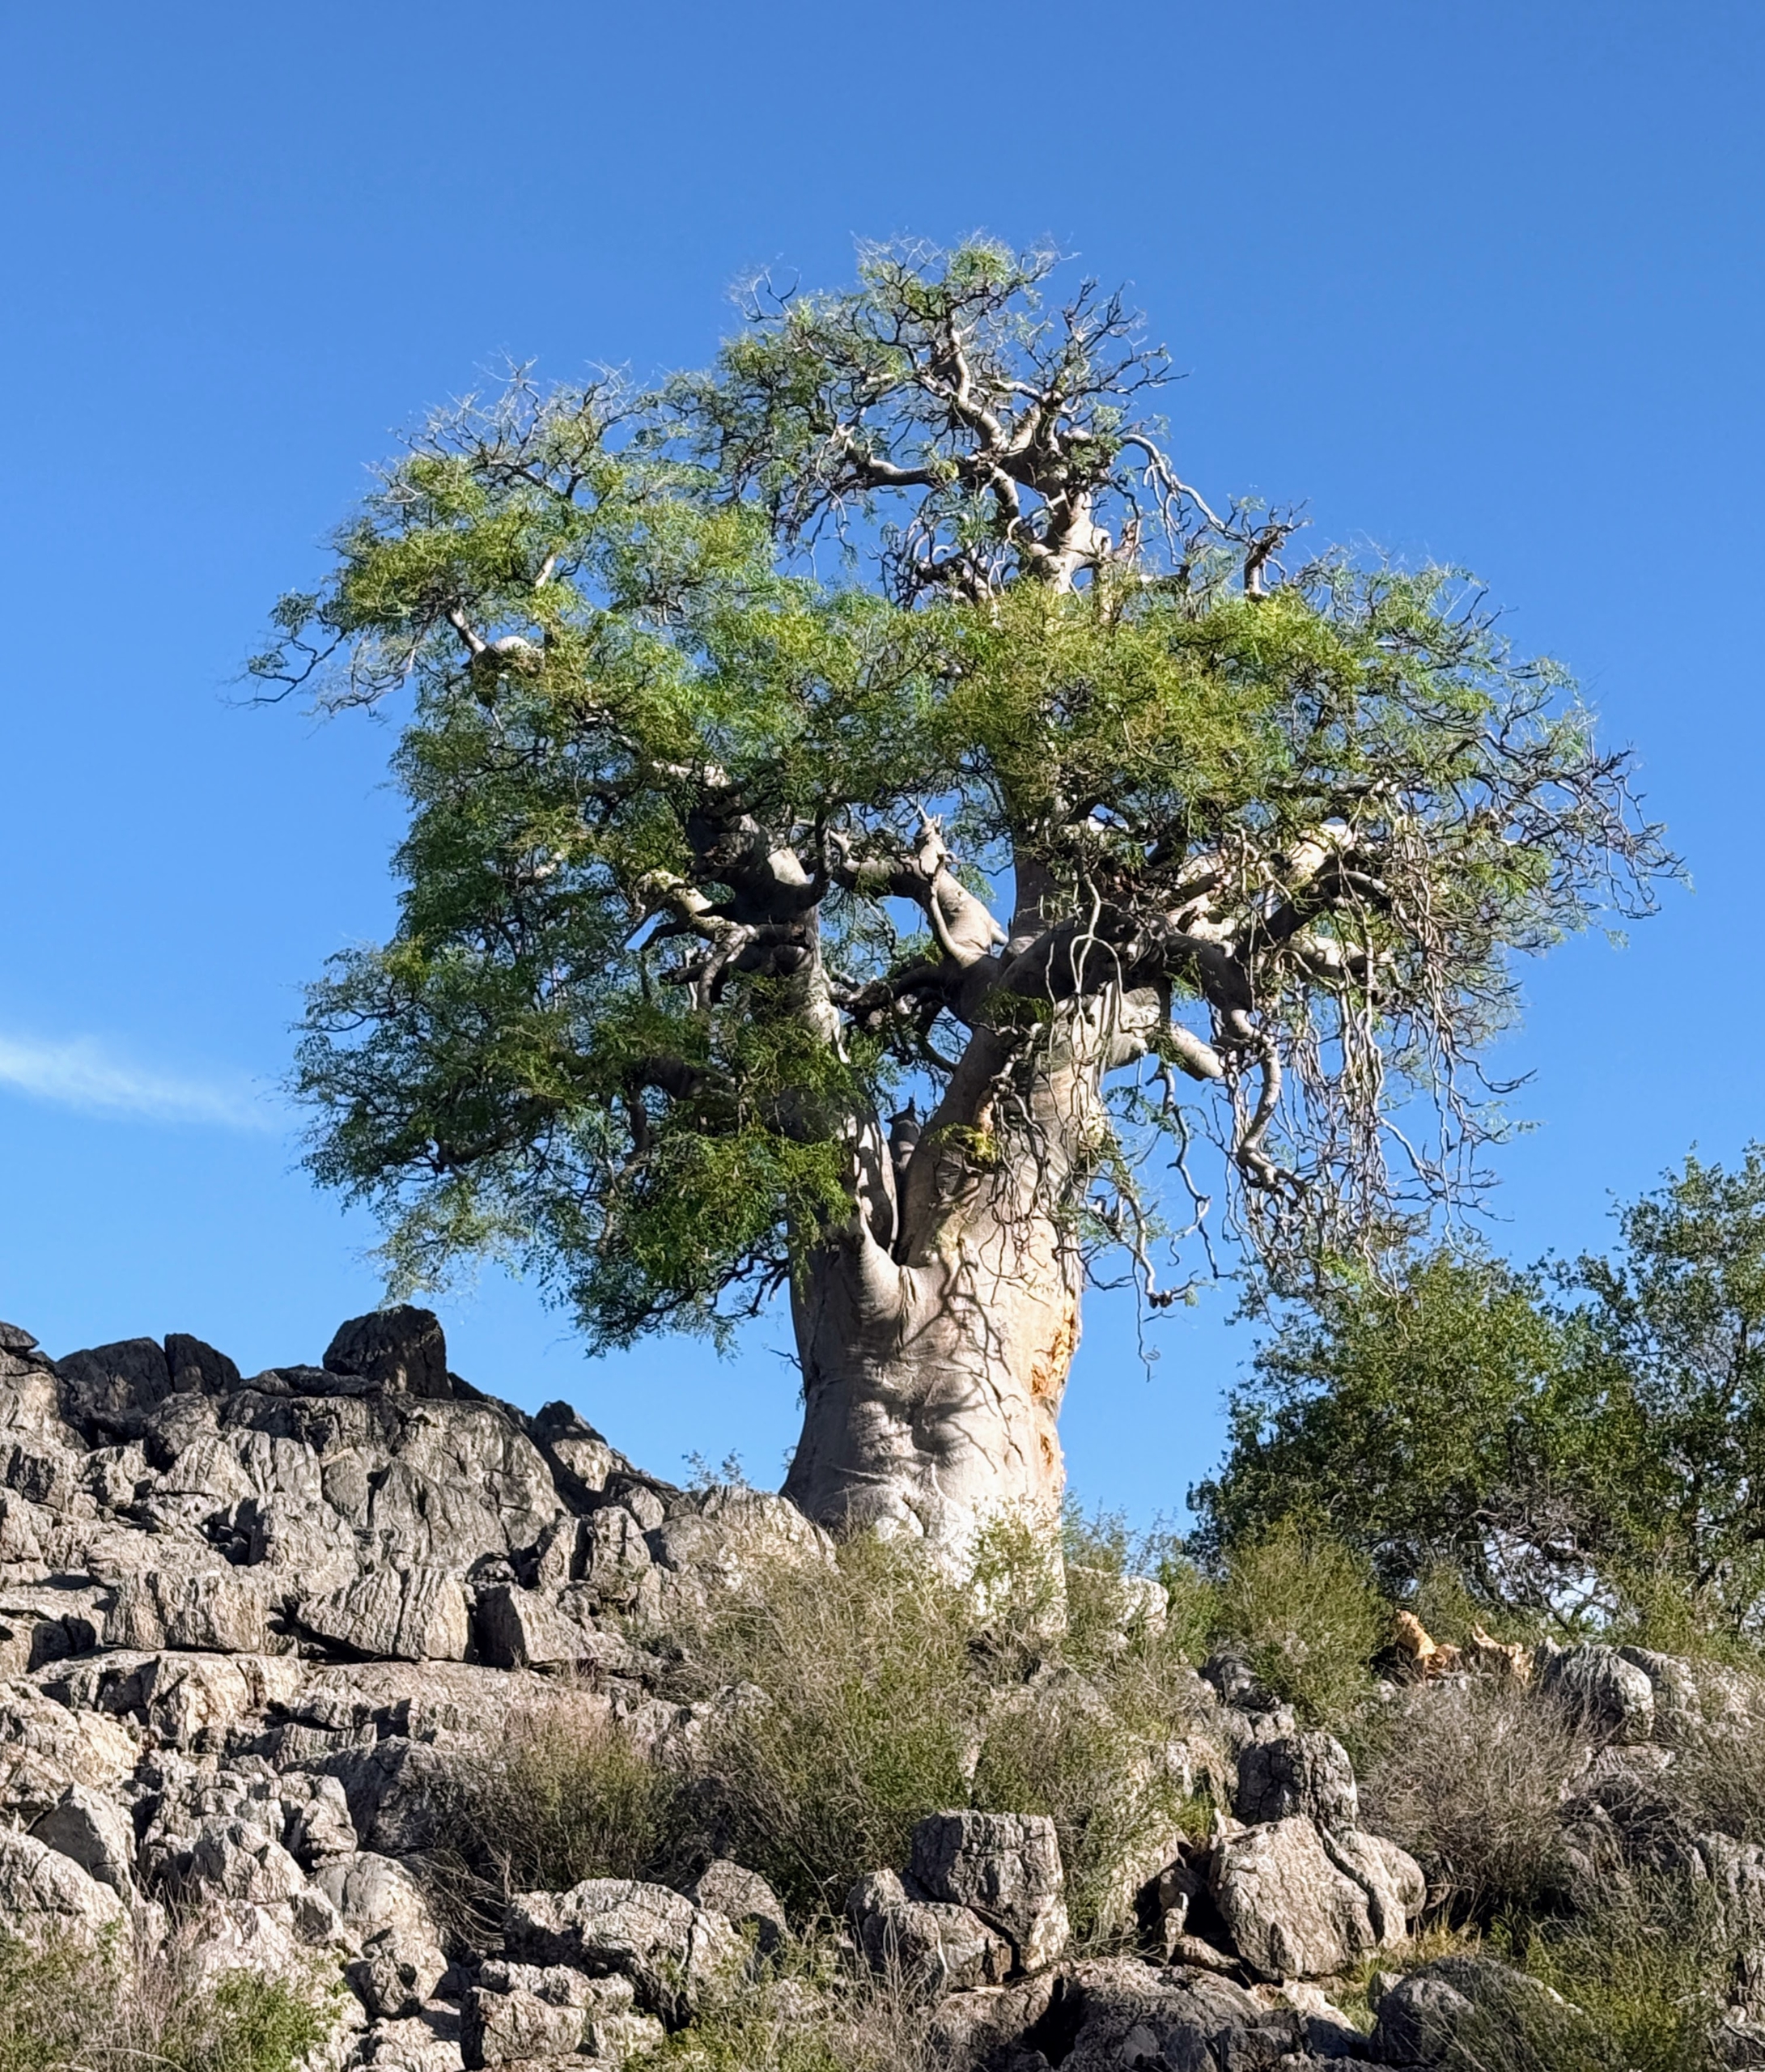
The Baobab tree, Adansonia digitata, is a tree species found in Africa. Baobabs are long-lived deciduous trees with broad trunks and compact crowns that can live to be thousands of years old.
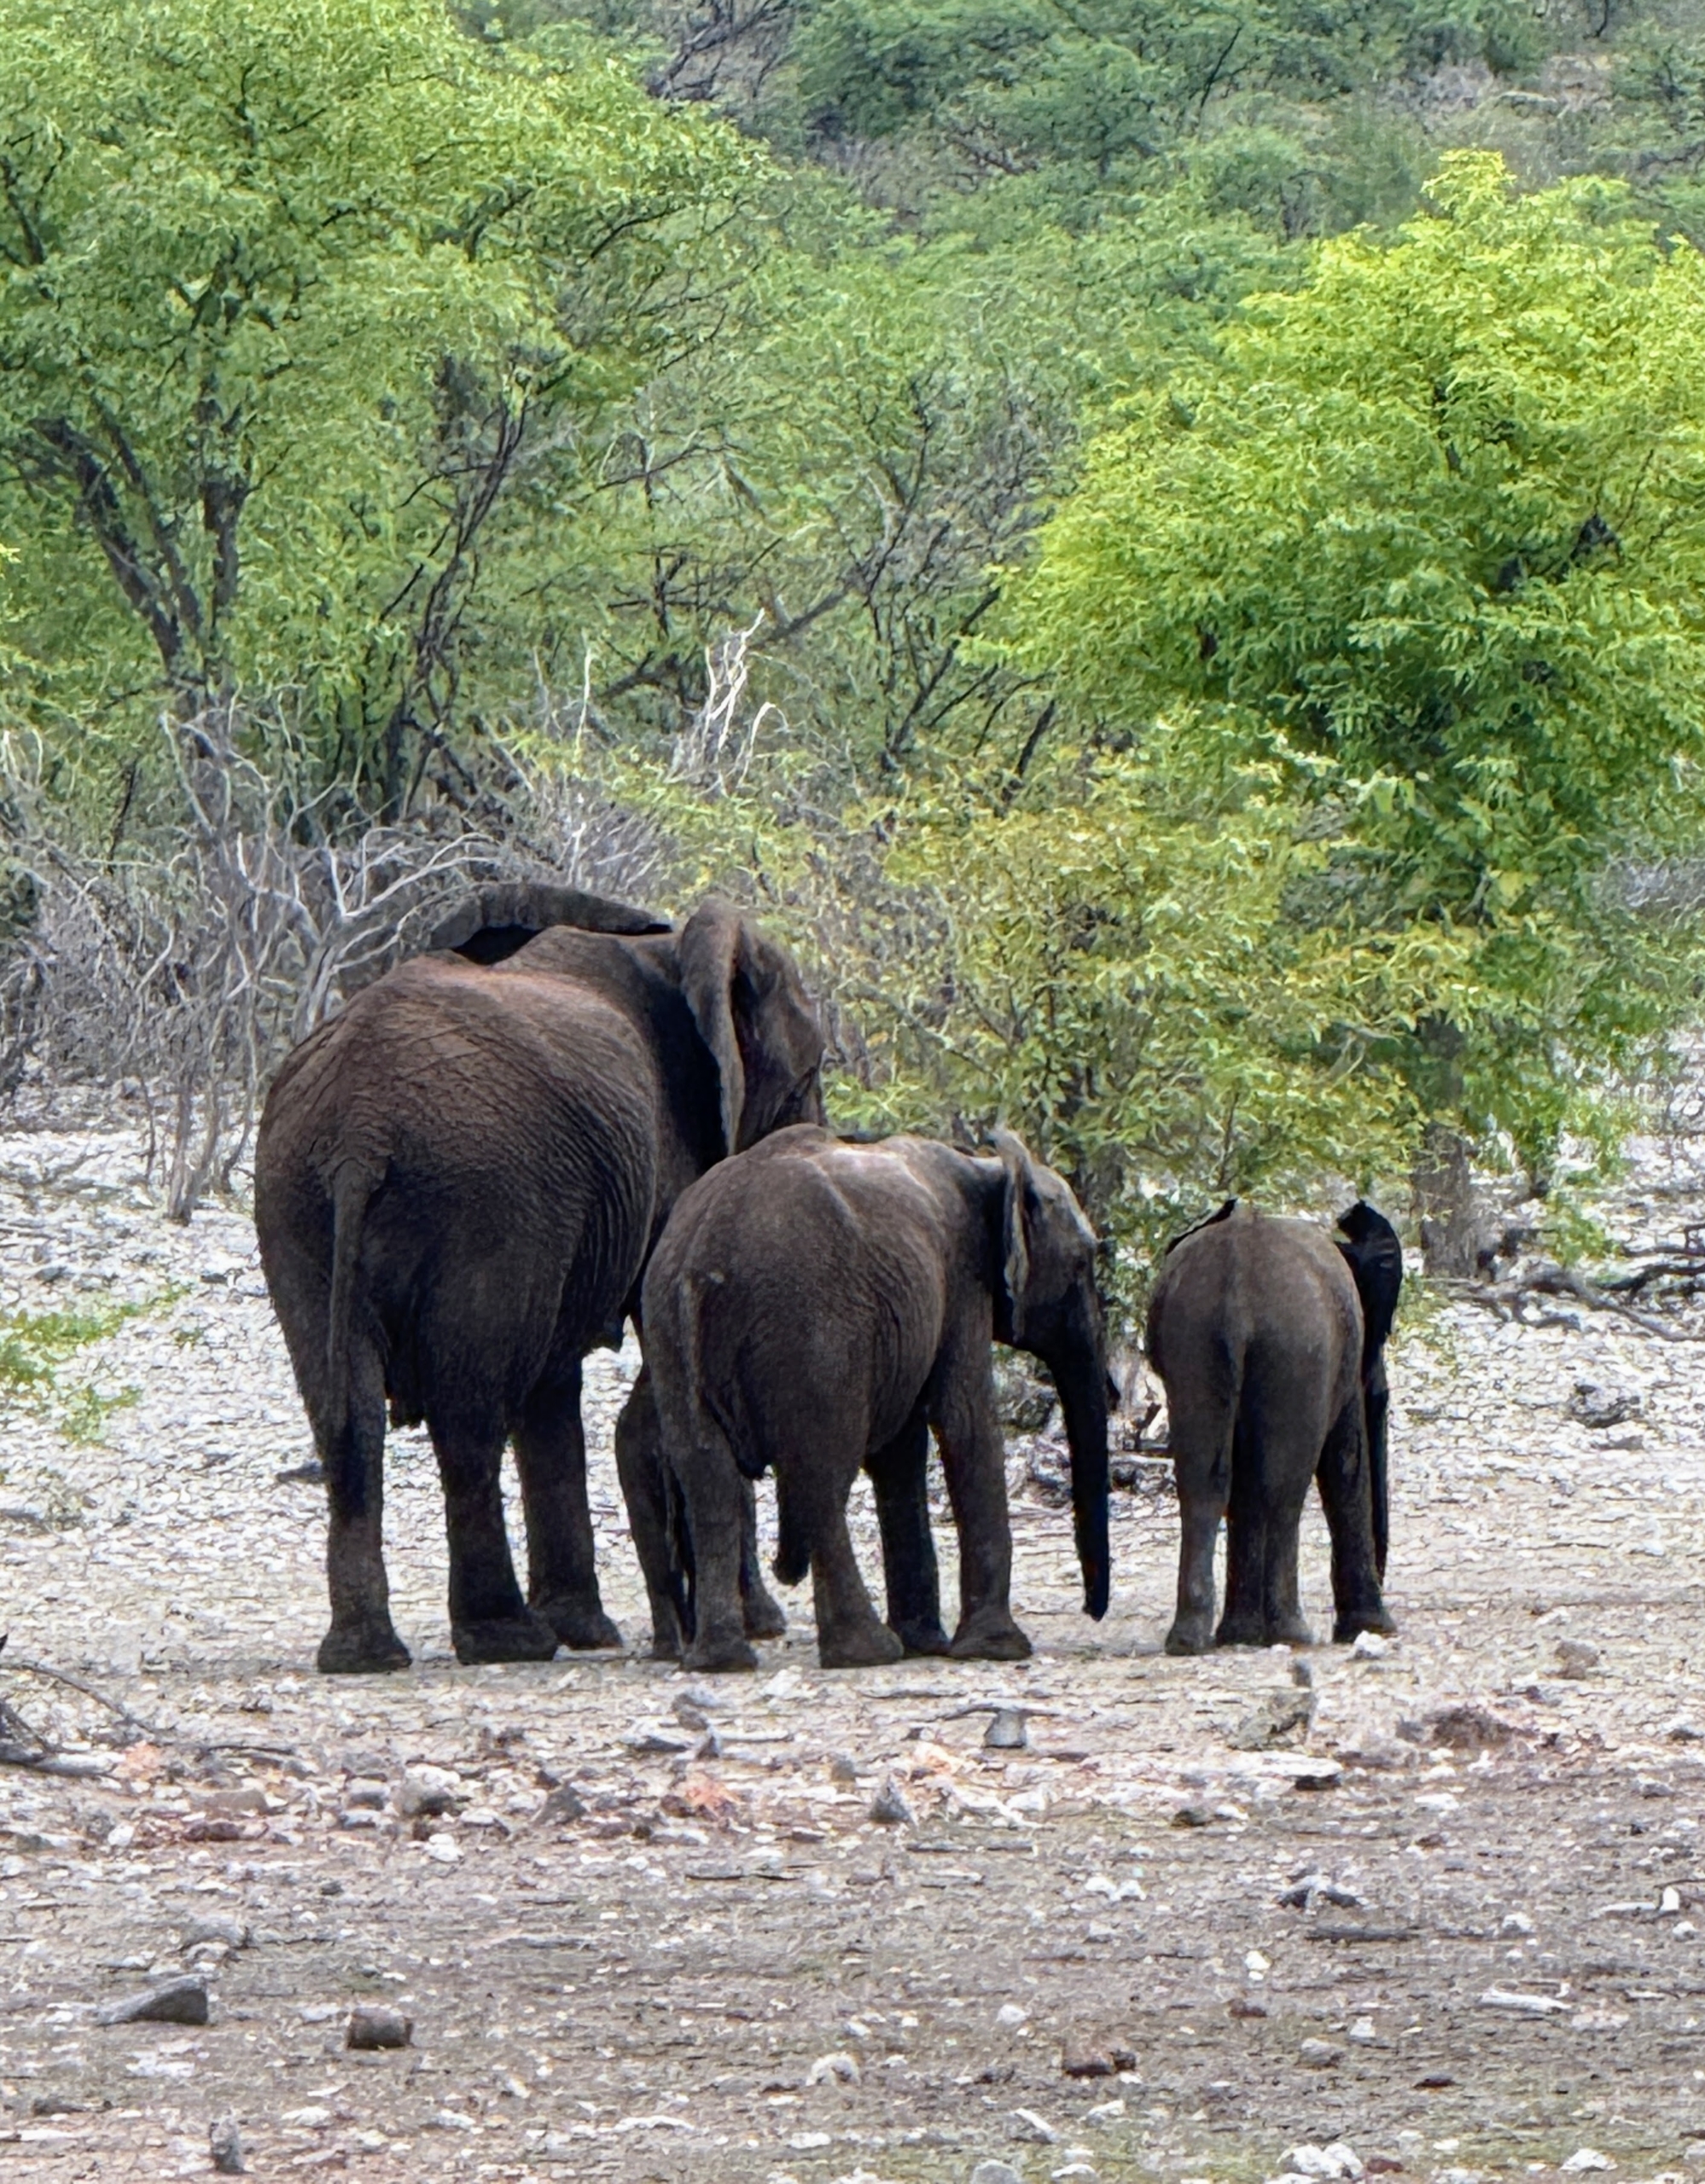
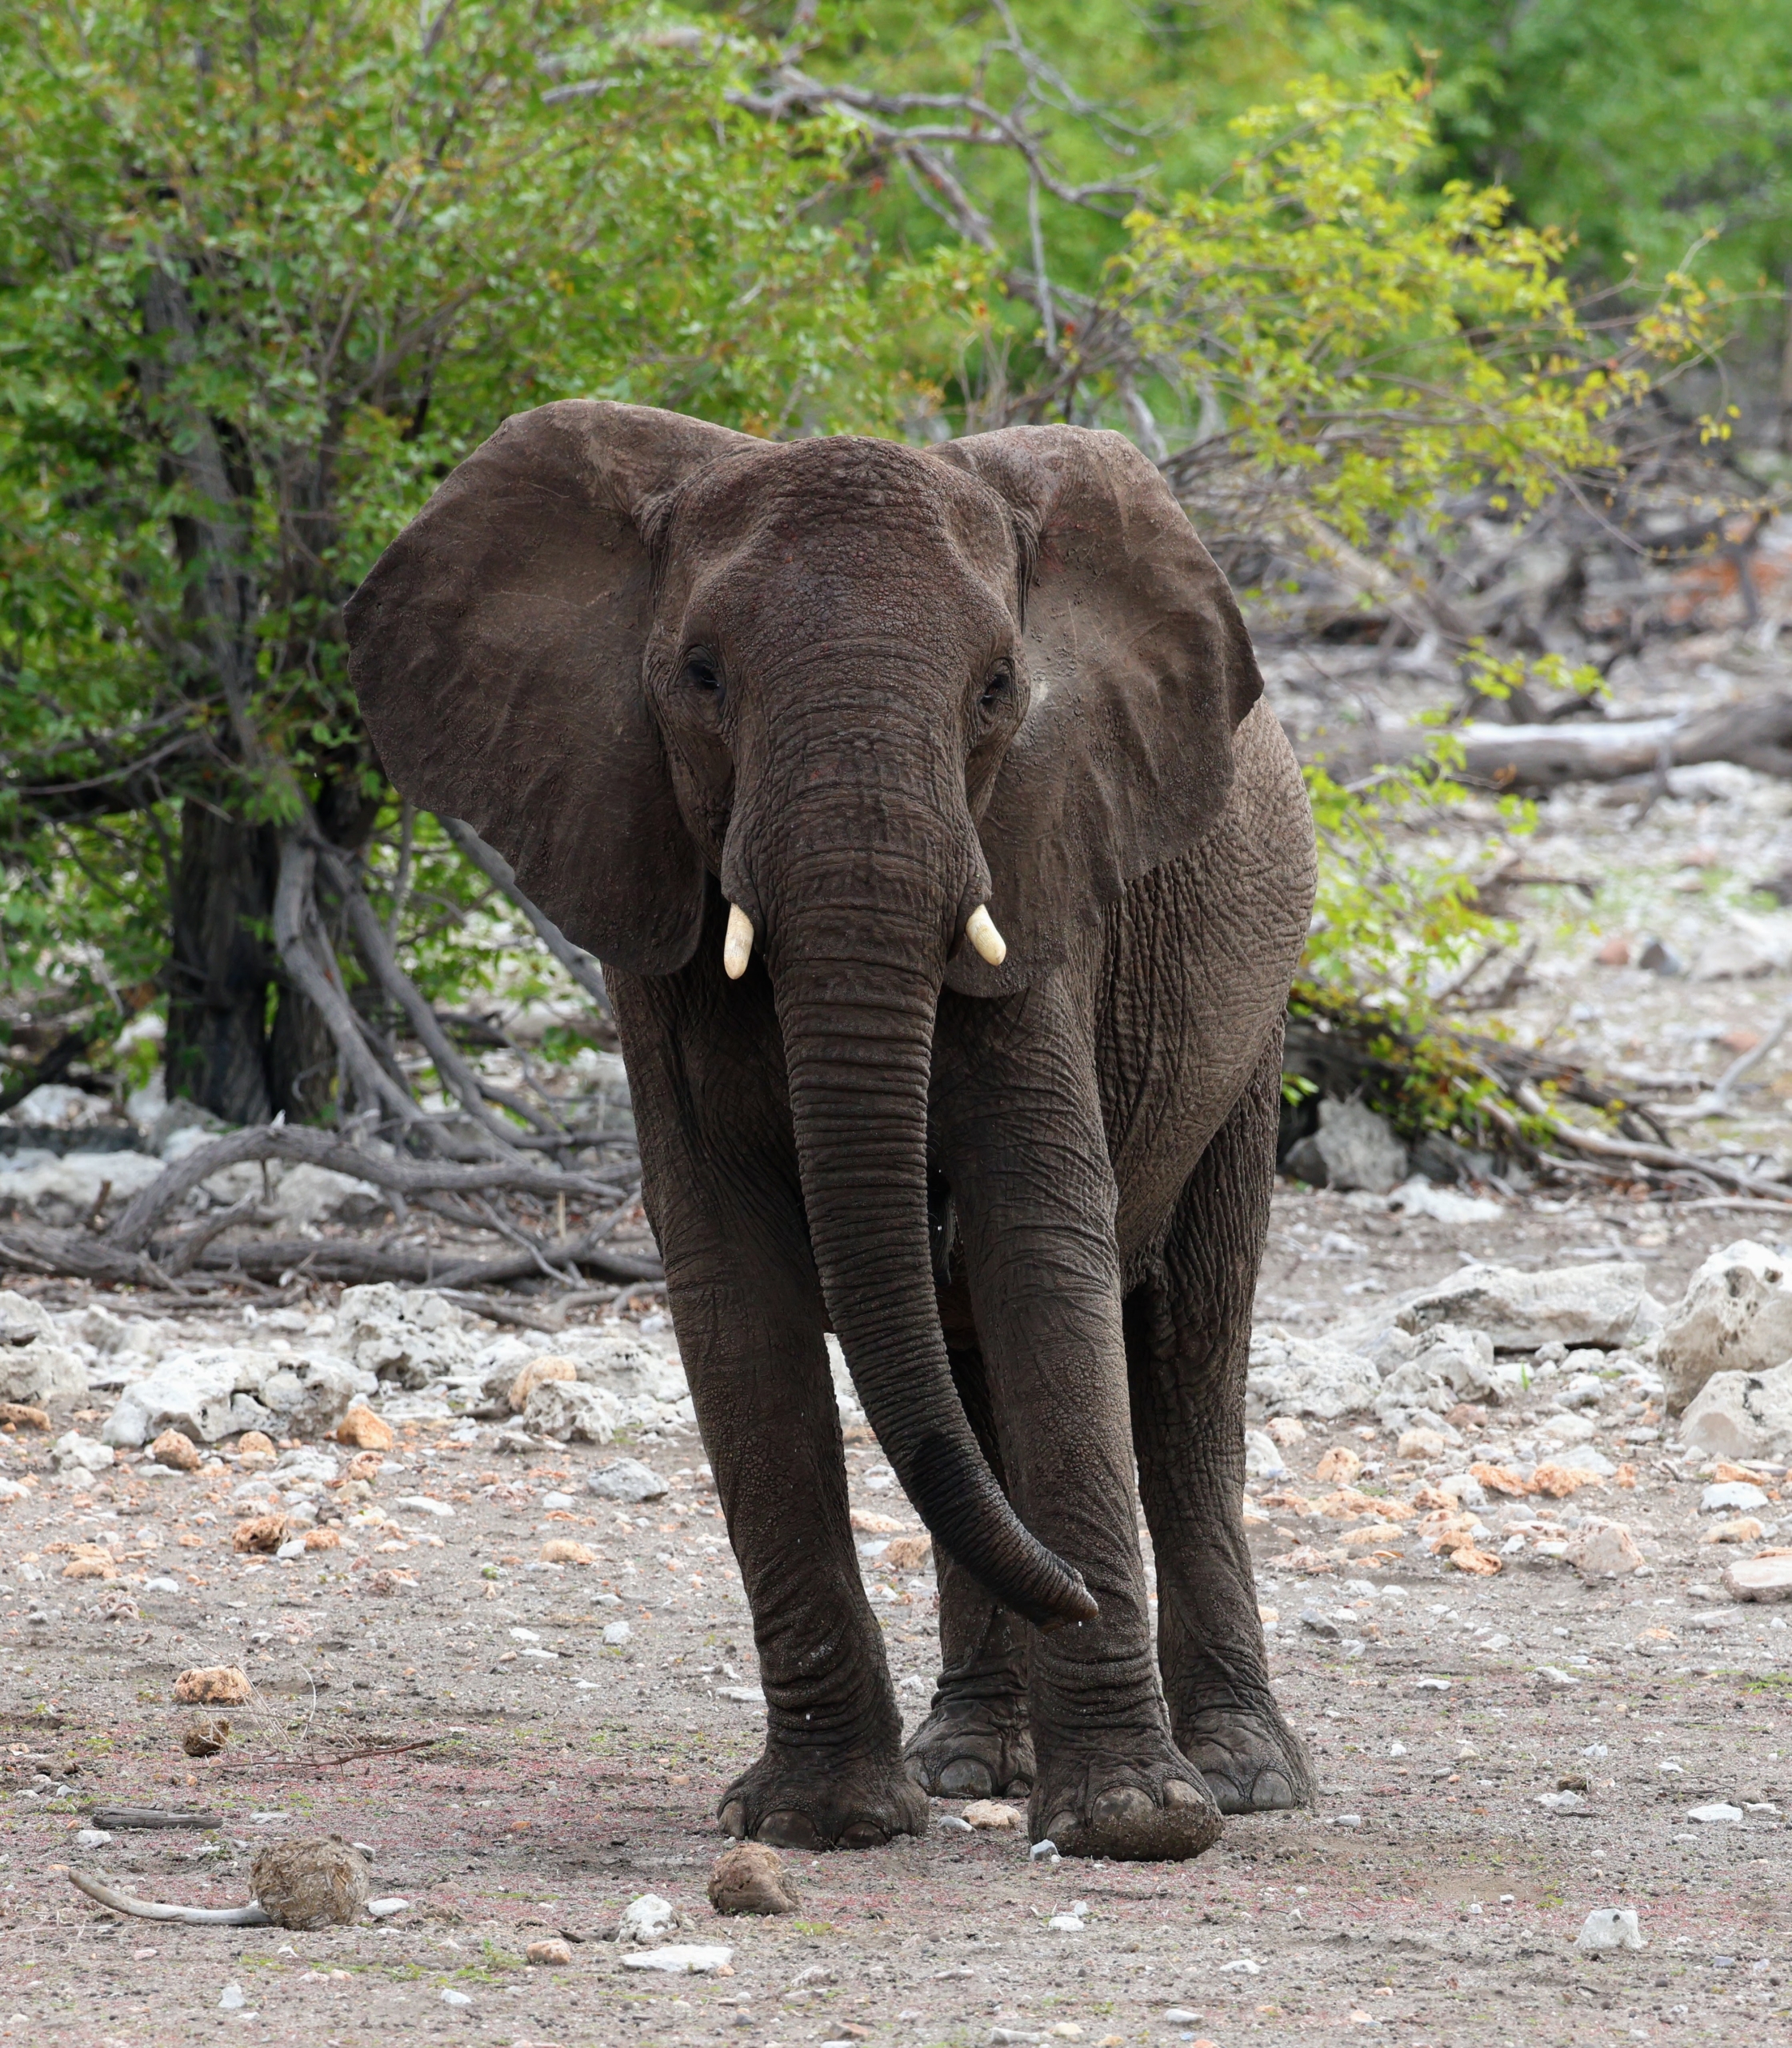
Desert elephants or desert-adapted elephants are African bush elephants that have made their homes in the Namib and Sahara deserts in Africa. They have have broader feet, longer legs and smaller bodies than other elephants, and their diet varies with the change of the seasons.
Elephants use their trunks for drinking, eating, cleaning, navigation, playing, and more. Their trunks are incredibly strong and can lift objects that weigh more than 550 pounds as well as store up to three gallons of water. Both males and females have tusks.
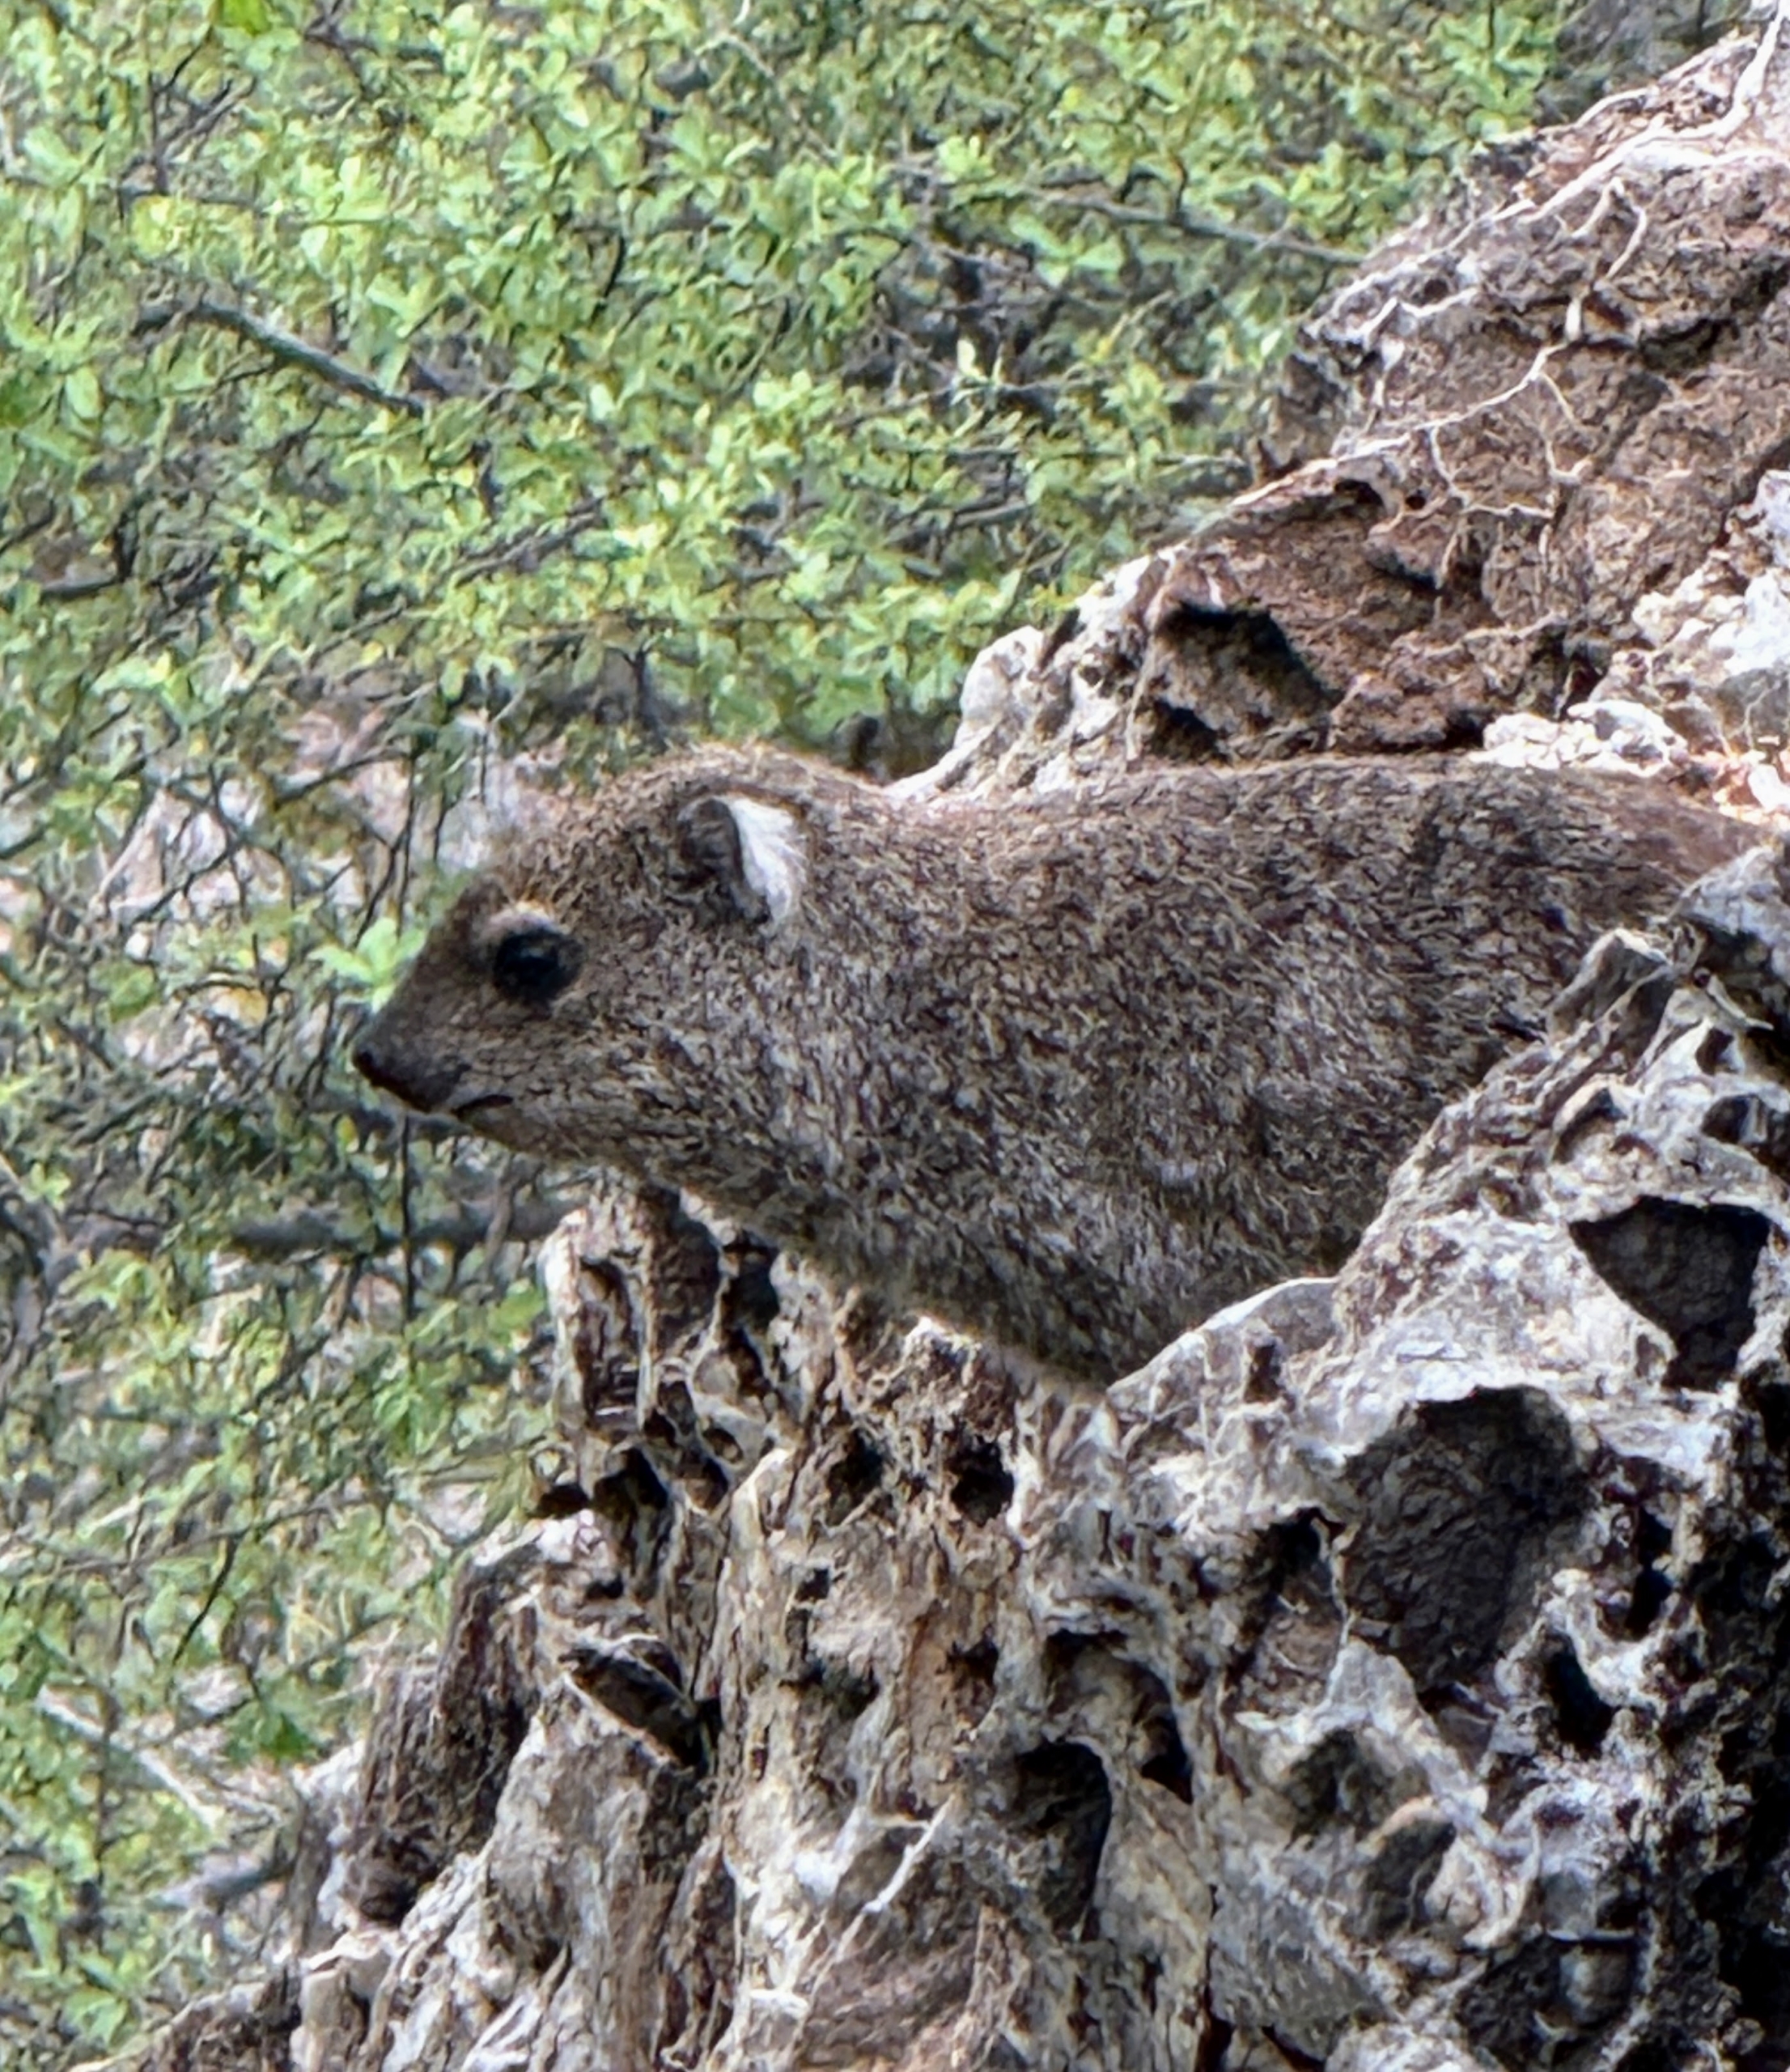
This is called a dassie rat, a medium-sized rodent that has adapted to life in the rocky outcrops of the desert hills and plateaus of southwestern Africa. Its fur ranges from pale gray to dark brown. The dassie’s head is broad and flat and its body is extremely flexible making it easy to squeeze into tight places.
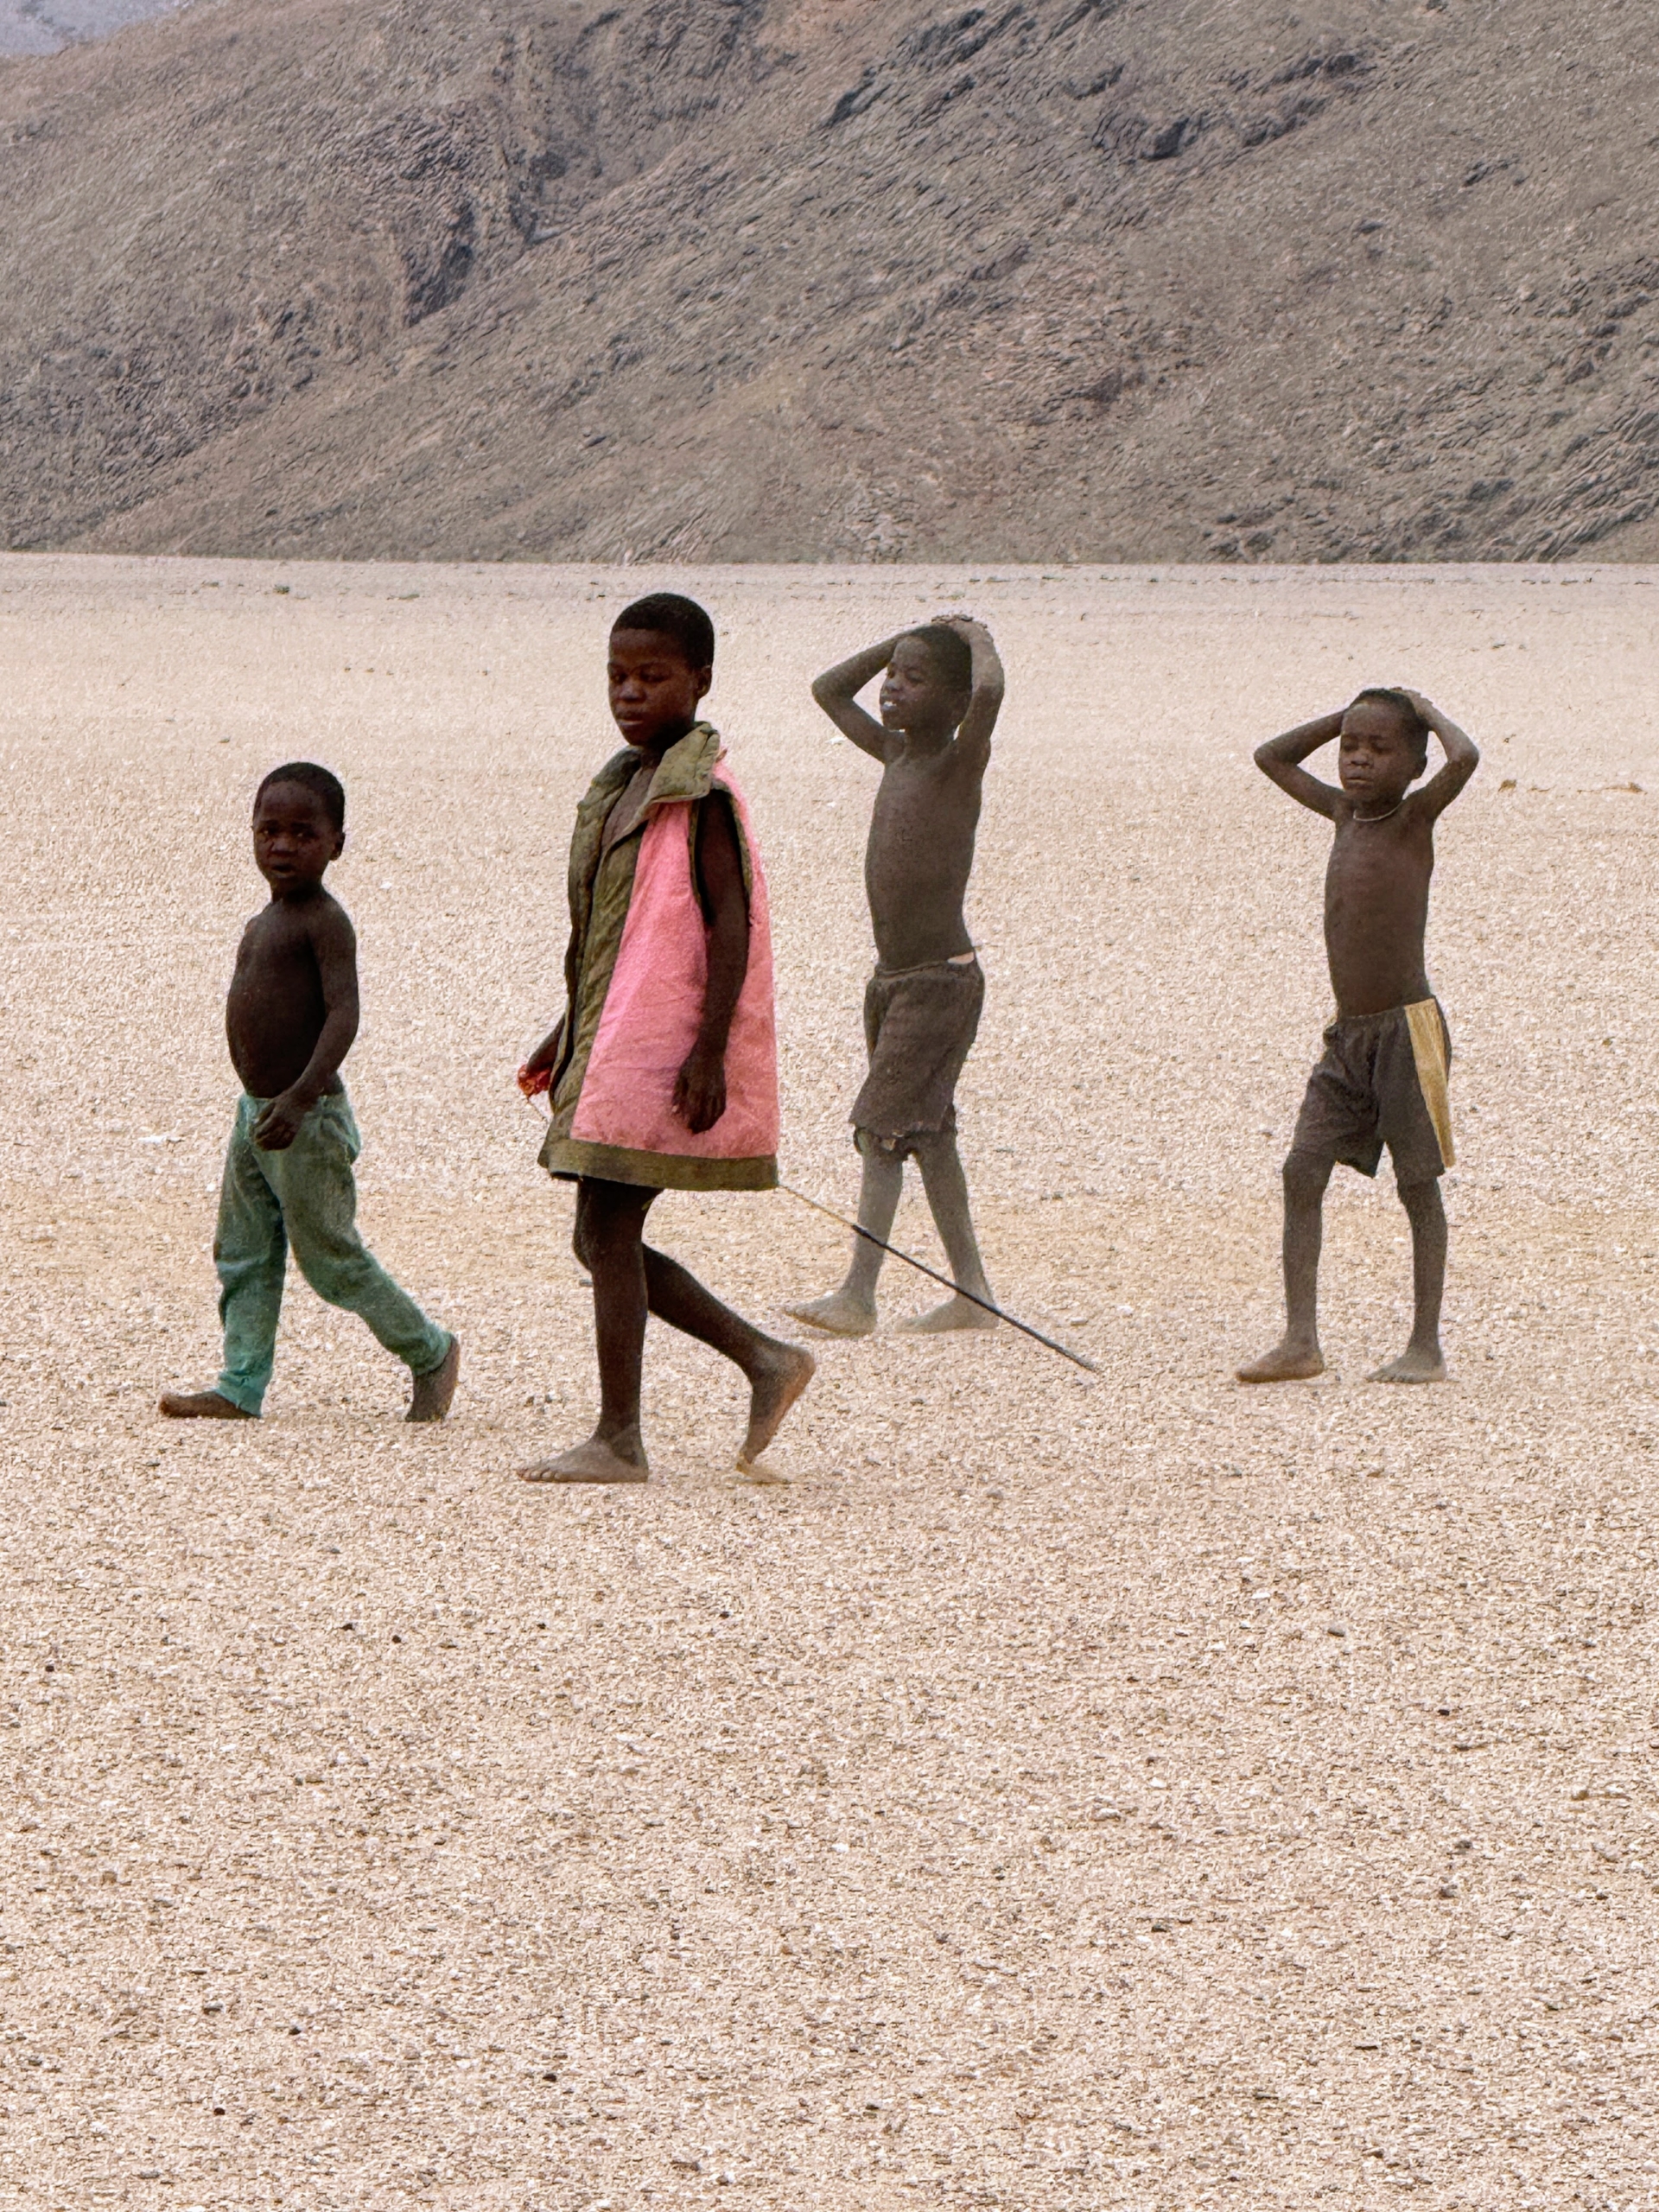
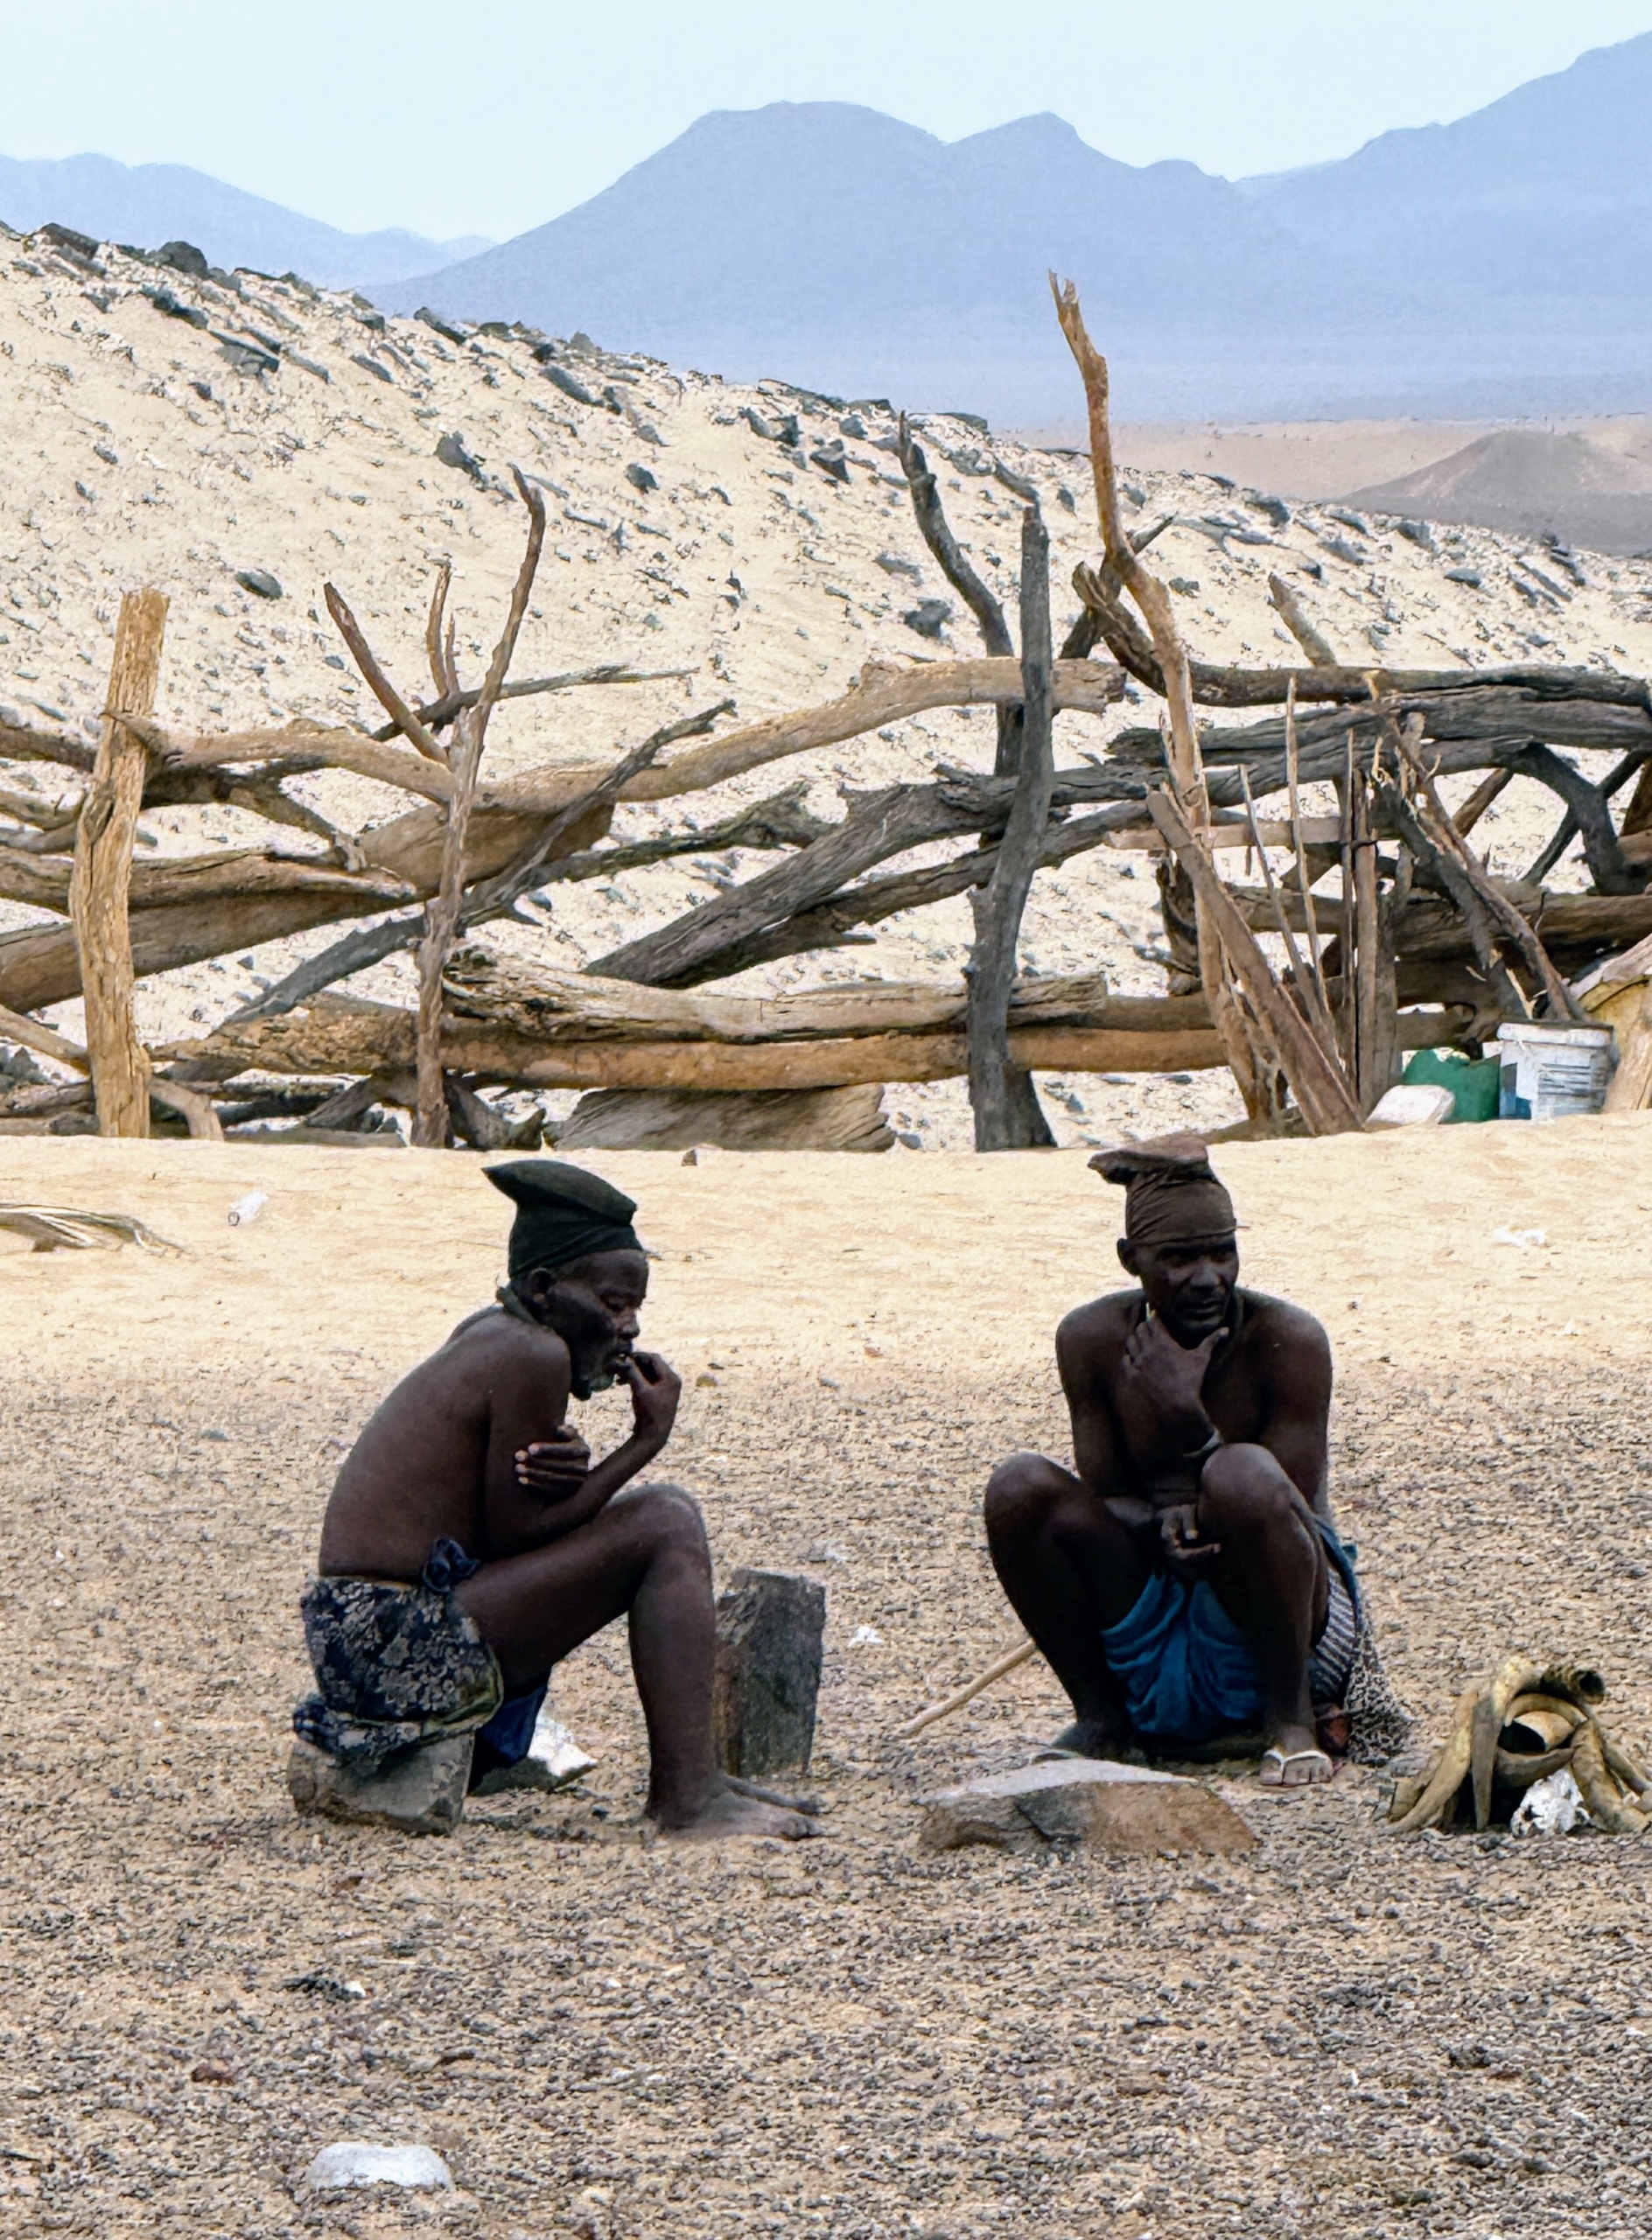
On this day, we went to visit the Himba people, semi-nomadic tribe of hunter-gatherers.
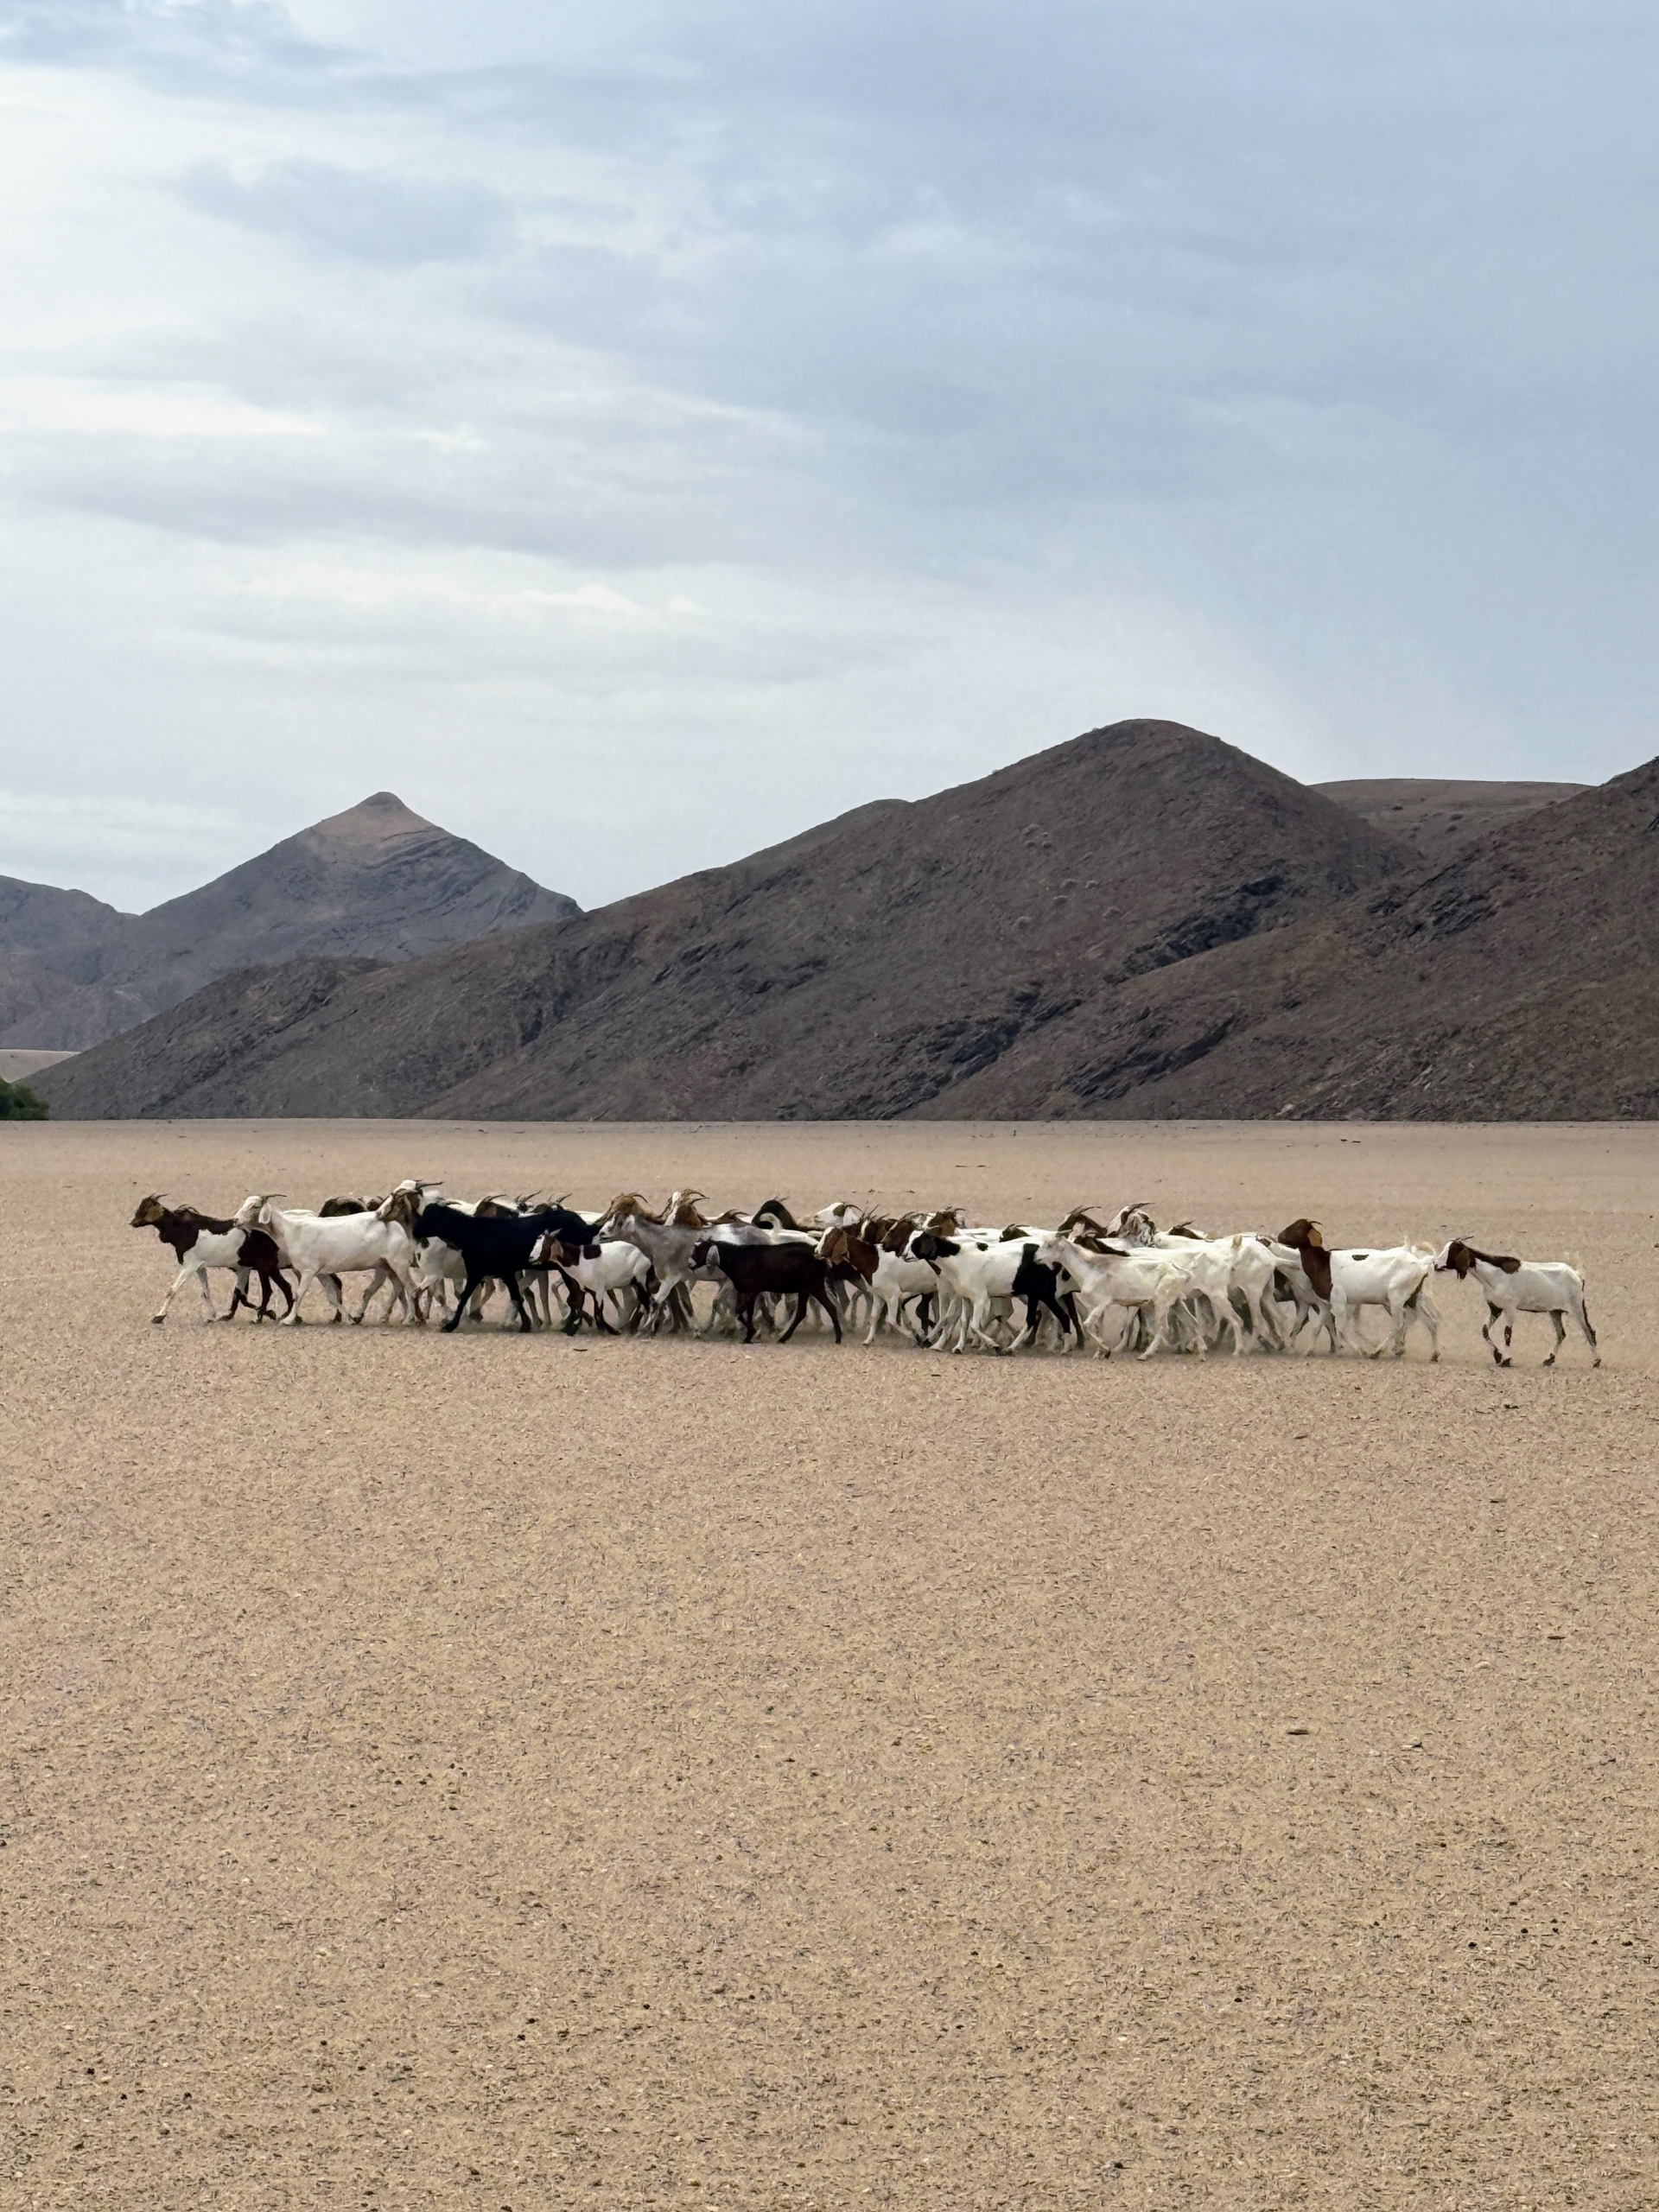
The Himba people are predominantly livestock farmers who breed fat-tailed sheep and goats. They also grow and farm rain-fed crops such as maize and millet.
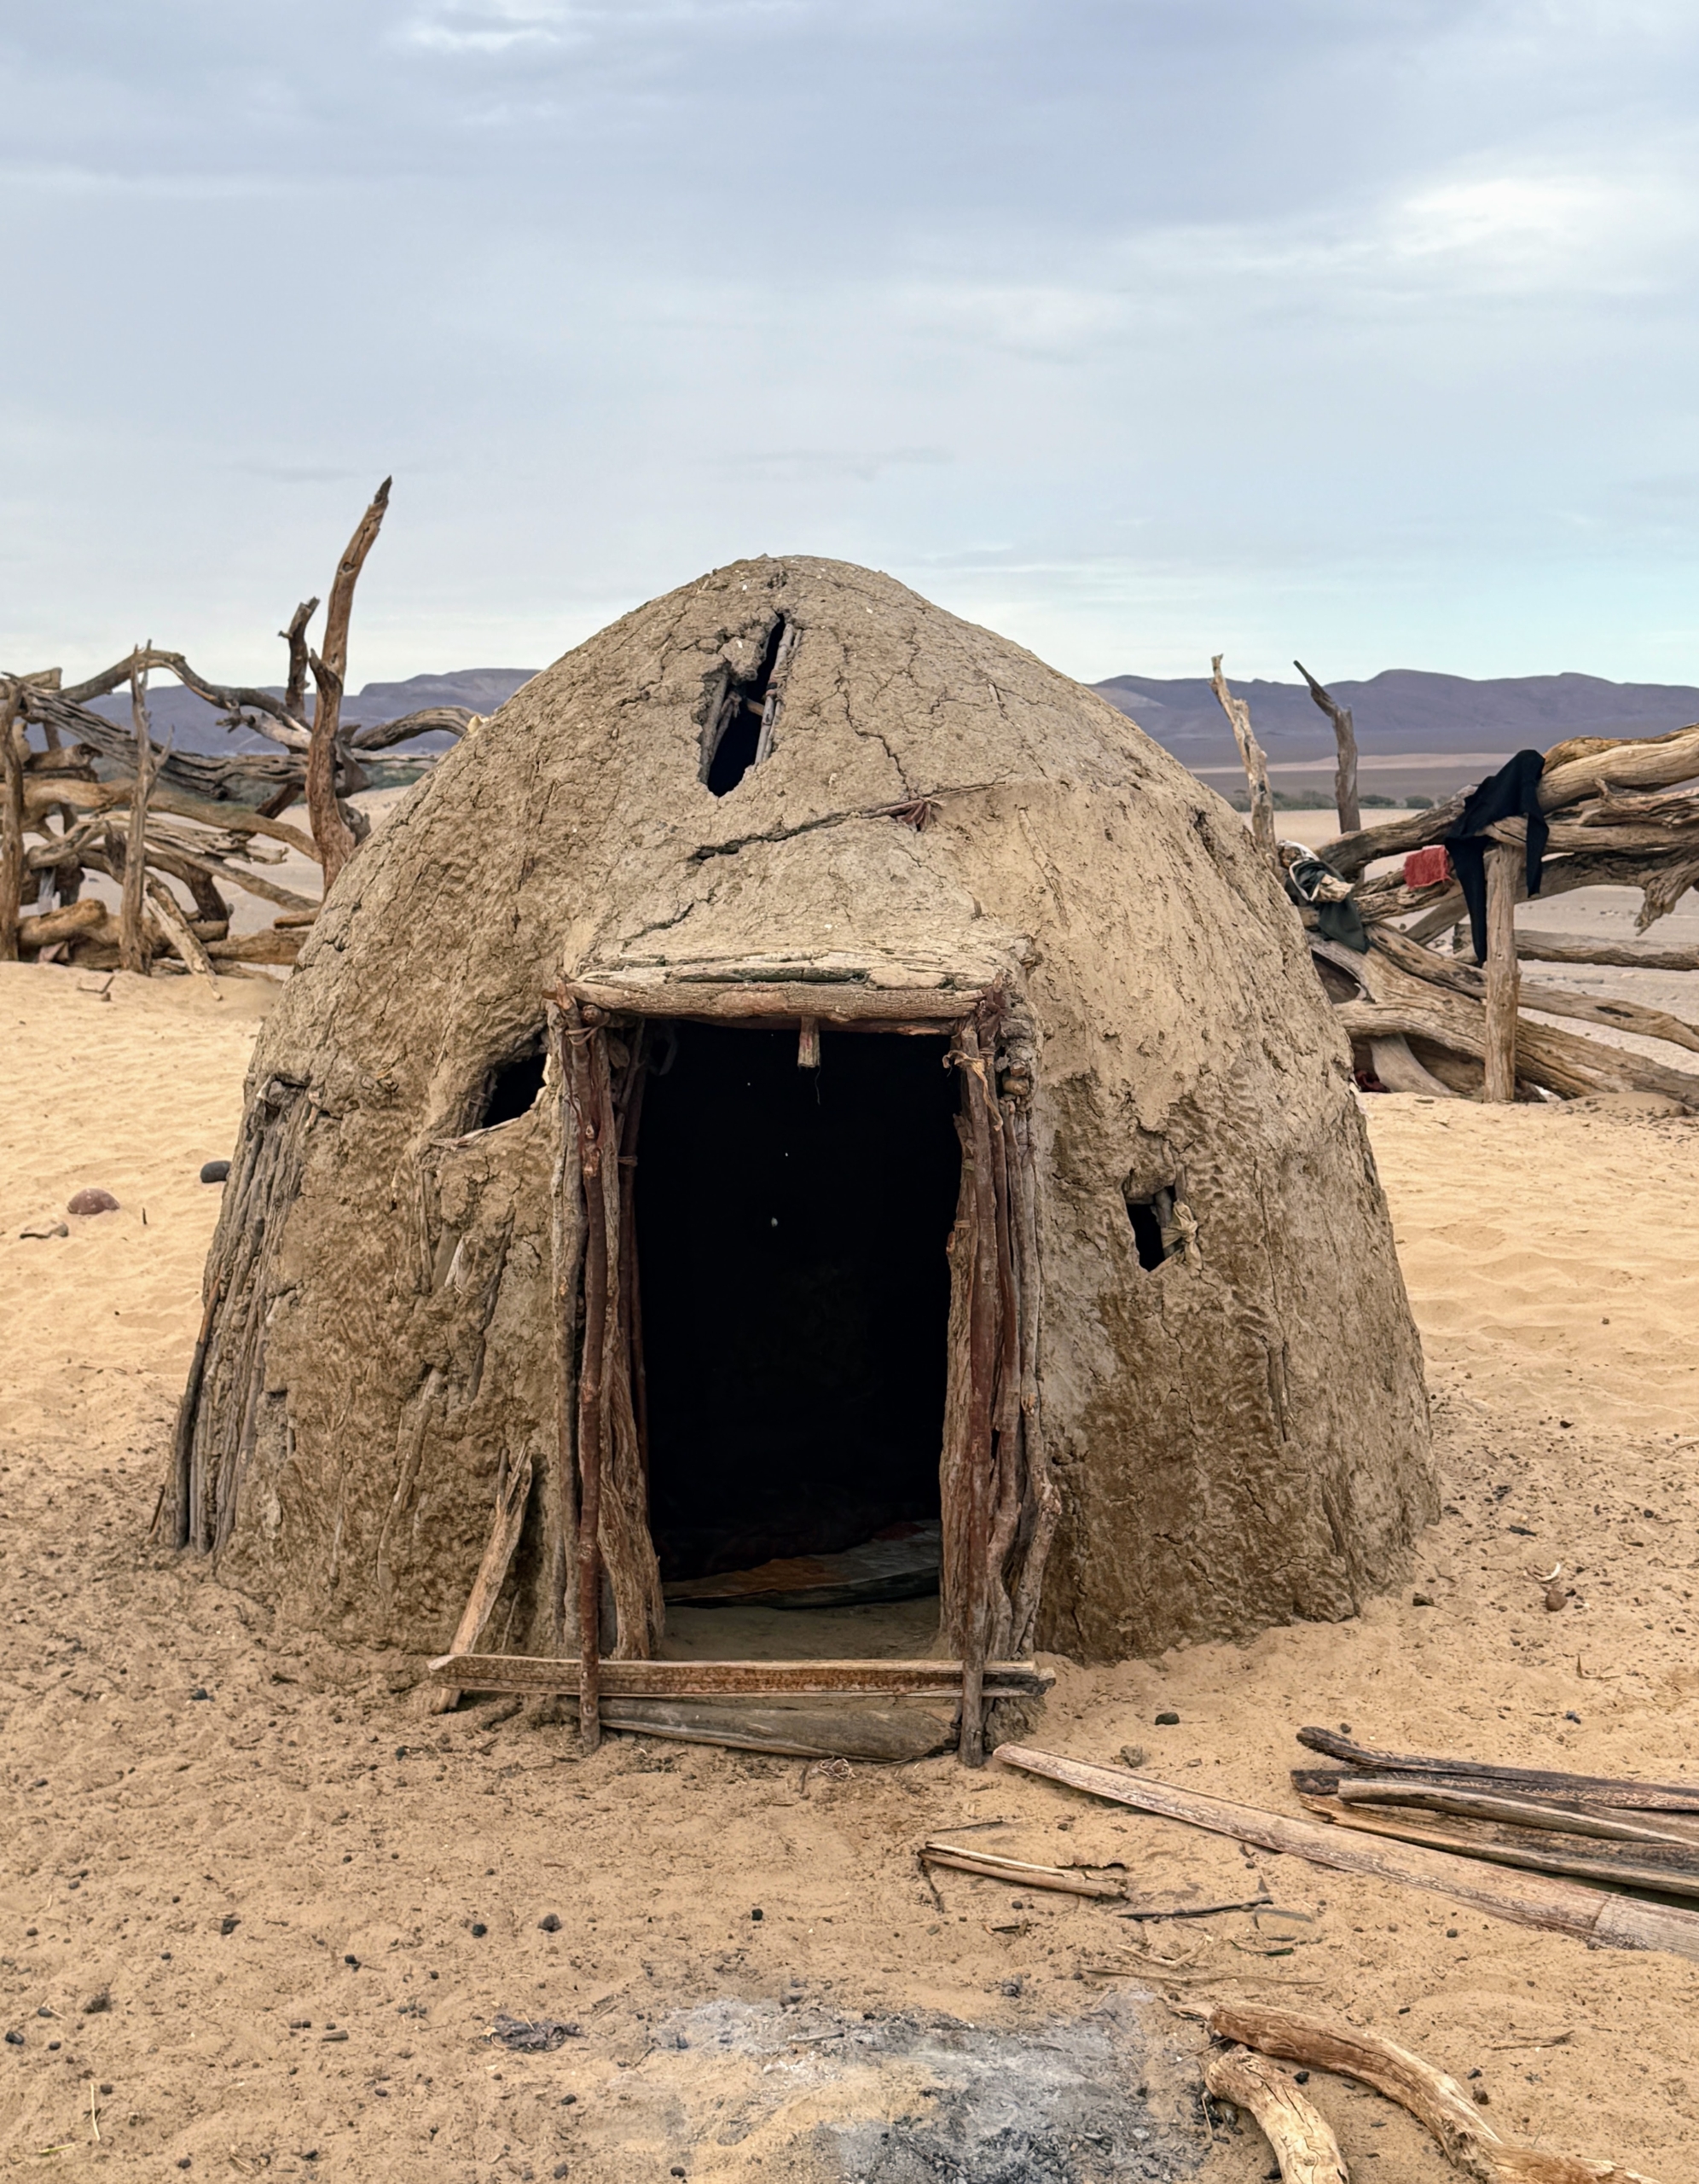
Members of a single extended family typically dwell in a small village, consisting of a circular hamlet of huts and work shelters.
Women and girls tend to perform more labor-intensive work than the men, They are busy carrying water to the village, collecting firewood, cooking and serving meals, caring for the children as well as making handicrafts, clothing and jewelry.
The men are mainly responsible for tending the livestock and farming.
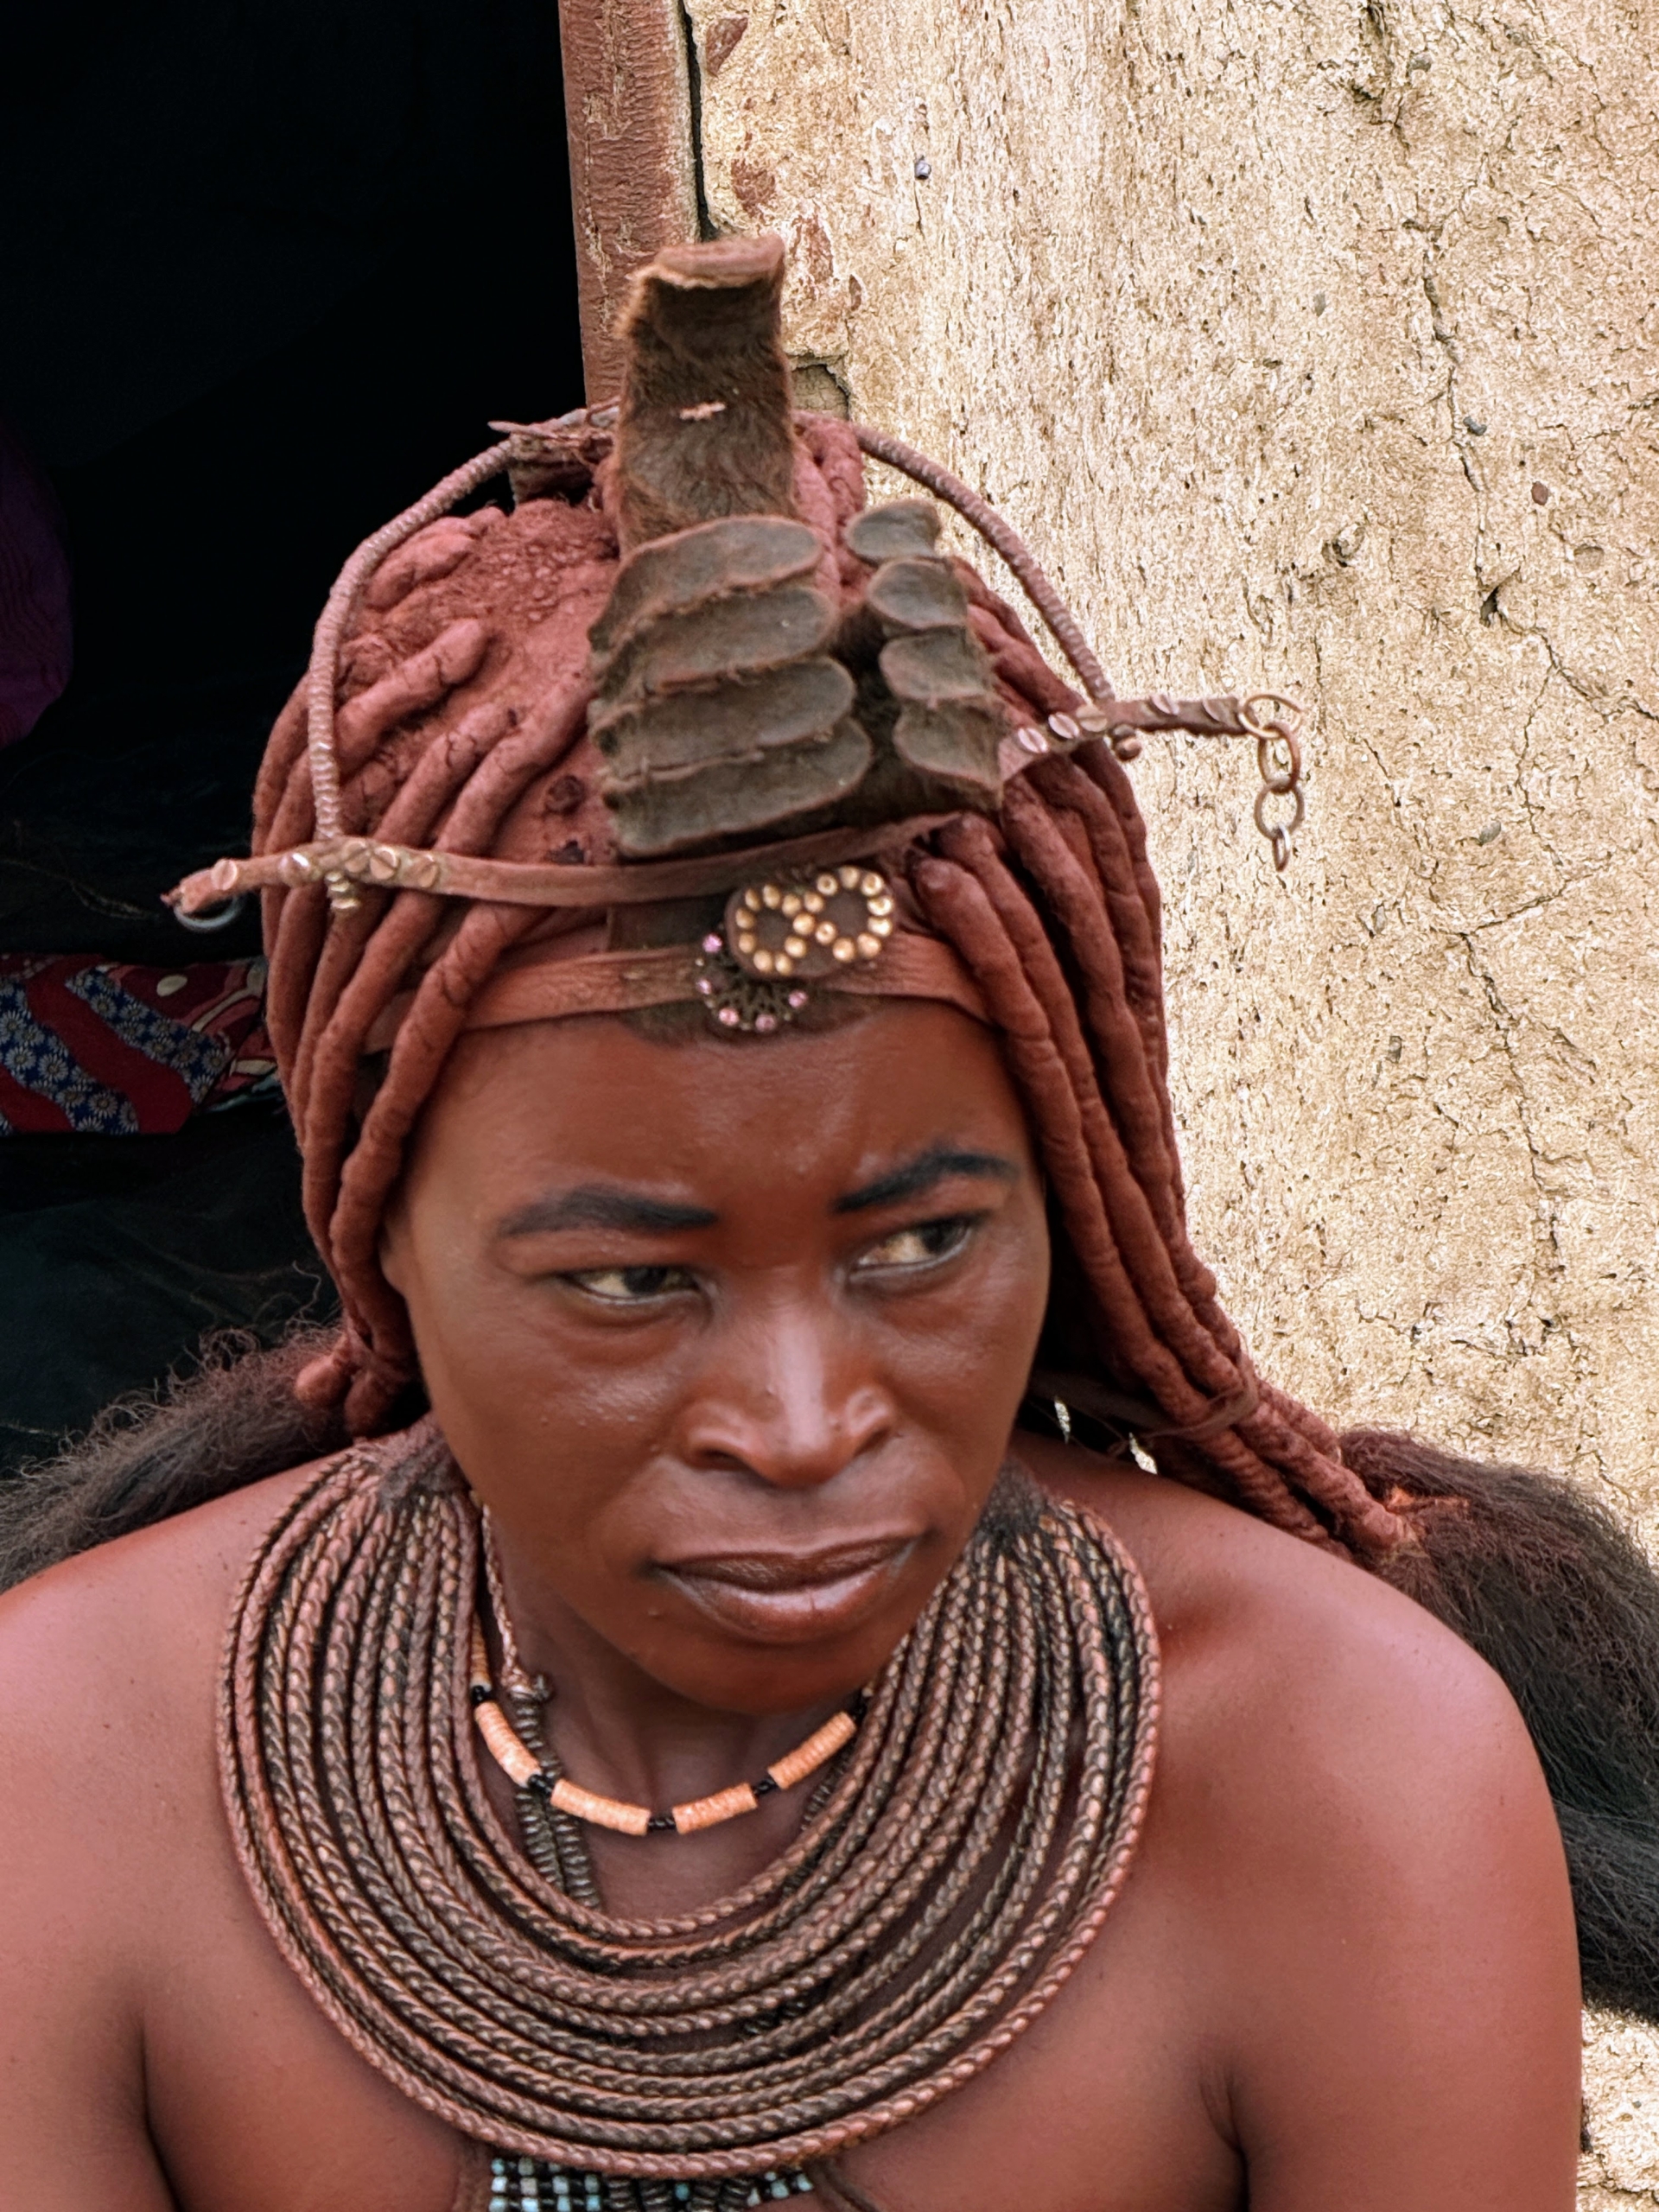
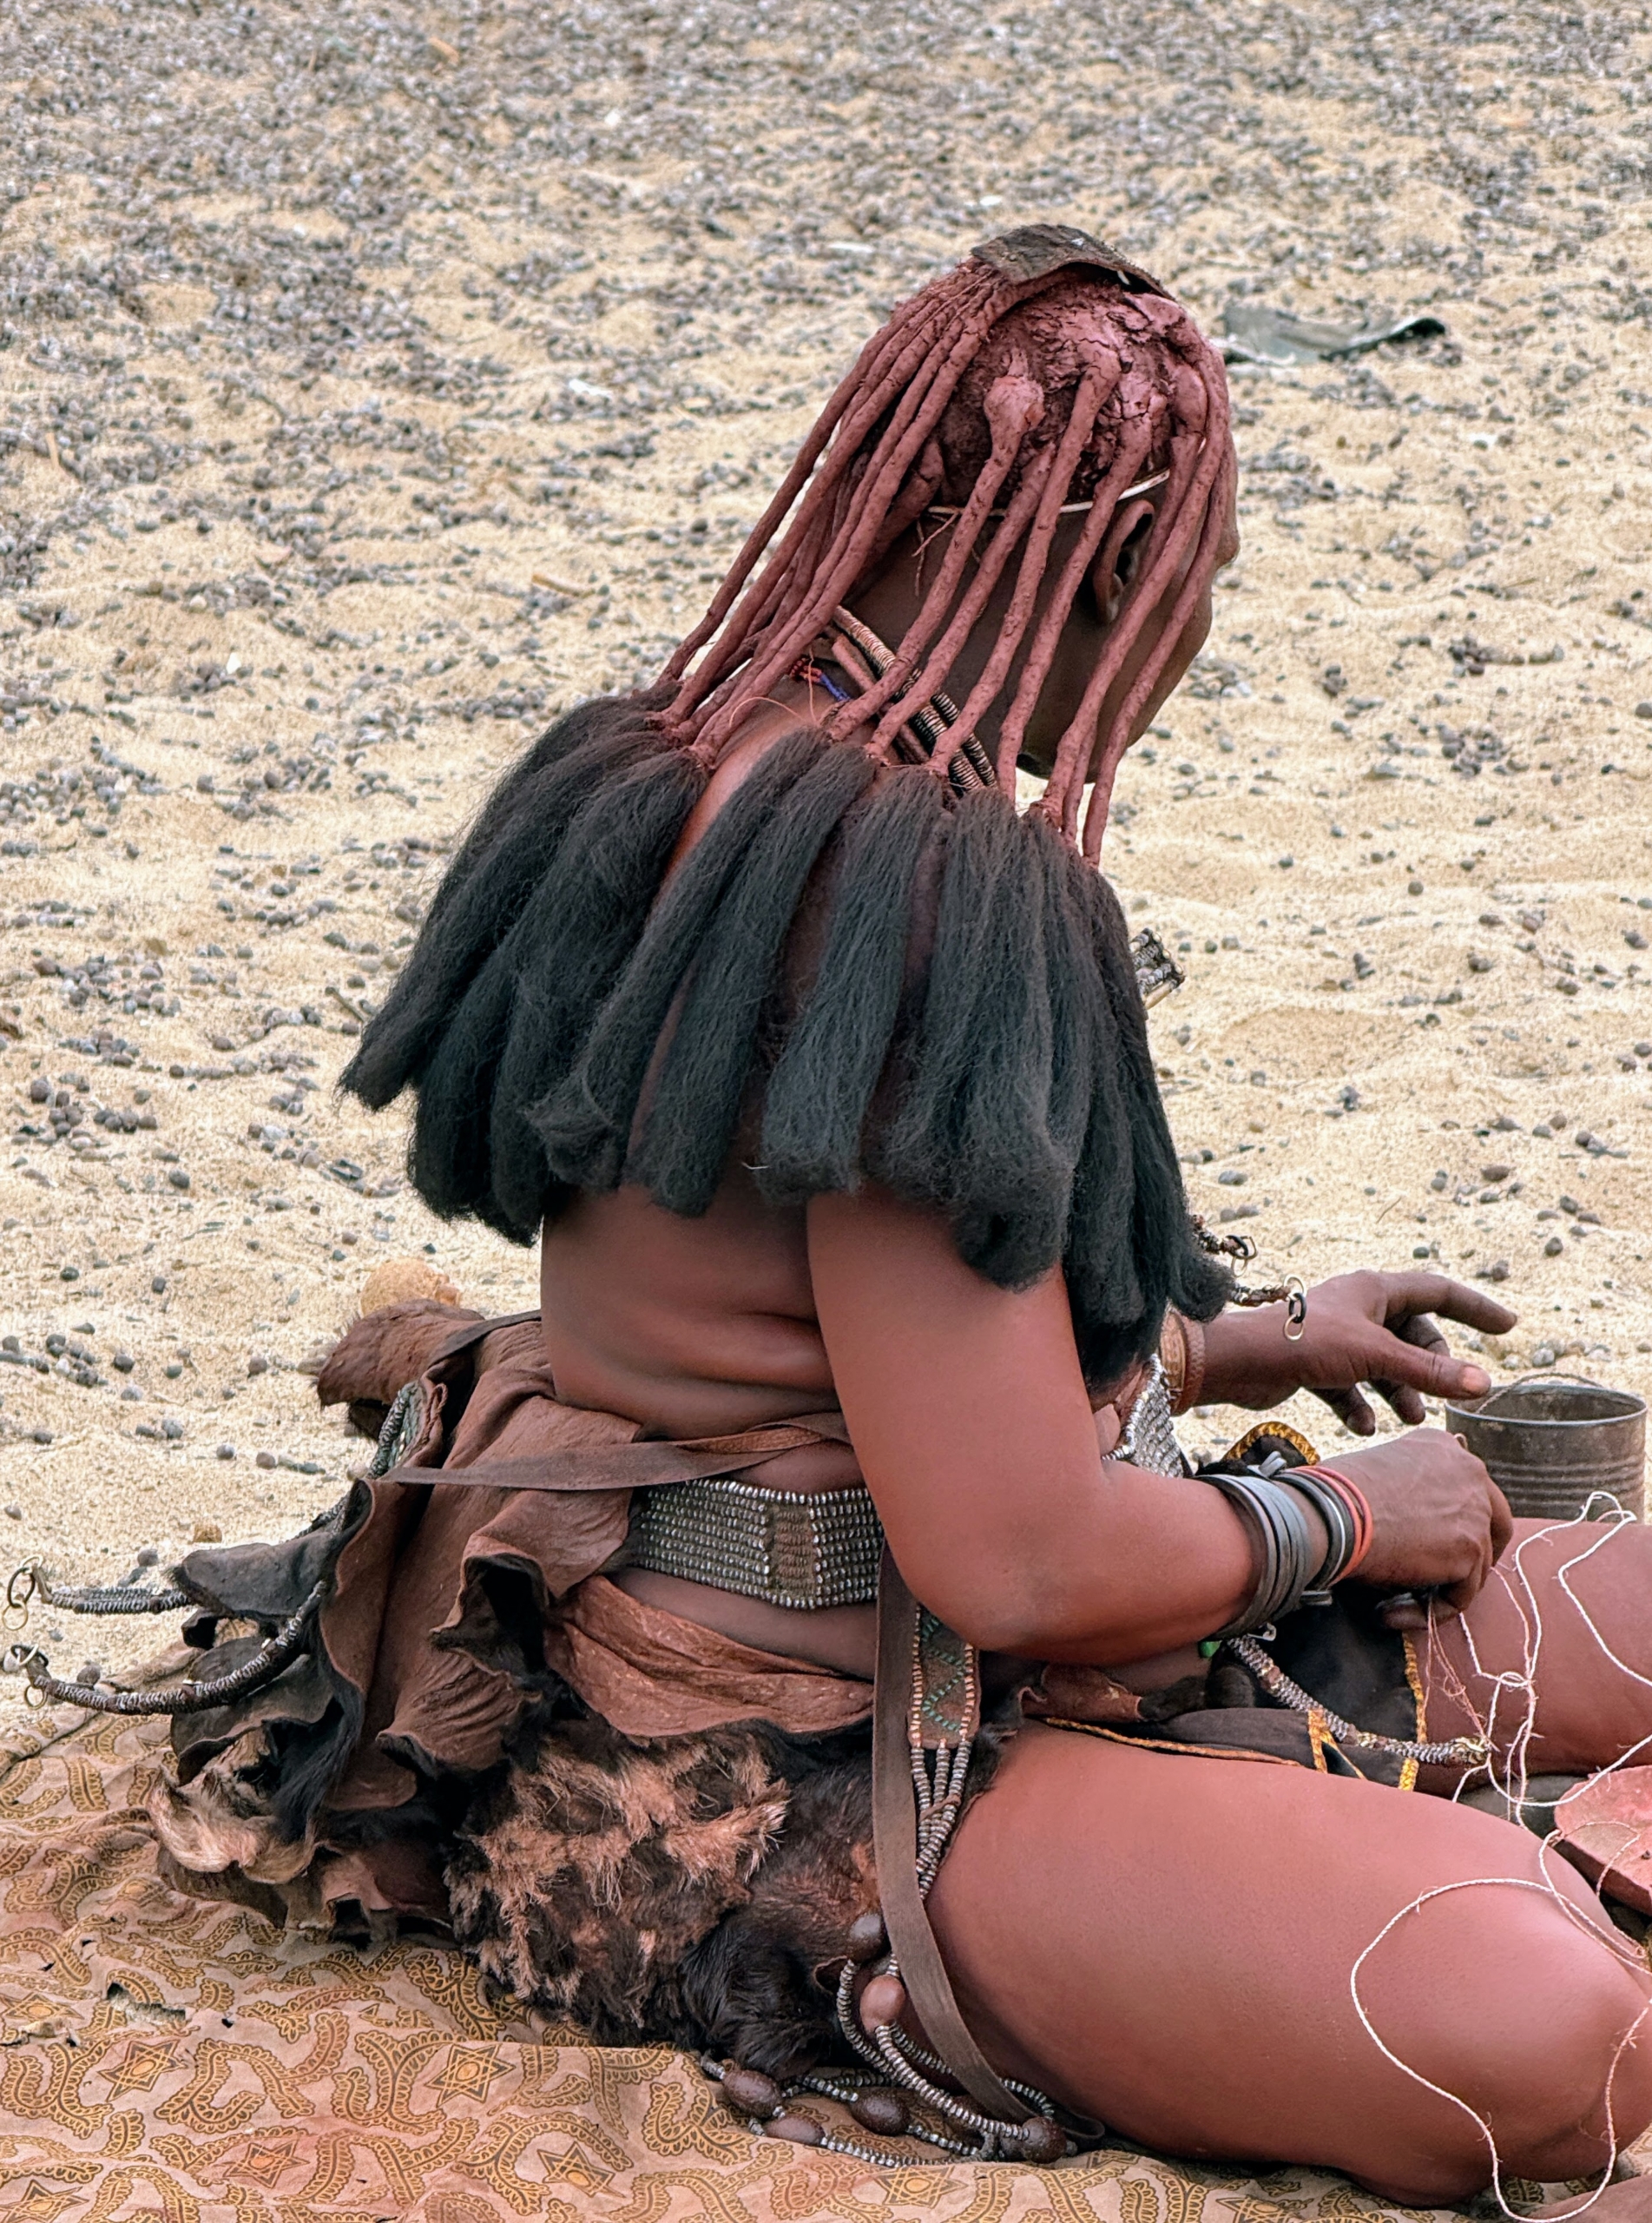
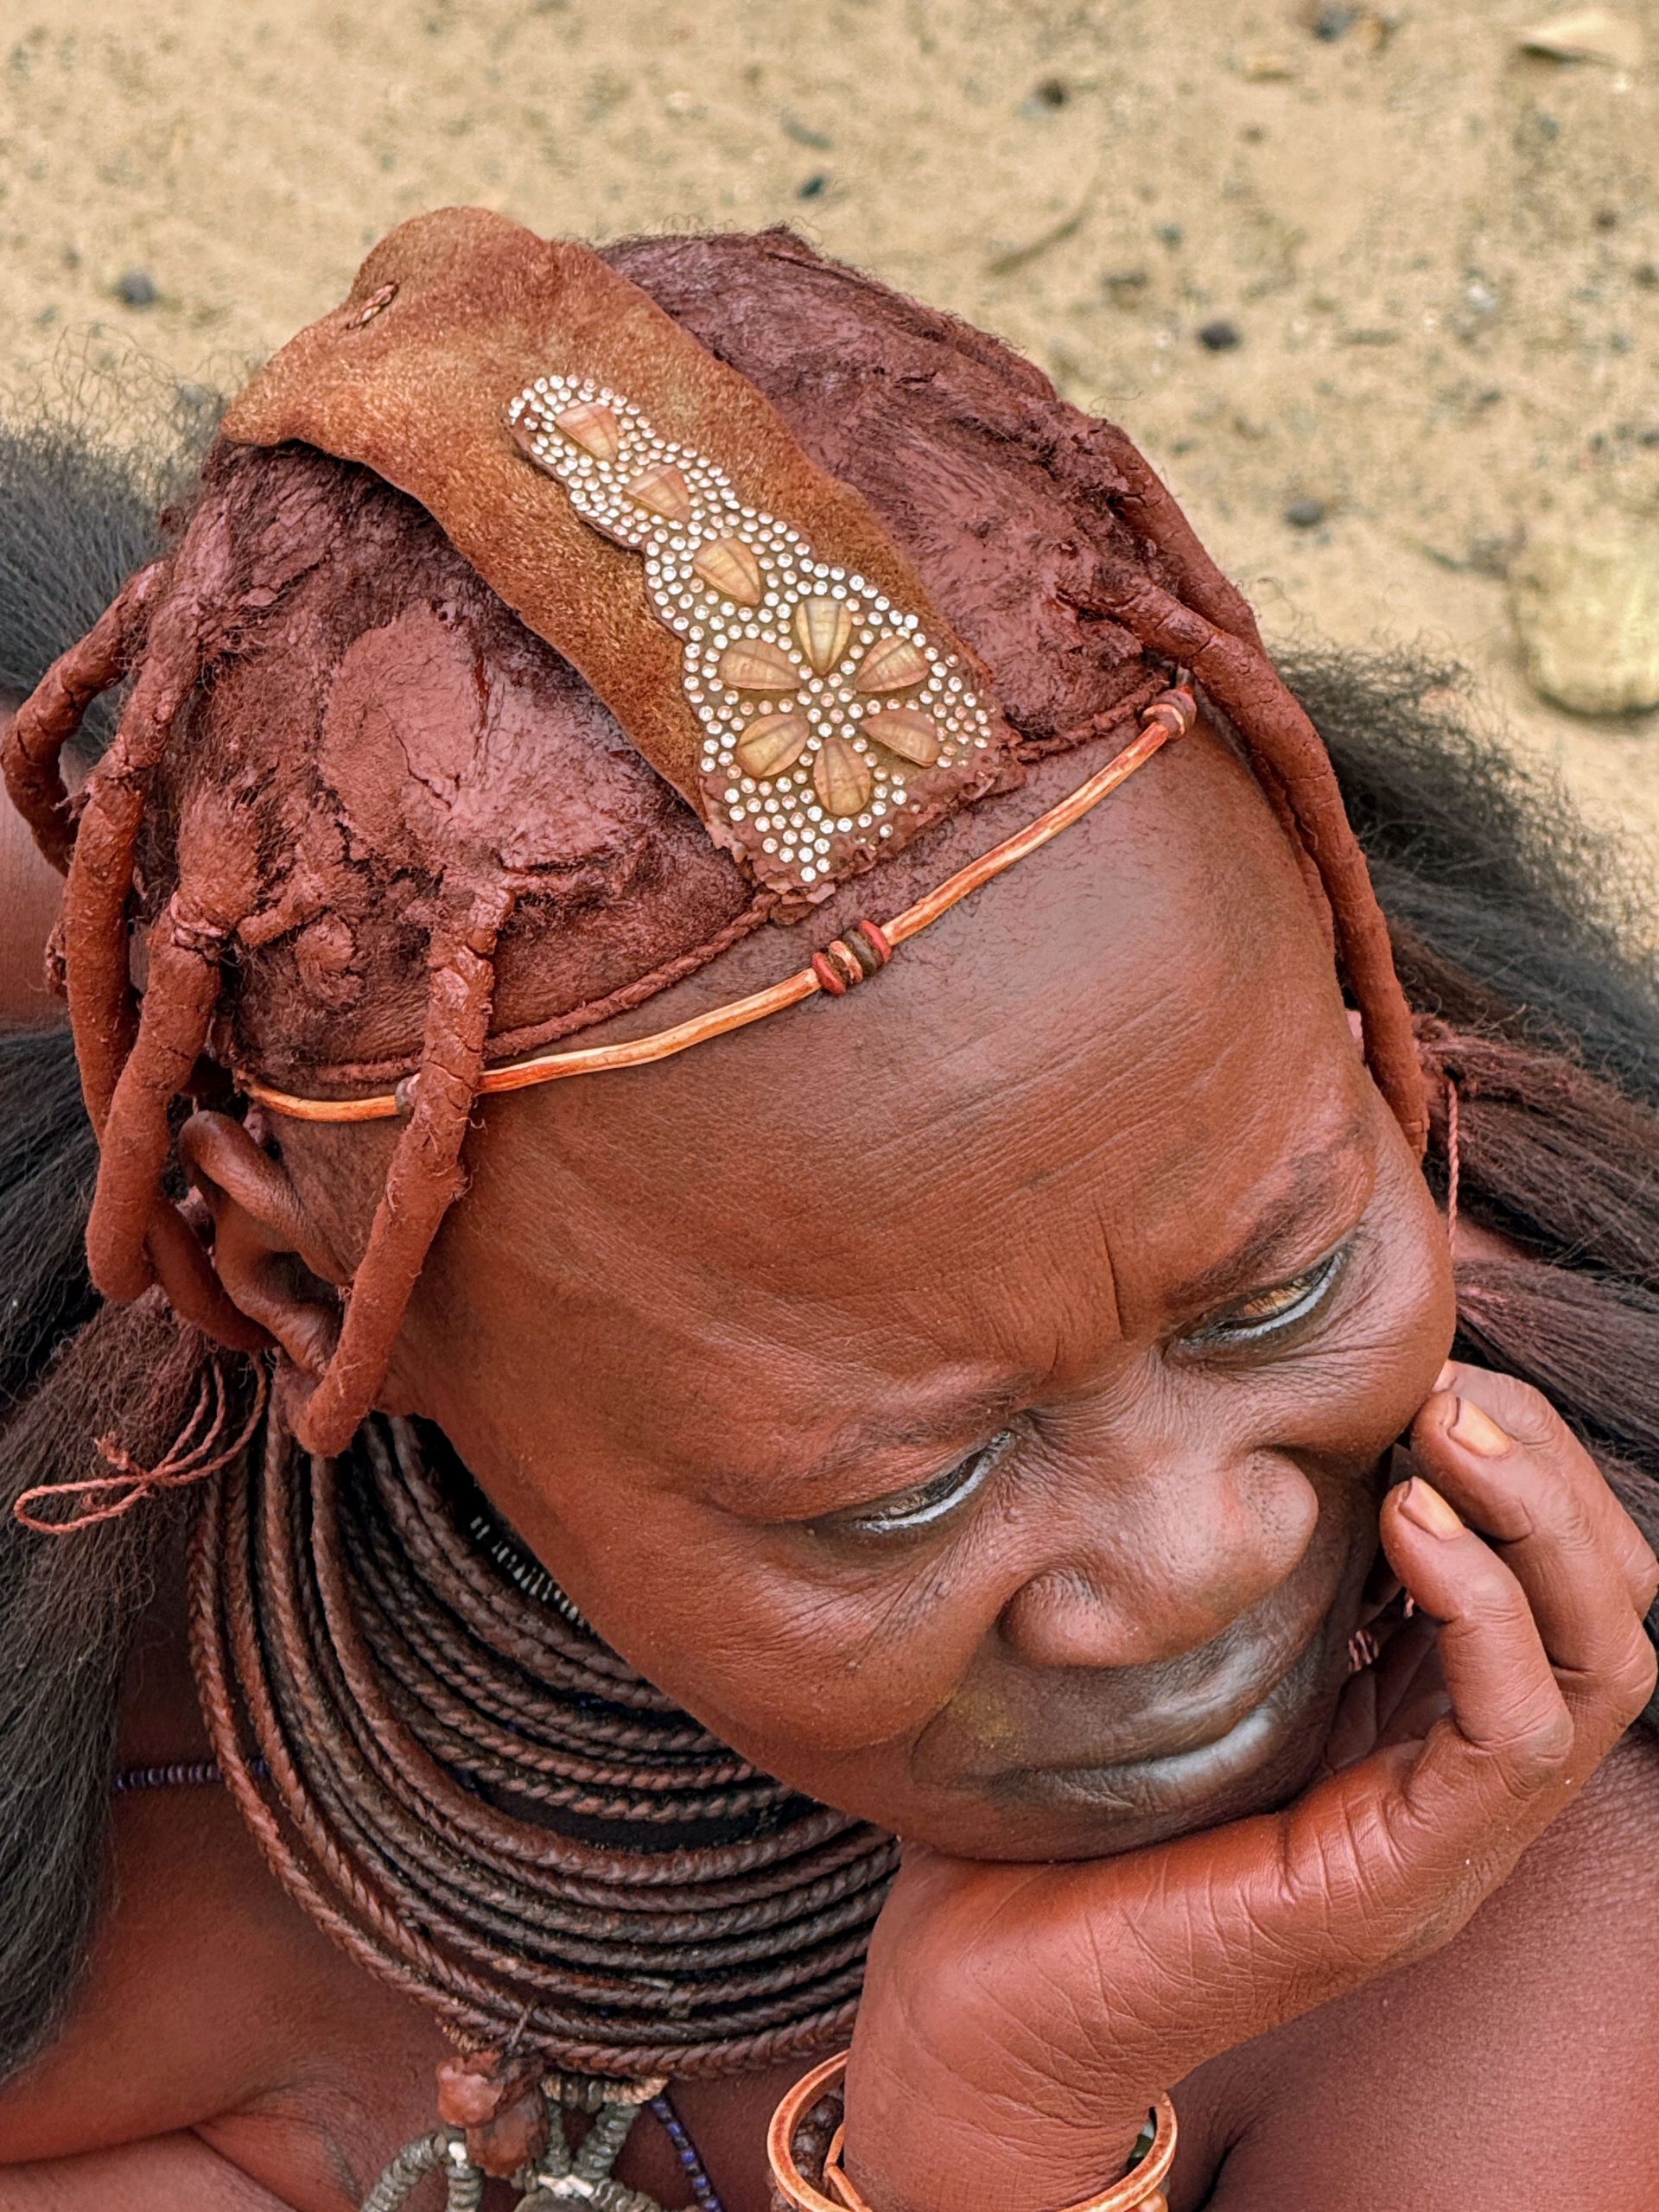
Both the Himba men and women wear traditional clothing that works best in the hot semi-arid climate. Women wear skirt-like pieces made from calfskins and sheep skin and occasionally sandals for footwear.
The women are known to cover themselves with otjize paste, a cosmetic mixture of butterfat and ochre pigment that cleanses the skin over long periods and protect it from heat and insects.
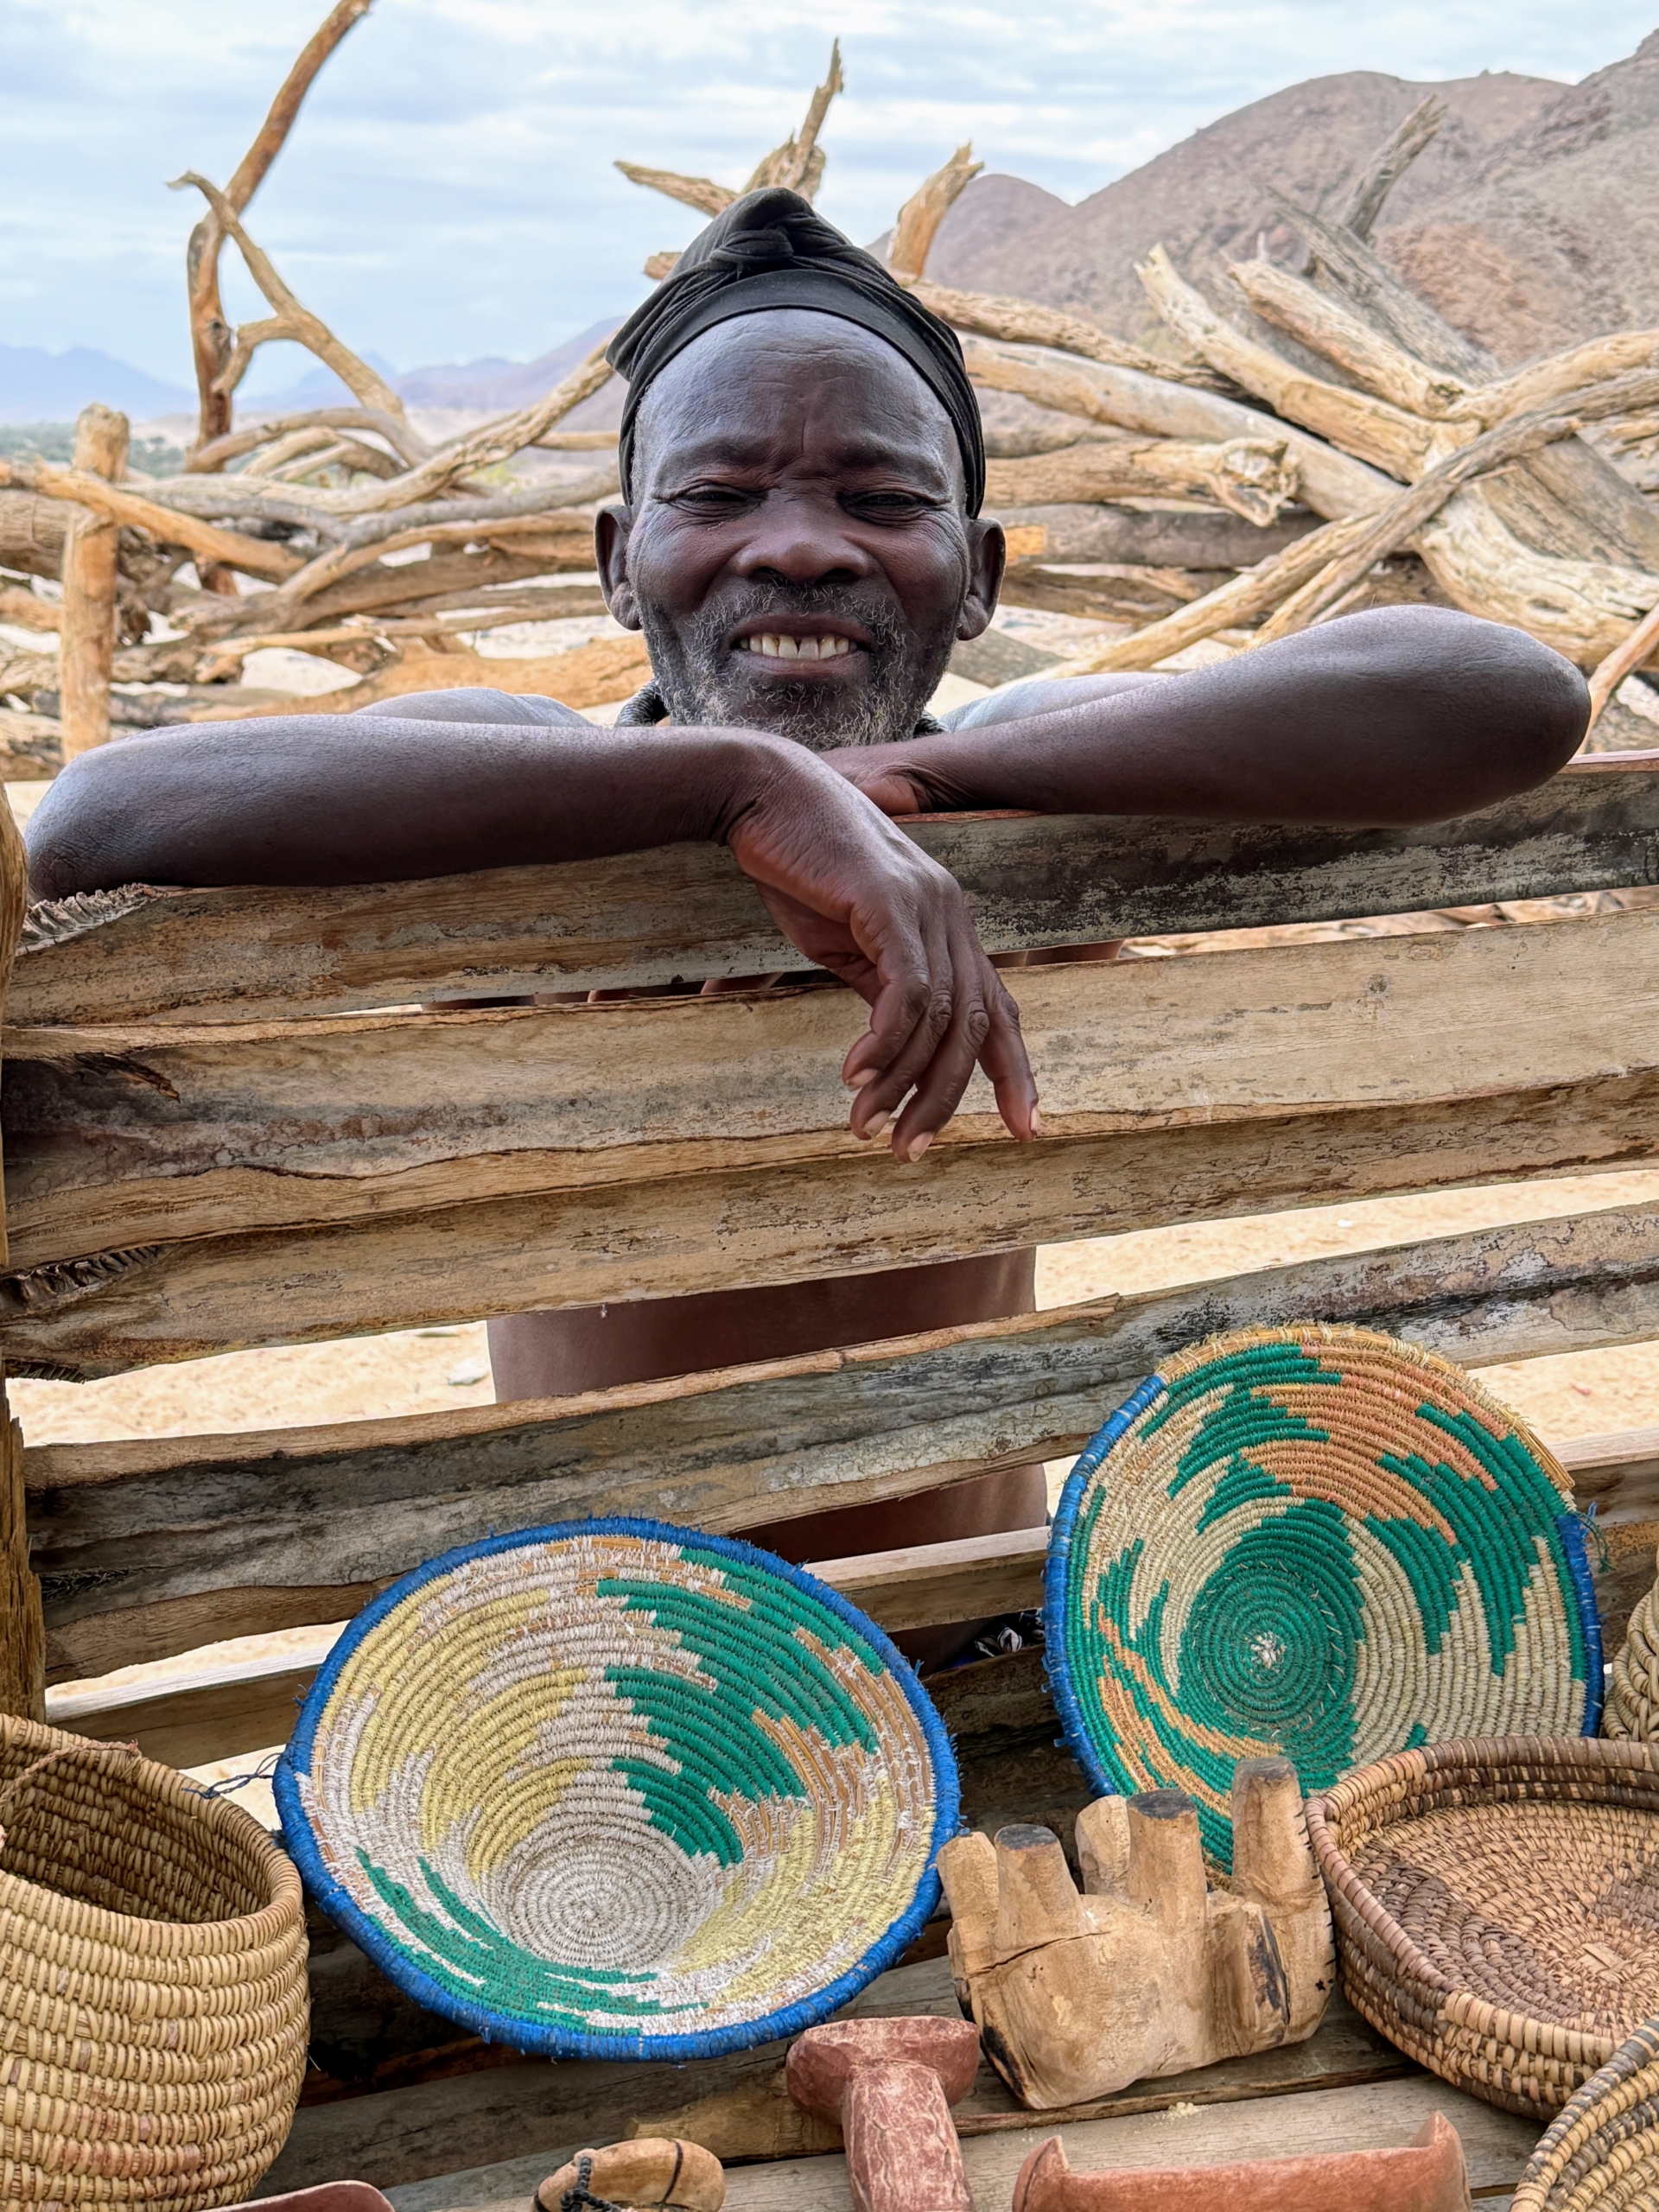
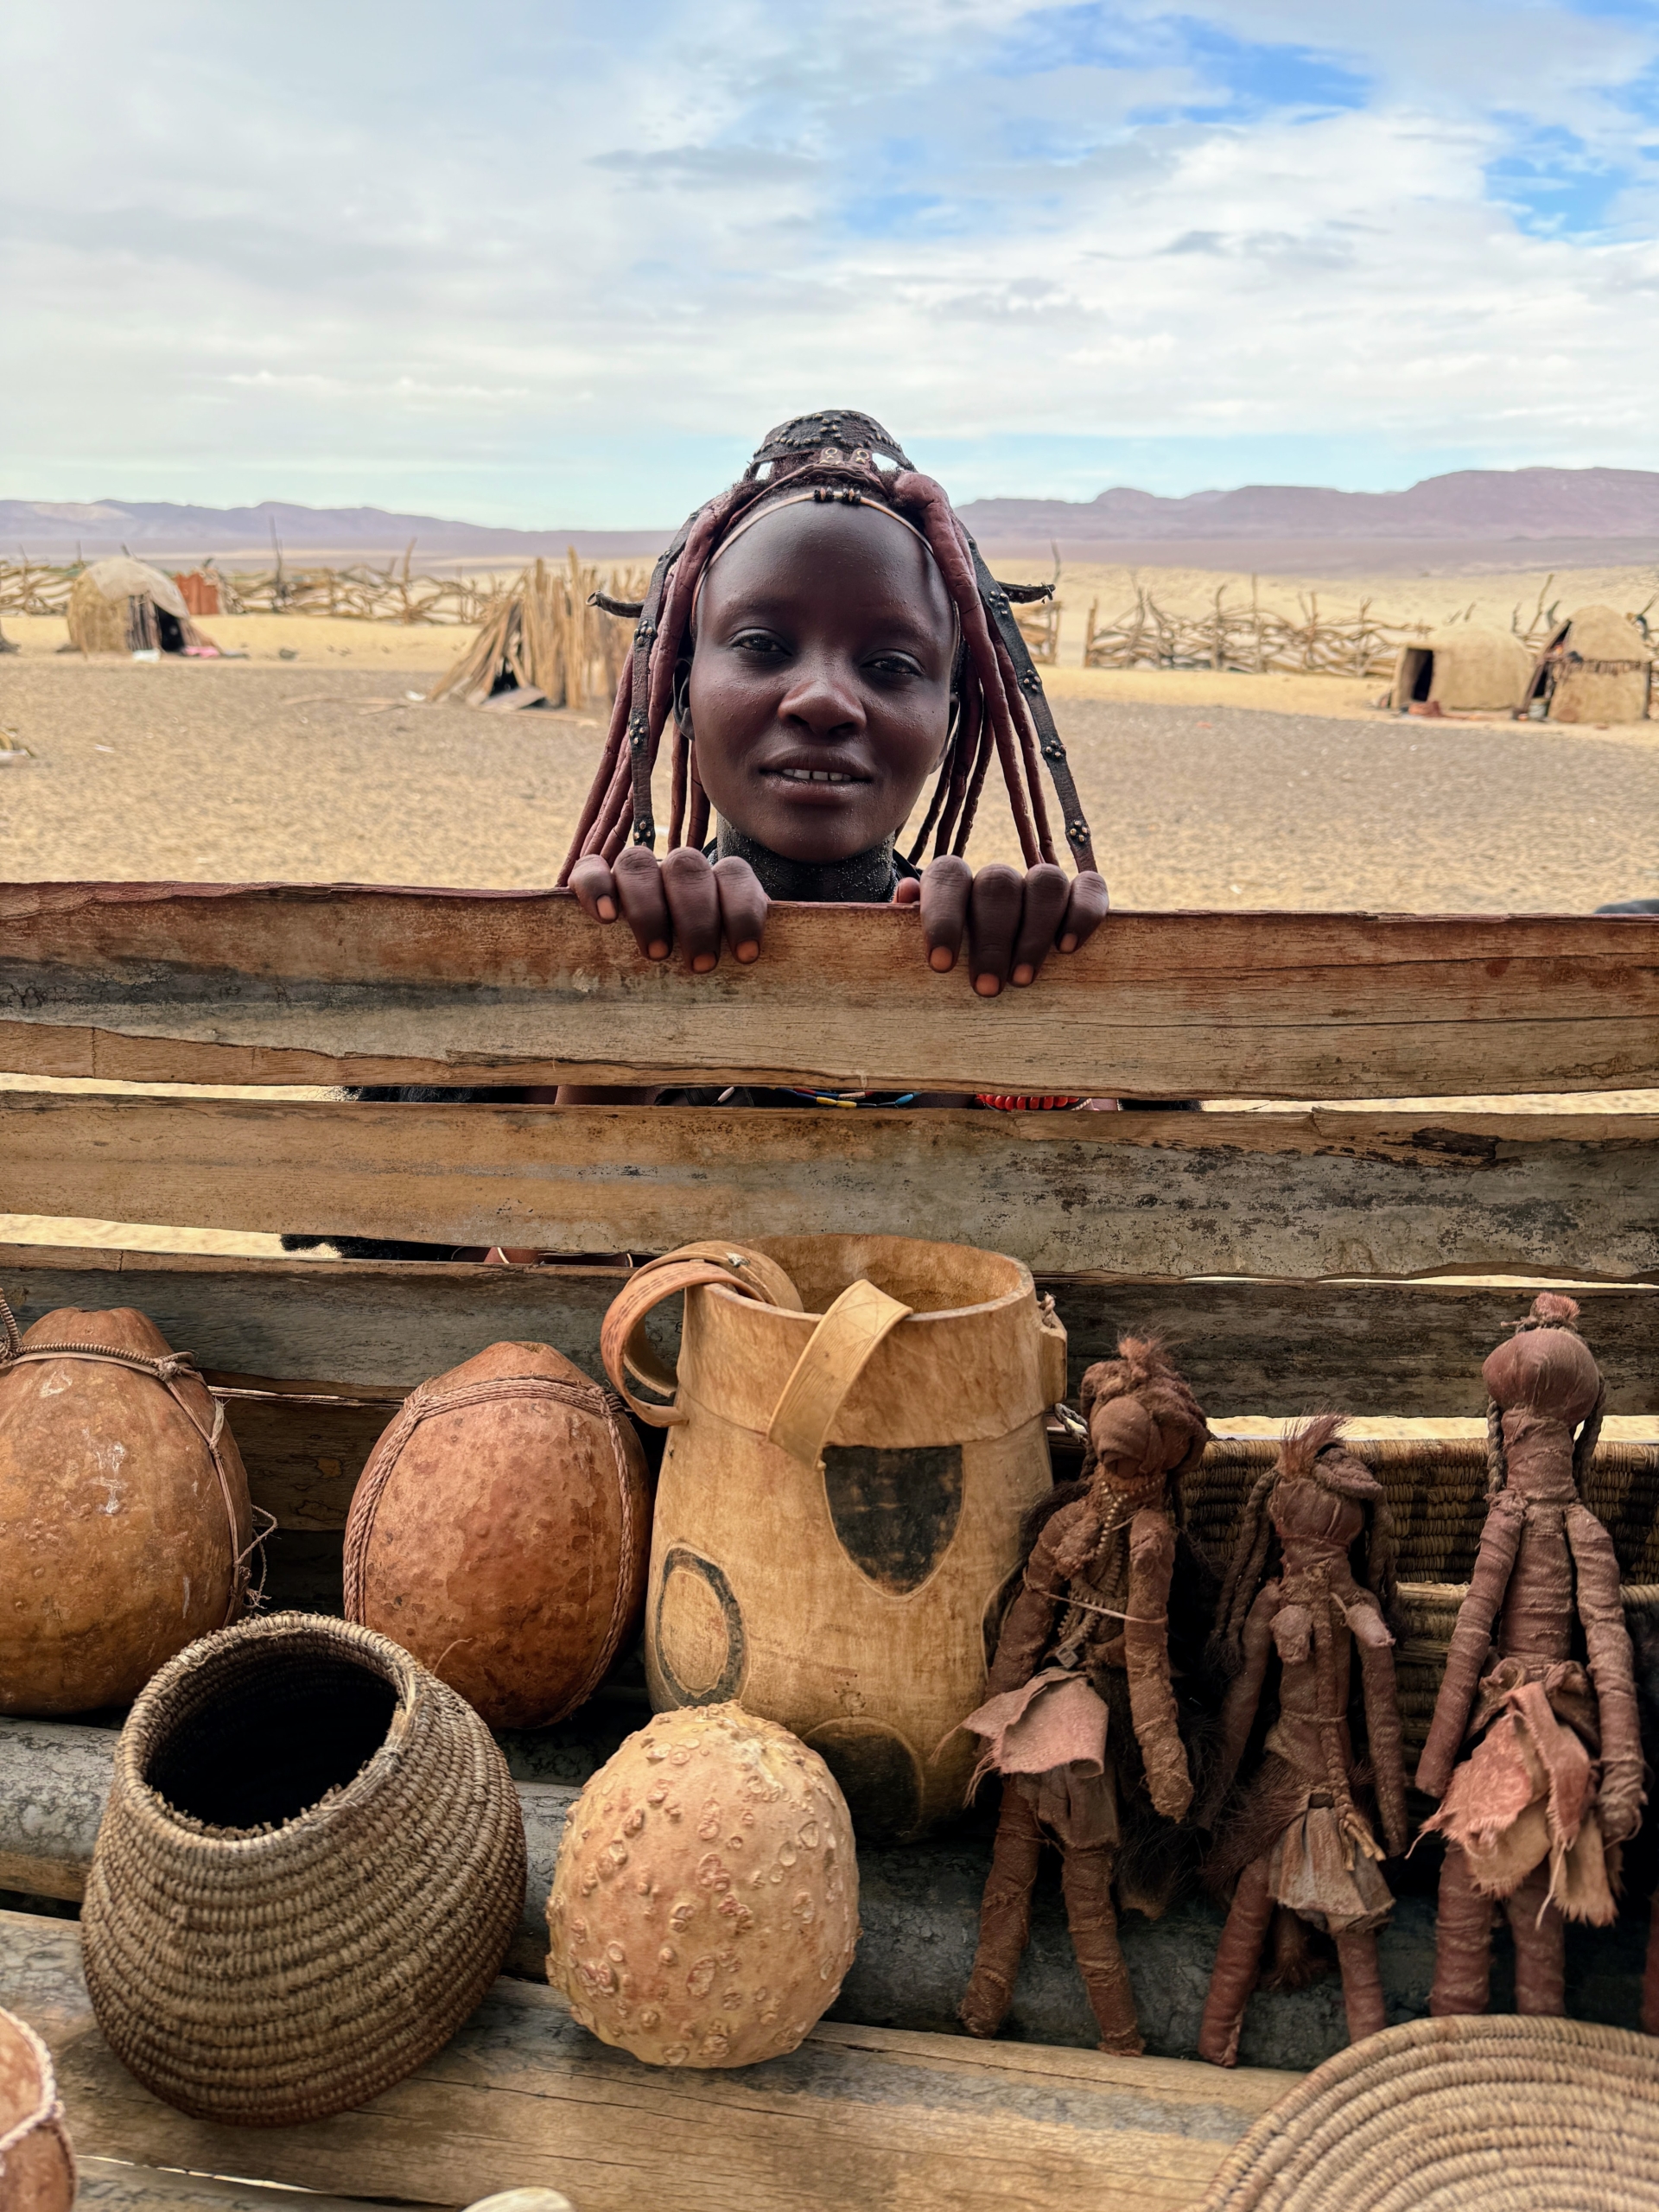
This tribe of Himba people also makes lots of crafts that they are able to sell for money. My family bought several handmade ornaments from them. Here is one man standing by his woven bowls and trays and other pieces.
This woman made vessels and handmade dolls. Some pottery is made using mud, and sometimes clay. Himba people also use metal for bracelets, necklaces & other jewelry. They are very innovative and entrepreneurial.
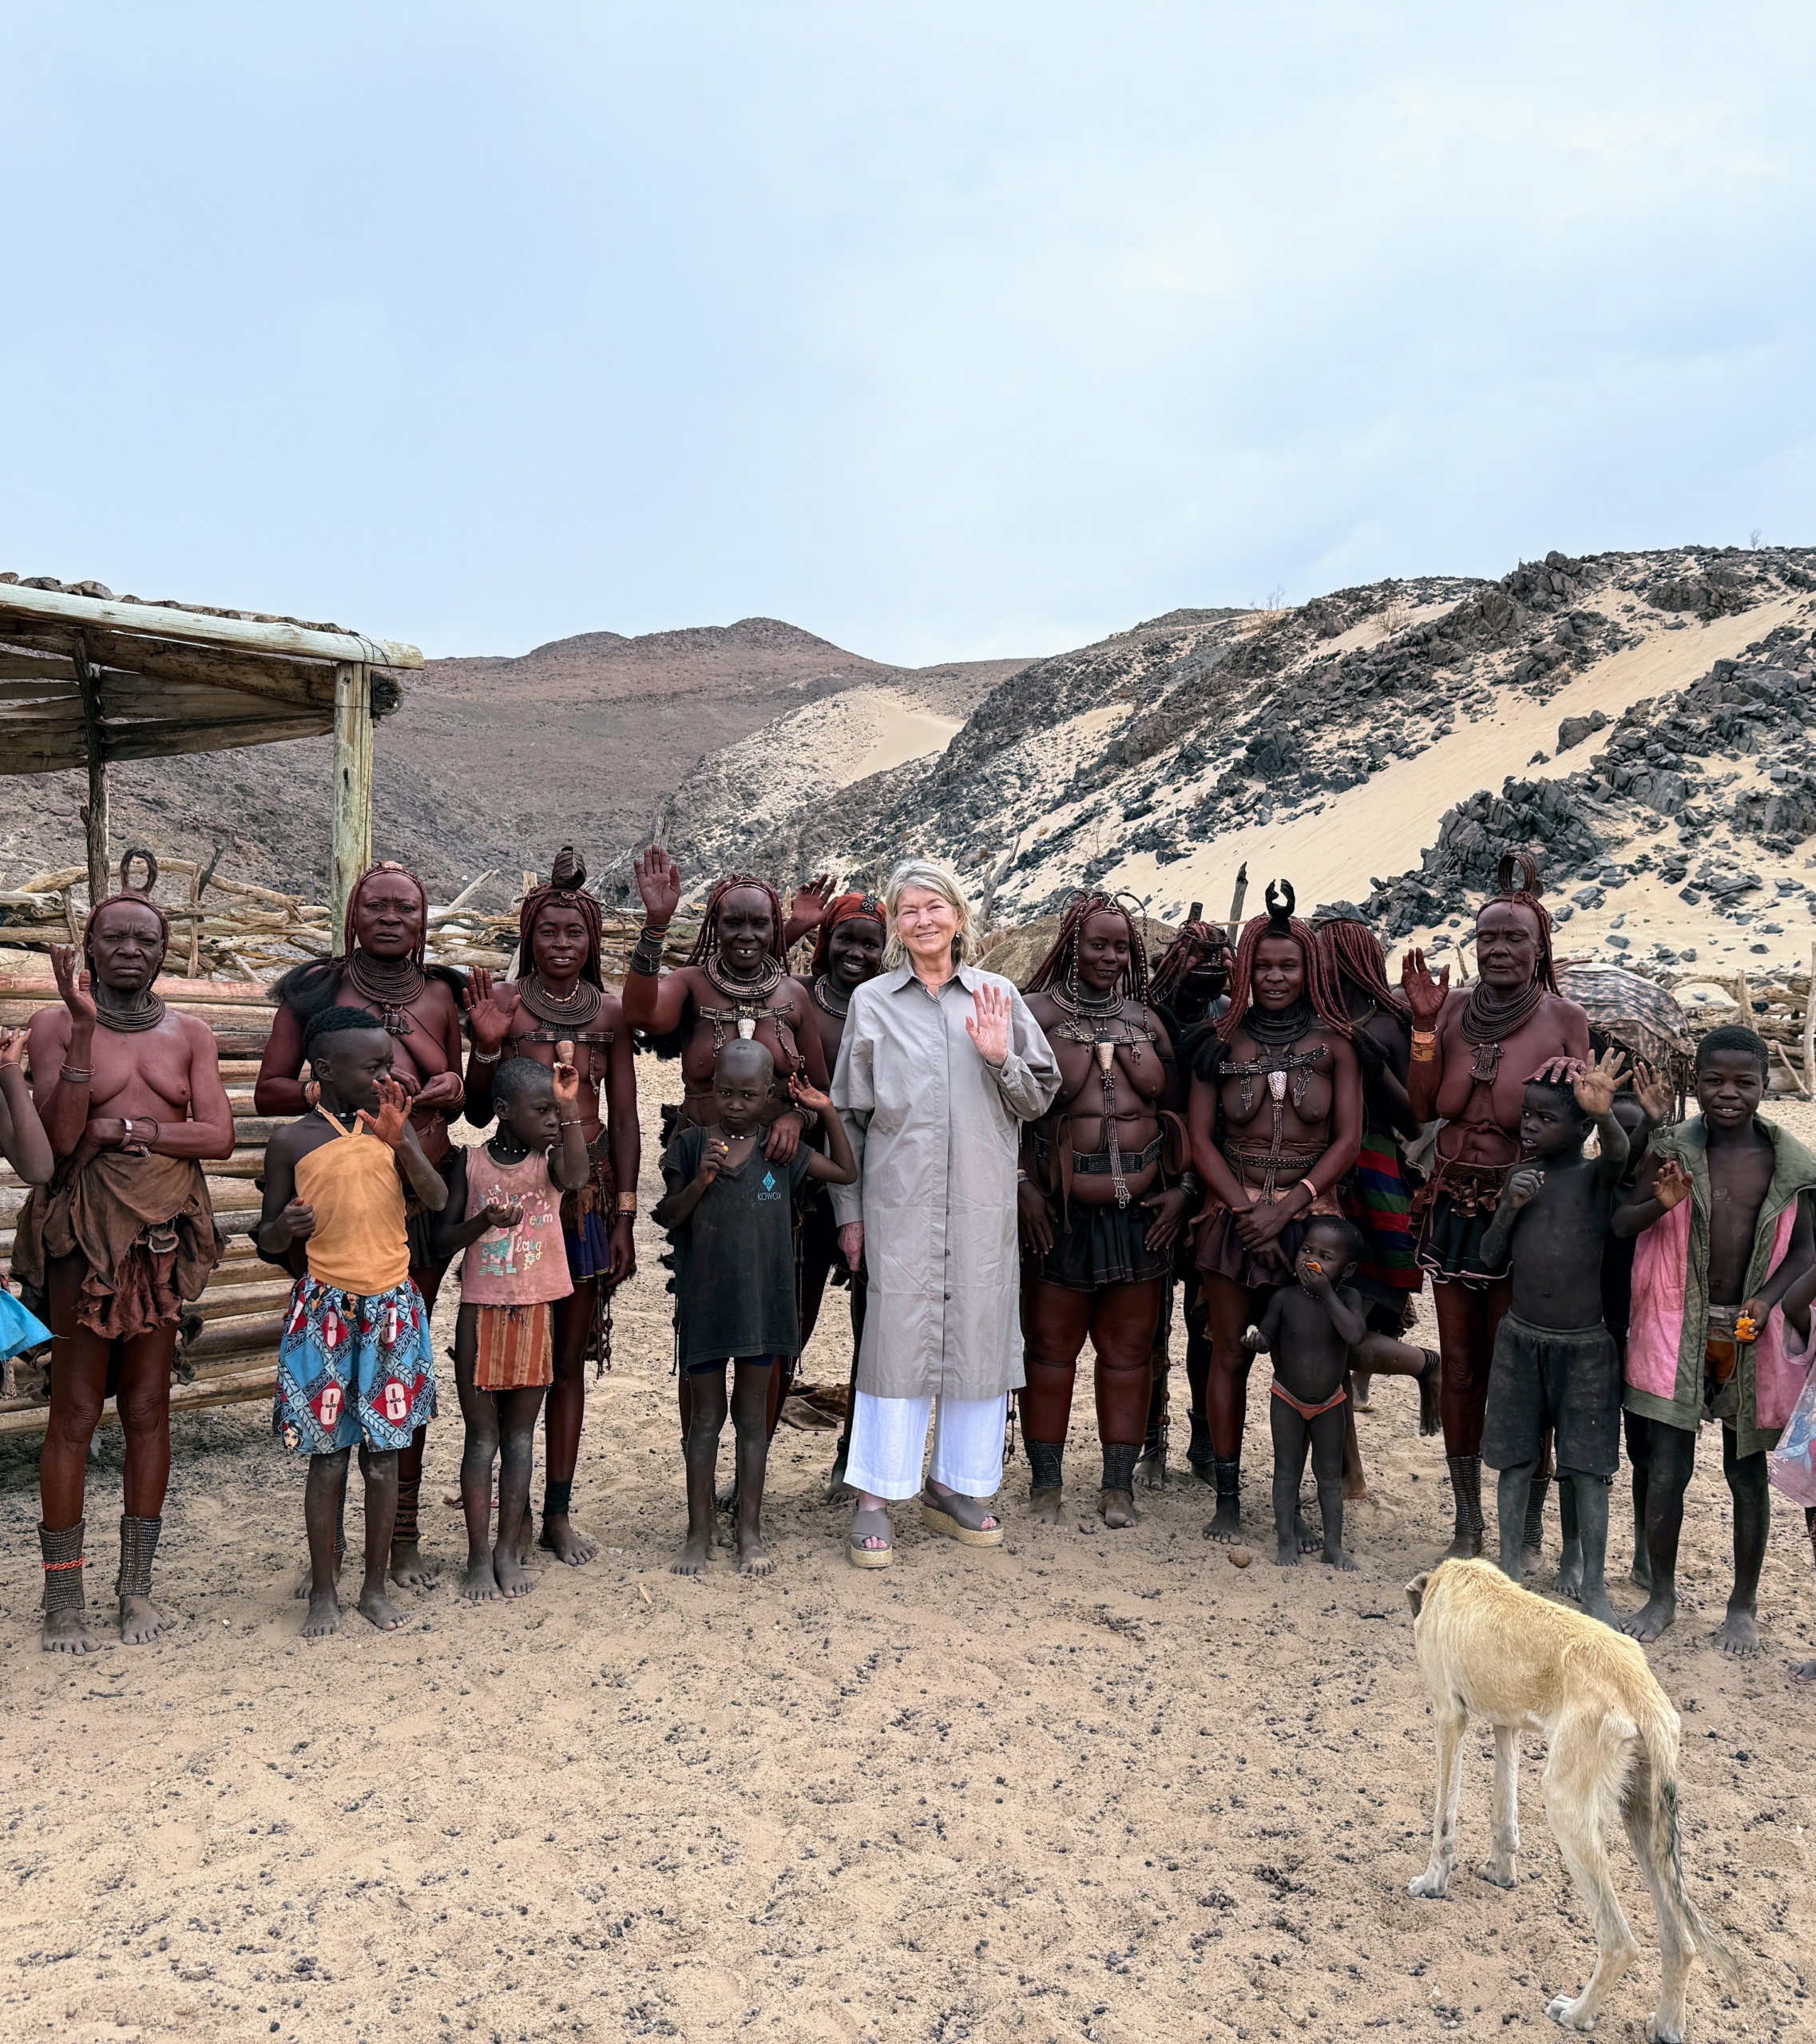
Here I am standing with members of the Himba tribe. They are dignified, friendly, and willing to take photos.
If you ever want to treat yourself and your family to an interesting trip and safari, consider Micato Safaries and go to Namibia. It is definitely a journey of a lifetime.
I hope you're all having a wonderful holiday. This encore blog was originally posted on January 02, 2024.
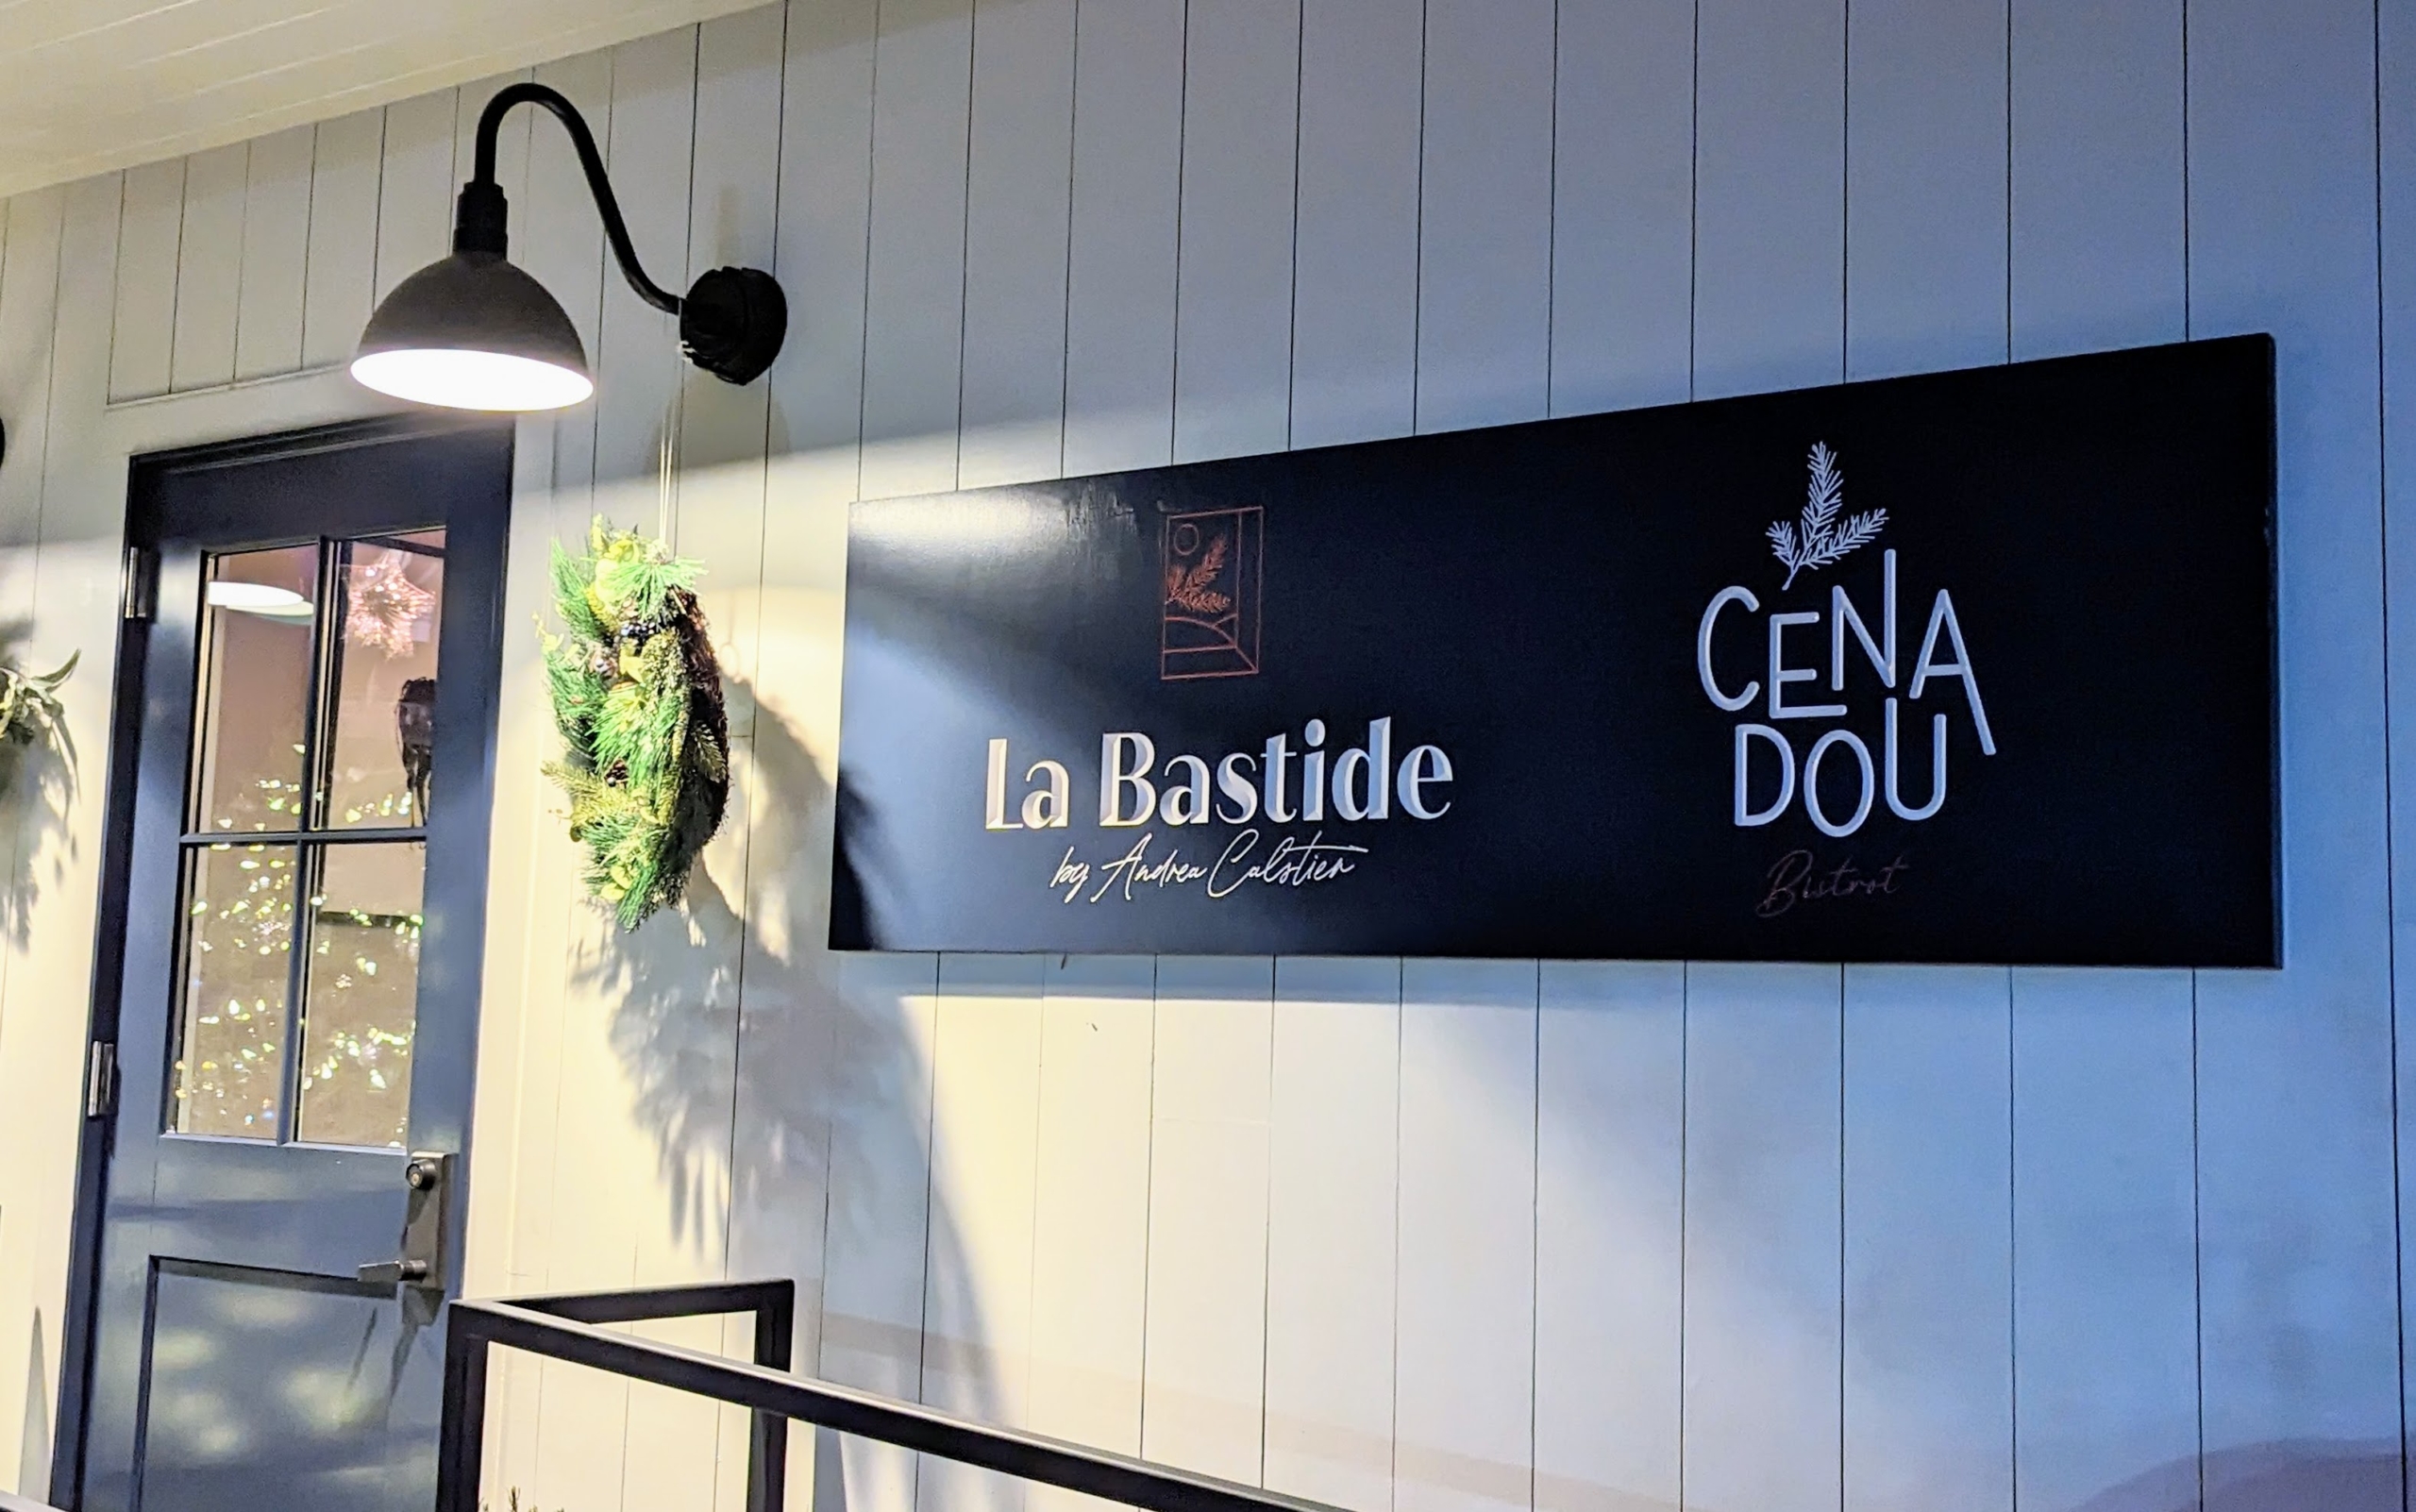
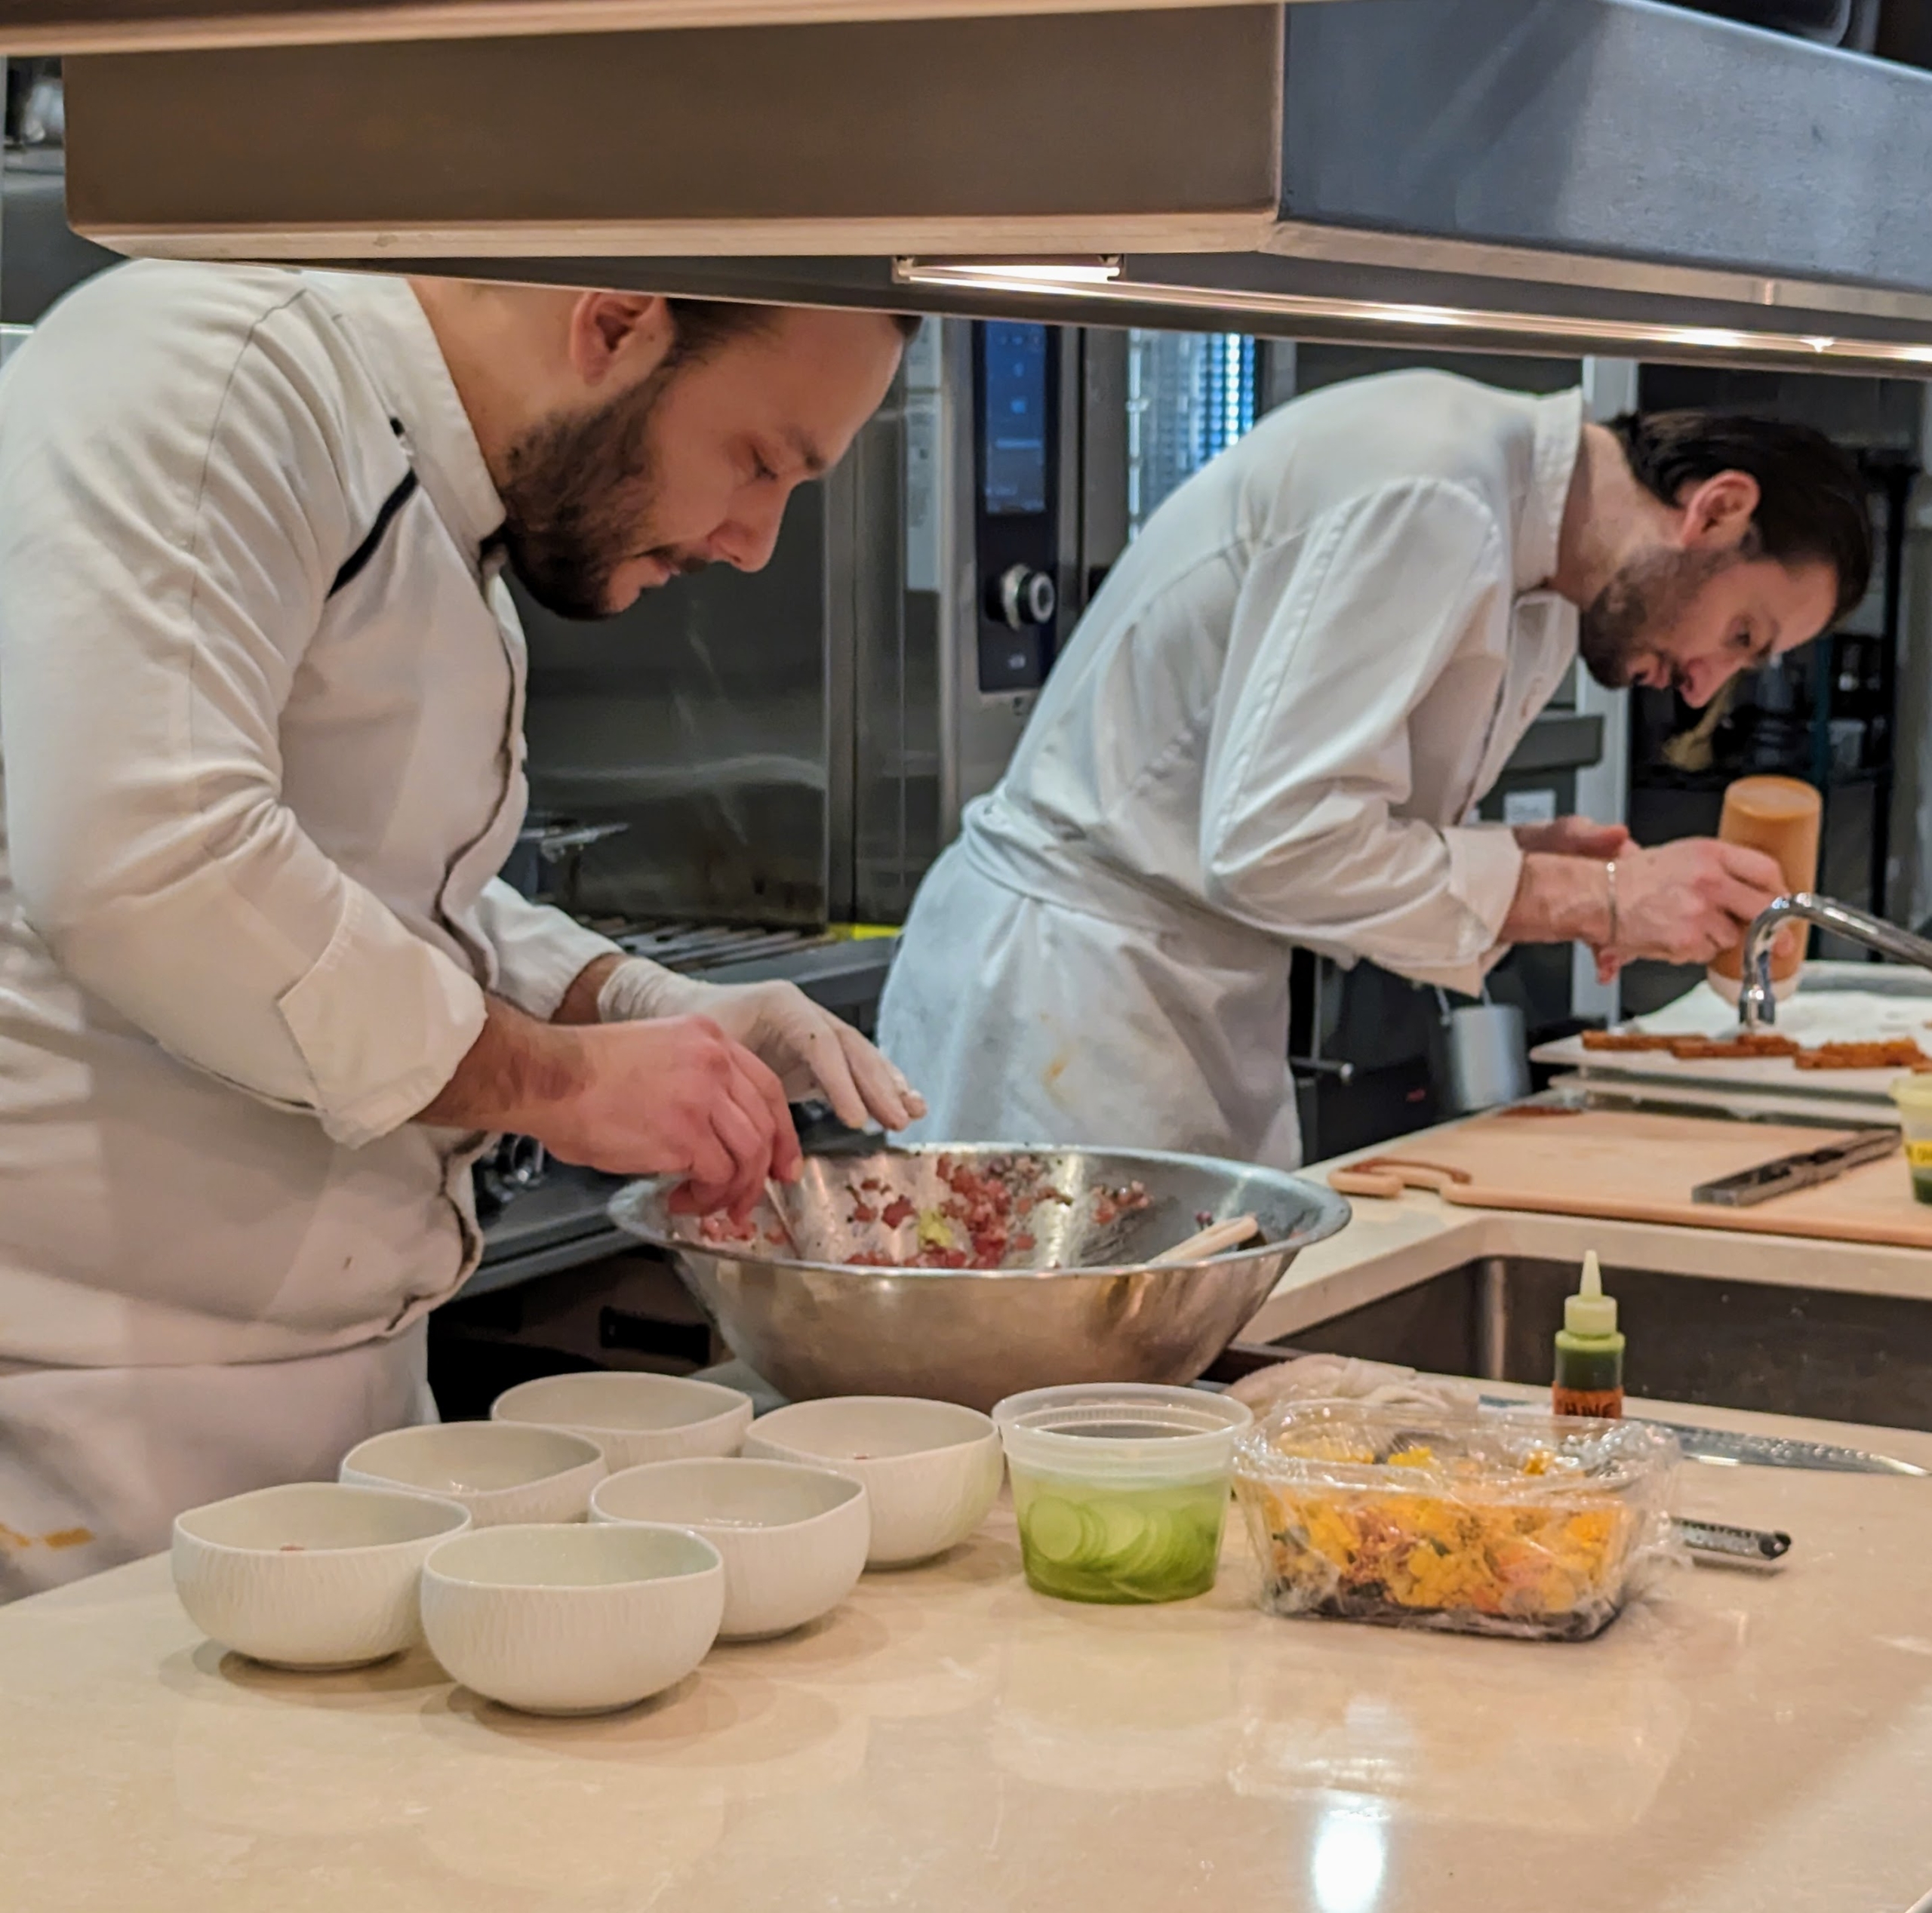
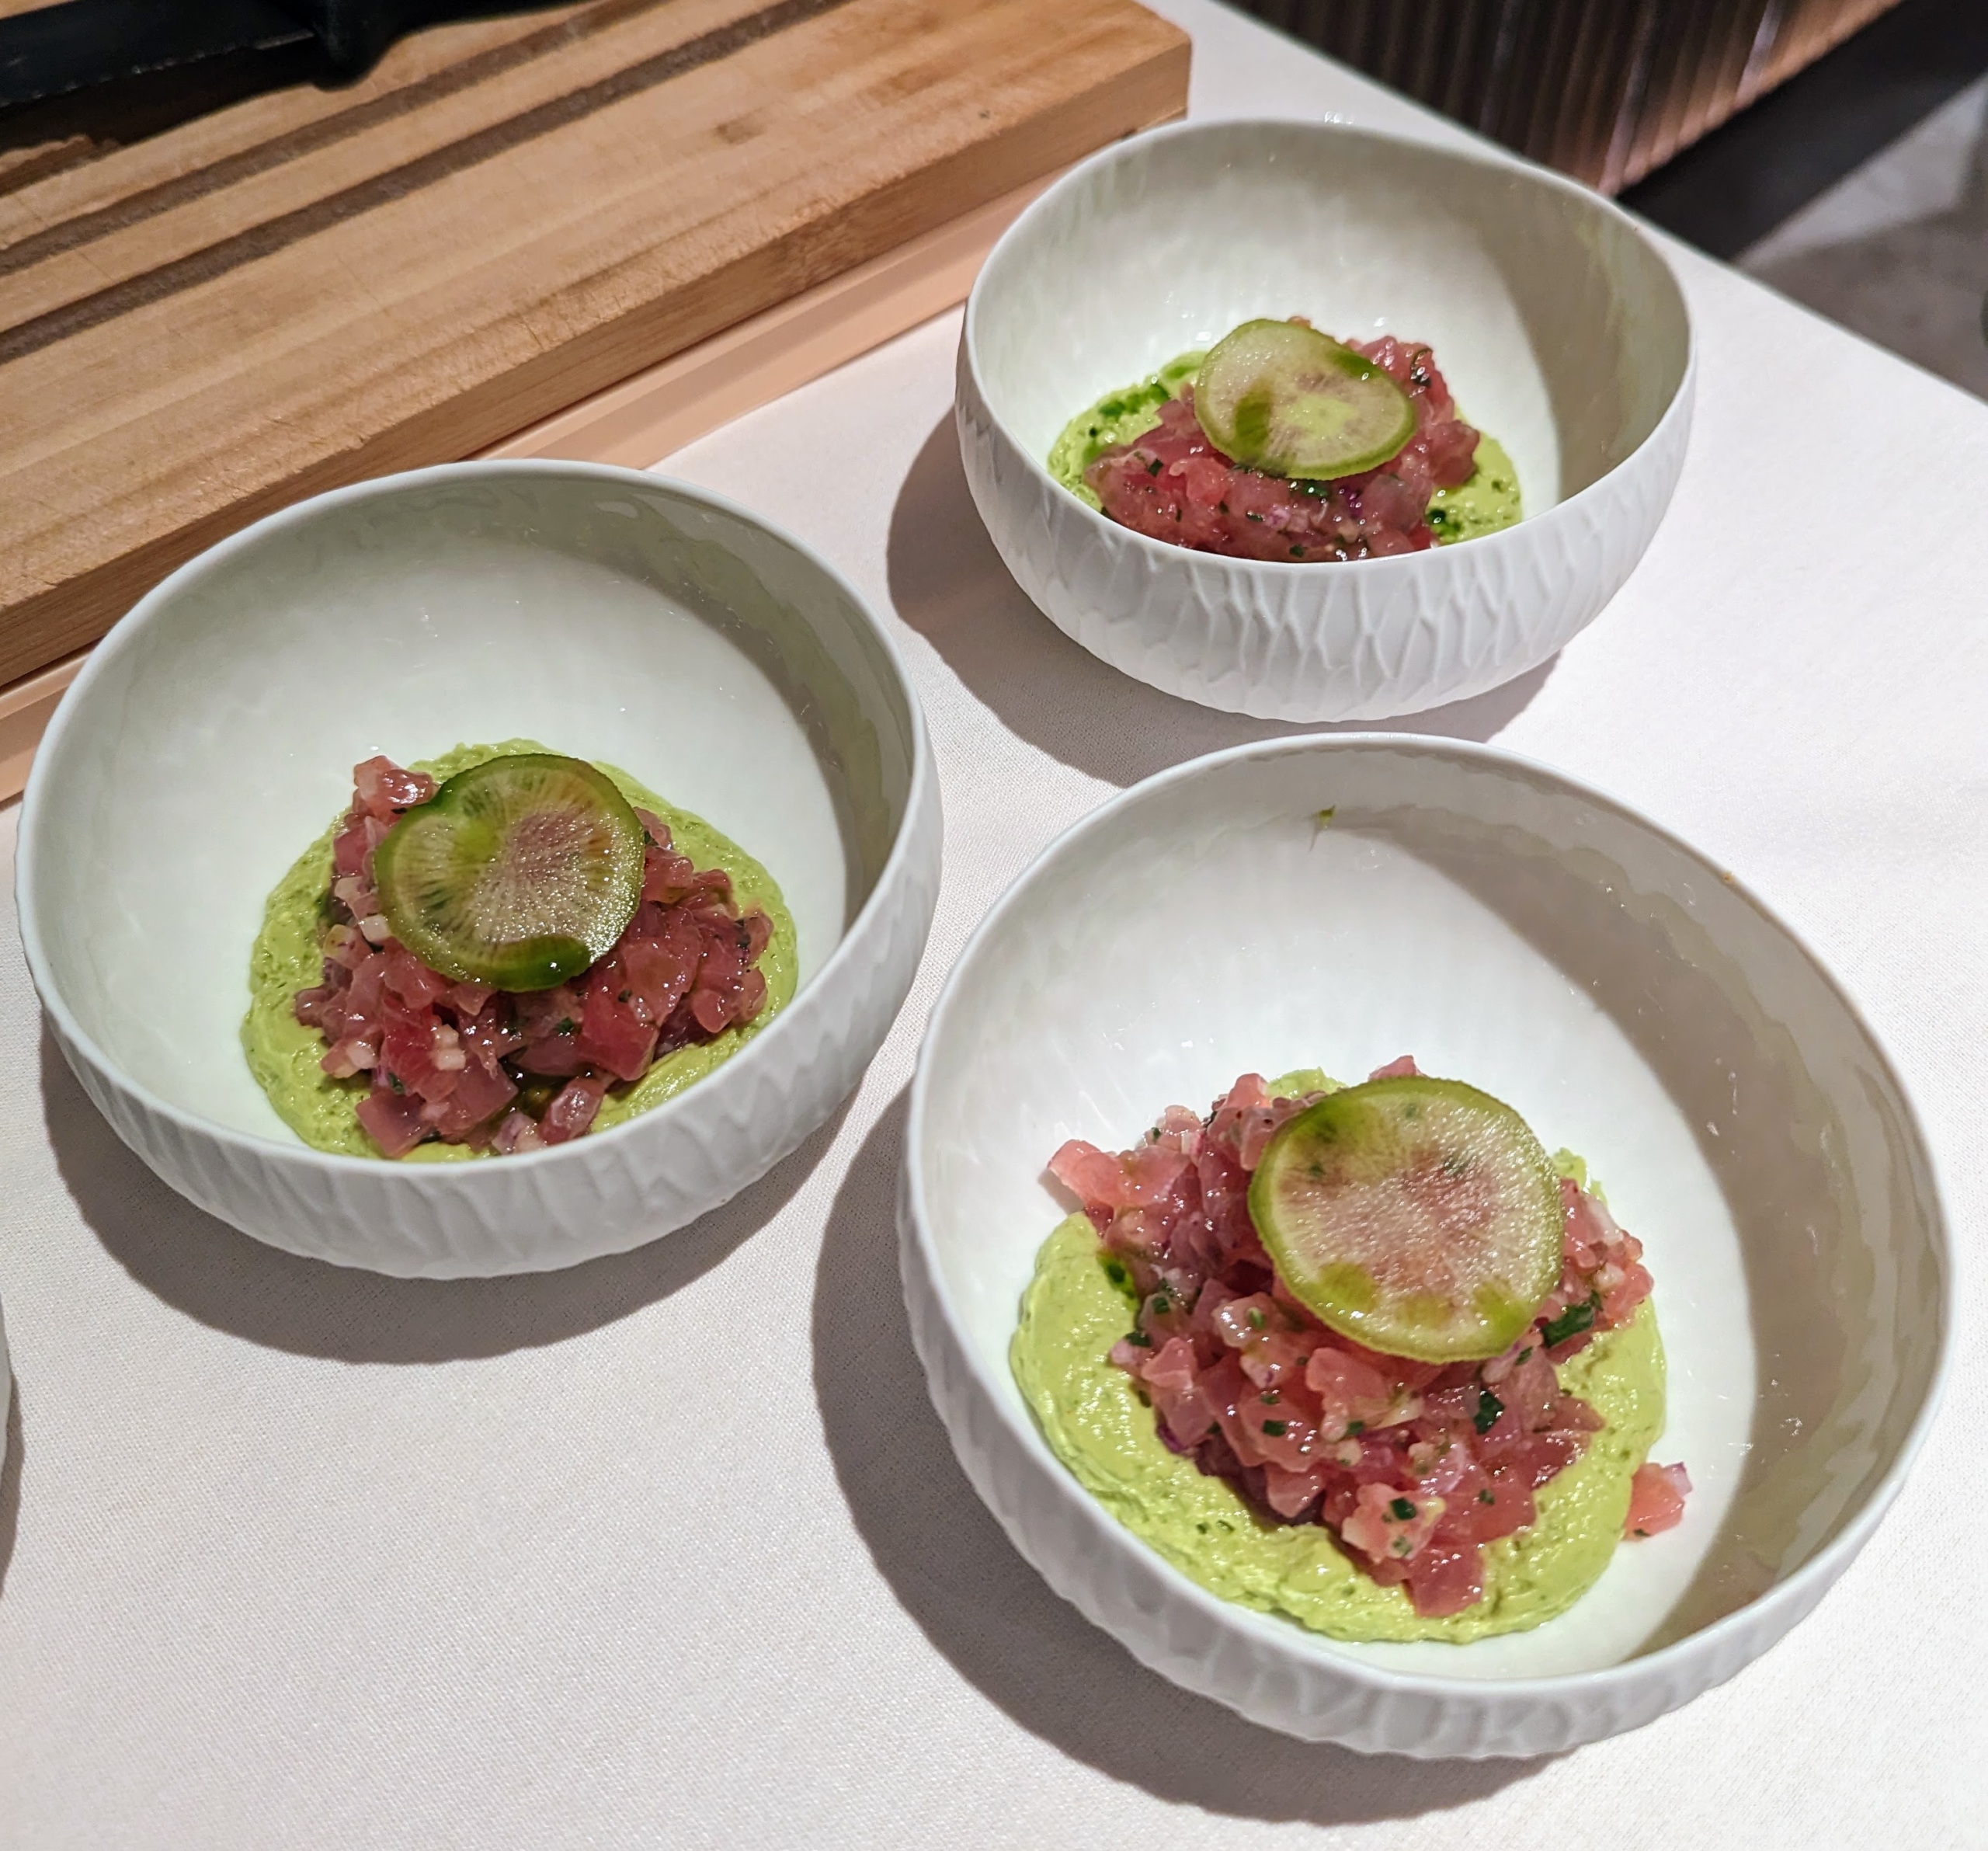
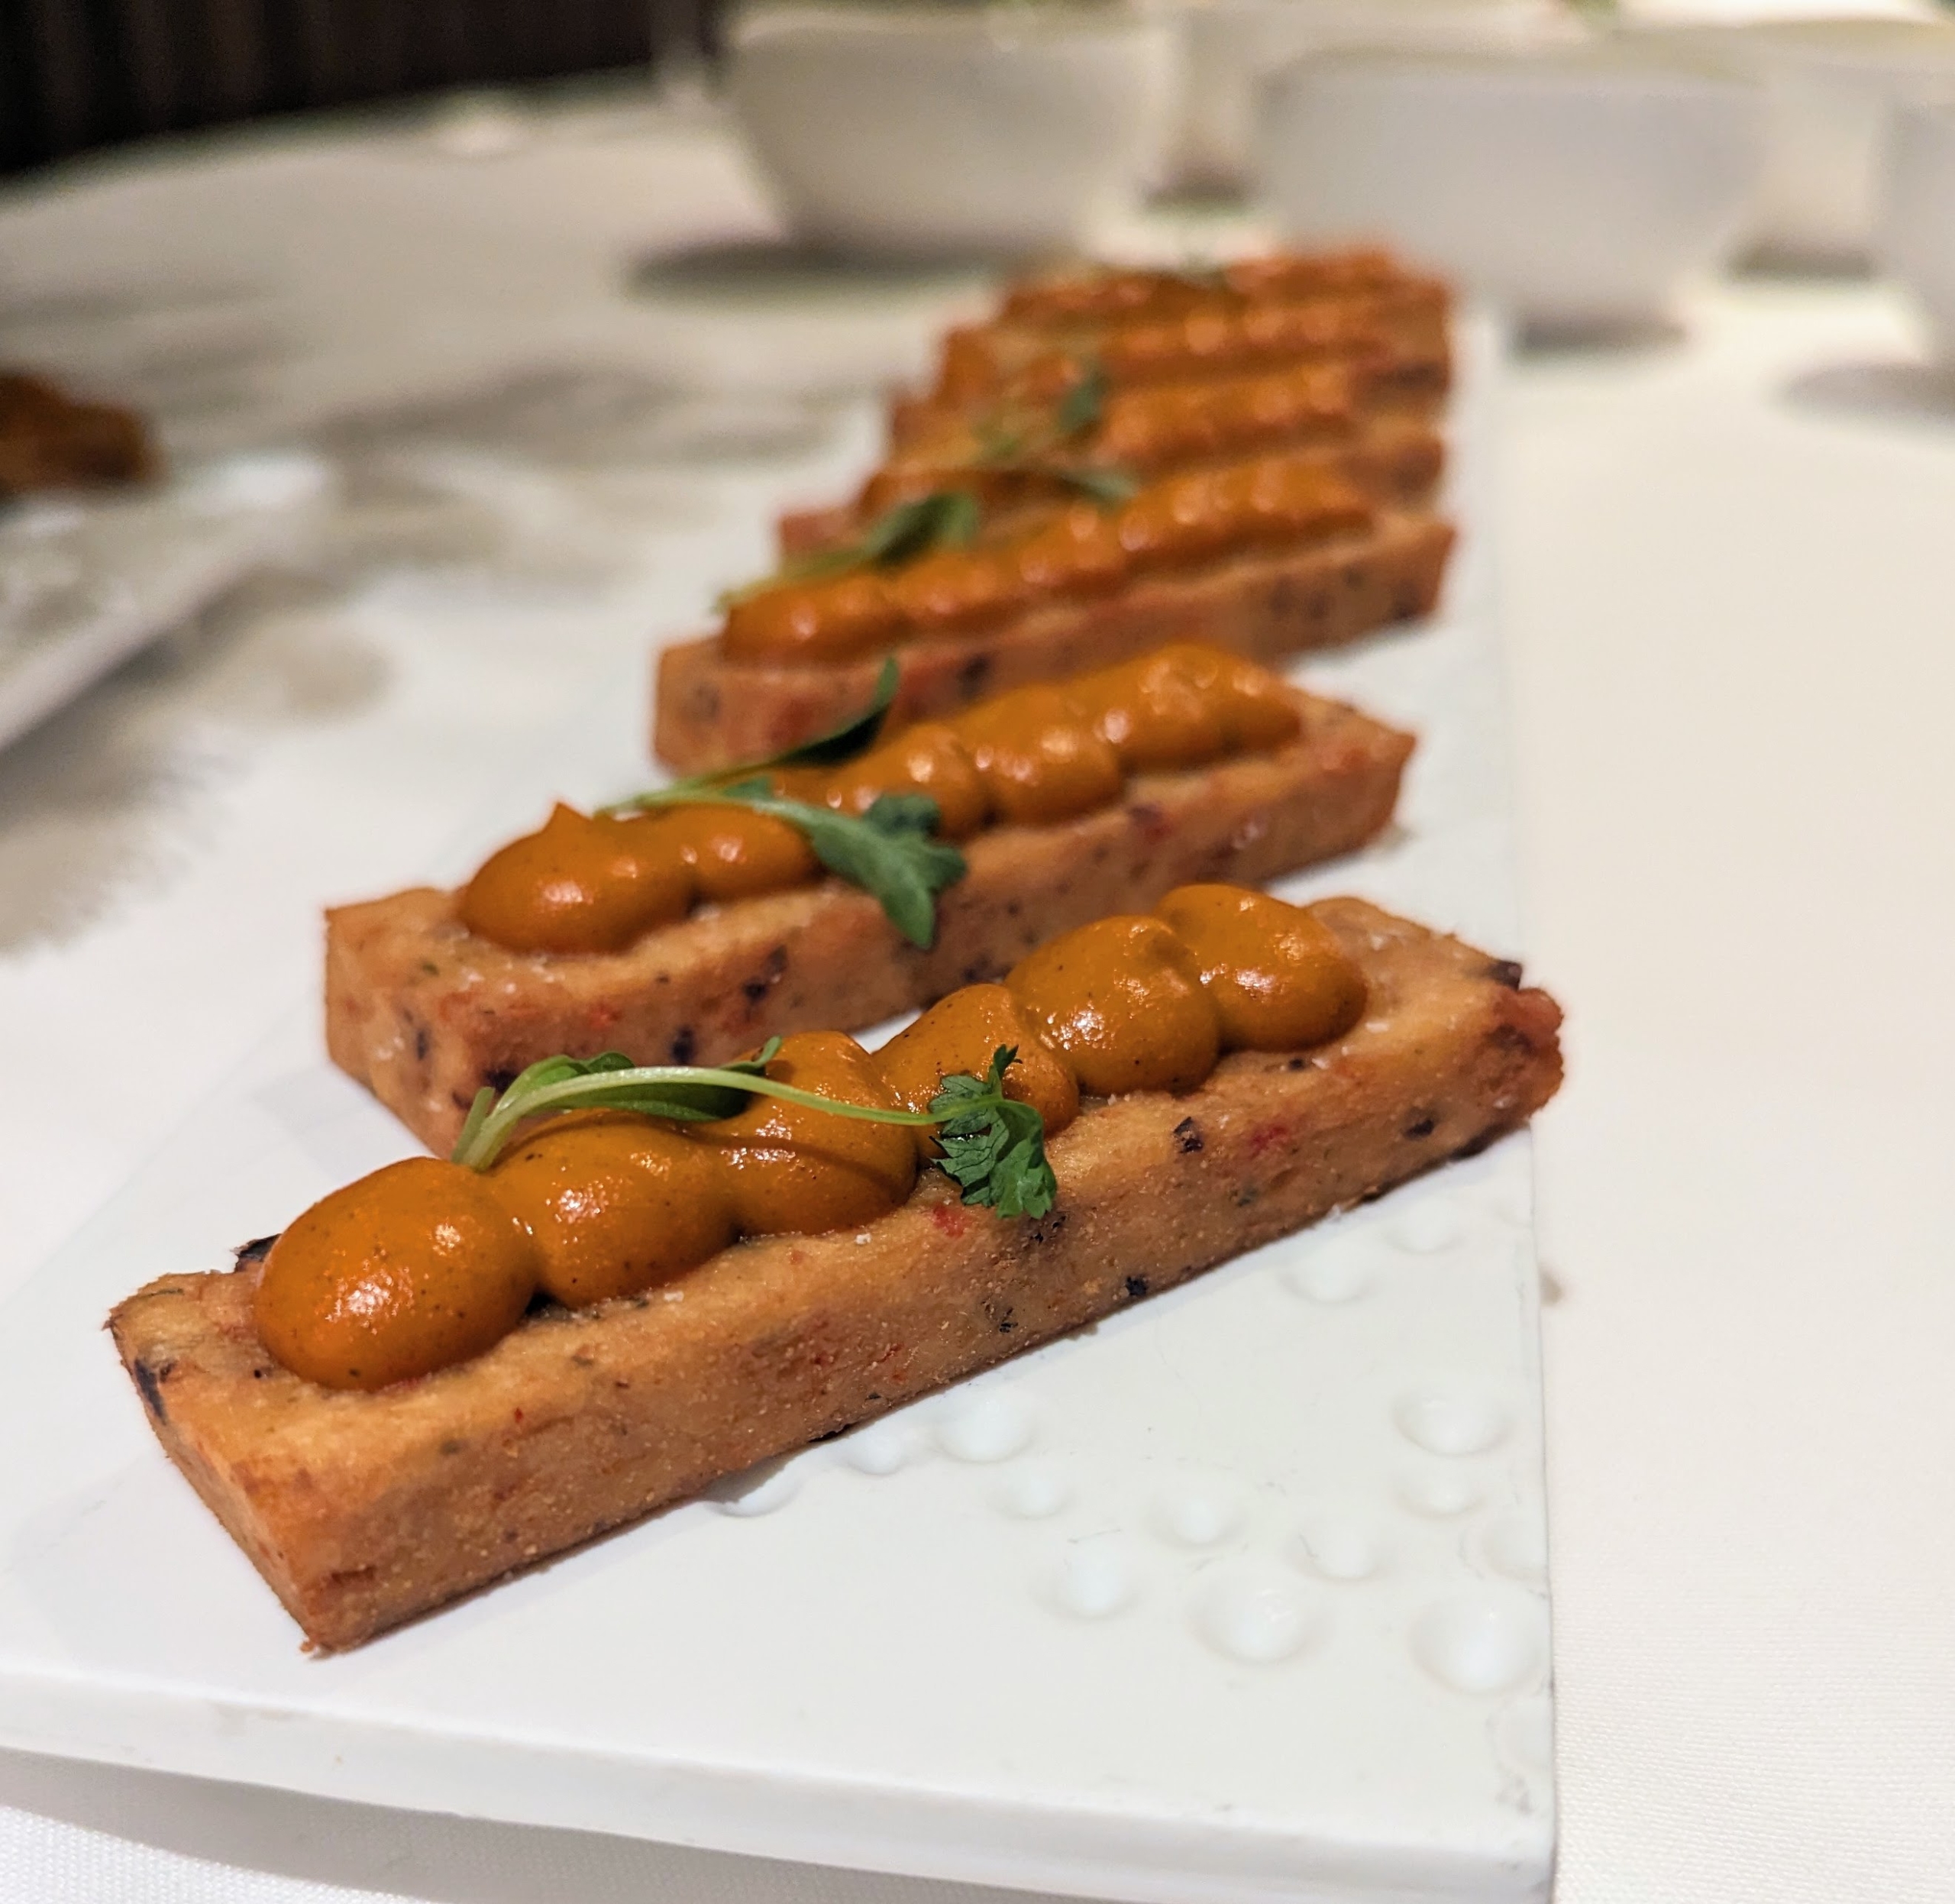
Just before Christmas, I hosted a very special gathering for my entire staff at my farm. My employees work so hard during the year - caring for the property and my many pets and gardens, and helping me prepare for all the meetings, shoots, and other events. I took everyone to La Bastide by Andrea Calstier and Cenadou Bistrot, a quaint establishment in North Salem, New York featuring two French restaurants owned by Chef Andrea Calstier and his wife Elena Oliver. We all enjoyed a buffet of delicious hors d'ouevres including tuna tartare with avocado and yuzu, Compté filled gougères, chickpea panisses with smoked espelette pepper coulis, truffle croque-monsieur, and garden salads. For sweets, we had Madeleine cookies, choux, chocolates, and other treats. It was a most enjoyable party.
Here are some photos, enjoy.
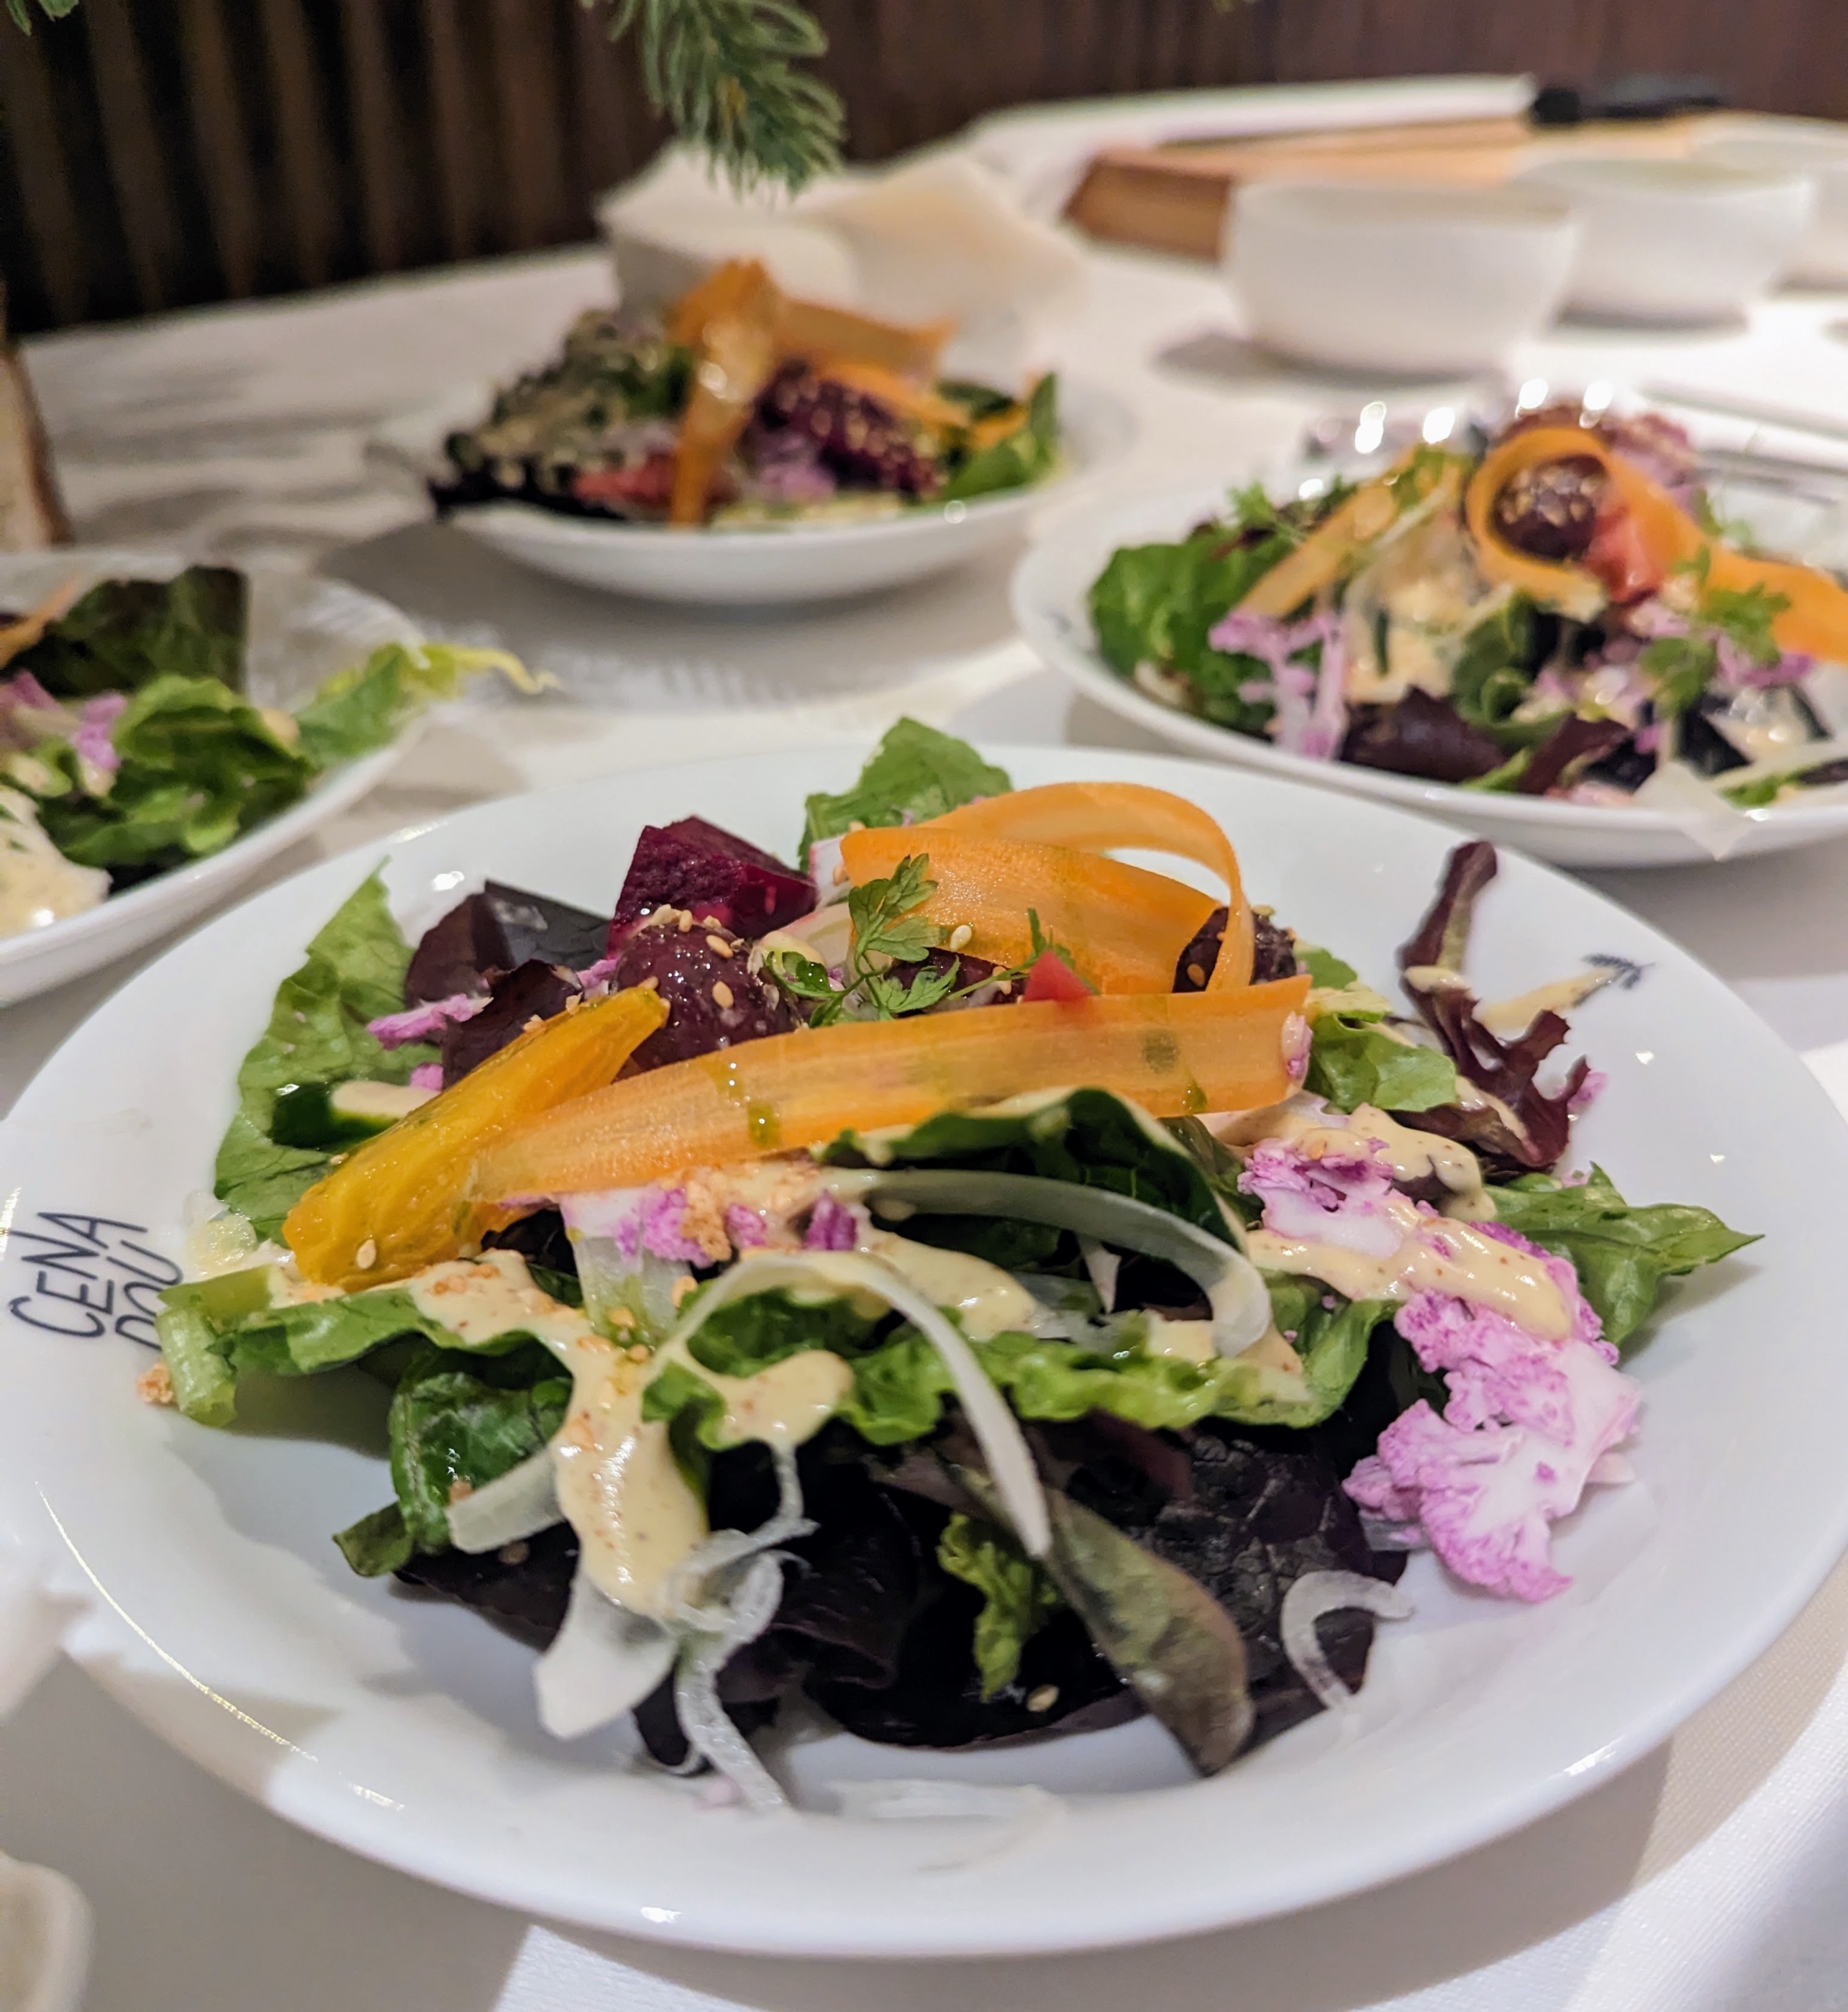
These two French restaurants are housed in the same building. Cenadou serves traditional French dishes while La Bastide offers a more formal tasting menu for fine dining. Cenadou, the 50-seat French bistro is upstairs and La Bastide, which seats 12 is downstairs – both with beautiful views of the property’s landscape.
Both restaurants feature open kitchens and local, seasonal cuisine.
To start, we had a buffet of hors d’oeuvres including tuna tartare with avocado and yuzu. Tuna tartare is a dish made with raw tuna cut into small pieces or cubes that are usually served in a bowl. The Asian flavors such as ginger, soy, chile, and lime juice are added to highlight the taste of the tuna. Each was topped with a slice of yuzu – a citrus fruit that is tart and fragrant, closely resembling grapefruit, with overtones of mandarin orange.
This is chickpea panisse with smoked espelette peppers coulis. Panisses, or chickpea flour fries, are a popular street snack from the south of France.
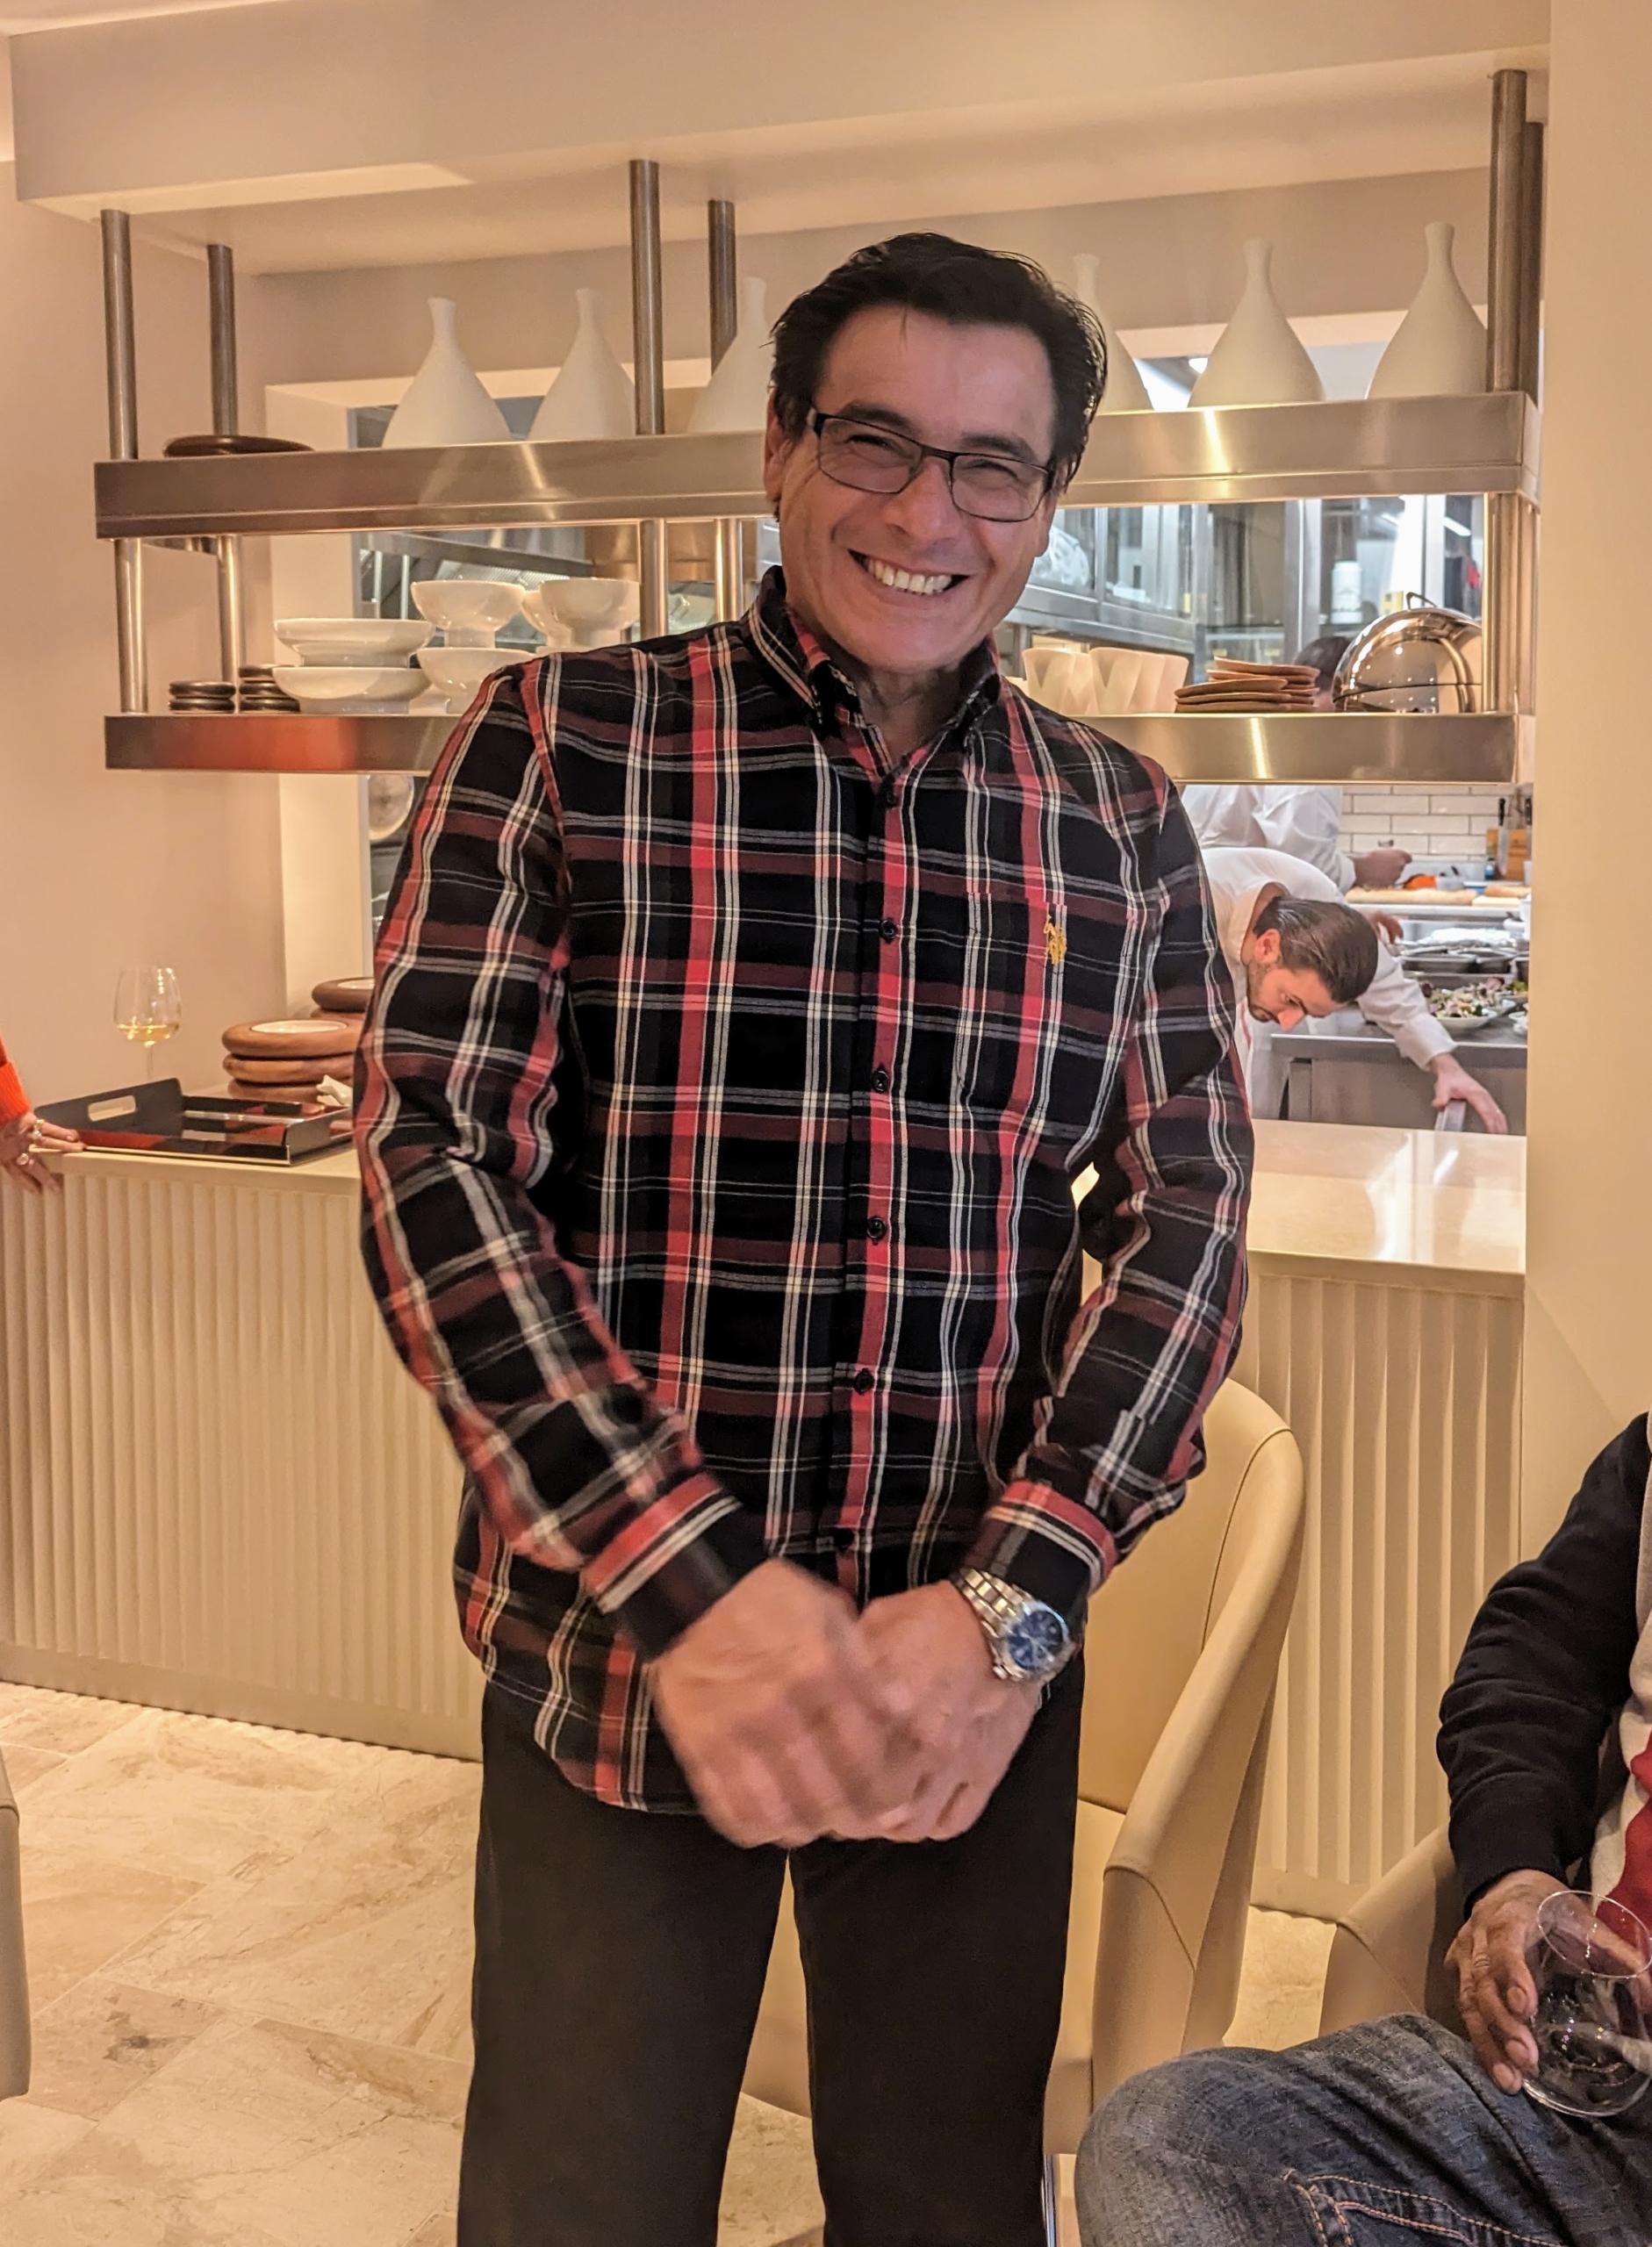
I took many snapshots. Here I am with my crew foreman, Chhiring Sherpa. He has been working with me at the farm for more than 22-years.
This is the garden salad – so fresh and light. It was a big favorite.
Gougères are baked savory choux pastries made with cheese. The cheese in these is Compté. Comté is a French cheese made from unpasteurized cow’s milk in the Franche-Comté region of eastern France bordering Switzerland. It is classified as an Alpine cheese.
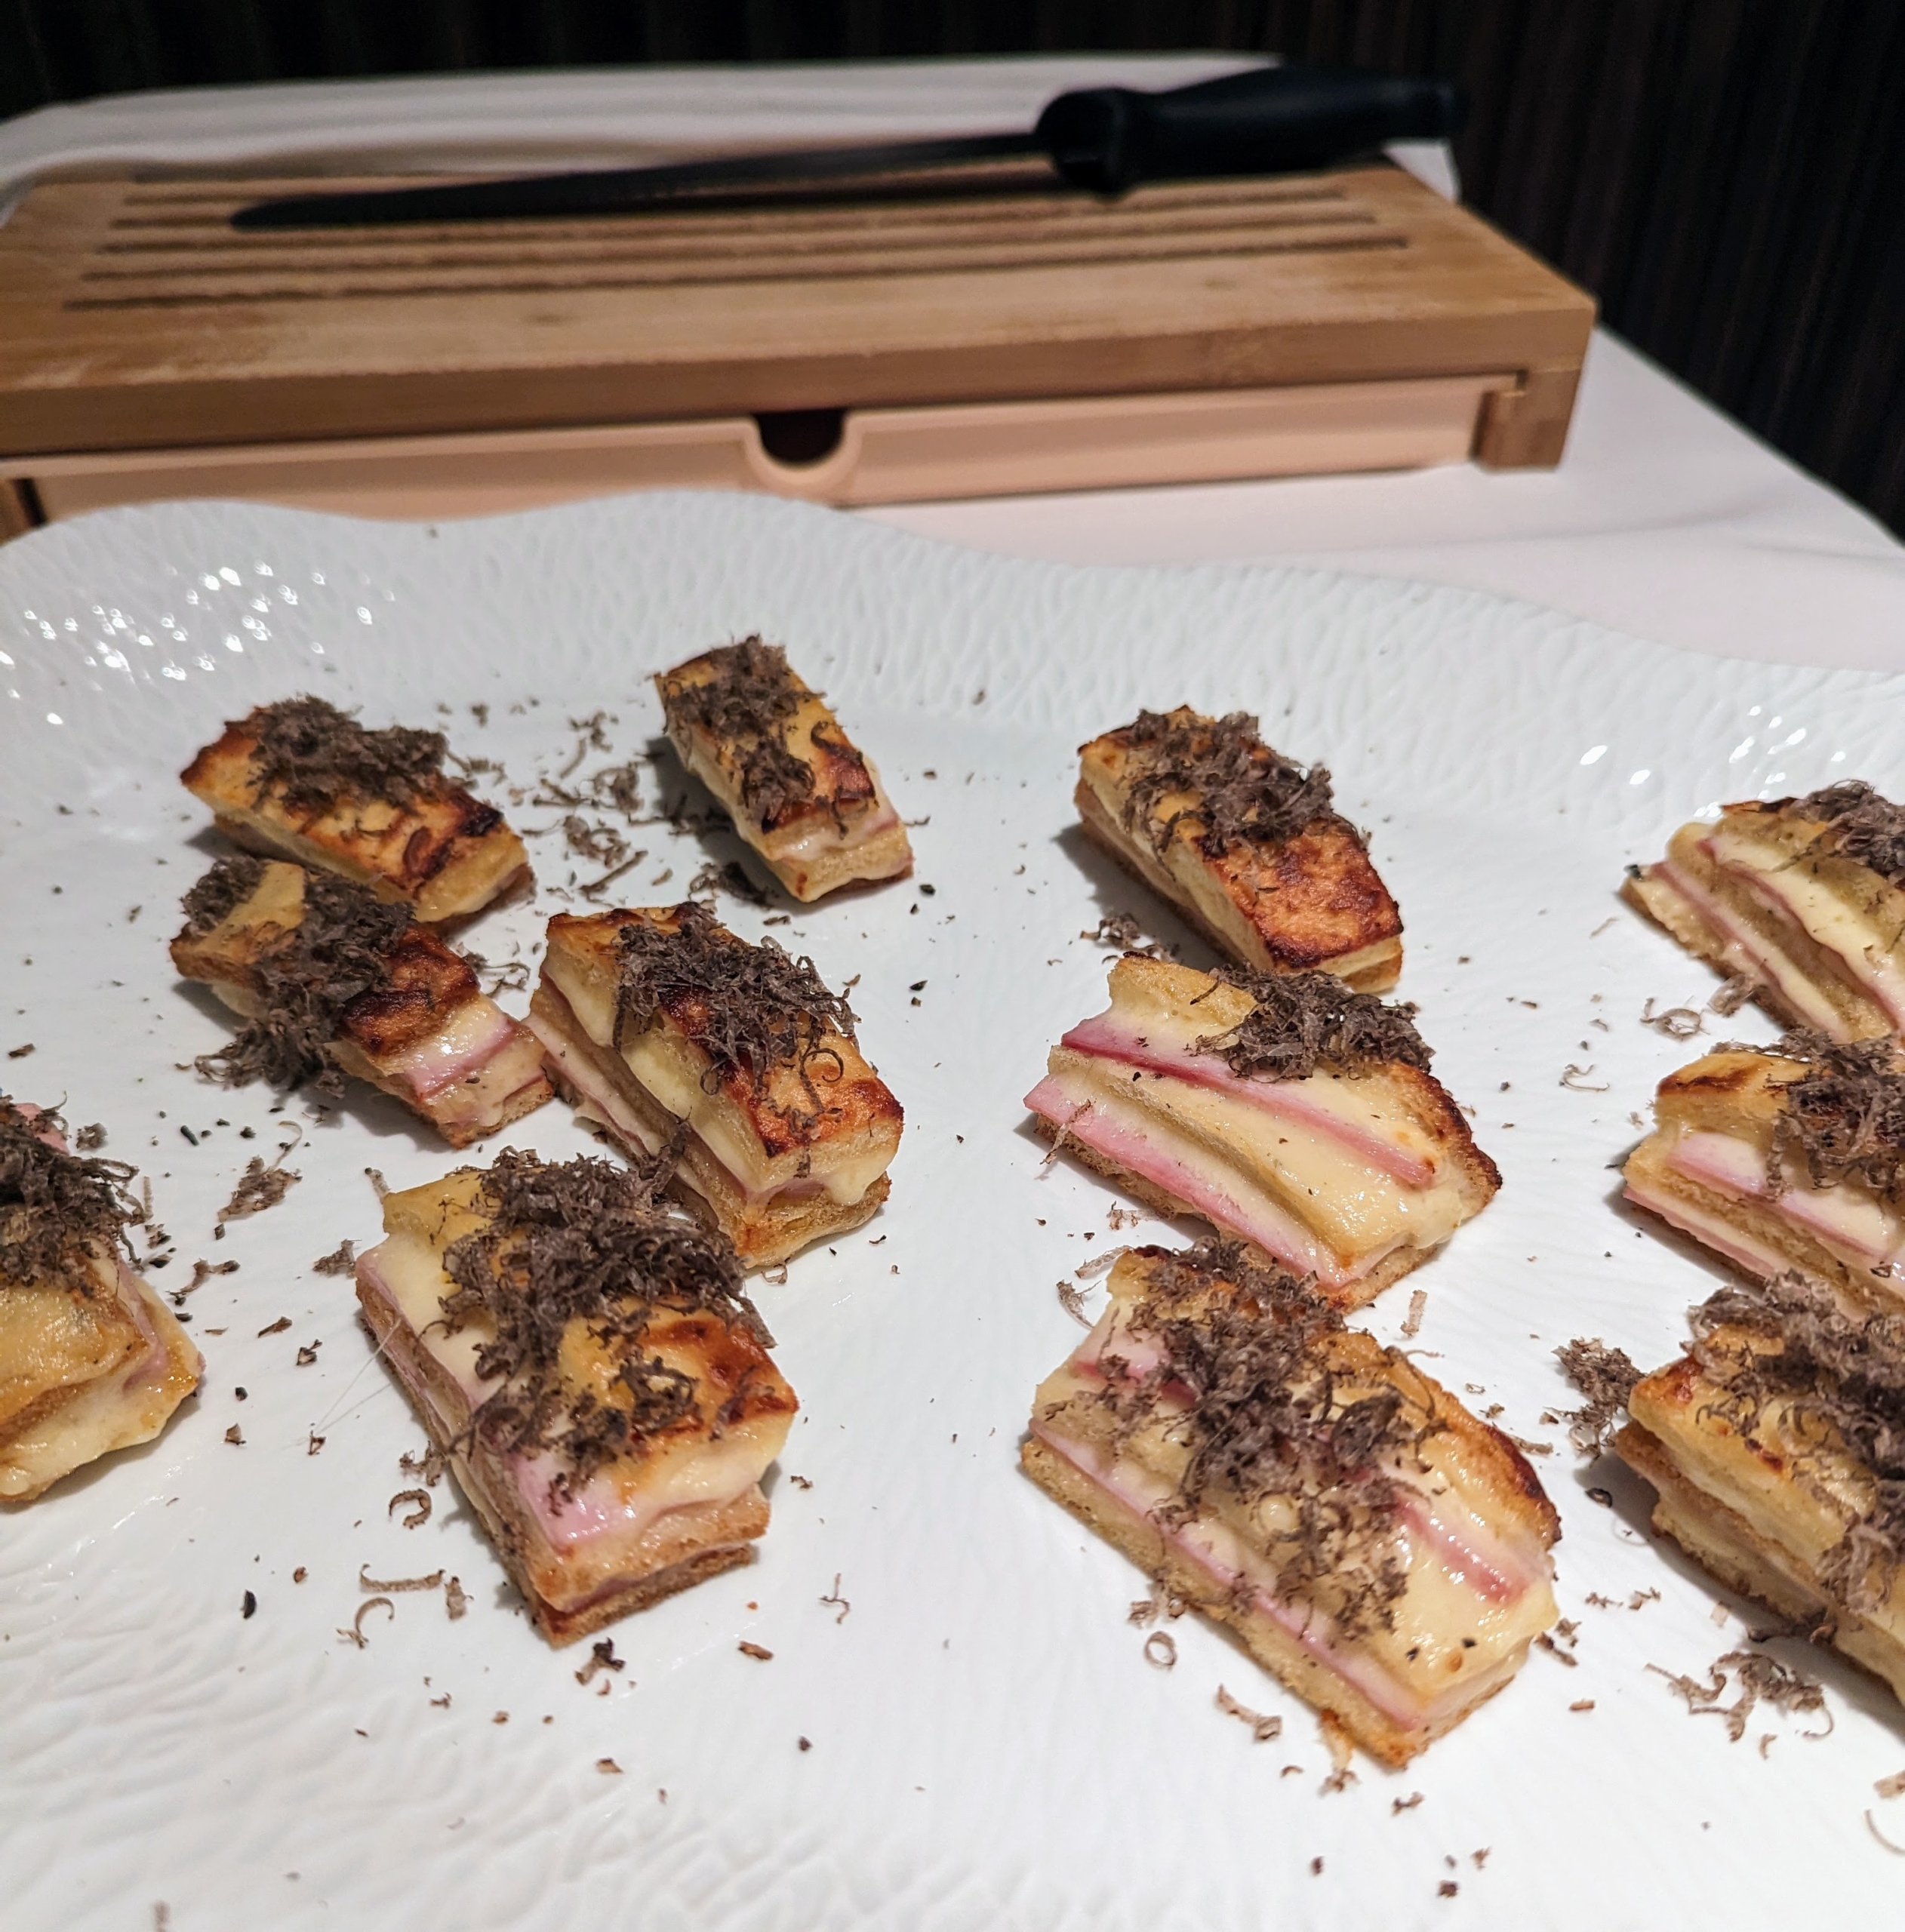
And these are mini truffle croque-monsieurs. A croque-monsieur is a hot sandwich made with ham and cheese.
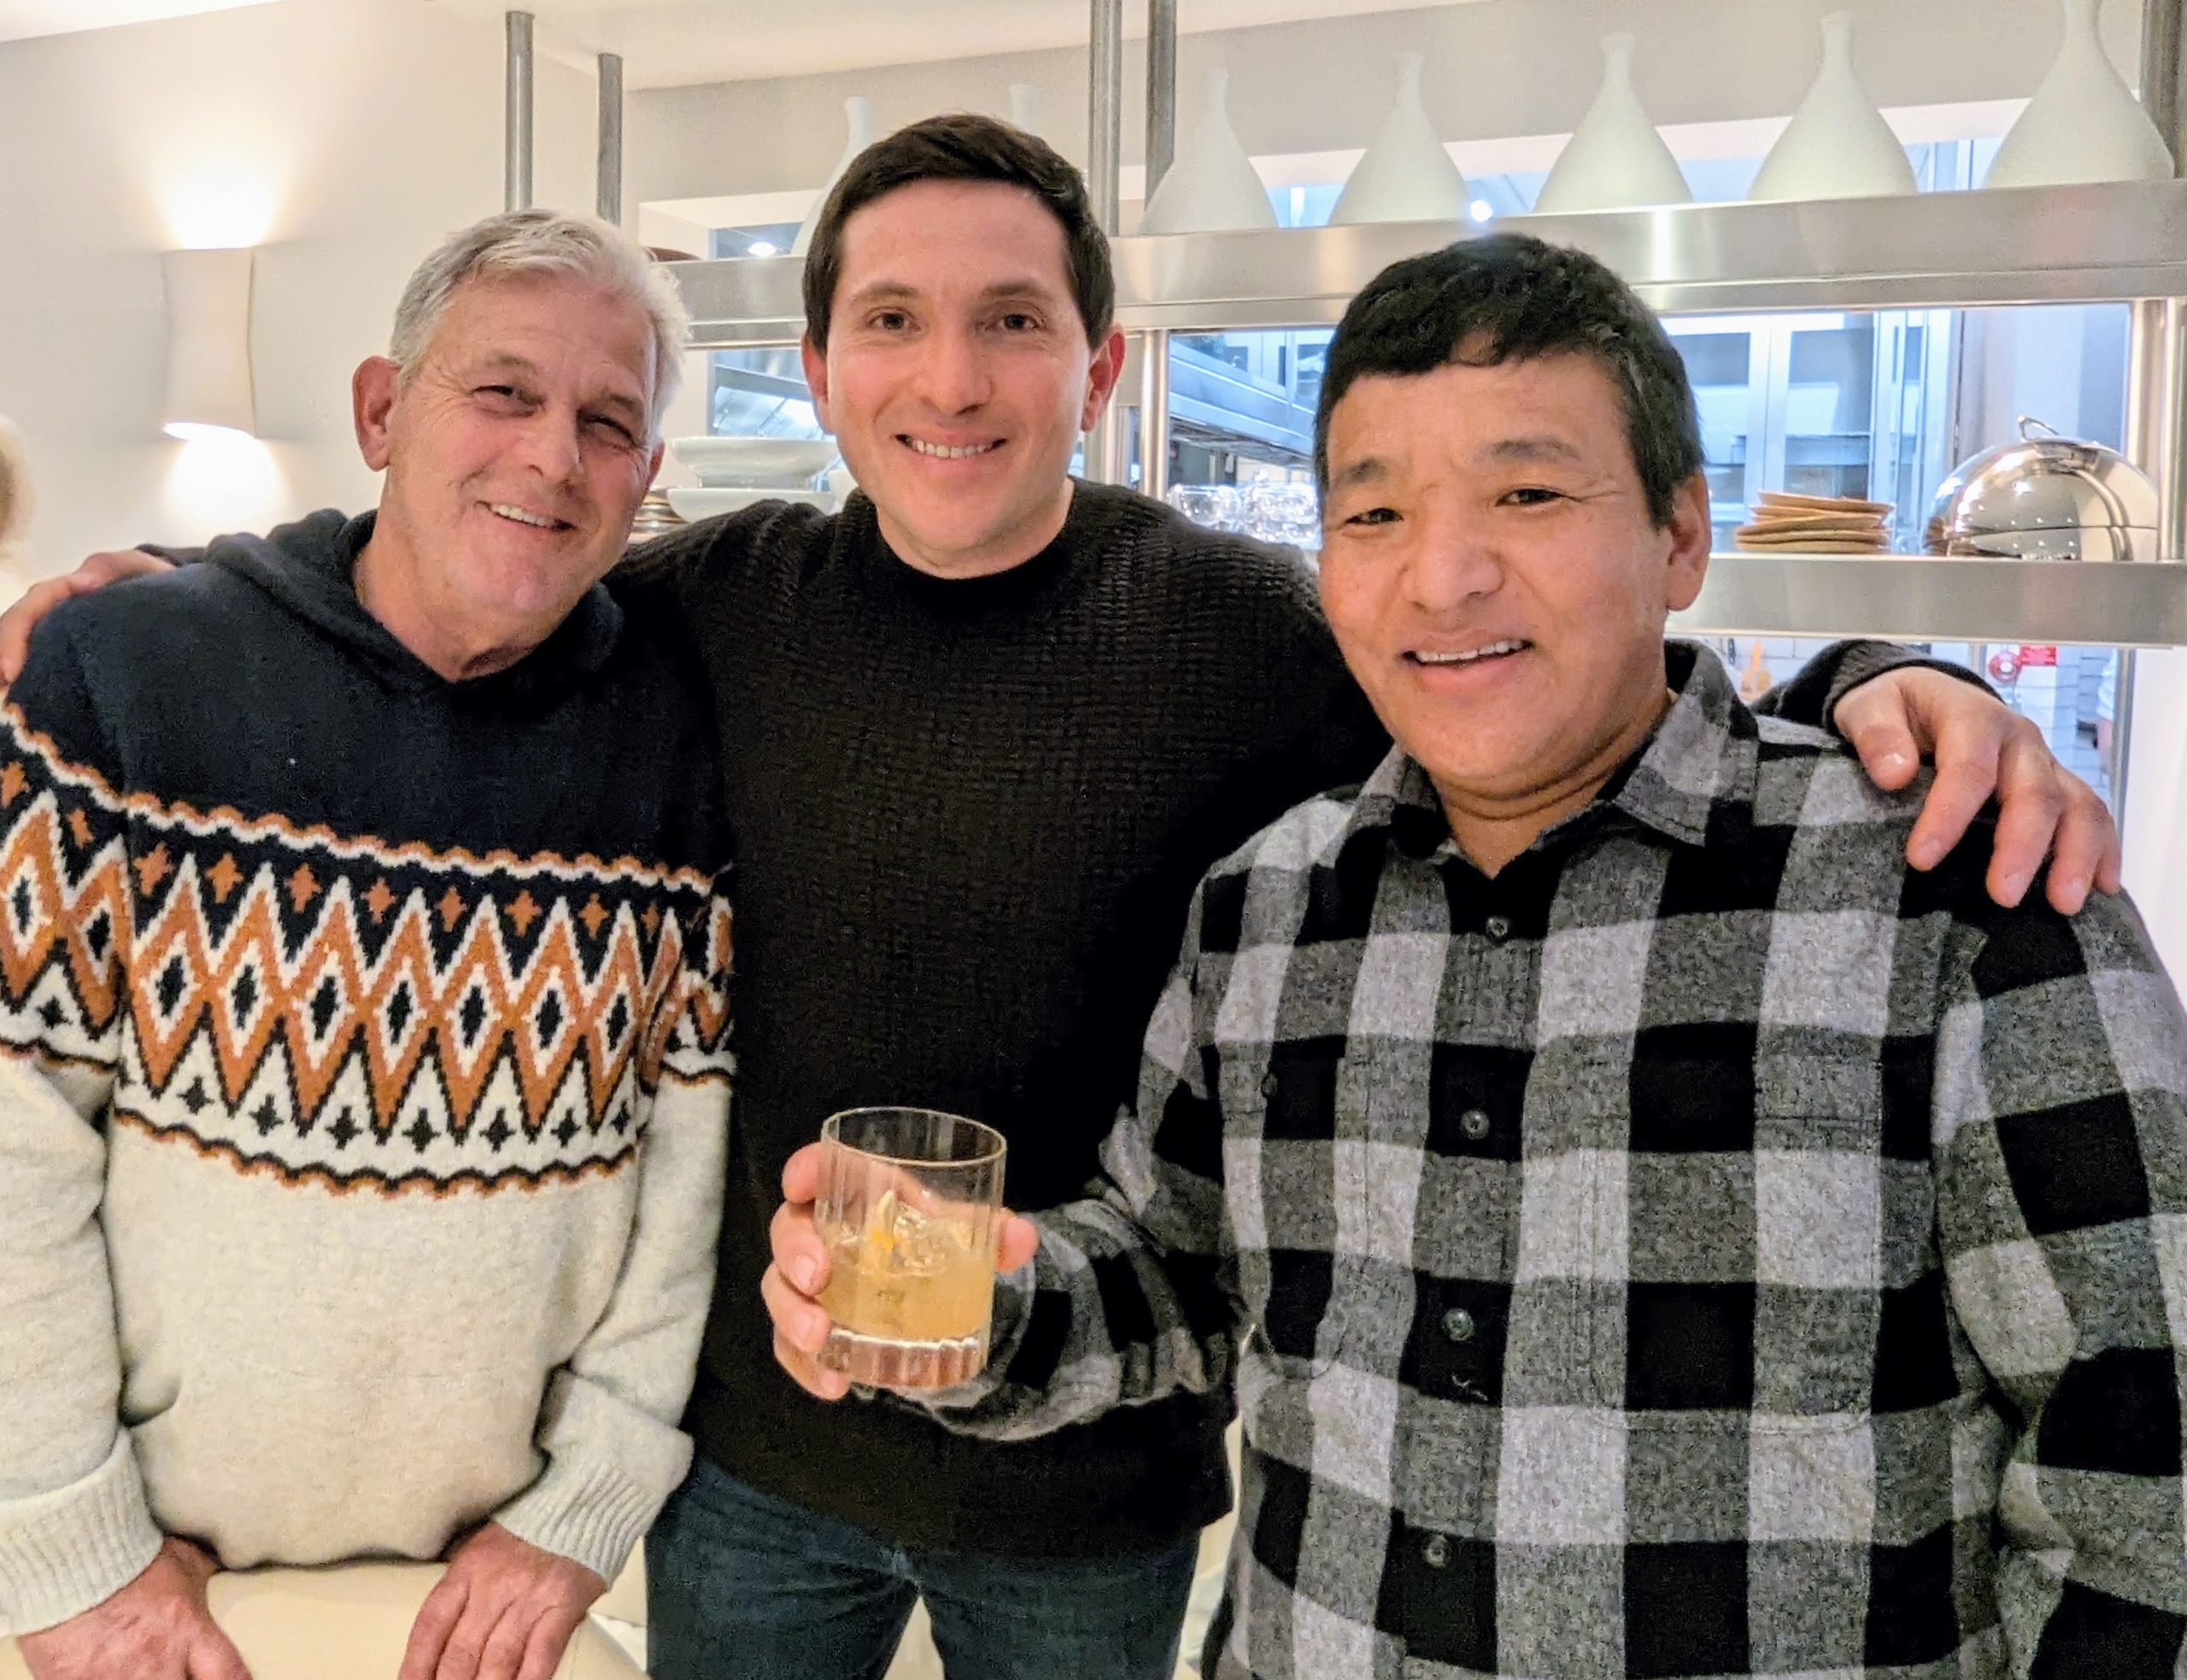
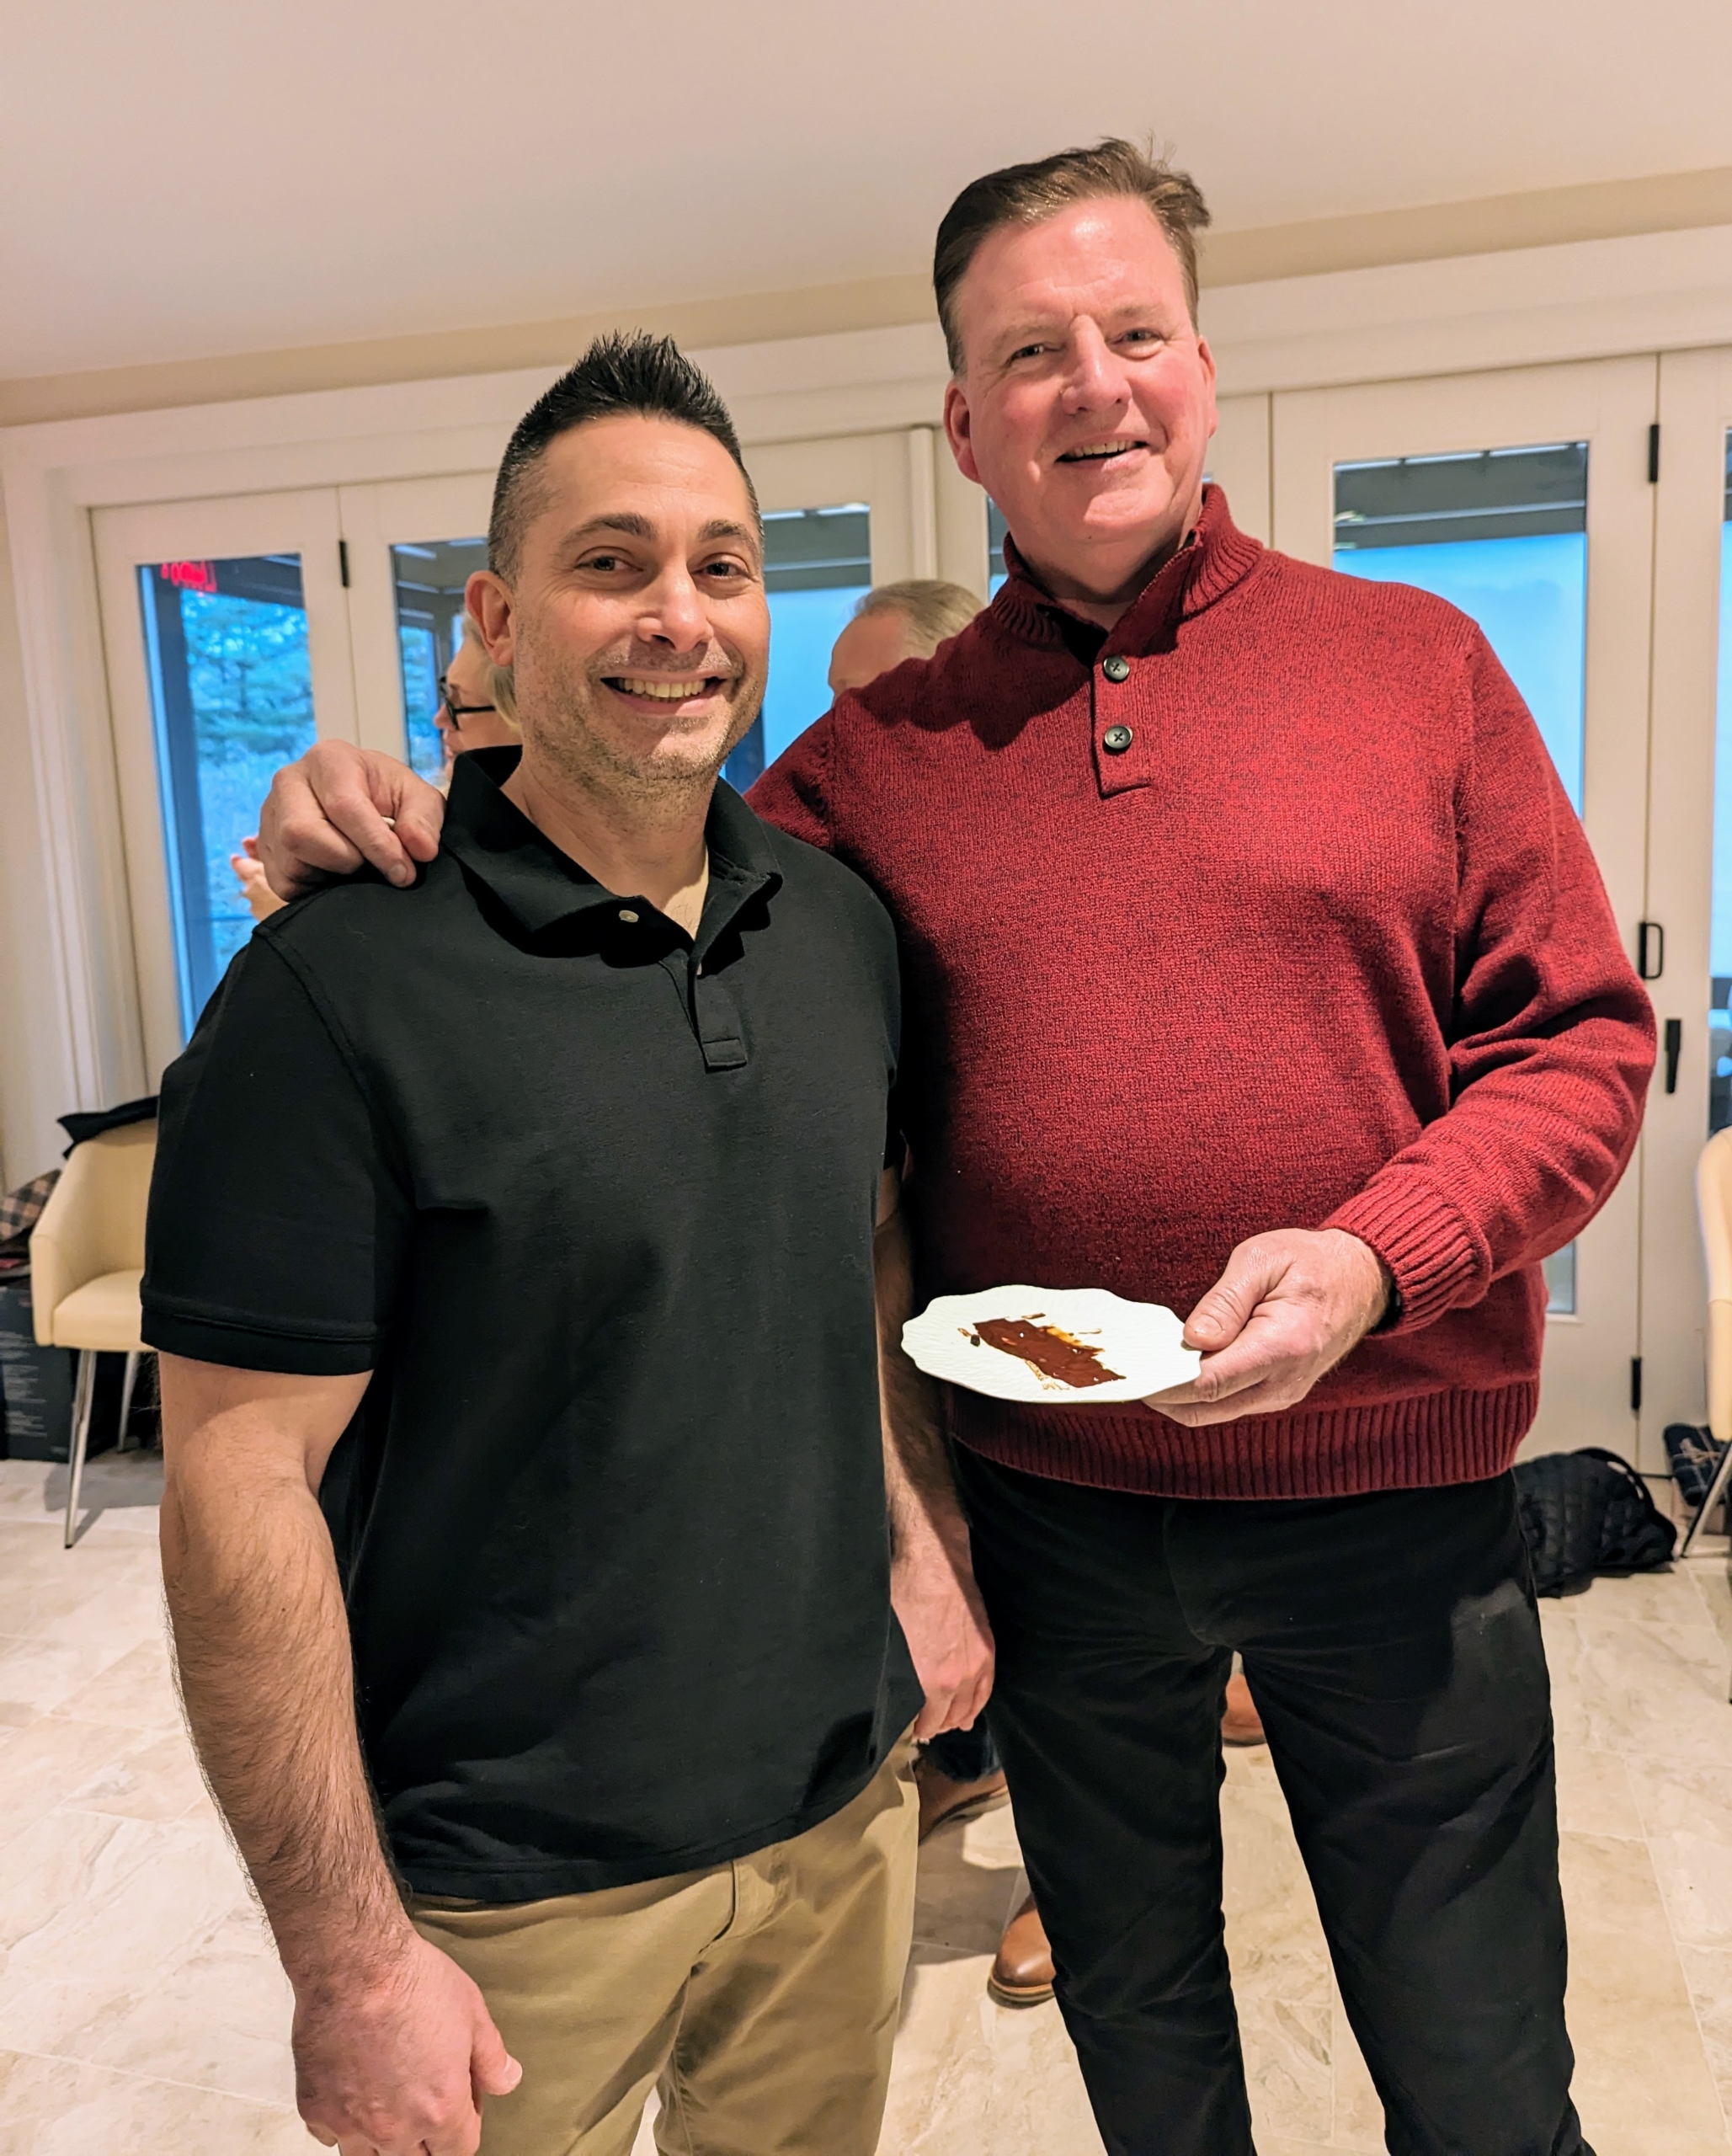
This photo is of me, Pete Sherpa and Fernando Ferrari.
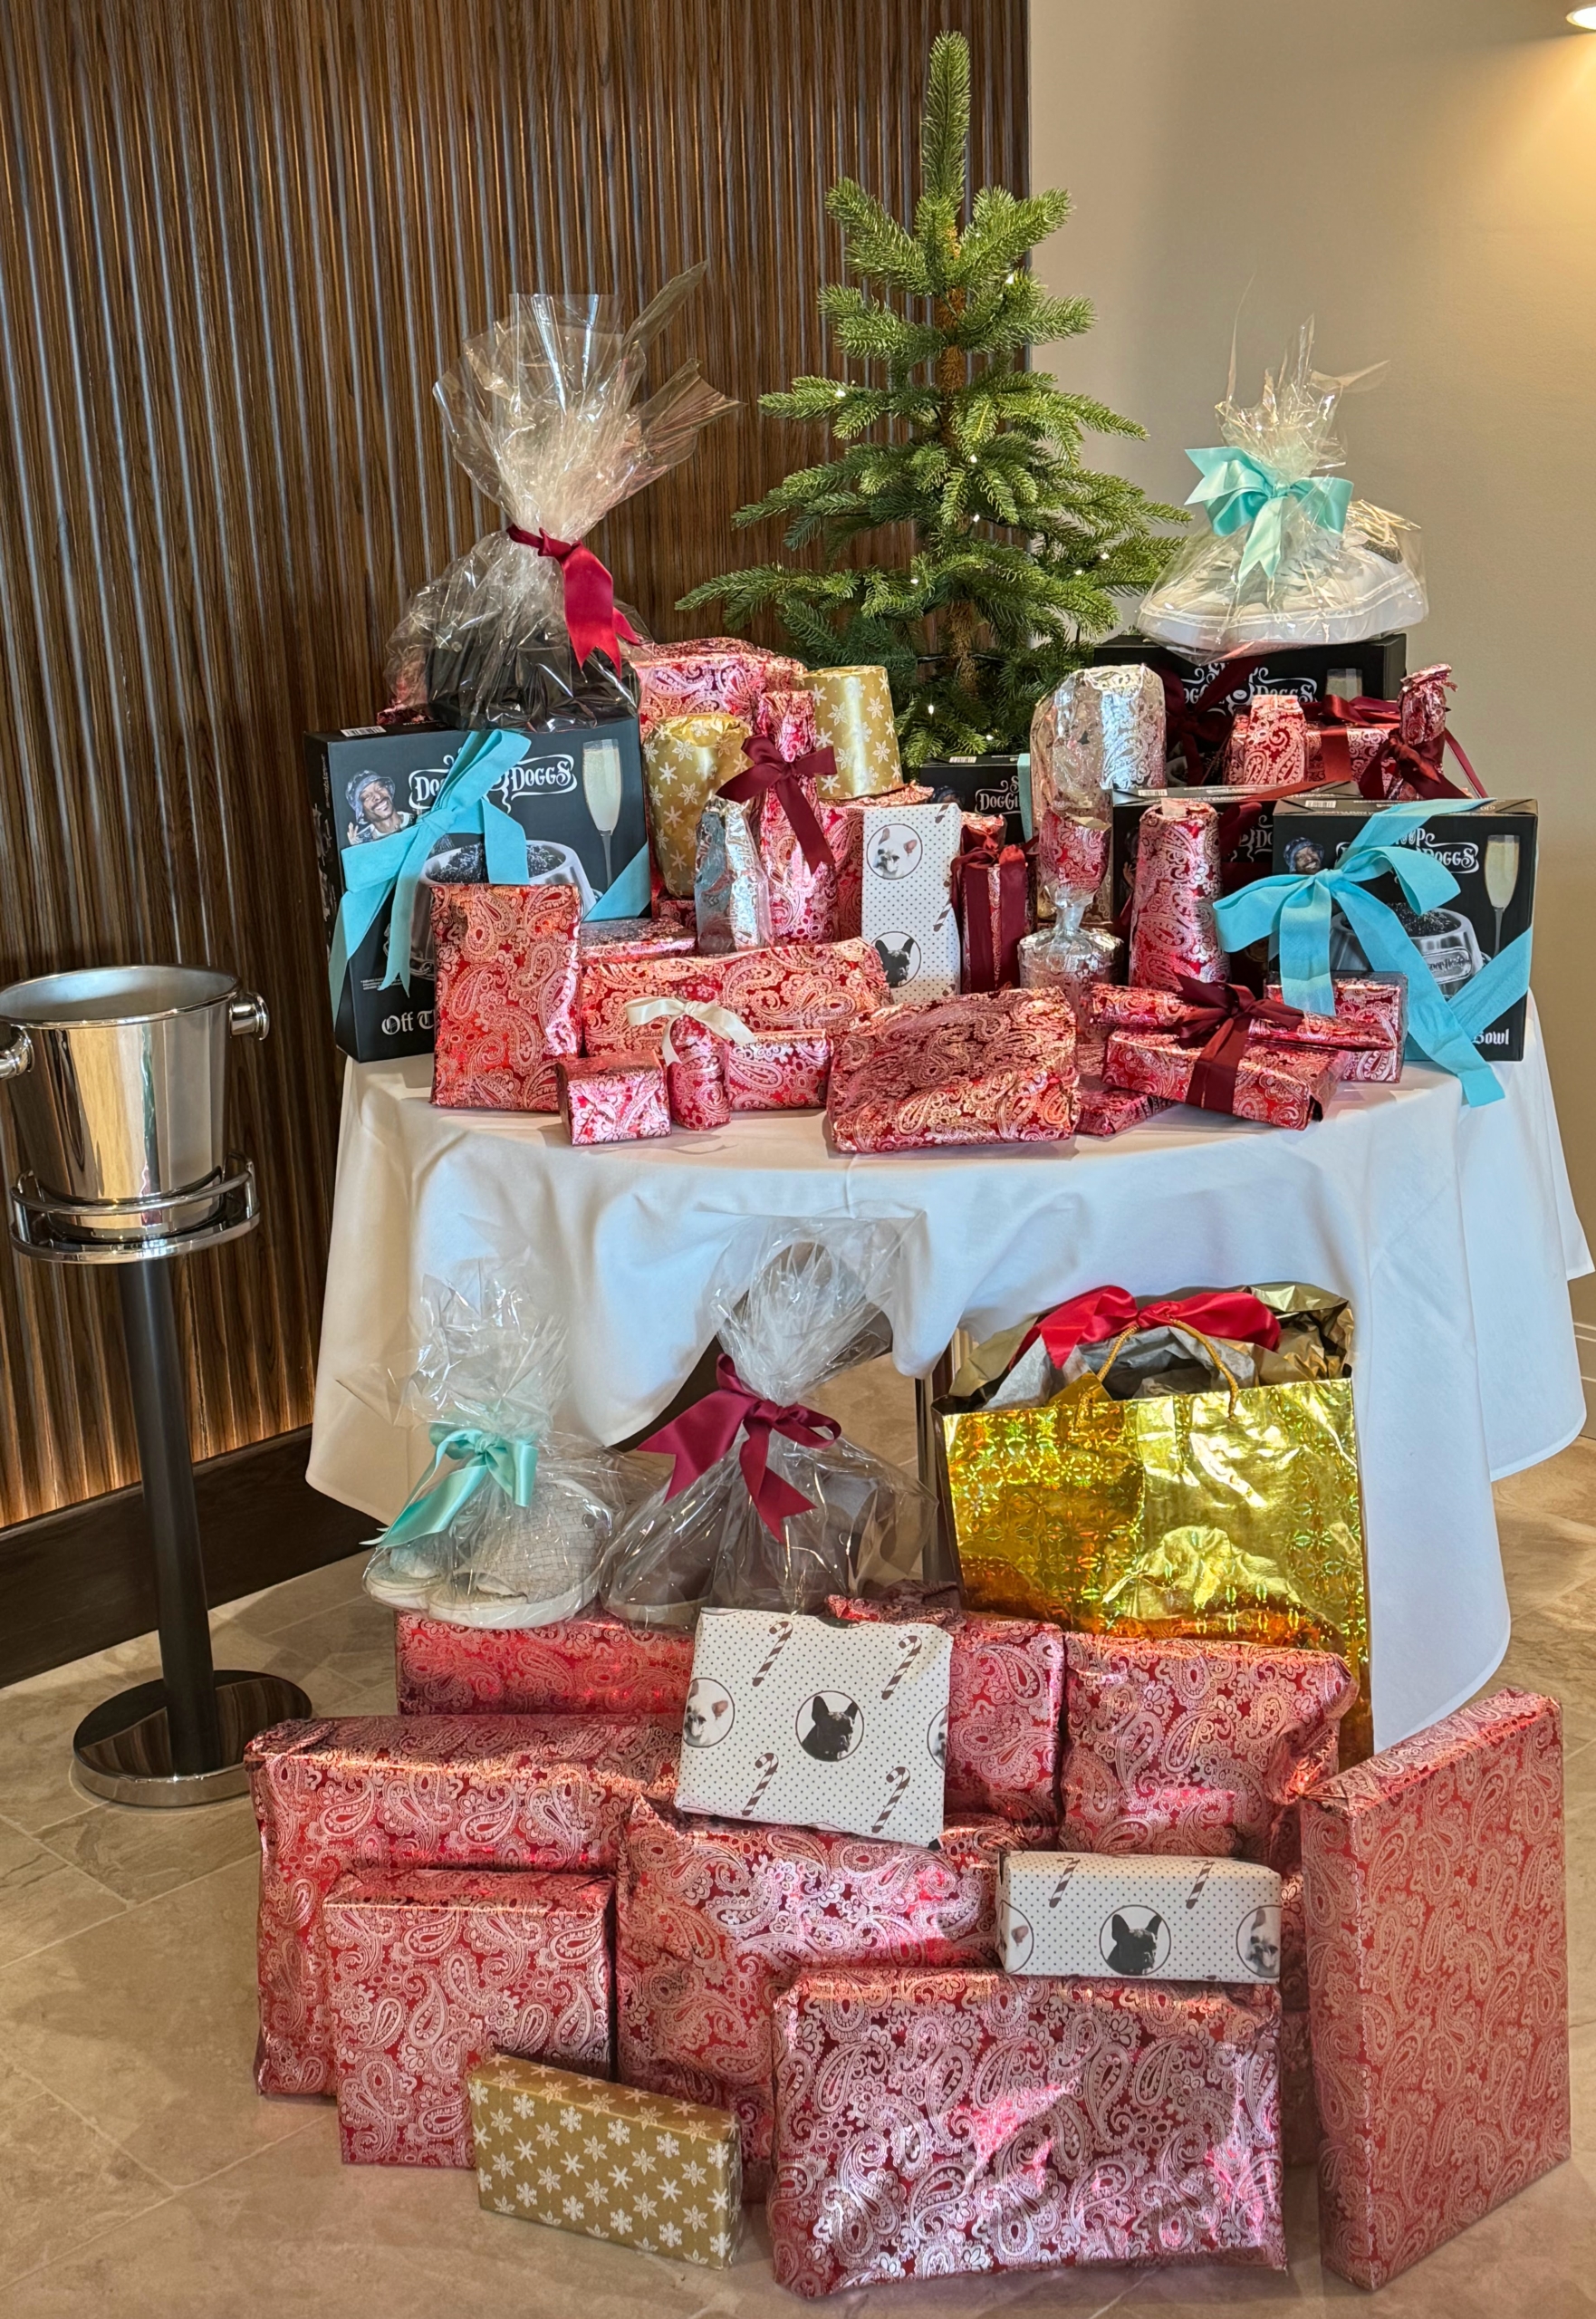
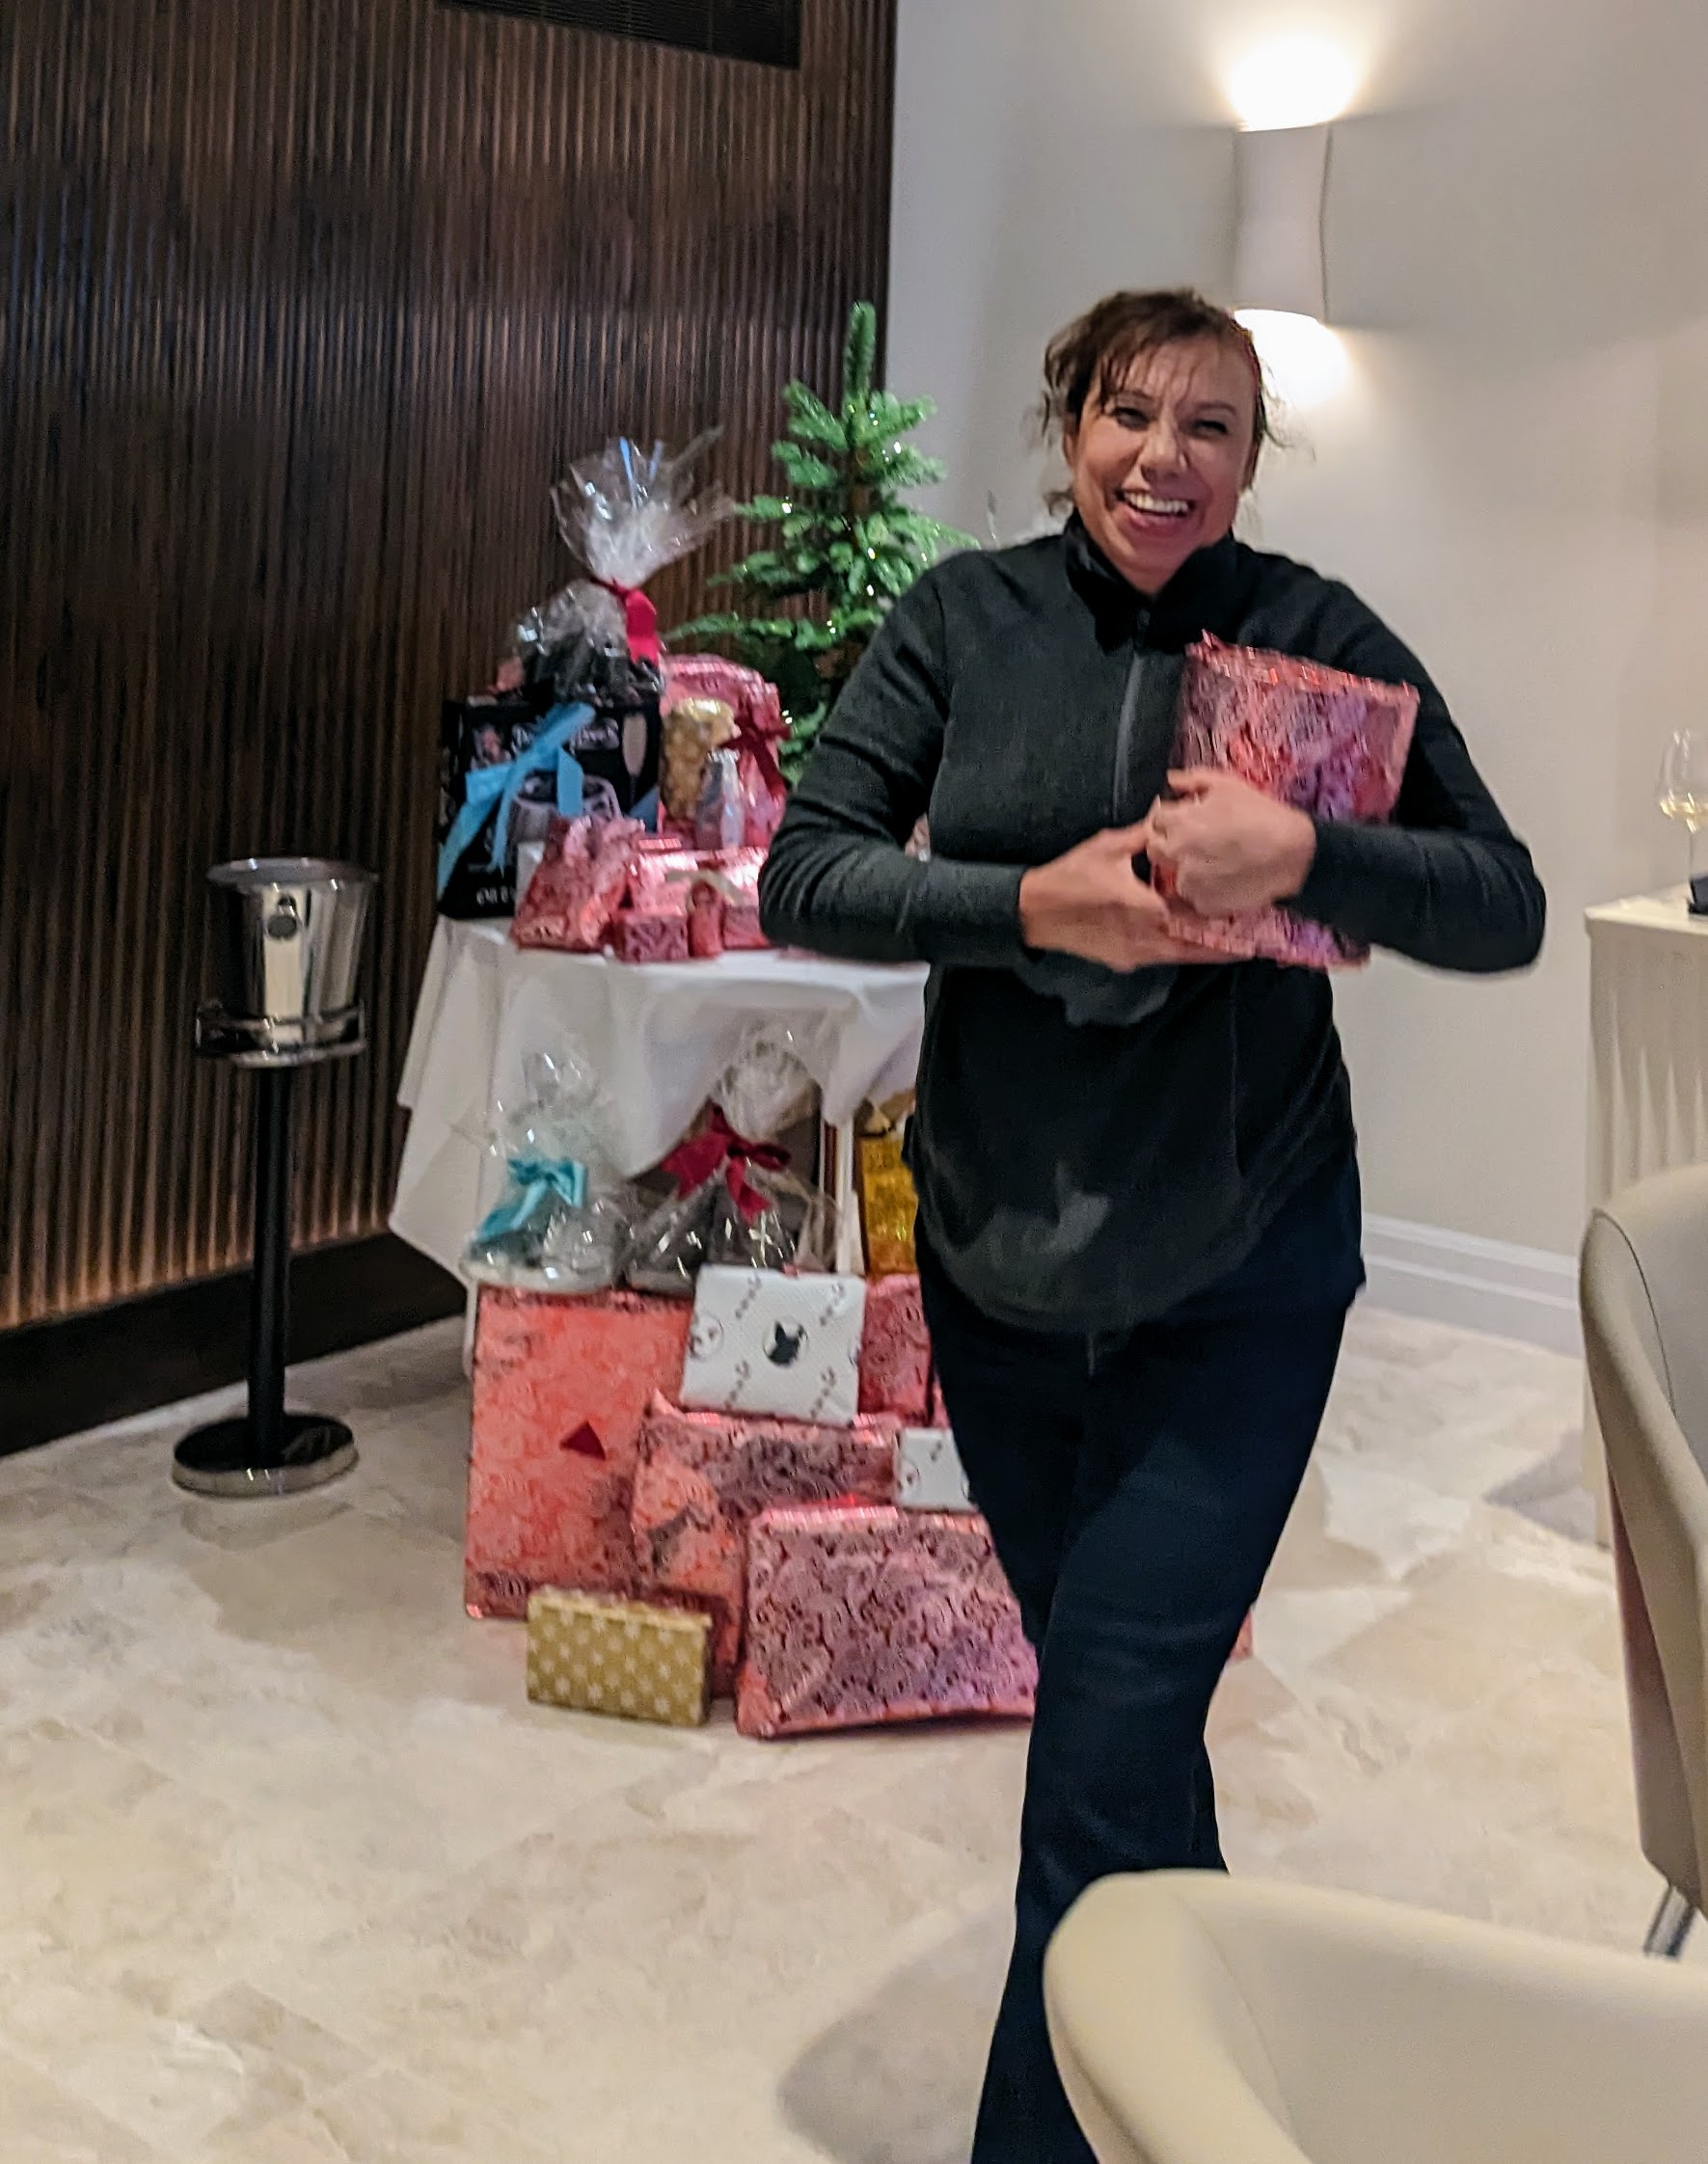
I also gave away grab-bag gifts. Every one selected a number out of a container and then chose their own present.
Here is Elvira – she got one of the early numbers. I think she is very happy with her choice.
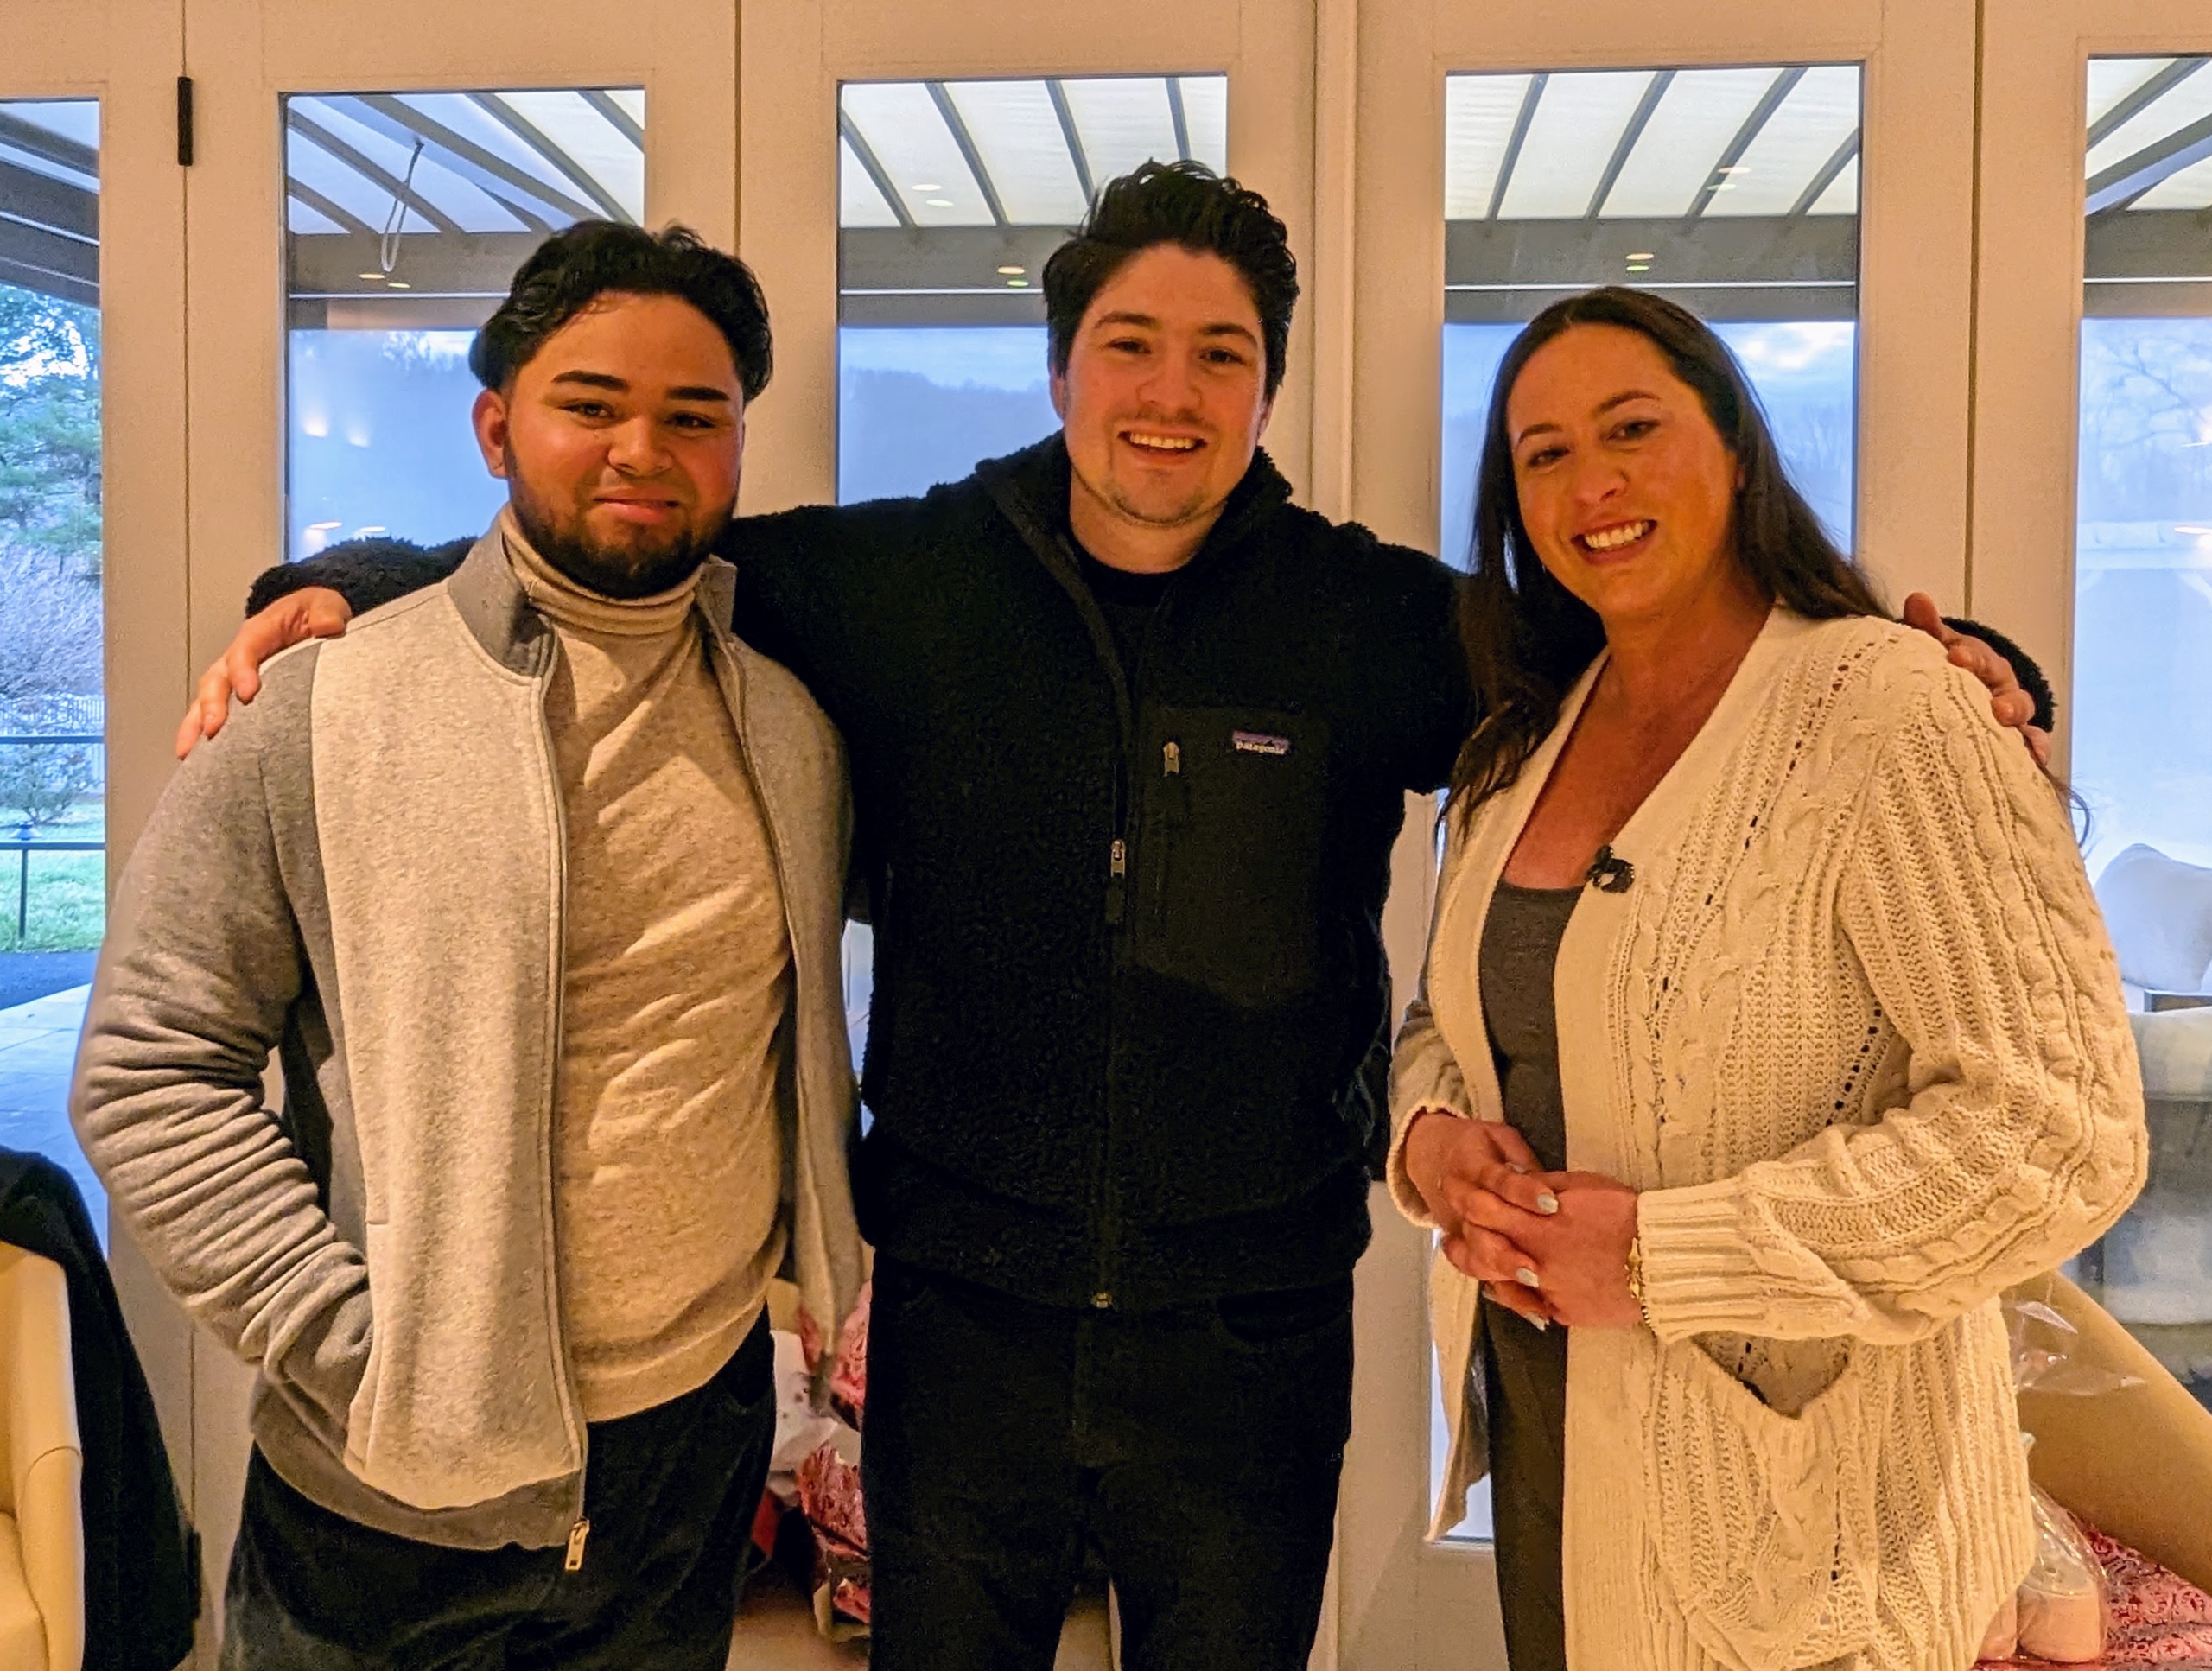
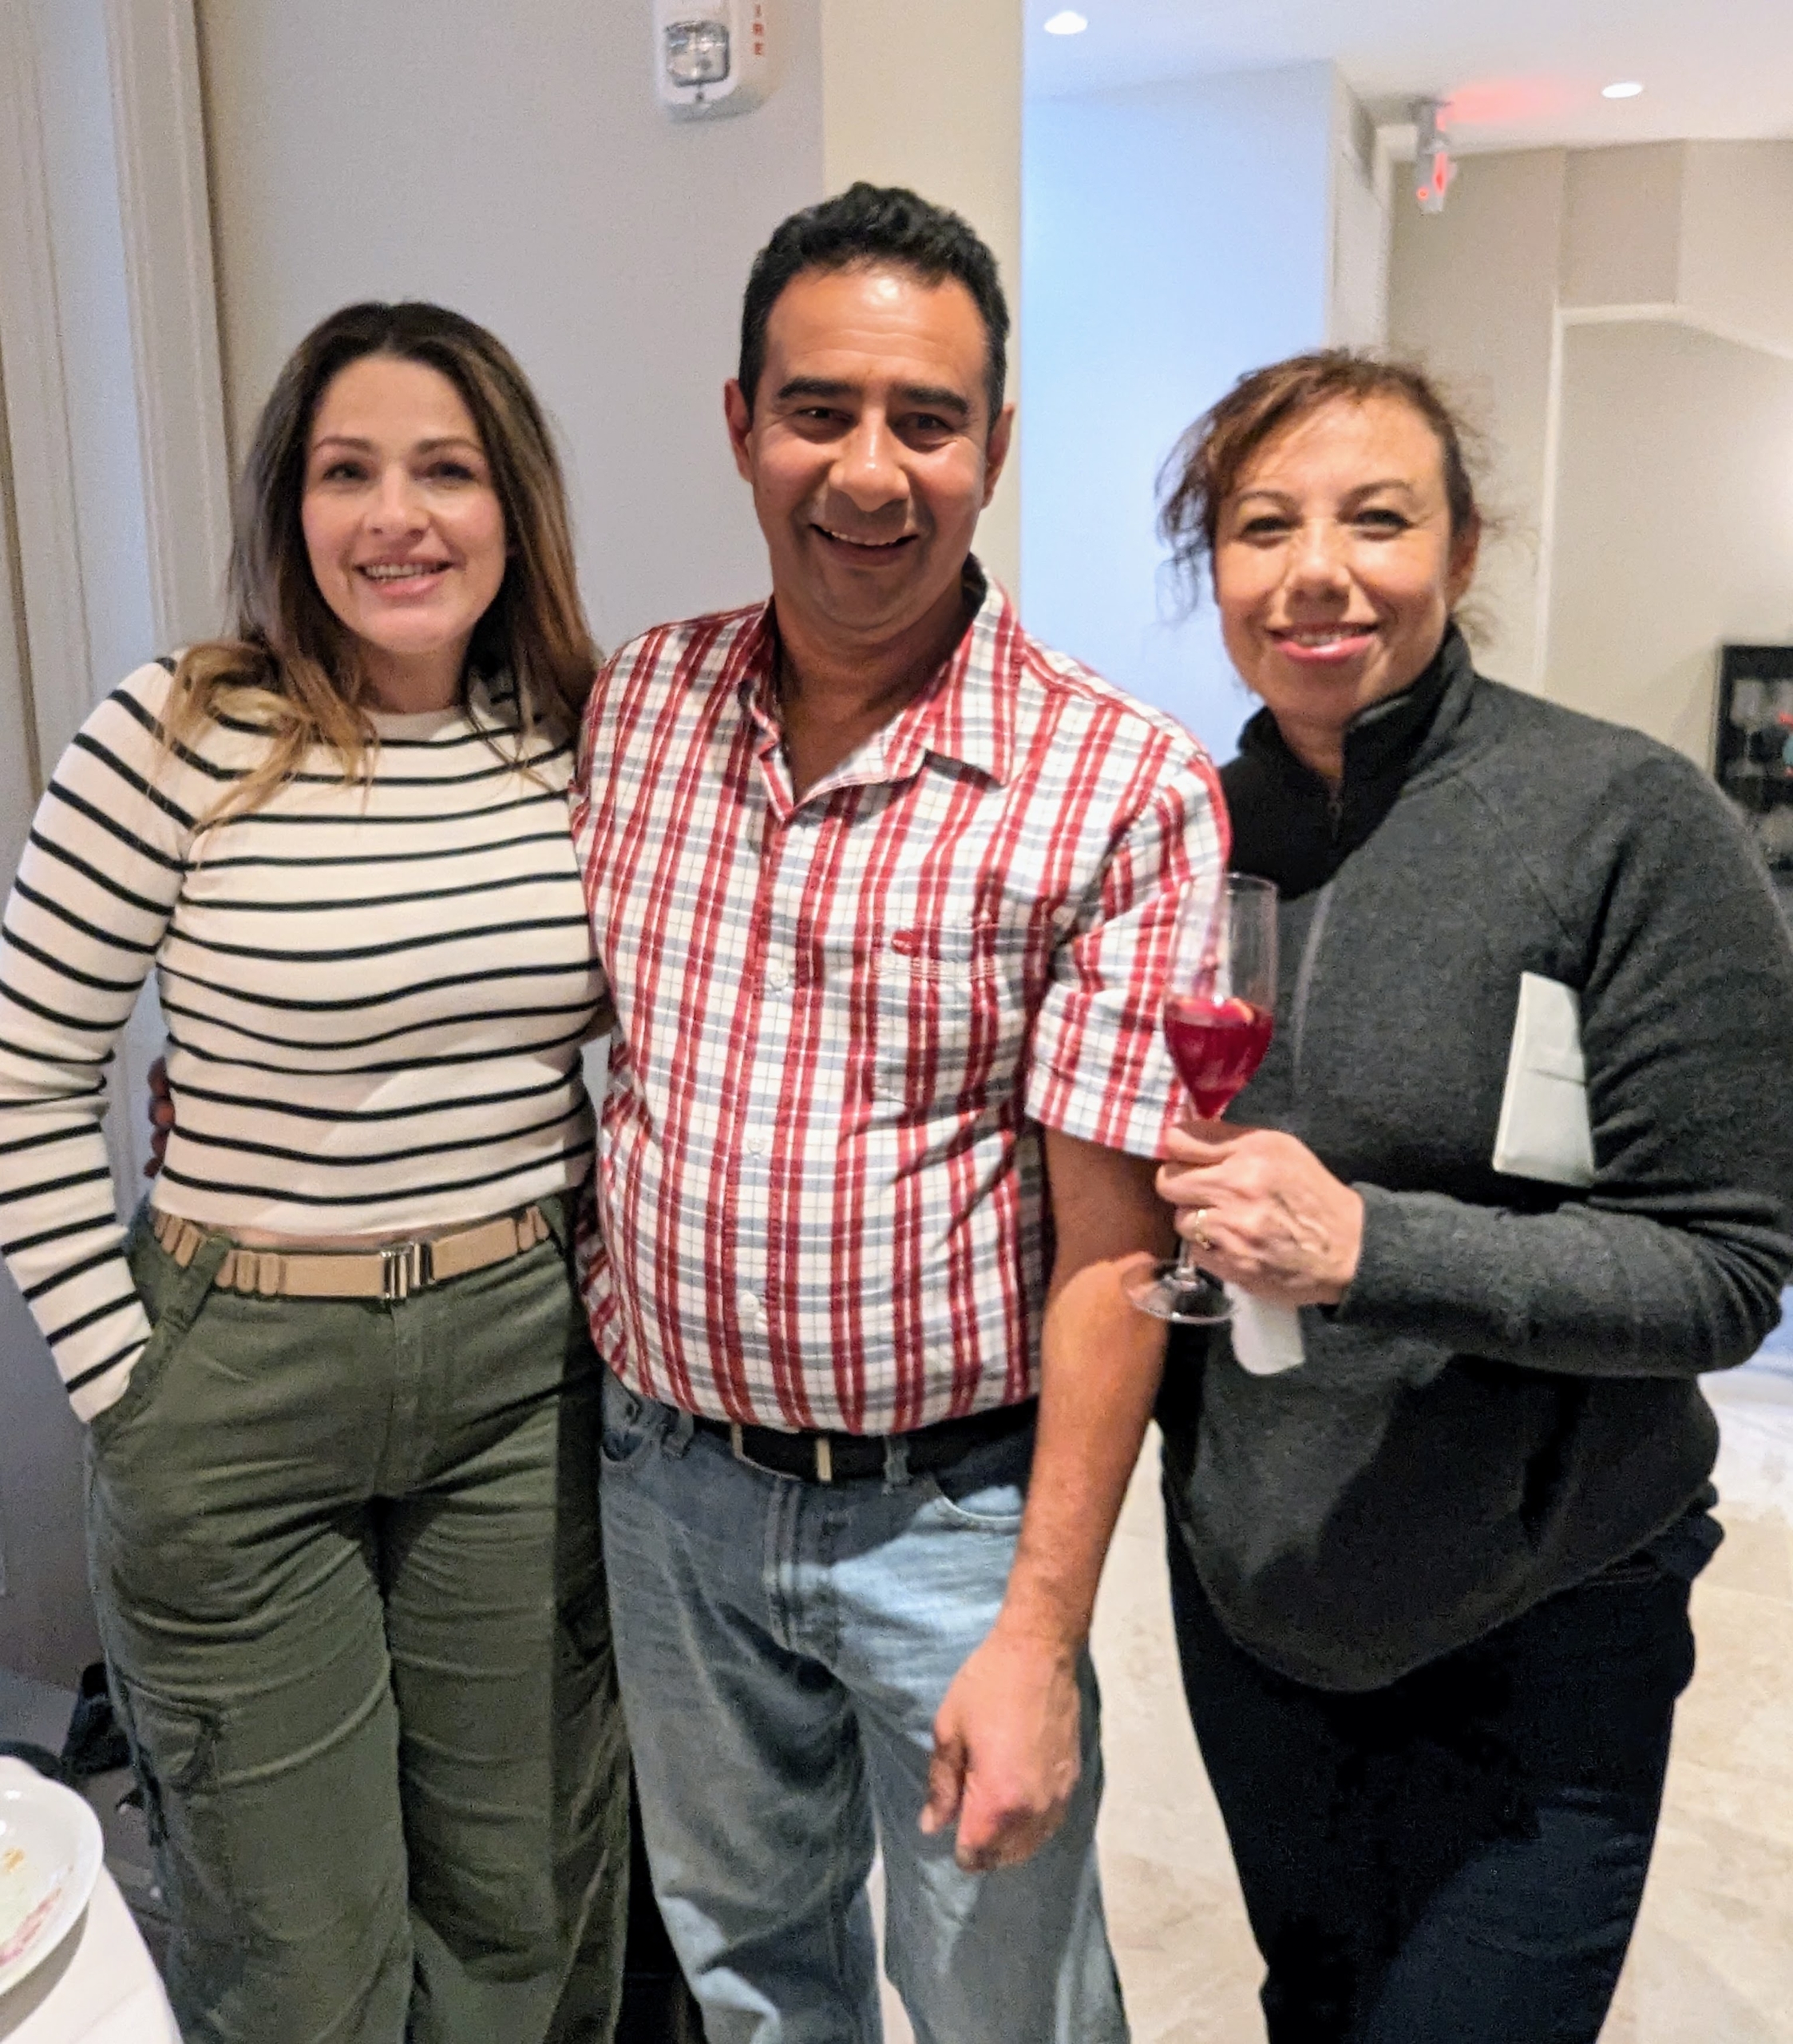
In this photo – Fernando, my longtime driver Andres Velastegui, and Phurba Sherpa.
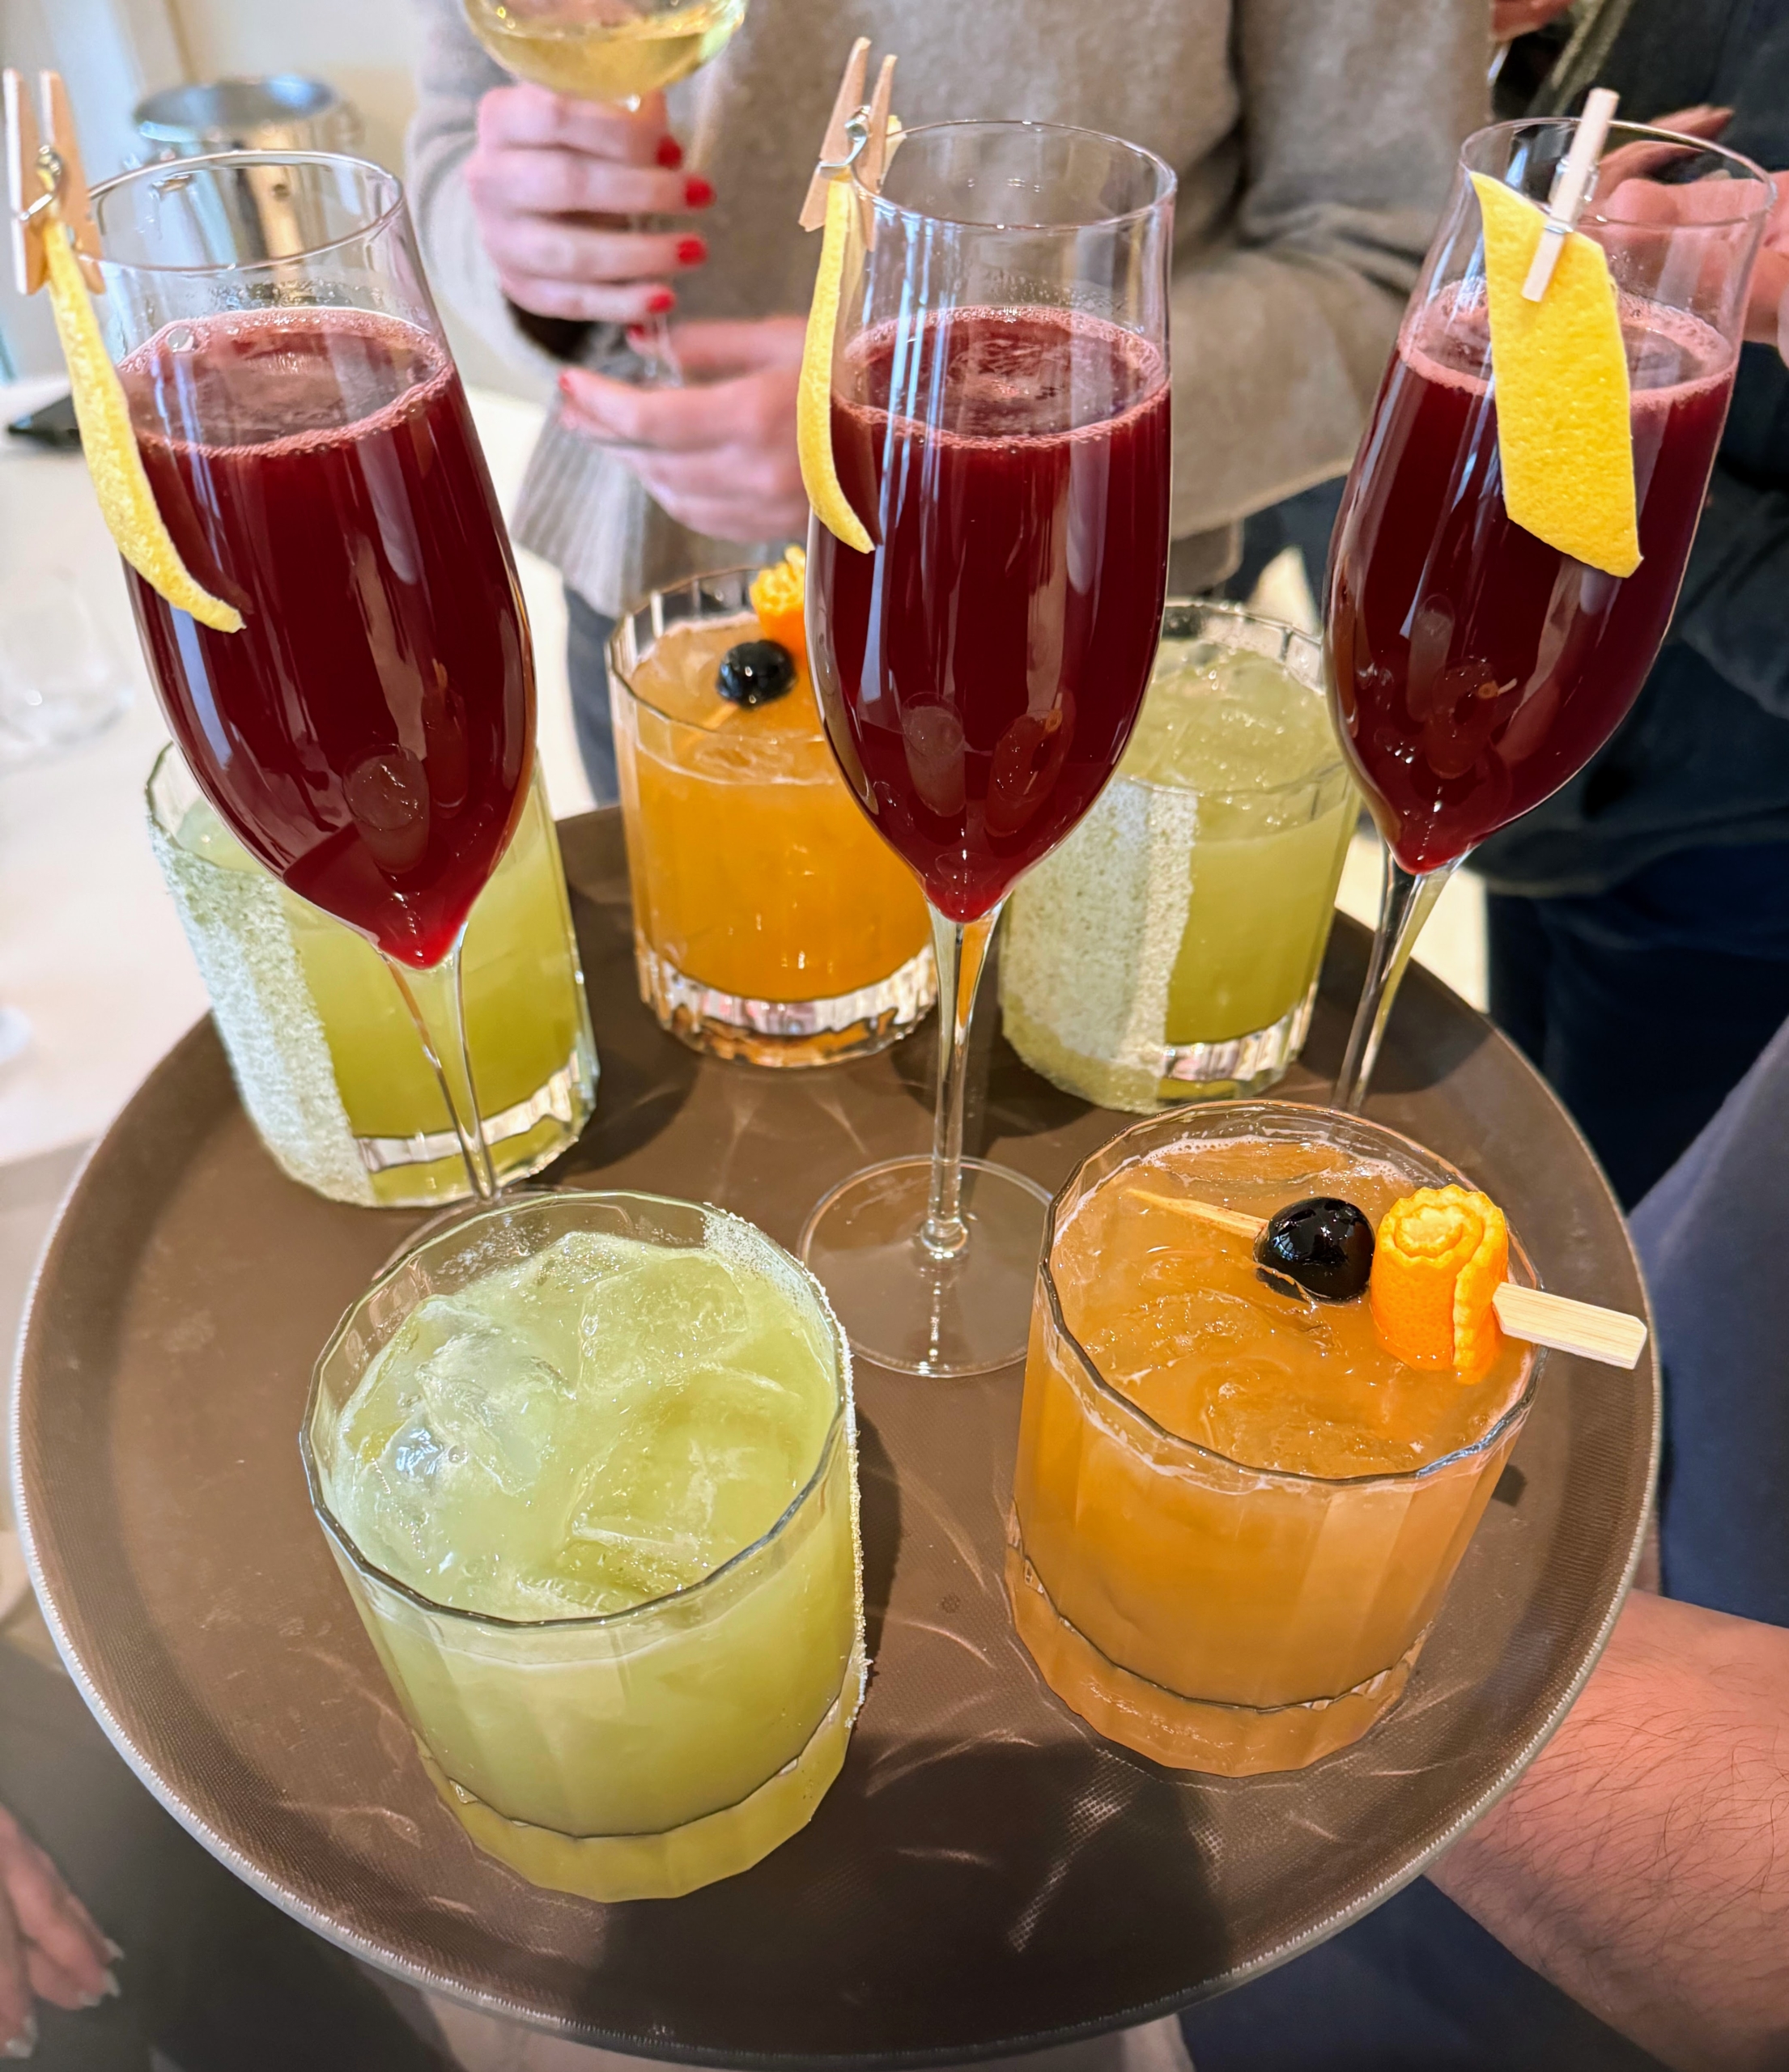
We had several cocktails – Sancha with tequila, lemon verbena, cucumber, lime, spicy homemade tincture; Nougat with vodka, beet juice, elderflower, lemon, cremant de bourgogne; Voyeur with bourbon, dark maple syrup, orange and lemon juice, and angostura bitters.
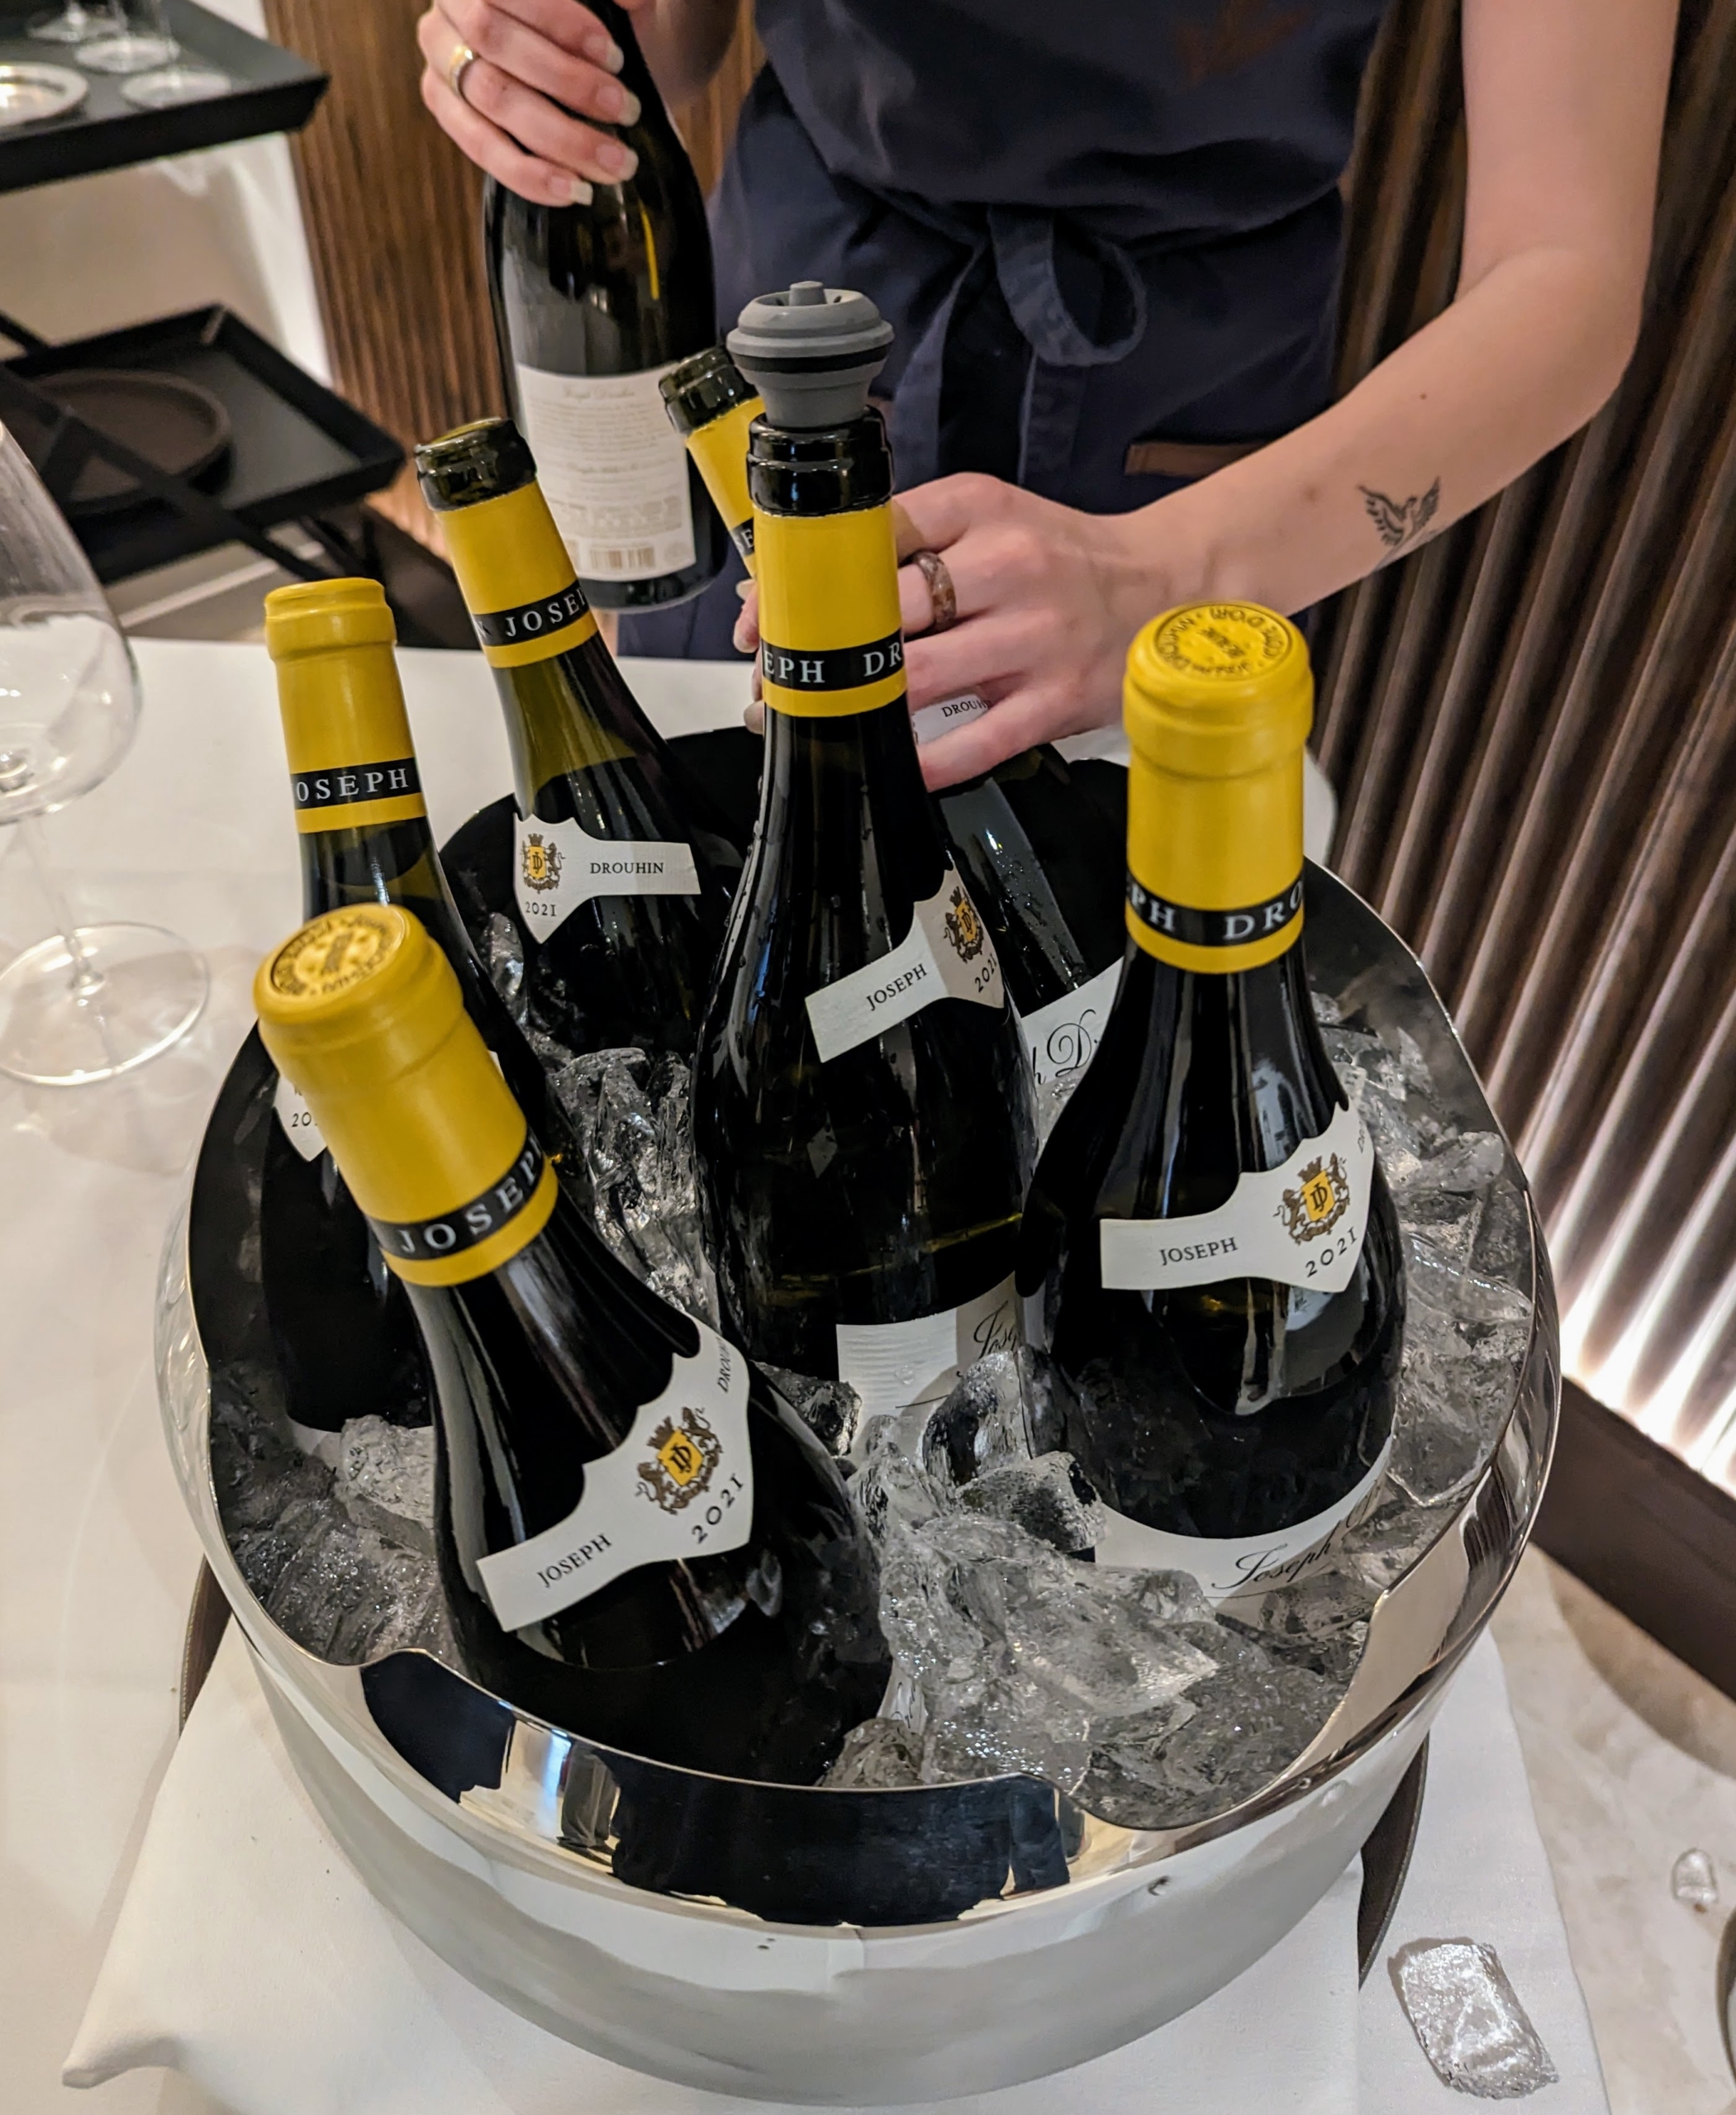
We also enjoyed white wine and other cocktails.
From my security detail – Tommy Spasiano and Patrick Tierney.
Here are Jimmy Oliveros, Juan Londoño, and Helen Peparo – my stable team.
Here I am with my longtime driver, Carlos “Uno” Villamil.
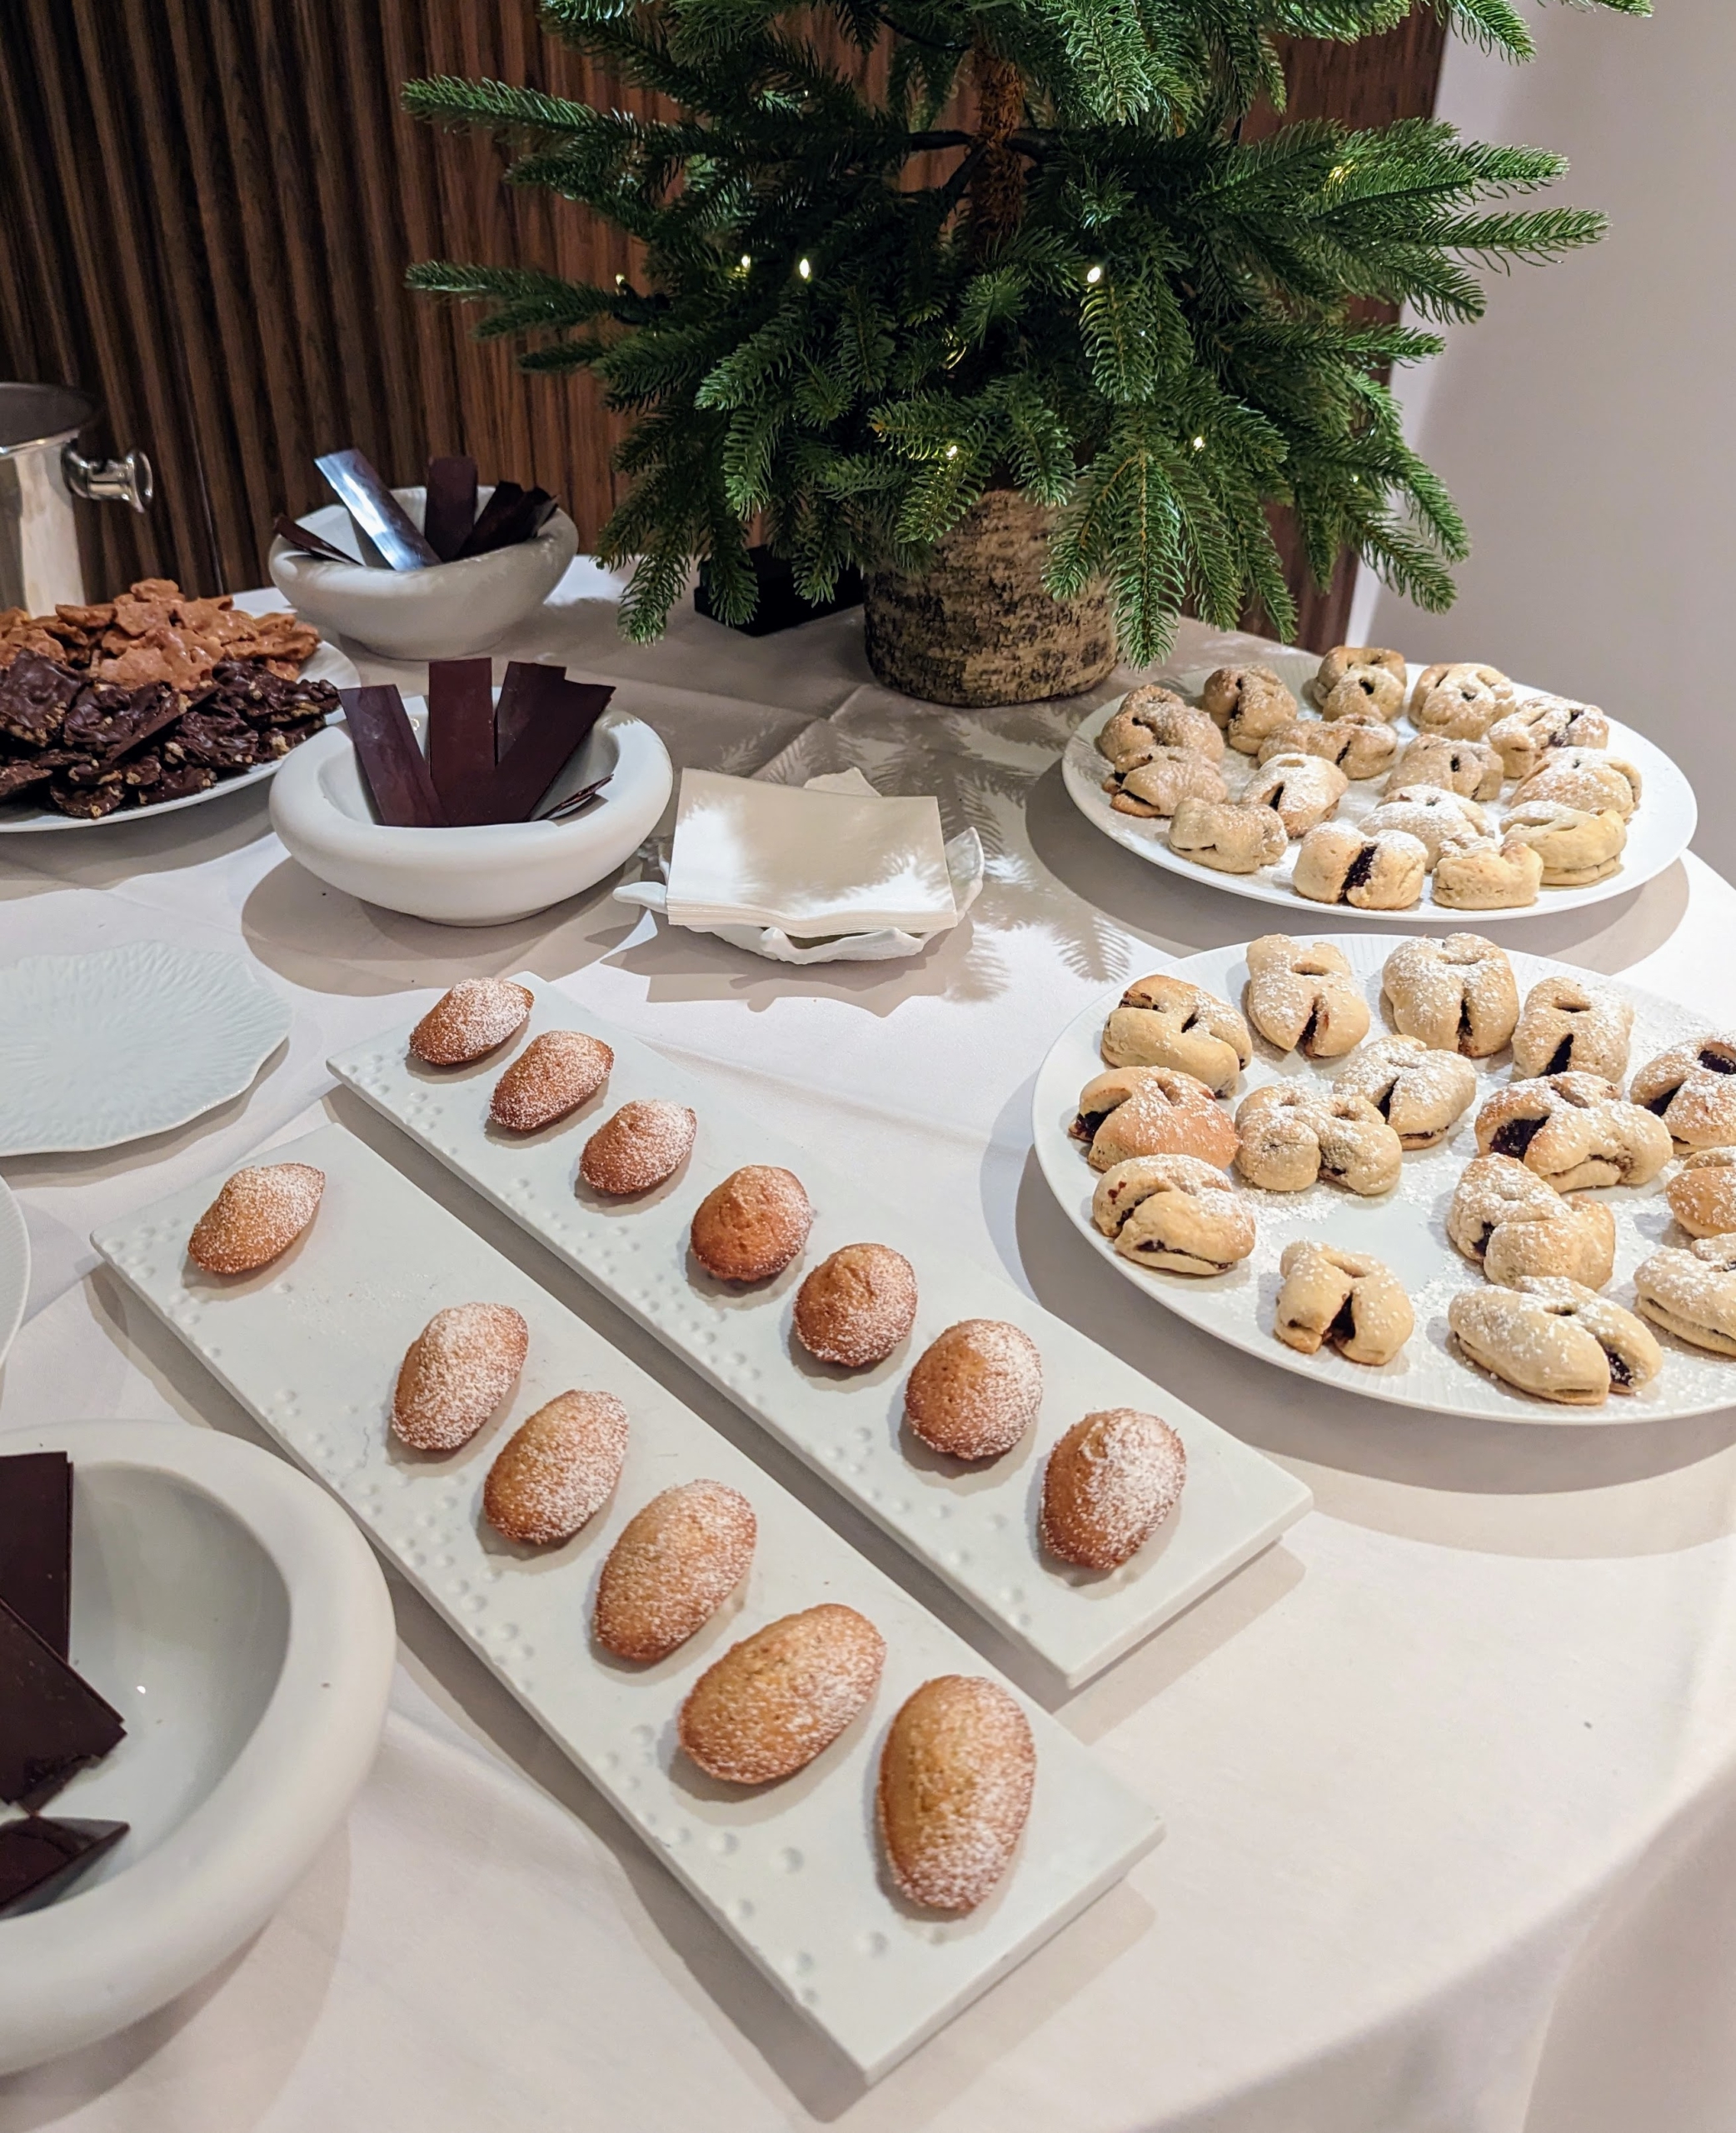
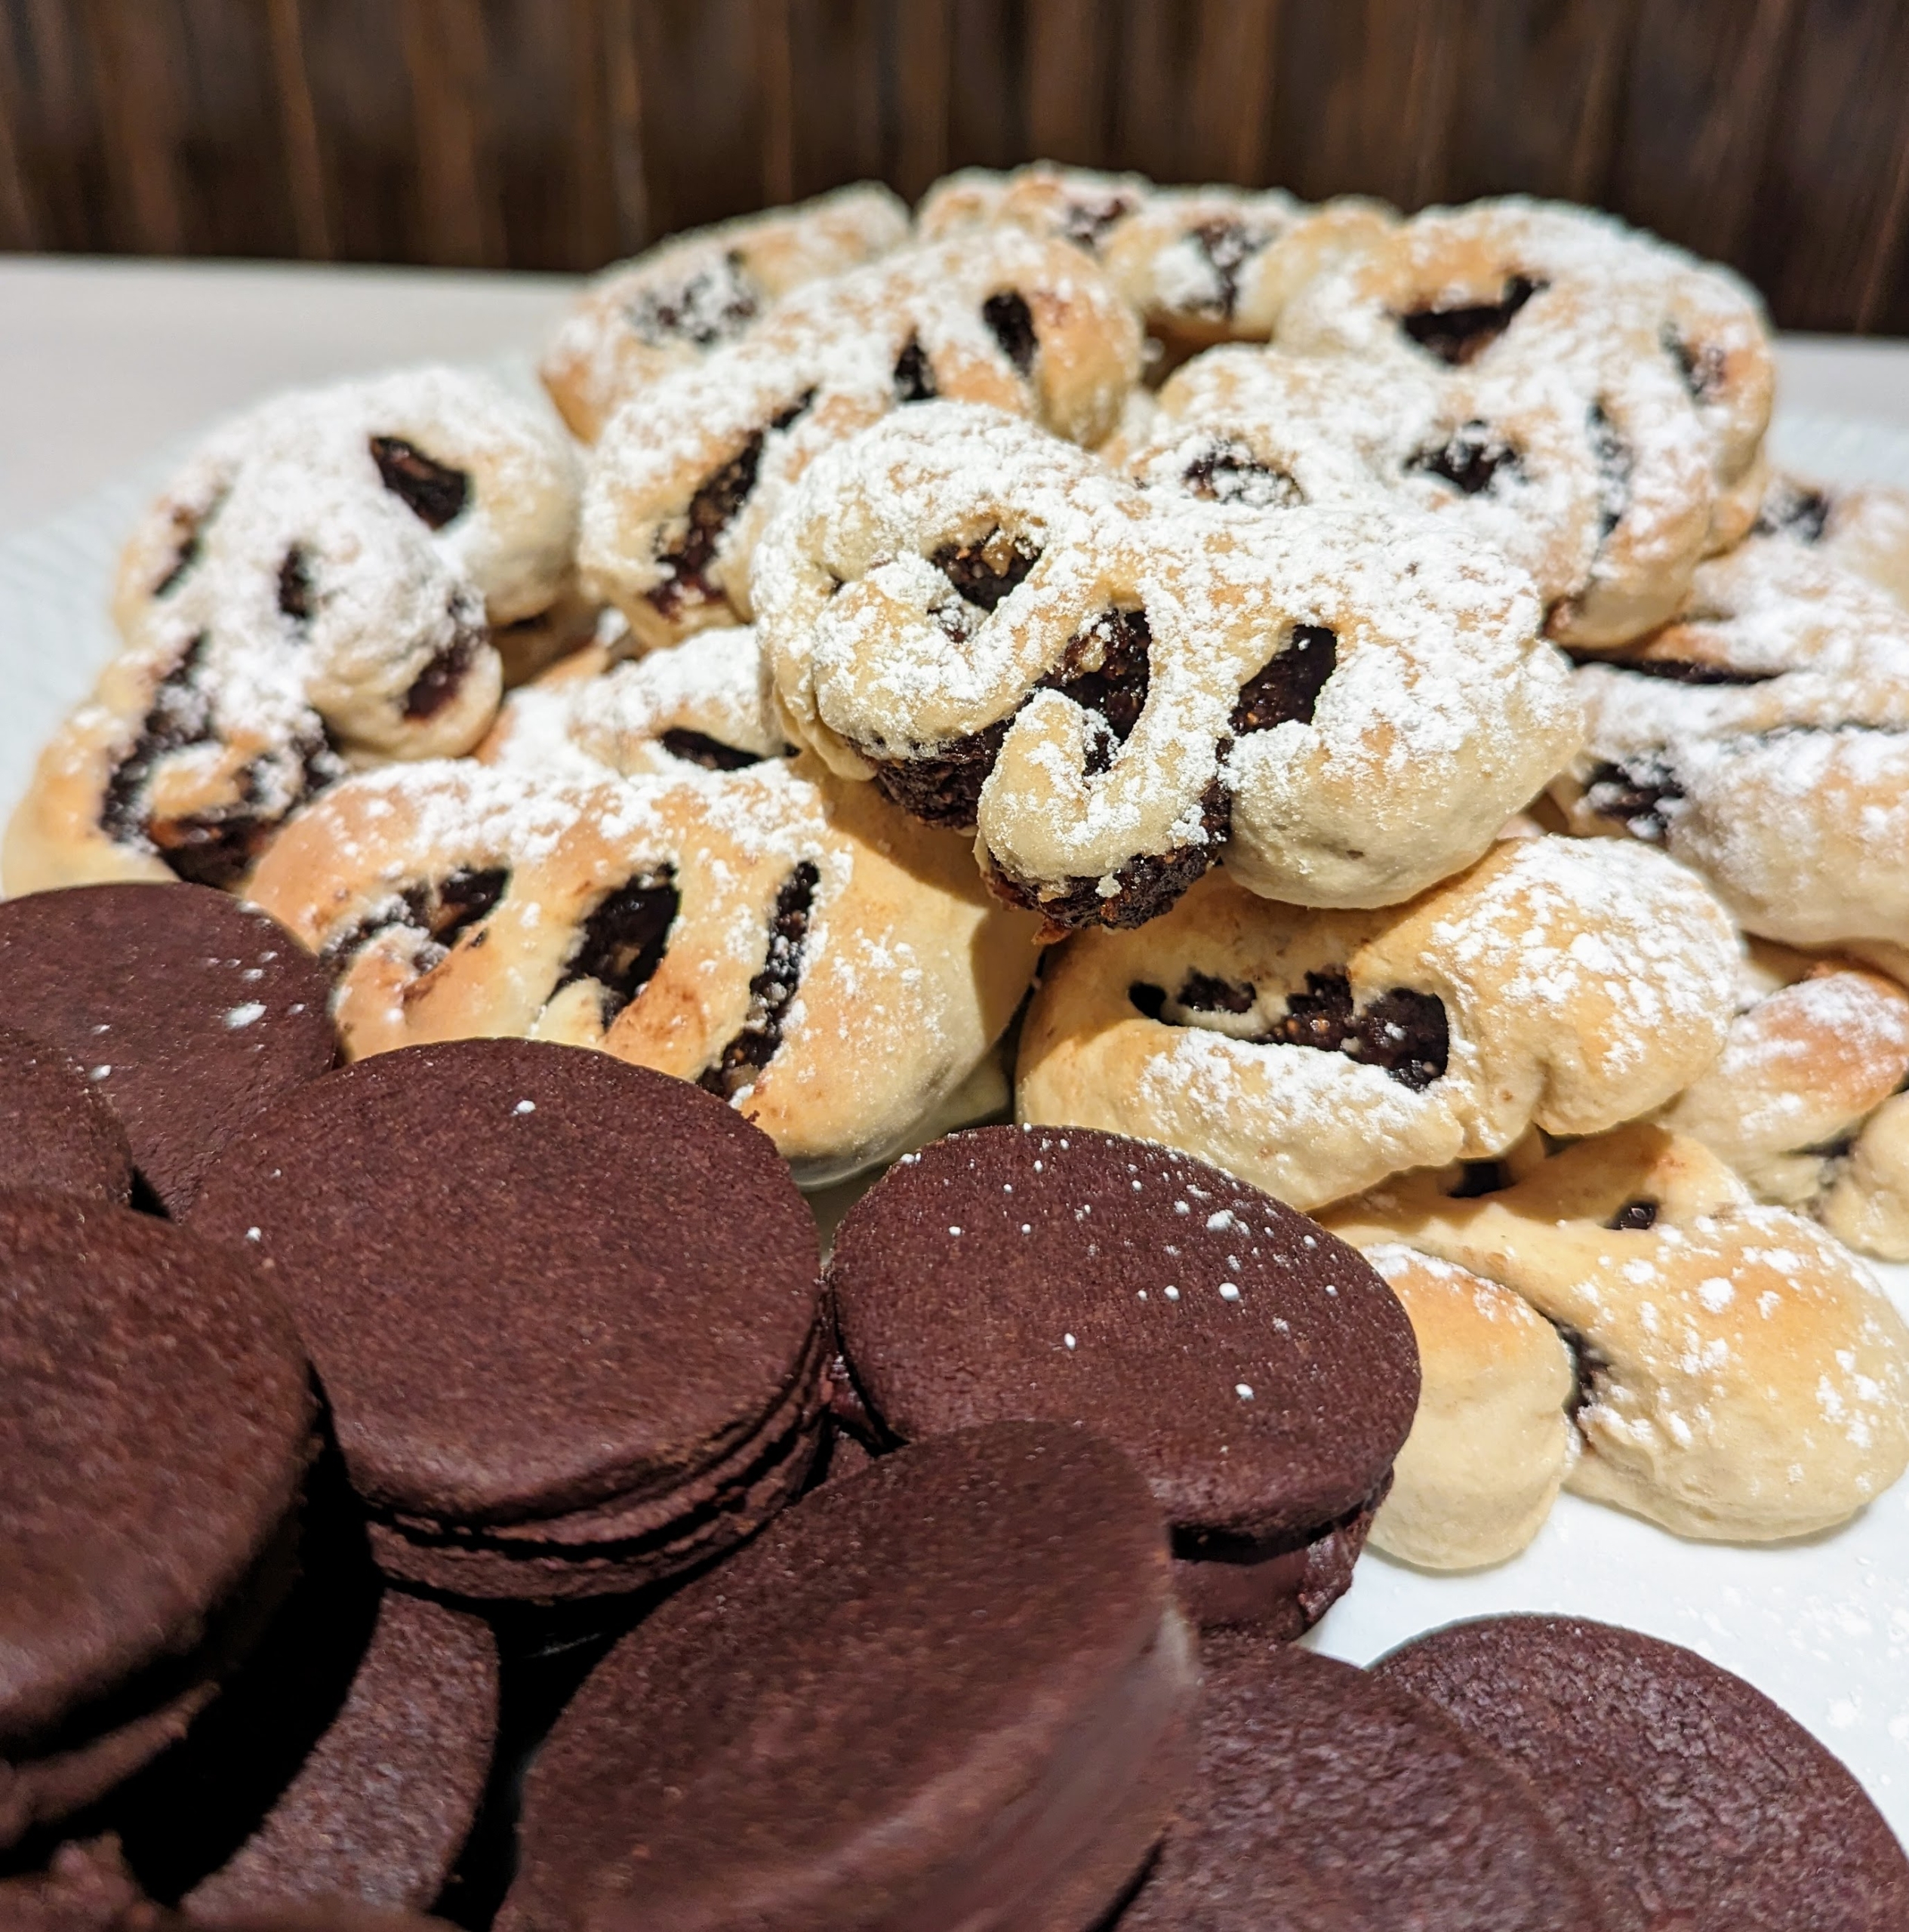
The dessert table was filled with cookies and other sweets.
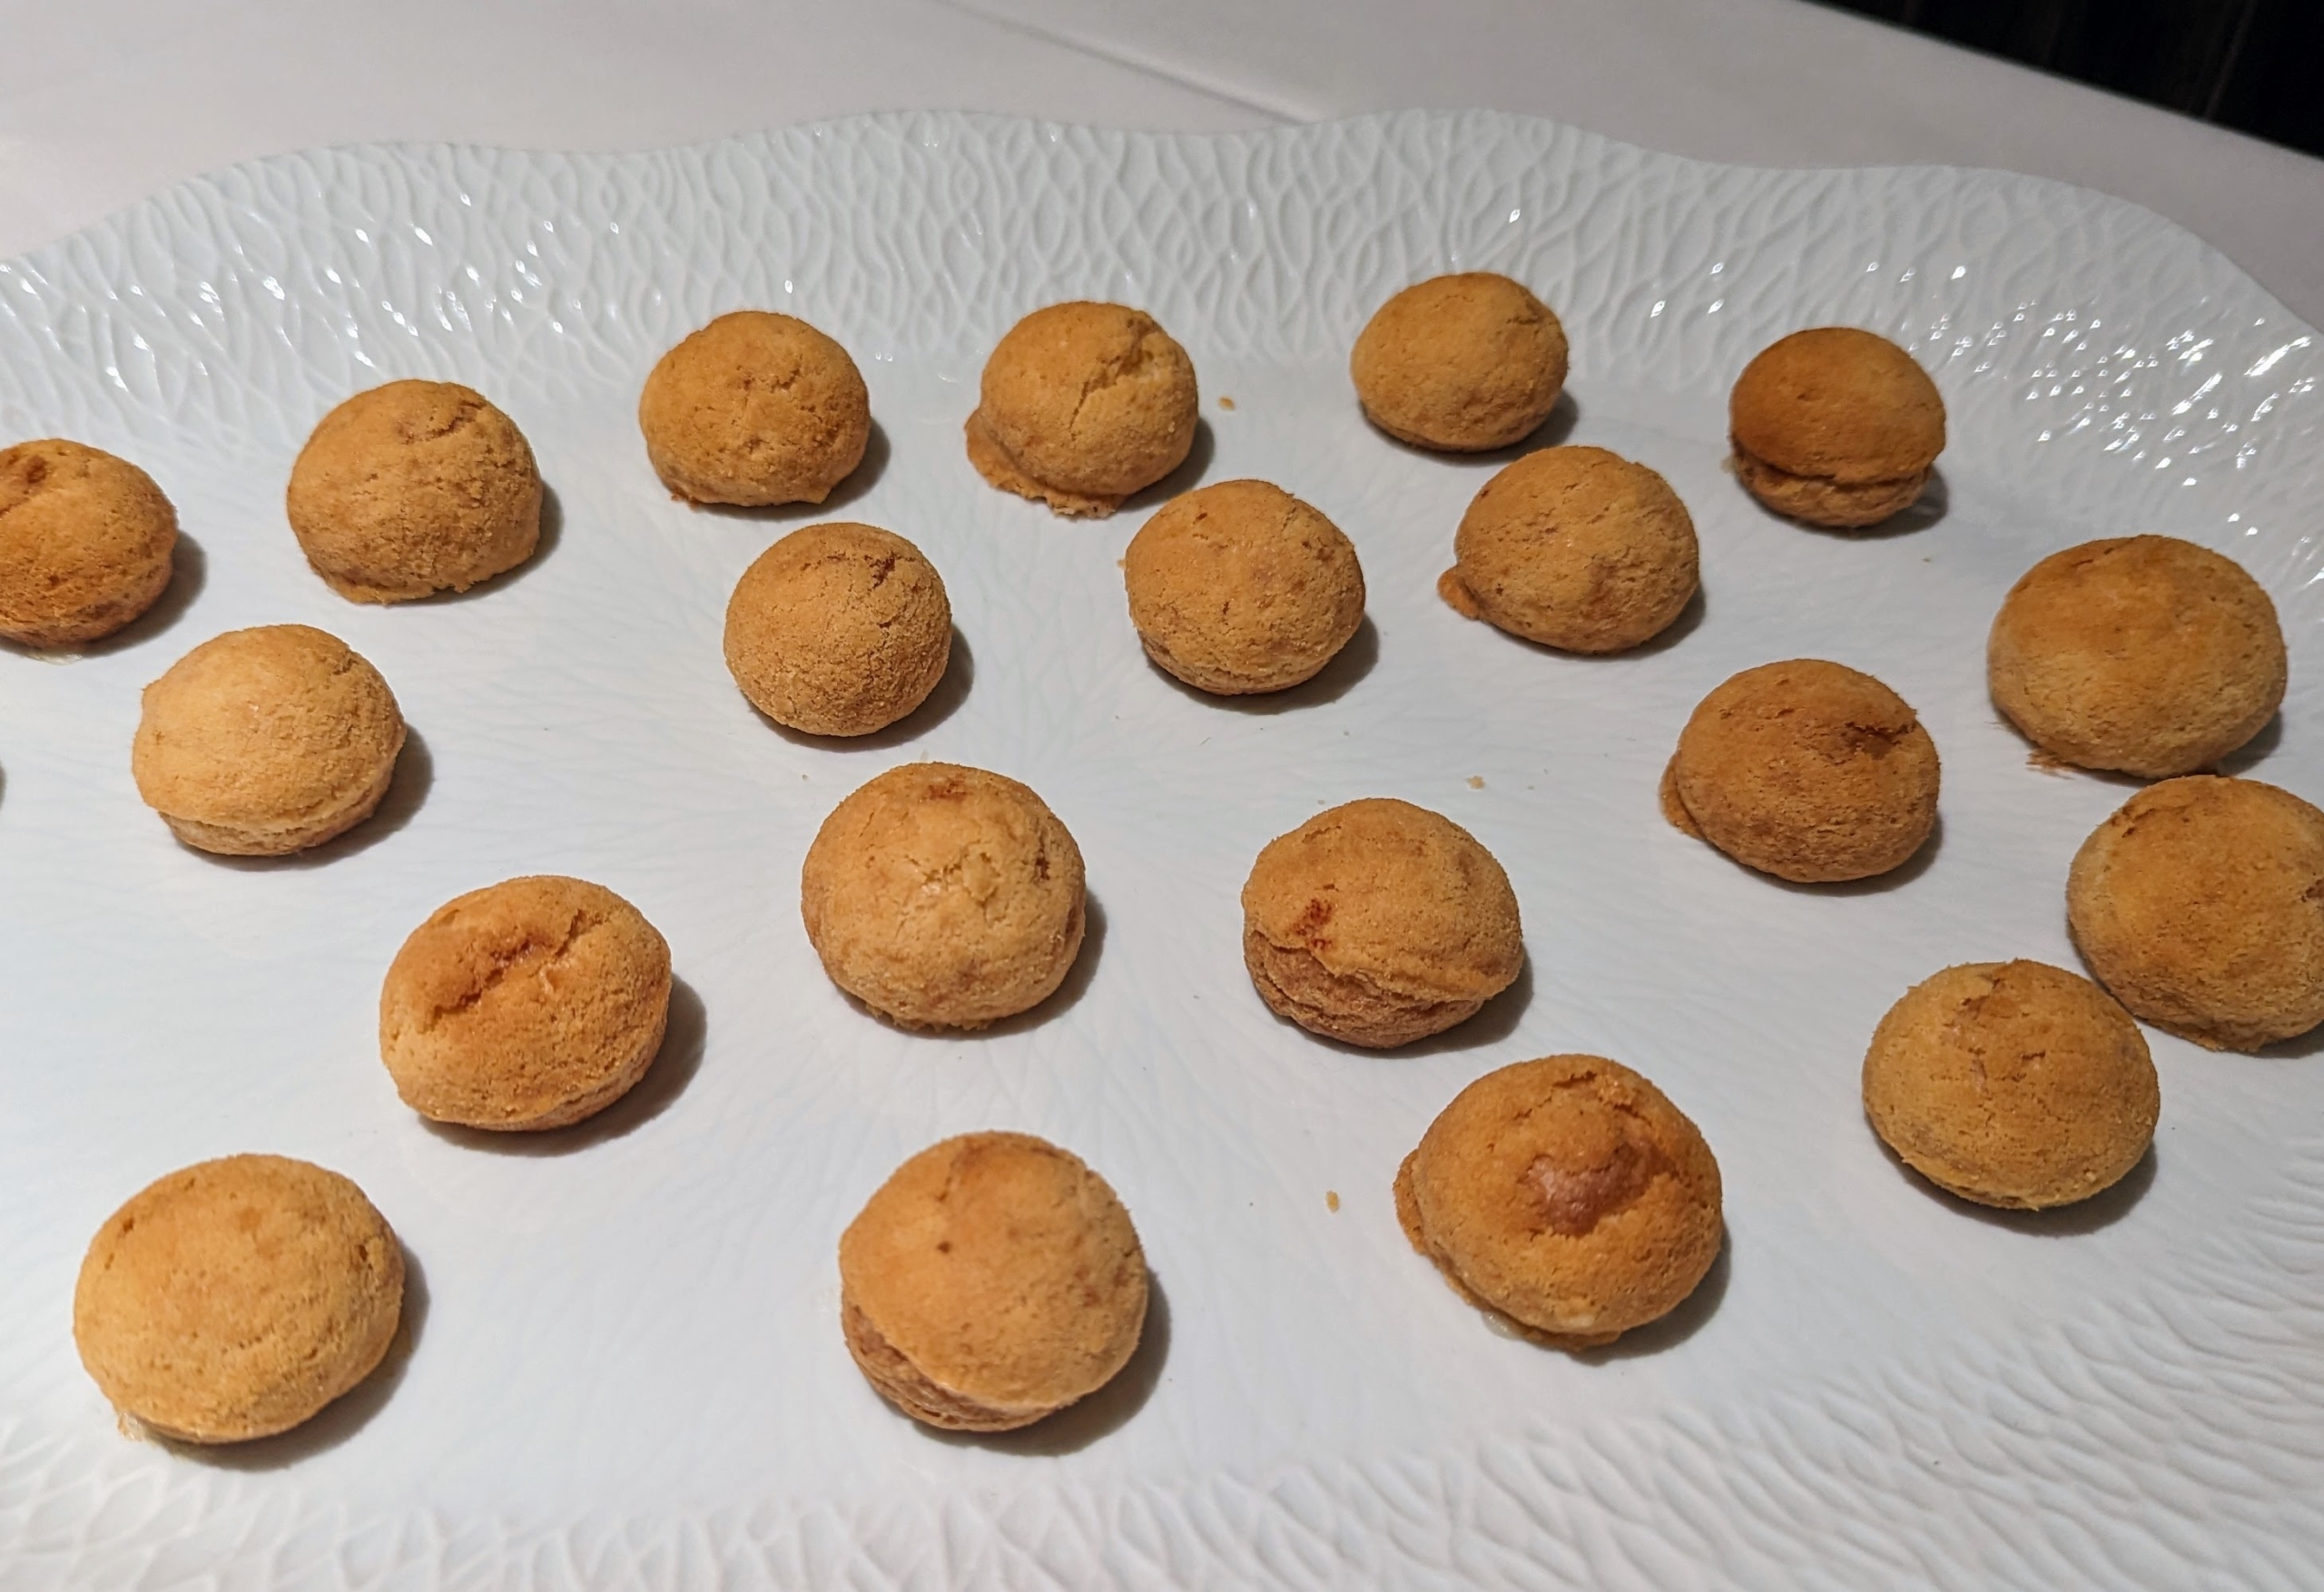
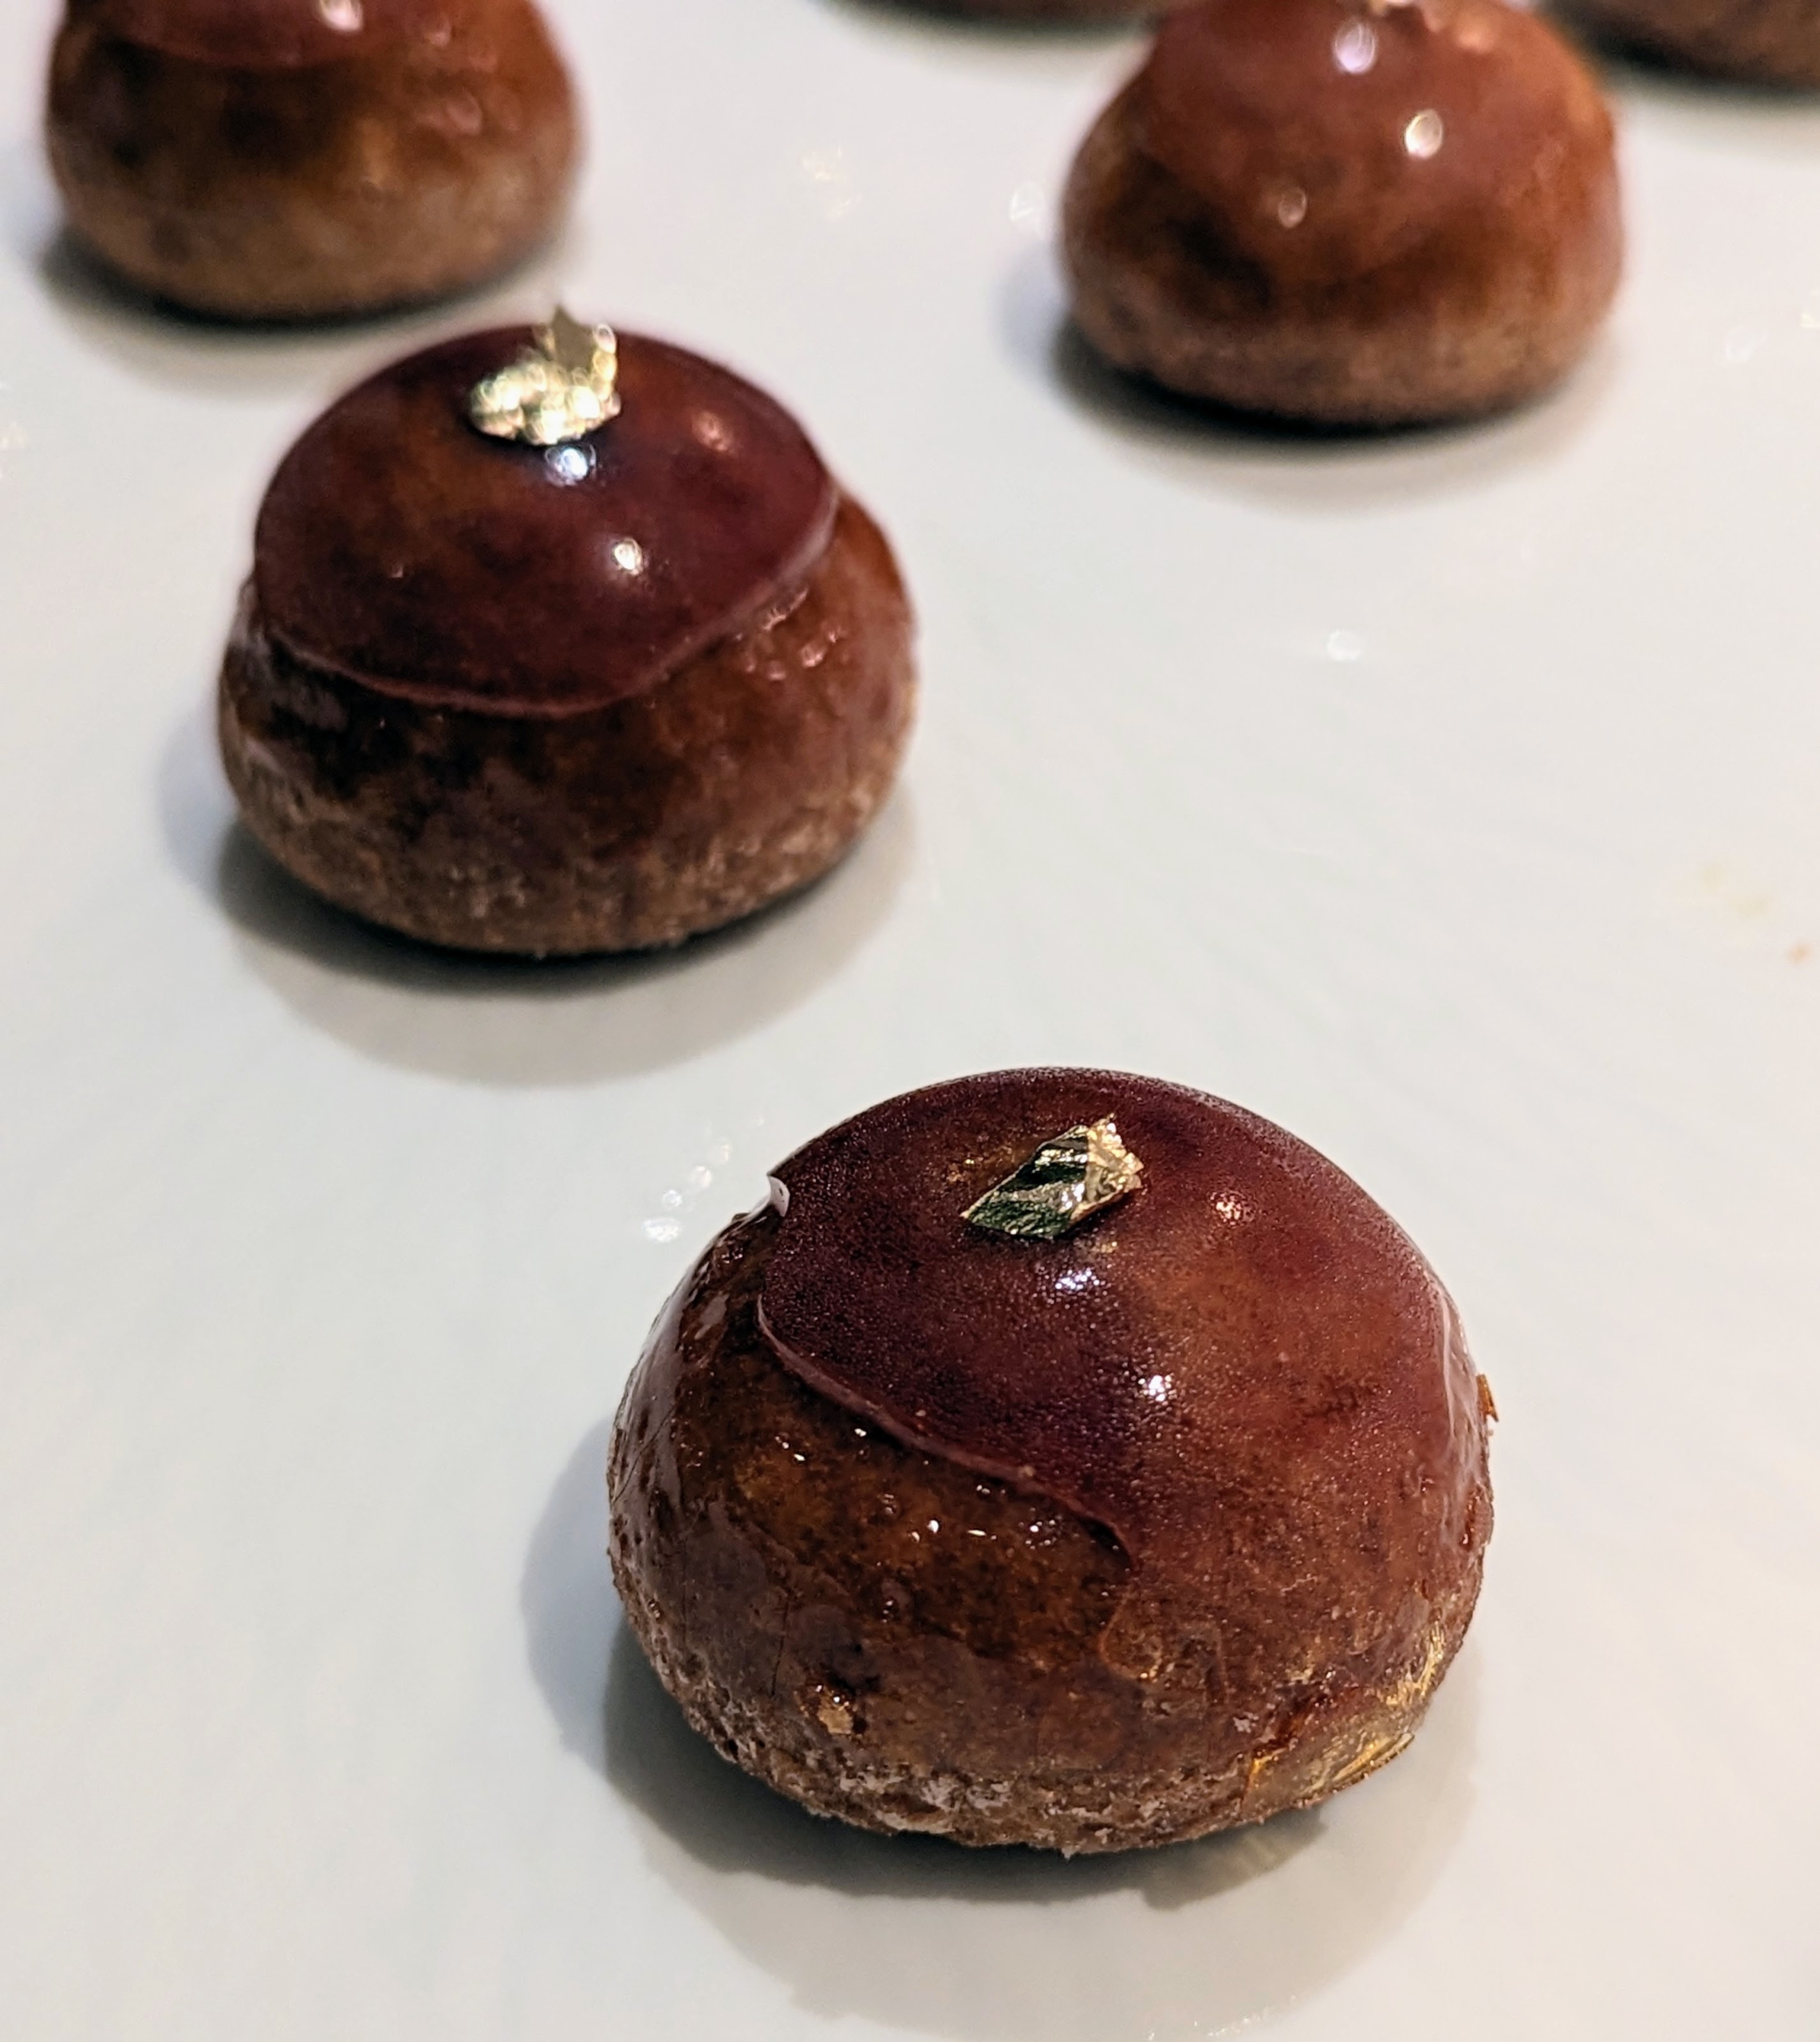
We had pâte à choux filled with sweet pastry cream and decorated with a tiny piece of edible gold leaf.
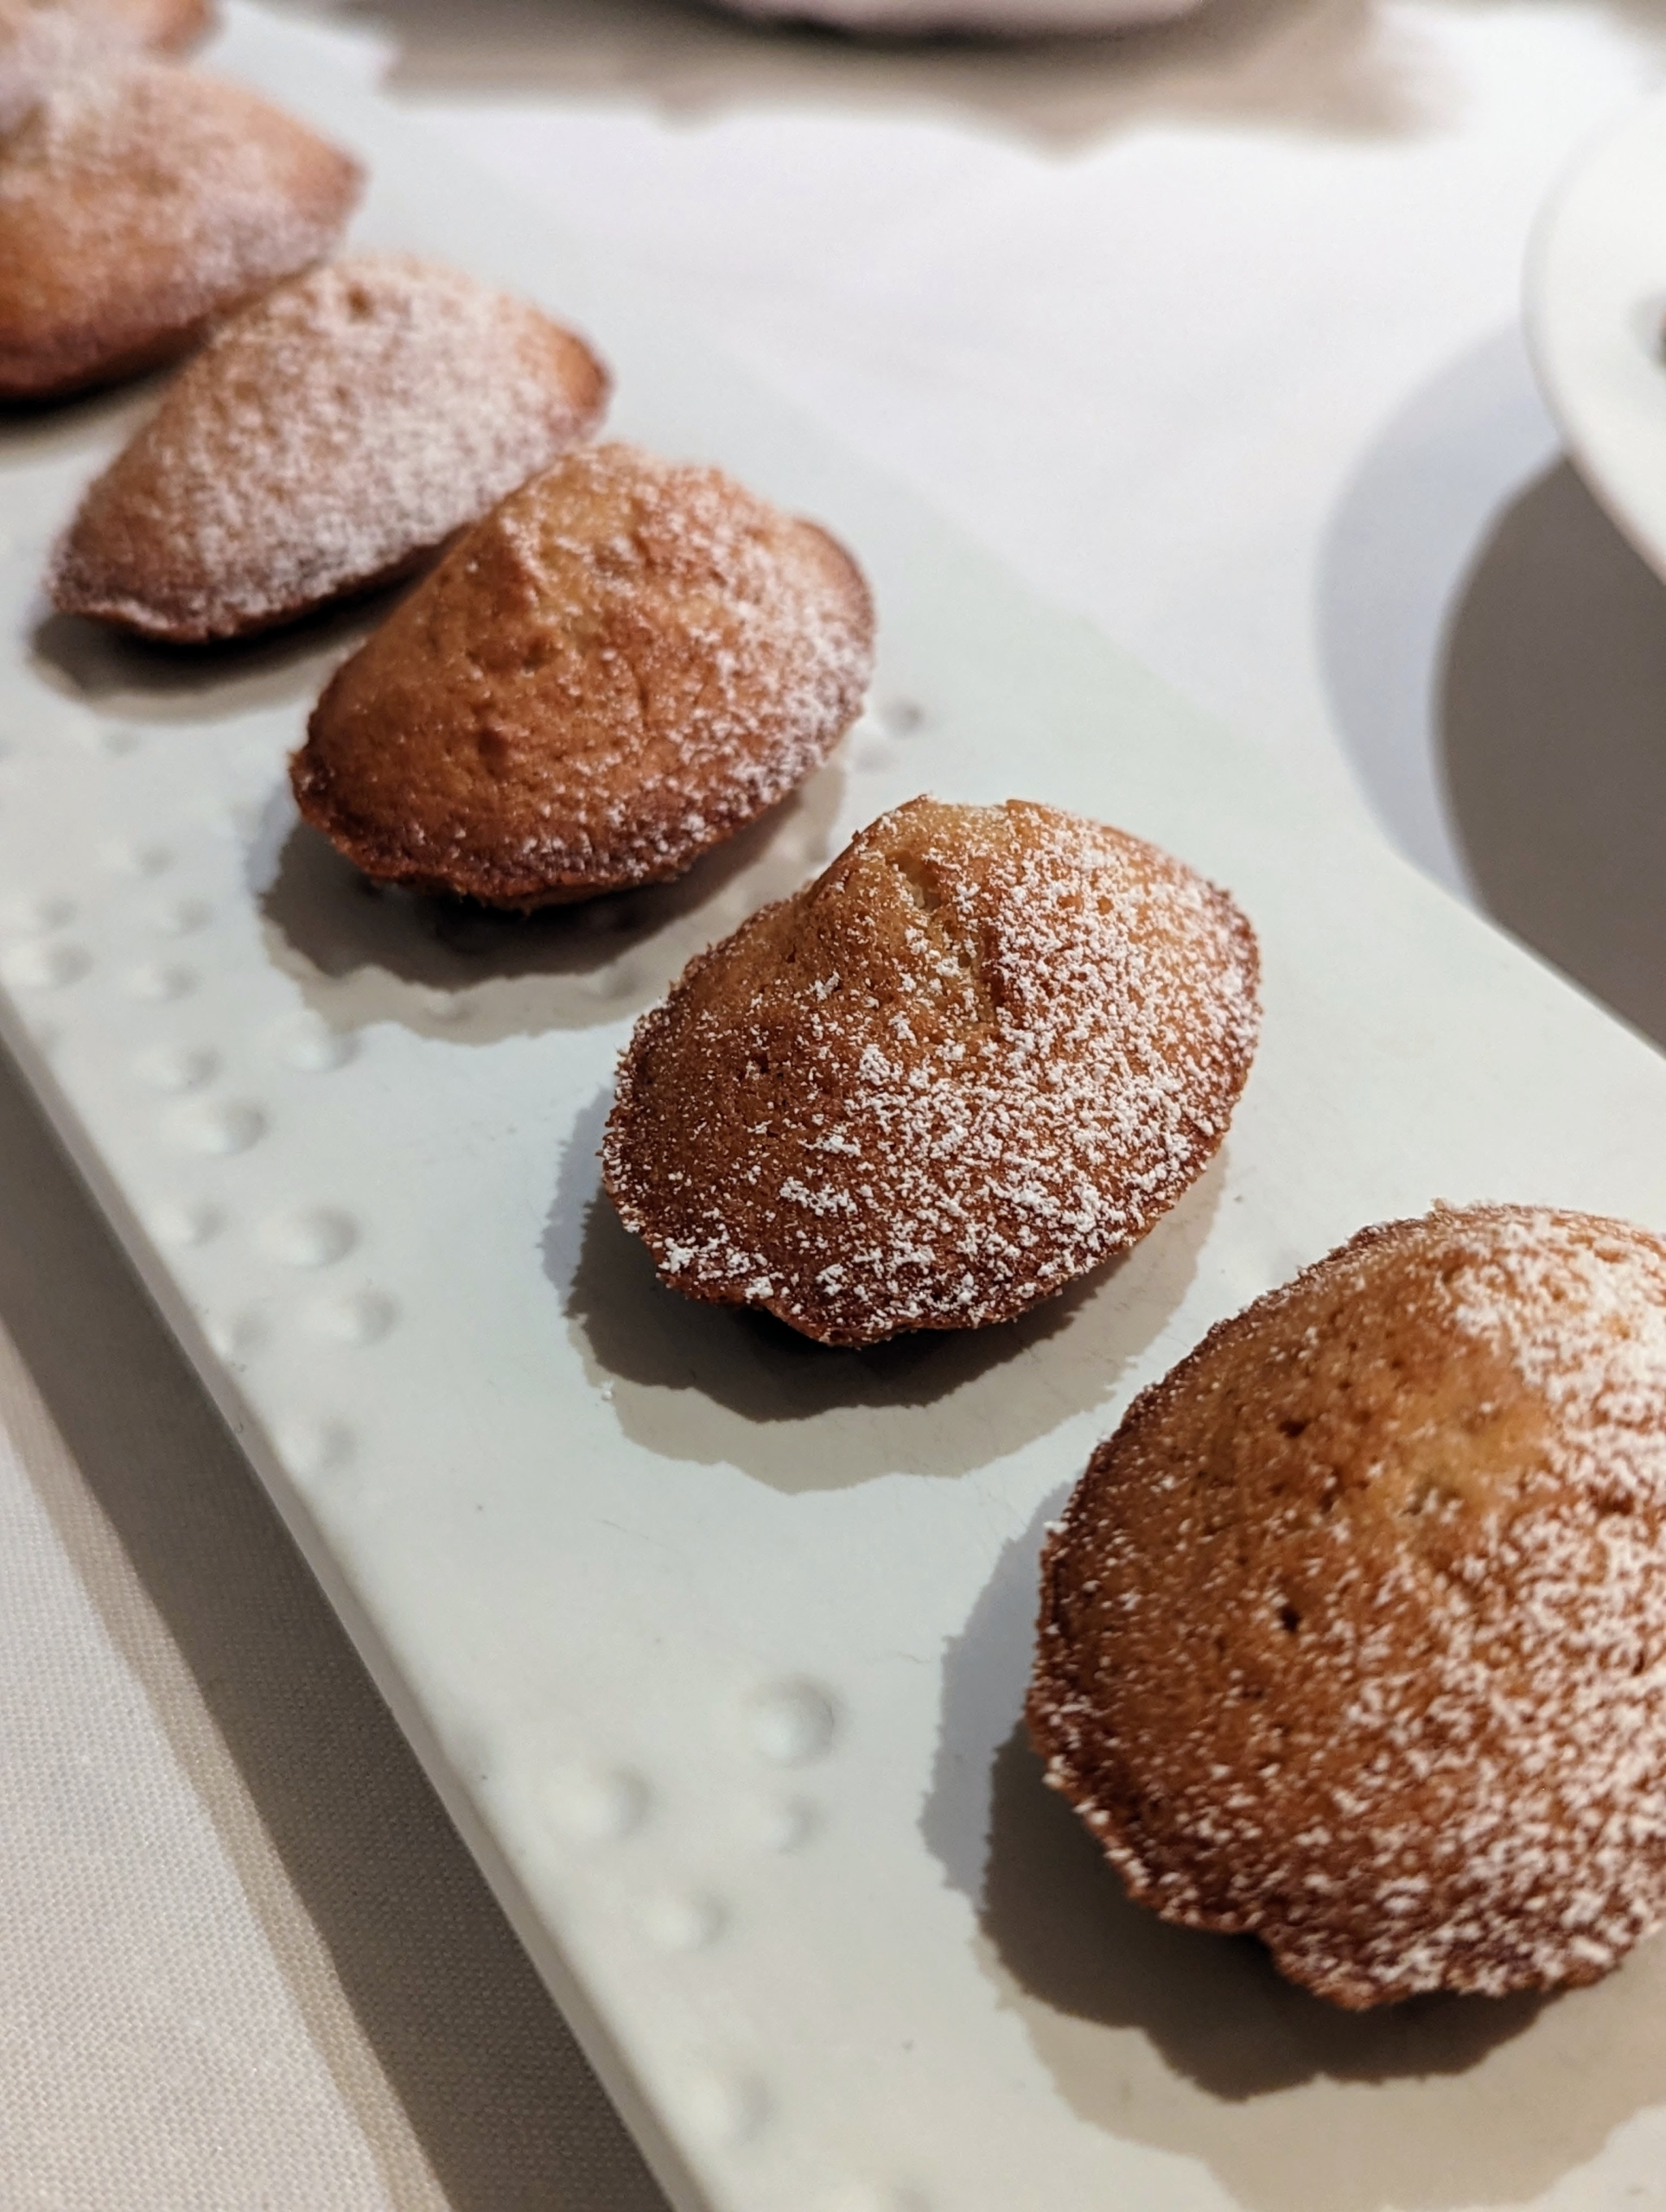
Is a Madeleine a cake or a cookie? Technically, they are small butter cakes; however, because of their shape and size they’re often referred to as cookies – very small sponge cake cookies with a distinctive shell-like shape.
My operations manager, Matt Krack, loves to cook and bake. He brought in these delectable cookies to share – spiced chocolate ganache sandwich cookies and his Aunt Stella’s cuccidati.
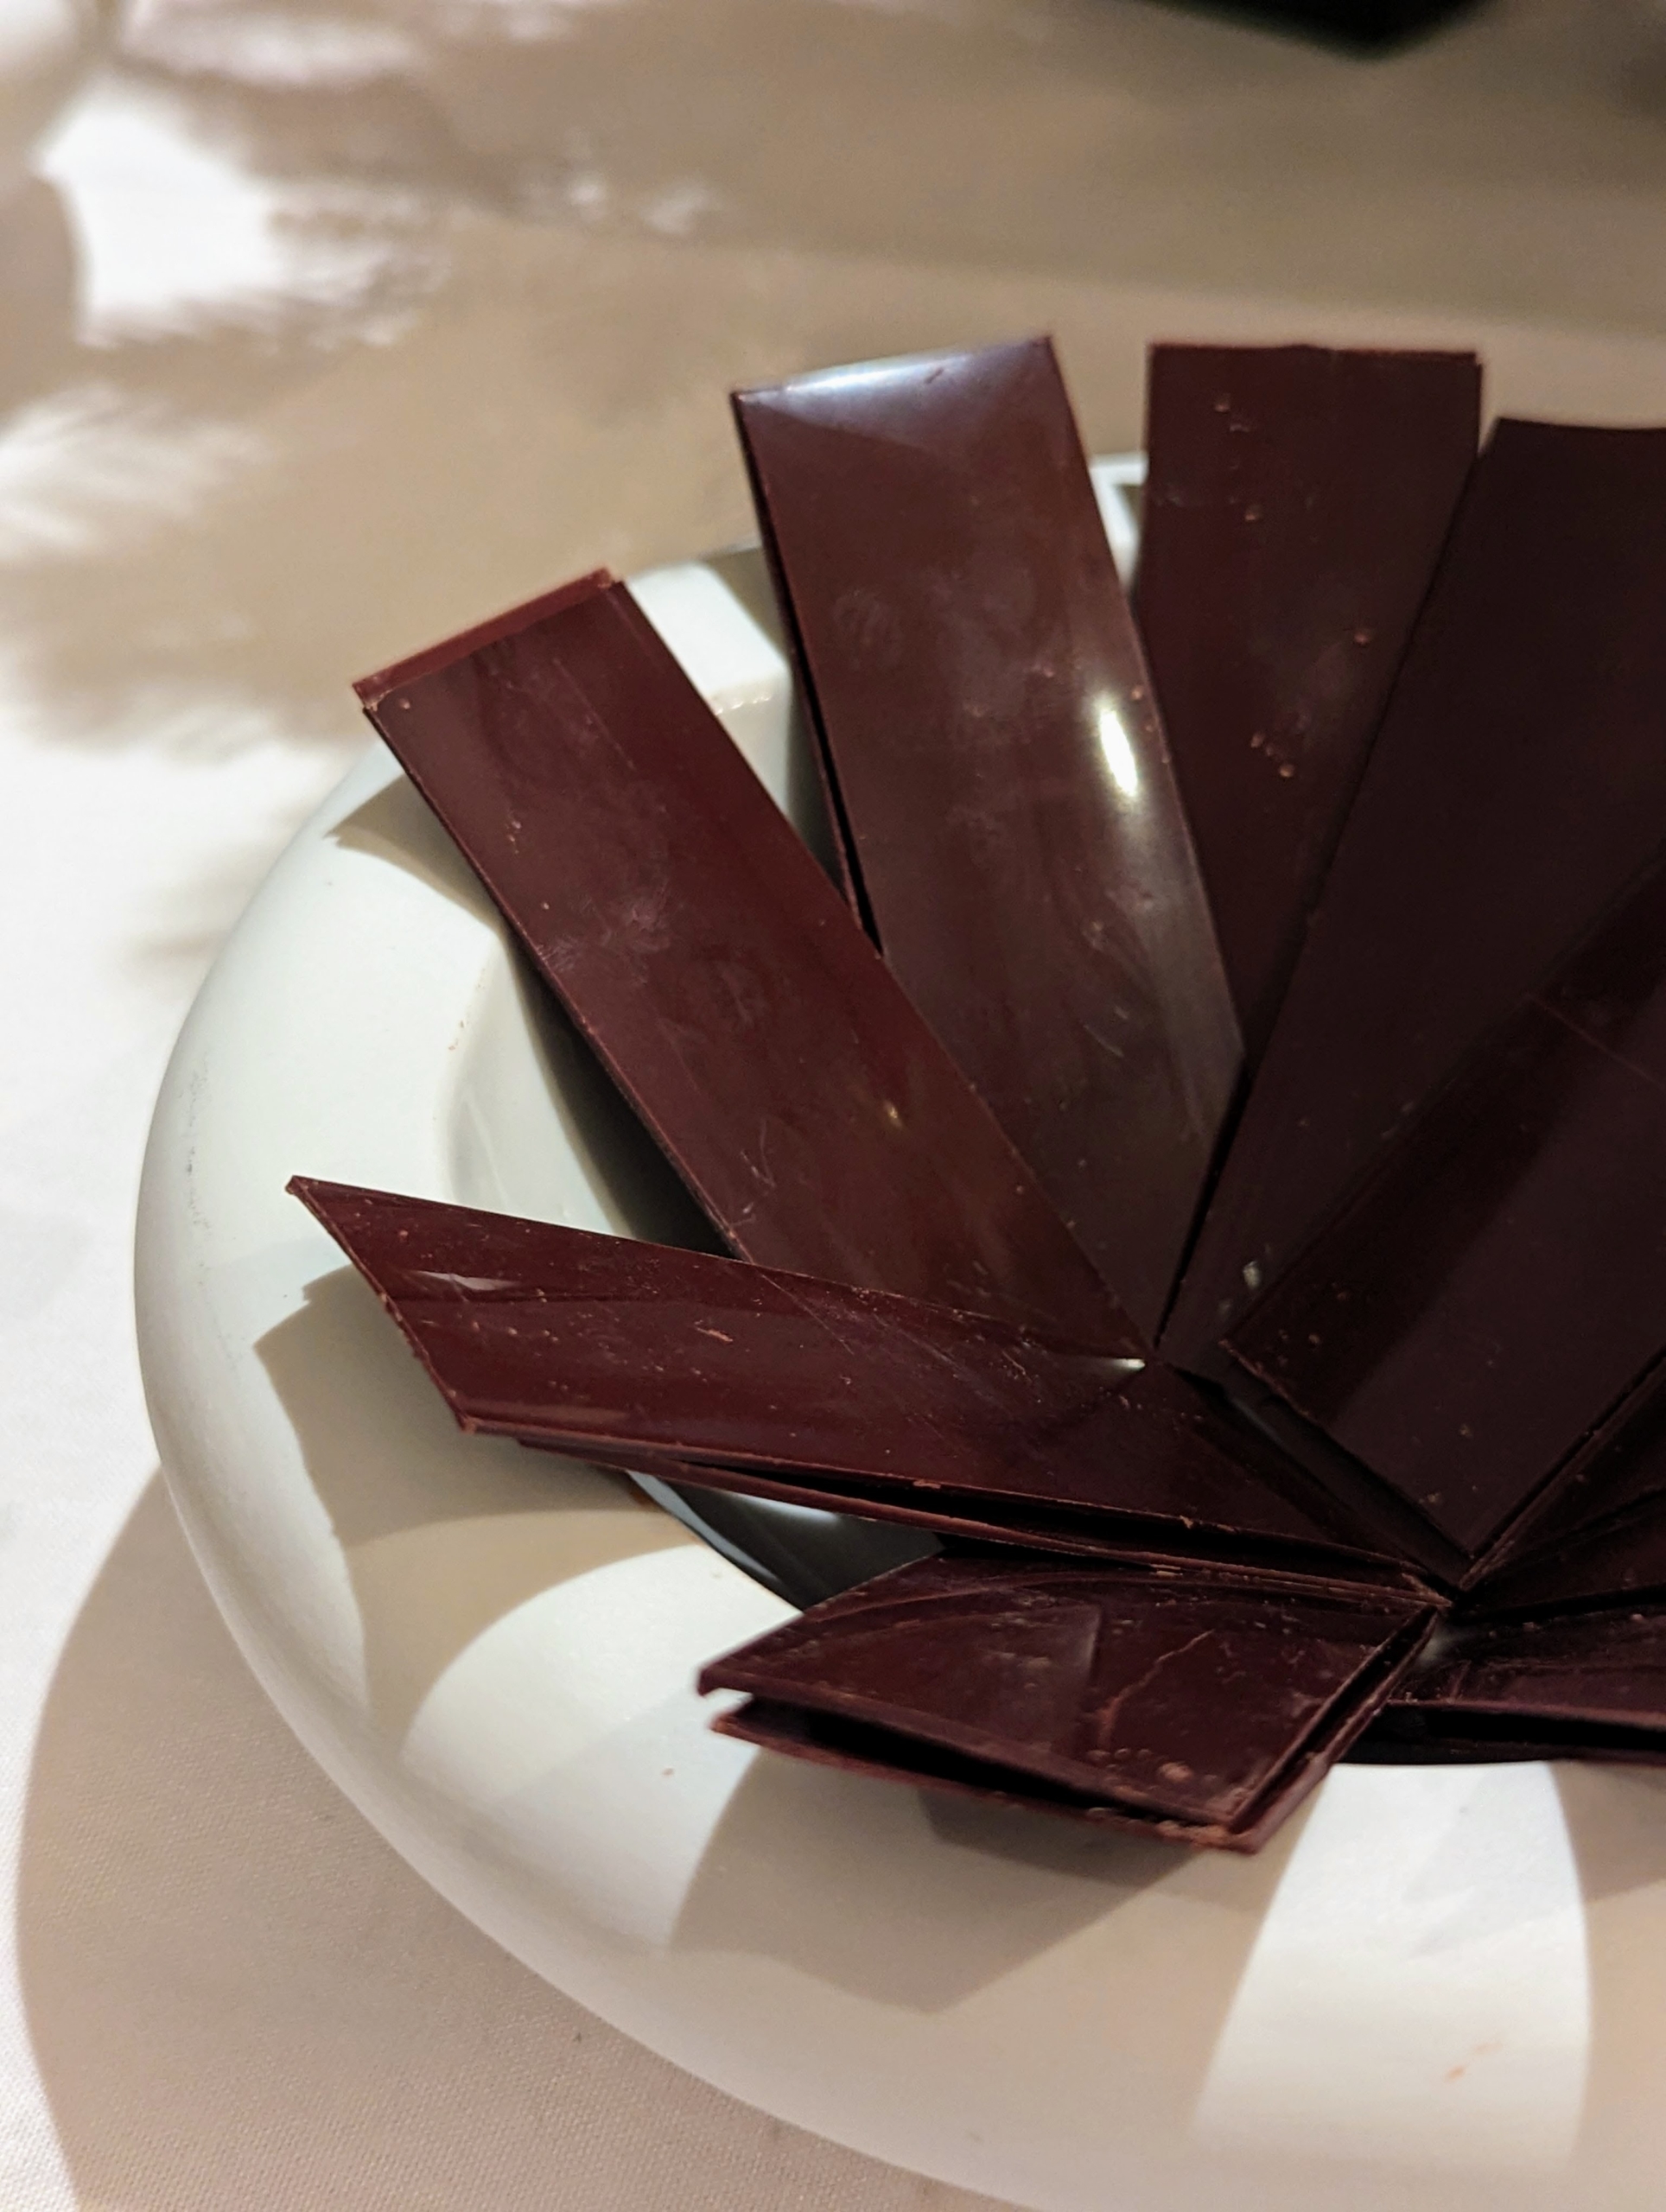
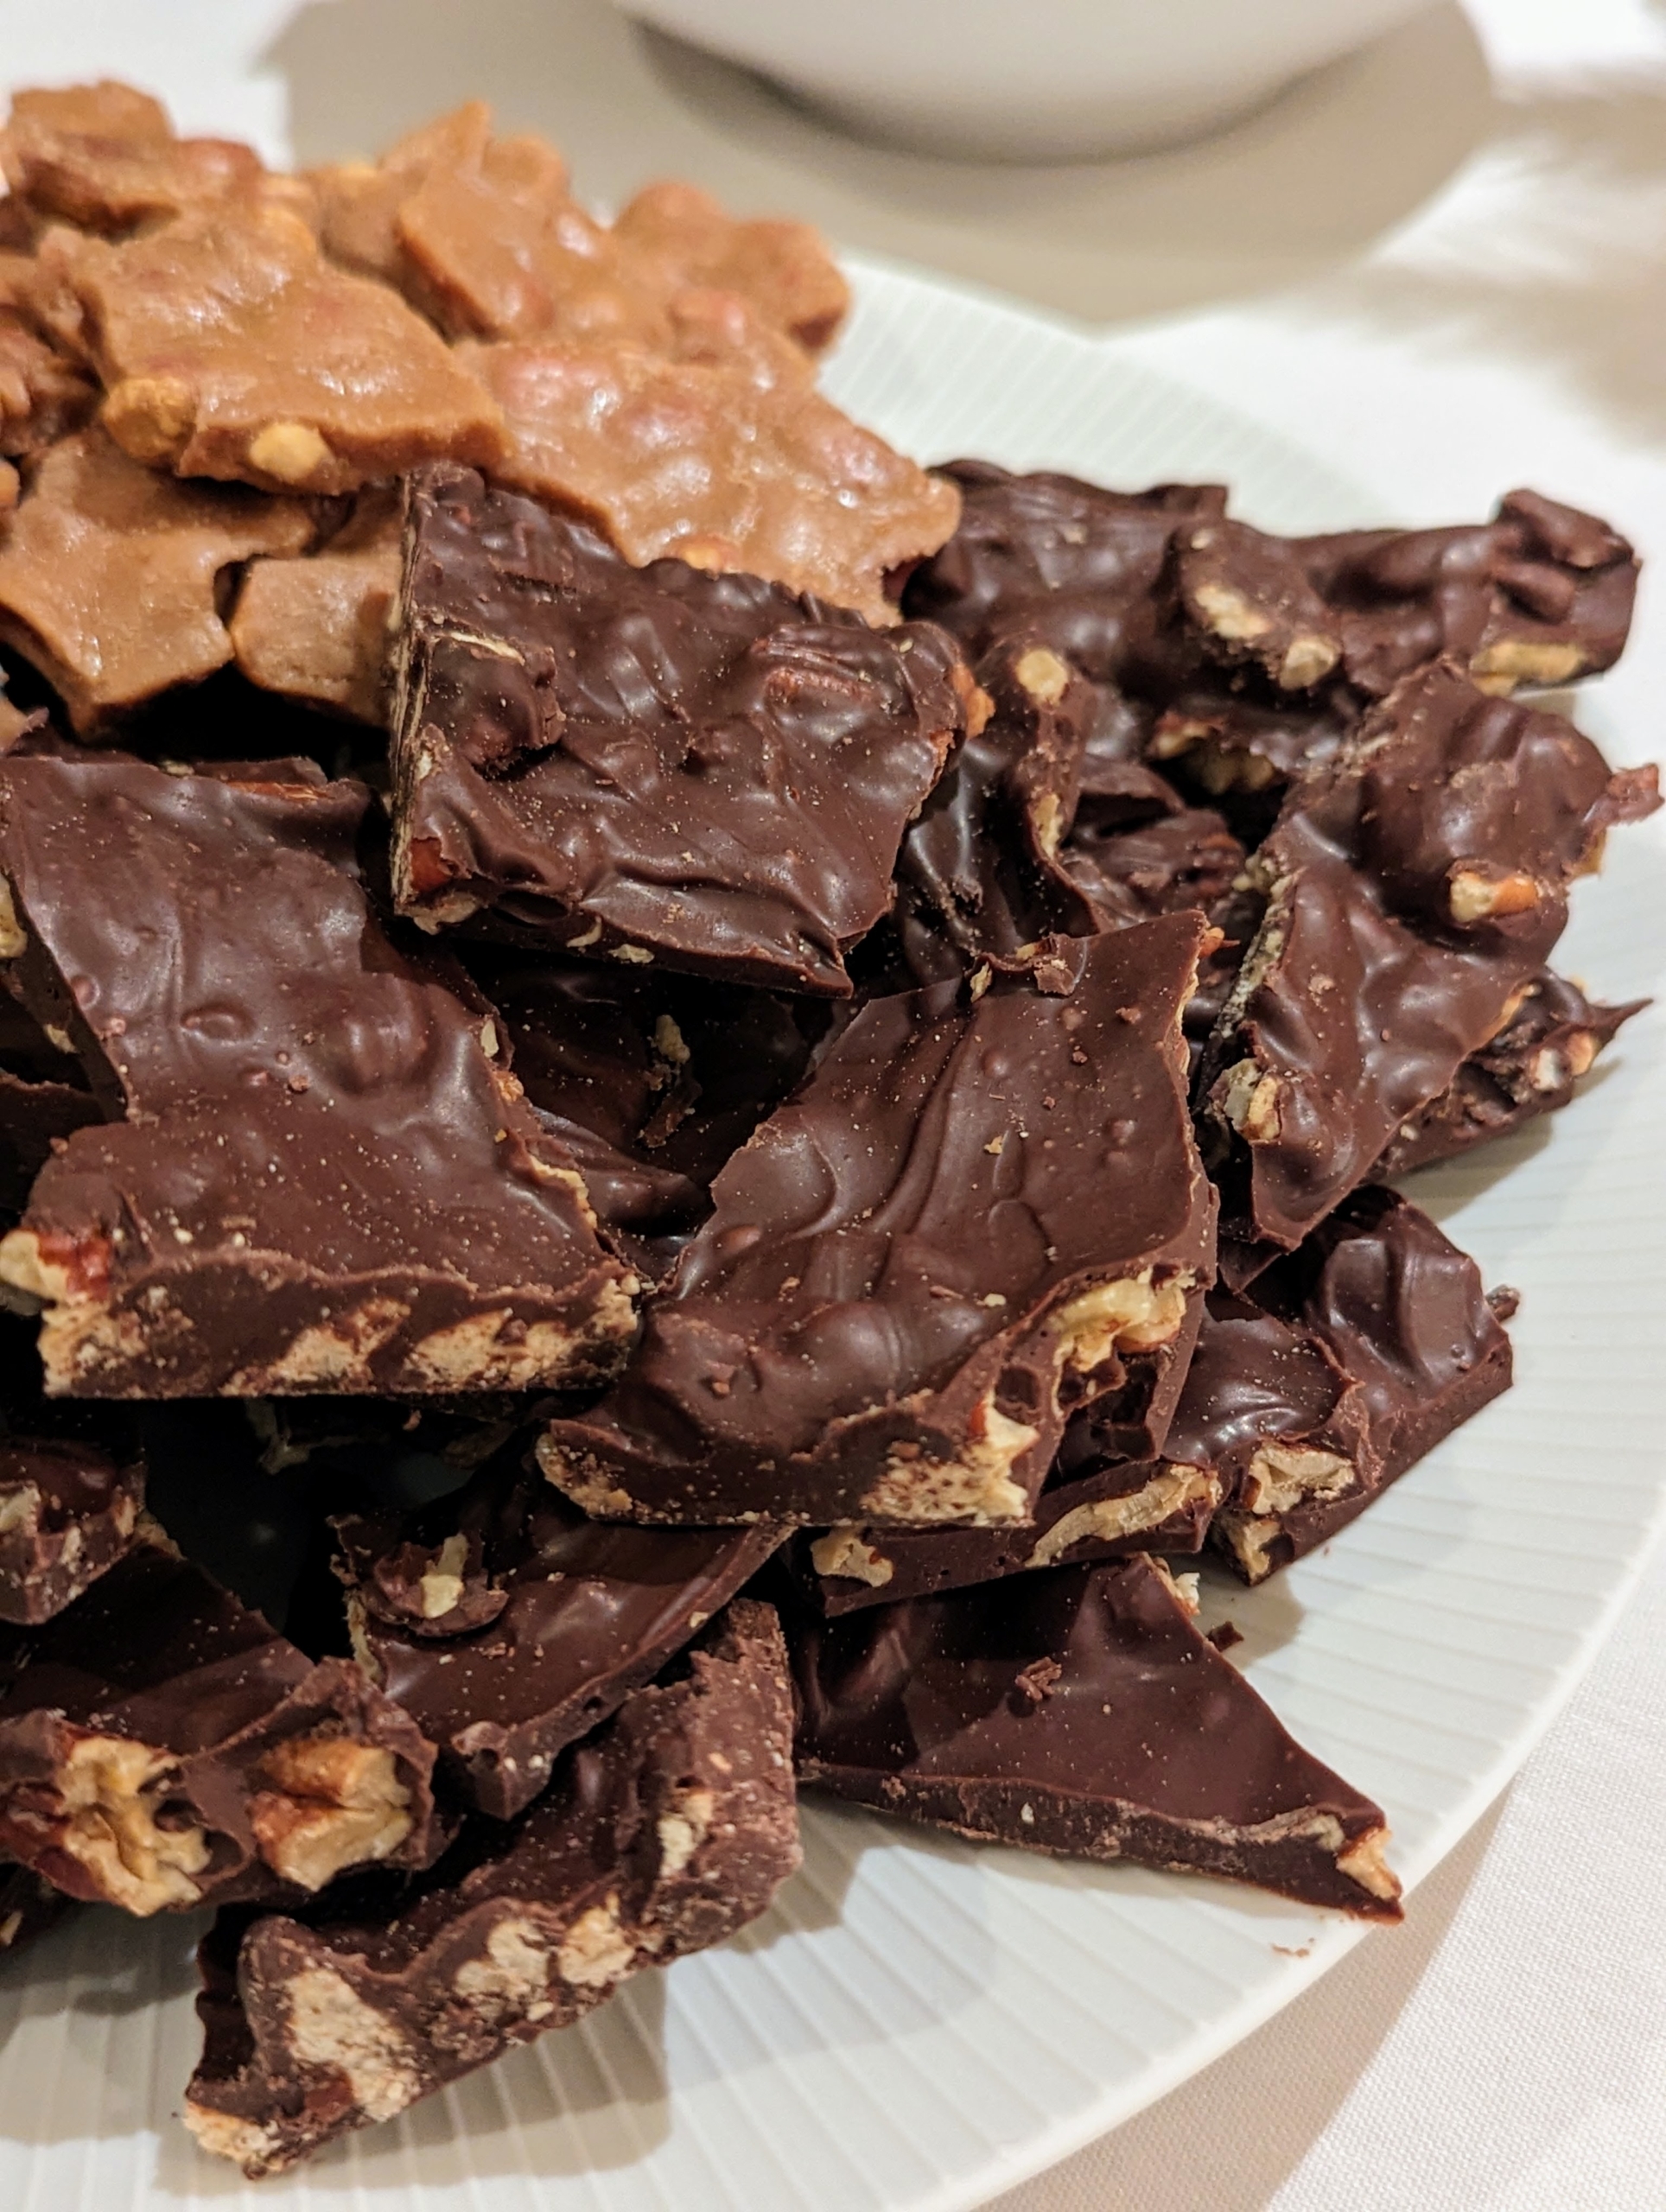
We also had chocolate…
… and peanut brittle. Everyone took treats home.
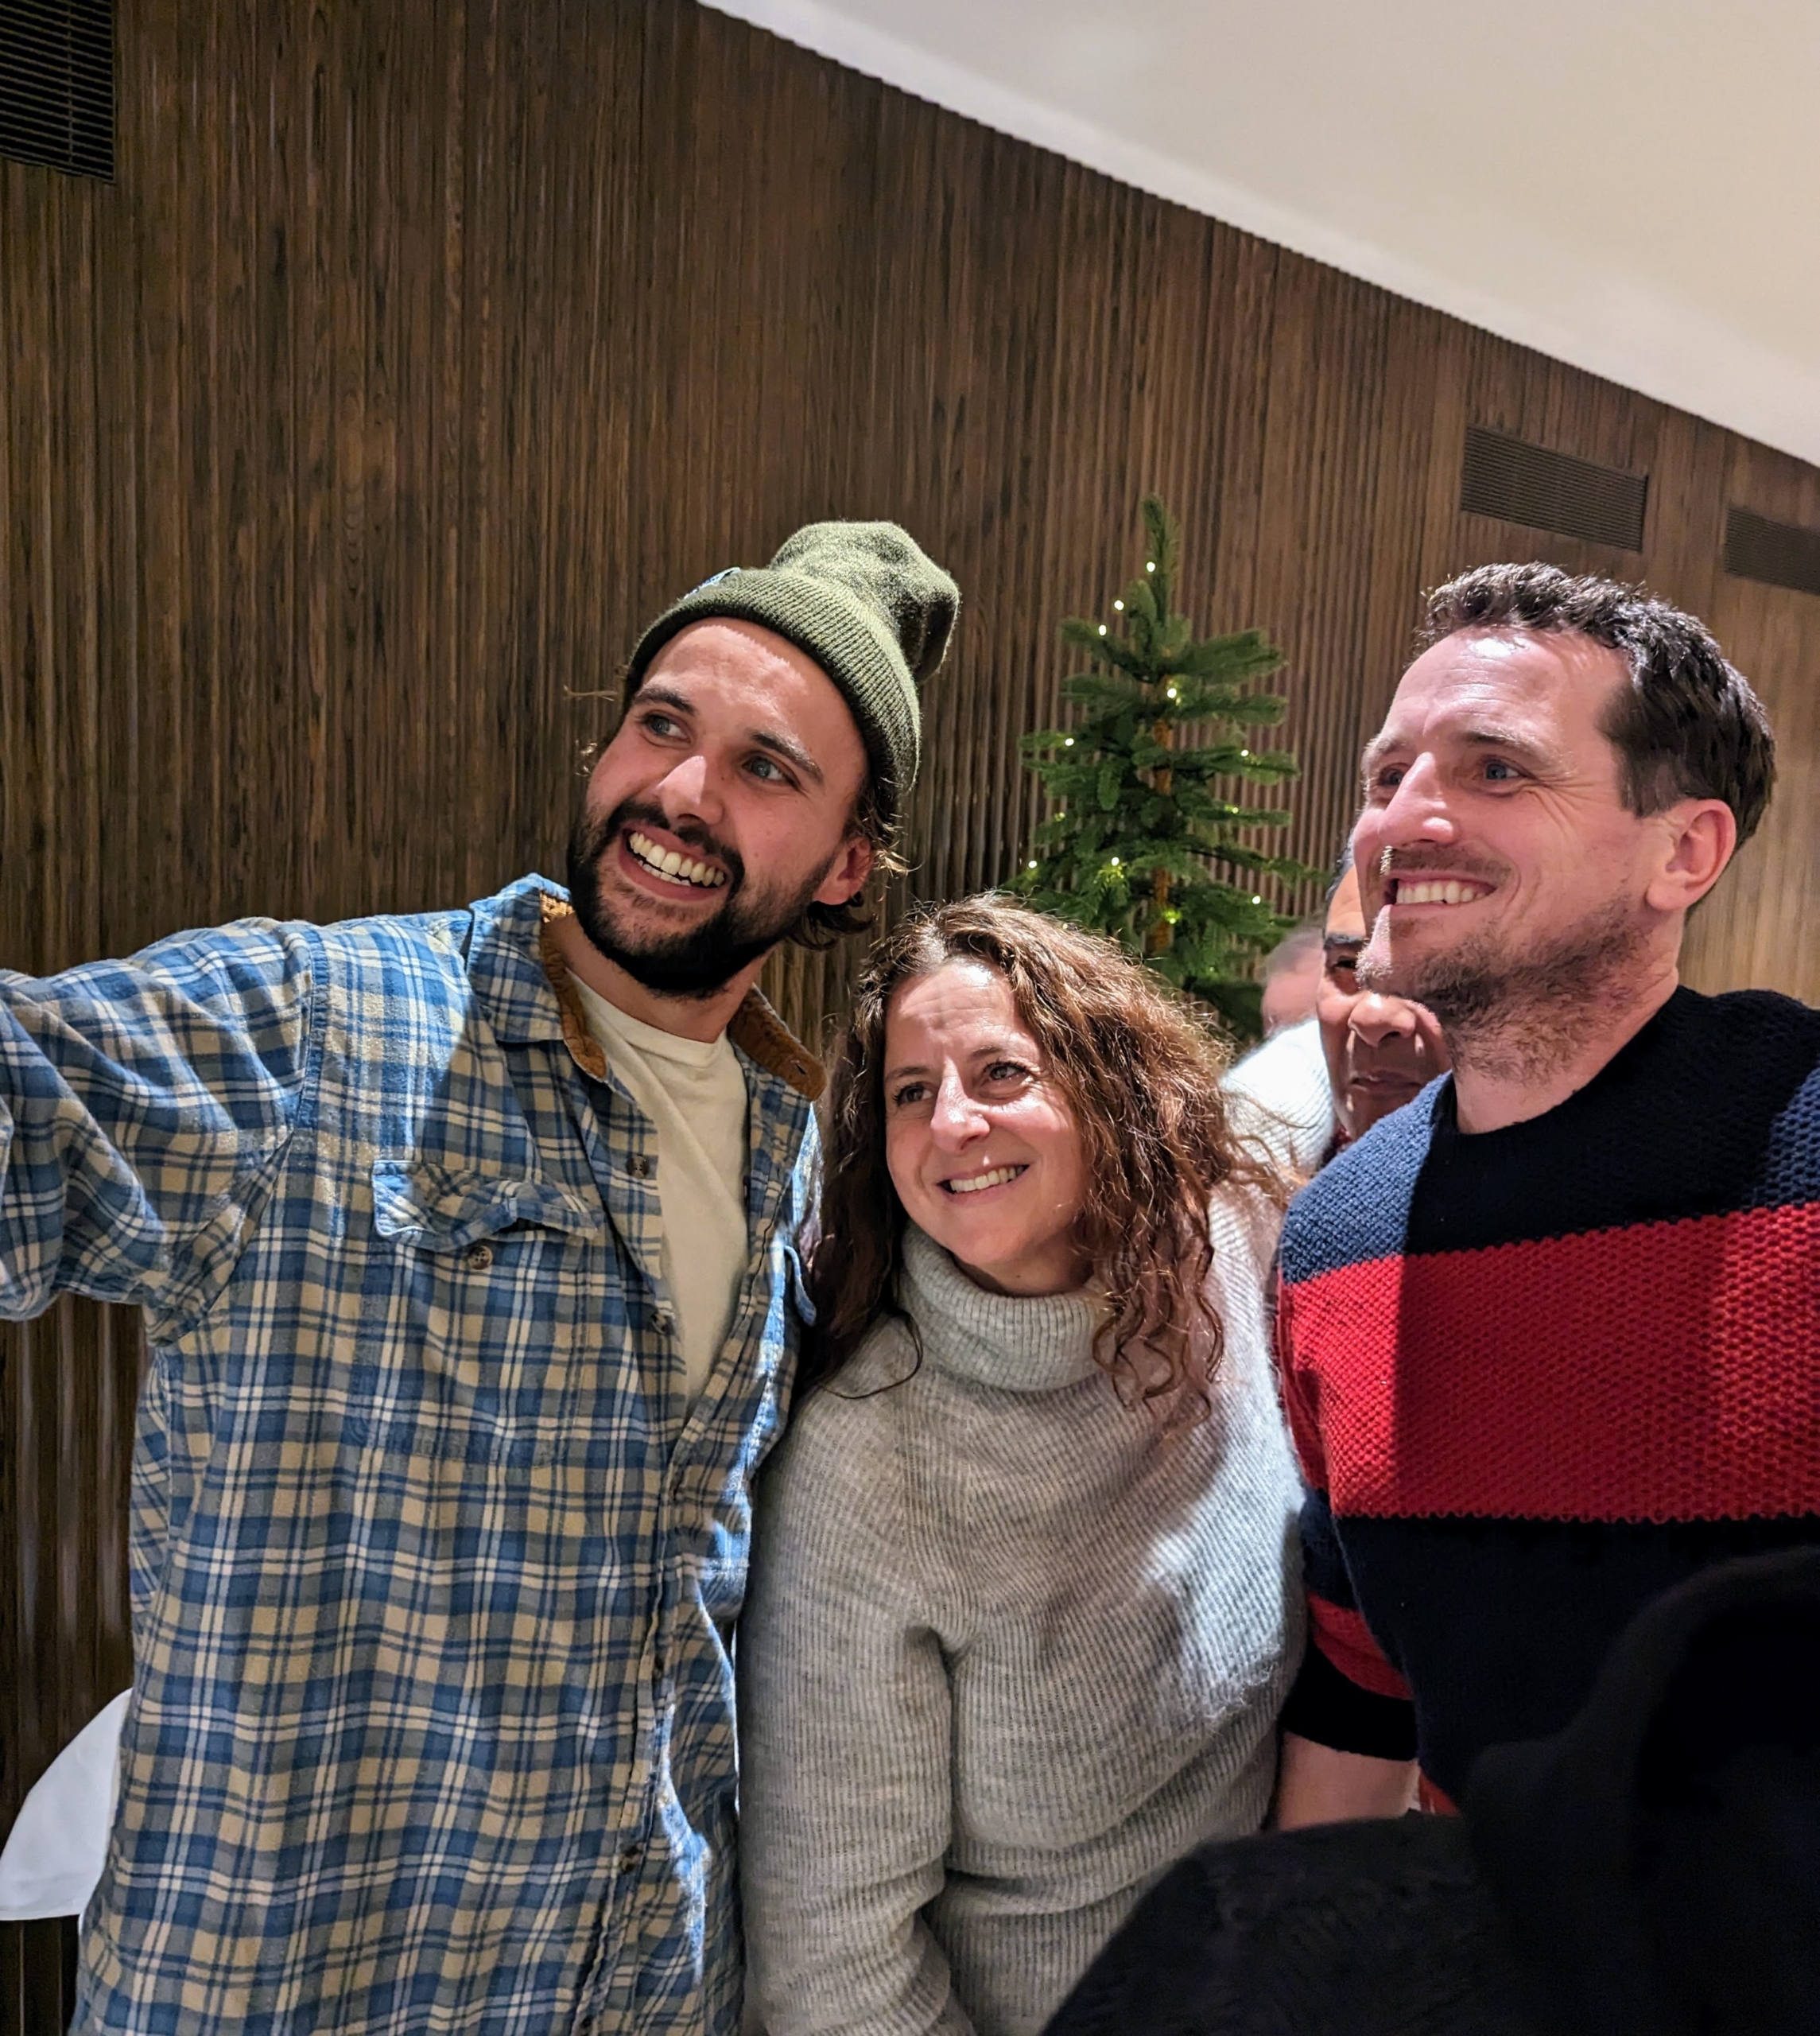
Here are Patrick and my head gardener, Ryan McCallister.
Here, my gardener Brian O’Kelly, Claudia Lieto-McKenna my special projects manager, and Ryan take a “selfie.”
This is Cesar Felix. He takes care of all my birds – the chickens, Guinea hens, turkeys, peafowl, geese, and now pheasants.
Another quick photo – Brenda Pinto, Carlos “dos” Restrepo, and Elvira, from my housekeeping and housecleaning crew.
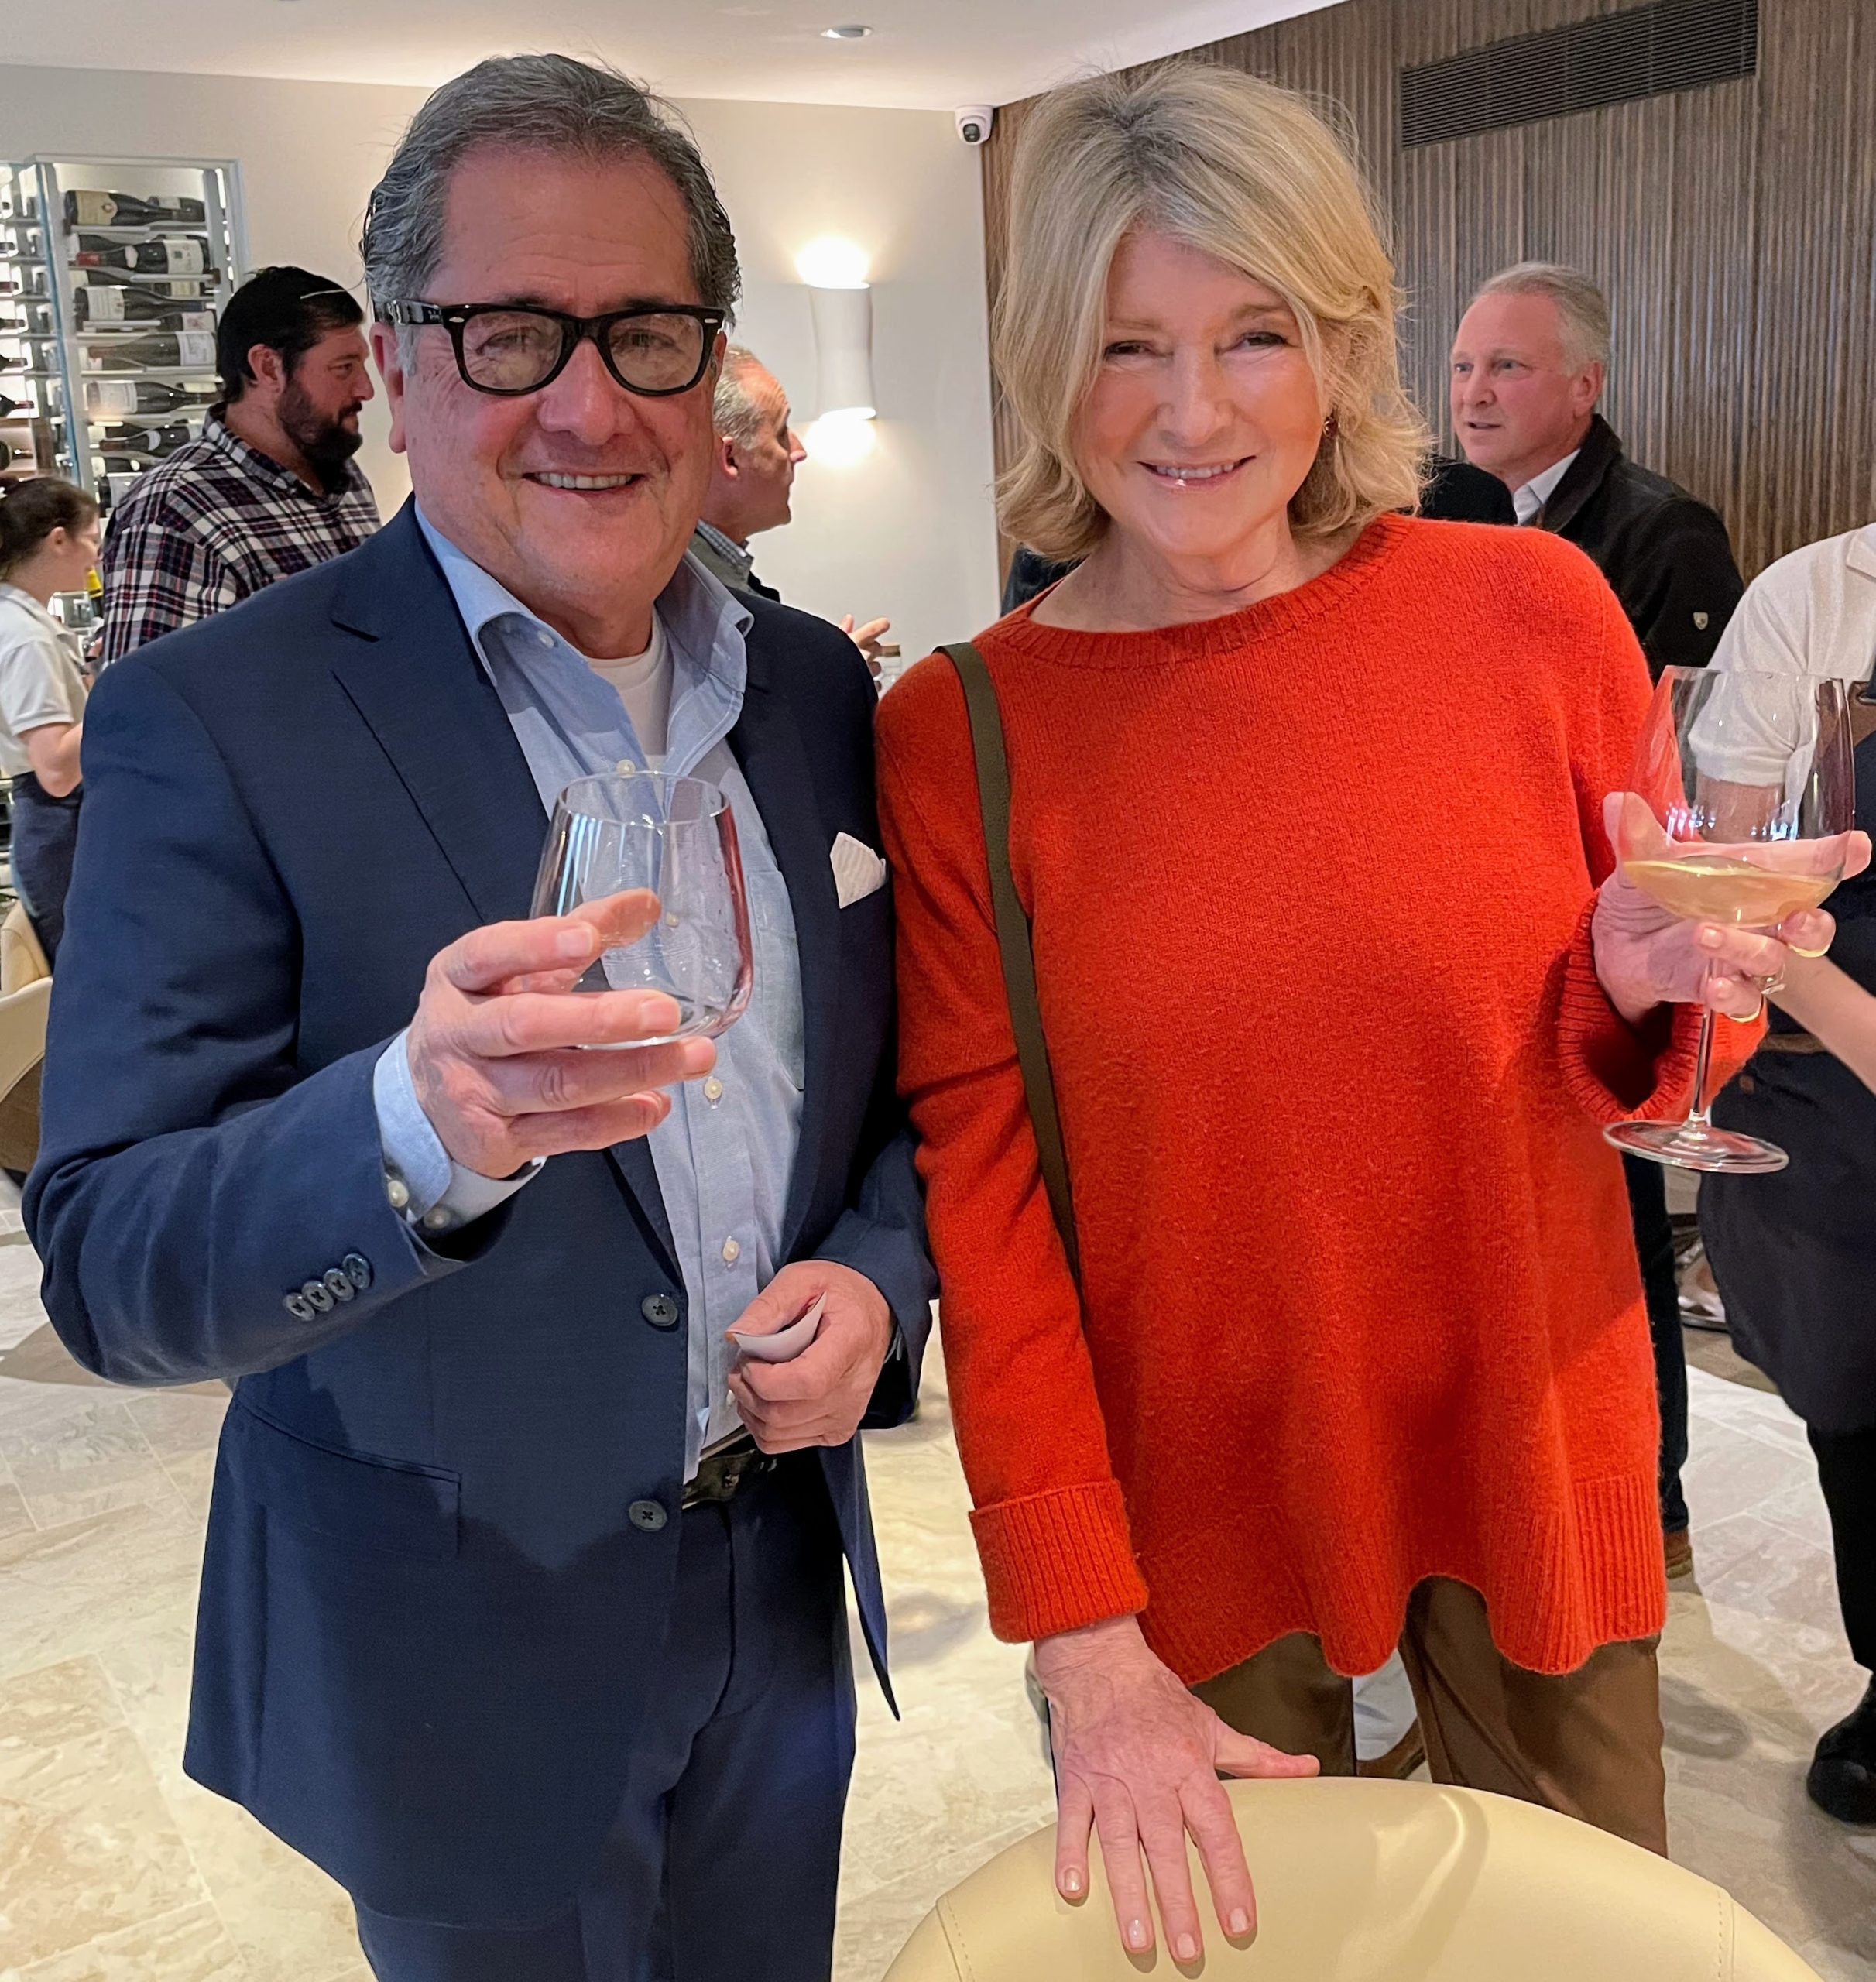
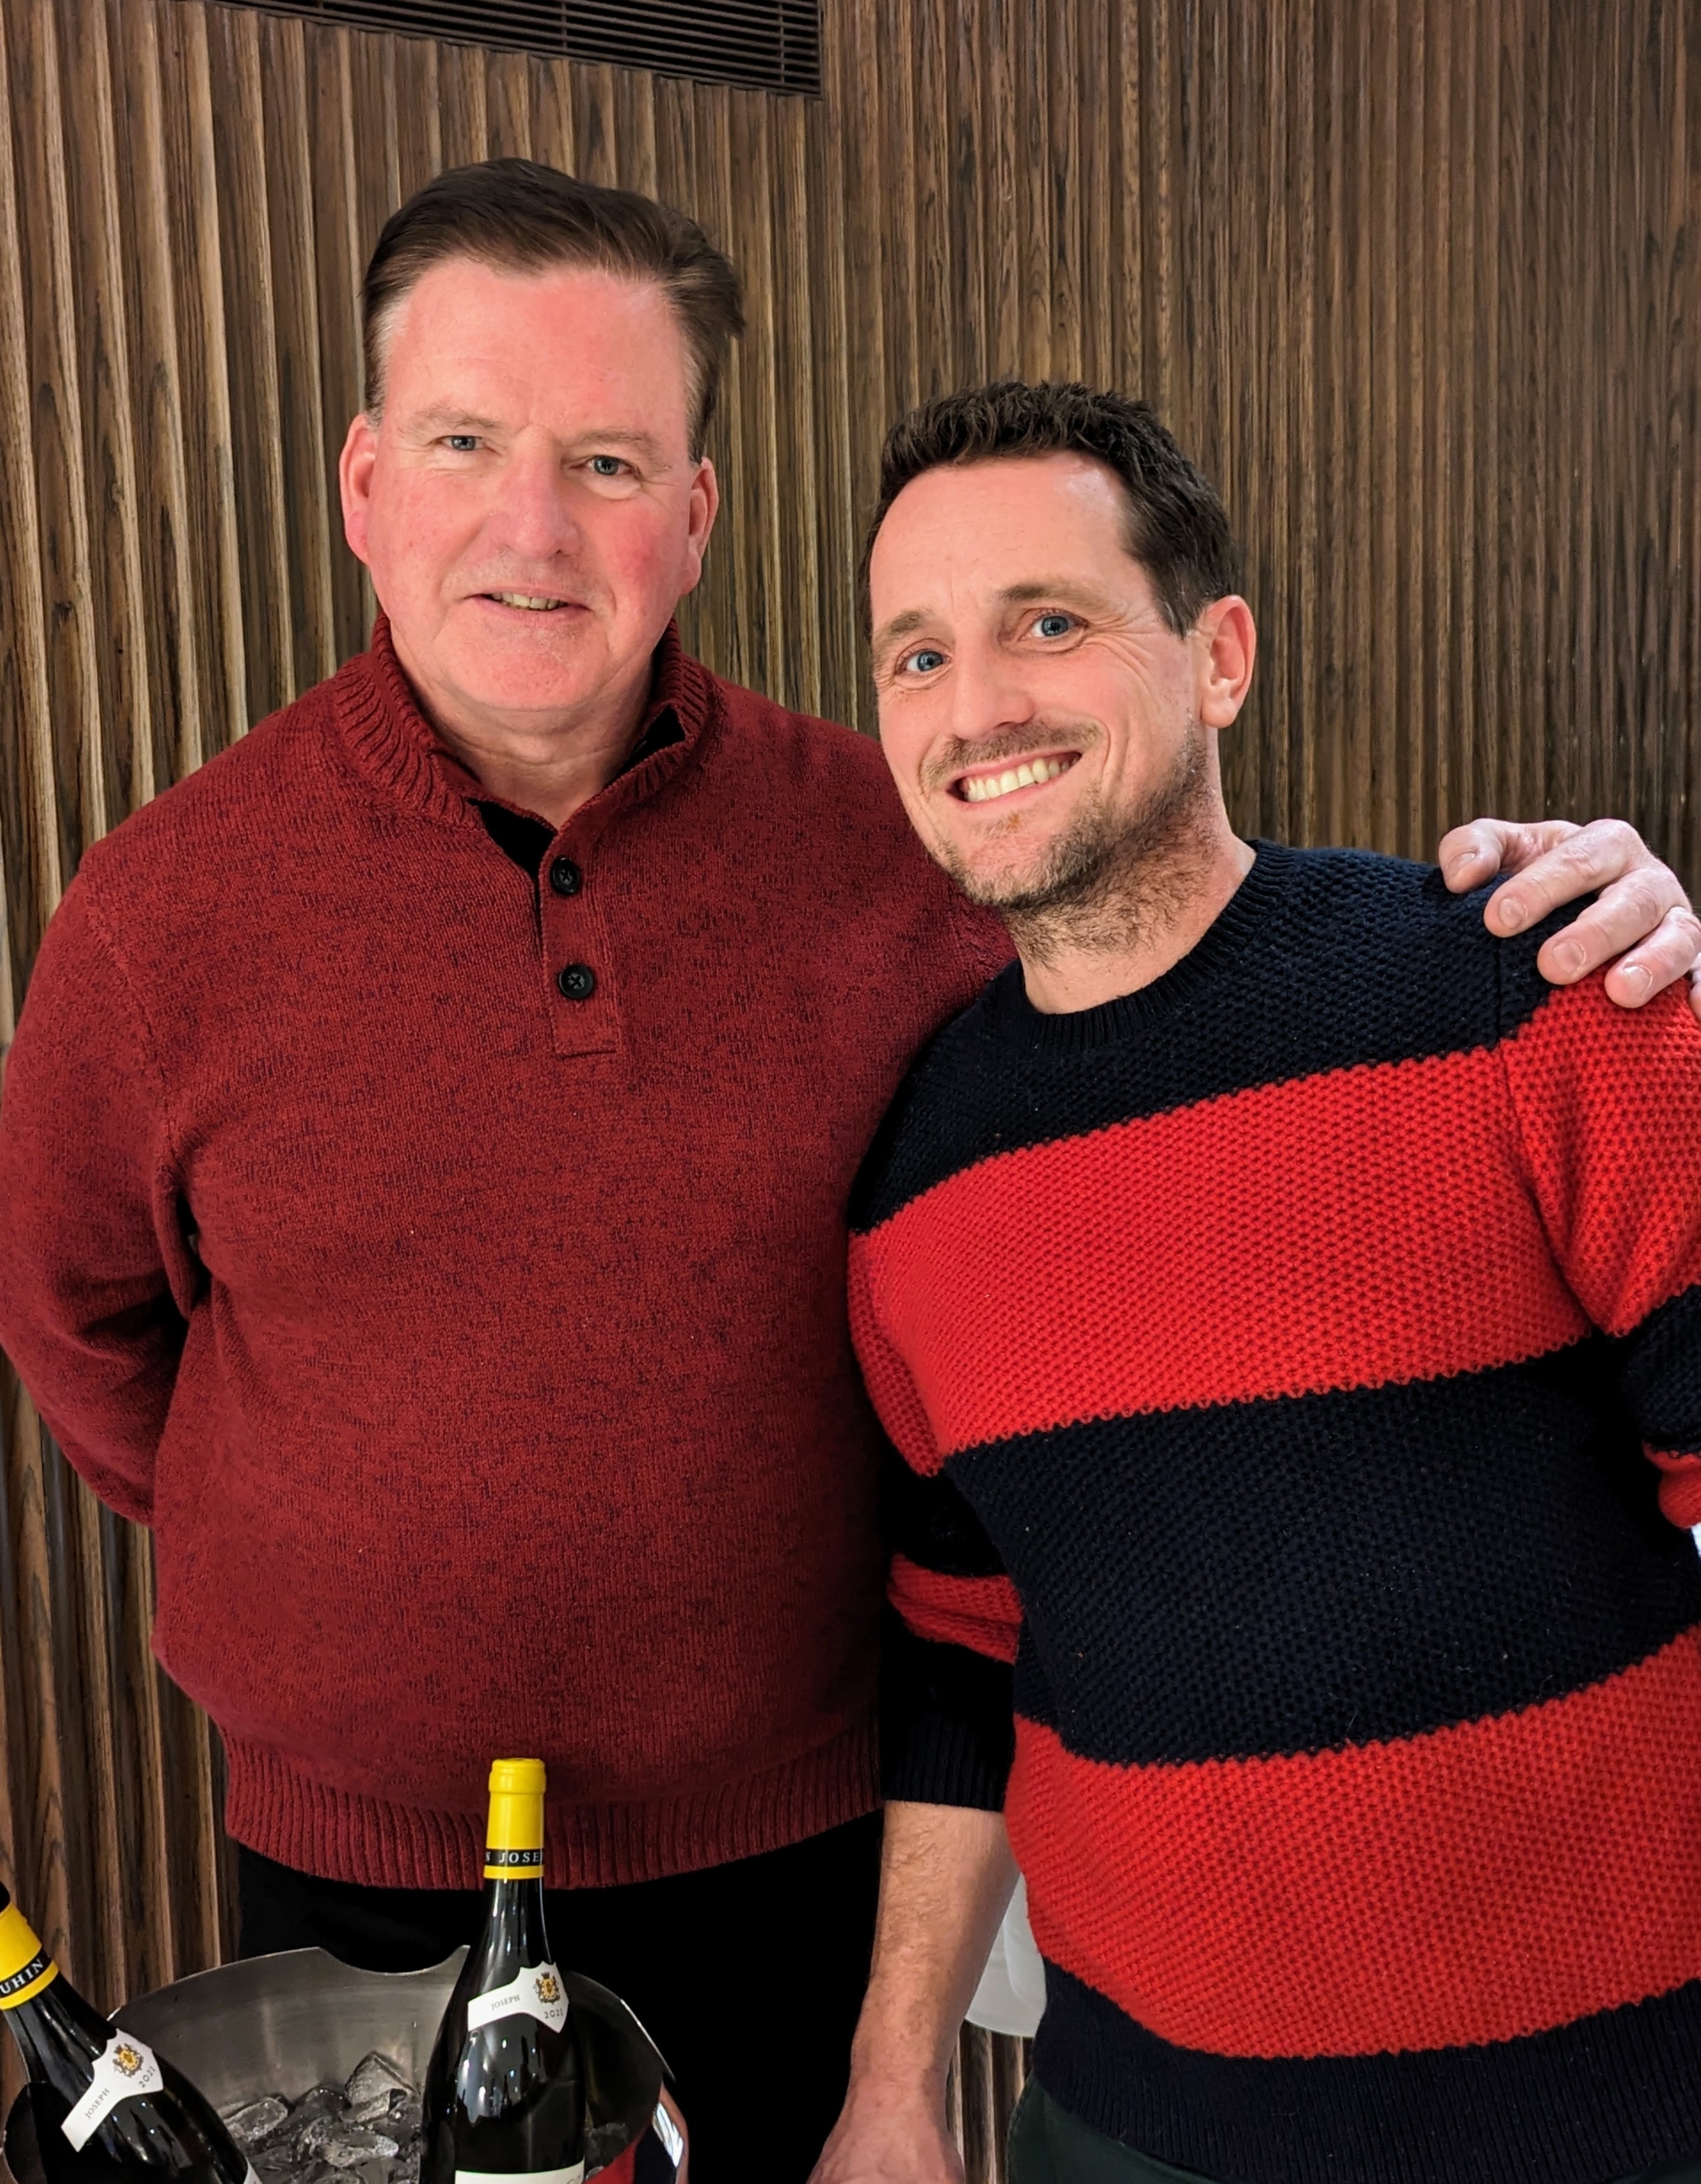
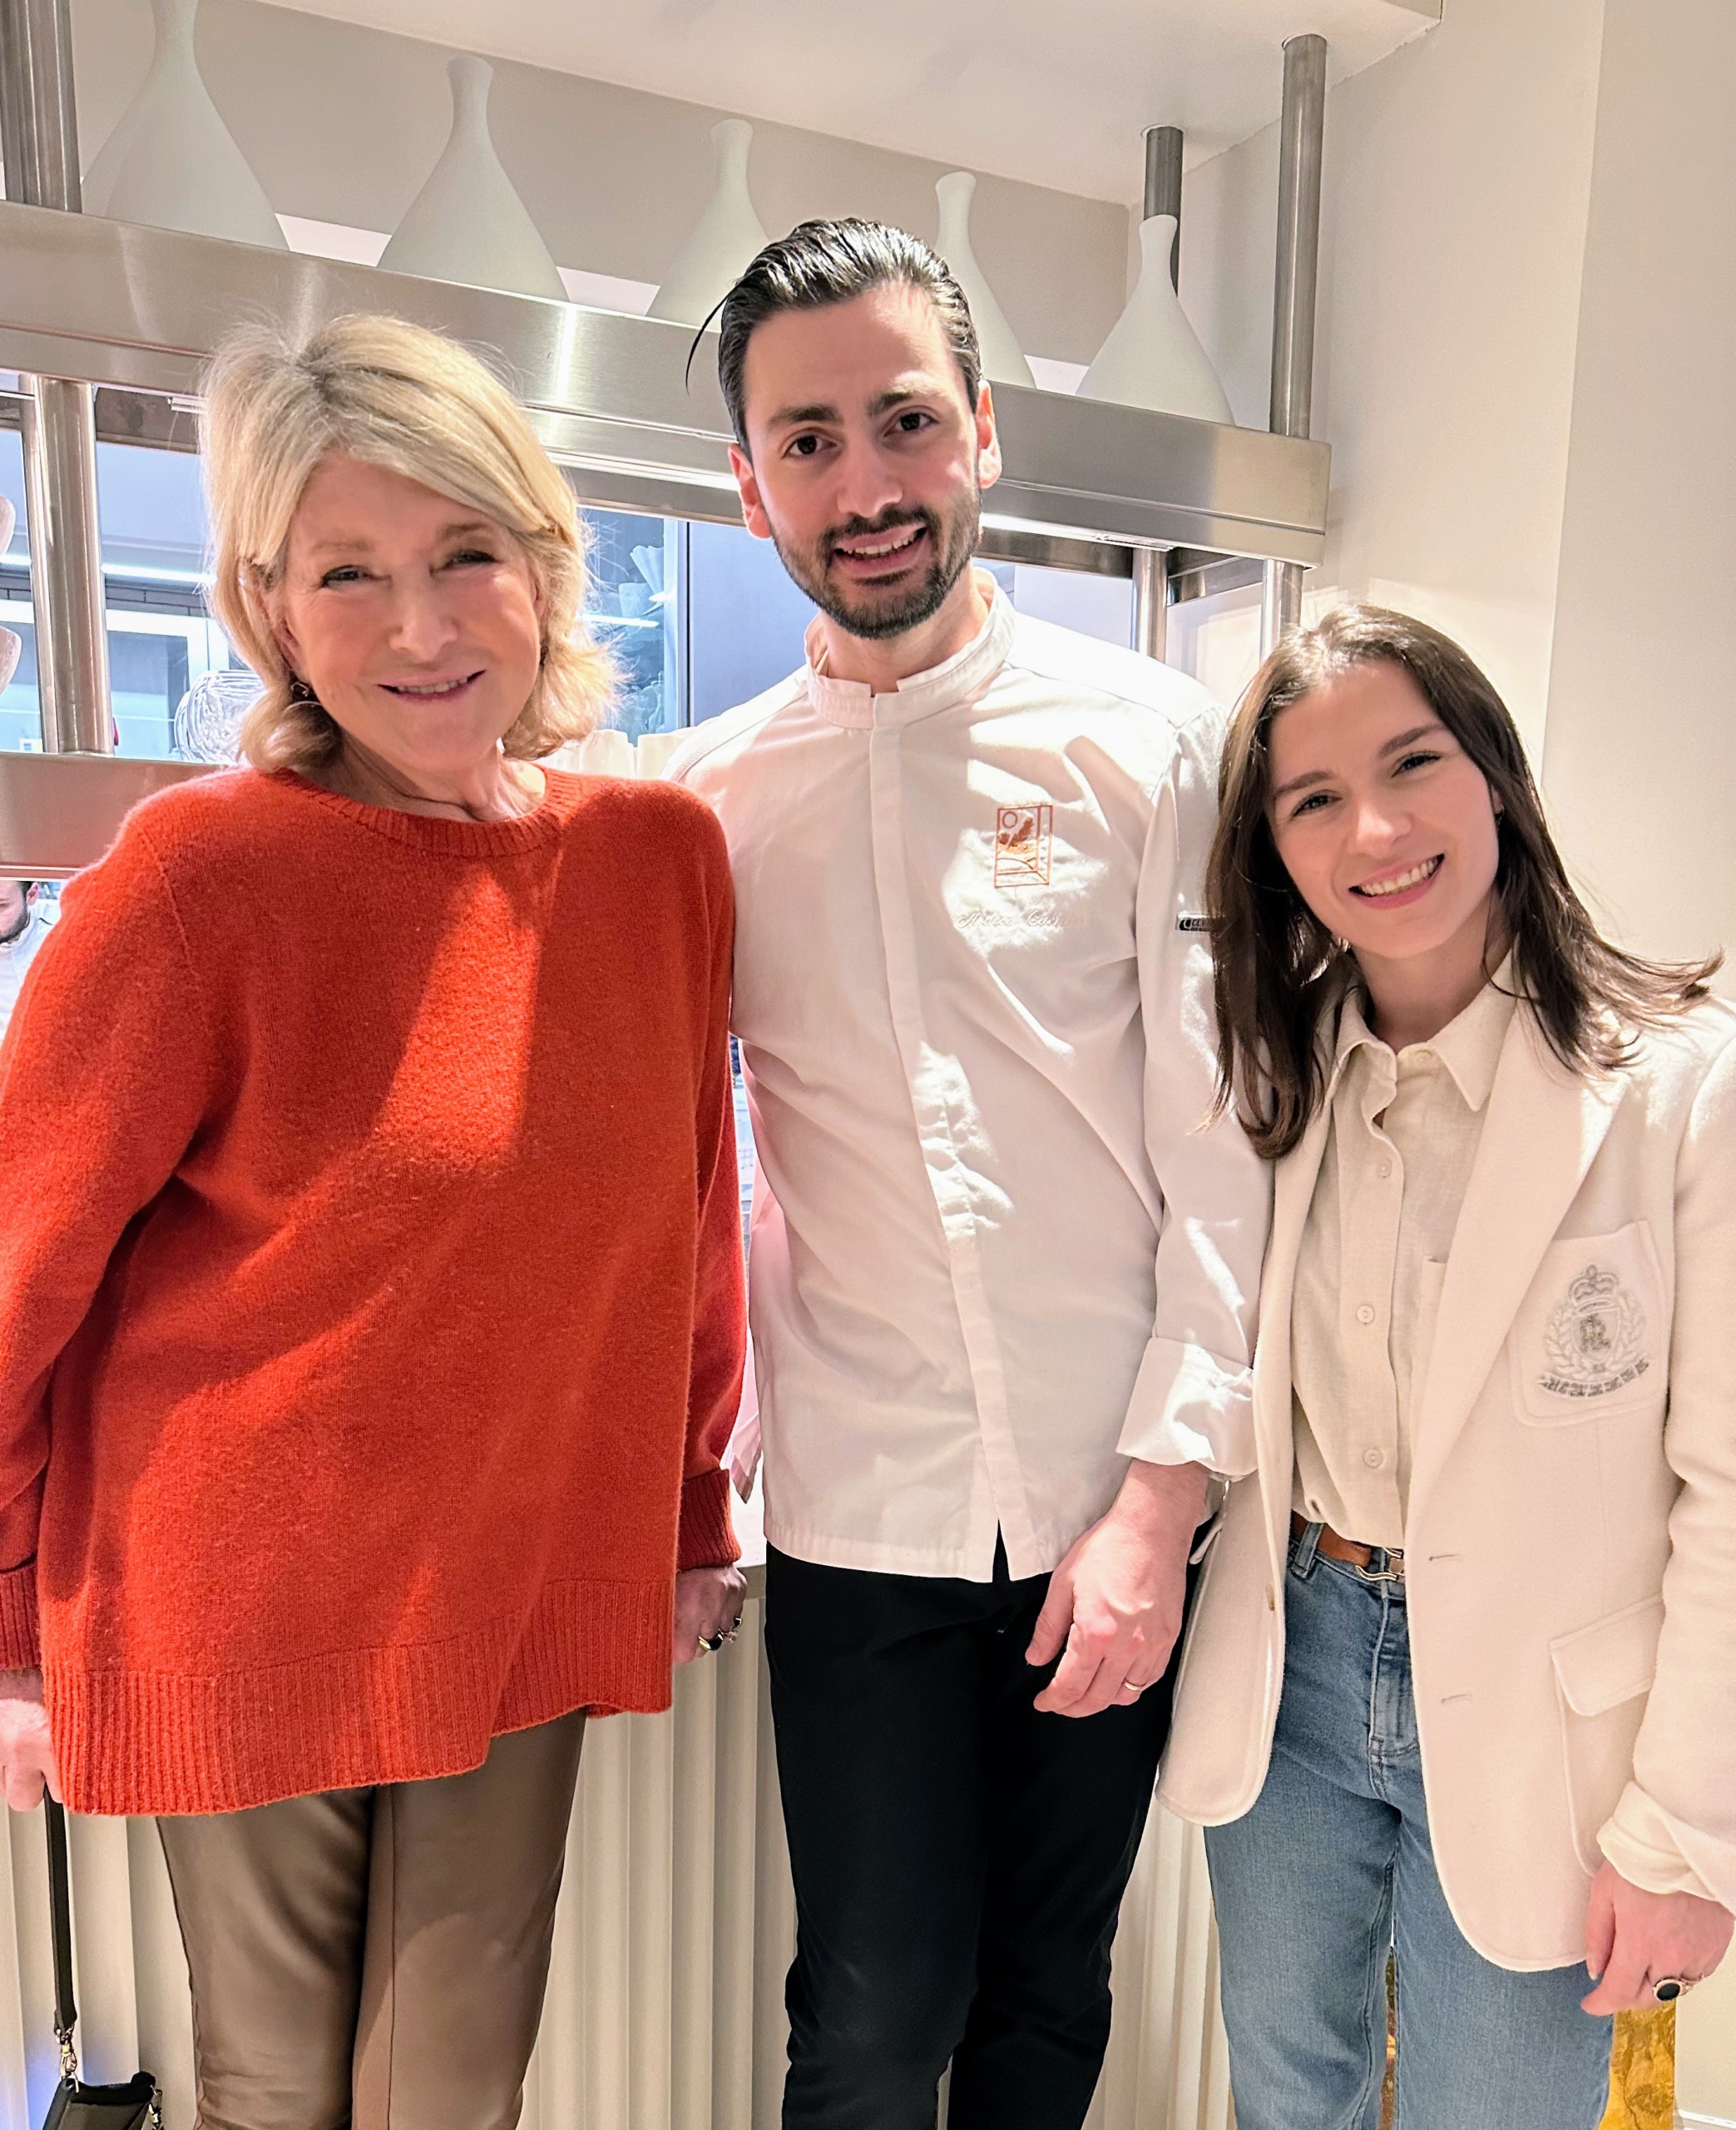
And here I am with the owners, chef Andrea Calstier and his wife Elena Oliver. Thank you so much for a lovely evening. If you’re in the Westchester, New York area, I encourage you to try to La Bastide by Andrea Calstier and Cenadou Bistrot – you will love them both.